| LEGO Audio & Braille Building Instructions for the LEGO Animal Crossing set "Bunnie's outdoor activities". |
| Express your creativity as you help Bunnie set up her campsite. Get her settled in her tent, then grab your tools and go exploring. Use the vaulting pole to jump across the river. Search the tree to see what surprise it holds. In the evening, get cozy round the campfire and toast a marshmallow. Then rearrange the baseplates to give the set a whole fresh look! |
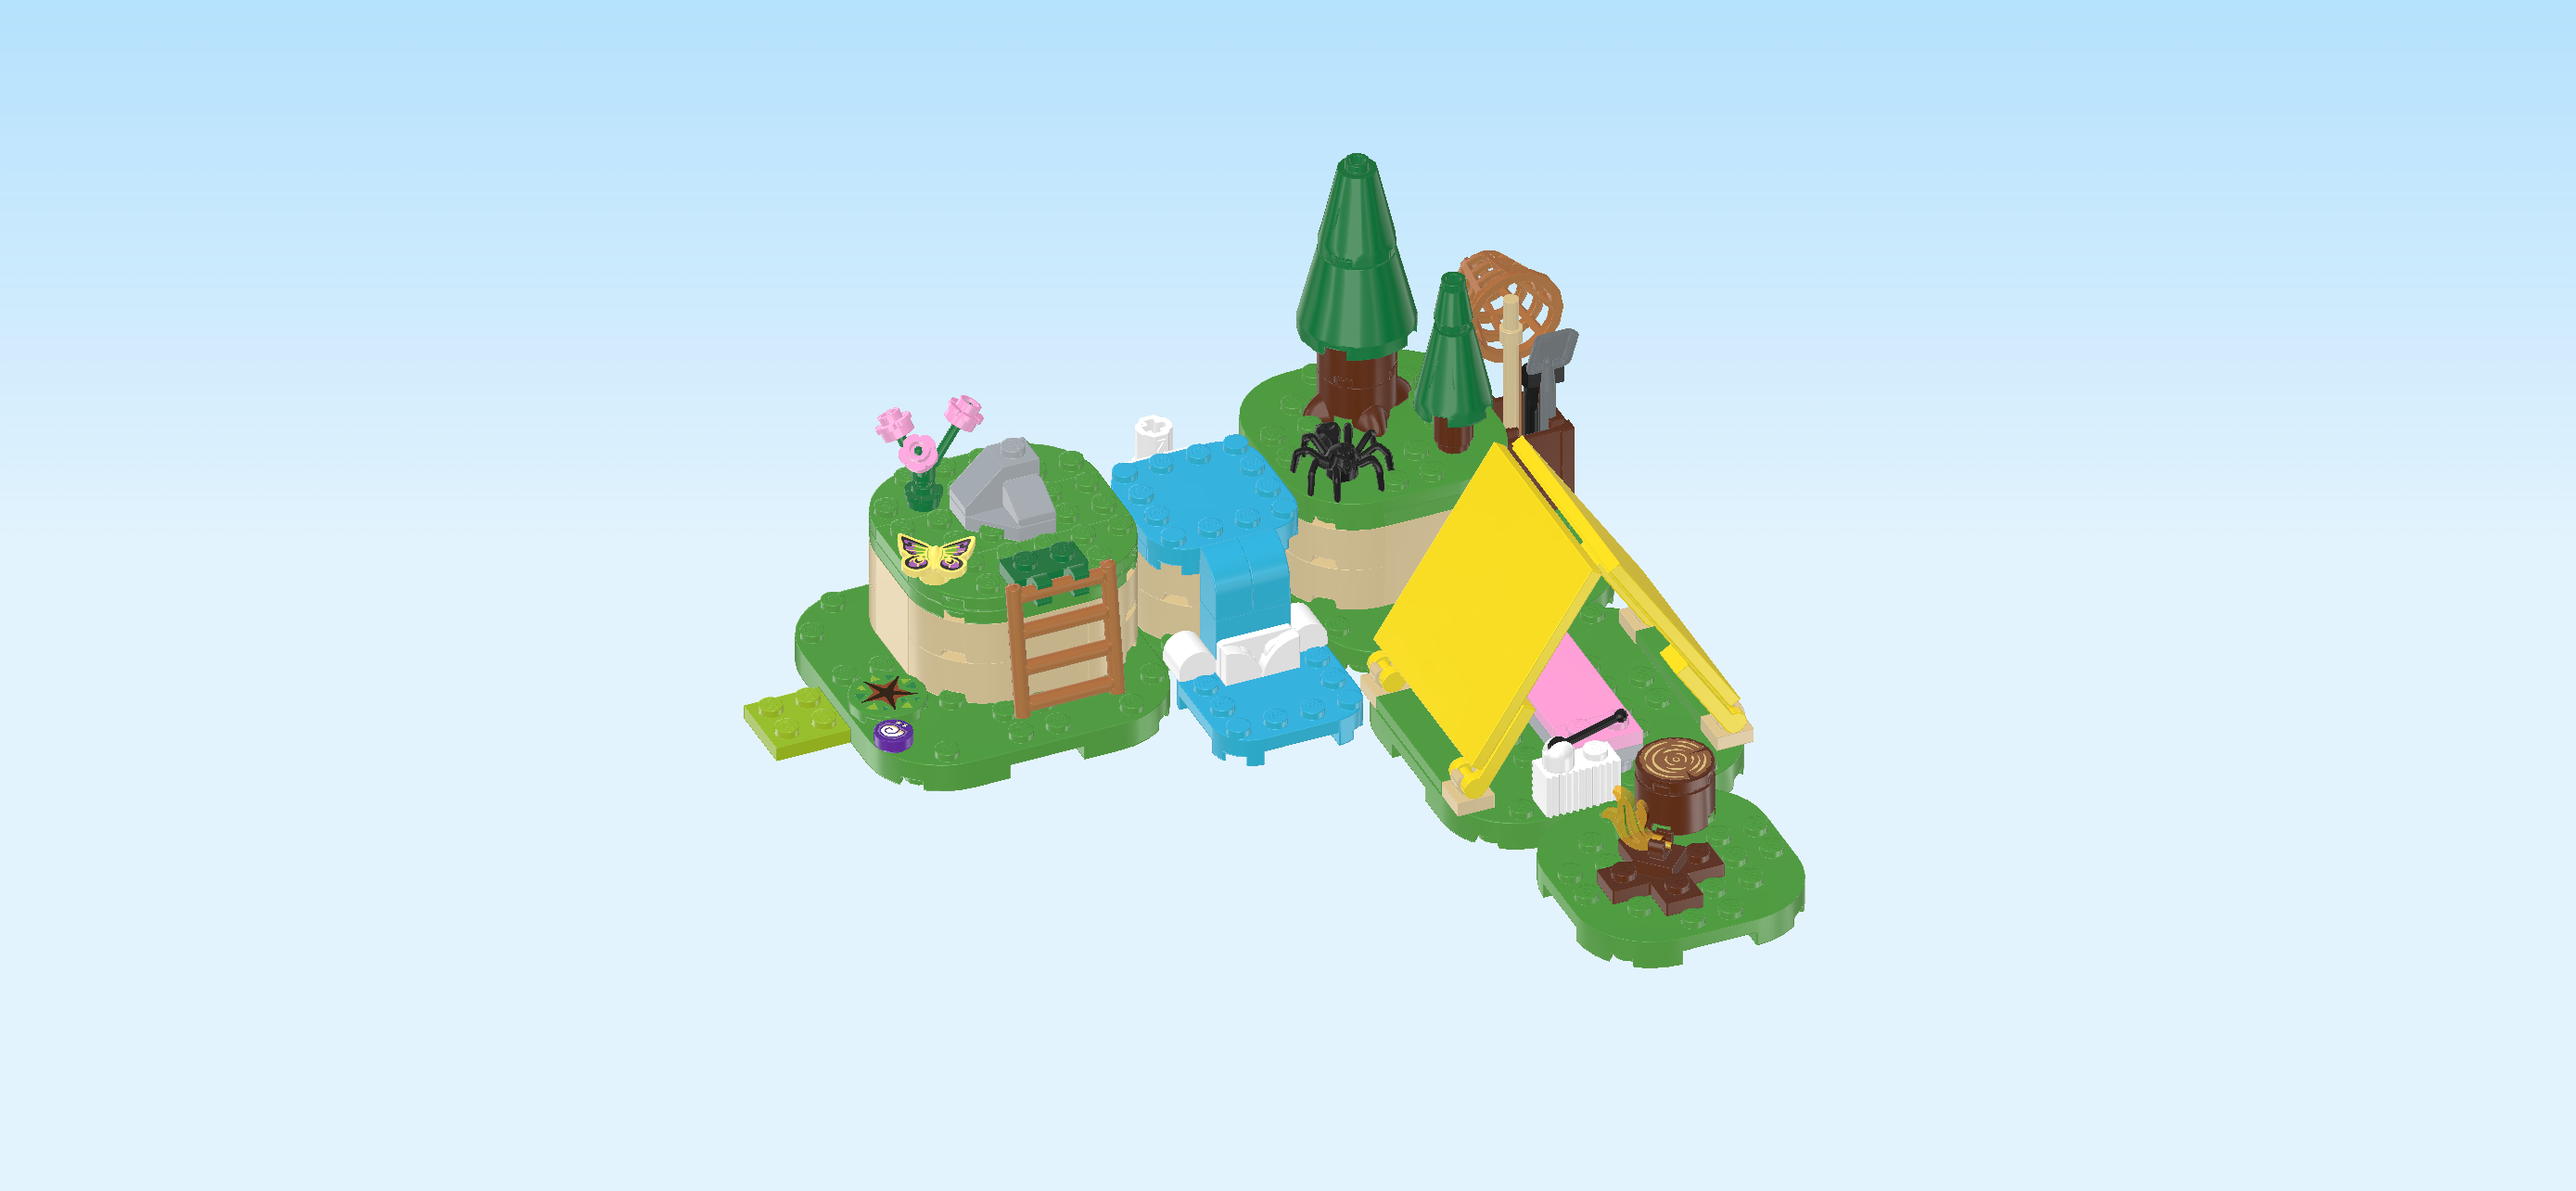
| On the box cover, Bunnie is hopping happily through the island she is visiting! It is a sunny day in the green landscape. The blue sky only shows a few harmless clouds, and there are lots of pine and leaf trees high up on a cliff in the background of the scene. The cliff gives way to a beautiful body of water, there even is a big waterfall! Bunny's island is located on a green meadow on the waterside. It consists of several different modules that you can later arrange in any order you want! In the front right, there is a campfire with a log to sit on and a marshmallow on a stick for roasting; this module is followed by the tent module complete with a radio and a cozy bed to sleep in. At the back, there is a pine tree module which is higher than the first two modules. So if you are in need of firewood, this is where to chop fresh wood! To the left of the pine trees is a waterfall module with vaulting pole. Bunnie uses this pole to jump over the water. This way, she can stay dry! To the left of the waterfall, there is a mine module. It has a big rock that Bunnie can mine with her tools. We will find out later what you can mine here, it's a surprise! The last module on the left edge is a lovely cherry tree full of ripe cherries. Bunnie's utility box is located on the meadow in the center of the scene. She owns a butterfly net, a shovel and an axe. So there are lots of lovely activities and details to be discovered! Let's get started! |
| Open the box. This can be tricky; ask someone to help you! |
| The box contains 1 booklet with visual building instructions and 2 bags with numbers printed on them. Ask a sighted person to help you identify the correct bag! |
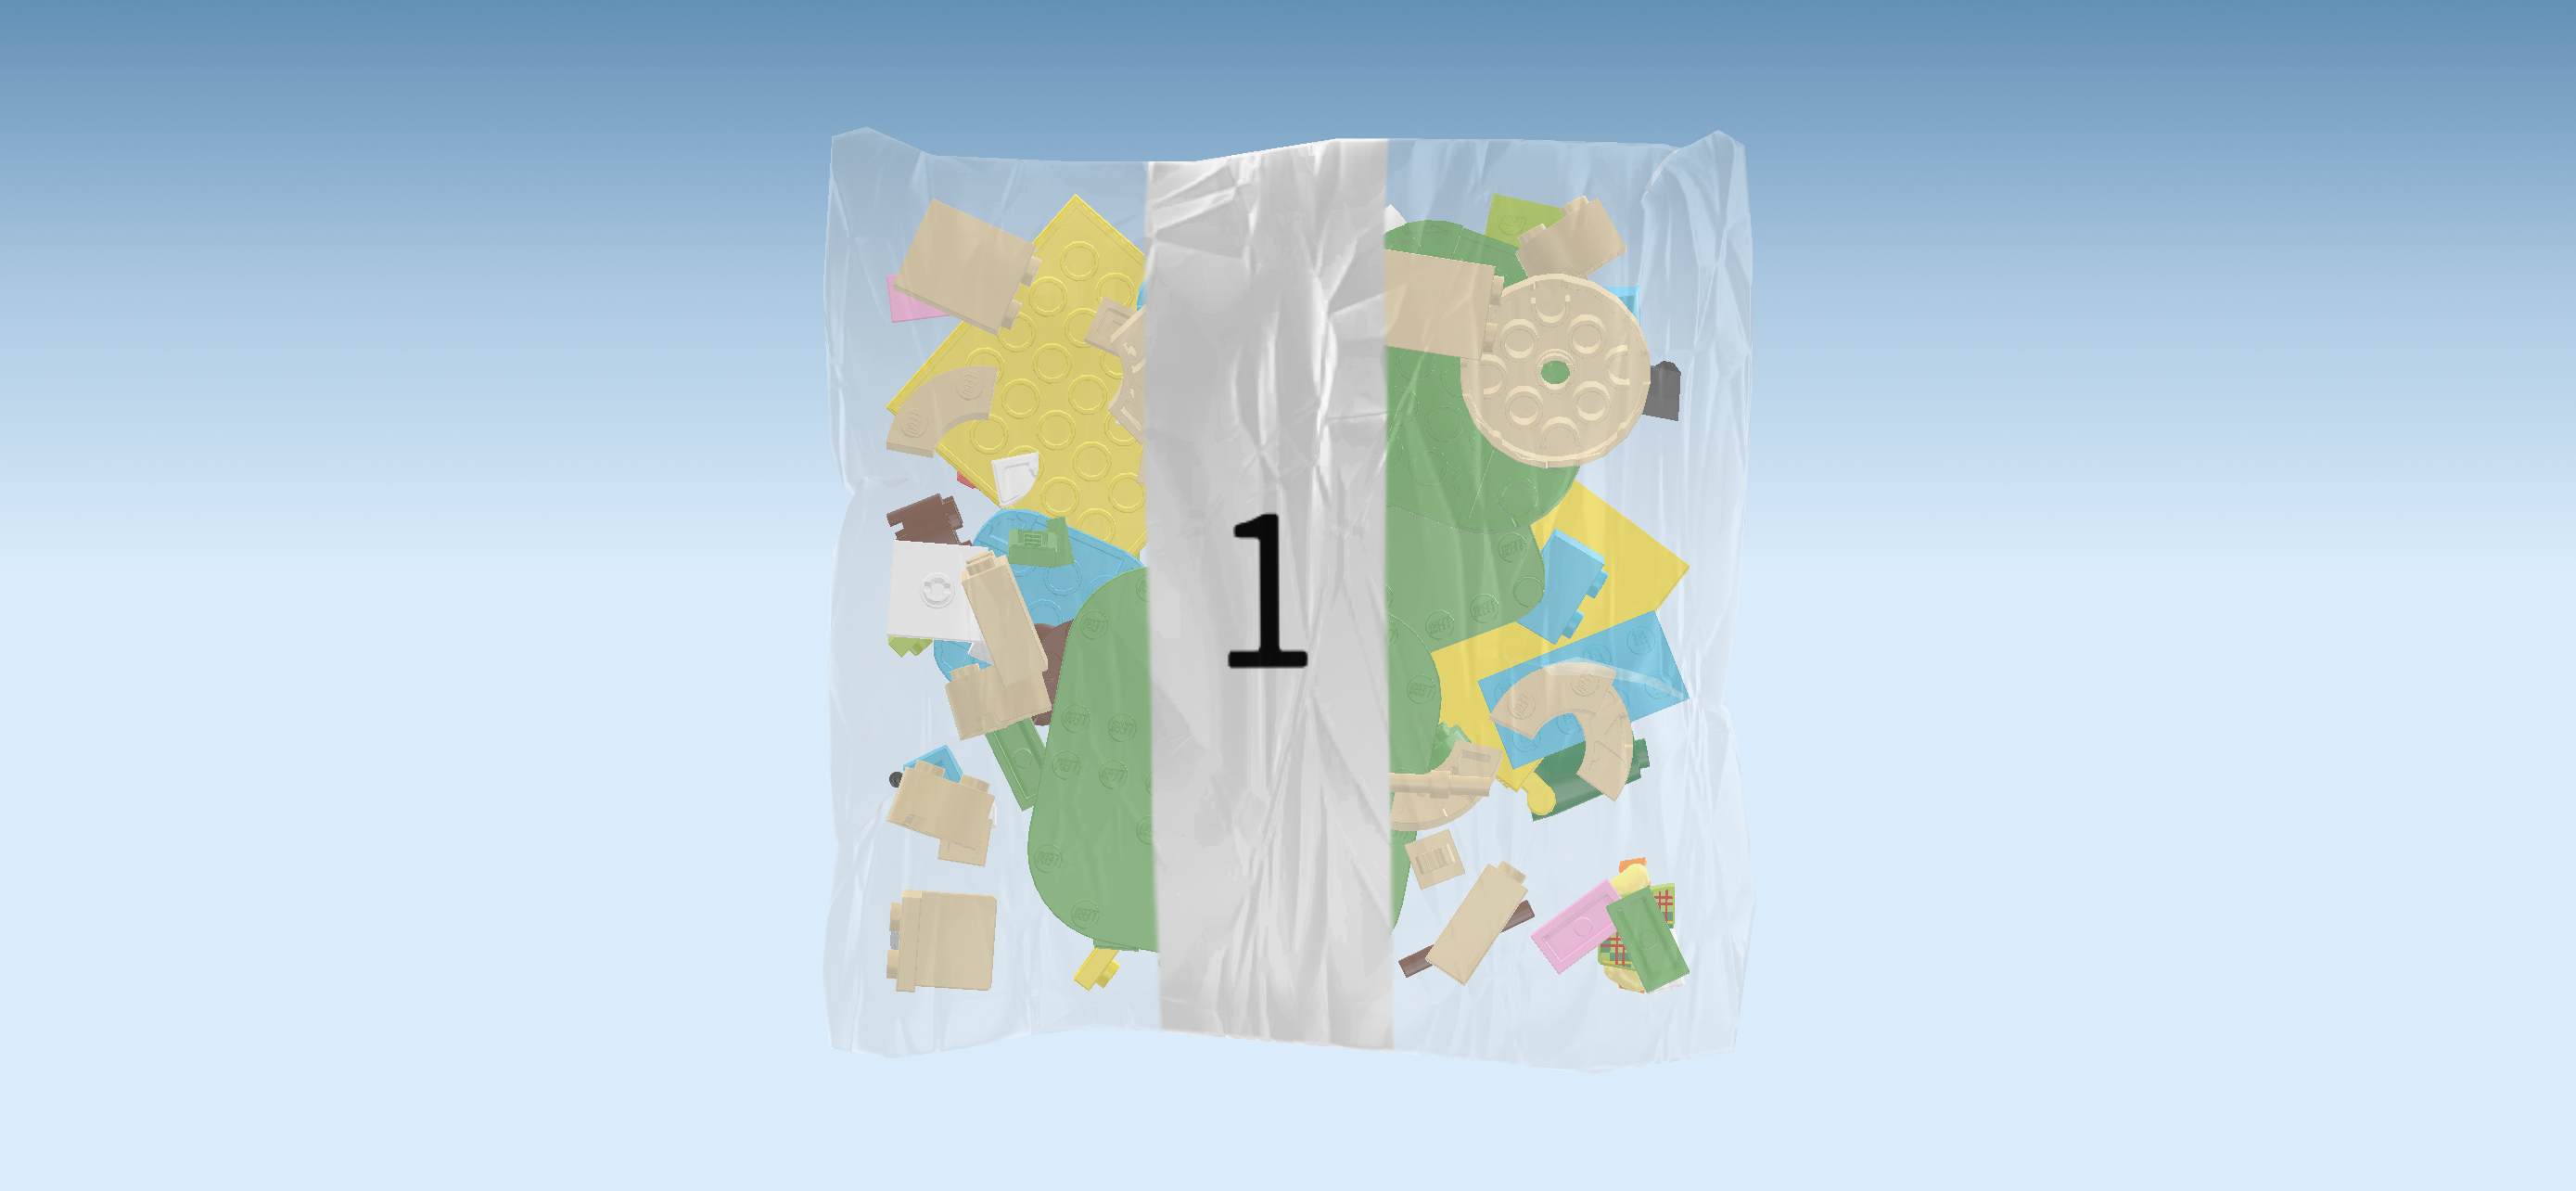
| Carefully open bag number 1 and any small sub-bags in it. This bag contains all bricks and pieces for the Bunnie Minifigure, the campfire module, the tent module, the pine tree module with utility box, and the waterfall module. |
| First, we will build the Bunnie Minifigure. |
| Collect the following 2 pieces: |
| 1 bright red pair of legs, |
| and 1 bright yellowish green, lemon yellow and bright orange upper part of the body. |
| Put the upper body on the legs. Make sure that the hands and toes are pointing in the same direction. |
| Find 1 bright red bunny head. |
| Put it on the body. |
| Next, we will build the marshmallow on a stick. |
| Collect the following 2 pieces: |
| 1 reddish brown shaft 3m, |
| and 1 white round brick 1x1. |
| Insert the shaft into the narrow opening of the round brick. Make sure the shaft only sticks out on one end of the brick. |
| Snap the marshmallow on a stick into Bunnie's left hand. |
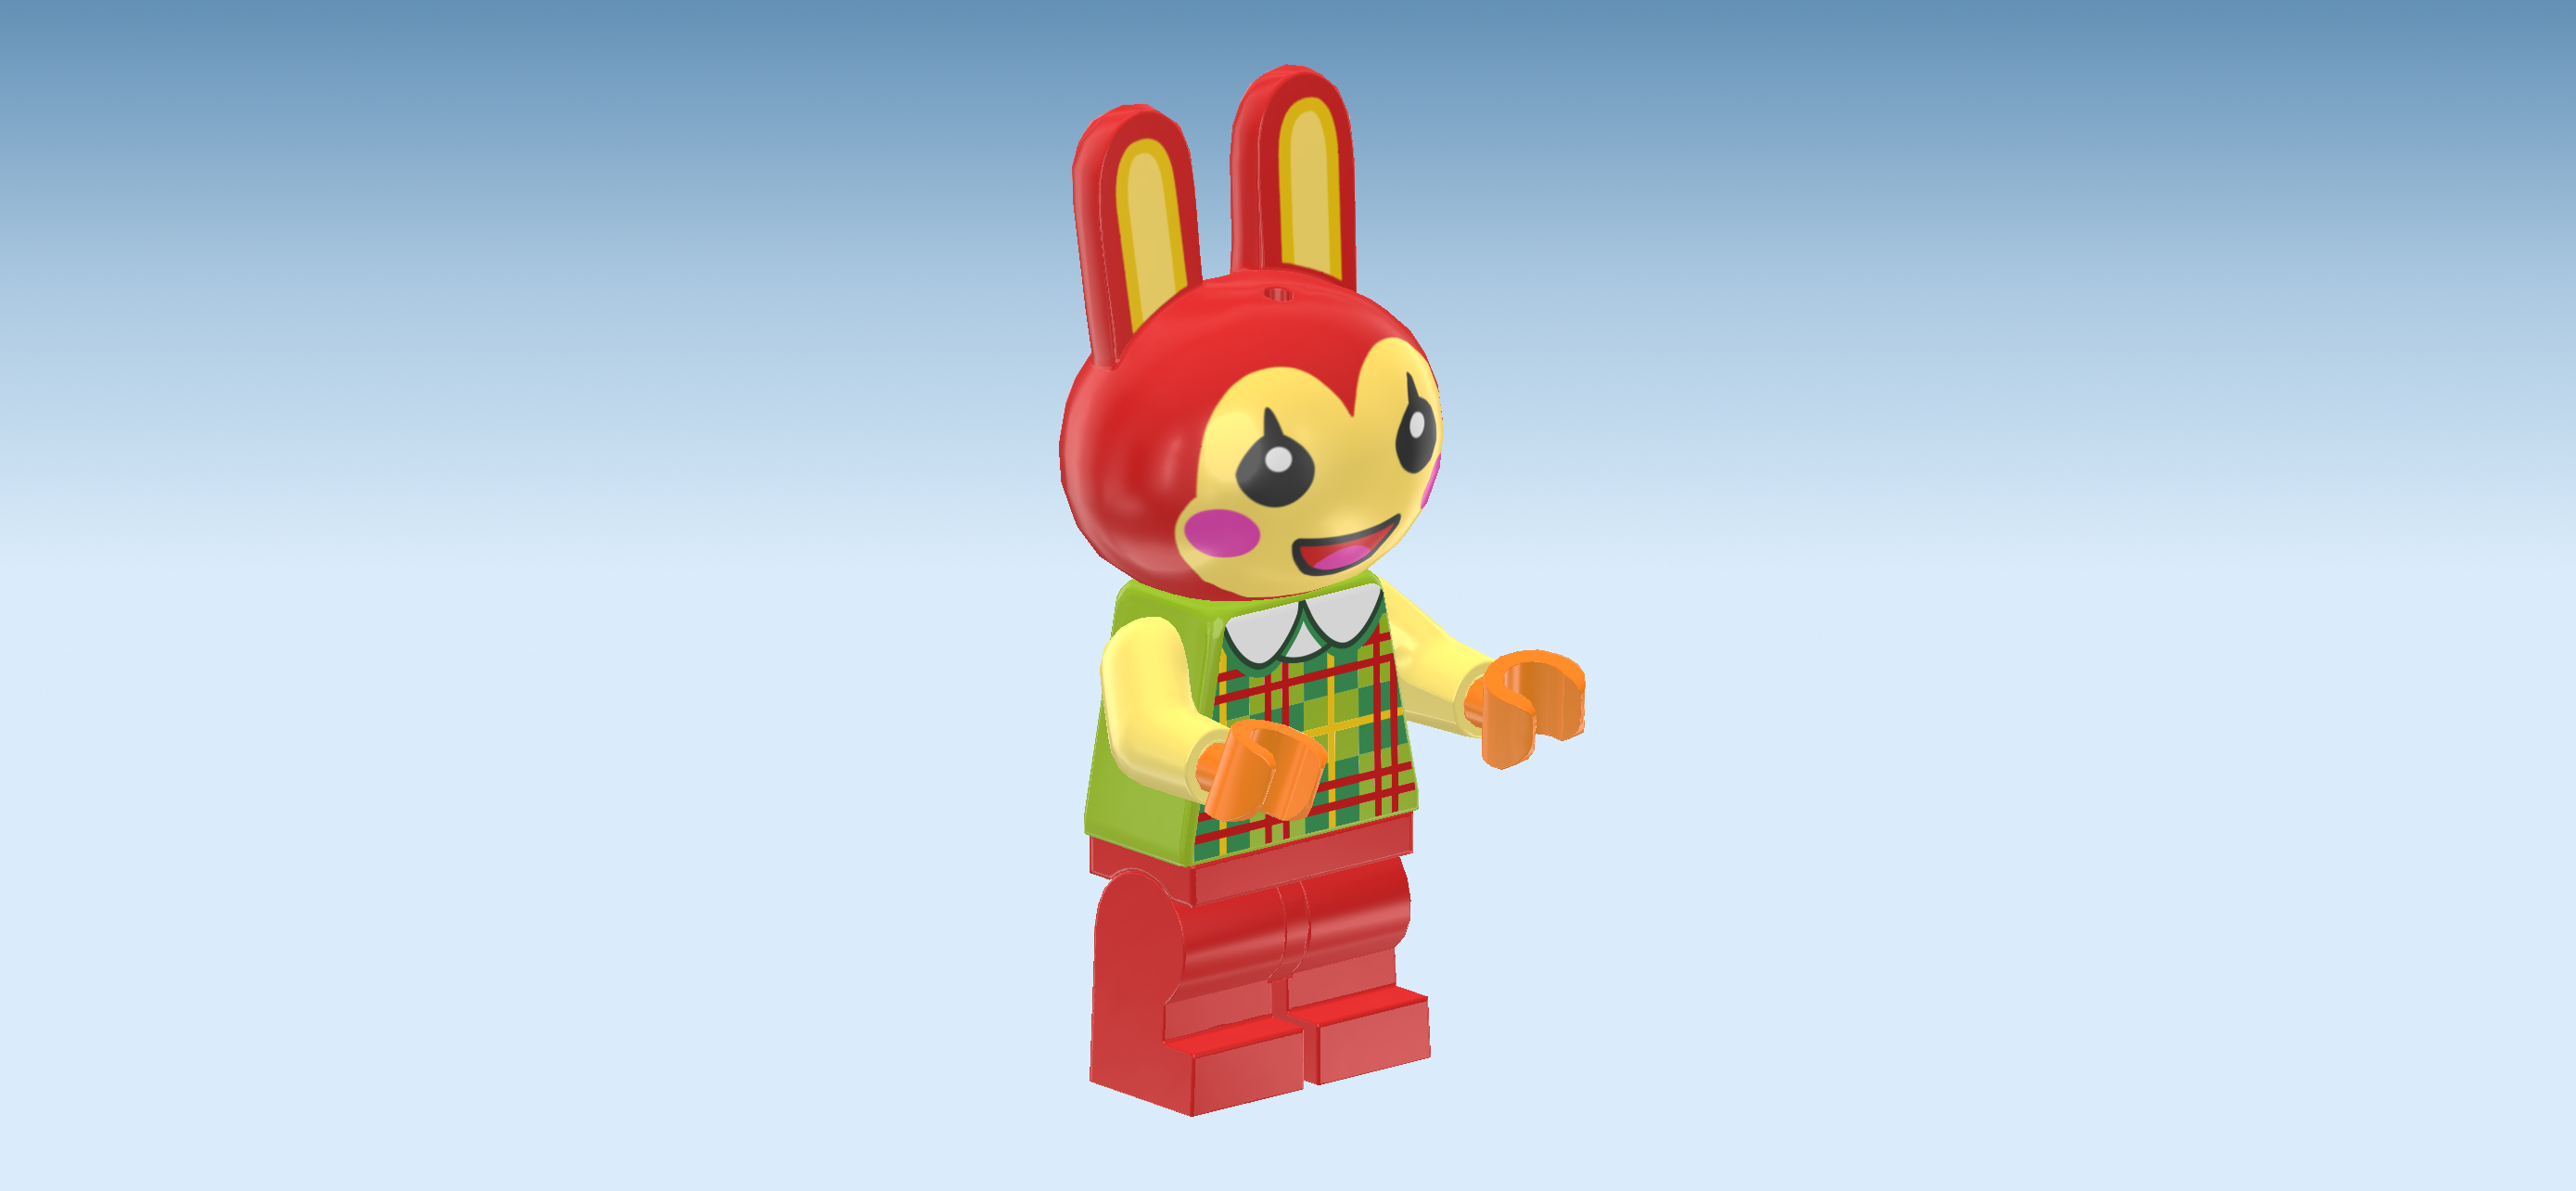
| The Bunnie Minifigure is finished! Great job! Bunnie is wearing a bright red pair of trousers and a green shirt with an intricate tartan pattern made up of thin yellow and red stripes as well as dark green and light green blocks, yellow sleeves and a wide white collar. The base color of her head fur is a bright ginger and her face as well as the insides of her bunny ears are yellow. She has pink round cheeks and big black eyes. She has a happy smile on her face. Bunnie is a peppy villager, and her hobby is fashion. You can tell by the nice outfit she is wearing! |
| Next, we will build the campfire module. |
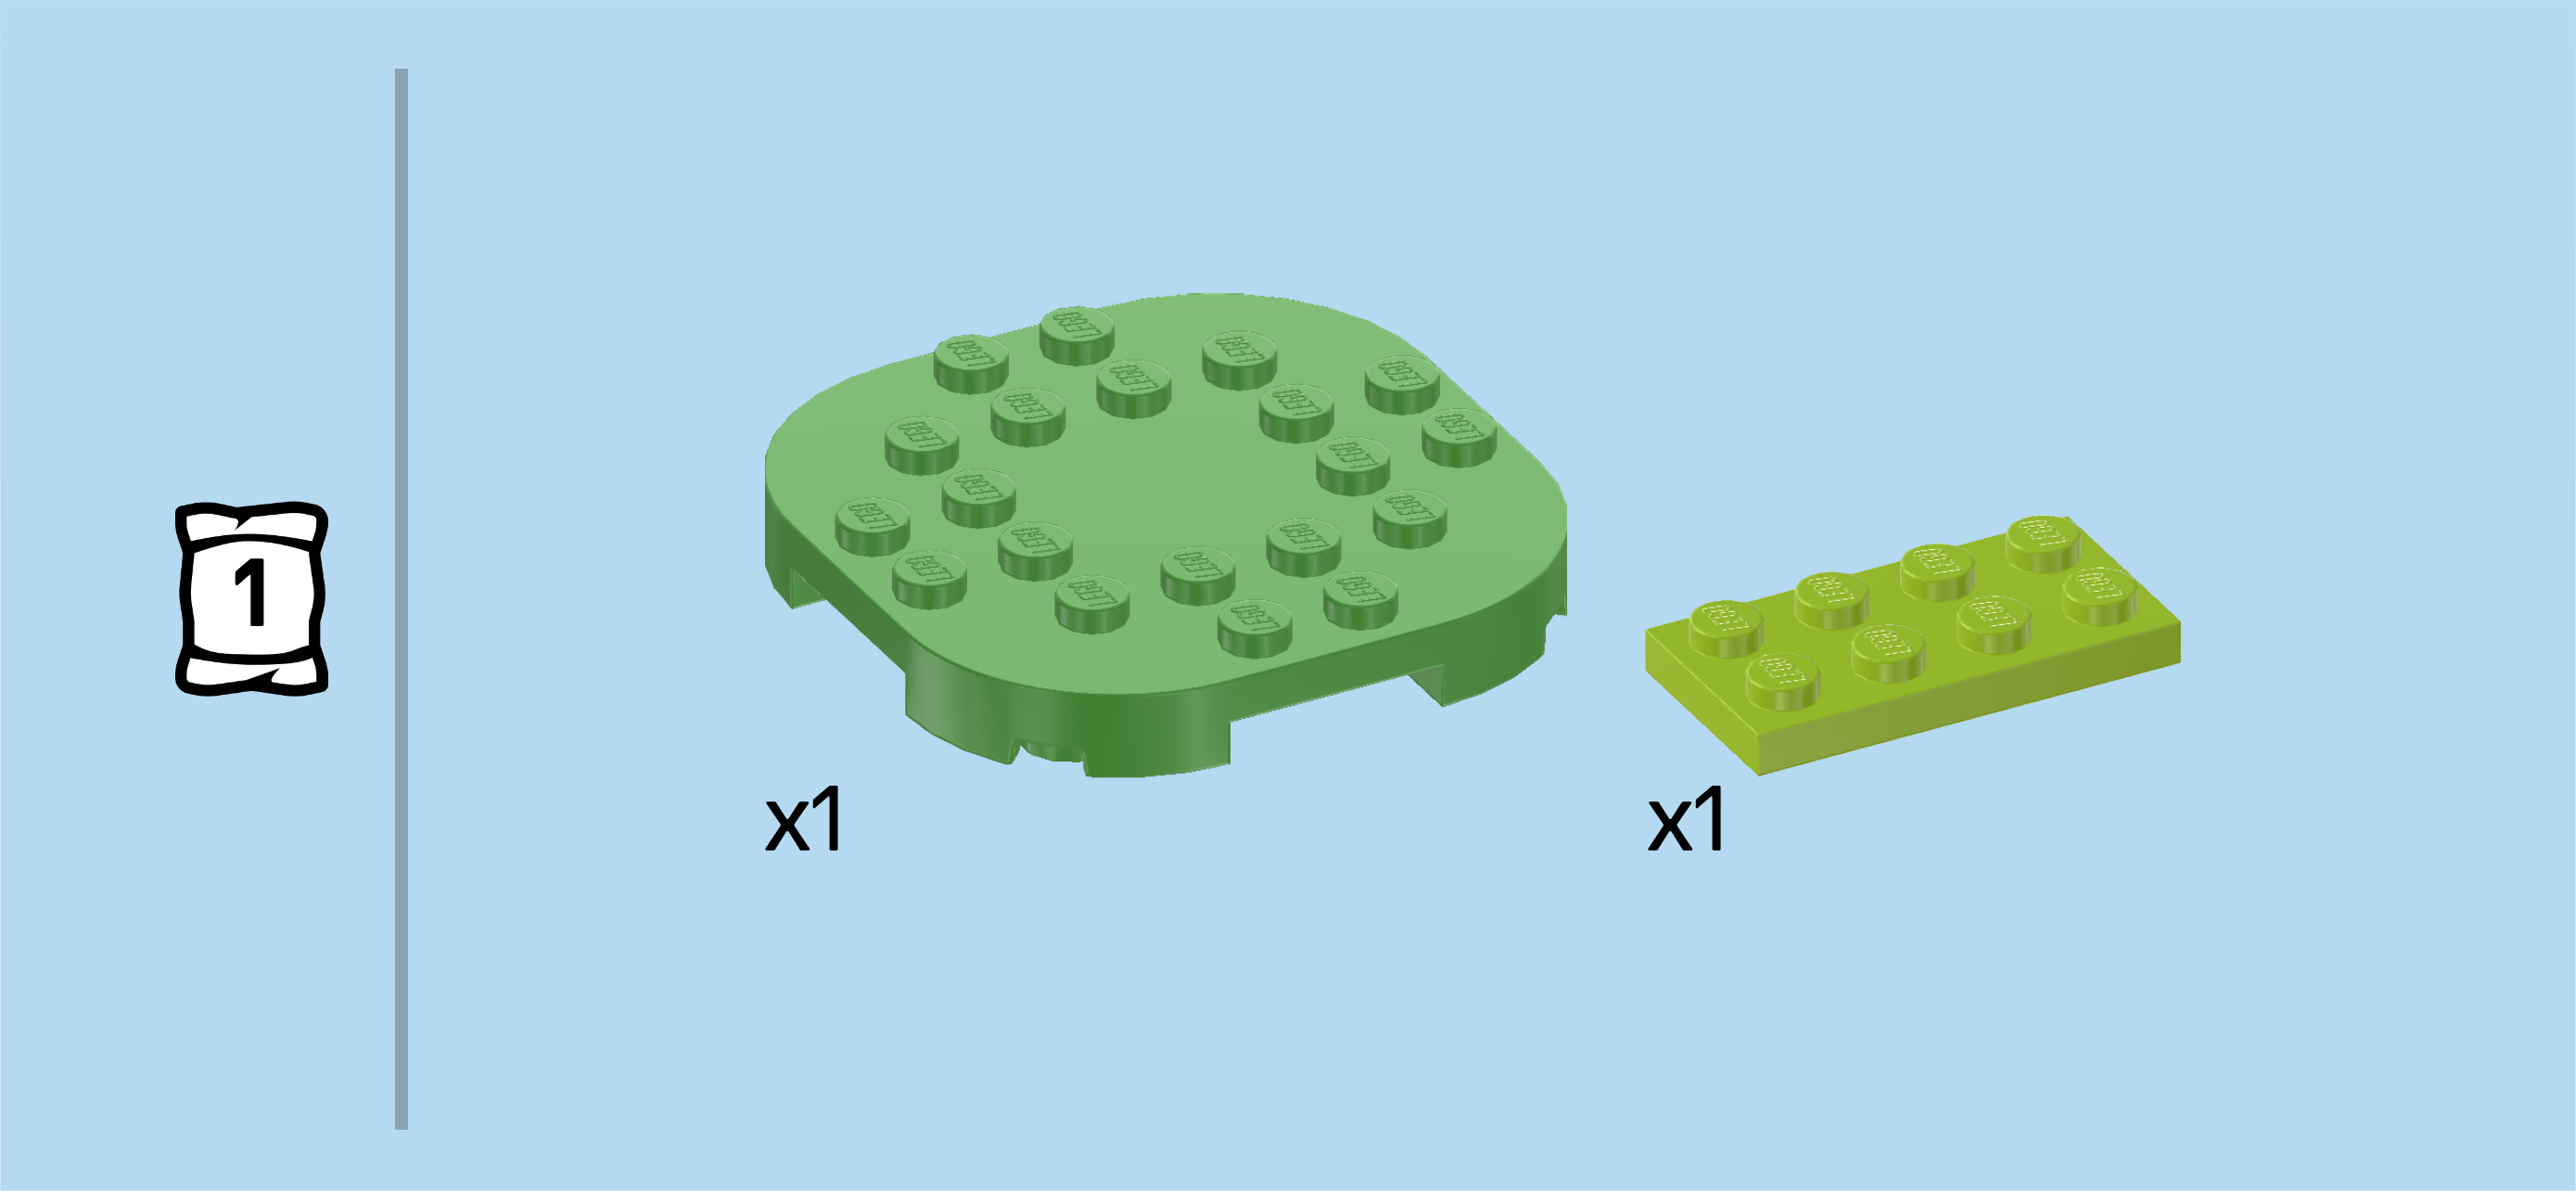
| Collect the following 2 pieces: |
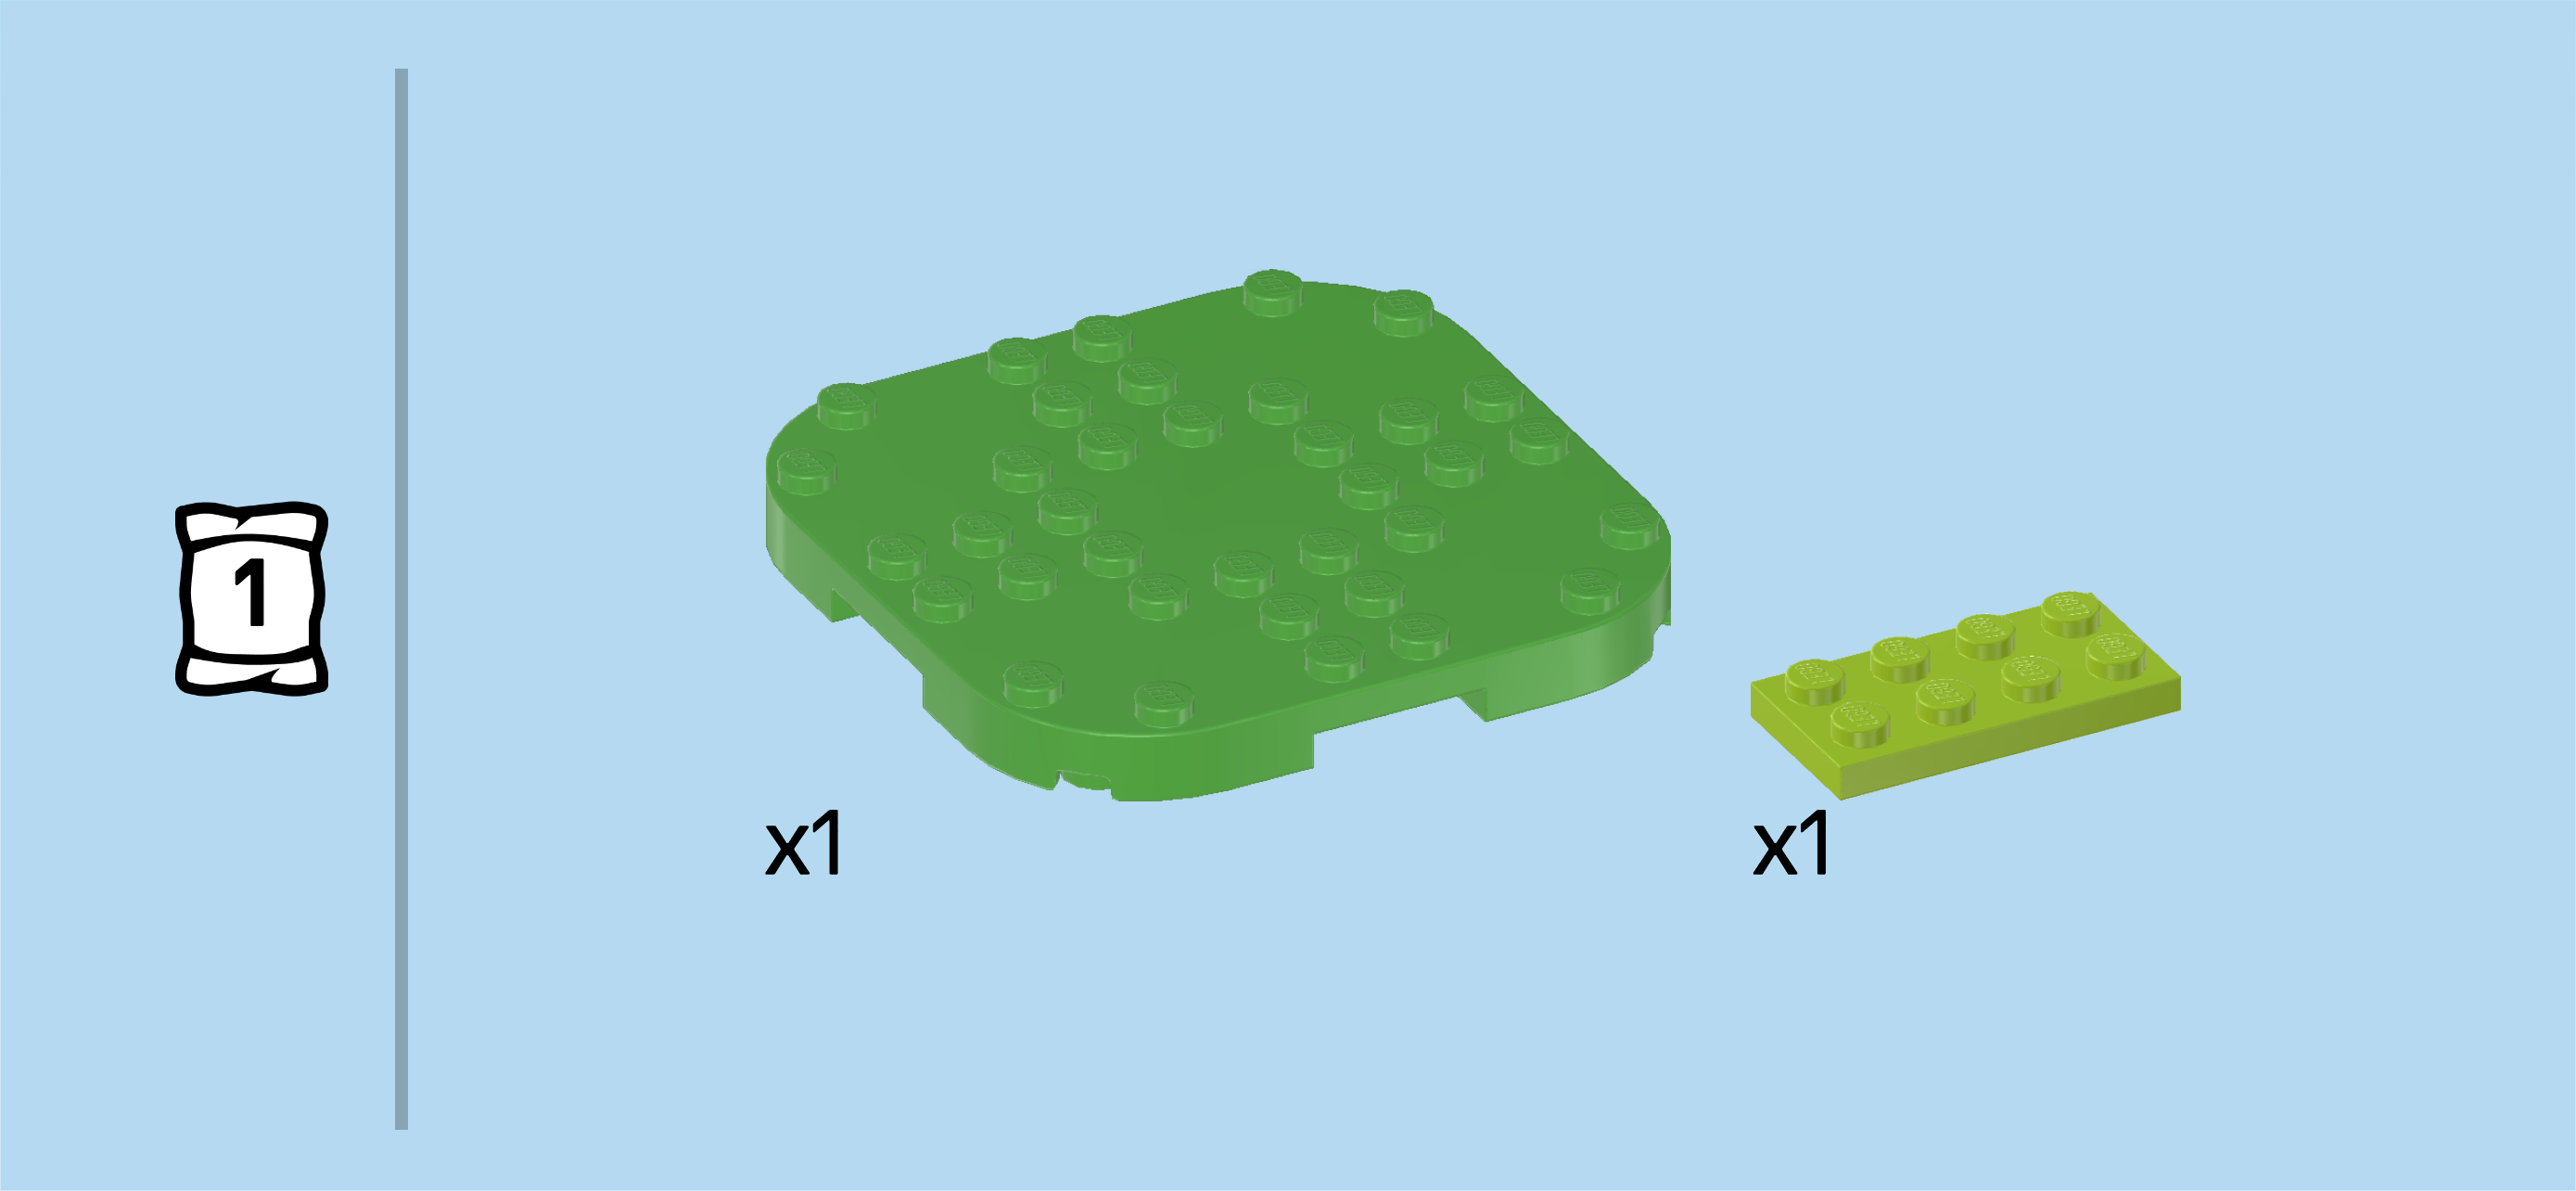
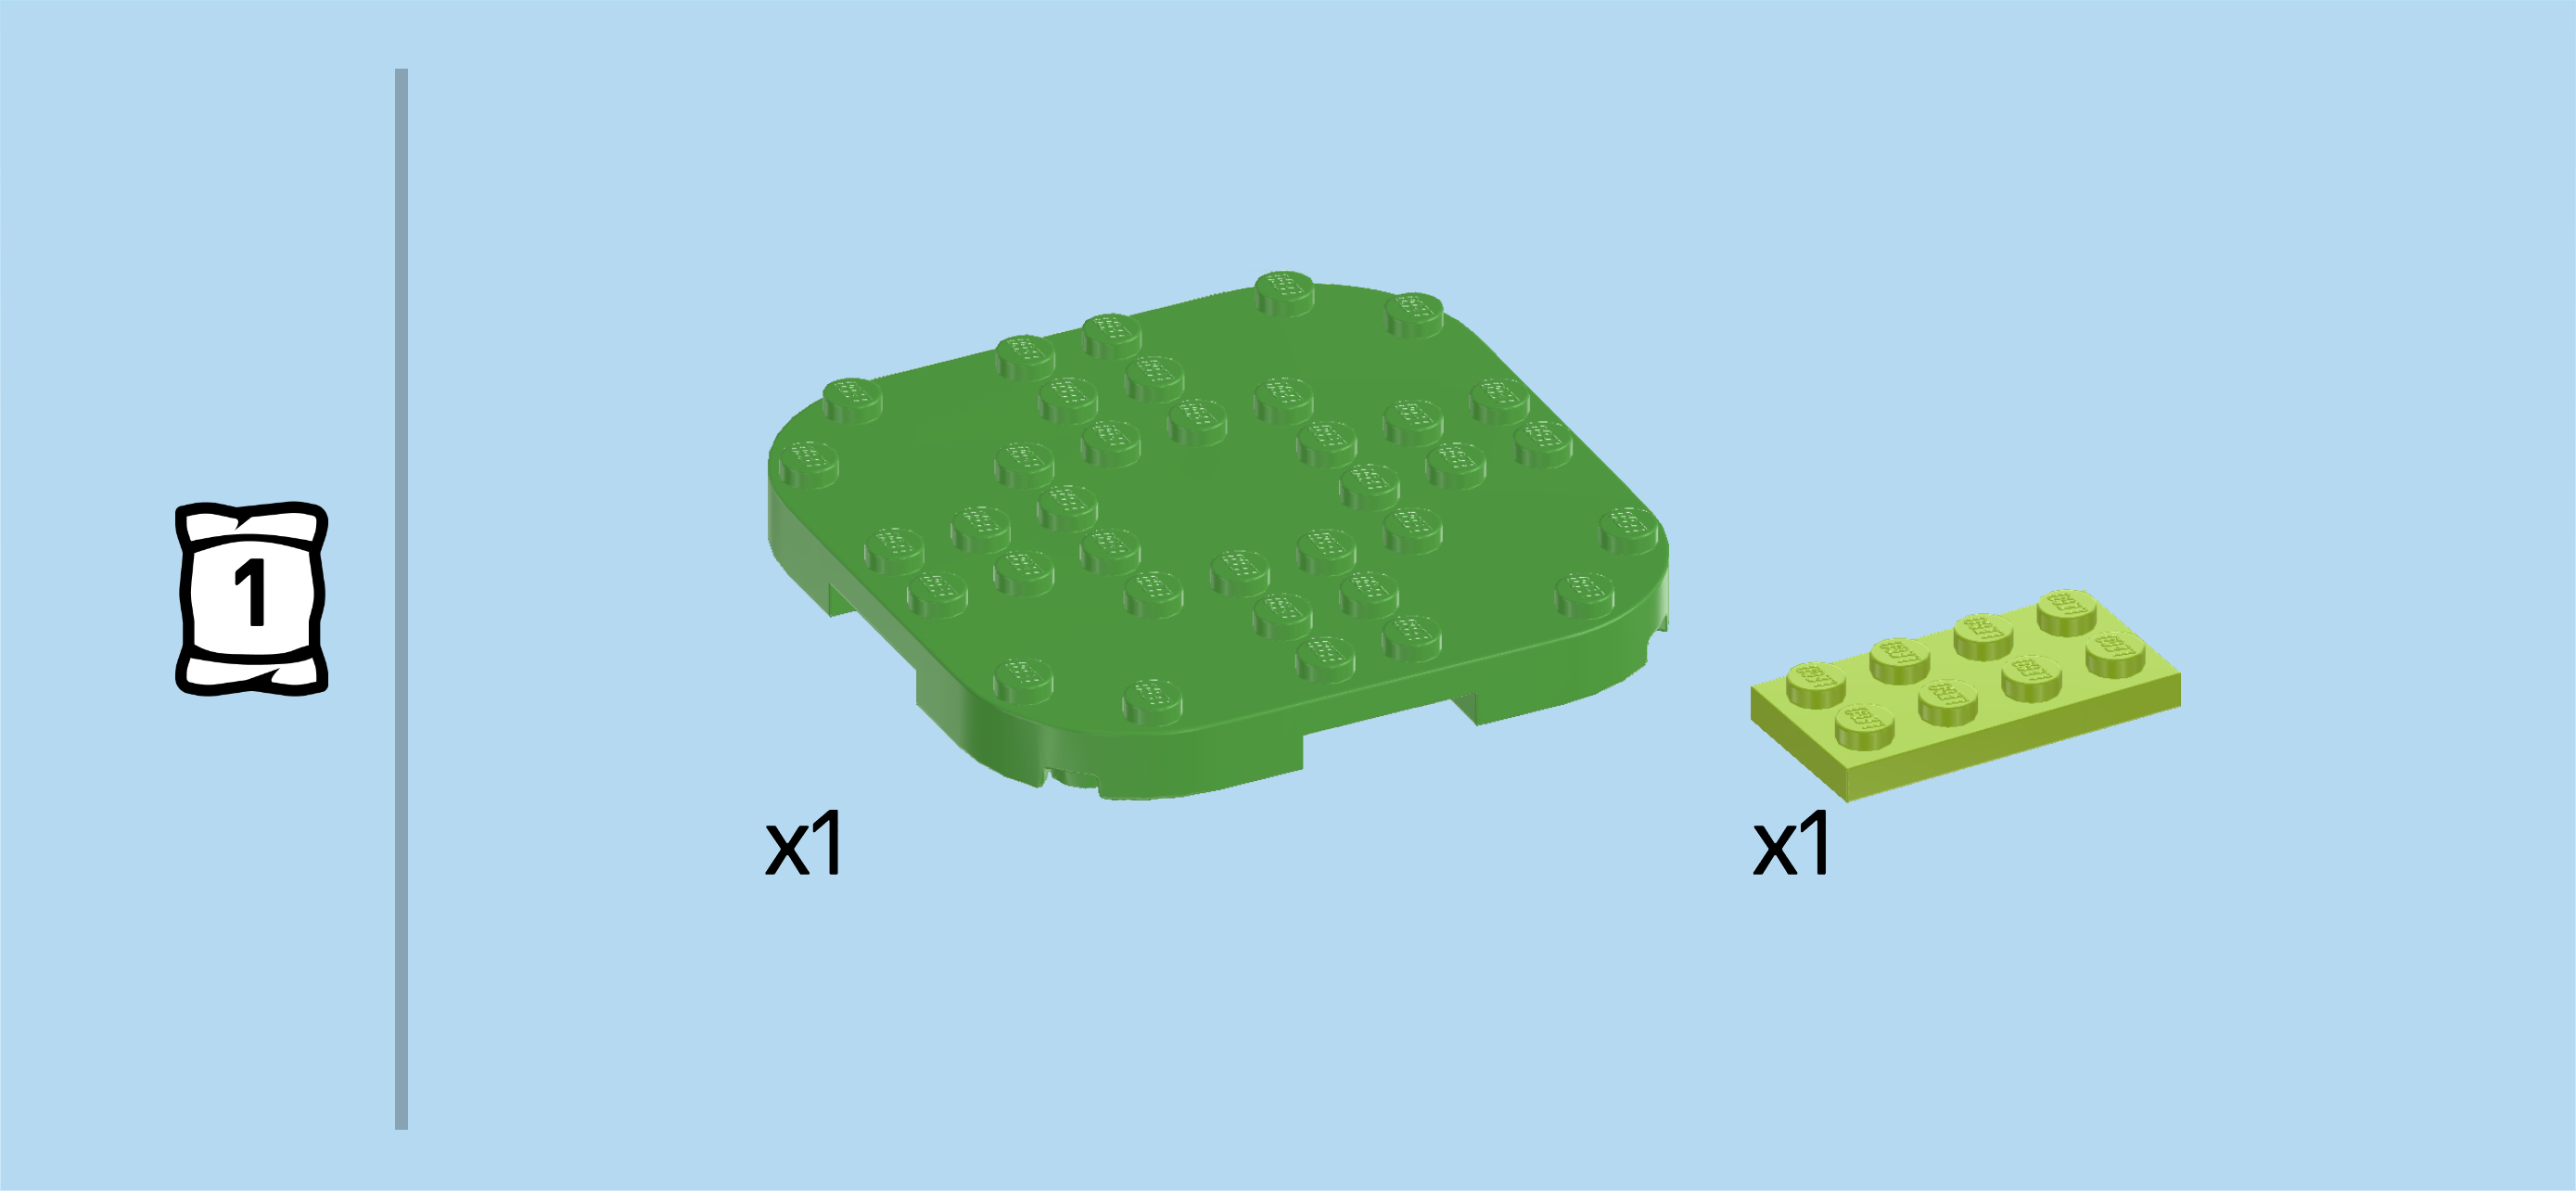
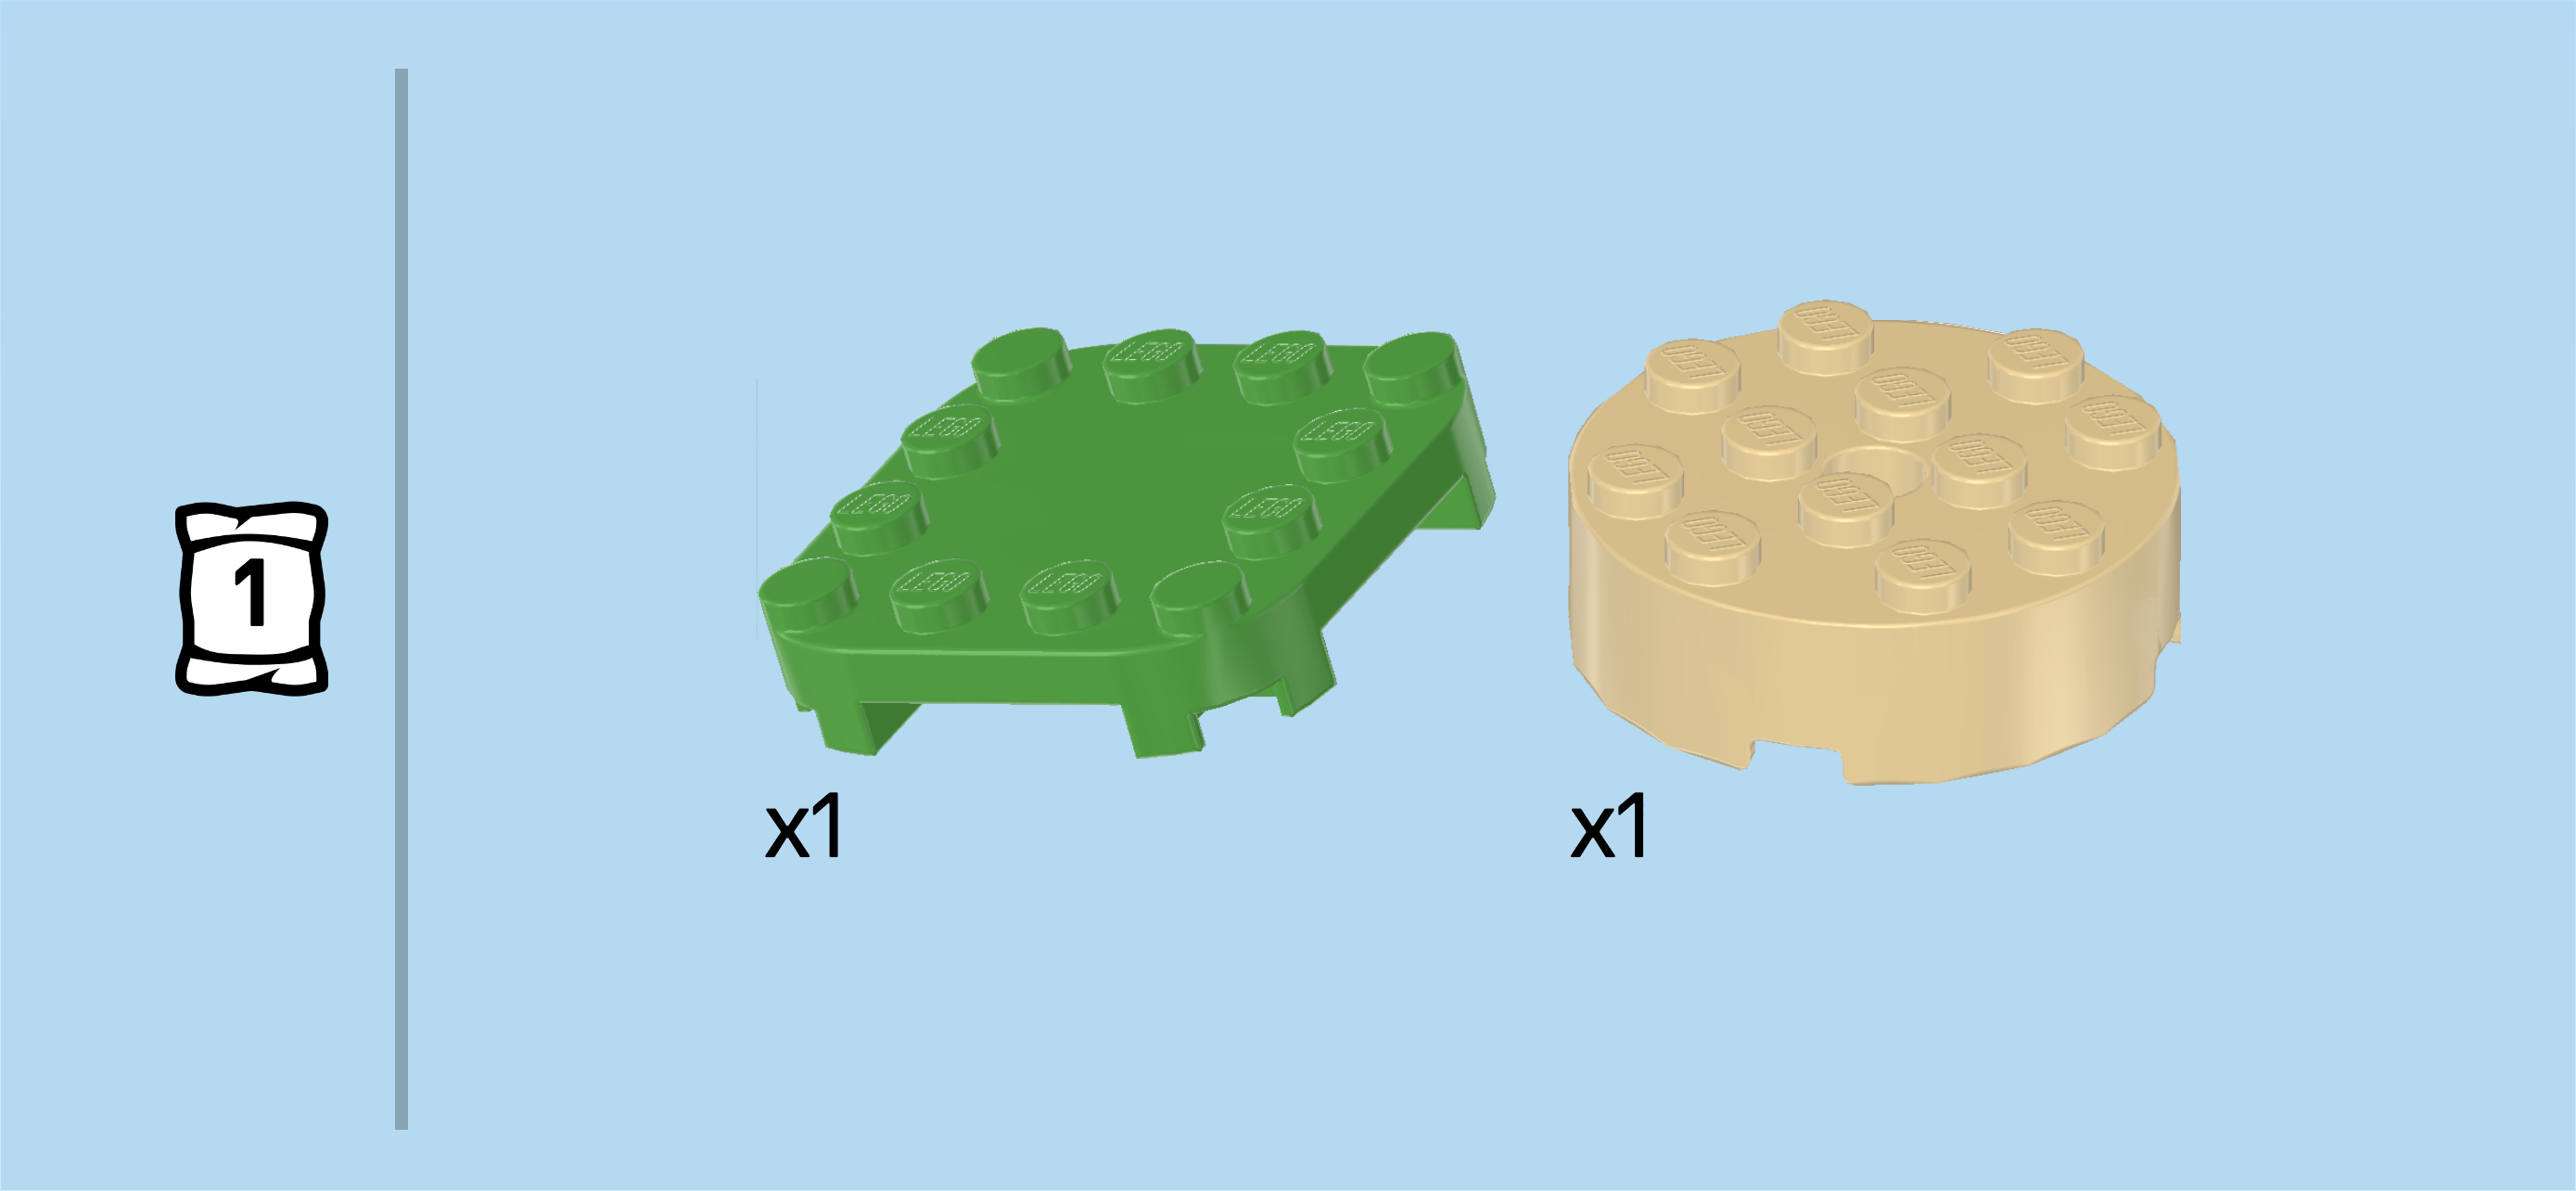
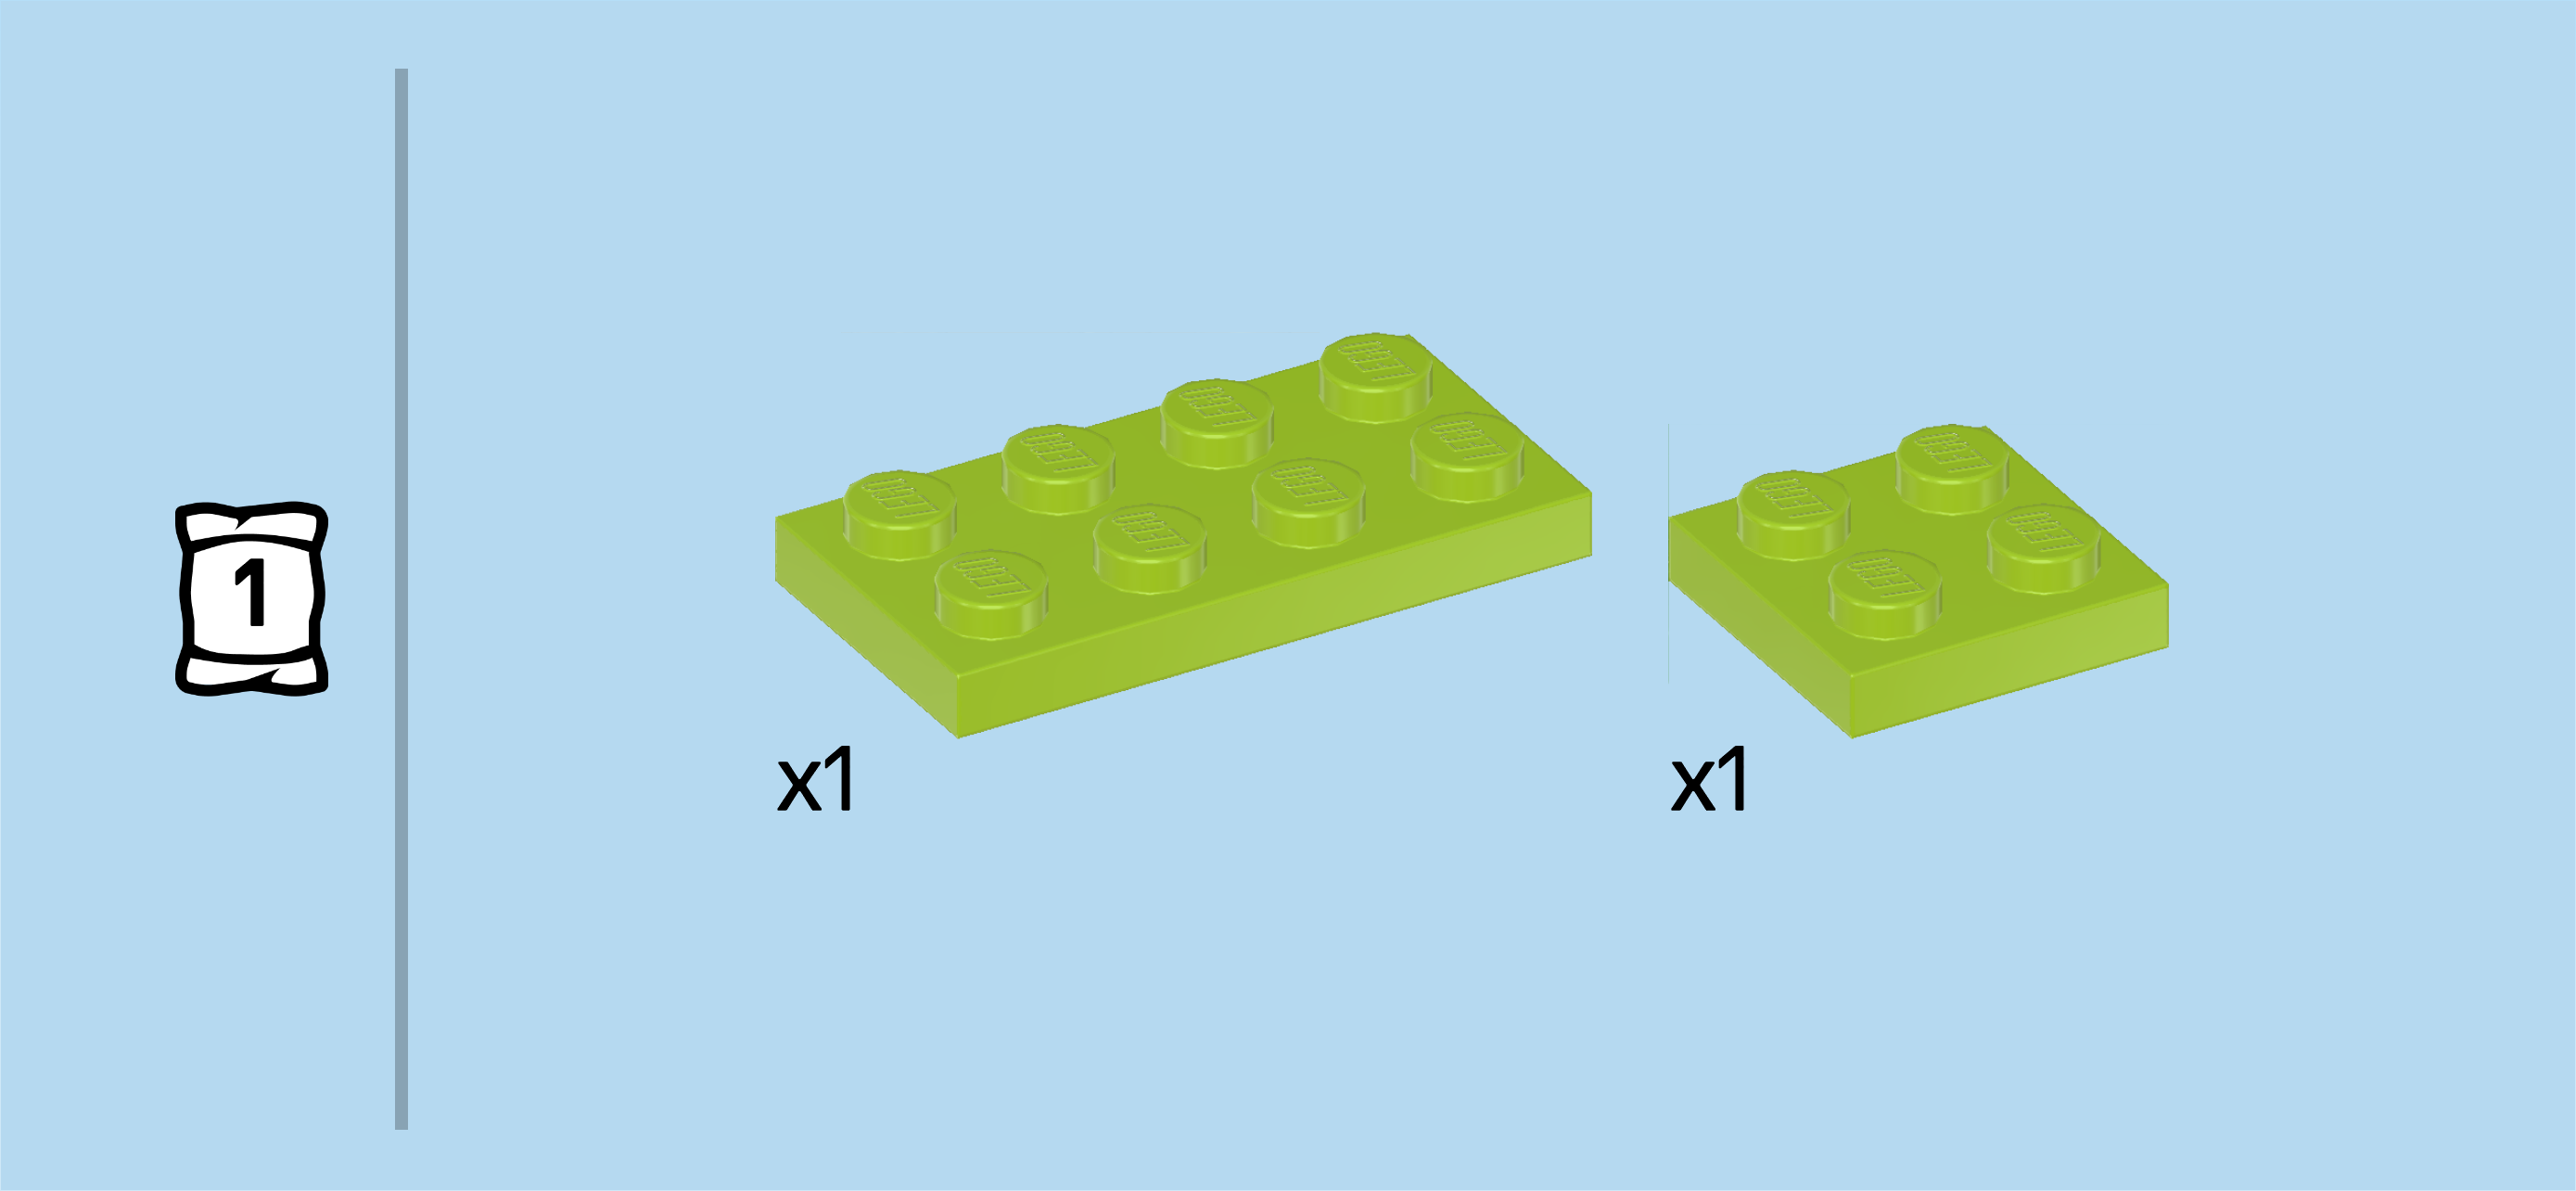
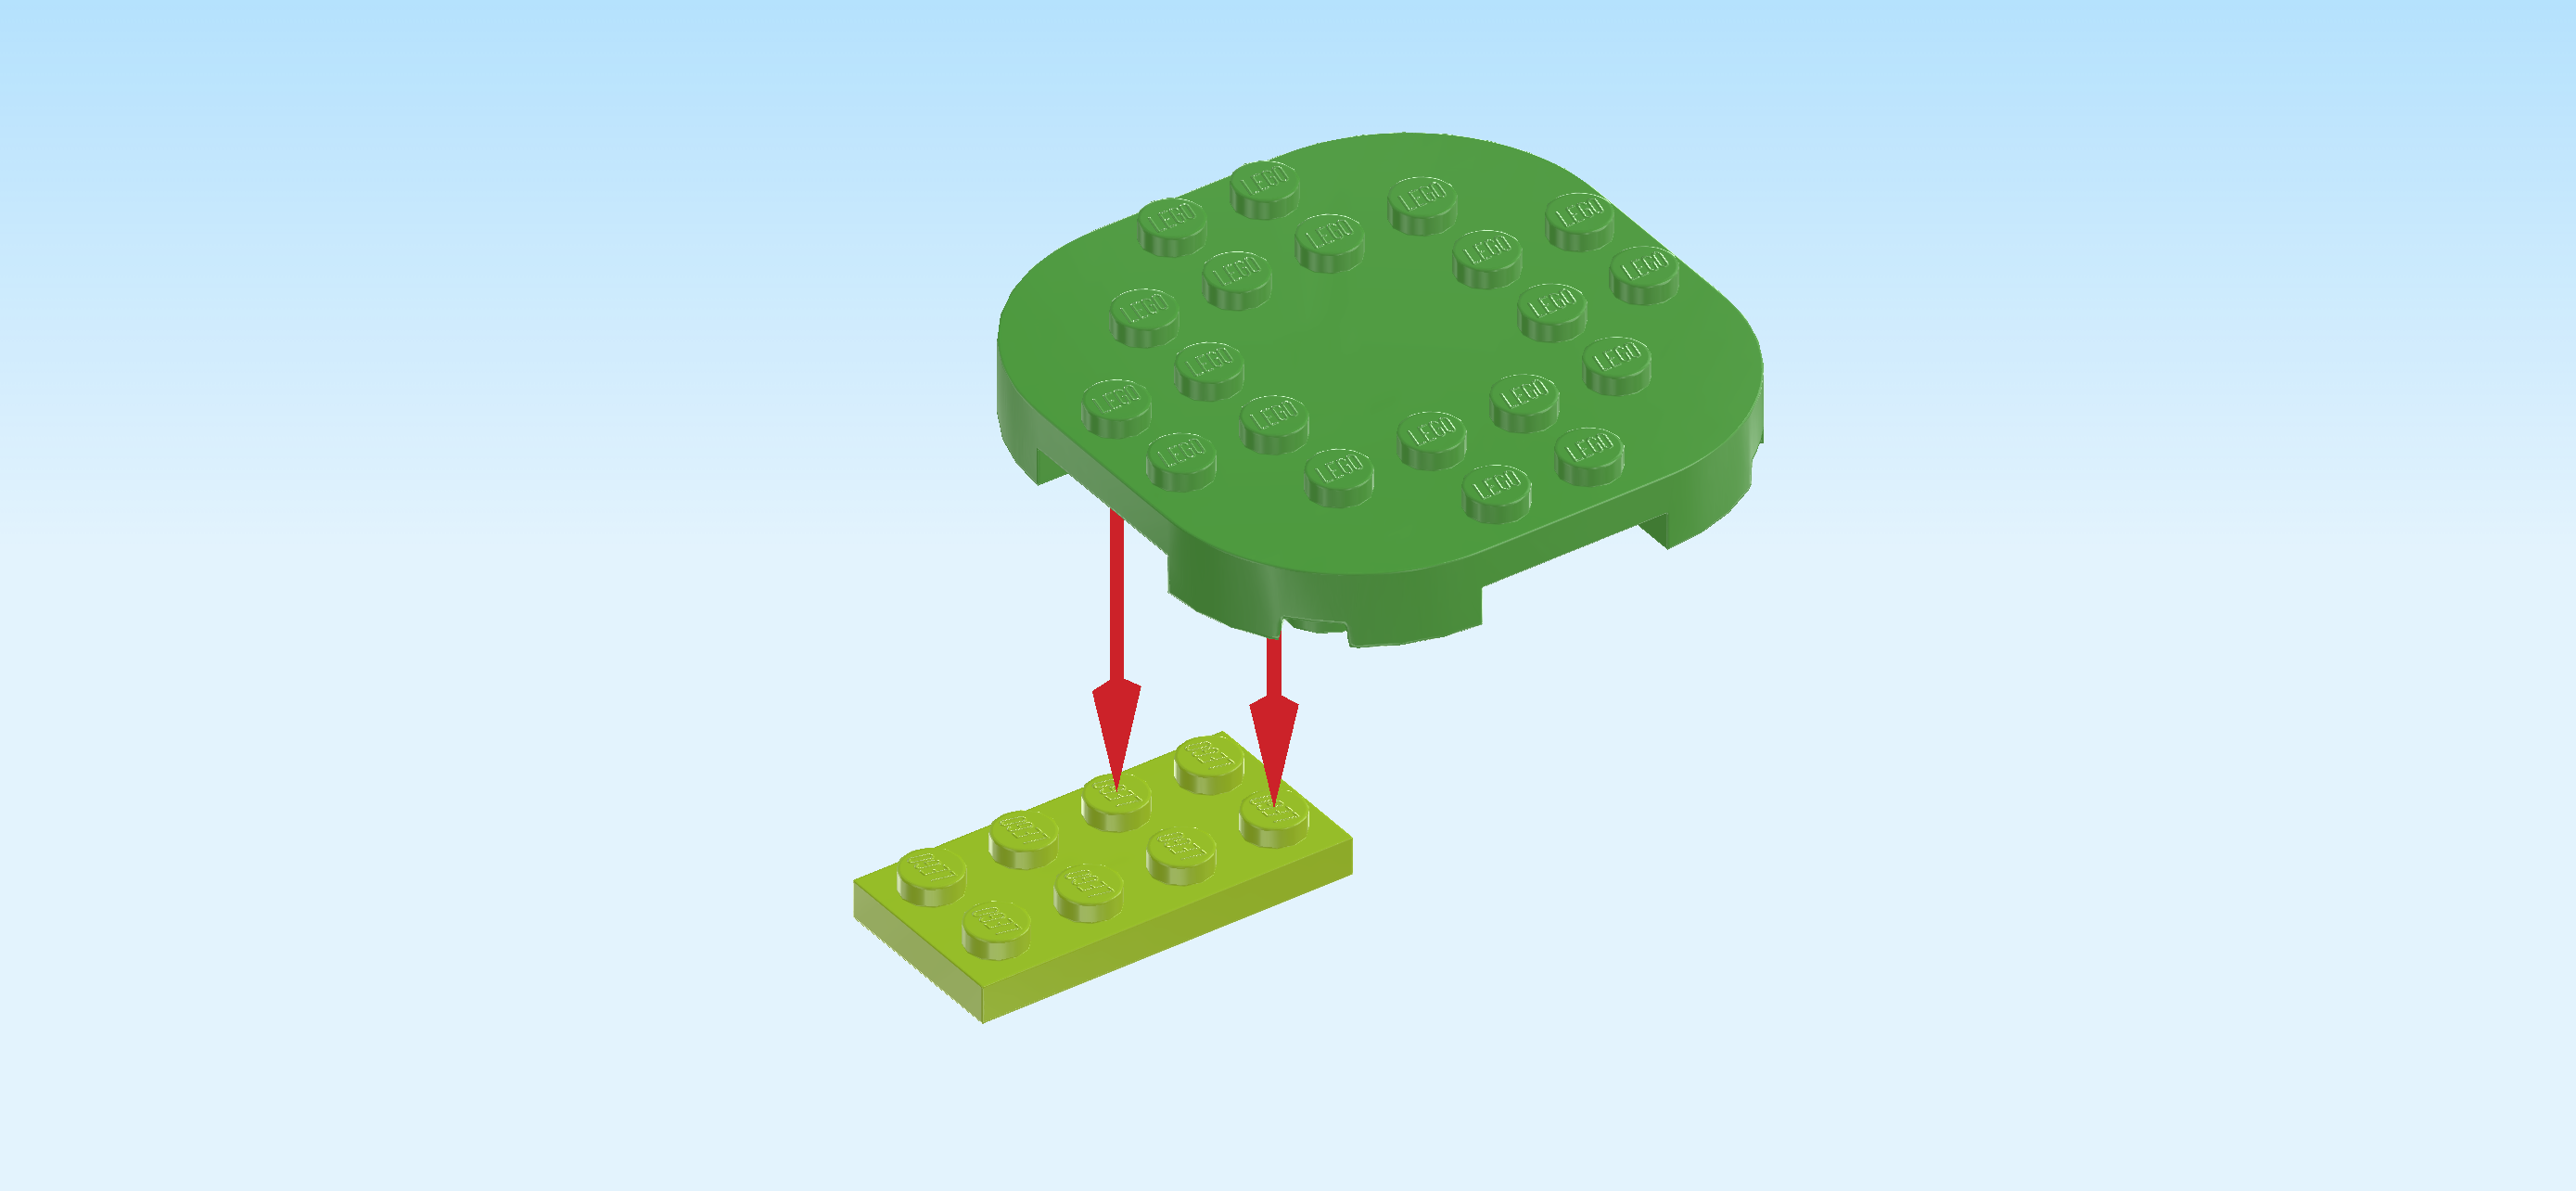
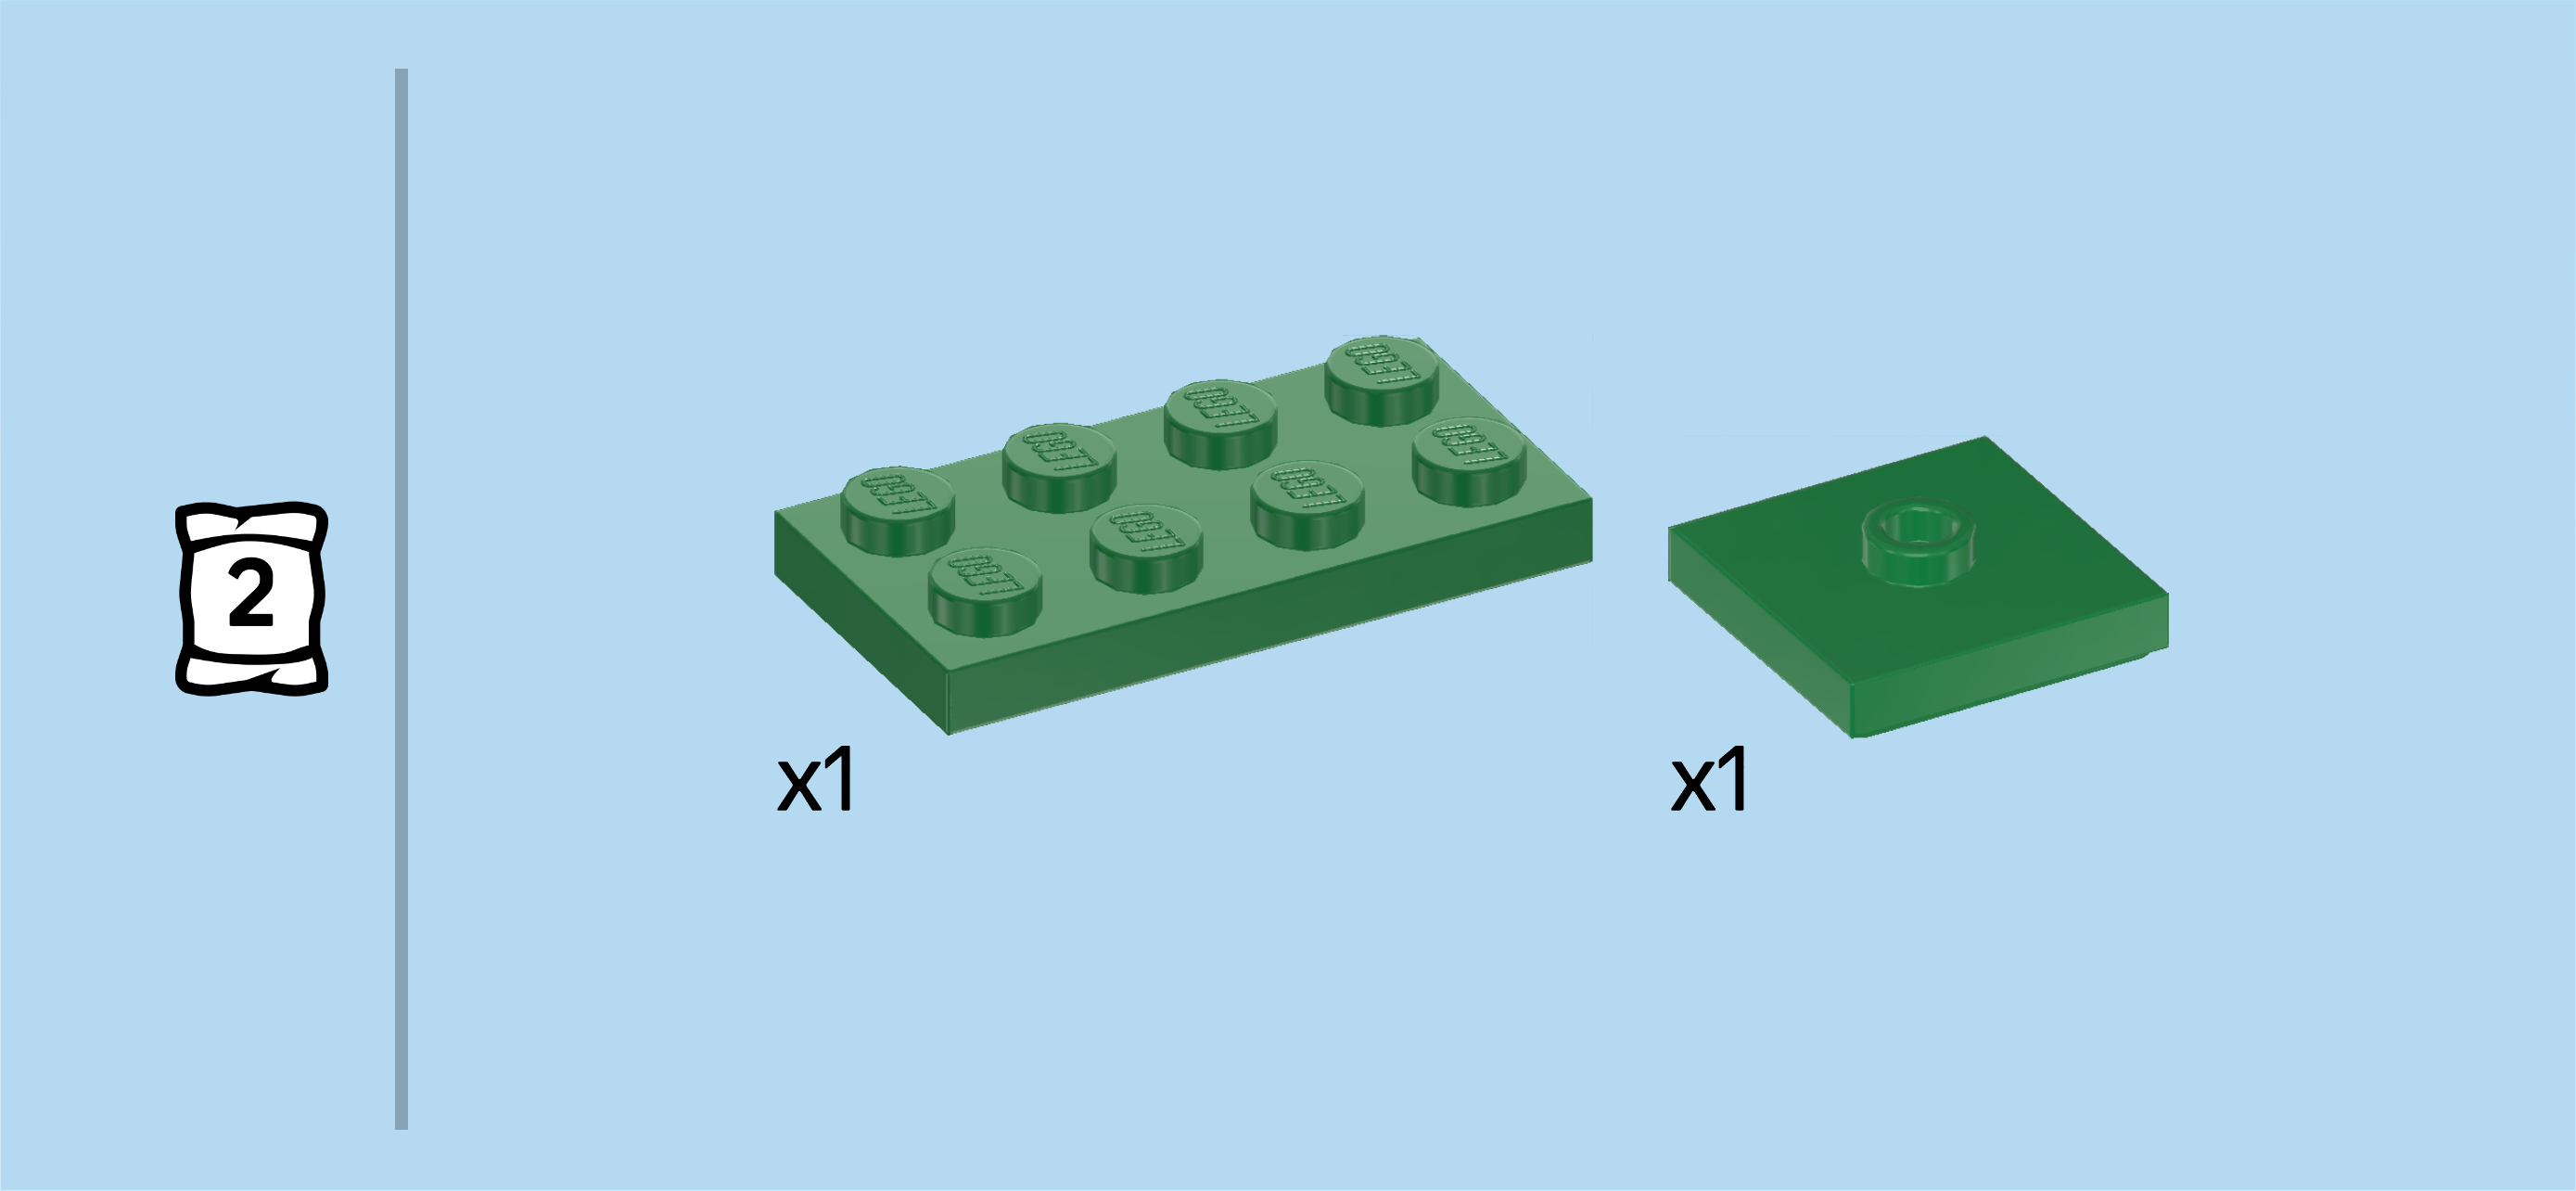
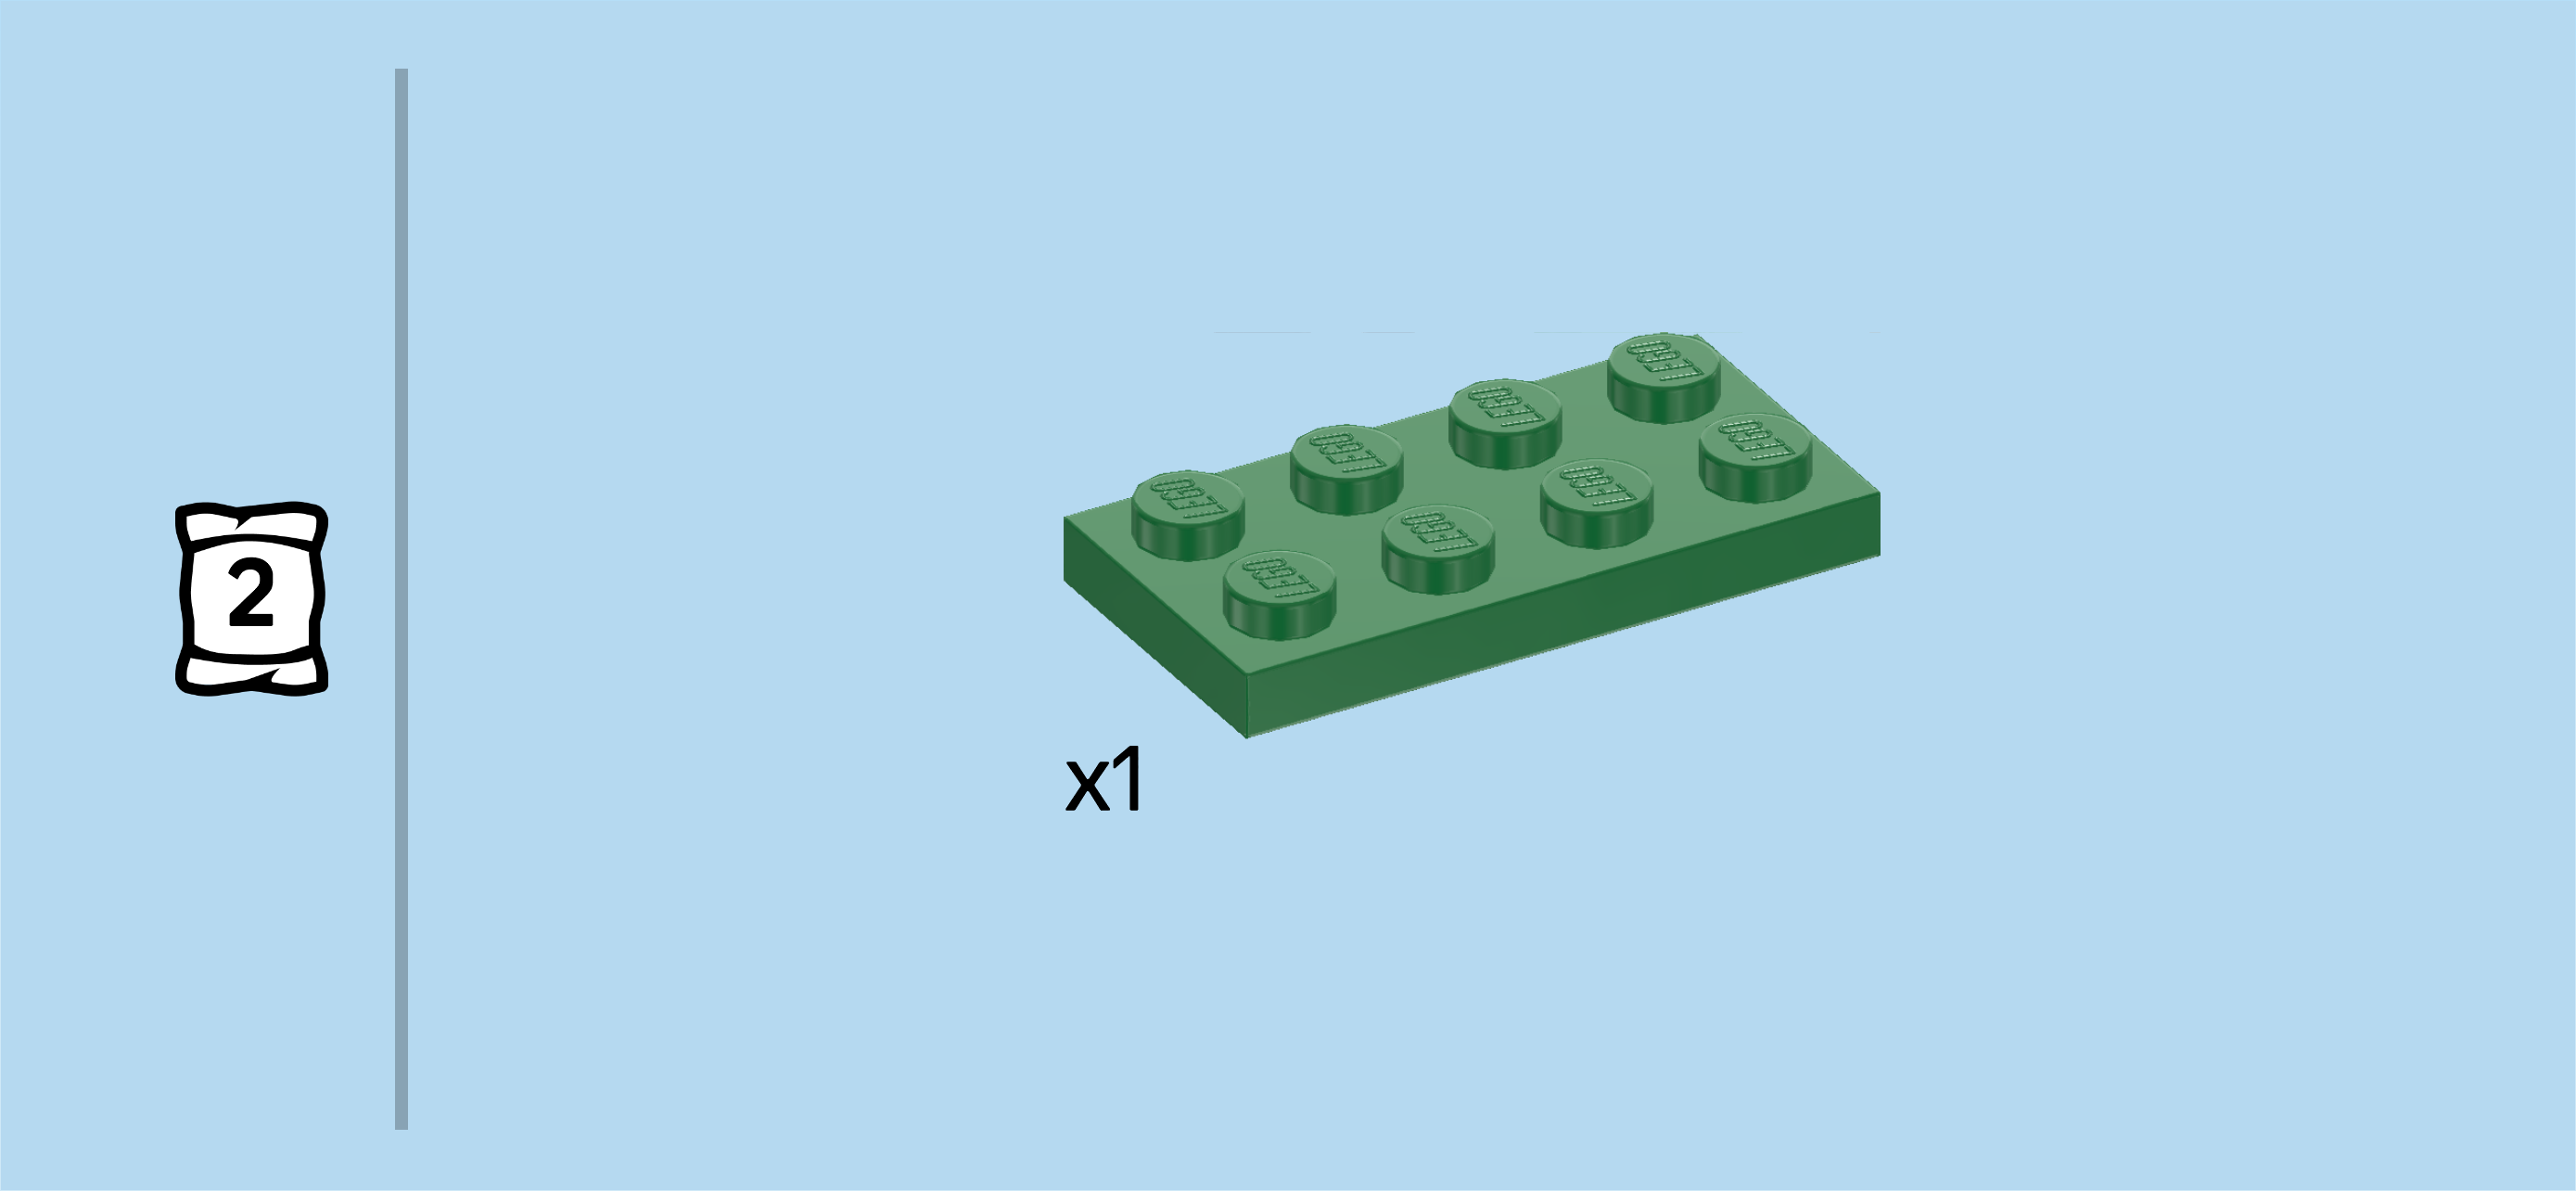
| 1 bright yellowish green plate 2x4, |
| and 1 bright green plate 6x6x⅔ with rounded corners and 4 feet. |
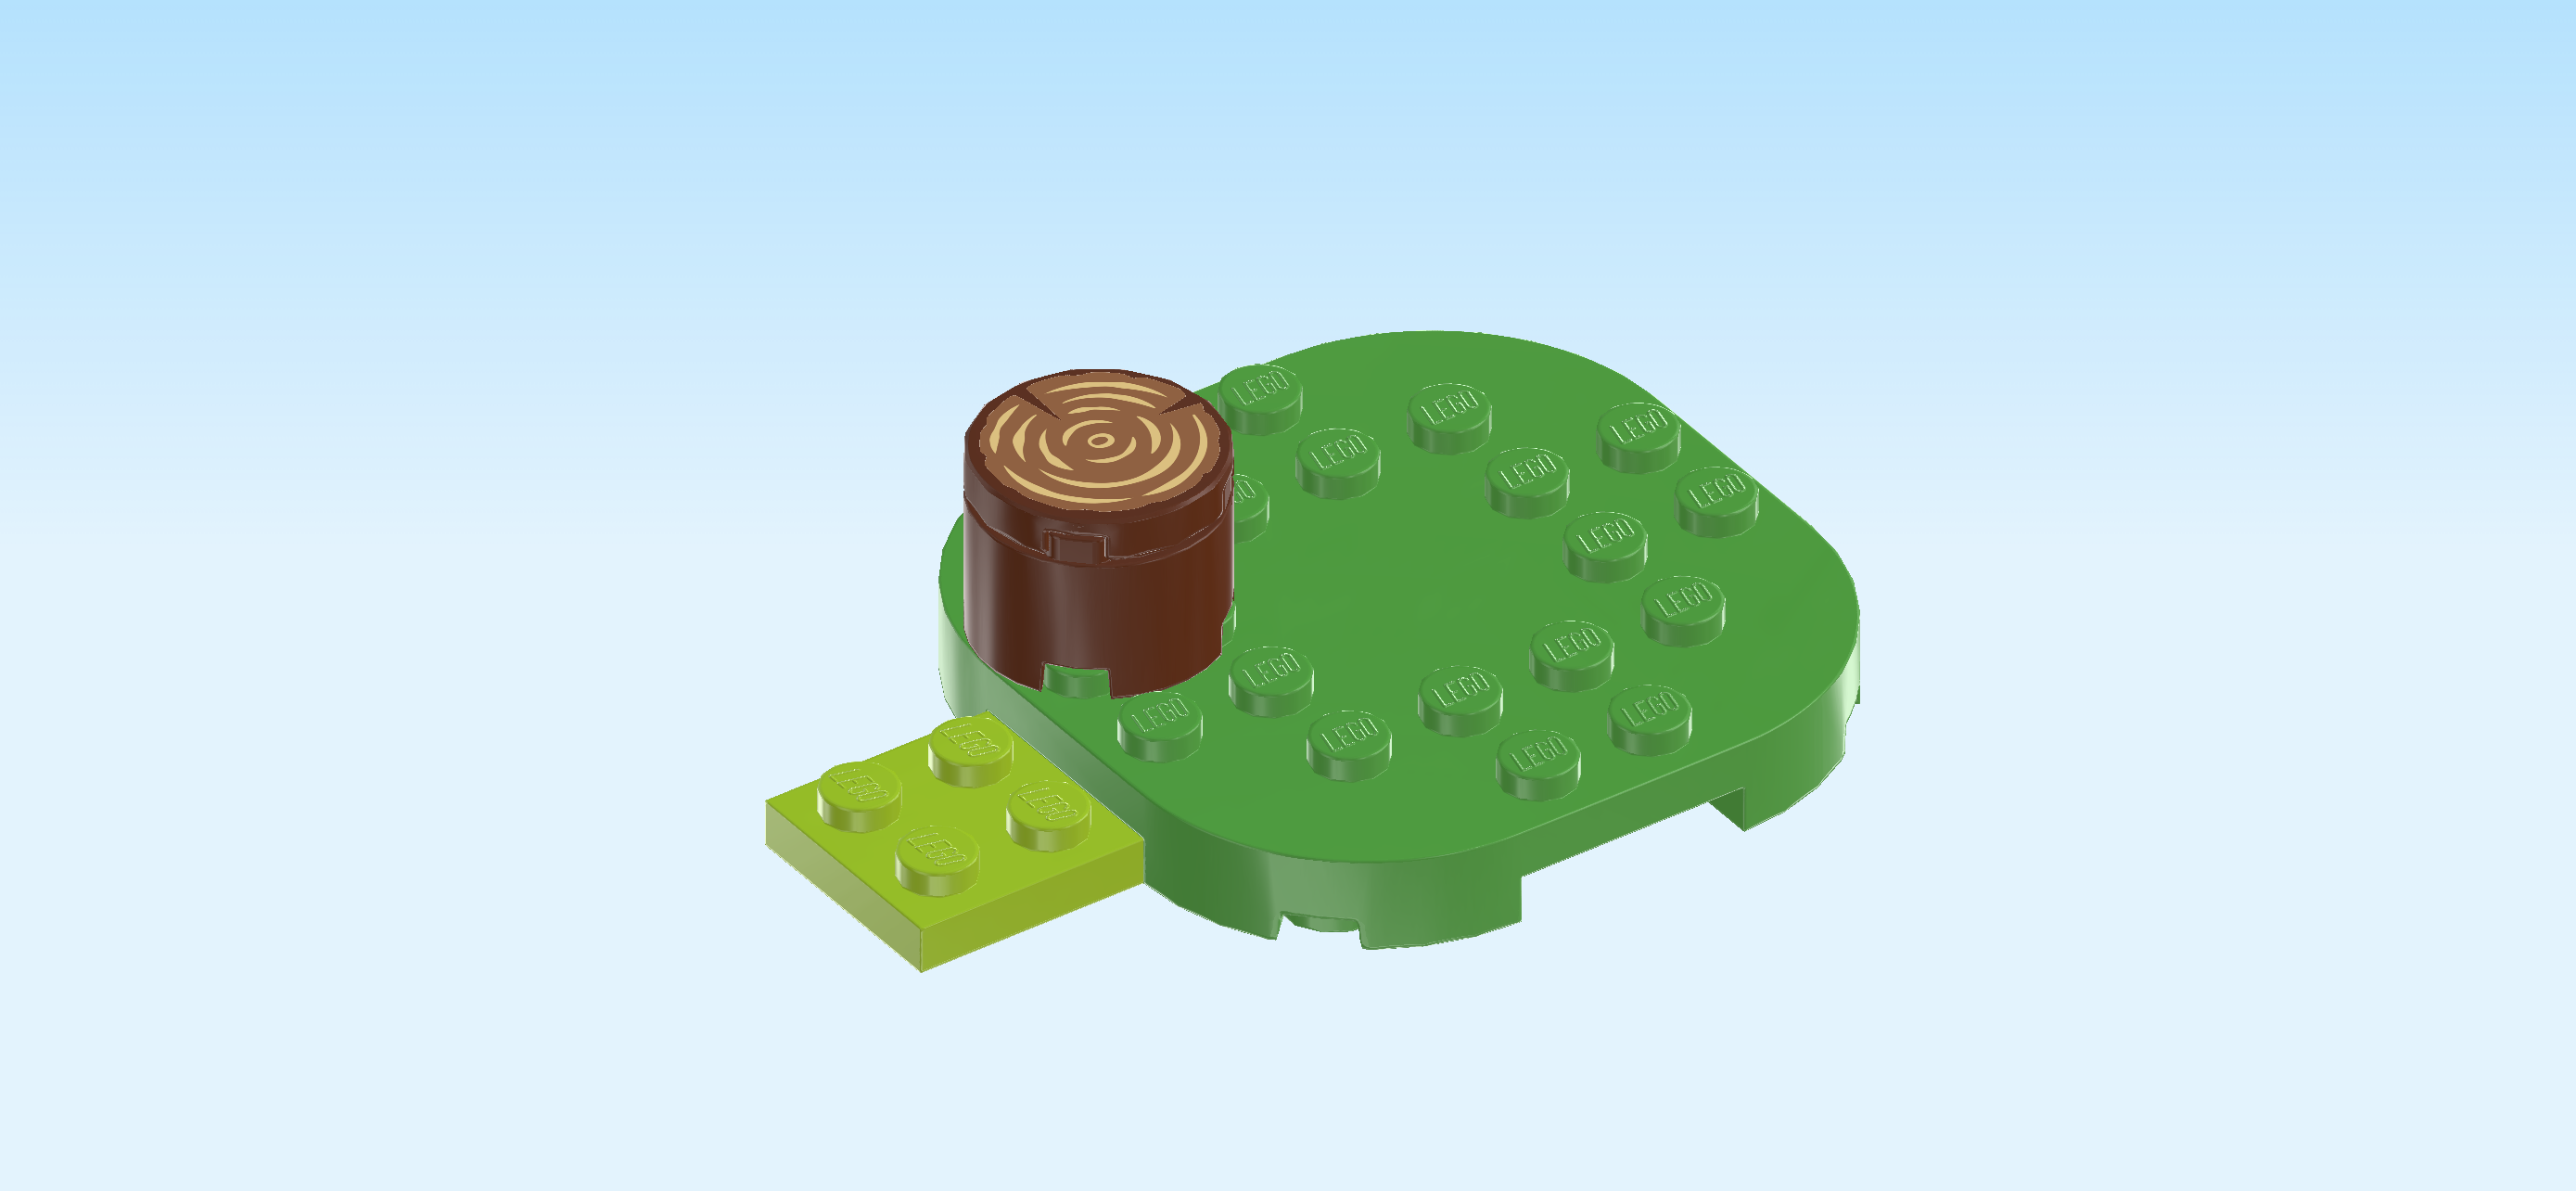
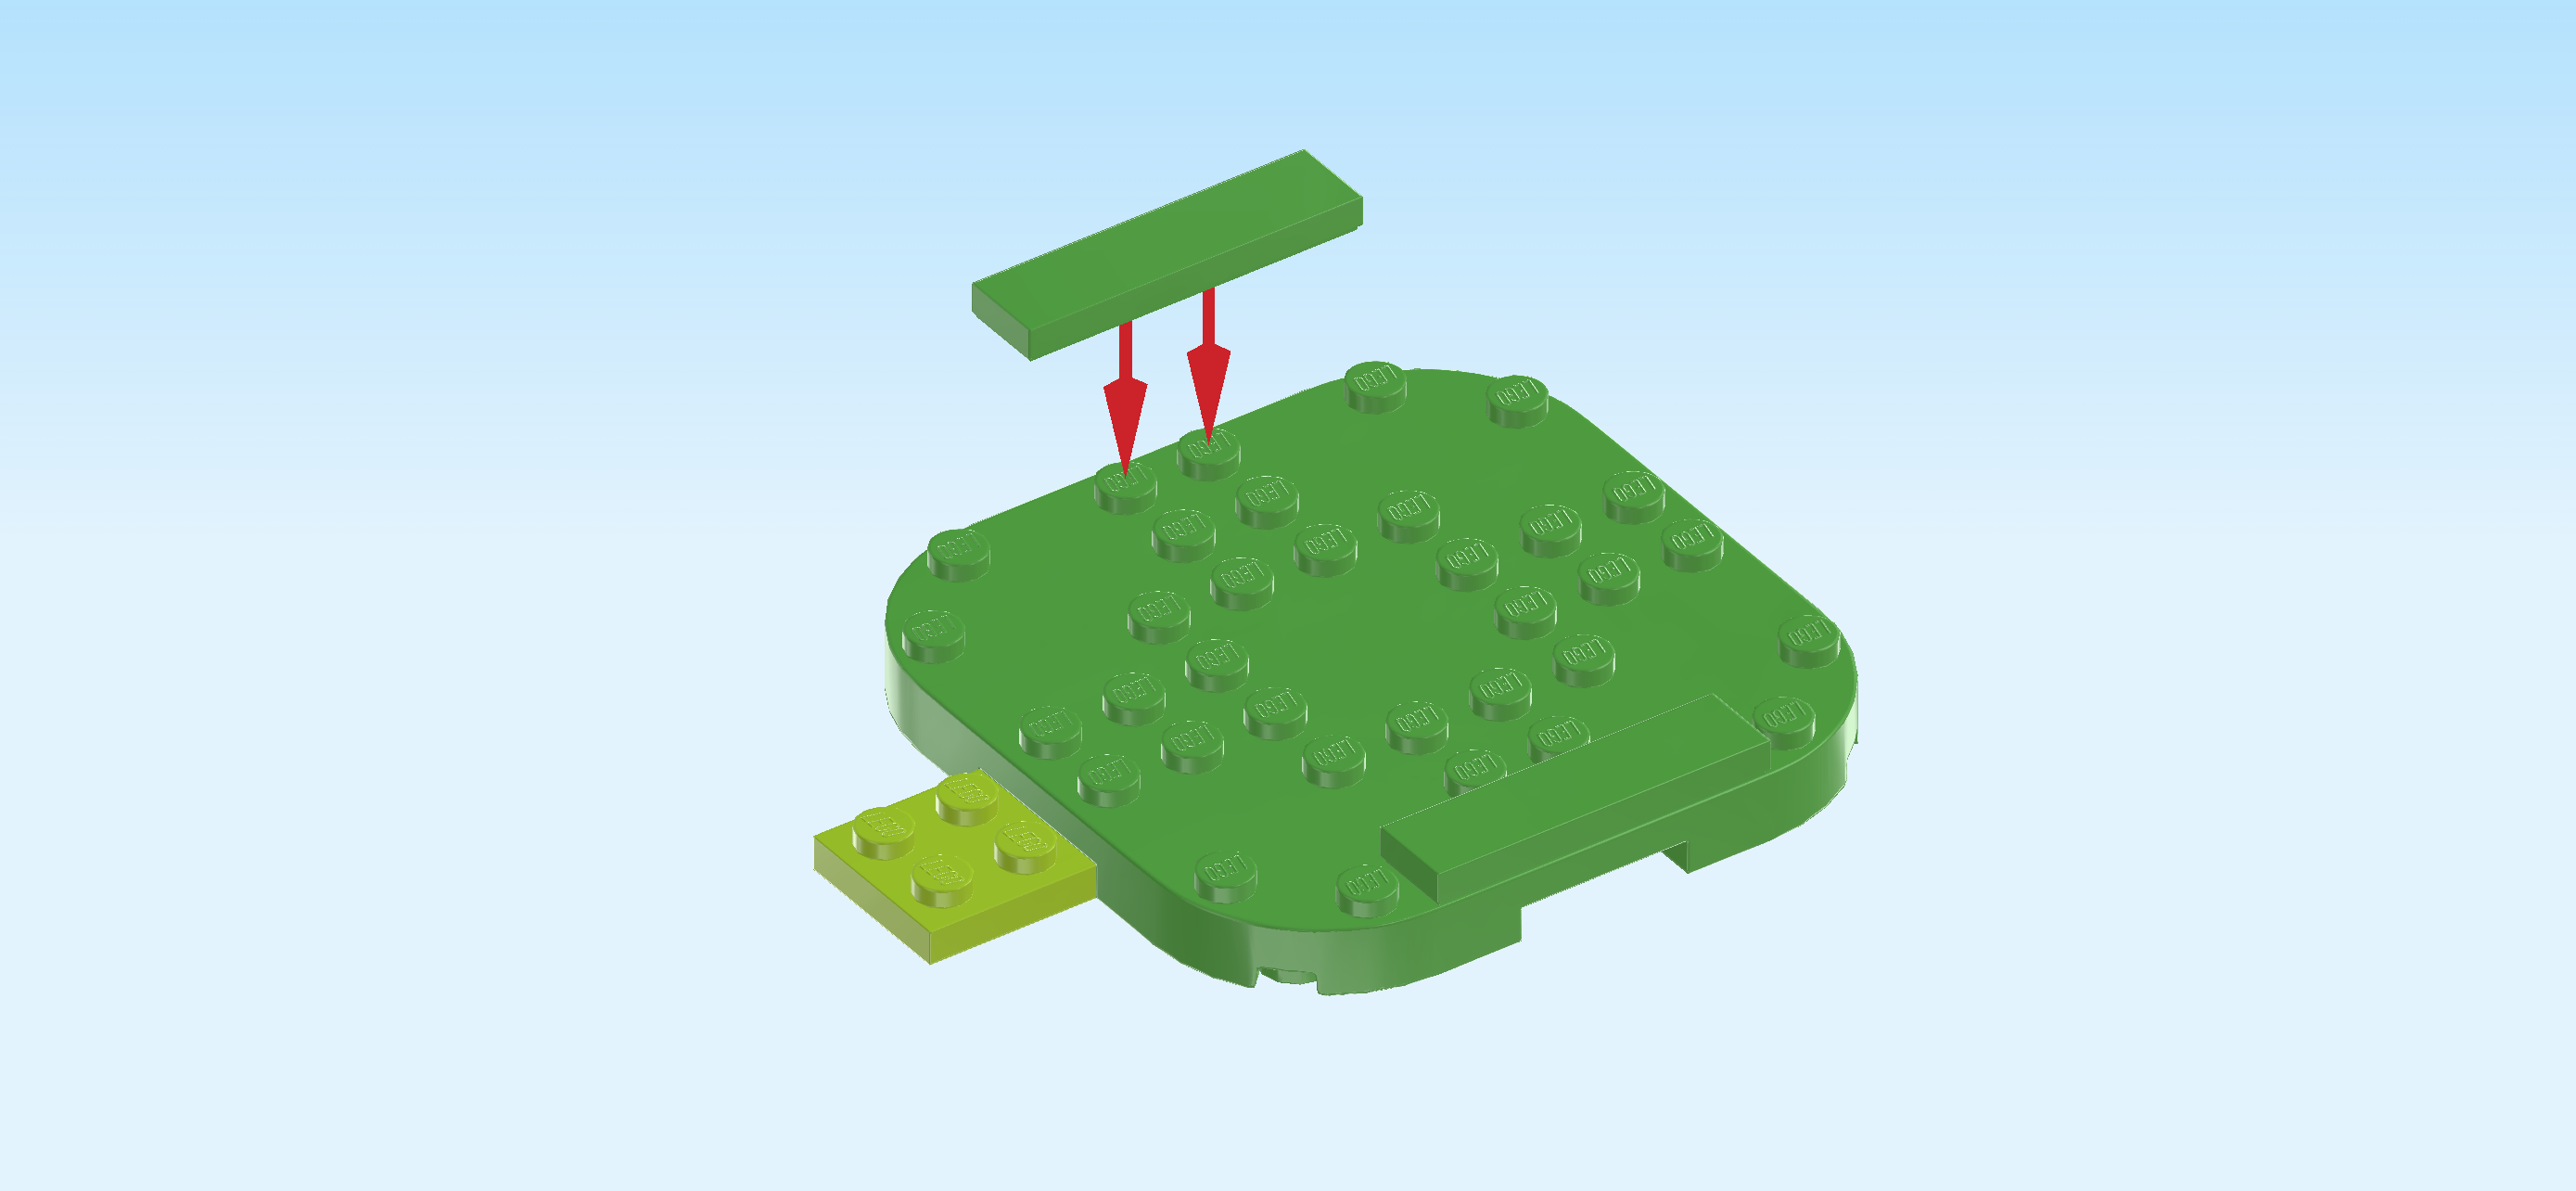
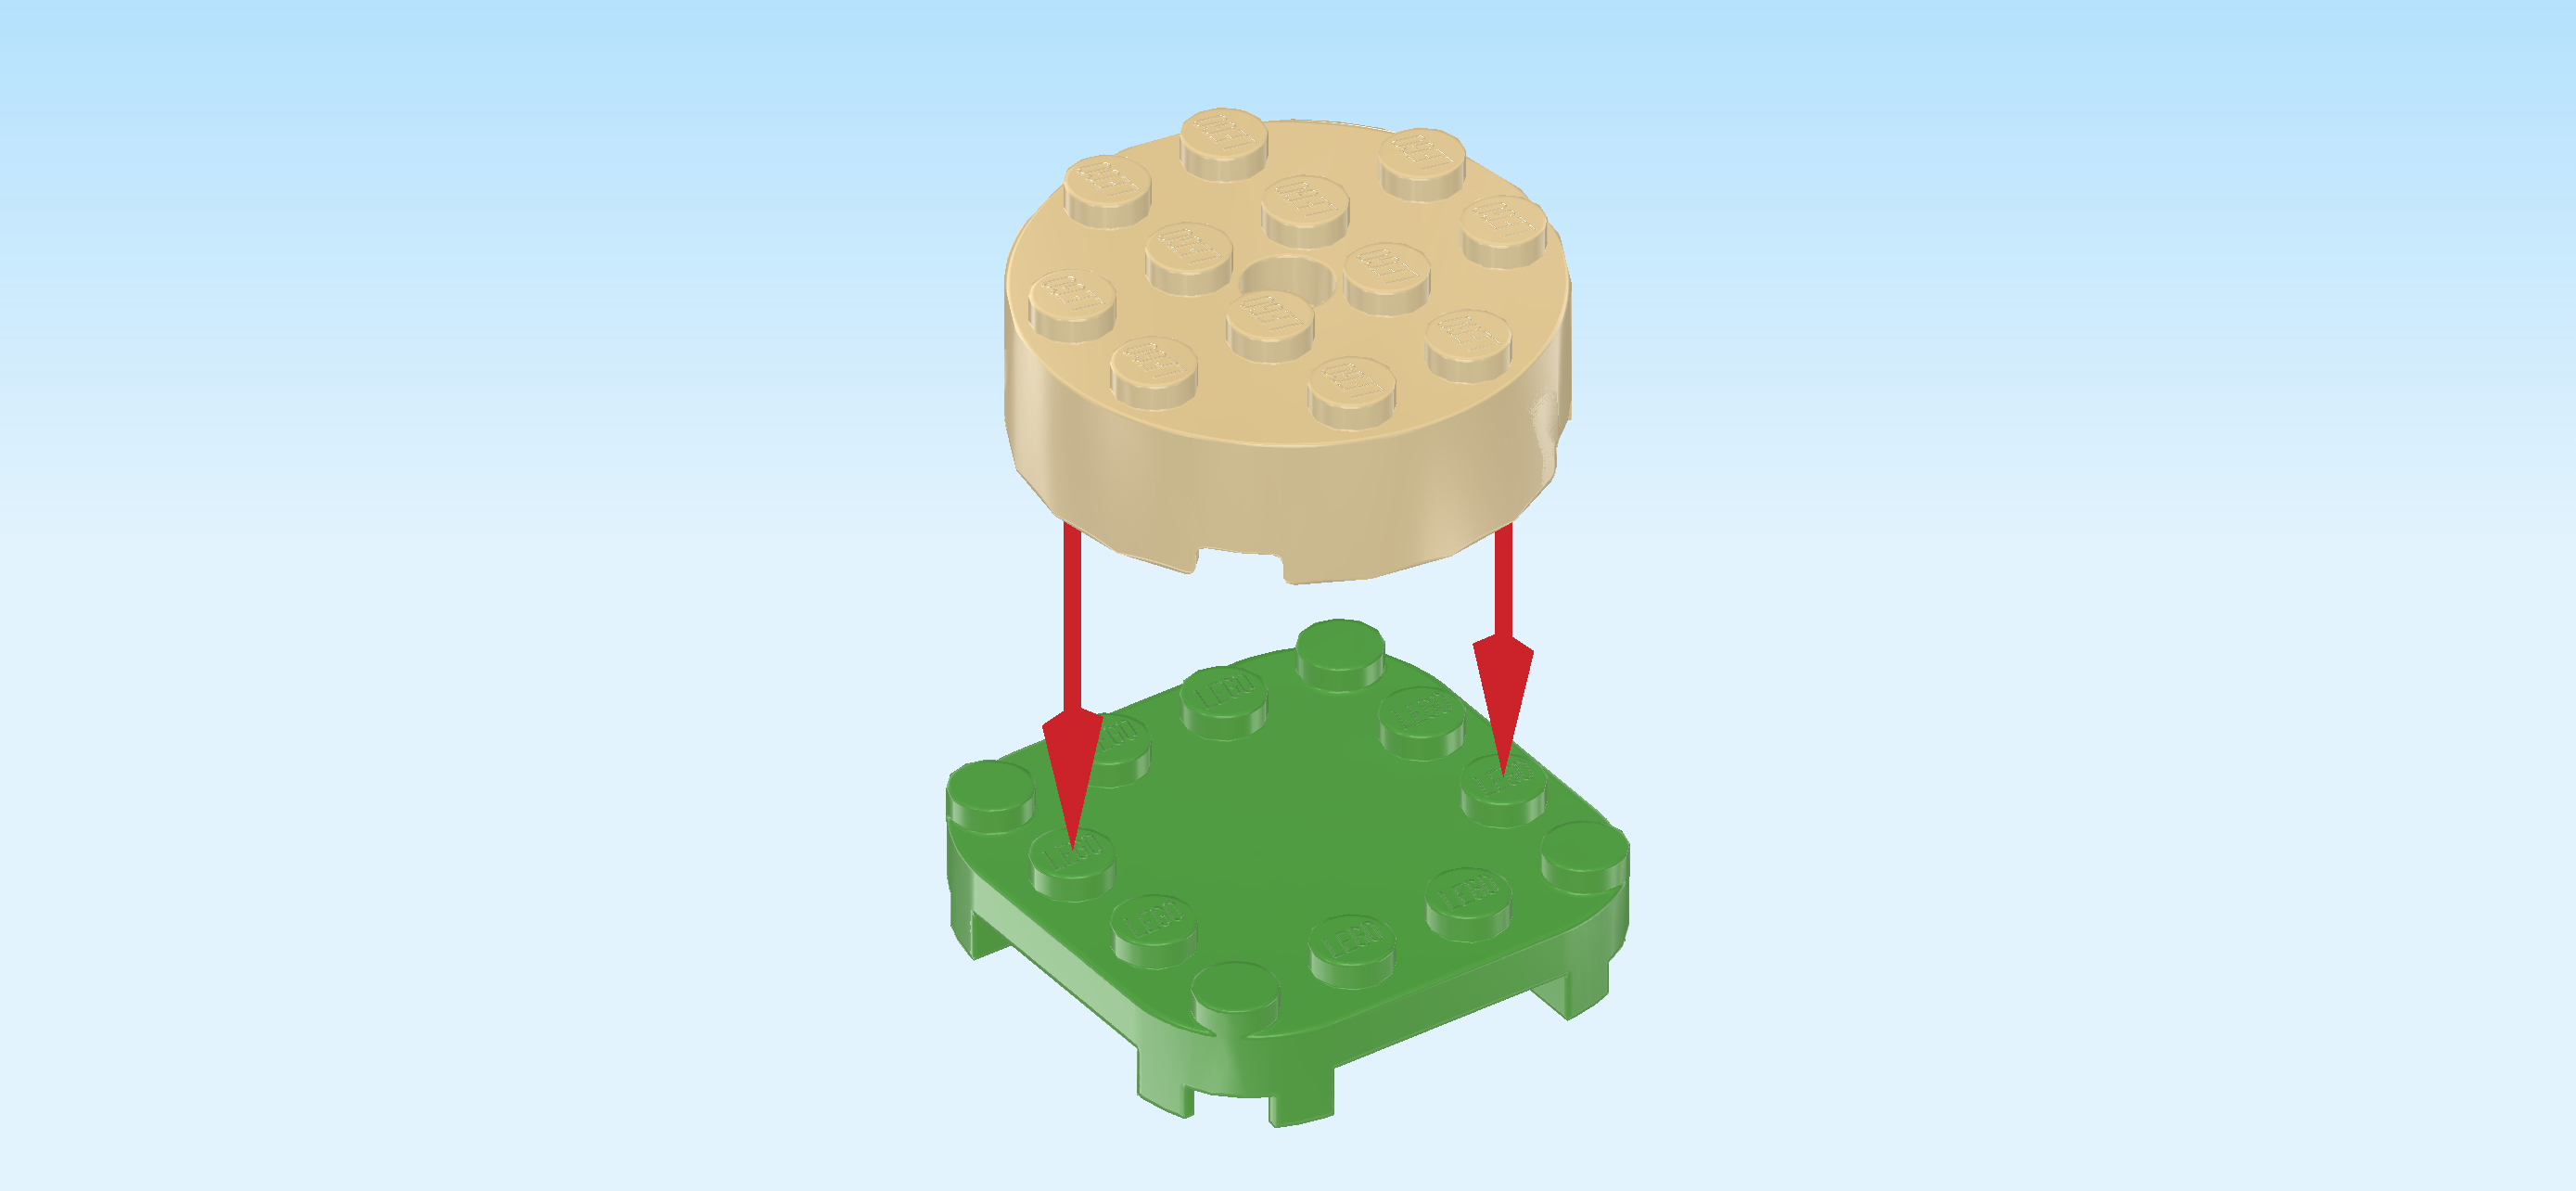
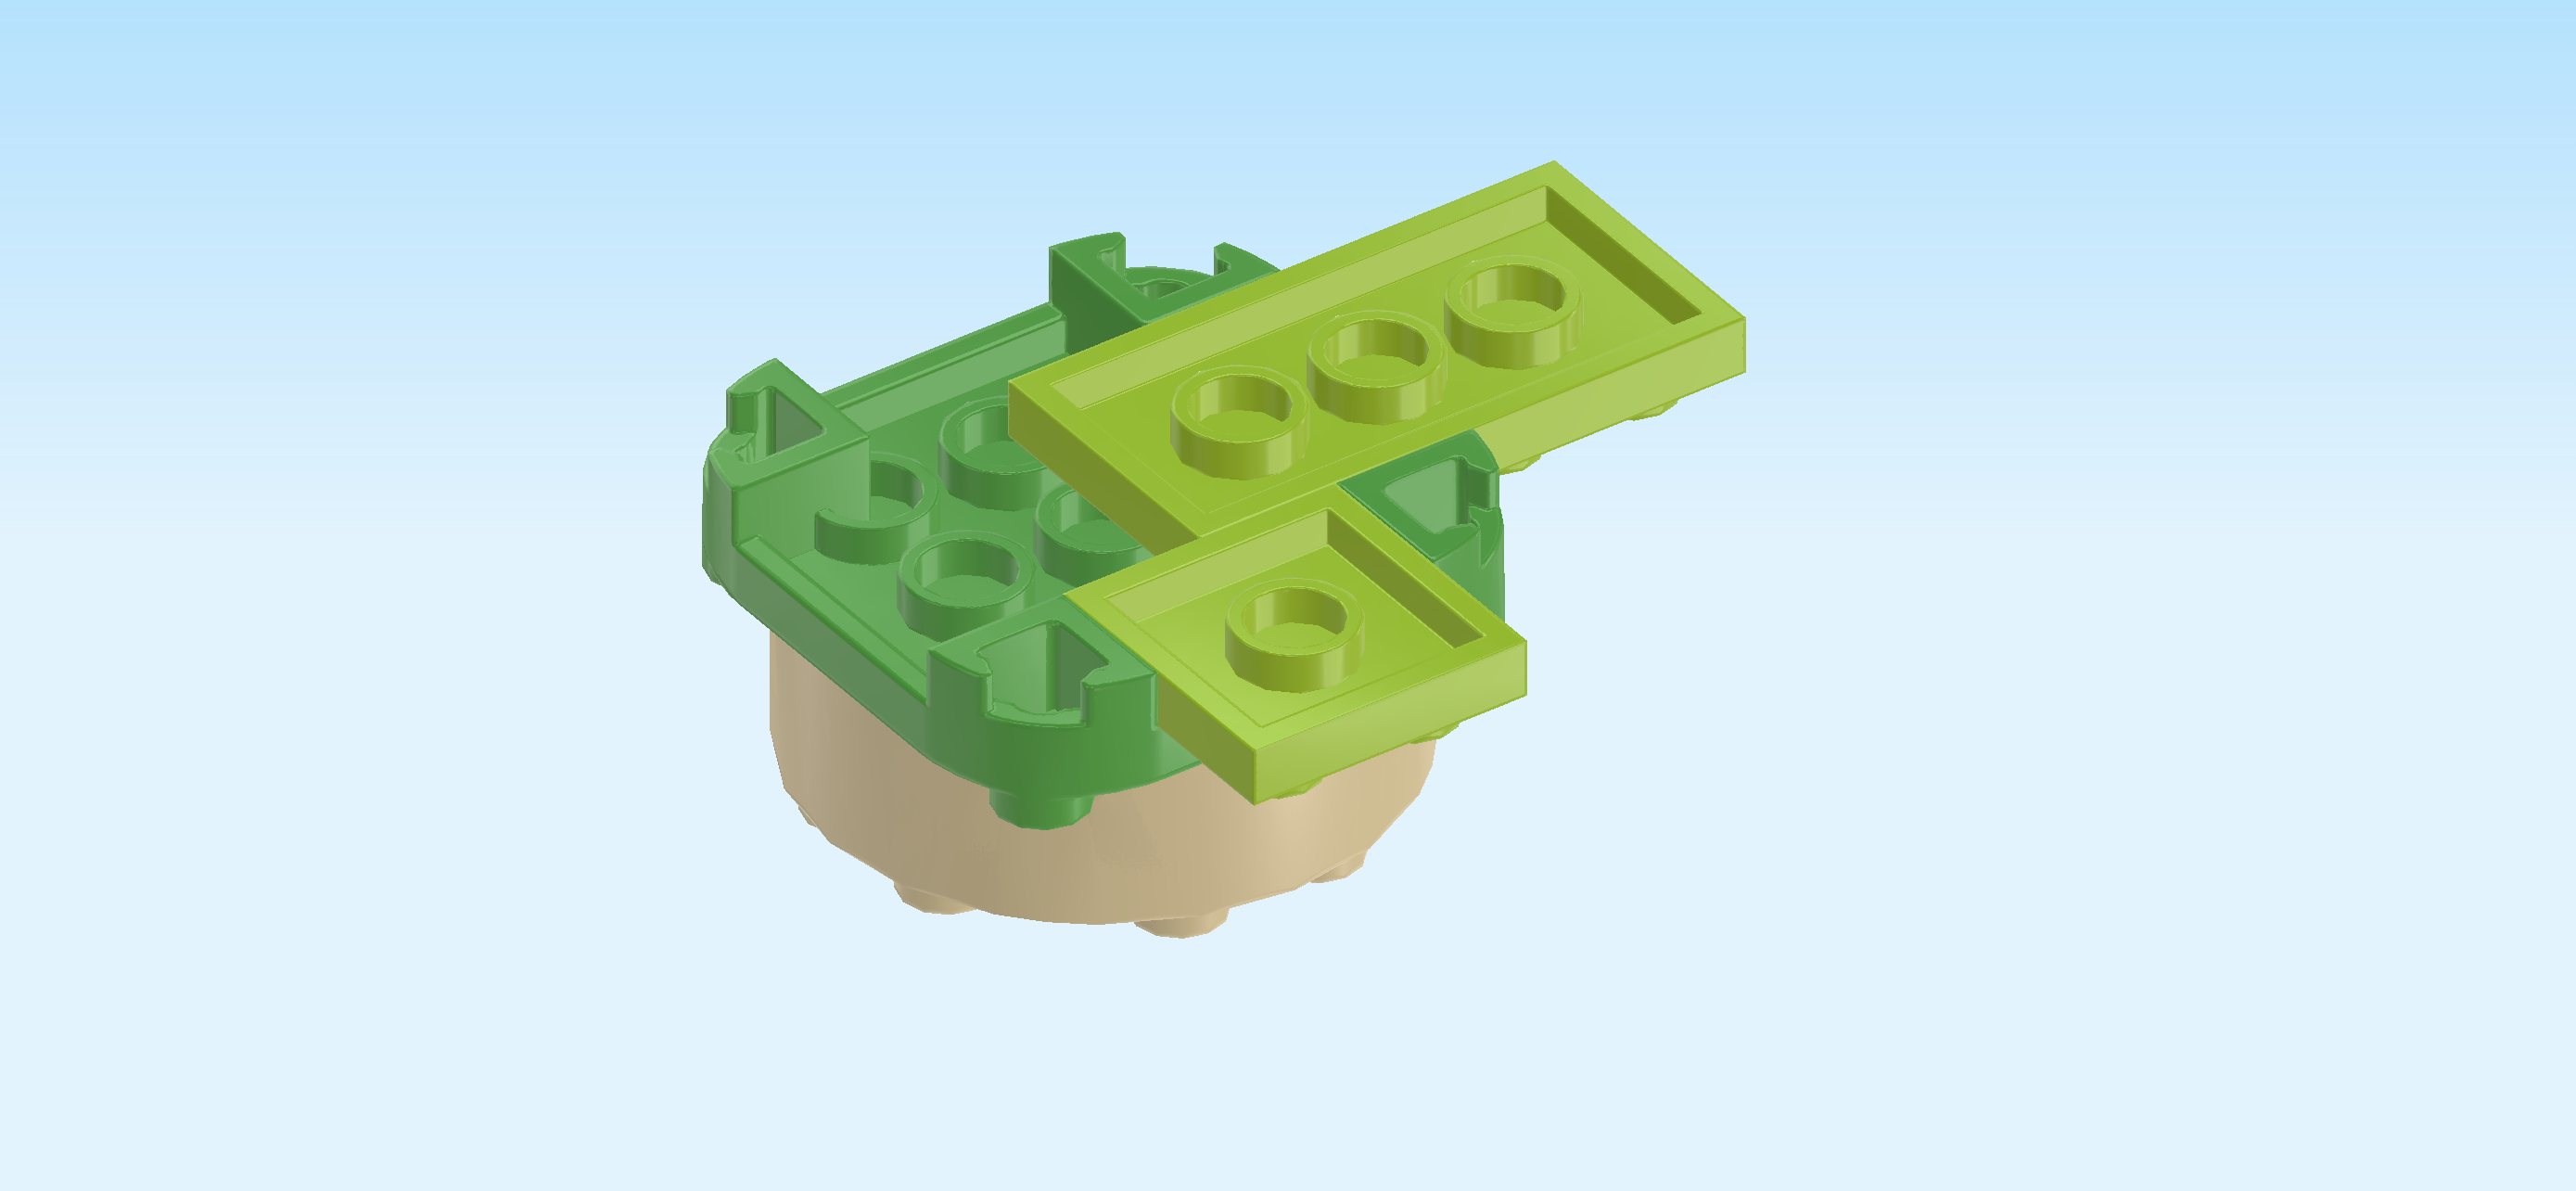
| Put the plate 2x4 horizontally on the table. |
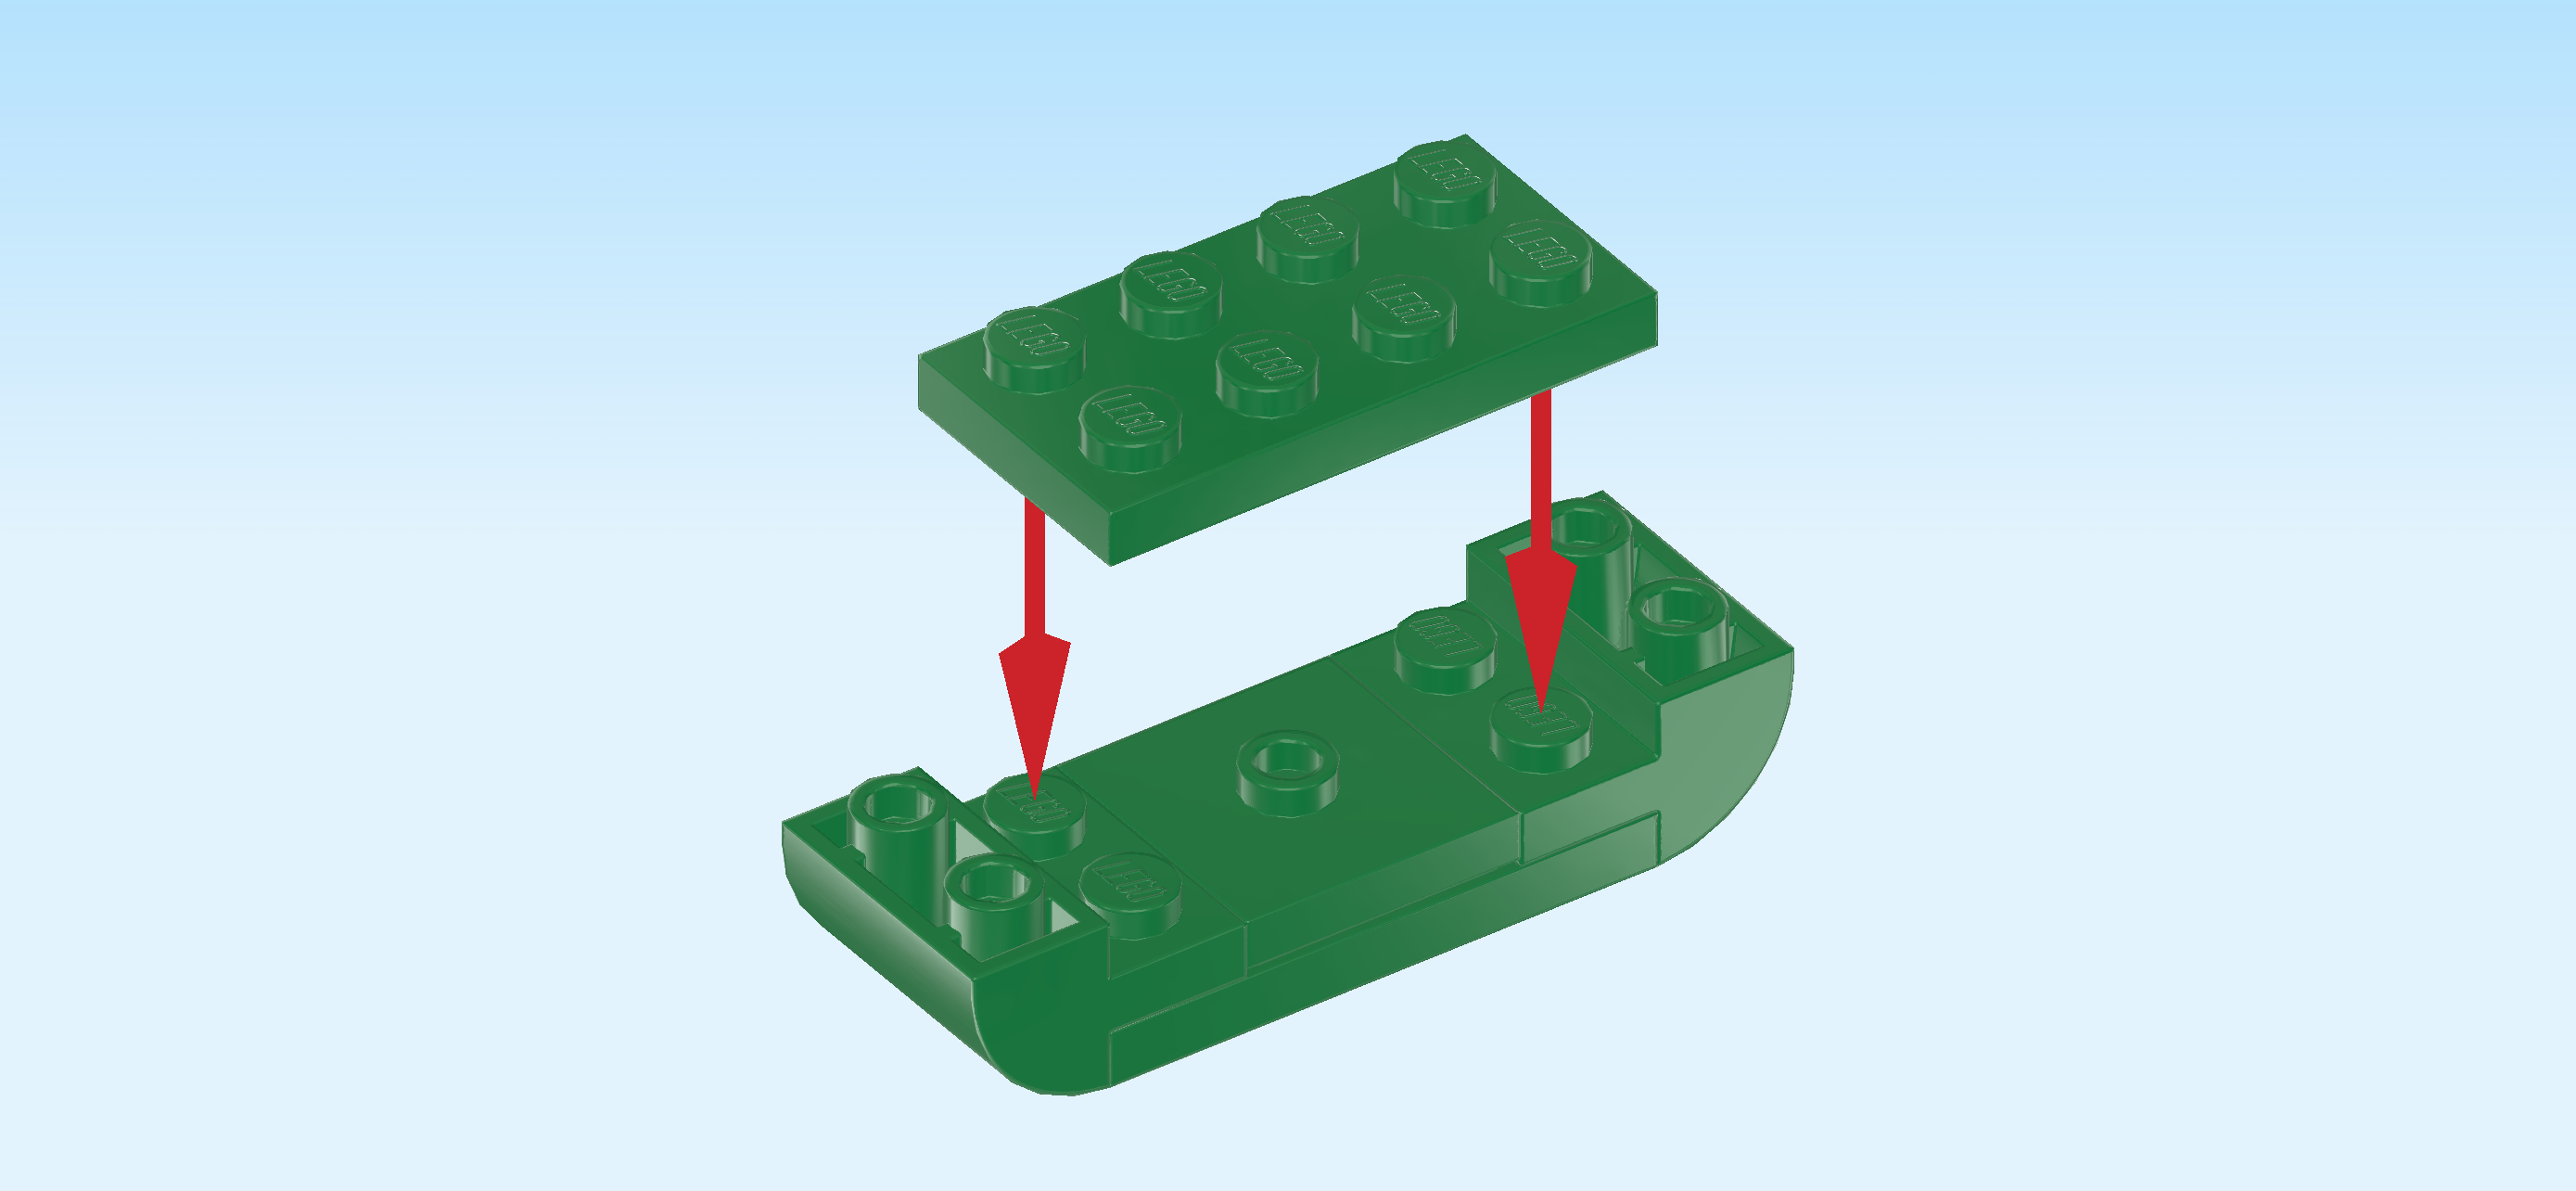
| Put the 2 leftmost columns of the plate 6x6 centered on the 2 rightmost columns of the previous piece. If done correctly, half of the plate 2x4 will protrude to the left. |
| Note: all 6 modules will be set up like that, a 6x6 baseplate with a protruding connecting plate. You can combine and interchange the modules as you like and mount the connecting plates on different spots. For now, we will give you a specific order for the modules, but in the end it's your Animal Crossing Island to play with and recombine as you please! |
| Find 1 reddish brown round brick 2x2 with top cross hole. |
| Put it on the backmost row of the 2 leftmost columns of the previous piece. This means that only its front half will connect to 2 knobs. |
| Find 1 reddish brown round tile 2x2. |
| Put it on top of the previous piece. It is printed with the cross section of a tree trunk. It has dark brown and light brown growth rings. You have just built a tree stump! |
| Find 1 reddish brown cross plate 3x3. |
| This piece will only connect to 2 knobs. Let's identify these knobs: The first one is the second knob from the front on the second column from the right. |
| The second one is the second knob from the front on the third column from the right. |
| Turn the cross plate so that it forms a straight column and a straight row in front of you. Mount its rightmost end on the first knob and the frontmost end on the second knob we have just identified. |
| Next, we will build the campfire. |
| Collect the following 2 pieces: |
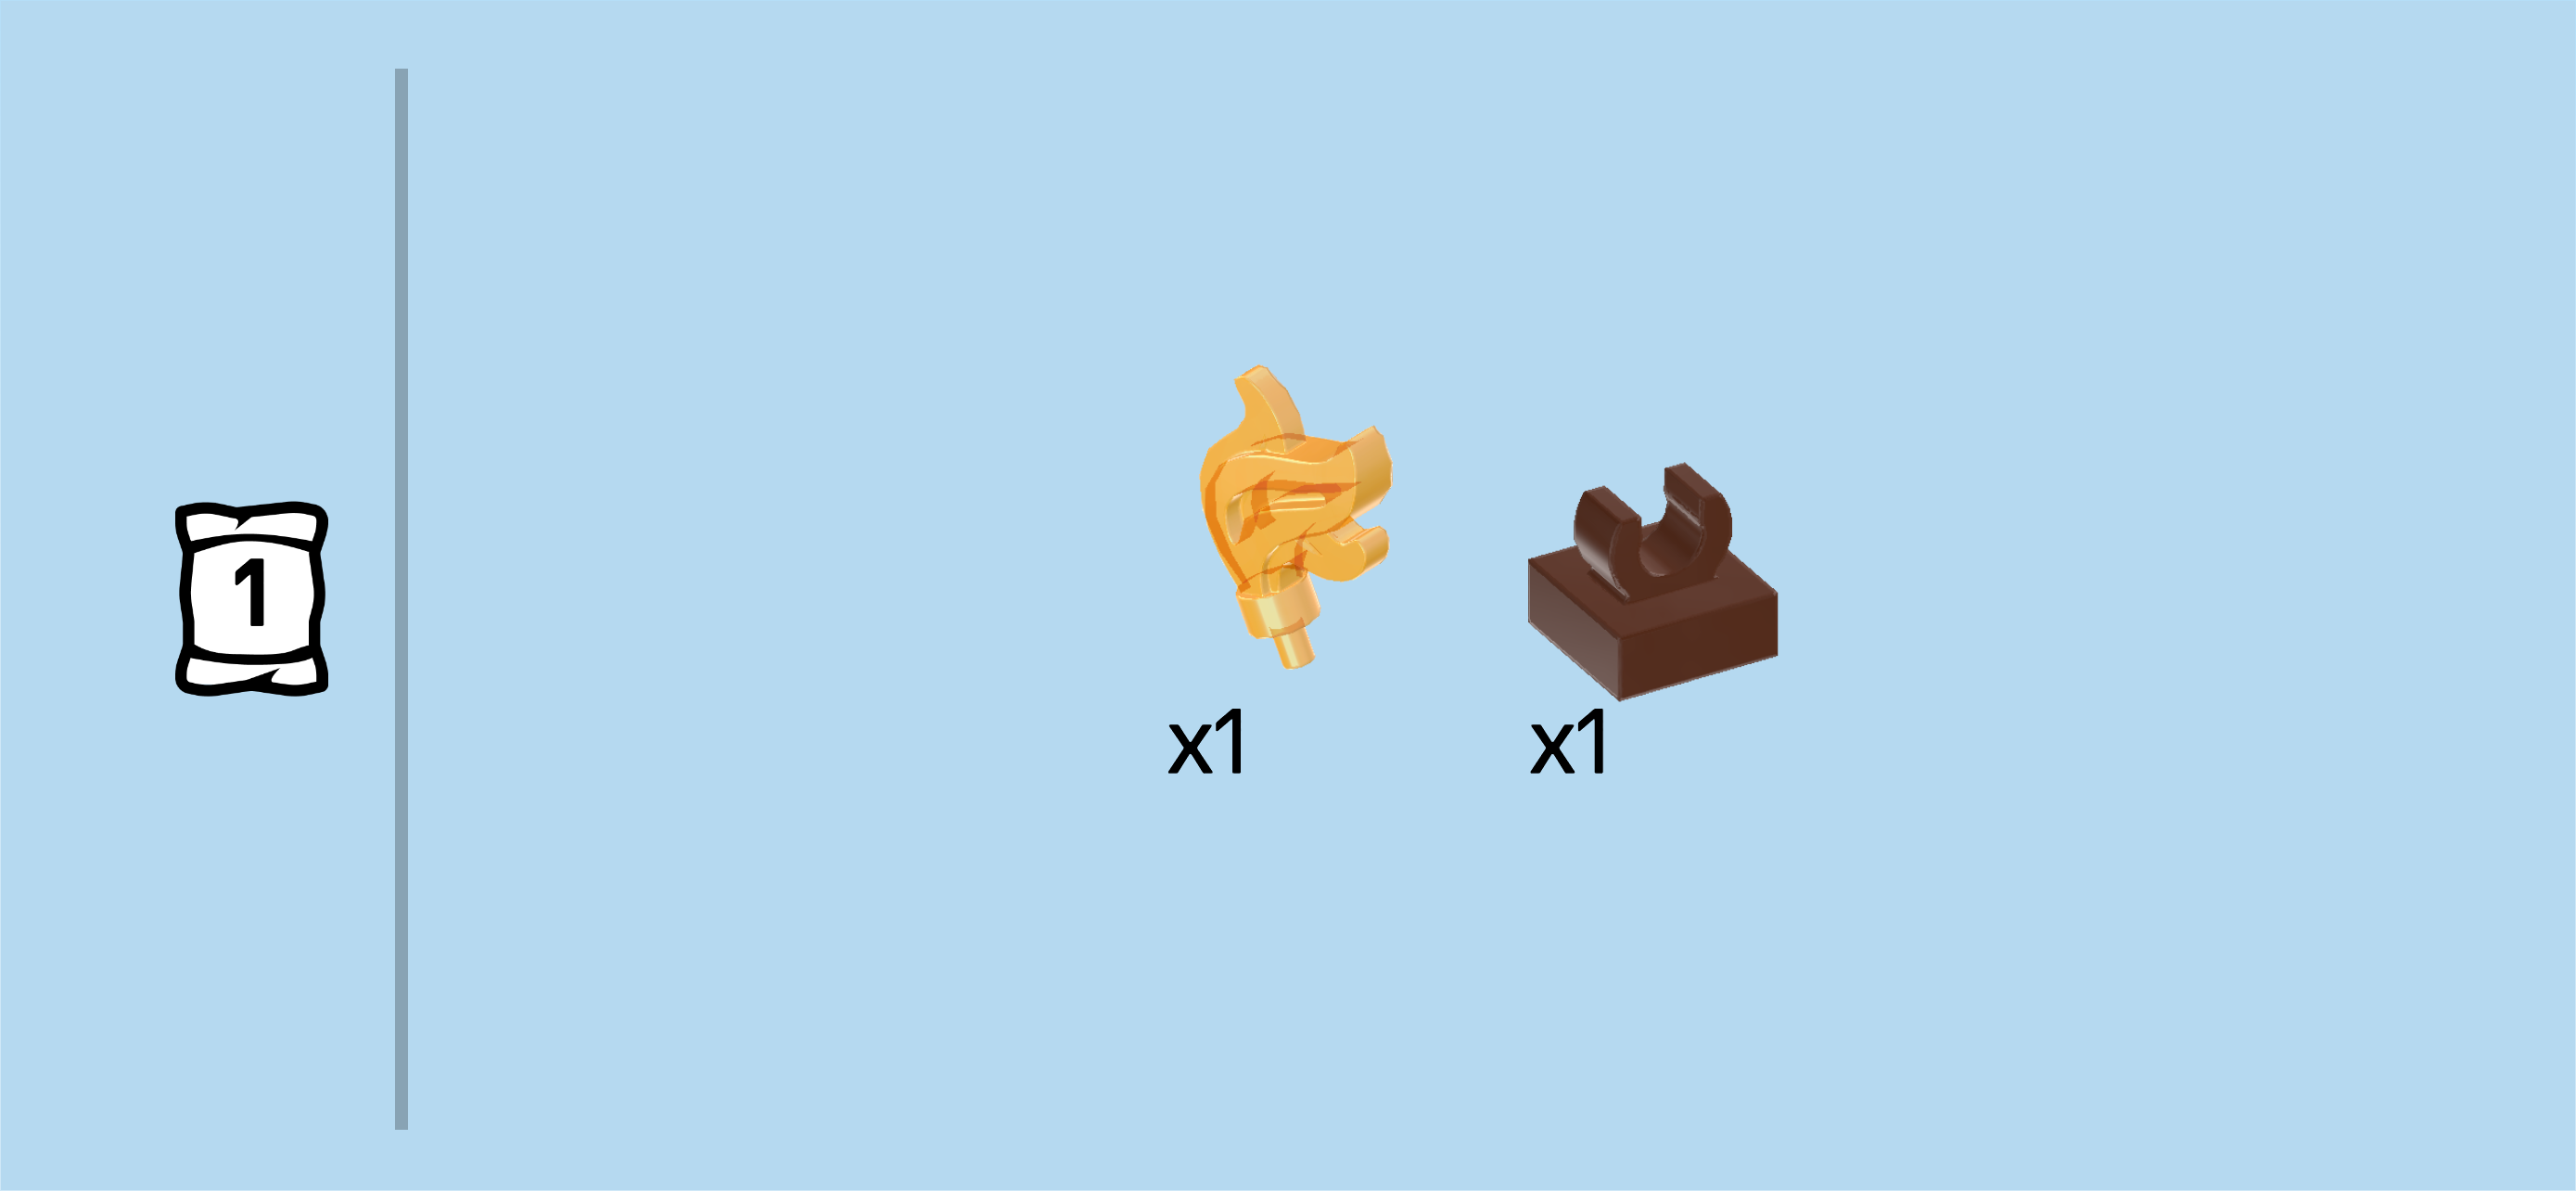
| 1 reddish brown plate 1x1 with top clasp, |
| and 1 transparent bright orange flame element with small bottom shaft. |
| Put the plate with clasp on the table, tips of the clasp to the front and back. |
| Hold the flame element so that its small bottom shaft is pointing to the right and the tongues of fire are pointing to the top. |
| Snap the lowest part of the flame element from the top into the clasp. |
| Mount this little fire on the middle knob of the 3x3 cross plate we have mounted earlier. |
| The campfire module is finished! Well done! If Bunnie is feeling hungry already, you can start roasting the marshmallow. Otherwise, we can continue building right away. |
| Next, we will build the tent module. |
| Collect the following 2 pieces: |
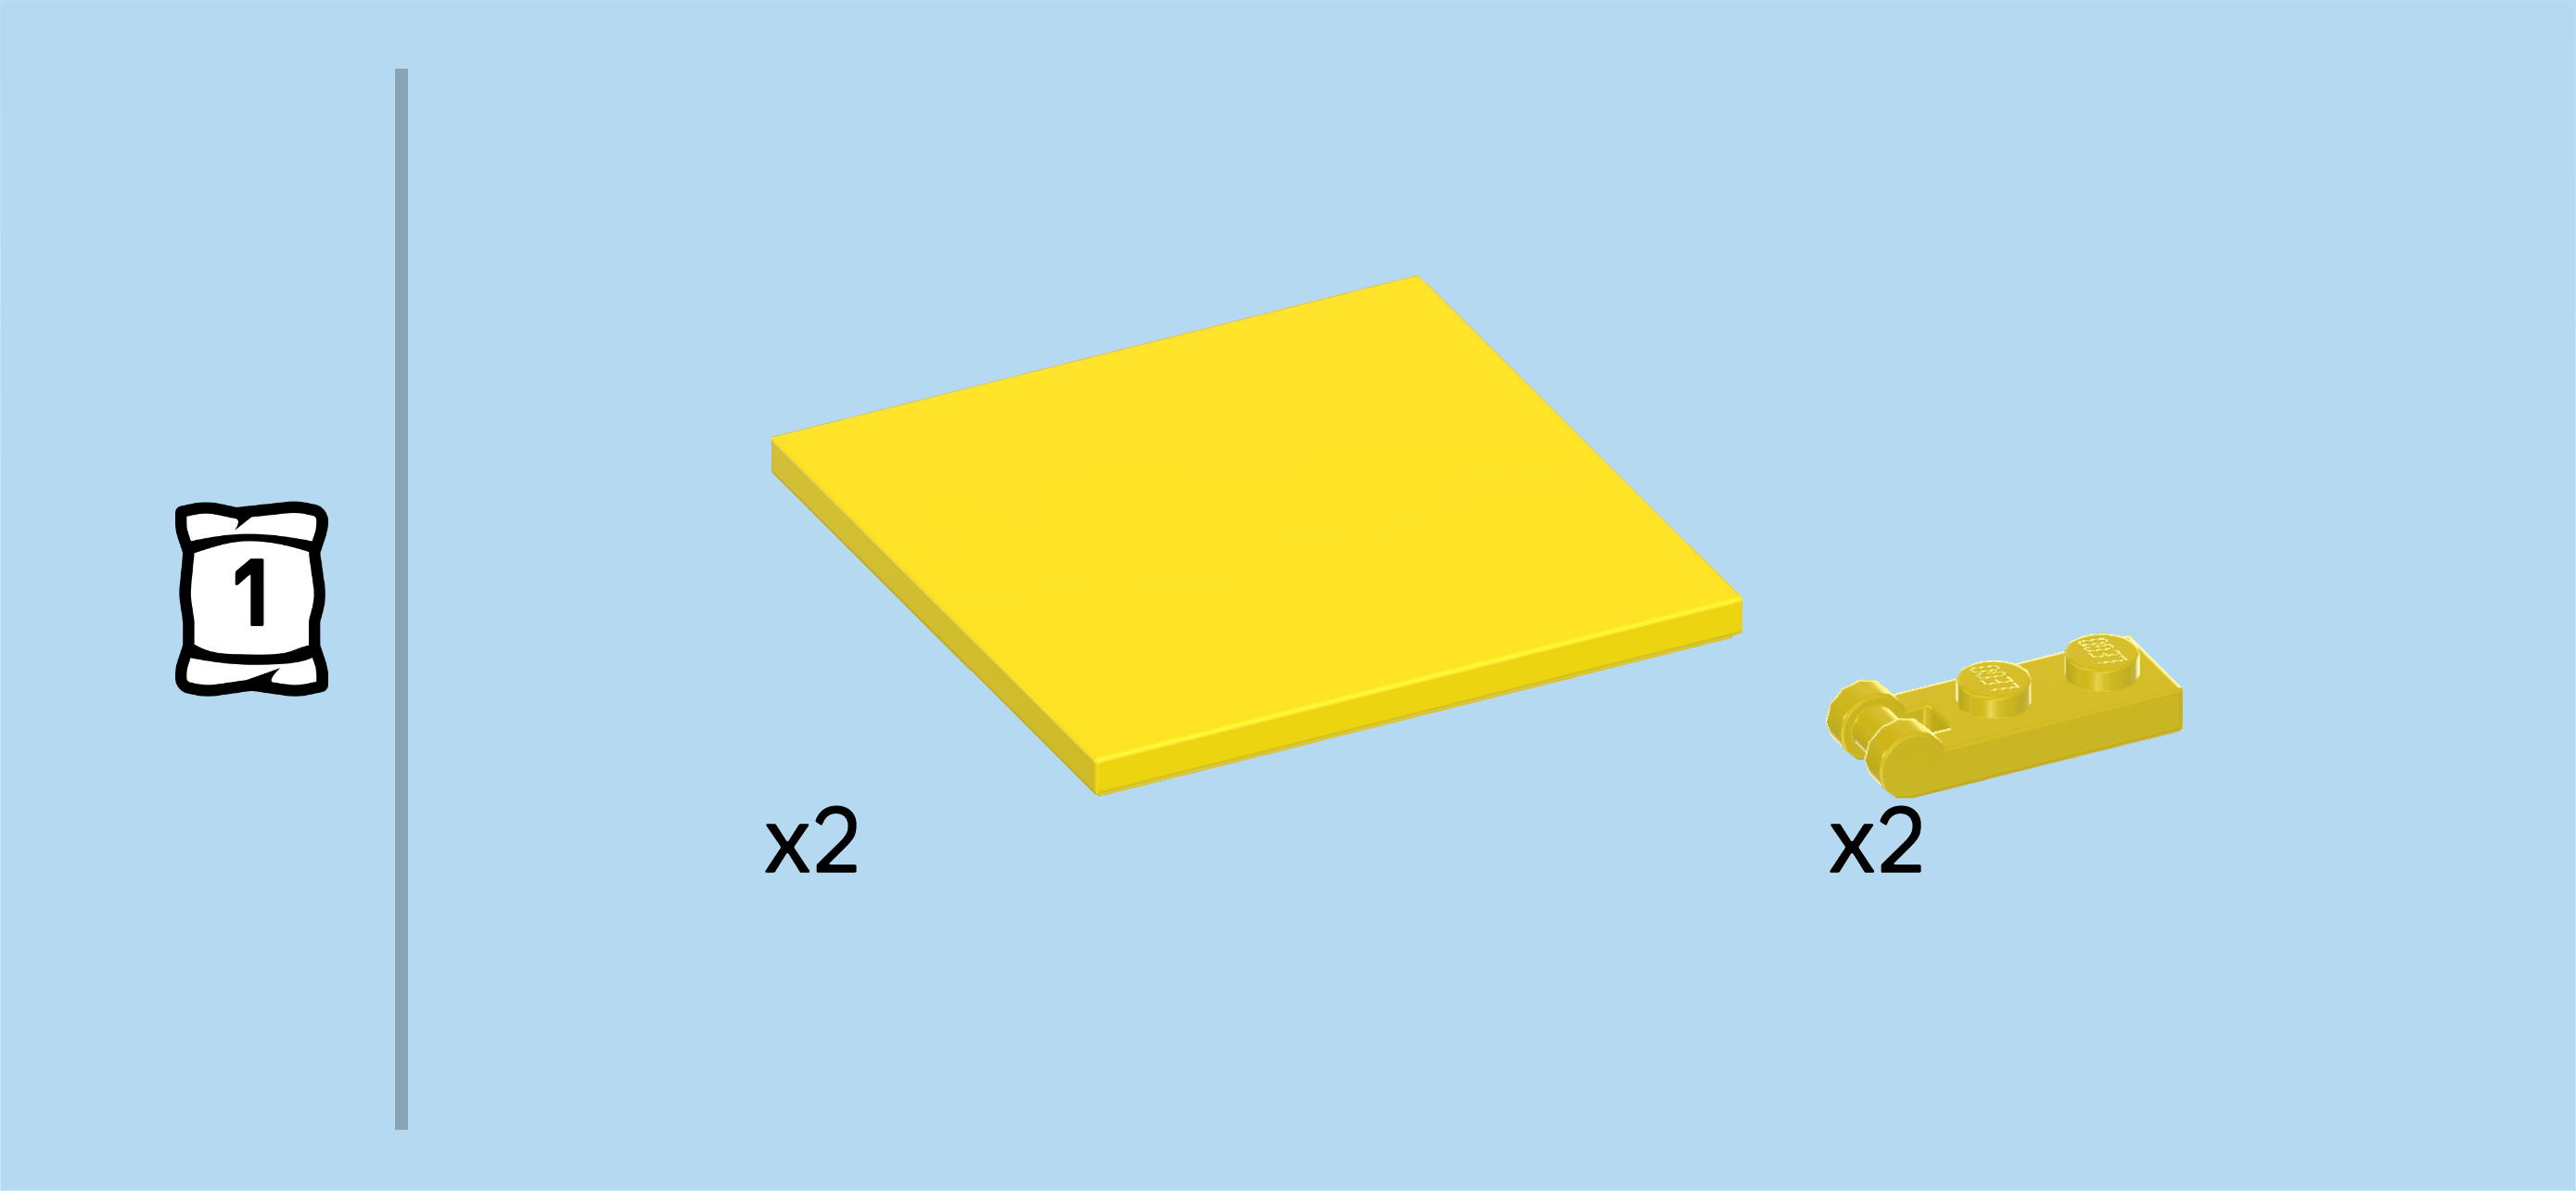
| 1 bright yellowish green plate 2x4, |
| and 1 bright green plate 8x8x⅔ with rounded corners and 4 feet. |
| Put the plate 2x4 horizontally on the table. |
| Put the 2 leftmost columns of the plate centered on the right half of the plate 2x4; its left half will protrude to the left. |
| Find 2 bright green flat tiles 1x4. |
| Put 1 horizontally centered on the backmost row of the previous piece. It will only connect to 2 knobs in the middle. |
| Repeat symmetrically at the front. |
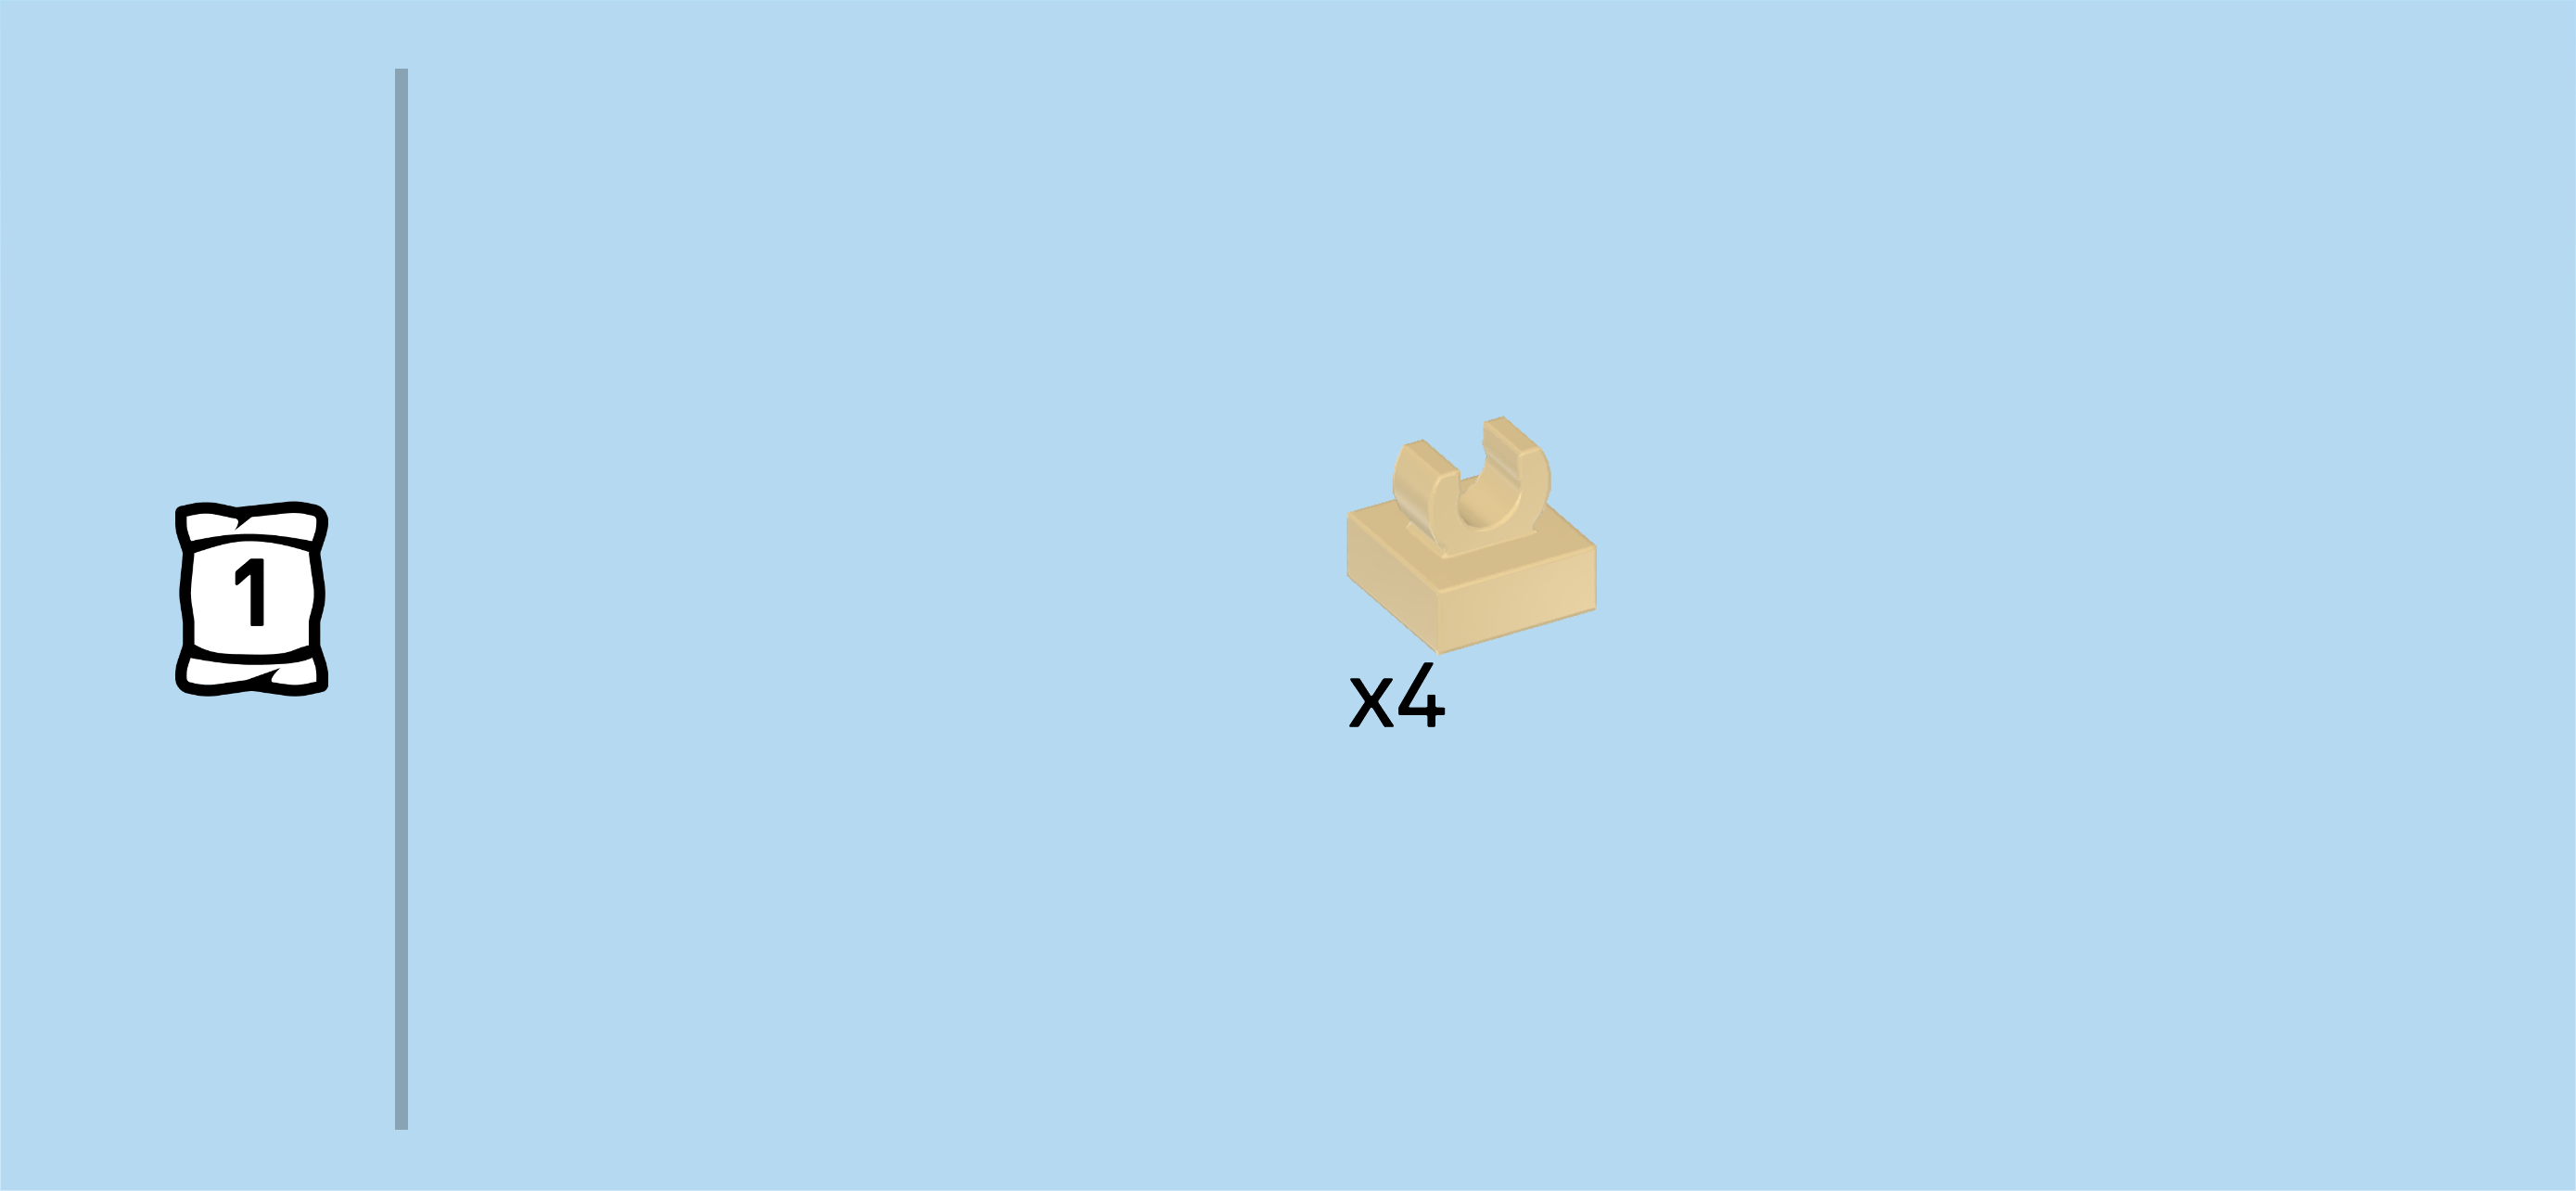
| Find 4 pale ocher yellow plates 1x1 with top clasp. |
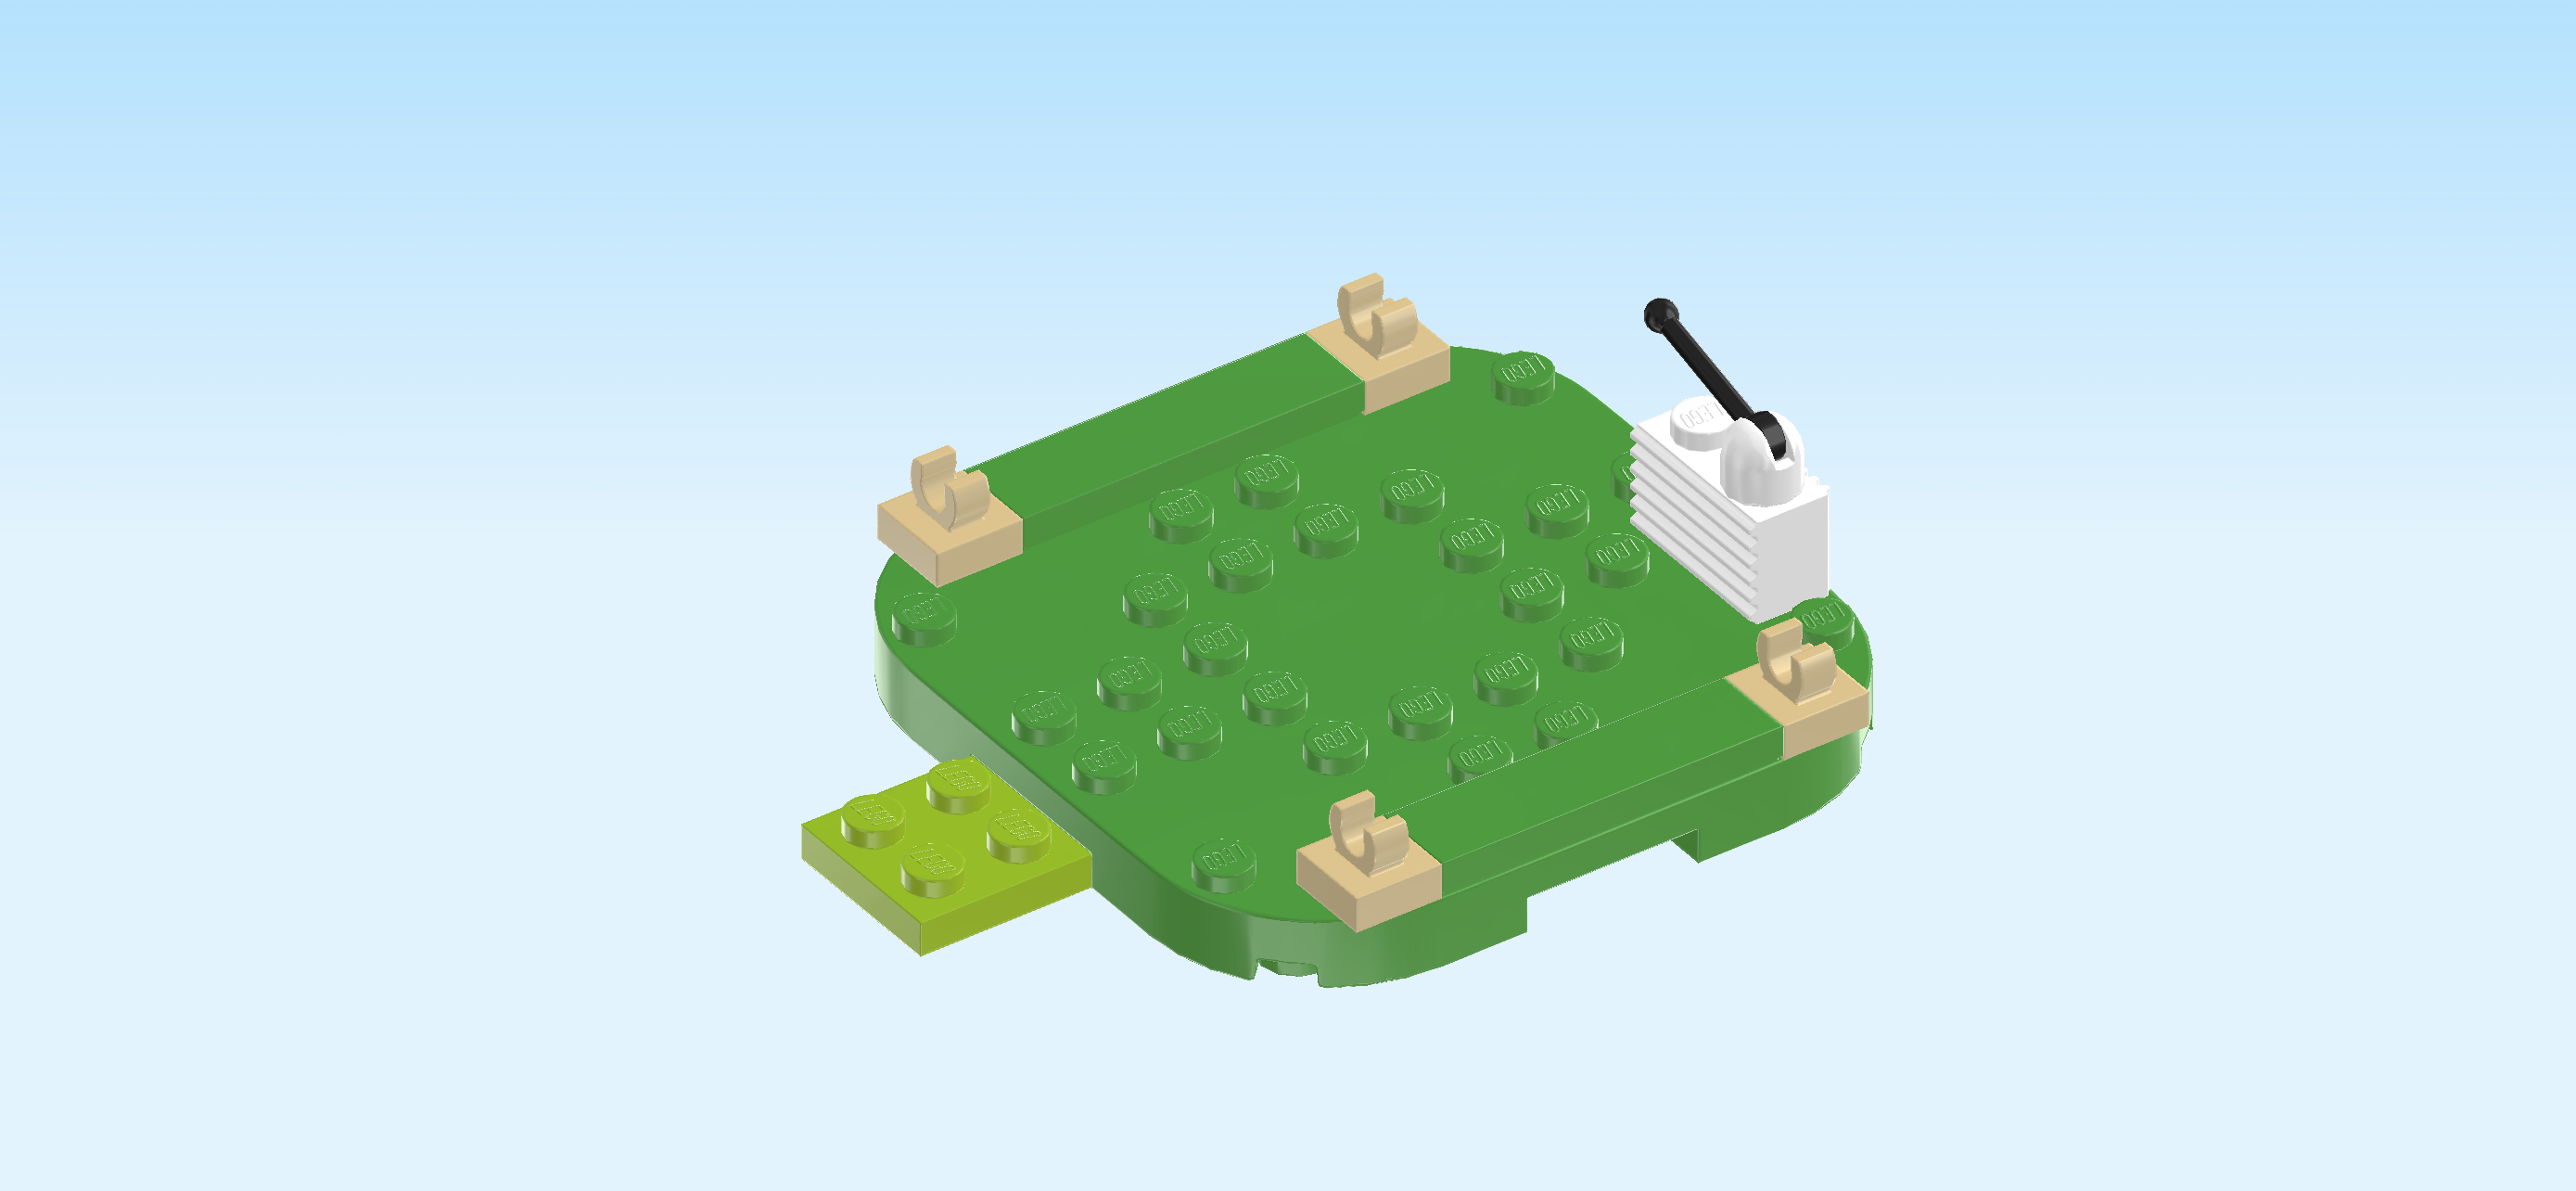
| Put 1 to the right of the previous piece. Make sure that the tips of the clasp are at the front and back and not on the left and right. |
| Repeat symmetrically on the left, again making sure that the clasp tips are at the front and back. |
| Repeat symmetrically on the backmost row with the 2 remaining pieces, again making sure the clasp tips are at the front and back. |
| Next, we will assemble the radio. |
| Collect the following 2 pieces: |
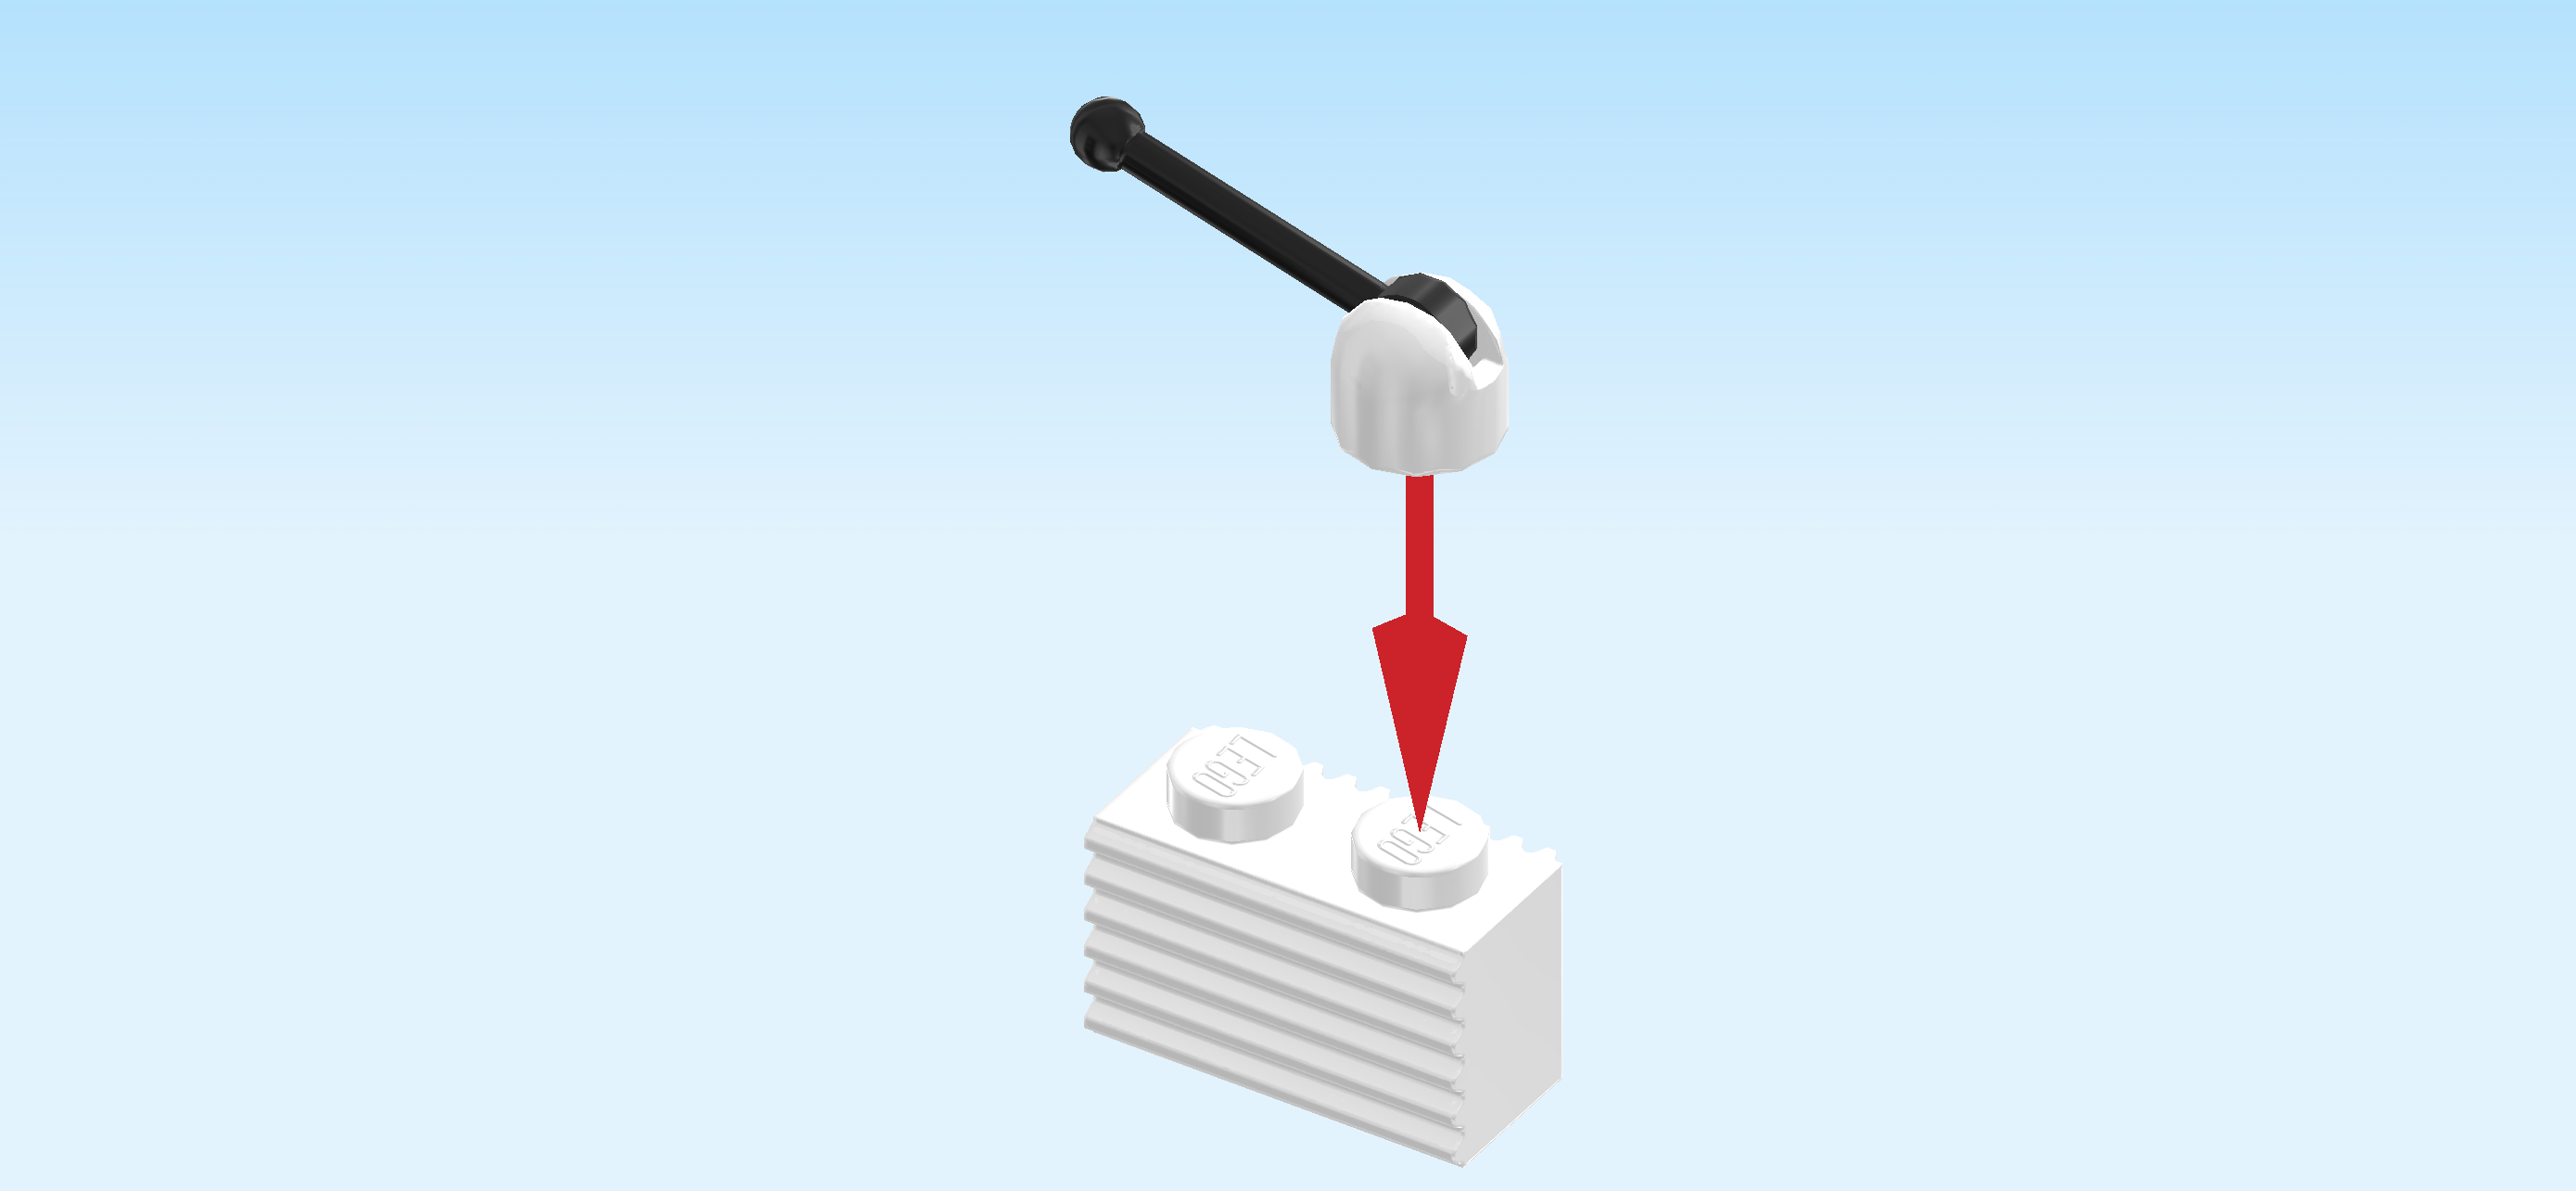
| 1 white profile brick 1x2, |
| and 1 white and black joystick. |
| Put the profile brick 1x2 vertically on the table, horizontal grooves to the left. |
| Put the joystick on the front knob and turn it so that the lever is pointing to the back, hovering above the brick at an angle. |
| The radio is finished! Put it vertically on the rightmost column. Skip its frontmost knob and mount it directly behind that knob. This means that it will only connect to 1 knob and the radio's front half will sit on a smooth surface. This way, it will be easier to remove. |
| Next up, we will build the bed. |
| Collect the following 2 pieces: |
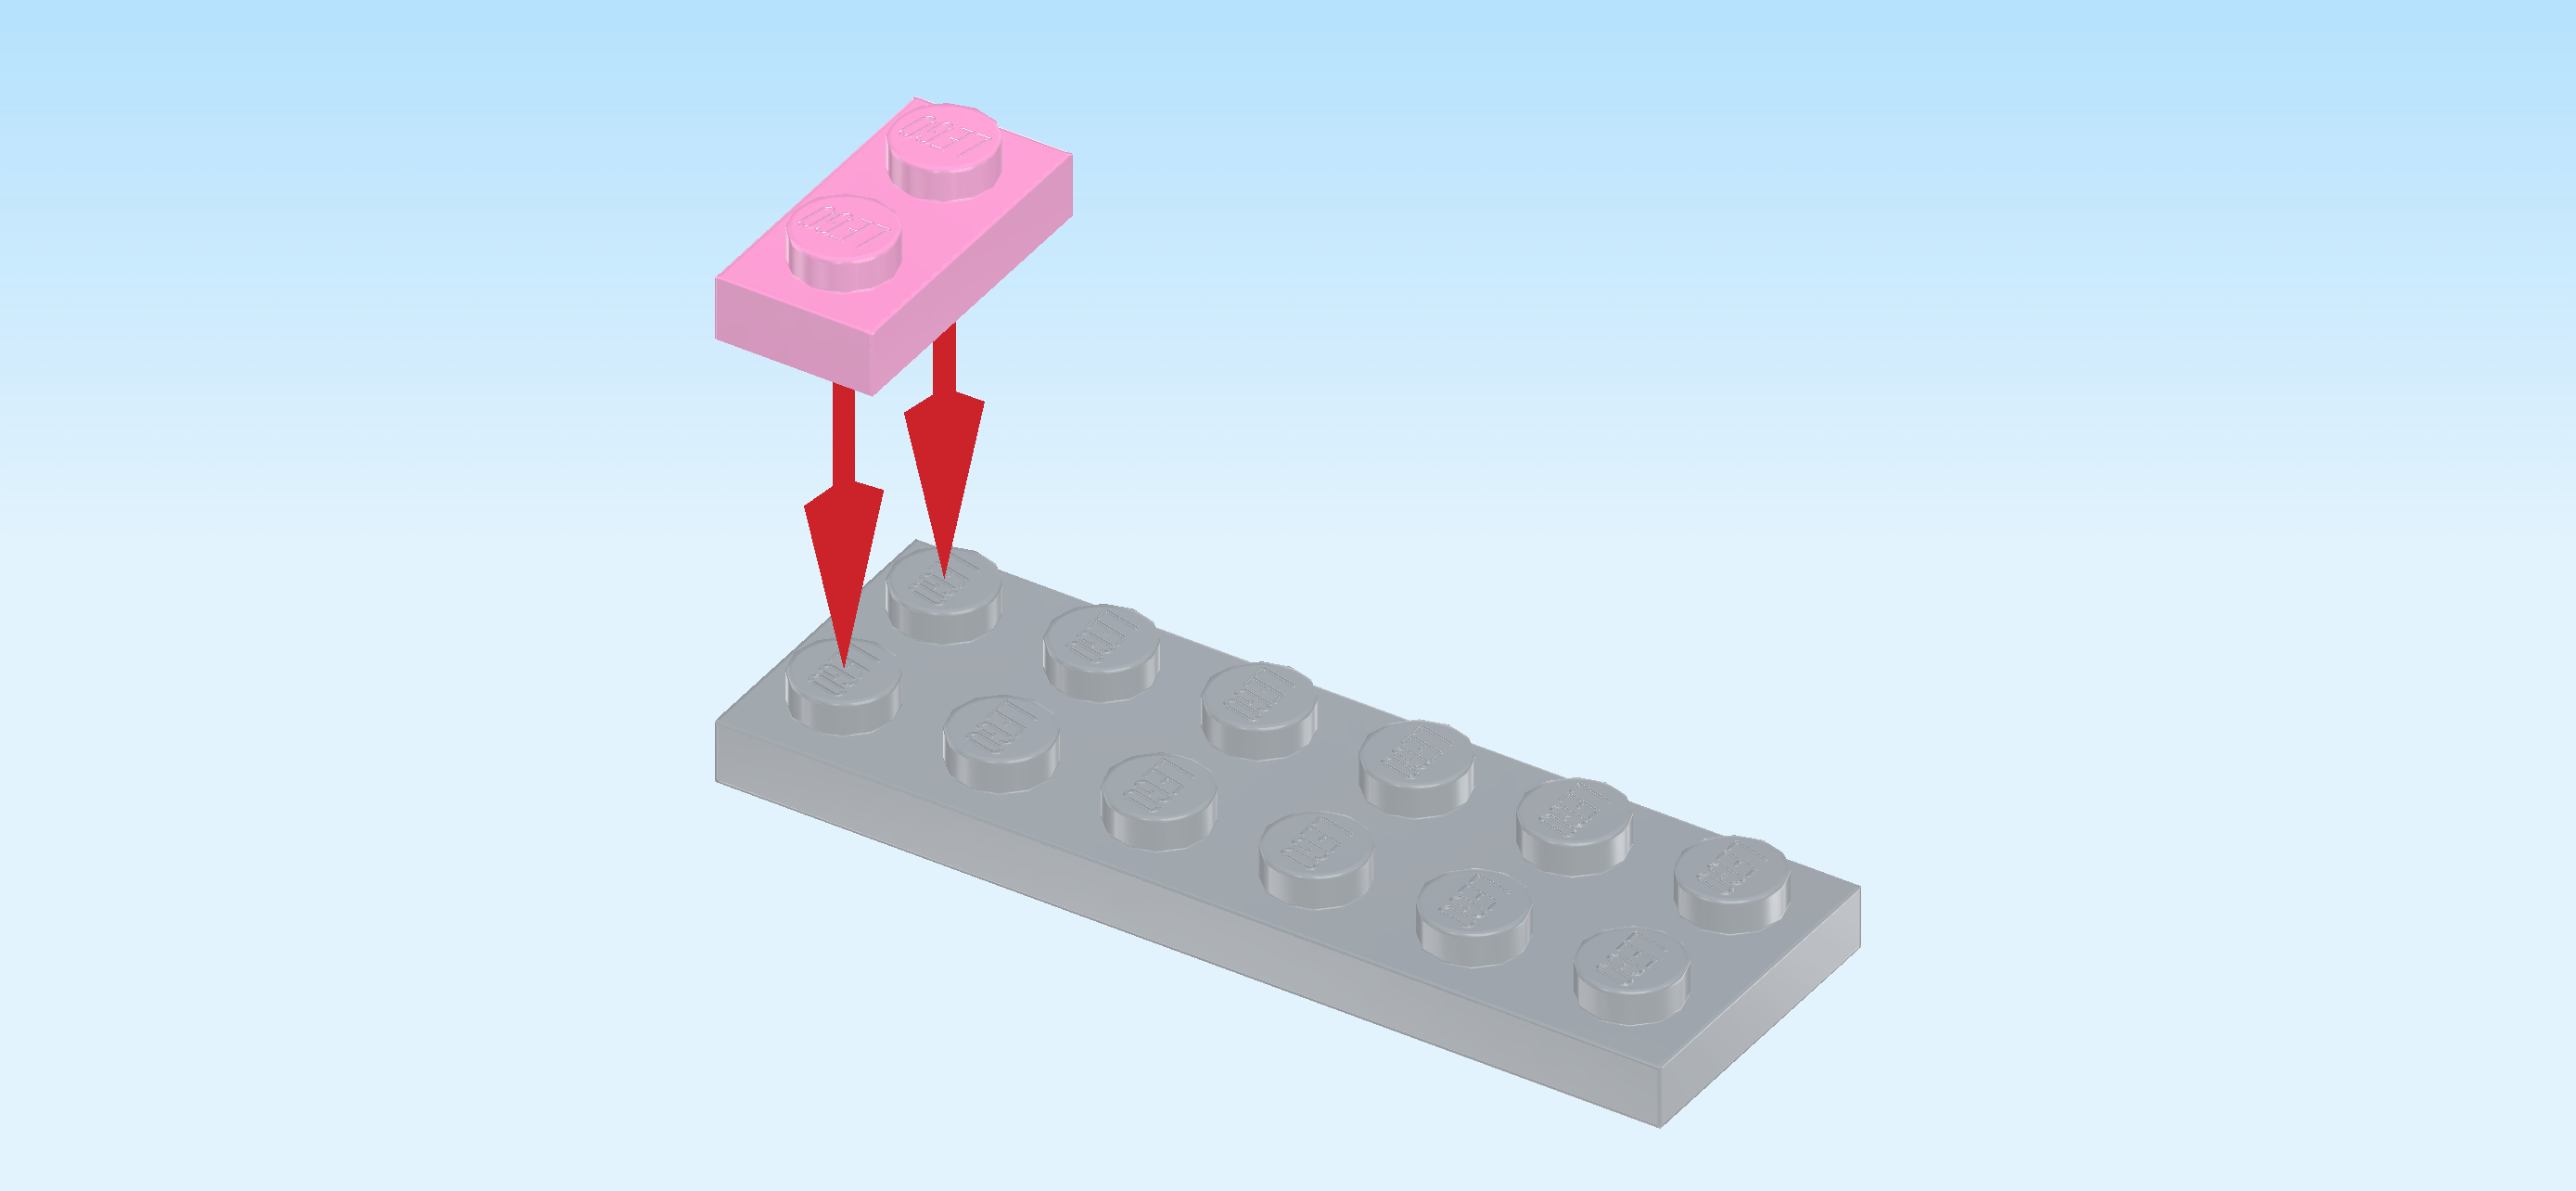
| 1 medium stone grey plate 2x6, |
| and 1 light purple plate 1x2. |
| Put the plate 2x6 horizontally on the table. |
| Put the plate 1x2 vertically on the leftmost column. |
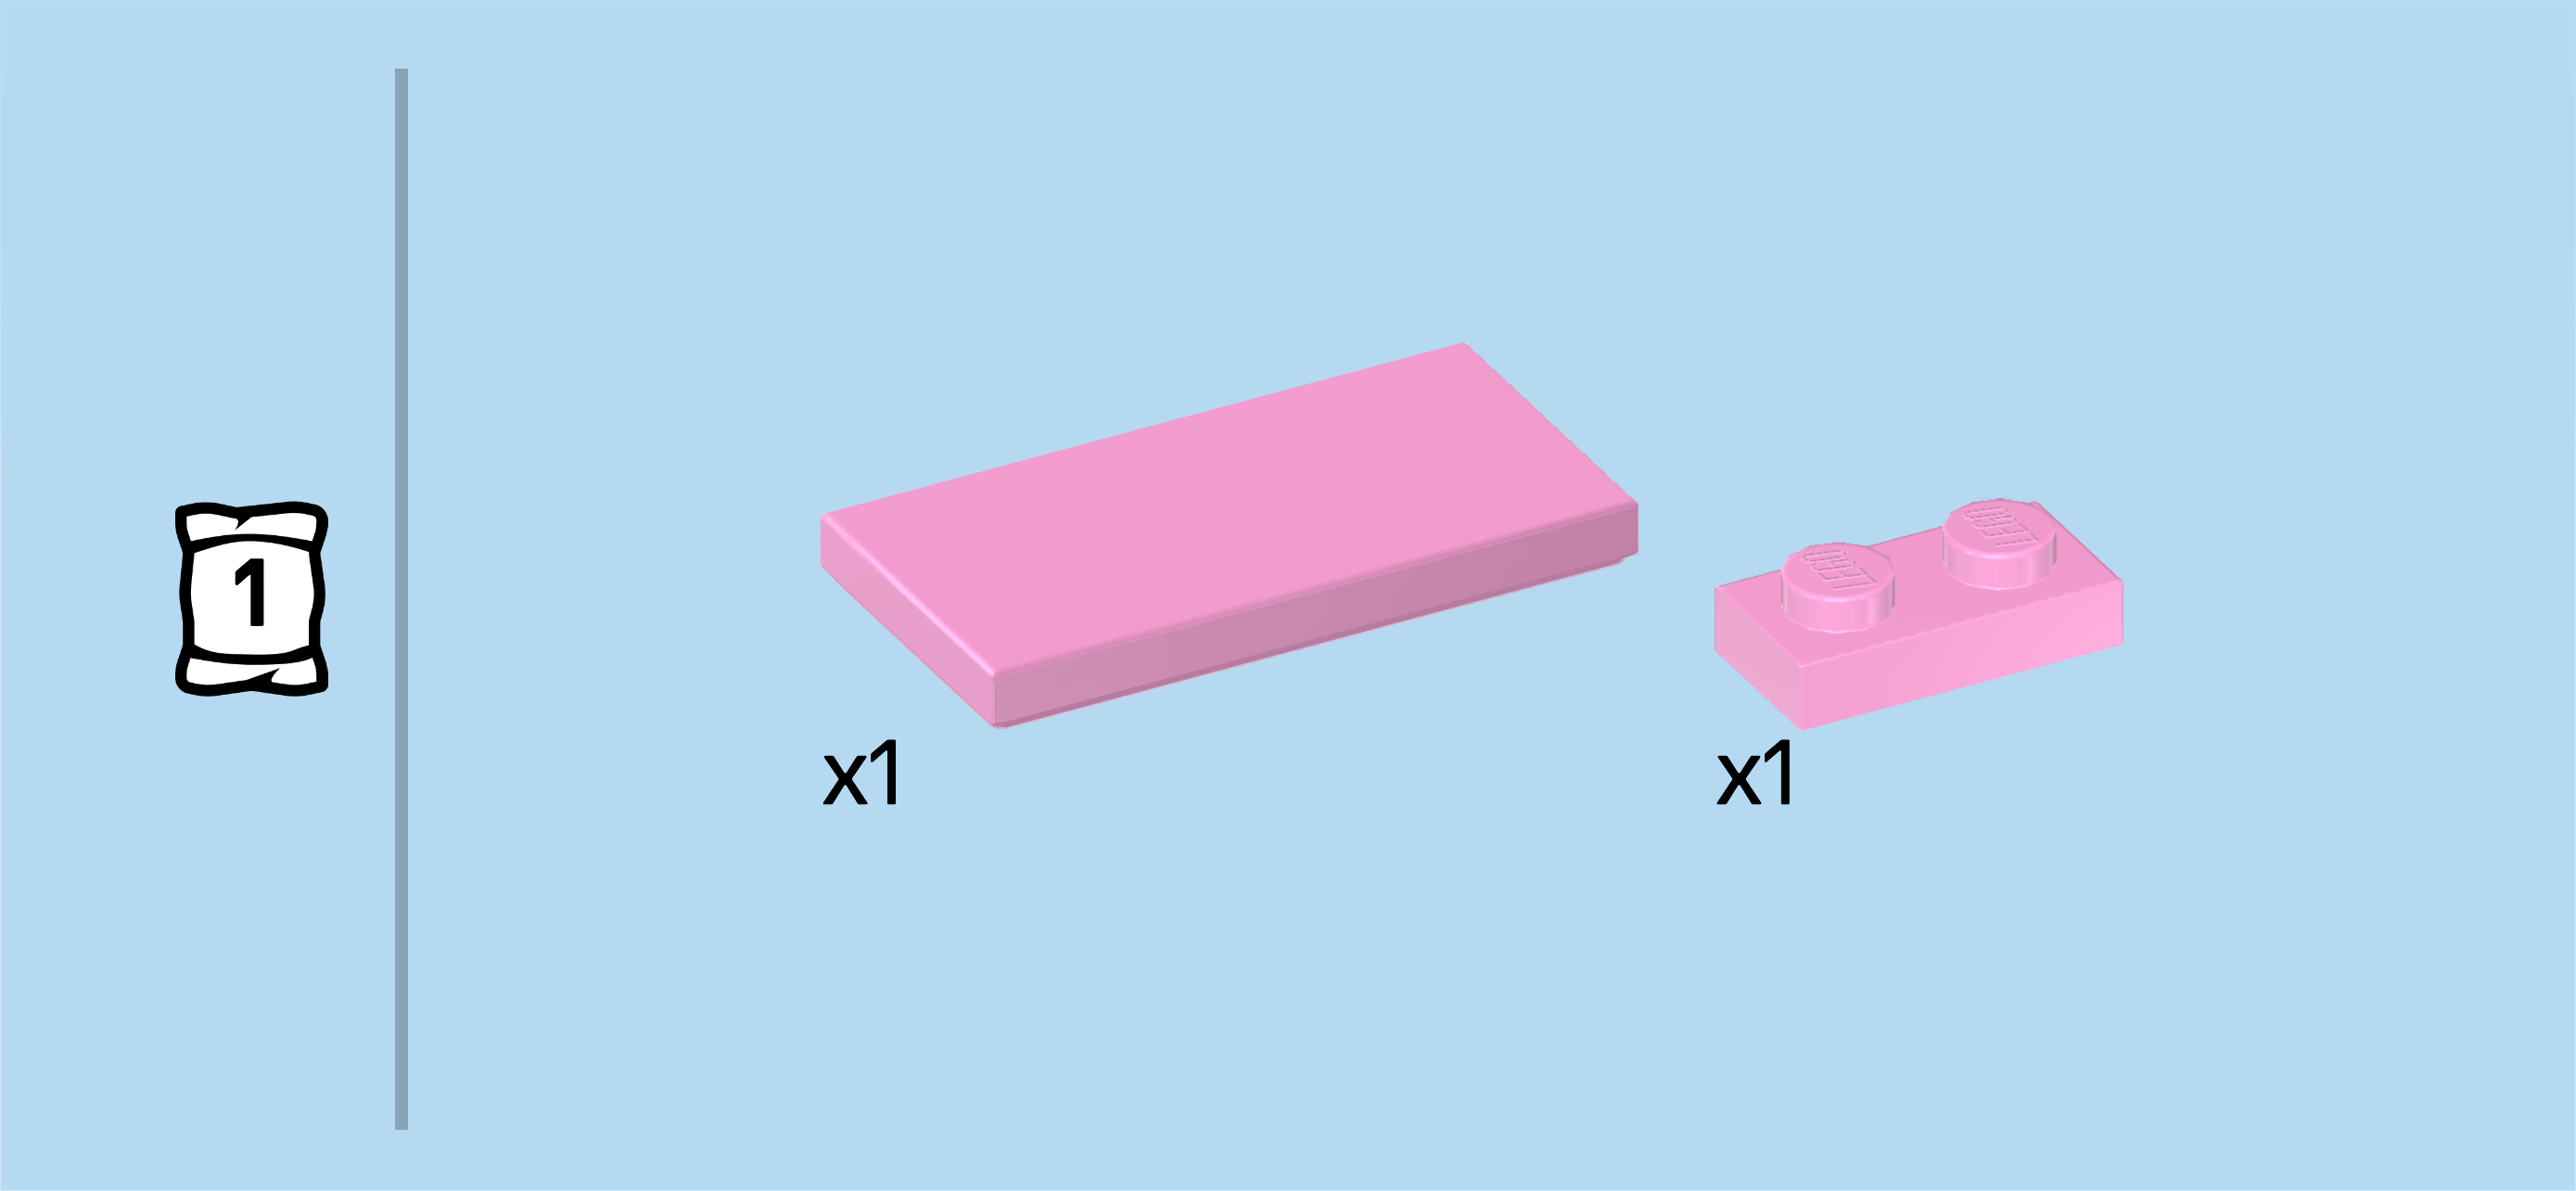
| Collect the following 2 pieces: |
| 1 light purple plate 1x2, |
| and 1 light purple flat tile 2x4. |
| Put the flat tile 2x4 horizontally to the right of the previous piece. |
| Put the plate 1x2 vertically to the right of the previous piece. |
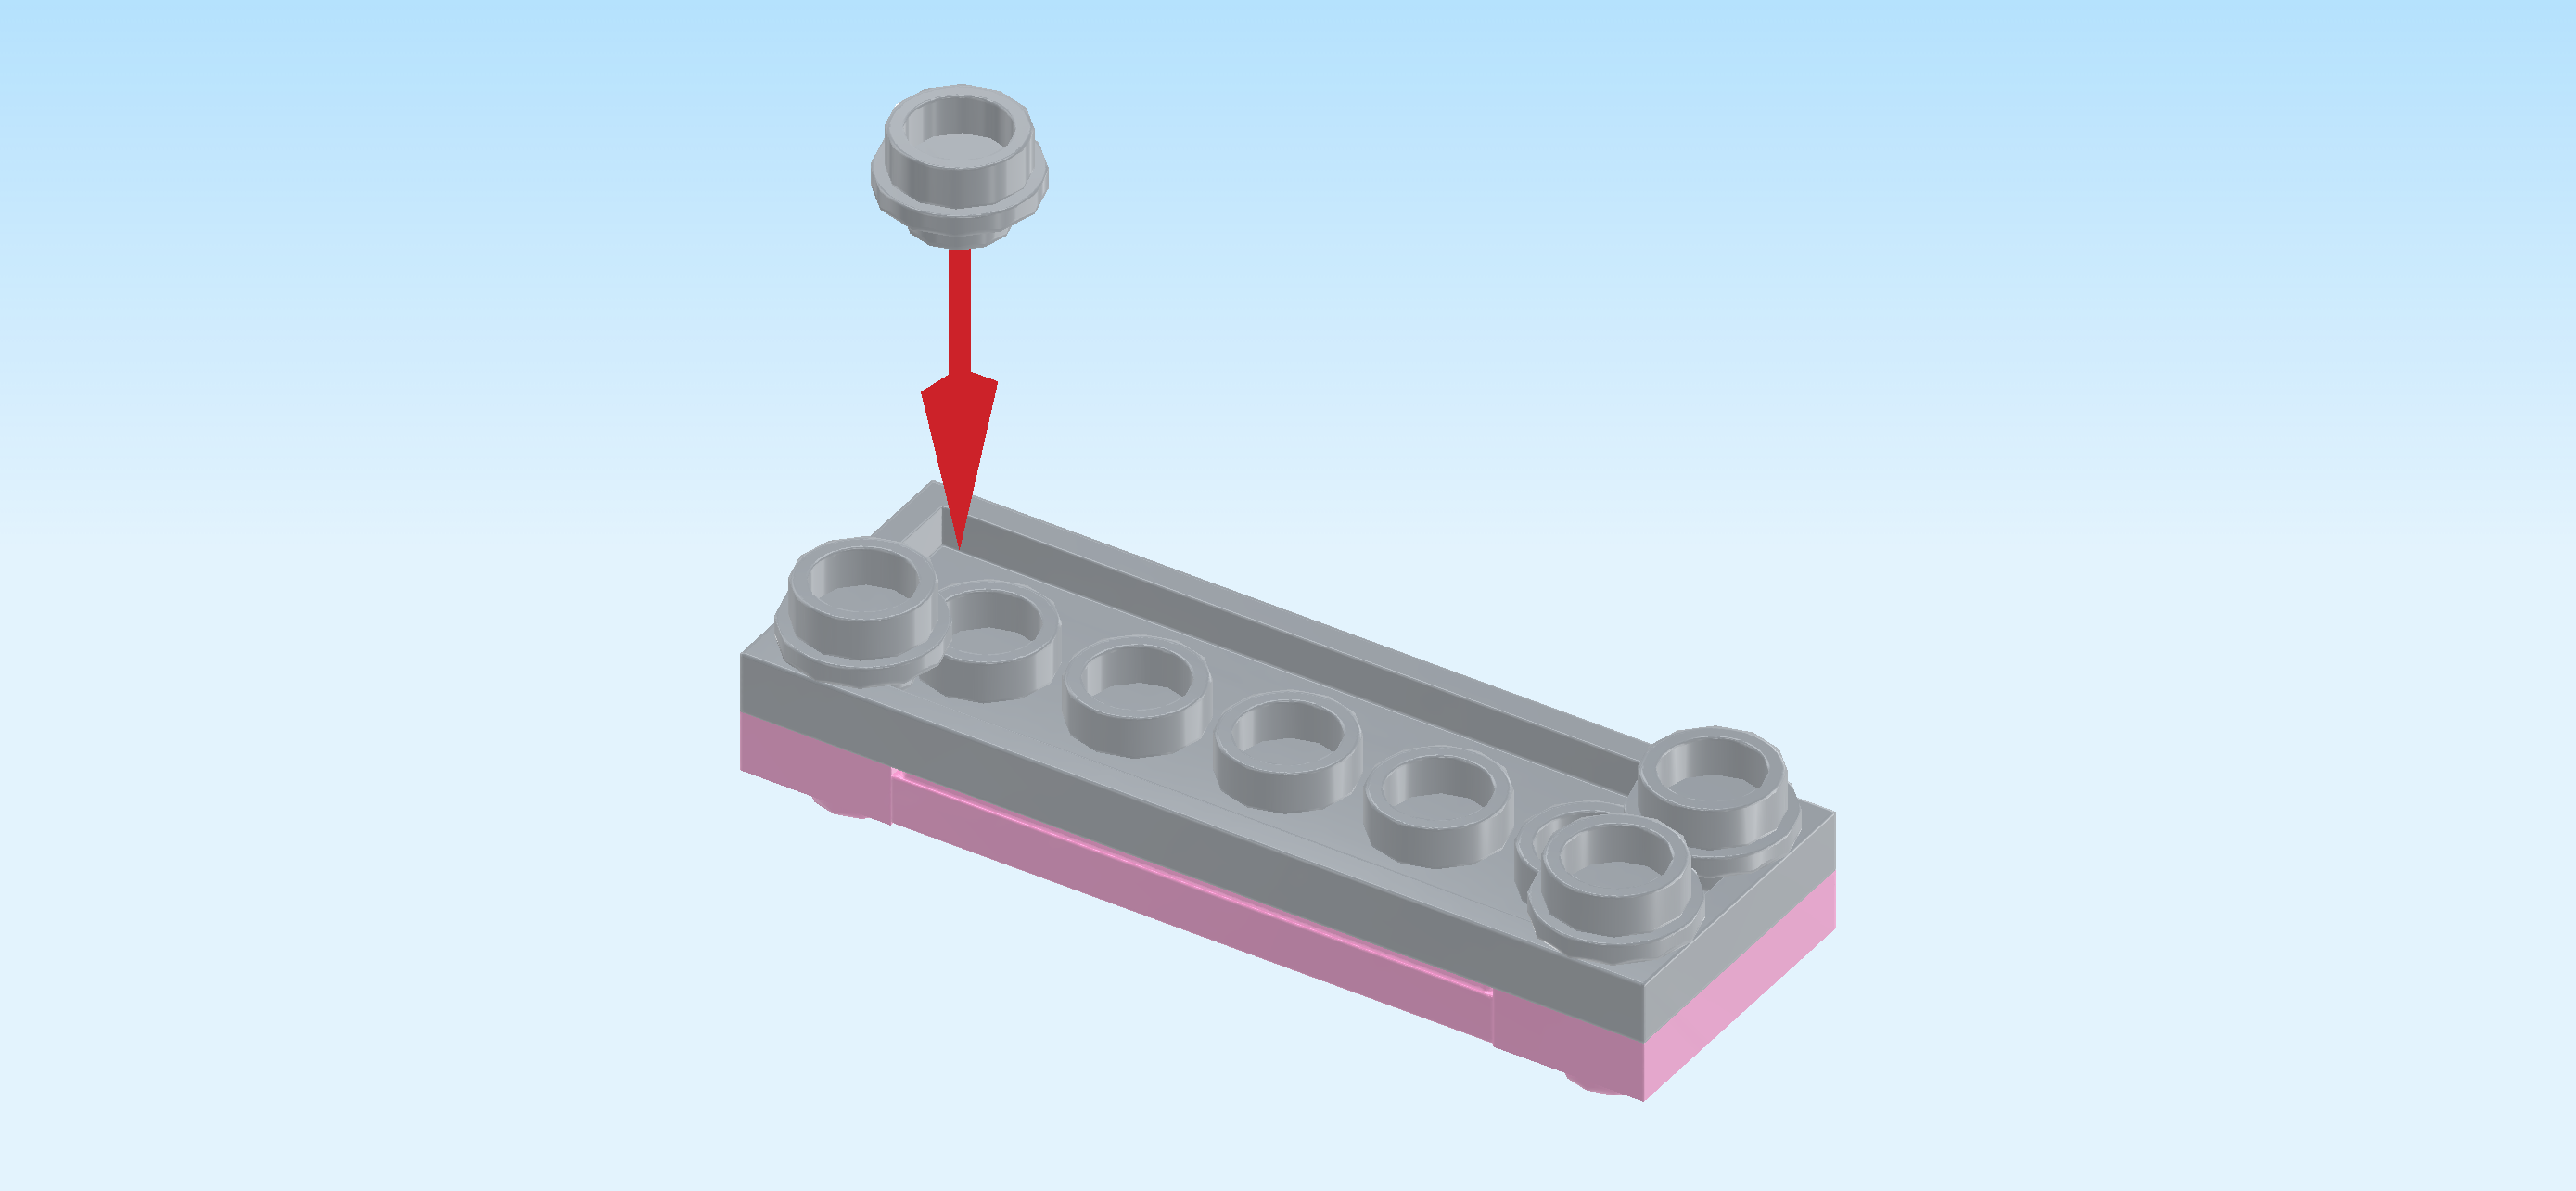
| Find 4 medium stone grey round plates 1x1. |
| Flip the bed structure upside down, but keep the horizontal orientation. |
| Put 2 round plates next to each other on the left edge. |
| Repeat symmetrically on the right edge. |
| These 4 pieces are the feet of the bed. |
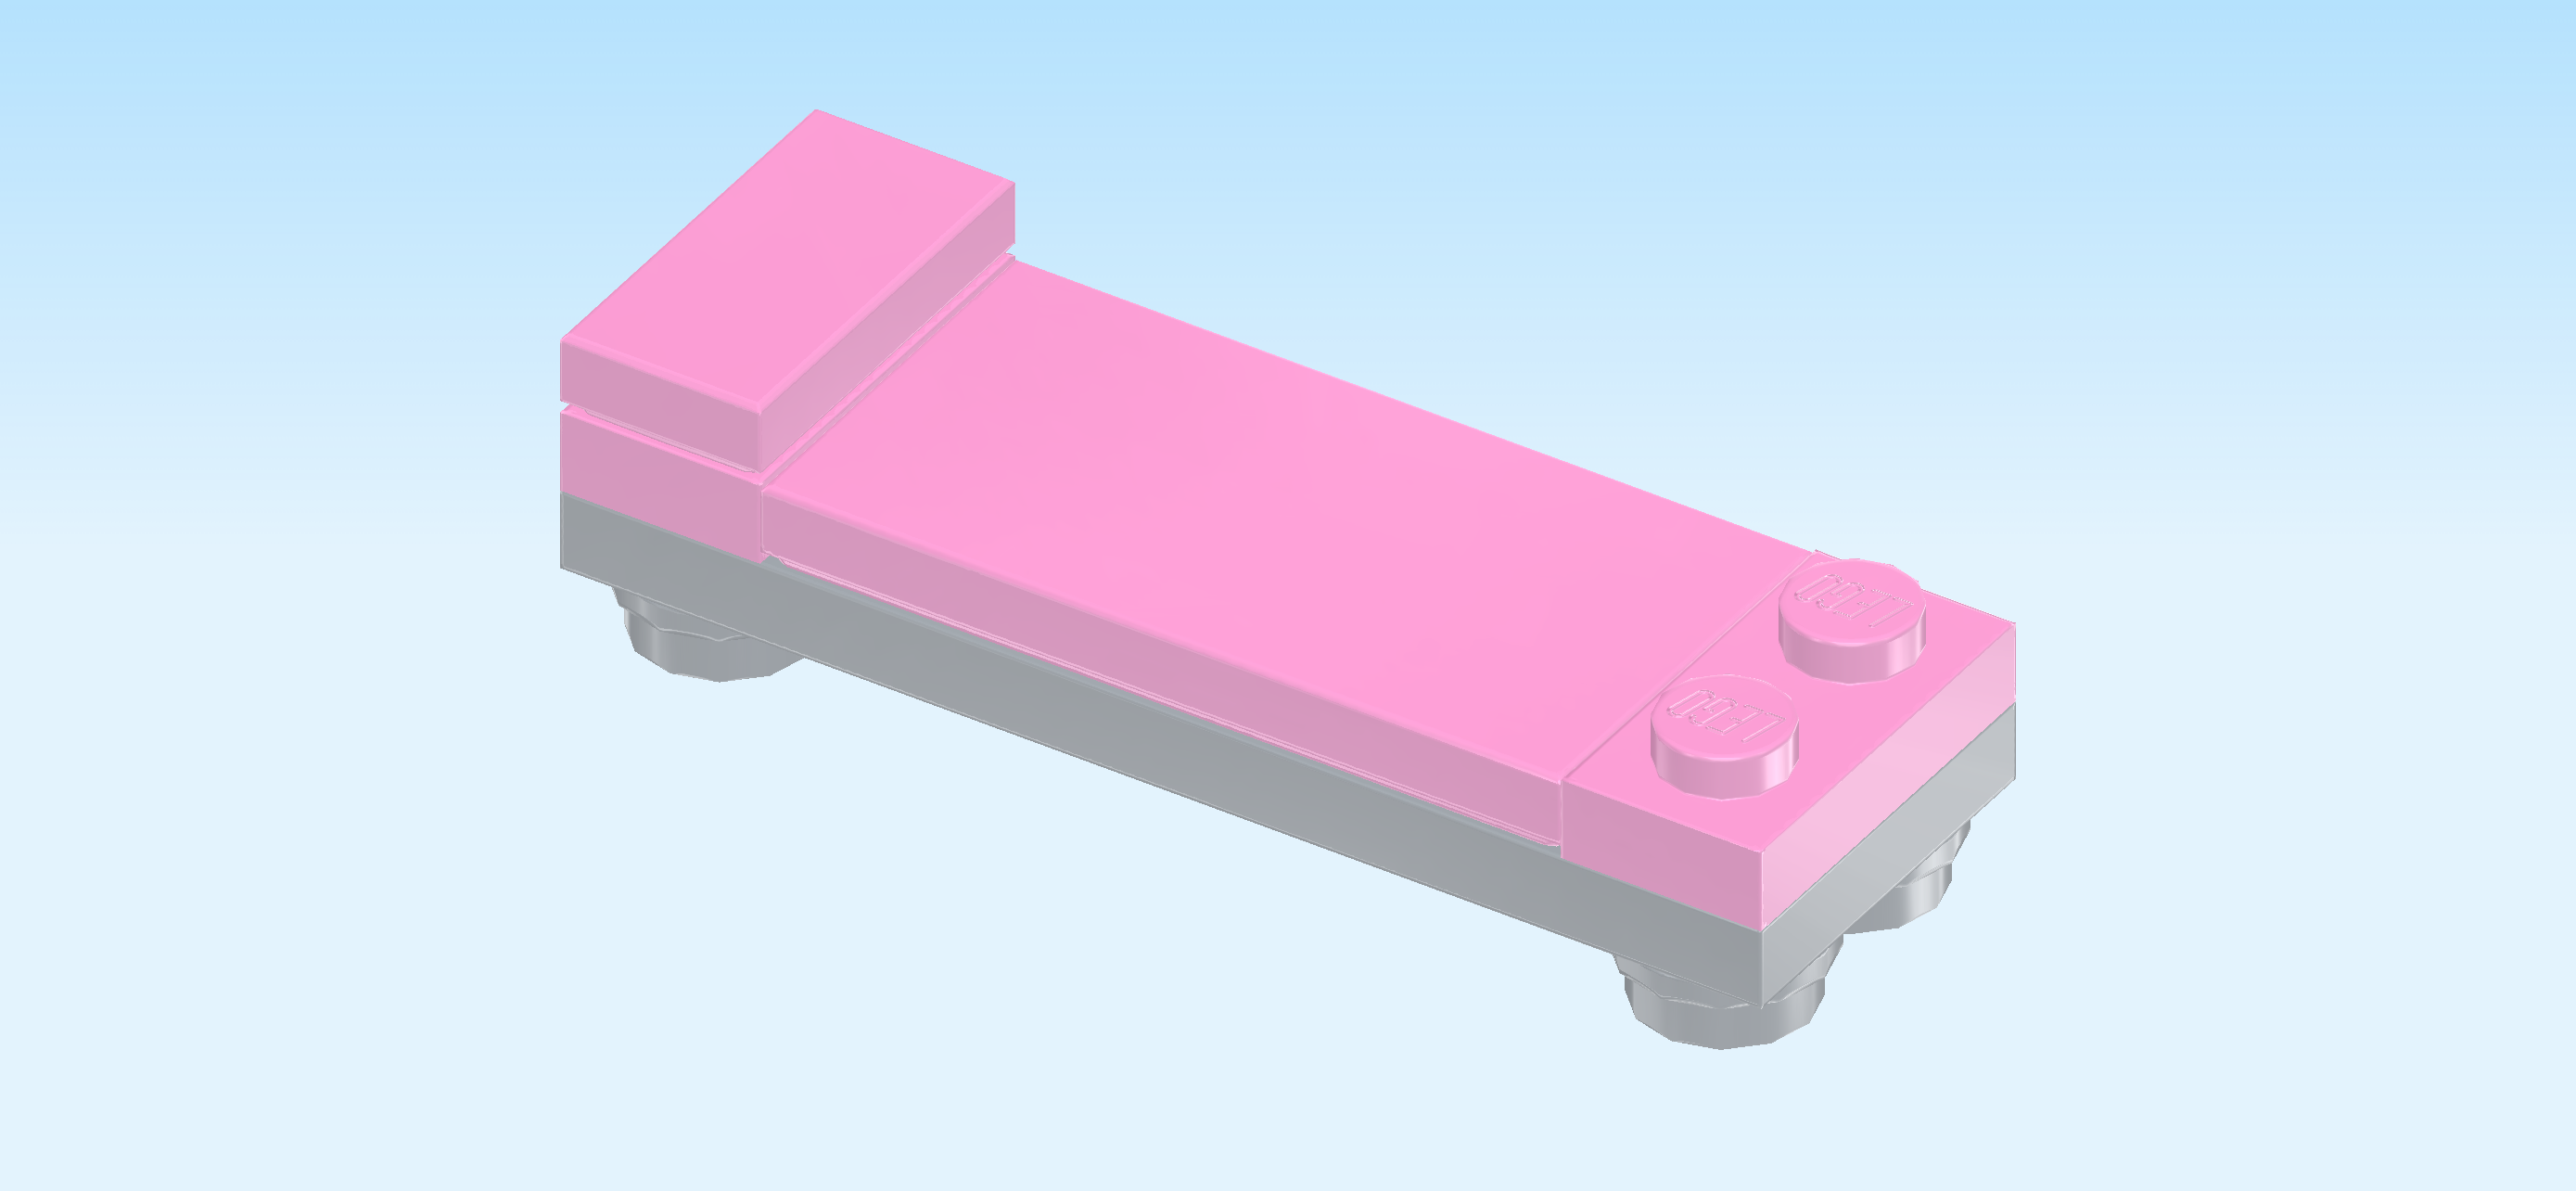
| Find 1 light purple flat tile 1x2. |
| Flip the bed right side up again, keeping the horizontal orientation. |
| Put the flat tile vertically on the leftmost column. |
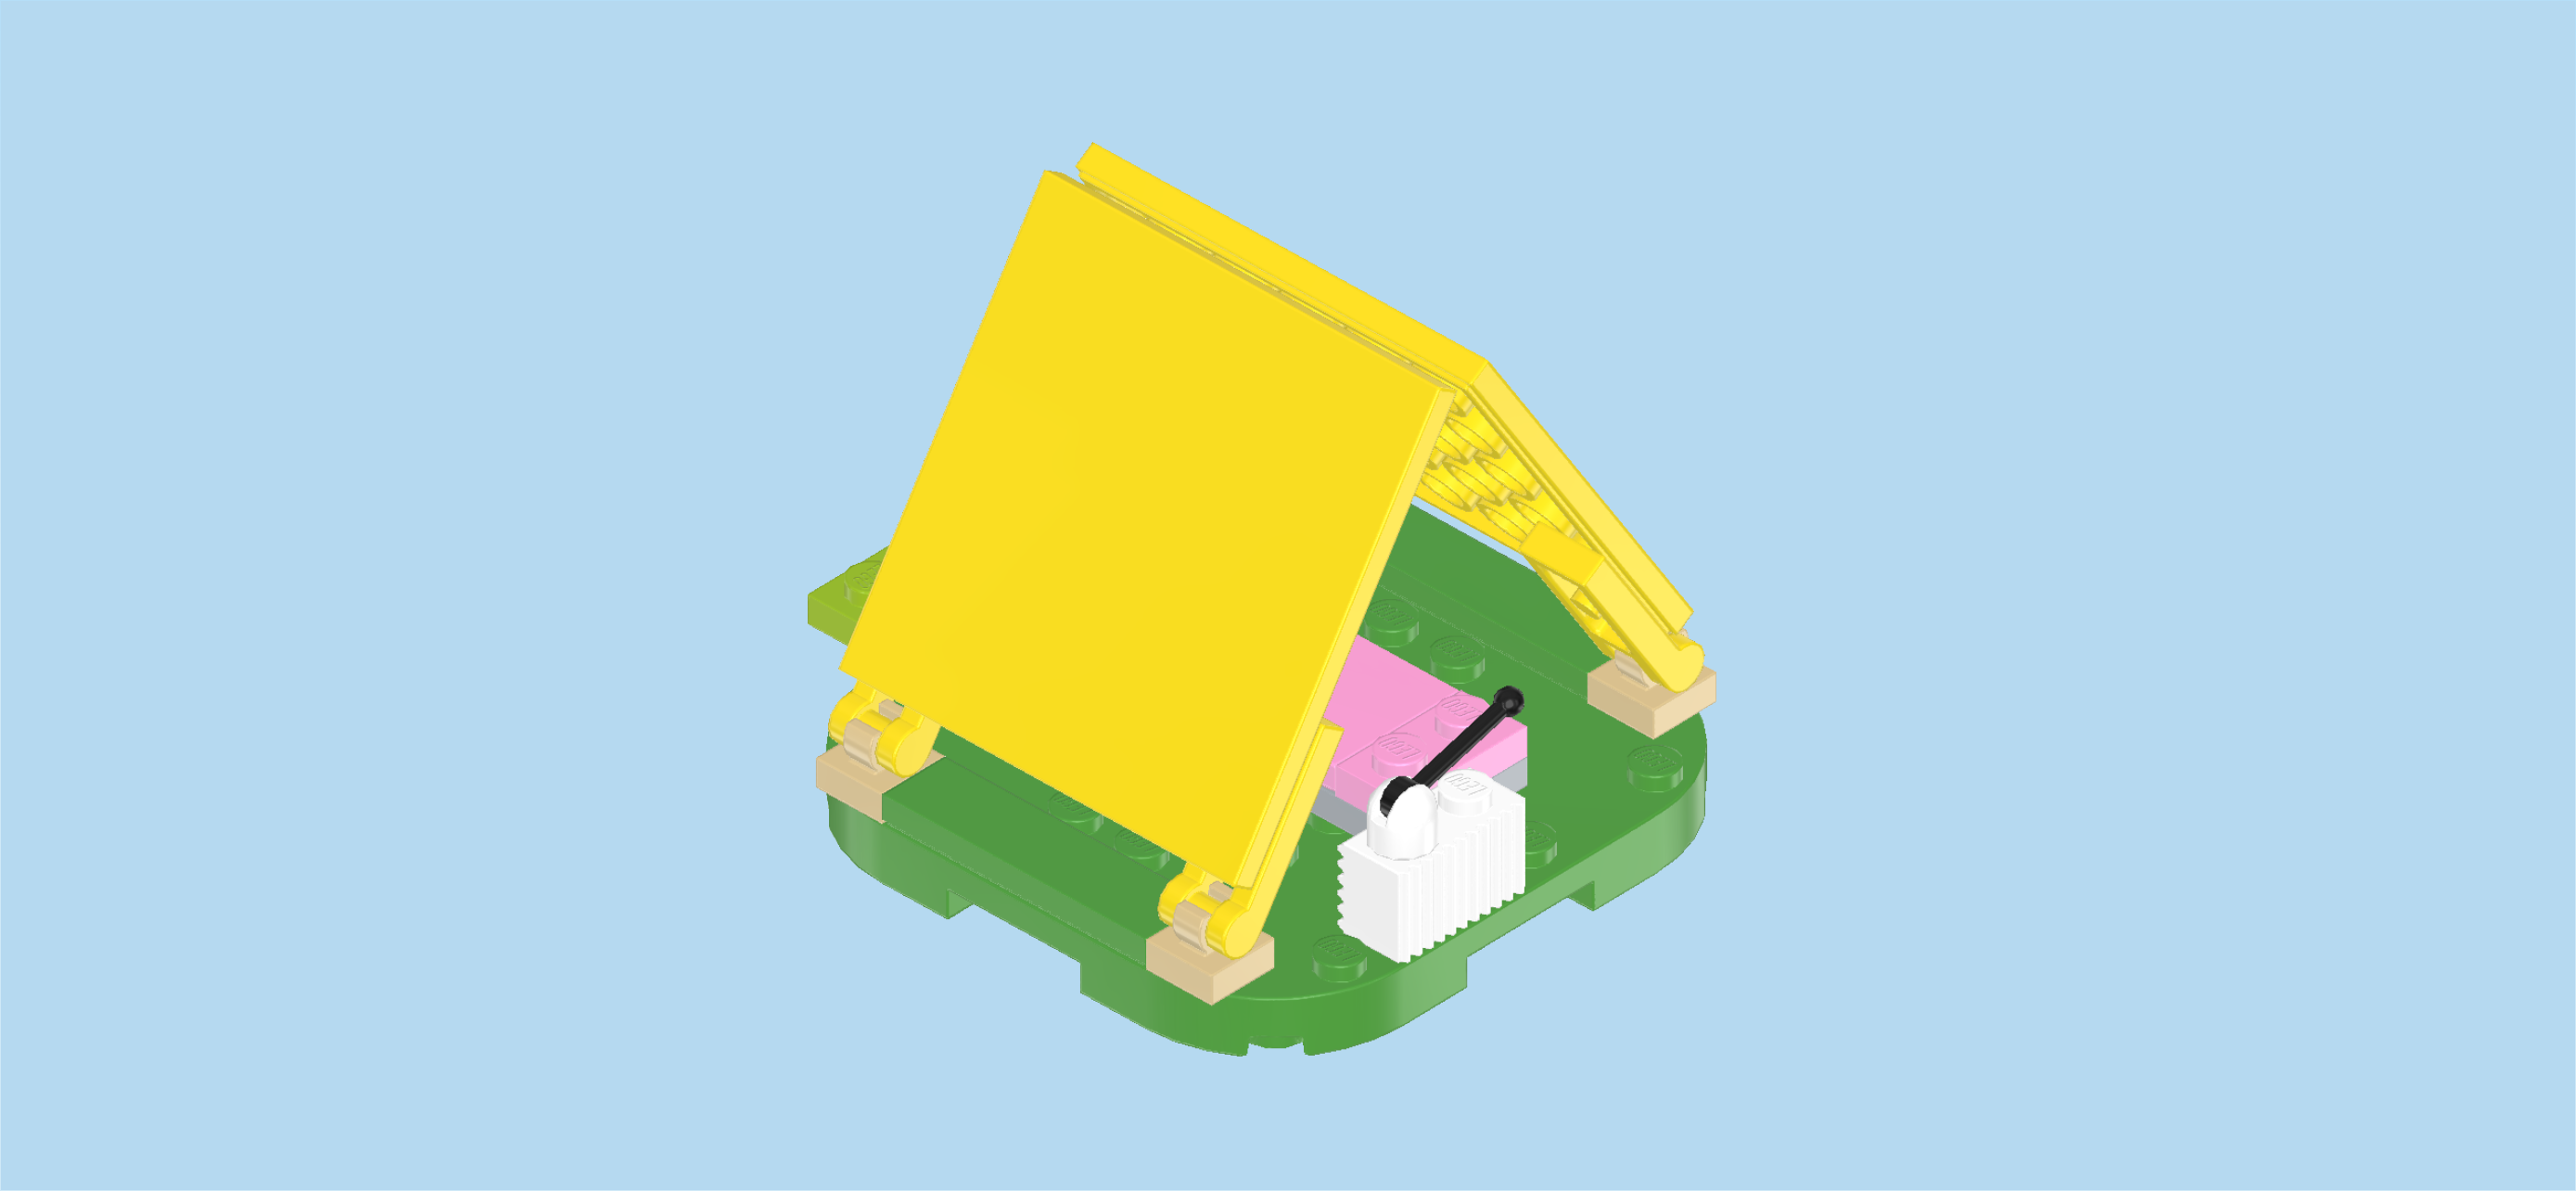
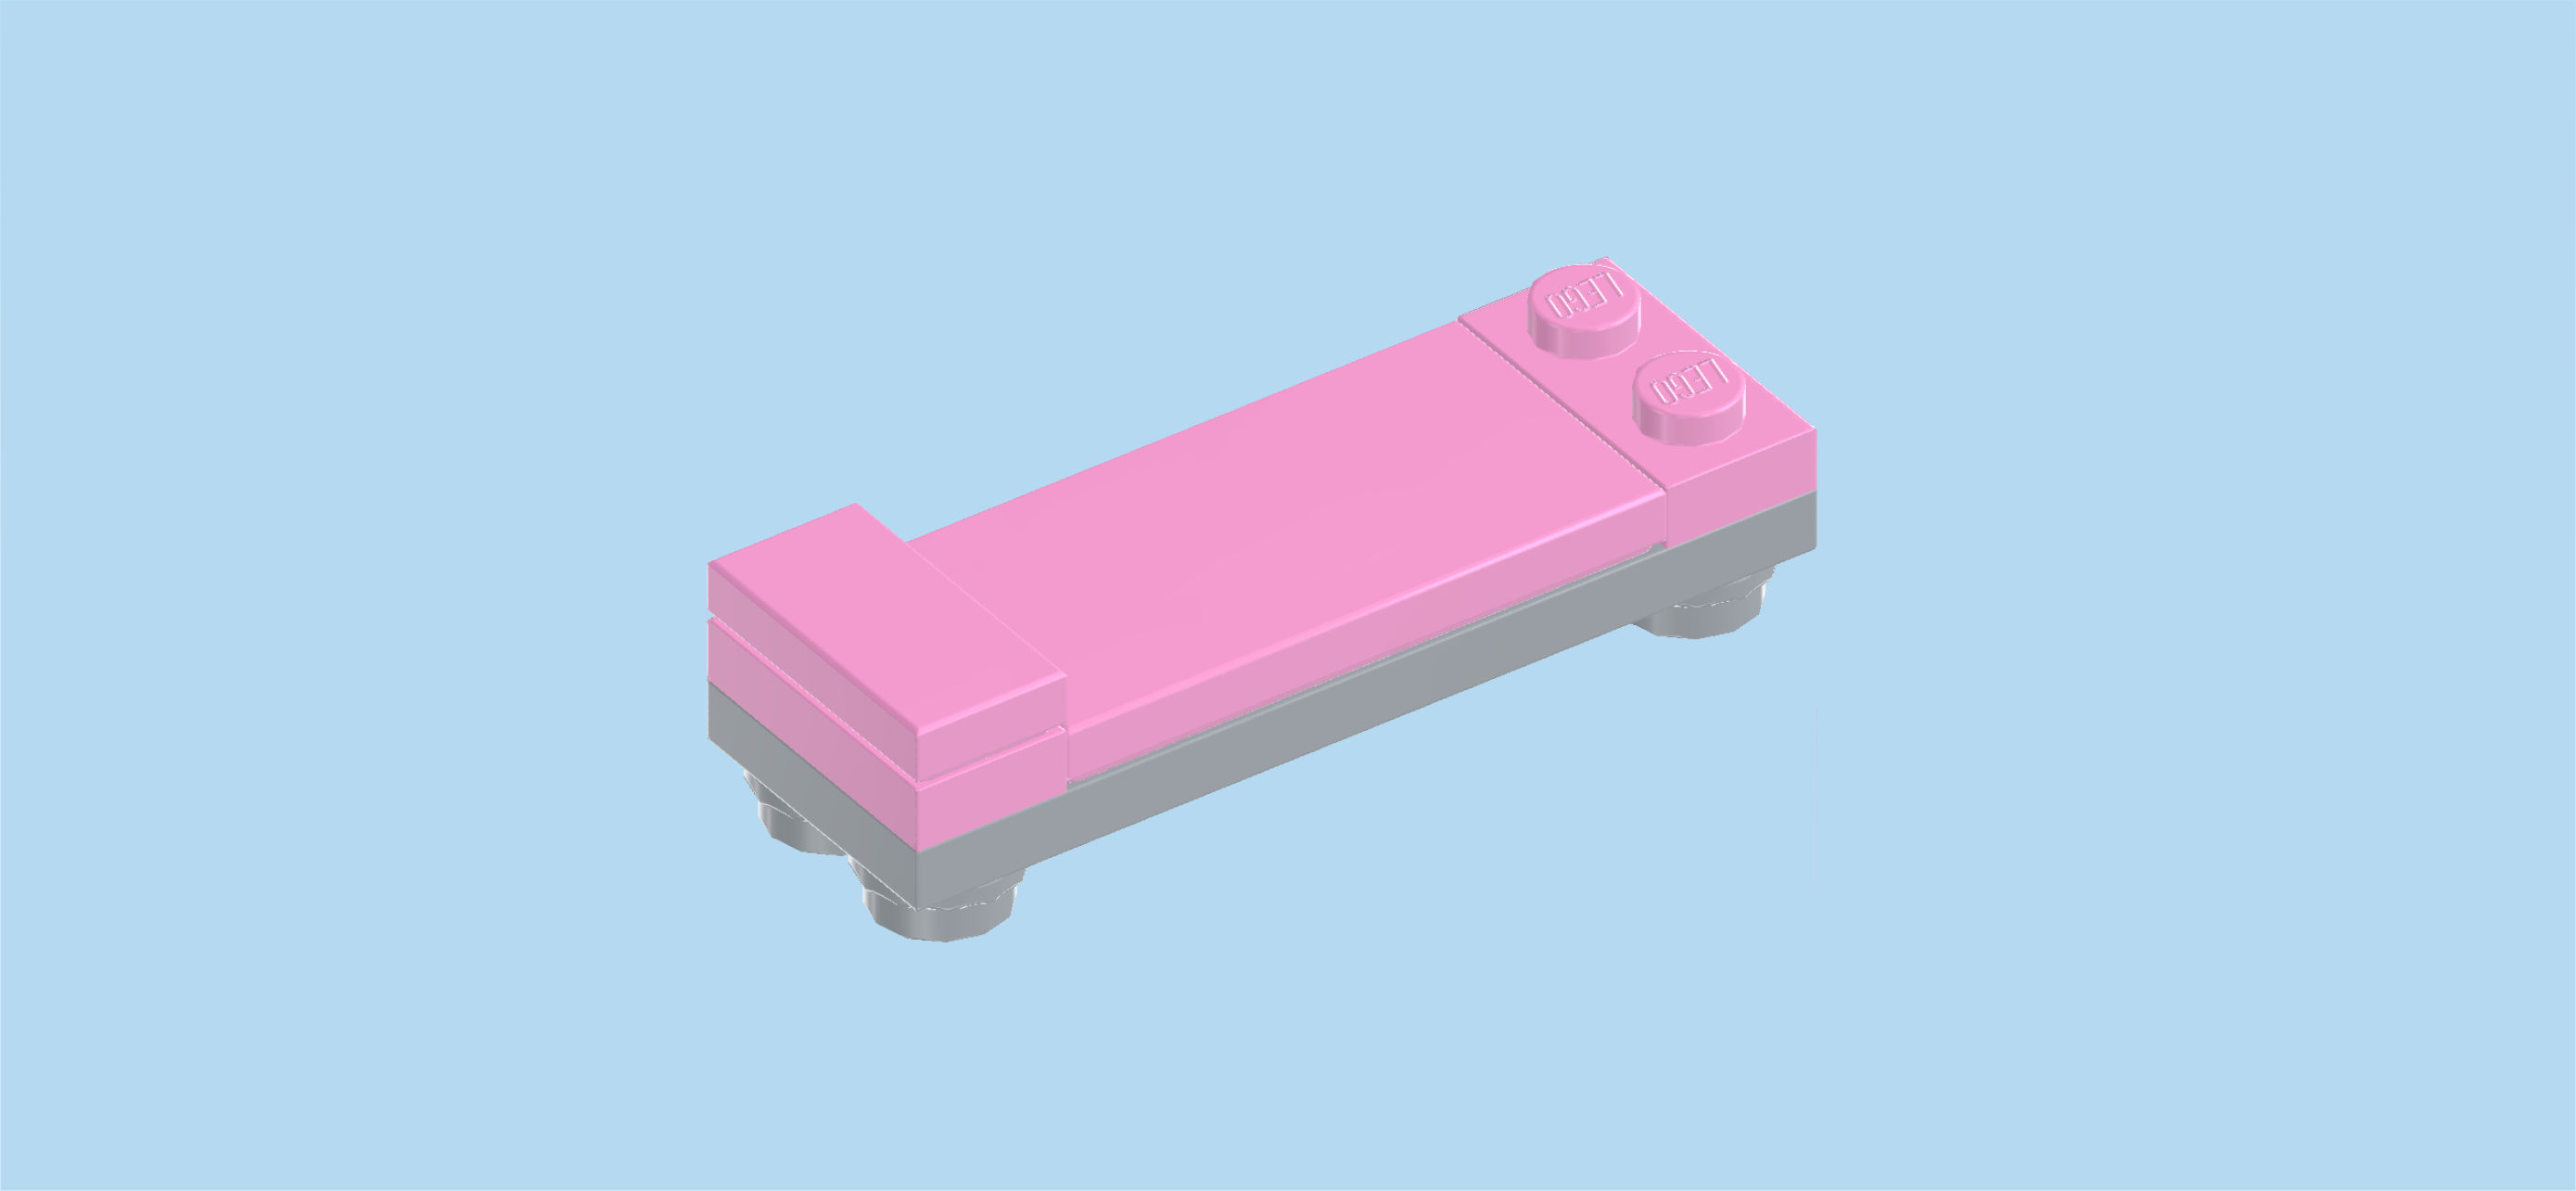
| The bed is finished! Great job! Mount it horizontally centered on the baseplate. This means it will sit on the 2 middle rows, and its front right corner will touch the back half of the radio. |
| Next up, we will build the roof of the tent. |
| Collect the following 4 pieces: |
| 2 bright yellow plates 1x2 with shaft on short side, |
| and 2 bright yellow flat tiles 6x6. |
| Put 1 flat tile 6x6 on the table. Make sure the front edge is straight in front of you. |
| Mount 1 plate 1x2 with side shaft horizontally underneath the backmost edge of the flat tile, making sure that only the shaft is protruding to the left. |
| Repeat with the 2 remaining pieces. |
| Find another 2 bright yellow plates 1x2 with shaft on short side. |
| Mount 1 horizontally underneath the frontmost edge of one of the flat tiles, shaft again protruding to the left. |
| Repeat with the other plate 1x2 on the second flat tile 6x6. |
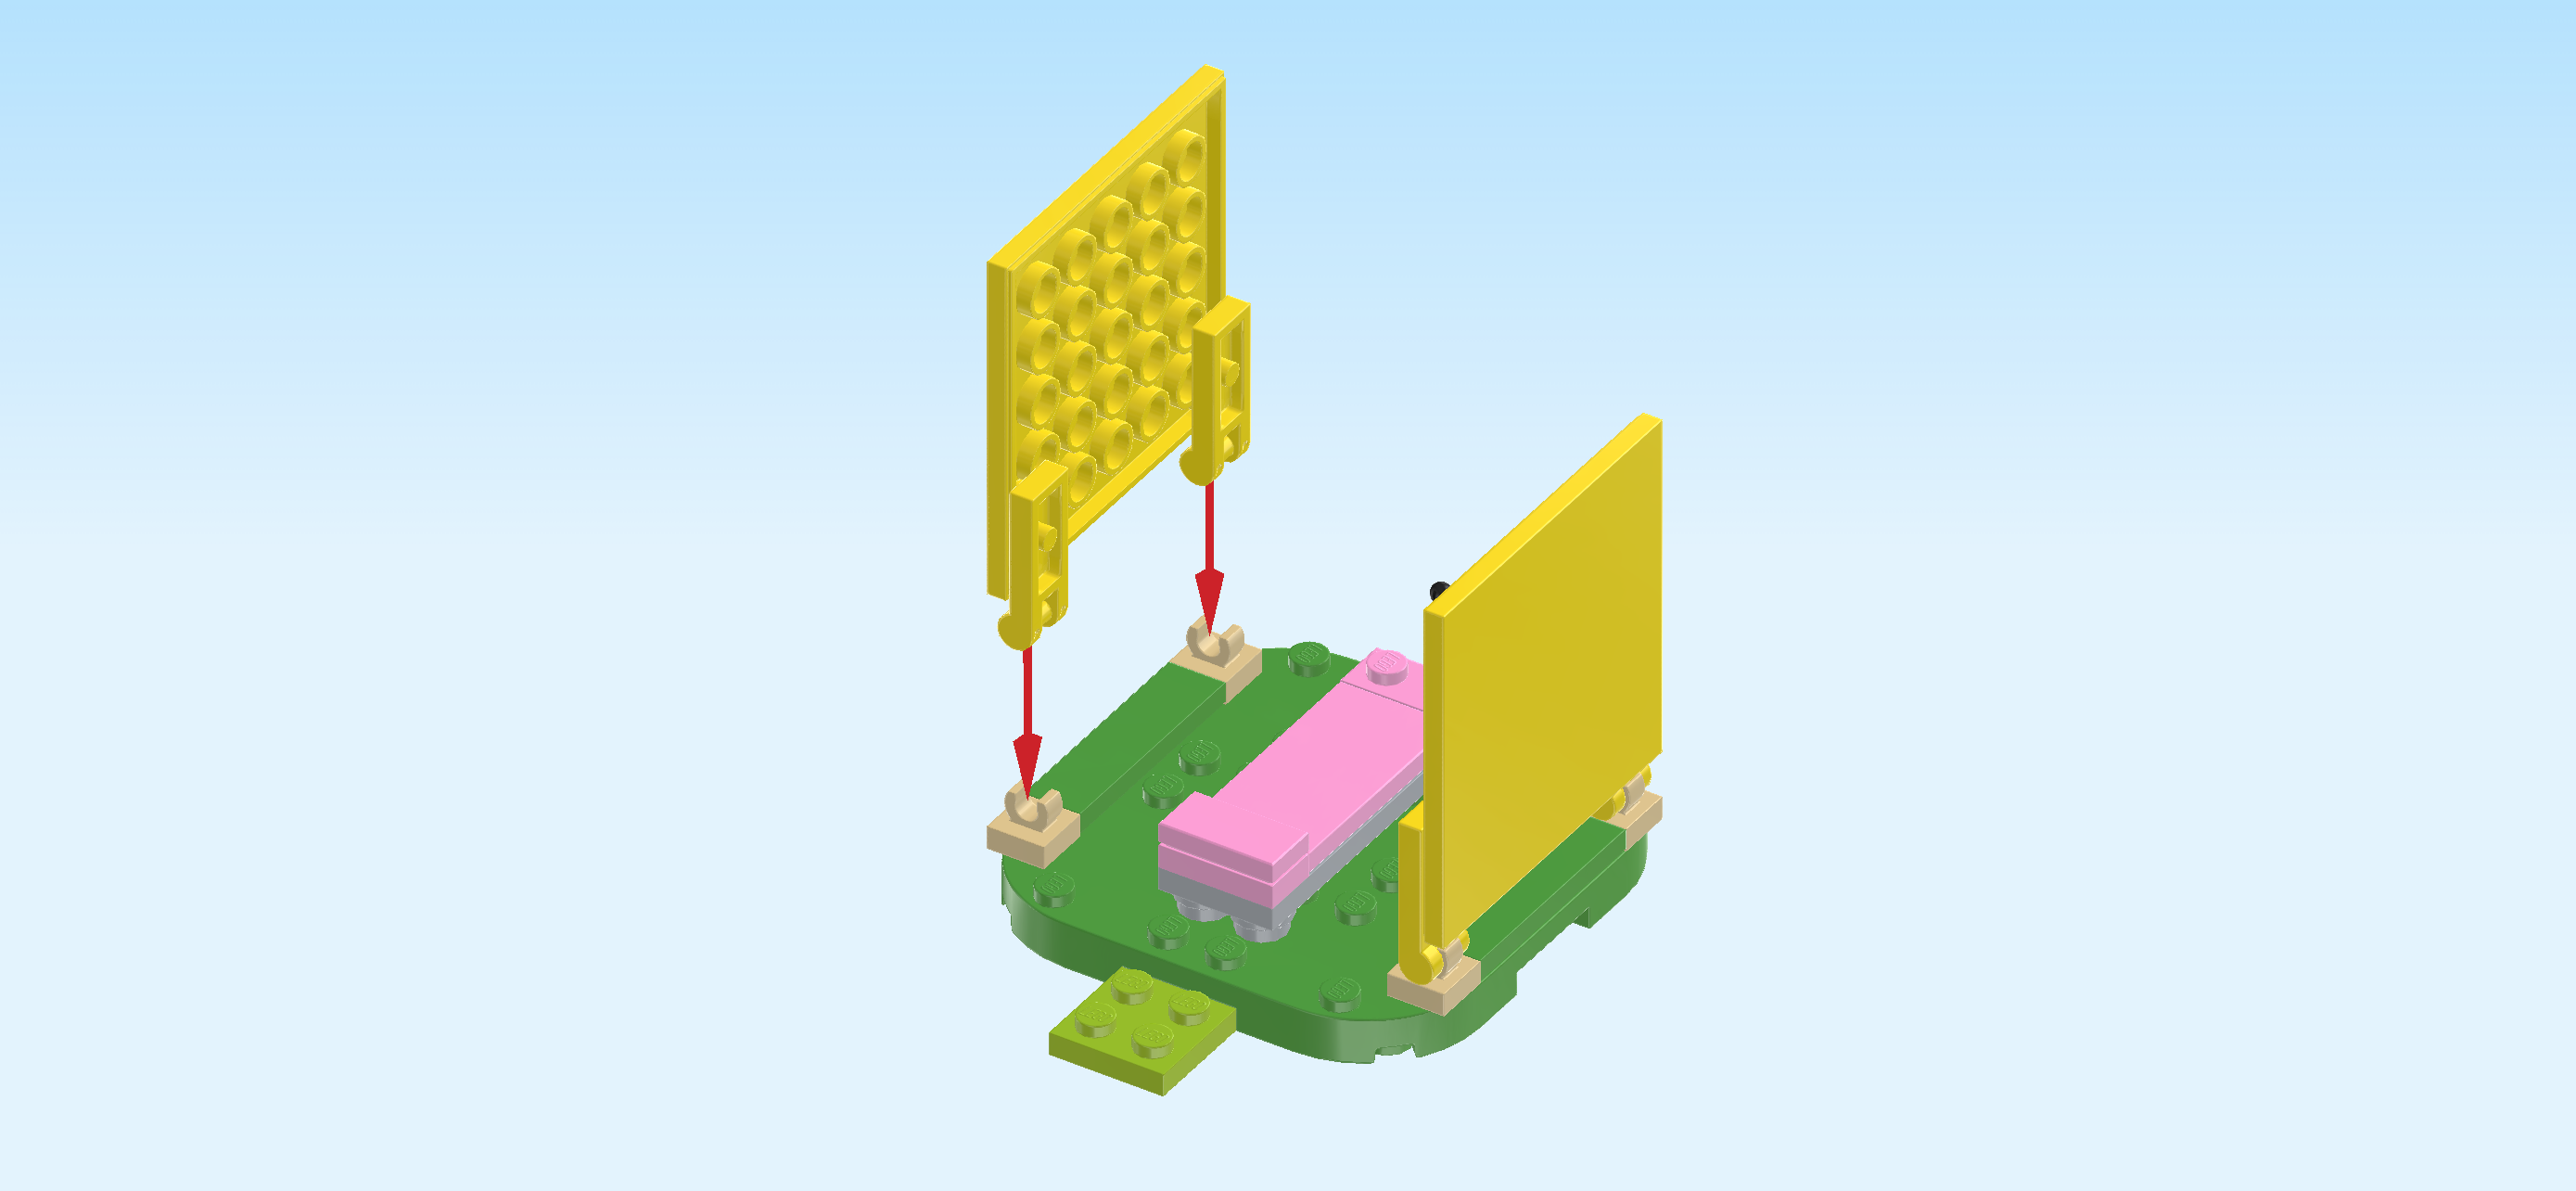
| To mount the roof, flip 1 flat tile with shaft plates upright, shafts pointing to the bottom, smooth surface to the back. Snap the 2 shafts into the 2 clasps at the back edge of the baseplate. Leave the flat tile upright for now. |
| Repeat symmetrically at the front, this time smooth side facing you. |
| Now, fold the 2 roof parts slowly together until their top edges meet in the middle. |
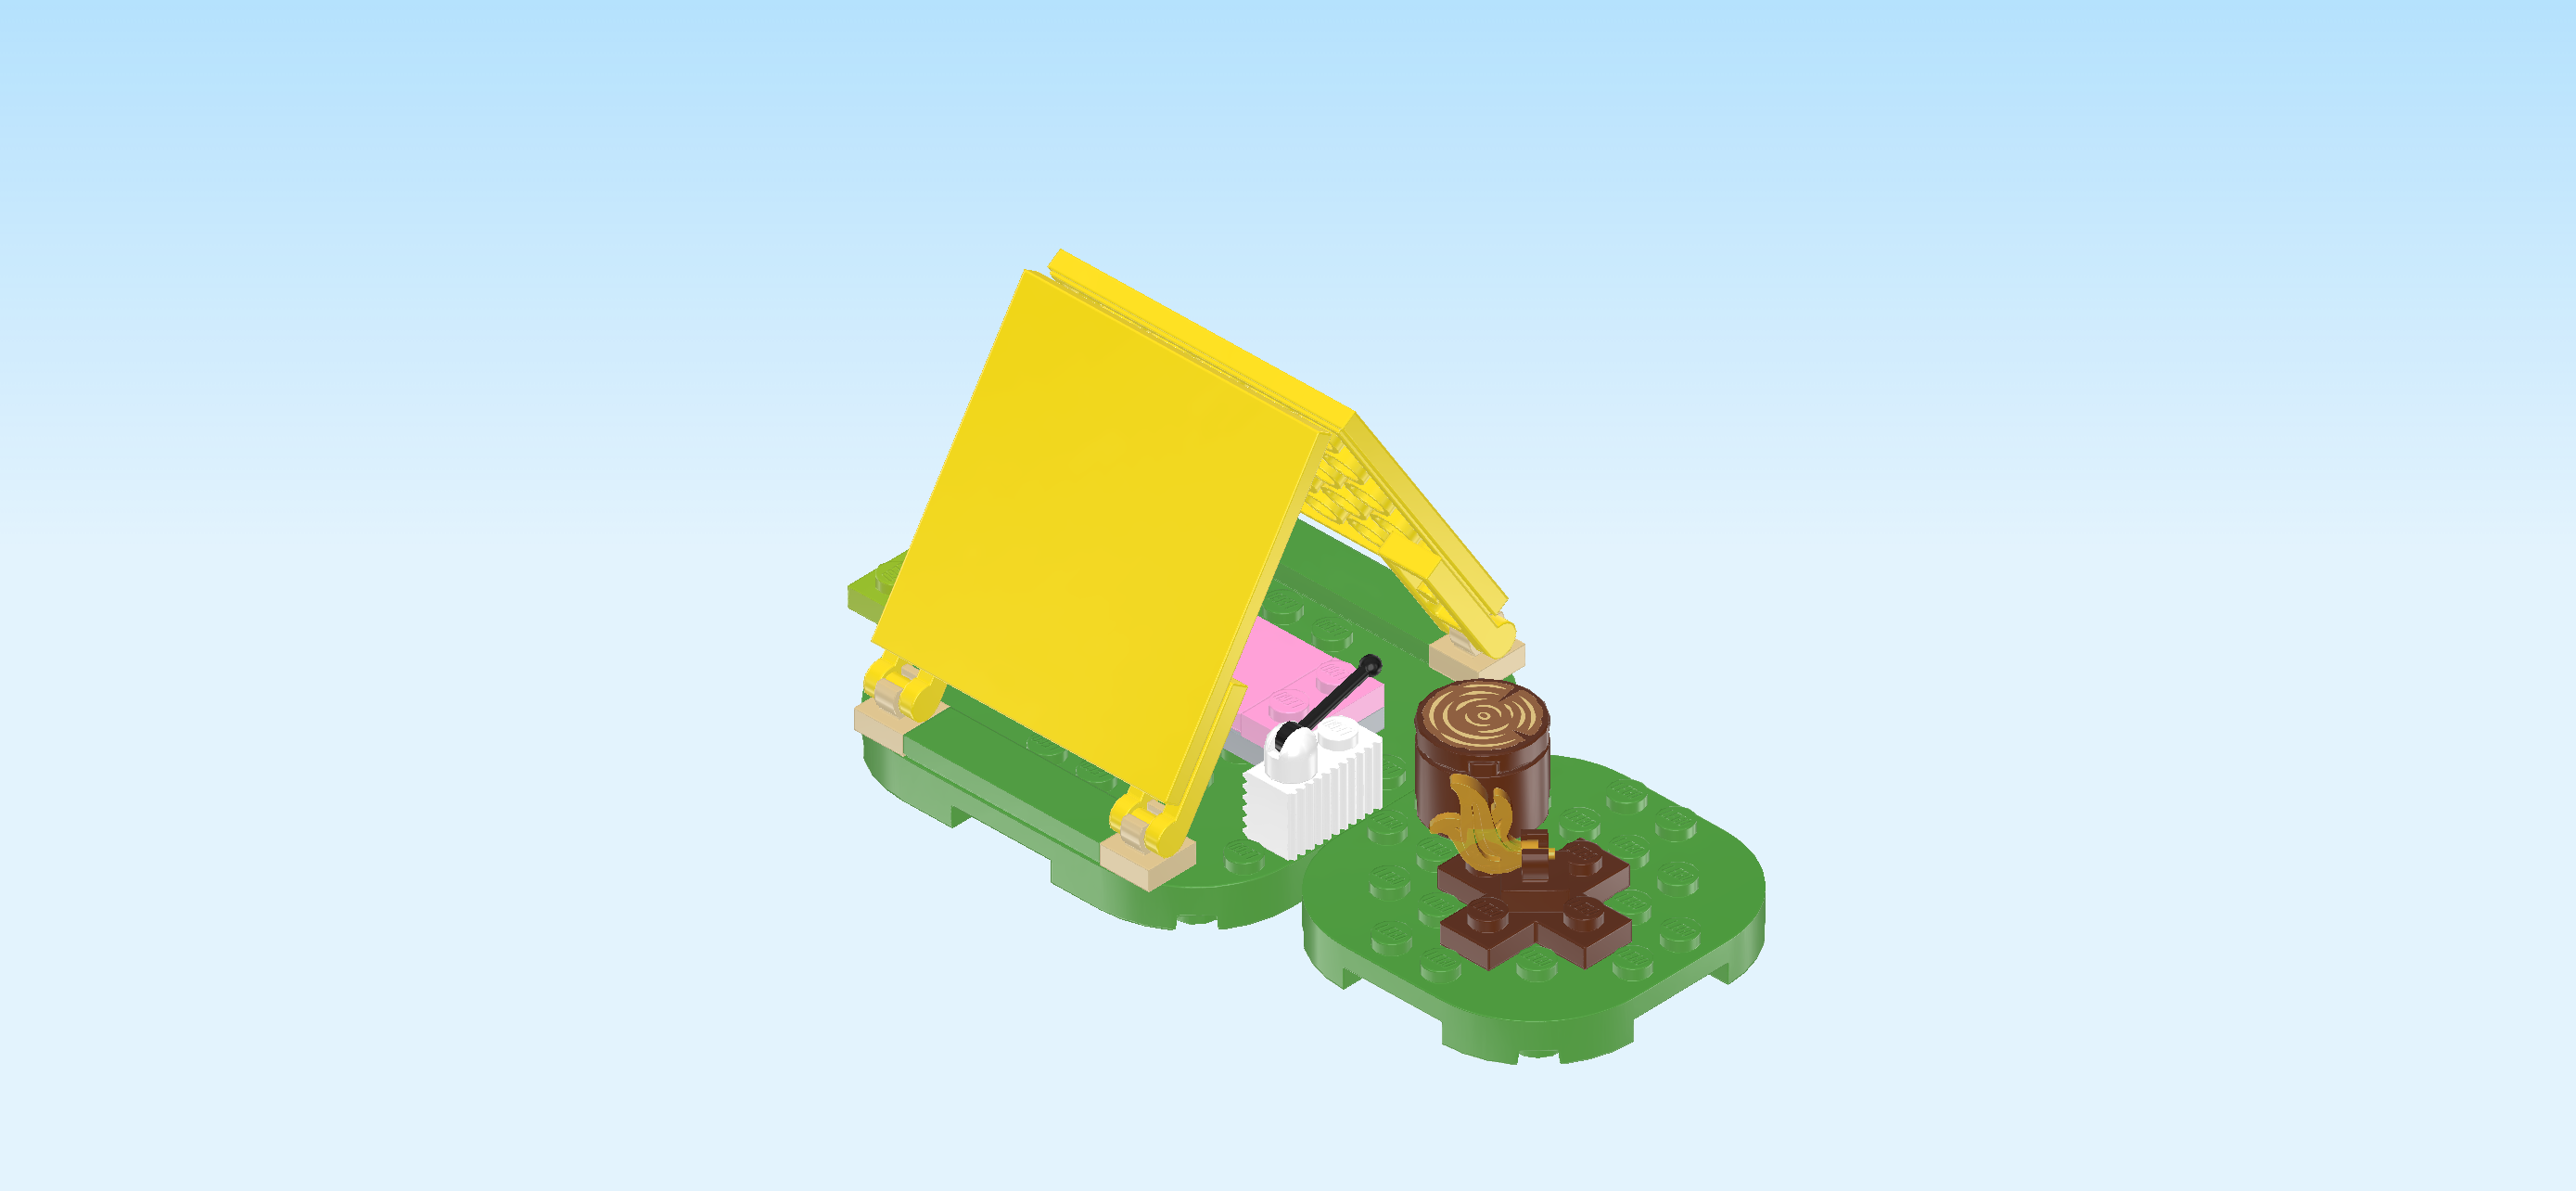
| The tent module is finished! Well done! When Bunnie gets sleepy, she can take a rest on her comfy bed in the tent. |
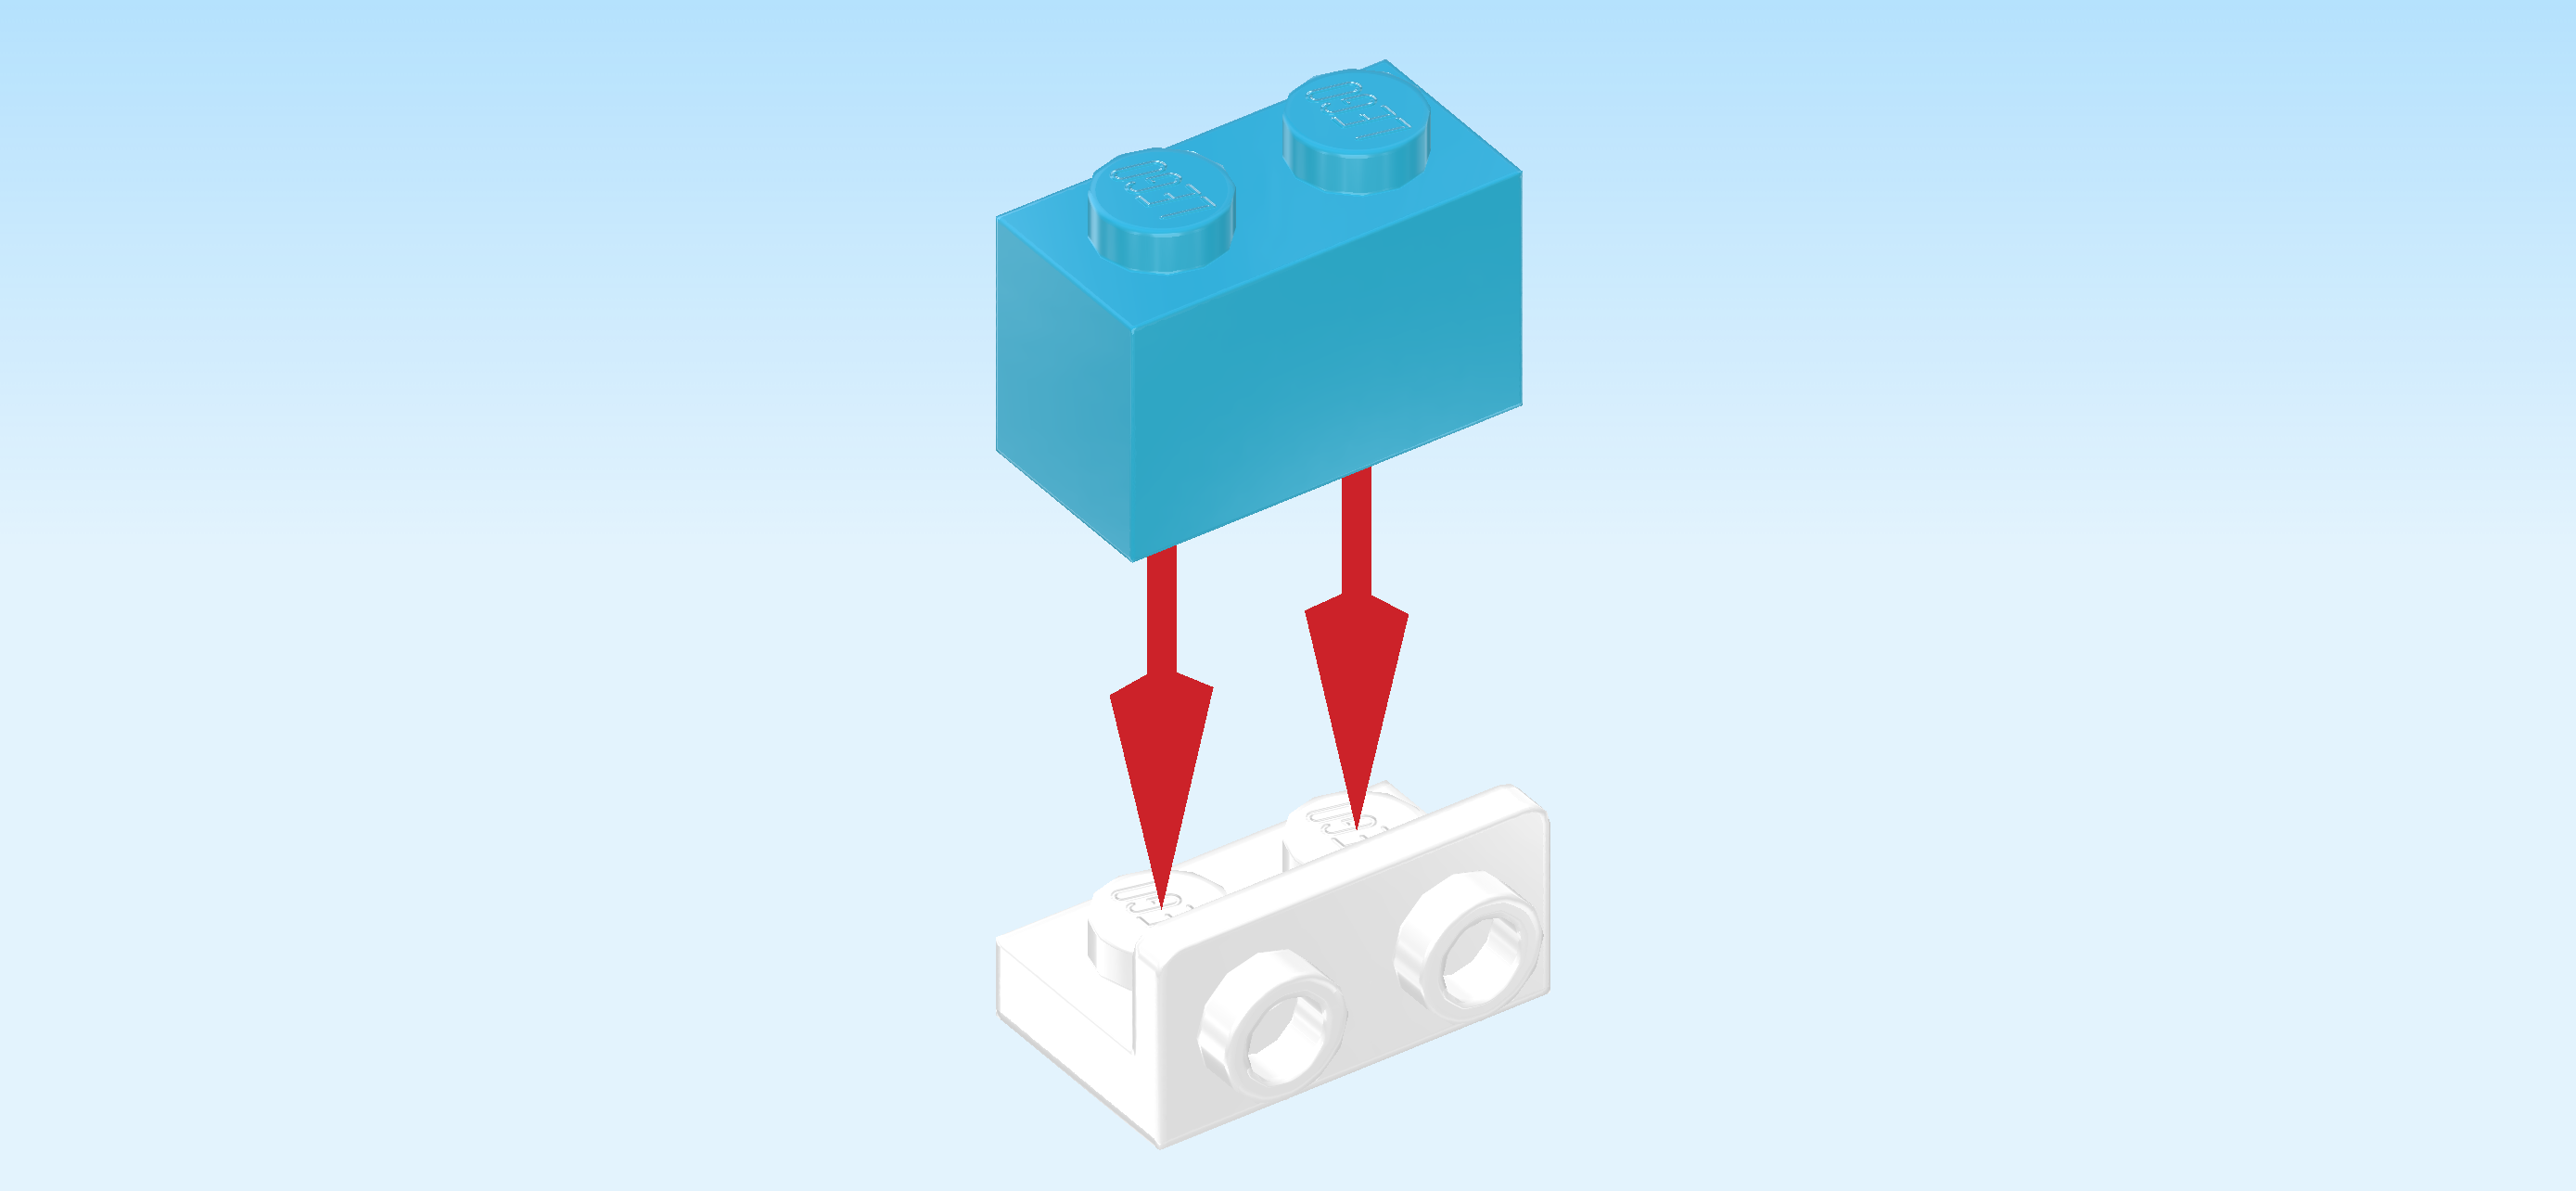
| Let's connect the campfire module and the tent module: turn the campfire module so that the connecting plate protruding at the bottom is pointing to the back. |
| Turn the tent module so that its connecting plate is pointing to the back, and mount its front edge on the connecting plate of the campfire module. |
| Next, we will build the pine tree module with utility box. |
| Collect the following 2 pieces: |
| 1 bright yellowish green plate 2x4, |
| and 1 bright green plate 8x8x⅔ with rounded corners and 4 feet. |
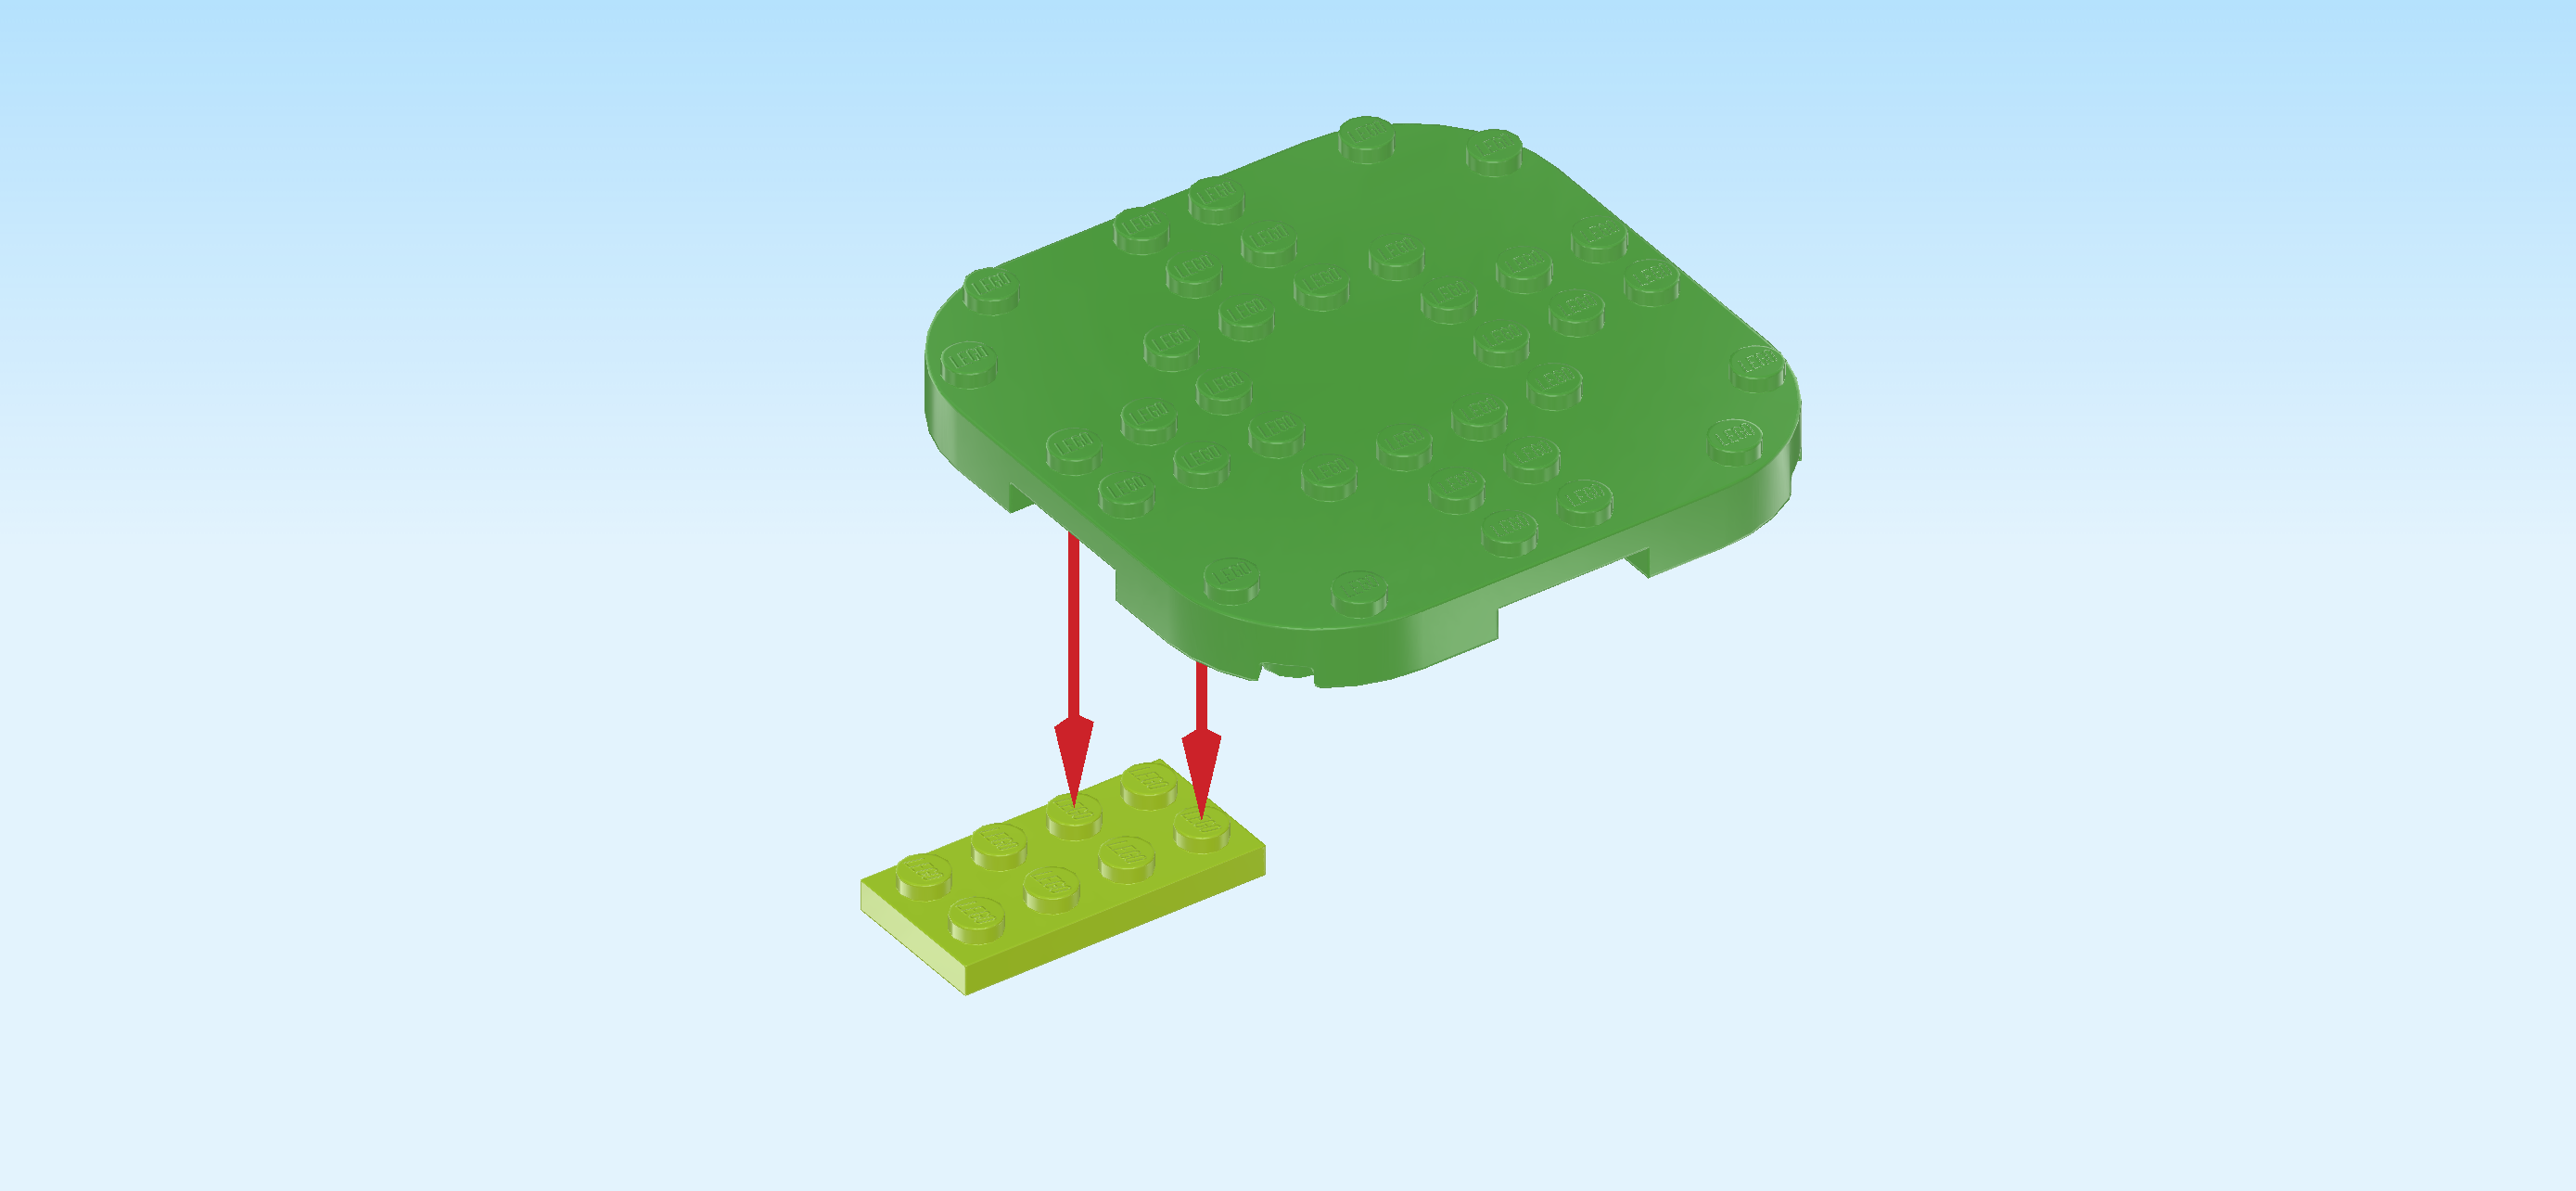
| Put the plate 2x4 horizontally on the table, and put the 2 leftmost columns of the plate 8x8 centered on the right half of the plate 2x4. |
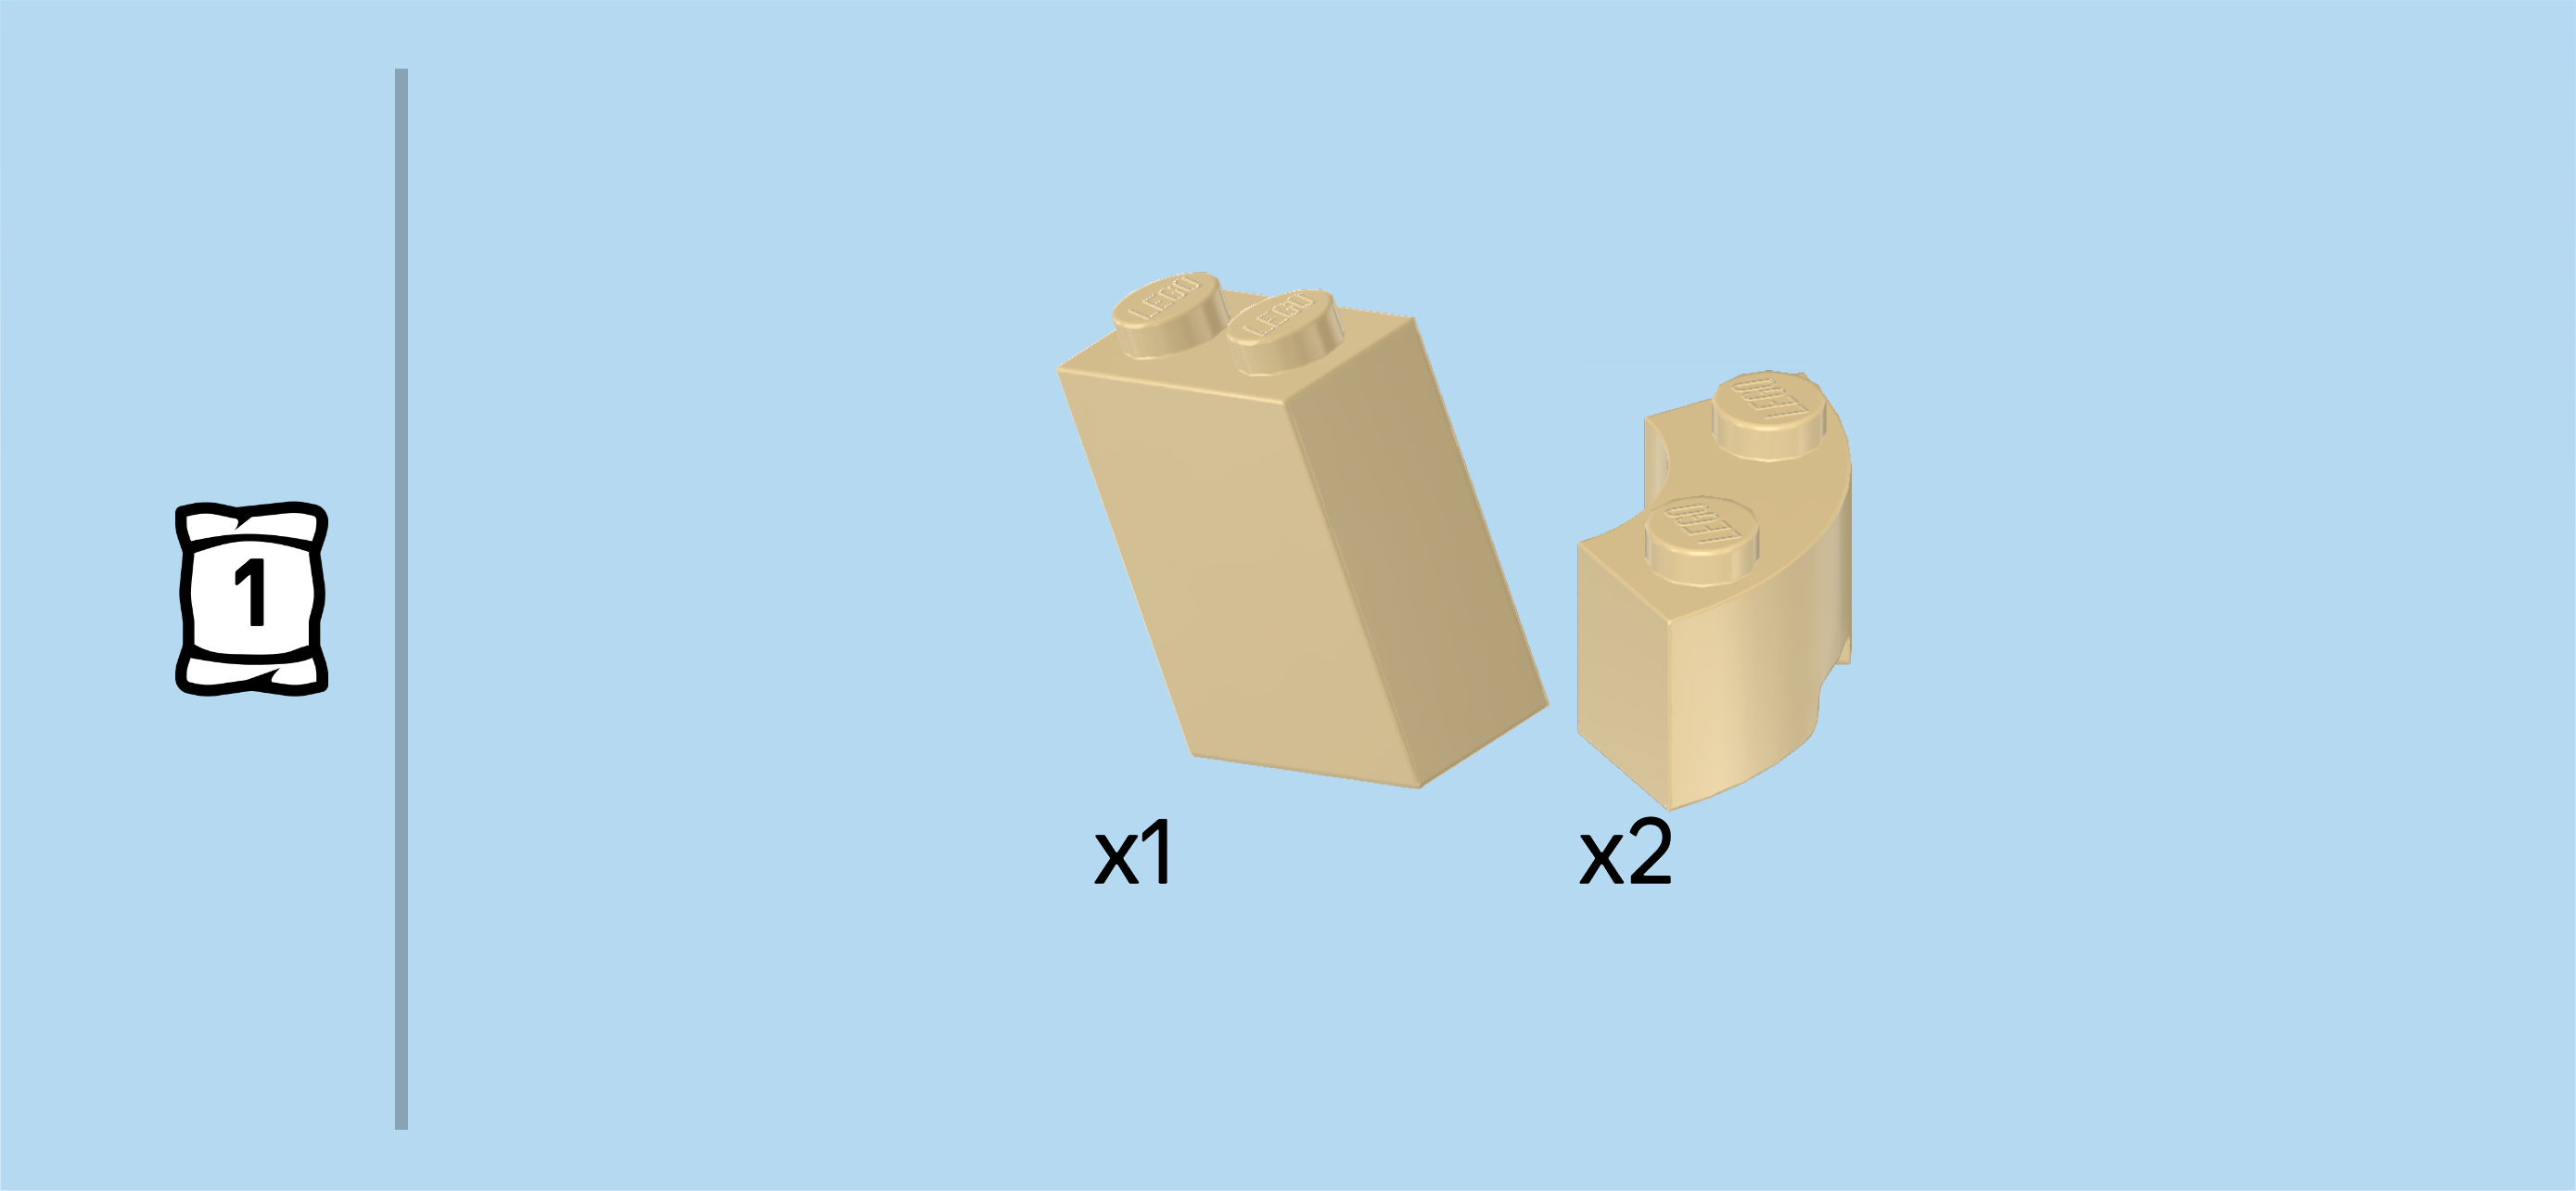
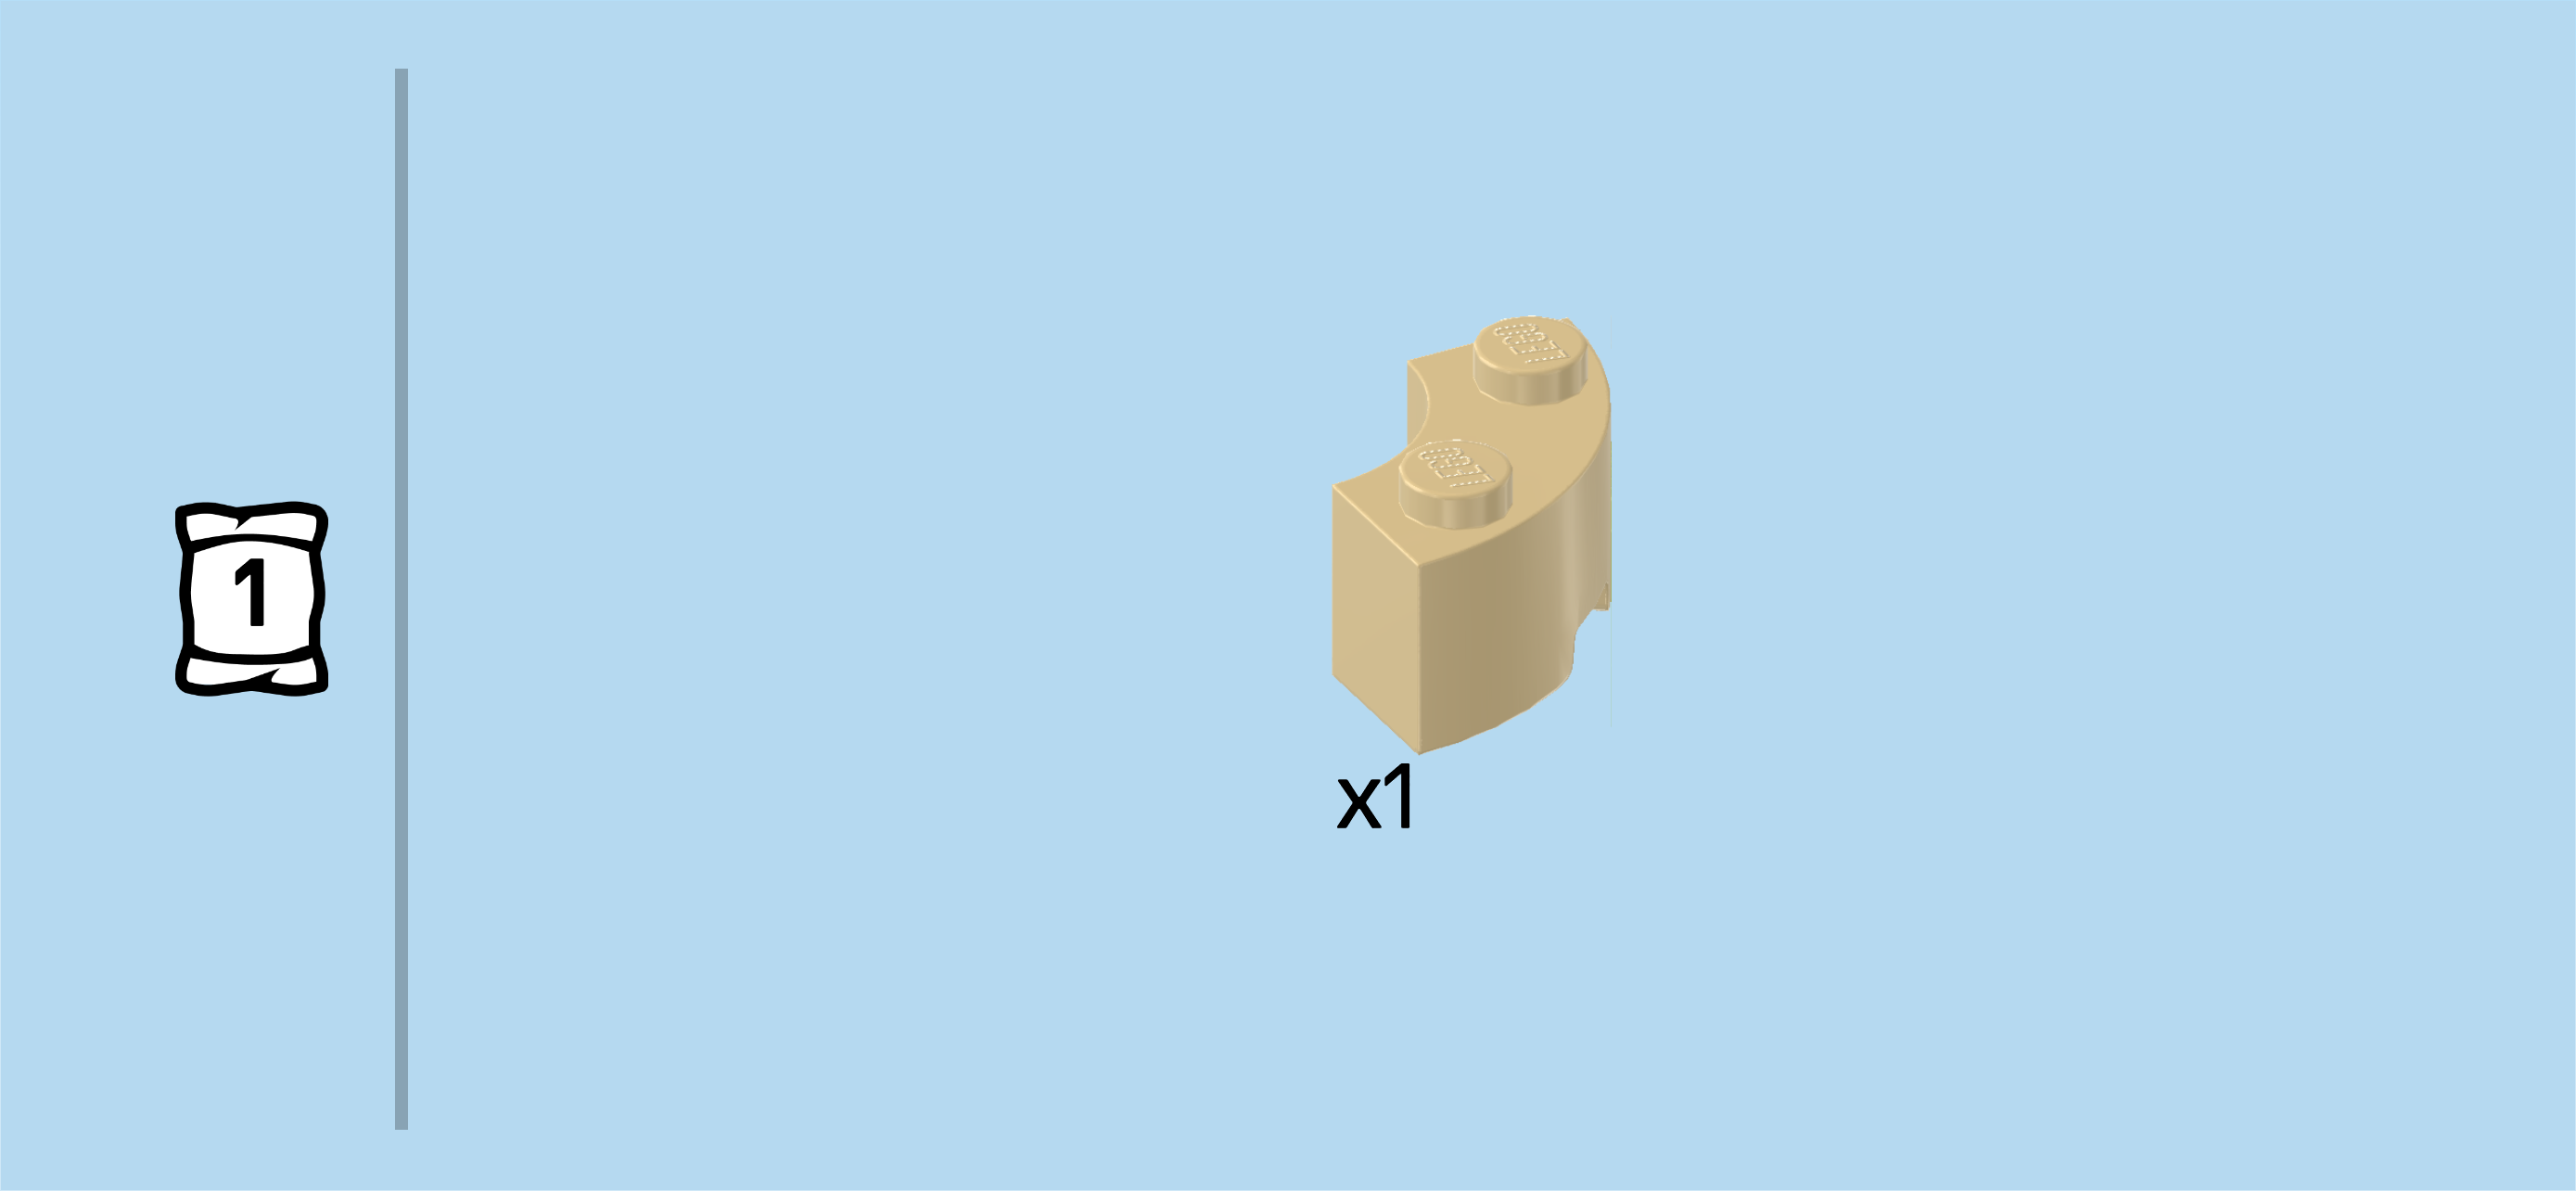
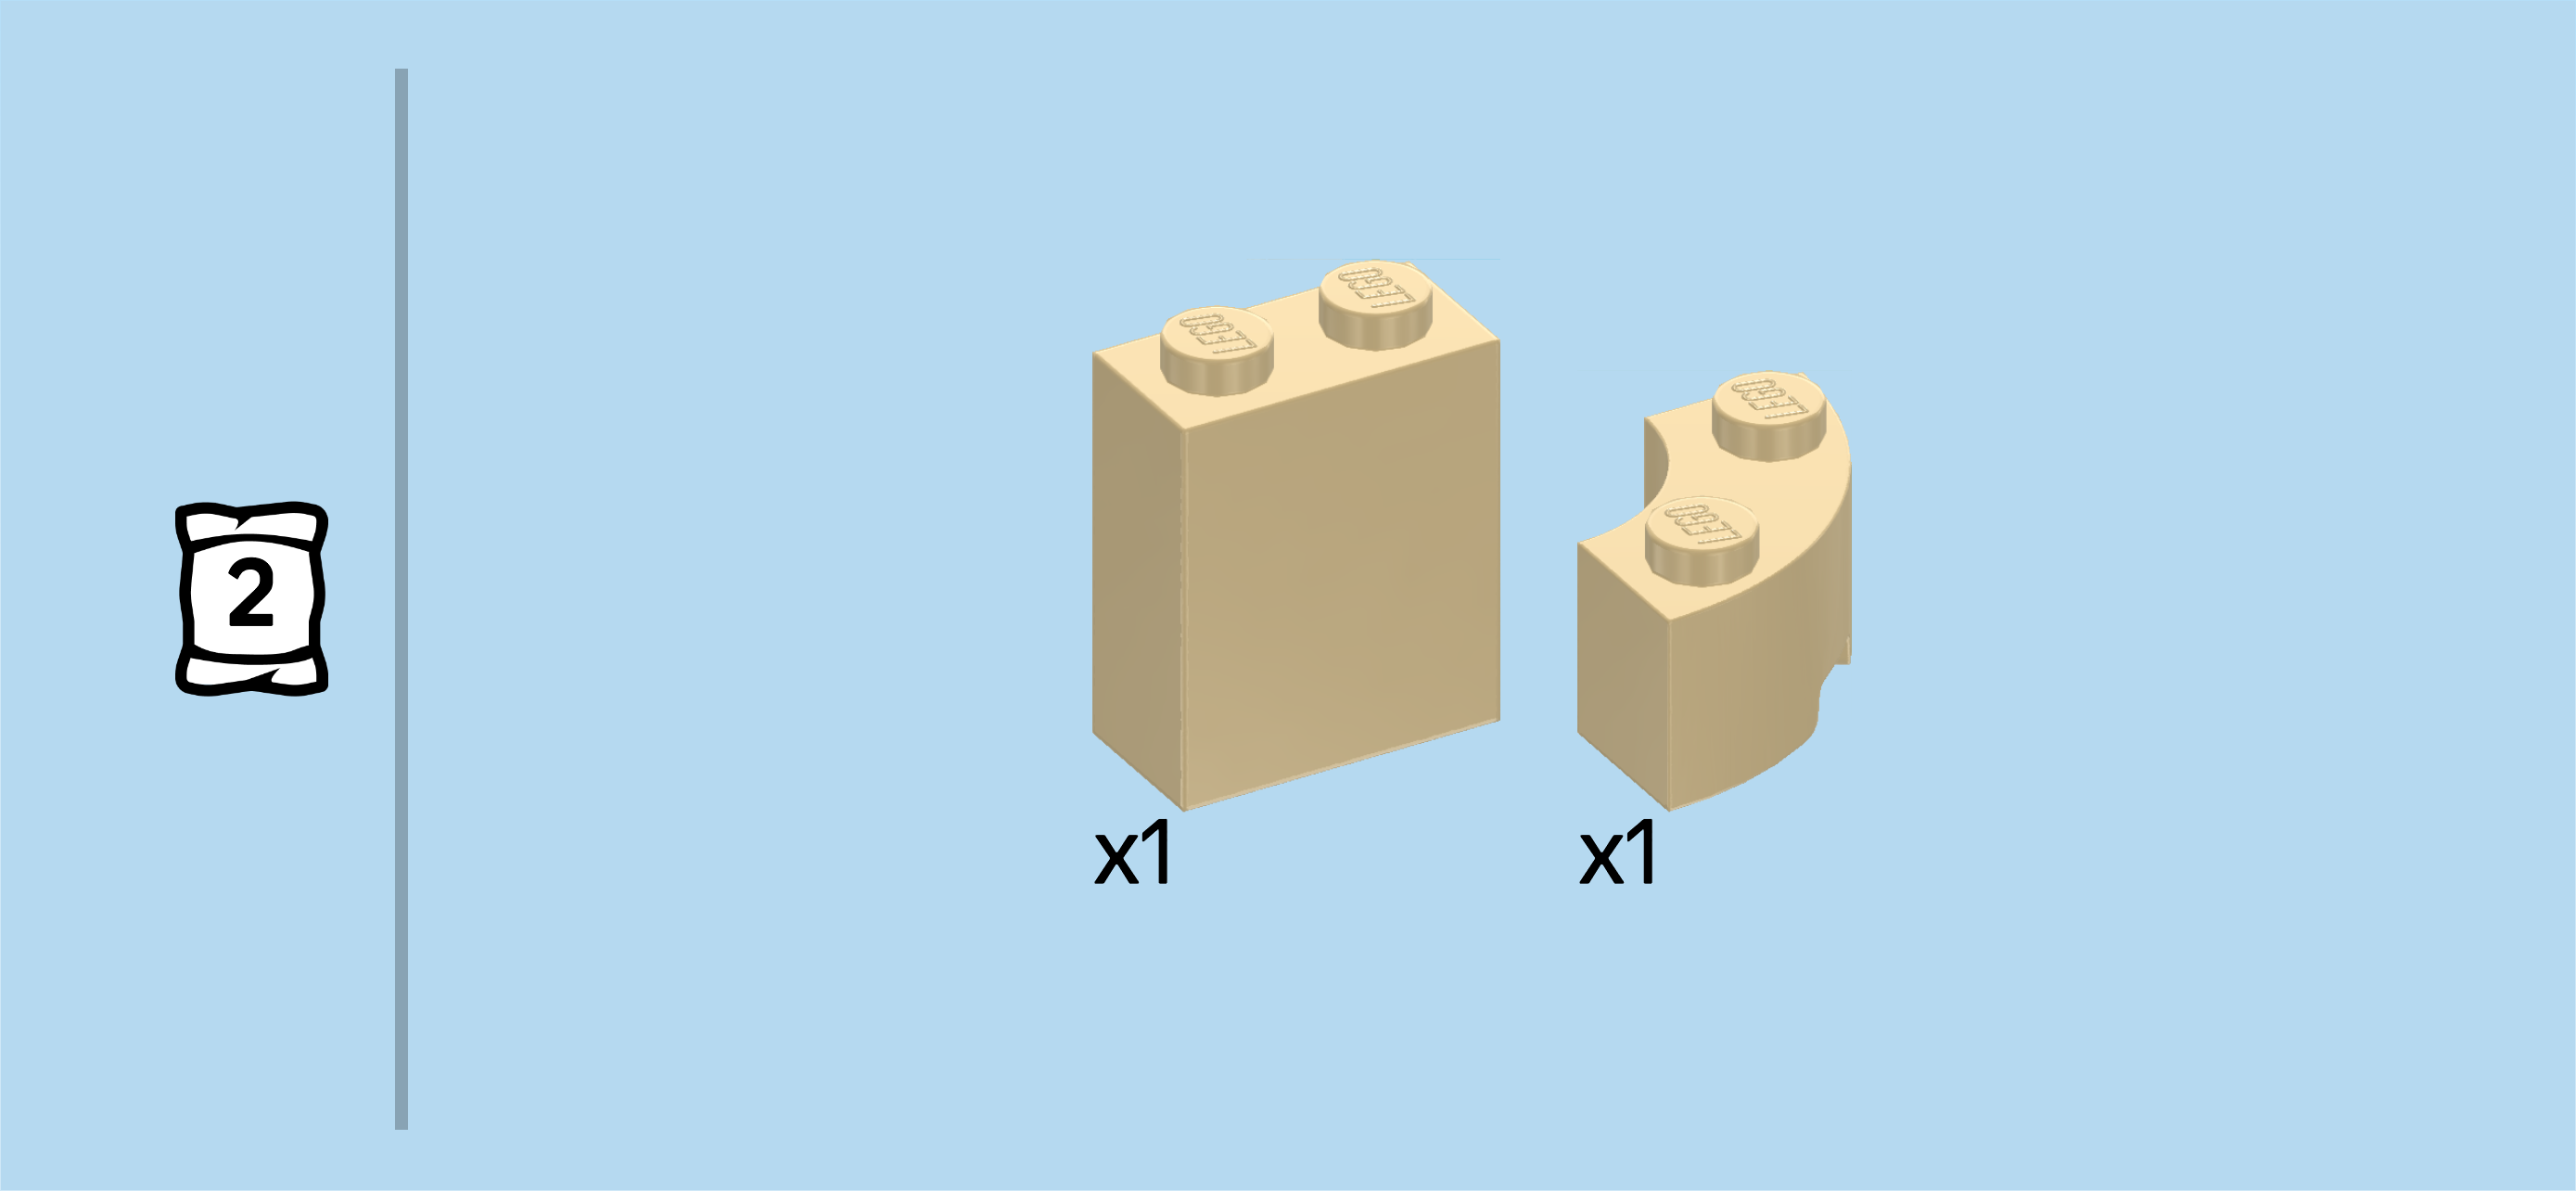
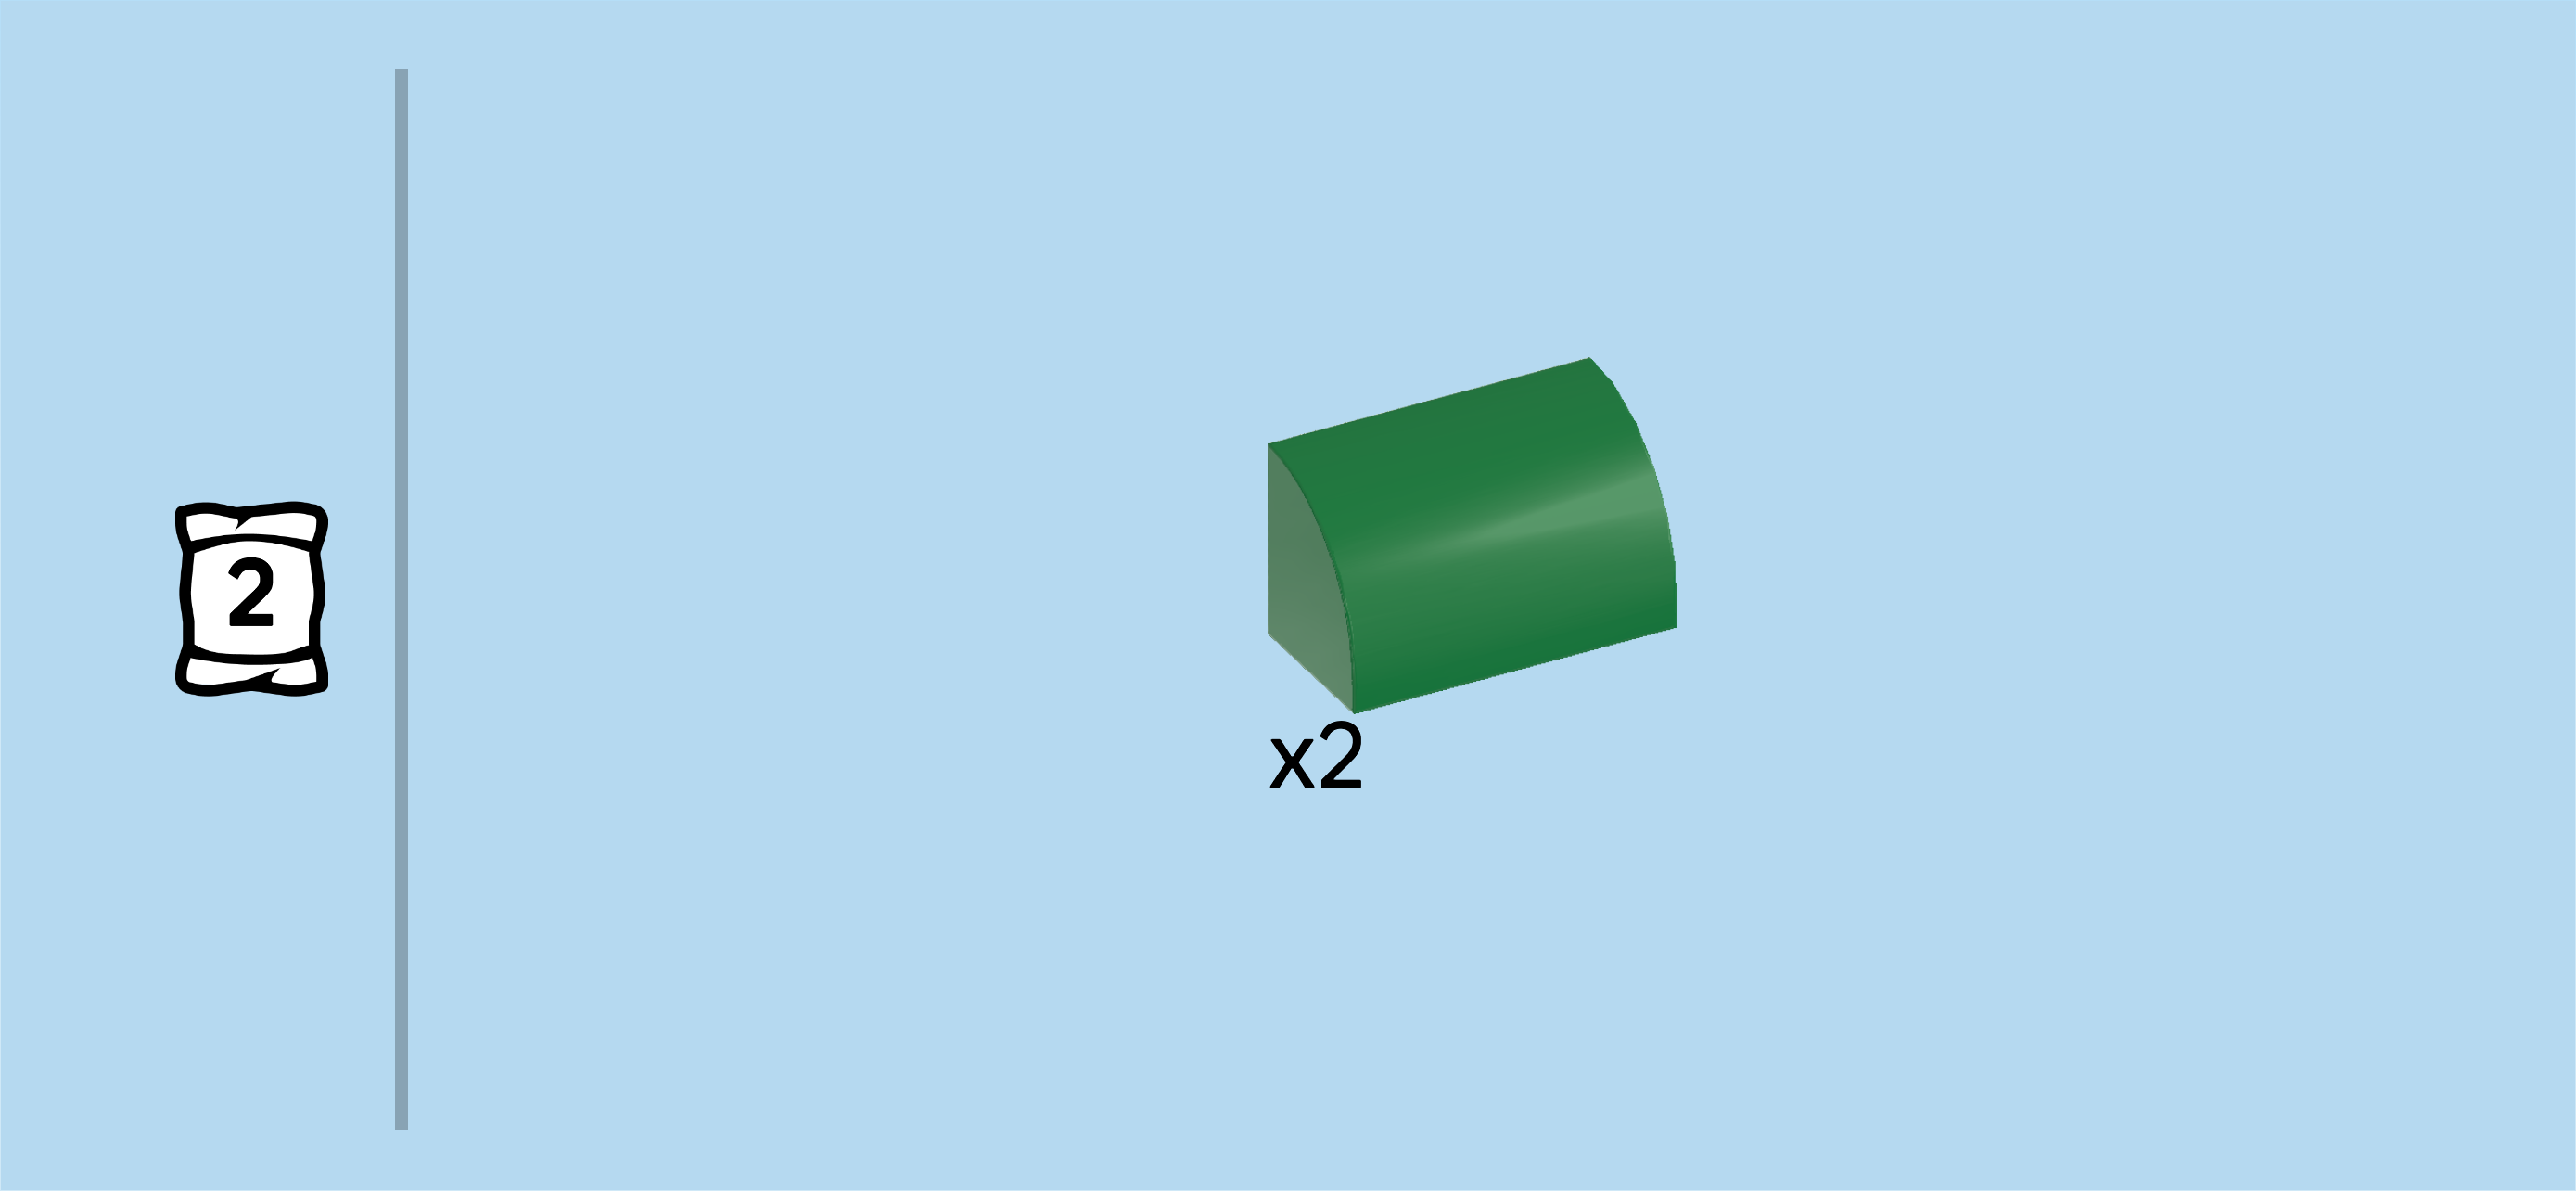
| Find 1 pale ocher yellow quarter-arched brick 1x2 with 2 knobs. |
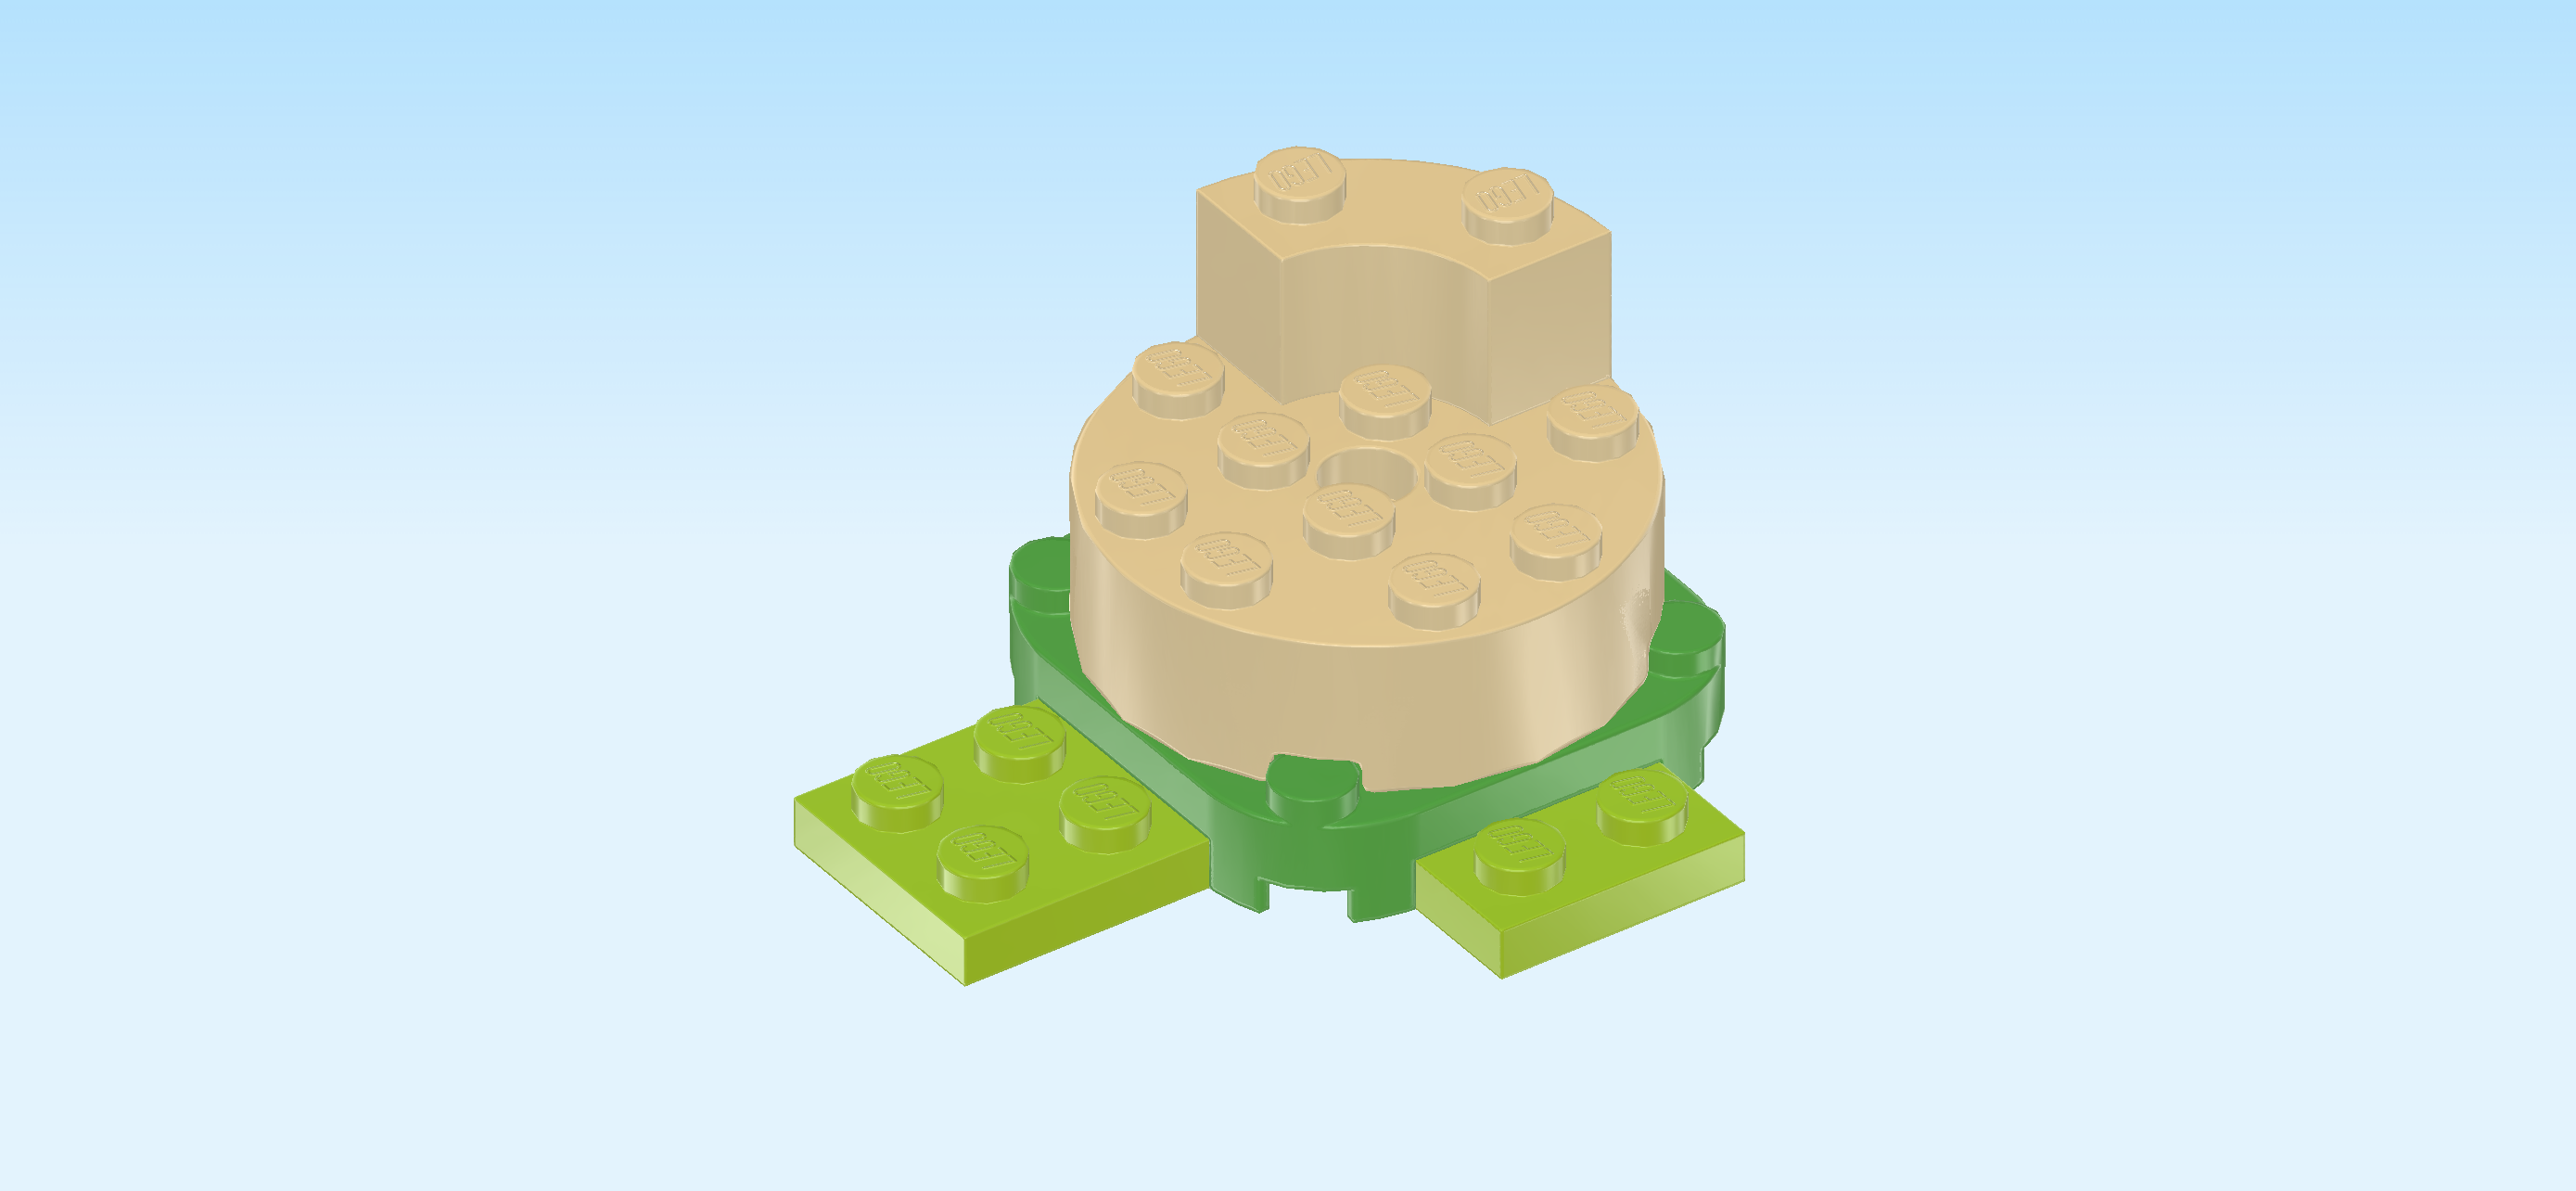
| Put it on the left back corner of the baseplate. The outer arch of the quarter-arch brick perfectly matches the arch of the baseplate corner. |
| Collect the following 2 pieces: |
| 1 pale ocher yellow brick 1x2x2, |
| and 1 pale ocher yellow quarter-arched brick 1x2 with 2 knobs. |
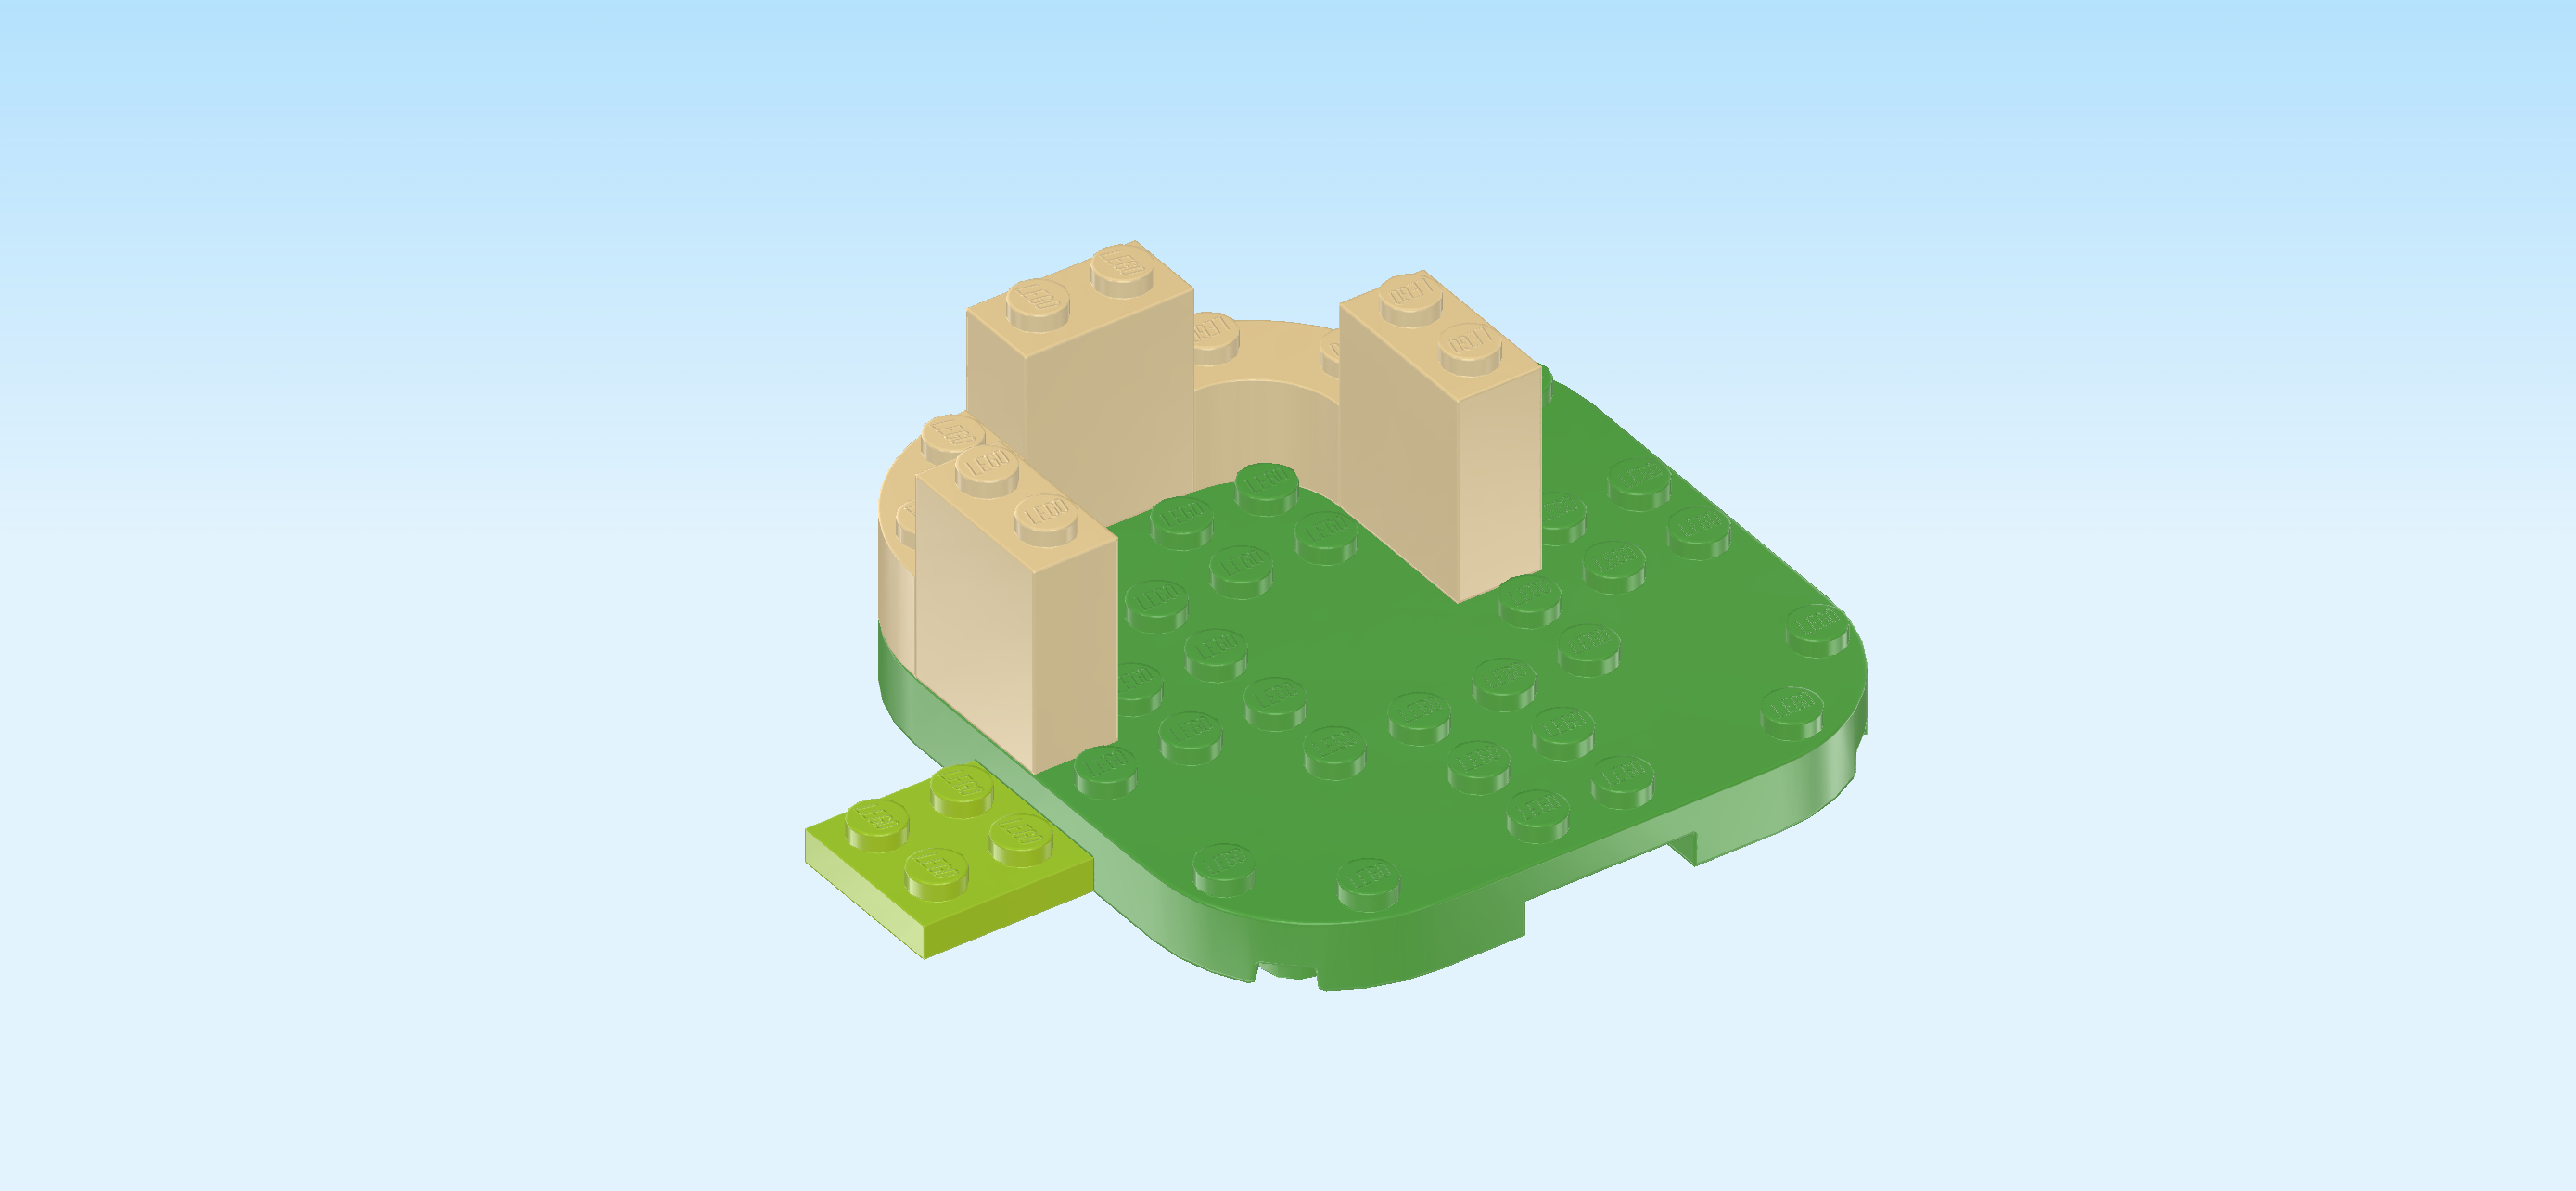
| Put the brick 1x2x2 horizontally on the backmost row, directly to the right of the previous piece. |
| Put the quarter-arched brick 1x2 directly to the right of the previous piece, brick arching towards the front. Attention: This piece does not sit on the right corner of the baseplate. |
| Find 2 pale ocher yellow bricks 1x2x2. |
| Put 1 vertically in front of the previous piece. This means it will sit on the third row from the right. |
| Put the other one vertically on the leftmost column of the baseplate, directly opposite of the previous piece. |
| Collect the following 3 pieces: |
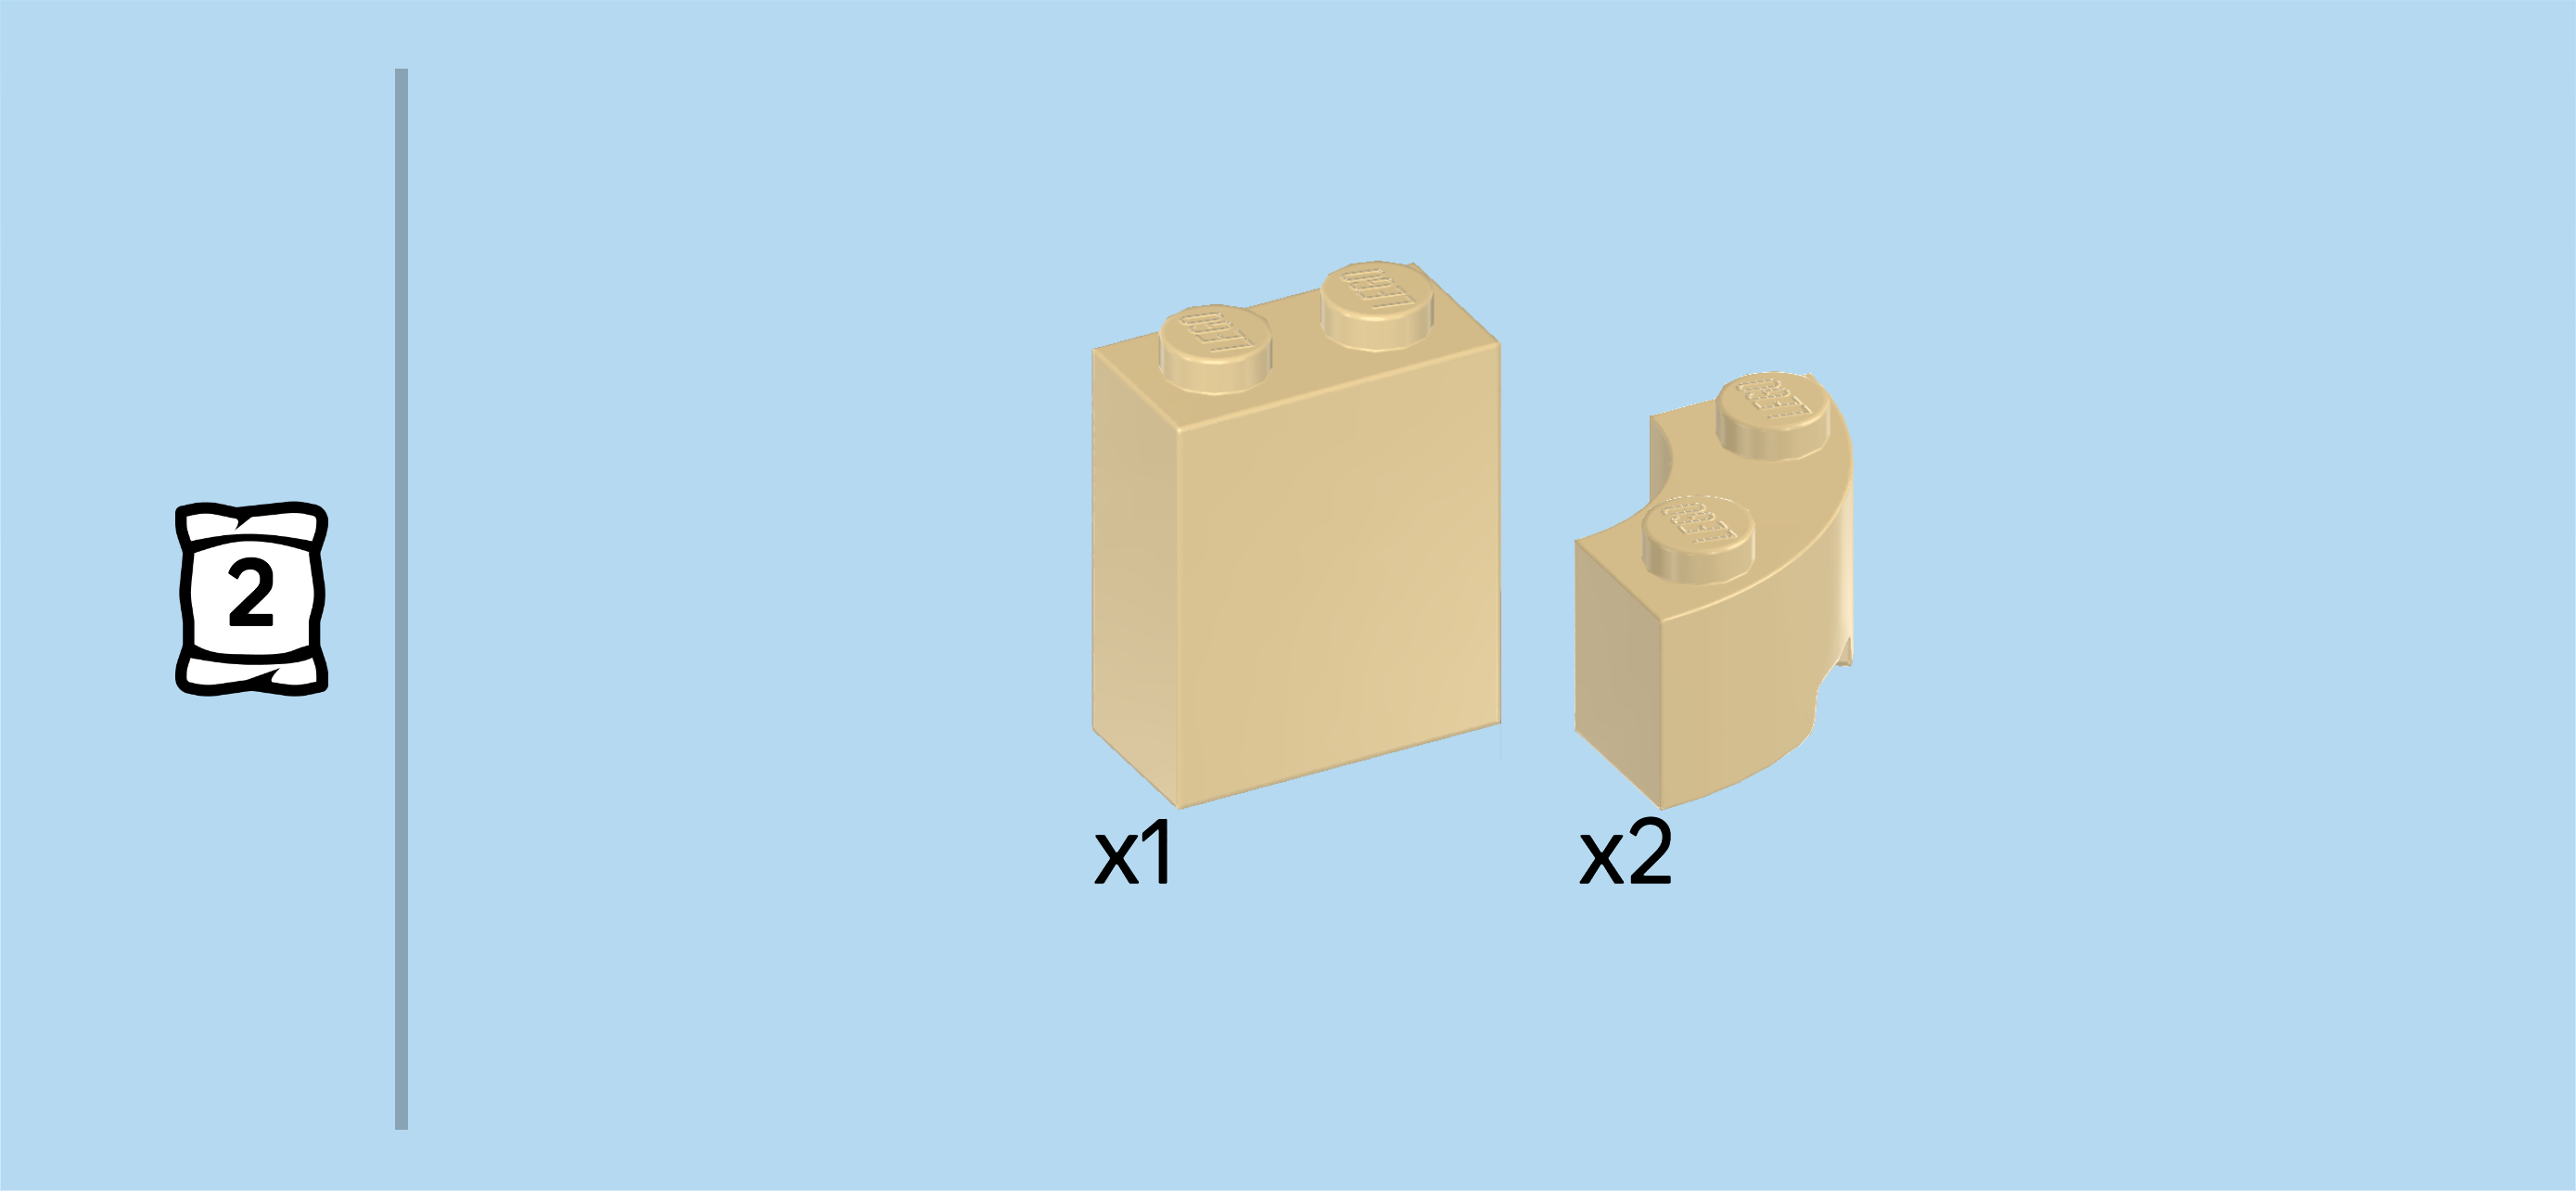
| 2 pale ocher yellow quarter-arched bricks 1x2 with 2 knobs, |
| and 1 pale ocher yellow brick 1x2x2. |
| Put 1 quarter-arched brick 1x2 in front of the previous piece, outer arch to the front left, this means the brick will bend towards the front right. |
| Put the brick 1x2x2 horizontally to the right of the previous piece. |
| Put the other quarter-arched brick 1x2 to the right of the previous piece, bending towards the back. |
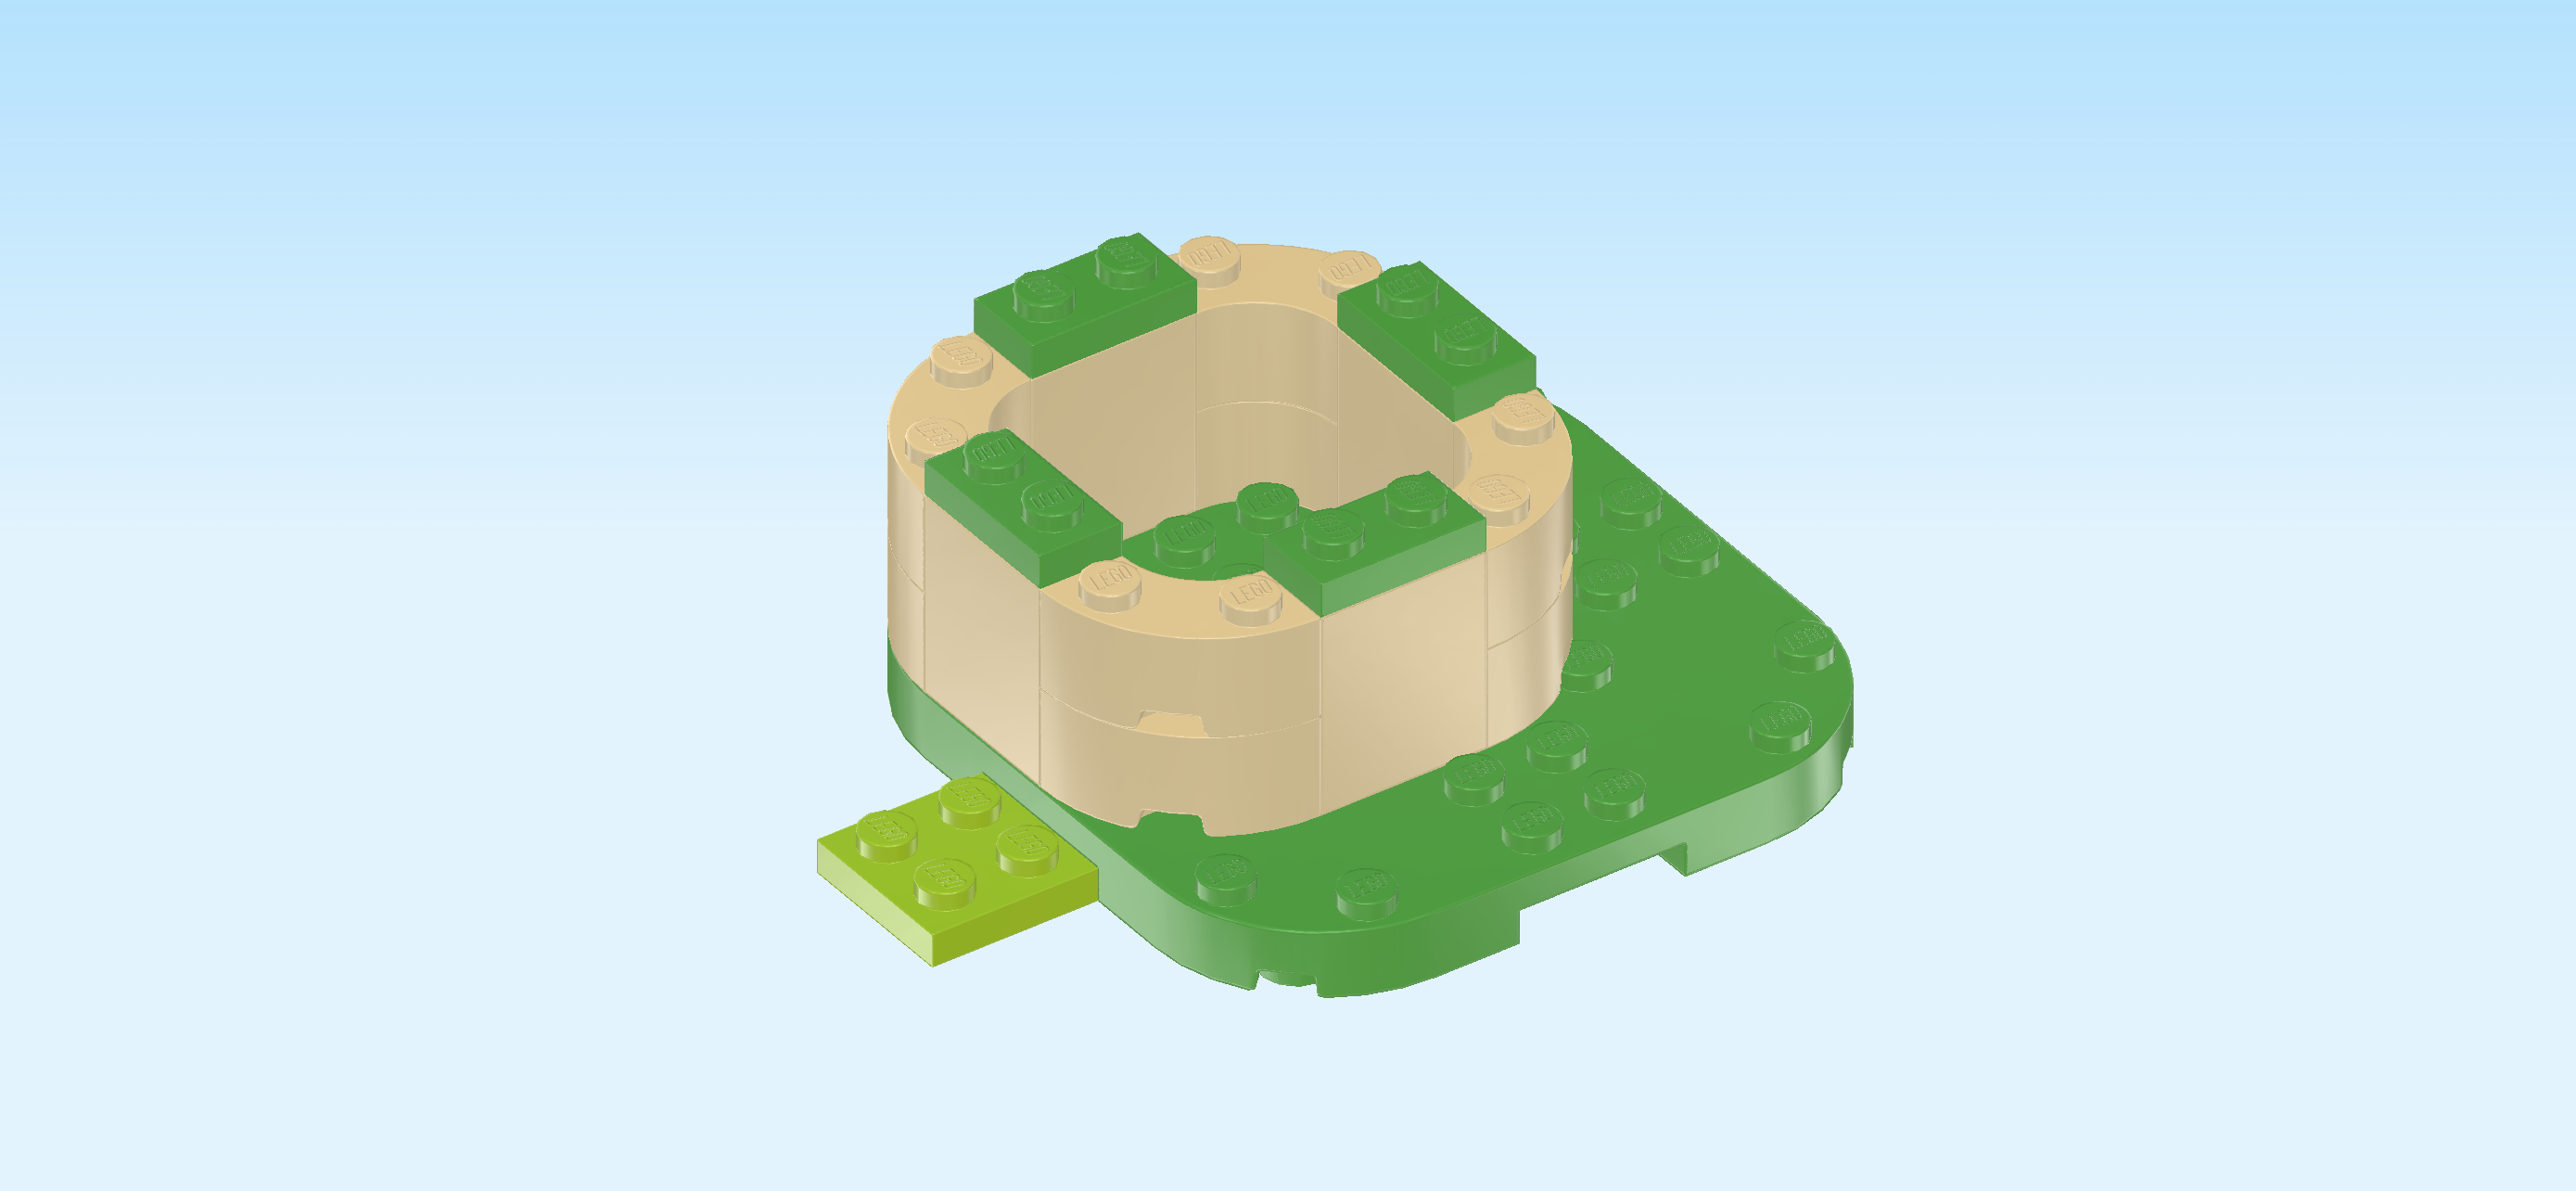
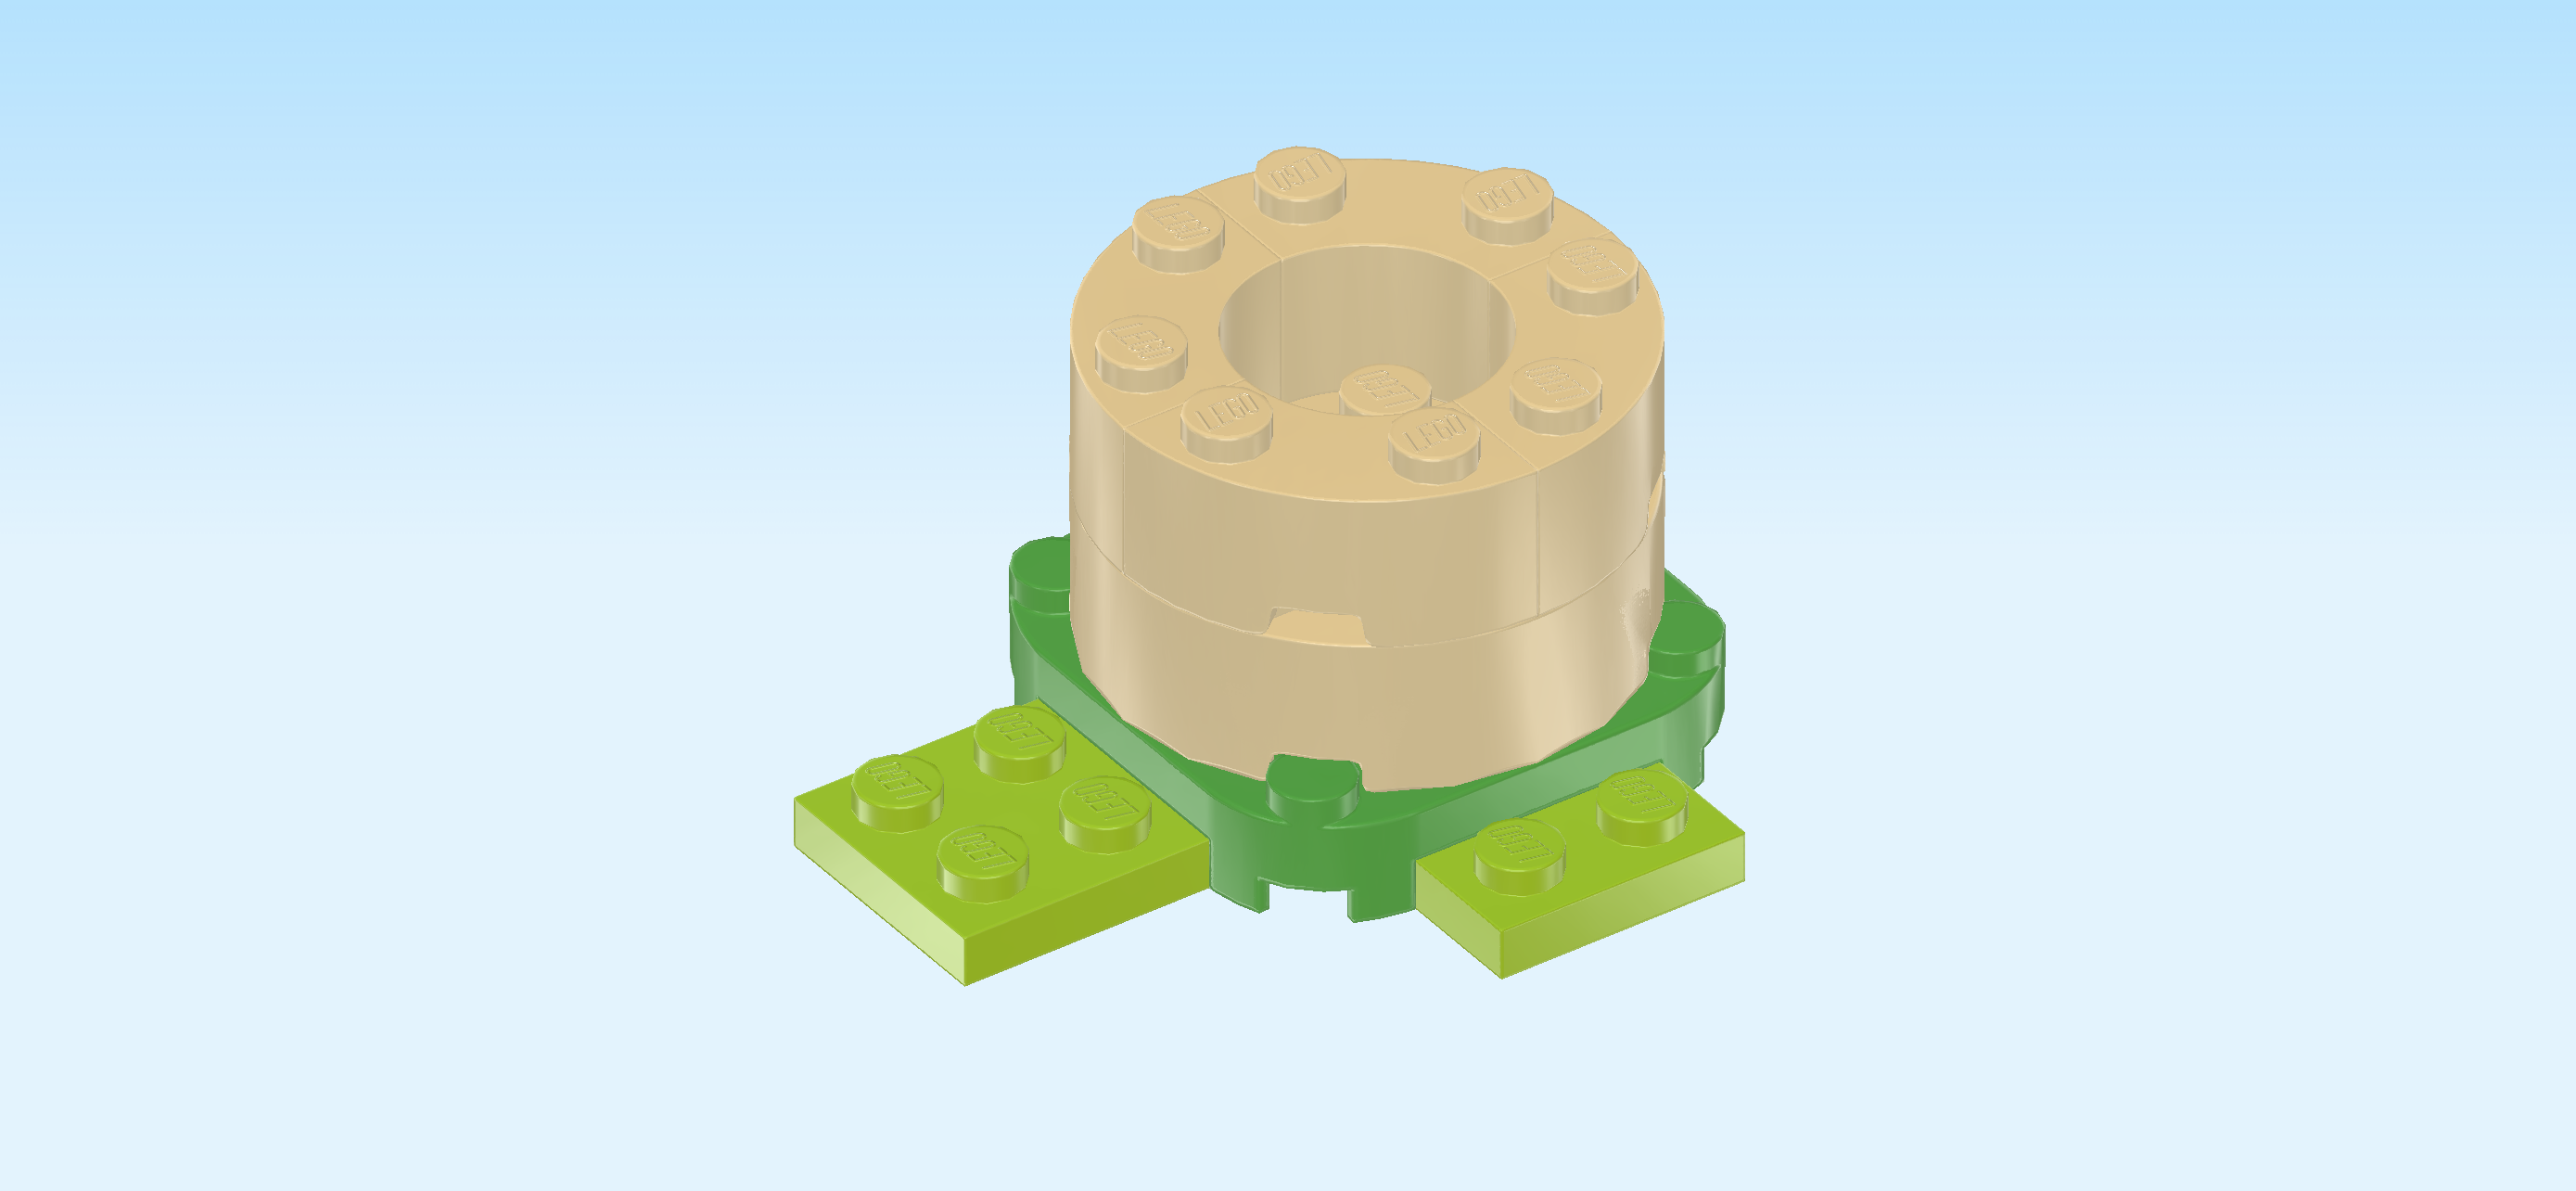
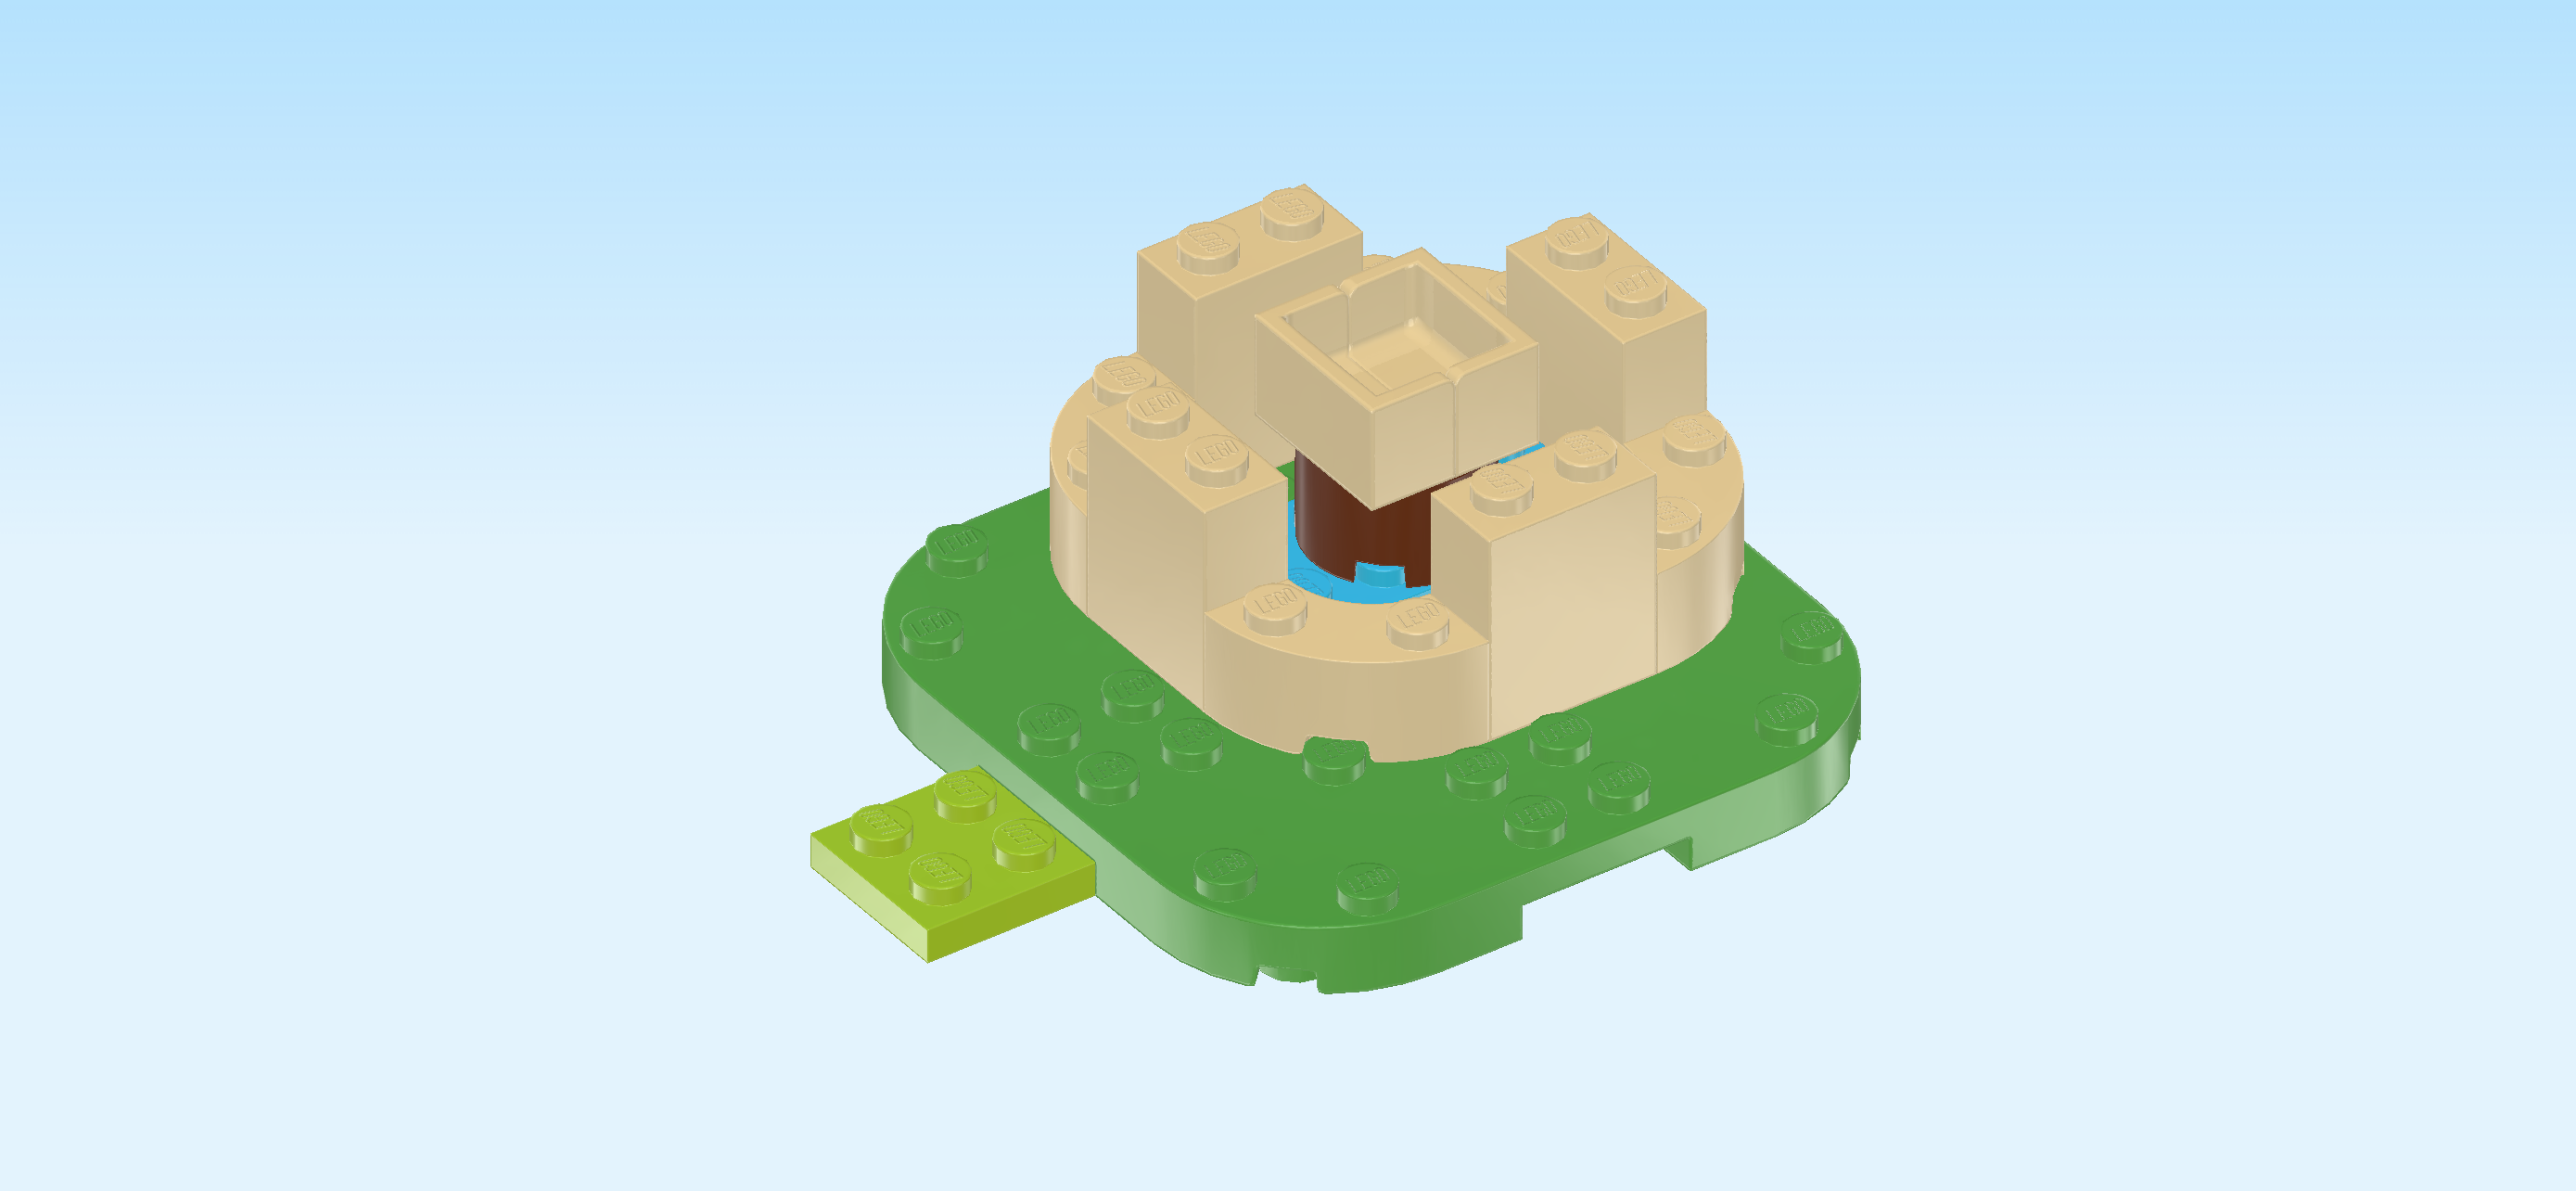
| If done correctly, the 4 quarter-arched bricks and the 4 bricks 1x2x2 now form a square wall with rounded corners. |
| Find 4 pale ocher yellow quarter-arched bricks 1x2 with 2 knobs. |
| Put them on top of the 4 quarter-arched bricks we have mounted previously, matching their shapes. This will close the gaps in the square wall. |
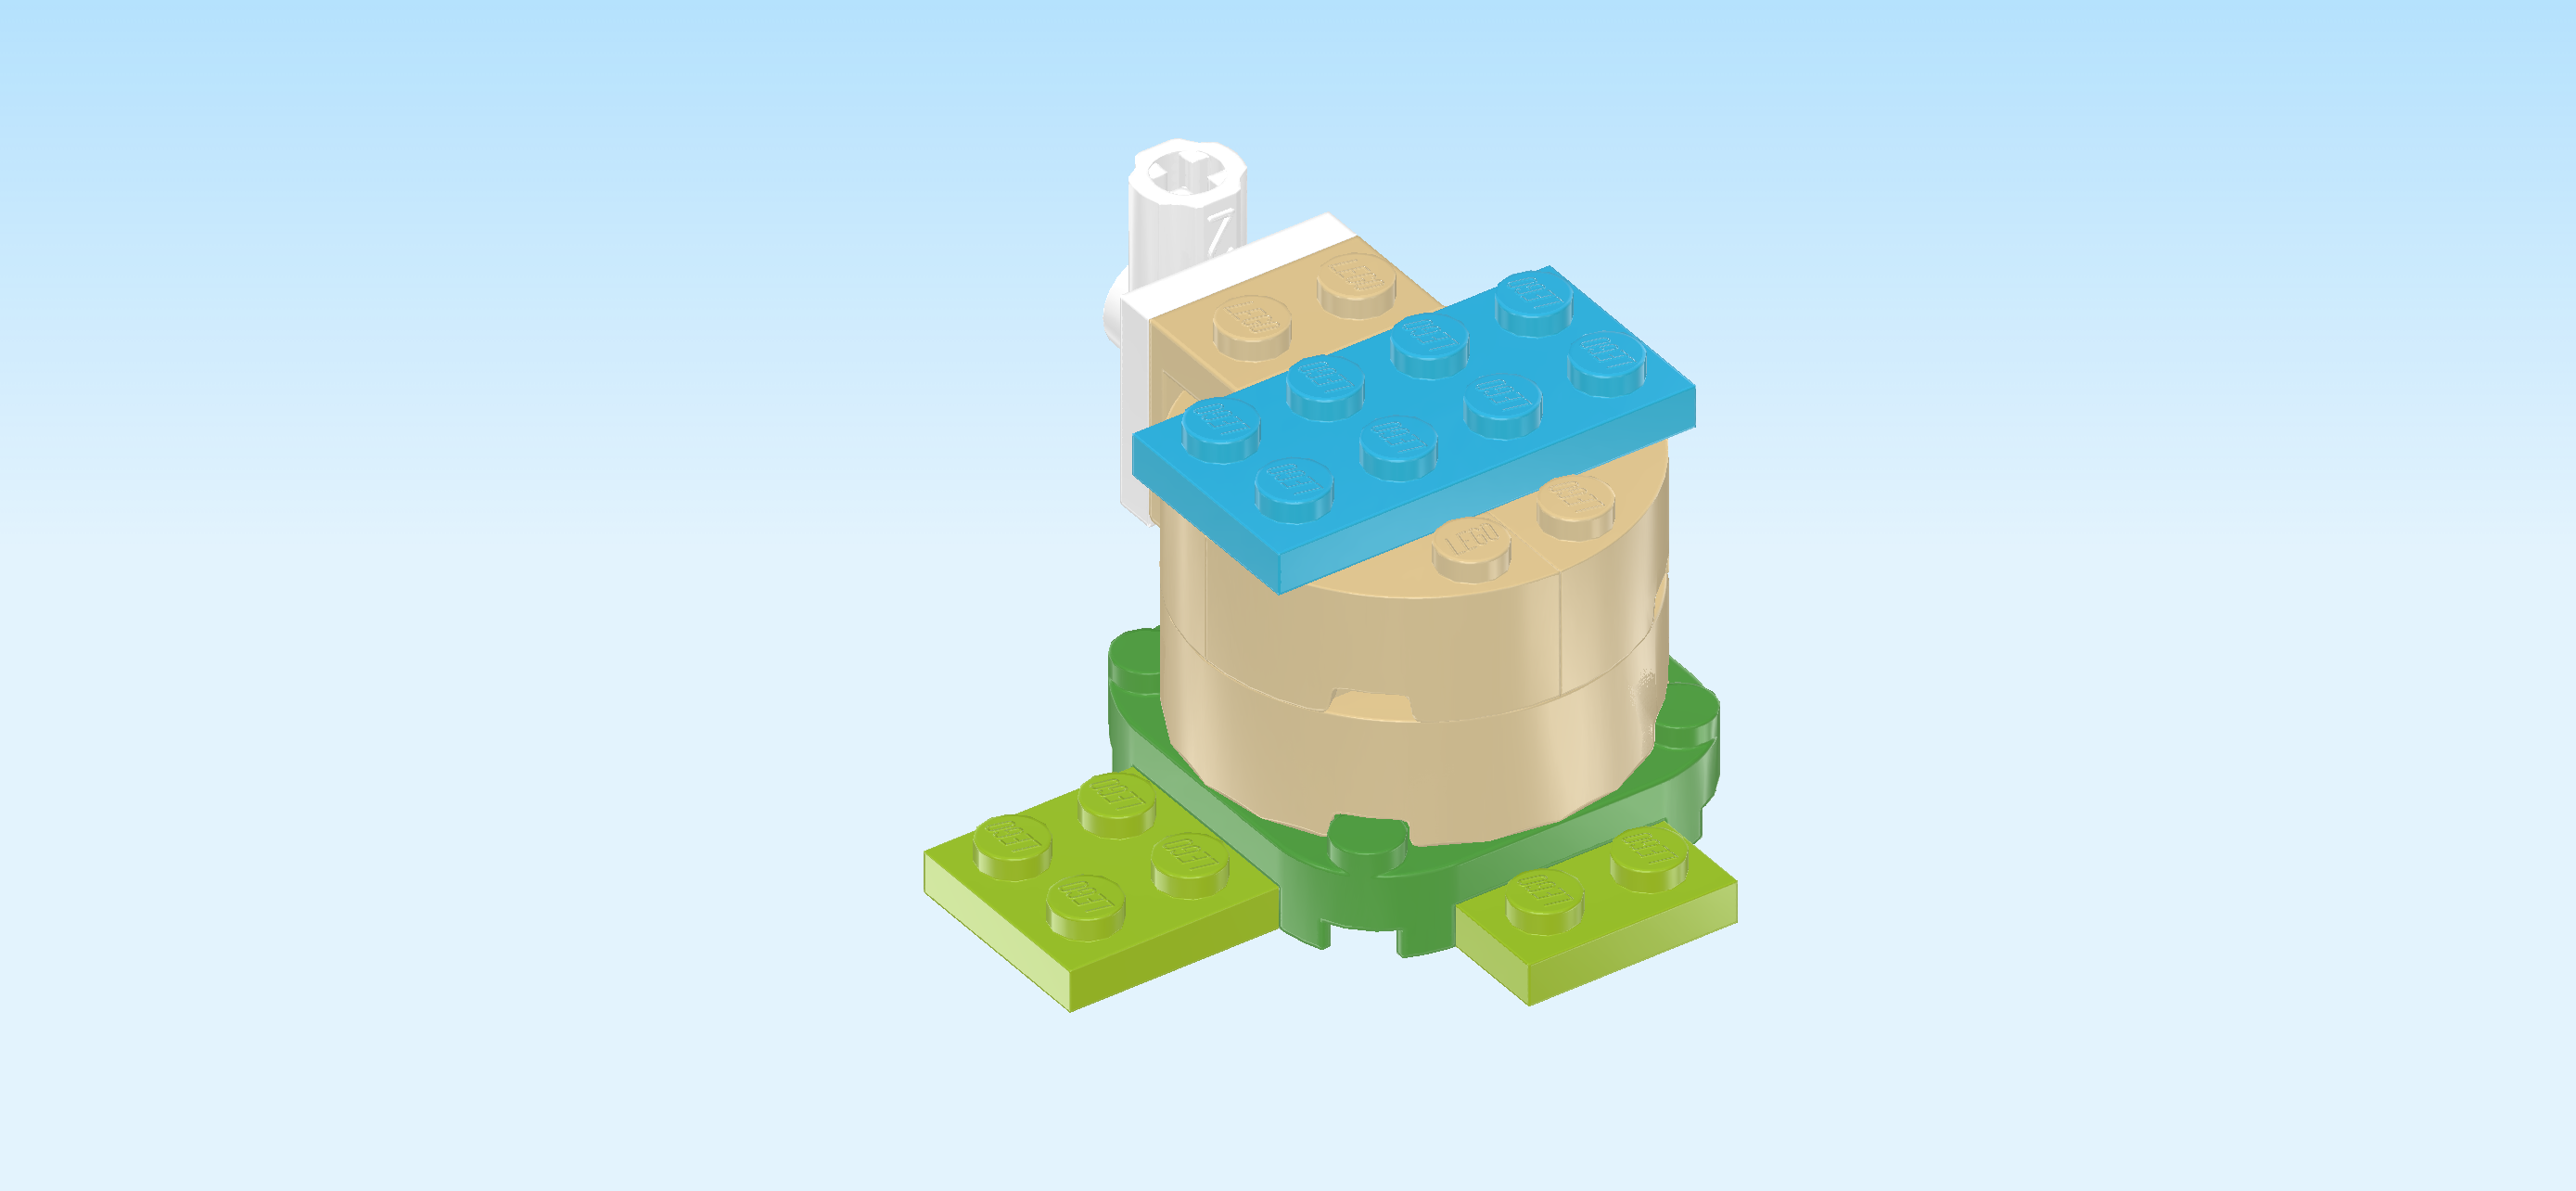
| Find 4 bright green plates 1x2. |
| Put 1 horizontally centered on the back row of the wall. |
| Repeat on the front row of the wall. |
| Put 1 vertically centered on the right column of the wall. |
| Repeat symmetrically on the left column of the wall. |
| Find 1 bright green plate 6x6x⅔ with rounded corners and 4 feet. |
| Put it on top of the square wall with rounded corners; its feet will fit neatly into the spaces between the 4 previous pieces. |
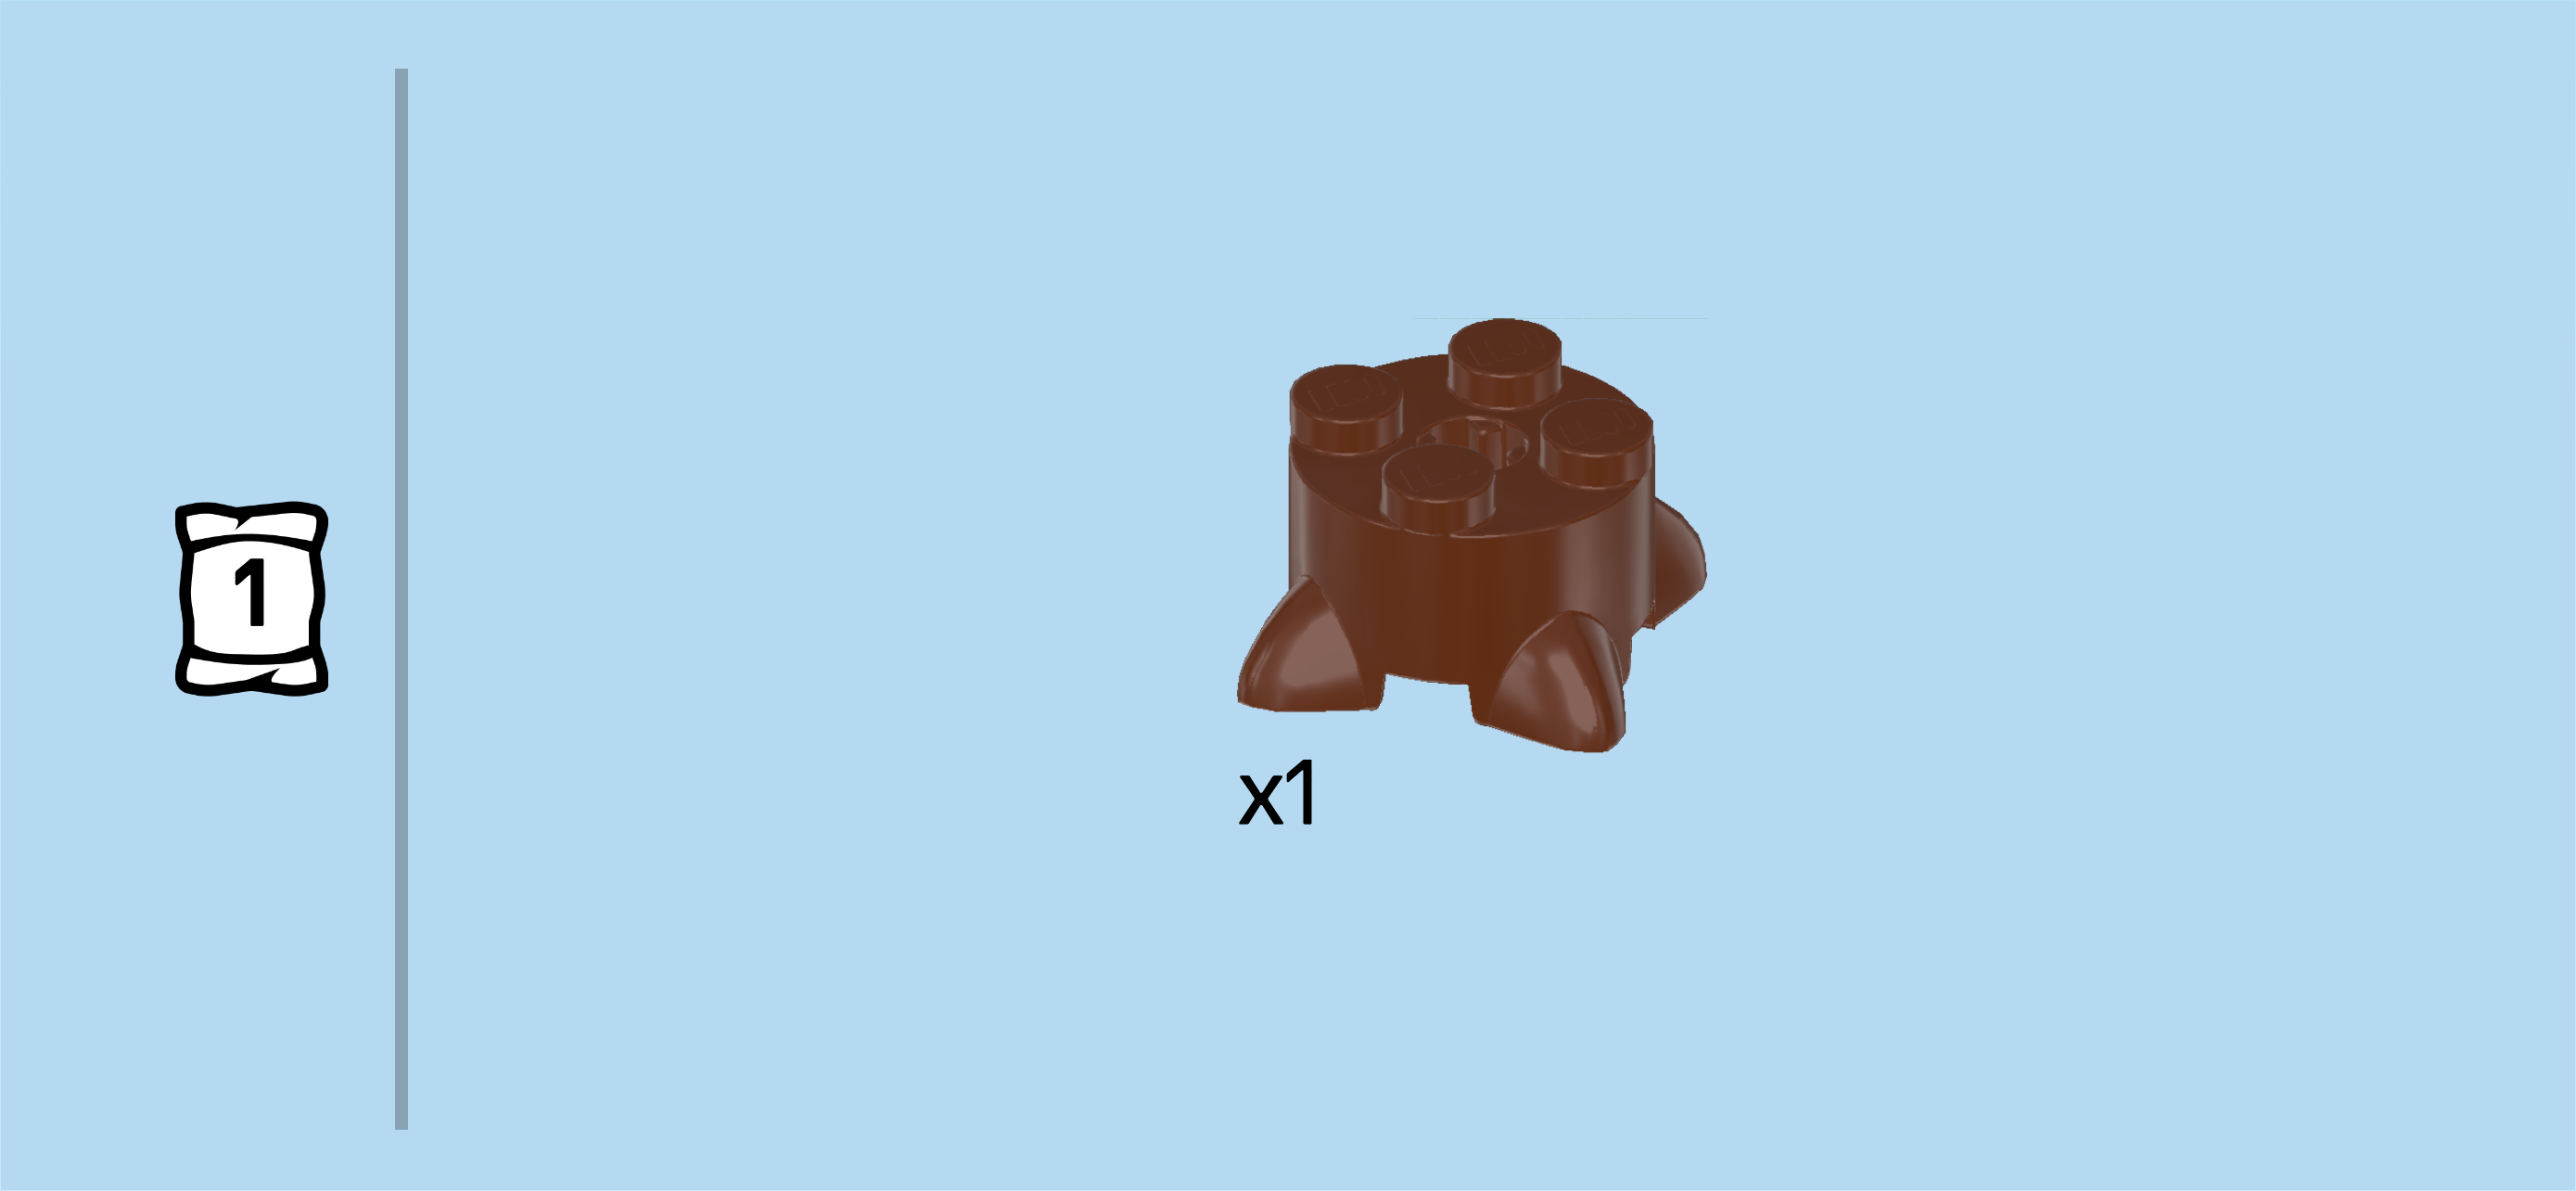
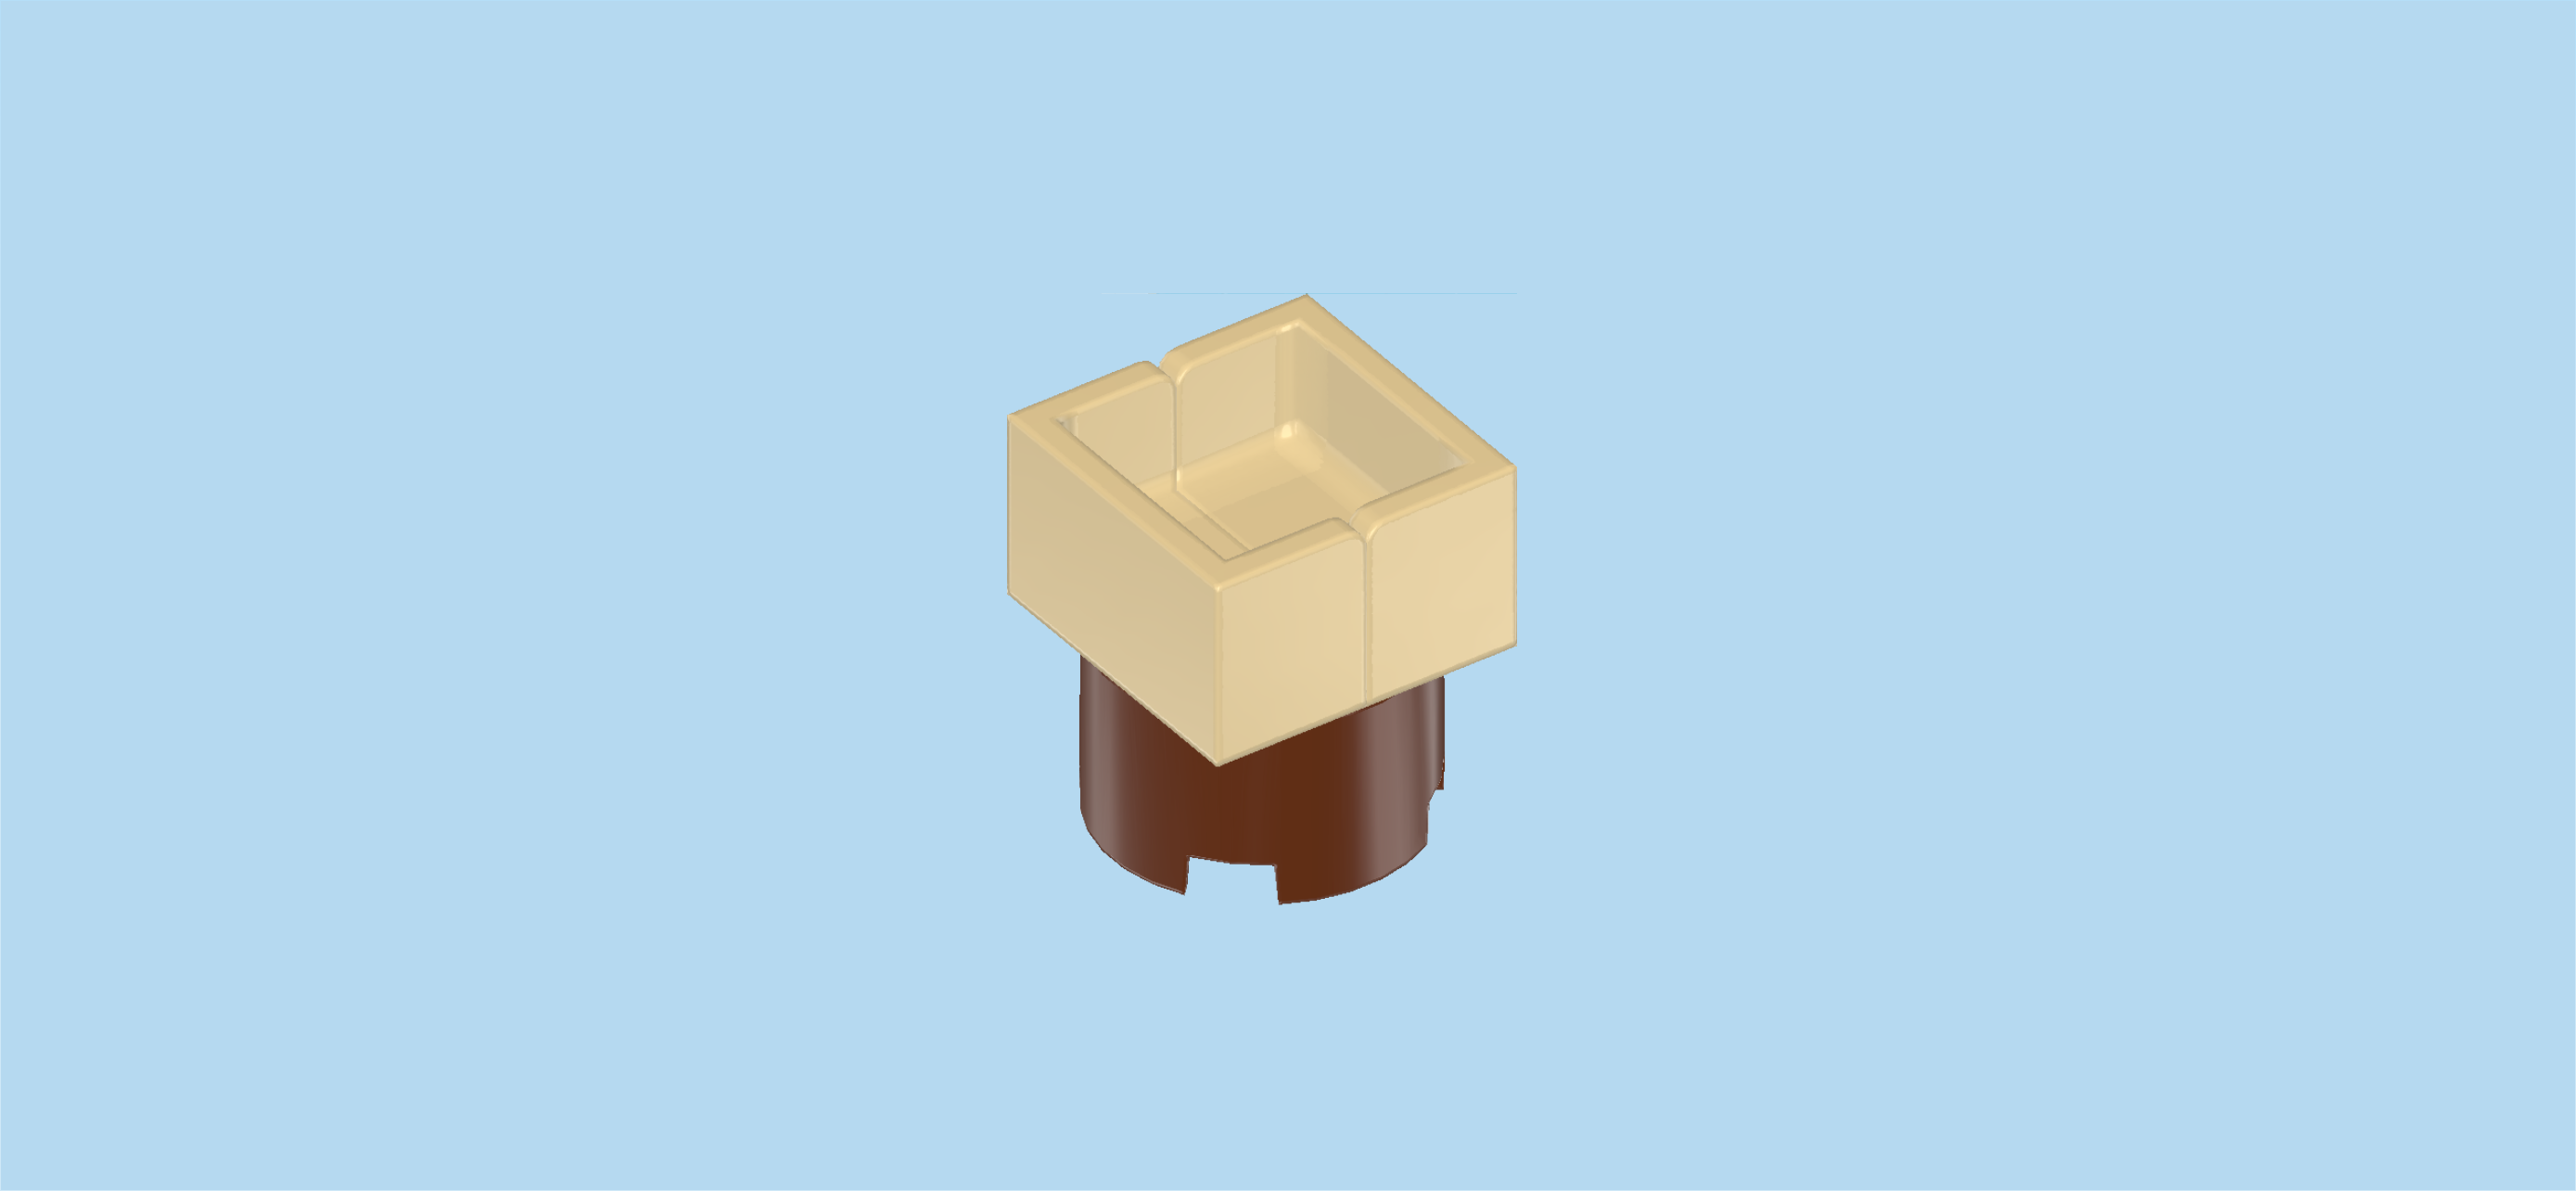
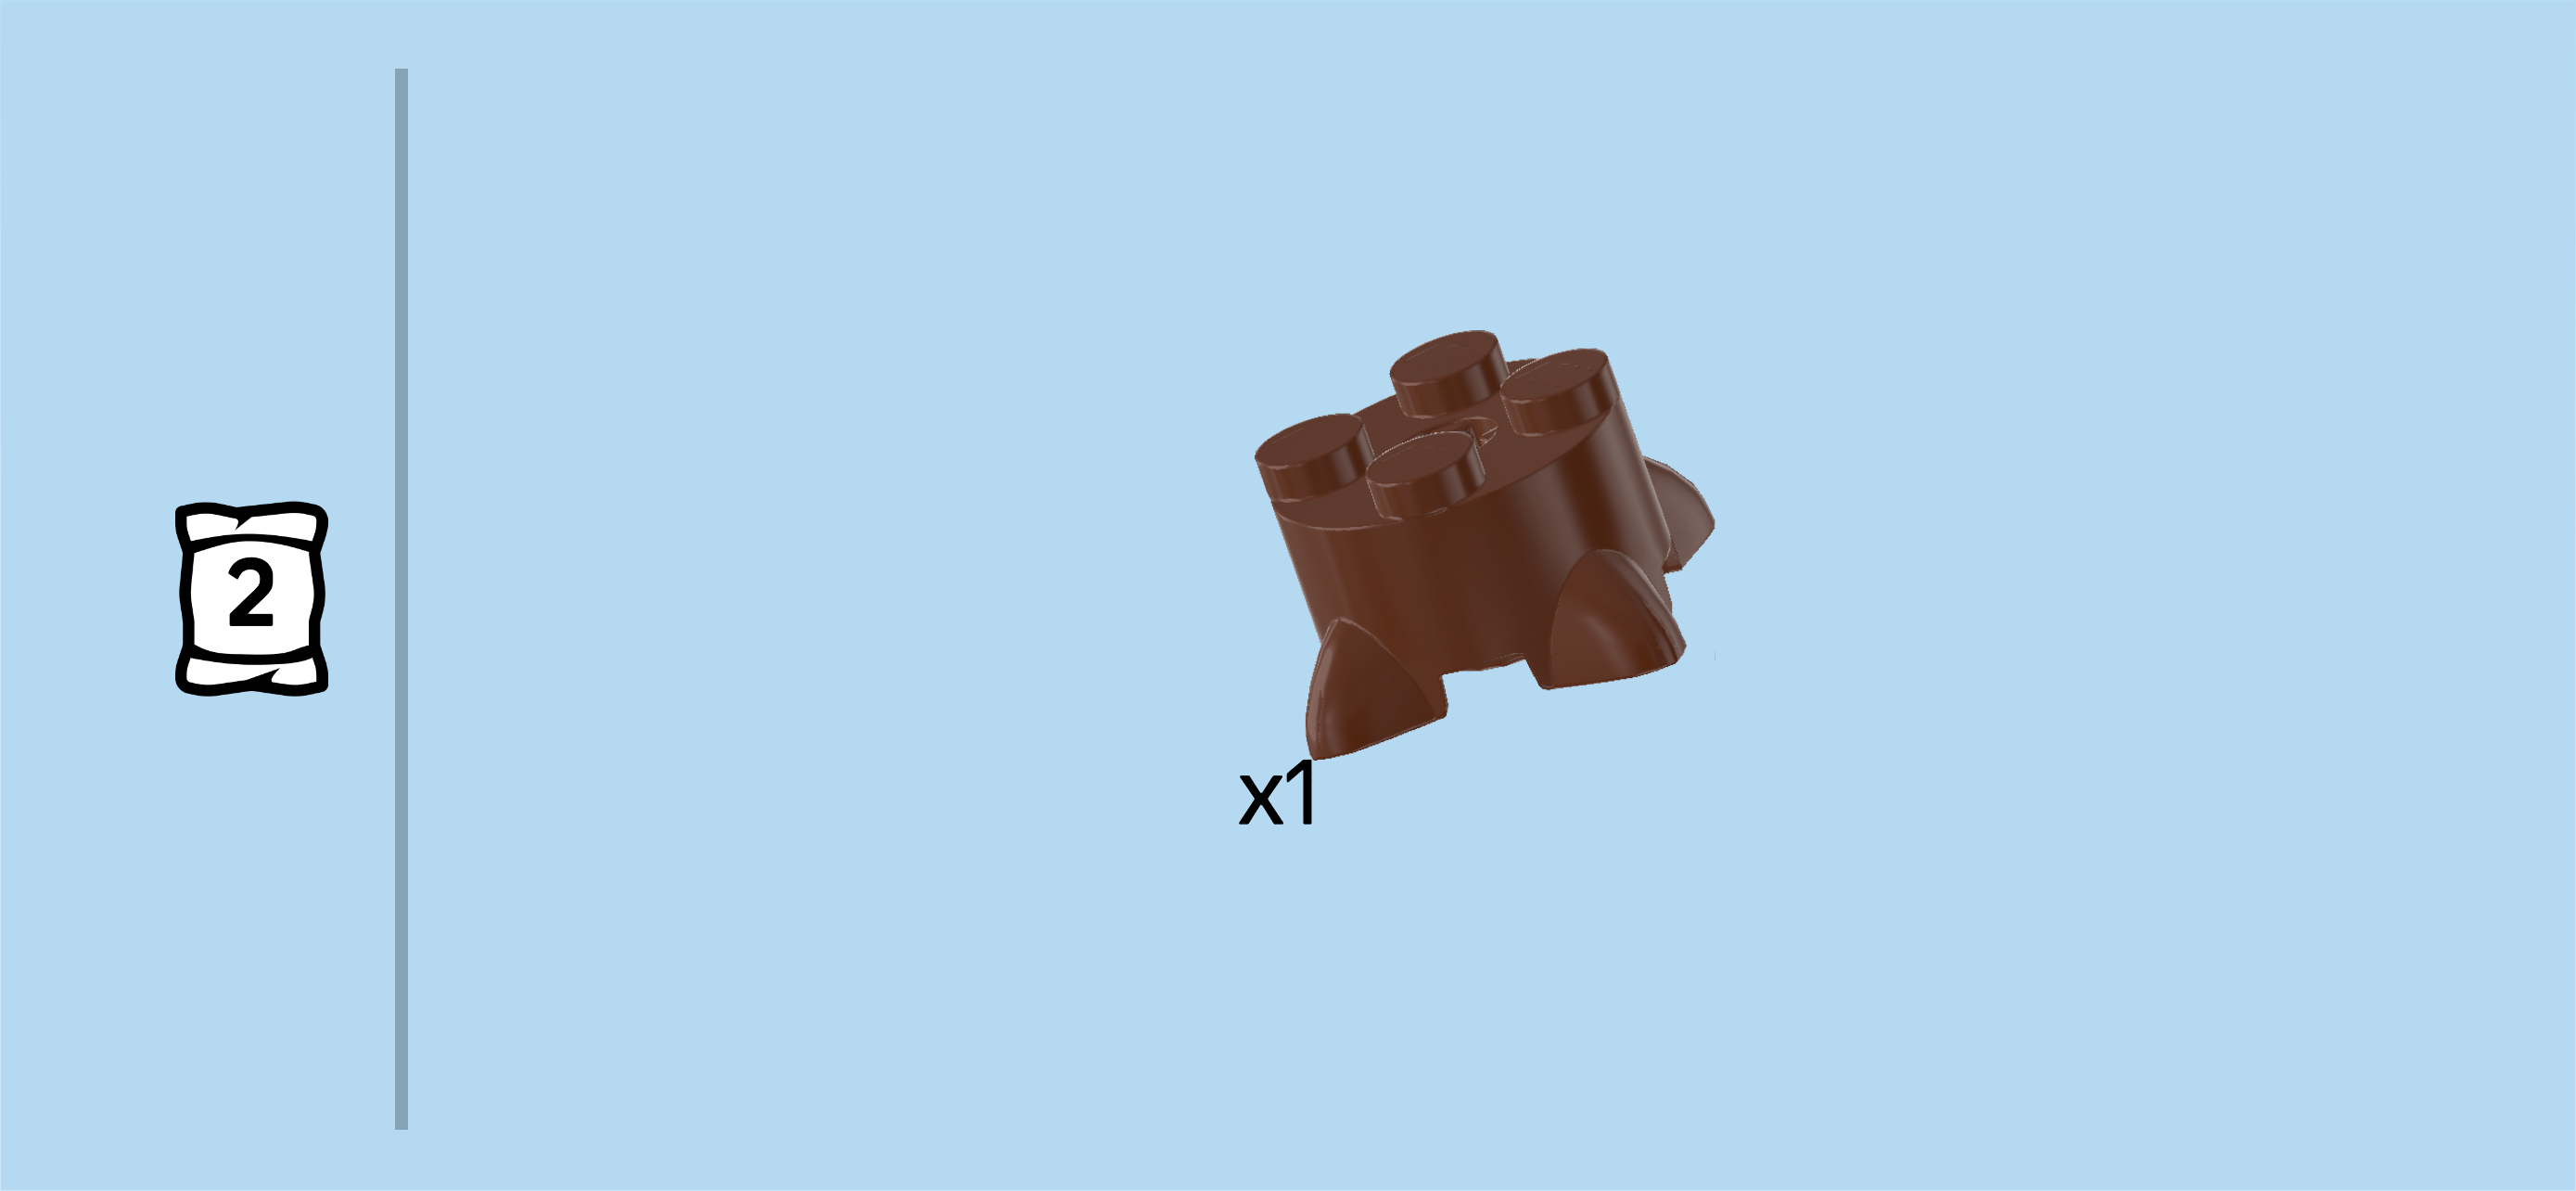
| Find 1 reddish brown round brick 2x2 with 4 root tips. |
| Turn it so that the root tips are pointing to the front and back and left and right. |
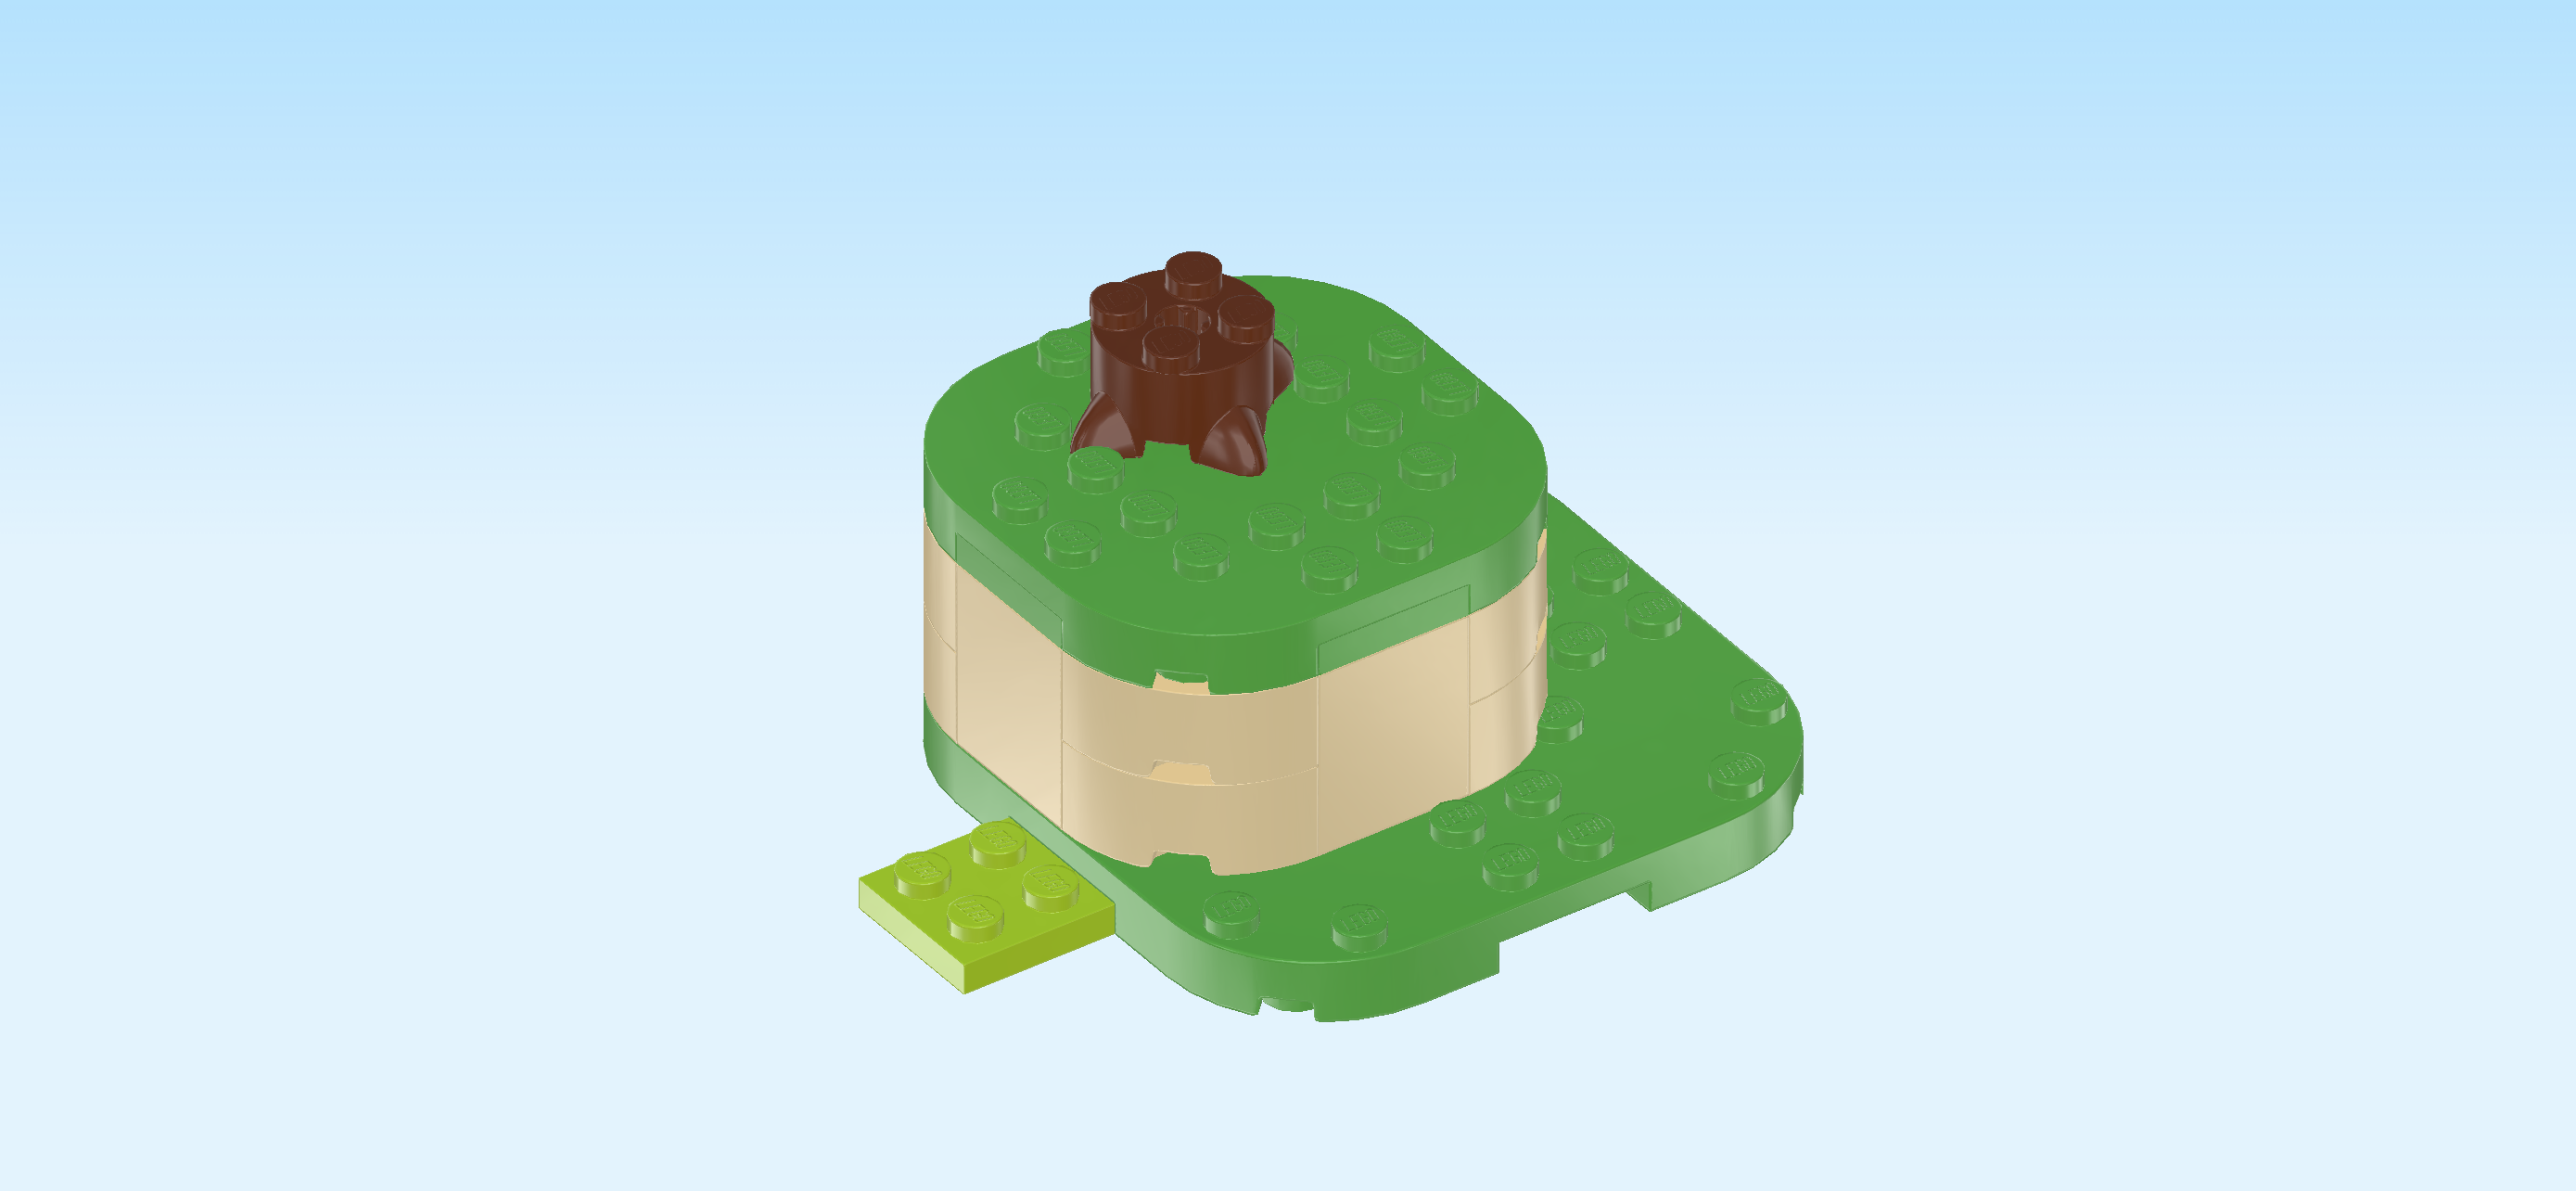
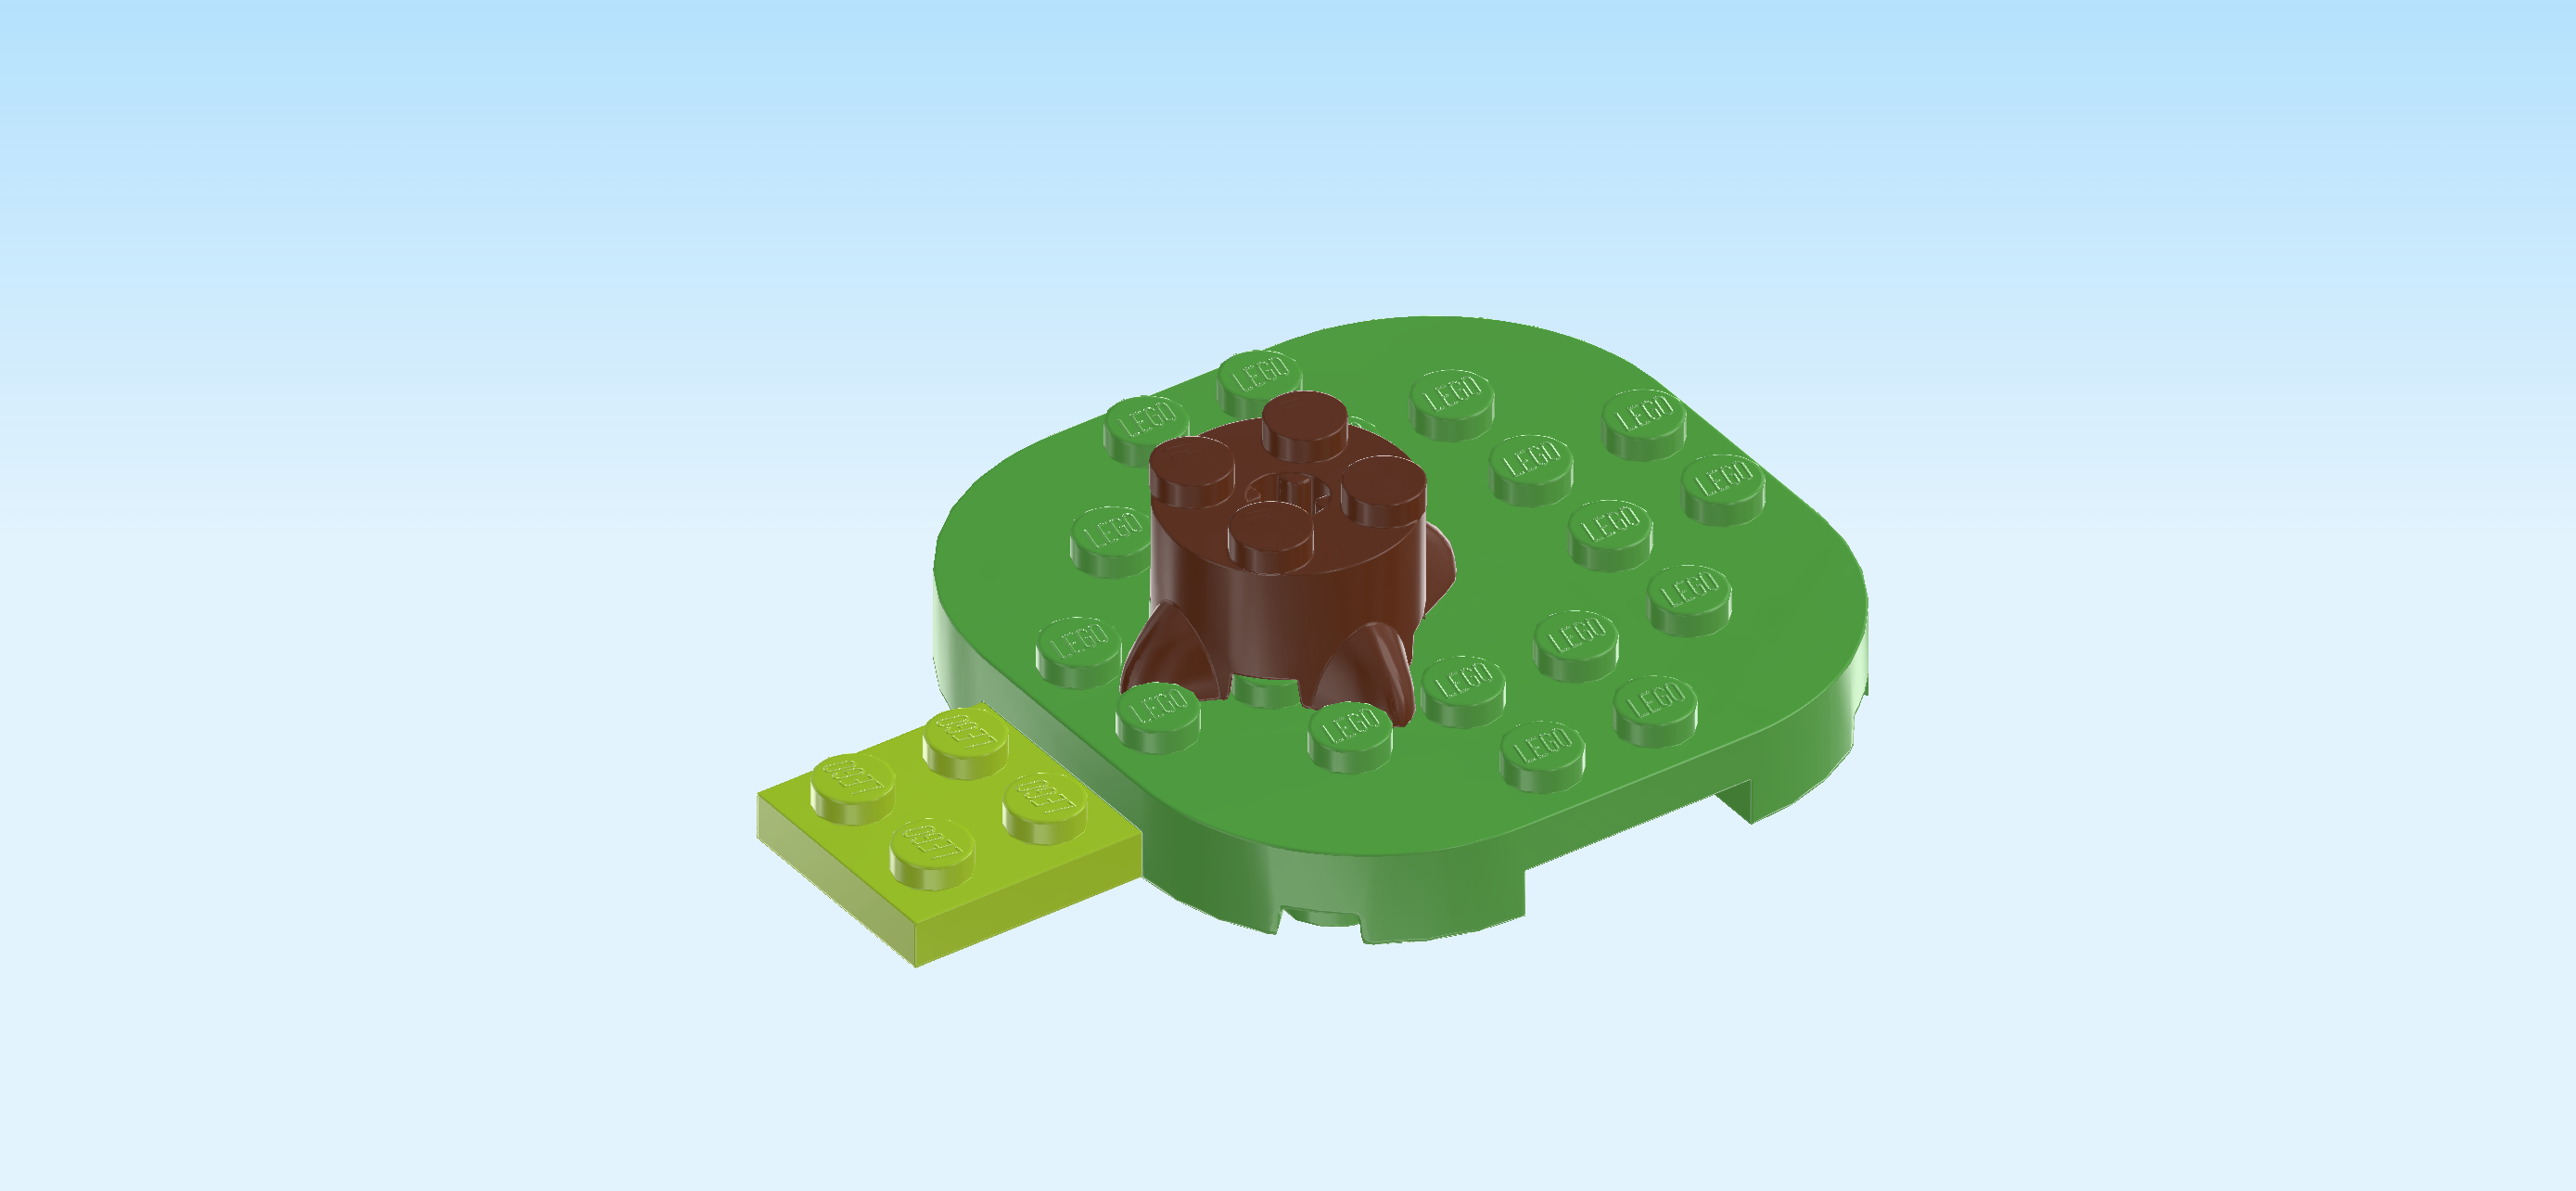
| Put its back row centered on the previous piece's second row from the back. |
| Next, we will build the large pine tree. |
| Collect the following 2 pieces: |
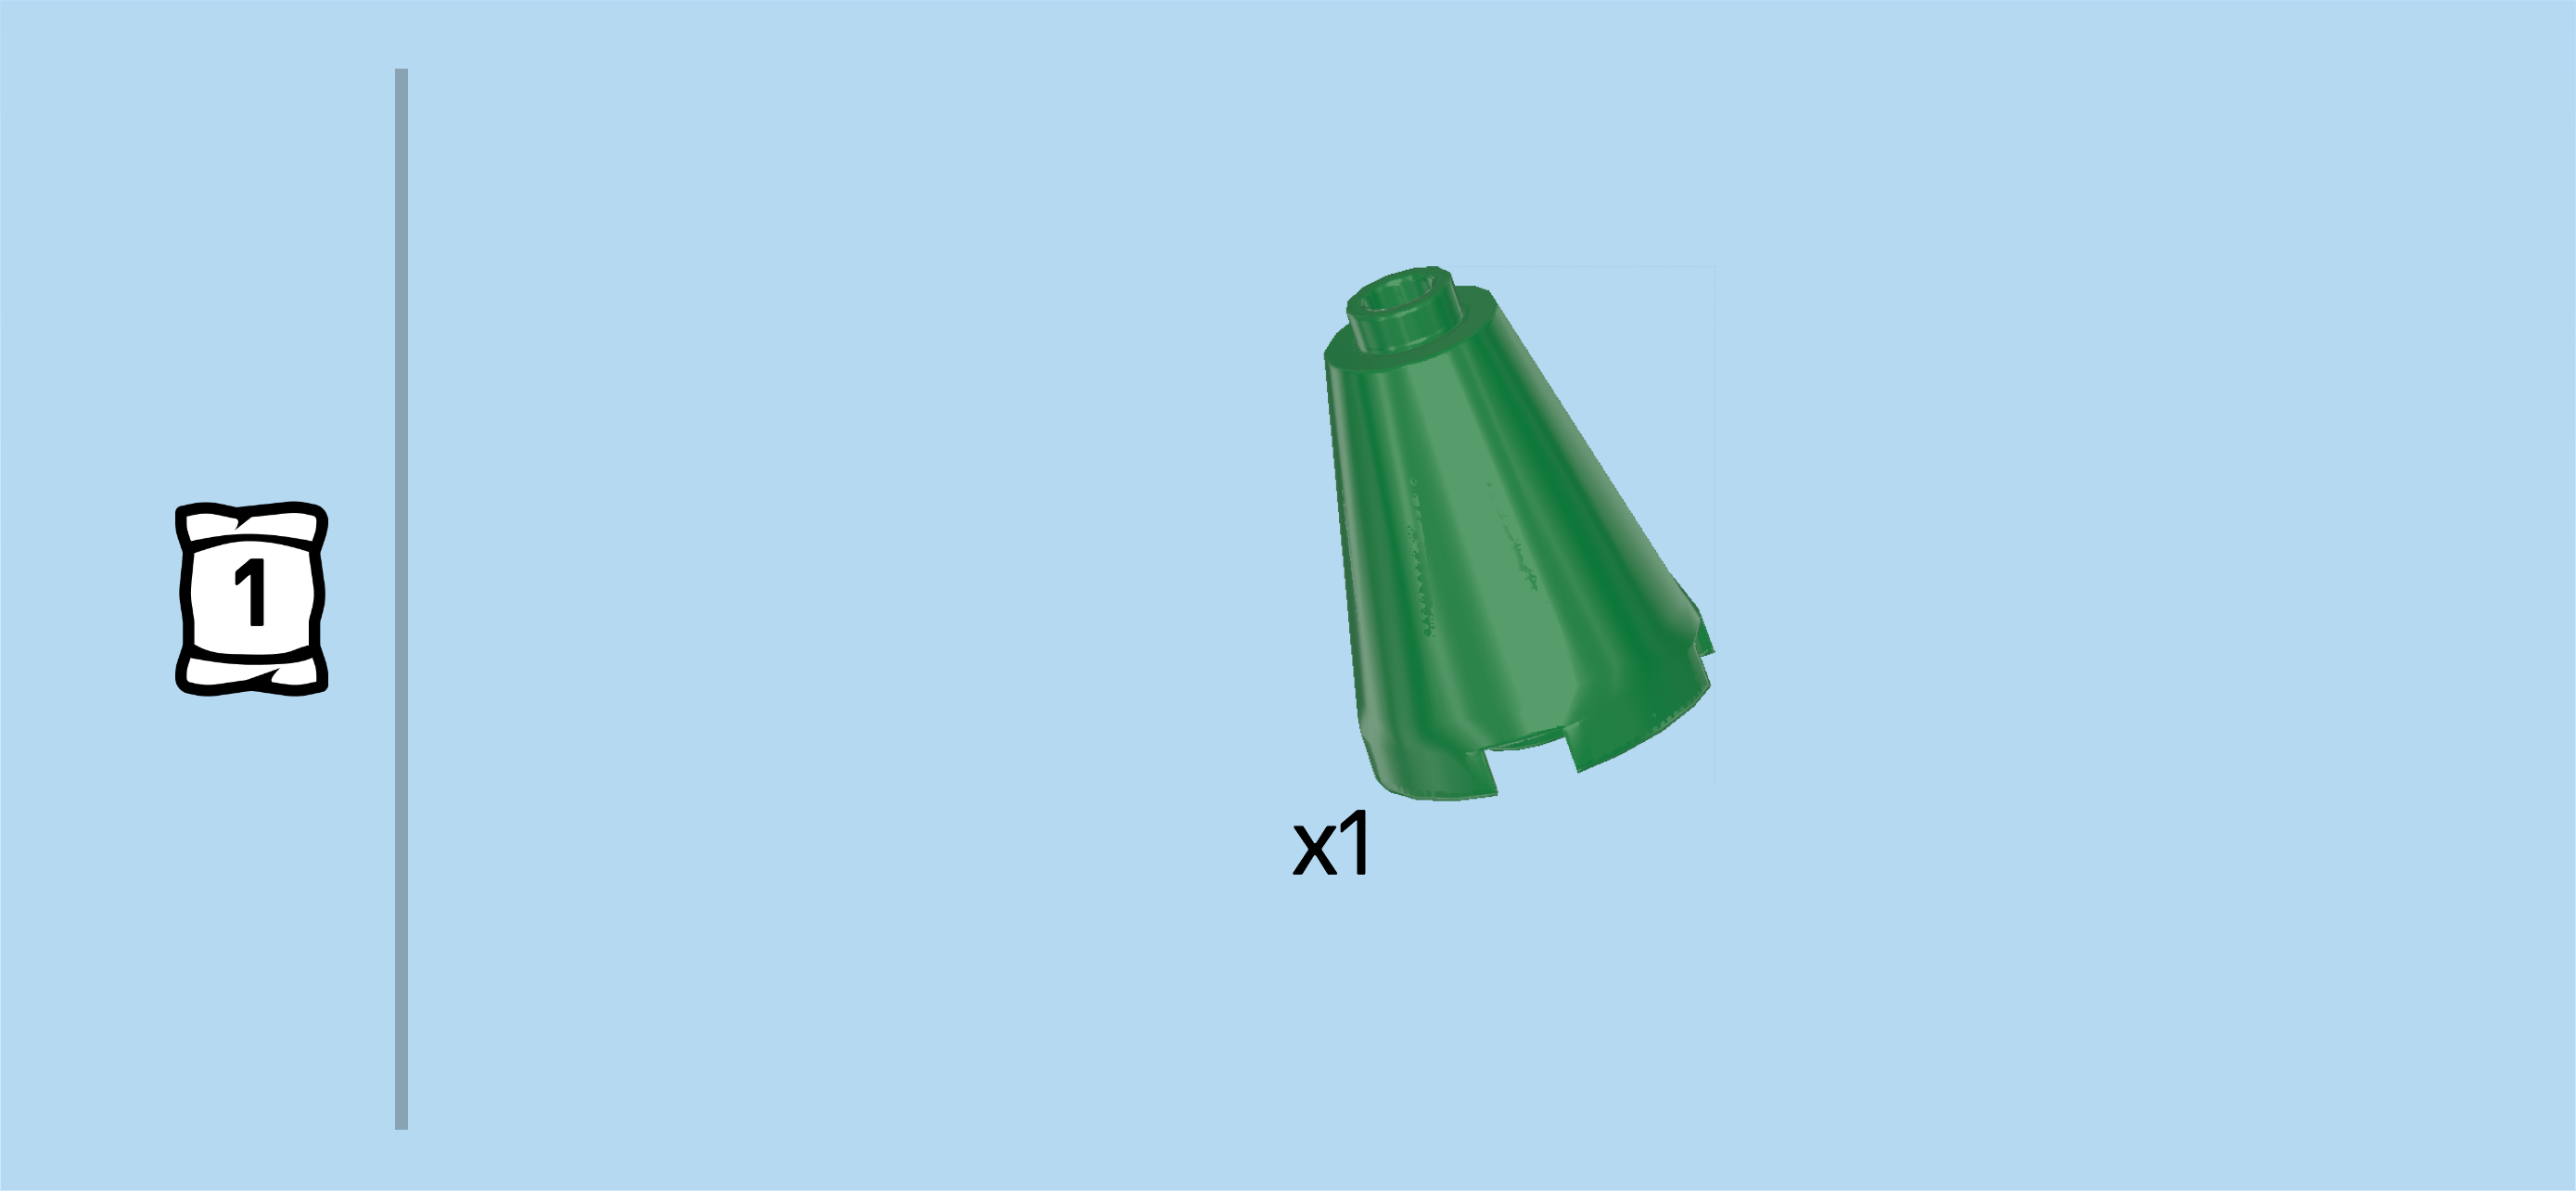
| 1 dark green cone 3x3x2 with cross hole, |
| and 1 reddish brown round brick 2x2 with top cross hole. |
| Put the round brick 2x2 on the table. |
| Put the cone centered on top. |
| Find 1 dark green nose cone 2x2x2. |
| Put it on top of the previous piece. |
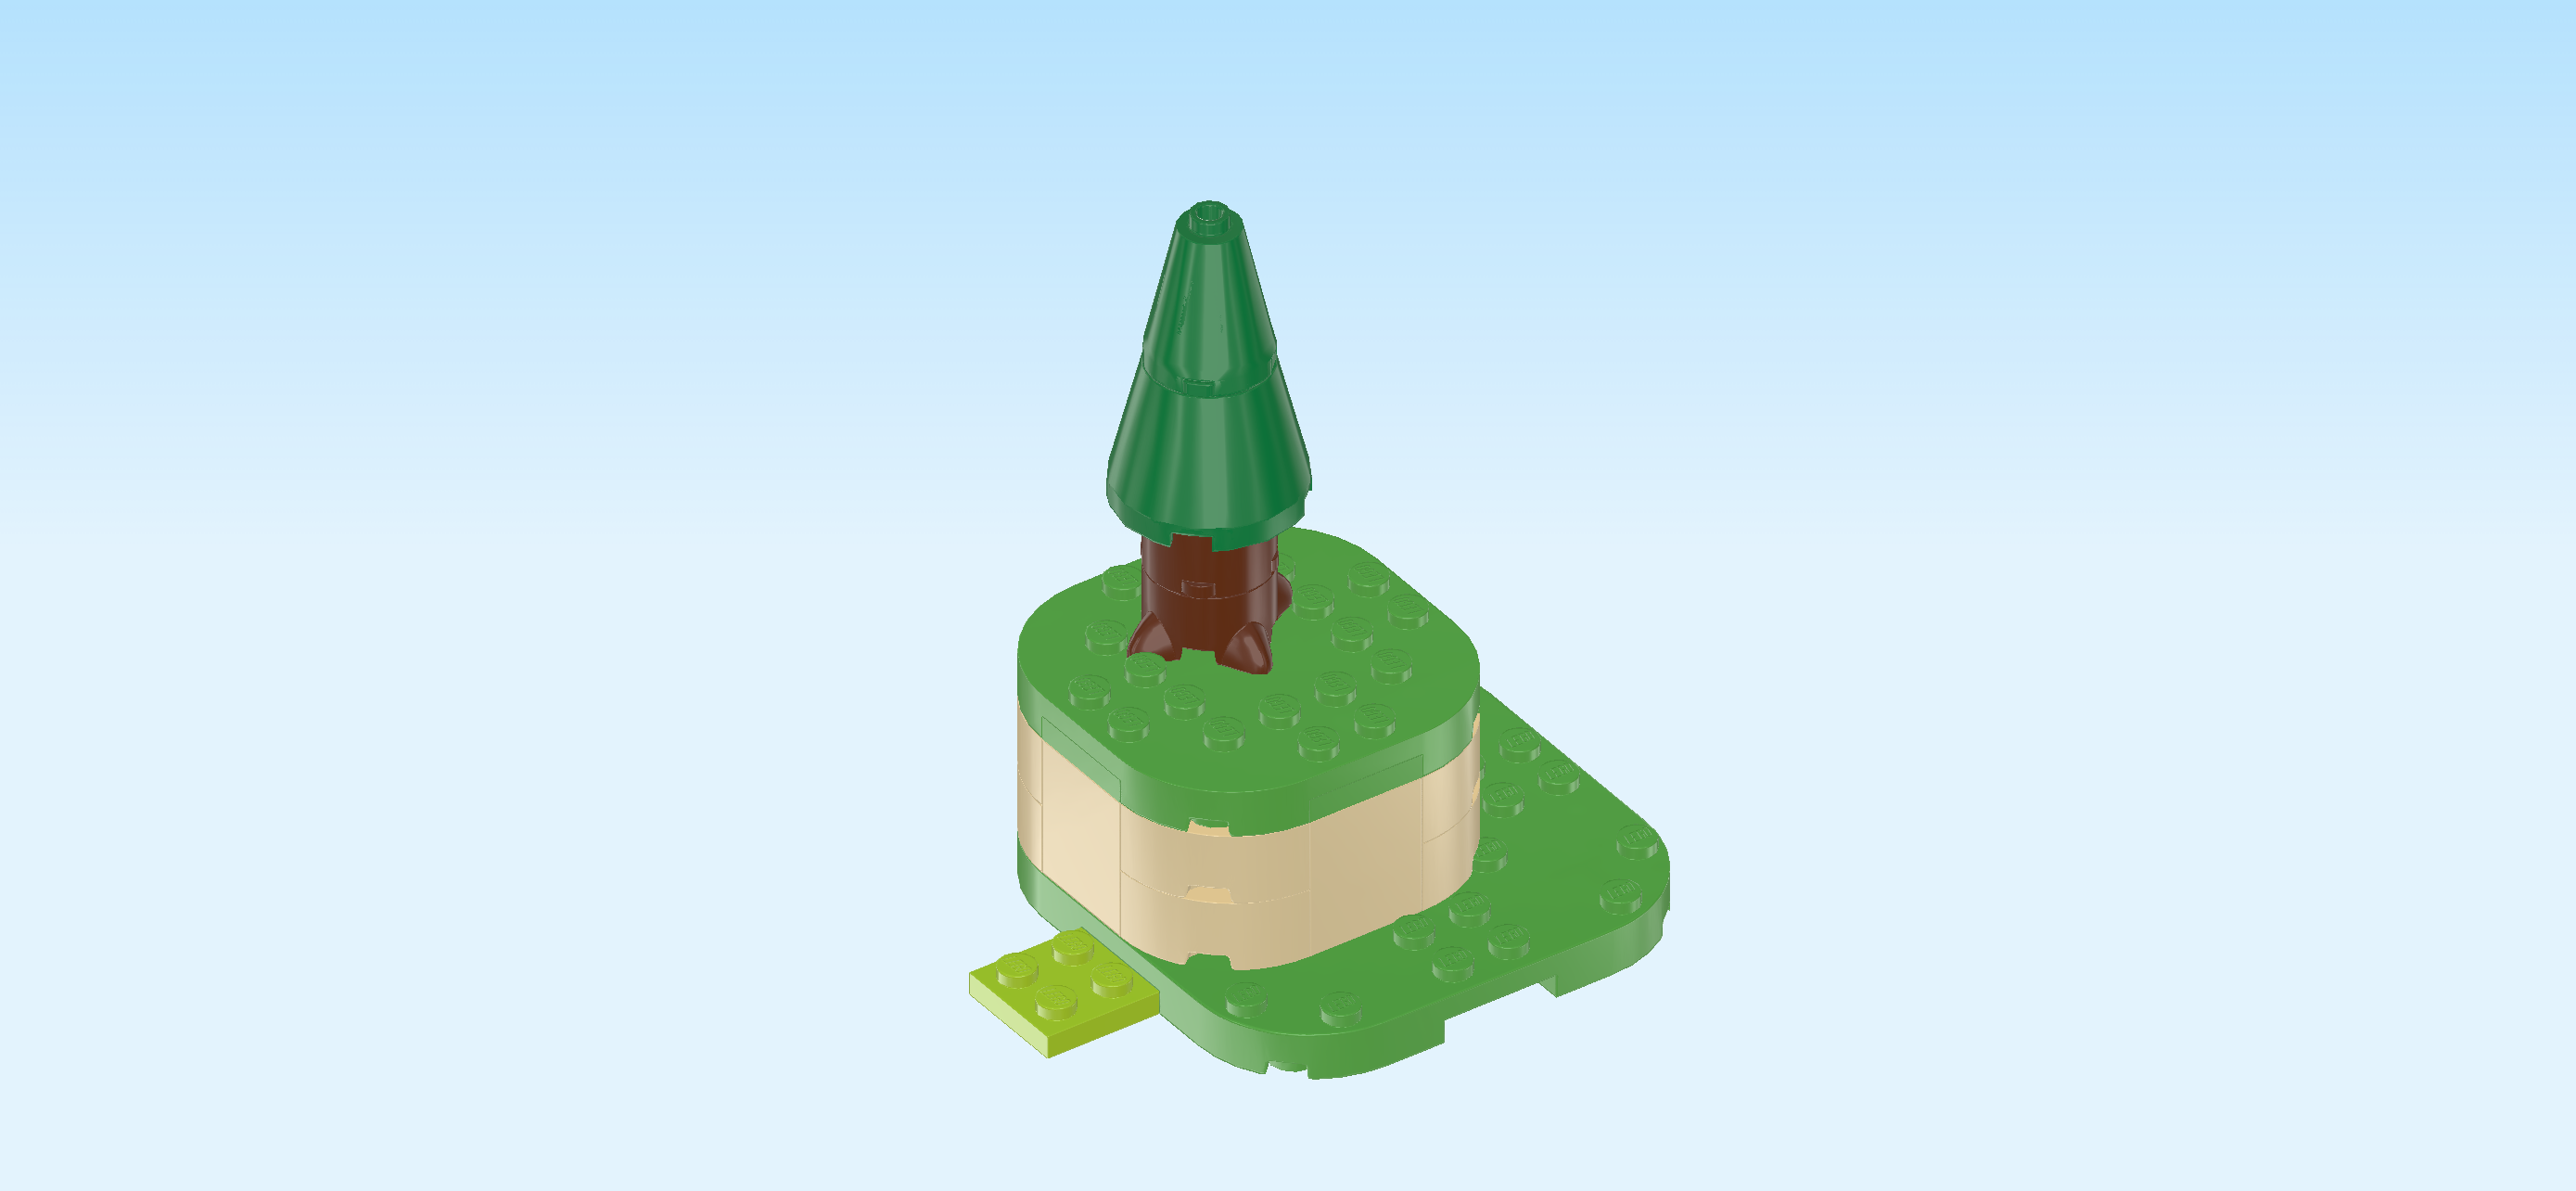
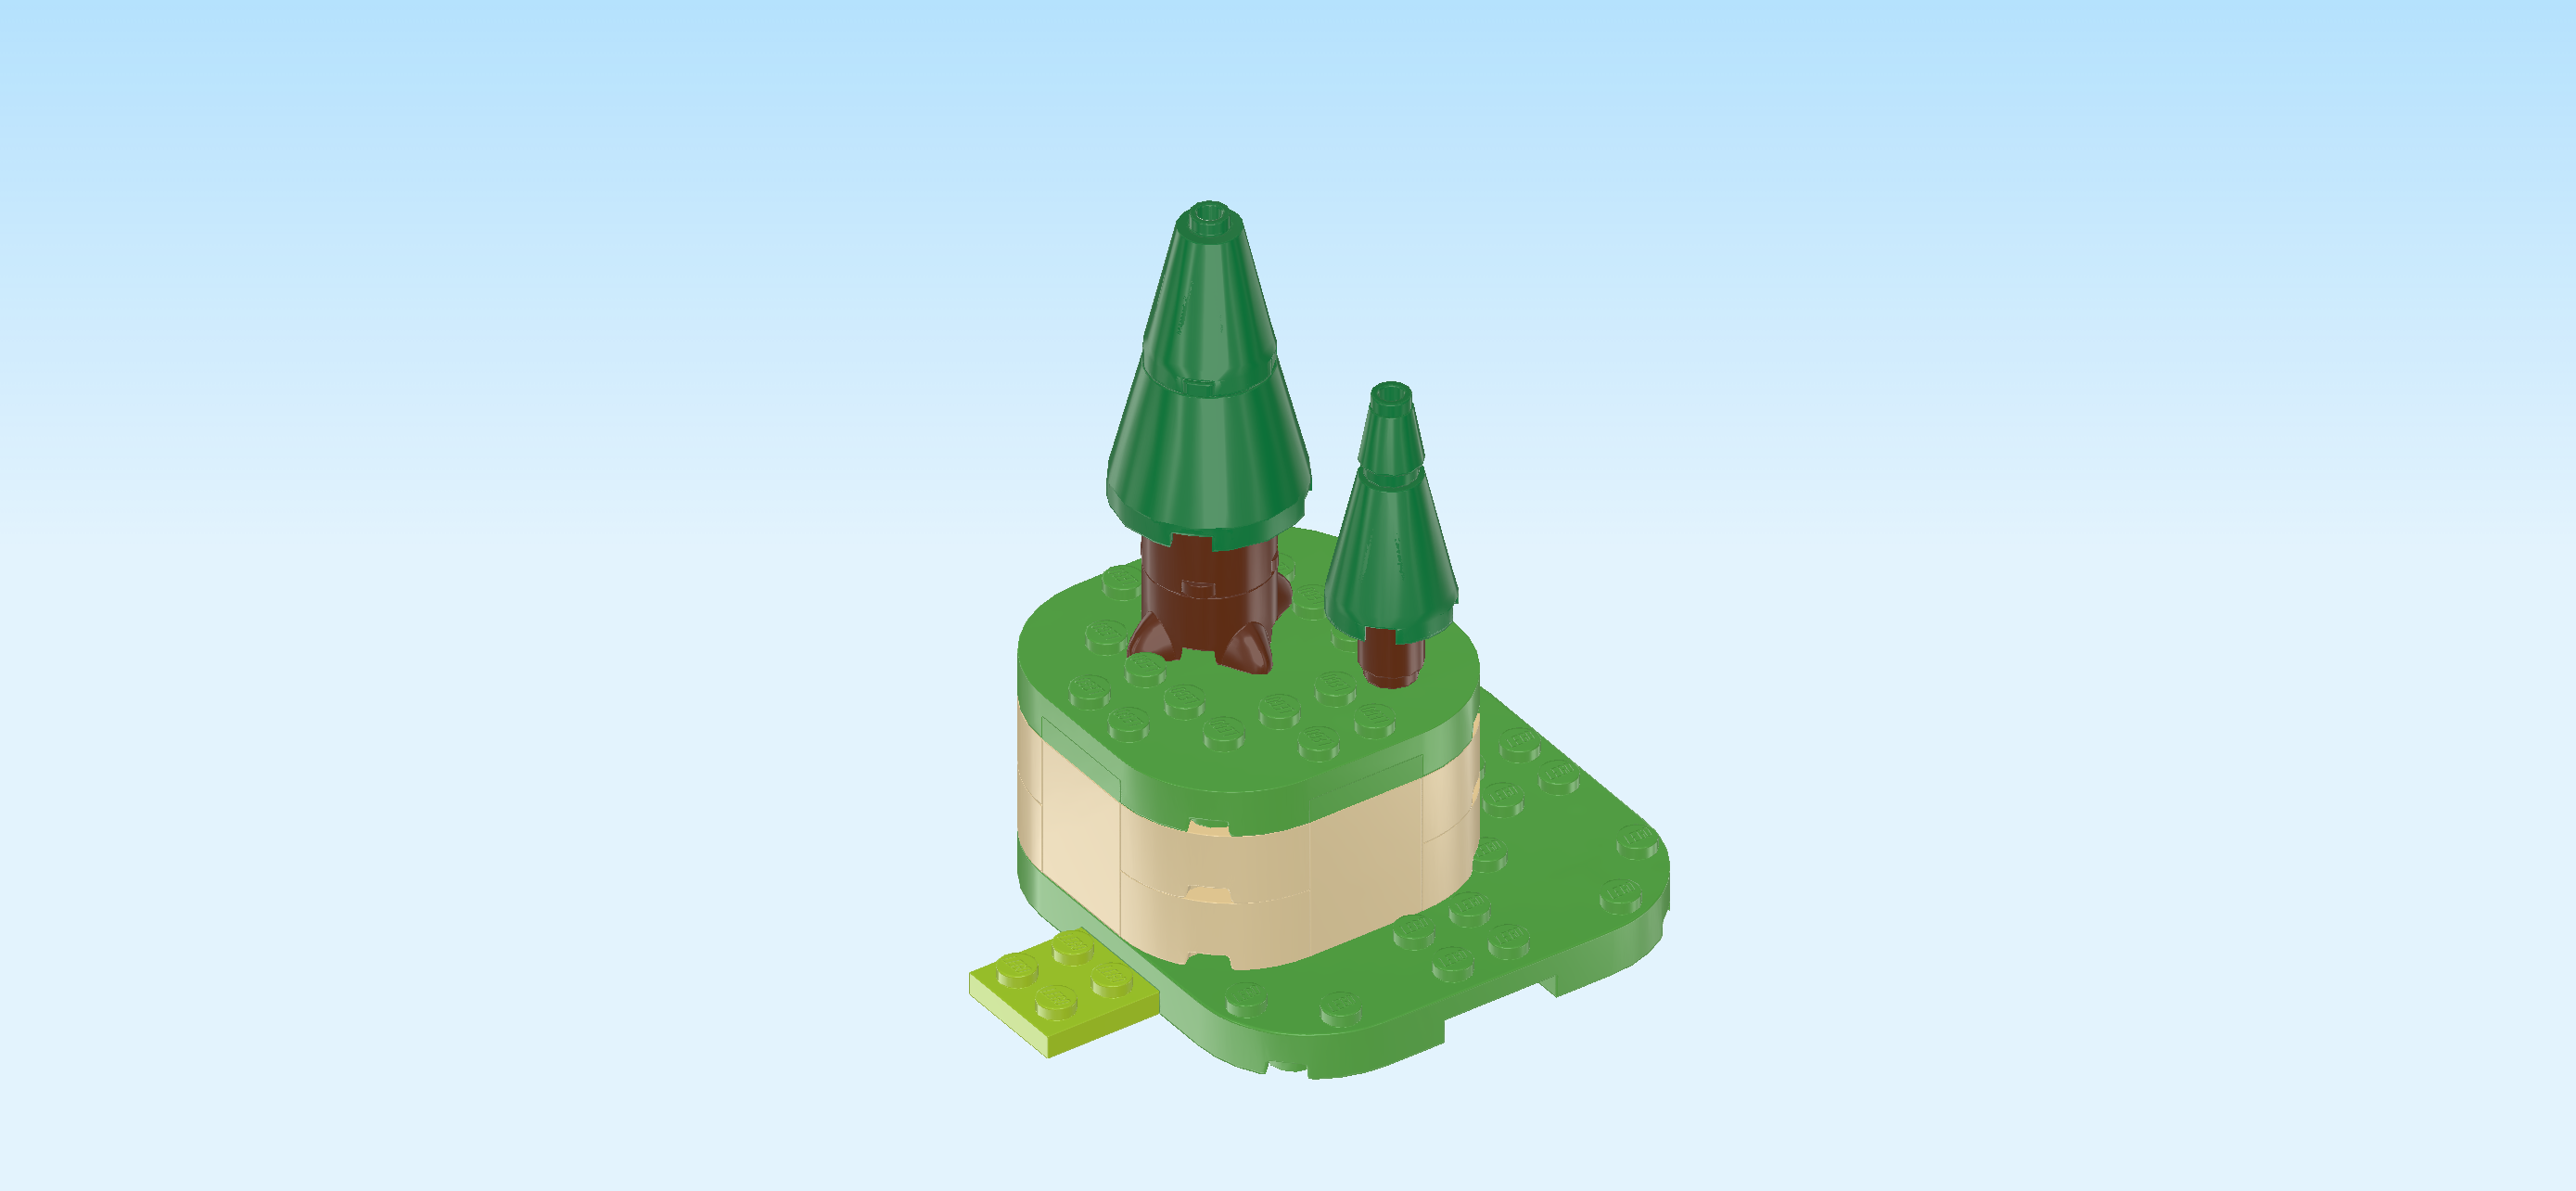
| Mount the large pine tree on top of the round brick with root tips that we have mounted earlier. That's the whole tree. Well done! |
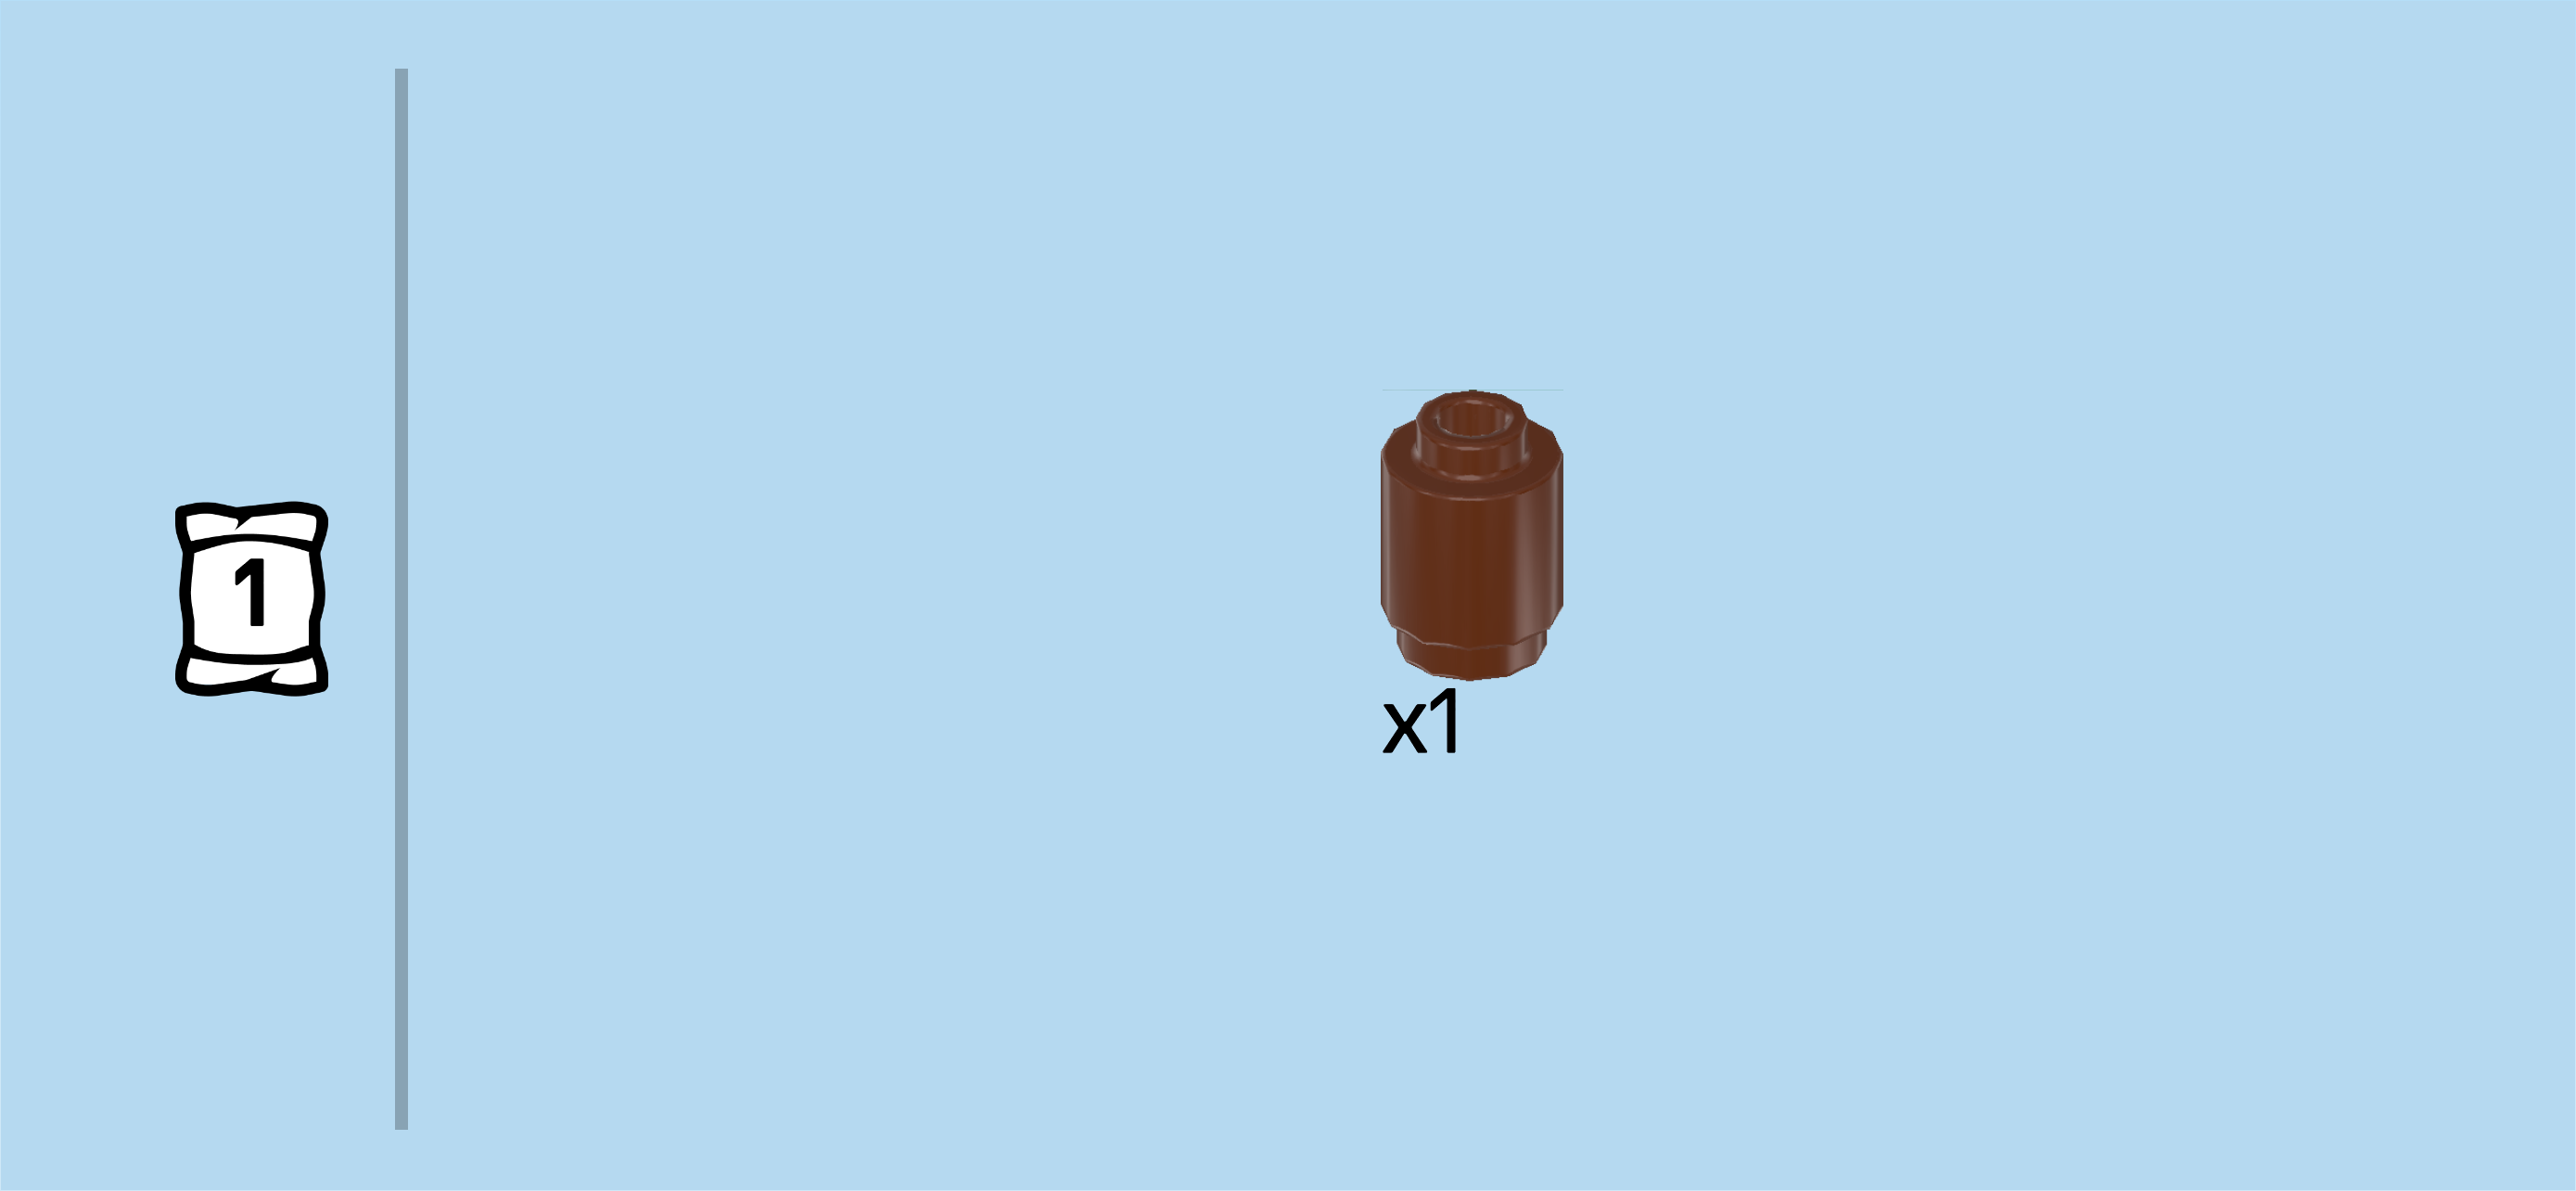
| Find 1 reddish brown round brick 1x1. |
| Put it on the frontmost knob of the second row from the right on the high surface. |
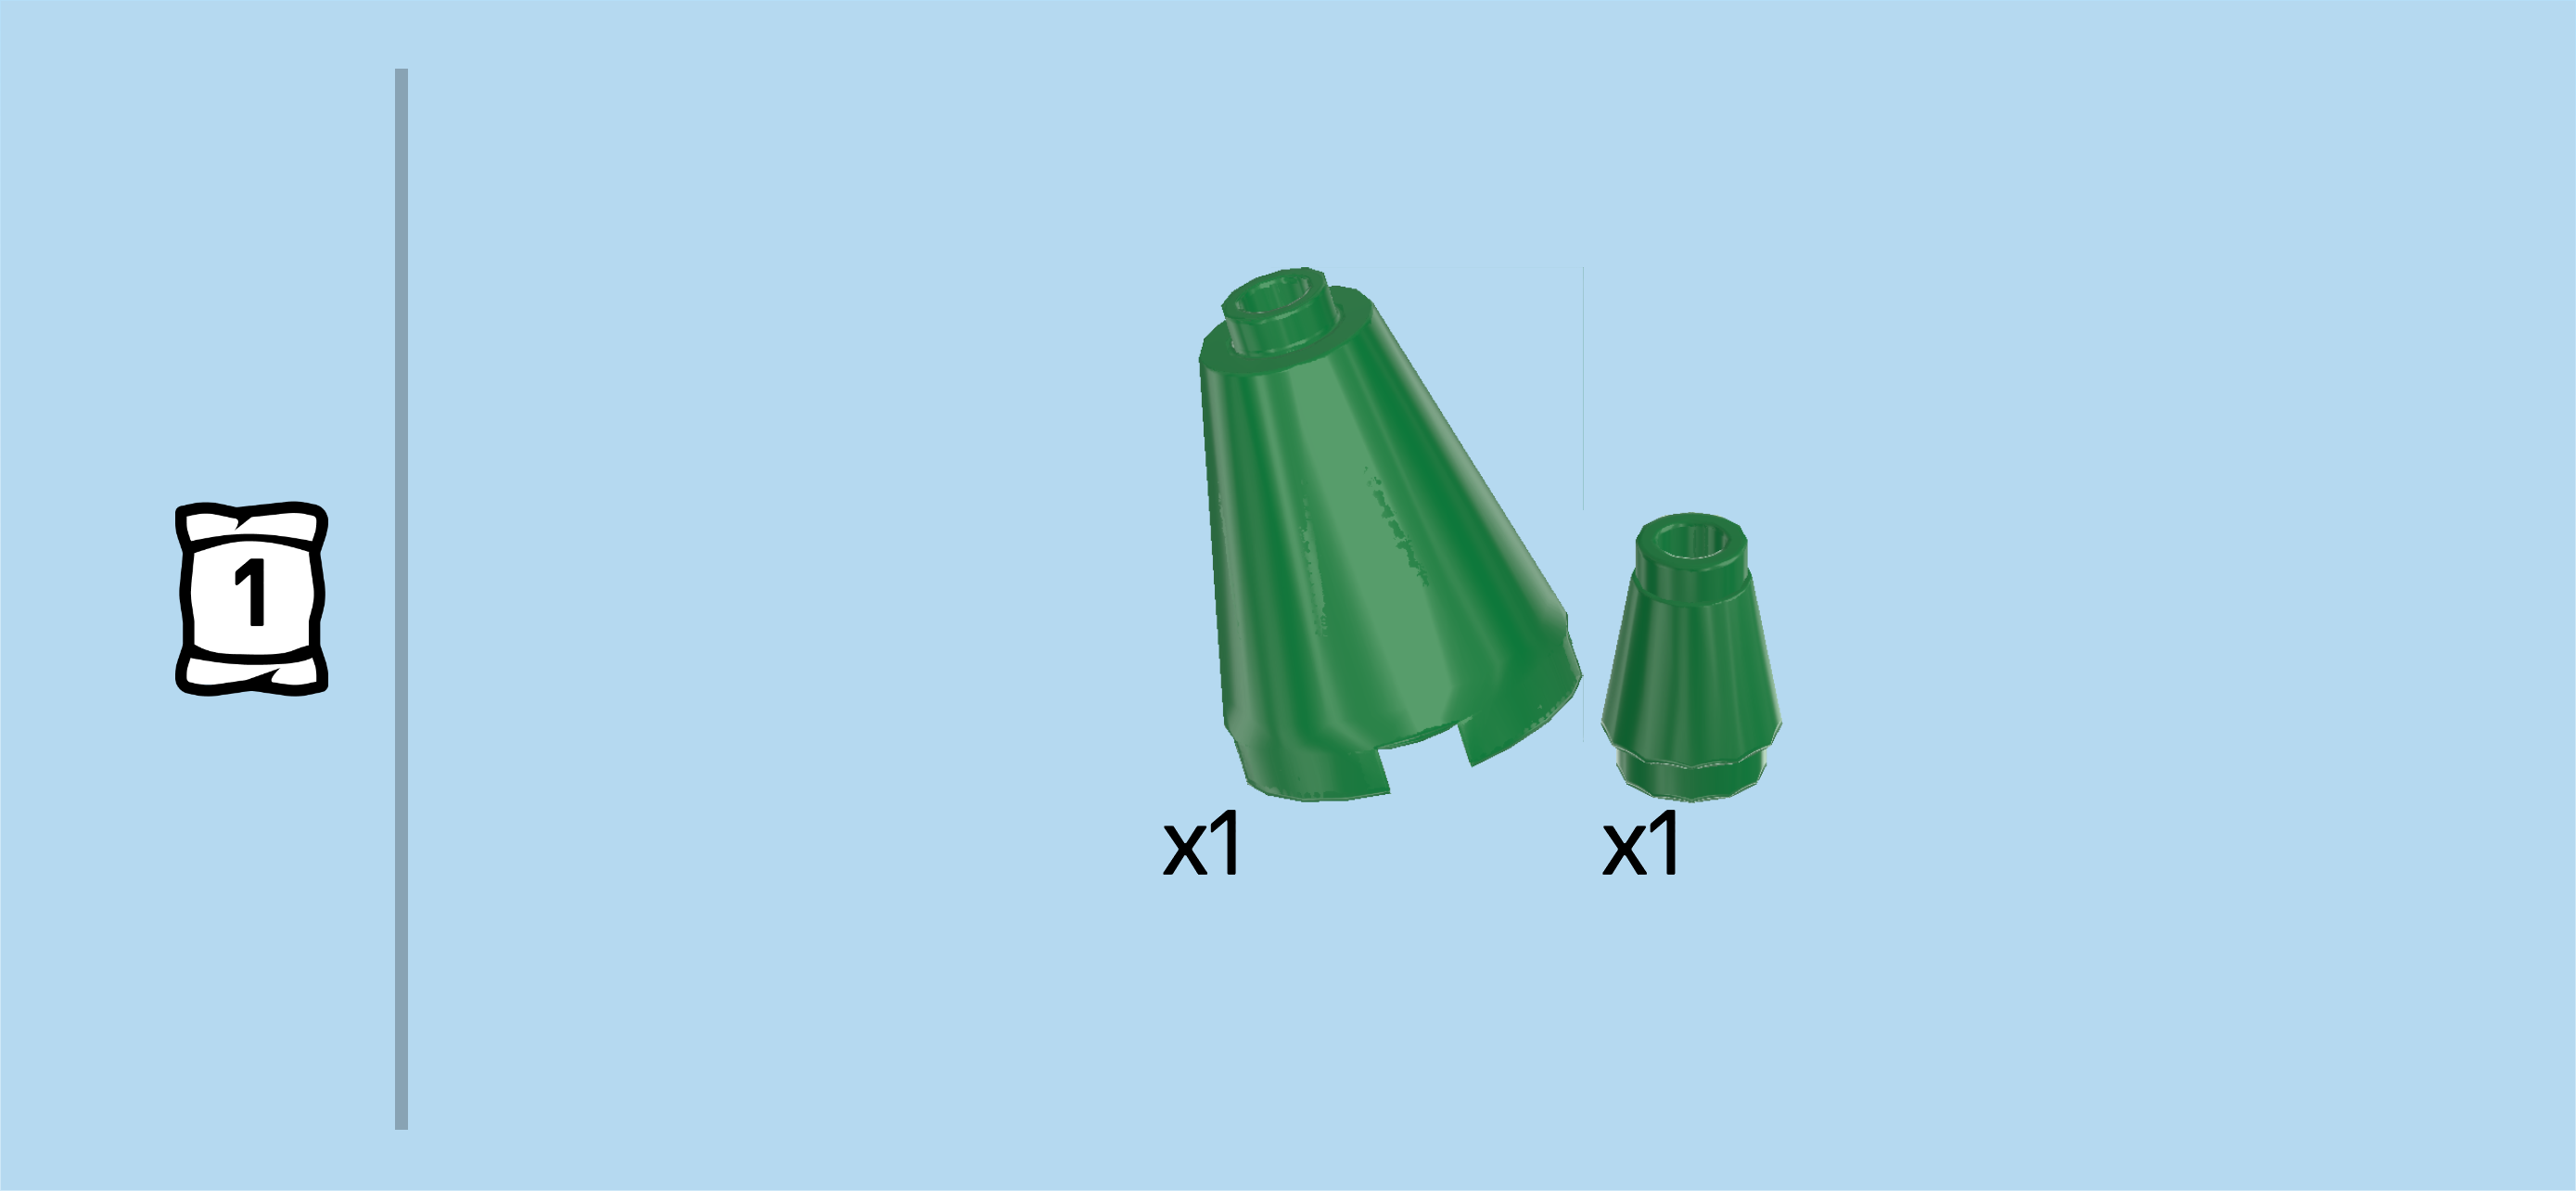
| Next, we will build the small pine tree. |
| Collect the following 2 pieces: |
| 1 dark green nose cone 1x1, |
| and 1 dark green nose cone 2x2x2. |
| Put the nose cone 2x2x2 on the table. |
| Put the nose cone 1x1 on top. |
| Mount this centered on top of the round brick 1x1 we have mounted in the previous step. The small pine tree is finished! Good job! |
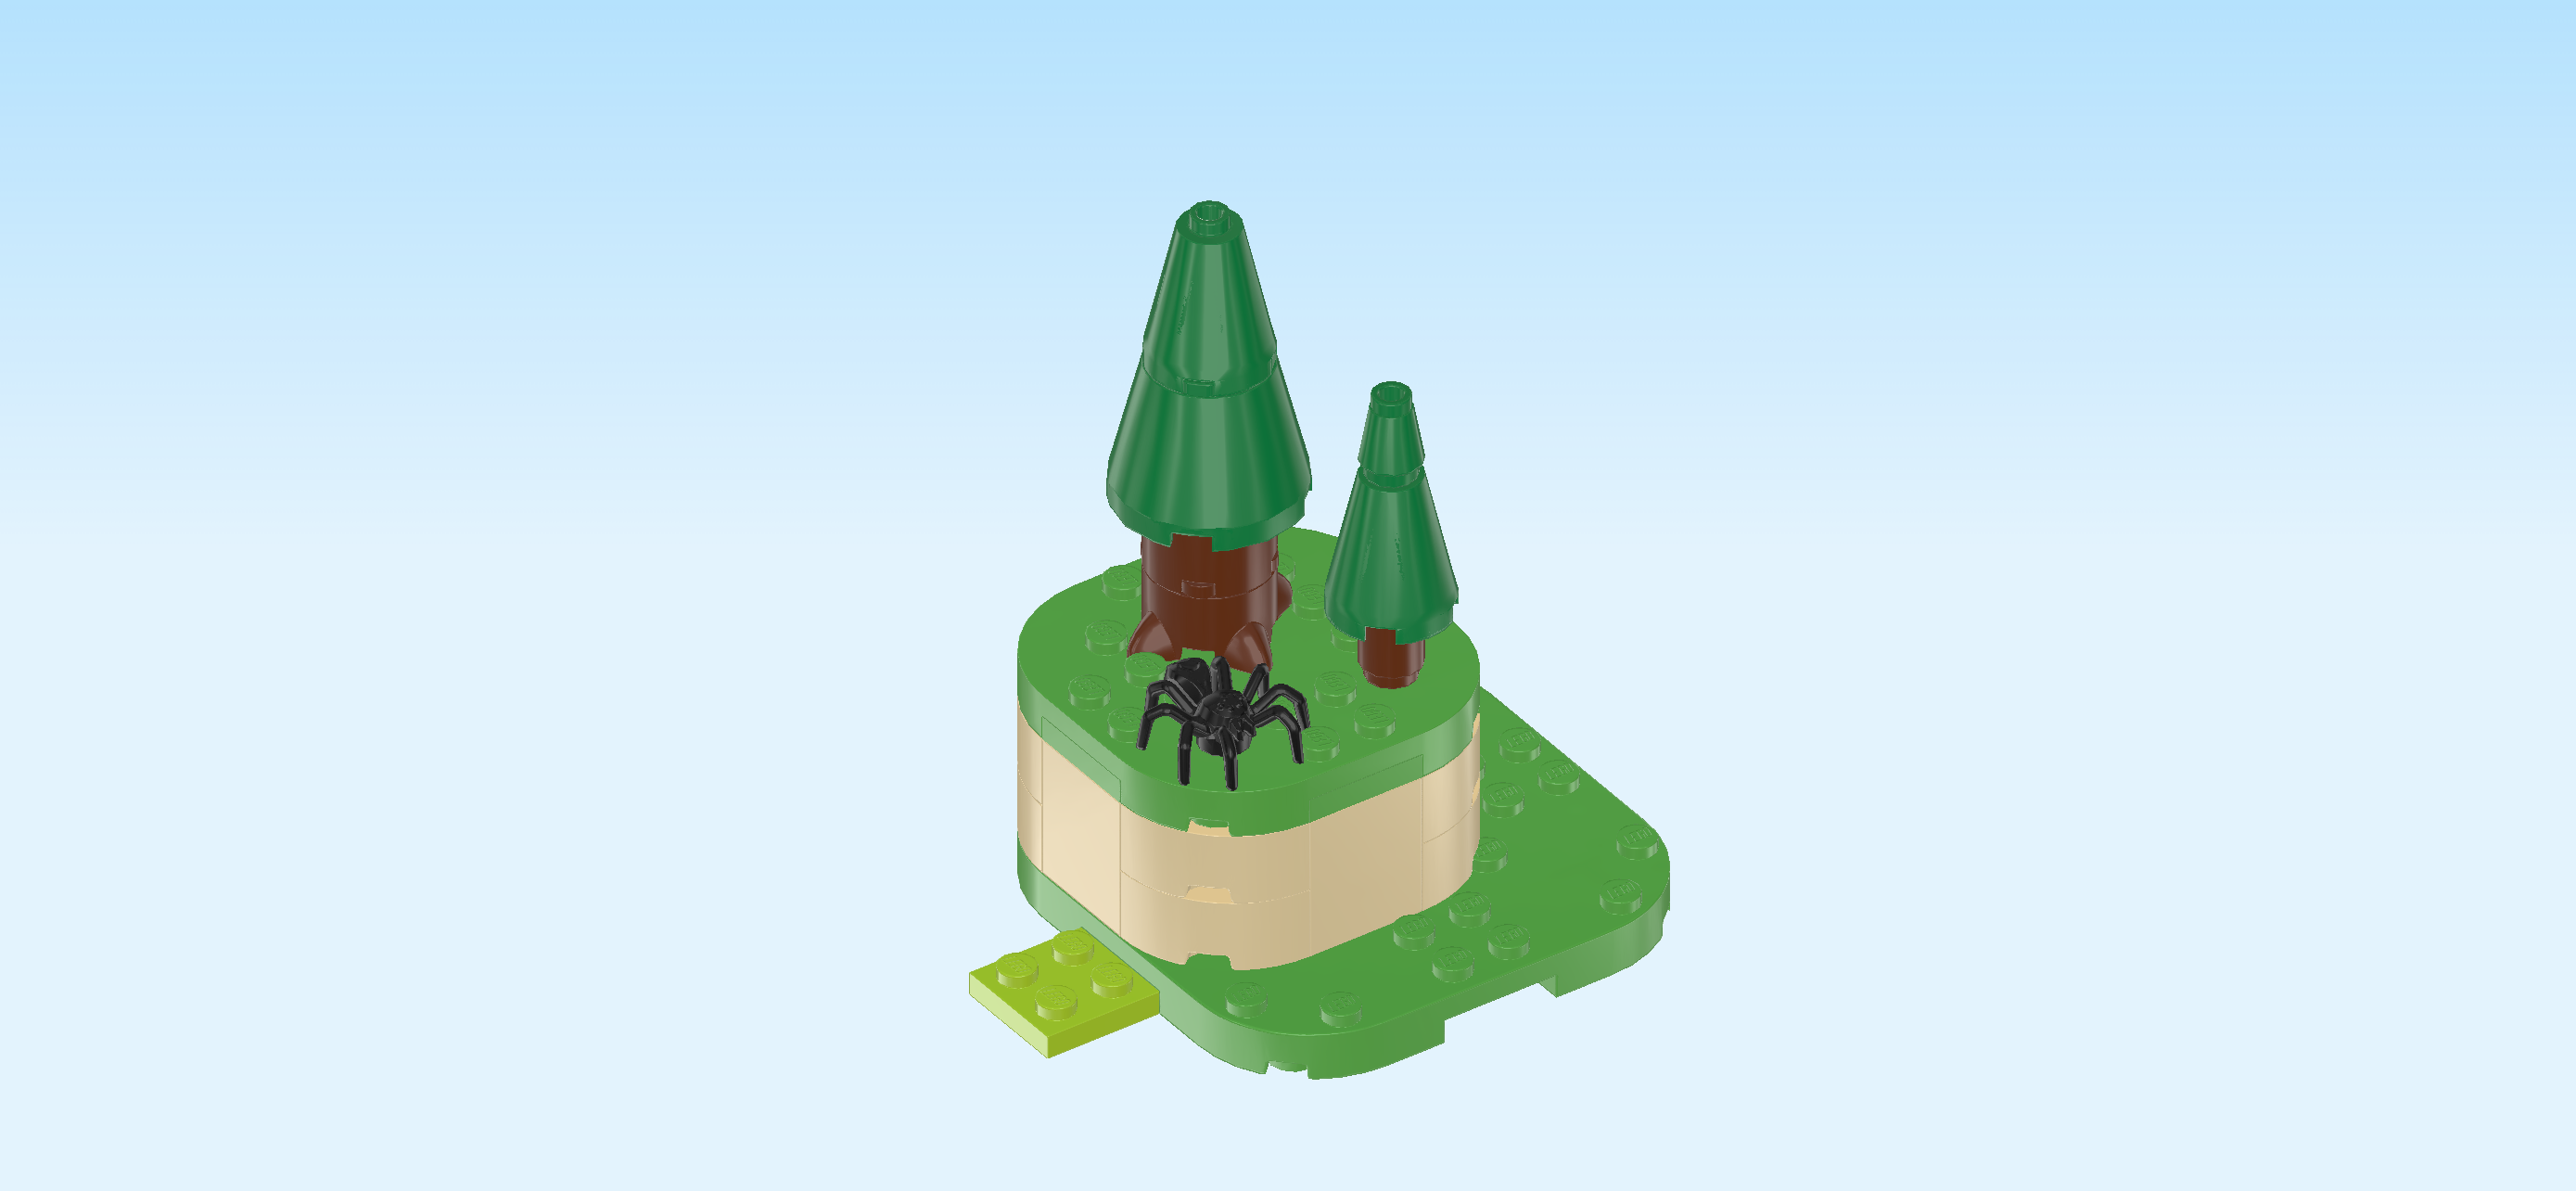
| Find 1 black spider figure. |
| Put it on the frontmost knob of the second row from the left. Again, we are referring to the high surface now. |
| Find 1 reddish brown box 2x2x2. |
| Put it centered on the 2 rightmost columns of the baseplate 8x8. This means it will sit to the right of the square element with trees. |
| Collect the following 4 pieces: |
| 1 silver metallic shovel, |
| 1 medium nougat brown butterfly net with long handle, |
| 1 black Minifigure axe, |
| and 1 pale ocher yellow shaft 6m with ring. |
| Put all 4 tools into the box we have mounted in the previous step. Make sure the empty handle ends are at the bottom. We will use the shaft 6m with ring later as the vaulting pole! |
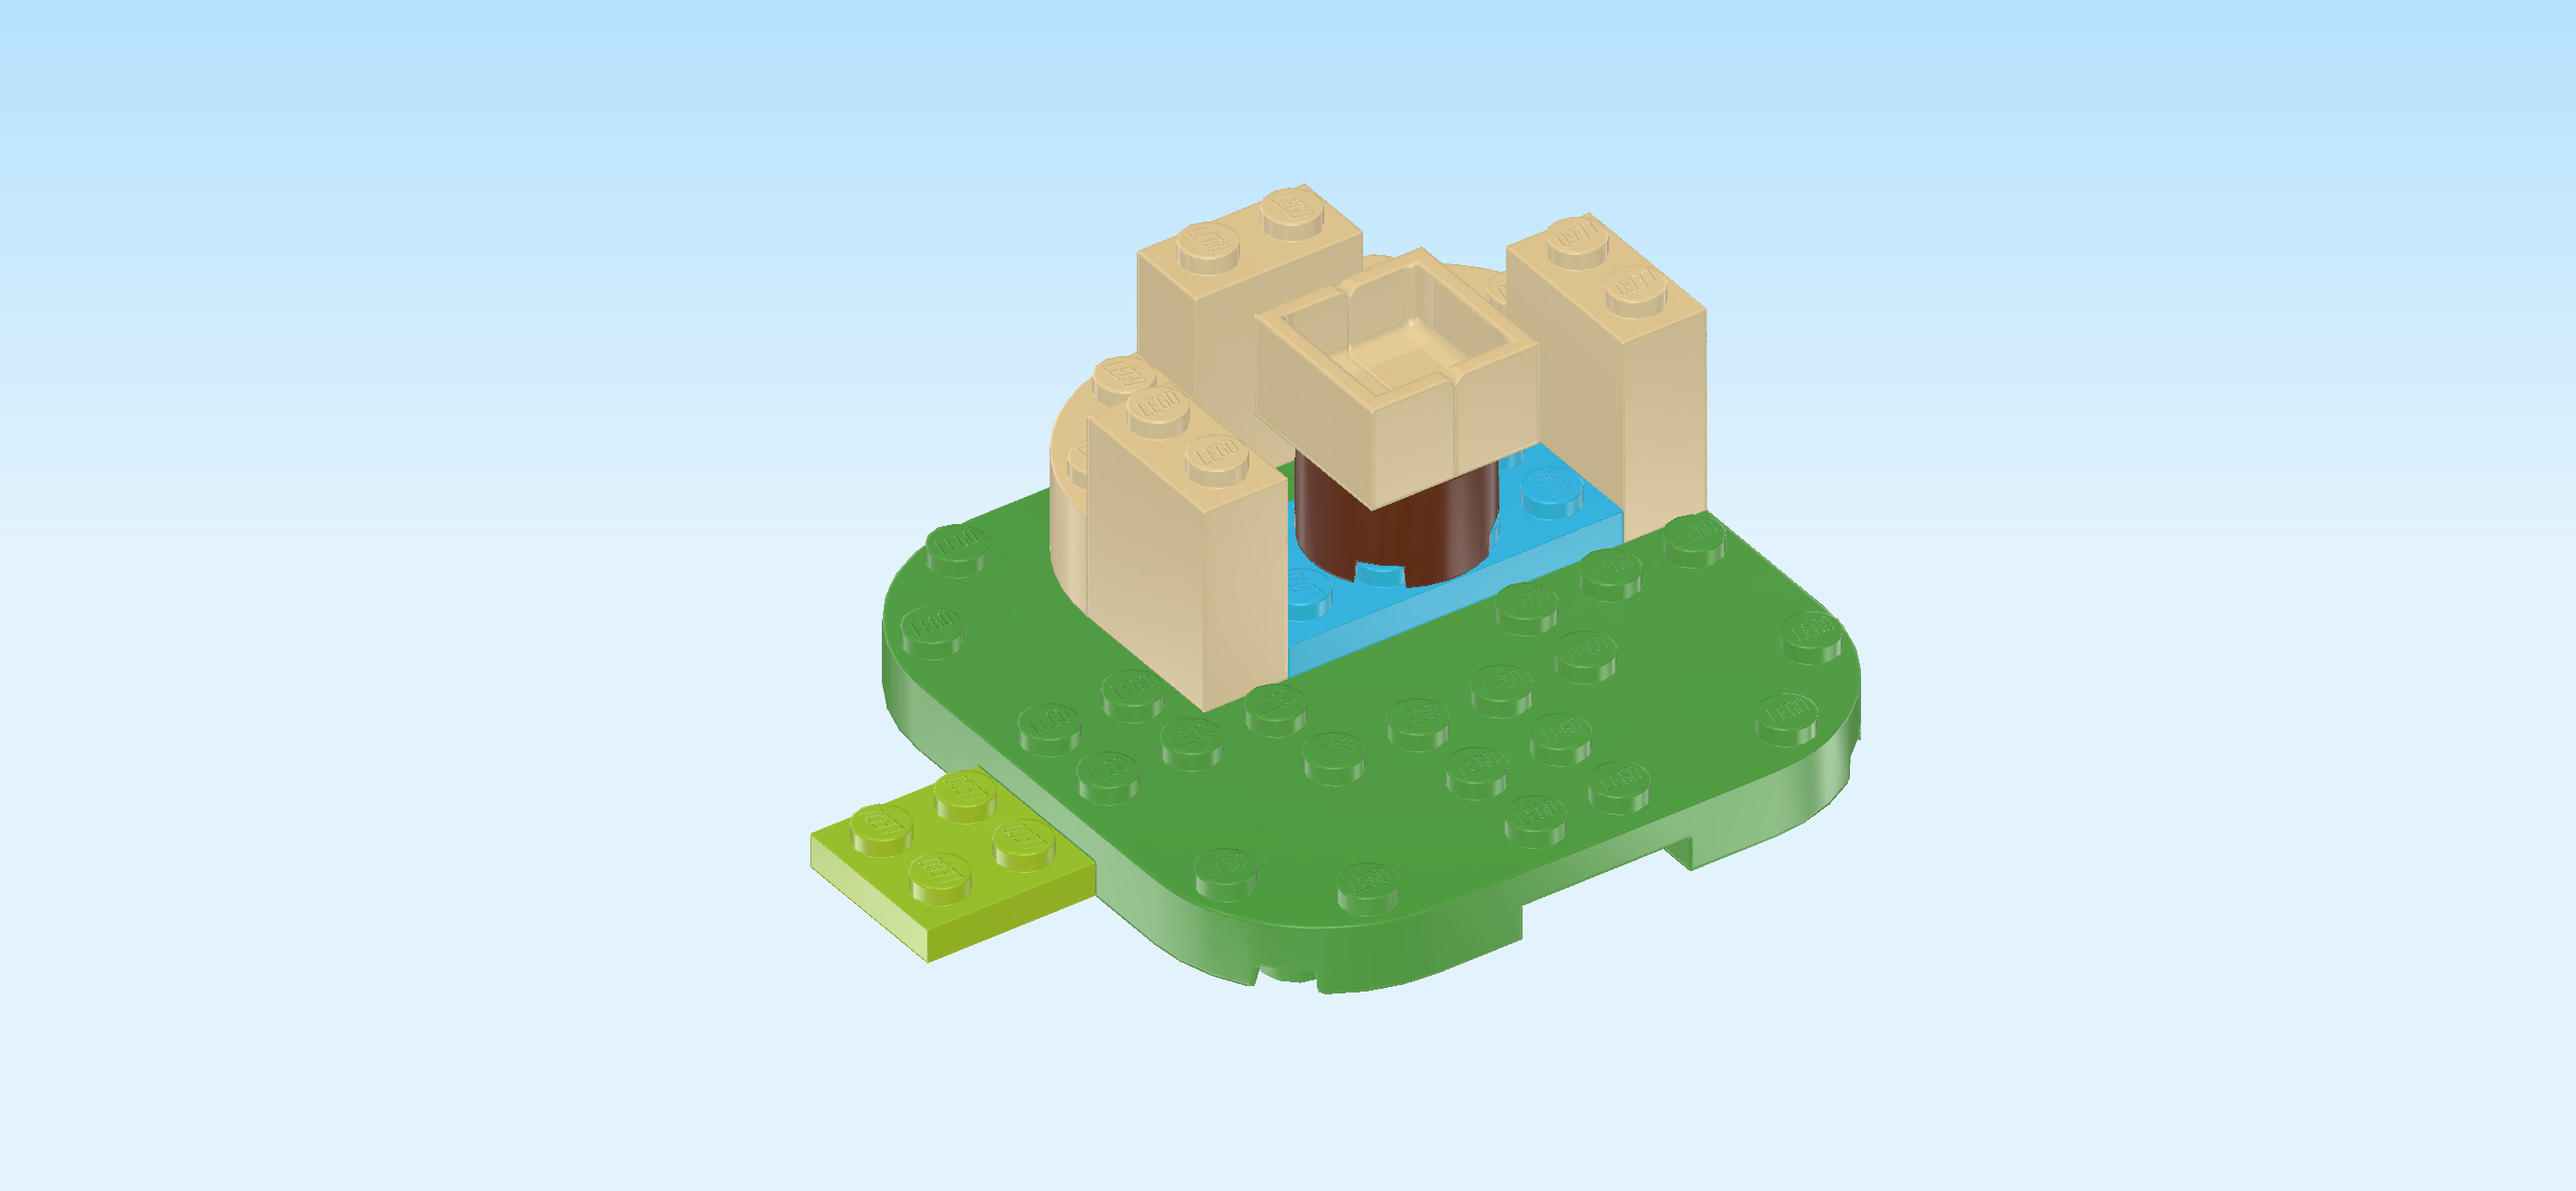
| The pine tree module with utility box is finished! Well done! Leave the pine tree module in its building orientation, and mount its front edge on the connecting plate of the tent module. This means it will be mounted directly behind the tent module. |
| Now, we will build the waterfall module with vaulting pole. |
| Collect the following 2 pieces: |
| 1 pale ocher yellow round brick 4x4 with top hole, |
| and 1 bright green plate 4x4x⅔ with rounded corners and 4 feet. |
| Put the plate 4x4 on the table. Make sure its knobs form straight rows and columns in front of you. |
| Put the round brick 4x4 centered on top. |
| Collect the following 2 pieces: |
| 1 bright yellowish green plate 2x2, |
| and 1 bright yellowish green plate 2x4. |
| First, flip the structure upside down so that the knobs touch the table. Make sure the edges of the plate 4x4 straight in front of you. |
| Put the plate 2x2 on the frontmost row between the 2 front plate feet, 1 row overhanging to the front. |
| Put the left half of the plate 2x4 horizontally on the 2 middle rows, right half overhanging to the right. |
| Find 1 pale ocher yellow quarter-arched brick 1x2 with 2 knobs. |
| Flip the structure right side up again. Make sure the 2 columns of the previous piece are pointing to the left now and the single row of the plate 2x2 is protruding to the front. |
| Put it on the right back quarter of the round 4x4 brick's circumference, matching its shape. |
| Find 3 pale ocher yellow quarter-arched bricks 1x2 with 2 knobs. |
| Use them to cover the rest of the round brick's outer circumference, matching the shape of the round brick. |
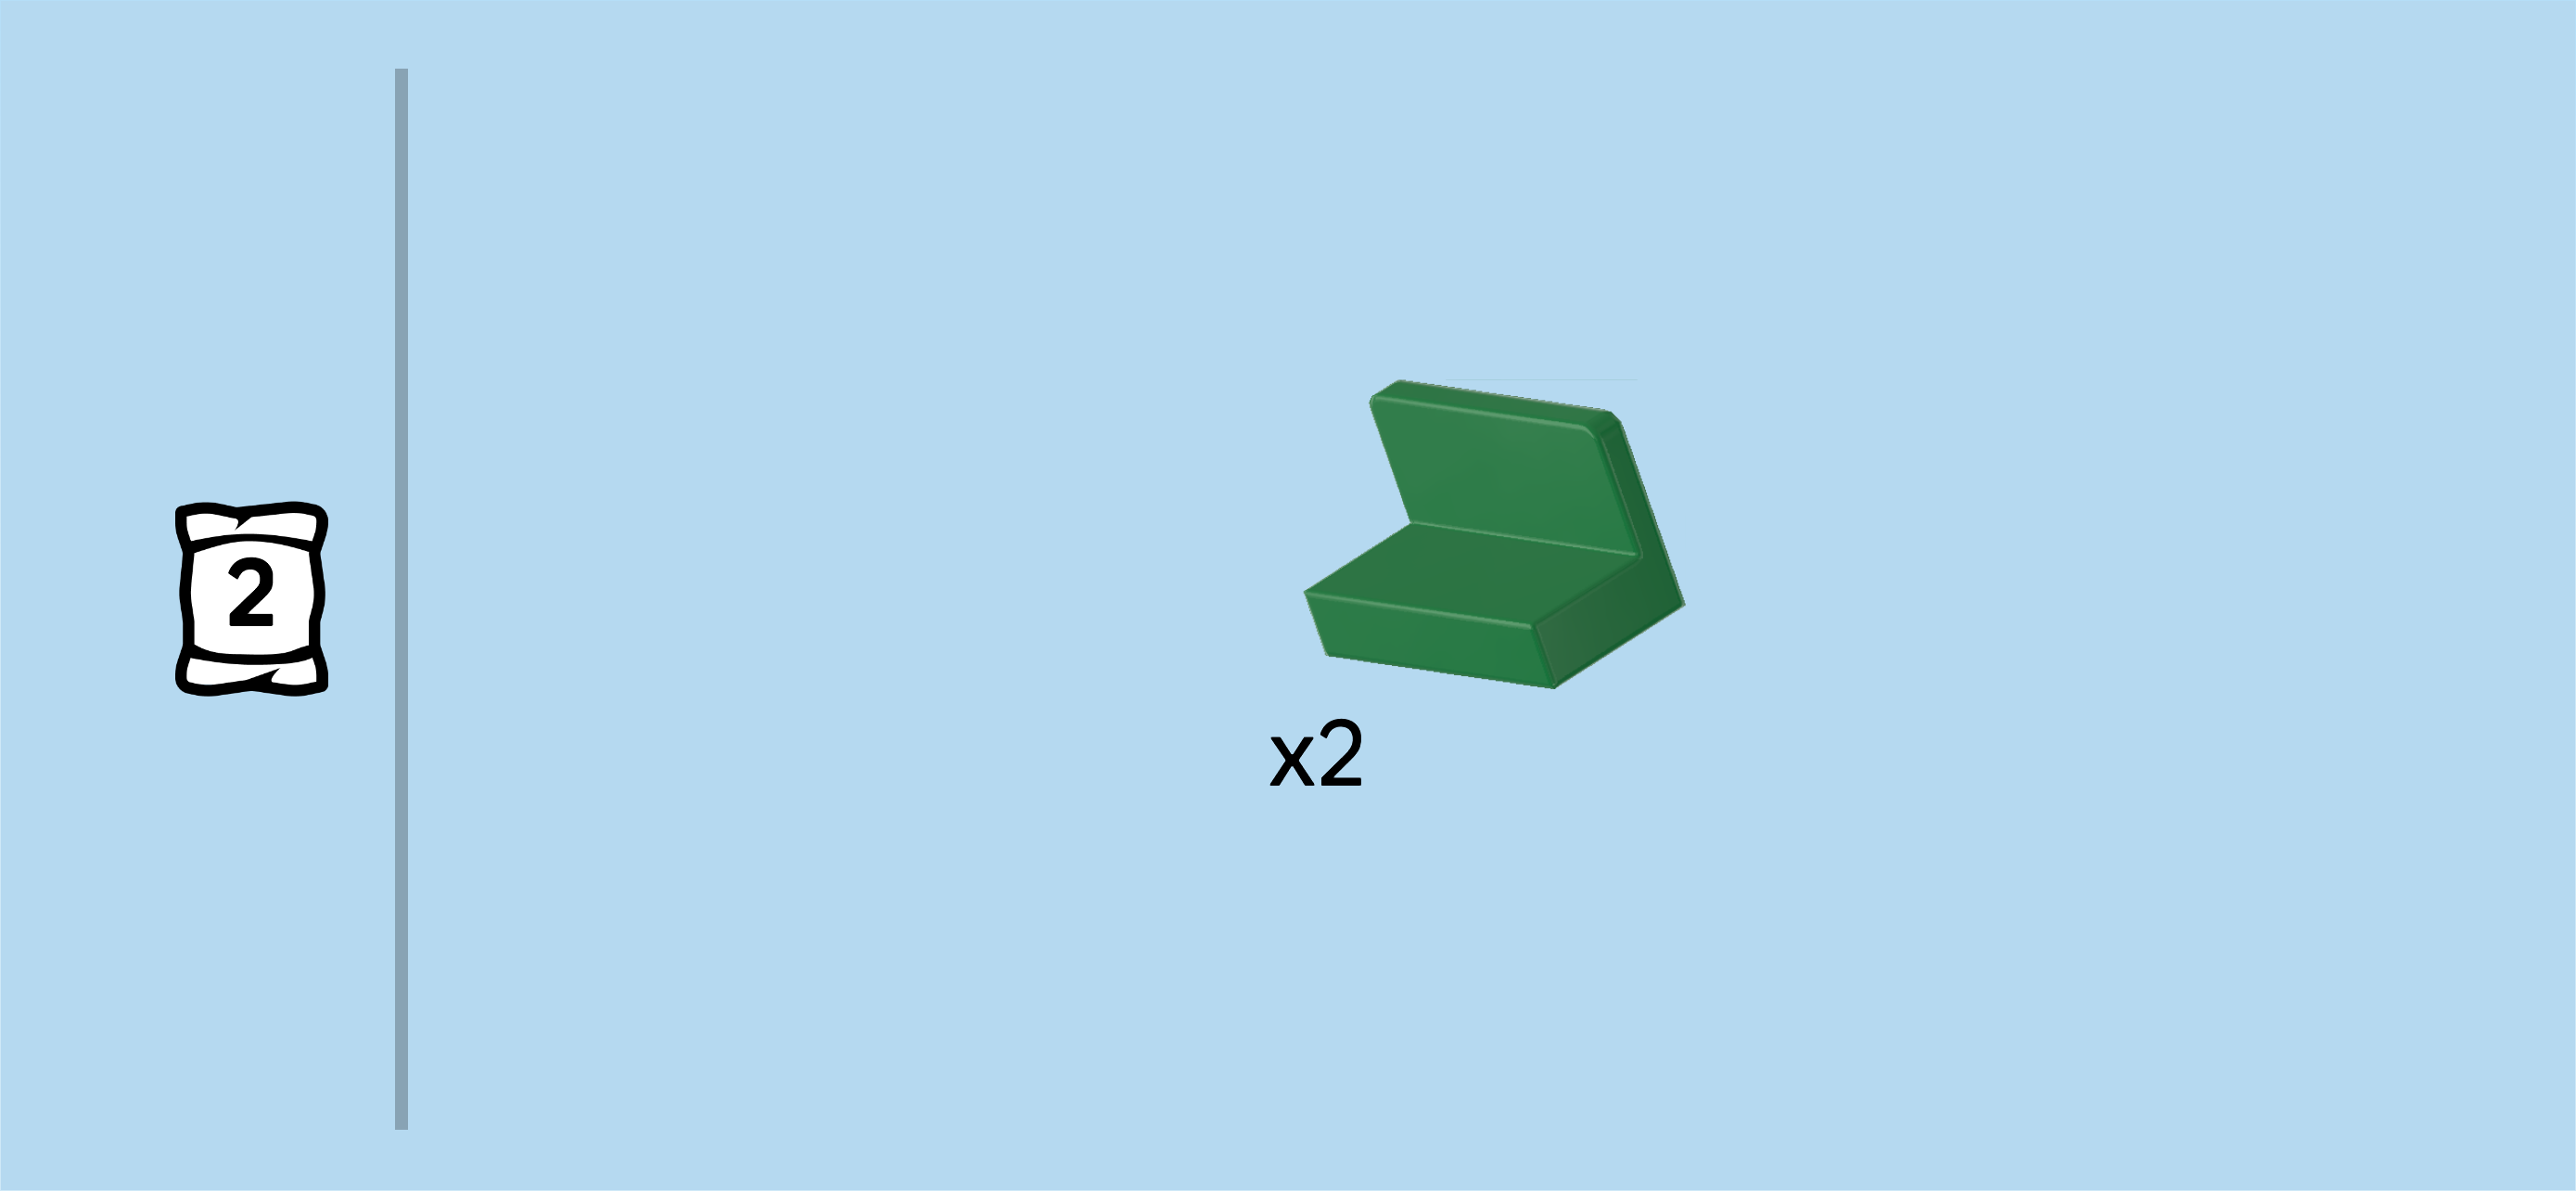
| Find 1 pale ocher yellow top angle plate 1x2 - 2x2 with 4 side knobs. |
| Put it horizontally on the backmost column, 4 side knobs overhanging to the back. |
| Next up, we will build the swivel mechanism. |
| Collect the following 2 pieces: |
| 1 white plate 2x2 with vertical top connector, |
| and 1 white cross axle extension 3m with middle bushing. |
| Put the plate 2x2 on the table, connector to the top. |
| Put the cross axle's extensions round hole (the one located in the middle of the piece) on the connector. Make sure the cross axle extension rotates freely. |
| The swivel mechanism is finished! Flip it upright so that the cross axle extension is to the back and mount it on the 4 side knobs pointing to the back. |
| Find 1 medium azure blue plate 2x4. |
| Put it horizontally centered on the 2 middle rows at the top, its 4 corners overhanging symmetrically. |
| Find 1 medium azure blue plate 4x4x⅔ with rounded corners and 4 feet. |
| Put it centered on the 2 single knobs protruding to the front at the bottom of the build. |
| Now, we will build the waterfall bottom with froth. |
| Collect the following 2 pieces: |
| 1 medium azure blue brick 1x2, |
| and 1 white bottom angle plate 1x2 - 1x2 with 2 side knobs. |
| Put the angle plate horizontally on the table, 2 side knobs pointing to the front. |
| Put the brick 1x2 horizontally on top. |
| Find 2 white quarter-circle tiles 1x1. |
| Put 1 upright on the left side knob, quarter circle to the top right. |
| Put the other one on the right side knob, quarter circle to the top left. |
| Mount this build horizontally centered on the backmost row of the empty plate 4x4 with feet. This means it will sit directly in front of the round 4x4 tower. |
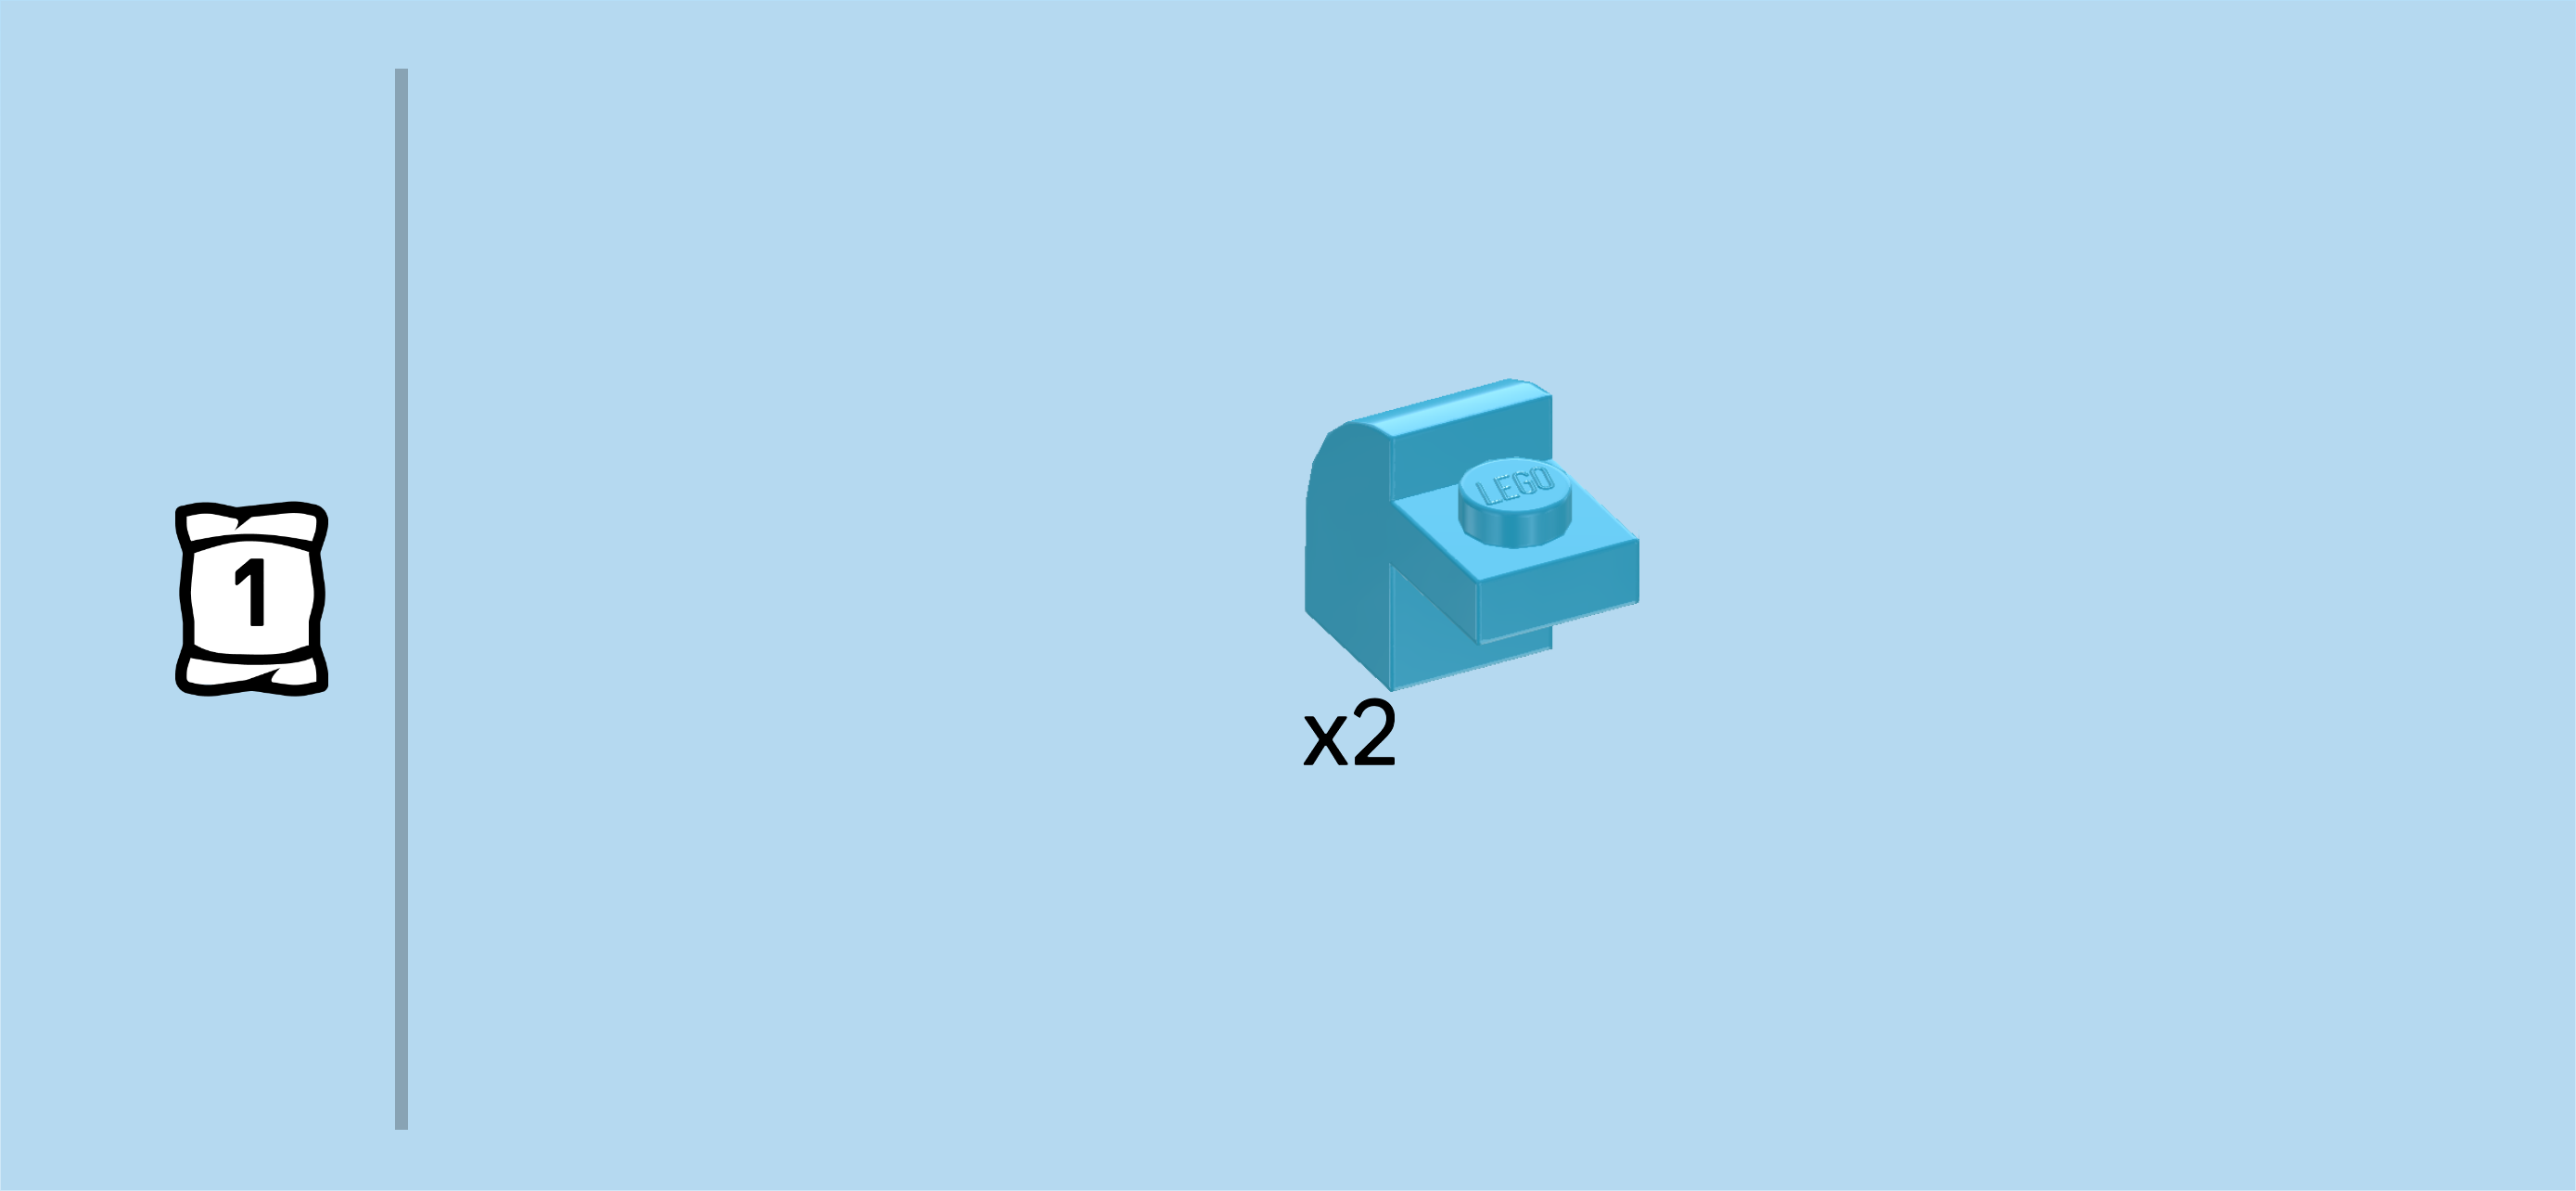
| Find 2 medium azure blue curve bricks 1x1 with protruding plate 1x1. |
| Mount one vertically on the right knob of the waterfall bottom, protruding plate pointing to the back and connecting to the frontmost row of the round 4x4 tower. |
| Put the other one vertically to the left of the previous piece, protruding plate again to the back. |
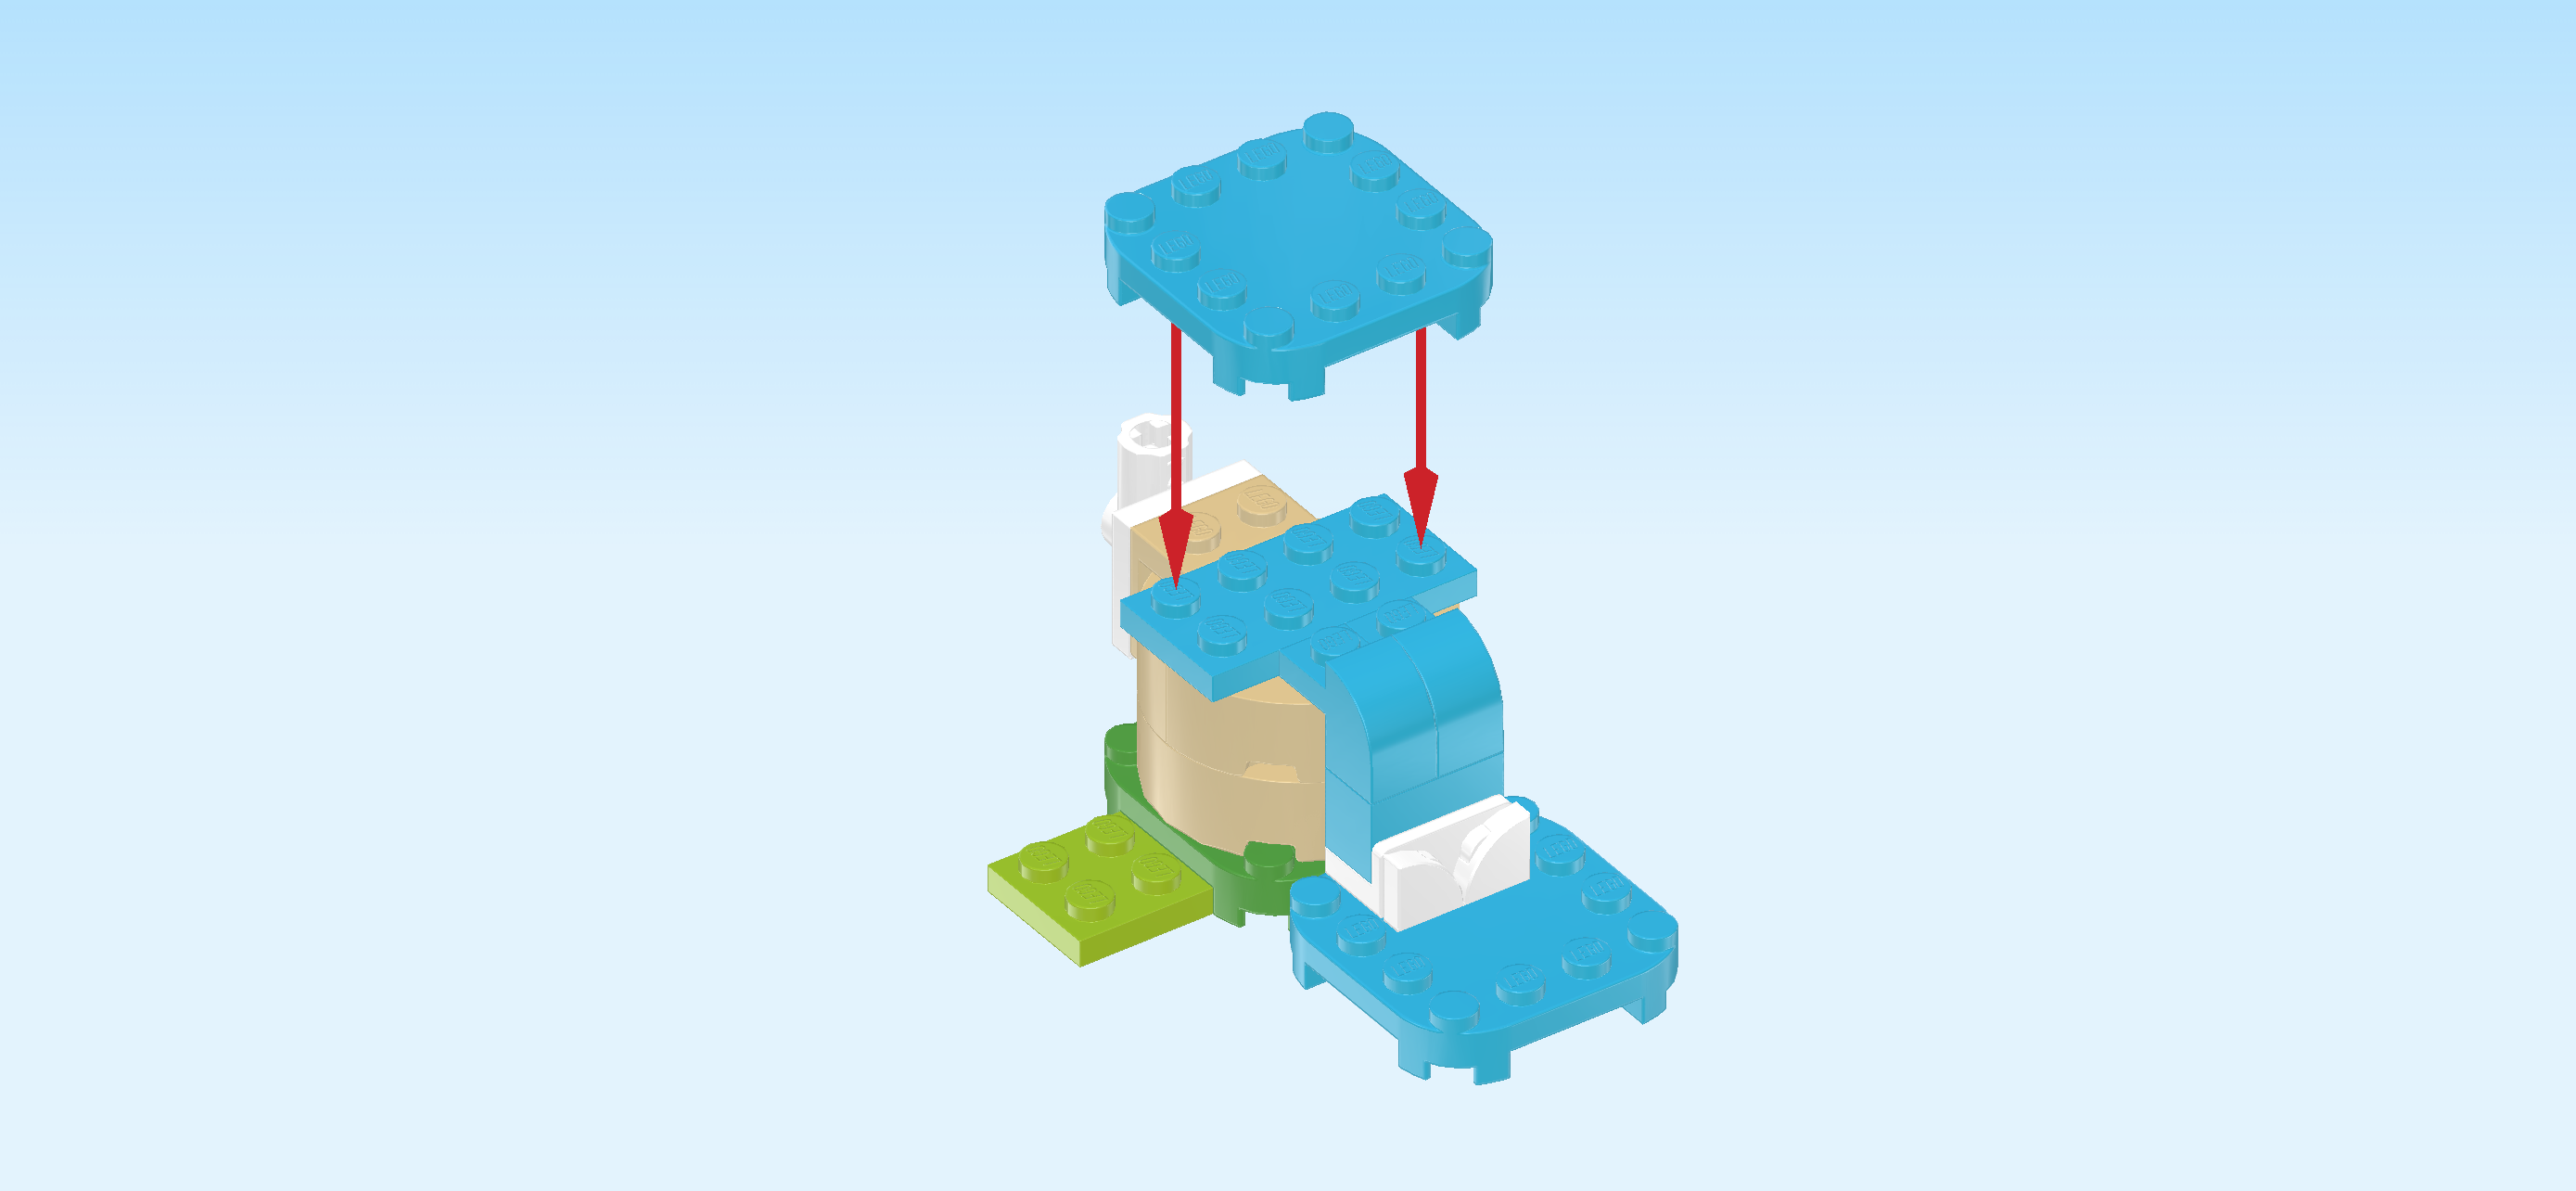
| Find 1 medium azure blue plate 4x4x⅔ with rounded corners and 4 feet. |
| Put it centered on the top surface, locking in the plate 2x4 that is mounted horizontally in the middle of the build. |
| Find 2 white half cylinders 1x1. |
| Turn 1 so that its curve is running from left to right. Mount it to the right of the waterfall bottom with froth. |
| Repeat symmetrically on the left. |
| The waterfall module with vaulting pole is finished! Well done! First, mount its right edge on the connecting plate of the pine tree module that is pointing to the left. Bunnie can later insert the vaulting pole into the swivel mechanism to jump across the waterfall. If you want, you can give that a try now! Make sure to insert the pole end with ring into the swivel mechanism, otherwise the vaulting pole won't have any grip. |
| Open bag number 2. You can choose to have the bricks sorted by color again. This bag contains all bricks and pieces for the mine module and the cherry tree module. |
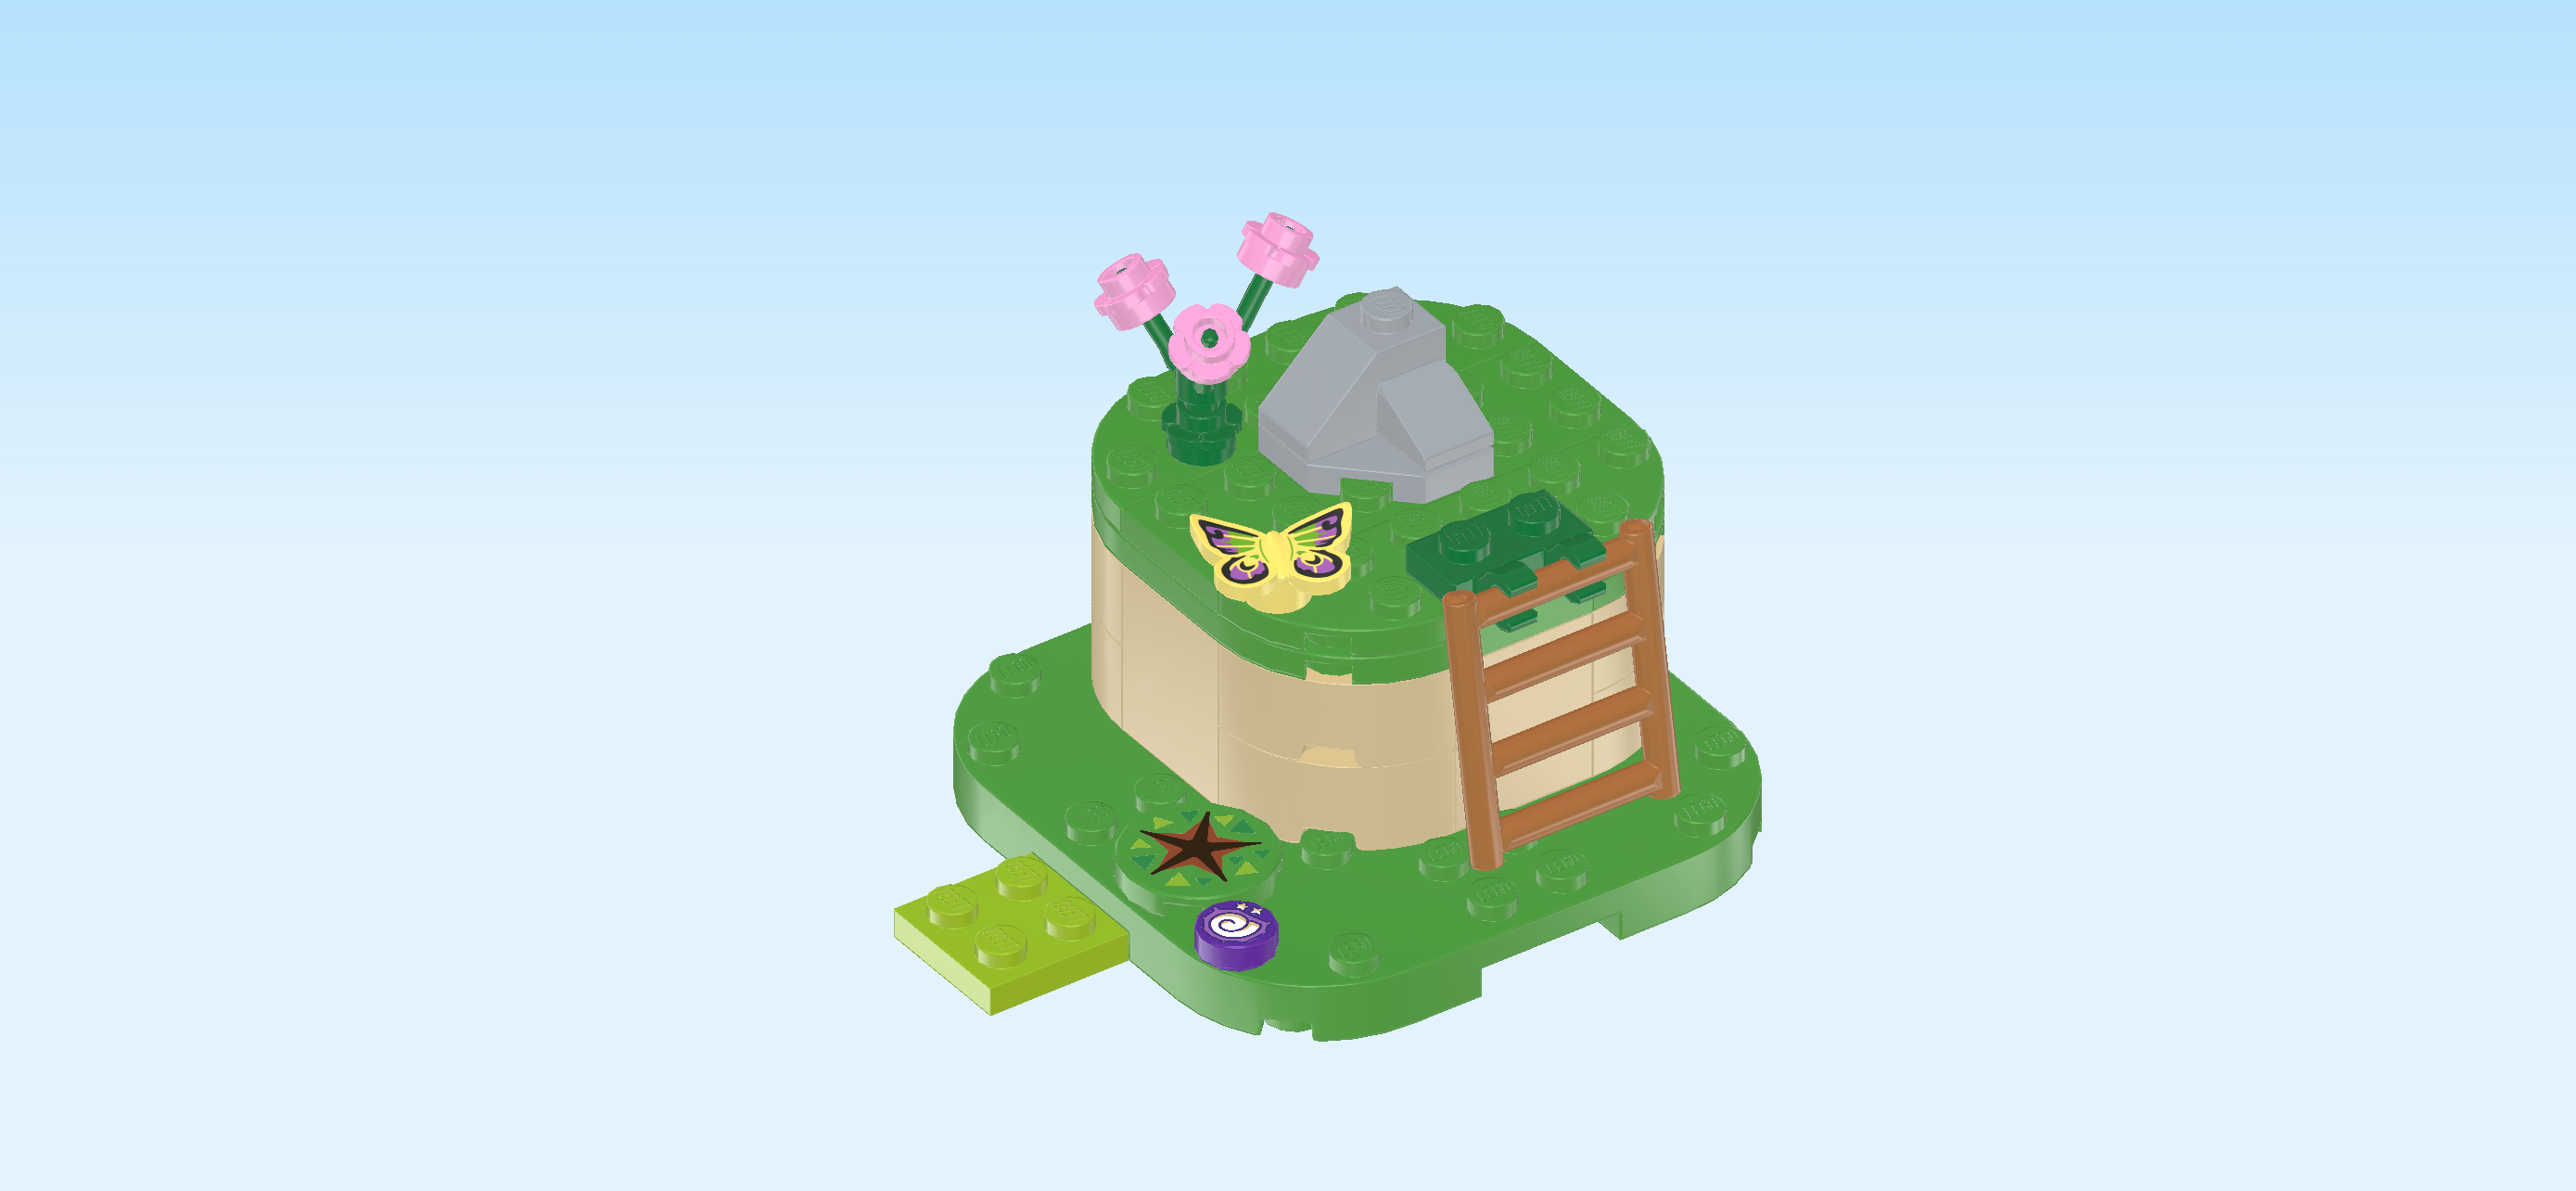
| Next, we will build the mine module. |
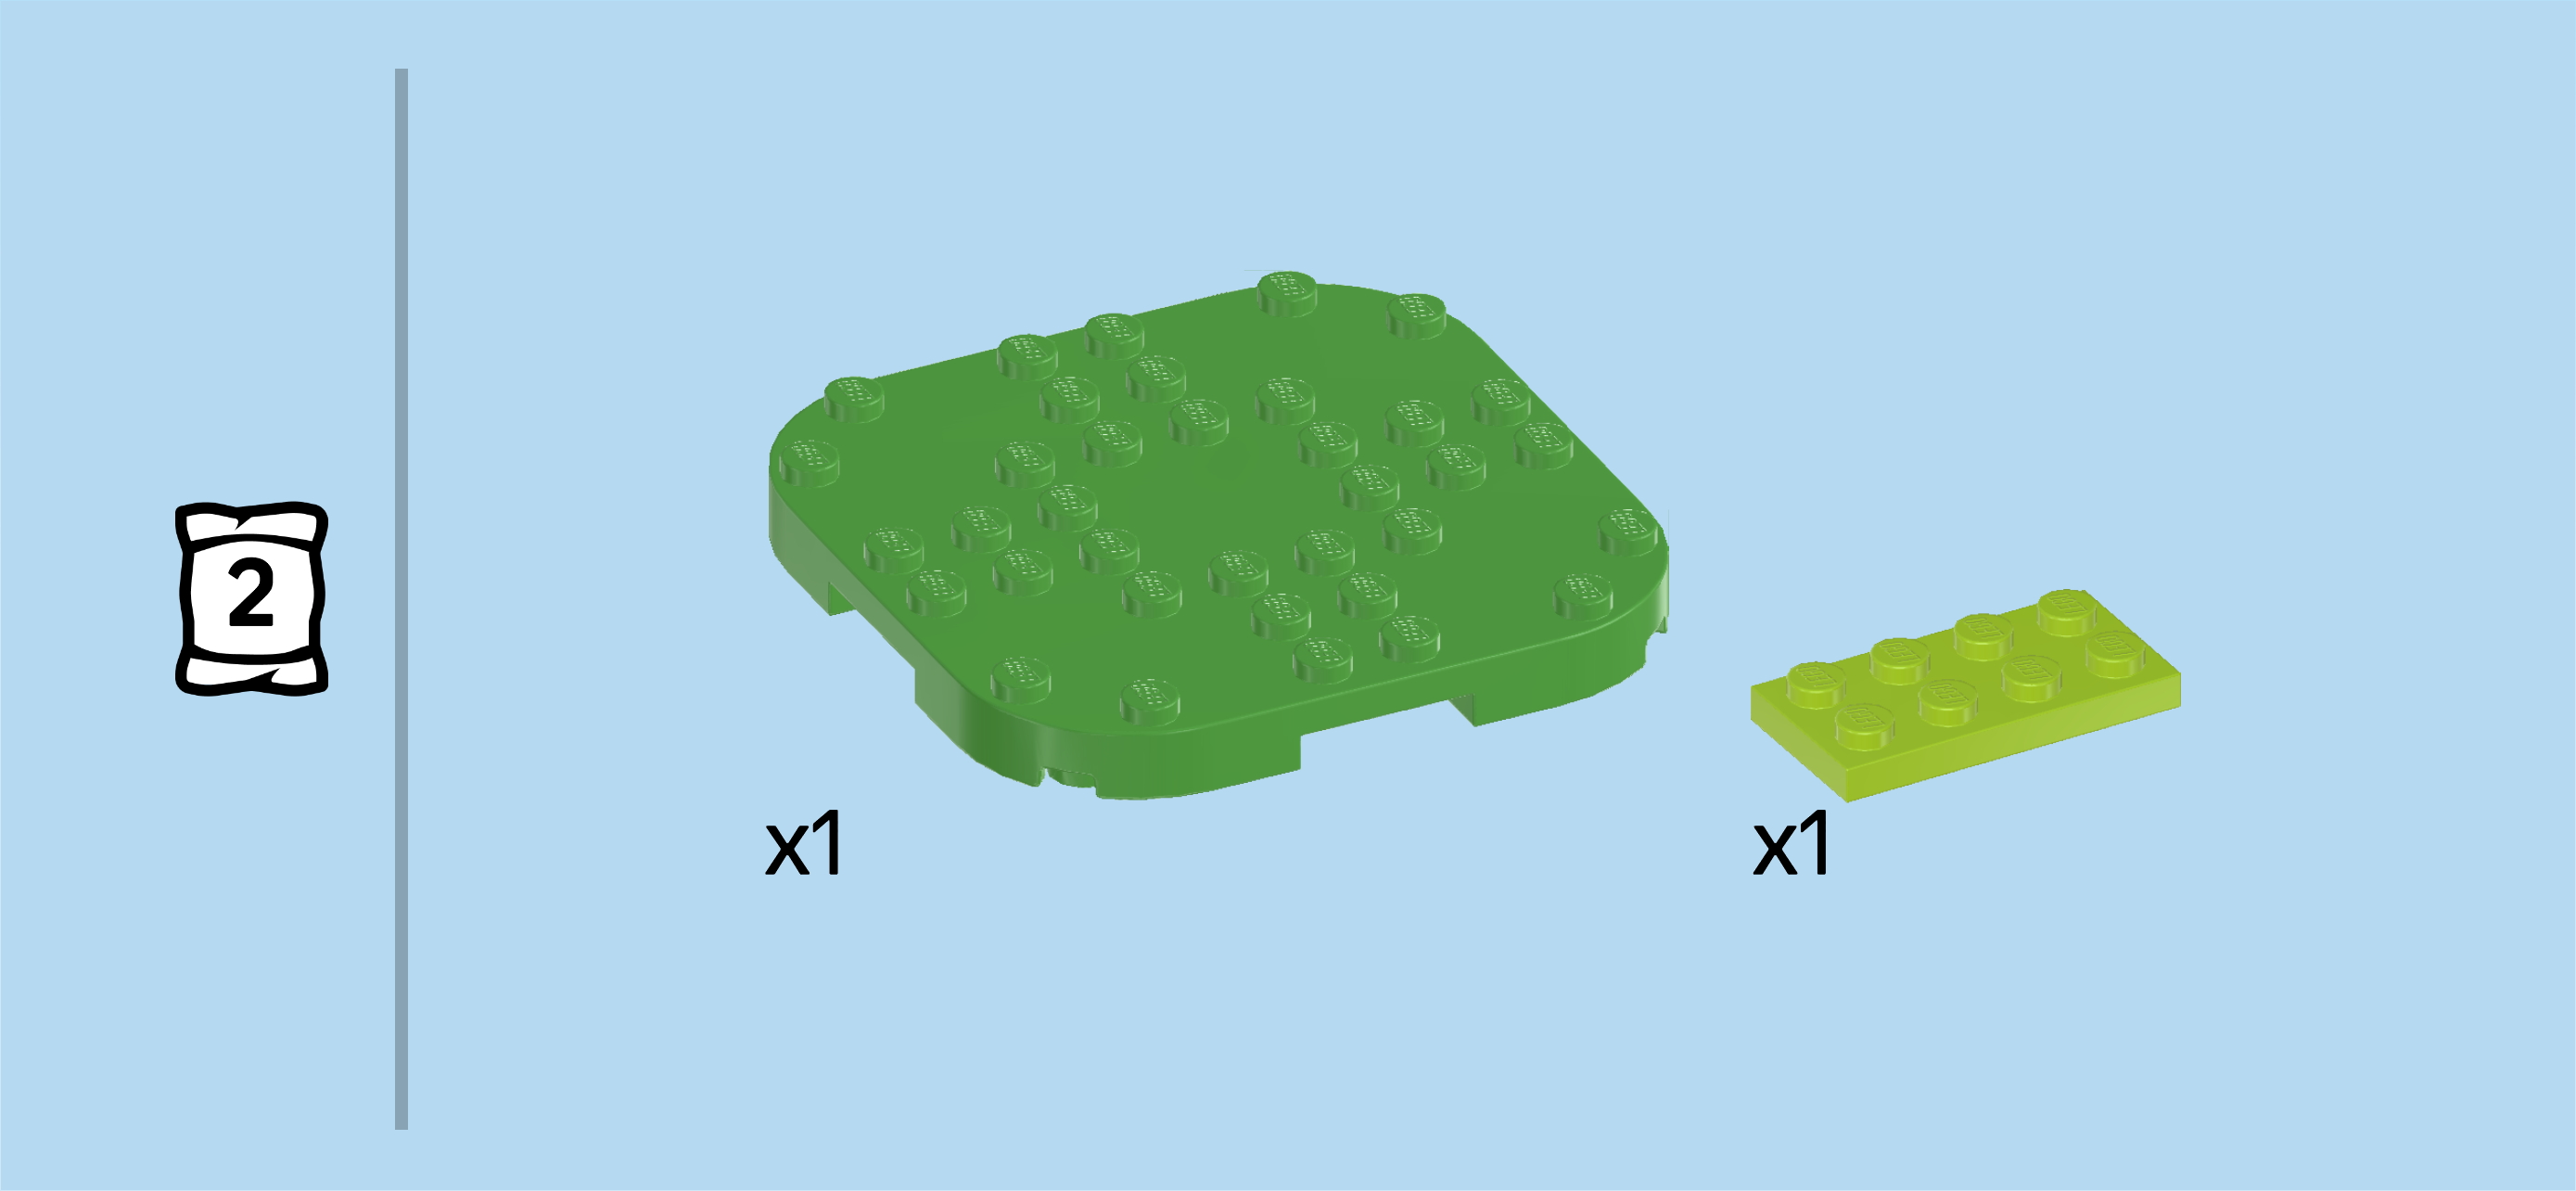
| Collect the following 2 pieces: |
| 1 bright yellowish green plate 2x4, |
| and 1 bright green plate 8x8x⅔ with rounded corners and 4 feet. |
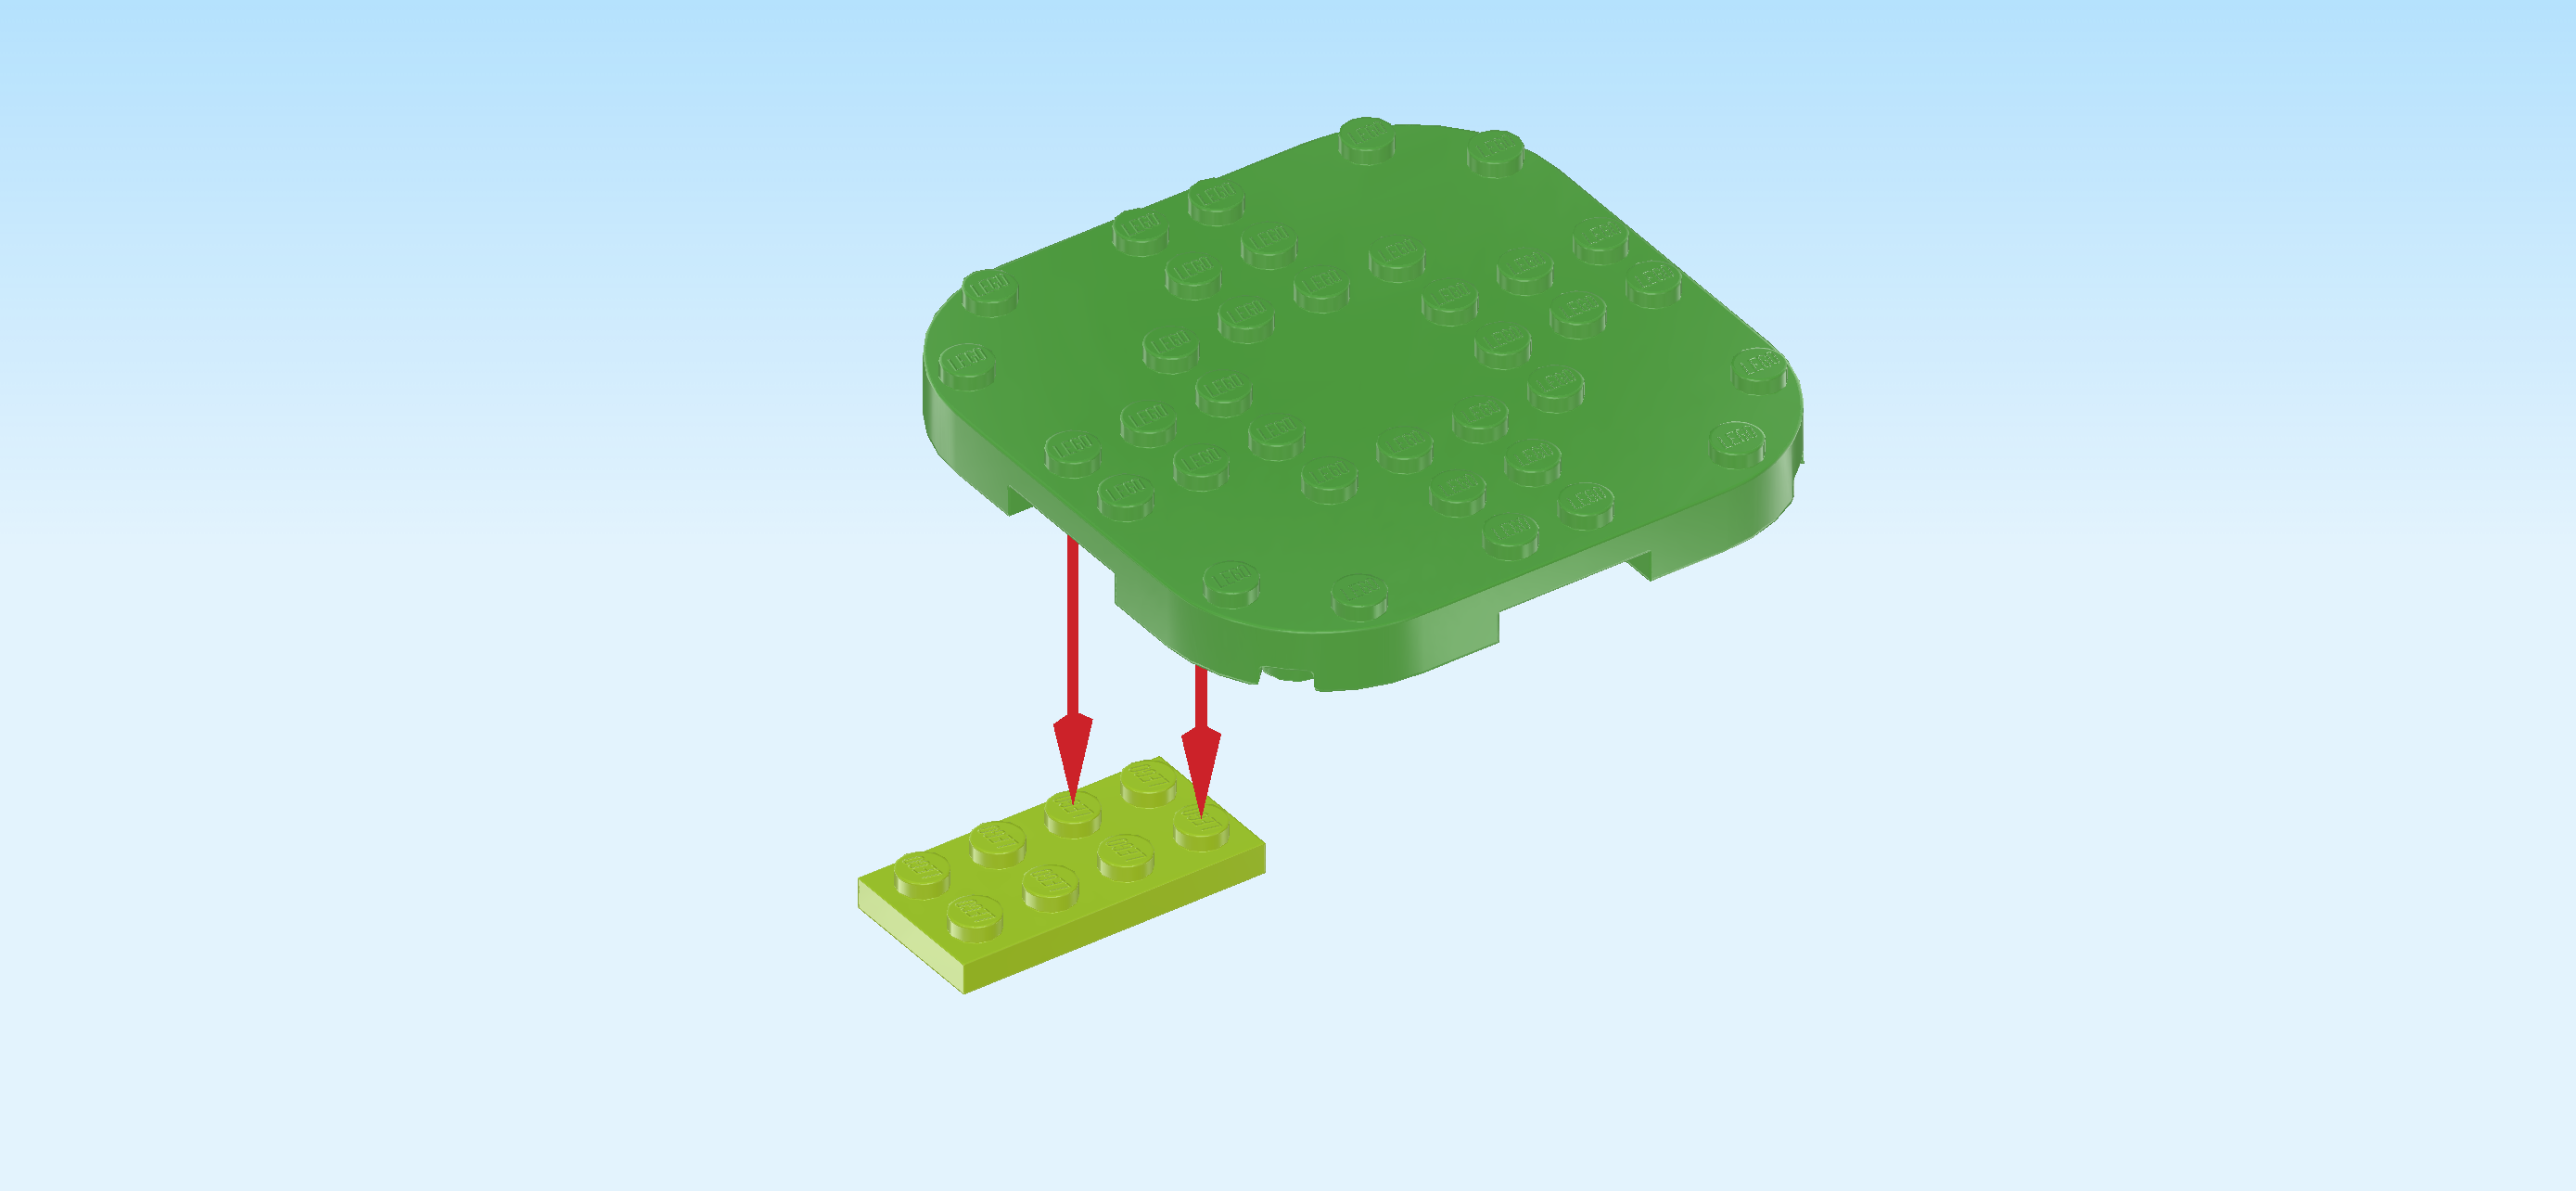
| Put the plate 2x4 horizontally on the table, and put the 2 leftmost columns of the plate 8x8 centered on the right half of the of the plate 2x4. |
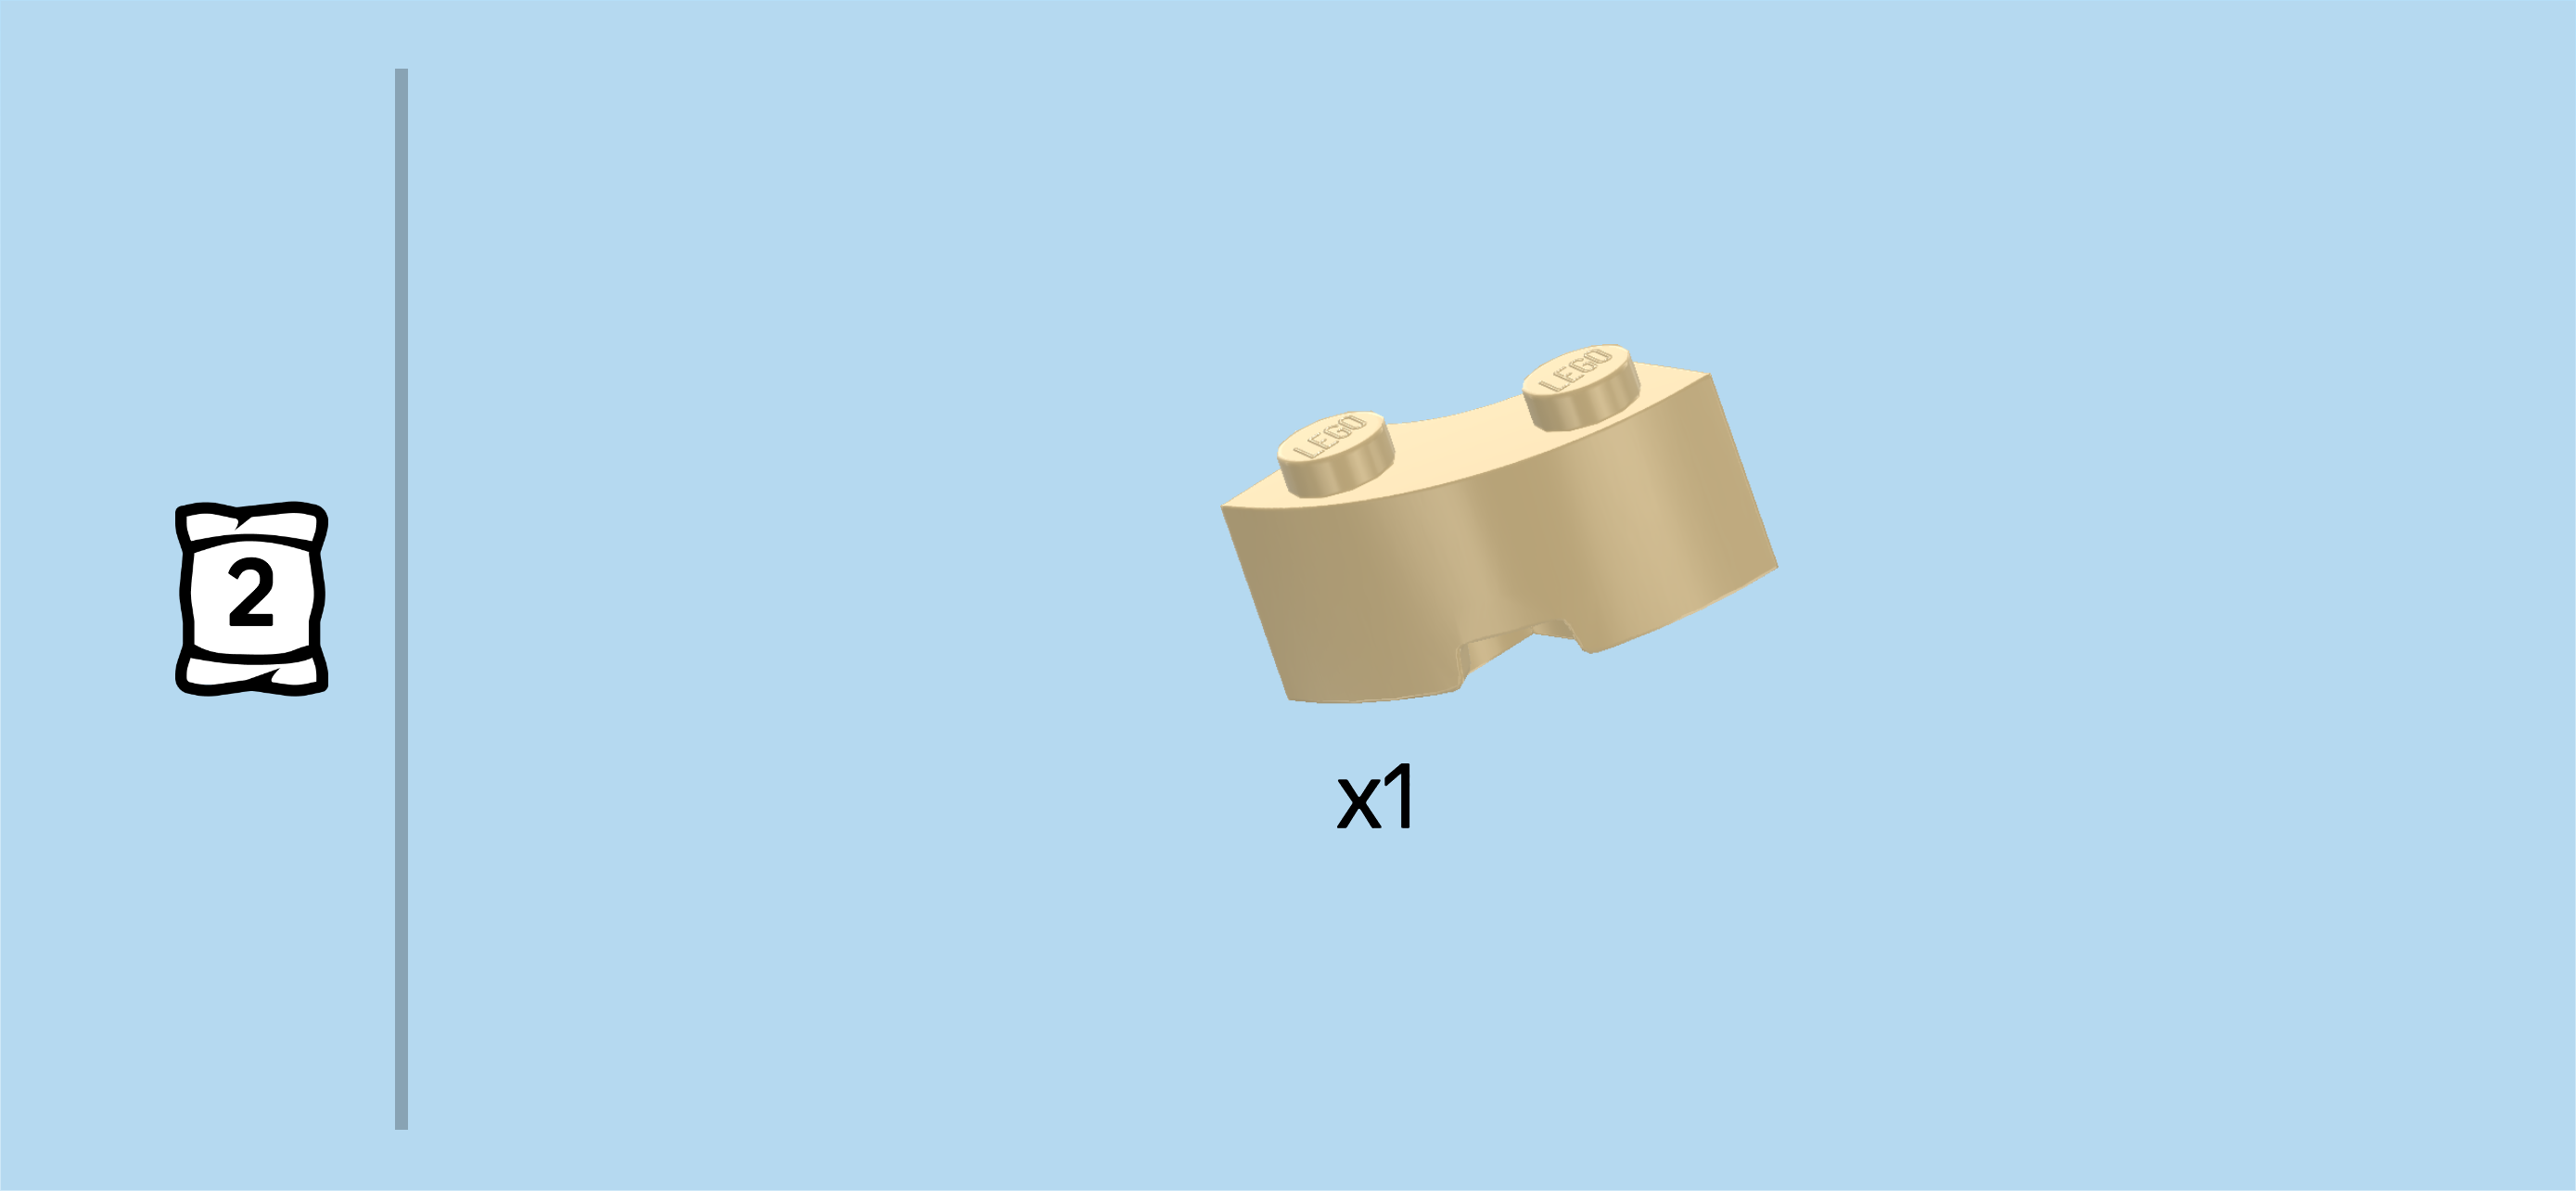
| Find 1 pale ocher yellow quarter-arched brick 1x2 with 2 knobs. |
| Put it in the right back corner, matching the arched shapes. |
| Collect the following 2 pieces: |
| 1 pale ocher yellow quarter-arched brick 1x2 with 2 knobs, |
| and 1 pale ocher yellow brick 1x2x2. |
| Put the brick 1x2x2 horizontally to the left of the previous piece on the baseplate's backmost row. |
| Put the quarter-arched brick 1x2 to the left of the previous piece, arch bending towards the front and left. |
| Collect the following 3 pieces: |
| 2 pale ocher yellow bricks 1x2x2, |
| and 1 medium azure blue plate 2x4. |
| Put 1 brick 1x2x2 vertically in front of the previous piece. This means it will sit on the baseplate's third column from the left. |
| Put the plate 2x4 horizontally to the right of the previous piece. |
| Put the other brick 1x2x2 vertically to the right of the previous piece. |
| Next, we will build the secret treasure chest. |
| Collect the following 3 pieces: |
| 1 reddish brown round brick 2x2 with top cross hole, |
| and 2 pale ocher yellow panel elements 1x2x1 with back and side panels. |
| Put the round brick 2x2 on the table, making sure the knobs form straight rows and columns in front of you. |
| Put 1 panel element 1x2x1 vertically on the right column, back panel to the right. |
| Put the other panel element vertically on the left column, back panel to the left. |
| Mount the treasure chest centered on the 2x4 plate we have mounted previously on the structure. |
| Collect the following 3 pieces: |
| 2 pale ocher yellow quarter-arched bricks 1x2 with 2 knobs, |
| and 1 pale ocher yellow brick 1x2x2. |
| Put 1 quarter-arched brick on the leftmost edge directly in front of the already mounted brick 1x2x2, arch bending towards the front left. |
| Put the brick 1x2x2 horizontally to the left of the previous piece. |
| Put the other quarter-arched brick 1x2 to the left of the brick 1x2x2, brick arching to the left back. |
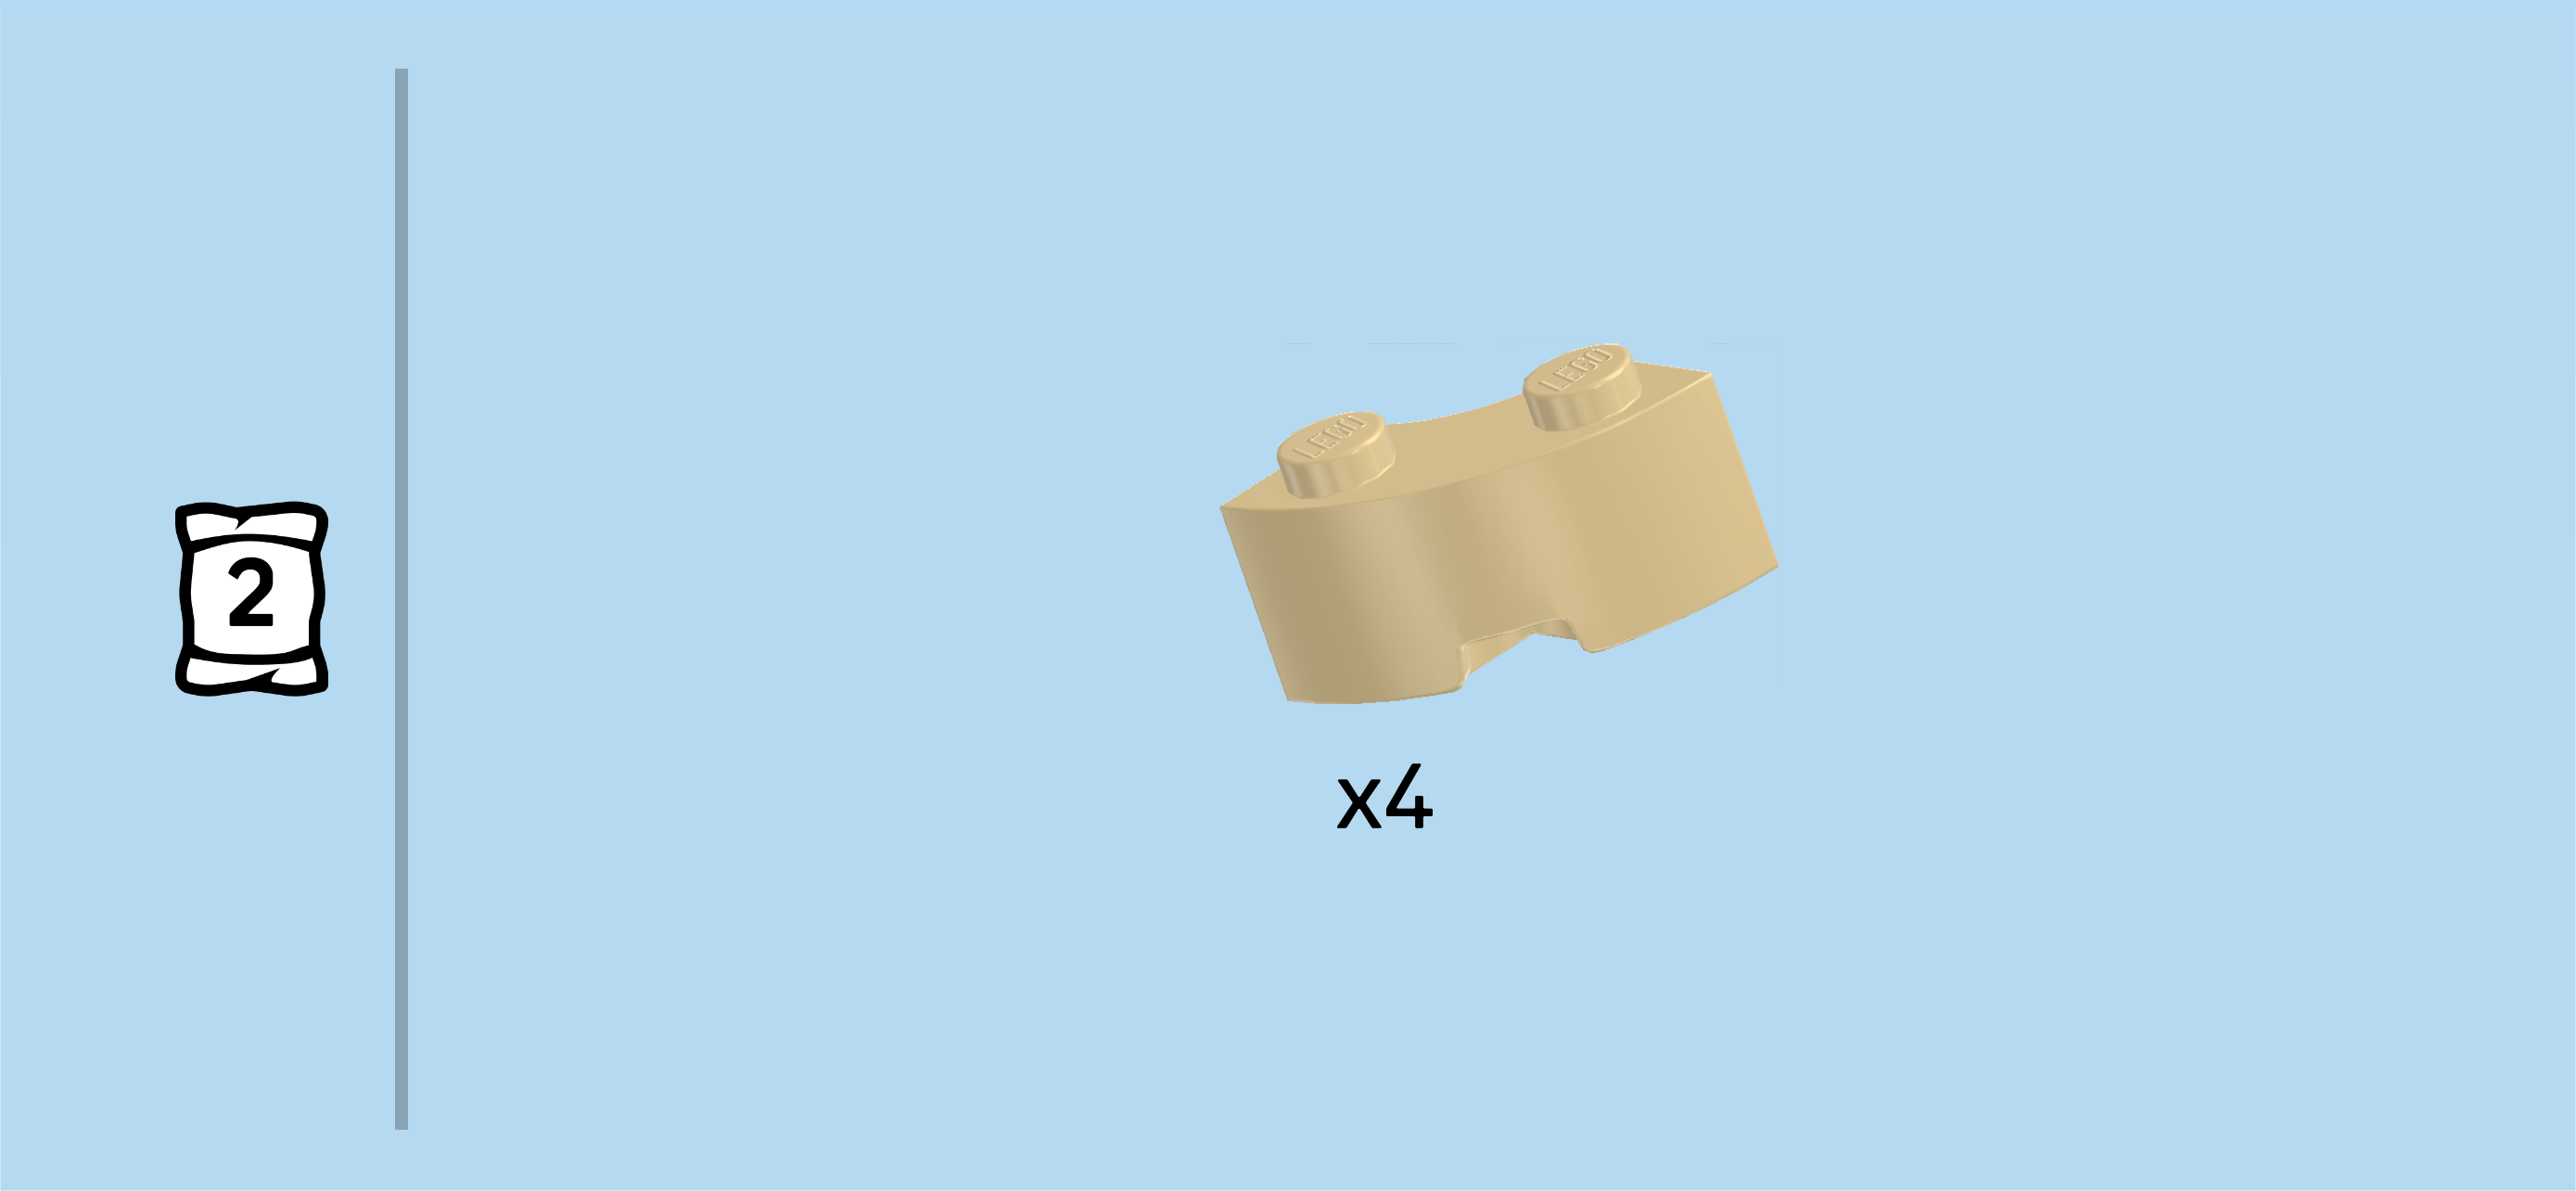
| Find 4 pale ocher yellow quarter-arched bricks 1x2 with 2 knobs. |
| Put them on the already mounted quarter-arched bricks 1x2 to fill the gaps in the module wall. |
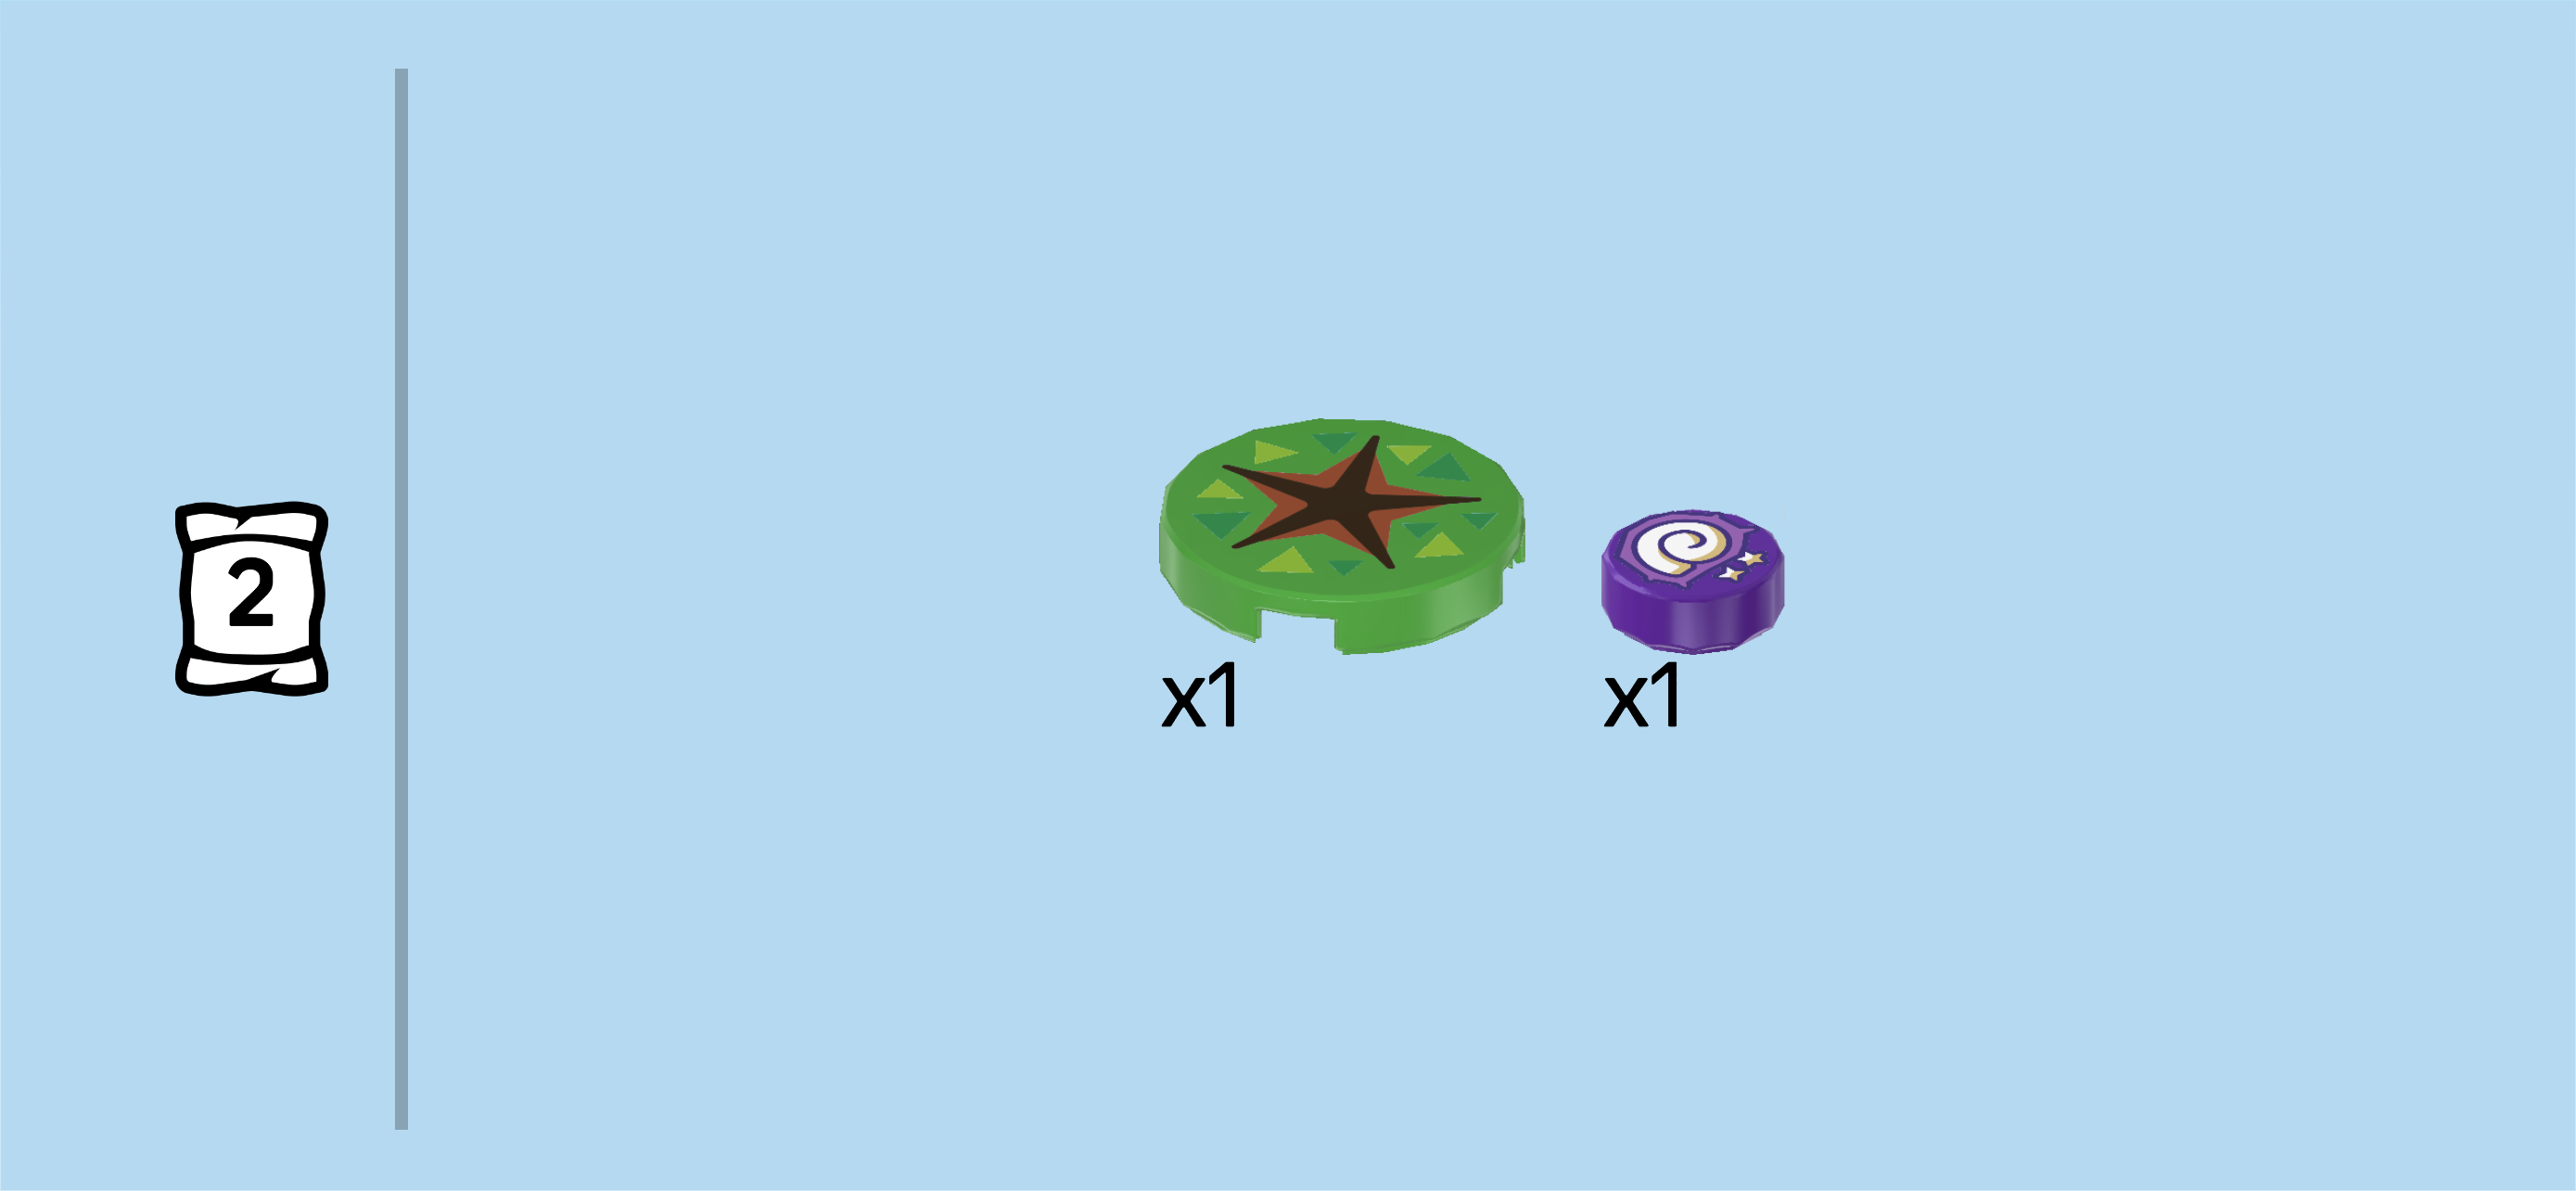
| Collect the following 2 pieces: |
| 1 bright green round tile 2x2, |
| and 1 medium lilac round tile 1x1. |
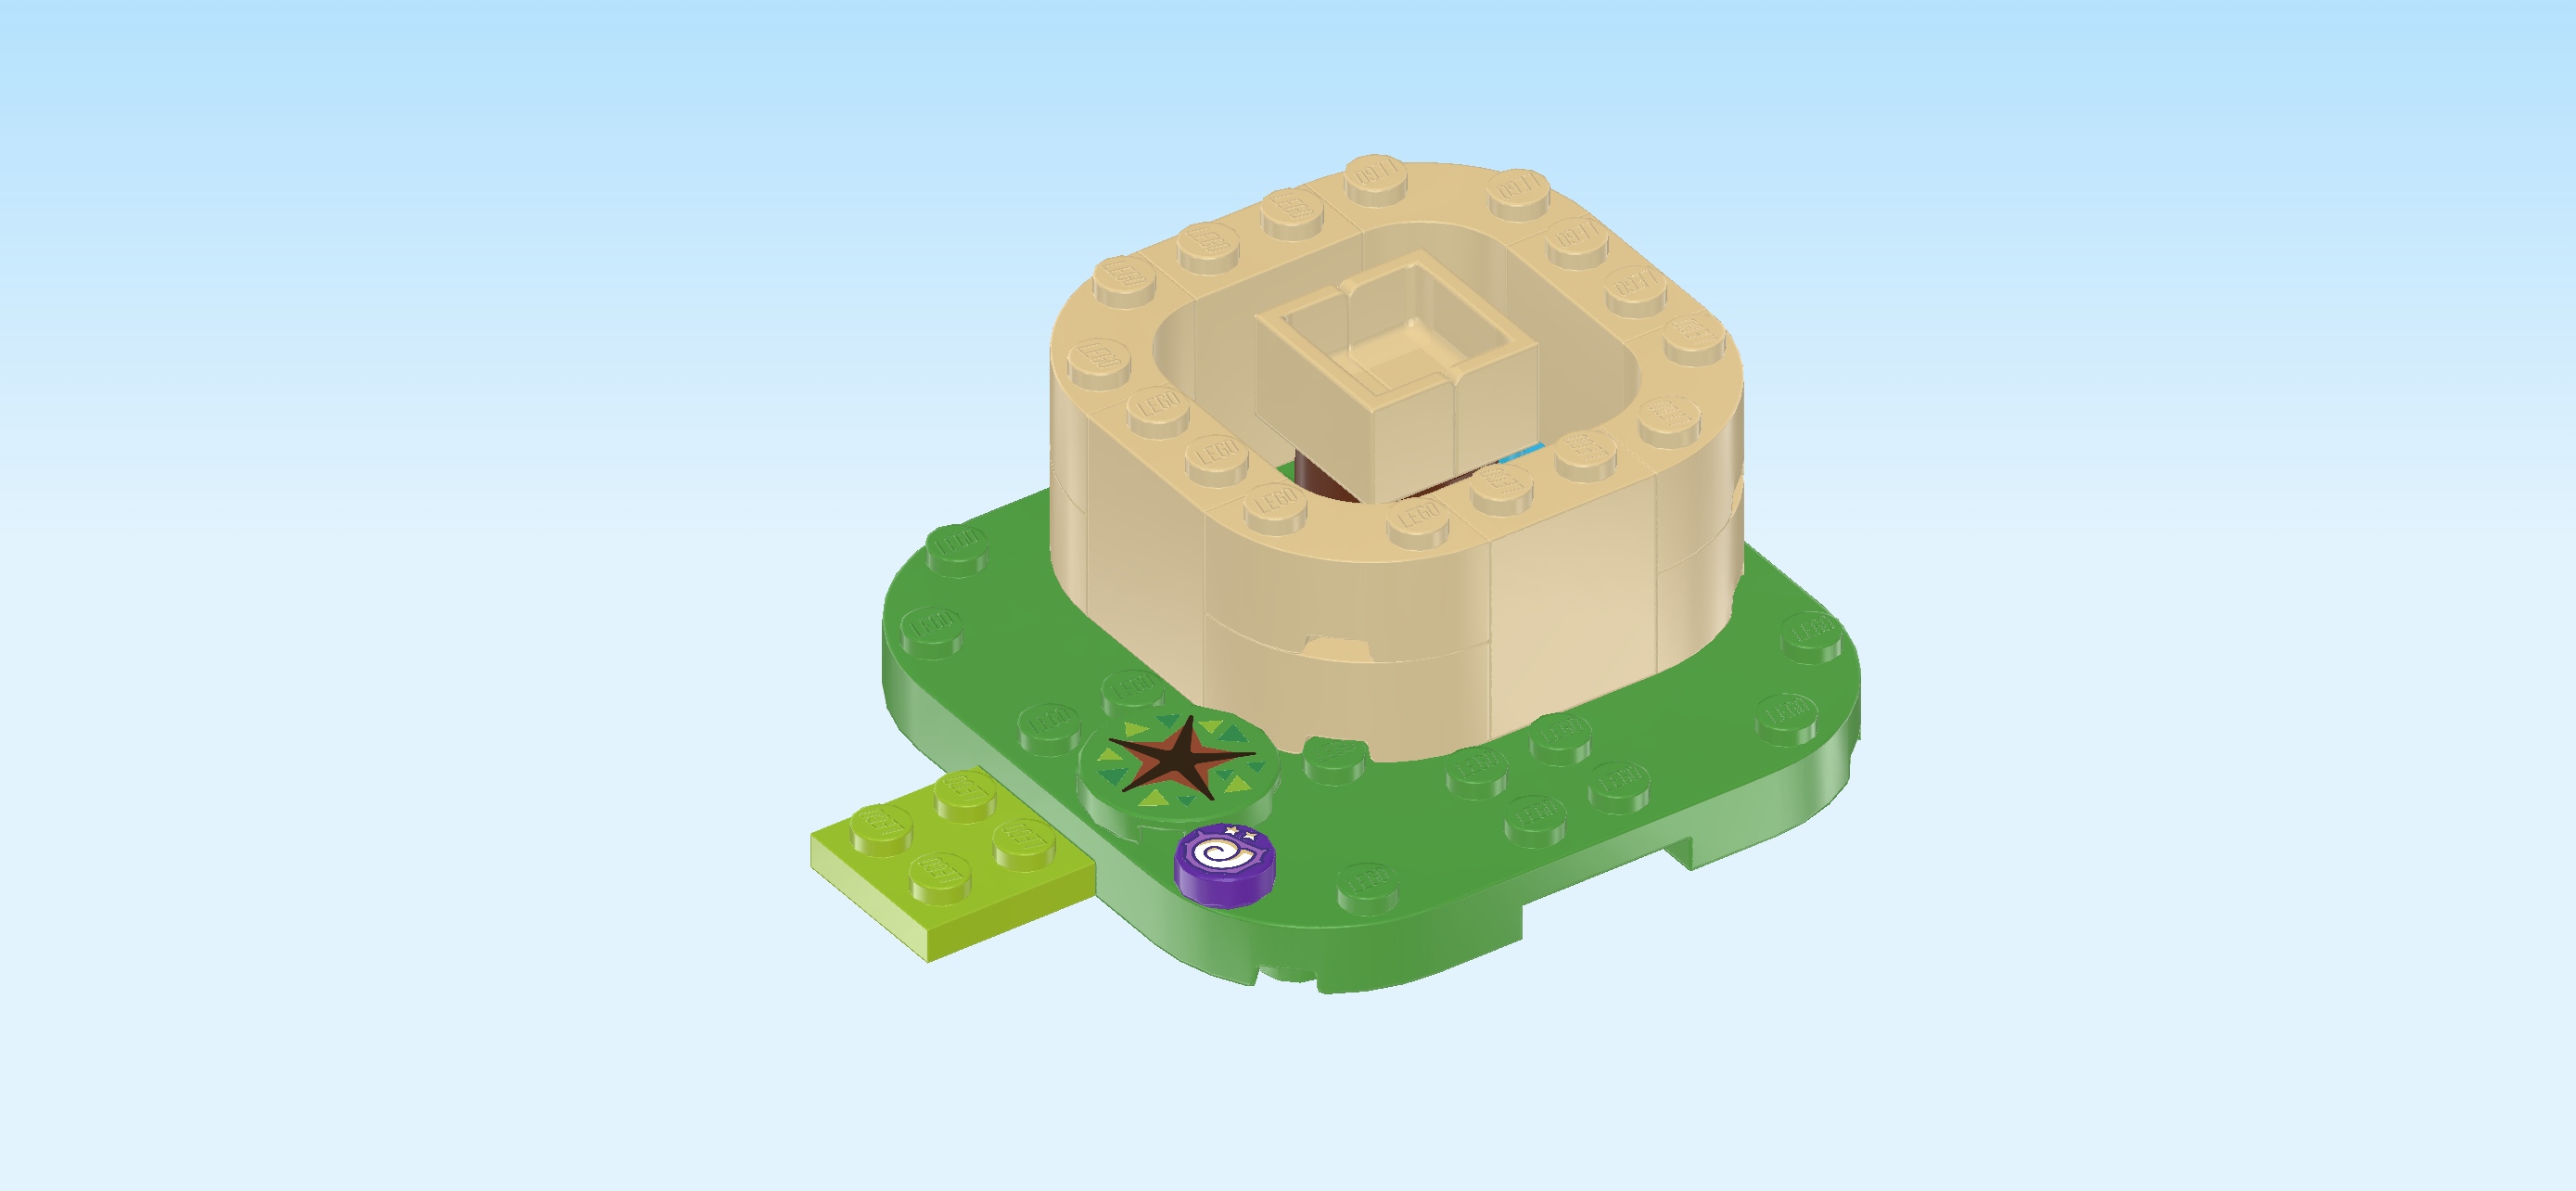
| Put the round tile 1x1 on the frontmost knob of the leftmost column. This piece is printed with a white fossilized snail! |
| Put the round tile 2x2 behind the previous piece on the 2 leftmost columns. This piece is printed with a dig spot surrounded by grass. |
| Collect the following 4 pieces: |
| 2 bright green plates 1x2, |
| and 2 bright green plates 2x6 with 2 rounded corners. |
| Put 1 plate 2x6 vertically on the 2 leftmost columns of the high surface, rounded corners to the right so they perfectly match the shape of the structure. |
| Put 1 plate 1x2 horizontally to the left of the previous piece on the backmost row. |
| Put the other plate 1x2 horizontally centered on the frontmost row of the high surface. |
| Put the other plate 2x6 vertically to the left of the 2 previous pieces, rounded corners to the left. |
| Collect the following 4 pieces: |
| 2 bright green plates 2x2, |
| and 2 bright green plates 2x6 with 2 rounded corners. |
| Put 1 plate 2x6 horizontally on the 2 backmost rows of the high surface, rounded corners to the back. |
| Put 1 plate 2x2 in front of the previous piece's 2 rightmost columns. |
| Repeat symmetrically on the left. |
| Put the other plate 2x6 horizontally on the 2 frontmost rows of the high surface, rounded corners to the front. |
| Next, we will build the ladder. |
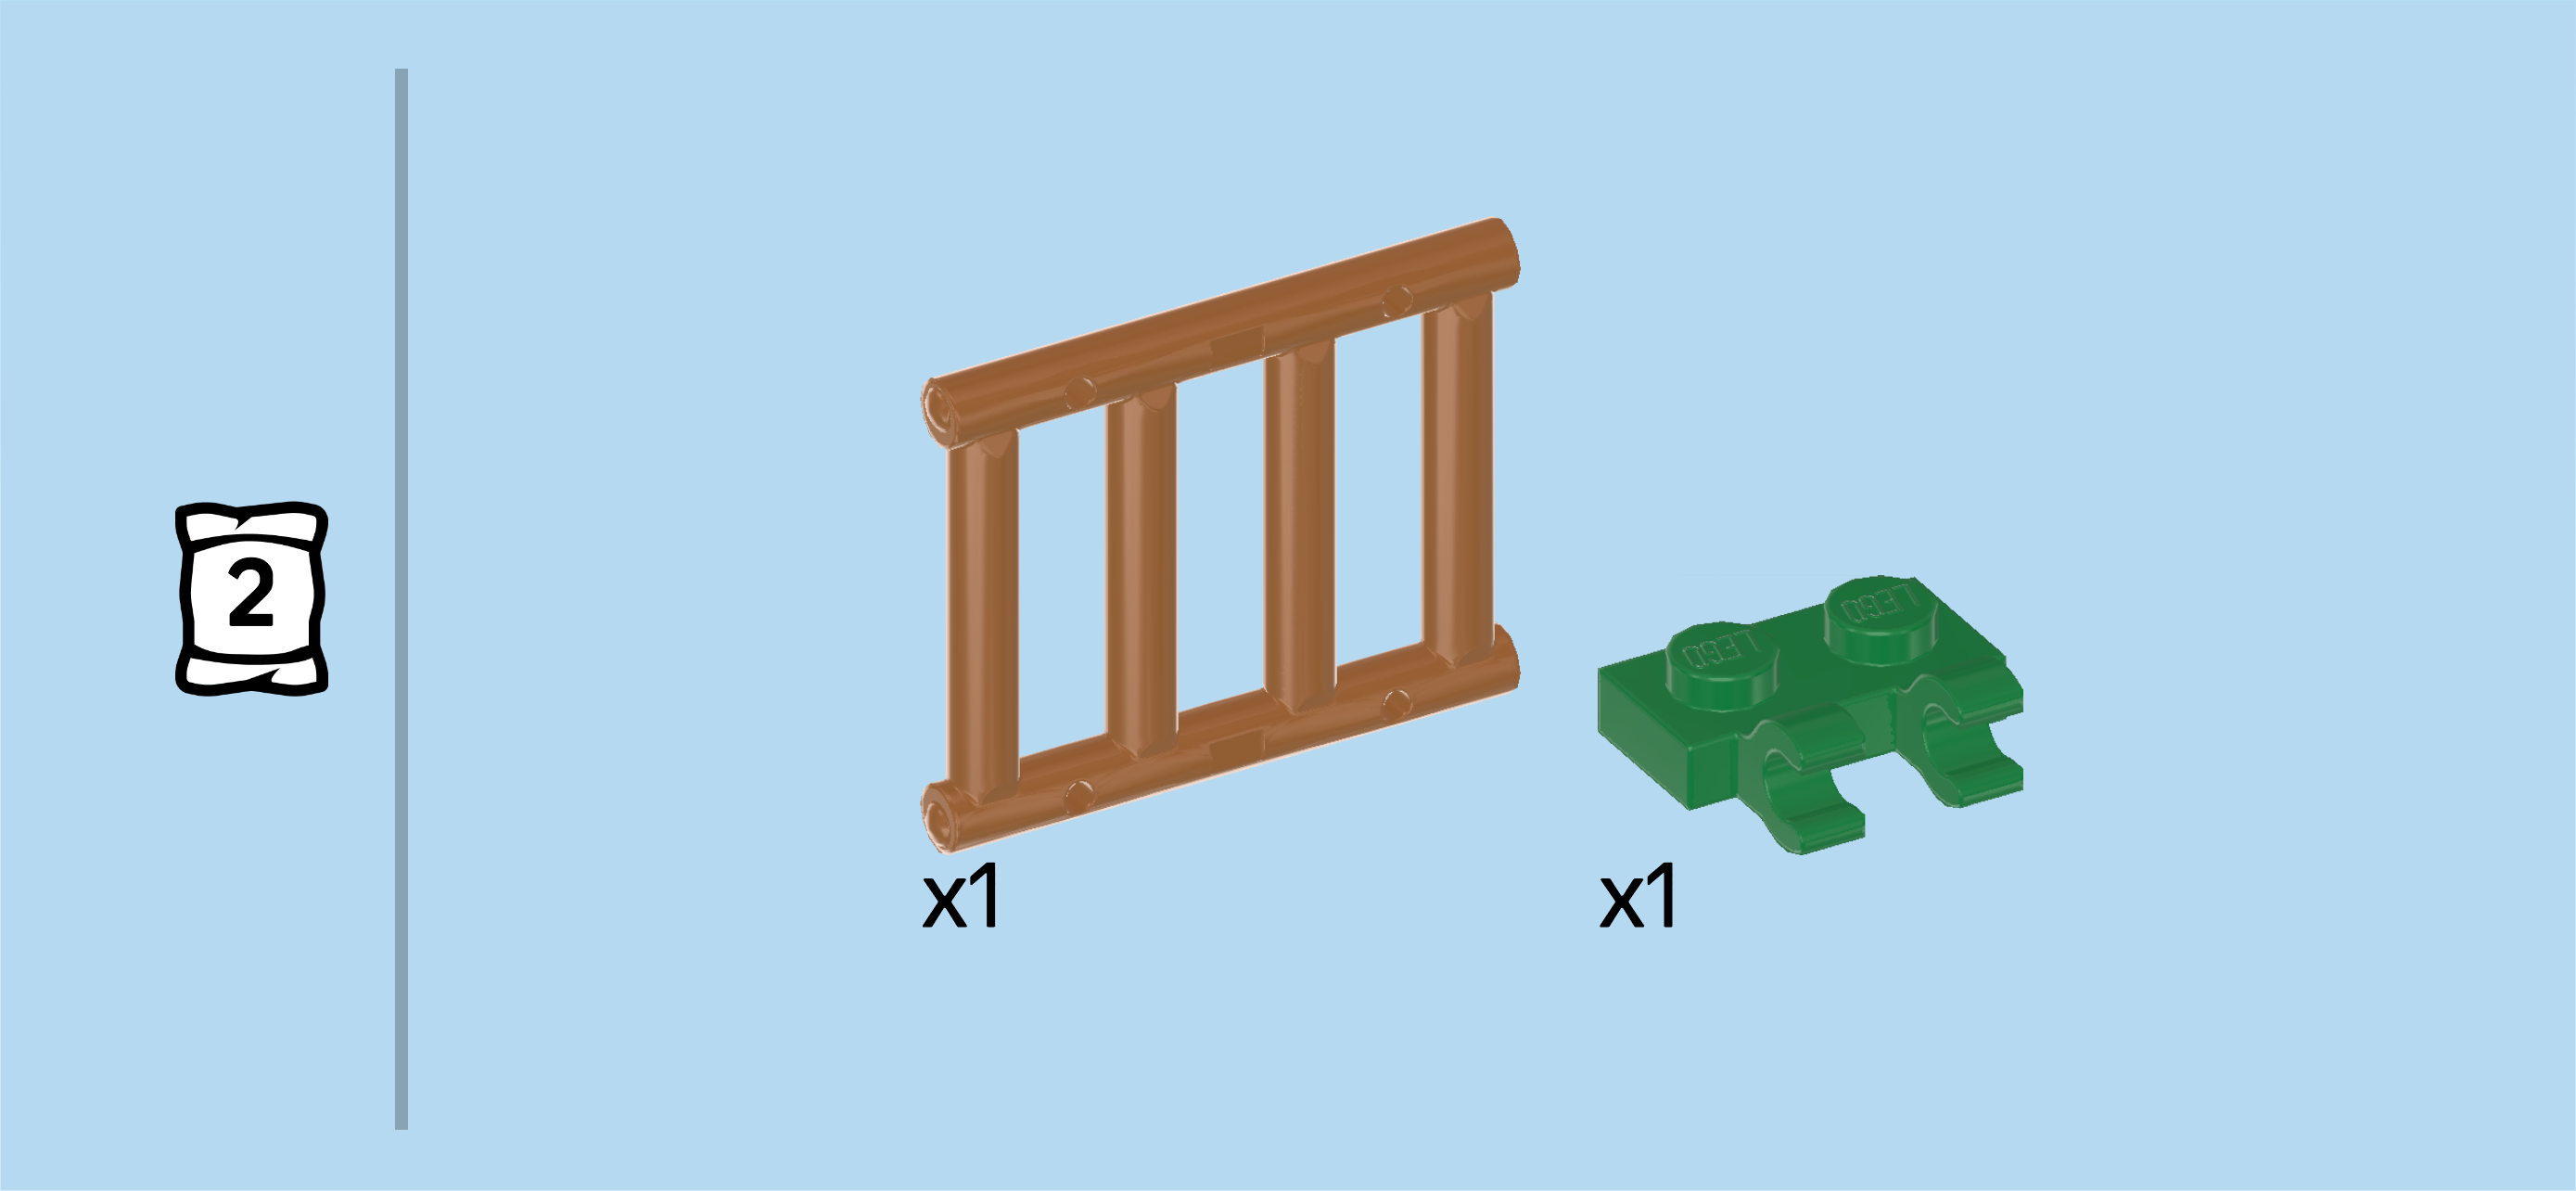
| Collect the following 2 pieces: |
| 1 dark green plate 1x2 with 2 vertical clasps on long side, |
| and 1 medium nougat brown lattice element 3x4x1. |
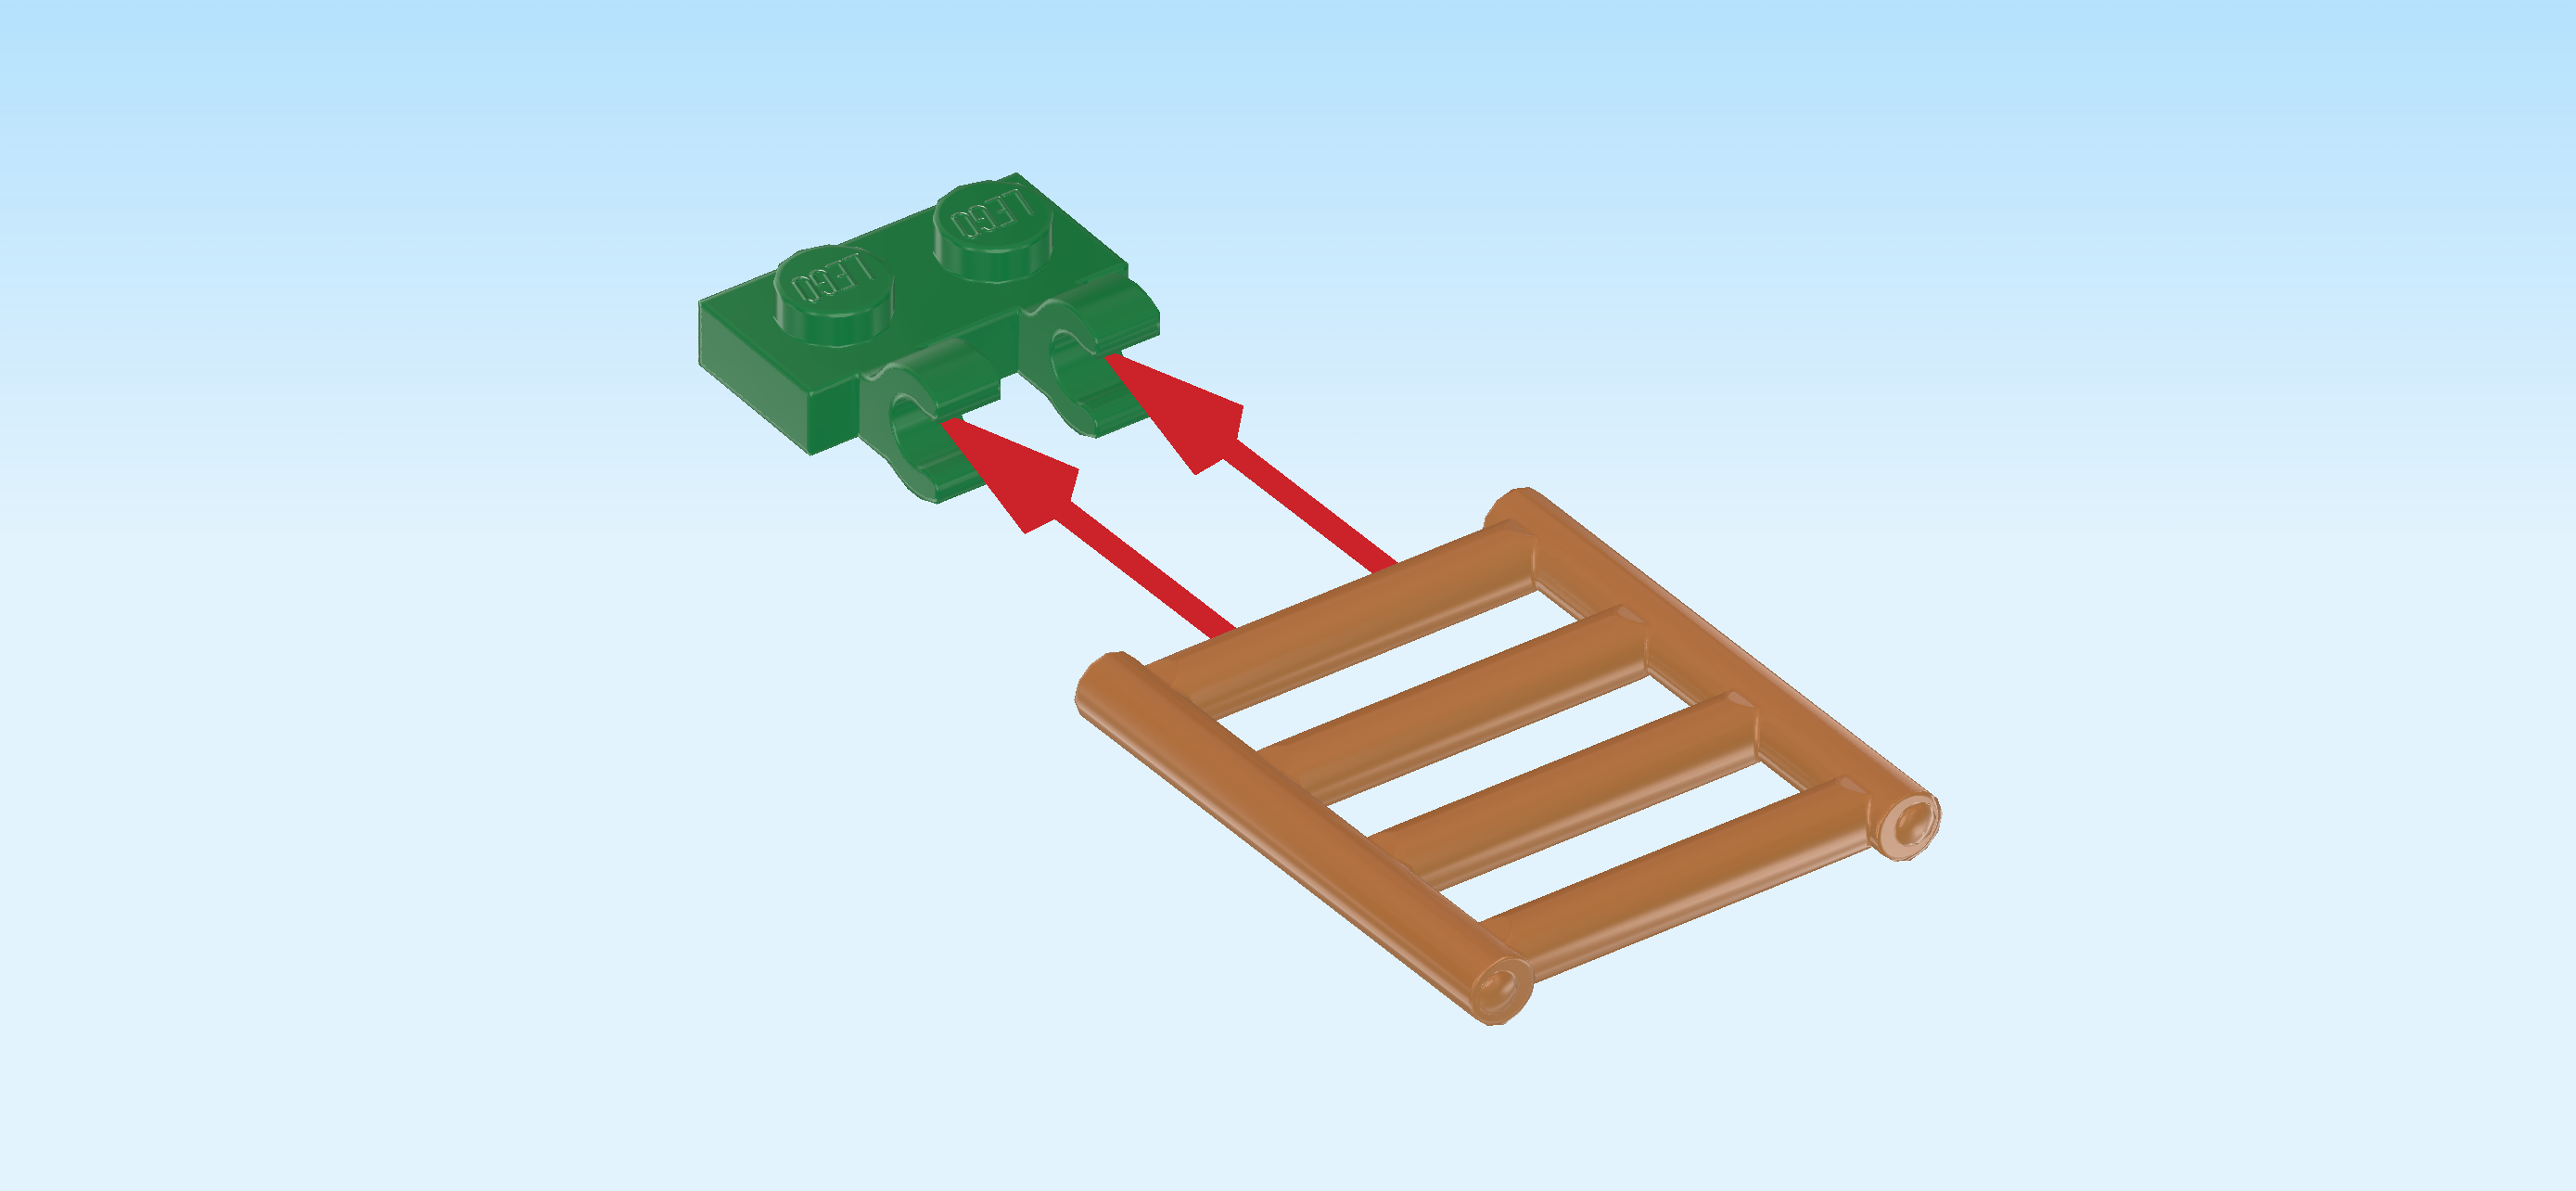
| Hold the plate 1x2 vertically, clasps to the right. |
| Hold the lattice element flat and horizontally in front of you. Snap the leftmost short bar into the 2 clasps. |
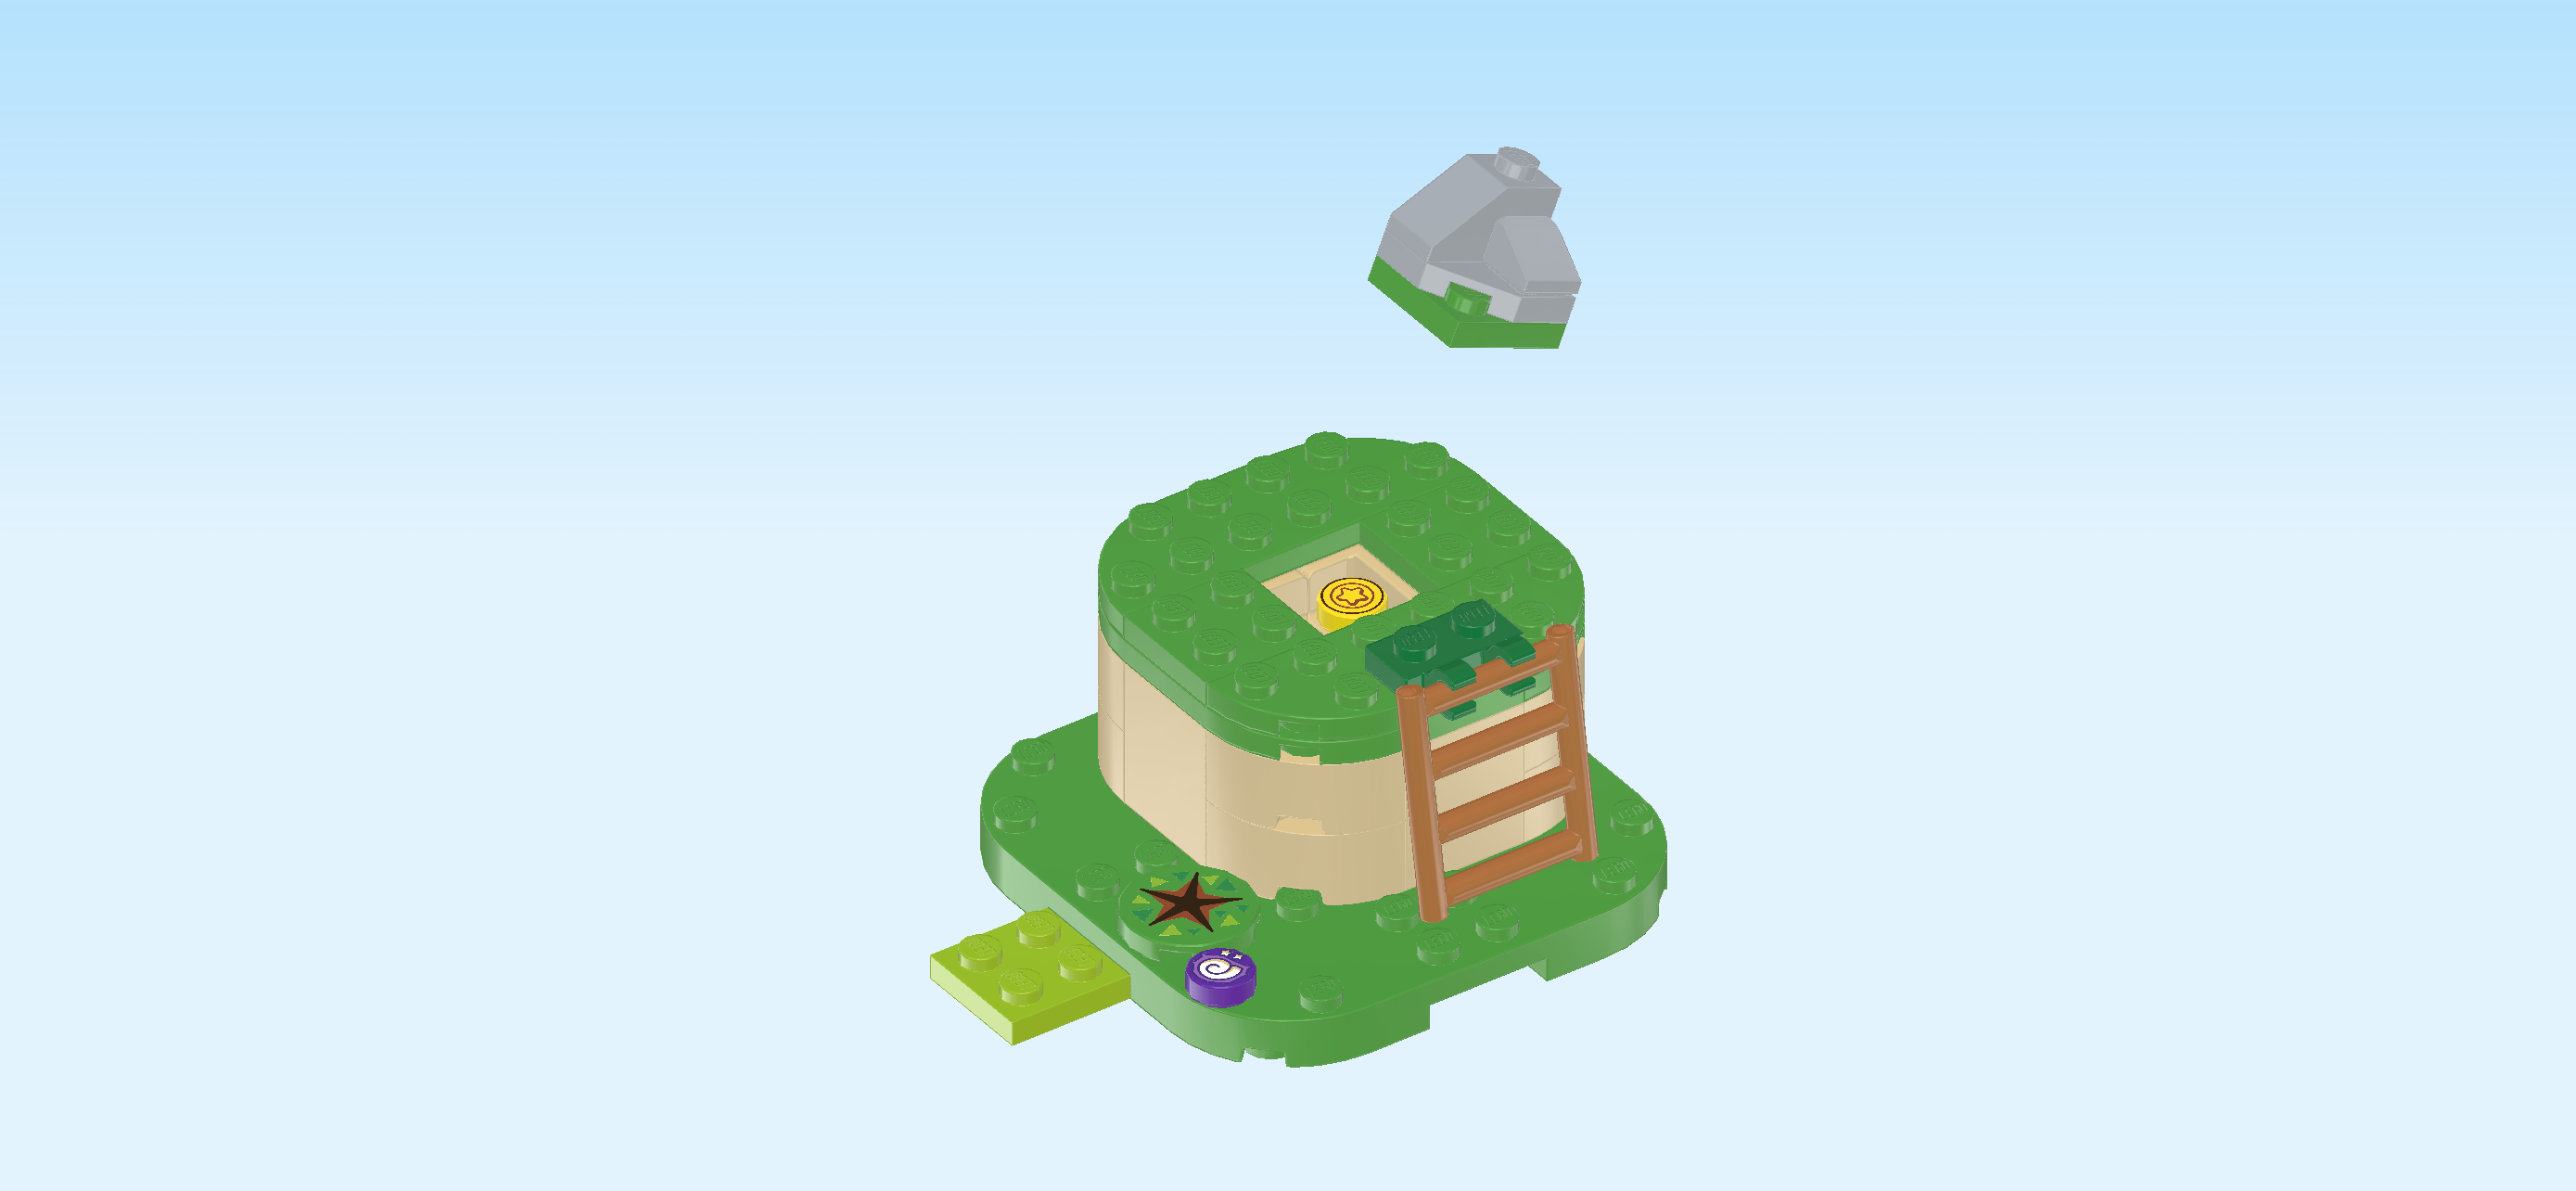
| Now, mount the plate 1x2 horizontally centered on the frontmost row of the high structure, ladder overhanging to the front. Fold the ladder down if you want. |
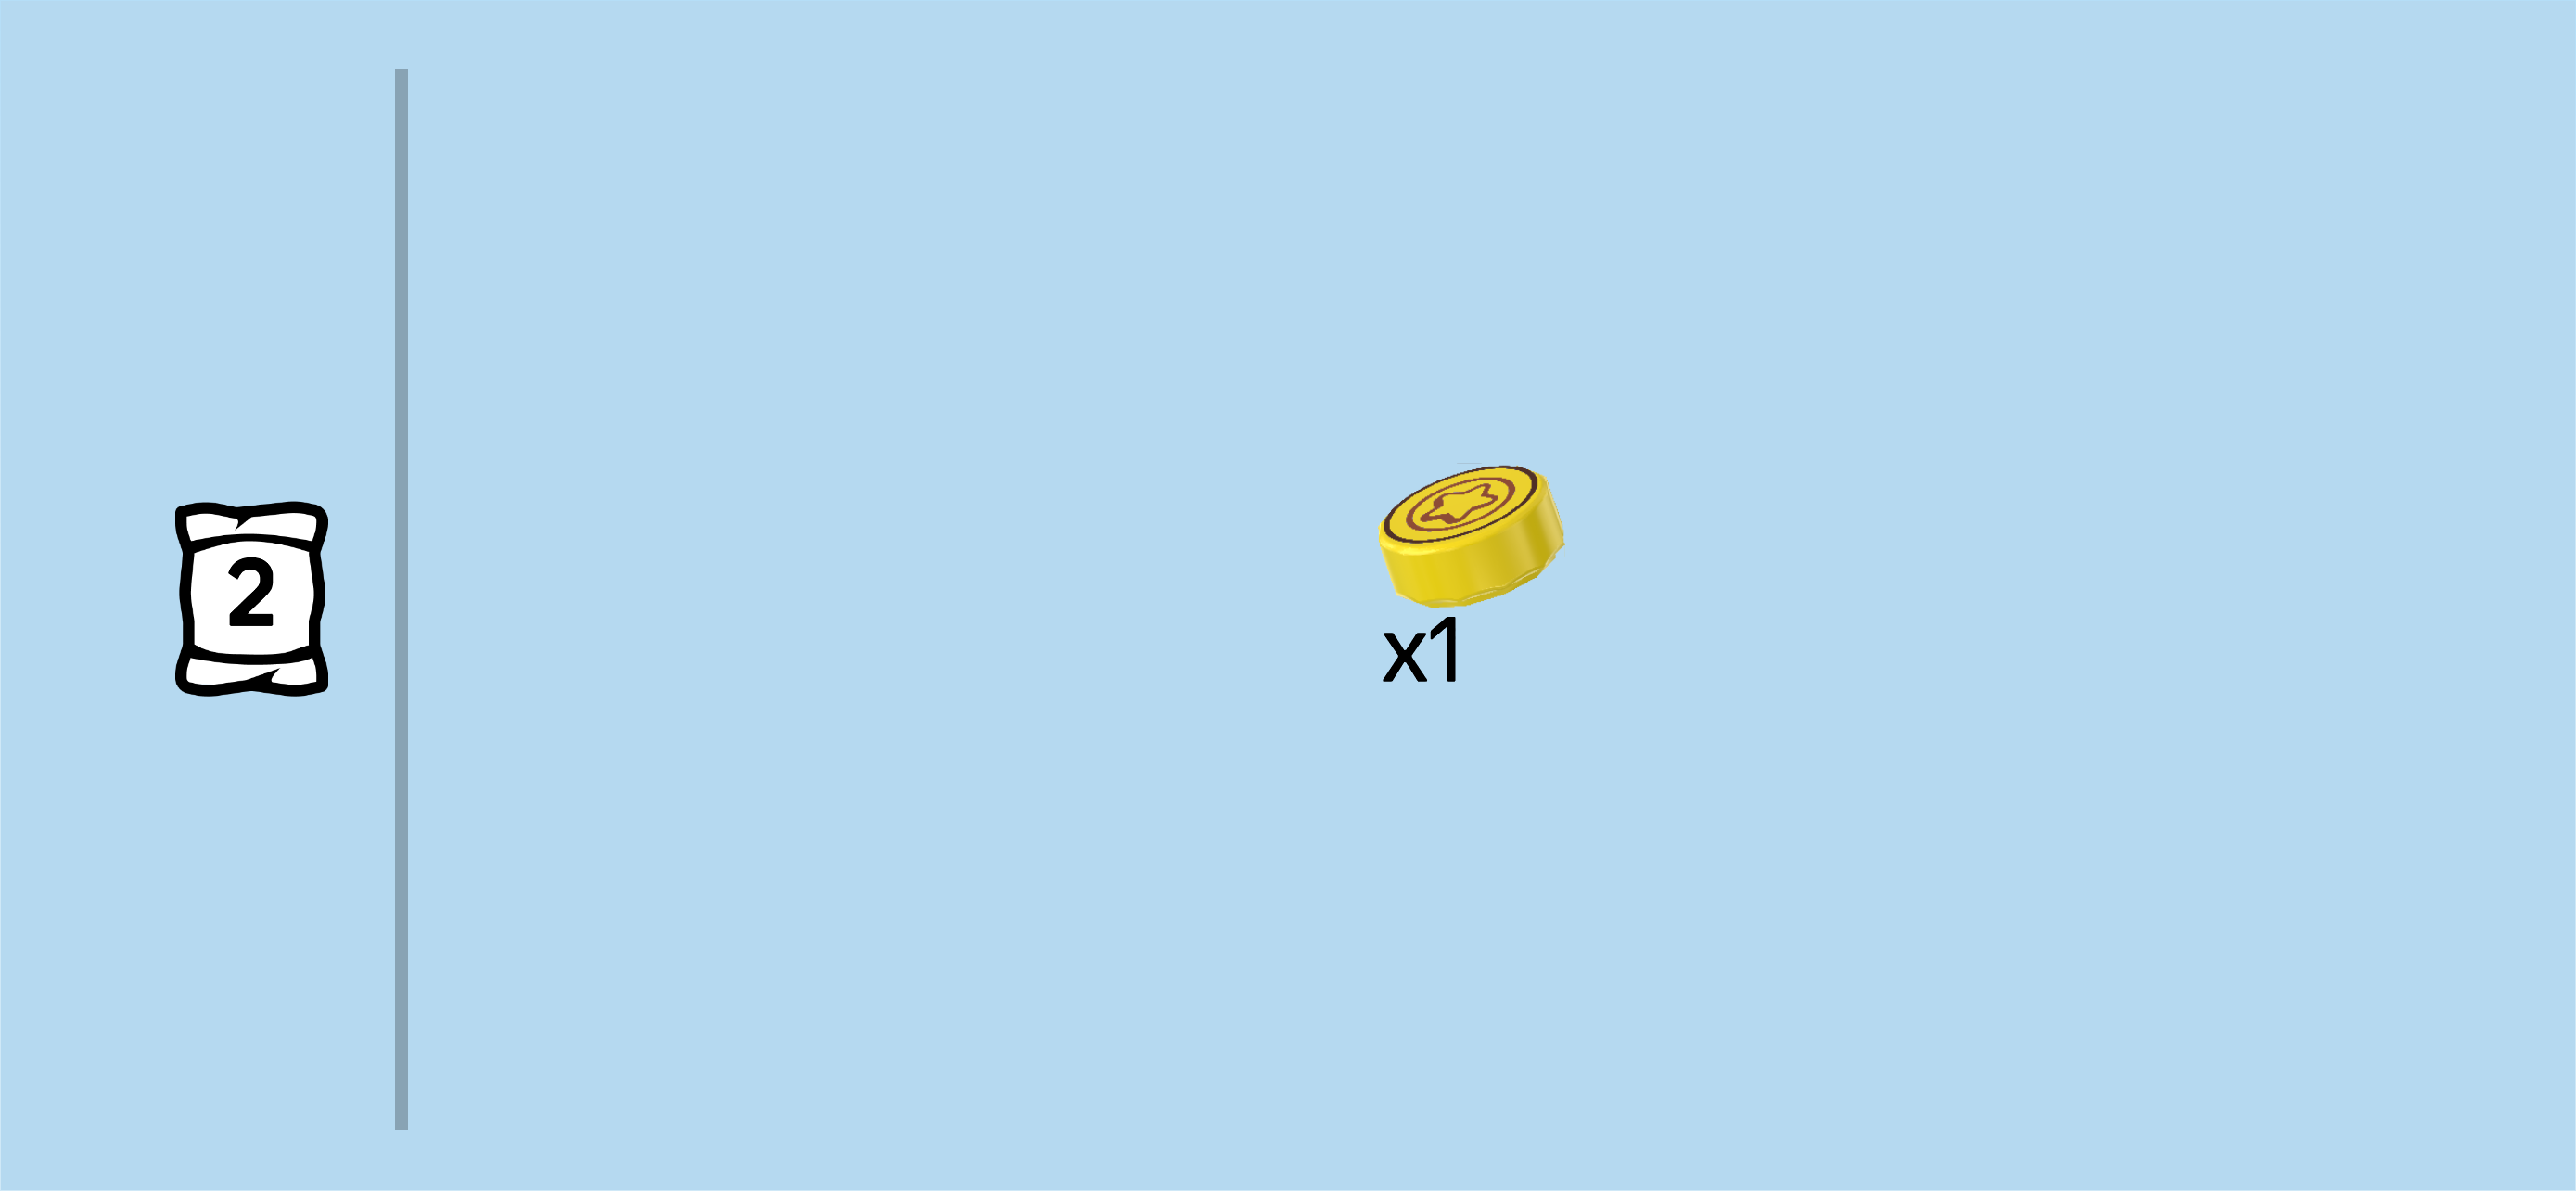
| Find 1 bright yellow round tile 1x1. |
| Put it into the recess in the middle. This tile is printed with an Animal Crossing bell! Bells are the main currency in the Animal Crossing universe, here in the form of gold coins with a small black star on them. |
| Next, we will build the rock. |
| Collect the following 2 pieces: |
| 1 bright green plate 2x2, |
| and 1 medium stone grey plate 2x2 with 1 cut-off corner. |
| Put the plate 2x2 on the table. |
| Put the plate 2x2 with cut-off corner on top, cut-off corner to the front left. |
| Collect the following 2 pieces: |
| 1 medium stone grey smooth roof tile 1x1, |
| and 1 medium stone grey roof tile 1x2, 45°. |
| Put the roof tile 1x2 horizontally on the back row, slope to the left. |
| Put the smooth roof tile 1x1 on the left knob in front of the previous piece, slope to the front. |
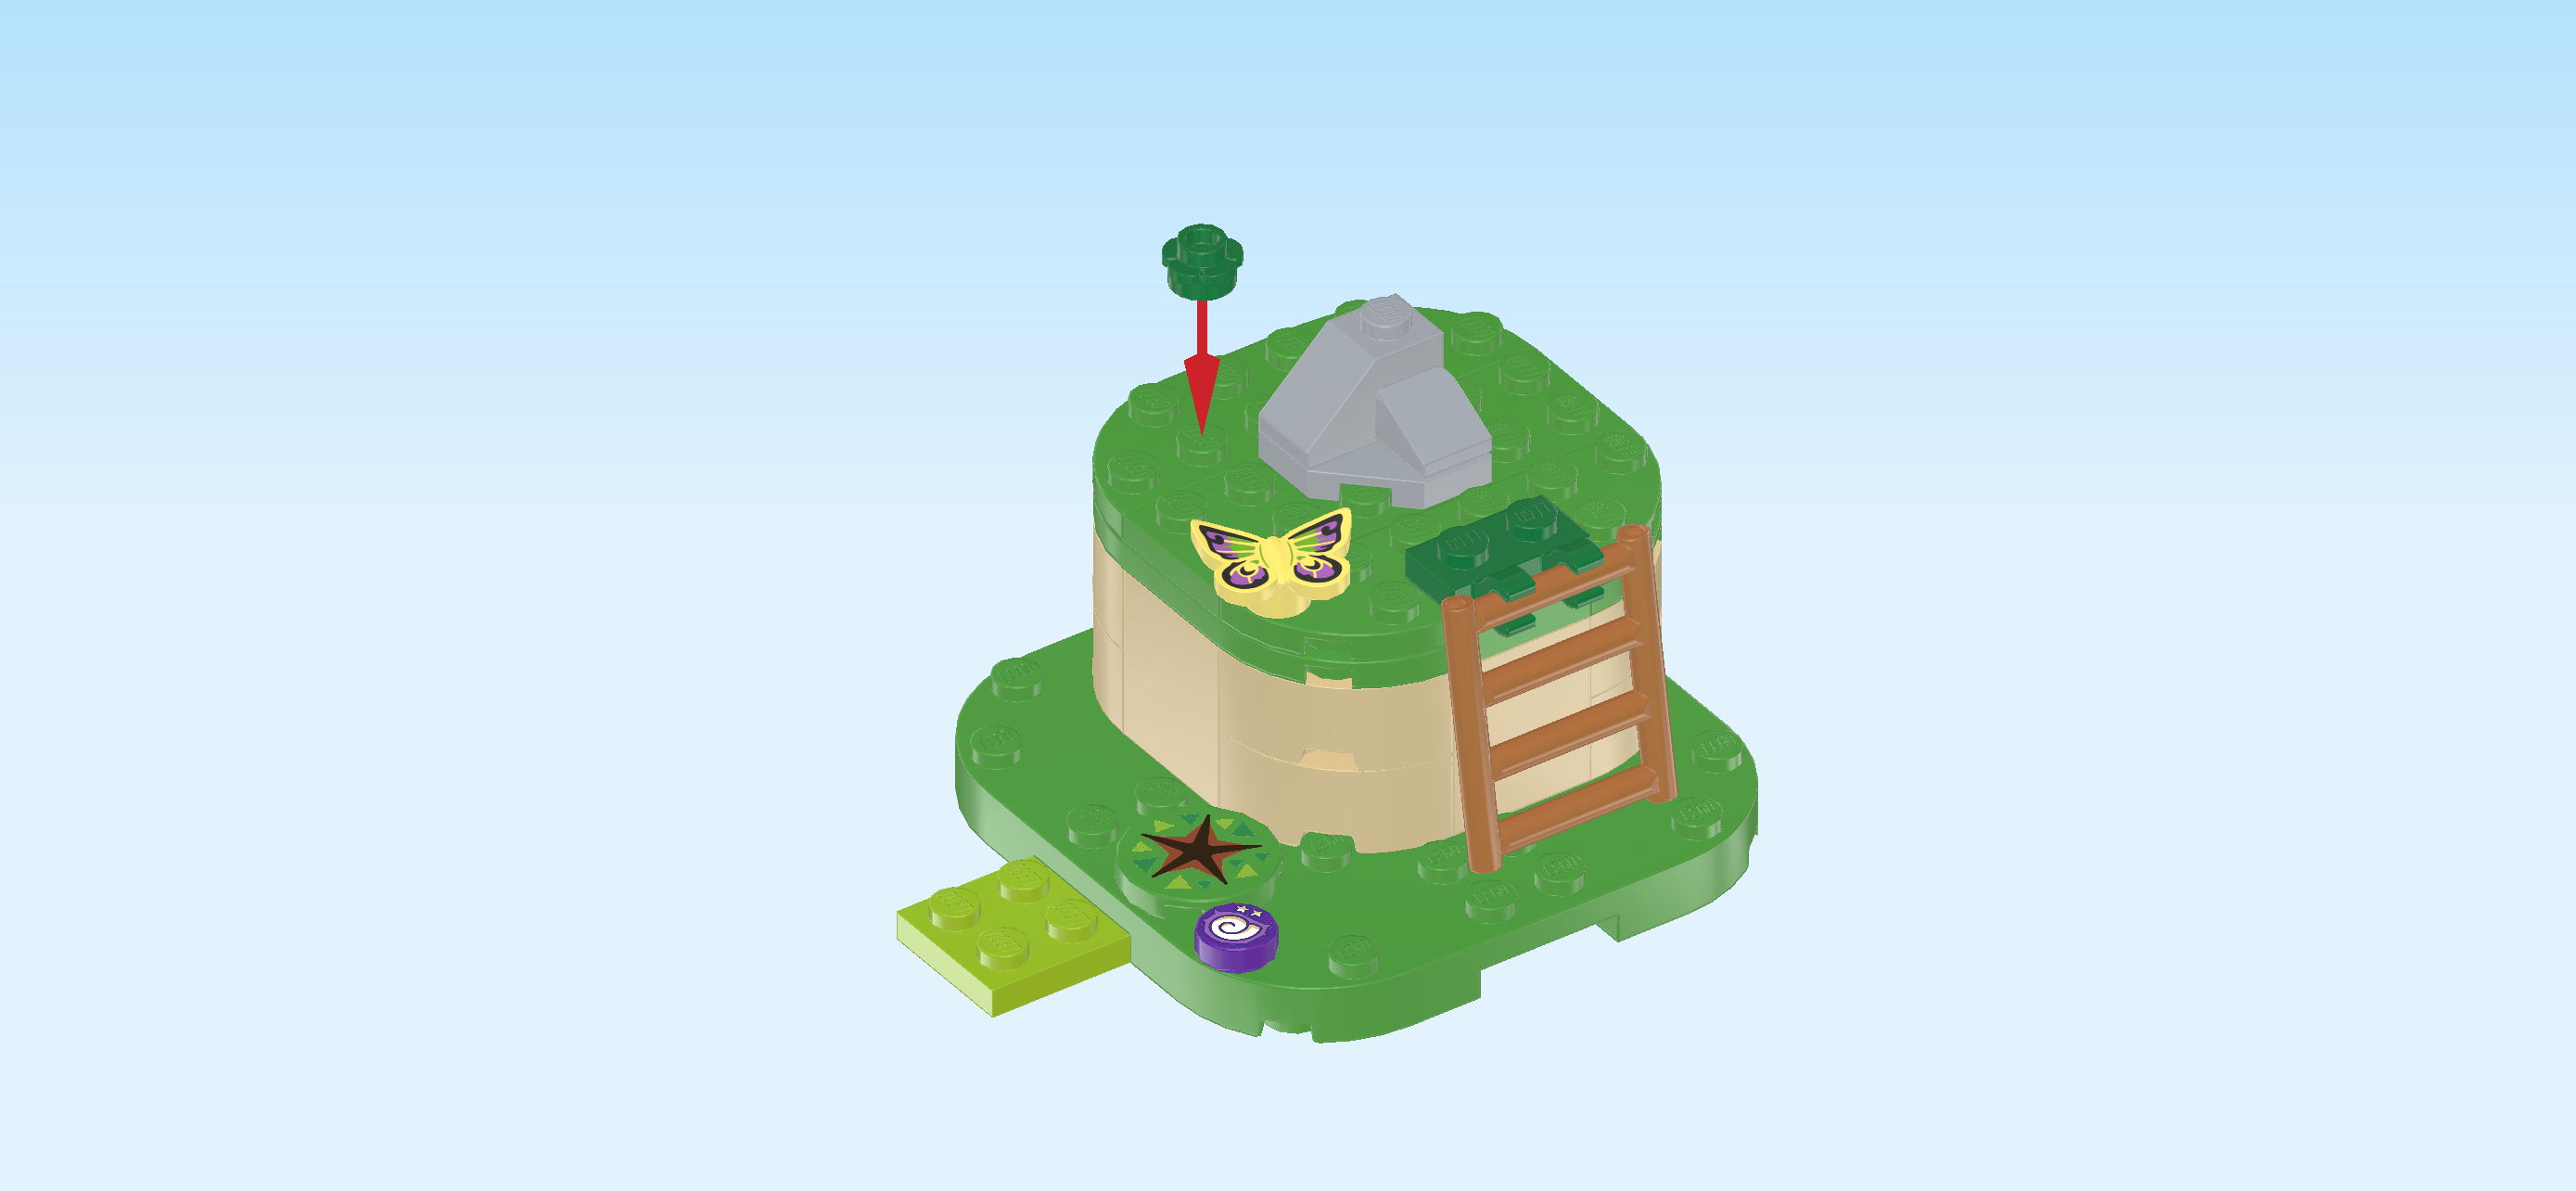
| Put the rock build in its building orientation on top of the treasure chest in the middle of the mine module. |
| Collect the following 2 pieces: |
| 1 dark green flower piece 1x1 with through-hole, |
| and 1 lemon yellow butterfly decoration element 1x1. |
| Put the butterfly decoration element 1x1 on the frontmost knob of the high surface's leftmost column. The butterfly has intricate patterns on its delicate wings in lilac, black, green and yellow. |
| Put the flower piece 1x1 on the high surface's second column from the left on the second knob from the back. |
| Next, we will build a flower with 3 branches. |
| Collect the following 4 pieces: |
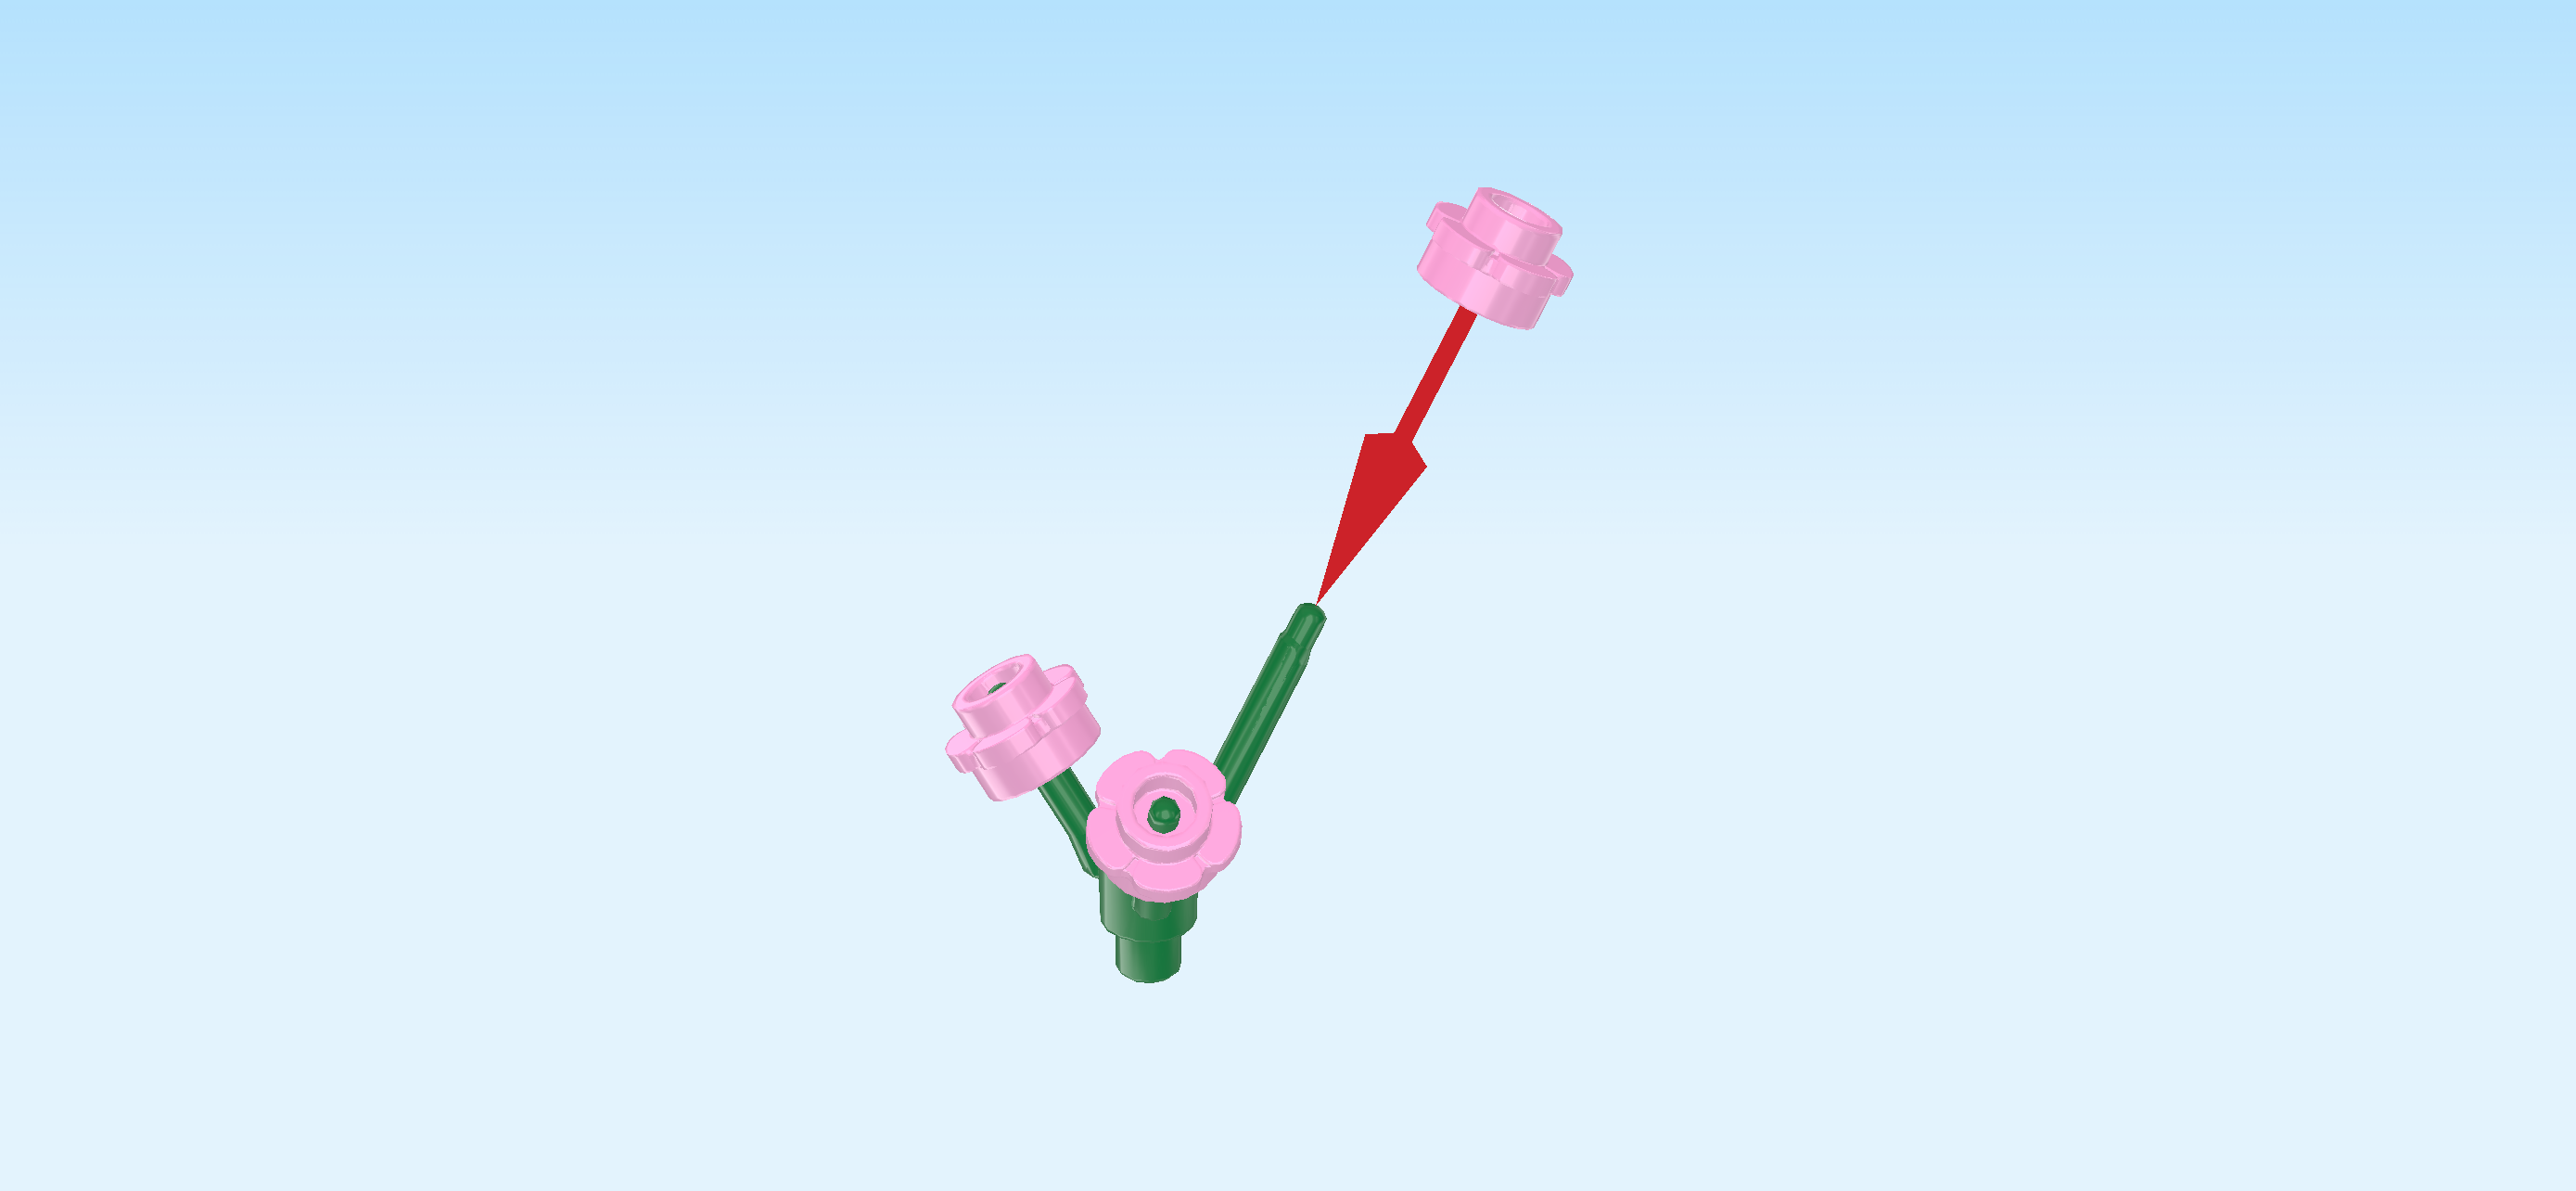
| 1 dark green plant base with 3 branches and bottom pin, |
| and 3 light purple flower pieces 1x1 with through-hole. |
| Put the 3 flower pieces on the 3 branches. |
| Insert the bottom shaft into the green flower piece we have mounted previously. What a lovely flower! |
| The mine module is finished! Well done! Attach it to the left of the waterfall module by using the waterfall module's connecting plate. |
| Bunnie can now use the ladder to climb the mine module, stick the vaulting pole into the swivel mechanism and jump across the waterfall to reach the other modules! What happens if you use the shovel or the axe on the rock sitting on top of the mine module? |
| Next, we will build the cherry tree module. |
| Collect the following 2 pieces: |
| 1 bright yellowish green plate 2x4, |
| and 1 bright green plate 6x6x⅔ with rounded corners and 4 feet. |
| Put the plate 2x4 horizontally on the table, and put the 2 leftmost columns of the plate 6x6 centered on the right half of the plate 2x4. |
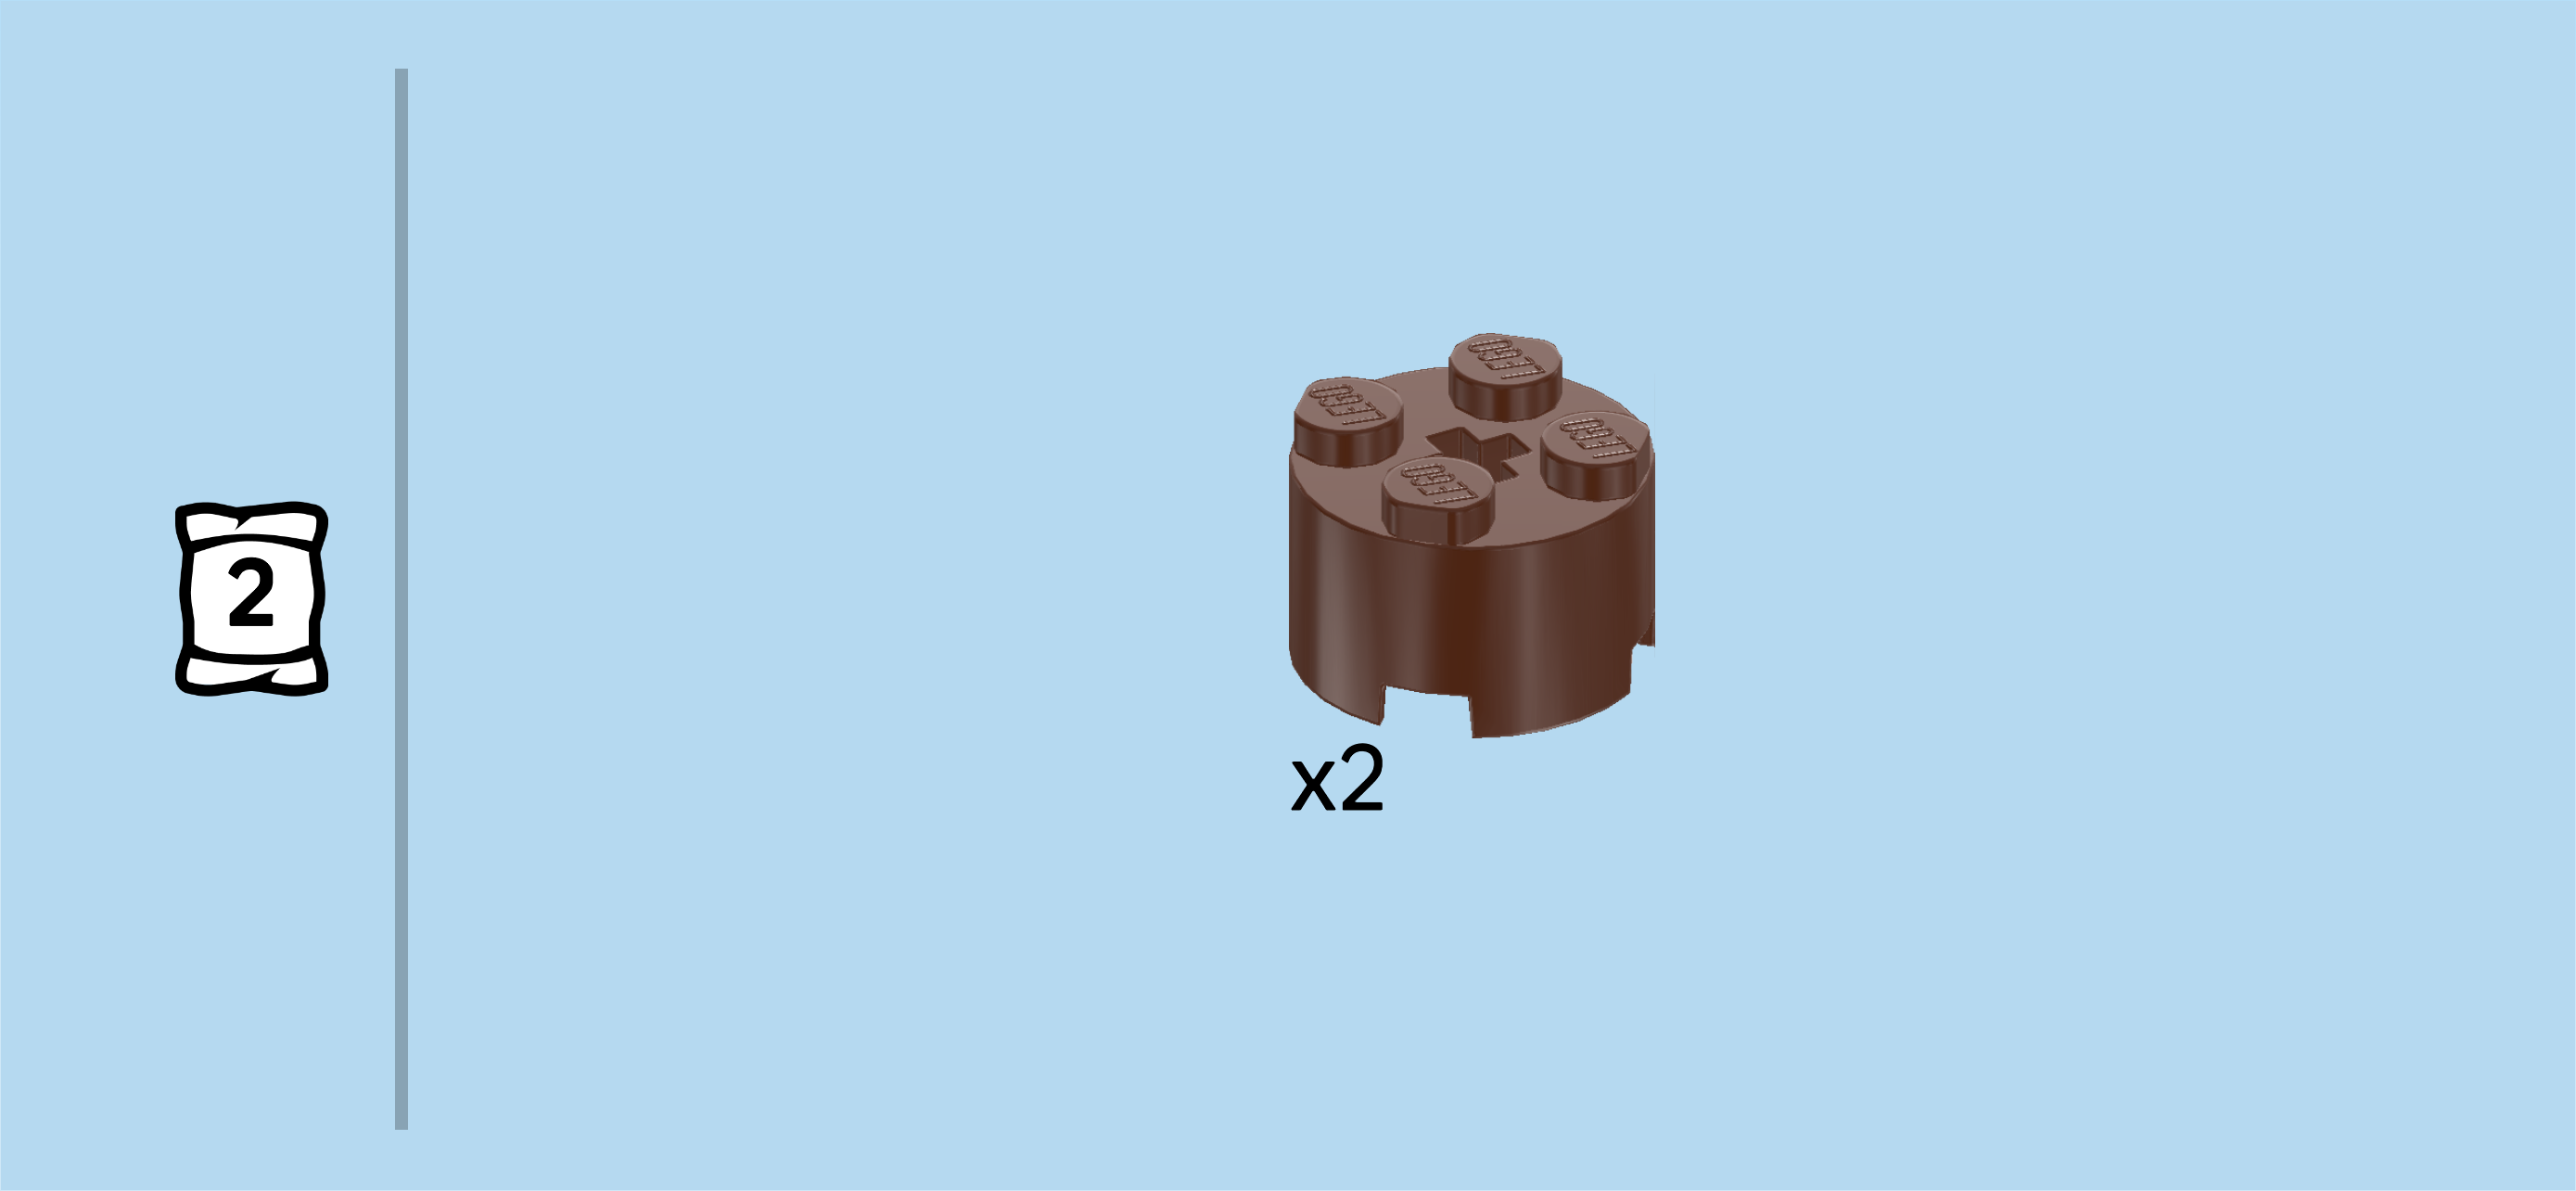
| Find 1 reddish brown round brick 2x2 with 4 root tips. |
| Turn it so that the root tips are pointing to the front and back and left and right. |
| Put its left column centered on the baseplate's second column from the left. |
| Find 2 reddish brown round bricks 2x2 with top cross hole. |
| Stack them on top of the round brick with root tips. |
| Next, we will build the treetop. |
| Collect the following 2 pieces: |
| 1 dark green plate 2x4, |
| and 1 dark green plate 2x2 with 1 knob. |
| Put the plate 2x4 horizontally on the table. |
| Put the plate 2x2 with 1 knob centered on top. |
| Find 2 dark green inverted curve bricks 1x2 with protruding plate 1x2. |
| Put the protruding plate of 1 on the rightmost column, 1/2 overhanging to the right, curve to the right bottom. |
| Repeat symmetrically on the left. |
| Find 1 dark green plate 2x4. |
| Put it horizontally centered on top of the treetop structure. |
| Find 2 dark green smooth curve bricks 1x2. |
| Put 1 vertically on the rightmost column, curve to the right. |
| Repeat symmetrically on the left, curve to the left. |
| Find 2 dark green panel elements 1x2x1. |
| Put them horizontally next to each other on the back row, panels to the back. |
| Collect the following 3 pieces: |
| 2 dark green bricks 1x1 with side knob, |
| and 1 dark green panel element 1x2x1. |
| Put 1 brick 1x1 on the front row's rightmost knob, side knob to the front. |
| Put the panel element 1x2x1 horizontally to the left of the previous piece, panel to the front. |
| Put the other brick 1x1 to the left of the previous piece, side knob to the front. |
| Collect the following 2 pieces: |
| 1 reddish brown shaft 2m with twig leaves, |
| and 1 lemon yellow flower piece 1x1 with 5 petals and small pin. |
| Put those two elements loosely into the top opening of the treetop. |
| Next, we will build the top half of the treetop. |
| Collect the following 2 pieces: |
| 1 dark green plate 2x4, |
| and 1 dark green smooth curve brick 1x2. |
| Put the plate 2x4 horizontally on the table. |
| Put the smooth curve brick 1x2 vertically on the rightmost column, curve to the right. |
| Collect the following 3 pieces: |
| 1 dark green brick 1x2, |
| 1 dark green brick 1x2 with side knob, |
| and 1 dark green smooth curve brick 1x2. |
| Put the brick 1x2 (the one without side knob) horizontally to the left of the previous piece on the back row. |
| Put the brick 1x2 with side knob in front of the previous piece, side knob to the front. |
| Put the smooth curve brick 1x2 vertically to the left of the previous piece, curve to the left. |
| Mount the top half of the treetop horizontally centered on top of the lower half of the treetop. |
| Now, we will assemble 3 cherries. |
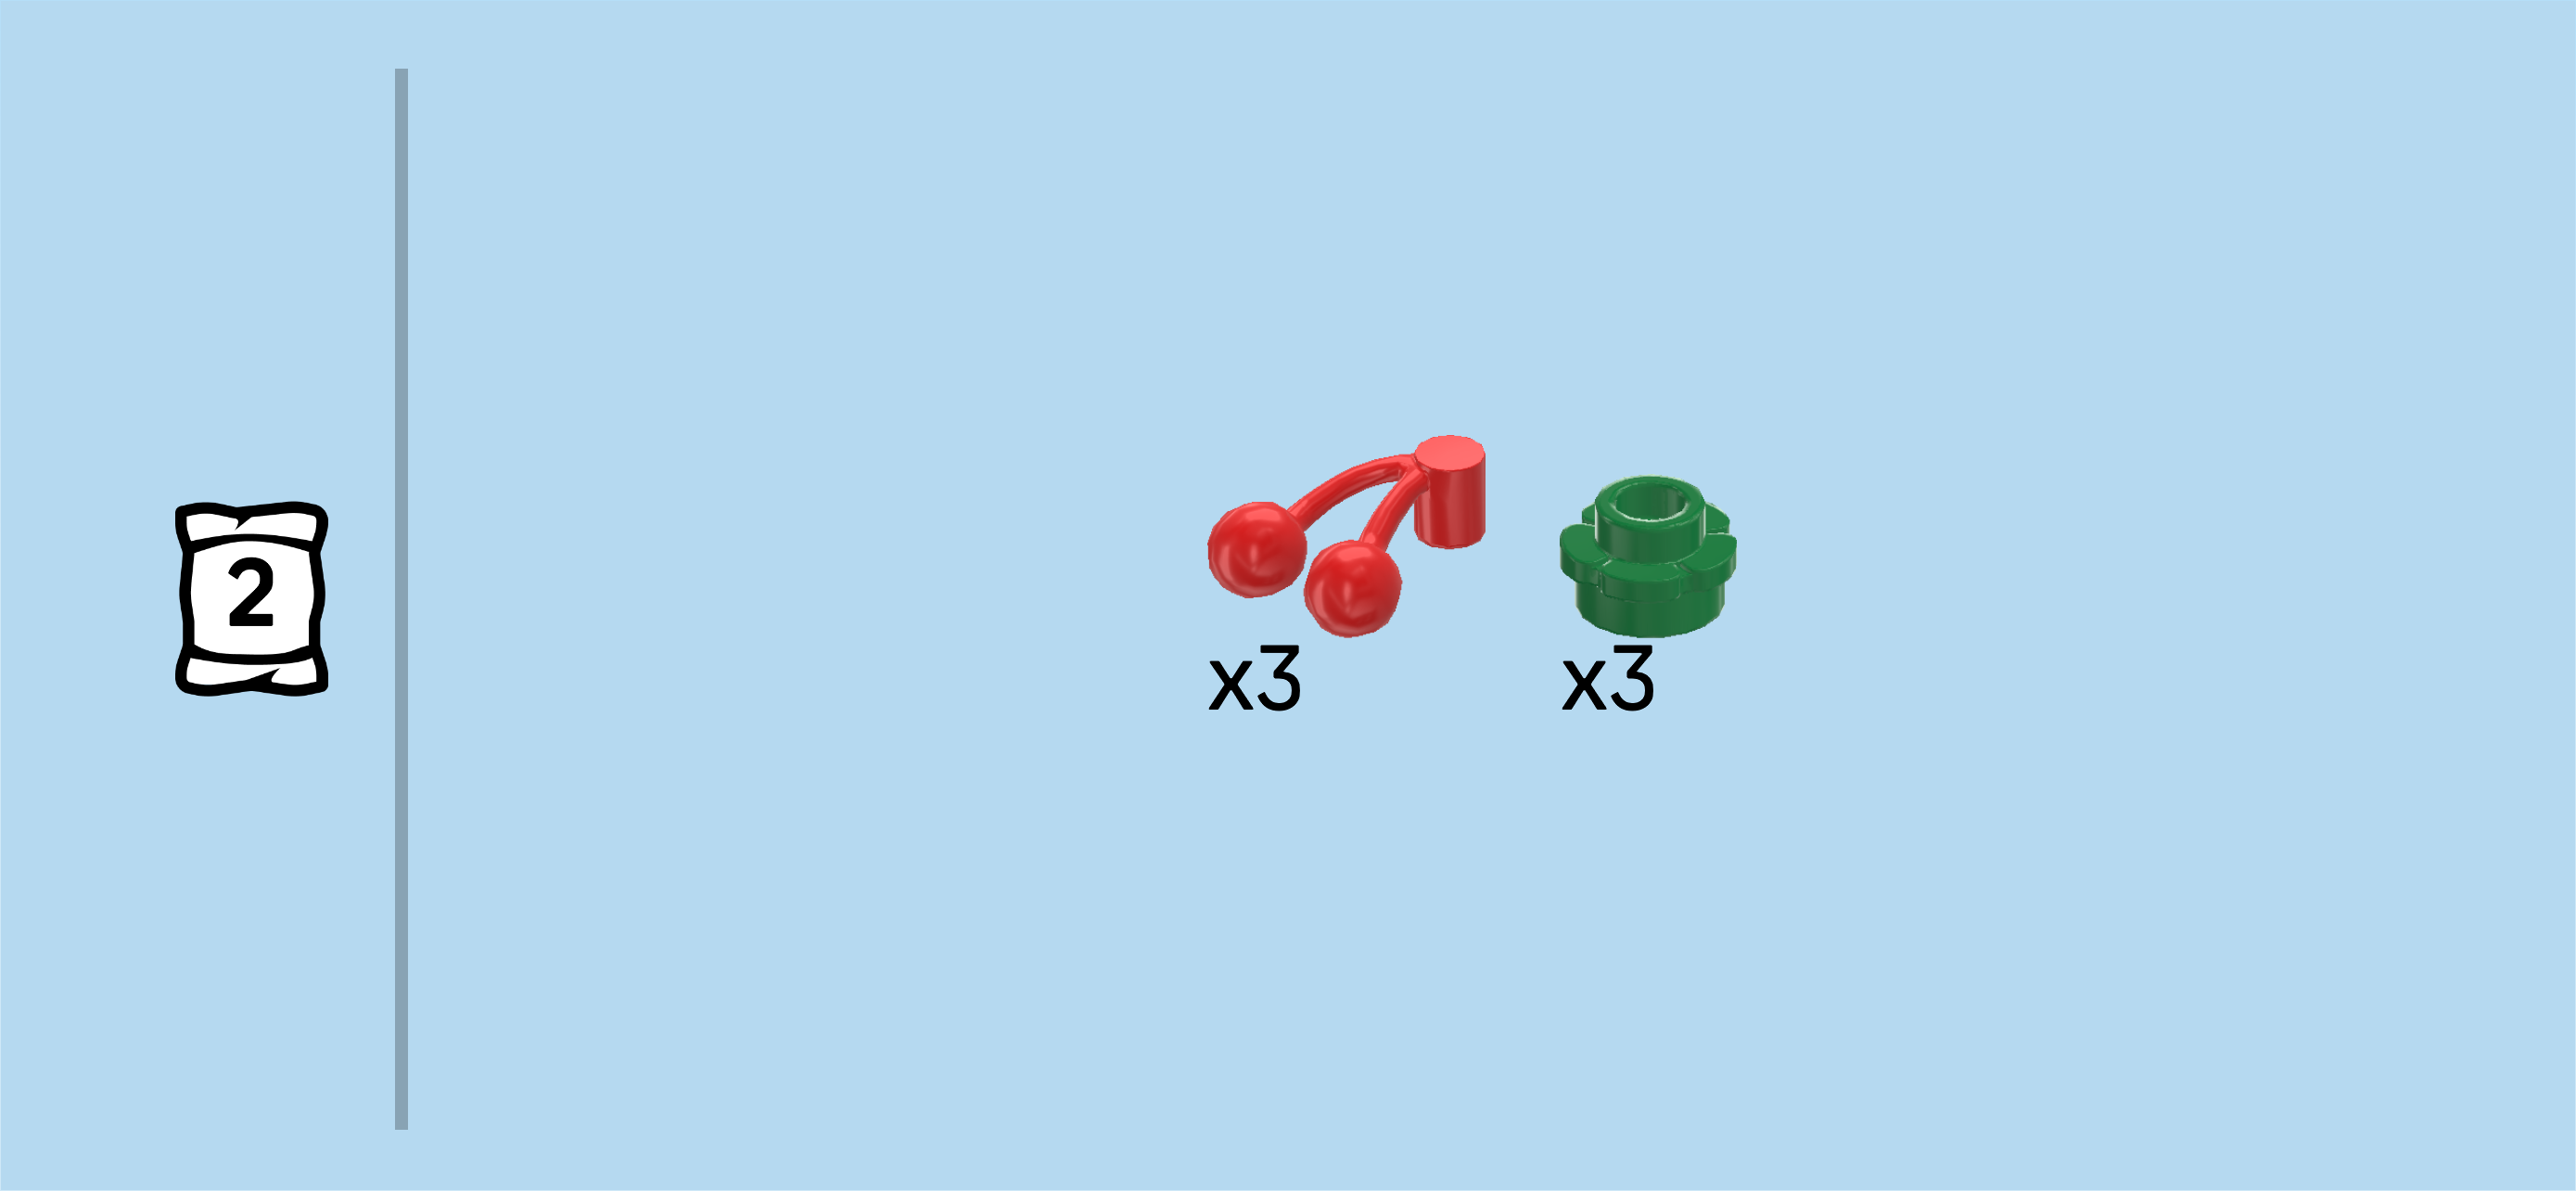
| Collect the following 6 pieces: |
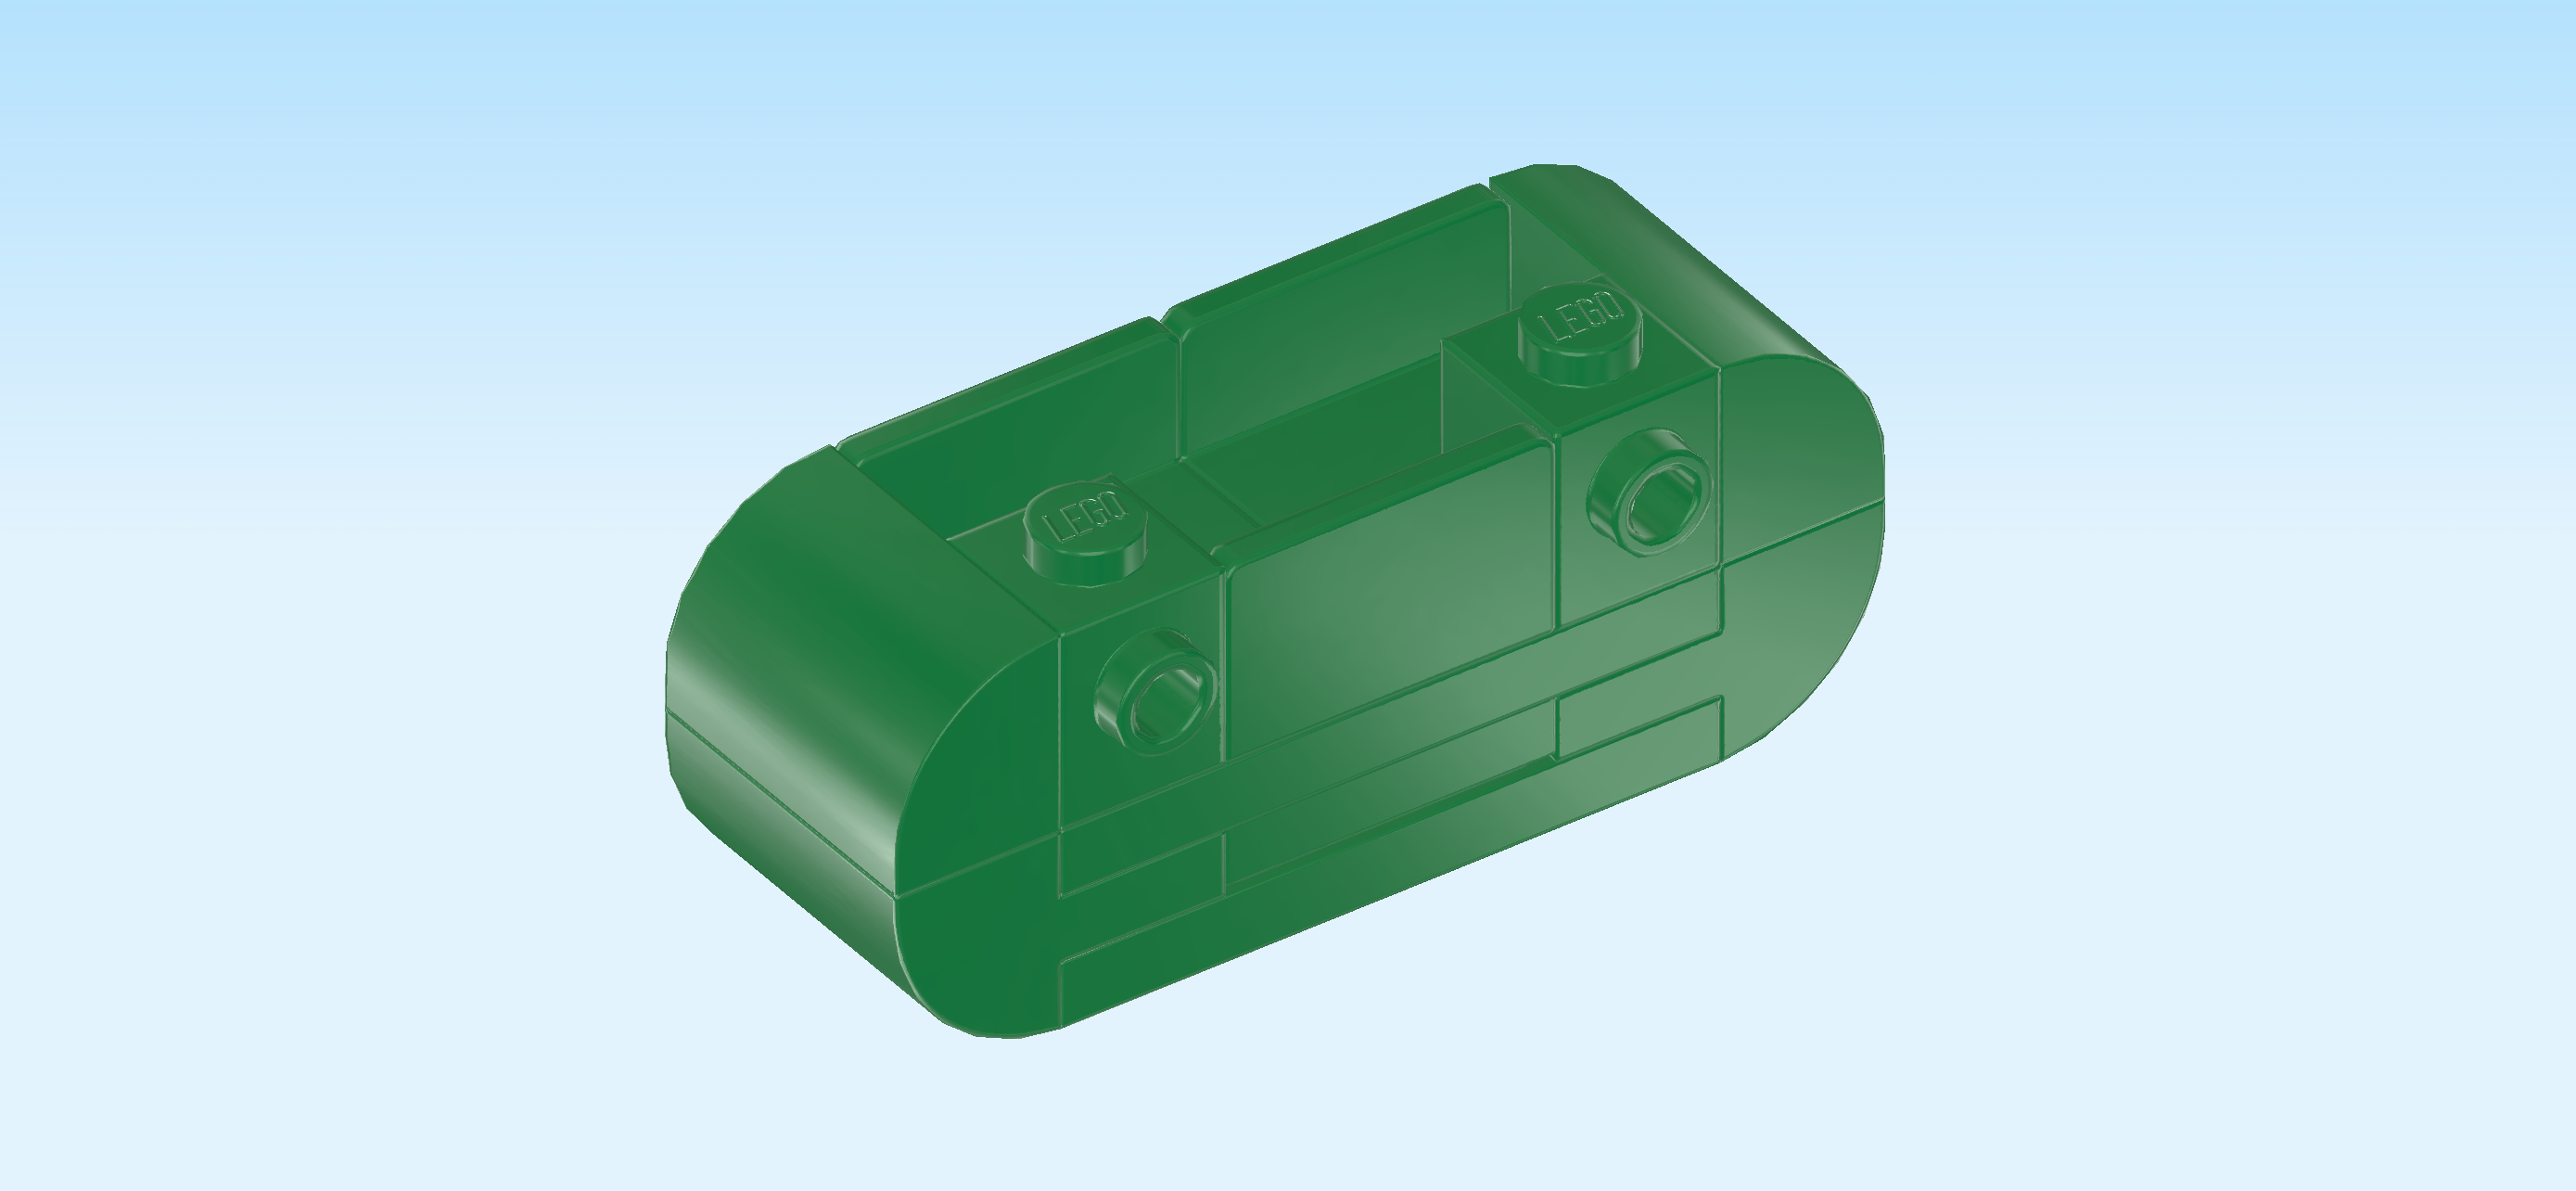
| 3 bright red pairs of cherries, |
| and 3 dark green flower pieces 1x1 with through-hole. |
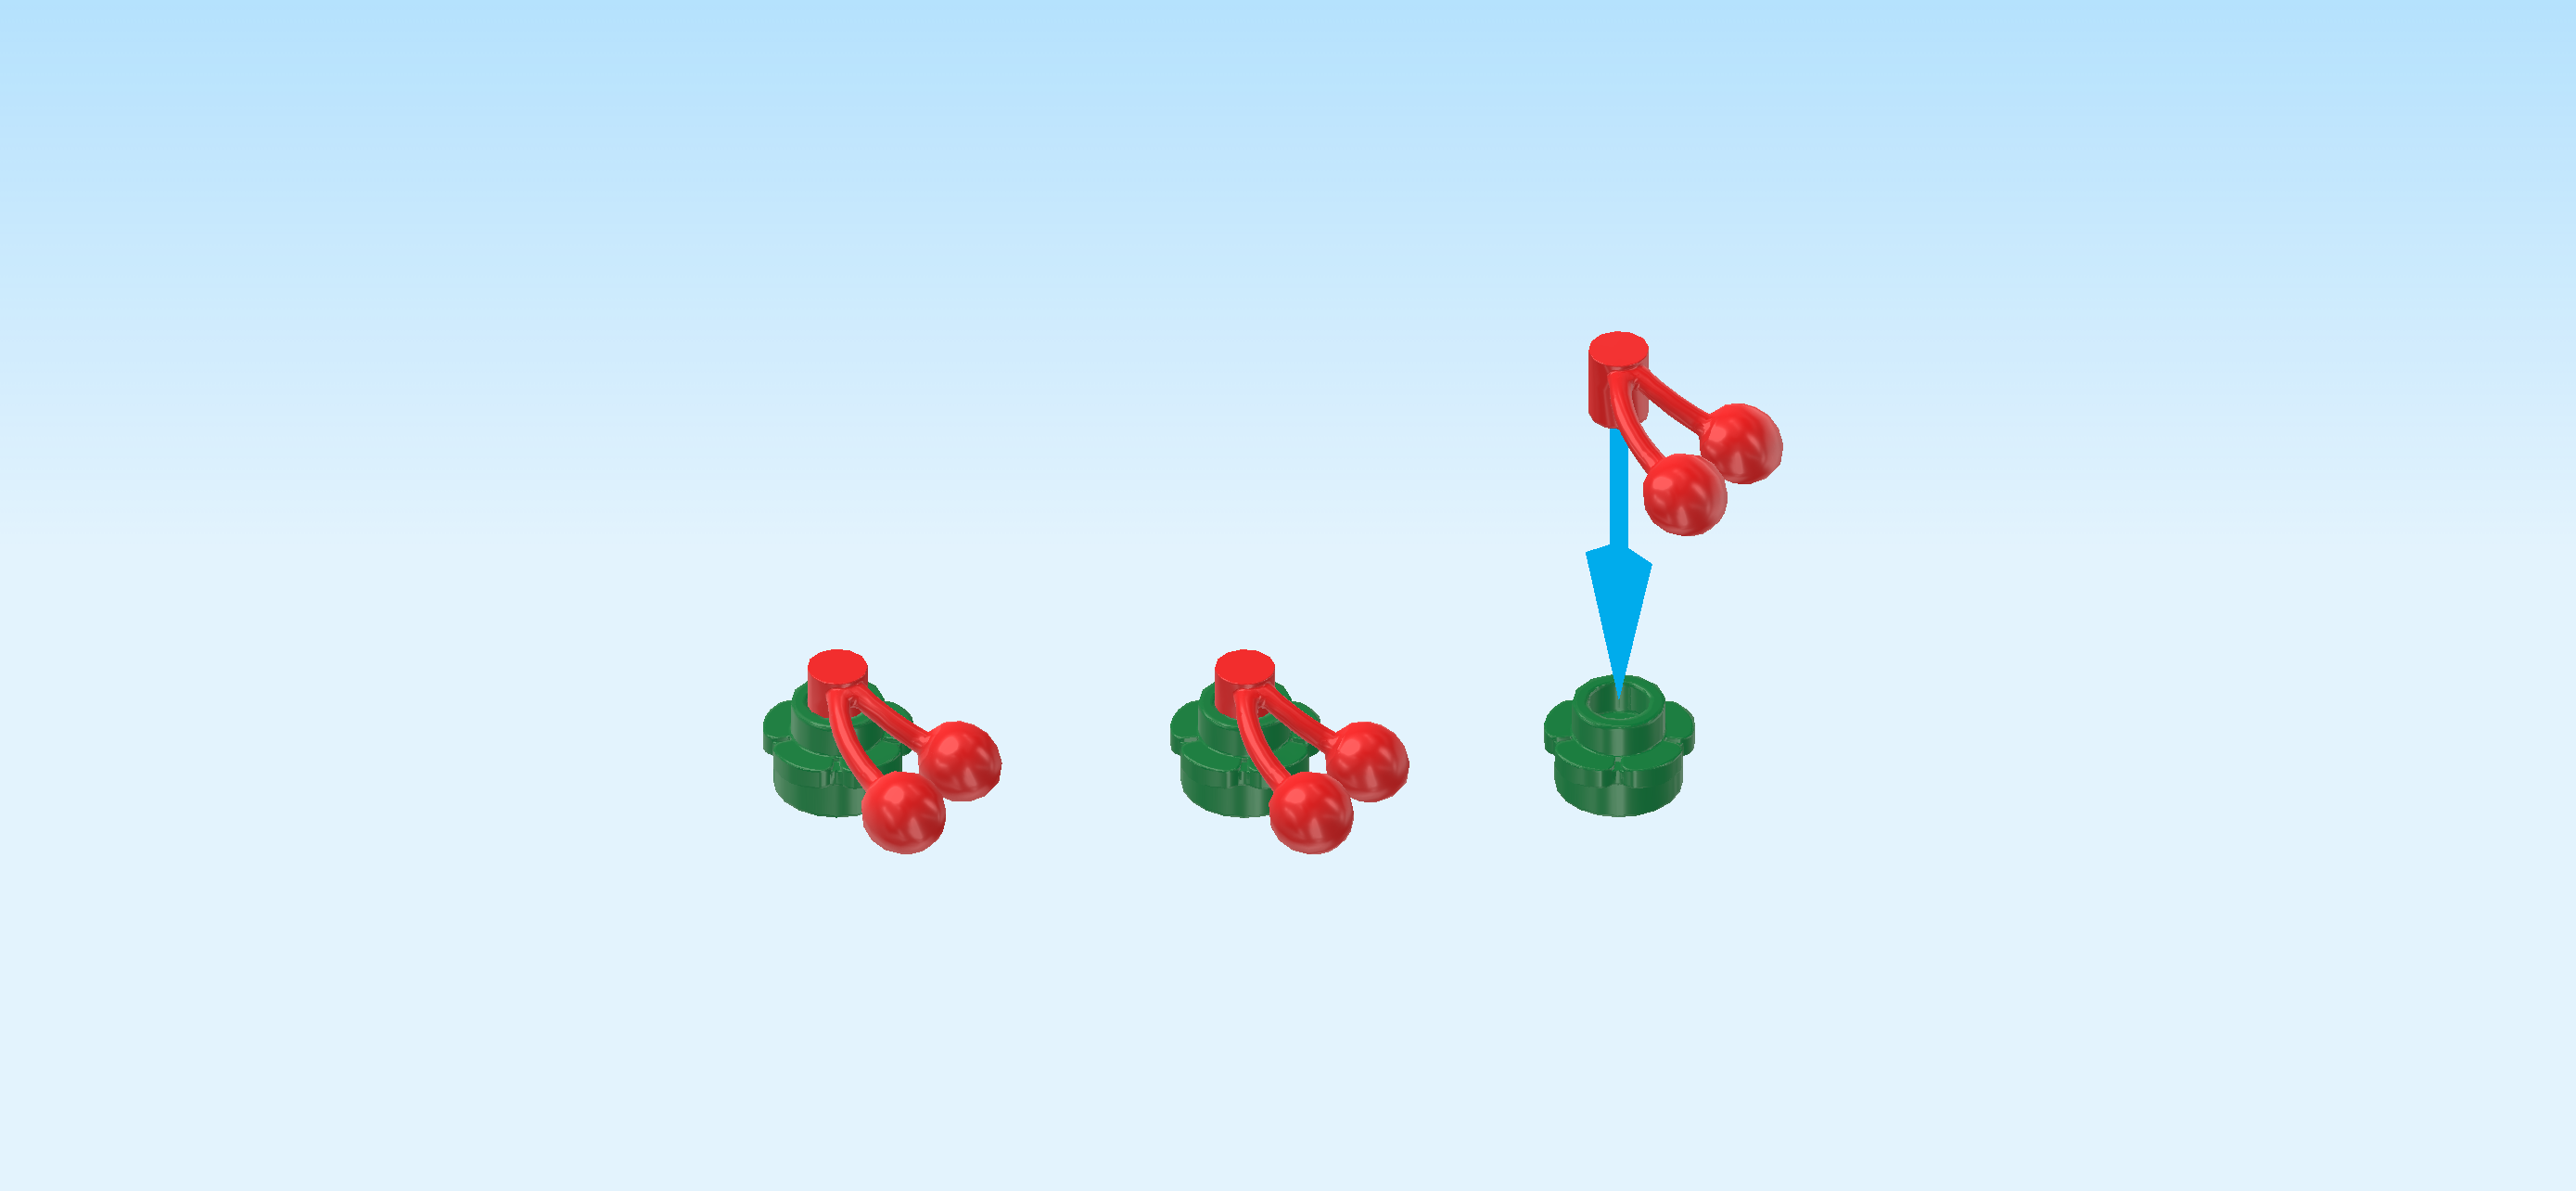
| Put the flower pieces next to each other on the table. |
| Insert the little connecting nubs of the cherries from the top into the hollow knobs of the flower pieces. |
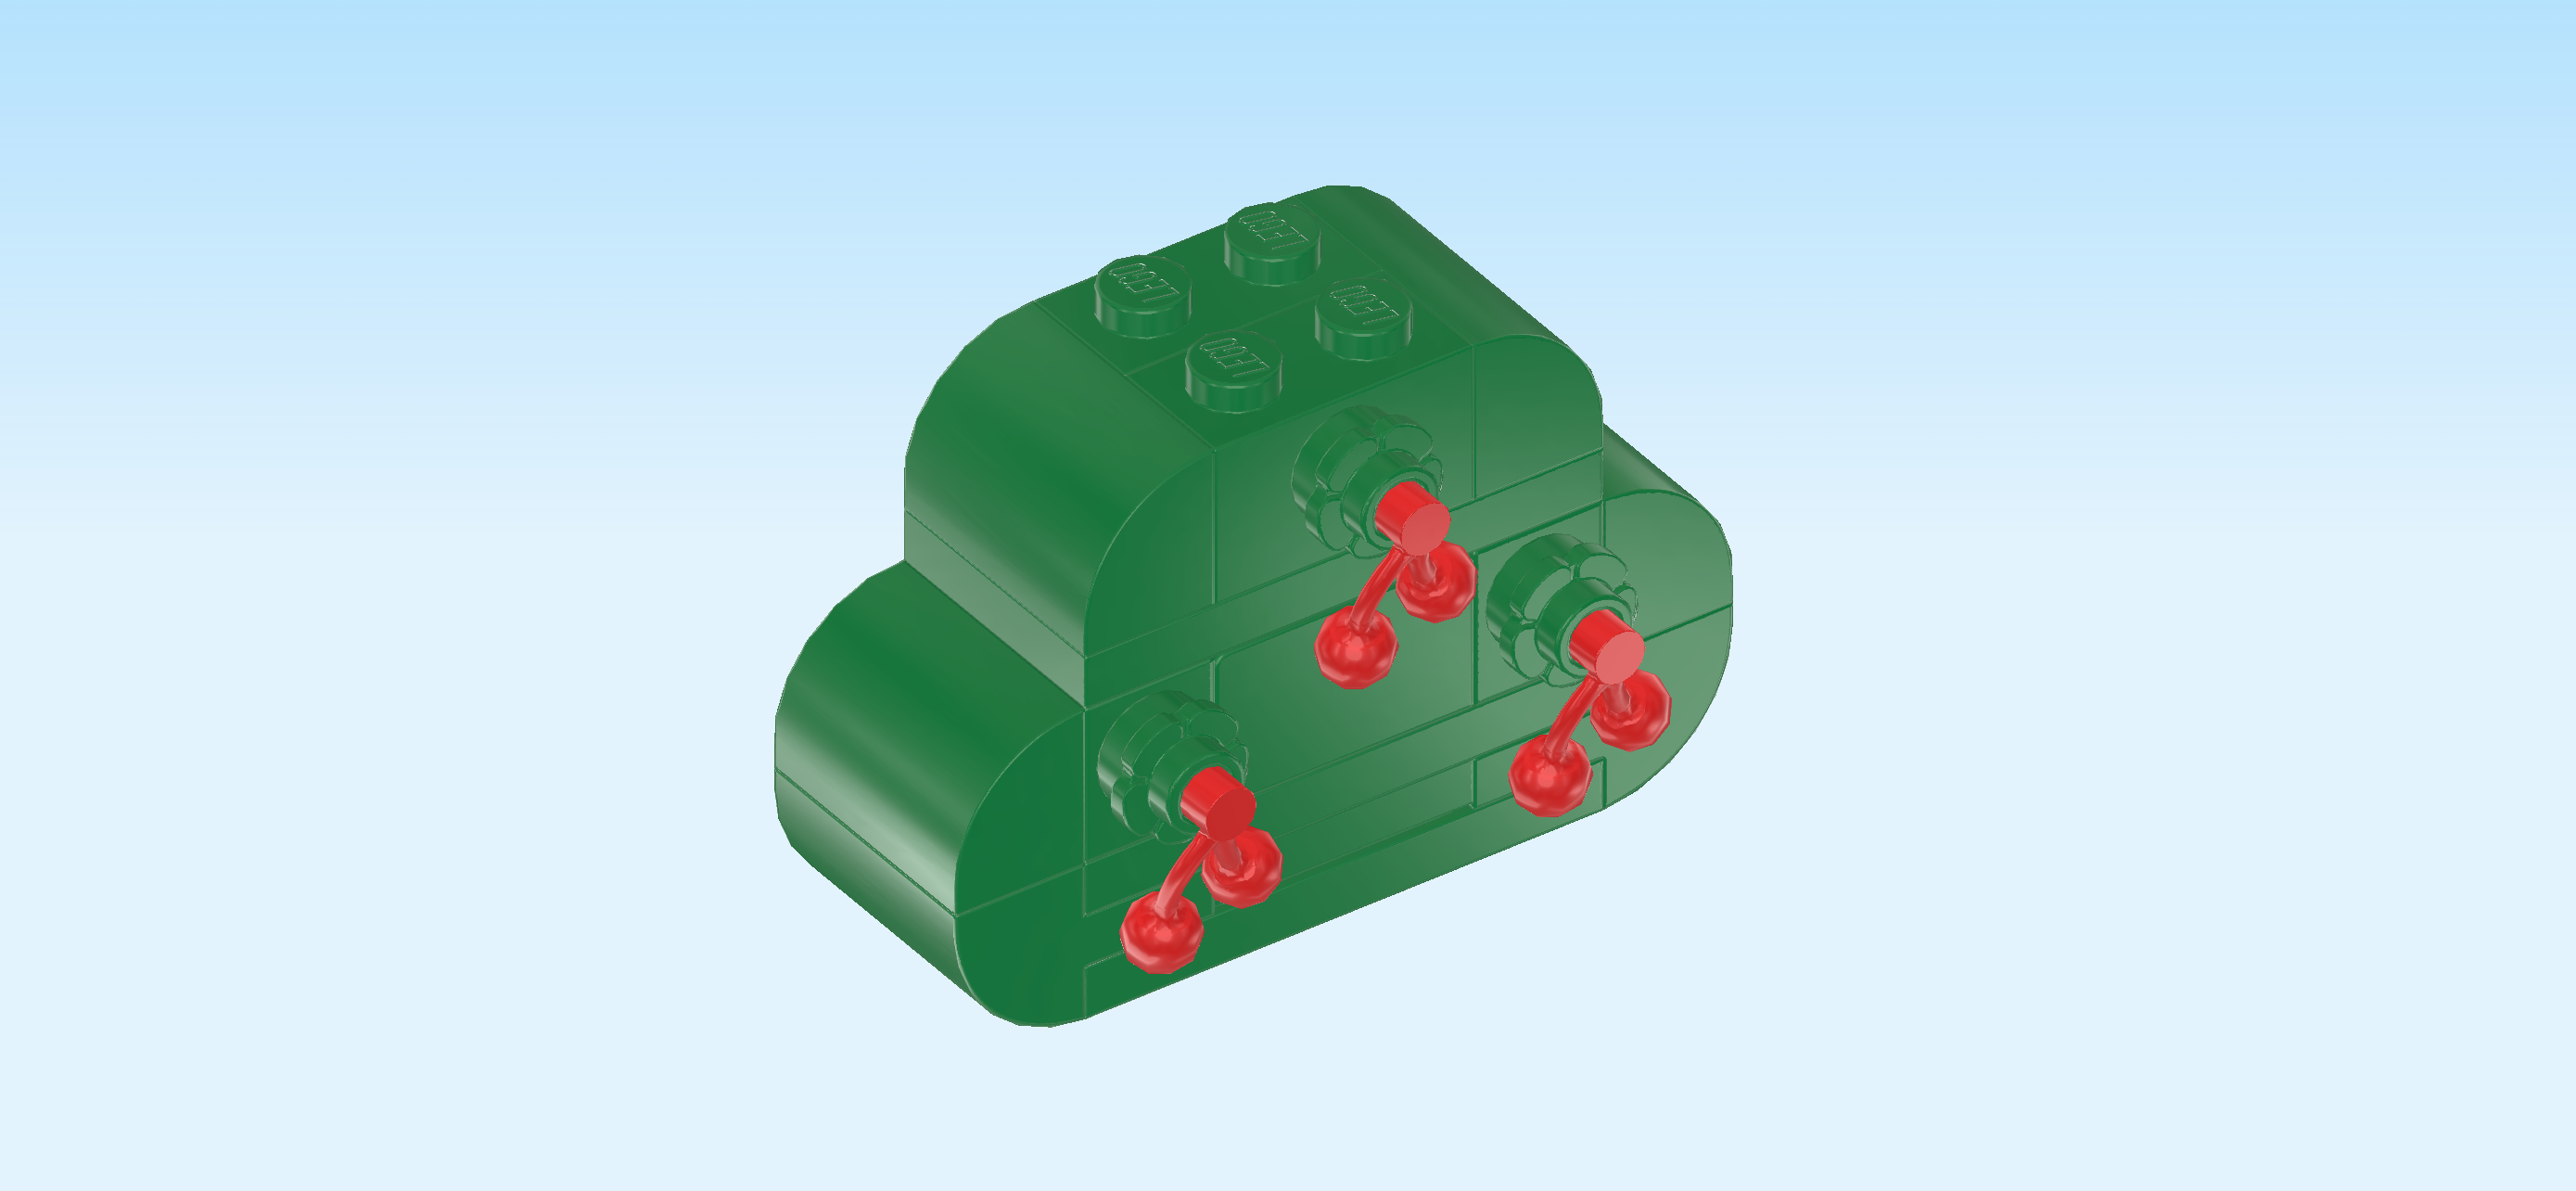
| Flip the cherries upright and mount them on the treetop using the 3 side knobs pointing to the front. |
| The treetop is finished! Well done! Turn the cherry tree baseplate 90 degrees to the right so that its protruding plate is pointing to the back. Mount the treetop horizontally centered on top of the tree trunk. |
| Find 2 olive green round plates 1x1 with 3 small leaves. |
| Put them on the baseplate in front of the cherry tree. We use the following knobs: The first one is the second knob from the front of the baseplate's second row from the left. The second one is the second knob from the front of the baseplate's third row from the right. Of course, you can also simply pick your own locations. |
| The cherry tree module is finished! Great job! Mount it to the left of the mine module, attaching it to the mine module's connecting plate. The connecting plate of the cherry tree module is now protruding to the back and remains empty for now. |
| You have finished building the entire set! Congratulations! Now, the island is for you and Bunnie to explore and enjoy. You can mine for bells and rare fossils, jump across the waterfall, chop down some trees for firewood, shake the cherry tree for some cherries and hidden rewards, relax in your tent and listen to some music, and anything else you can think of! Lots of fun things to do on your Animal Crossing island. |
| Enjoy! |

