| LEGO Audio & Braille Building Instructions for the LEGO Harry Potter set "Hogwarts Carriage and Thestrals". |
| Enter the Forbidden Forest with Harry Potter and Luna Lovegood and encounter an adult and baby Thestral looking for food among the trees! Befriend the mysterious winged creatures by offering them an apple and a piece of meat to eat. Then, attach the carriage to the adult Thestral and take a ride from Hogwarts to Hogsmeade and back again! |
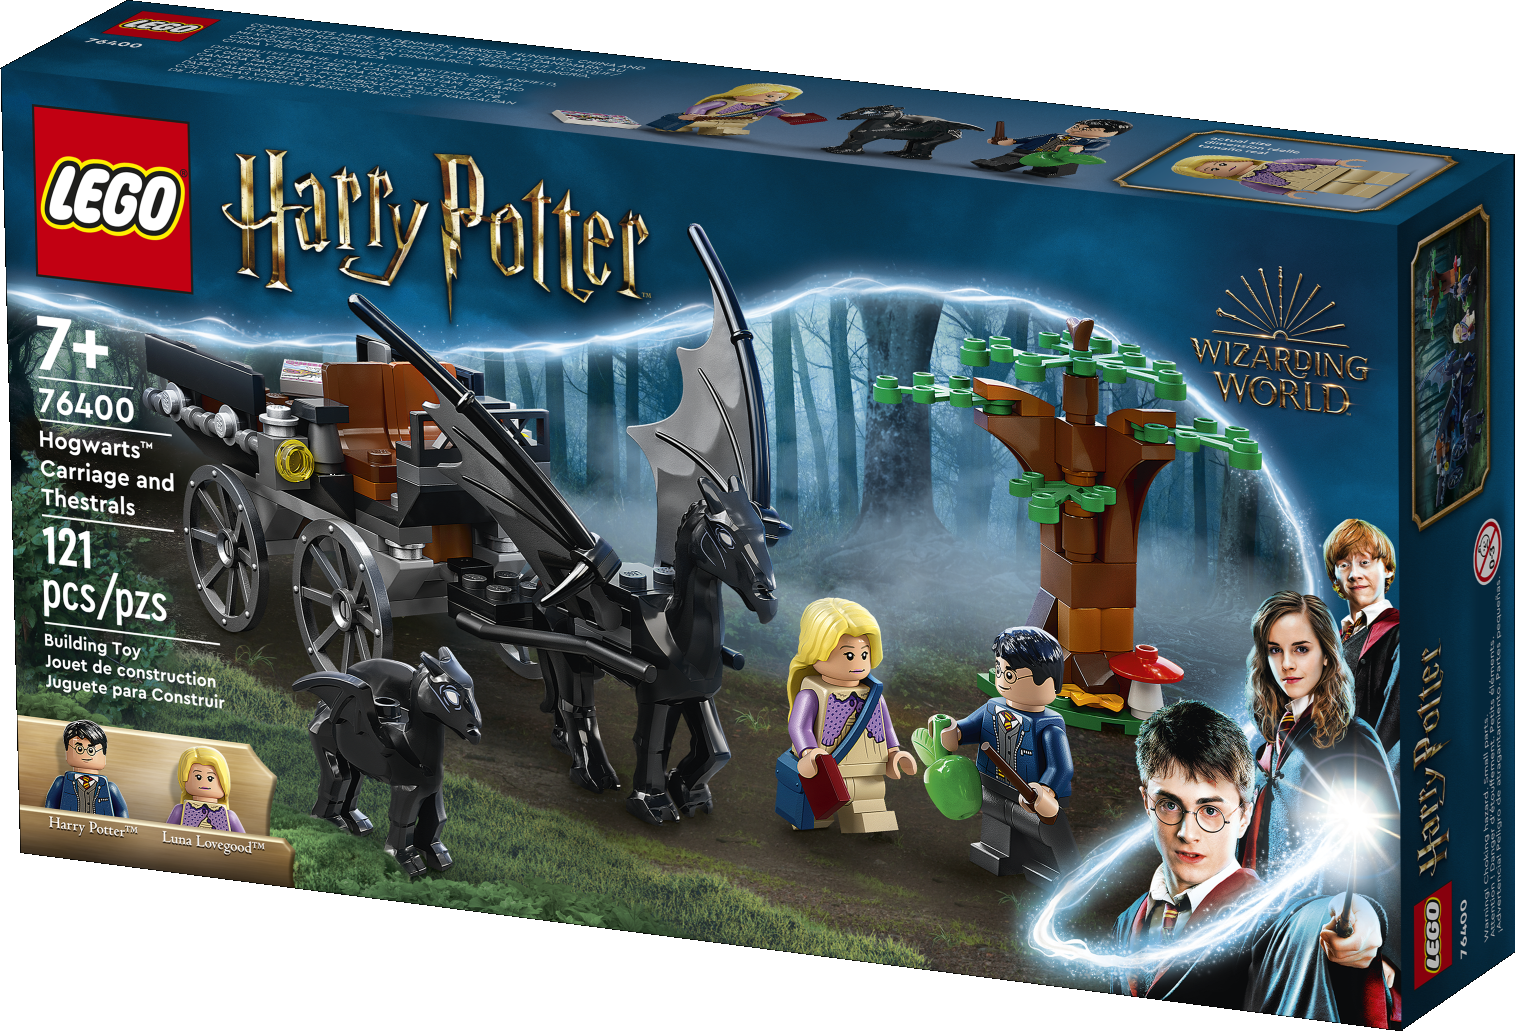
| The box cover shows an eerie but peaceful scene in the Forbidden Forest. It is after dark, and wafts of mist are rising between the trees. The majestic adult Thestral, a magical black horse-like creature with wings, is pulling the empty carriage on a path leading through the forest. The baby Thestral is running along in the moss. Luna Lovegood and harry Potter are walking in front of the Thestrals and carriage, luna has a piece of red meat in her hand and harry a green apple, as well as his wand, just in case the forest or the Thestrals have any surprises for him. For Harry, seeing these special creatures is still a new experience, while Luna is already used to them. In the bottom left corner of the cover, there are portraits of the Luna and harry Minifigures, while in the bottom right corner there are photos of Harry, hermione Granger and ron Weasley from the Harry Potter movies. Harry's wand is emitting a Patronus spell; its bright tail moves across the entire scene. In the background there is a majestic tree with several branches and a fly agaric that we will also build. Let's get the magic started! |
| Open the box. This can be tricky; ask someone to help you! |
| The box contains 1 booklet with visual building instructions, 2 plastic bags and 1 loose piece: the base frame for the adult Thestral. |
| Carefully open the bags. Before you start building, ask a sighted person to help you sort the pieces by color. This makes finding the correct pieces even easier! |
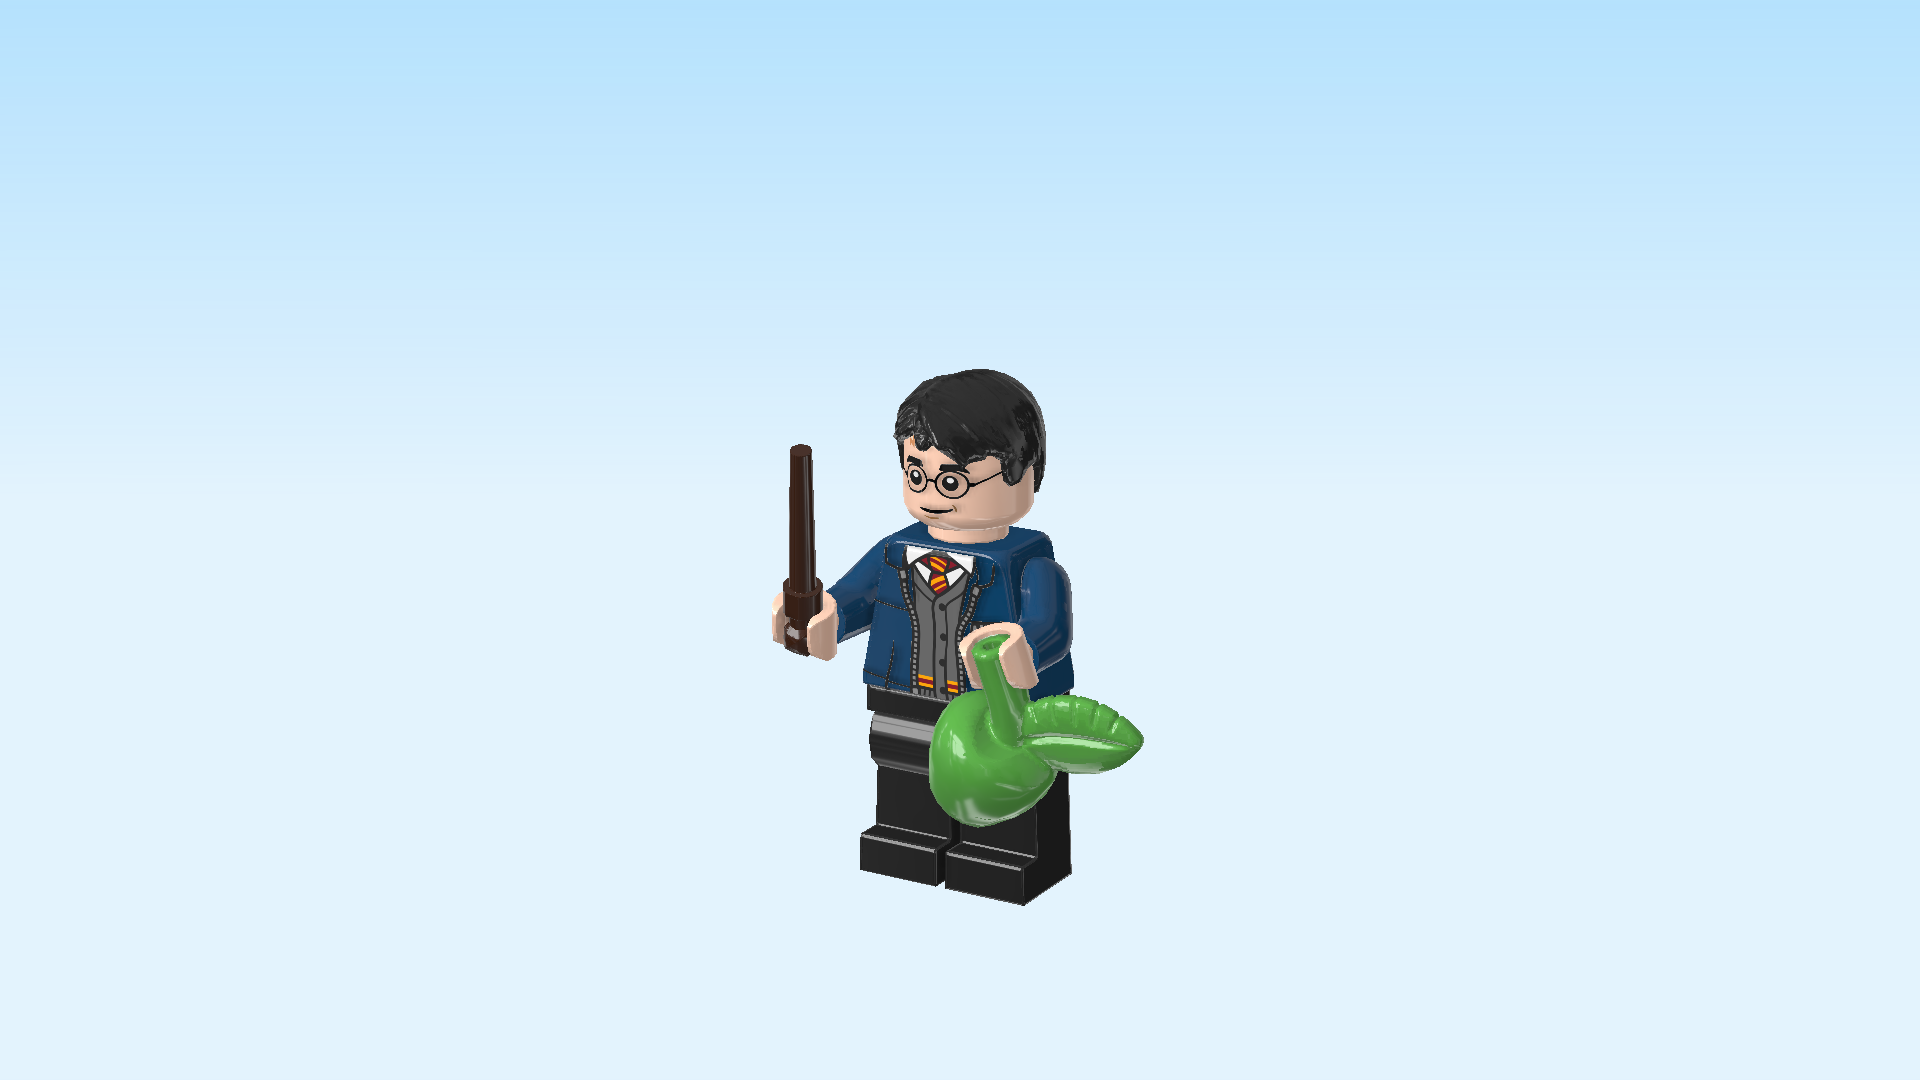
| First, we build the Harry Potter Minifigure. |
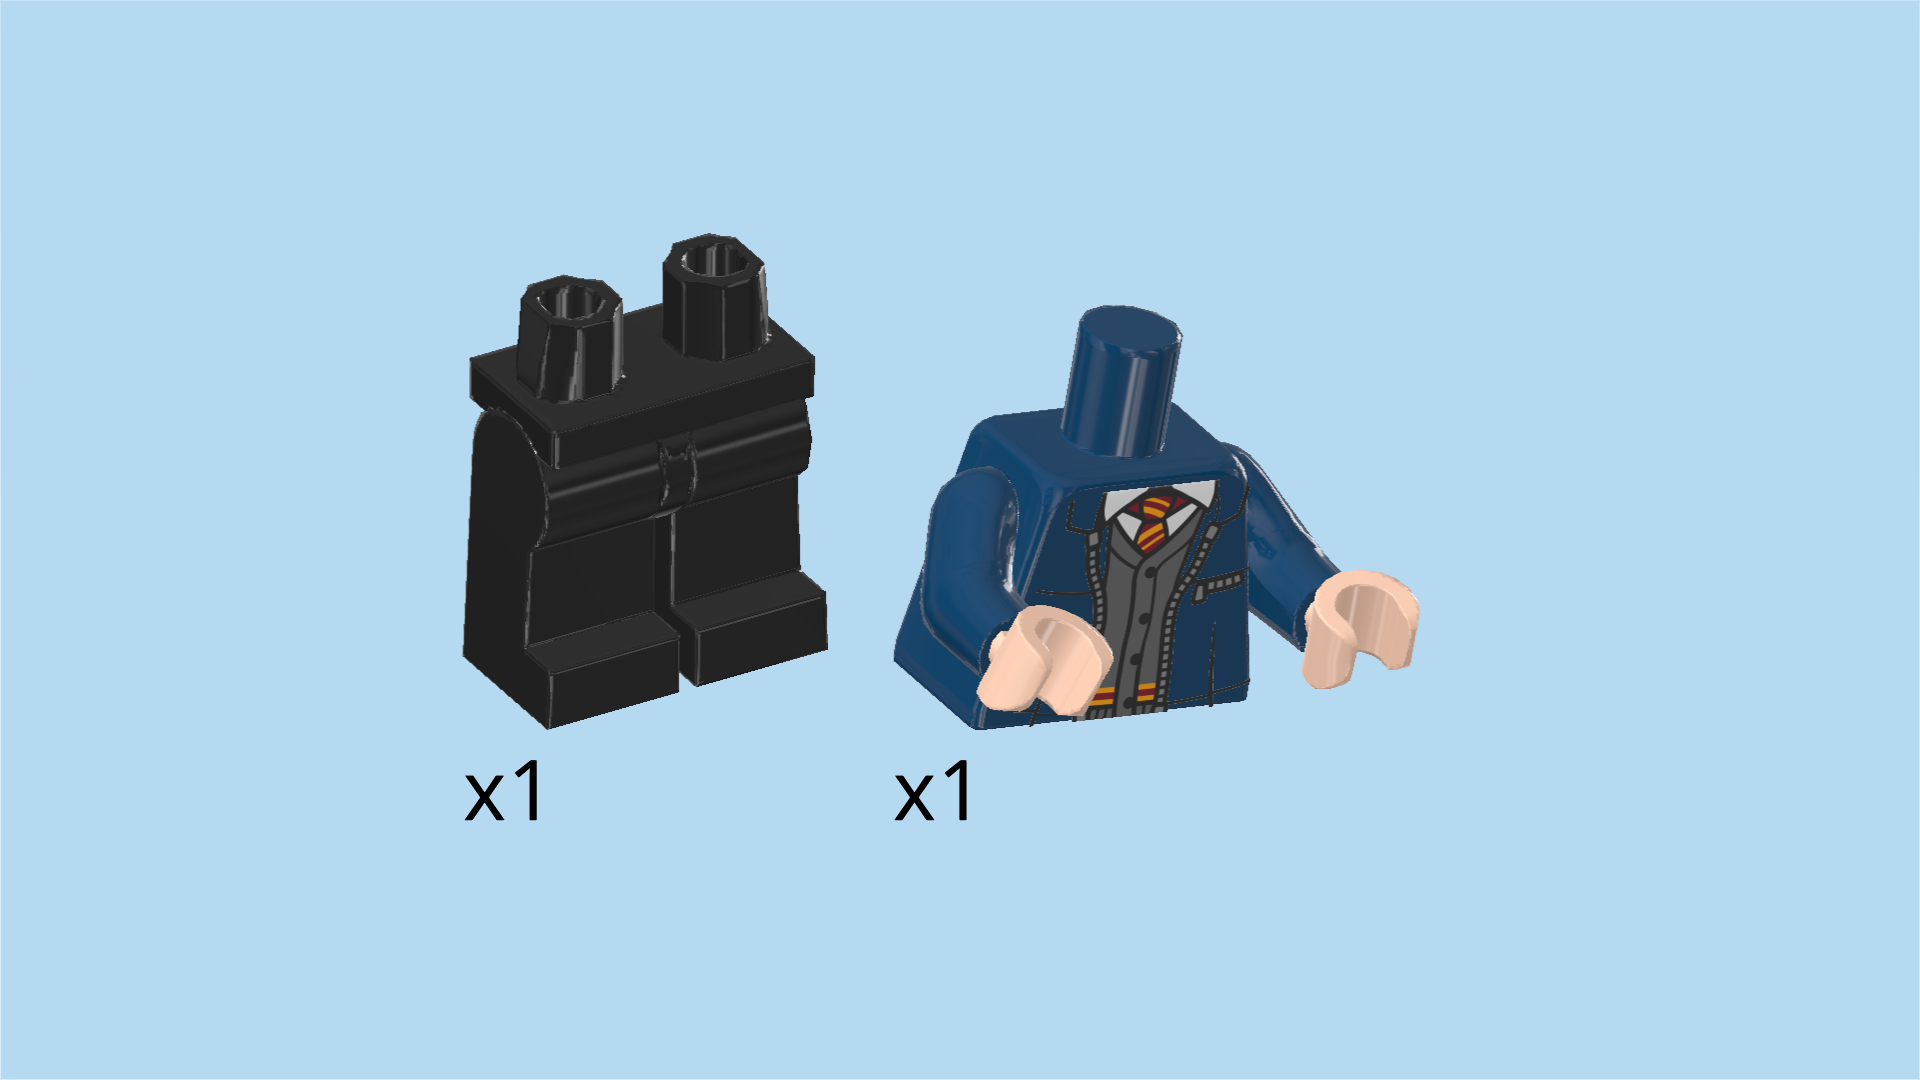
| Collect the following 2 pieces: |
| 1 earth blue and light nougat brown upper part of the body, |
| and 1 black pair of legs. |
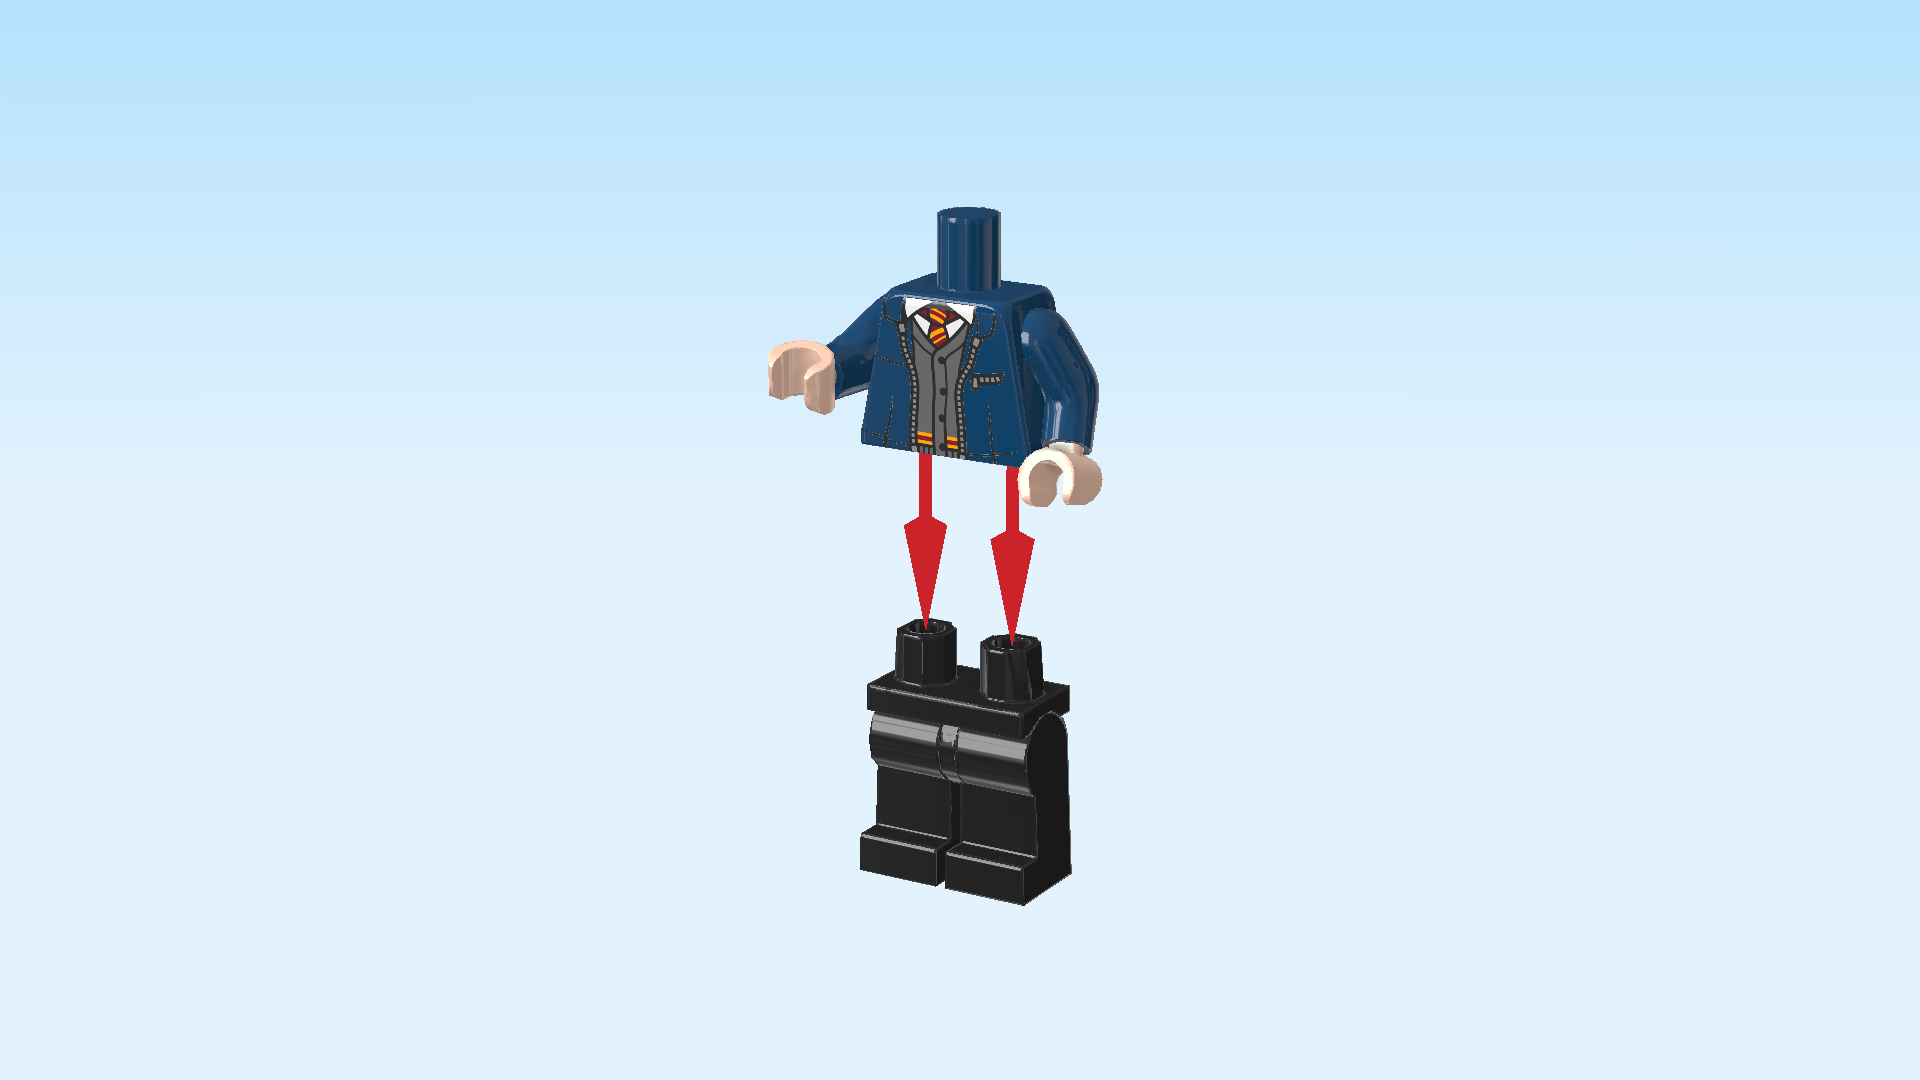
| Put the upper body on the legs. |
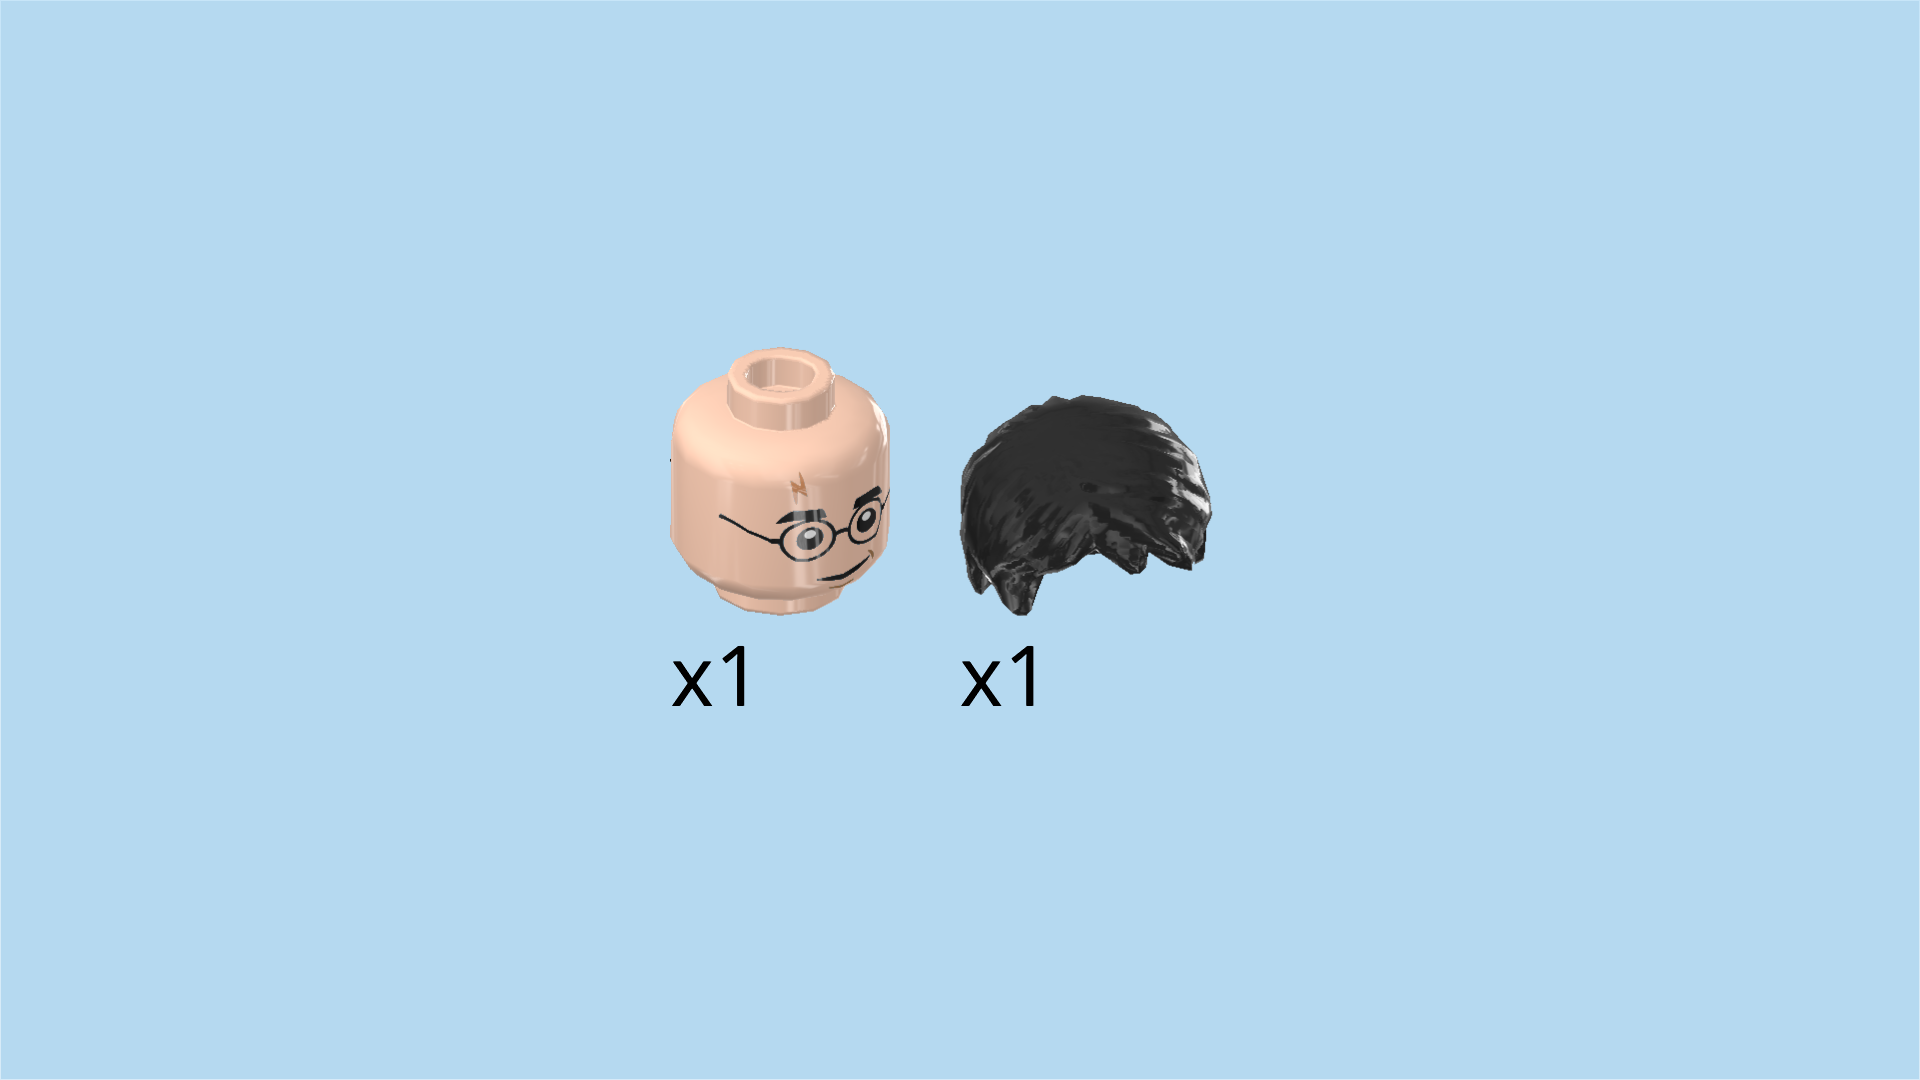
| Collect the following 2 pieces: |
| 1 black hairpiece with short straight hair, |
| and 1 light nougat brown head. |
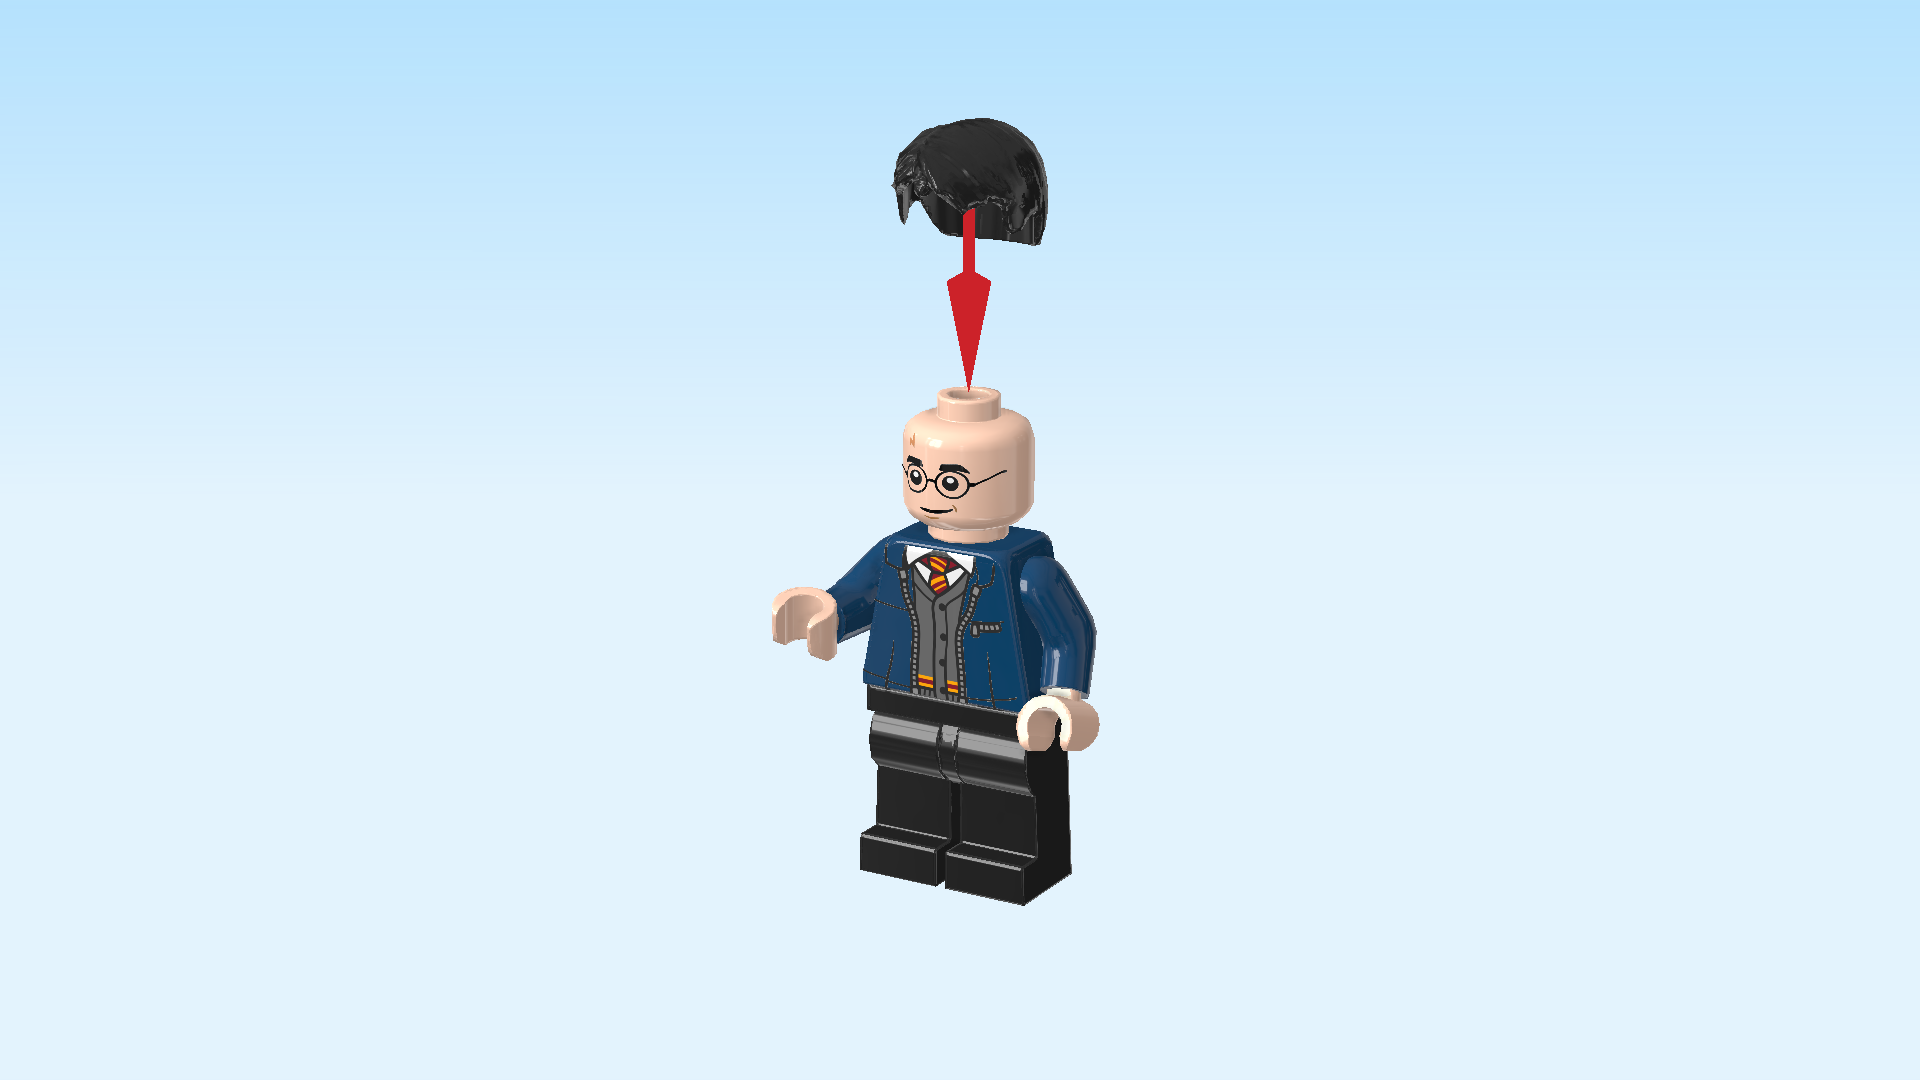
| Put the head on the body. |
| Put the hair on the head. |
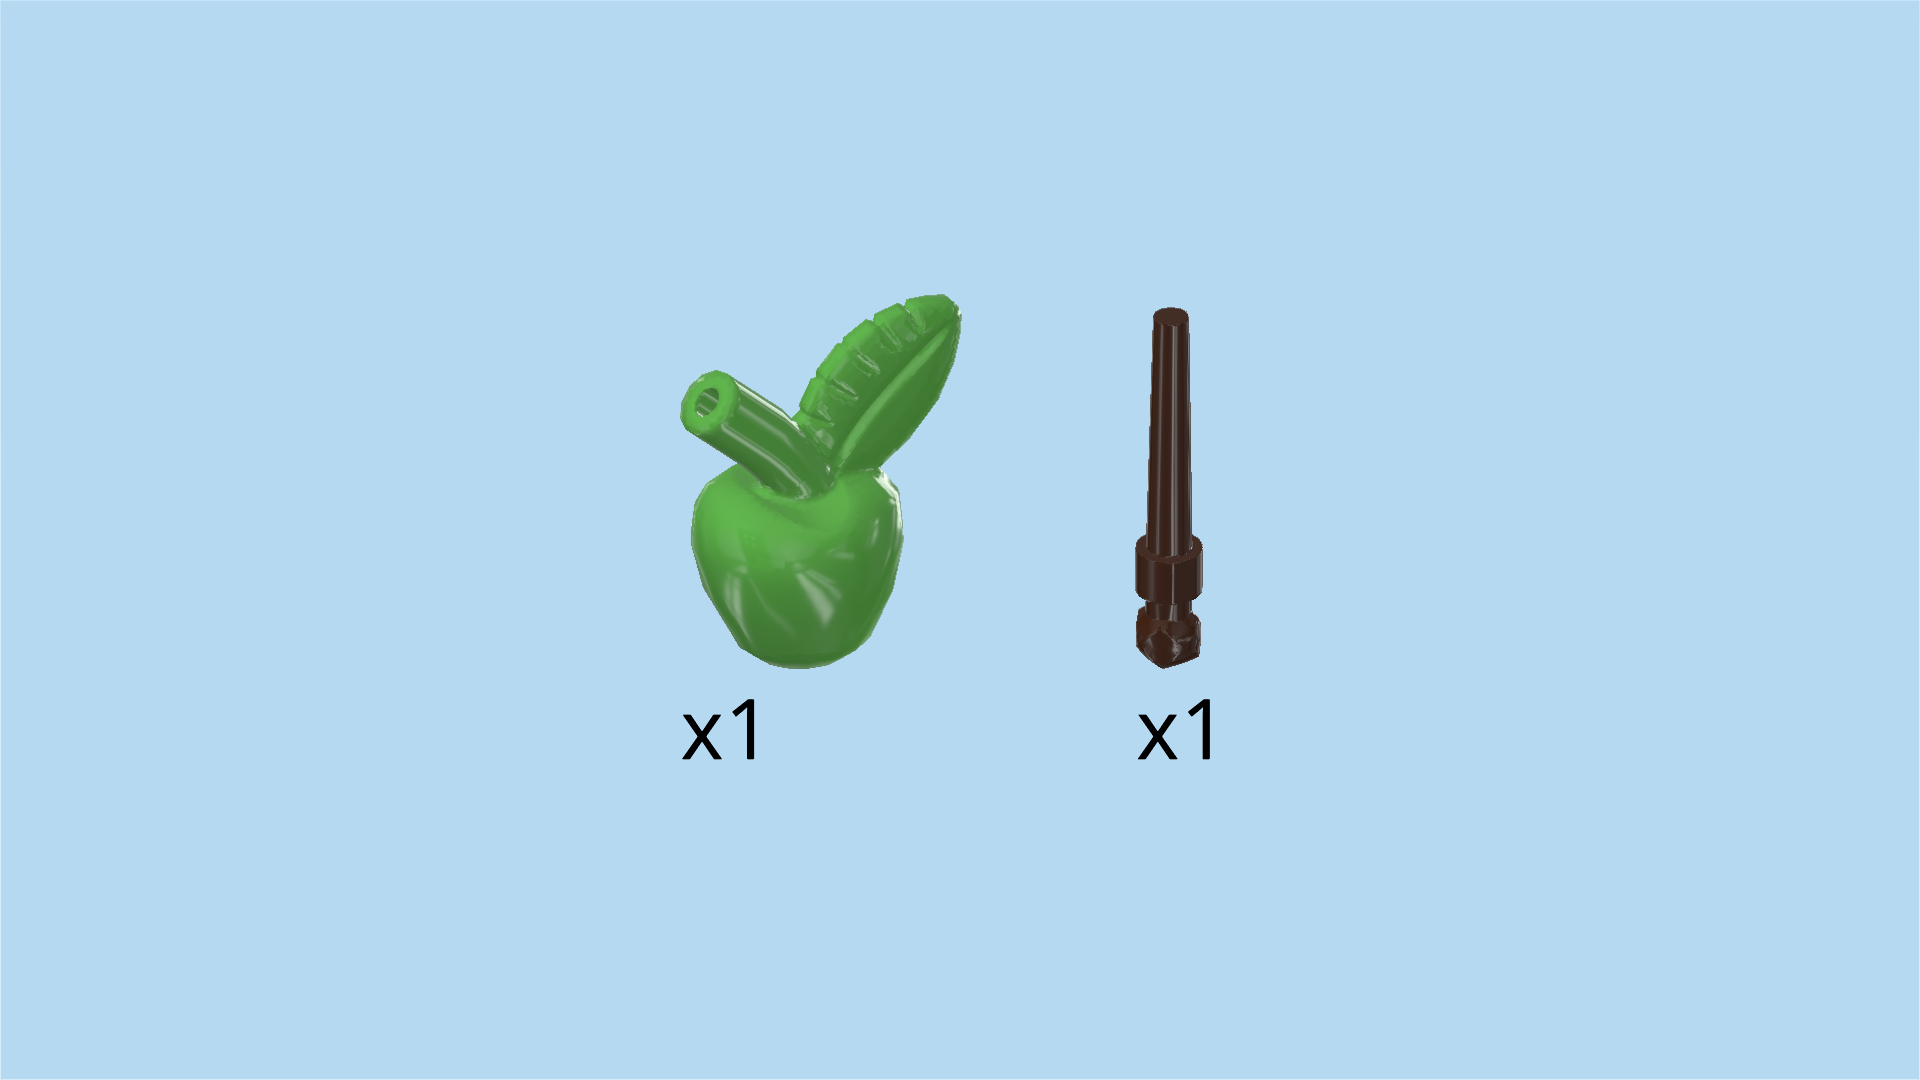
| Collect the following 2 pieces: |
| 1 dark brown wand, |
| and 1 bright green apple with leaf. |
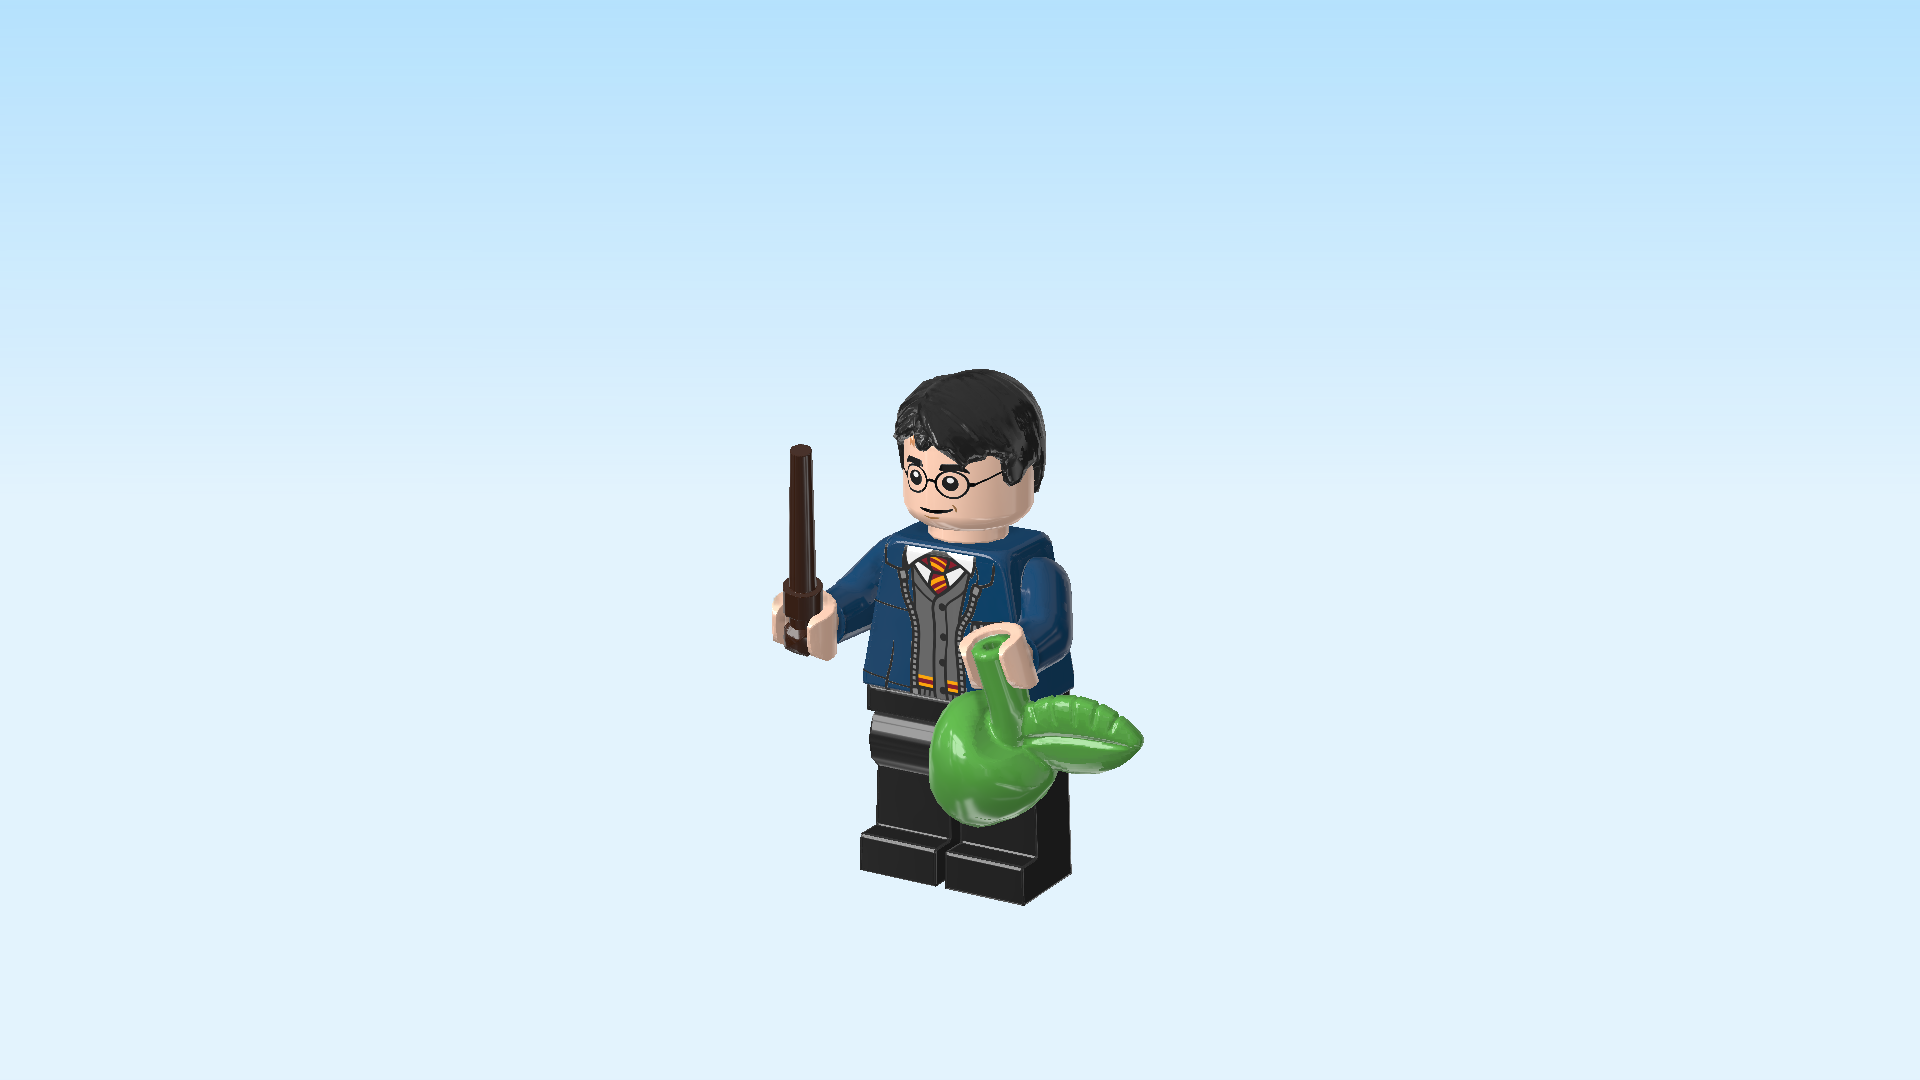
| Put the wand in Harry's right hand. |
| Snap the stalk of the apple into Harry's left hand. |
| The Harry Potter Minifigure is finished! Great job! He is wearing black pants, a blue zipper jacket, a grey button-down cardigan, the Hogwarts school tie in Gryffindor colors and a white shirt. There are two facial expression prints on Harry's head: on one he looks rather grim and determined, on the other he has a cheeky smile on his face. He is wearing his round glasses, and both face prints have the characteristic lightning-shaped scar on the forehead. |
| Now, we will build the Luna Lovegood Minifigure with baby Thestral. |
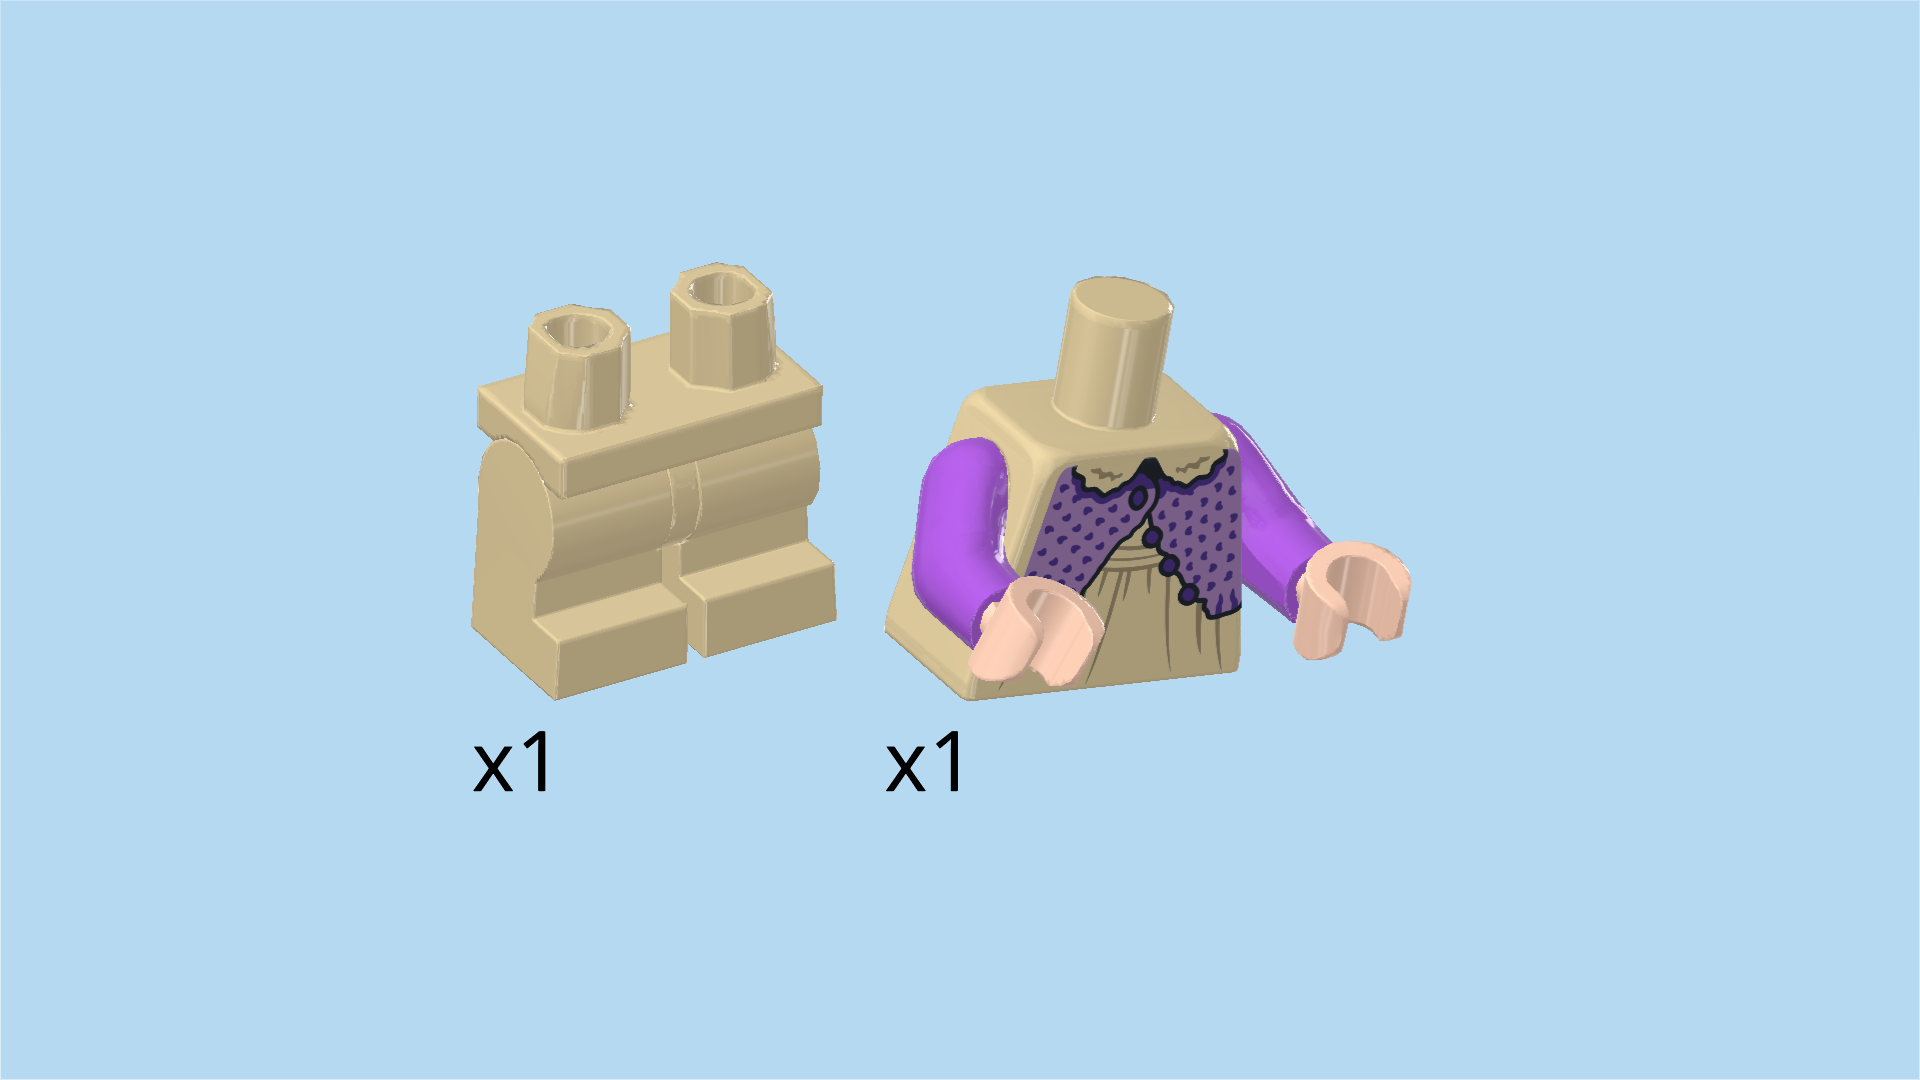
| Collect the following 2 pieces: |
| 1 pale ocher yellow pair of legs, |
| and 1 pale ocher yellow, lavender and light nougat brown upper part of the body. |
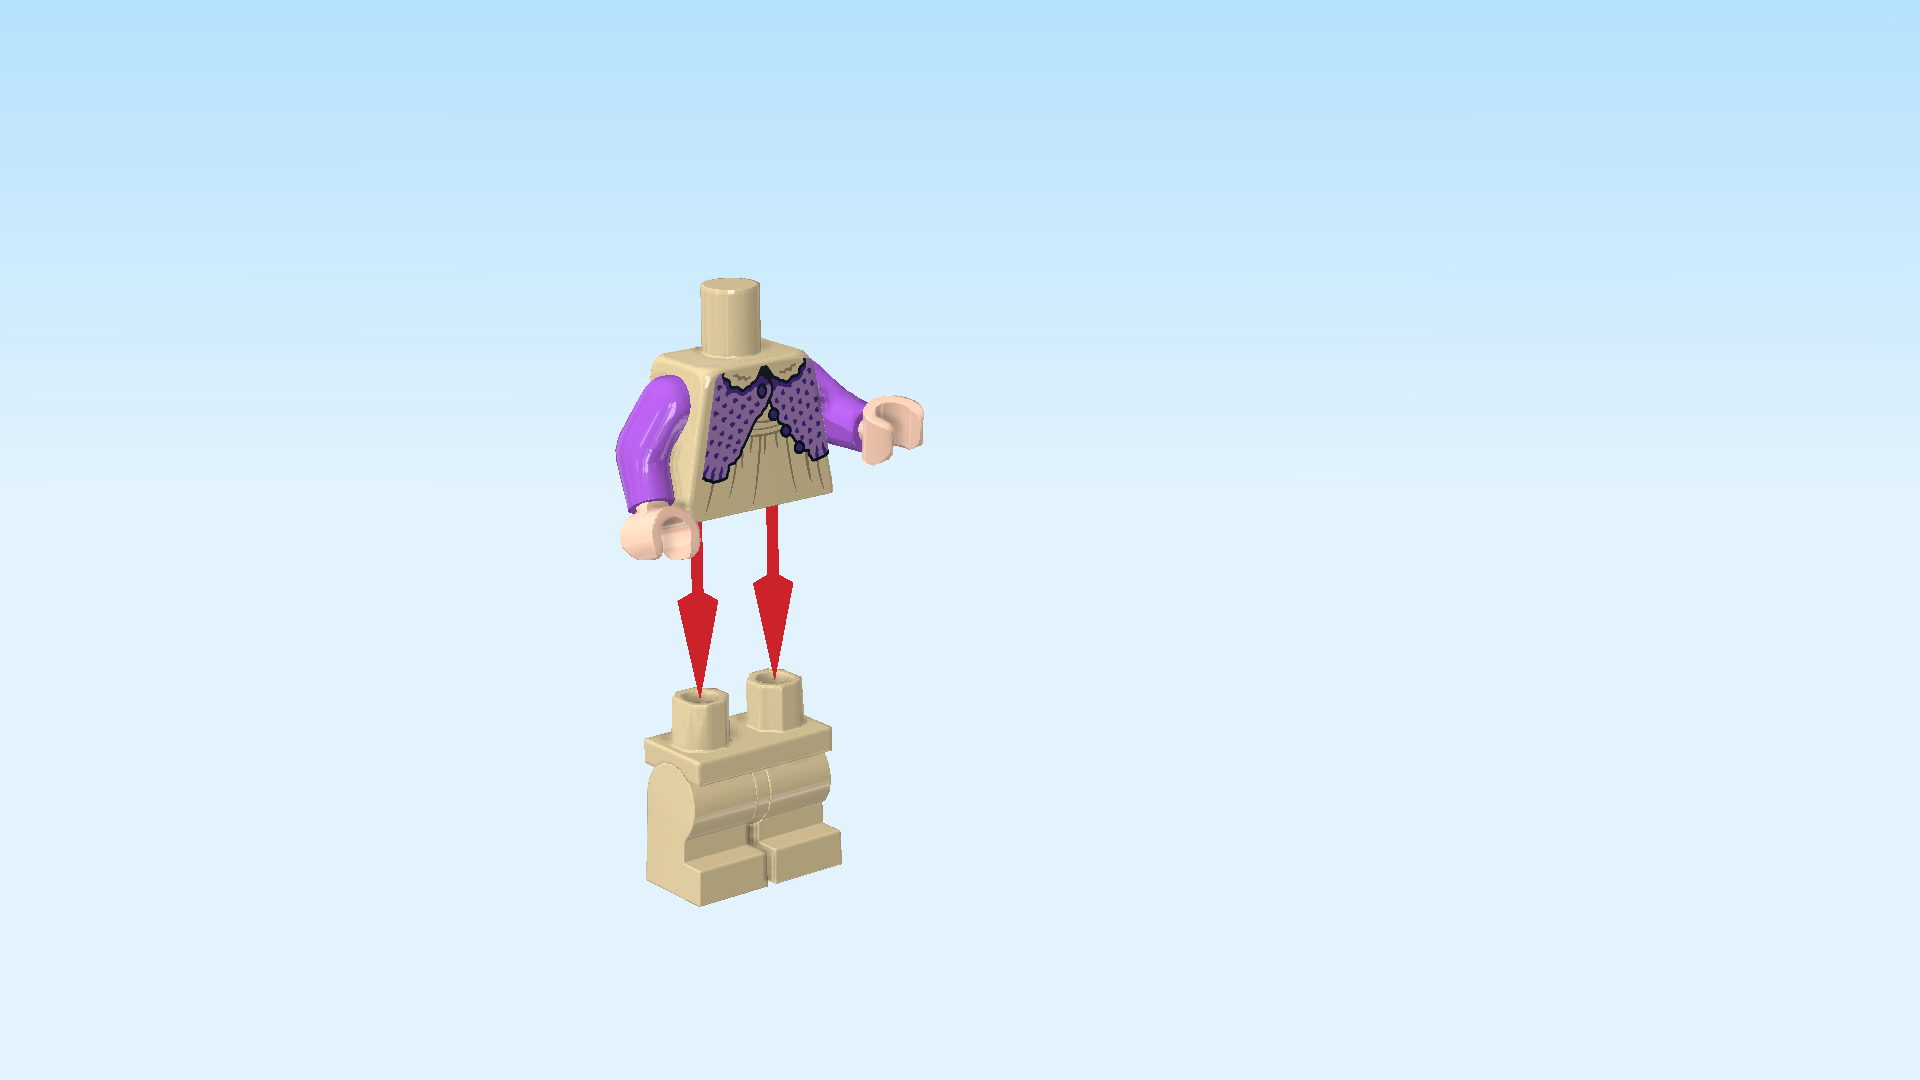
| Put the upper body on the legs. |
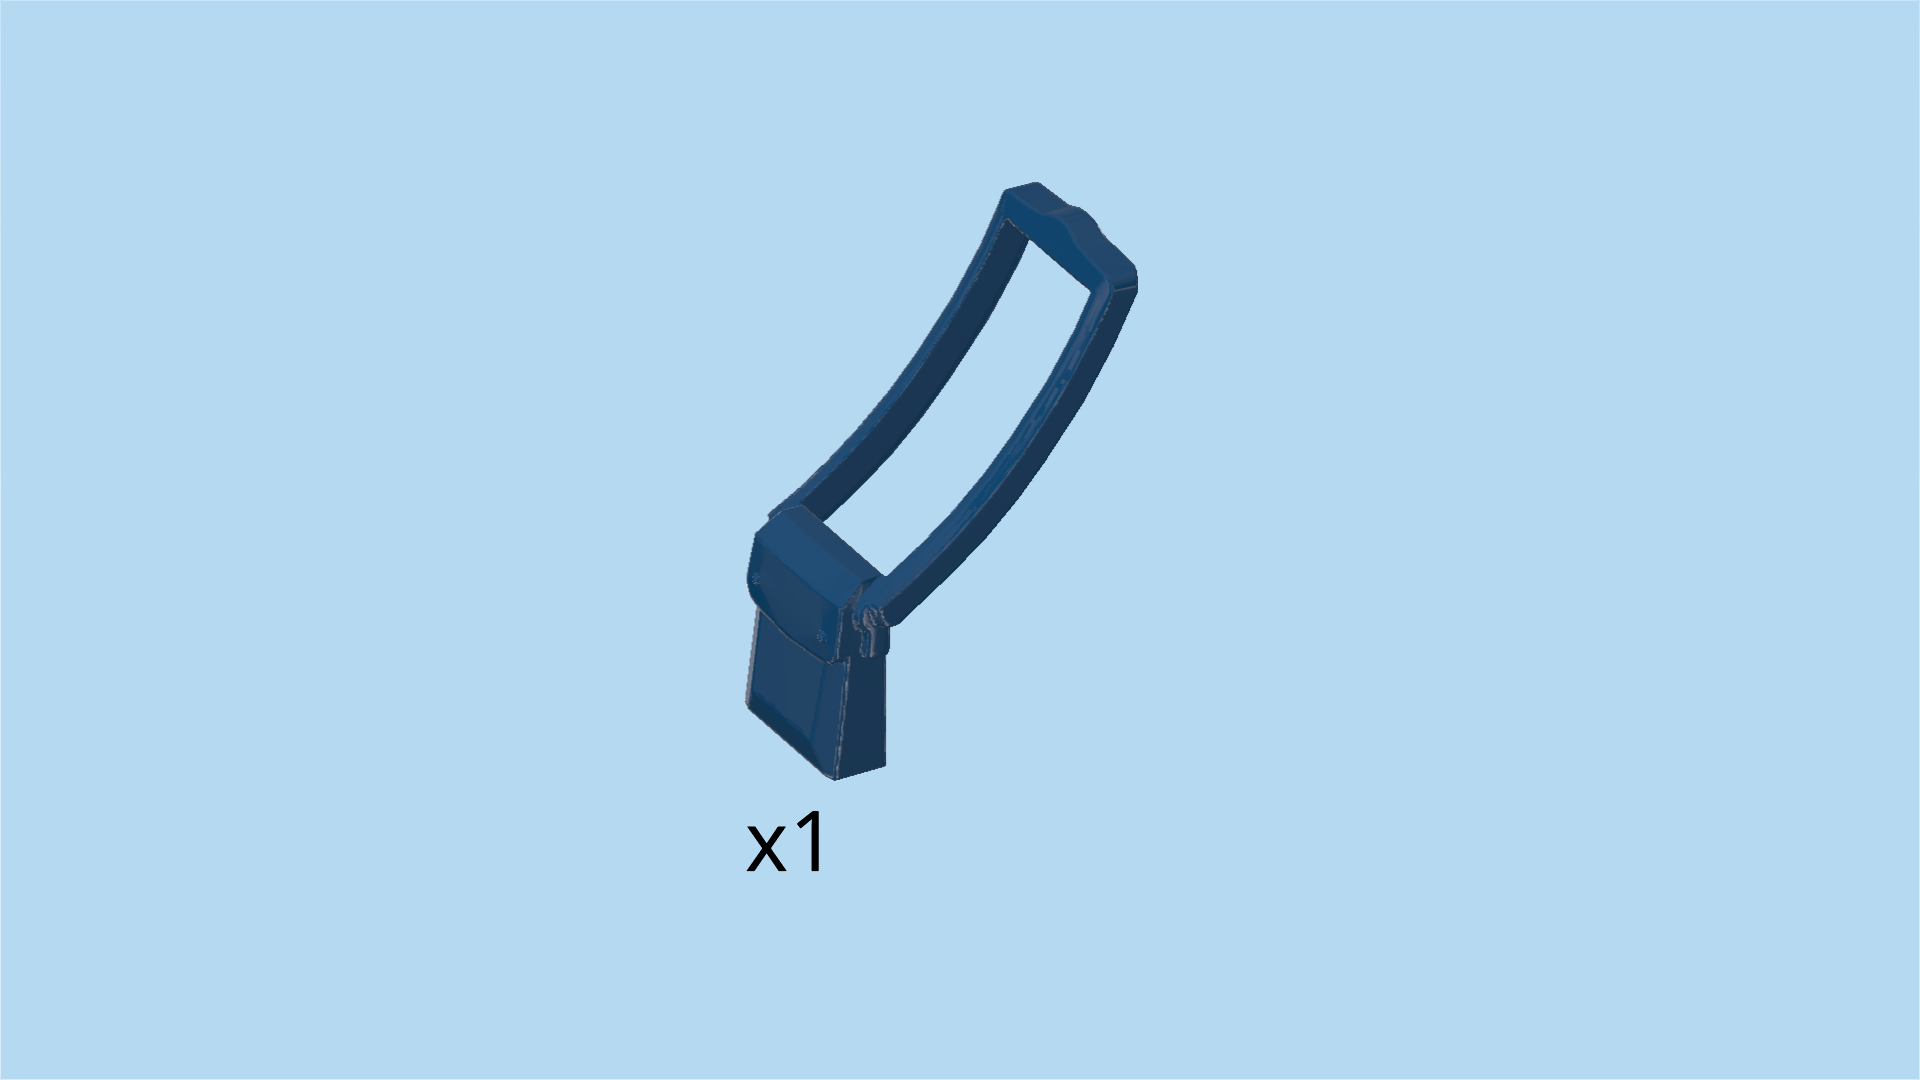
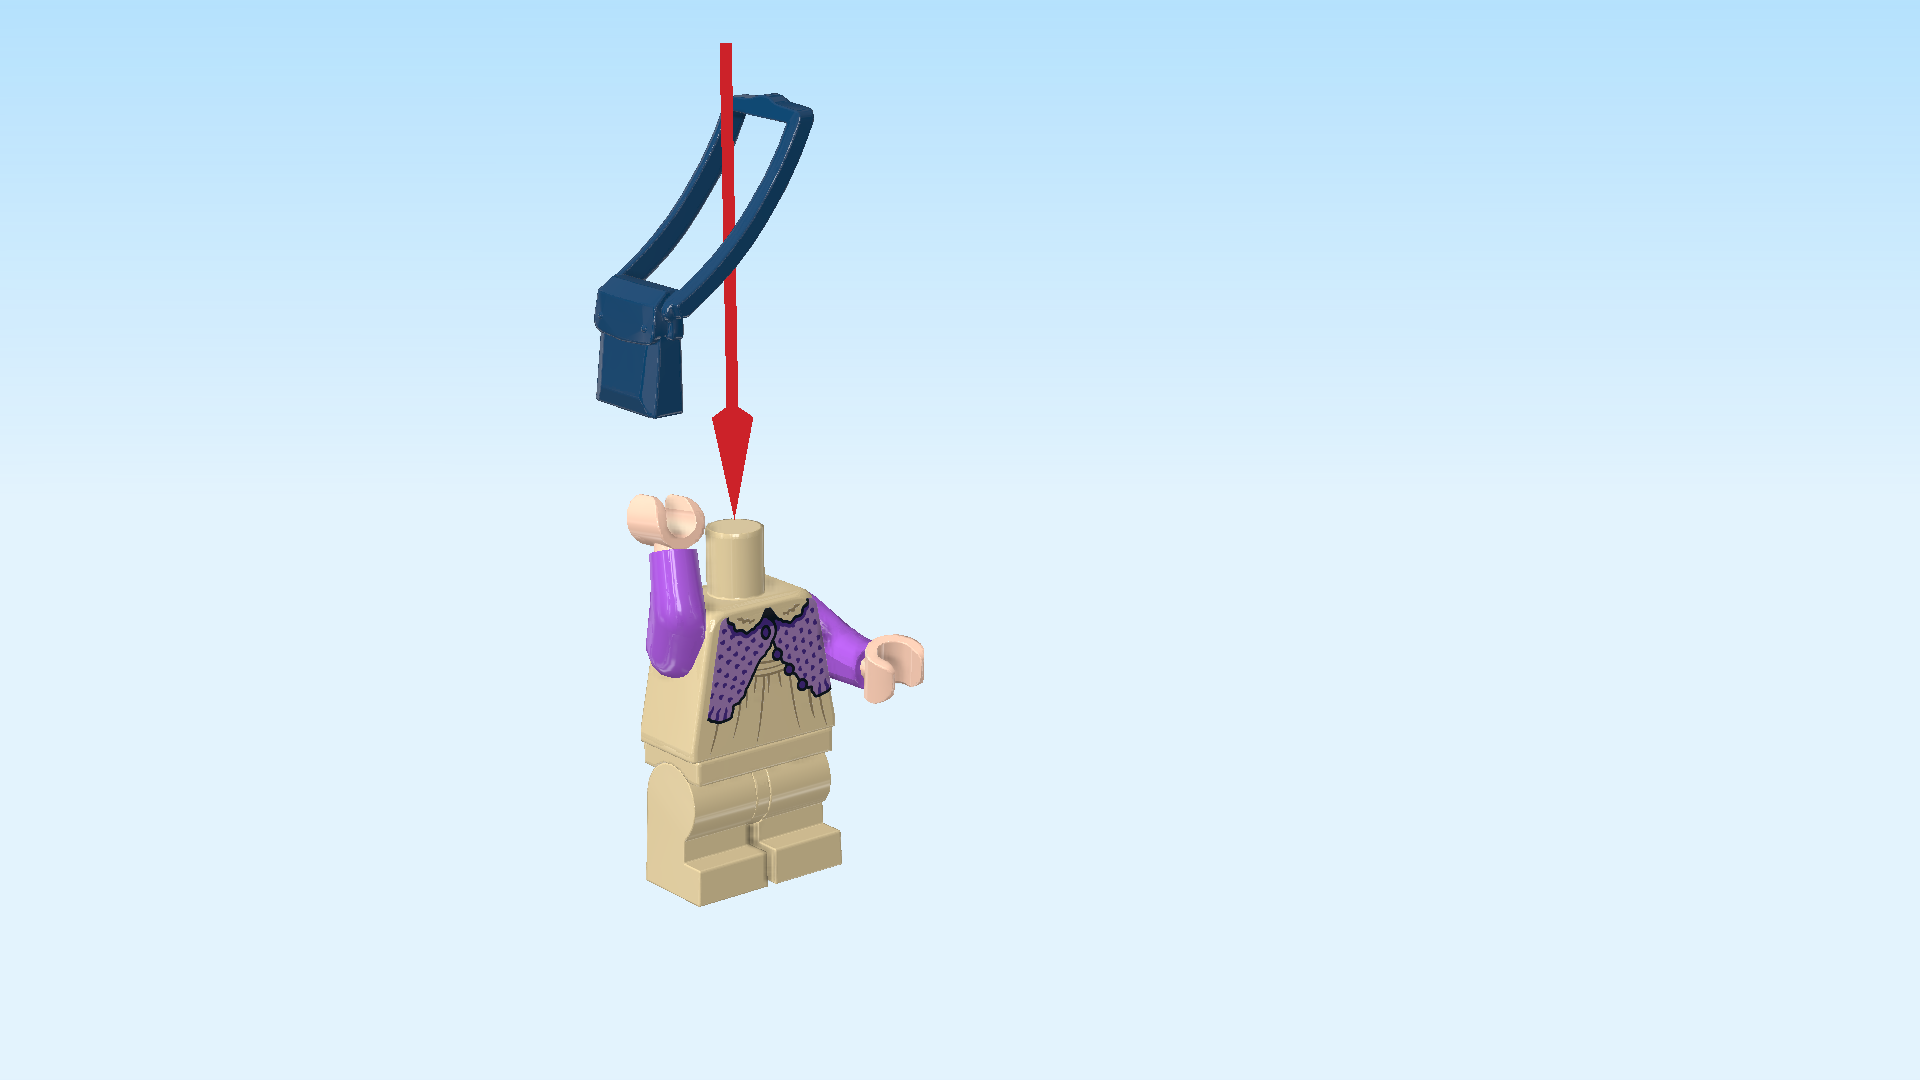
| Find 1 earth blue shoulder bag. |
| Lift up Luna's right arm to make space for the bag, and put the bag around her body. This piece is put on horizontally, bag end under her right arm. After mounting the bag, you can put her arm down again. |
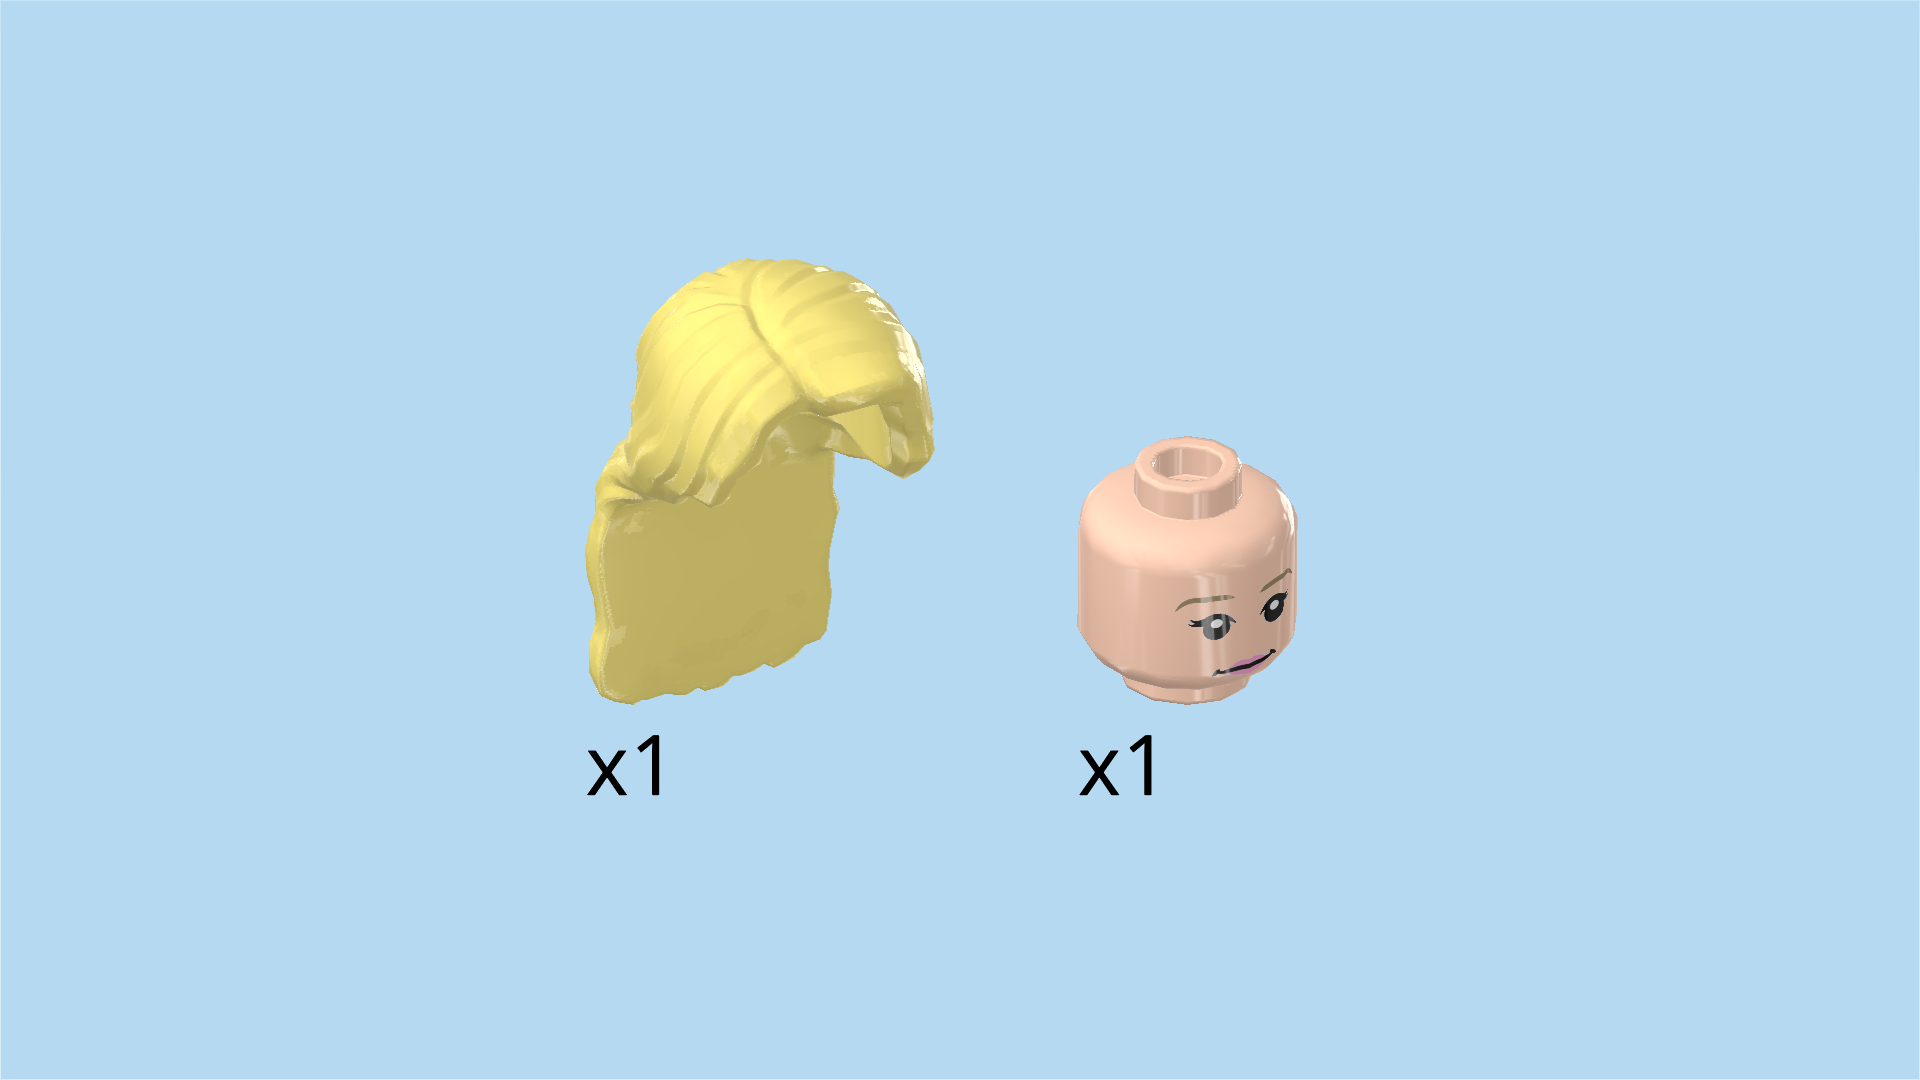
| Collect the following 2 pieces: |
| 1 lemon yellow hairpiece with long hair and bangs and side part, |
| and 1 light nougat brown head. |
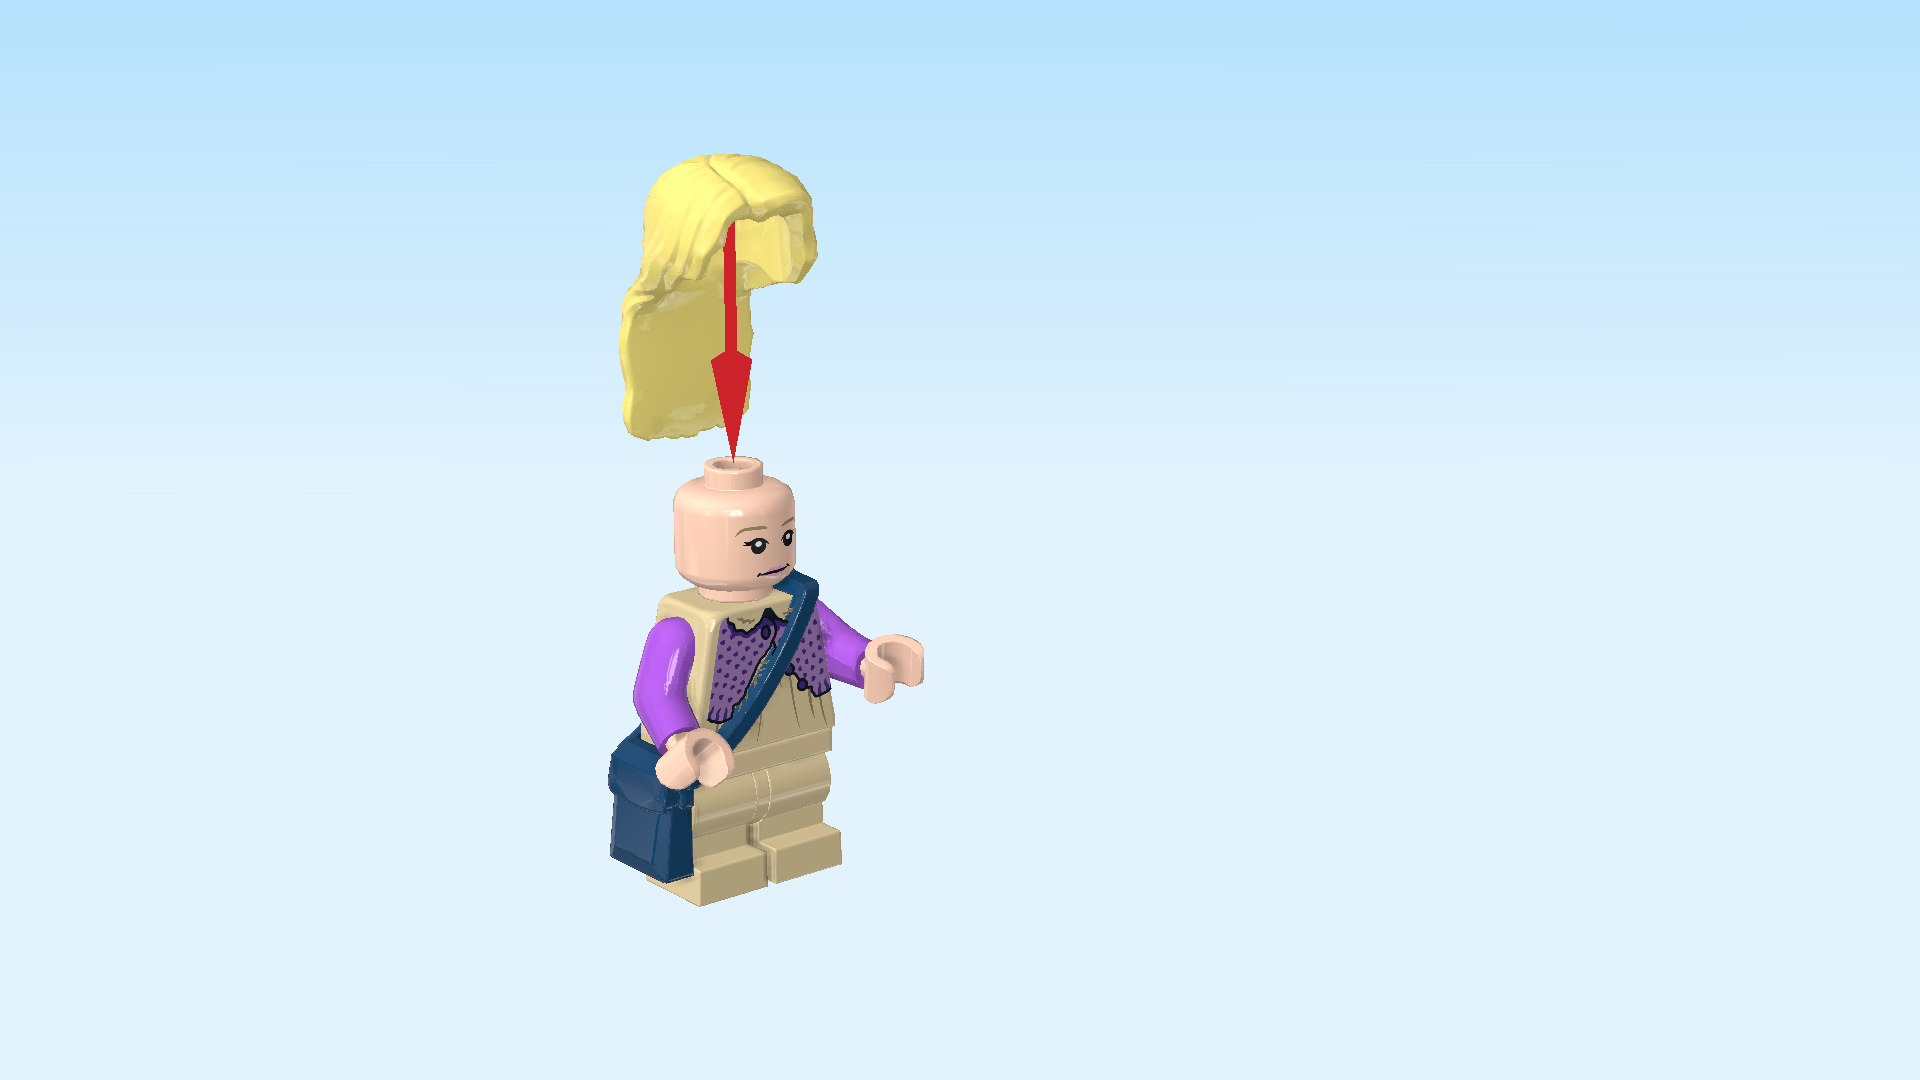
| Put the head on the body. |
| Put the hair on the head. |
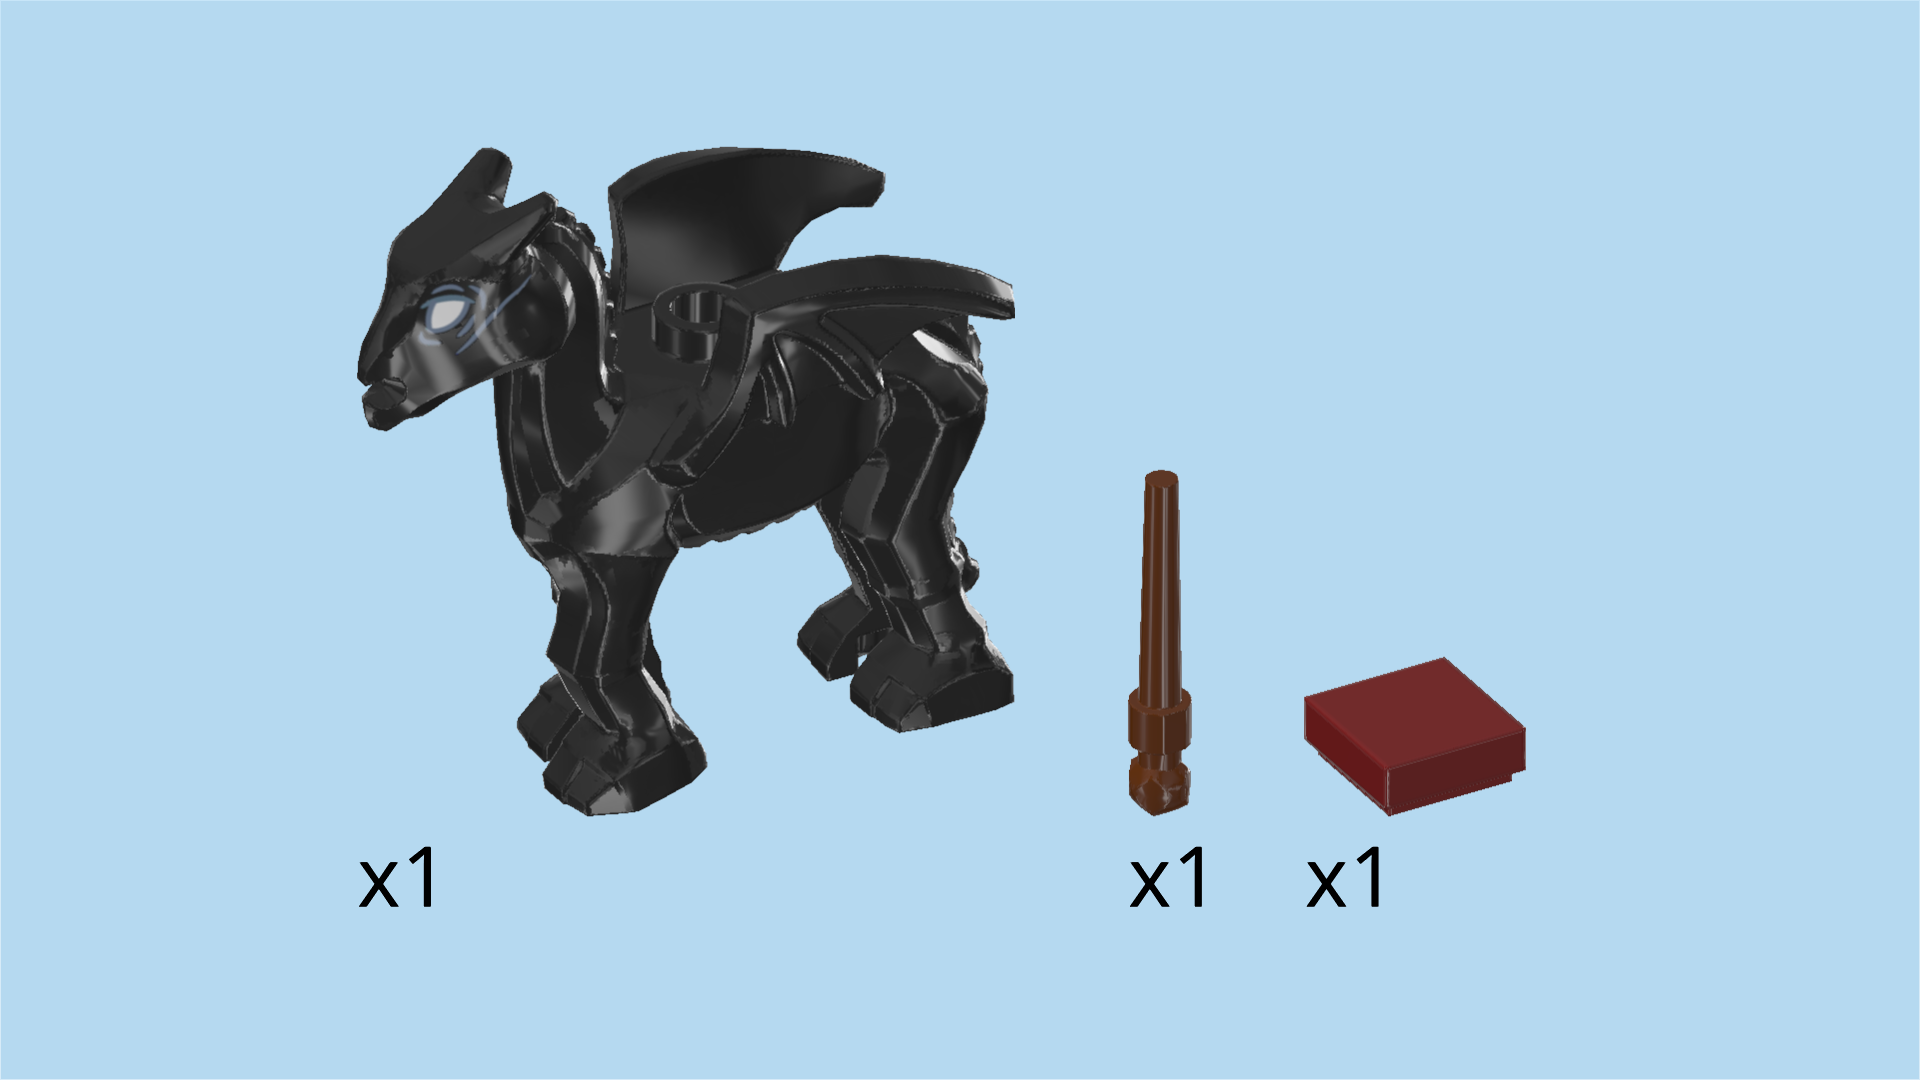
| Collect the following 3 pieces: |
| 1 reddish brown wand, |
| 1 maroon red flat tile 1x1, |
| and 1 black baby Thestral. |
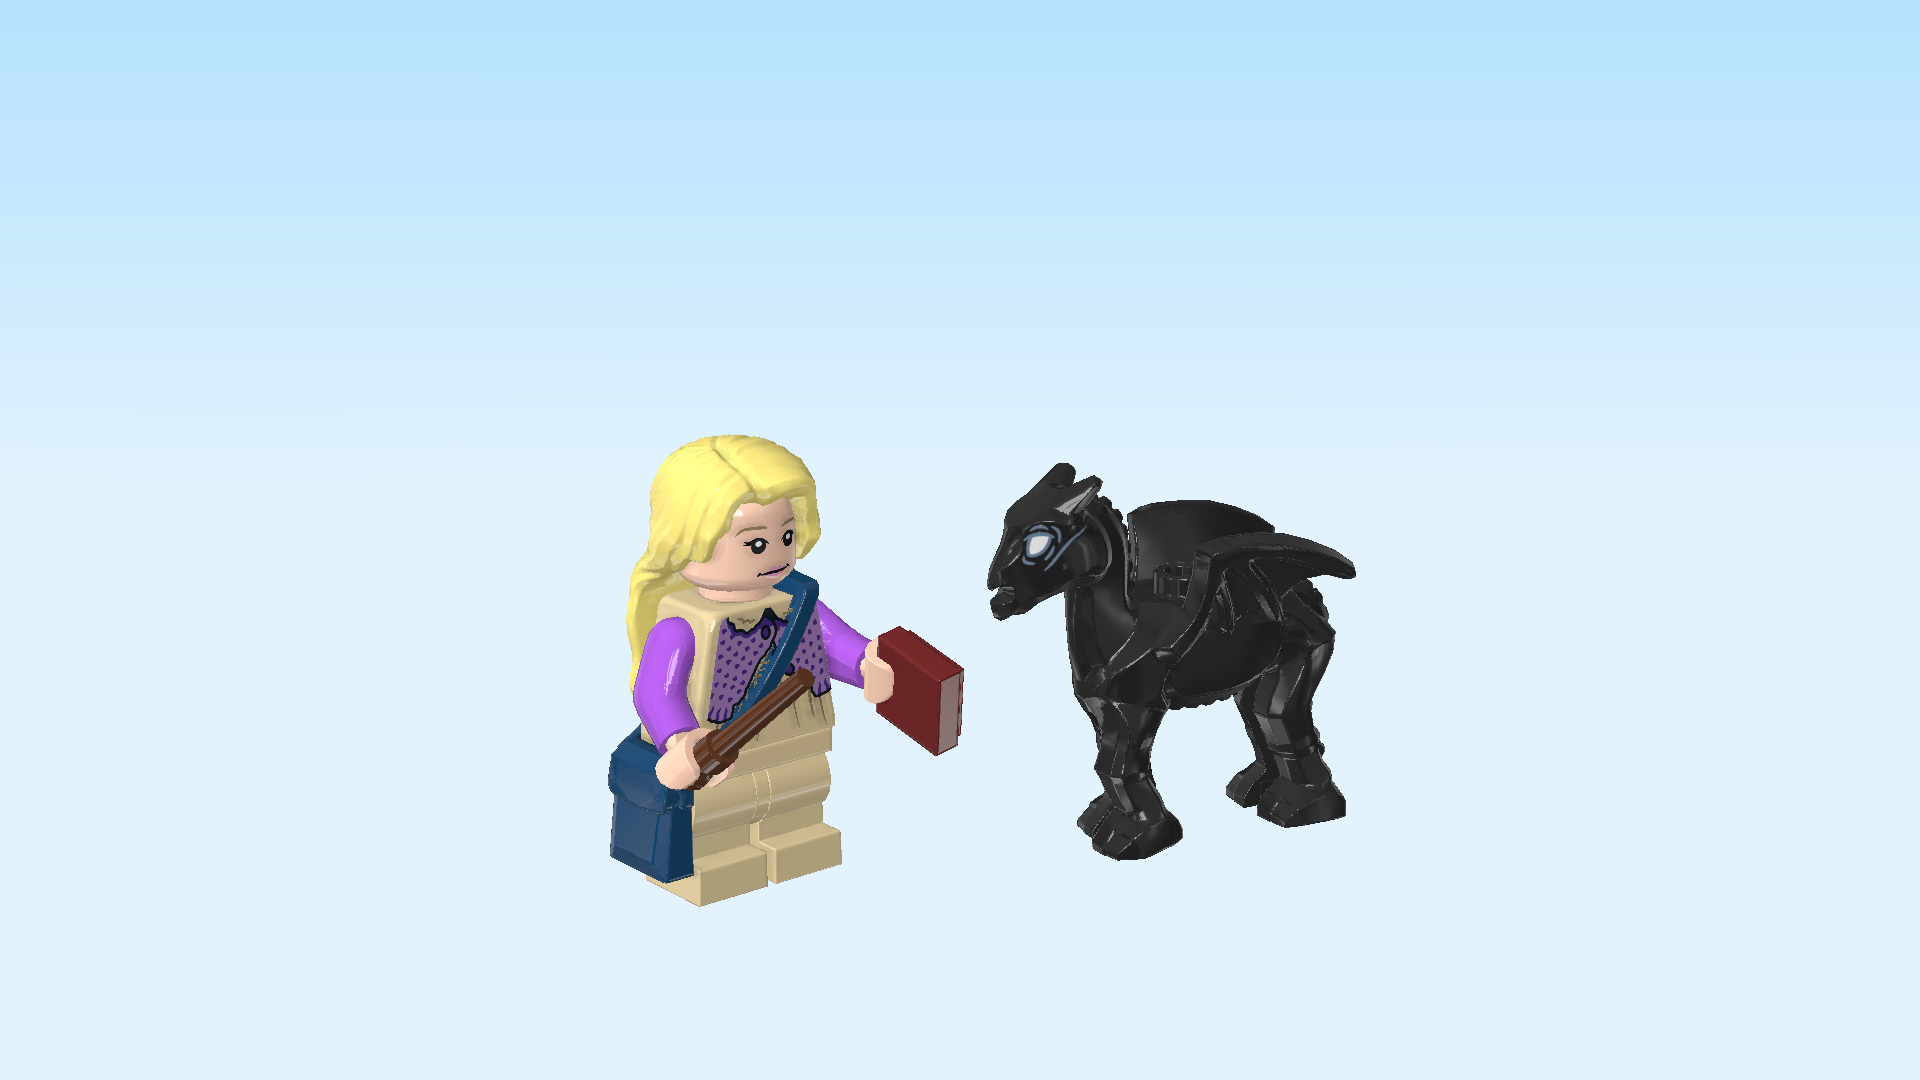
| Snap the wand in Luna's right hand. |
| Put the red flat tile in Luna's left hand. This is the piece of raw meat for the Thestrals. |
| The Luna Lovegood Minifigure with baby Thestral is finished! Great job! Luna is wearing a khaki dress with a lavender-colored knitted bolero jacket. Her head also has two prints: one face is surprised, on the other one she is smiling dreamily. She is very fond of Thestrals and knows how to take care of them and befriend them. The baby Thestral is in good hands with her! |
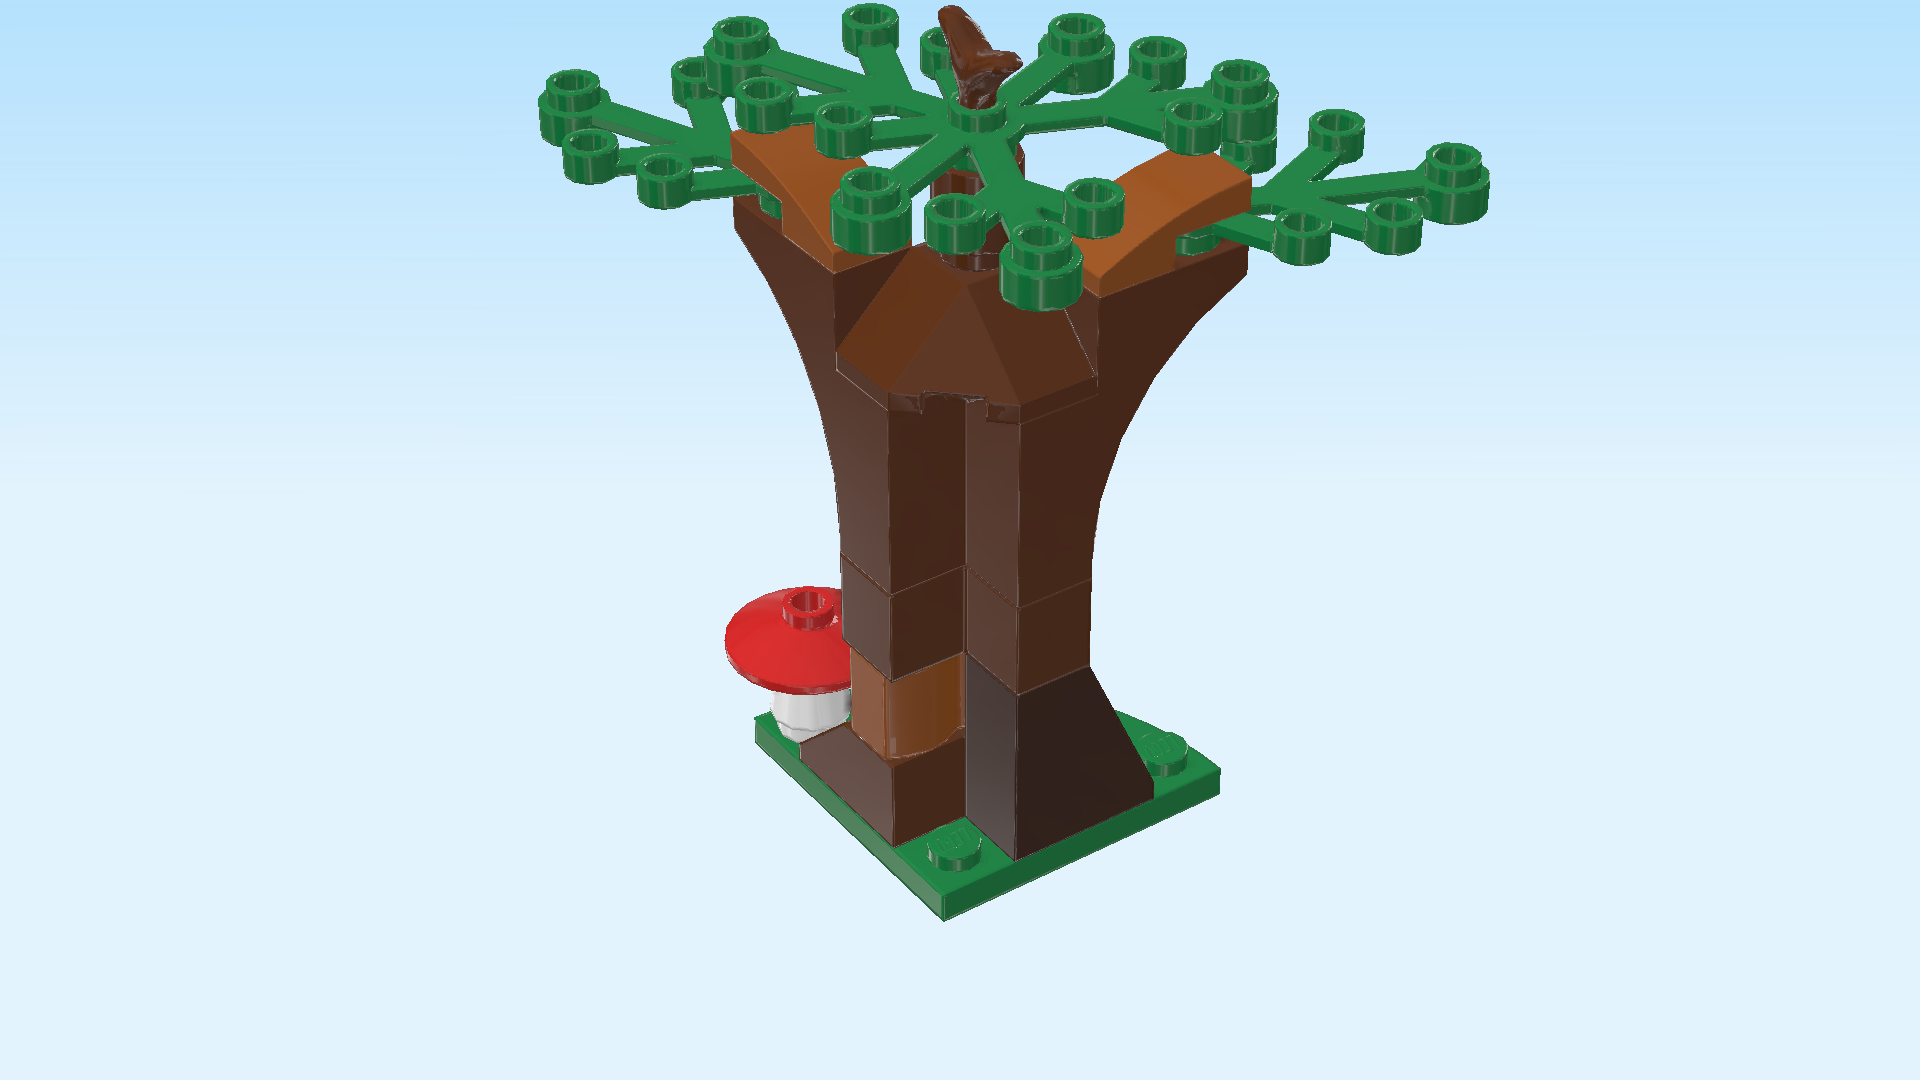
| Next, we build the Forbidden Forest tree. |
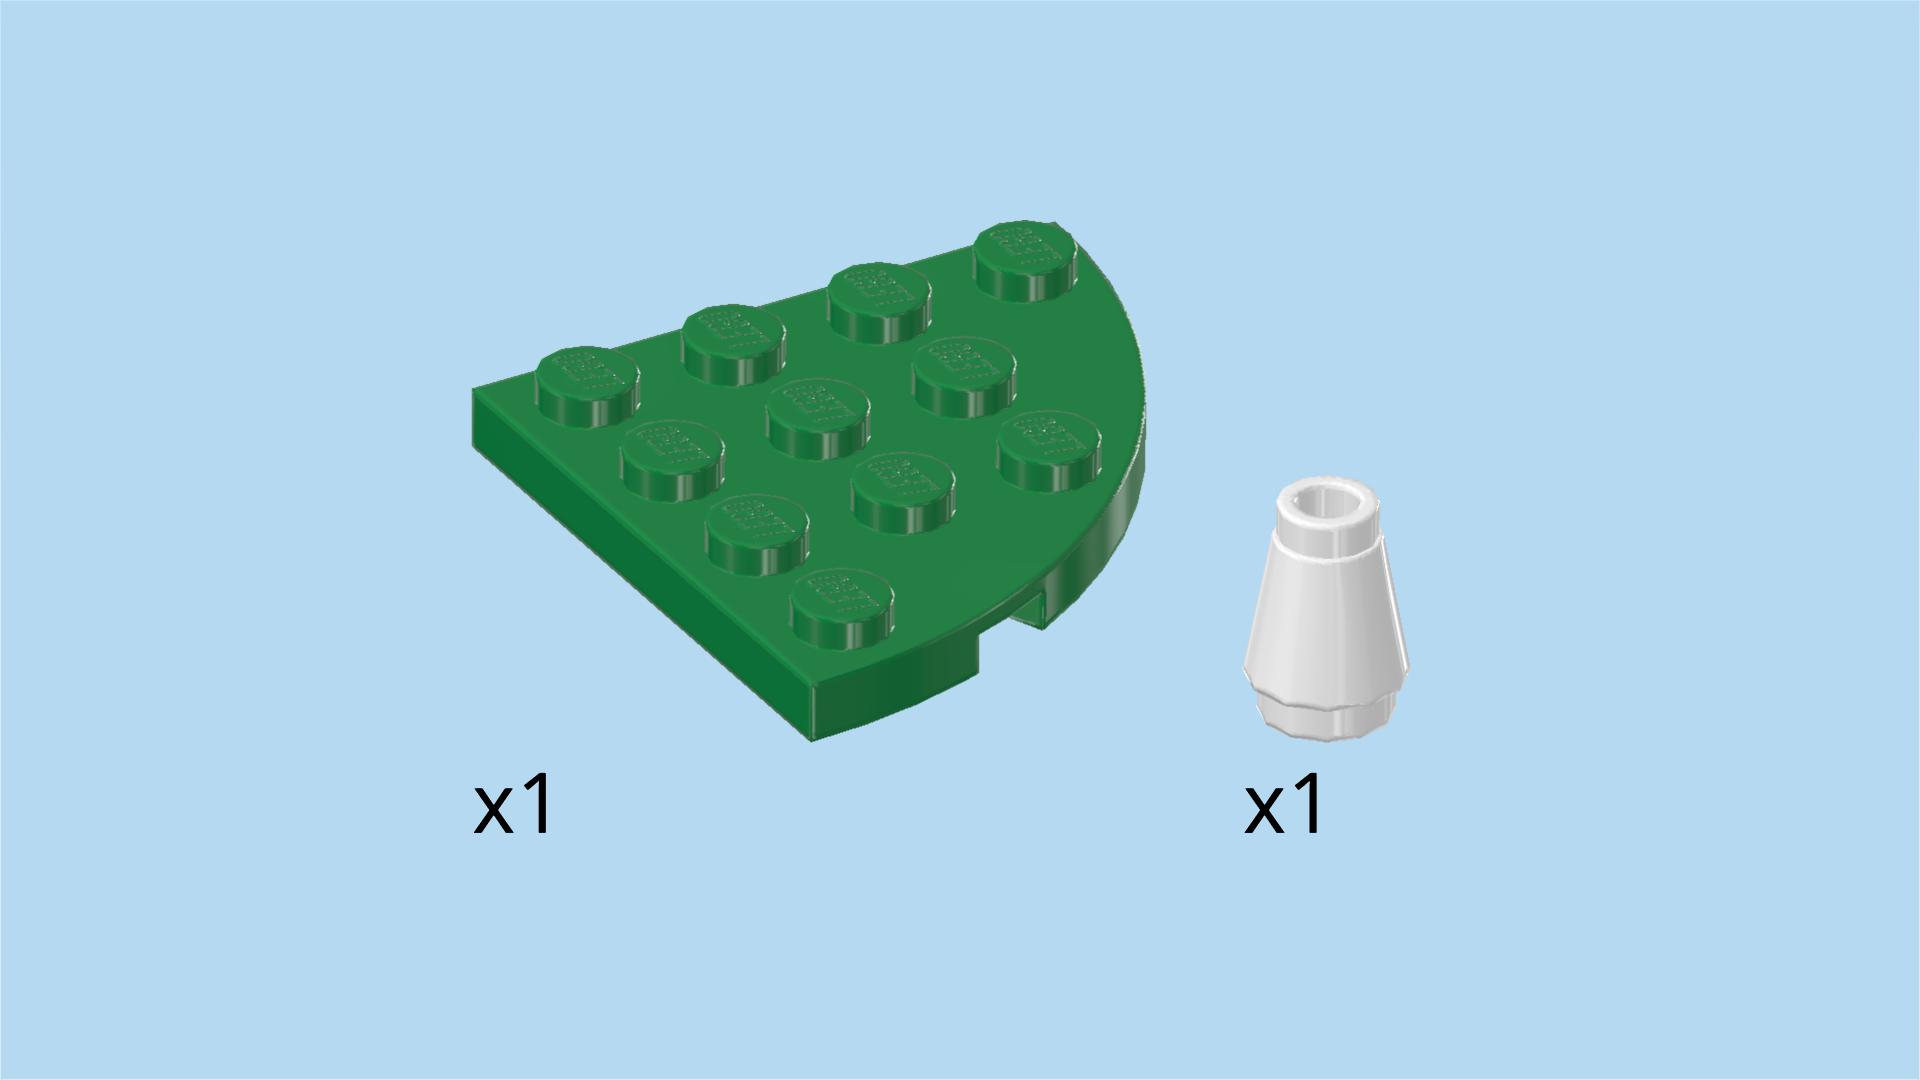
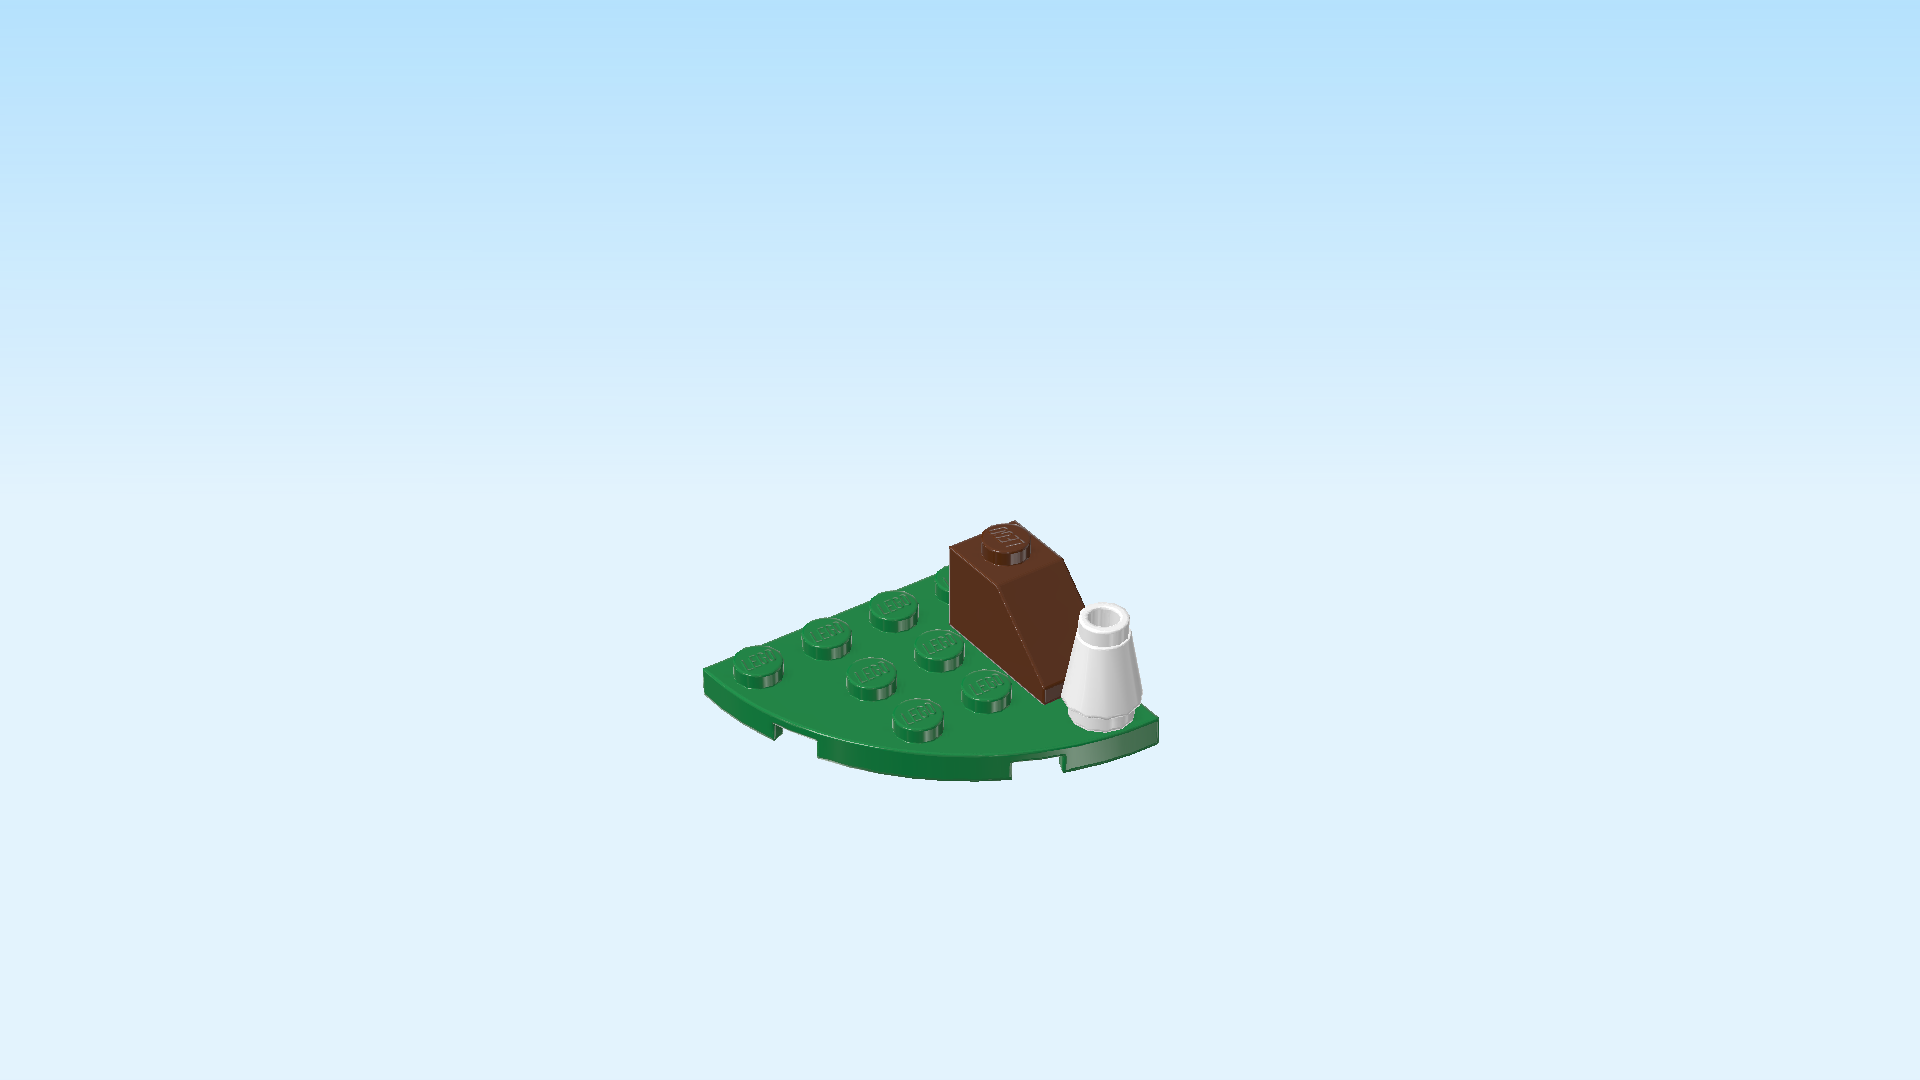
| Collect the following 2 pieces: |
| 1 dark green quarter-circle plate 4x4, |
| and 1 white nose cone 1x1. |
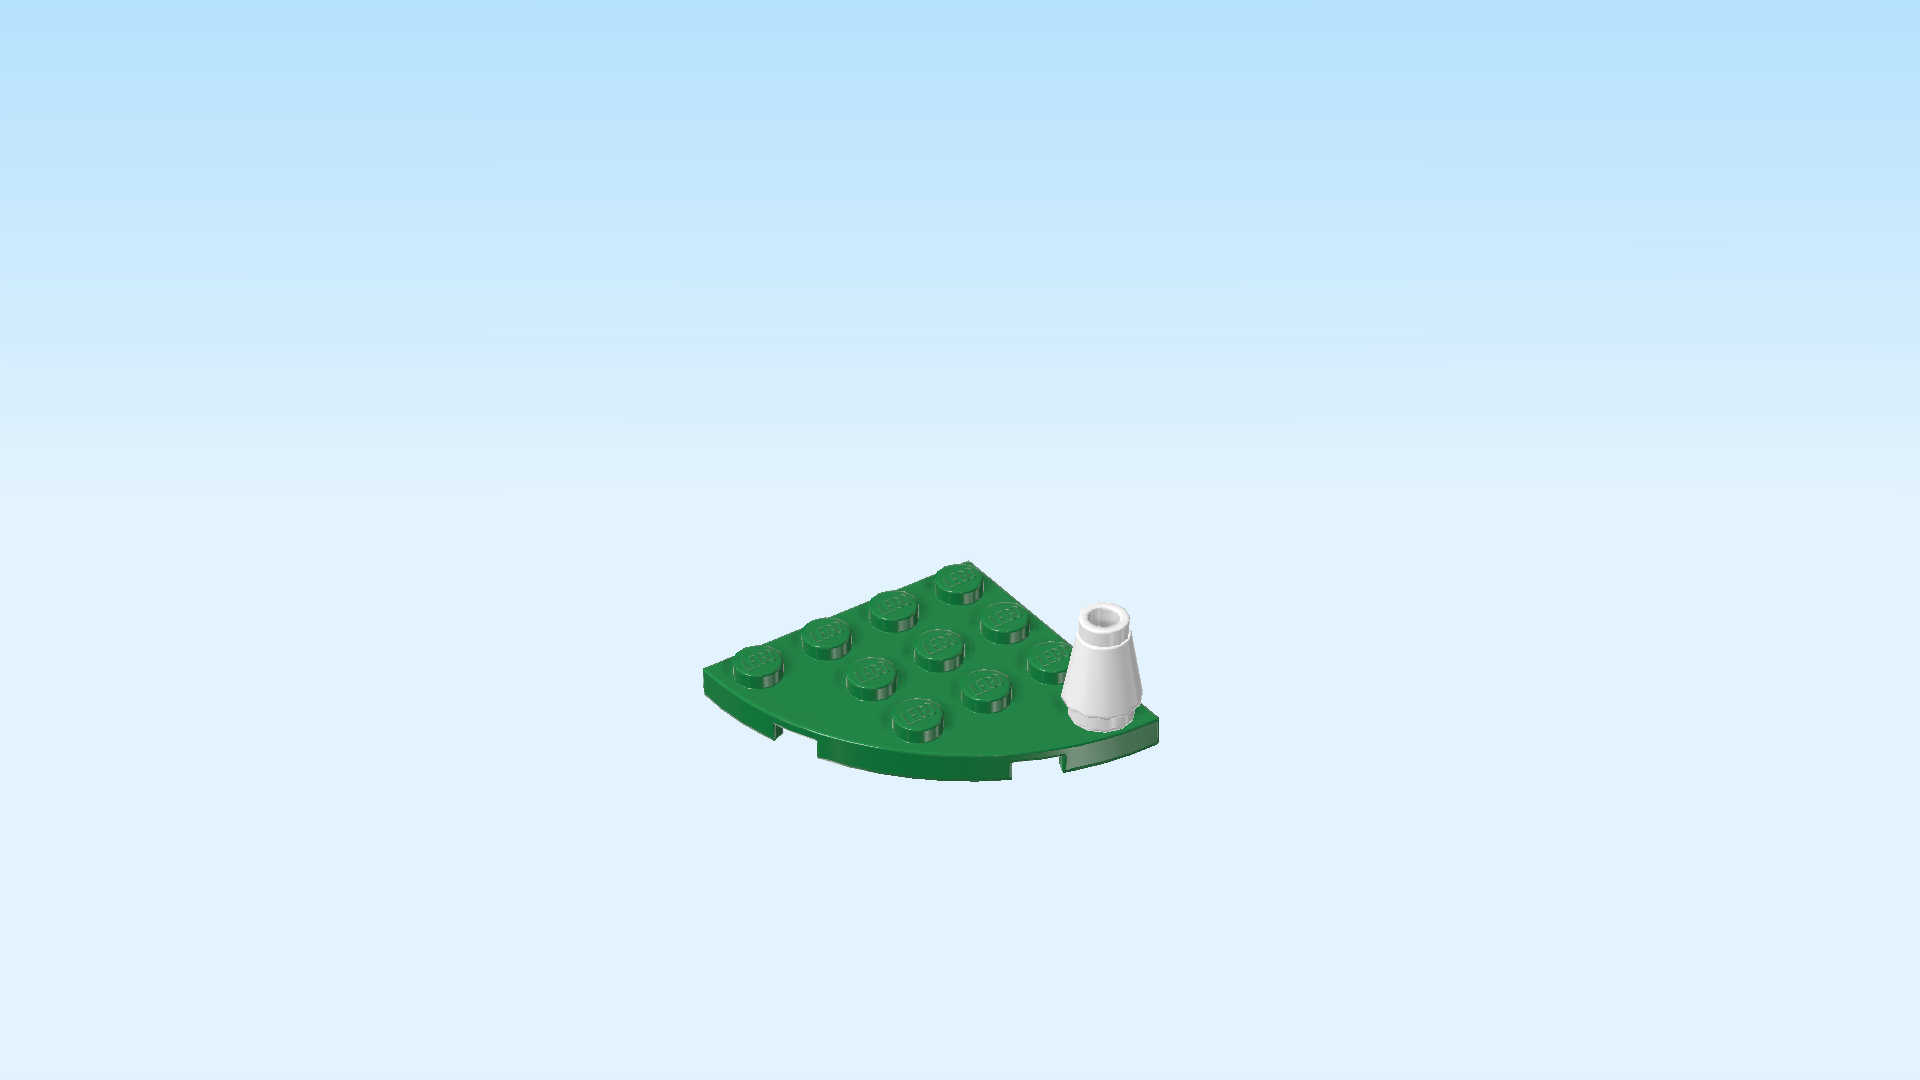
| Put the quarter-circle plate 4x4 on the table. Make sure the rectangular corner is to the back right. The two straight edges should form a right angle. |
| Put the nose cone 1x1 on the knob closest to you. This is the frontmost knob of the rightmost column. |
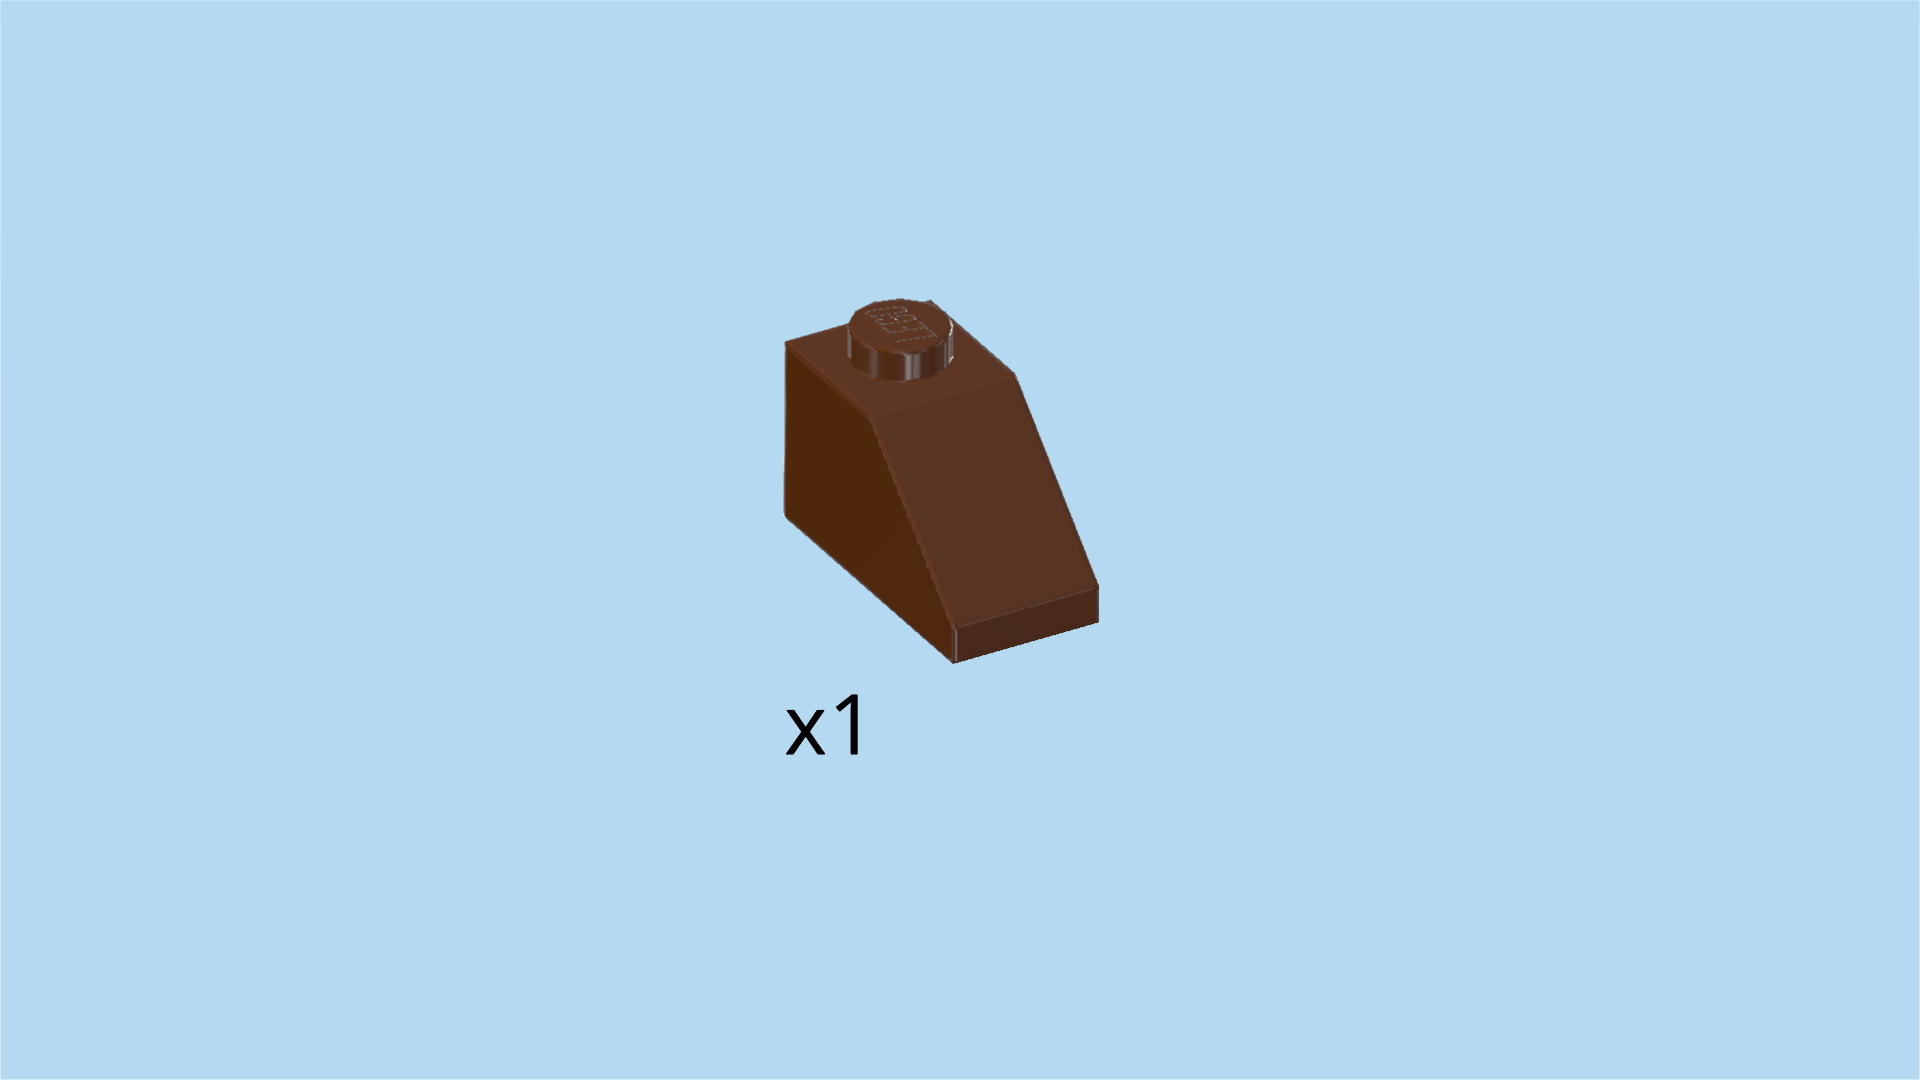
| Find 1 reddish brown roof tile 1x2, 45°. |
| Put it vertically behind the nose cone, slope to the front. |
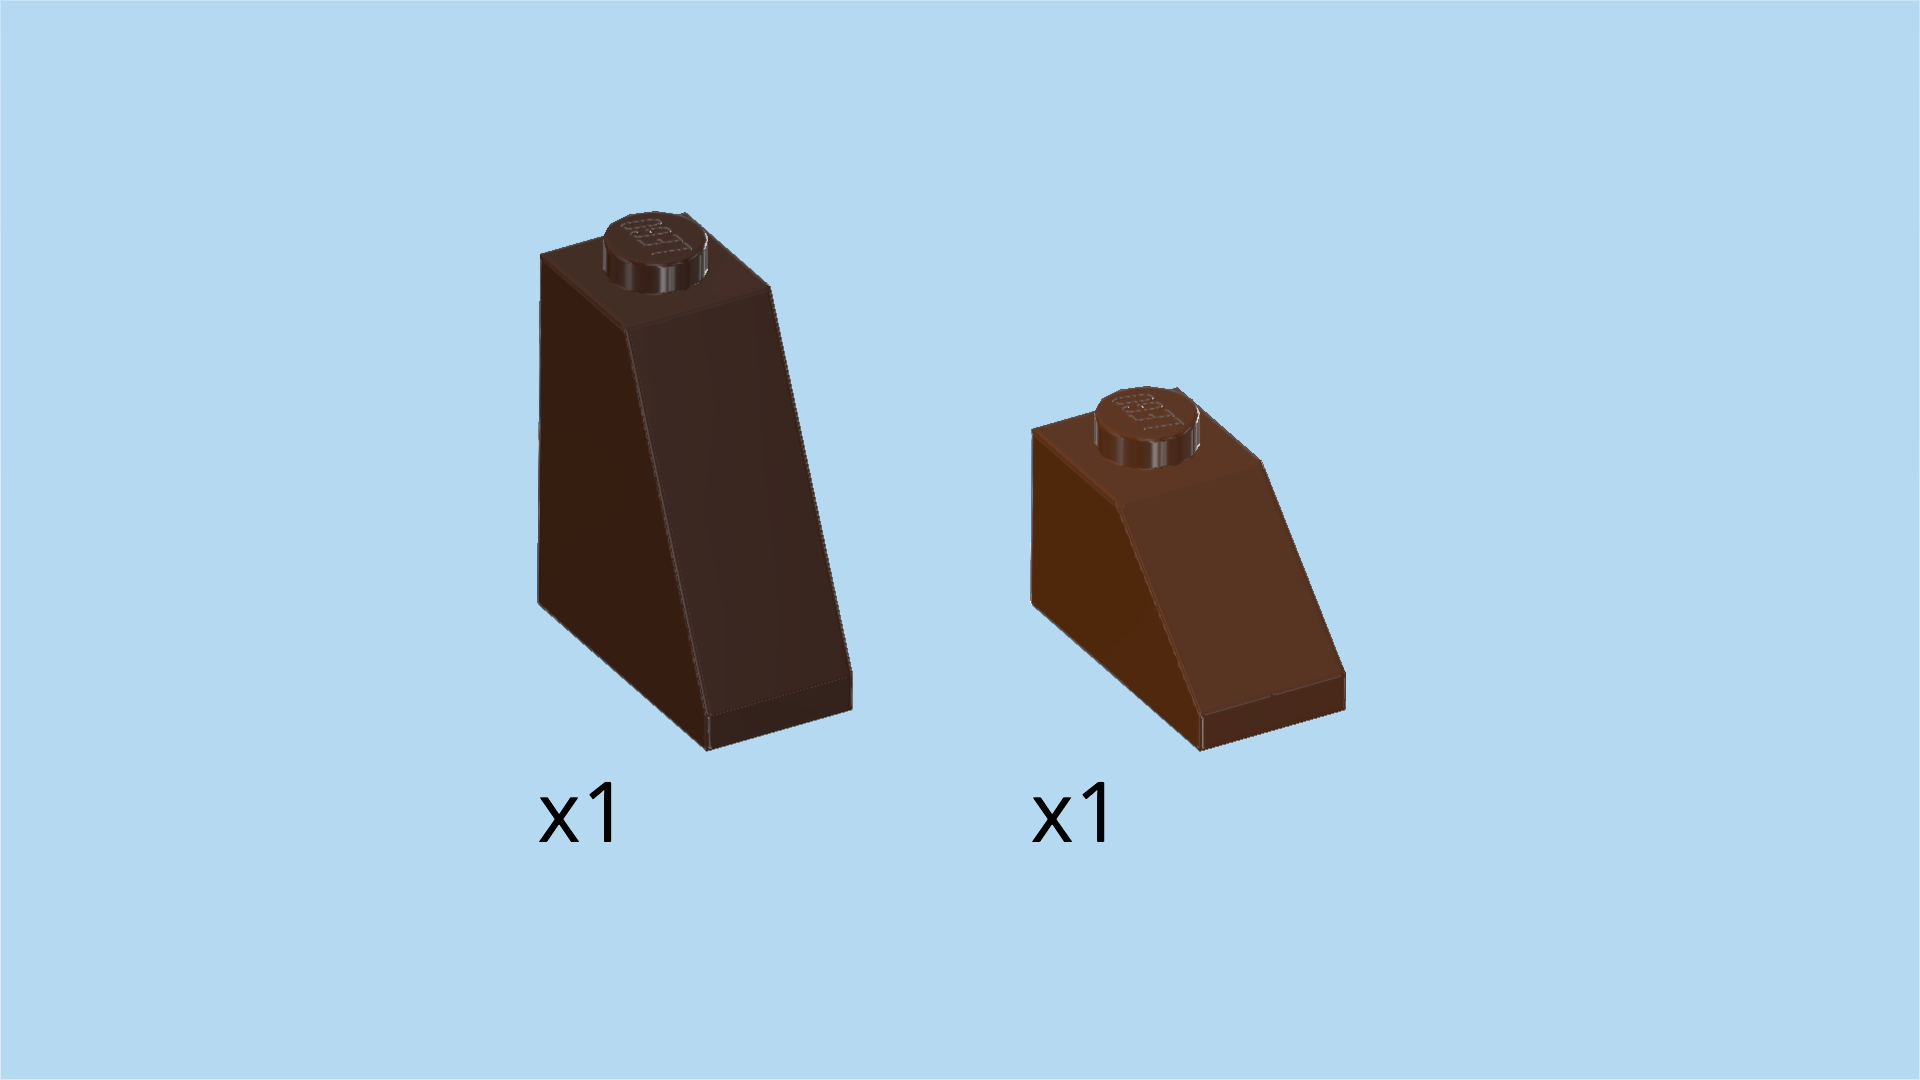
| Collect the following 2 pieces: |
| 1 dark brown roof tile 1x2x2, 65°, |
| and 1 reddish brown roof tile 1x2, 45°. |
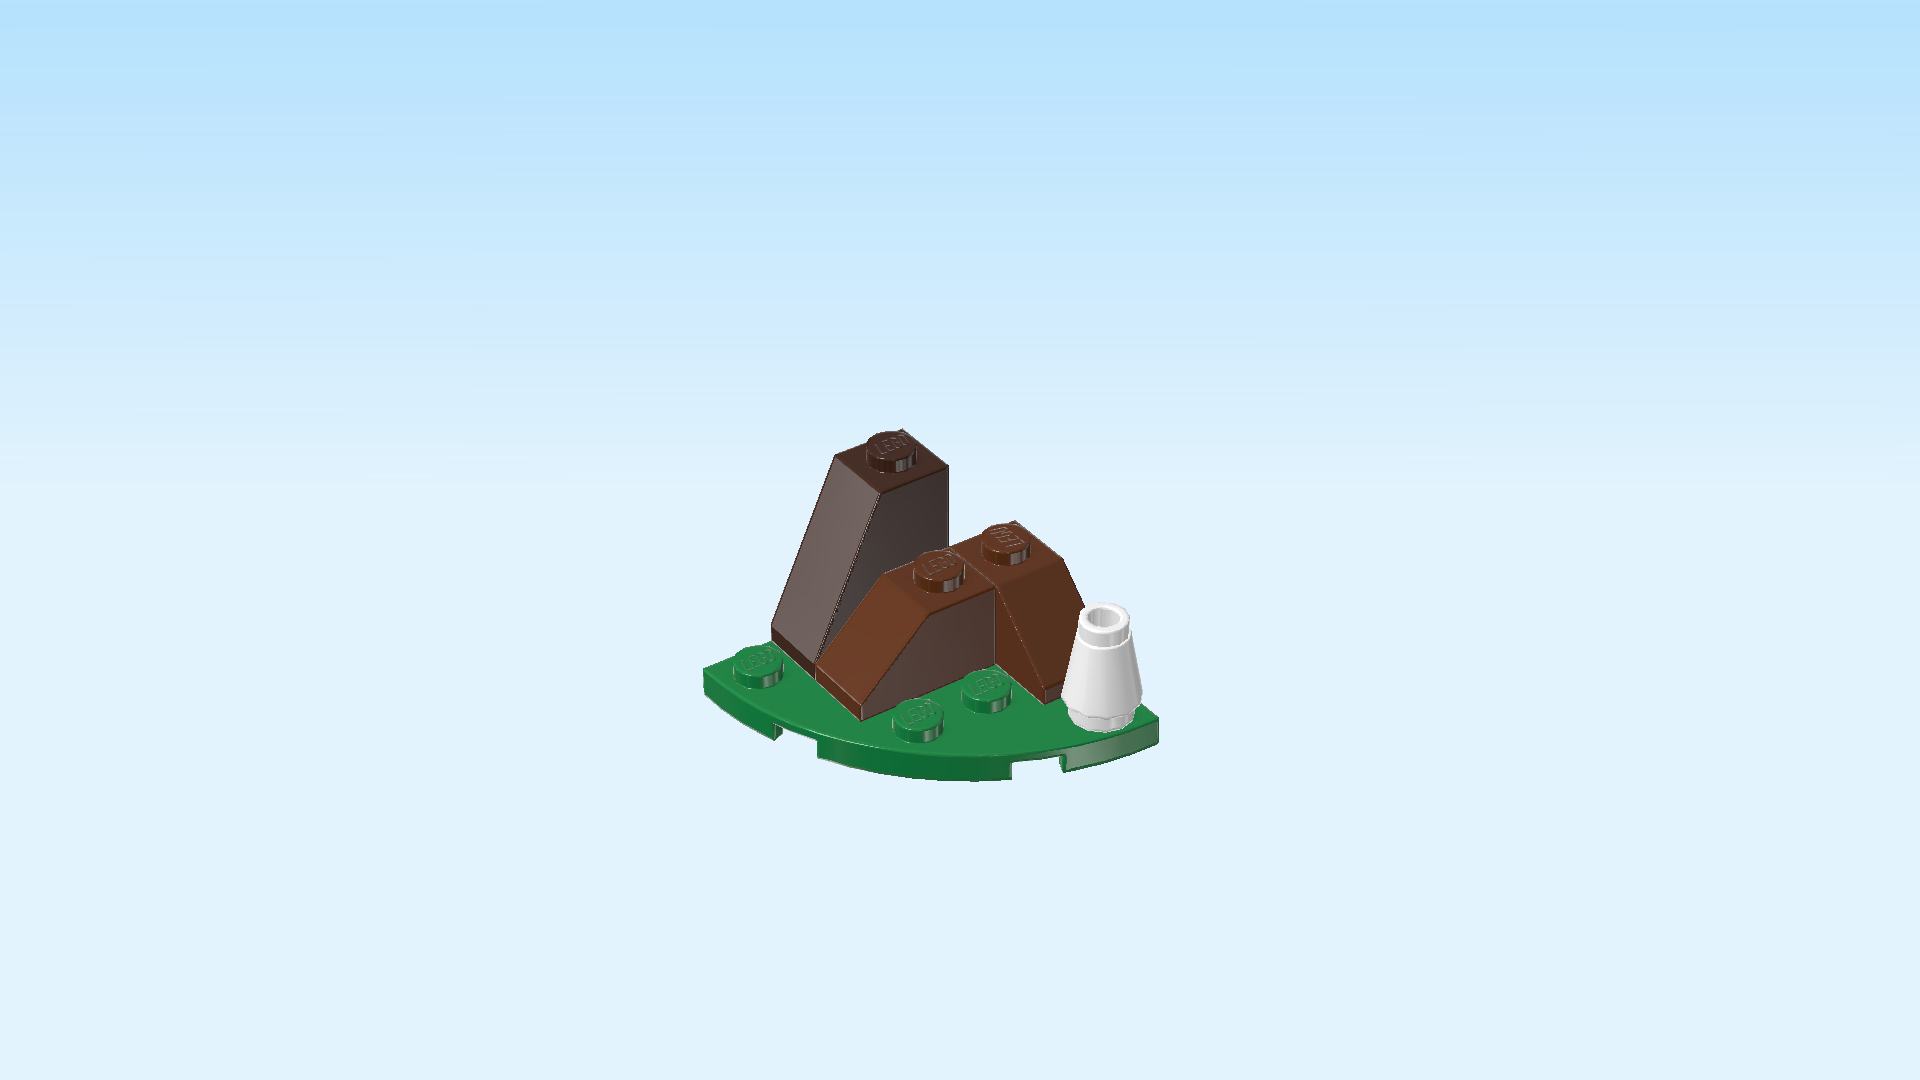
| Put the roof tile 1x2 (the lower piece) horizontally to the left of the previous piece, slope to the left. Make sure that a row of two knobs remains empty in front of this piece. |
| Put the roof tile 1x2x2 horizontally behind the previous piece, slope also to the left. |
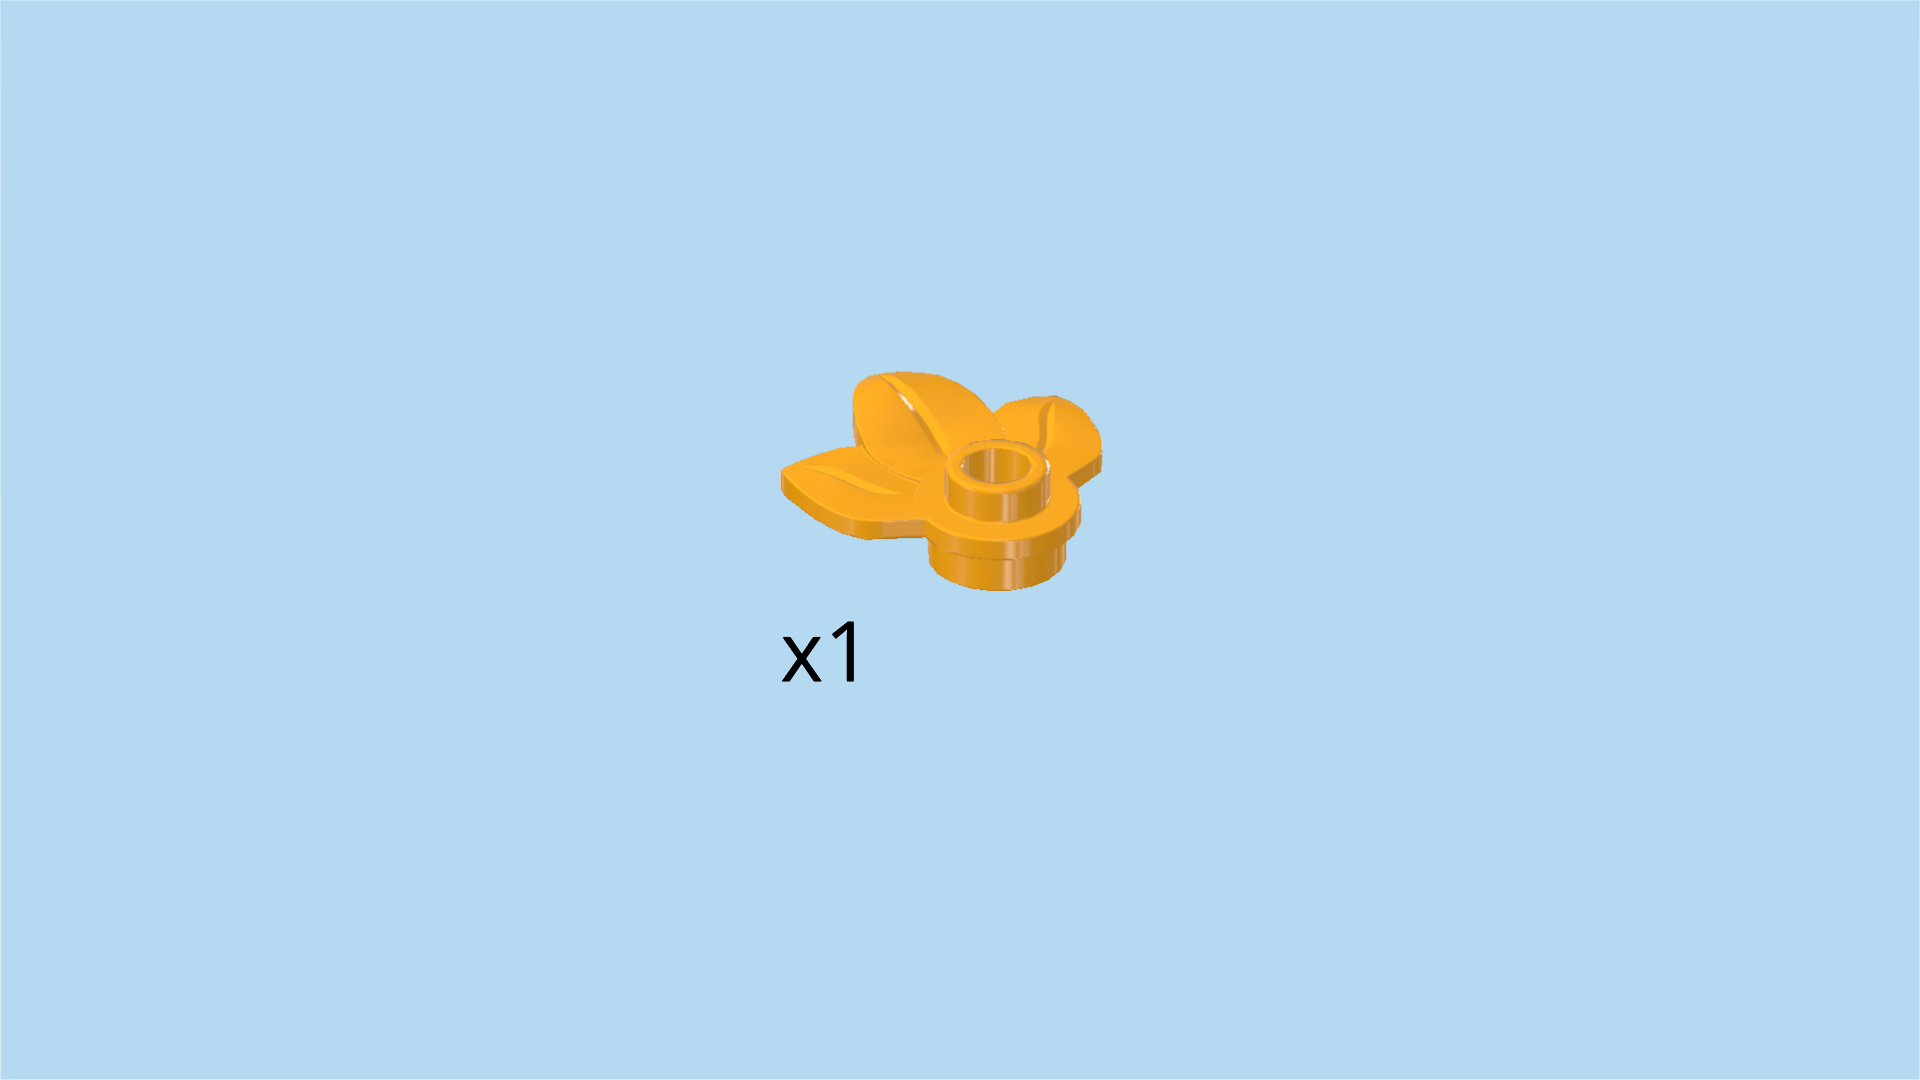
| Find 1 flame yellowish orange round plate 1x1 with 3 leaves. |
| Put it on the right knob of the 2 empty knobs at the front. Make sure the leaves point to the front and slightly to the left. |
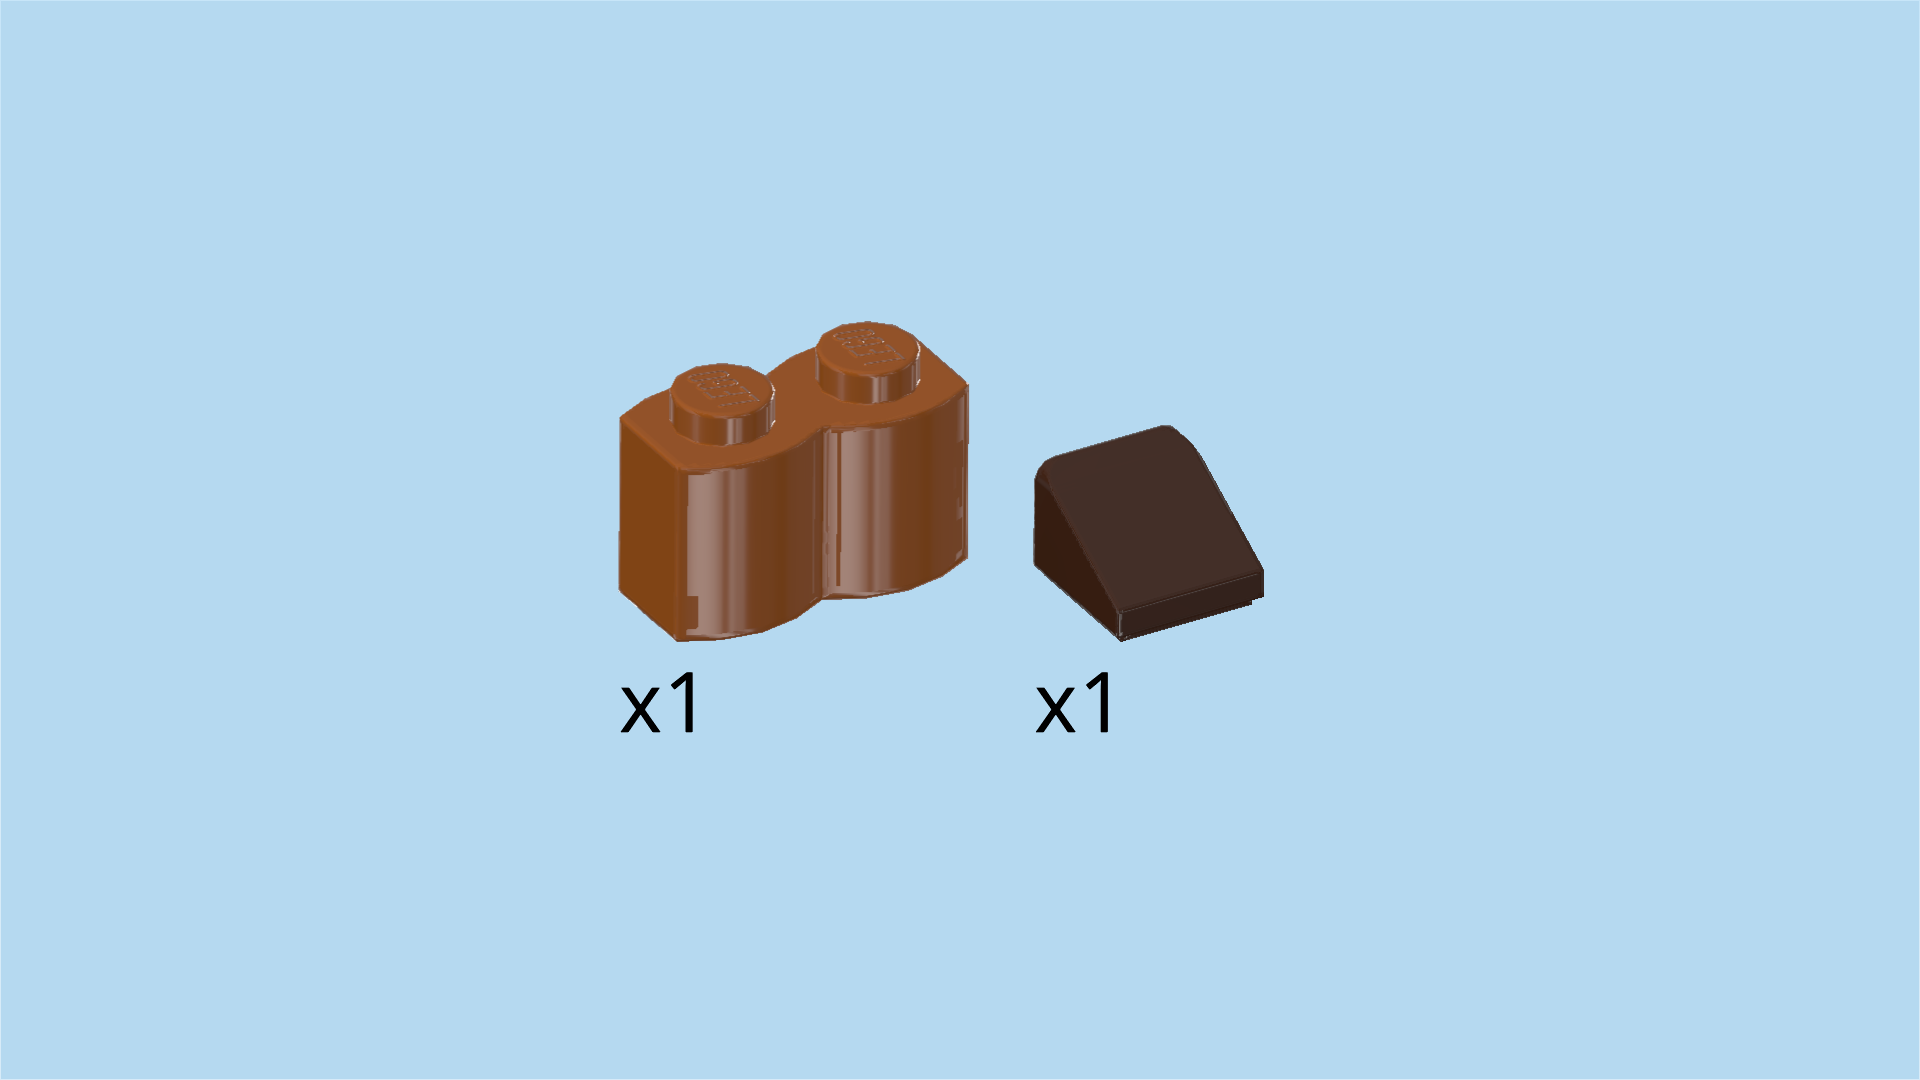
| Collect the following 2 pieces: |
| 1 dark brown smooth roof tile 1x1x⅔, |
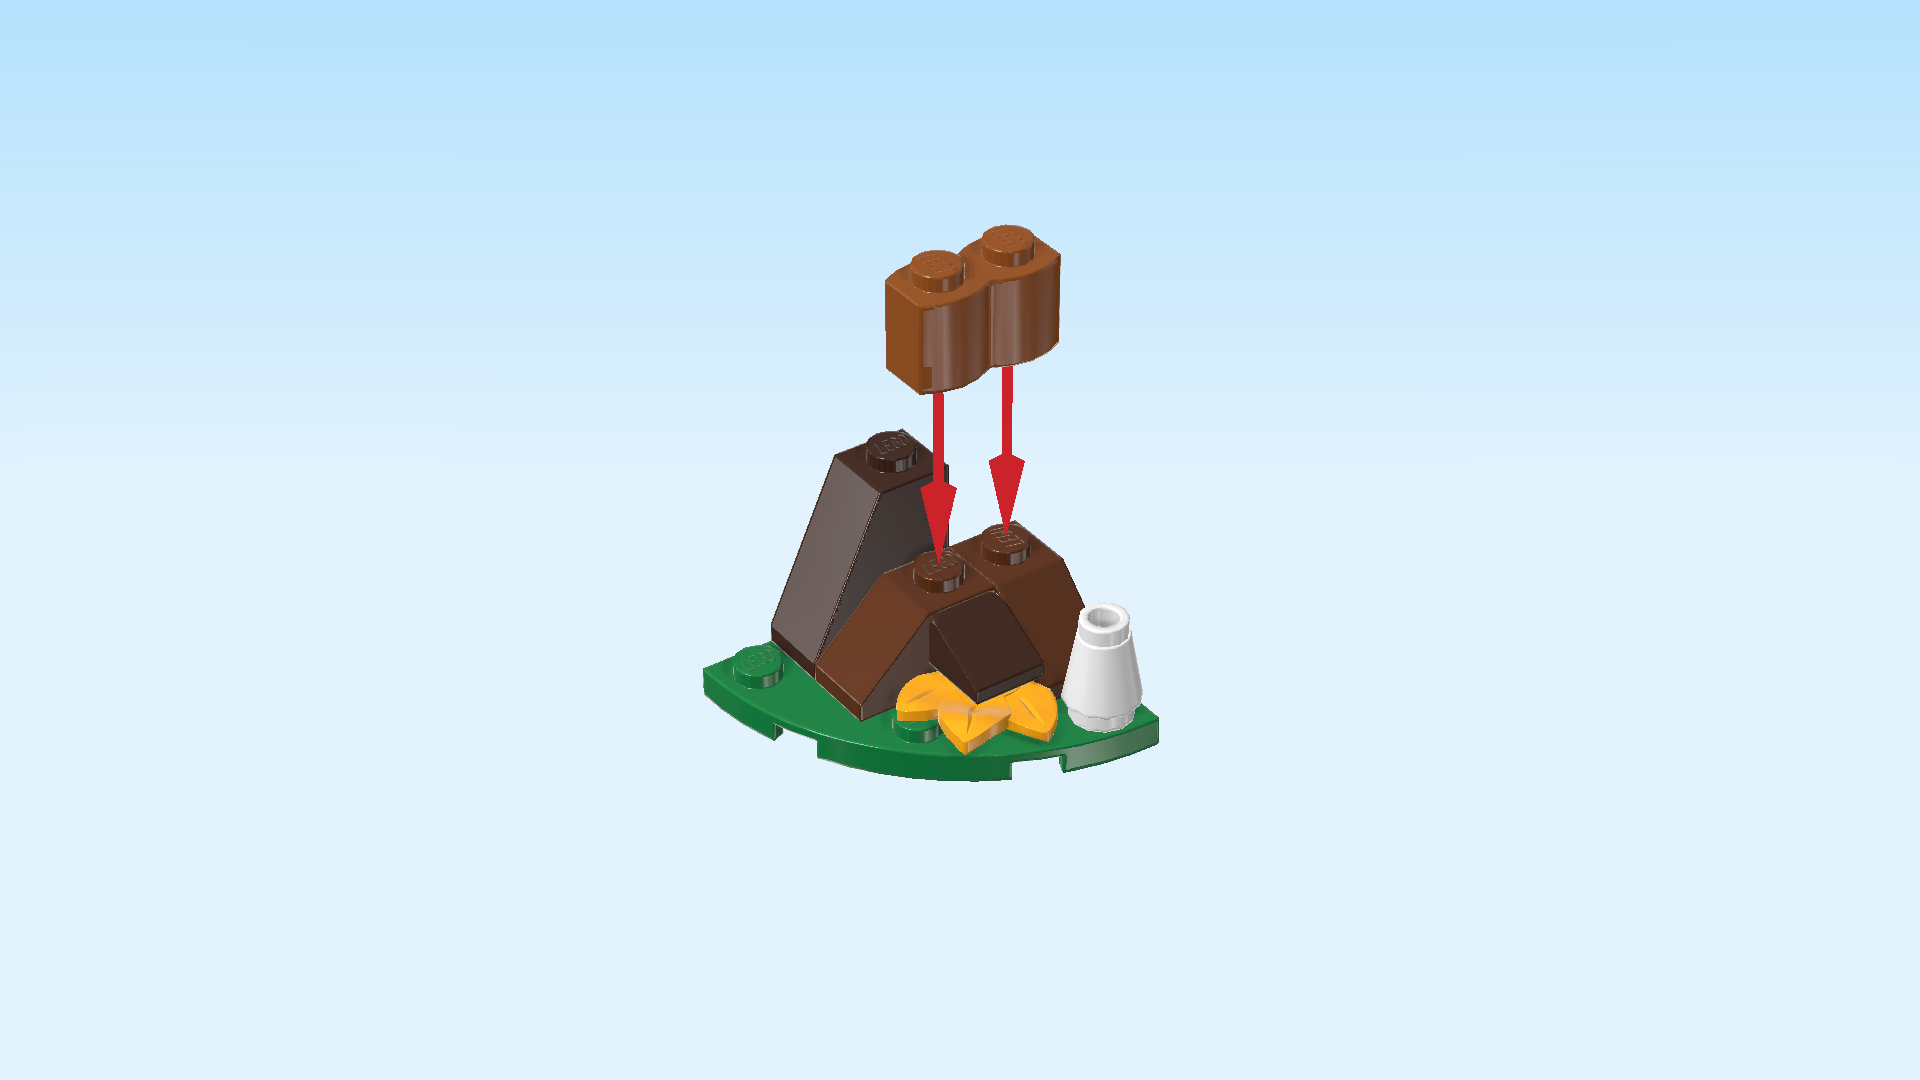
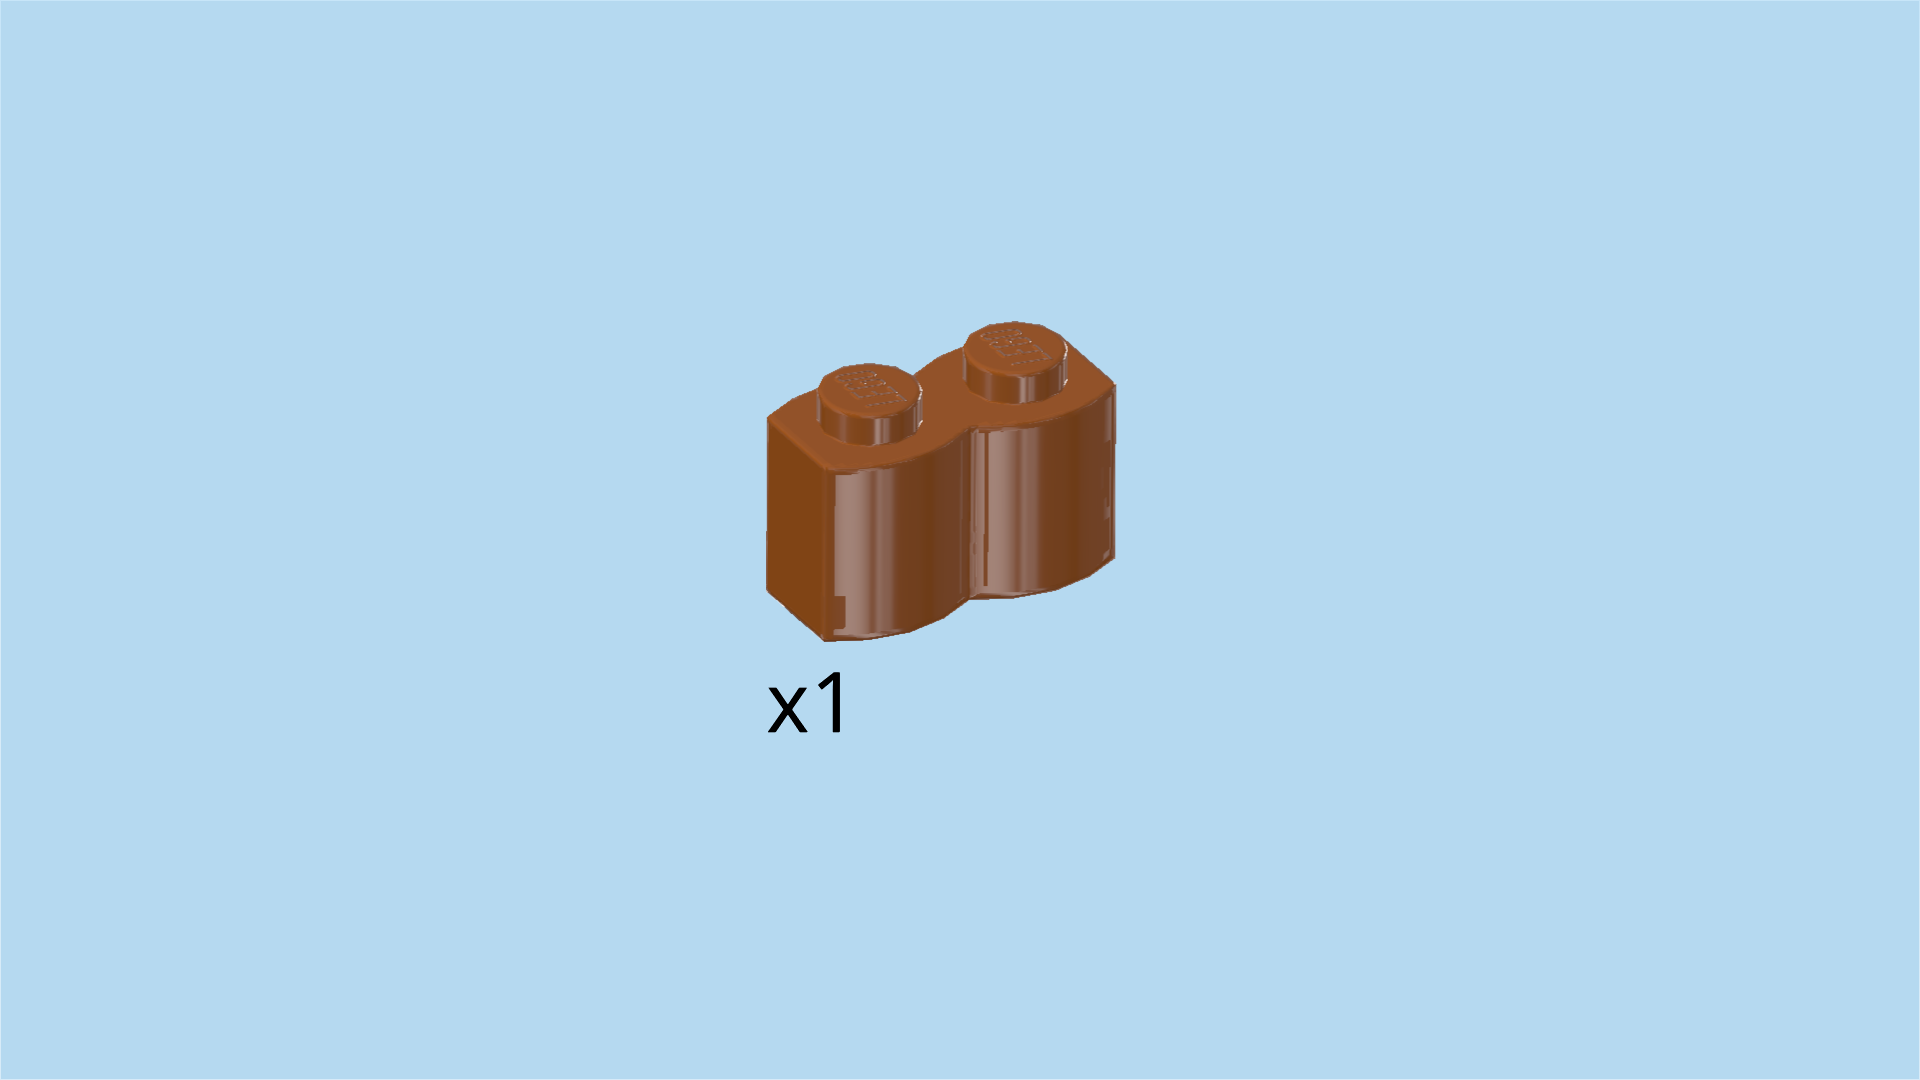
| and 1 dark orange palisade brick 1x2. |
| Put the roof tile 1x1 on top of the previous piece, slope to the front. |
| Put the palisade brick 1x2 horizontally on the two higher knobs behind the previous piece. |
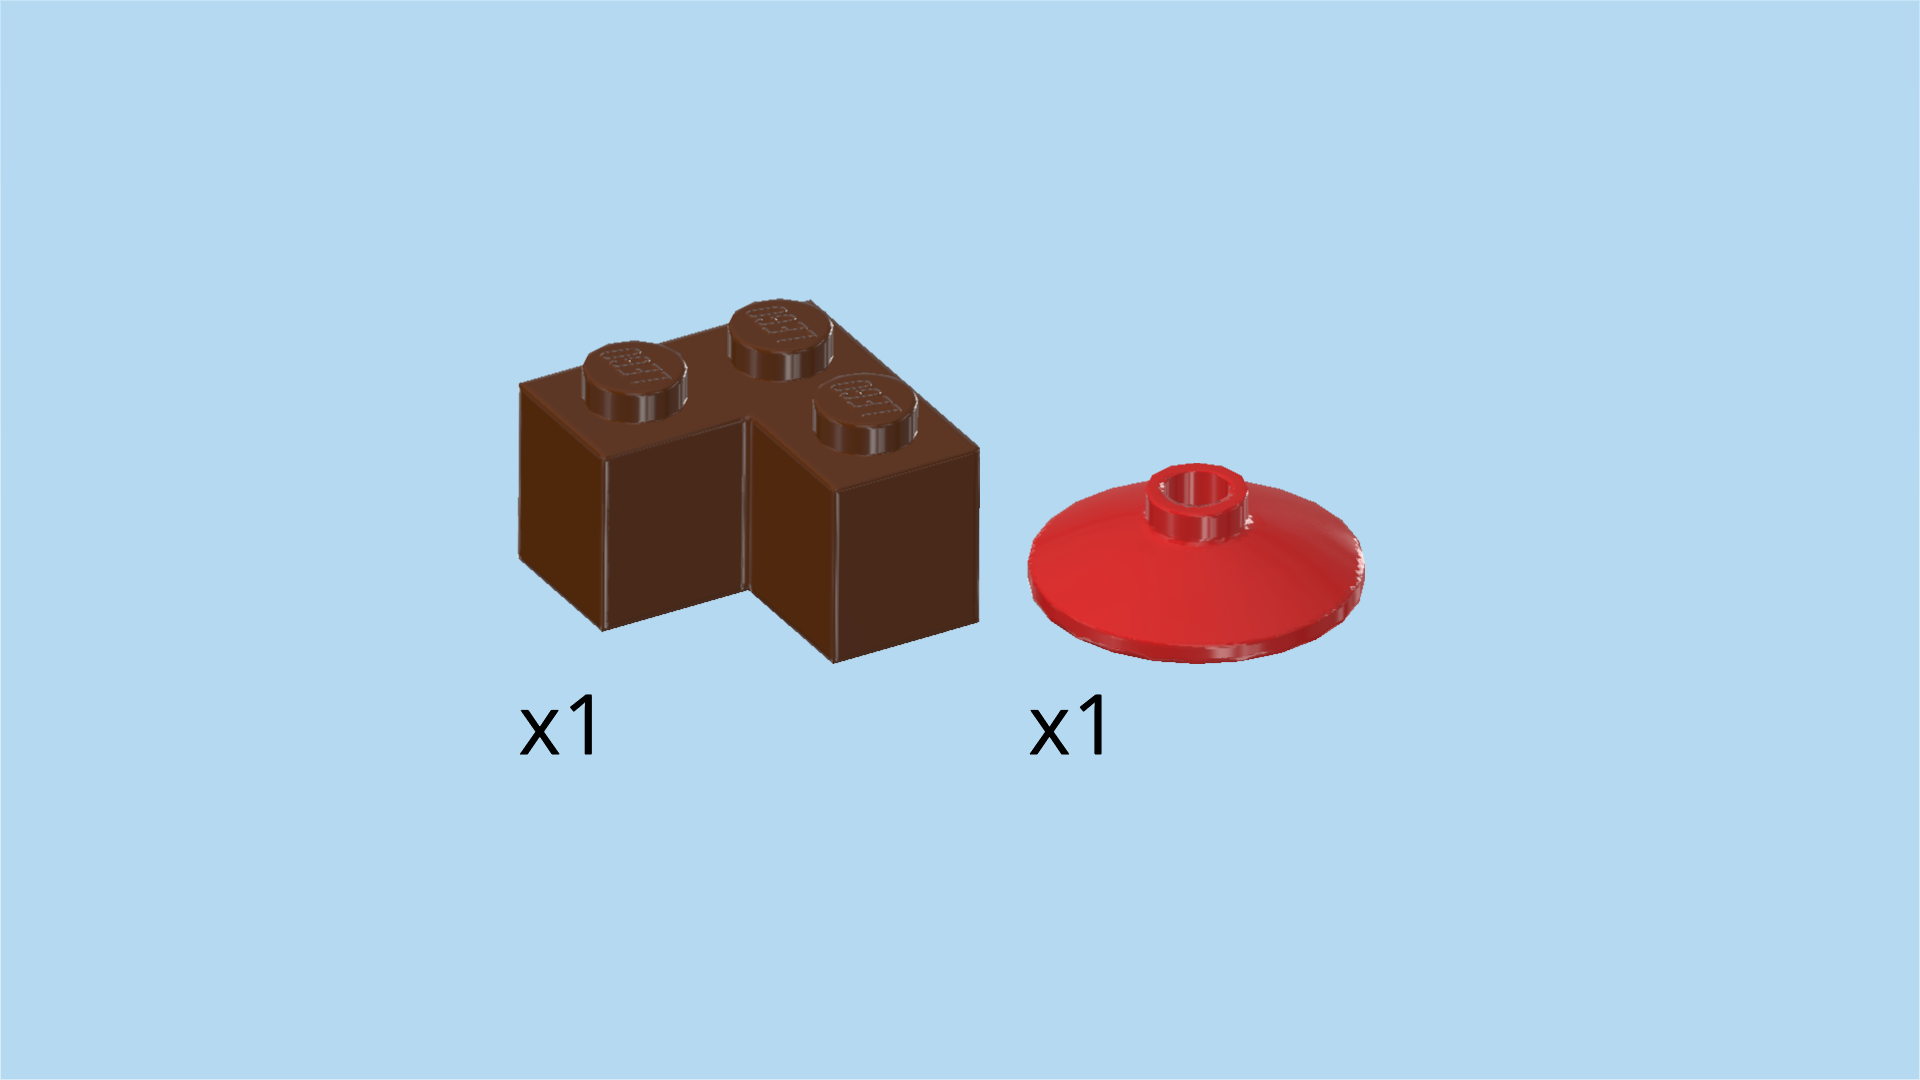
| Collect the following 2 pieces: |
| 1 reddish brown corner brick 1x2 - 1x2, |
| and 1 bright red satellite dish 2x2 with 1 knob. |
| Turn the corner brick so that its corner is pointing to the front left. Put it on top of the previous piece. If done correctly, a horizontal row of 2 knobs covers the previous piece, and 1 knob extends to the back on the left. |
| The three knobs of the corner brick are the foundation of the tree trunk. The branches will be mounted on these knobs. |
| Put the satellite dish 2x2 on top of the nose cone in the front right corner. This is the fly agaric! |
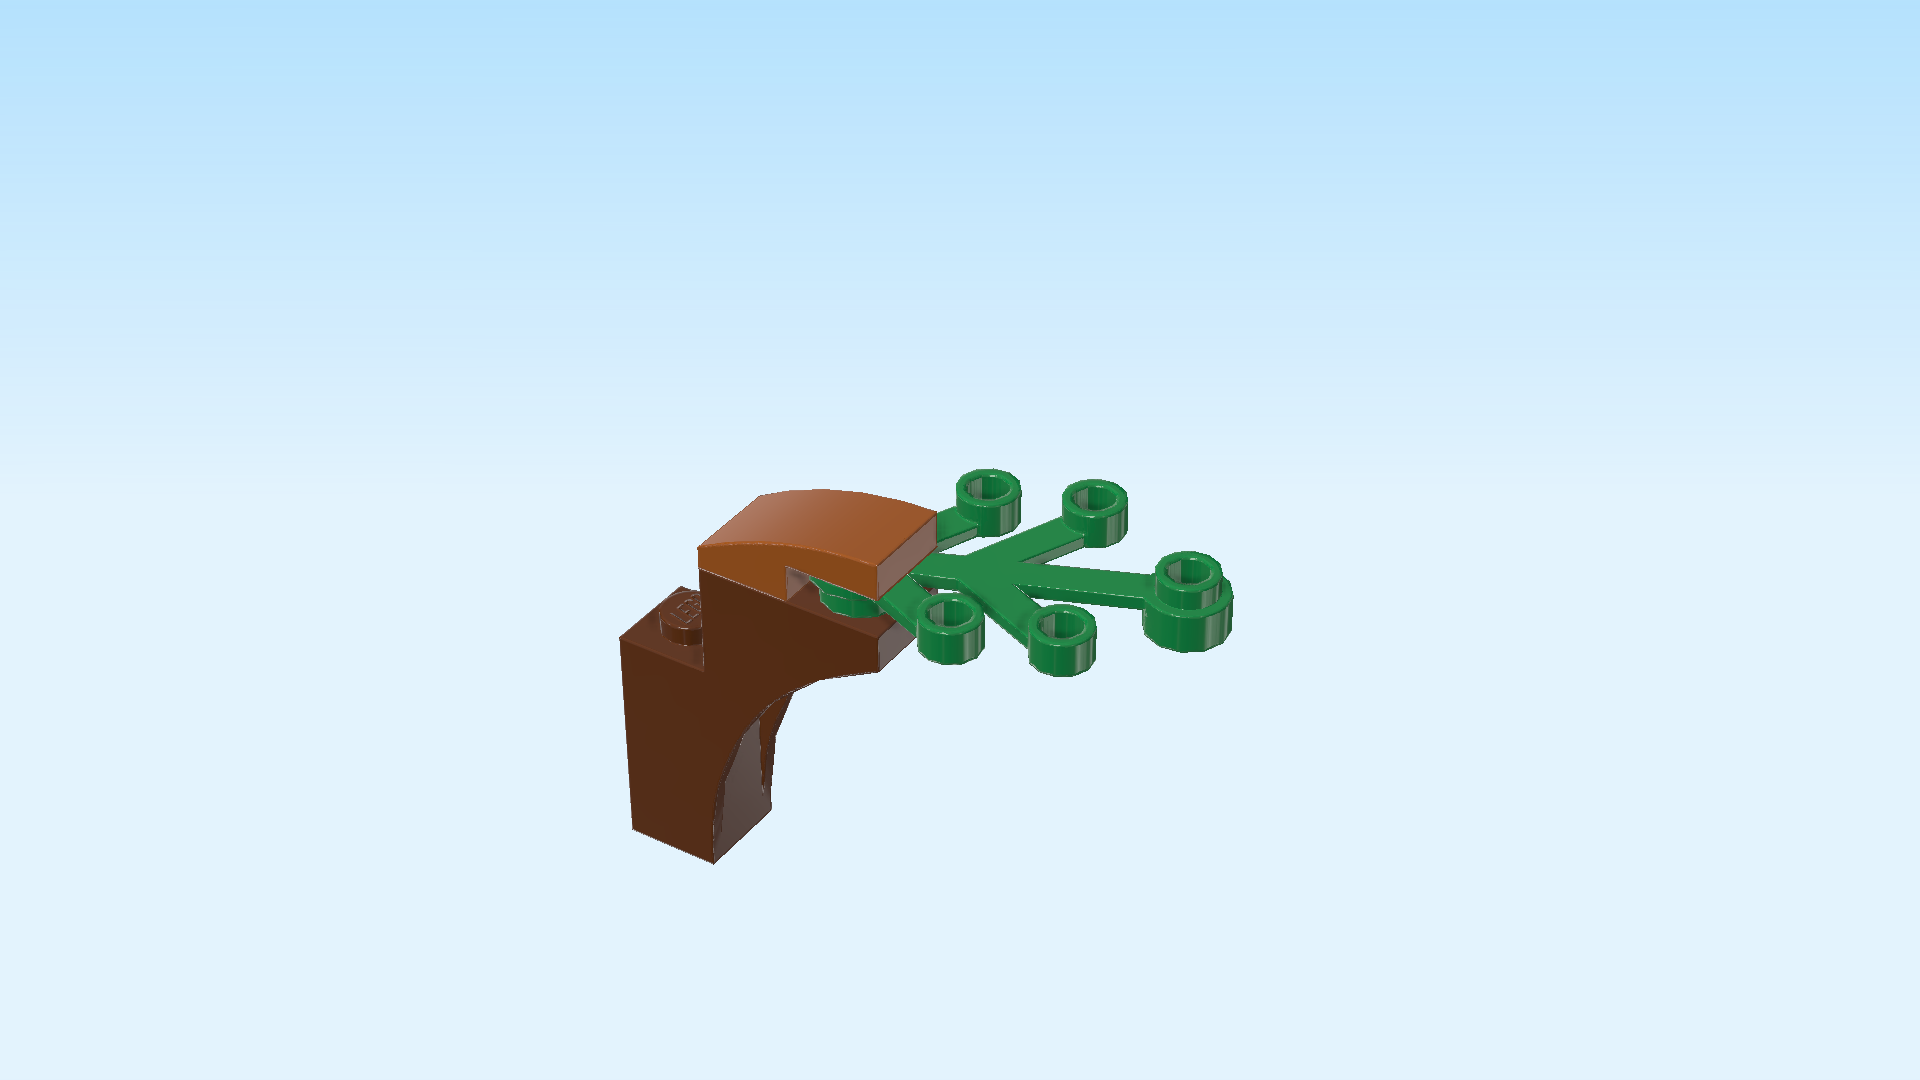
| Now, we will build the first of three branches. |
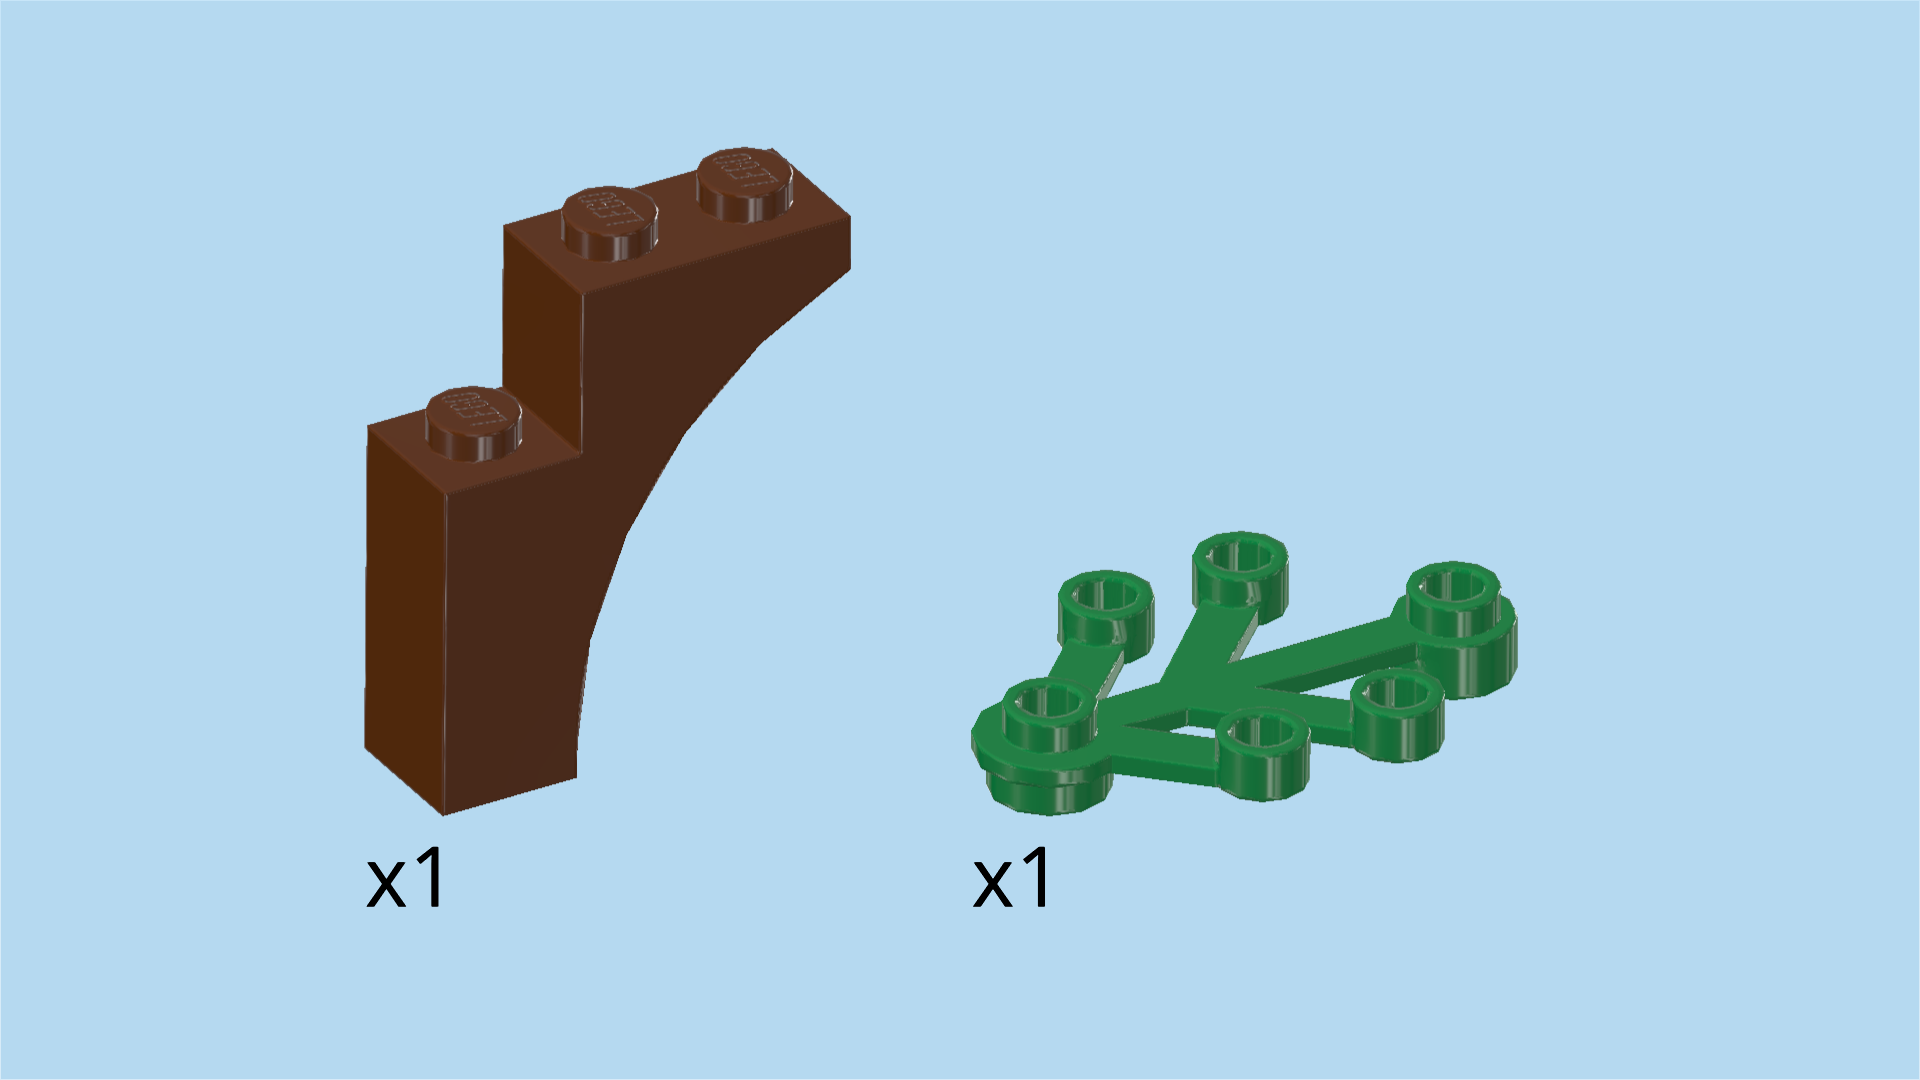
| Collect the following 2 pieces: |
| 1 dark green plant element with 6 knobs, |
| and 1 reddish brown half-arch brick 1x3x3 with 1 step. |
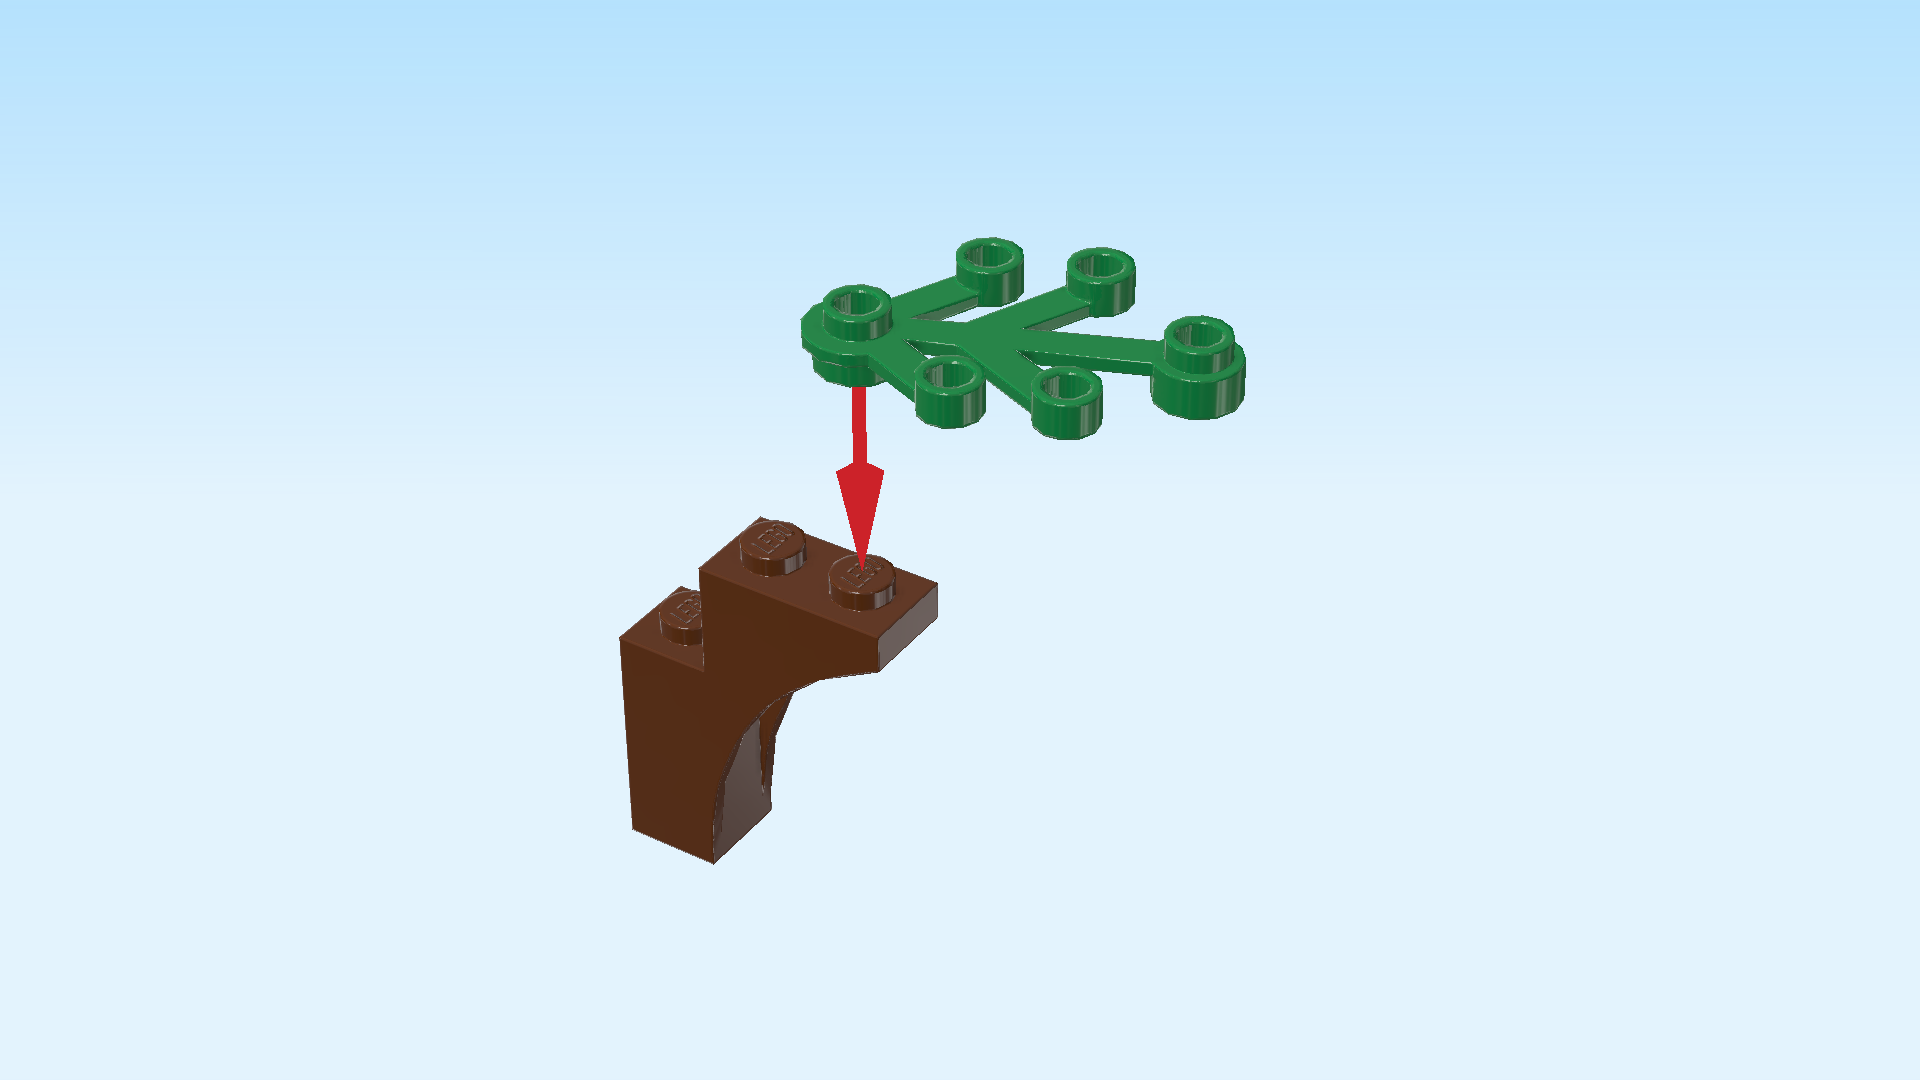
| Hold the half-arch brick horizontally, arch bending from the bottom right to the top left. |
| Mount the plant element on the leftmost knob of the half-arch brick, 5 twigs and plant element pointing to the left. |
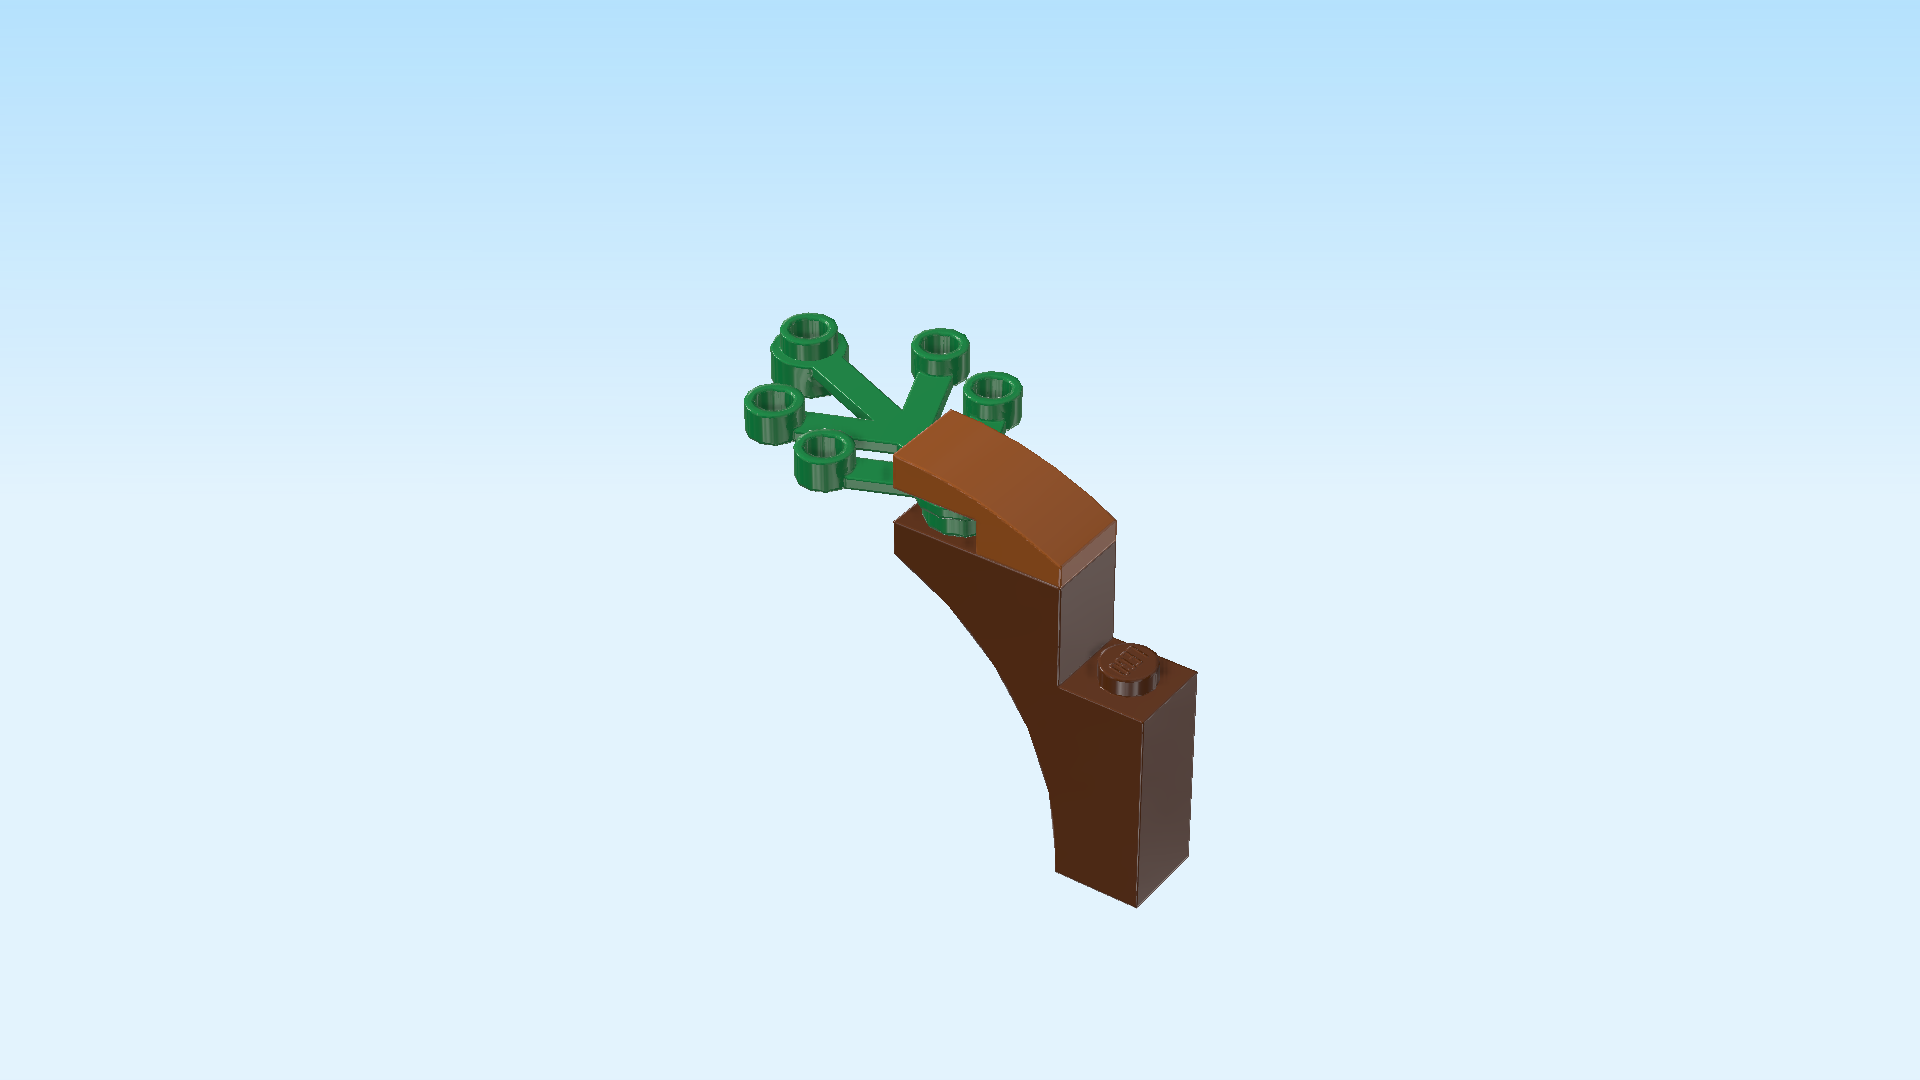
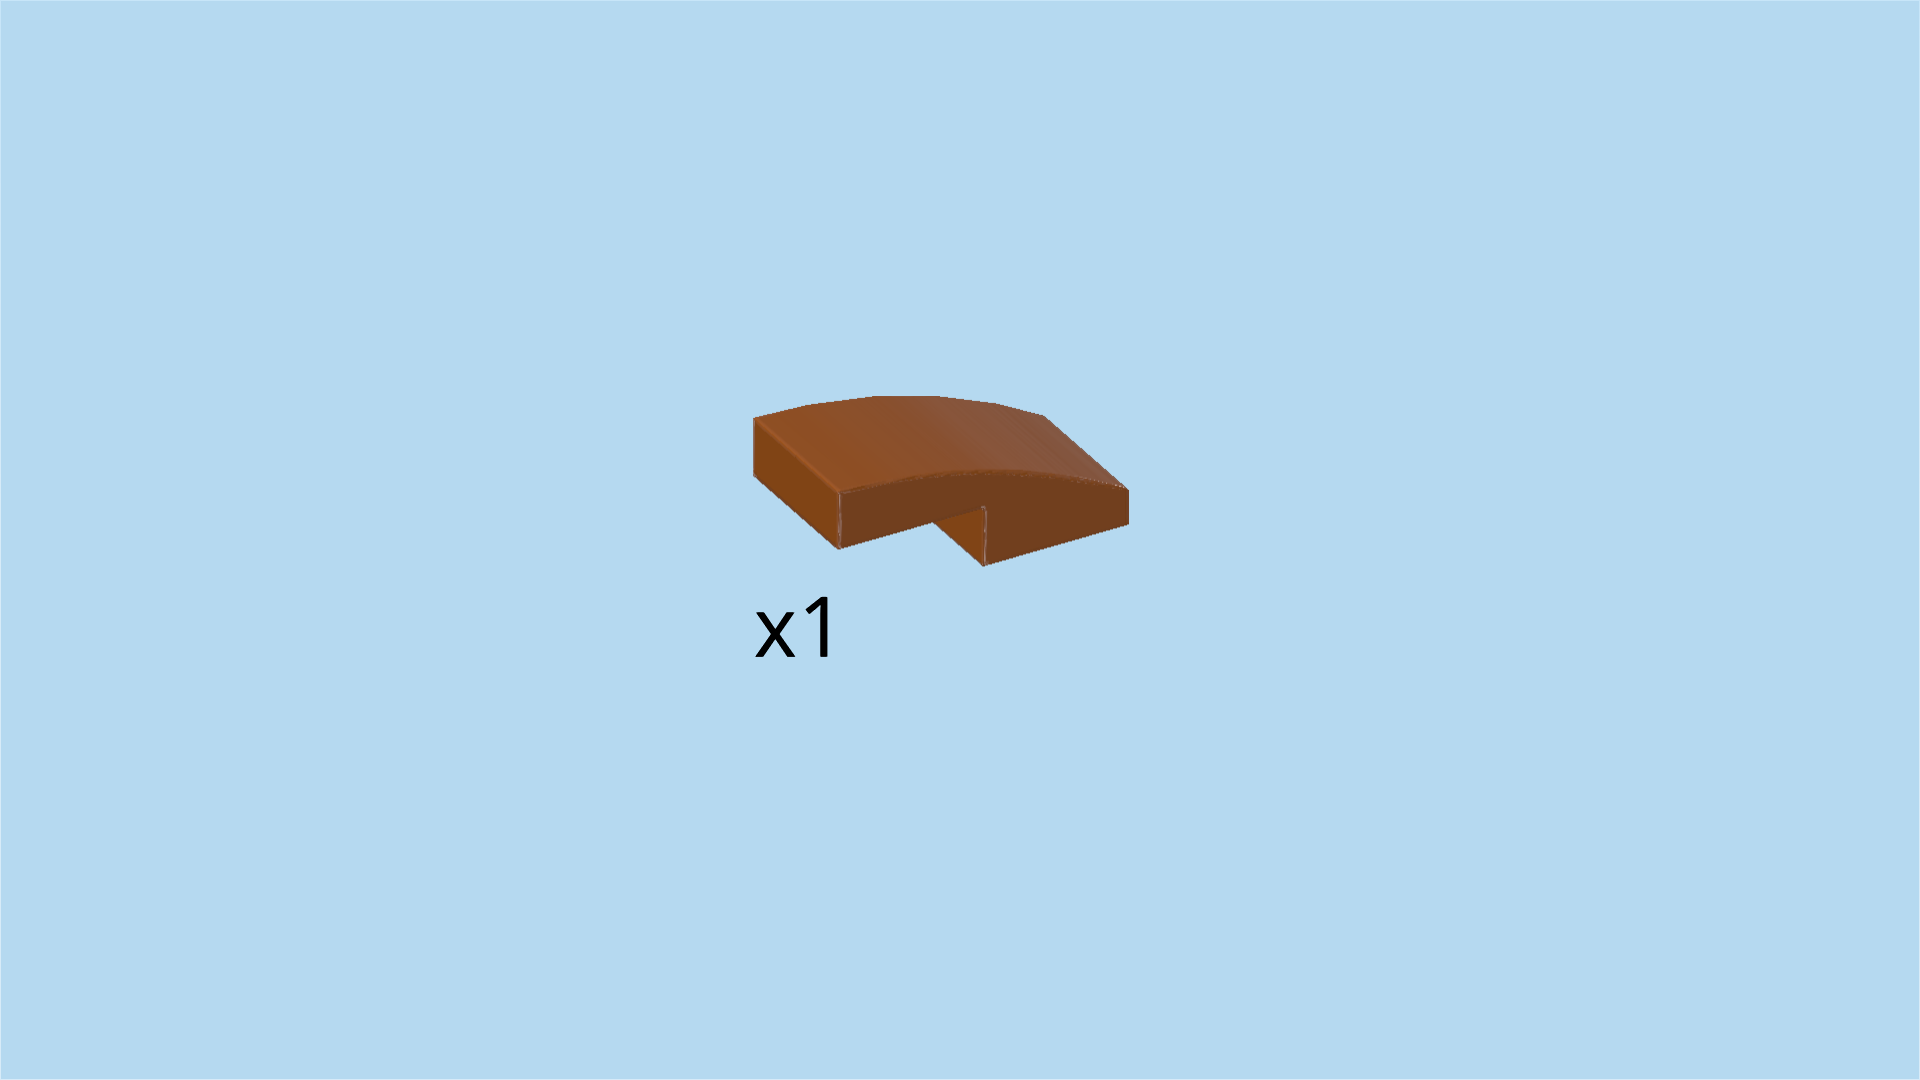
| Find 1 dark orange one-stepped curve tile 1x2x⅔. |
| Put it horizontally on the rightmost knob of the previous piece and the knob to its right, slope to the right. |
| The branch is finished! Mount it on the backmost knob of the tree trunk foundation, branch pointing to the left. |
| Next up, we build the second branch. |
| Collect the following 2 pieces: |
| 1 dark green plant element with 6 knobs, |
| and 1 reddish brown half-arch brick 1x3x3 with 1 step. |
| Hold the half-arch brick horizontally, this time arch bending from the bottom left to the top right. |
| Mount the plant element horizontally on the rightmost knob of the brick, 5 twigs and plant element pointing to the right. |
| Find 1 dark orange one-stepped curve tile 1x2x⅔. |
| Put it horizontally on the leftmost knob of the previous piece and the knob to its left, slope to the left. |
| The second branch is finished! Great job! Turn it towards you and mount it vertically on the rightmost knob of the trunk foundation, branch pointing to the front. You could also say it is mounted on the knob behind the fly agaric. |
| Now, we will build the third branch. |
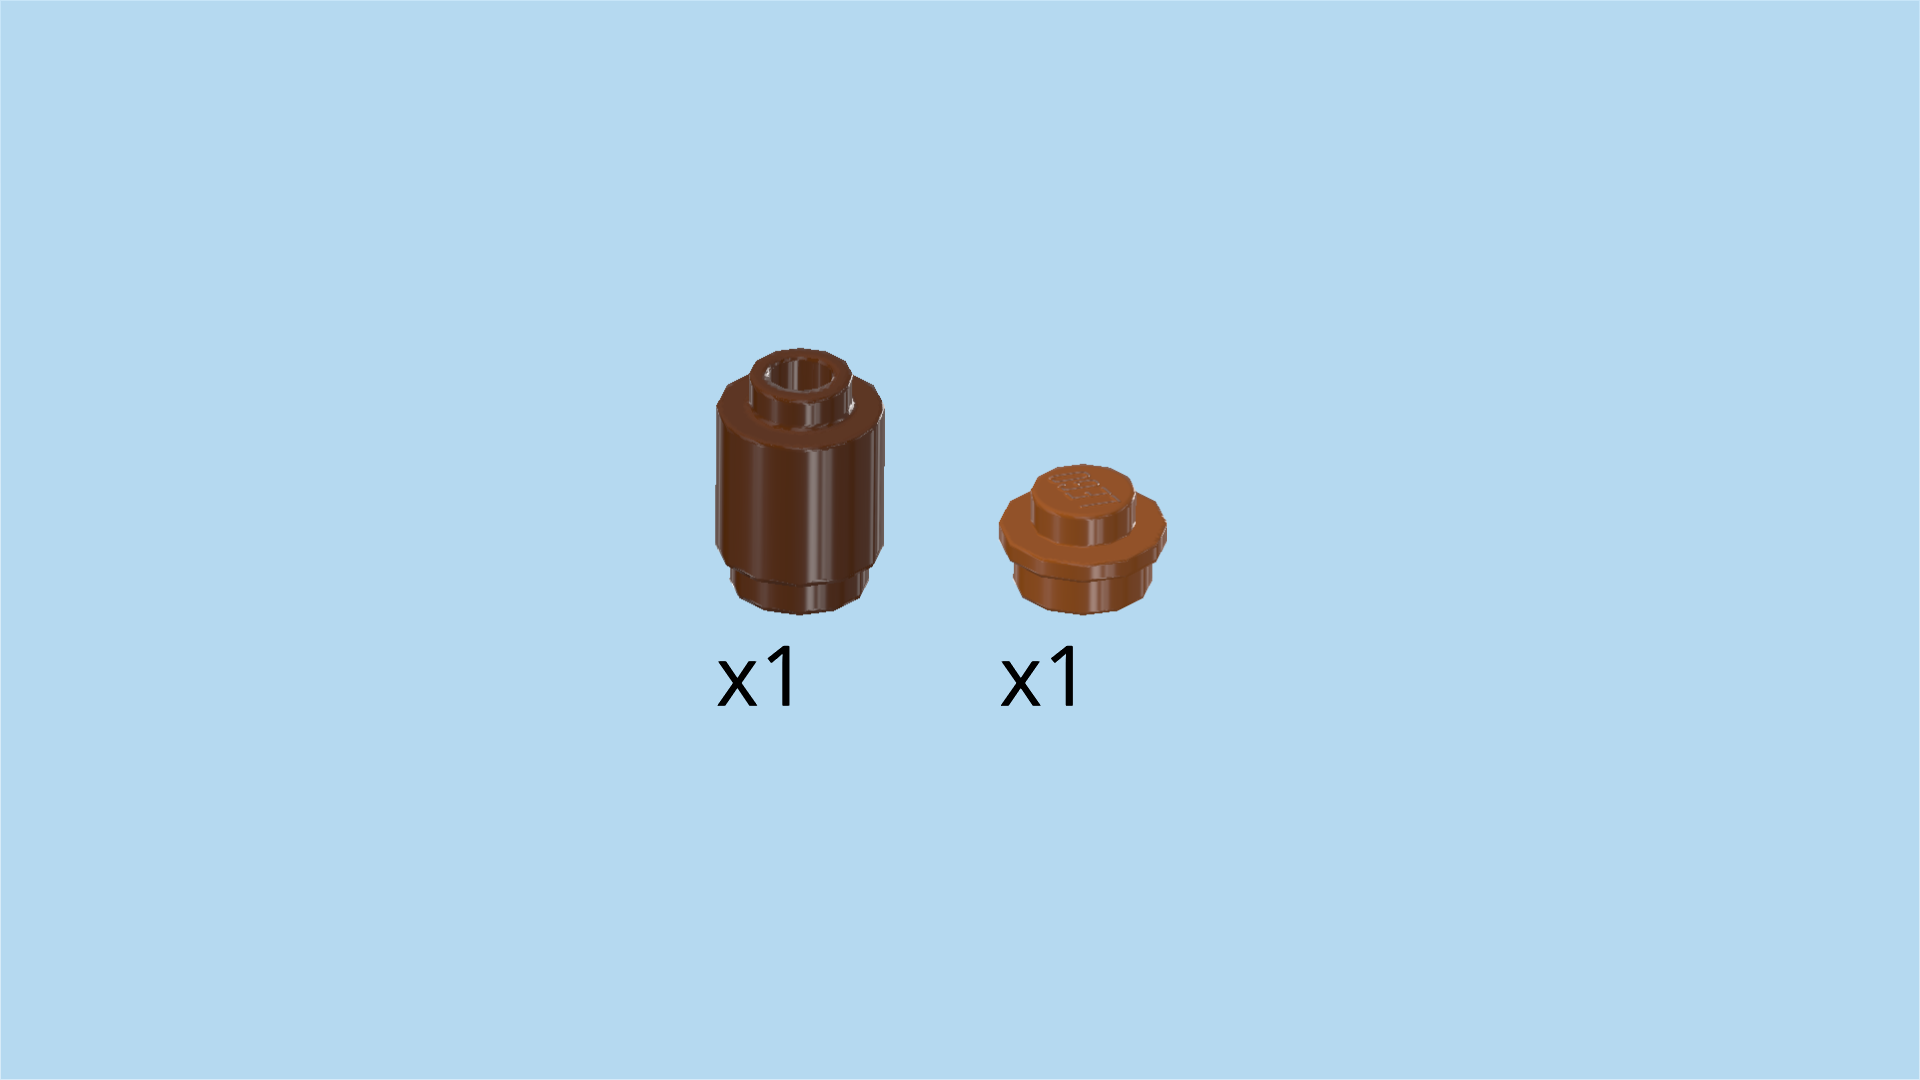
| Collect the following 2 pieces: |
| 1 dark orange round plate 1x1, |
| and 1 reddish brown round brick 1x1. |
| Put the round plate 1x1 on top of the round brick 1x1. |
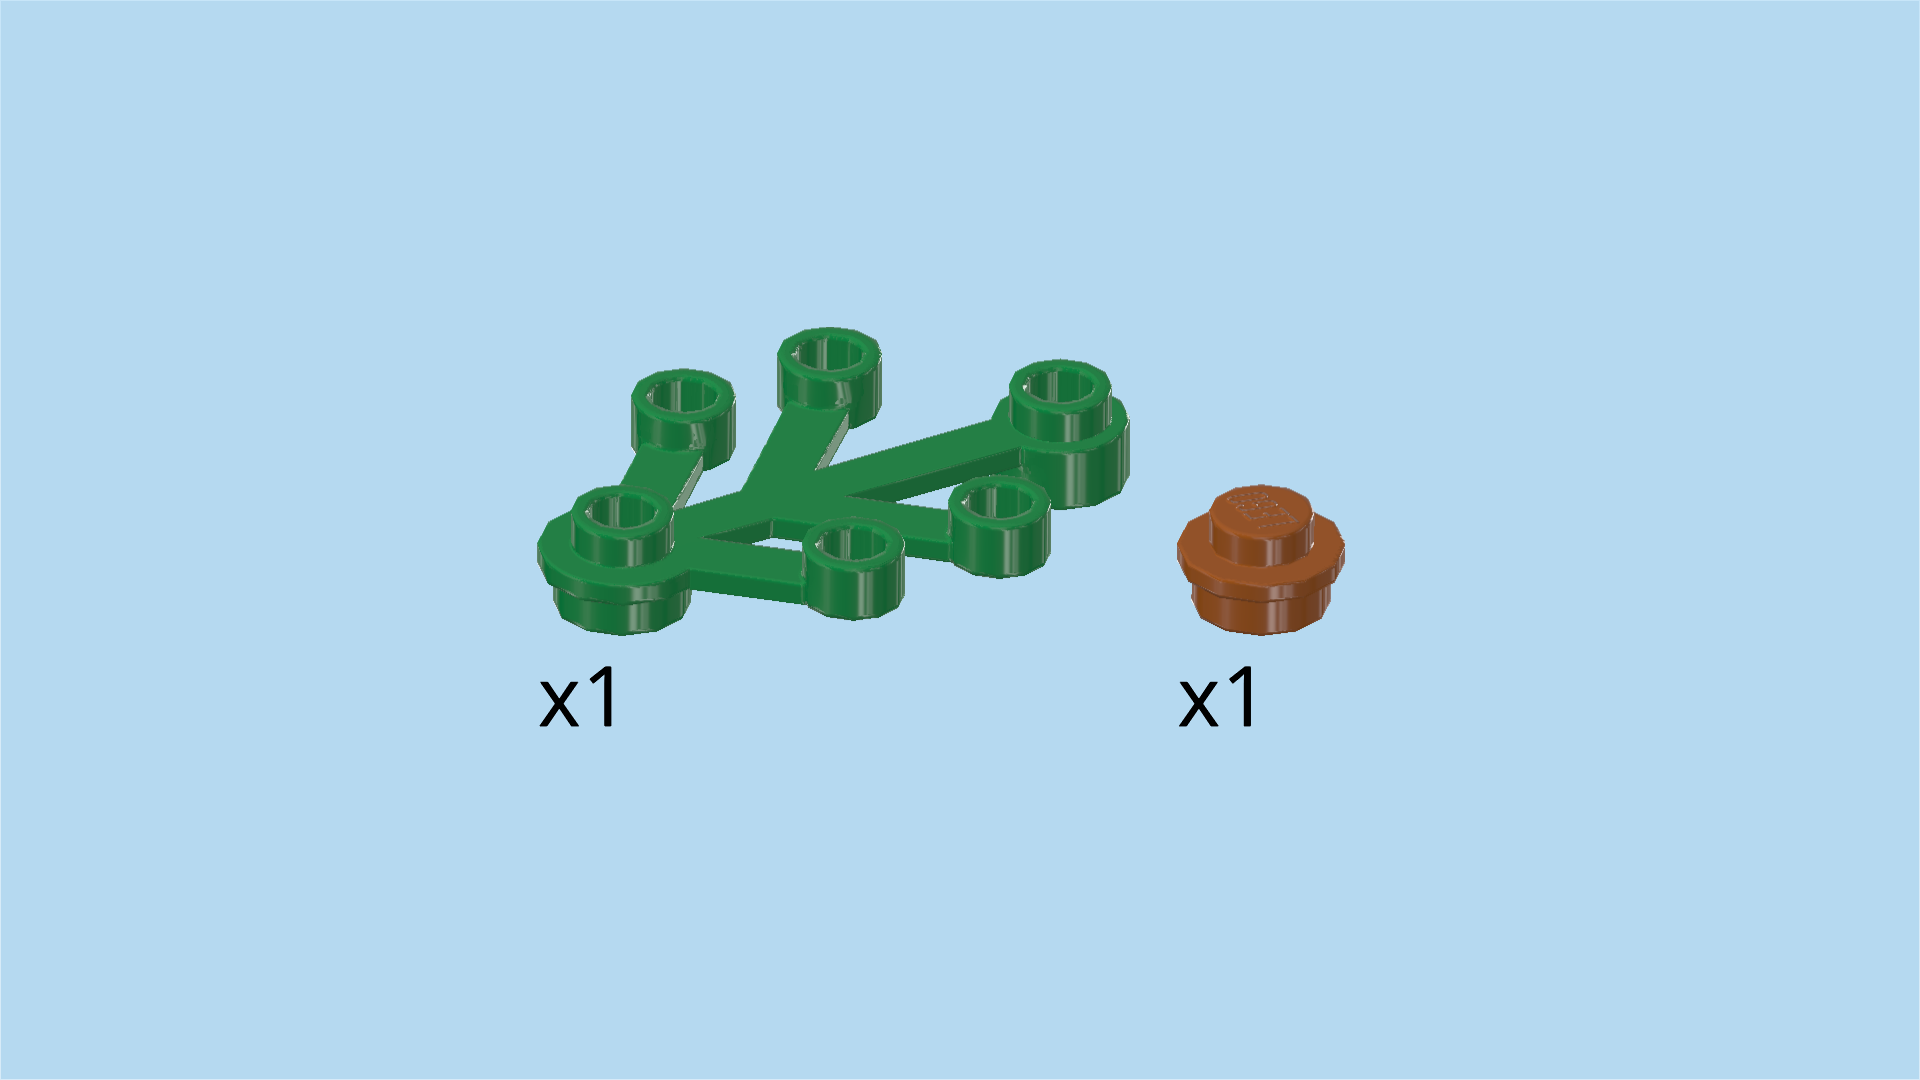
| Collect the following 2 pieces: |
| 1 dark orange round plate 1x1, |
| and 1 dark green plant element with 6 knobs. |
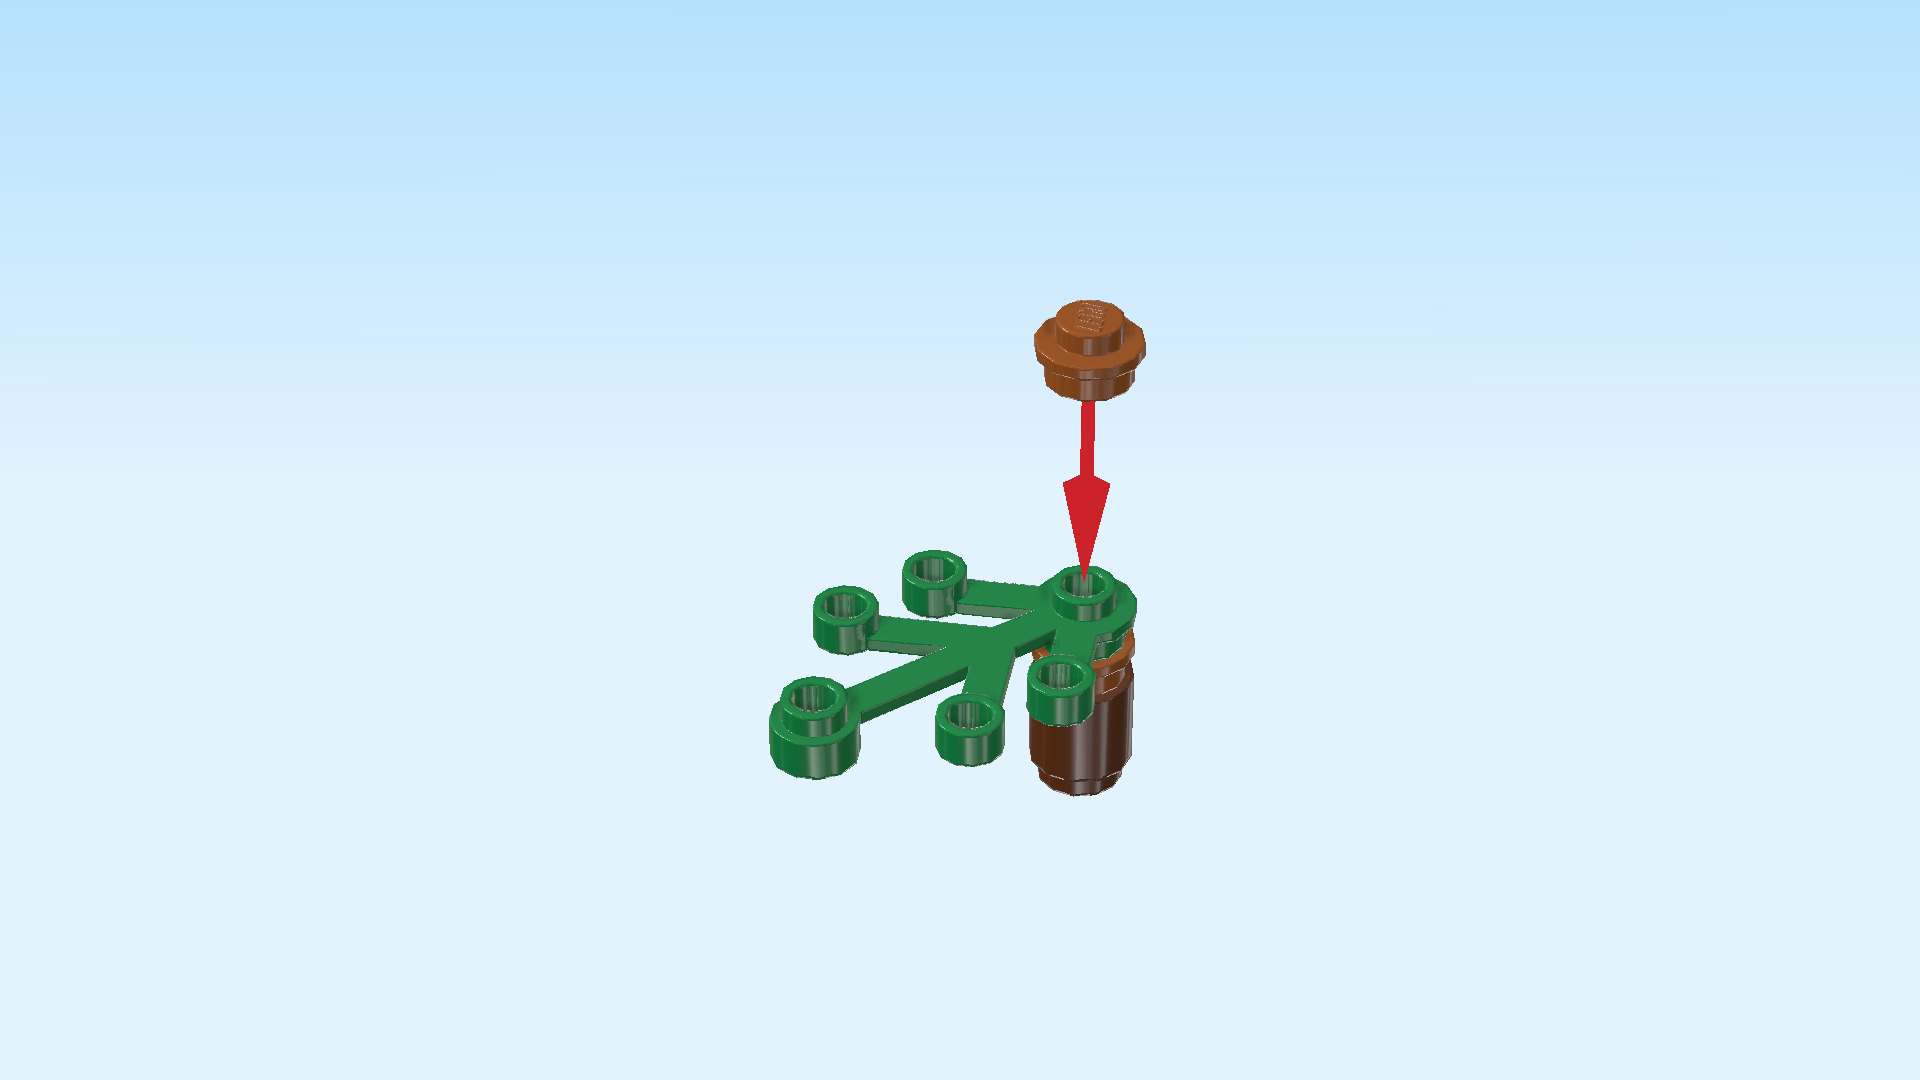
| Put the plant element horizontally on top, 5 twigs pointing to the left. |
| Put the round plate 1x1 on top in line with the other elements. Do not put it on one of the 5 twigs. |
| The third branch is finished! Mount it on the last remaining knob of the tree trunk foundation, twigs pointing to the front left. |
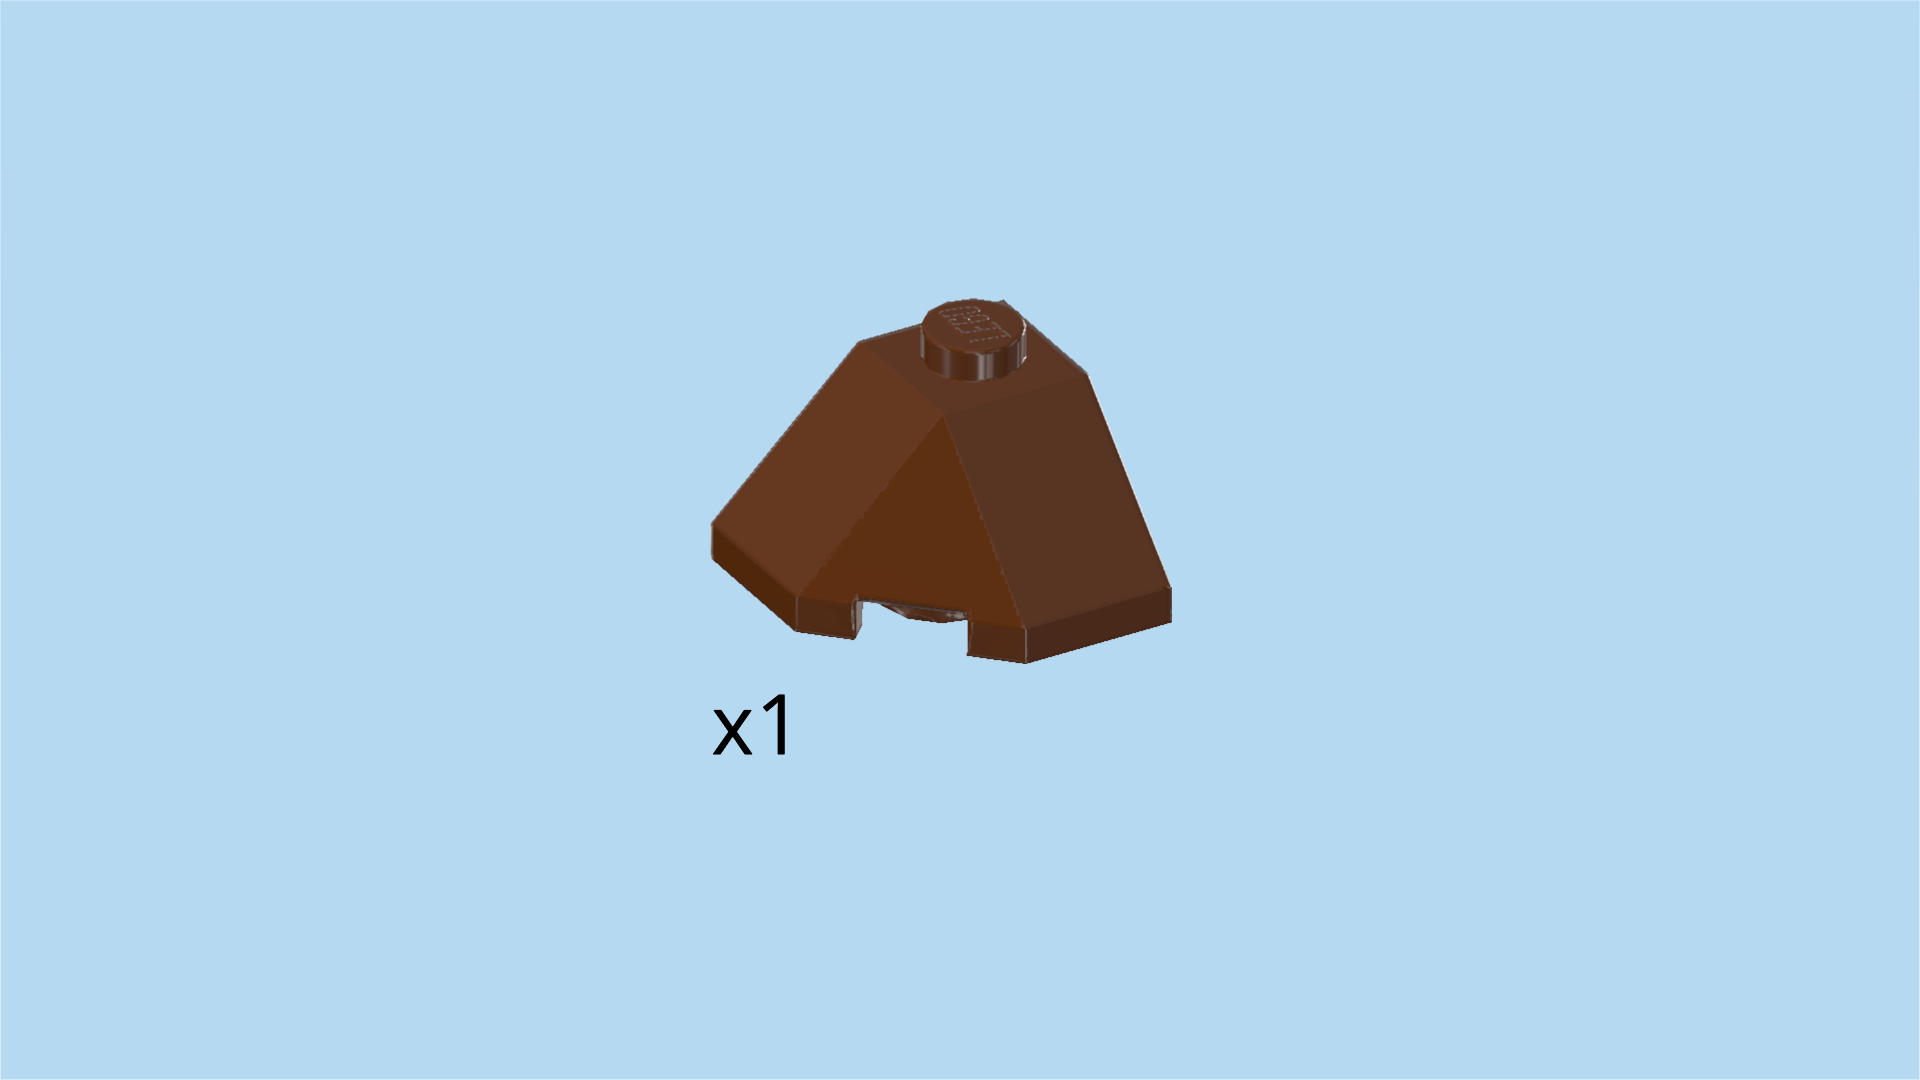
| Find 1 reddish brown corner roof tile 2x2x1 with 3 slopes. |
| Turn the tree structure so that the corner of the base plate is pointing towards you. |
| Mount the corner roof tile between the two large branches, middle slope towards you, side slopes to the front left and front right. |
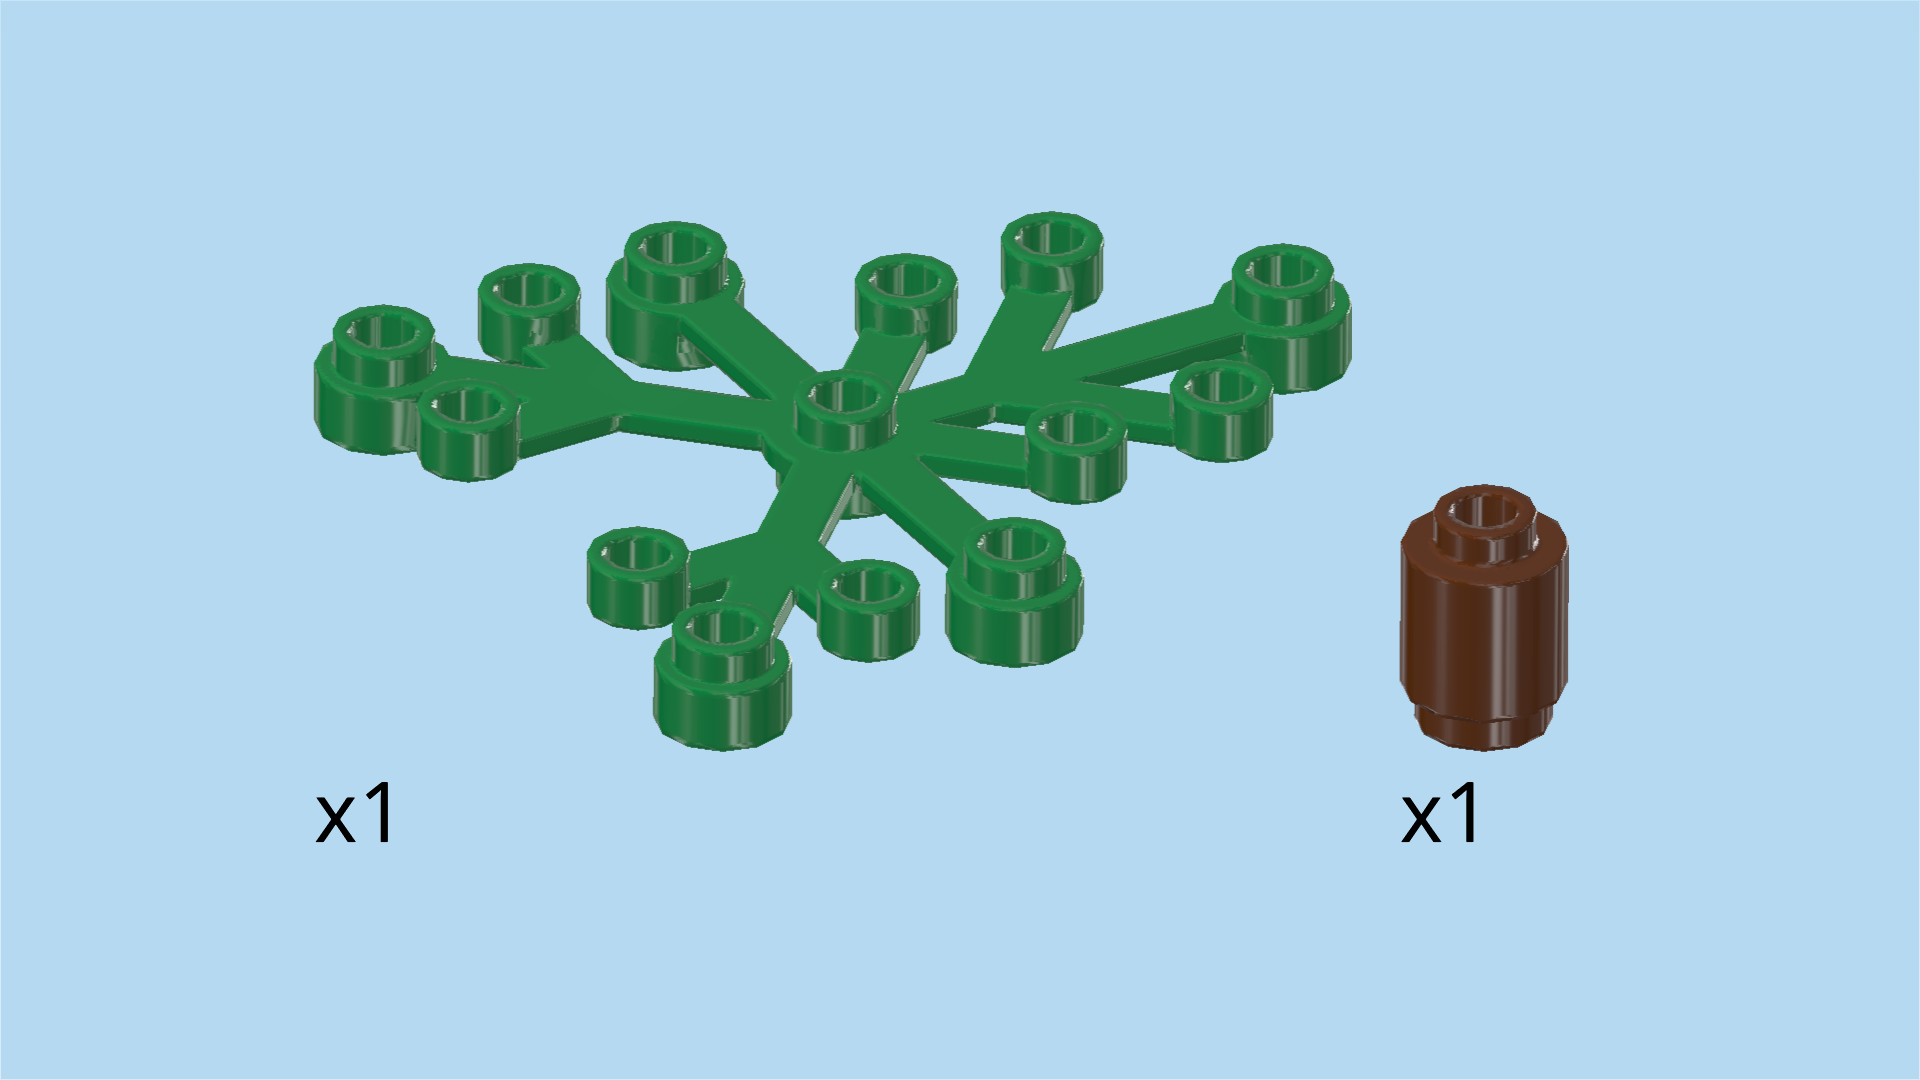
| Now, we will make the leaf canopy. |
| Collect the following 2 pieces: |
| 1 dark green plant element with 14 knobs, |
| and 1 reddish brown round brick 1x1. |
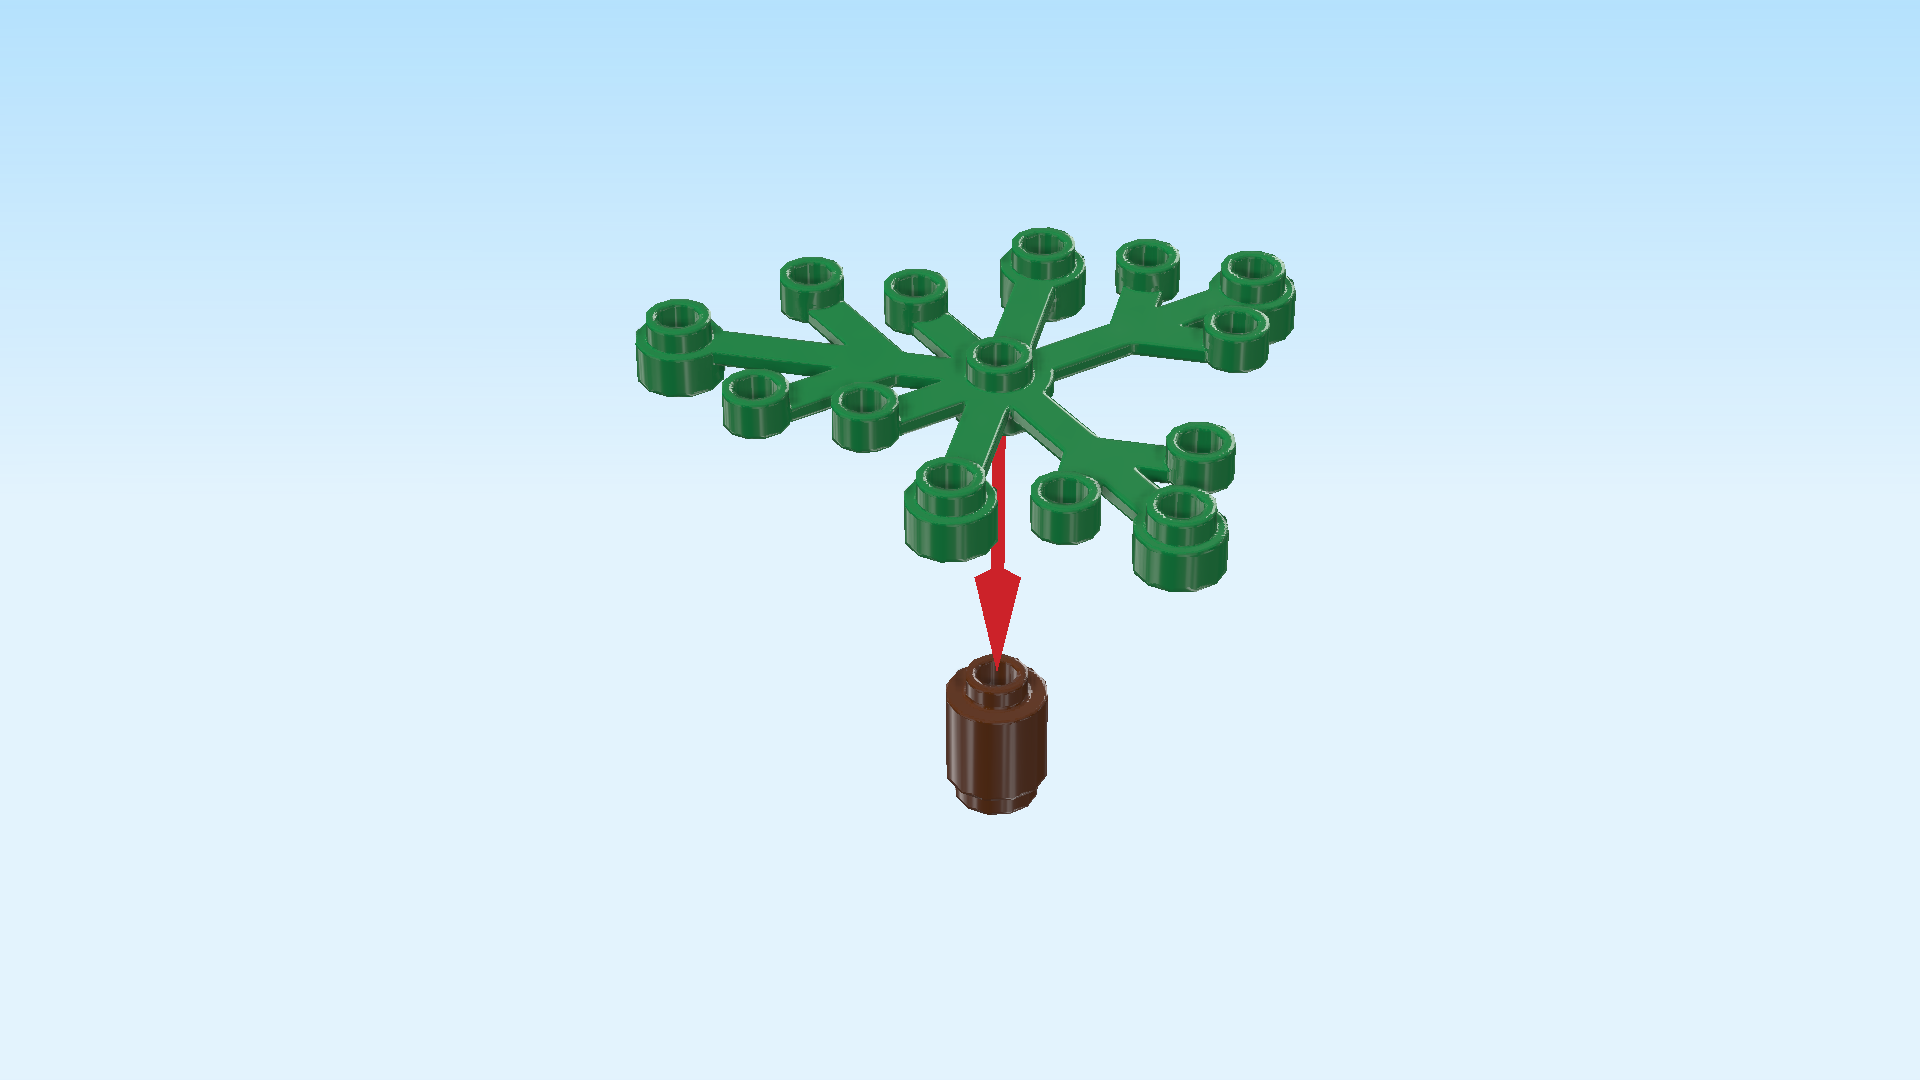
| Identify the most central knob on the plant element. |
| Put the round brick 1x1 underneath the central knob of the plant element. |
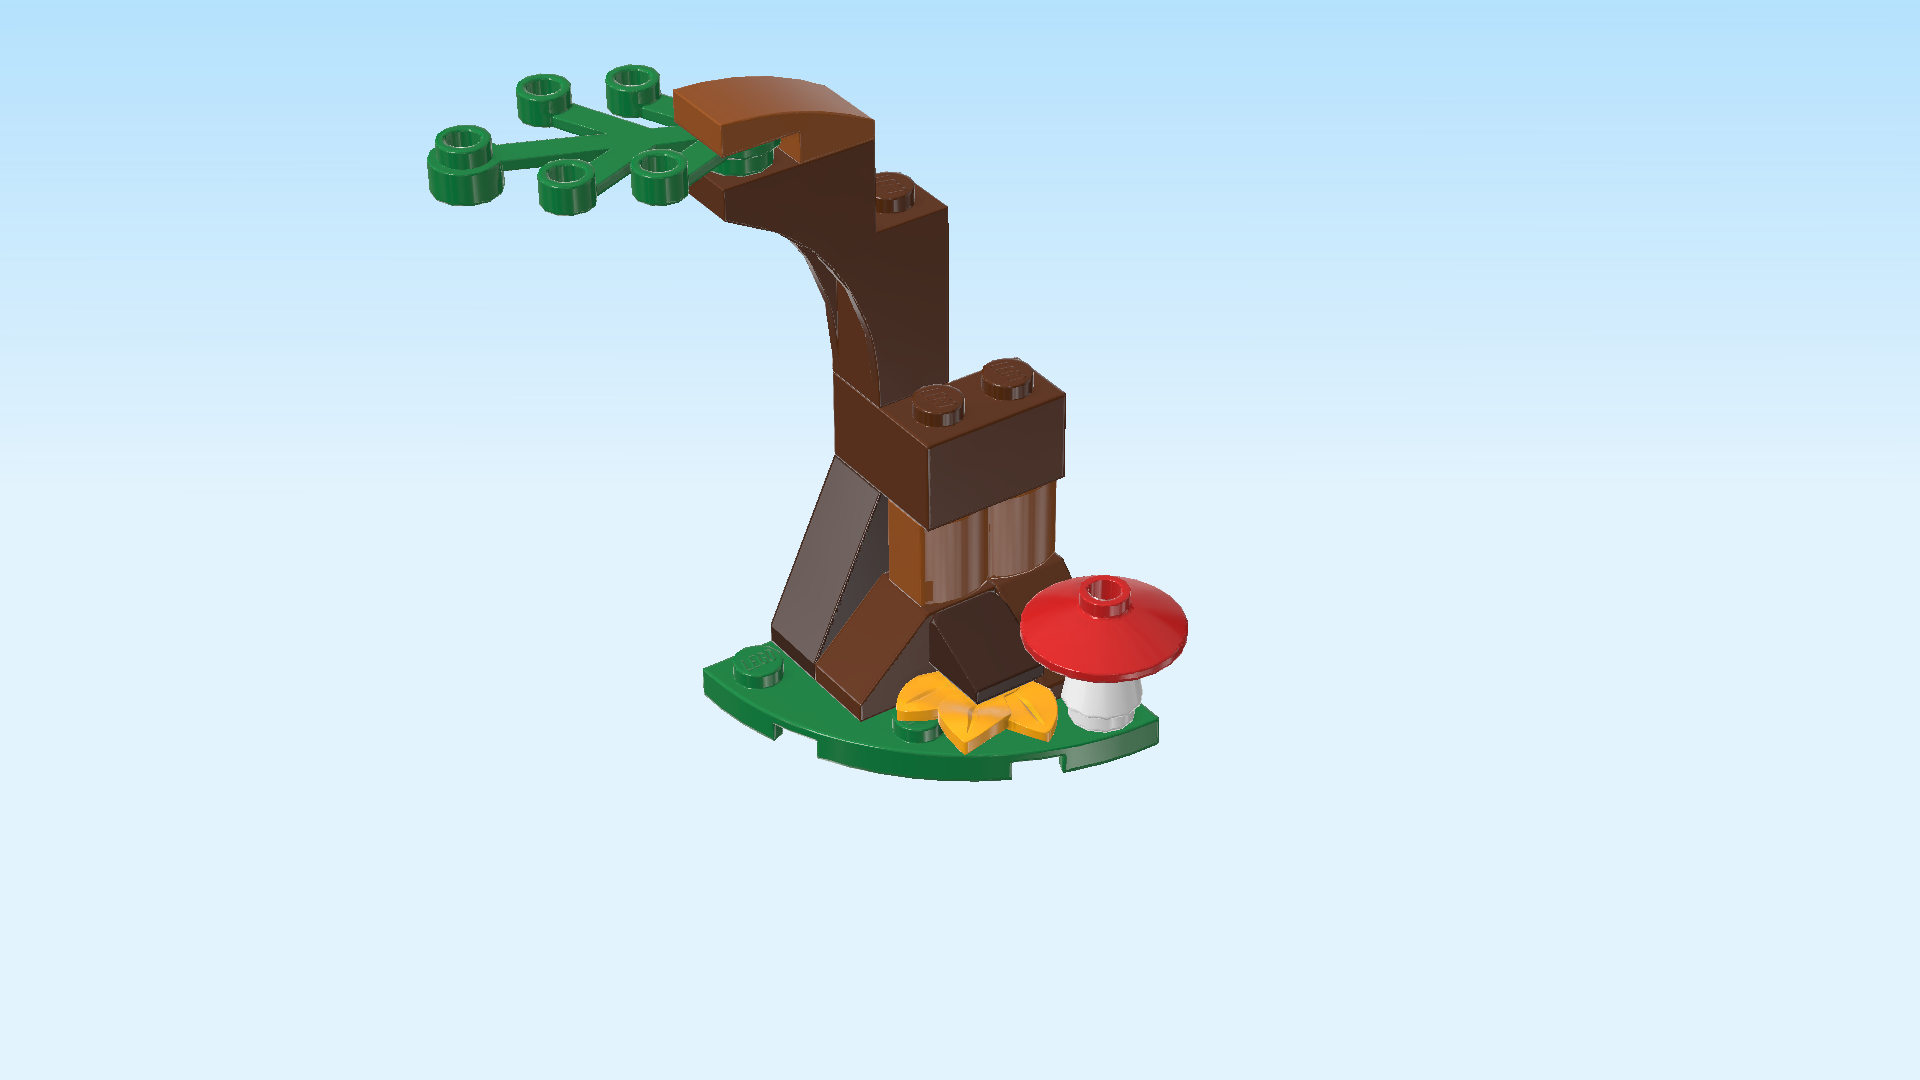
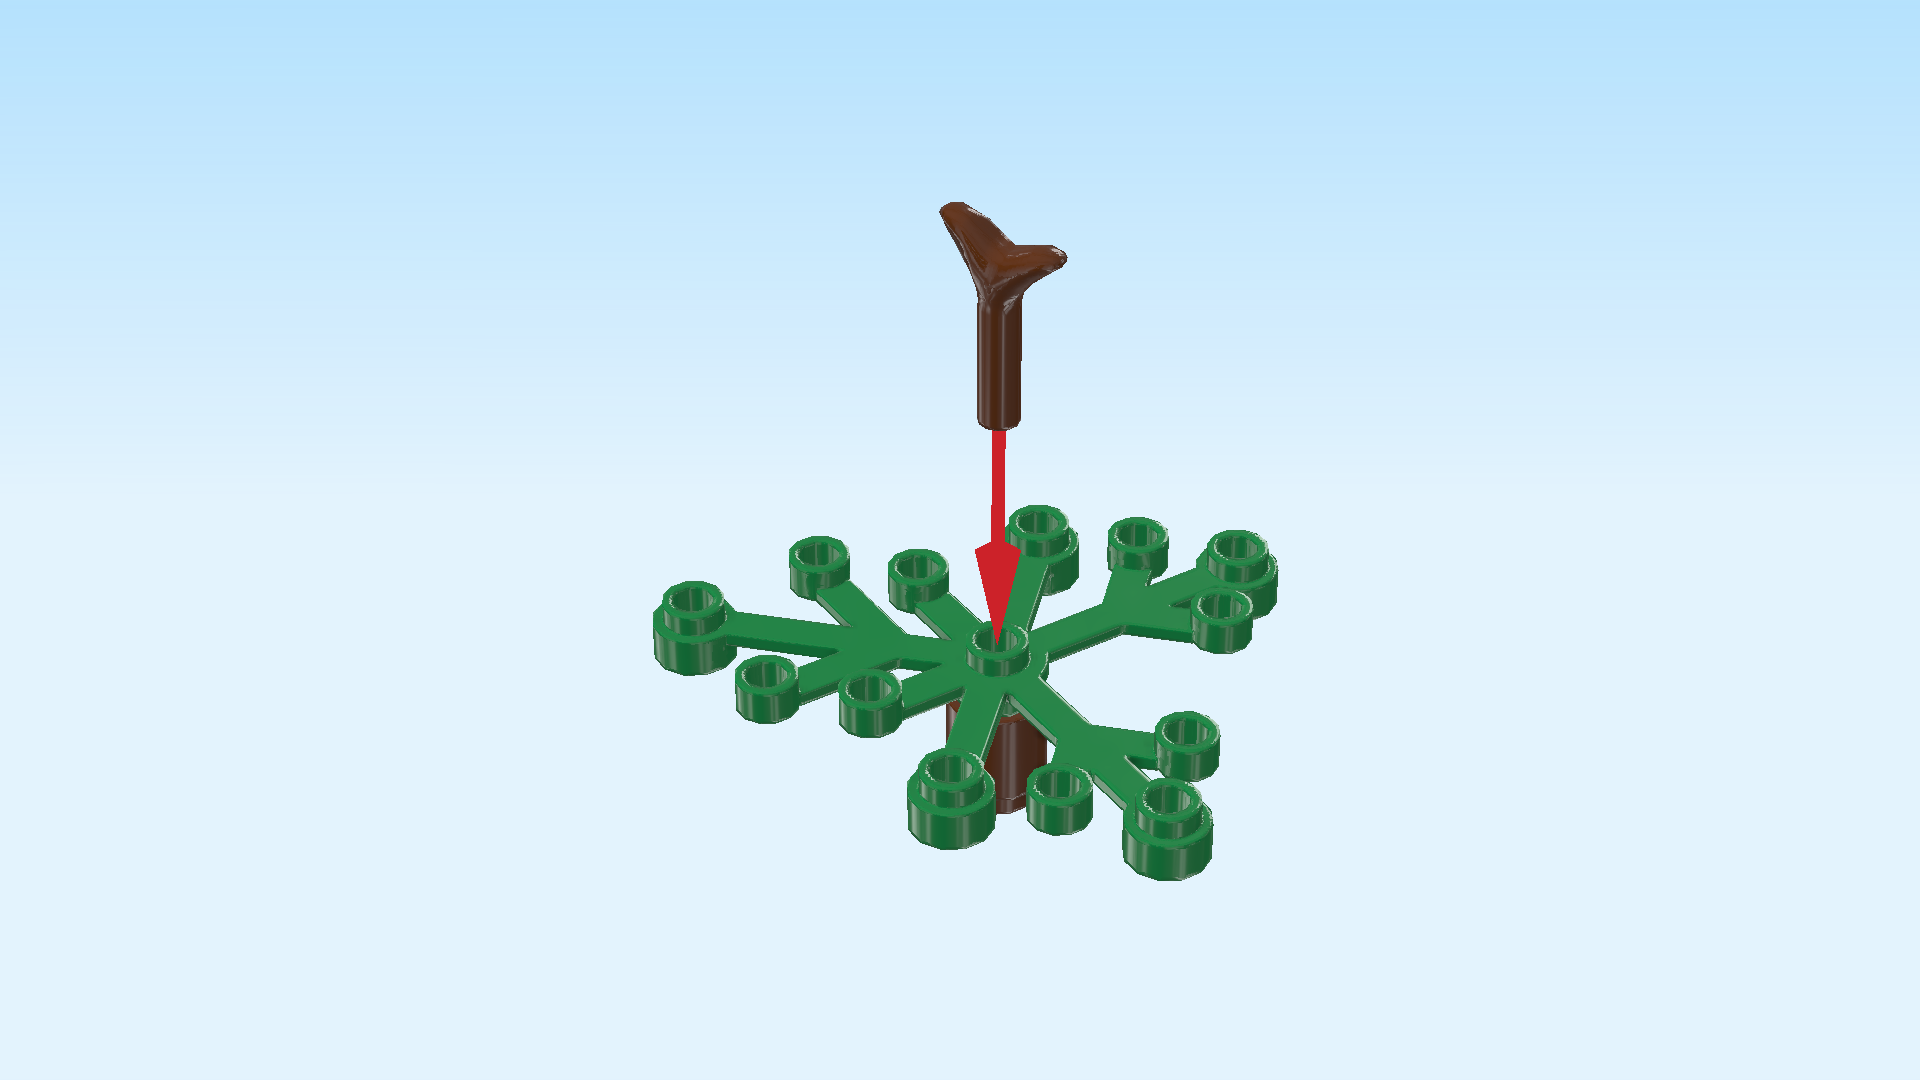
| Find 1 reddish brown shaft 2m with twig leaves. |
| Insert the shaft of the twig from the top into the central knob of the plant element, twig leaves sticking out towards the top. |
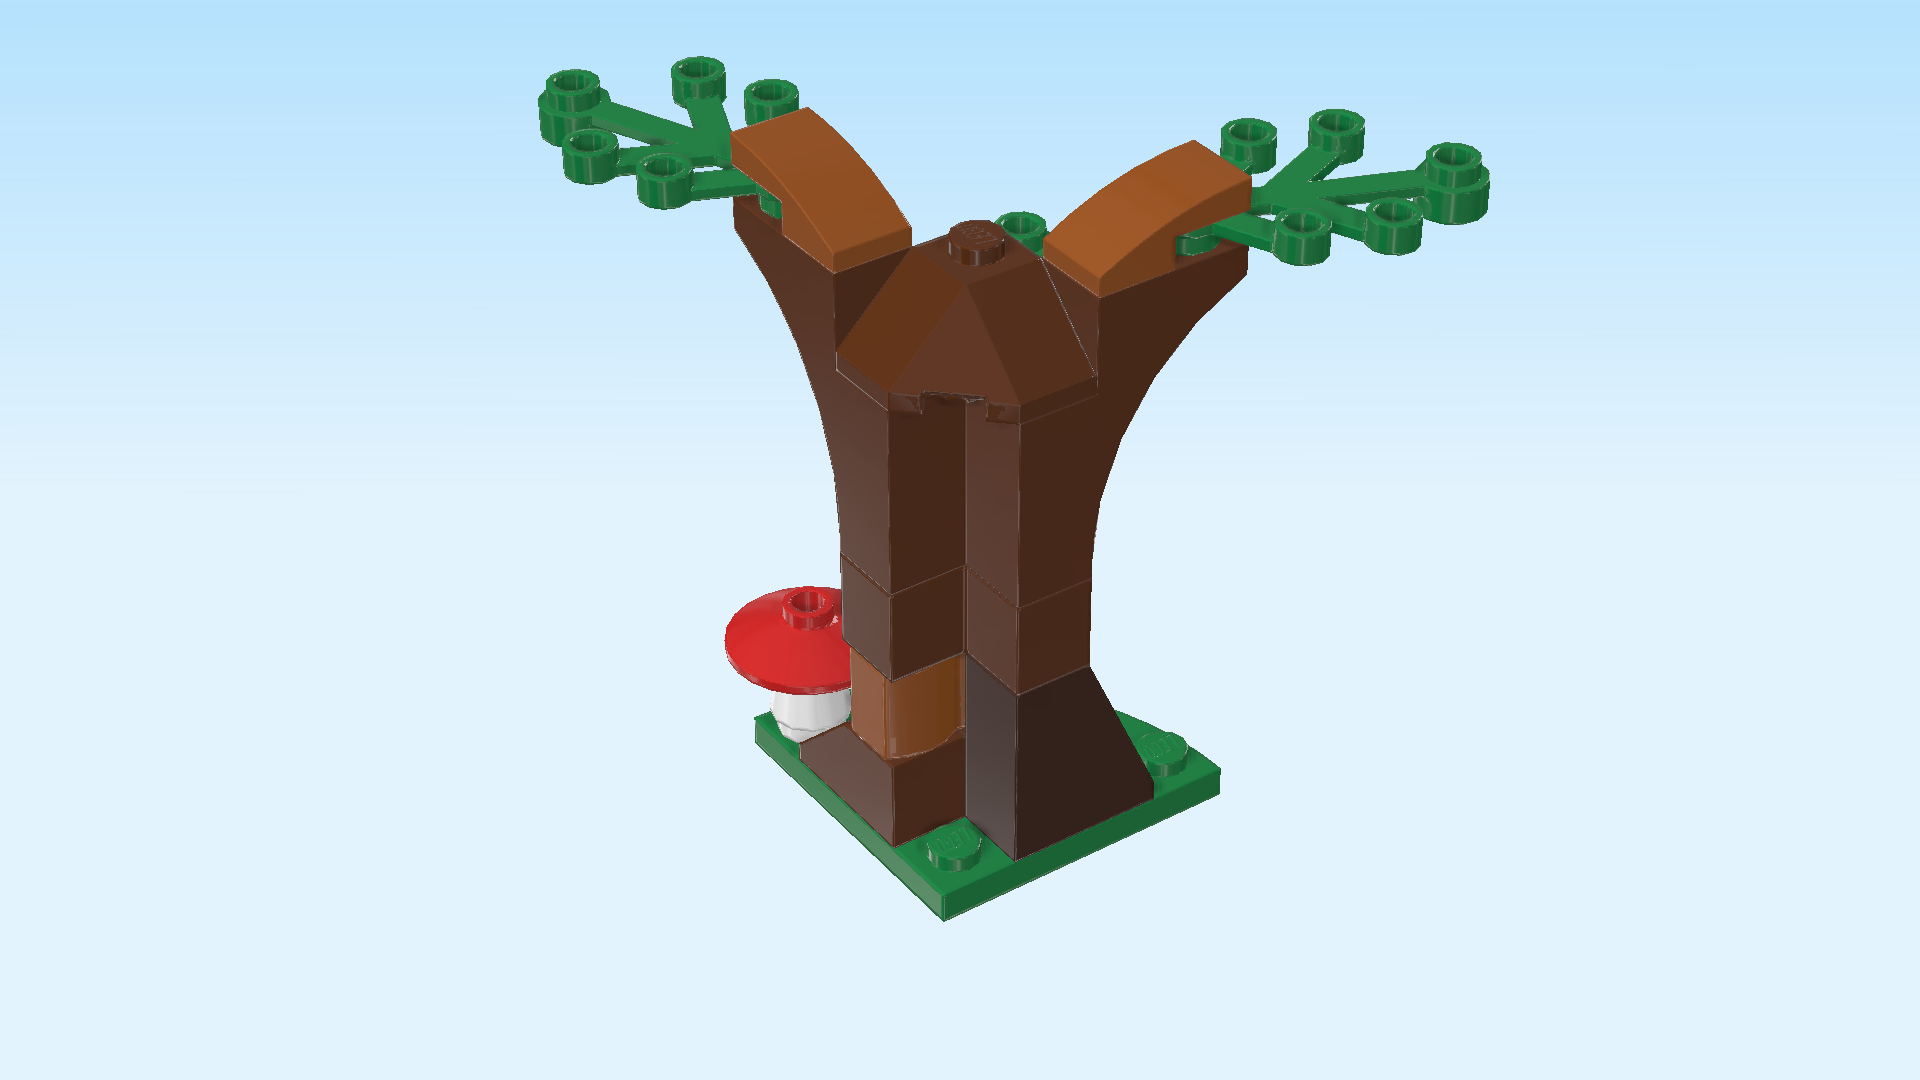
| Mount the leaf canopy on top of the roof tile with 3 slopes. |
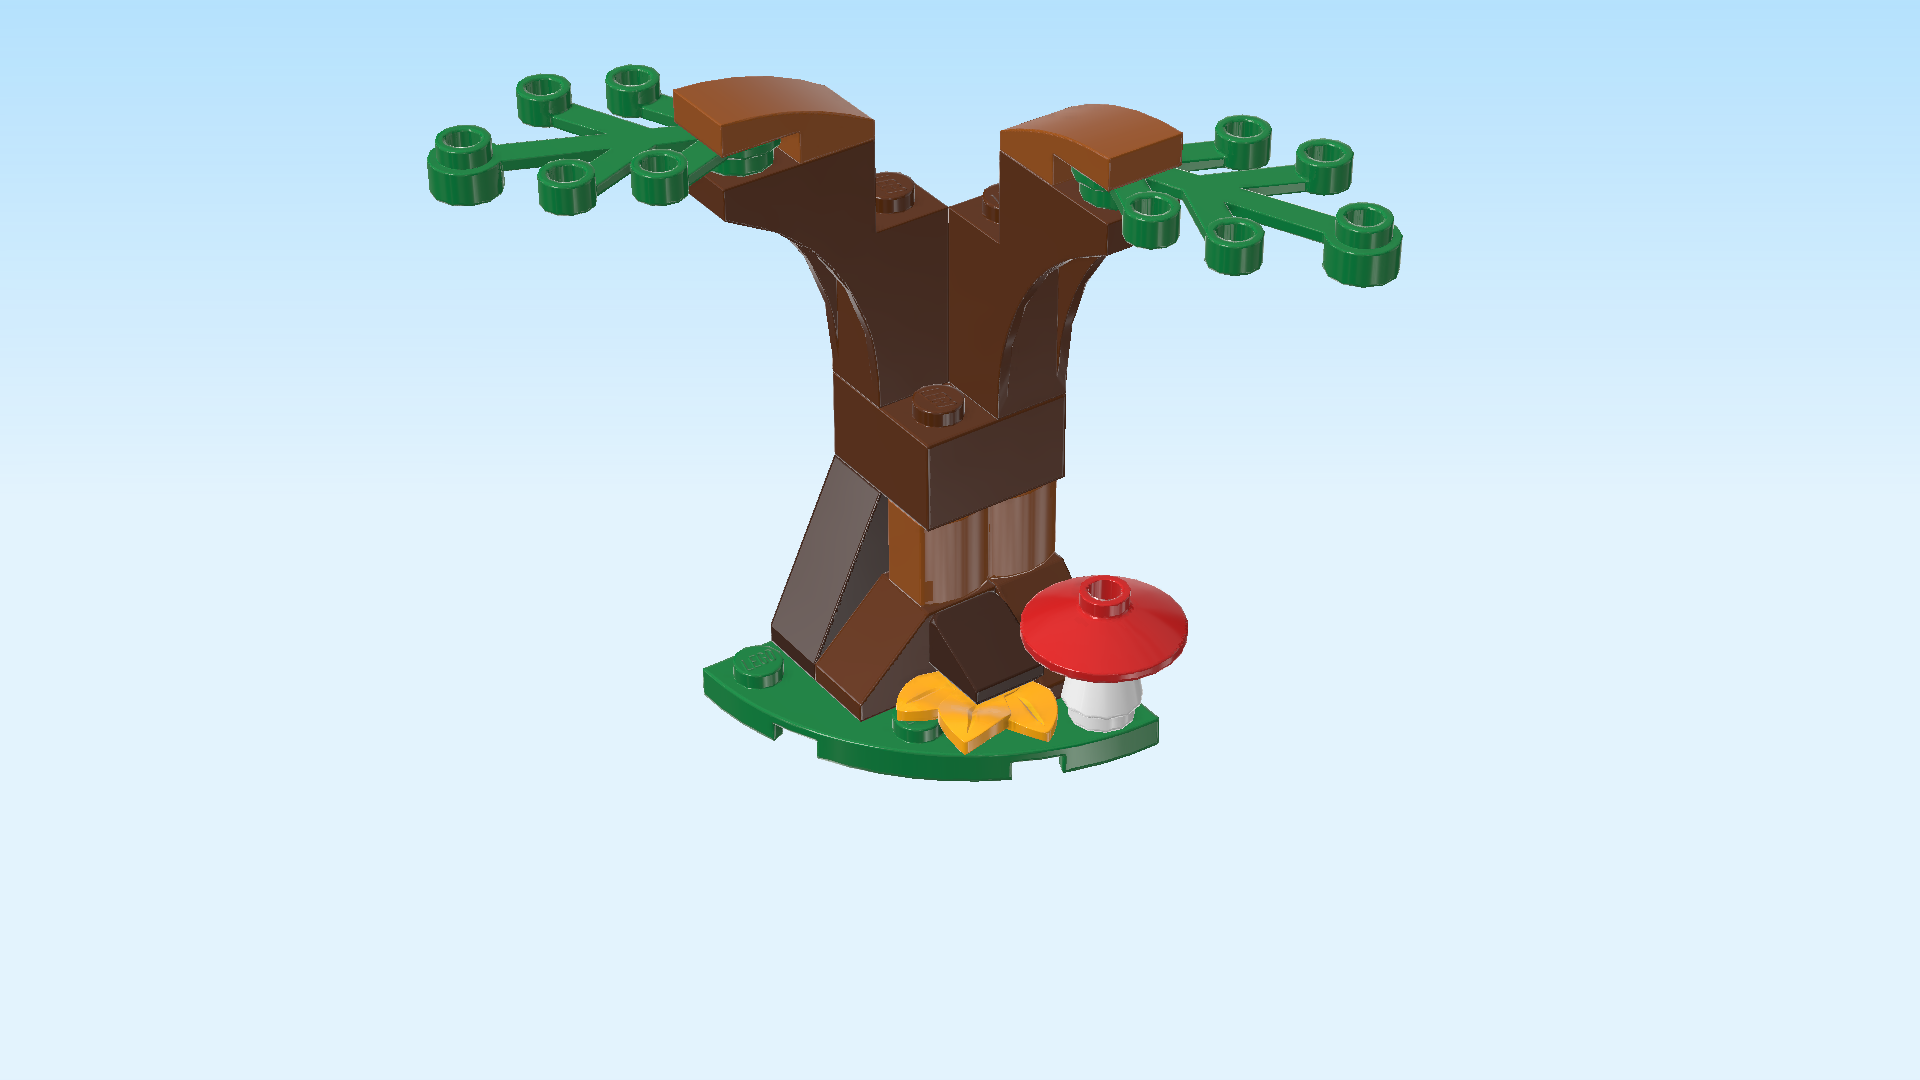
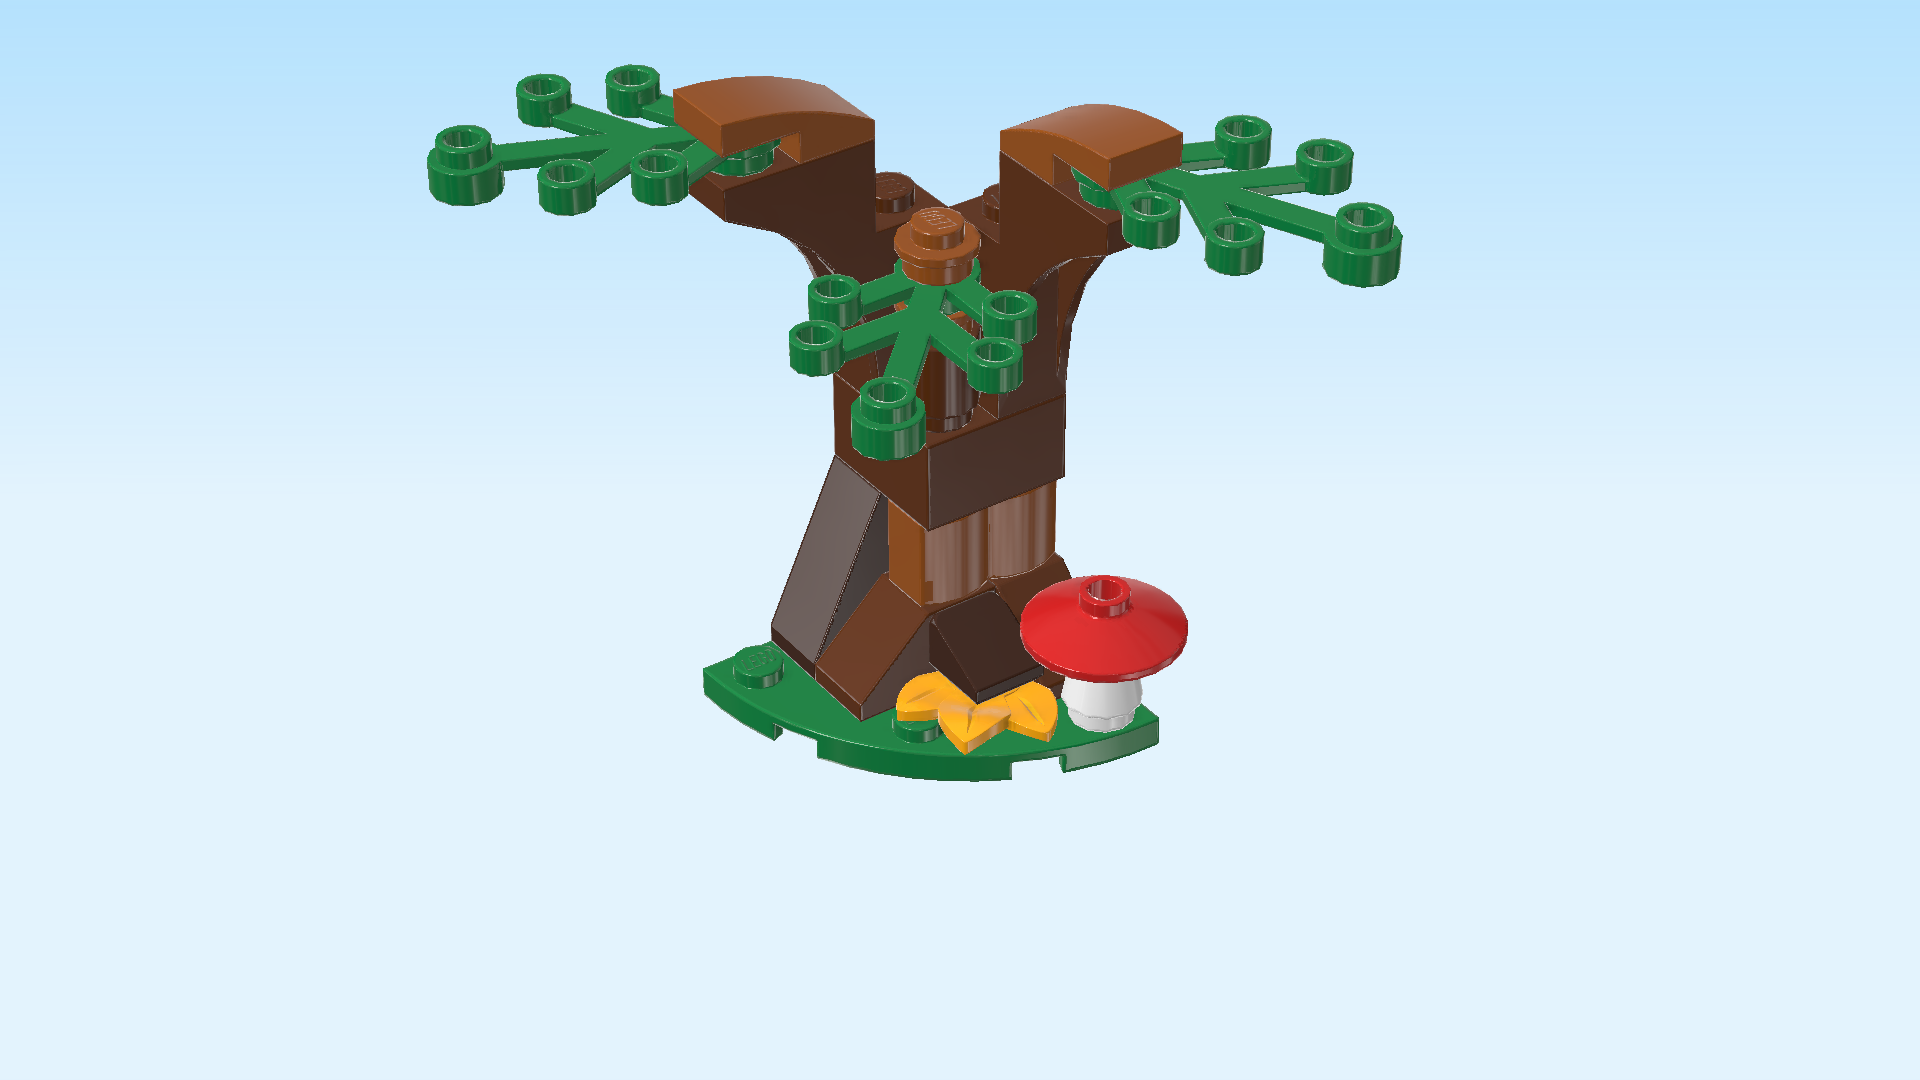
| The Forbidden Forest tree is finished! Well done! |
| Now, we will build the adult Thestral with harness and carriage. |
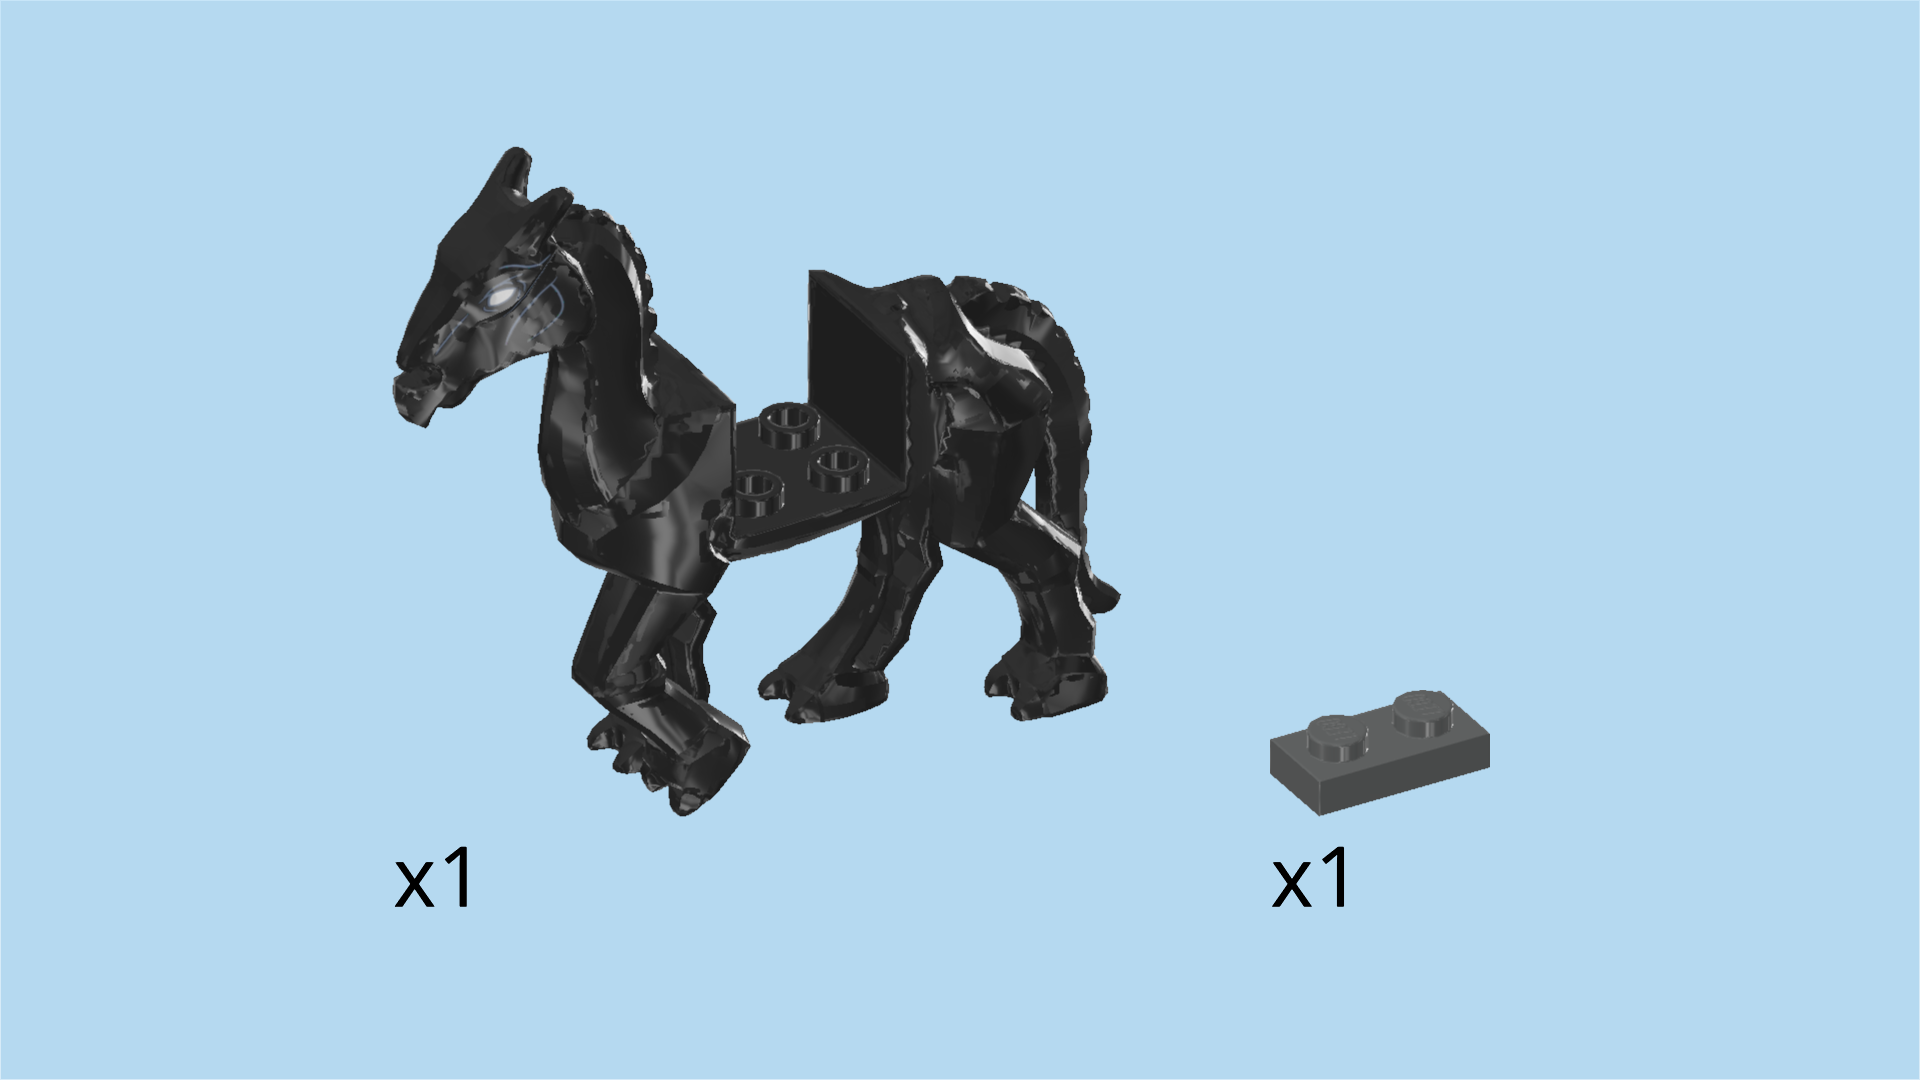
| Collect the following 2 pieces: |
| 1 black adult Thestral frame, |
| and 1 dark stone grey plate 1x2. |
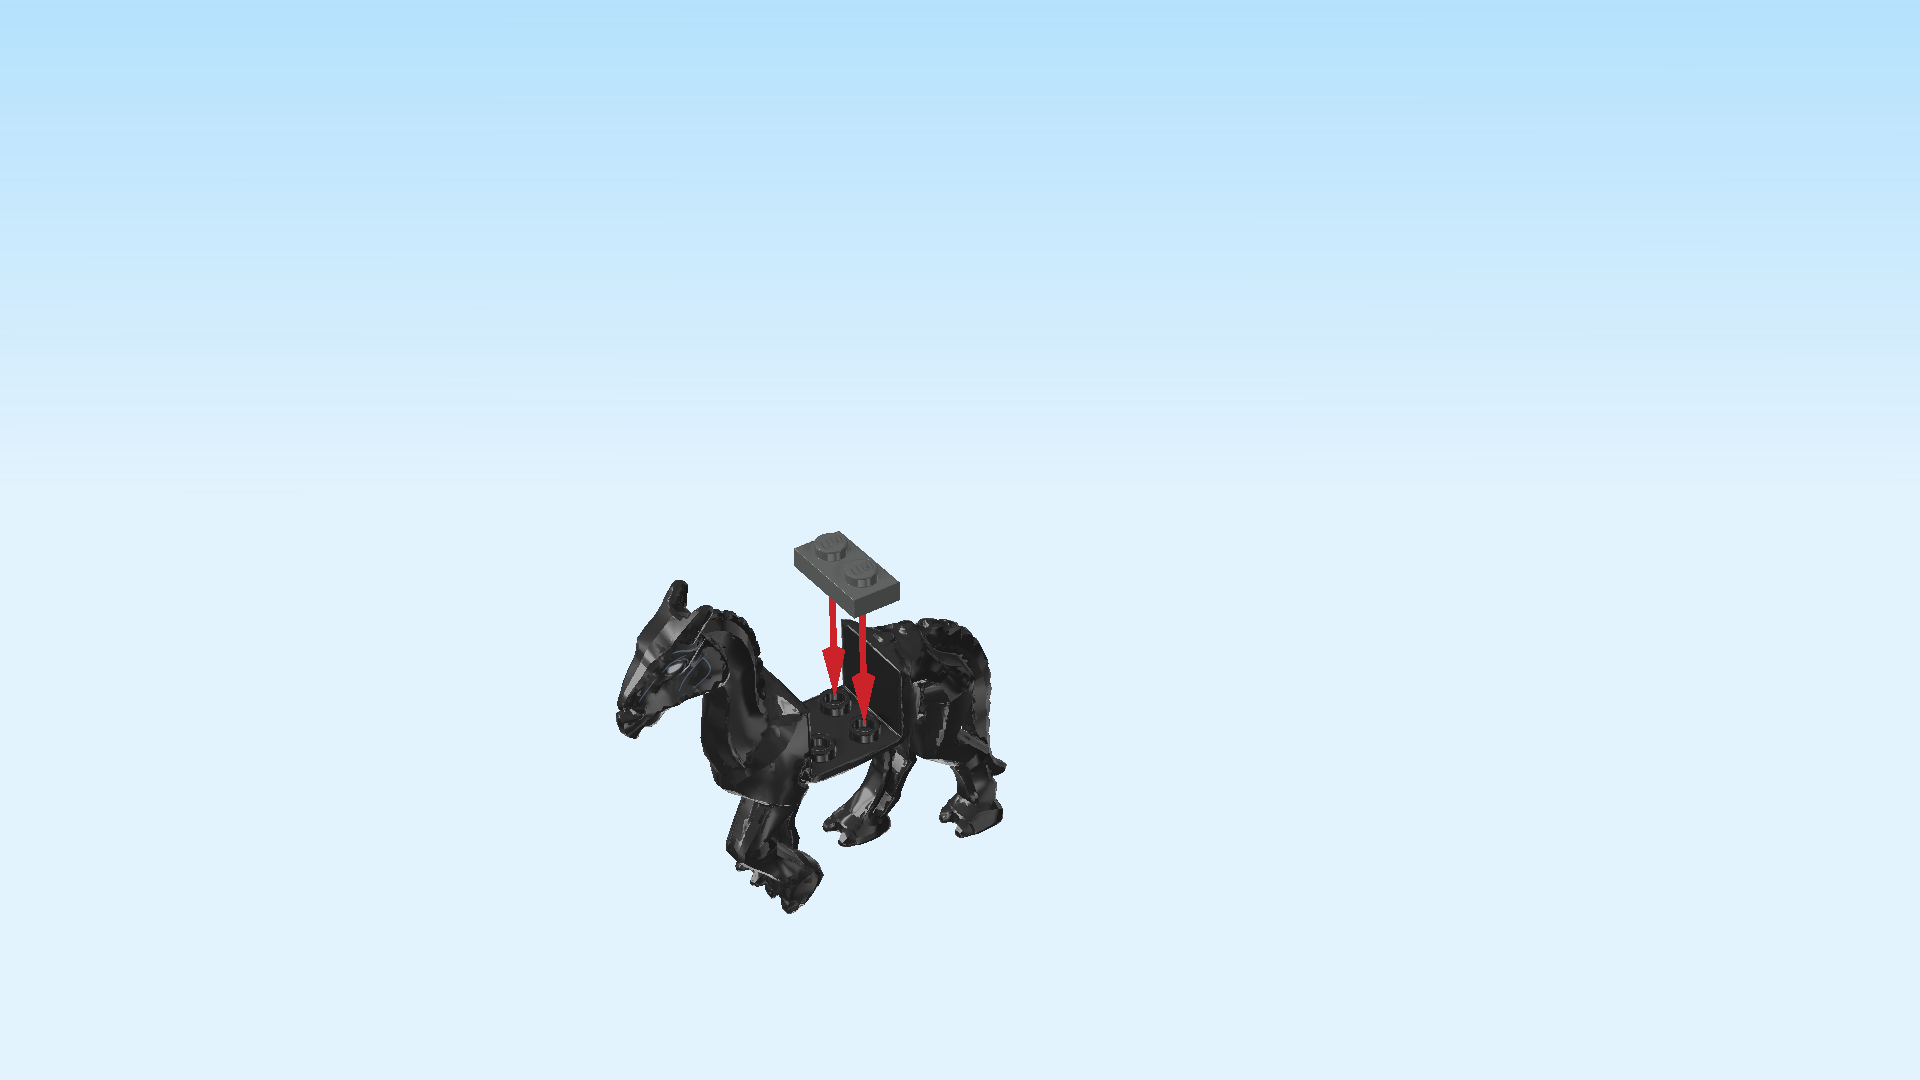
| Put the adult Thestral horizontally on the table, head to the left. |
| Put the plate 1x2 vertically on the right column in the Thestral frame. |
| Next, we will make the carriage harness. |
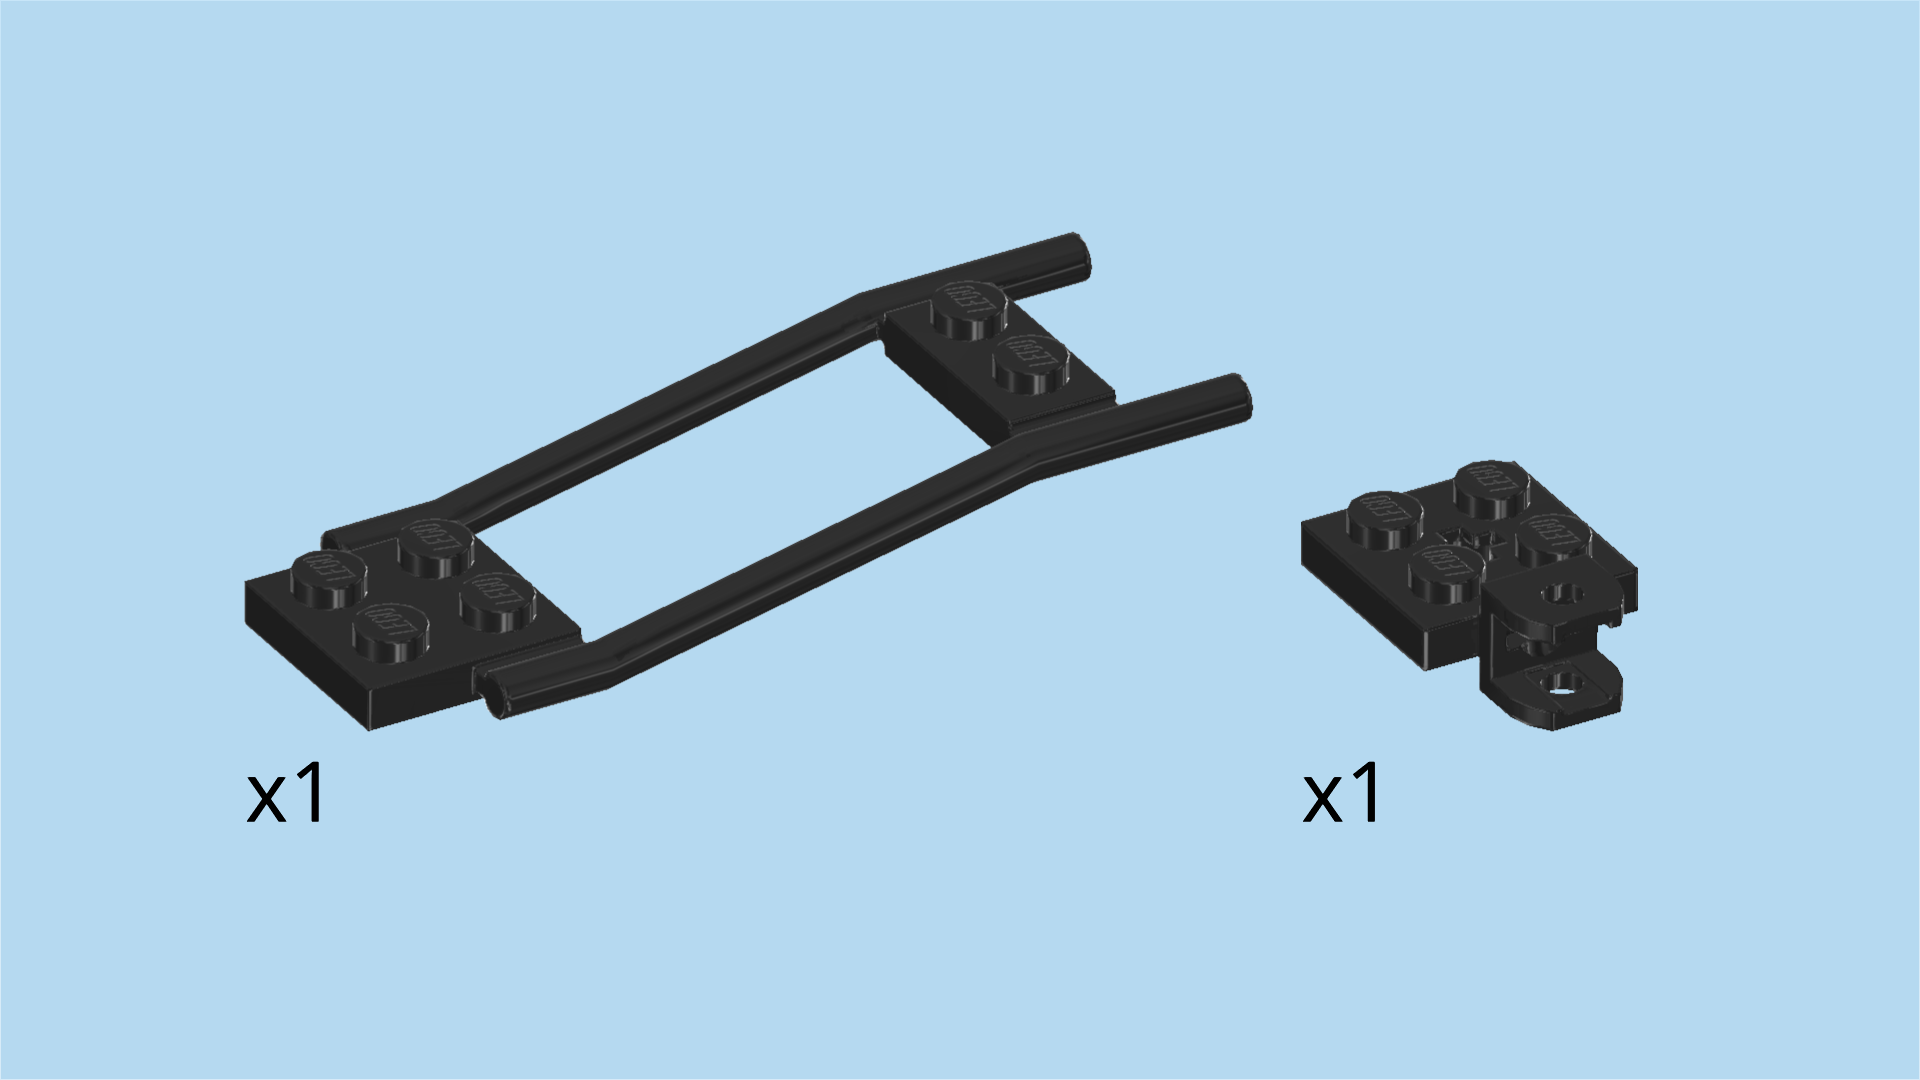
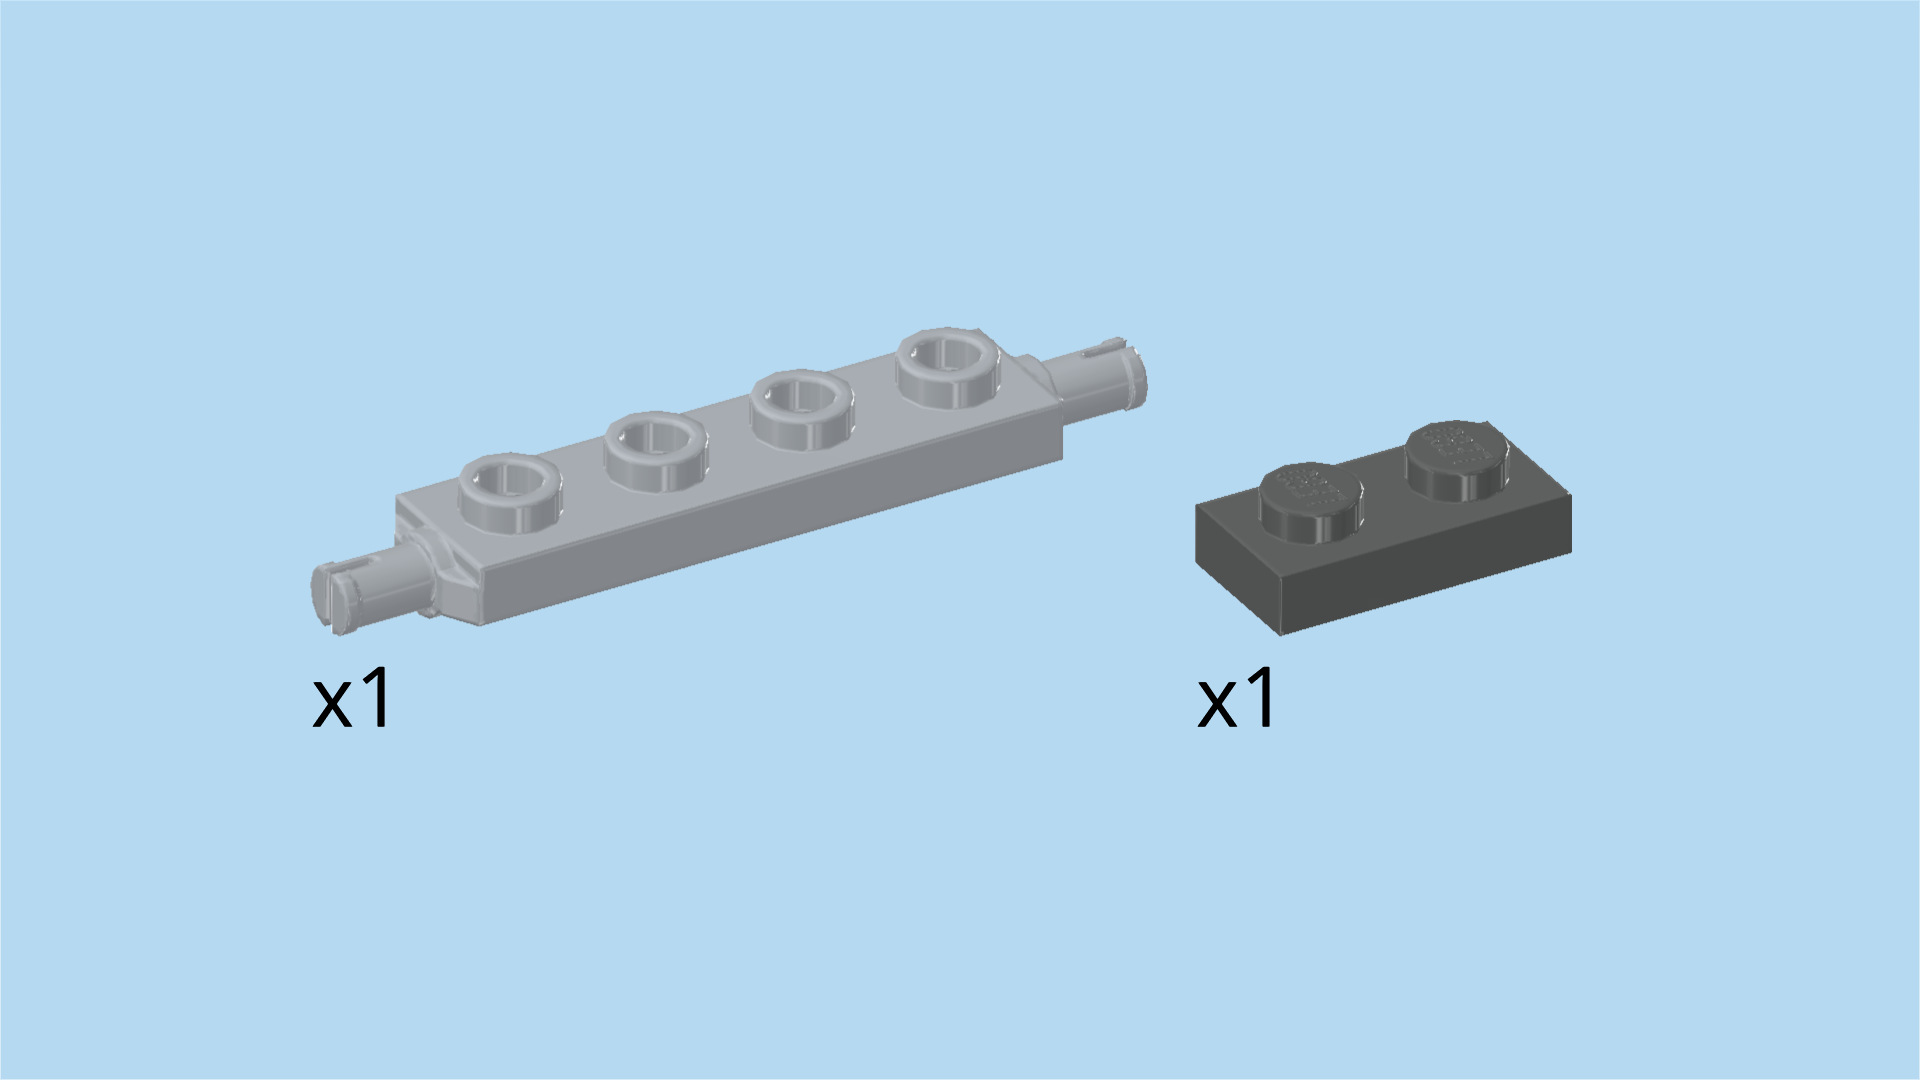
| Collect the following 2 pieces: |
| 1 black double drawbar 3x8, |
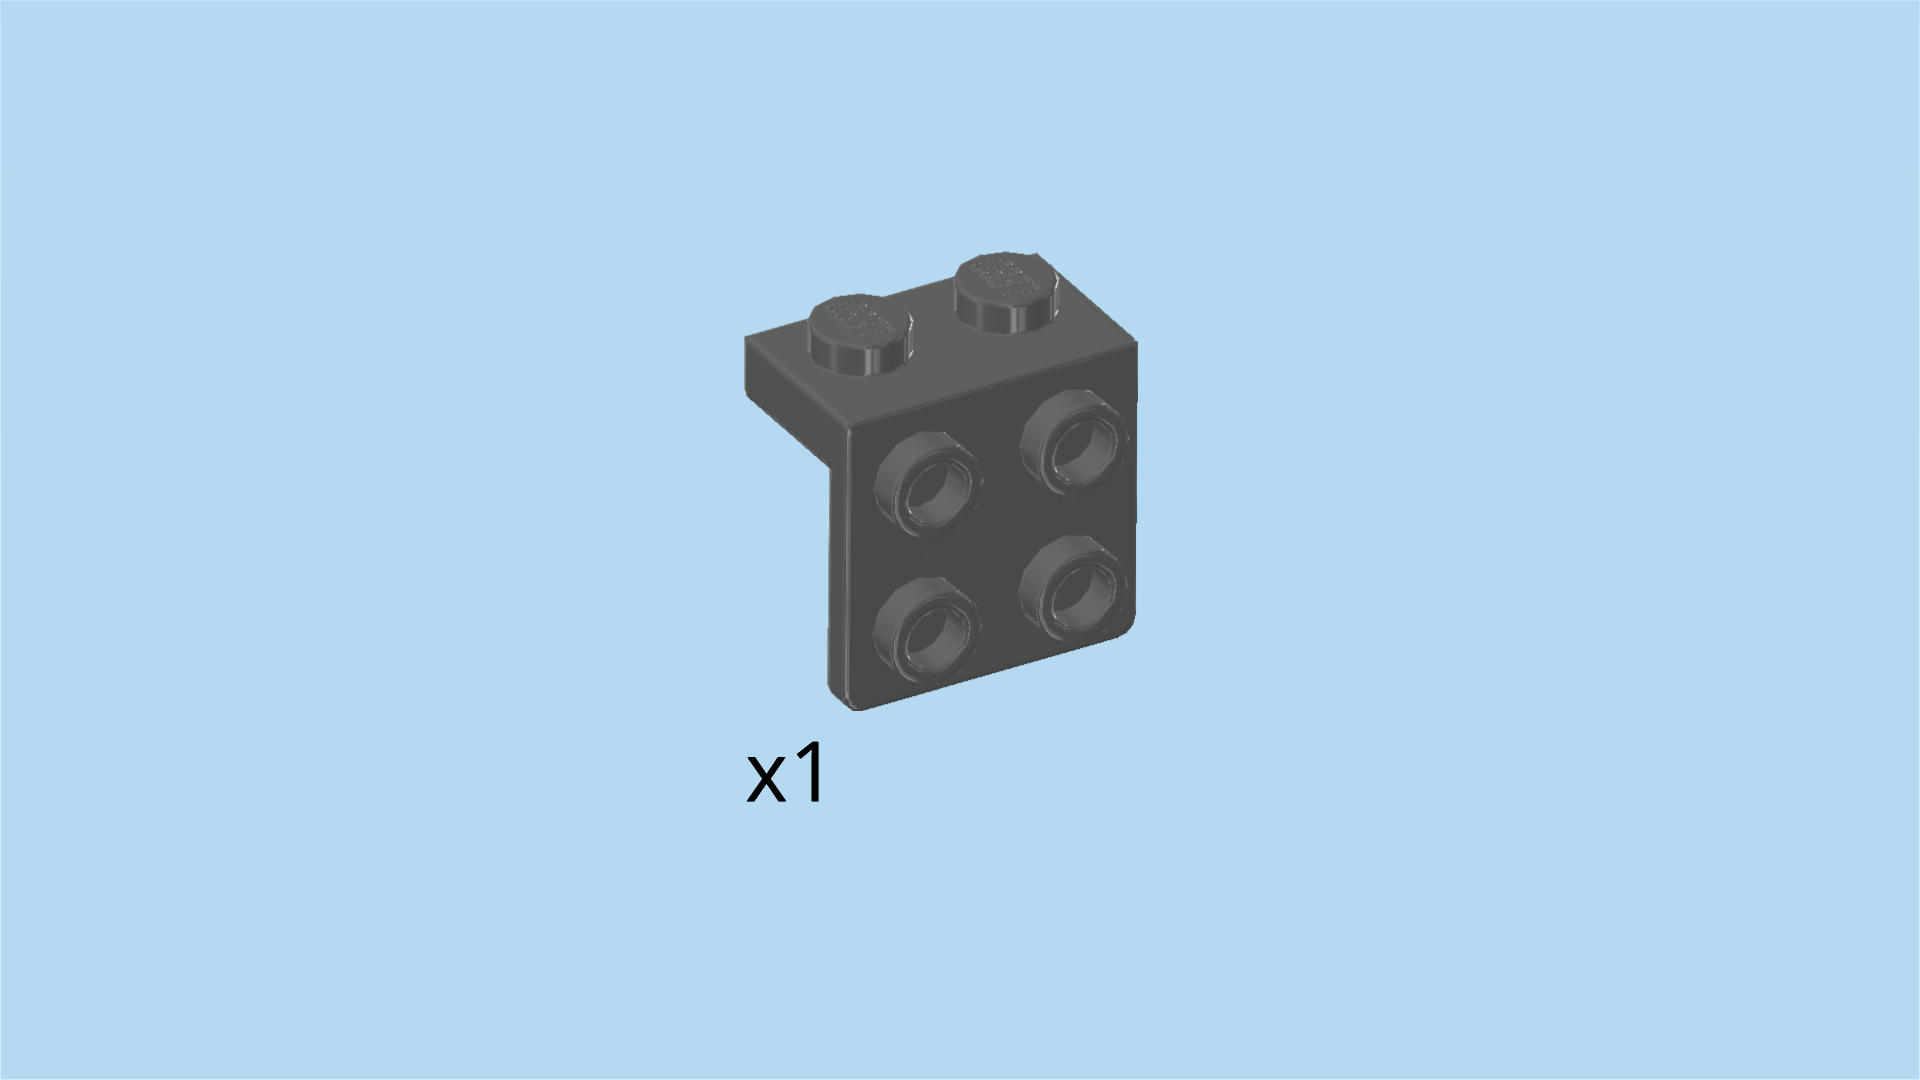
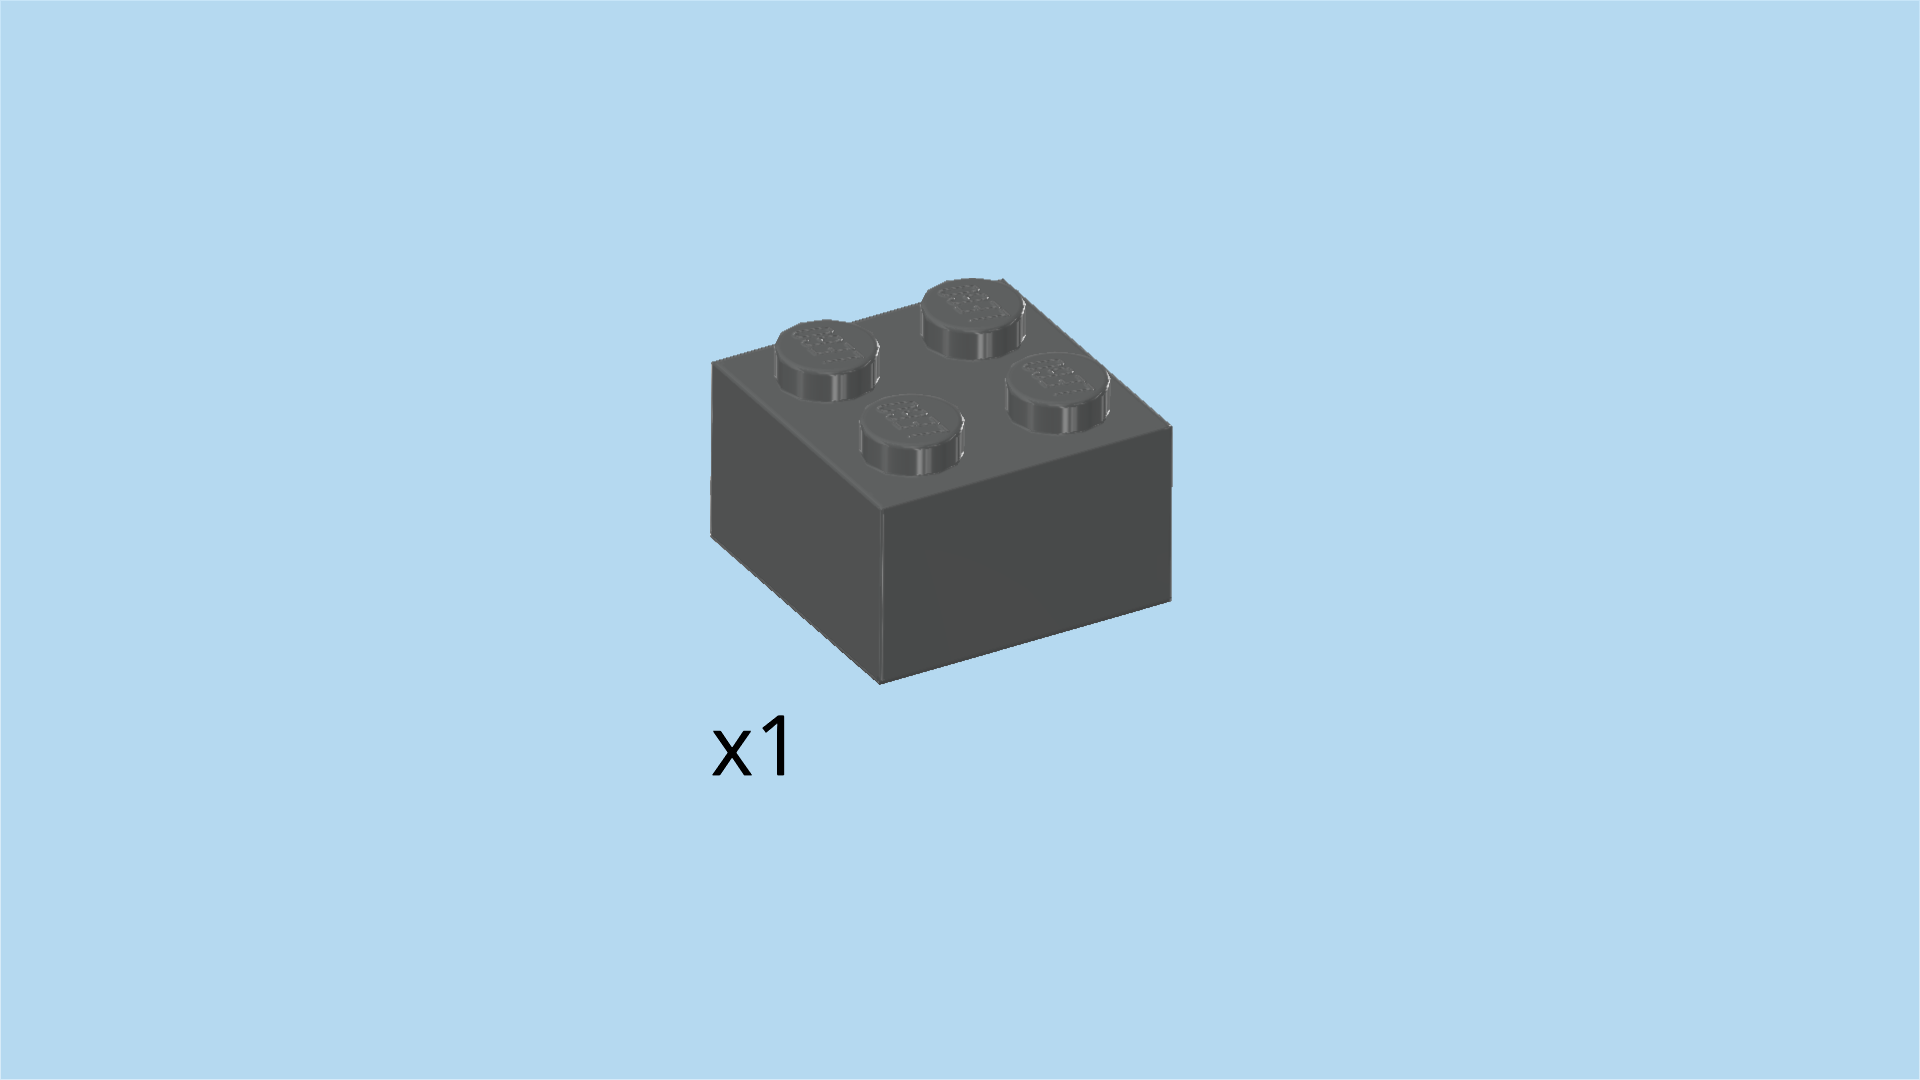
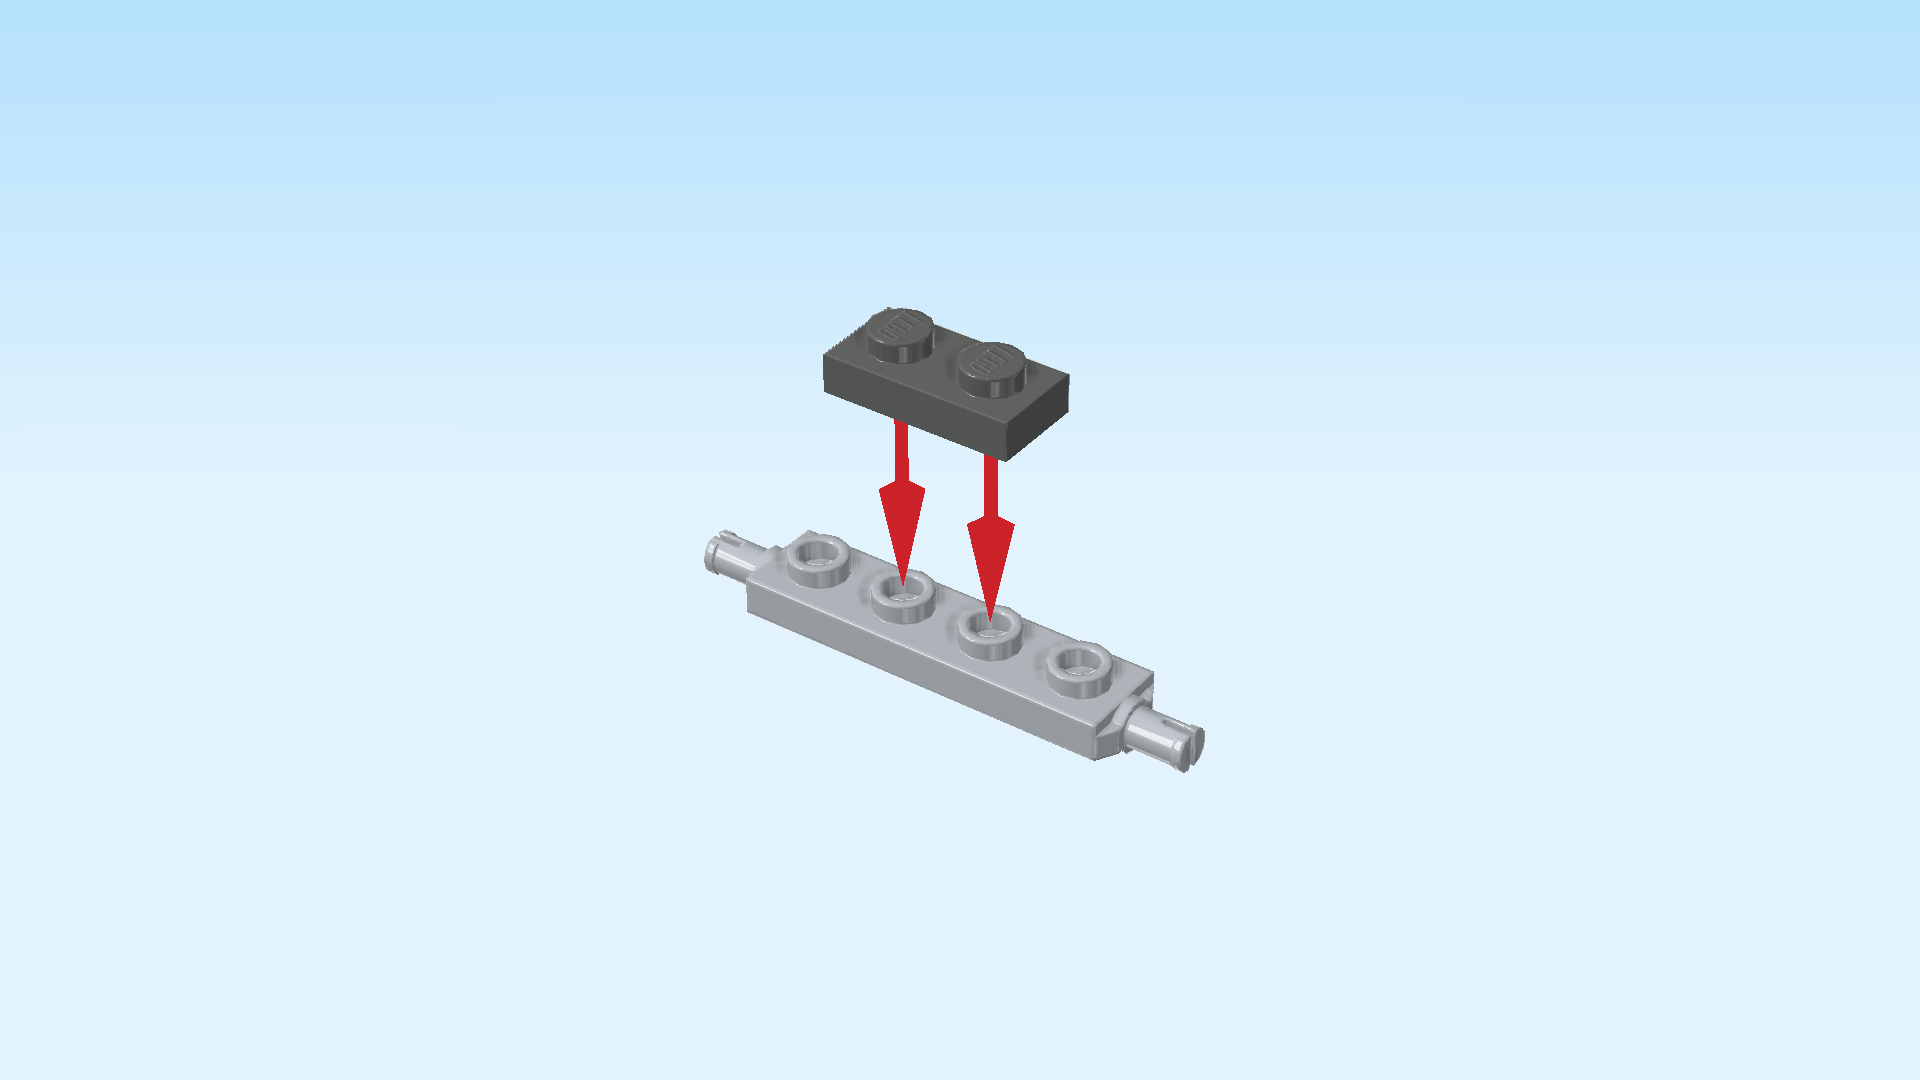
| and 1 black plate 2x2 with side ball socket and top cross hole. |
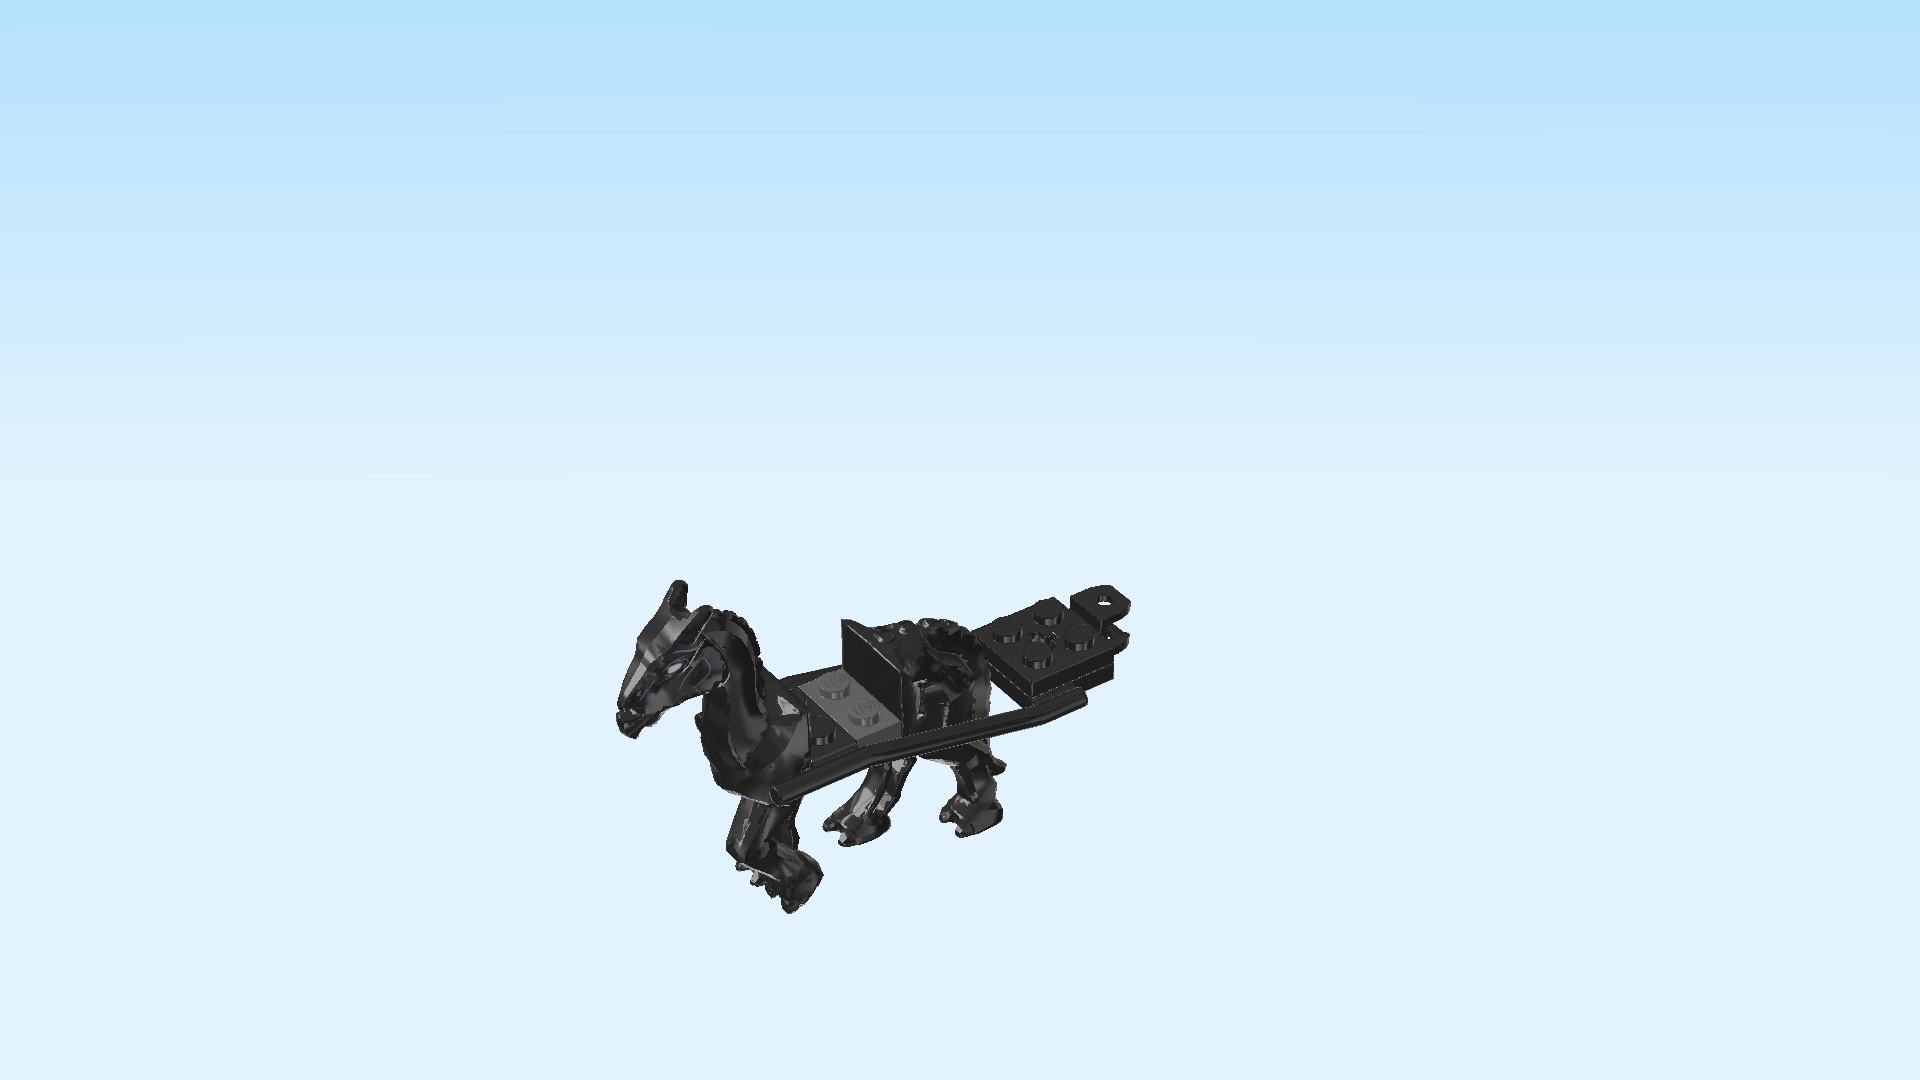
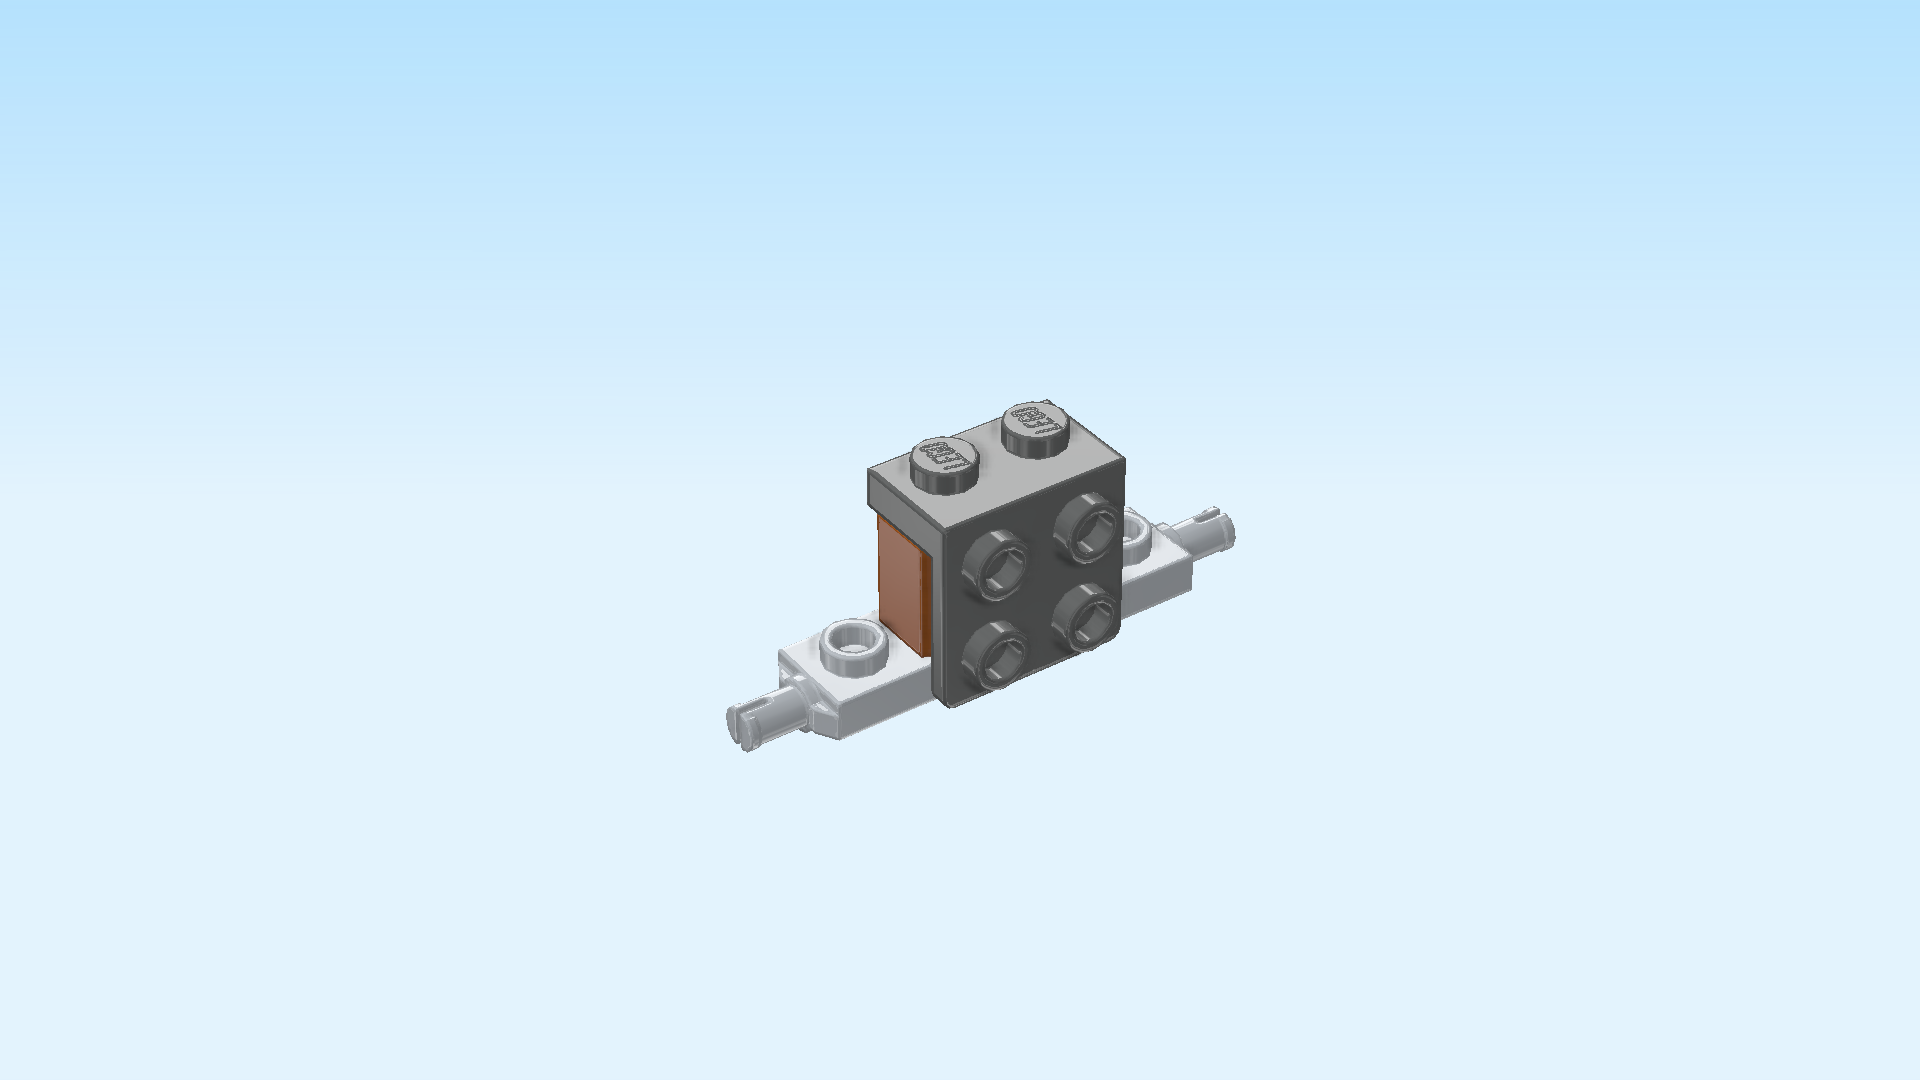
| Put the double drawbar 3x8 horizontally on the table, plate 2x2 to the right. |
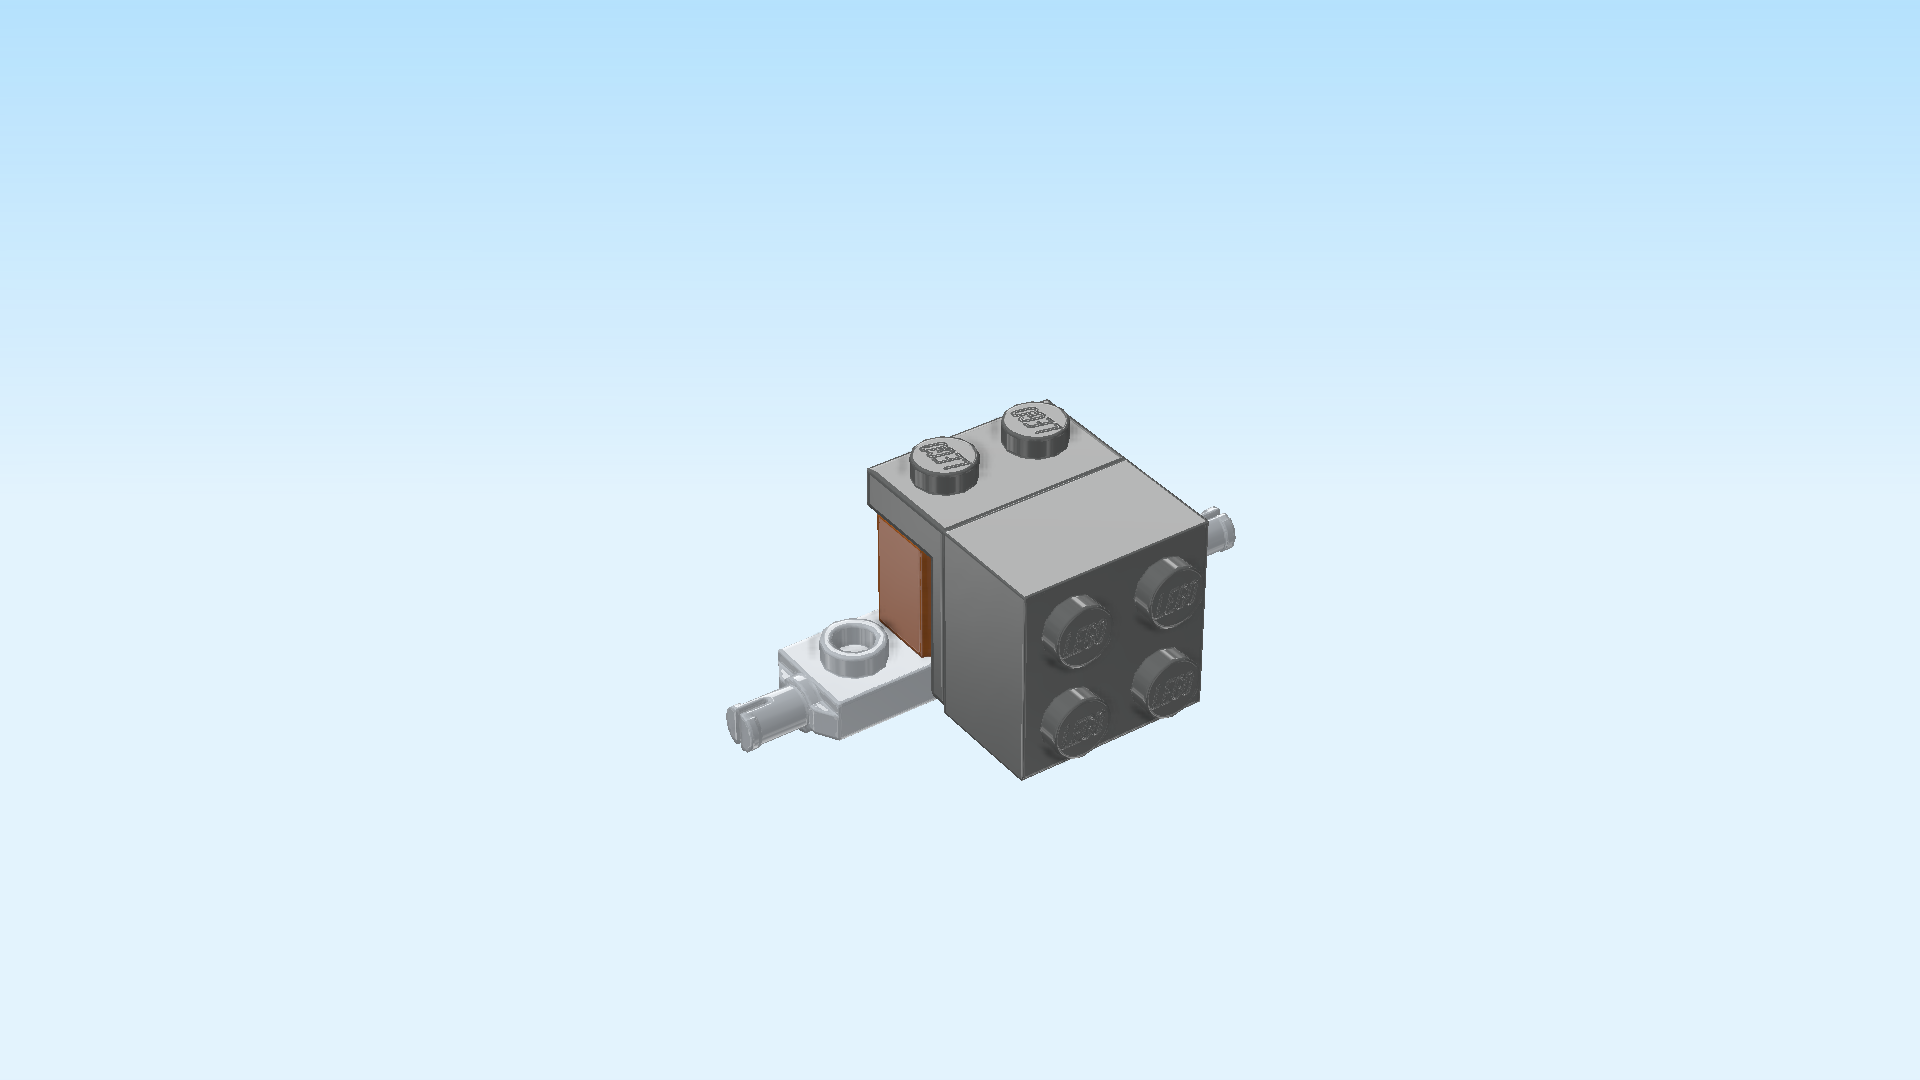
| Put the plate 2x2 with ball socket on top of the plate 2x2 of the drawbar, ball socket to the right. |
| The carriage harness is finished! Well done! To mount it on the Thestral, put the drawbar's plate 1x2 on the left column of the Thestral body, drawbar horizontally extending towards the right. |
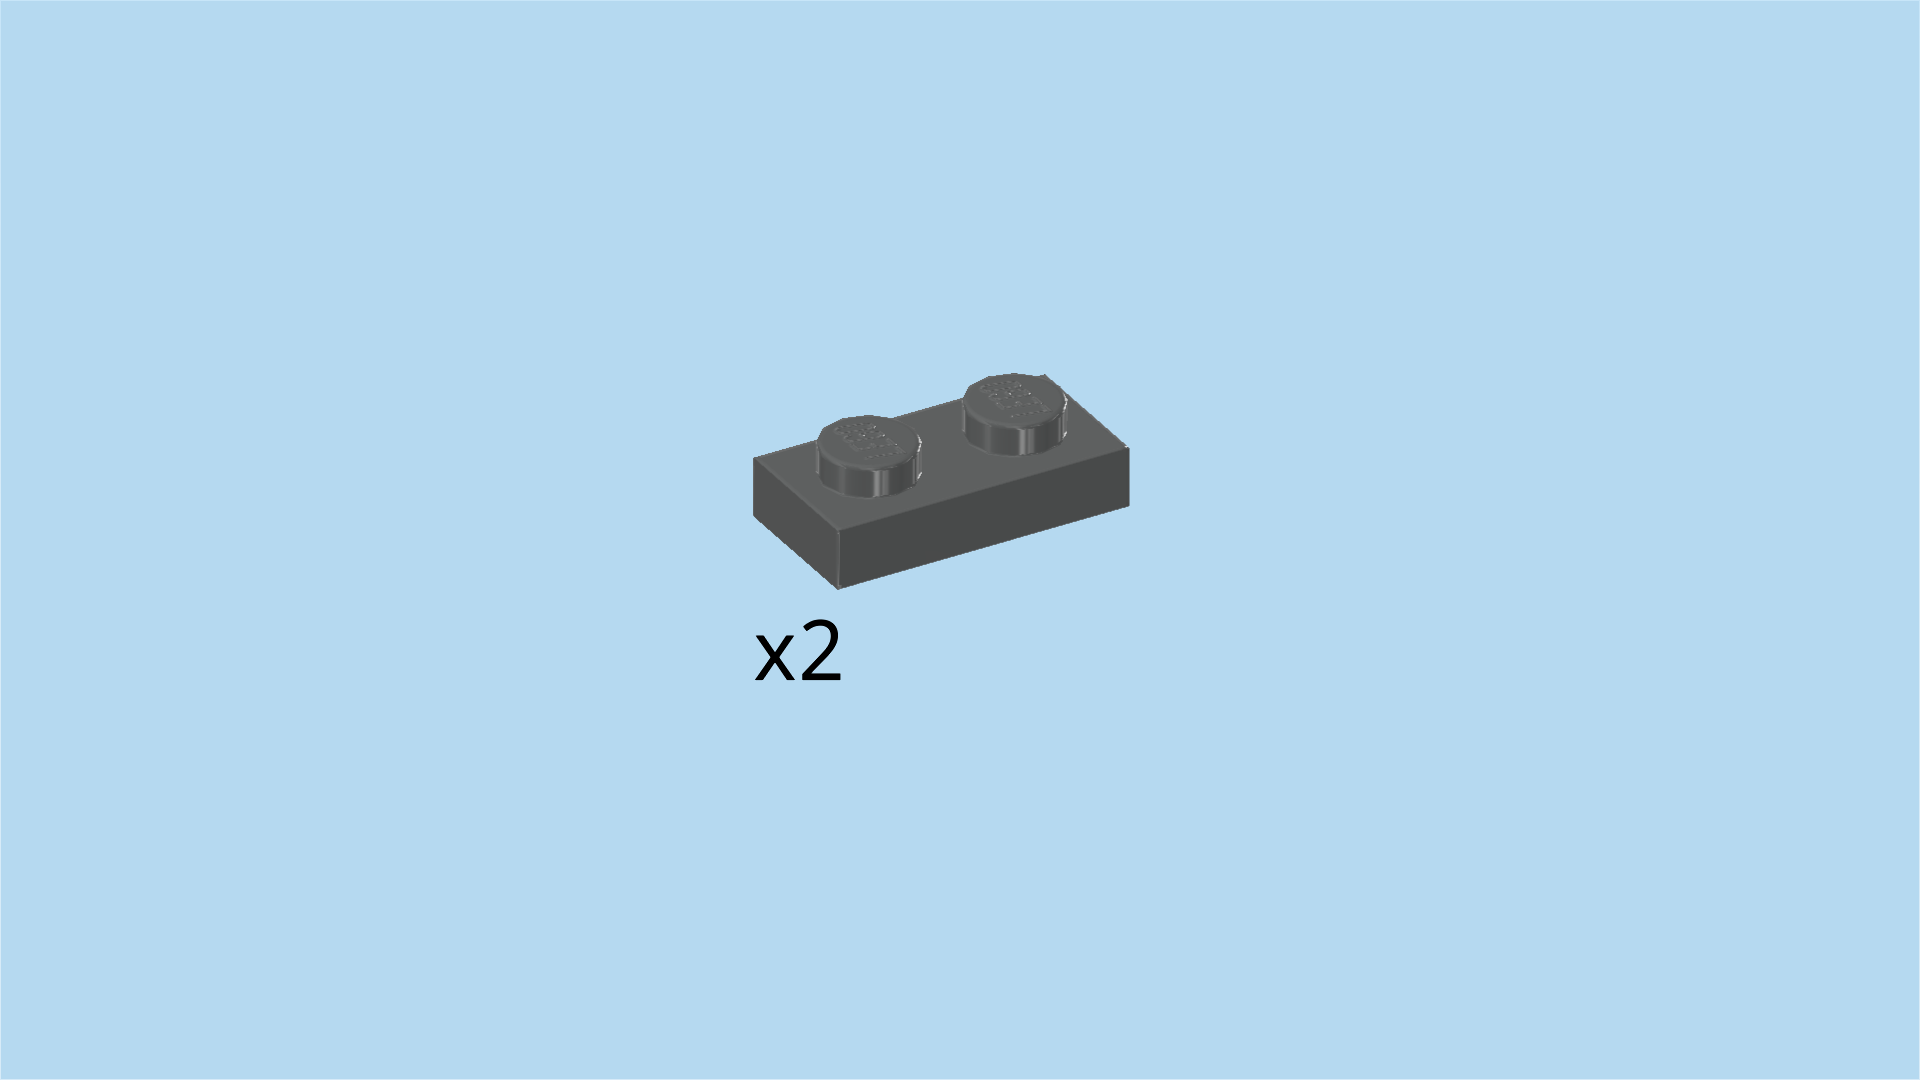
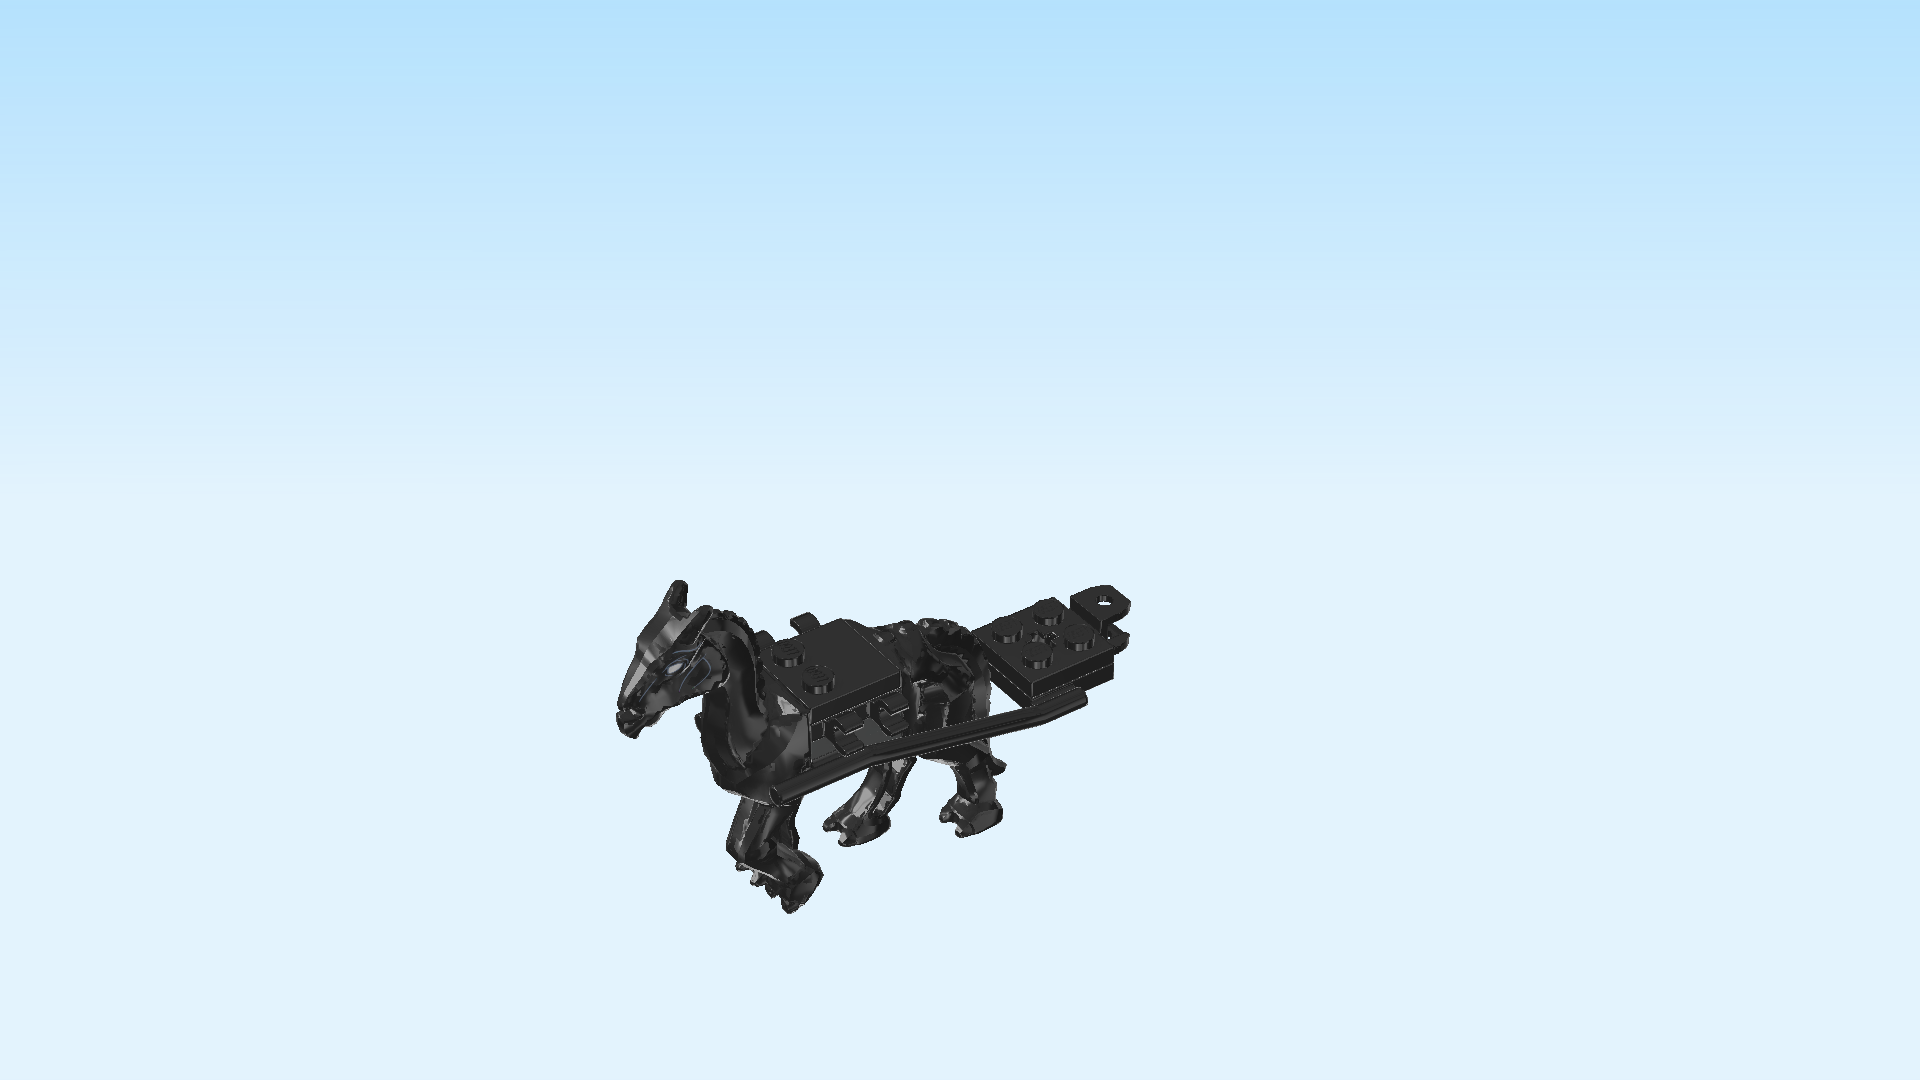
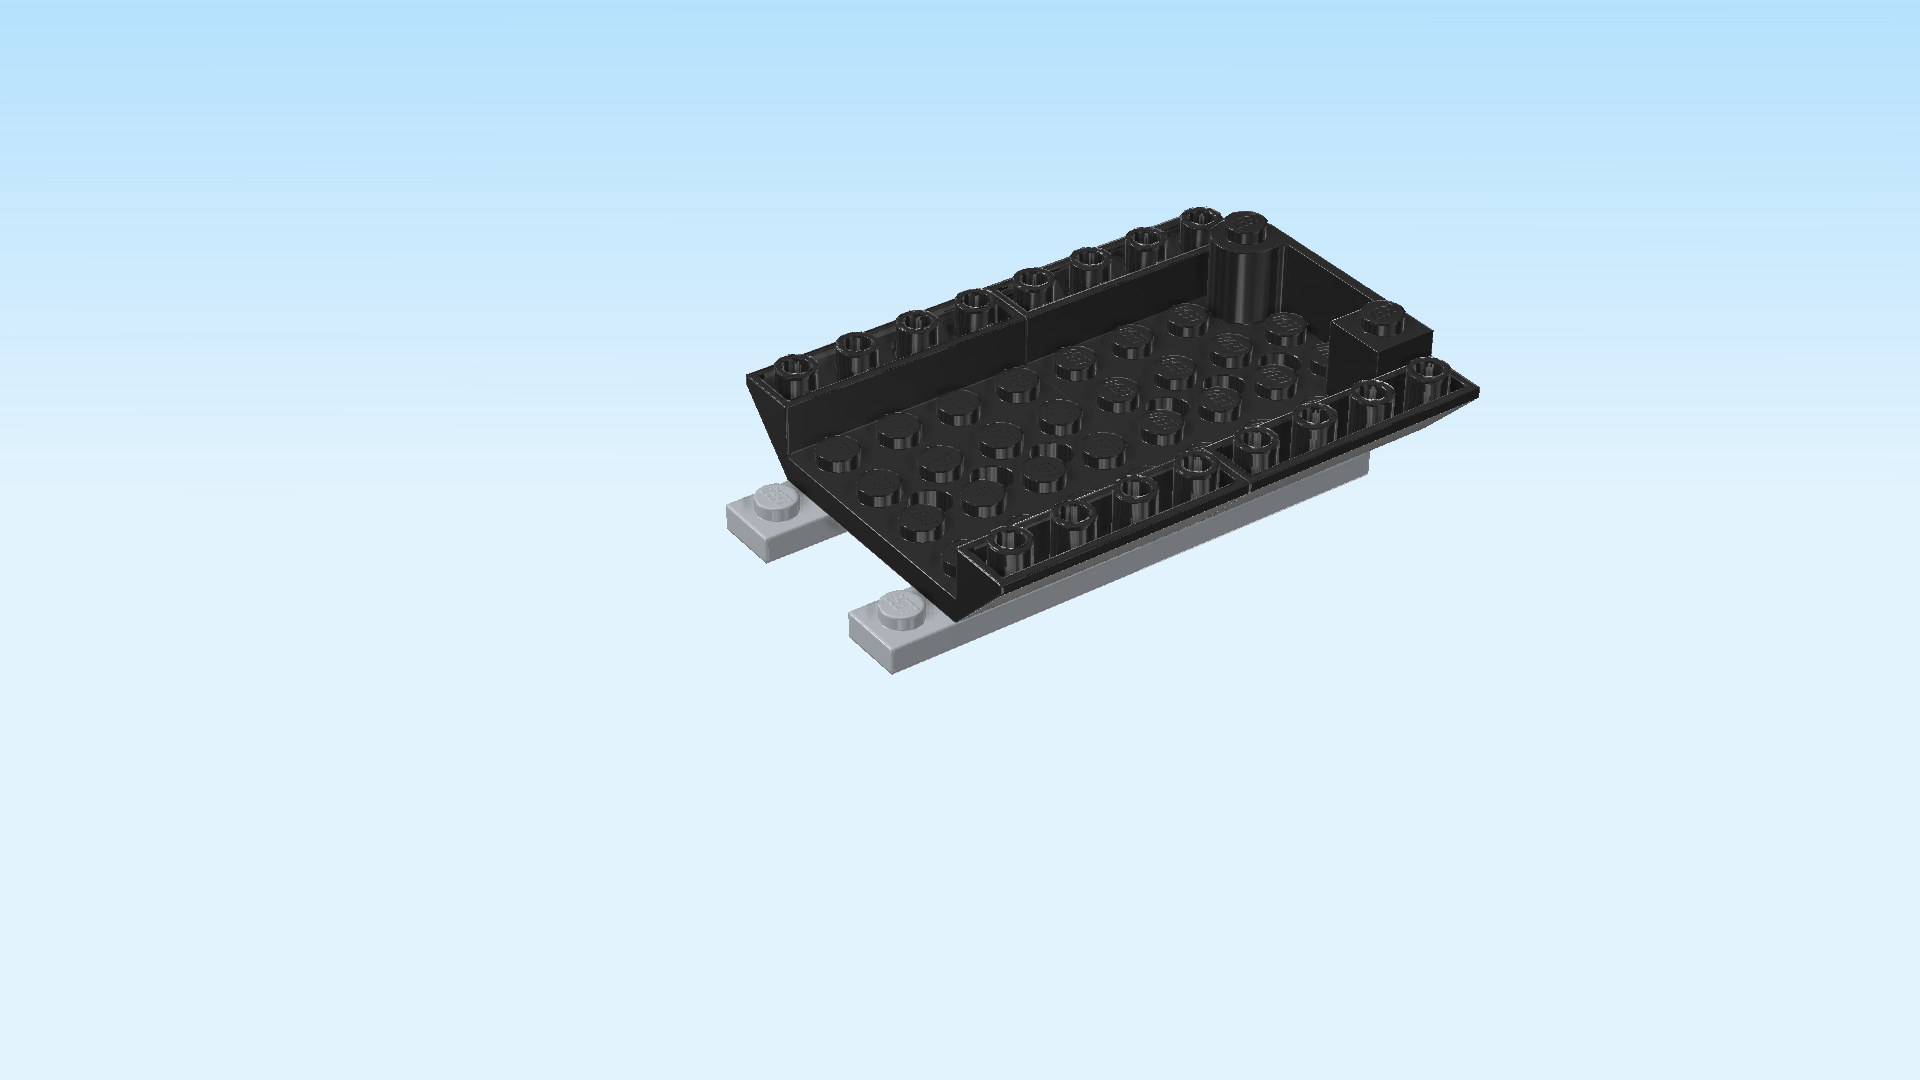
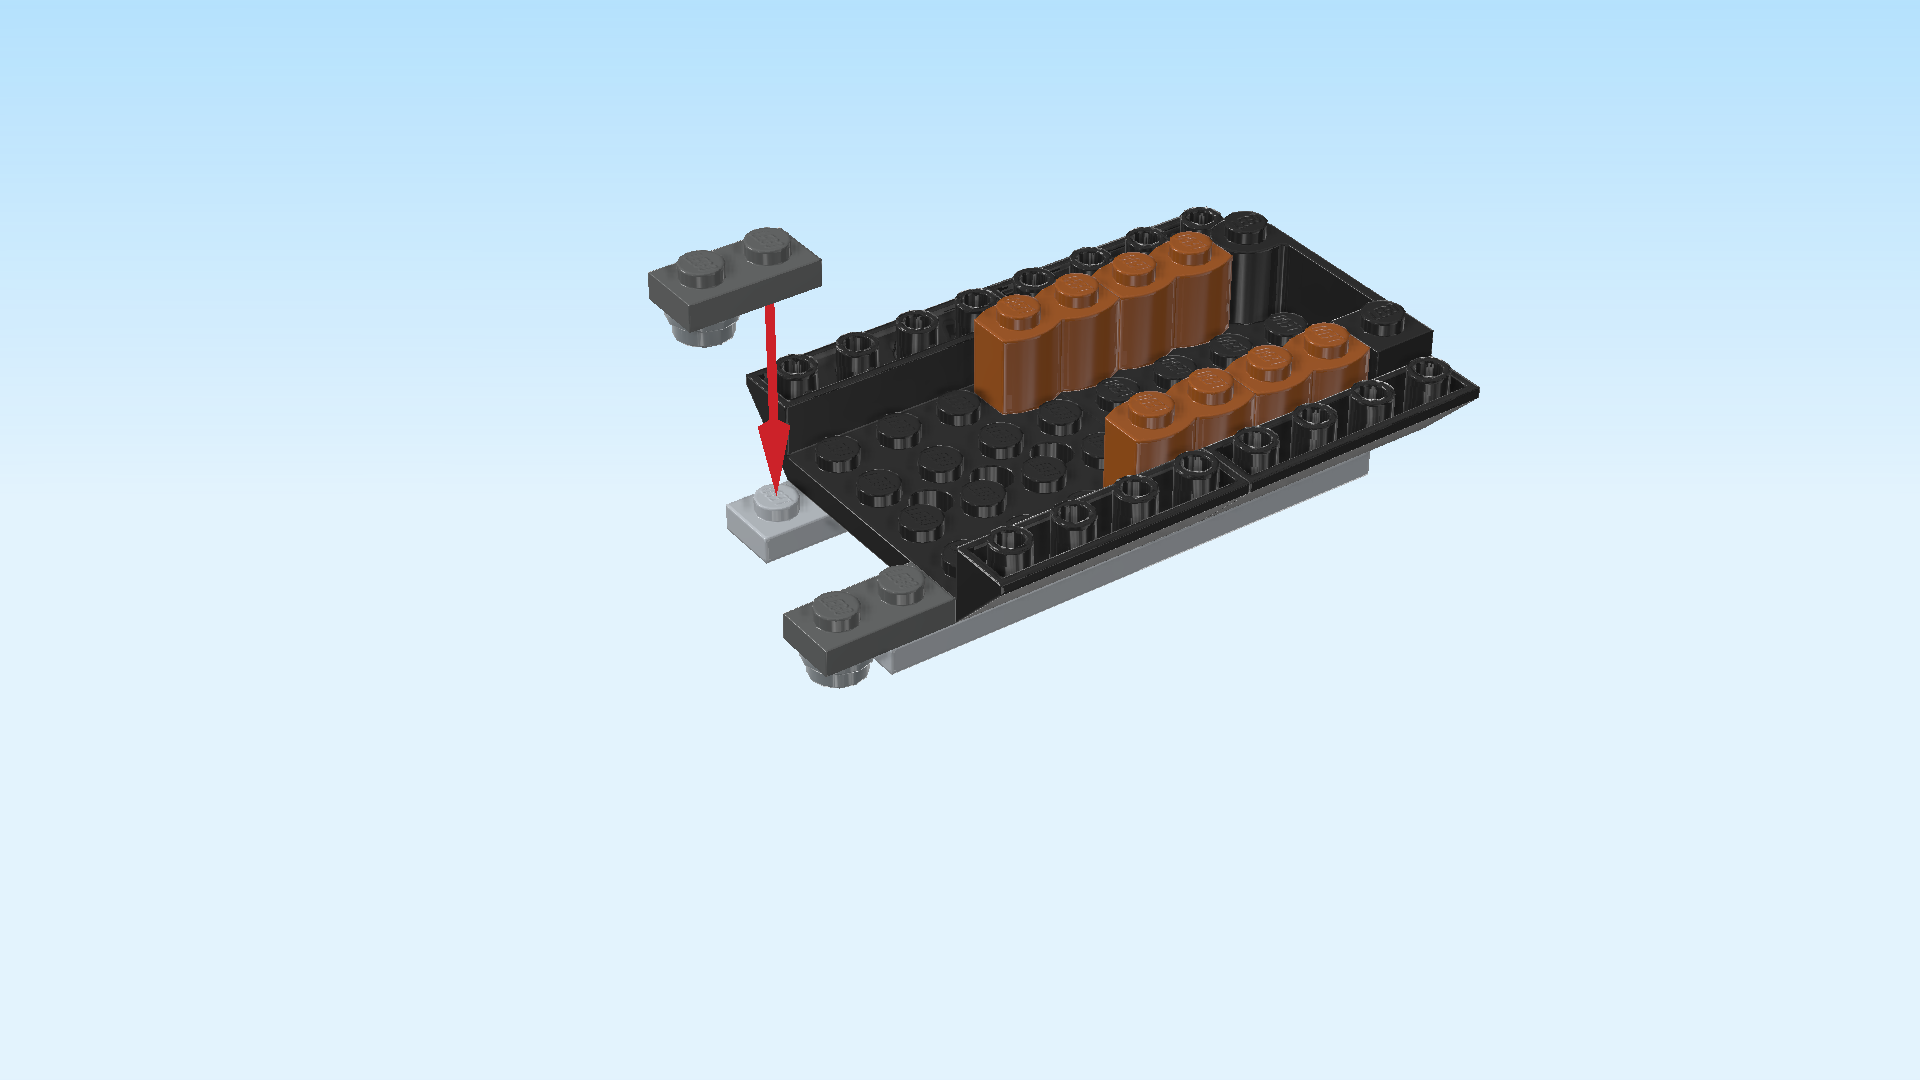
| Find 2 dark stone grey plates 1x2. |
| Put 1 horizontally on the back row of the 4 knobs. |
| Put the other one horizontally in front of the previous piece. |
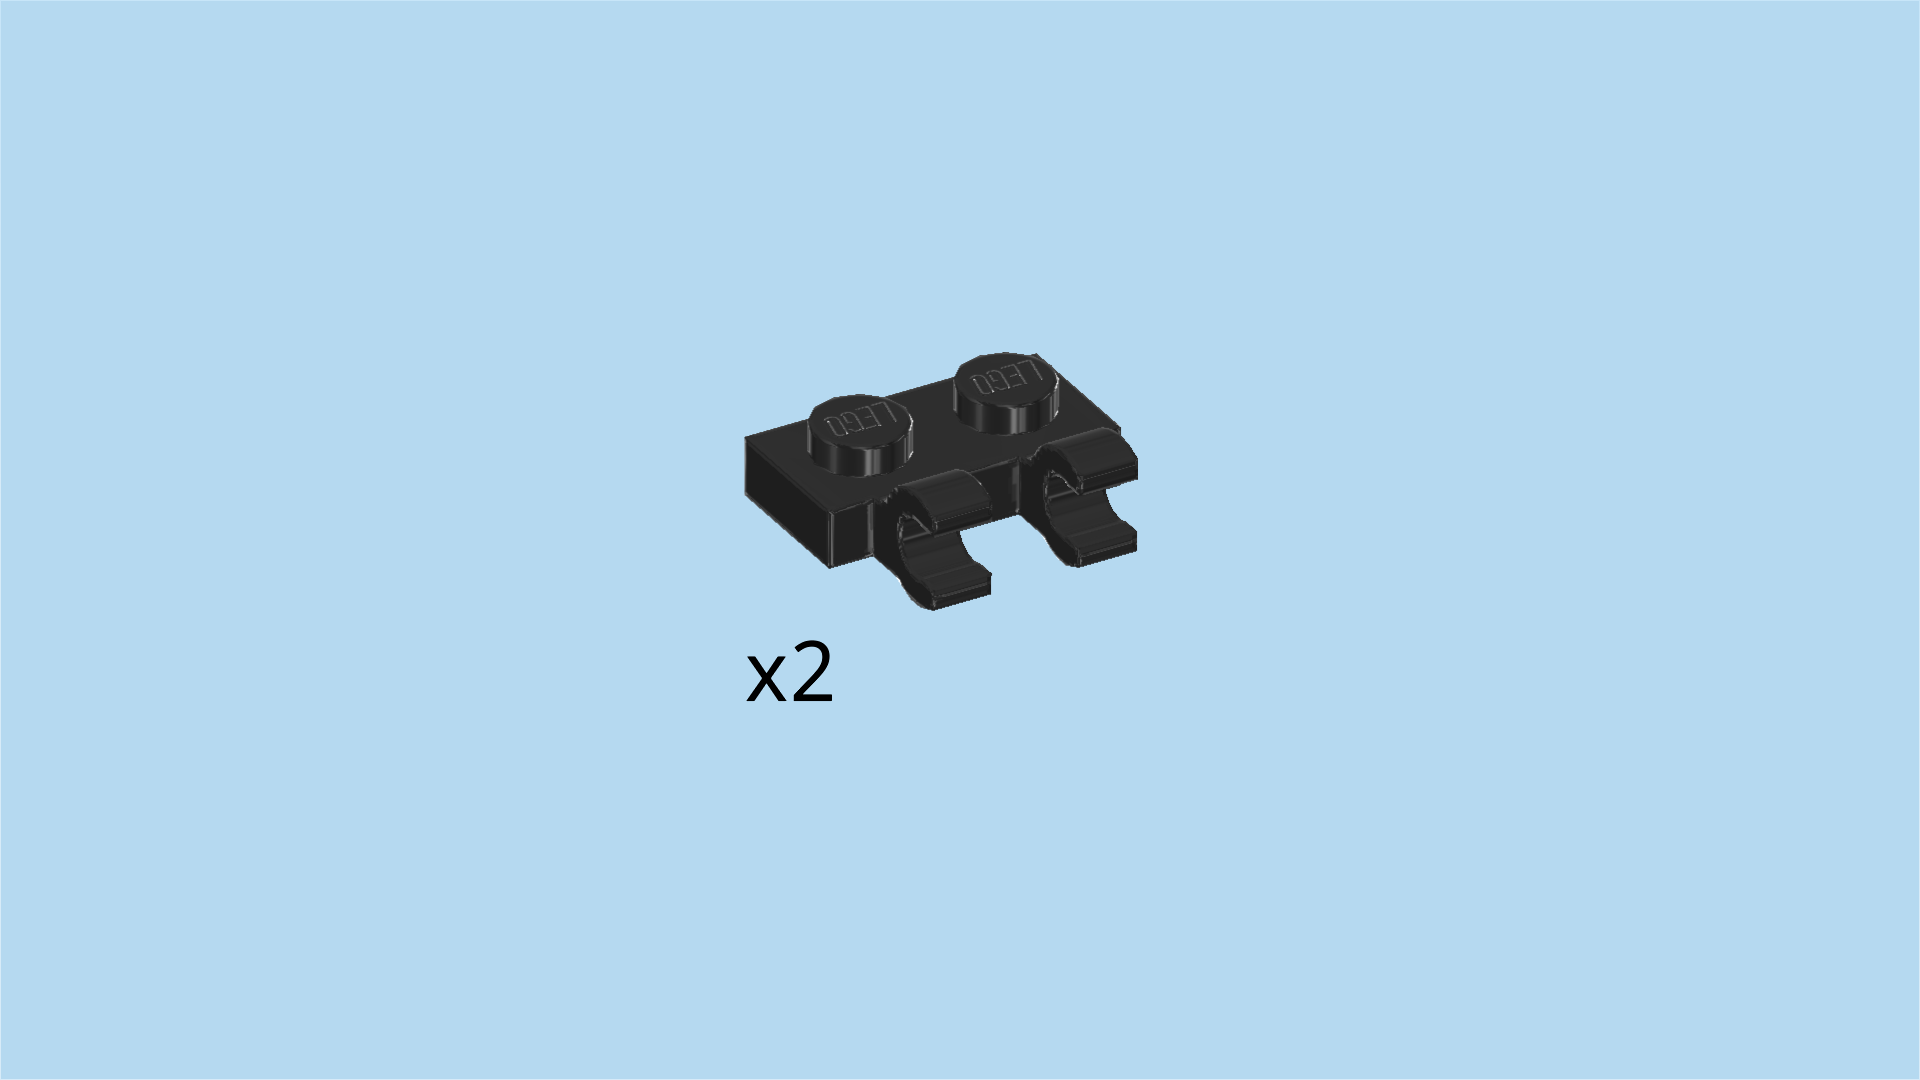
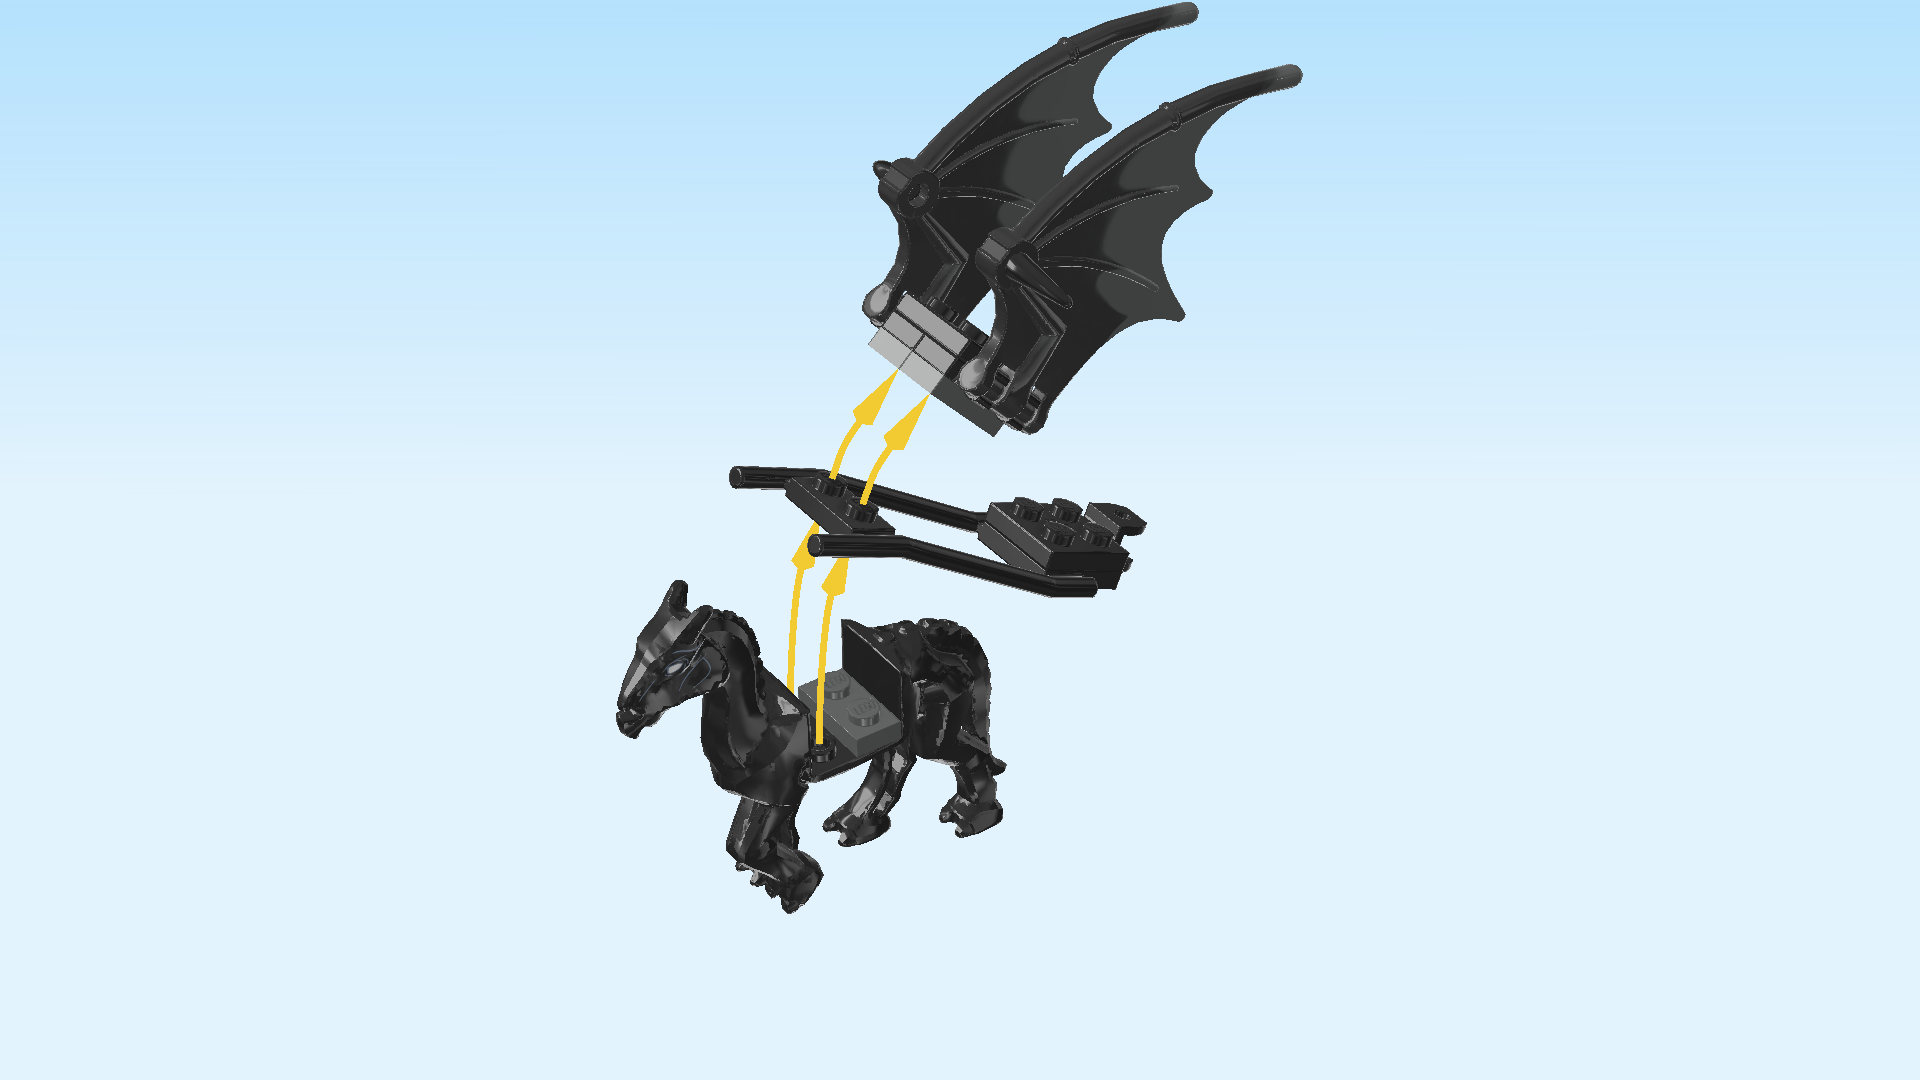
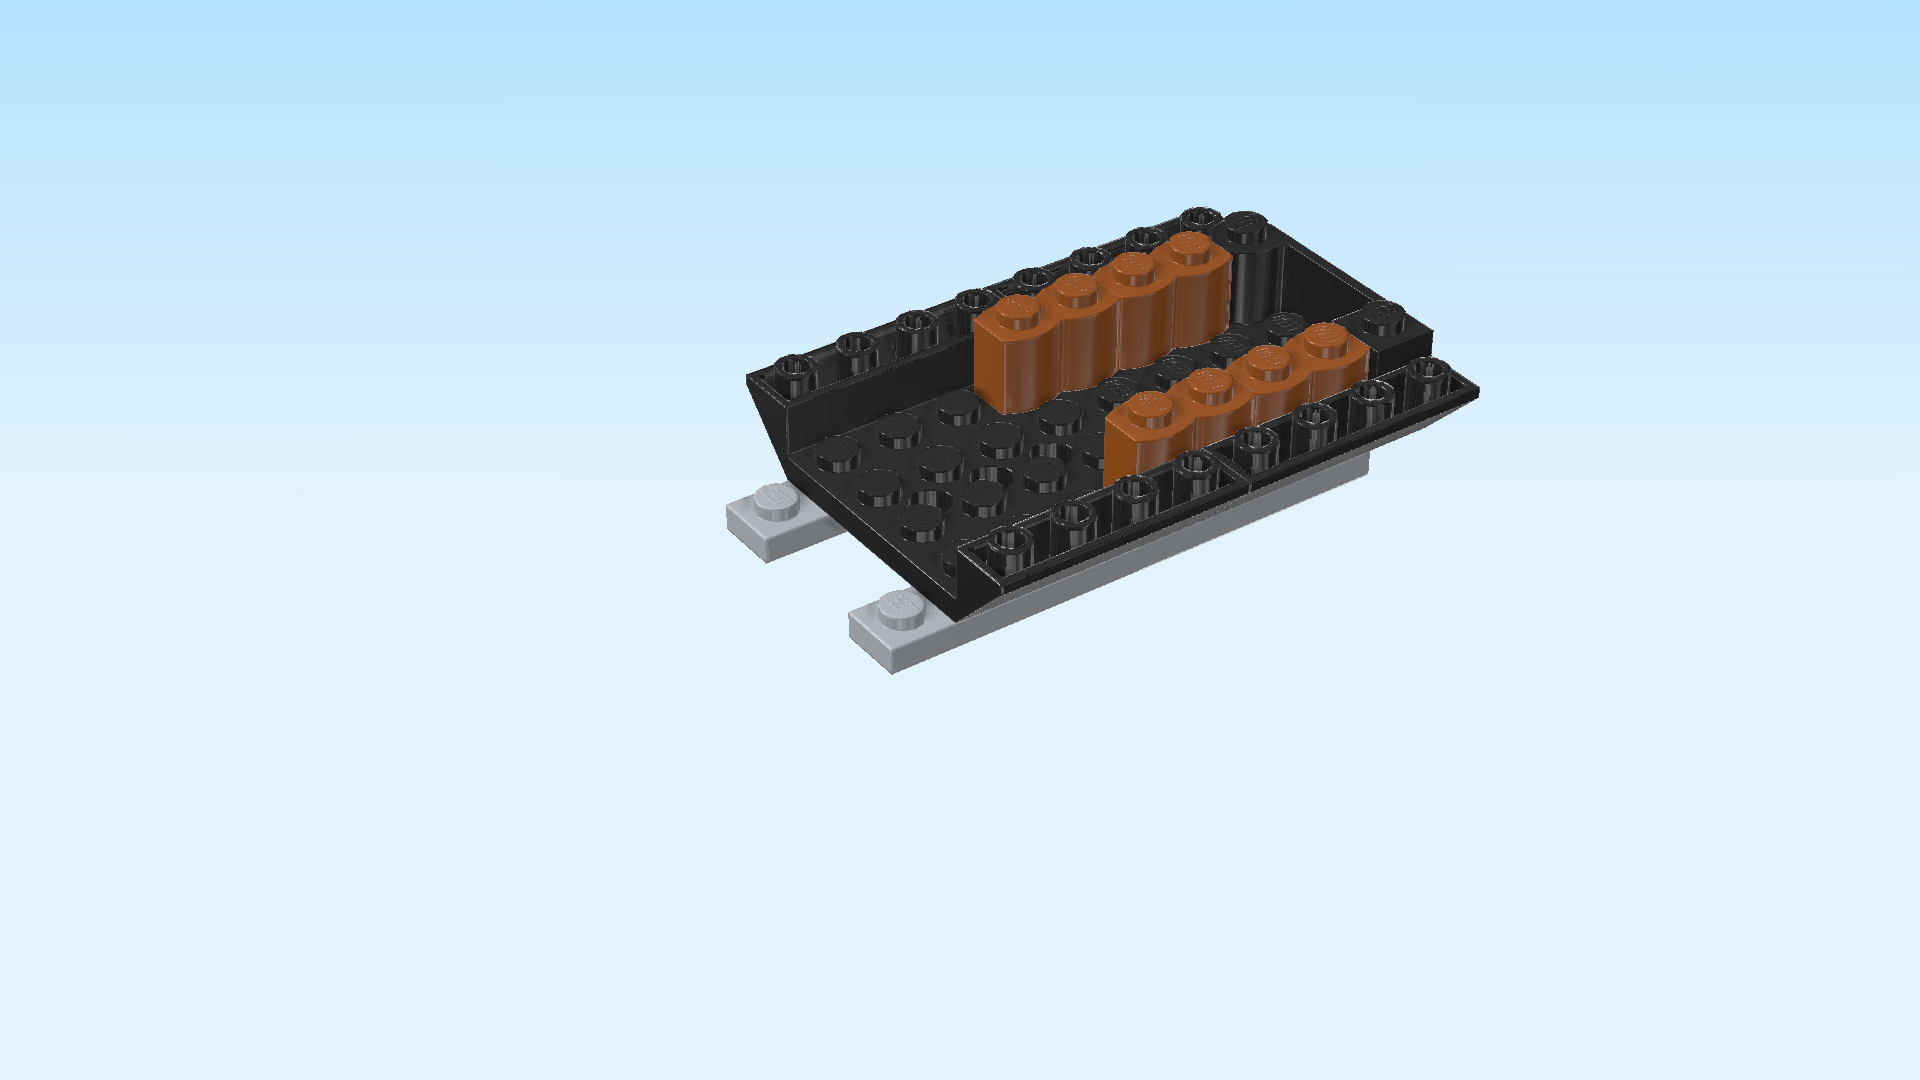
| Find 2 black plates 1x2 with 2 vertical clasps on long side. |
| Put 1 horizontally on the back row of the Thestral frame, clasps to the back. |
| Put the other one horizontally in front of the previous piece, clasps to the front. |
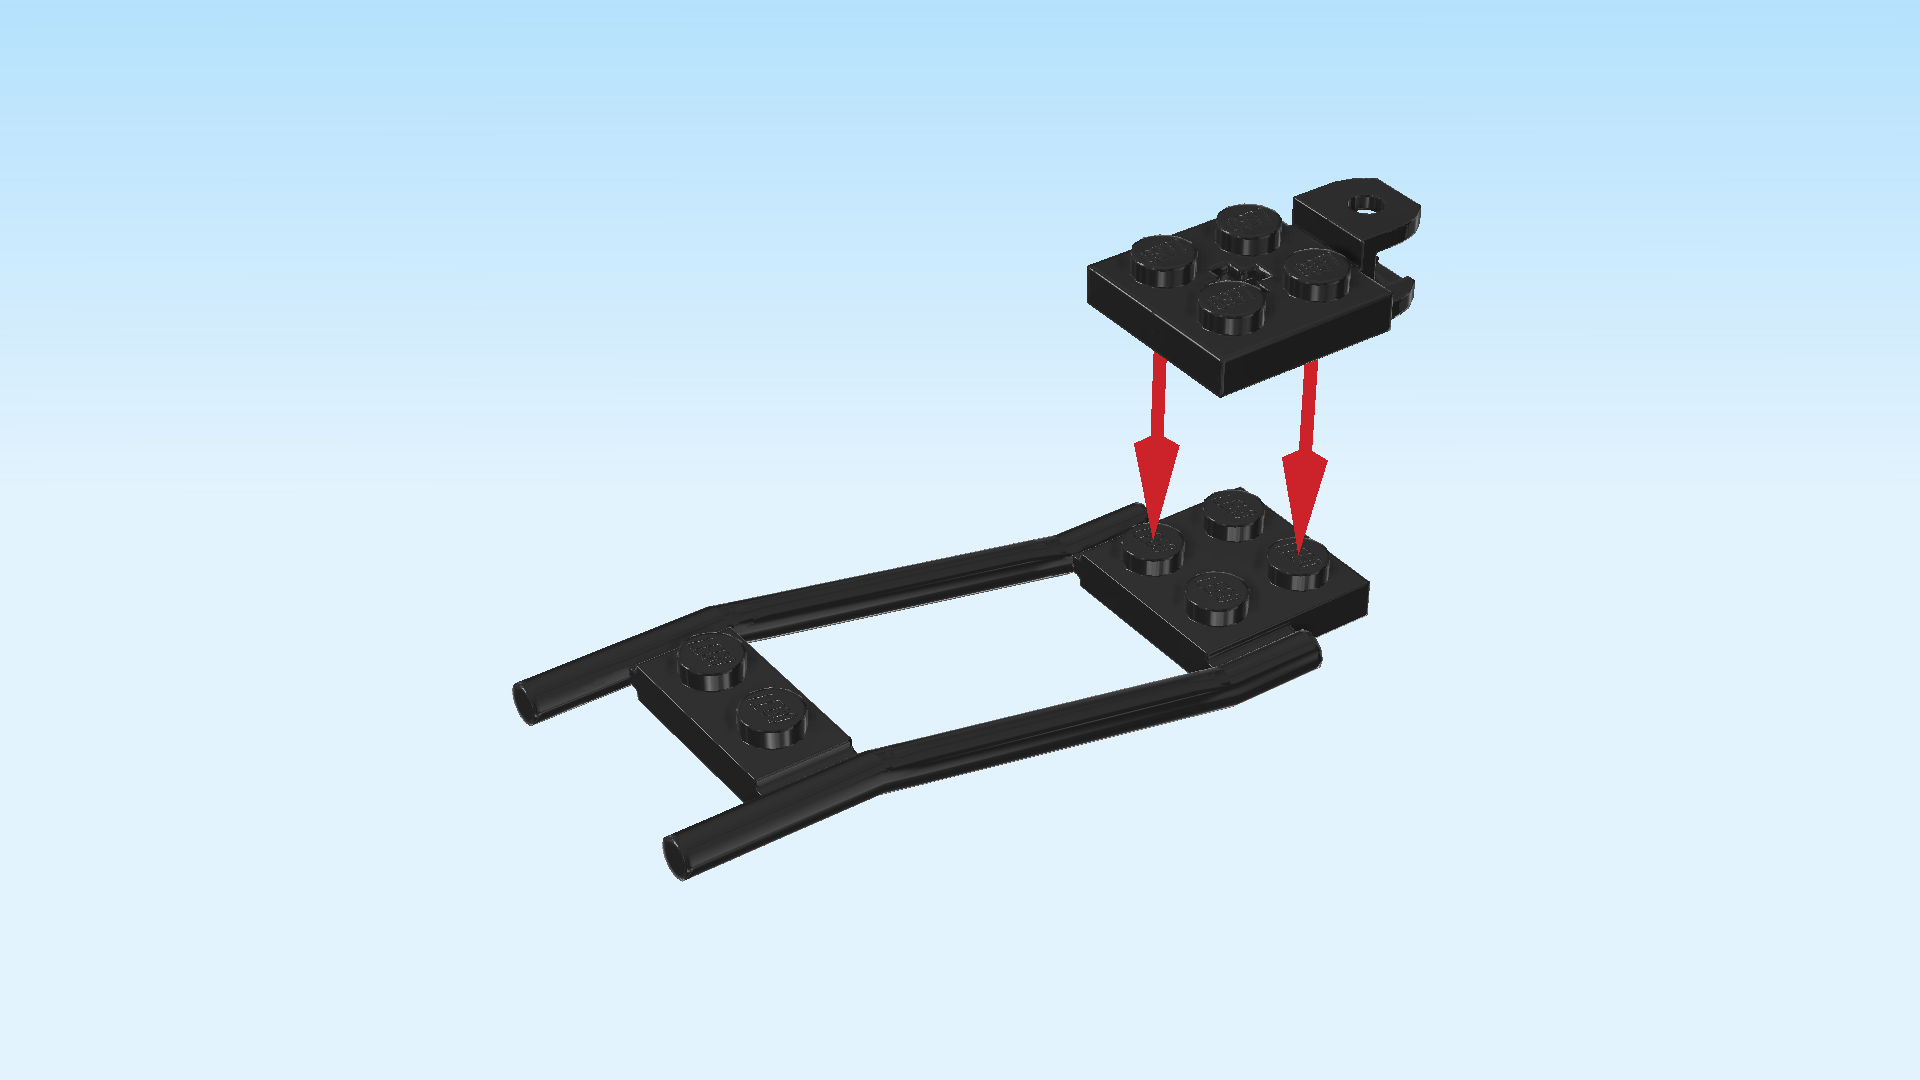
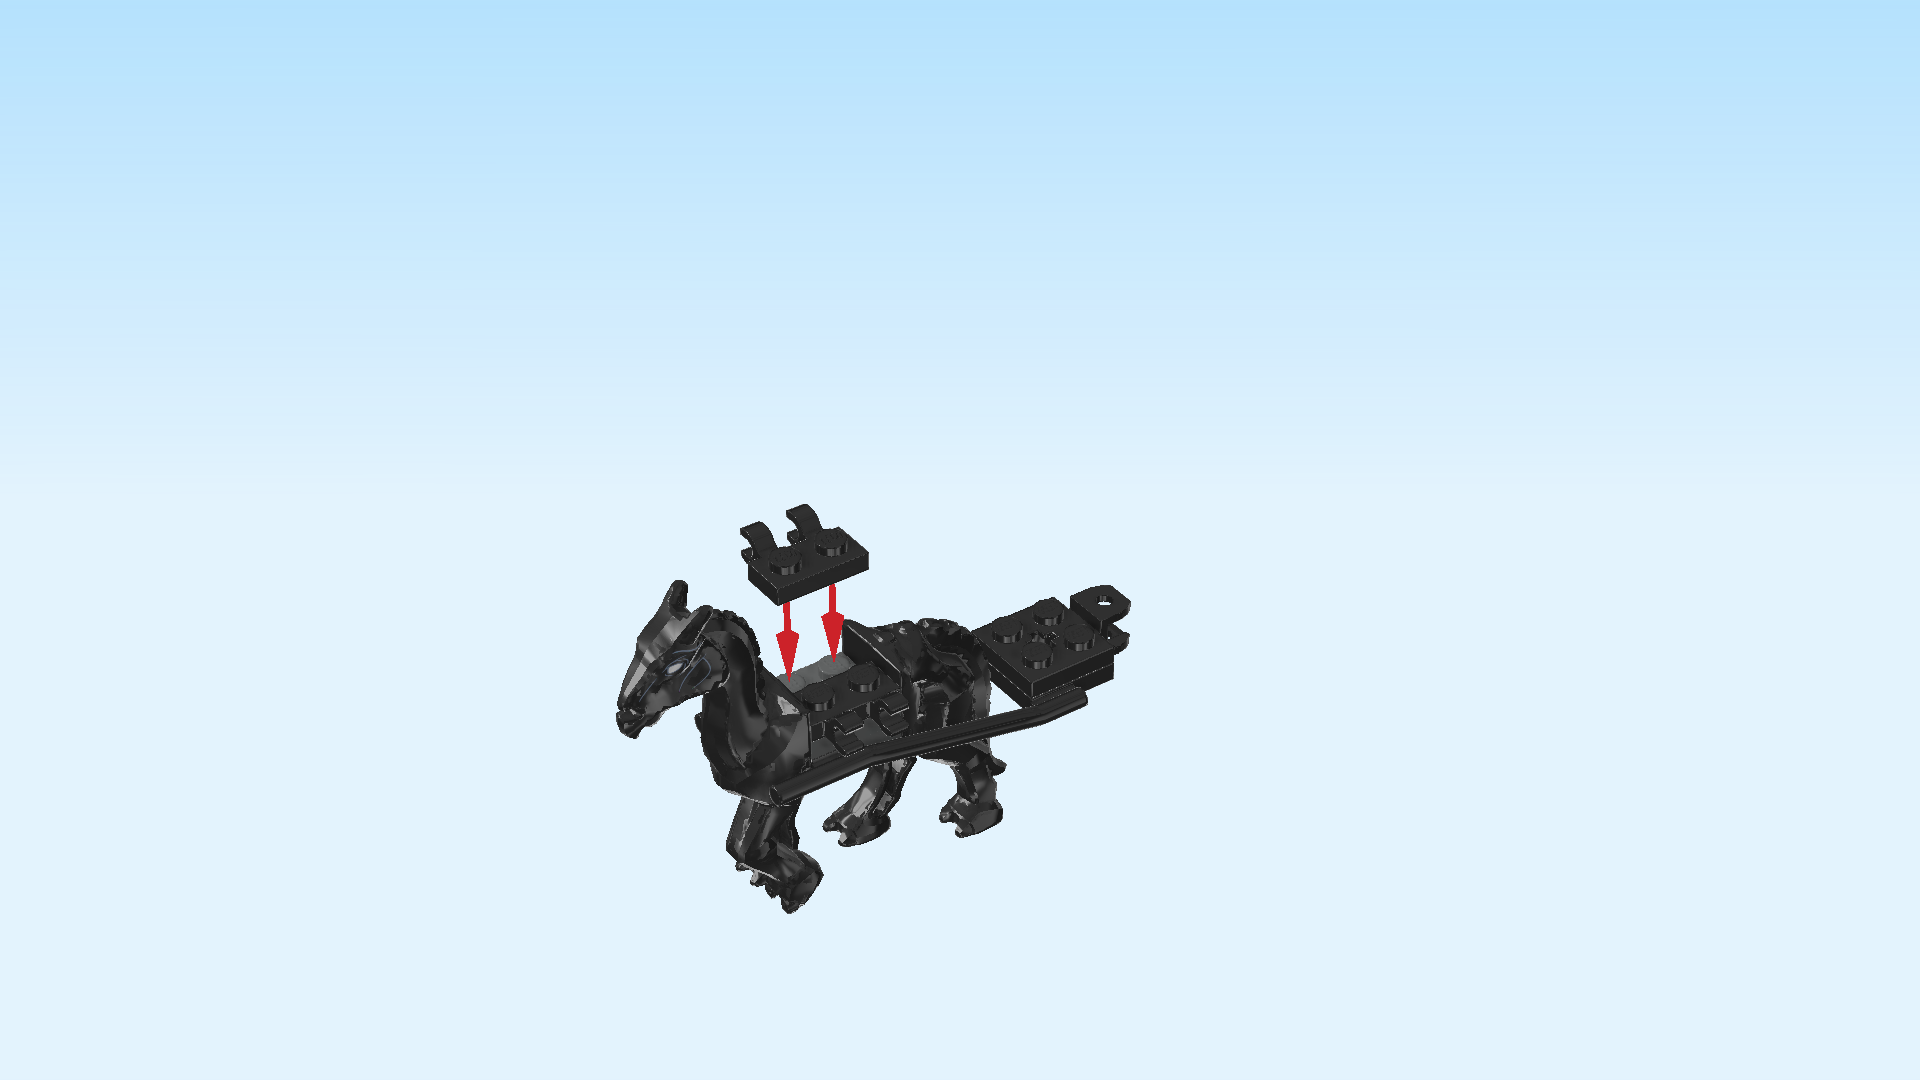
| Find 1 black plate 2x2 with 2 knobs. |
| Put it on top of the 2 previous pieces, the 2 knobs forming a column on the left. |
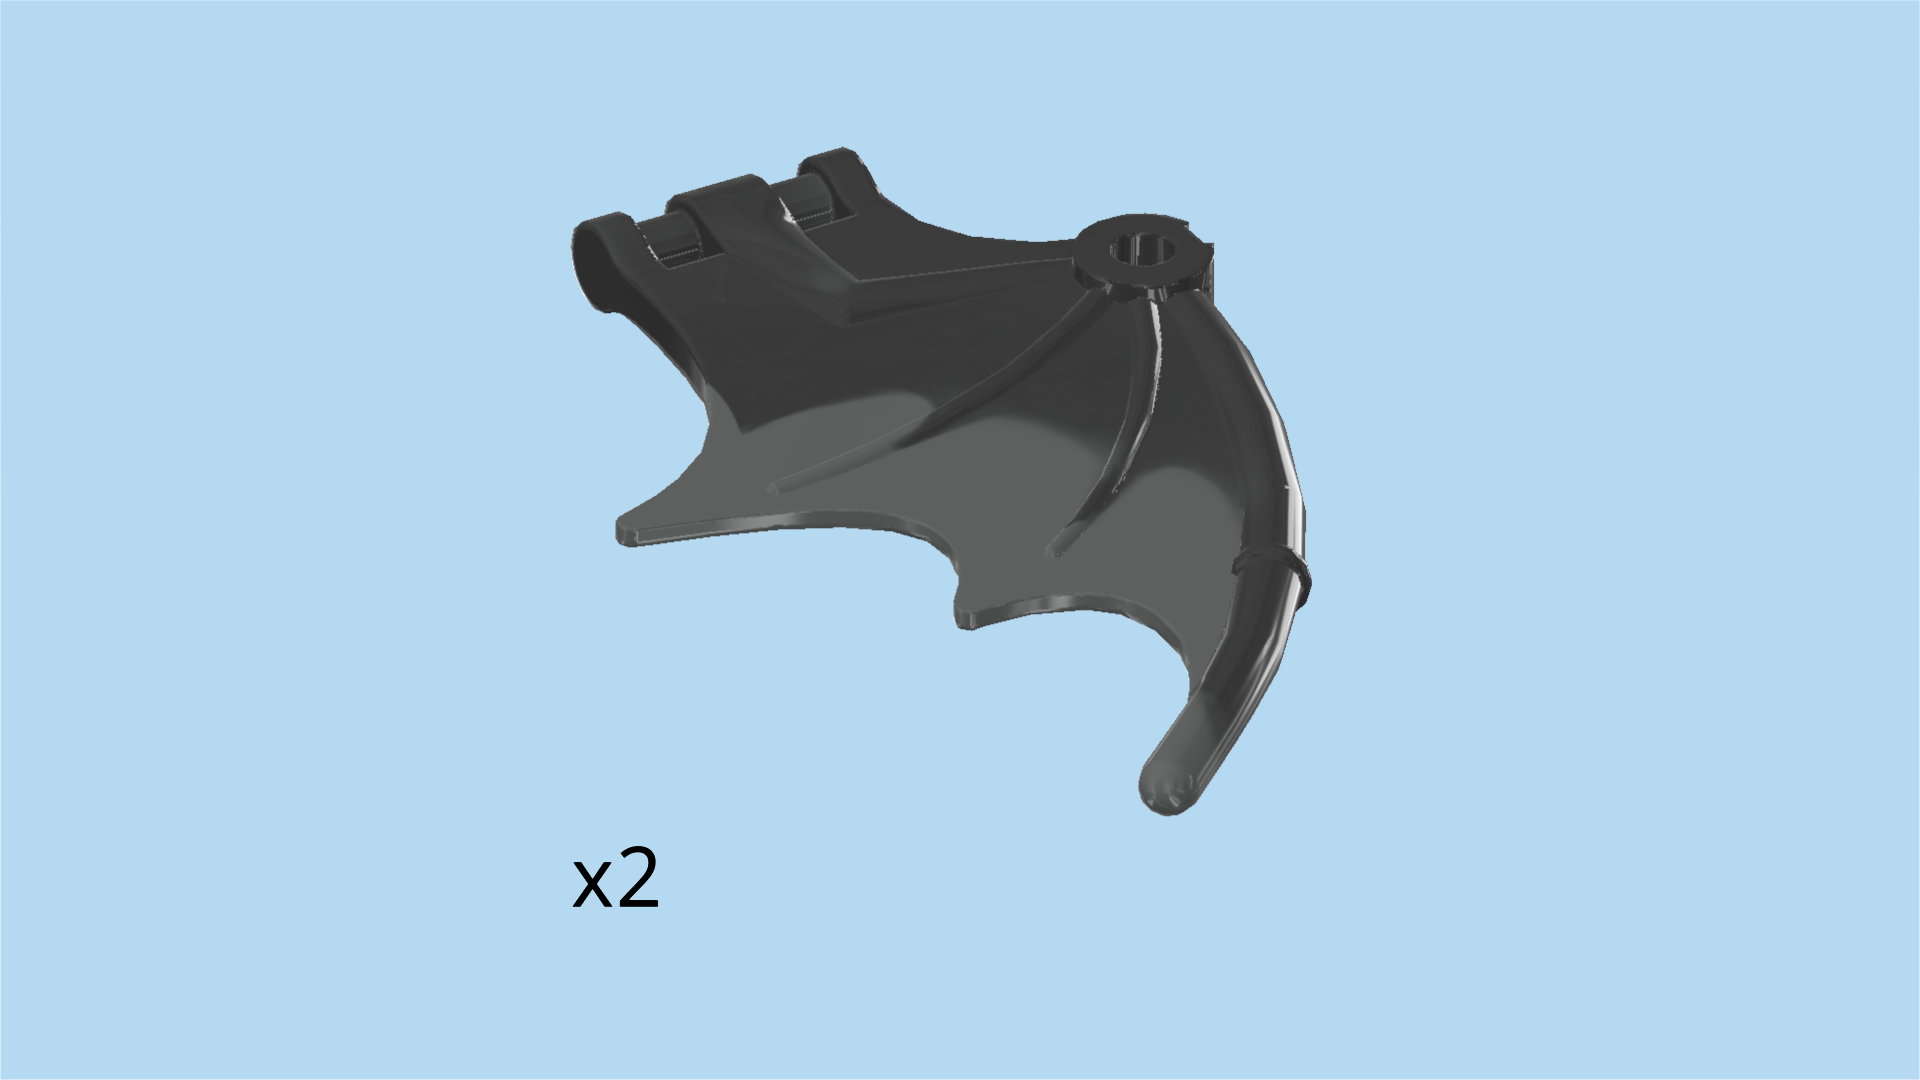
| Find 2 dark stone grey Thestral wings with shaft. |
| Snap the shaft into the 2 clasps pointing to the front. Folded up, the longest tip of the wing should be at the top and bending from the bottom left to the top right. |
| Snap the shaft of the other wing into the 2 clasps at the back. Again, when the wing is folded up, the longest tip should be at the top and bend from the bottom left to the top right. |
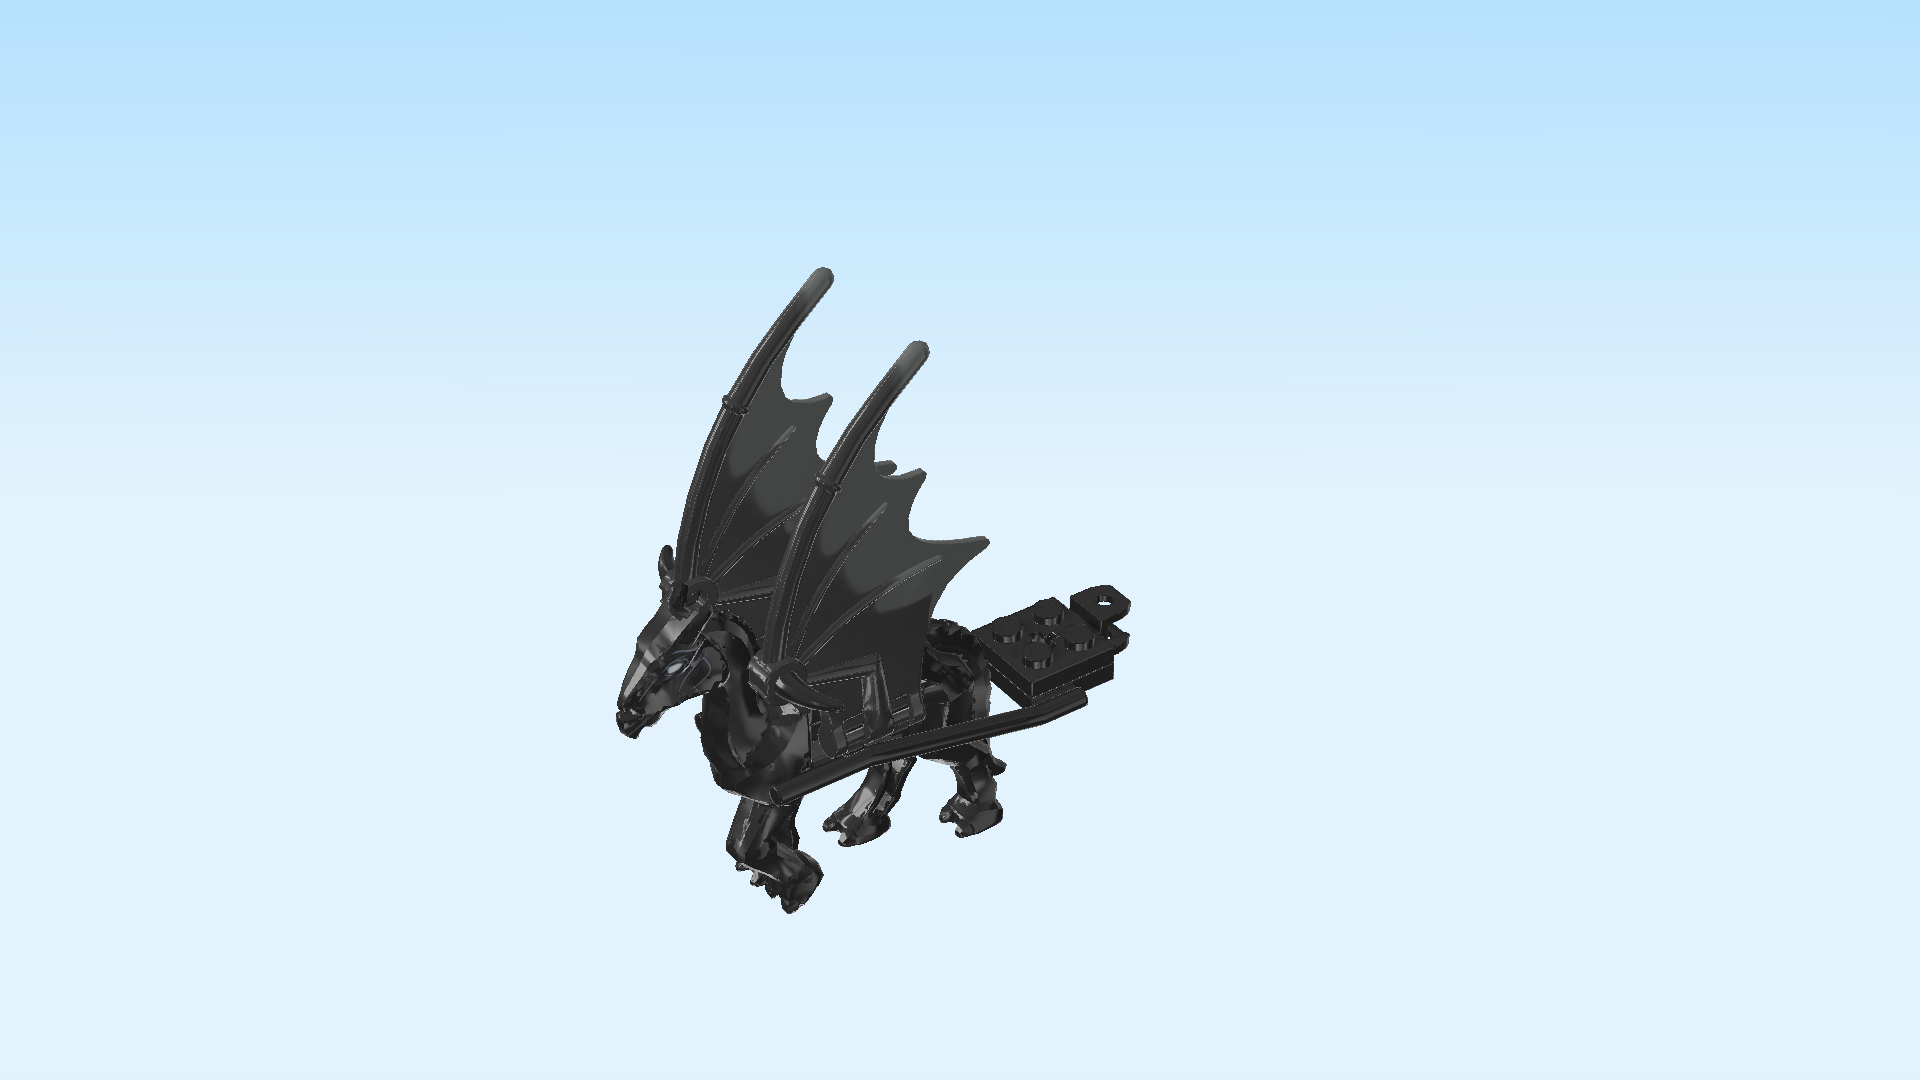
| Find 2 black horns with shaft. |
| Find the hole at the bottom of the longest wing tip at the front. Insert the shaft of one horn into the hole, horn sticking out towards the front. |
| Repeat symmetrically at the back. |
| Until you finish building the entire set, we would recommend keeping the drawbar on the Thestral. If you would like to remove the drawbar later, step one is to remove the first three layers of plates with the wings attached to reach the level on which the drawbar is mounted. |
| In step two, you remove the drawbar and replace it with a dark stone grey plate 1x2. |
| Step three is to reattach the 3 top layers of plates with wings attached. Now your Thestral can roam the forest freely without the drawbar. But now let's continue building! |
| Now, we will build the carriage. |
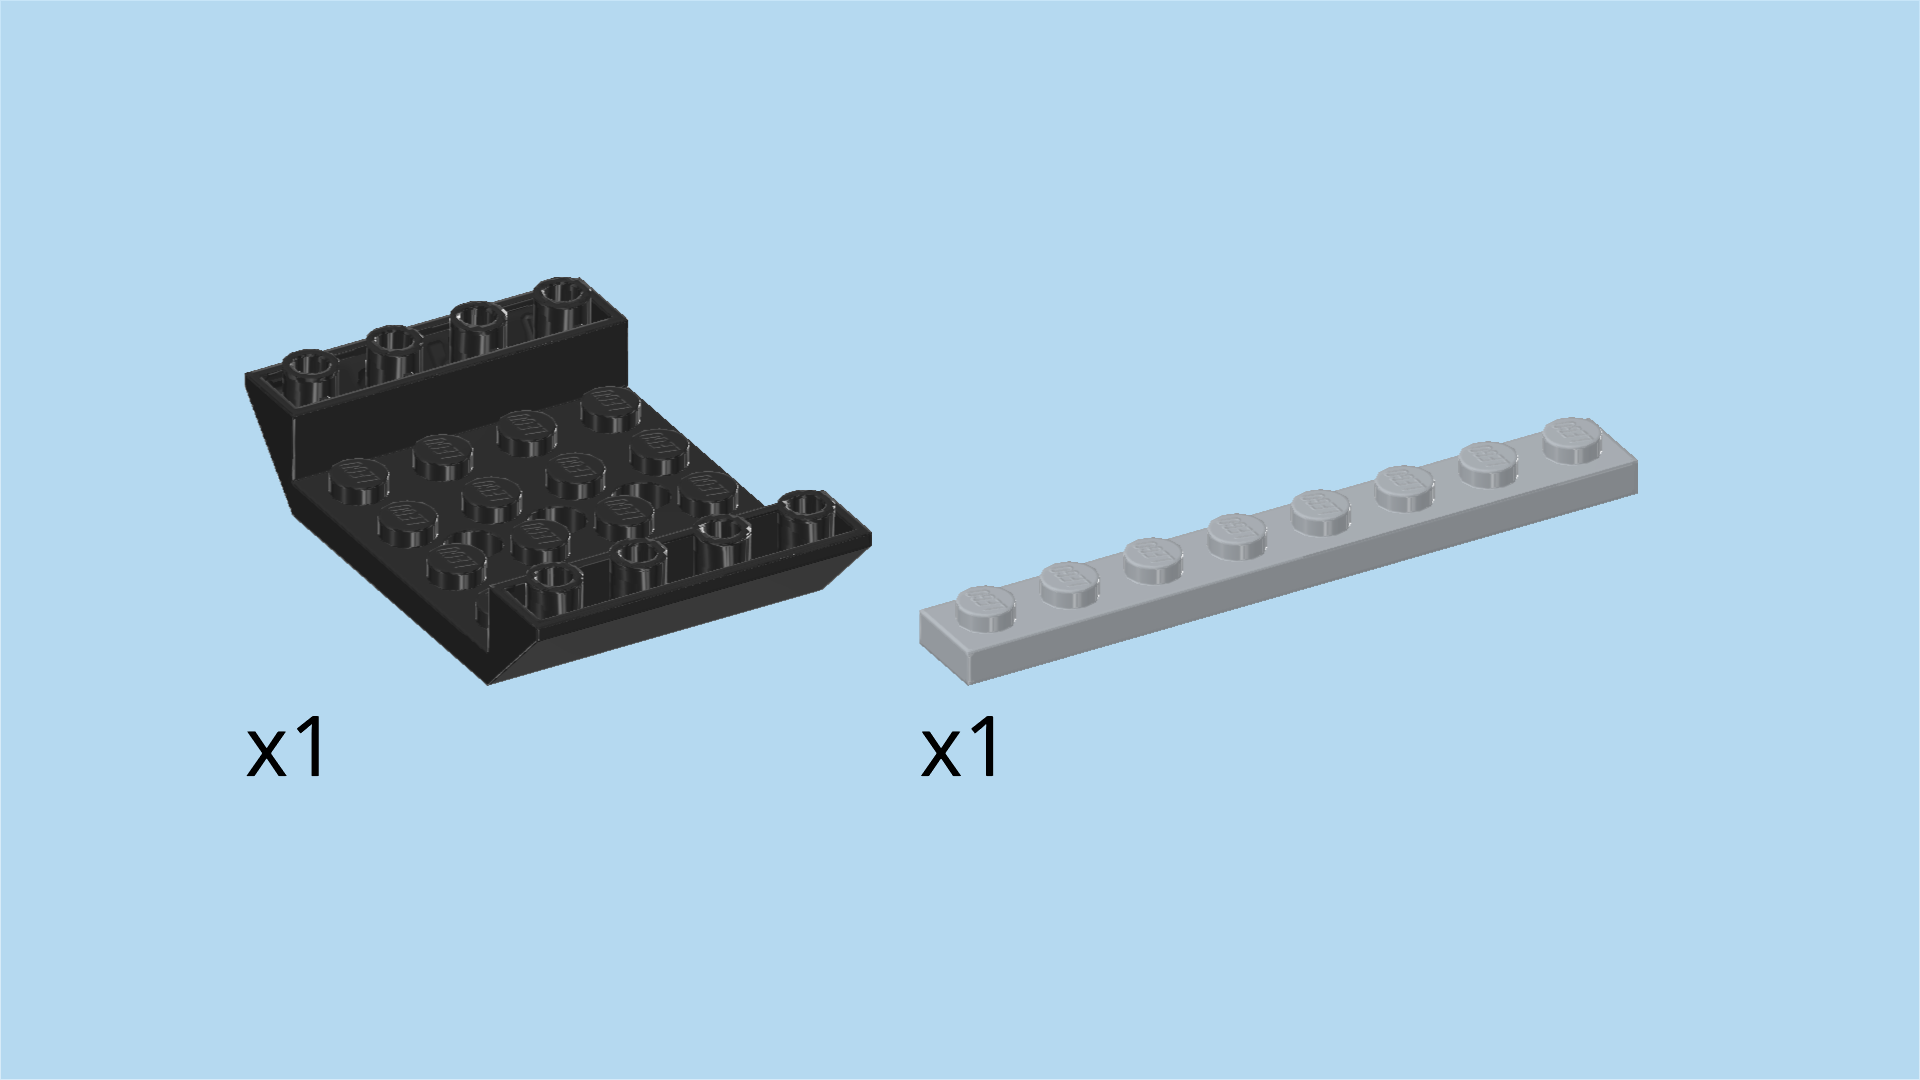
| Collect the following 2 pieces: |
| 1 black inverted double roof tile 4x6 with 3 holes, |
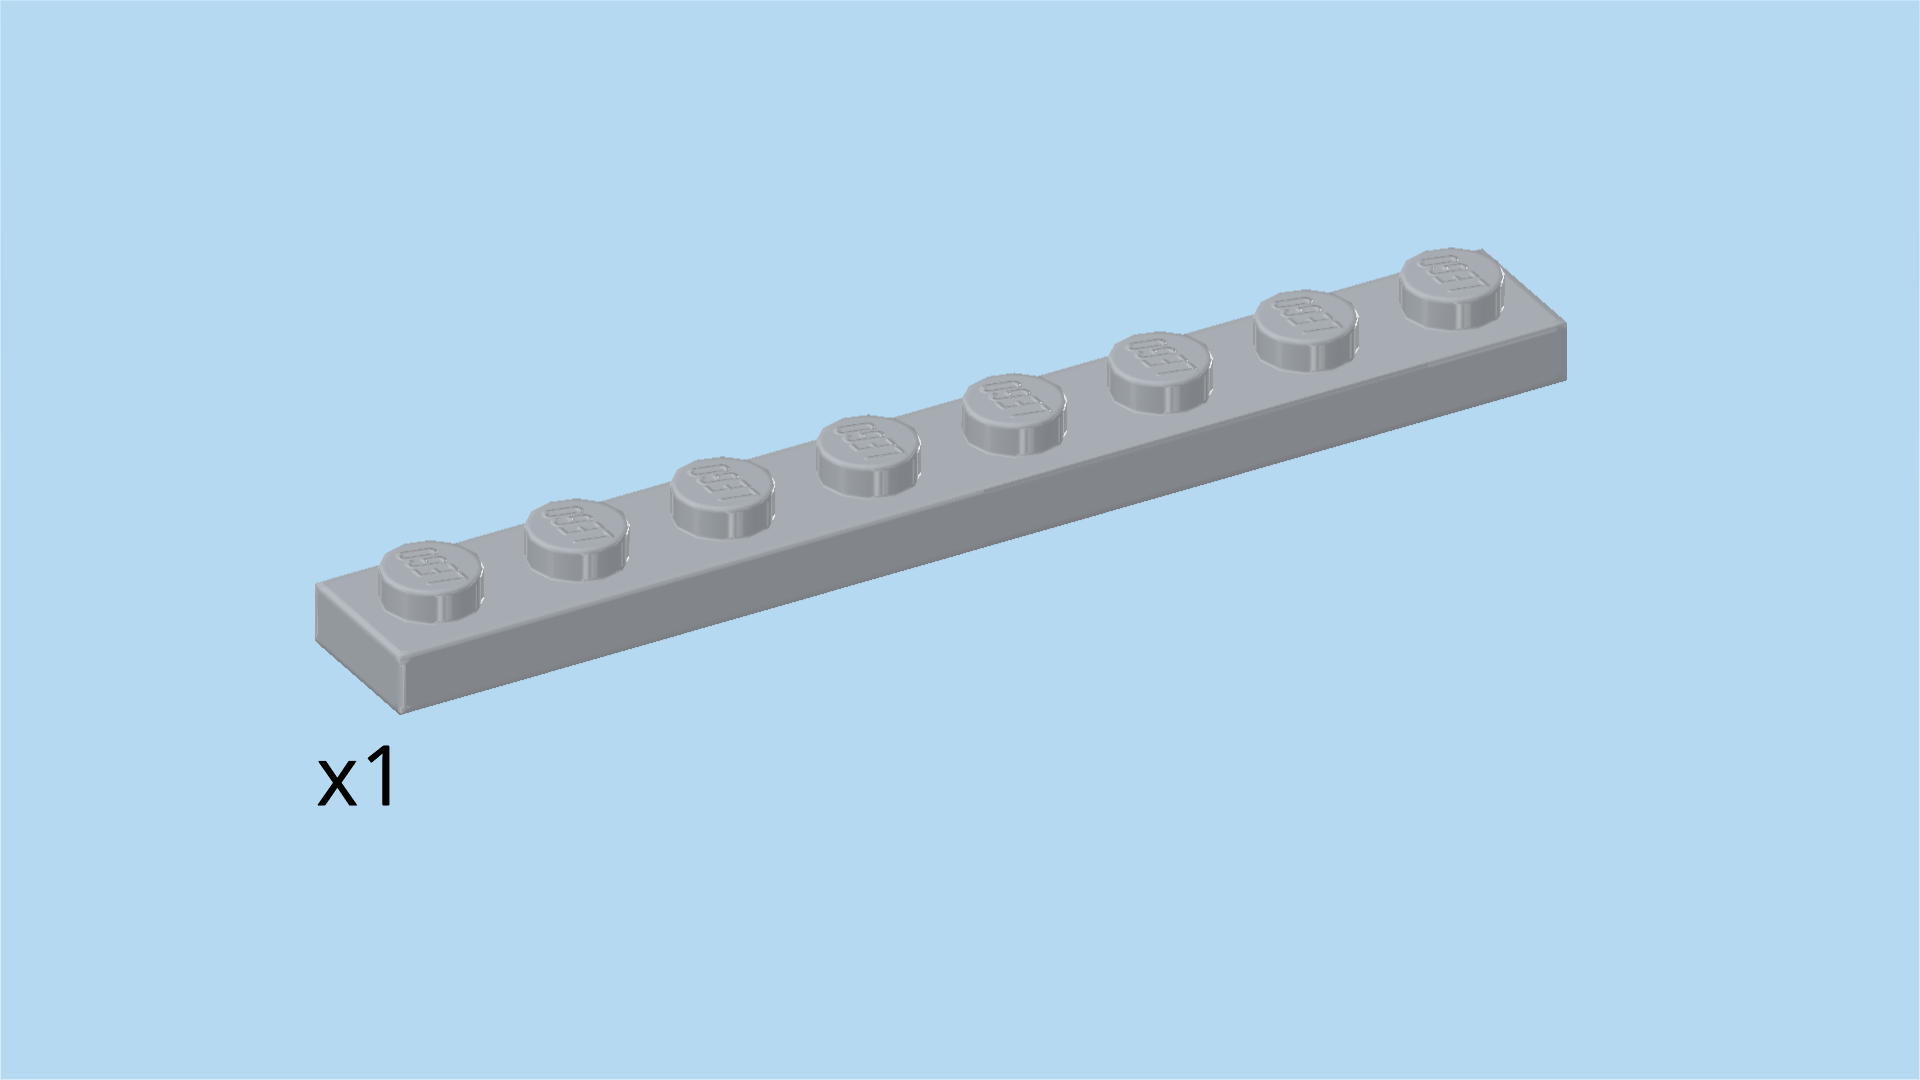
| and 1 medium stone grey plate 1x8. |
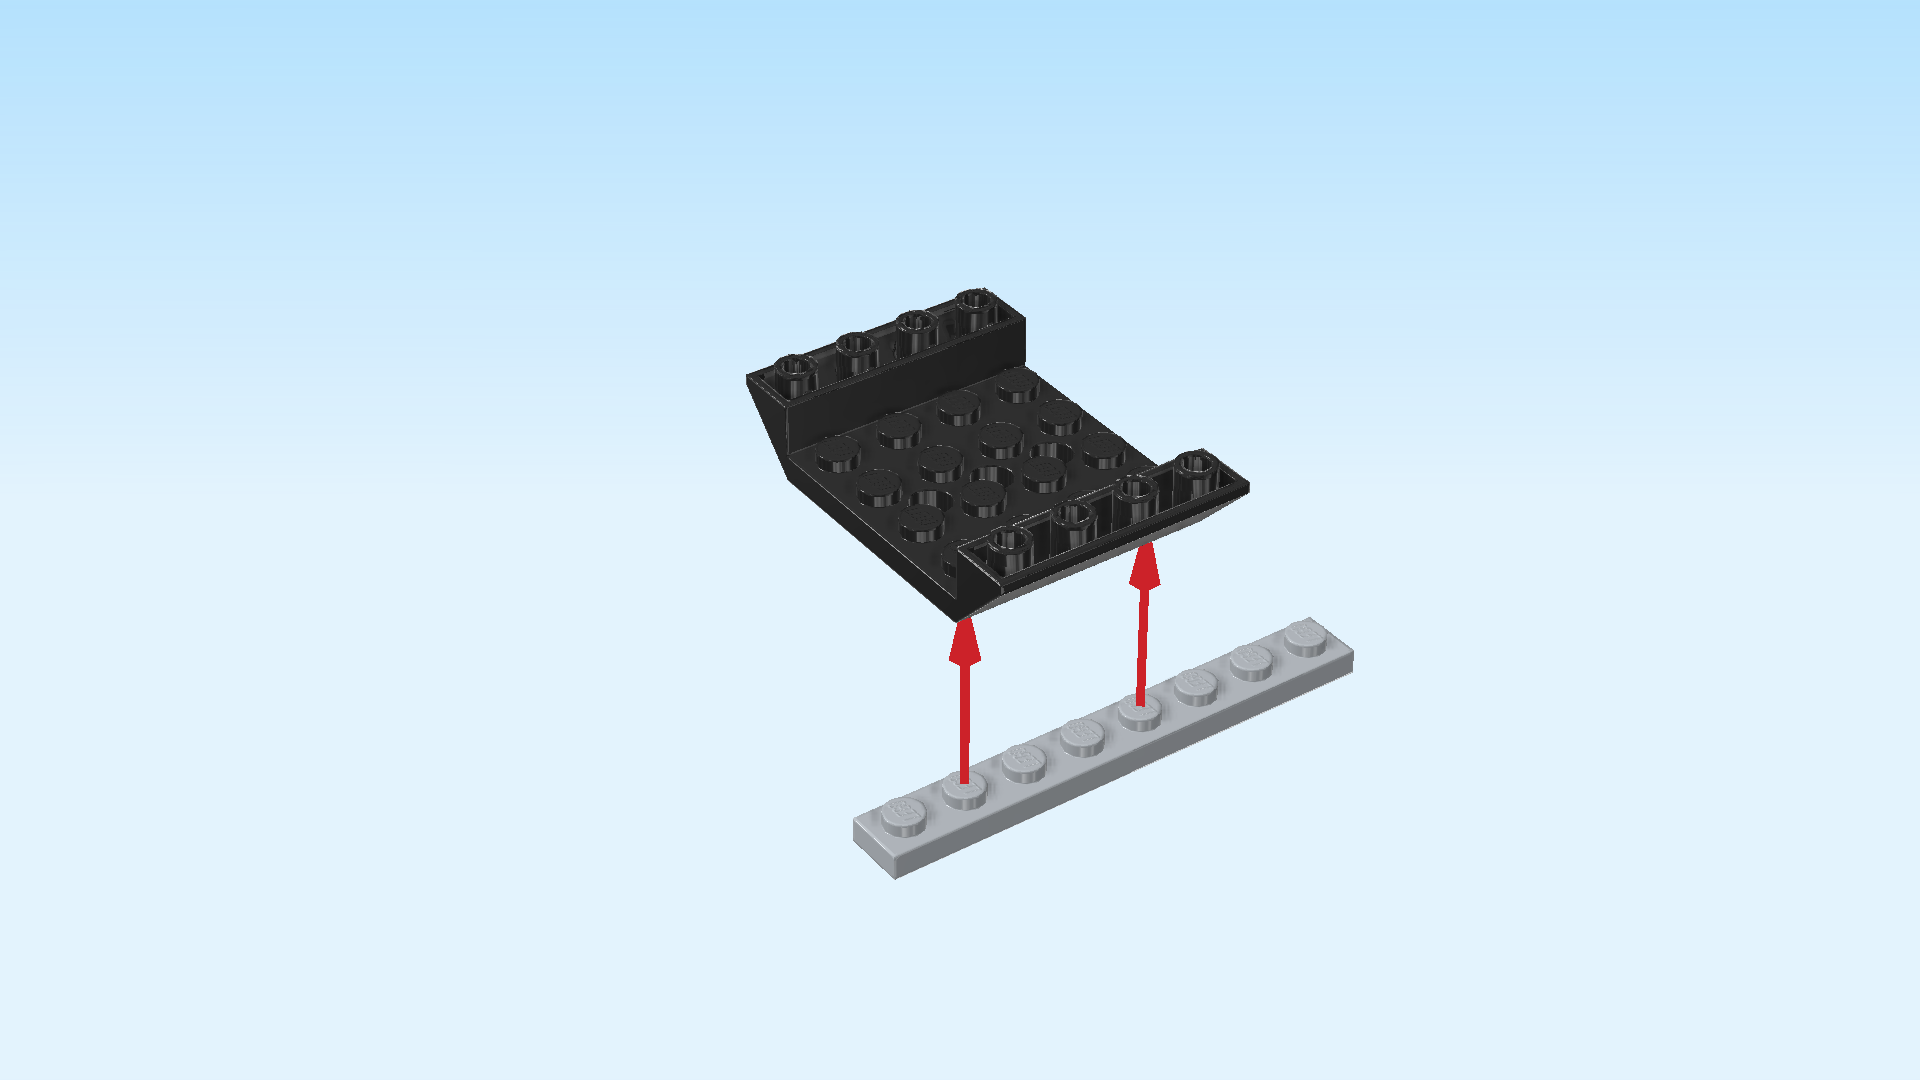
| Put the plate 1x8 horizontally on the table. |
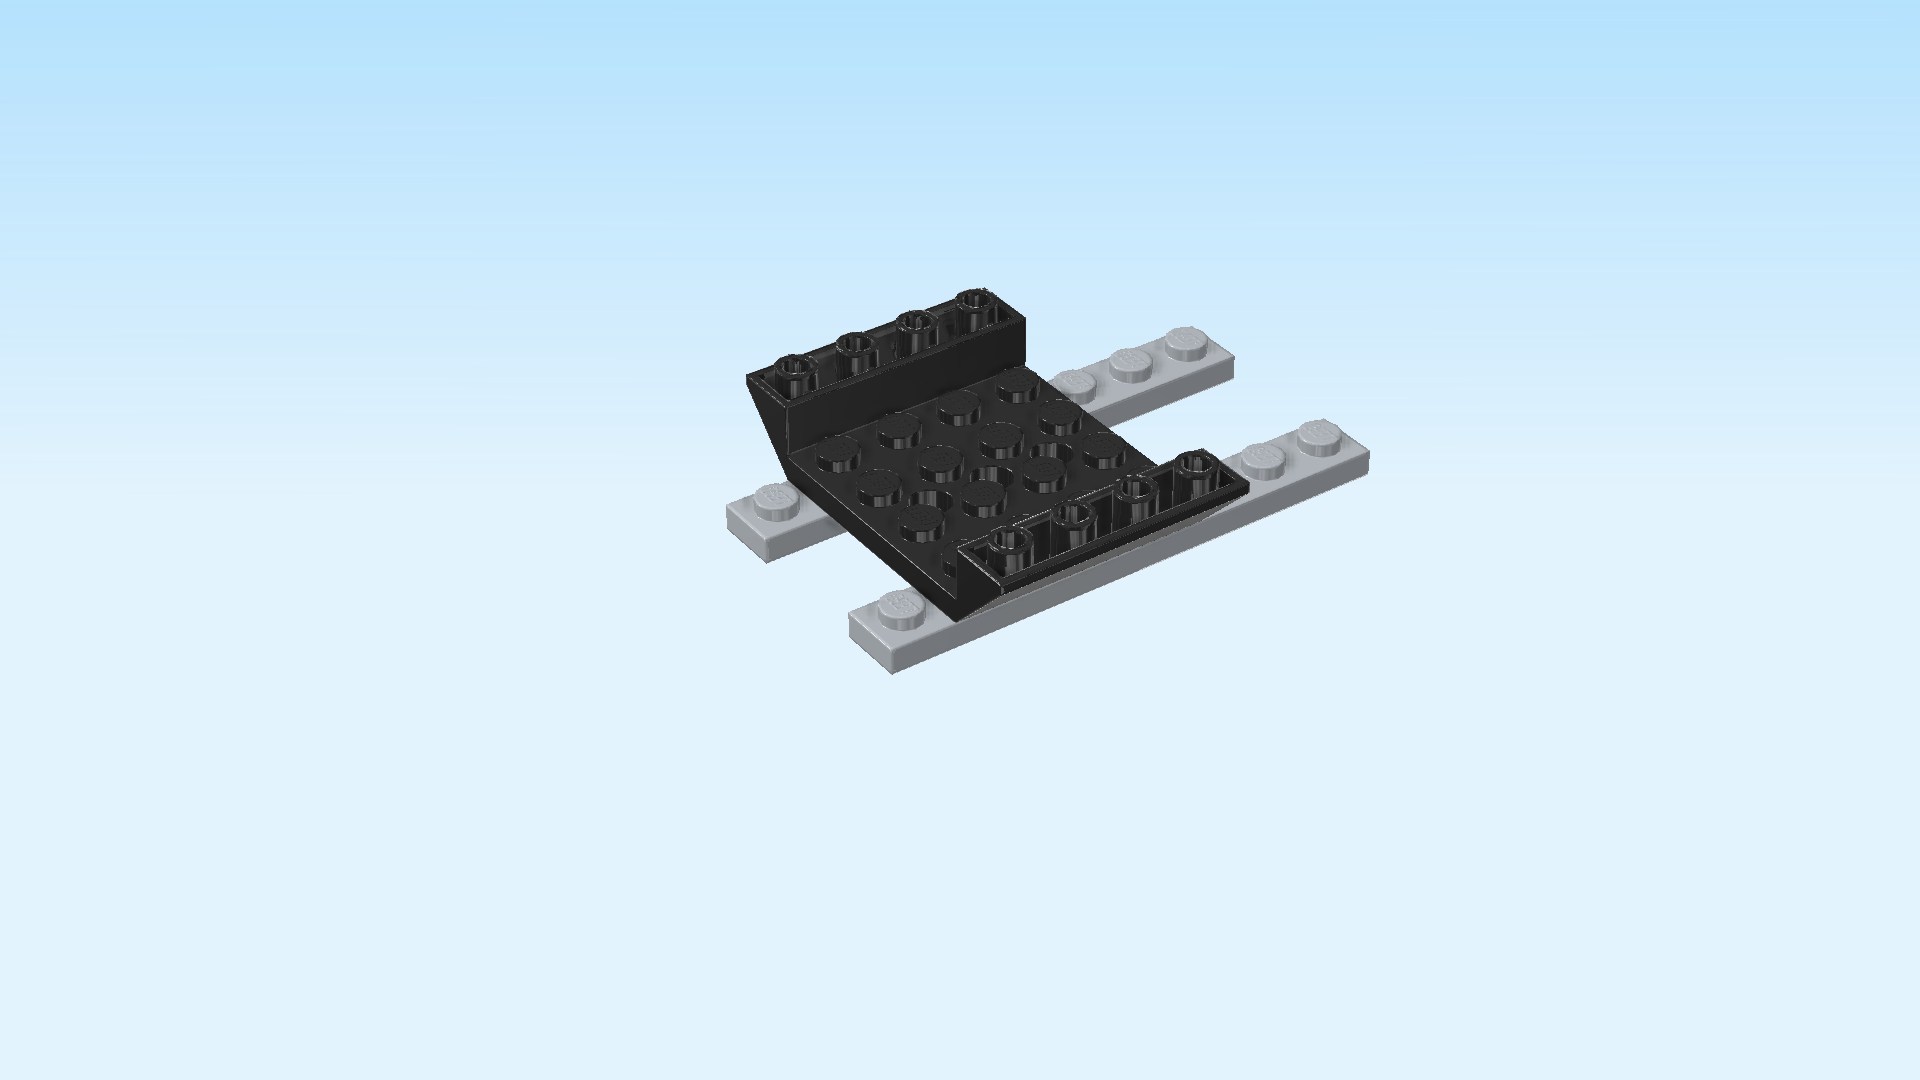
| Hold the inverted double roof tile vertically; this means the slopes are to the front and back. |
| Mount the front edge of the double roof tile on the plate 1x8, leaving 1 knob to the left and 3 knobs to the right empty. |
| Find another medium stone grey plate 1x8. |
| Put it horizontally underneath the back edge of the inverted double roof tile, 1 knob protruding to the left, 3 knobs protruding to the right. |
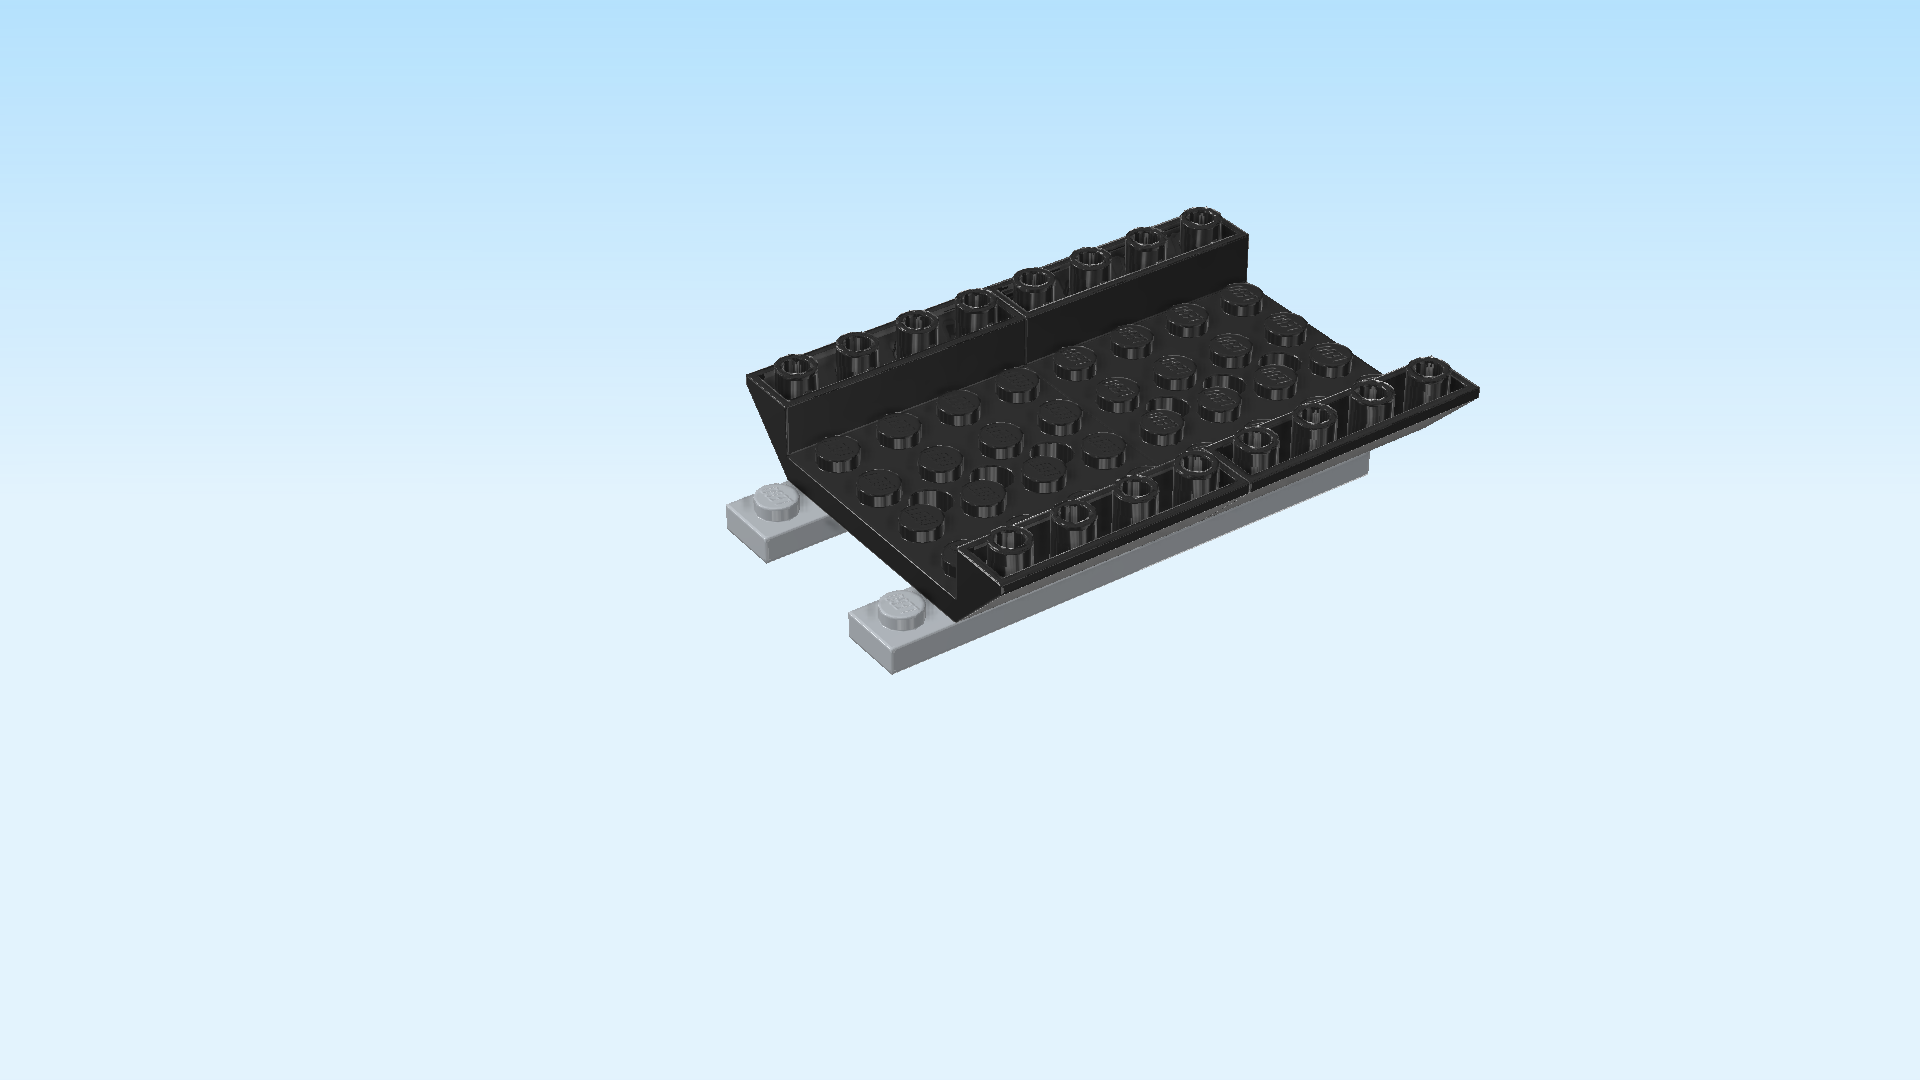
| Find 1 black inverted double roof tile 4x6 with 3 holes. |
| Put it vertically to the right of the first inverted roof tile in the same orientation. If done correctly, one column will overhang to the right. |
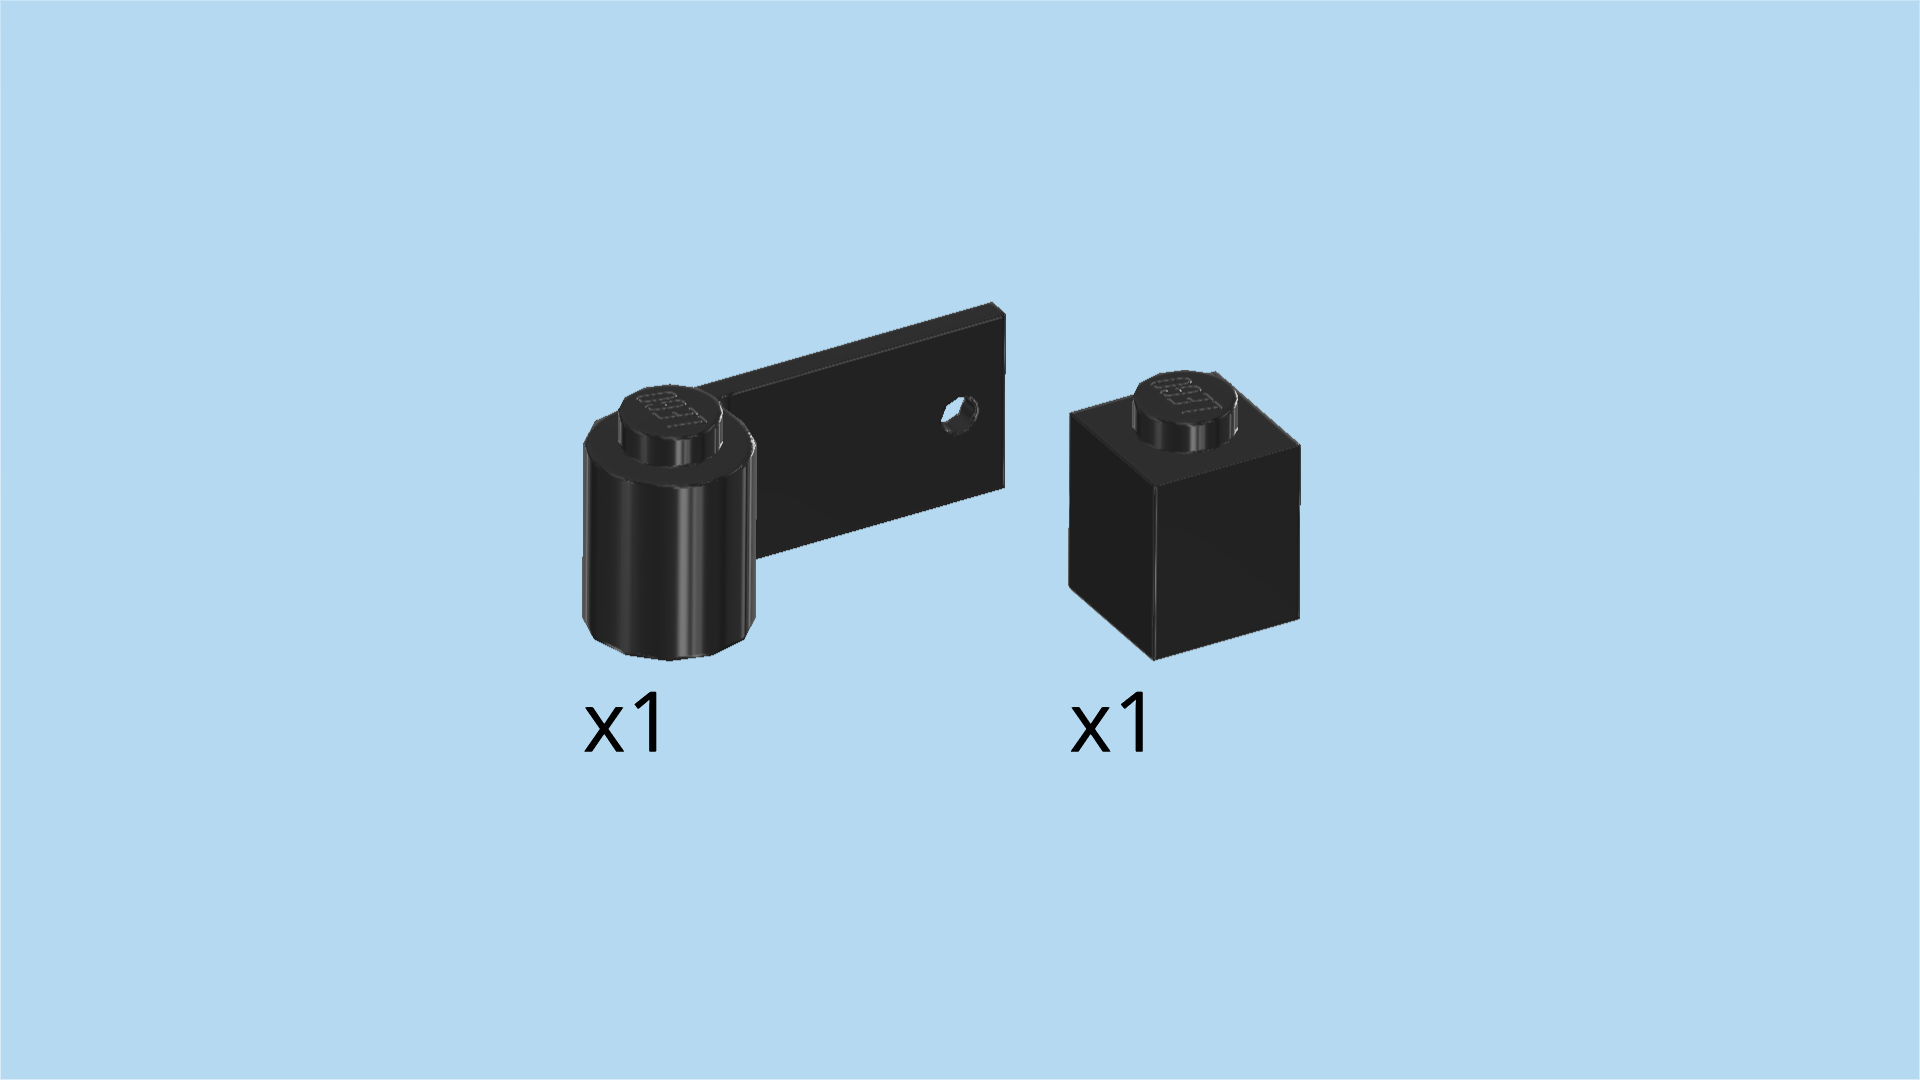
| Collect the following 2 pieces: |
| 1 black right door 1x3, |
| and 1 black brick 1x1. |
| Mount the right door 1x3 vertically on the second knob from the back on the rightmost column. Make sure the panel of the door is on the right edge so you can open it towards the right back. |
| Put the brick 1x1 on the second knob from the front on the rightmost column. |
| Find 4 dark orange palisade bricks 1x2. |
| Put 1 horizontally to the left of the previous piece. |
| Put another 1 horizontally to the left of the previous piece. |
| Repeat symmetrically at the back to the left of the door. |
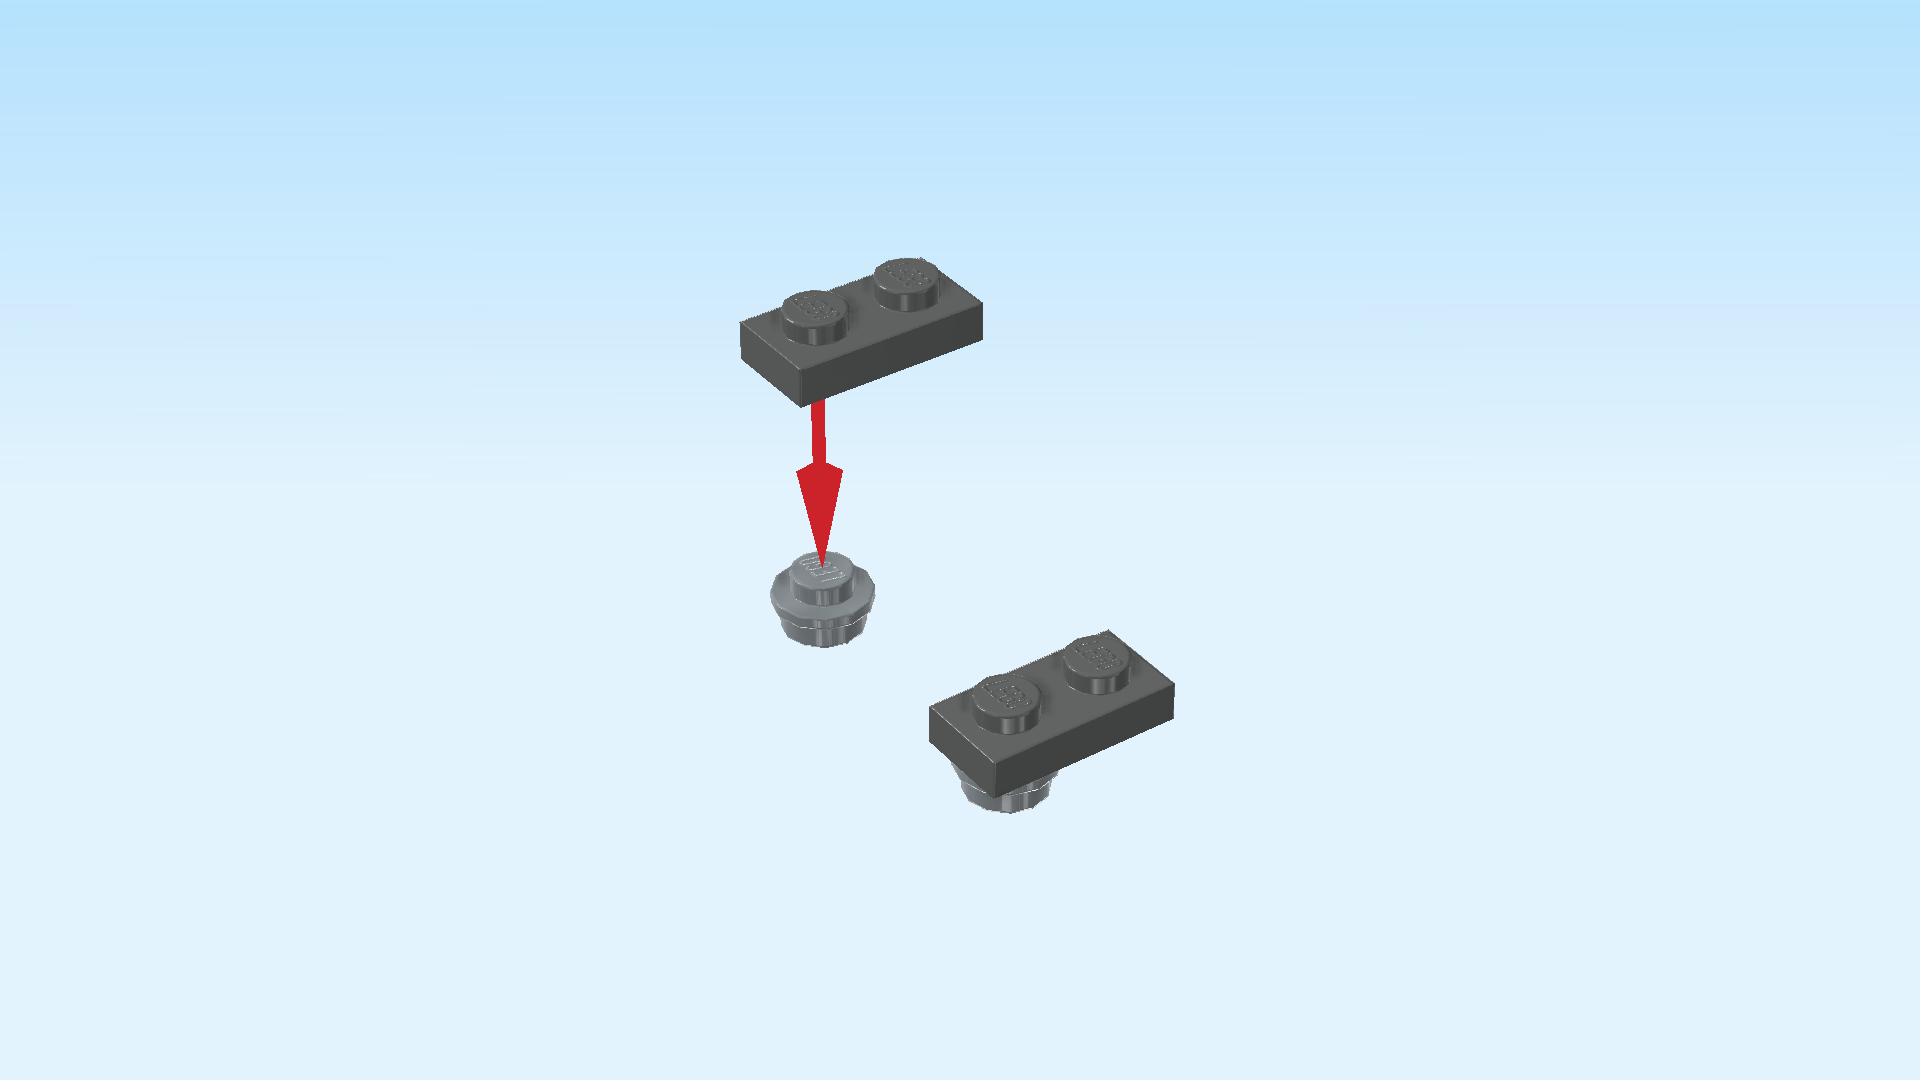
| Next, we will make 2 small parts. |
| Collect the following 4 pieces: |
| 2 dark stone grey plates 1x2, |
| and 2 silver metallic round plates 1x1. |
| Hold 1 plate 1x2 vertically. |
| Put 1 round plate 1x1 underneath the front knob of the plate. |
| Repeat symmetrically with the other plate 1x2 and round plate 1x1. |
| Mount one of the 2 small parts horizontally on the leftmost knob at the back. That is the knob sticking out underneath the structure. Make sure that 1 knob and round plate 1x1 are overhanging to the left. |
| Repeat symmetrically at the front with the other small part. |
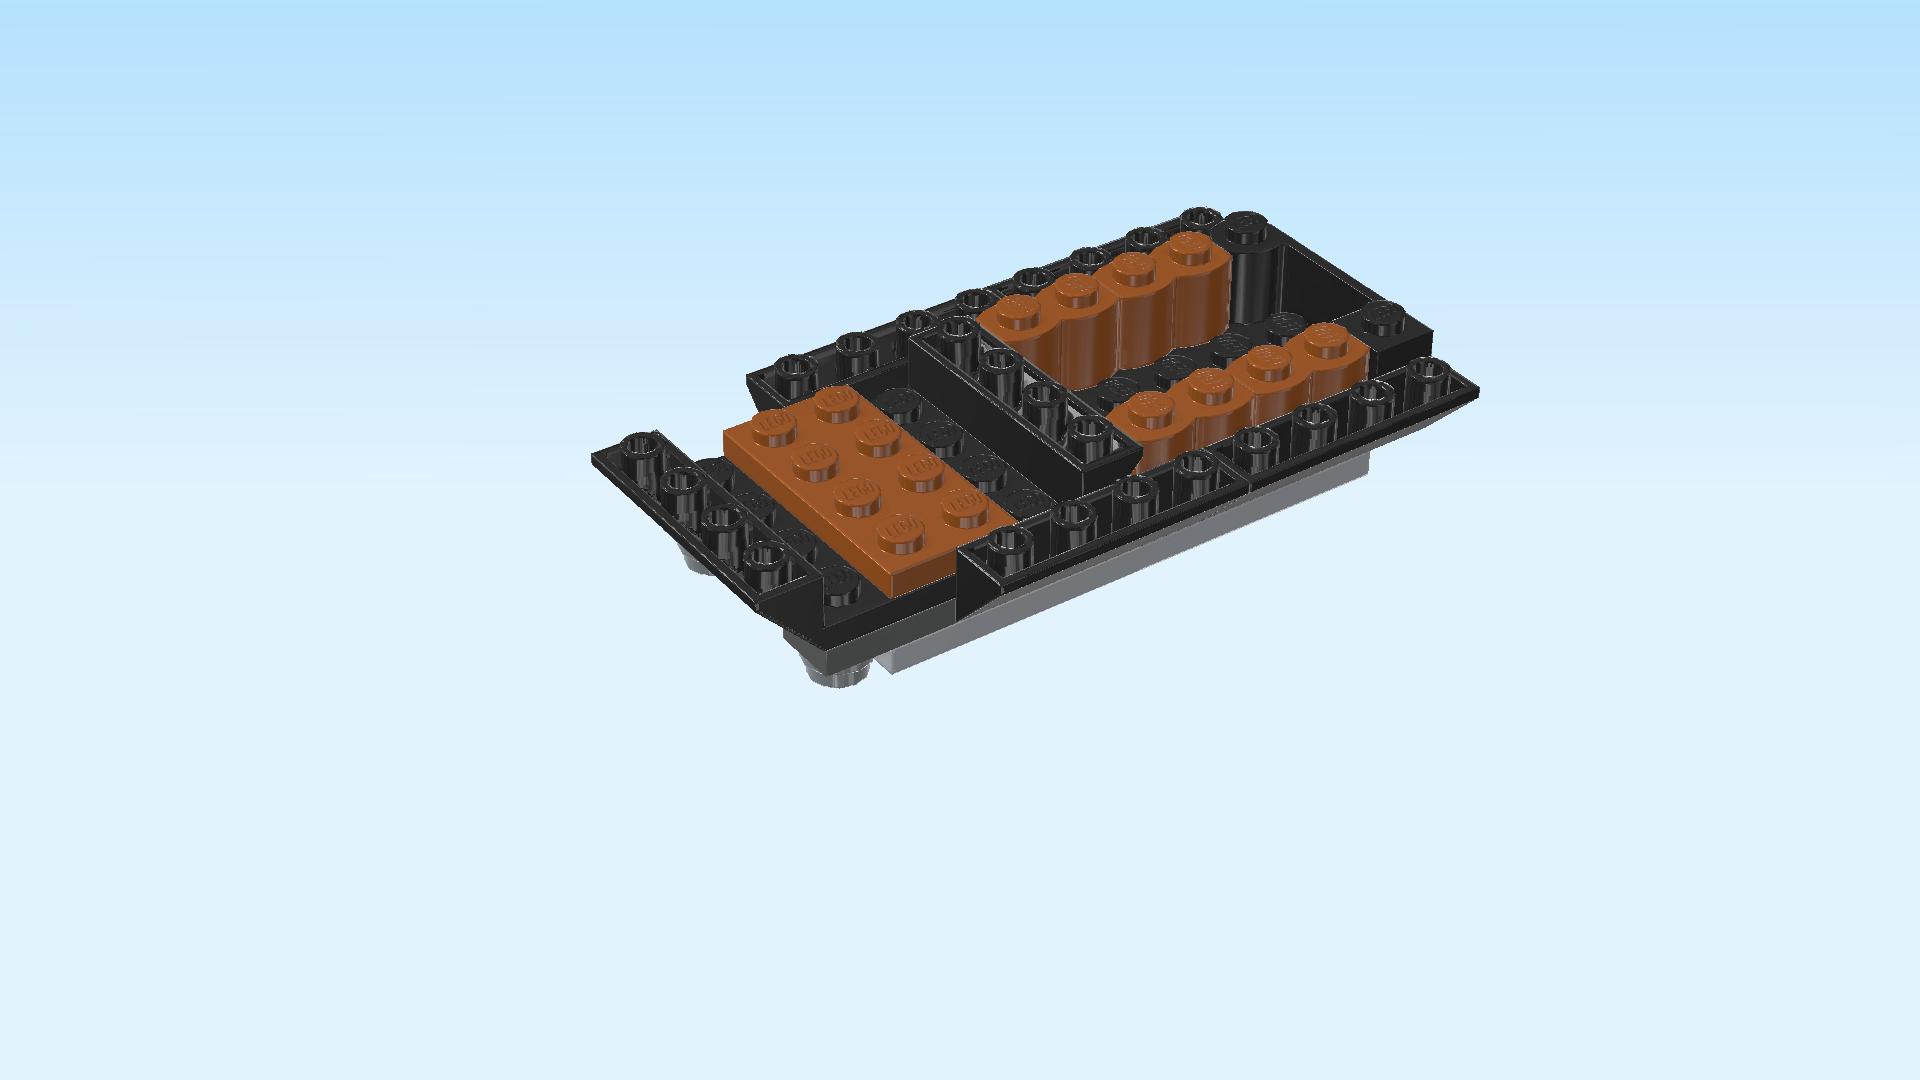
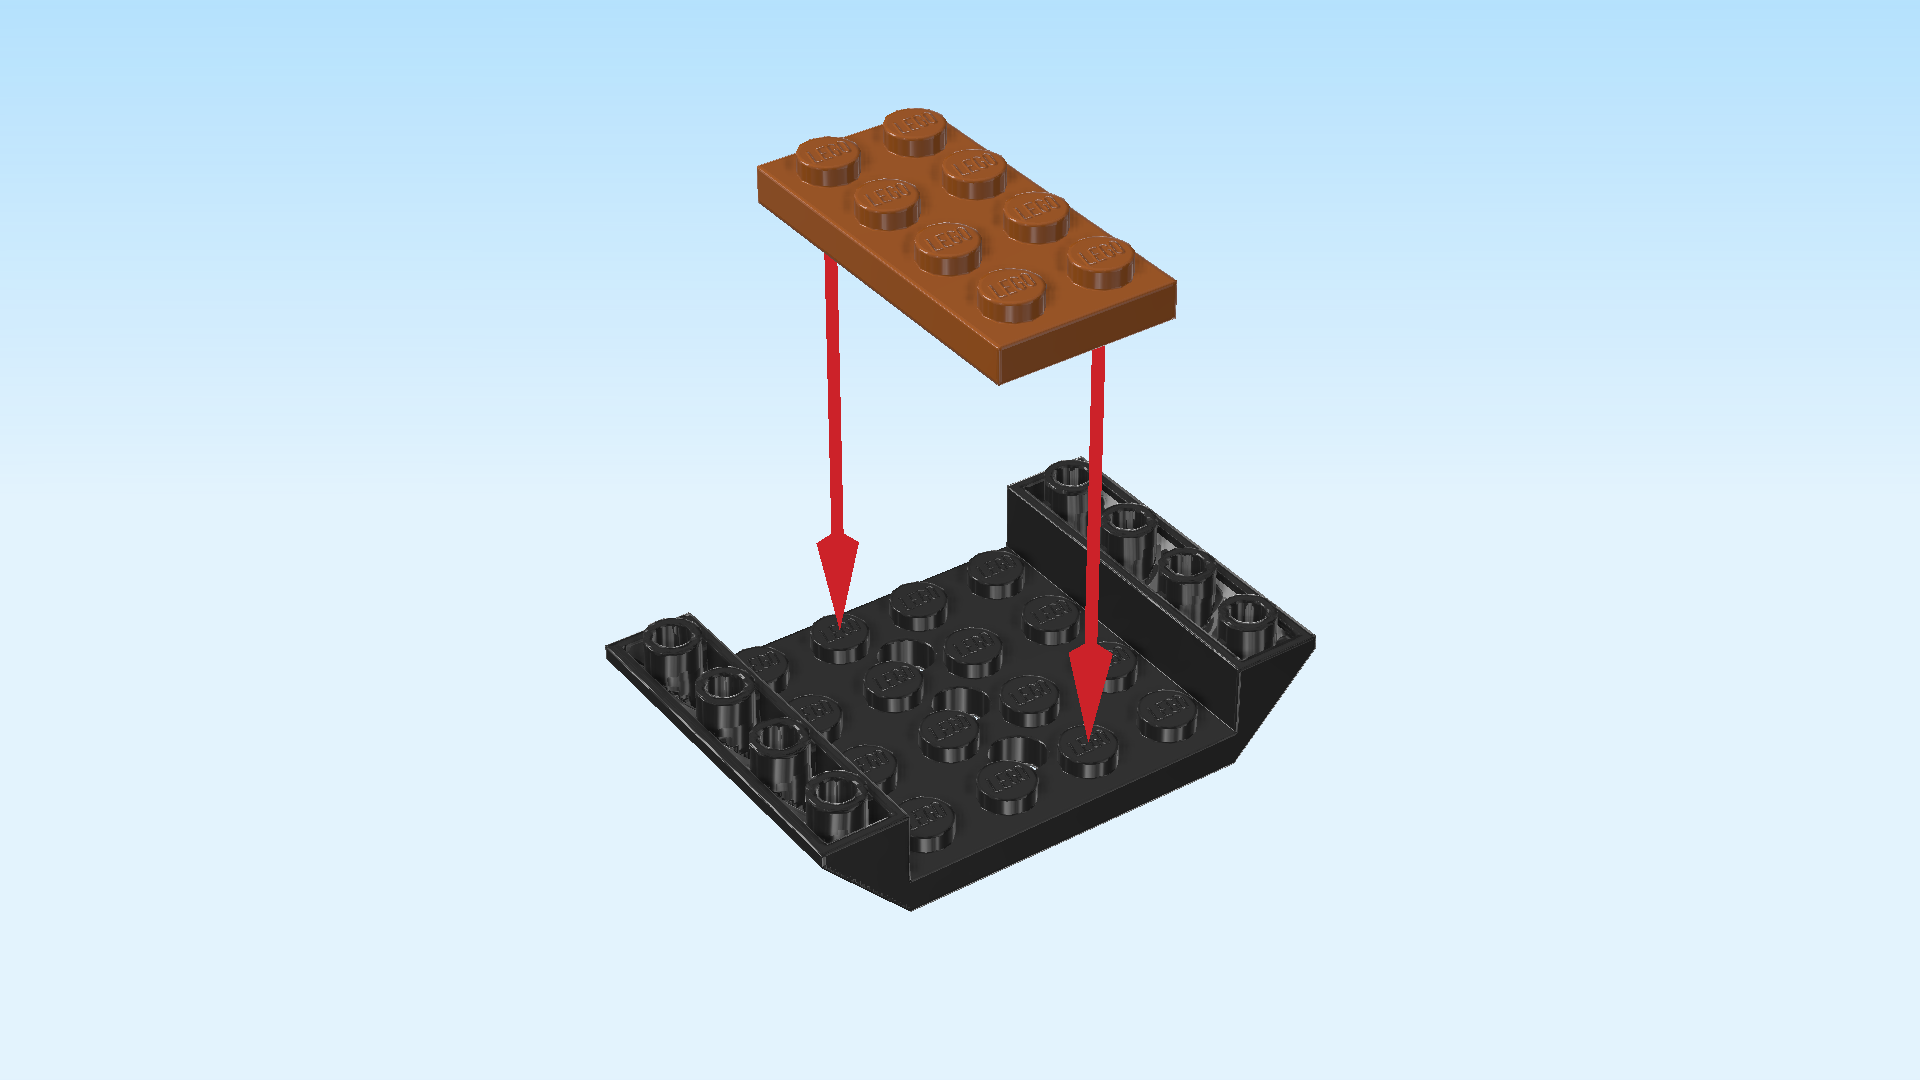
| Next, we will build the front floor of the carriage. |
| Collect the following 2 pieces: |
| 1 dark orange plate 2x4, |
| and 1 black inverted double roof tile 4x6 with 3 holes. |
| Put the inverted roof tile 4x6 horizontally on the table. This means the slopes are on the left and right. |
| Put the plate 2x4 vertically on the 2 middle columns of the roof tile. |
| Insert the front floor horizontally into the structure coming from the left until the right slope touches the palisade bricks. Mount it in that position. |
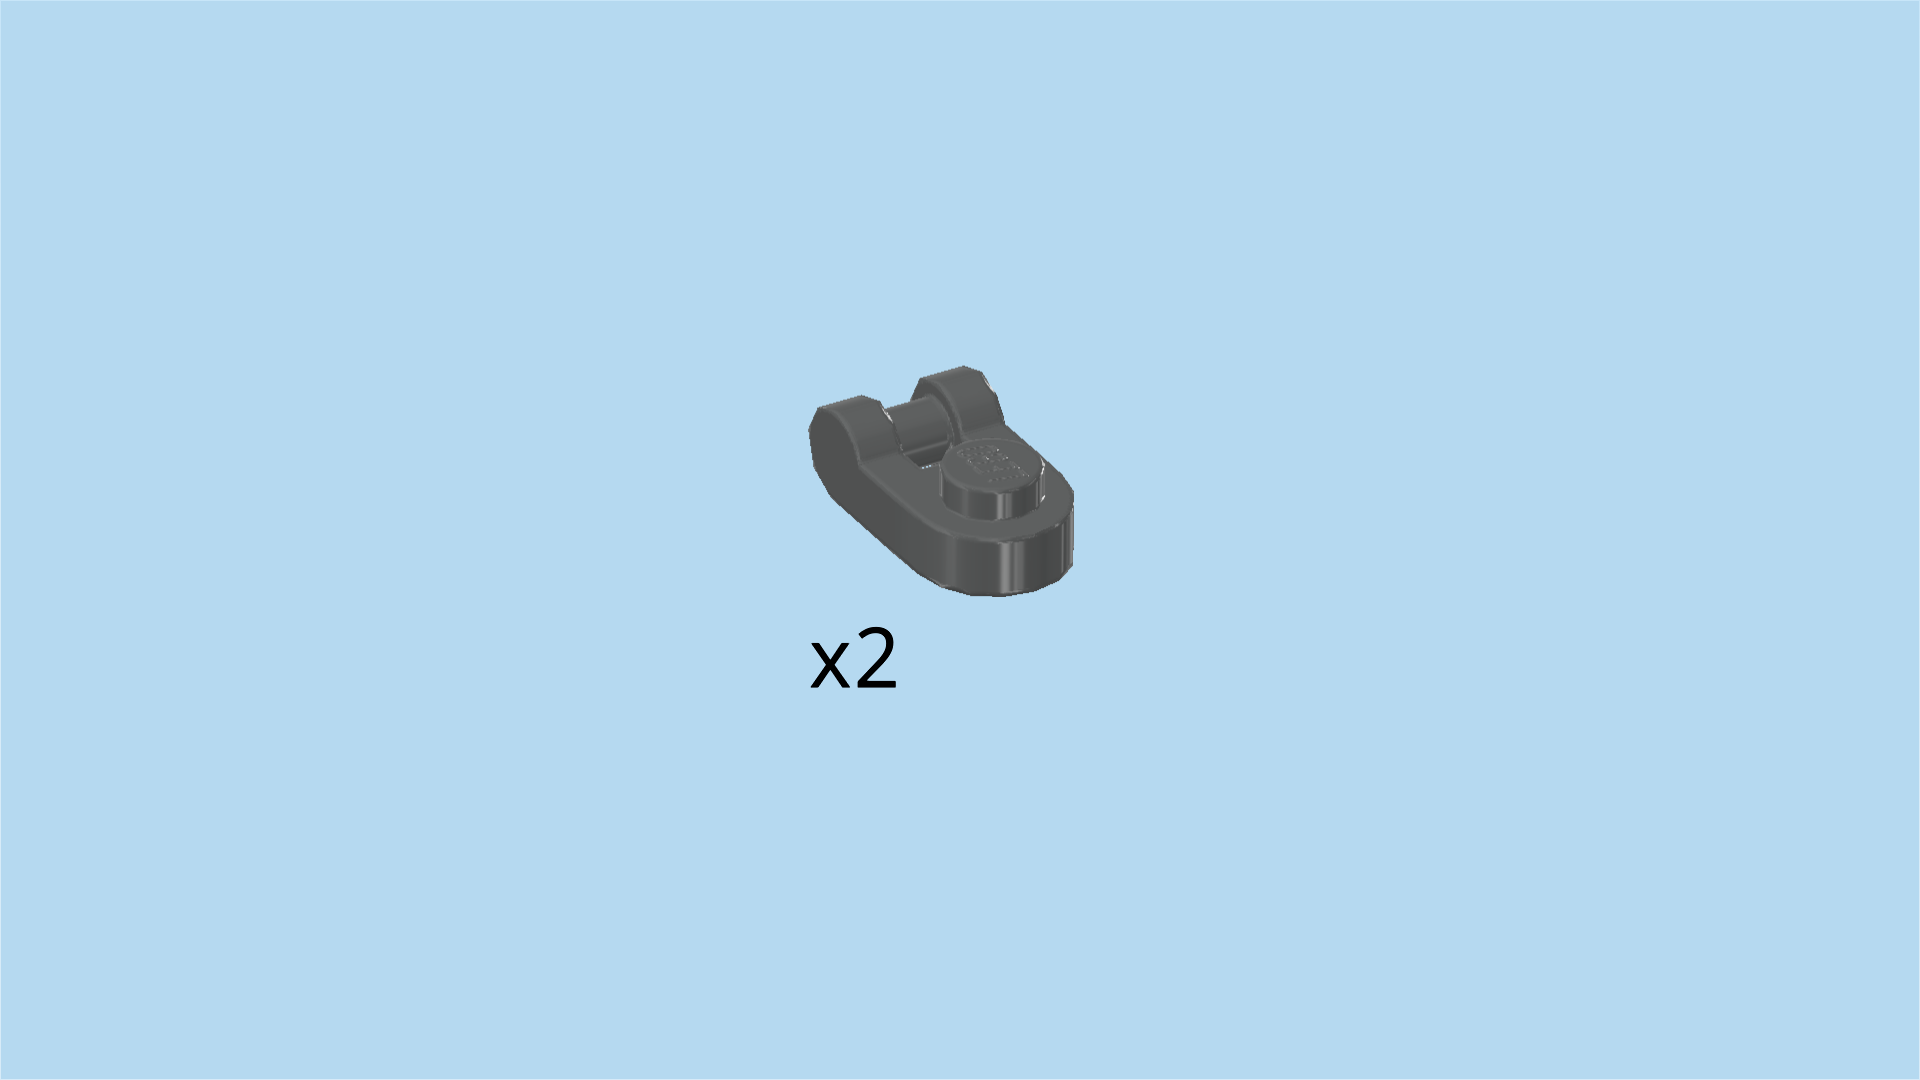
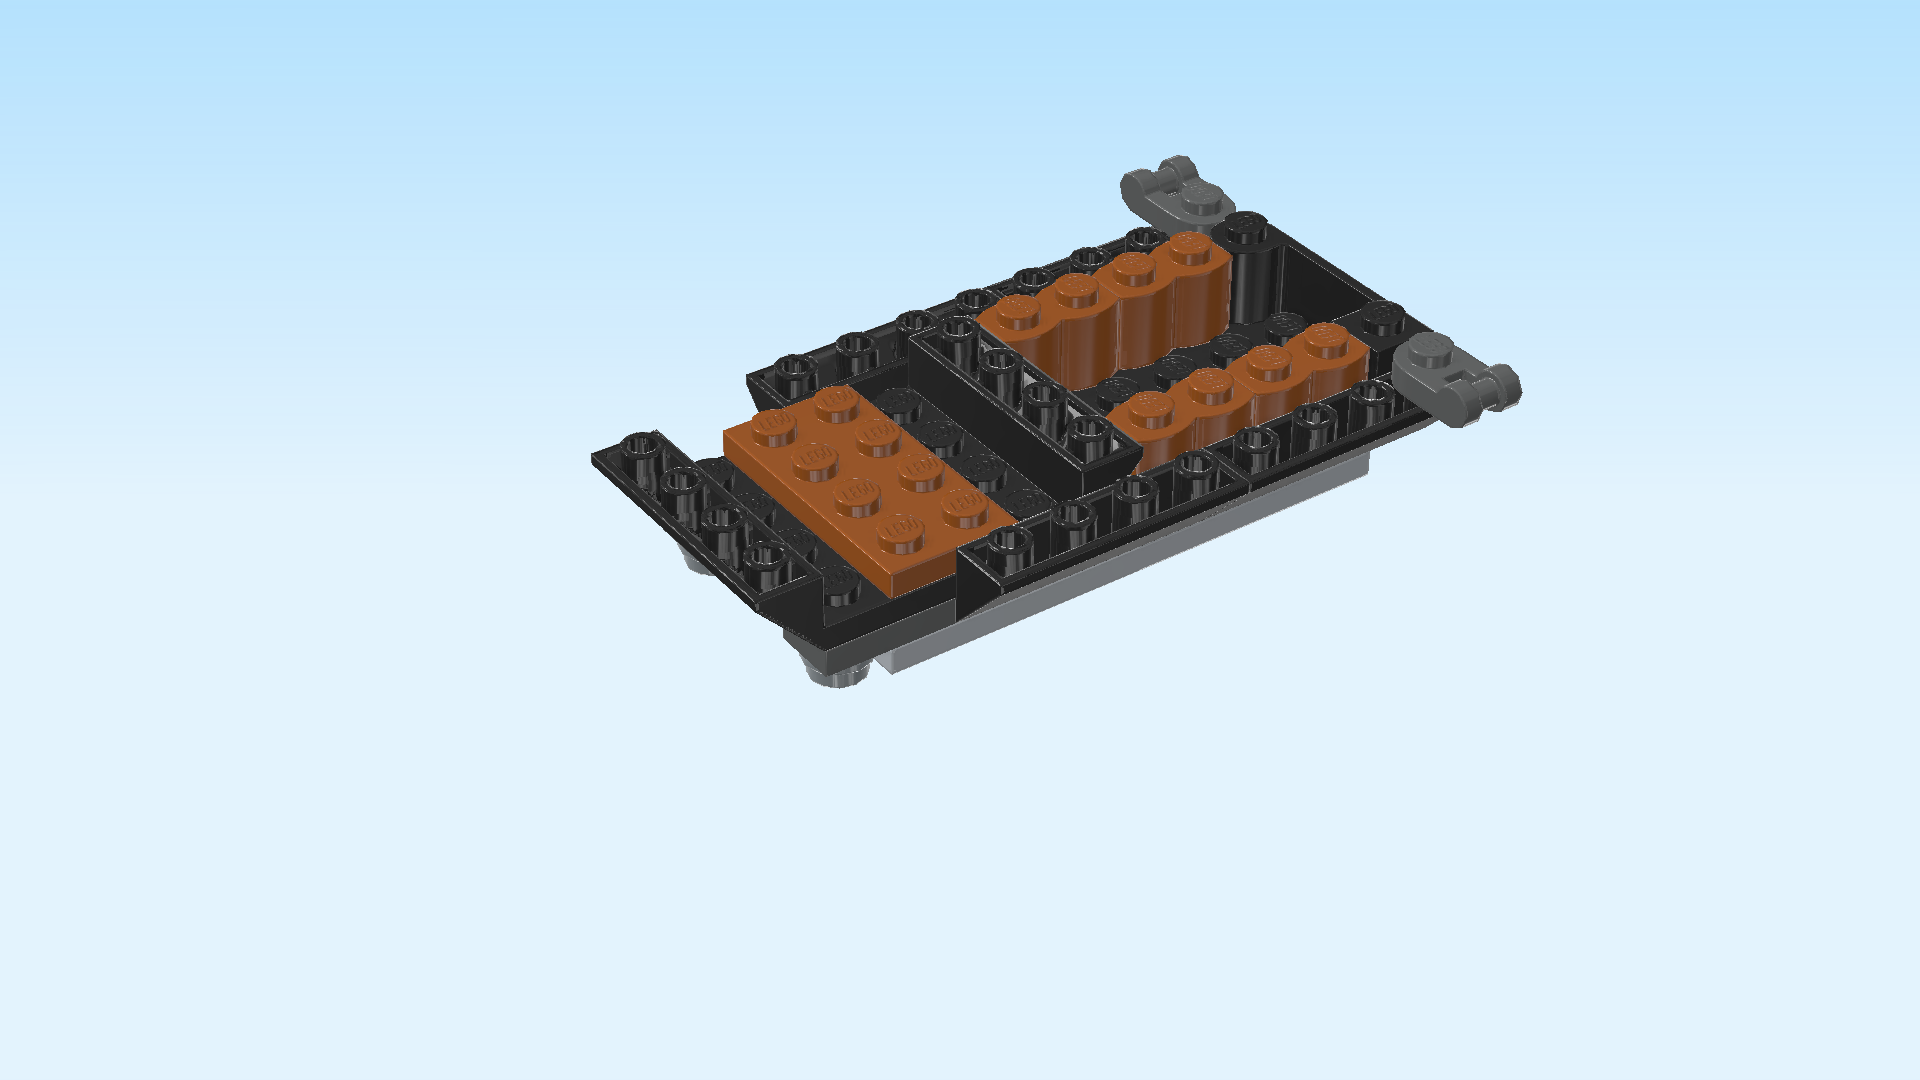
| Find 2 dark stone grey round plates 1x1 with side shaft. |
| Put 1 vertically on the backmost knob of the rightmost column, shaft overhanging to the back. |
| Repeat symmetrically at the front, shaft overhanging to the front. |
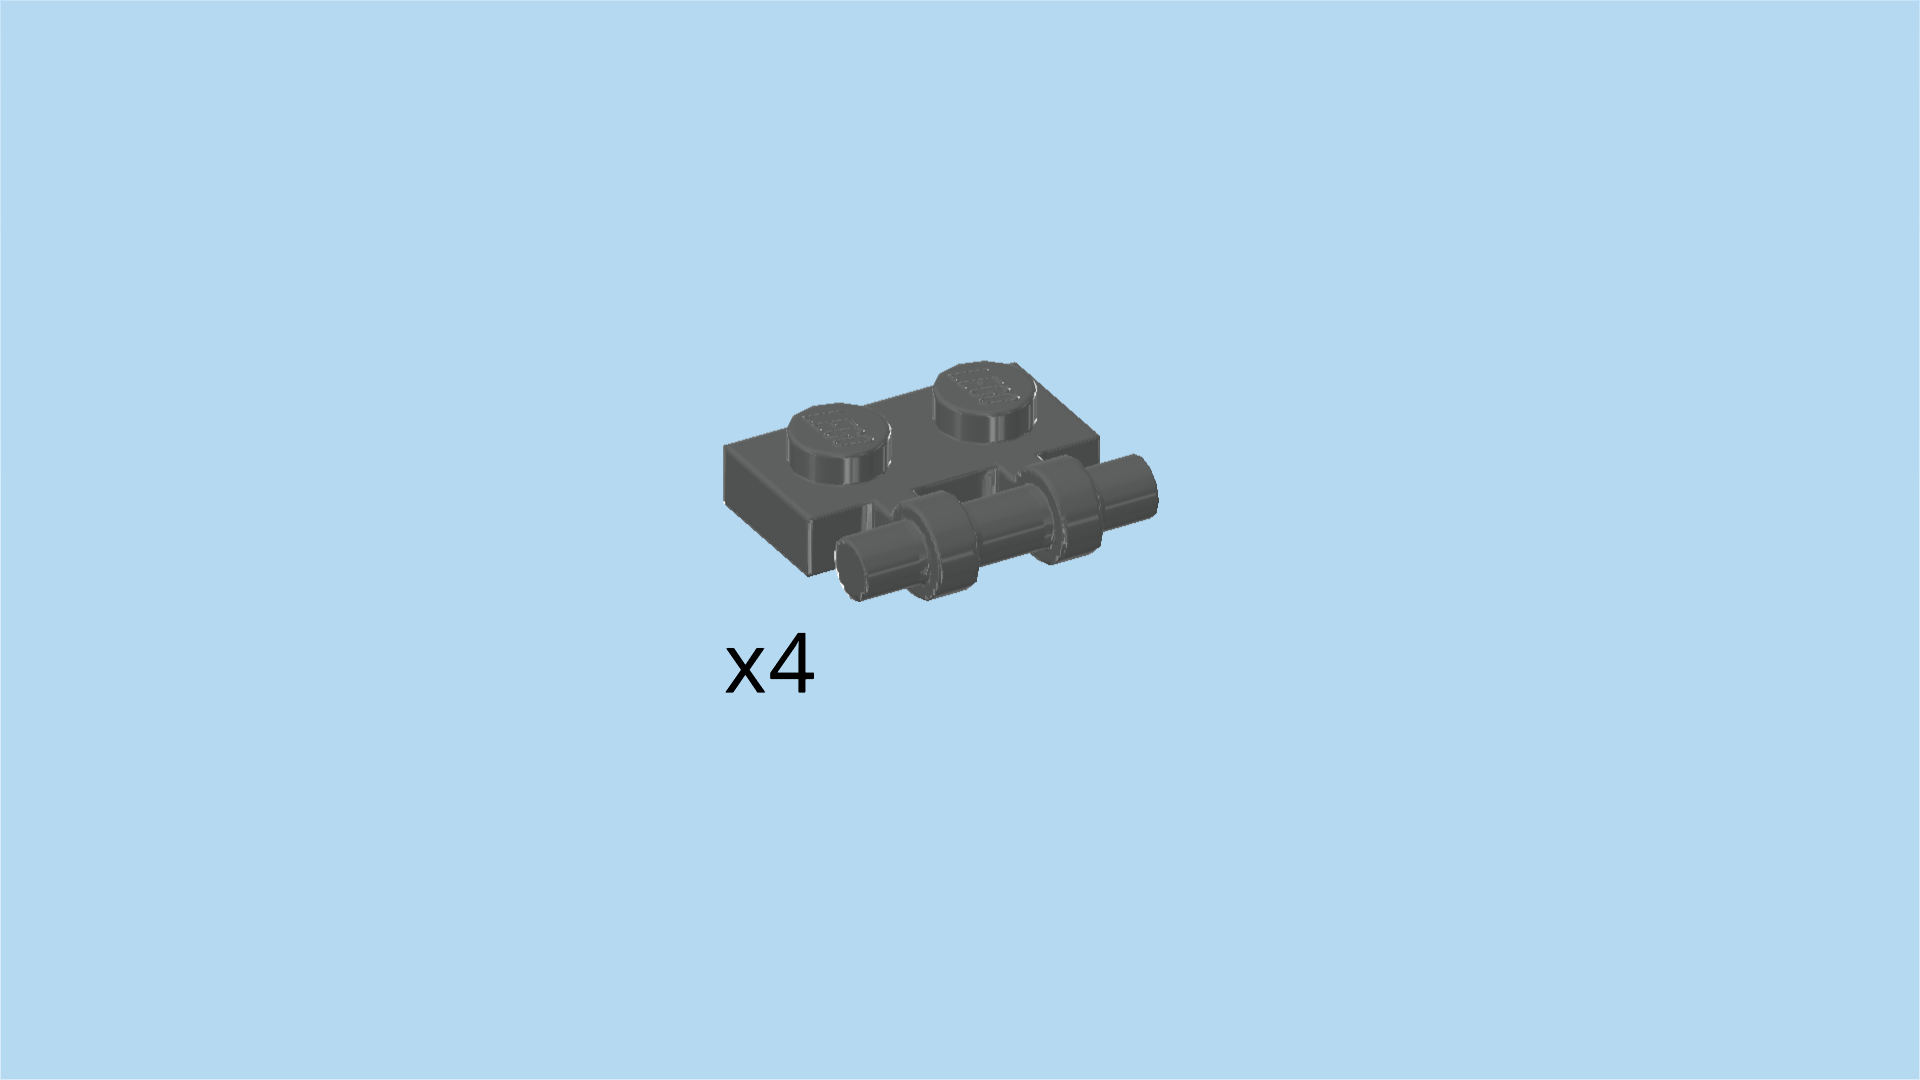
| Find 4 dark stone grey plates 1x2 with shaft on long side. |
| Skip 1 knob to the left of the previous piece and mount 1 plate with shaft horizontally on the frontmost row, shaft overhanging to the front. |
| Again, skip 1 knob to the left of the previous piece and mount another plate with shaft horizontally on the front row, shaft overhanging to the front. |
| If done correctly, there are 1 shorter and 2 longer shafts pointing to the front now with 2 gaps between them. Each gap is exactly one knob. |
| Repeat symmetrically at the back with the 2 remaining plates with shaft, shafts overhanging to the back. |
| Now, we build 4 mounts for the back rests. |
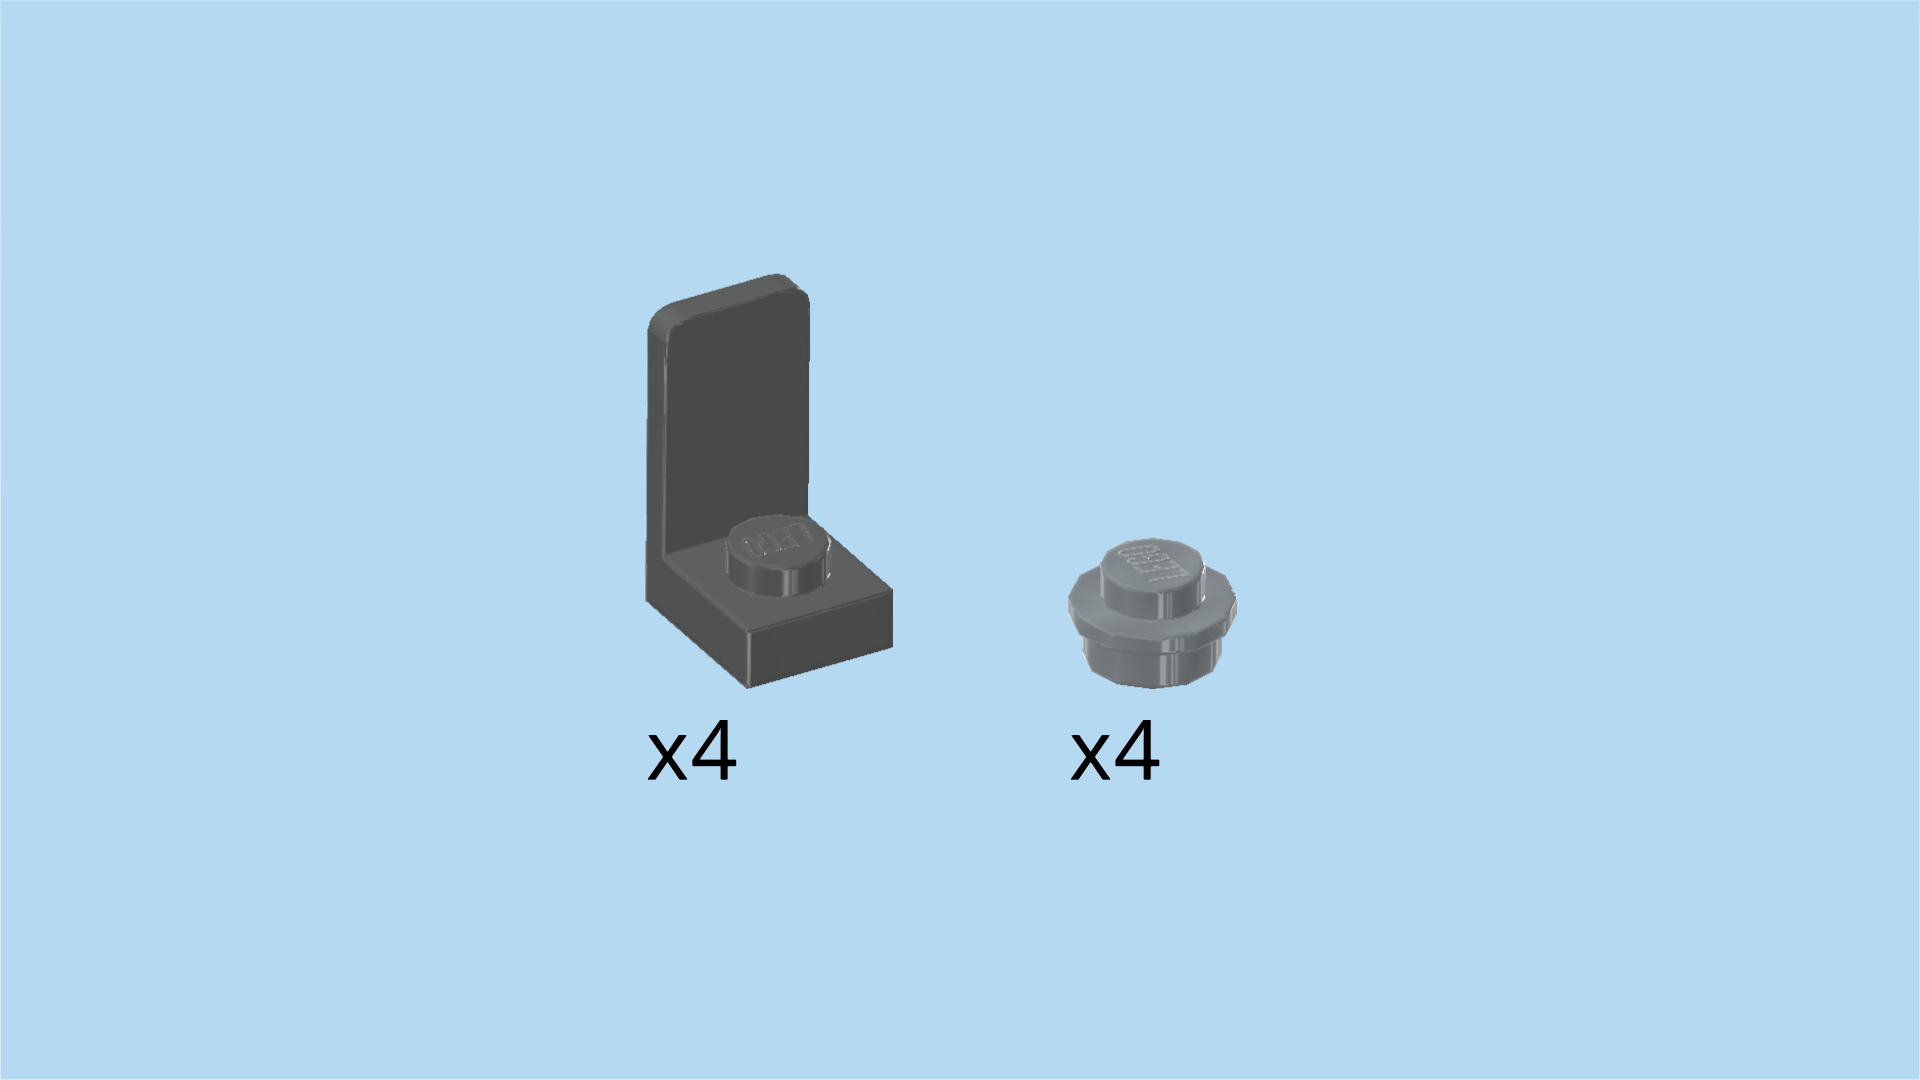
| Collect the following 8 pieces: |
| 4 silver metallic round plates 1x1, |
| and 4 dark stone grey bottom angle plates 1x1 - 1x2 with 2 side knobs. |
| Put 1 bottom angle plate on the table, 2 side knobs pointing towards you. |
| Put 1 round plate 1x1 upright on the lower of the 2 side knobs. |
| Repeat this for the remaining 3 bottom angle plates and 3 round plates 1x1. |
| Put the first mount on the second knob from the right on the frontmost row, side knobs to the front. |
| Skip 2 knobs to the left, and put the second mount on the front row, side knobs to the front. |
| Repeat symmetrically at the back with the 2 remaining mounts, side knobs to the back. |
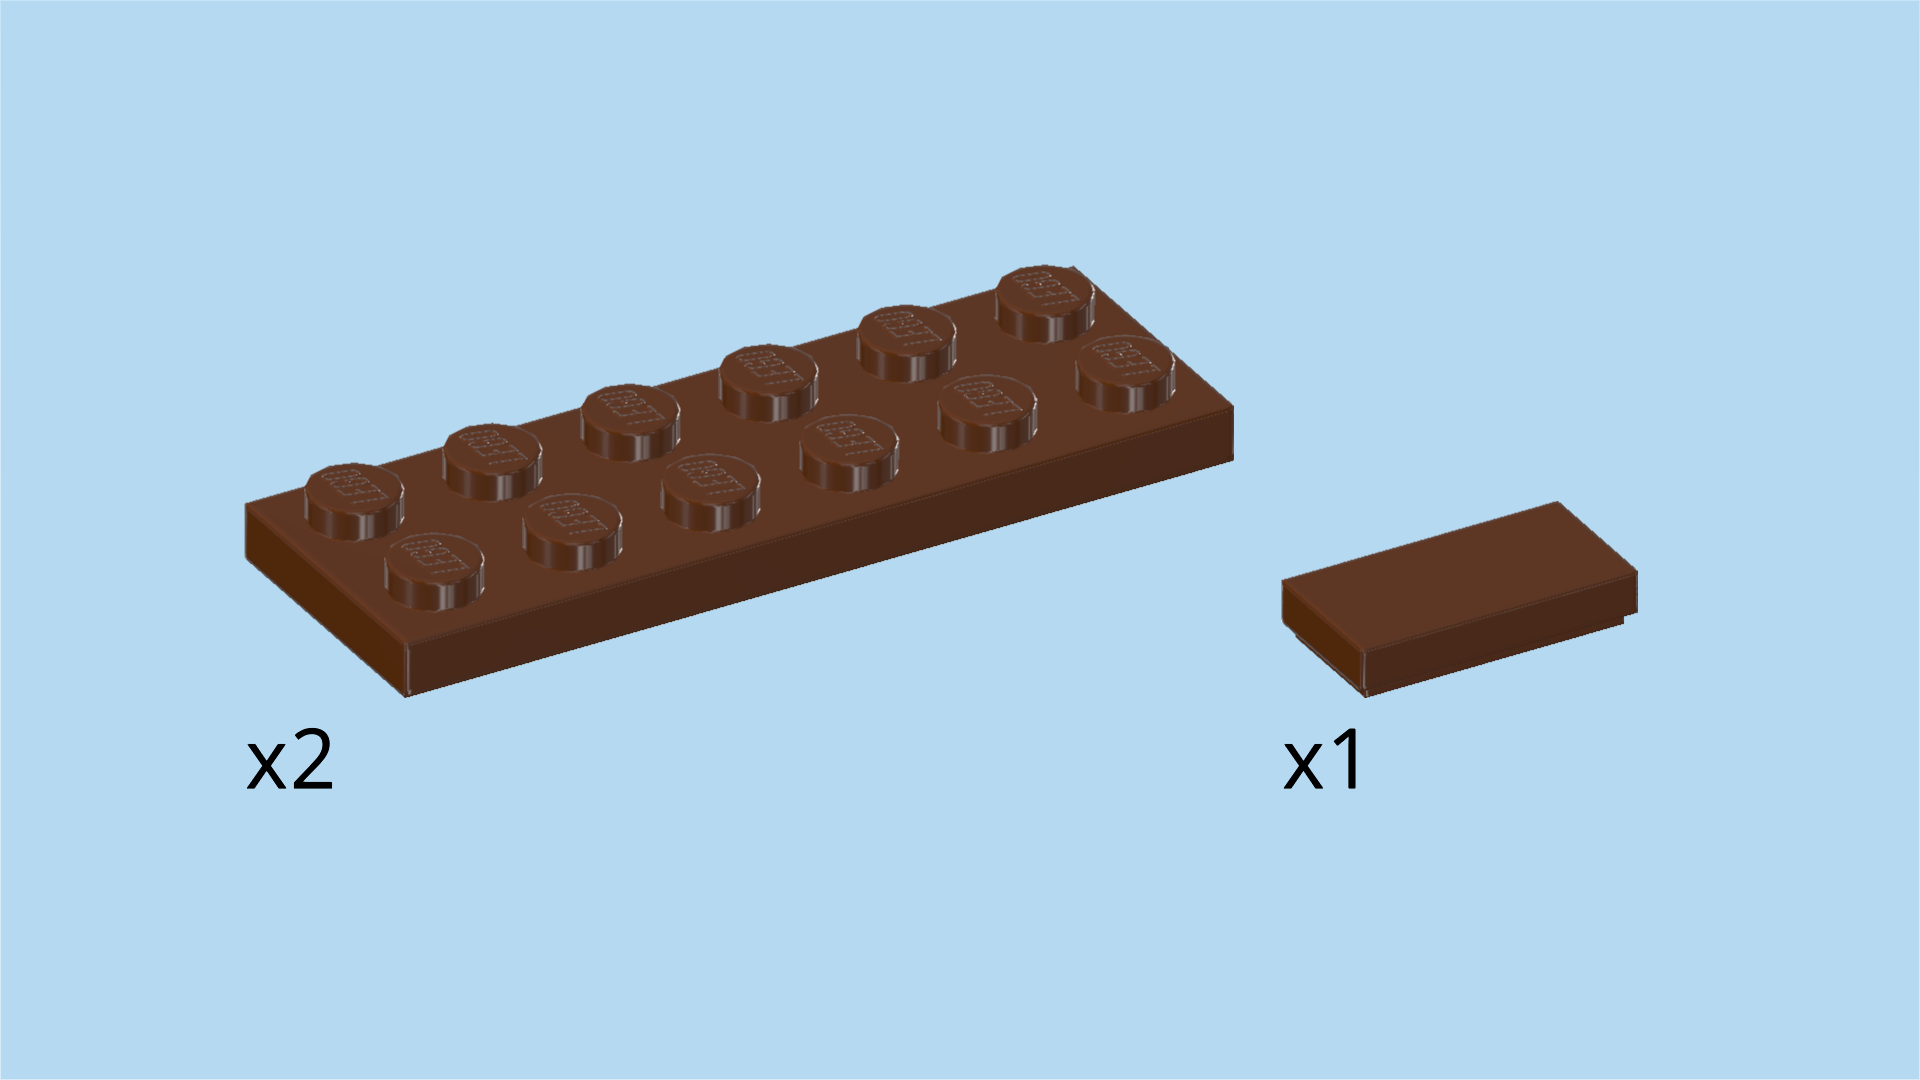
| Collect the following 3 pieces: |
| 2 reddish brown plates 2x6, |
| and 1 reddish brown flat tile 1x2. |
| Put 1 plate 2x6 horizontally on the 2 backmost rows, starting from the right edge. |
| Repeat symmetrically at the front. |
| Put the flat tile 1x2 vertically between the two previous pieces on their leftmost column. |
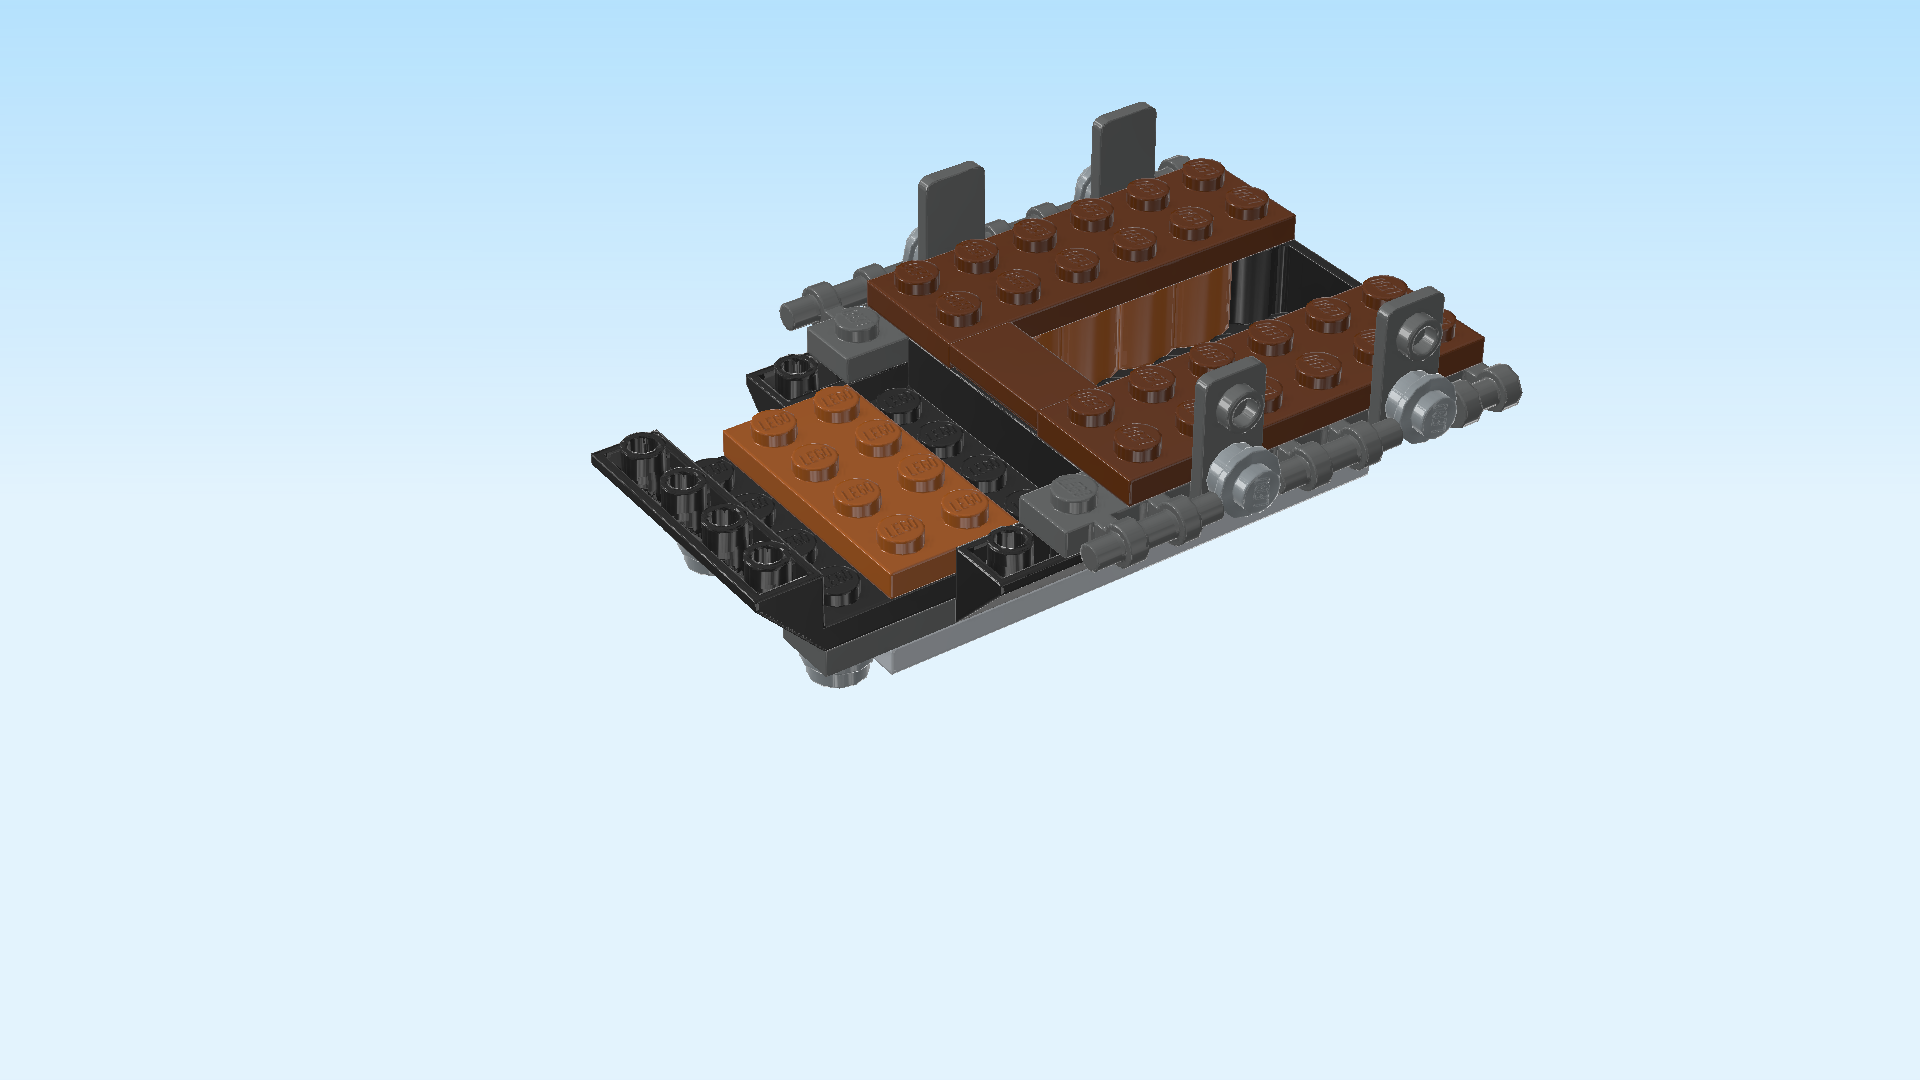
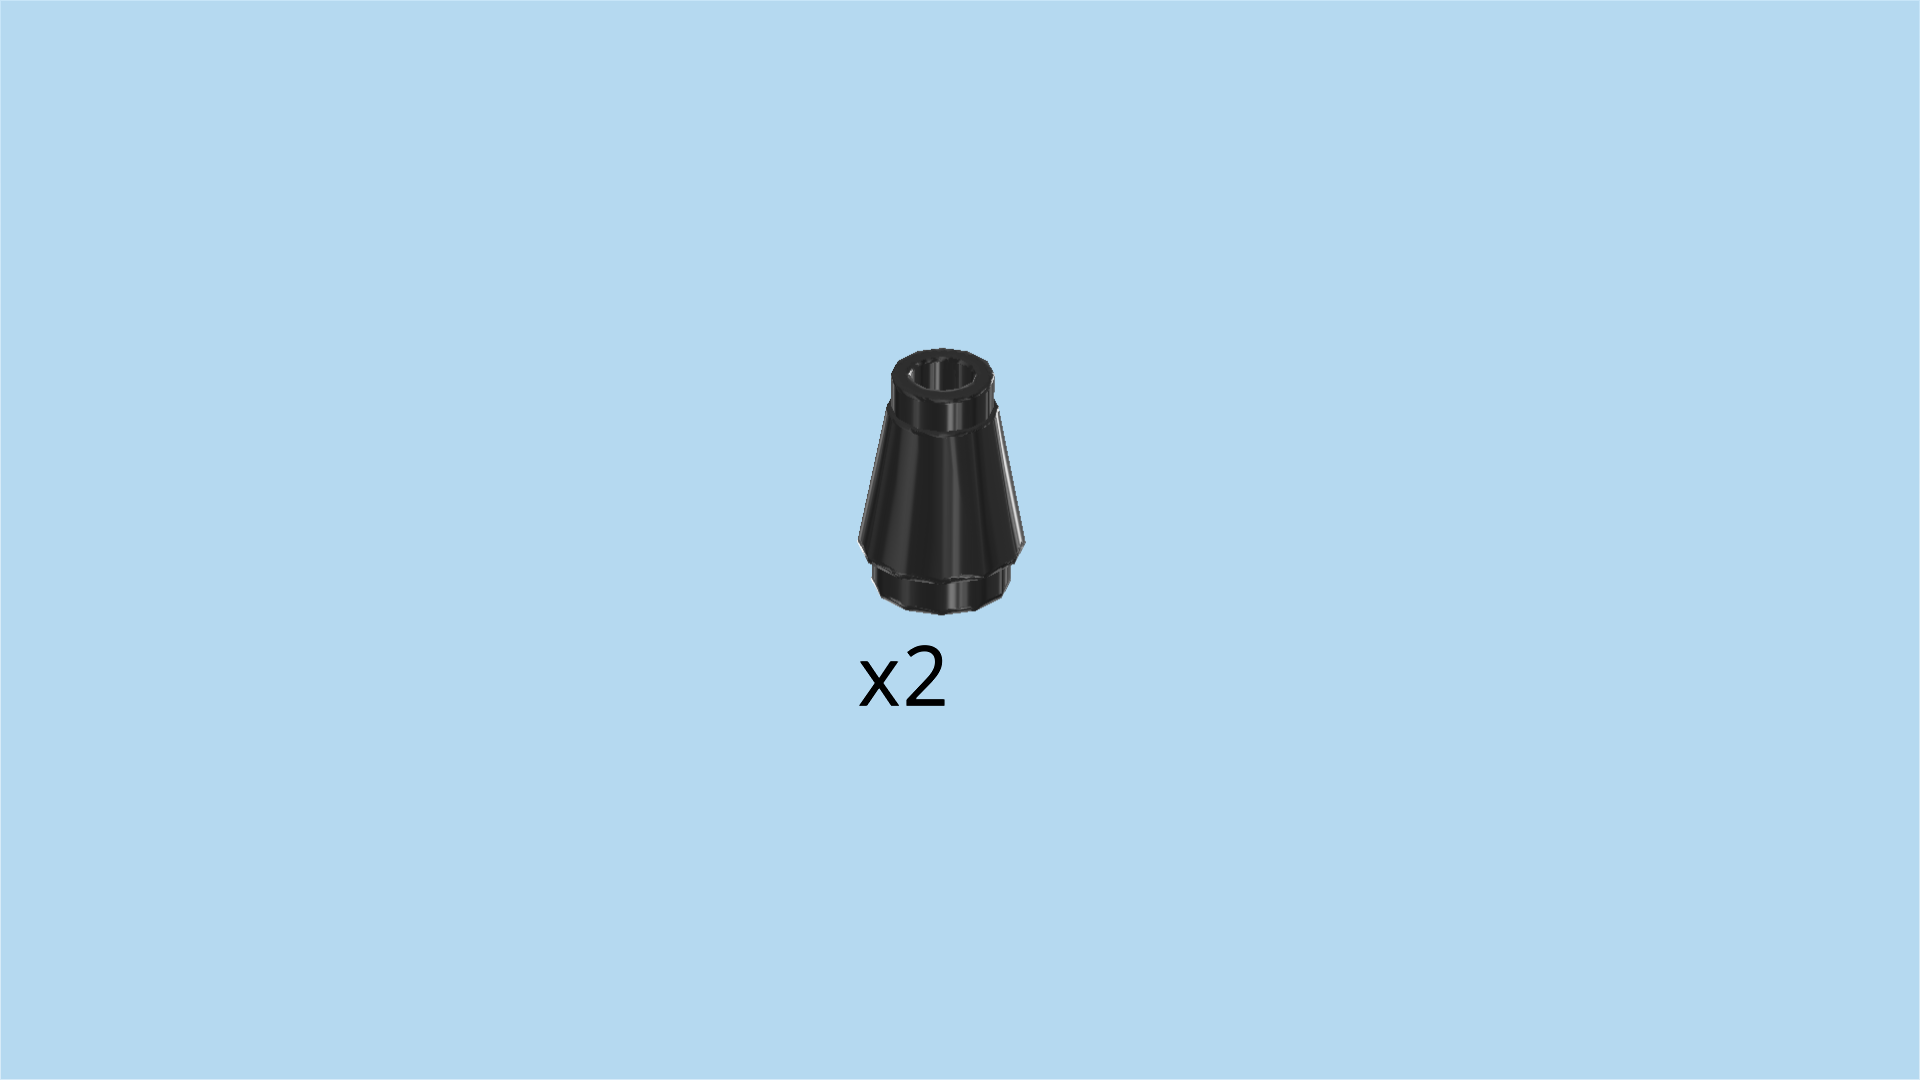
| Find 2 black nose cones 1x1. |
| Put 1 on the leftmost knob of the frontmost row. Note that the frontmost row does not extend all the way to the left edge of the entire structure. |
| Repeat symmetrically on the backmost row. |
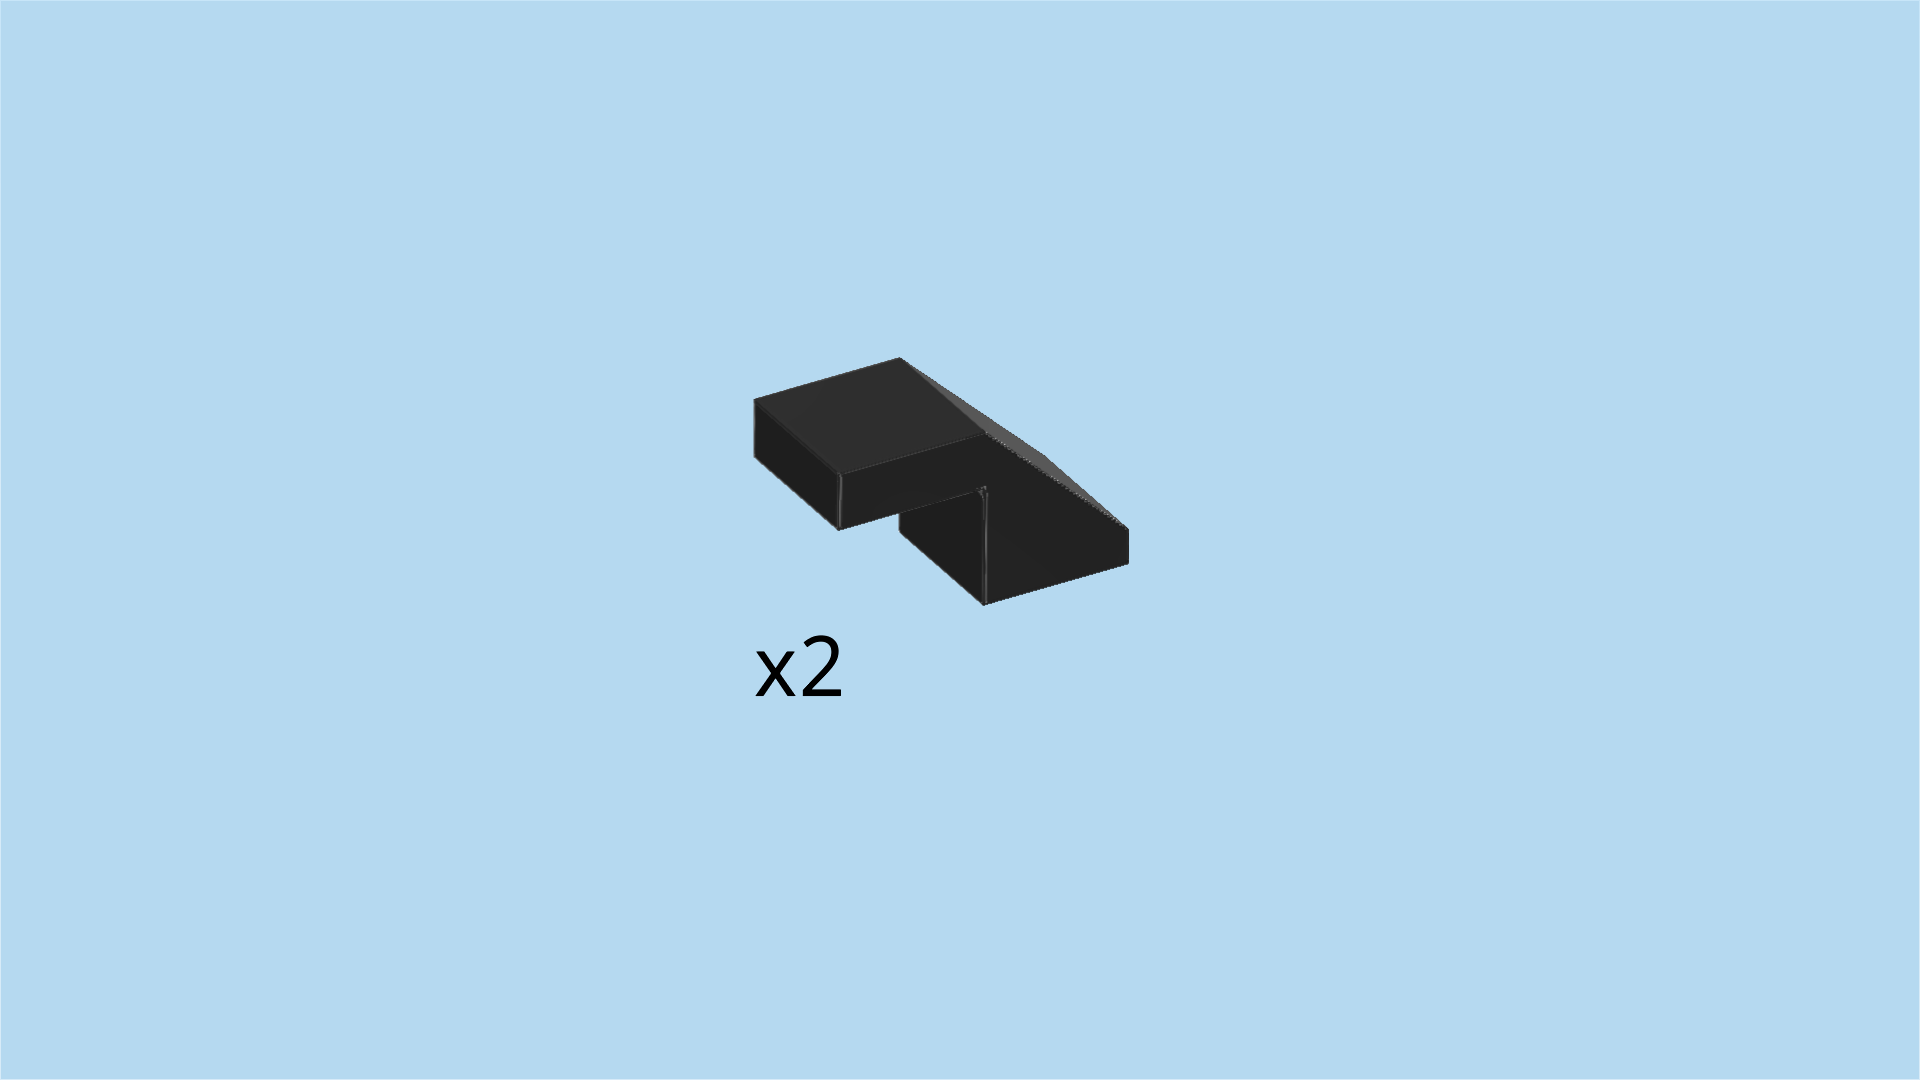
| Find 2 black smooth roof tiles 1x1 with overhanging top tile 1x1. |
| Put 1 horizontally on the previous piece and the knob to its right, top tile to the left. This means the top tile will cover the nose cone. |
| Repeat symmetrically on the front row, again covering the nose cone with the top tile. |
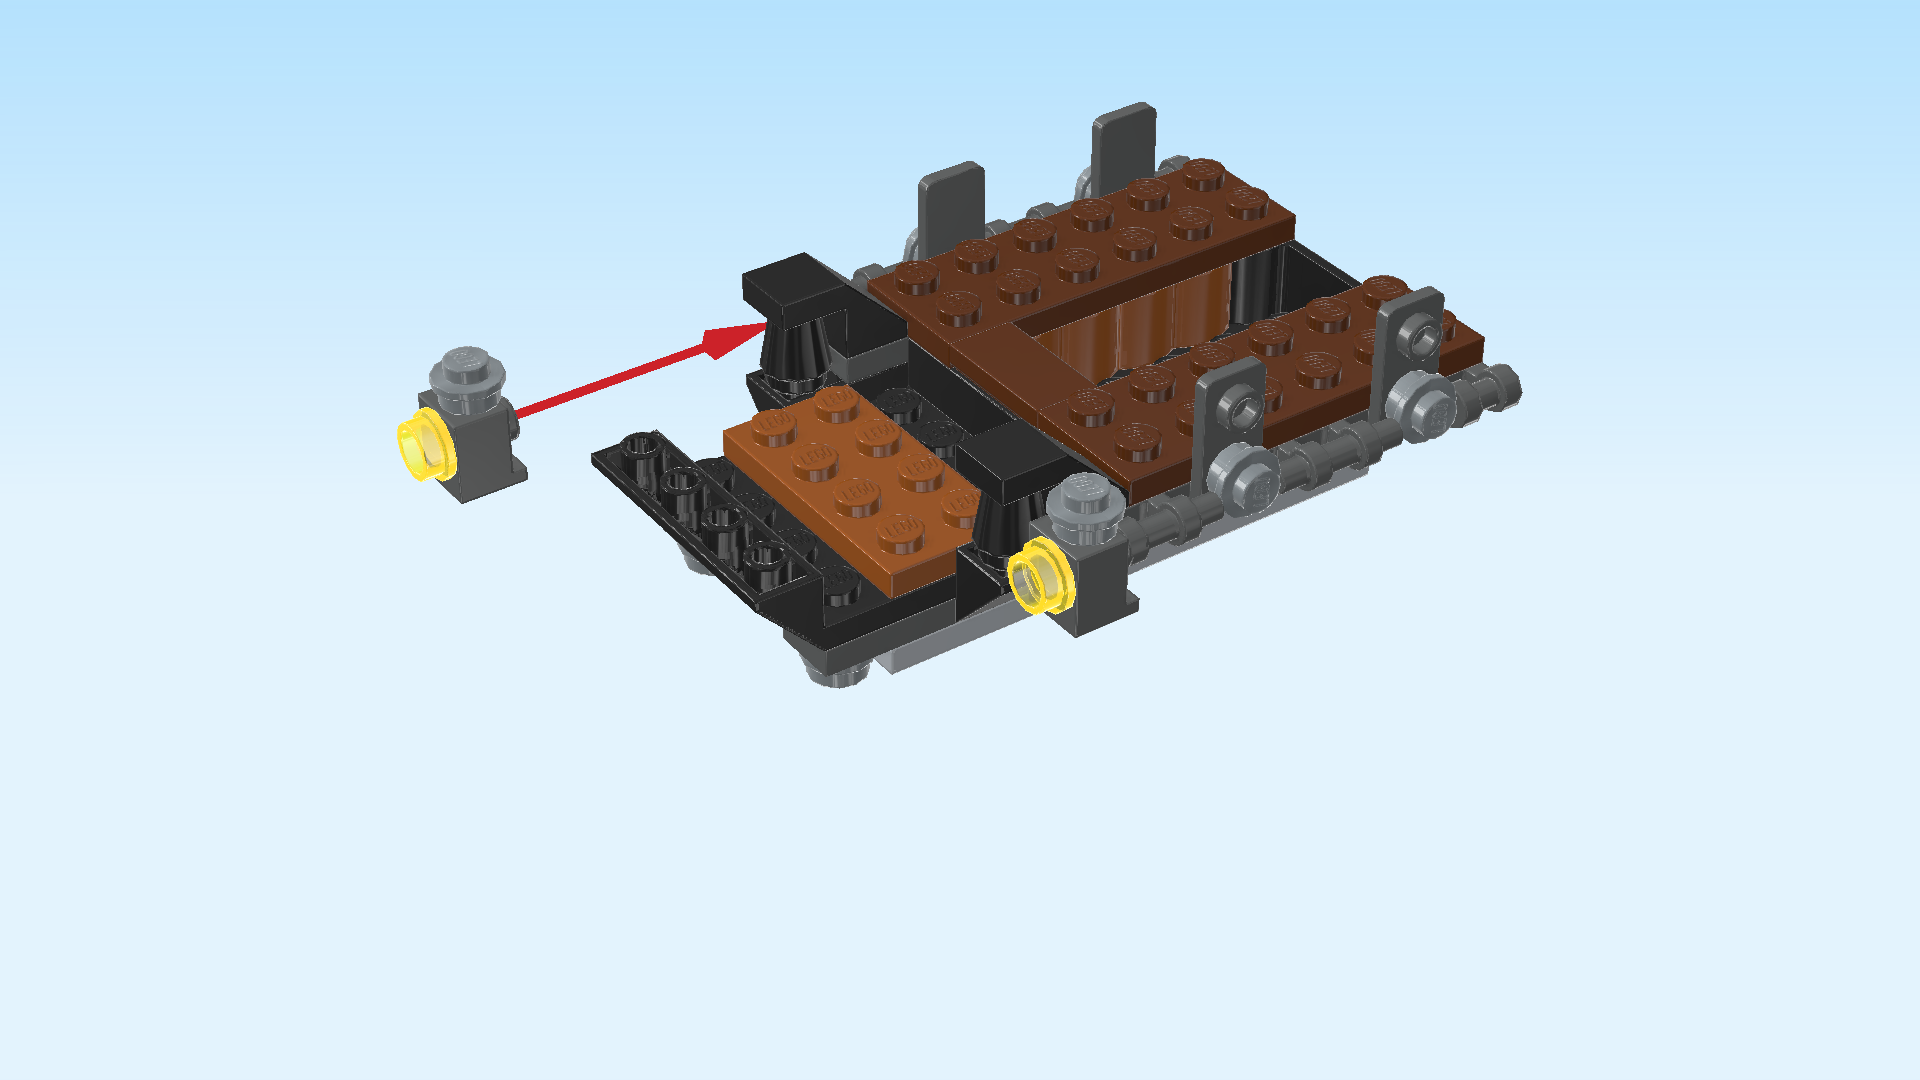
| Next, we will build 2 lanterns. |
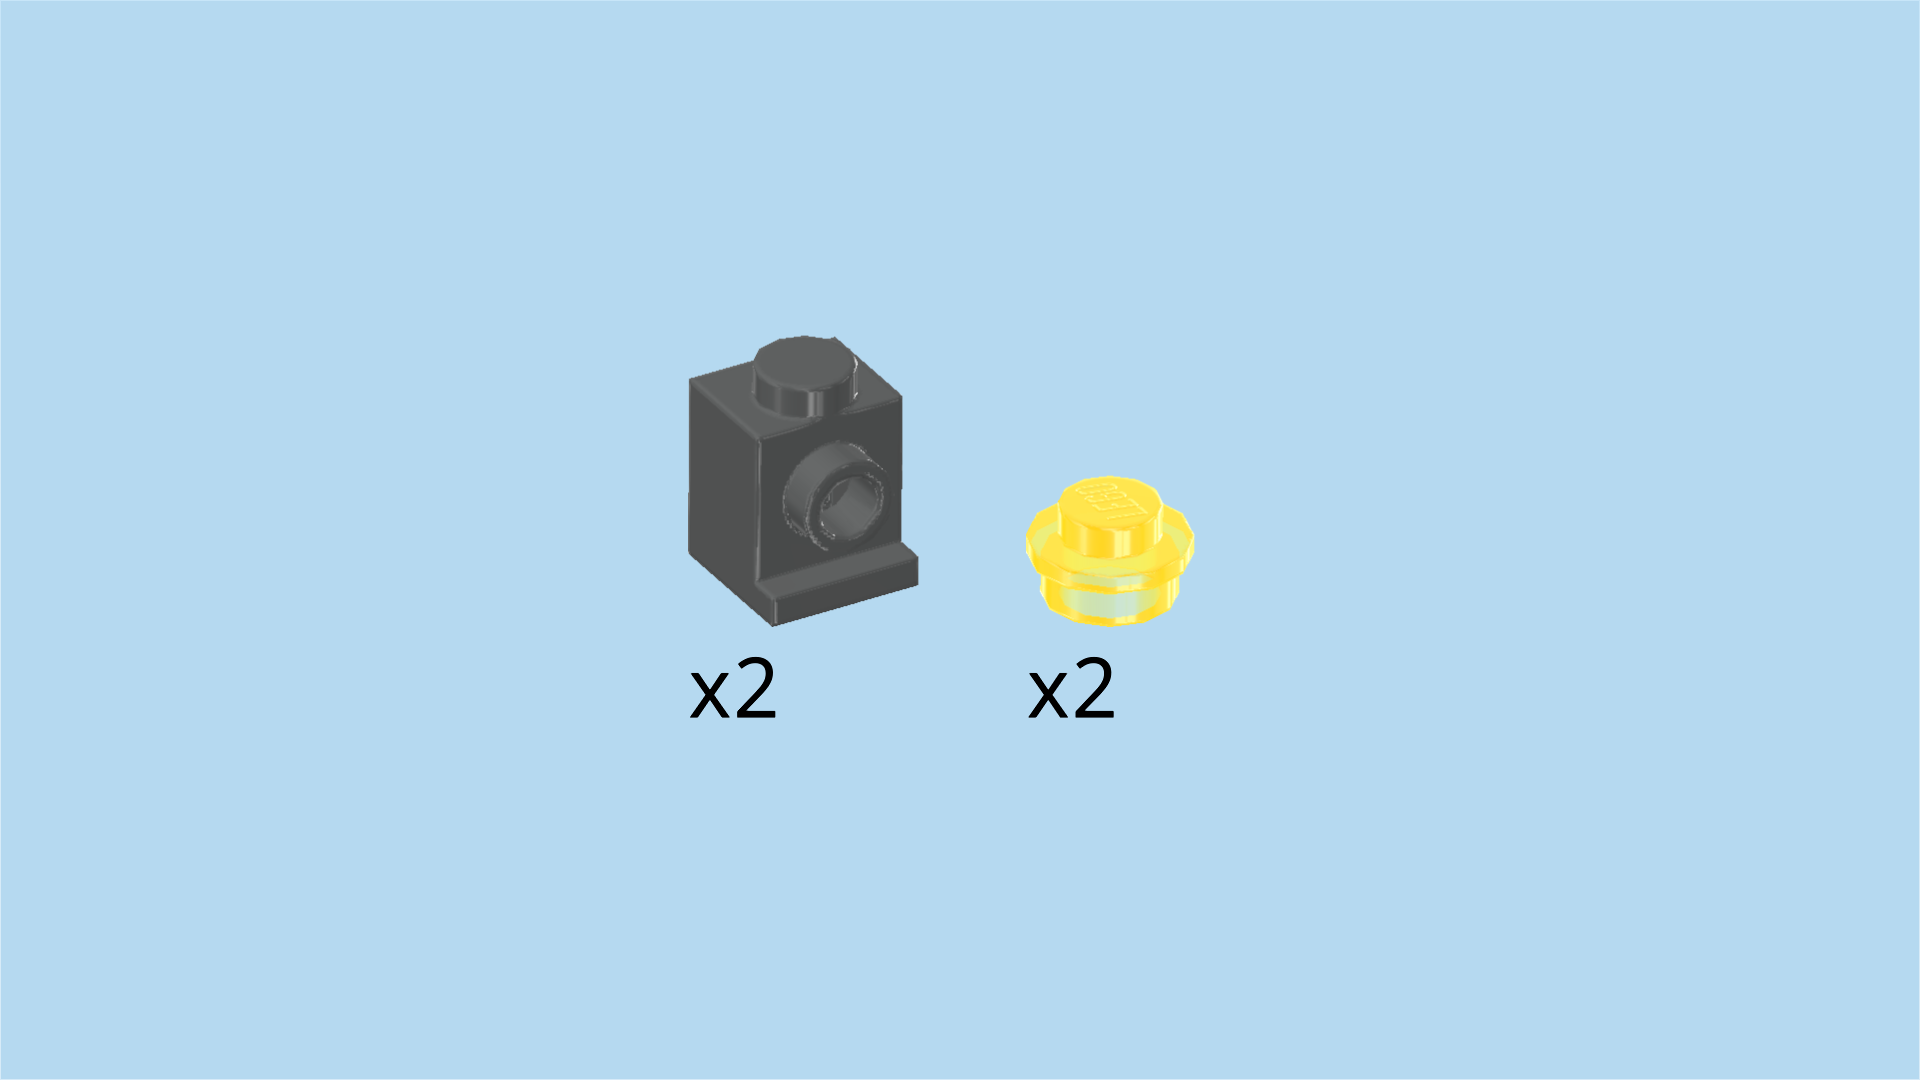
| Collect the following 4 pieces: |
| 2 dark stone grey bricks 1x1 with side knob and bottom foot, |
| and 2 transparent yellow round plates 1x1. |
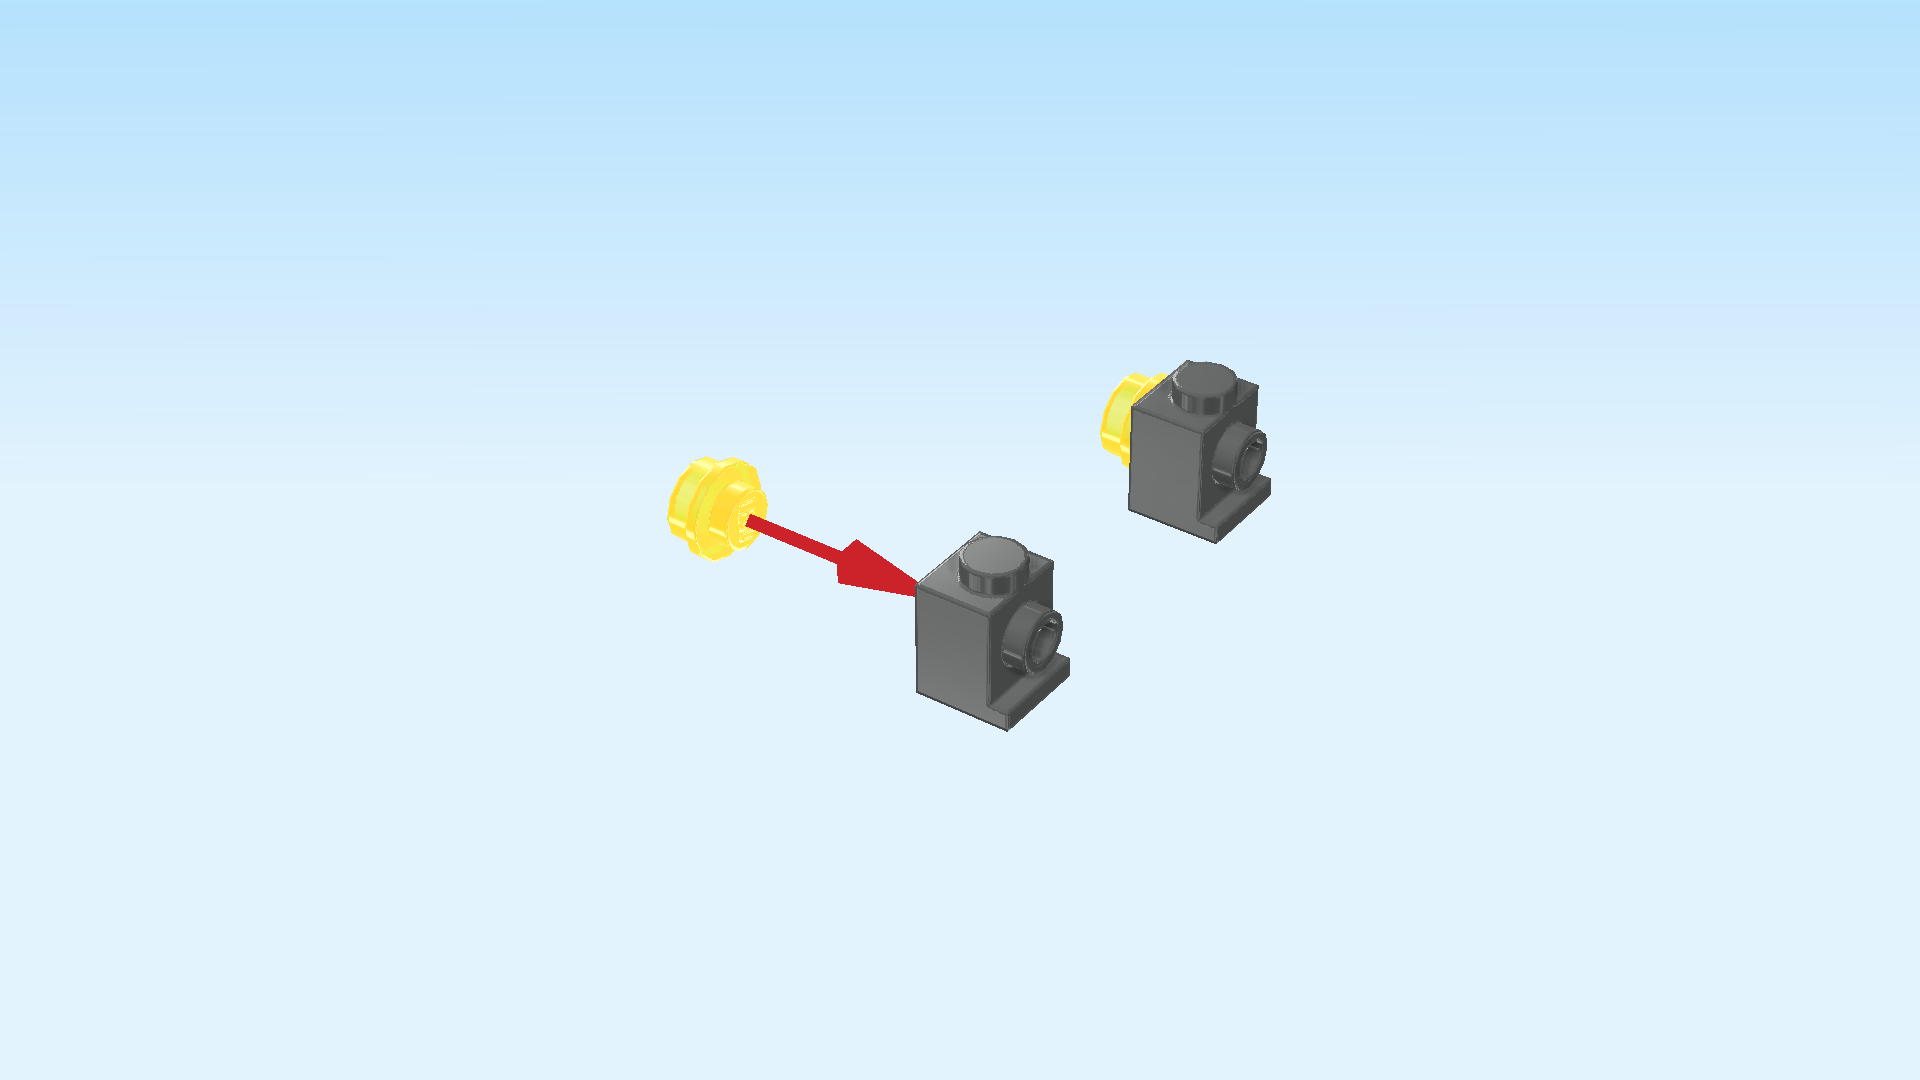
| Put 1 brick 1x1 on the table, side knob pointing to the right. |
| Turn 1 round plate 1x1 upright, and insert its knob from the left into the side surface of the brick 1x1. |
| Repeat symmetrically with the other brick with foot and side knob and round plate 1x1. |
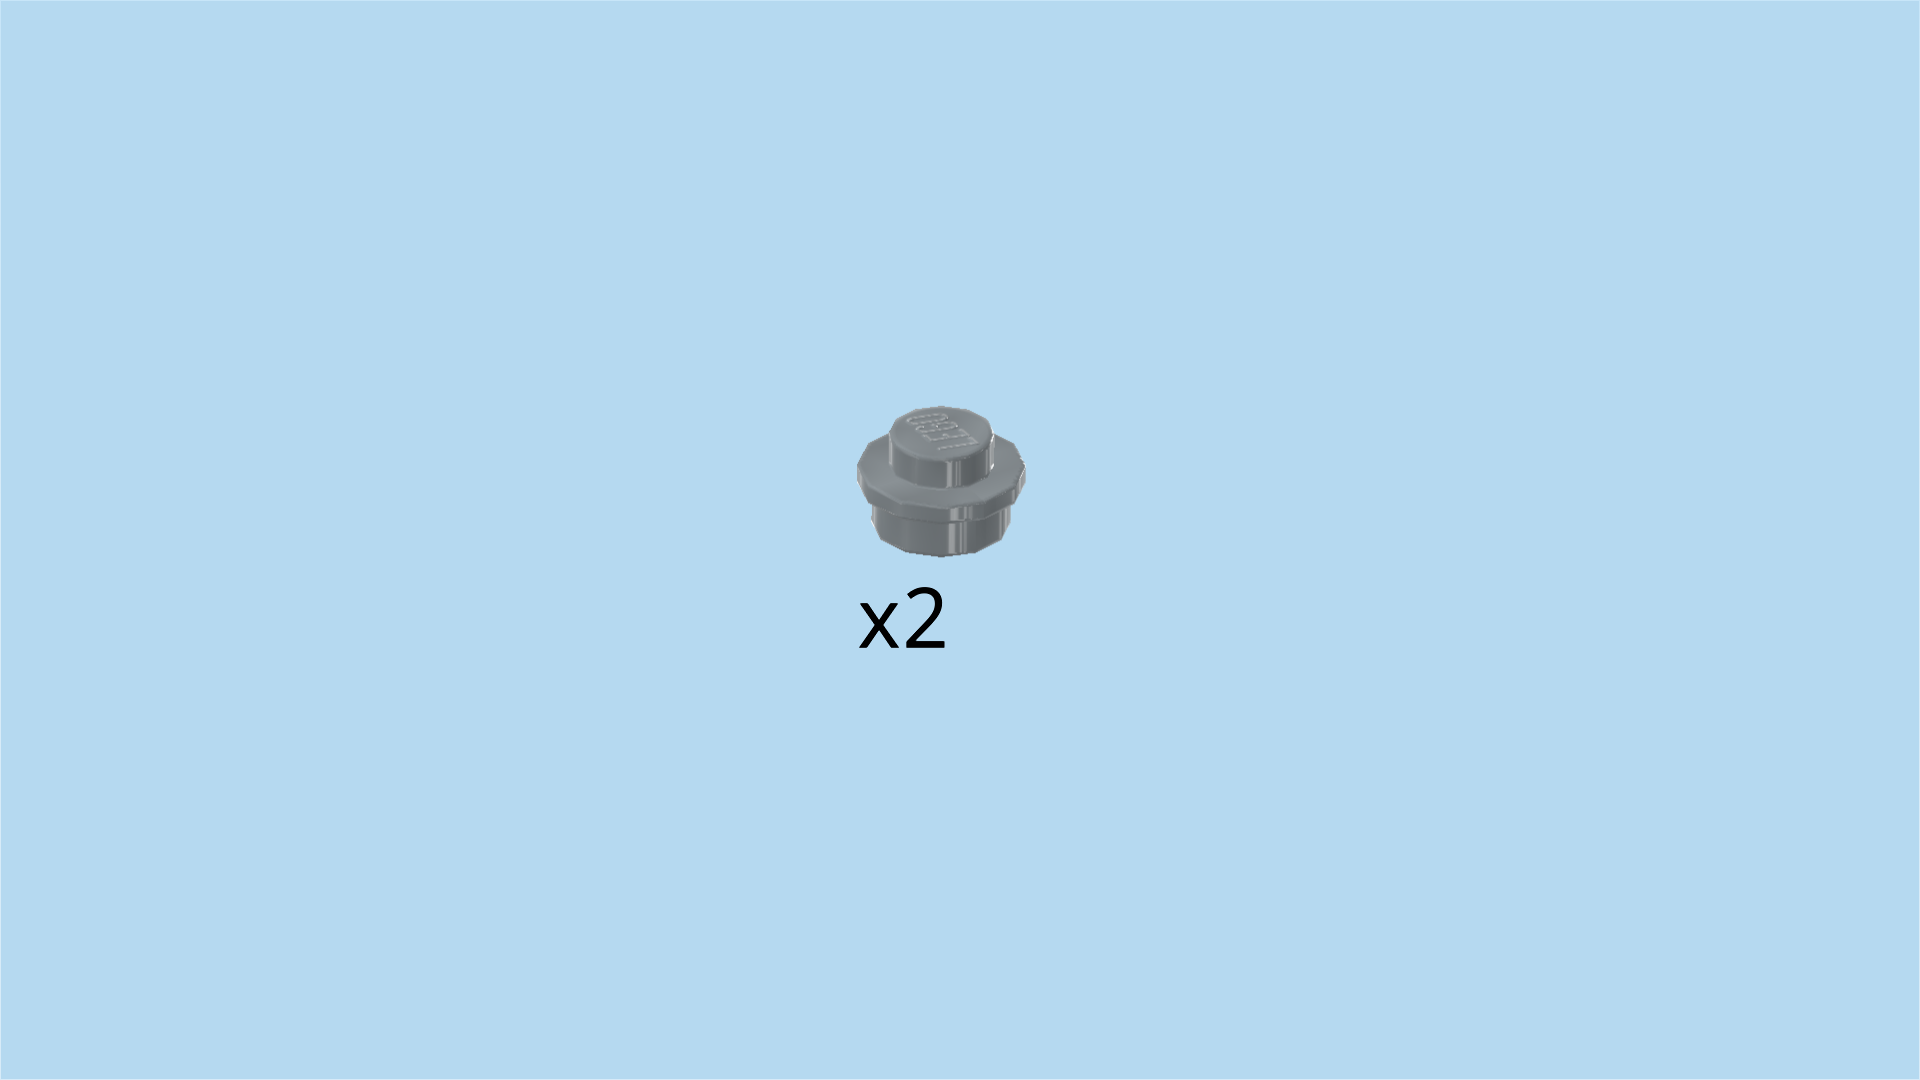
| Find 2 silver metallic round plates 1x1. |
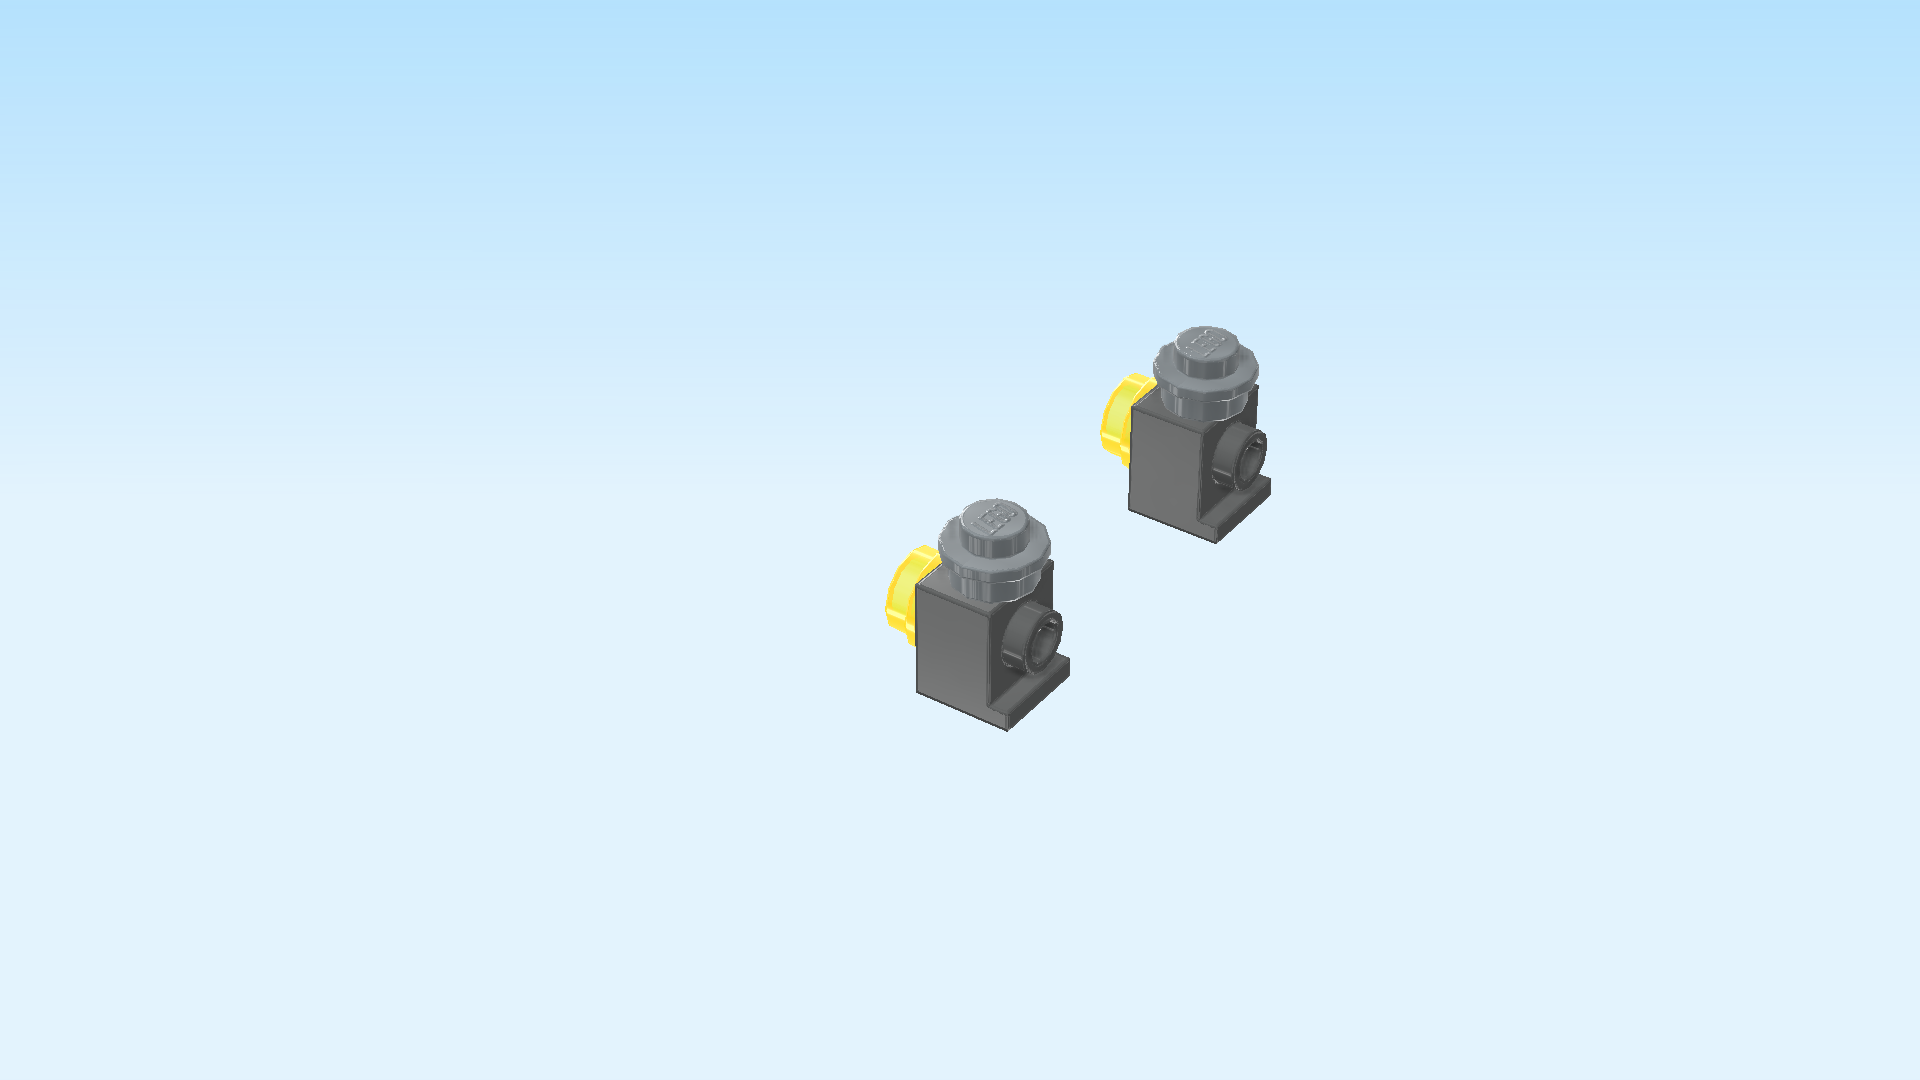
| Put them on top of the 2 bricks 1x1. |
| The lanterns are finished! They will be pushed on the overhanging shafts coming from left side. Continue for detailed instructions. |
| Push the hollow side knob of the first lantern on the leftmost shaft at the back of the carriage. The transparent yellow round plate 1x1 should point to the left. |
| Repeat symmetrically at the front: push the hollow side knob of the second lantern on the leftmost shaft at the front of the carriage, transparent yellow round plate 1x1 to the left. |
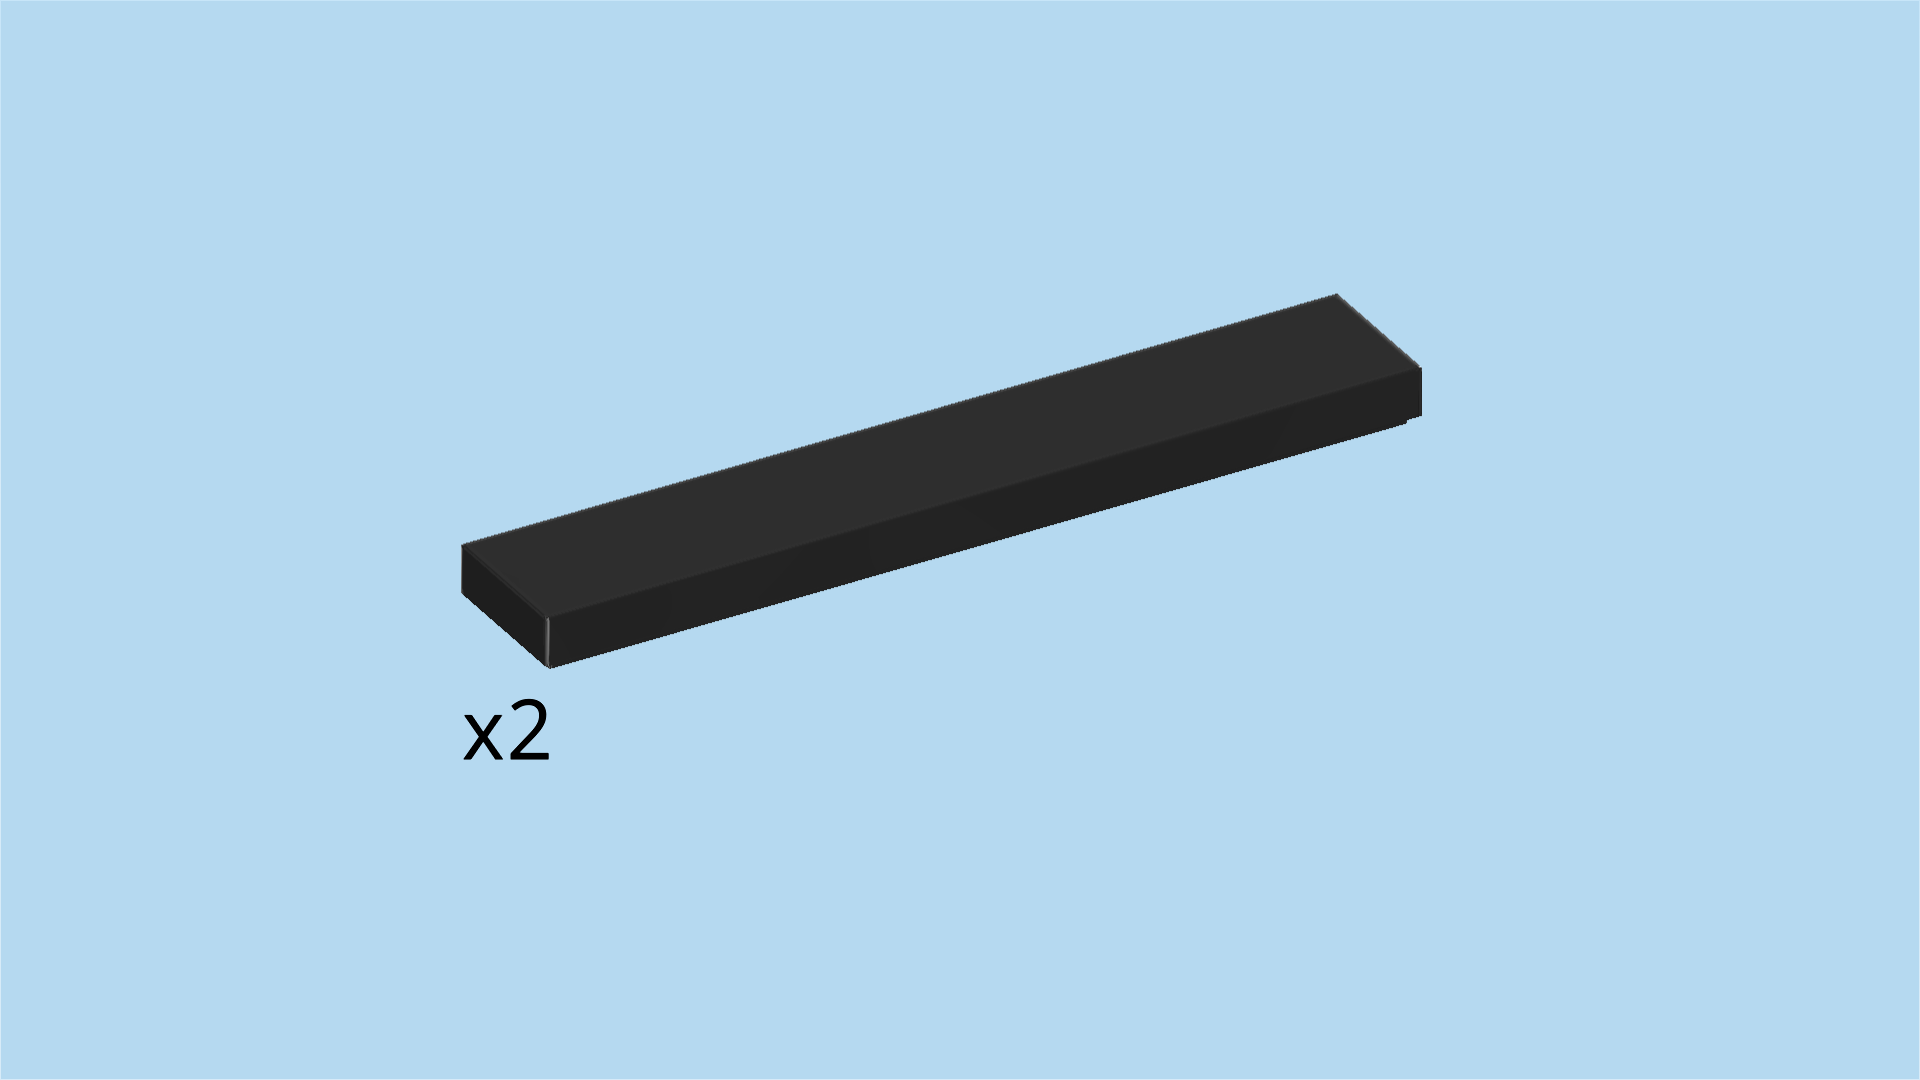
| Find 2 black flat tiles 1x6. |
| These will be the backrests for the carriage passenger seats. |
| Mount 1 upright horizontally on the 2 topmost side knobs pointing to the front, symmetrically overhanging to the left and right. |
| Repeat symmetrically at the back. |
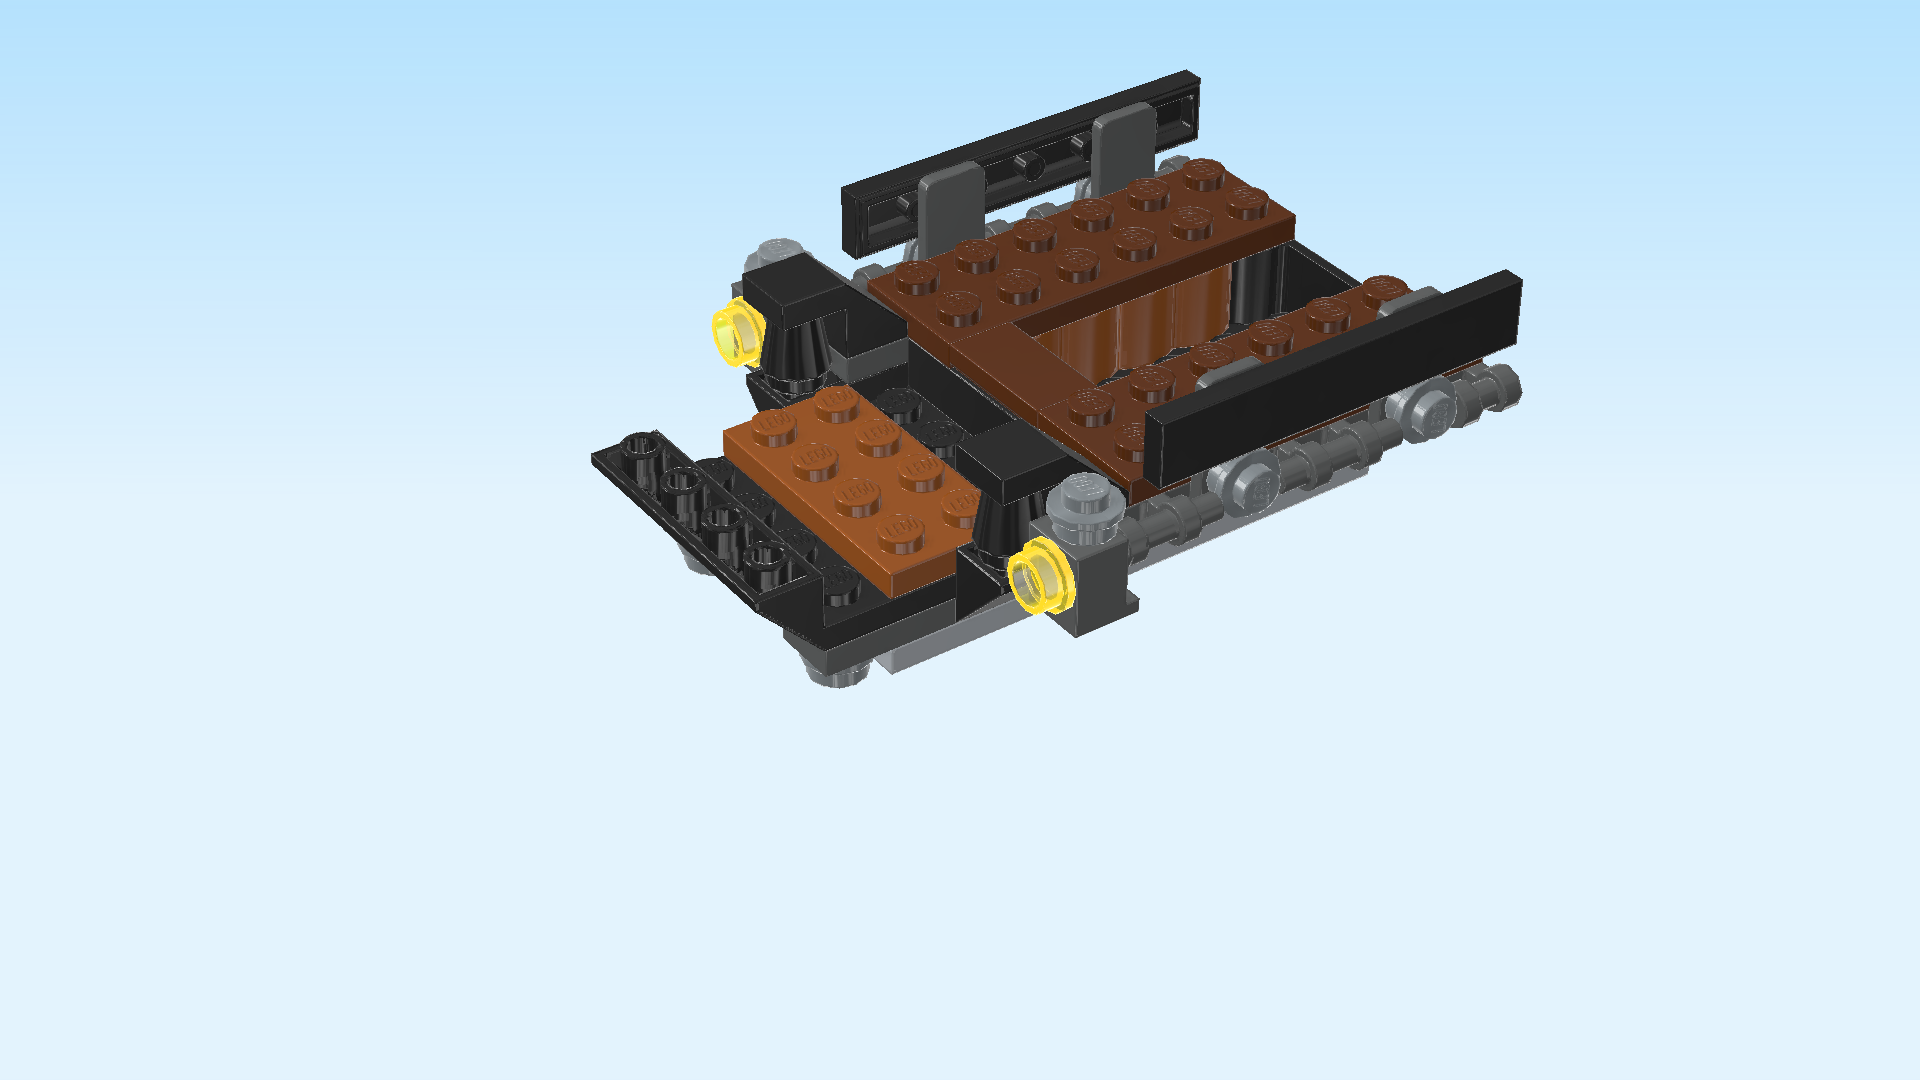
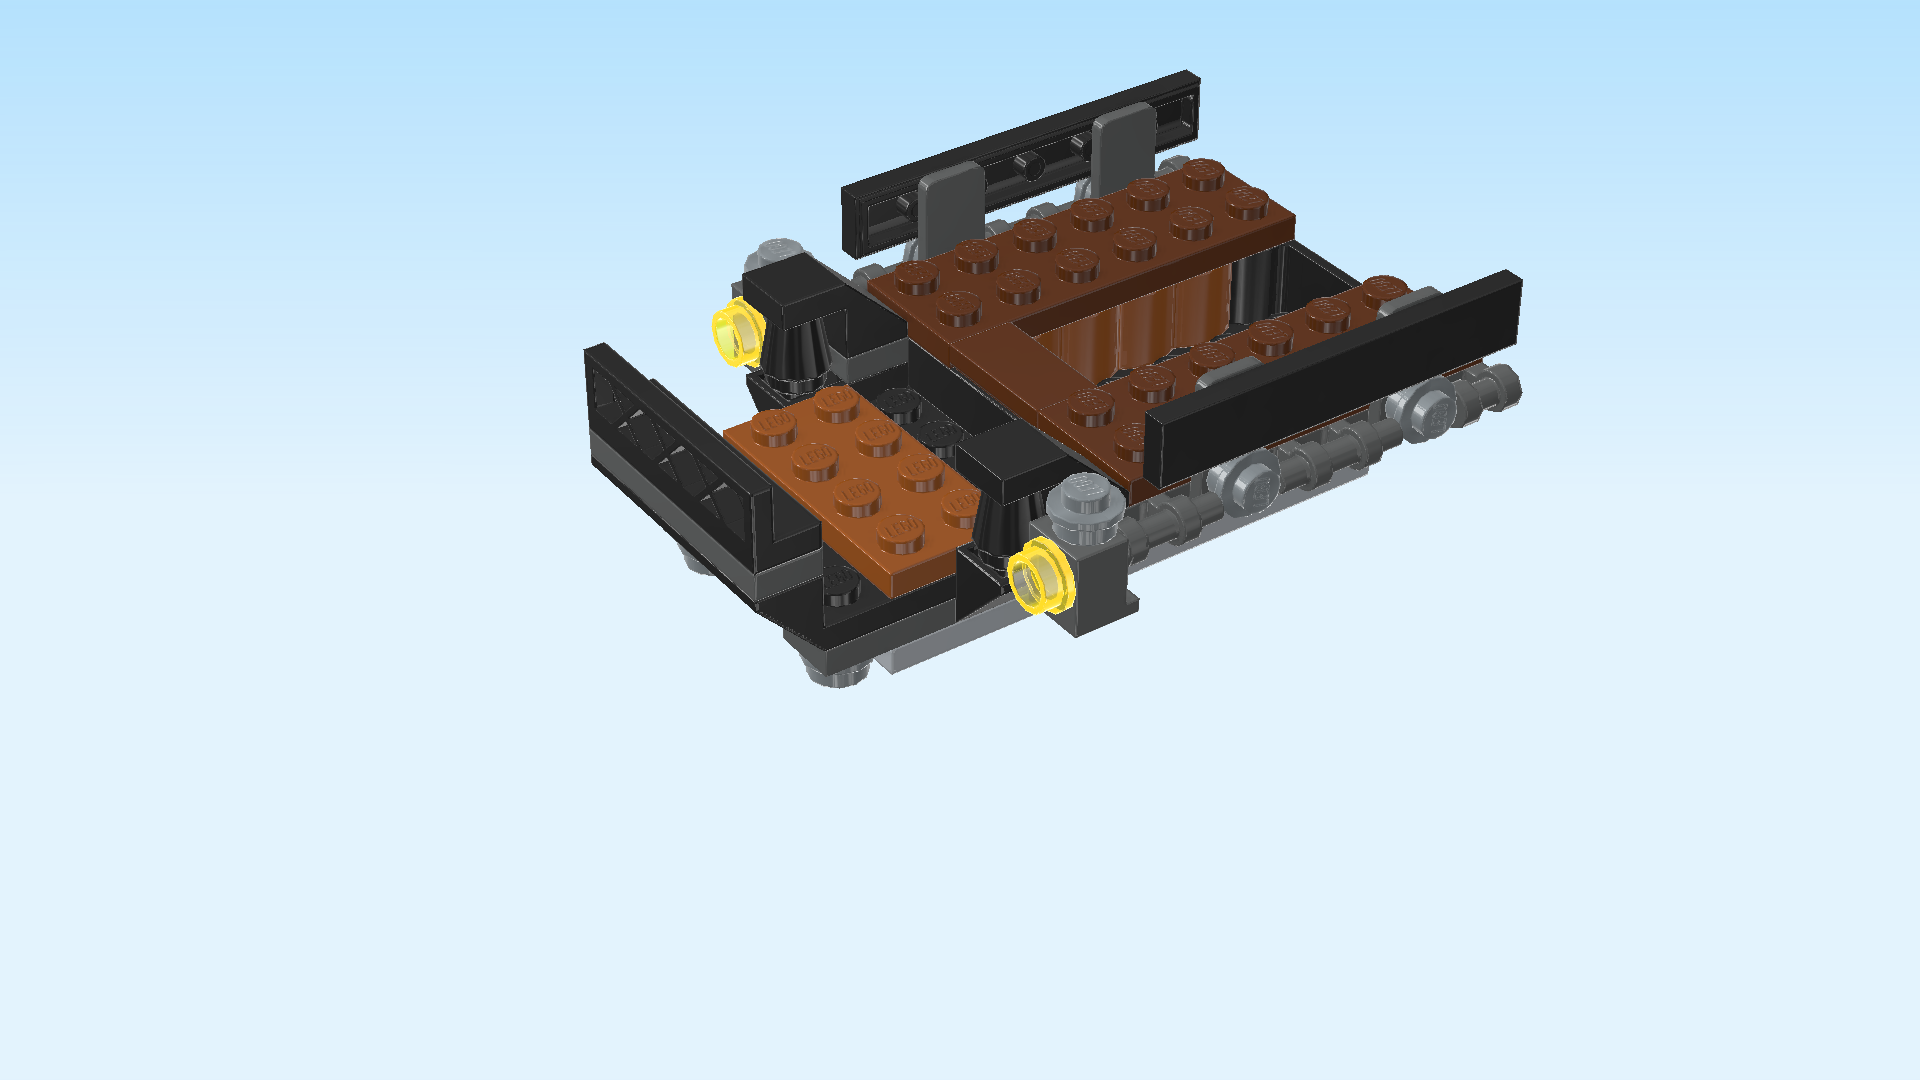
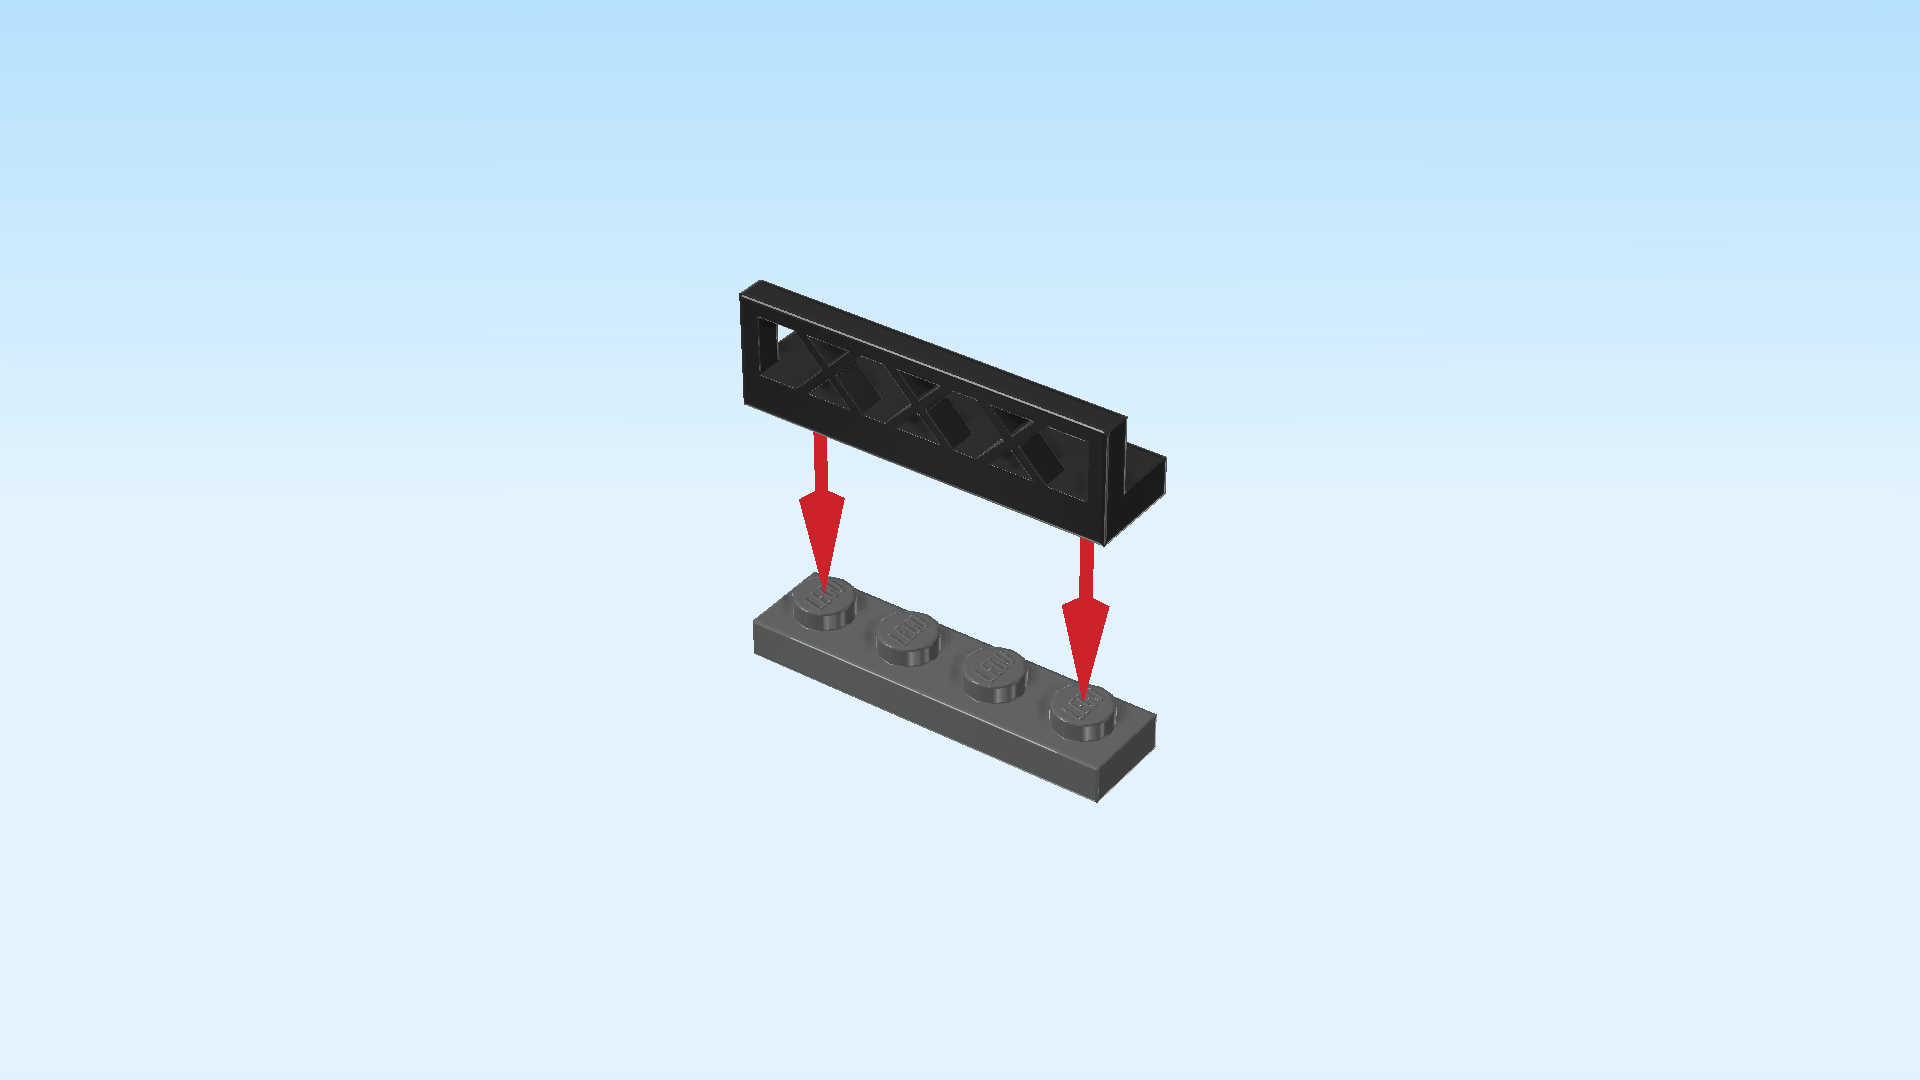
| Now, we assemble the front lattice. |
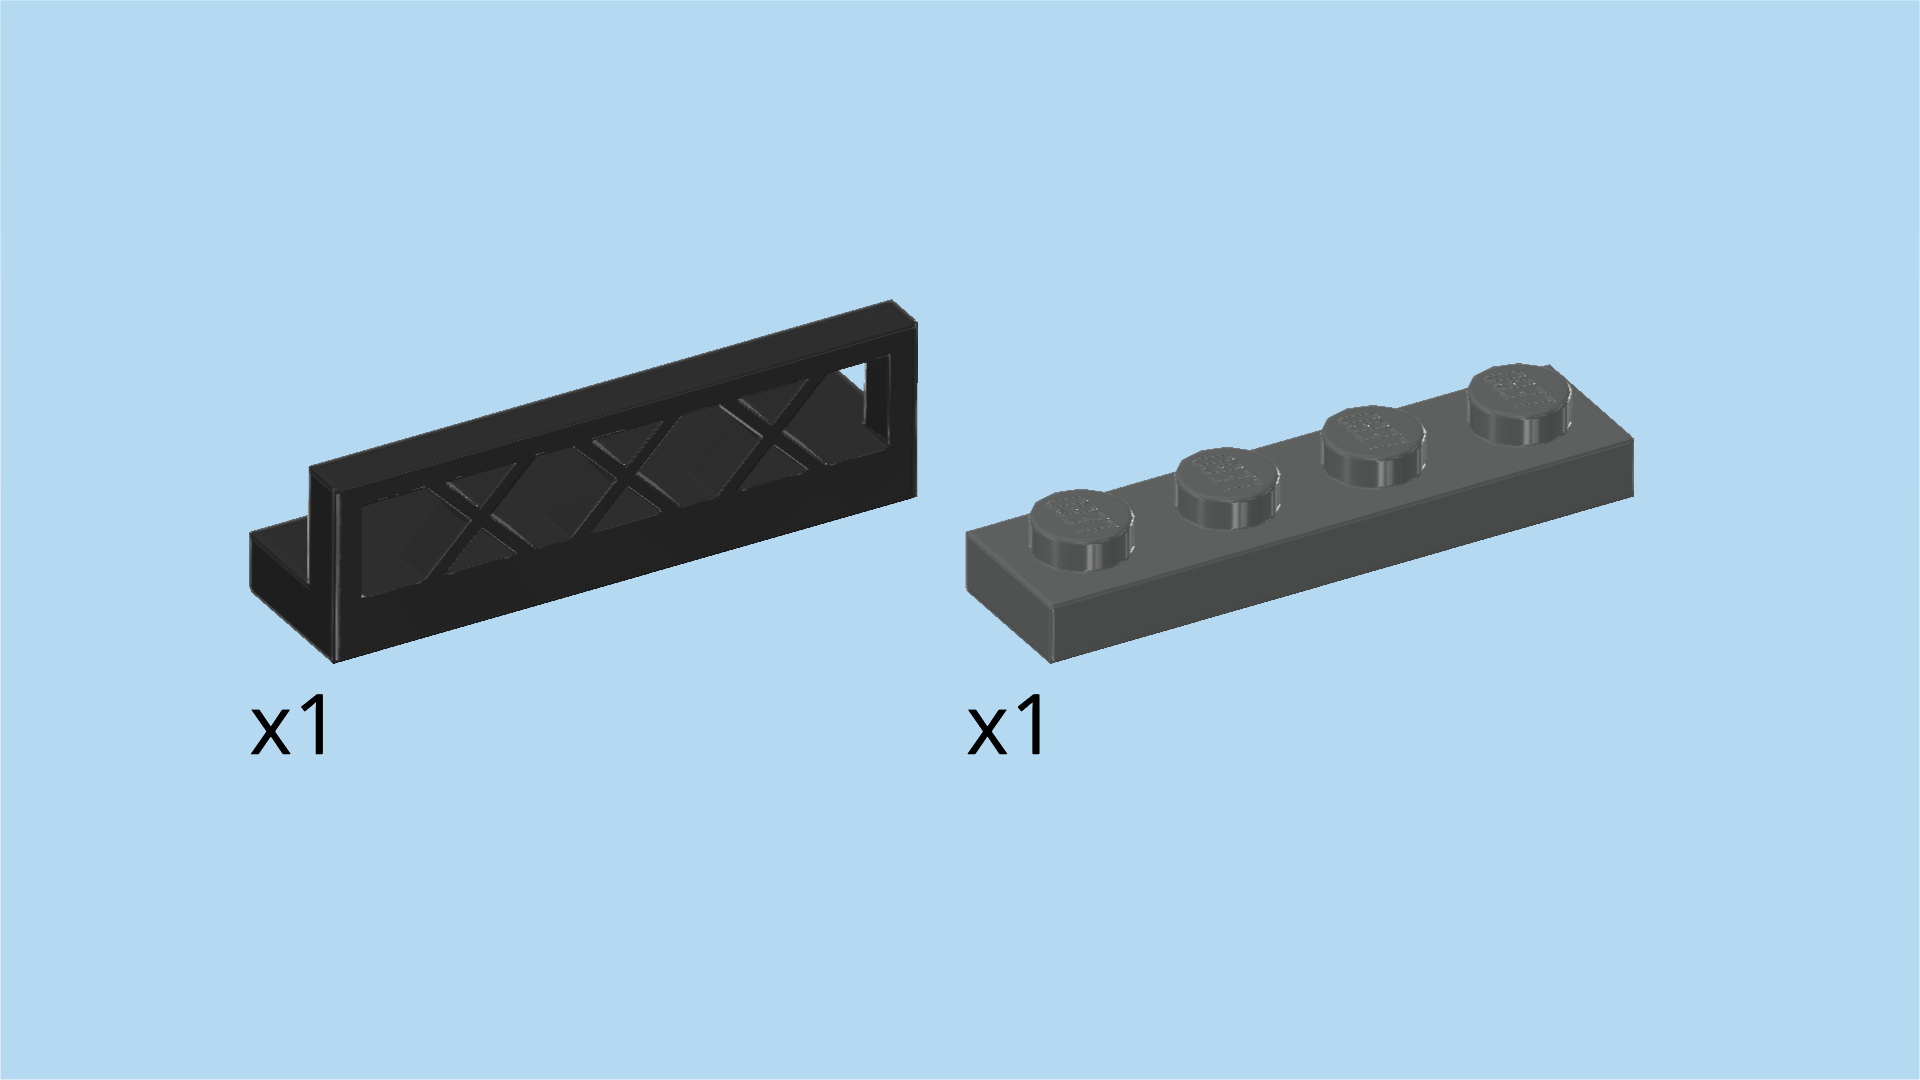
| Collect the following 2 pieces: |
| 1 black fence element 1x4x1, |
| and 1 dark stone grey plate 1x4. |
| Put the plate 1x4 vertically on the table. |
| Put the fence element vertically on top, fence to the left. |
| Mount the front lattice vertically on the leftmost column of the build, fence to the left. |
| Next, we will build the first of two wheel axles together with the carriage stairs. |
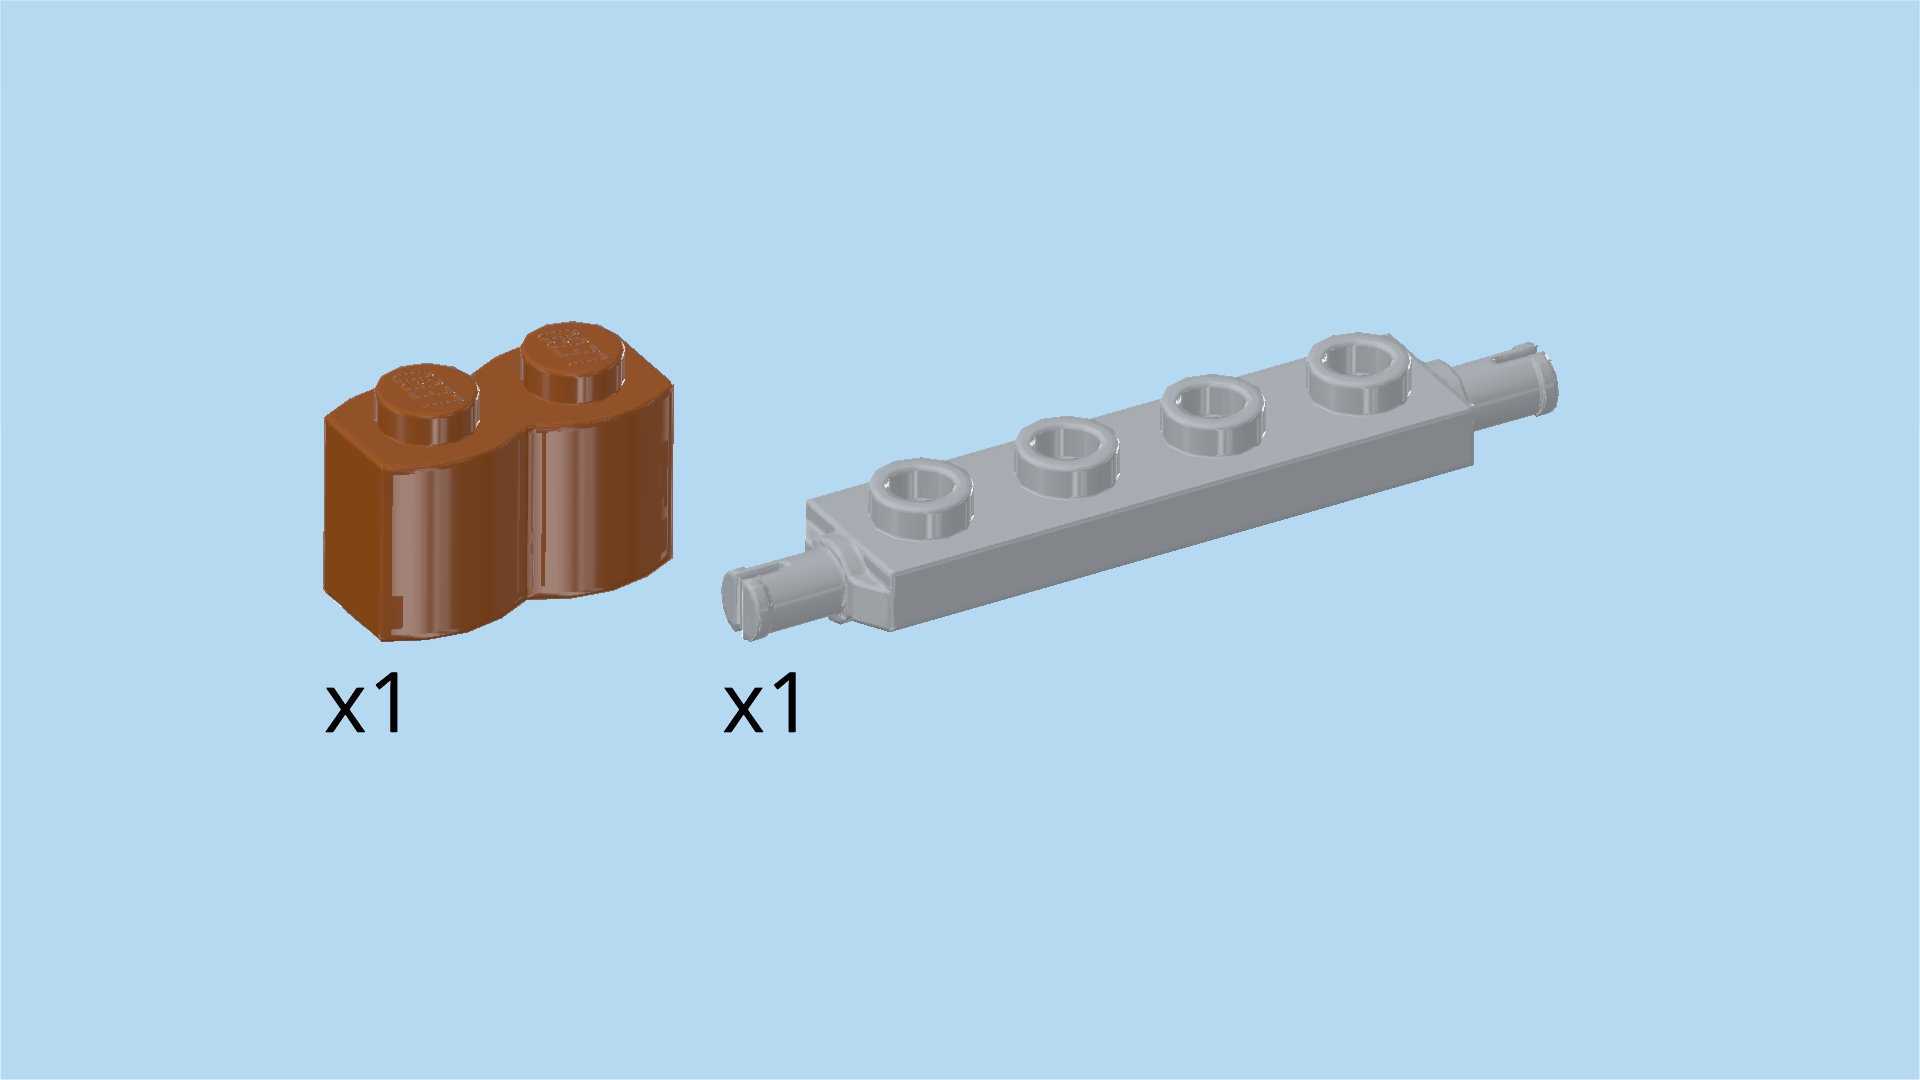
| Collect the following 2 pieces: |
| 1 dark orange palisade brick 1x2, |
| and 1 medium stone grey bearing plate 1x4 with 2 pin connectors. |
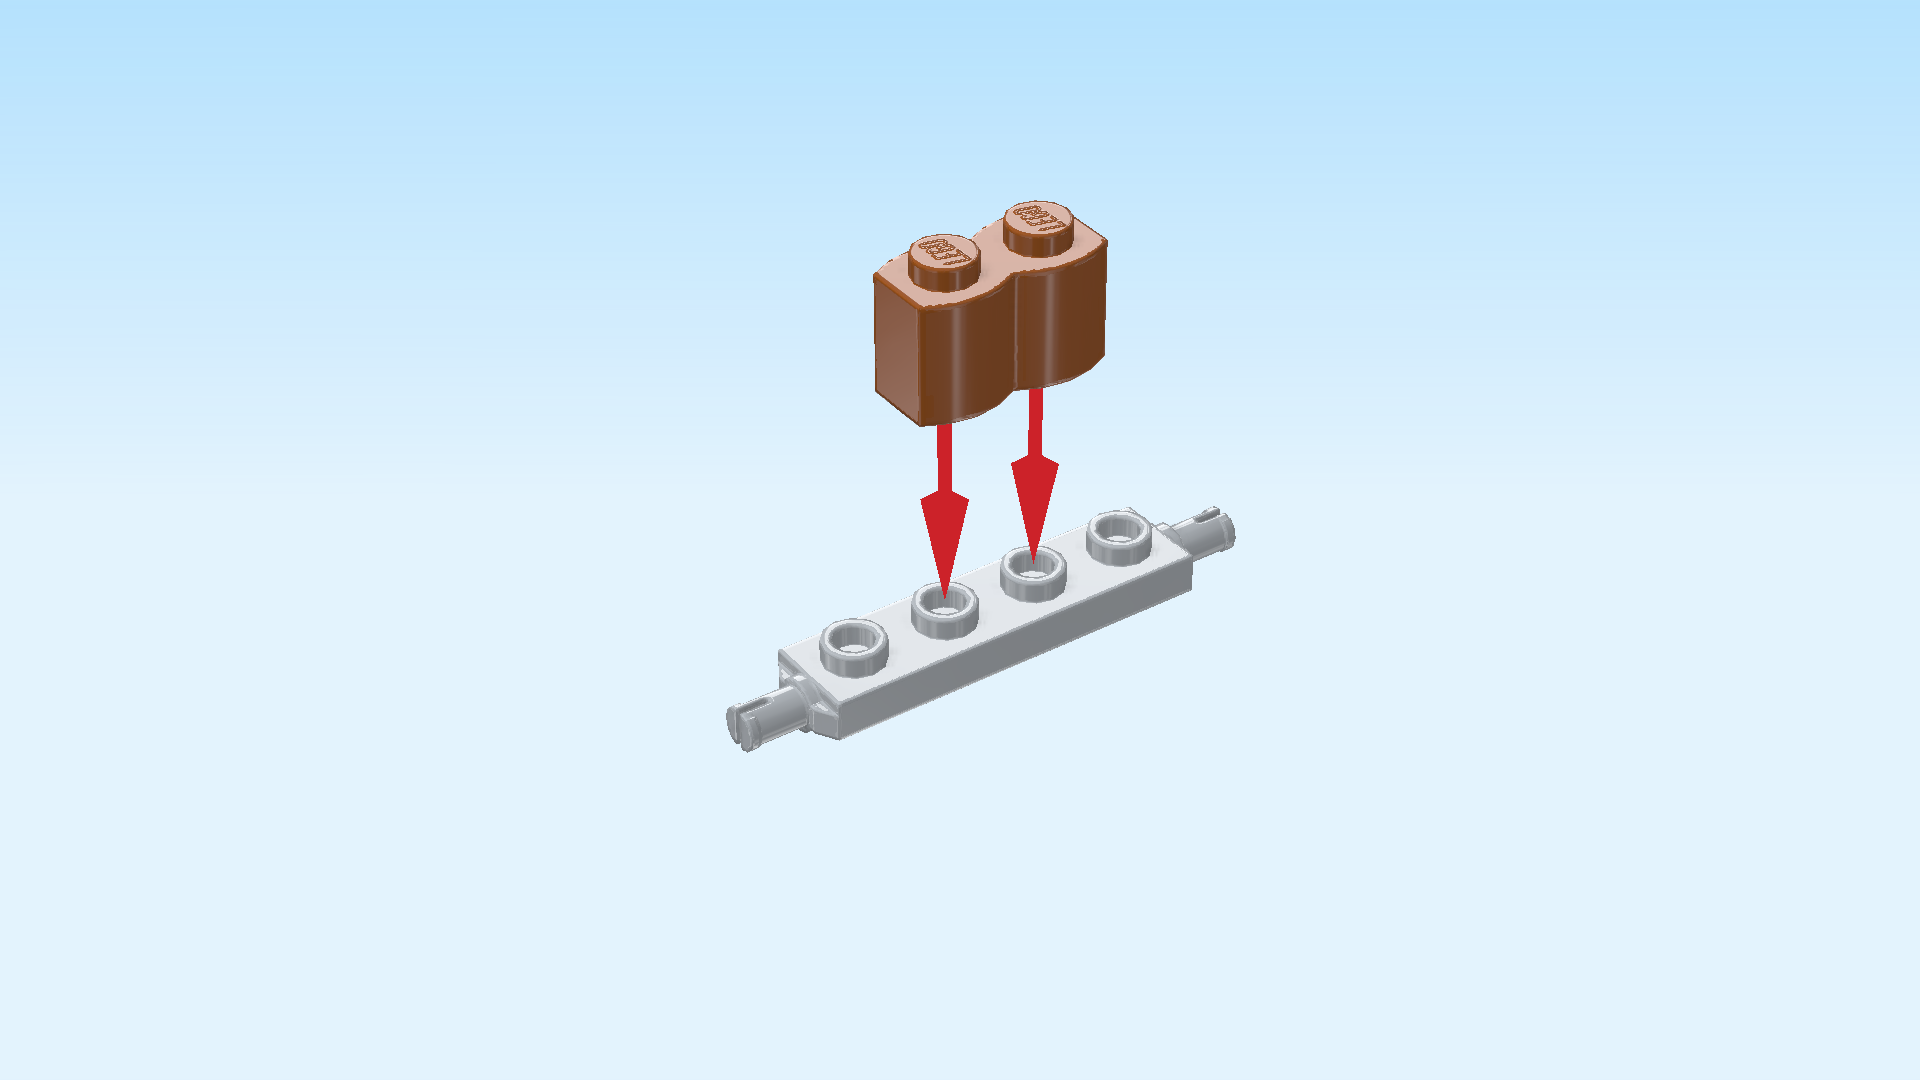
| Put the bearing plate 1x4 horizontally on the table, connectors pointing to the left and right. |
| Put the palisade brick 1x2 horizontally on the 2 middle knobs. |
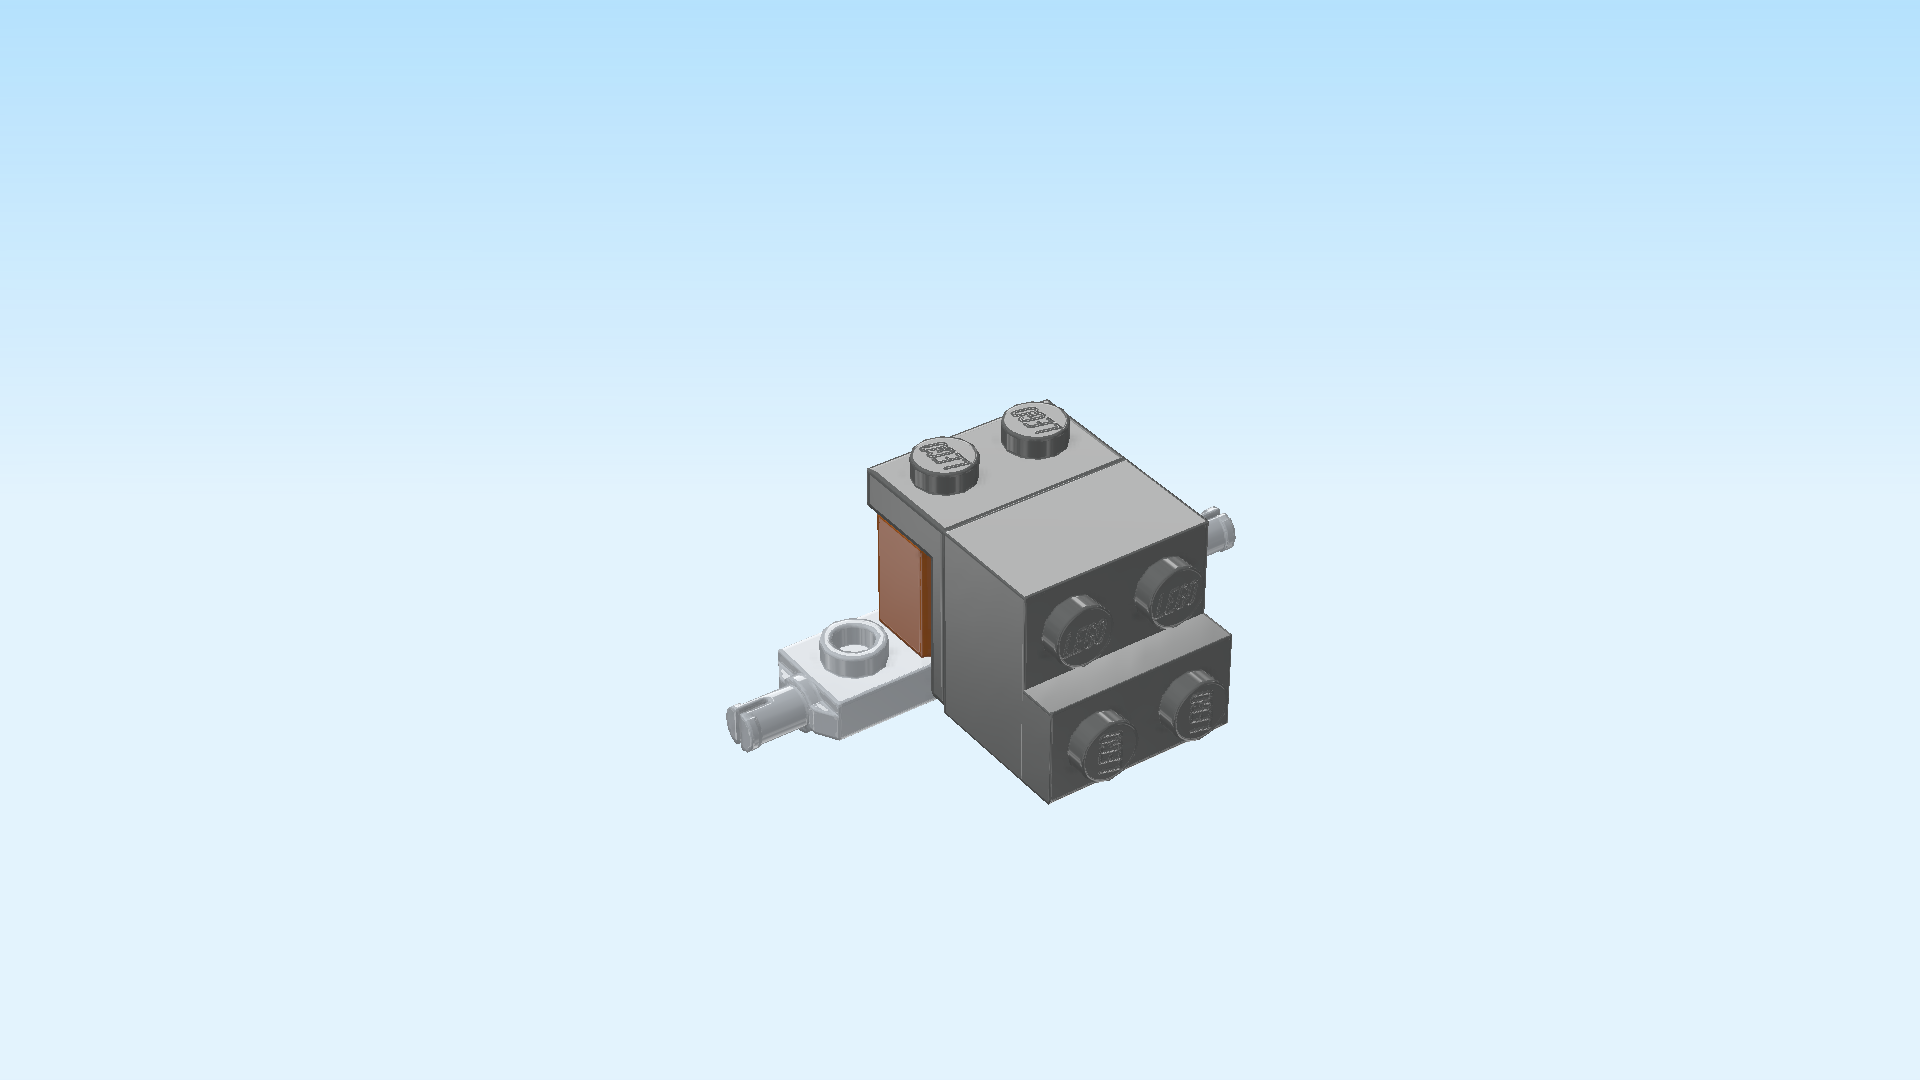
| Find 1 dark stone grey top angle plate 1x2 - 2x2 with 4 side knobs. |
| Put it horizontally on the previous piece, 4 side knobs pointing to the front. |
| Find 1 dark stone grey brick 2x2. |
| Mount it upright on the 4 side knobs pointing to the front. |
| Find 1 dark stone grey plate 1x2. |
| Mount it upright horizontally on the 2 lower side knobs pointing to the front. |
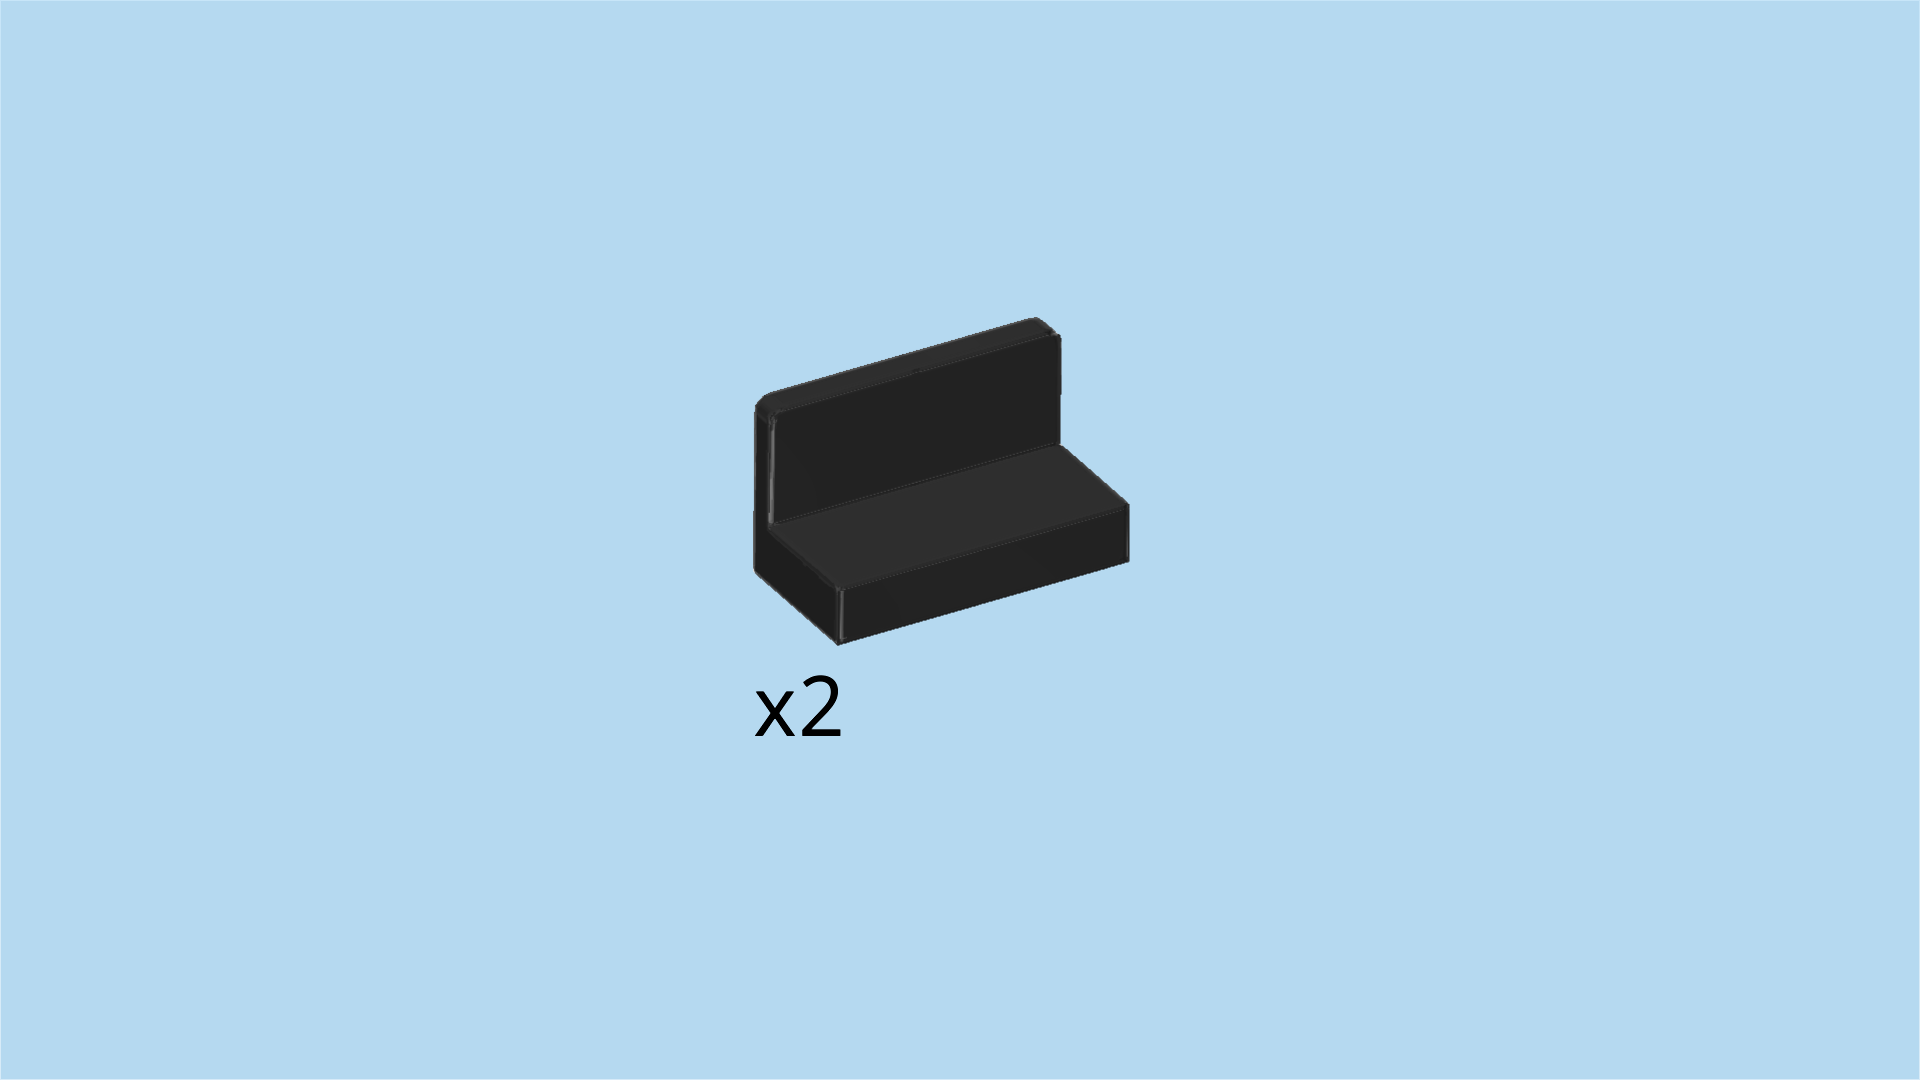
| Find 2 black panel elements 1x2x1. |
| Put 1 upright horizontally on the previous piece, panel at the bottom and pointing to the front. |
| Put the other one upright horizontally on the 2 side knobs above the previous piece, panel at the bottom and pointing to the front. |
| These two panels sticking out towards the front will later be the steps of the stairs. |
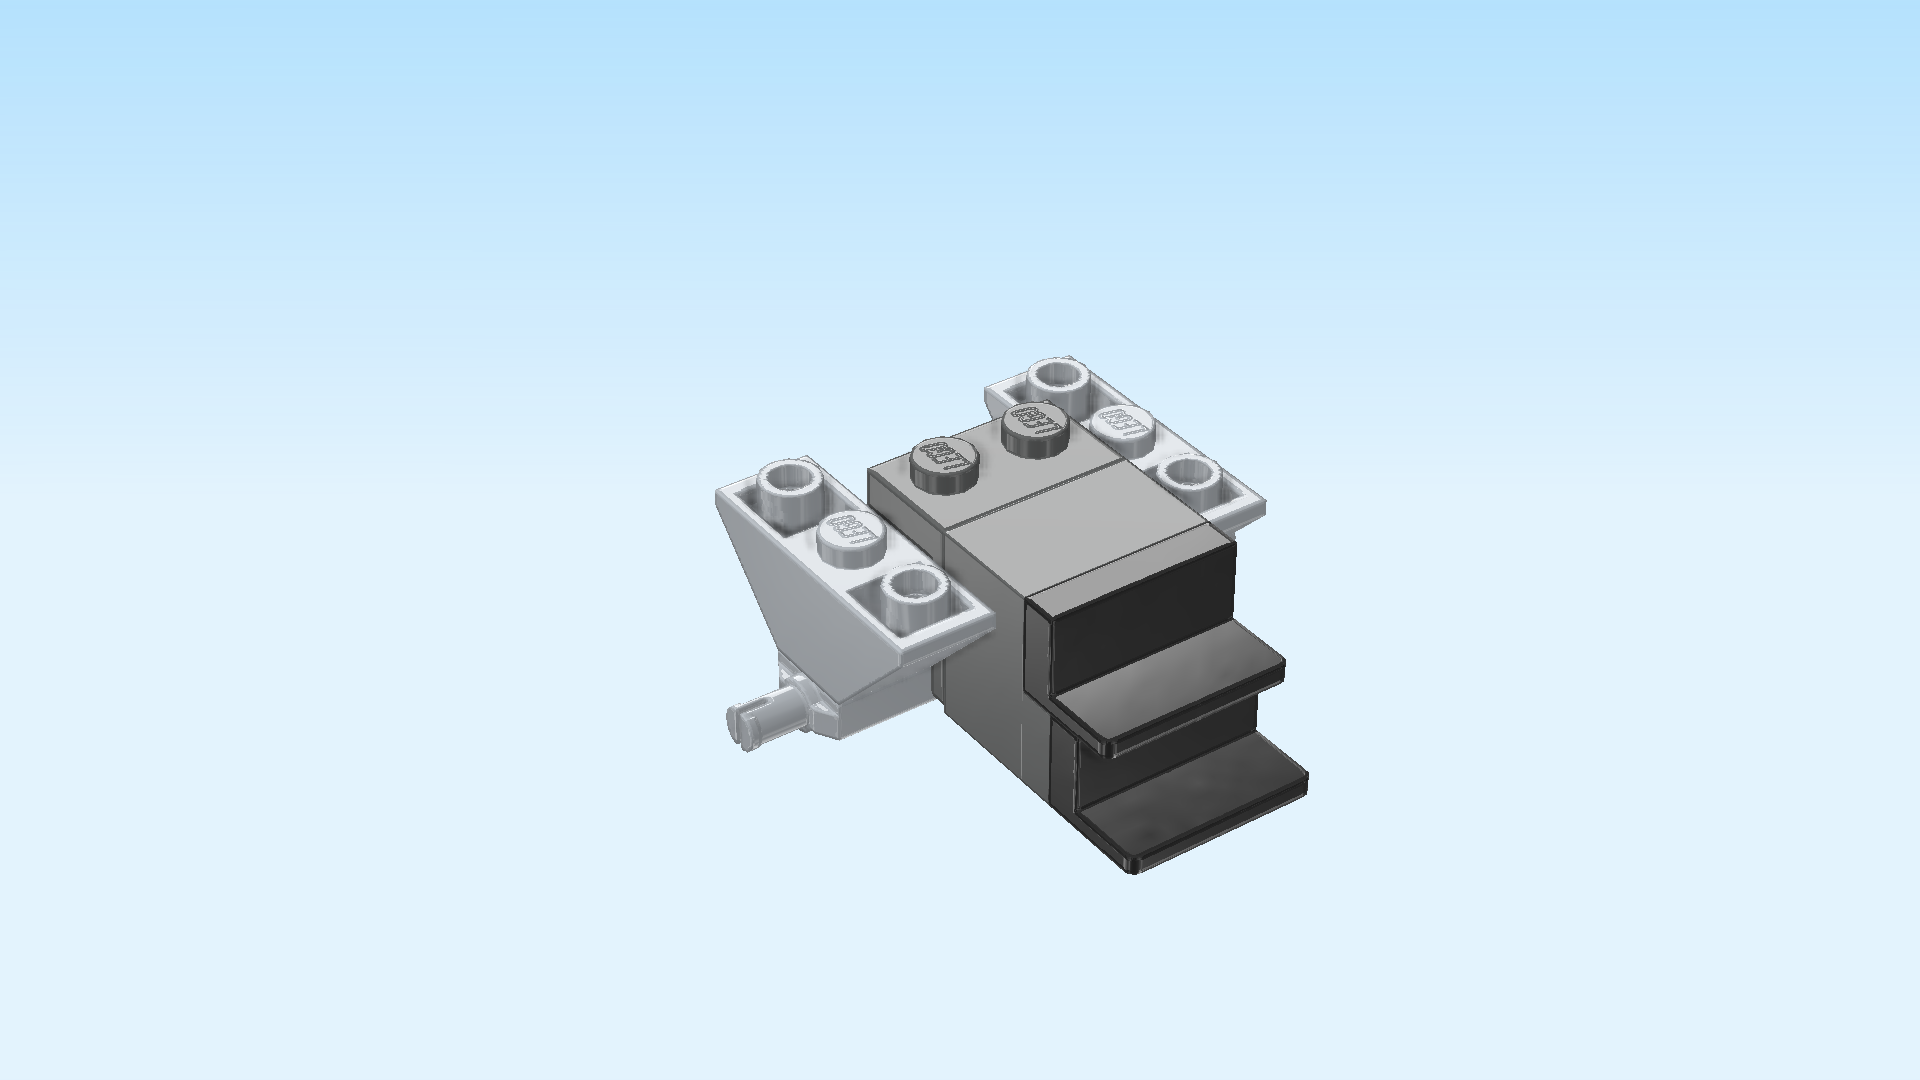
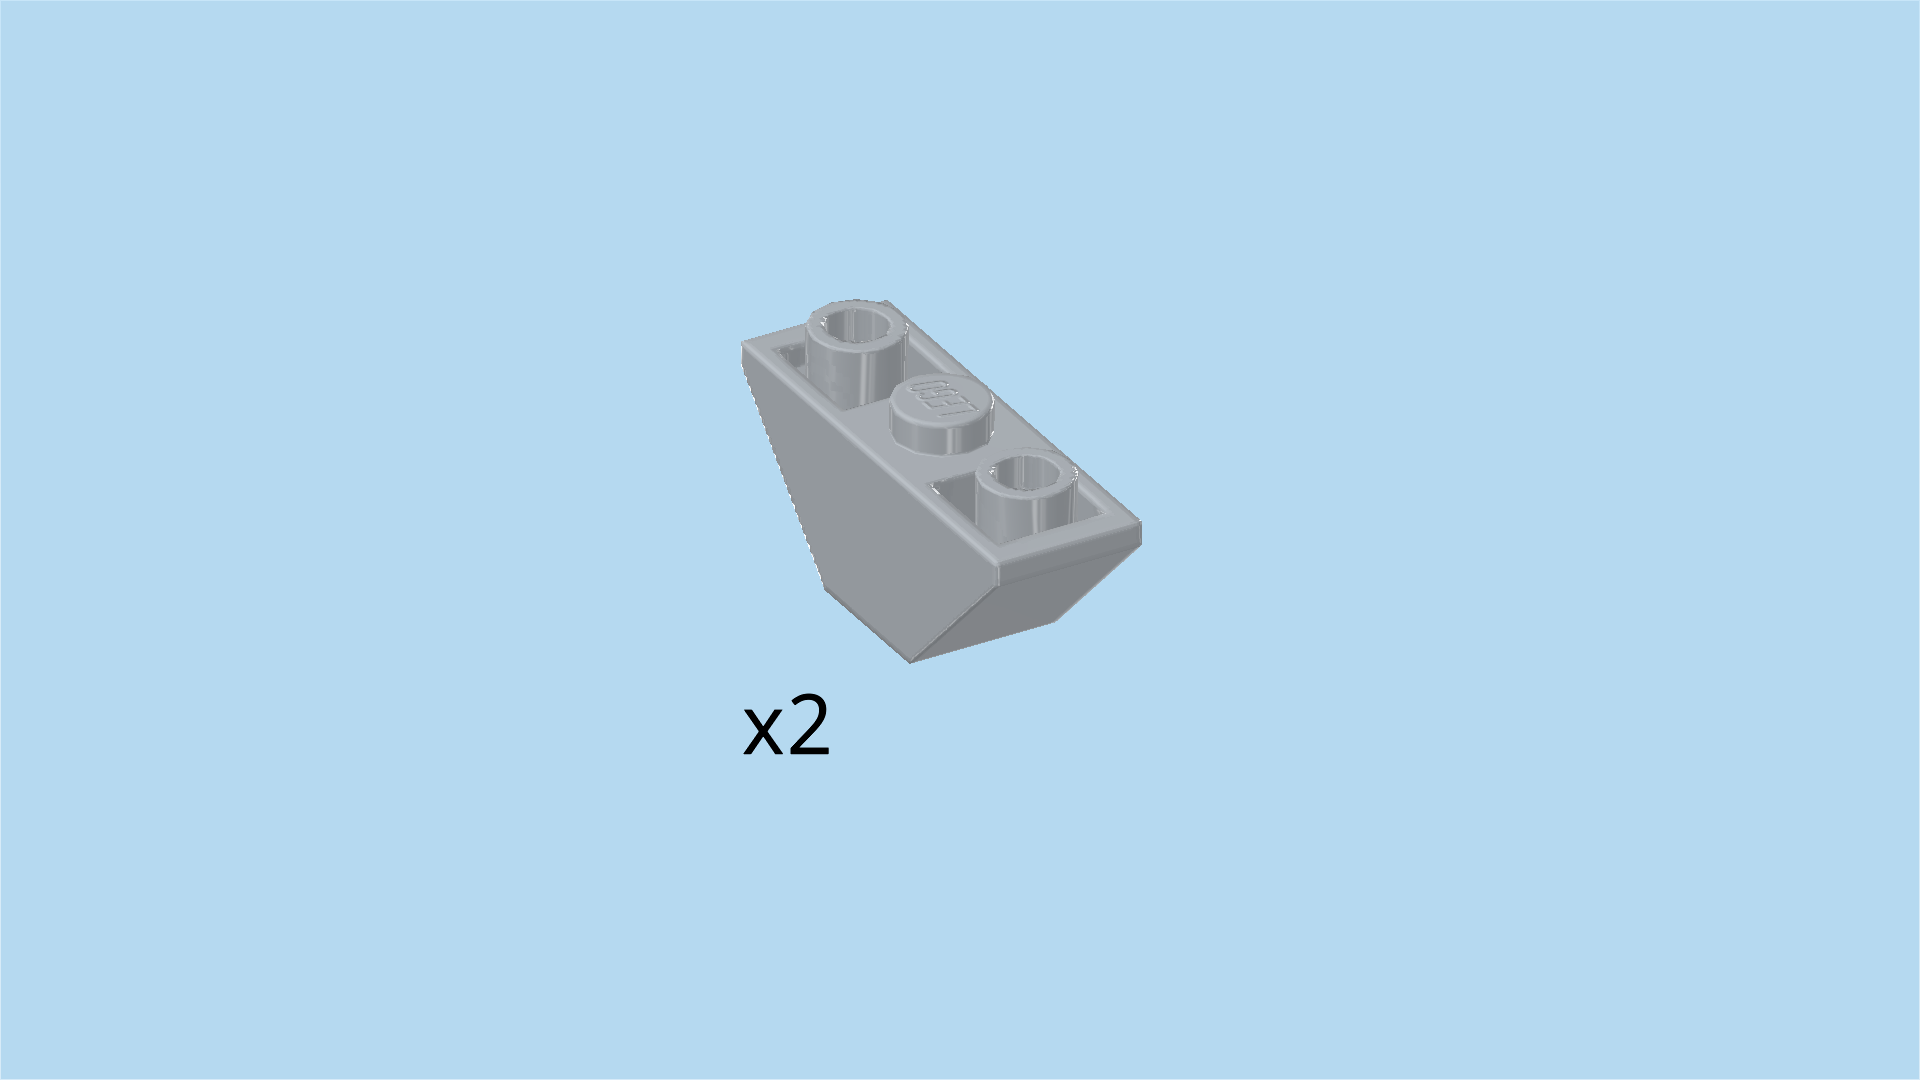
| Find 2 medium stone grey inverted double roof tiles 1x3, 45°. |
| Put 1 vertically on the leftmost knob, slopes to the front and back. |
| Repeat symmetrically on the rightmost knob. |
| Now, flip the wheel axle with stairs upside down. Make sure the connectors are still pointing to the left and right and the steps to the front. |
| Before you mount the wheel axle, flip the carriage structure upside down as well. Make sure that the front lattice remains on the left side. |
| Mount the wheel axle vertically on the right edge of the structure, connectors pointing to the front and back. Place it so that only the 2 panels which will be the steps are overhanging to the right. The rest should sit on the carriage structure. |
| Next, we will build the second wheel axle. |
| Collect the following 2 pieces: |
| 1 medium stone grey bearing plate 1x4 with 2 pin connectors, |
| and 1 dark stone grey plate 1x2. |
| Put the bearing plate 1x4 horizontally on the table, connectors to the left and right. |
| Put the plate 1x2 horizontally on the 2 middle knobs. |
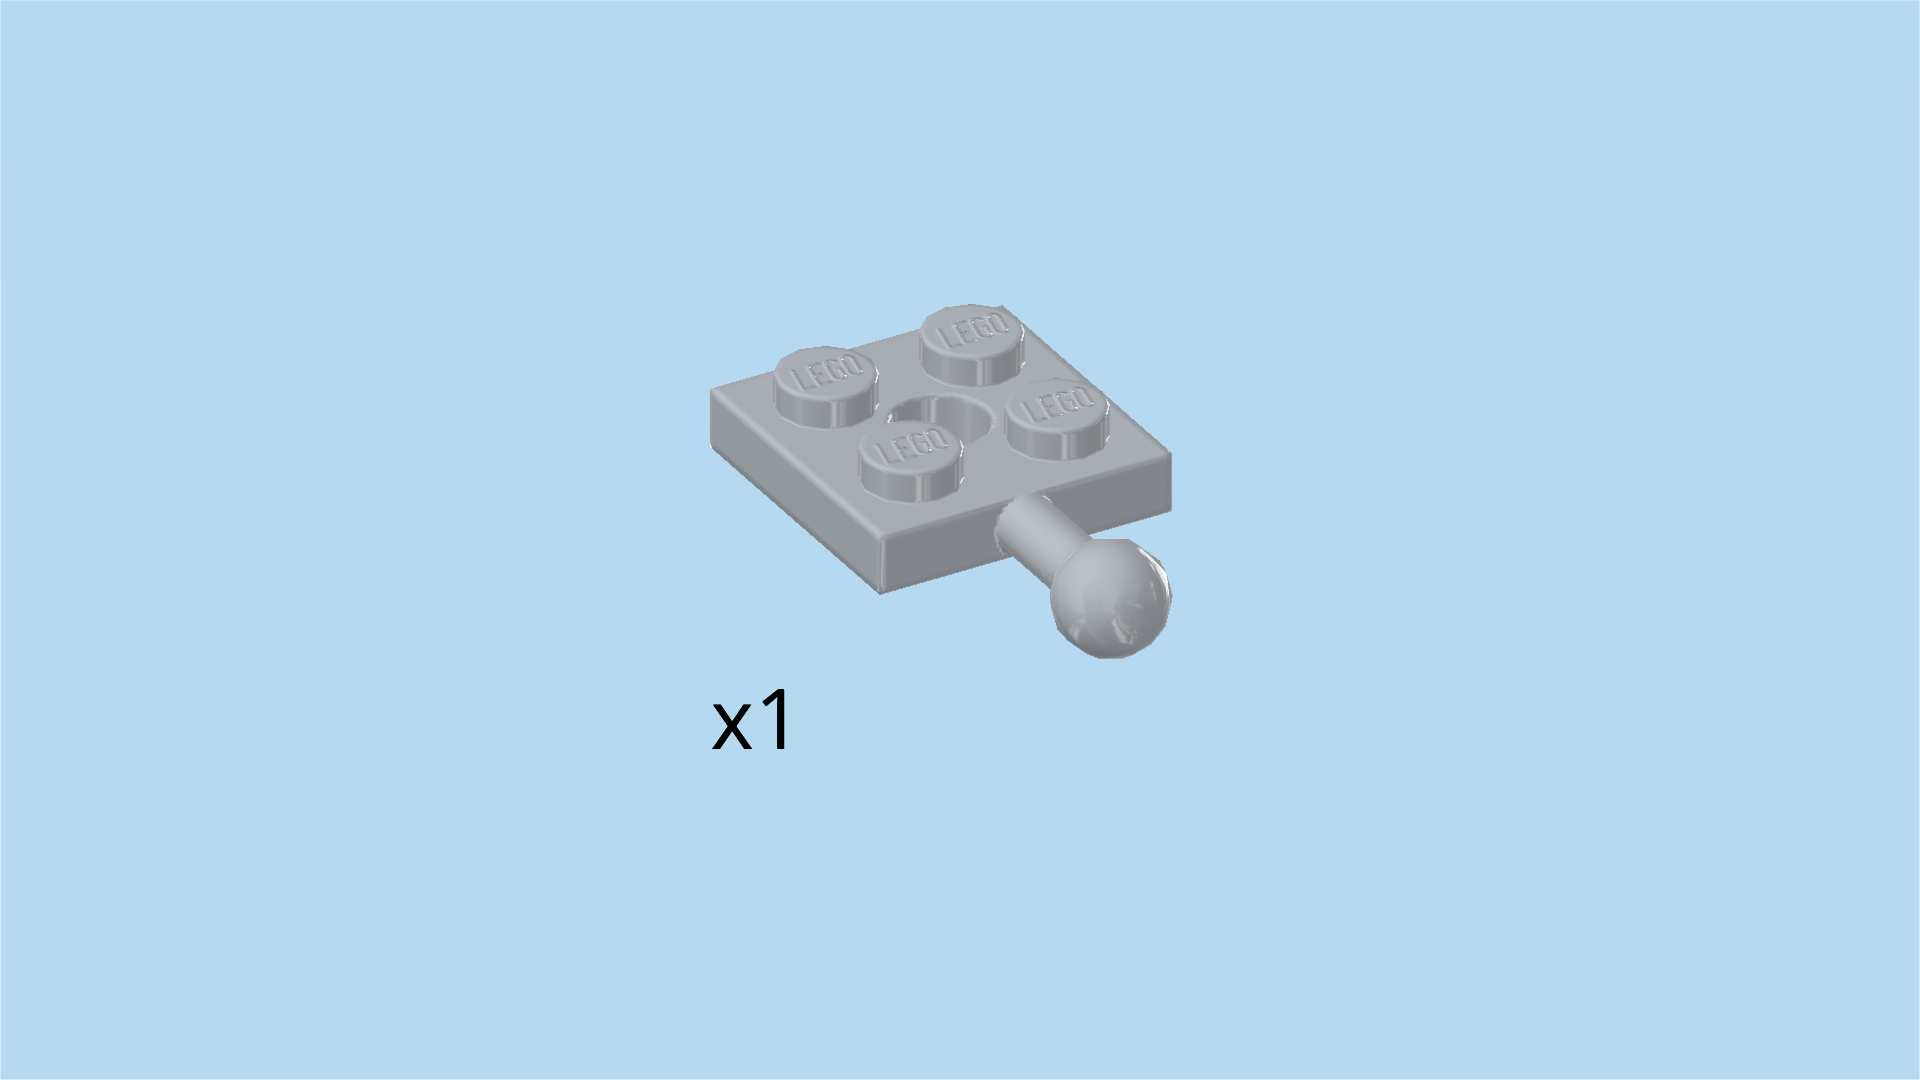
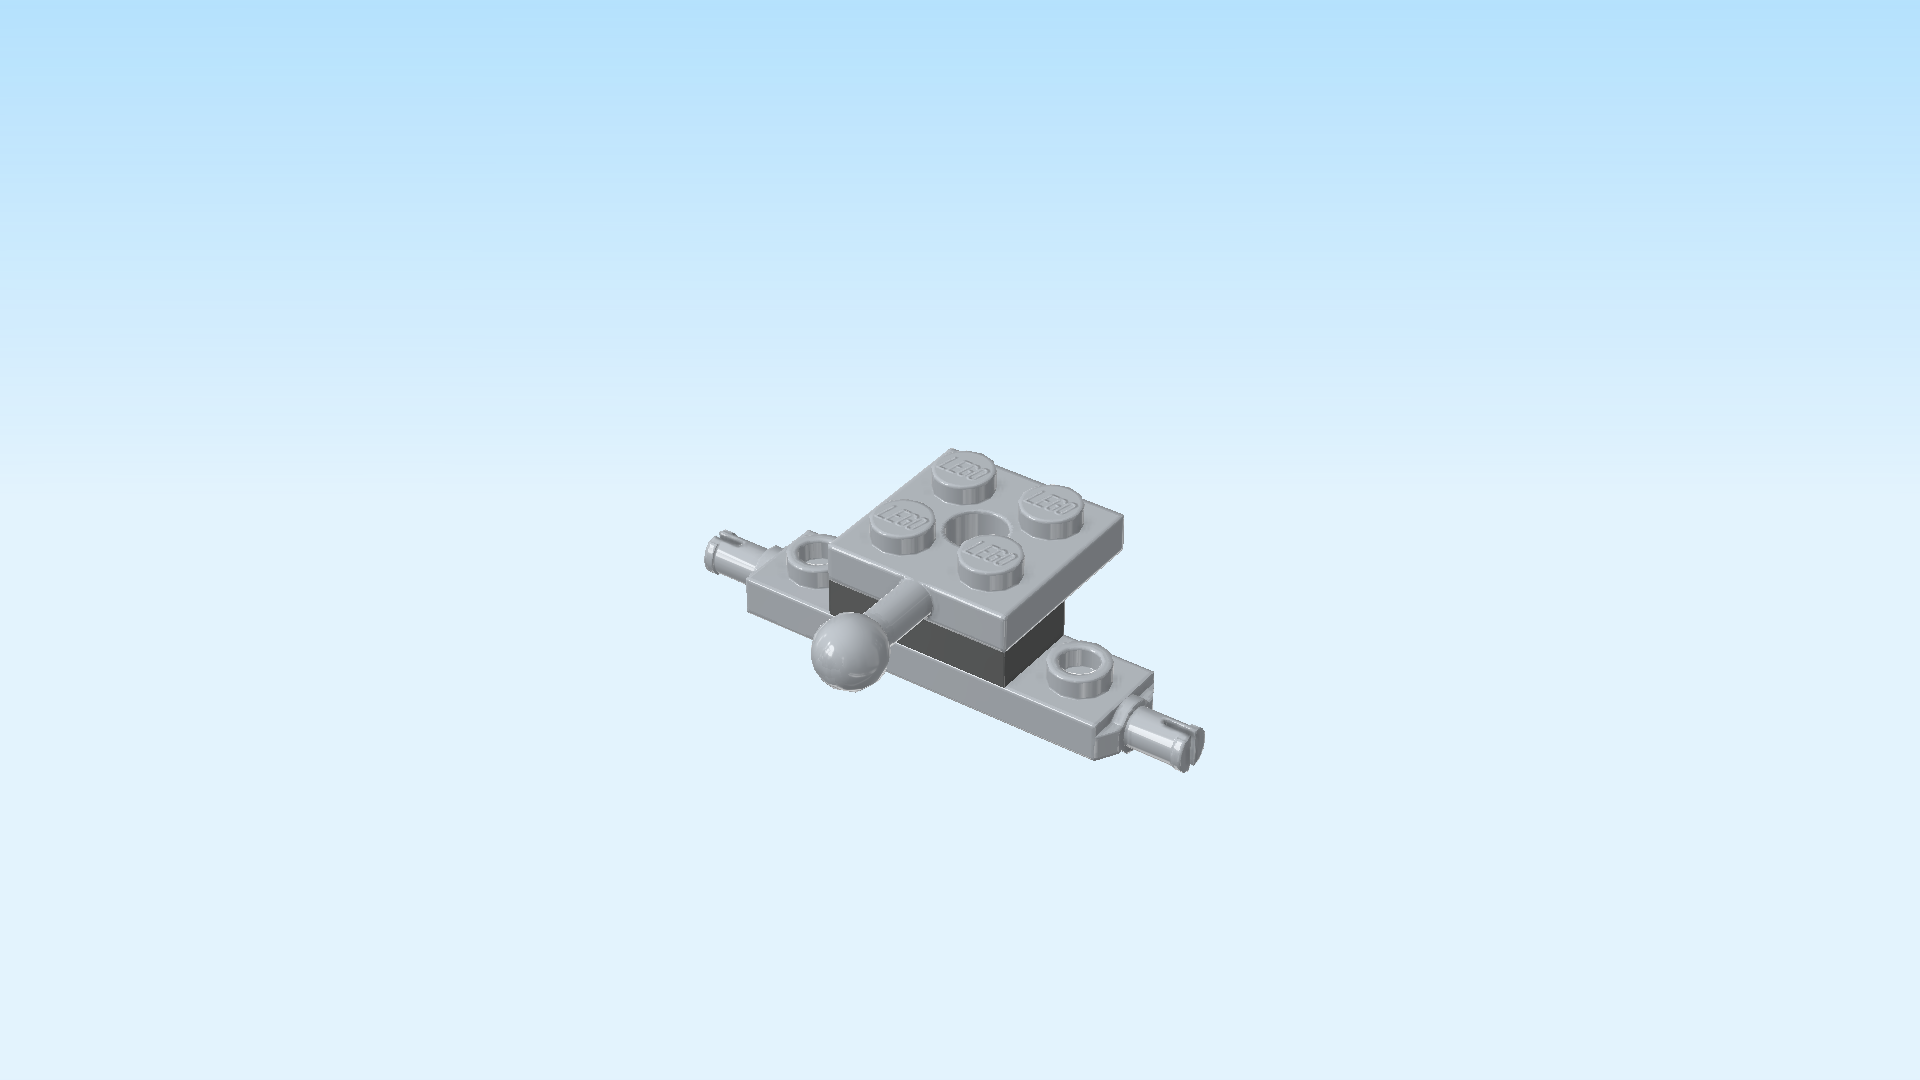
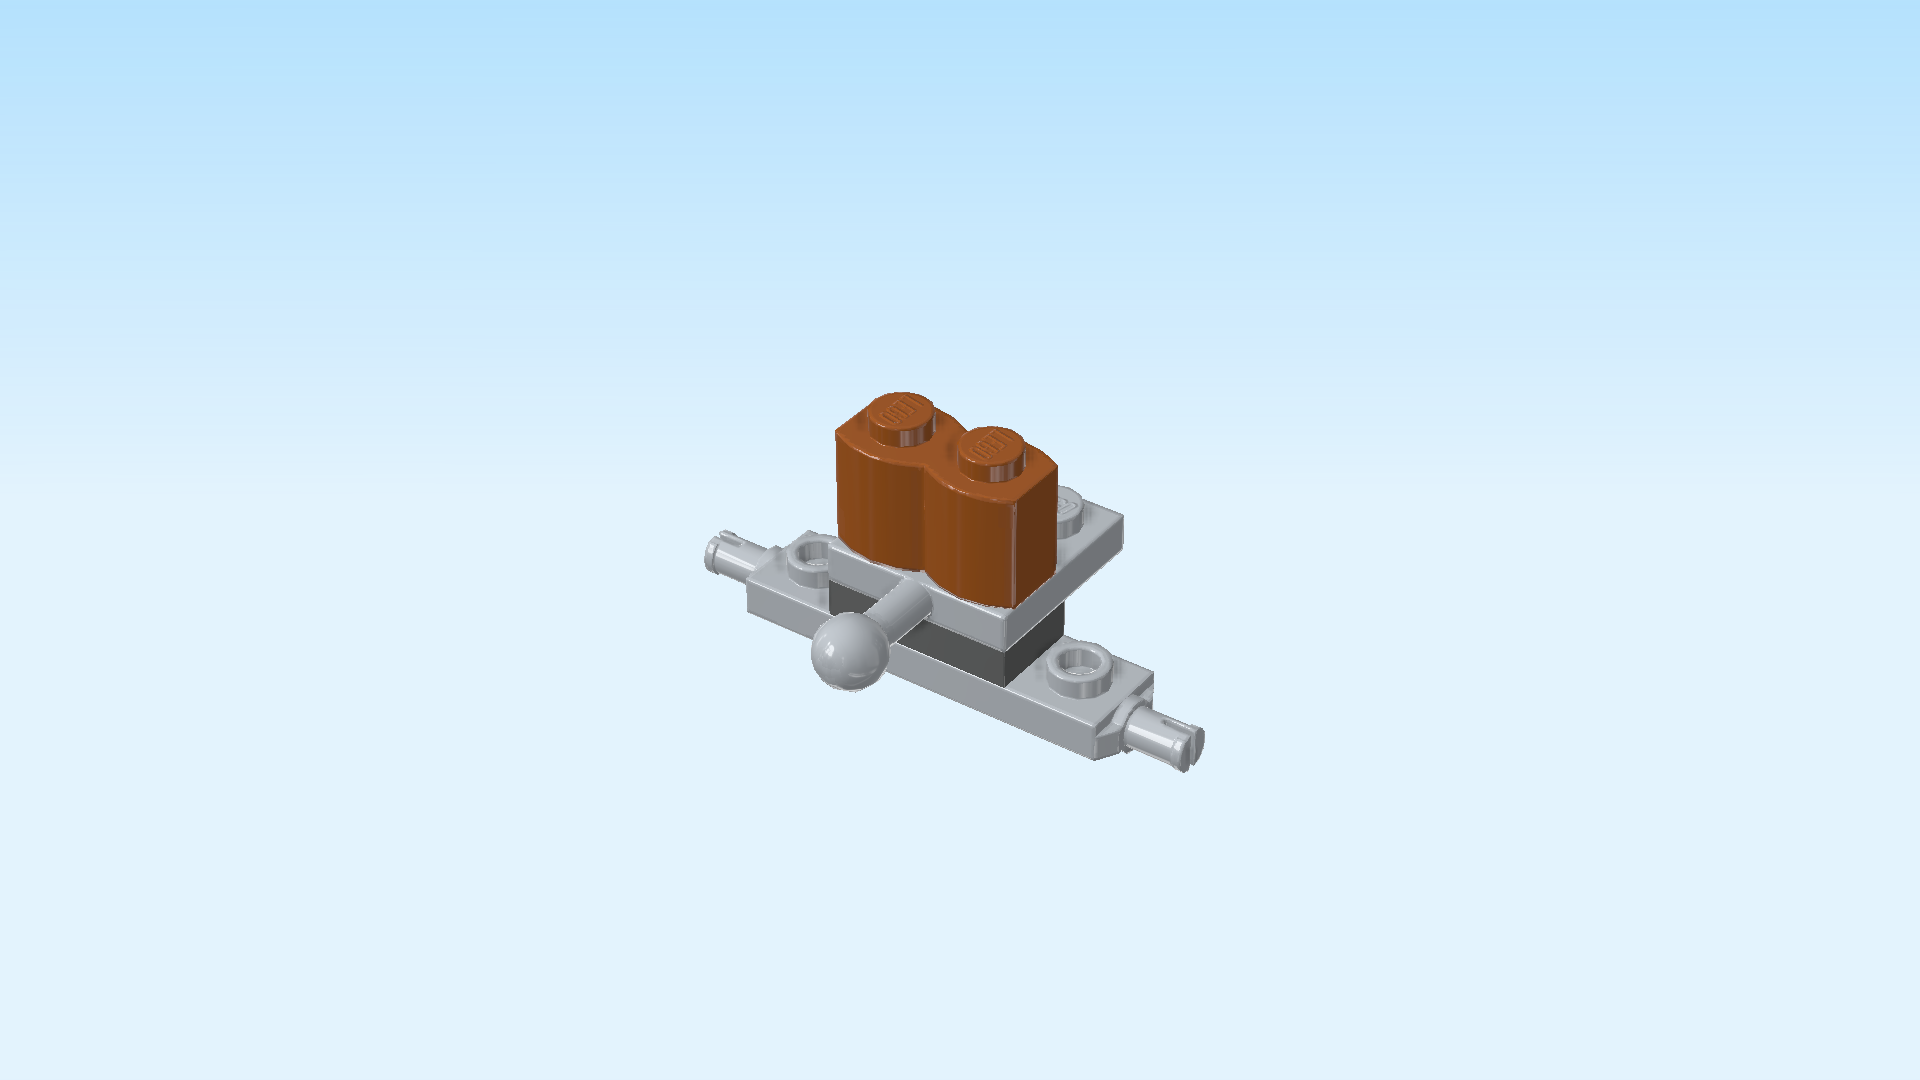
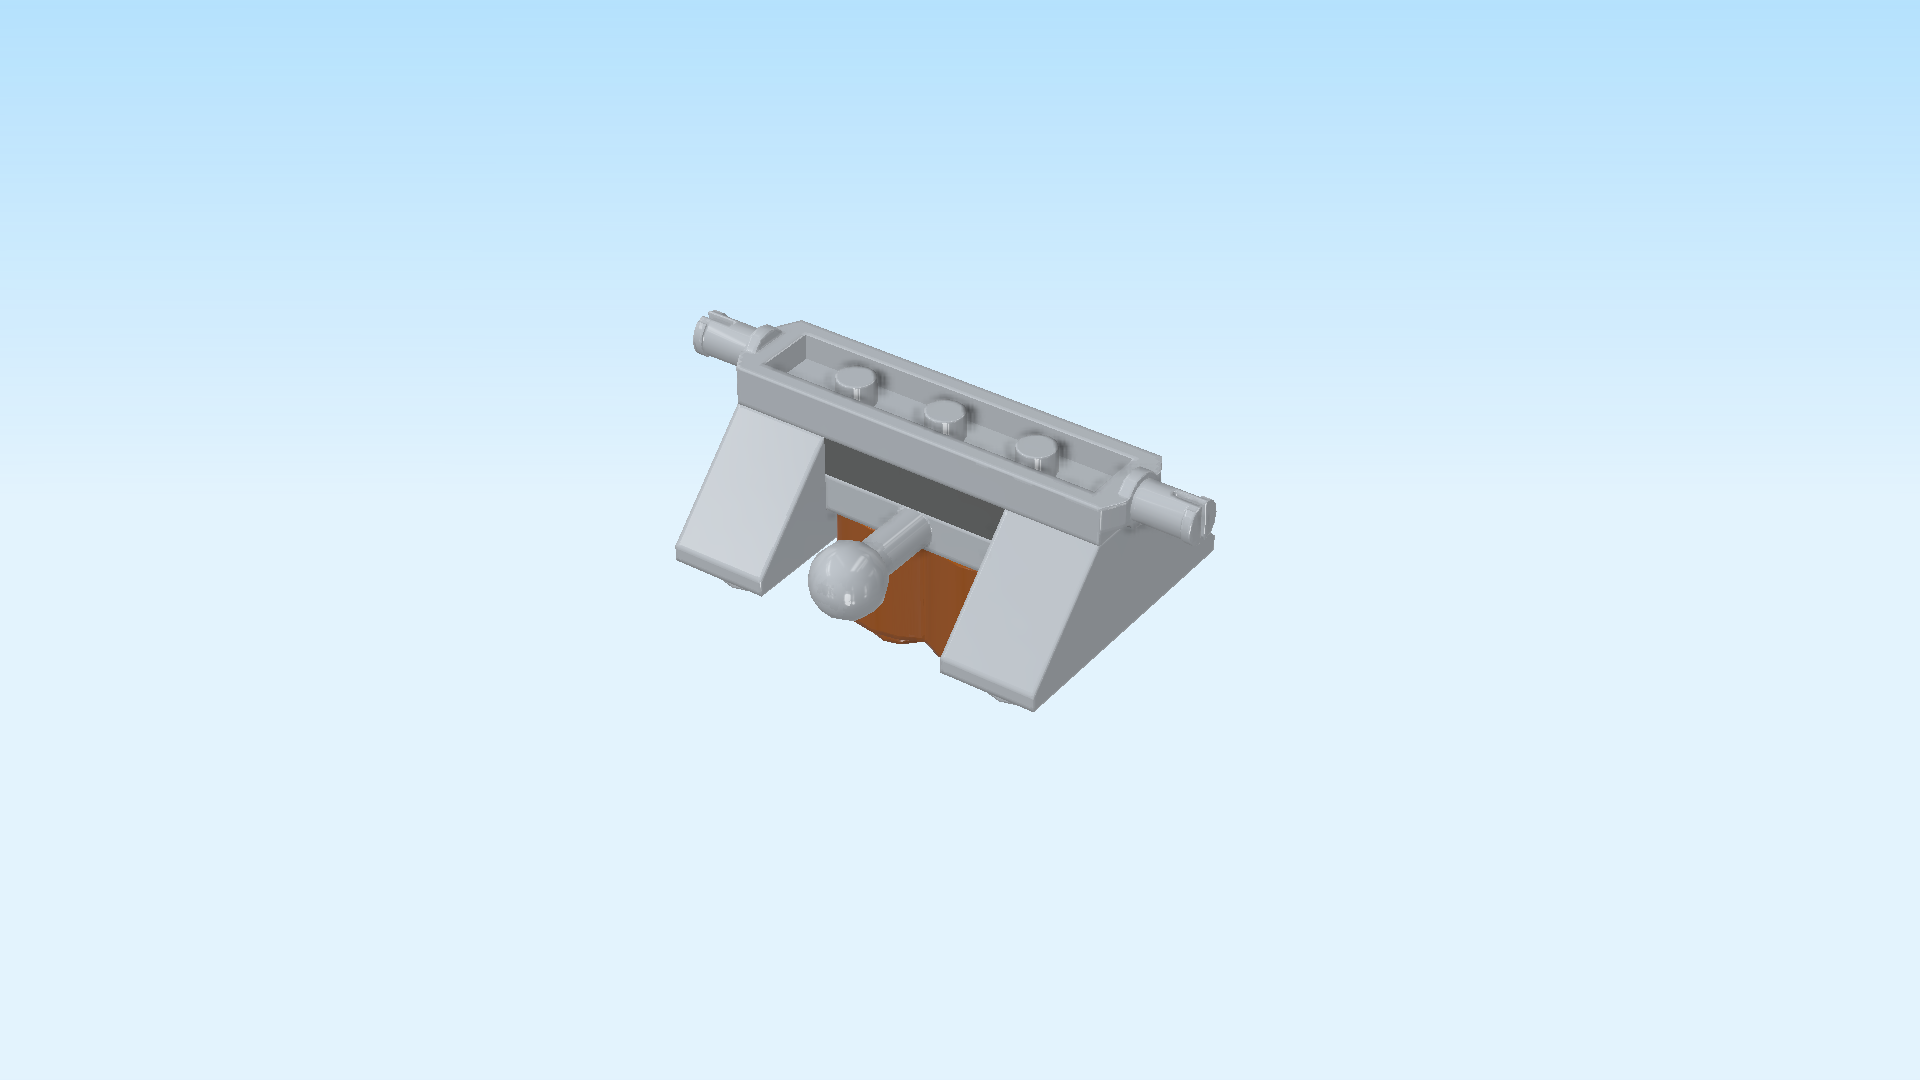
| Find 1 medium stone grey plate 2x2 with middle hole and side ball on shaft. |
| Put it on top of the previous piece, side ball on shaft to the front, 1 row overhanging to the back. |
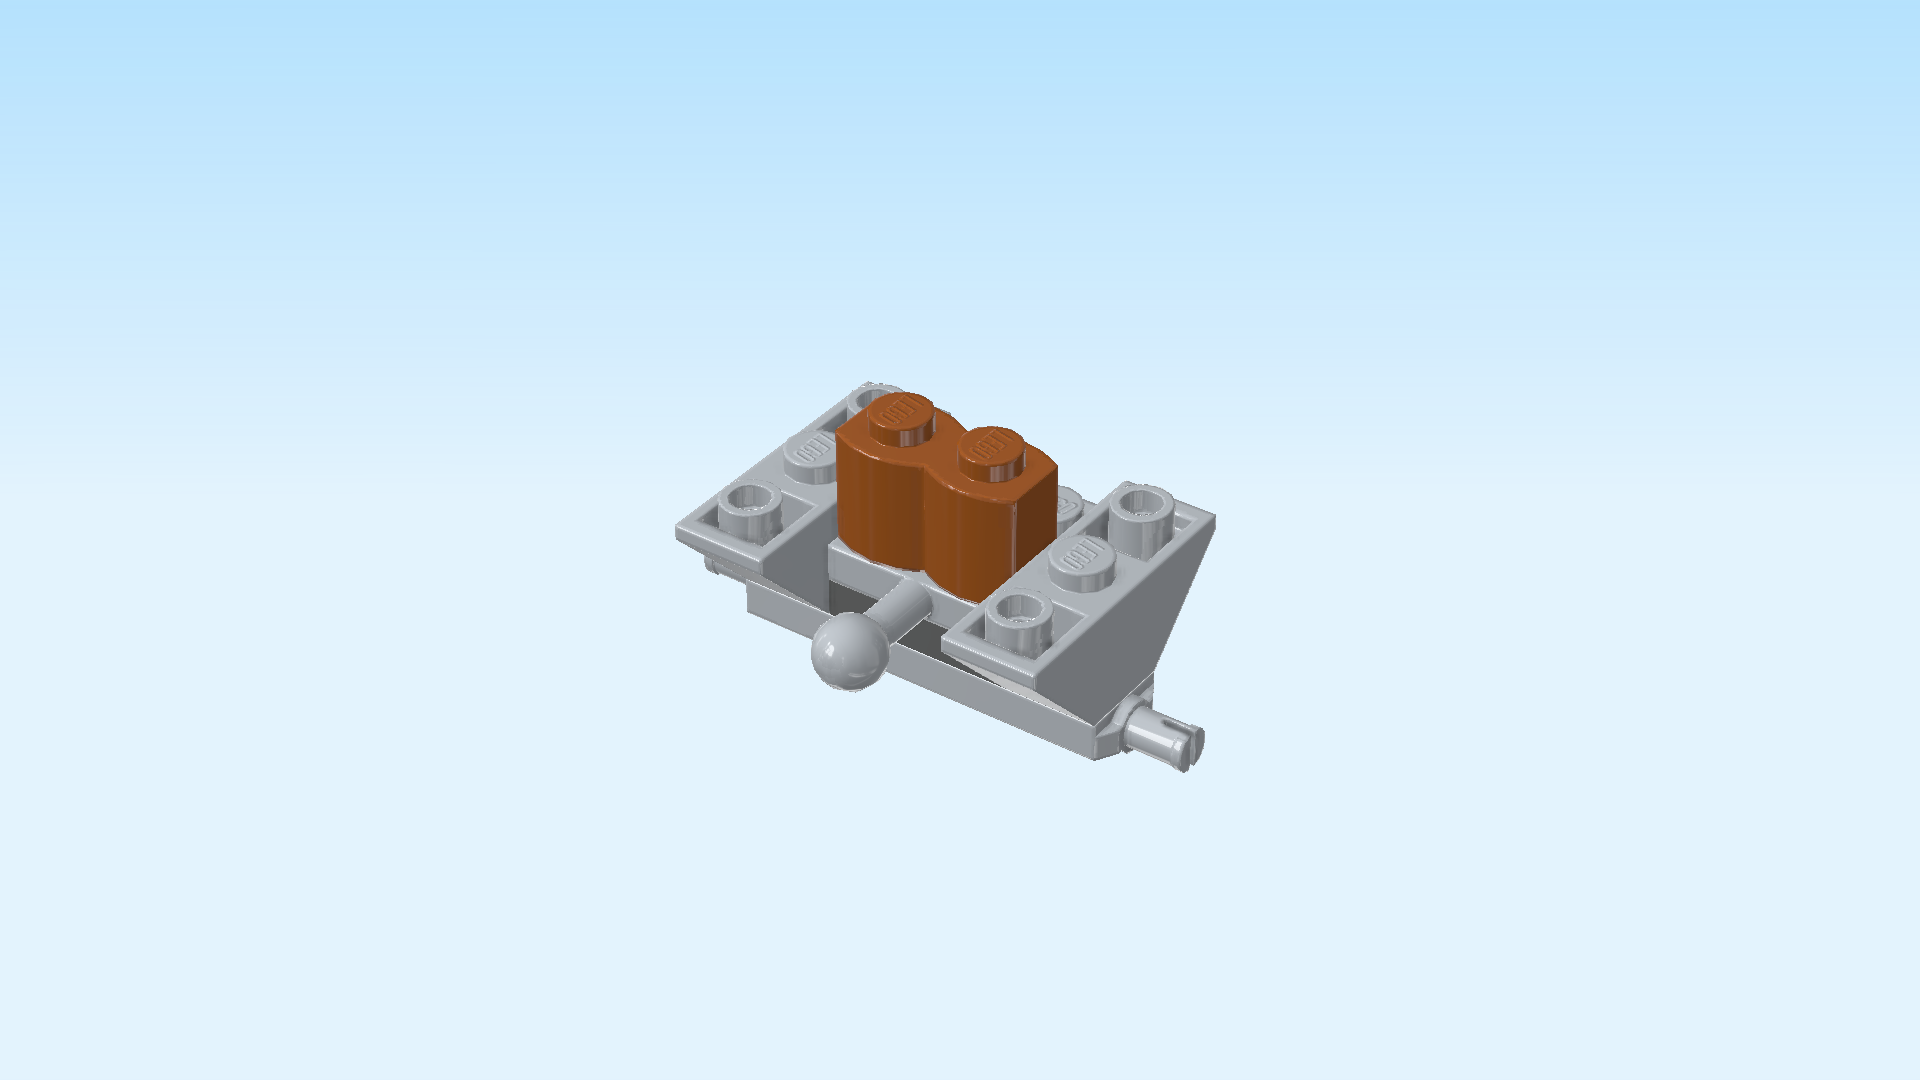
| Find 1 dark orange palisade brick 1x2. |
| Put it horizontally on the front row of the previous piece. |
| Find 2 medium stone grey inverted double roof tiles 1x3, 45°. |
| Put 1 vertically on the leftmost knob, slopes to the front and back. |
| Repeat symmetrically on the rightmost knob. |
| Now, flip the wheel axle upside down. |
| Mount it vertically on the left edge of the carriage structure, connectors pointing to the front and back. |
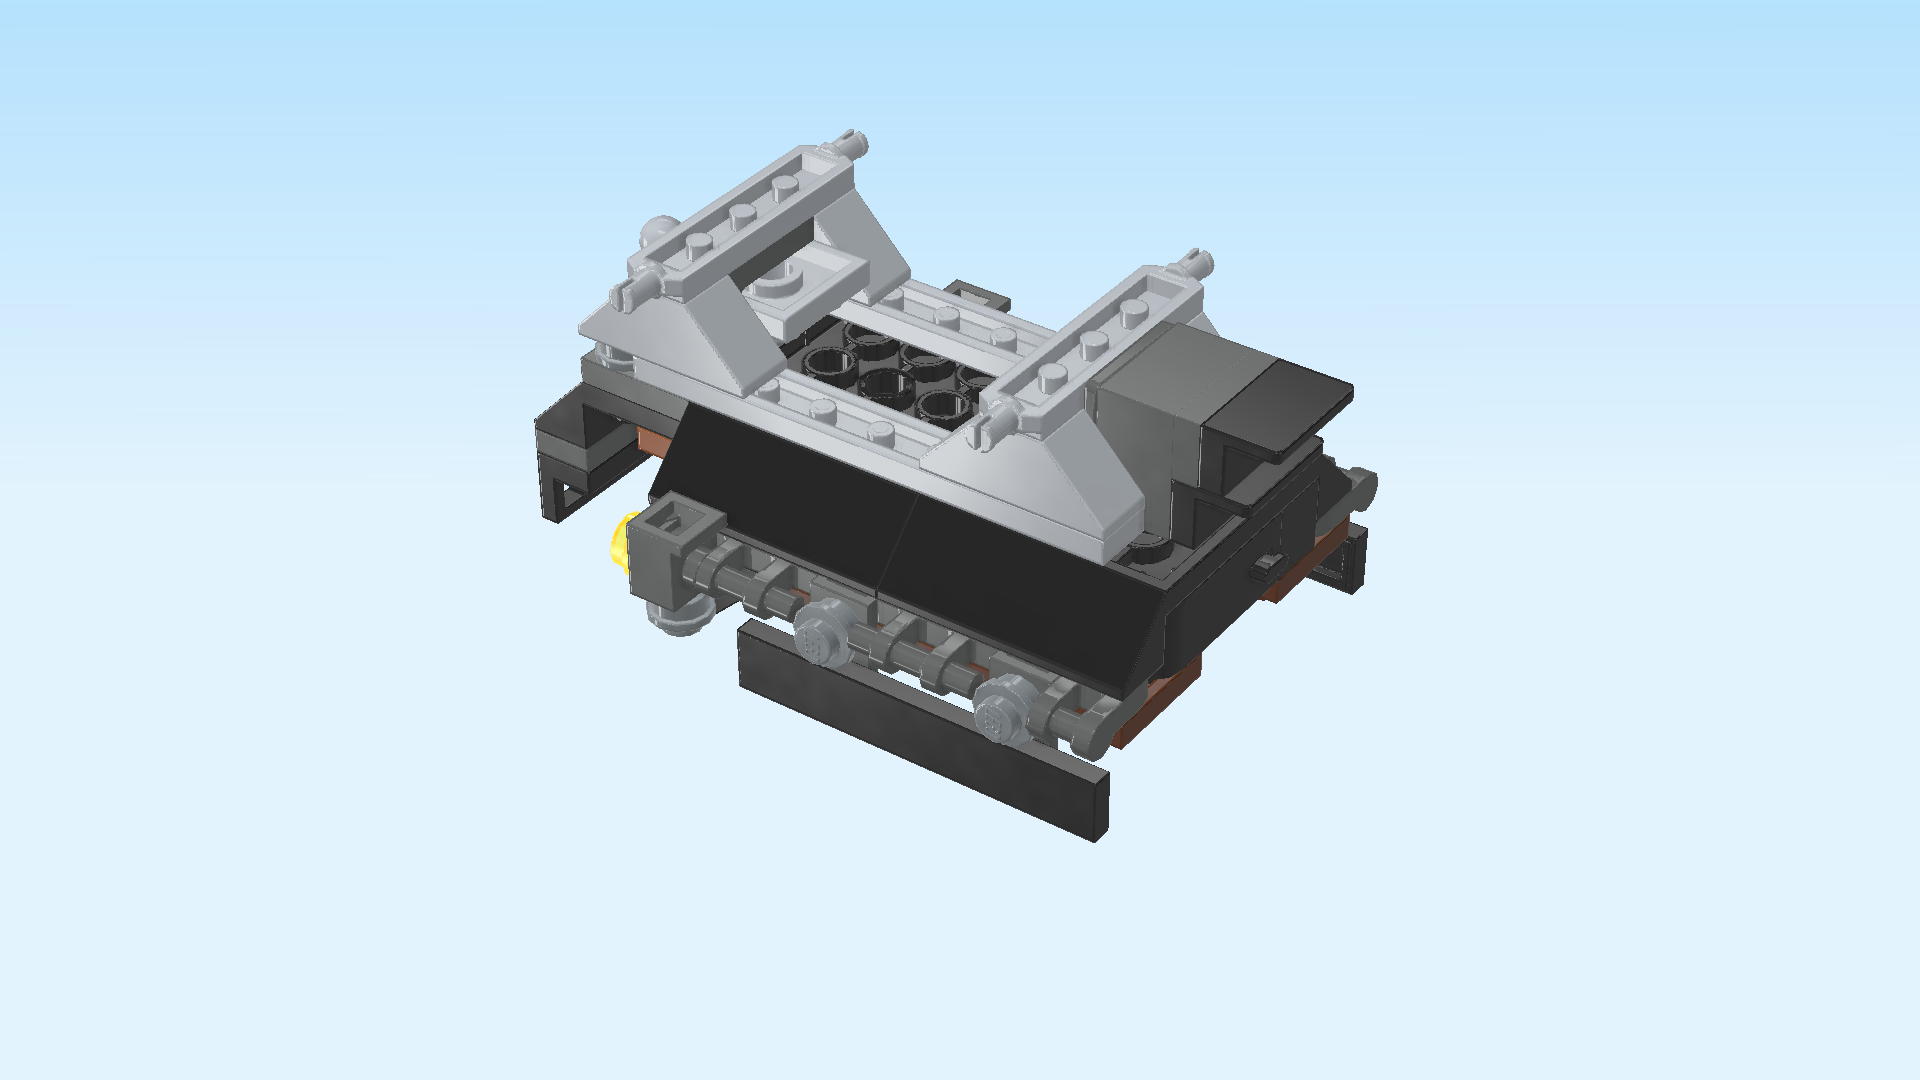
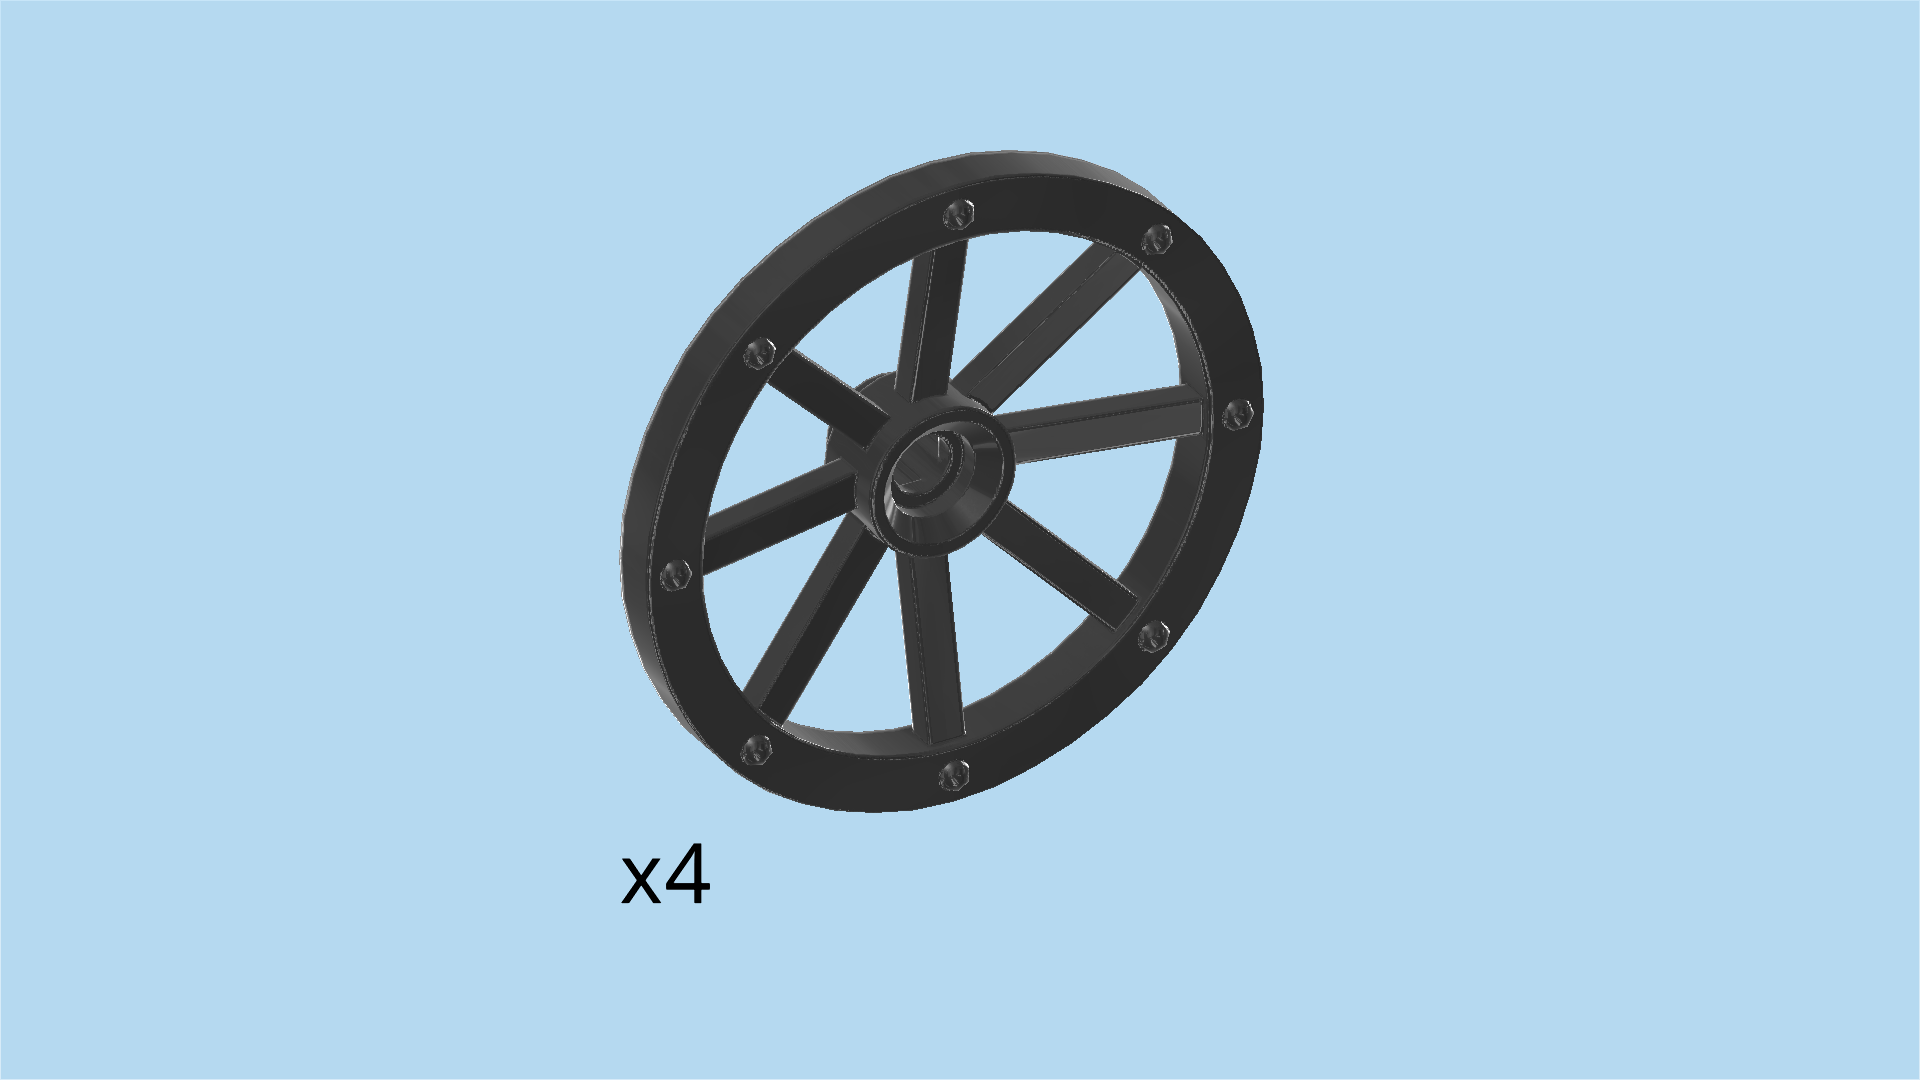
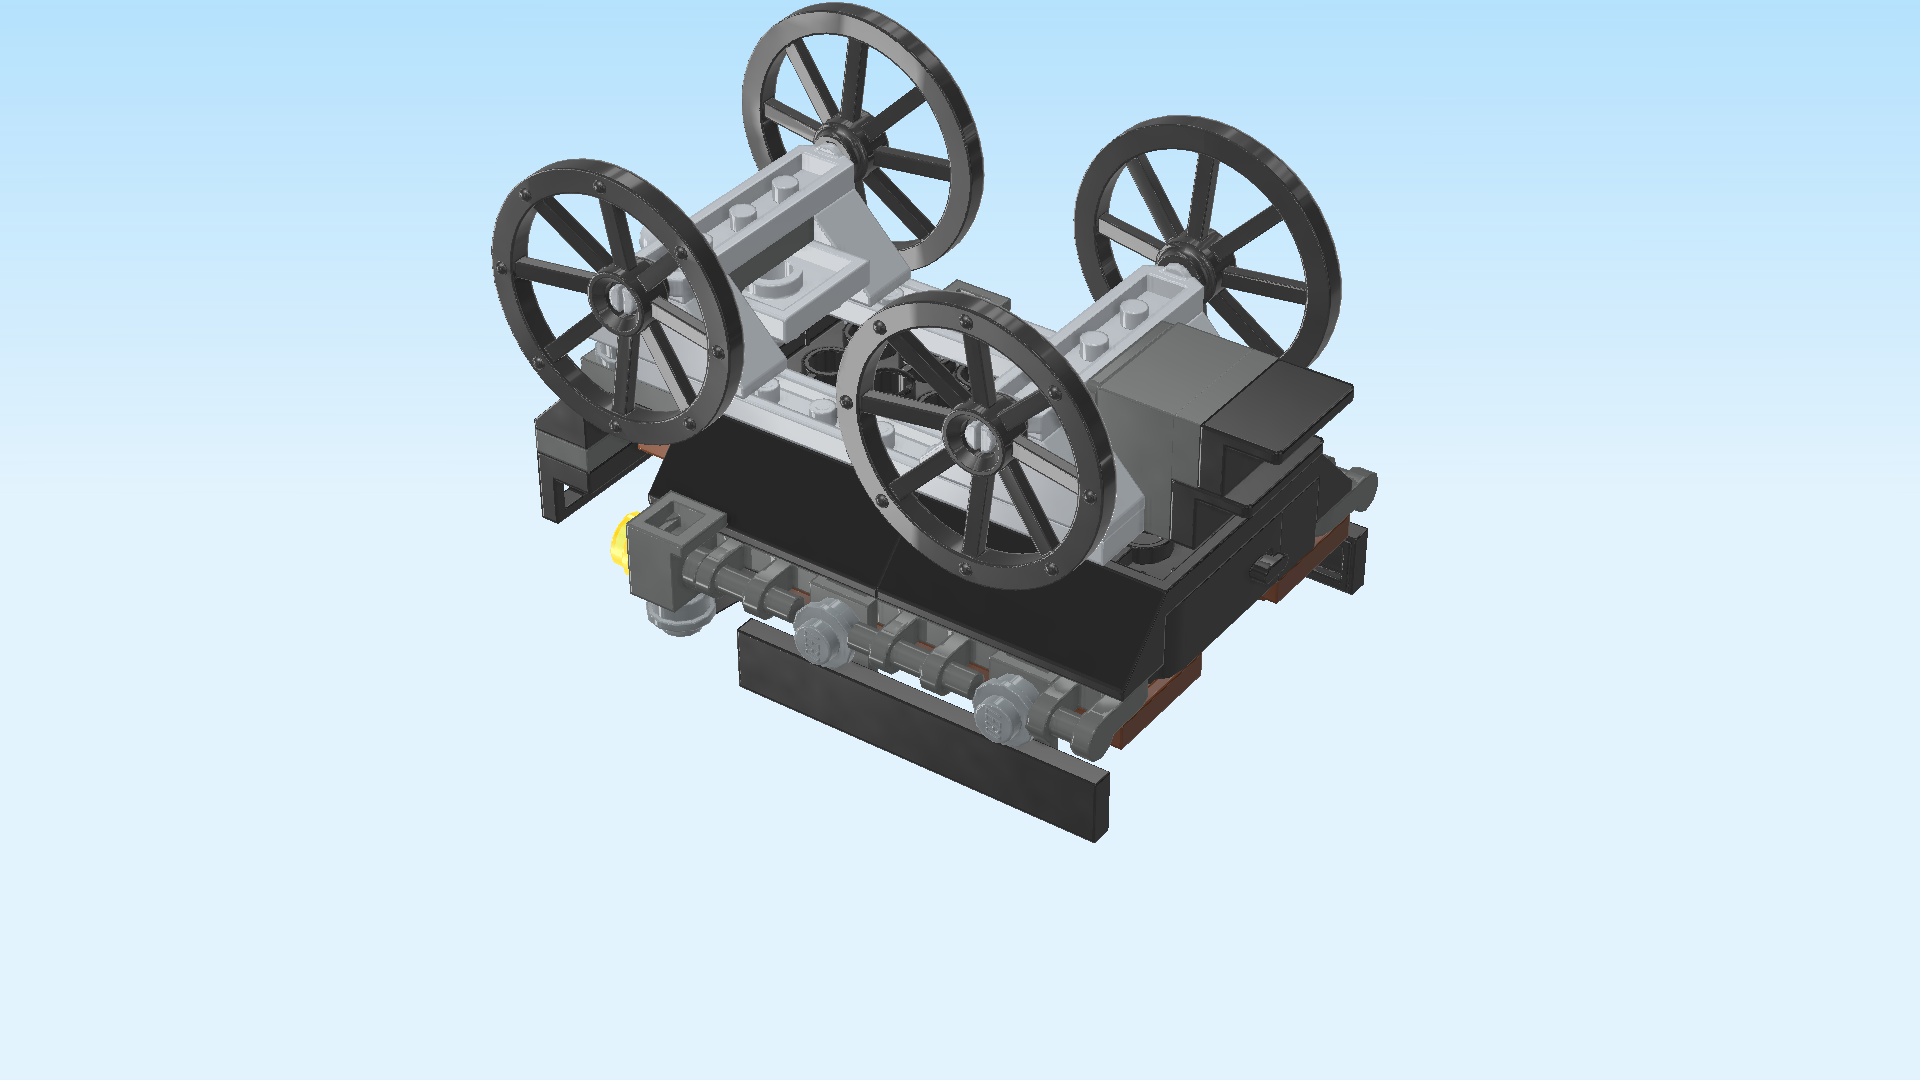
| Find 4 titanium metallic wheels with spokes. |
| Snap the 4 wheels onto the 4 connectors. Make sure the spokes bend outwards. |
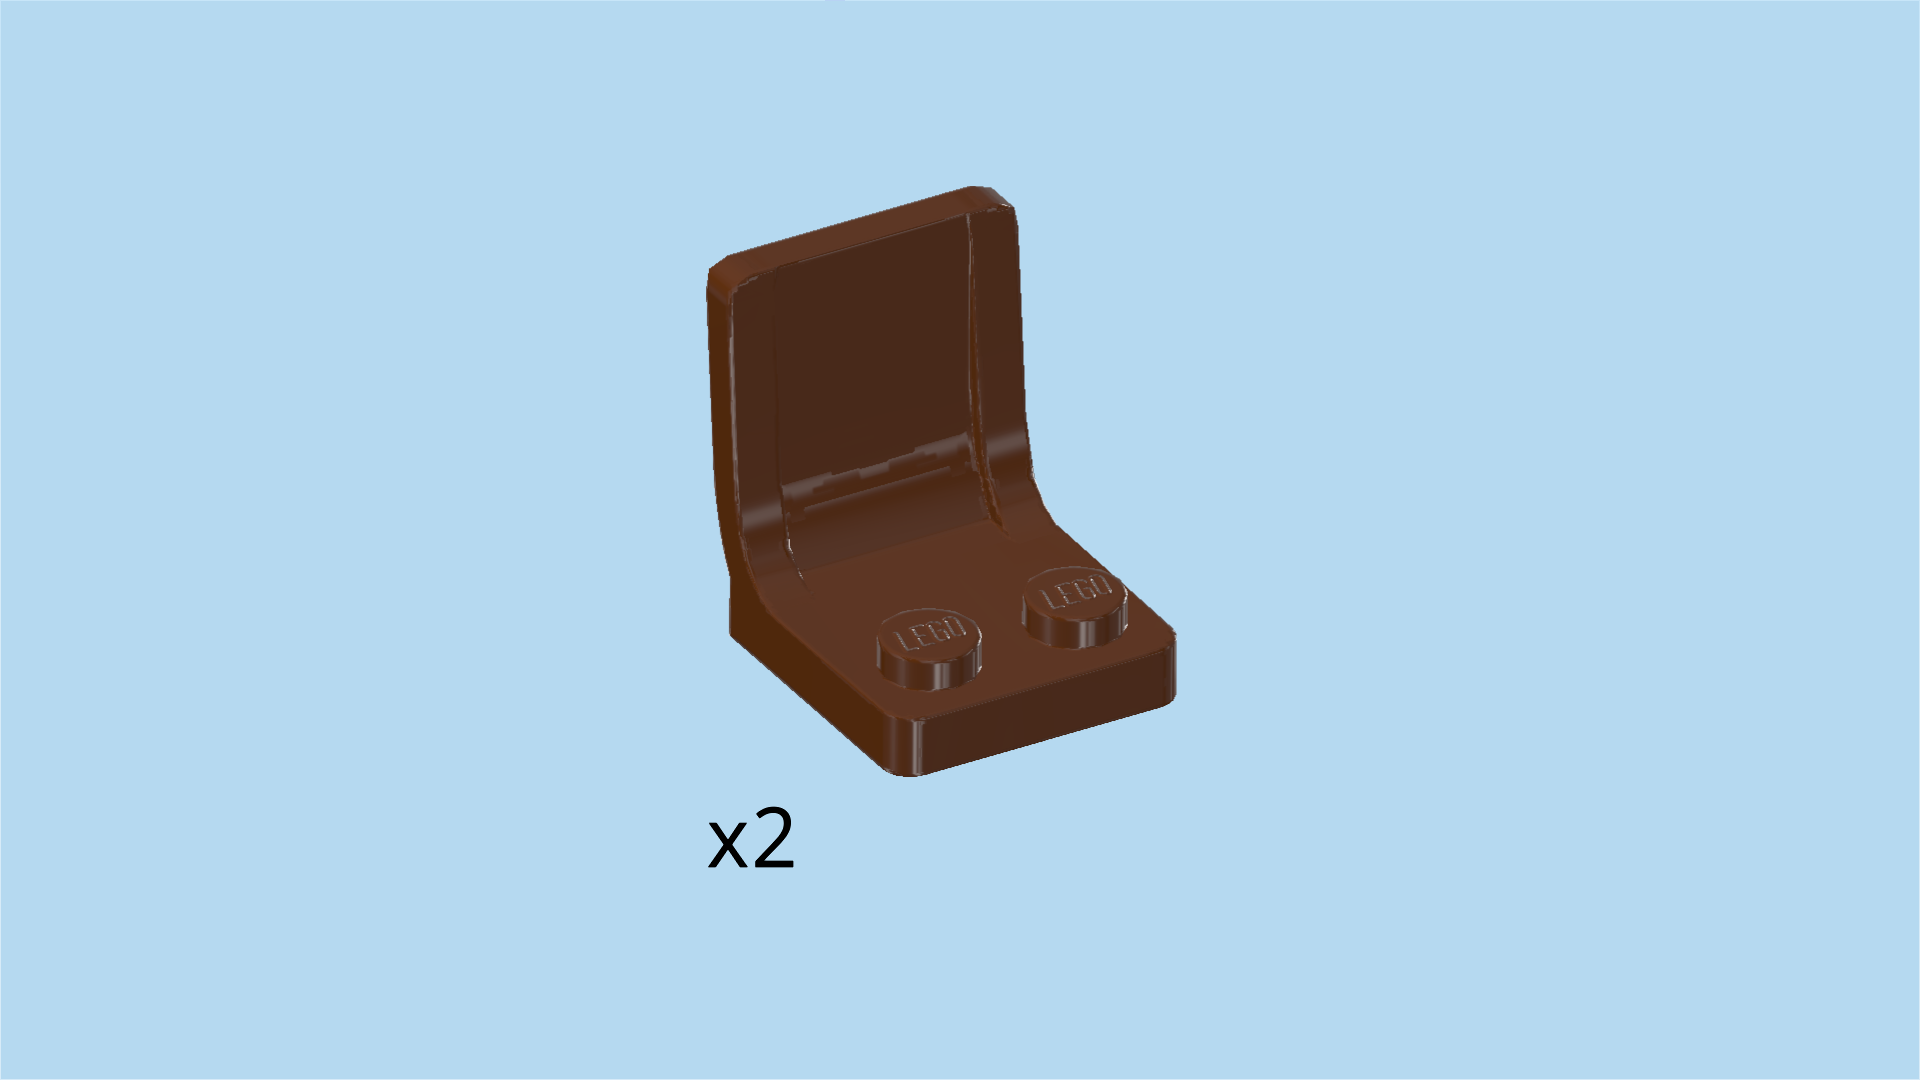
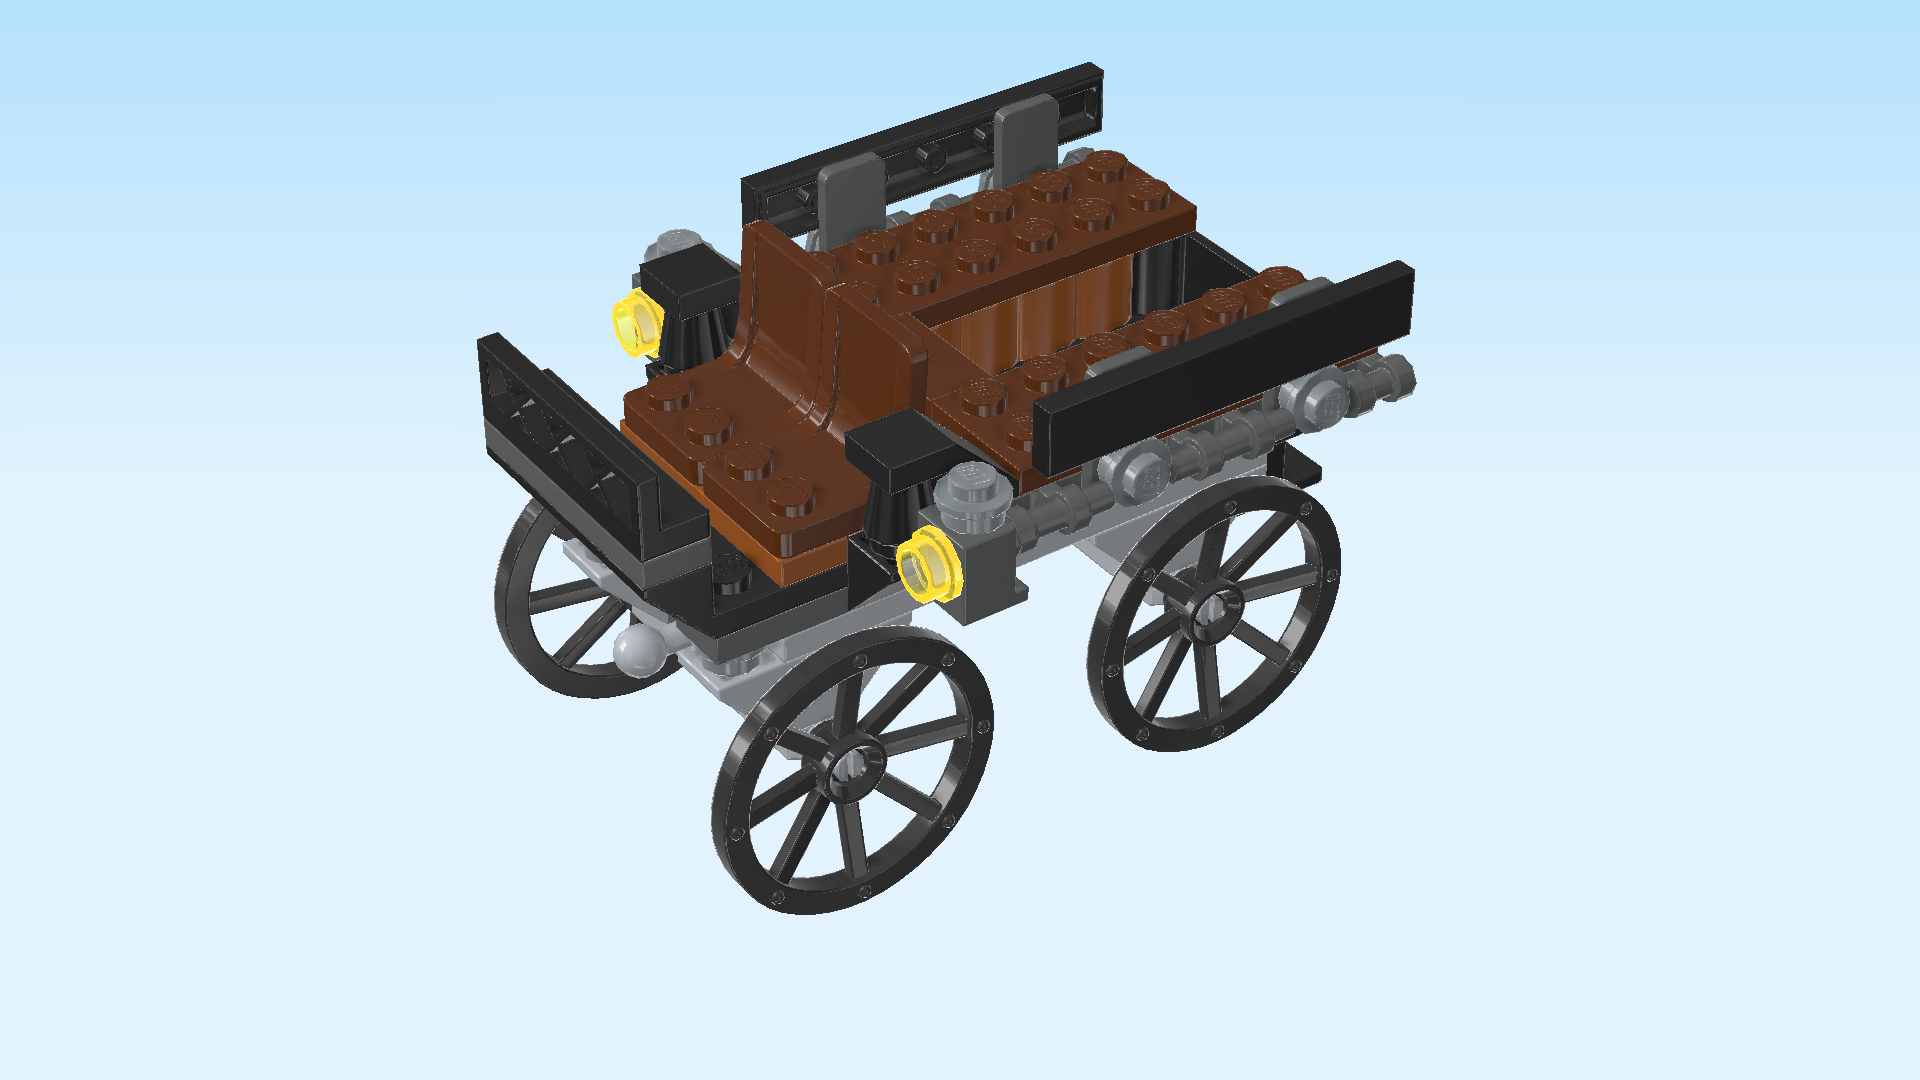
| Find 2 reddish brown seats 2x2x2. |
| Flip the carriage structure right side up again. It rests on the wheels now. Make sure the front lattice is on the left side again. |
| Mount the 2 seats next to each other on the third and fourth column from the left, seat backs to the right. They should form a bench together. |
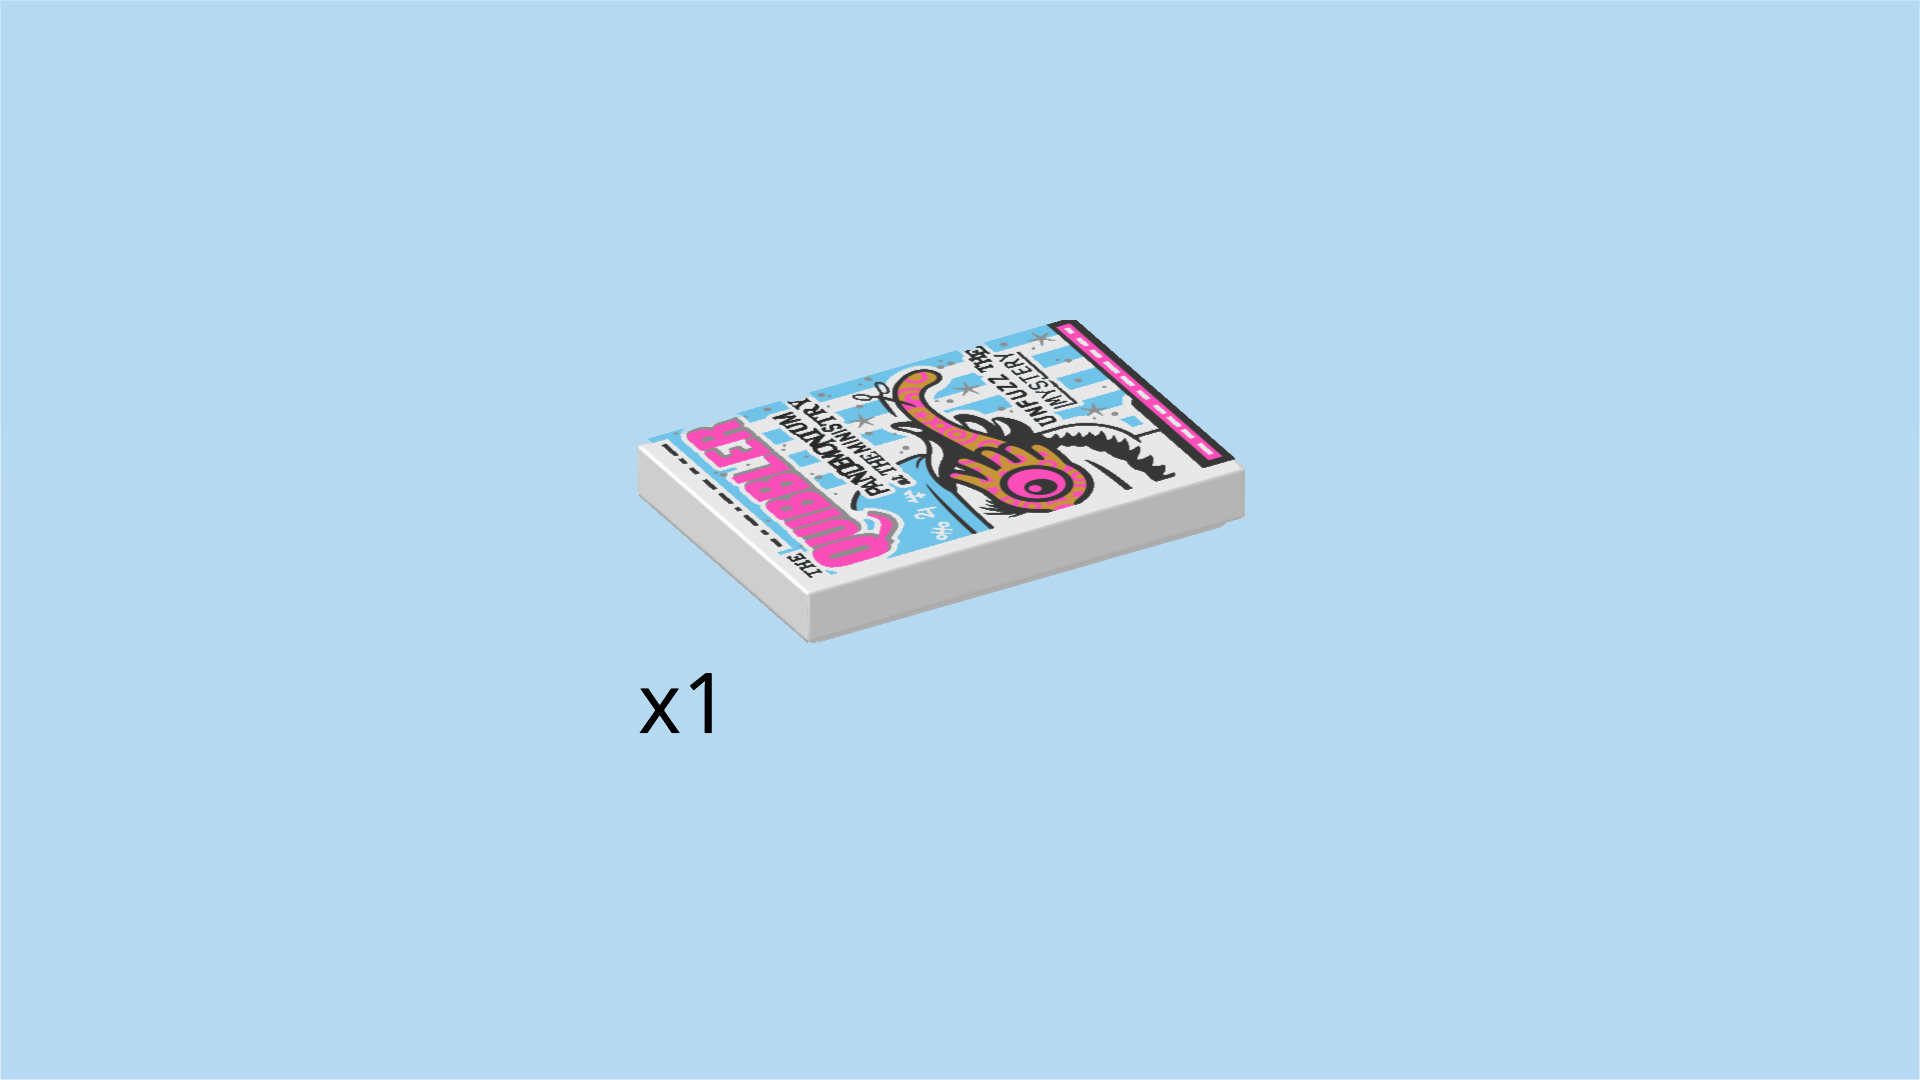
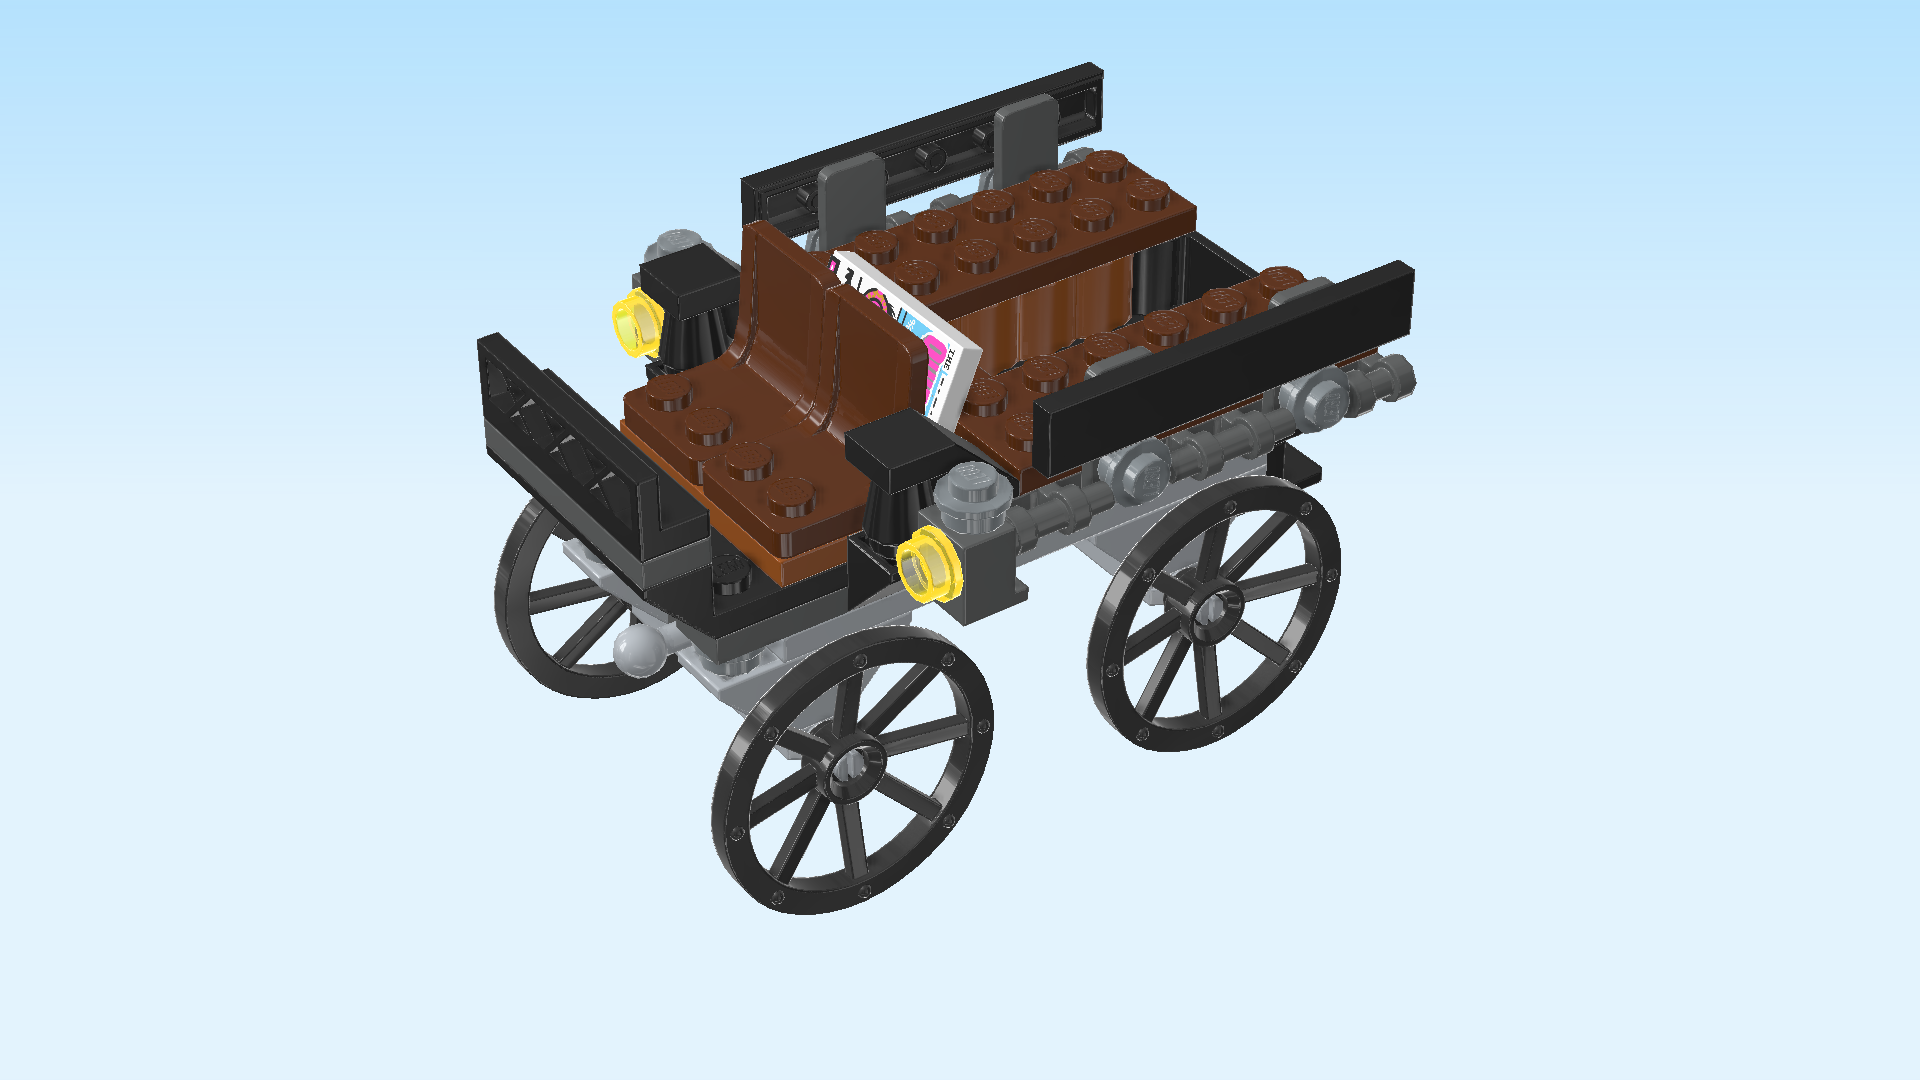
| Find 1 white flat tile 2x3. |
| This piece is printed with an issue of the Quibbler, a wizarding tabloid published by Luna's father. You can store it in the carriage, for instance by inserting it upright vertically to the right of the seat backs. |
| The background design of the Quibbler cover is light blue and white vertical stripes. The magazine title is written in pink all upper case letters. The first headline featured on the cover is "Pandemonium at the Ministry", the second one is "Unfuzz the mystery". There is half a face on the left half of the front page, the person is wearing a light blue hat with formulas written on it as well as an eccentrically designed pair of glasses with a yellow and pink frame and pink lenses. |
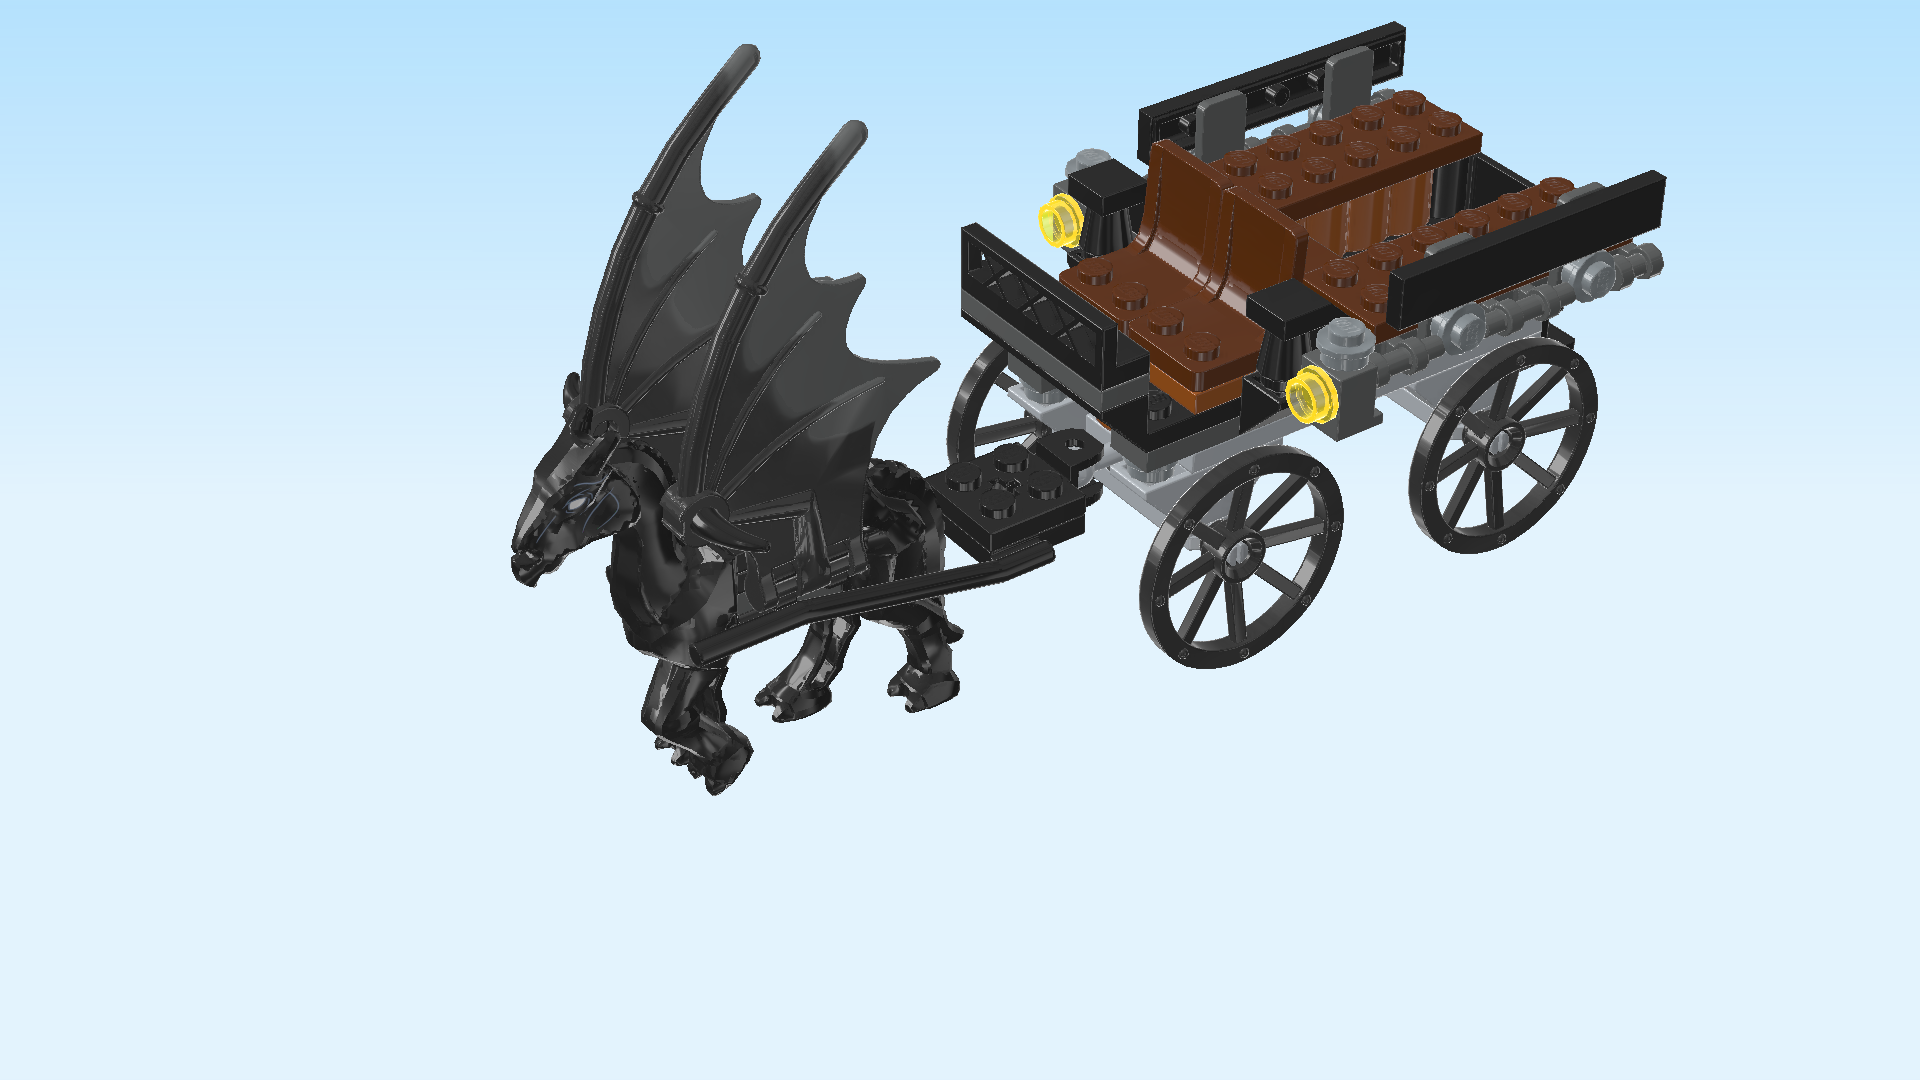
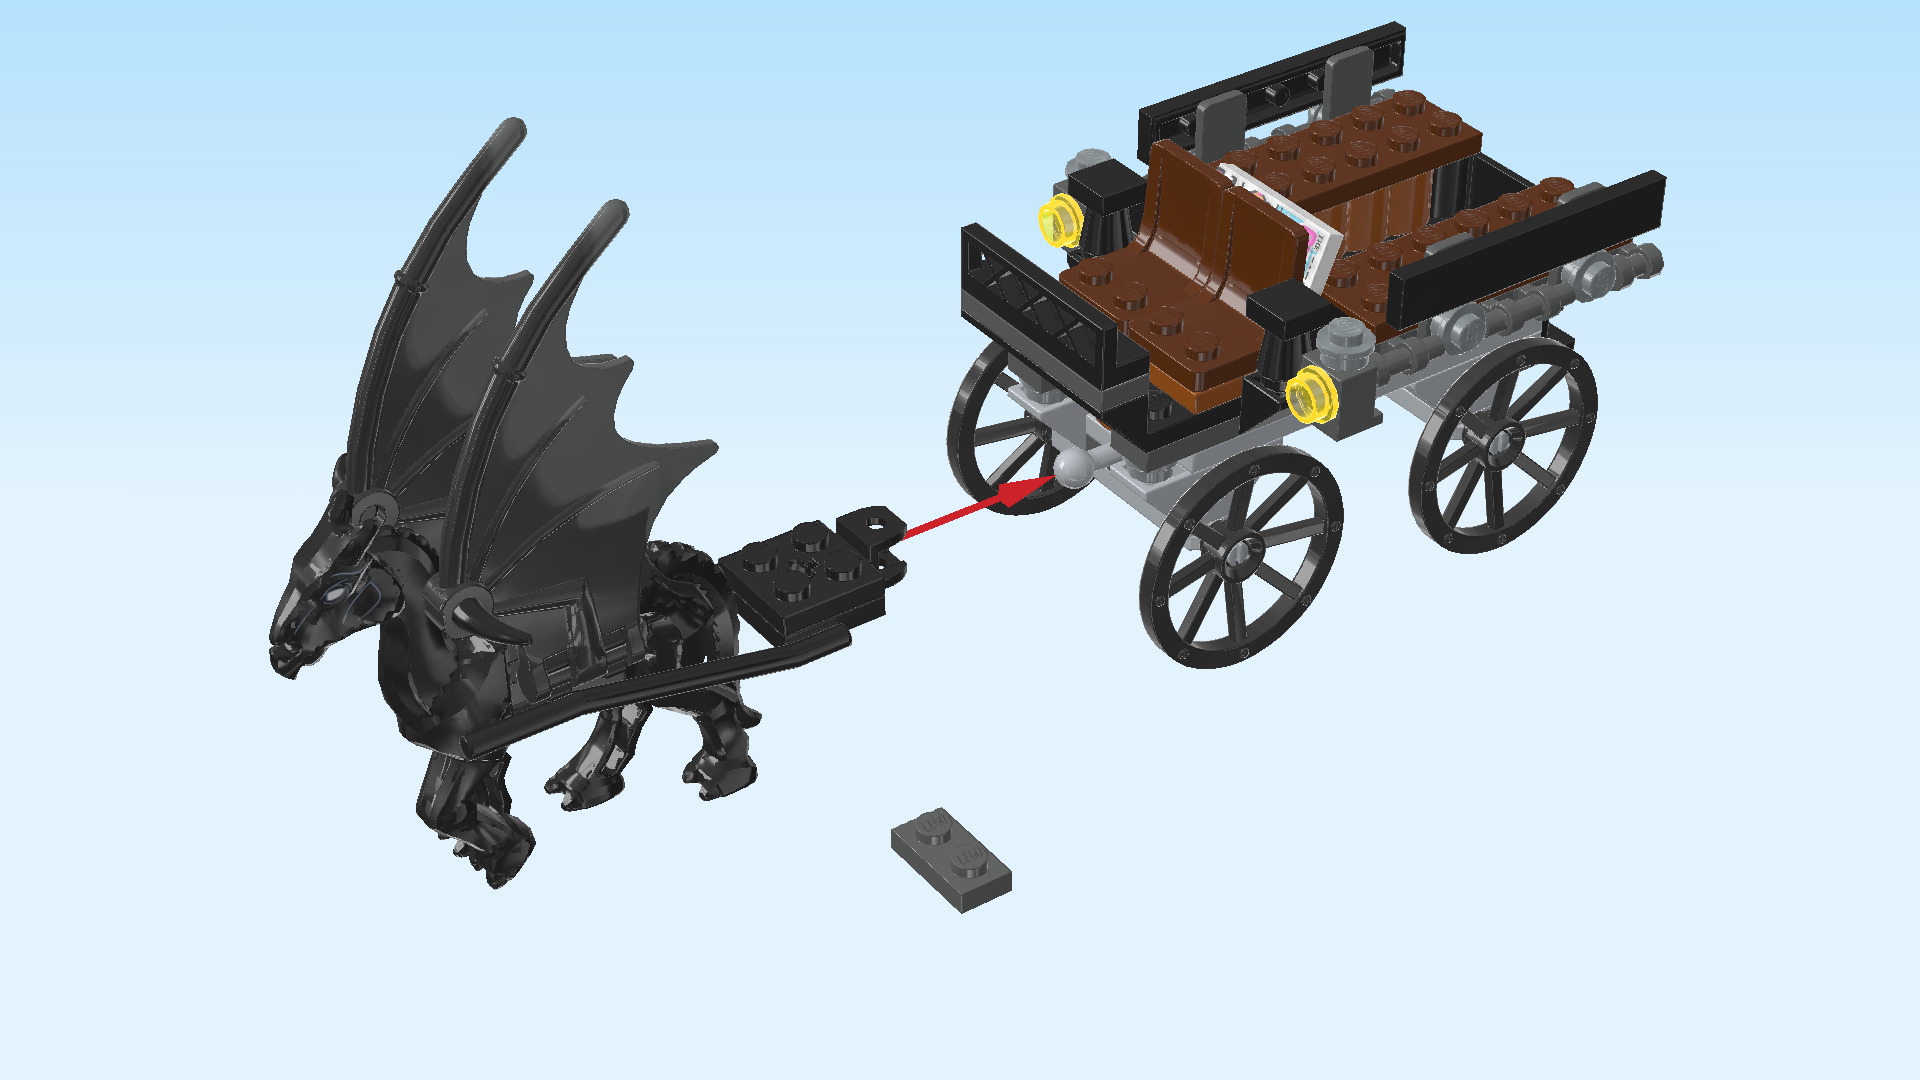
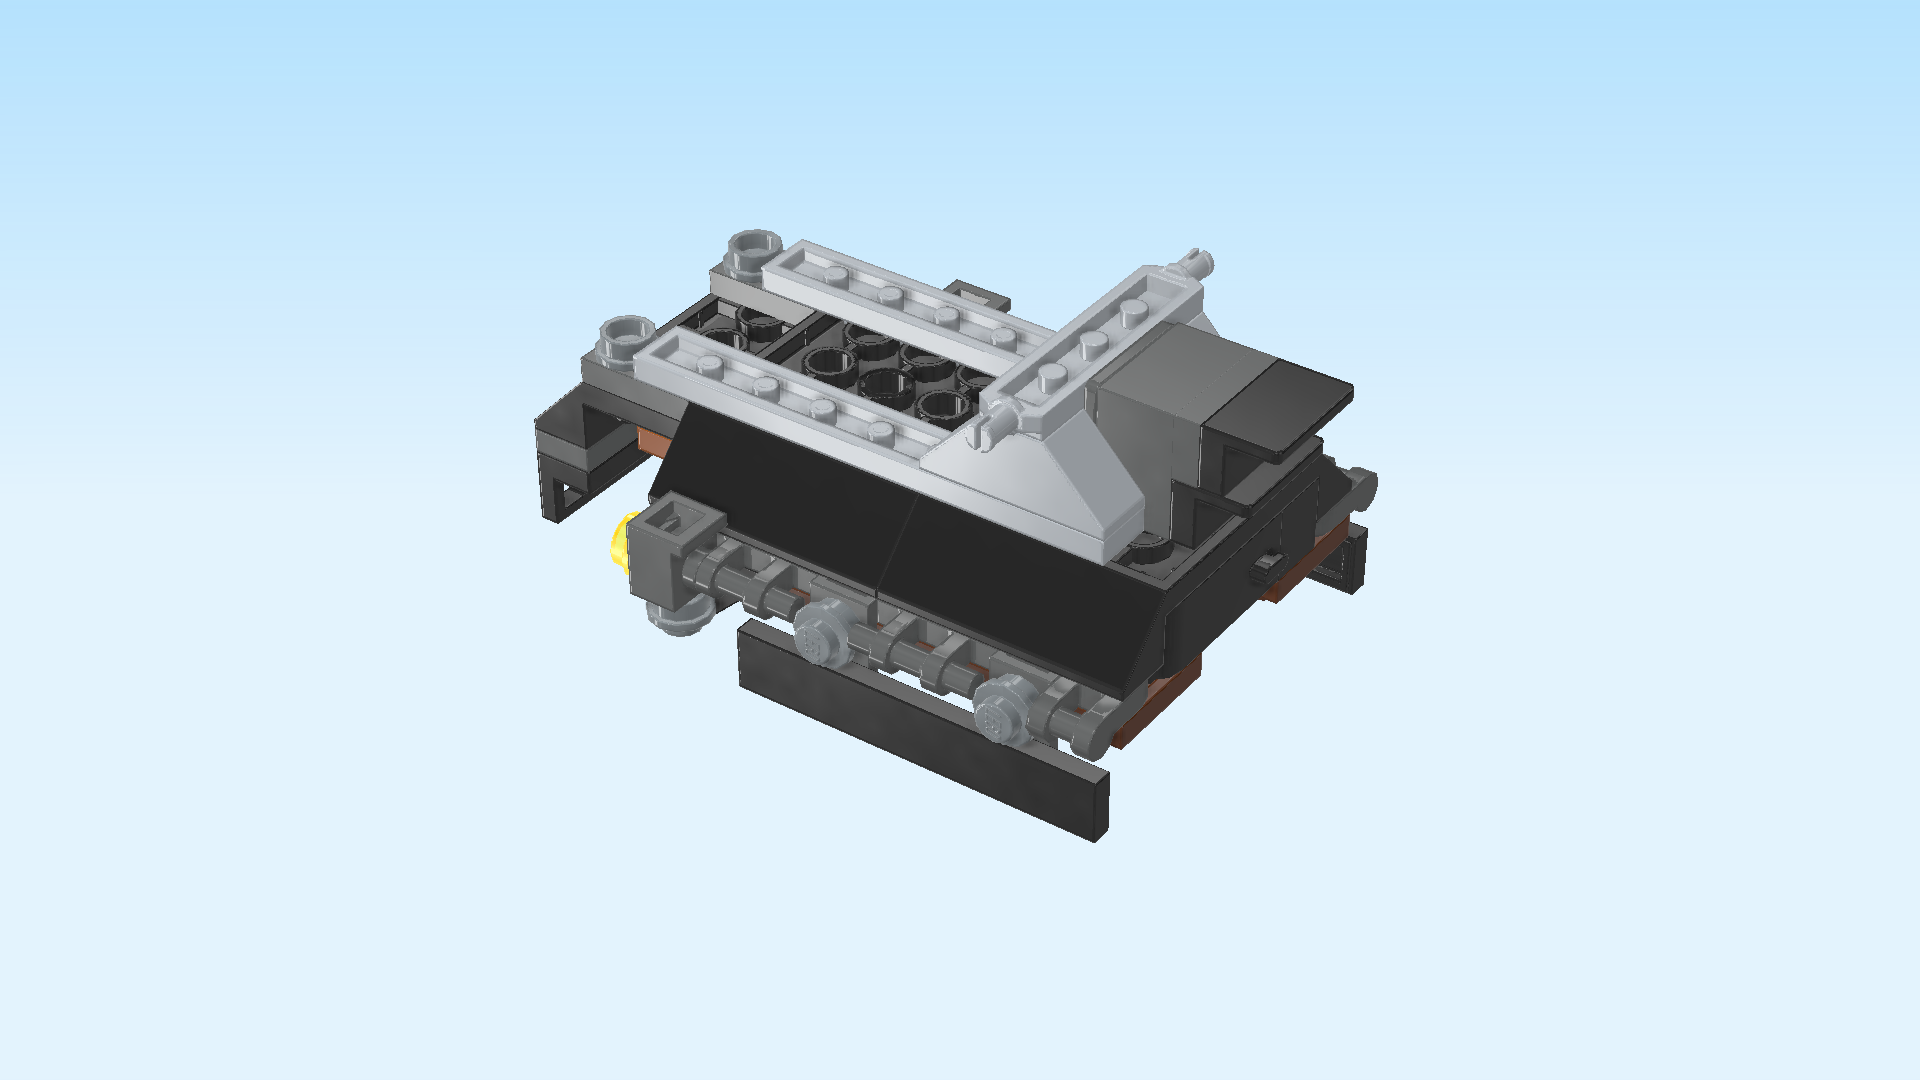
| The carriage is finished! Great job, that was a difficult build! To connect it to the drawbar on the Thestral, snap the ball joint sticking out towards the left into the ball socket on the drawbar. |
| The adult Thestral with harness and carriage is finished! Well done! Now it's time to invite your passengers to get in and join you on an eerie but magical ride. |
| You have finished building the entire set! Great job! Now it's time for Luna and Harry to befriend and feed the Thestrals, take a walk or a carriage ride through the forest and discuss the quirky but interesting contents of the Quibbler. |
| Enjoy! |