LEGO 76260 Black Widow & Captain America Motorcycles 

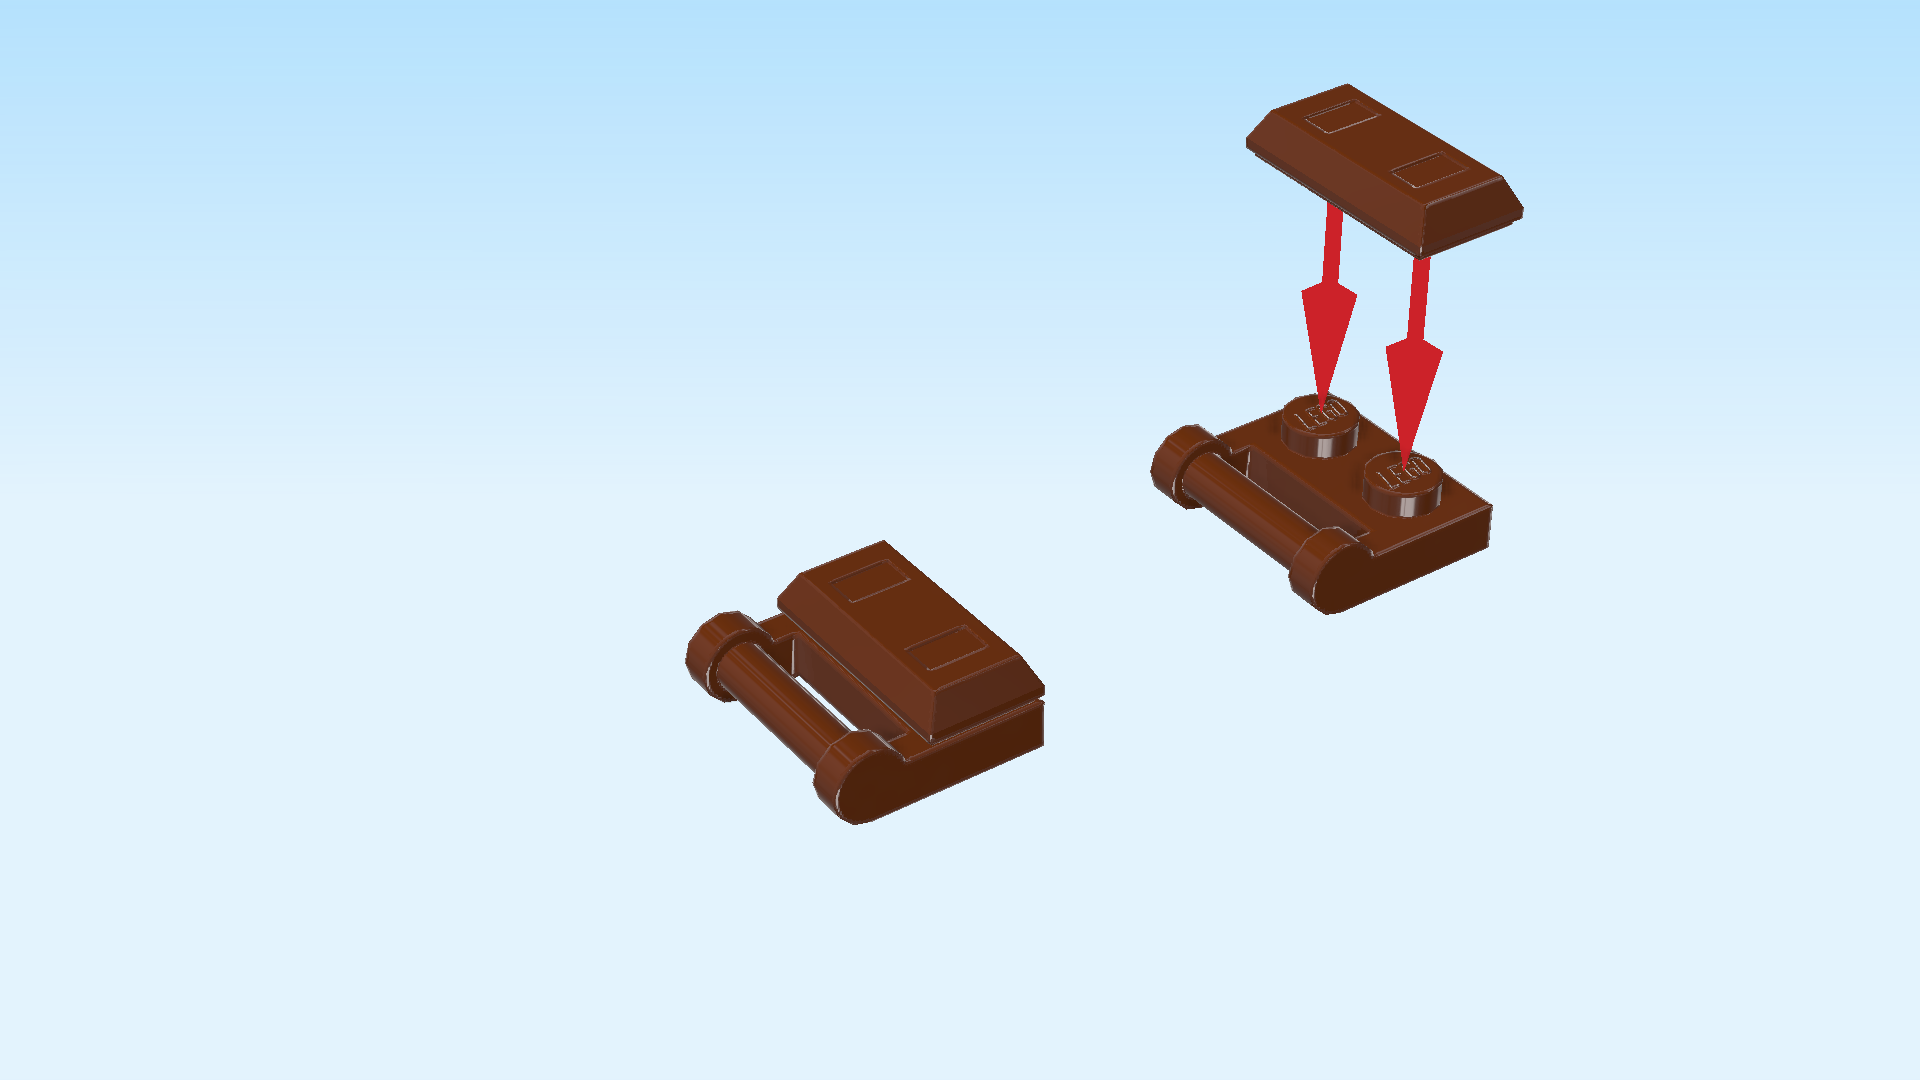
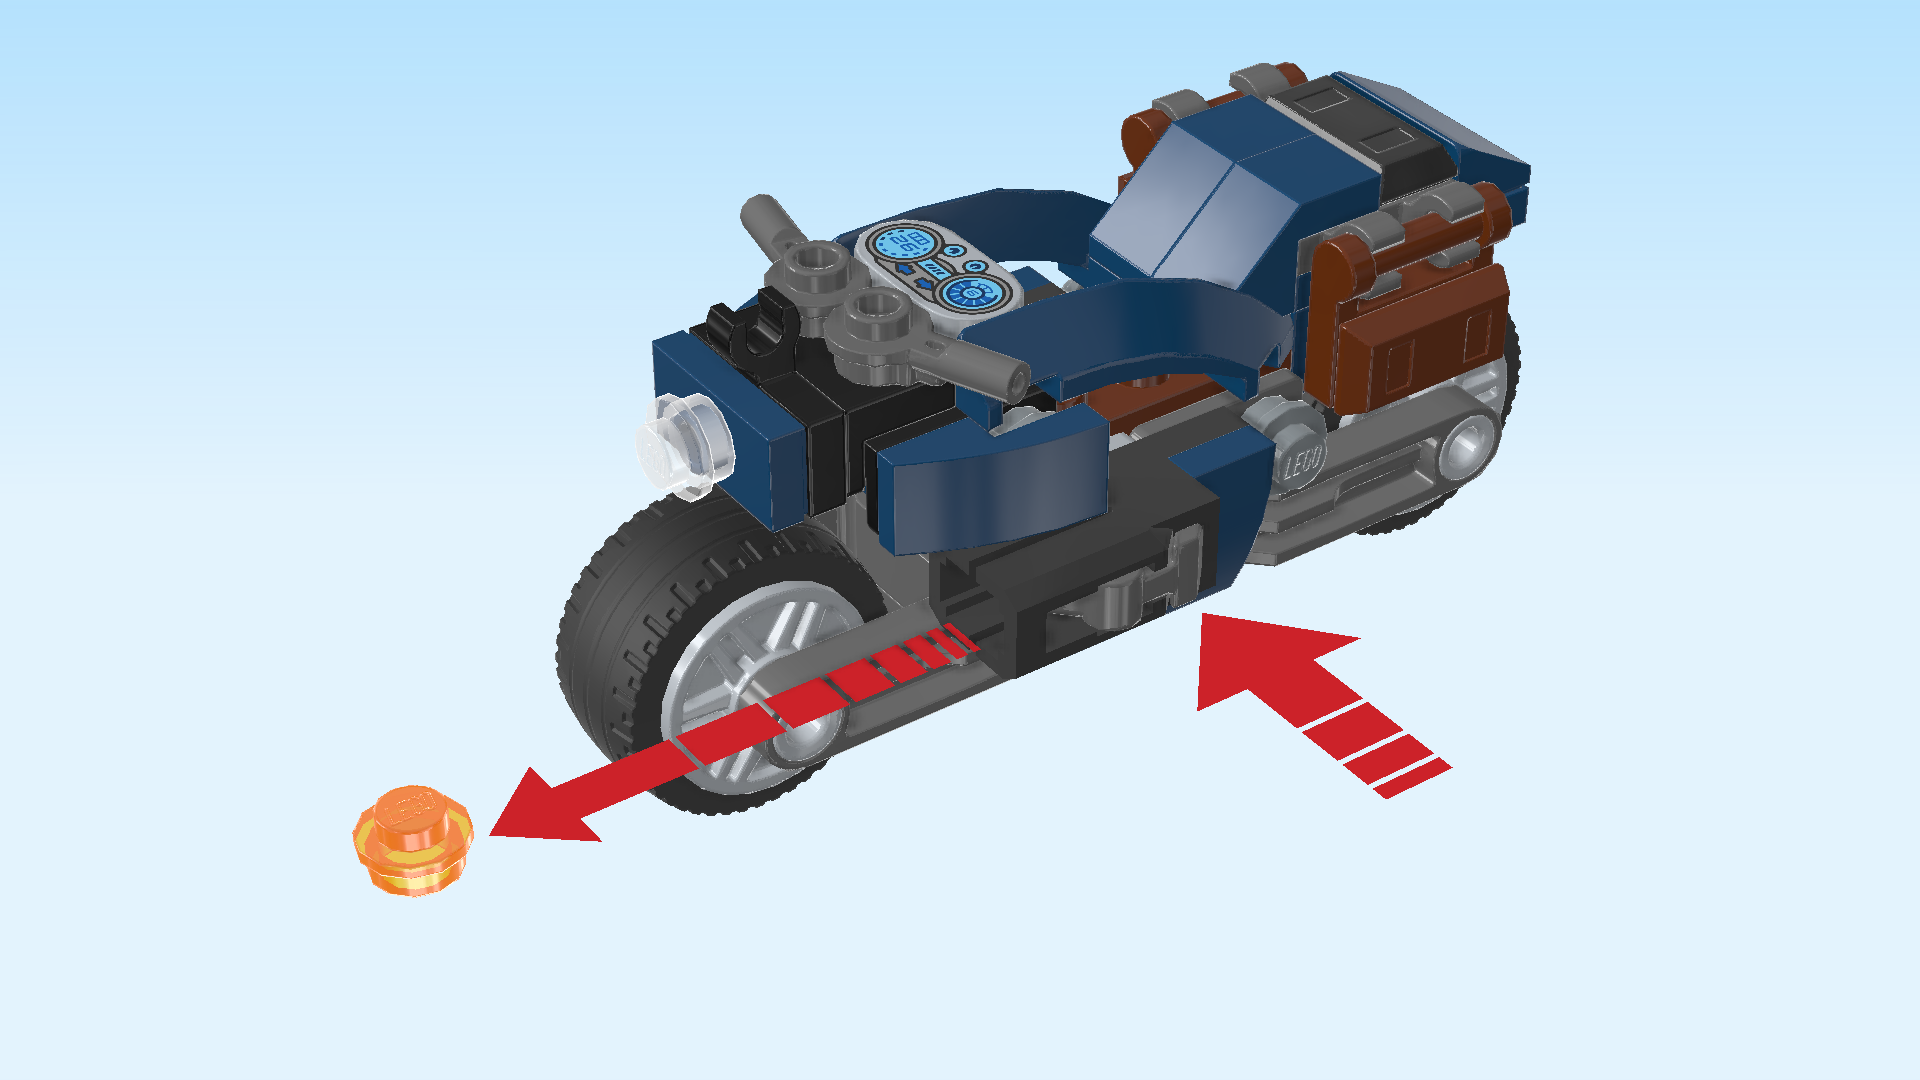
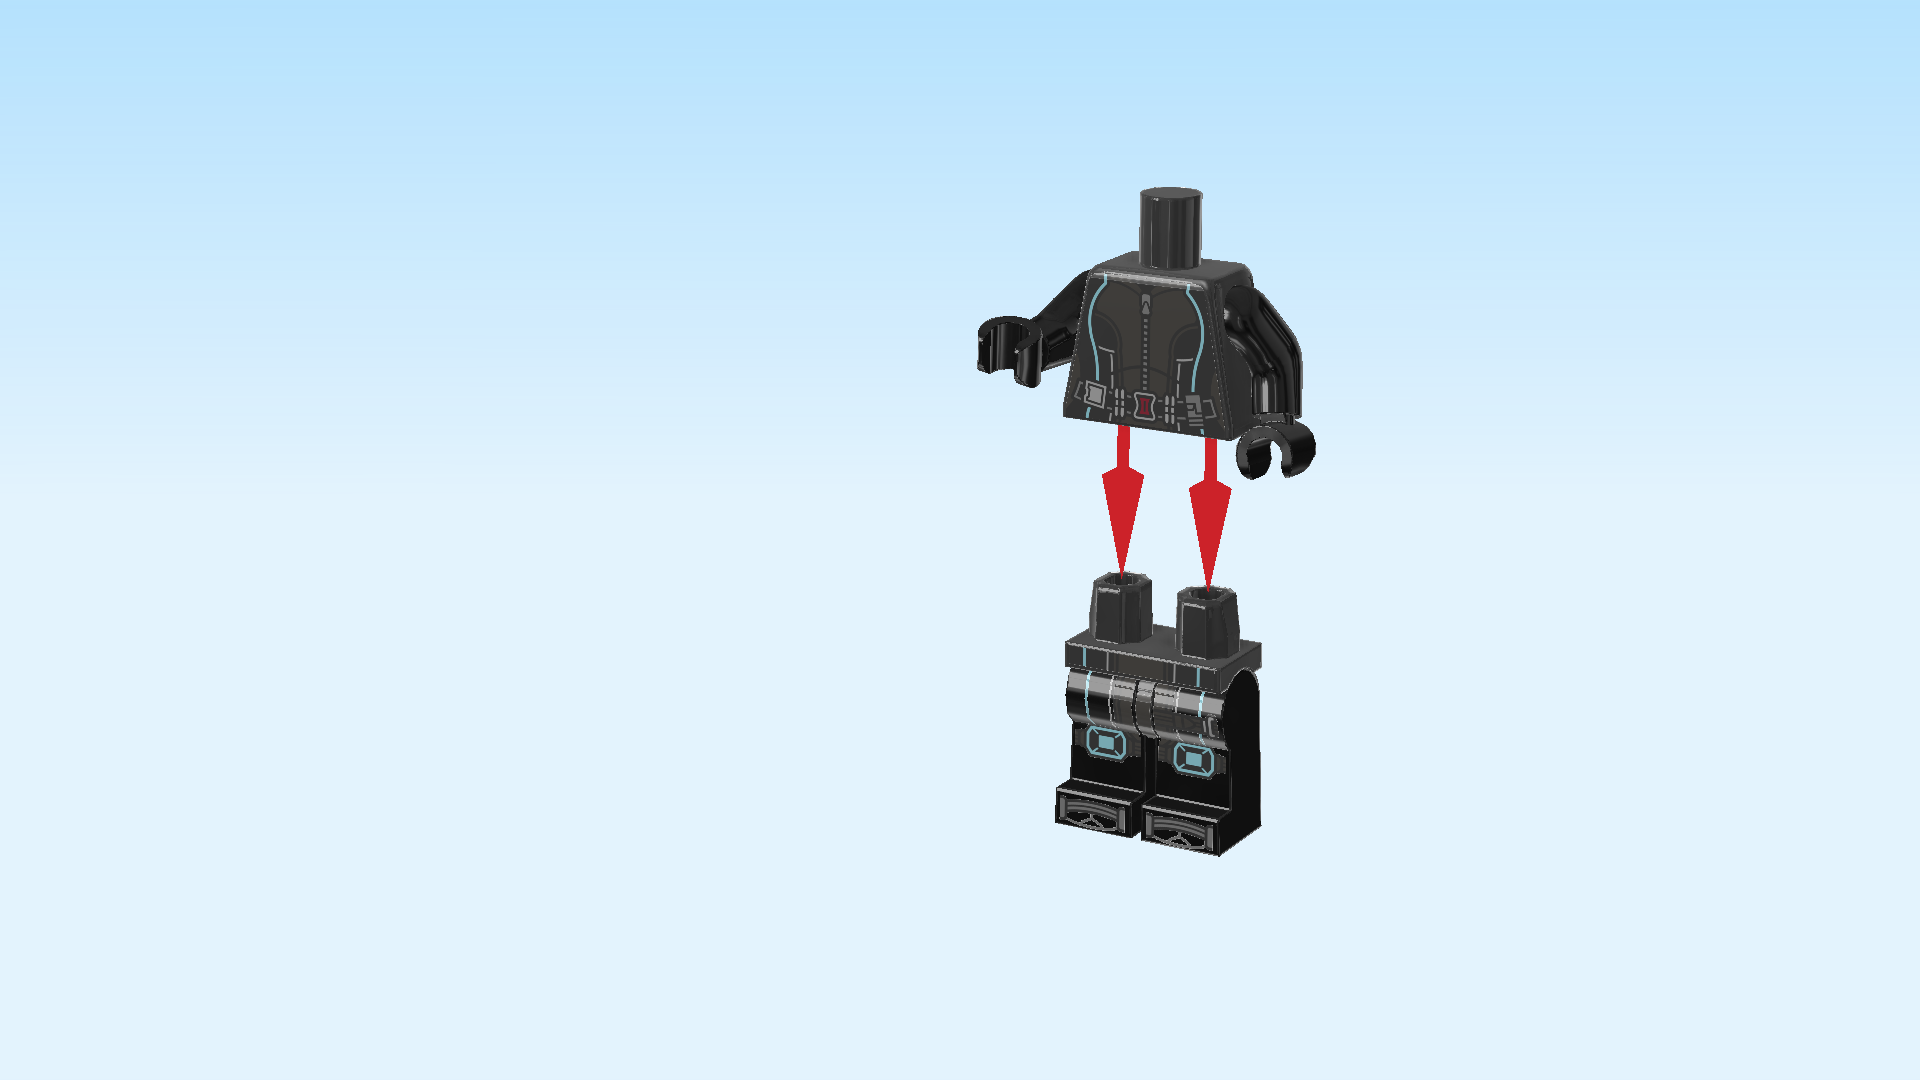
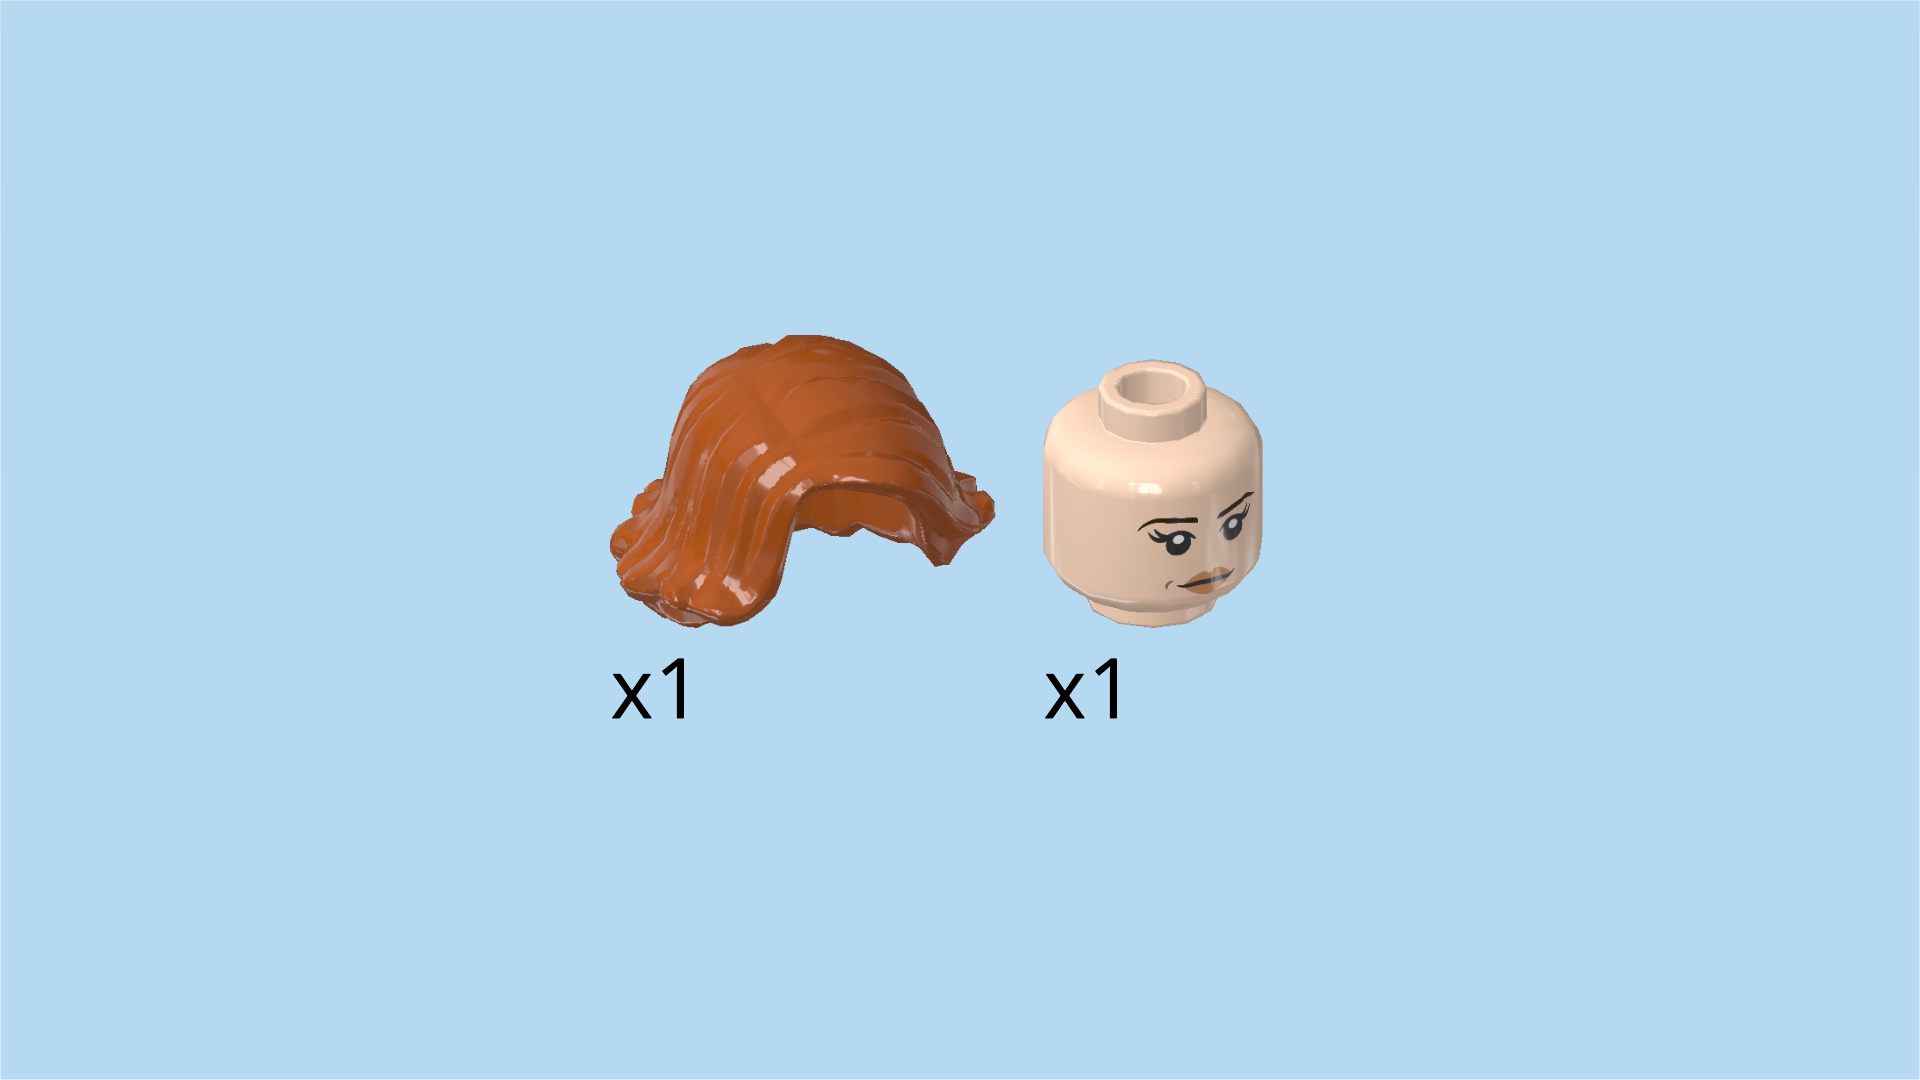
LEGO Audio & Braille Building Instructions for the LEGO Super Heroes set "Black Widow & Captain America Motorcycles".

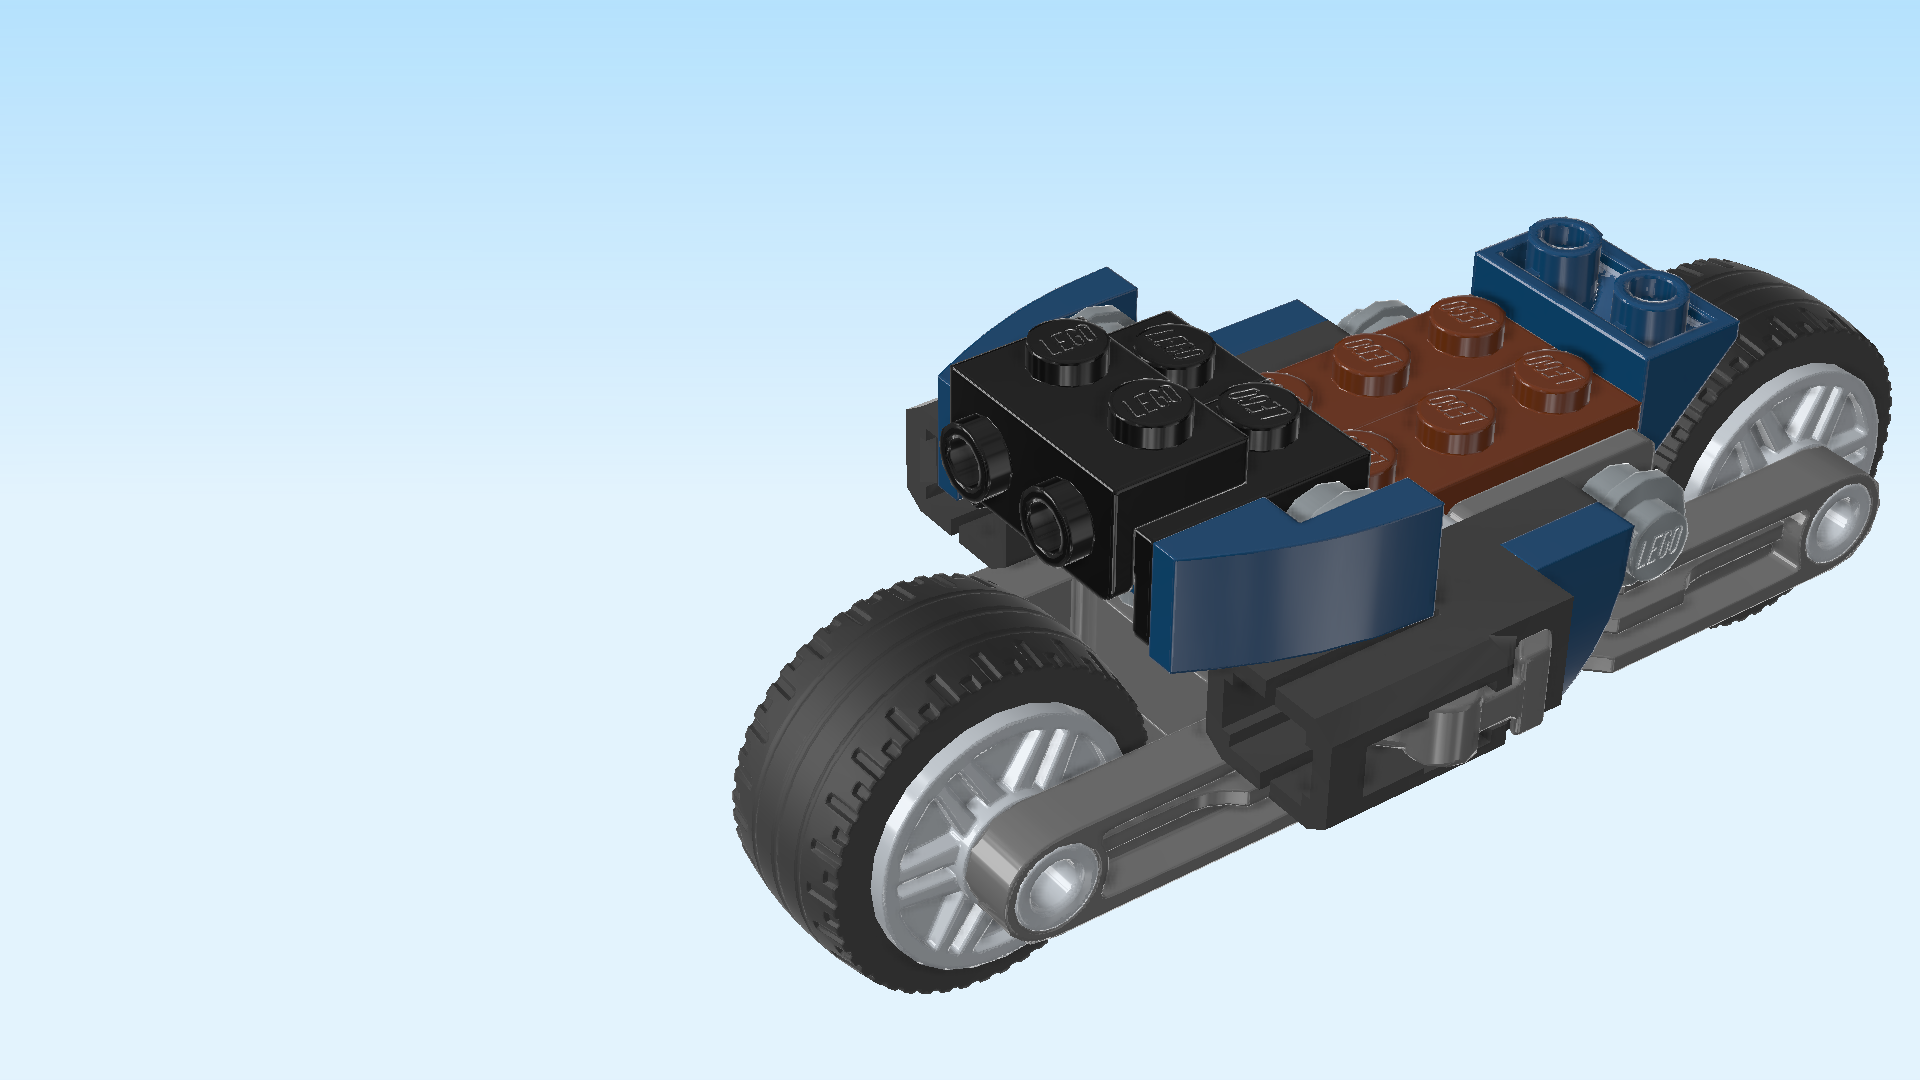
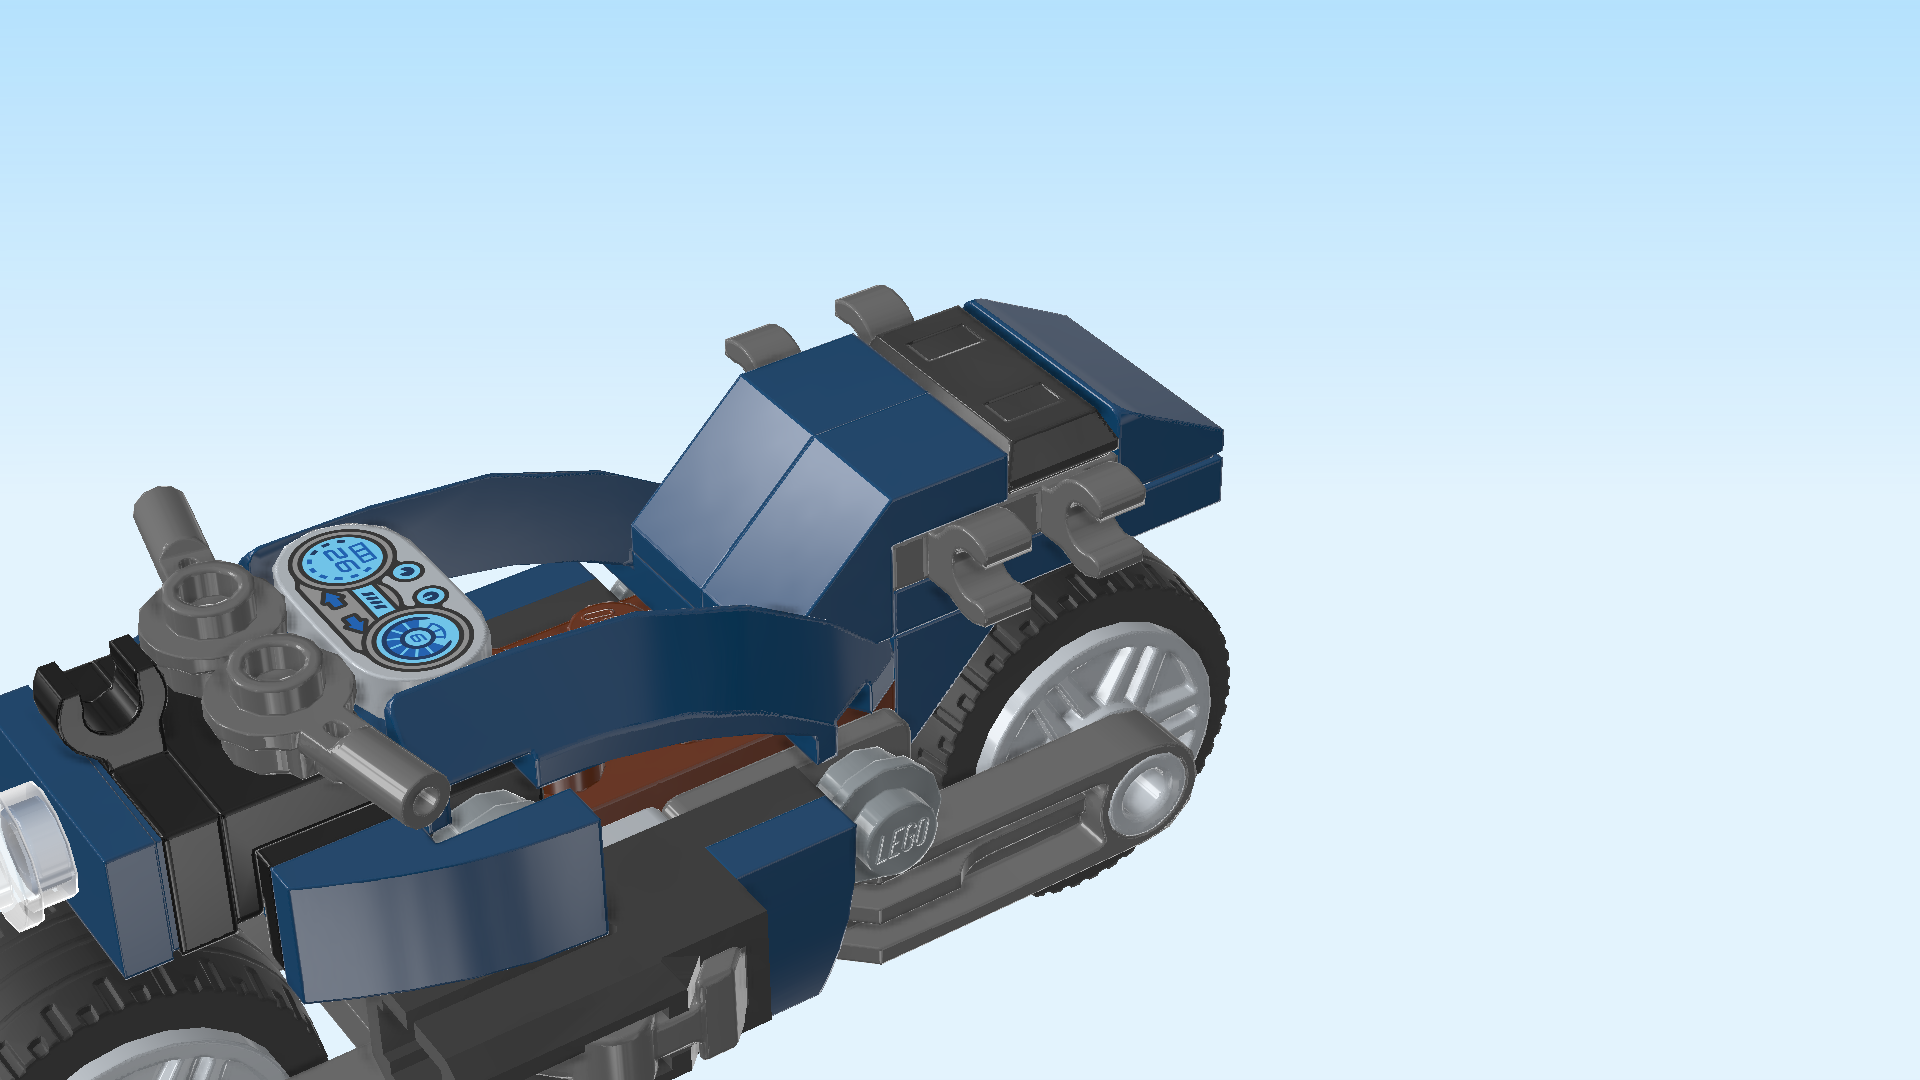
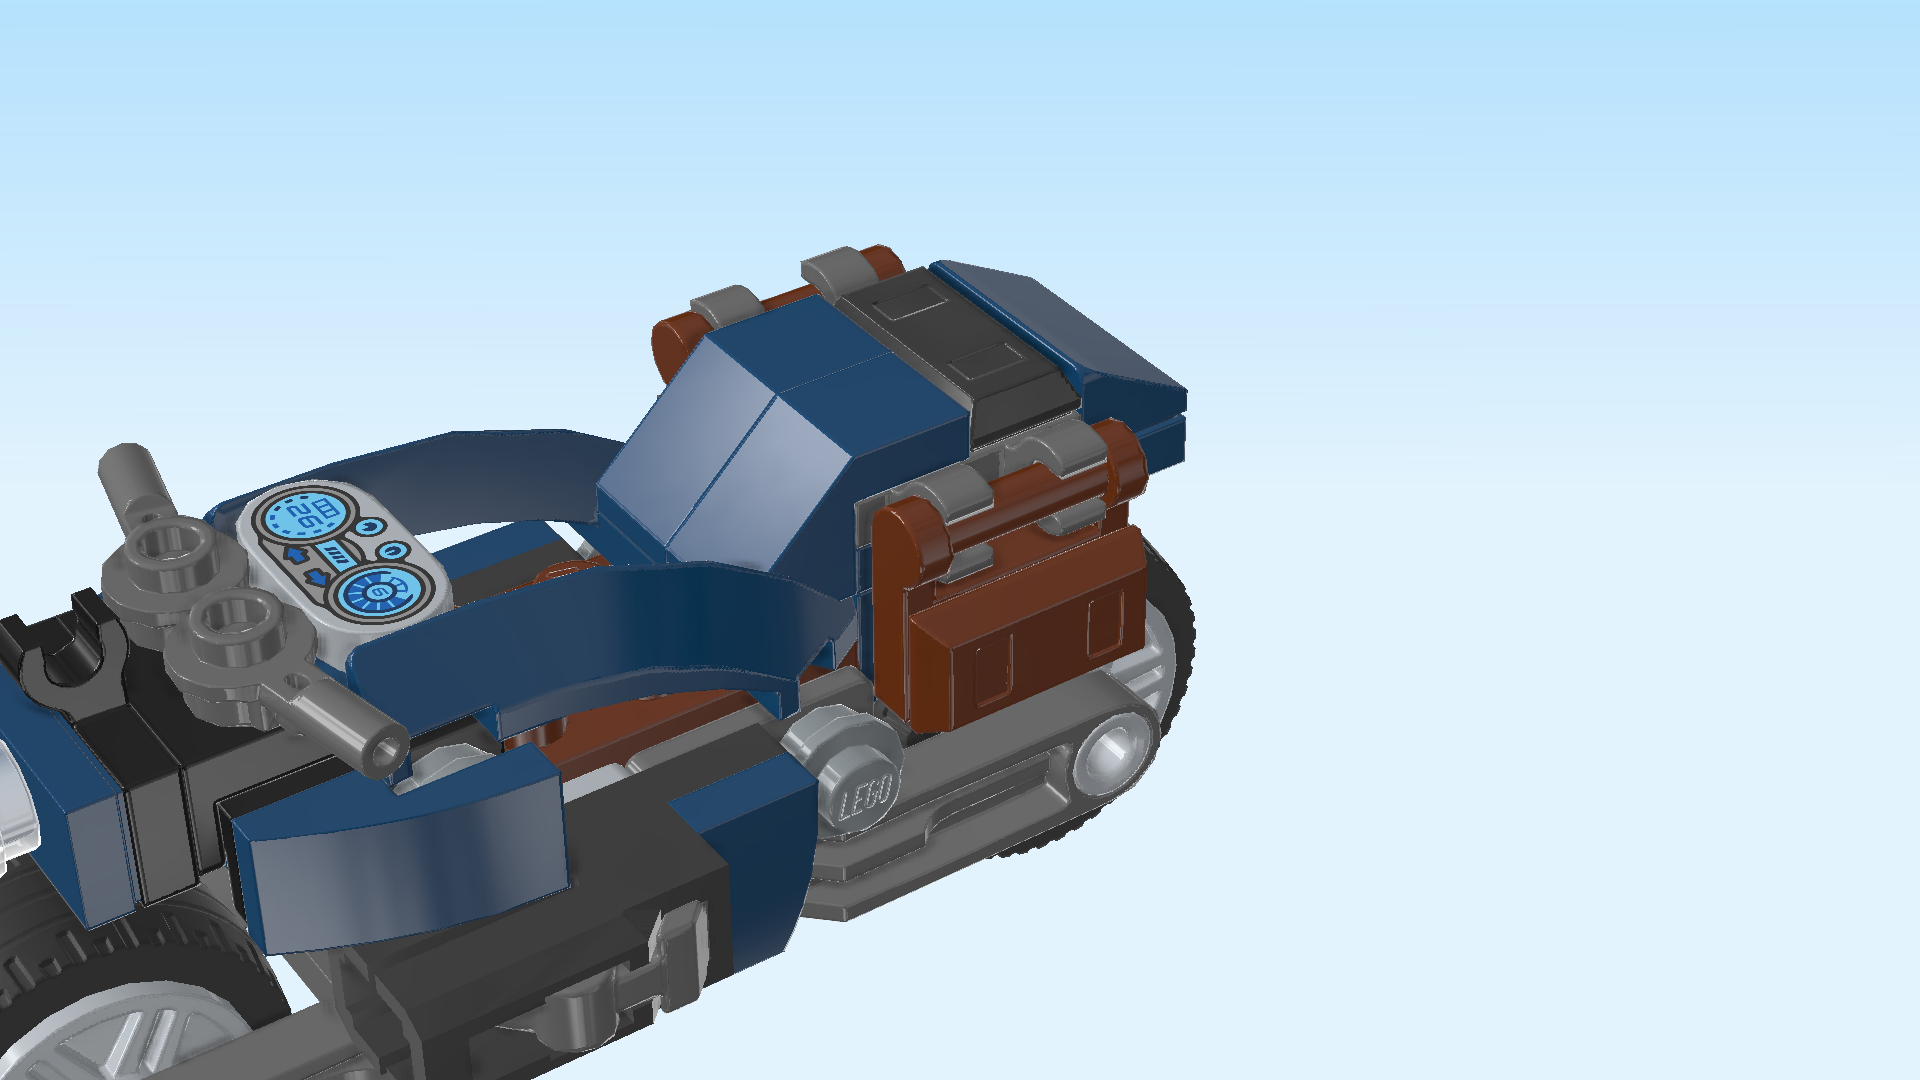
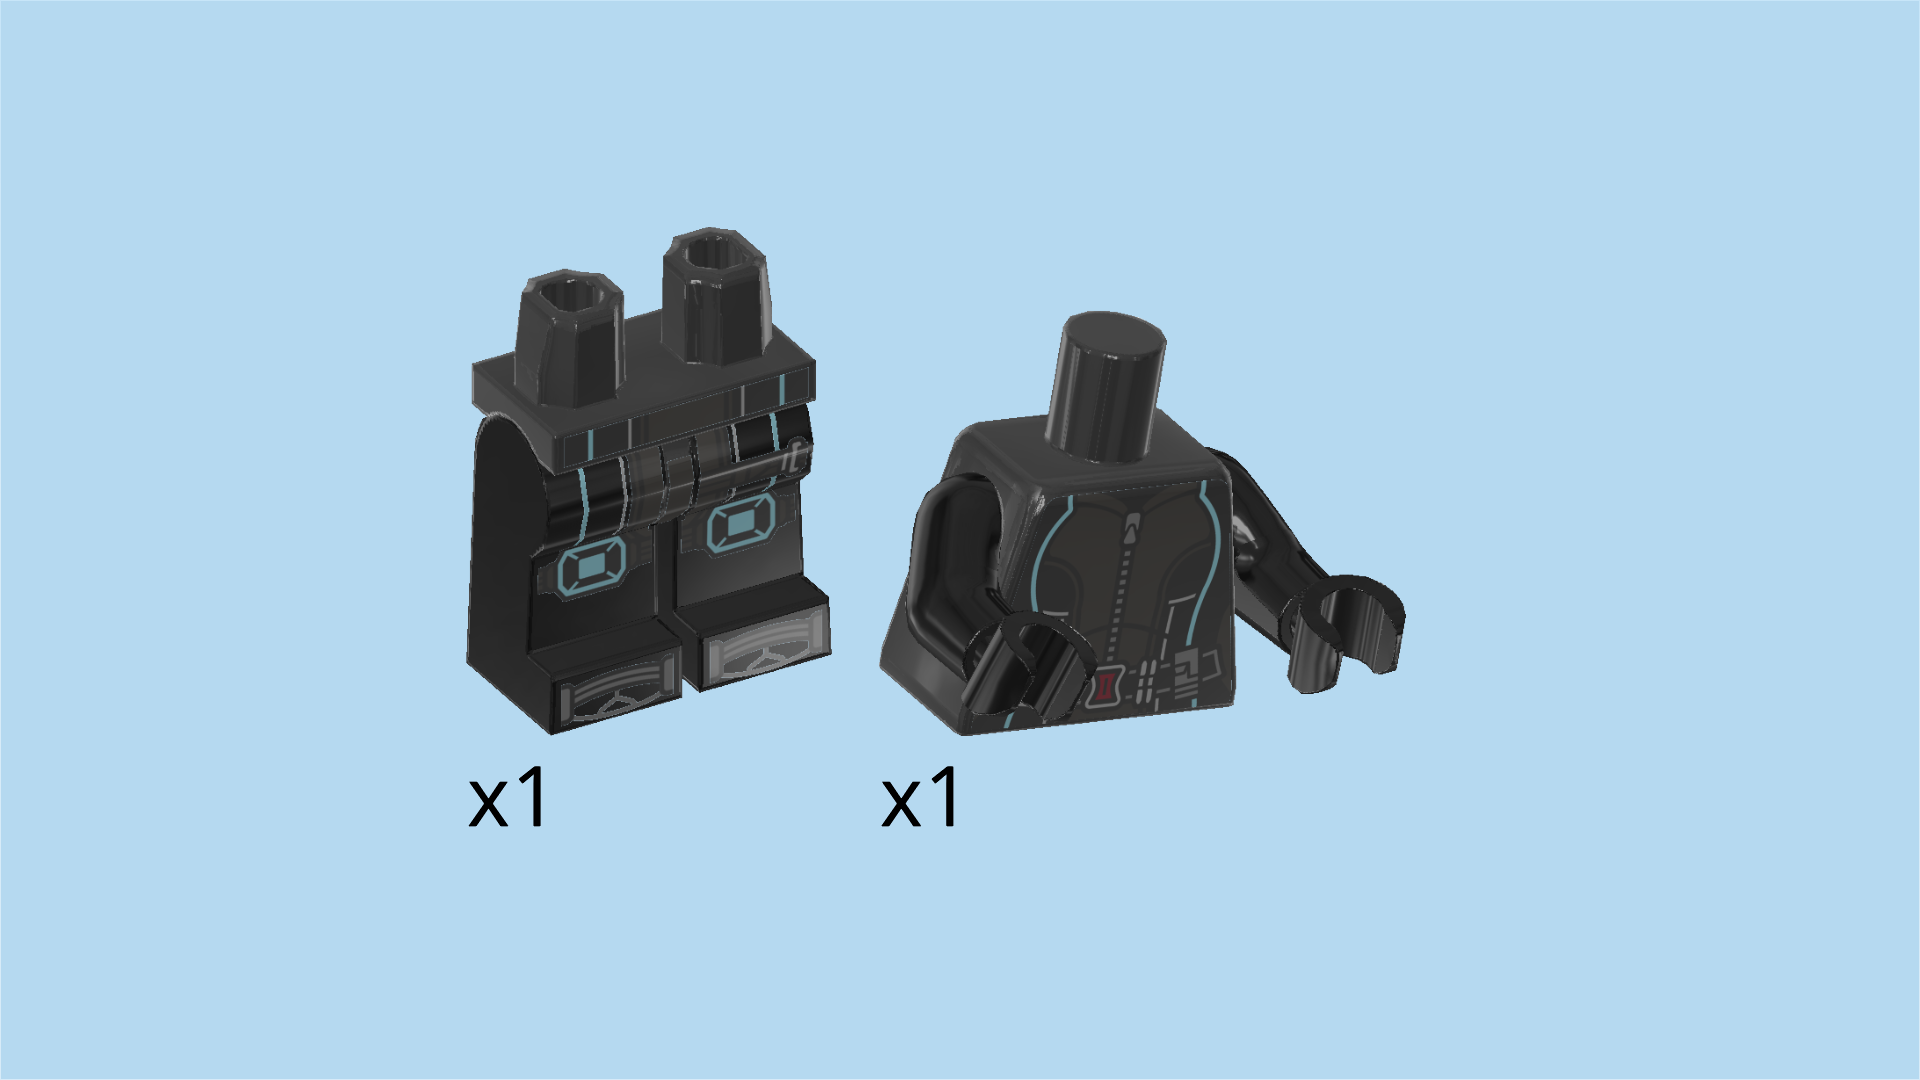
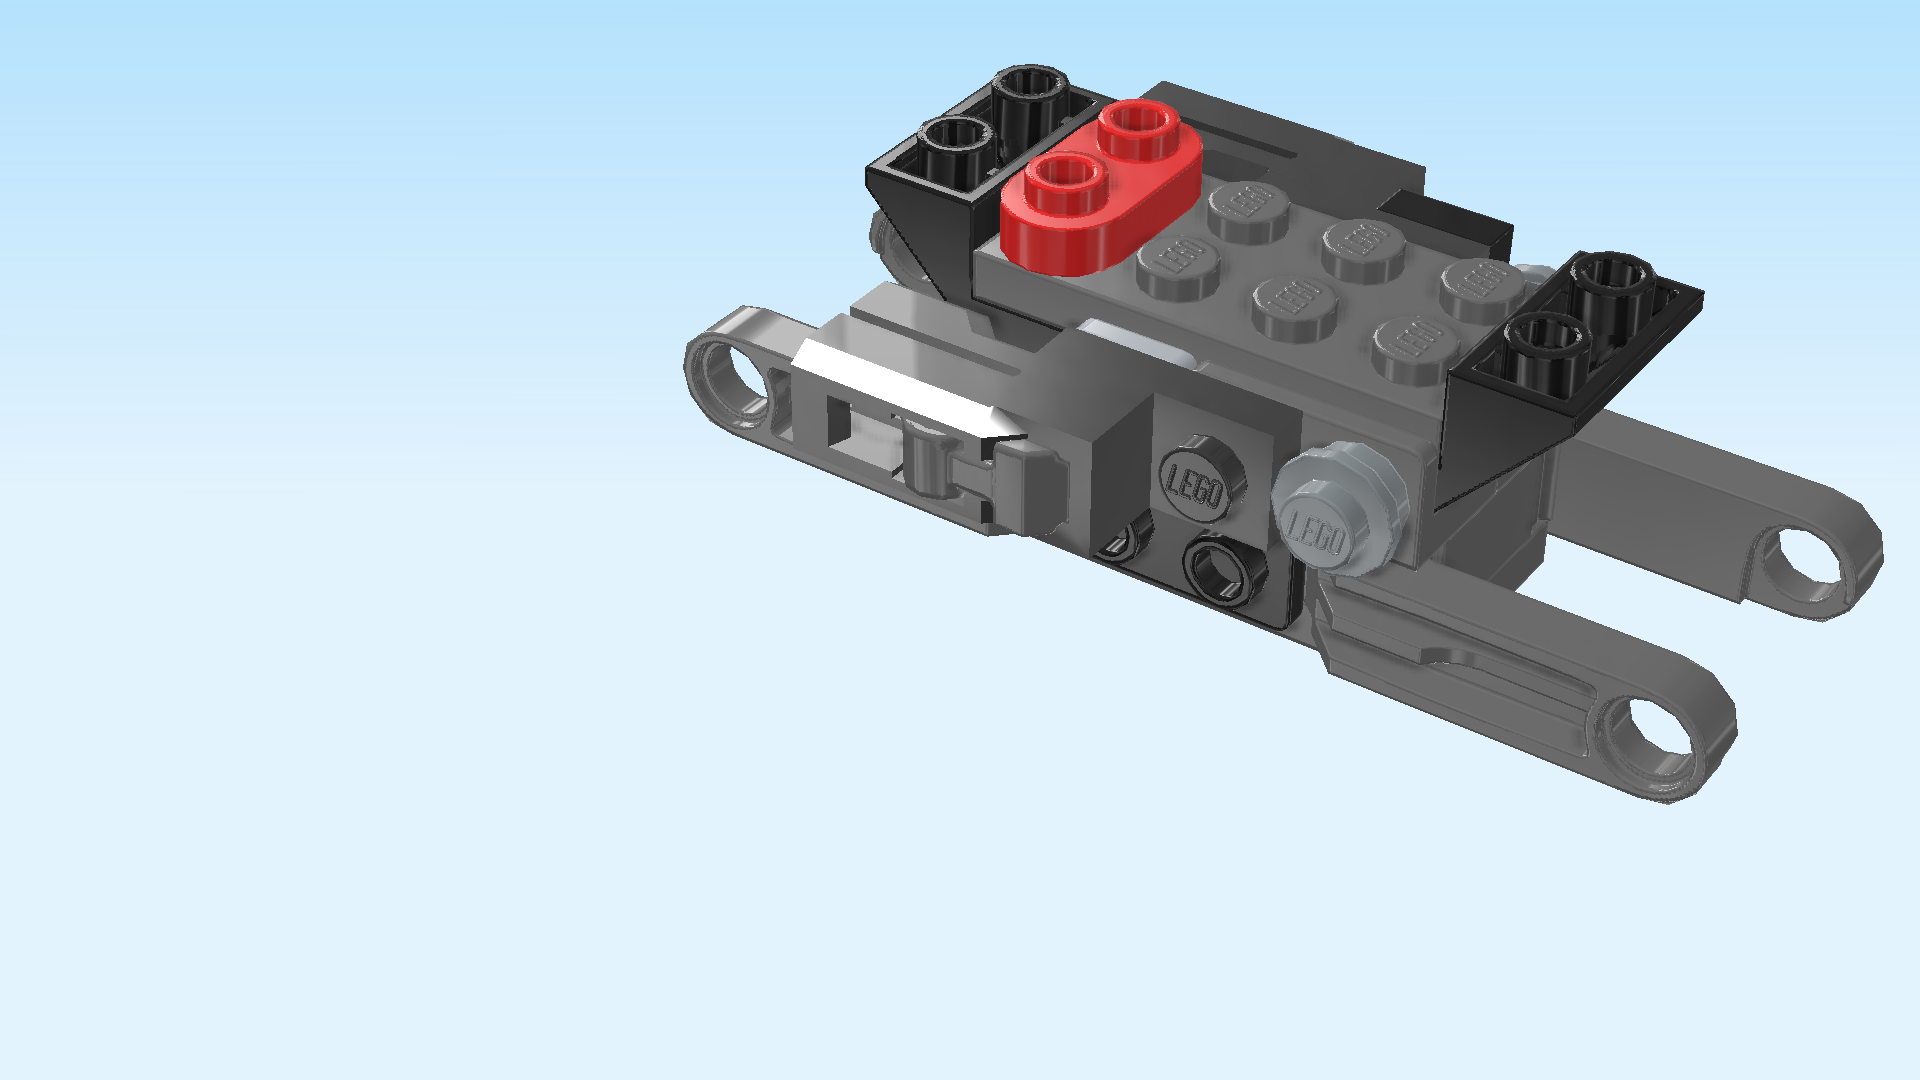
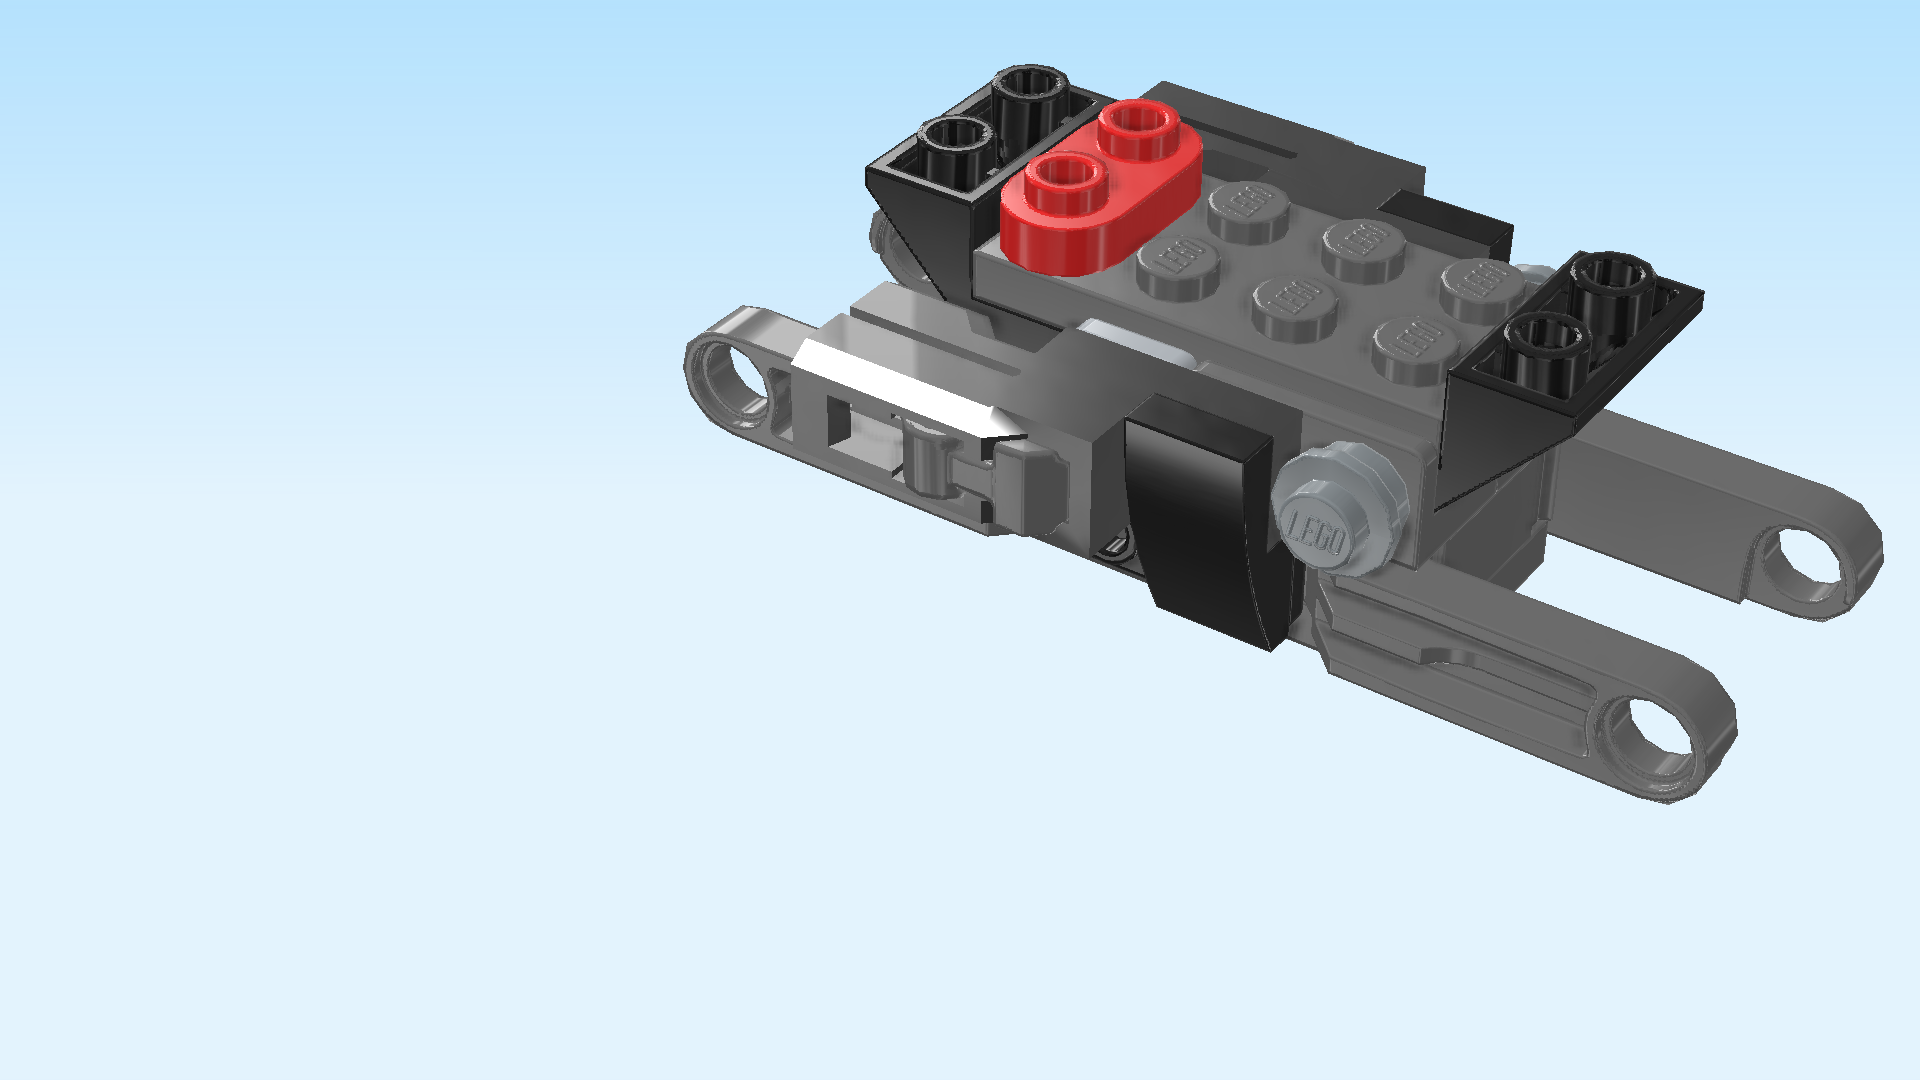
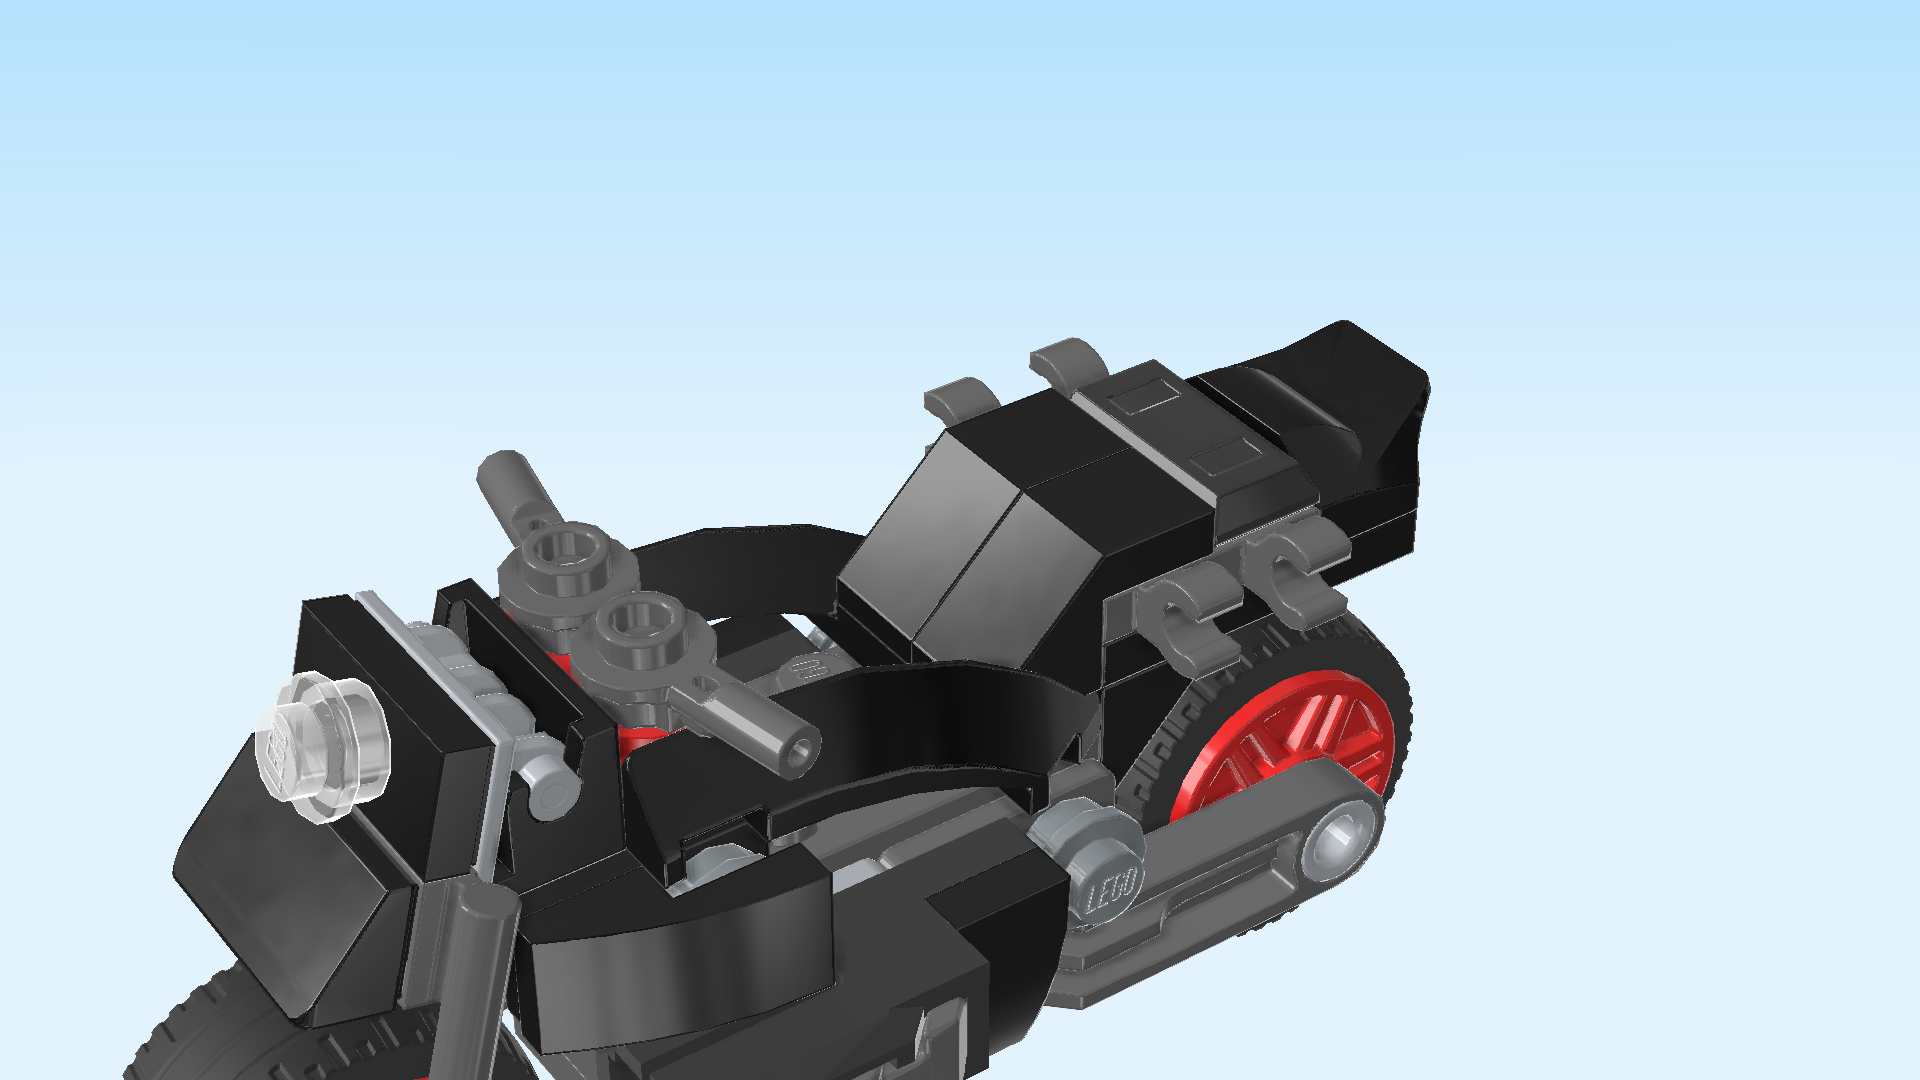
Captain America and Black Widow are taking a ride on their superpowered motorcycles. The 2 Super Heroes have shooters attached to their bikes to fight off any bad guys that get in their way. What adventures will they encounter on their high-speed bike ride? Only you can decide!

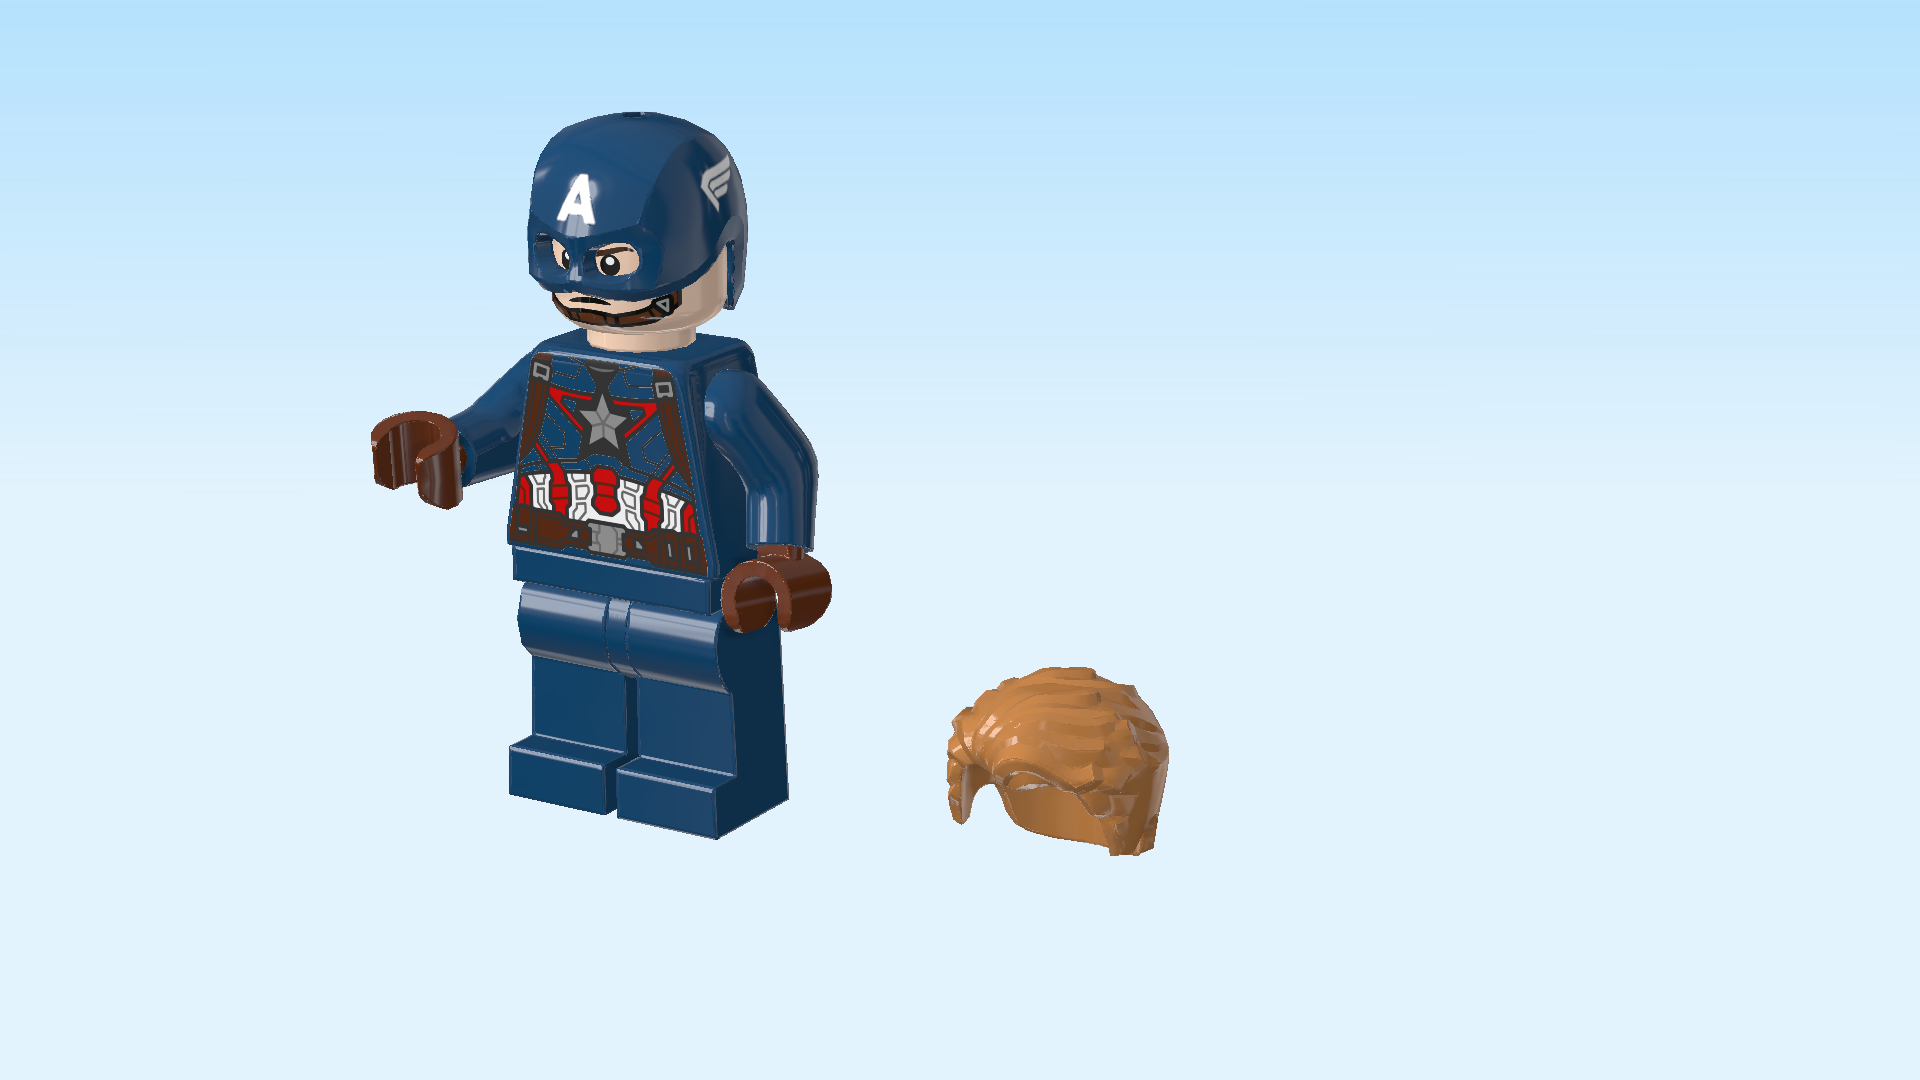
On the box cover, Black Widow and captain America are racing side by side on a snow-covered street. Bullets are flying all around them, it seems like they are surrounded by their nemeses. But not to worry: the two Super Heroes have everything under control! Black Widow is speeding on her black-and-red motorcycle while fighting off bad guys with her pistol. If someone comes too close, she has her twin batons ready. Captain America's black-and-blue motorcycle is shown mid-jump, he's actually soaring through the air! He is using his shooters to defend himself, and his shield mounted at the front of his motorcycle protects him. The image of this action-packed scene is actually tilted towards the left, revealing a black background at the right where Iron Man is watching over the scene. At the right bottom corner of the box cover there are two portraits of our Super Heroes. But now, let's get going!

Open the box. This can be tricky; ask someone to help you!

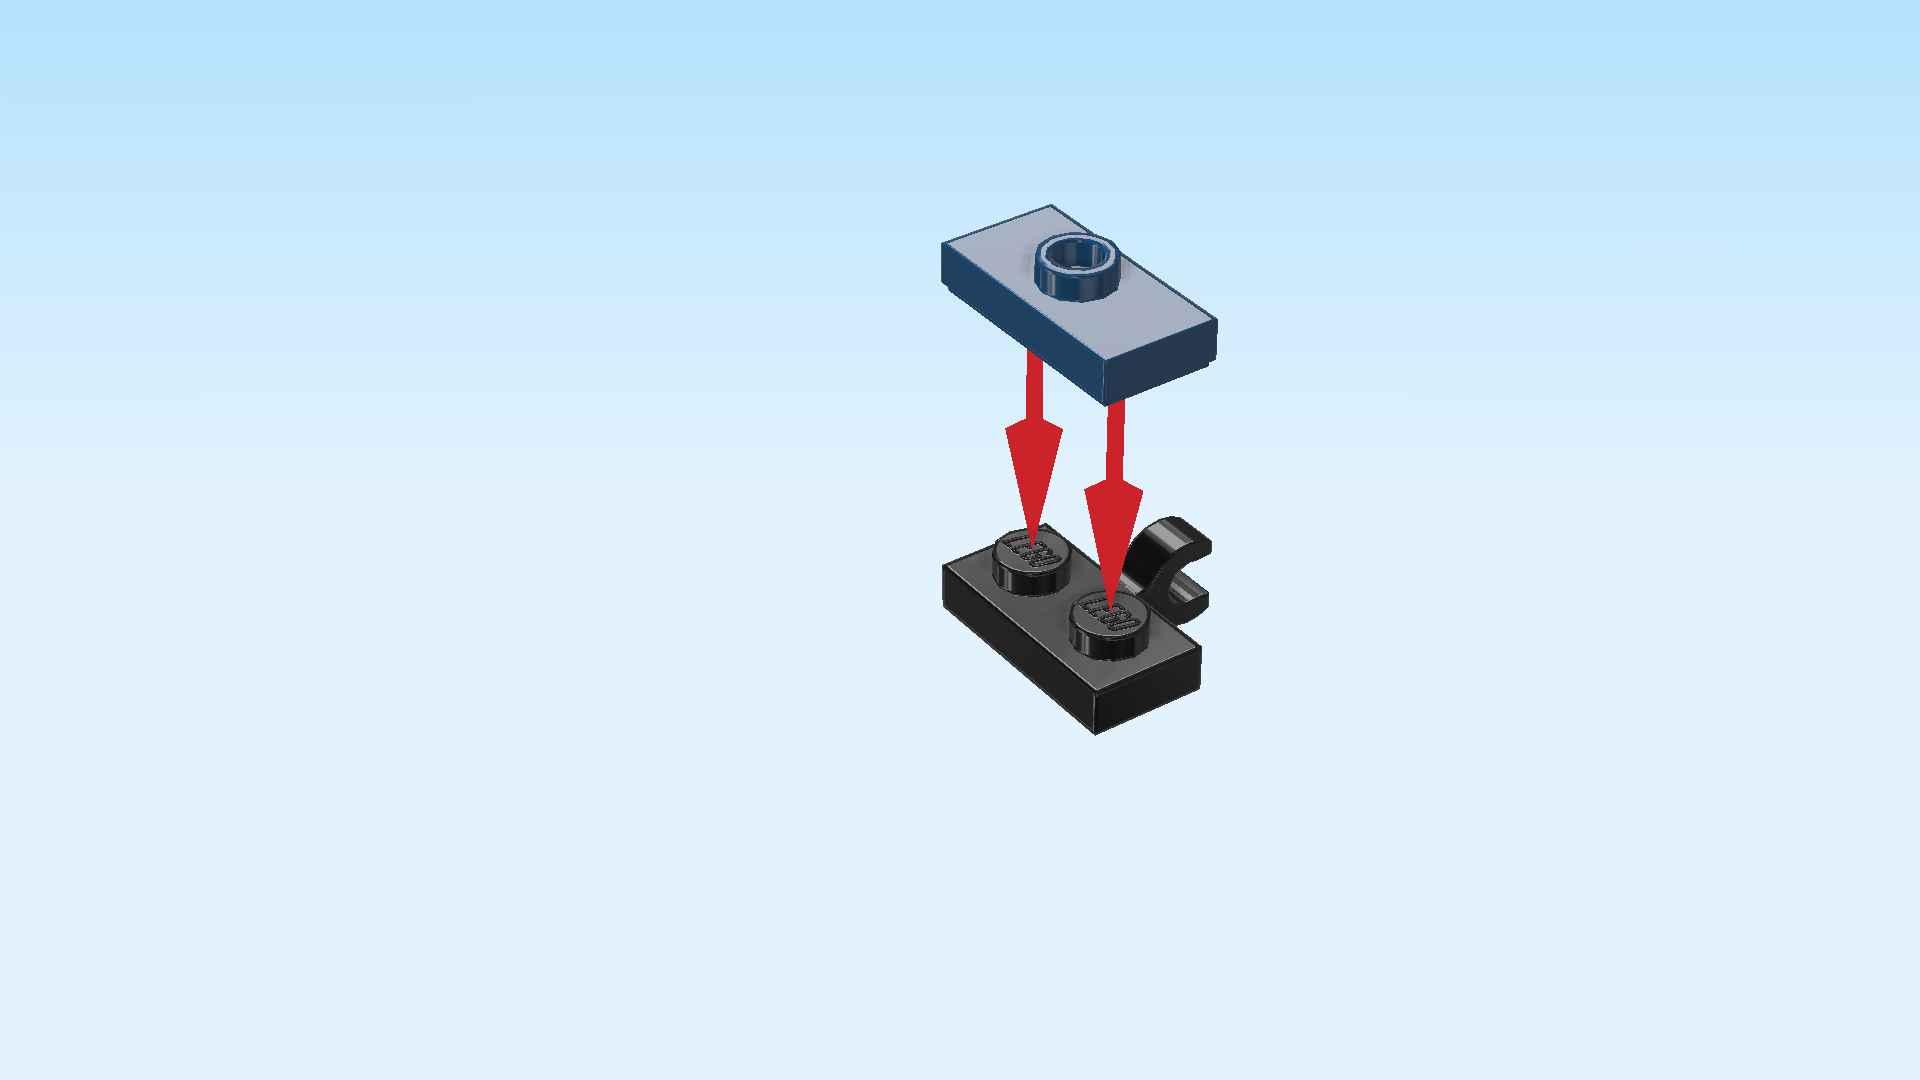
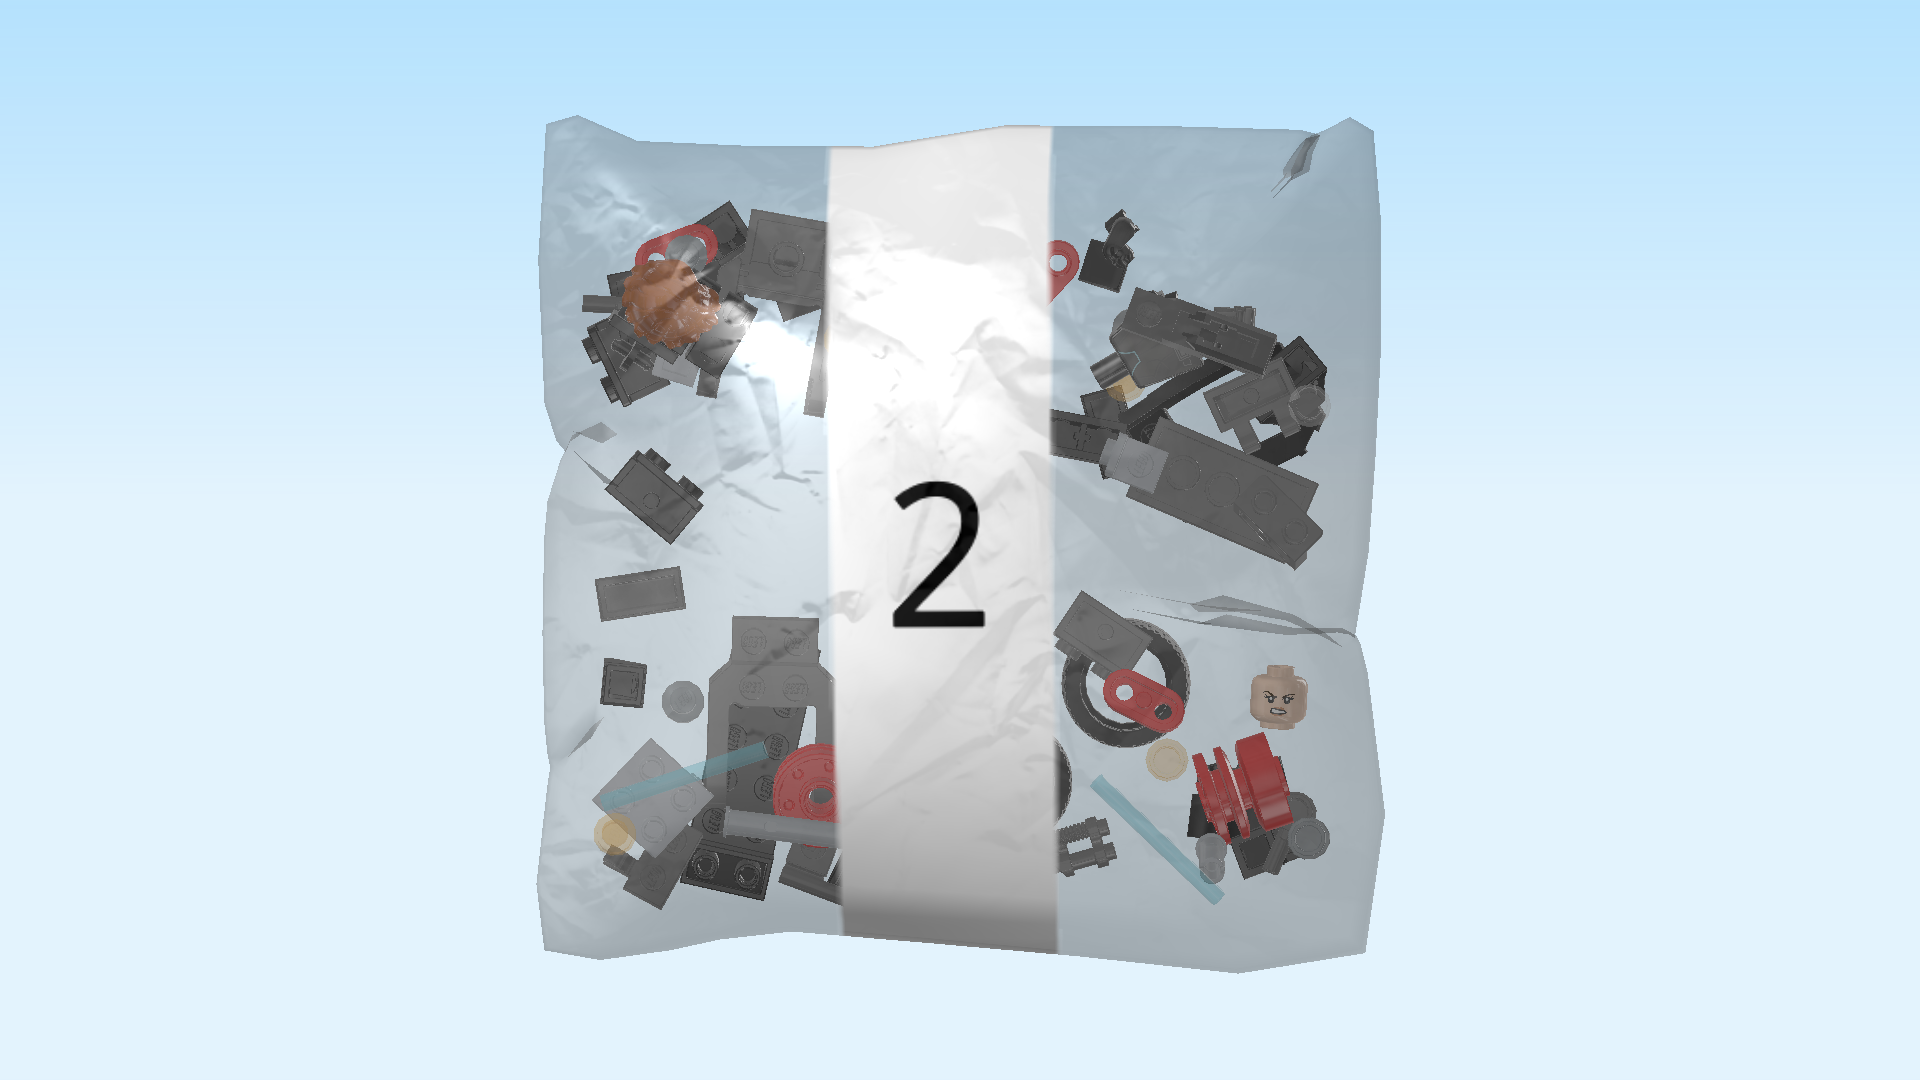
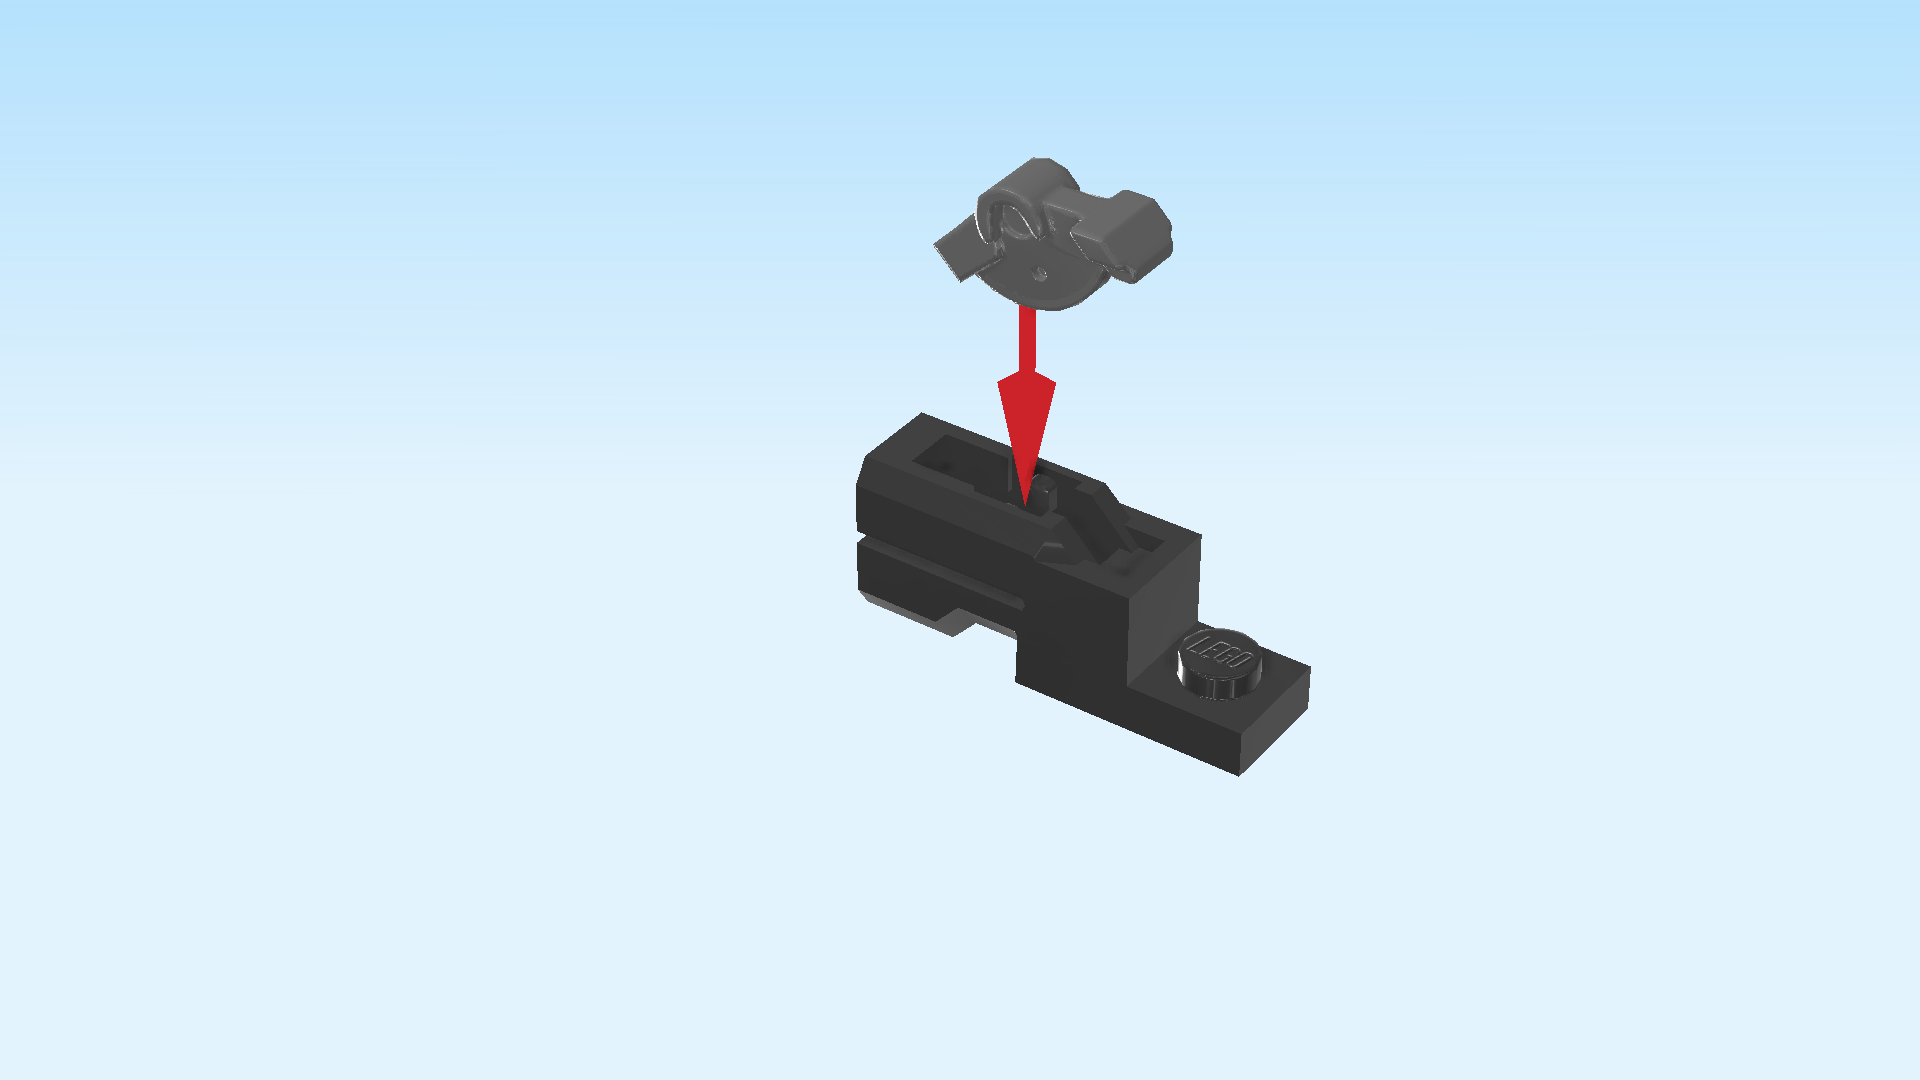
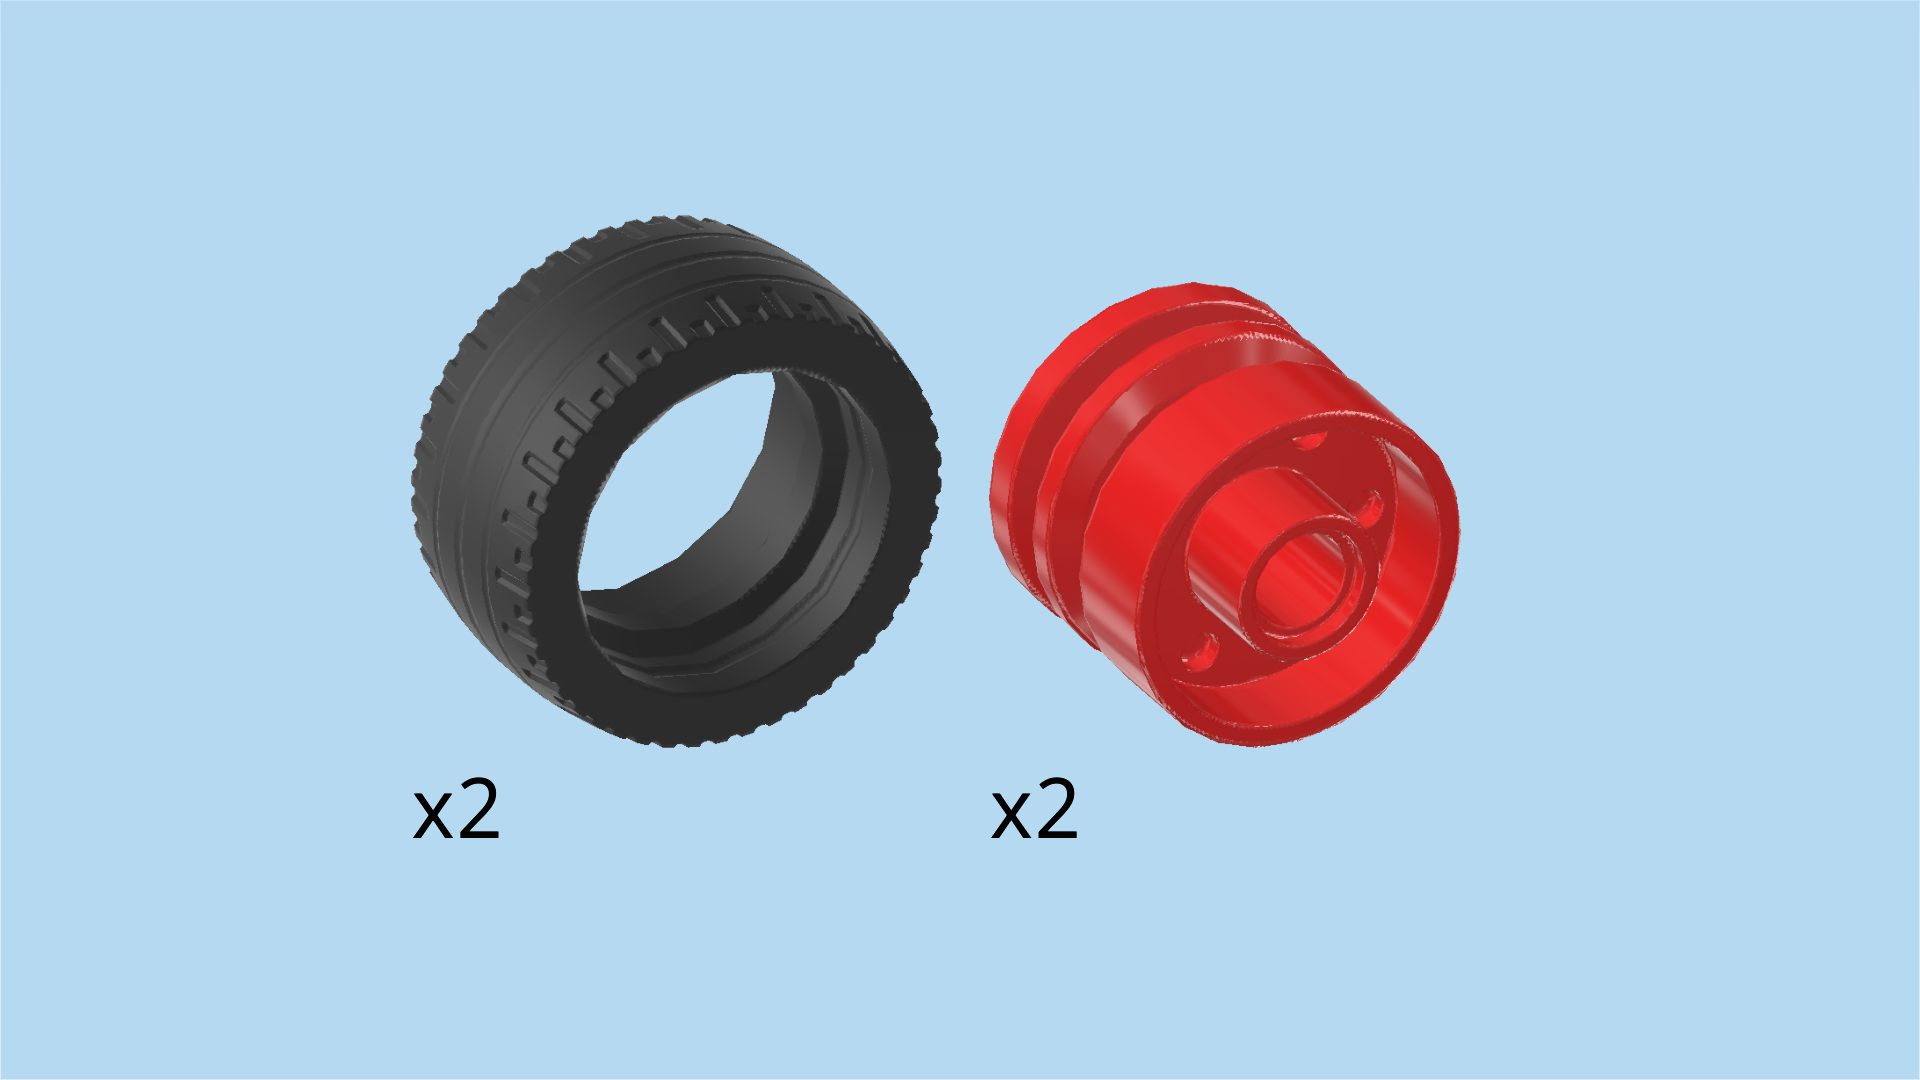
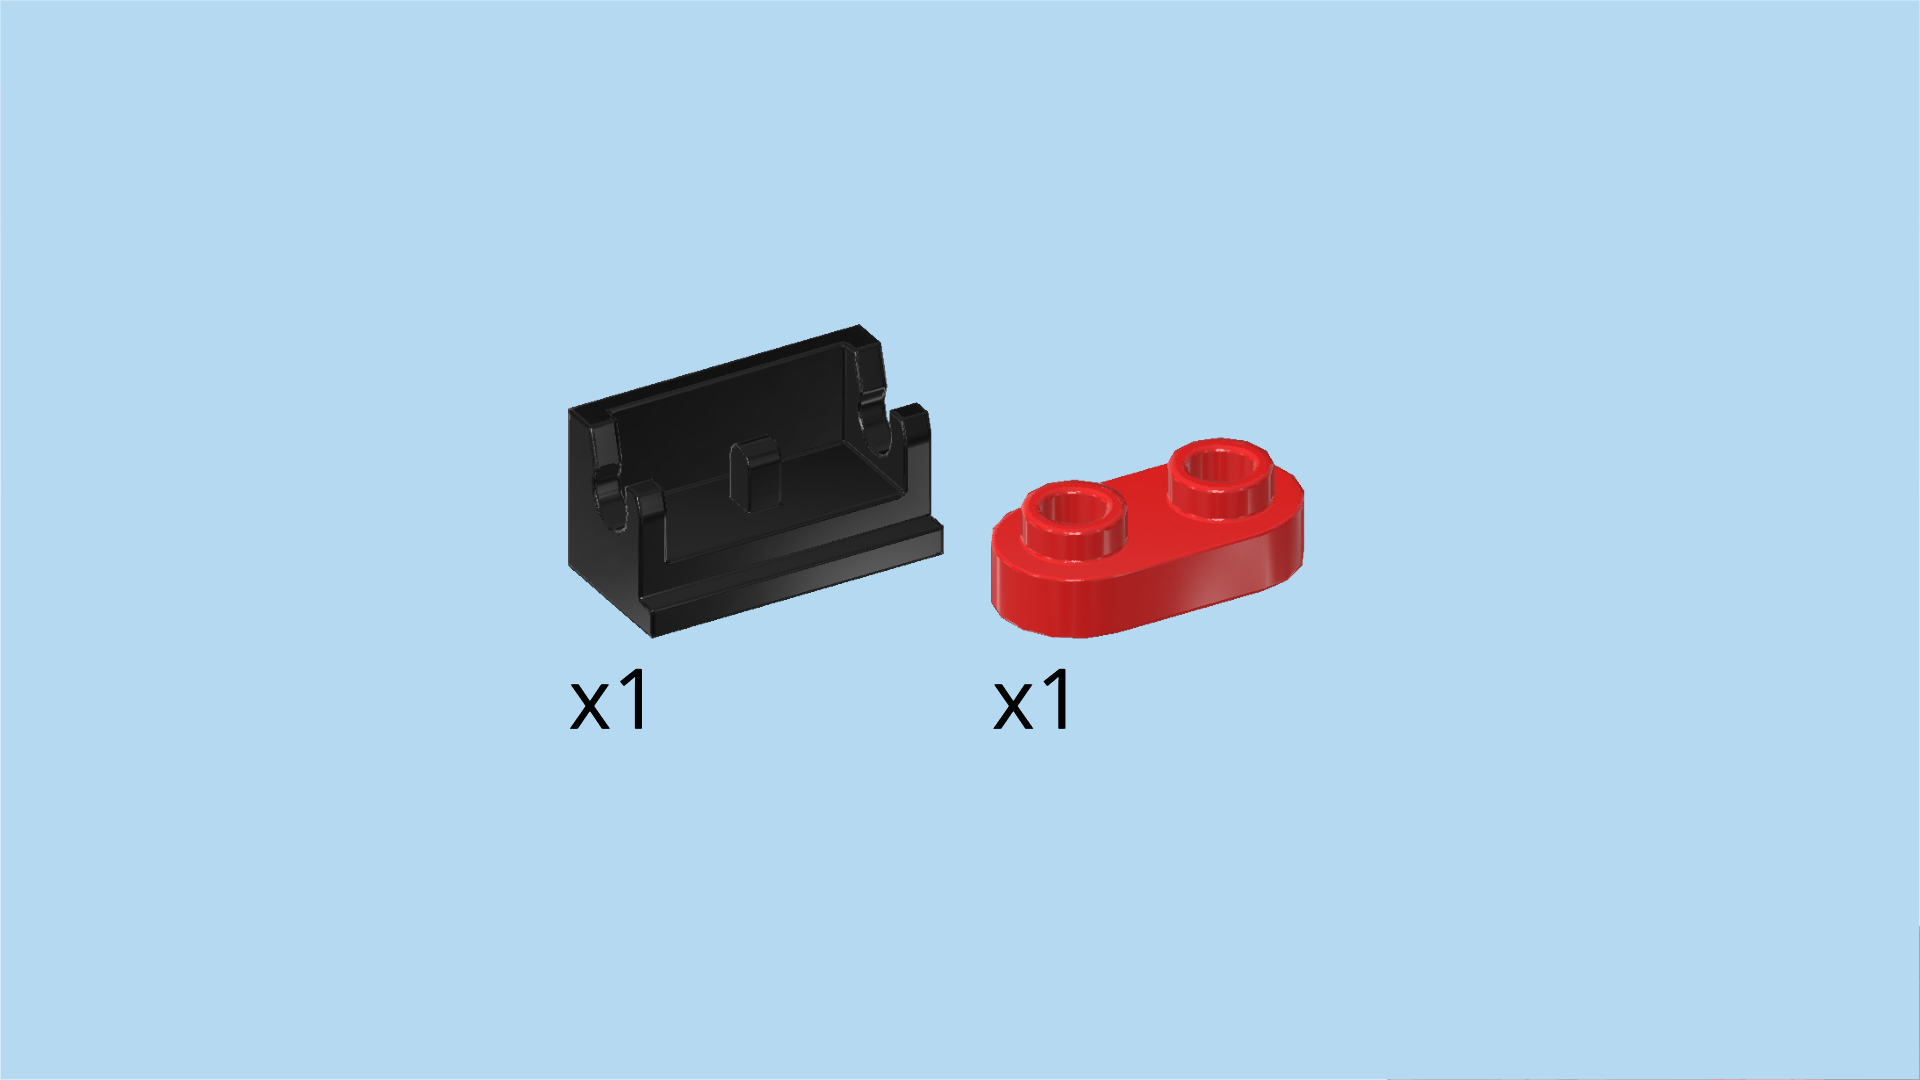
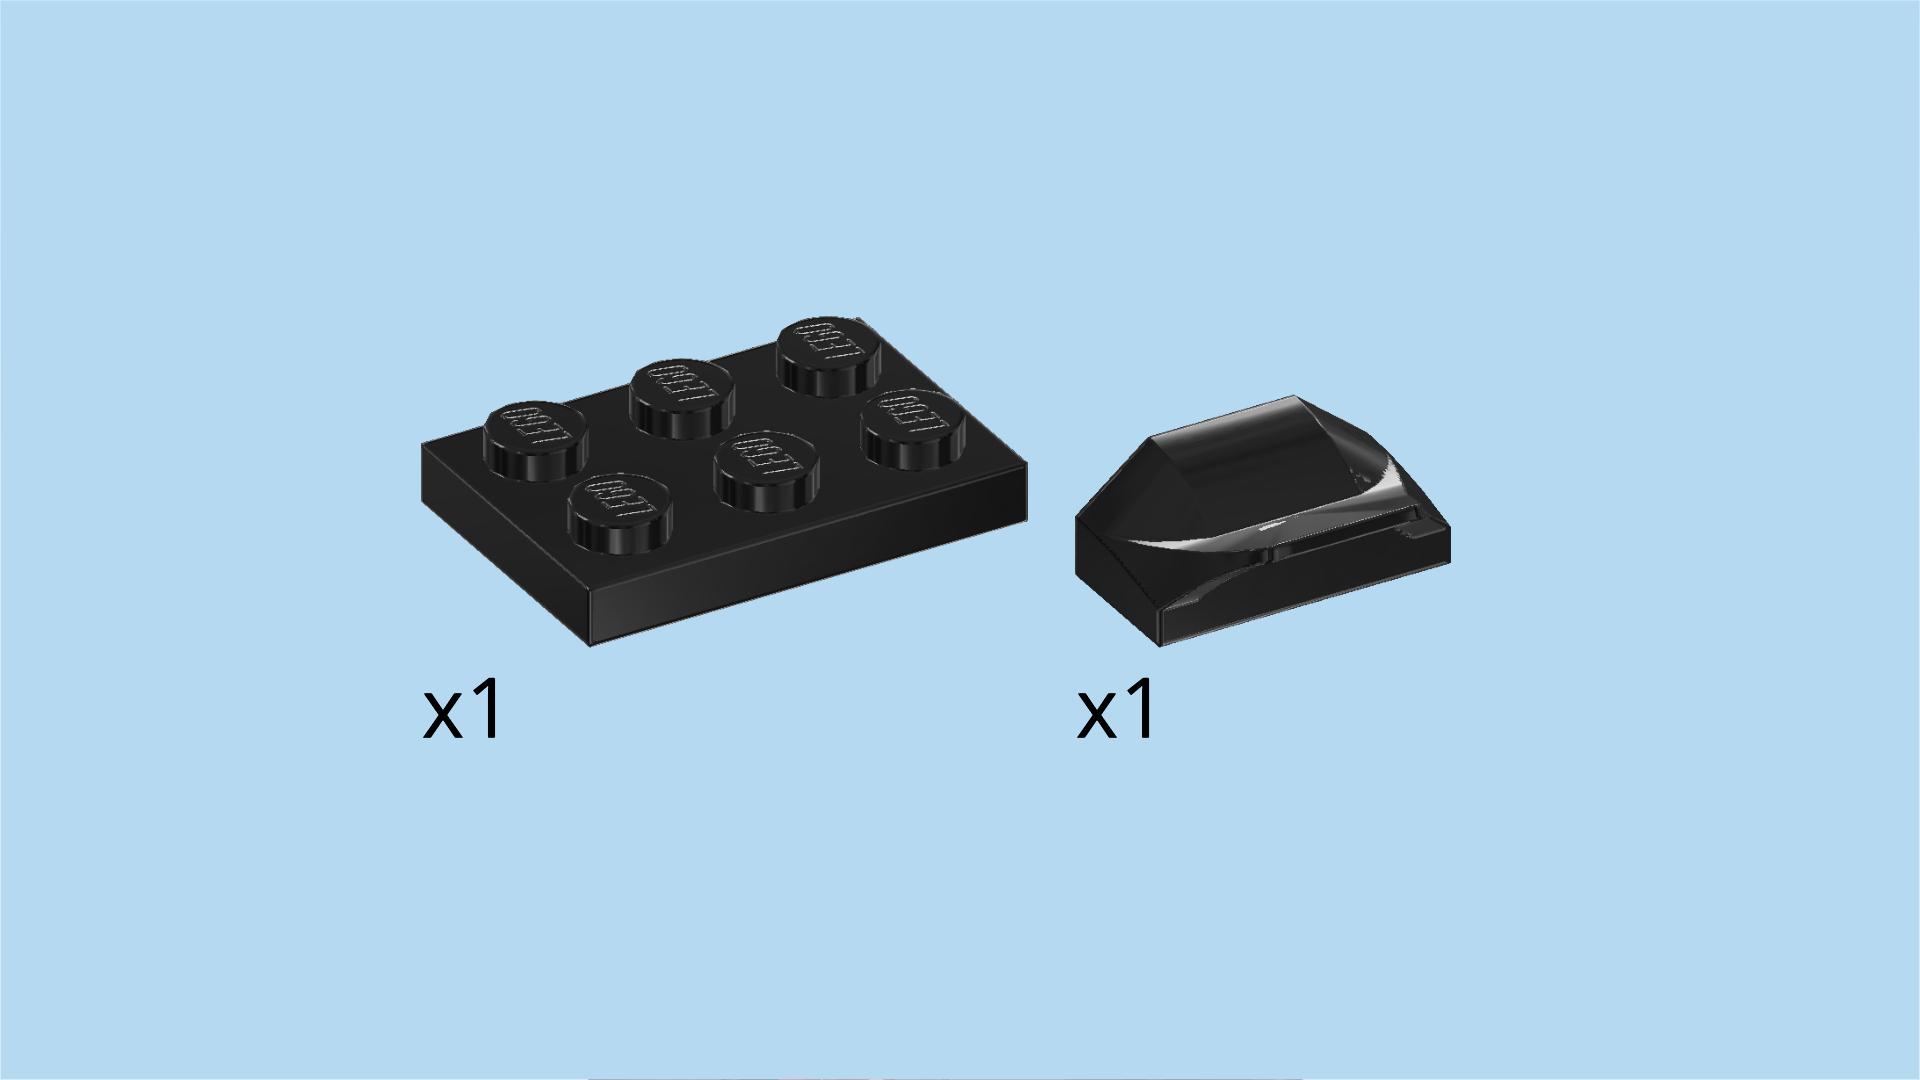
The box contains 2 booklets with visual building instructions and 2 bags with numbers printed on them. Ask a sighted person to help you find the correct bag!

Carefully open bag number 1 and any small sub-bags in it. This bag contains all bricks and pieces for the Captain America Minifigure and his motorcycle.

Before you start building, ask a sighted person to help you sort the pieces by color. This makes finding the correct pieces even easier!

First, we will build the Captain America Minifigure.

Collect the following 2 pieces:

1 earth blue pair of legs,

and 1 earth blue and reddish brown upper part of the body.

Put the upper part of the body on the legs.

Collect the following 2 pieces:

1 earth blue superhero helmet with integrated eye mask,

and 1 light nougat brown Minifigure head.

Put the head on the body, and the helmet on the head.

Find 1 dark stone grey shield with grip. (This piece is printed.)

Snap the grip of the shield into Captain America's right hand.

Find 1 medium nougat brown hairpiece with short wavy hair and sideburns.

Whenever Captain America is not on his motorcycle, you can take off the helmet and put on his hairpiece instead. But remember: safety first!

The Captain America Minifigure is finished! Great job! He is wearing his night-blue uniform with a brown leather harness. The front of his torso has red decorative stripes and a silver Captain America star in the middle. He is wearing a brown belt. His shield is printed with circular stripes in red, white, and red, and has a blue center with the silver star in the middle. His head has two face prints: one has a leather strap around the chin, holding the helmet in place. He has a grim but determined look on his face. On the other side, he shows us a daring smile. Finally, his blue helmet is printed with white wings on both sides and a white capital letter "A" at the front. Now, let's build him a motorcycle!

Next, we will build Captain America's motorcycle.

The two motorcycles are almost identical but they do have different color schemes, and even some bricks differ. Therefore we do not recommend building the two motorcycles alongside each other, but you will find building the second motorcycle so much easier after building the first one. Have fun!

Collect the following 2 pieces:

1 dark stone grey plate 2x4,

and 1 dark stone grey wheel fork 4x5 with 4 knobs.

Put the plate 2x4 horizontally on the table.

Hold the wheel fork horizontally, knobs to the left, fork to the right.

Mount it on the right half of the previous piece, fork overhanging to the right.

Find another dark stone grey wheel fork 4x5 with 4 knobs.

Mount it horizontally to the left of the previous piece, fork overhanging to the left.

Find 2 black top angle plates 1x2 - 1x2 with 2 side knobs.

Put 1 horizontally on the back row of the low level in the center of the structure, side knobs to the back.

Repeat symmetrically at the front, side knobs to the front.

Find 2 silver metallic round plates 1x1.

Put 1 on the rightmost knob of the front row.

Put the other one behind the previous piece on the rightmost knob of the back row.

Collect the following 4 pieces:

2 dark stone grey bottom angle plates 1x2 - 1x2 with 2 side knobs,

and 2 medium stone grey bottom angle plates 1x1 - 1x1 with side knob.

Put 1 angle plate 1x1 to the left of the previous piece, side knob to the back.

Put the other angle plate 1x1 in front of the previous piece, side knob to the front.

Put 1 angle plate 1x2 horizontally to the left of the previous piece, side knobs to the front.

Put the other angle plate 1x2 horizontally behind the previous piece, side knobs to the back.

Find 1 earth blue inverted double roof tile 2x6, 45°.

Put it horizontally centered on top of the structure, slopes symmetrically overhanging to the left and right.

Find 2 reddish brown plates 1x4.

Put 1 horizontally centered on the back row of the previous piece. It will sit on its lower level.

Put the other one horizontally centered in front of the previous piece.

Find 2 silver metallic round plates 1x1.

Put 1 on the second column from the right on its front knob.

Put the other one behind the previous piece.

Find another silver metallic round plate 1x1.

Put it upright on the leftmost knob of the side knobs pointing to the front.

Next, we will build the first side shooter.

Collect the following 2 pieces:

1 titanium metallic shooter barrel with 1x2 plate,

and 1 dark stone grey shooter trigger. (This is a very small, uniquely shaped element. It resembles a wide-angled segment of a circle with a tiny hinge-like tip and a knob-like thicker end.)

The shooter is tricky to assemble. Ask for help if it doesn't work, but first let's give it a try!

Put the shooter barrel with 1x2 plate horizontally on the table, open end of the barrel to the right.

Insert the trigger into the top slot, circle segment towards the bottom, knob-like end to the left.

The first side shooter is finished! Well done! Flip it upright and hold it horizontally so that the top of the trigger is pointing towards you and the knob of the plate is on the left.

Mount it in this orientation on the top row of side knobs pointing to the front, directly to the right of the round plate 1x1 that is already mounted there.

Find 1 earth blue one-stepped curve tile 1x2x⅔.

Flip it upright and hold it vertically, curve towards the bottom. Mount it on the knob of the shooter plate and the knob below it to lock in the shooter.

Find 1 silver metallic round plate 1x1.

First, turn the motorcycle structure left to right so that the shooter that we have already mounted is at the back.

Put the round plate 1x1 on the rightmost side knob pointing towards the front.

Next, we will build the second side shooter. It is identical to the first side shooter.

Collect the following 2 pieces:

1 titanium metallic shooter barrel with 1x2 plate,

and 1 dark stone grey shooter trigger.

Put the shooter barrel with 1x2 plate horizontally on the table, this time barrel opening to the left.

Insert the shooter trigger into the top slot, circle segment towards the bottom, knob-like end to the right.

The second side shooter is finished! Great job! Again, flip it upright so that the top of the trigger is pointing towards you and the plate knob is on the right. Mount it horizontally on the top row of the front side knobs, directly to the left of the round plate 1x1 already mounted there.

Find 1 earth blue one-stepped curve tile 1x2x⅔.

Mount it upright vertically on the knob of the shooter plate and the knob below it, curve towards the bottom.

Find 2 earth blue smooth roof tiles 1x1x⅔.

Flip the structure upside down, but keep the horizontal orientation. Make sure the shooters are still in the left half.

Put 1 on the front side knob above the shooter barrel, slope towards the top.

Repeat symmetrically on the side knob at the back, slope towards the top.

Find 2 medium stone grey technic bushings 3m with end stop. (3m means that these pieces are about 3 knobs long. They are tube-shaped.)

Flip the structure right side up again. Make sure the two shooters are in the left half of the structure.

Hold one bushing vertically with the end stop towards you. Insert it from the front into the hole of the right wheel fork, but do not push it further than that hole.

Repeat symmetrically on the left: again coming from the front, insert the second bushing into the hole of the front wheel fork on the left side, but do not push it further.

Next, we will assemble the 2 wheels.

Collect the following 4 pieces:

2 medium stone grey wide rims with hole and spokes,

and 2 black wide rubber tires with super-low profile.

Put the rims into the tires. Note that the rims only have spokes on one side each. This will be important in the next step.

The 2 wheels are finished! Insert one wheel into the wheel fork on the right side. For now, this is a loose fit. Make sure that the rim side with the spokes is facing you.

Now, slowly start pushing the right technic bushing towards the back, trying to hit the middle hole of the wheel. This can be a bit tricky because you need to align the wheel with the bushing even though it moves freely. Once you have managed to insert the bushing into the hole of the wheel, you can push it all the way in. Ask for help if it doesn't work.

Repeat with the second wheel on the left wheel fork, spokes again towards you.

Find 2 black top angle plates 1x2 - 1x2 with 2 side knobs.

Put 1 horizontally on the front row at the top, starting from the left edge, side knobs to the front.

Put the other one horizontally behind the previous piece, side knobs to the back.

Find 2 silver metallic round plates 1x1.

Put 1 upright on the right side knob of the previous piece.

Repeat symmetrically at the front: put the other one upright on the right side knob pointing to the front.

Find 2 earth blue one-stepped curve tiles 1x2x⅔.

Put 1 upright horizontally on the previous piece and the knob to its left, curve to the left.

Repeat symmetrically at the back, curve to the left.

Find 1 black top angle plate 1x2 - 1x2 with 2 side knobs.

Put it vertically on the leftmost column, side knobs to the left.

Now, we will build the headlight.

Collect the following 2 pieces:

1 black plate 1x2 with vertical clasp on long side,

and 1 earth blue plate 1x2 with 1 knob.

Put the plate 1x2 with vertical clasp on long side vertically on the table, clasp to the right.

Put the plate 1x2 with 1 knob vertically on top.

Find 1 transparent round plate 1x1.

Put it on top of the previous piece.

The headlight is finished! Great job! Flip it upright, and mount it horizontally on the 2 side knobs pointing to the left. Make sure the clasp is pointing to the top.

Find 1 earth blue curved bracket plate 2x4x1⅓. (This piece consists of 2 plates 1x2 that are connected by 2 curved bars.)

Hold it horizontally so that its lower 1x2 plate is towards the right.

Mount it so that its left plate is connecting to the second column from the left, and the right plate is connecting to the second column from the right.

Collect the following 3 pieces:

1 medium stone grey flat tile 1x2 with rounded corners, (This piece is printed.)

and 2 dark stone grey round plates 1x1 with through-hole and side handle.

Put the flat tile with rounded corners vertically on the left plate of the previous piece.

This tile is printed with a light blue instrument panel with two dial indicators: on the left is the rev counter showing the number 9, and on the right is the speedometer showing 92 miles per hour. Between them are two turn signal arrows.

Put 1 round plate 1x1 to the left of the previous piece on the back knob, handle to the back right.

Put the other round plate in front of the previous piece, handle to the front right. These two handles are the handlebars of the motorcycle!

Now, we build the rear of the motorcycle.

Collect the following 2 pieces:

1 earth blue plate 2x3,

and 1 earth blue smooth roof tile 1x2x⅔.

Put the plate 2x3 horizontally on the table.

Put the roof tile 1x2x⅔ vertically on the rightmost column, slope to the right.

Find 2 dark stone grey plates 1x2 with 2 vertical clasps on long side.

Put 1 horizontally on the back row, clasps to the back.

Put the other one horizontally in front of the previous piece, clasps to the front.

Find 1 titanium metallic ingot 1x2.

Put it vertically on the right column.

Find 2 earth blue smooth roof tiles 1x1 with overhanging top tile 1x1.

Turn 1 horizontally, overhanging top tile to the right, and mount the top tile on the back knob of the 2 remaining knobs, sloped side overhanging to the left.

Put the other one horizontally in front of the previous piece, overhanging top tile to the right, sloped side overhanging to the left.

The rear of the motorcycle is finished! Great job! Mount it in the building orientation on the four rightmost knobs, the right half of this part overhanging to the right.

Now, we will build 2 saddlebags.

Collect the following 4 pieces:

2 reddish brown ingots 1x2,

and 2 reddish brown plates 1x2 with handle on long side.

Put 1 plate with side handle horizontally on the table, side handle to the back.

Put 1 ingot horizontally on top.

Repeat with the 2 remaining pieces to build the second saddlebag.

The 2 saddlebags are finished! Mount one upright horizontally by snapping the handle of the saddlebag into the 2 clasps pointing to the front, saddlebag towards the bottom.

Repeat symmetrically at the back with the second saddlebag.

Find 4 transparent bright orange round plates 1x1.

You can use these as ammunition for the shooters. Insert one round plate into the shooter barrel opening until the trigger moves up.

Warning! Do not aim at eye or face!

To trigger the shooter, hold the motorcycle with one hand and firmly push on the trigger, for instance with the thumb of your other hand. This might need some practice, but you'll get there!

Captain America's motorcycle is finished! Well done! Now all he needs to do is to put on his helmet and mount his superpowered ride. High time to chase after some villains!

Open bag number 2. You can choose to have the bricks sorted by color again. This bag contains all bricks and pieces for the Black Widow Minifigure and her motorcycle.

Now, we build the Black Widow Minifigure.

Collect the following 2 pieces:

1 titanium metallic and black upper part of the body,

and 1 titanium metallic and black pair of legs.

Put the upper part of the body on the legs.

Collect the following 2 pieces:

1 light nougat brown Minifigure head,

and 1 dark orange hairpiece with a side bob curled outwards.

Put the Minifigure head on the body and the hair on top.

Find 1 dark stone grey mini pistol with ribbed stock and 2 knobs.

Snap the small bottom handle into the right hand of the Minifigure.

The Black Widow Minifigure is finished! Great job! She is wearing her black Age of Ultron bodysuit that has thin glowing stripes running down her silhouette. The suit has titanium metallic features such as the zipper, seams, kneecaps, and some decorative areas. She is wearing a belt and a leg strap. Her head has two different face prints: one face shows an angry growl with her eyebrows pulled together, a look probably reserved for her adversaries. The second face shows a daring grin. She is wearing nude lipstick. As a Super Hero known for stealth she likes to keep it discreet!

Now, let's continue with Black Widow's motorcycle.

Collect the following 2 pieces:

1 dark stone grey plate 2x4,

and 1 dark stone grey wheel fork 4x5 with 4 knobs.

Put the plate 2x4 horizontally on the table.

Mount the wheel fork horizontally on the right half of the previous piece, fork overhanging to the right.

Find another dark stone grey wheel fork 4x5 with 4 knobs.

Mount it horizontally to the left of the previous piece, fork overhanging to the left.

Find 2 black top angle plates 1x2 - 1x2 with 2 side knobs.

Put 1 horizontally on the 2 back knobs of the low level in the center of the structure, side knobs to the back.

Repeat symmetrically at the front, side knobs to the front.

Find 1 bright red rounded plate 1x2.

Put it vertically on the rightmost column.

Collect the following 4 pieces:

2 dark stone grey bottom angle plates 1x2 - 1x2 with 2 side knobs,

and 2 medium stone grey bottom angle plates 1x1 - 1x1 with side knob.

Put 1 angle plate 1x1 on the back row to the left of the previous piece, side knob to the back.

Put the other angle plate 1x1 in front of the previous piece, side knob to the front.

Put 1 angle plate 1x2 horizontally to the left of the previous piece, side knobs to the front.

Put the other angle plate 1x2 horizontally behind the previous piece, side knobs to the back.

Find 1 black inverted double roof tile 2x6, 45°.

Put it horizontally centered on top of the structure, slopes symmetrically overhanging to the left and right.

Find 1 dark stone grey plate 2x4.

Put it horizontally centered on the lower level of the previous piece.

Find 1 bright red rounded plate 1x2.

Put it vertically on the second column from the right. This means it will sit on the rightmost column of the previous piece.

Find 1 silver metallic round plate 1x1.

Put it upright on the leftmost knob of the side knobs pointing to the front.

Next, we will build the first side shooter.

Collect the following 2 pieces:

1 titanium metallic shooter barrel with 1x2 plate,

and 1 dark stone grey shooter trigger.

Put the shooter barrel with 1x2 plate horizontally on the table, open end of the barrel to the right.

Insert the trigger into the top slot, circle segment towards the bottom, knob-like end to the left.

The first side shooter is finished! Well done! Flip it upright and hold it horizontally so that the top of the trigger is pointing towards you and the knob of the plate is on the left.

Mount it in this orientation on the top row of side knobs pointing to the front, directly to the right of the round plate 1x1 that is already mounted there.

Find 1 black one-stepped curve tile 1x2x⅔.

Mount it upright vertically on the knob of the shooter plate and the side knob below it to lock in the shooter, curve towards the bottom.

Find 1 silver metallic round plate 1x1.

First, turn the motorcycle structure left to right so that the shooter that we have already mounted is at the back.

Put the round plate 1x1 on the rightmost side knob pointing towards the front.

Next, we will build the second side shooter.

Collect the following 2 pieces:

1 titanium metallic shooter barrel with 1x2 plate,

and 1 dark stone grey shooter trigger.

Put the shooter barrel with 1x2 plate horizontally on the table, this time barrel opening to the left.

Insert the shooter trigger into the top slot, circle segment towards the bottom, knob-like end to the right.

The second side shooter is finished! Great job! Again, flip it upright so that the top of the trigger is pointing towards you and the plate knob is on the right. Mount it horizontally on the top row of the front side knobs, directly to the left of the round plate 1x1 mounted there.

Find 1 black one-stepped curve tile 1x2x⅔.

Mount it upright vertically on the knob of the shooter plate and the knob below it, curve towards the bottom.

Find 2 black smooth roof tiles 1x1x⅔.

Flip the structure upside down, but keep the horizontal orientation.

Put 1 on the front side knob above the shooter barrel, slope towards the top.

Repeat symmetrically on the side knob at the back, slope towards the top.

Find 2 medium stone grey technic bushings 3m with end stop.

Flip the structure right side up again. Make sure the two shooters are still in the left half of the structure.

Hold one bushing vertically with the end stop towards you. Insert it from the front into the hole of the right wheel fork, but do not push it further than that hole.

Repeat symmetrically on the left: insert the second bushing from the front into the hole of the left wheel fork, but do not push it further.

Next, we will assemble the 2 wheels.

Collect the following 4 pieces:

2 bright red wide rims with hole and spokes,

and 2 black wide rubber tires with super-low profile.

Put the rims into the tires.

The 2 wheels are finished! Insert one wheel into the wheel fork on the right side, spokes facing you. Then slowly start pushing the right technic bushing towards the back, trying to hit the middle hole of the wheel. Once you have managed to insert the bushing into the hole of the wheel, you can push it all the way in. Ask for help if it doesn't work.

Repeat with the second wheel on the left wheel fork, again spokes towards you.

Find 2 black top angle plates 1x2 - 1x2 with 2 side knobs.

Put 1 horizontally on the front row at the top, starting from the left edge, side knobs to the front.

Put the other one horizontally behind the previous piece, side knobs to the back.

Find 1 black panel element 1x2 with top hinge mounting.

Put it vertically on the leftmost column, backing panel to the right.

Find 2 silver metallic round plates 1x1.

Put 1 upright on the right knob of the side knobs pointing to the front.

Repeat symmetrically at the back on the right knob of the side knobs pointing to the back.

Find 2 black one-stepped curve tiles 1x2x⅔.

Put 1 upright horizontally on the previous piece and the knob to its left, curve to the left.

Repeat symmetrically at the back, curve to the left.

Find 1 black curved bracket plate 2x4x1⅓.

Hold it horizontally so that its lower plate 1x2 is towards the right.

Mount it so that its left plate is connecting to the second column from the left, and the right plate is connecting to the second column from the right.

Find 1 bright red rounded plate 1x2.

Put it vertically on the left plate 1x2 of the previous piece.

Next, we will build the headlight and front fender.

Collect the following 2 pieces:

1 medium stone grey plate 2x2 with bottom hinge pins,

and 1 black plate 1x2 with 1 knob.

Put the plate 2x2 on the table, hinge pings to the right.

Put the plate 1x2 vertically on the right column.

Find 1 dark stone grey plate 1x2 with 2 side handles.

Put it vertically on the left column, handles to the left.

Find 1 black smooth roof tile 1x2x⅔.

Put it vertically on the previous piece, slope to the right.

Find 1 transparent round plate 1x1.

Put it on the empty knob to the right of the previous piece.

The headlight and front fender are finished! To mount this part, snap the hinge pins at the bottom into the hinge mounting on the left edge of the motorcycle.

Now, you can fold the headlight with front fender down towards the left.

Find 2 dark stone grey round plates 1x1 with through-hole and side handle.

Put 1 on the leftmost knob of the back row, handle to the back right.

Put the other one in front of the previous piece, handle to the front right. Adjust the angle of the handlebars to your liking!

Now, we will build the rear of the motorcycle.

Collect the following 2 pieces:

1 black plate 2x3,

and 1 black curve tile 1x2 with fin.

Put the plate 2x3 horizontally on the table.

Put the curve tile with fin vertically on the rightmost column, fin to the right.

Find 2 dark stone grey plates 1x2 with 2 vertical clasps on long side.

Put 1 horizontally on the back row, clasps to the back.

Put the other one horizontally in front of the previous piece, clasps to the front.

Find 1 titanium metallic ingot 1x2.

Put it vertically on the right column.

Find 2 black smooth roof tiles 1x1 with overhanging top tile 1x1.

Turn 1 horizontally, overhanging top tile to the right, and mount the top tile on the back knob of the 2 remaining knobs, sloped side overhanging to the left.

Put the other one horizontally in front of the previous piece, overhanging top tile to the right, sloped side overhanging to the left.

The rear of the motorcycle is finished! Great job! Mount it in the building orientation on the four rightmost knobs, the right half of the rear overhanging to the right.

Find 2 transparent light blue shafts 4m.

Hold 1 horizontally, and snap it into the 2 clasps pointing to the front.

Repeat symmetrically at the back with the second one. These are Black Widow's twin batons!

Find 4 transparent bright orange round plates 1x1.

Use them again to load your shooters. Warning! Do not aim at eye or face!

Black Widow's motorcycle is finished! Fantastic job! Black Widow is ready to go: Put her into saddle, gun at the ready, and start chasing the Marvel villains! Captain America is already waiting for her support! Together, they are unbeatable!

You have finished building the entire set! Well done! Are you ready for some Marvel Super Hero action, Infinity Saga style? With your two motorcycles you are unstoppable! Black Widow and Captain America have plenty of tricks up their sleeves to keep adversaries in check.

Enjoy!