| LEGO Audio & Braille Building Instructions for the LEGO Marvel Spider-Man set "Vulture's Trucker Robbery". |
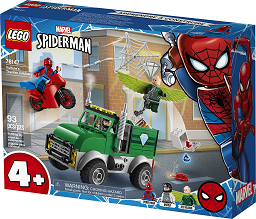
| Vulture’s stealing jewels from the bank truck! He swoops down from the sky, blasts the back off the truck, grabs the jewel boxes with a chain, and flies away with the stolen treasure. Spider-Man speeds in on his motorbike to save the day. Look out, Spidey! Vulture’s dropping jewels everywhere! Can Spider-Man catch Vulture in his web, or will the winged villain escape? Only you can decide! |
| On the box cover, Spider-Man is soaring in mid-air on his motorbike, chasing after Vulture who is just about to steal a juwel safe from the back of the green and grey bank truck. The truck driver is trying her best to maneuver the truck away from the thief, but thanks to his wings Vulture is faster! Will Spider-Man be able to prevent the crime? |
| Open the box. This can be tricky; ask someone to help you! |
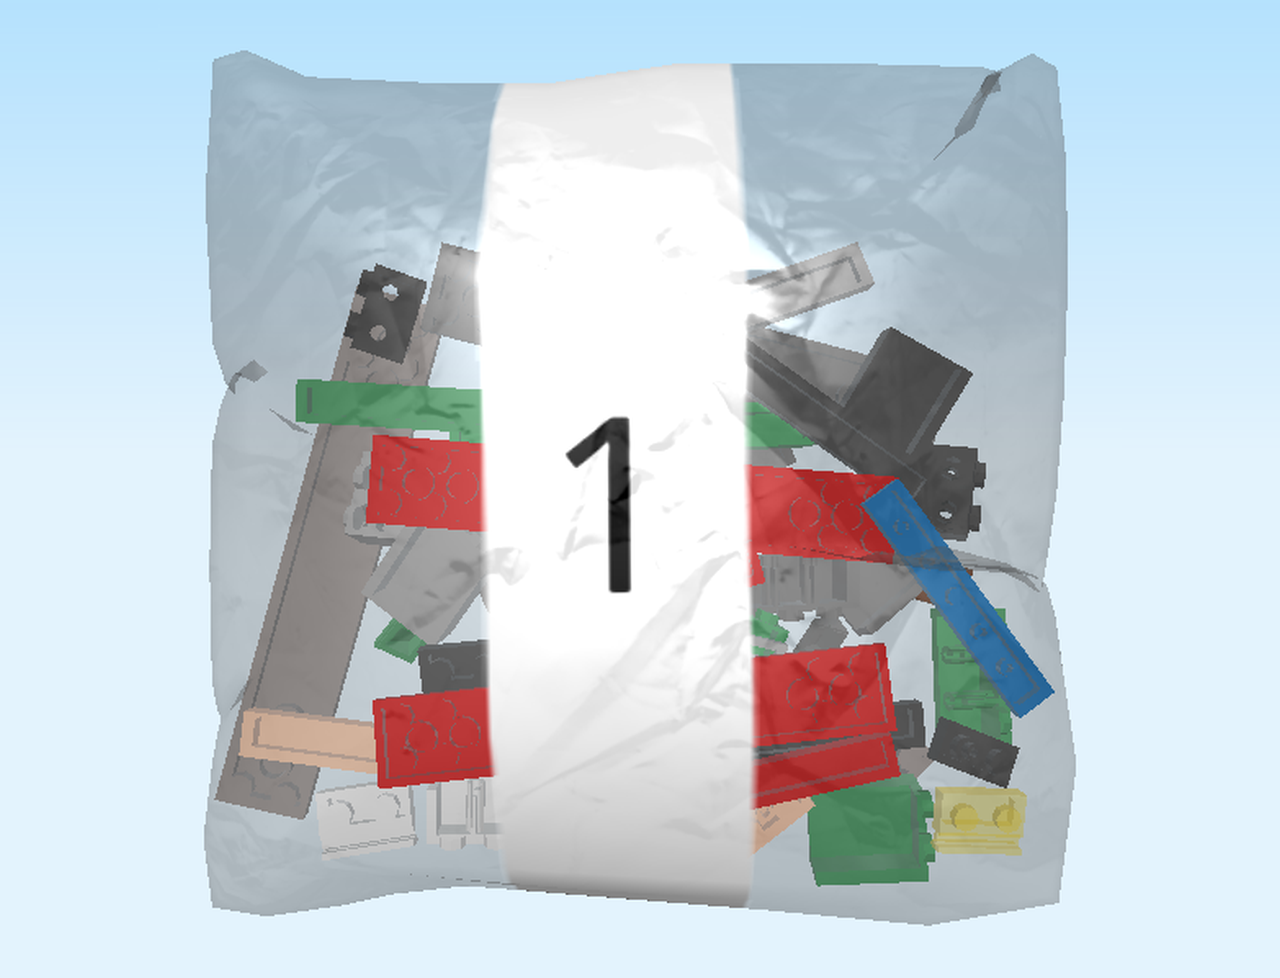
| Carefully open bag 1, and any smaller bags in it. This bag contains all bricks and pieces for the Spider-Man Minifigure and his spiderweb weapon, the truck driver Minifigure, Spider-Man's motorbike, the Vulture Minifigure, and the bank truck. |
| Before you start building, ask a sighted person to help you sort the pieces by color. This way, finding the right piece will be even easier! |
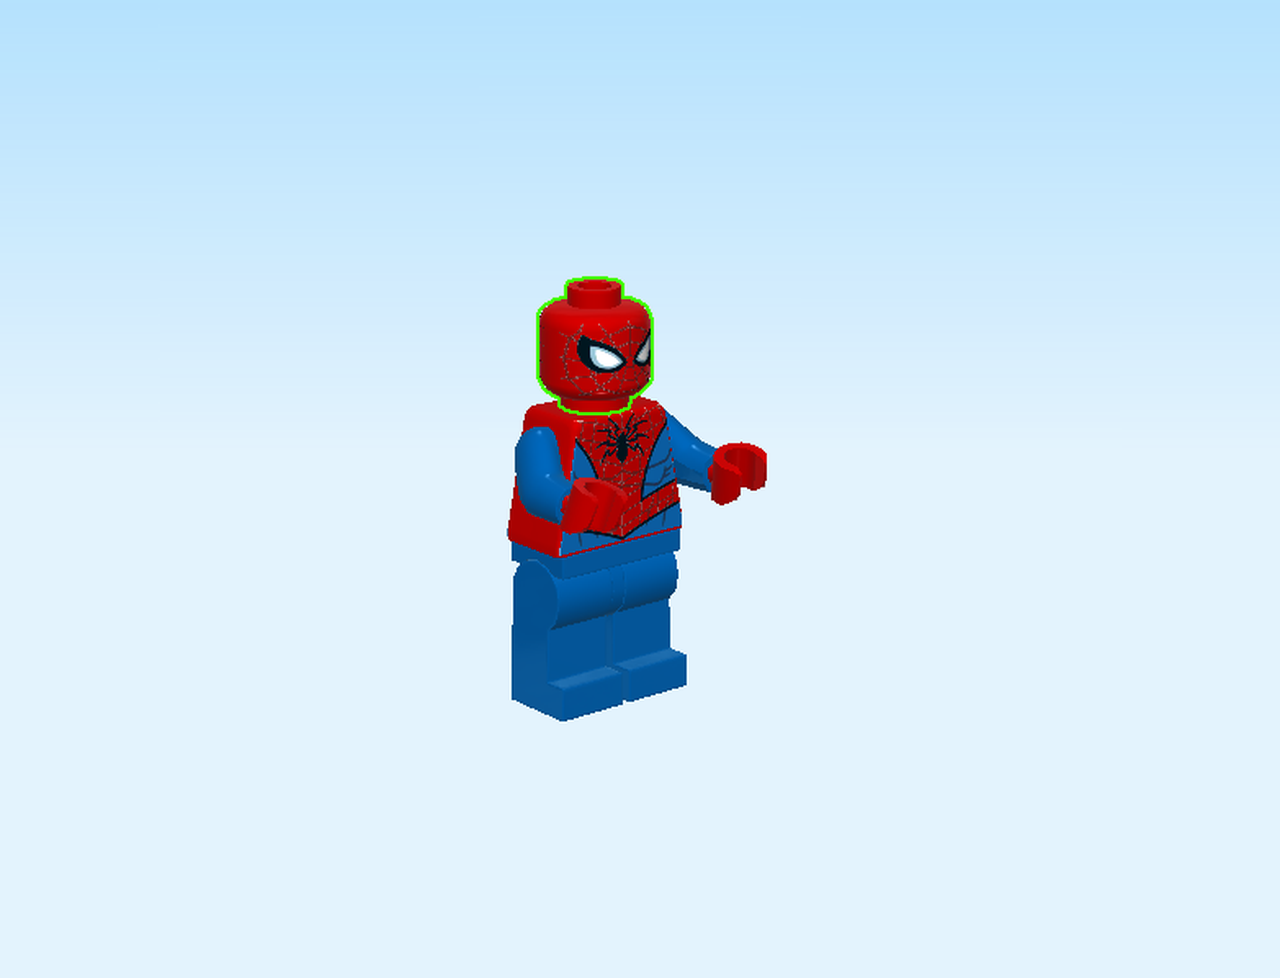
| First, we build the Spider-Man Minifigure. |
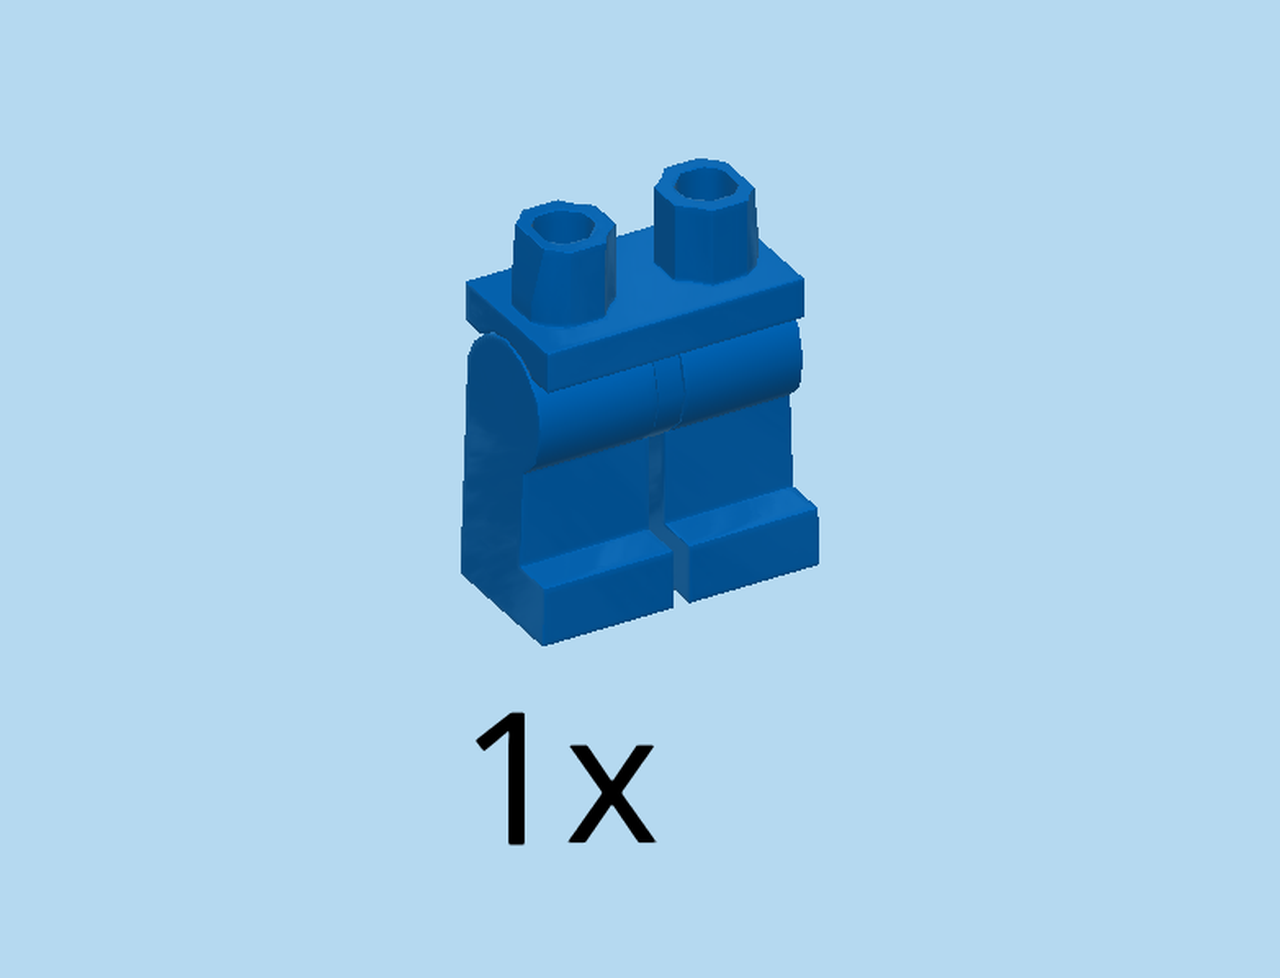
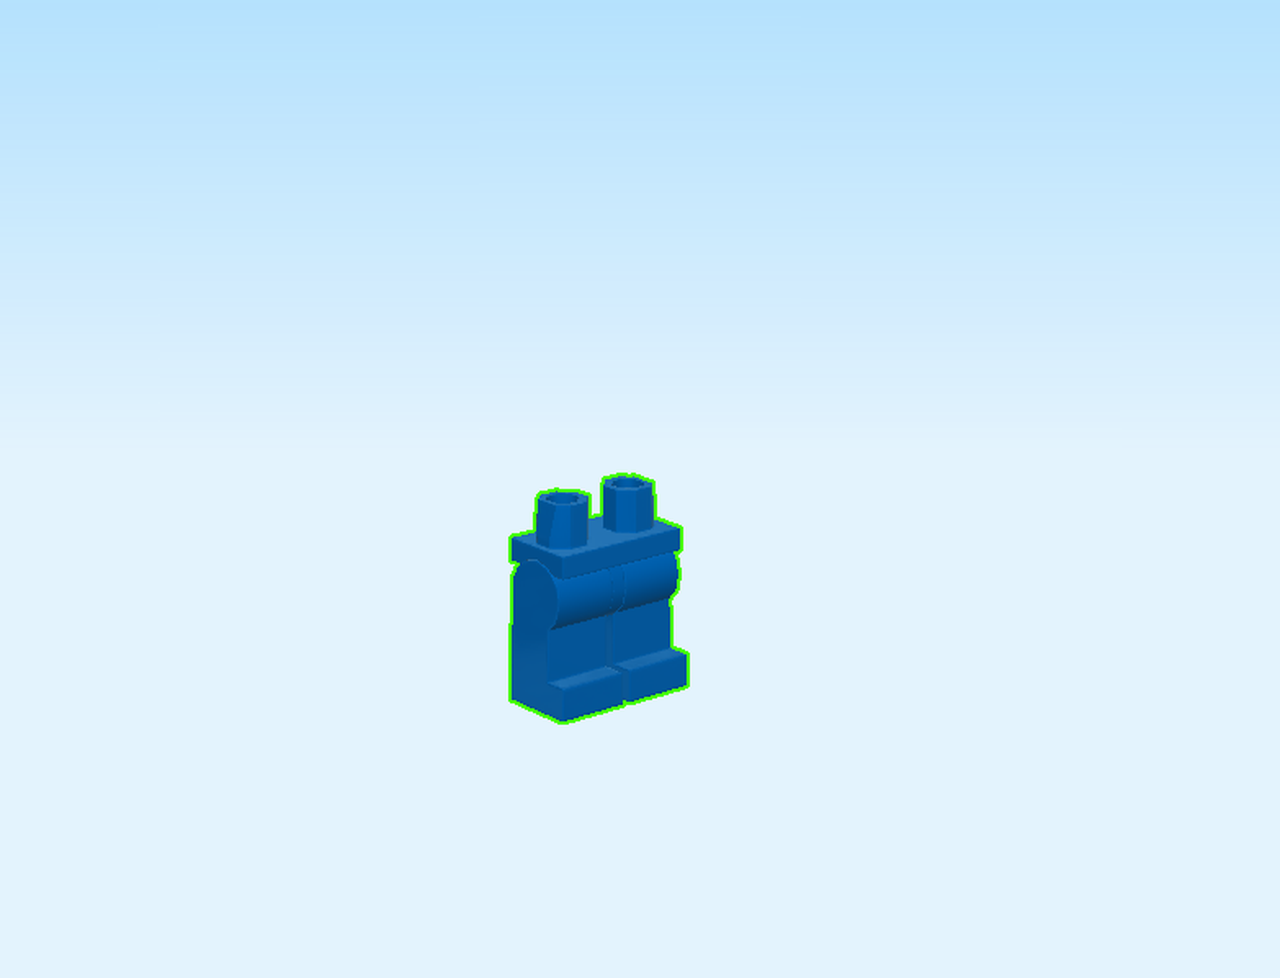
| Find 1 bright blue pair of legs. |
| Put it on the table. |
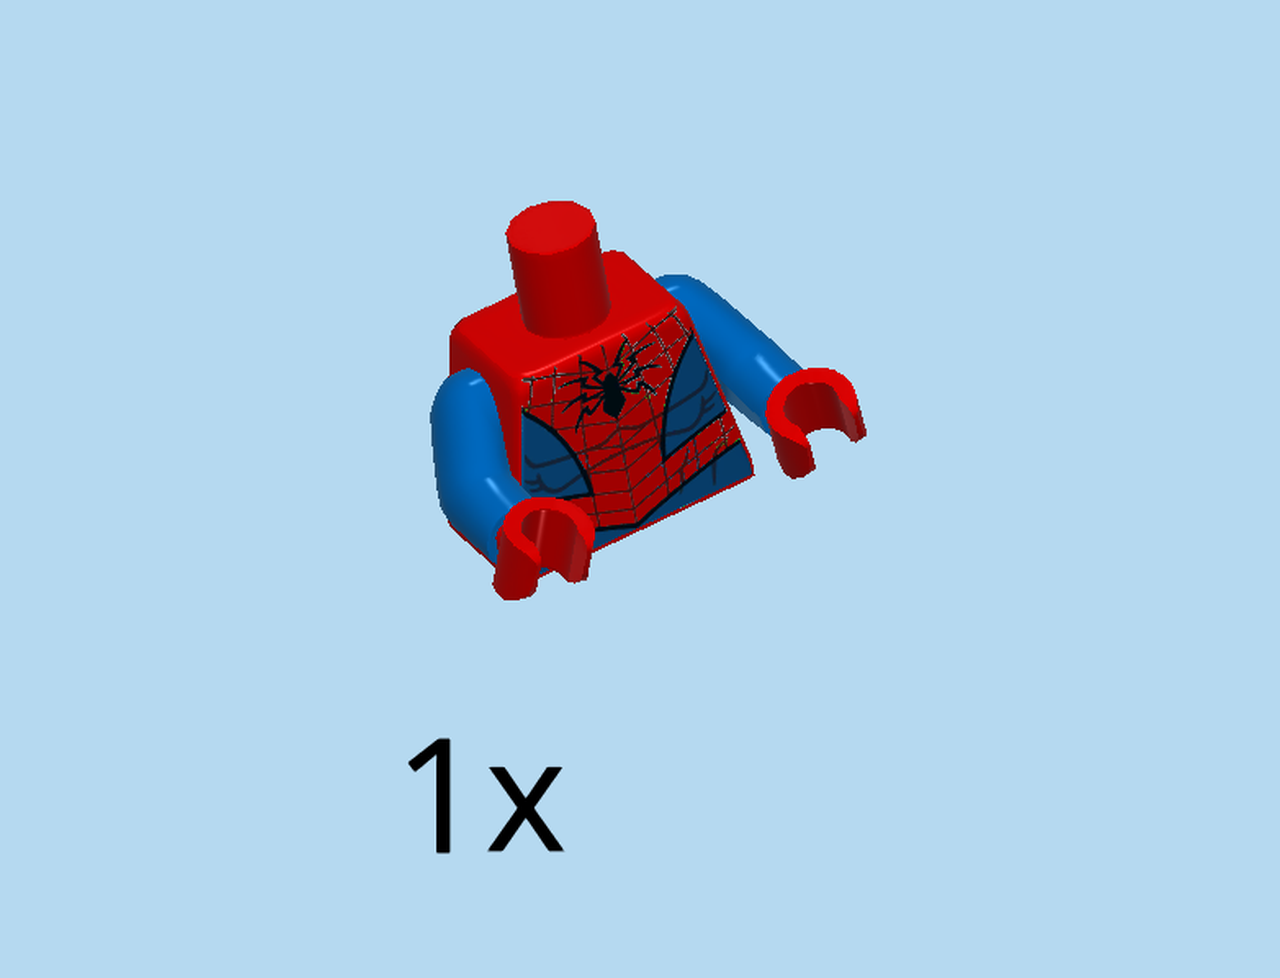
| Find 1 bright red and bright blue upper part of the body. |
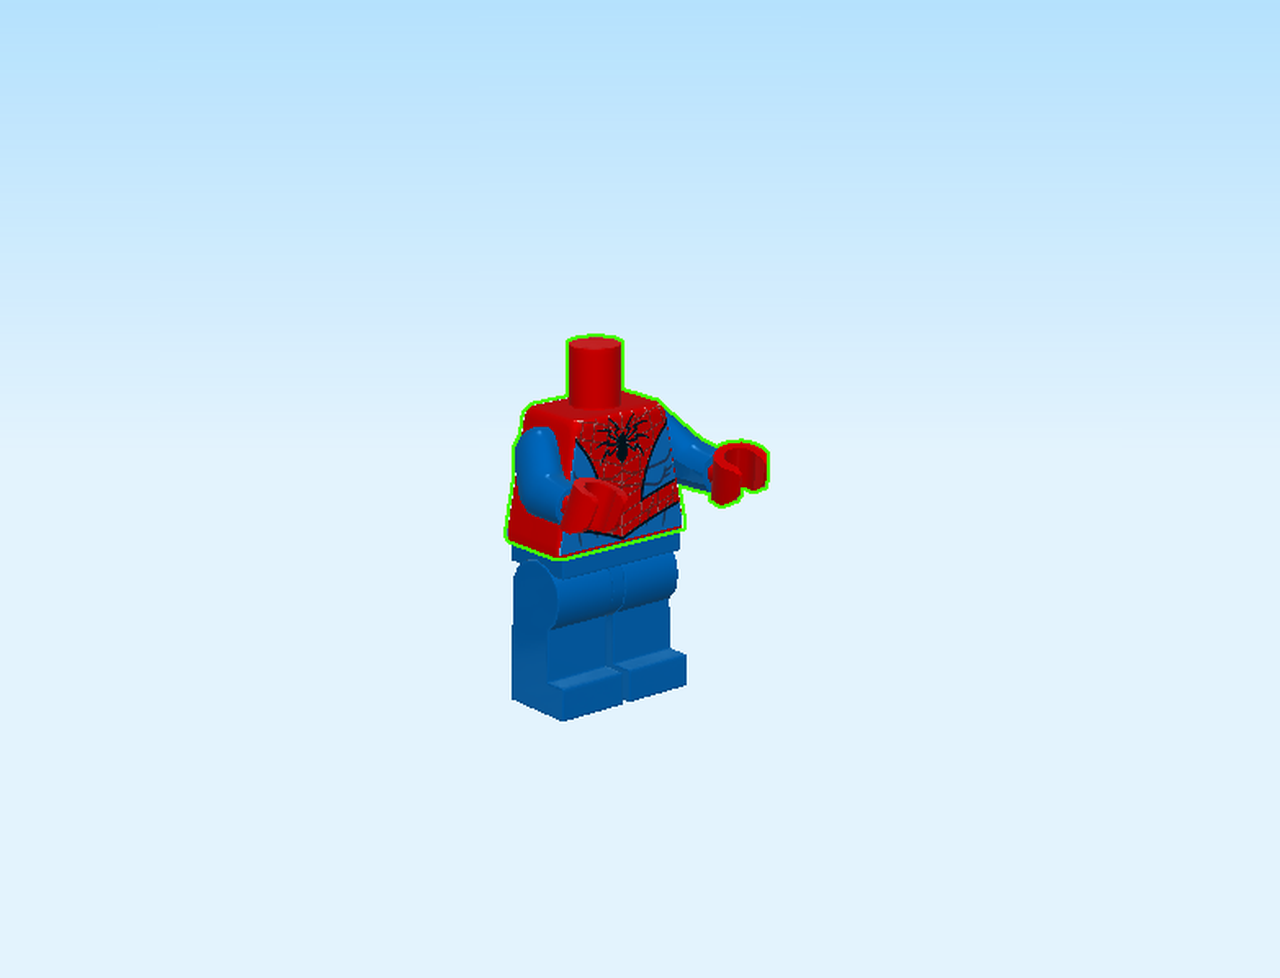
| Put it on top. |
| Spider-Man's superhero suit is blue and red. It is printed with a spiderweb and a big spider on his chest. You can even see Spider-Man's sixpack through the fabric. |
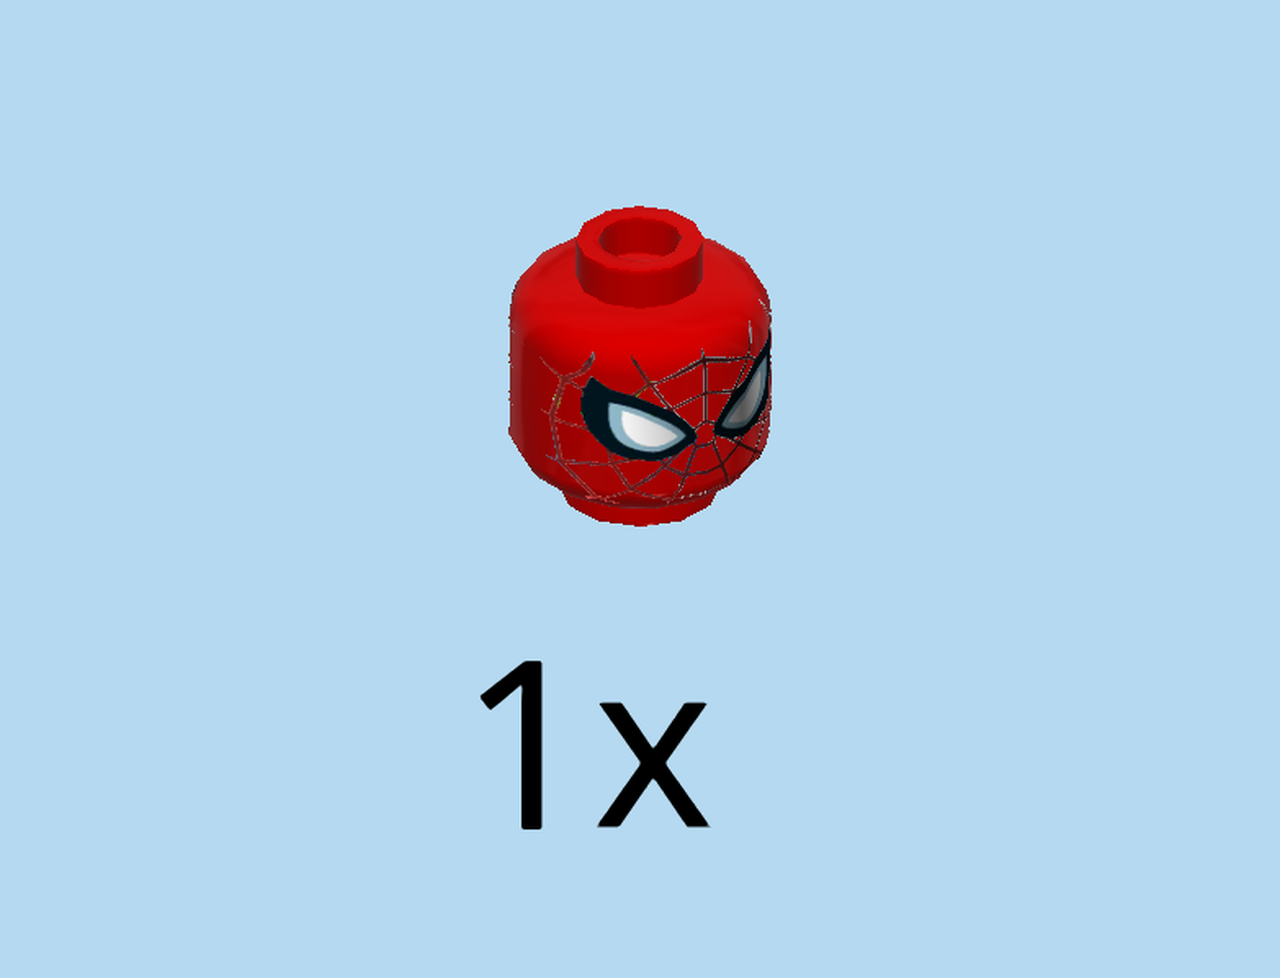
| Find 1 bright red head. |
| Put it on top. |
| Spider-Man has a spider web all over his face and a determined smile. |
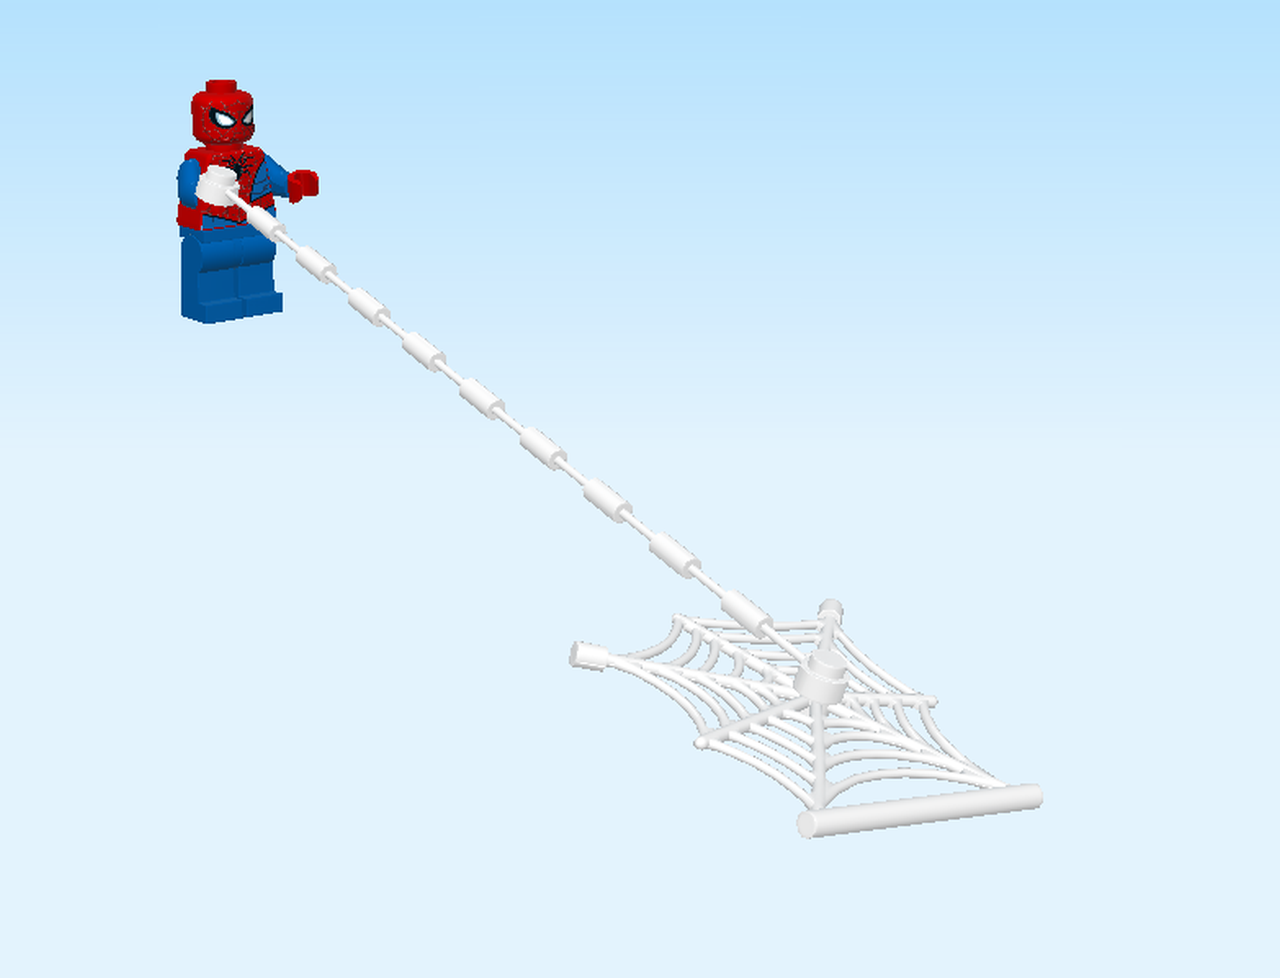
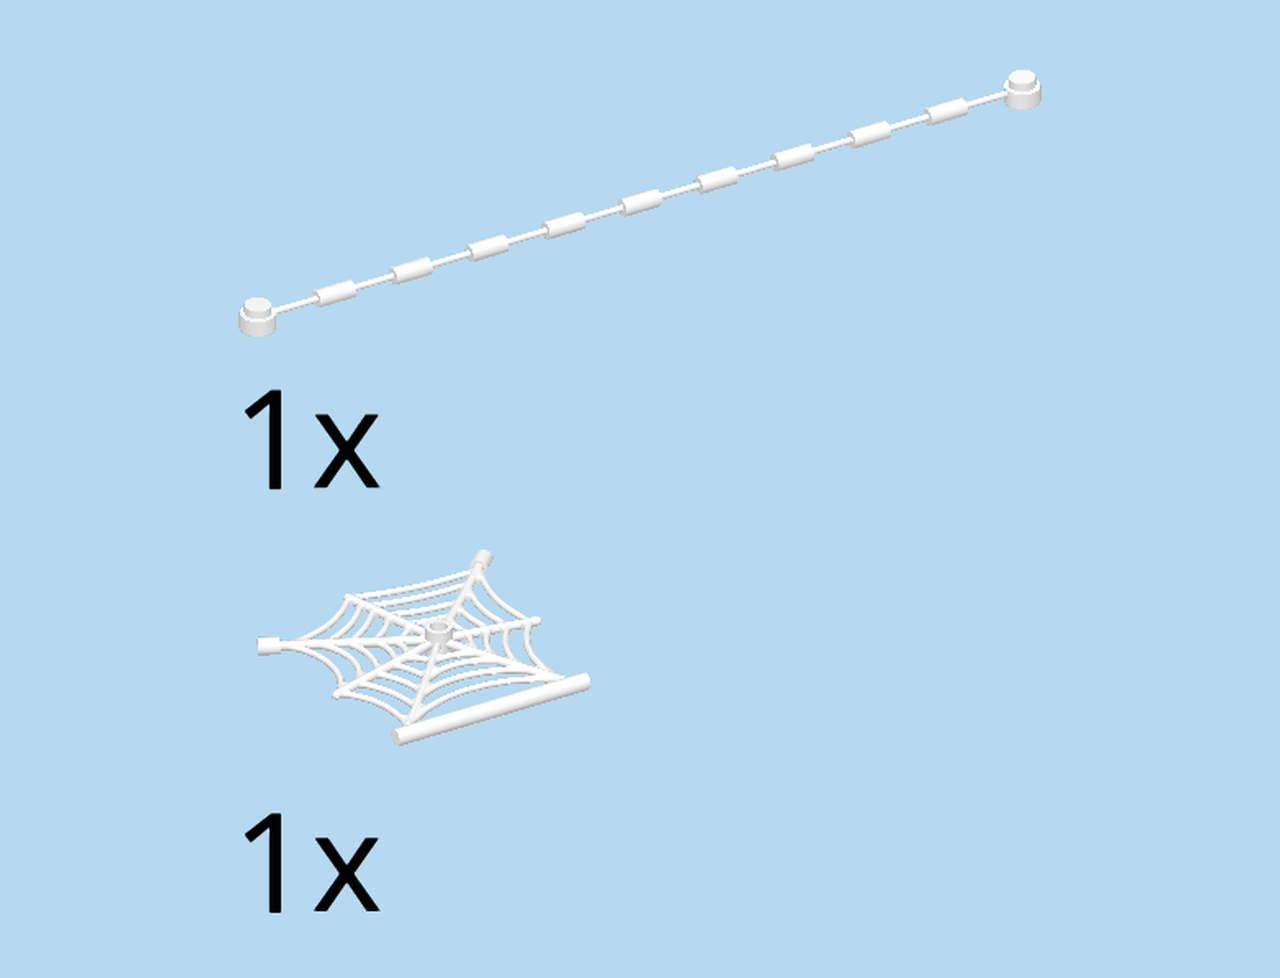
| Collect the following 2 pieces: |
| 1 white string 20m with coupling points and end knobs, |
| and 1 white spider web 7x7 with long shaft. |
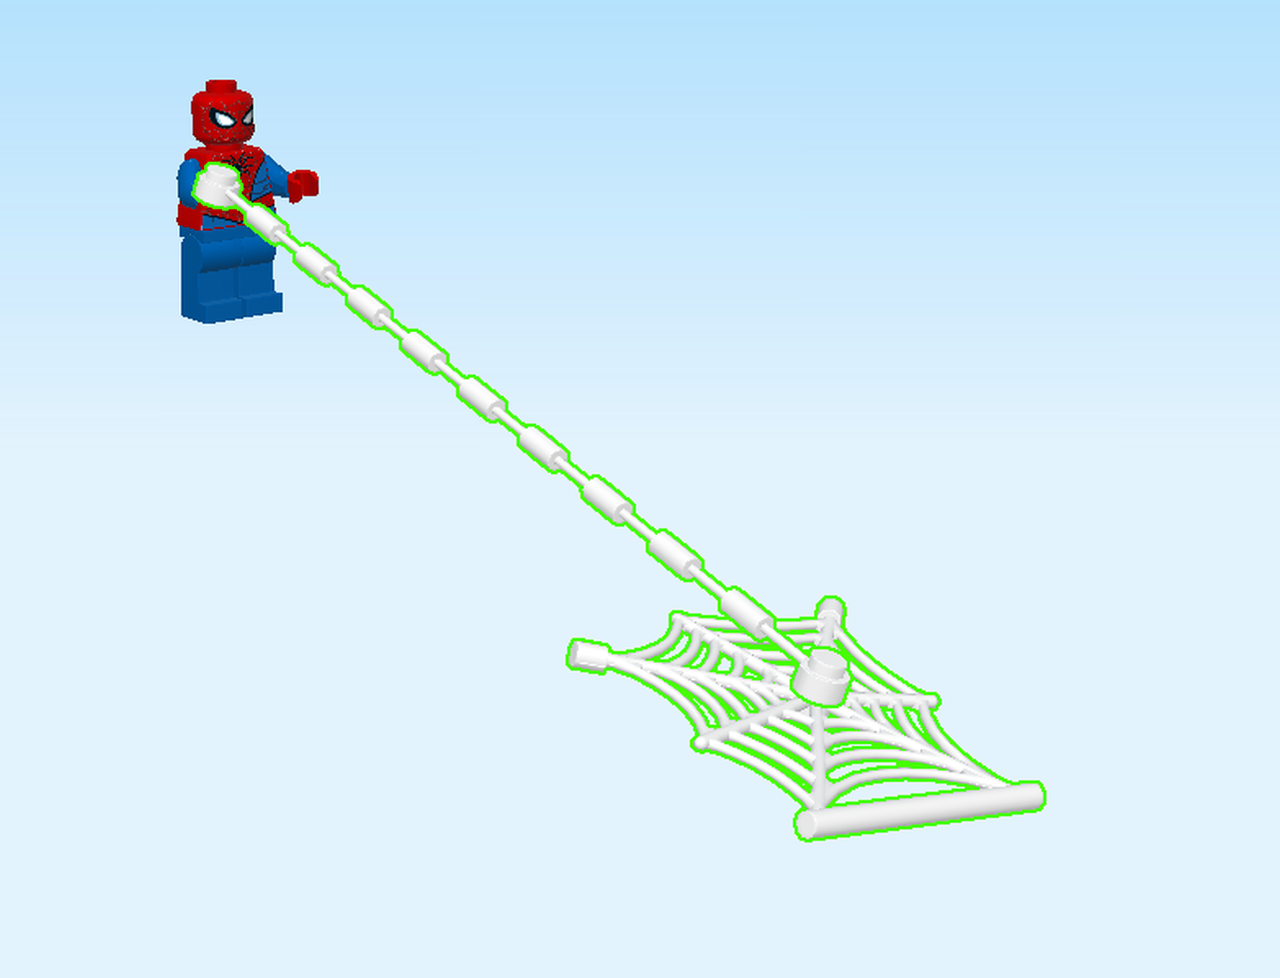
| Put one knob of the string on Spider-Man's right hand. |
| Put the other knob of the string on the centered knob of the spider web 7x7. |
| The Spider-Man Minifigure is finished! Well done! Now, Spider-Man can go hunt his enemies and other villains. |
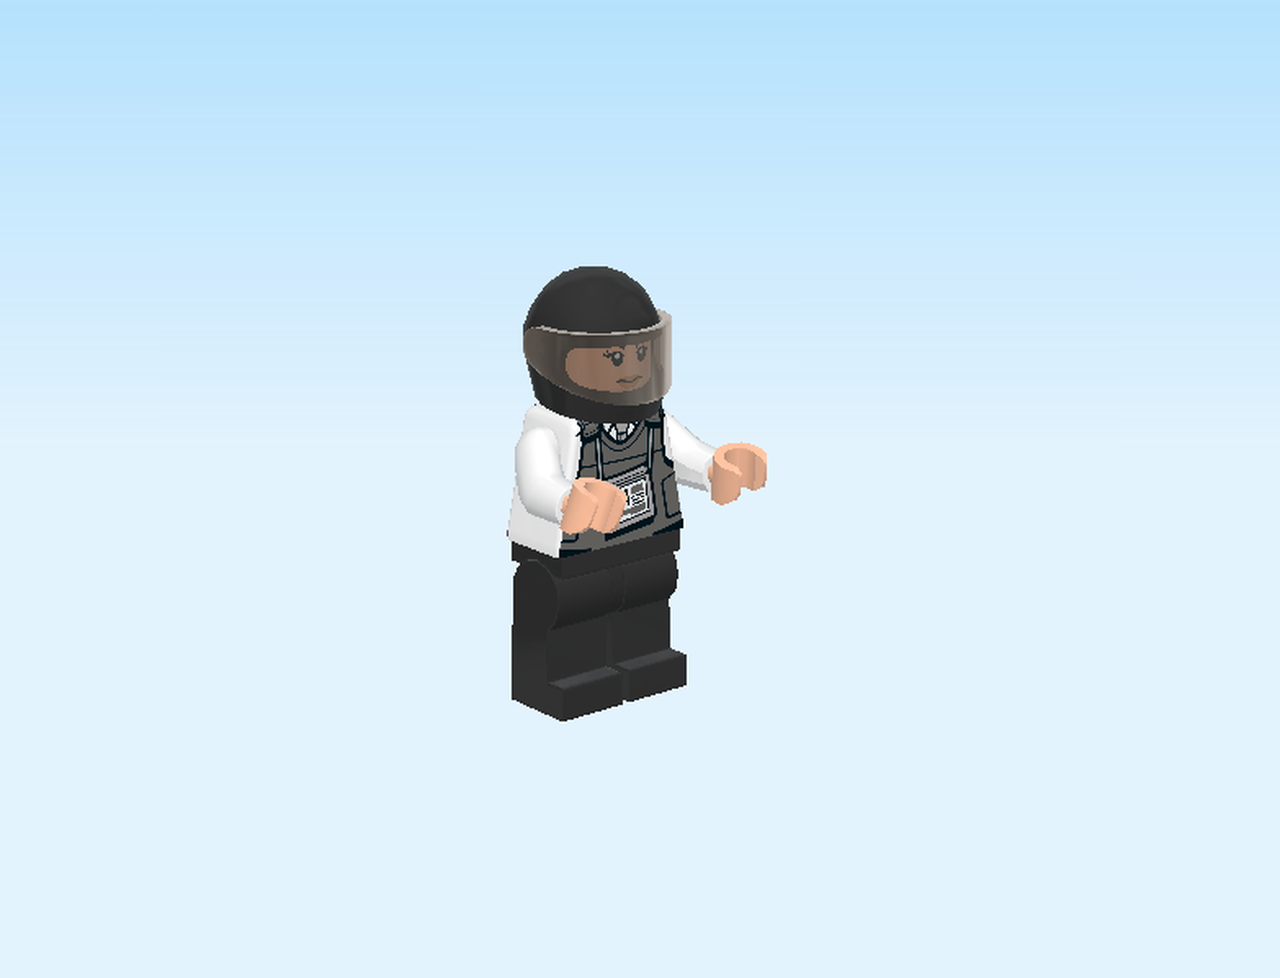
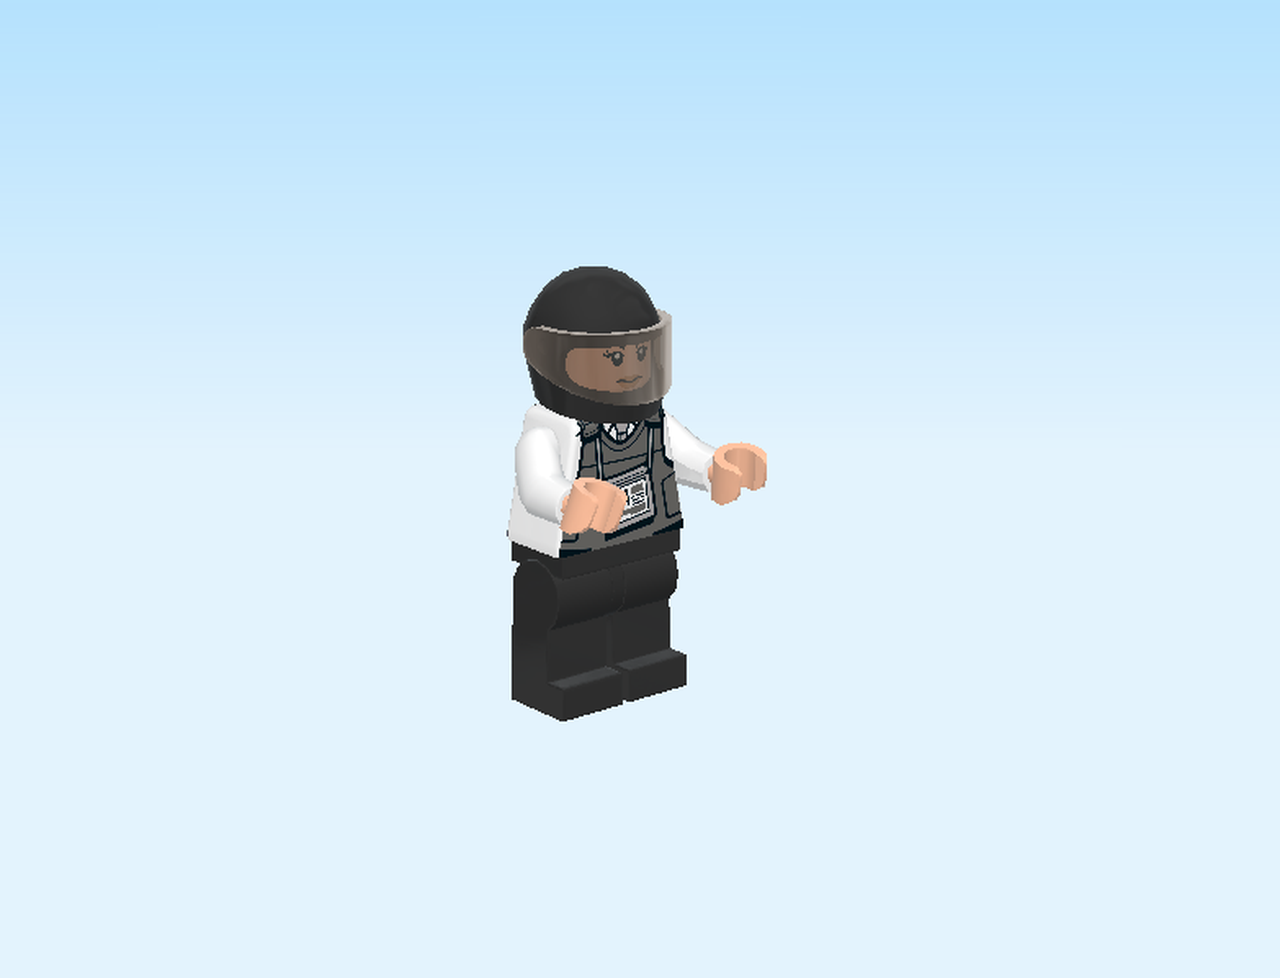
| Next, we will build the Truck Driver Minifigure. |
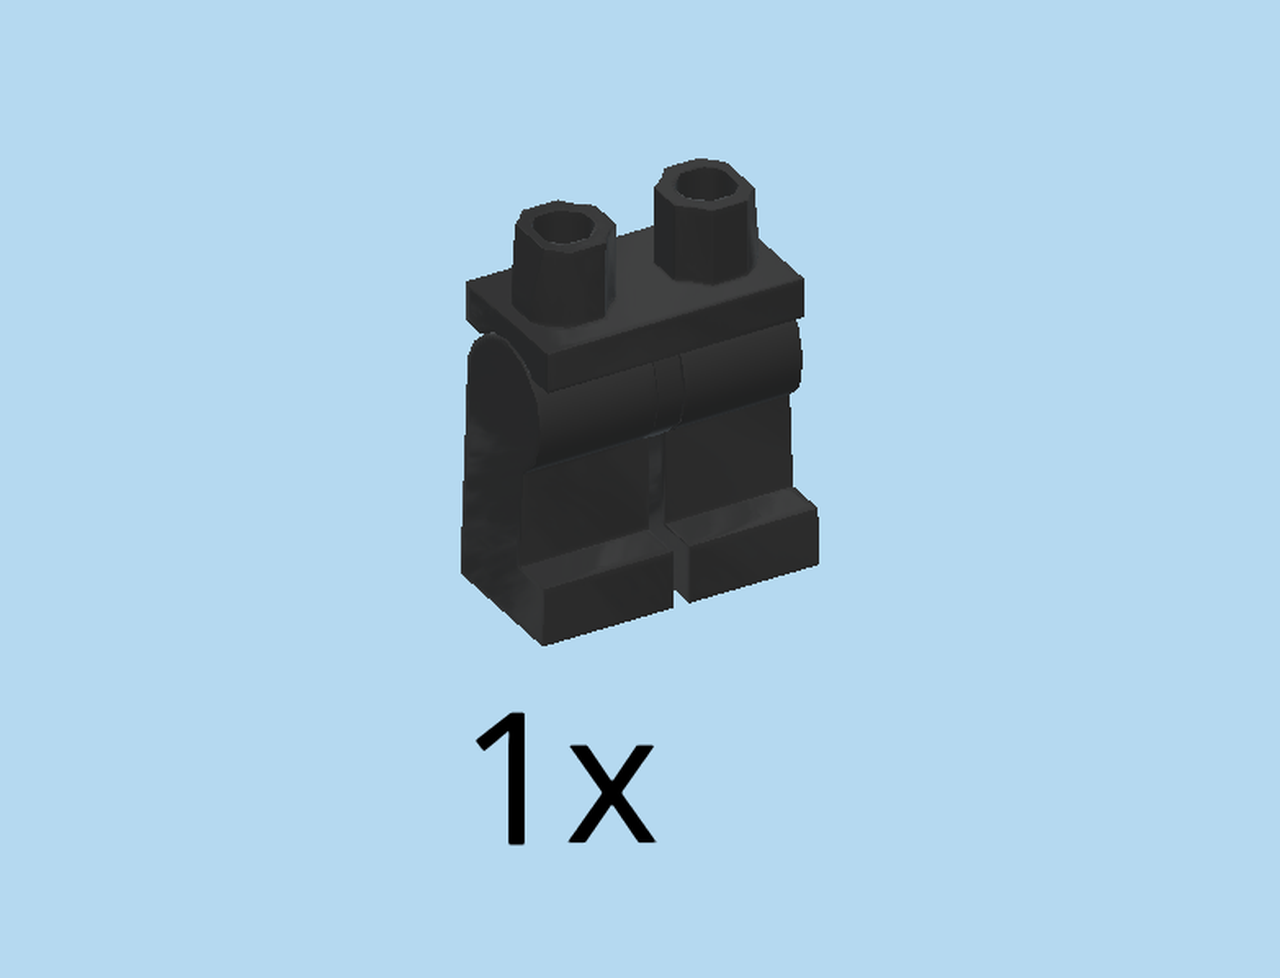
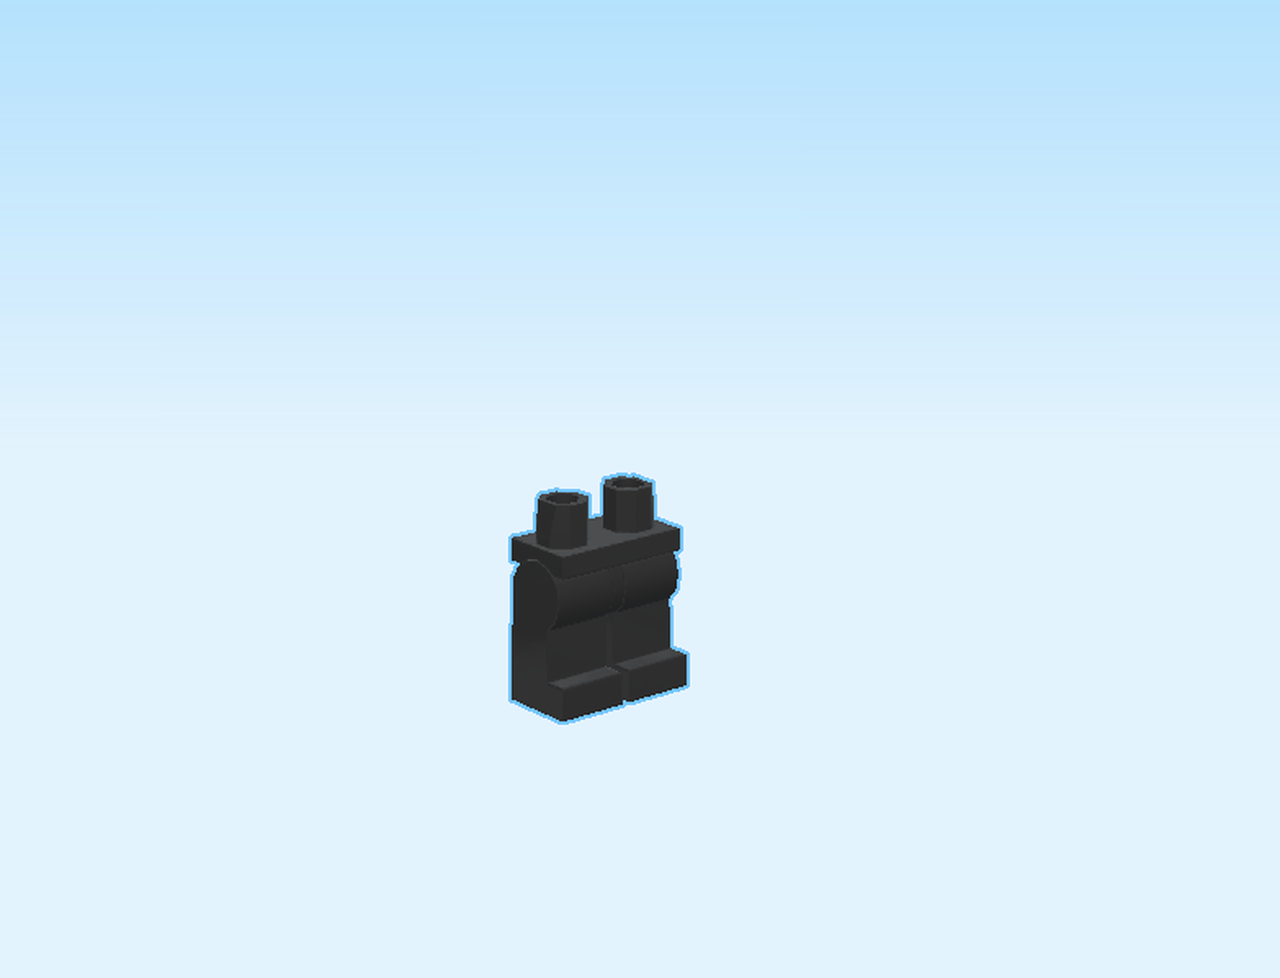
| Find 1 black pair of legs. |
| Put it on the table. |
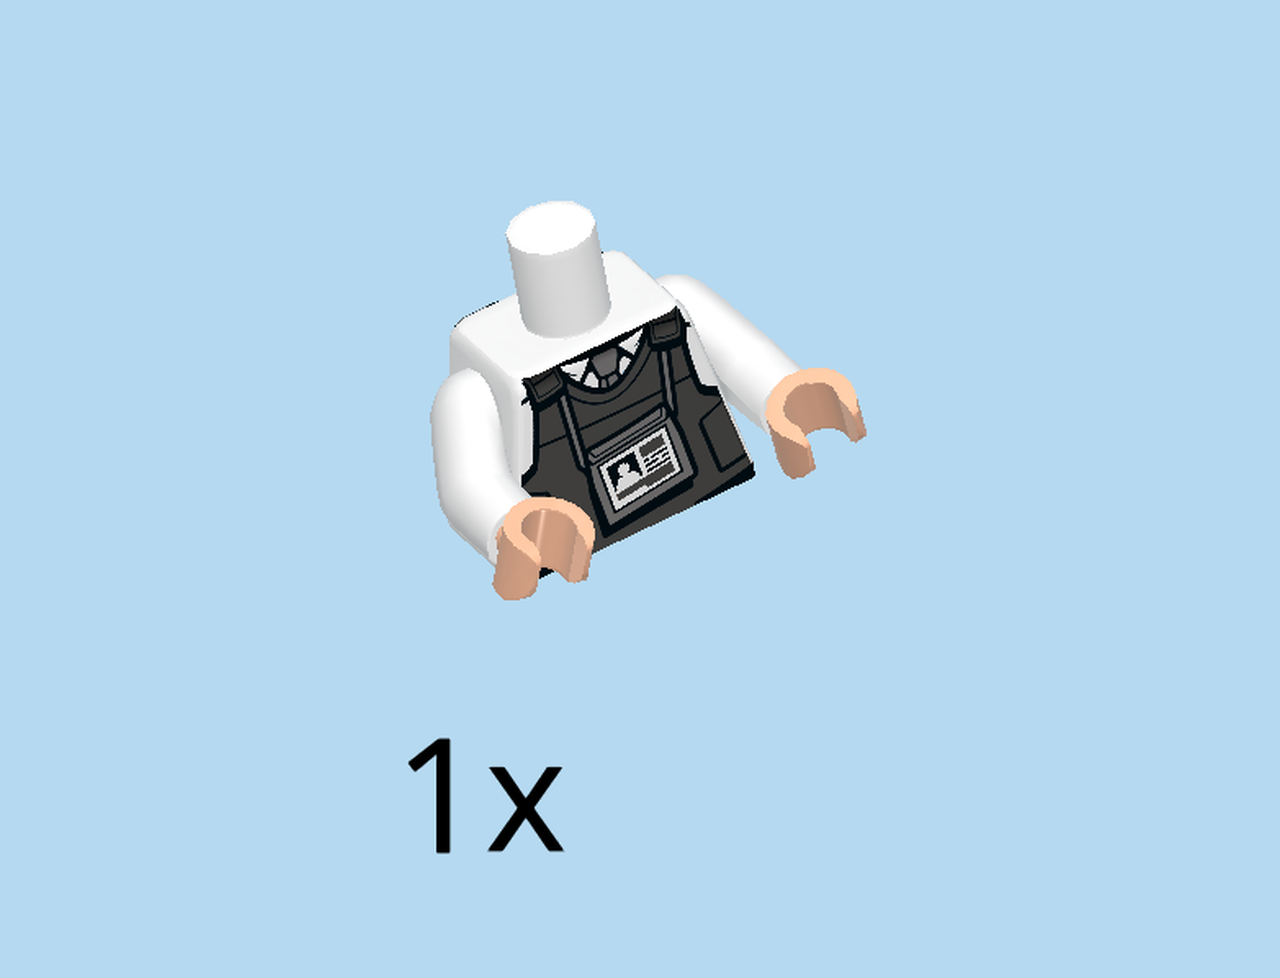
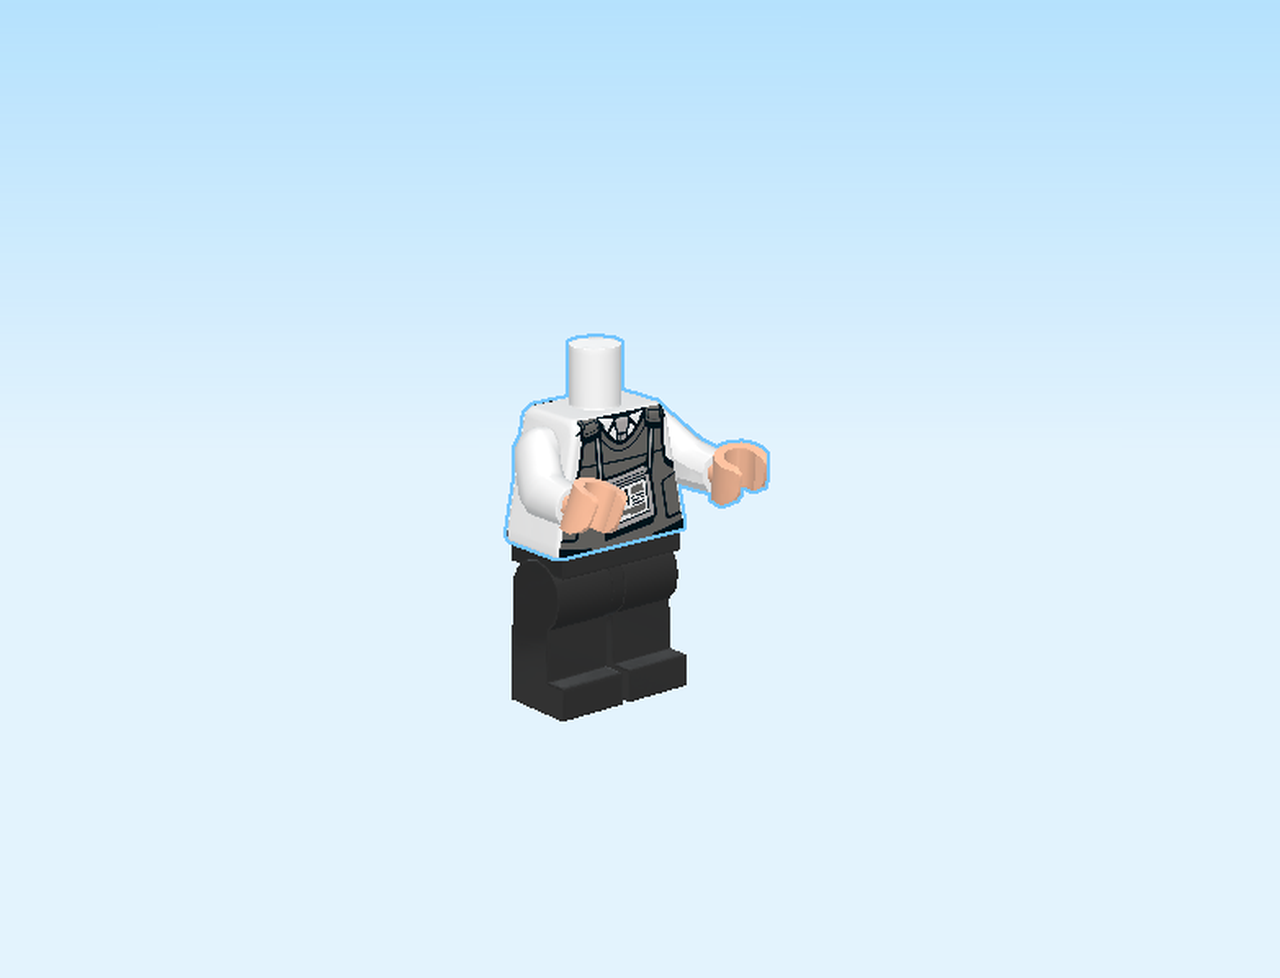
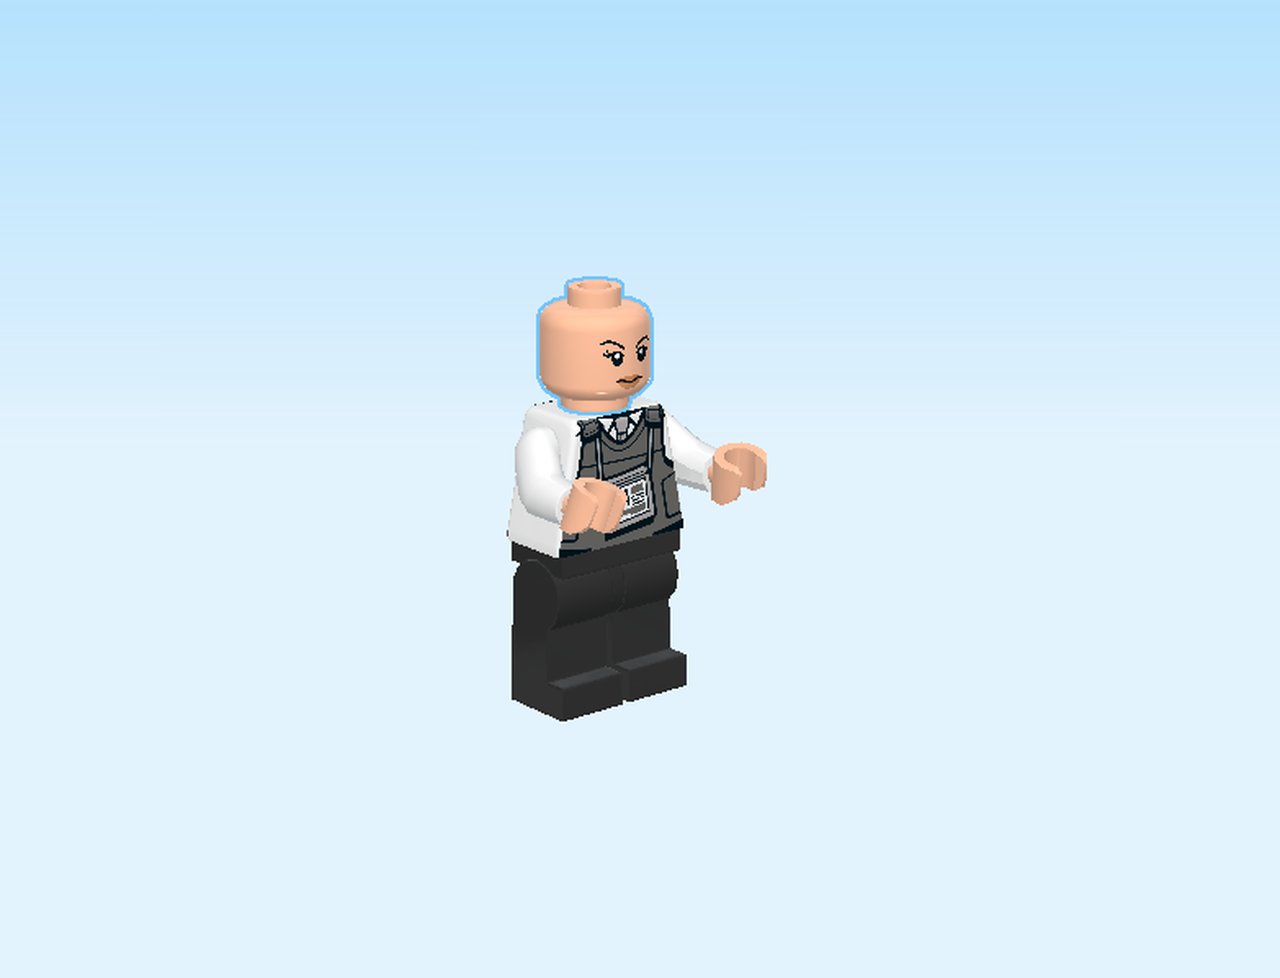
| Find 1 white and light nougat brown upper part of the body. |
| Put it on top. |
| The truck driver is wearing a white shirt, a grey tie, and a bulletproof vest. Her ID card is dangling from her neck. |
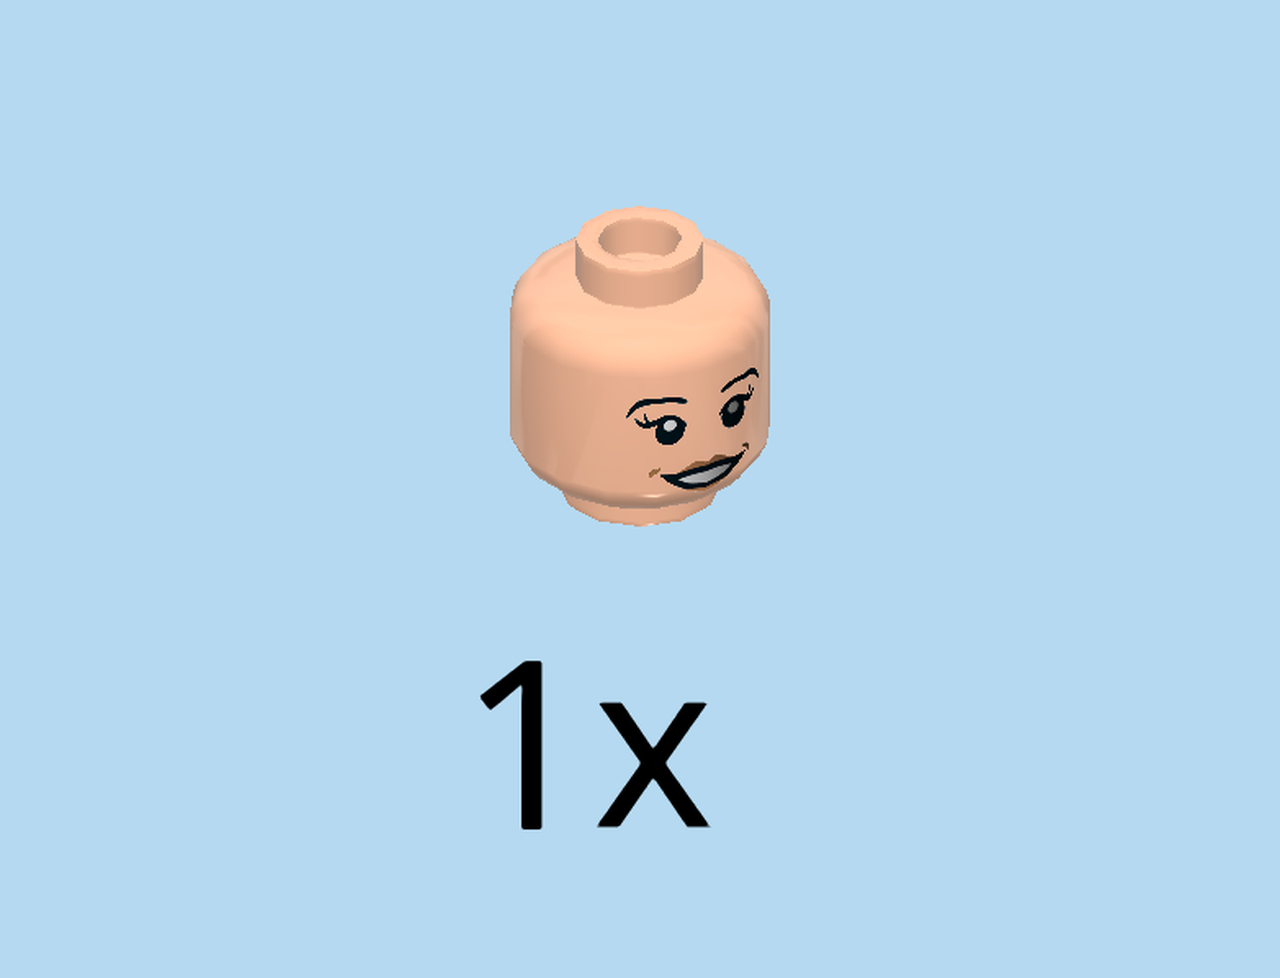
| Find 1 light nougat brown head. |
| Put it on top. |
| The truck driver has a friendly face. |
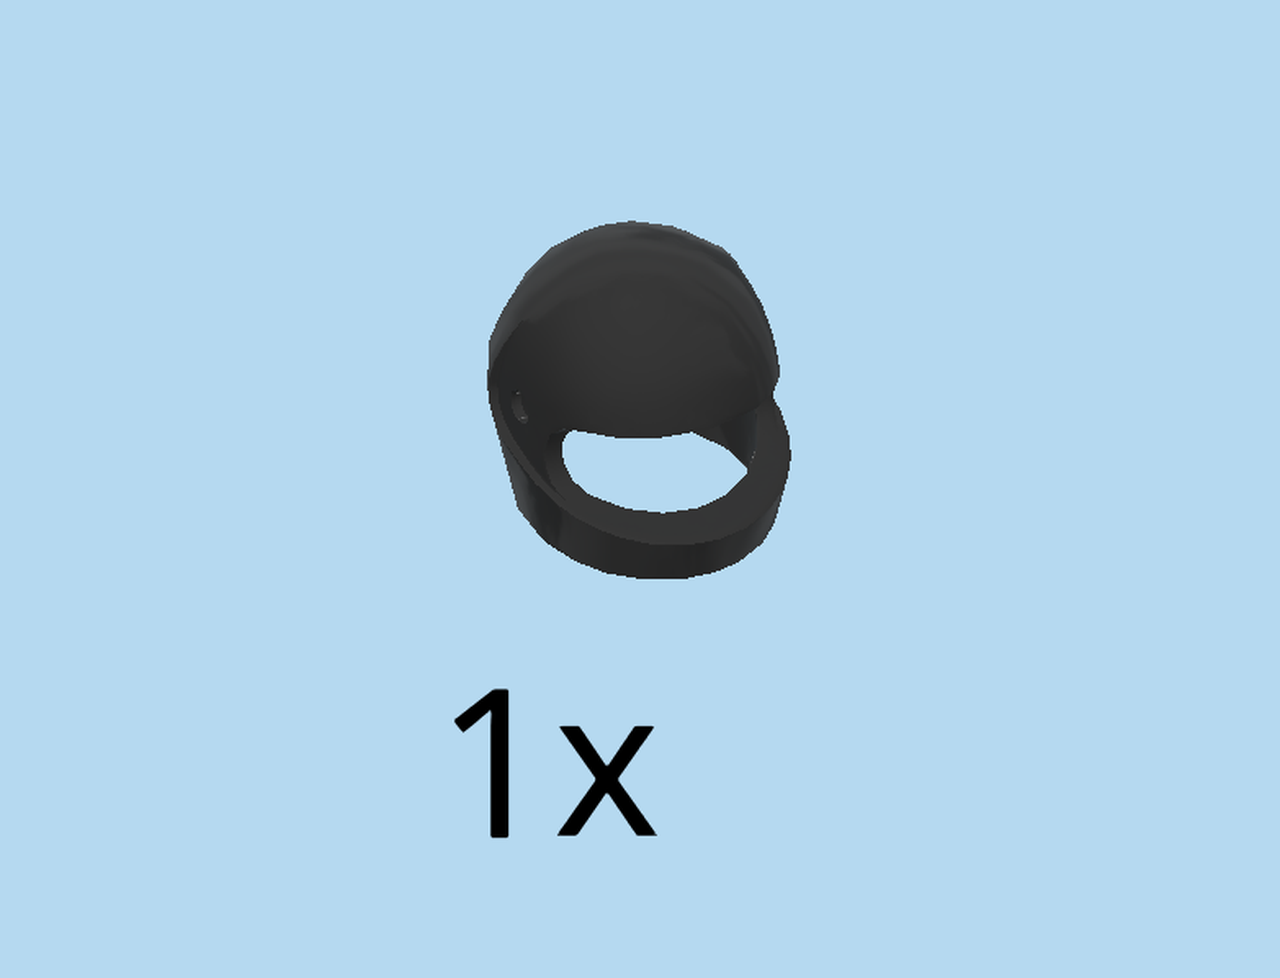
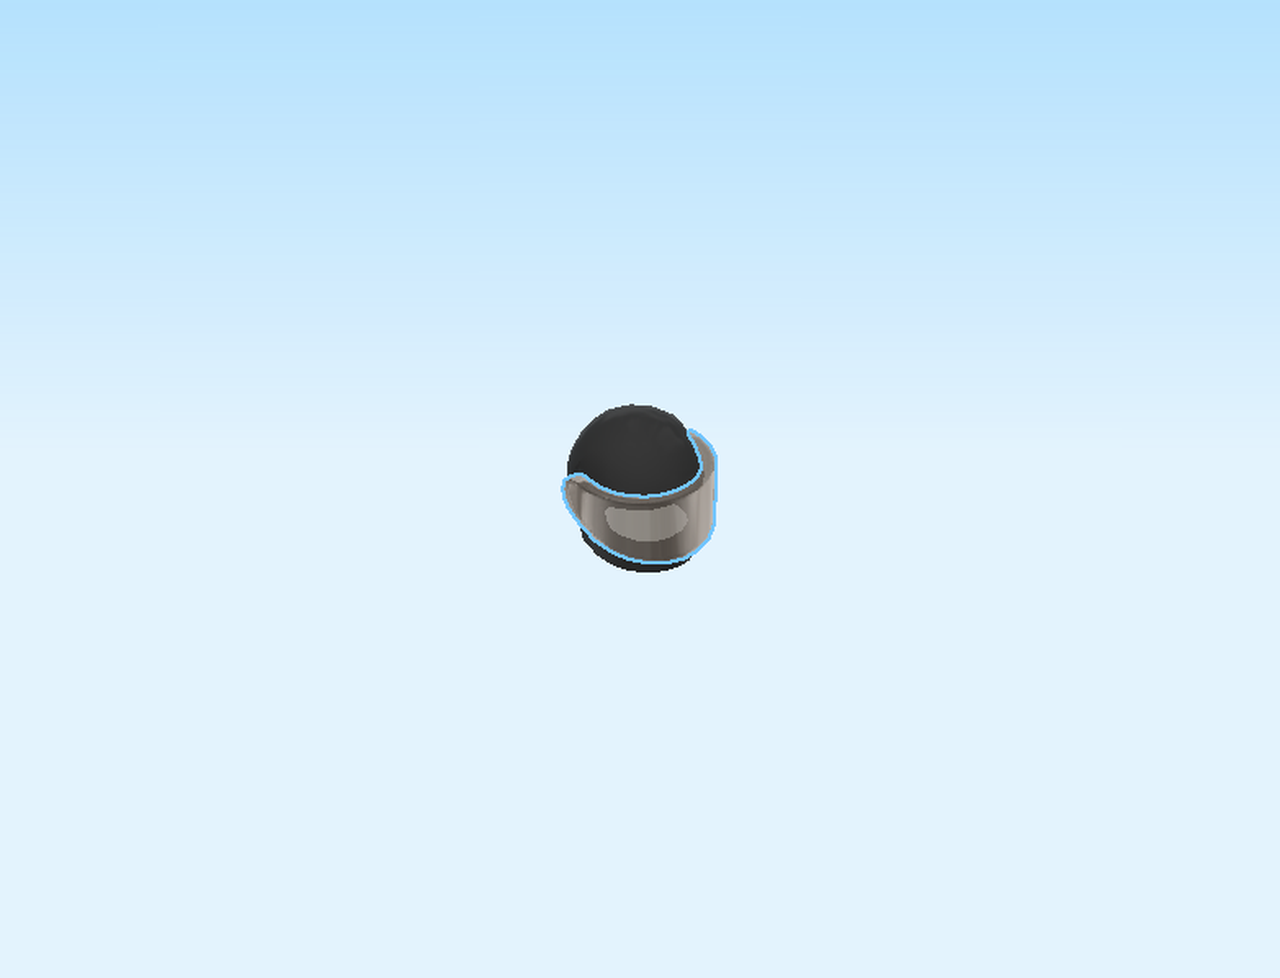
| Find 1 black safety helmet. |
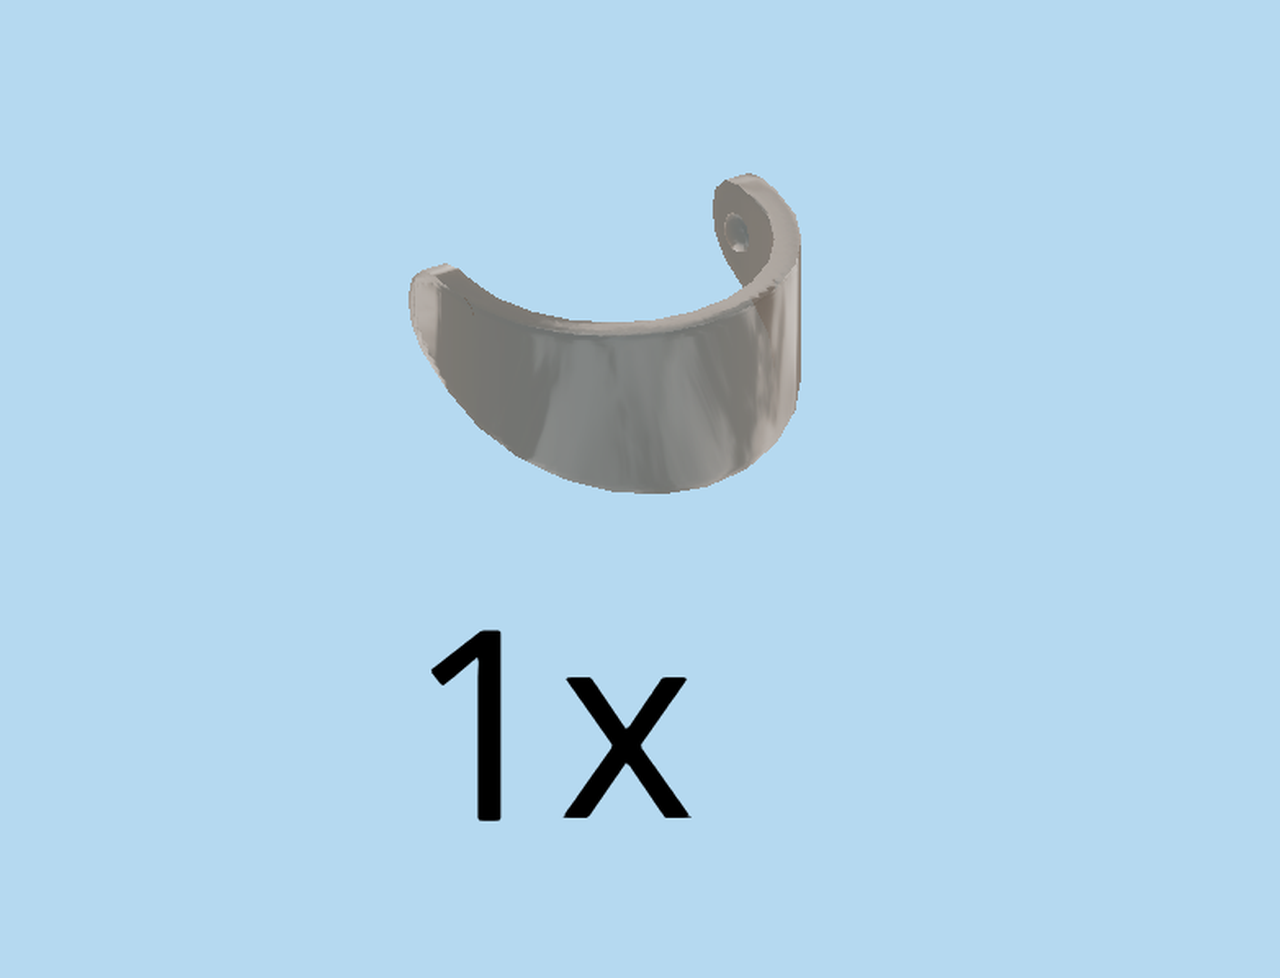
| Find 1 transparent brown helmet visor. |
| Snap the visor on the helmet: the visor has two small bumps on its ends that fit perfectly in two small notches on the helmet. |
| Put the helmet on the head. |
| The Truck Driver Minifigure is finished! Great job! You can put her aside for now, we will build the truck that she is driving later. |
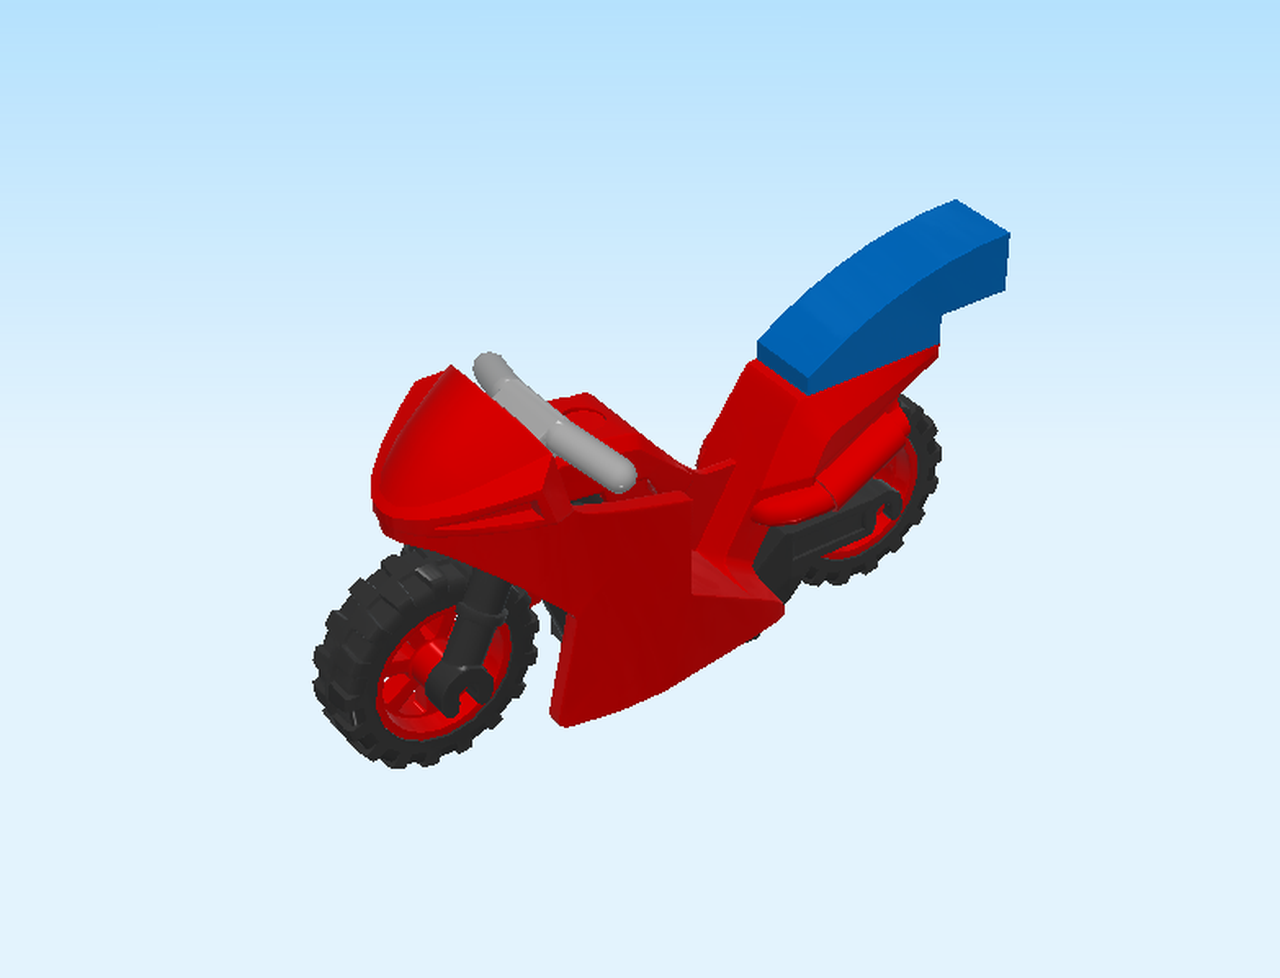
| Next up, we will build Spider-Man's motorbike. |
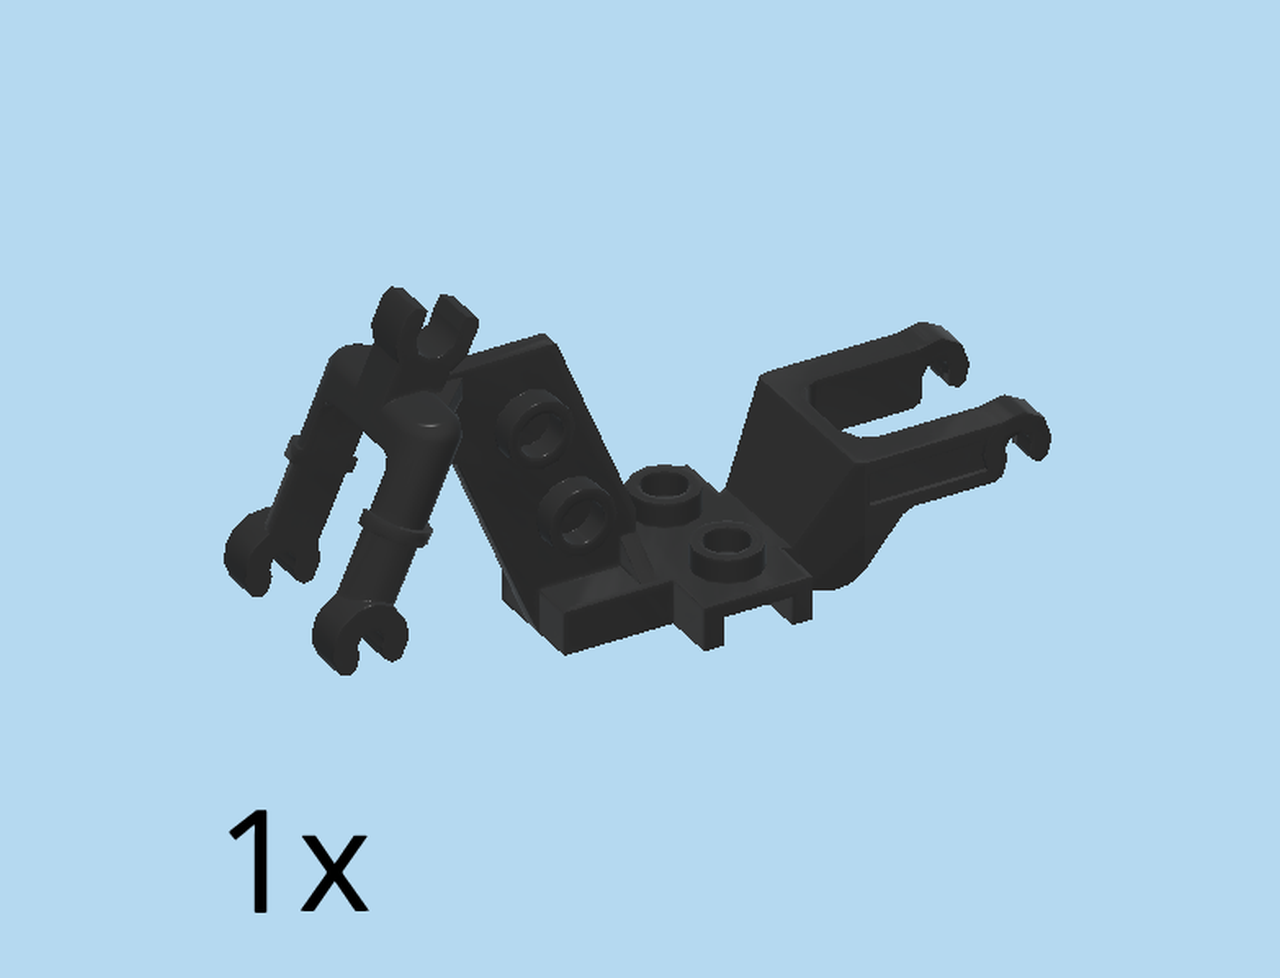
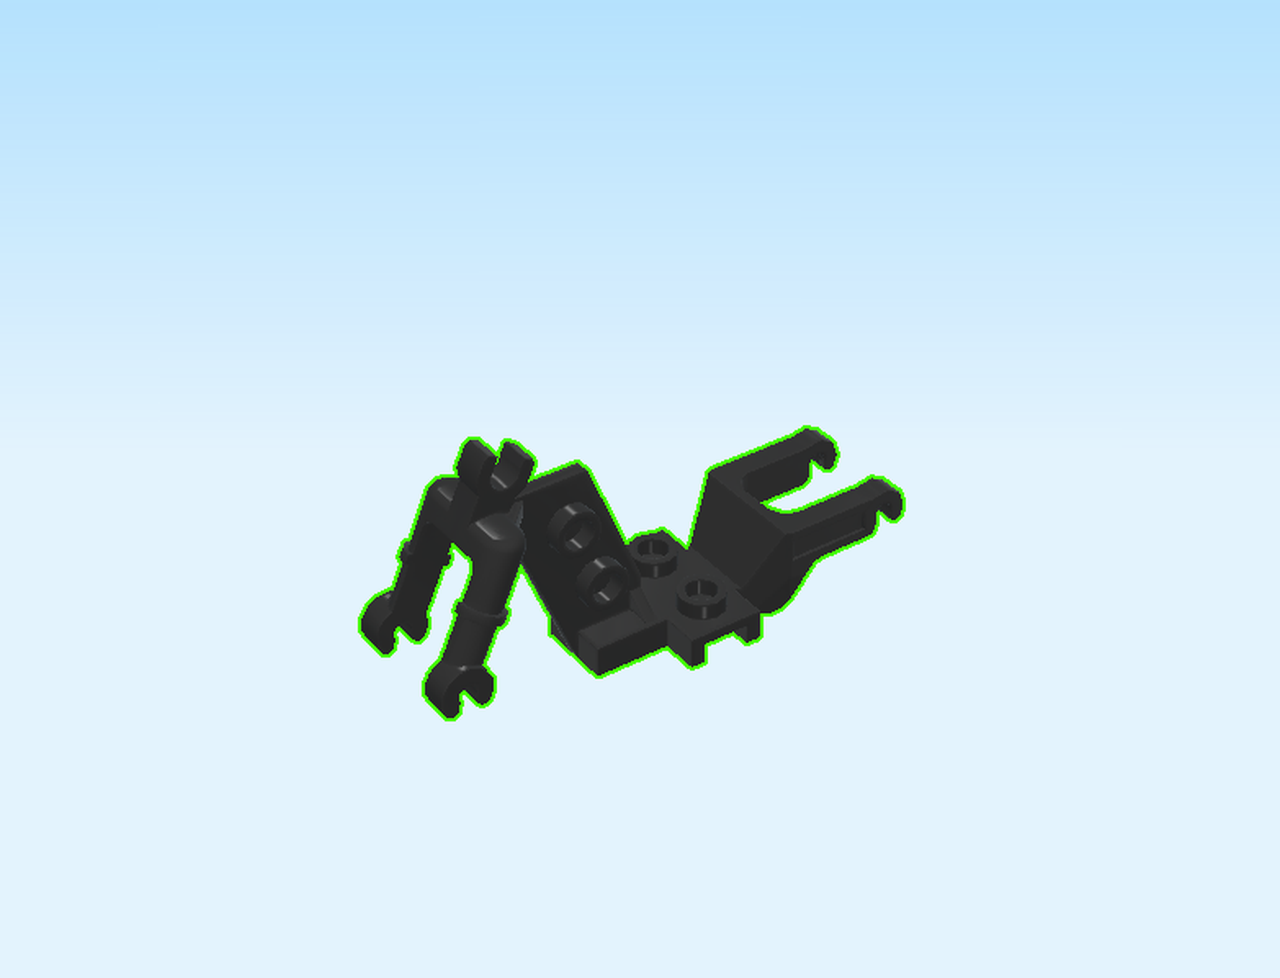
| Find 1 black motorcycle frame. |
| Put it horizontally on the table, front forks to the left and pointing down. The front forks are the steeper pair of forks. |
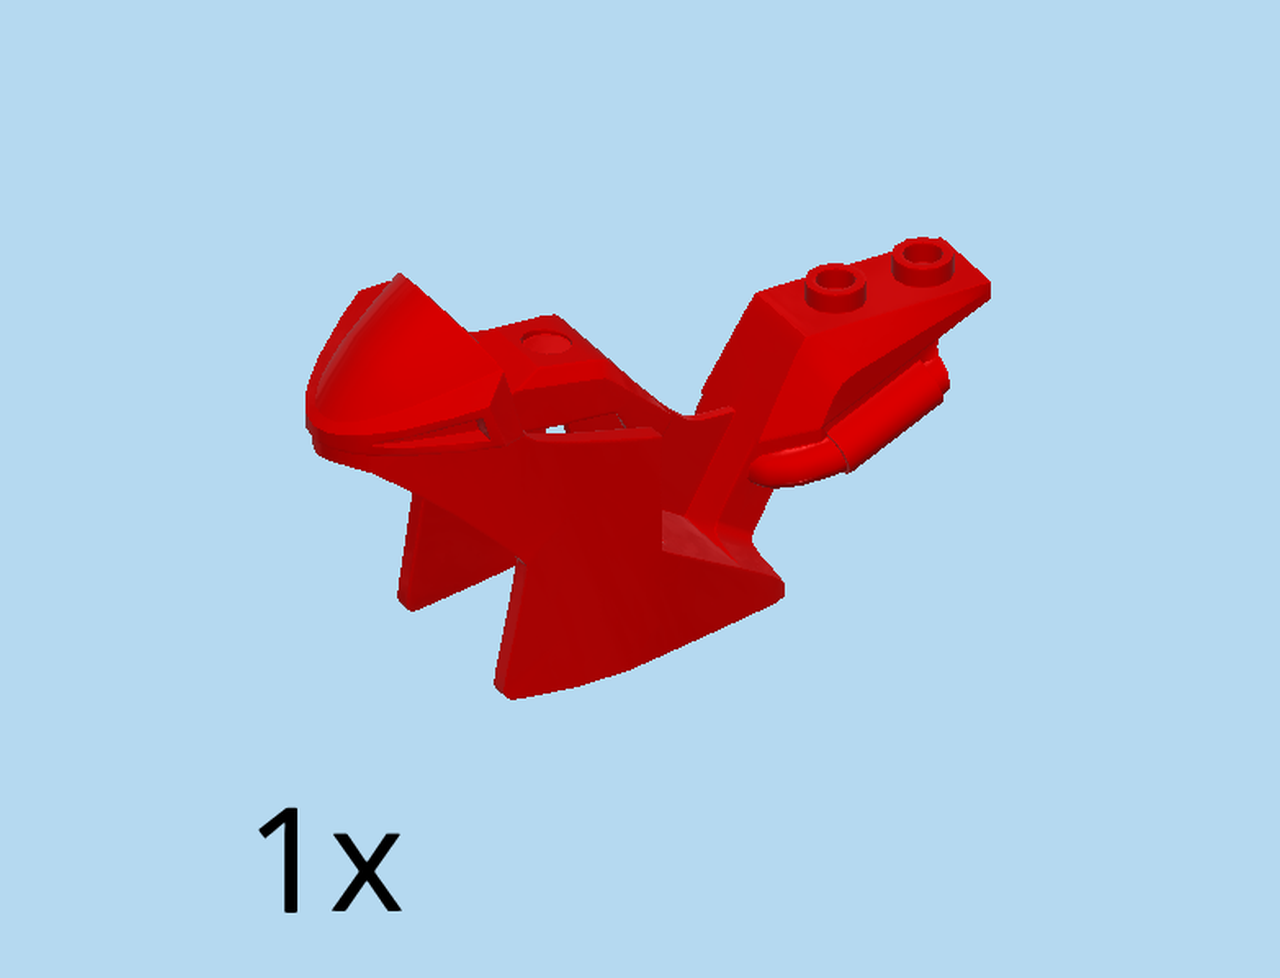
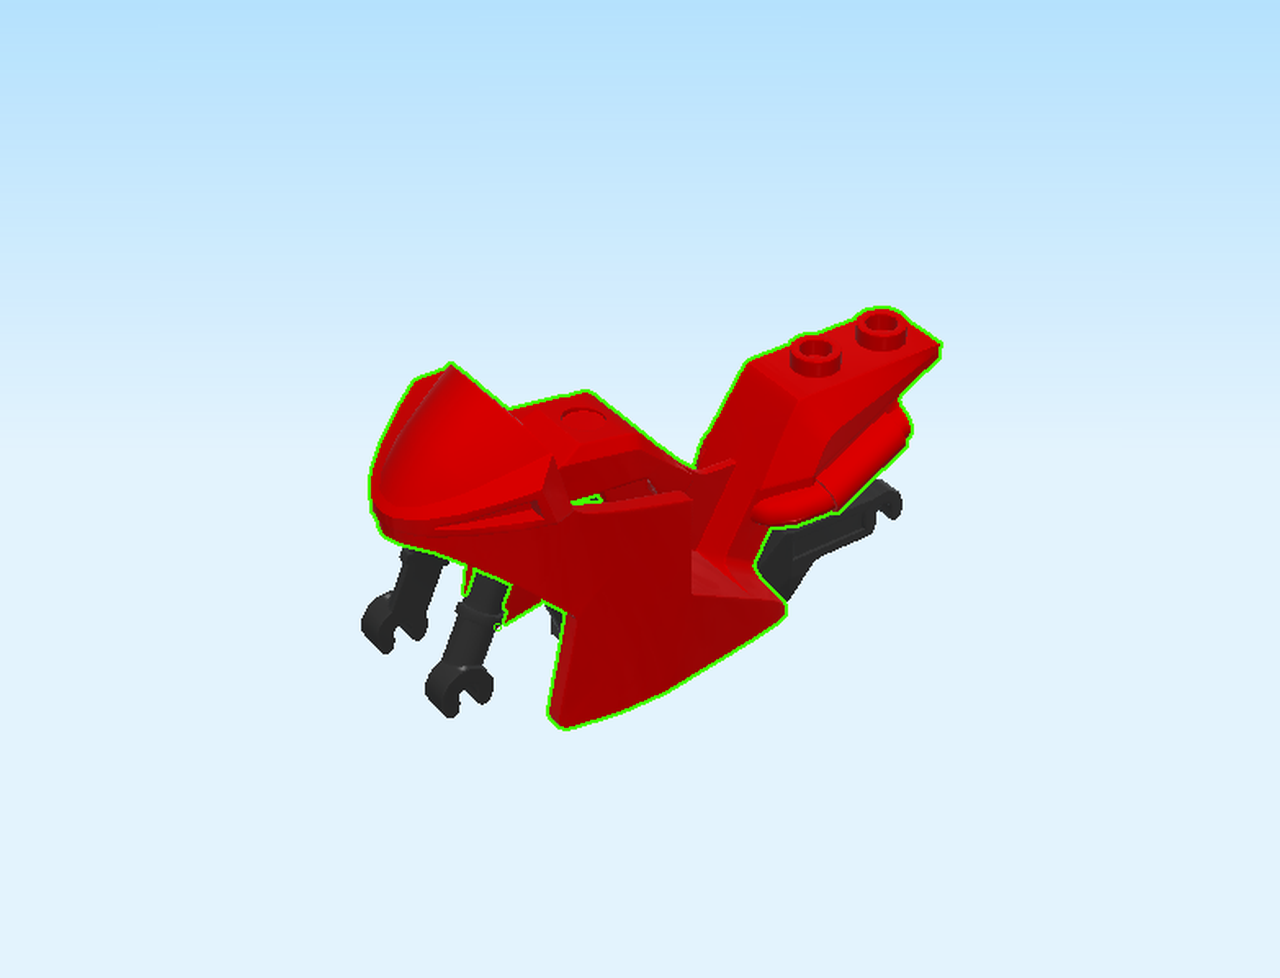
| Find 1 bright red motorcycle fairing. |
| Careful! This might be tricky to attach, ask for help if needed. |
| Put it horizontally on the motorcycle frame, the two top knobs to the right. |
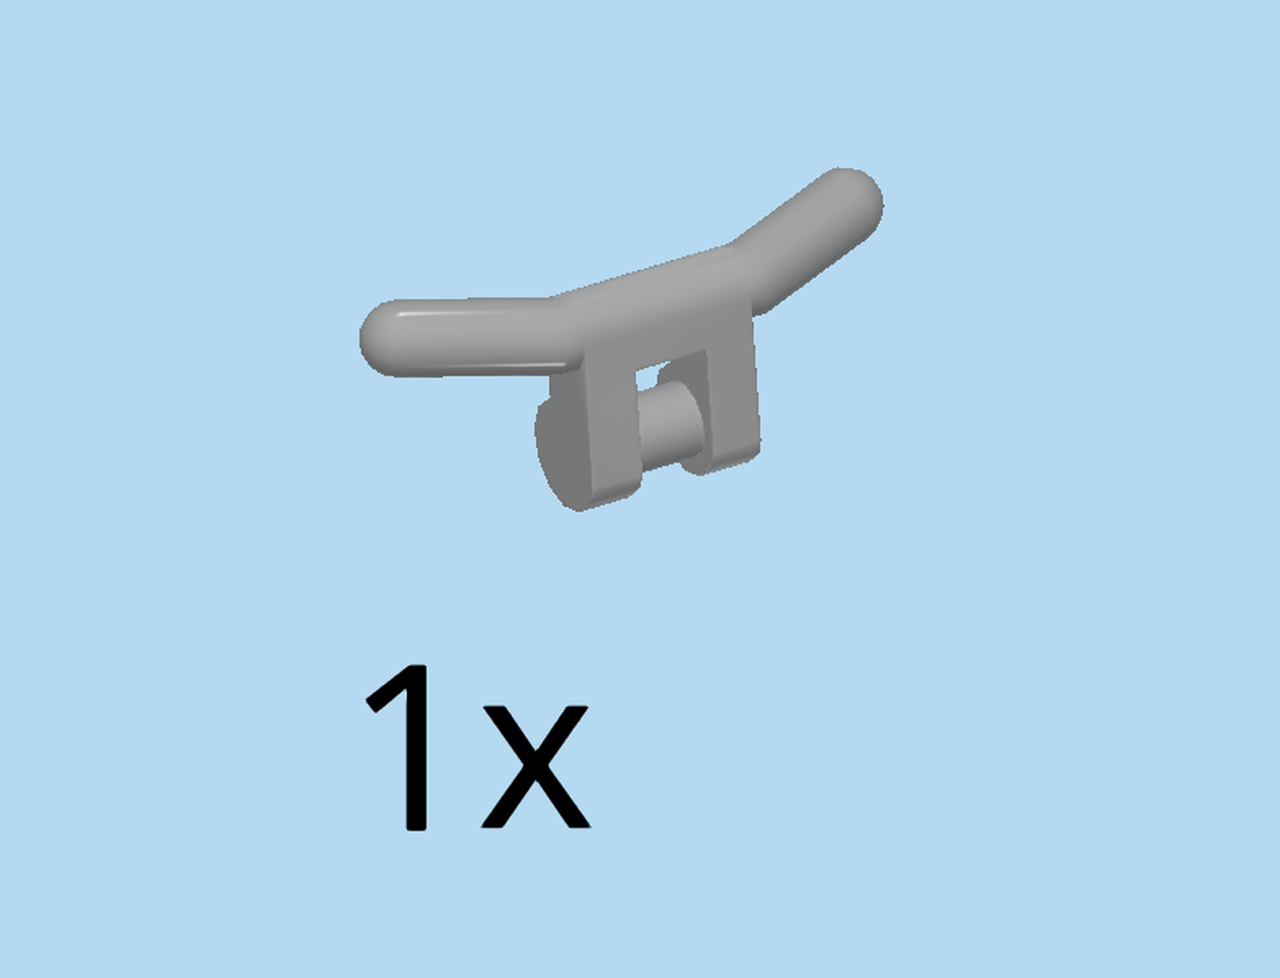
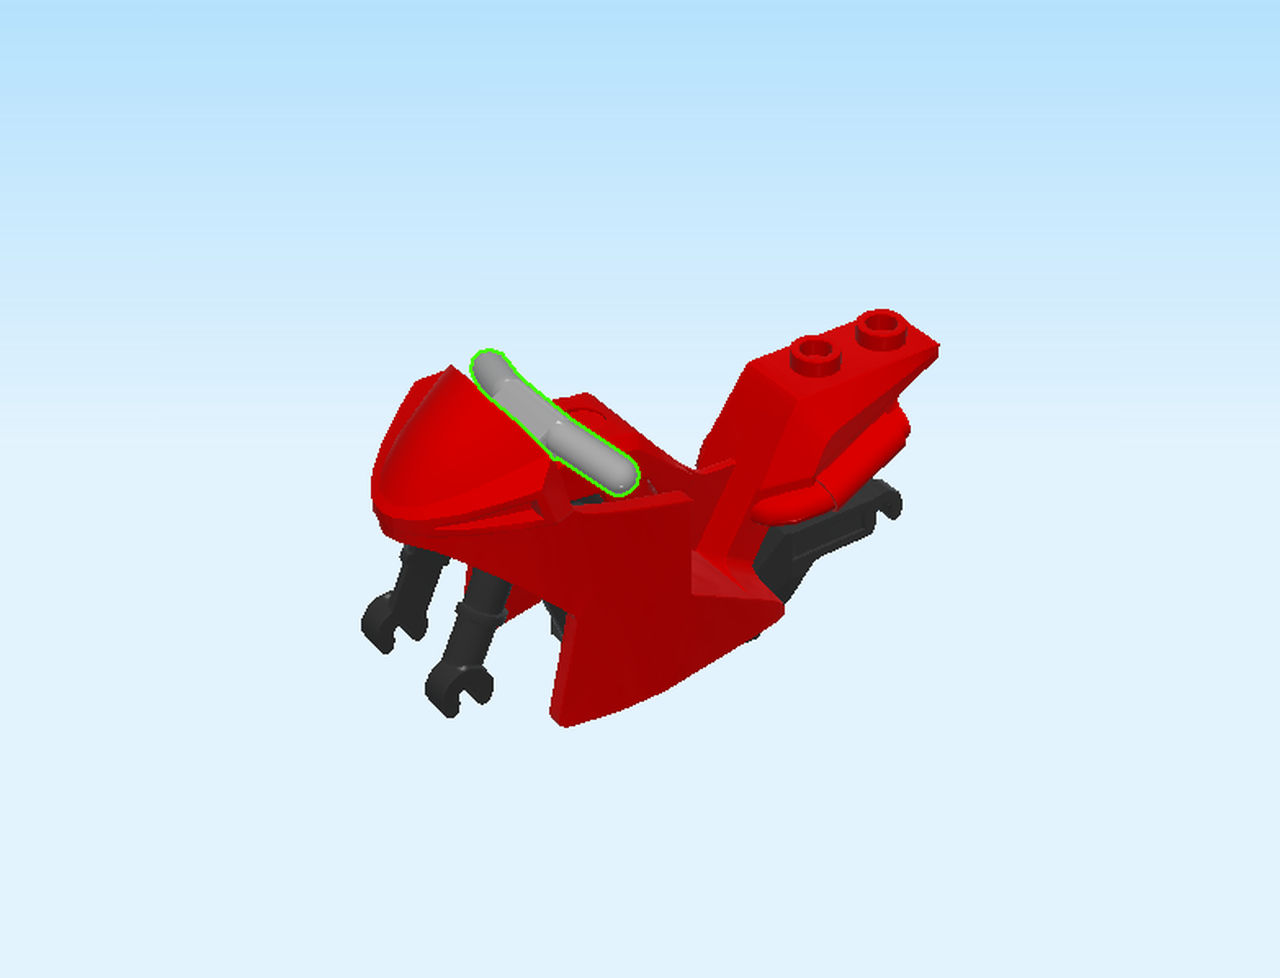
| Find 1 medium stone grey handlebar with bottom shaft. |
| Snap the shaft of the handlebar into the clasp in the top left part of the motorcycle fairing. This clasp is hidden underneath the protective hood on the top left. |
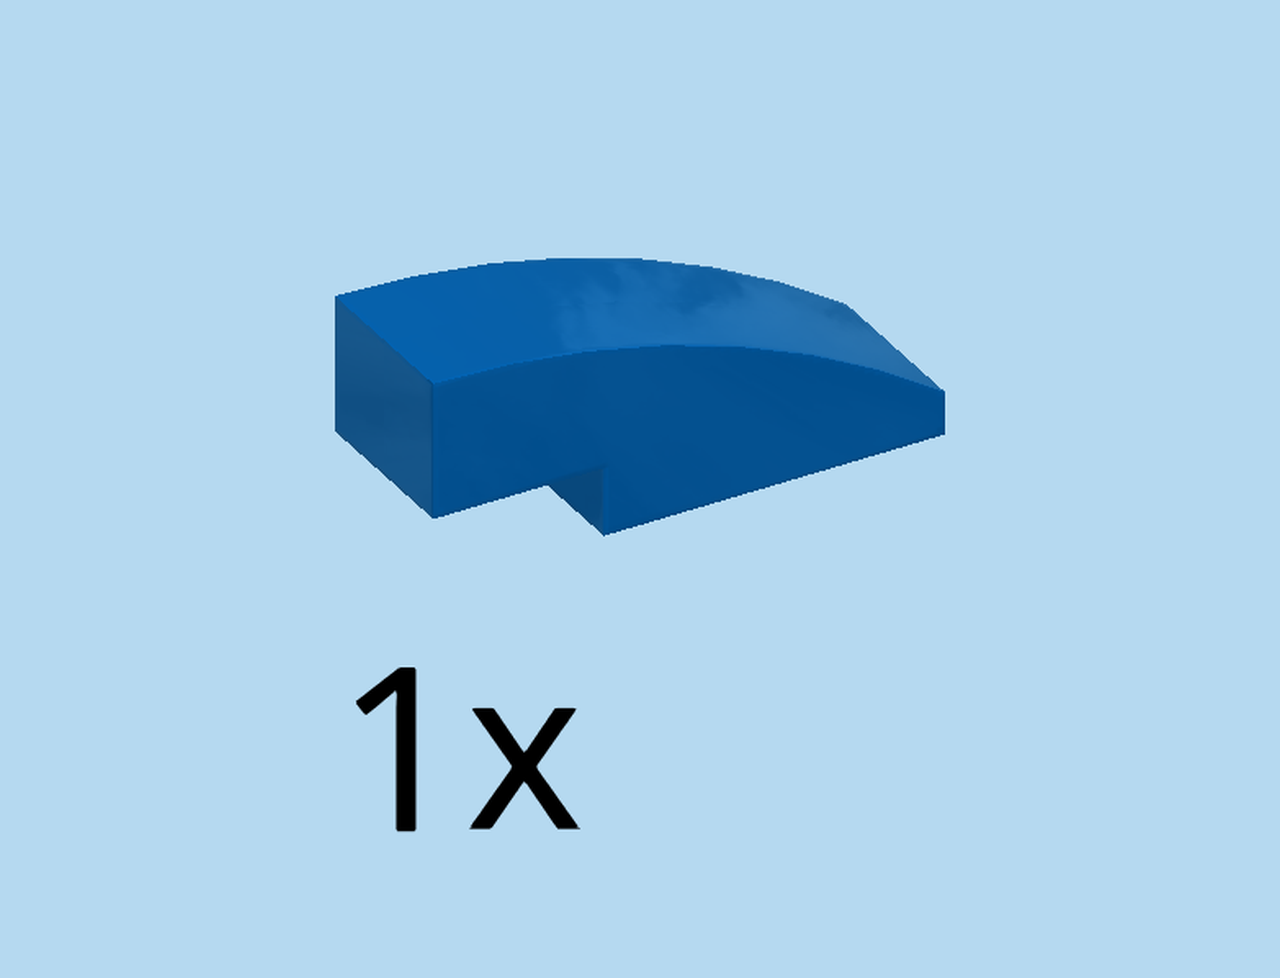
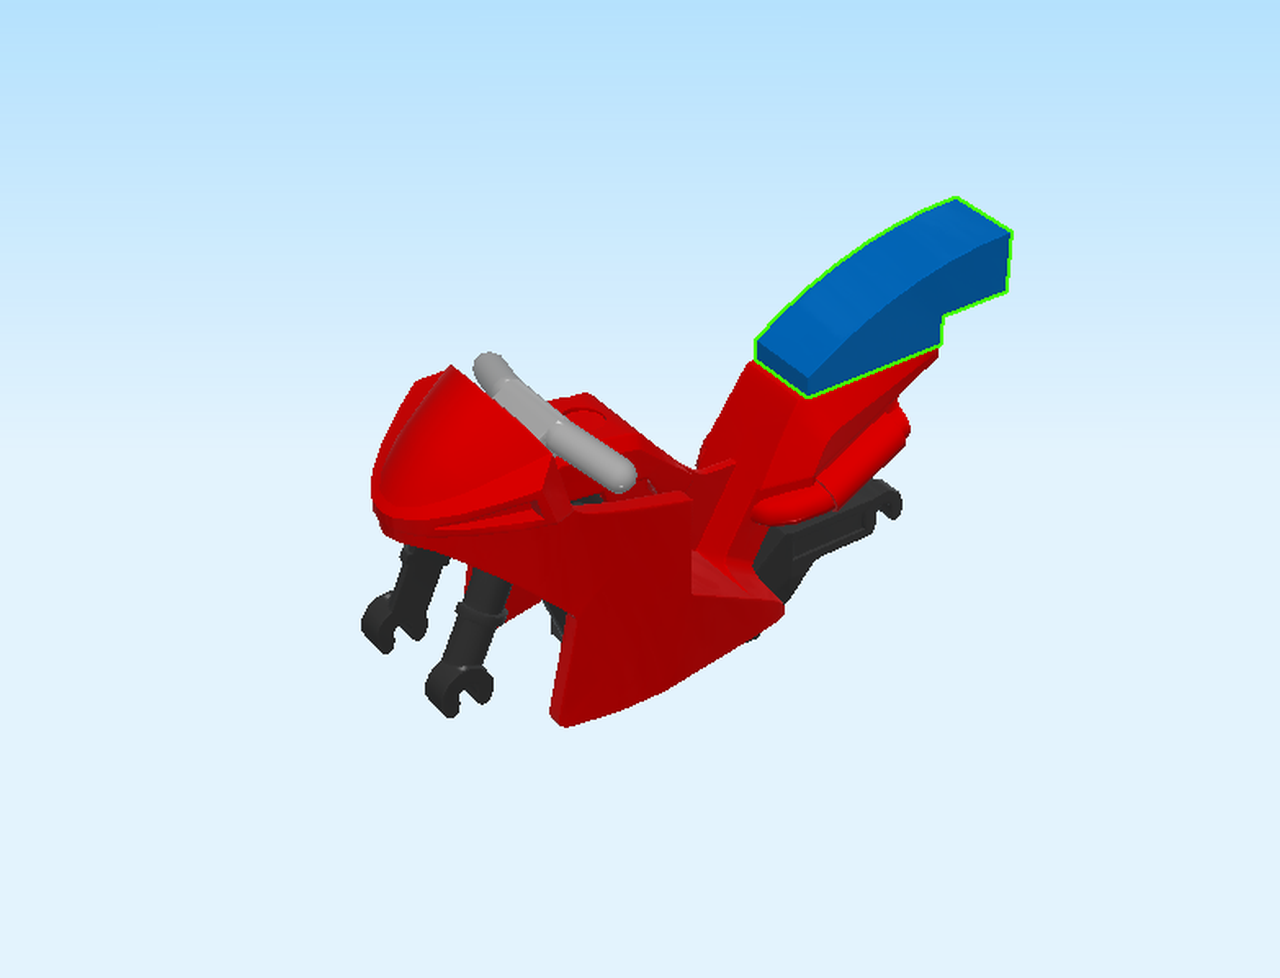
| Find 1 bright blue one-step curve tile 1x3x⅓. |
| Put it horizontally on the two knobs on the right edge, slope to the left, curve tile overhanging to the right. |
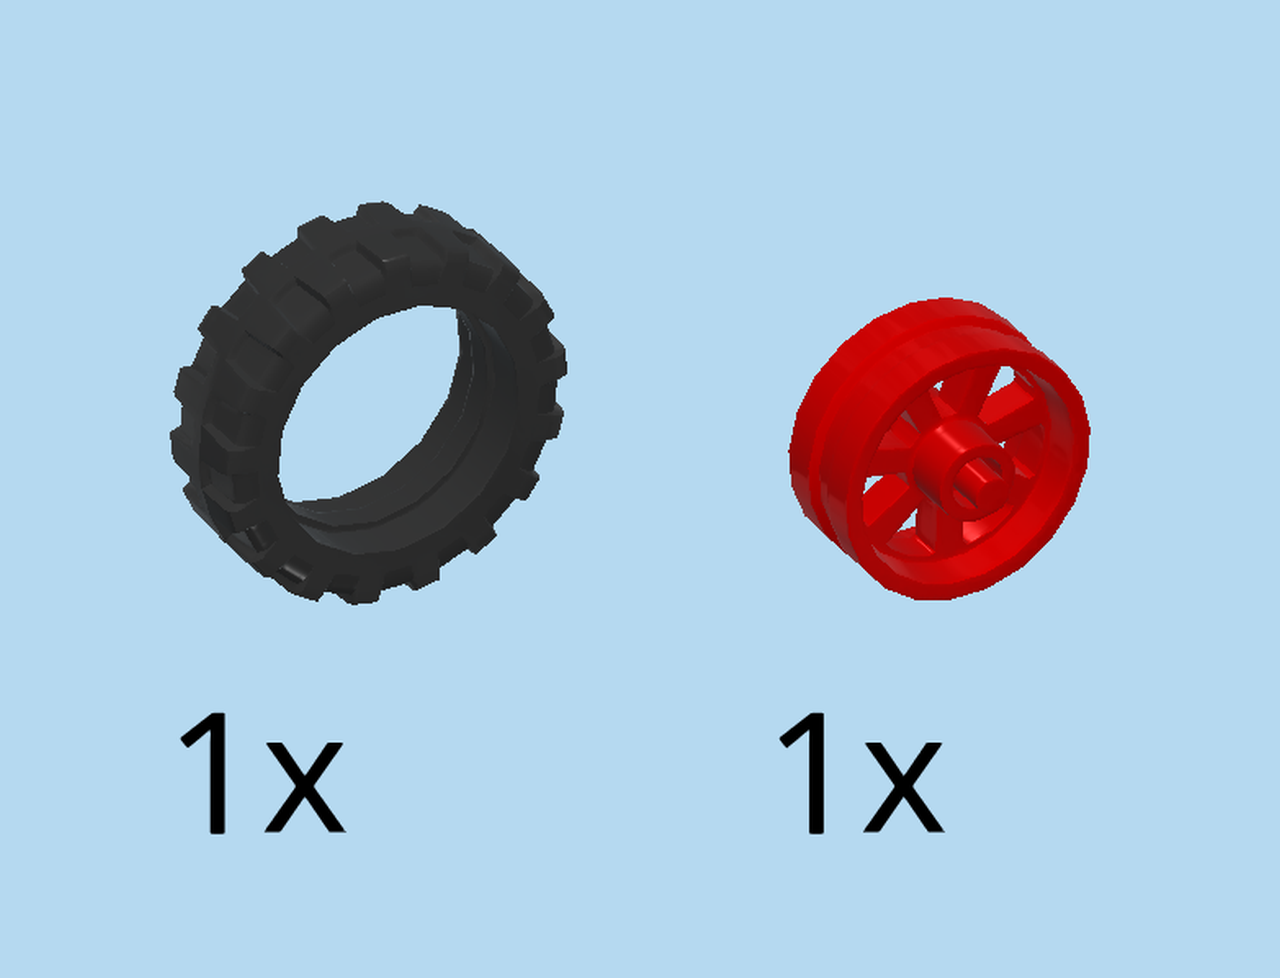
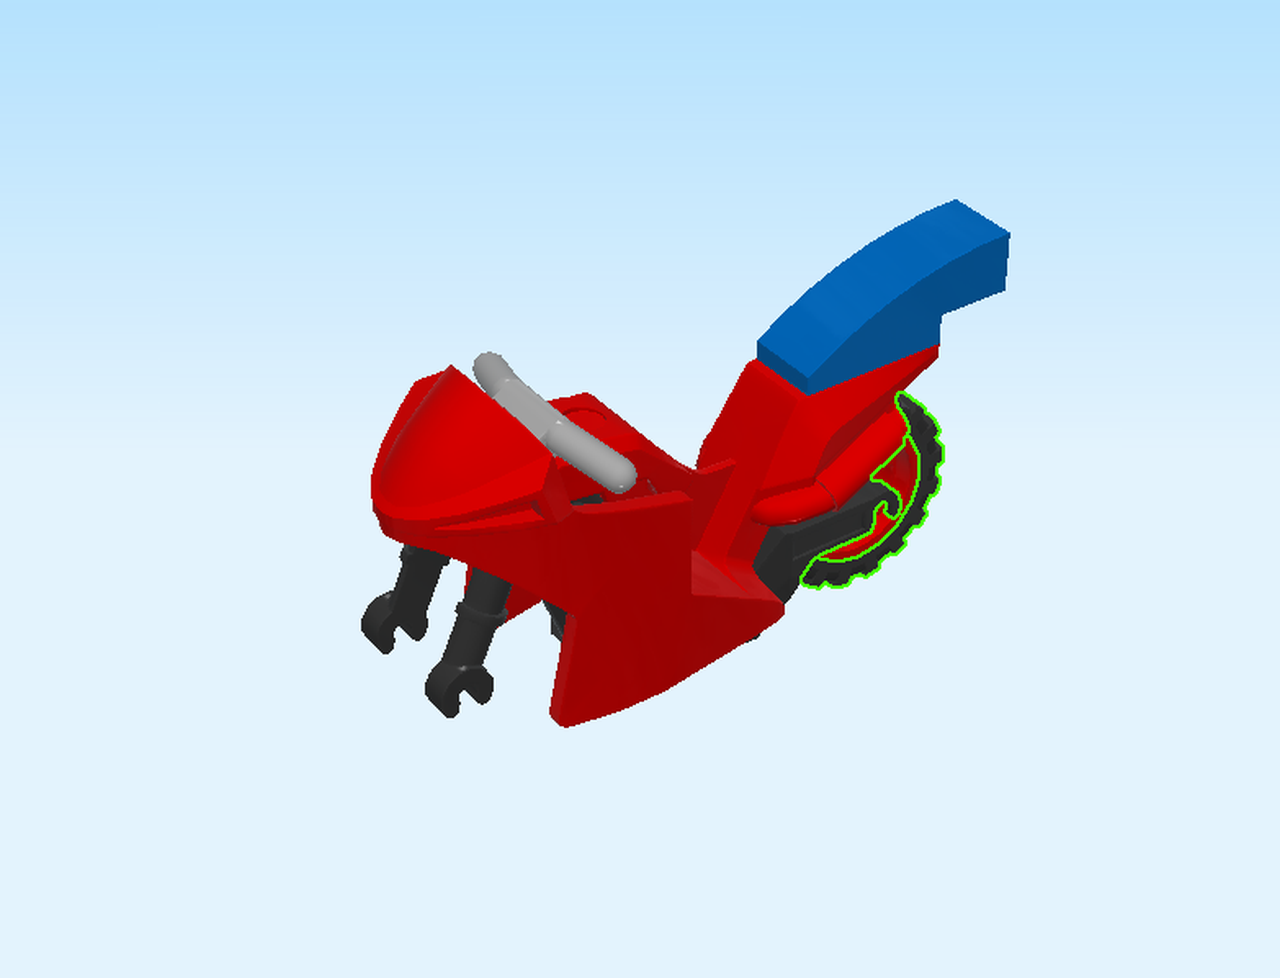
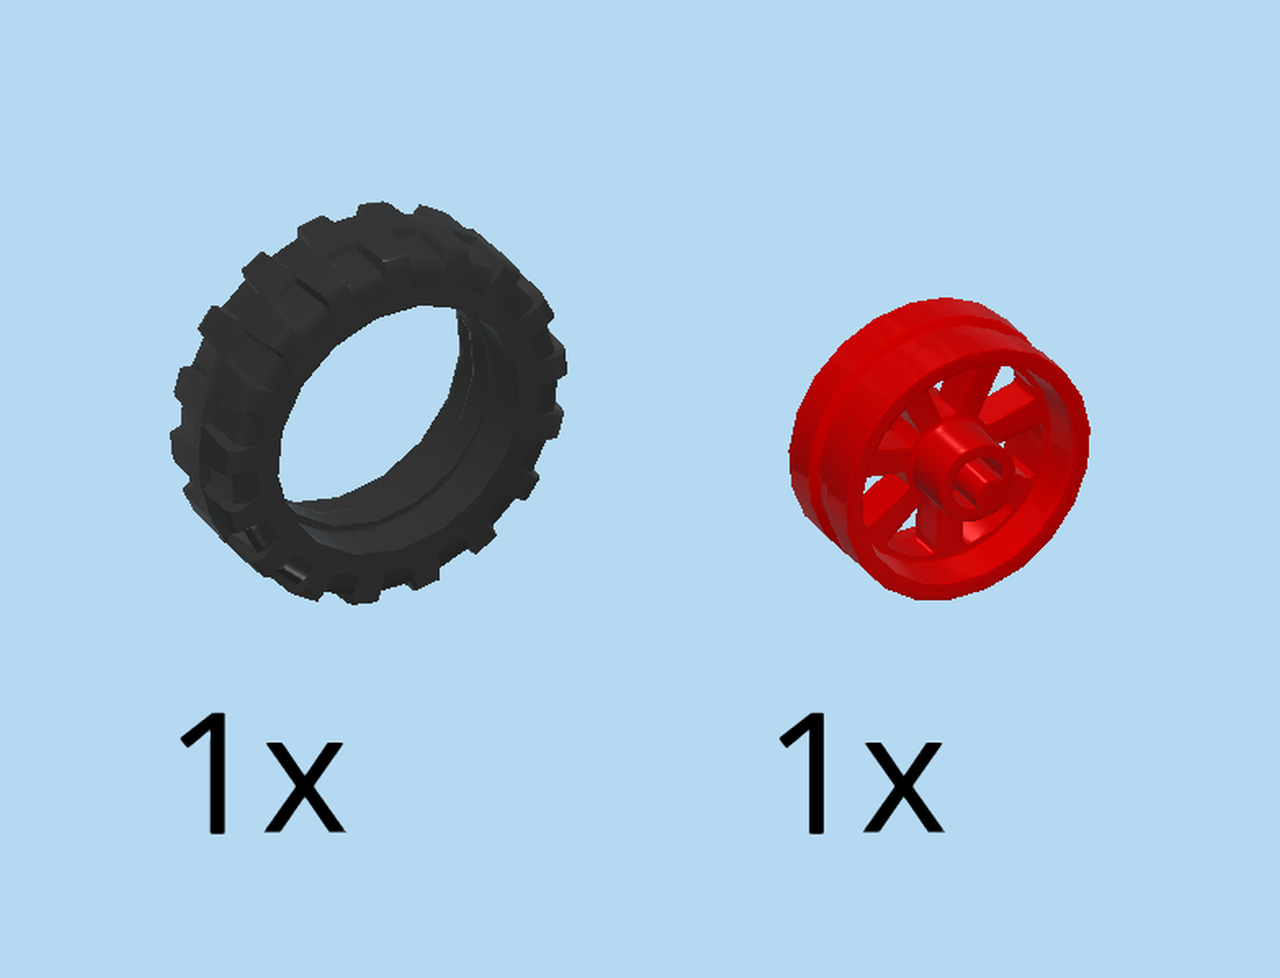
| Collect the following 2 pieces: |
| 1 bright red motorcycle rim with pins and spokes, |
| and 1 black motorcycle tire with high profile. |
| Put the tire around the rim. |
| Snap the pins of the wheel into the two bottom clasps on the right. |
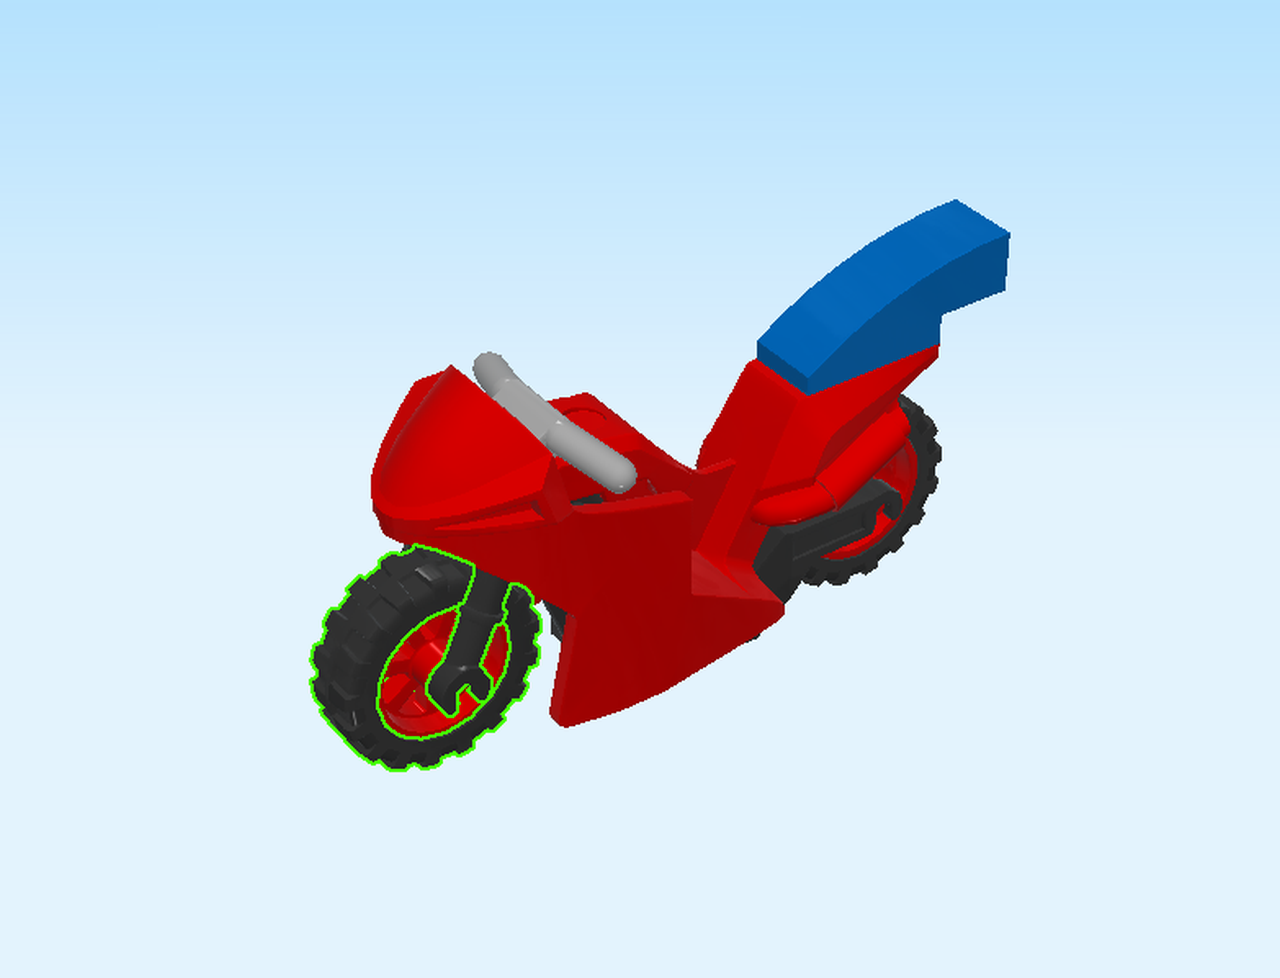
| Collect the following 2 pieces: |
| 1 black motorcycle tire with high profile, |
| and 1 bright red motorcycle rim with pins and spokes. |
| Put the tire around the rim. |
| Snap the pins of the wheel into the two bottom clasps on the left. |
| Spider-Man's motorbike is finished! Great job! With this bike, Spider-Man can chase after villains fast as lightning. |
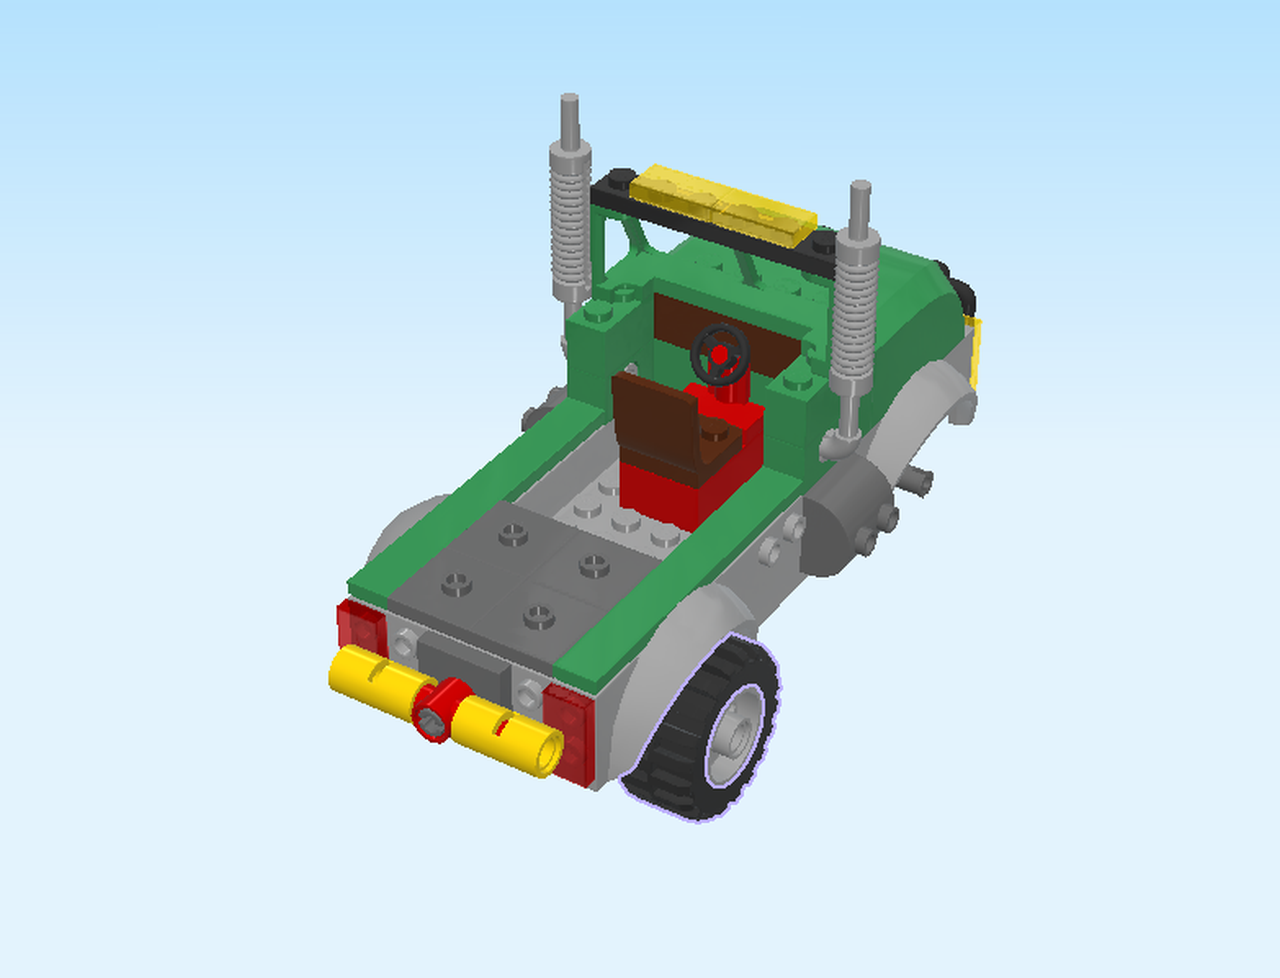
| Now, we will build the bank truck. |
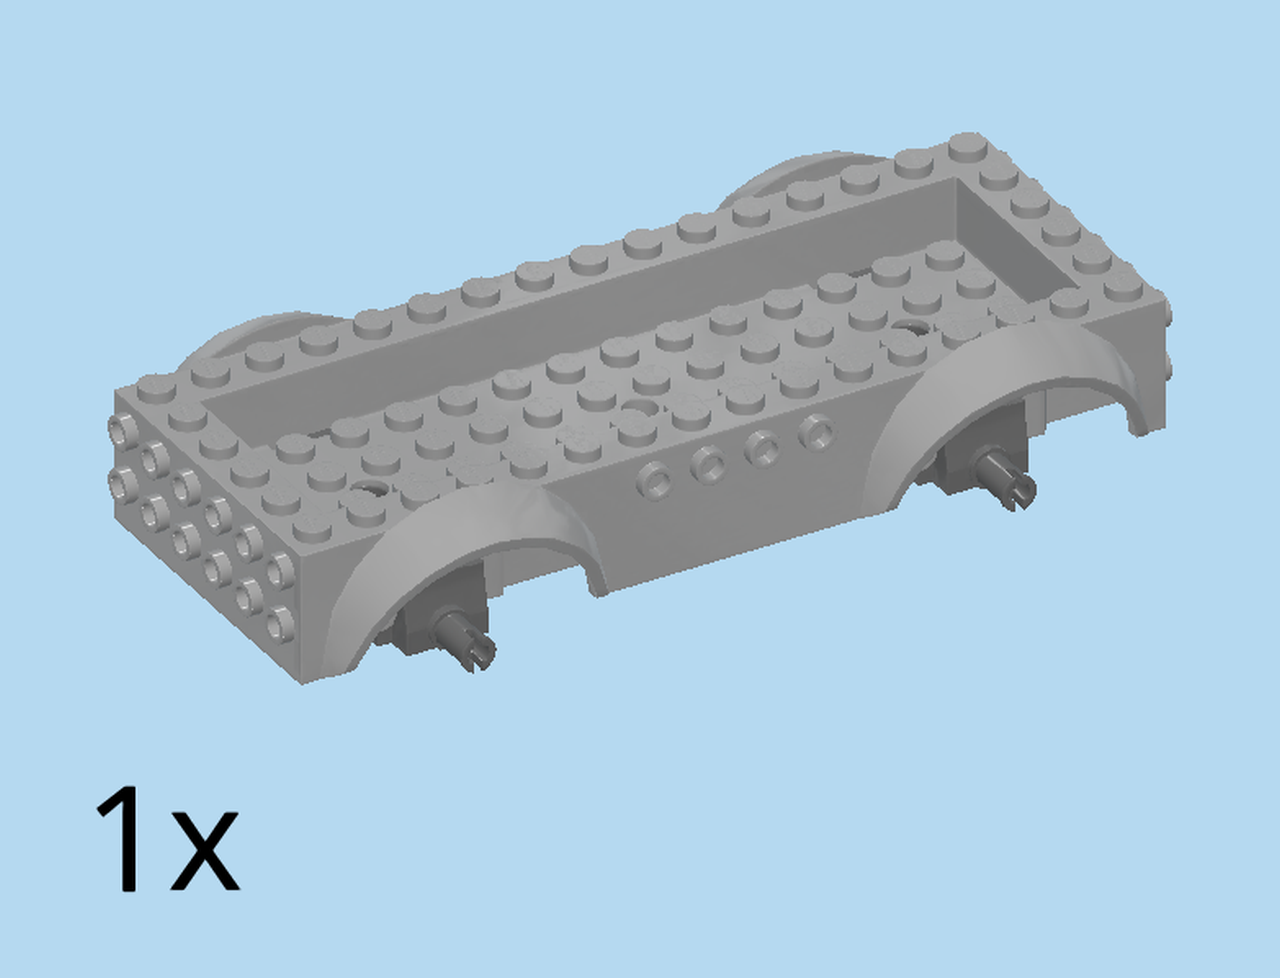
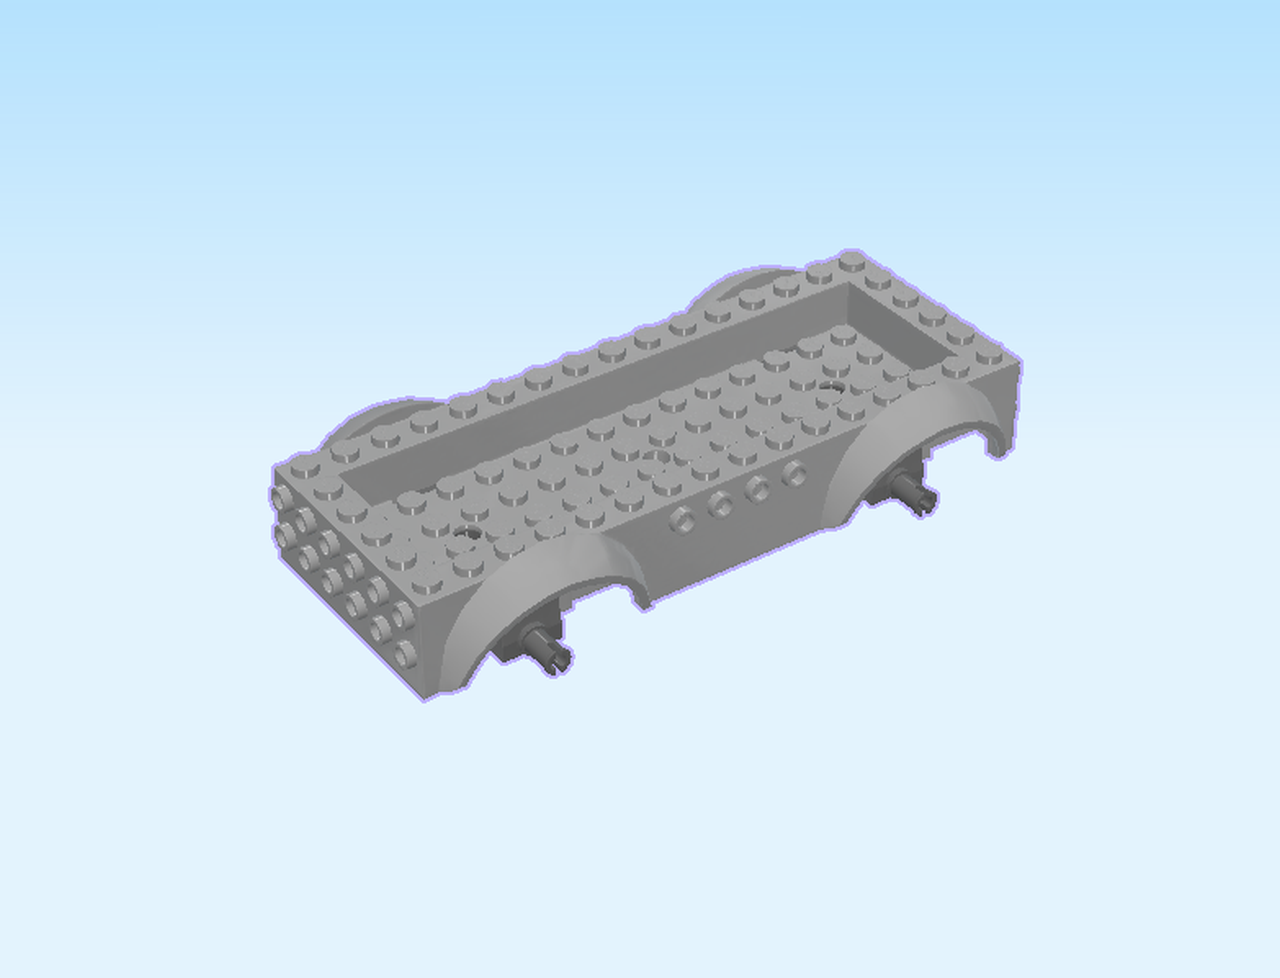
| Find 1 medium and dark stone grey car chassis 6x16x2 with 4 fenders and connectors. |
| Put it horizontally on the table. |
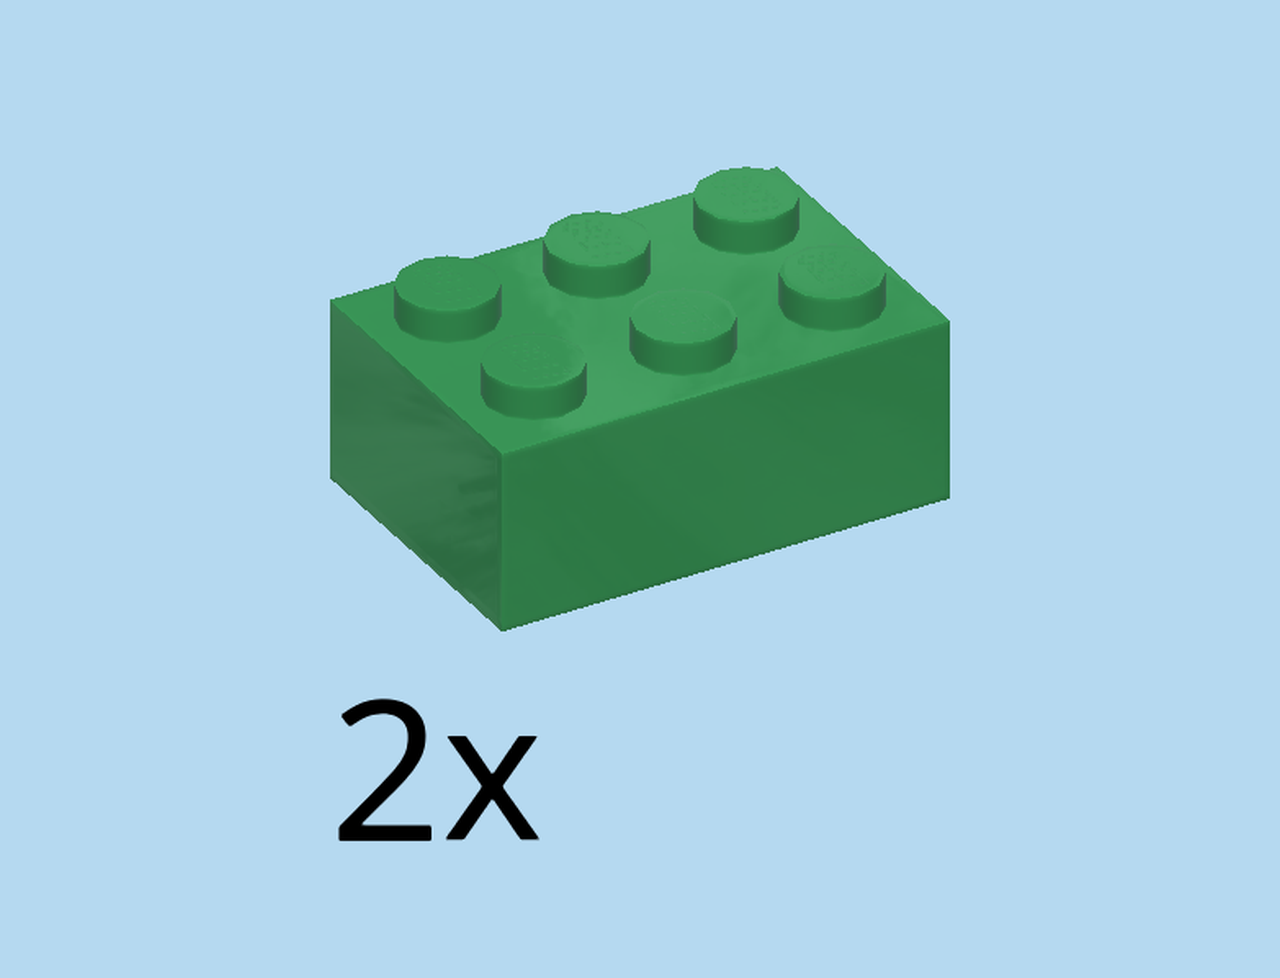
| Find 2 dark green bricks 2x3. |
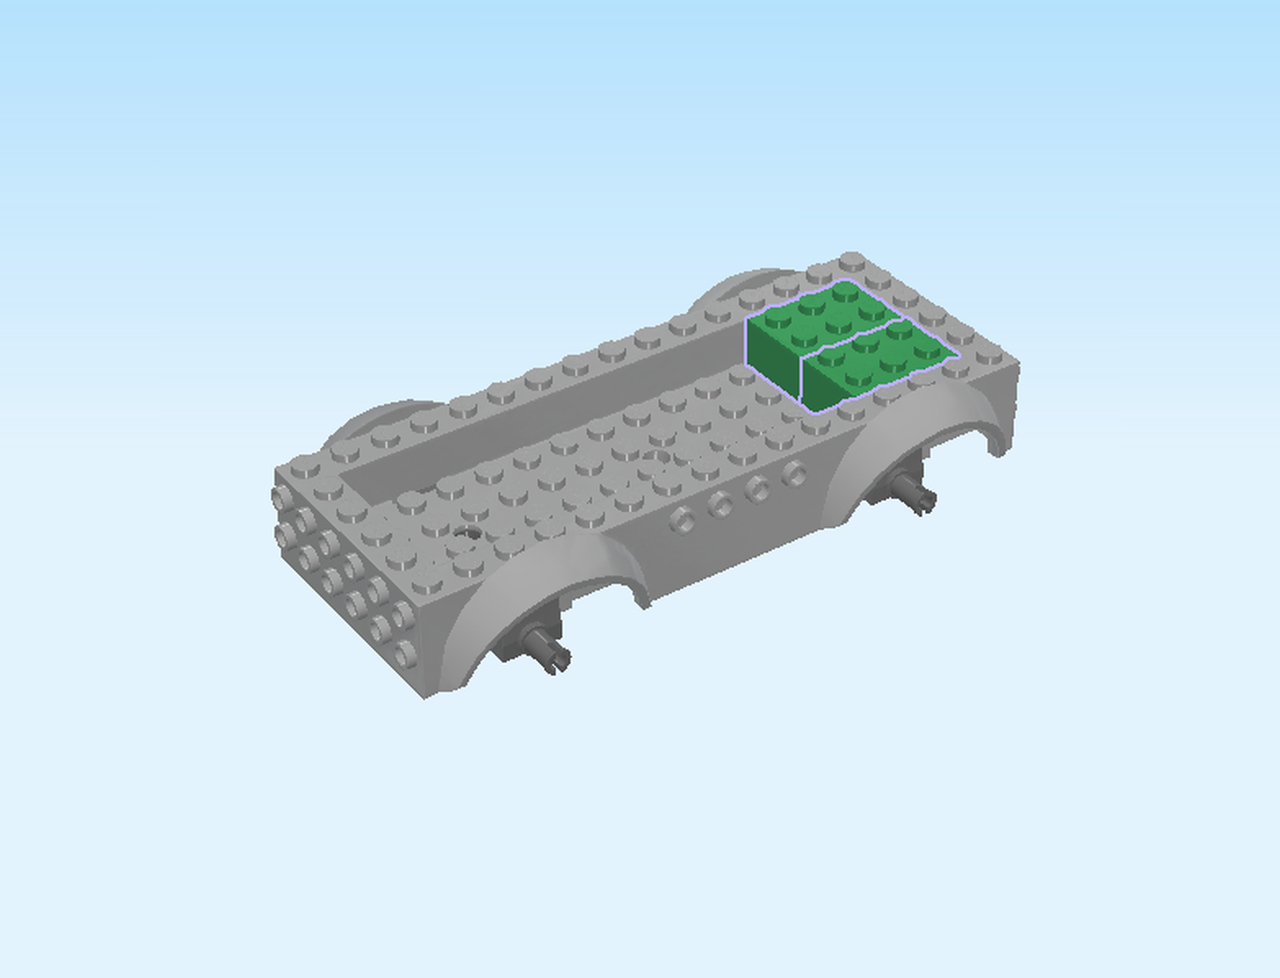
| Put 1 horizontally on the front two rows of the lower part of the car chassis, starting from the right edge. |
| Put the other one horizontally behind the previous piece. |
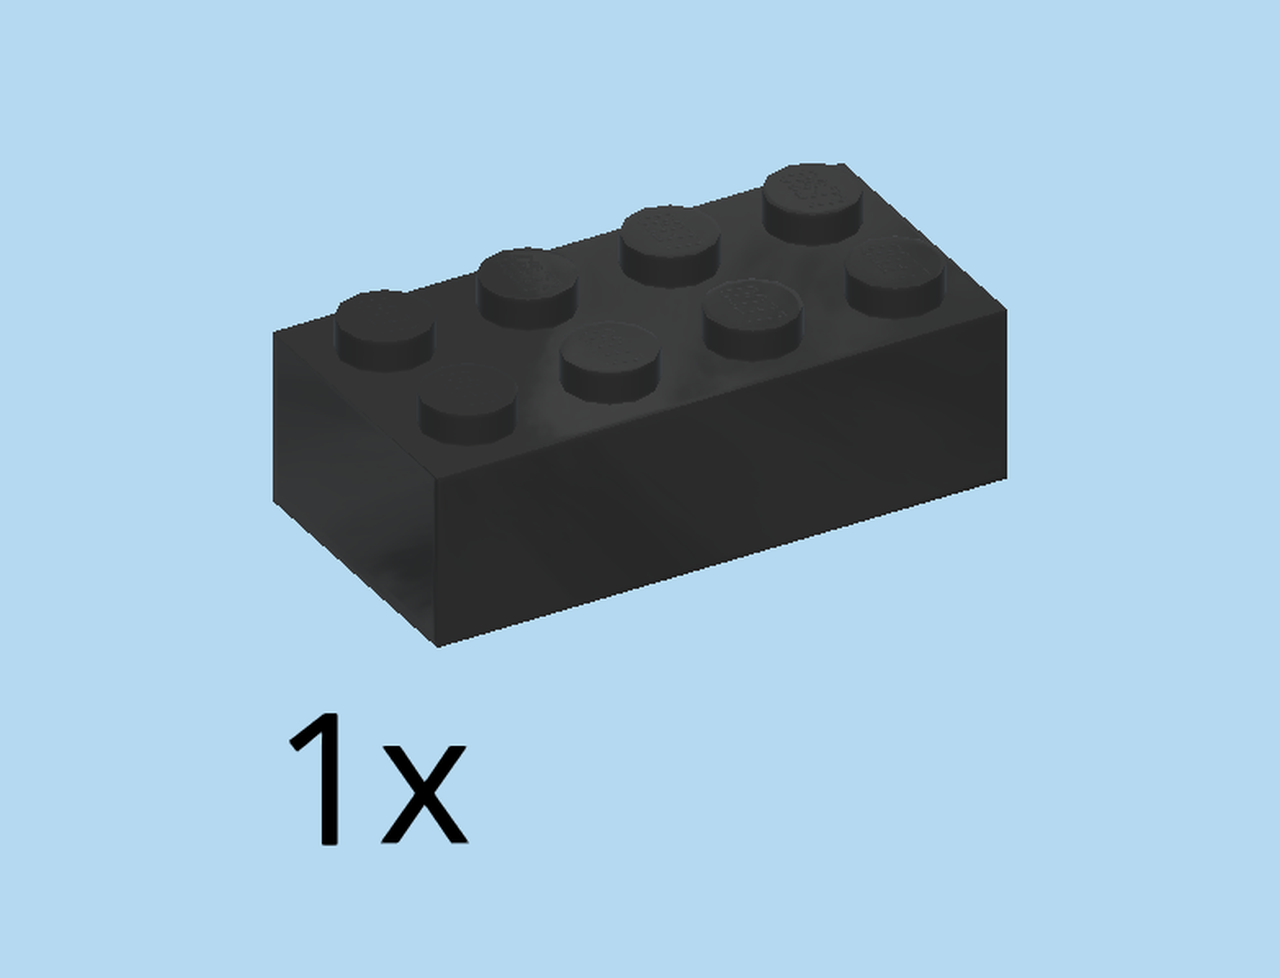
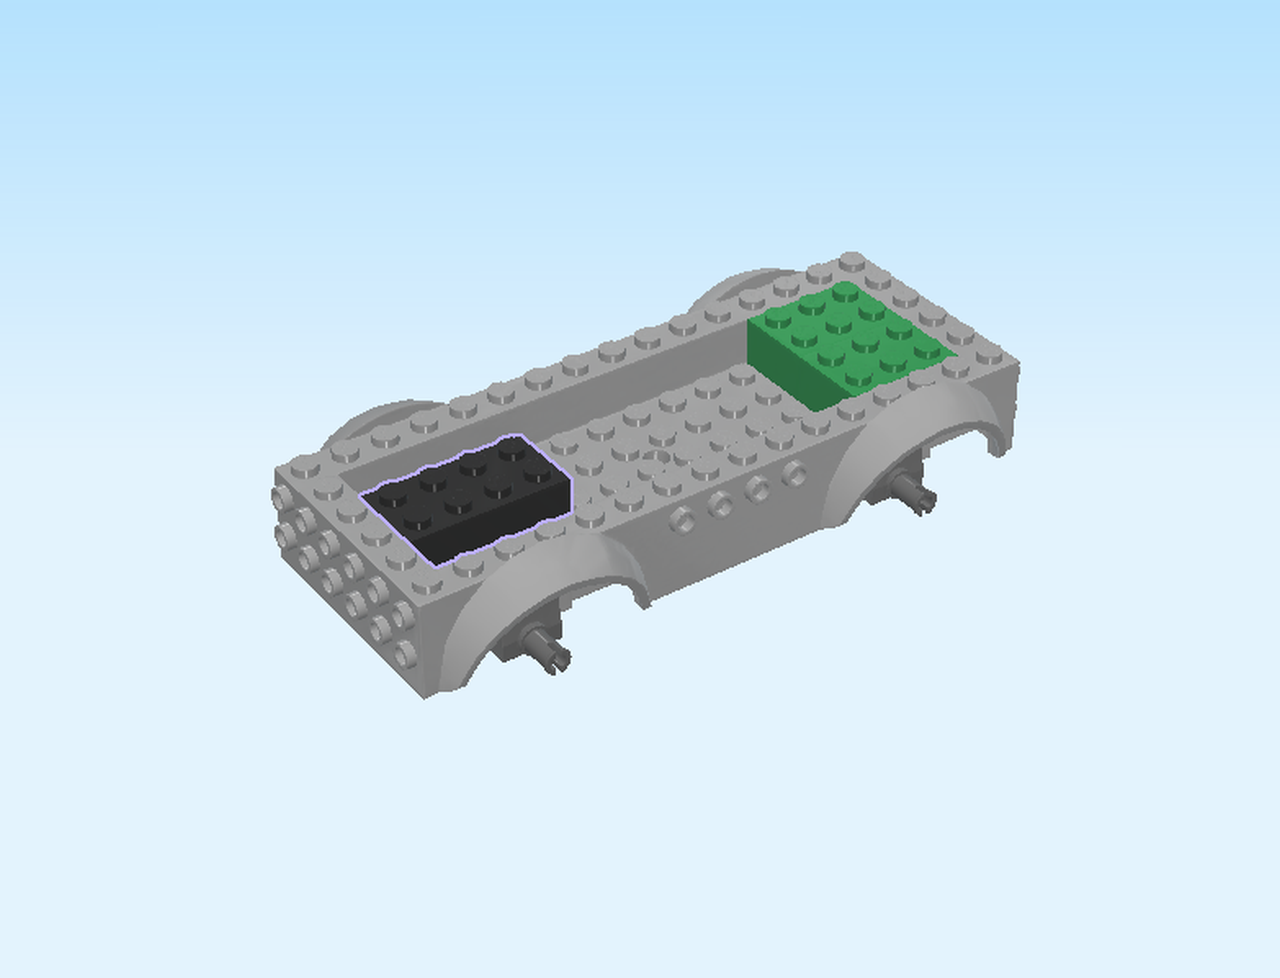
| Find 1 black brick 2x4. |
| Put it horizontally on the back 2 rows of the lower part, starting from the left edge. |
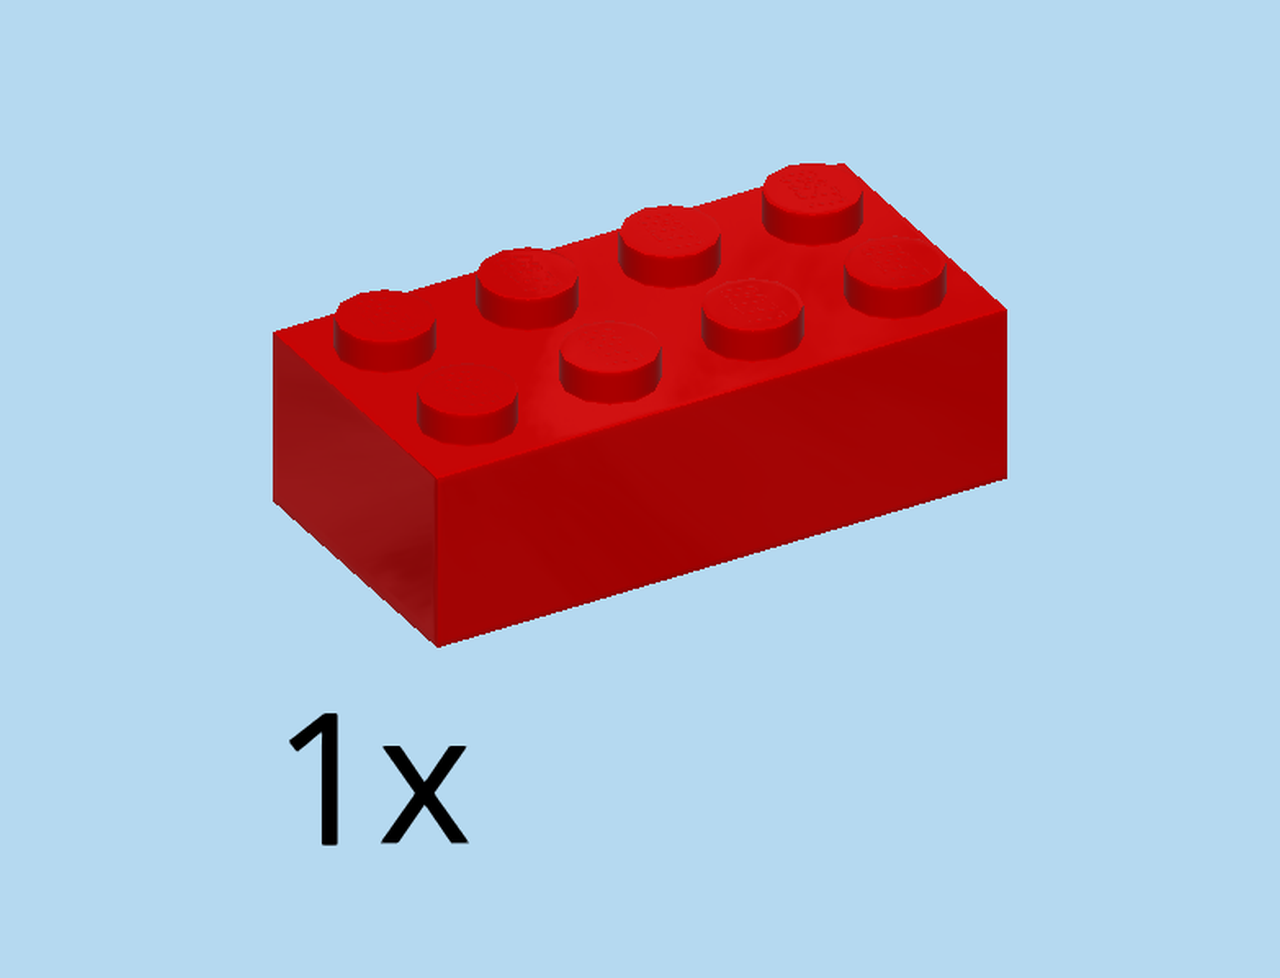
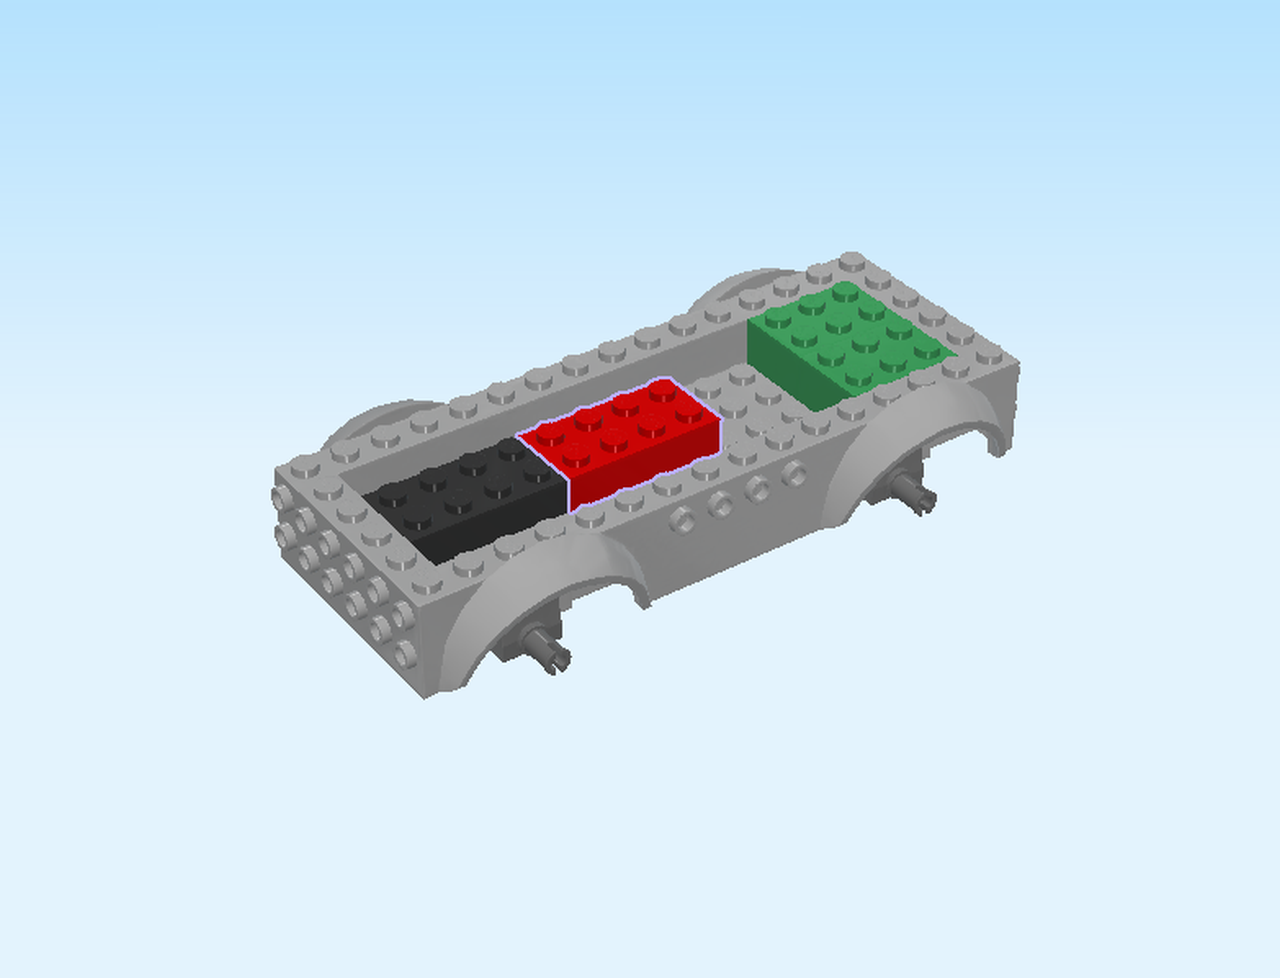
| Find 1 bright red brick 2x4. |
| Put it horizontally to the right of the previous piece. |
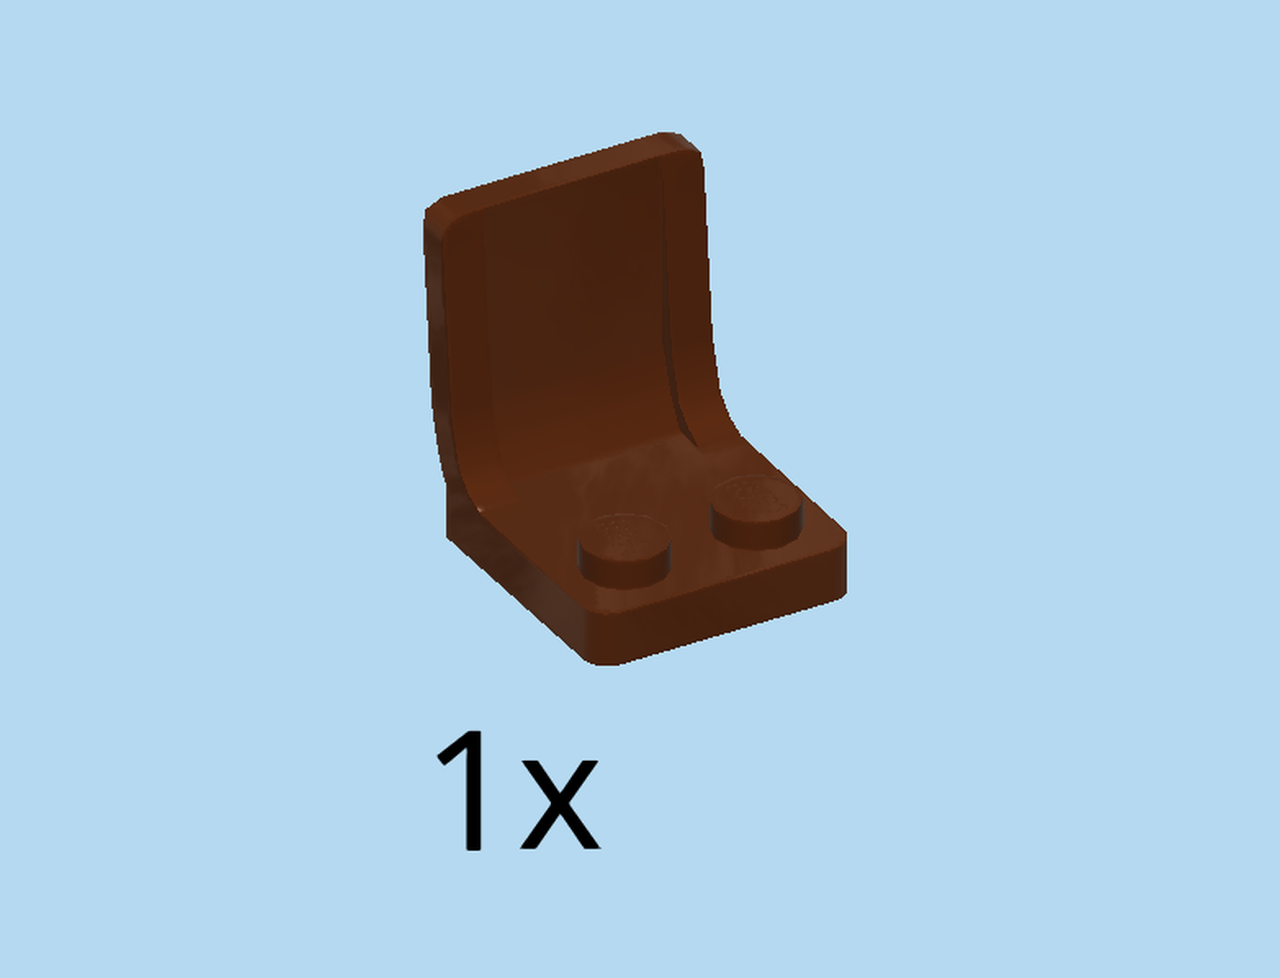
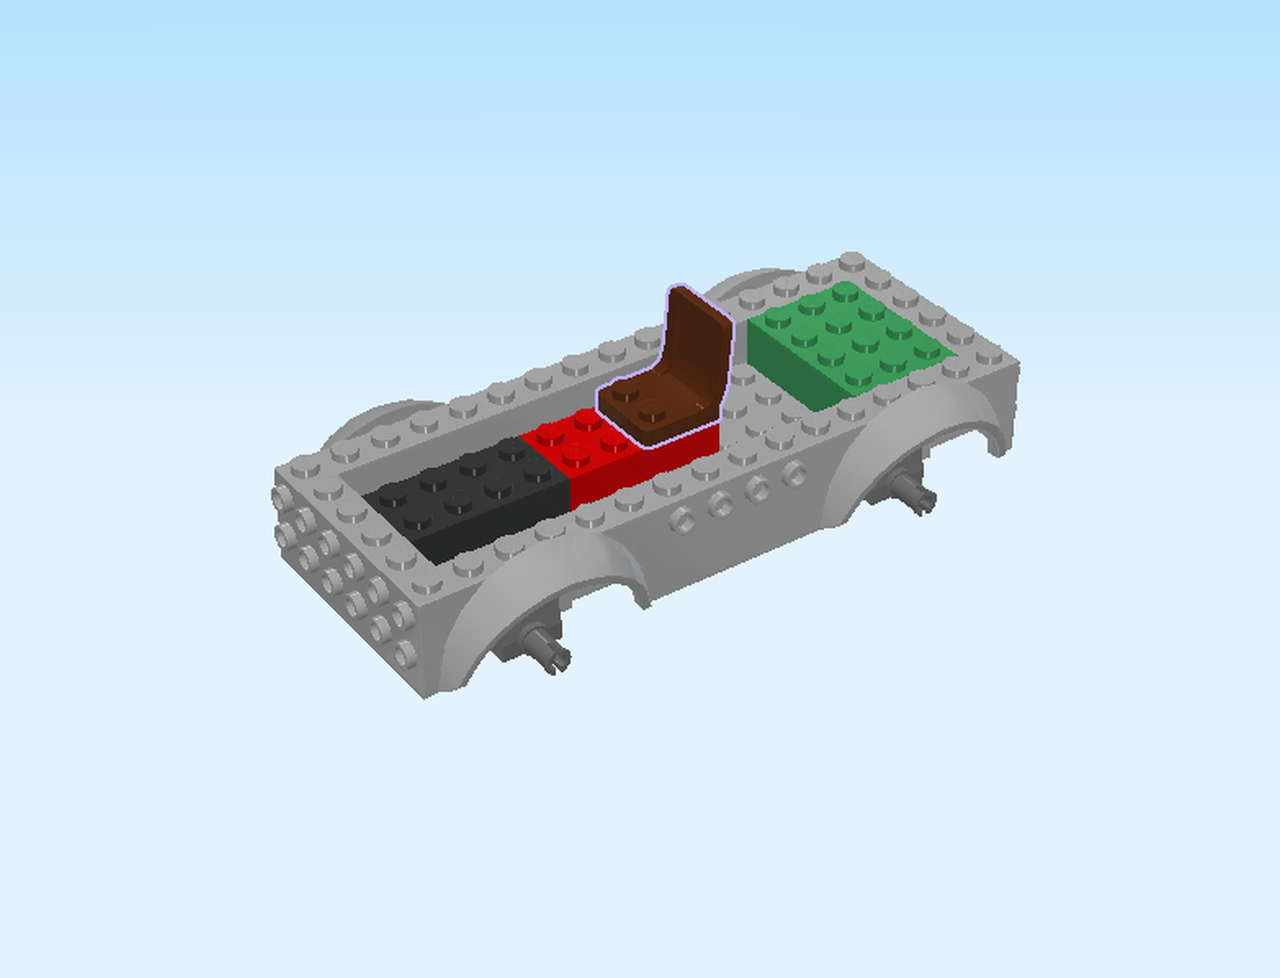
| Find 1 reddish brown seat 2x2x2. |
| Put it on the right 4 knobs of the previous piece, backrest to the right. |
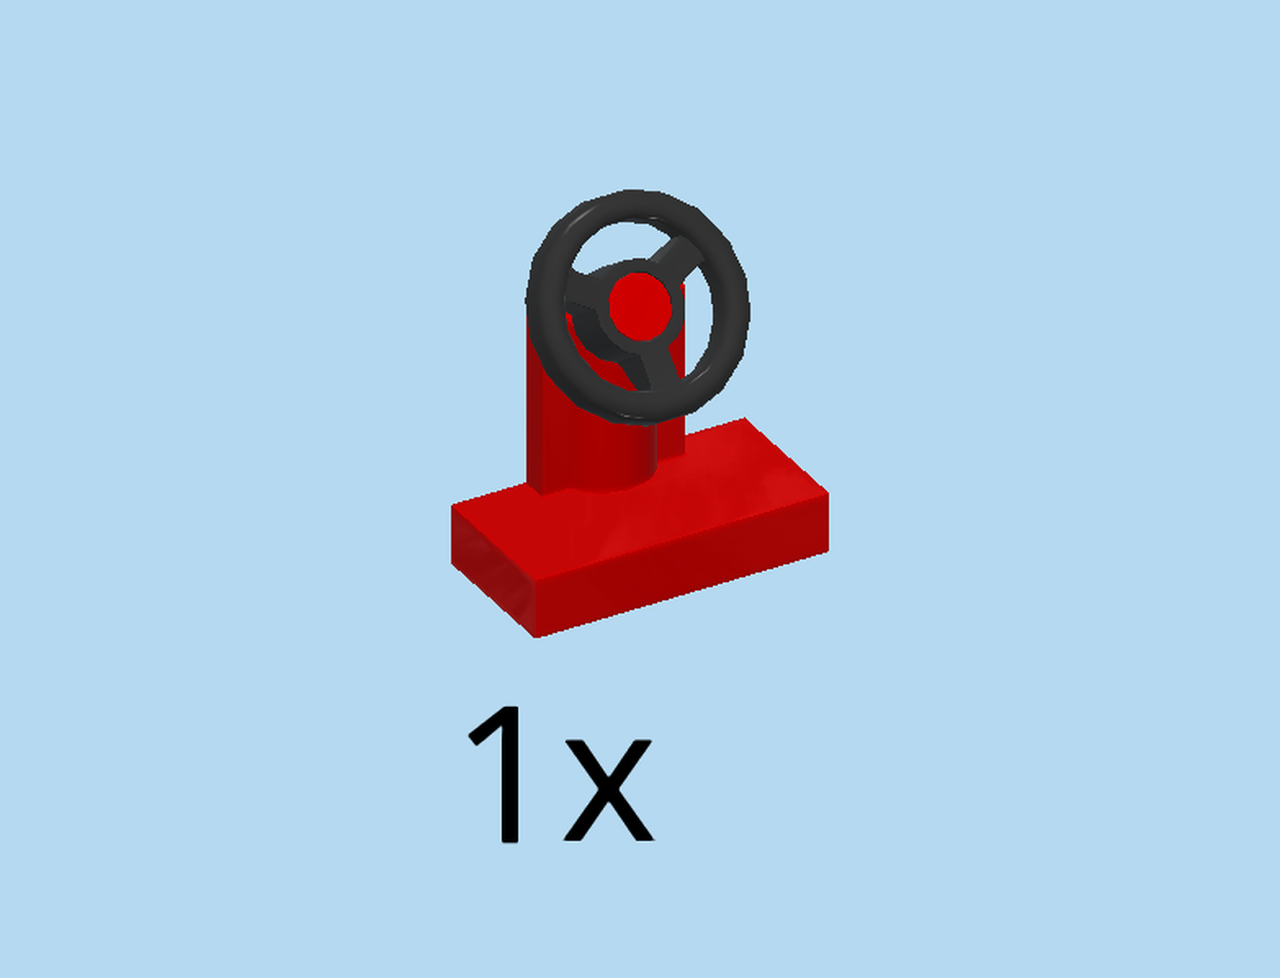
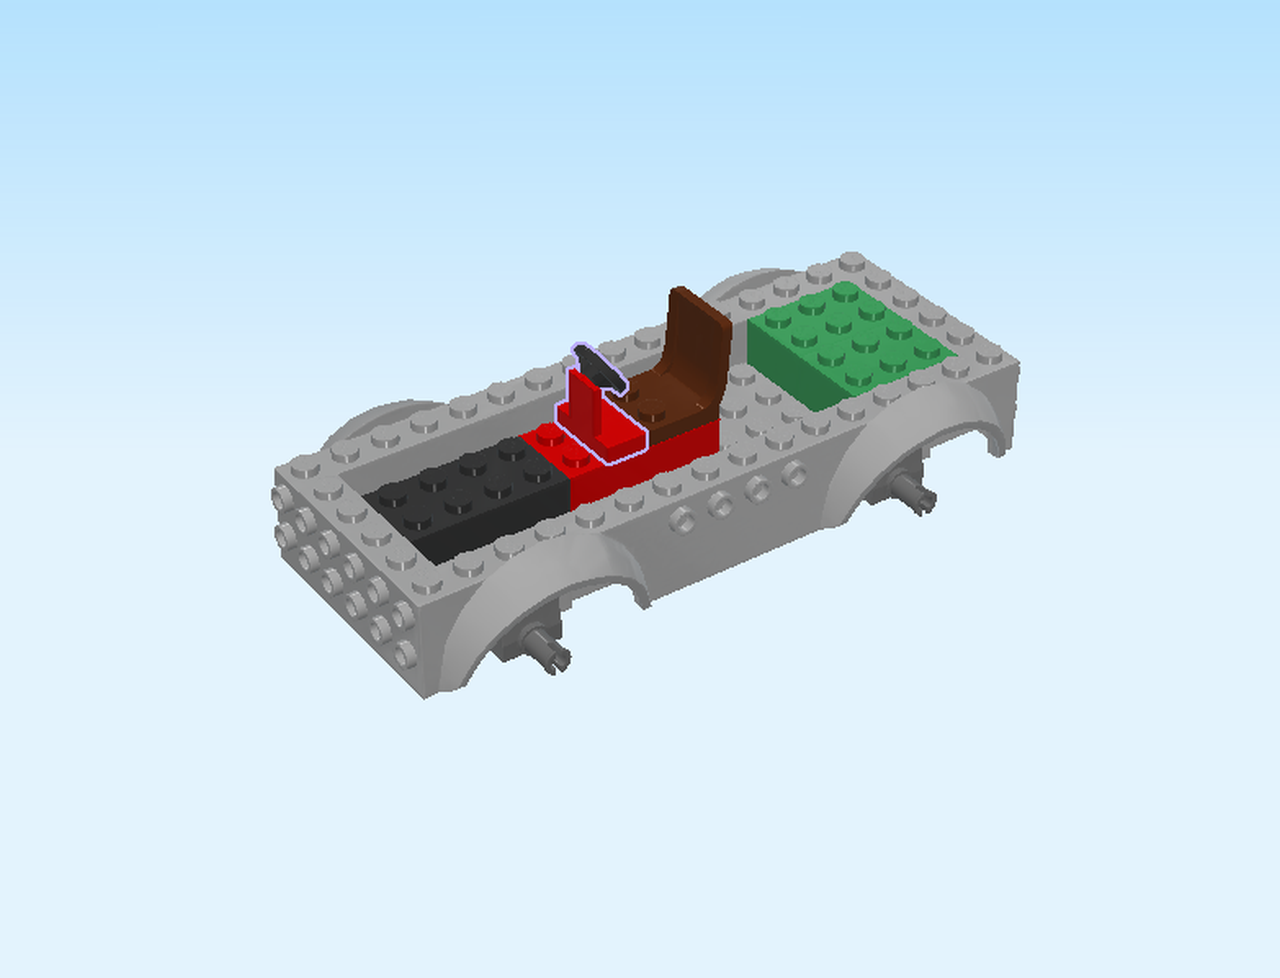
| Find 1 black and bright red small steering wheel with plate 1x2. |
| Put it vertically to the left of the previous piece, steering wheel to the right. |
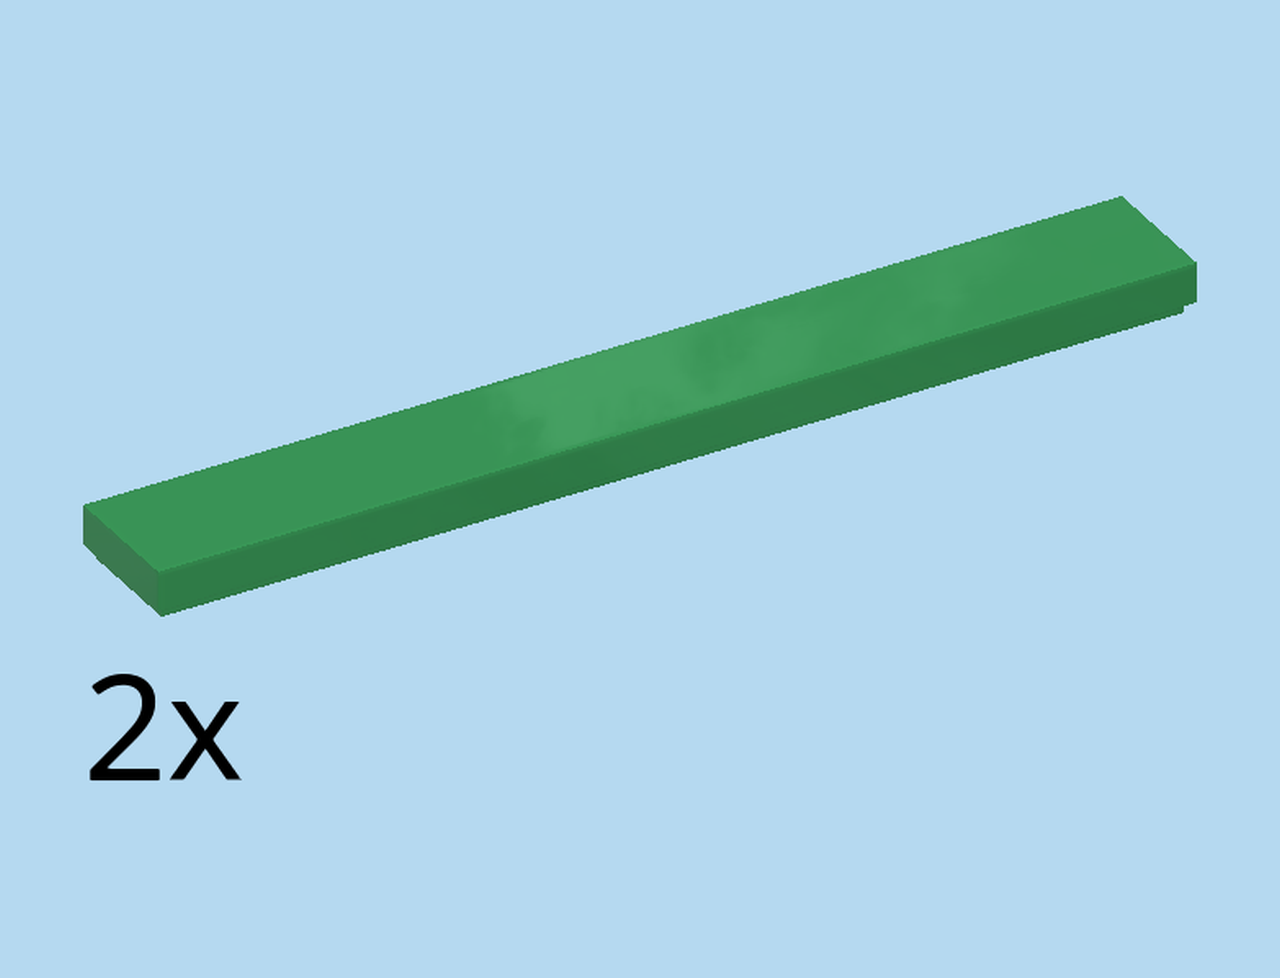
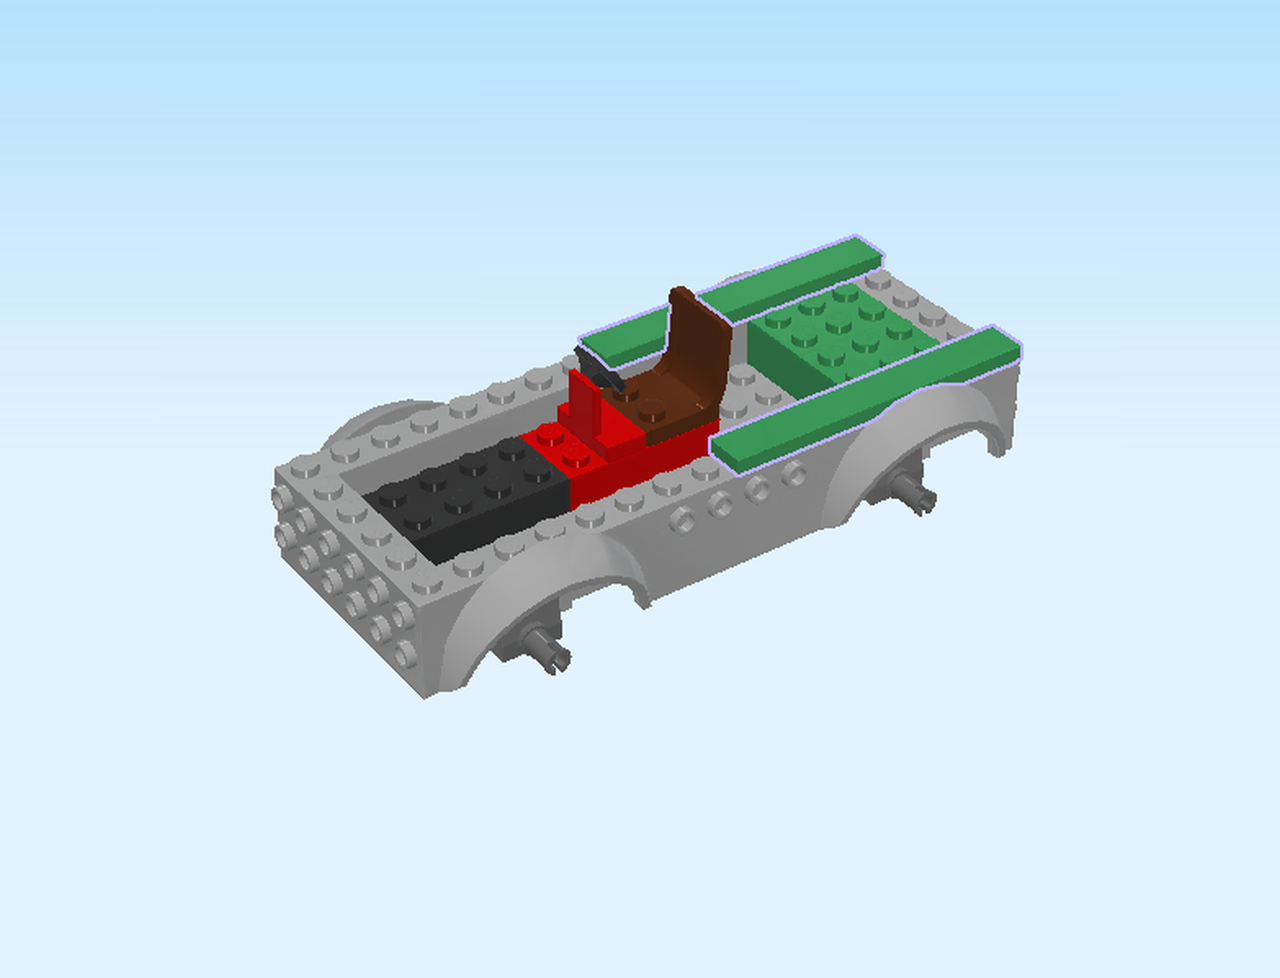
| Find 2 dark green flat tiles 1x8. |
| Put 1 horizontally on the backmost row of the high part of the car chassis, starting from the right edge. |
| Repeat symmetrically at the front. |
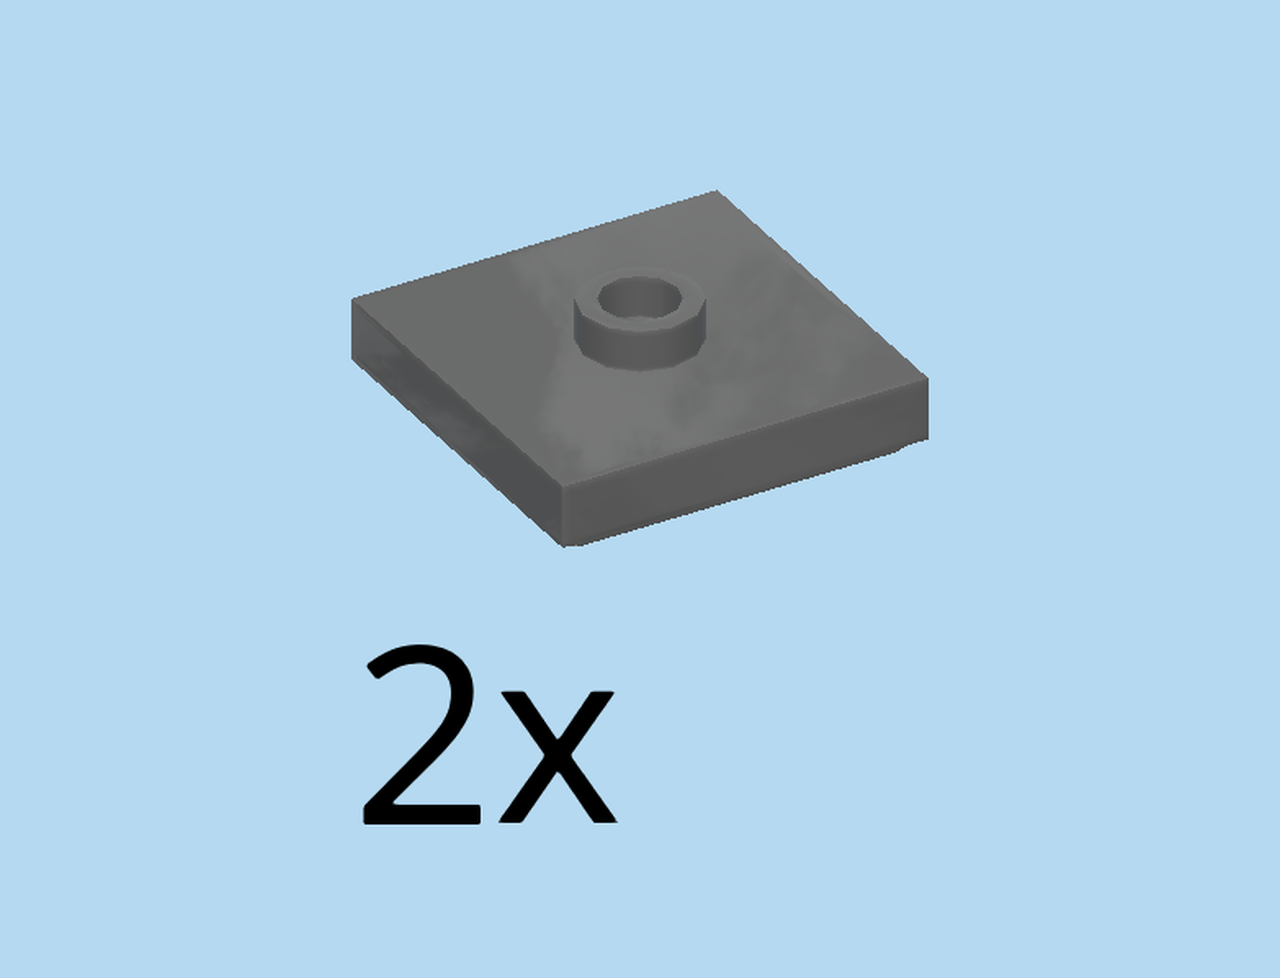
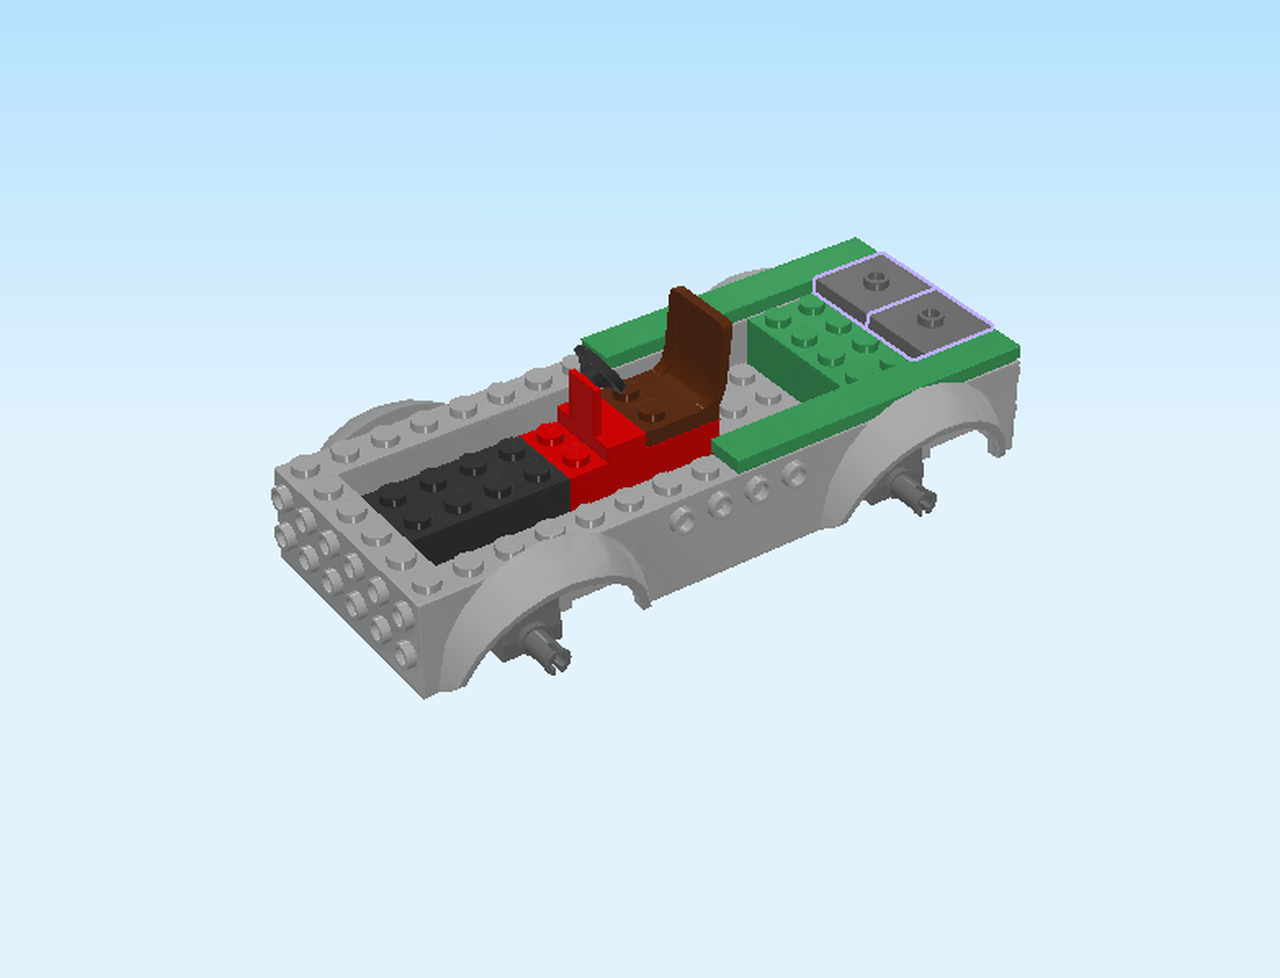
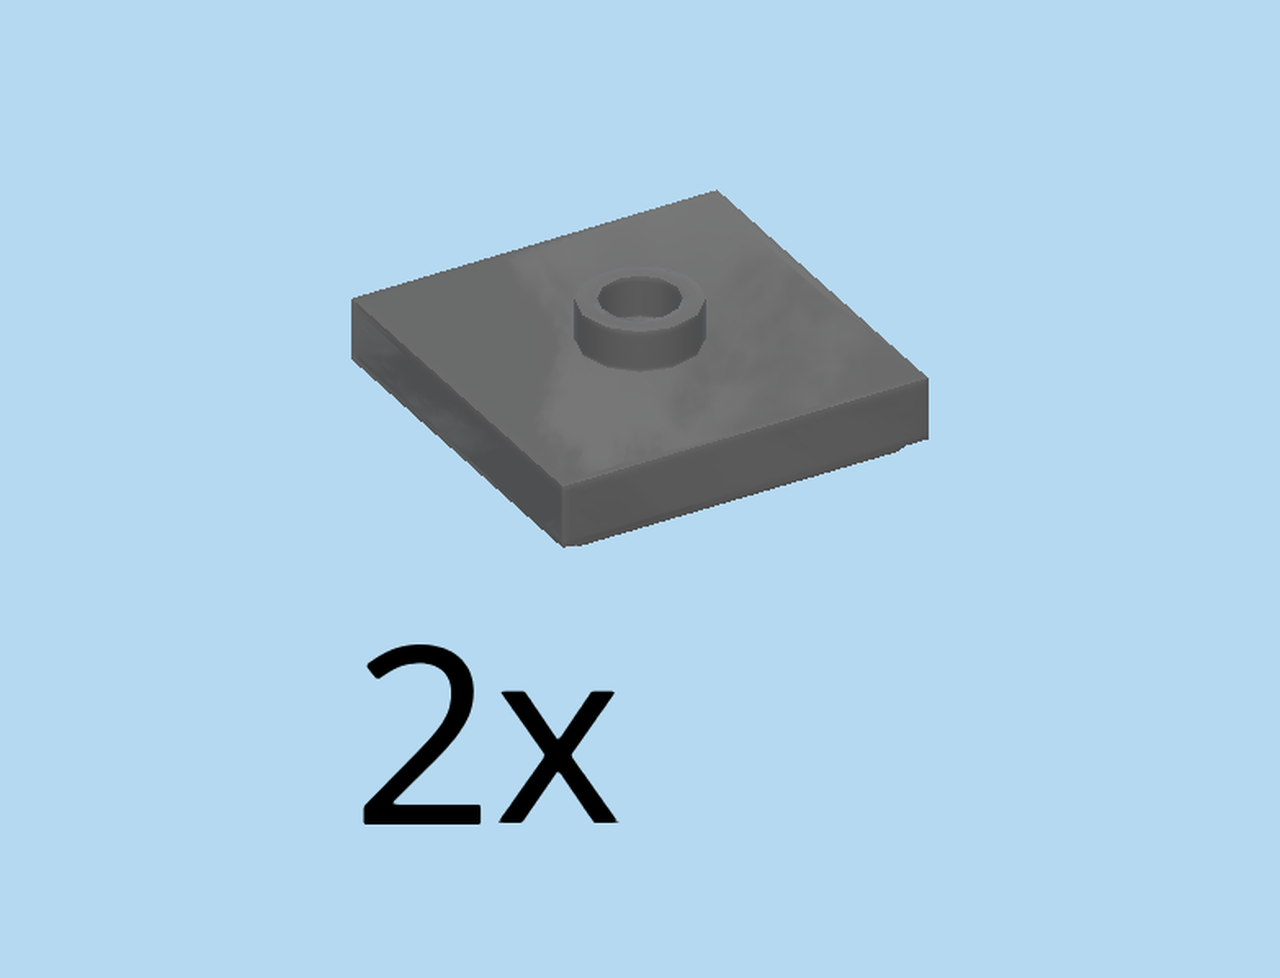
| Find 2 dark stone grey plates 2x2 with 1 knob. |
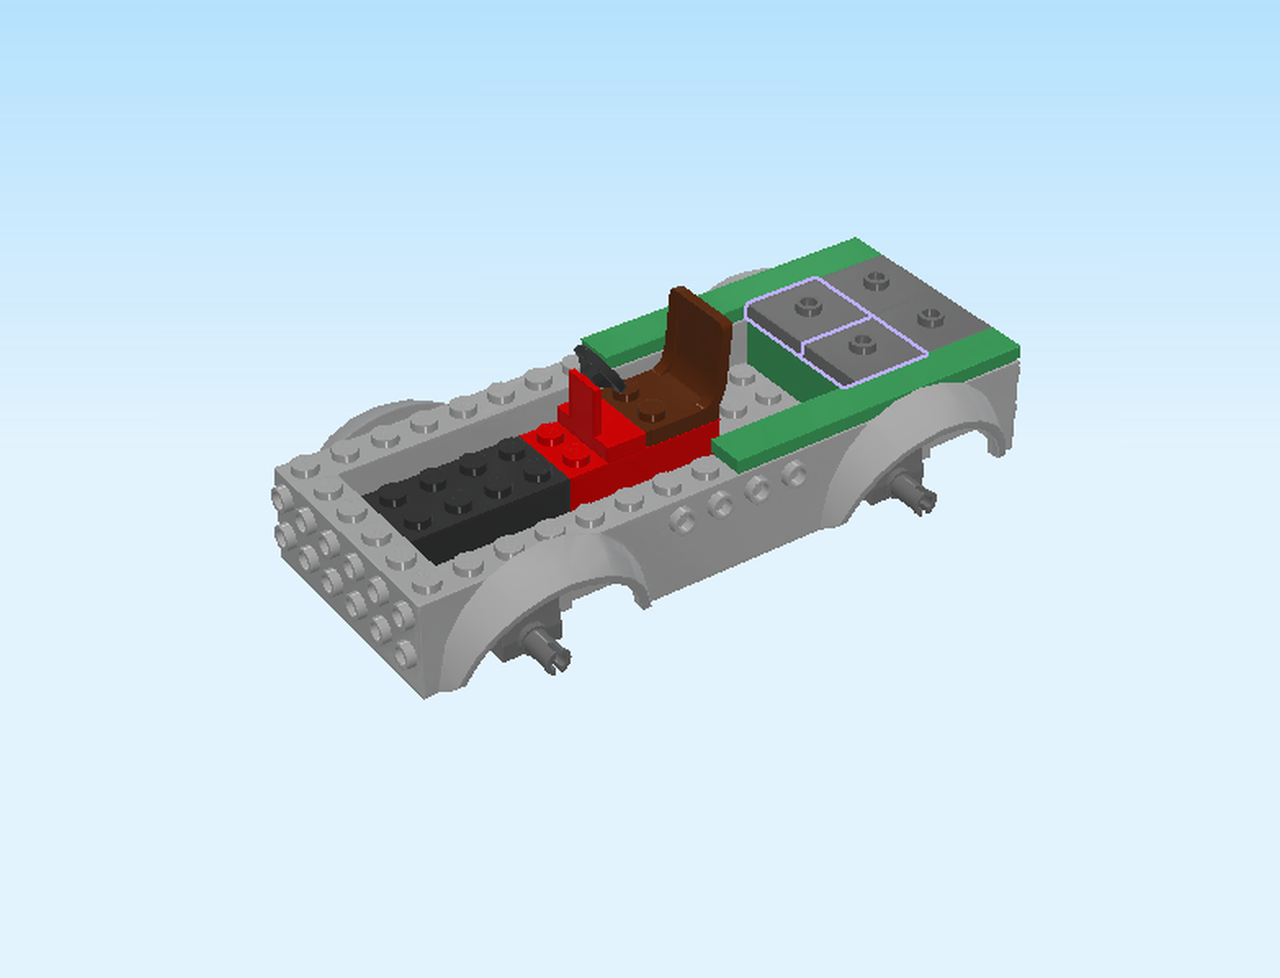
| Put 1 on the rightmost edge on the second and third row from the front. |
| Put the other one behind the previous piece. |
| Find 2 dark stone grey plates 2x2 with 1 knob. |
| Put them to the left of the 2 previous pieces. |
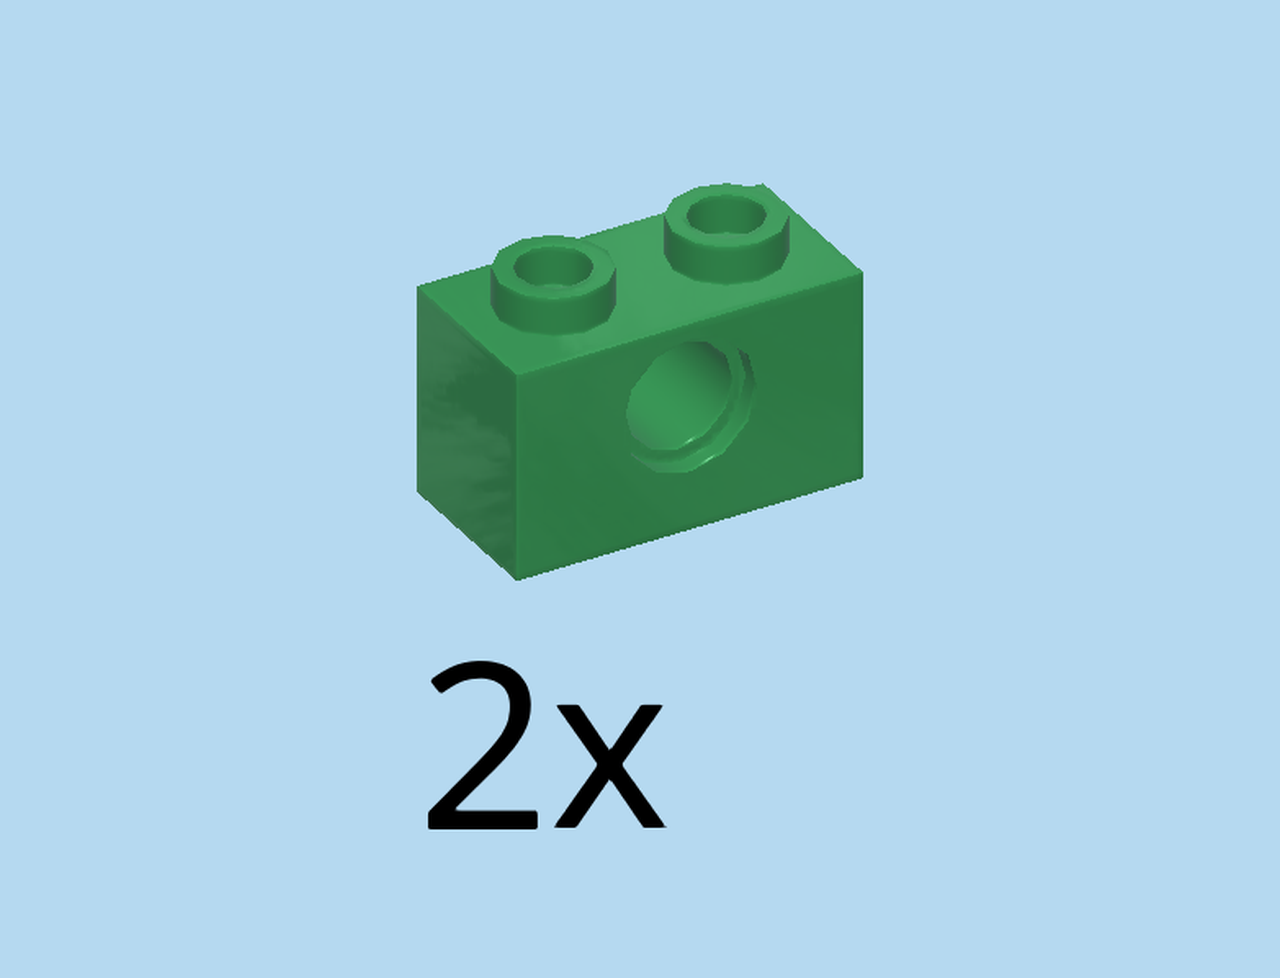
| Find 2 dark green bricks 1x2 with technic hole. |
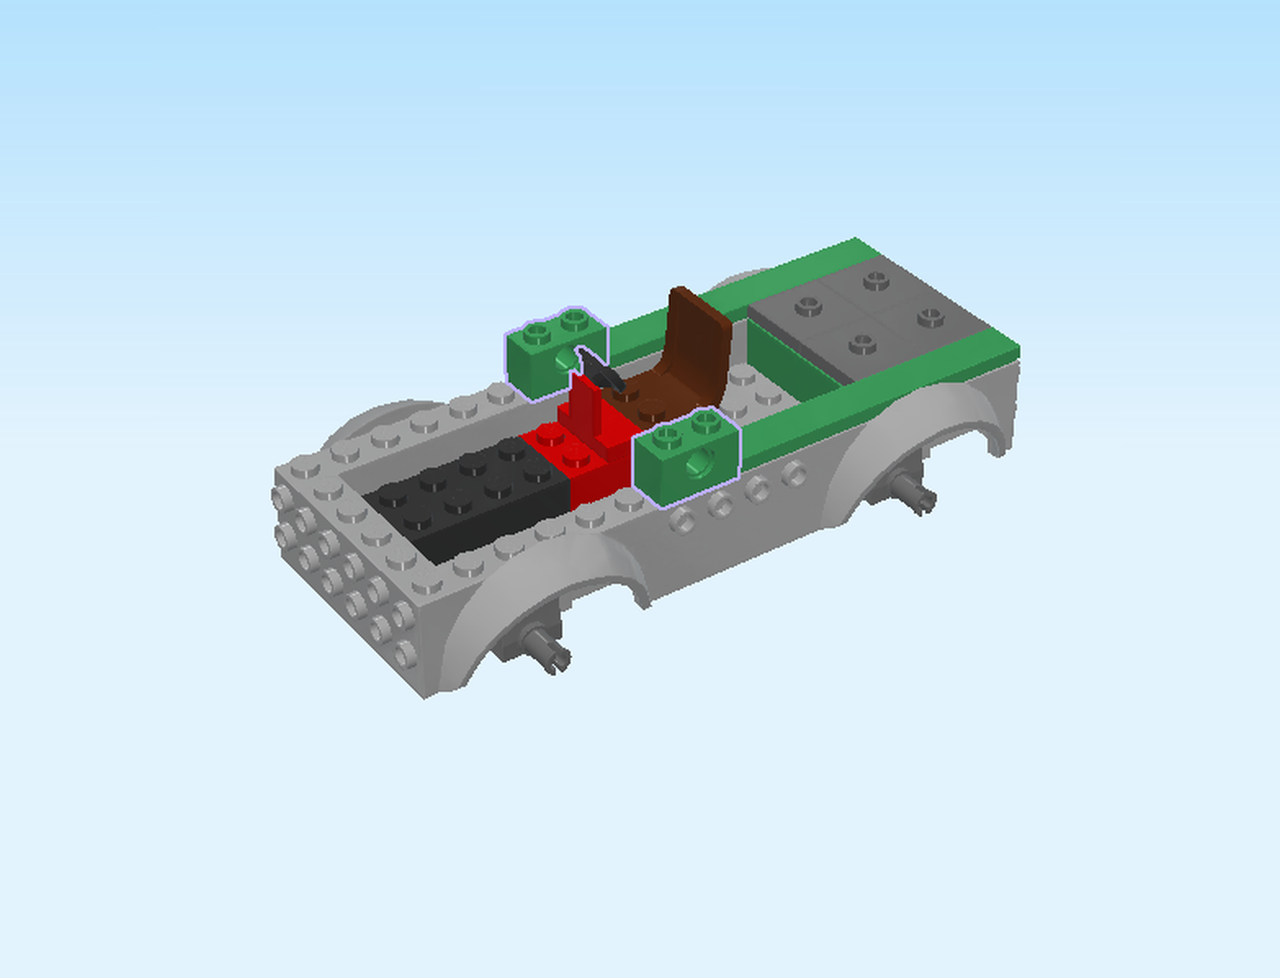
| Put 1 horizontally on the frontmost row, to the left of the flat tile. |
| Repeat symmetrically at the back. |
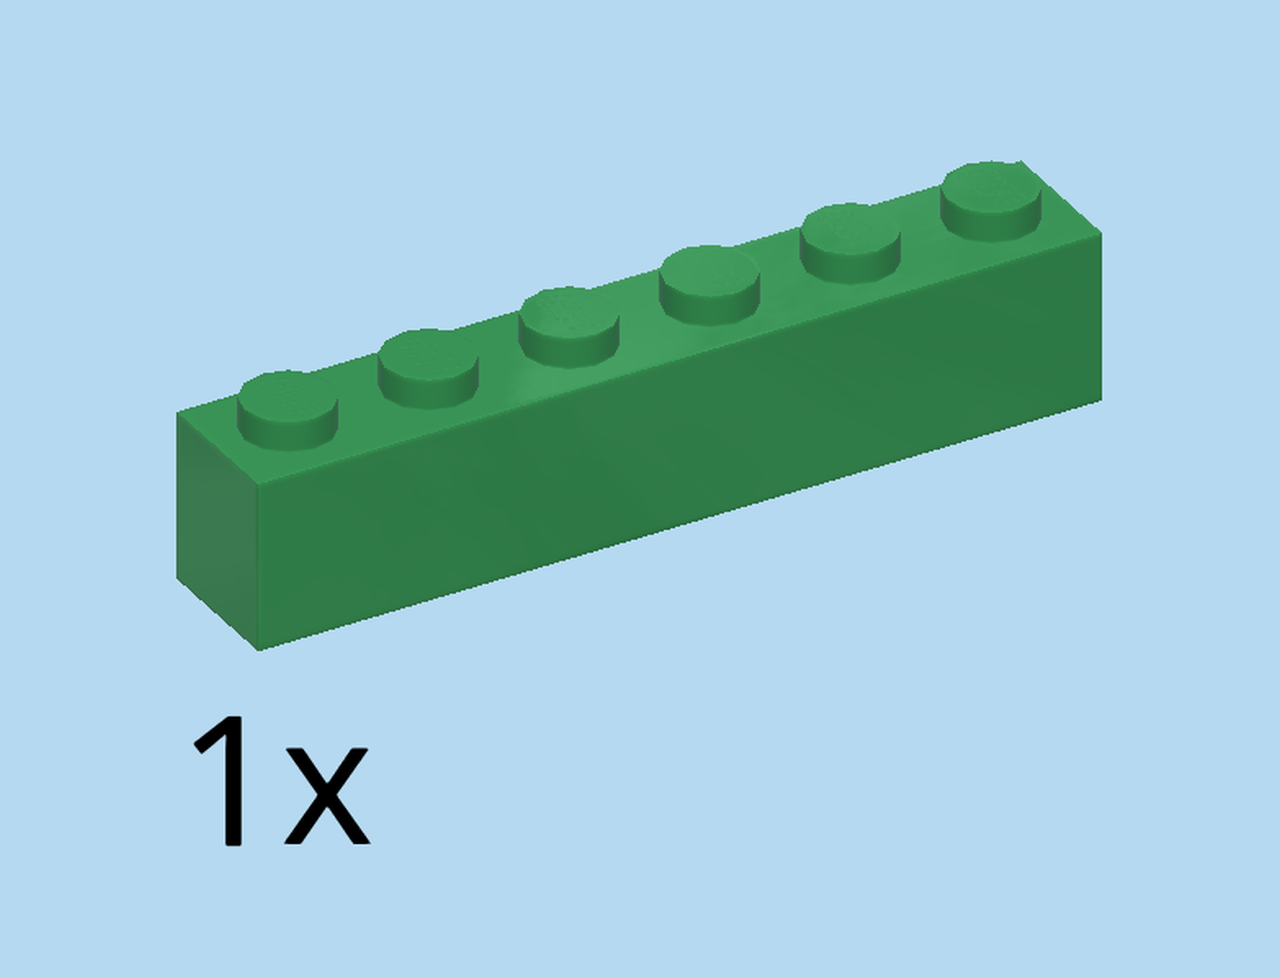
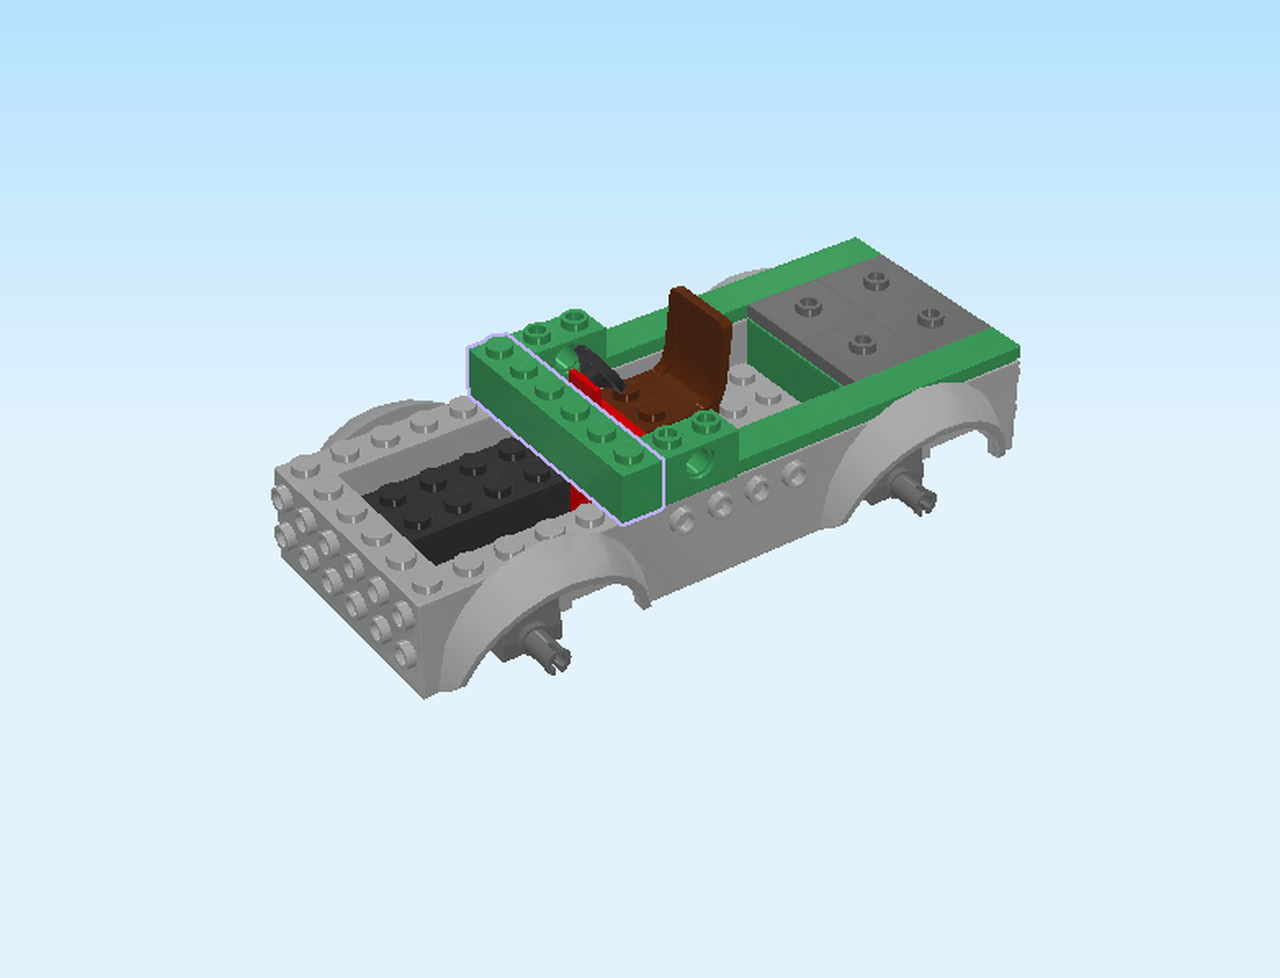
| Find 1 dark green brick 1x6. |
| Put it vertically to the left of the previous 2 pieces. This also means that the brick is to the left of the steering wheel. |
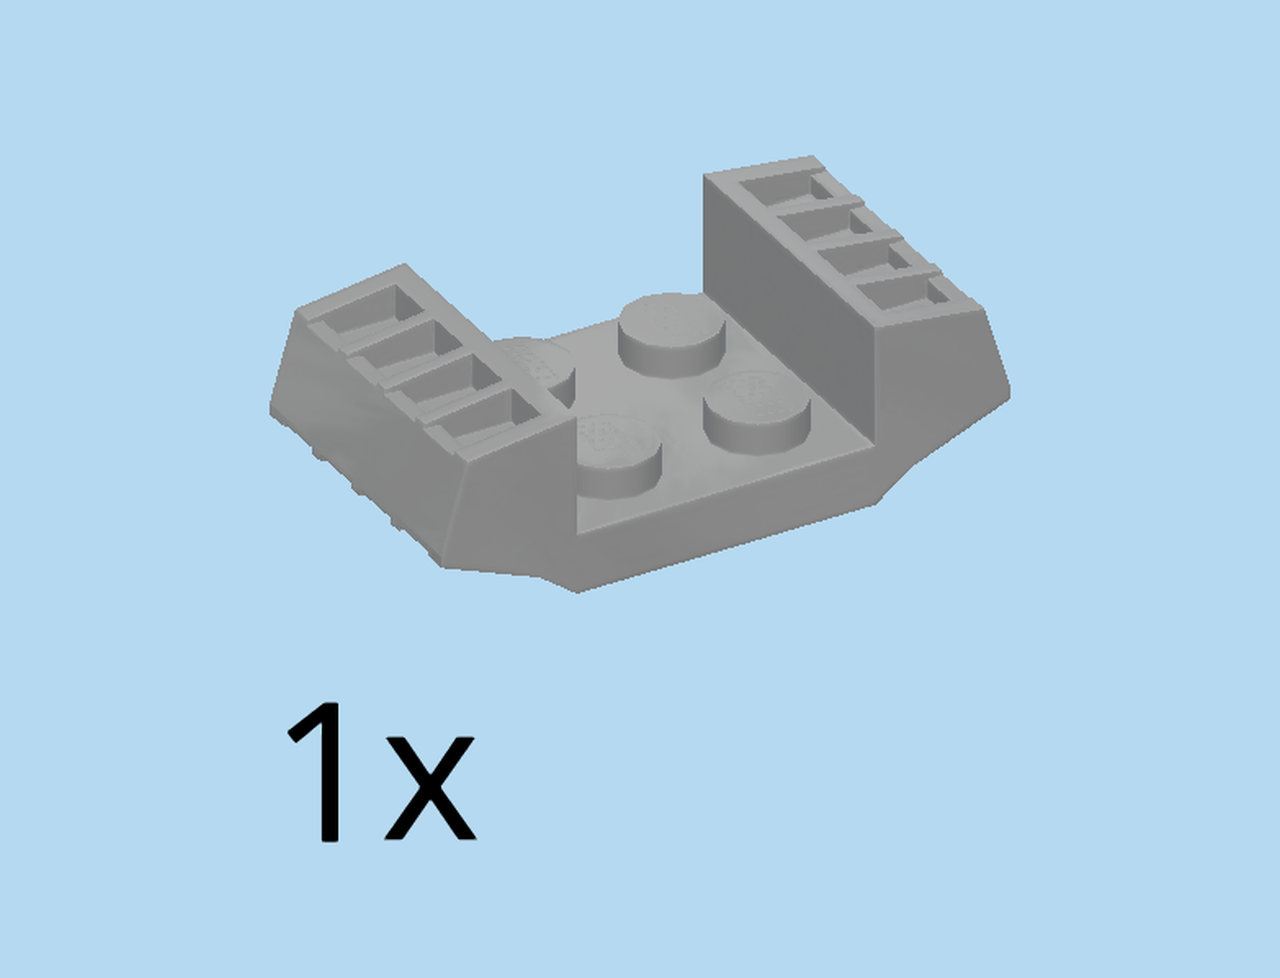
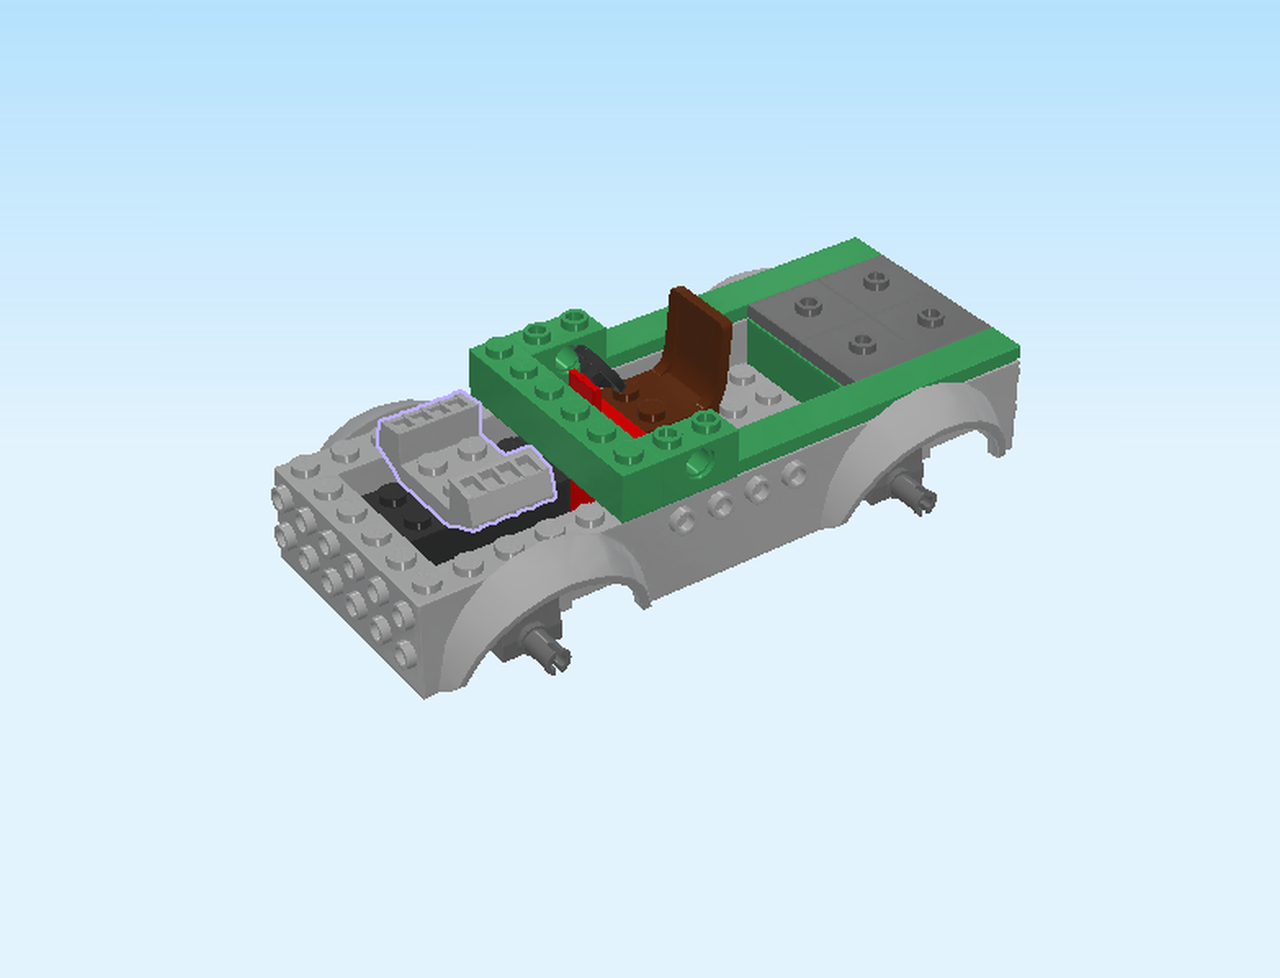
| Find 1 medium stone grey engine bracket 2x4. |
| Put it vertically on the second and third column from the left of the lower part of the structure. |
| Find 1 silver metallic engine 2x2x1⅓. |
| Put it horizontally into the engine bracket, narrower end to the left. |
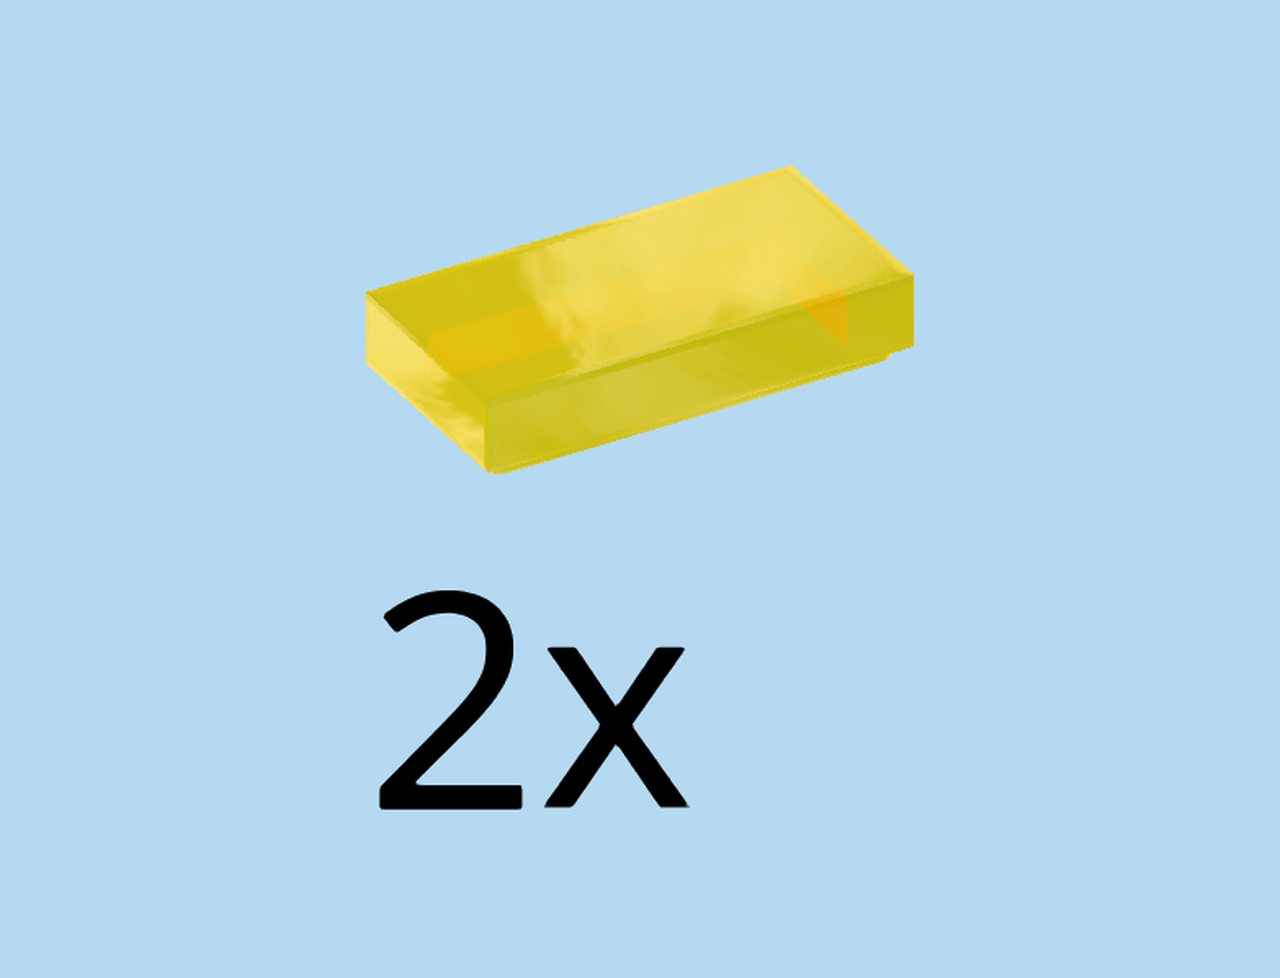
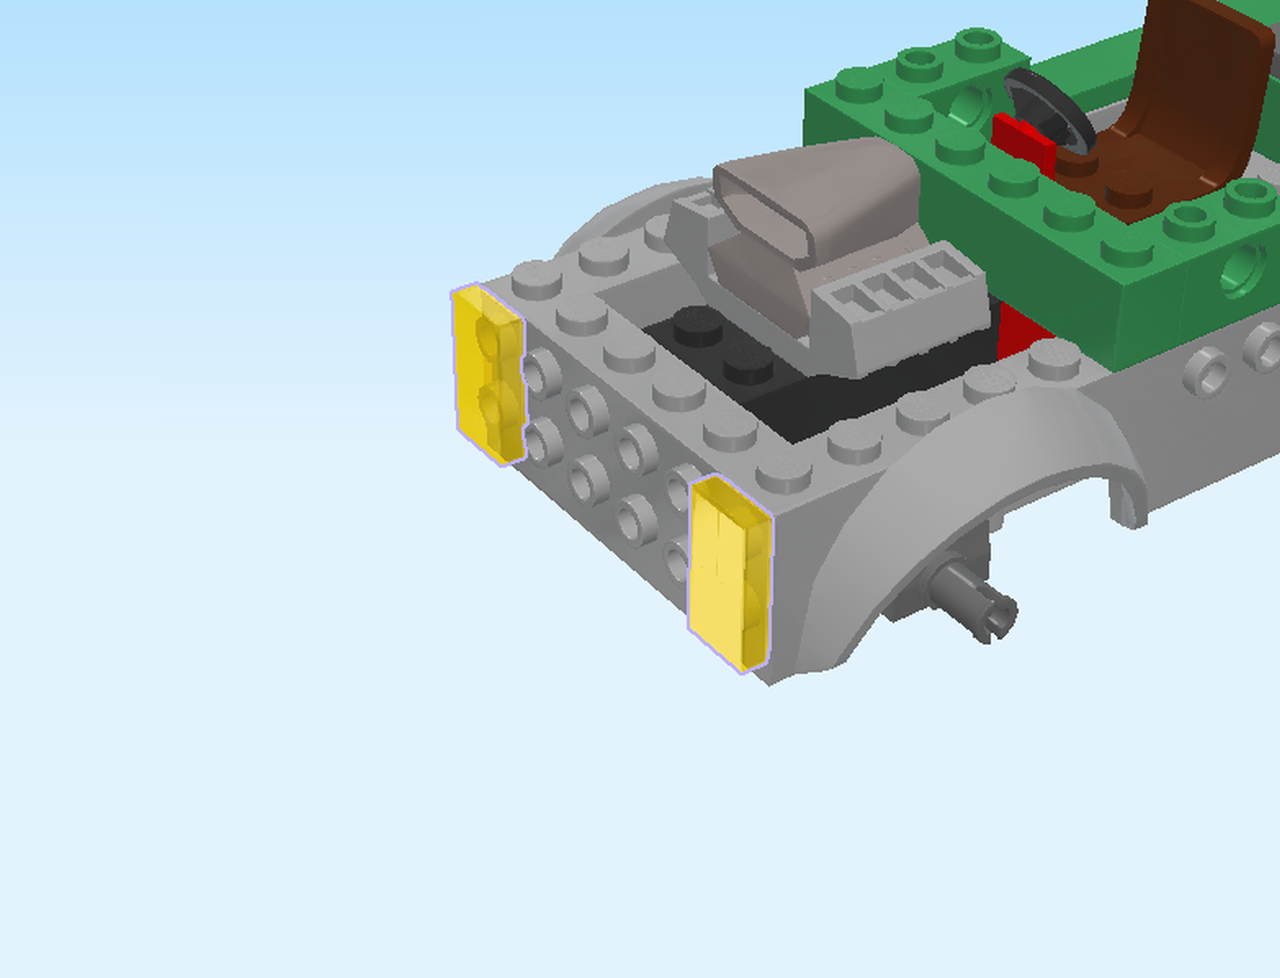
| Find 2 transparent yellow flat tiles 1x2. |
| Put 1 upright vertically on the frontmost two knobs of the left side knobs. |
| Repeat symmetrically at the back. |
| These are the headlights of the truck. |
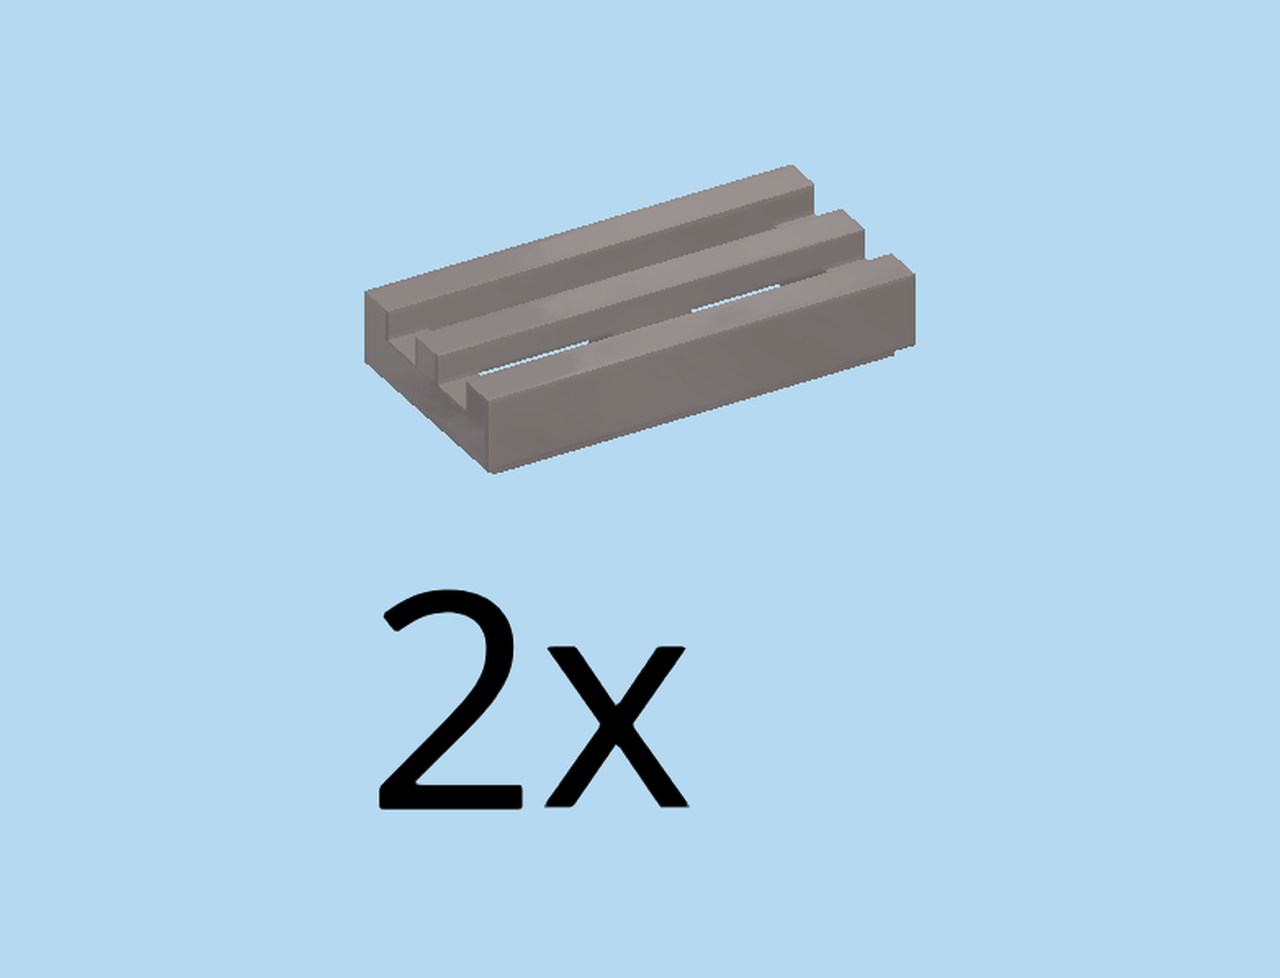
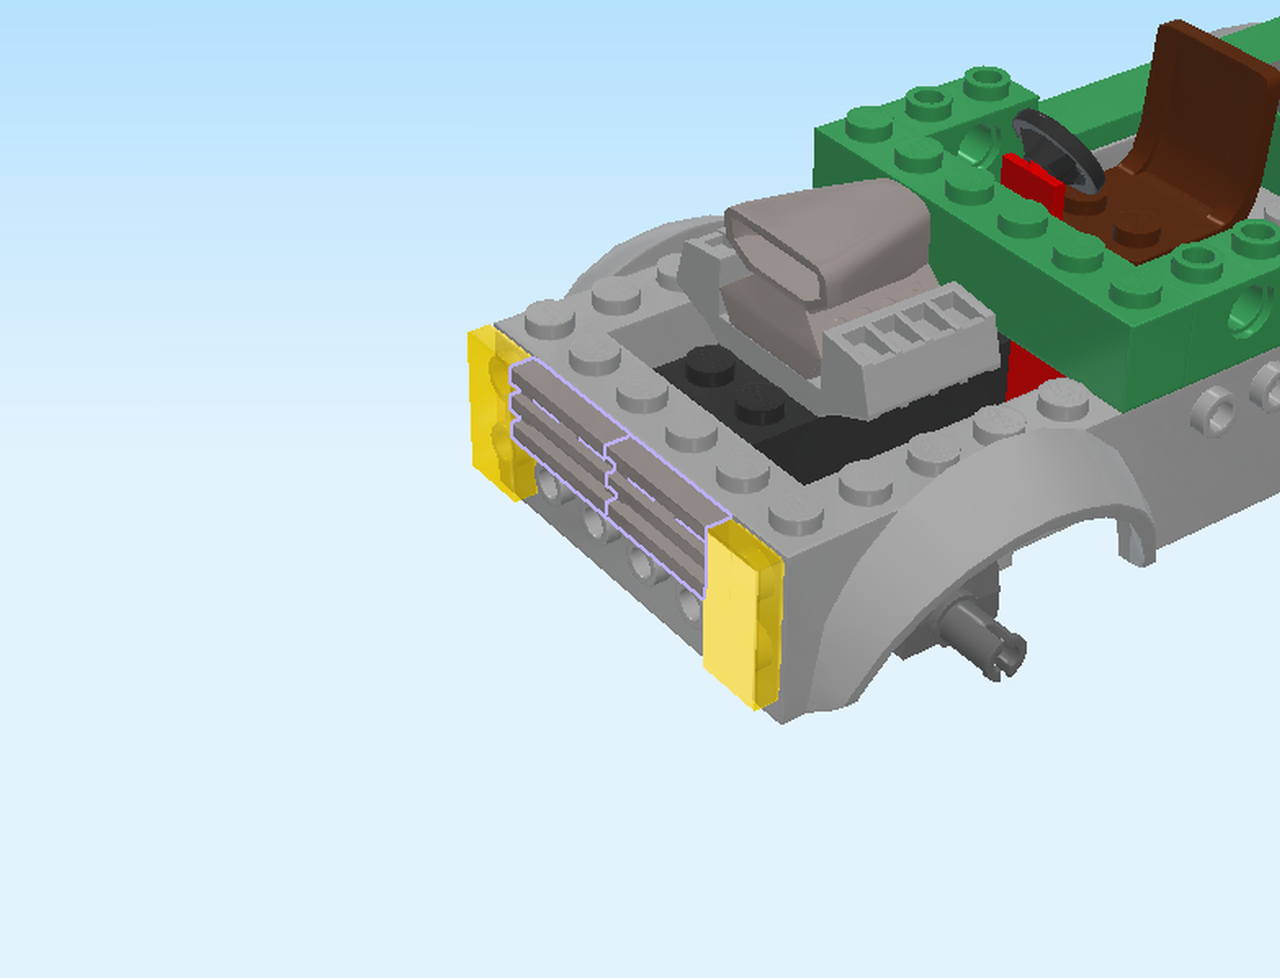
| Find 2 silver metallic grille tiles 1x2. |
| Put them upright horizontally on the top row of the left side knobs. |
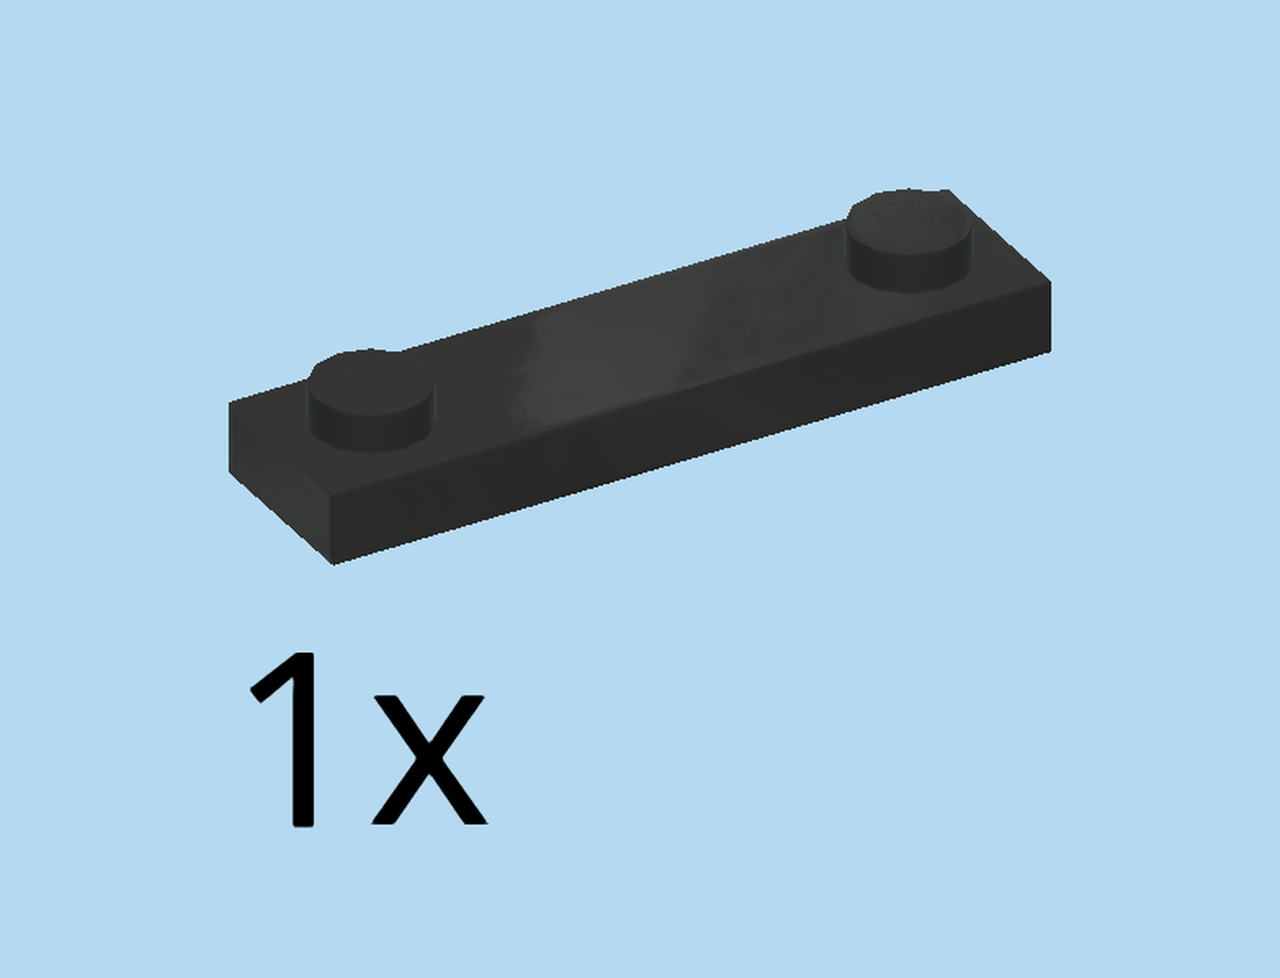
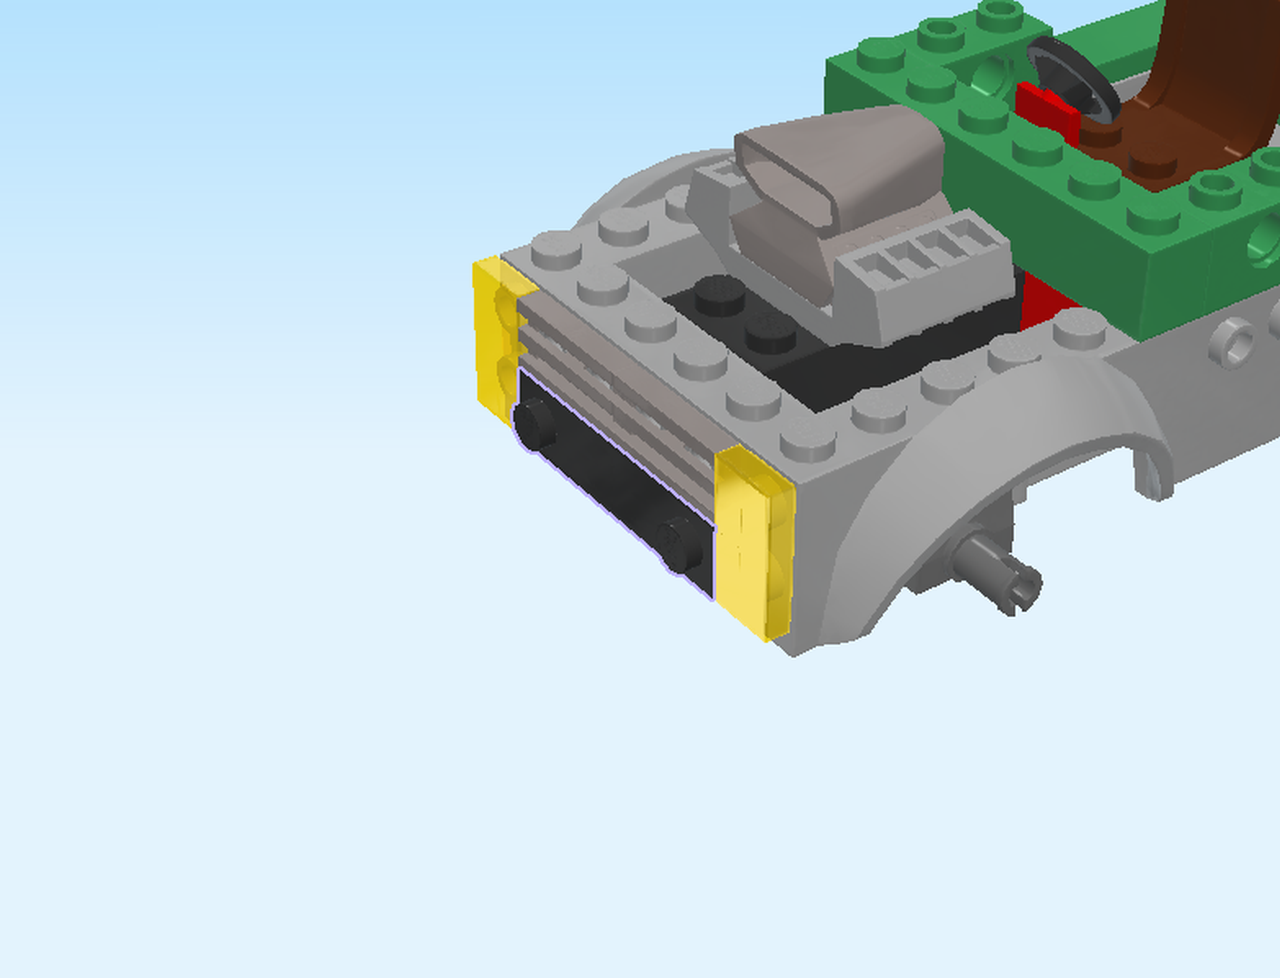
| Find 1 black plate 1x4 with 2 knobs. |
| Put it upright horizontally below the 2 previous pieces. |
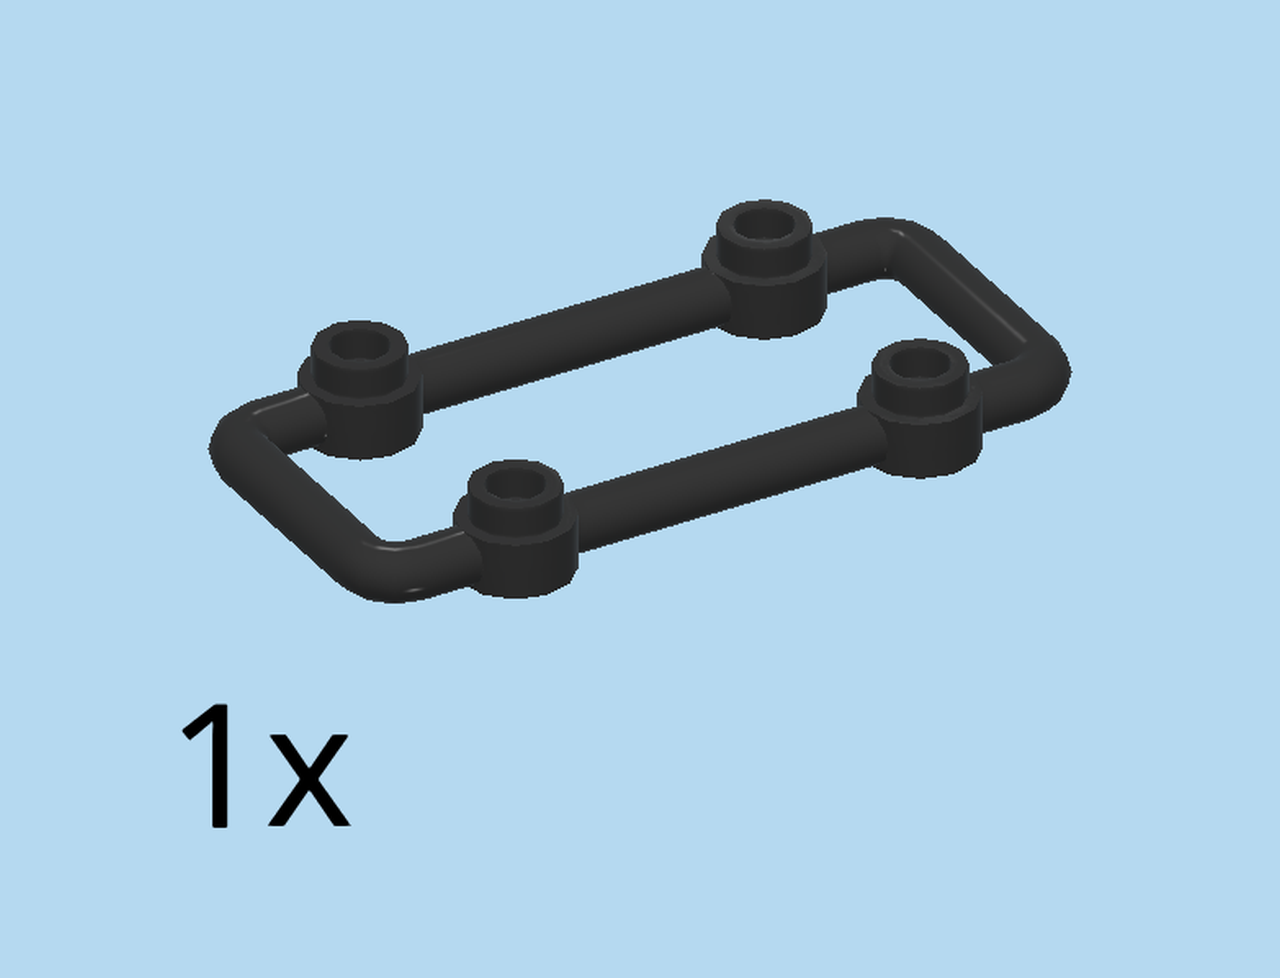
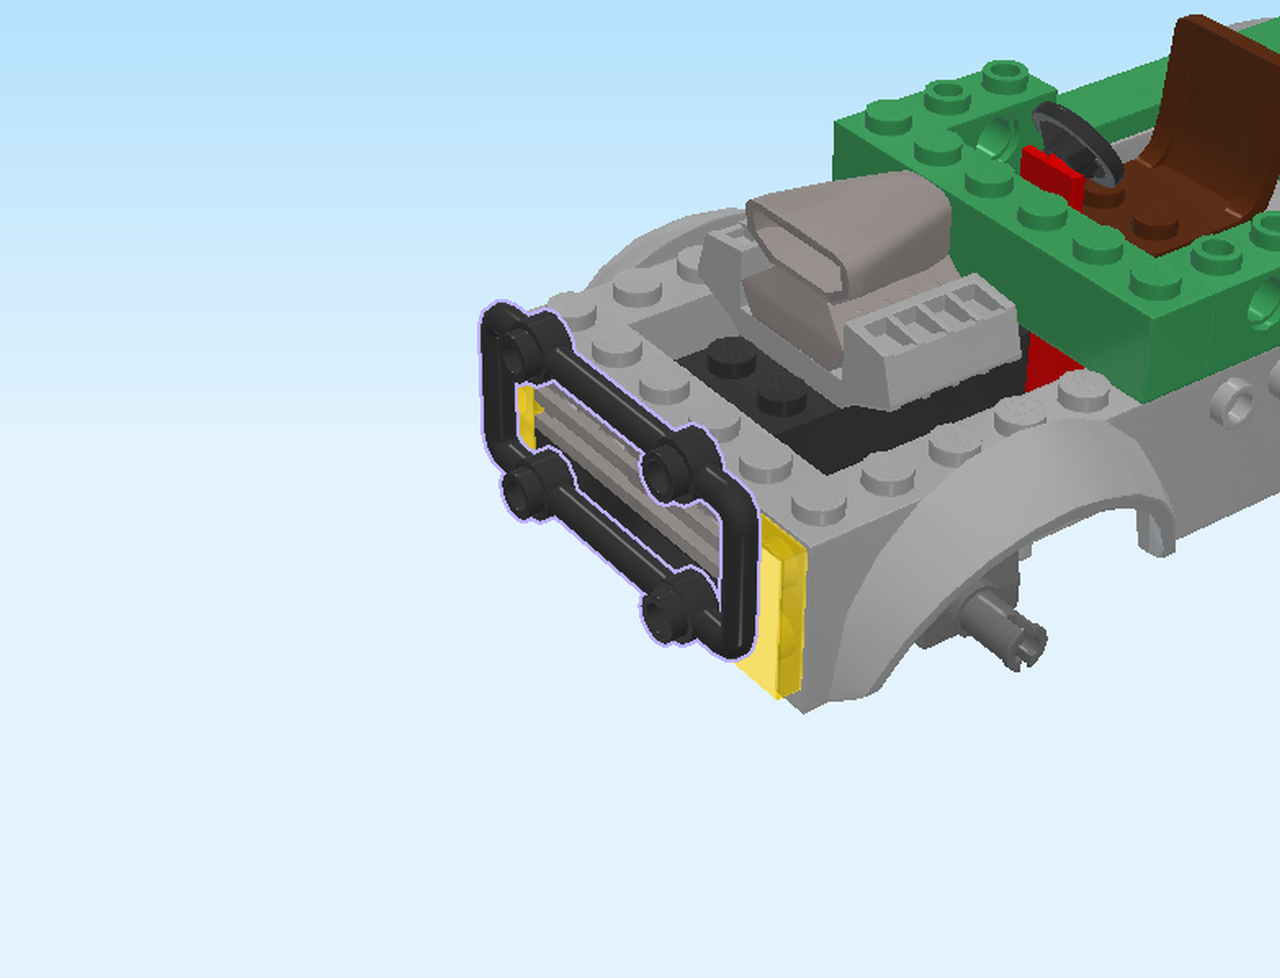
| Find 1 black rectangular bar 3x6 with 4 knobs. |
| Put it upright horizontally on the left side; attach the bottom 2 knobs of the bar on the 2 knobs of the previous piece. |
| You have just attached the sturdy front bumper of the bank truck. |
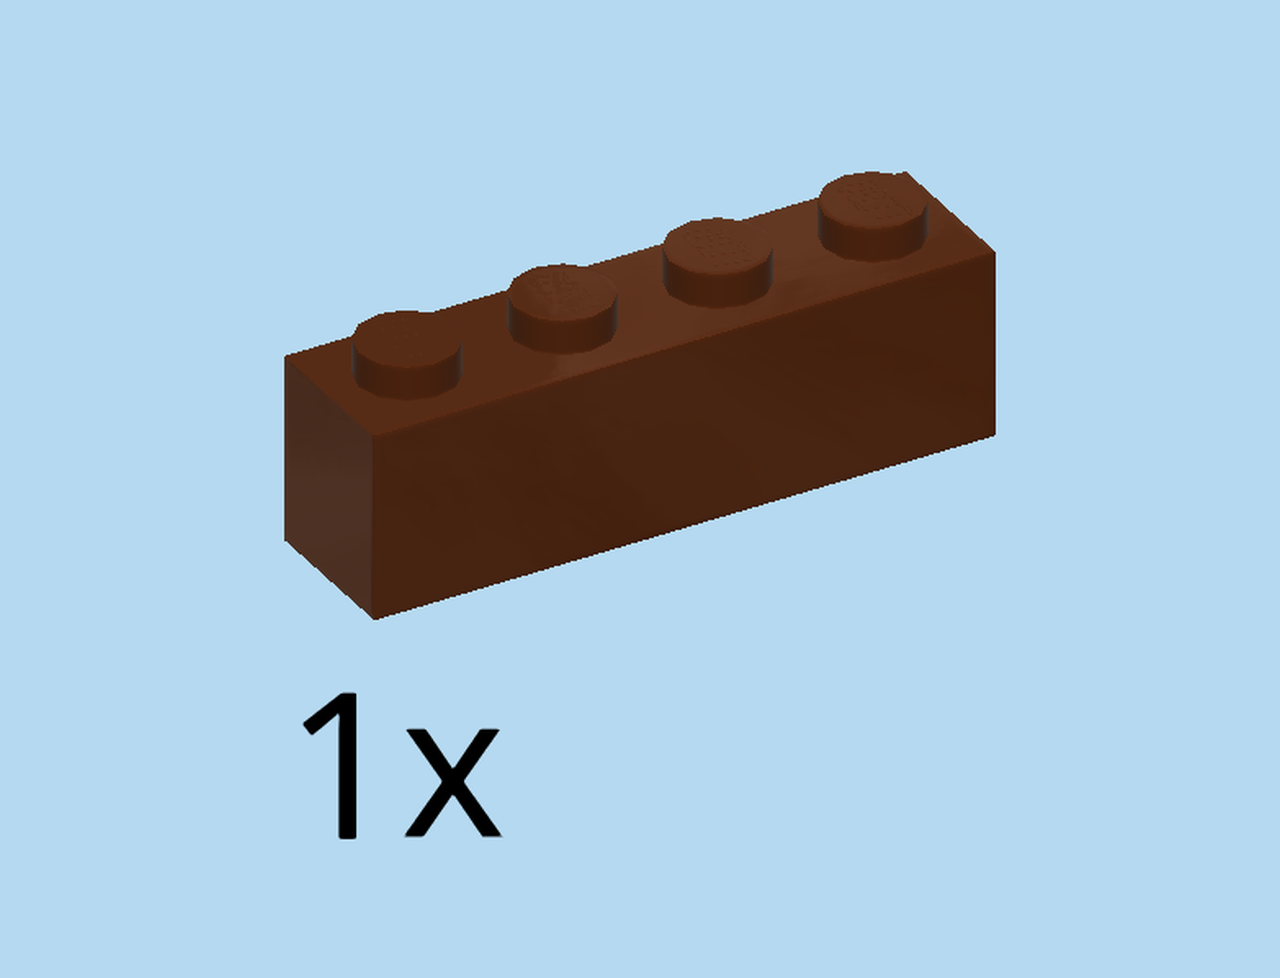
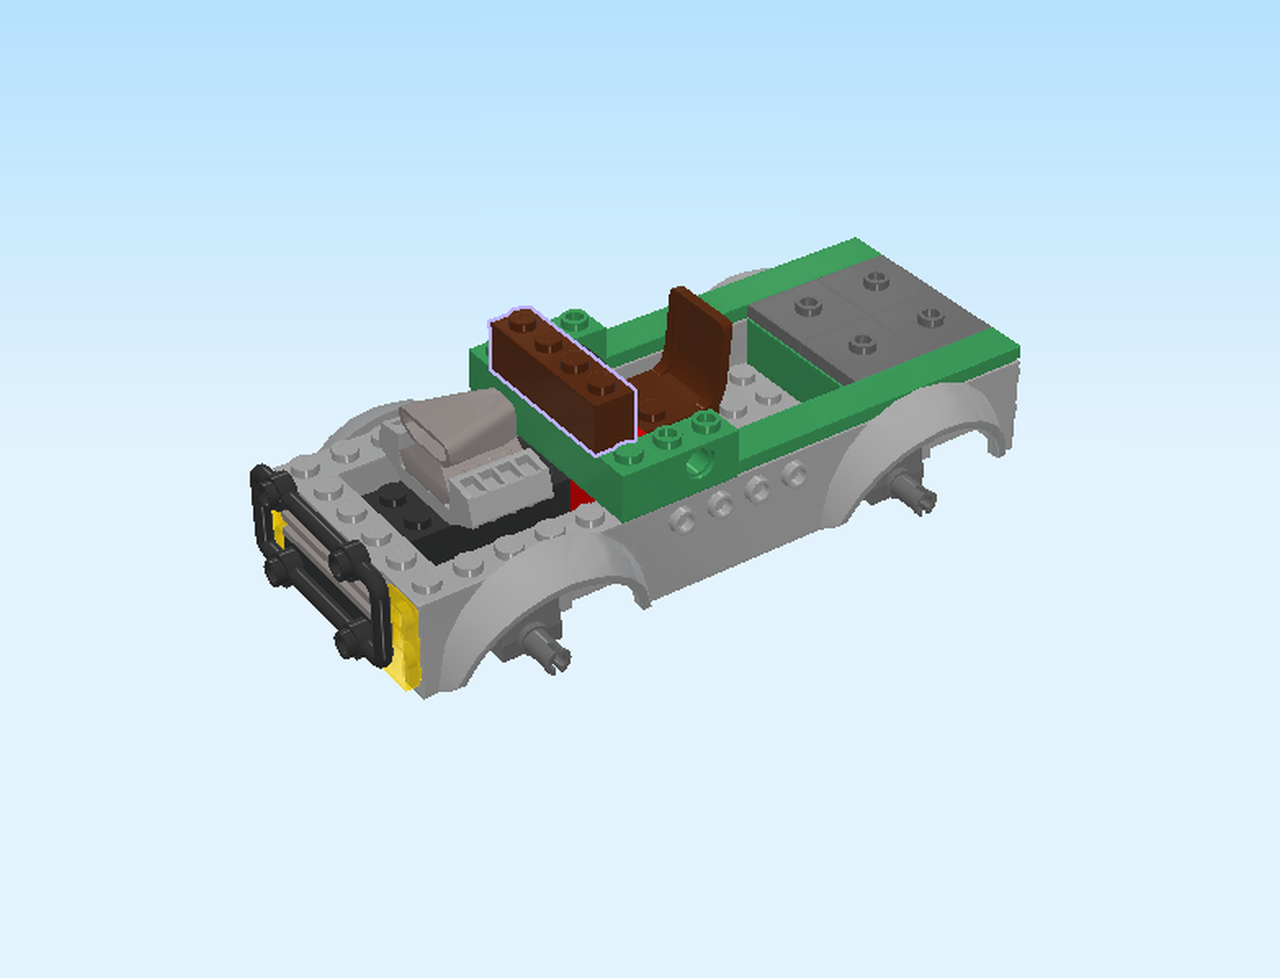
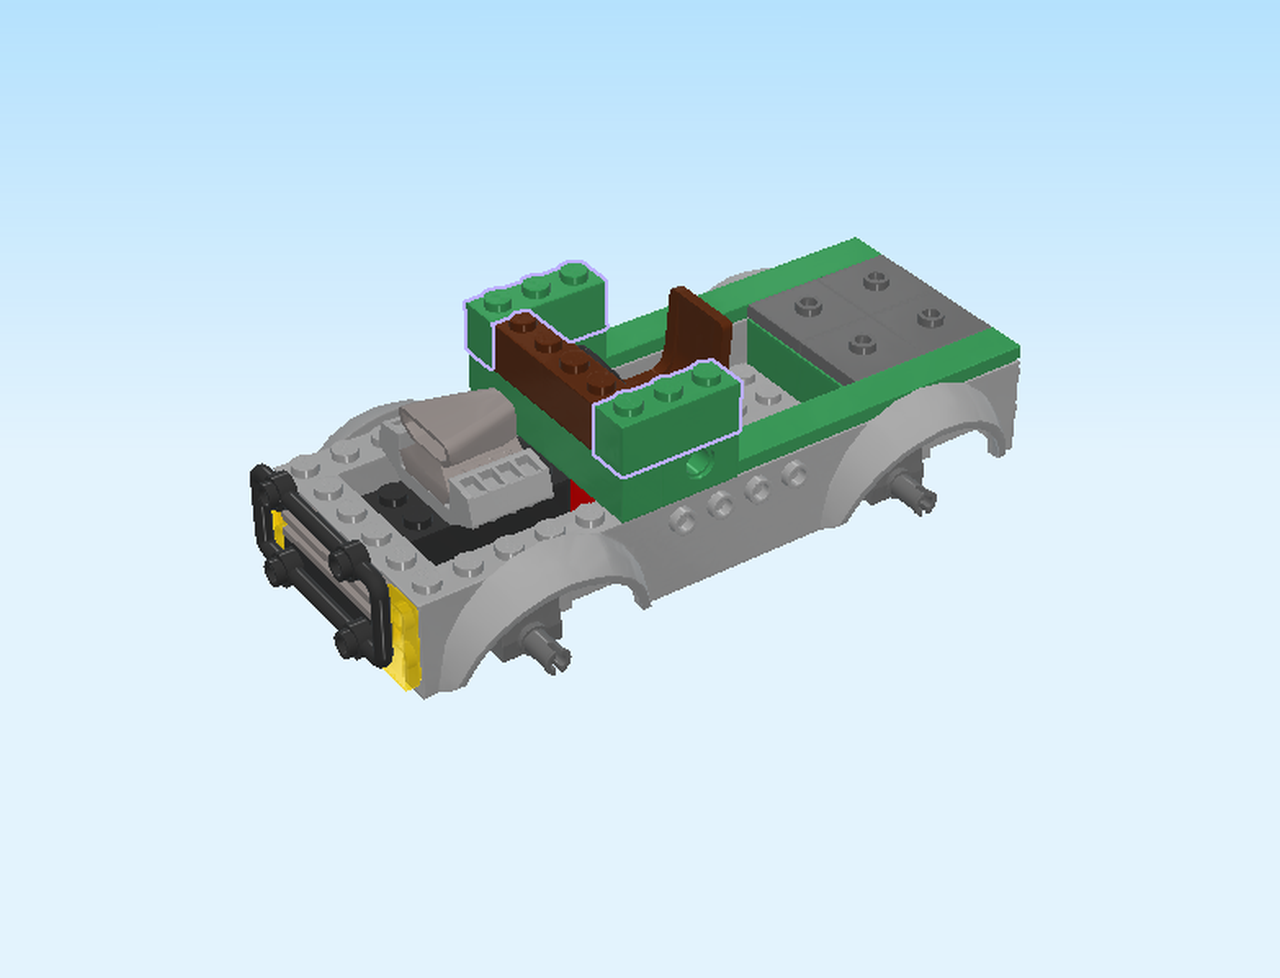
| Find 1 reddish brown brick 1x4. |
| Put it vertically centered to the left of the steering wheel. |
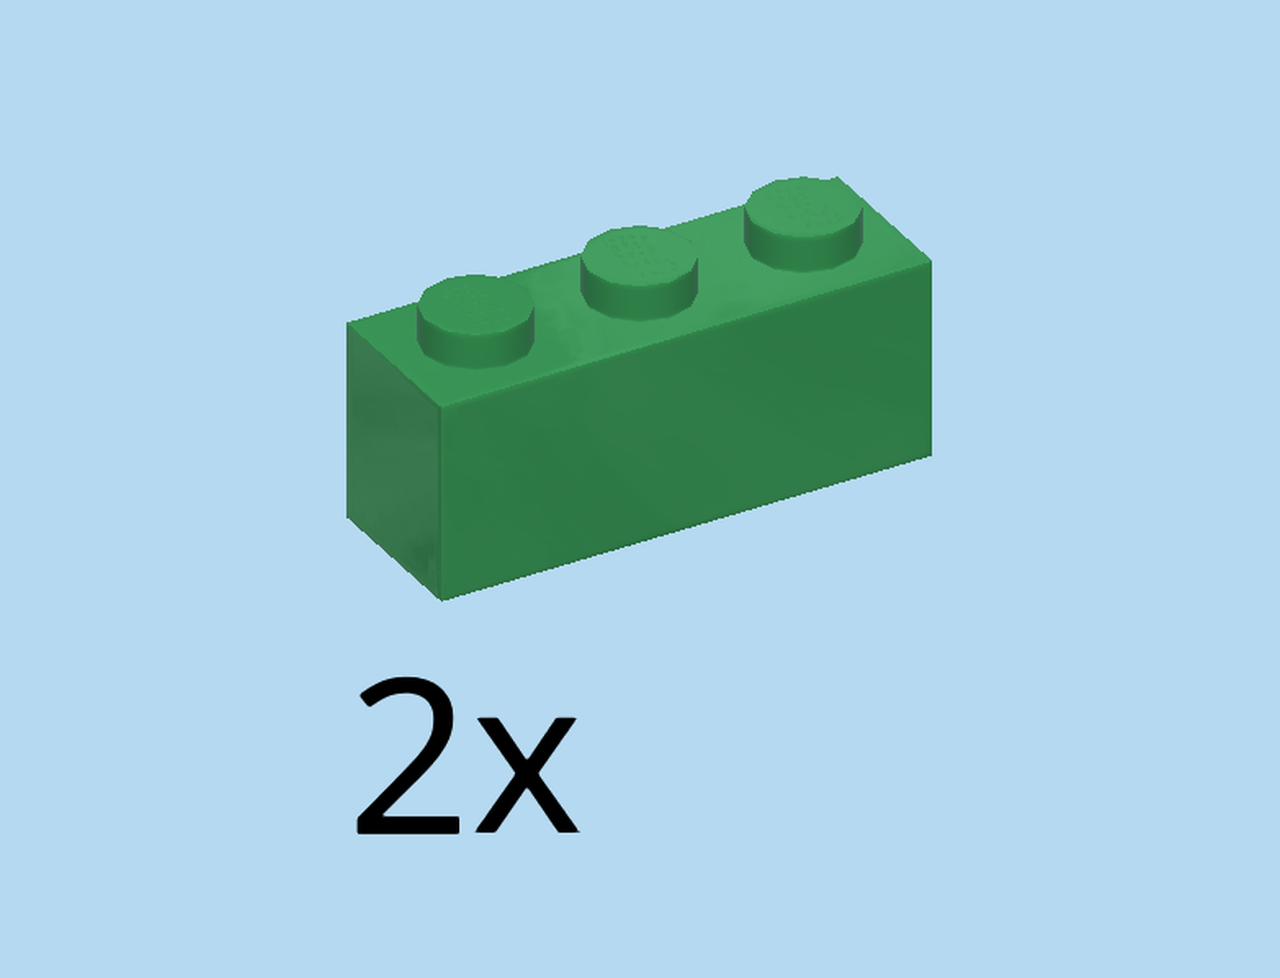
| Find 2 dark green bricks 1x3. |
| Put 1 horizontally on the front row, left end flush with the previous piece. |
| Repeat symmetrically on the right. |
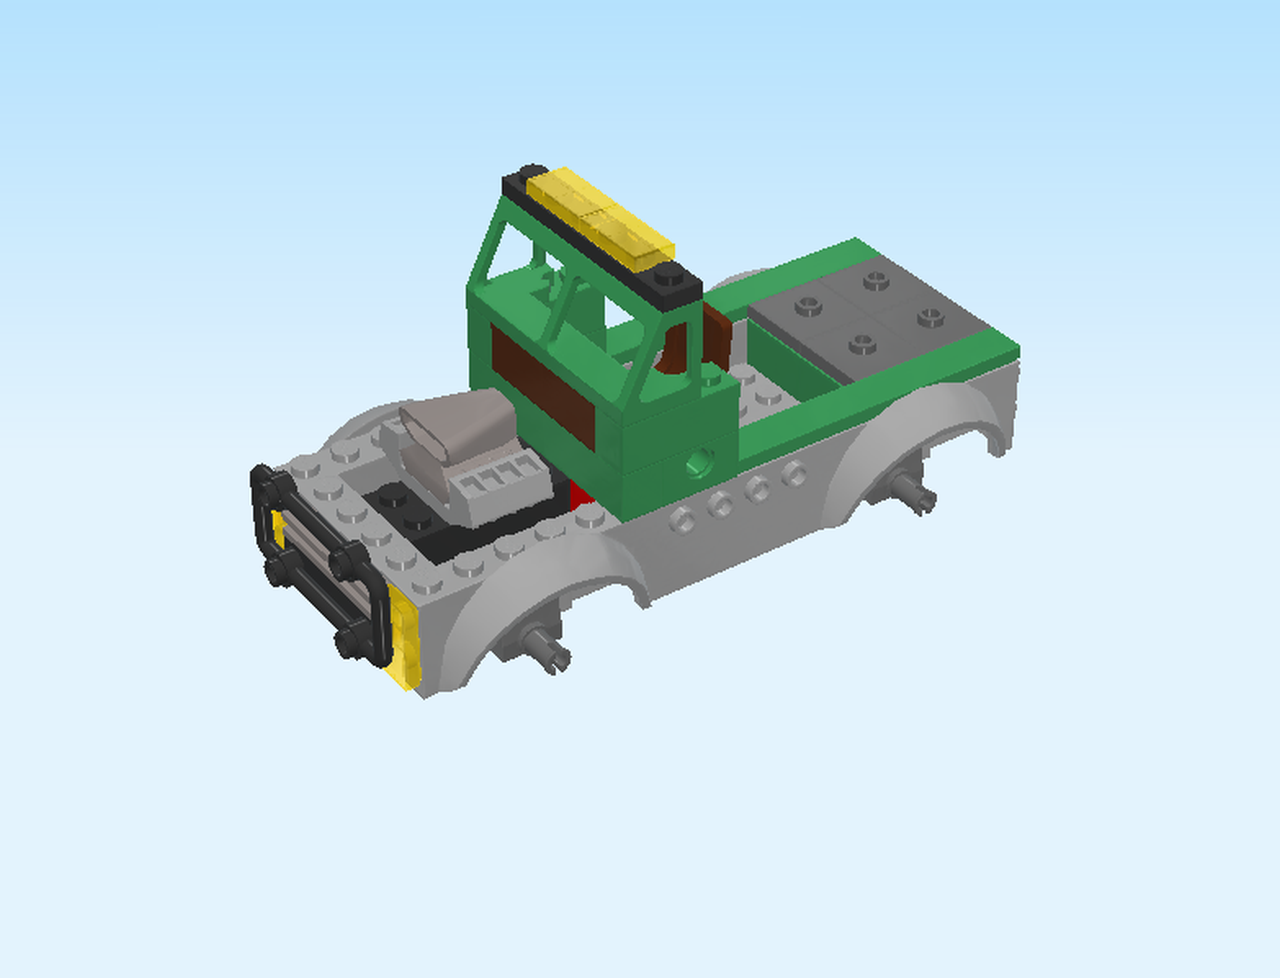
| Next, we will build the driver's cabin of the bank truck. |
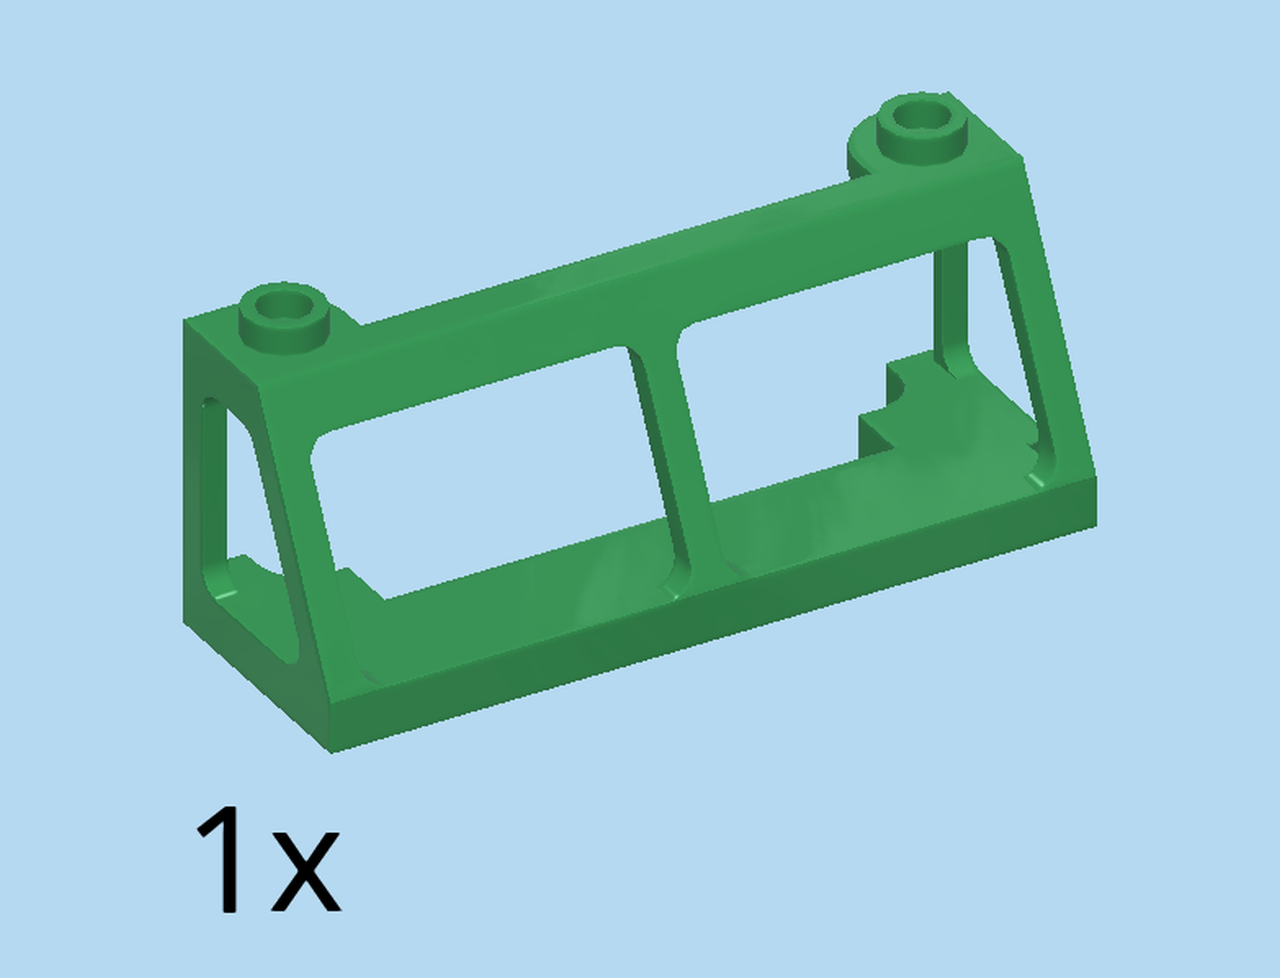
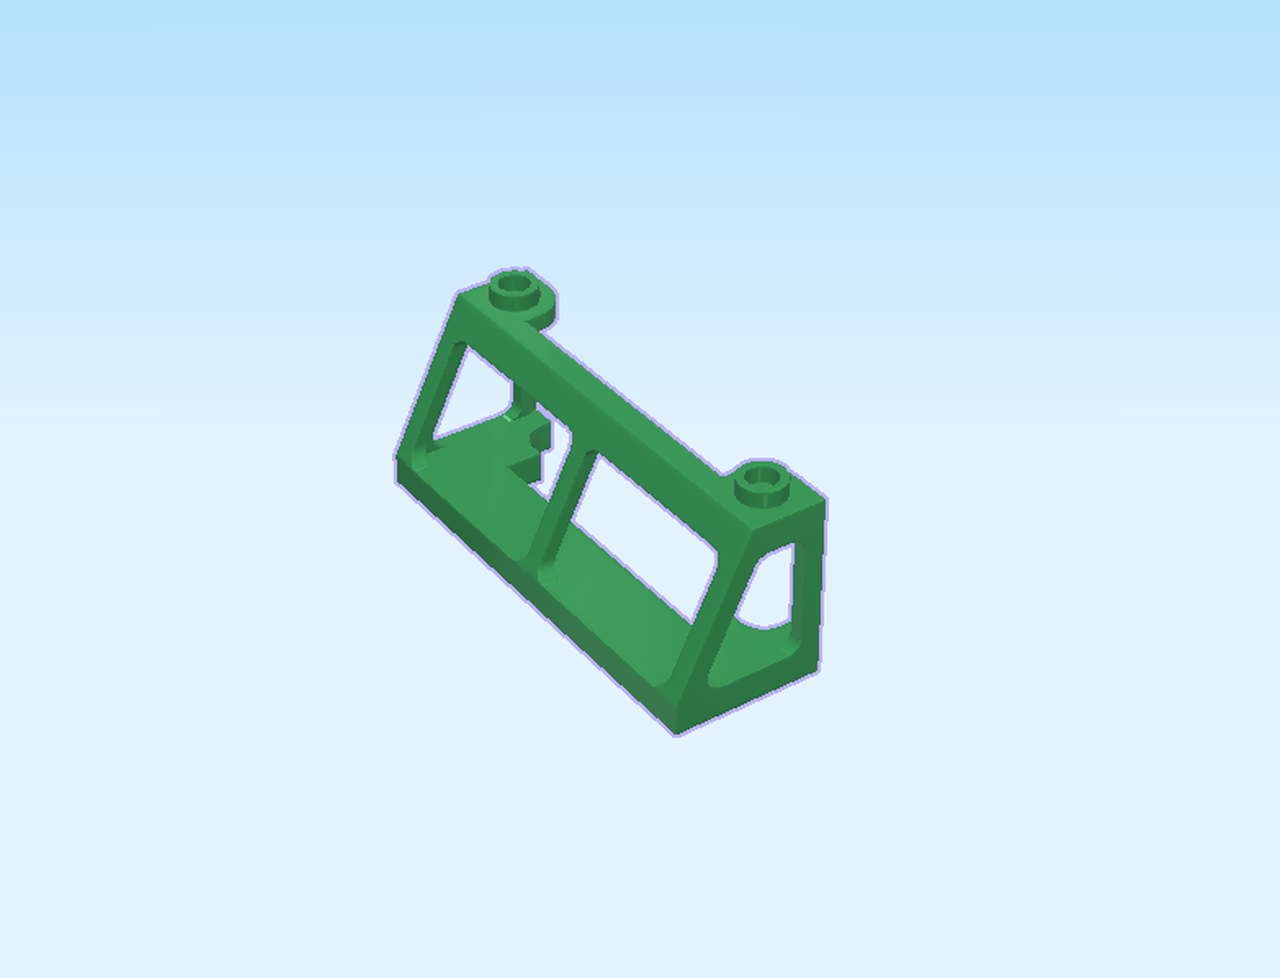
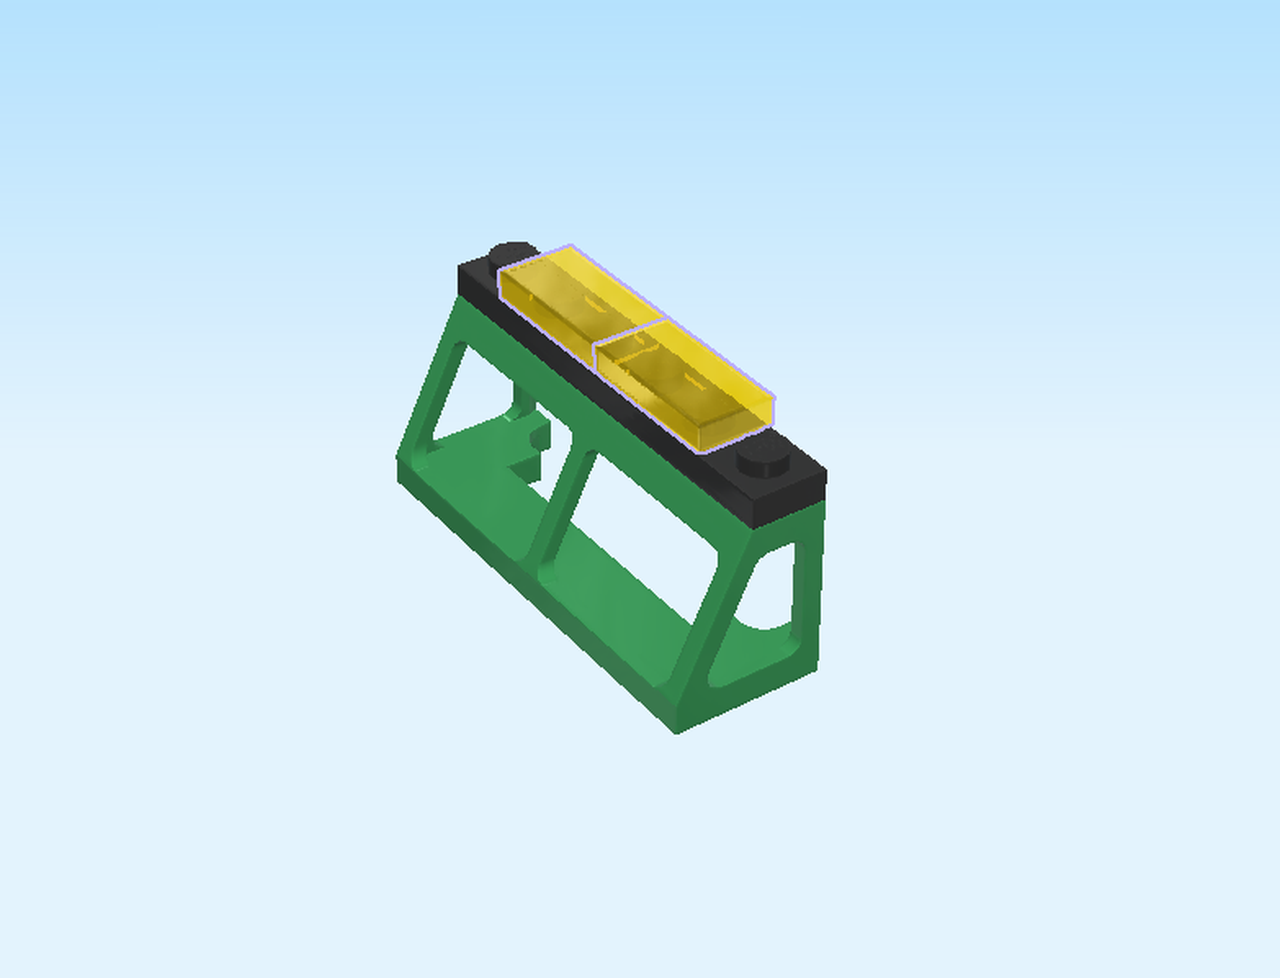
| Find 1 dark green windscreen frame 2x6x2. |
| Put it vertically on the table, slope to the left. |
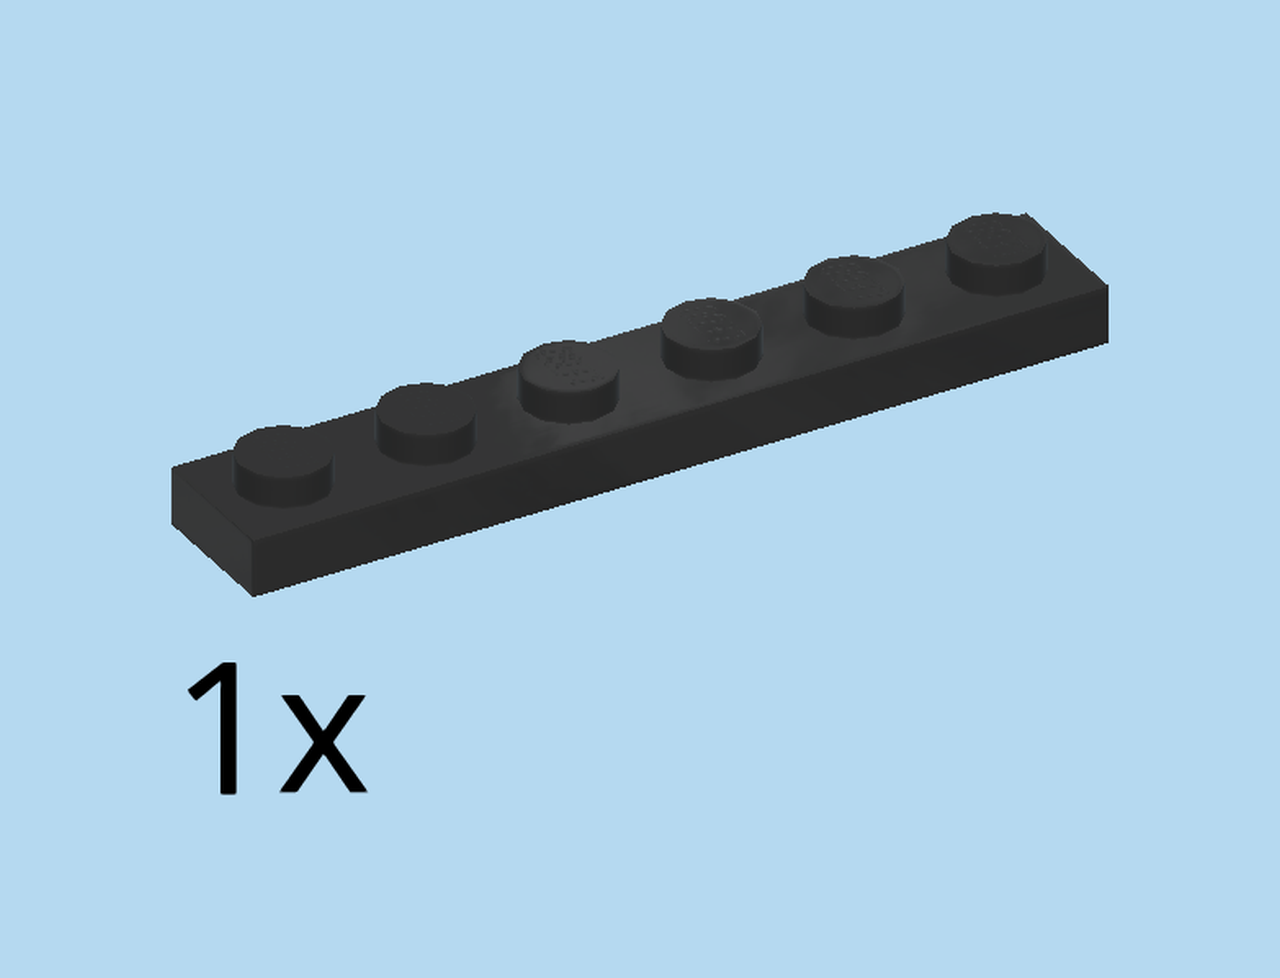
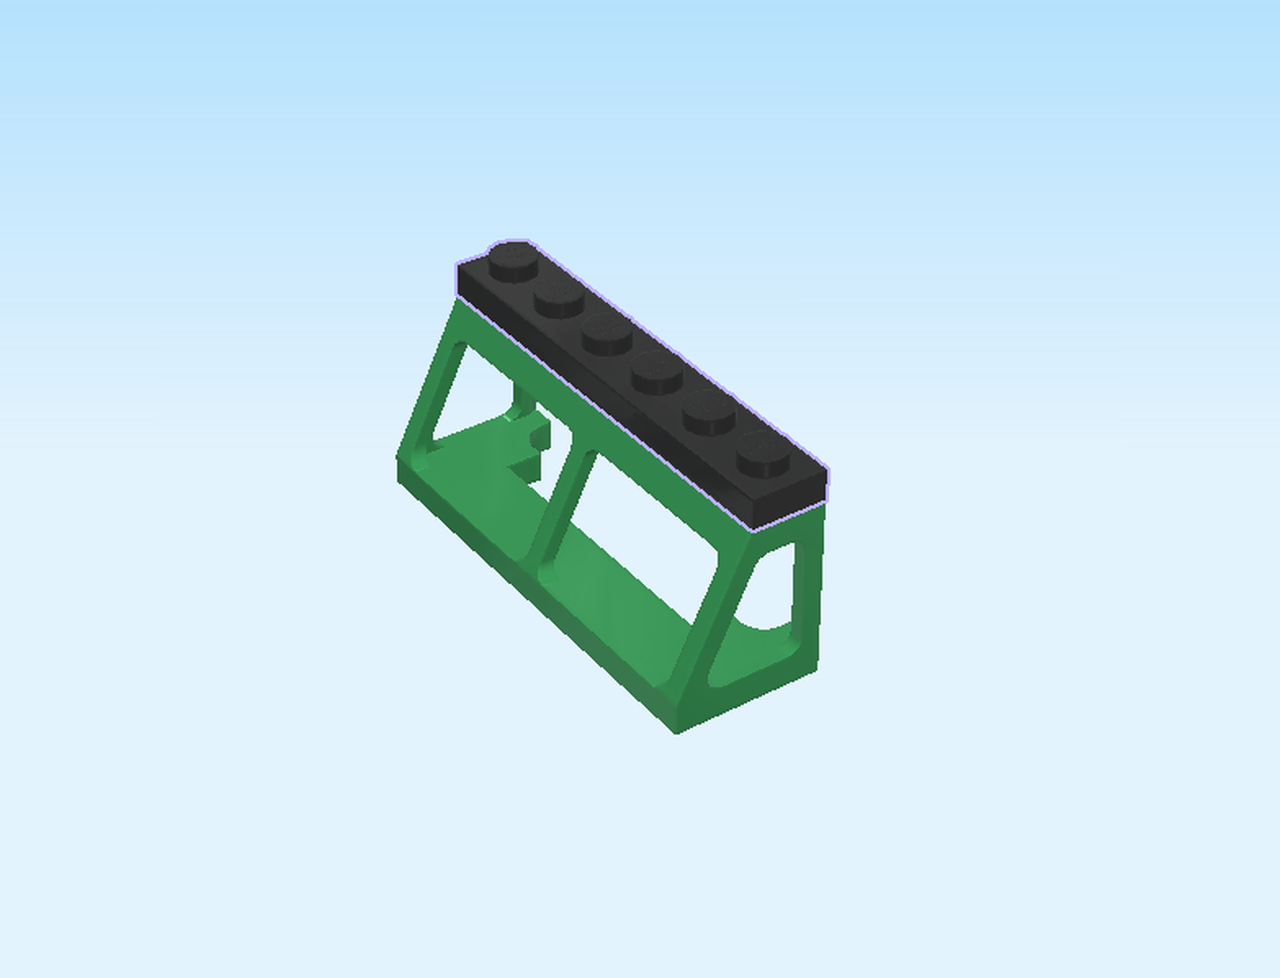
| Find 1 black plate 1x6. |
| Put it vertically on top. |
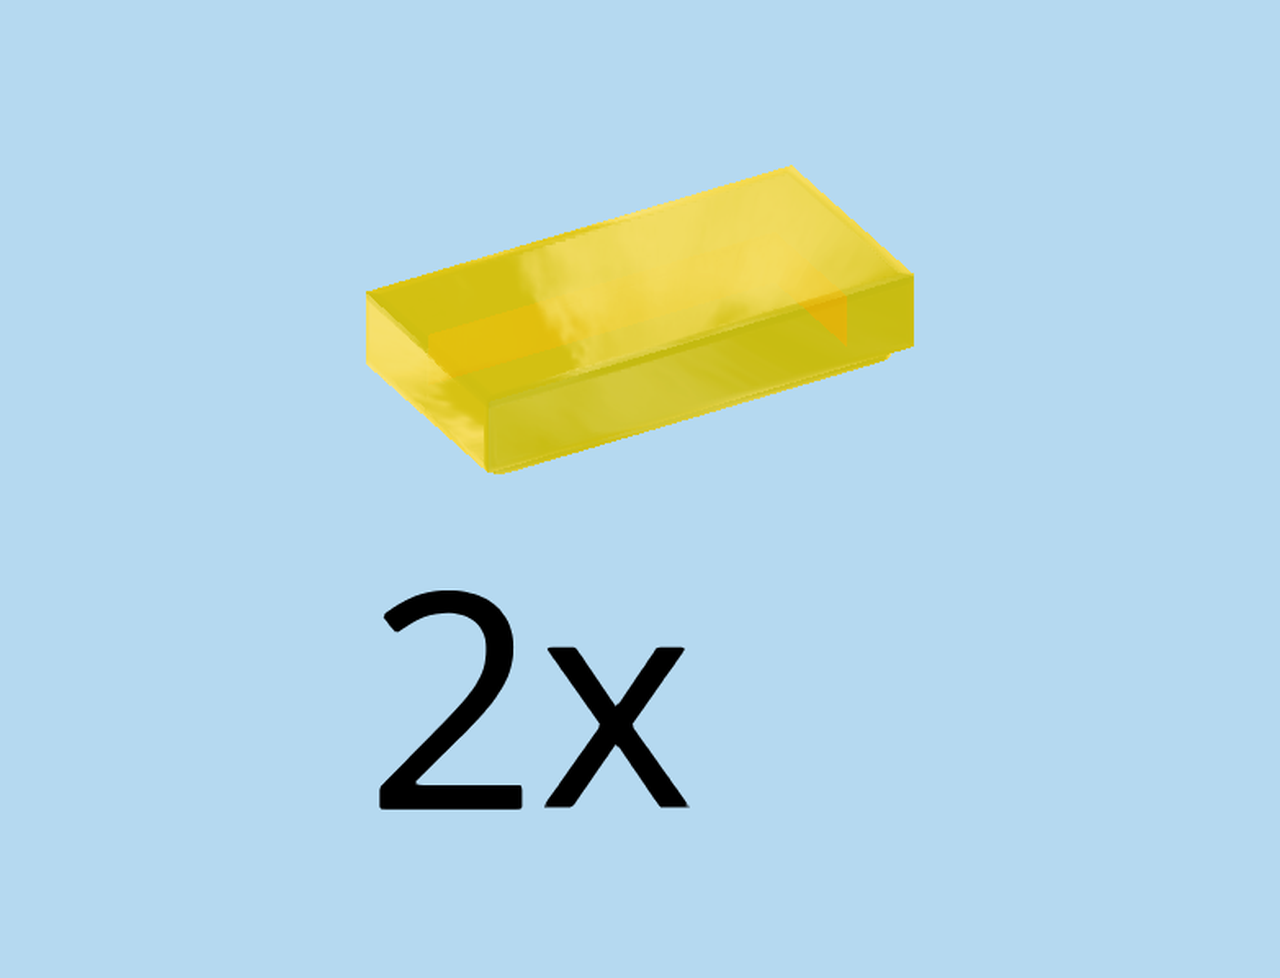
| Find 2 transparent yellow flat tiles 1x2. |
| Skip the frontmost knob, and put it vertically on top. |
| Put the other one vertically behind the previous piece. |
| Now, mount the driver's cabin on top of the structure: put it vertically on the topmost bricks that match the shape of the cabin. |
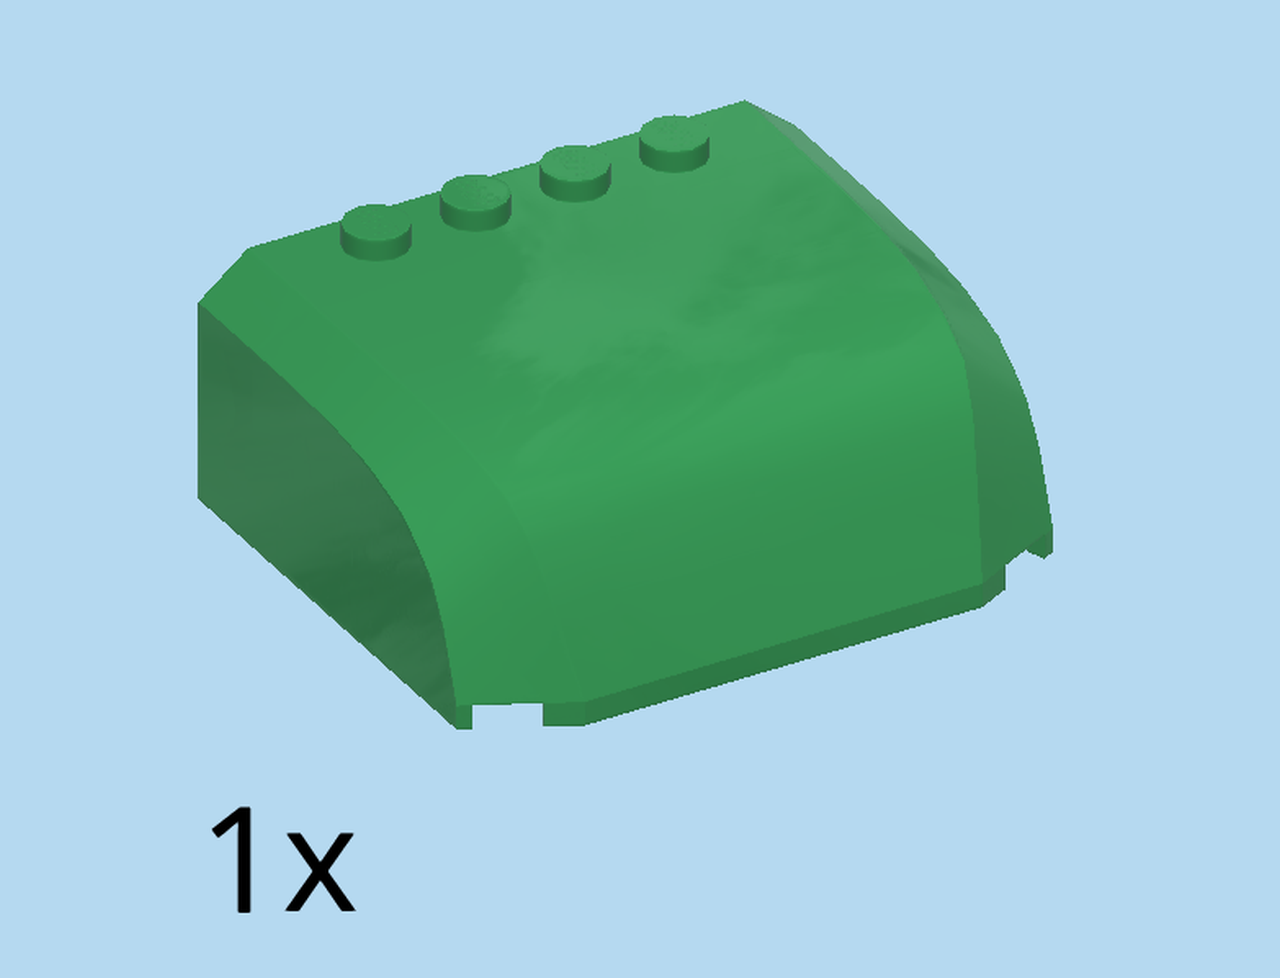
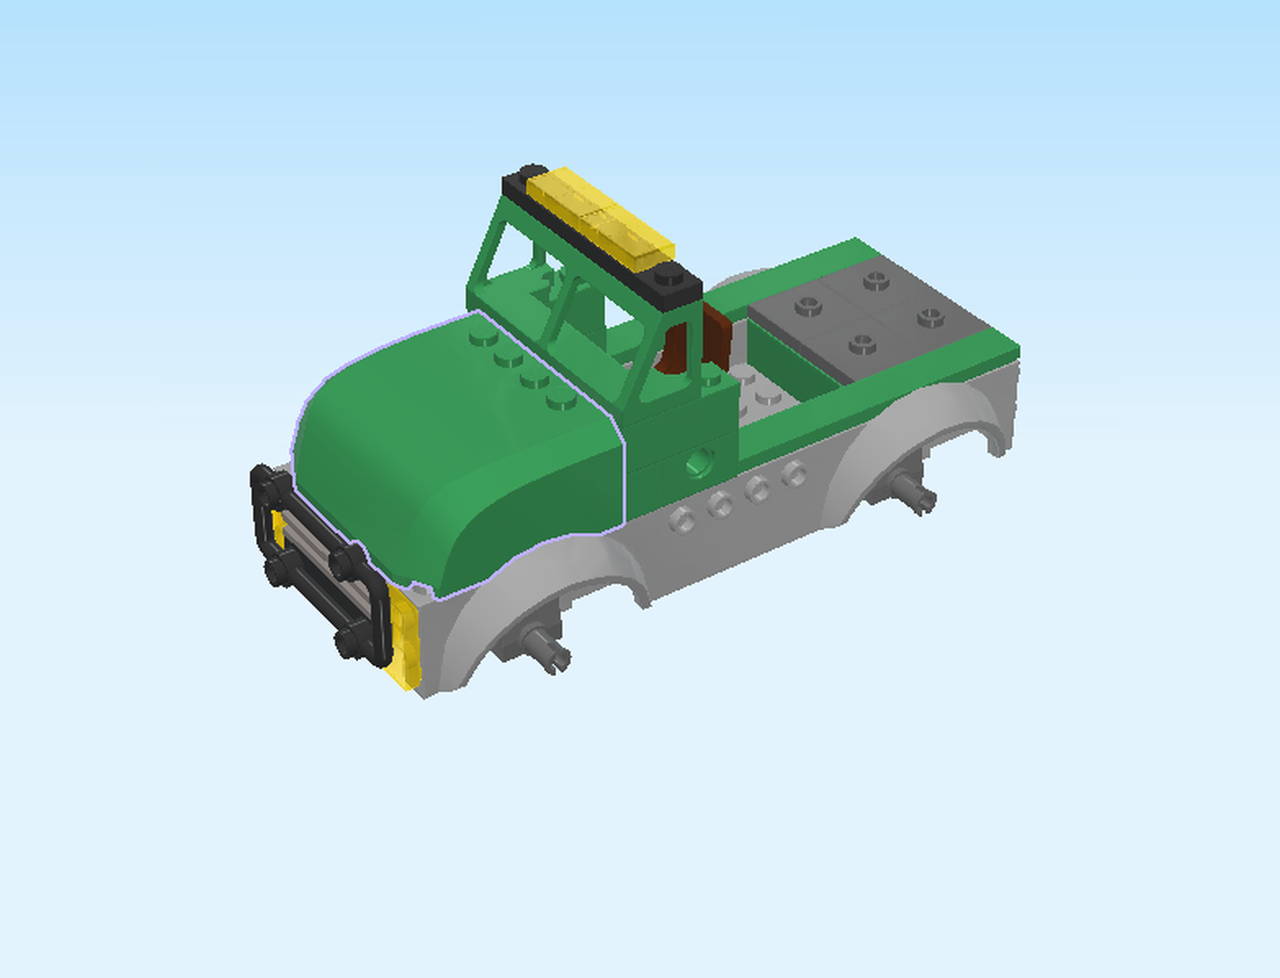
| Find 1 dark green curved engine hood 6x5x2. |
| Put it to the left of the driver's cabin, curved end to the left. |
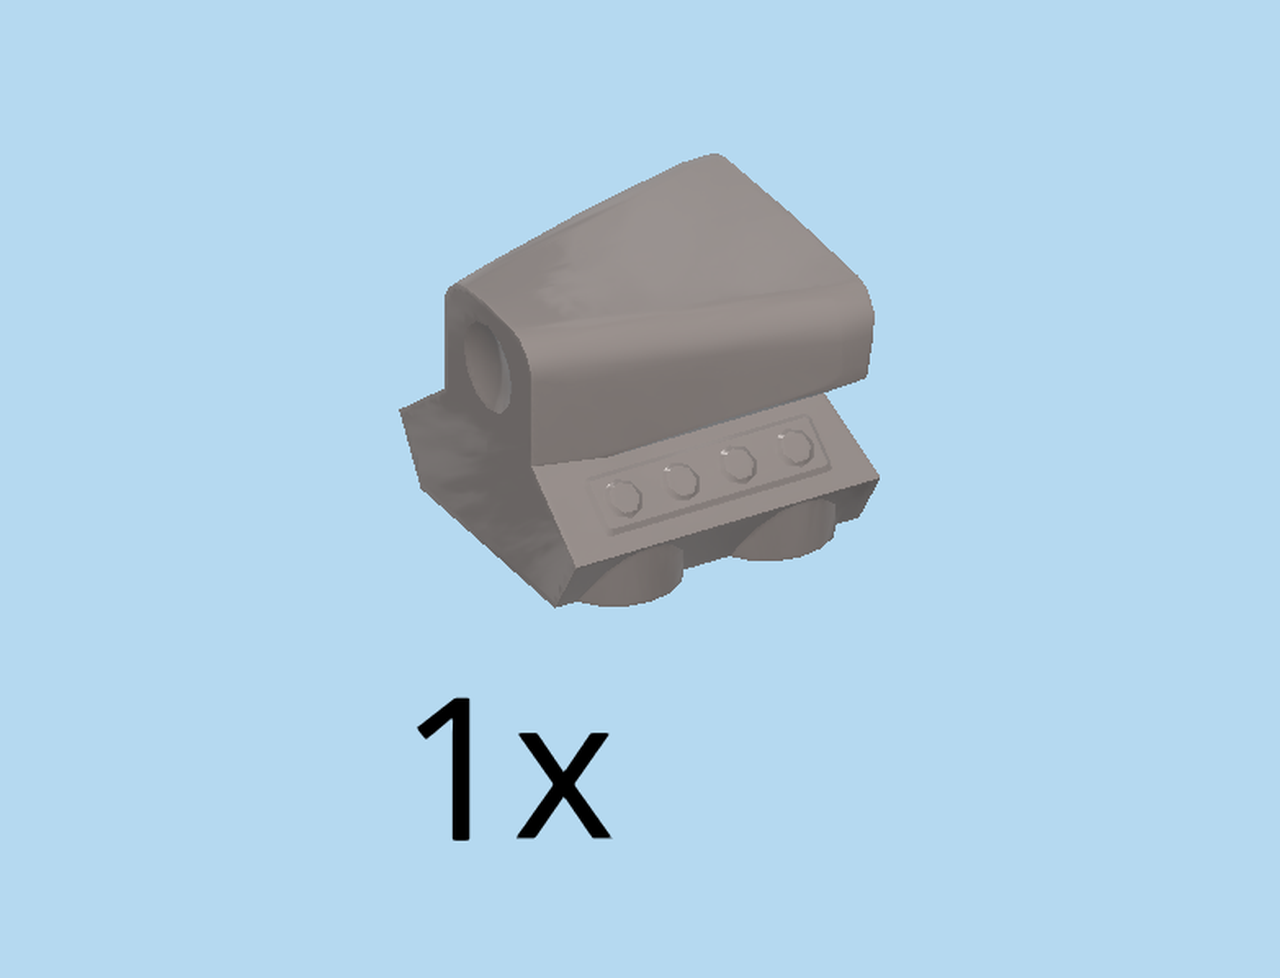
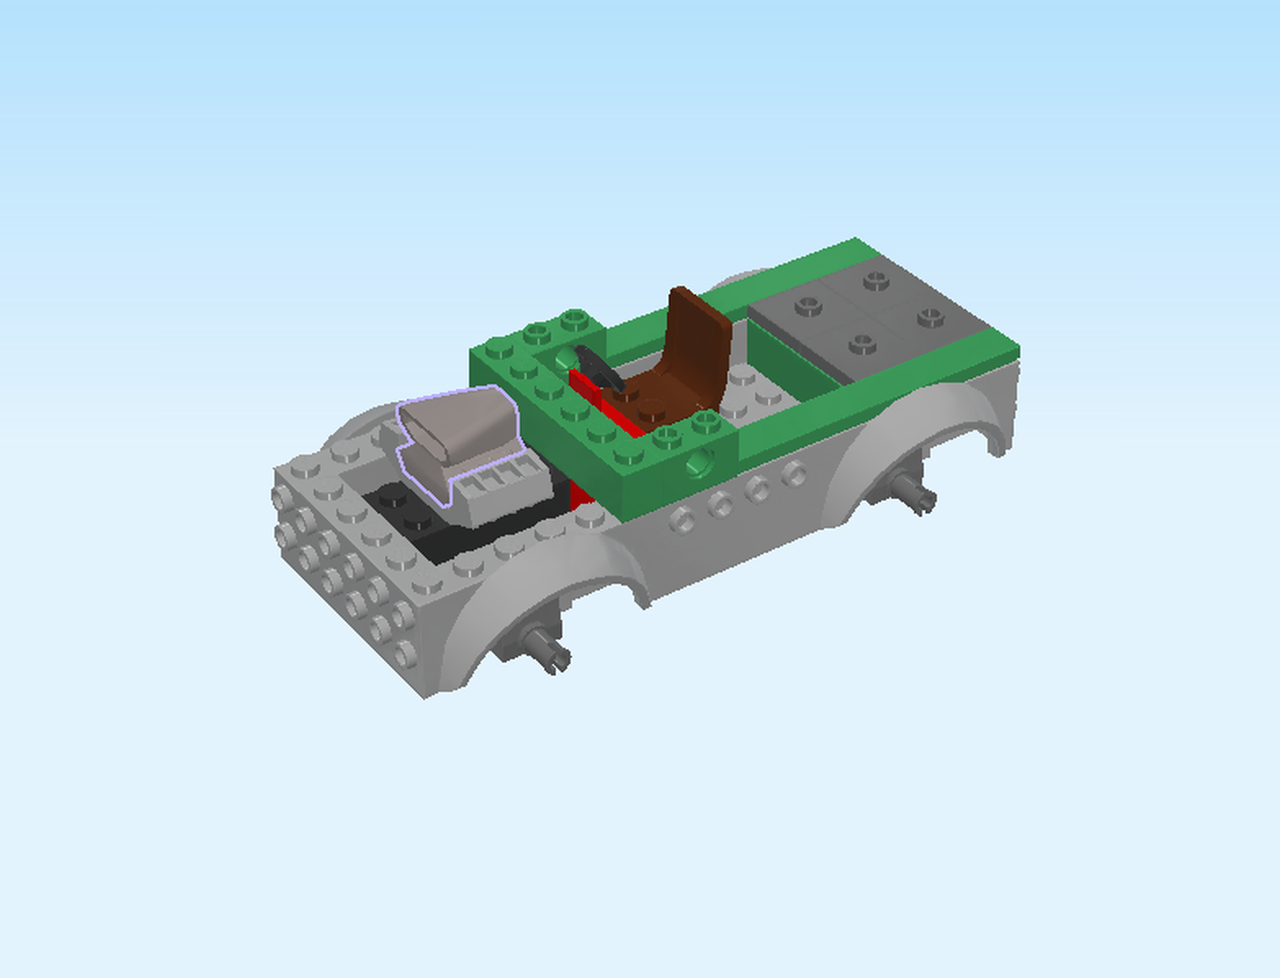
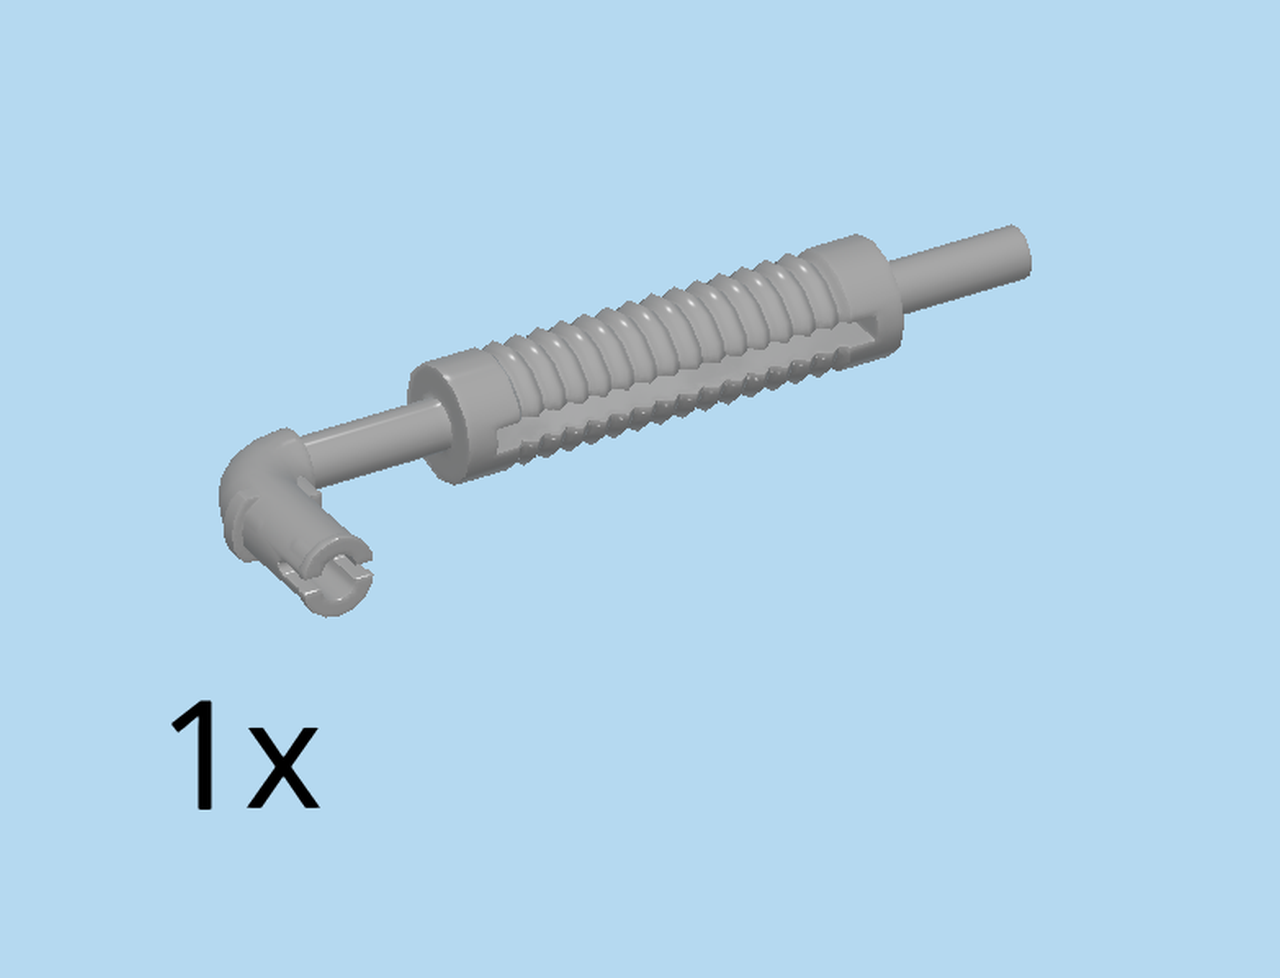
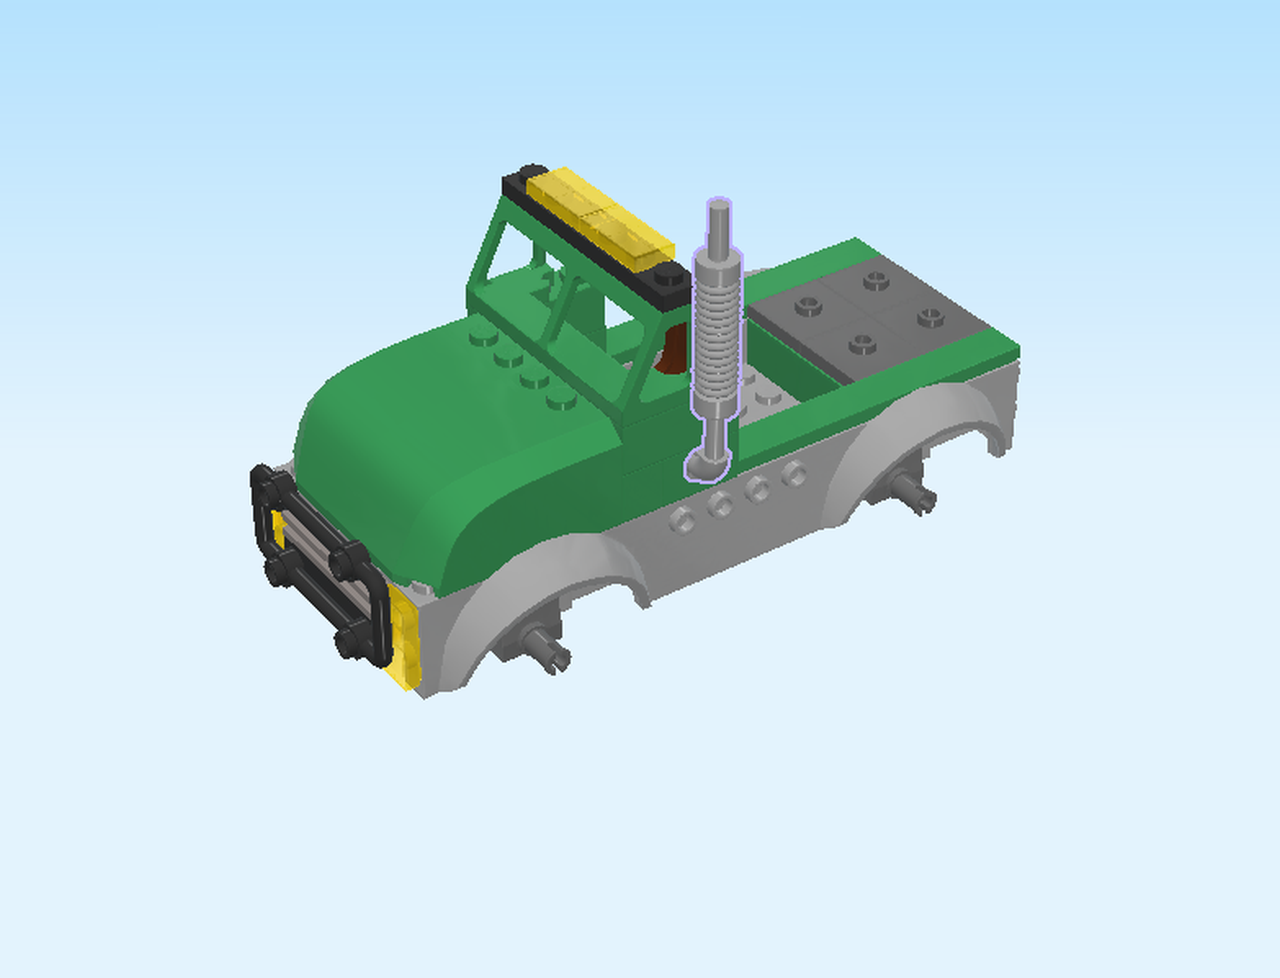
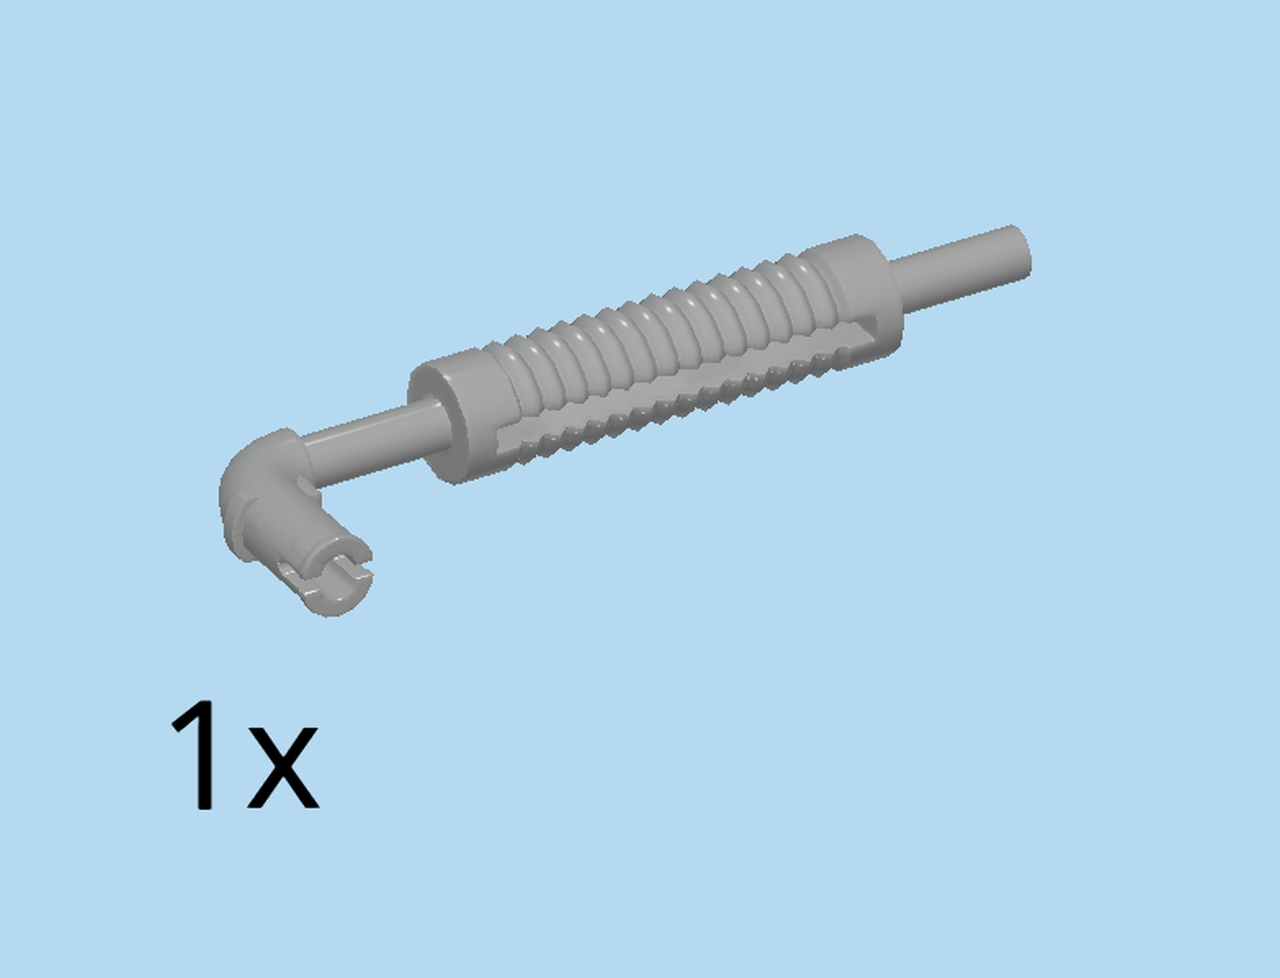
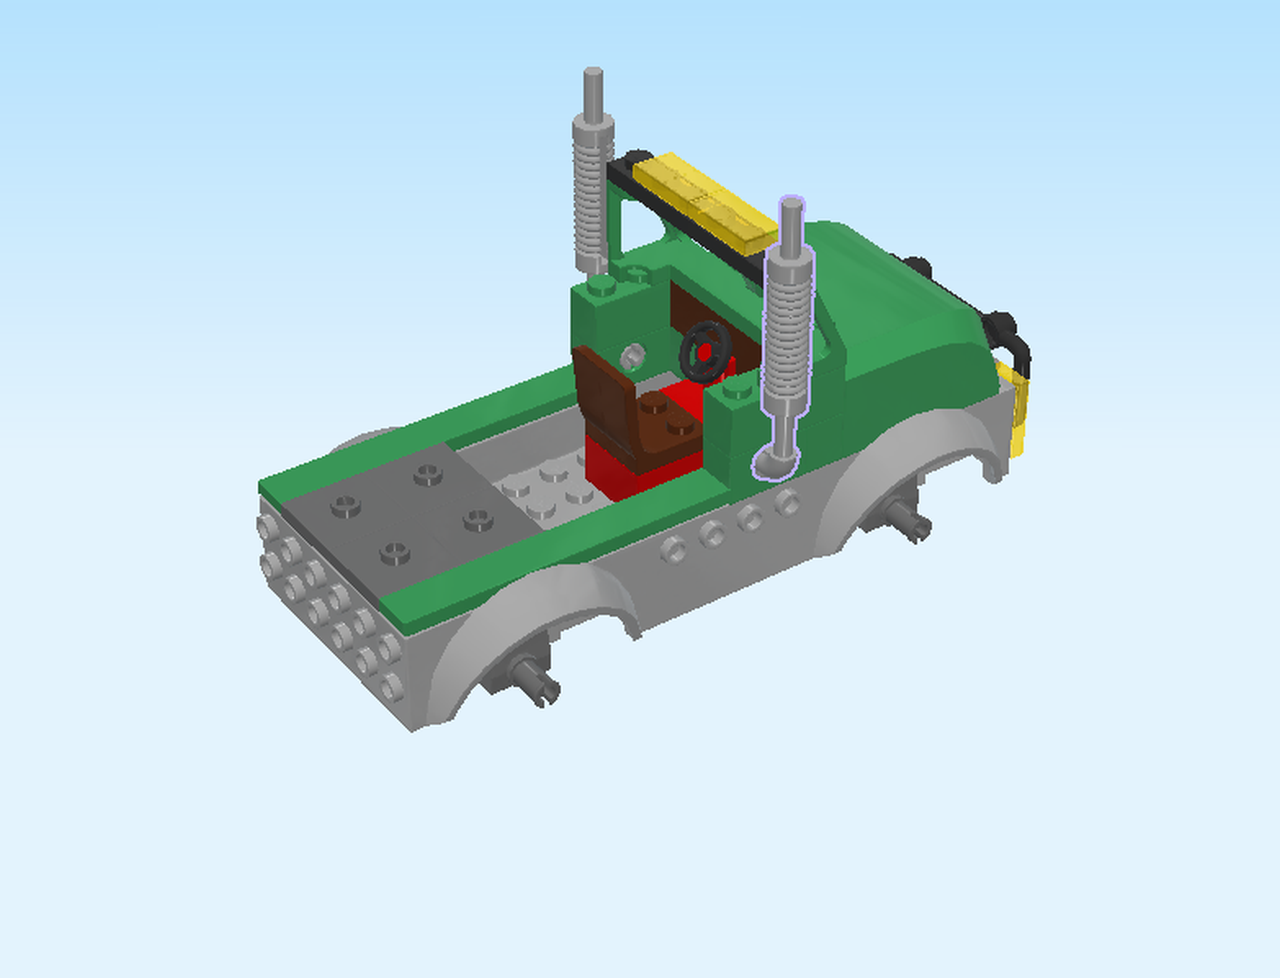
| Find 1 medium stone grey exhaust pipe with connector. |
| Turn it upright and insert the connector into the technic hole on the front side surface of the truck, exhaust pipe pointing to the top. |
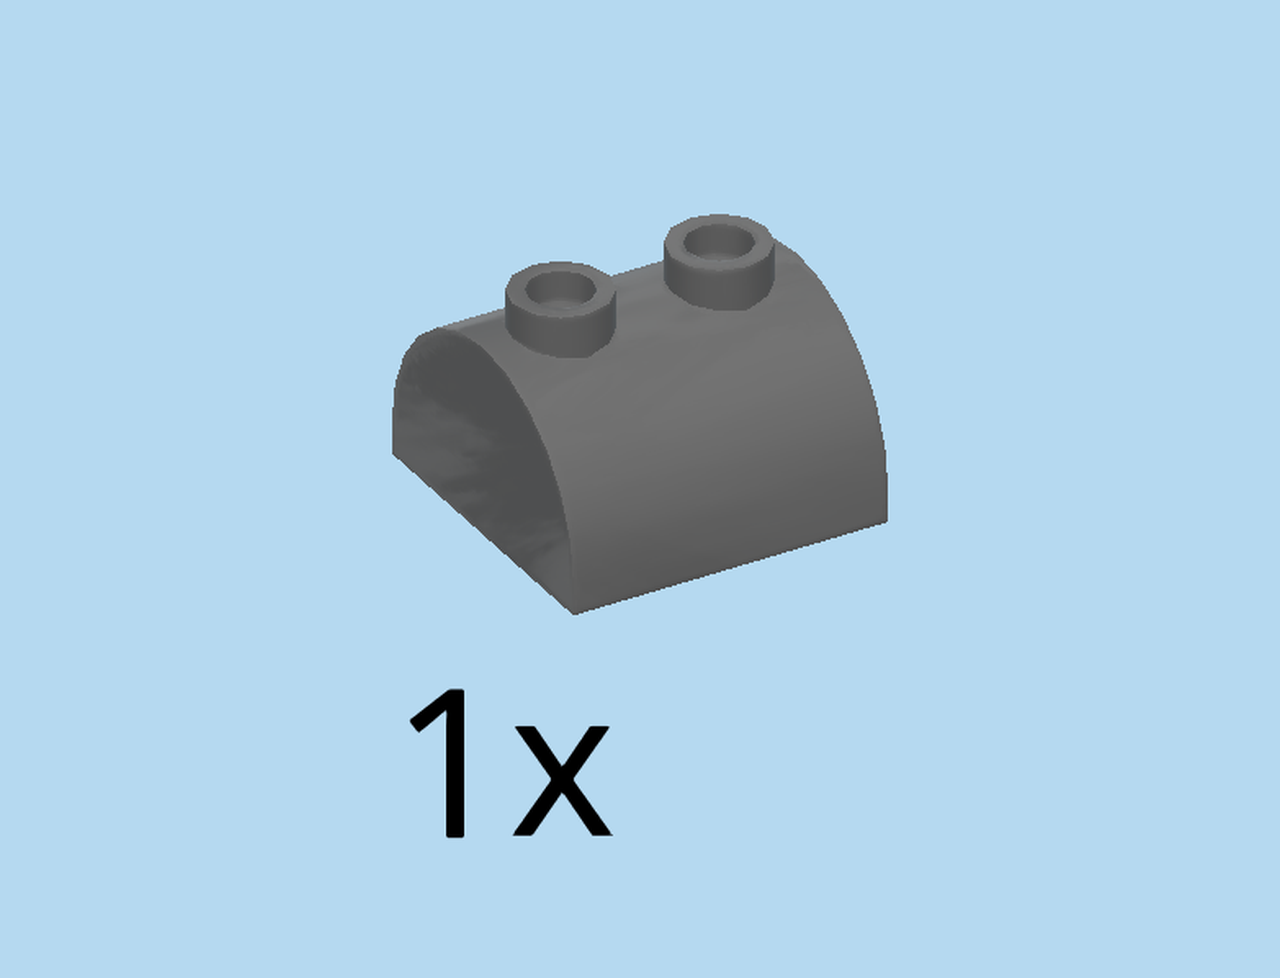
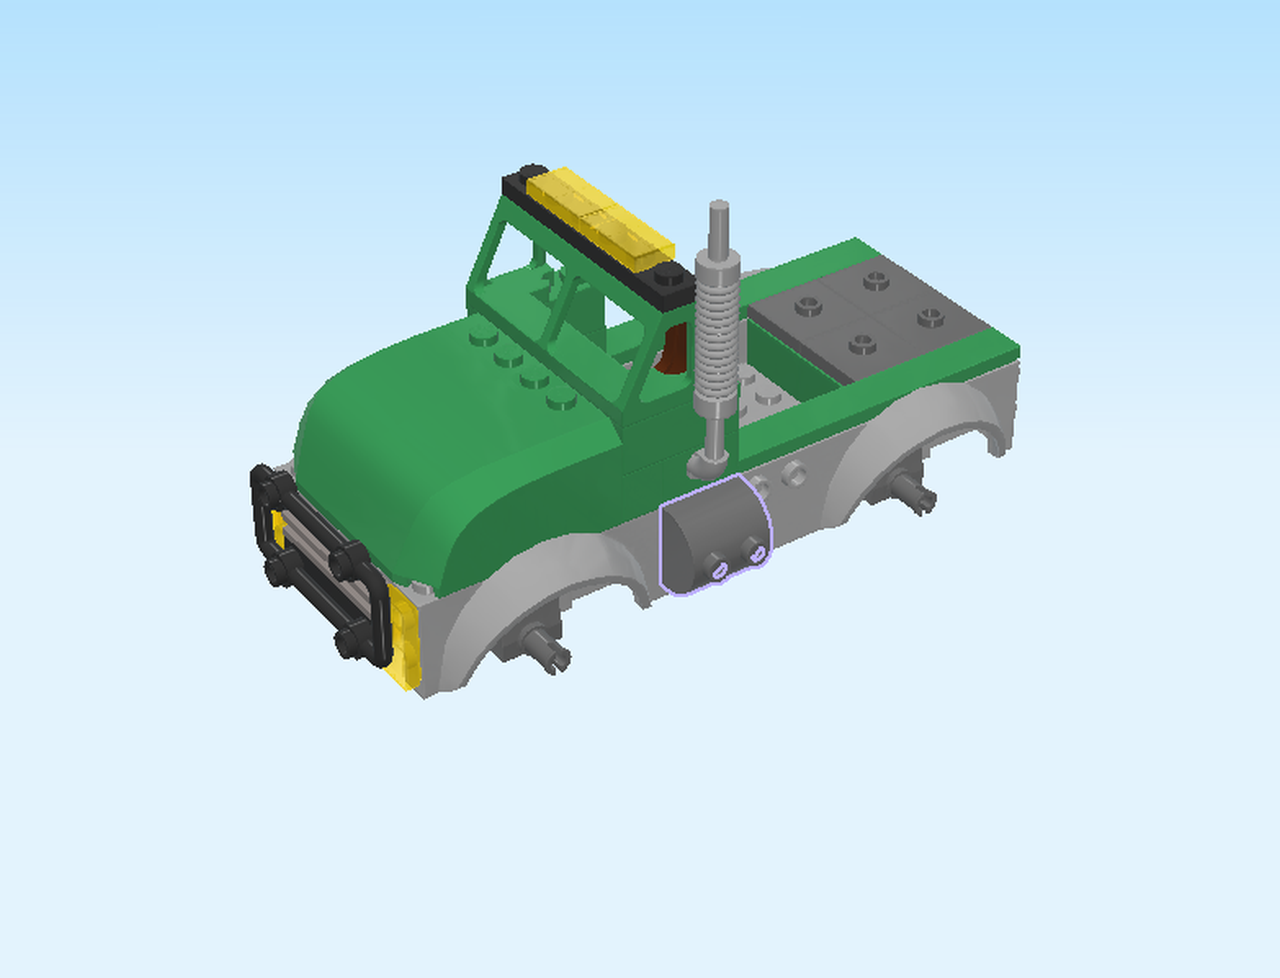
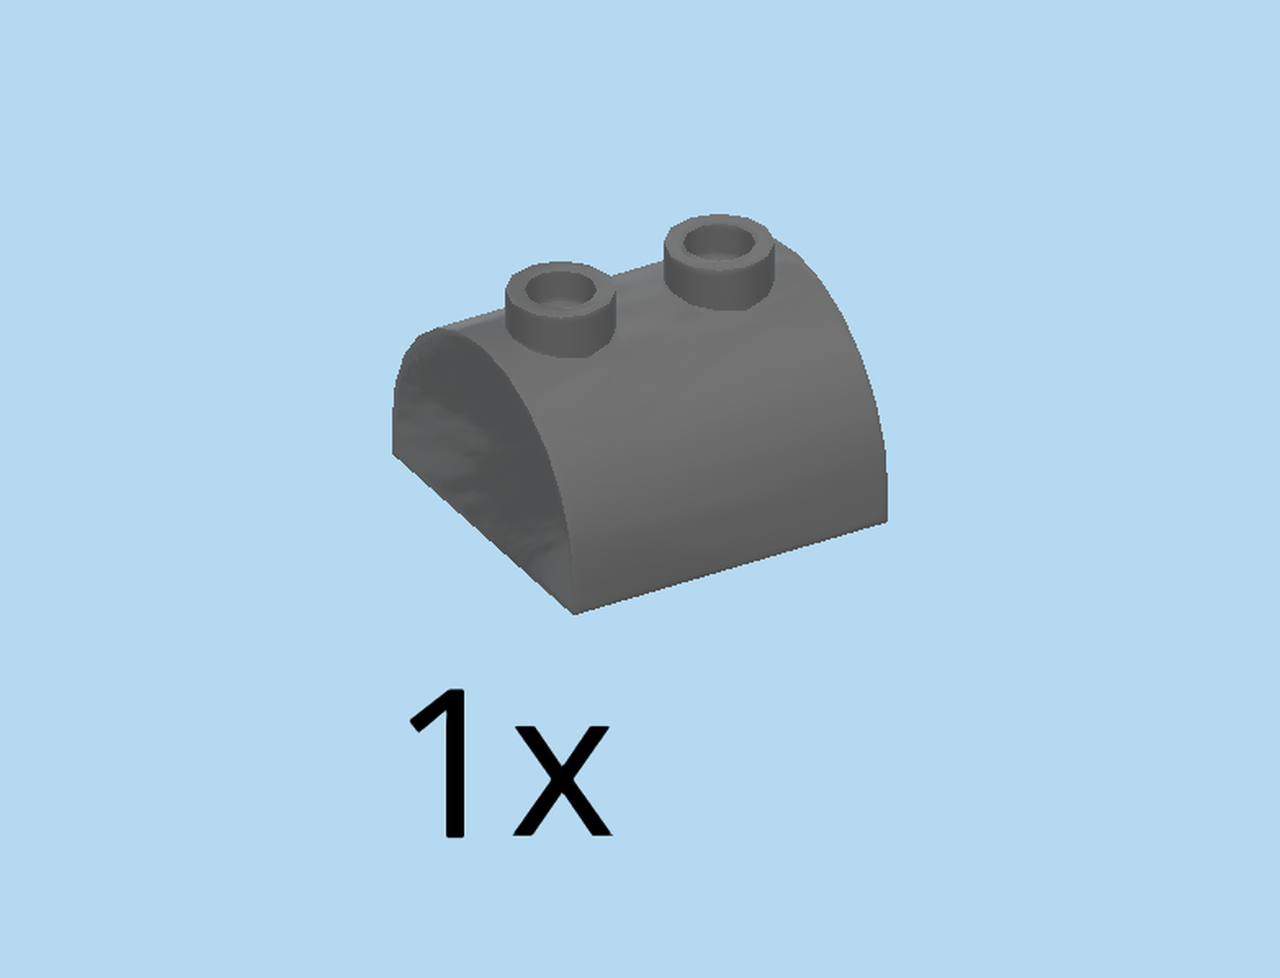
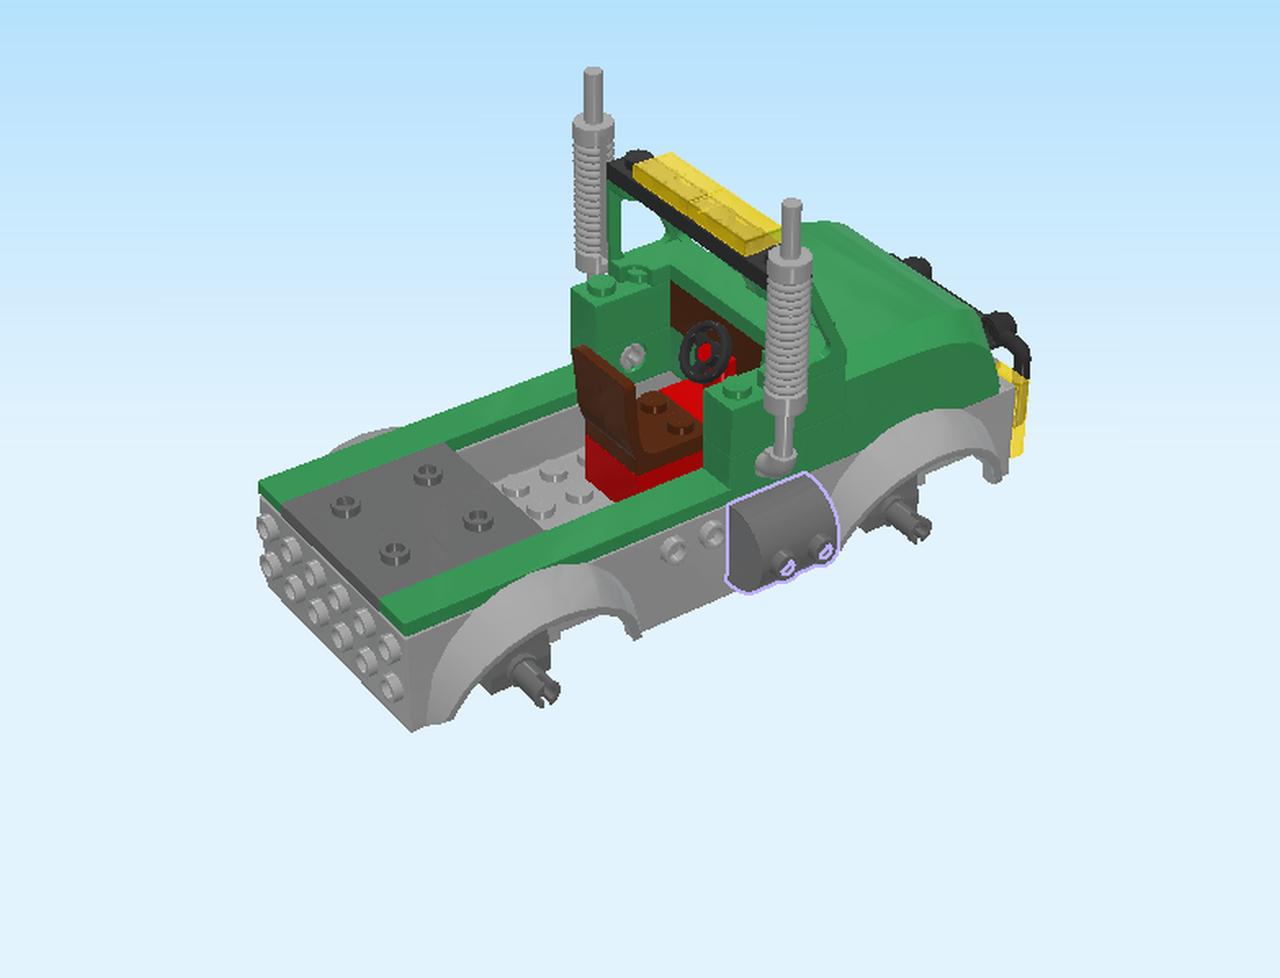
| Find 1 dark stone grey half-cylinder brick 2x2 with 2 knobs. |
| Put it upright horizontally on the two left knobs on the front side, below the exhaust pipe. The knobs should form a horizontal row in front of you. |
| Find 1 medium stone grey exhaust pipe with connector. |
| Turn the structure left to right. This means that now, the engine hood is pointing to the right. |
| Insert the connector of the exhaust pipe into the technic hole on the front side surface, exhaust pipe pointing to the top. |
| Find 1 dark stone grey half-cylinder brick 2x2 with 2 knobs. |
| Put it upright horizontally on the right two knobs on the front side, below the exhaust pipe. Make sure the knobs form a horizontal row. |
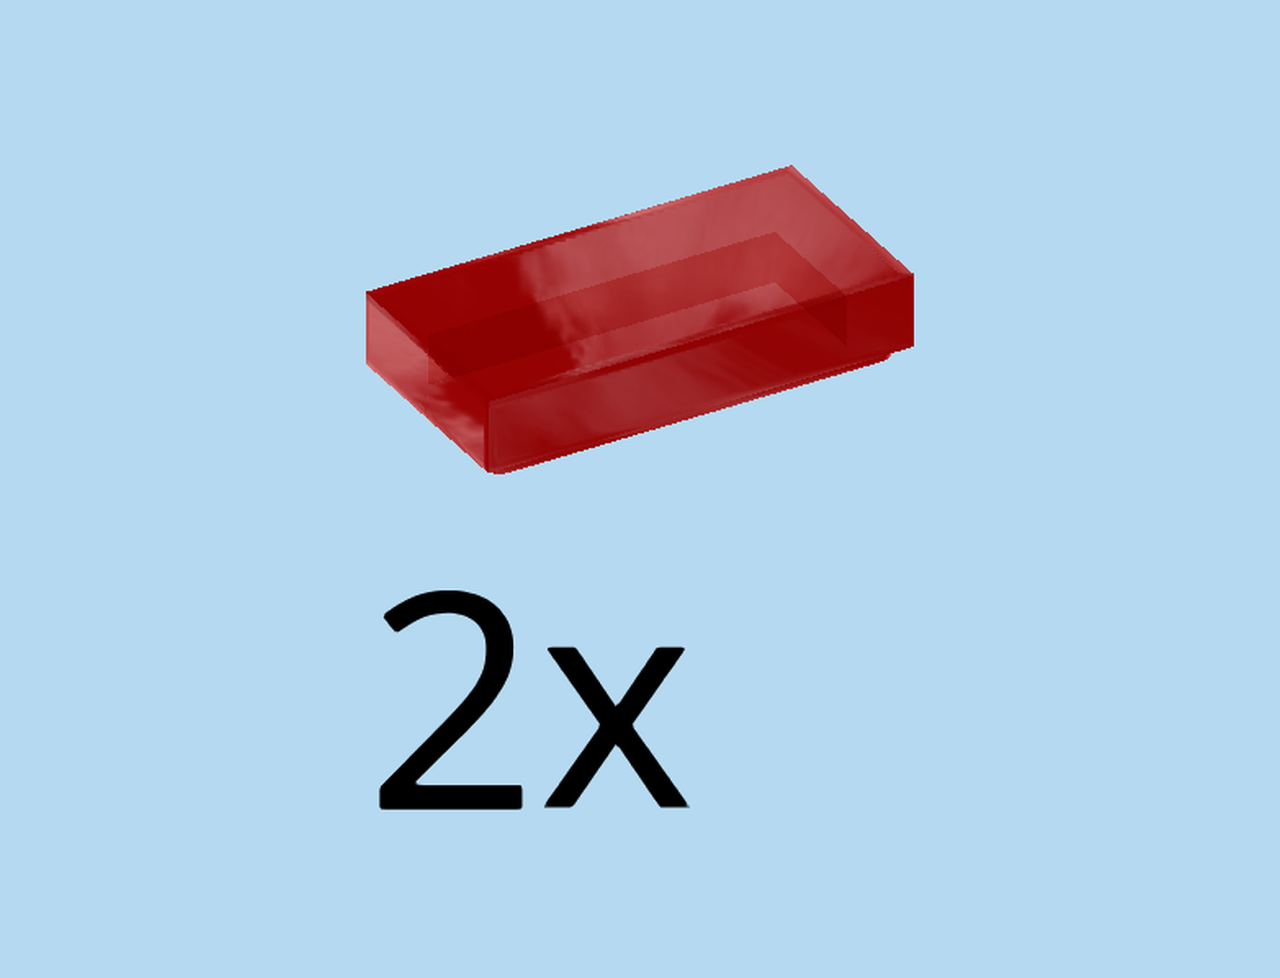
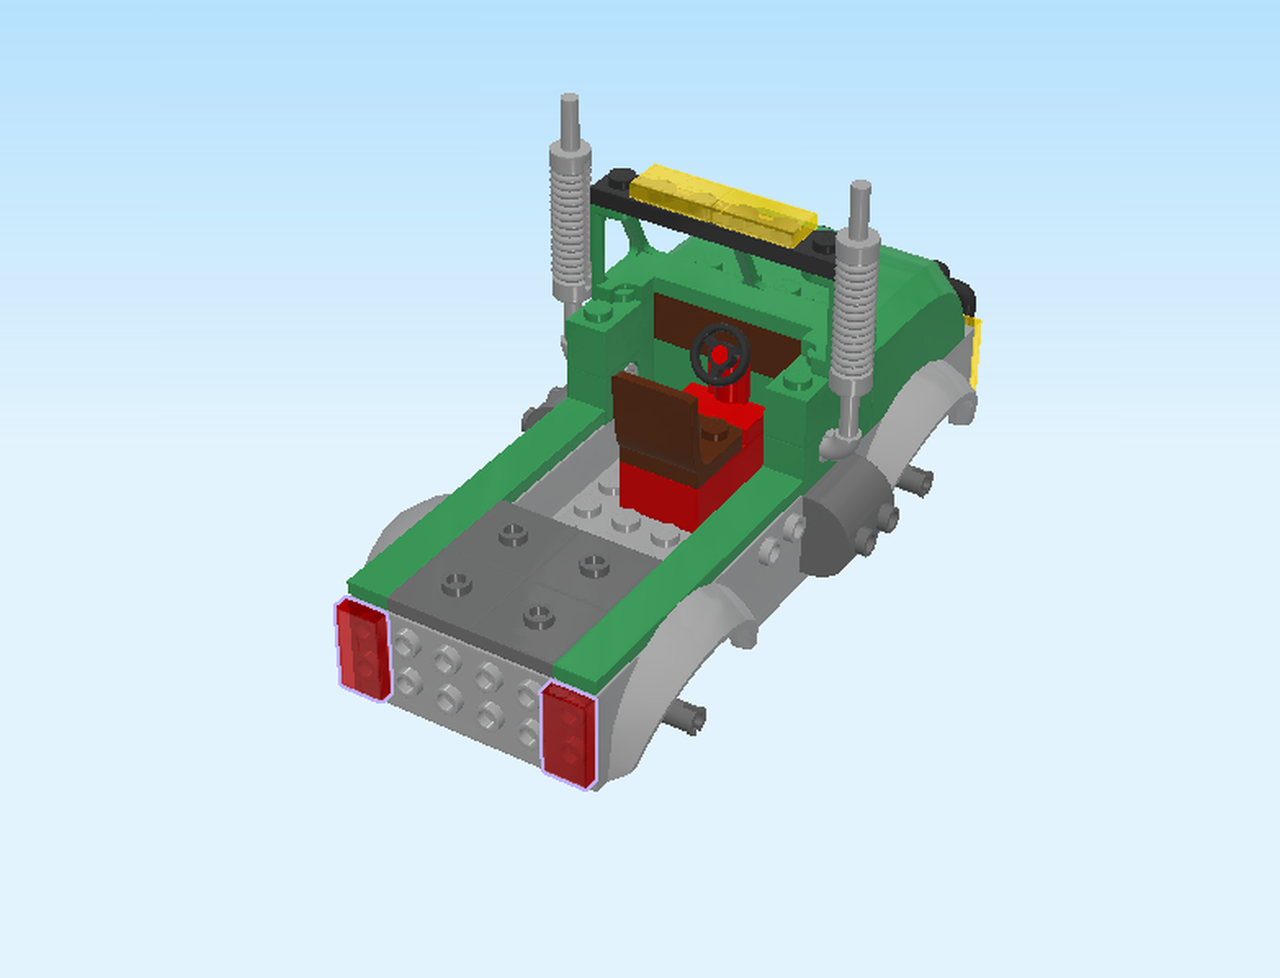
| Find 2 transparent red flat tiles 1x2. |
| Put 1 upright vertically on the front two side knobs on the left side. |
| Repeat symmetrically at the back. |
| These are the taillights of the truck! |
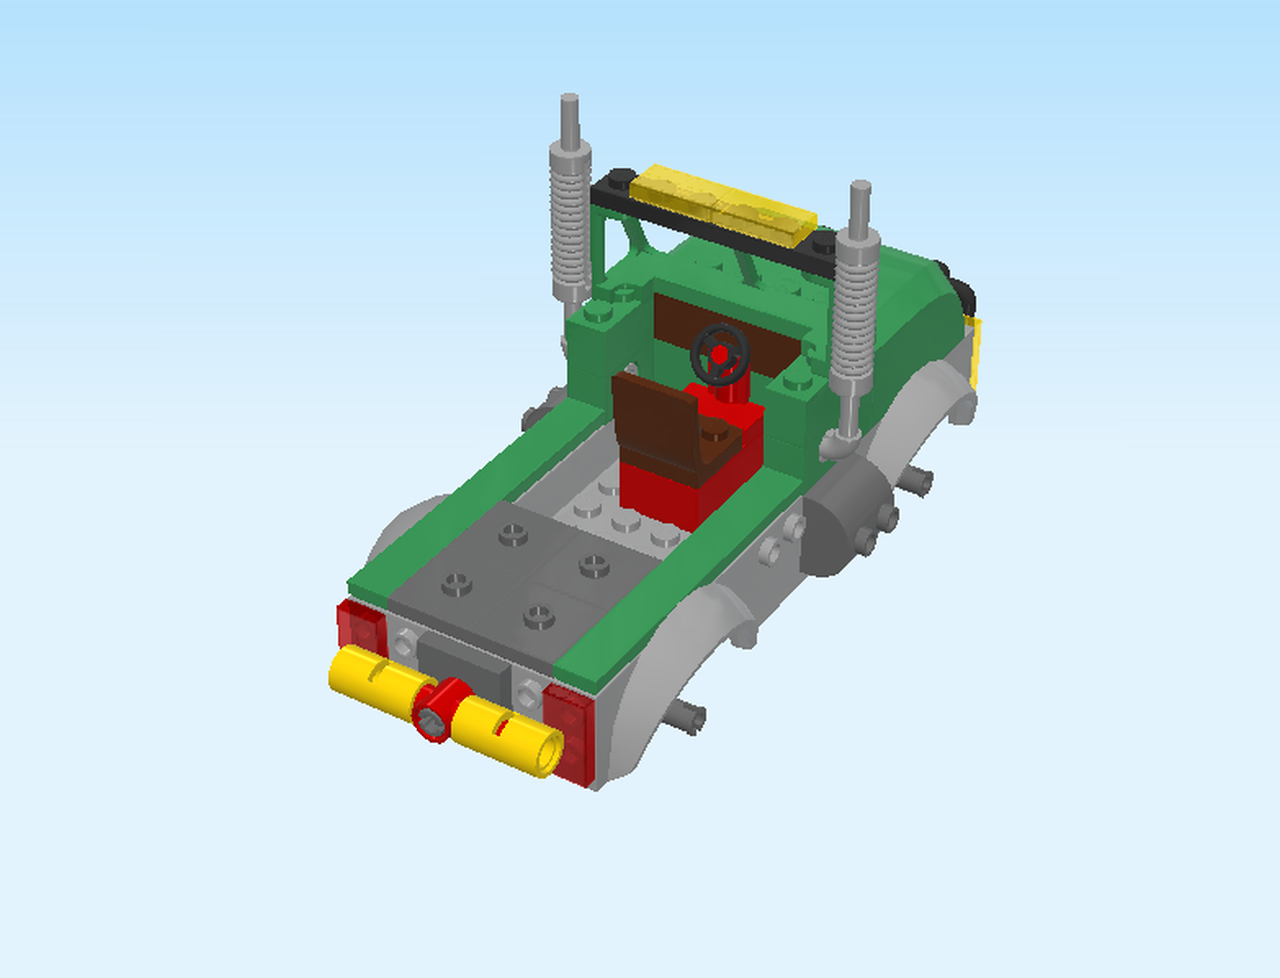
| Now, let's make the rear bumper. |
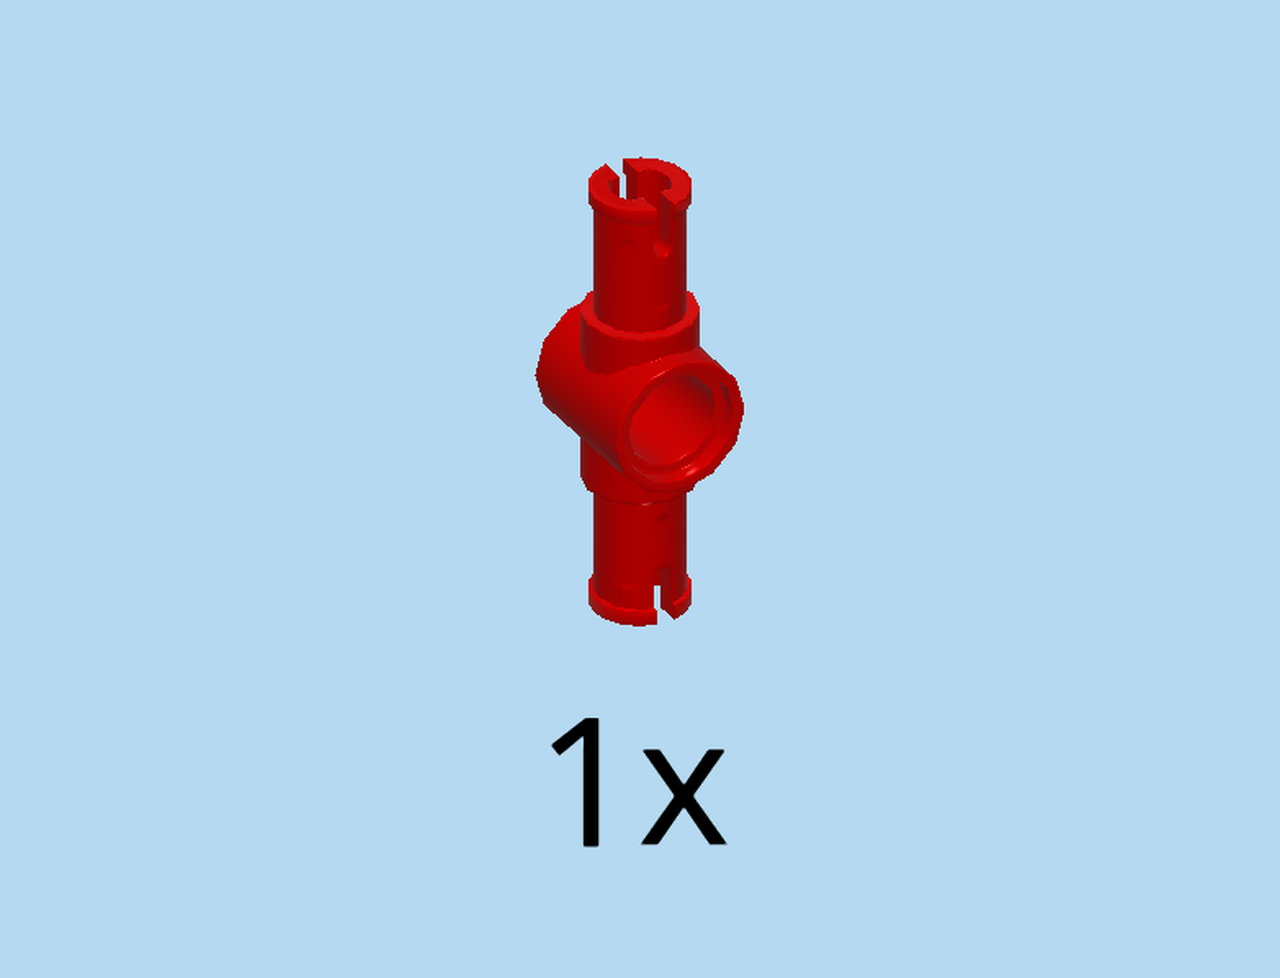
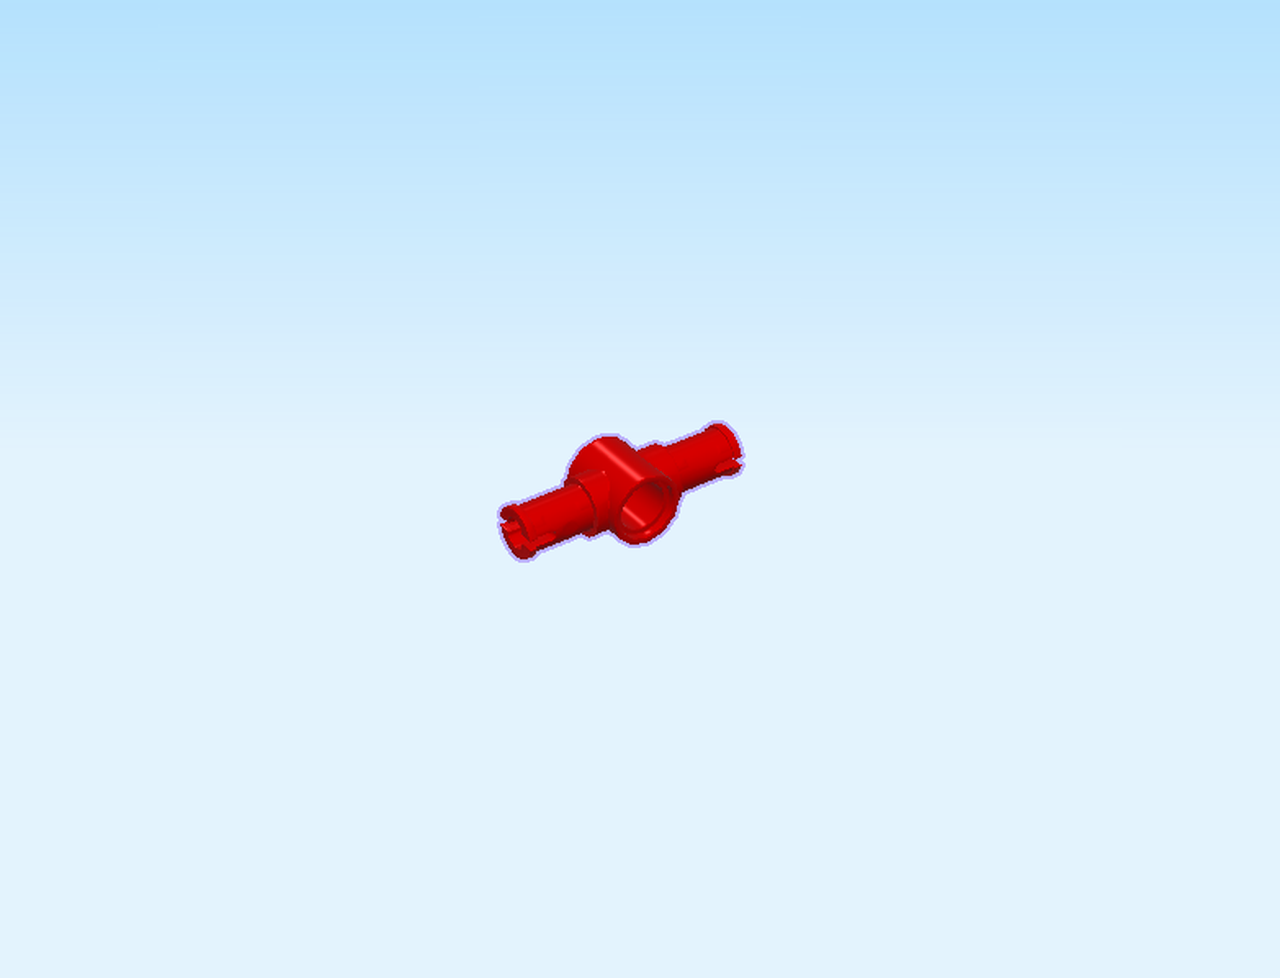
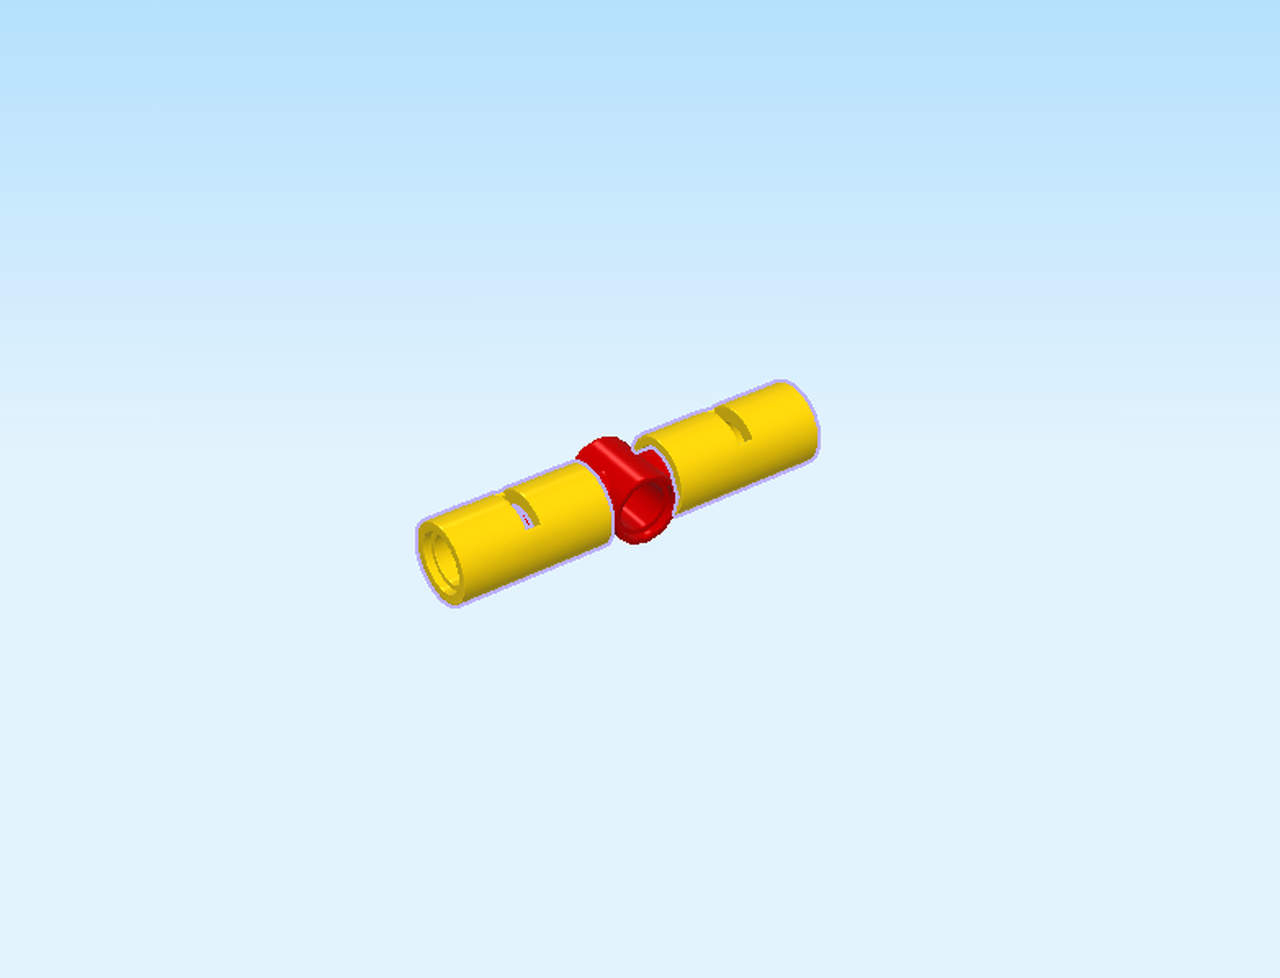
| Find 1 bright red bushing 1x1 with 2 connectors, 3m. |
| Put it on the table. |
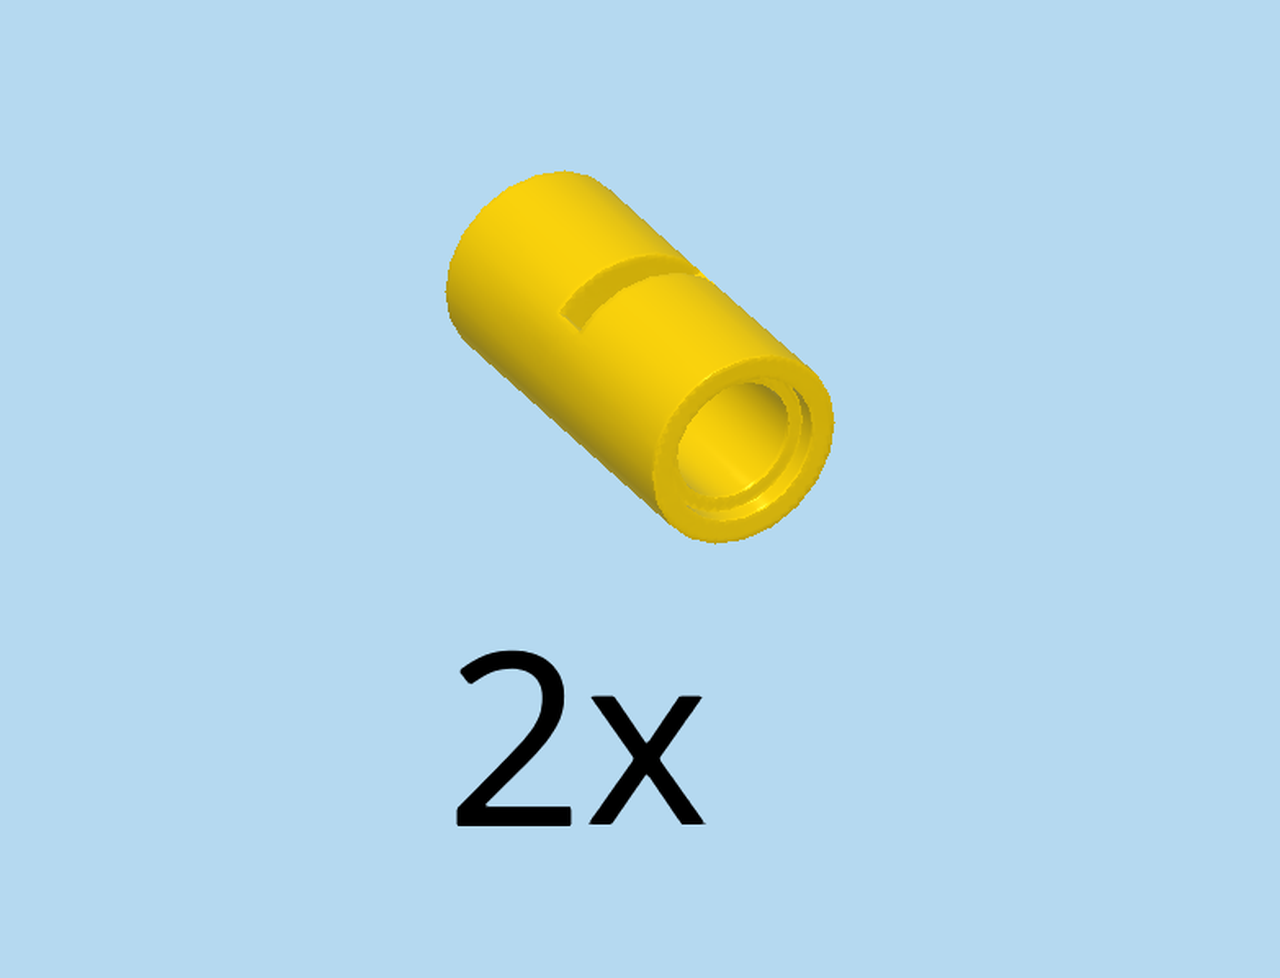
| Find 2 bright yellow tubes 2m with middle slot. |
| Put them on the 2 connectors of the previous piece. |
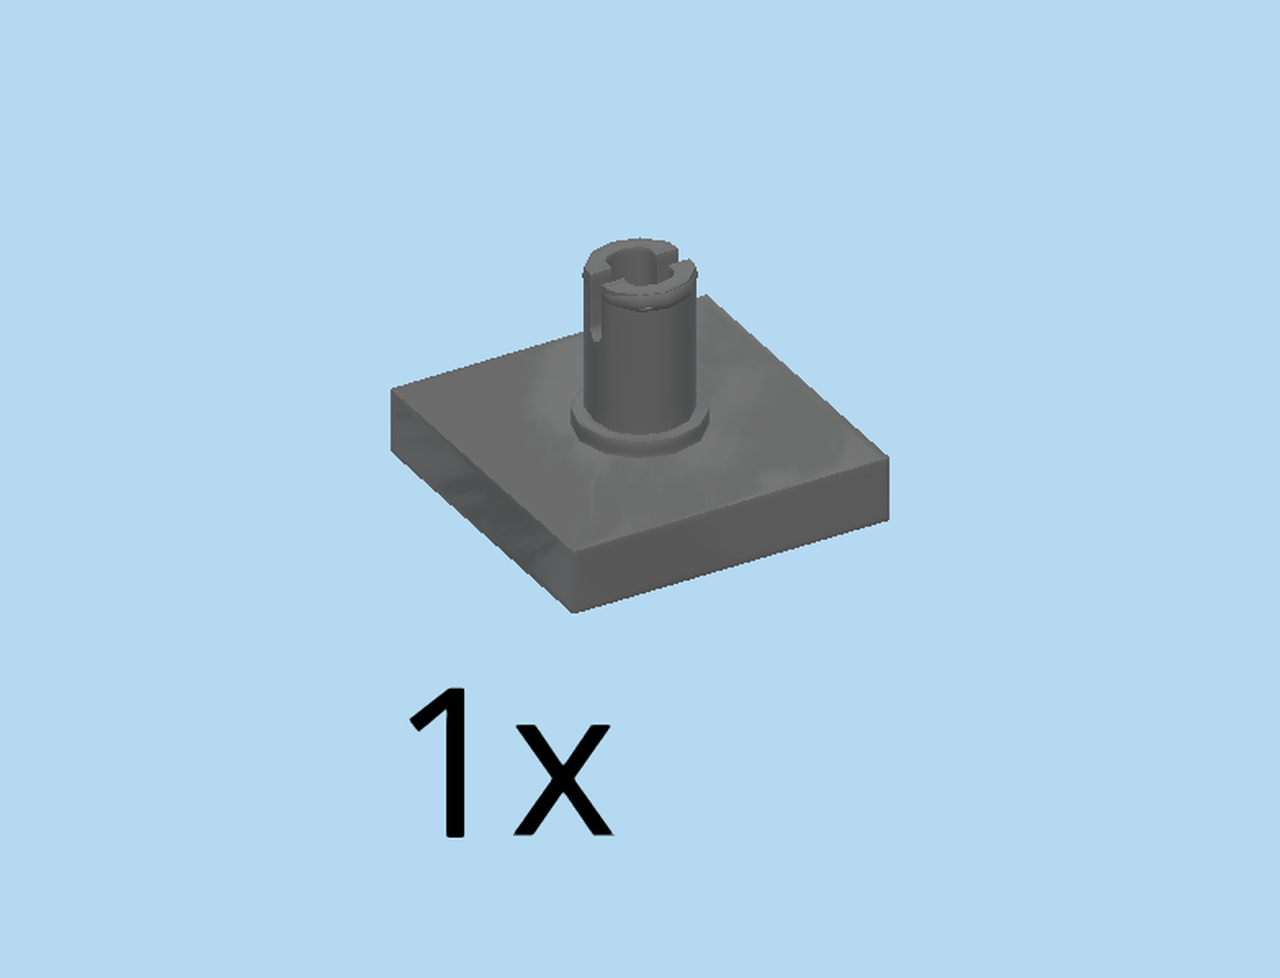
| Find 1 dark stone grey plate 2x2 with vertical top connector. |
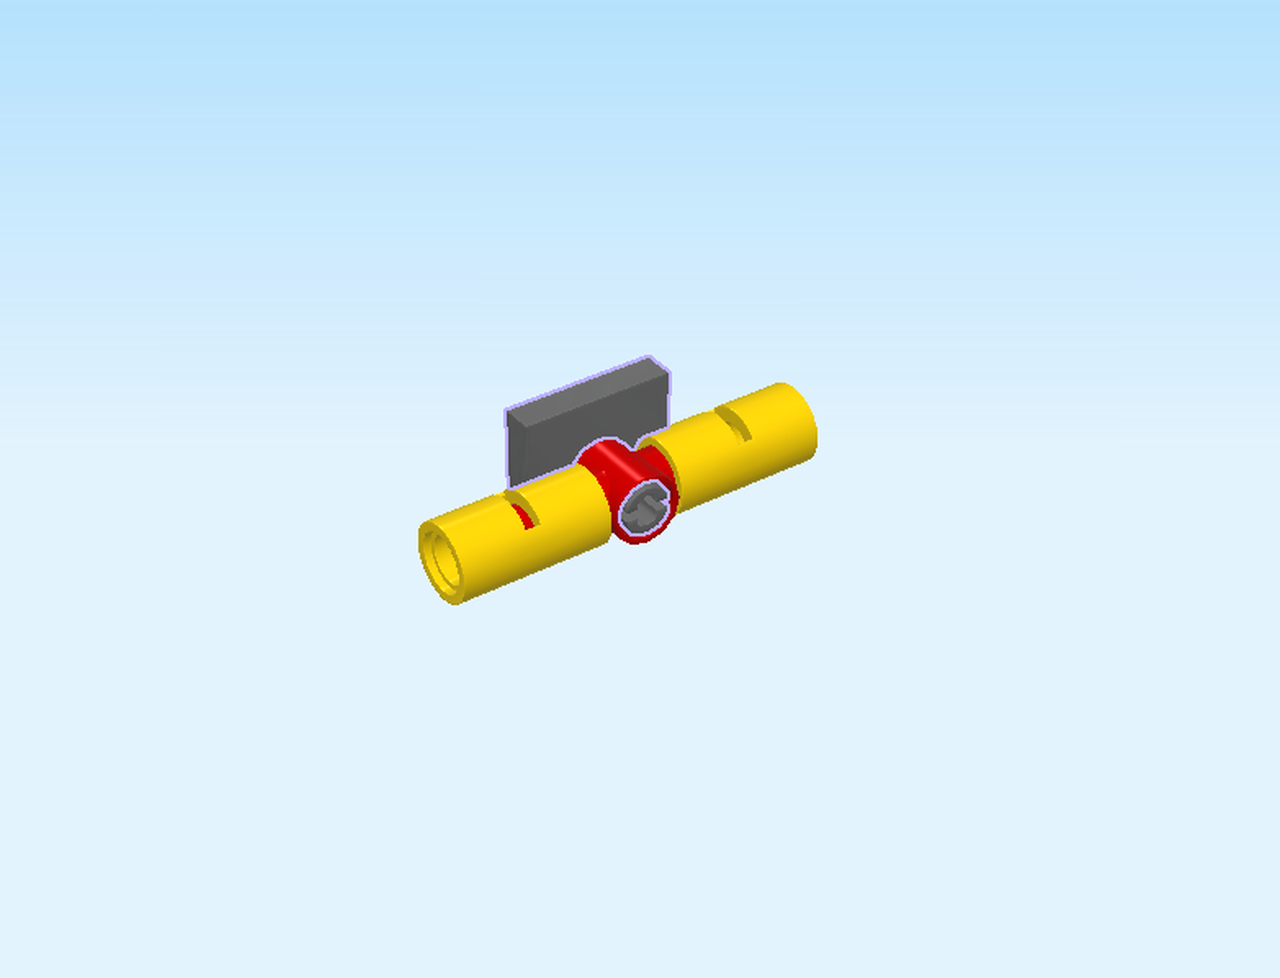
| Insert the connector into the bushing 1x1 in the middle of the rear bumper. |
| Now, attach the plate 2x2 of the rear bumper centered on the left side knobs, bumper pointing to the front and back. |
| Next, we will assemble the 4 wheels. |
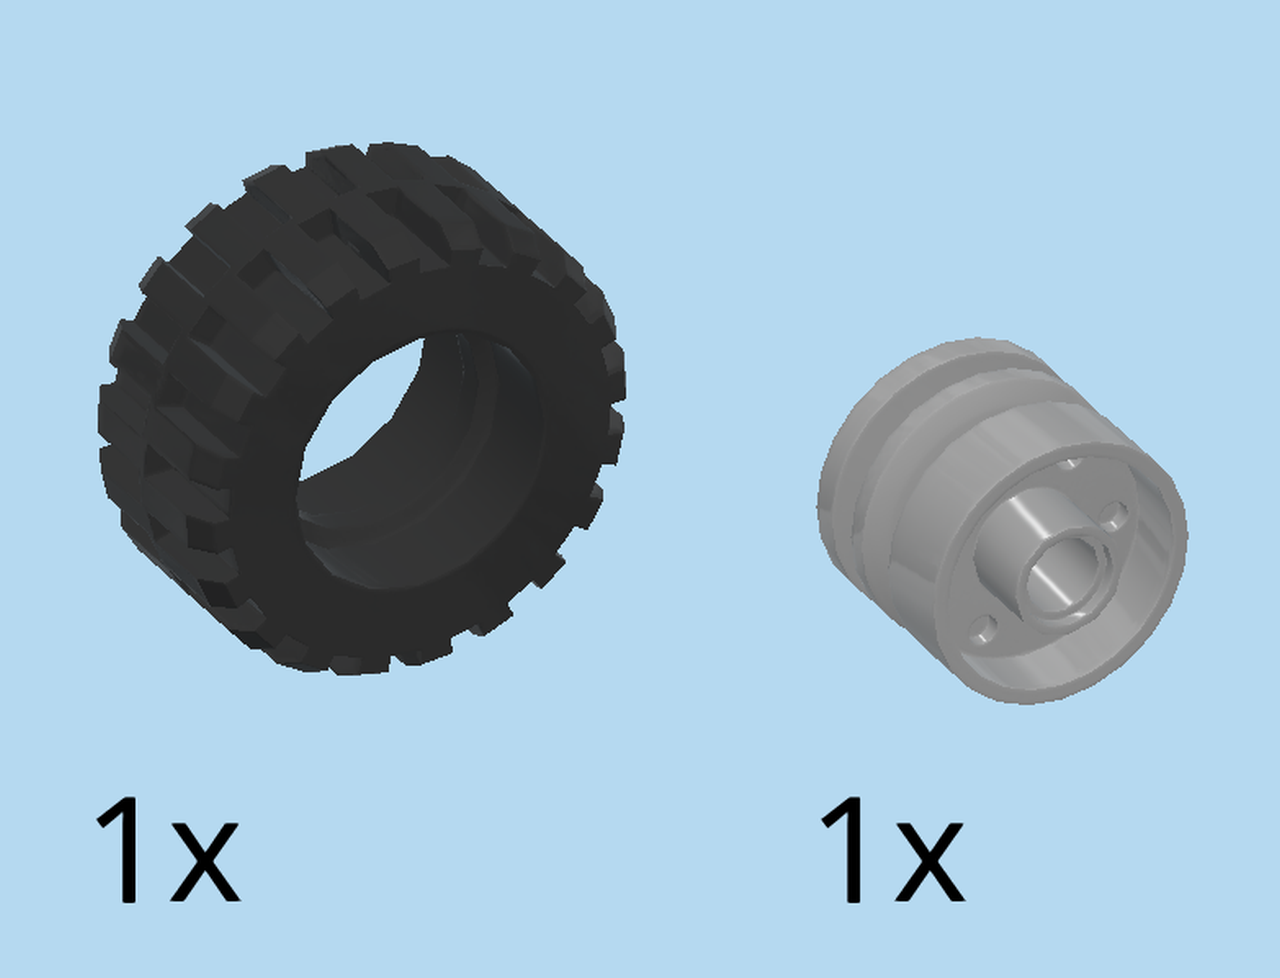
| Collect the following 8 pieces: |
| 4 medium stone grey wide rims with hole and spokes, |
| and 4 black wide rubber tires with high profile. |
| Put the tires on the rims. |
| Now, attach all 4 wheels on the 4 side connectors at the bottom of the truck. |
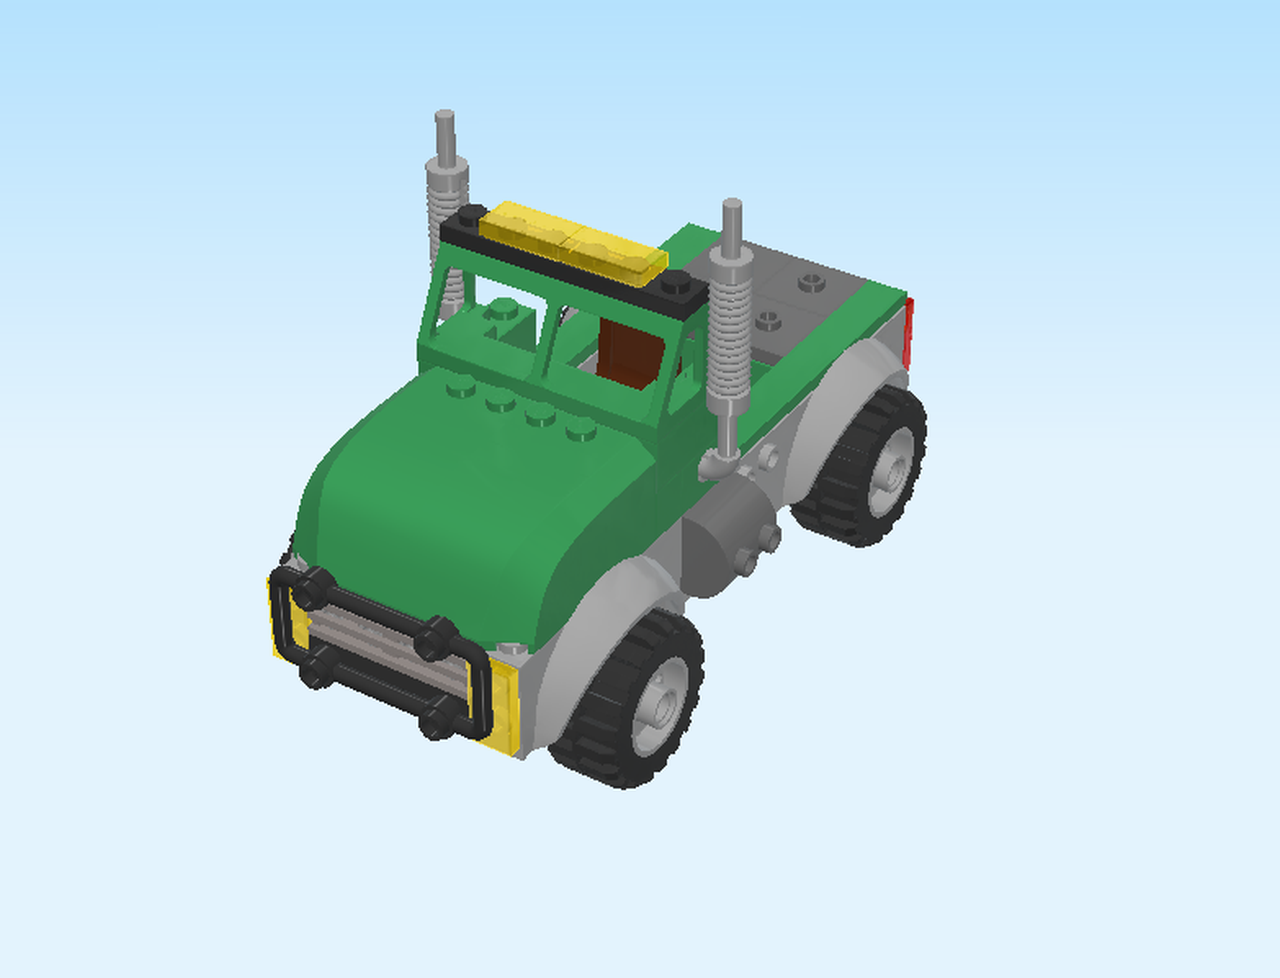
| The bank truck is finished! Very well done! This sturdy truck should be totally burglar-proof. Once the truck trailer is attached, the truck driver will try to get all jewels, gold bars and money deliveries to their destination. Will Vulture be able to intervene? |
| You are now done with bag one. |
| Open bag 2. You can choose to have the bricks sorted by color again if you like. This bag contains all bricks and pieces for the Vulture Minifigure, the jewel safe and the truck trailer. |
| Now, let's build the Vulture Minifigure. |
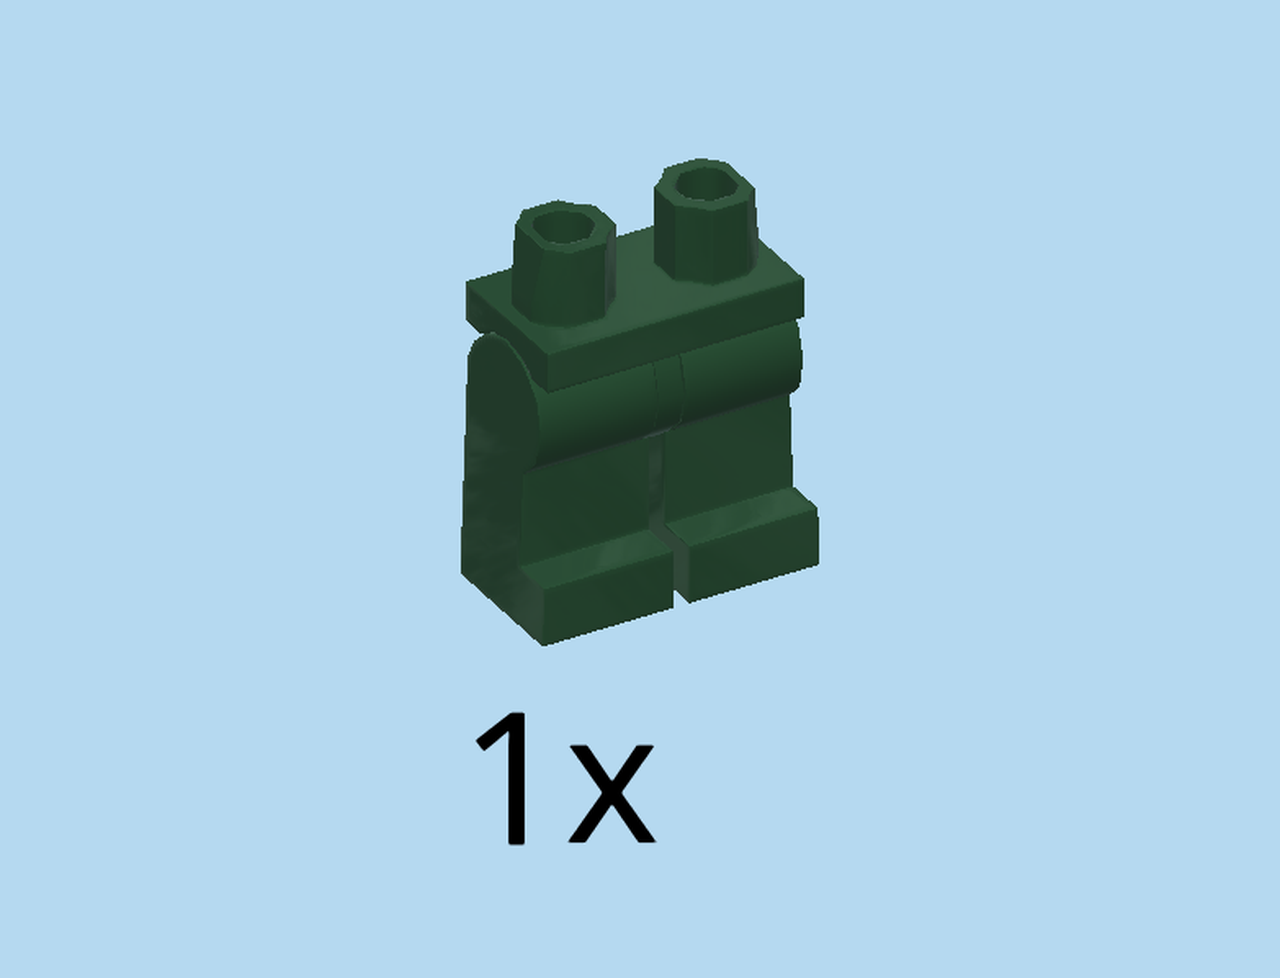
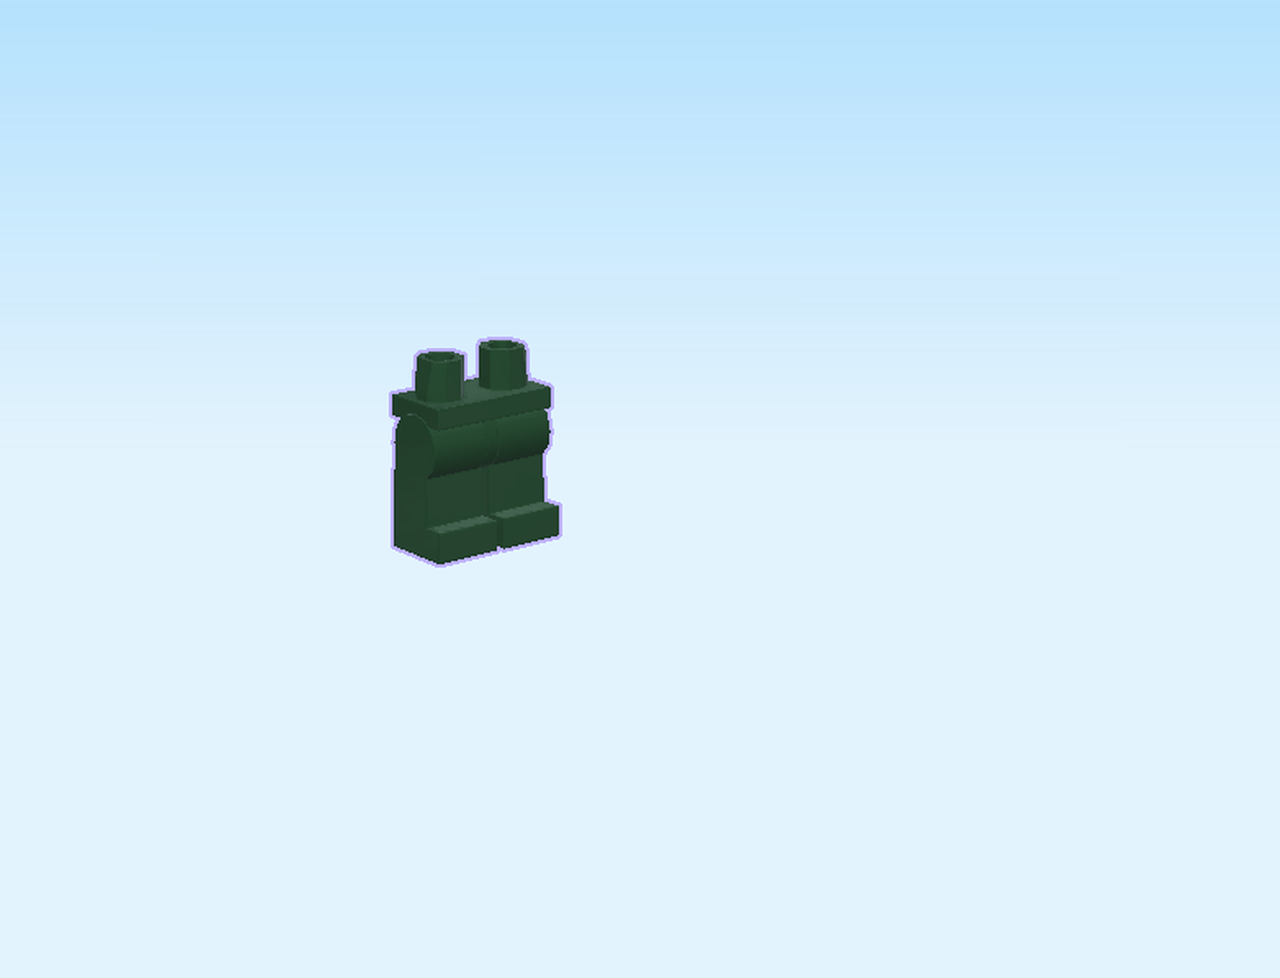
| Find 1 mossy green pair of legs. |
| Put it on the table. |
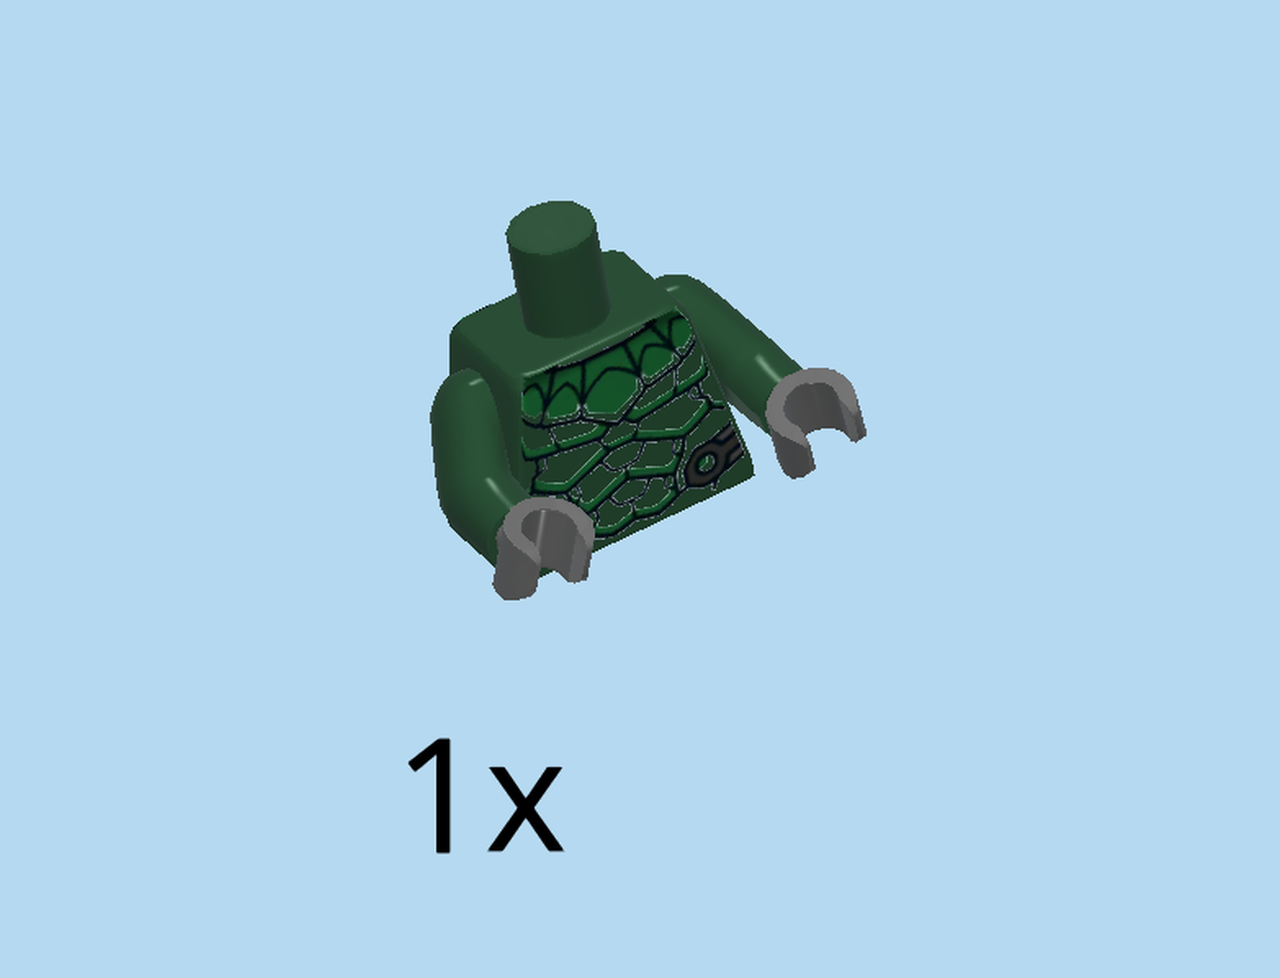
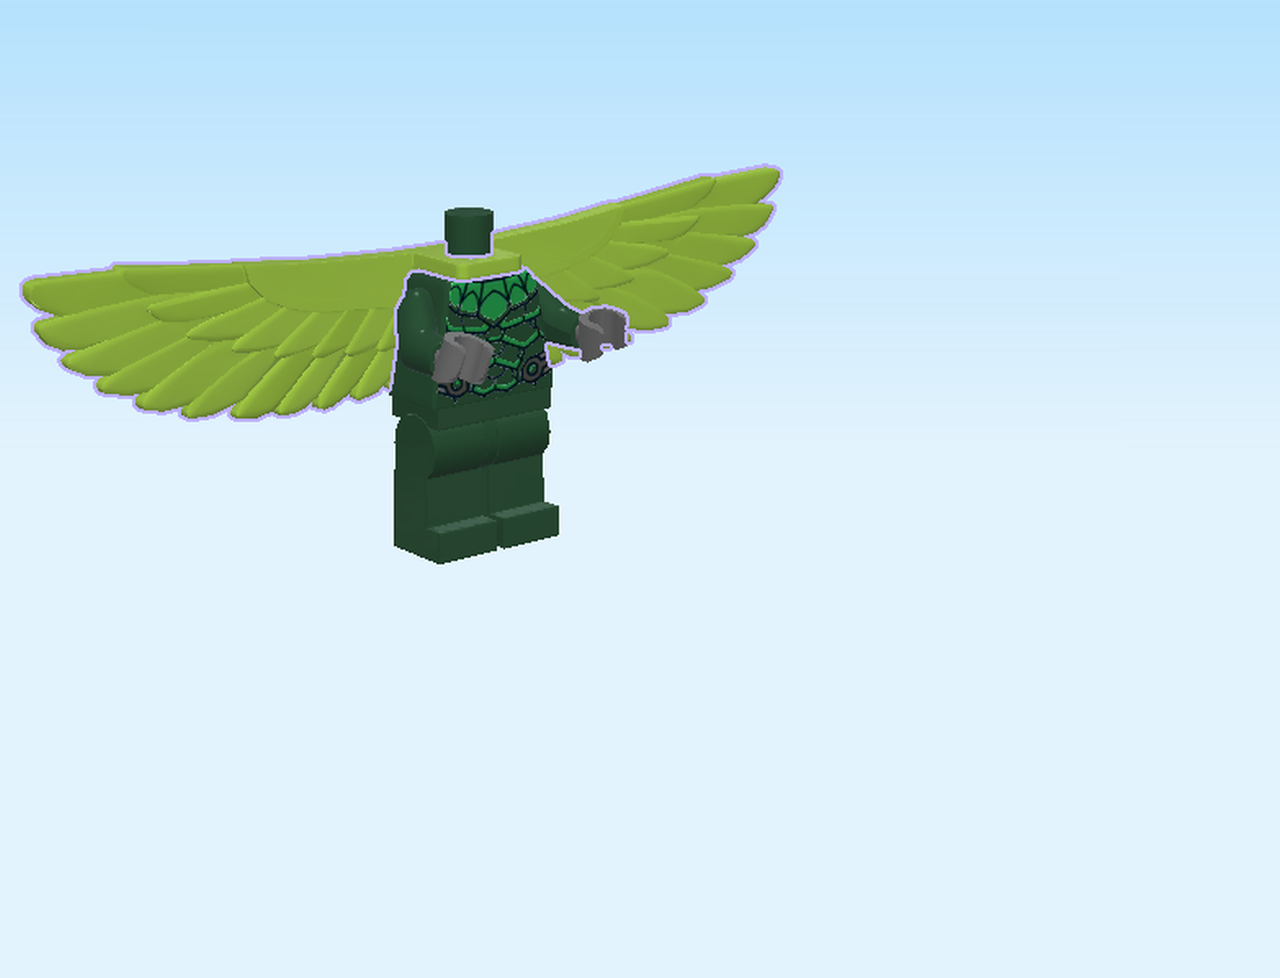
| Find 1 mossy green and dark stone grey upper part of the body. |
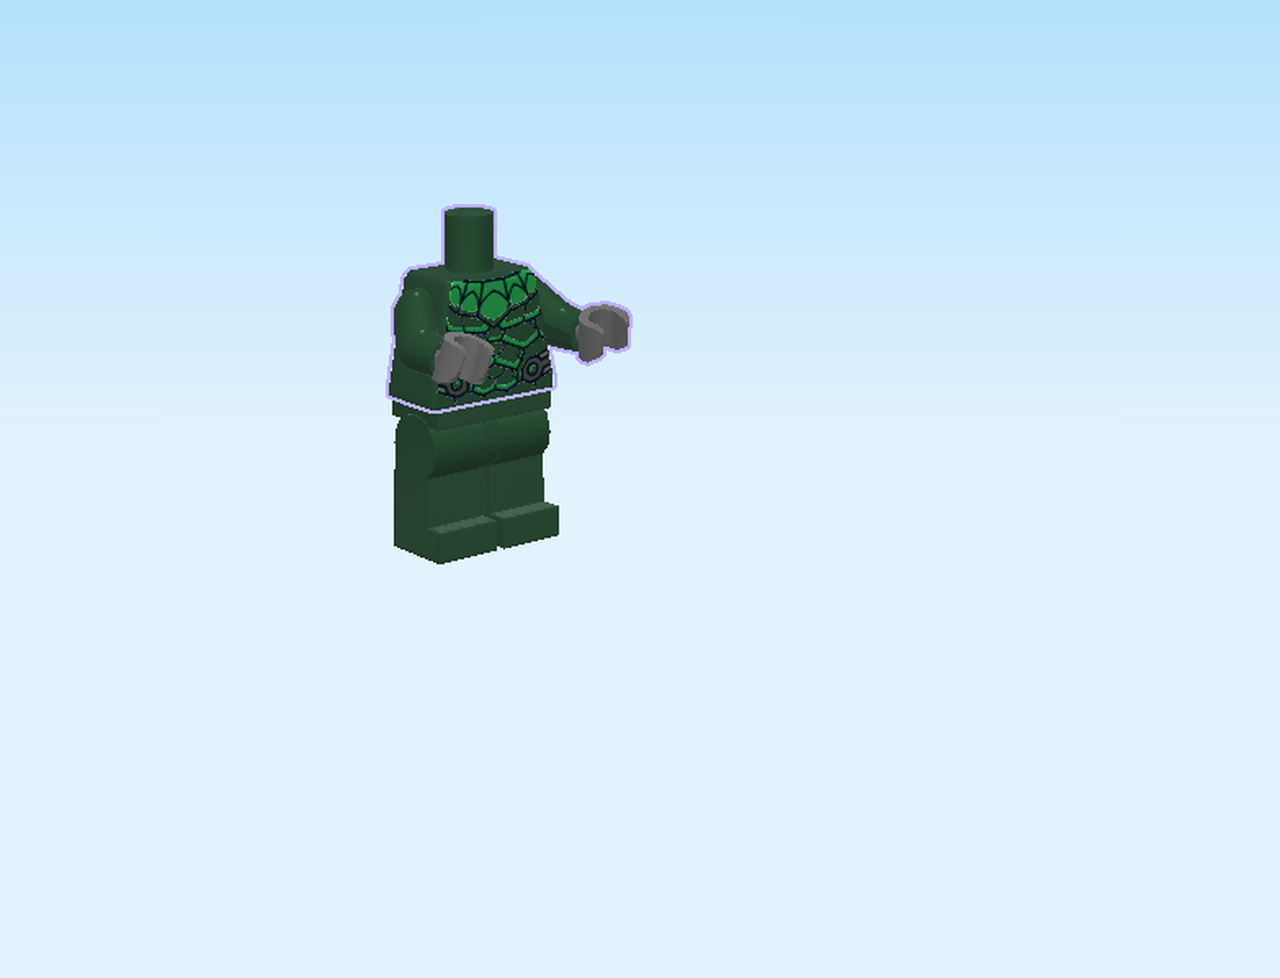
| Put it on top of the legs. |
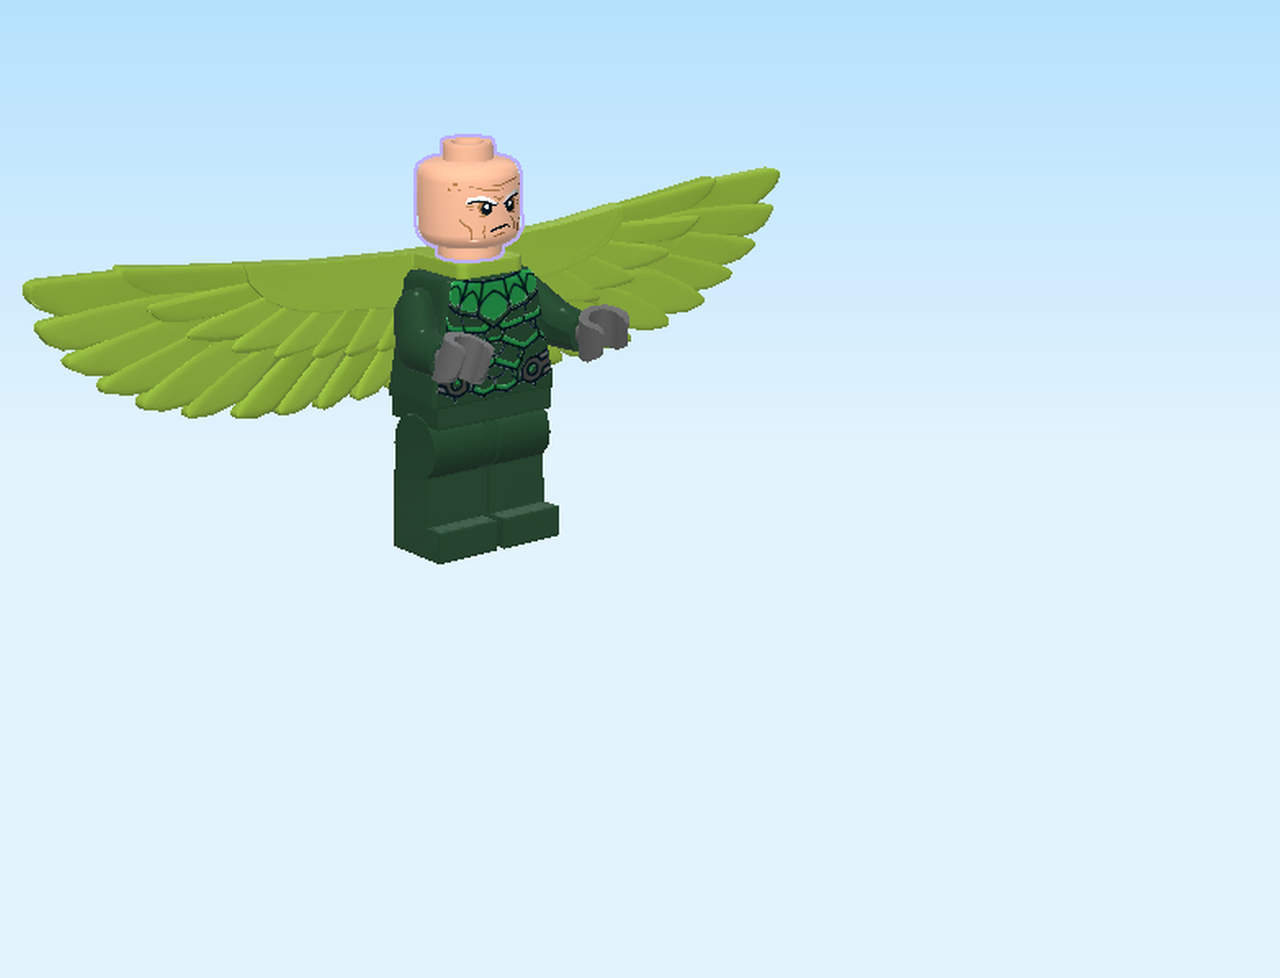
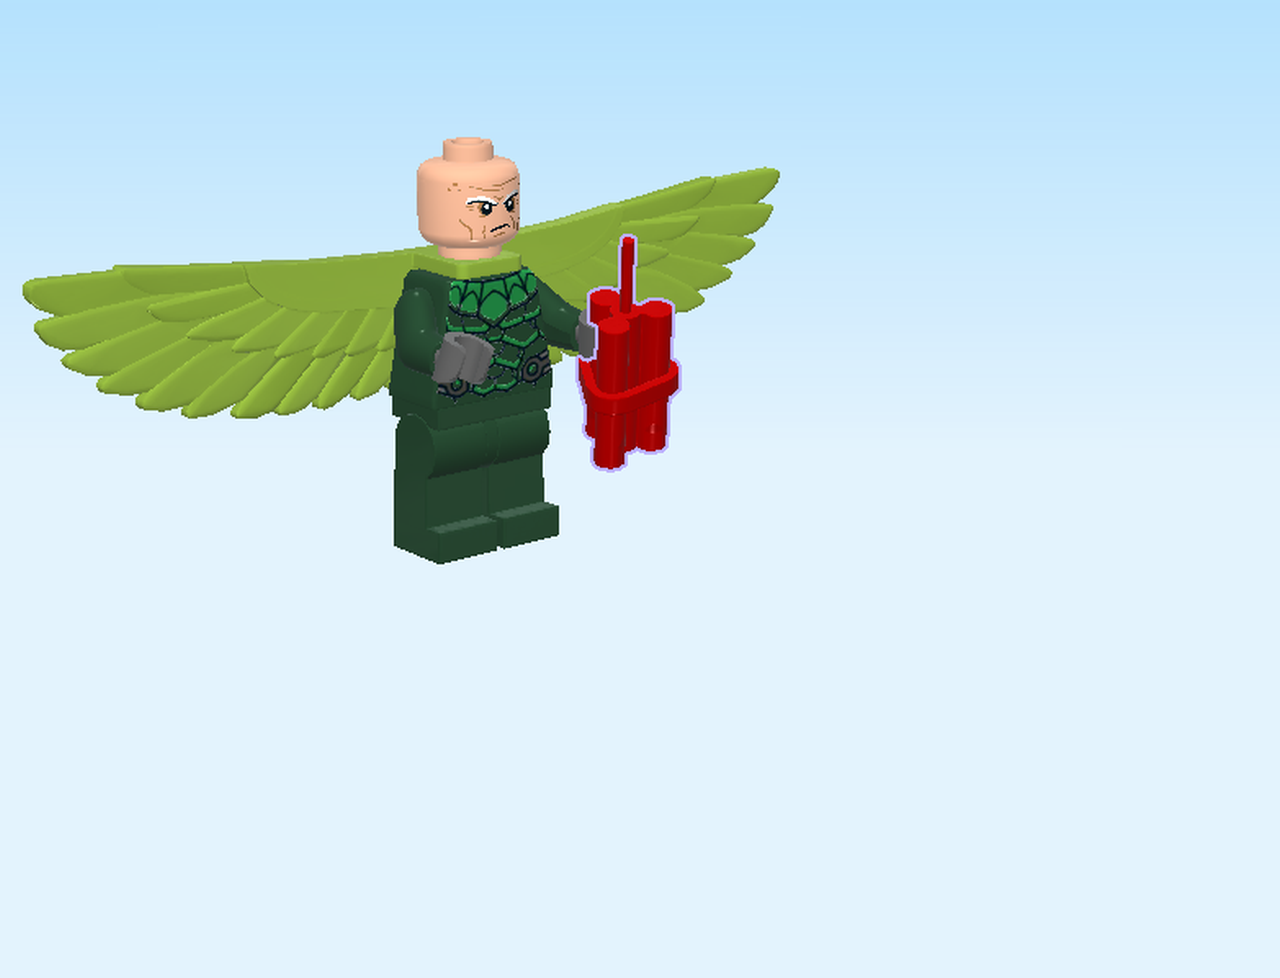
| Vulture is wearing a skin-tight mossy green jumpsuit; you can even see his six-pack through the fabric. The suit has a bright green collar that looks like a web. |
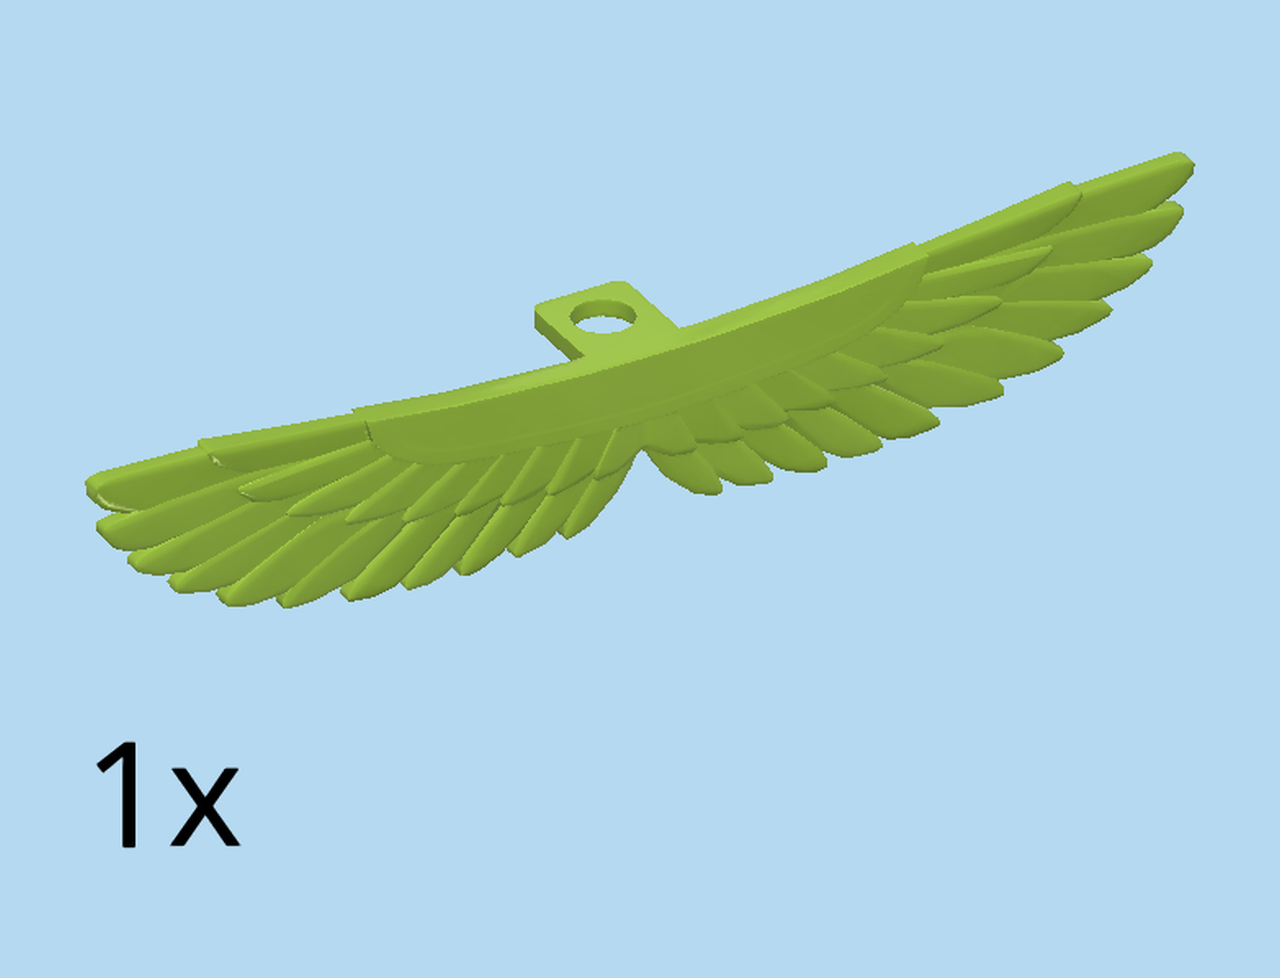
| Find 1 bright yellowish green pair of Minifigure wings. |
| Put the hole on the wings around Vulture's neck. Make sure the feathers are pointing down. |
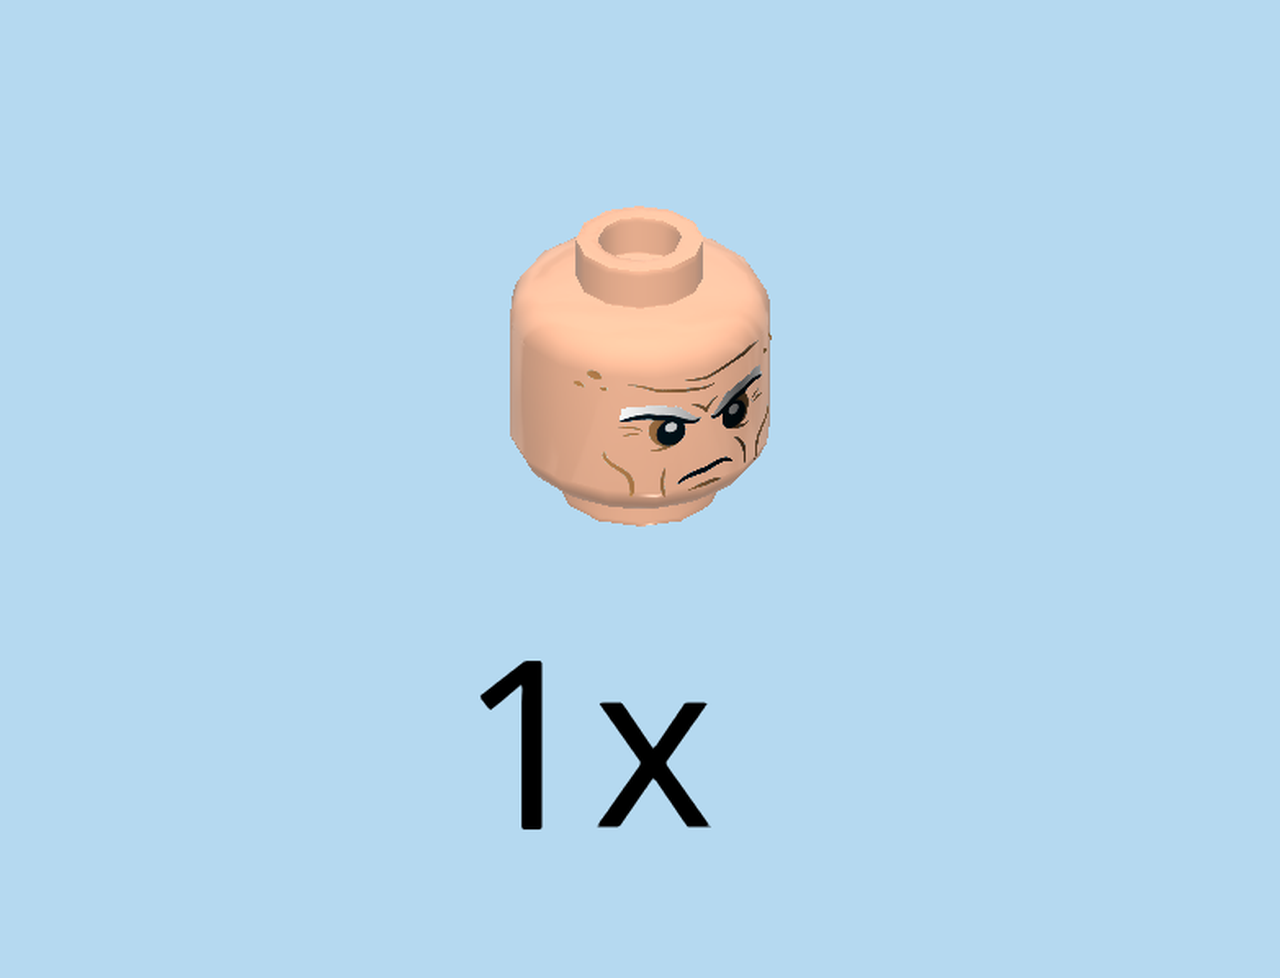
| Find 1 light nougat brown head. |
| Put it on top. |
| Vulture's expression is grim; he has a lot of wrinkles and scars, and silvery-white eyebrows. |
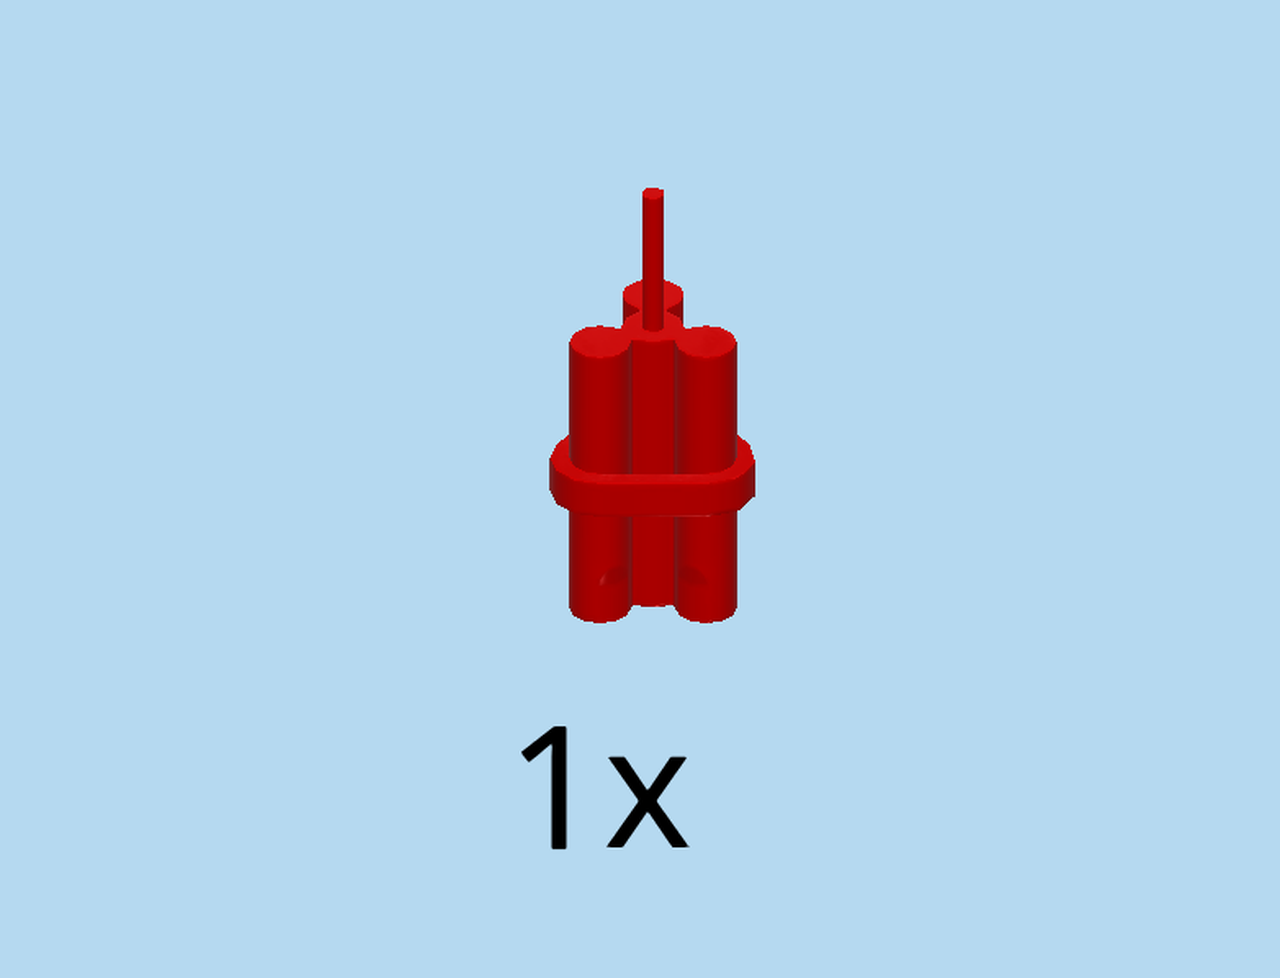
| Find 1 bright red dynamite bundle with fuse. |
| Put it in Vulture's left hand. |
| Next, we will build a gold safe and Vulture's harpoon weapon. |
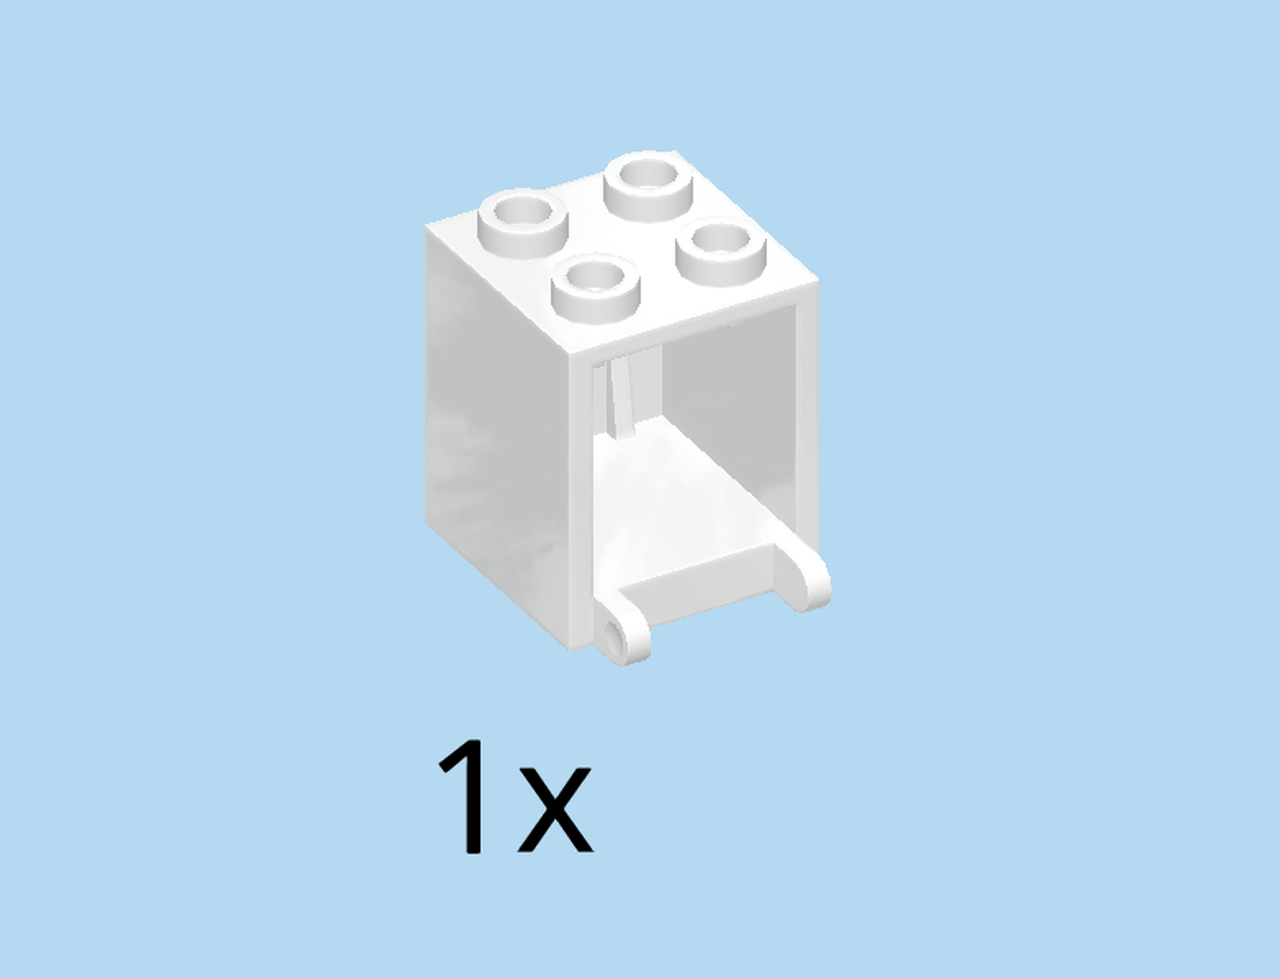
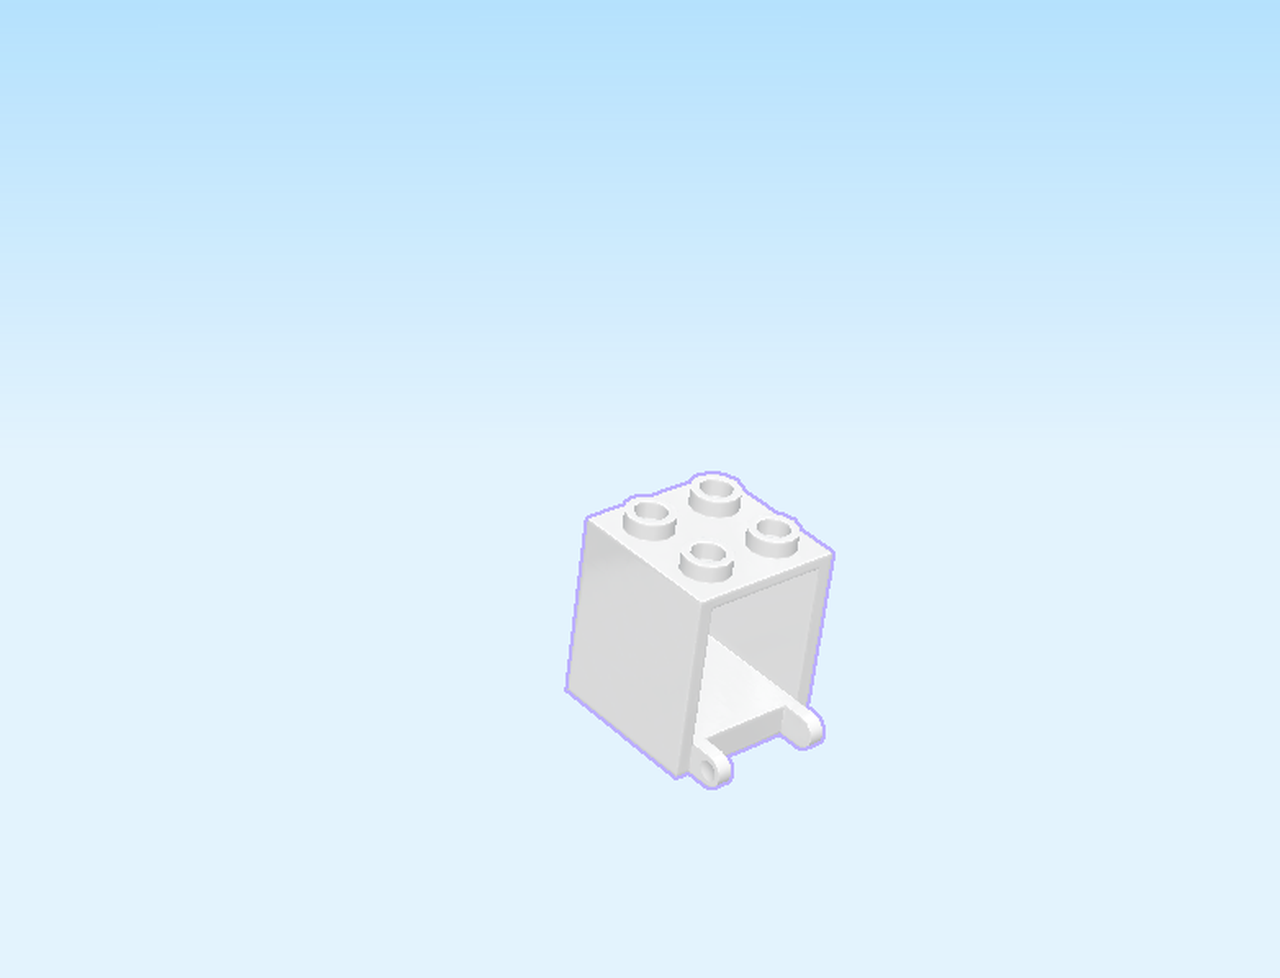
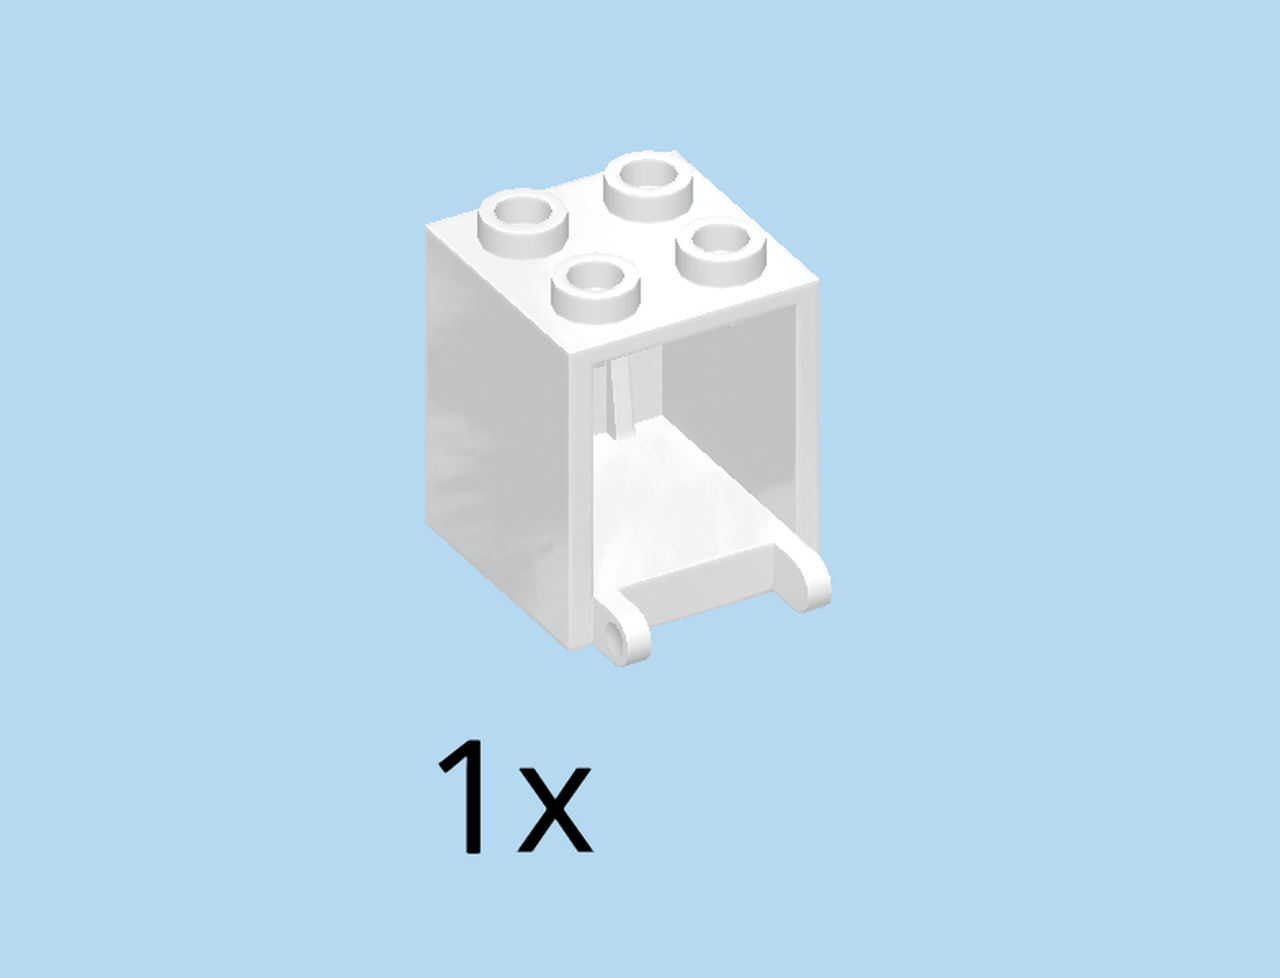
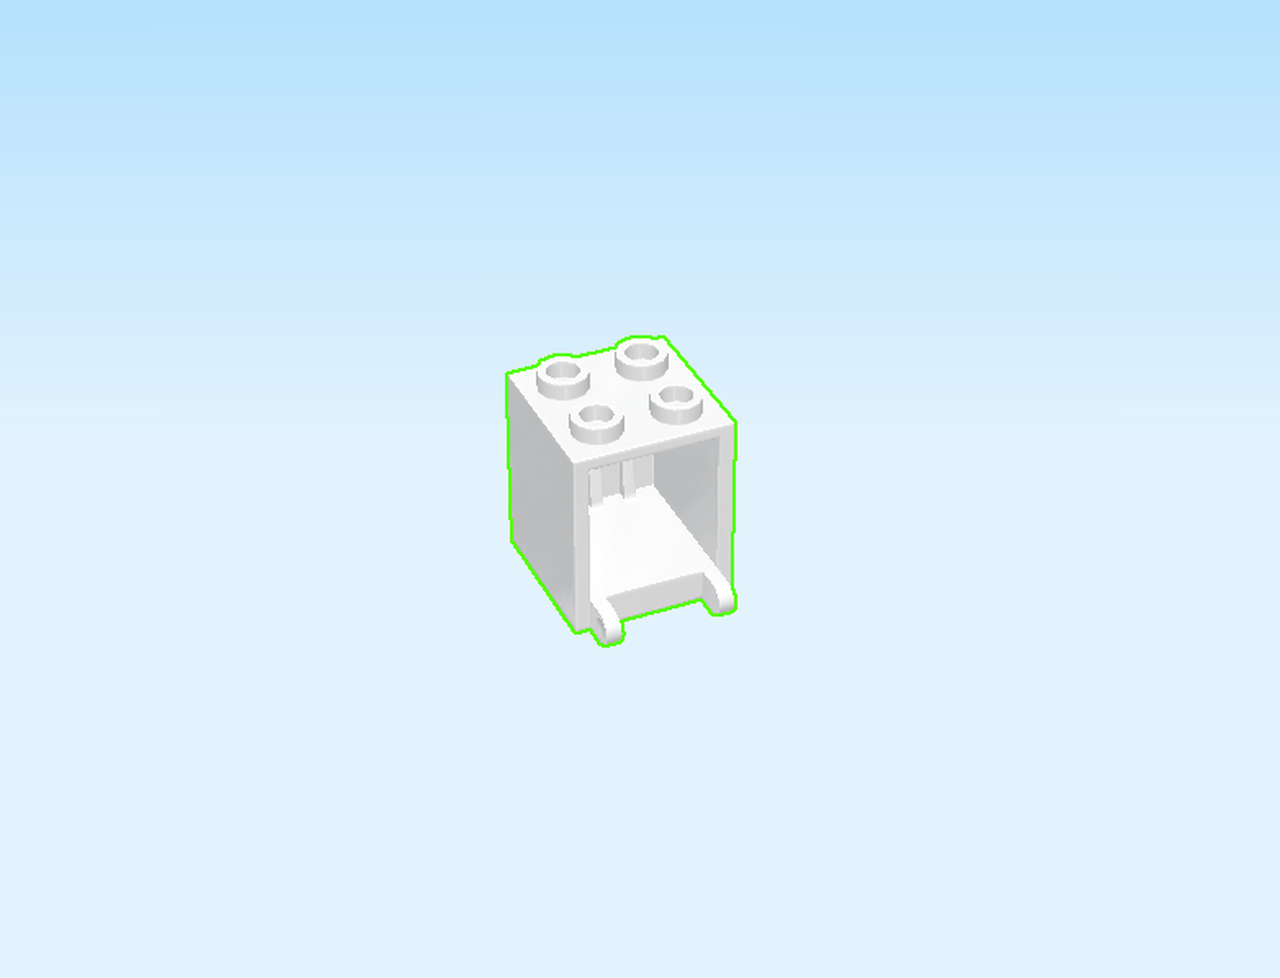
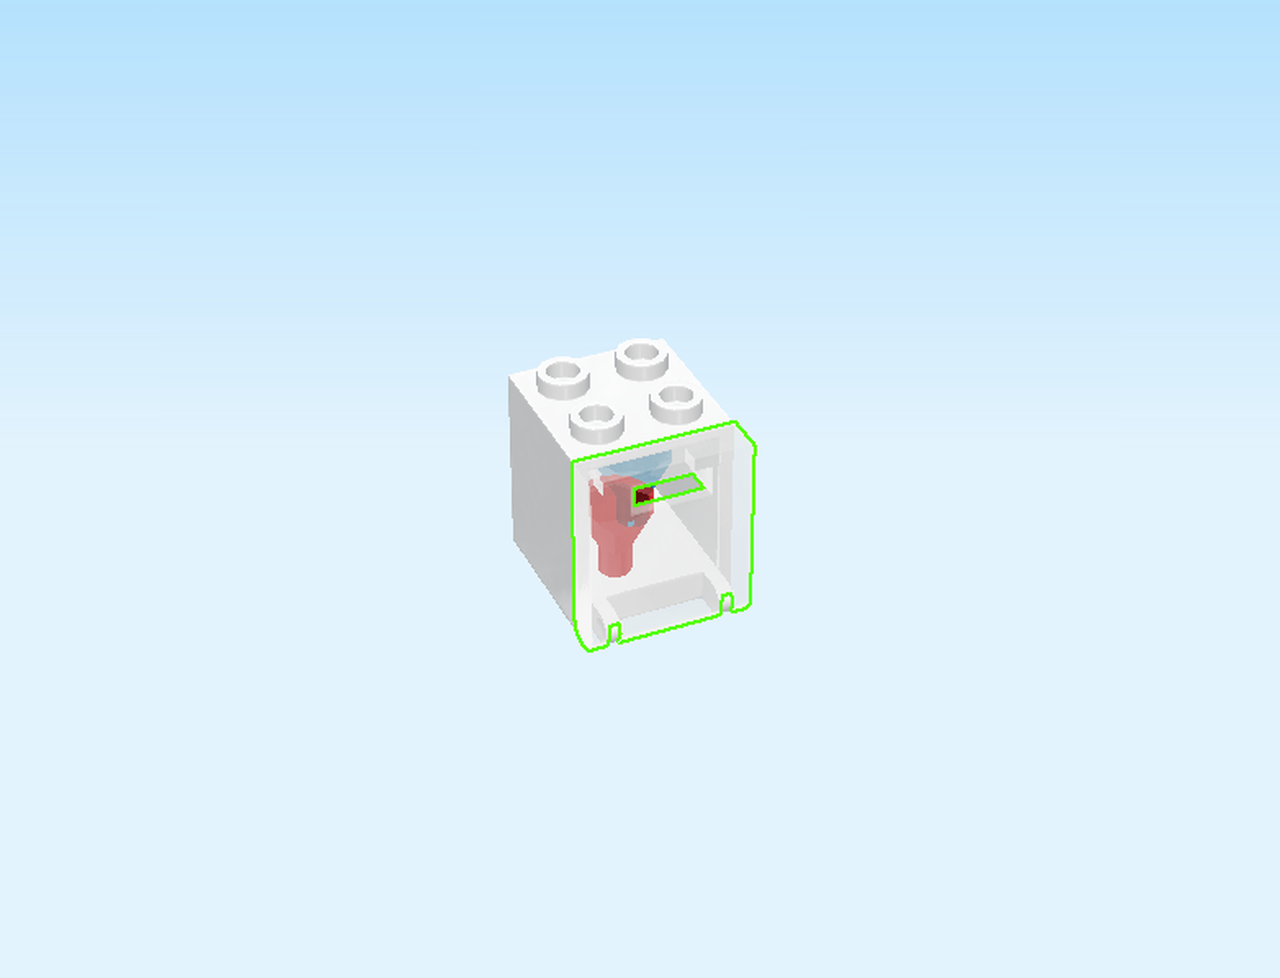
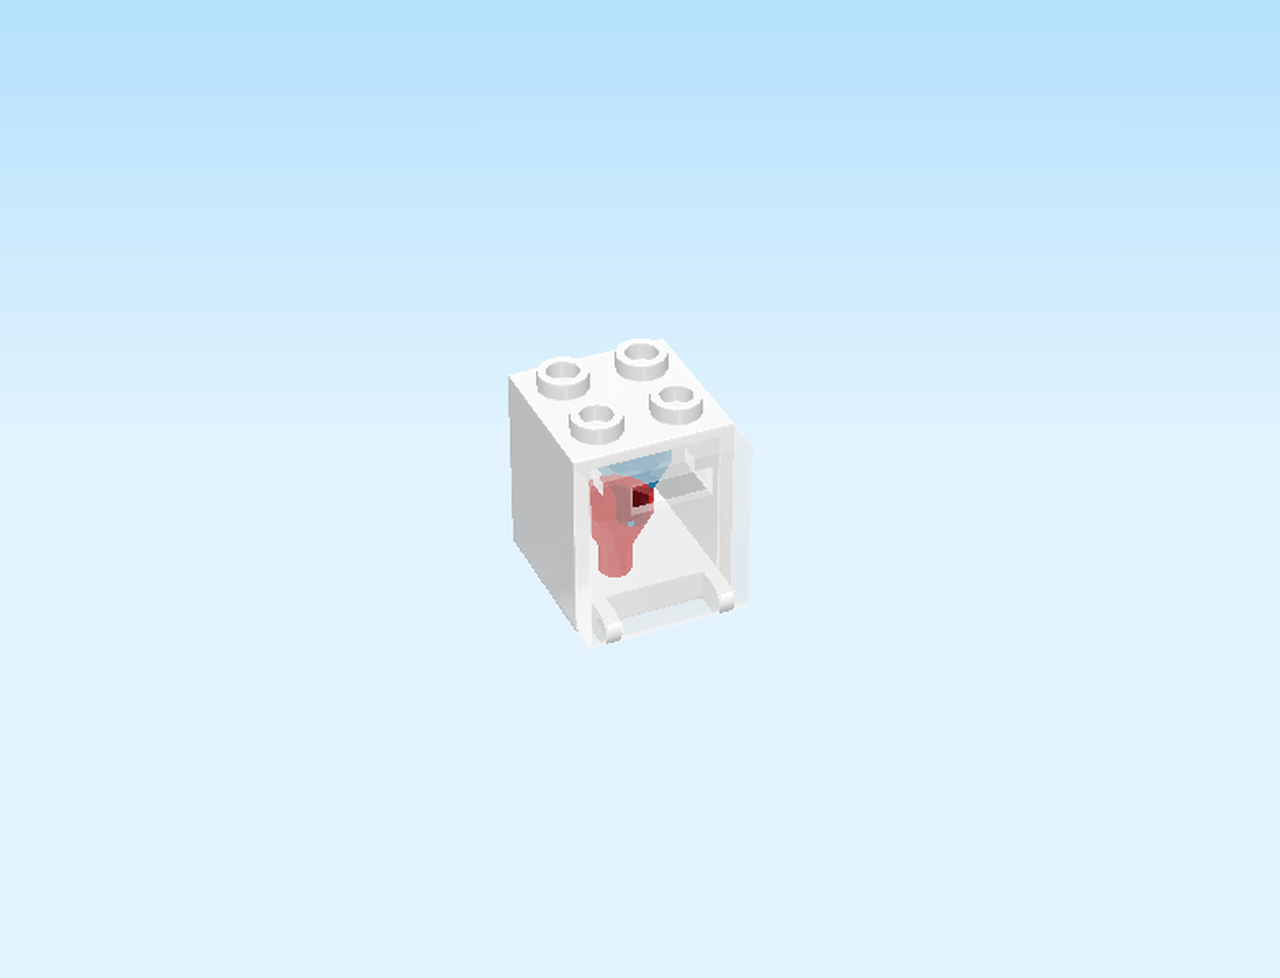
| Find 1 white mailbox casing 2x2x2. |
| Put it on the table. |
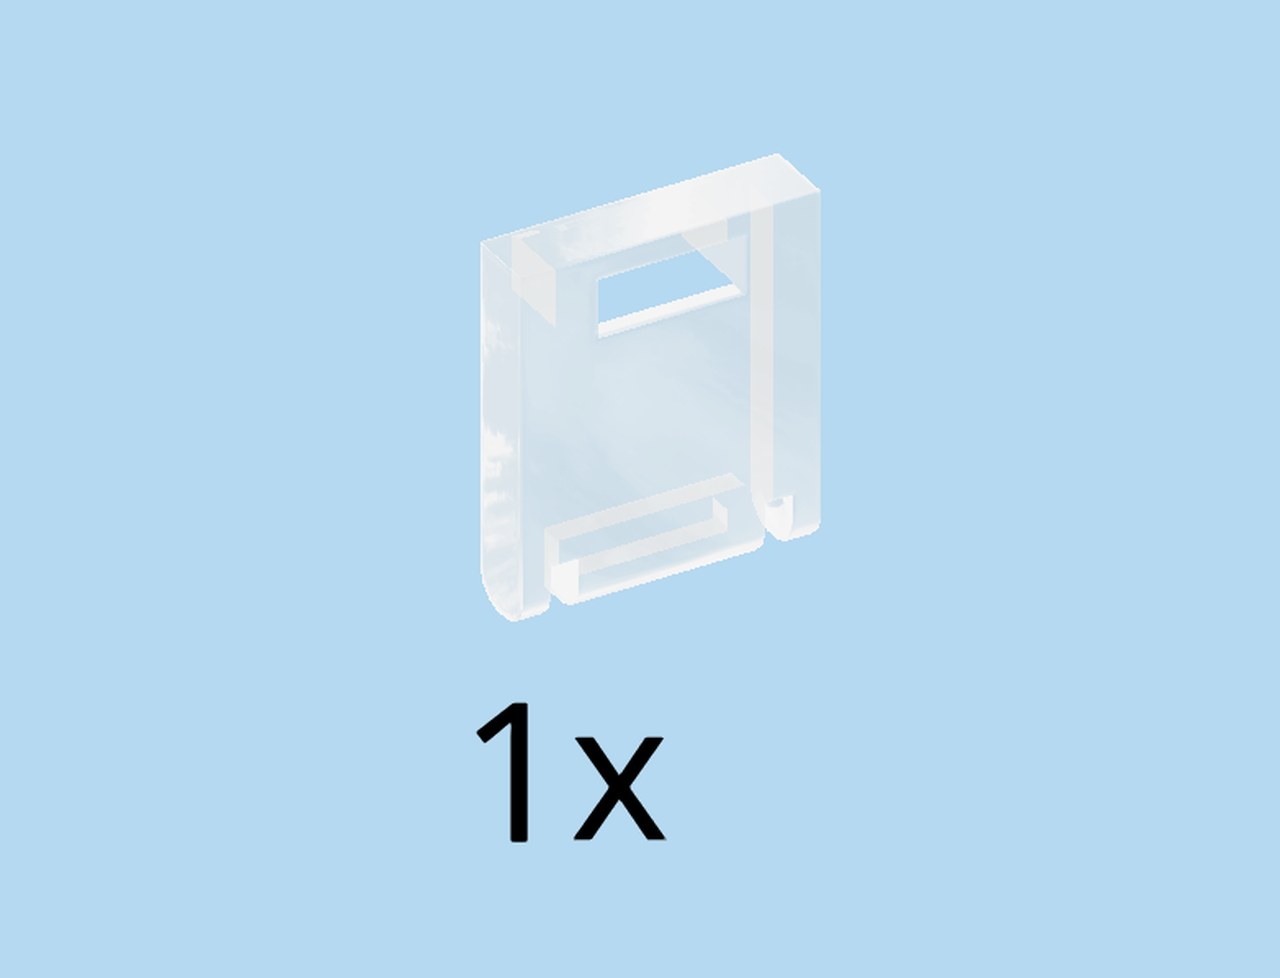
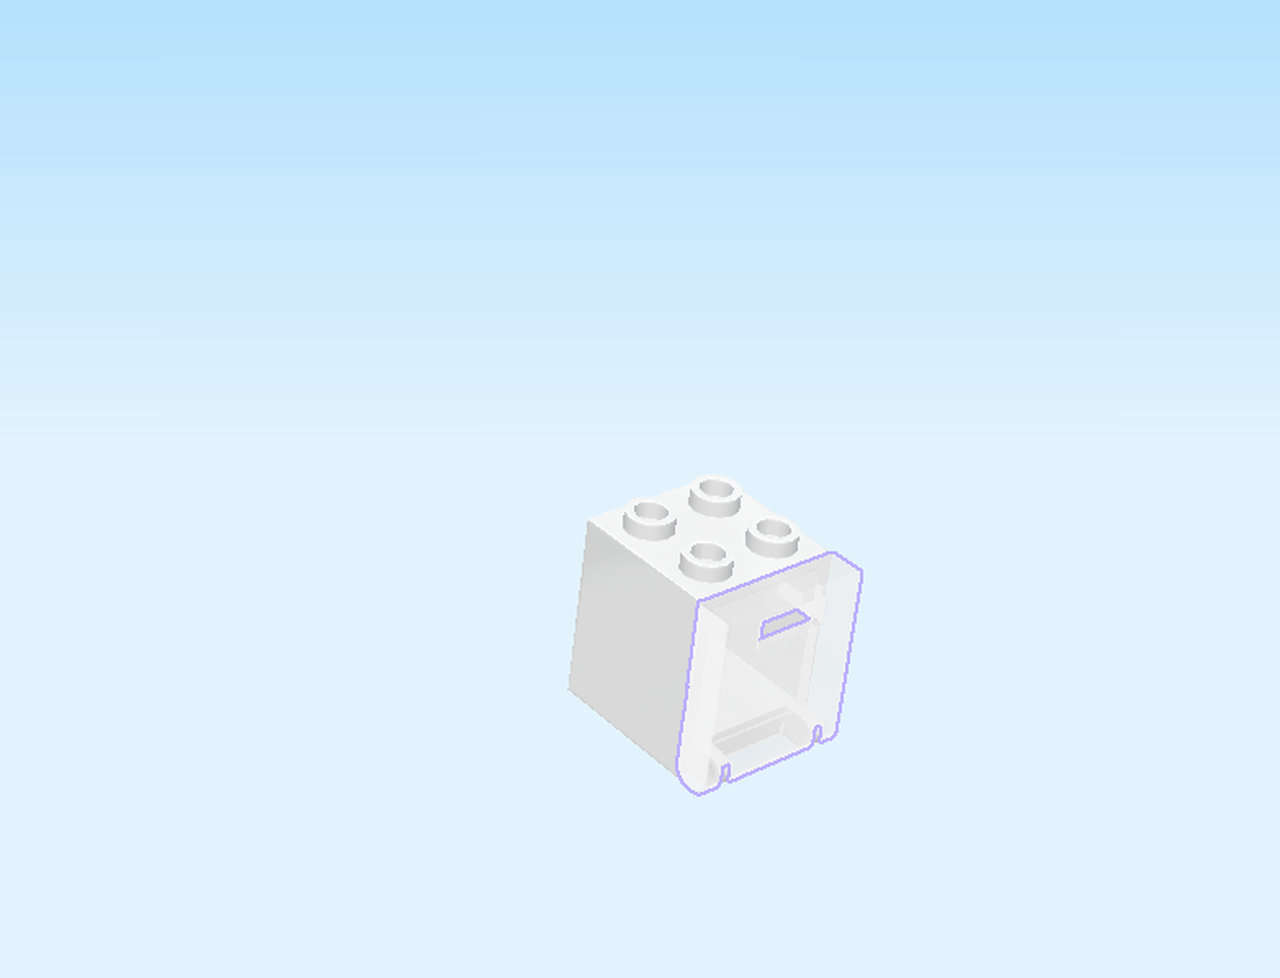
| Find 1 transparent mailbox front 2x2. |
| Insert the two tabs at the bottom of the mailbox casing into the two small notches on the mailbox front. |
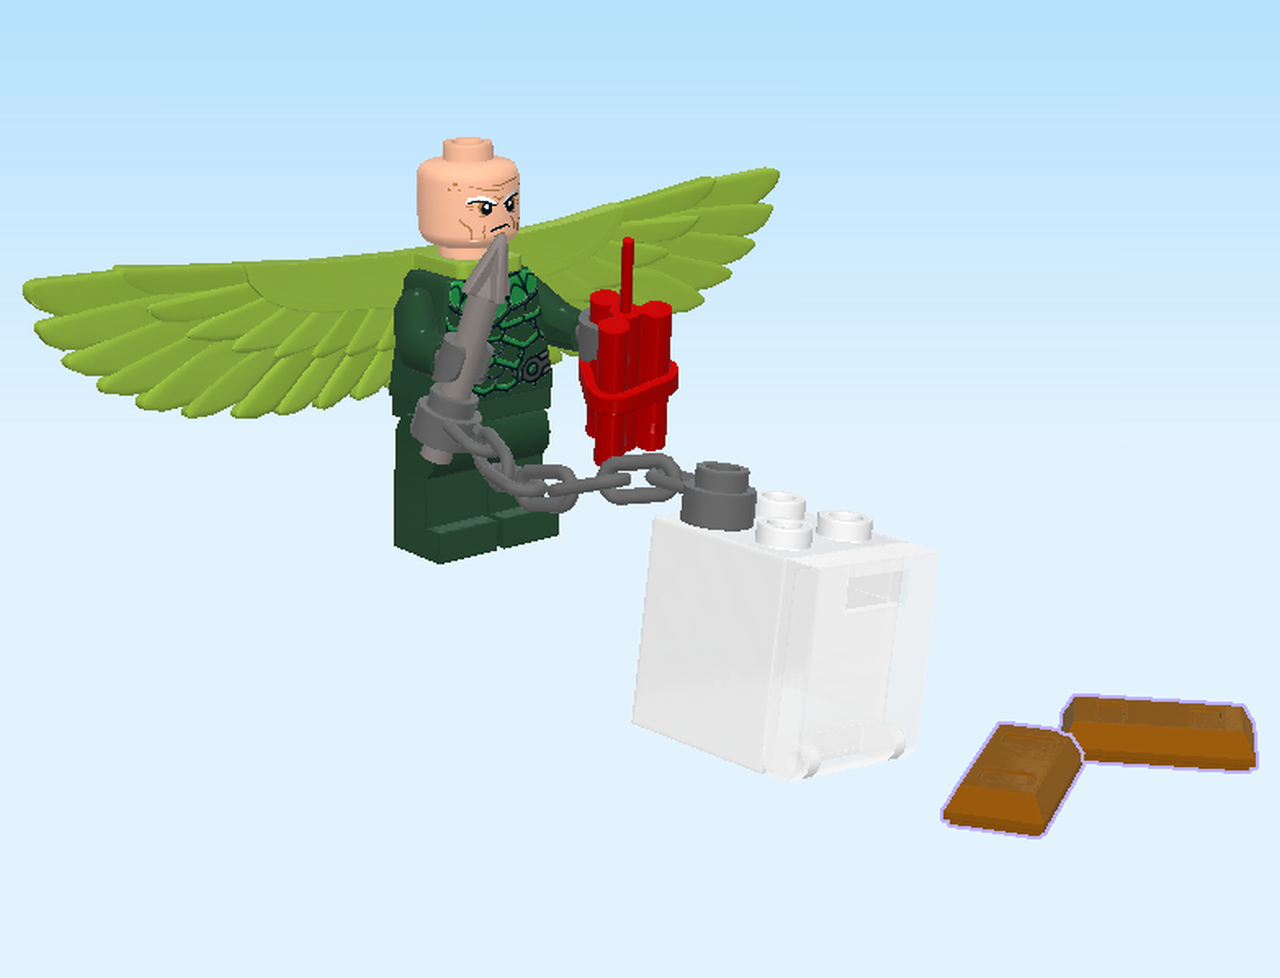
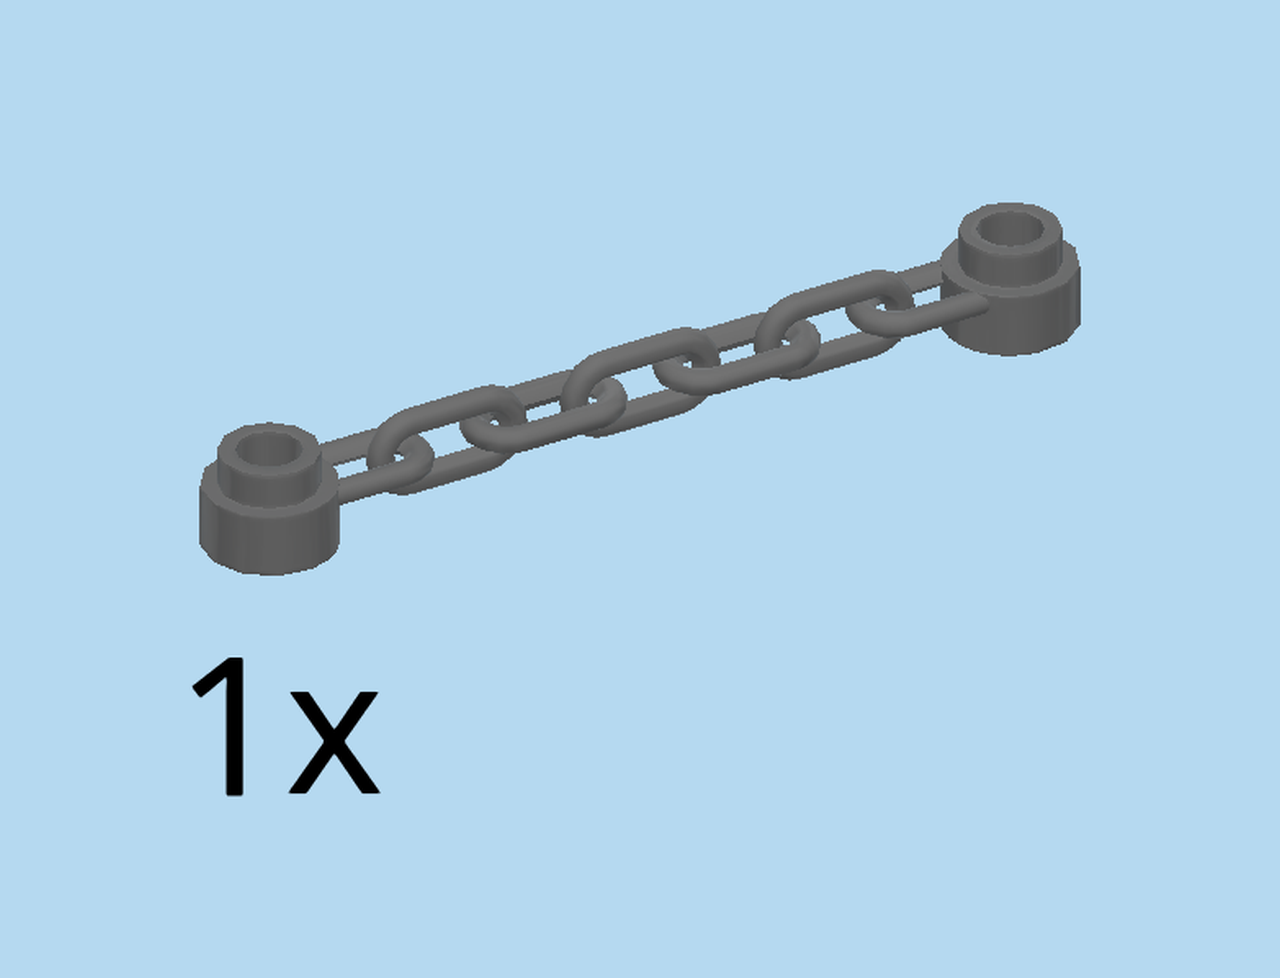
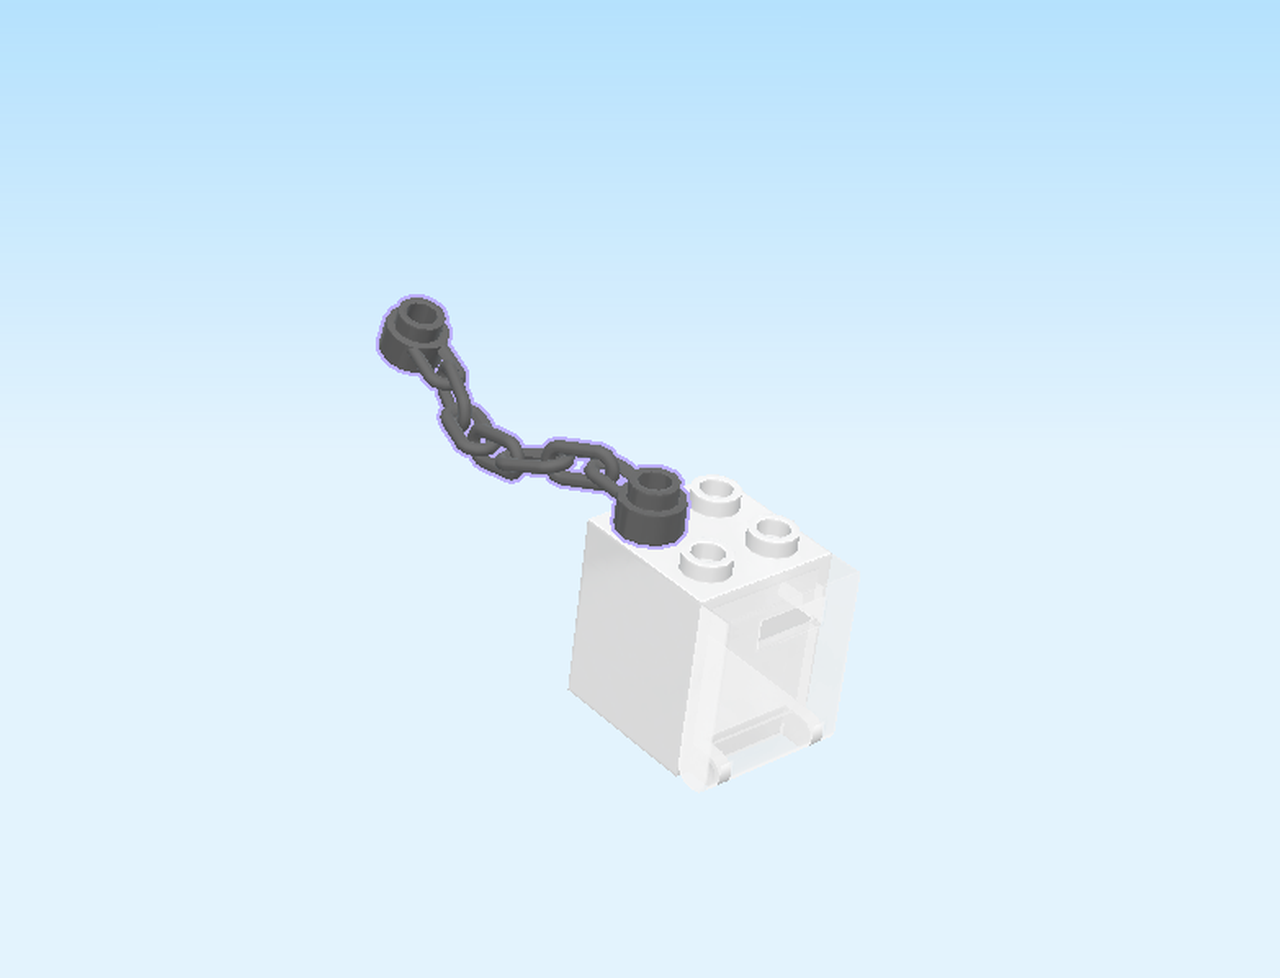
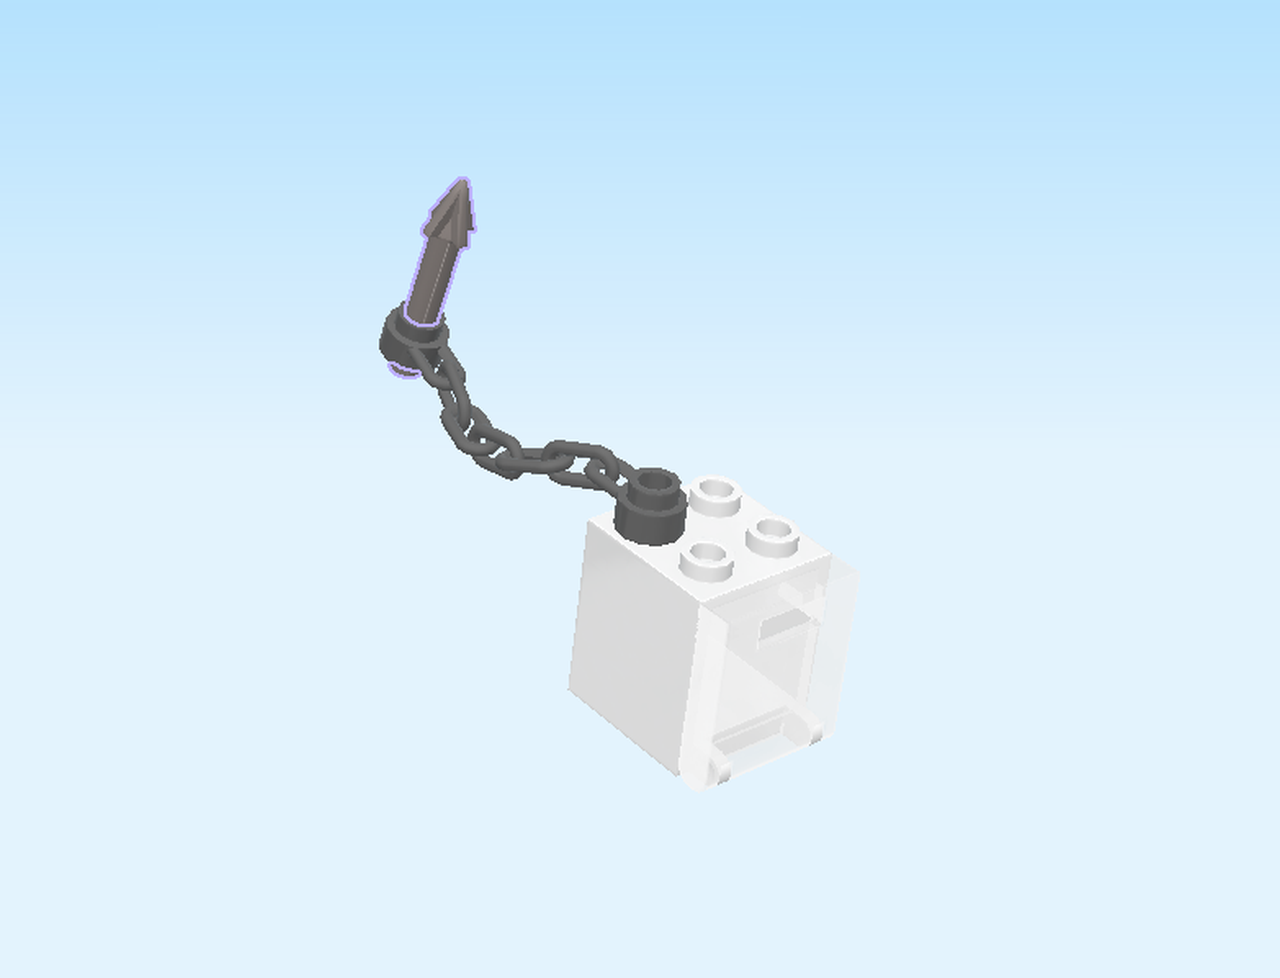
| Find 1 dark stone grey chain 6m with 2 knobs. |
| Attach one knob on the backmost knob on the left. |
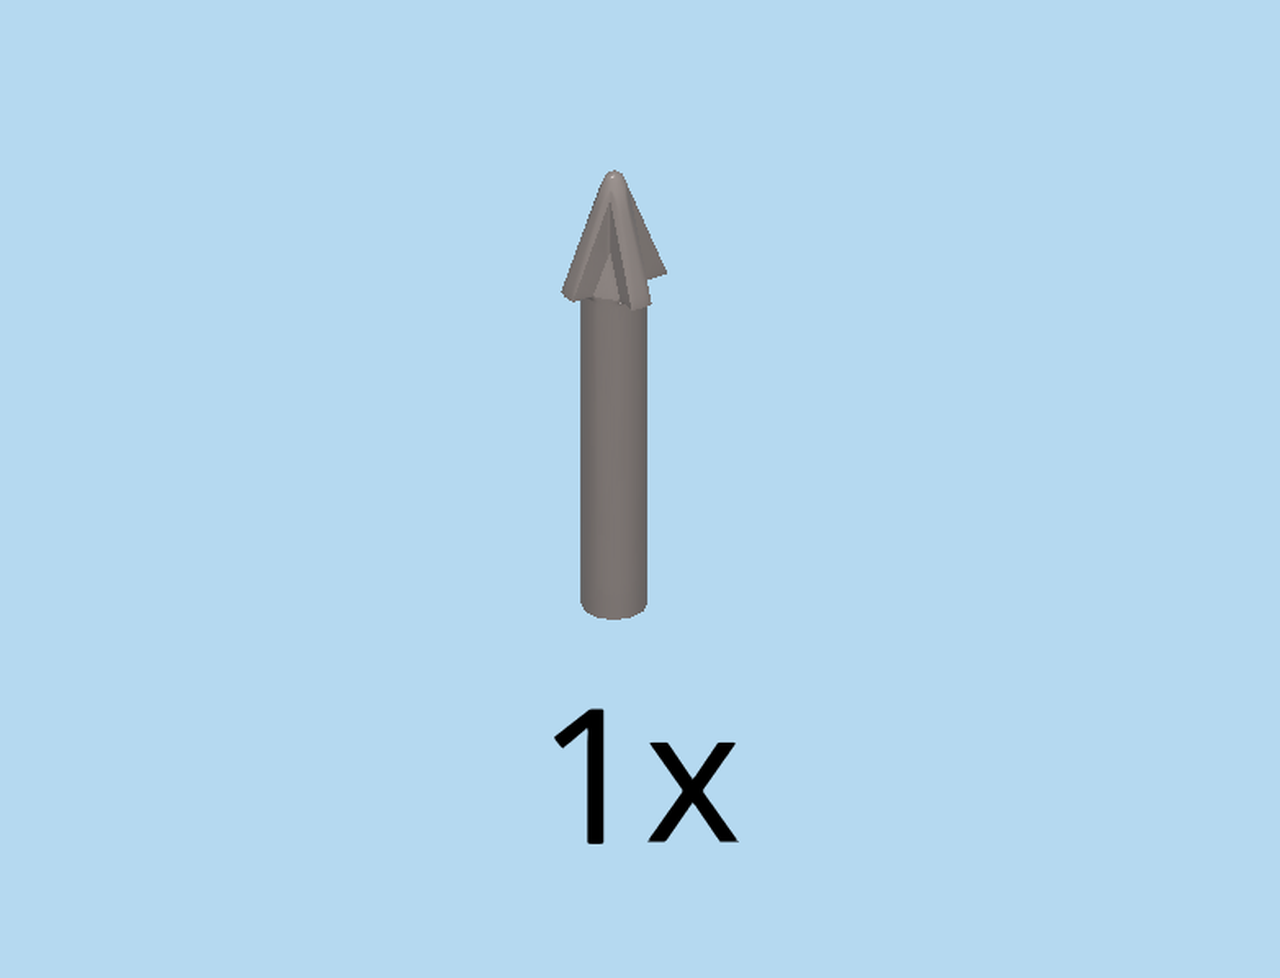
| Find 1 silver metallic harpoon spike. |
| Insert the end of the harpoon spike into the loose knob at the other end of the chain. |
| Find 2 warm gold ingots 1x2. |
| Put them into the safe and close the door. |
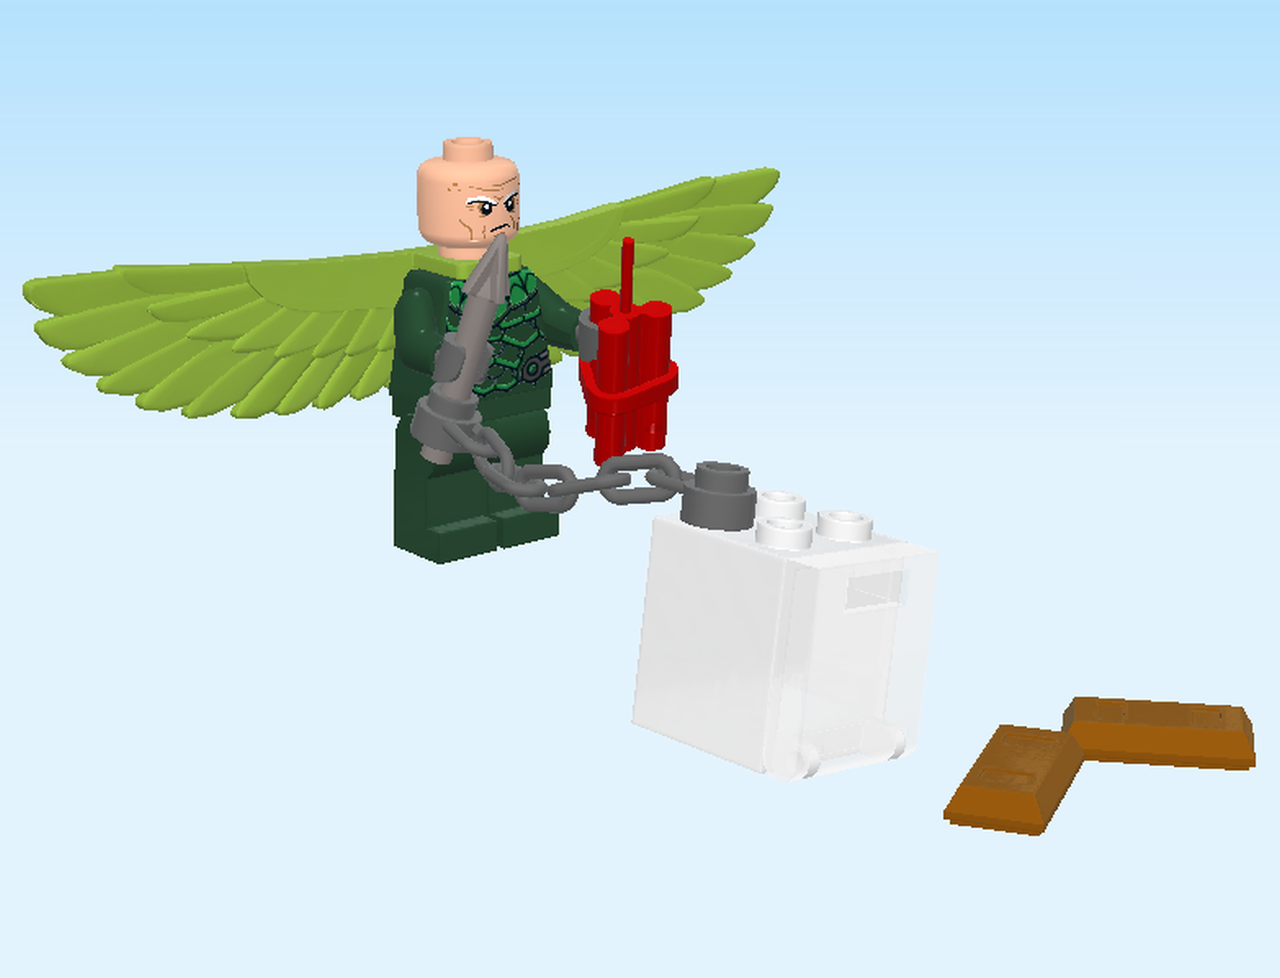
| The Vulture Minifigure is finished! Well done! Put the harpoon spike into Vulture's left hand. This way, he might be able to steal the safe from the bank truck. |
| Find 1 white mailbox casing 2x2x2. |
| Put it on the table. |
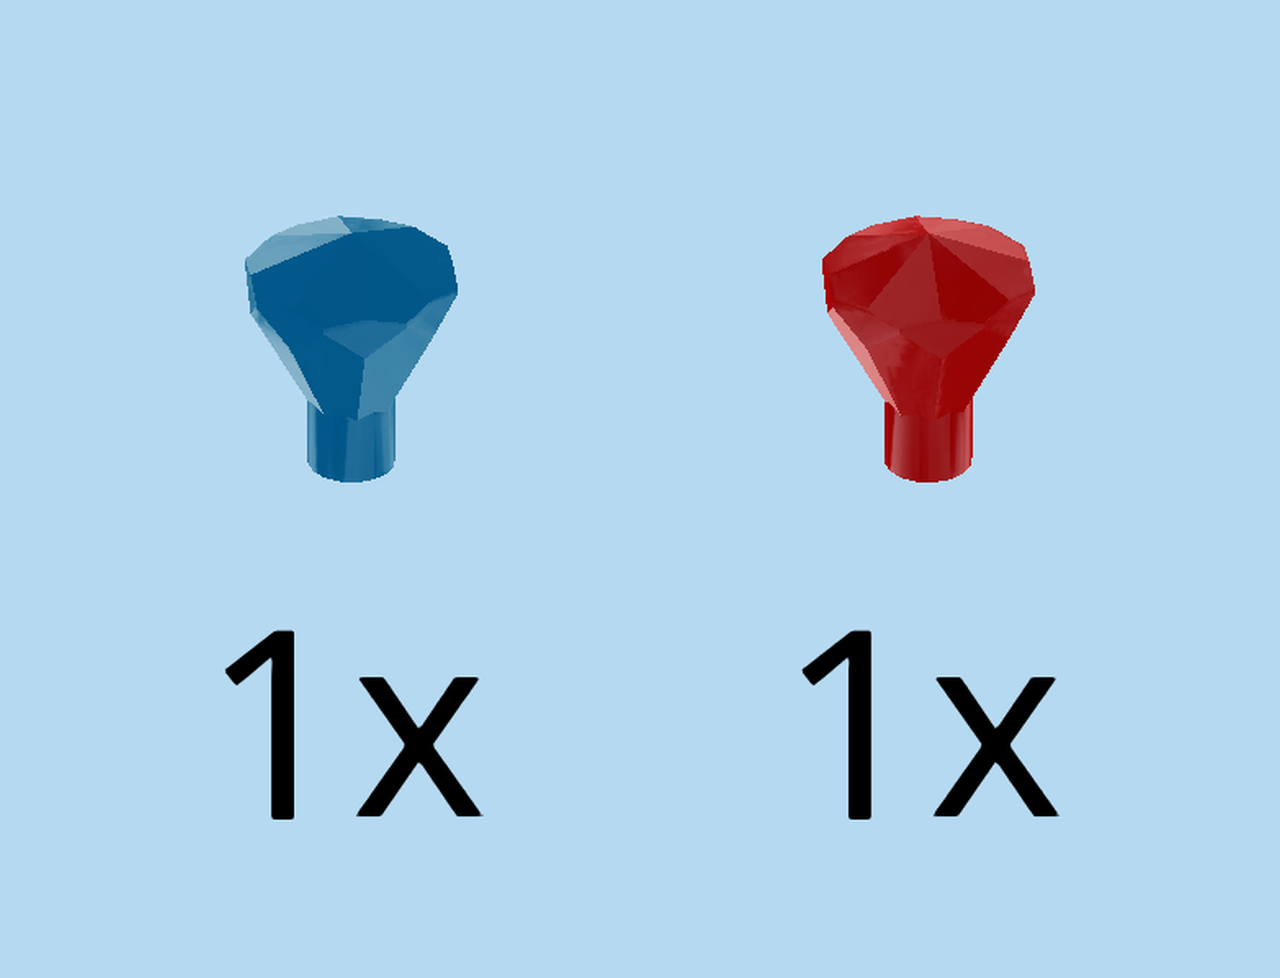
| Collect the following 2 pieces: |
| 1 transparent blue diamond with stick, |
| and 1 transparent red diamond with stick. |
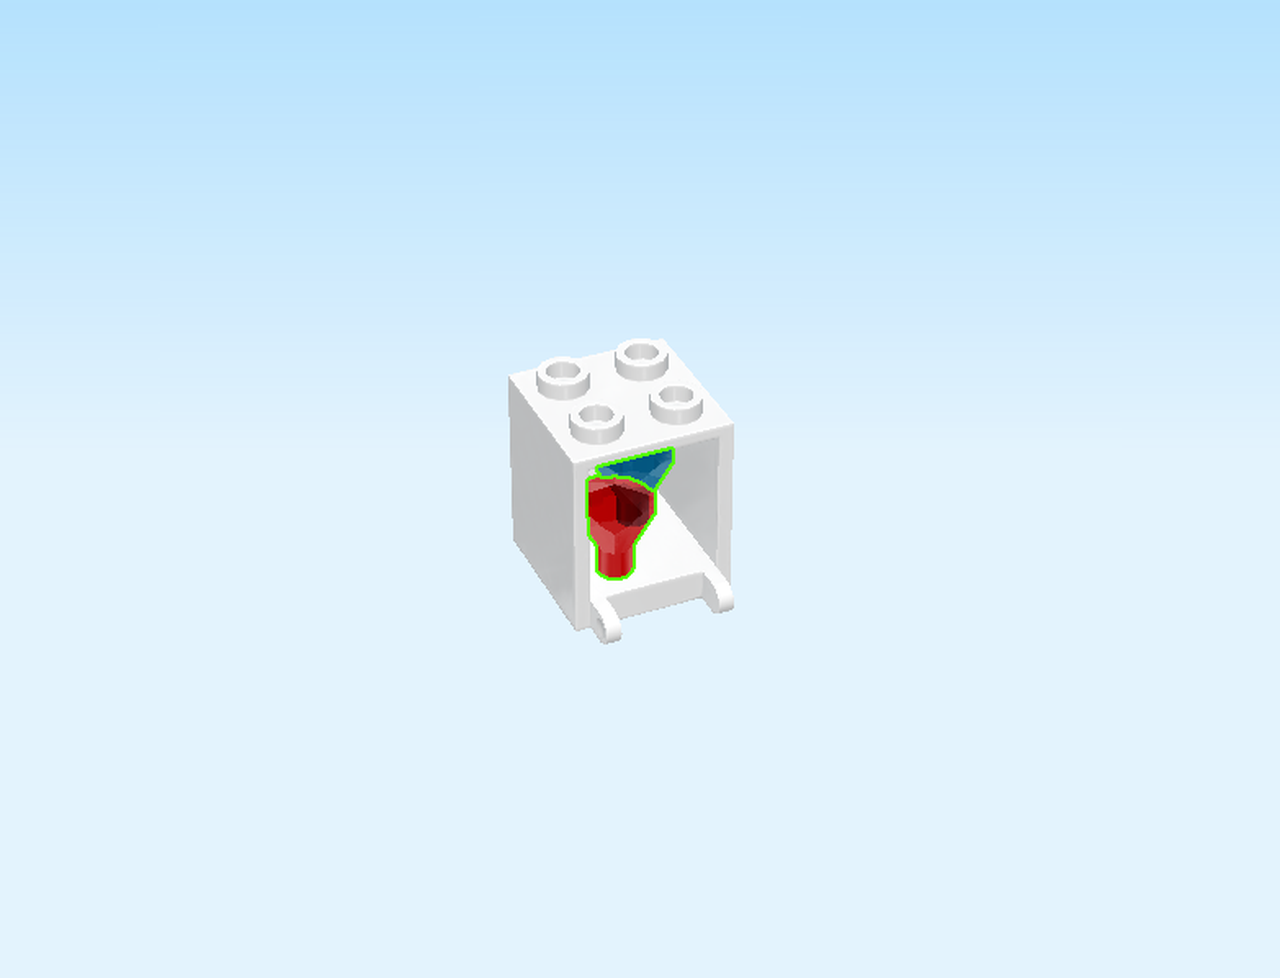
| Put the diamonds into the mailbox casing. |
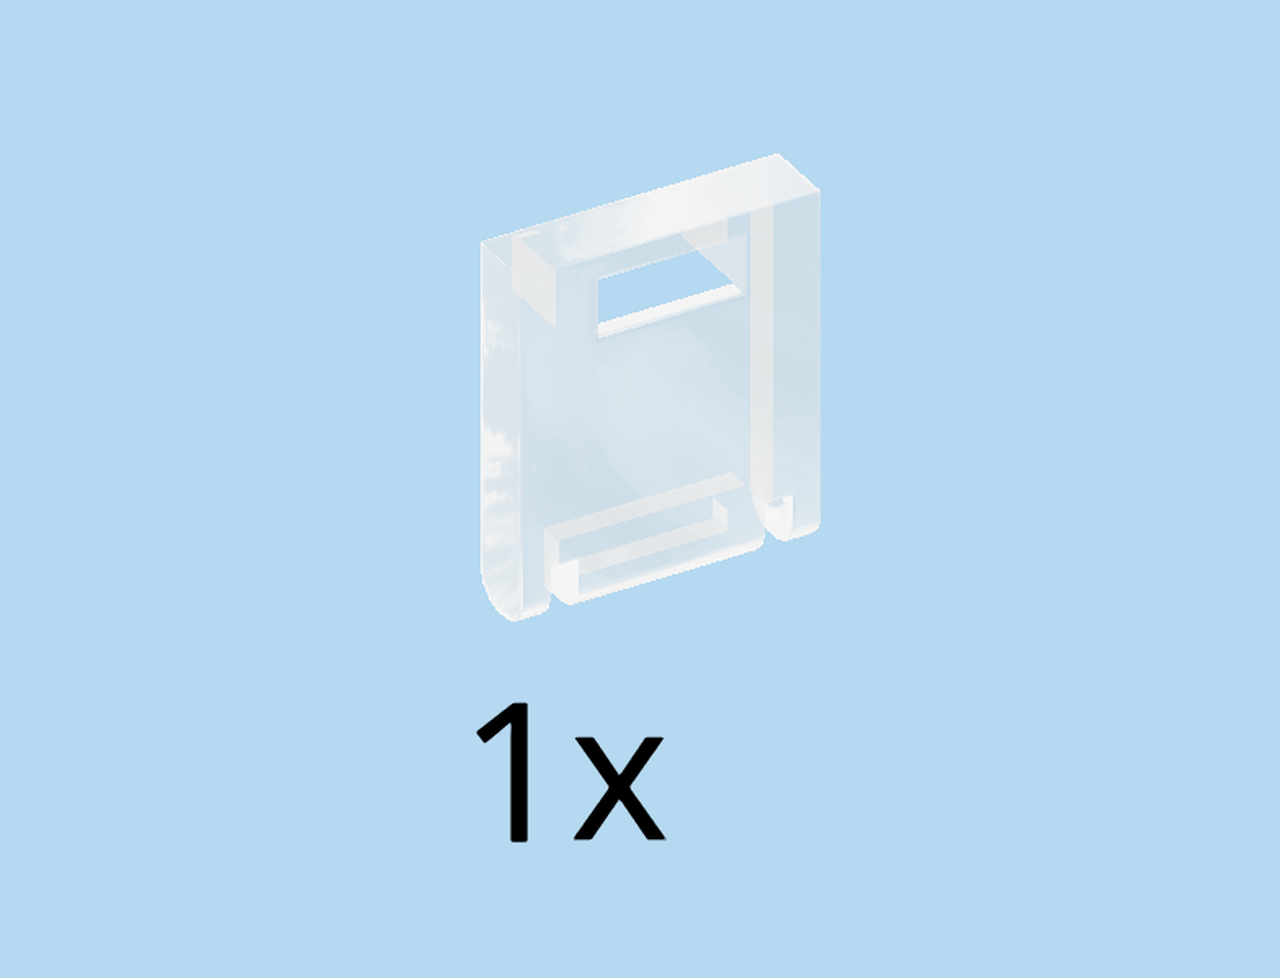
| Find 1 transparent mailbox front 2x2. |
| Insert the two tabs at the bottom of the mailbox casing into the two small notches on the mailbox front. |
| The jewel safe is finished! Well done! Close the safe door and make sure Vulture does not get a hold of it yet. |
| Finally, let's build the truck trailer. |
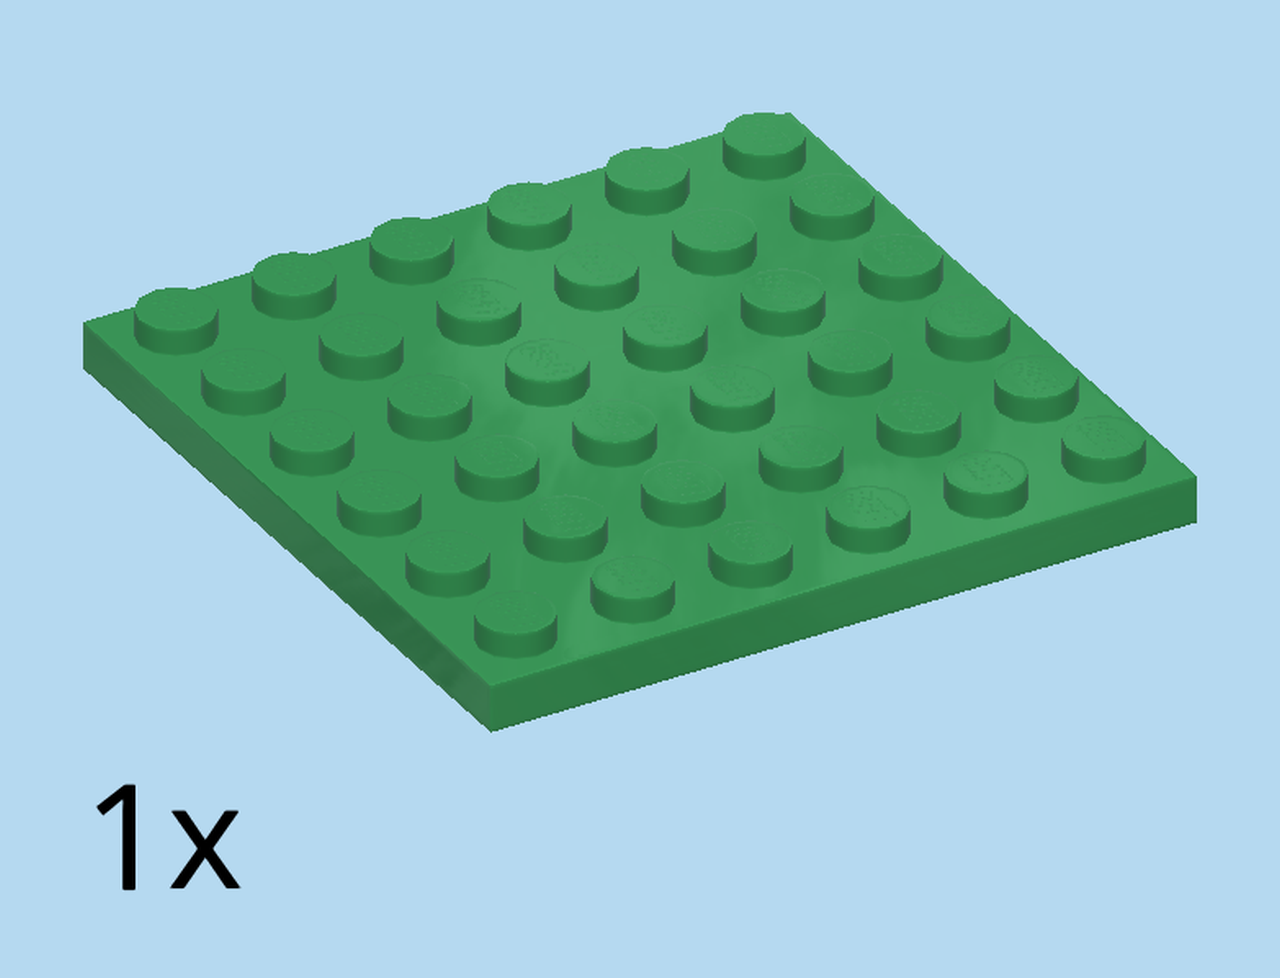
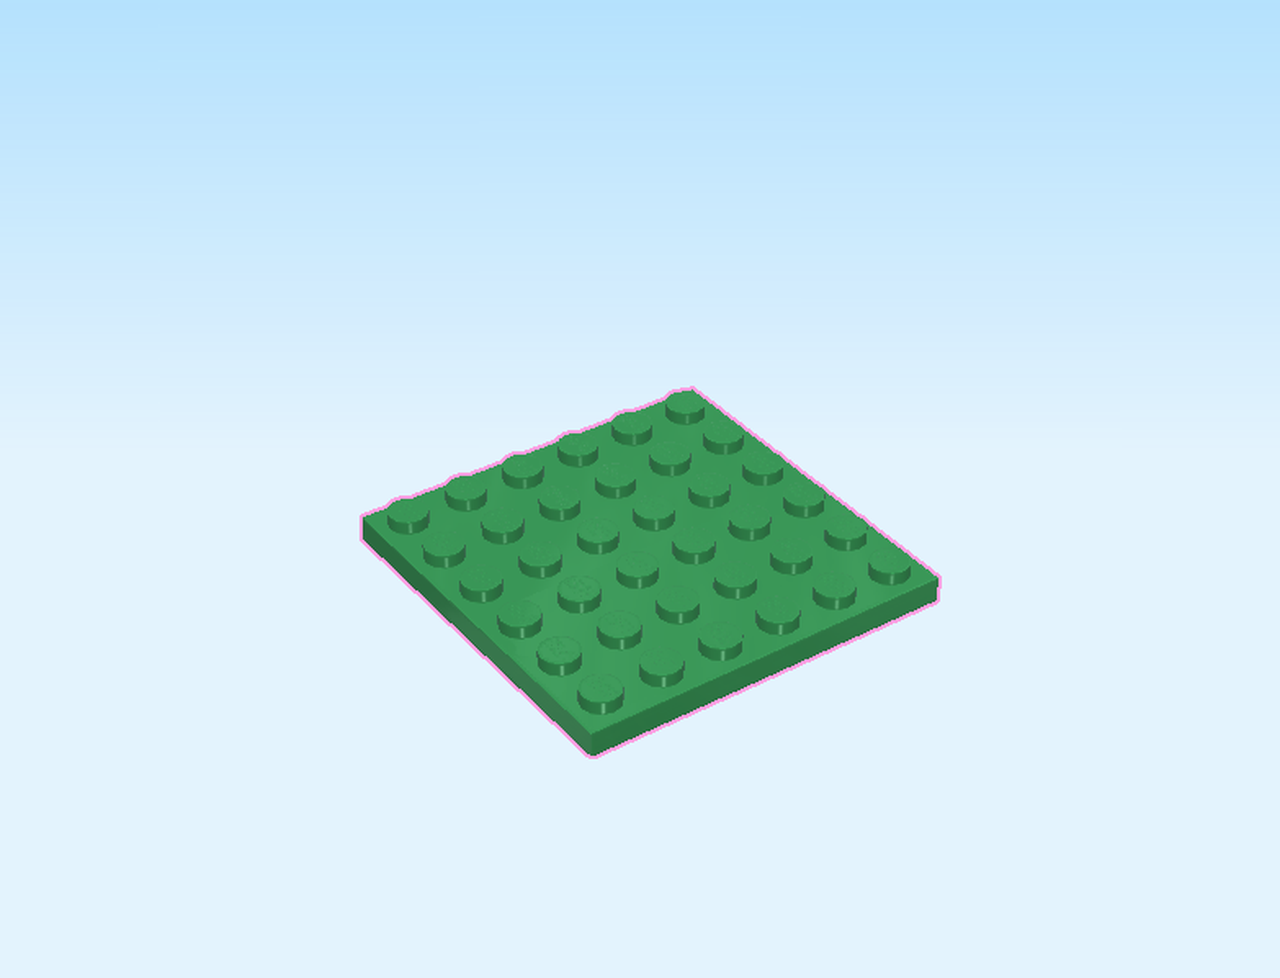
| Find 1 dark green plate 6x6. |
| Put it on the table. |
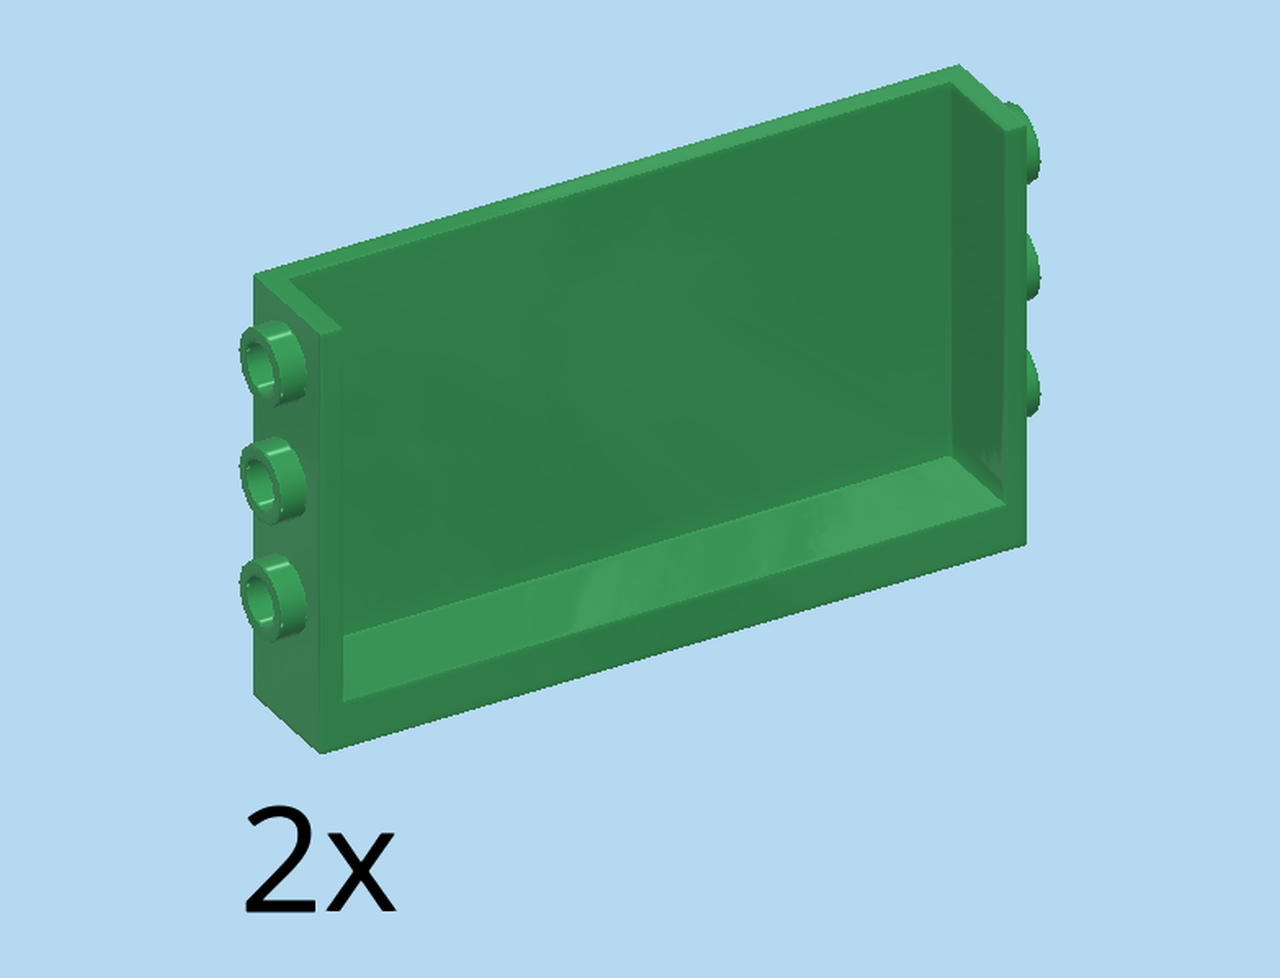
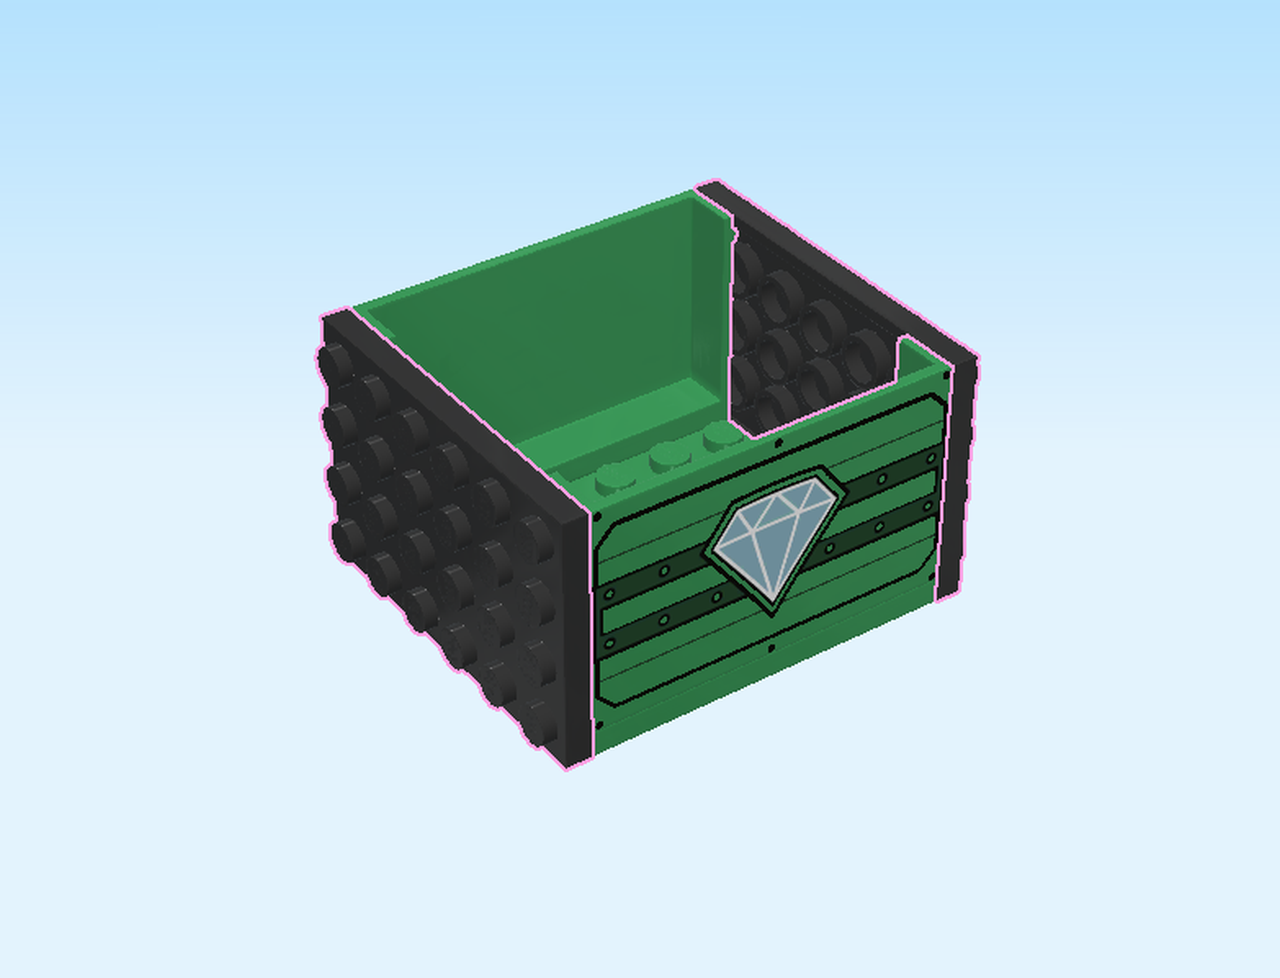
| Find 2 dark green wall elements 1x6x3 with 6 side knobs. |
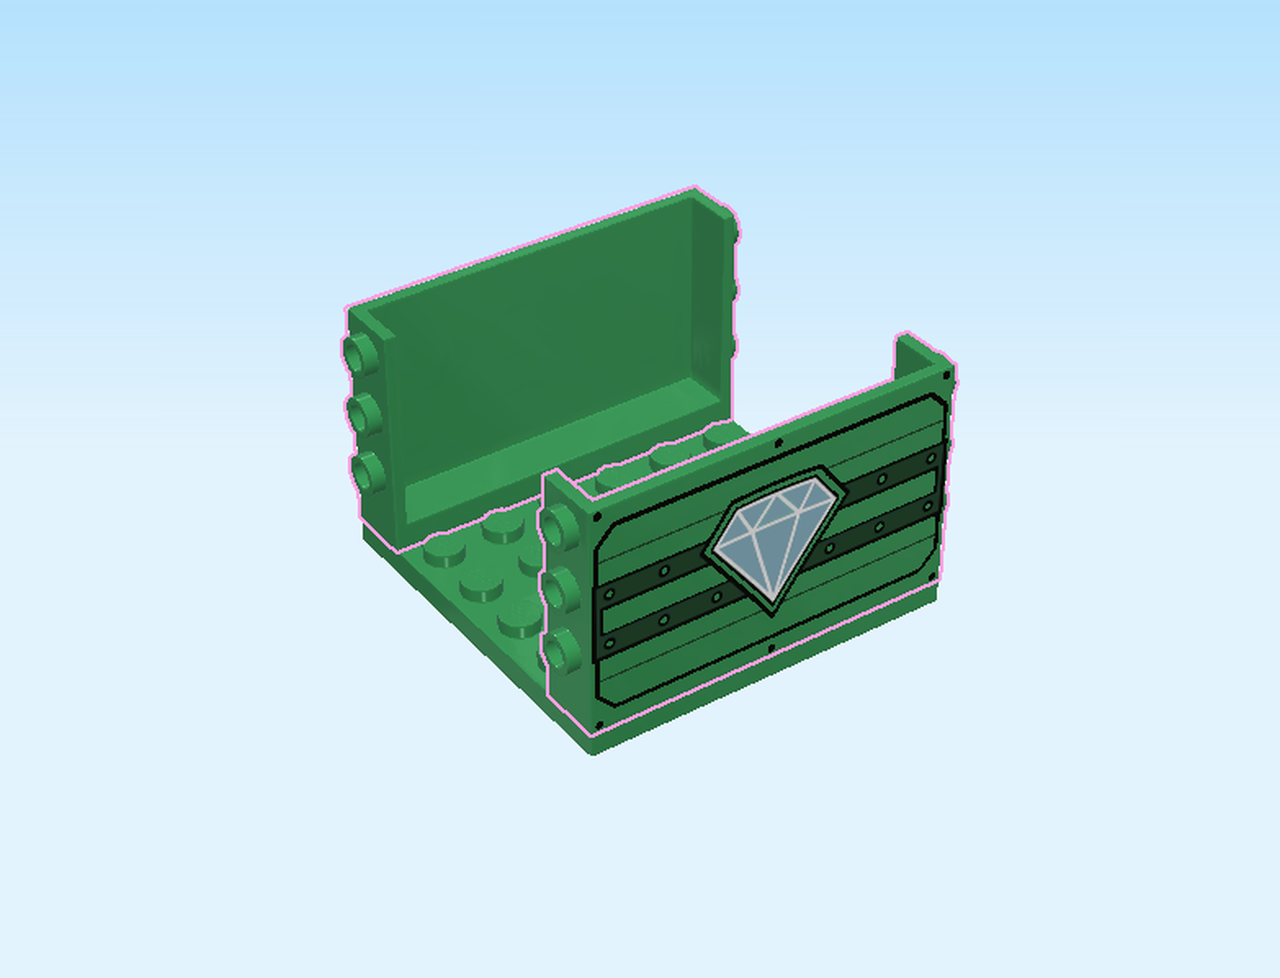
| Put 1 horizontally on the backmost row, wall panel to the back, side knobs to the left and right. |
| Repeat symmetrically at the front. |
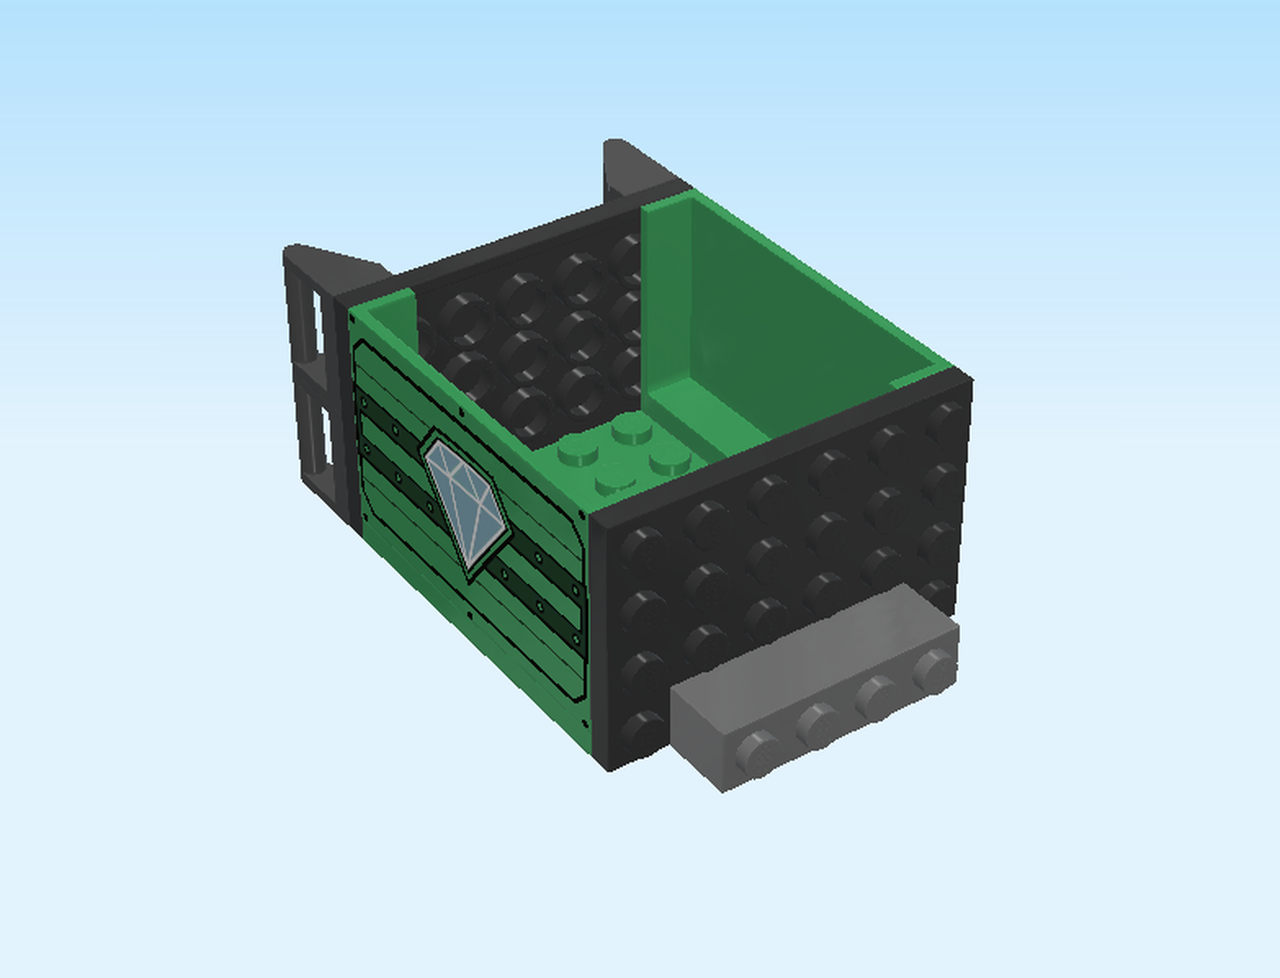
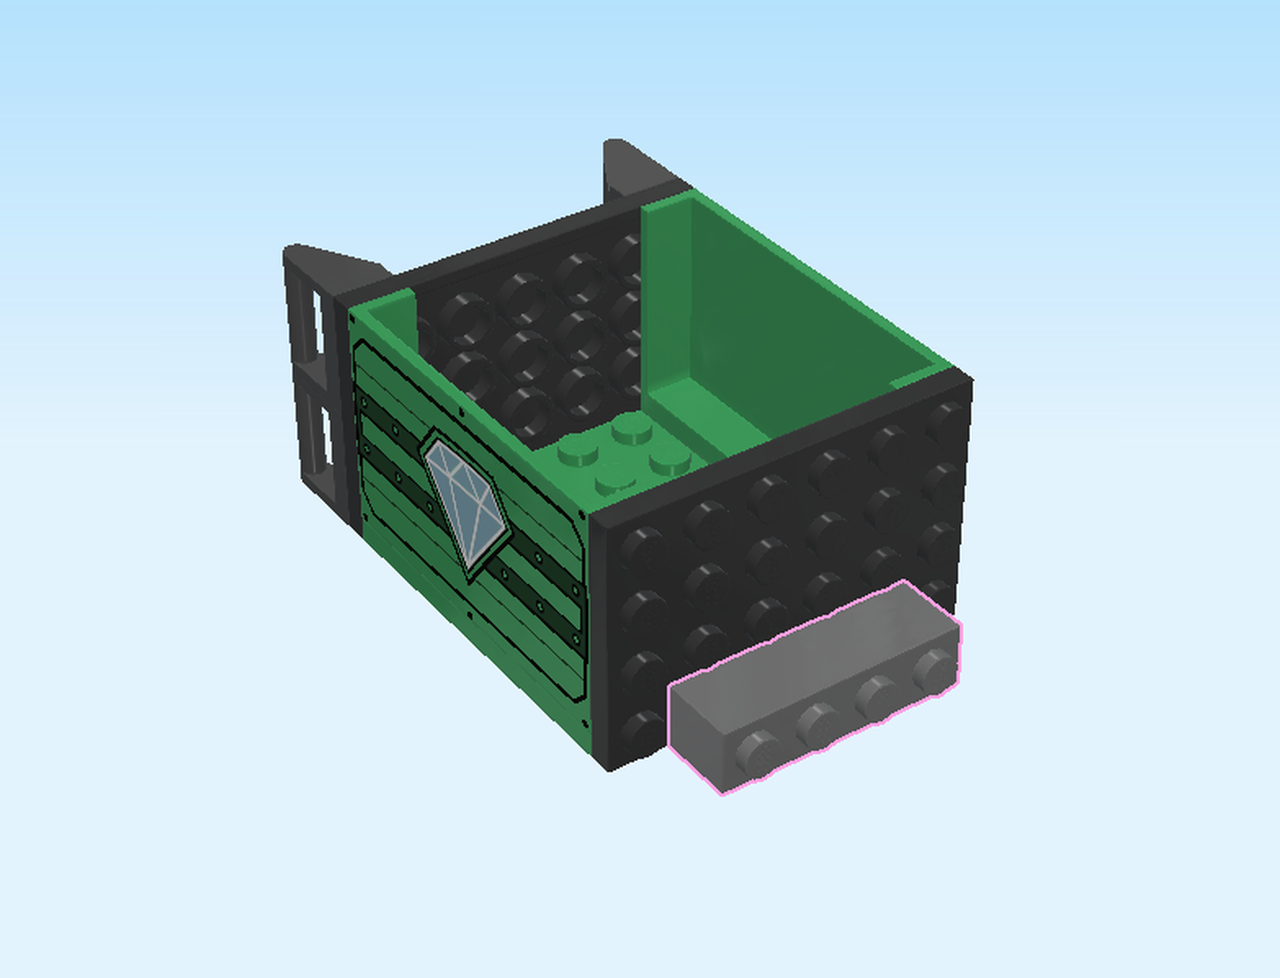
| These are the sides of the truck trailer. They are each printed with black and grey stripes and a huge diamond. |
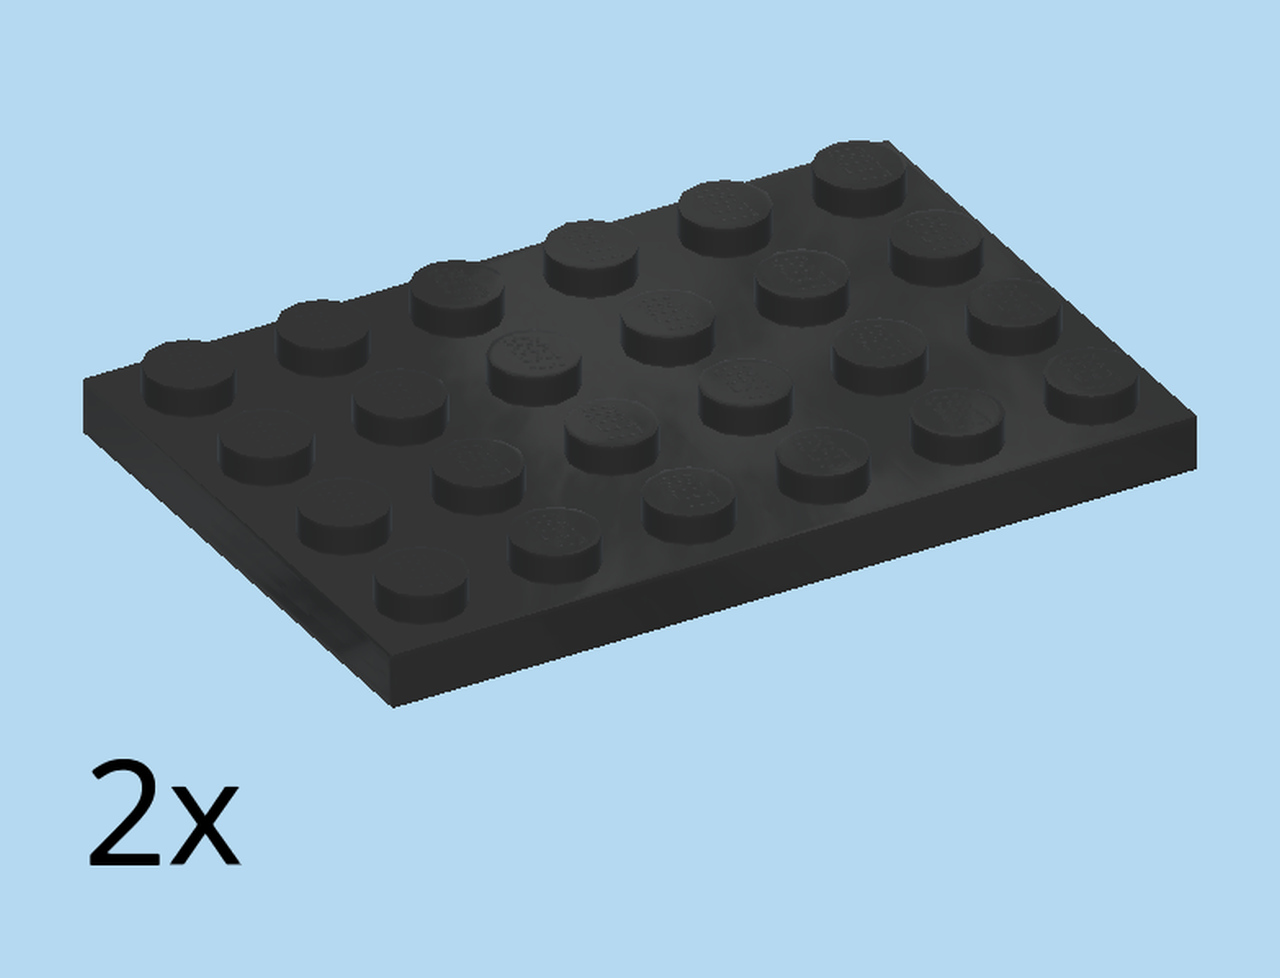
| Find 2 black plates 4x6. |
| Put 1 upright horizontally on the side knobs on the right side. |
| Repeat symmetrically on the left. |
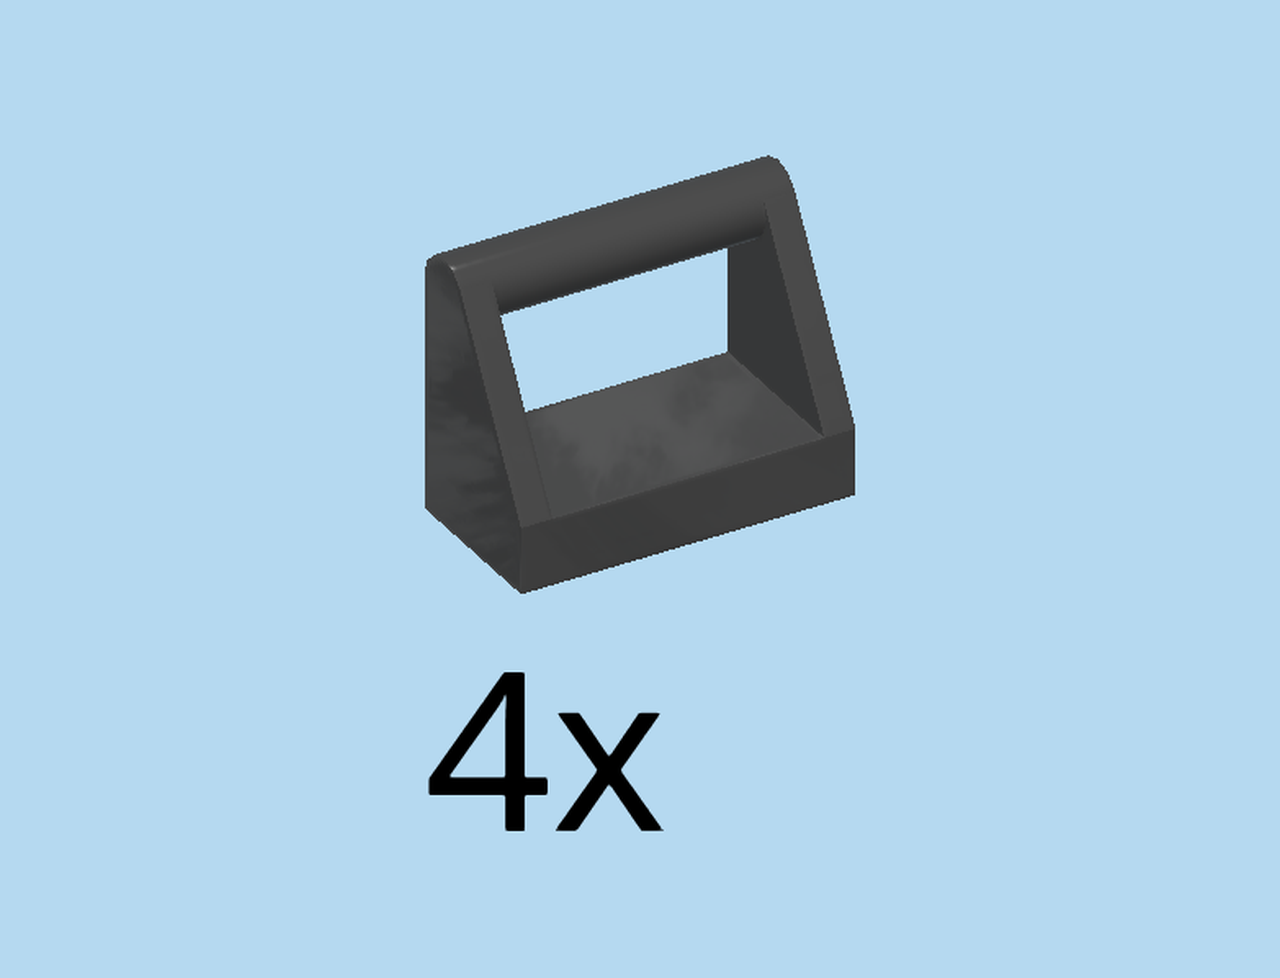
| Find 4 titanium metallic plates 1x2 with angled top handle. |
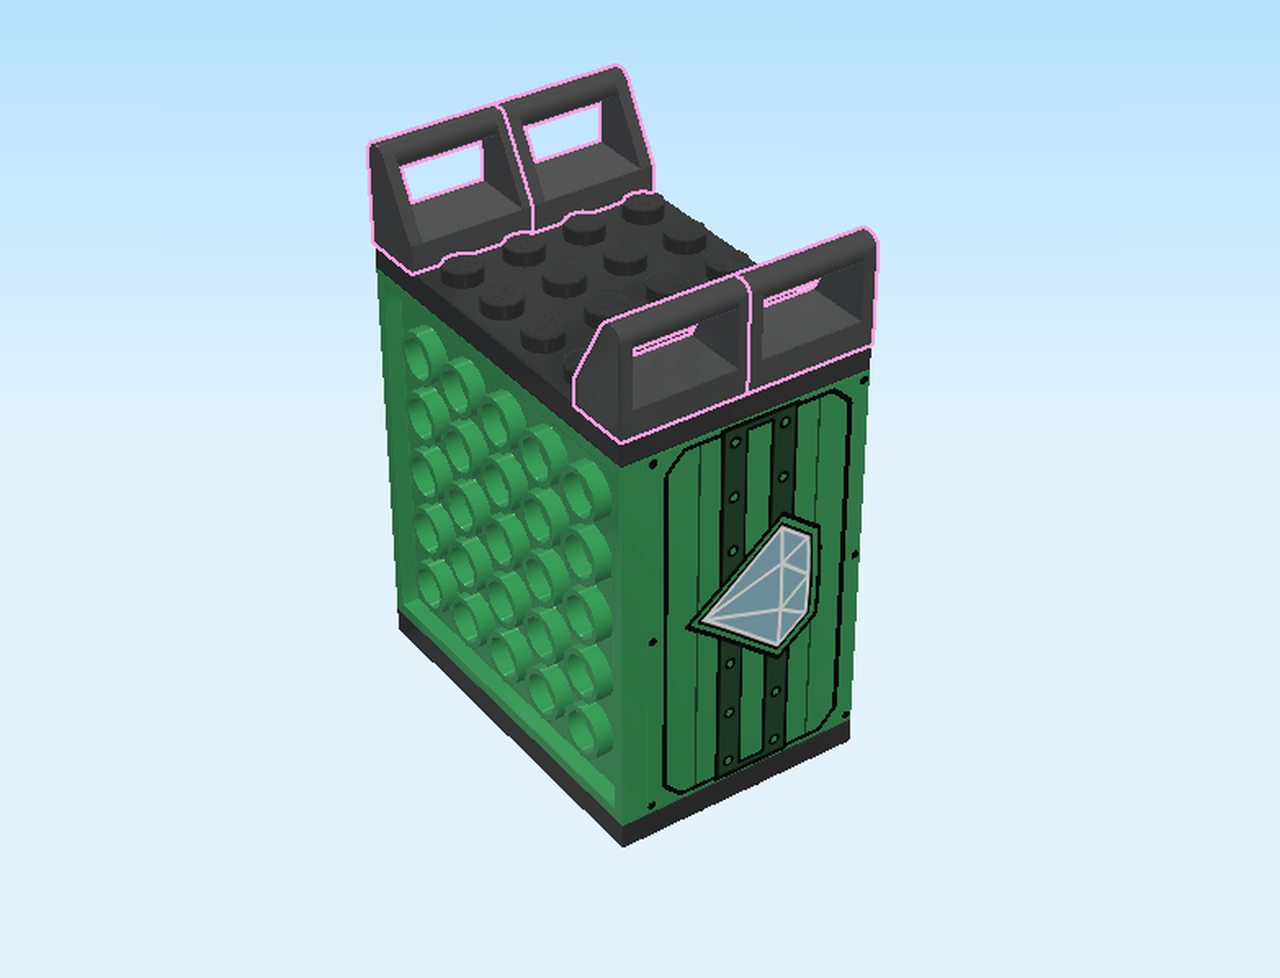
| Now, flip the structure 90 degrees to the right. This means that the plates 4x6 are now at the bottom and at the top. The hollow is on the right side. |
| Put 2 plates 1x2 with angled top handles horizontally on the backmost row, top handle to the back. |
| Repeat symmetrically at the front, top handles to the front. |
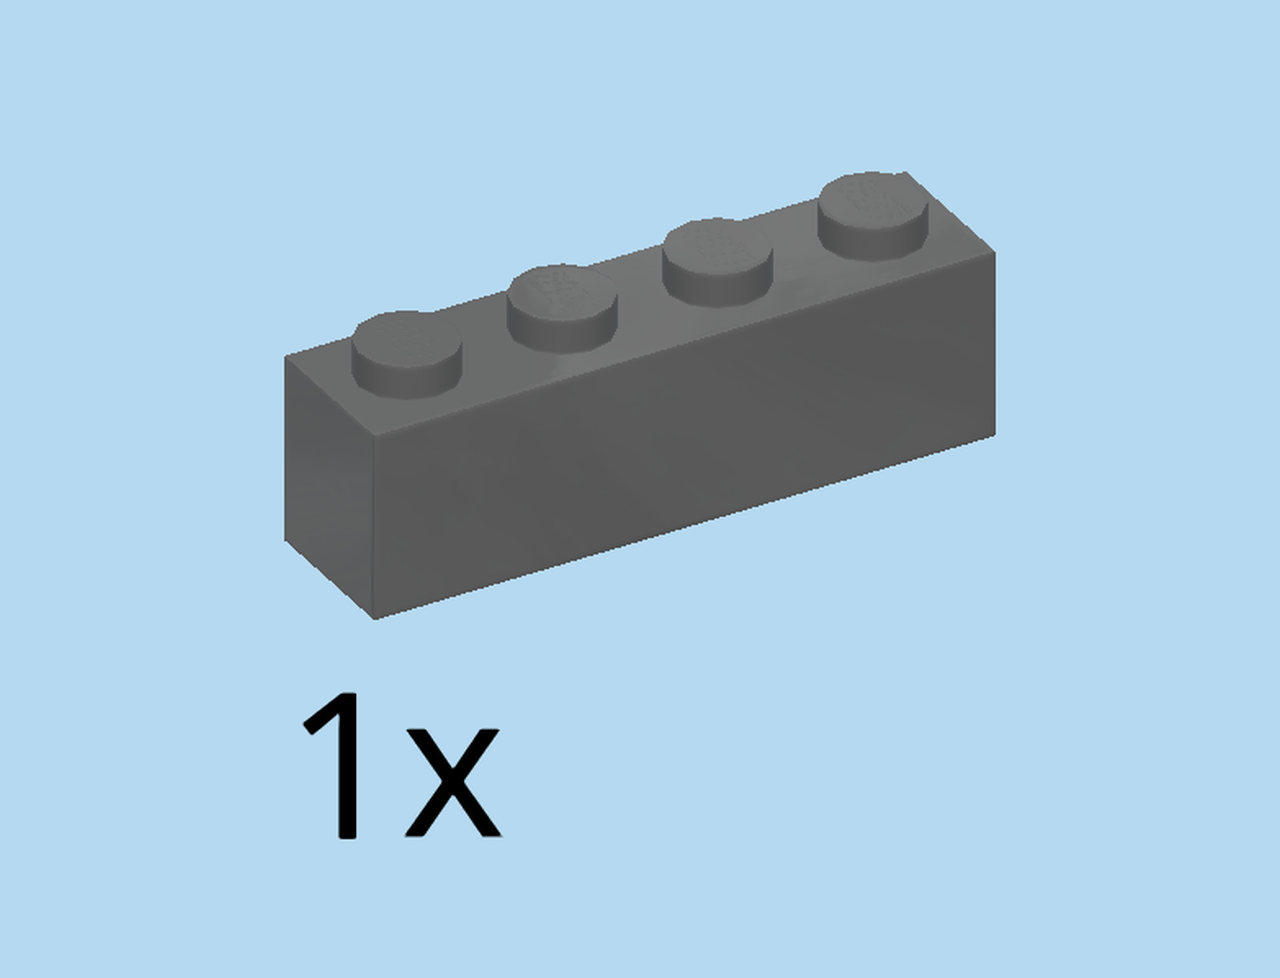
| Find 1 dark stone grey brick 1x4. |
| Now, flip the truck trailer back to its previous position, plates 1x2 with angled top handles pointing to the left. |
| Put the brick 1x4 horizontally centered on the bottom row of the right side knobs. |
| The truck trailer is finished! Great job! Mount it on the truck so that the handles are pointing to the front of the truck, and the brick 1x4 is at the rear end of the truck. |
| You are all done! Very good job! Now, you can load the truck with the precious cargo. Will Spider-Man and the truck driver manage to keep the jewels and gold safe from Vulture, or will the villain succeed in stealing the loot? |
| Enjoy! |
