| LEGO Audio & Braille Building Instructions for LEGO Marvel Spider-Man set "Spider-Man Mech". |
| This set contains Spider-Man and his Spider-Man mech! Once inside this gigantic mechanical spider-robot, Spider-Man can go anywhere, grab anything and shoot massive webs! Villains beware… Spider-Mech is coming for you! |
| Open the box. This can be tricky; ask someone to help you! |
| The box contains a booklet with visual building instructions and 3 bags. Ask a sighted person to help you find the correct bag! |
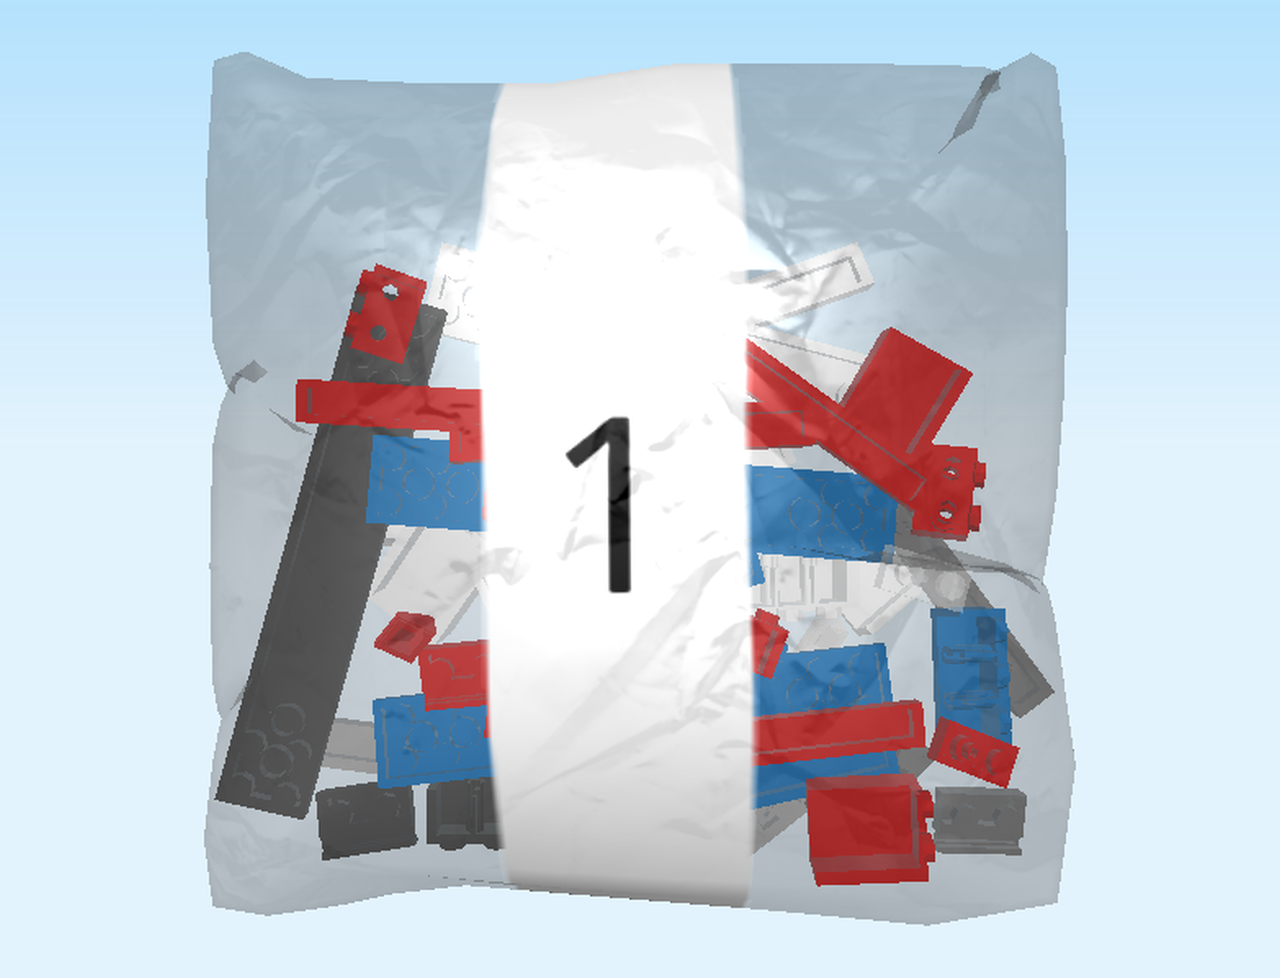
| Carefully open bag 1. Before you start building, ask a sighted person to help you sort the bricks by color if you like. This way, finding the right piece will be even quicker! |
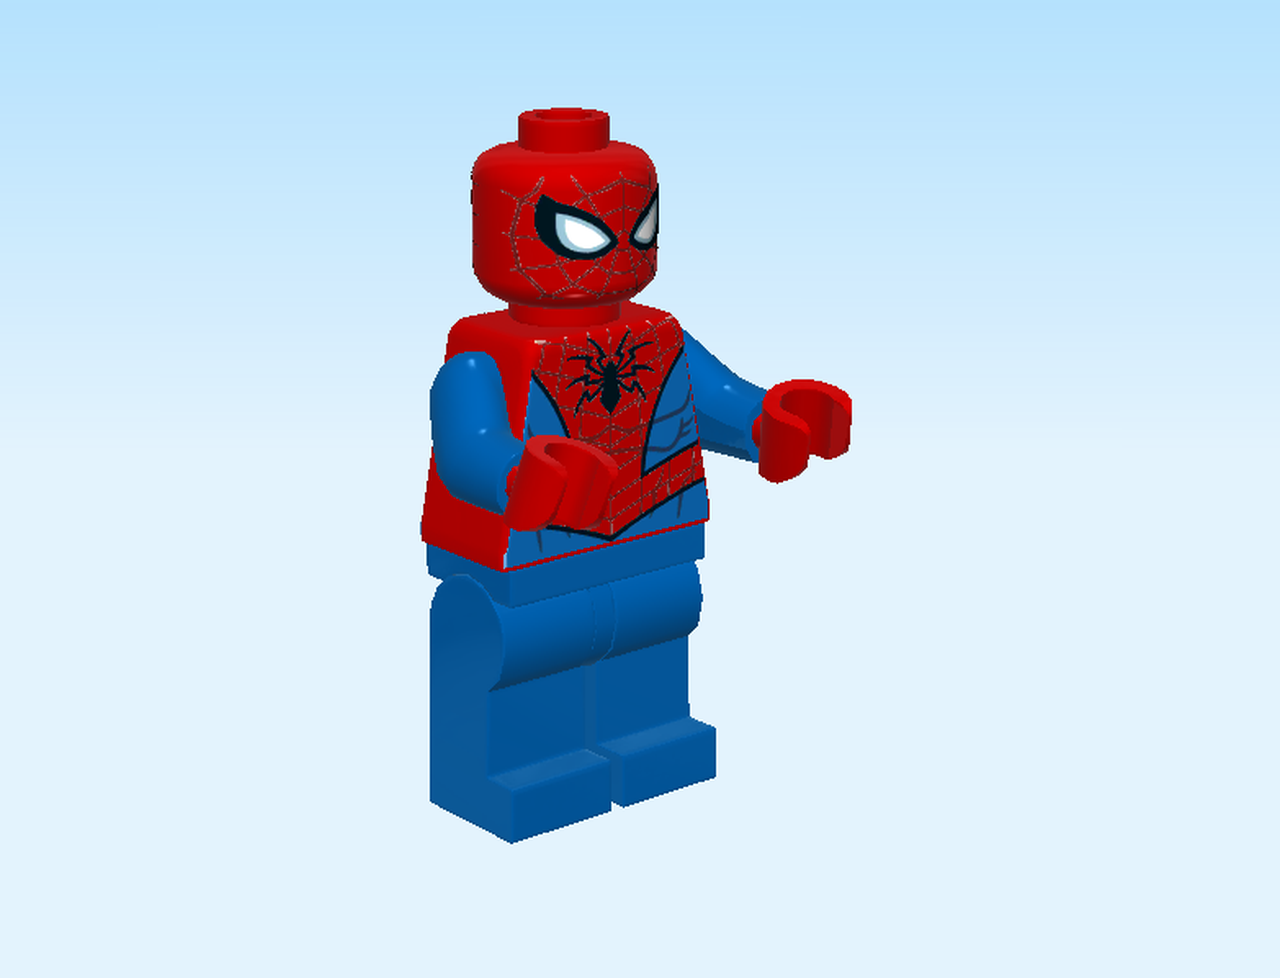
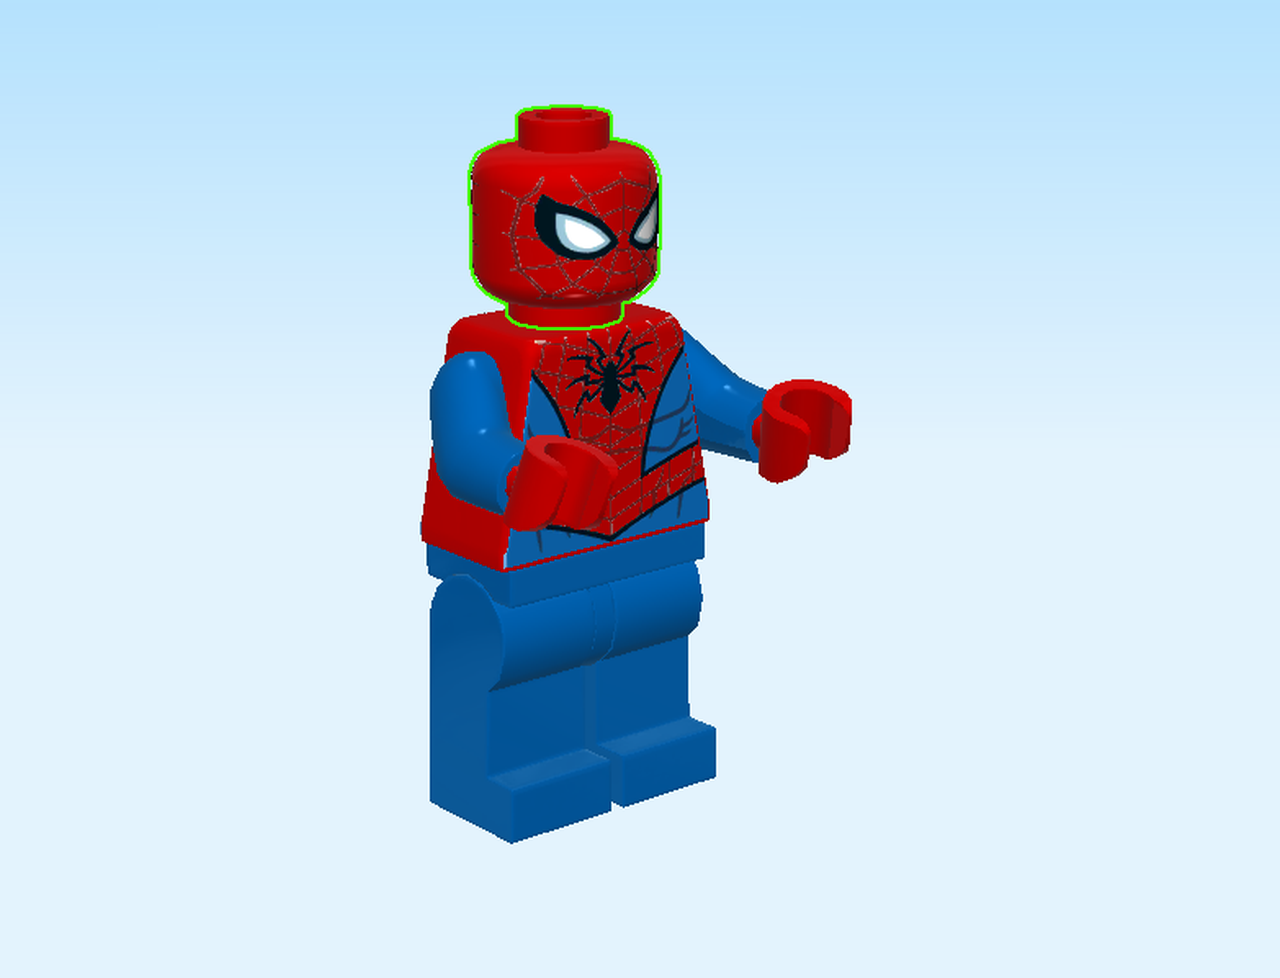
| First, we will build the Spider-Man minifigure. |
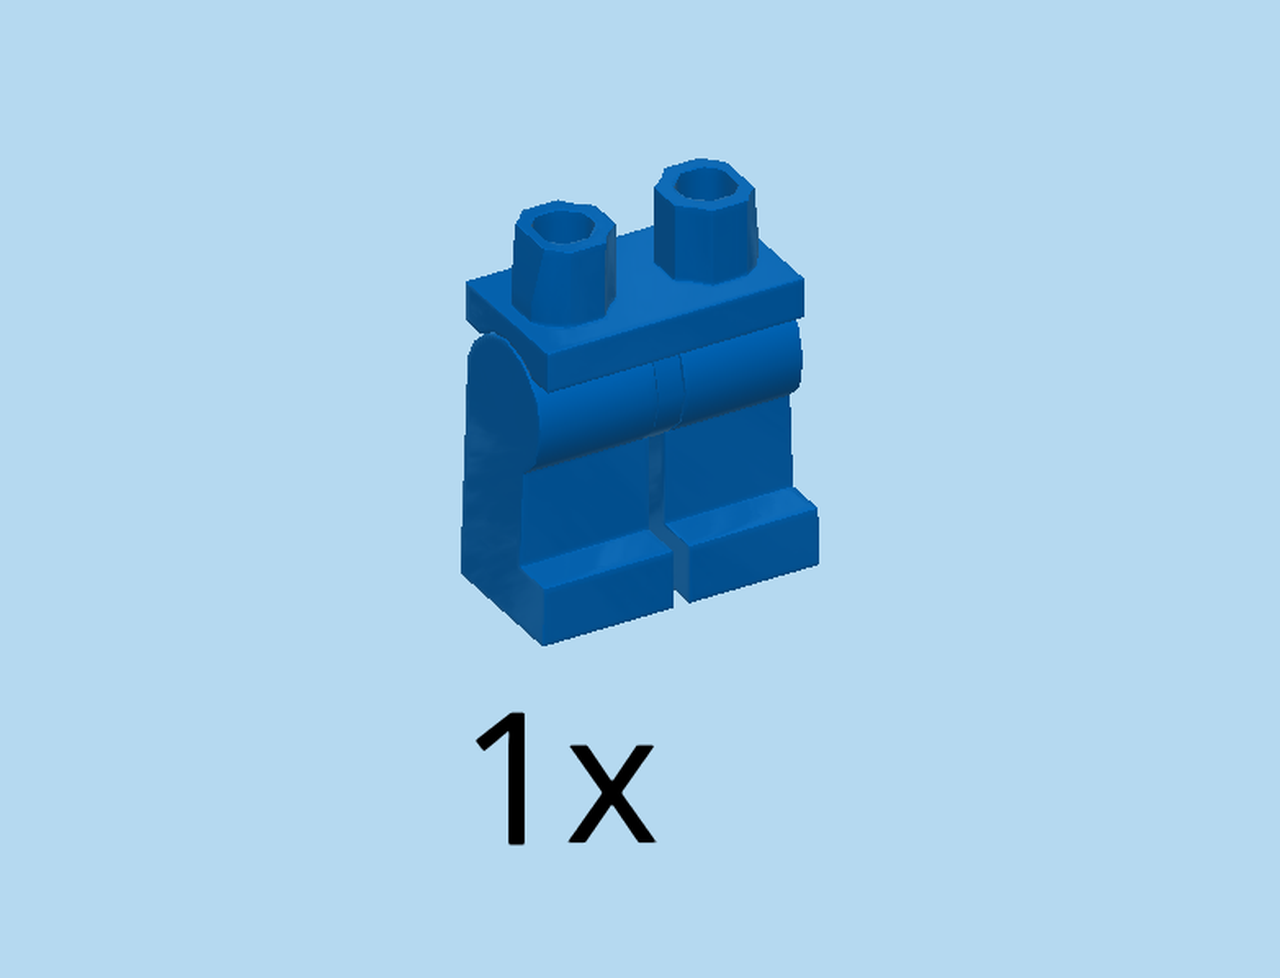
| Find 1 bright blue pair of legs. |
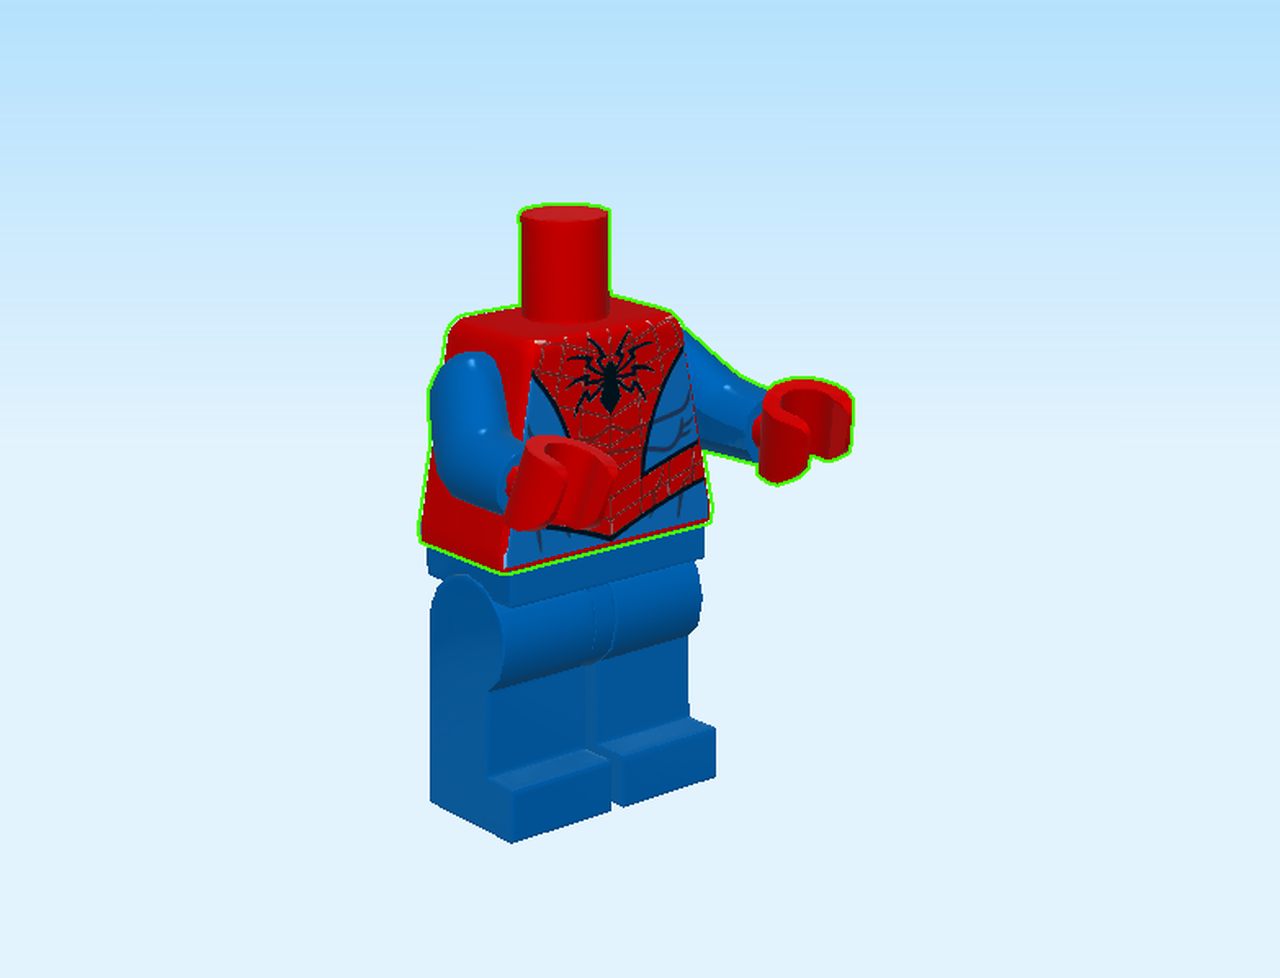
| Find 1 bright blue and bright red upper part of the body. |
| Stack it on top of the legs. |
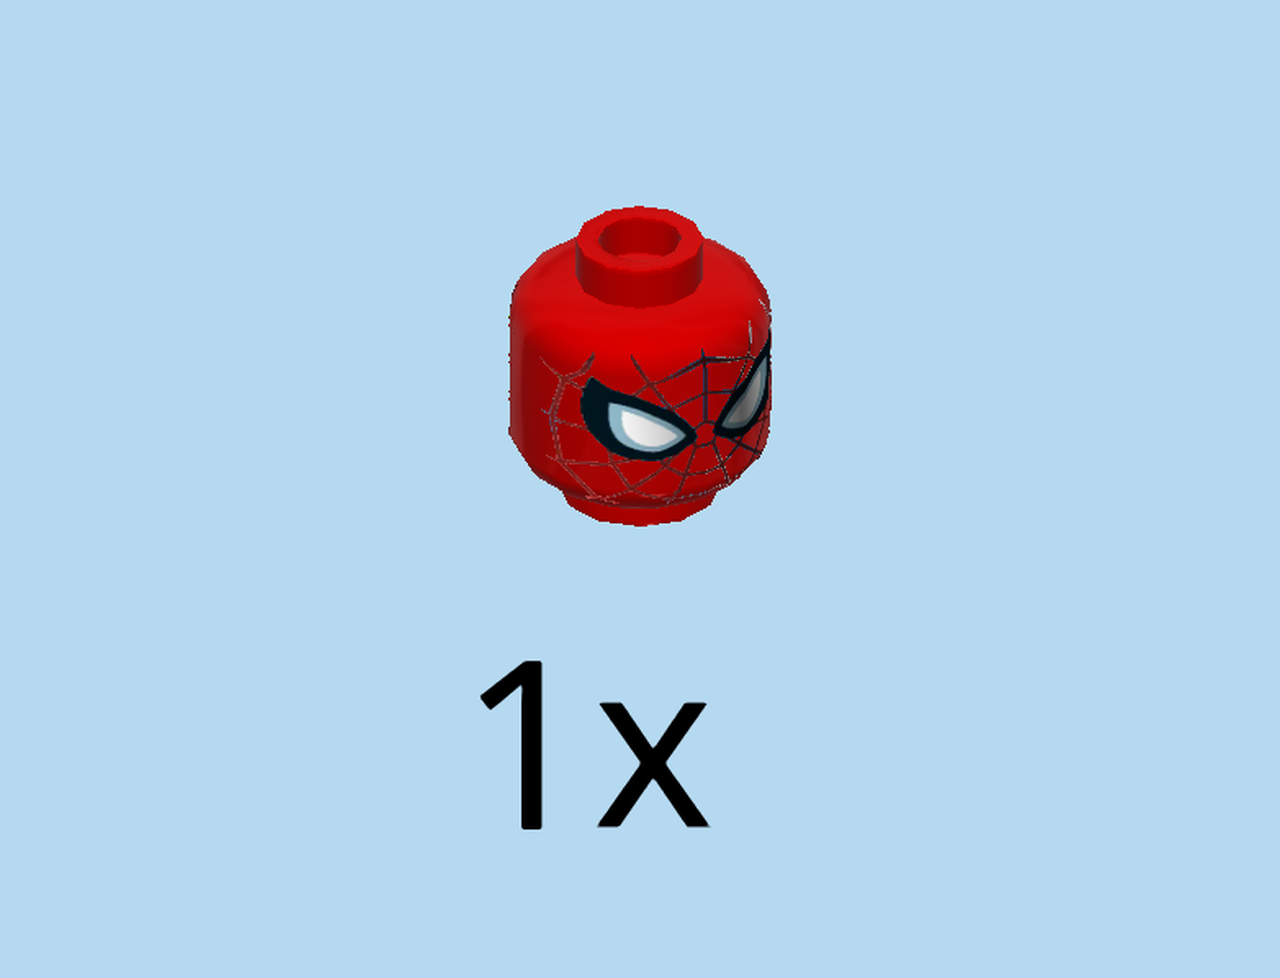
| Find 1 bright red head. |
| Put it on top. |
| The minifigure Spider-Man is finished! Well done! |
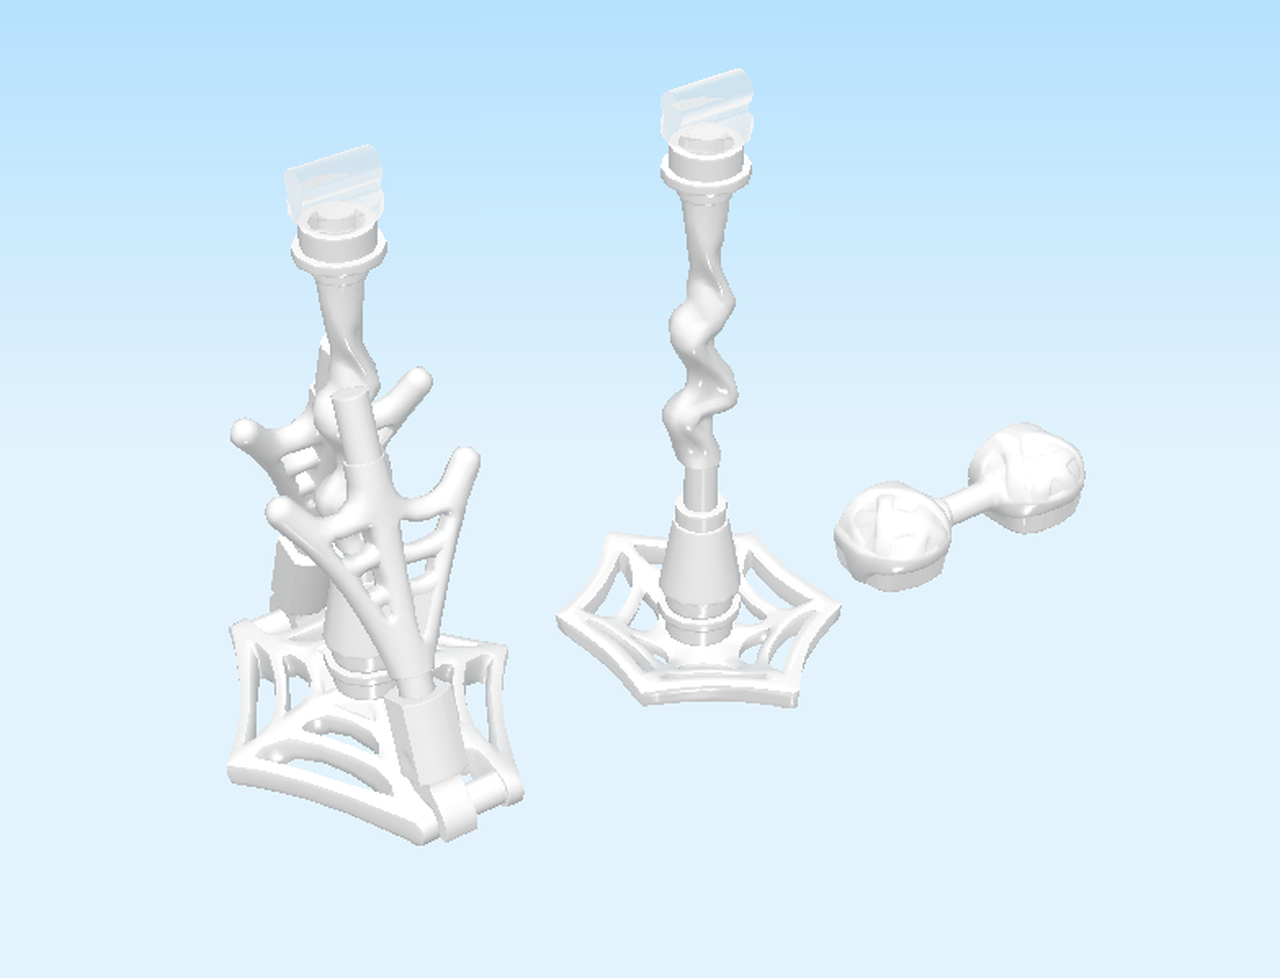
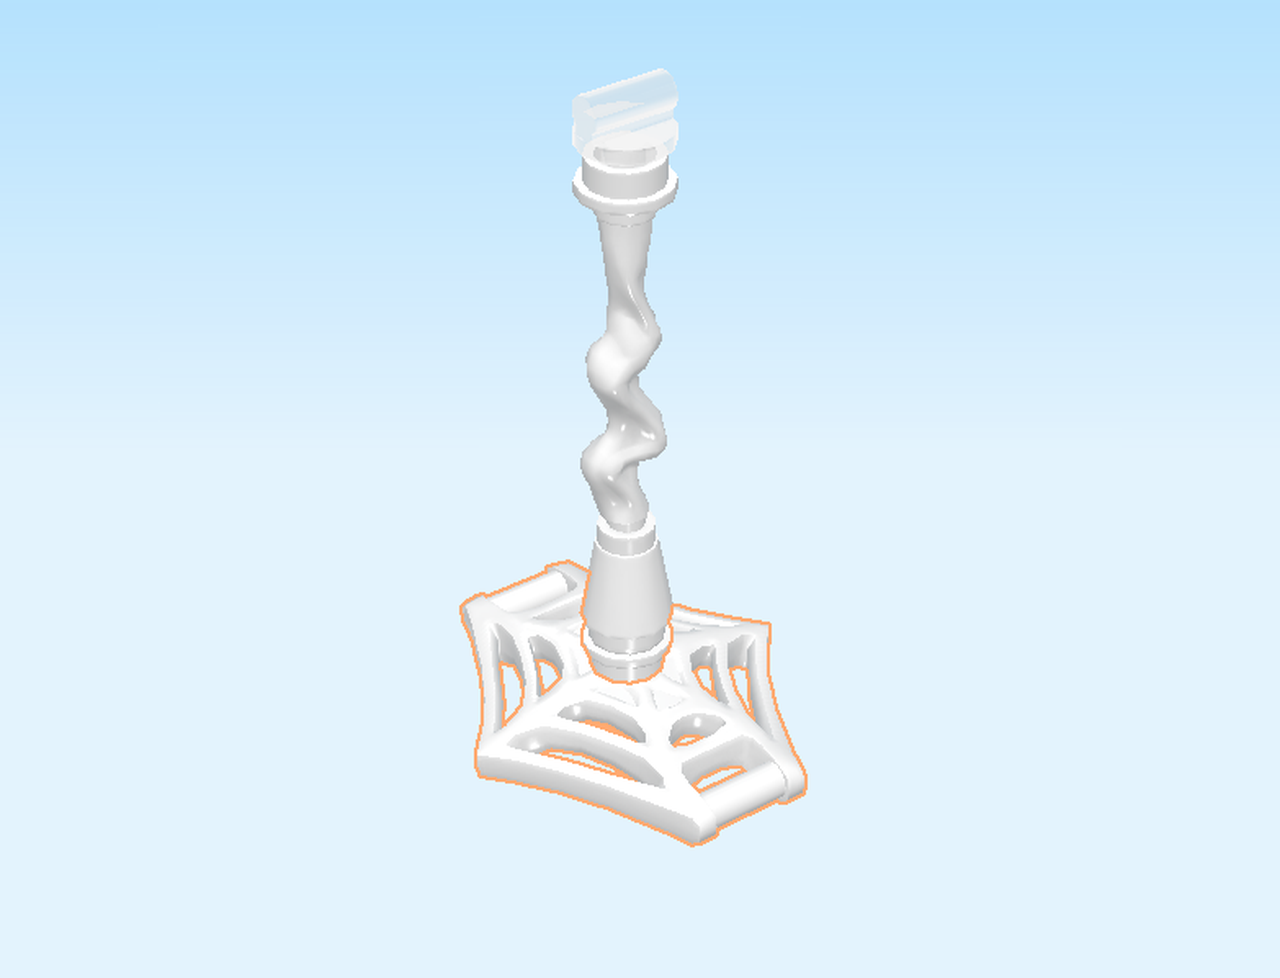
| Next, we will build 3 Spider-Man web weapons. |
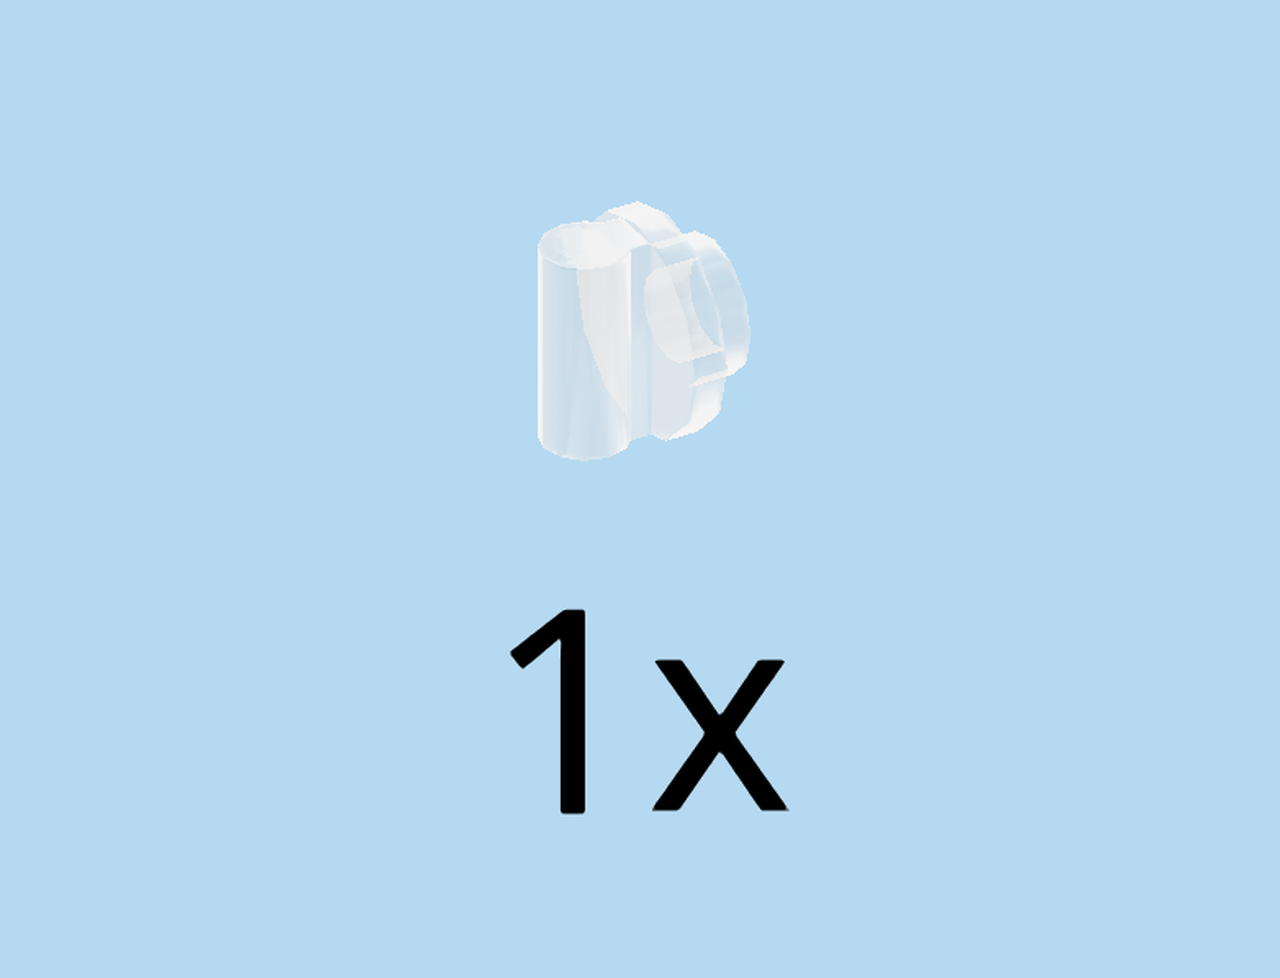
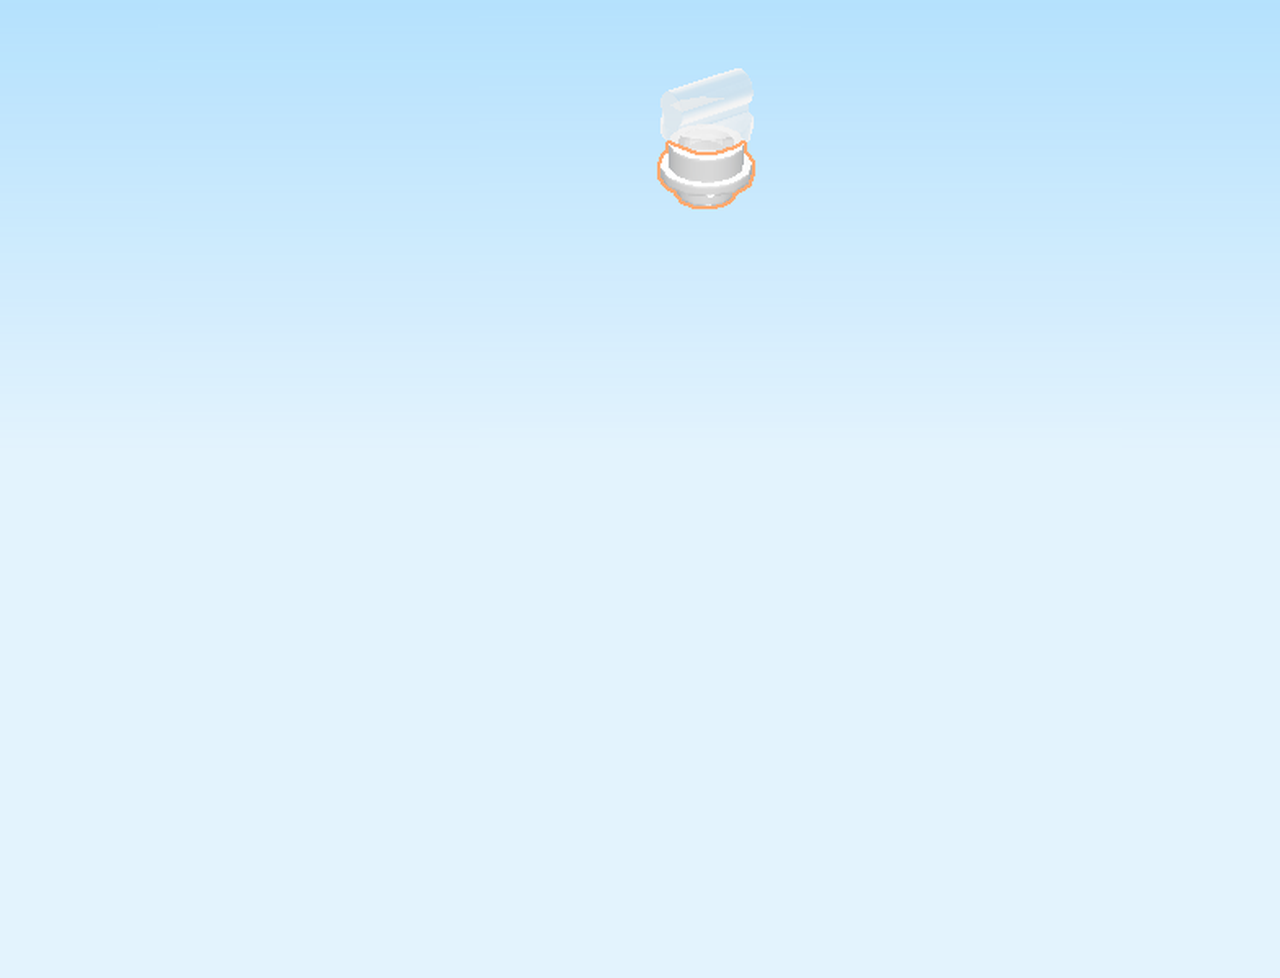
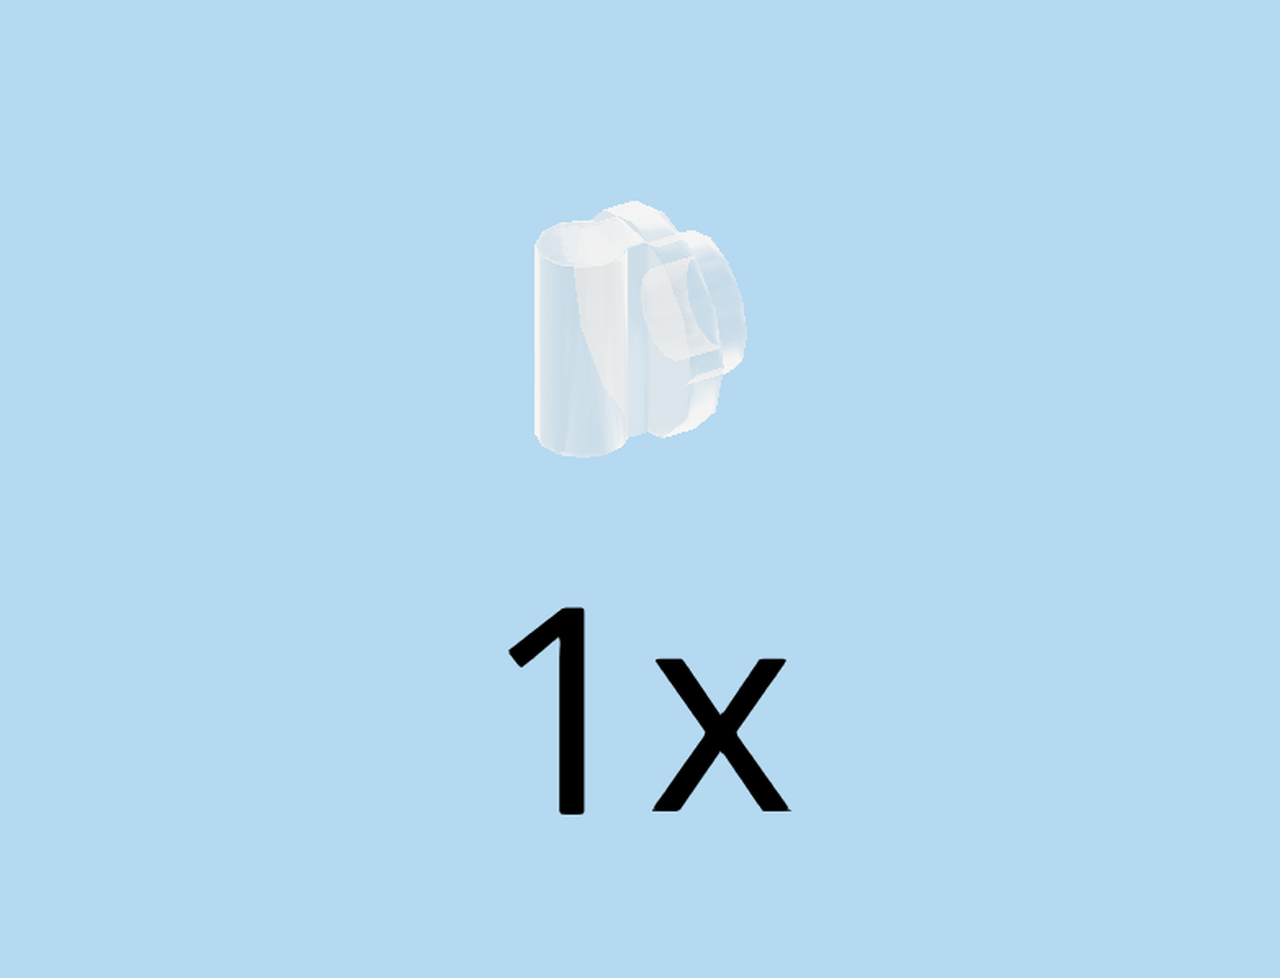
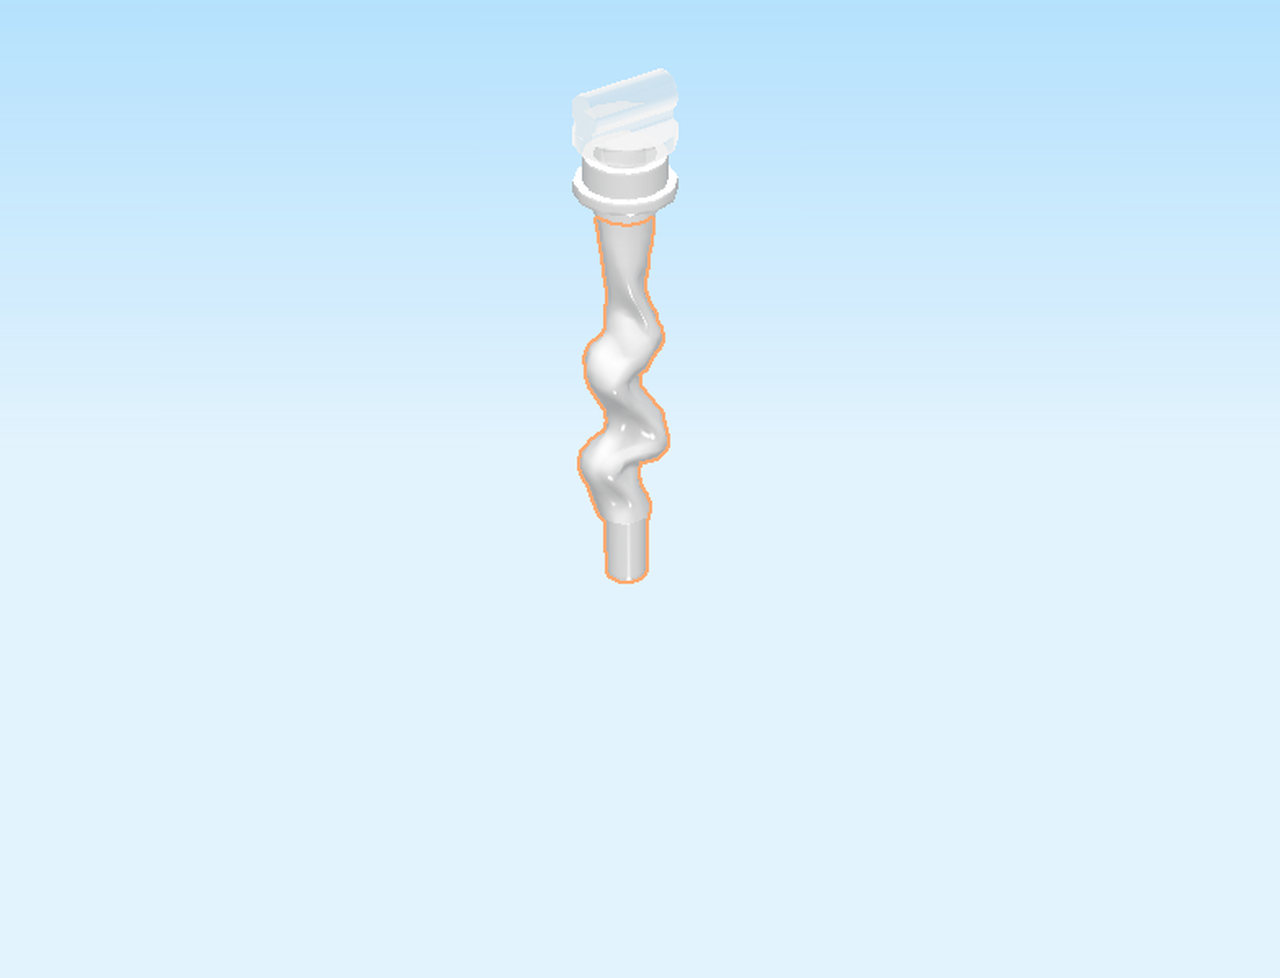
| Find 1 transparent shaft with knob. |
| Put it knob-side down on the table. |
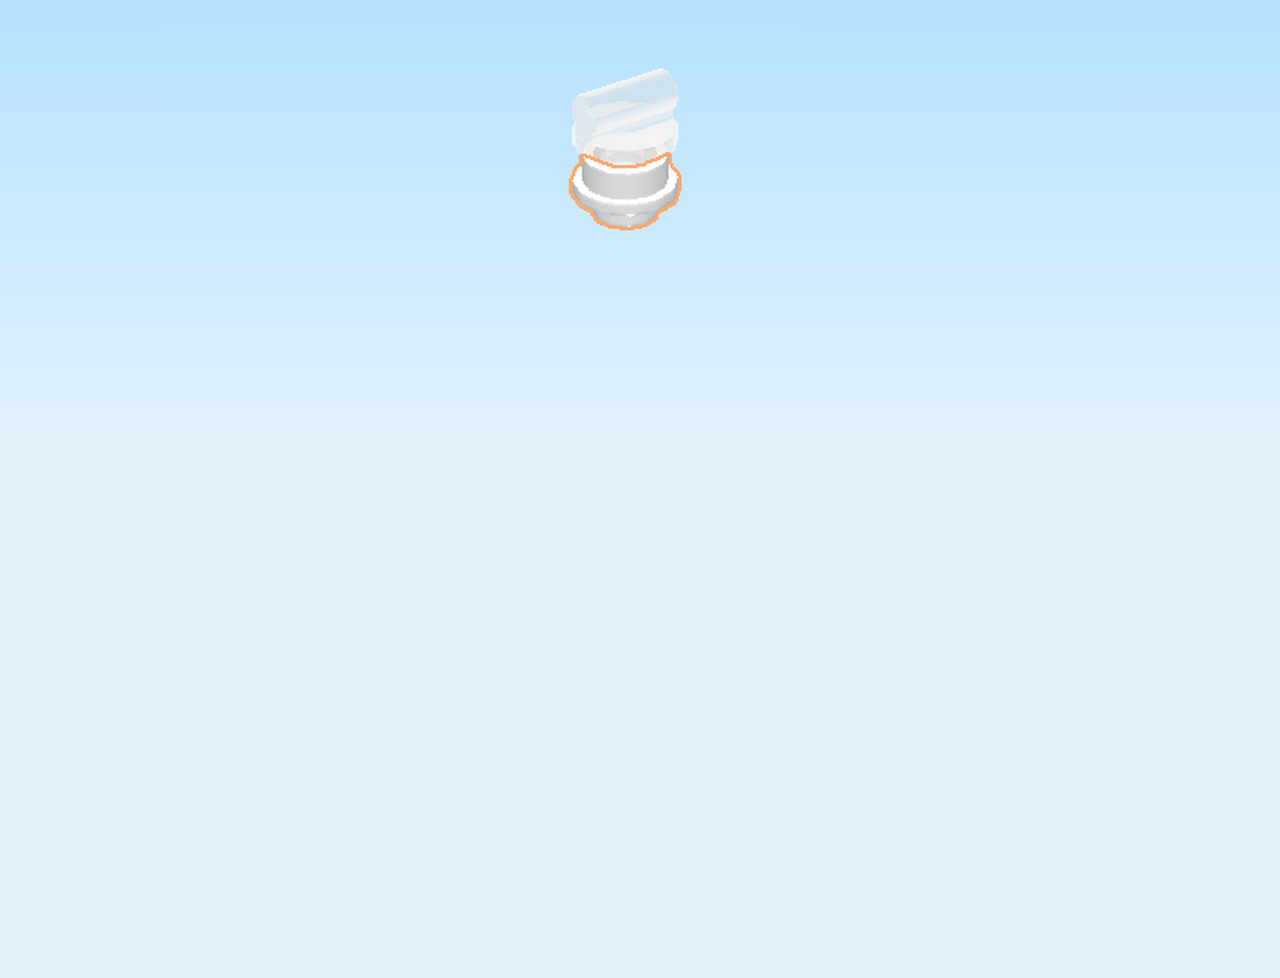
| Find 1 white round plate 1x1 with through-hole. |
| Put it knob-side down on the table. |
| Put the shaft with knob on top. |
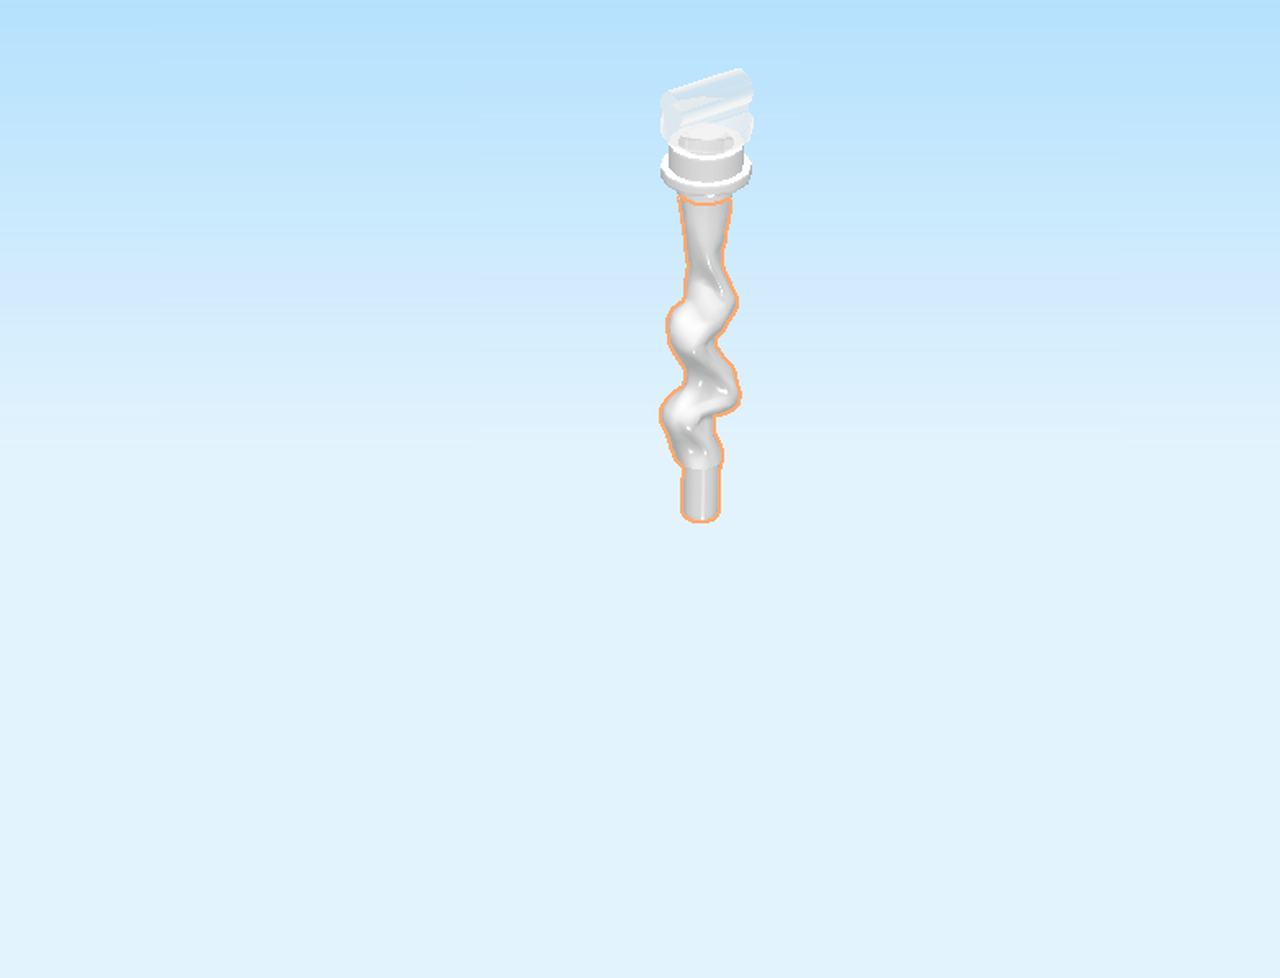
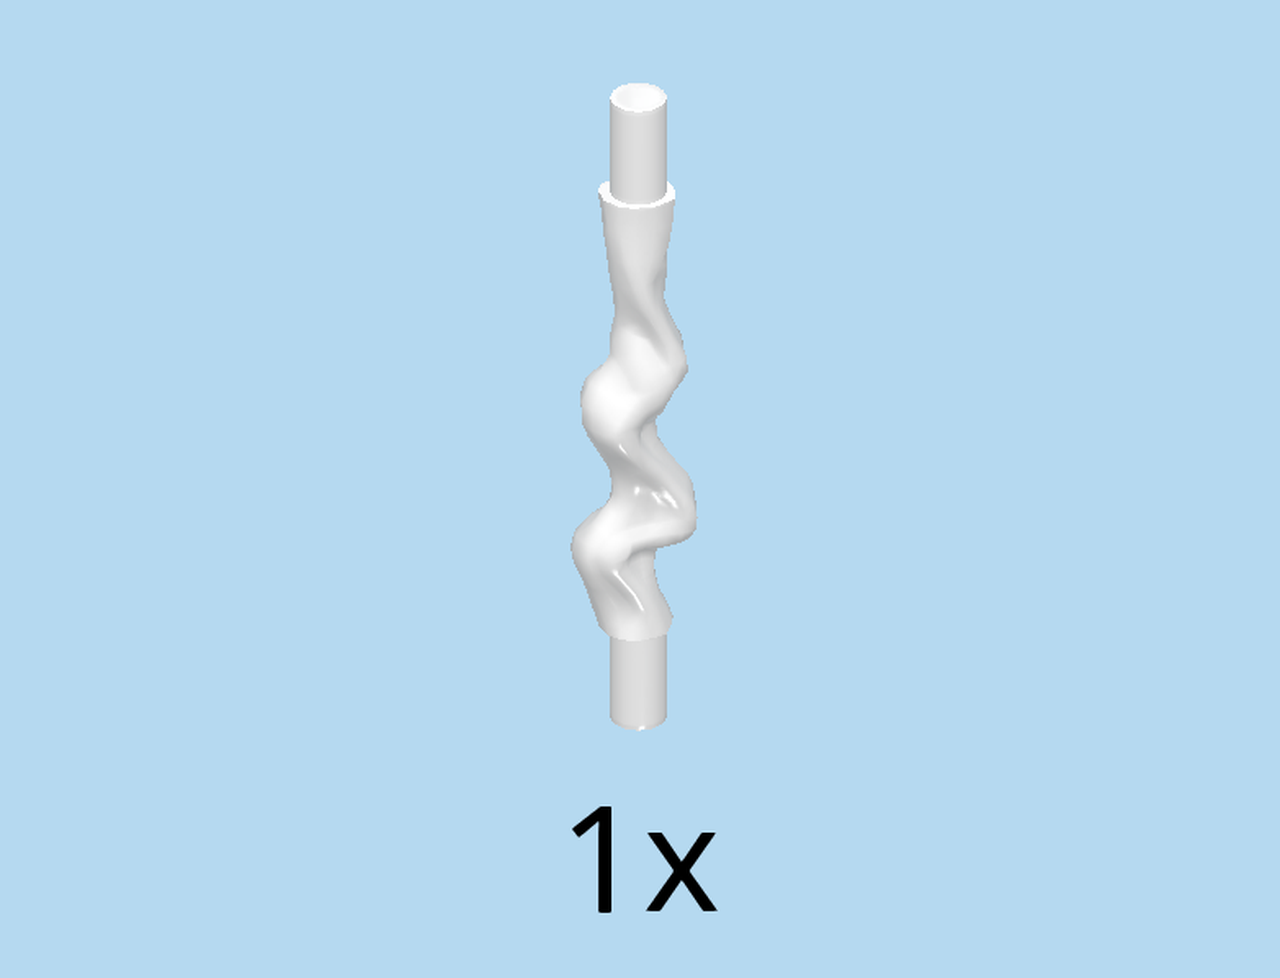
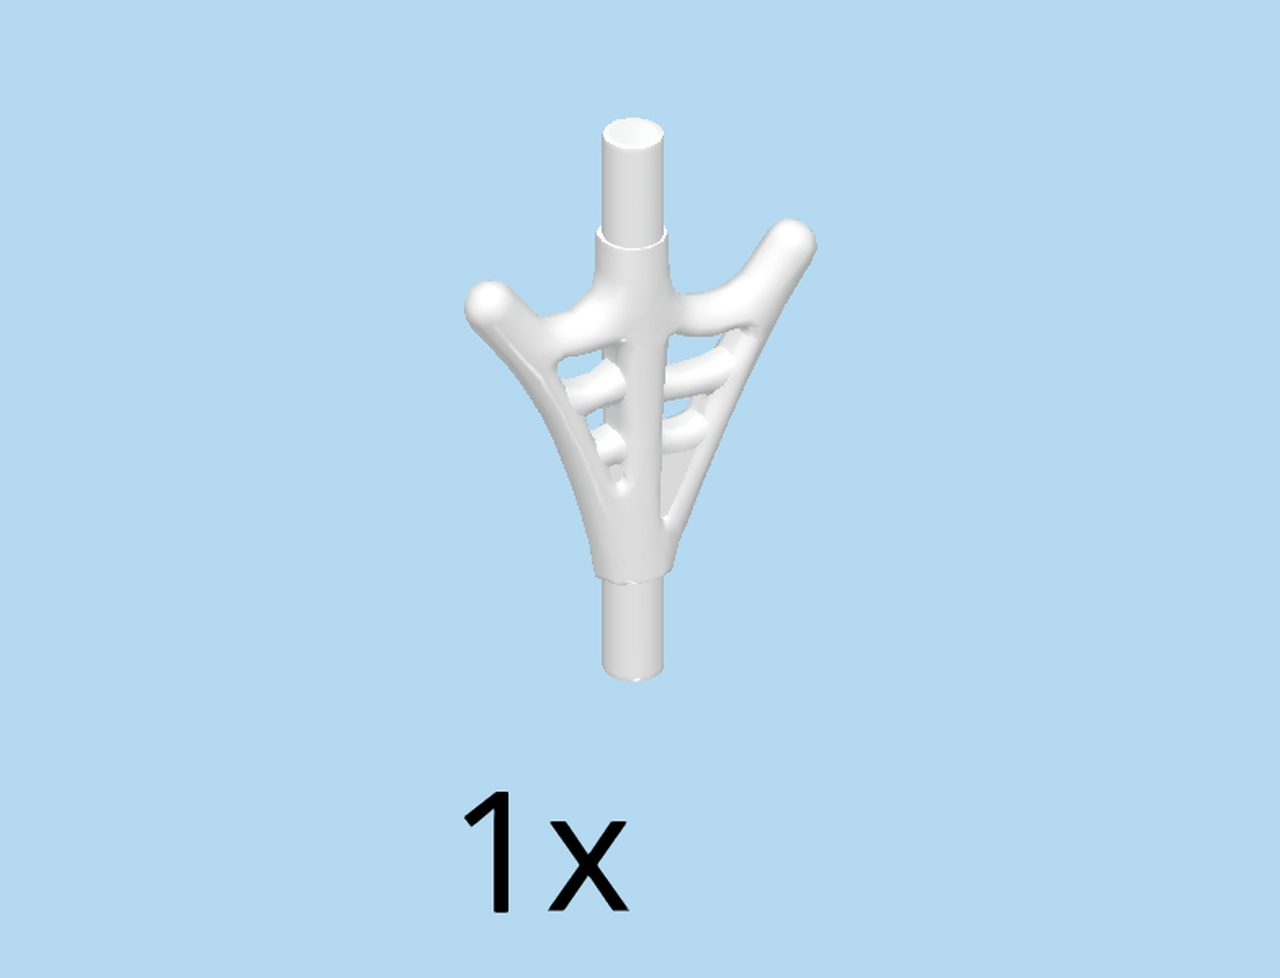
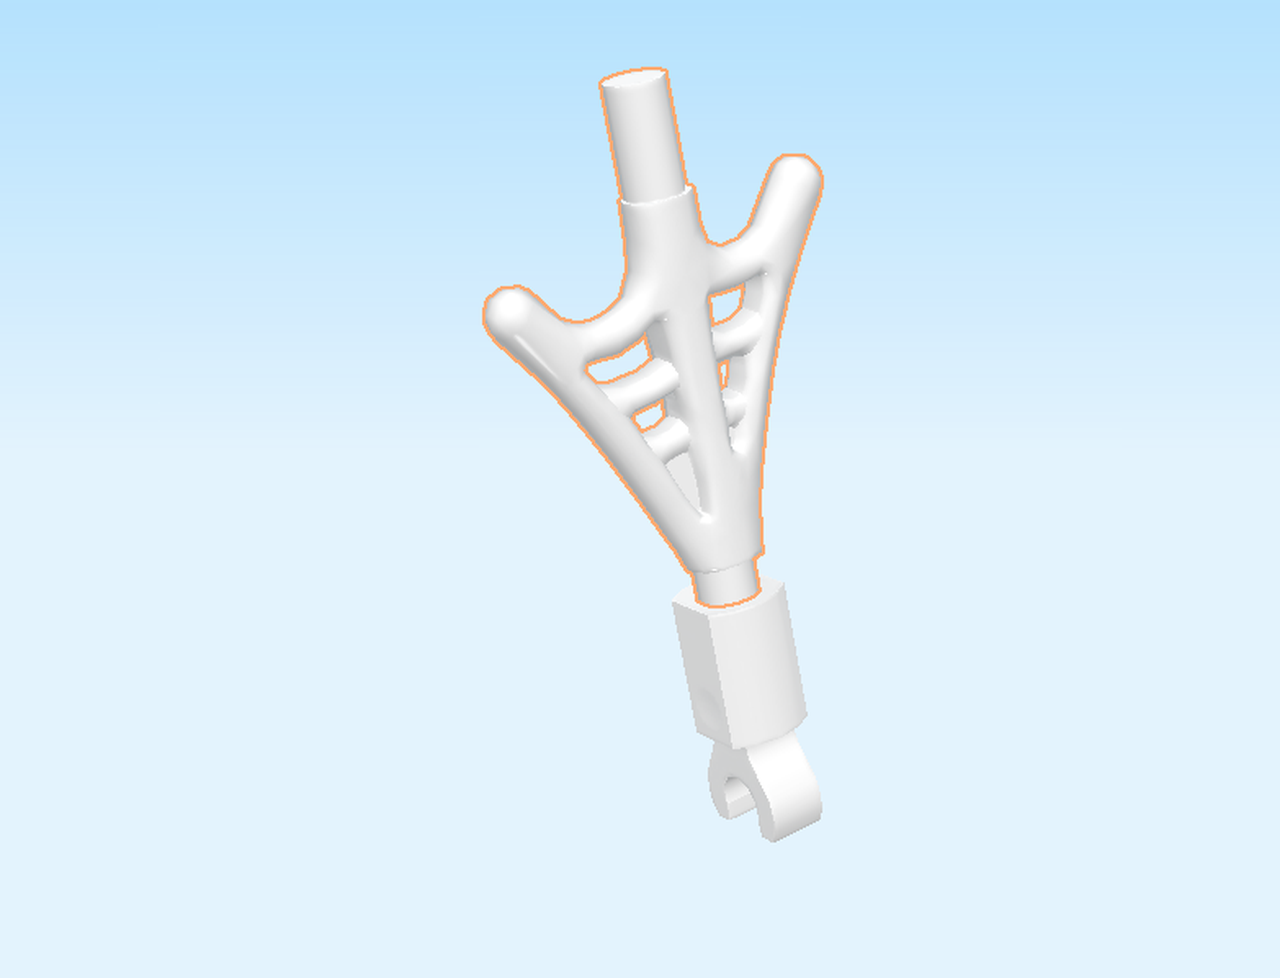
| Find 1 twisted branch with shaft, 3 knobs long. |
| Put the structure on top, shaft of the branch to the bottom. |
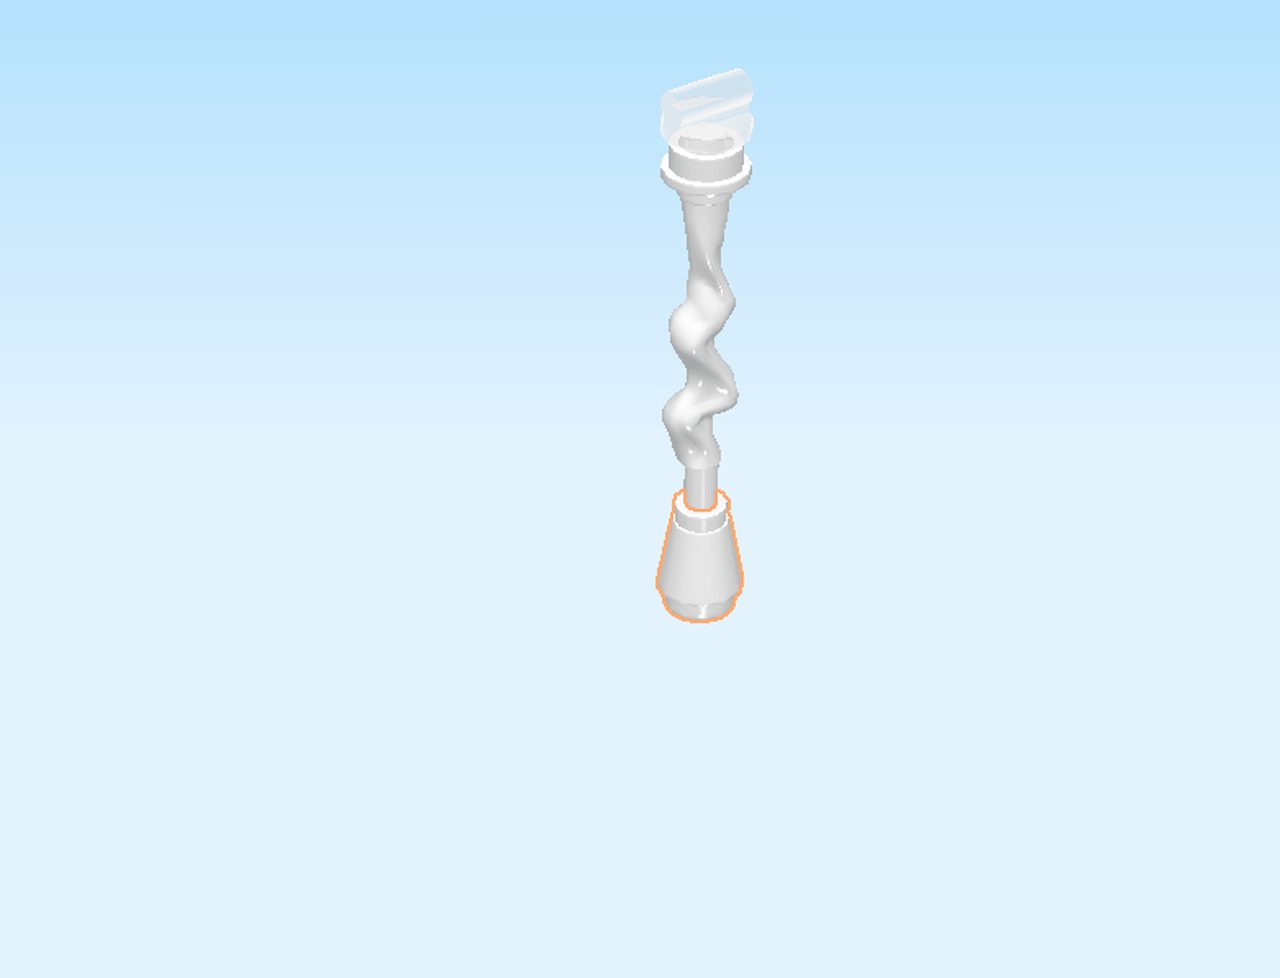
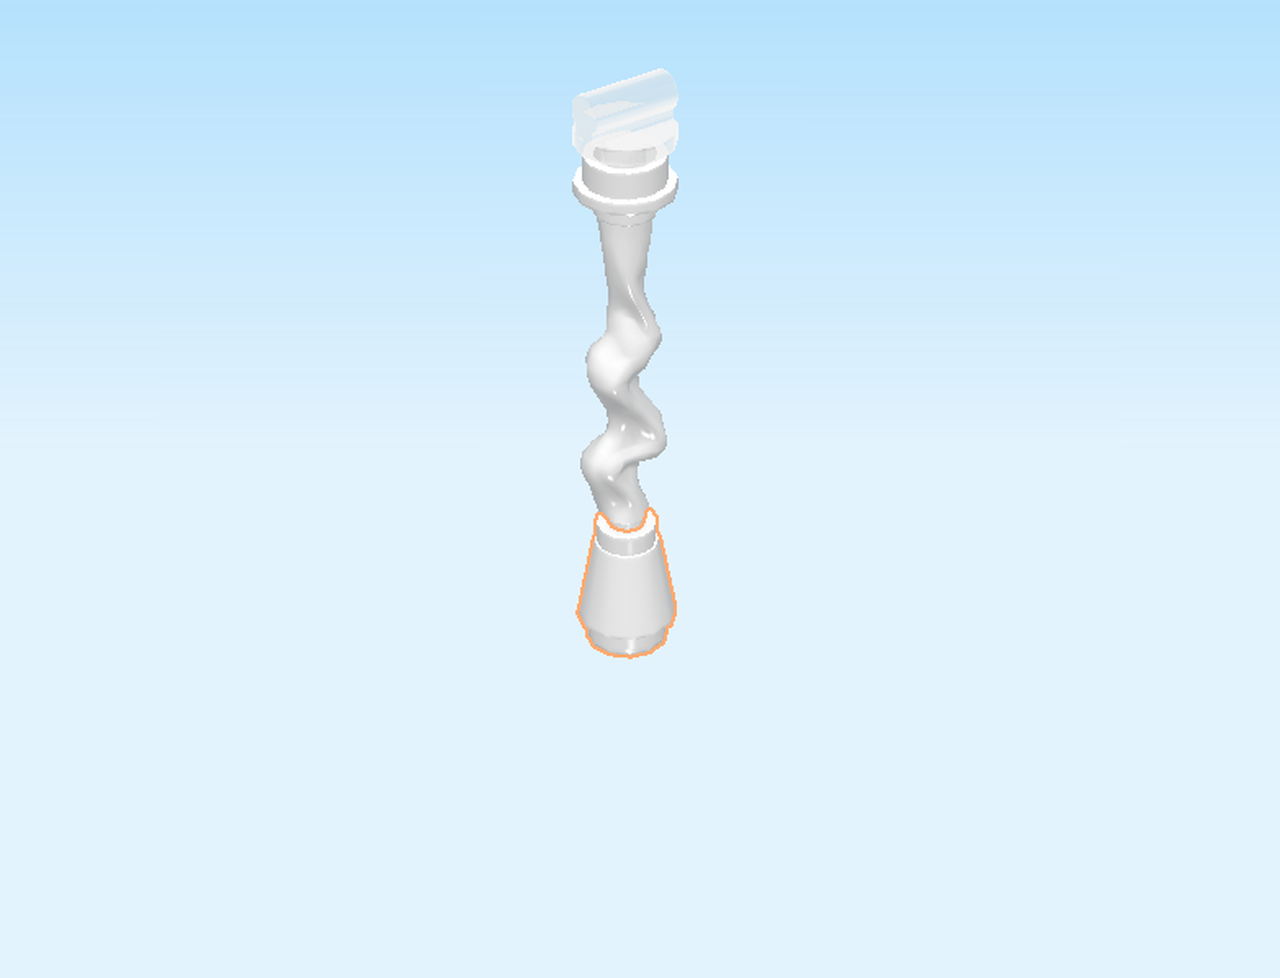
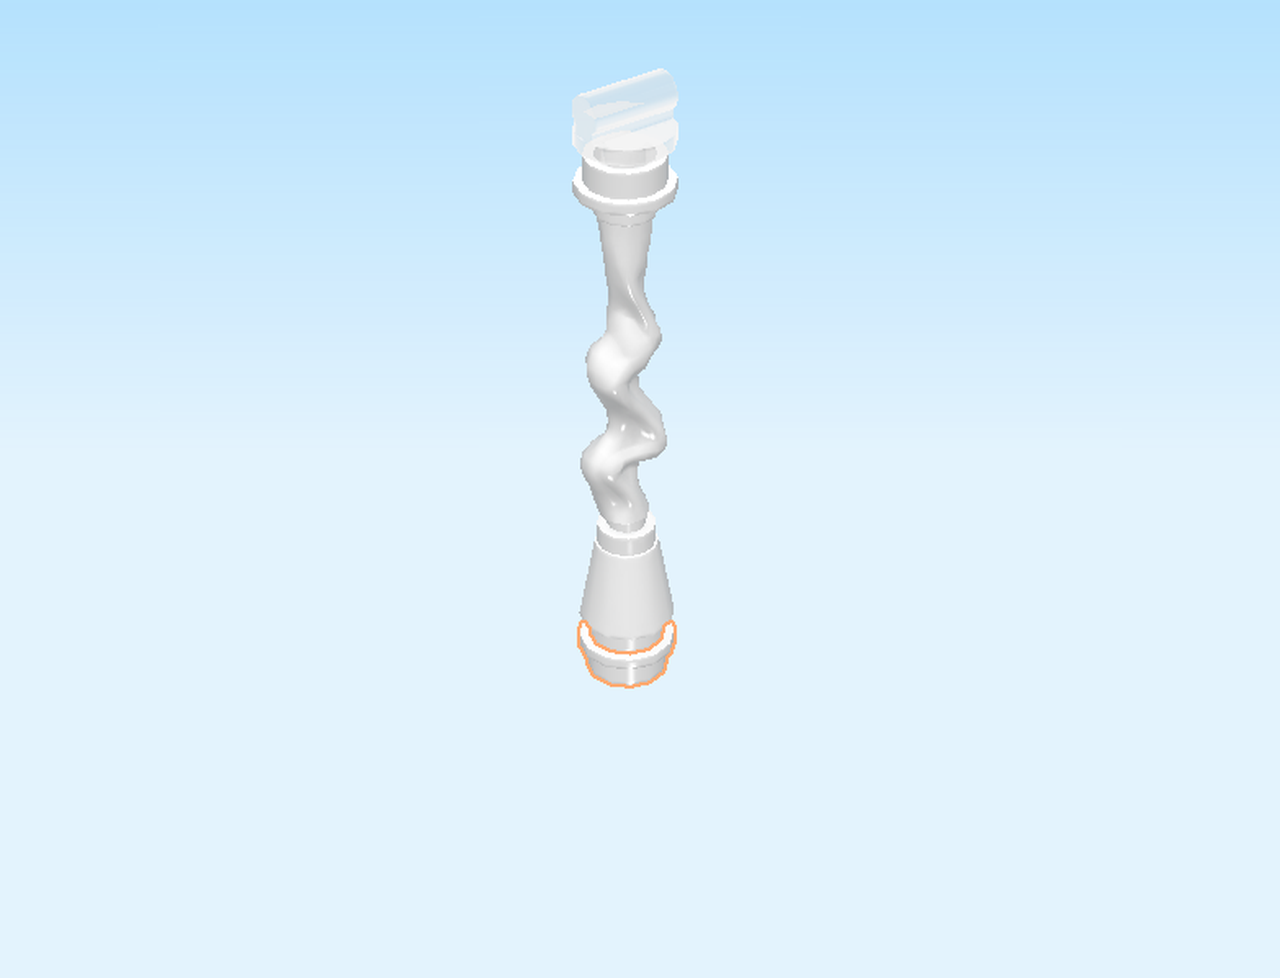
| Find 1 white nose cone 1x1. |
| Insert the other shaft of the branch into the top of the nose cone. |
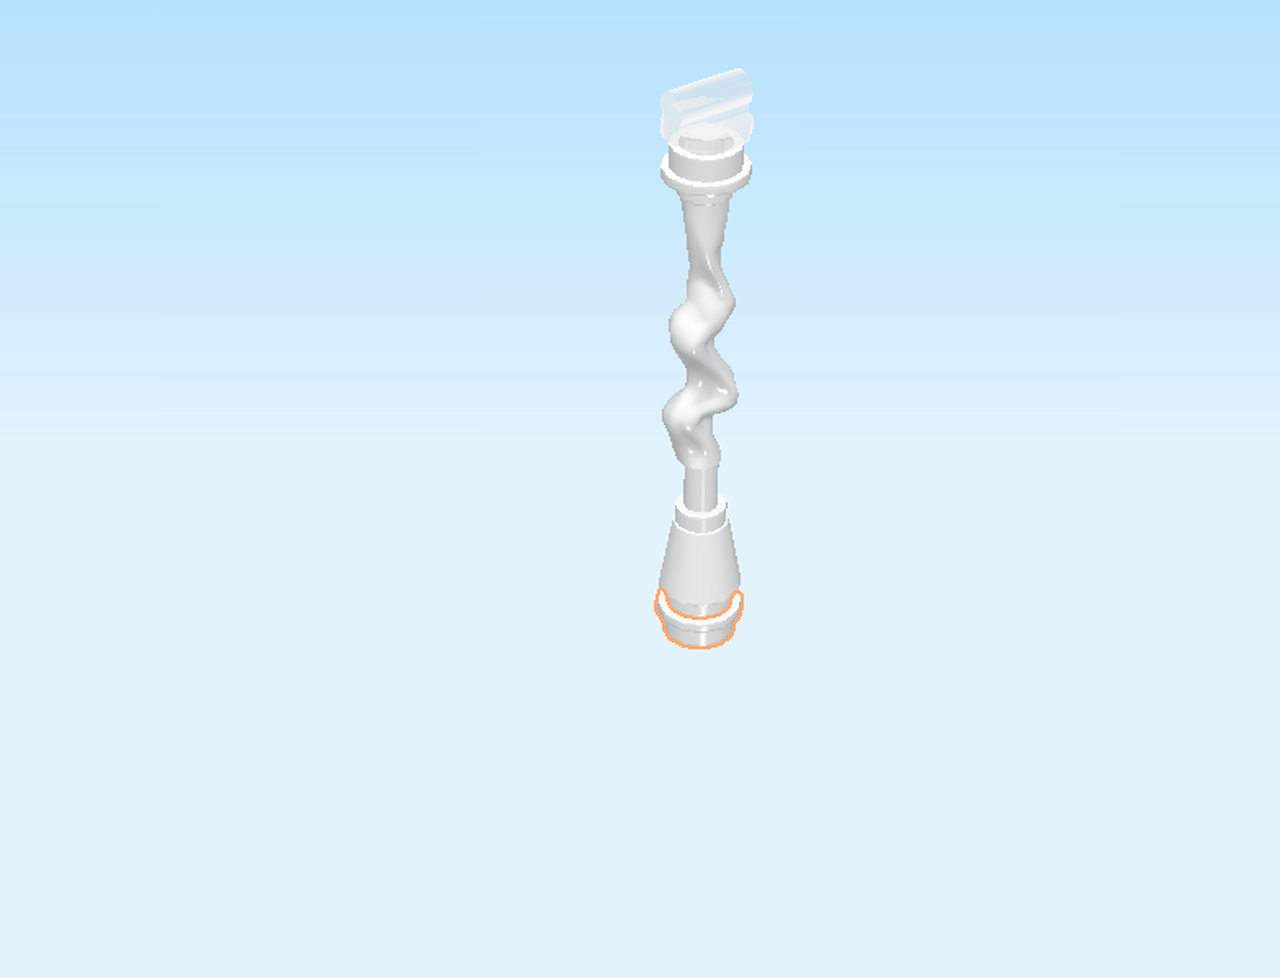
| Find 1 white round plate 1x1 with through-hole. |
| Put it underneath the nose cone. |
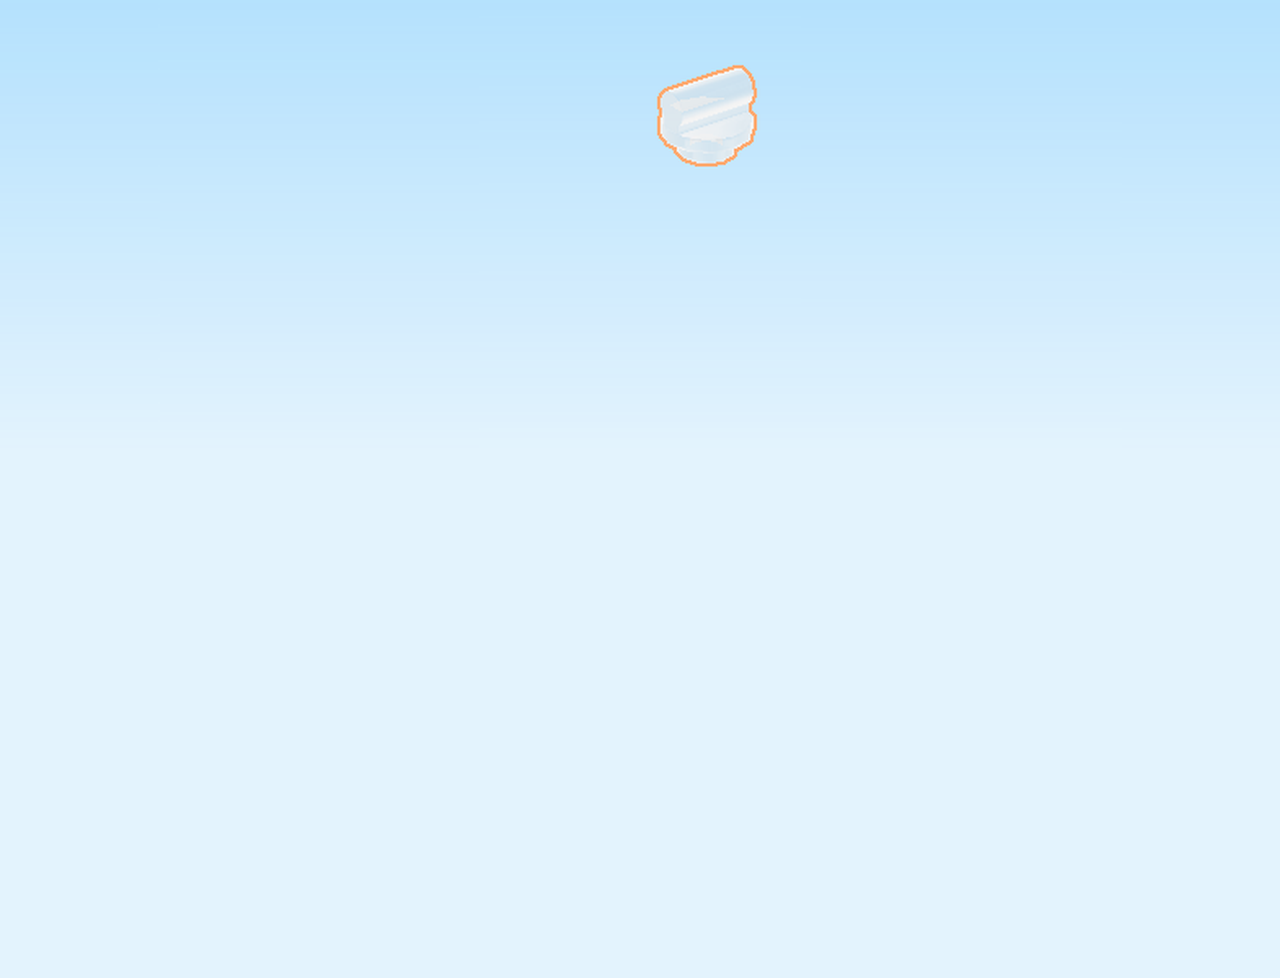
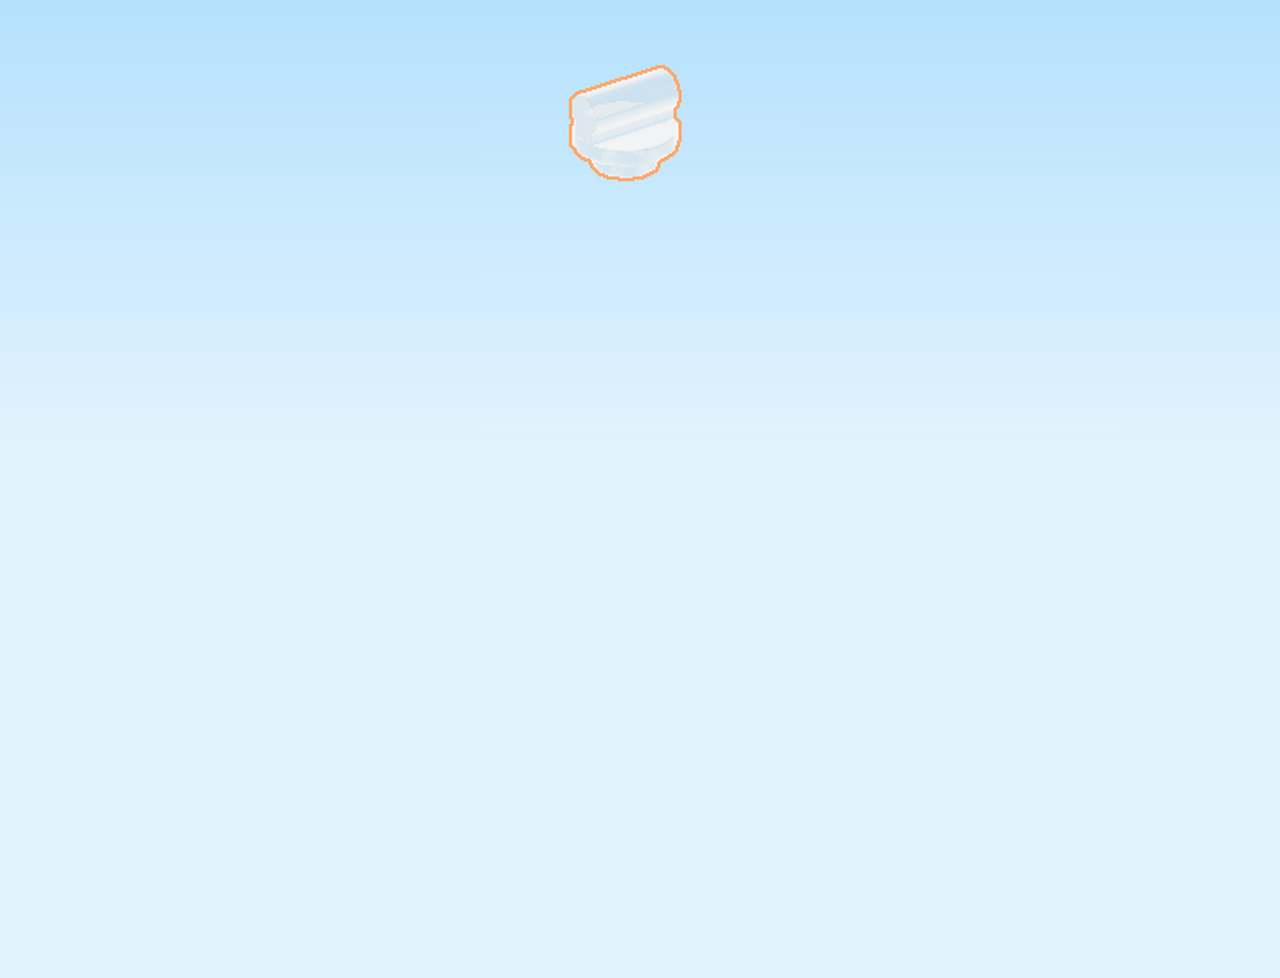
| Find 1 white web with knob. It is the smaller one of the two webs and does not have side shafts. |
| Careful! This piece has a special orientation. |
| Put it upside down underneath. |
| The first web weapon is finished, great job! The Spider-Man minifigure can already try to use it with his special powers. |
| Next, we will build a similar web structure. |
| Find 1 transparent shaft with knob. |
| Put it knob-side down on the table. |
| Find 1 round plate 1x1 with through-hole. |
| Put it underneath, knob to the bottom. |
| Find 1 twisted branch with 2 shafts, 3 knobs long. |
| Insert one of the shafts underneath. |
| Find 1 white nose cone 1x1. |
| Insert the other shaft of the branch into the top of the nose cone. |
| Find 1 round plate 1x1 with through-hole. |
| Put it underneath. |
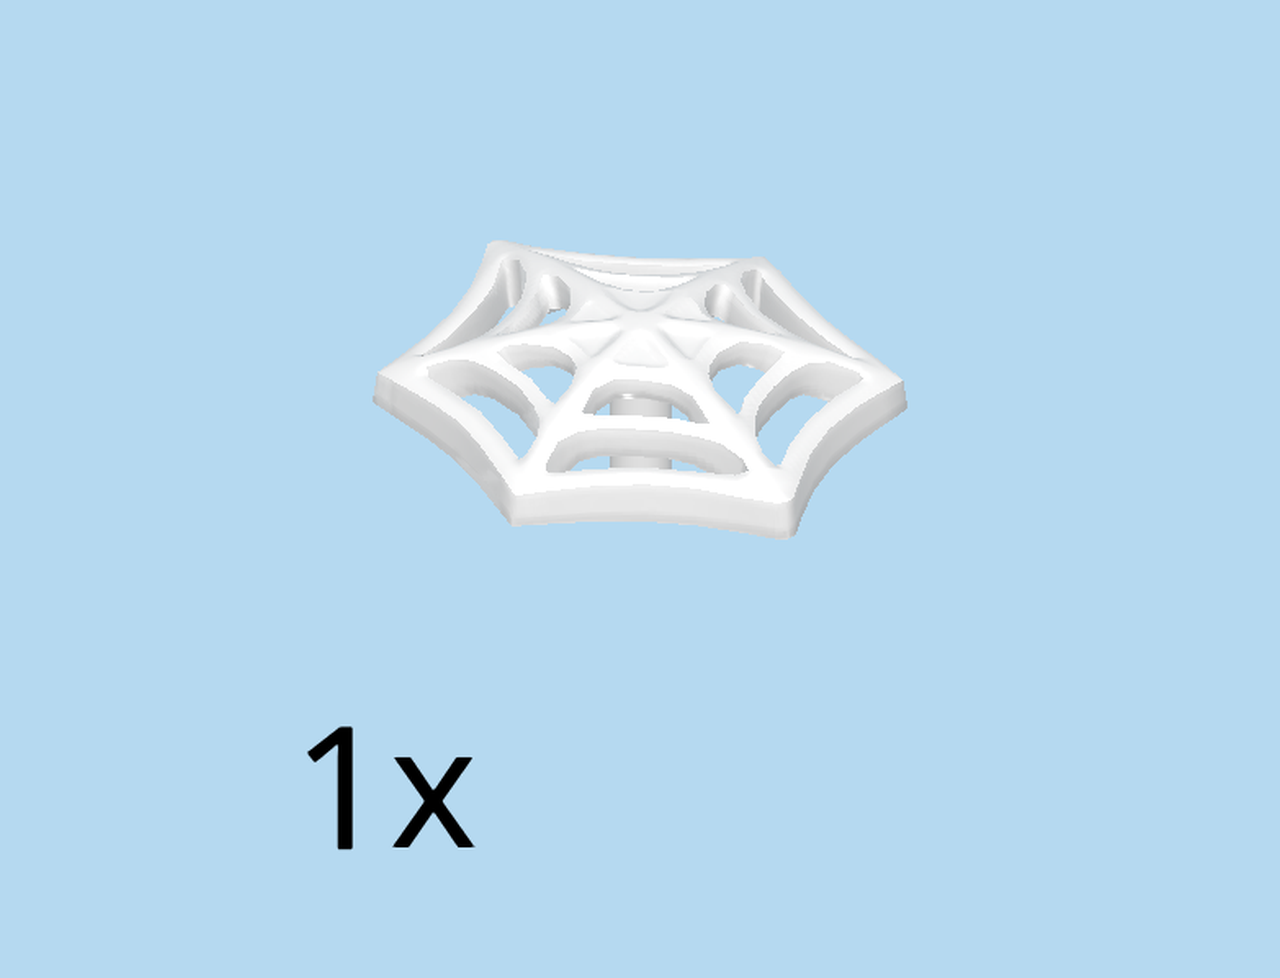
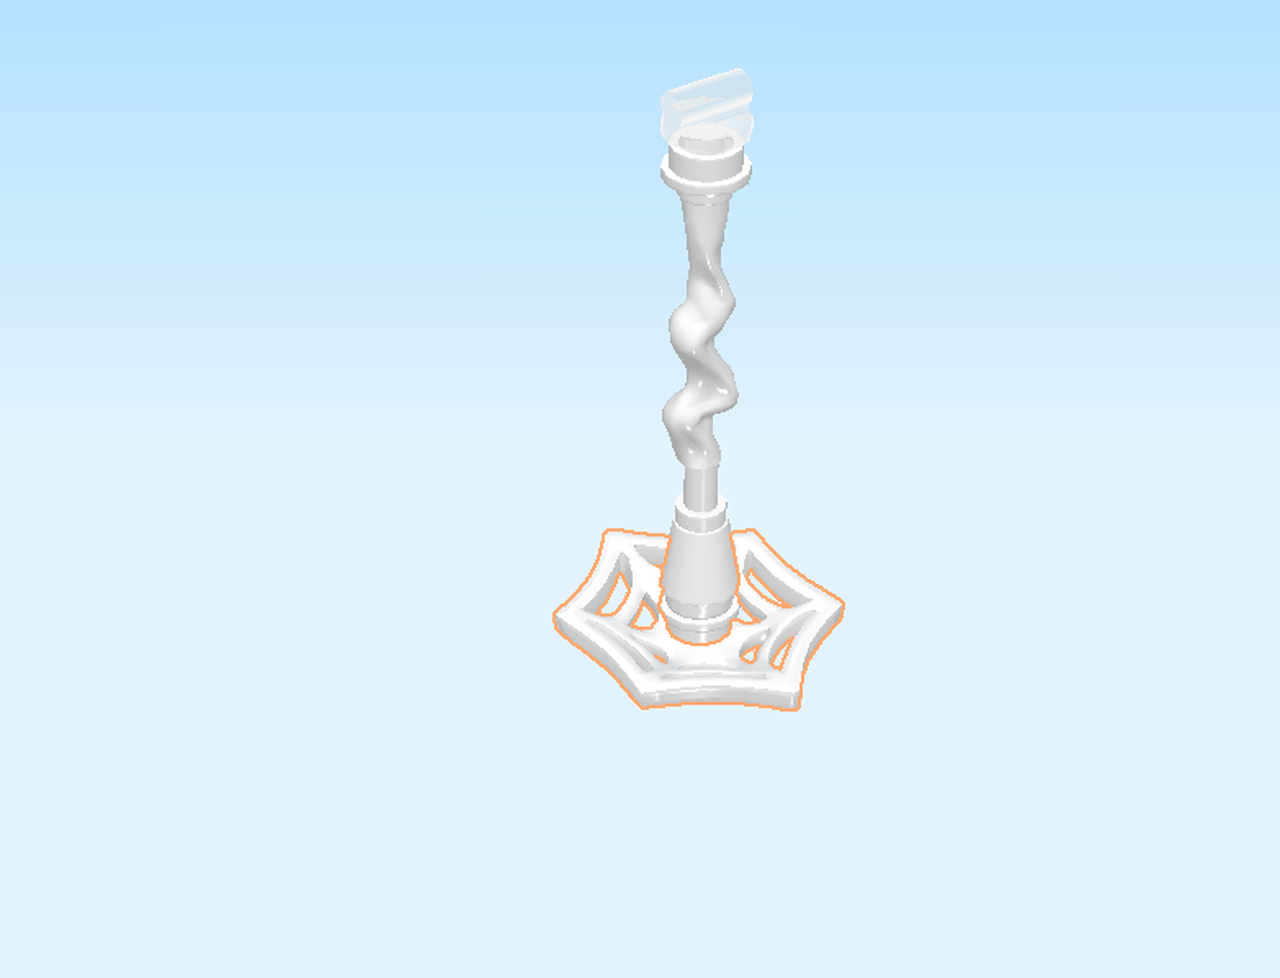
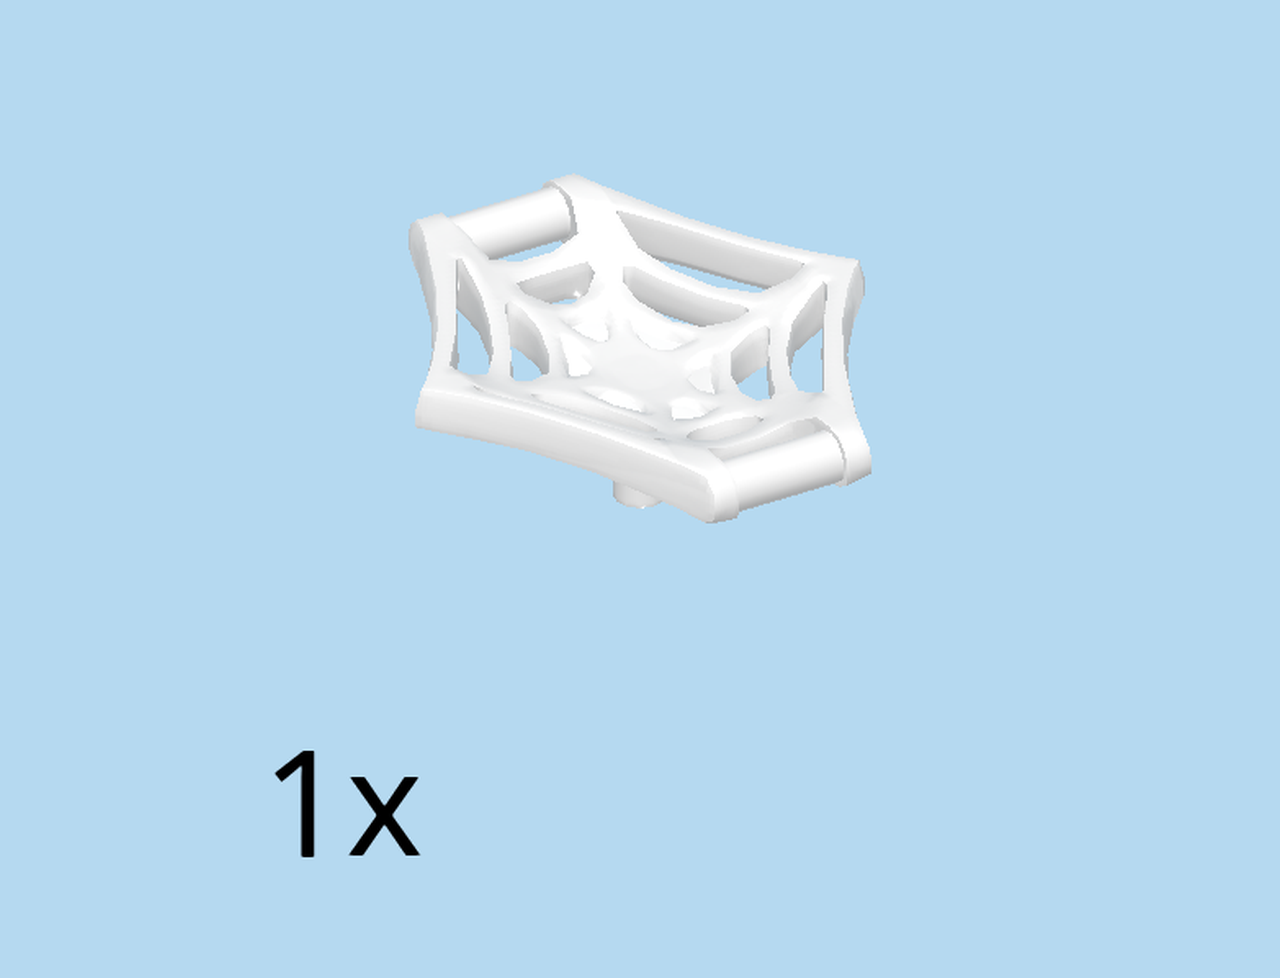
| Find 1 white web with 2 side shafts. |
| Put it underneath the structure, web ends to the bottom. |
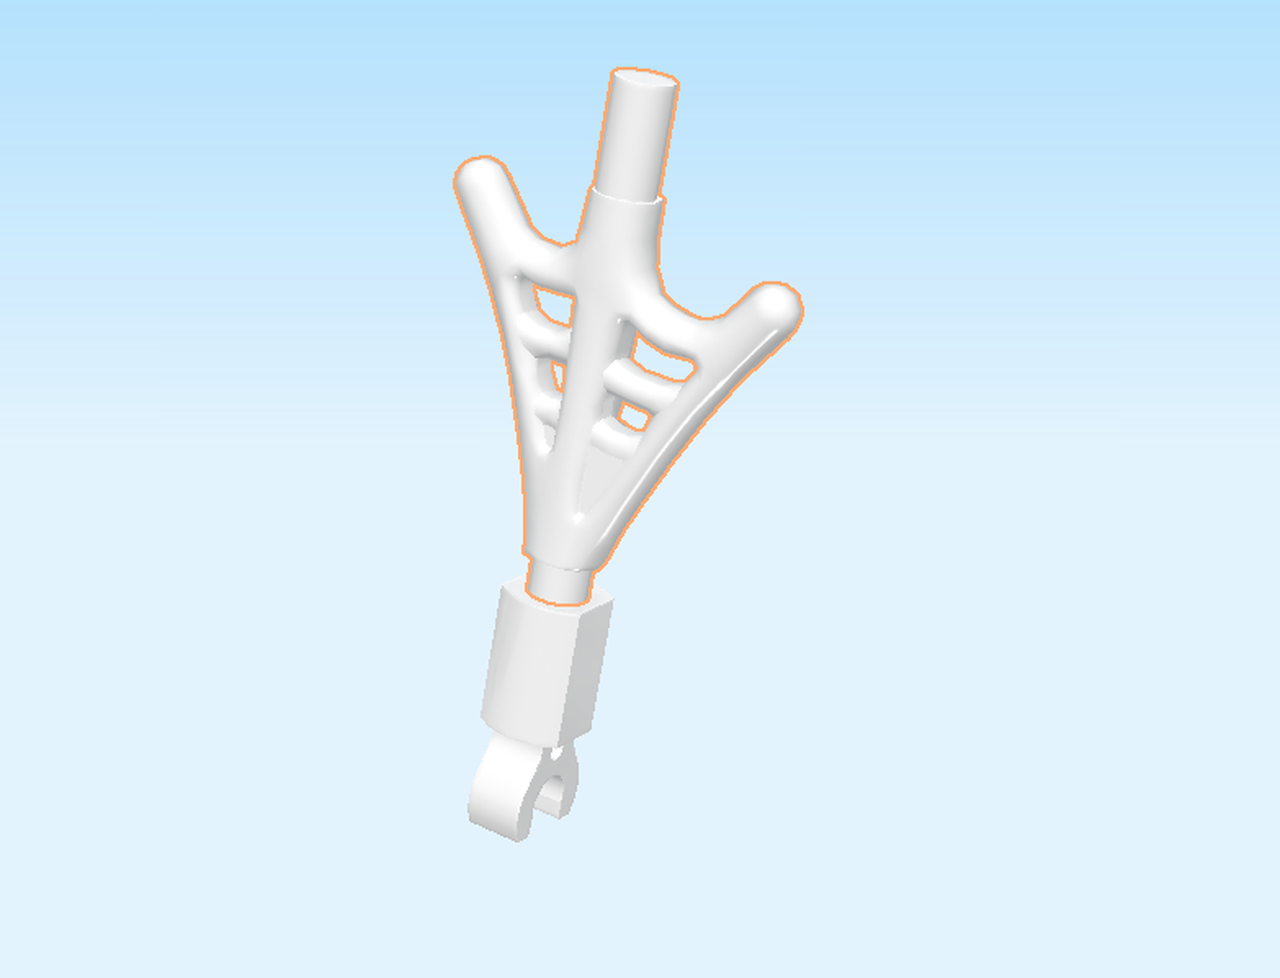
| Next, we will make a small part. |
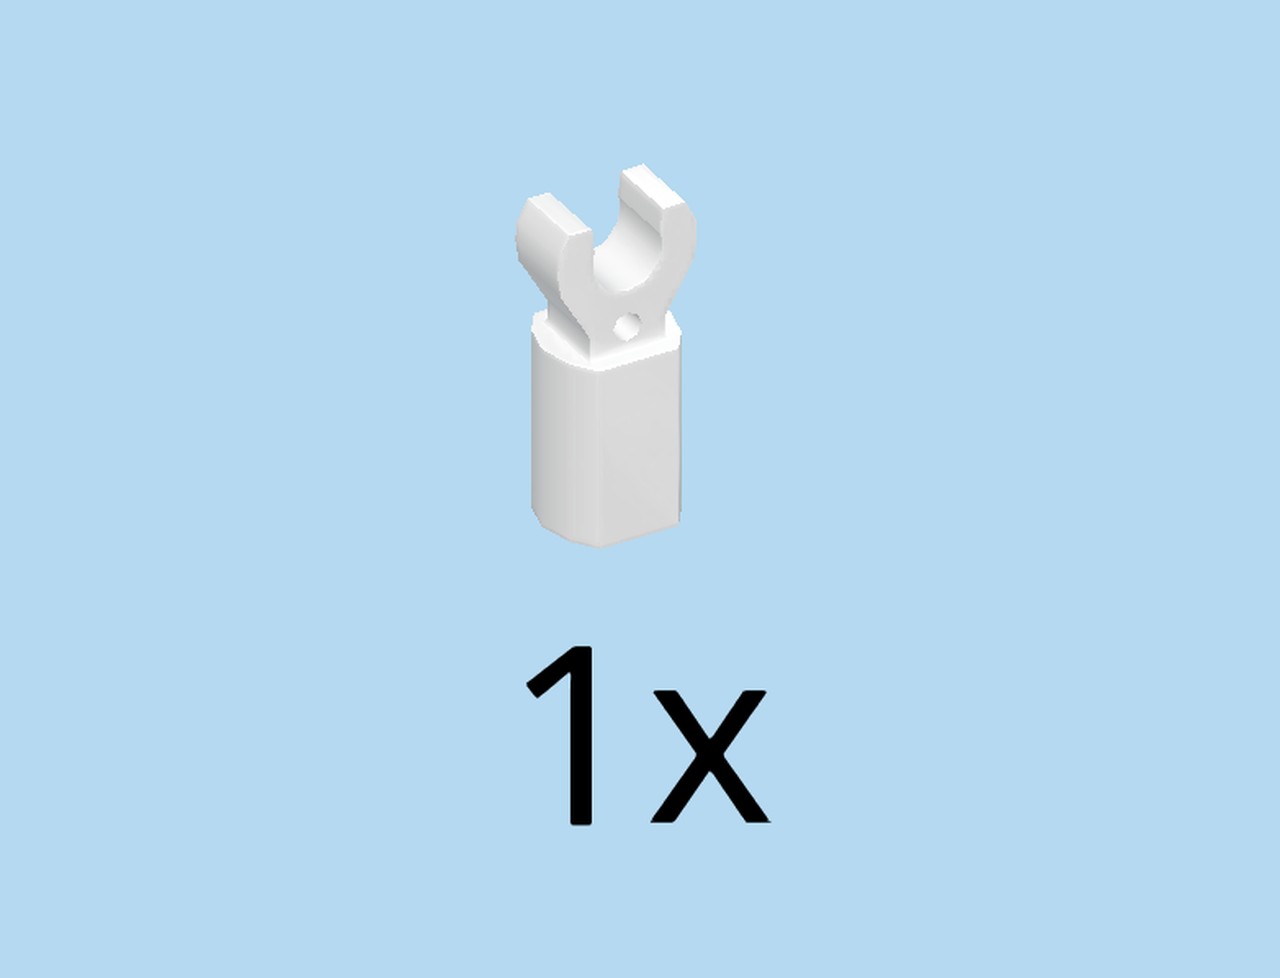
| Find 1 white tube with clasp. |
| Find 1 white arrowhead web with 2 shafts. |
| Insert the front shaft of the arrowhead web into the tube. |
| Now, snap the clasp onto the side shaft of the web, folding the arrowhead web to the top. |
| We will repeat this on the other side of the web weapon. |
| Find 1 white tube with clasp. |
| Find 1 white arrowhead web with 2 shafts. |
| Insert the front shaft of the arrowhead web into the tube. |
| Now, snap the clasp onto the side shaft of the web, folding the arrowhead web to the top. |
| Find 1 pair of cobweb handcuffs and add it to your web weapons. |
| The spiderweb weapons are finished! Well done! Now you can attach them to the hands of Spider-Man, as shooting webs. The handcuffs are used for catching bad guys! |
| In the next section we will build the Spider-Man mech. We start with the waist. |
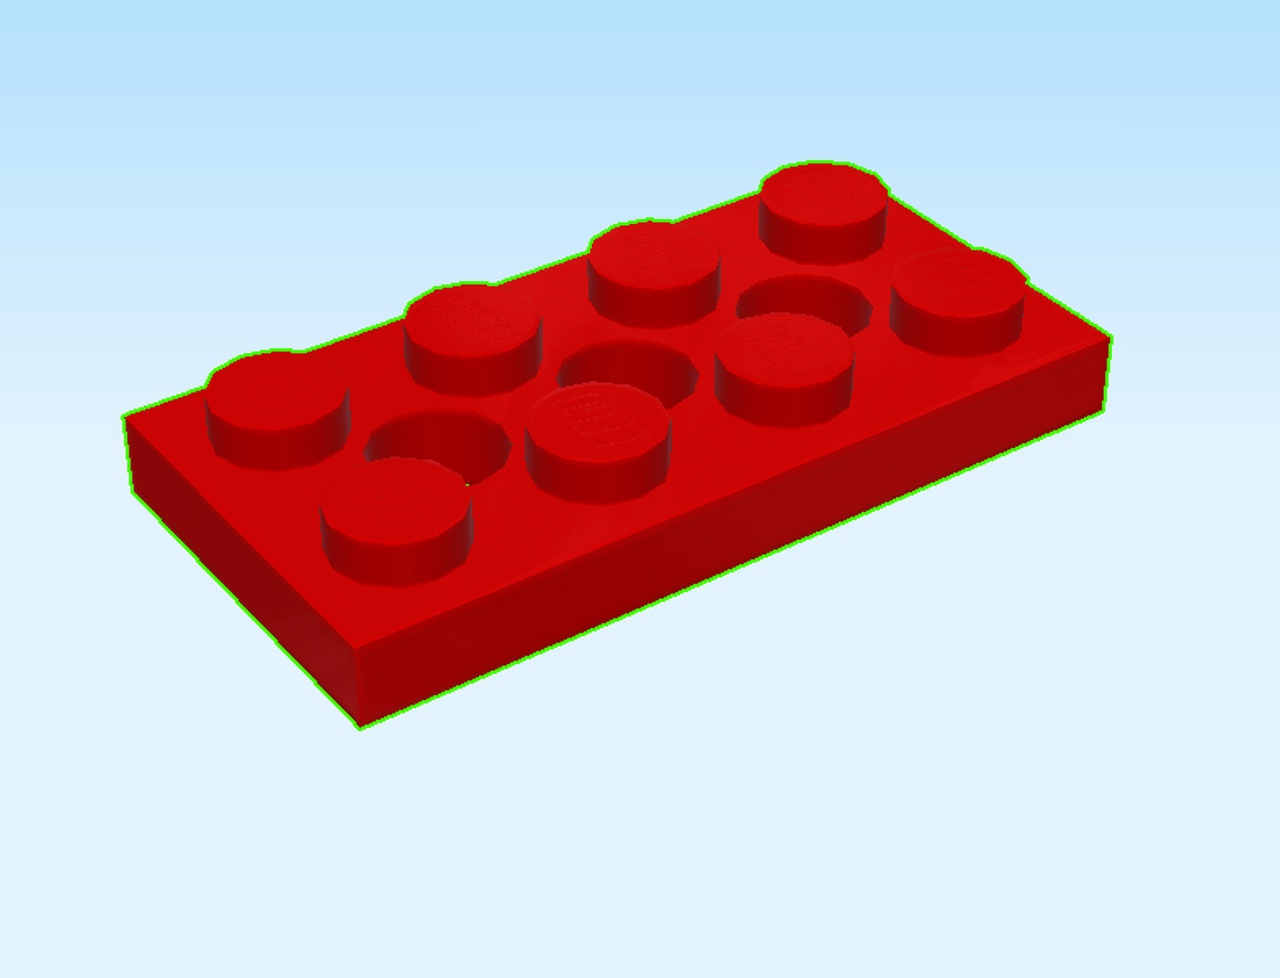
| Find 1 bright red plate 2x4 with 3 holes. |
| Put it horizontally on the table. |
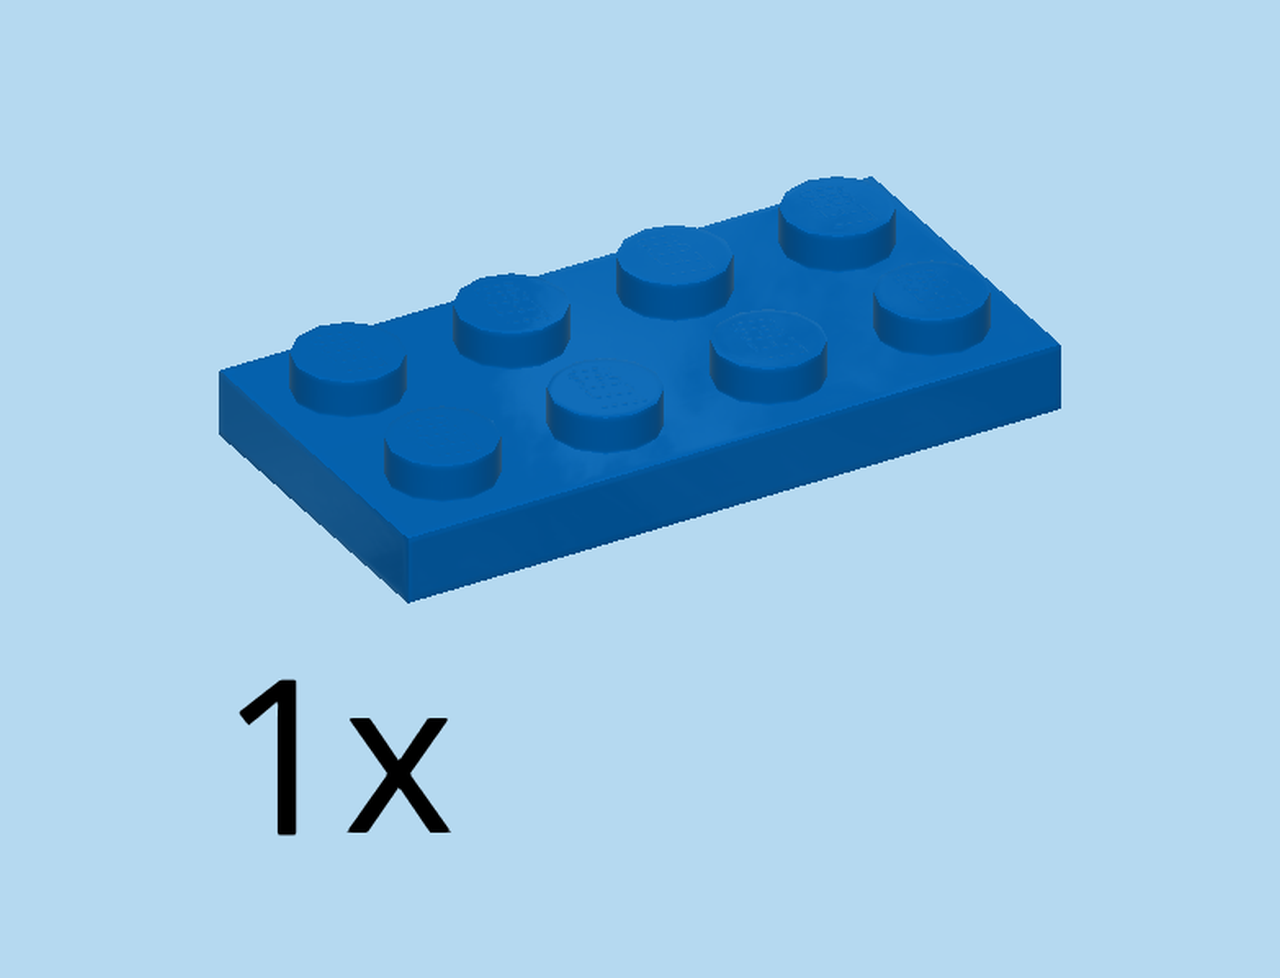
| Find 1 bright blue plate 2x4. |
| Put it horizontally on top. |
| Flip the structure upside down. |
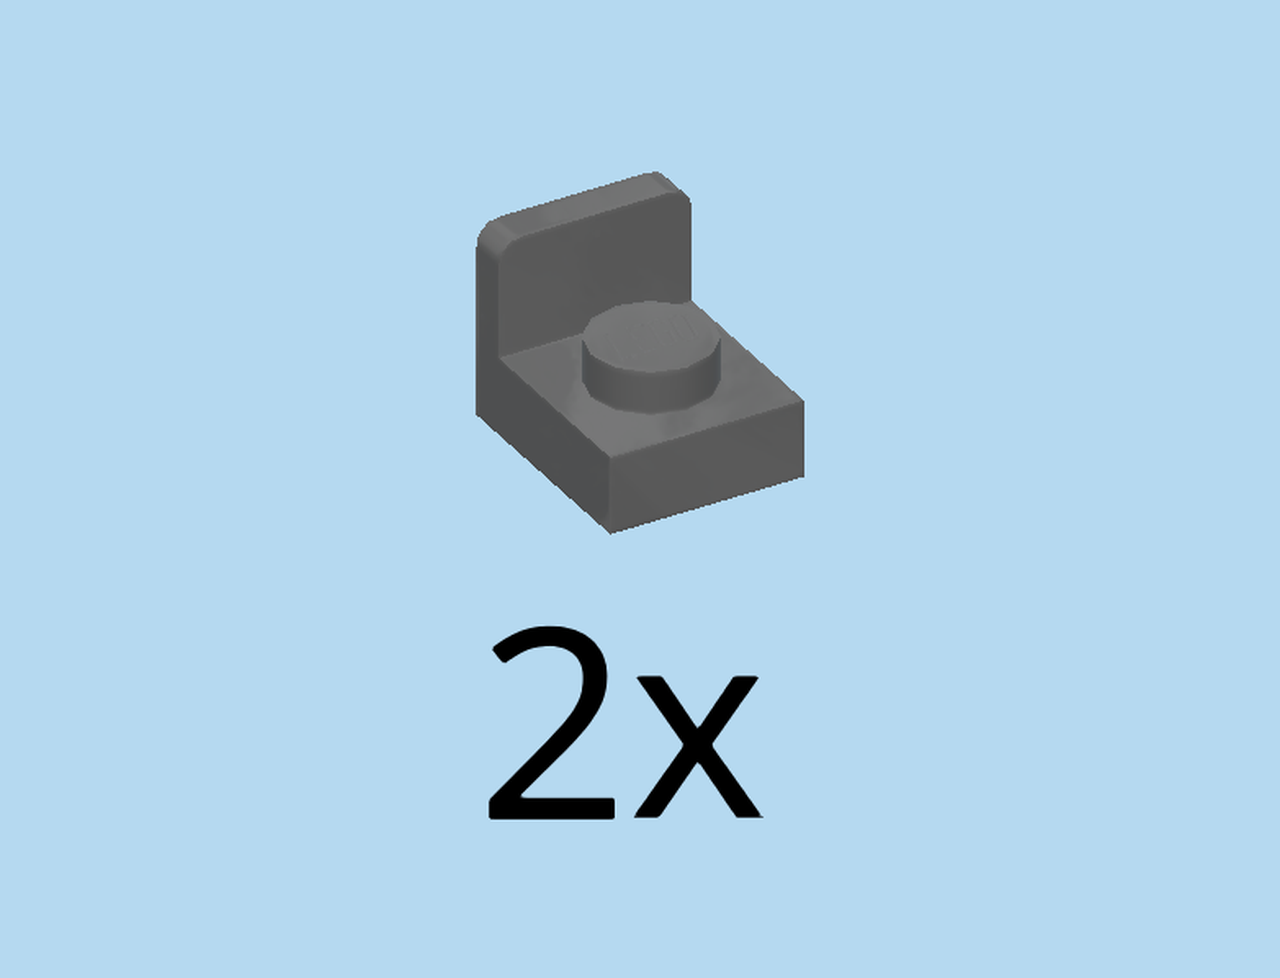
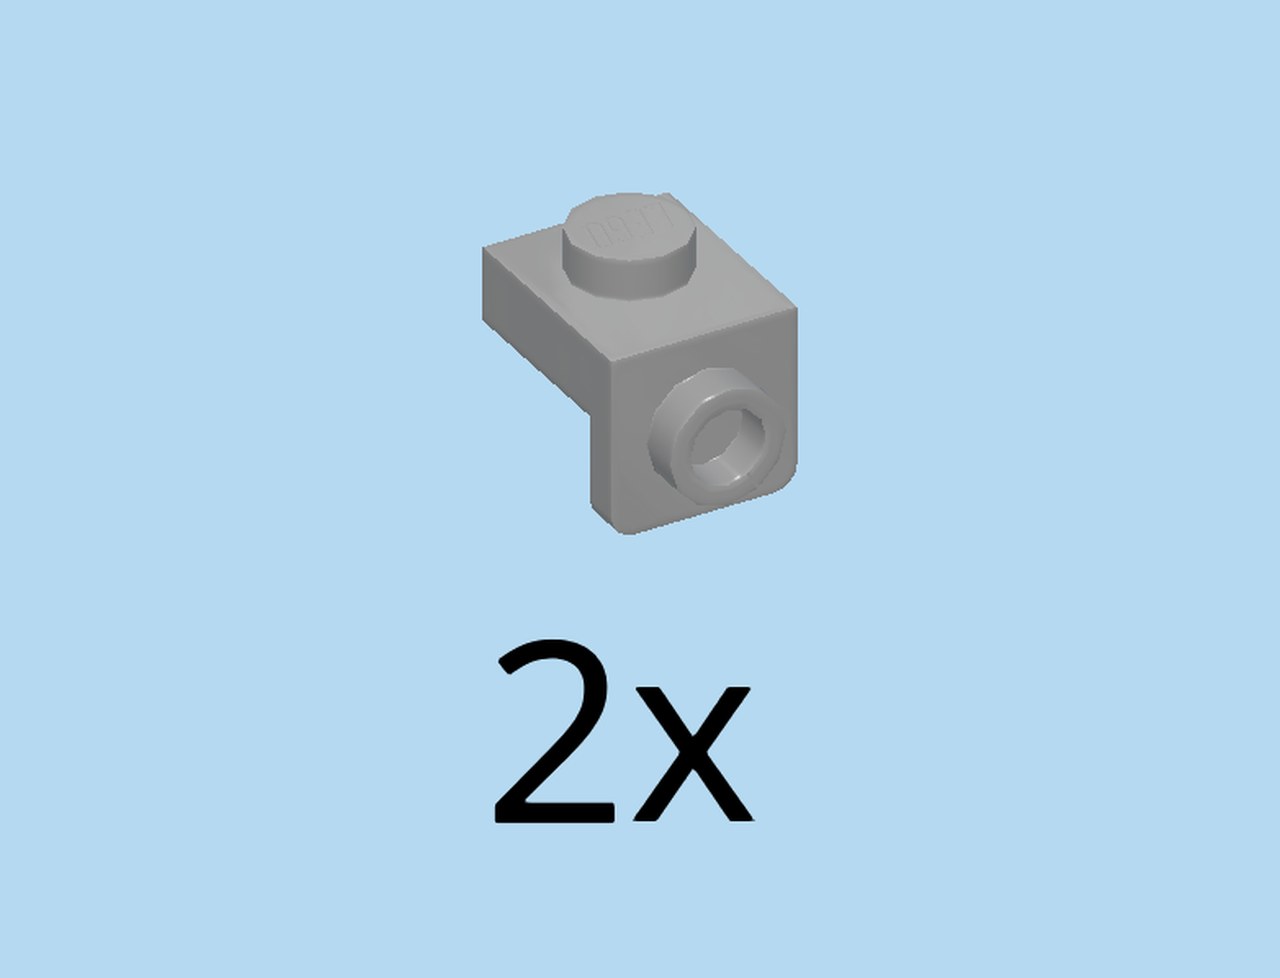
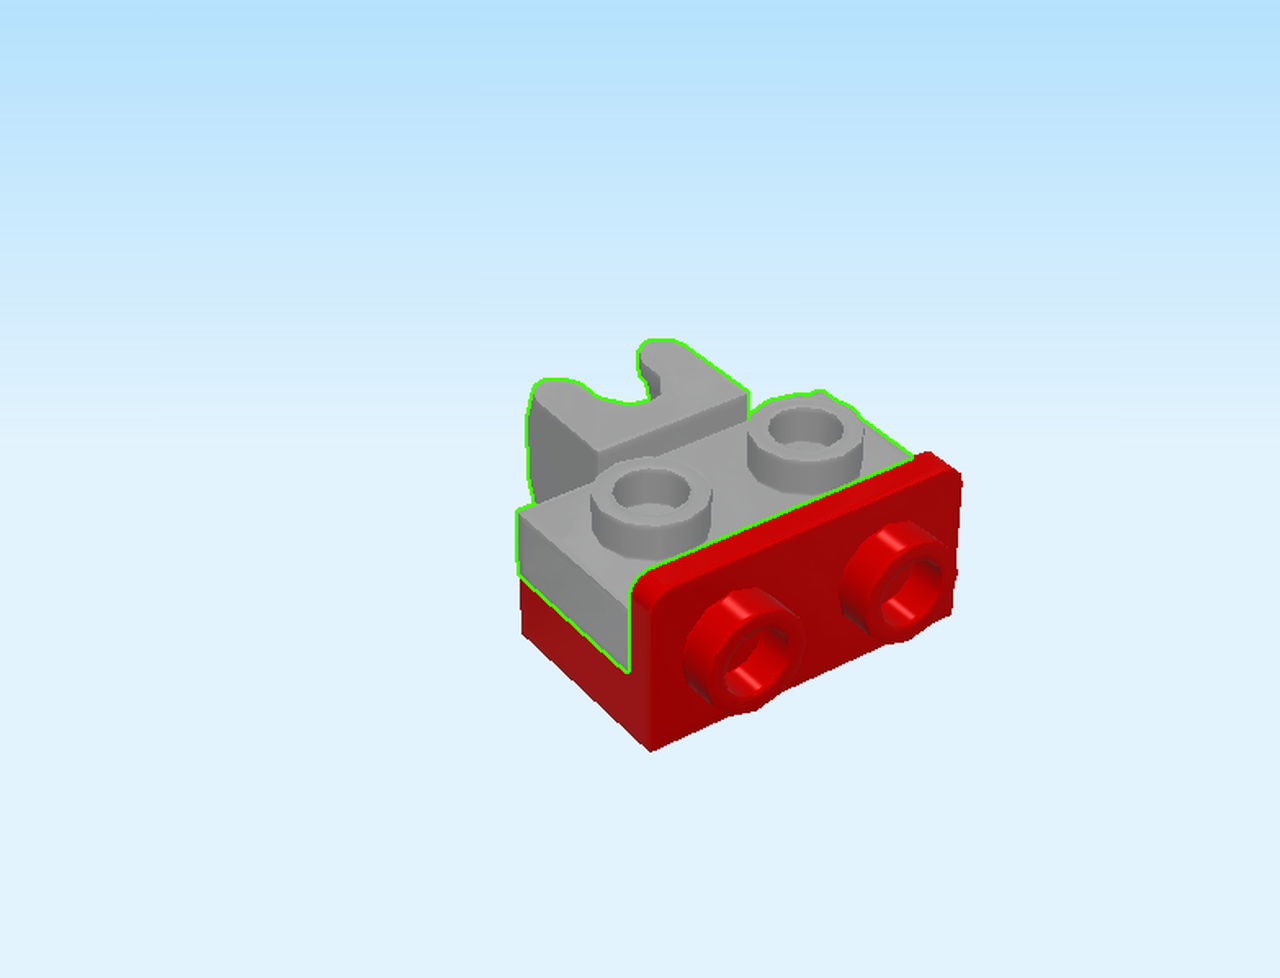
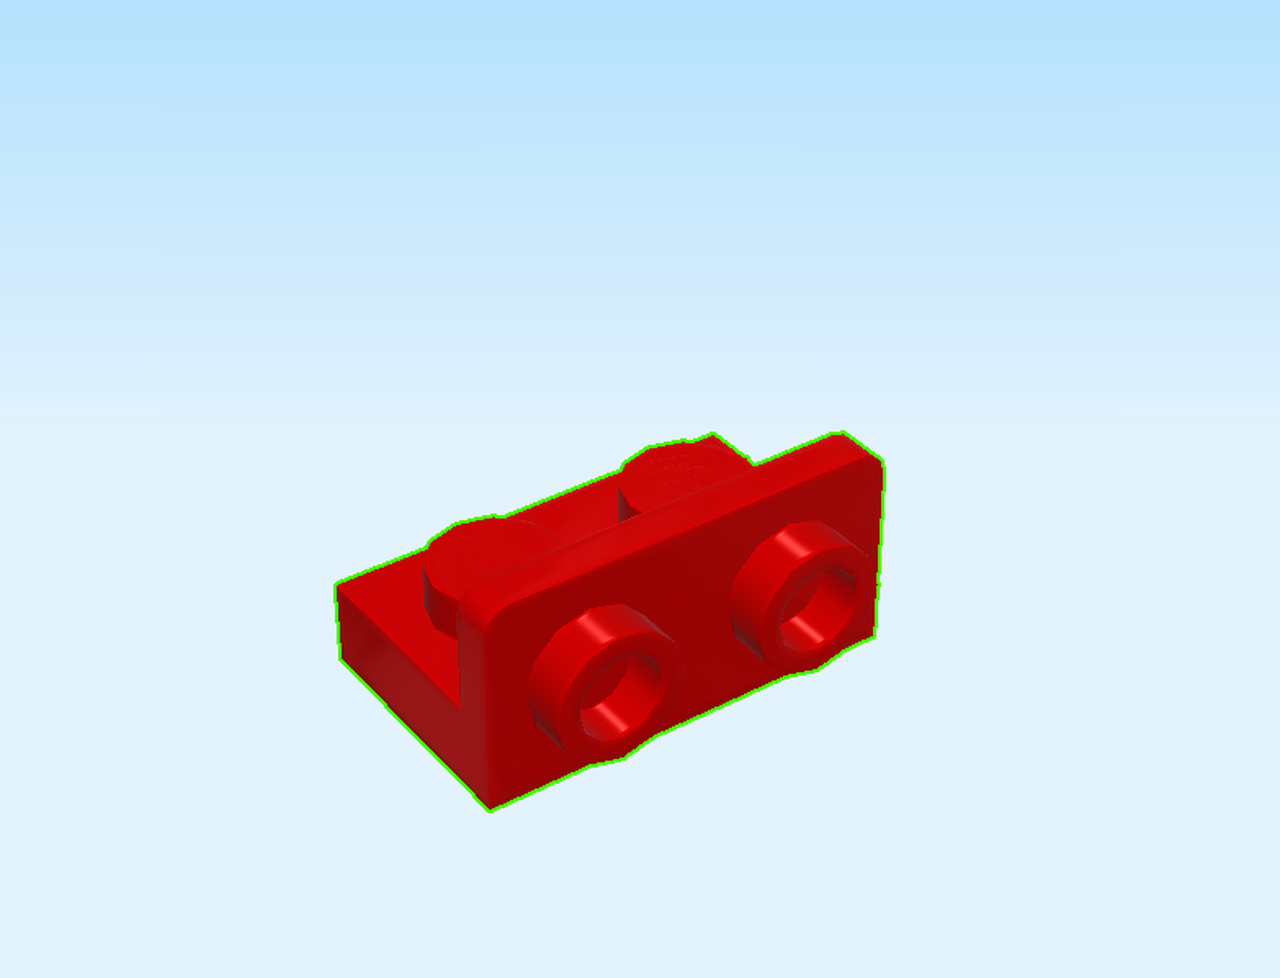
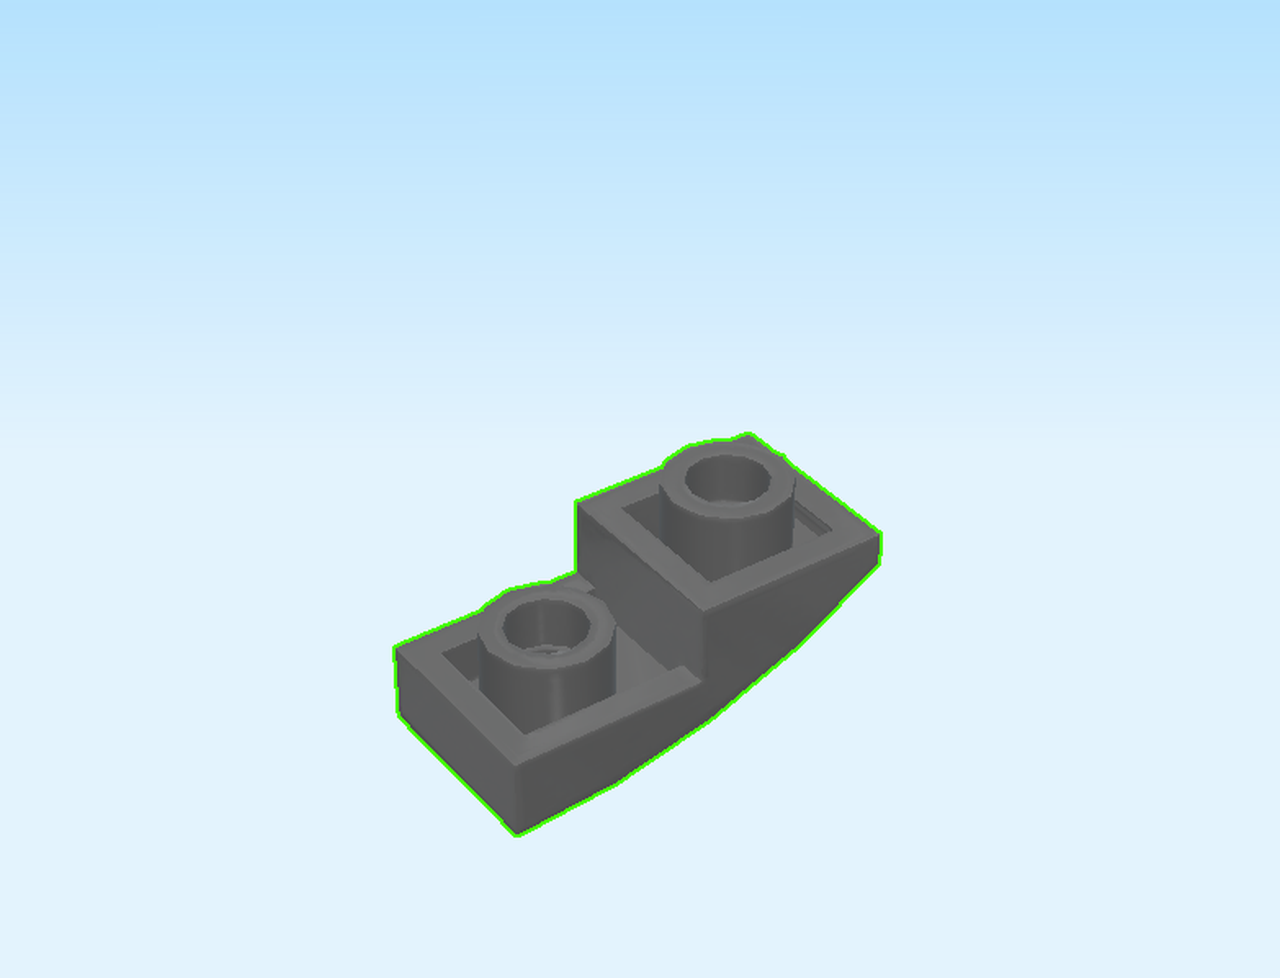
| Find 2 dark stone grey bottom angle plates 1x1 - 1x1 with side knob. |
| Put 1 upside down on the back row at the left edge, side knob to the back. |
| Repeat symmetrically at the front. |
| Flip the structure right side up again. |
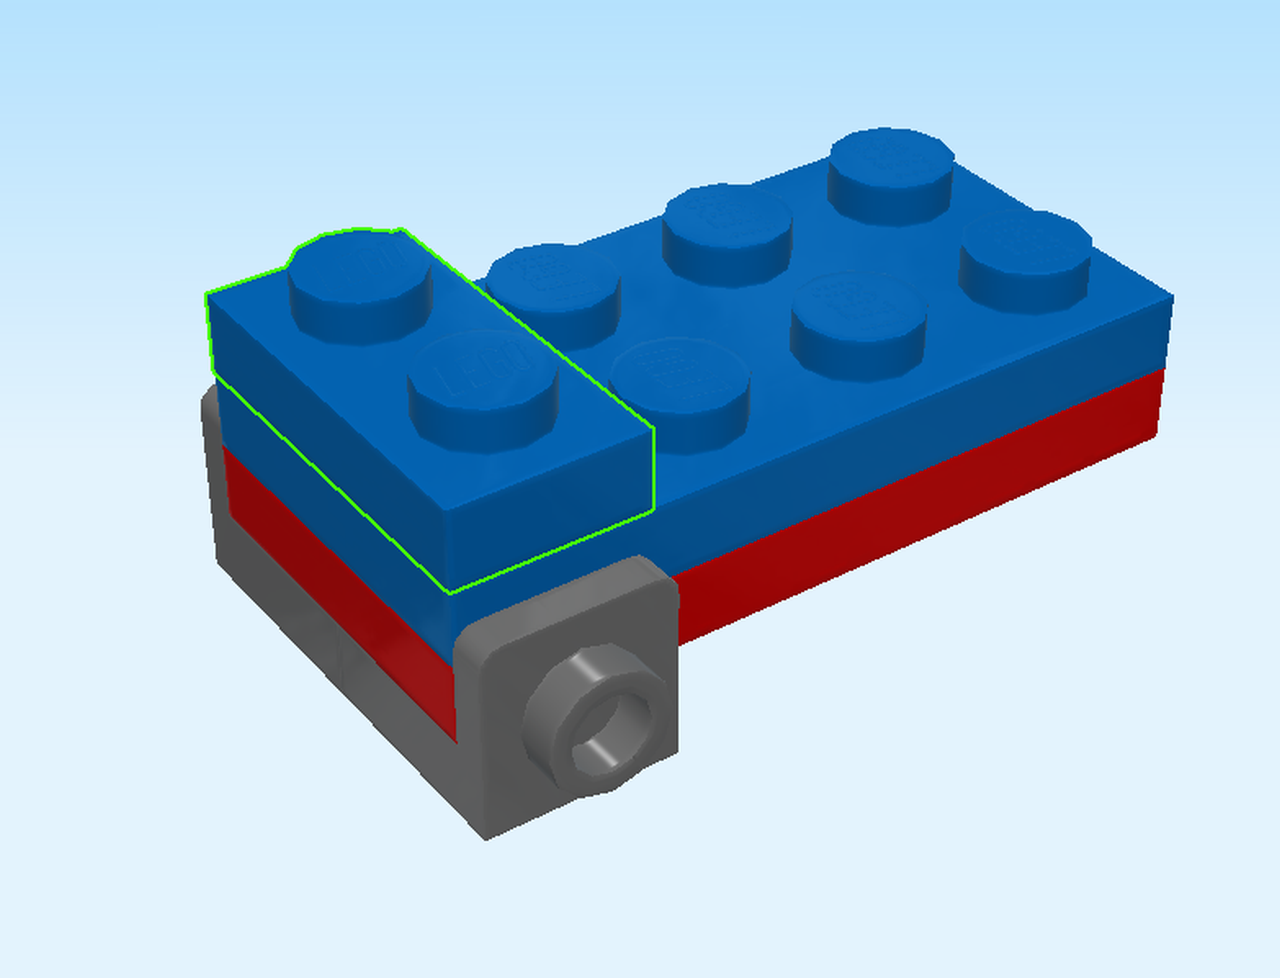
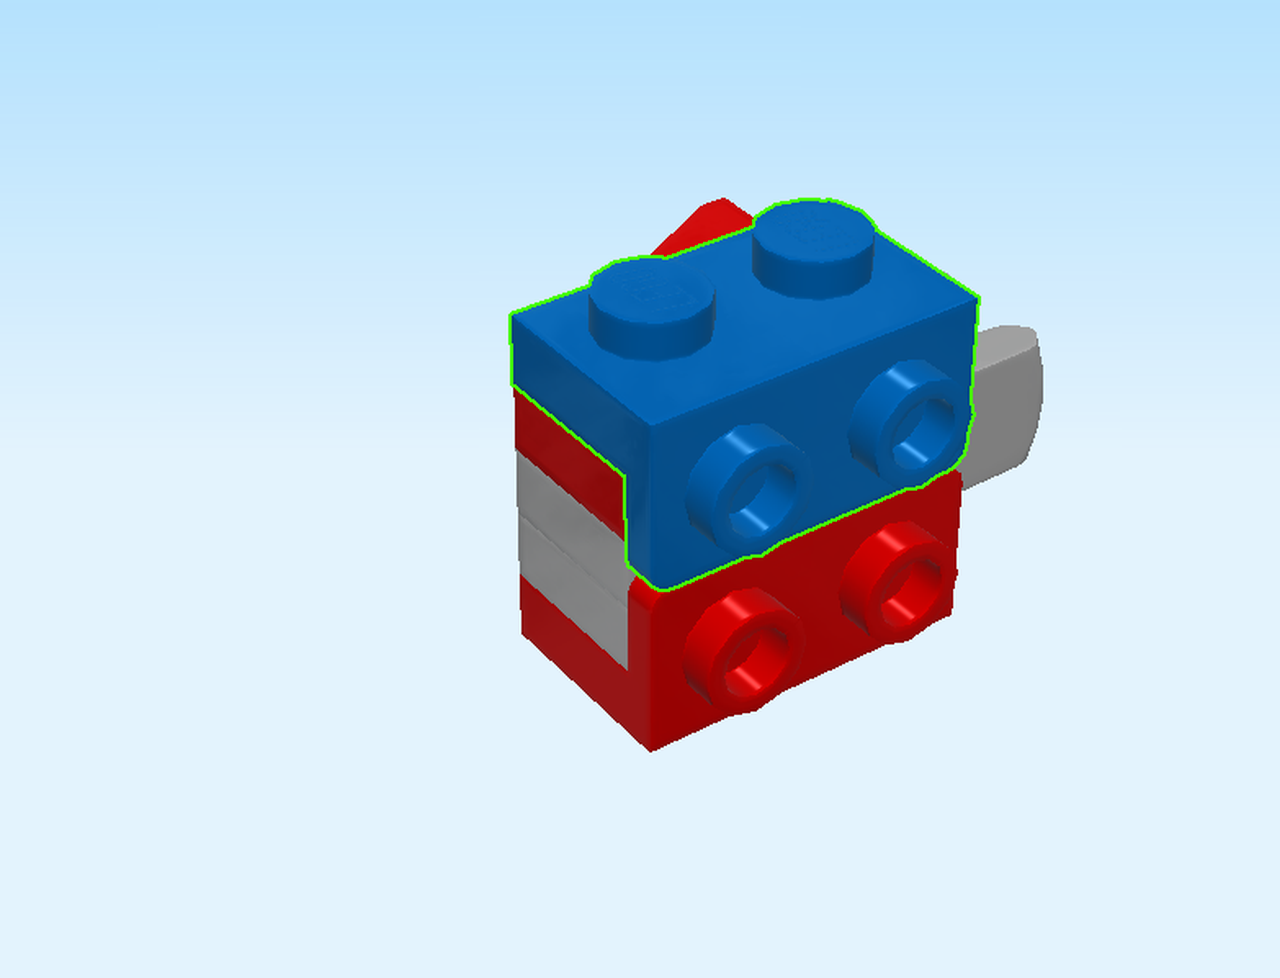
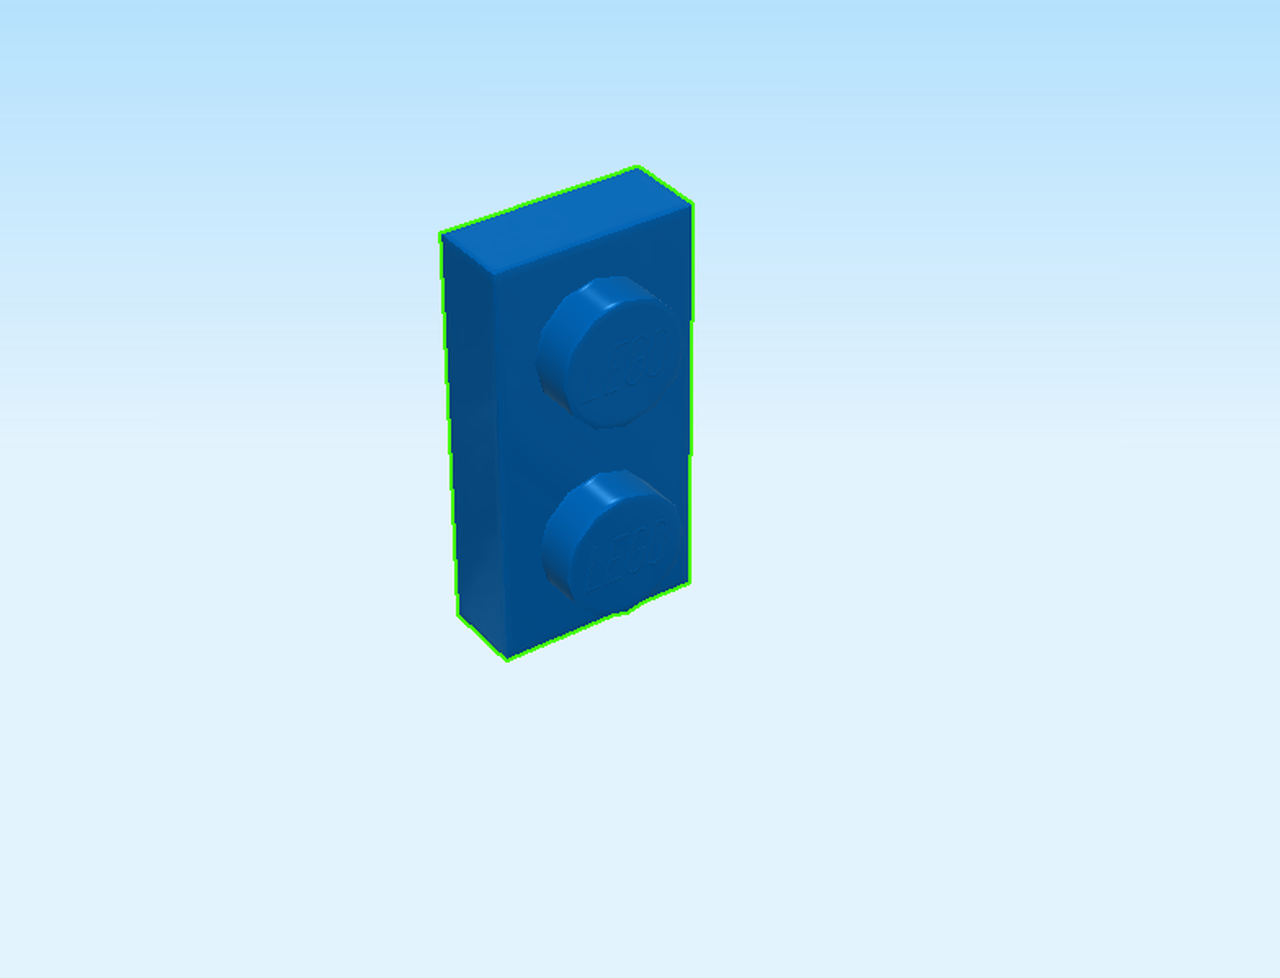
| Find 1 bright blue plate 1x2. |
| Put it vertically on the leftmost column of the structure. |
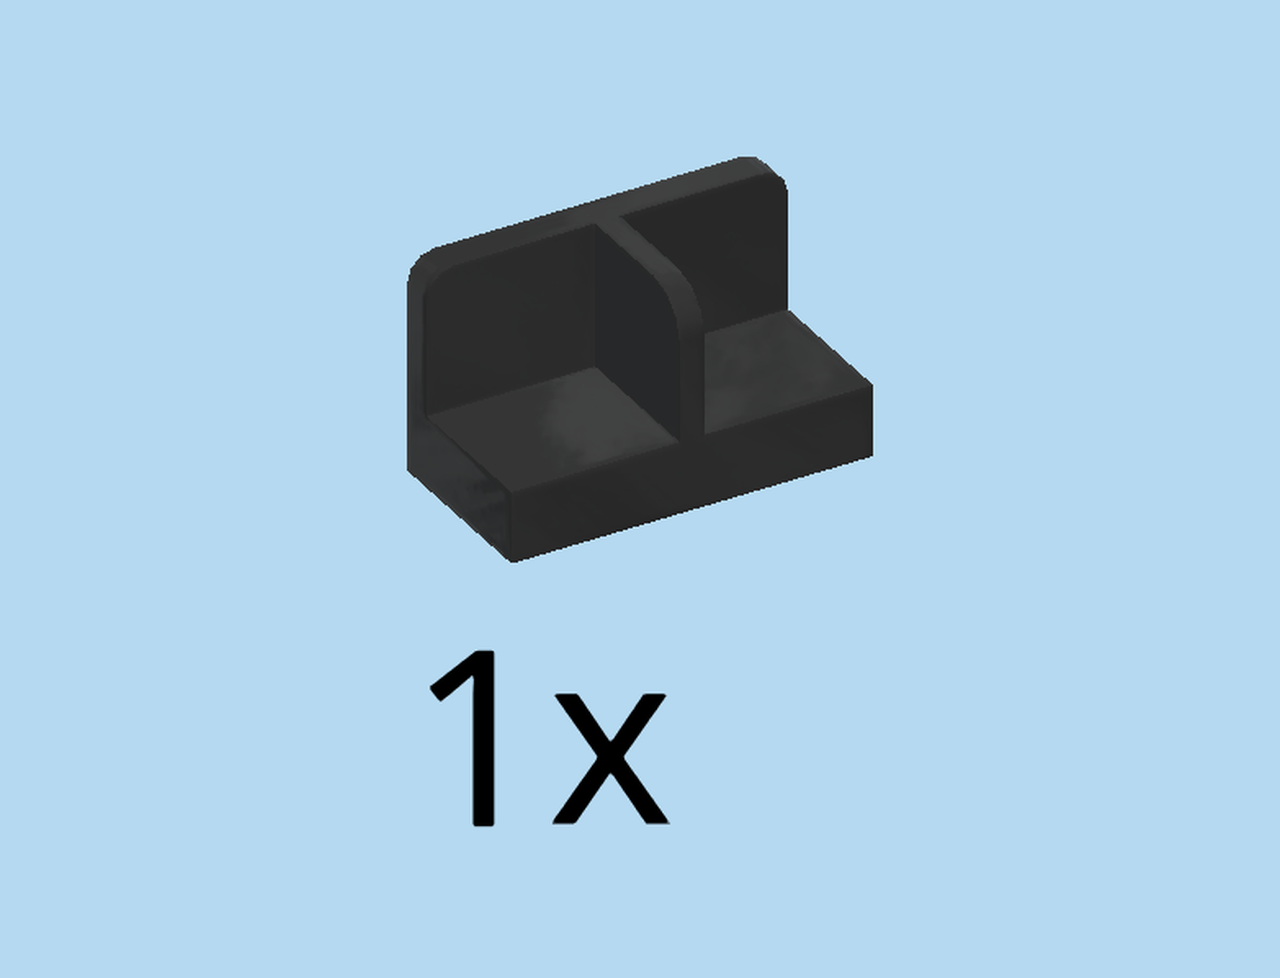
| Find 1 black tile 1x2 with back panel and central divider. |
| Put it vertically next to the previous piece, central divider to the right. |
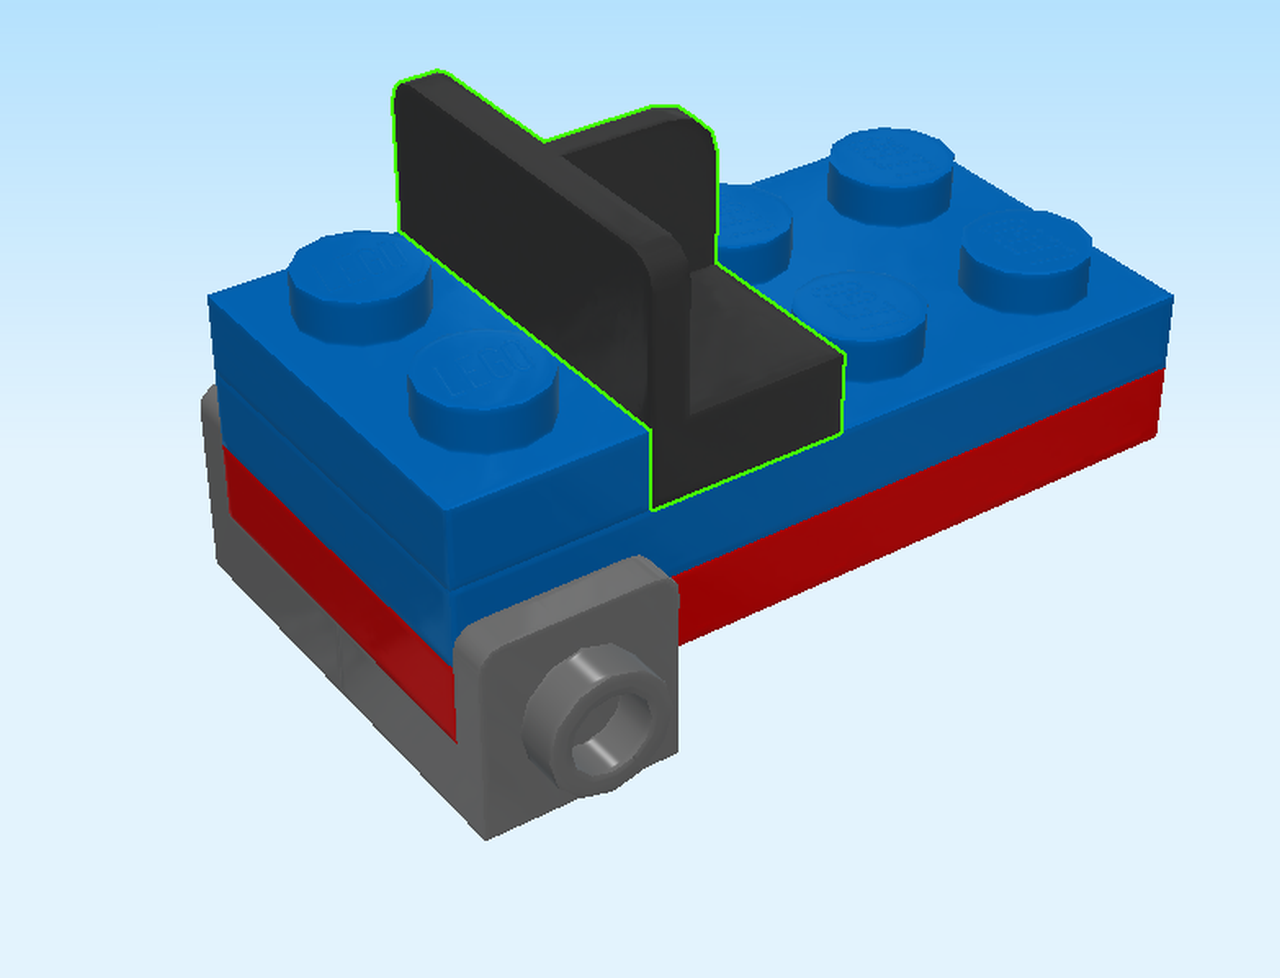
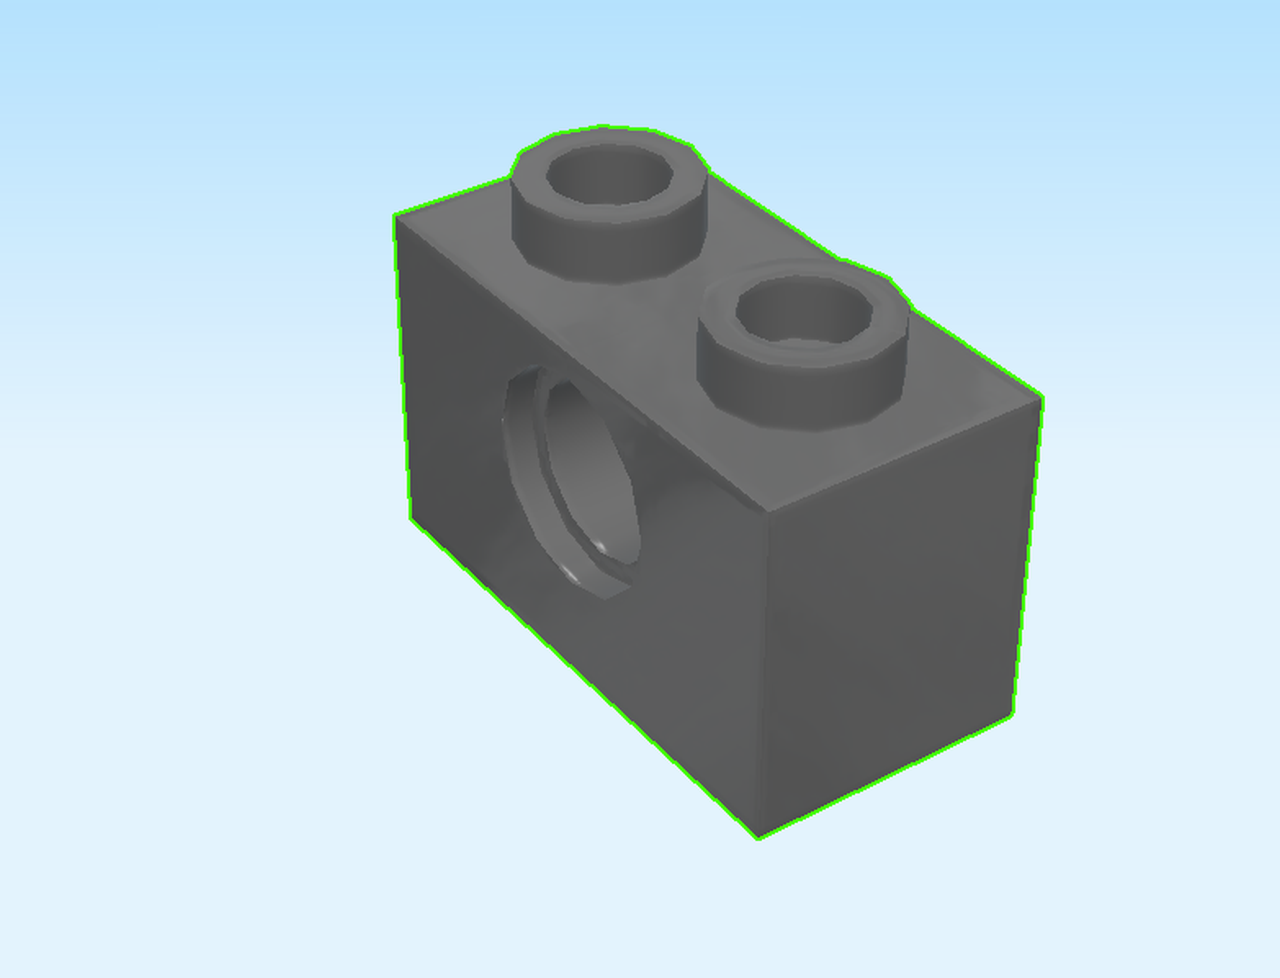
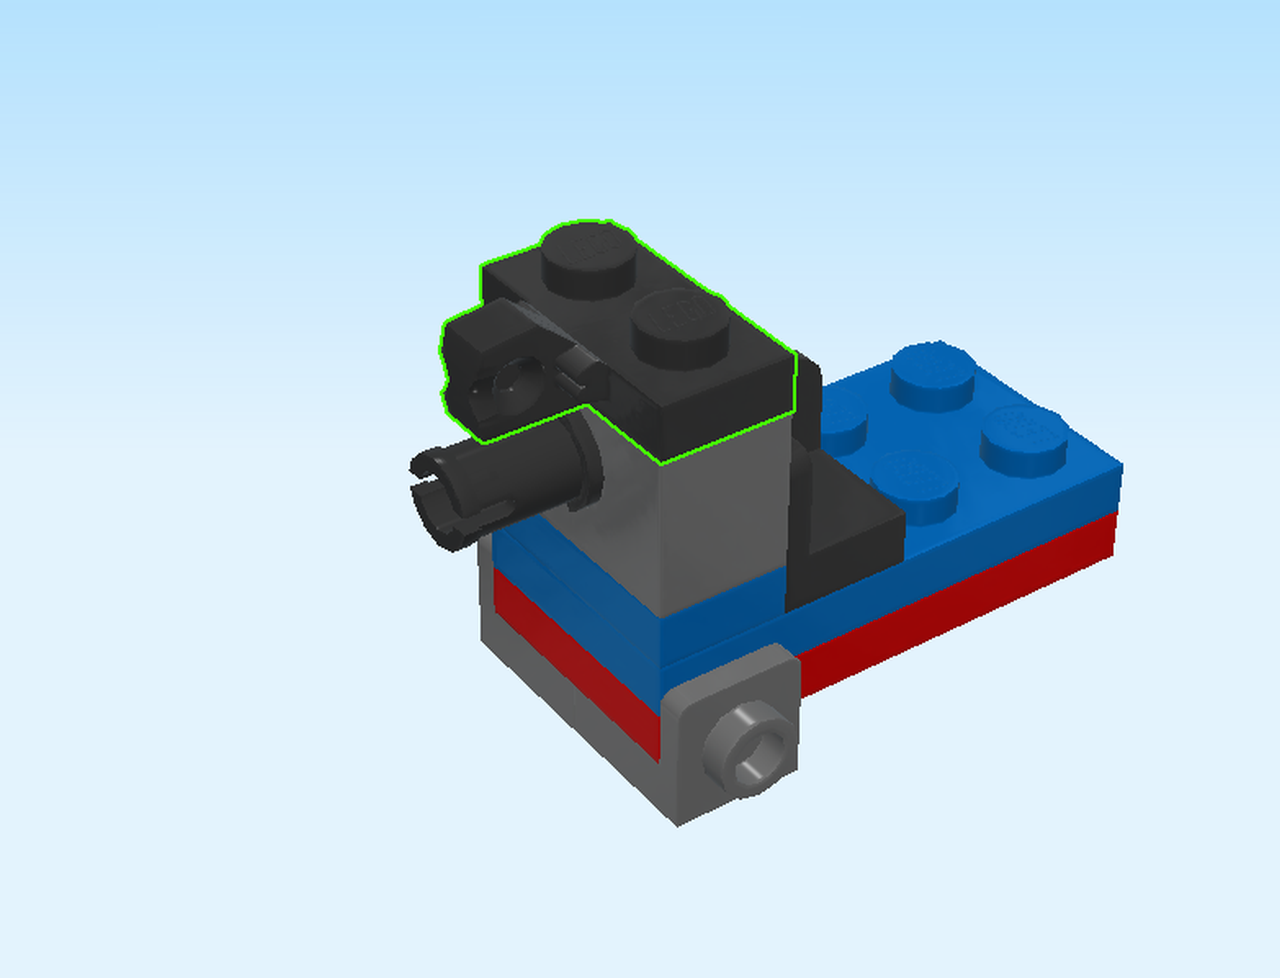
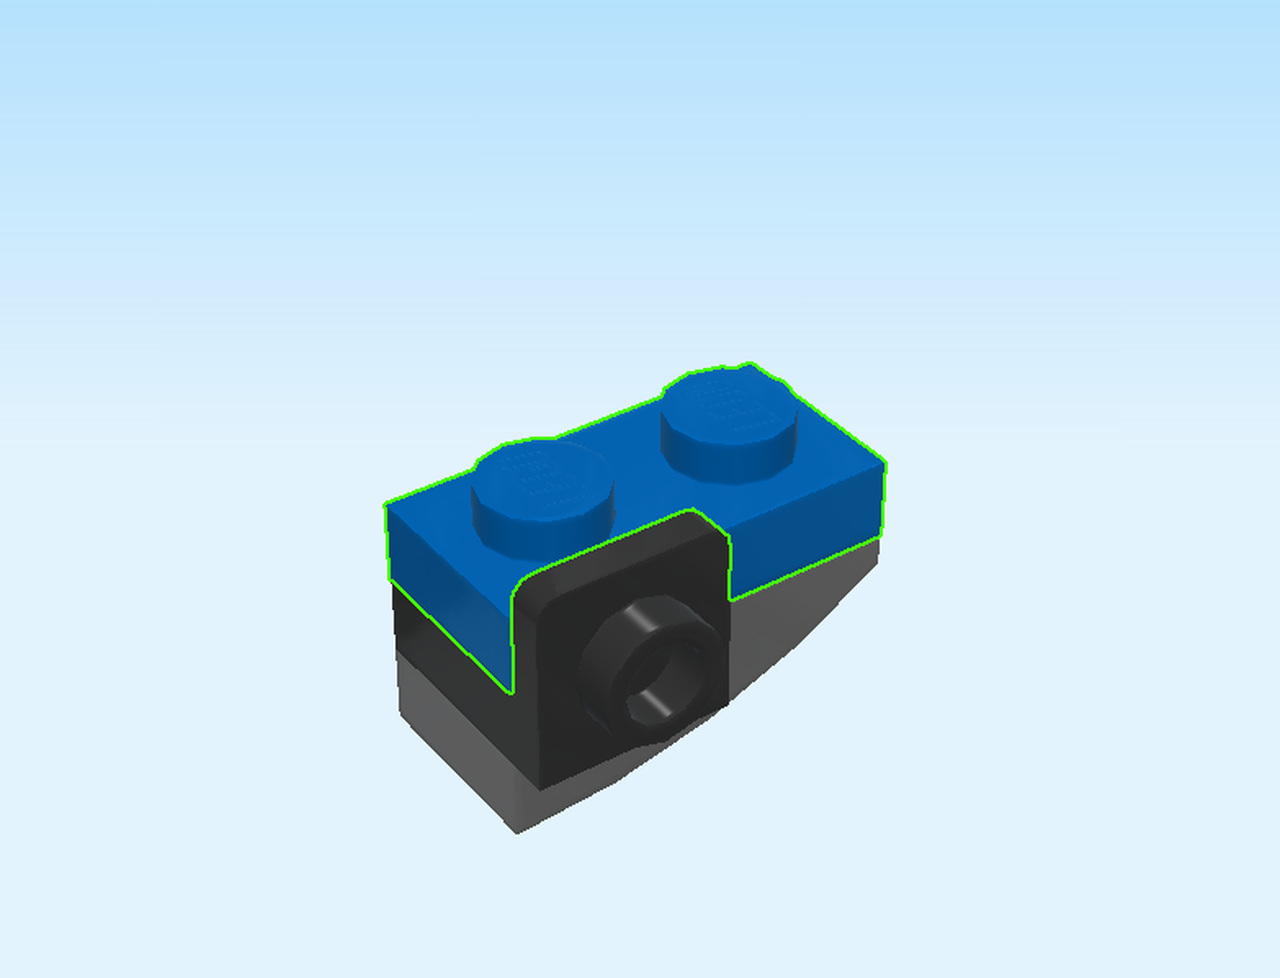
| Find 1 dark stone grey brick 1x2 with technic hole. |
| Put it vertically on the table. |
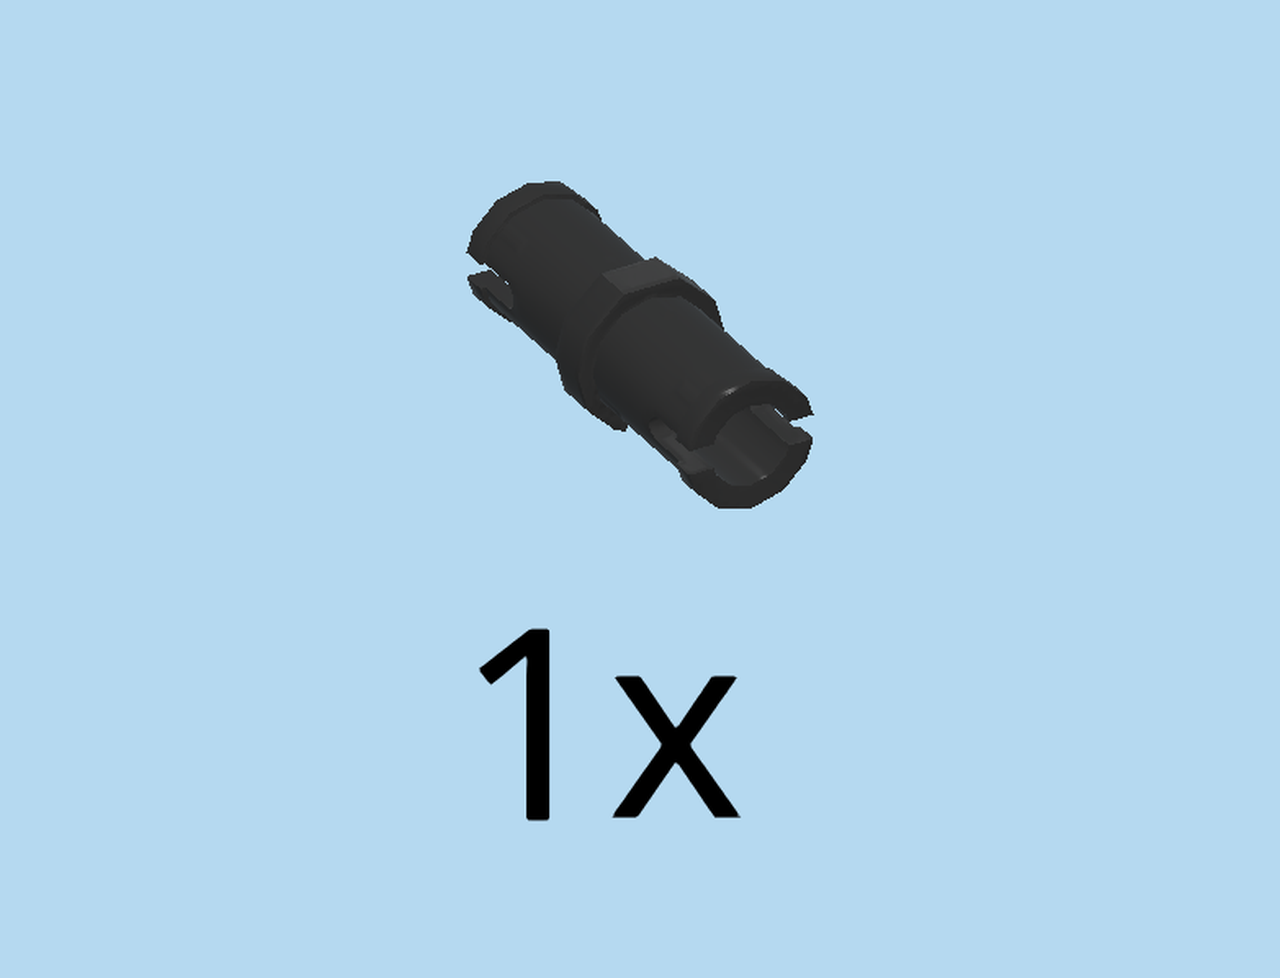
| Find 1 black connector peg with middle friction ring. |
| Insert it left-to-right into the technic hole, overhanging to the left. |
| Mount this part on the leftmost column of the structure. |
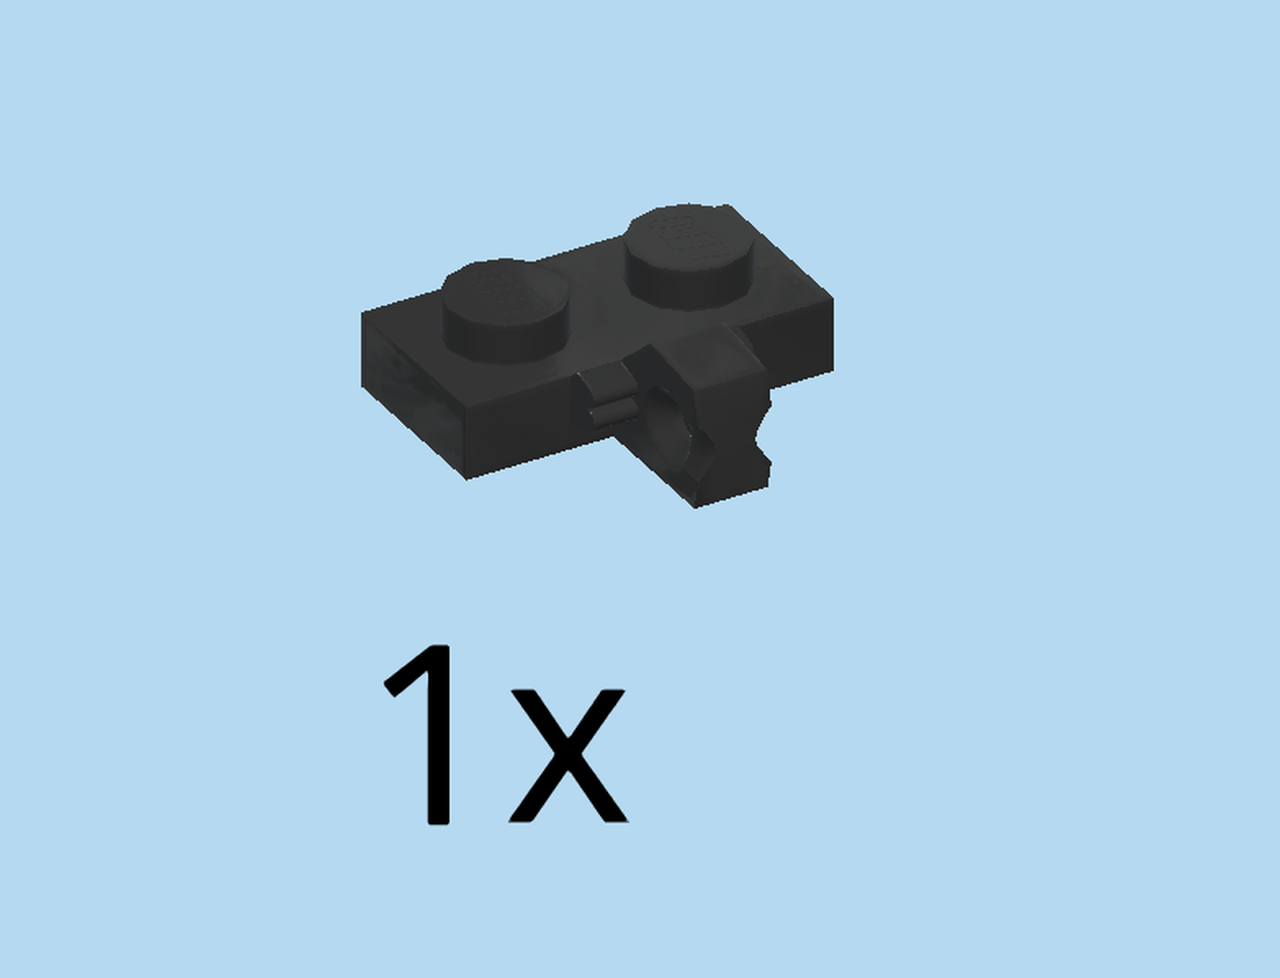
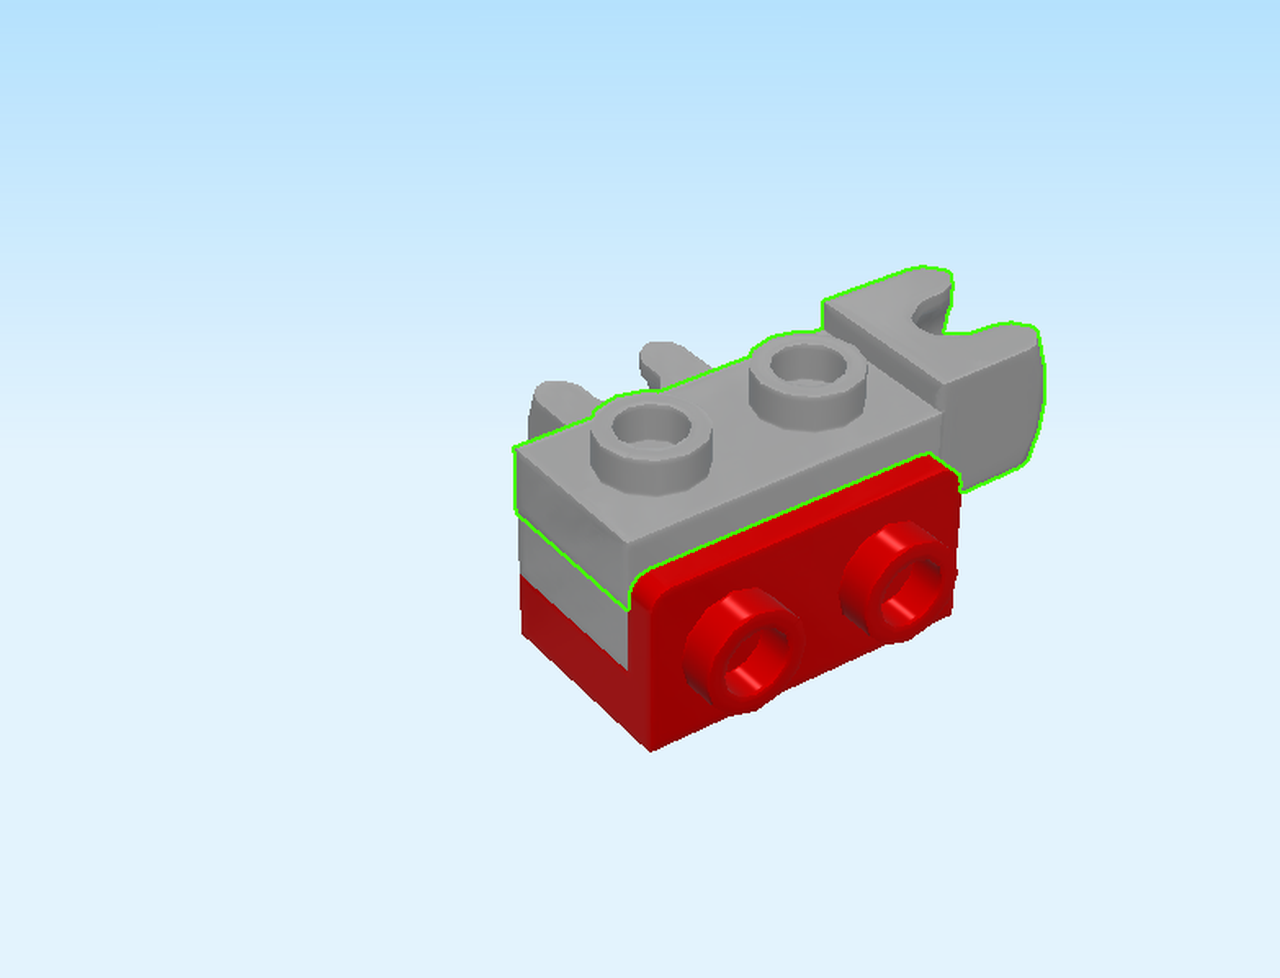
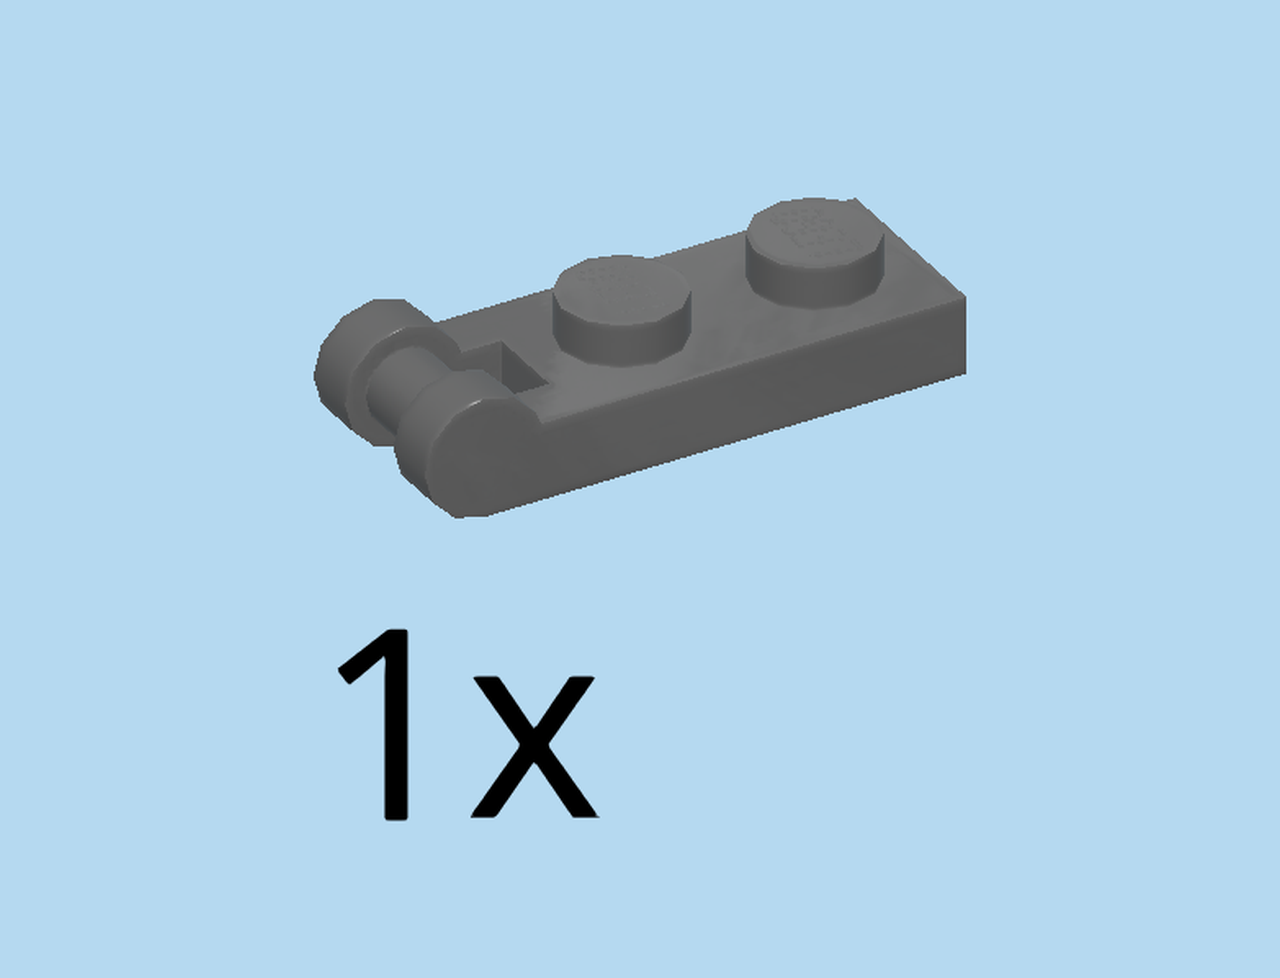
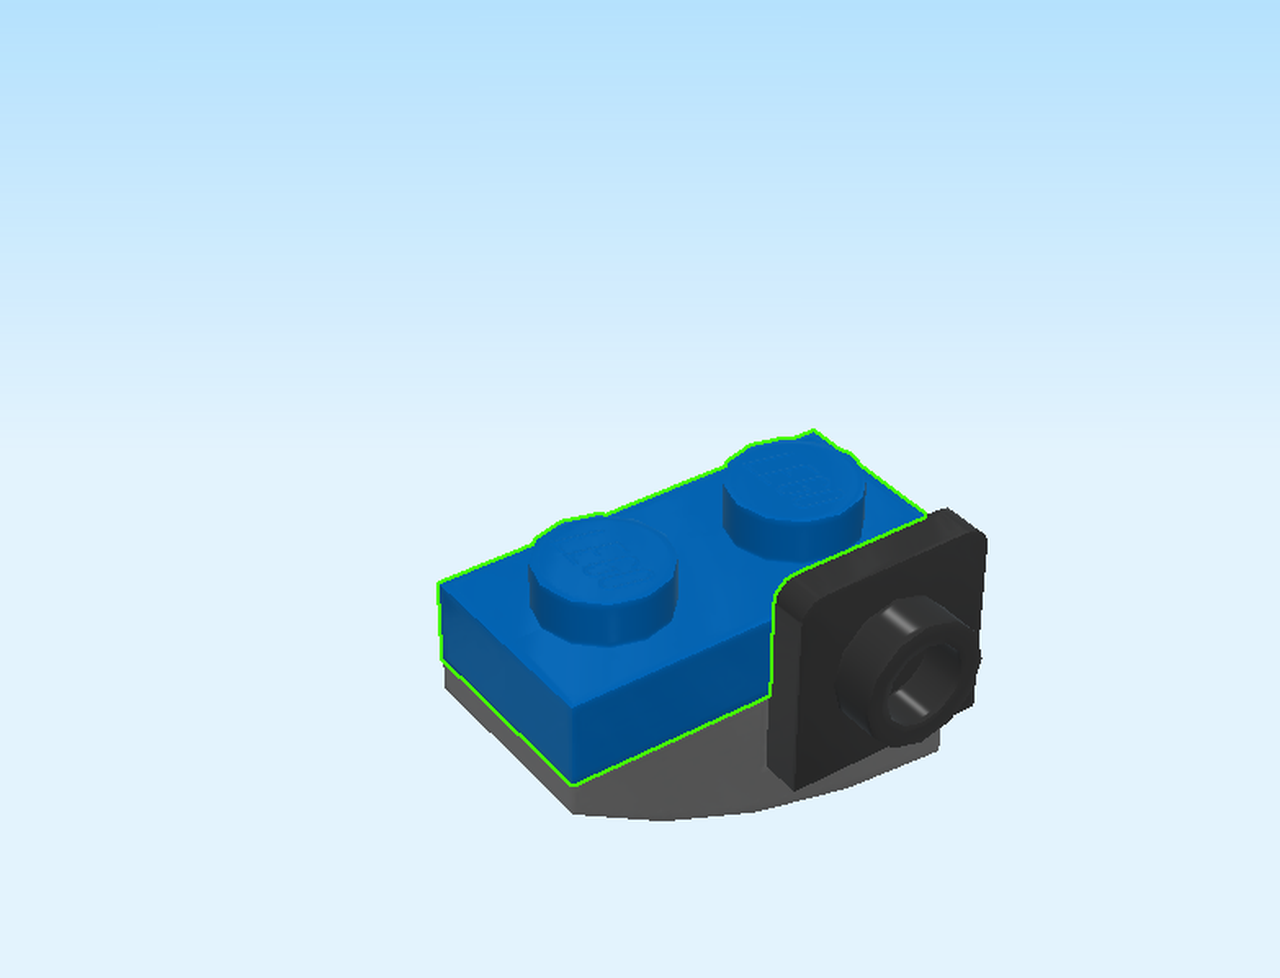
| Find 1 black plate 1x2 with side hinge stub. |
| Put it vertically on top, hinge stub to the left. |
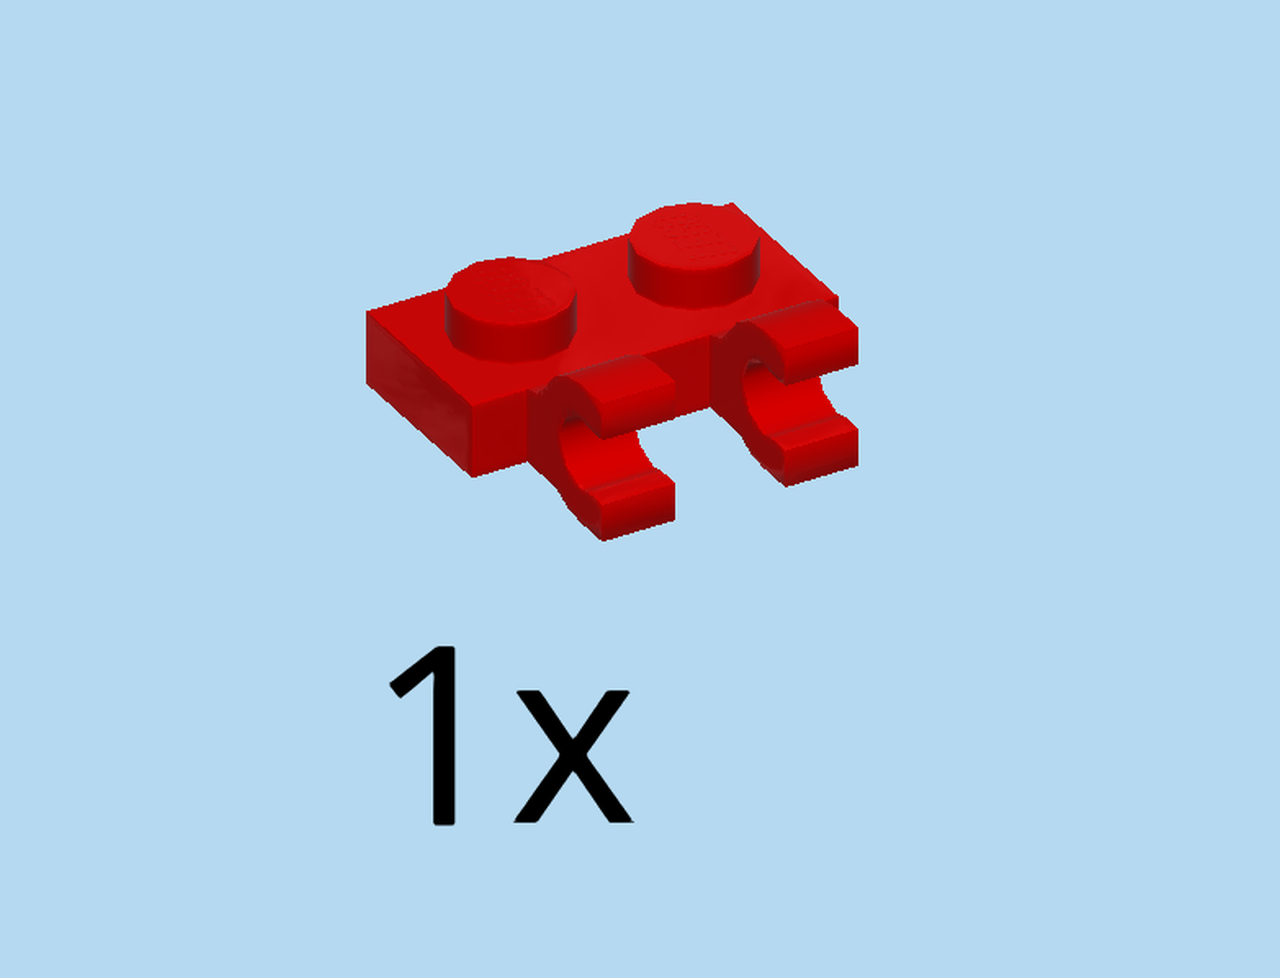
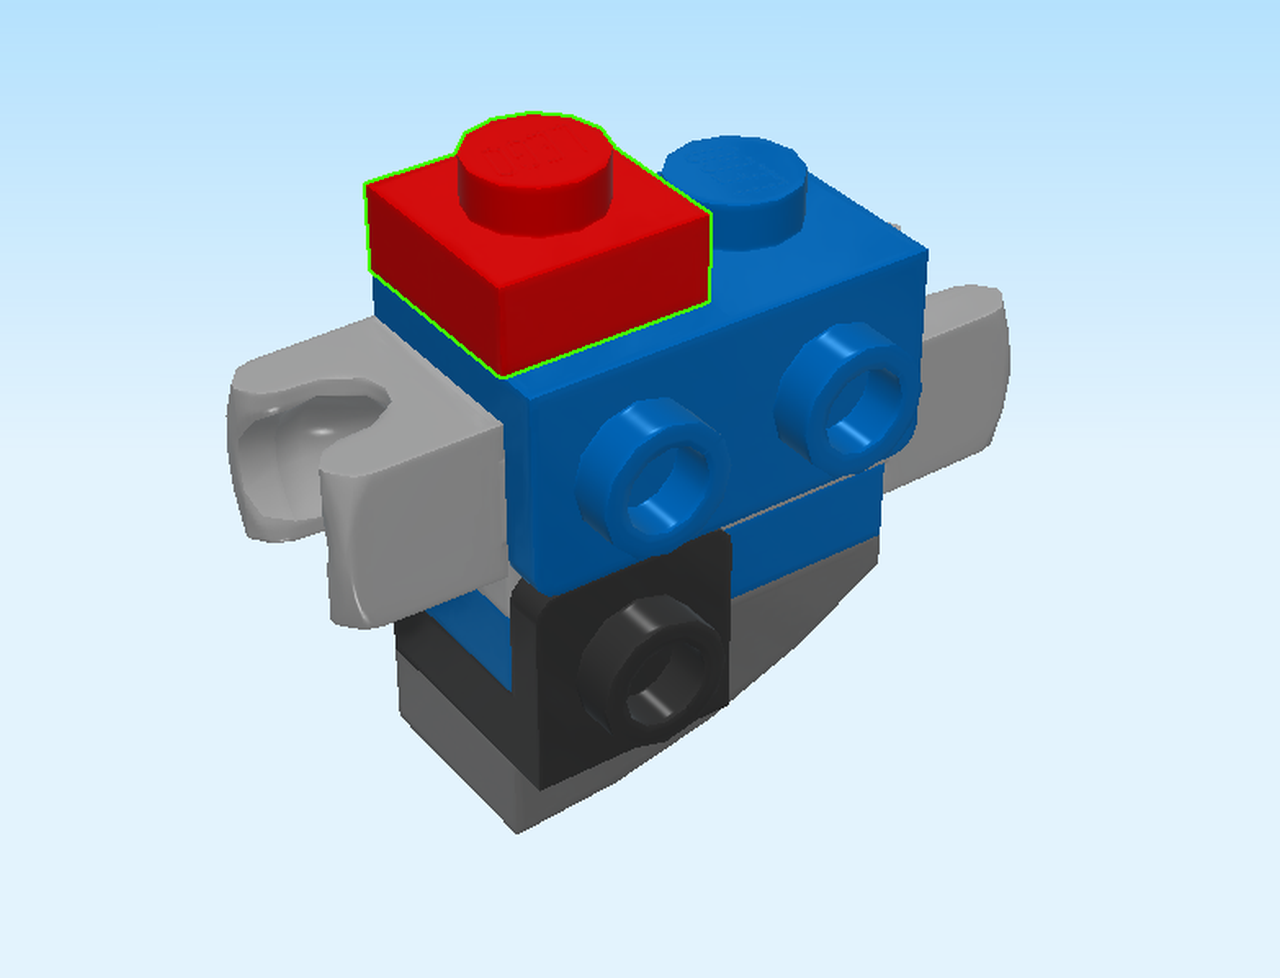
| Fine 1 bright red plate 1x2 with 2 clasps. |
| Put it vertically on top of previous piece, clasps to the right. |
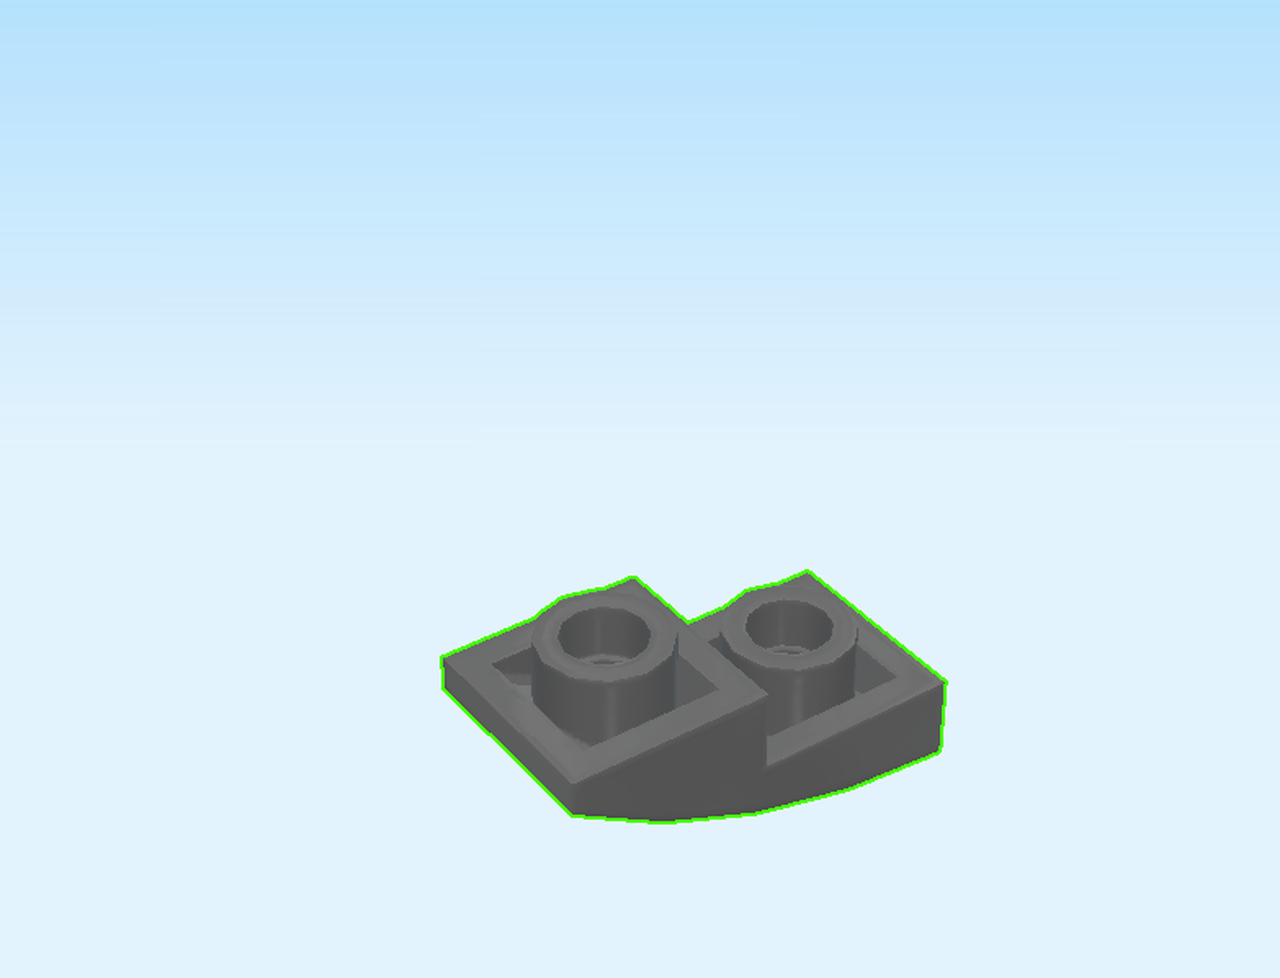
| Find 2 medium stone grey top angle plates 1x1 - 1x1 with side knob. |
| Put one on the back knob of the previous piece, side knob to the back. |
| Repeat symmetrically with knob at the front. |
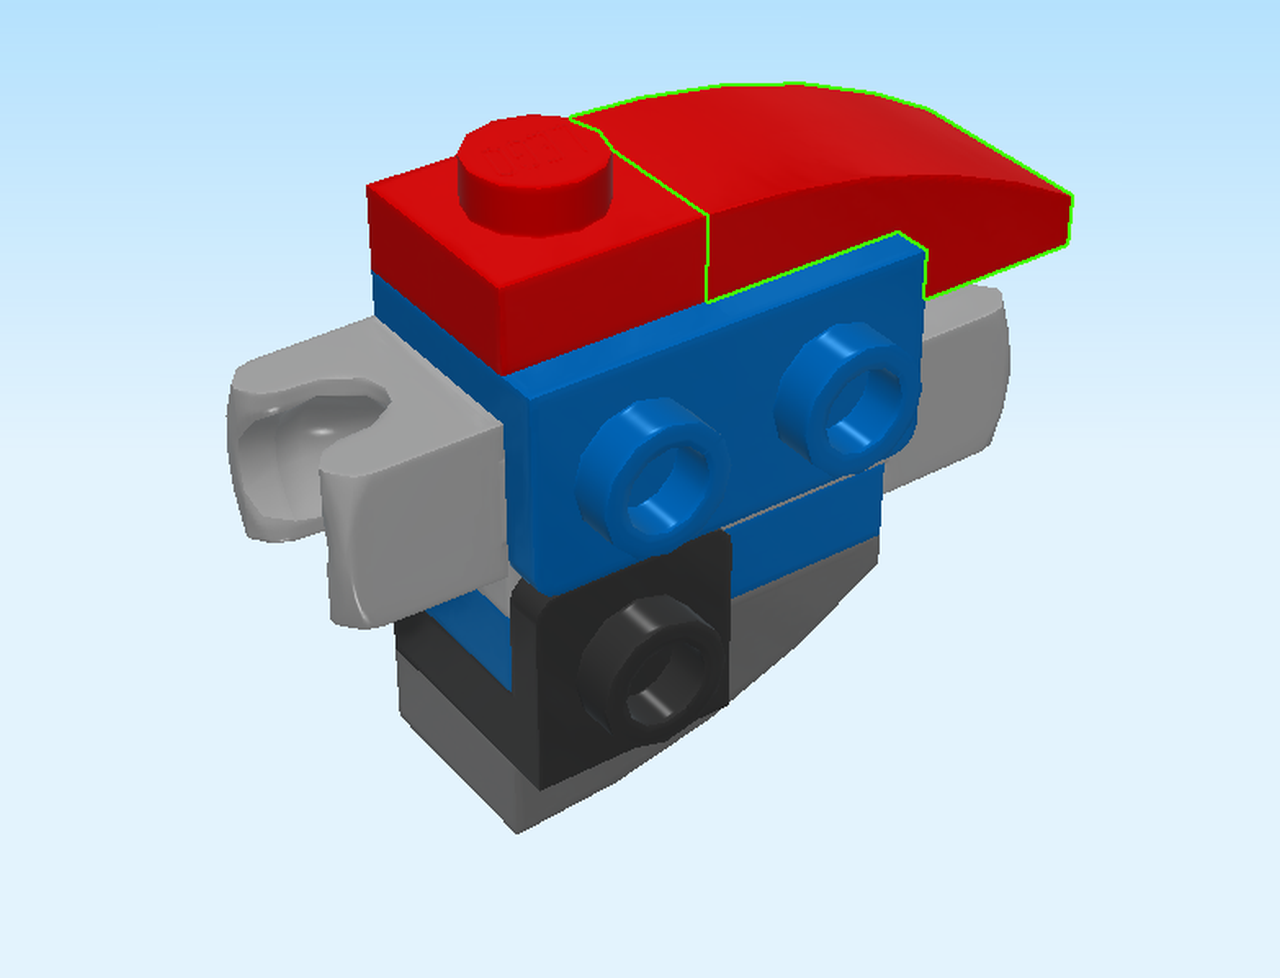
| Find 1 silver metallic ingot 1x2. |
| Put it vertically on top. |
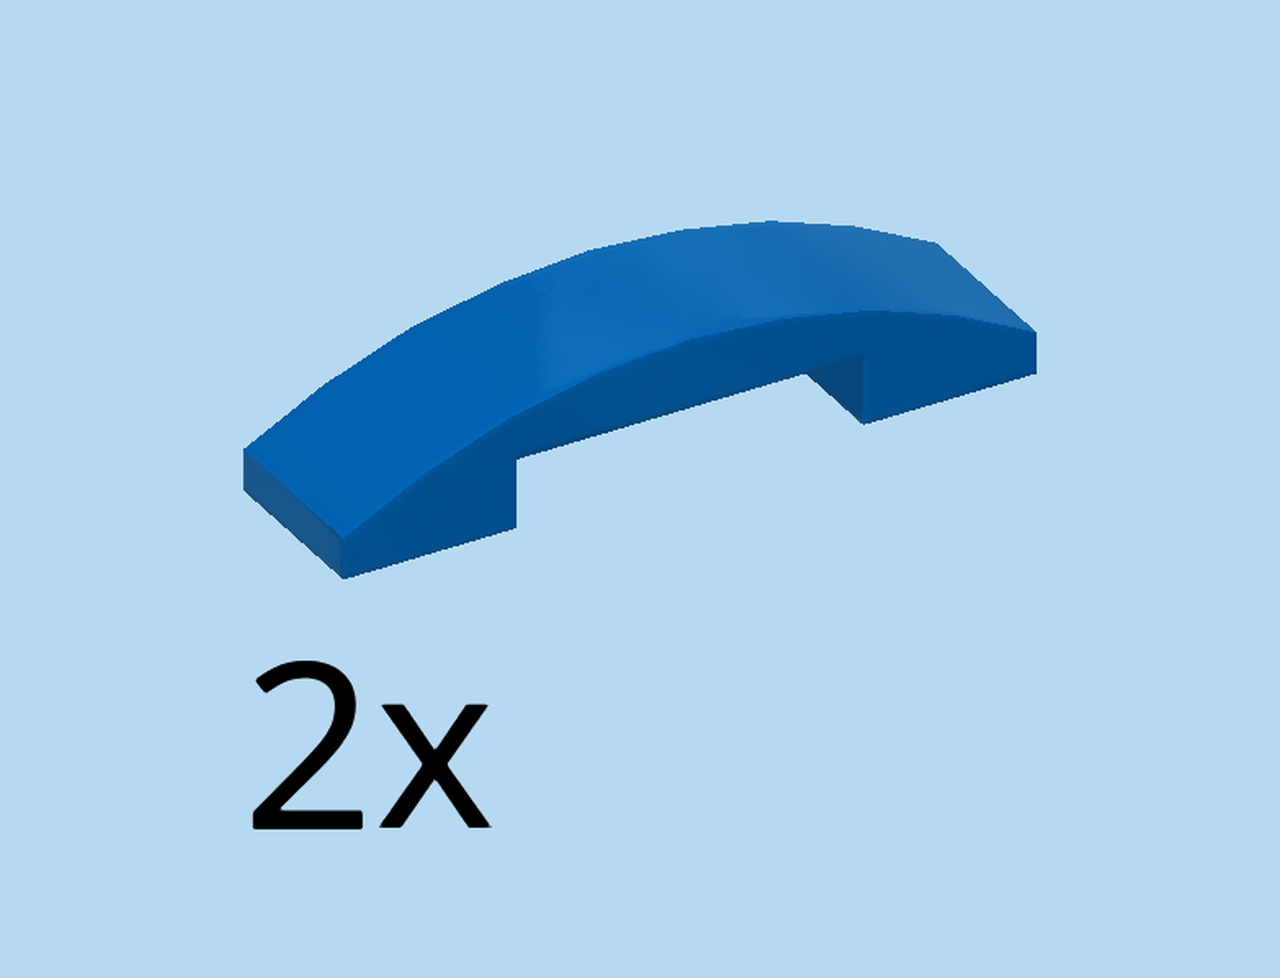
| Find 2 bright blue tiles with bow 1x4. |
| Careful! These pieces have a special orientation! |
| Put one upright, vertically on the 2 front side knobs on the left. |
| Repeat symmetrically at the back. |
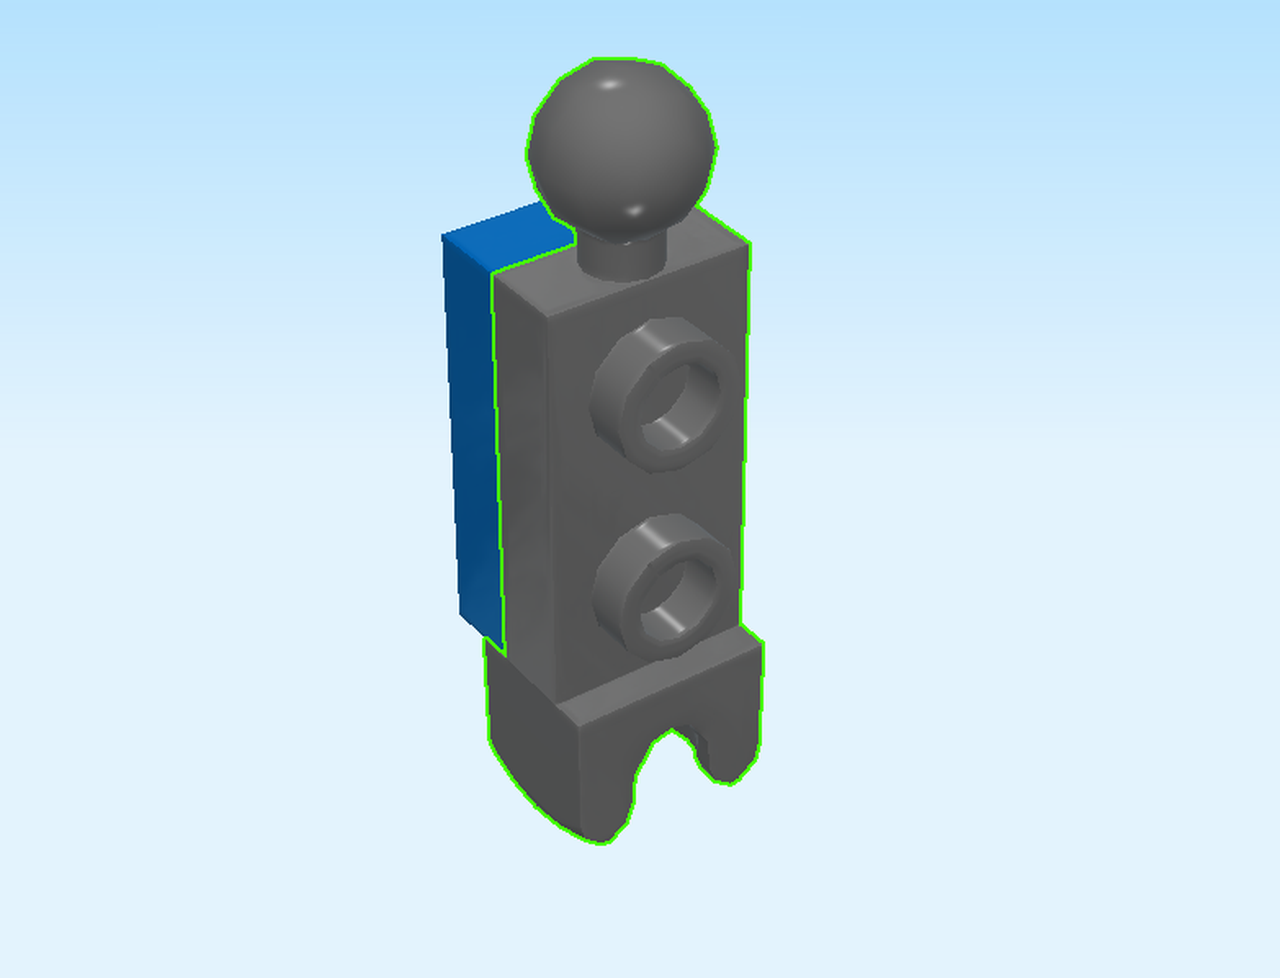
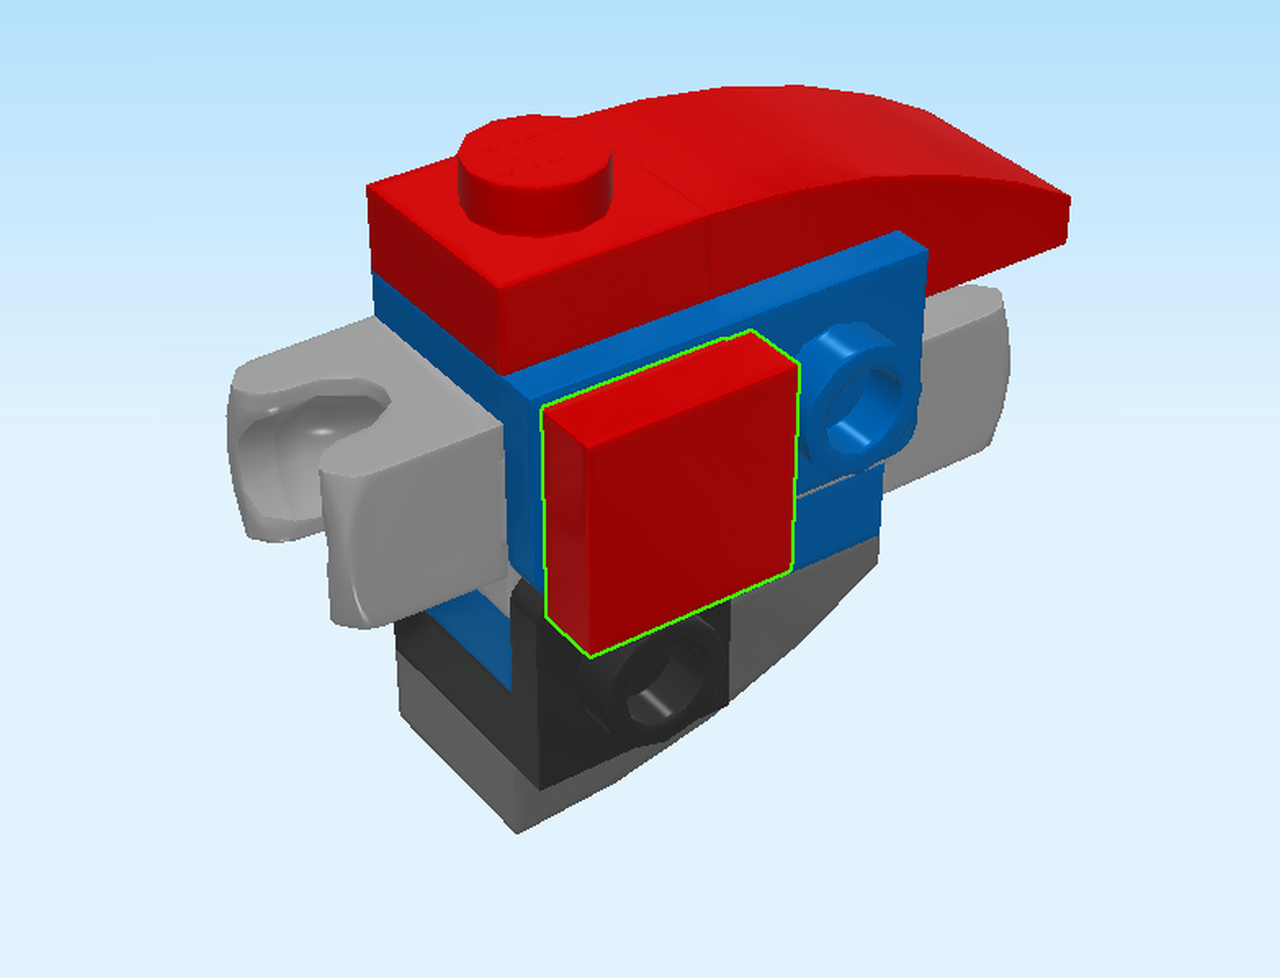
| Find 1 dark stone grey beam 1m with 3 balls. |
| Careful! This piece has a special orientation! |
| Insert it upright into the connector peg on the left side of the structure. 2 balls point to the front and back, and 1 ball to the bottom. |
| This waist of the robot is finished! Put it aside for now, we will need it later. |
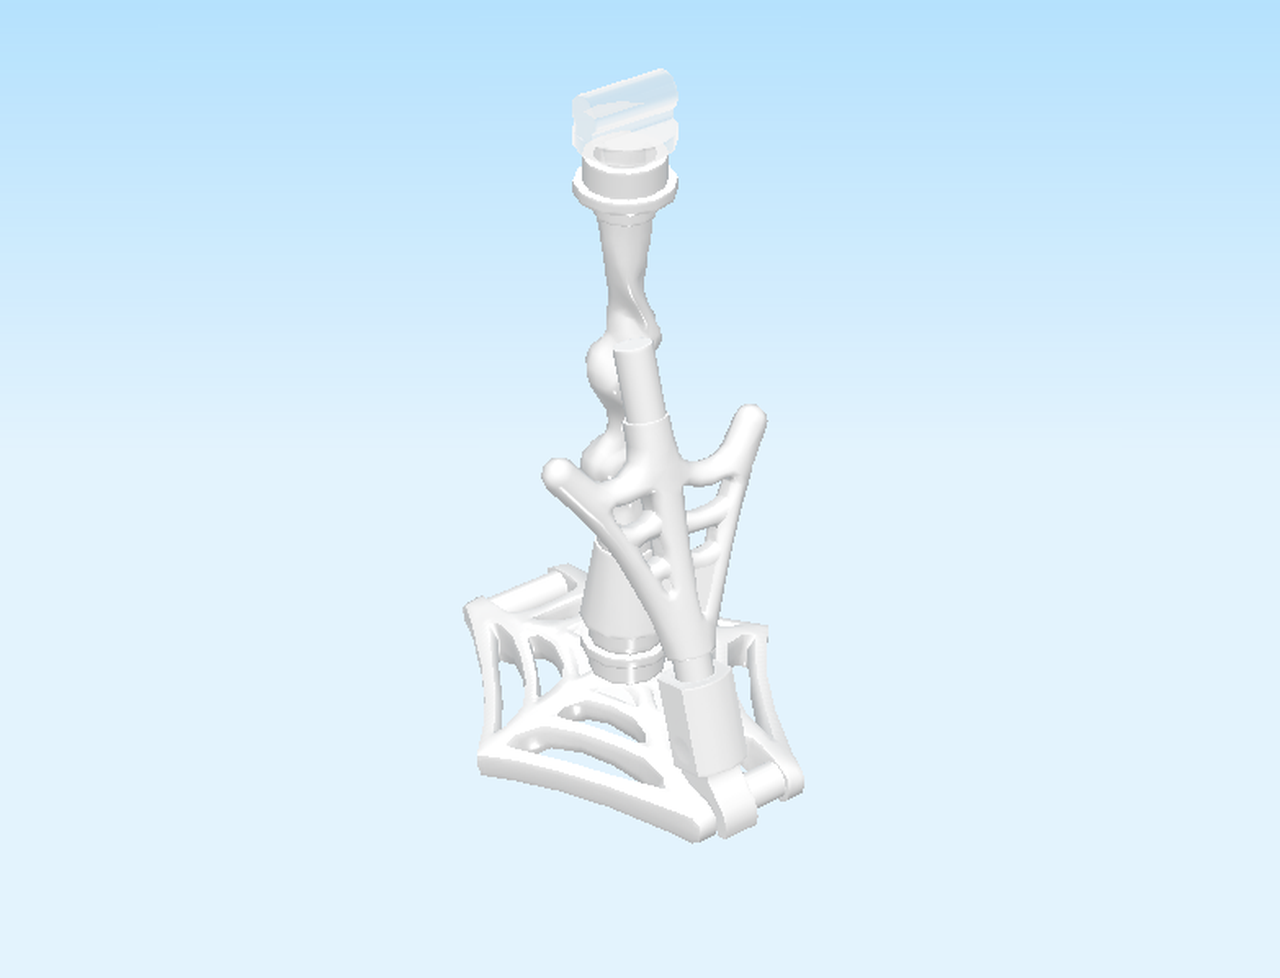
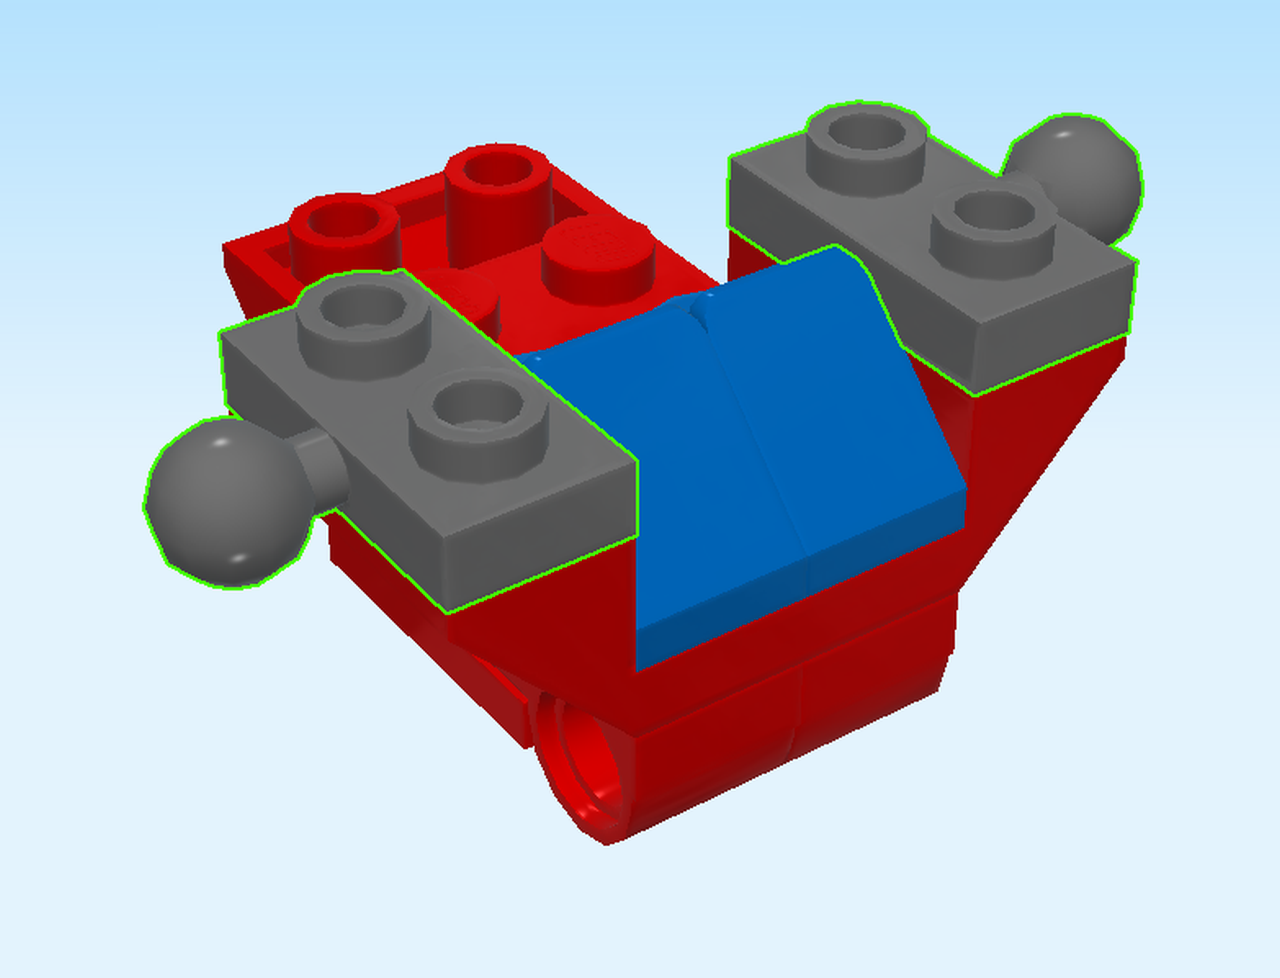
| Next, we will build the torso of the robot. |
| Find 1 bright red inverted flat tile 2x2. |
| Put it on the table, knob-side up. |
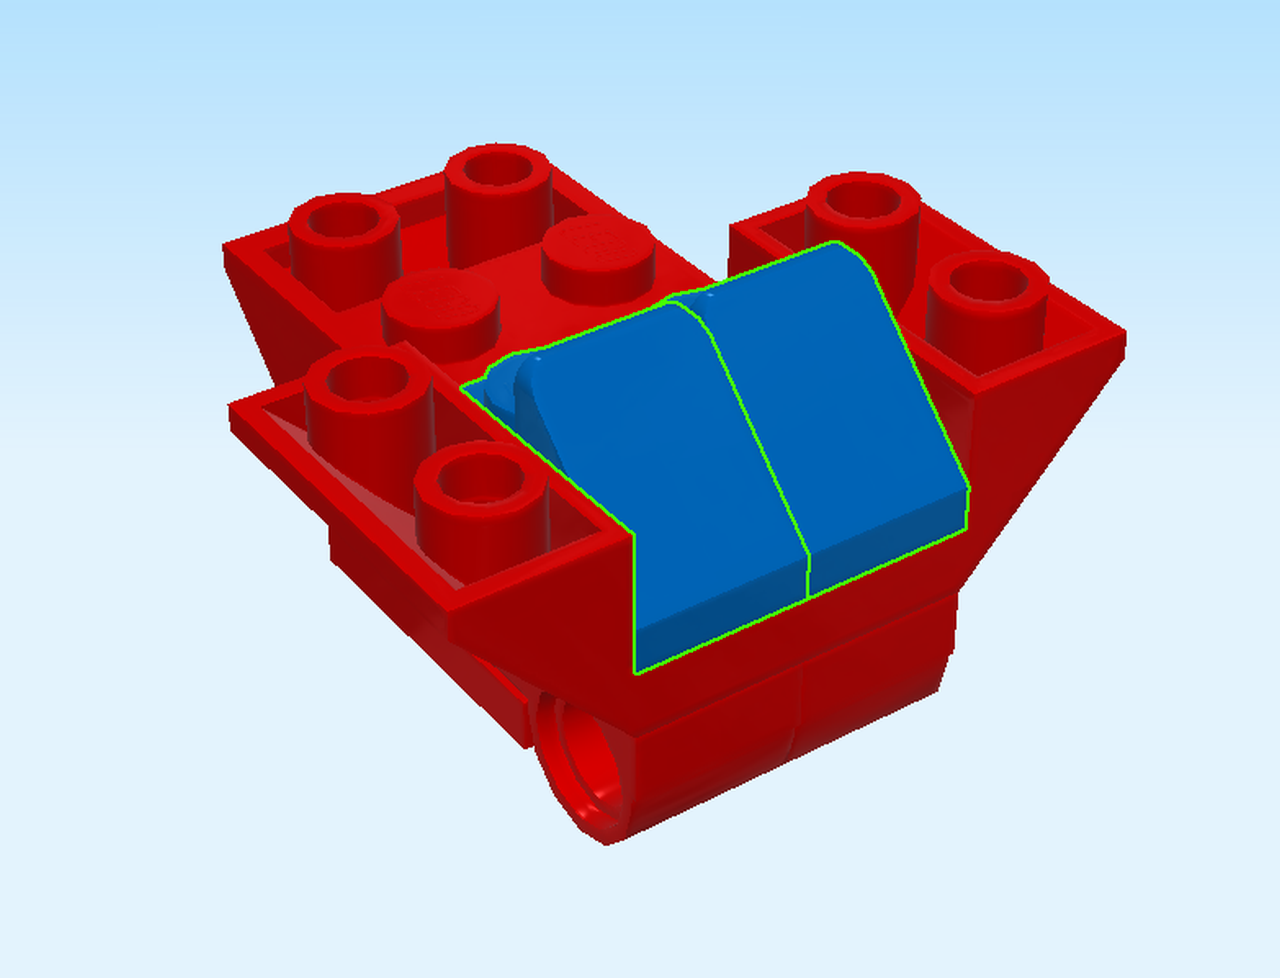
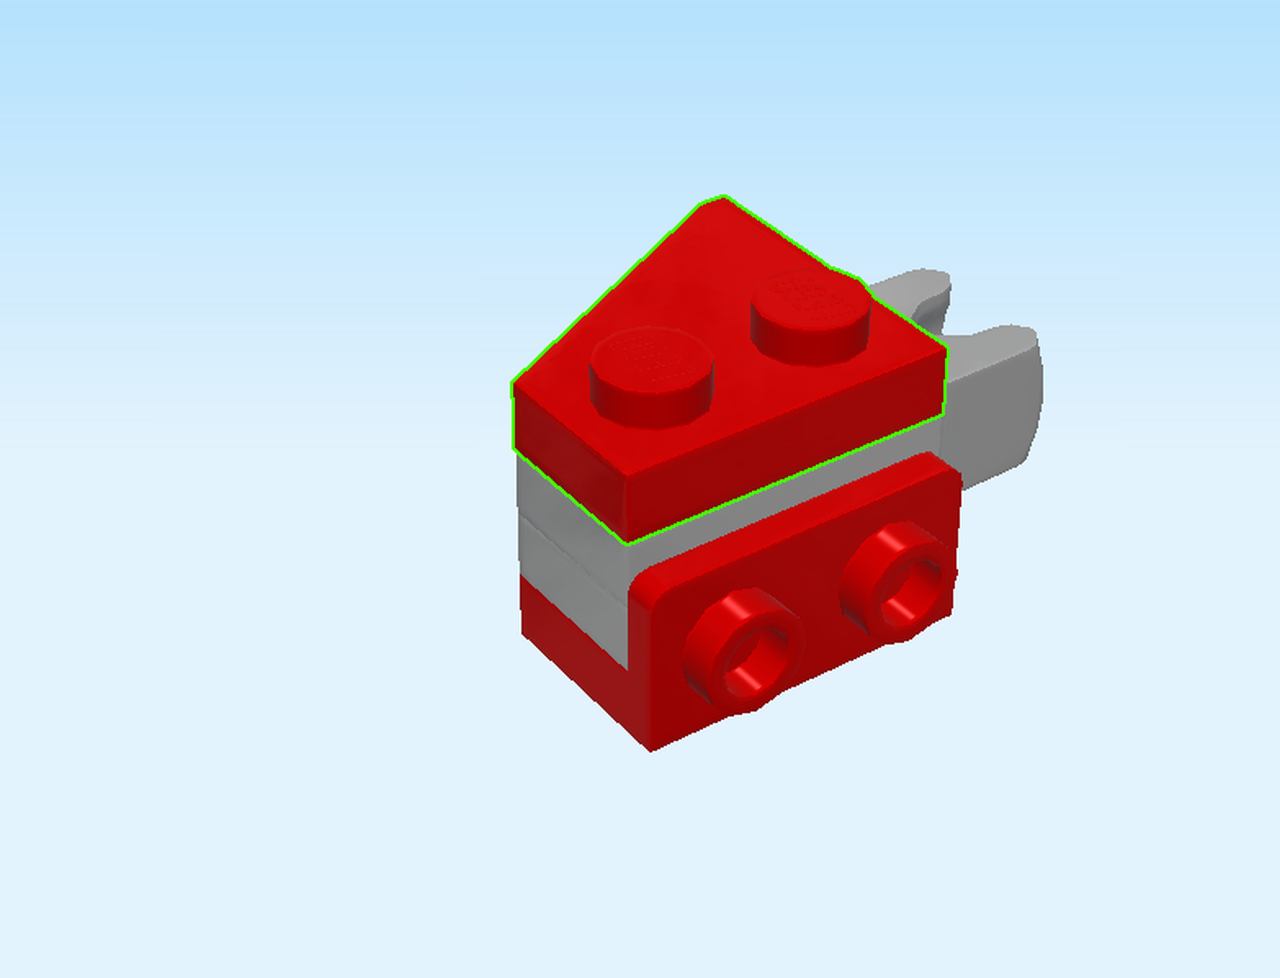
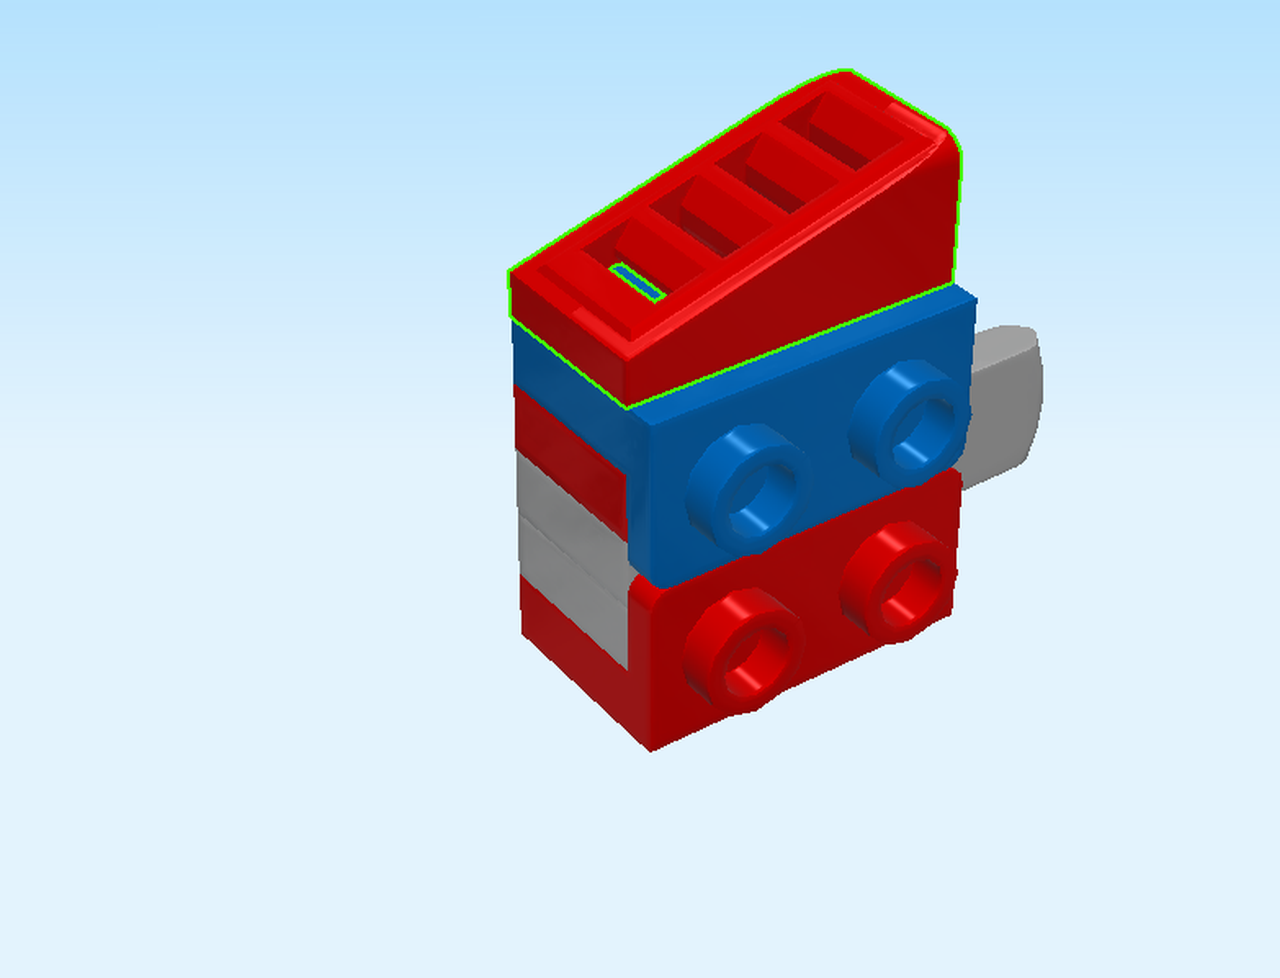
| Find 1 bright red inverted roof tile 2x2. |
| Put it on the back row of the previous piece, slope to the back. |
| Find 2 bright red plates 1x2 with side bottom tube. |
| Put them vertically on the frontmost row, tubes to the front. |
| Find 1 bright red inverted double roof tile 2x4. |
| Put it horizontally on top of the previous two pieces, slopes to the left and right. |
| Find 2 bright blue plates 1x2 with top roof tile. |
| Put them vertically on the middle two columns of the previous piece, slopes to the front. |
| Find 2 dark stone grey plates 1x2 with side ball. |
| Put one of them vertically on the inverted roof tile on the left, ball to the left. |
| Repeat symmetrically on the right, ball to the right. |
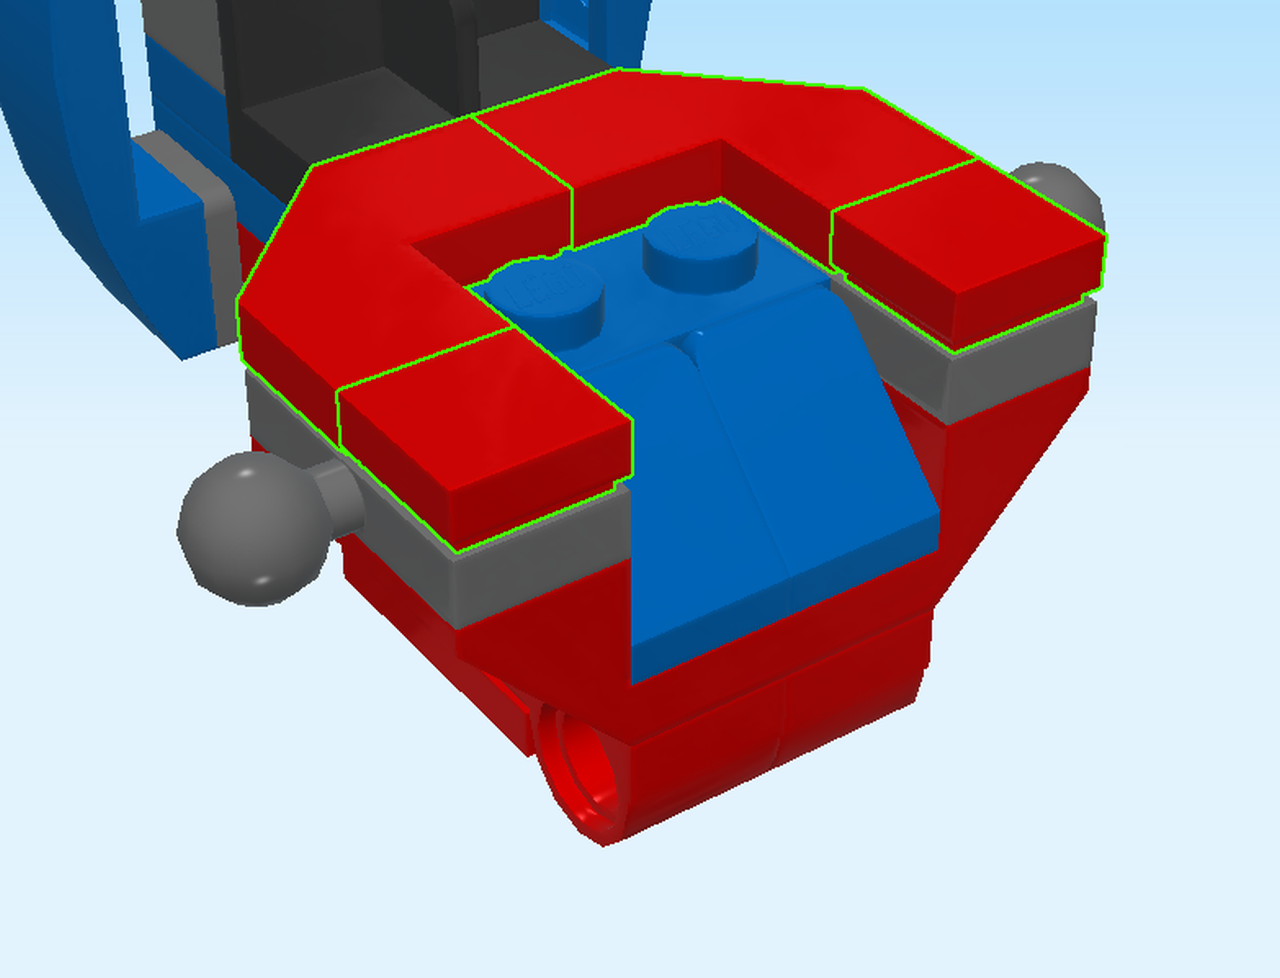
| It's time to connect the waist with the torso part that we have just built! Building this part of the robot can be hard, so make sure to ask for help if needed. |
| Hold the waist structure such that the tiles with bow 1x4 are to the left and right, lower plate structure to the front. |
| Mount it on top of the inverted roof tile on the back side of the torso structure, touching the 2 roof tiles 1x2 at the front. |
| Great job! Now we lock it in place with a couple of flat tiles. |
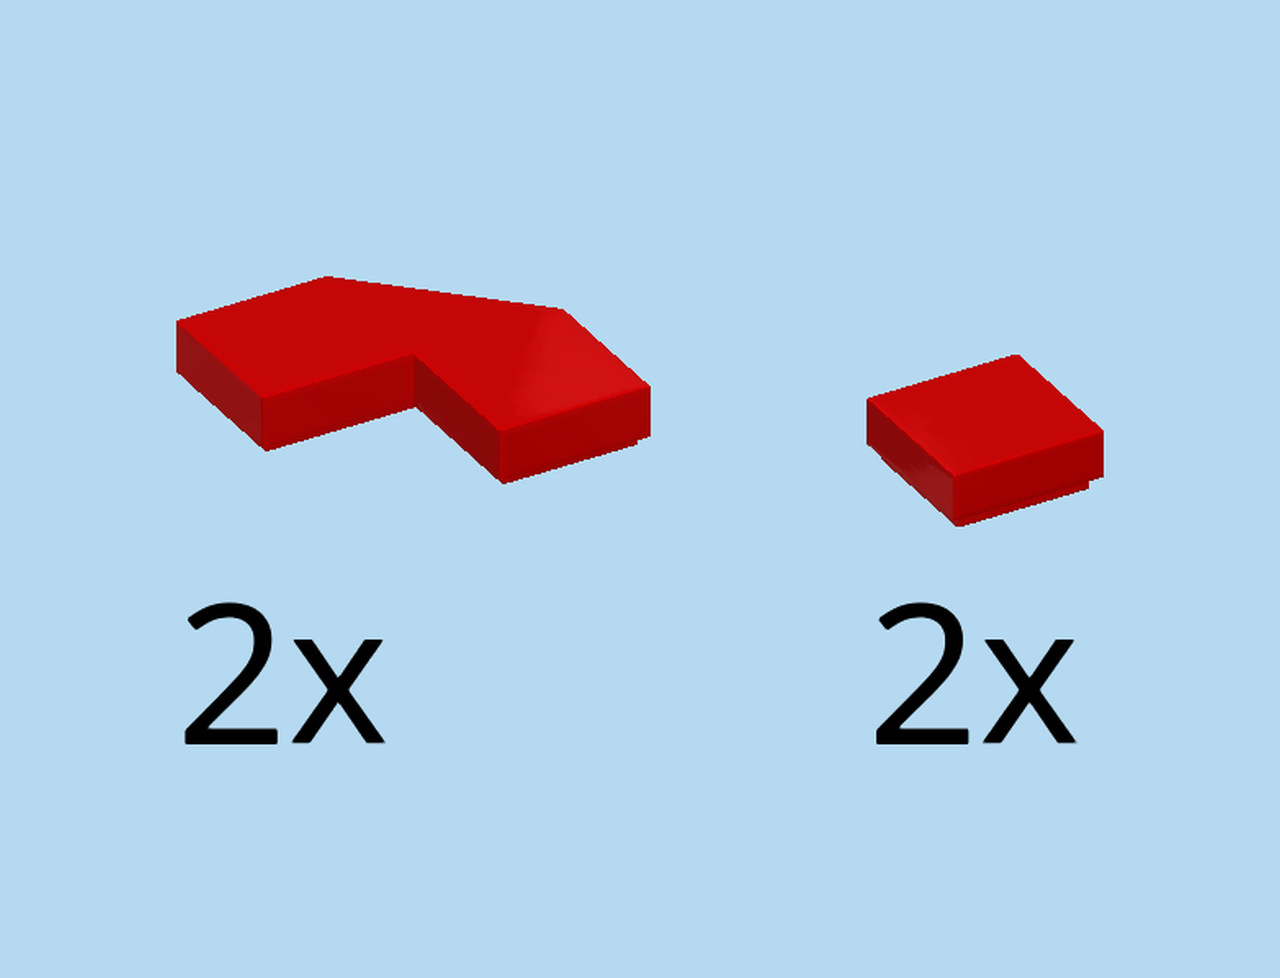
| Collect the following 4 pieces: |
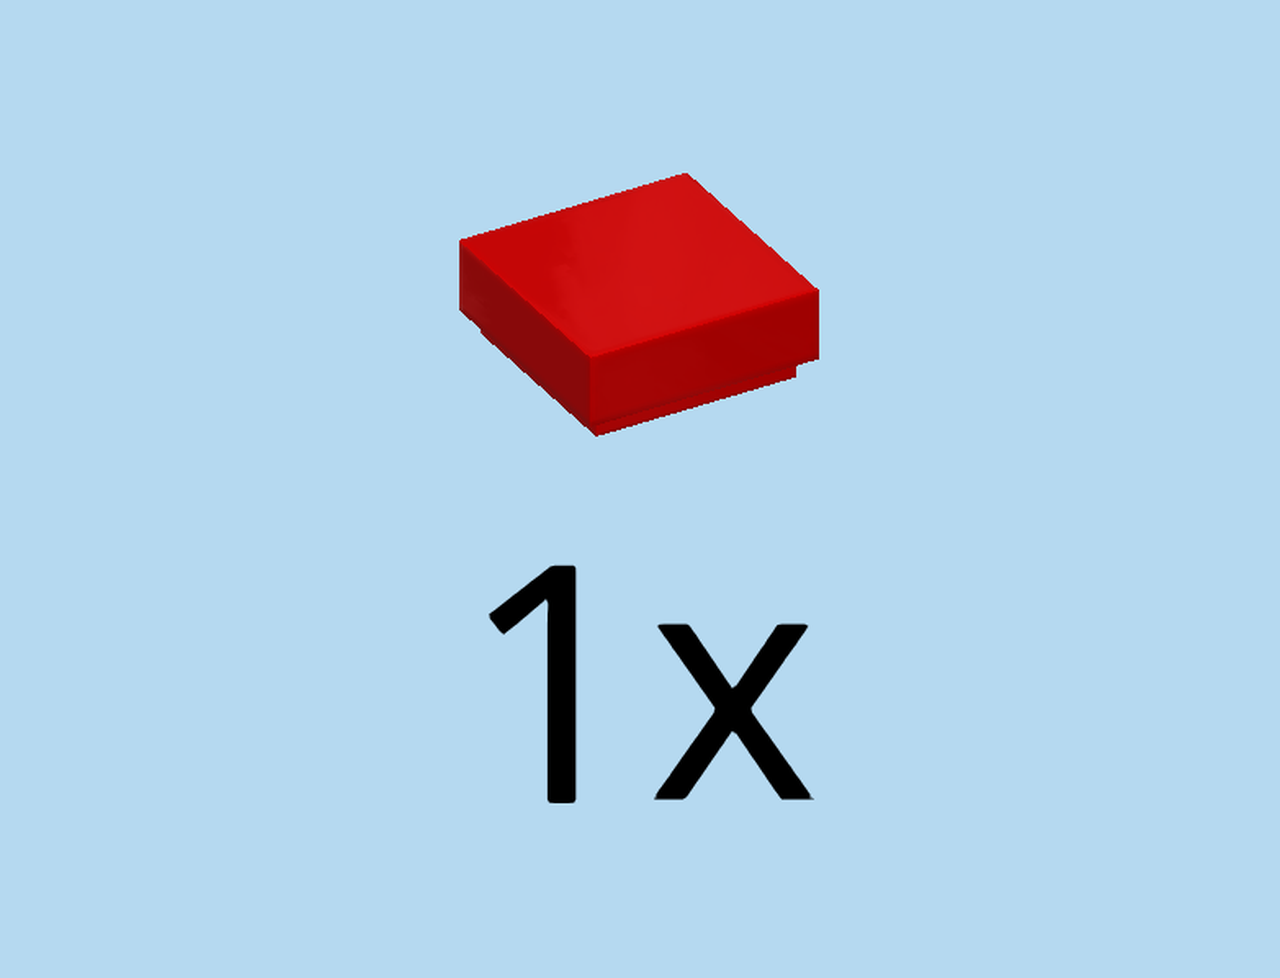
| 2 bright red flat tiles 1x1, |
| and 2 bright red corner tiles 2x2 with cut-off corner. |
| Put 1 flat tile 1x1 on the frontmost knob of the leftmost column. |
| Put 1 corner tile 1x2 behind the previous piece, cut-off corner to the left and back. |
| Repeat symmetrically on the right. |
| Now, flip the structure 90 degrees to the back. Now, the sides of the 2 tiles with bow 1x4 are touching the table. |
| Next, turn the structure left to right. This means that the 2 bottom tubes are now at the top and at the back. The silver metallic ingot 1x2 is at the front and at the bottom. |
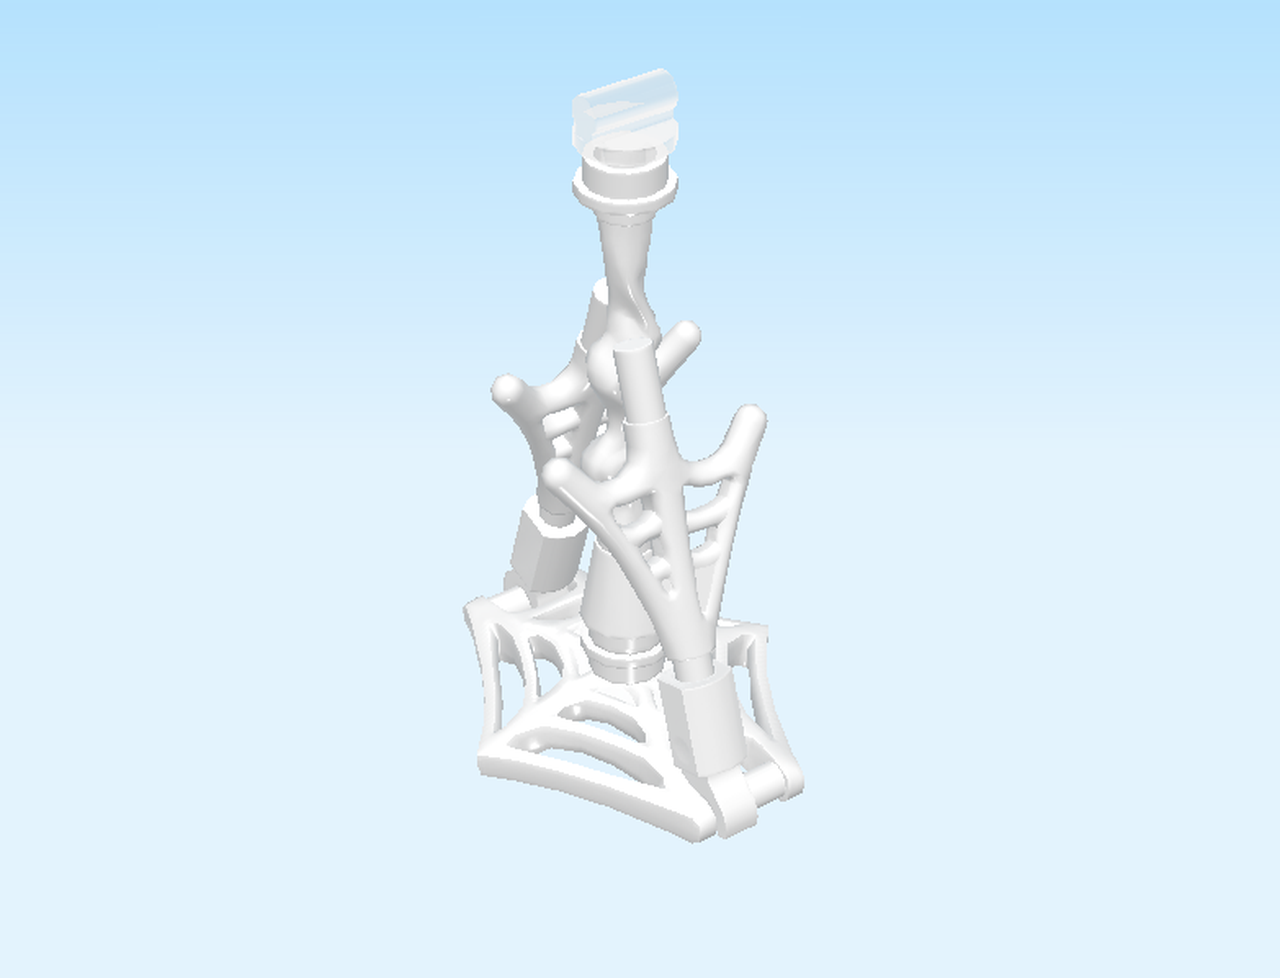
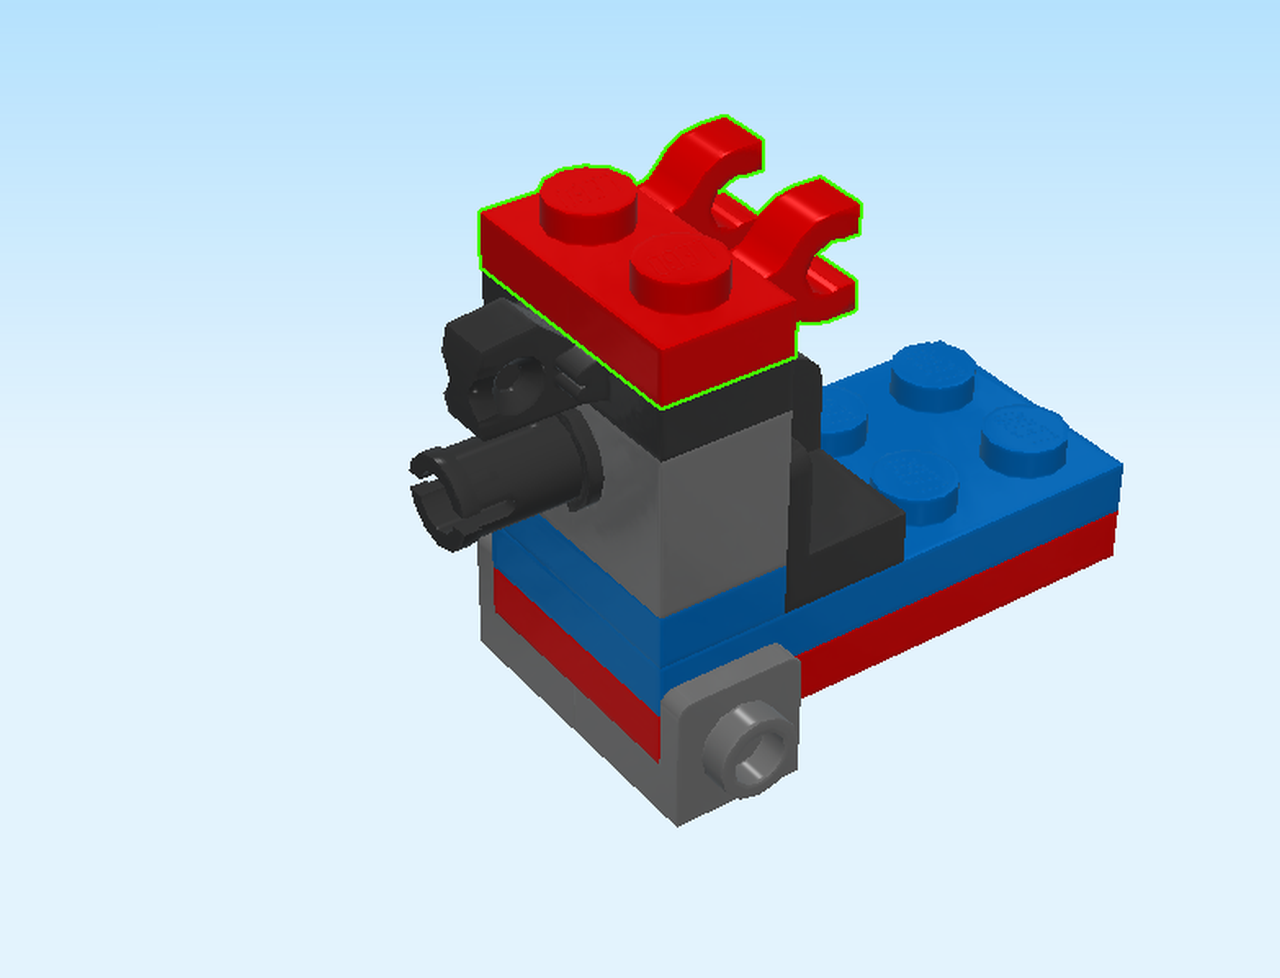
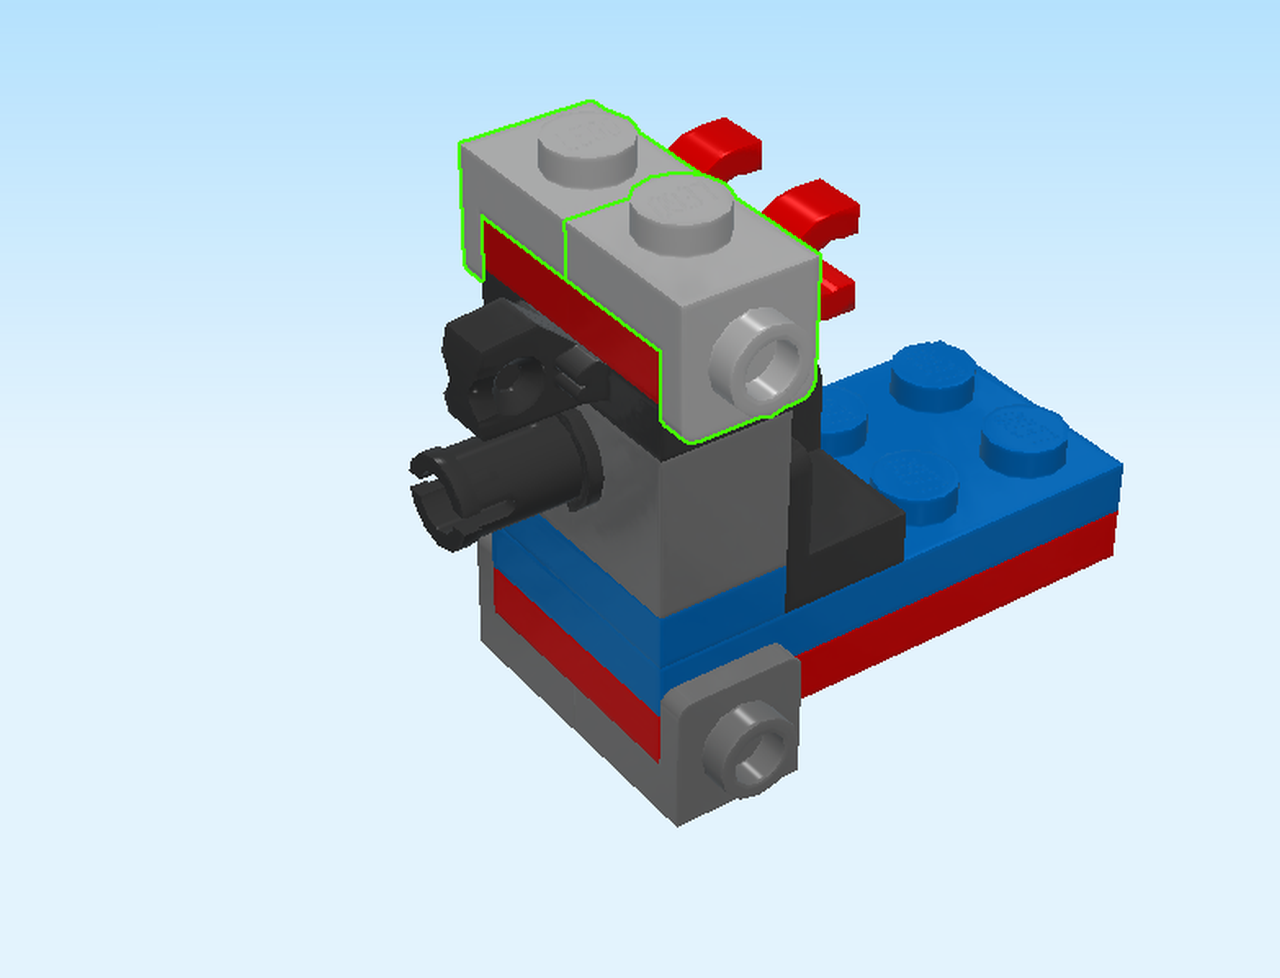
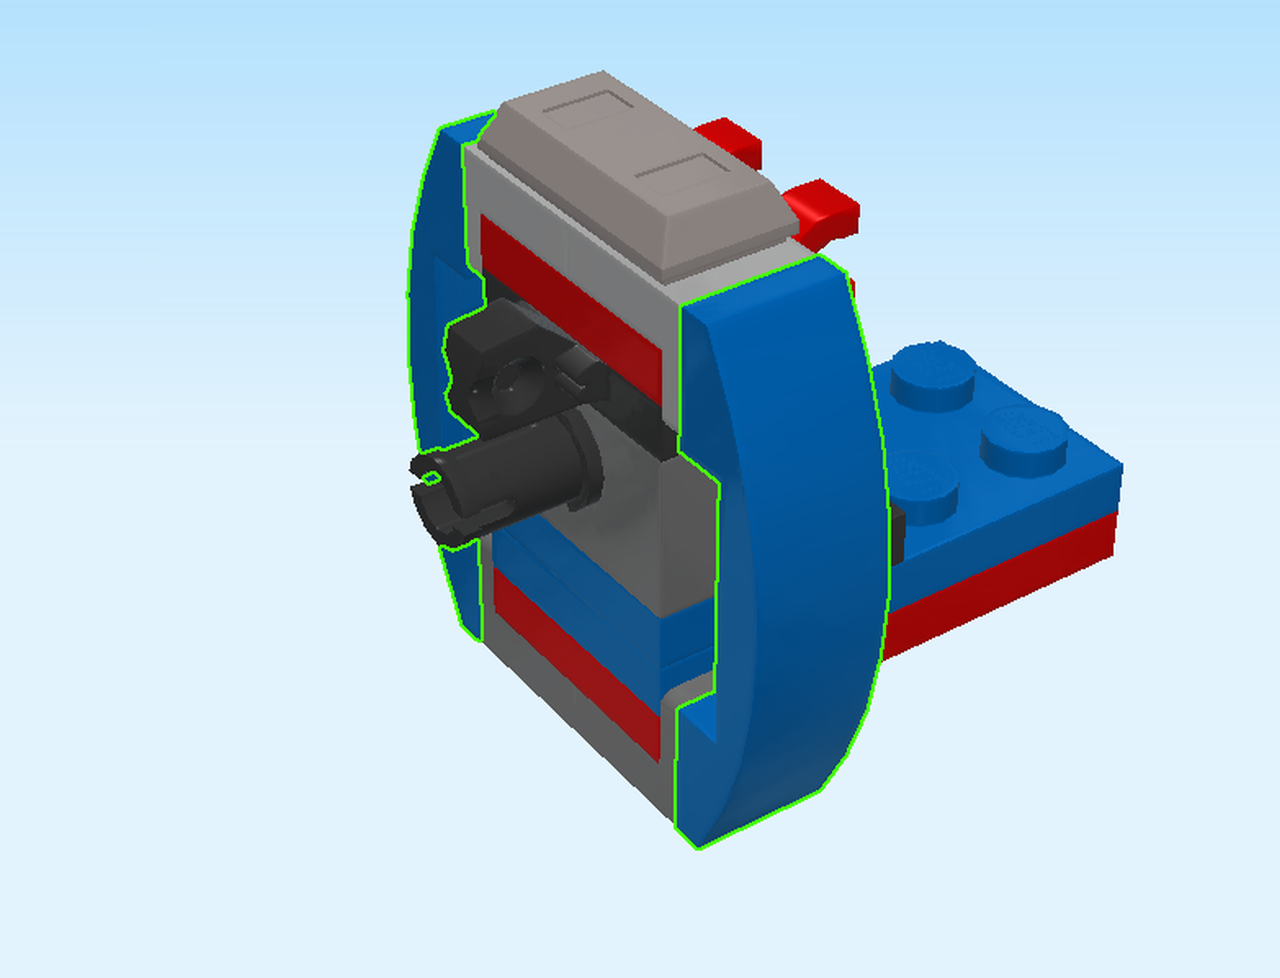
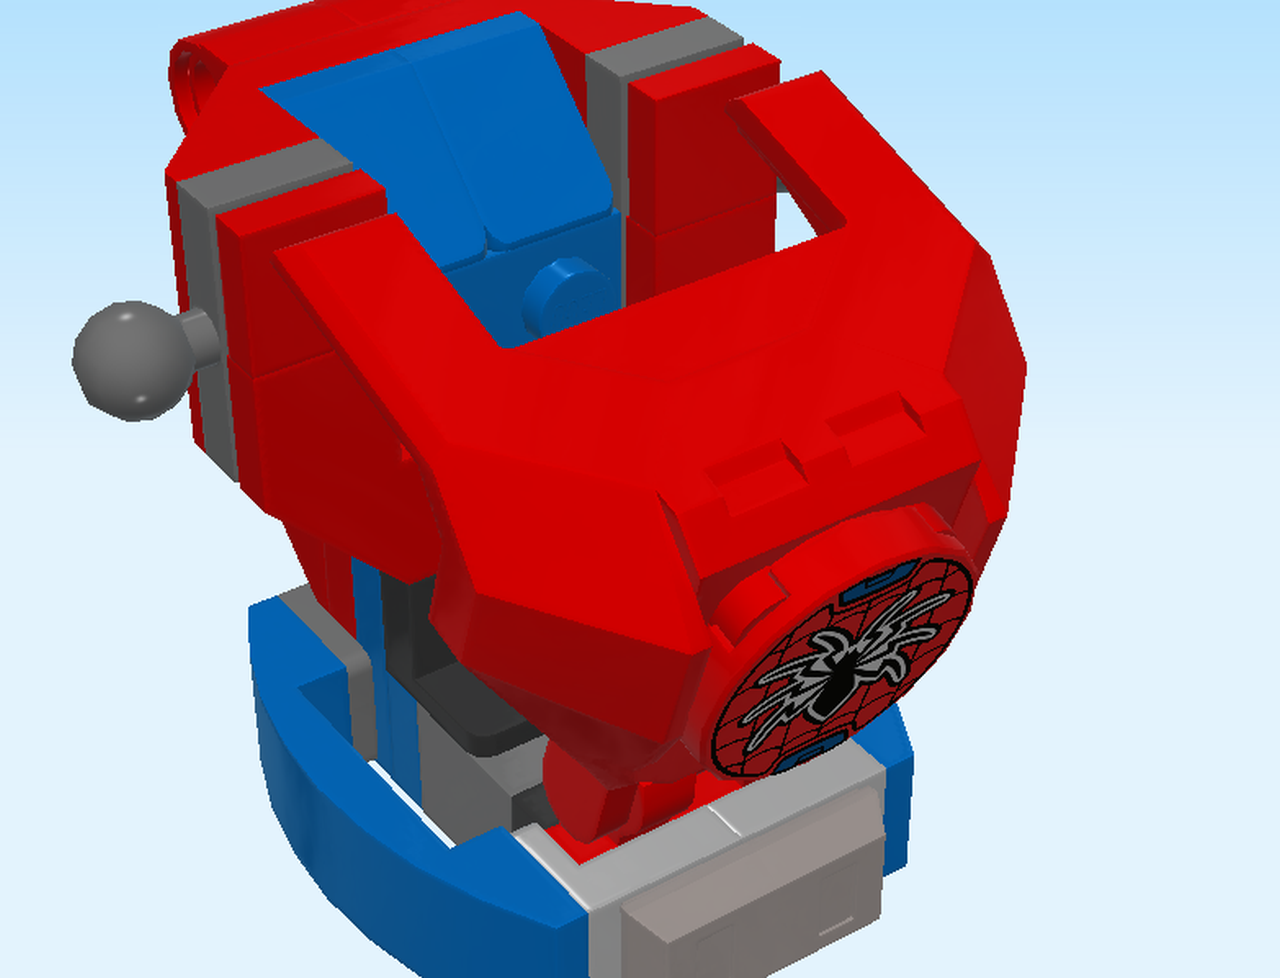
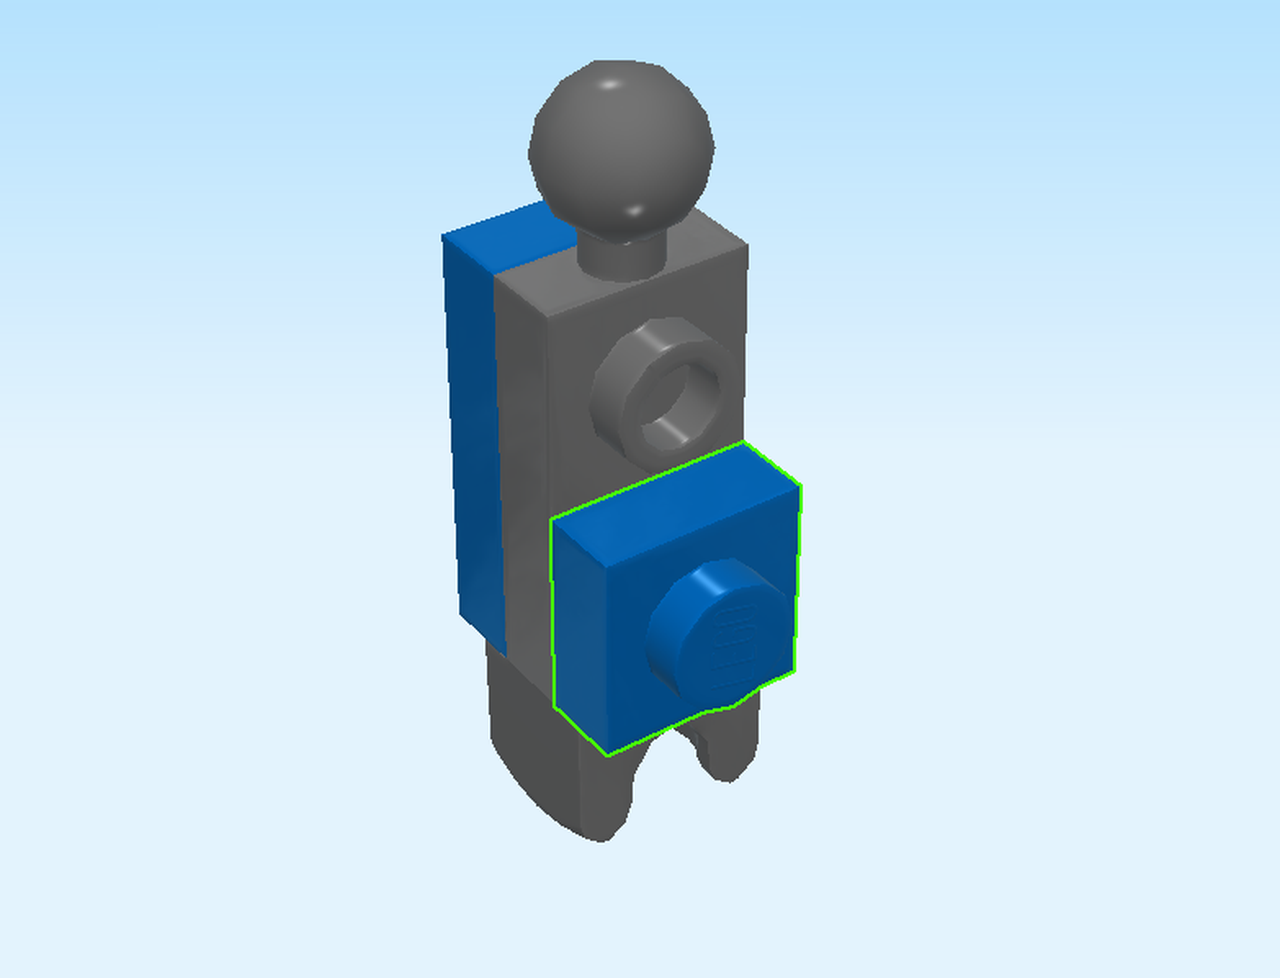
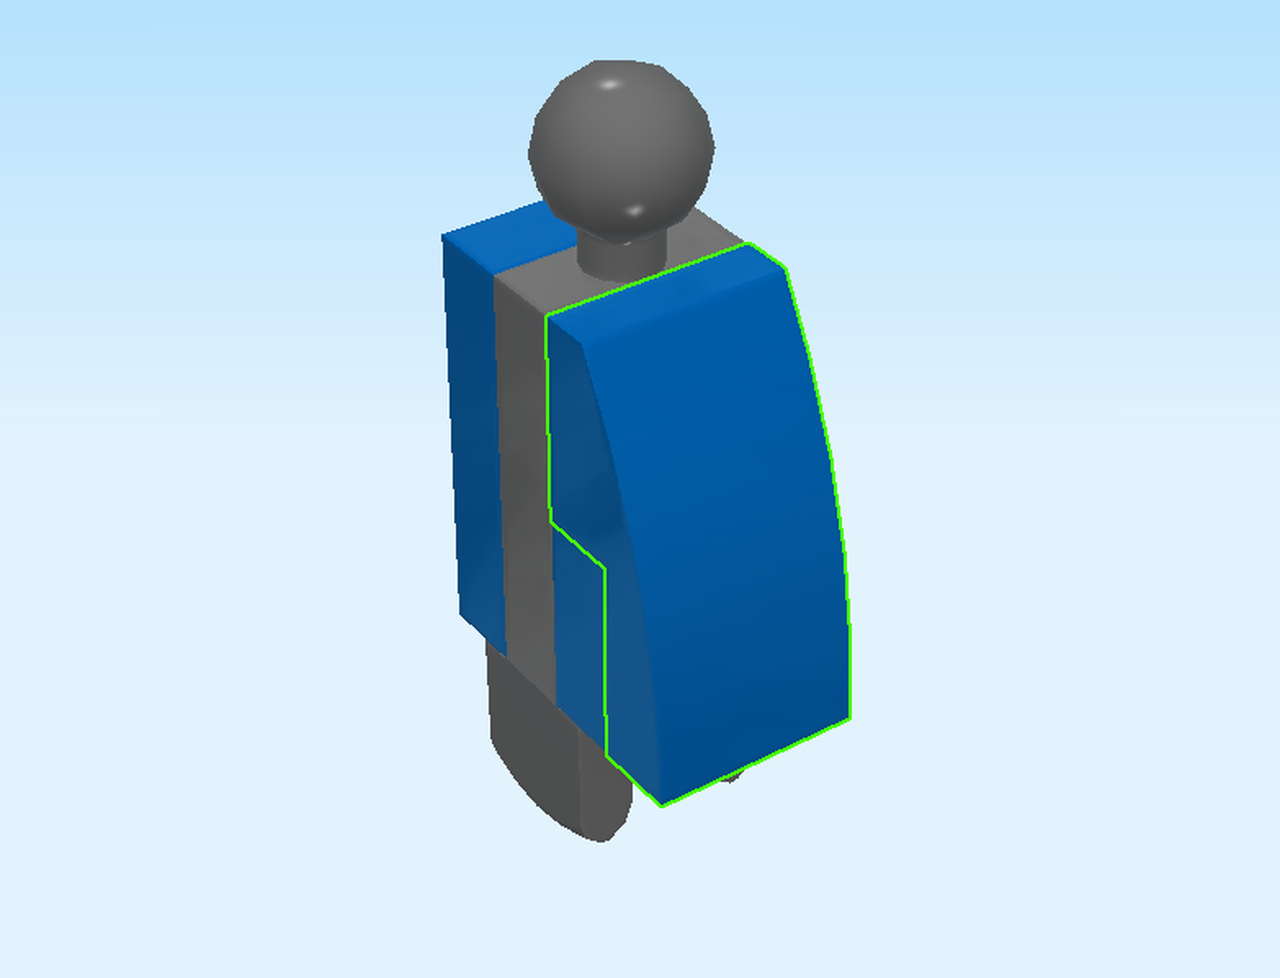
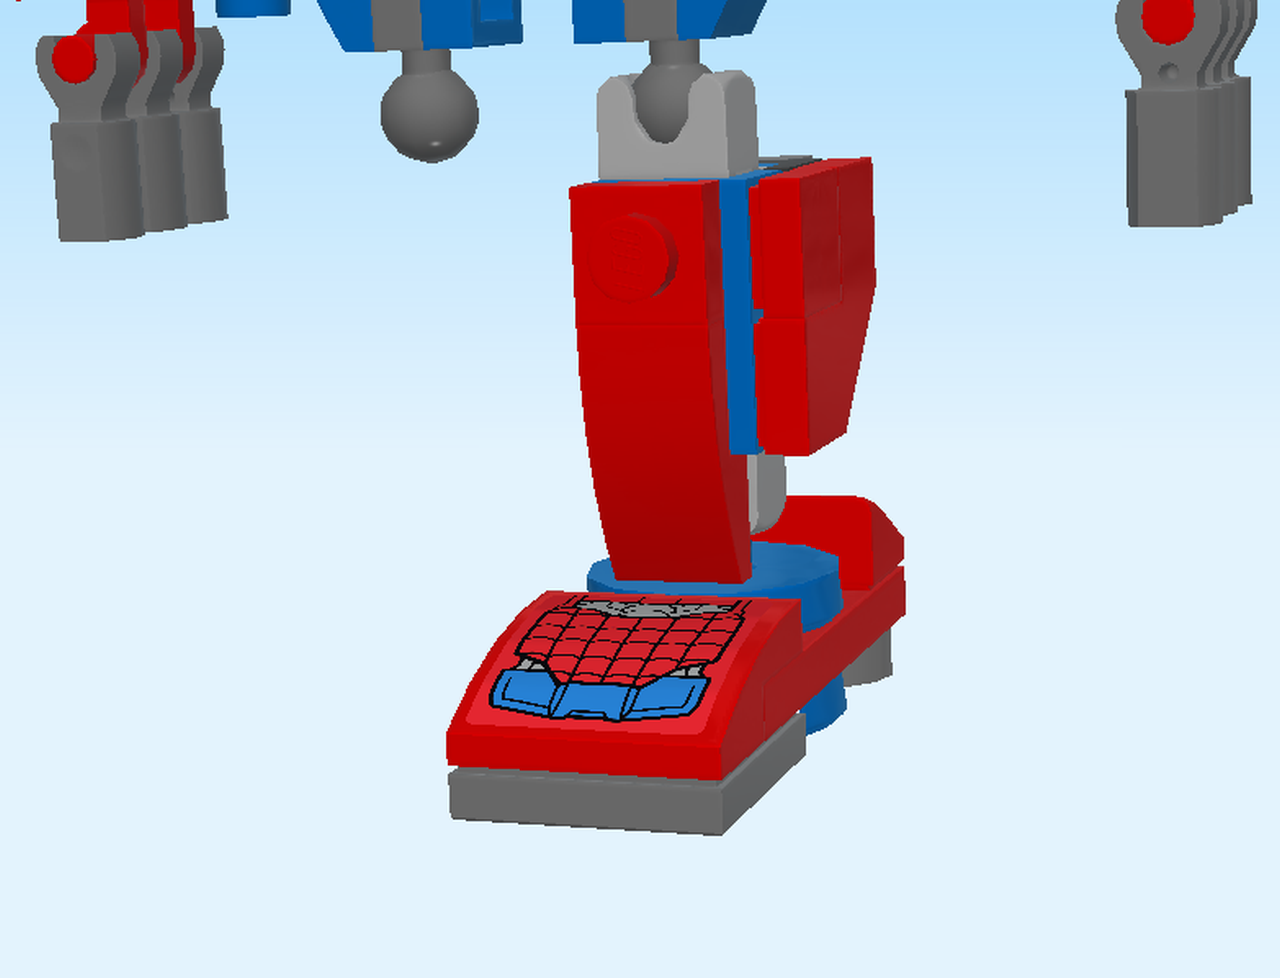
| We will continue with the chest of the mech robot. |
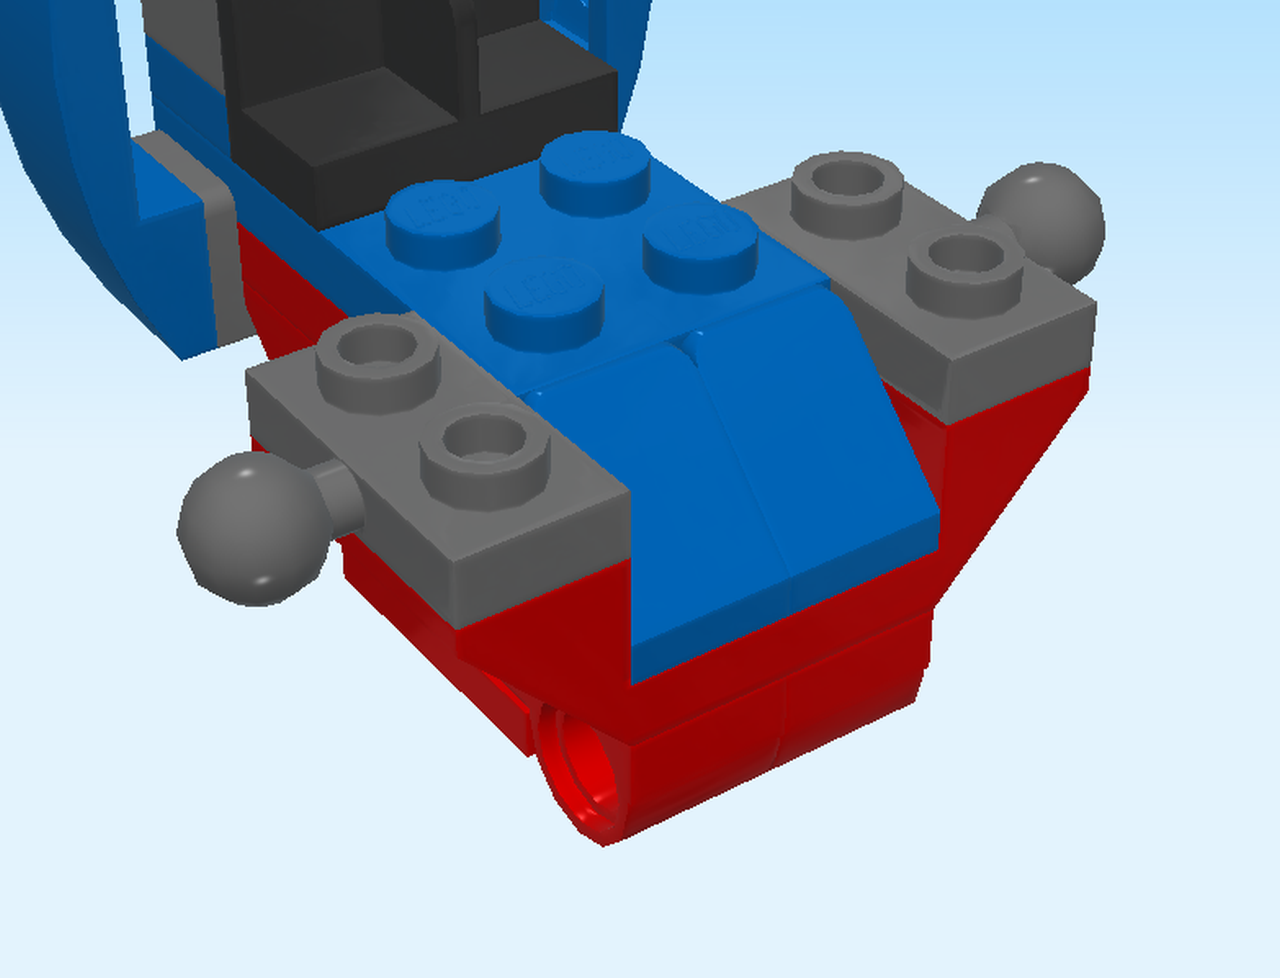
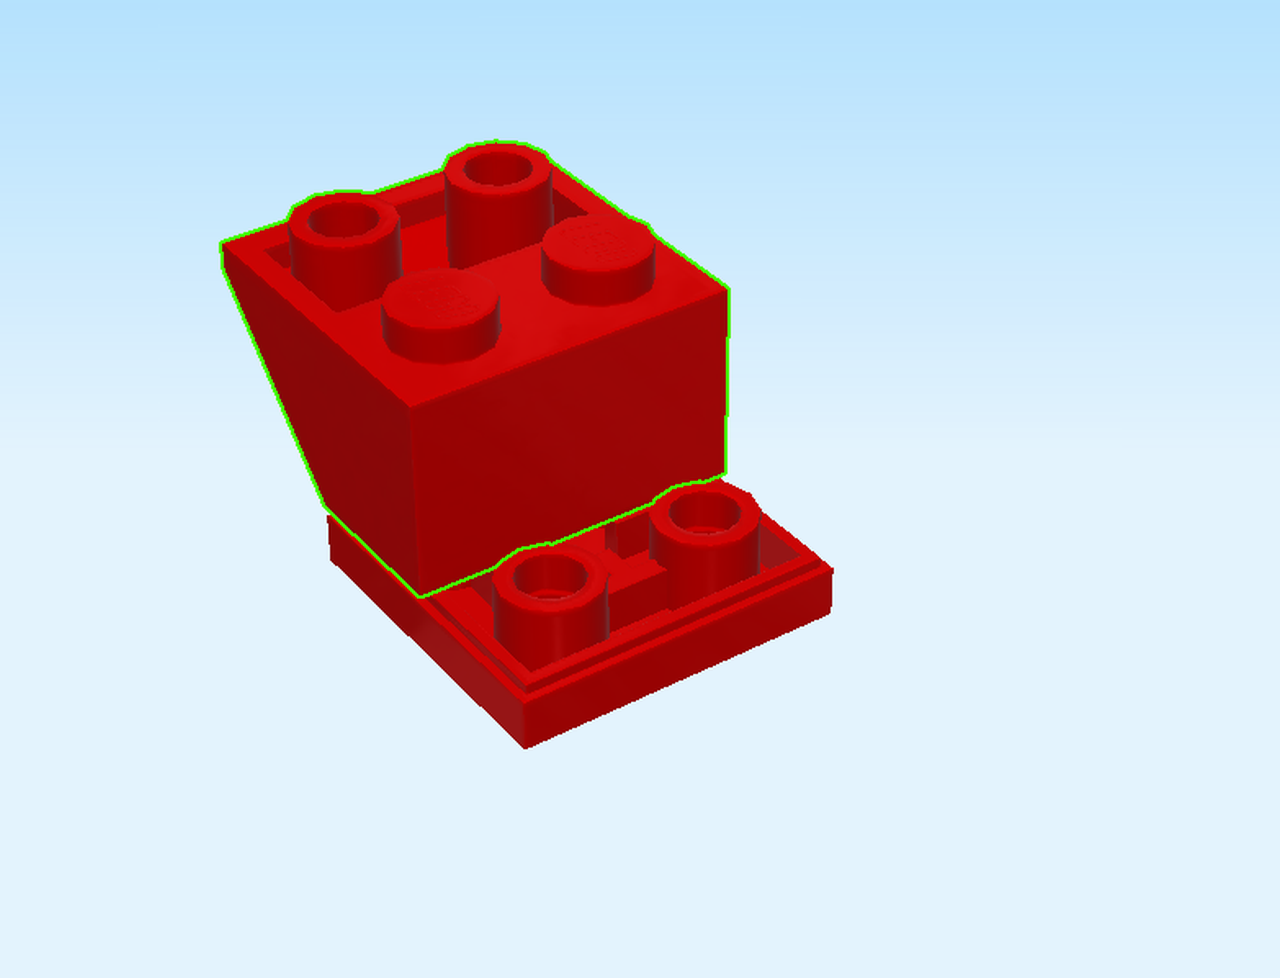
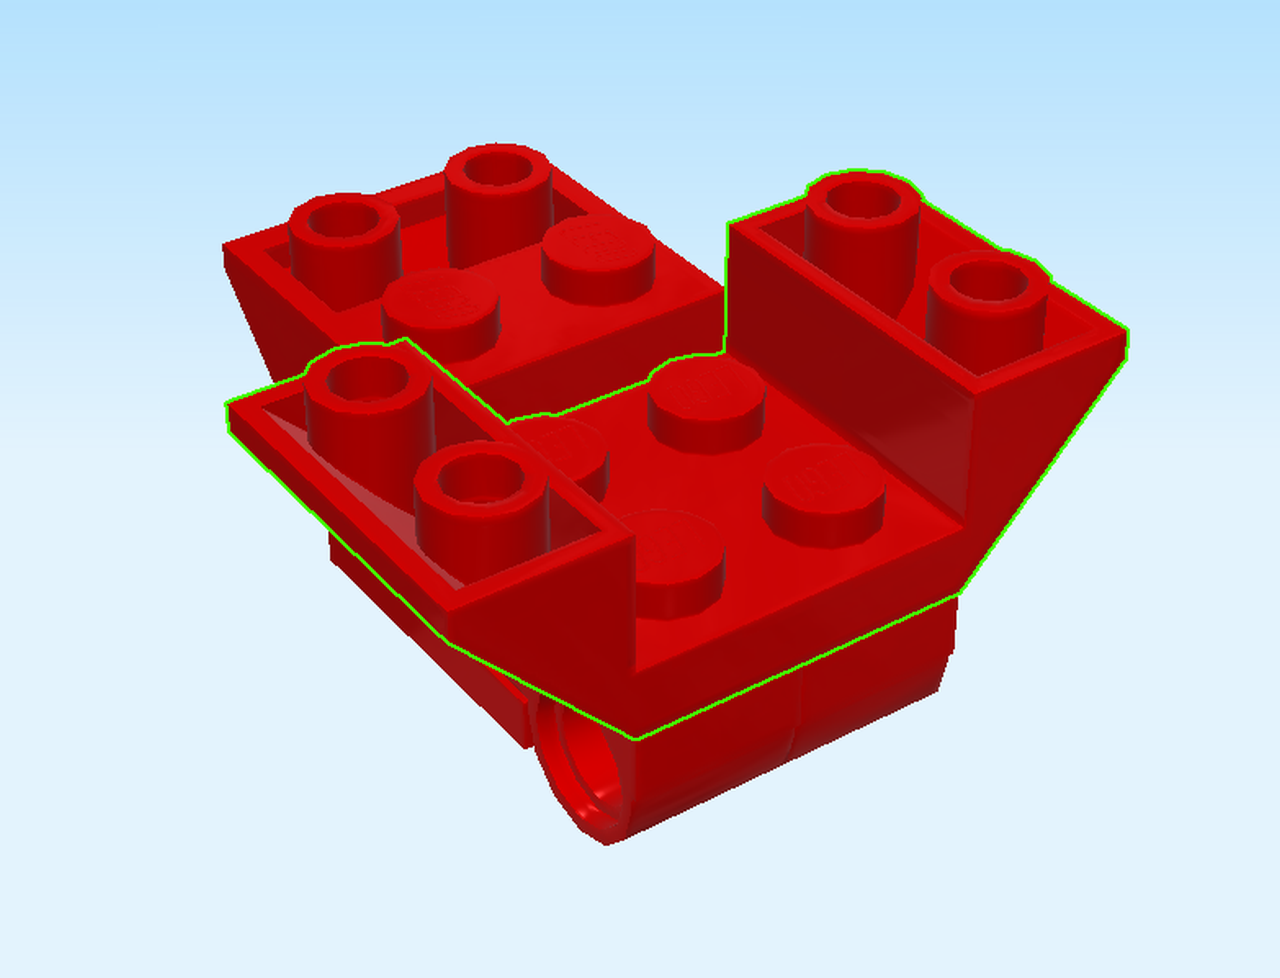
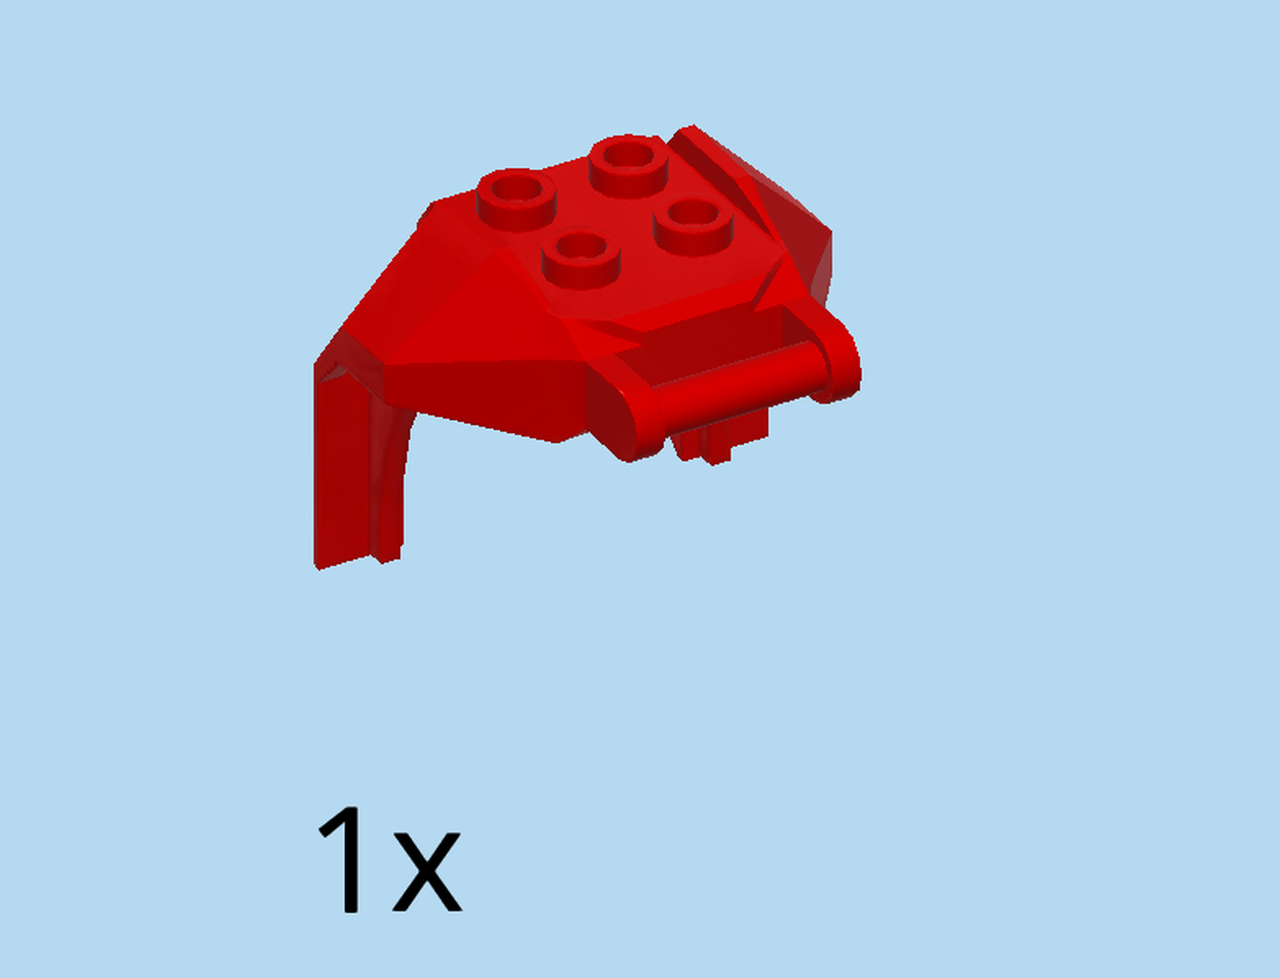
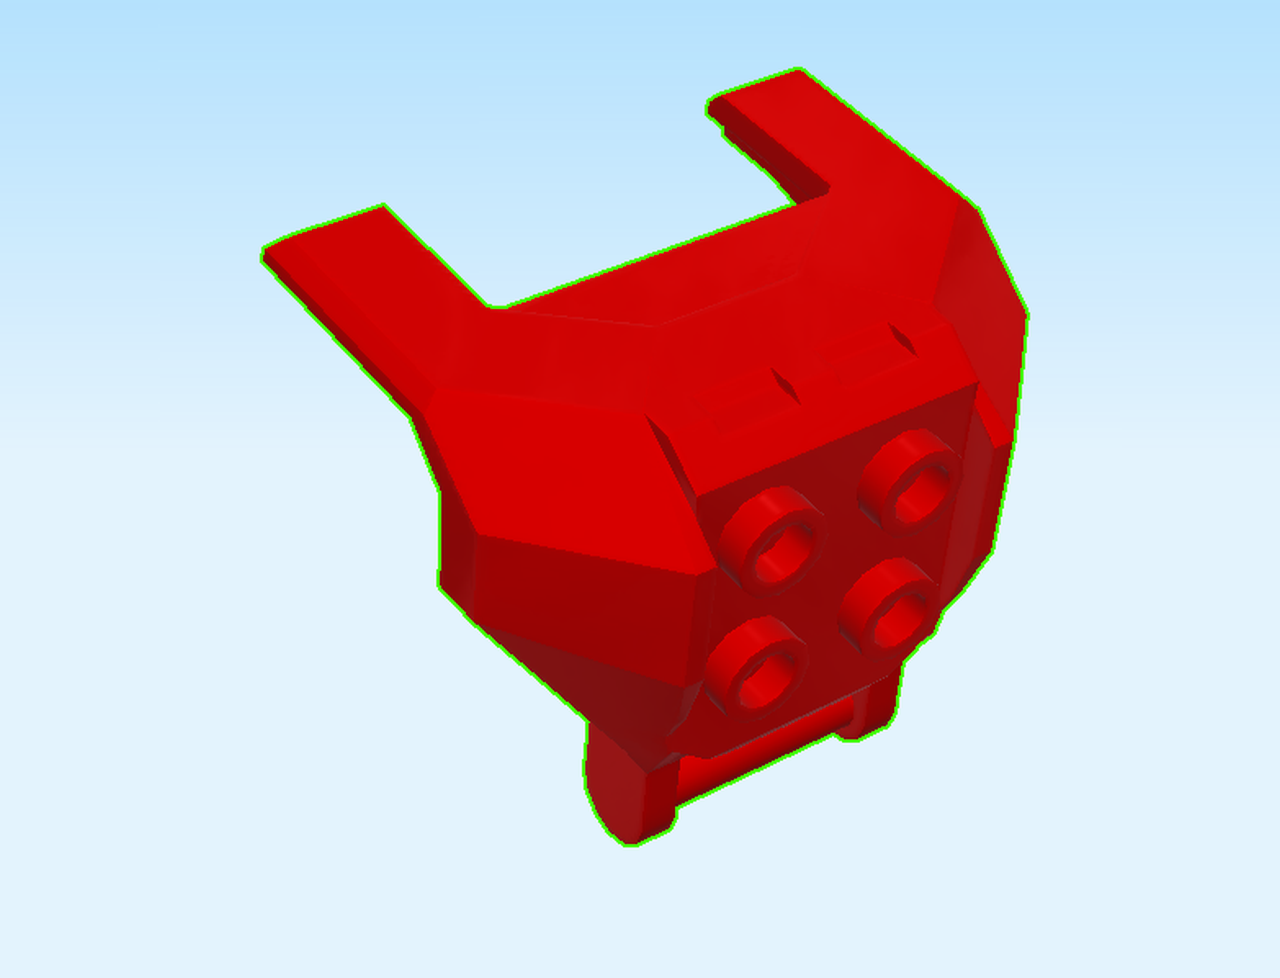
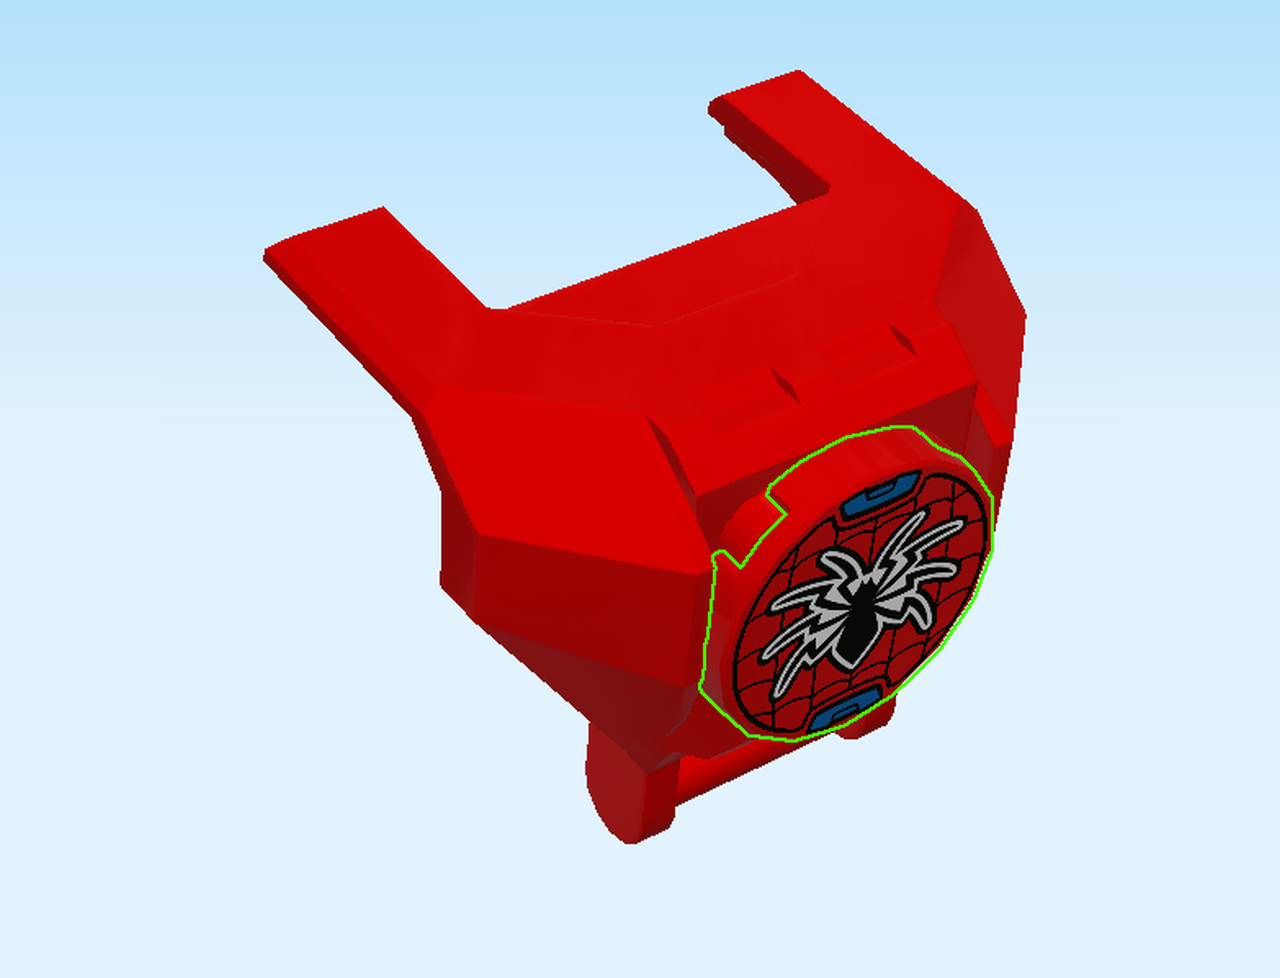
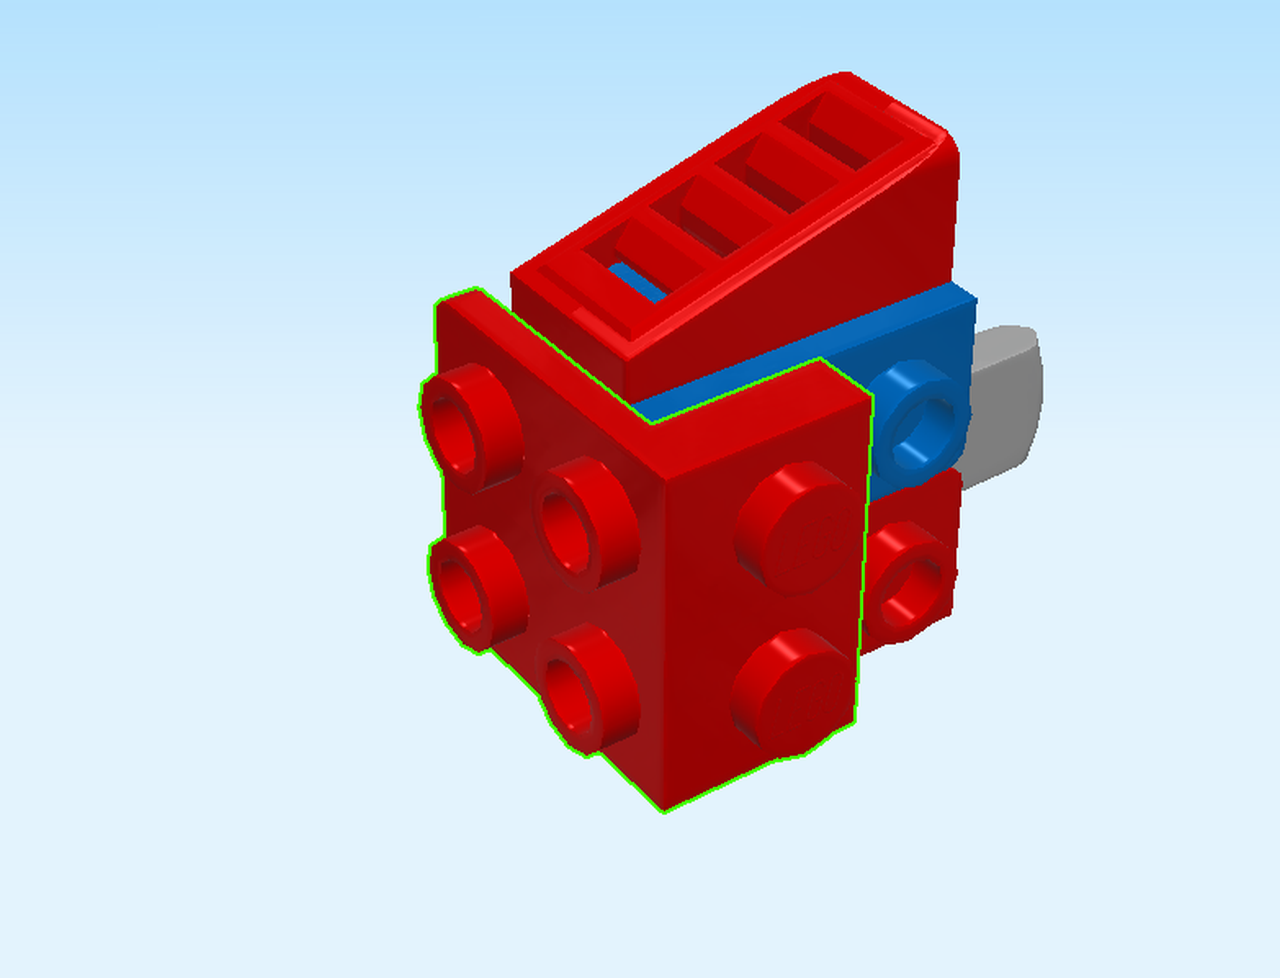
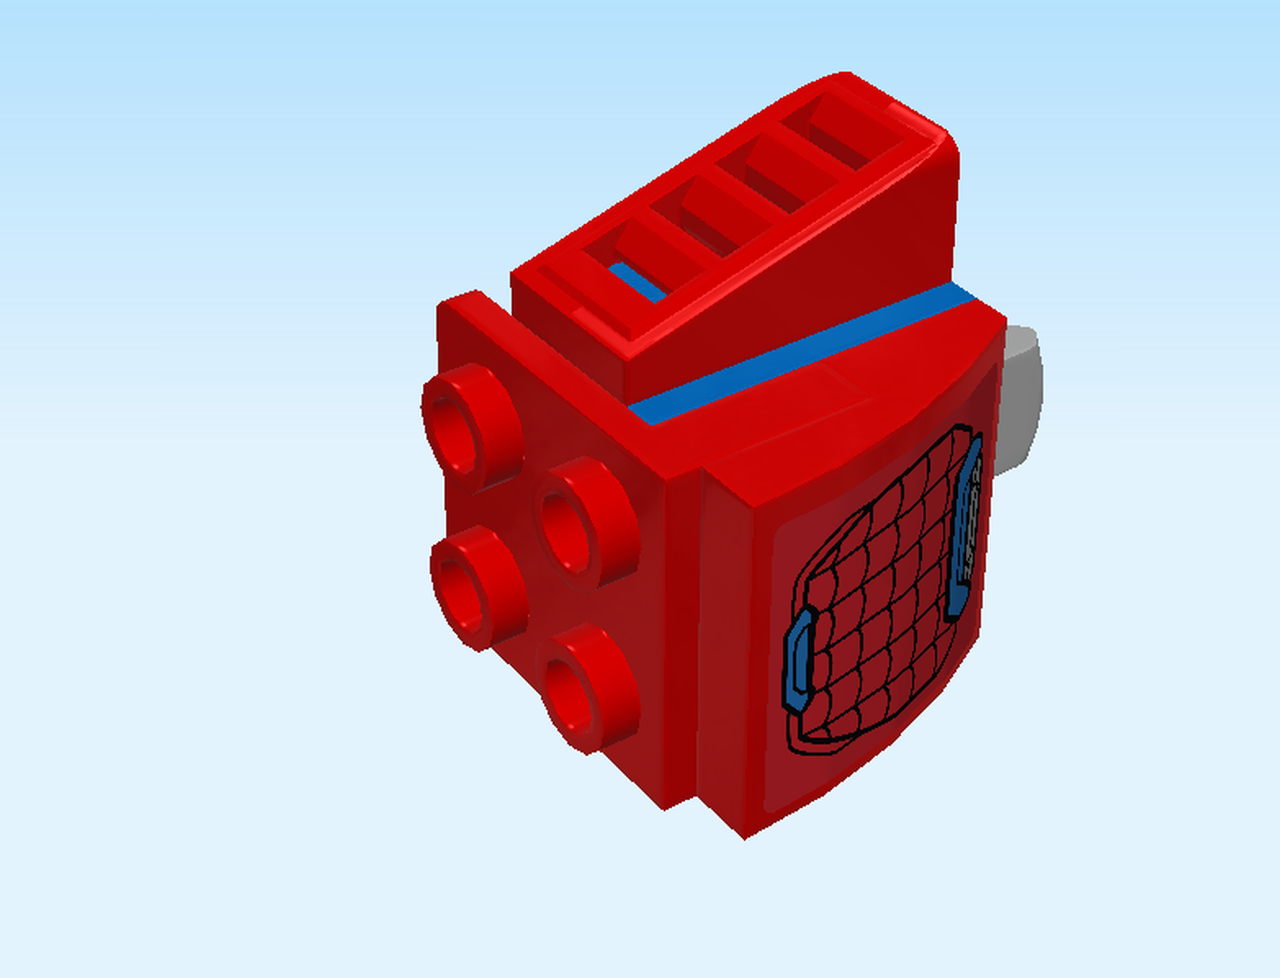
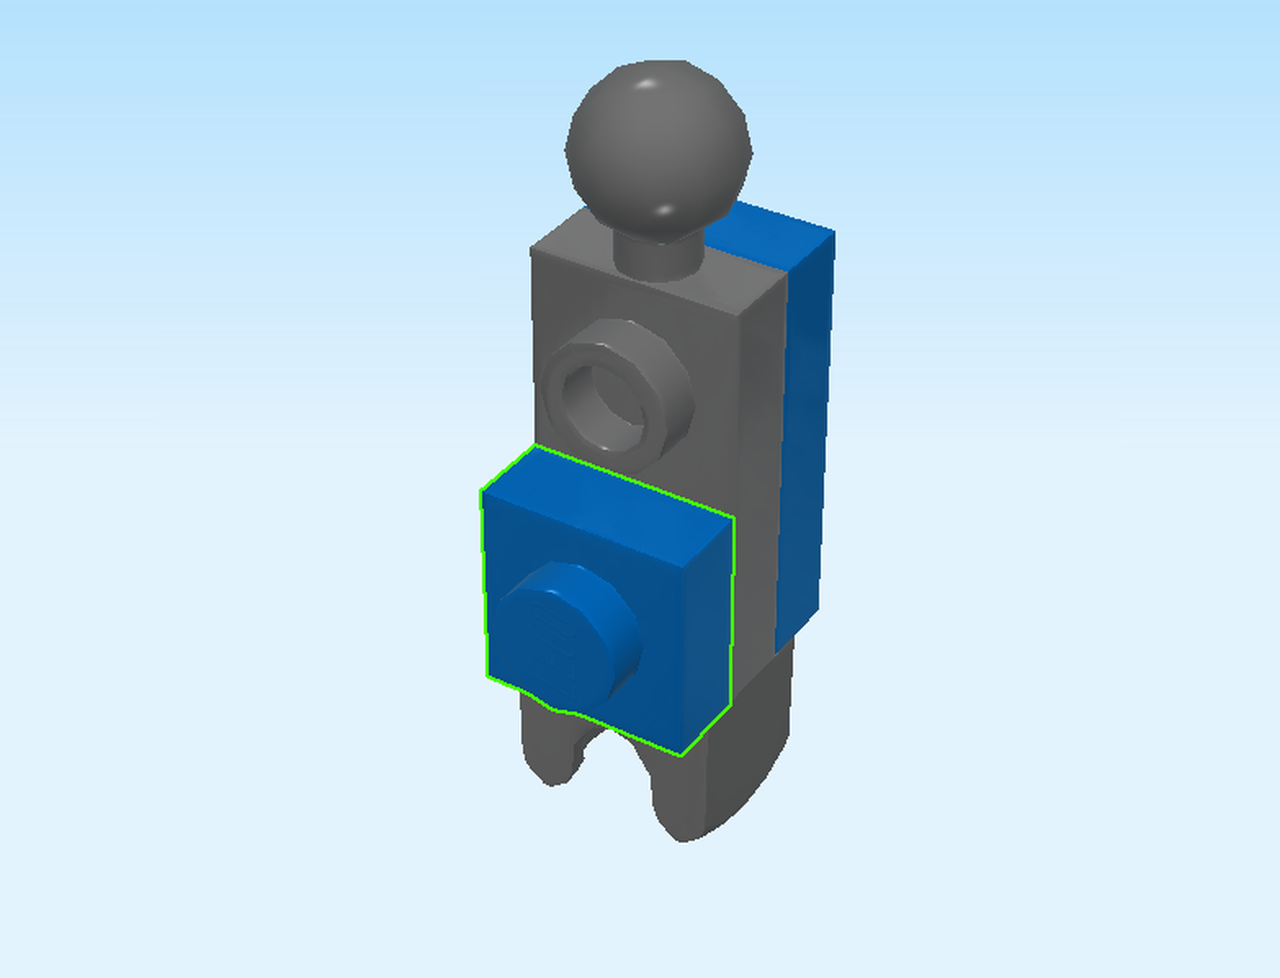
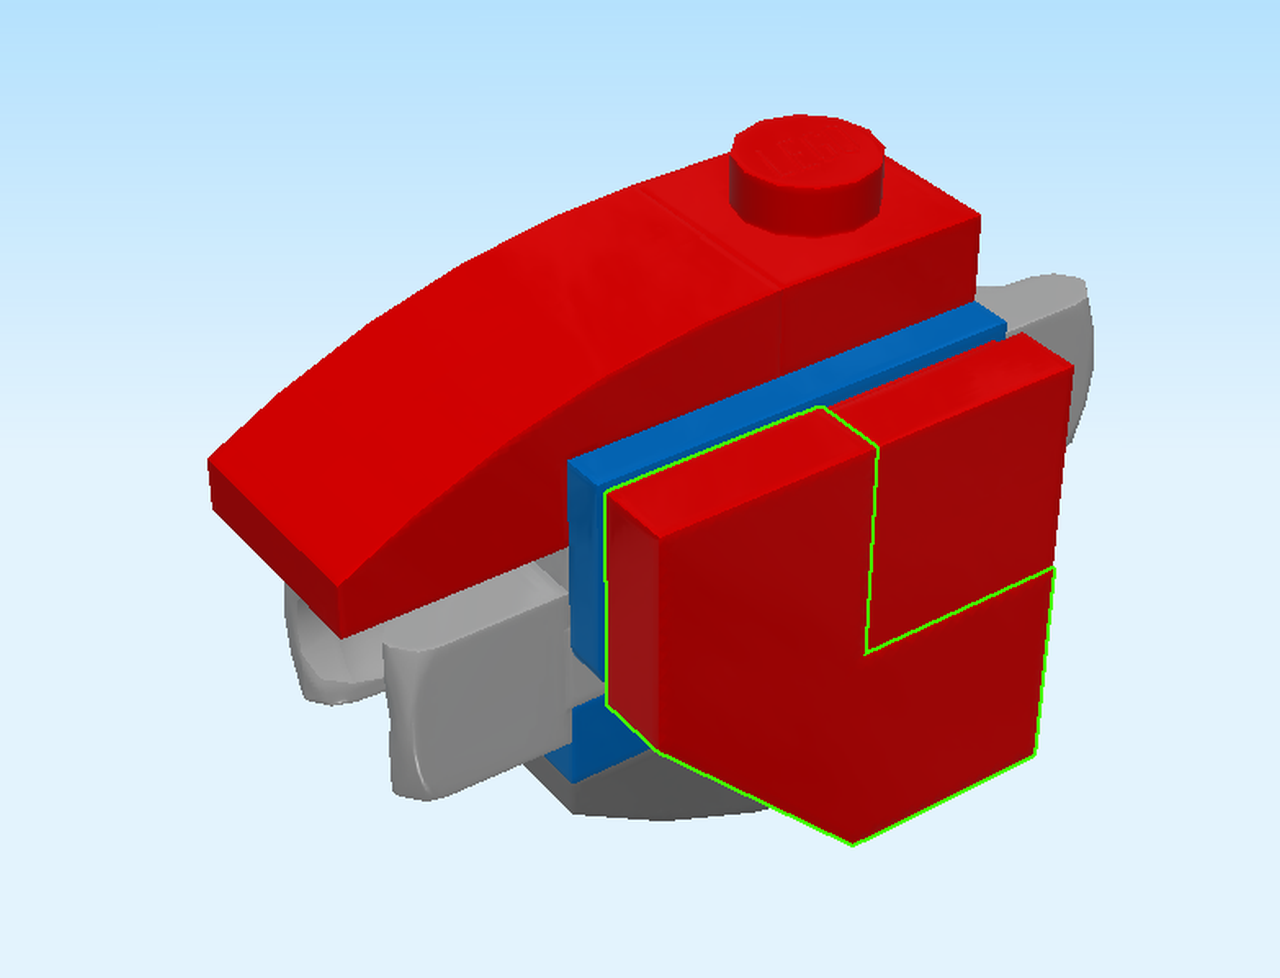
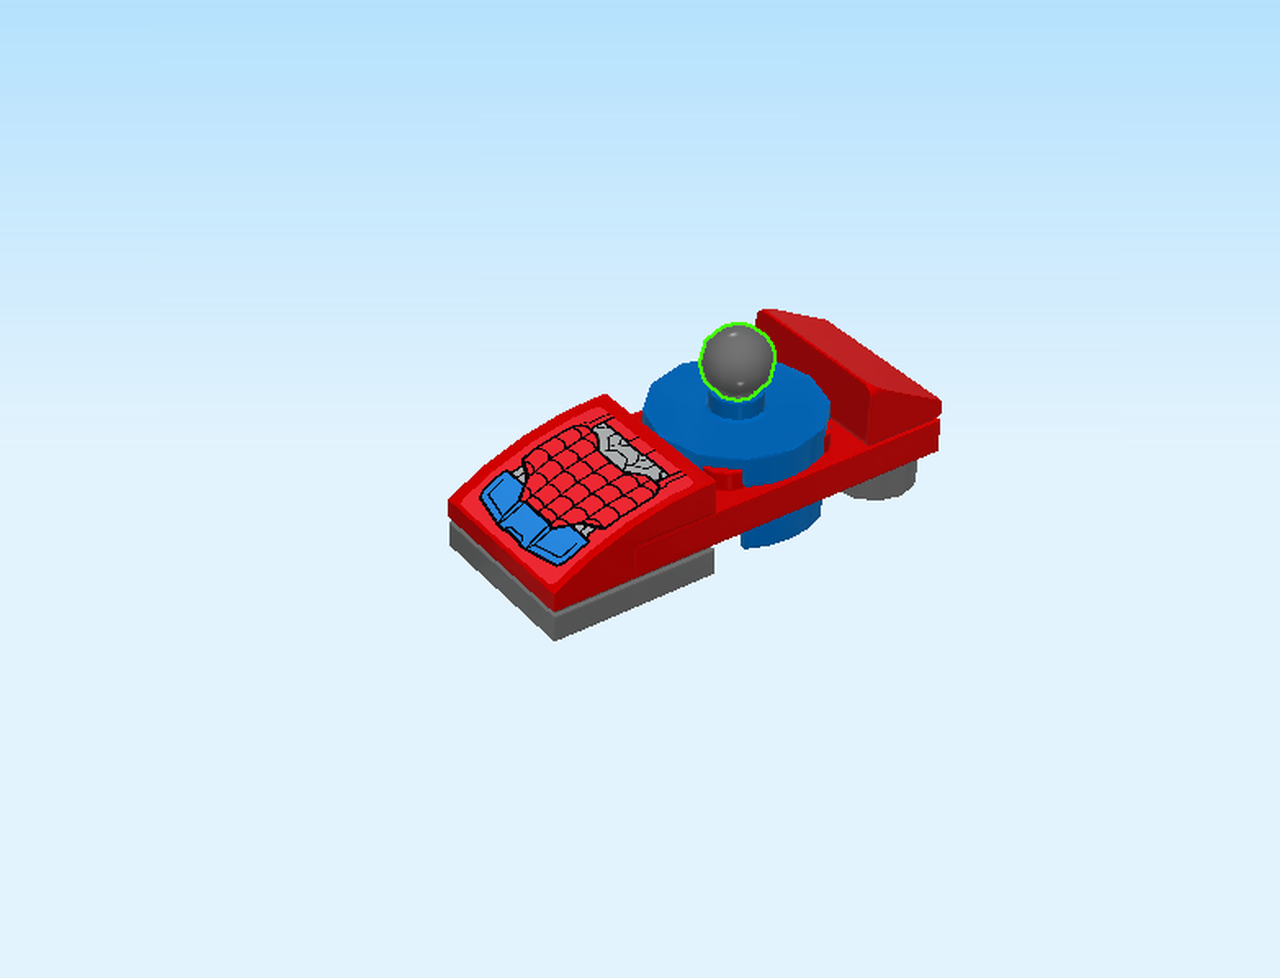
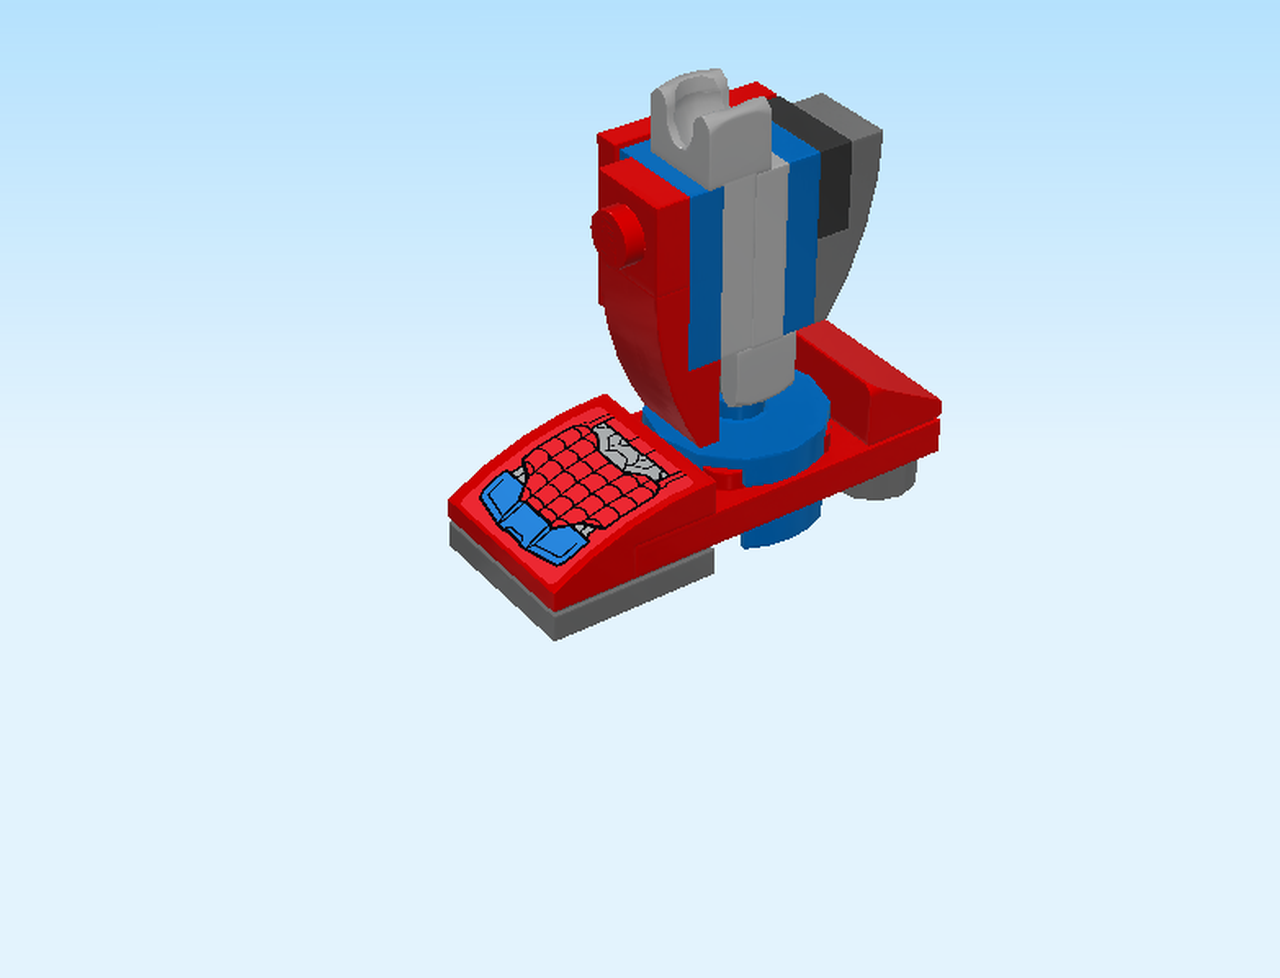
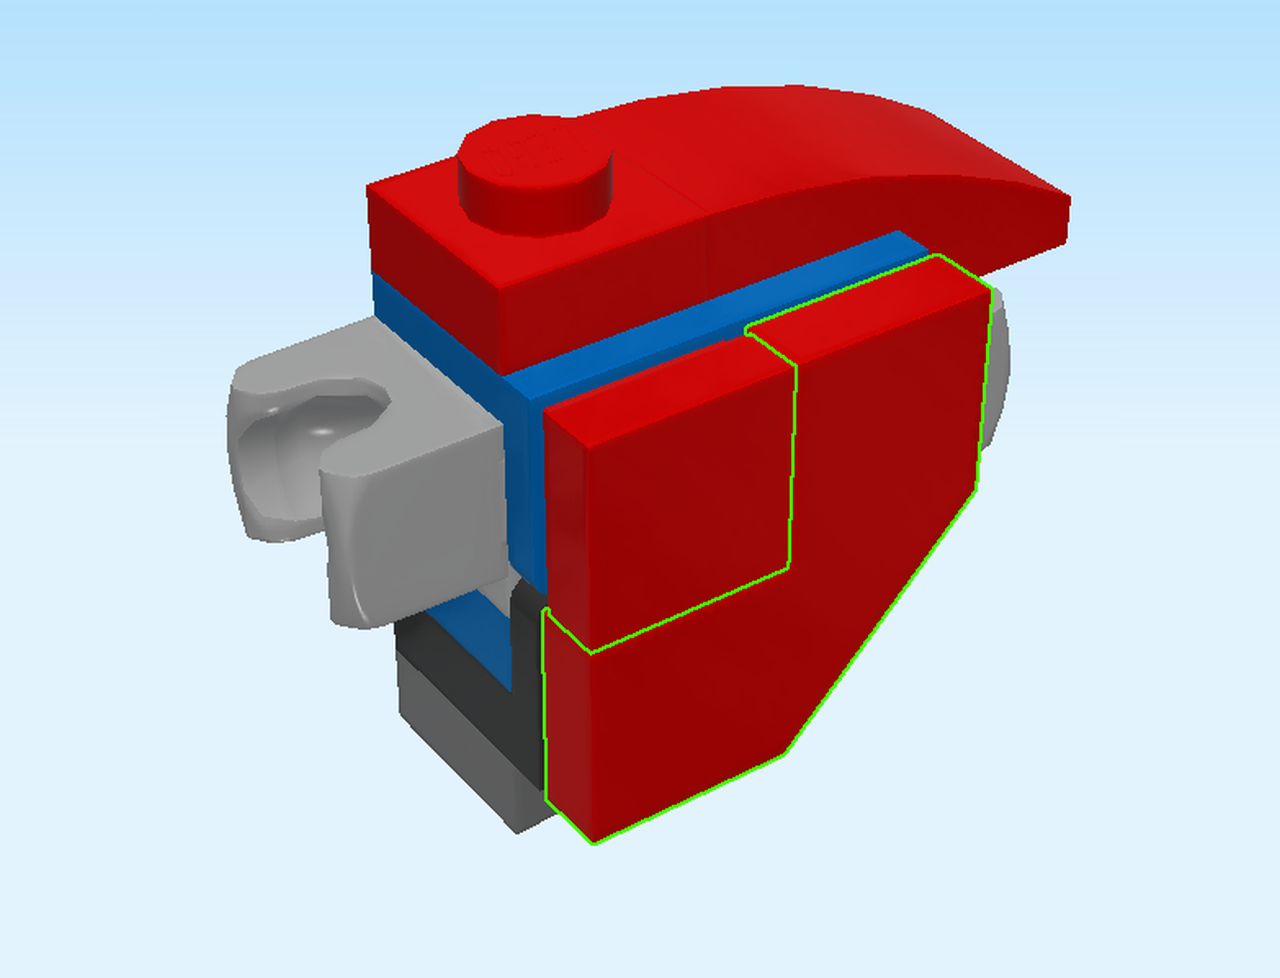
| Find 1 bright red chest piece 3x3x4 with bottom shaft and 2 tabs. |
| Turn it so the shaft is at the bottom and the knobs pointing to the front. |
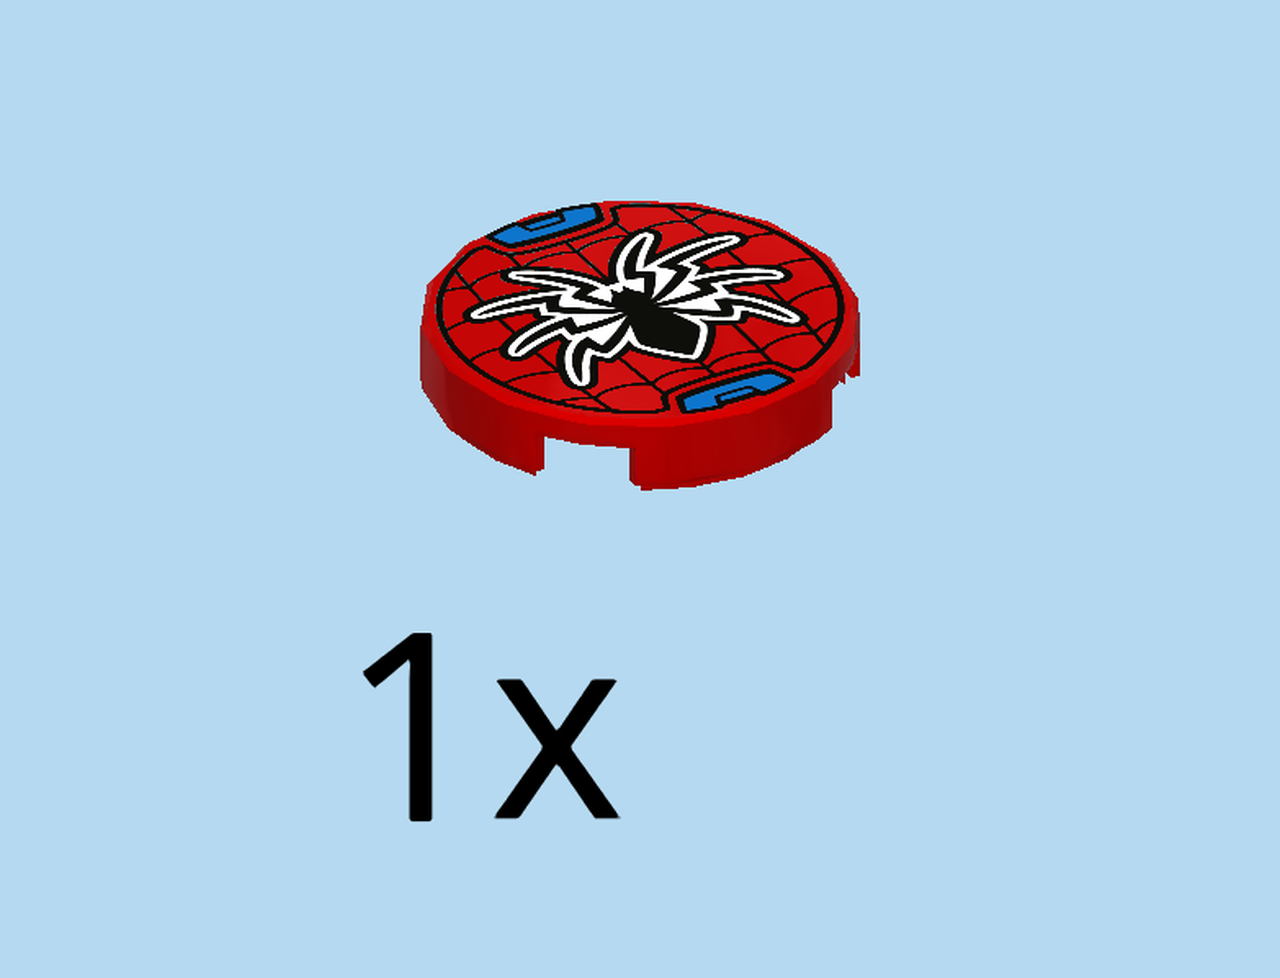
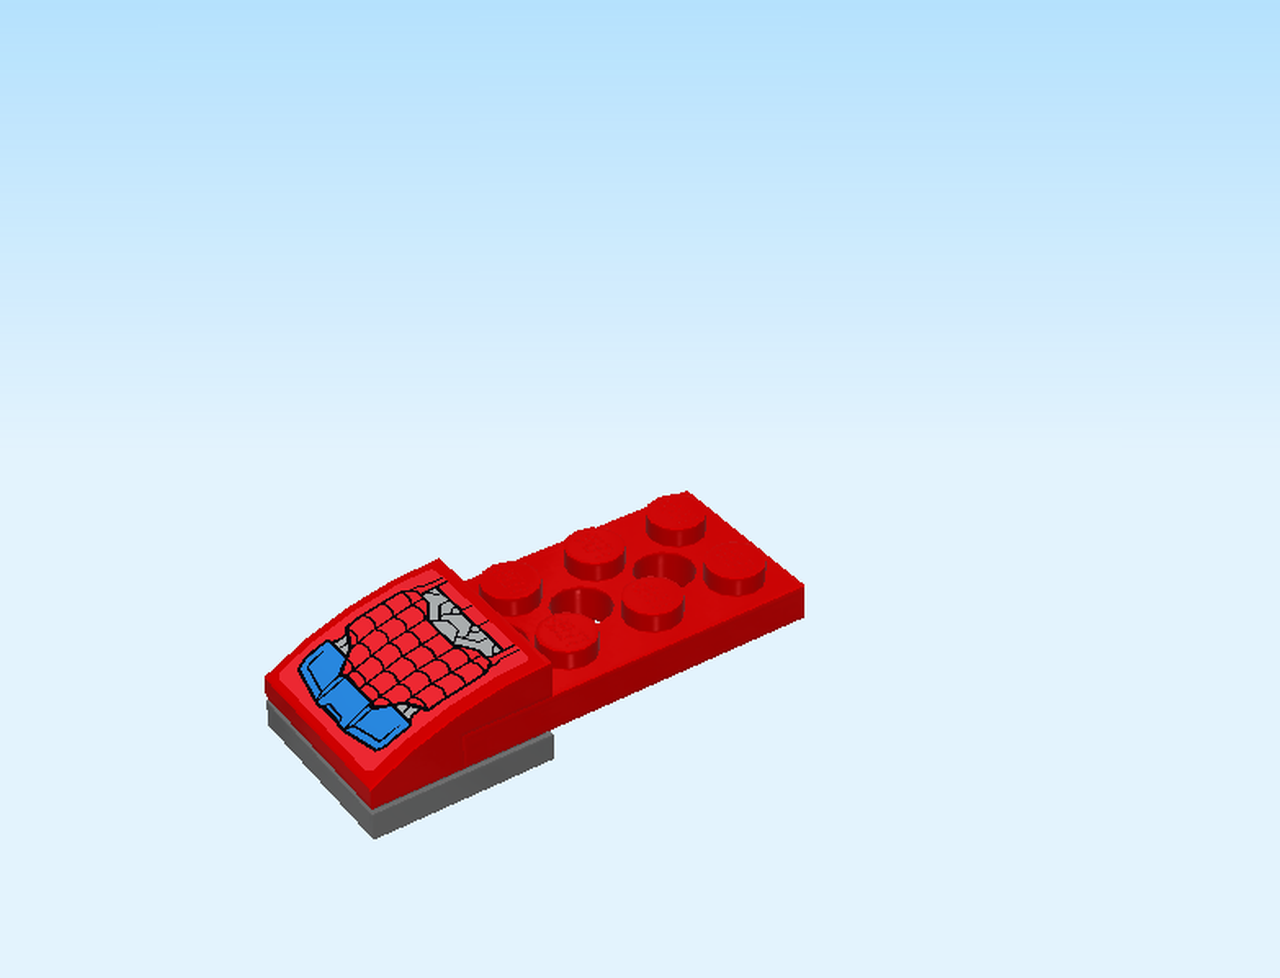
| Find 1 bright red round tile 2x2. |
| Put it upright on the knobs at the front. |
| It has a decoration of a spider crawling on a web. |
| Snap the bottom shaft of the chest piece into the 2 clasps at the lower front of the structure. |
| Now the torso of the robot is done. That was a very tough part! Good job! |
| You are now finished building bag 1. |
| Next, we will build the shoulder of the robot. |
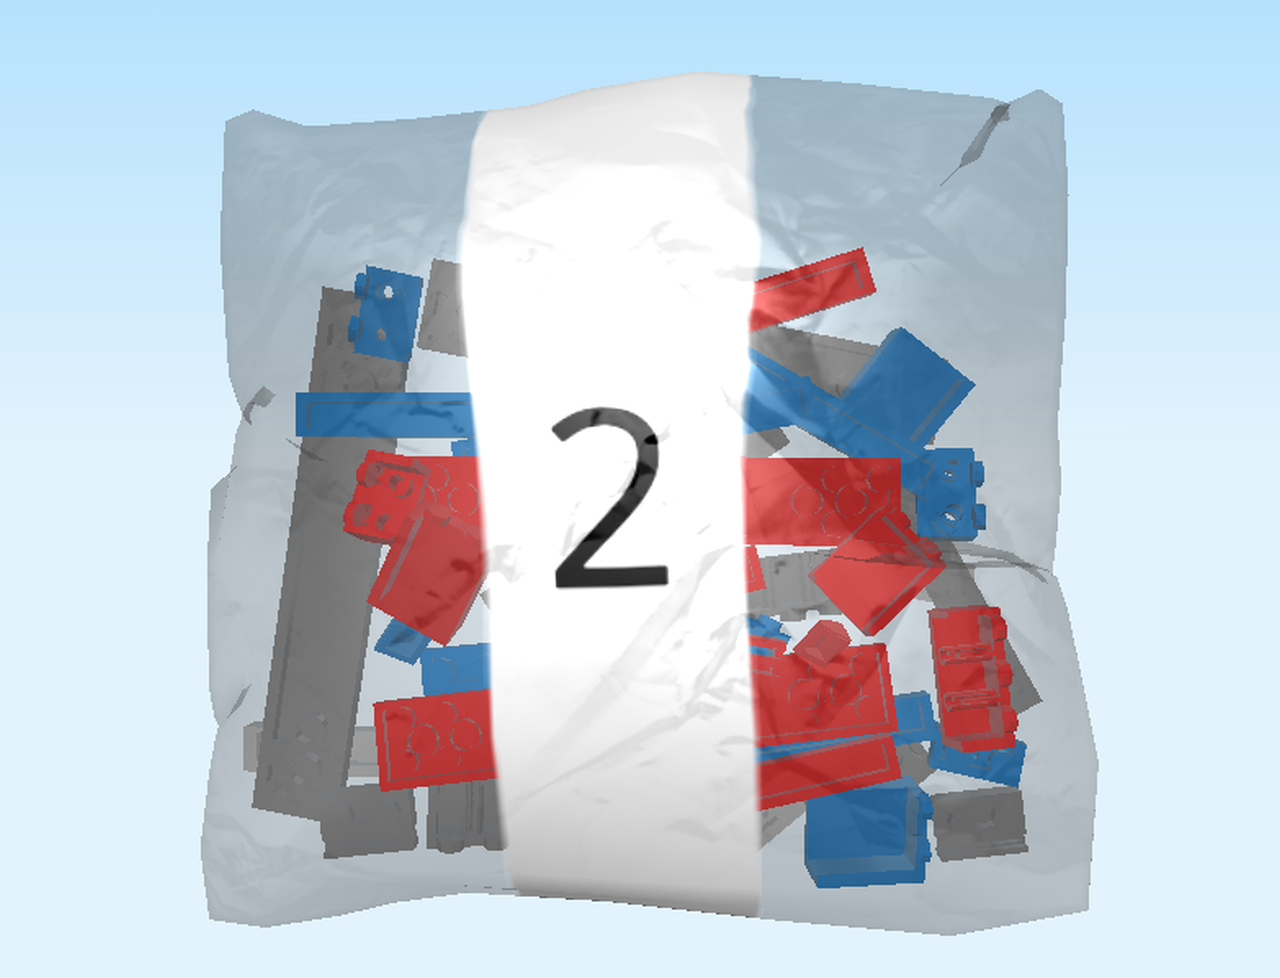
| Carefully open bag 2. Before you start building, ask a sighted person to help you sort the bricks by color if you like. |
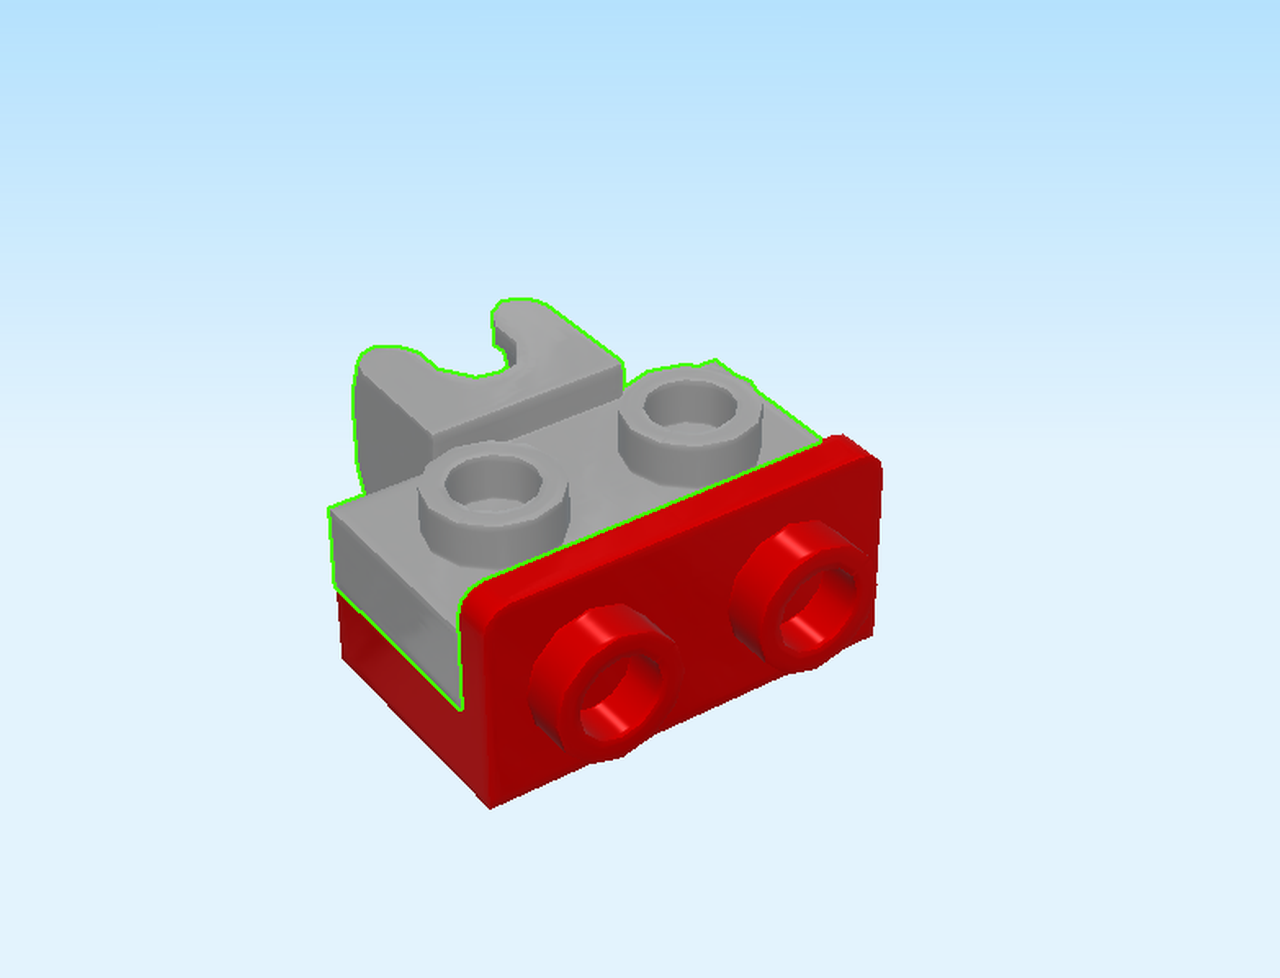
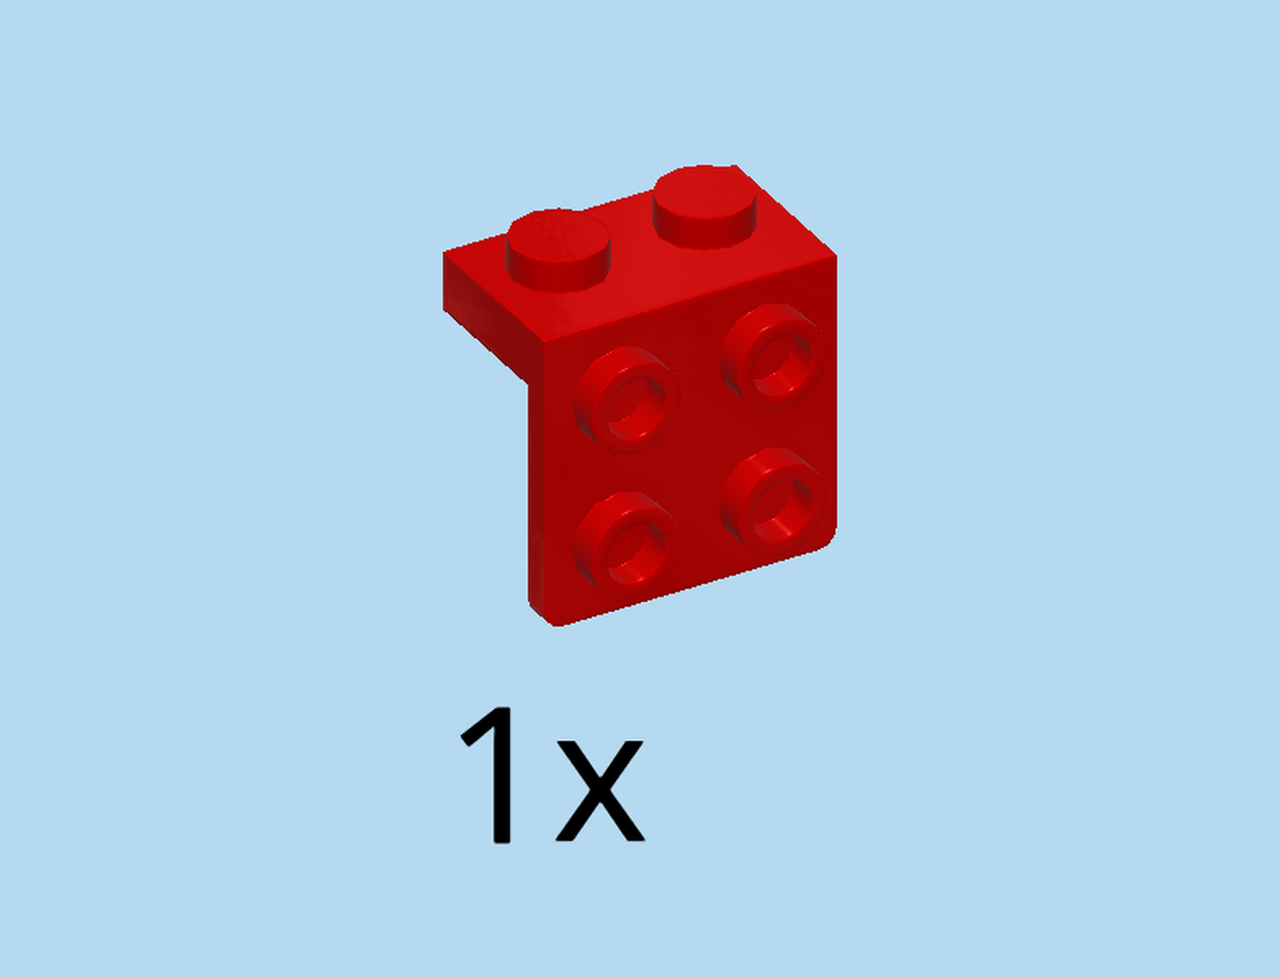
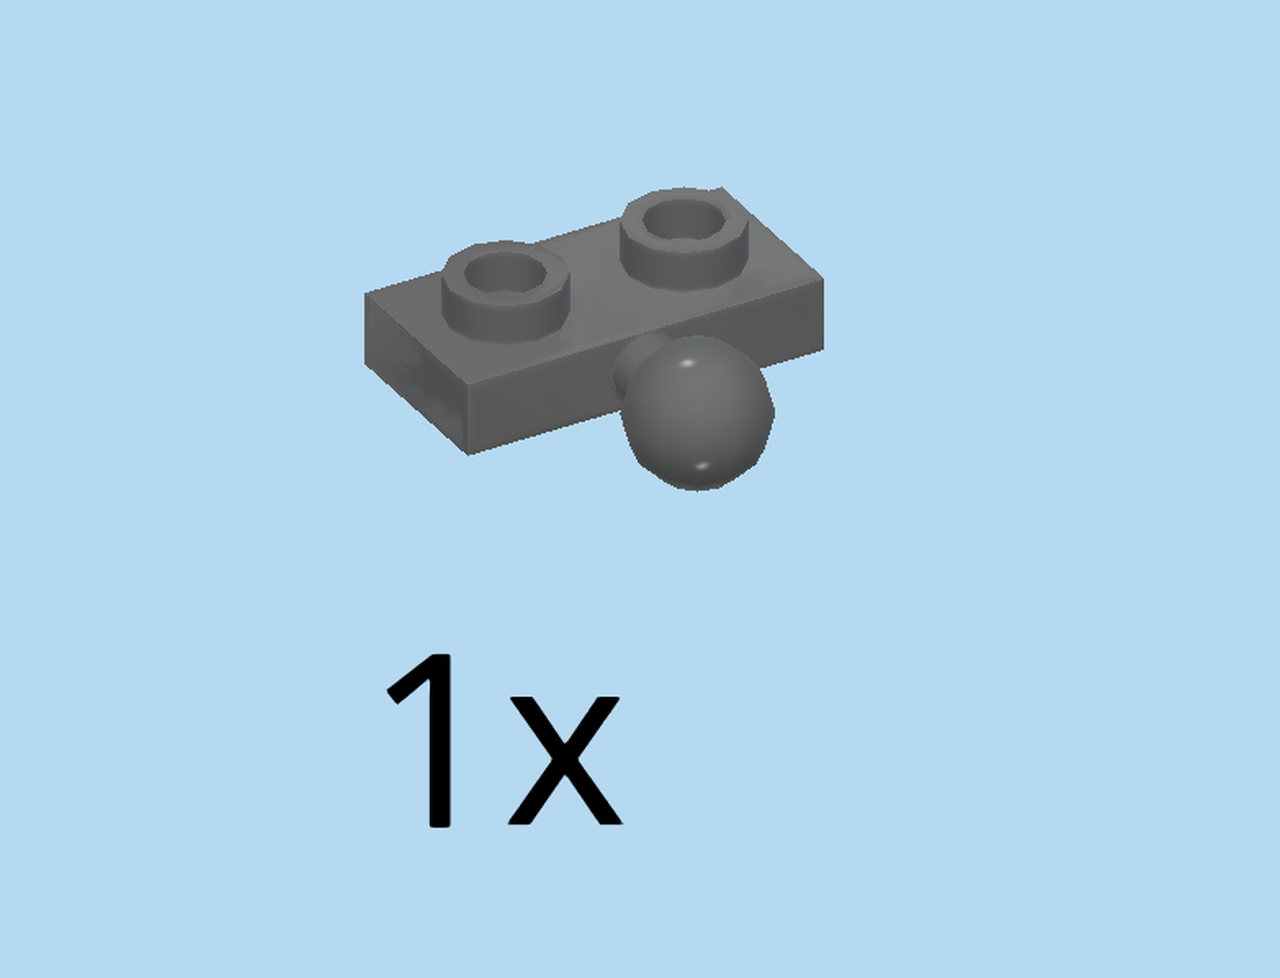
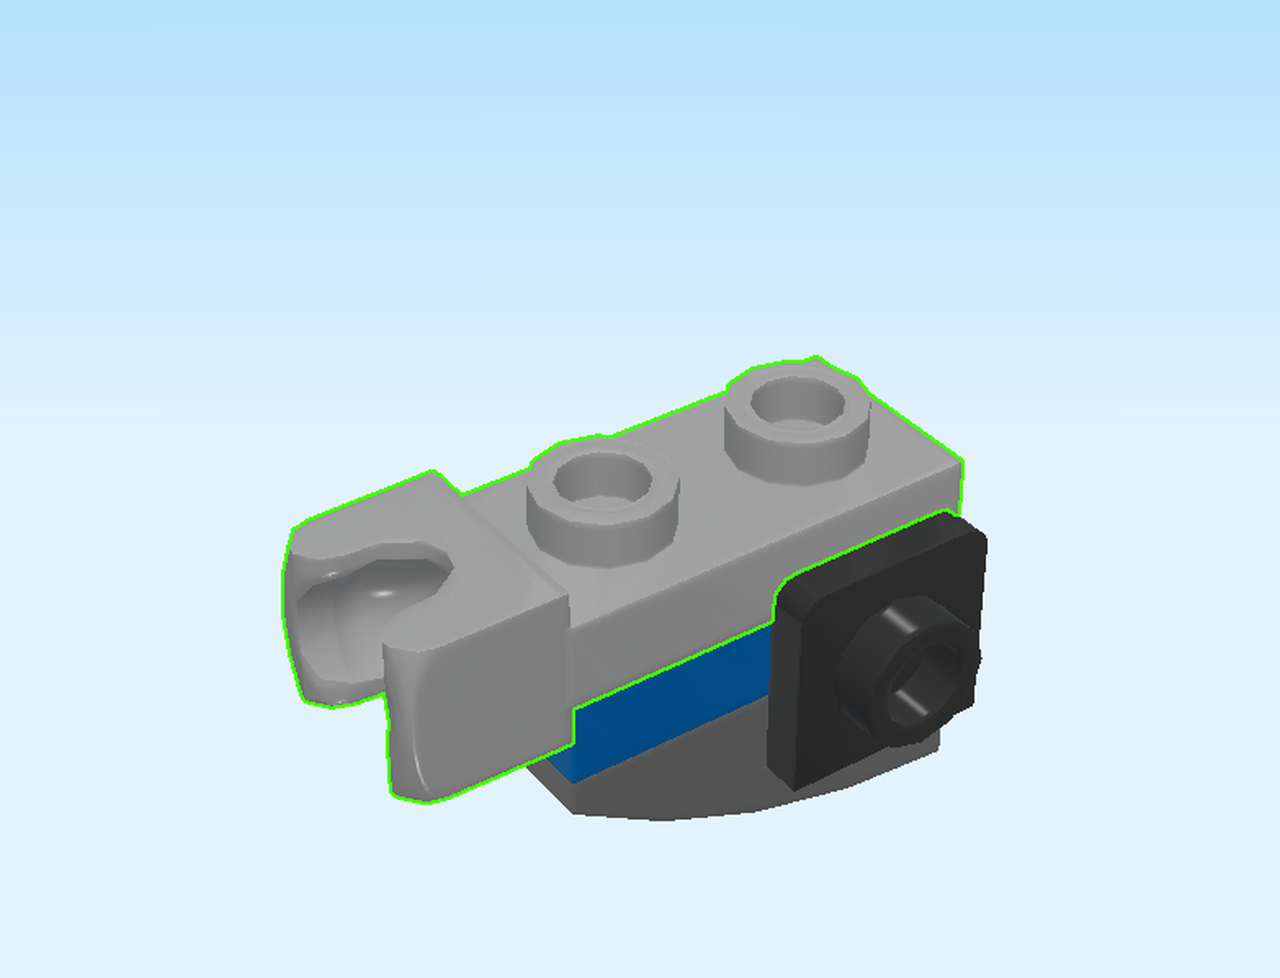
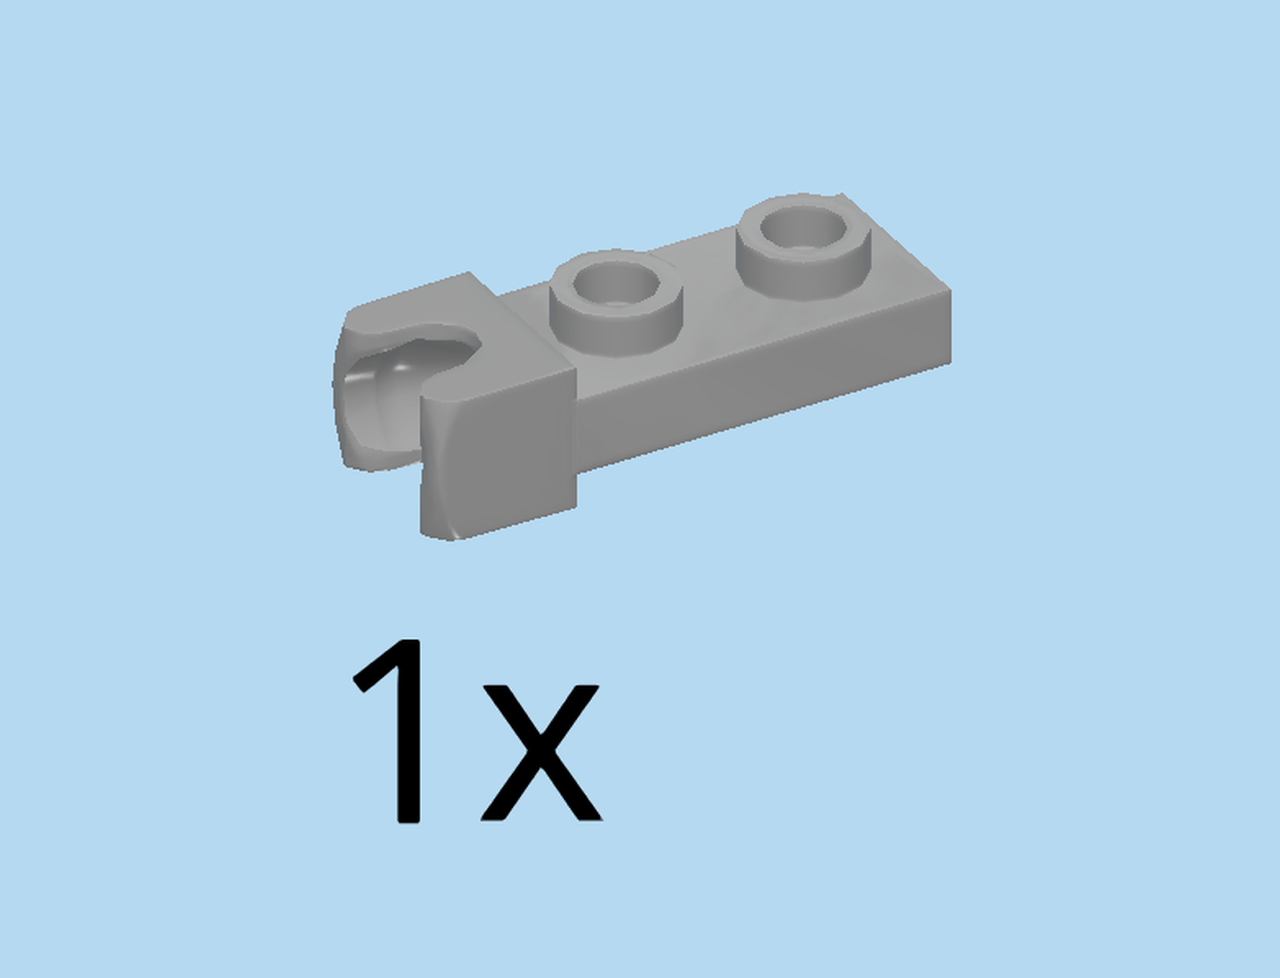
| Find 1 bright red bottom angle plate 1x2 - 1x2 with 2 side knobs. |
| Put it horizontally on the table, side knobs to the front. |
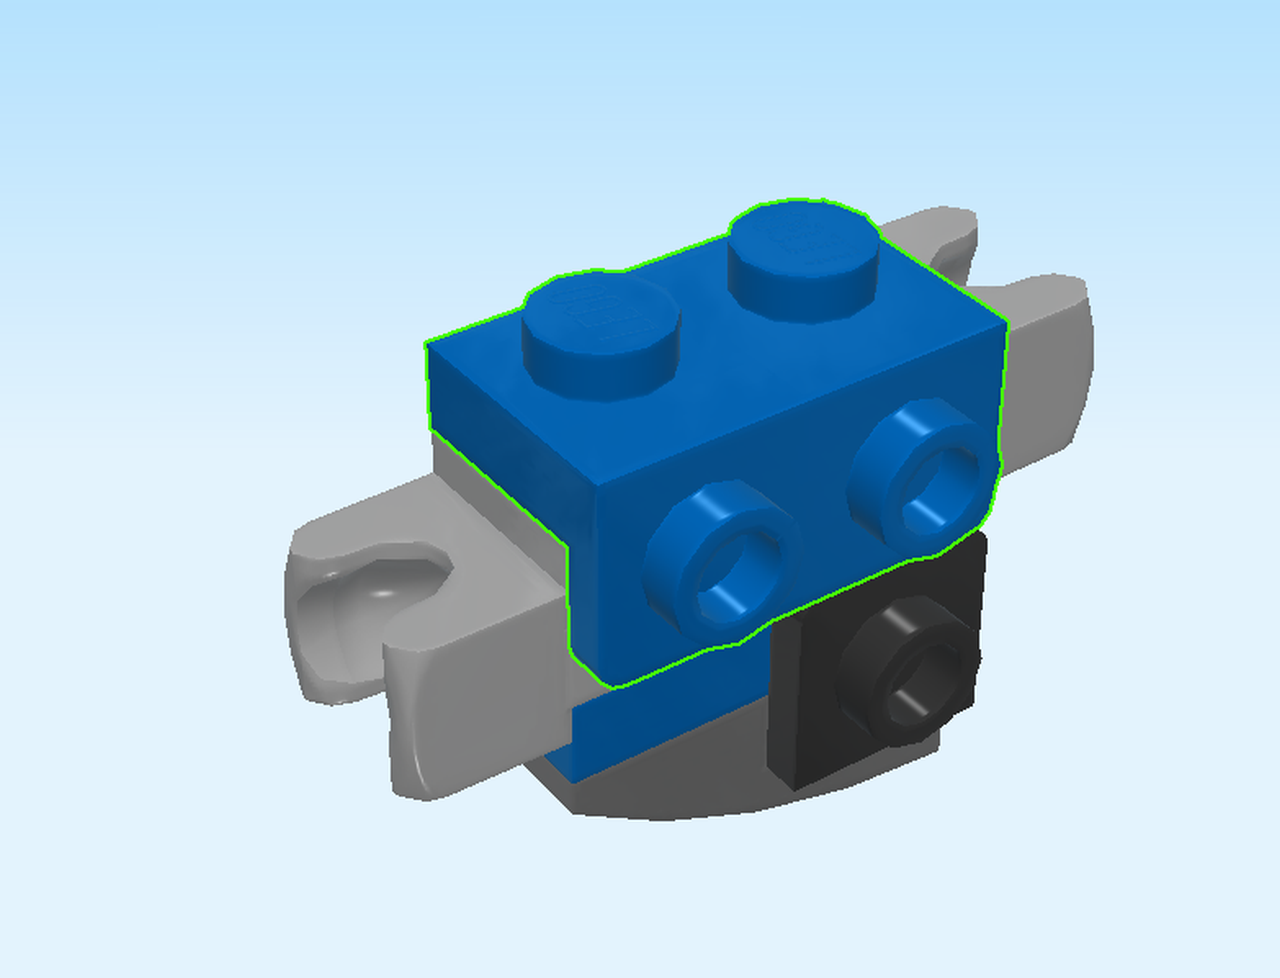
| Find 1 medium stone grey plate 1x2 with ball cup on side. |
| Put it horizontally on top, ball cup to the back. |
| Find 1 medium stone grey plate 1x2 with ball cup on end. |
| Put it horizontally on top, ball cup to the right. |
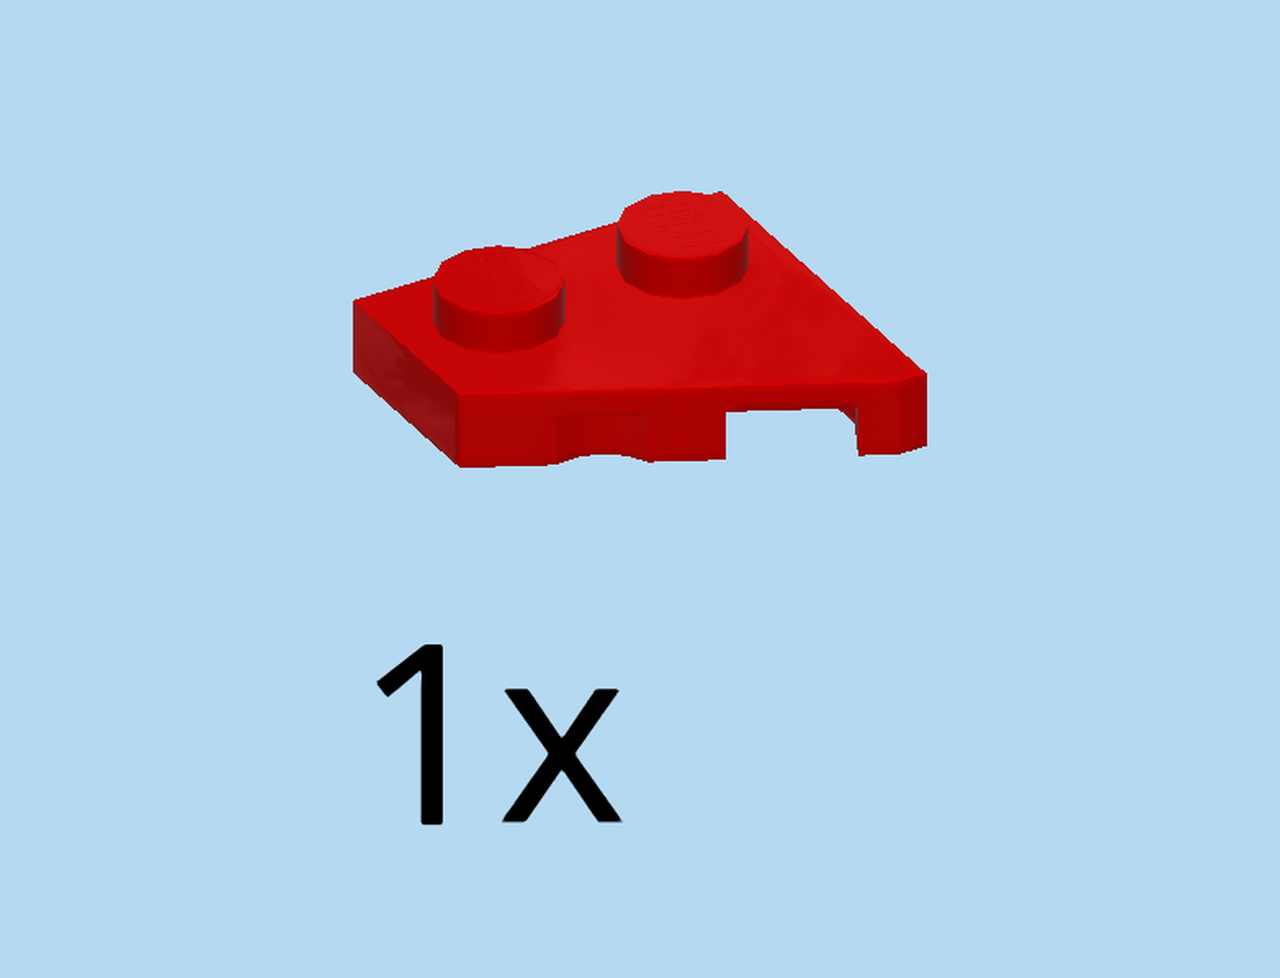
| Find 1 red right wing plate 2x2 with angle. |
| Put it horizontally on top, angled side to the back. |
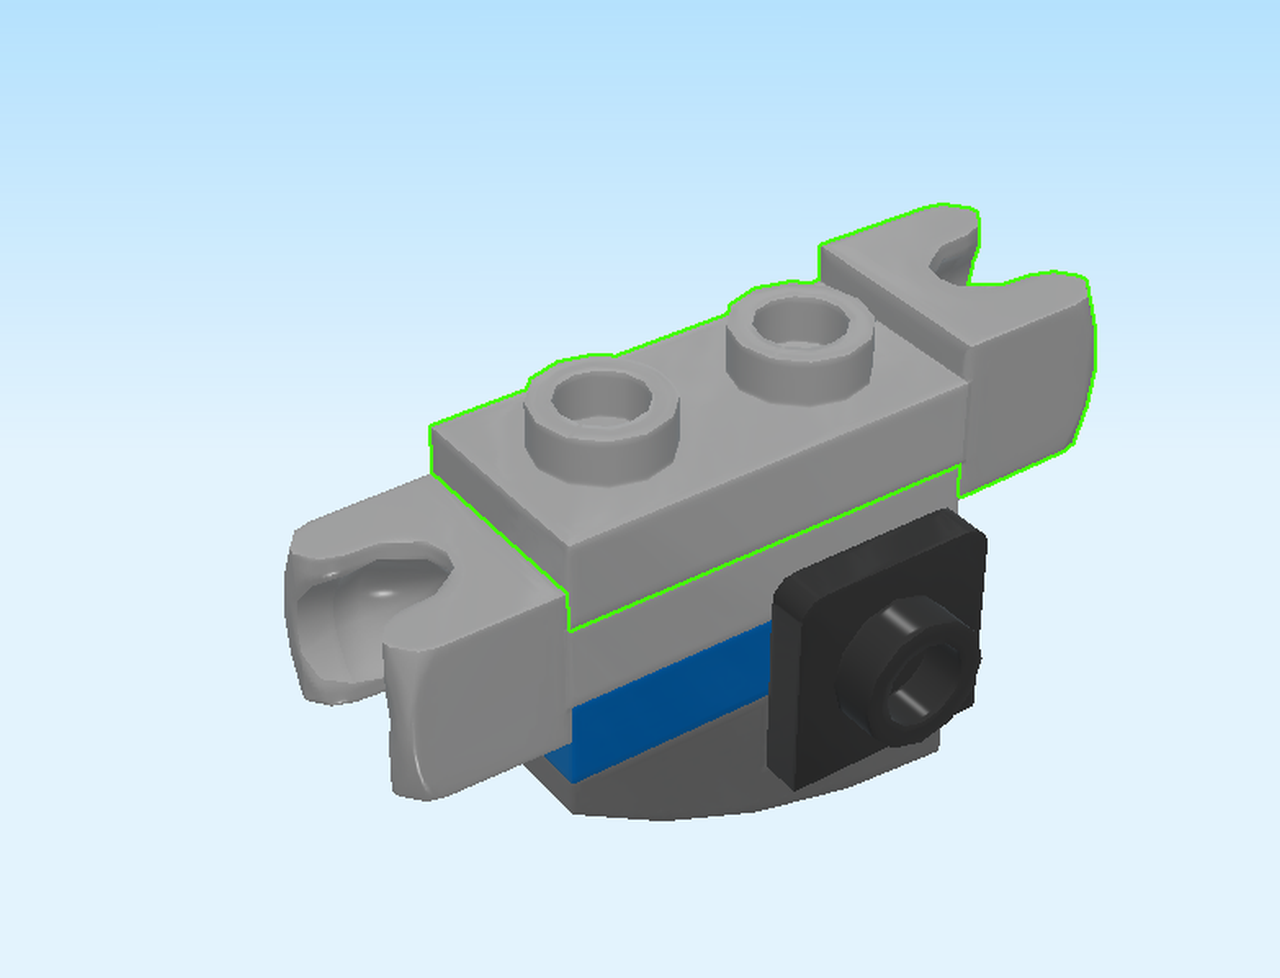
| Find 1 bright blue top angle plate 1x2 - 1x2 with 2 side knobs. |
| Put it horizontally on top, side knobs to the front. |
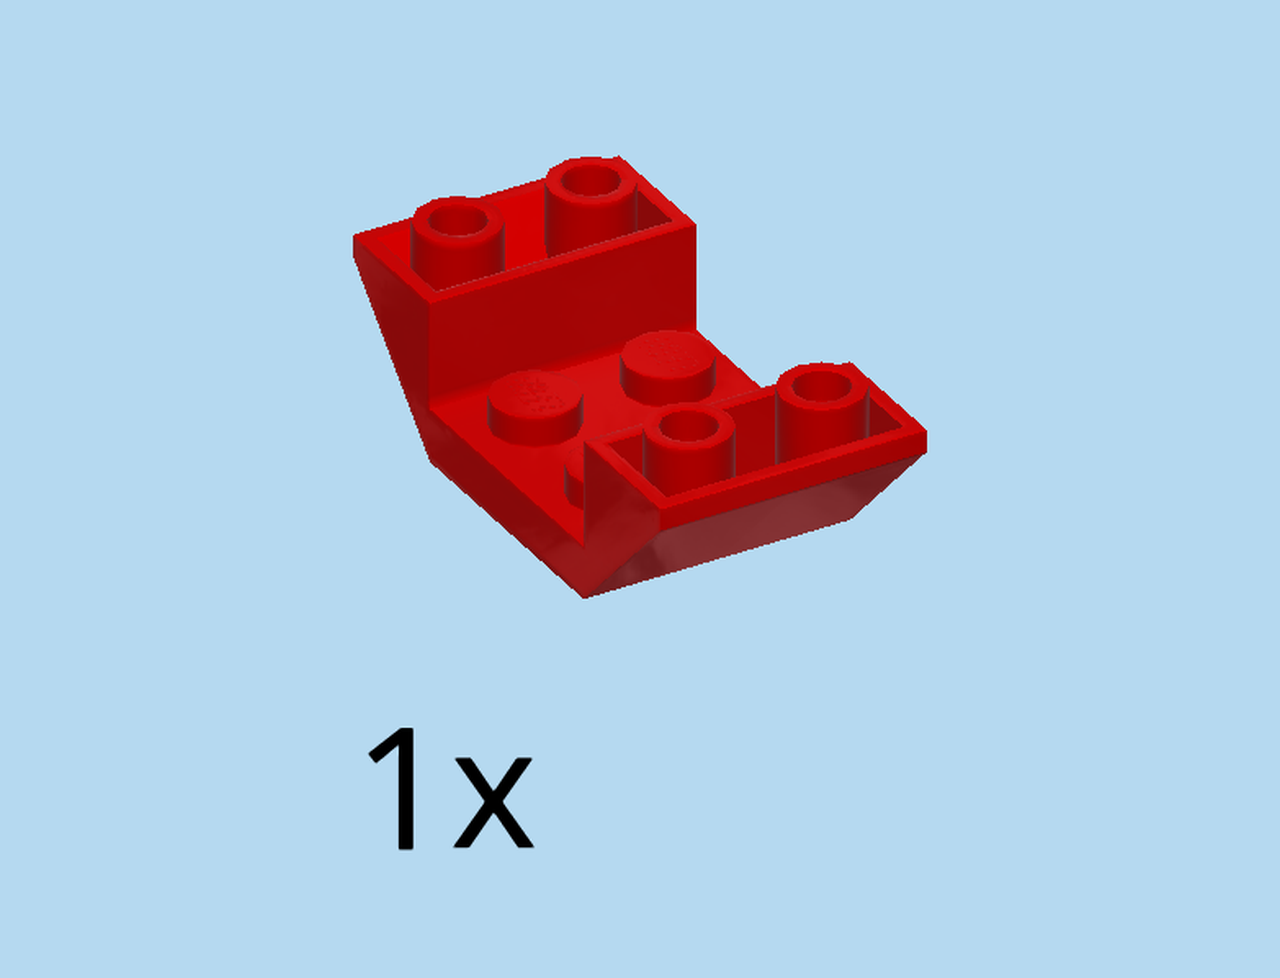
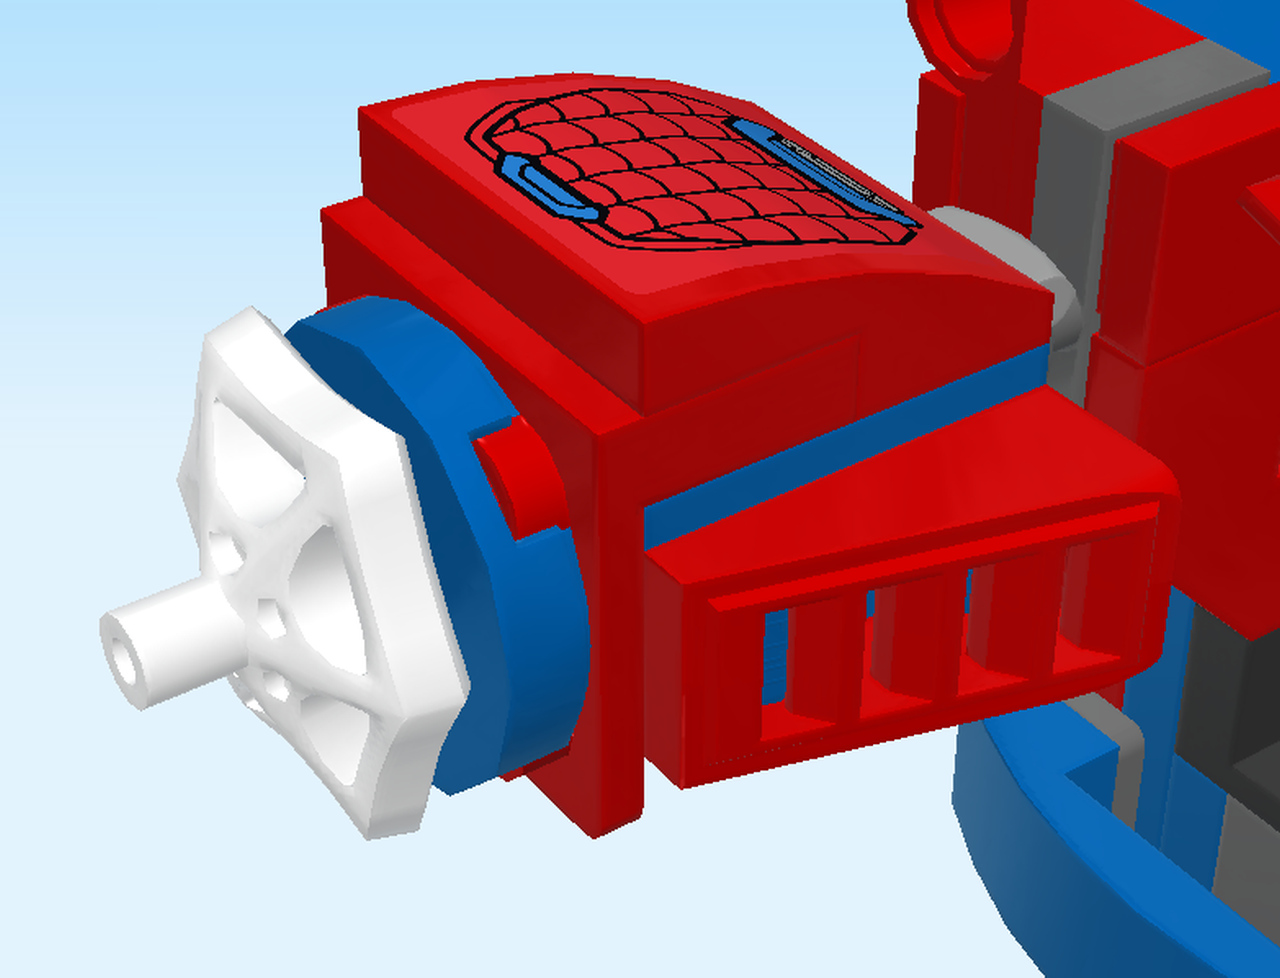
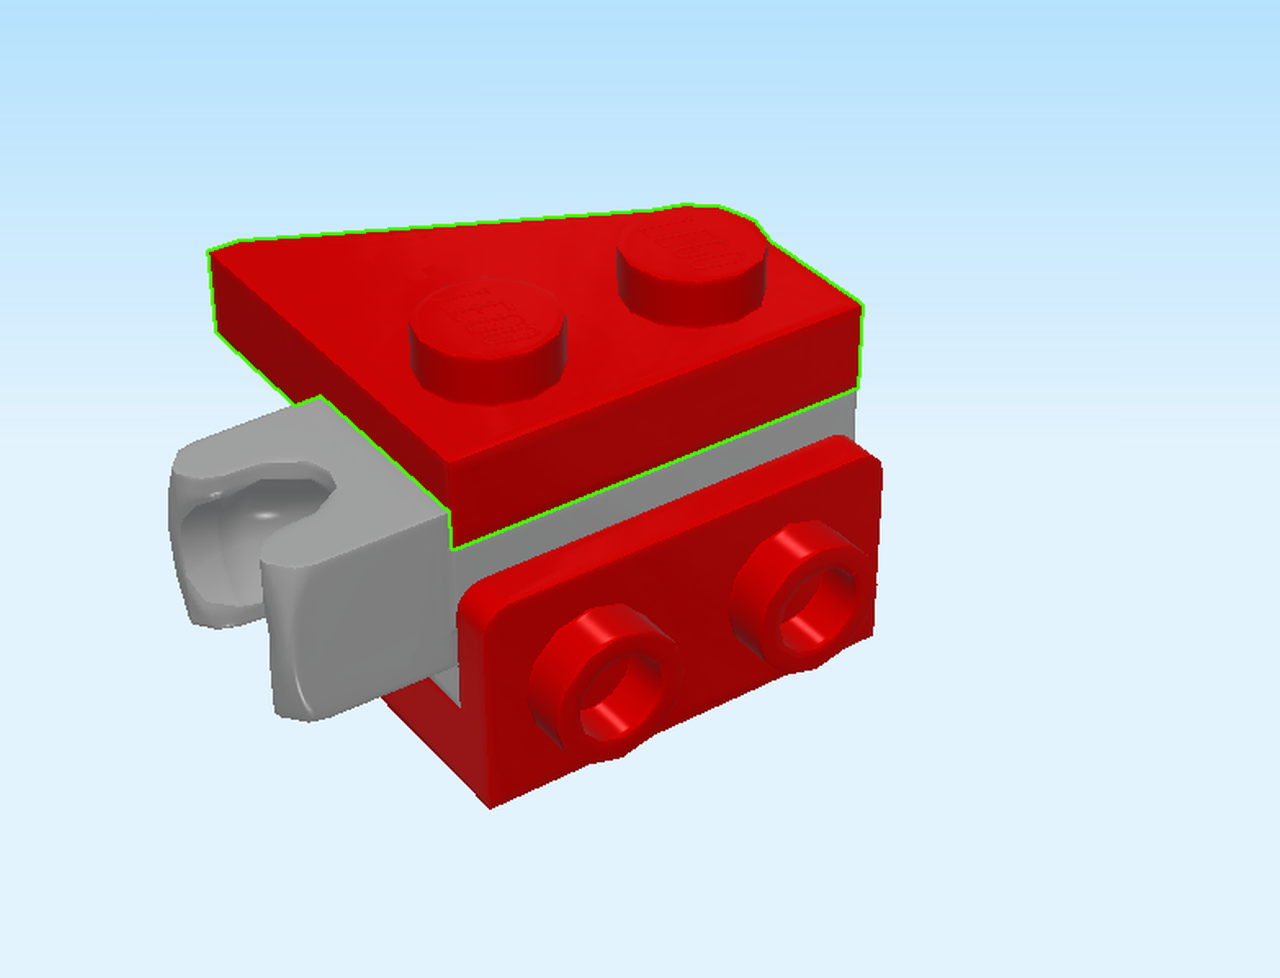
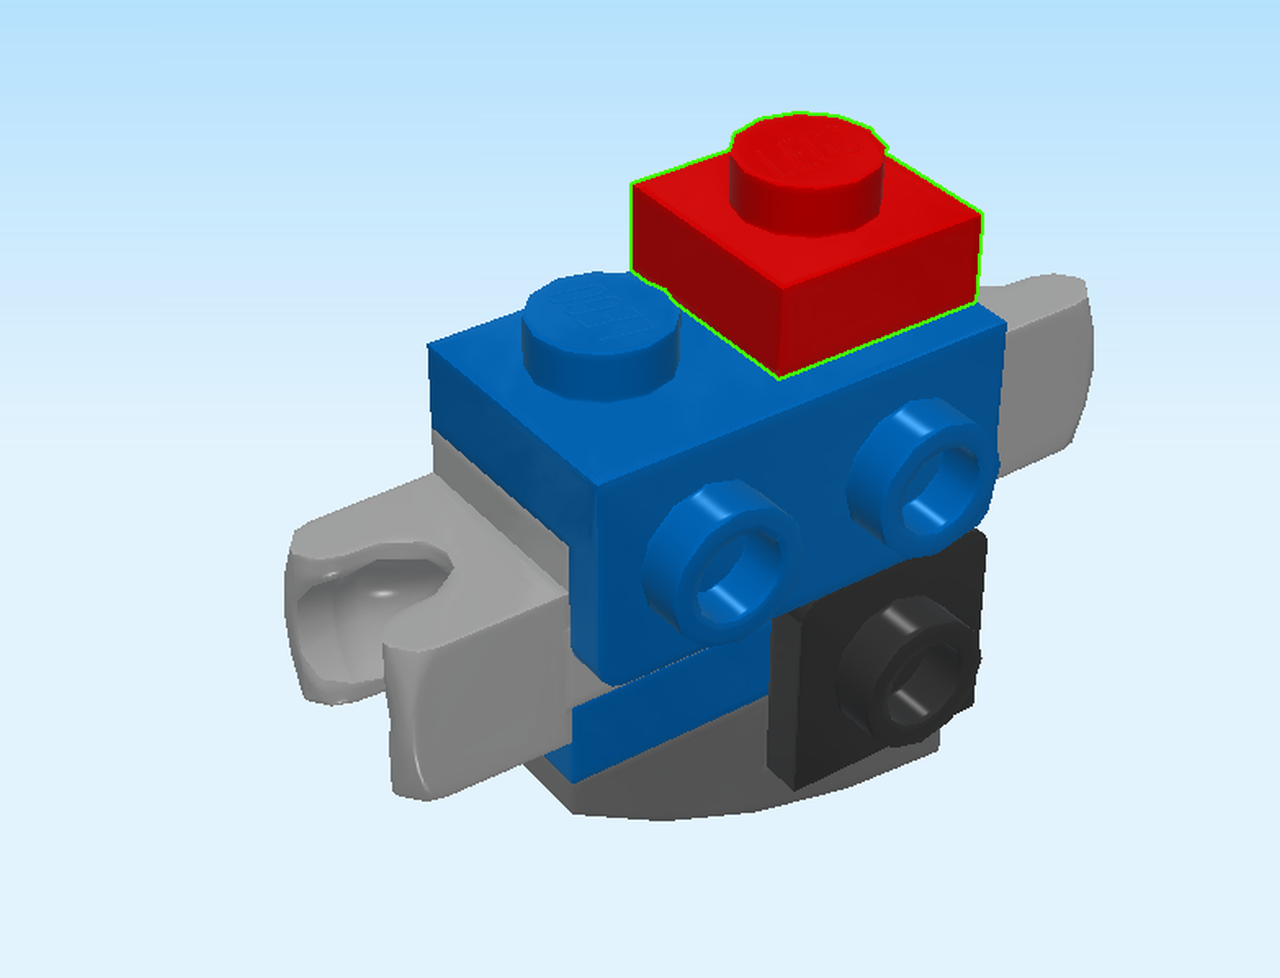
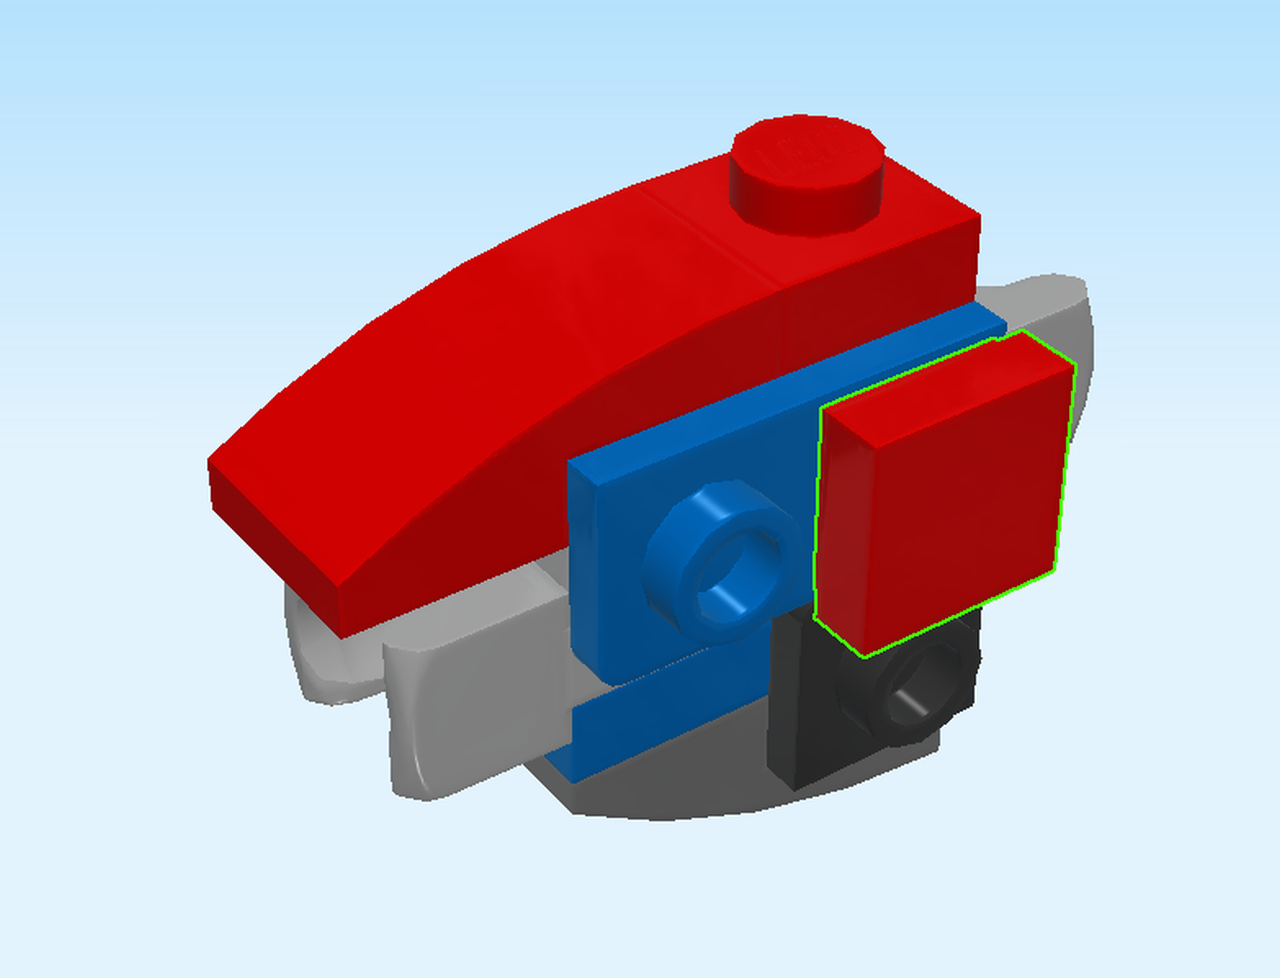
| Find 1 bright red roof tile with lattice 1x2. |
| Put it horizontally on top, slope to the left. |
| Find 1 bright red top angle plate 1x2 - 2x2 with 4 side knobs. |
| Careful! This piece has a special orientation! |
| Put it upright vertically on the left column of the side knobs at the front, 4 side knobs to the left. |
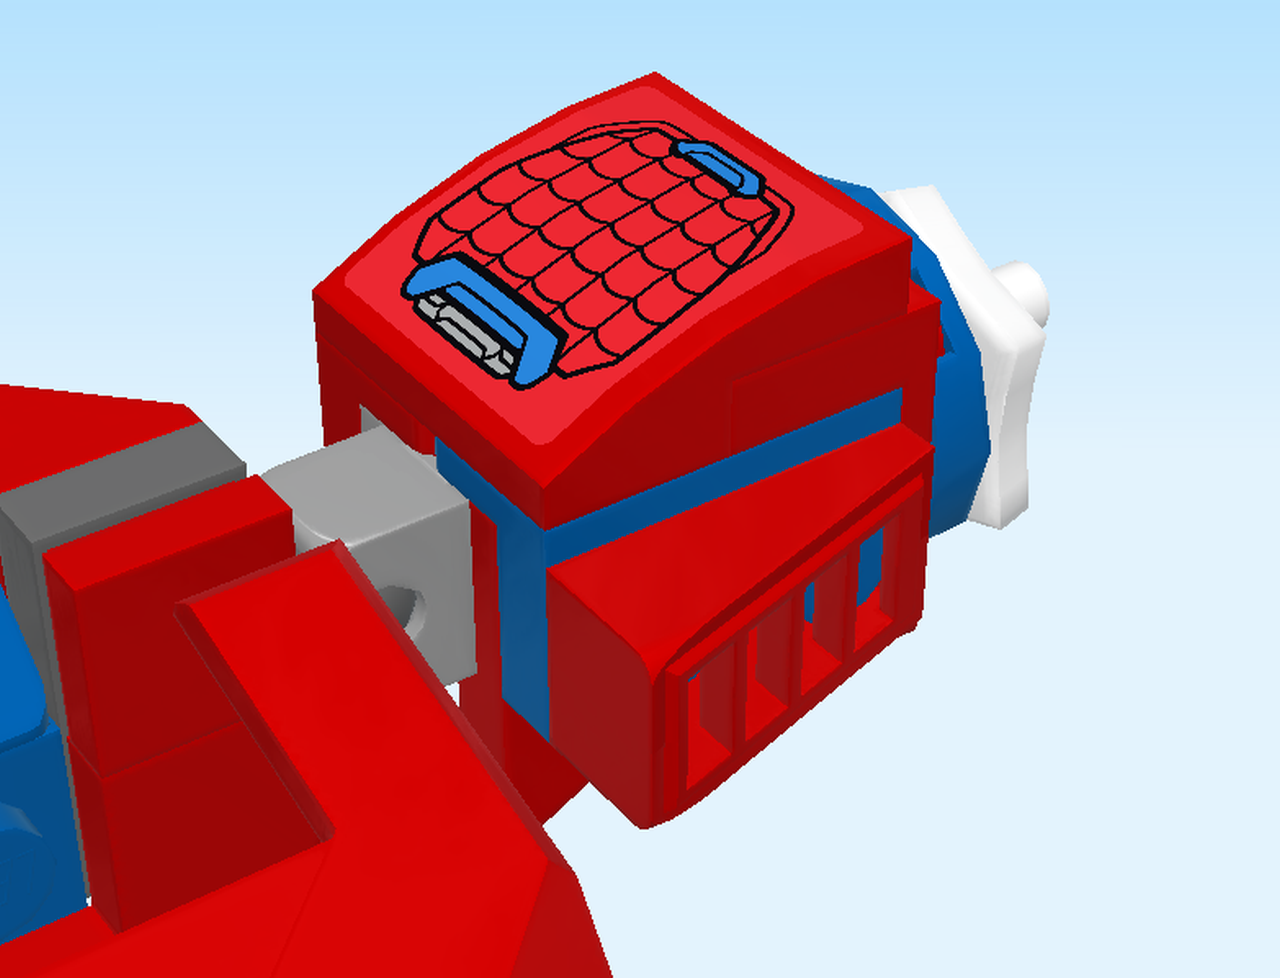
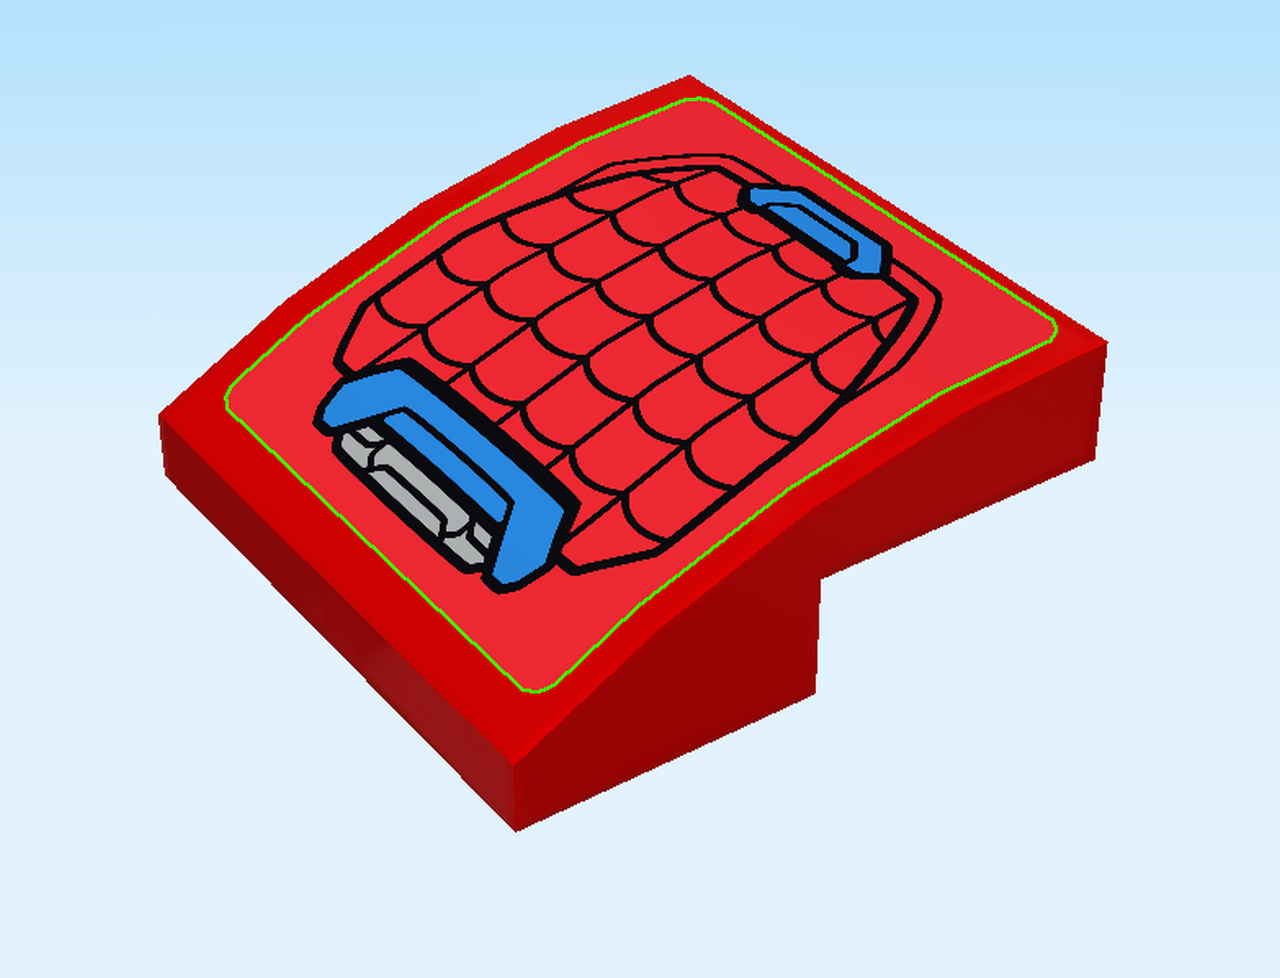
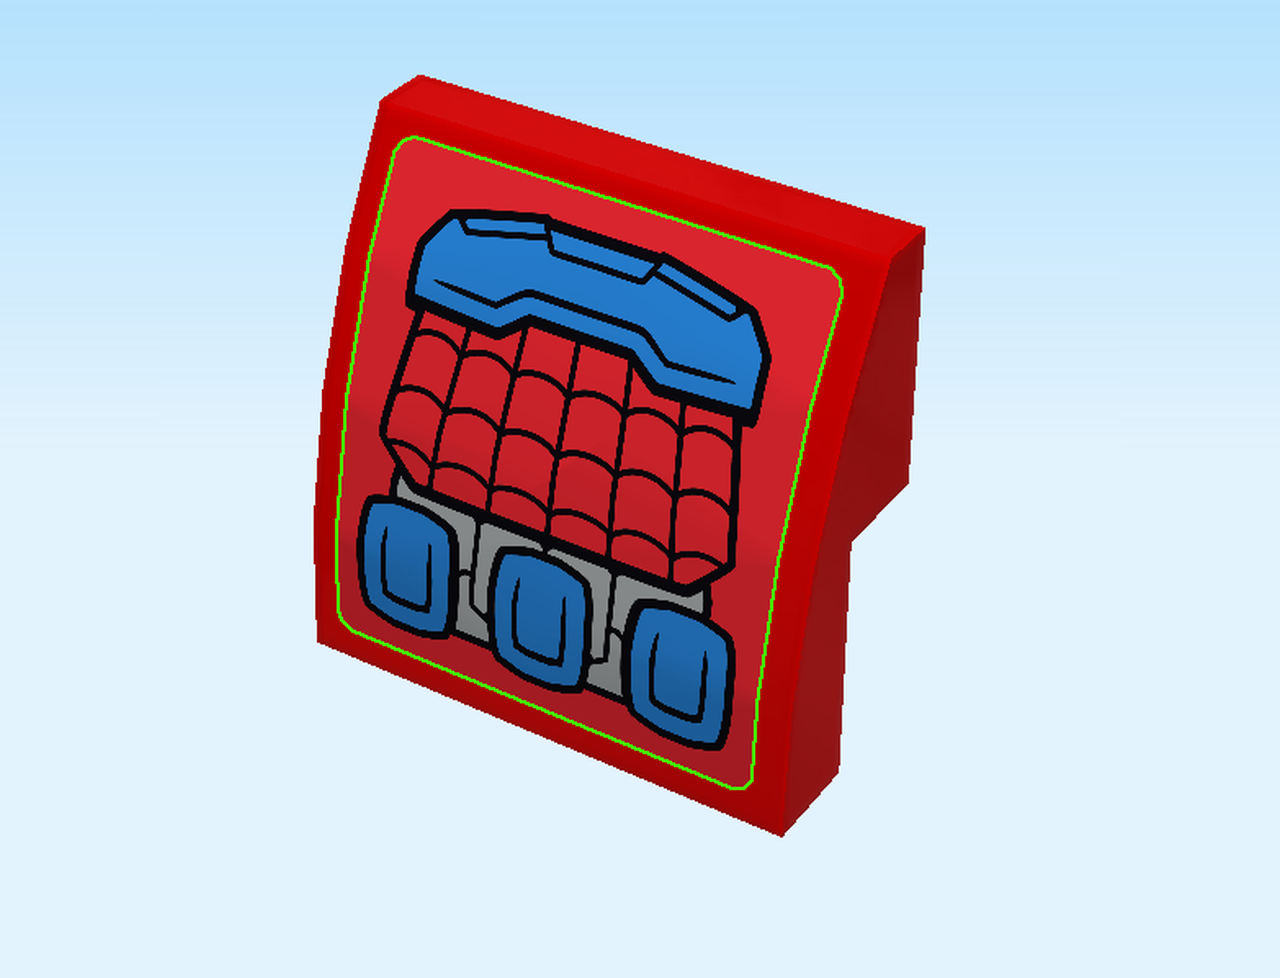
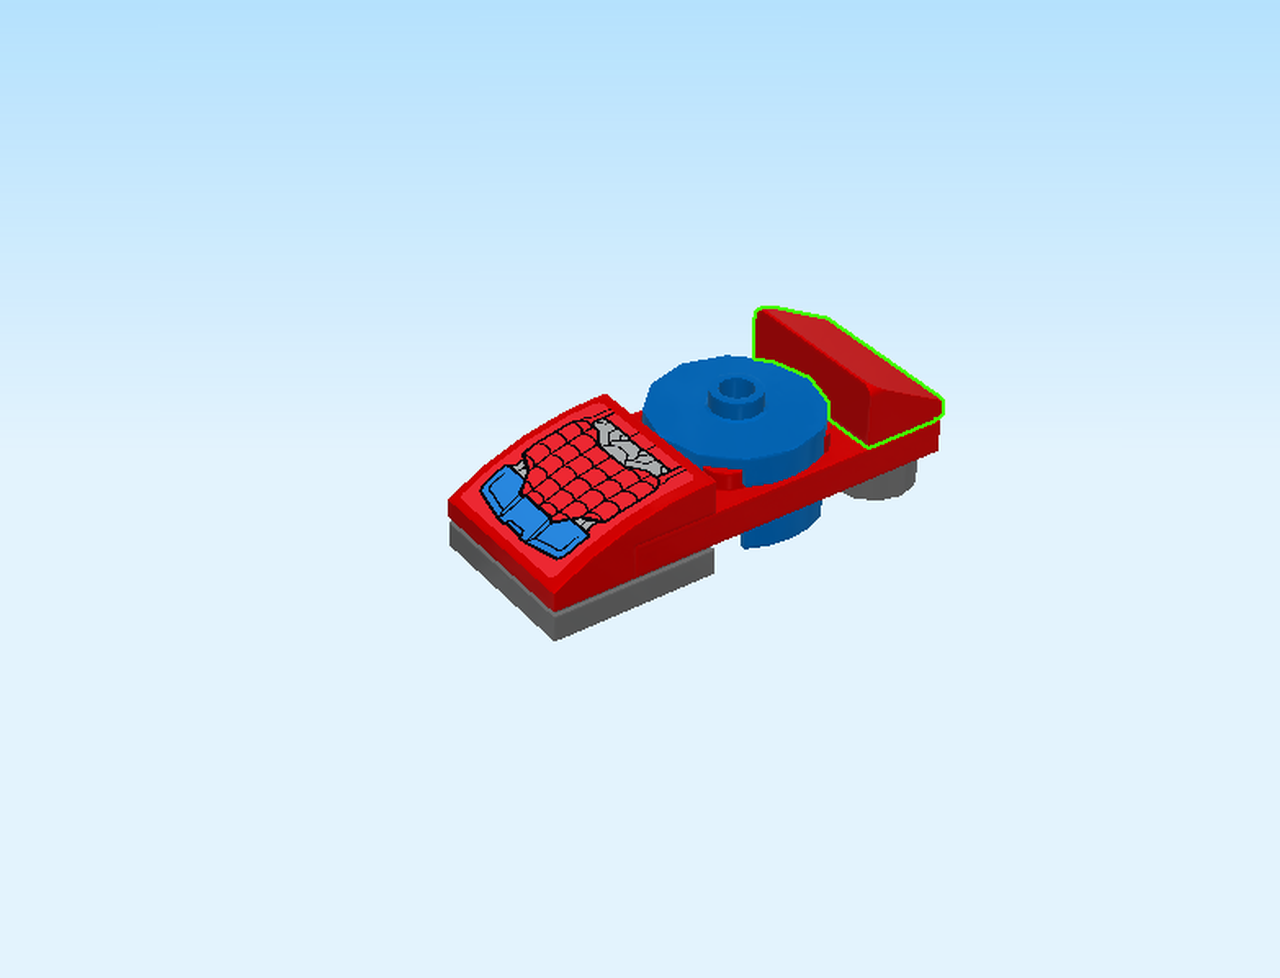
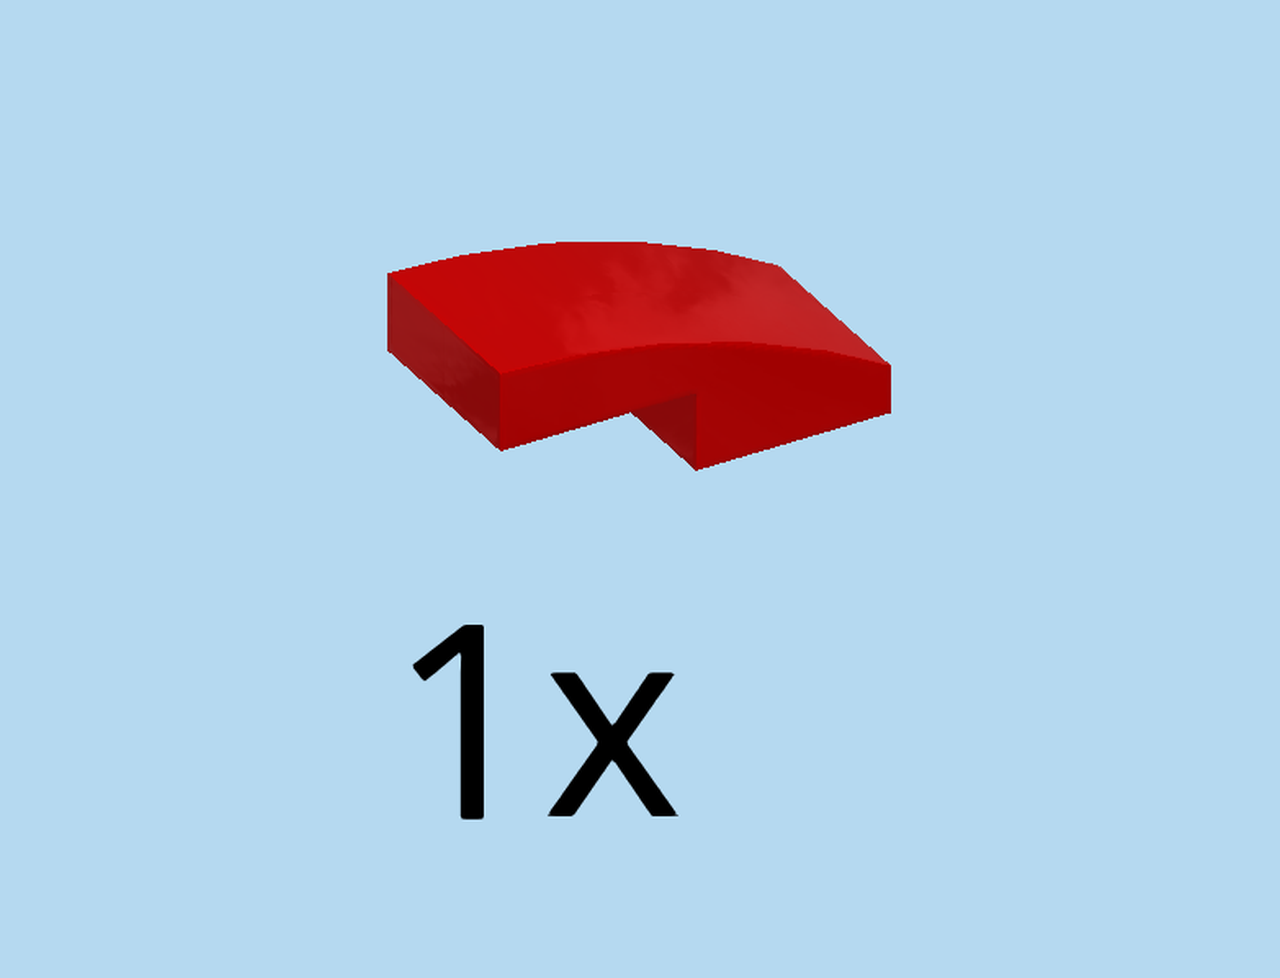
| Find 1 bright red curved tile 2x2. |
| Continue if you want to decorate it with a sticker now. If not, skip the following 3 sentences. |
| Find the sticker number 1. Ask a sighted person to help you. |
| Put it on top. |
| The sticker shows an iron cover with spiderweb on it. |
| Careful! The next piece has a special orientation. |
| Put the curved tile upright on the side knobs at the front, curve to the right. |
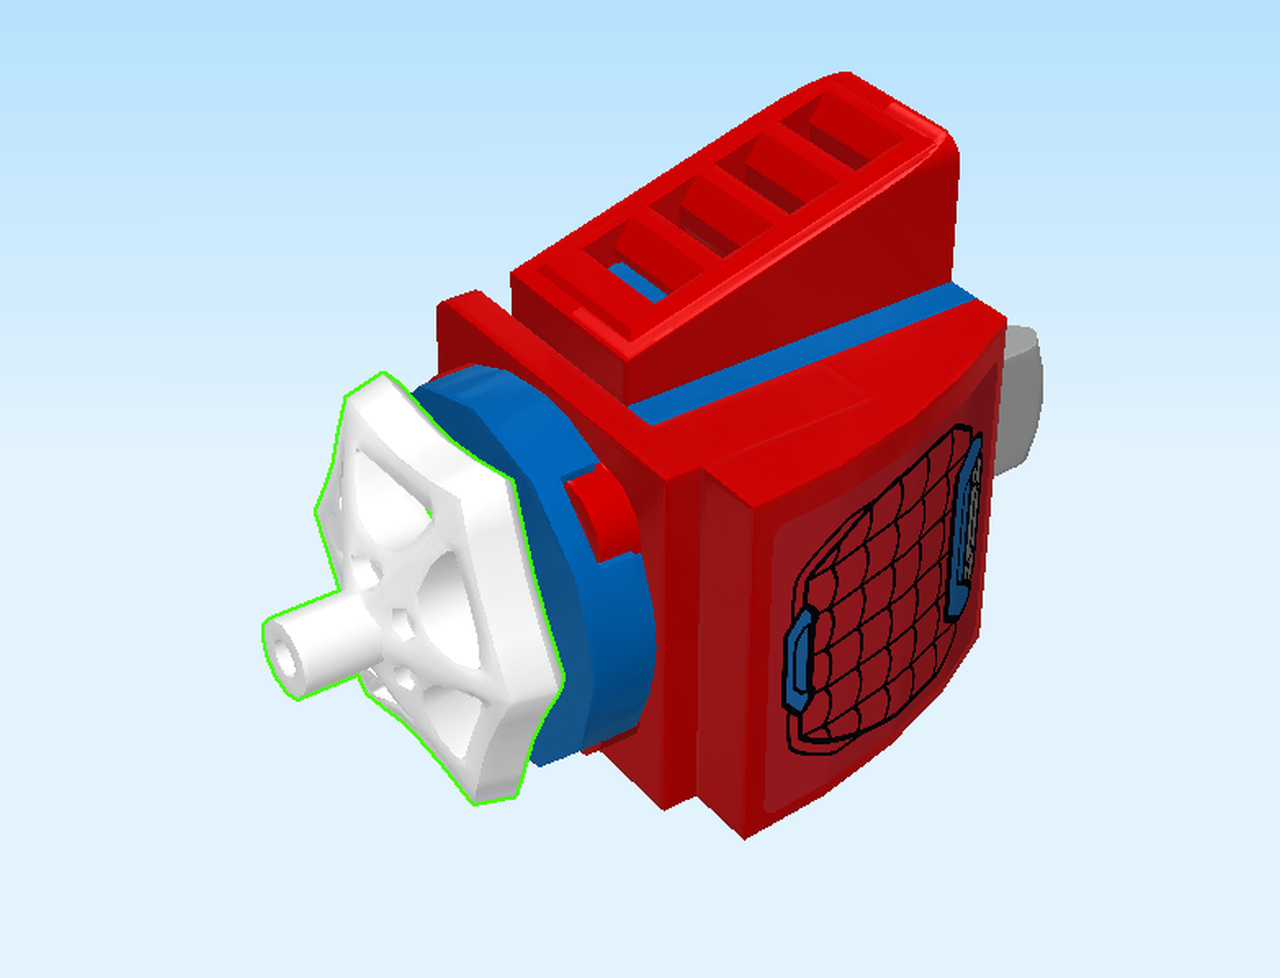
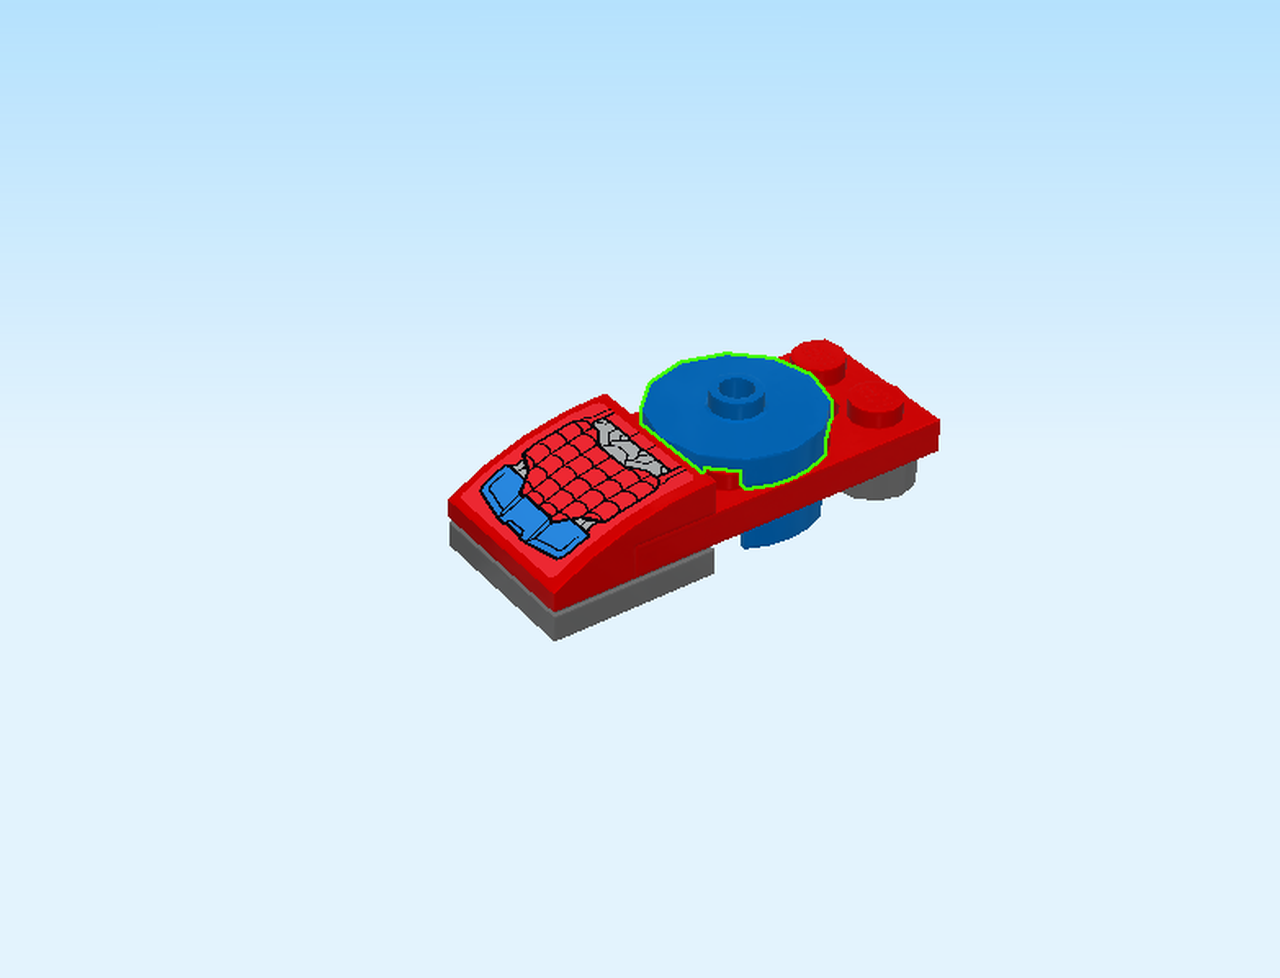
| Find 1 round plate 2x2 with 1 knob. |
| Put it upright on the left side of the structure. |
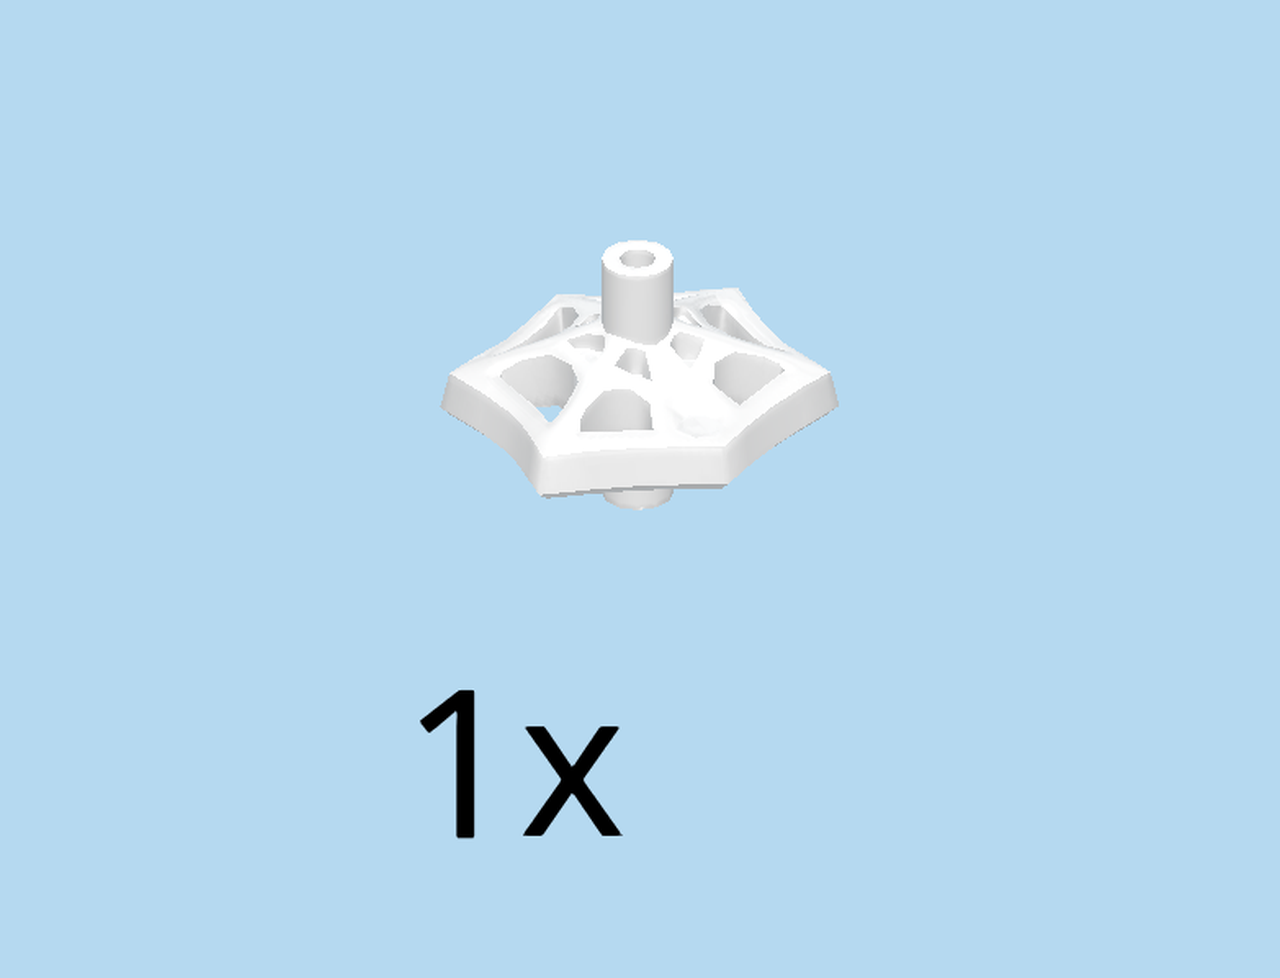
| Find 1 white web 2x2 with middle shaft. |
| Insert the shaft into the knob of the previous piece. |
| The shoulder is finished! Well done! |
| Snap the ball cup on the right side of the shoulder onto the ball on the right side of the torso. Make sure the roof tile 1x2 with lattice is to the front. |
| Now, we will build the other shoulder. |
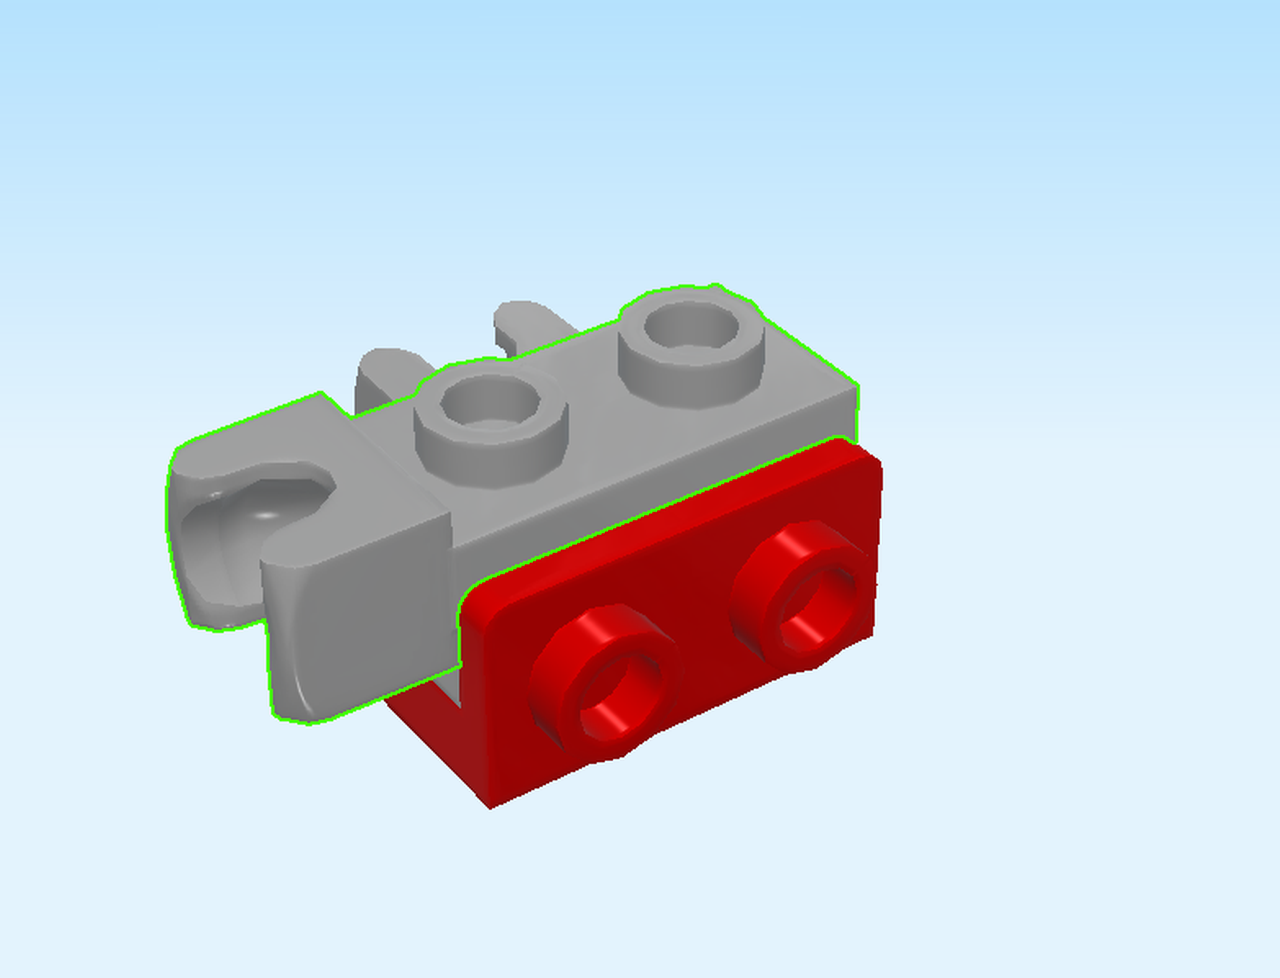
| Find 1 bright red bottom angle plate 1x2 - 1x2 with 2 side knobs. |
| Put it horizontally on the table, side knobs to the front. |
| Find 1 medium stone grey plate 1x2 with ball cup on side. |
| Put it horizontally on top of the previous piece, ball cup to the back. |
| Find 1 medium stone grey plate 1x2 with ball cup on end. |
| Put it horizontally on the previous piece, ball cup to the left. |
| Find 1 bright red left wing plate 2x2 with angle. |
| Put it horizontally on top, angled side to the back. |
| Find 1 bright blue top angle plate 1x2 - 1x2 with 2 side knobs. |
| Put it horizontally on top, side knobs to the front. |
| Find 1 bright red roof tile with lattice 1x2. |
| Put it horizontally on top of the previous piece, slope to the right. |
| Find 1 bright red top angle plate 1x2 - 2x2 with 4 side knobs. |
| Careful! This piece has a special orientation! |
| Put it upright vertically on the right column of the side knobs at the front, 4 side knobs to the right. |
| Find 1 bright red curved tile 2x2. |
| Continue if you want to decorate it with a sticker now. If not, skip the following 3 sentences. |
| Find the sticker number 1. Ask a sighted person to help you. |
| Put it on top. |
| This sticker also shows an iron cover with spiderweb on it, just like on the other shoulder part. |
| Put the curved tile upright on the side knobs at the front, curve to the left. |
| Find 1 bright blue round plate 2x2 with 1 knob. |
| Careful! This piece has a special orientation! |
| Put it upright on the 4 side knobs on the right side of the structure. |
| Find 1 white web 2x2 with middle shaft. |
| Insert the shaft into the knob of the previous piece. |
| Now, snap the ball cup on the left side of the shoulder onto the ball on the left side of the structure. Make sure the roof tile 1x2 with lattice is to the front. |
| The shoulder is finished! Well done! |
| Now, we will build one of the arms. |
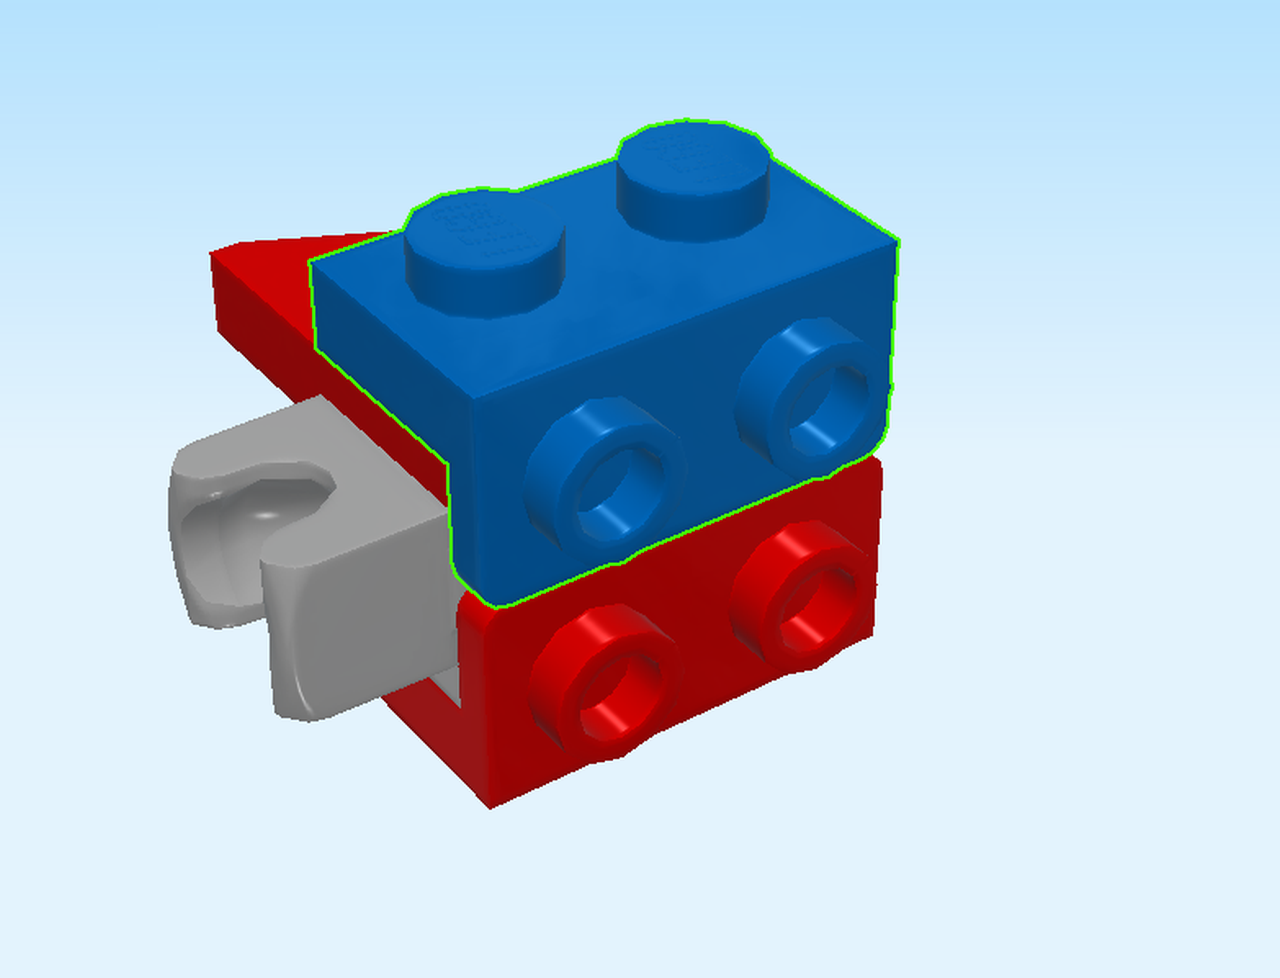
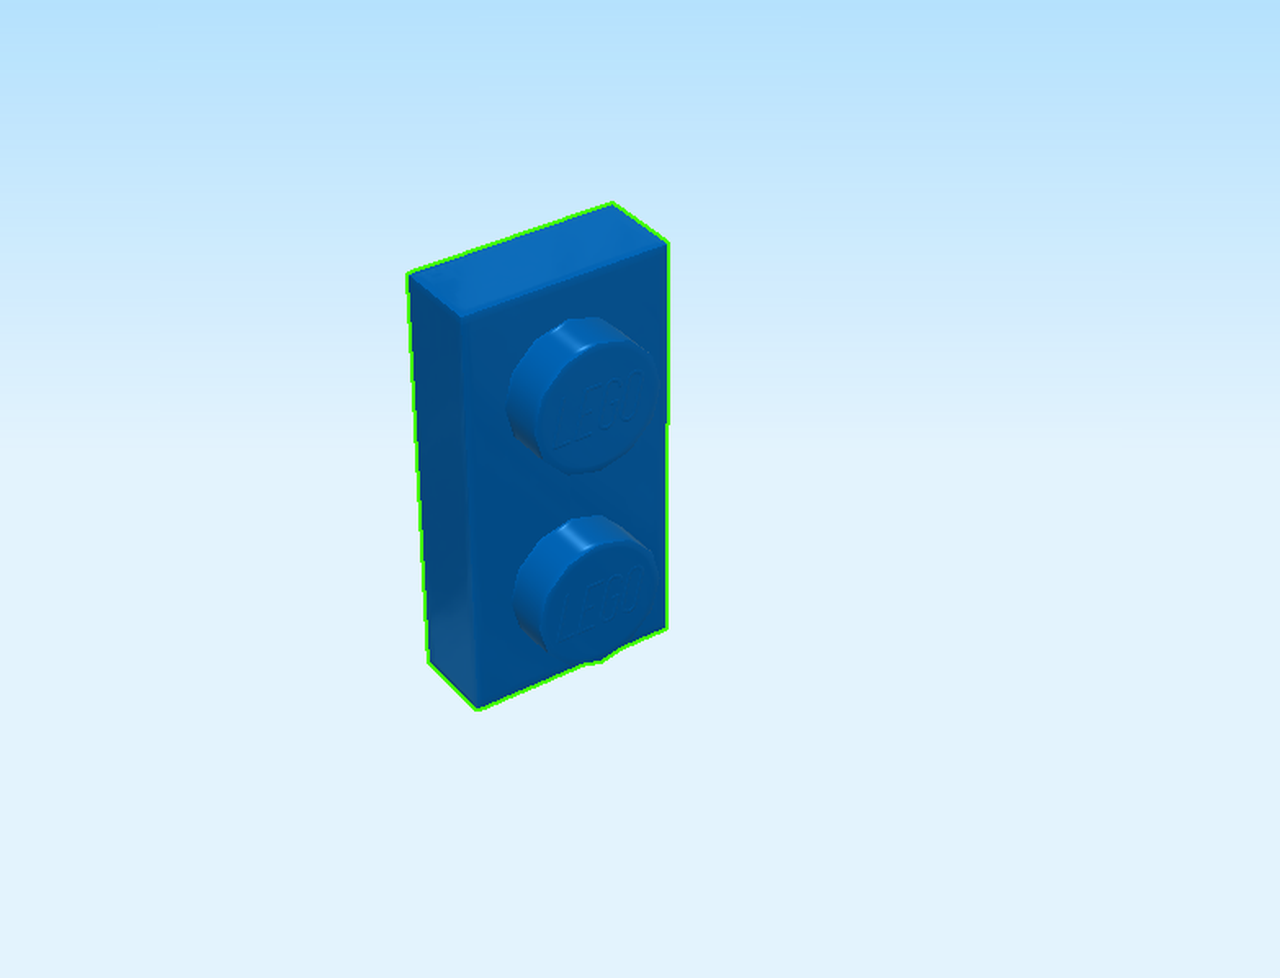
| Find 1 bright blue plate 1x2. |
| Put it horizontally on the table. |
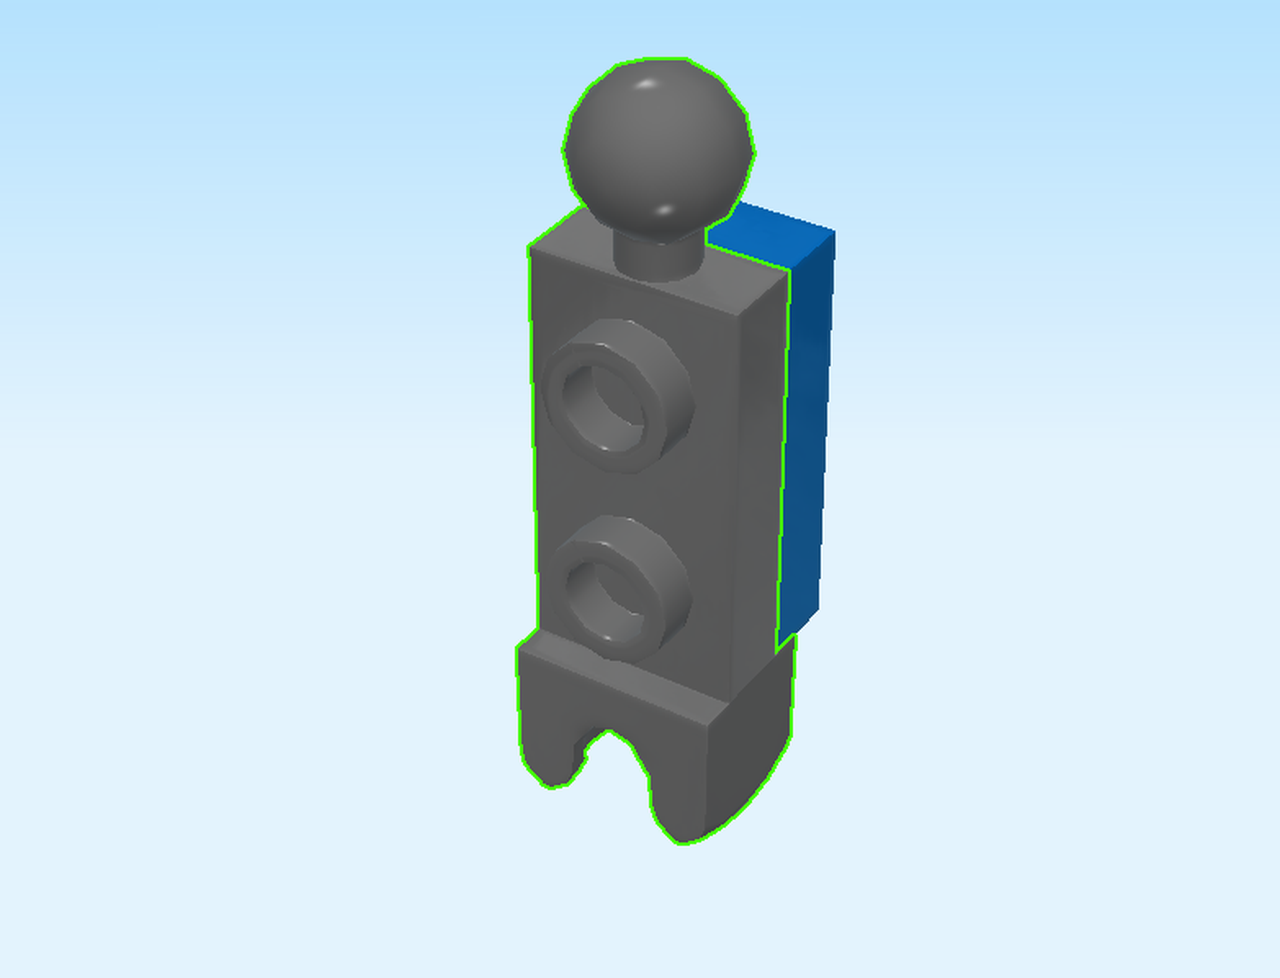
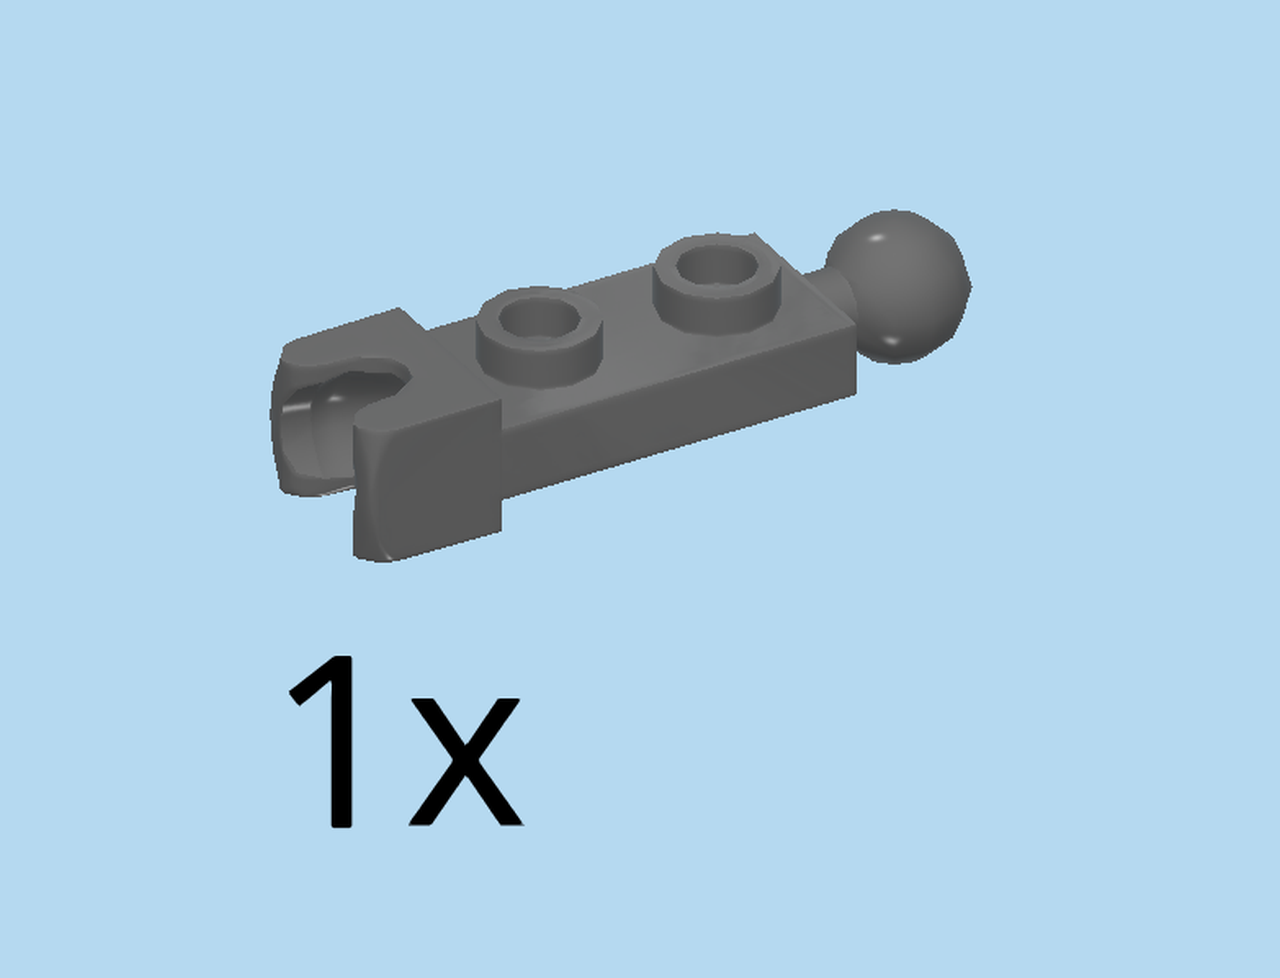
| Find 1 dark stone grey plate 1x2 with ball and ball cup on ends. |
| Put it horizontally on top, ball cup to the left. |
| Find 1 bright blue plate 1x1. |
| Put it on the previous piece closest to the ball cup. |
| Find 1 bright blue curved tile 1x2. |
| Put it horizontally on top, curve to the ball. |
| Snap the ball of the arm onto the ball cup on the robot's left shoulder. Make sure the curved tile is to the left. |
| The left arm is now finished. |
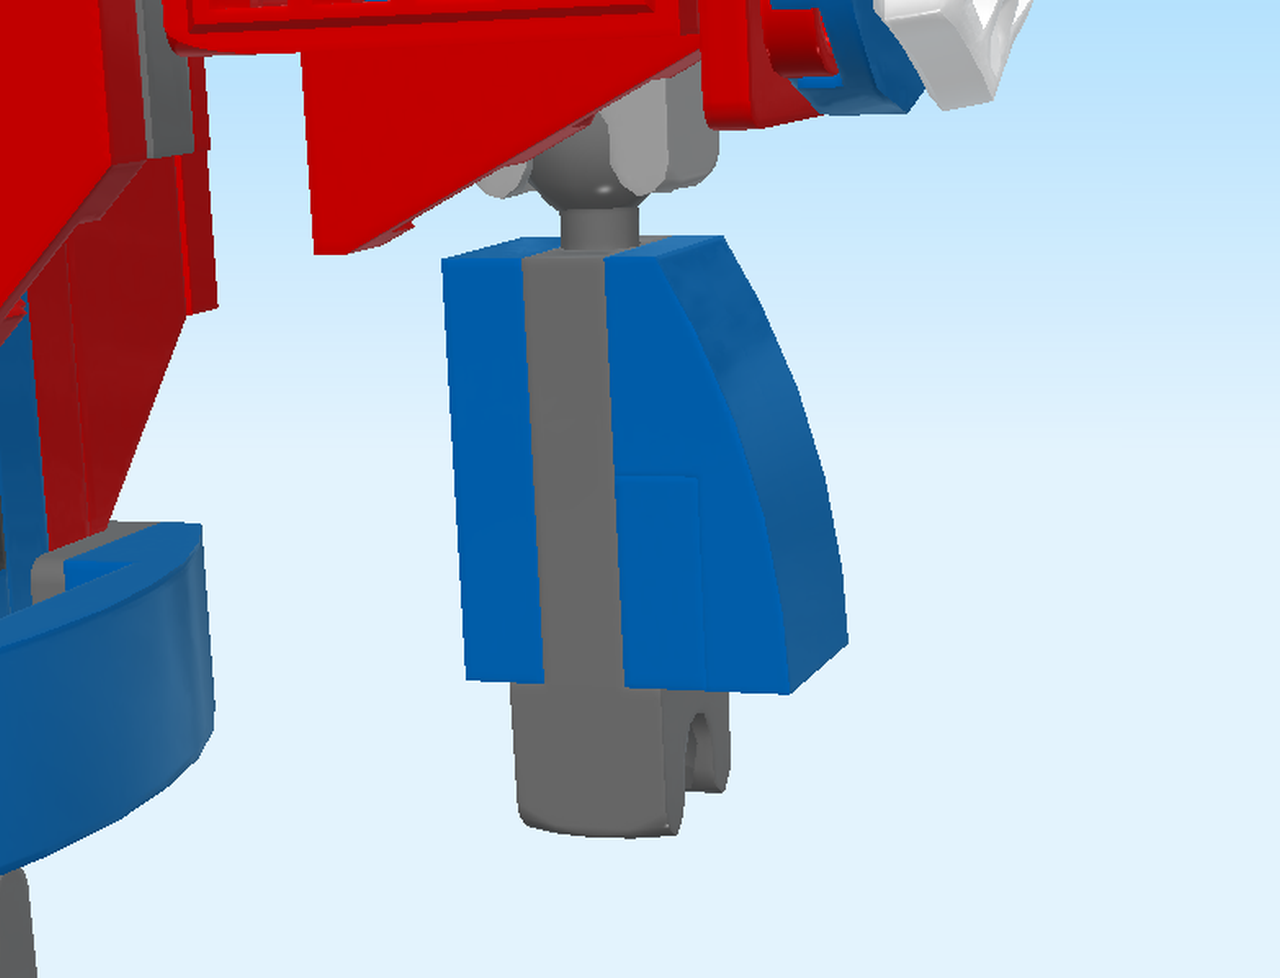
| Now, we will build a leg. |
| Find 1 bright blue plate 1x2. |
| Put it horizontally on the table. |
| Find 1 dark stone grey plate 1x2 with ball and ball cup on ends. |
| Put it horizontally on top. |
| Find 1 bright blue plate 1x1. |
| Put it on the previous piece closest to the ball cup. |
| Find 1 bright blue curved tile 1x2. |
| Put it horizontally on top, curve to the ball. |
| Now, snap the ball cup of the leg onto the ball at the very bottom of the structure on the left side. Make sure the curved tile is to the left. |
| Now, we will build the other leg. |
| Find 1 bright blue plate 1x2. |
| Put it horizontally on the table. |
| Find 1 dark stone grey plate 1x2 with ball and ball cup on ends. |
| Put it horizontally on top. |
| Find 1 bright blue plate 1x1. |
| Put it on the previous piece closest to the ball cup. |
| Find 1 bright blue curved tile 1x2. |
| Put it horizontally on top, curve to the ball. |
| Now, snap the ball cup onto the ball at the very bottom of the structure on the right side. Make sure the curved tile is to the right. |
| Good job. We will continue with the legs in a moment. |
| Let's make the second arm. |
| Find 1 bright blue plate 1x2. |
| Put it horizontally on the table. |
| Find 1 dark stone grey plate 1x2 with ball and ball cup on ends. |
| Put it horizontally on top. |
| Find 1 bright blue plate 1x1. |
| Put it on the previous piece closest to the ball cup. |
| Find 1 curved tile 1x2. |
| Put it horizontally on the top, curve to the ball. |
| Now, snap the ball into the ball cup on the bottom of the right shoulder, curved tile to the right. |
| The arm is now finished. Well done! |
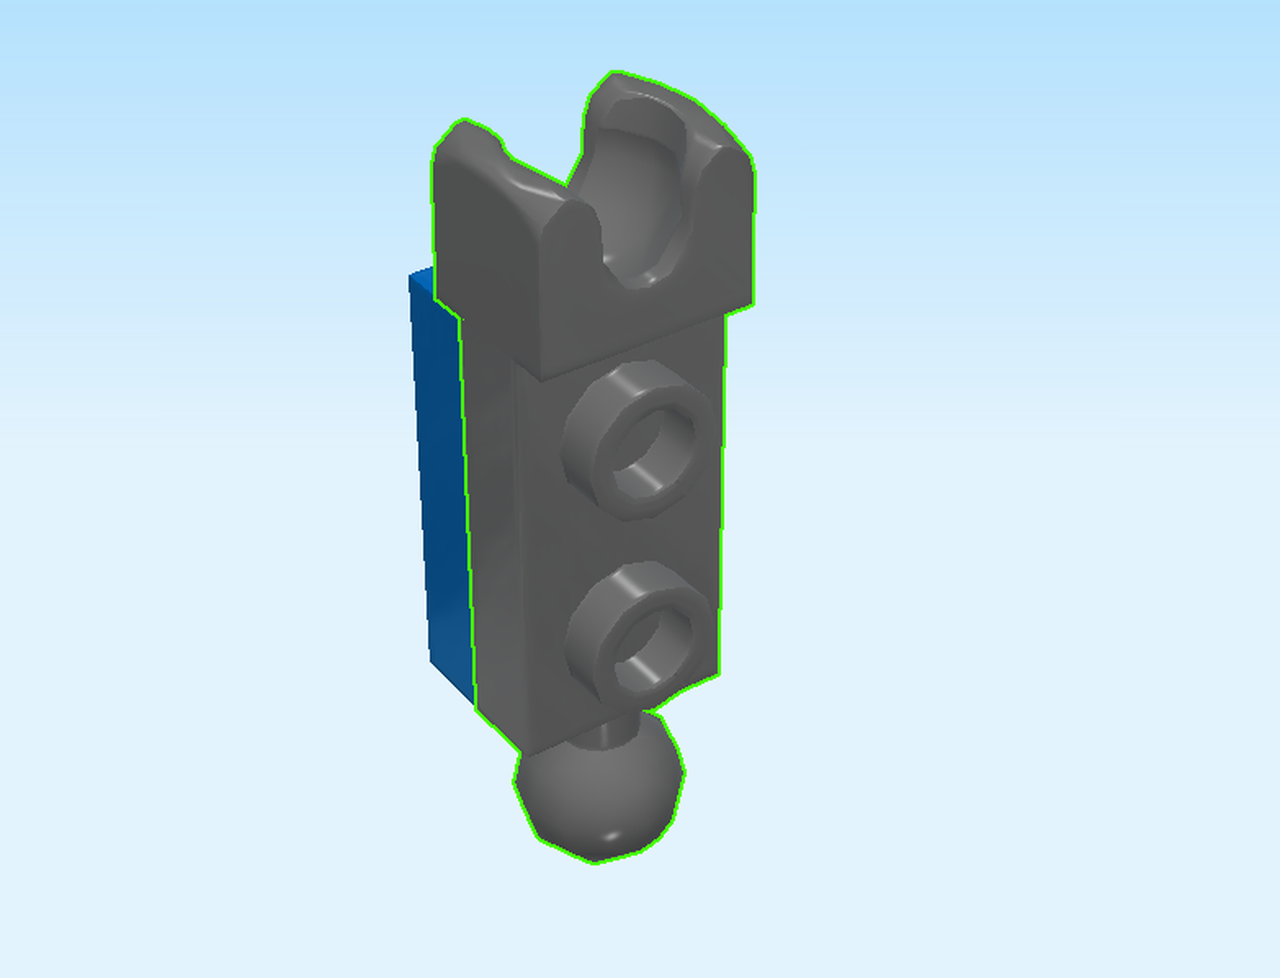
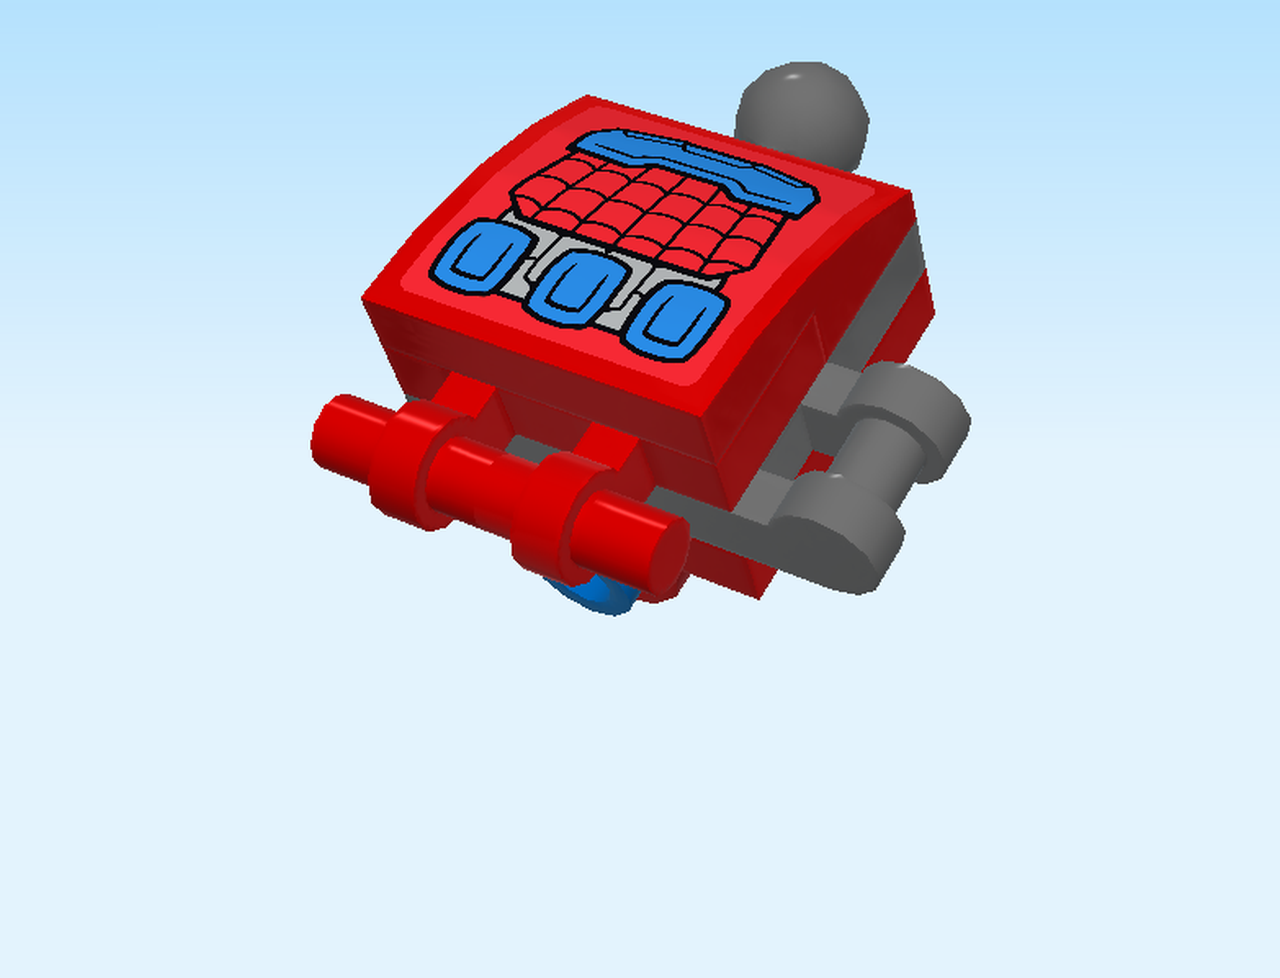
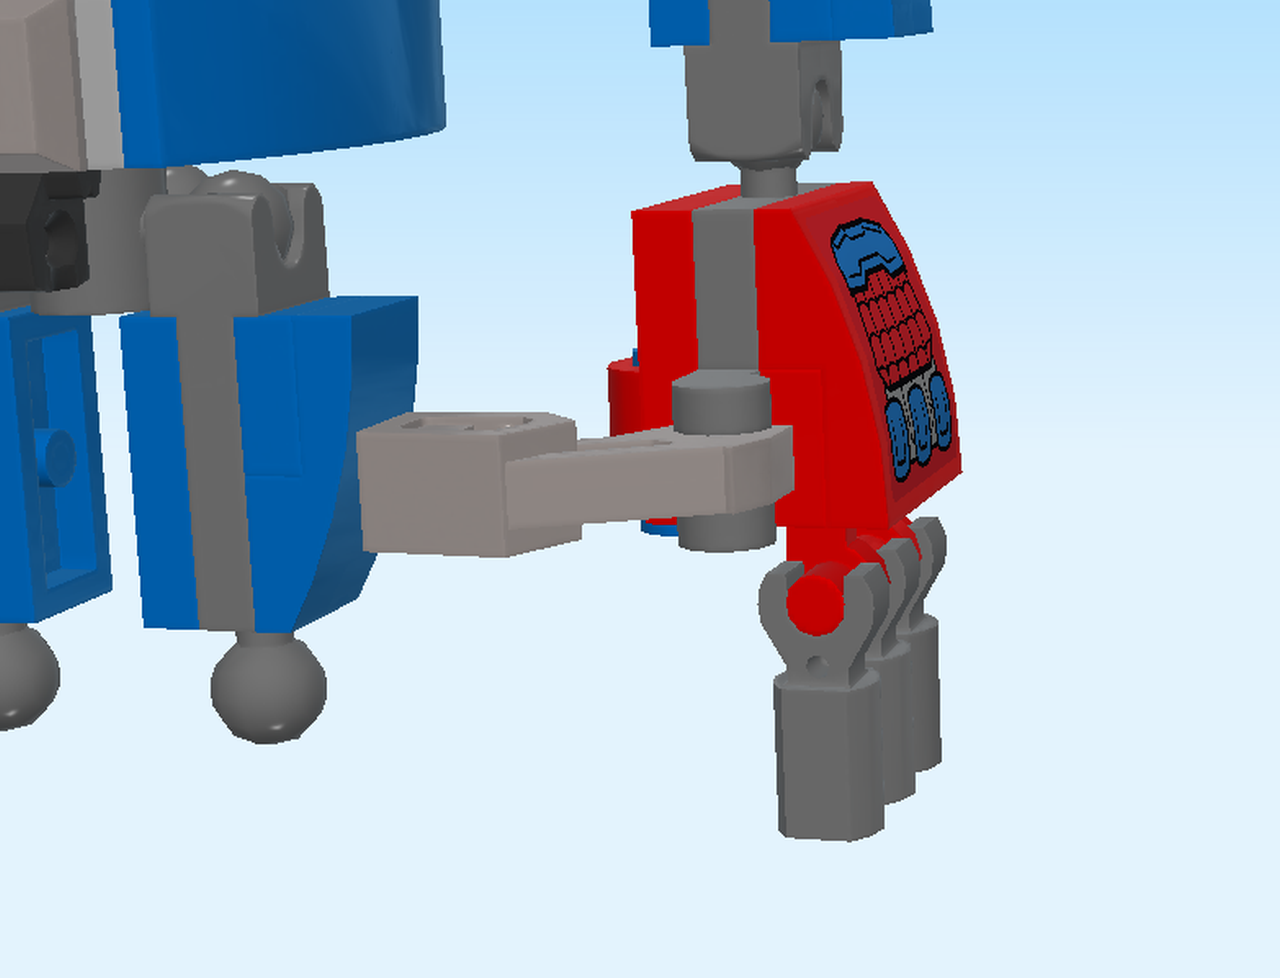
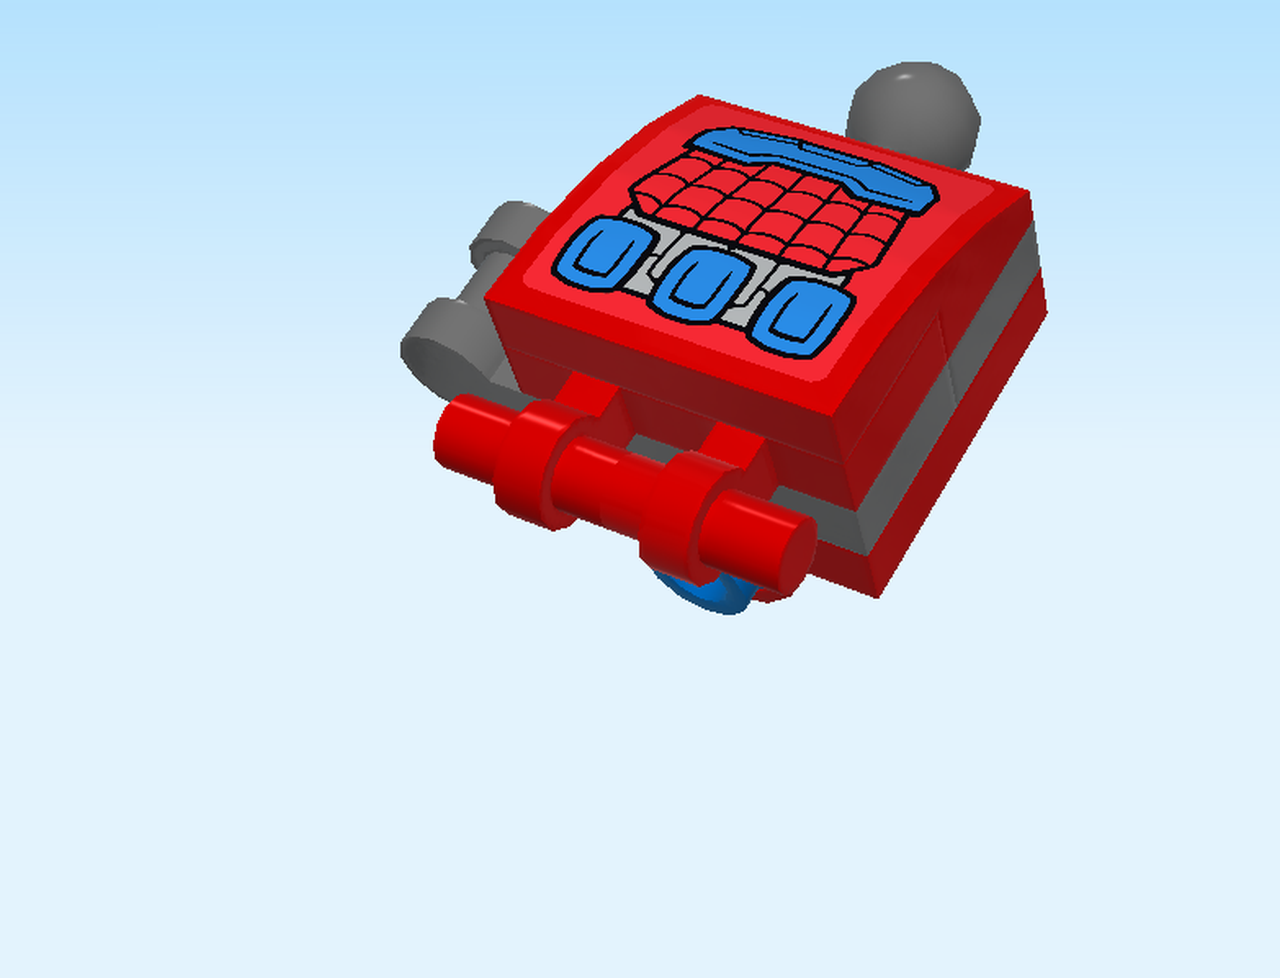
| Next, we will build one of the hands. |
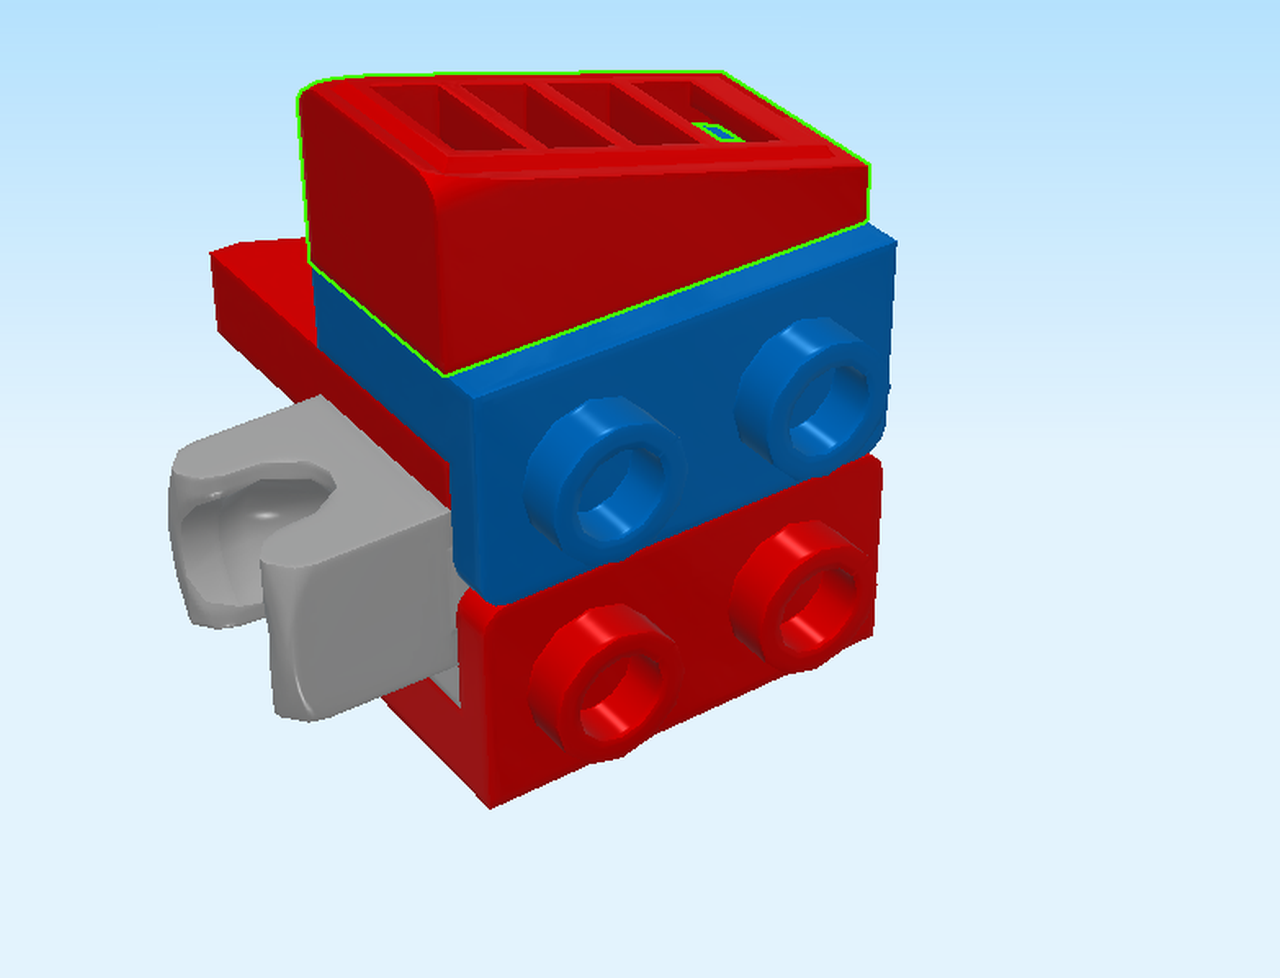
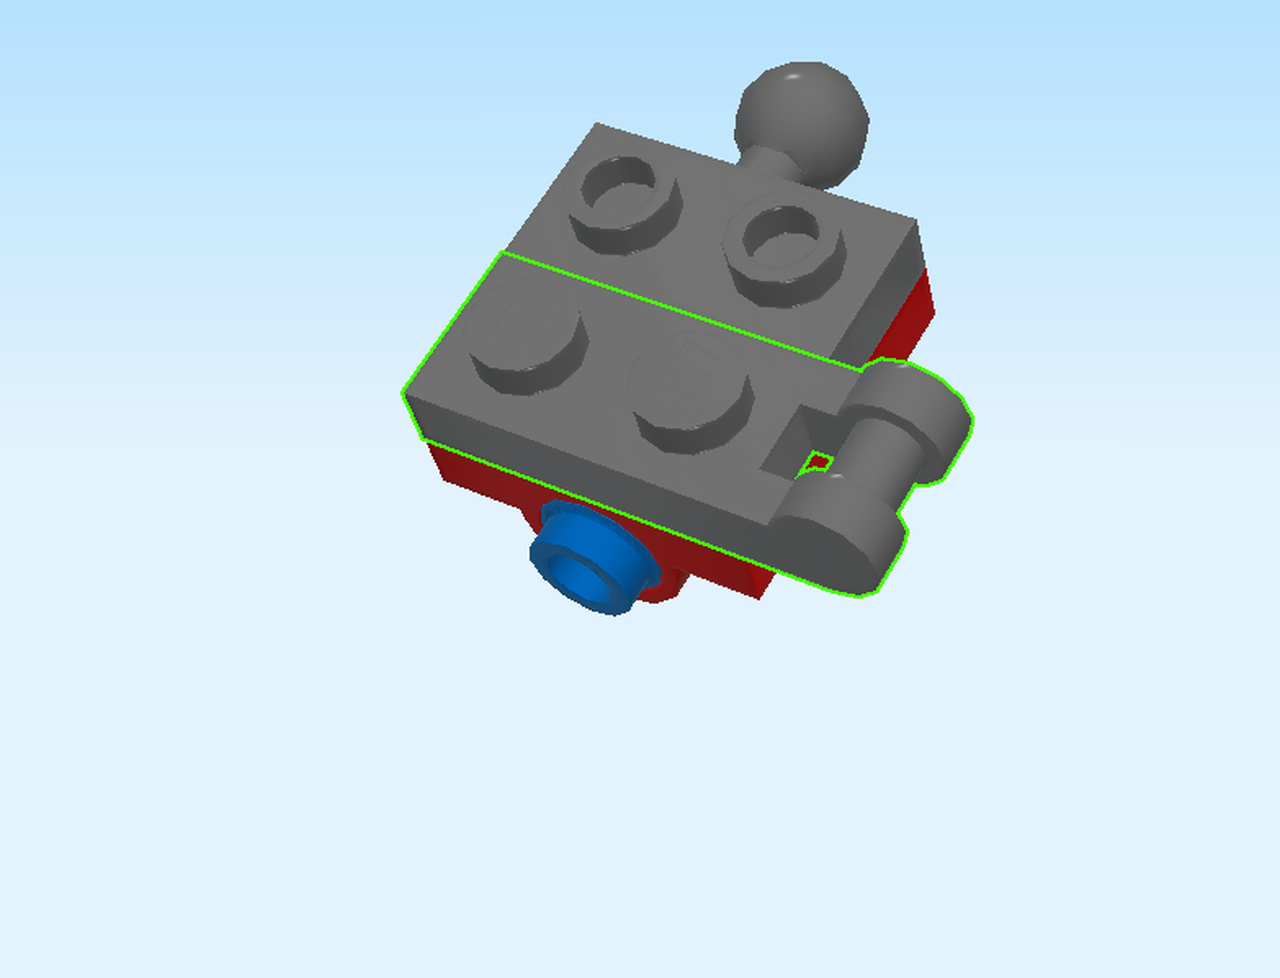
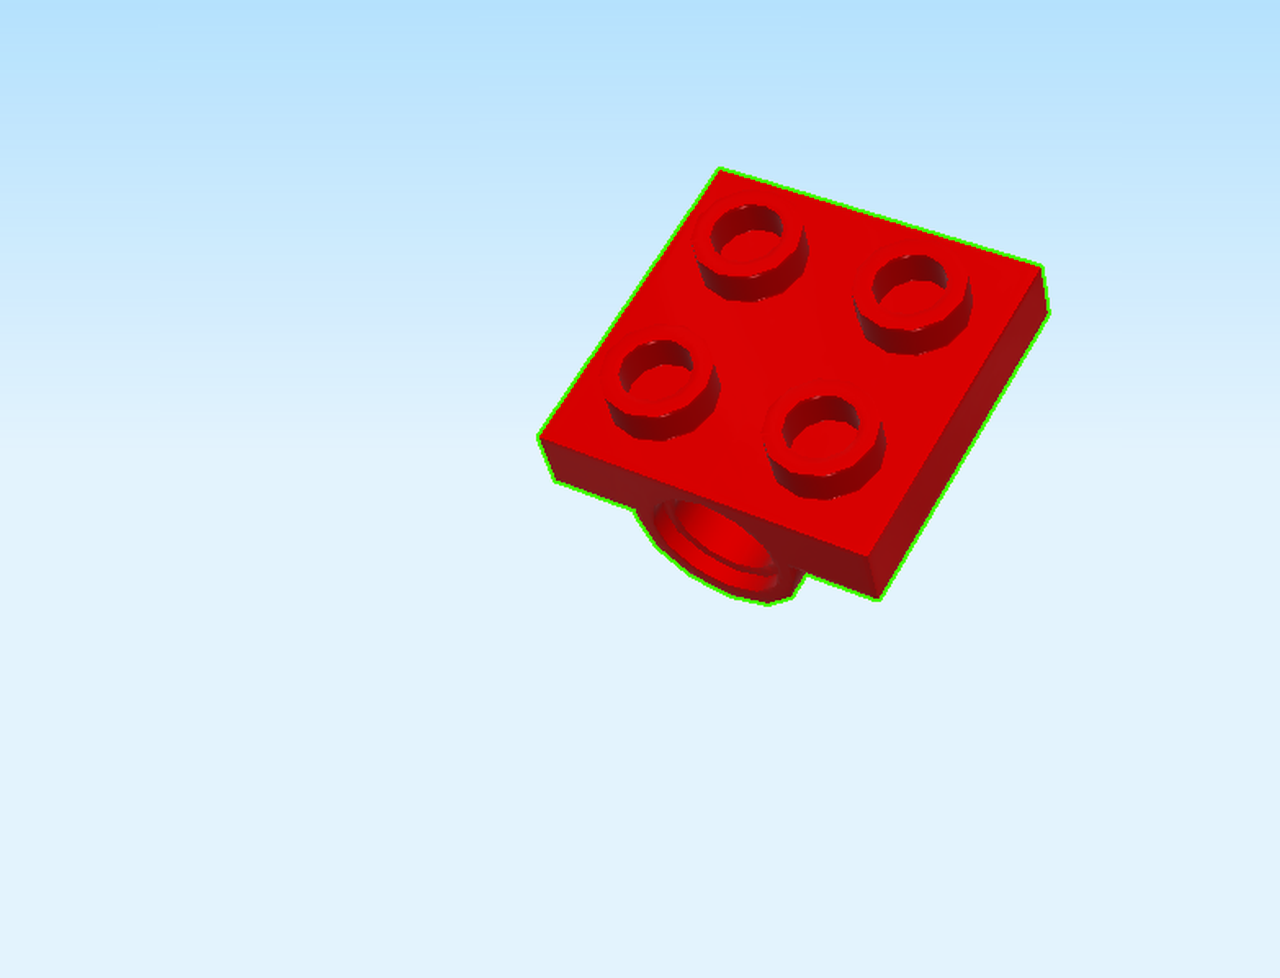
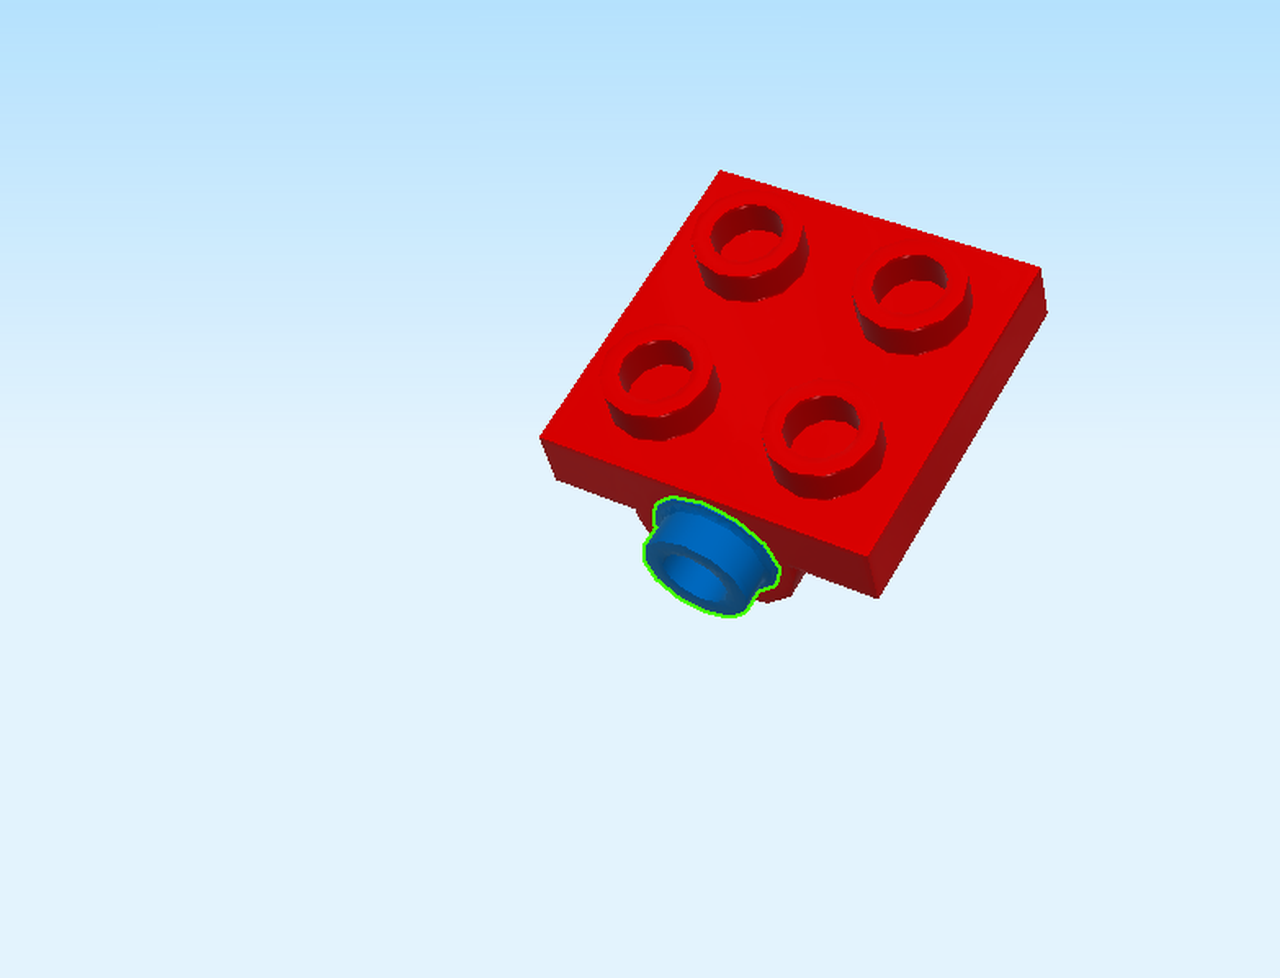
| Find 1 bright red plate 2x2 with bottom tube. |
| Put it on the table, tube to the front. |
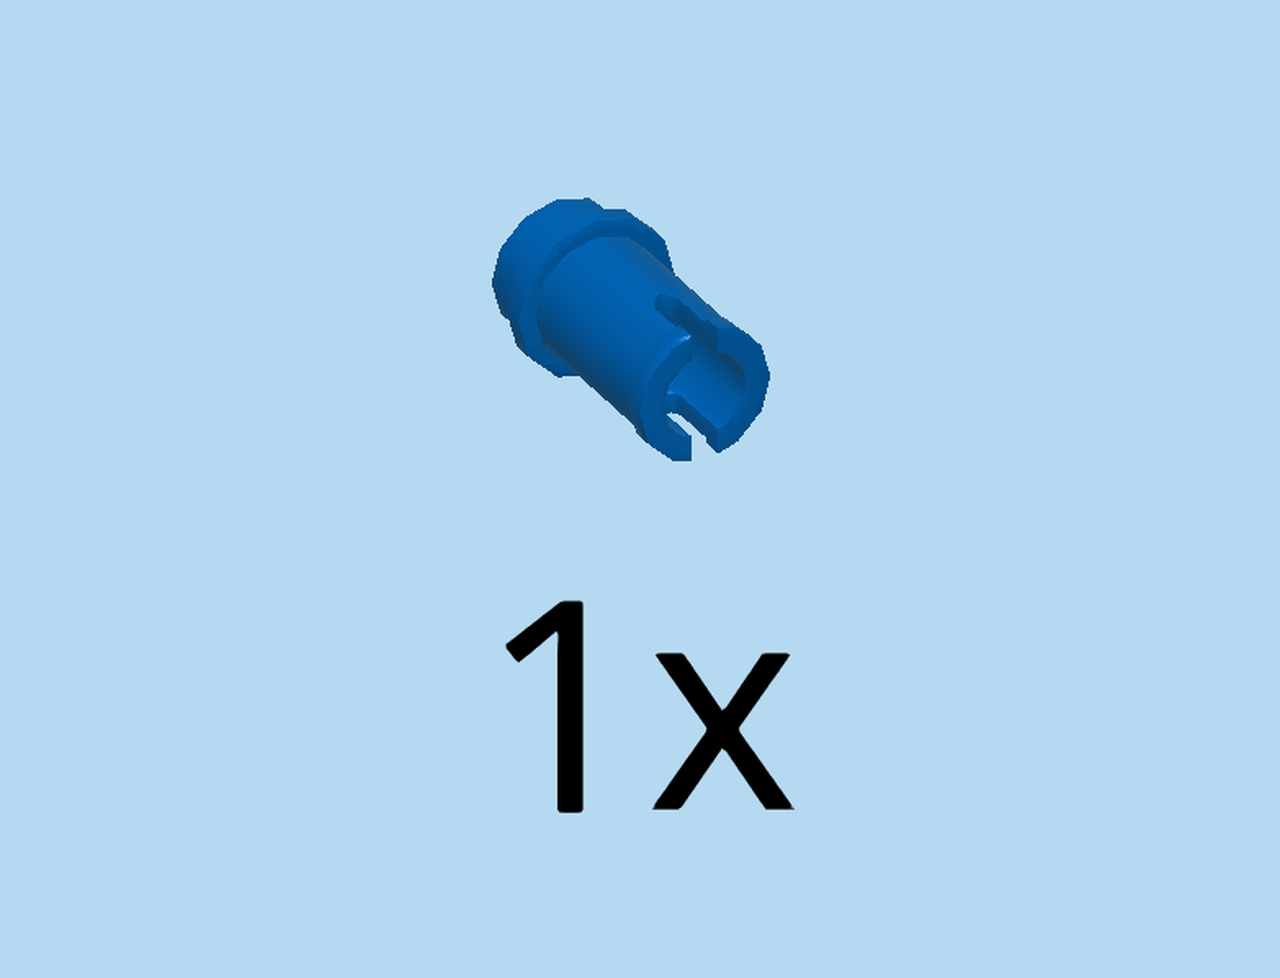
| Find 1 bright blue connector peg with knob. |
| Insert the connector peg into the hole. |
| Find 1 dark stone grey plate 1x2 with side ball. |
| Put it horizontally on the back row, ball overhanging to the back. |
| Find 1 dark stone grey plate 1x2 with end shaft. |
| Put it horizontally in front of the previous piece, shaft overhanging to the right. |
| Find 1 bright red plate 1x2 with side shaft. |
| Put it horizontally on the front row, shaft to the front. |
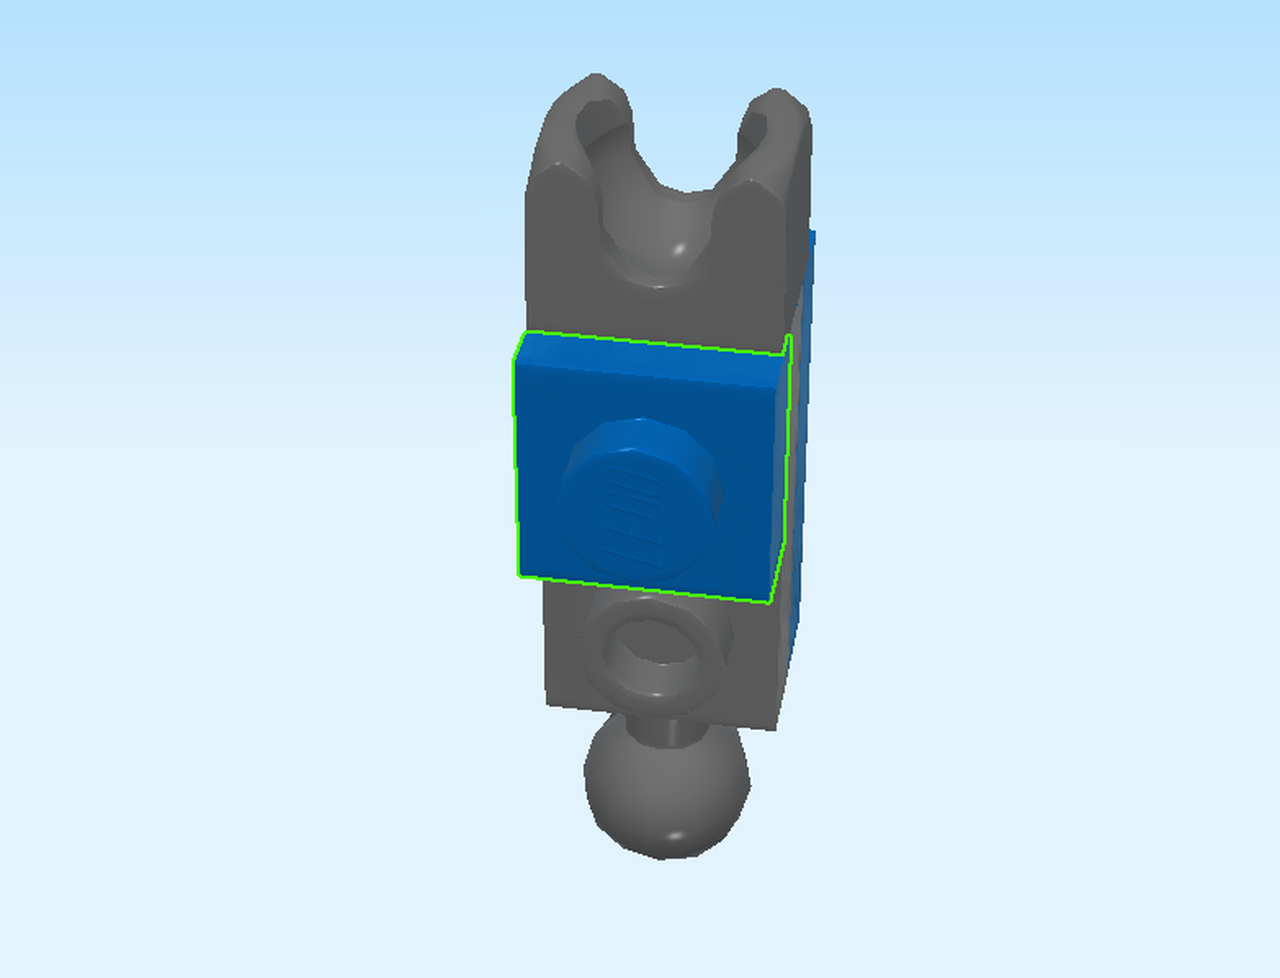
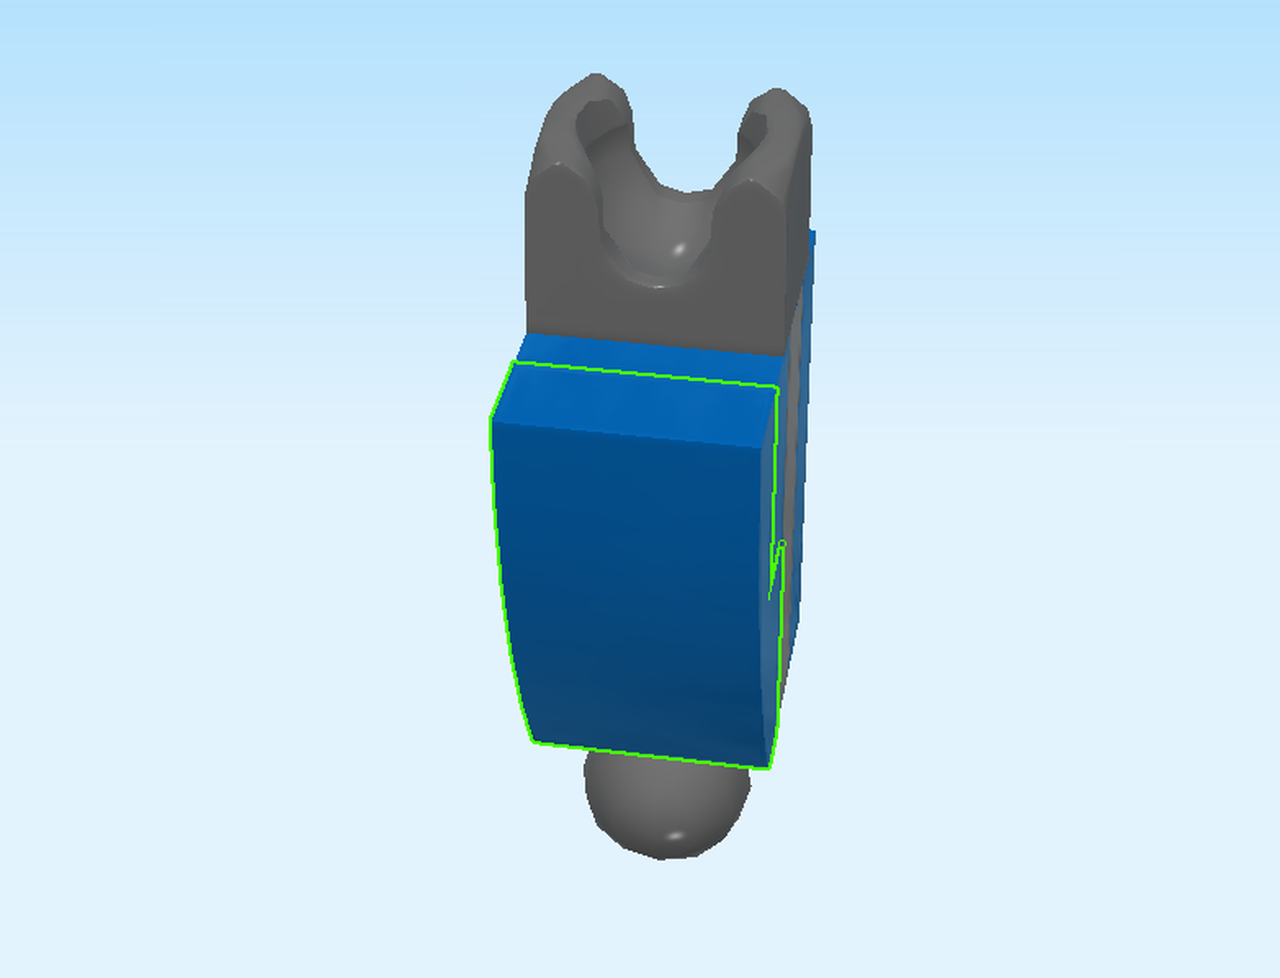
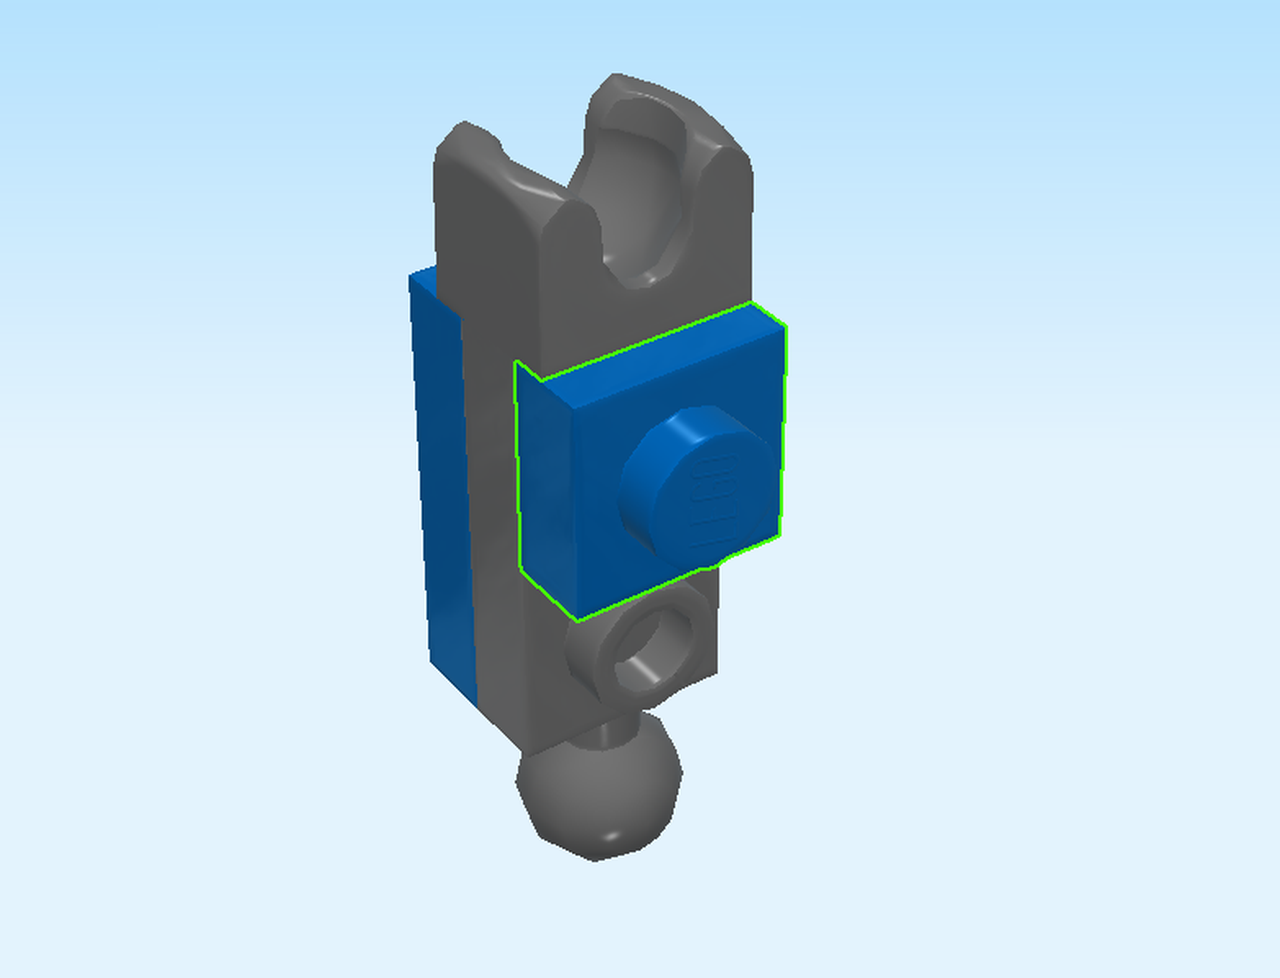
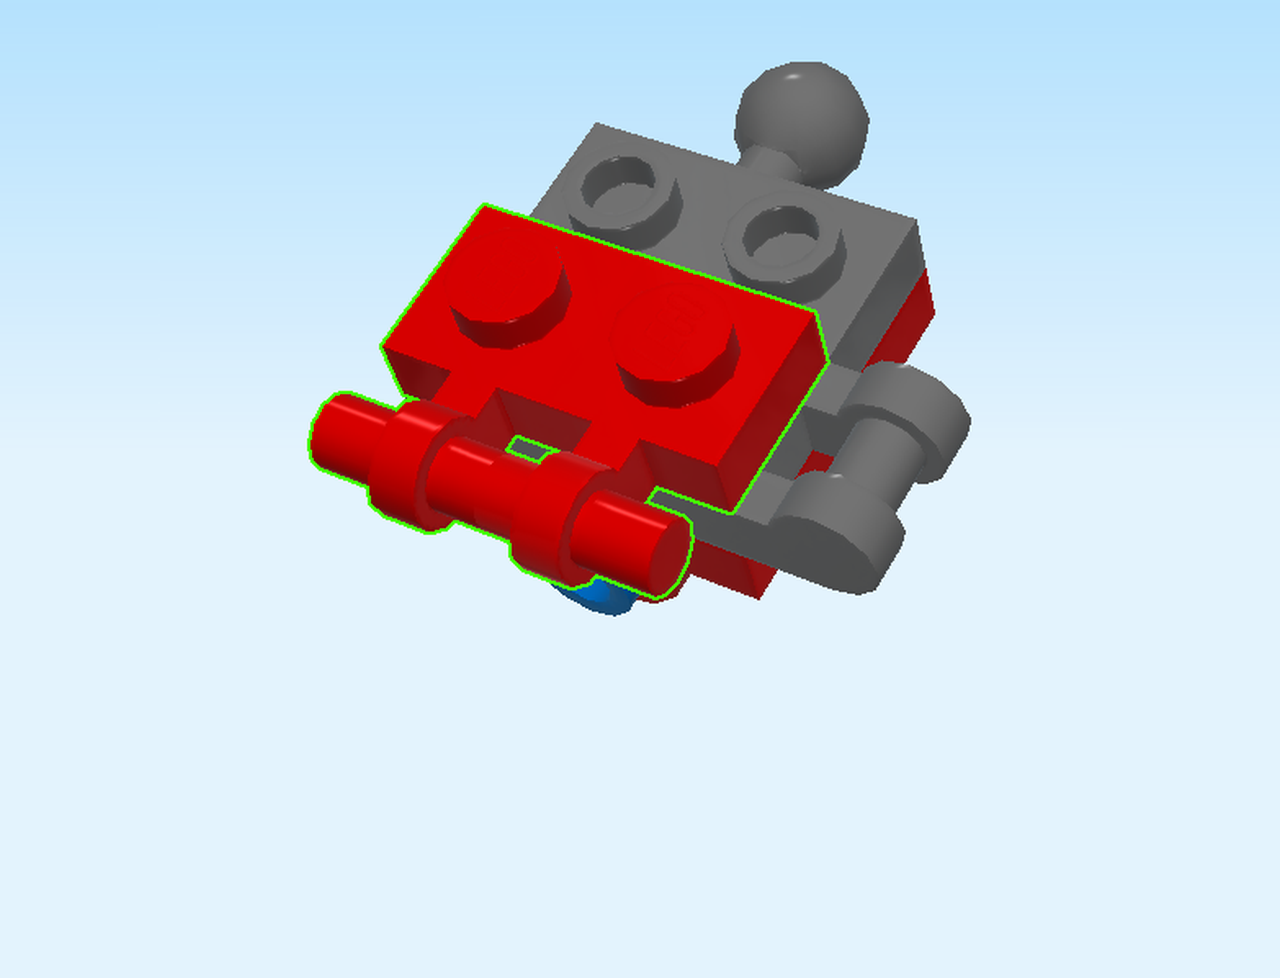
| Find 1 bright red curved tile 2x2. |
| Continue if you want to decorate it with a sticker now. If not, skip the following 3 sentences. |
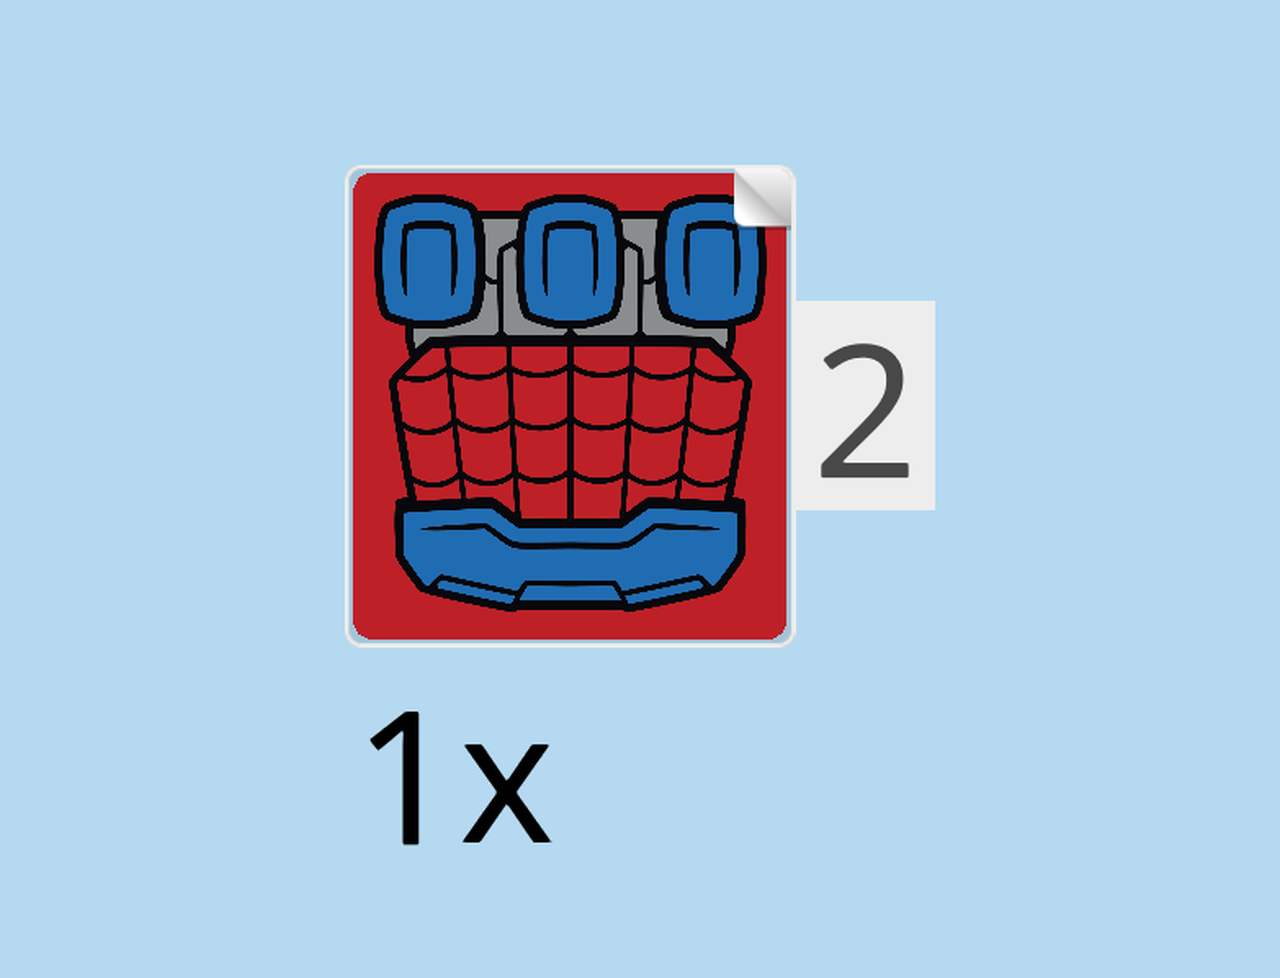
| Find the square sticker number 2. Ask a sighted person to help you. |
| Put it on top. |
| The sticker shows mechanical knuckles with spiderweb. |
| Put it on the top of the structure. Curve to the back. |
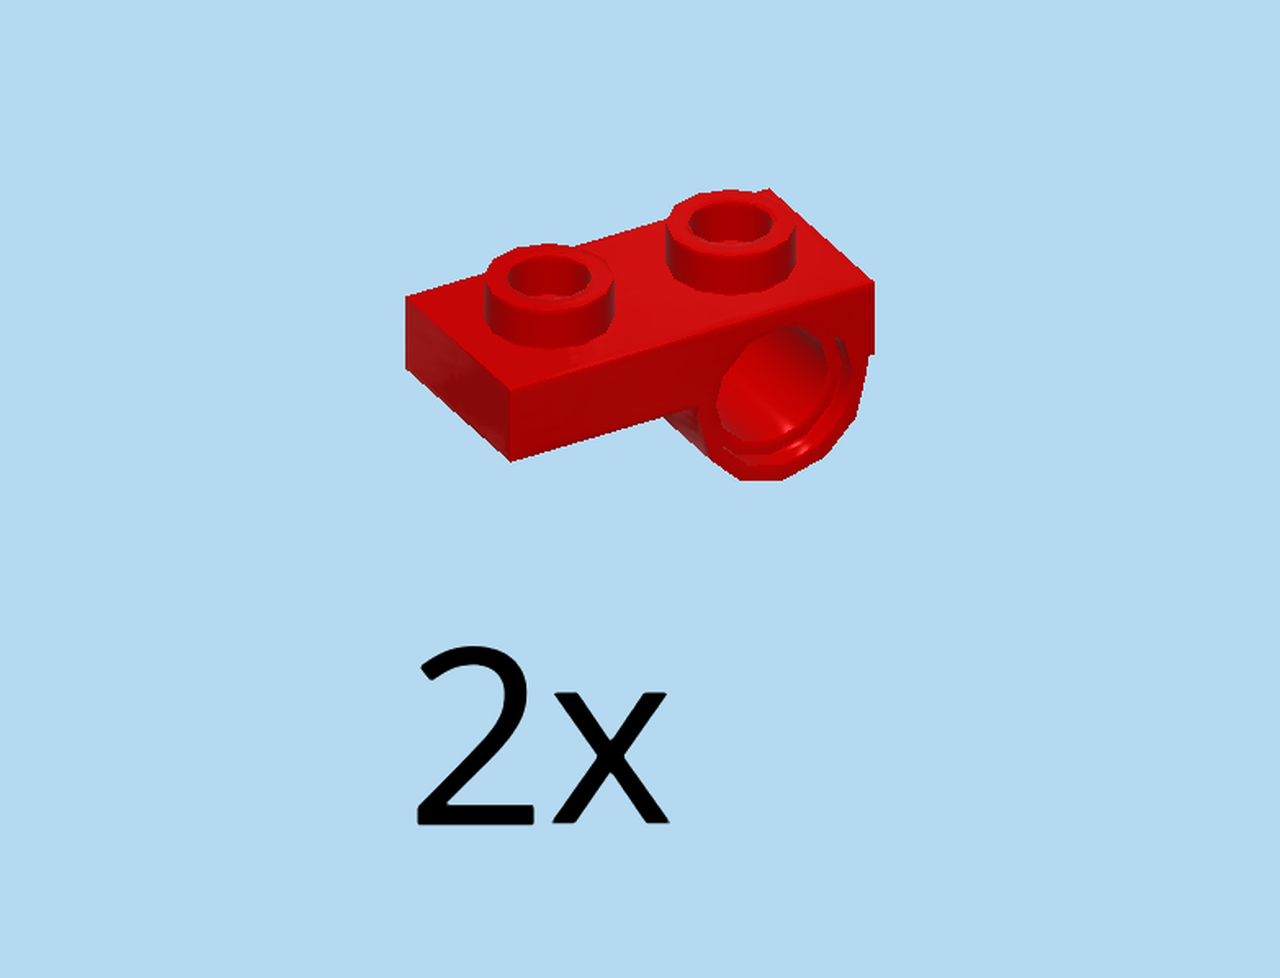
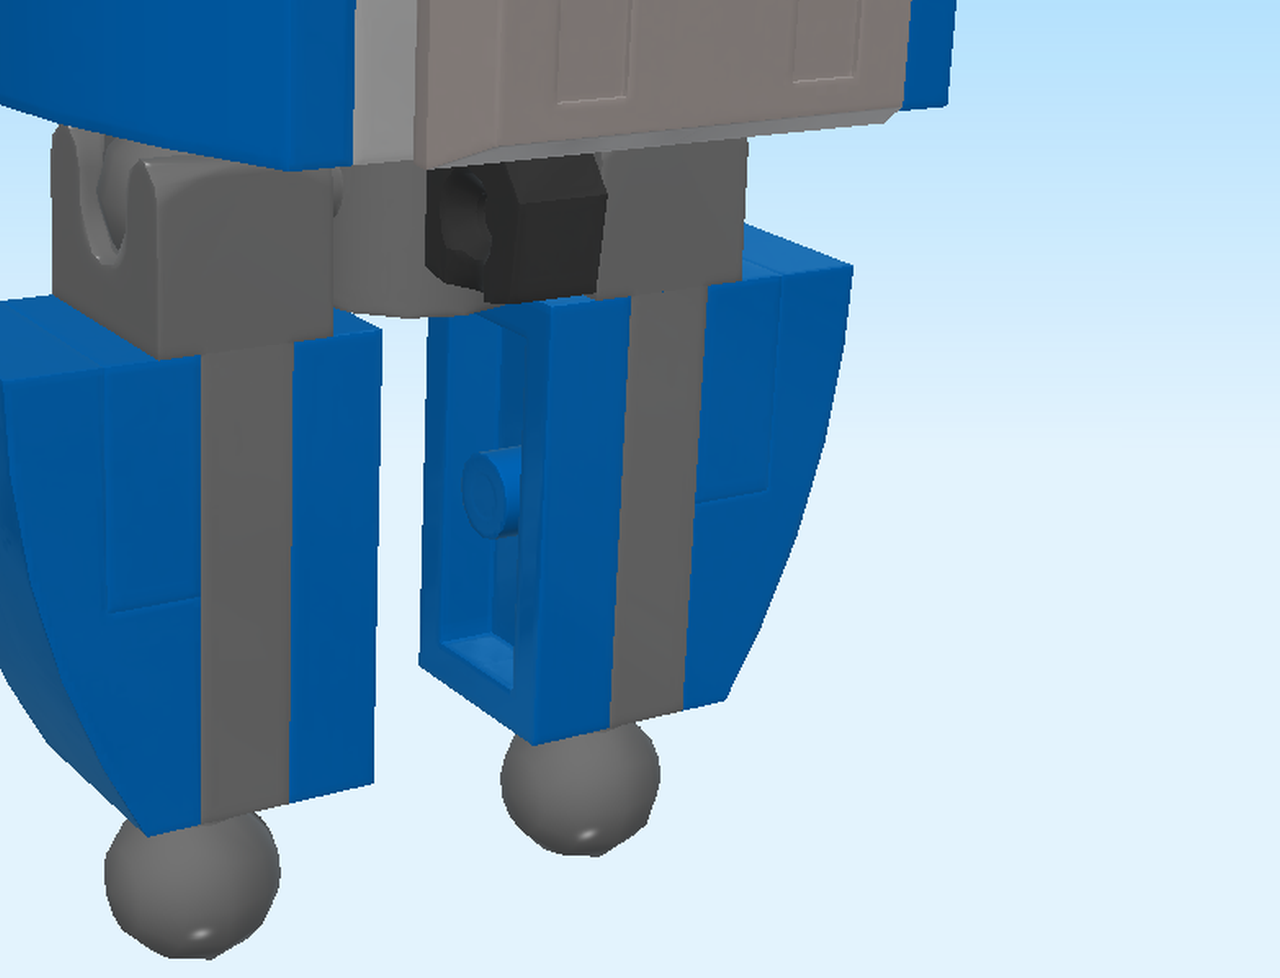
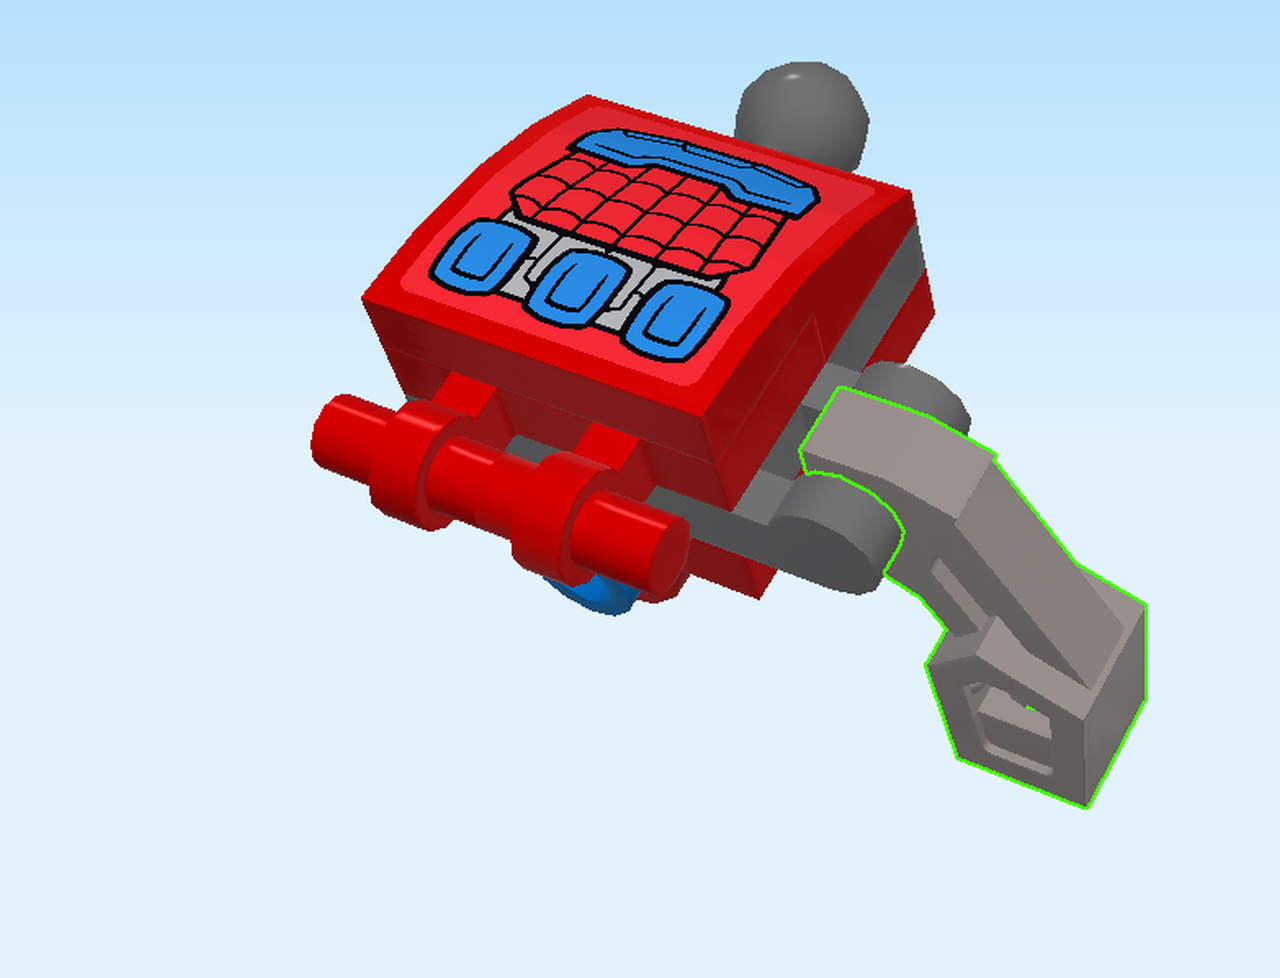
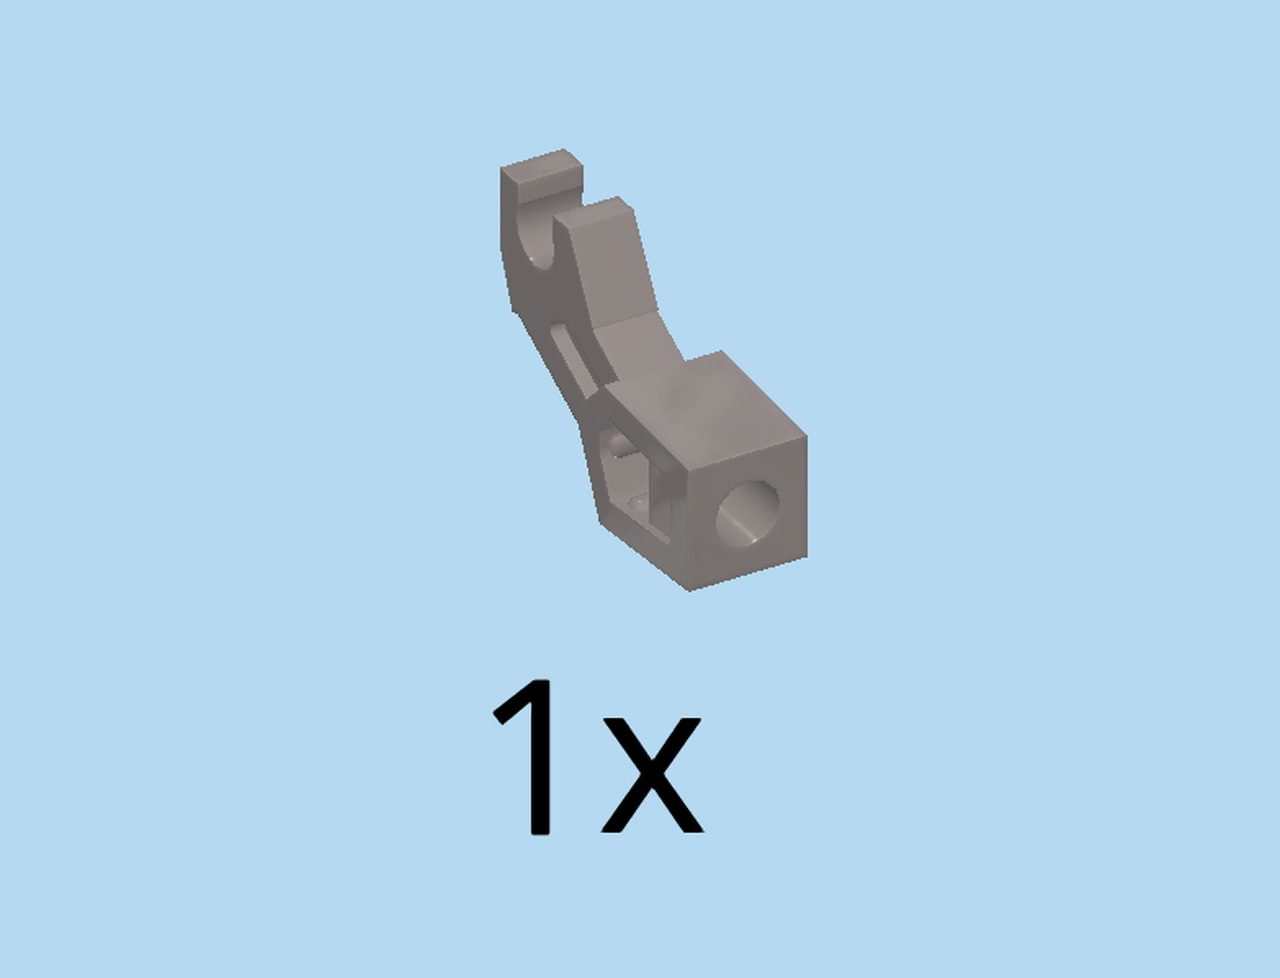
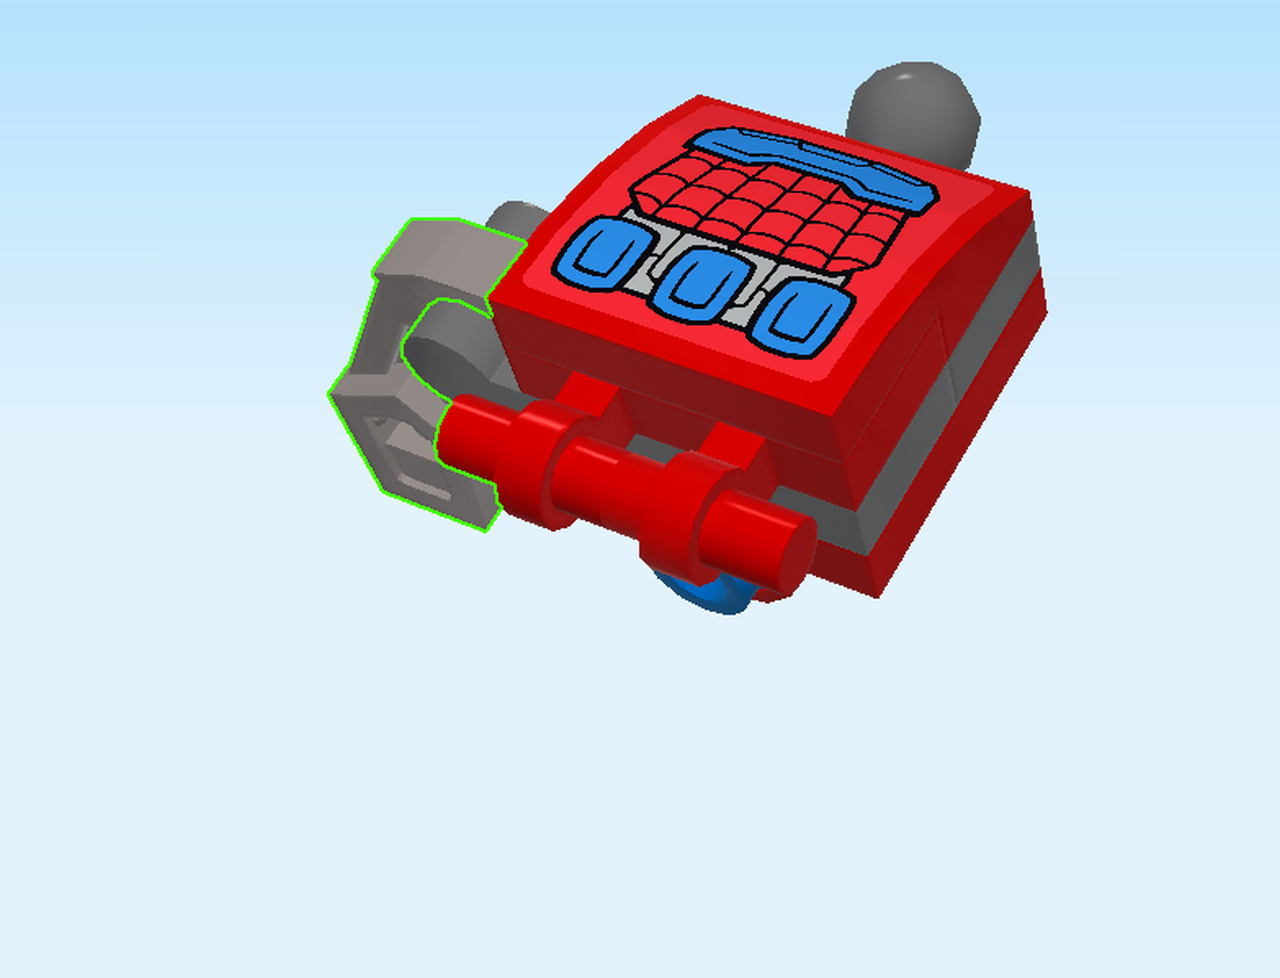
| Find 1 silver metallic small robot arm with clasp. |
| Snap the clasp onto the shaft on the right side of the part, robot arm bending towards the bottom. Do not confuse it with the front shaft! |
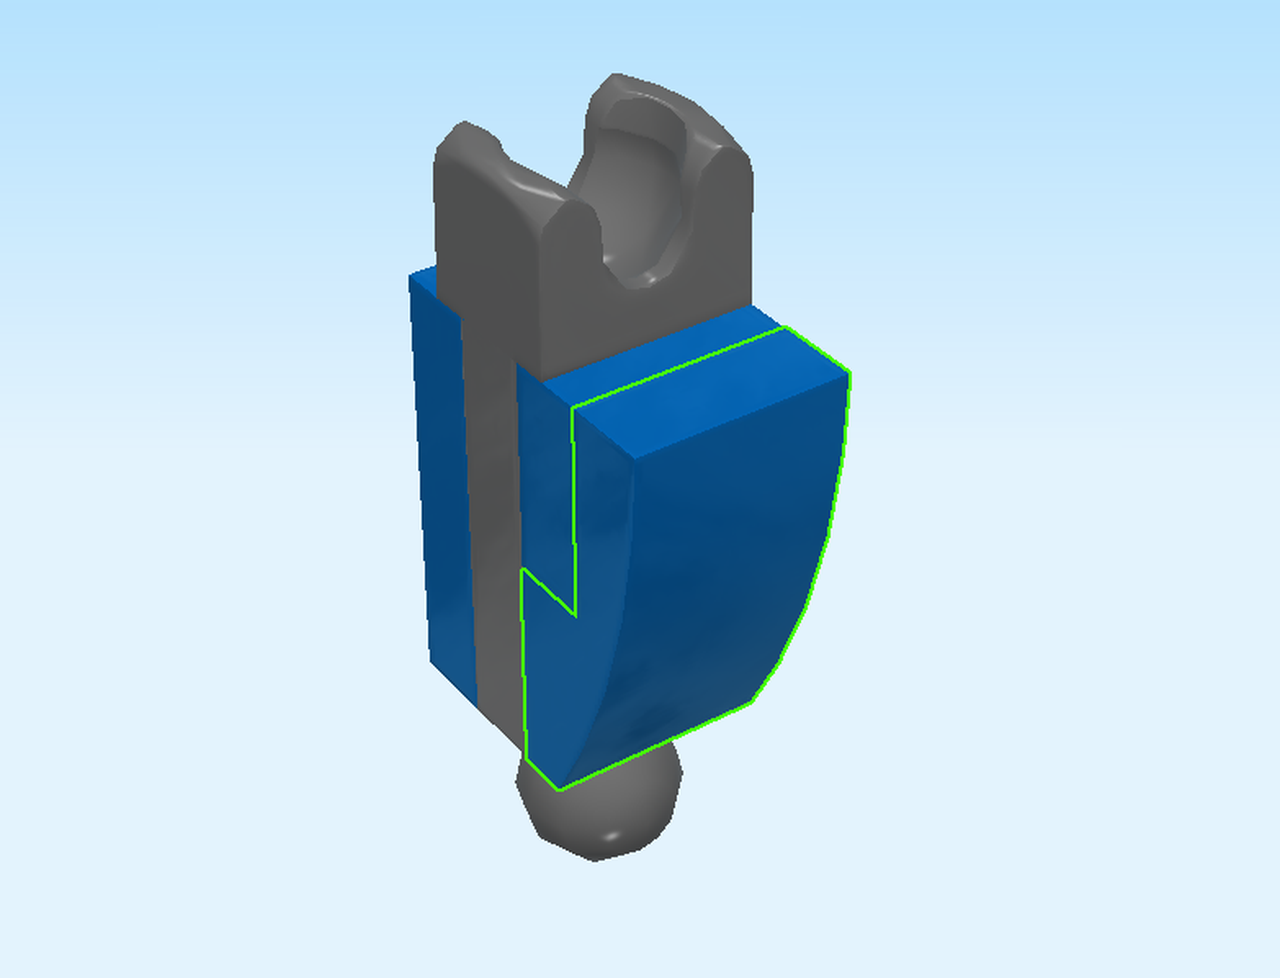
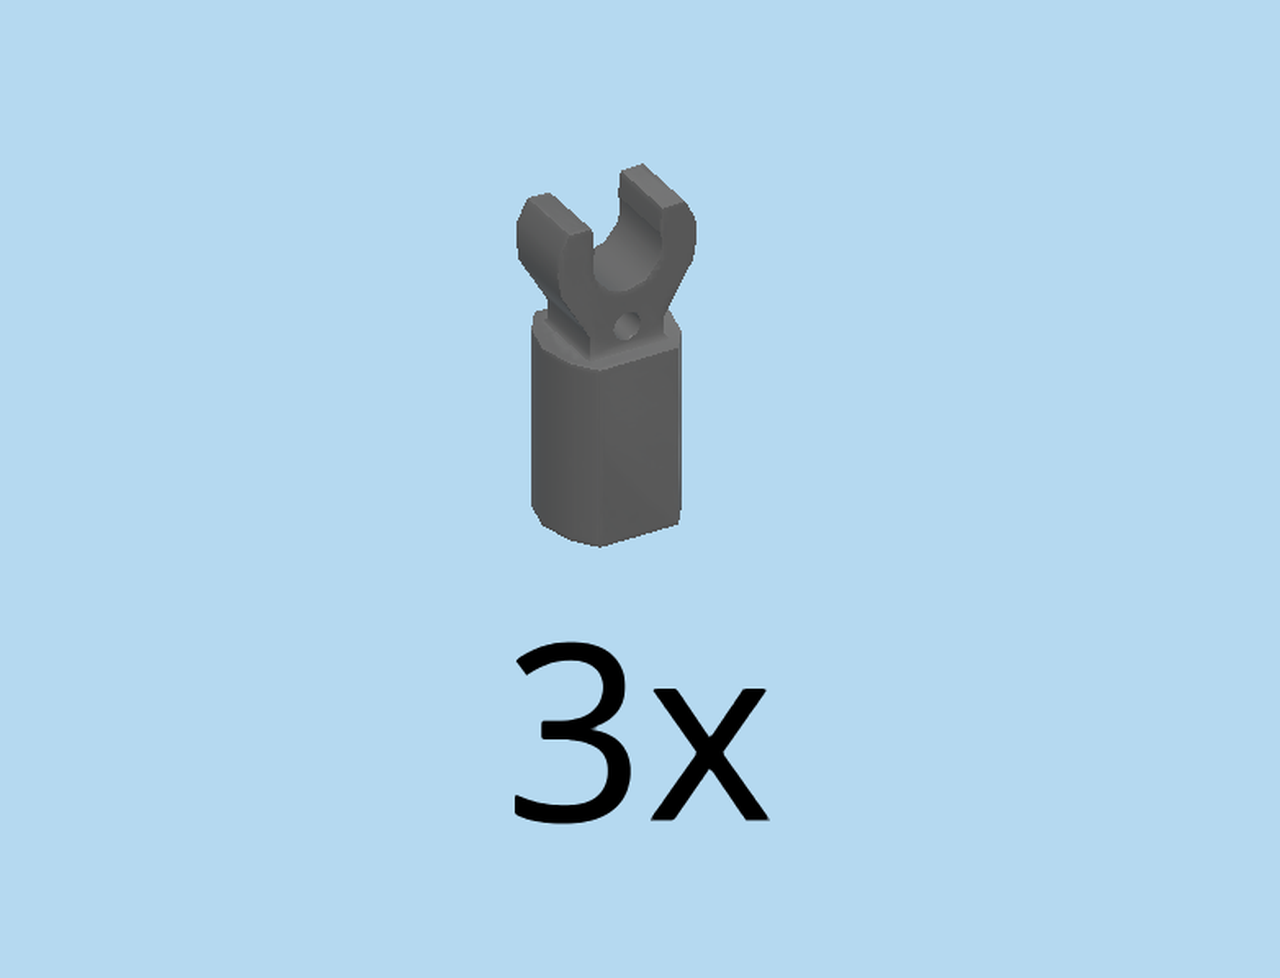
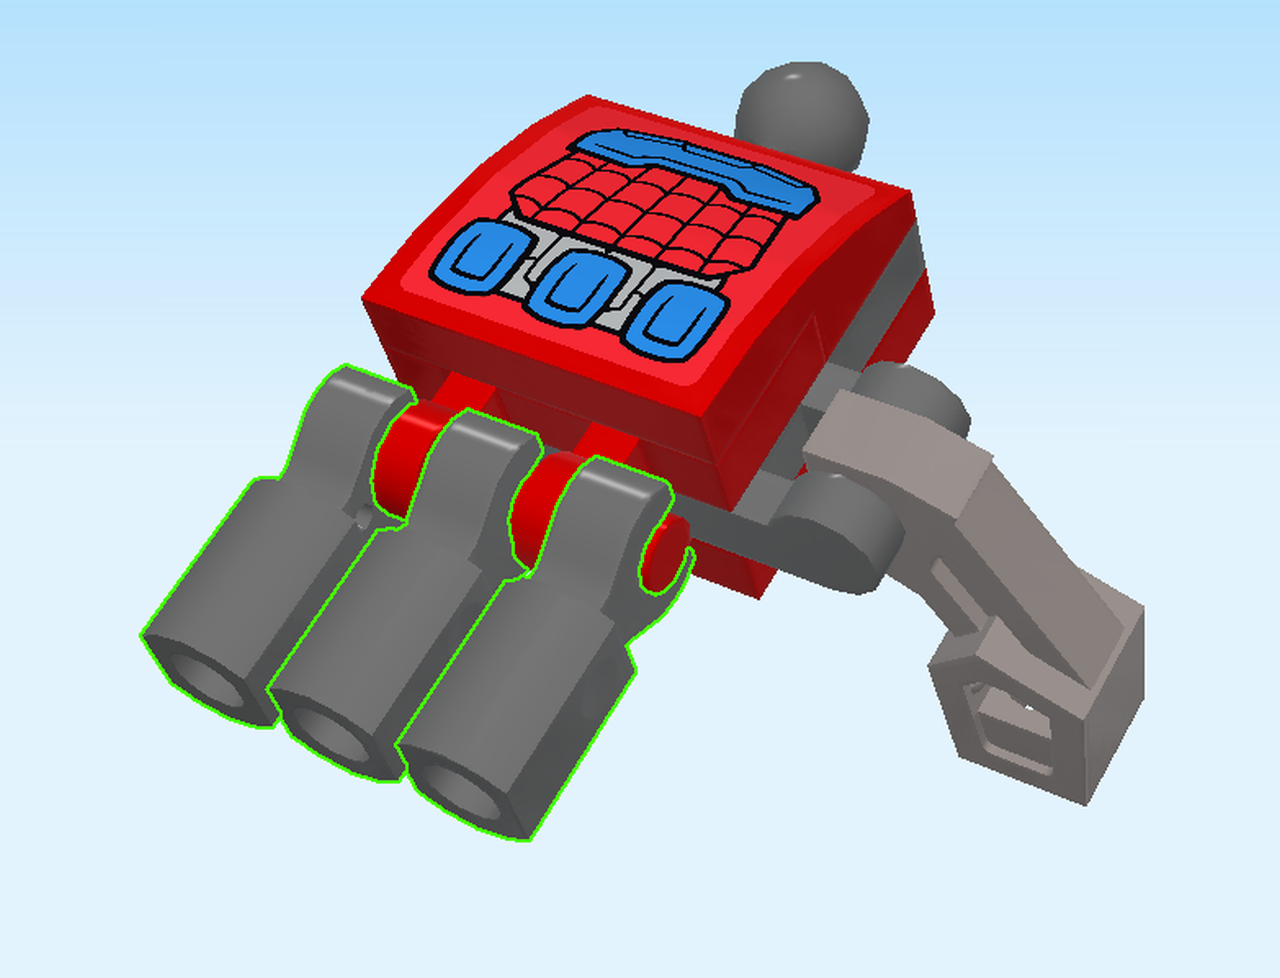
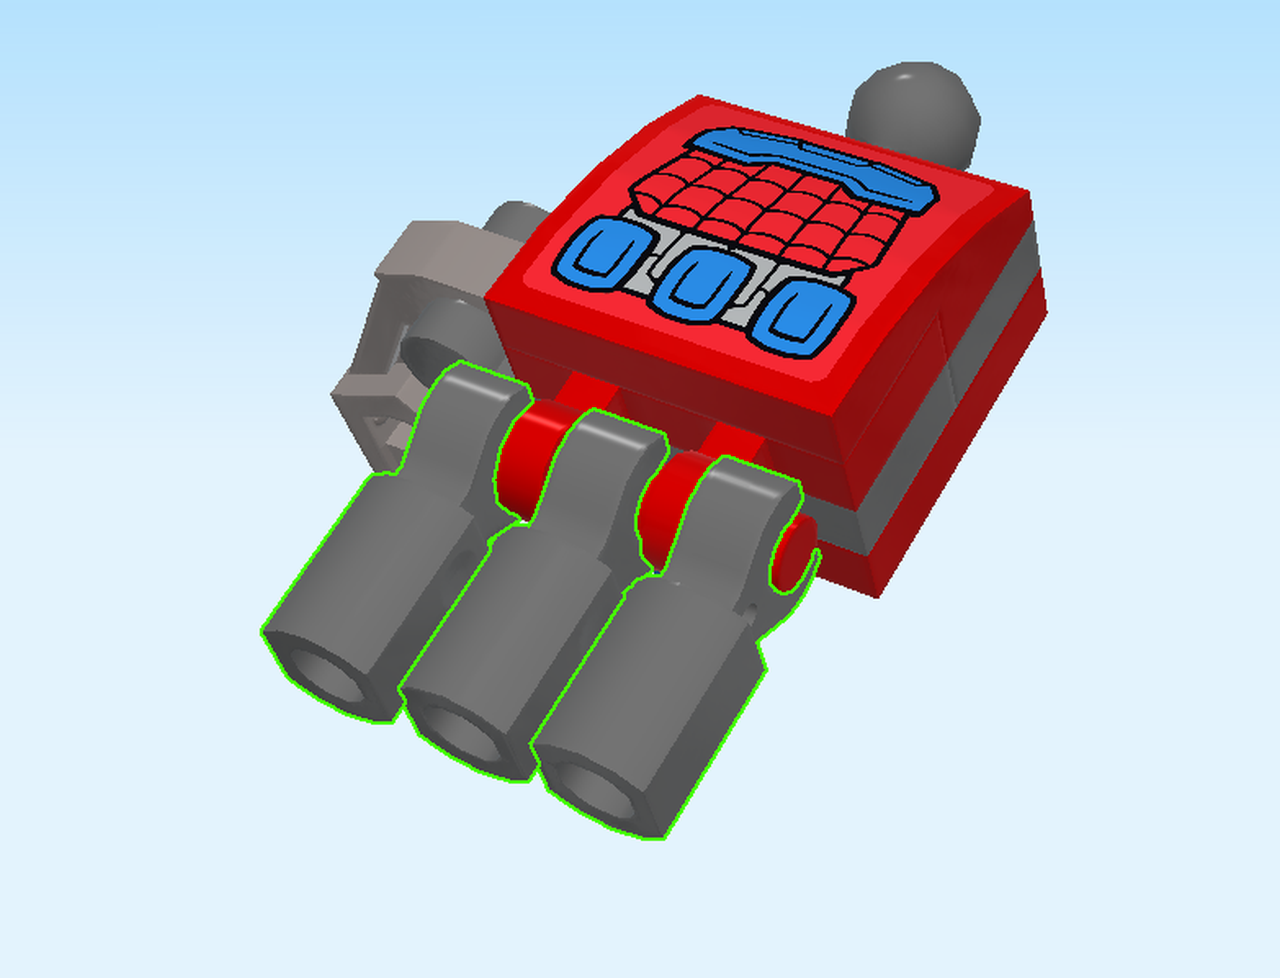
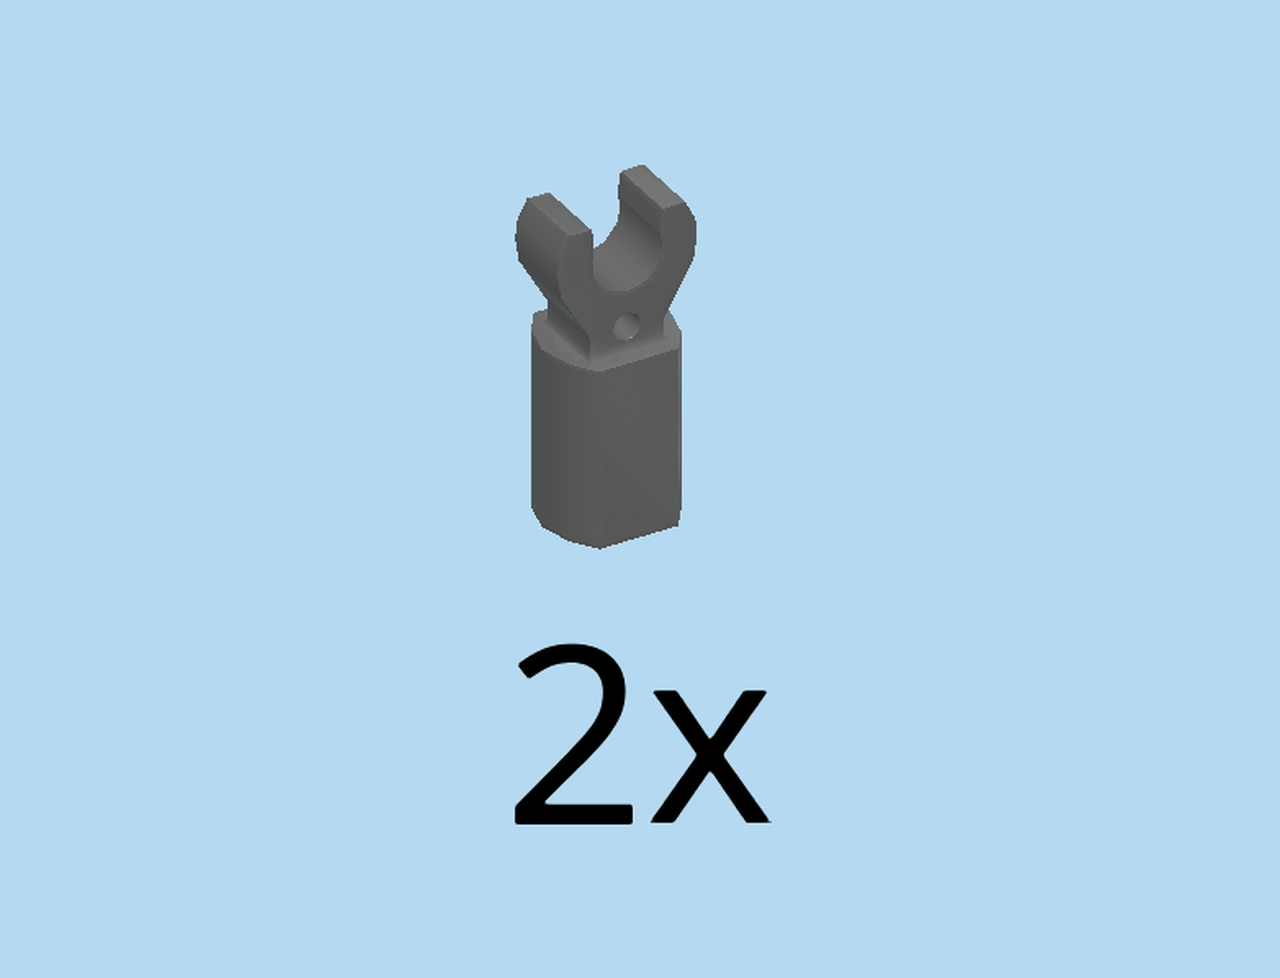
| Find 3 dark stone grey small tubes with clasp. |
| Snap the clasps of all three pieces onto the shaft at the front side of the part. |
| These are the fingers, and the hand is now done. Great work! |
| Snap the ball of the hand into the ball cup at the end of the left arm. |
| Now, let's build the other hand. |
| Find 1 bright red plate 2x2 with bottom tube. |
| Put it on the table, tube to the front. |
| Find 1 bright blue connector peg with knob. |
| Insert the connector part into the tube. |
| Find 1 dark stone grey plate 1x2 with side ball. |
| Put it horizontally on the back row, ball overhanging to the back. |
| Find 1 dark stone grey plate 1x2 with end shaft. |
| Put it horizontally in front of the previous piece, shaft overhanging to the left. |
| Find 1 bright red plate 1x2 with side shaft. |
| Put it horizontally on the front row, shaft to the front. |
| Find 1 bright red curved tile 2x2. |
| Continue if you want to decorate it with a sticker now. If not, skip the following 3 sentences. |
| Find the square sticker number 2. Ask a sighted person to help you. |
| The sticker shows mechanical knuckles with spiderweb. |
| Put the curved tile 2x2 on top of the part, curve to the back. |
| Find 1 silver metallic small robot arm with clasp. |
| Snap the clasp onto the shaft on the left side of the part, robot arm bending towards the bottom. |
| Find 3 dark stone grey small tubes with clasp. |
| Snap the clasps of all three pieces onto the shaft at the front side of the part. |
| The other hand is now done. Good job. |
| Snap the ball of the hand into the ball cup at the end of the arm. |
| Now the arm and hands are done. The robot is nearly ready. |
| You are now finished building bag 2. |
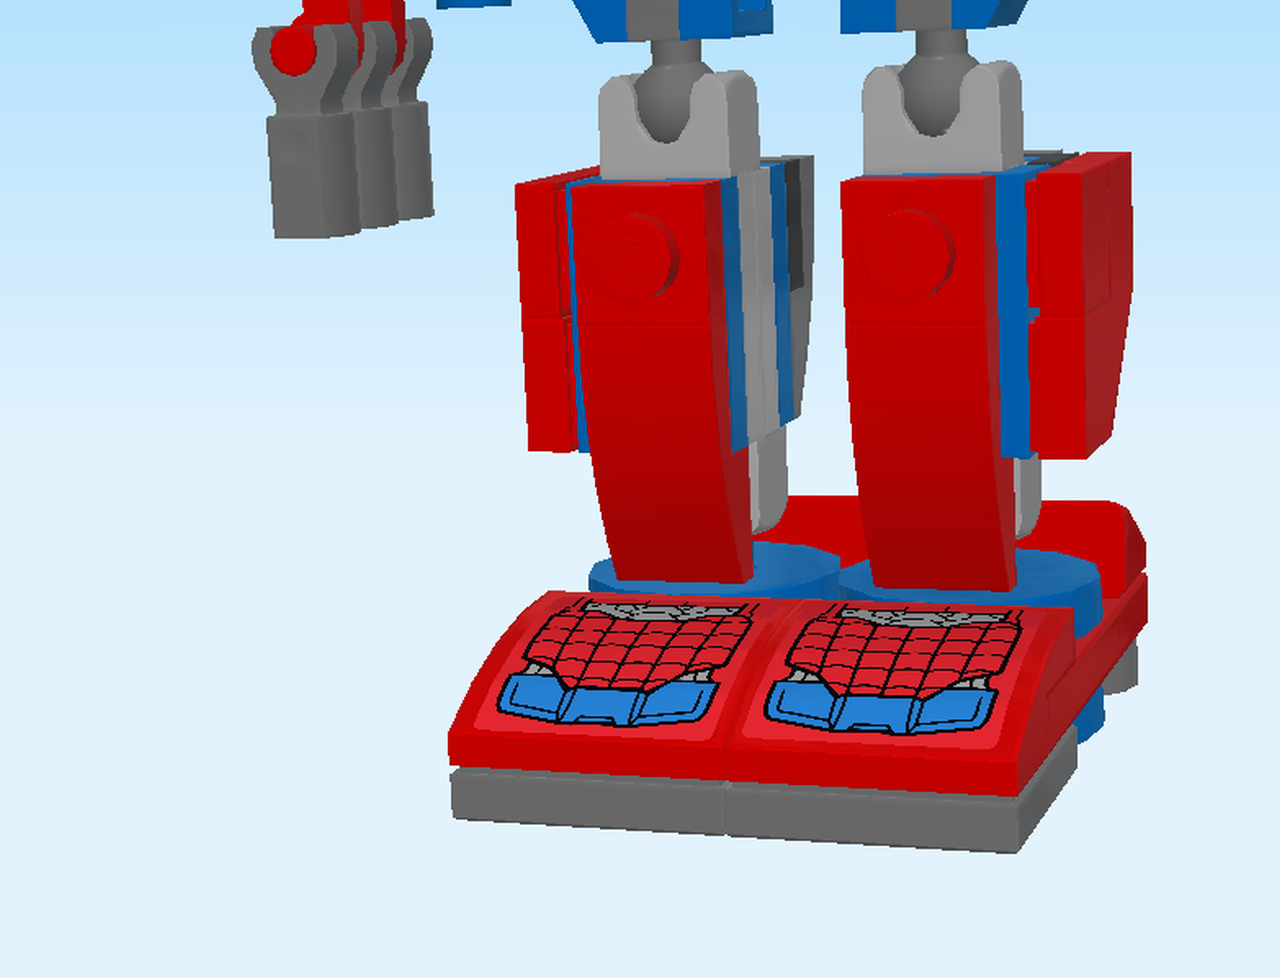
| Now, we will build the 2 feet. |
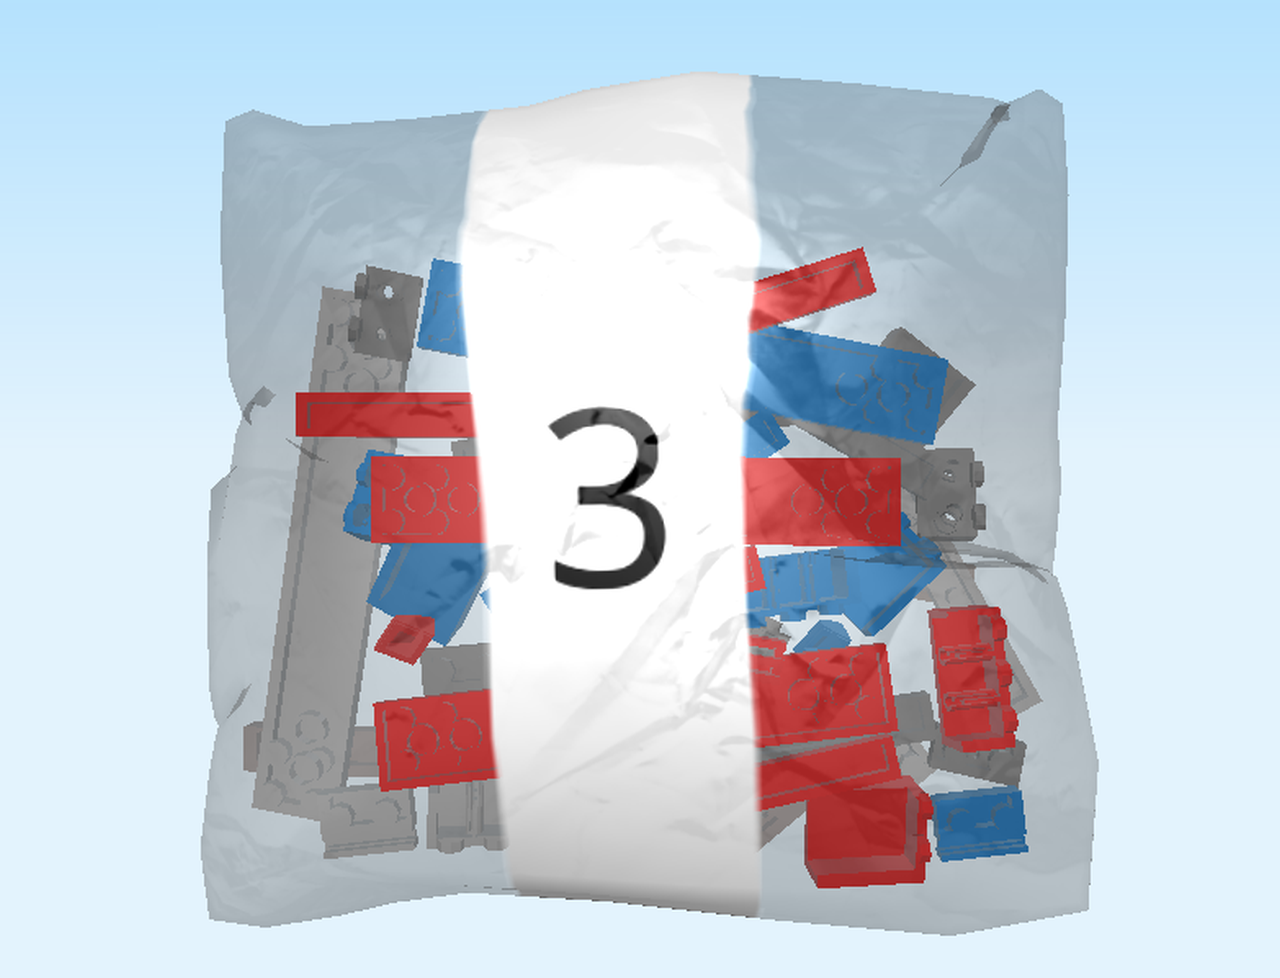
| Carefully open bag 3. Before you start building, ask a sighted person to help you sort the bricks by color if you like. |
| Find 1 dark stone grey Inverted flat tile 2x2. |
| Put it on the table, knobs to the top. |
| Find 1 bright red plate 2x4 with 3 holes. |
| Put it horizontally on the right column, a total of 6 knobs overhanging to the right. |
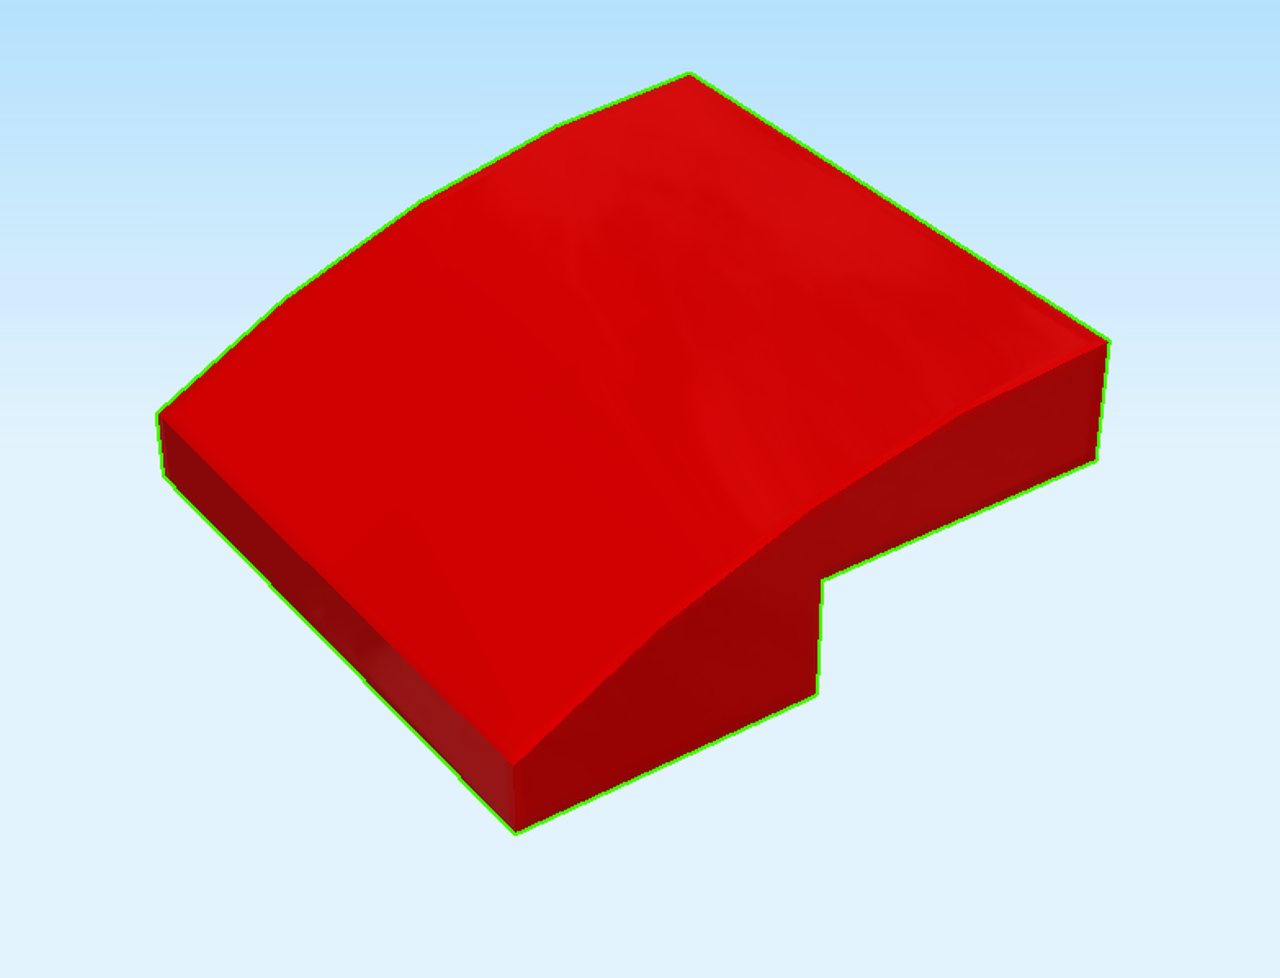
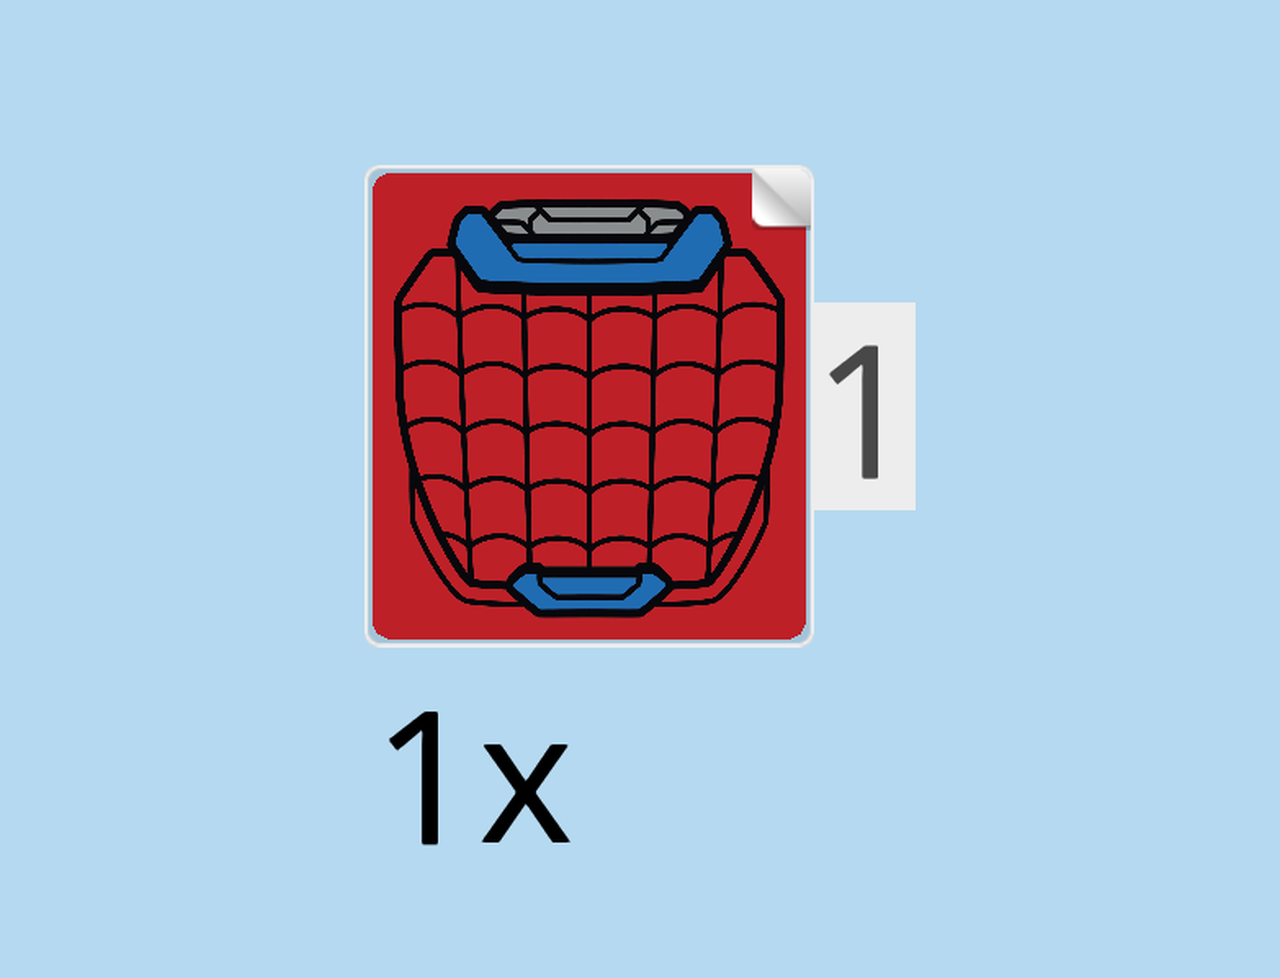
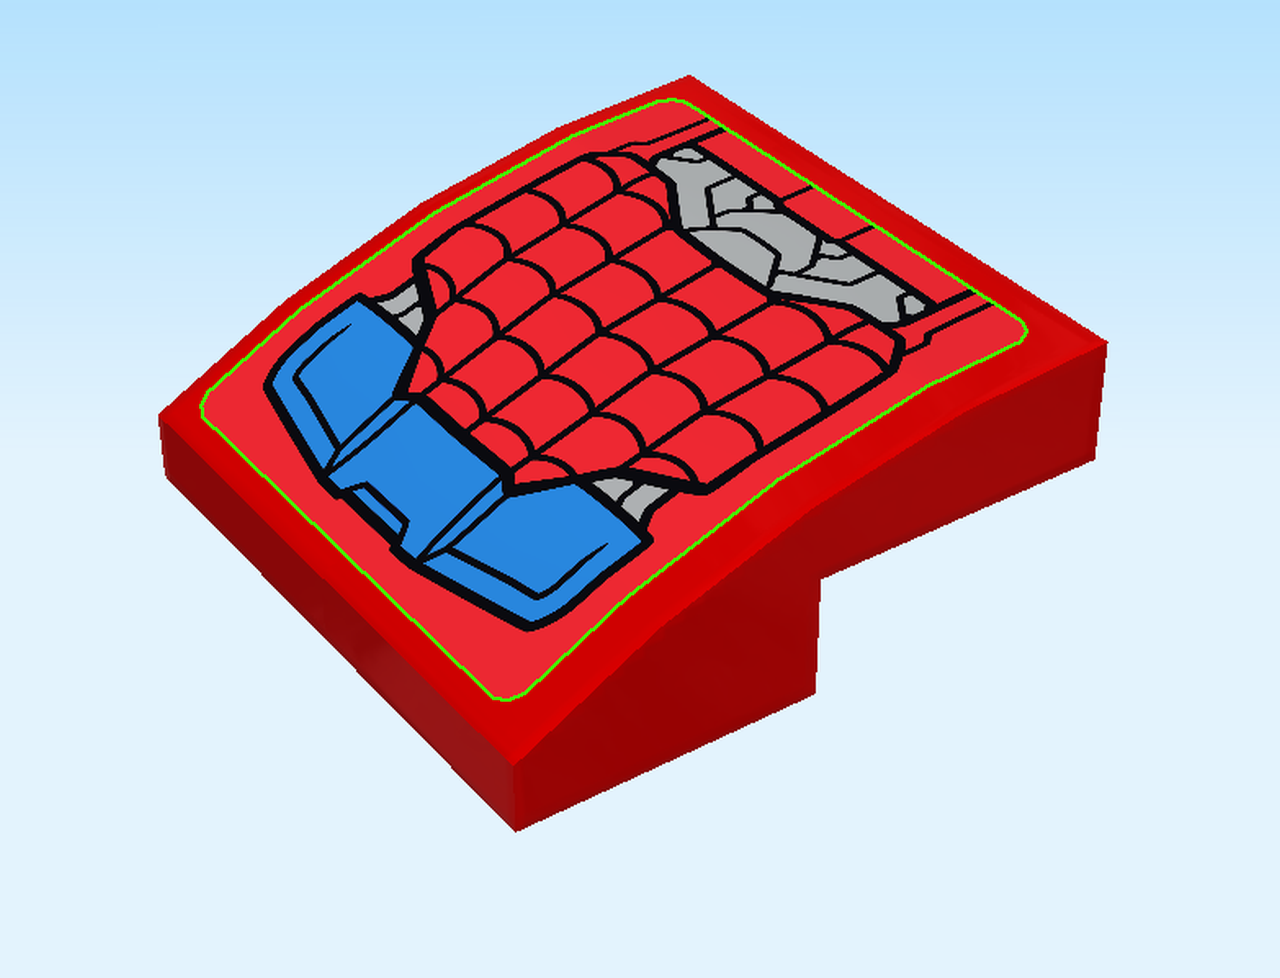
| Find 1 bright red Curved tile 2x2. |
| Continue if you want to decorate it with a sticker now. If not, skip the following 3 sentences. |
| Find the square sticker number 3. Ask a sighted person to help you. |
| Put it on top of the curved tile. |
| The sticker shows a mechanical foot with spiderweb. |
| Put the curved tile 2x2 on top on the left edge, curve to the left. |
| Find 1 round plate 2x2 with 1 knob. |
| Turn the structure upside down. |
| Put the round plate upside down, to the right of the flat tile. |
| Find 1 dark stone grey rounded plate 1x2. |
| Put it upside down vertically to the right. |
| Flip the structure right side up again, curve to the left. |
| Find 1 bright blue round plate 2x2 with 1 knob. |
| Put it to the right of the curved tile 2x2. |
| Find 1 bright red smooth roof tile 1x2. |
| Put it vertically to the right of the previous piece, slope to the right. |
| Find 1 dark stone grey shaft with ball. |
| Insert the shaft into the knob in the middle of the part. The shaft should run through all three holes to the bottom. |
| The foot is now done. Put it aside for a moment. |
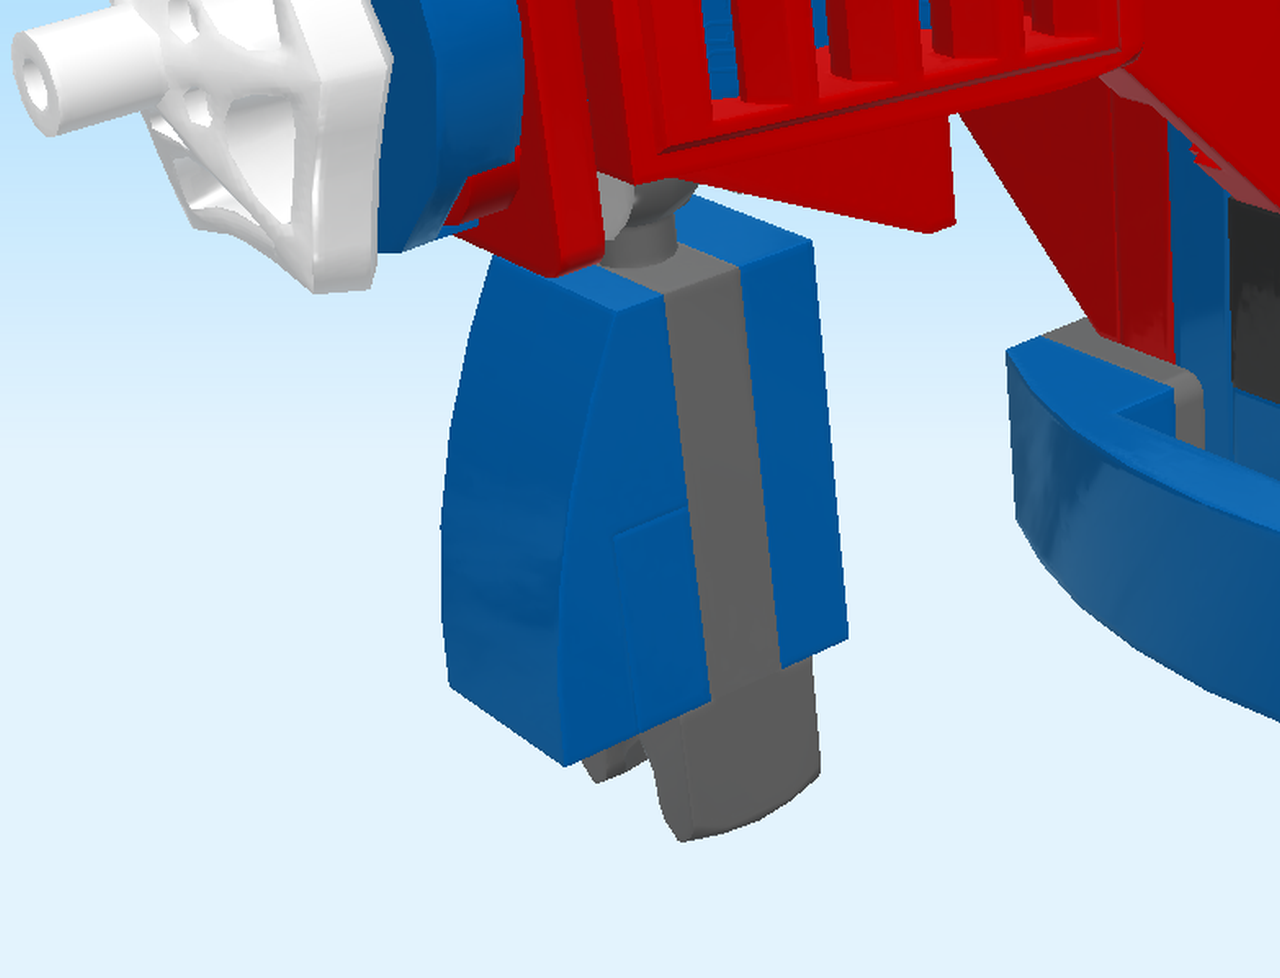
| Now, we will build the lower leg to put on the foot. |
| Find 1 dark stone grey inverted curved tile 1x2. |
| Put it horizontally on the table, knobs to the top and slope to the left. |
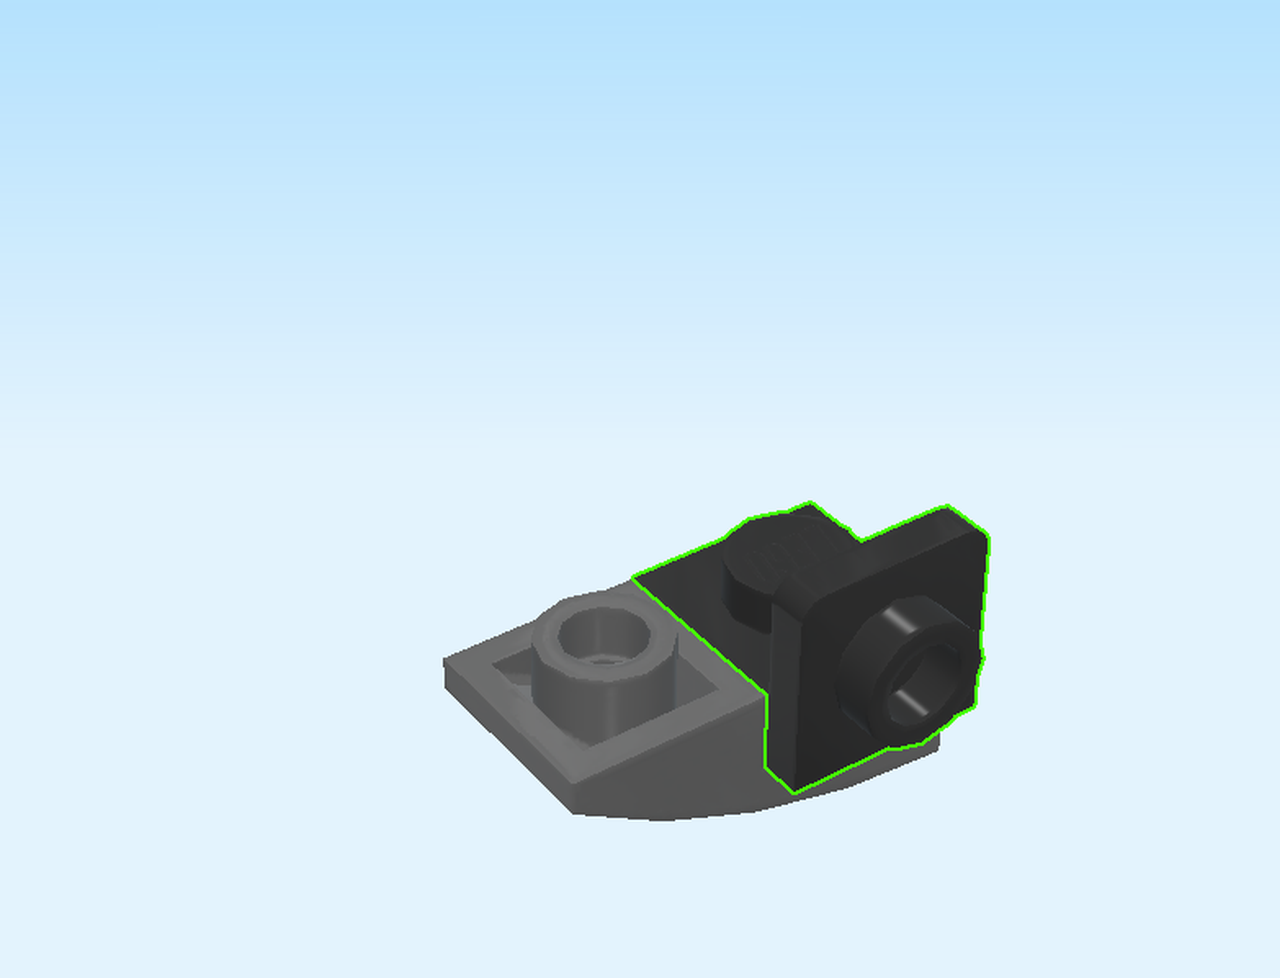
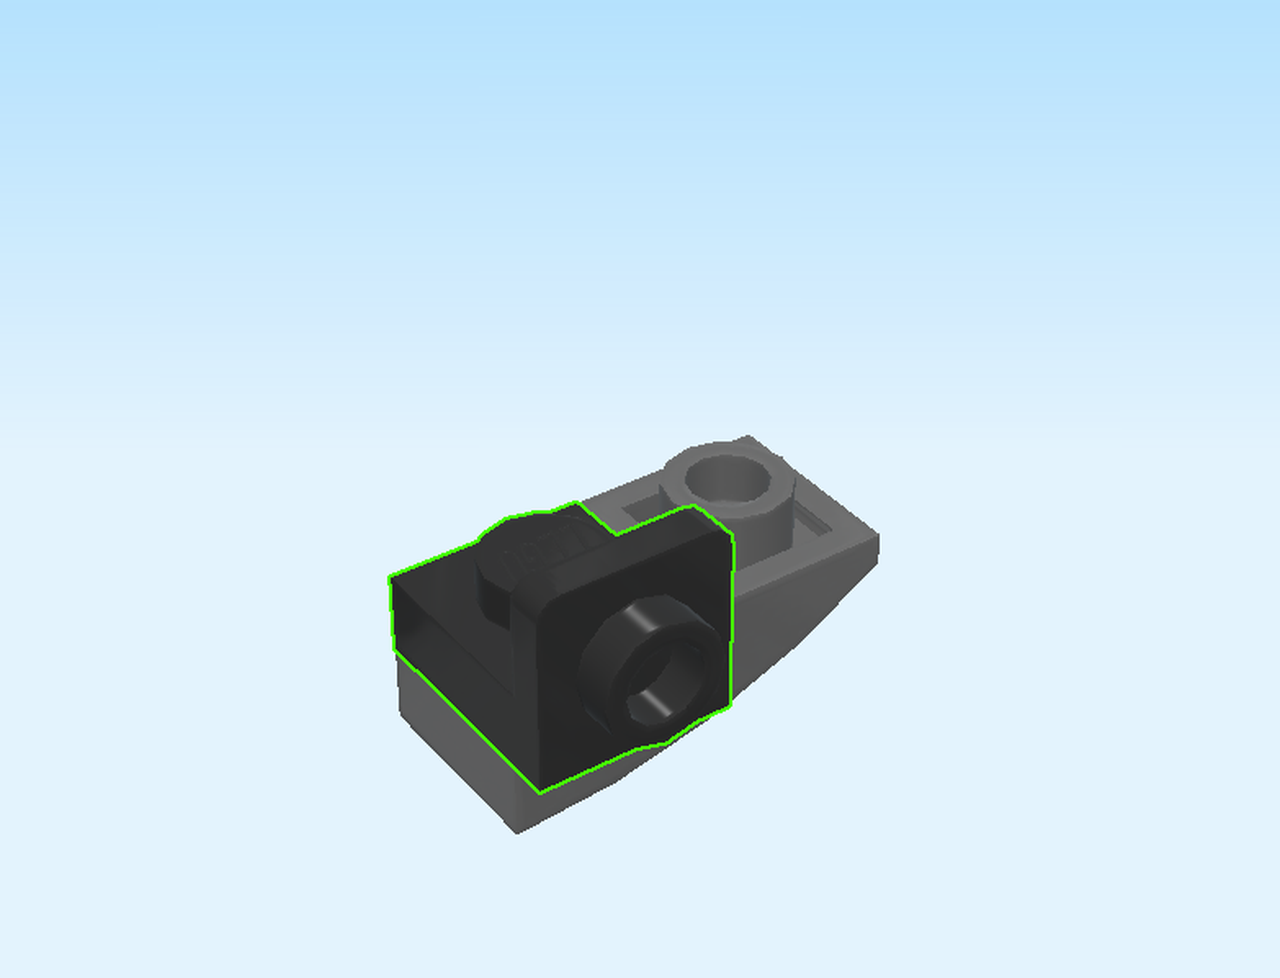
| Find 1 black bottom angle plate 1x1 - 1x1 with side knob. |
| Put it on the right knob, side knob to the front. |
| Find 1 bright blue plate 1x2. |
| Put it horizontally on top. |
| Find 1 medium stone grey plate 1x2 with ball cup on end. |
| Put it on top of the previous piece, ball cup to the left. |
| Find 1 medium stone grey plate 1x2 with ball cup on end. |
| Put it on top of the previous piece, ball cup to the right. |
| Find 1 bright blue top angle plate 1x2 - 1x2 with 2 side knobs. |
| Put it horizontally on top, side knobs to the front. |
| Find 1 bright red plate 1x1. |
| Put it on the right knob at the top. |
| Find 1 bright red curved tile 1x2. |
| Put it horizontally to the left, curve to the left, overhanging the ball cup. |
| Find 1 bright red flat tile 1x1. |
| Careful! This piece has a special orientation. |
| Put it upright on the front of the structure, on the knob to the right. |
| Find 1 bright red corner tile 2x2 with cut-off corner. |
| Careful! This piece has a special orientation. |
| Put it upright on the remaining side knobs on the front side, cut-off corner to the left and to the bottom. |
| Put the left ball cup onto the ball on top of the foot, in an upright position. |
| The lower leg is now done! Good job! |
| Now we are going to snap the lower leg onto the leg on the model. |
| Snap the top ball cup on the lower leg onto the ball of the right leg. |
| Now, let's build the other foot. |
| Find 1 grey inverted flat tile 2x2. |
| Put it on the table. |
| Find 1 bright red plate 2x4 with 3 holes. |
| Put it horizontally on the right column, a total of 6 knobs overhanging to the right. |
| Find 1 curved tile 2x2. |
| Continue if you want to decorate it with a sticker now. If not, skip the following 3 sentences. |
| Find the square sticker number 3. Ask a sighted person to help you. |
| Put it on top. |
| The sticker shows a mechanical foot with spiderweb. |
| Put it on the top left of the structure, curve to the left. |
| Find 1 round plate with 1 knob. |
| Now, flip the structure upside down. |
| Mount the round plate 1x2 with 1 knob upside down to the right of the flat tile. |
| Find 1 dark stone grey rounded plate 1x2. |
| Put it upside down vertically to the right. |
| Flip the structure right side up again, curve to the left. |
| Find 1 bright blue round plate 2x2 with 1 knob. |
| Put it to the right of the curved tile 2x2. |
| Find 1 bright red roof tile 1x2. |
| Put it vertically to the right of the previous piece, slope to the right. |
| Find 1 shaft with ball. |
| Insert the shaft into the knob in the middle of the part. |
| Now, we will build the lower leg to put on the foot. |
| Find 1 dark stone grey inverted curved tile 1x2. |
| Put it horizontally on the table, knobs to the top and slope to the right. |
| Find 1 black bottom angle plate 1x1 - 1x1 with side knob. |
| Put it on the left knob, side knob to the front. |
| Find 1 bright blue plate 1x2. |
| Put it horizontally on top of the structure. |
| Find 1 grey plate 1x2 with ball cup on end. |
| Put it horizontally on top, ball cup to the right. |
| Find 1 medium stone grey plate 1x2 with ball cup on end. |
| Put it horizontally on top, ball cup to the left. |
| Find 1 bright blue top angle plate 1x2 - 1x2 with 2 side knobs. |
| Put it horizontally on top, side knobs to the front. |
| Find 1 bright red plate 1x1. |
| Put it on the left knob at the top. |
| Find 1 bright red curved tile 1x2. |
| Put it horizontally to the right, curve to the right, and overhanging the ball cup. |
| Find 1 bright red flat tile 1x1. |
| Careful! This piece has a special orientation. |
| Put it upright on the top left knob on the front. |
| Find 1 bright red corner tile 2x2 with cut-off corner. |
| Careful! This piece has a special orientation. |
| Put it upright to the right of the previous piece, cut-off corner to the bottom right. |
| The lower leg is now done. Good job! |
| Now we are going to snap the lower leg onto the leg on the model. |
| Snap the top ball cup on the lower leg onto the ball of the left leg. |
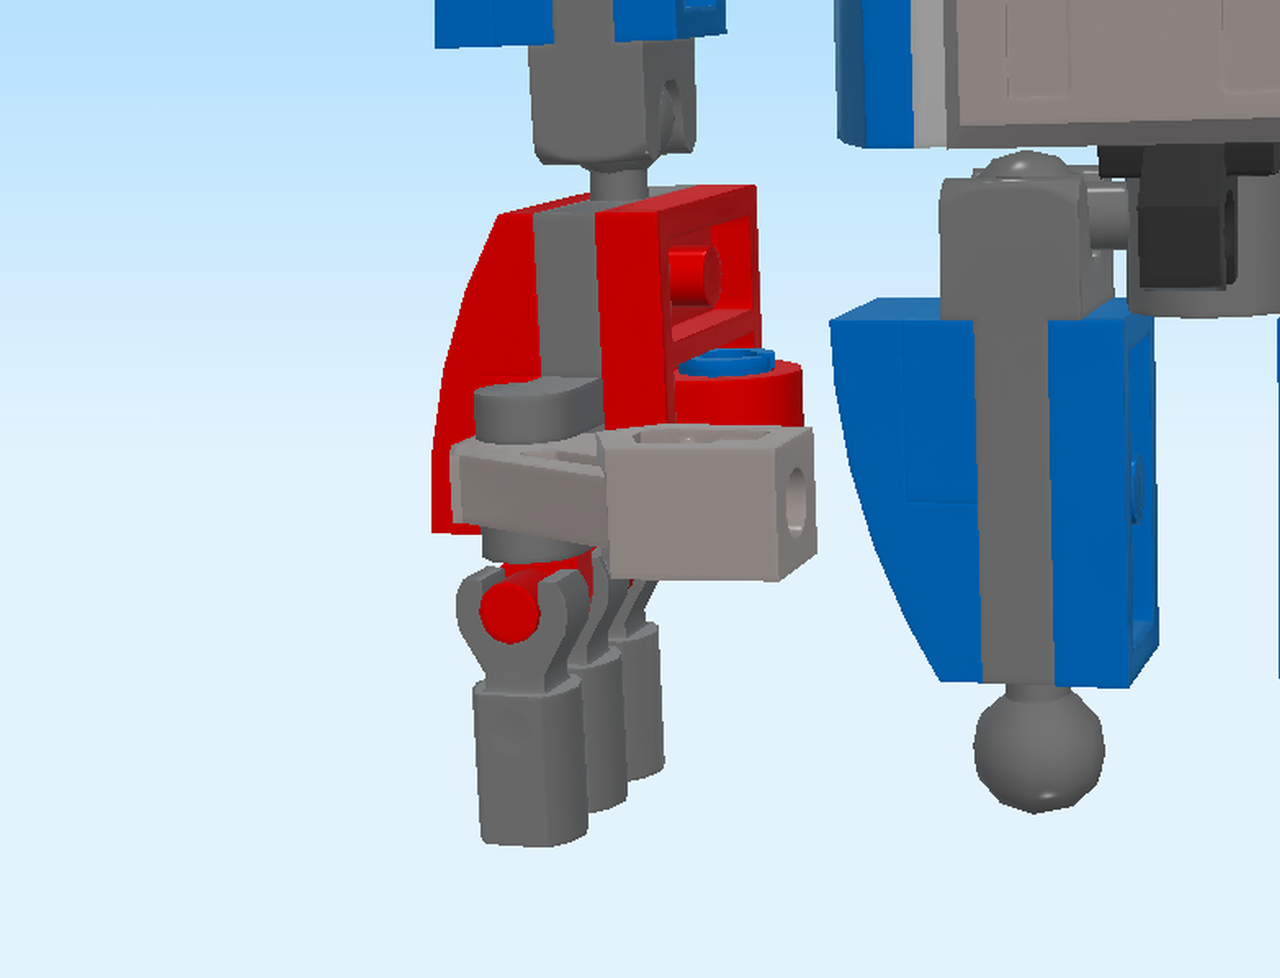
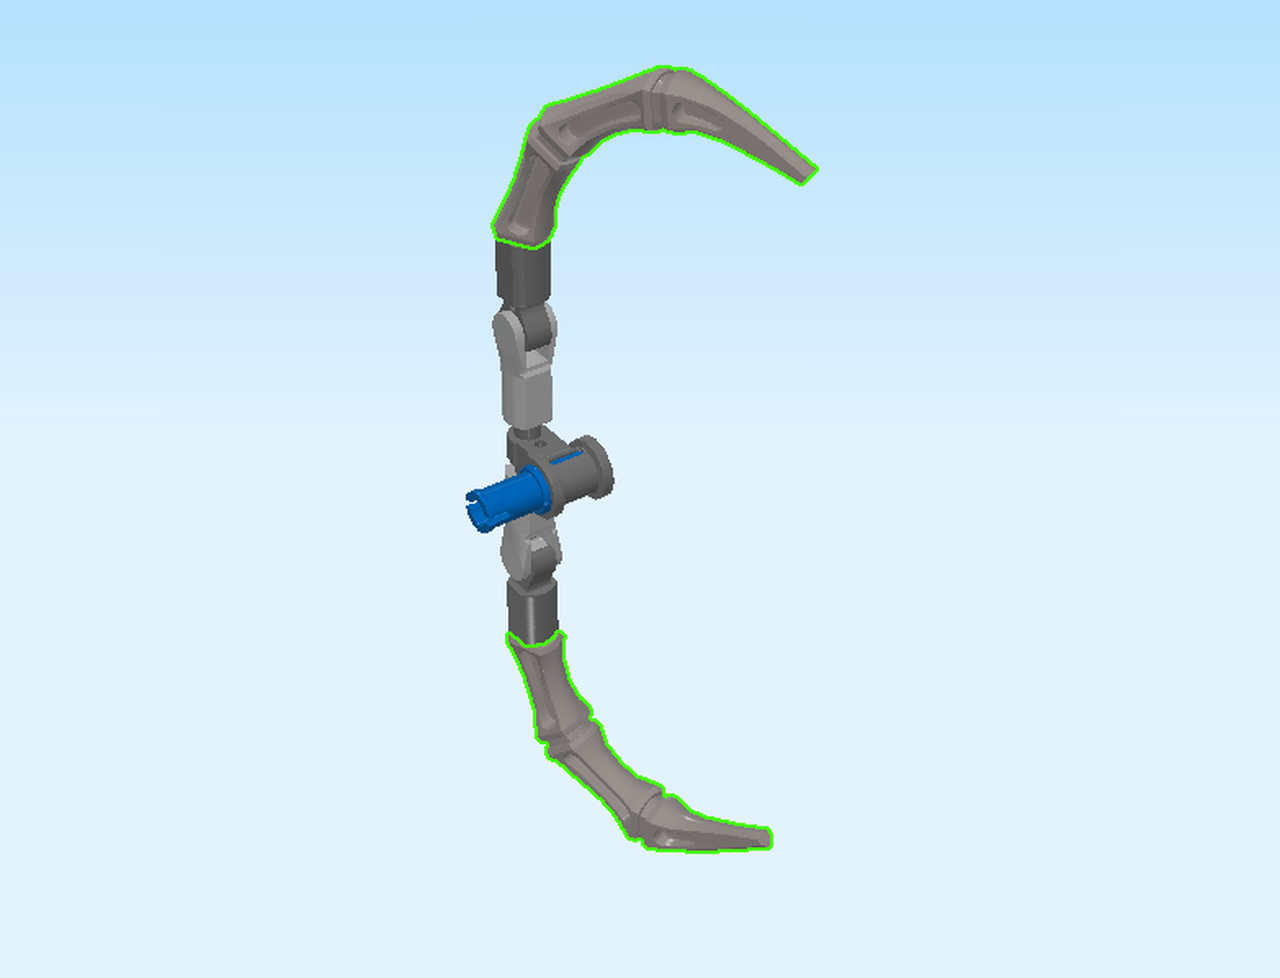
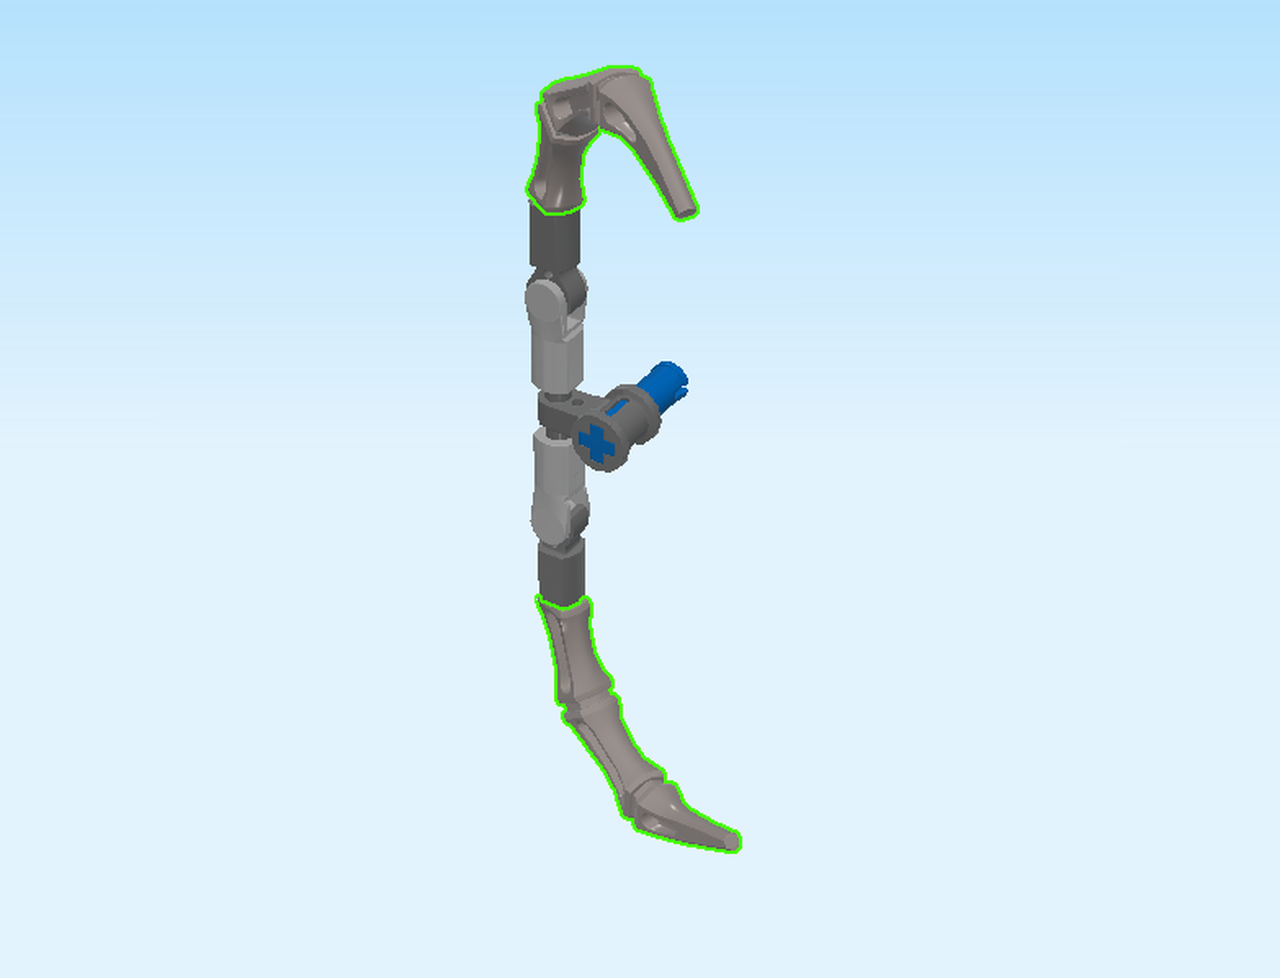
| Next, we will build the first of Spider-Man's 2 spiderleg weapons. These will be mounted on the robot's back, and he can use them to sting his enemies. |
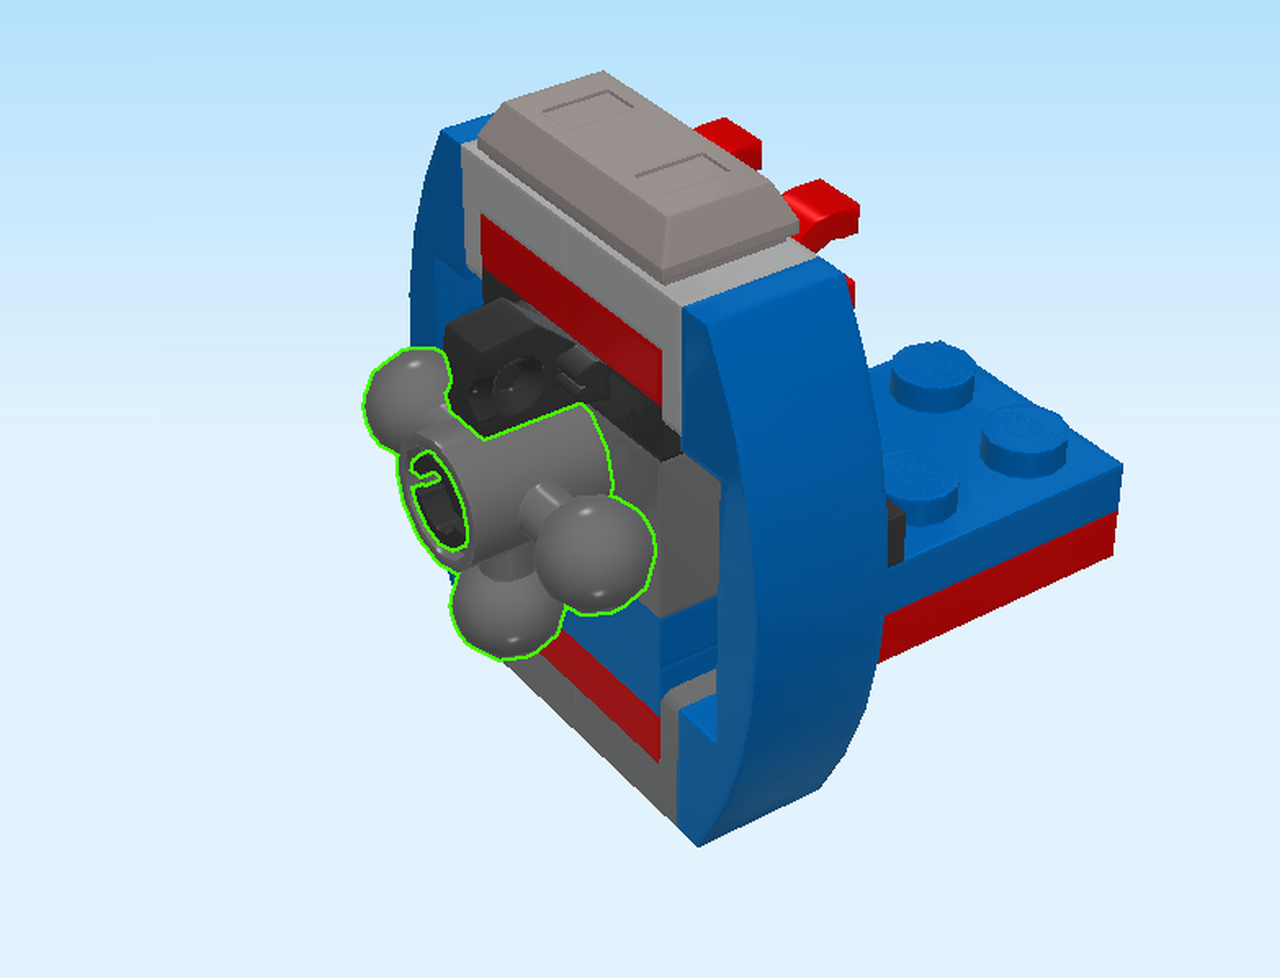
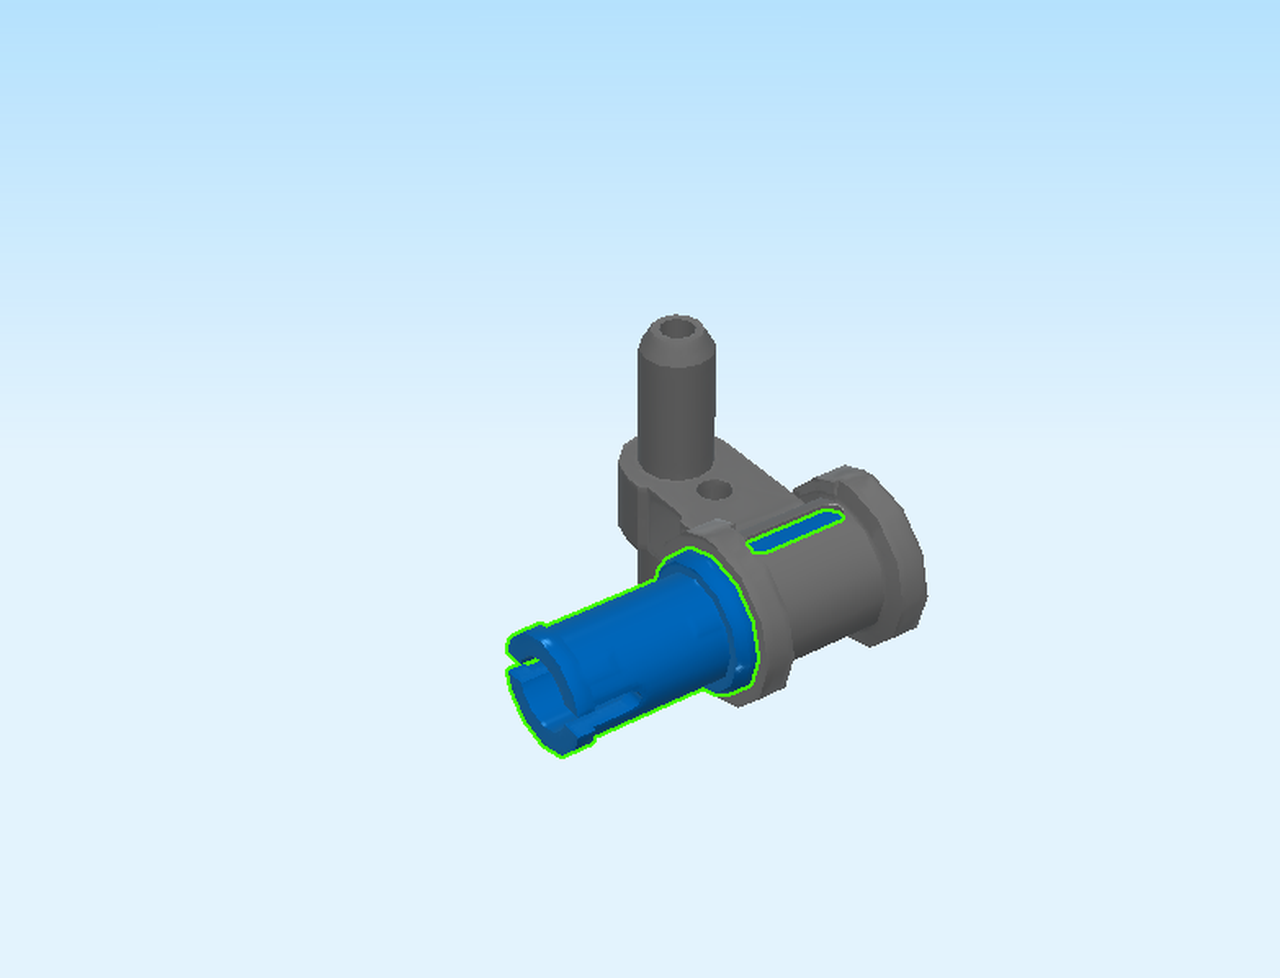
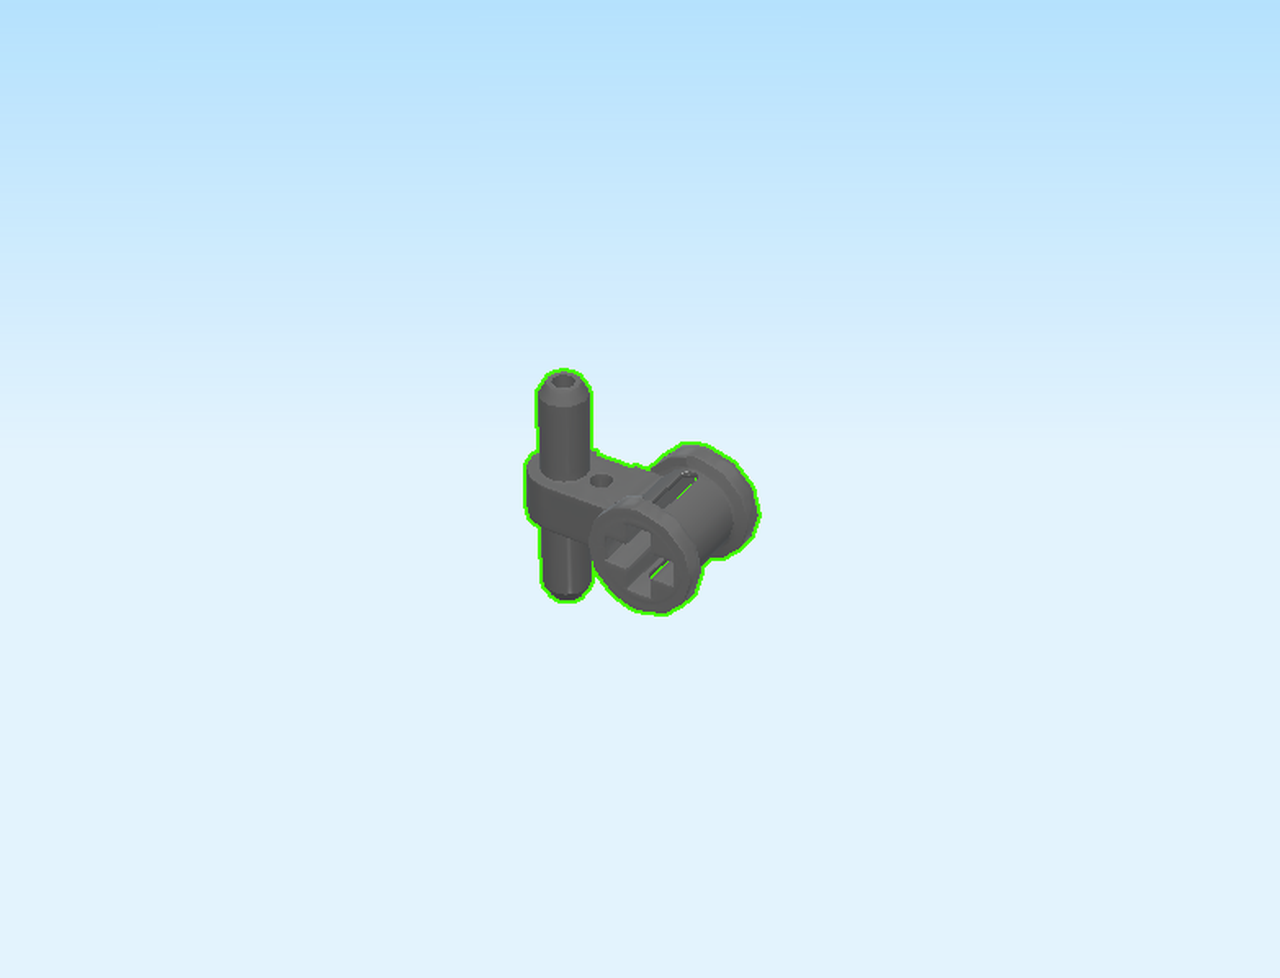
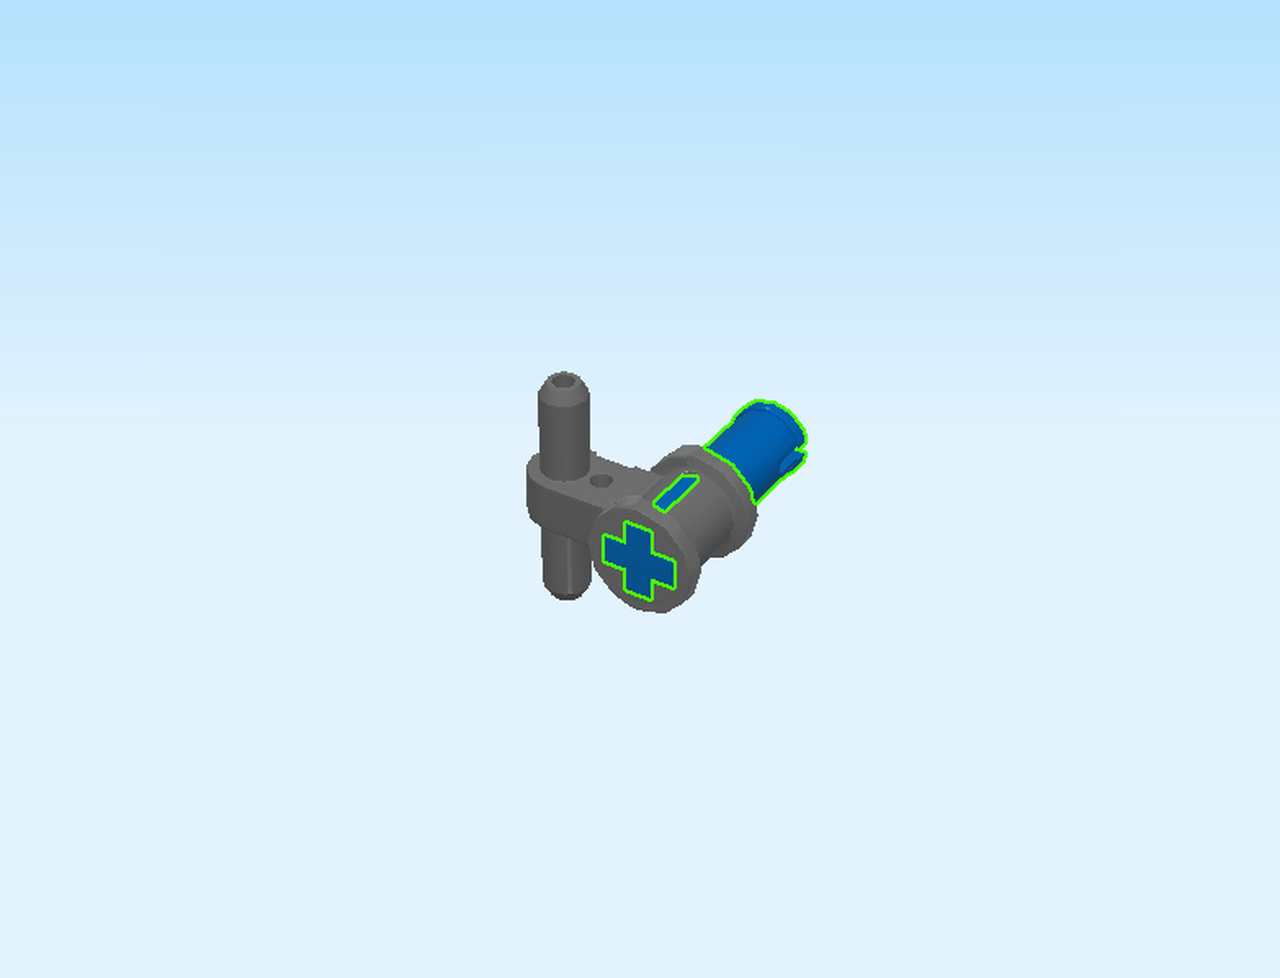
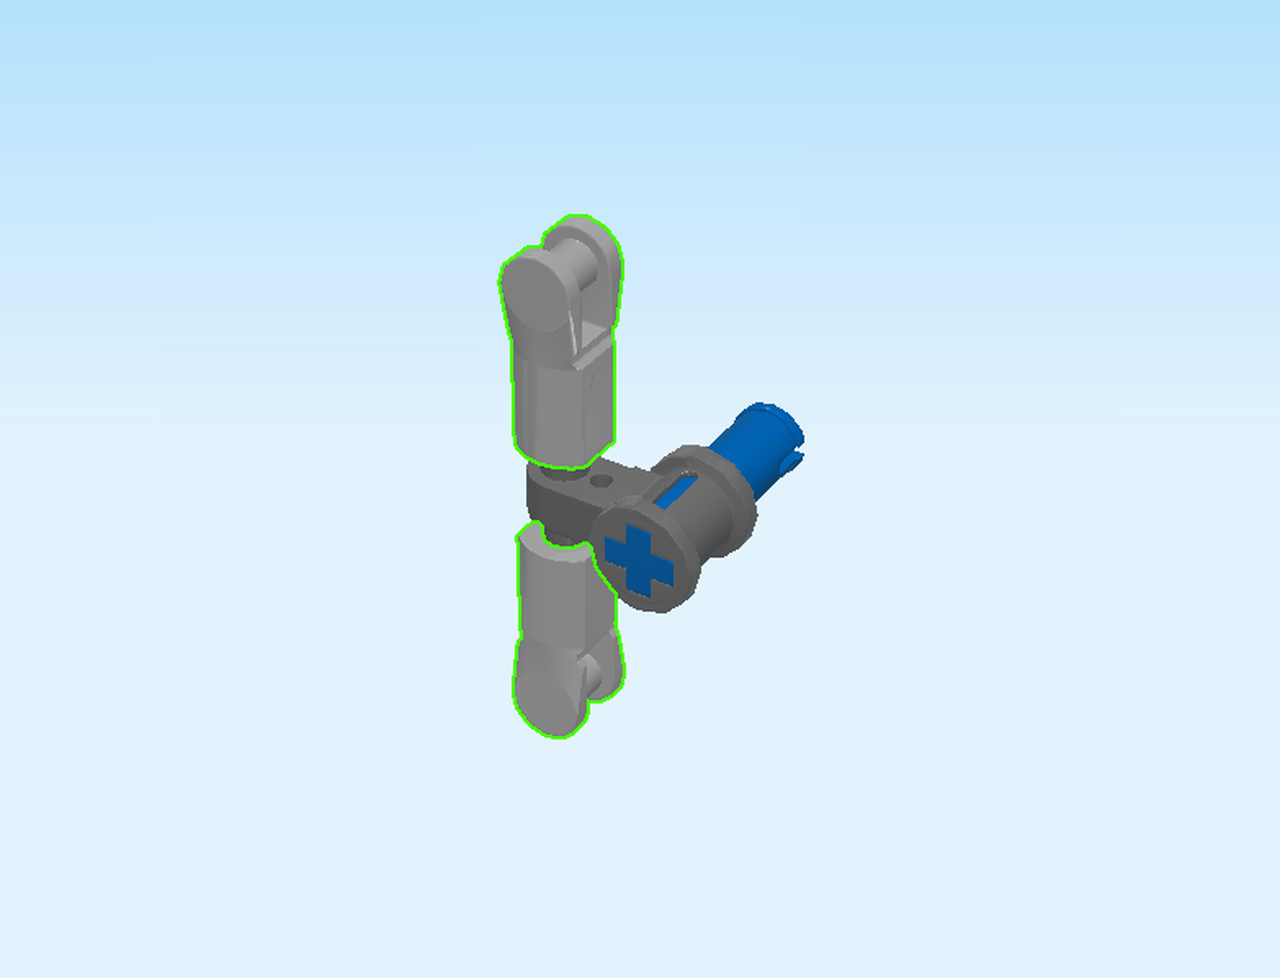
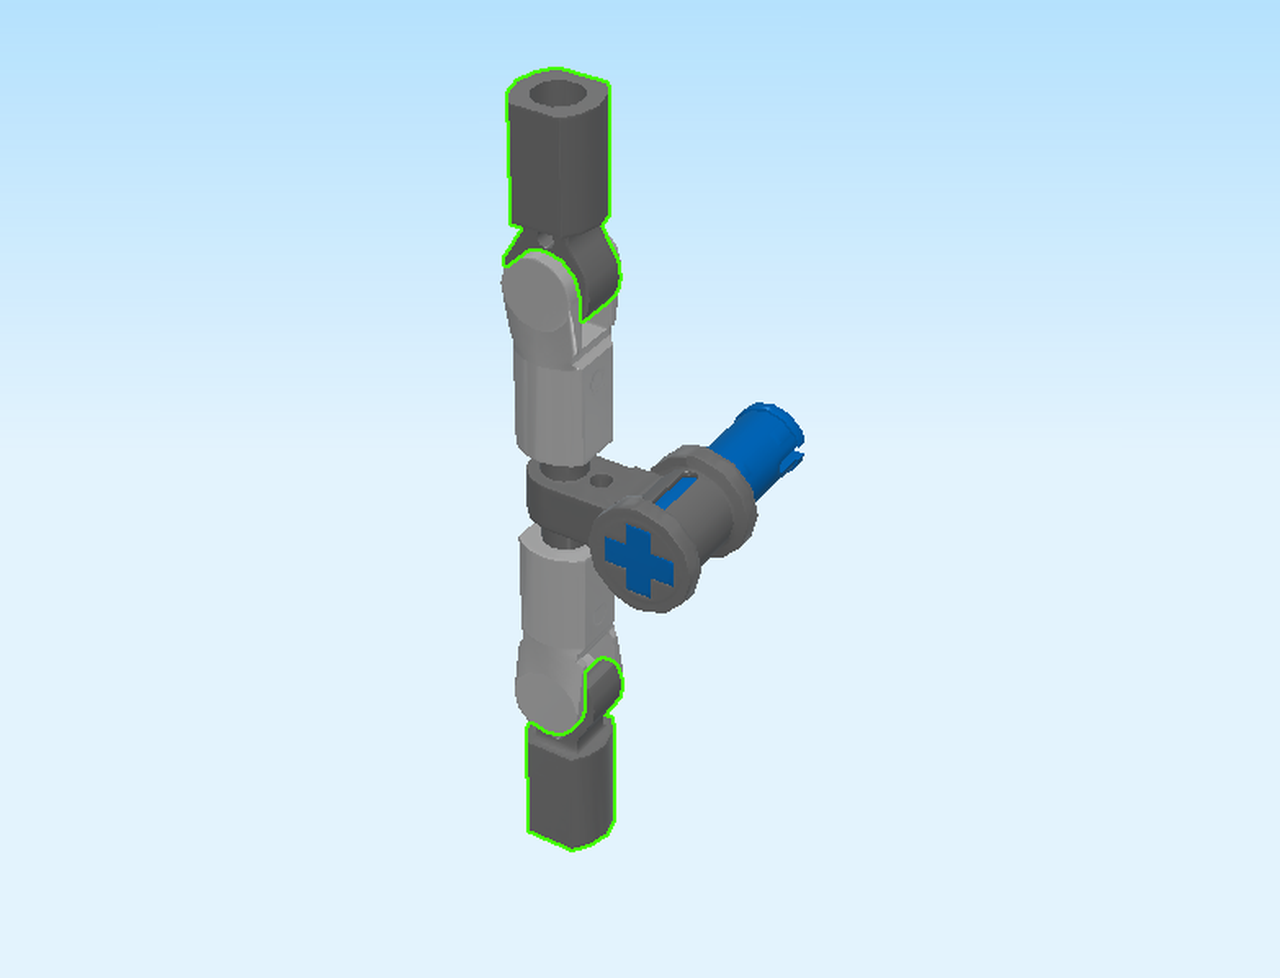
| Find 1 dark stone grey shaft with hanging cross bushing. |
| Put it on the table, shaft pointing to the top and cross bushing at the front. |
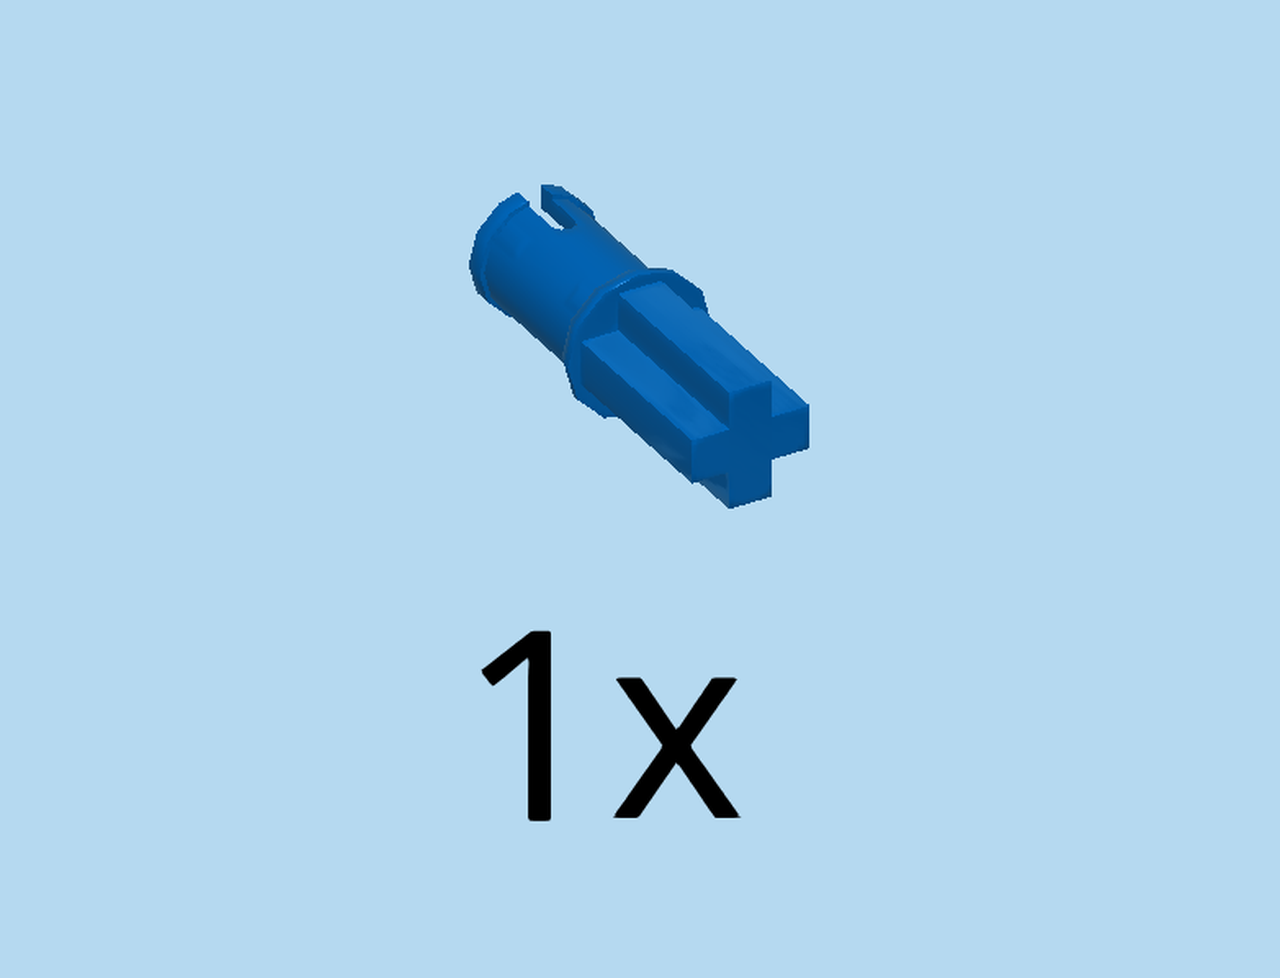
| Find 1 bright blue connector peg 2m with cross axle pin. |
| Put it in the cross hole from the left. |
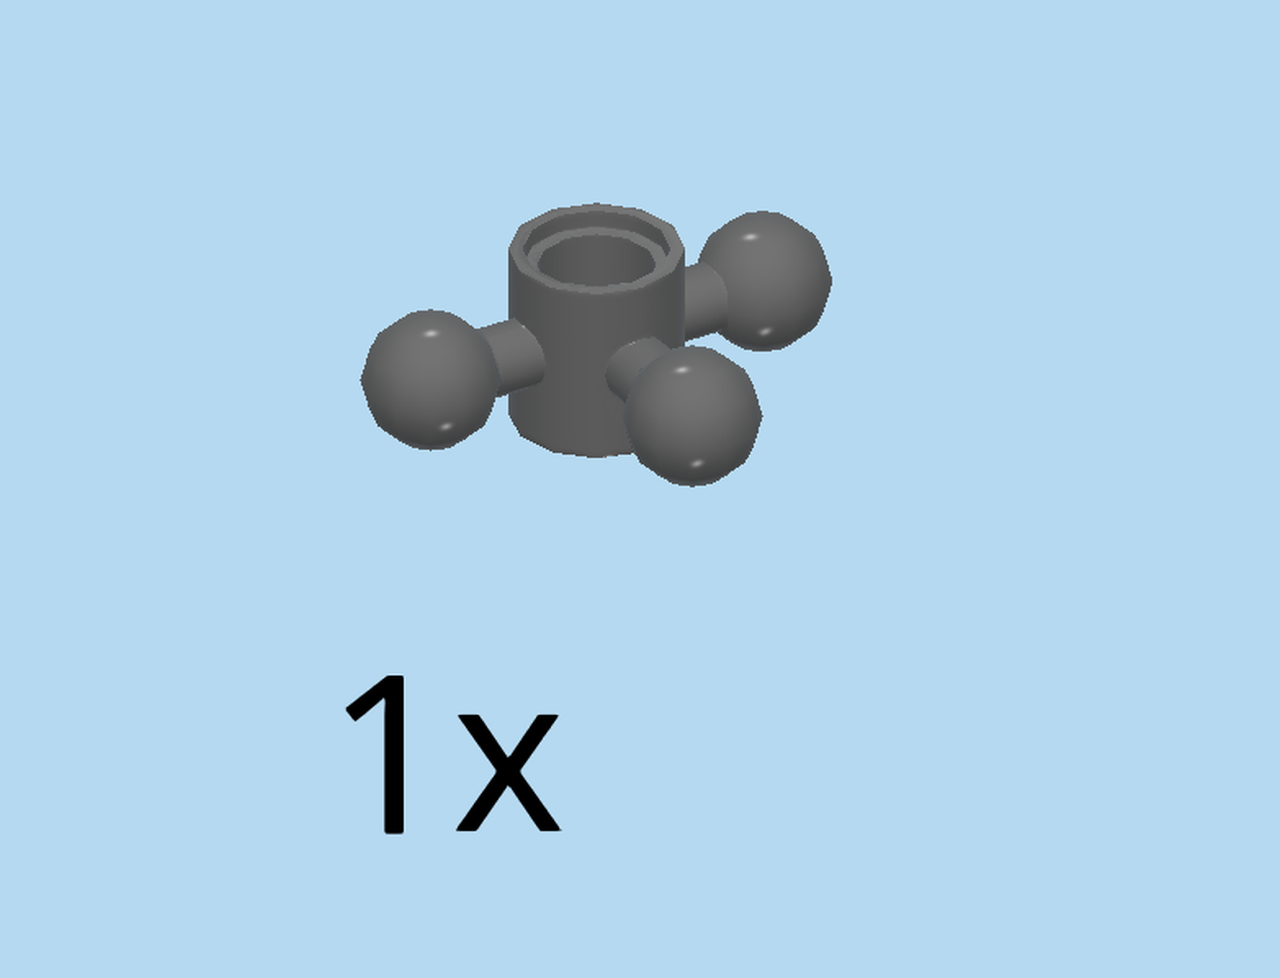
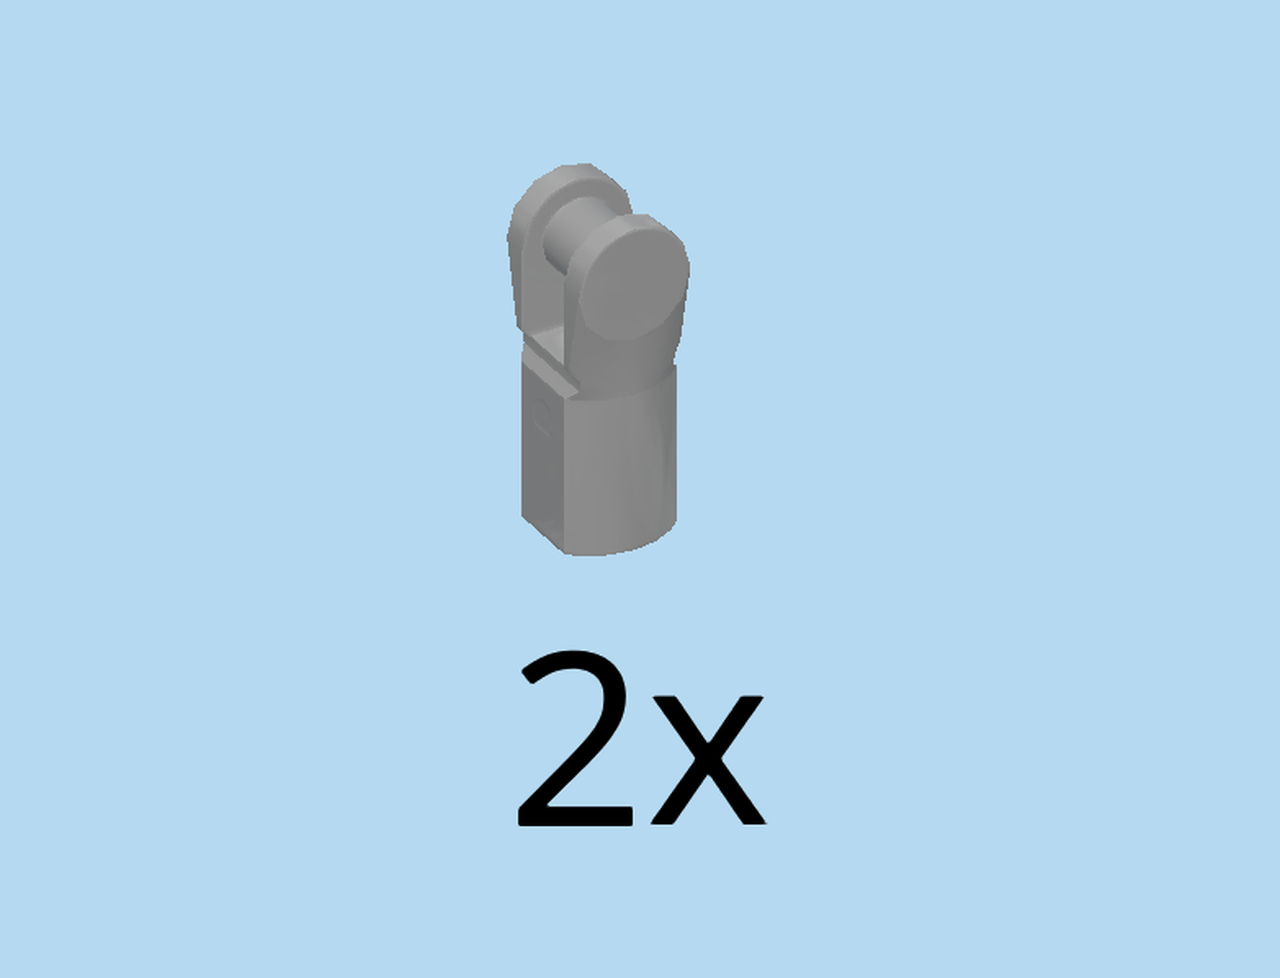
| Find 2 medium stone grey tubes with small shaft. |
| Put 1 on the shaft on top of the structure. |
| Repeat symmetrically at the bottom. |
| Find 2 dark stone grey small tubes with clasp. |
| Snap the clasps onto the small shafts of the previous 2 pieces. |
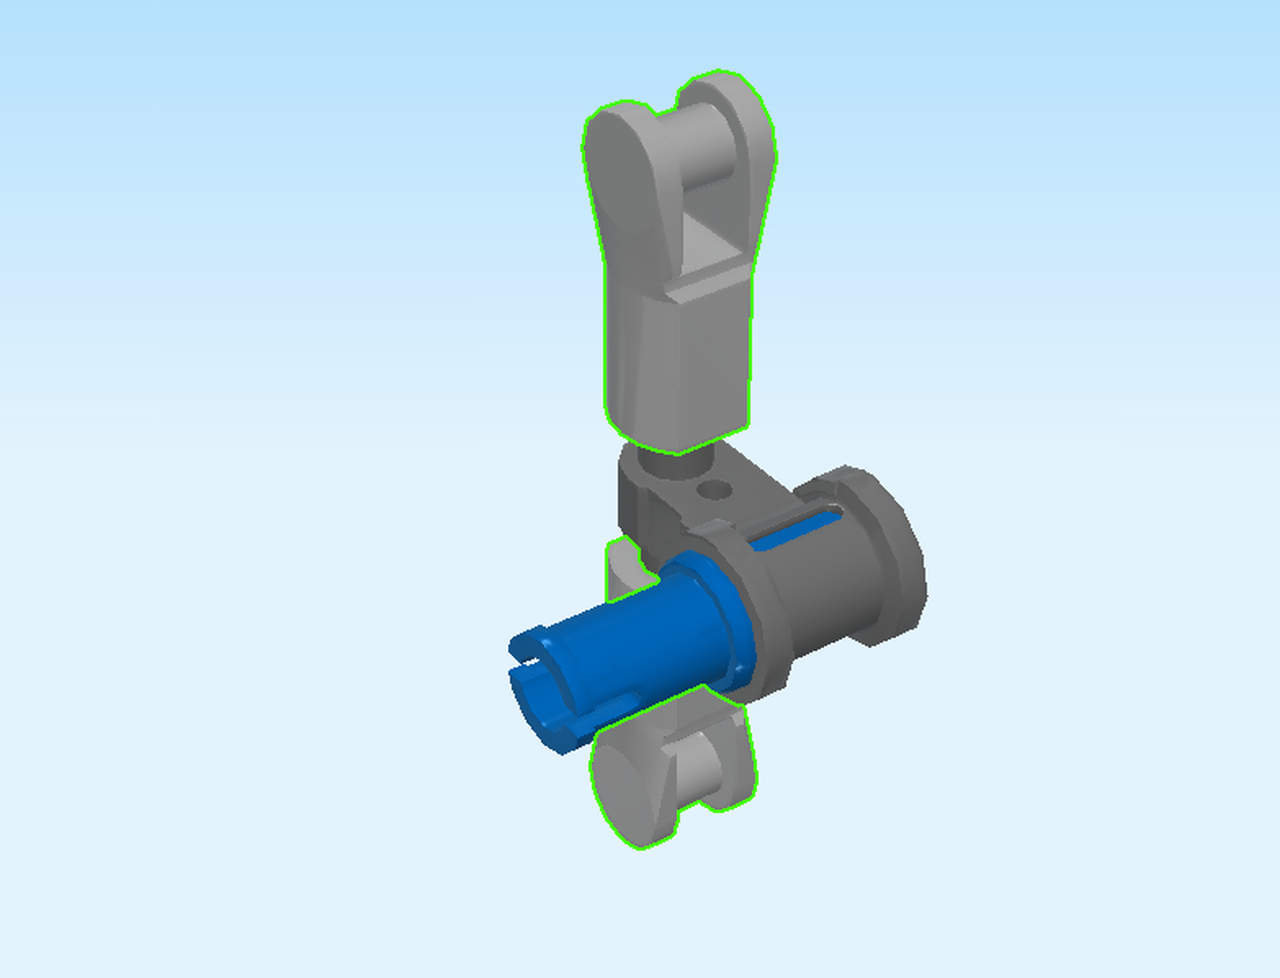
| Find 2 medium stone grey spider legs with shaft. |
| Insert the shafts into the tubes of the previous 2 pieces, spider leg tips to the front. |
| Now, insert the connector peg into the left tube on the back of the robot. This tube is almost at the top of the structure. |
| Next, we will build the second spiderleg weapon. |
| Find 1 dark stone grey shaft with hanging cross bushing. |
| Put it on the table, shaft pointing upwards with cross bushing in front. |
| Find 1 bright blue connector peg 2m with cross axle pin. |
| Put it in the cross bushing from the right. |
| Find 2 medium stone grey tubes with small shaft. |
| Put 1 on the shaft on top of the structure. |
| Repeat symmetrically at the bottom. |
| Find 2 dark stone grey small tubes with clasp. |
| Snap the clasps onto the small shafts of the previous 2 pieces. |
| Find 2 medium stone grey spider legs with shaft. |
| Insert the shafts into the tubes of the previous 2 pieces, spider leg tips to the front. |
| Now, insert the connector peg into the right tube on the back of the robot. |
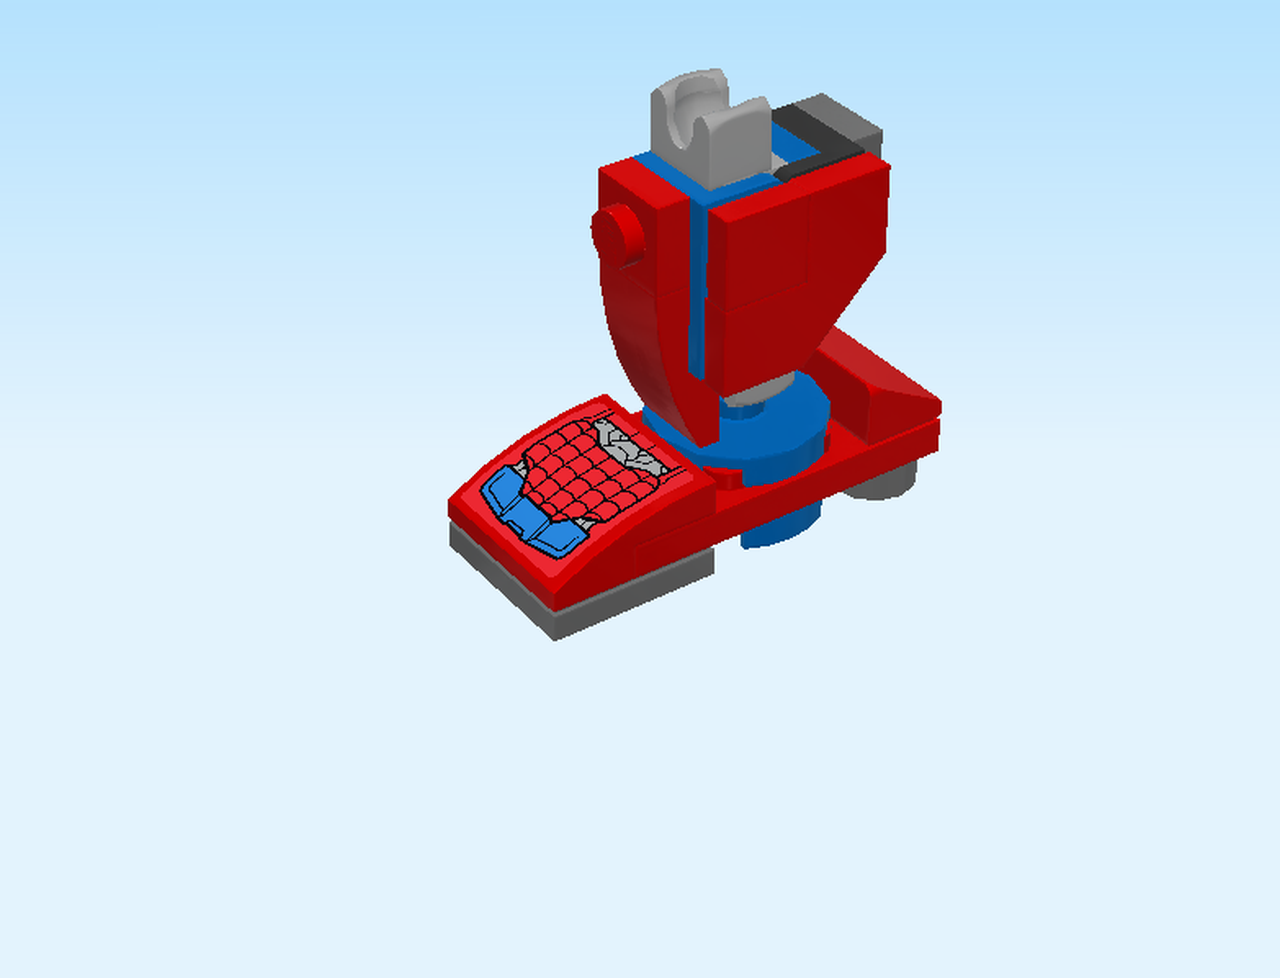
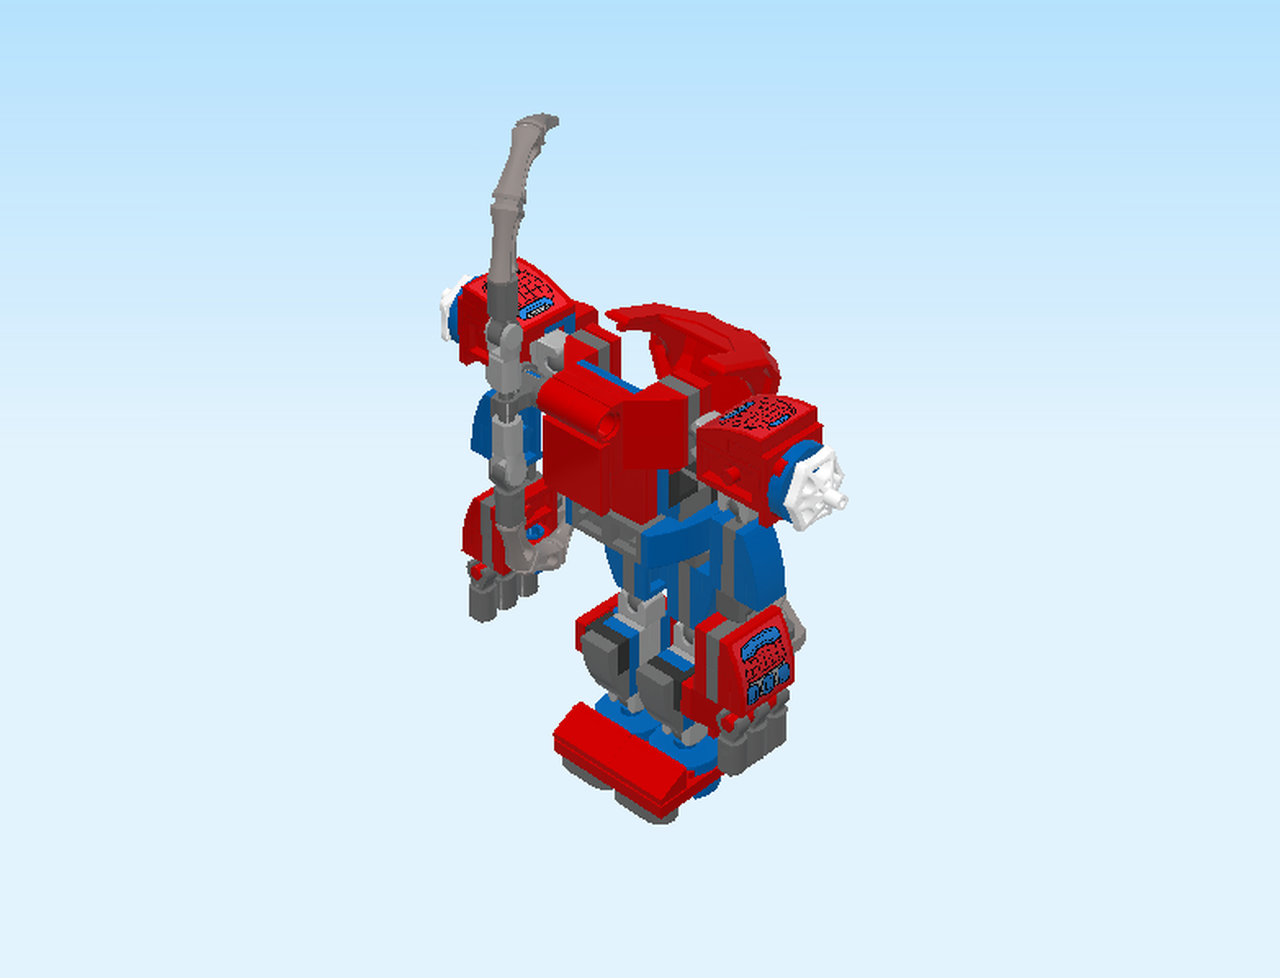
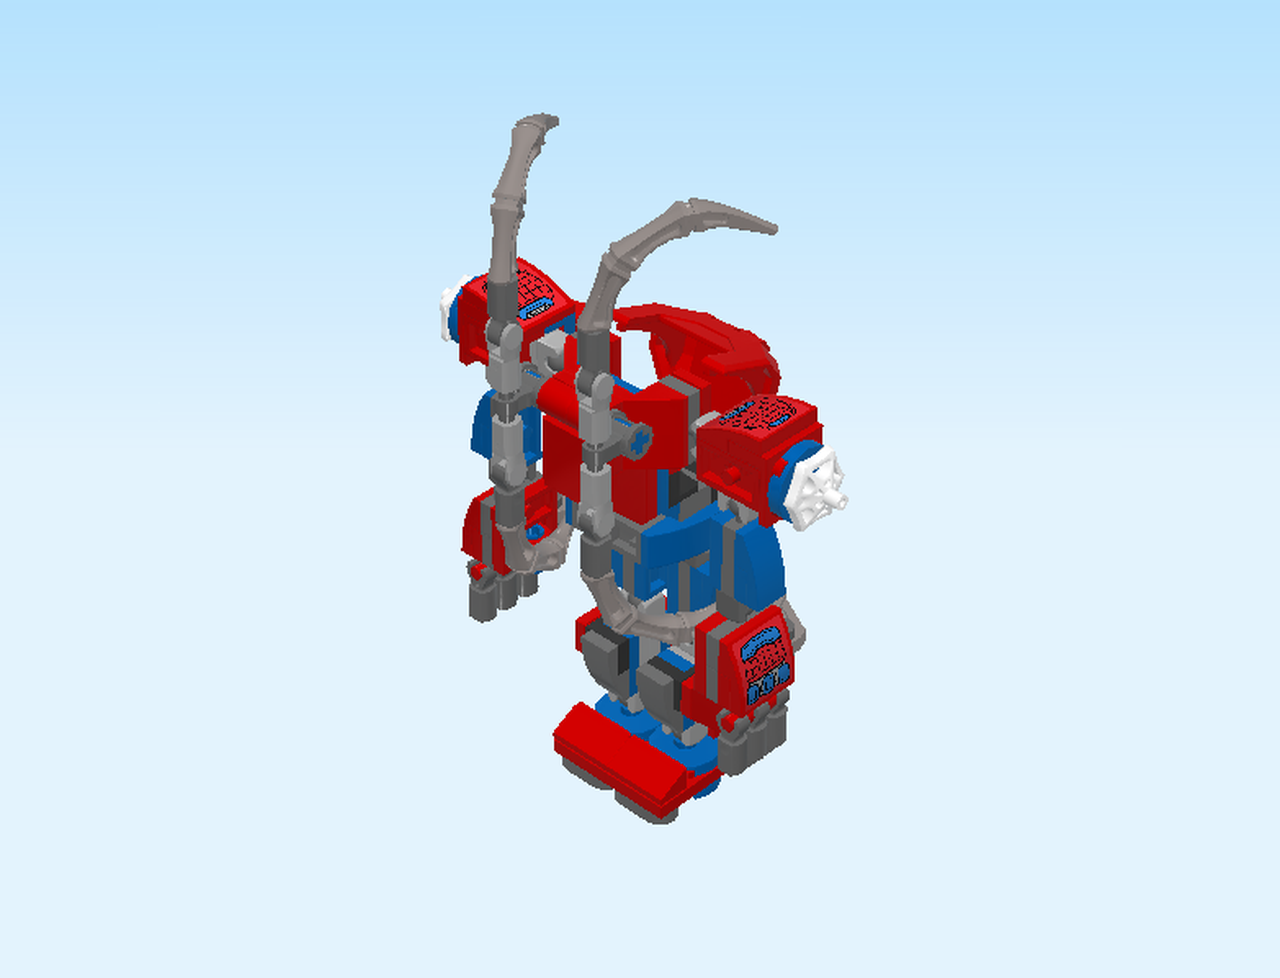
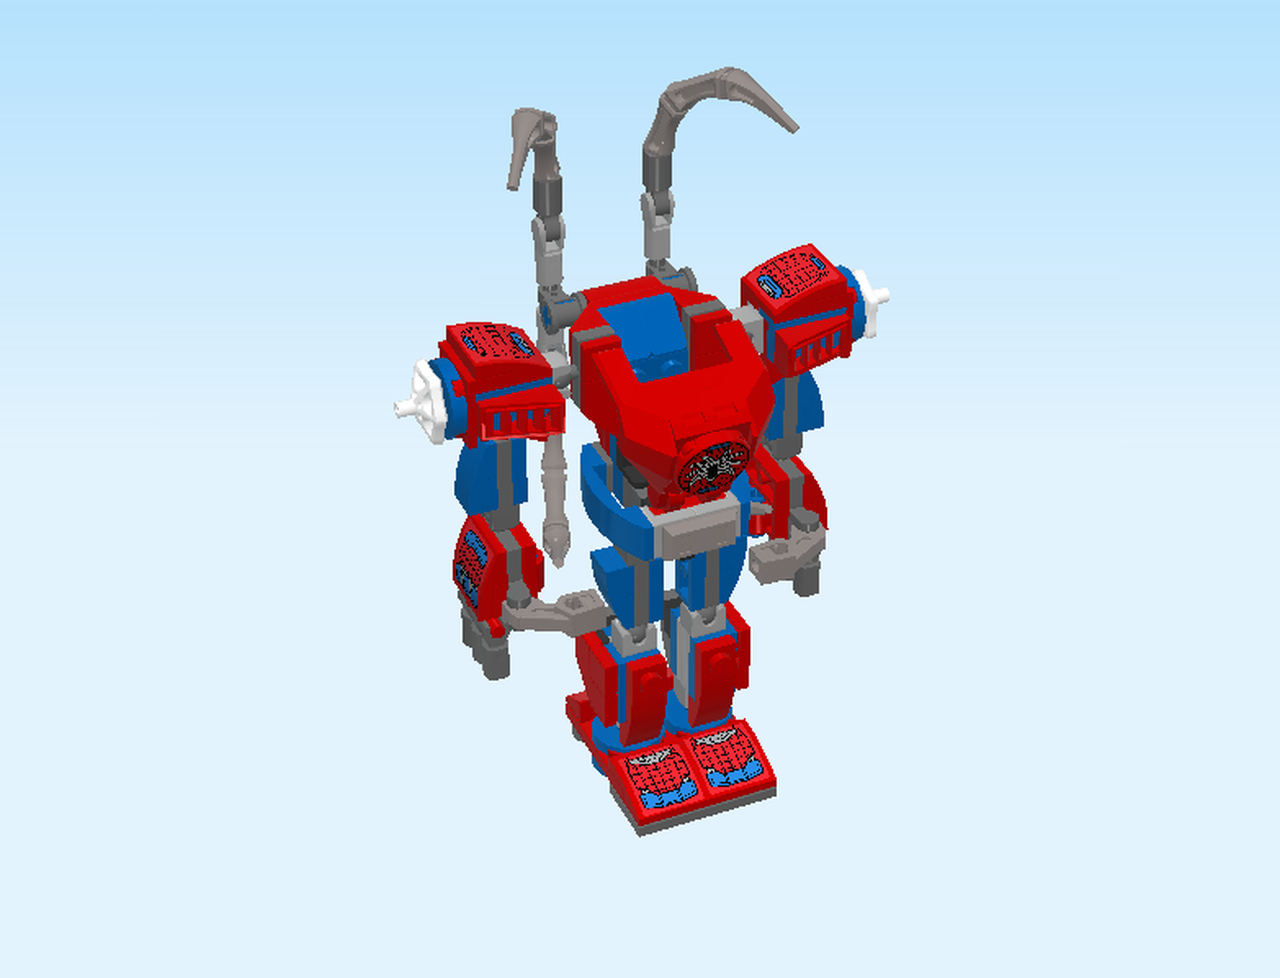
| The Spider-Man Mech robot is now finished! Building a robot is not easy, so very well done! |
| Put your Spider-Man minifigure into the gigantic mechanical spider-robot. Now Spider-Man can go anywhere, grab anything and shoot massive webs! |
| Enjoy! |