LEGO 75333 Obi-Wan Kenobi's Jedi Starfighter 

LEGO Audio & Braille Building Instructions for the LEGO Star Wars set "Obi-Wan Kenobi's Jedi Starfighter".

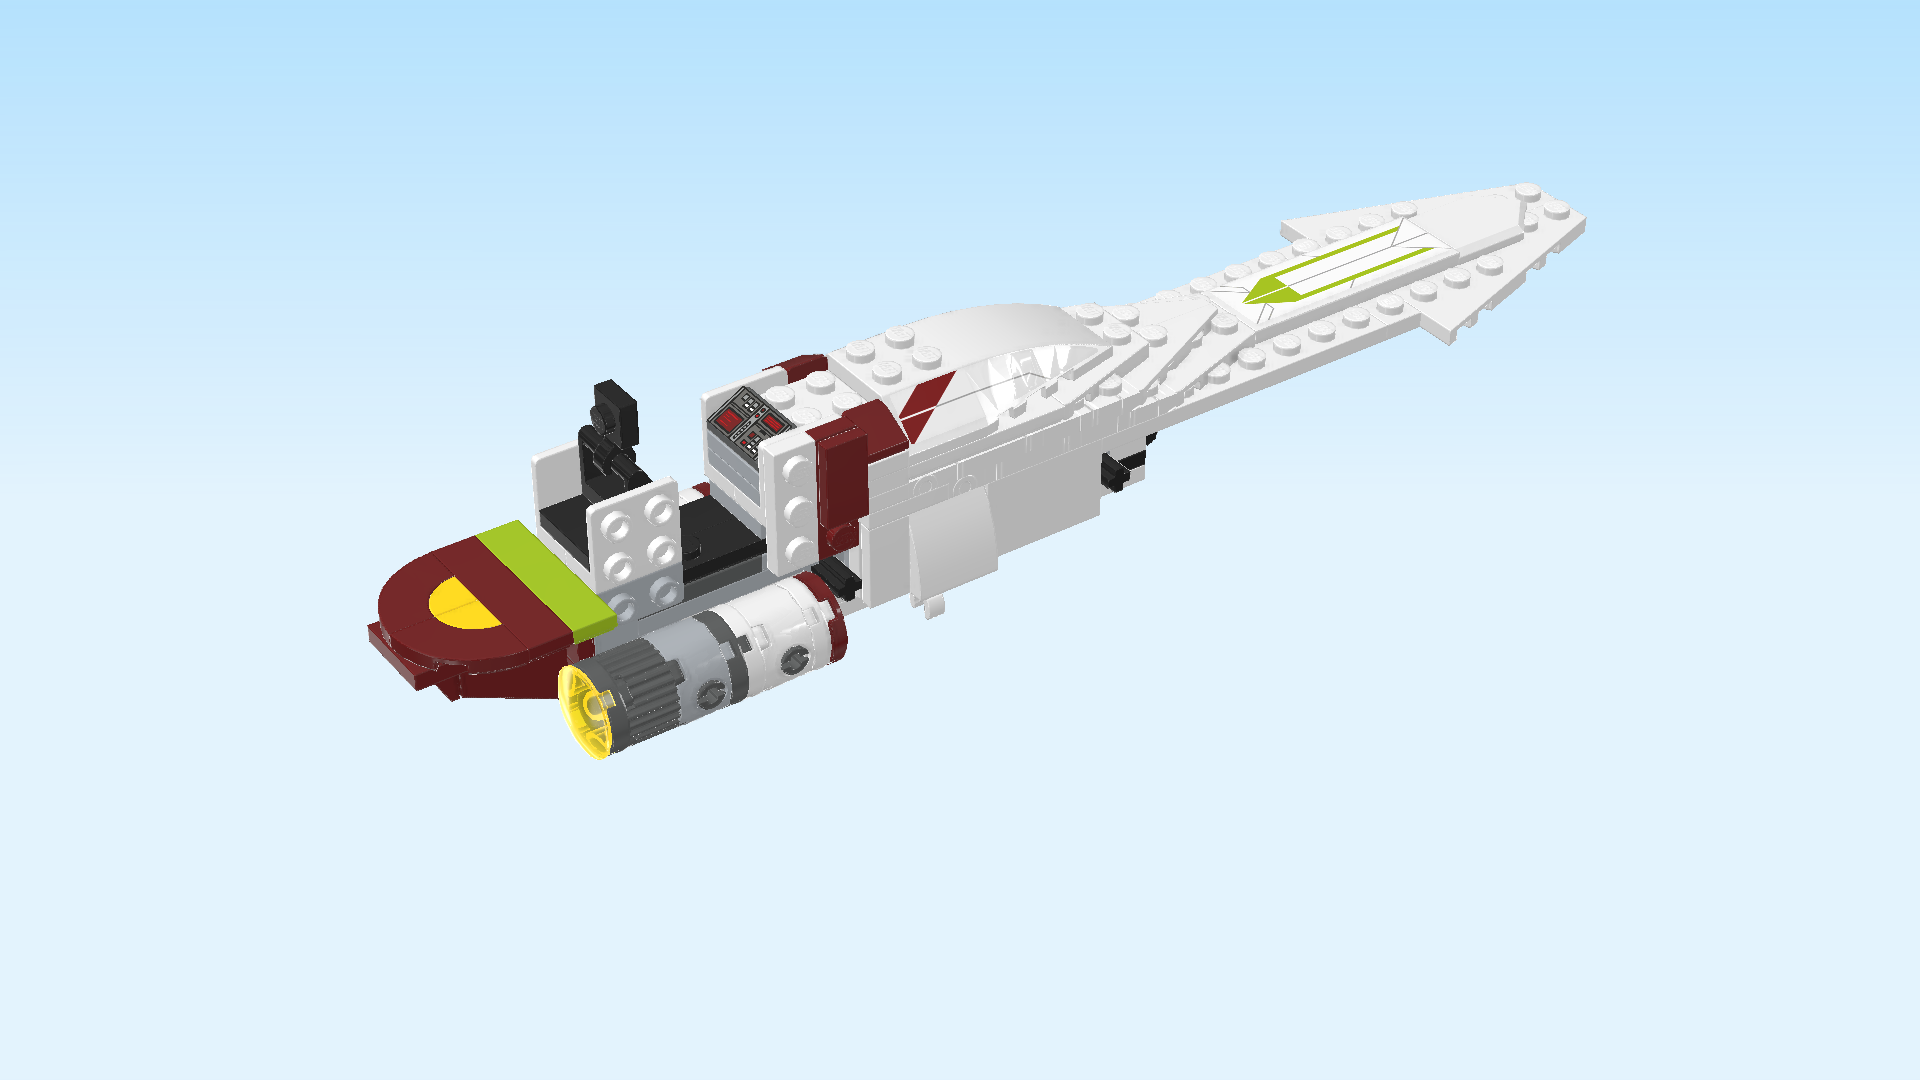
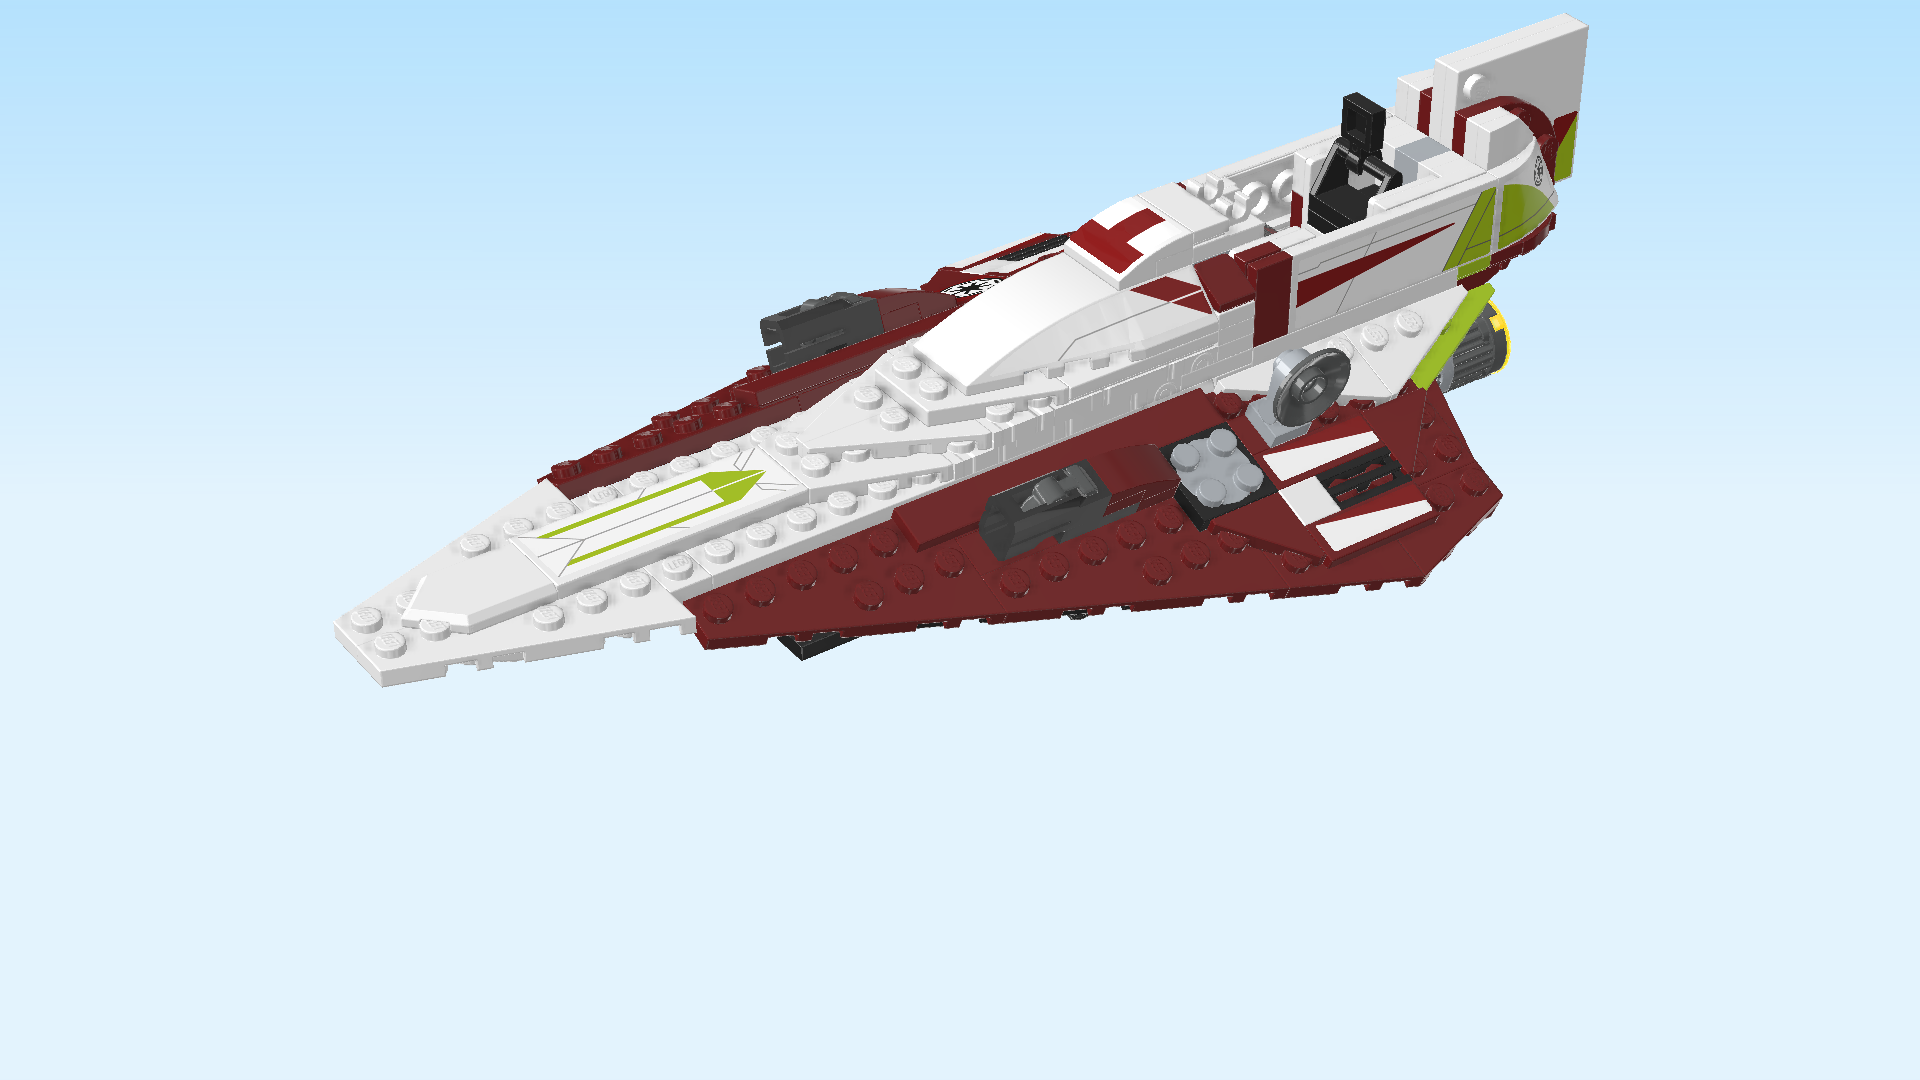
All aboard Obi-Wan Kenobi's Jedi Starfighter! With Obi-Wan in the cockpit and his trusty astromech droid R4-P17 on the wing, travel to Kamino, beyond the Outer Rim. Fire the stud shooters at any enemy starships that get in your way. Land on the water world of Kamino to be greeted by Taun We. Your meeting could change the course of the Clone Wars!

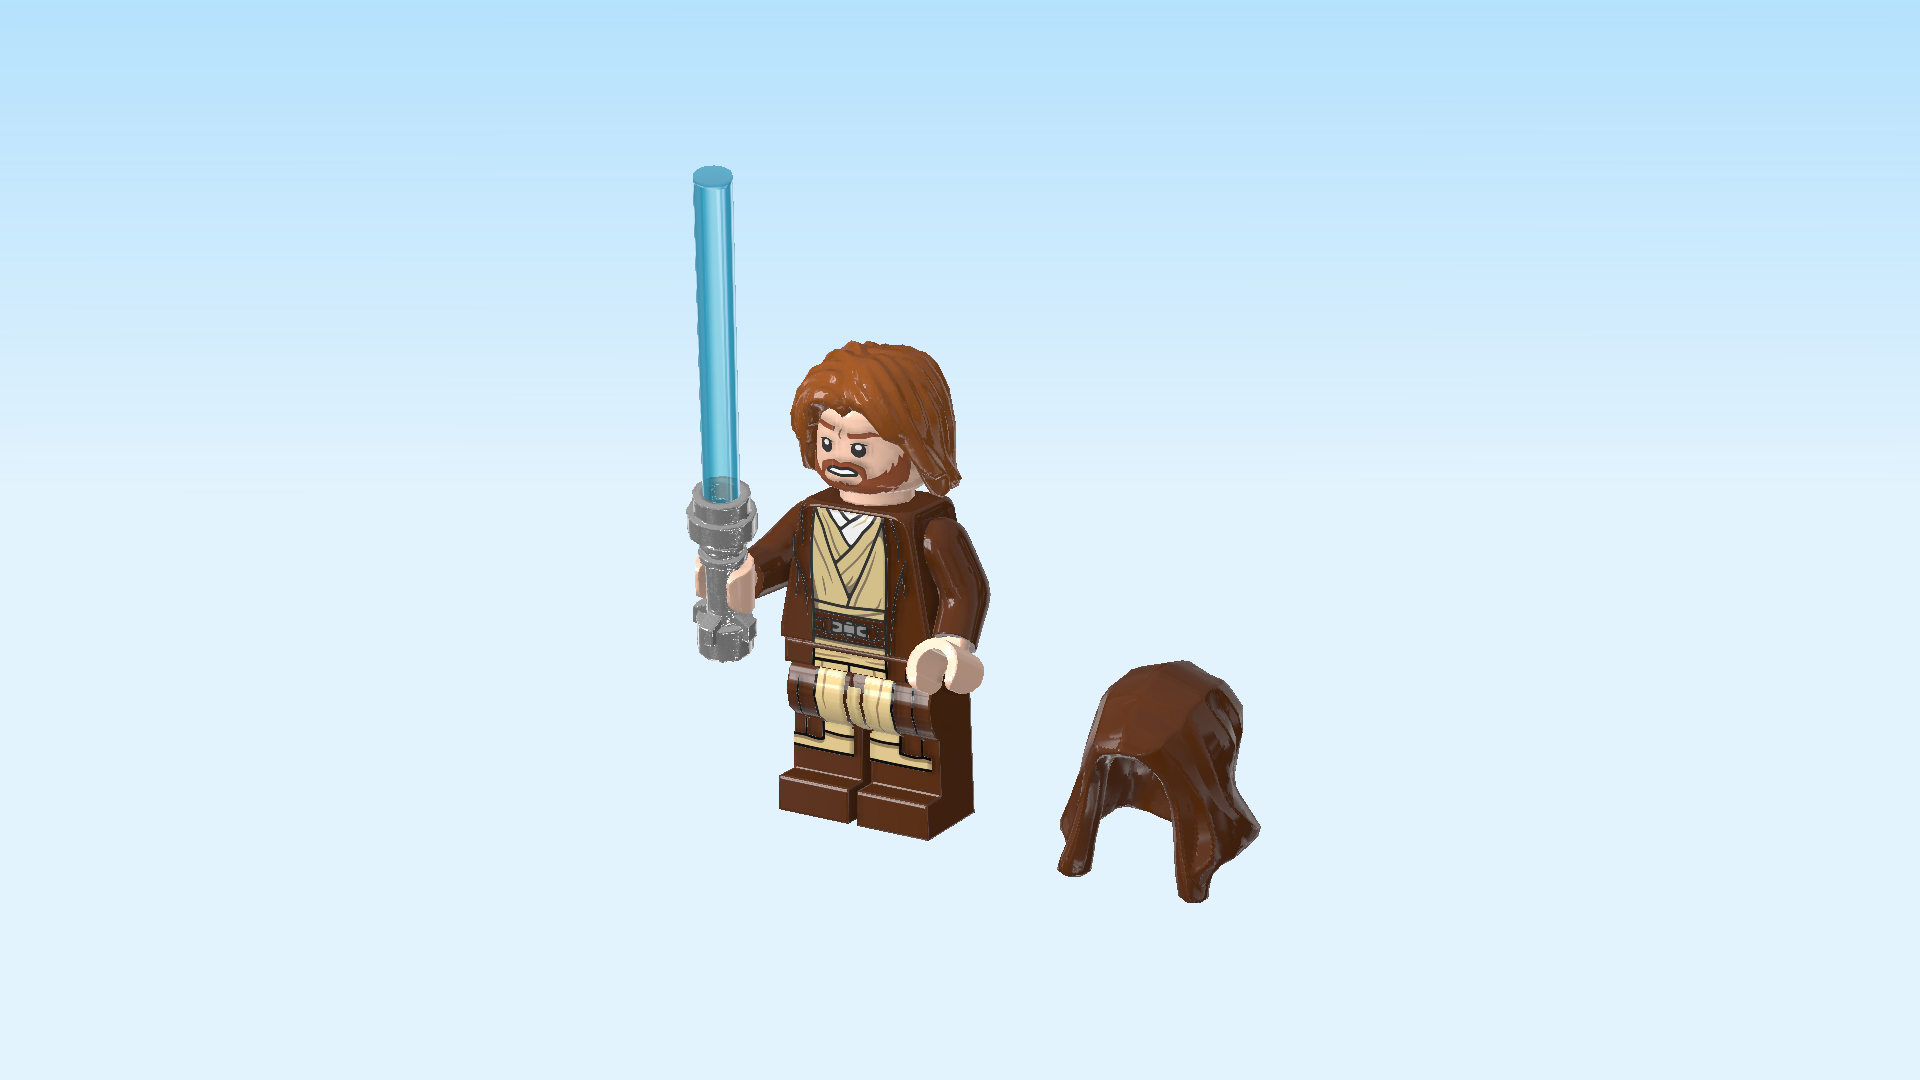
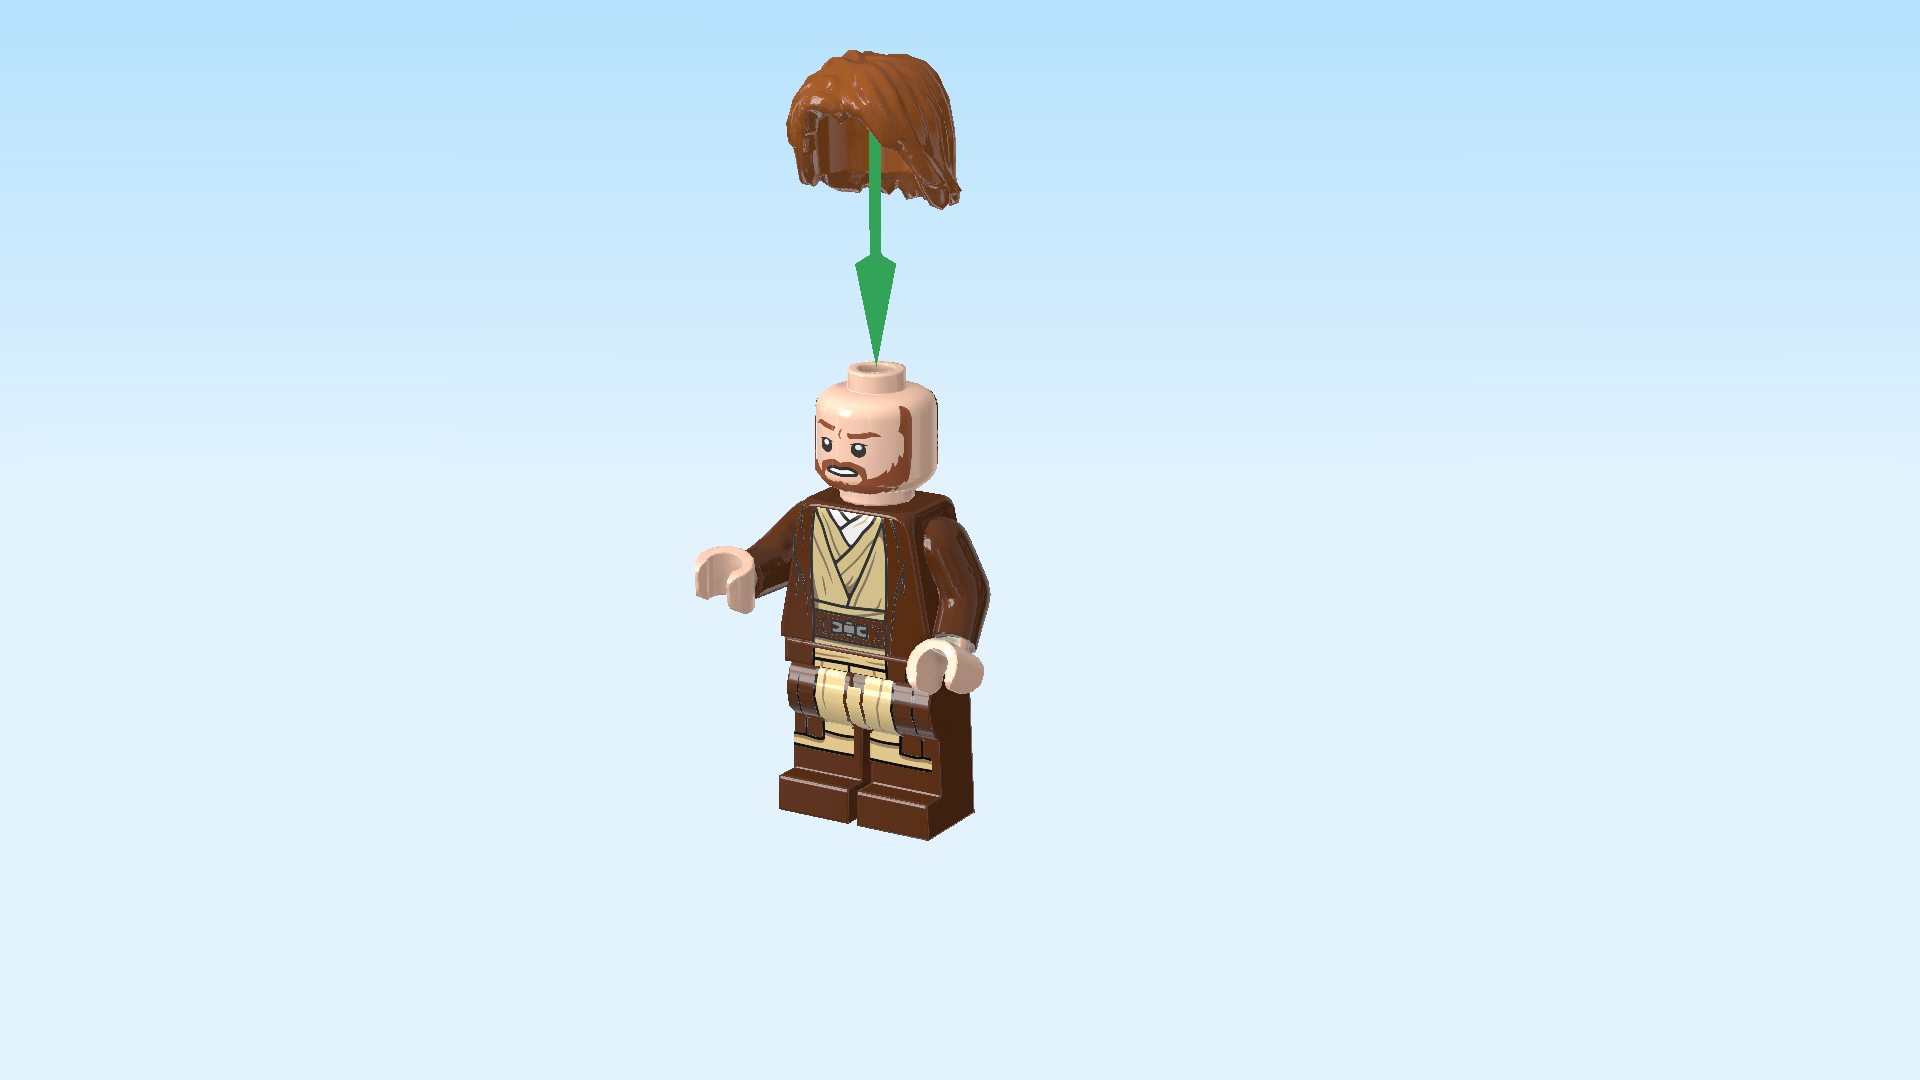
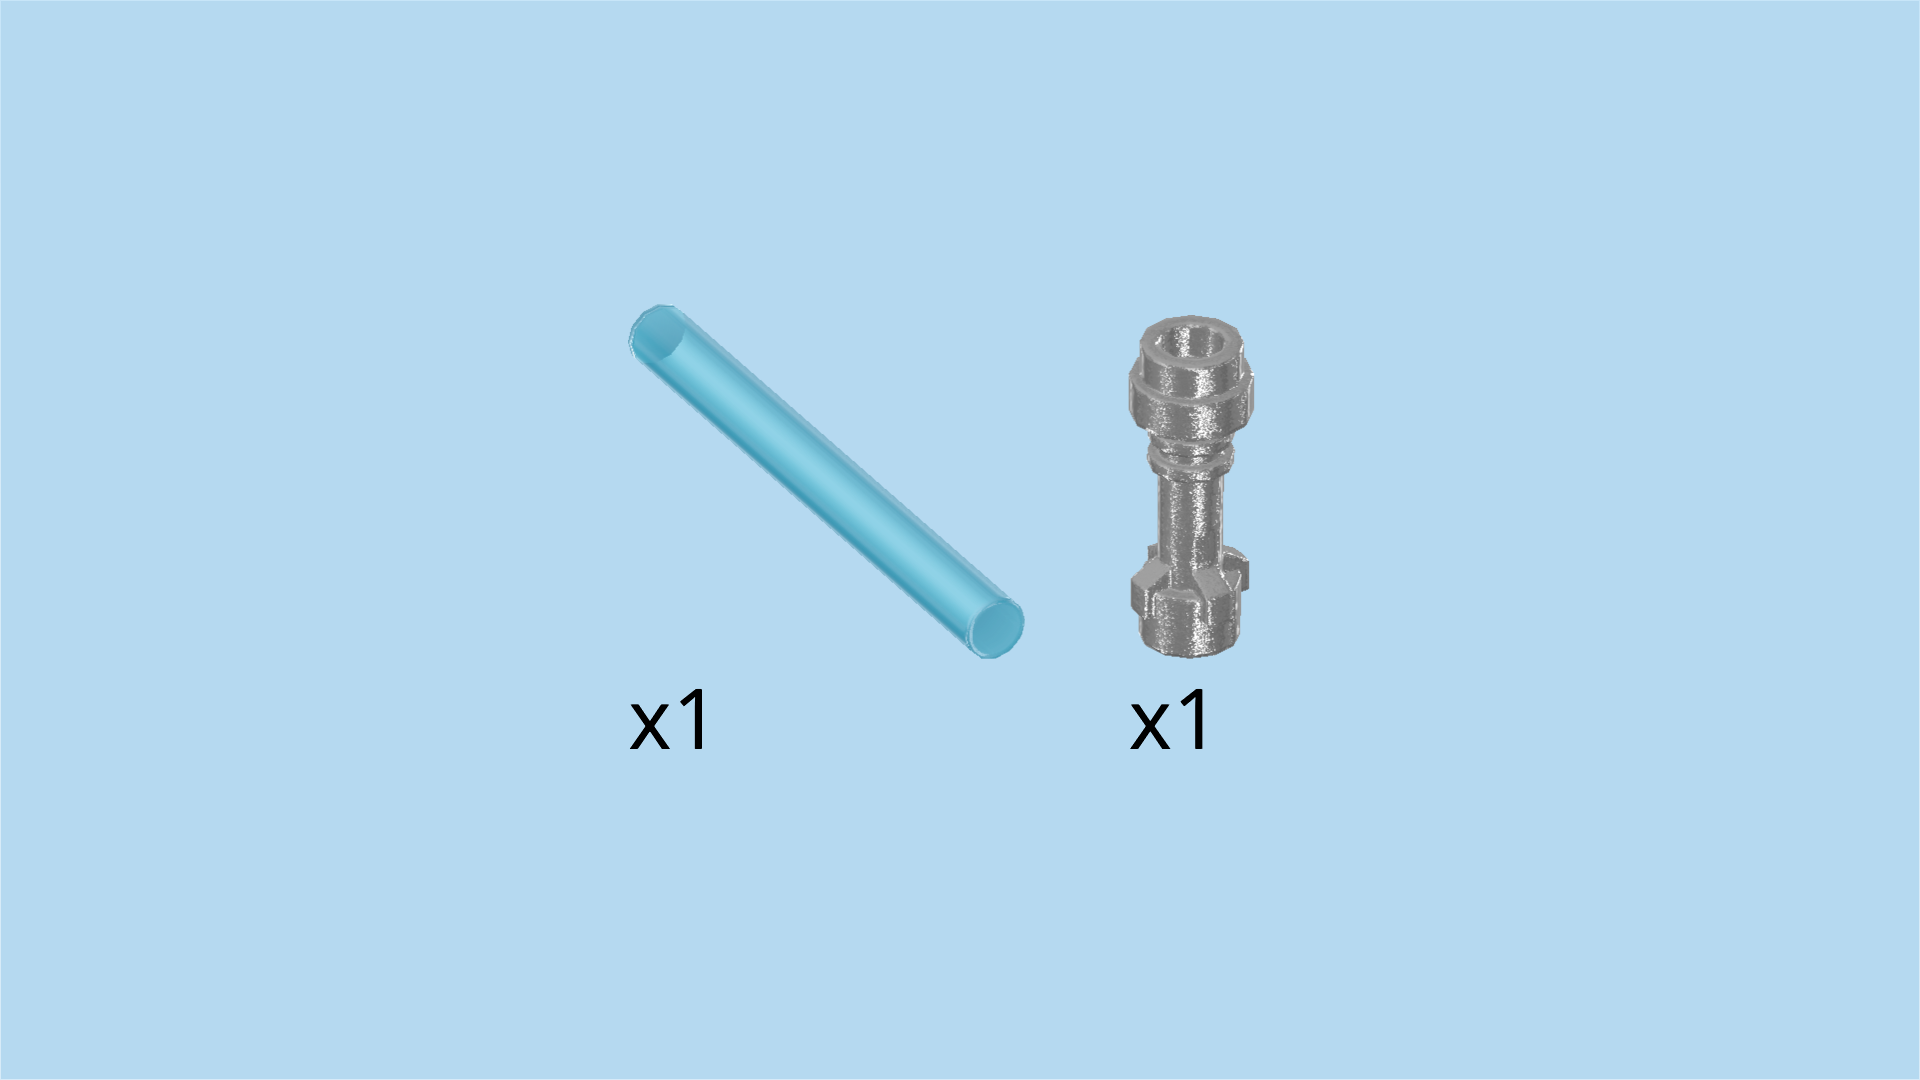
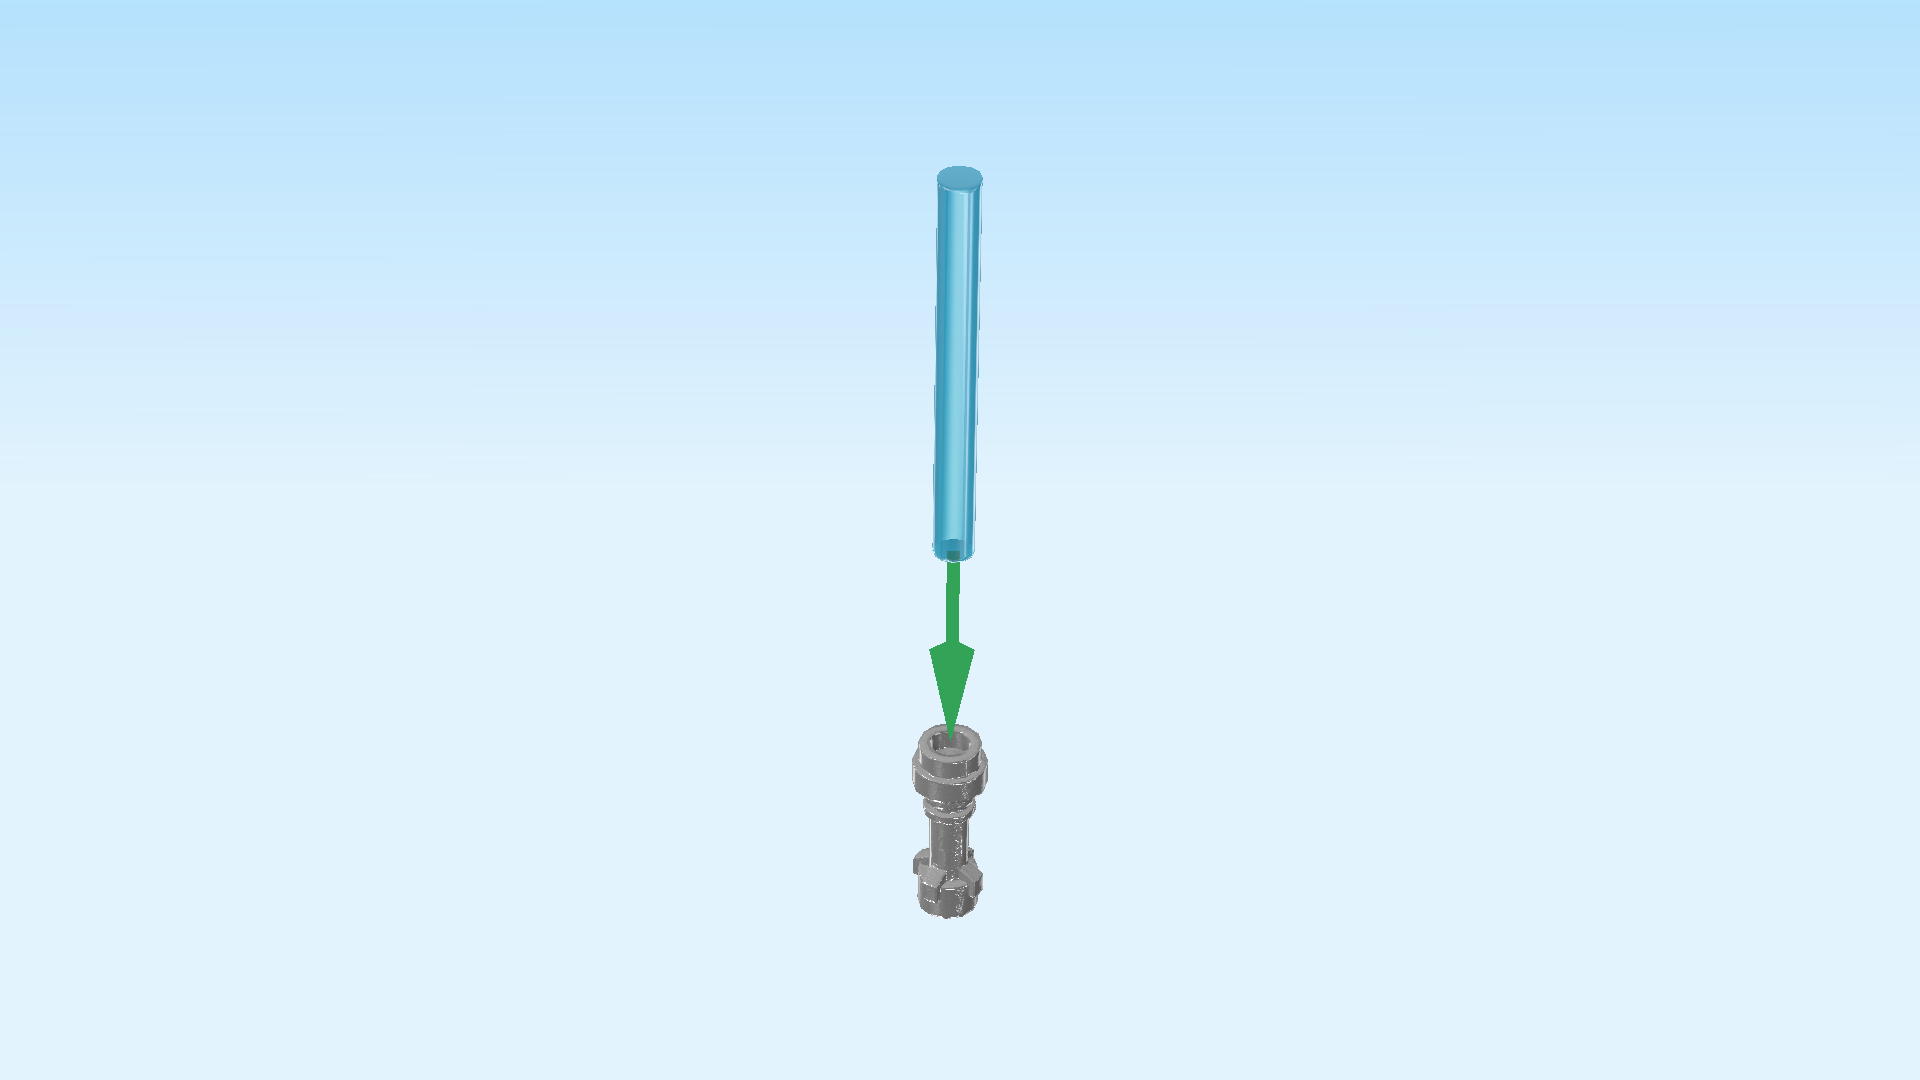
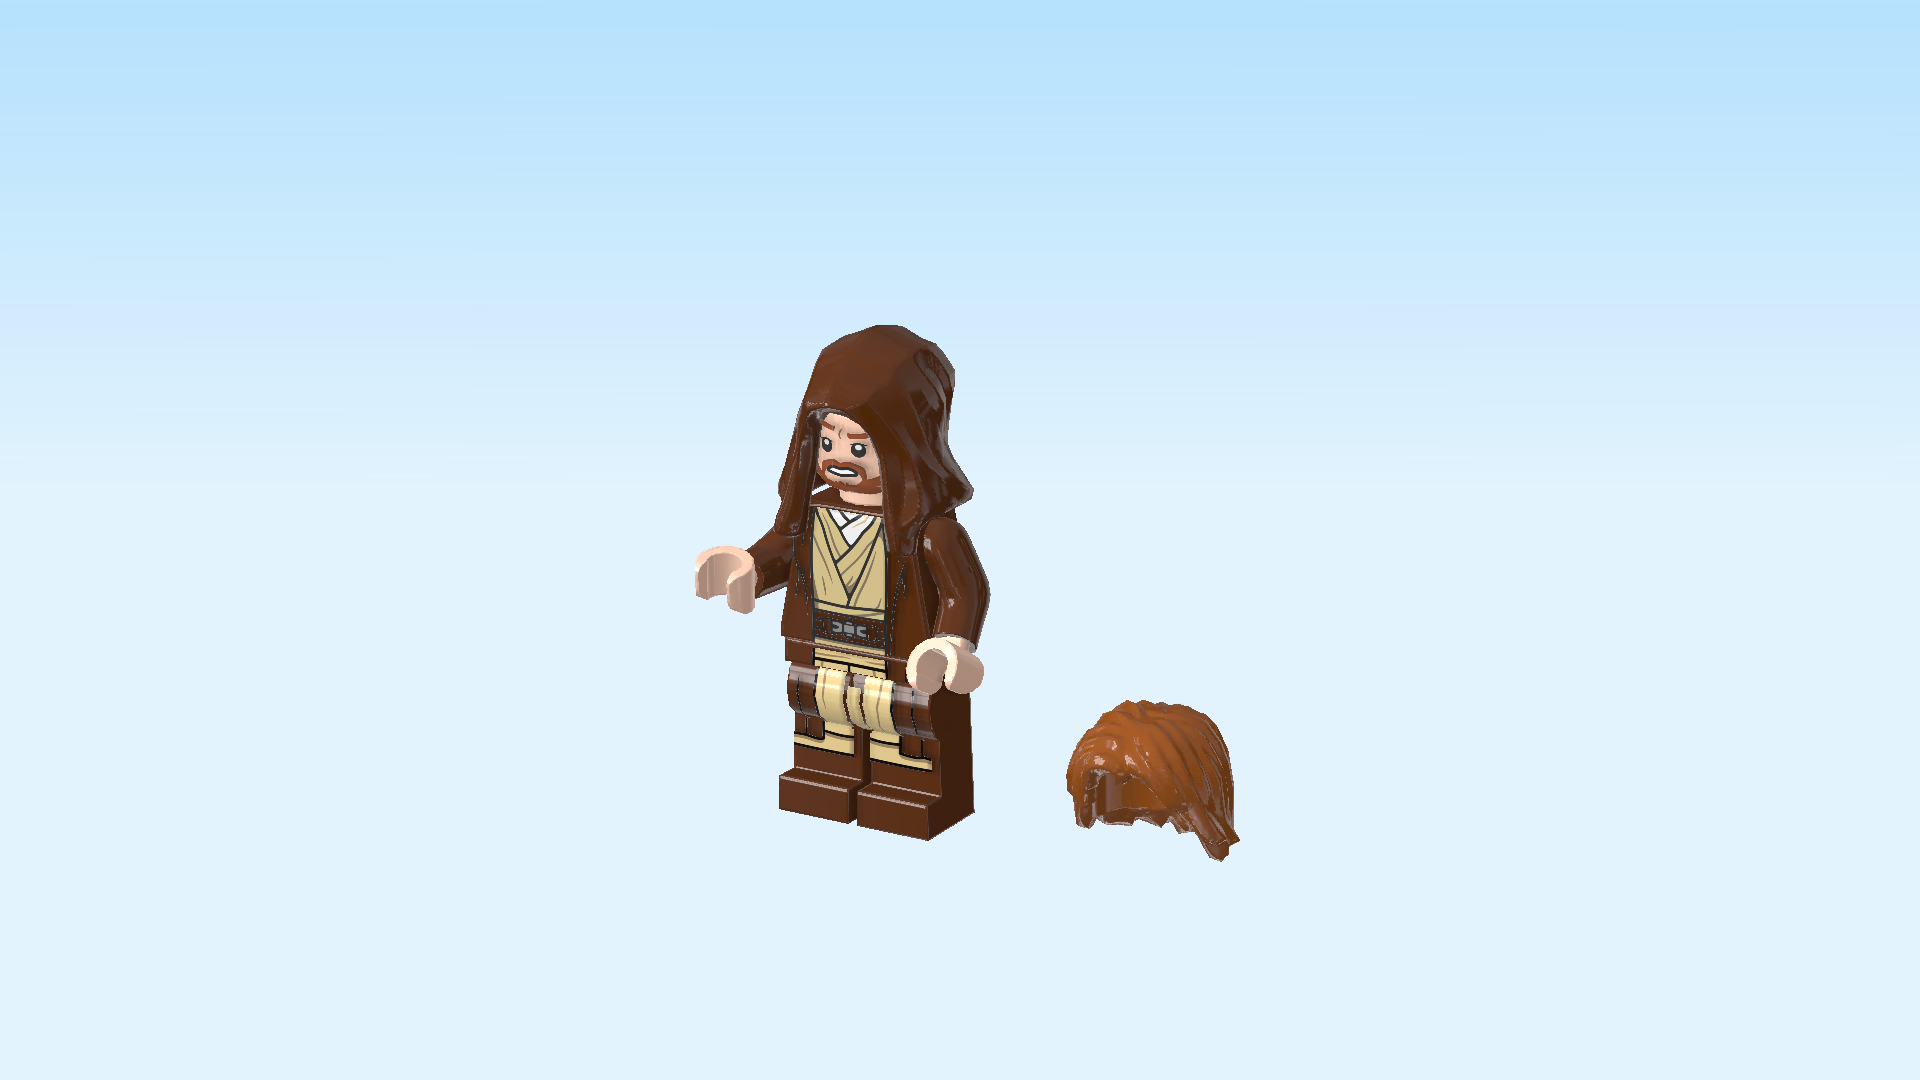
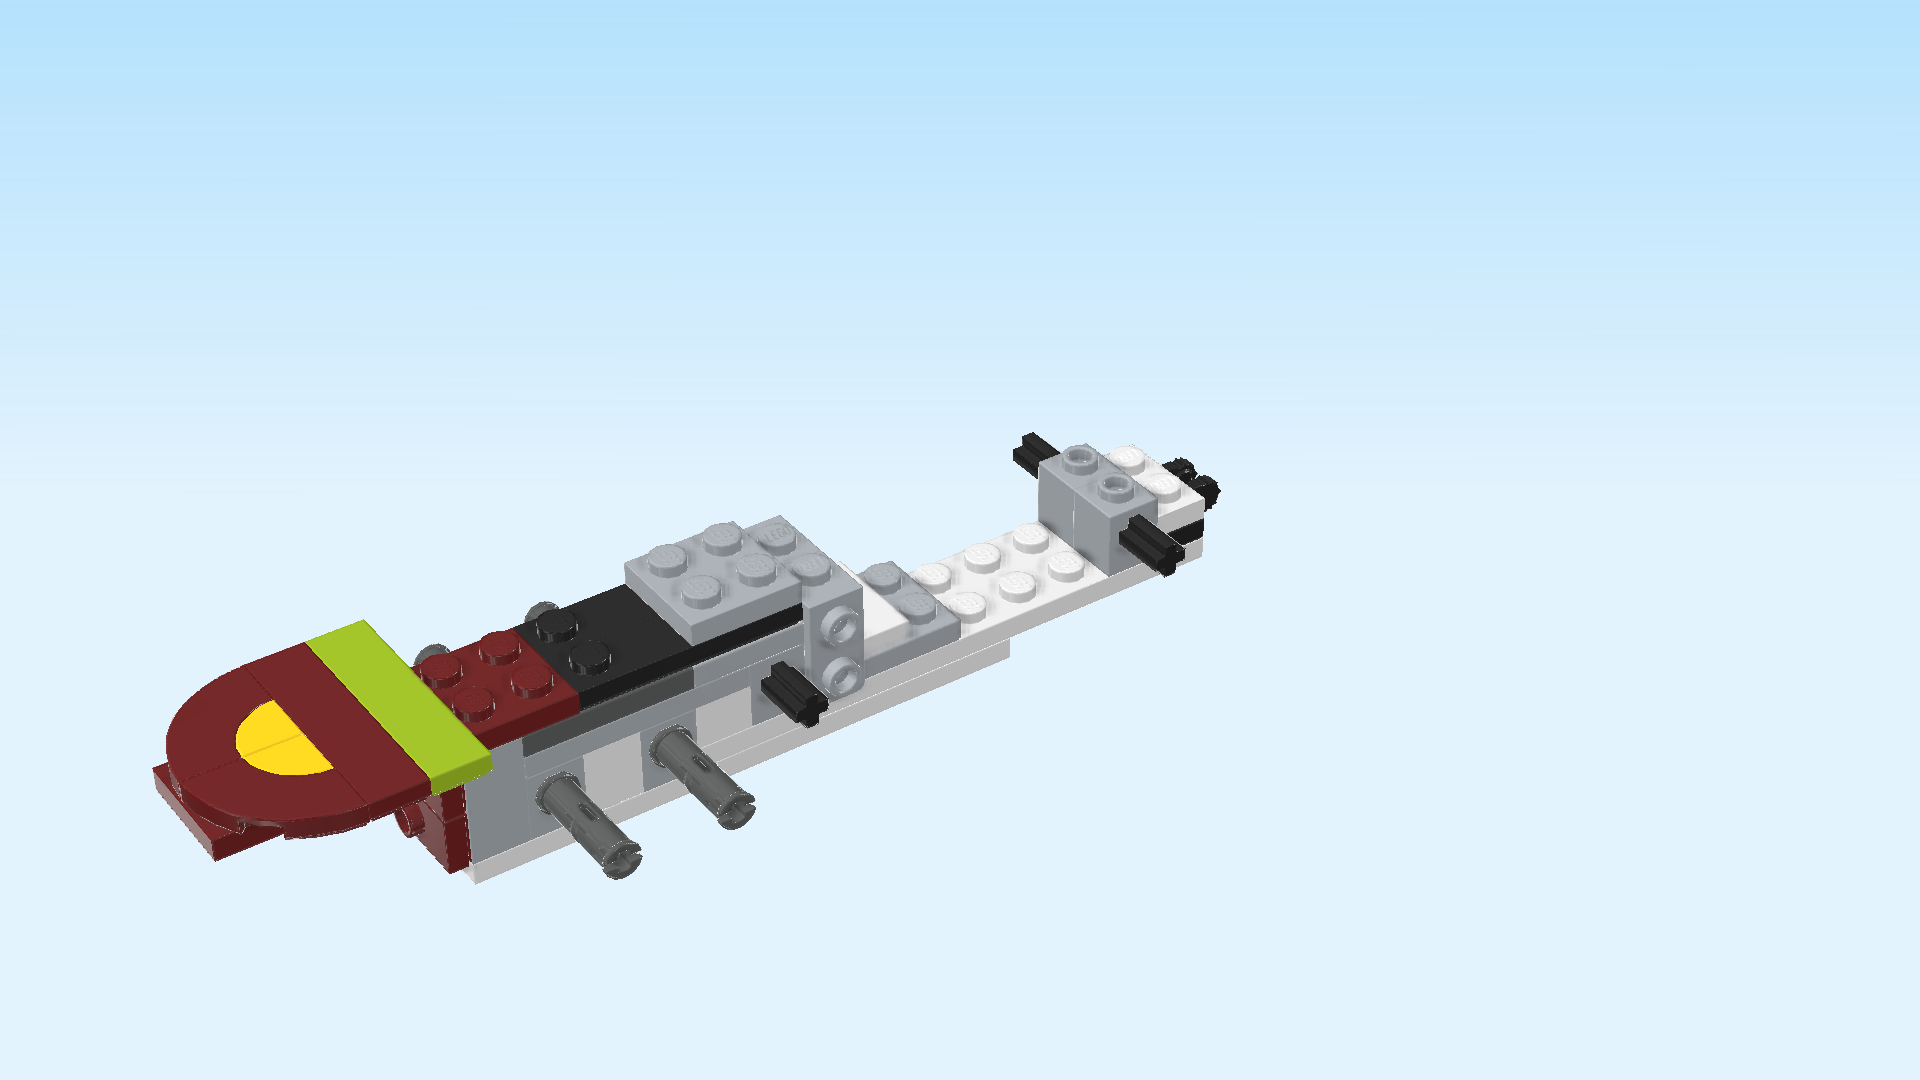
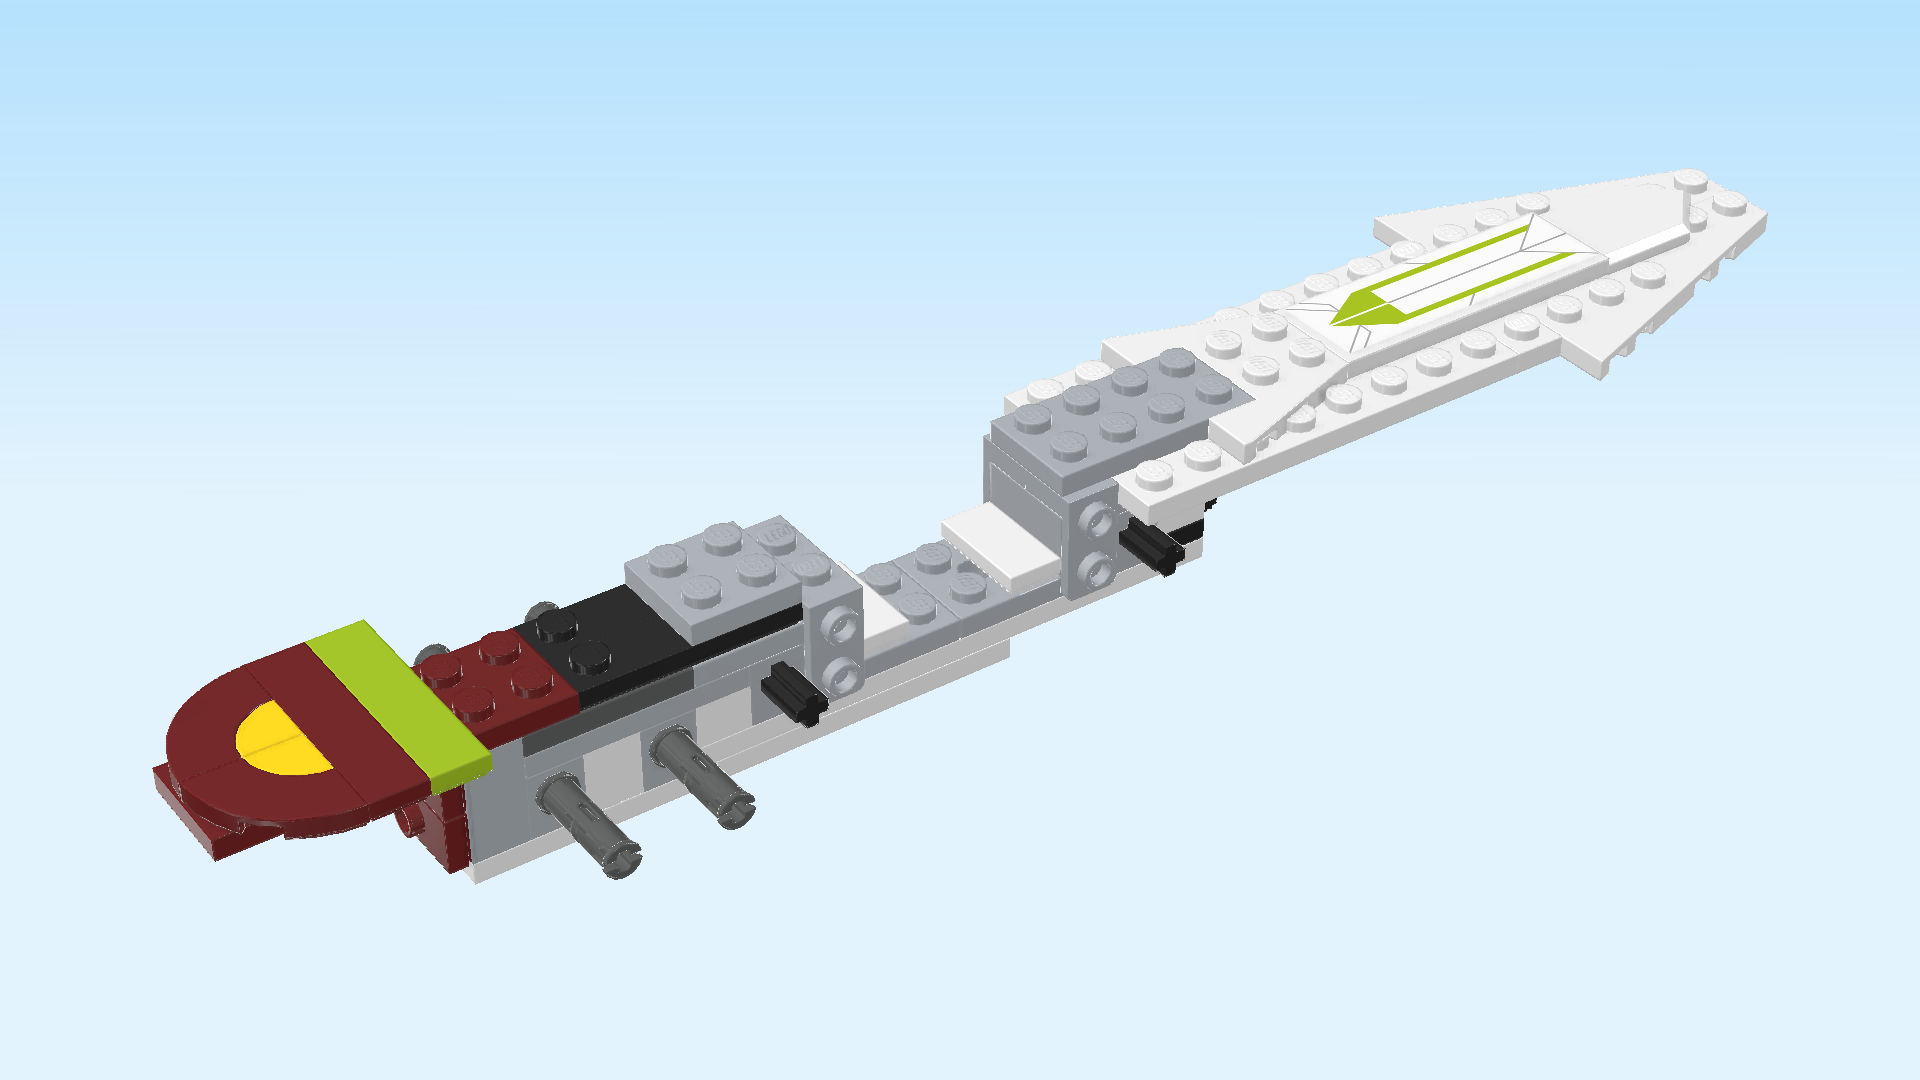
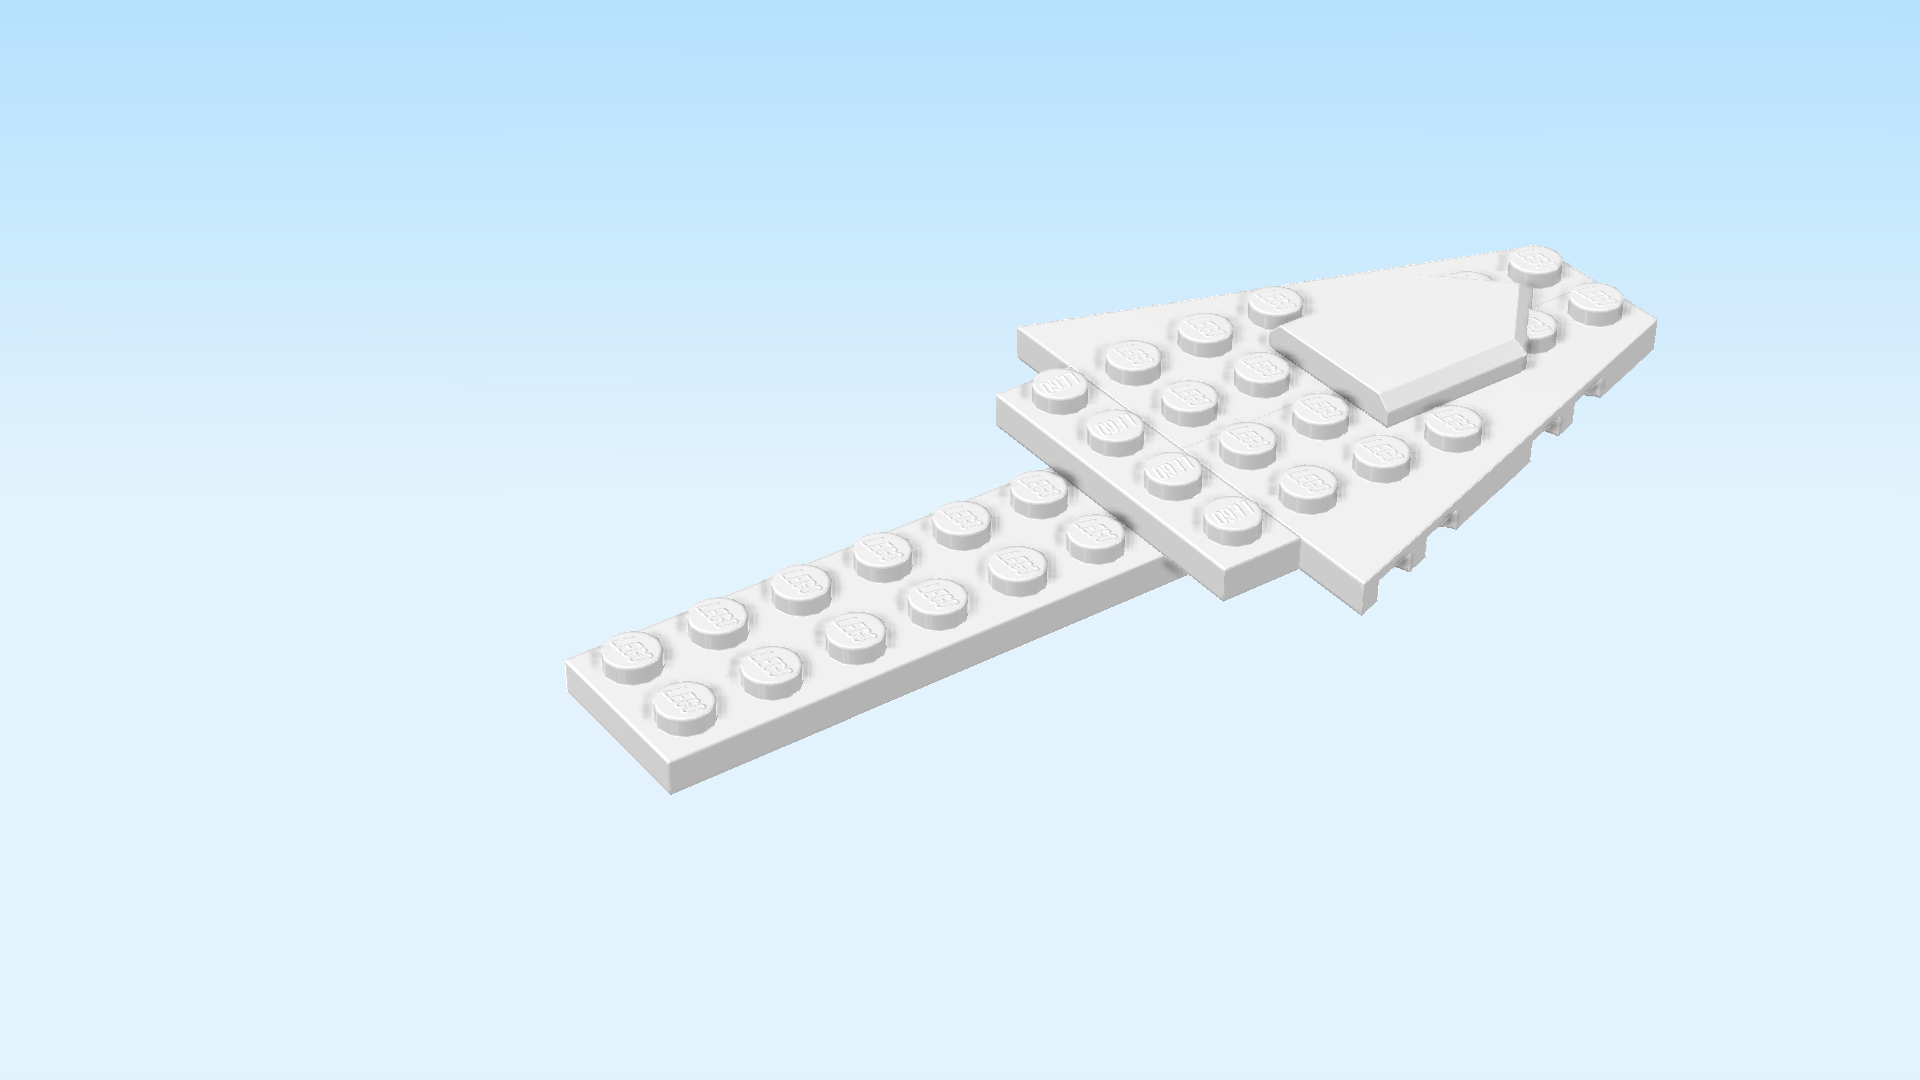
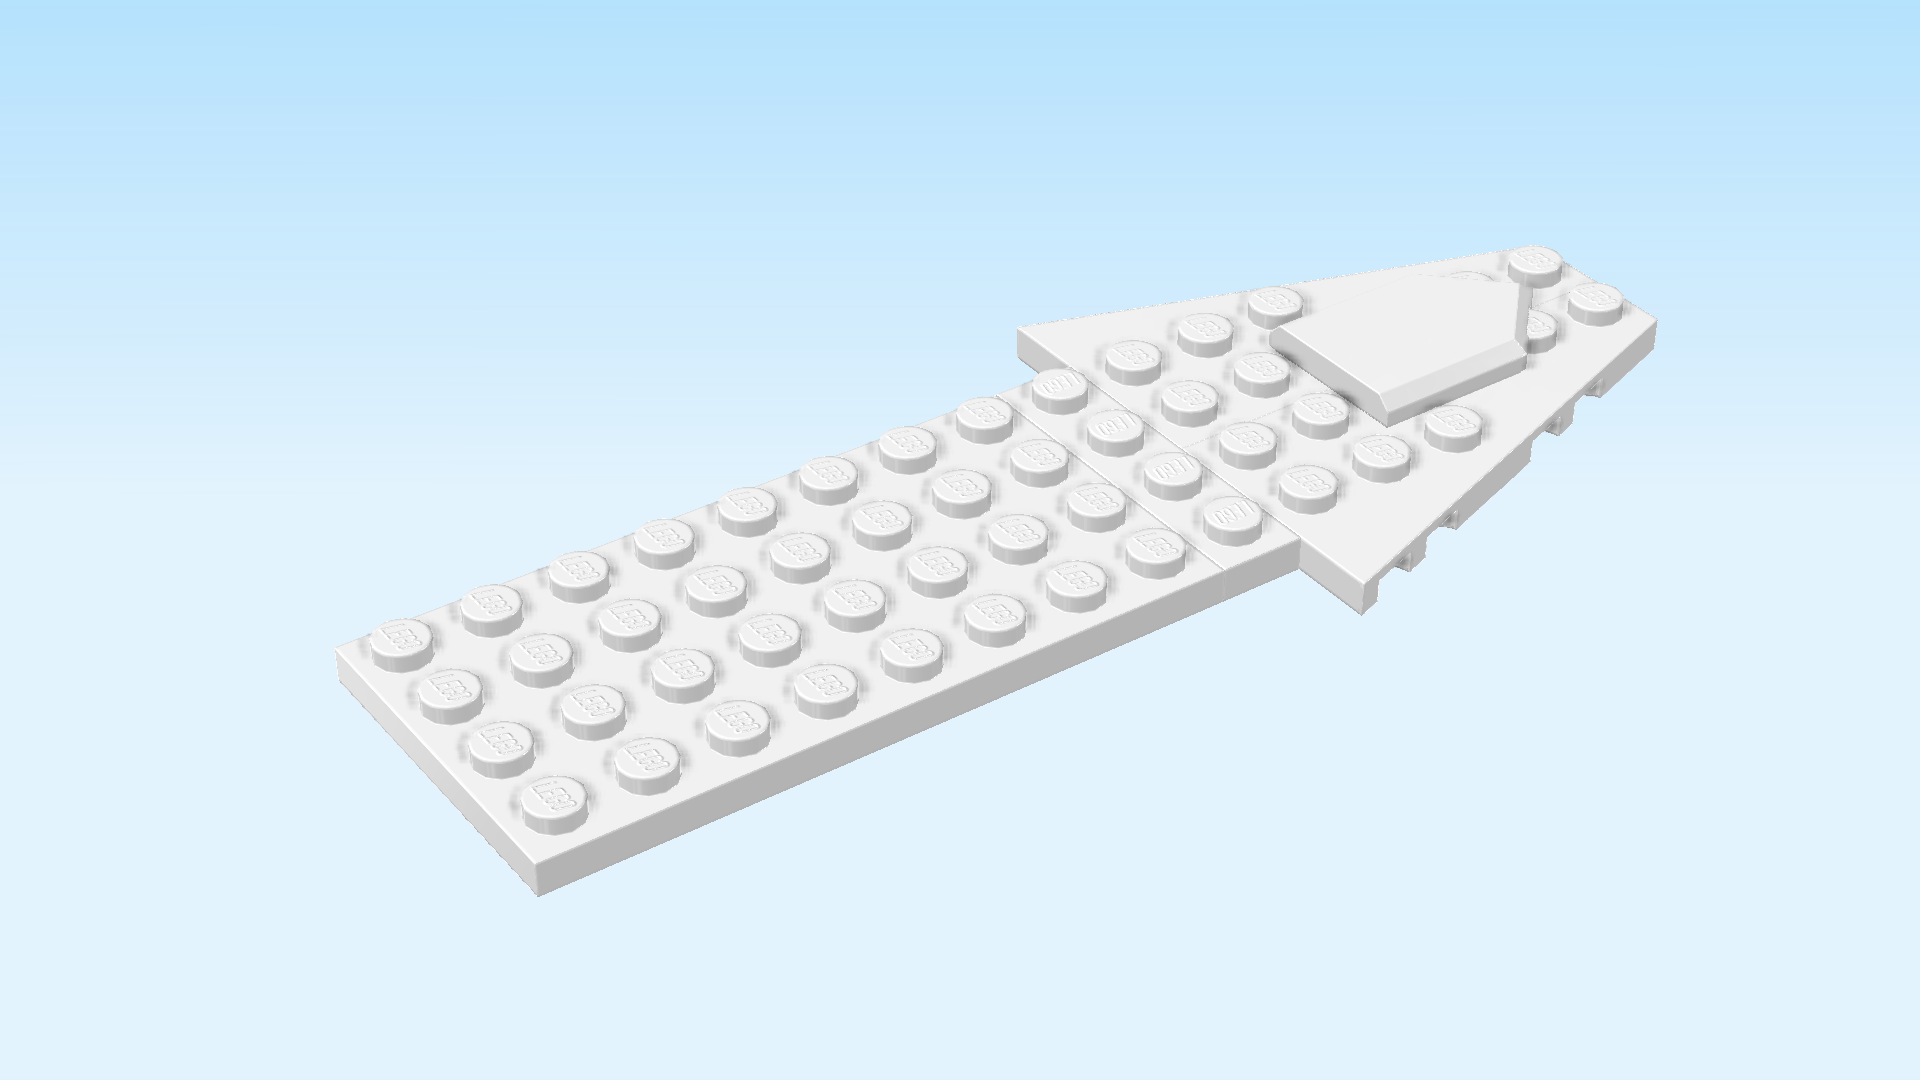
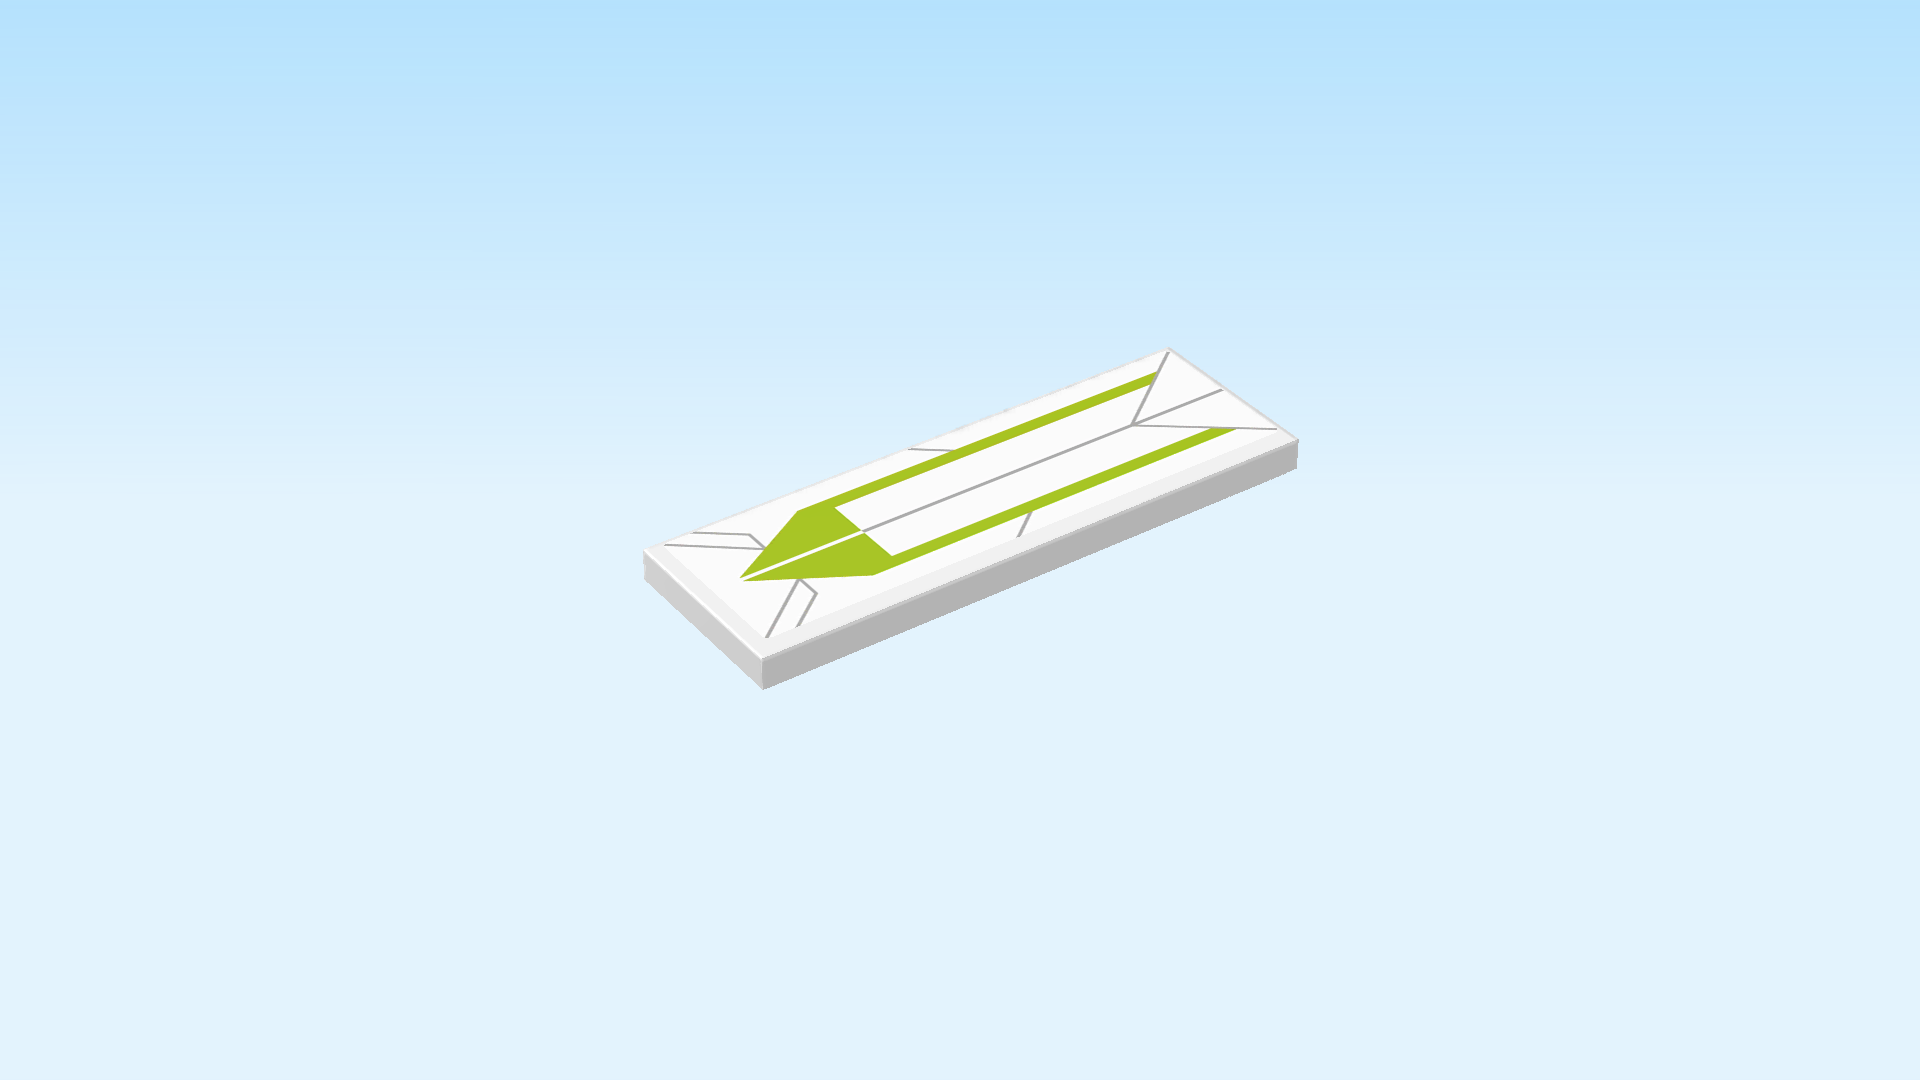
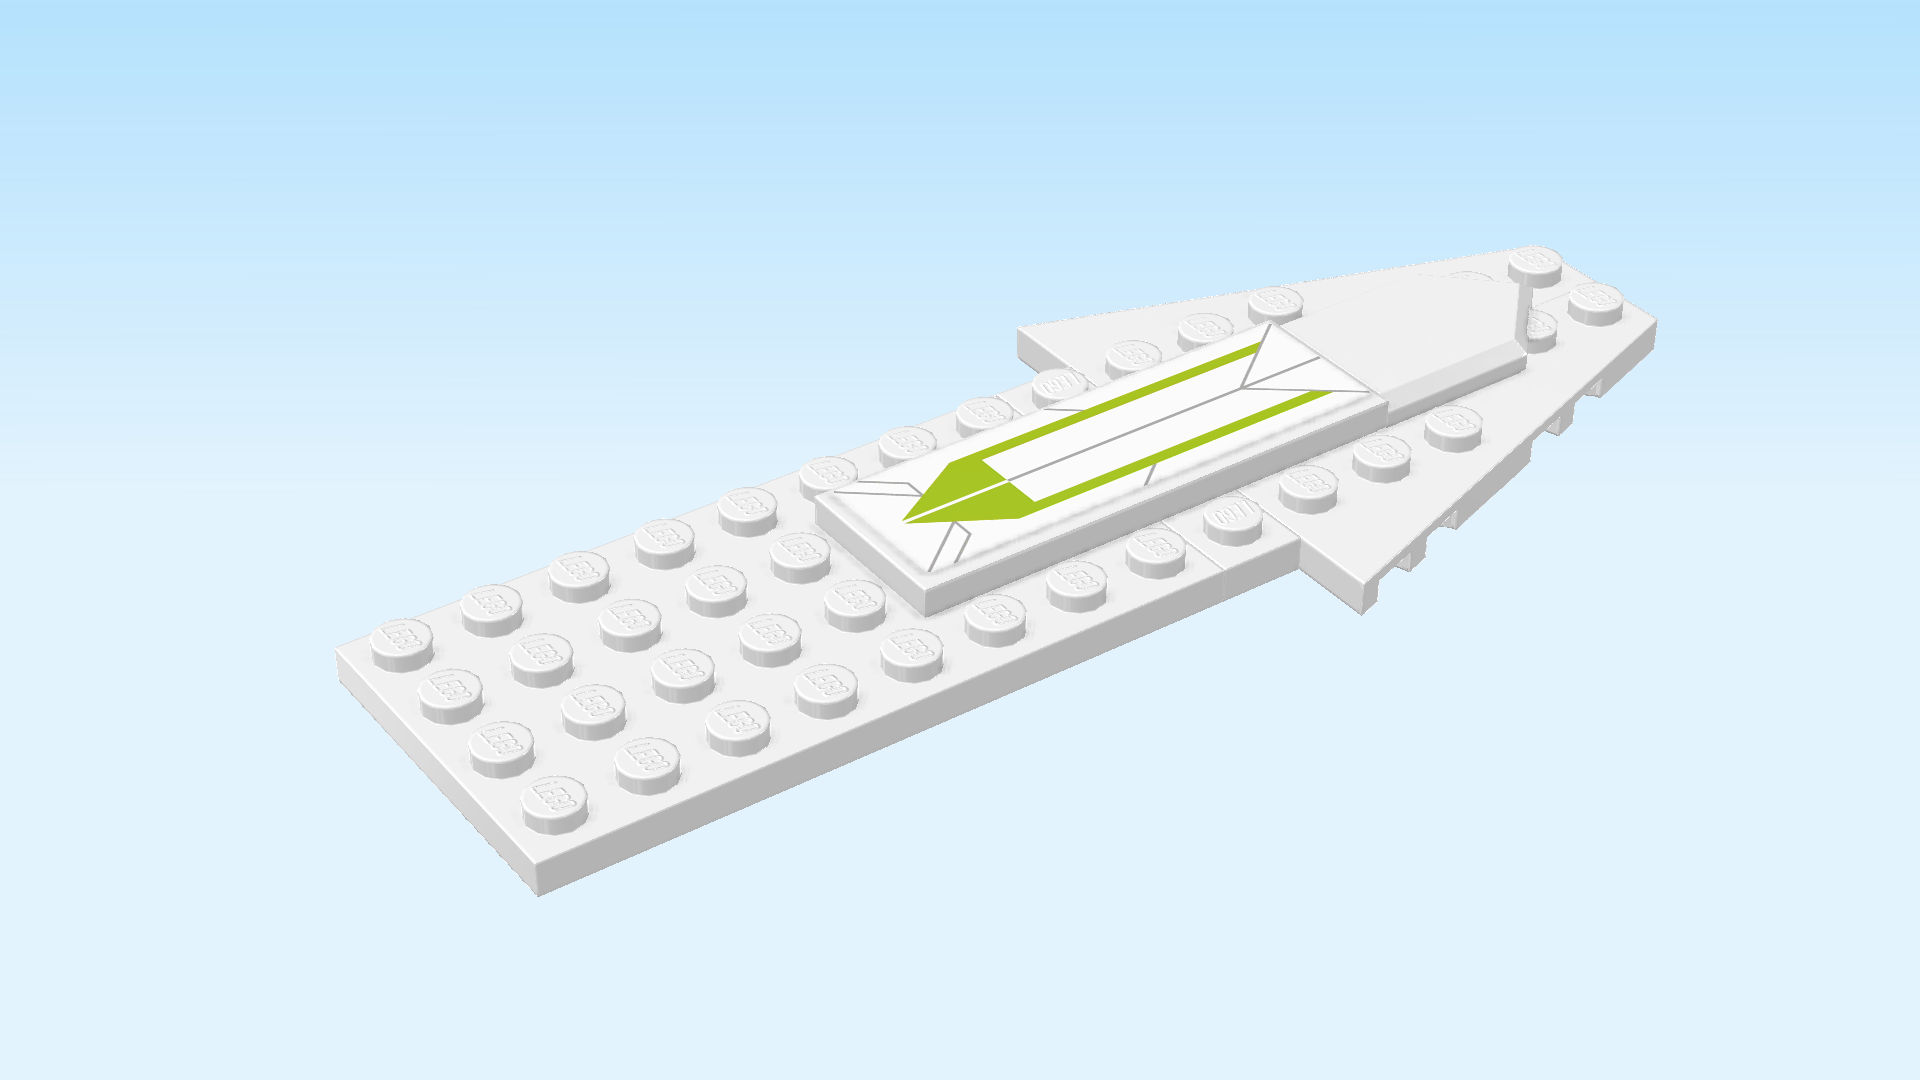
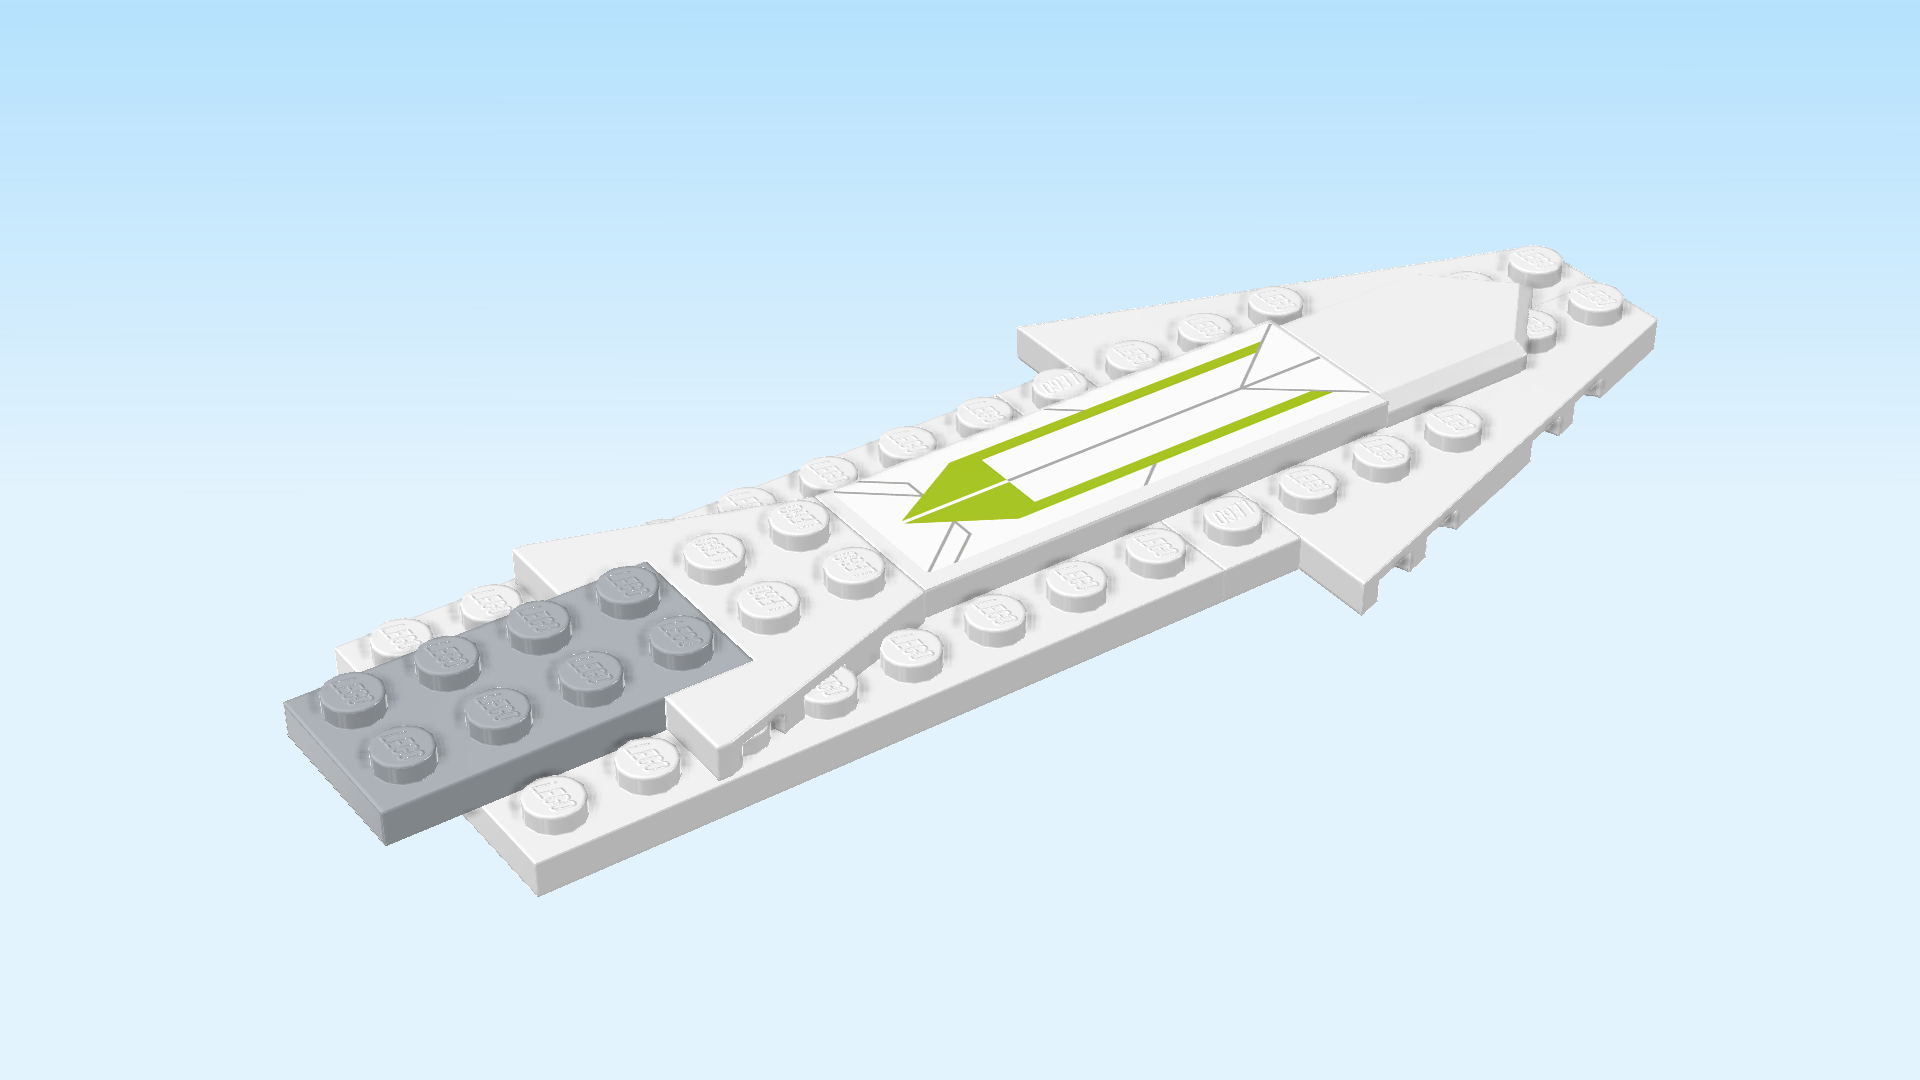
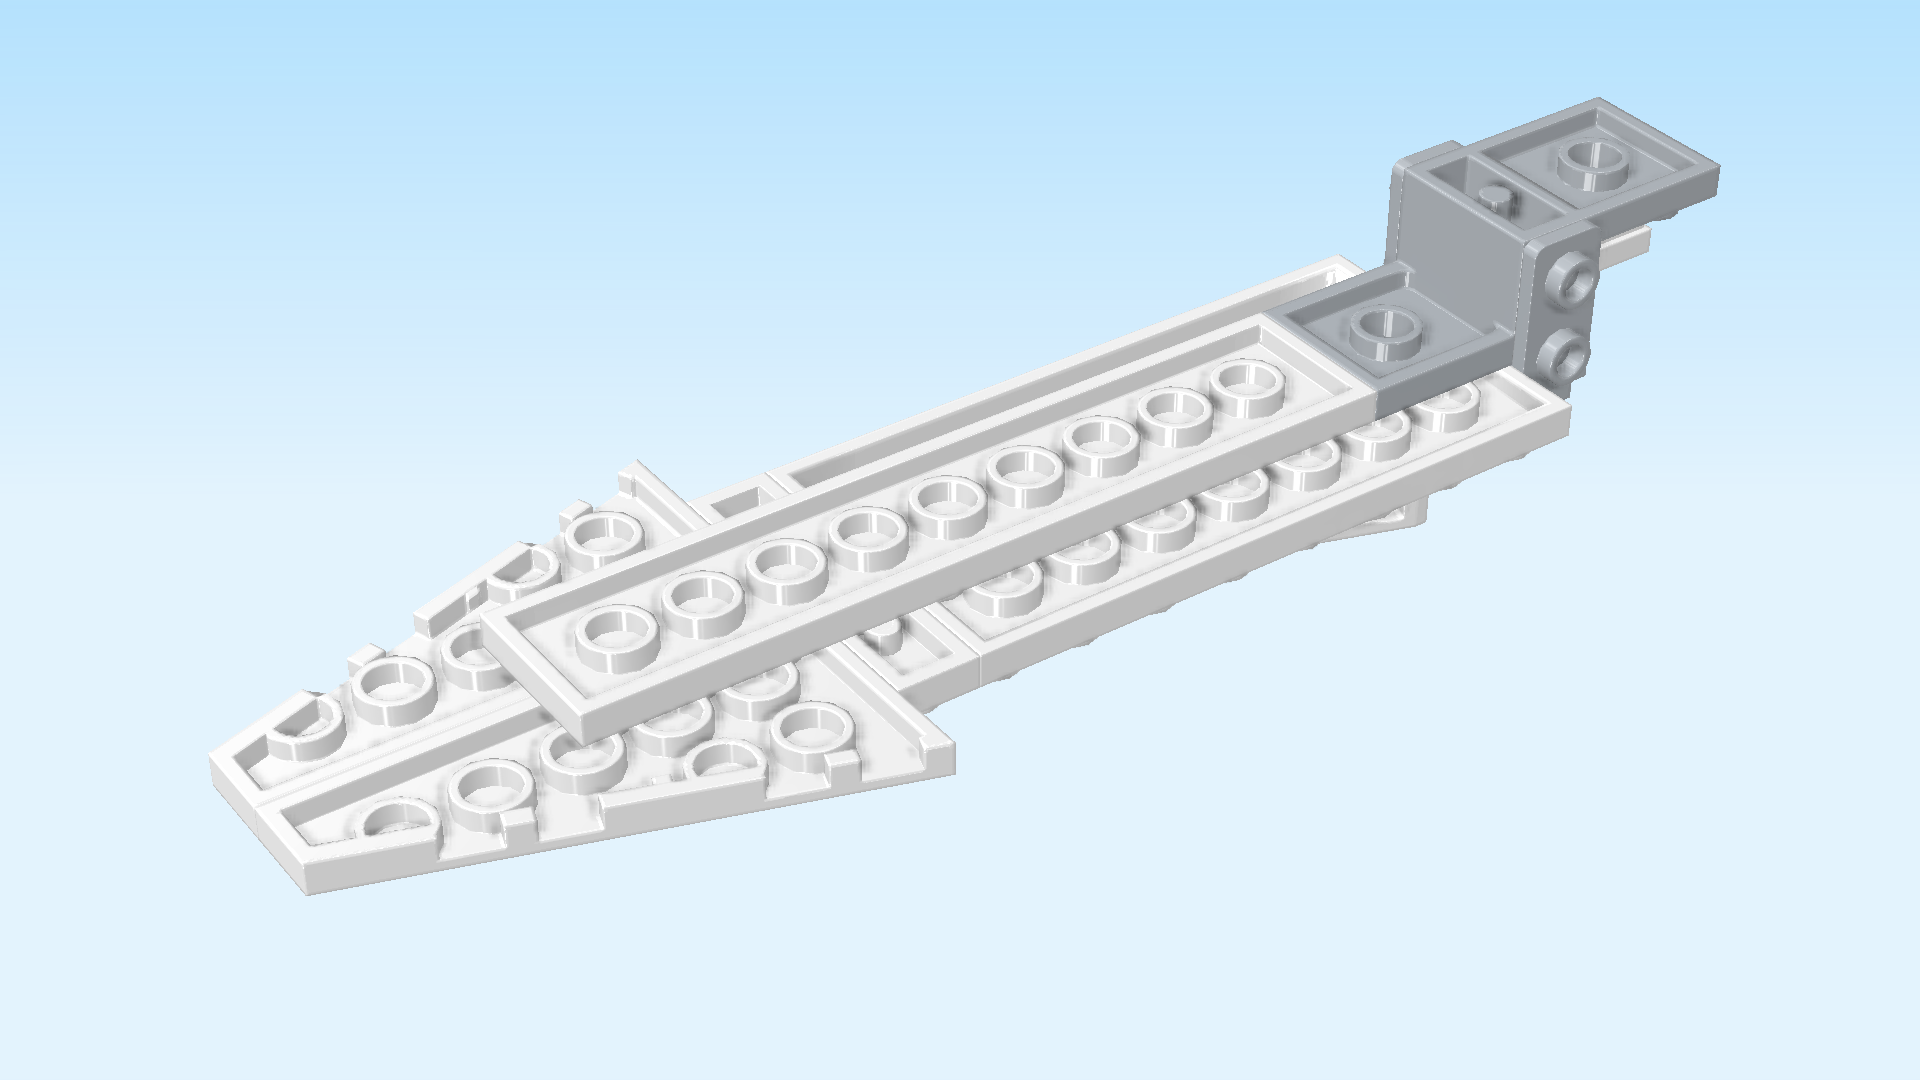
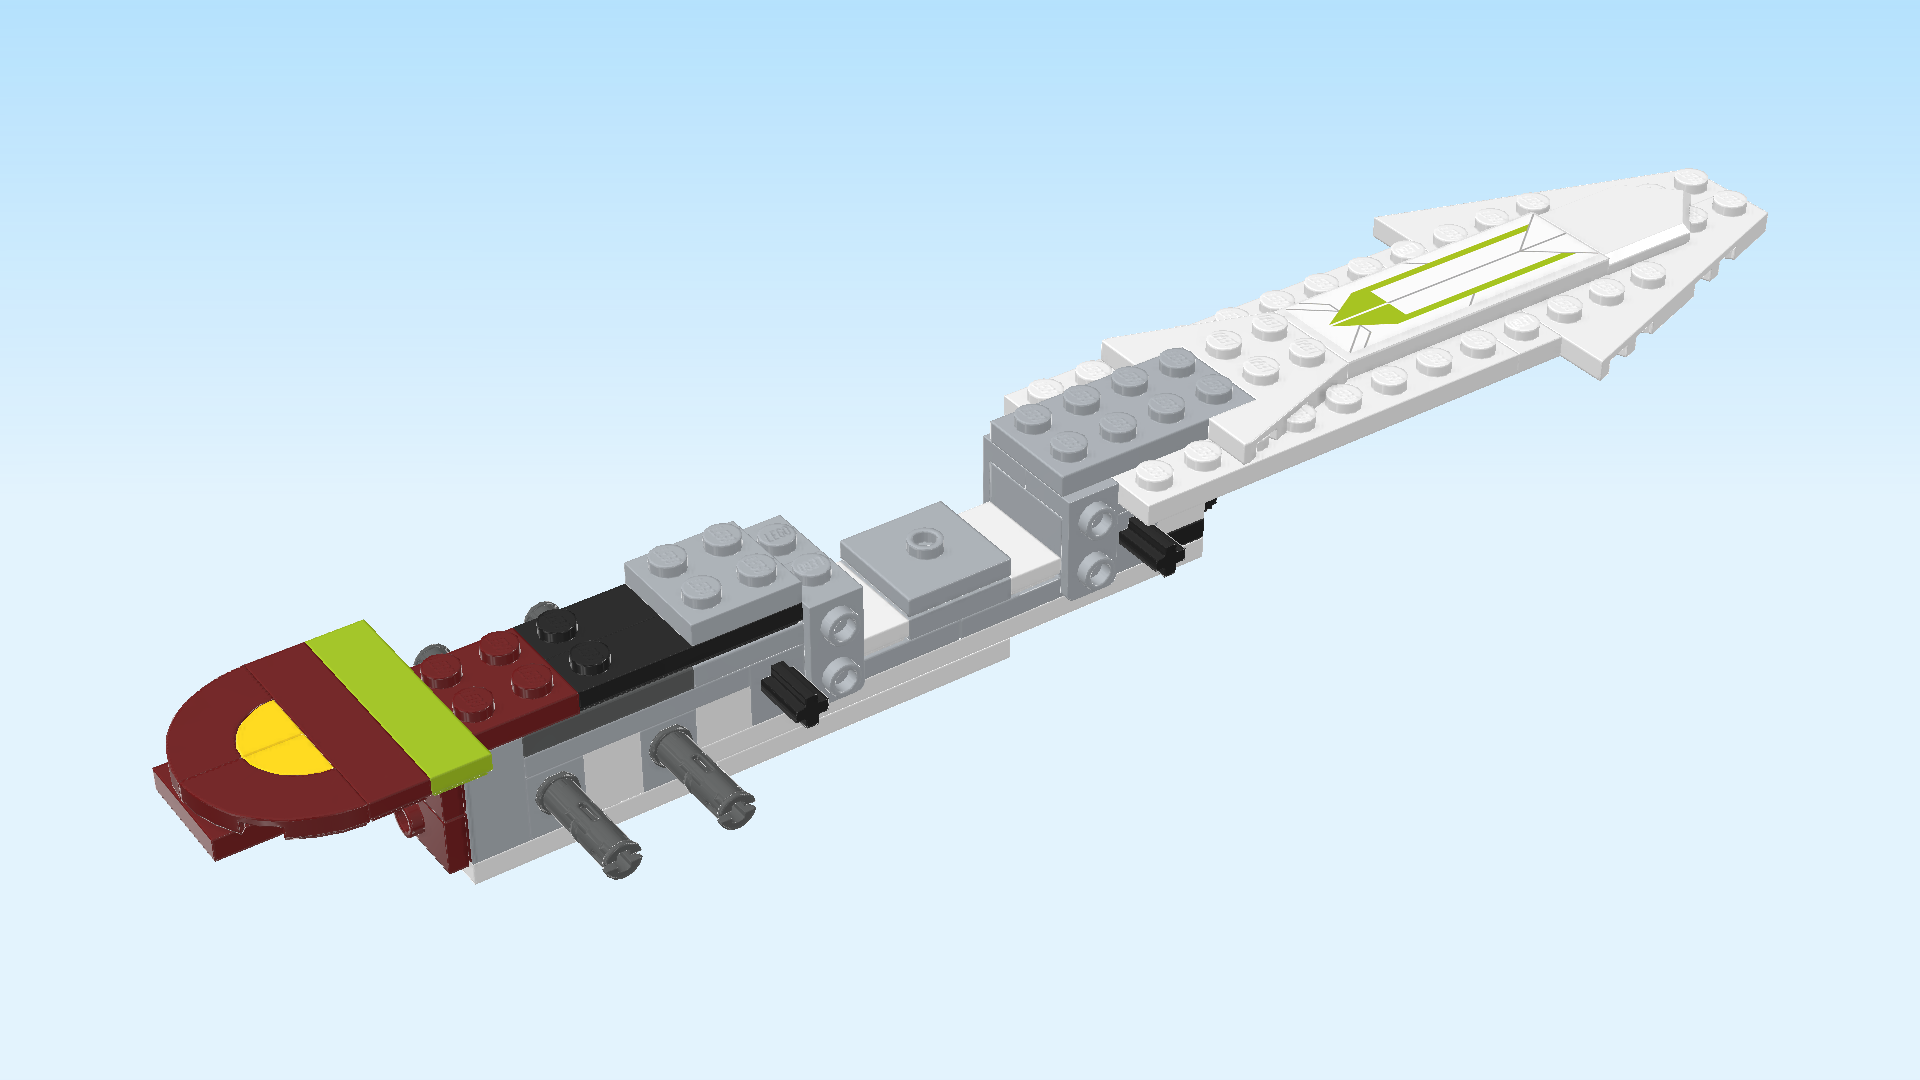
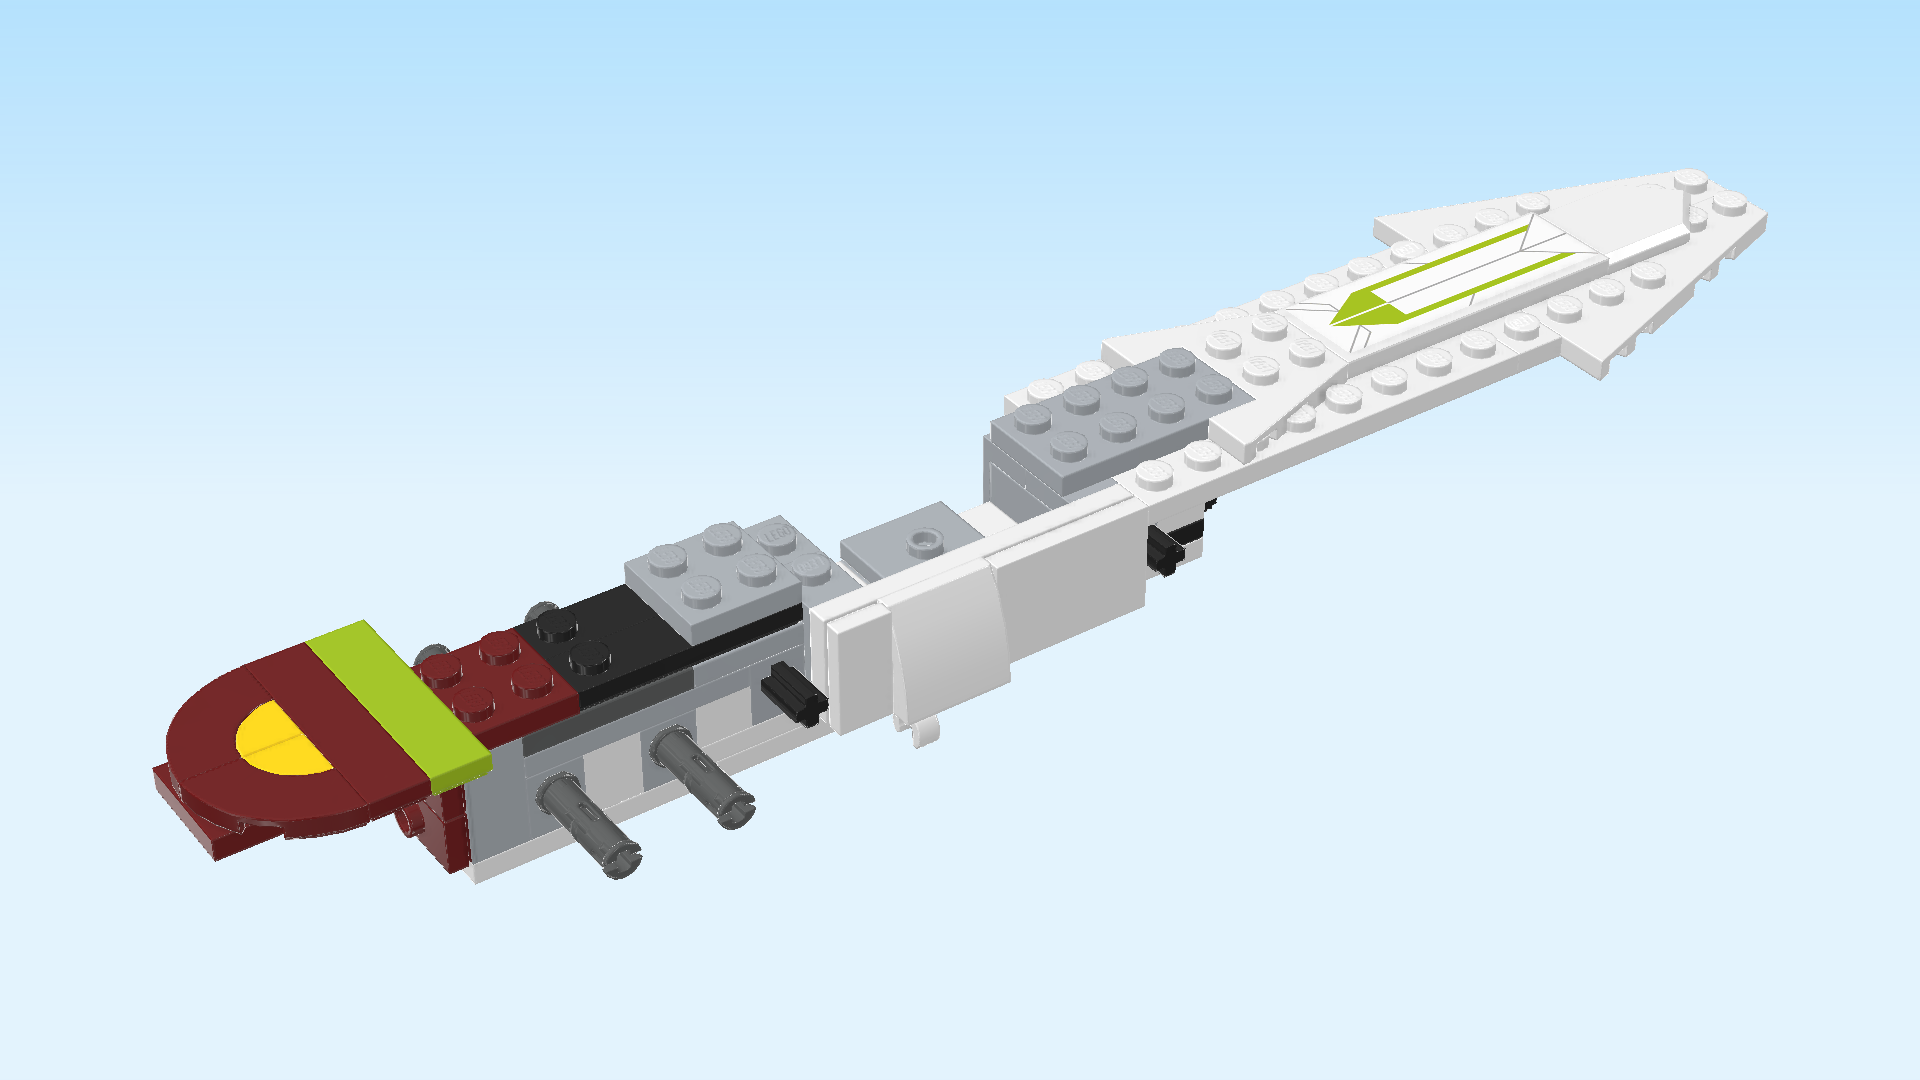
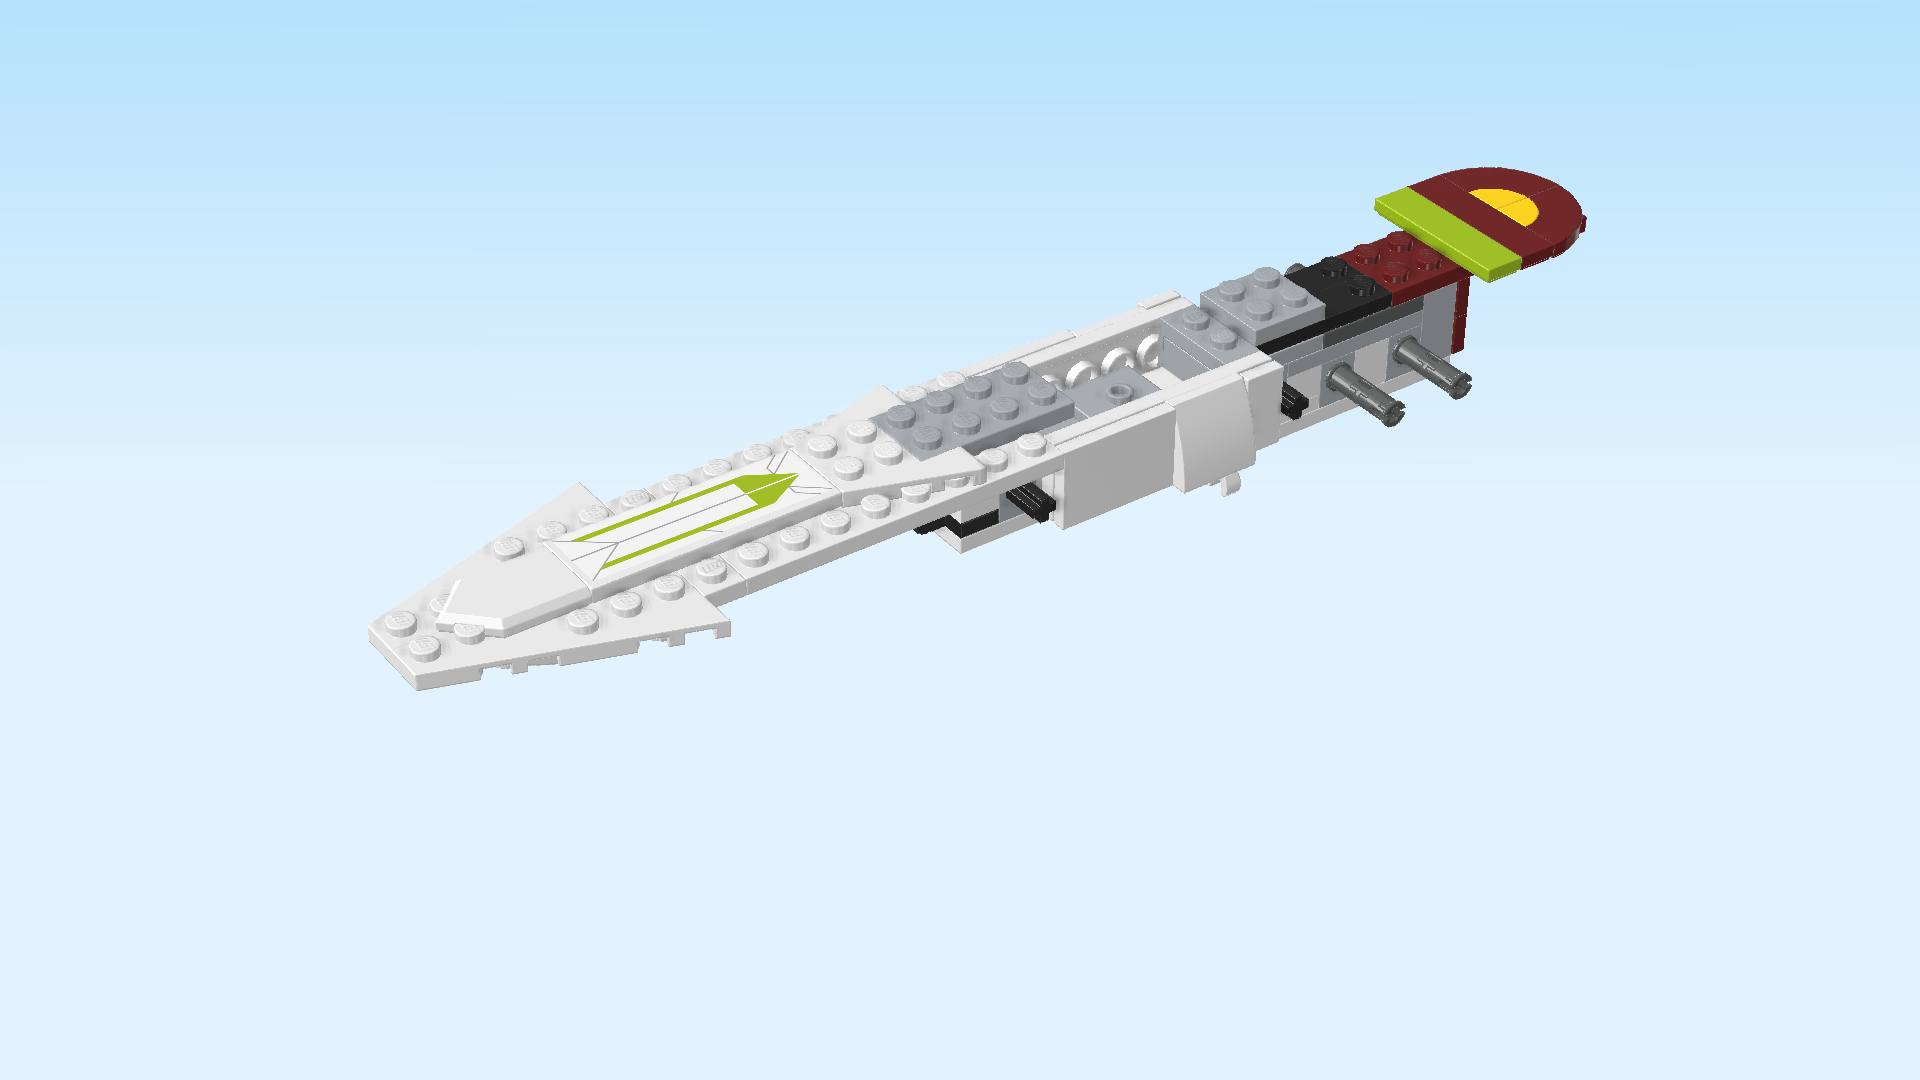
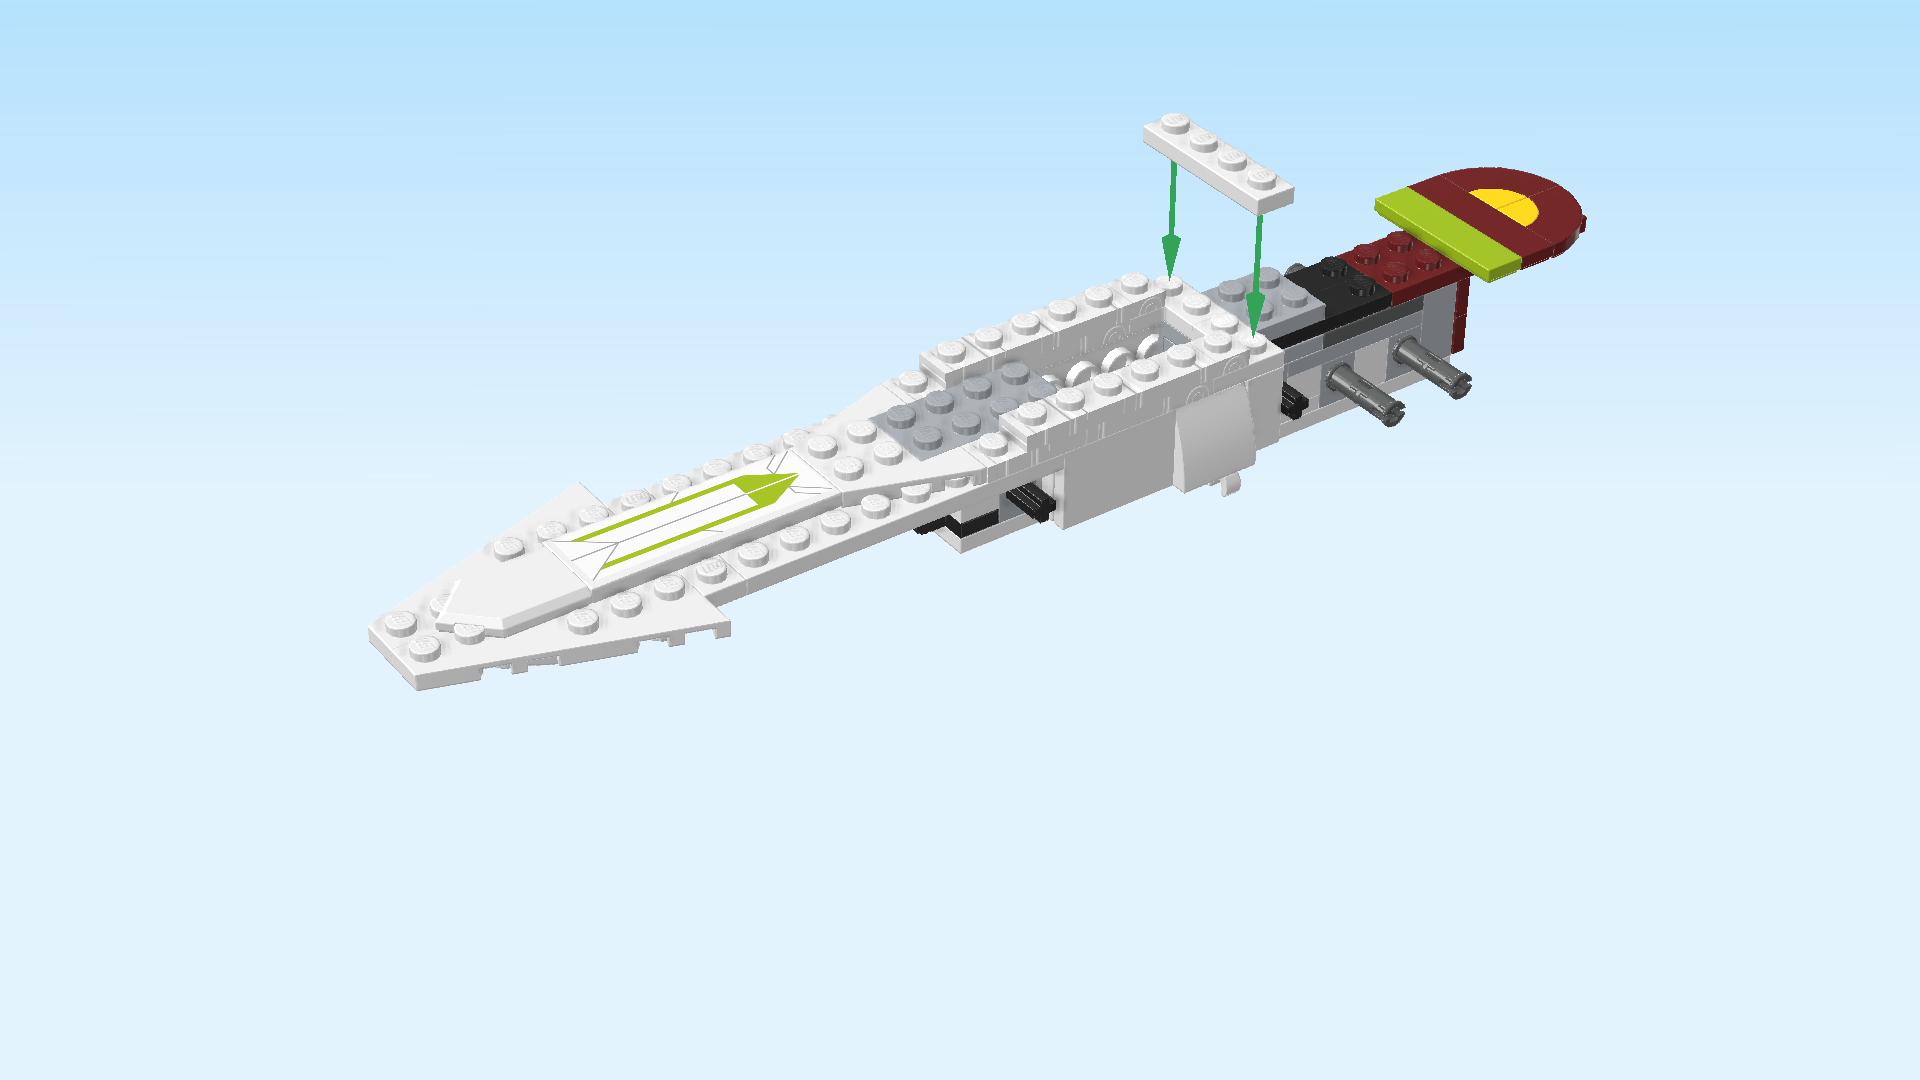
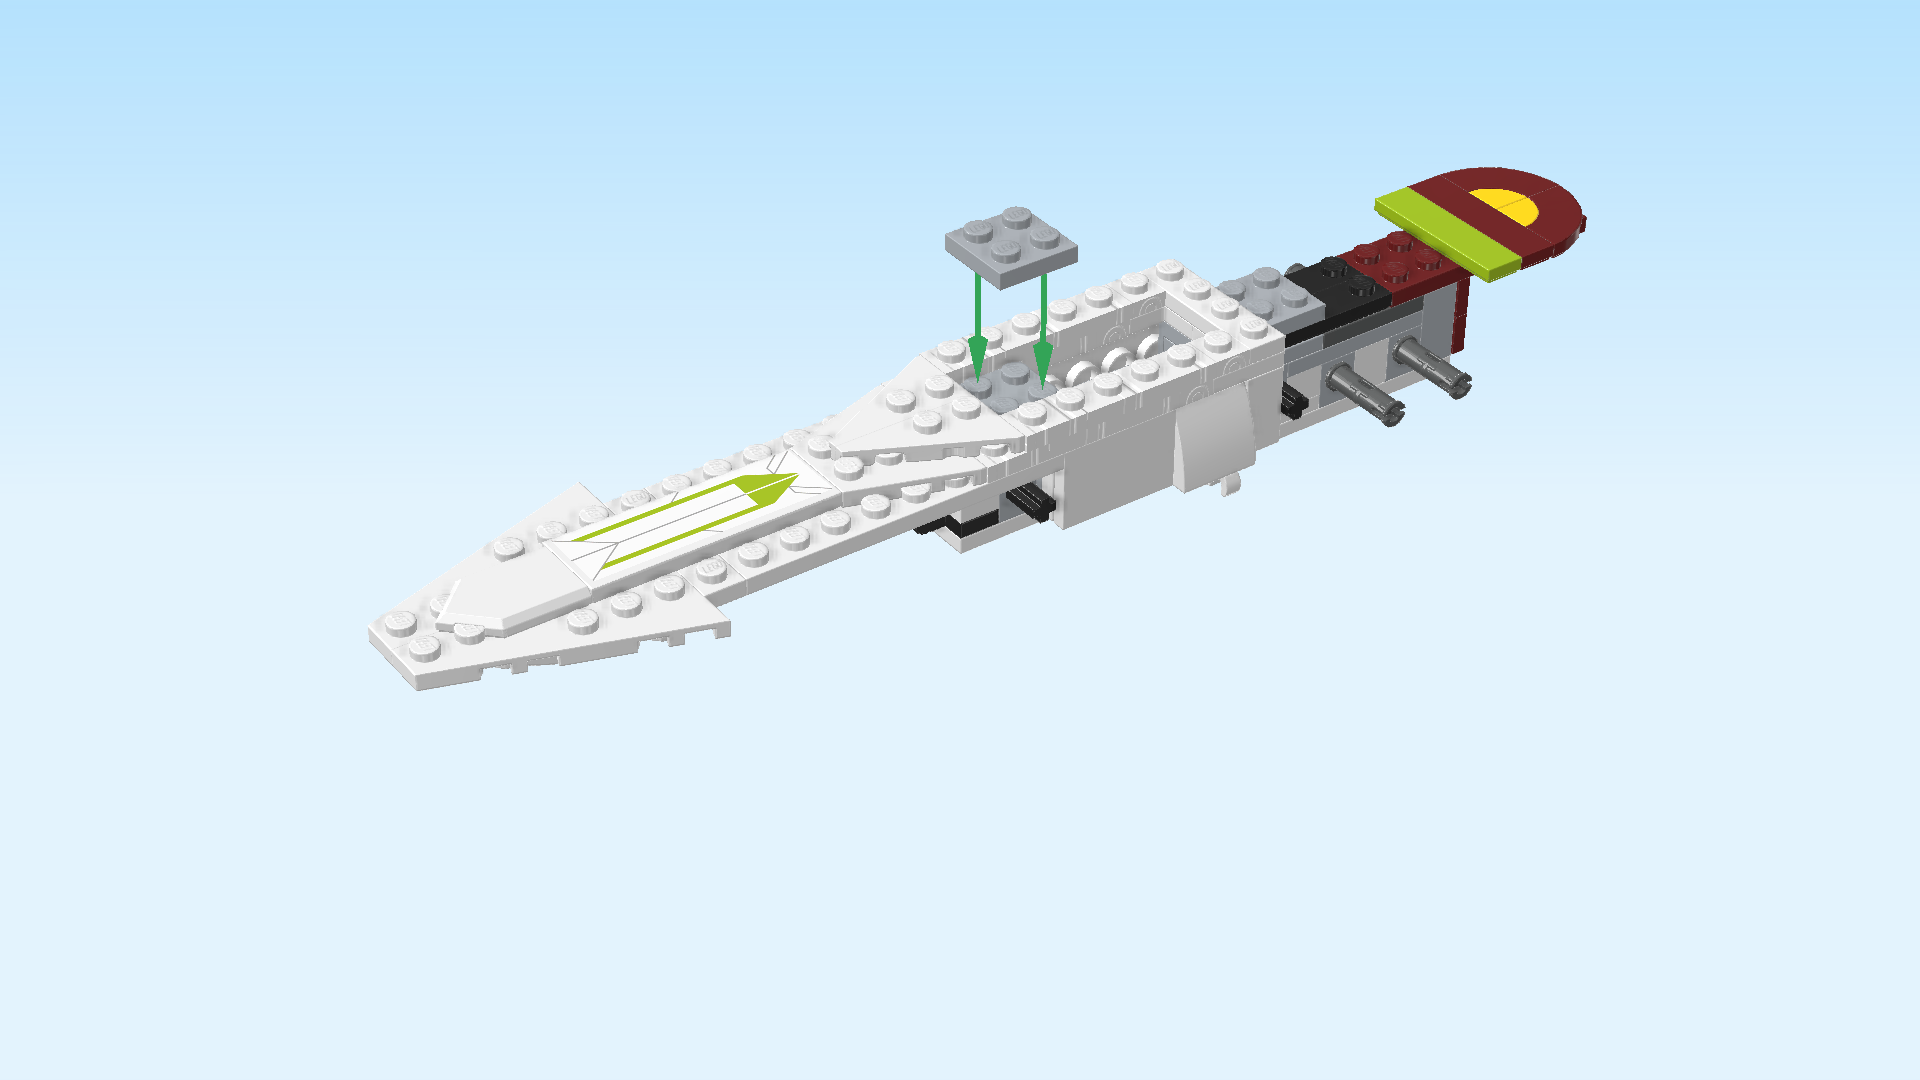
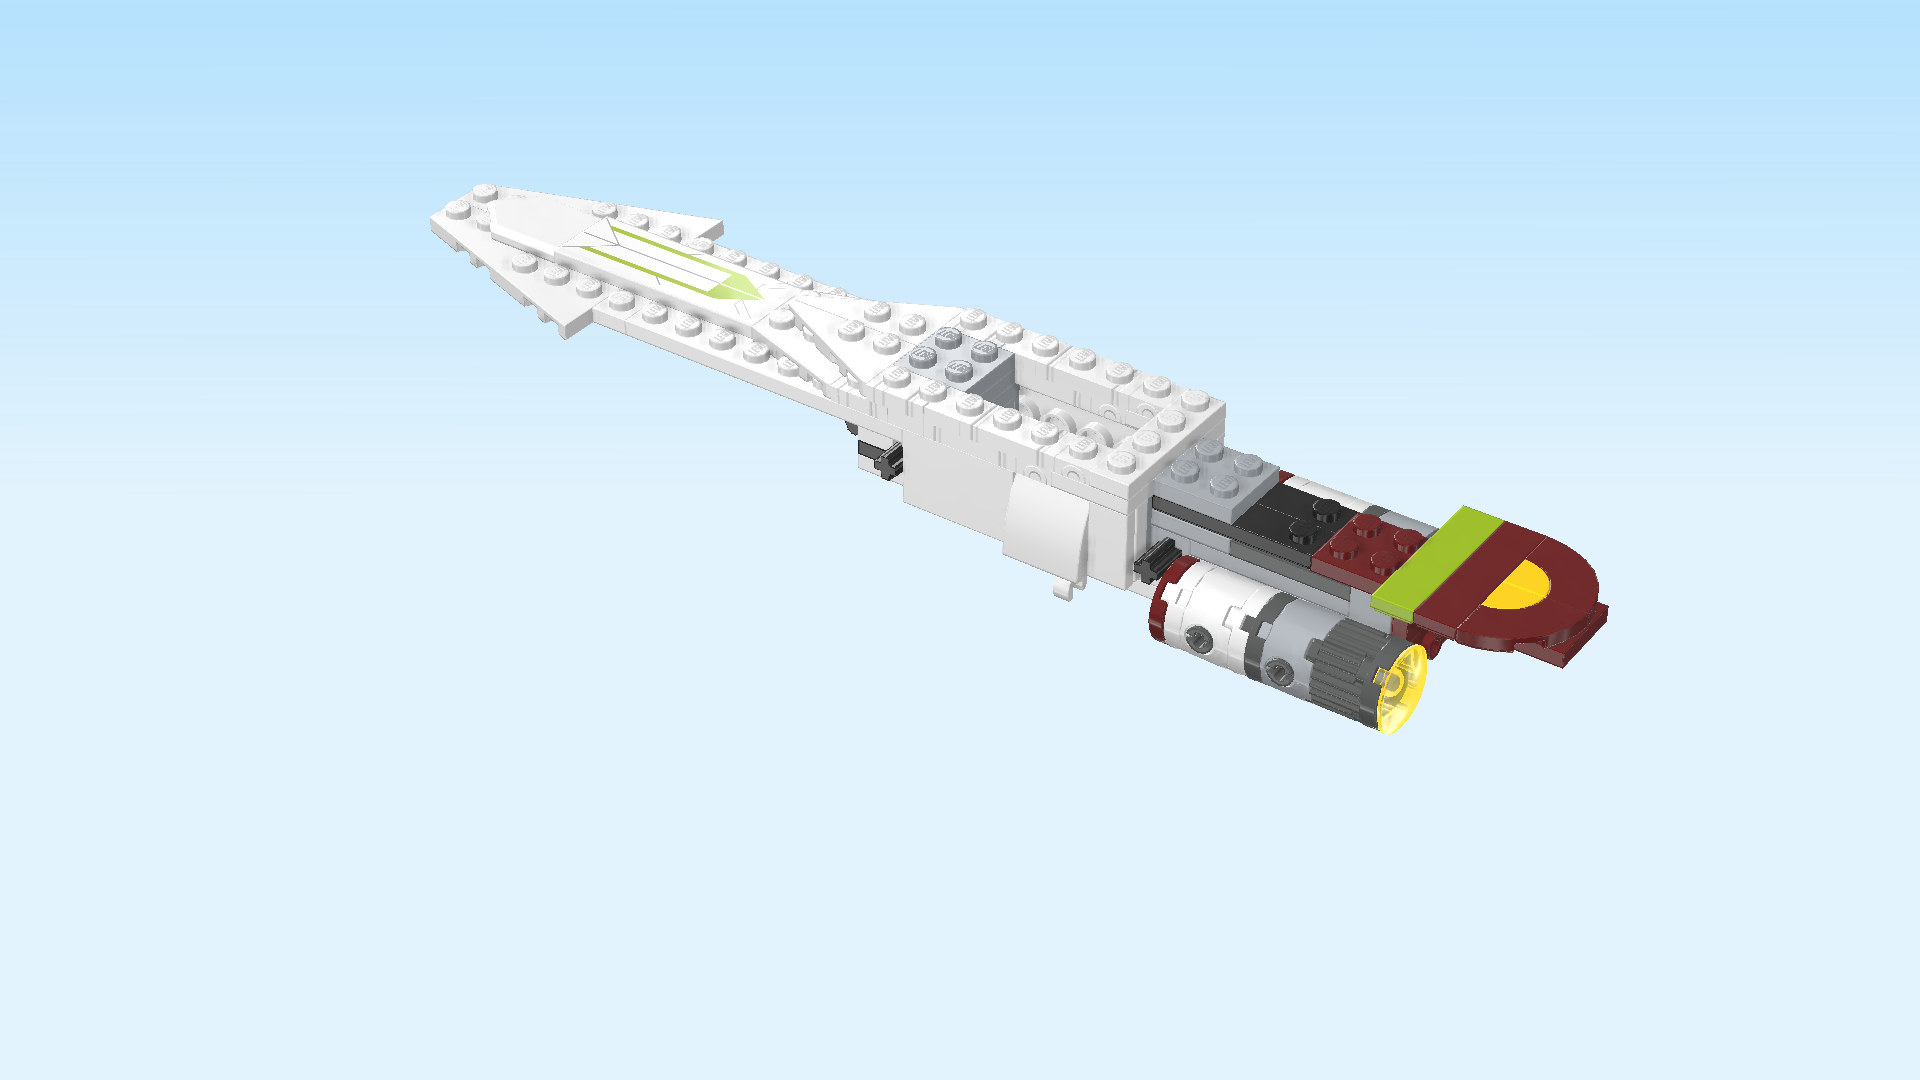
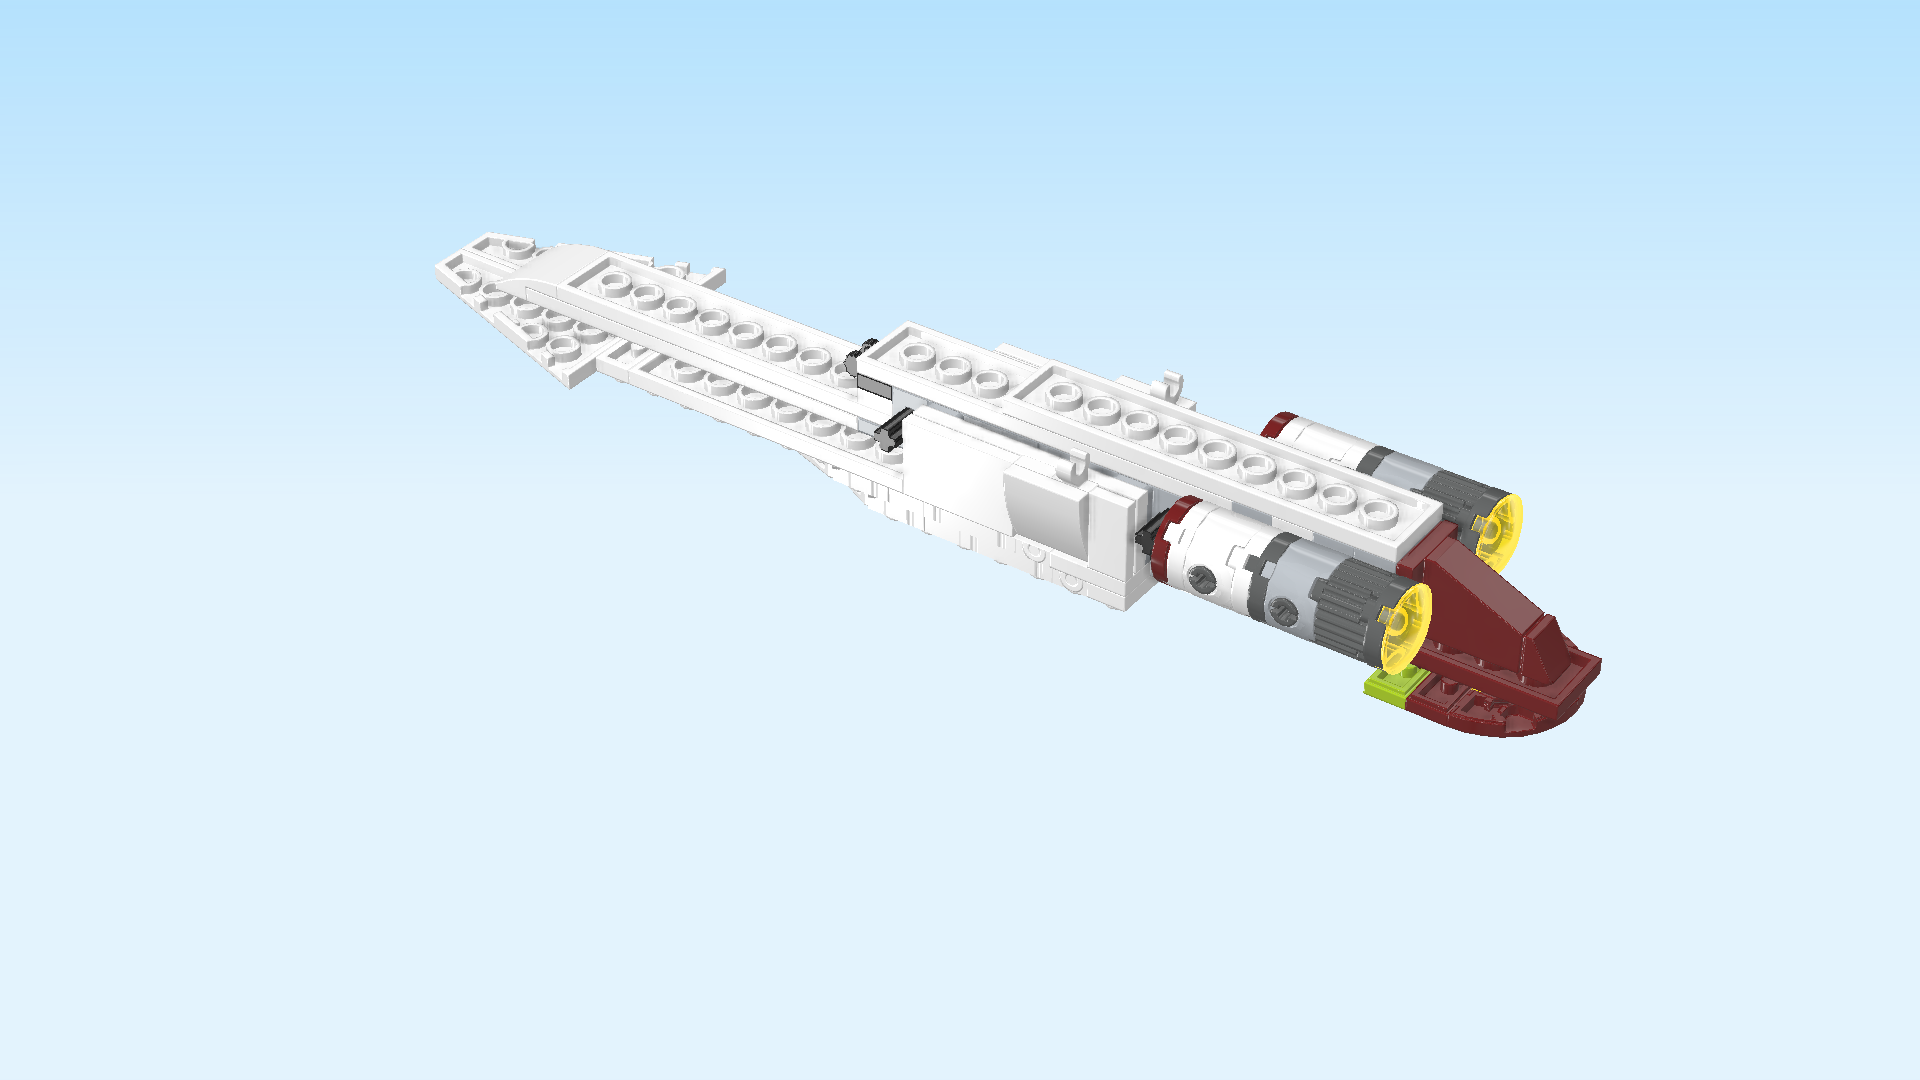
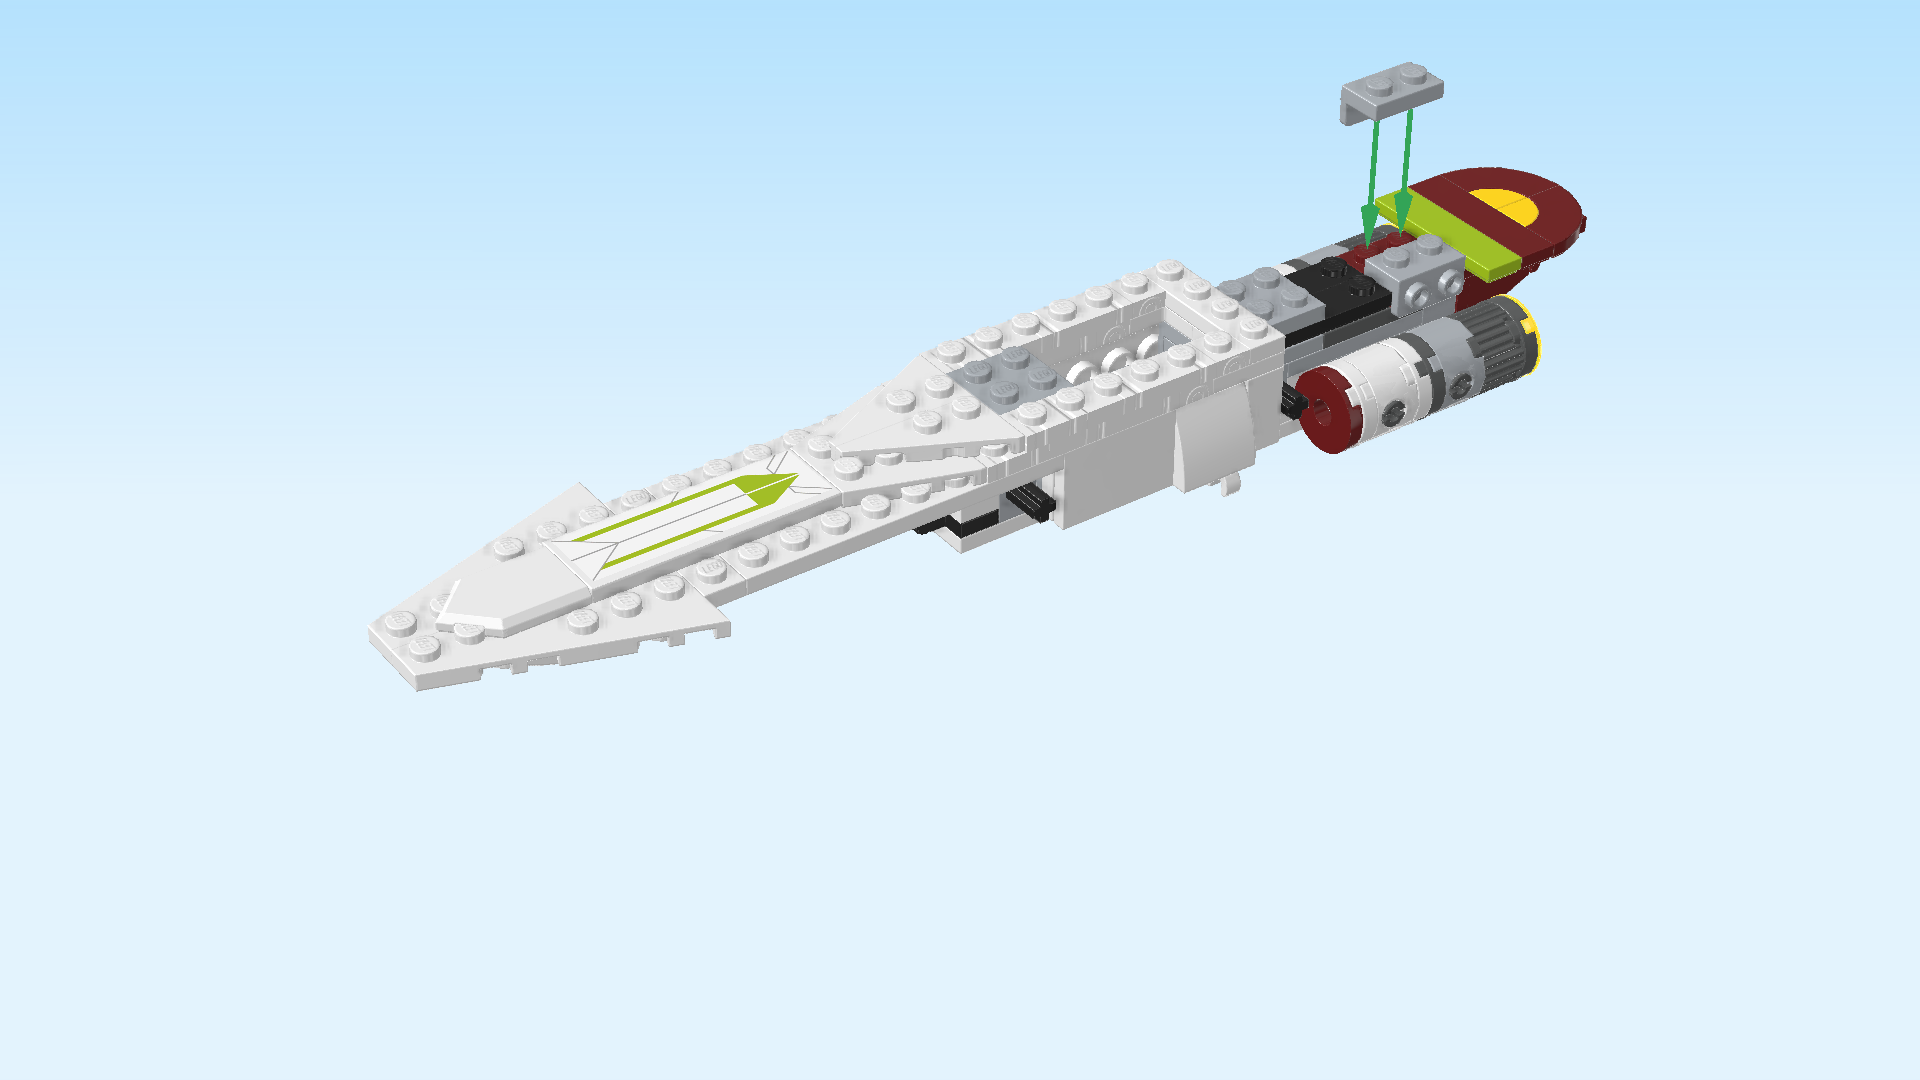
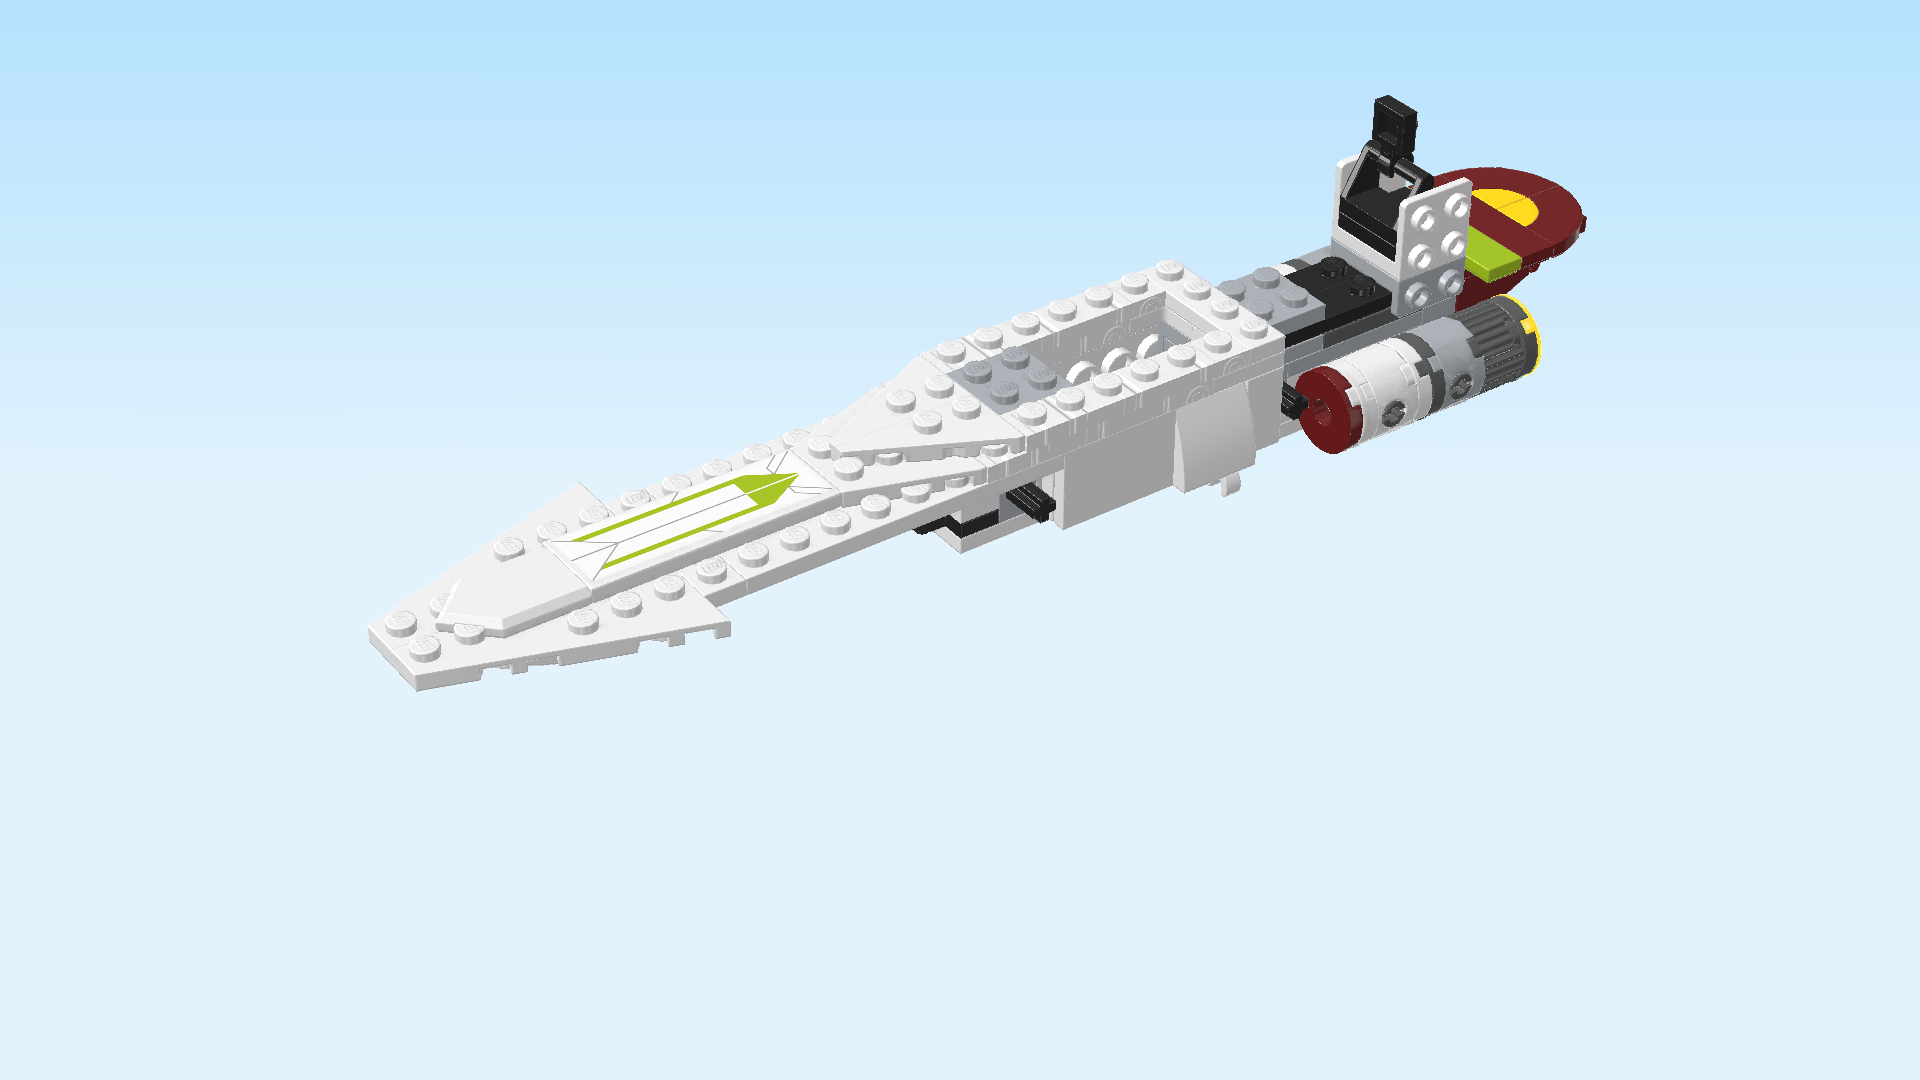
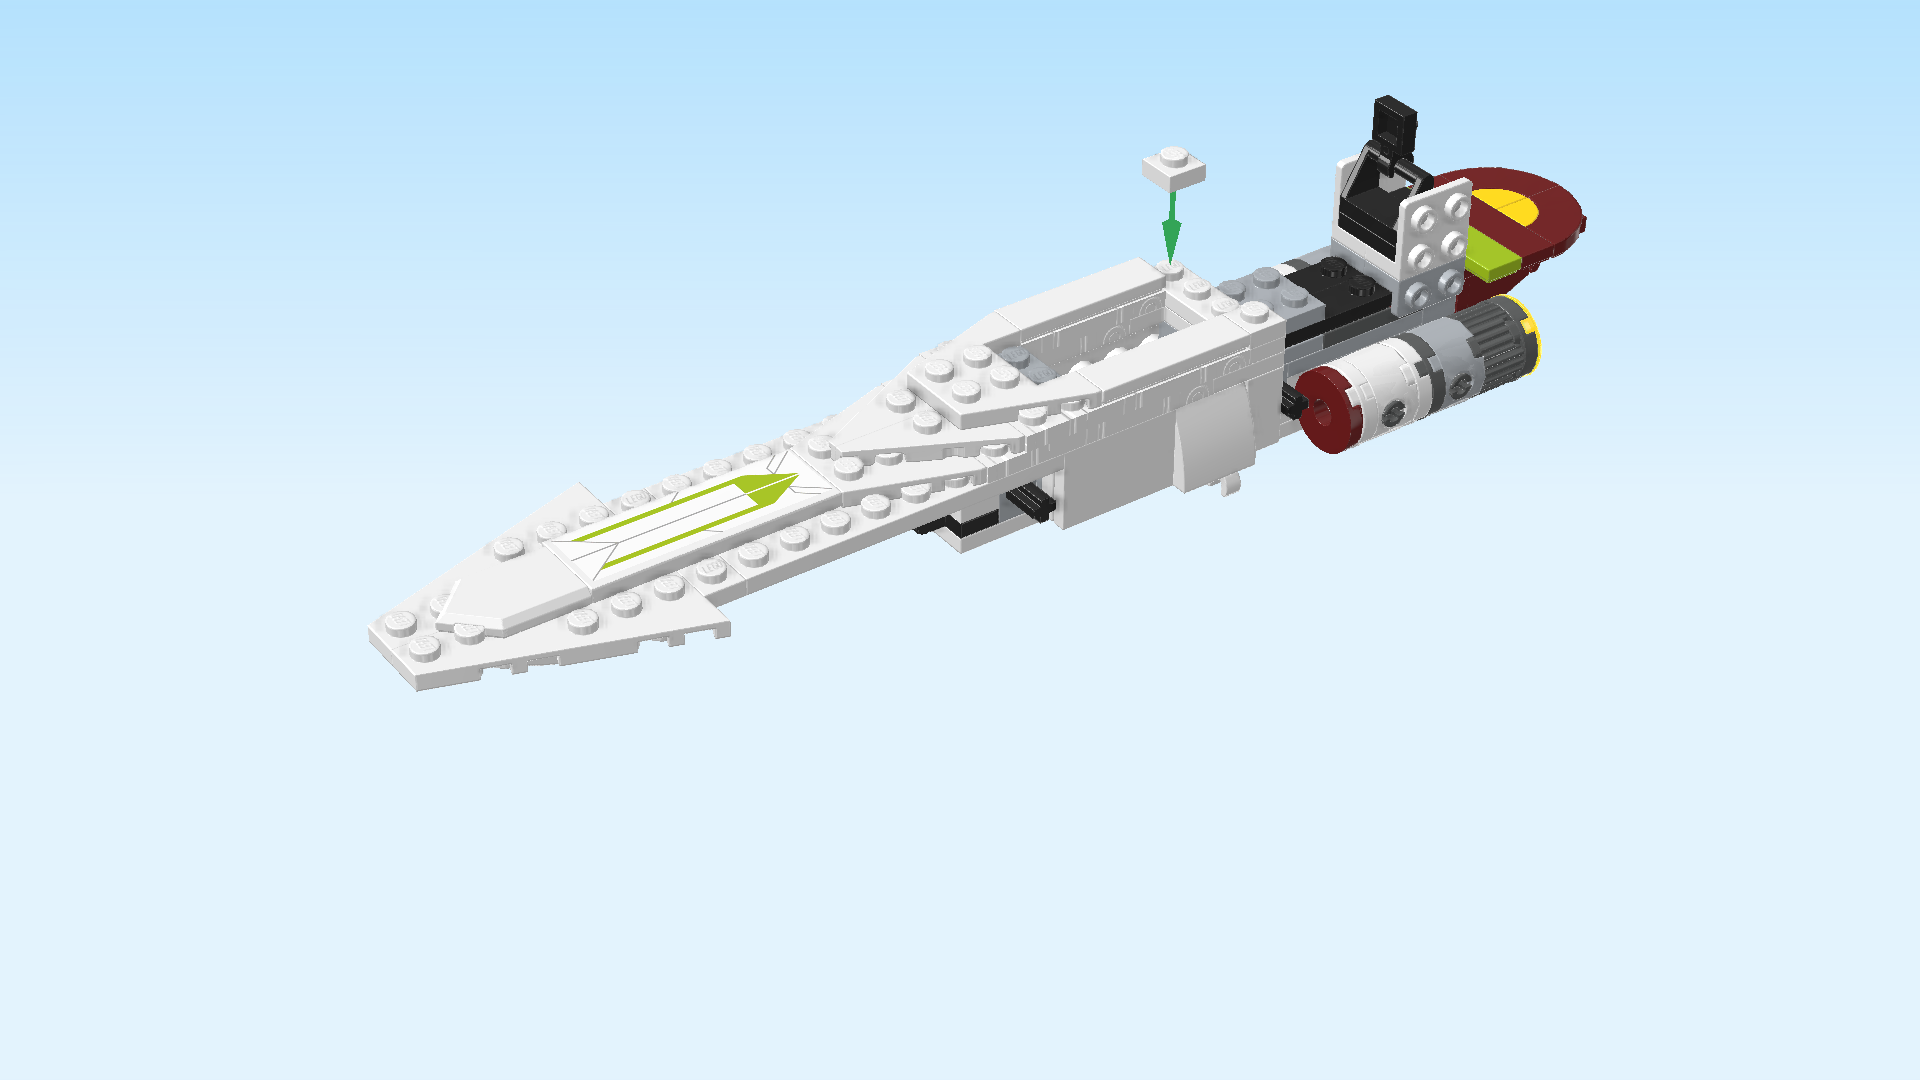
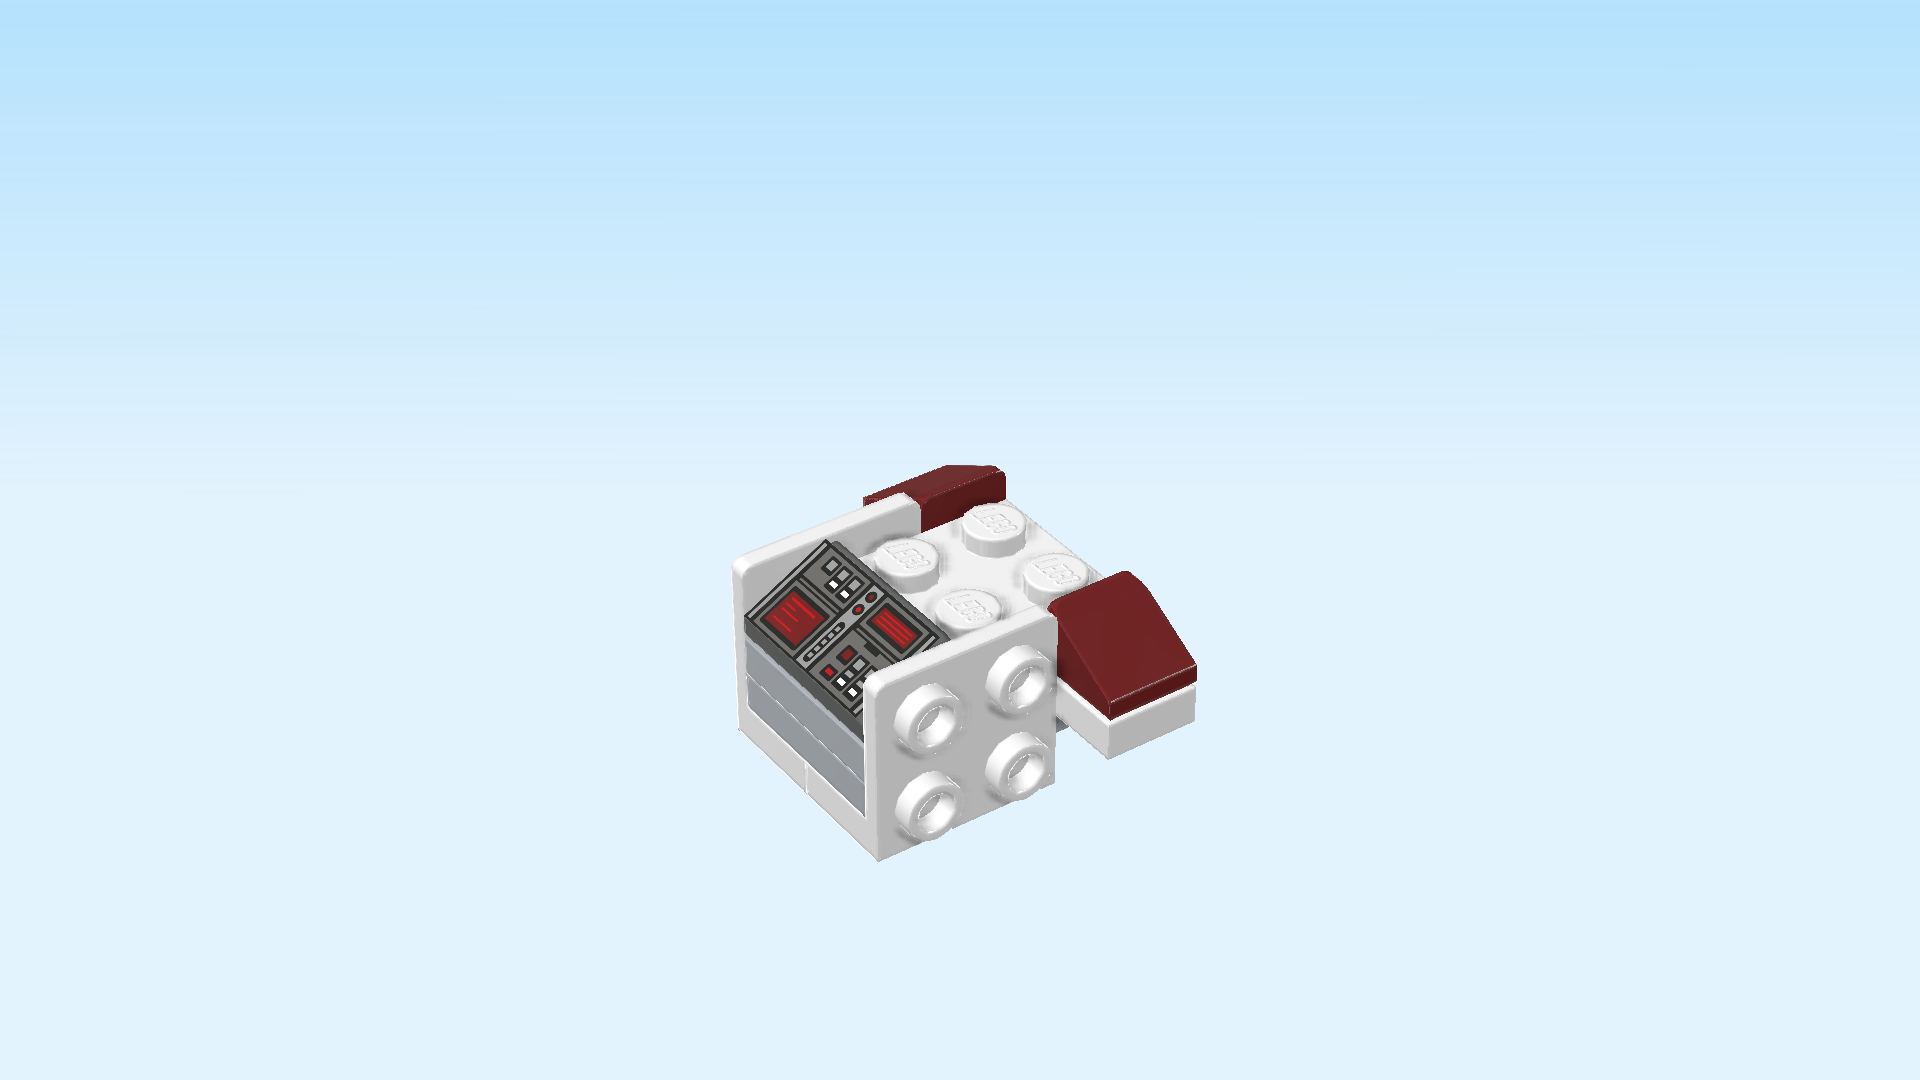
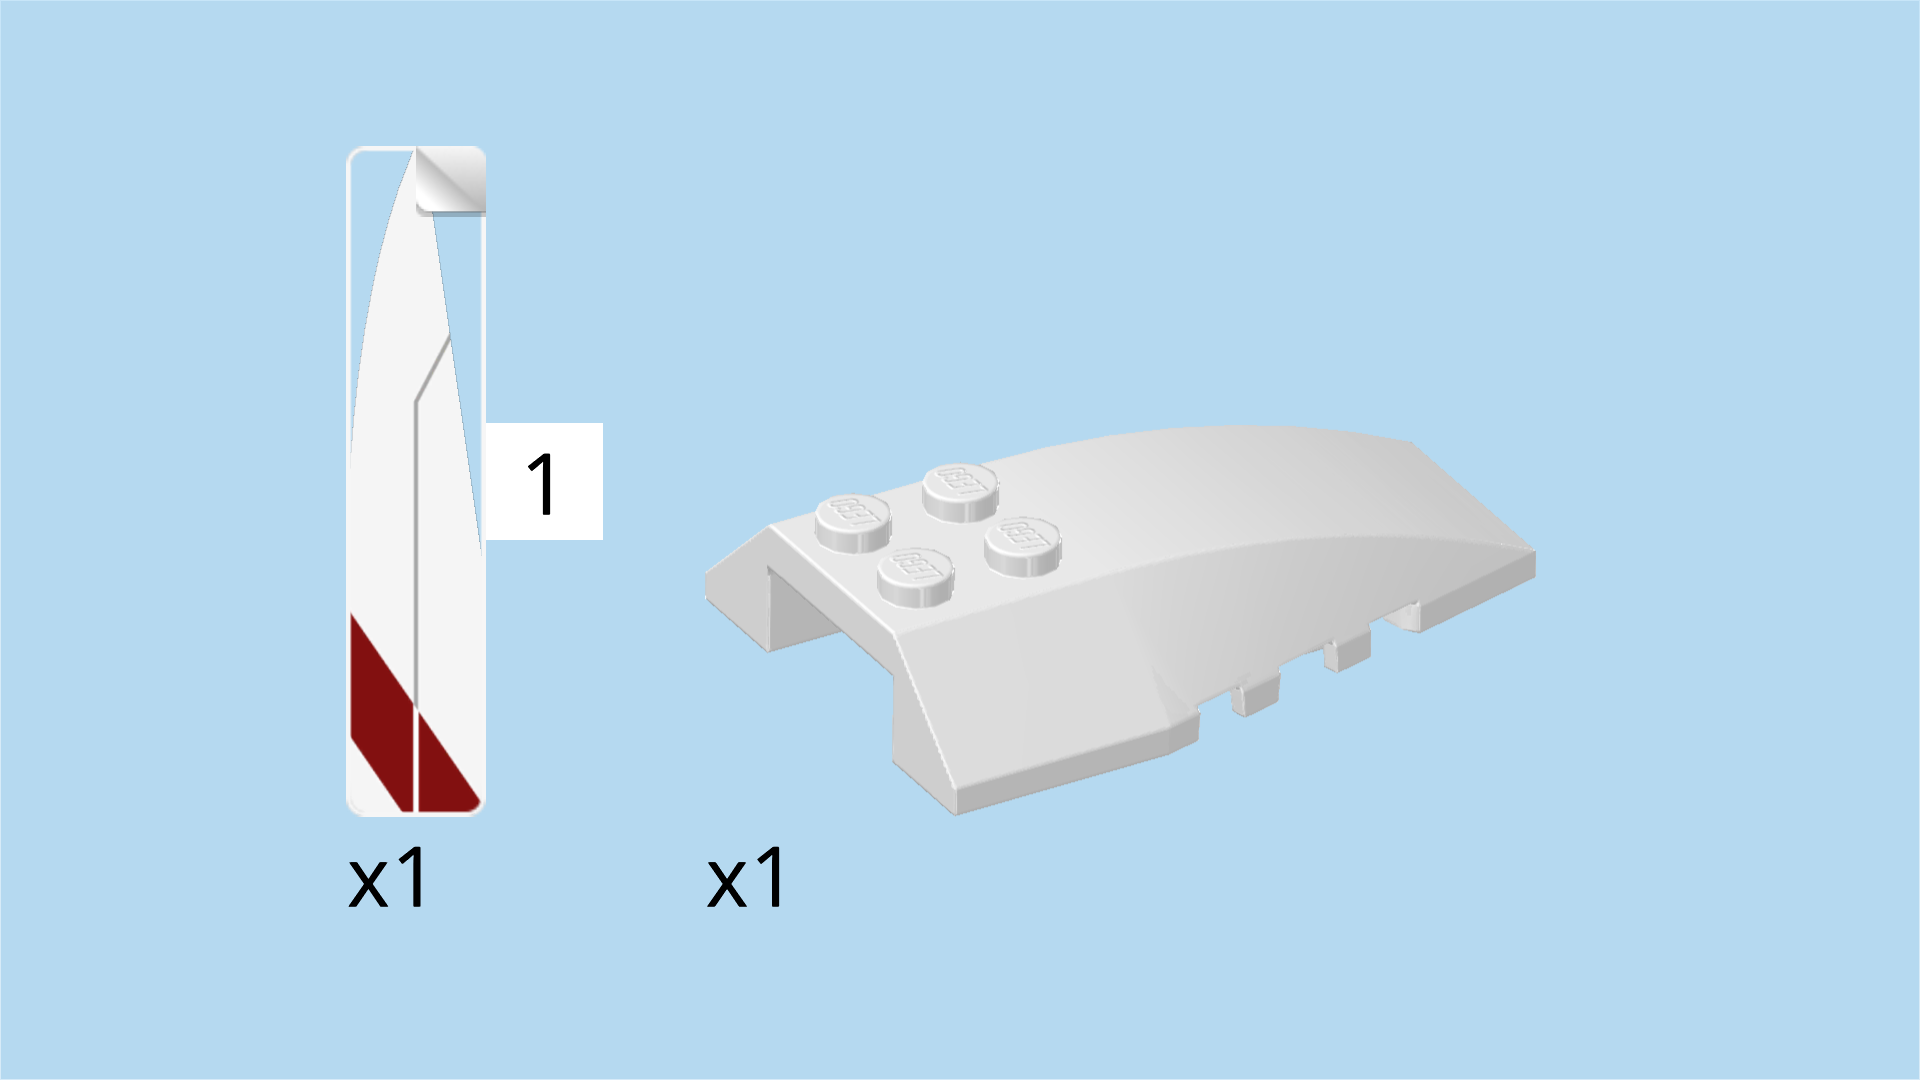
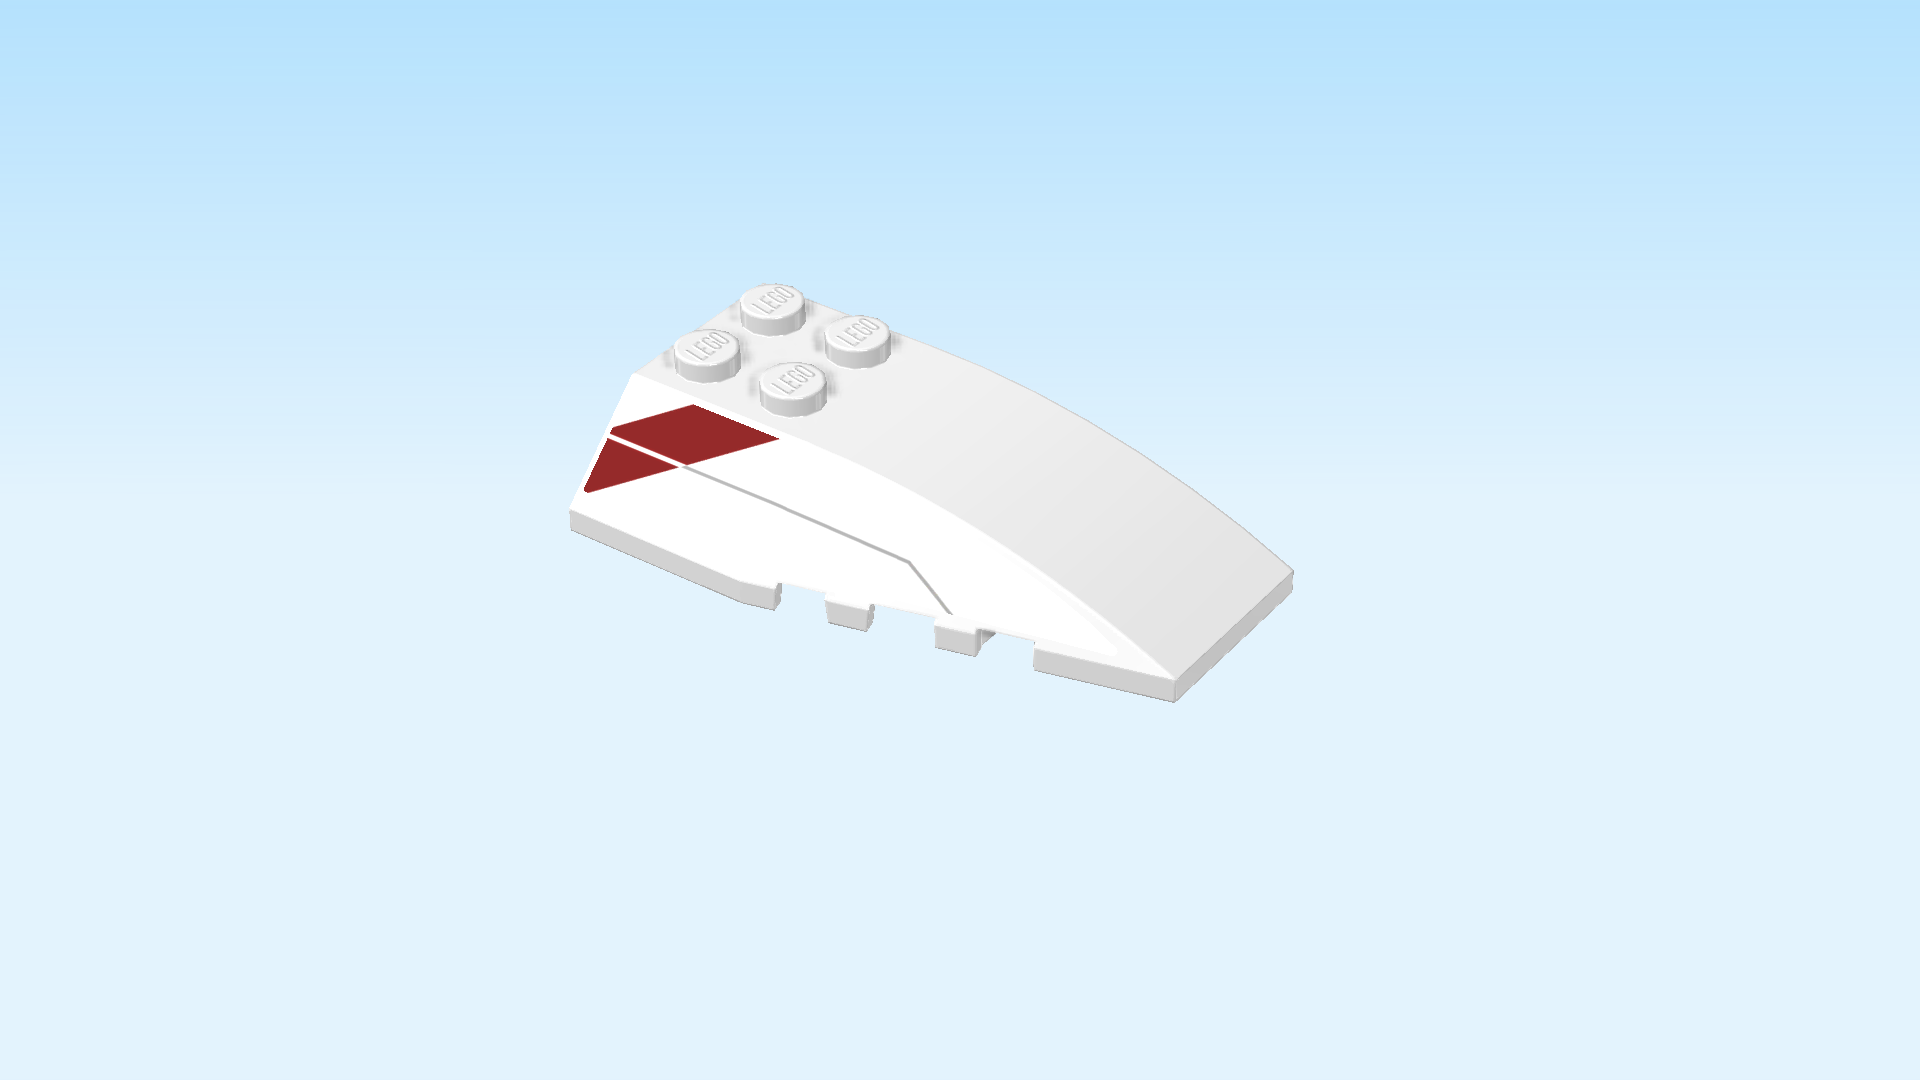
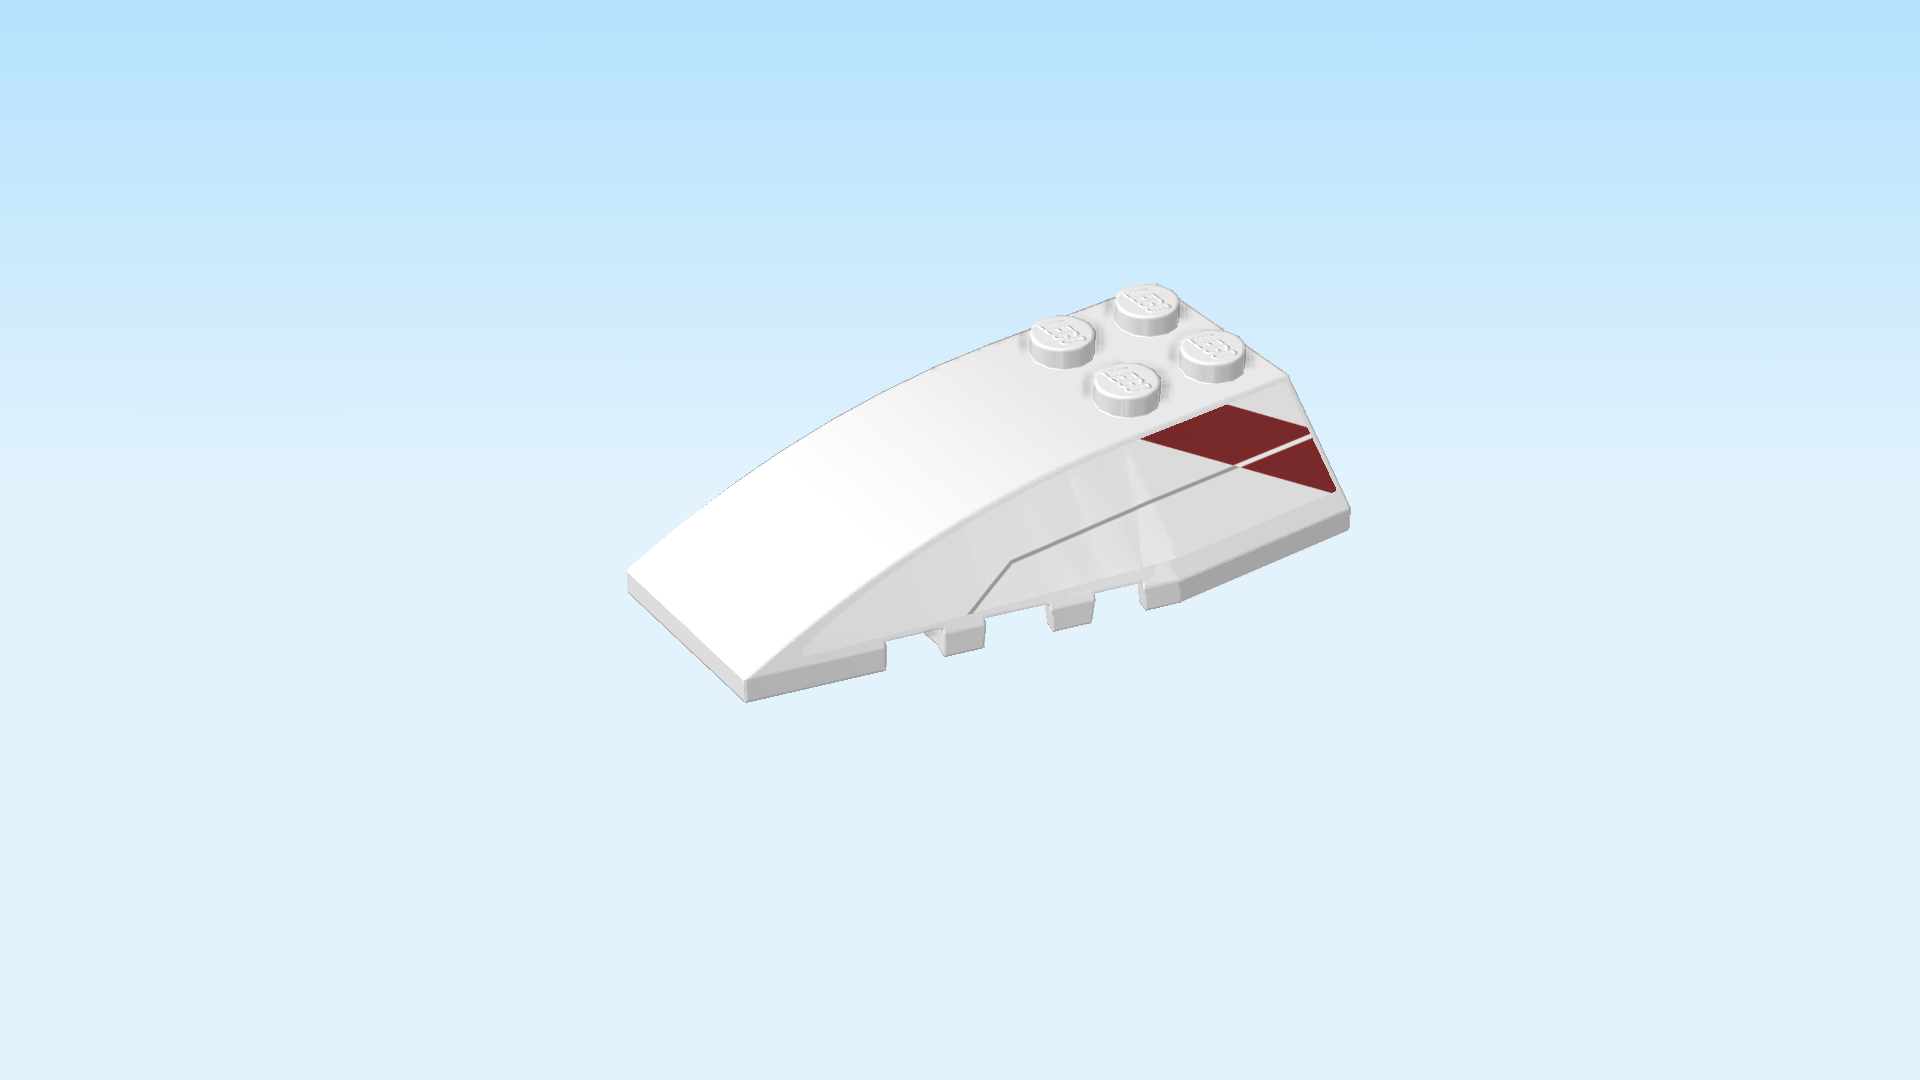
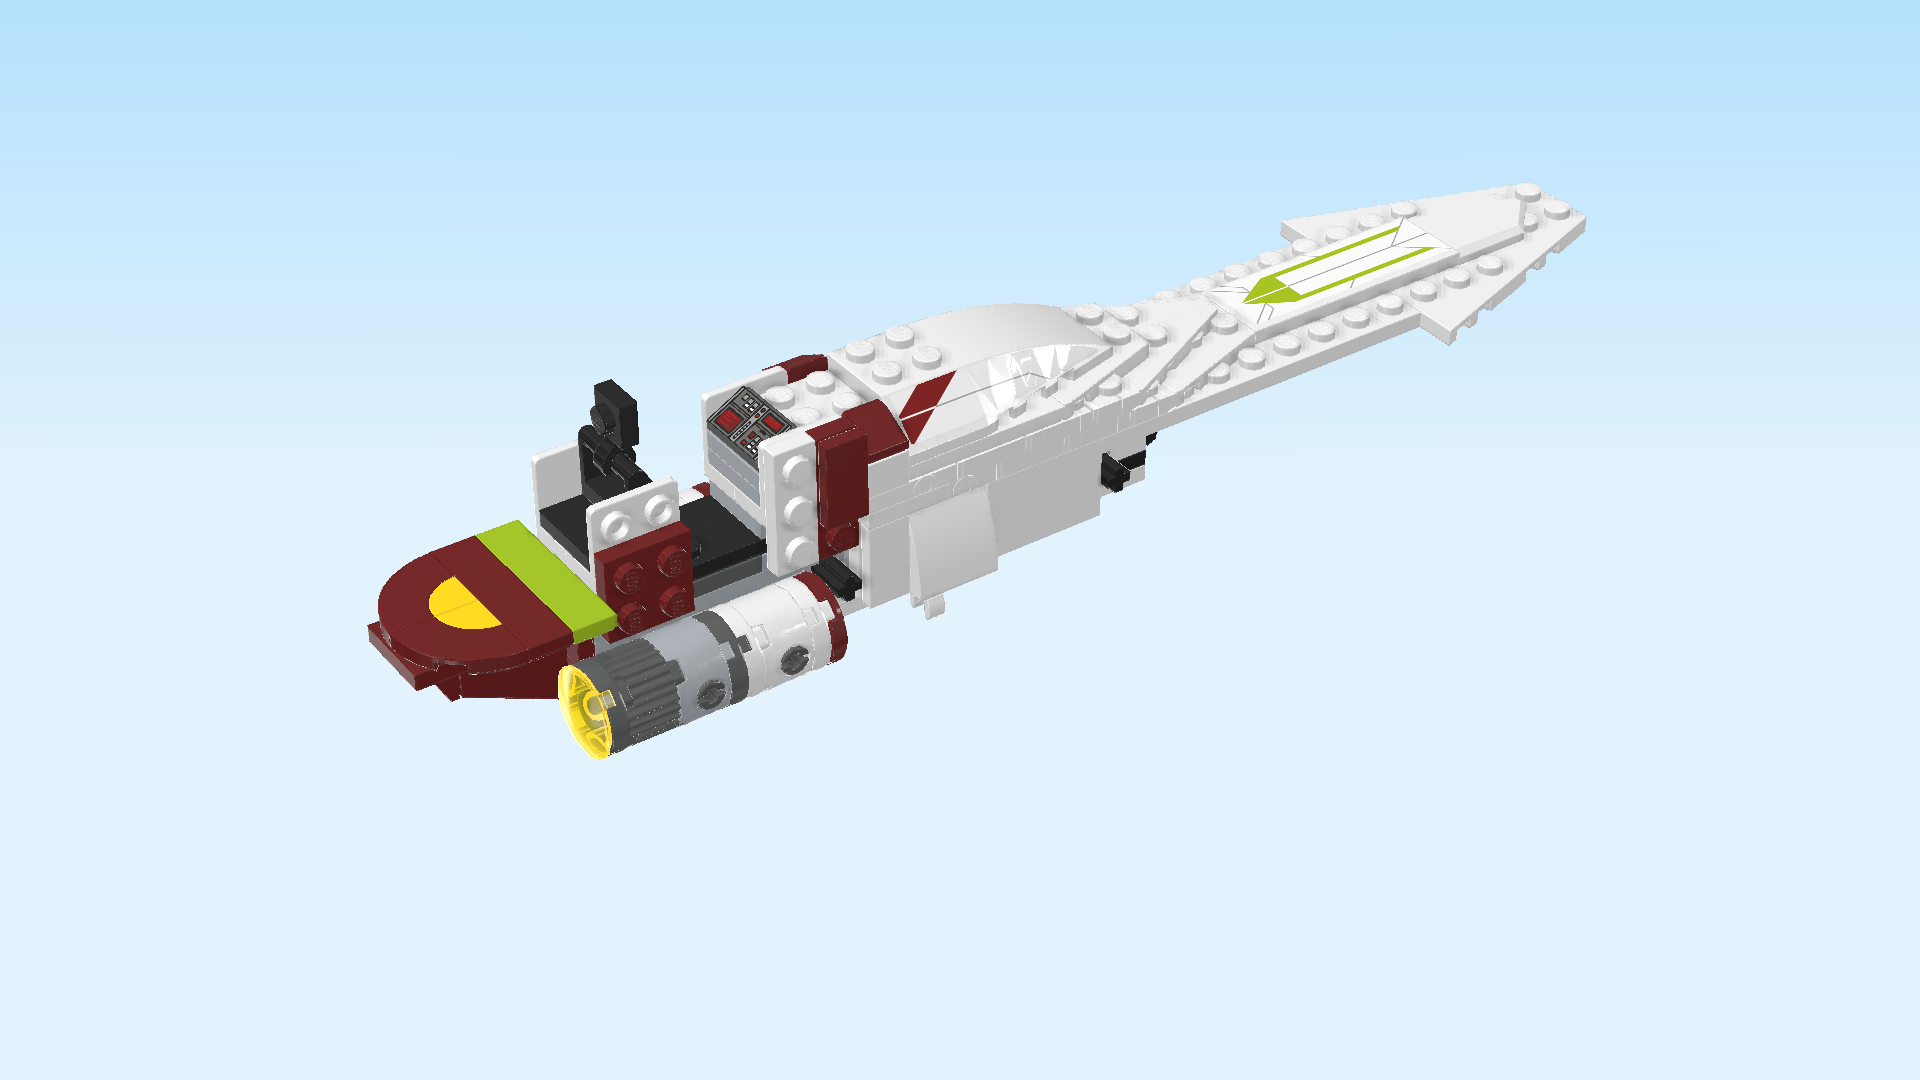
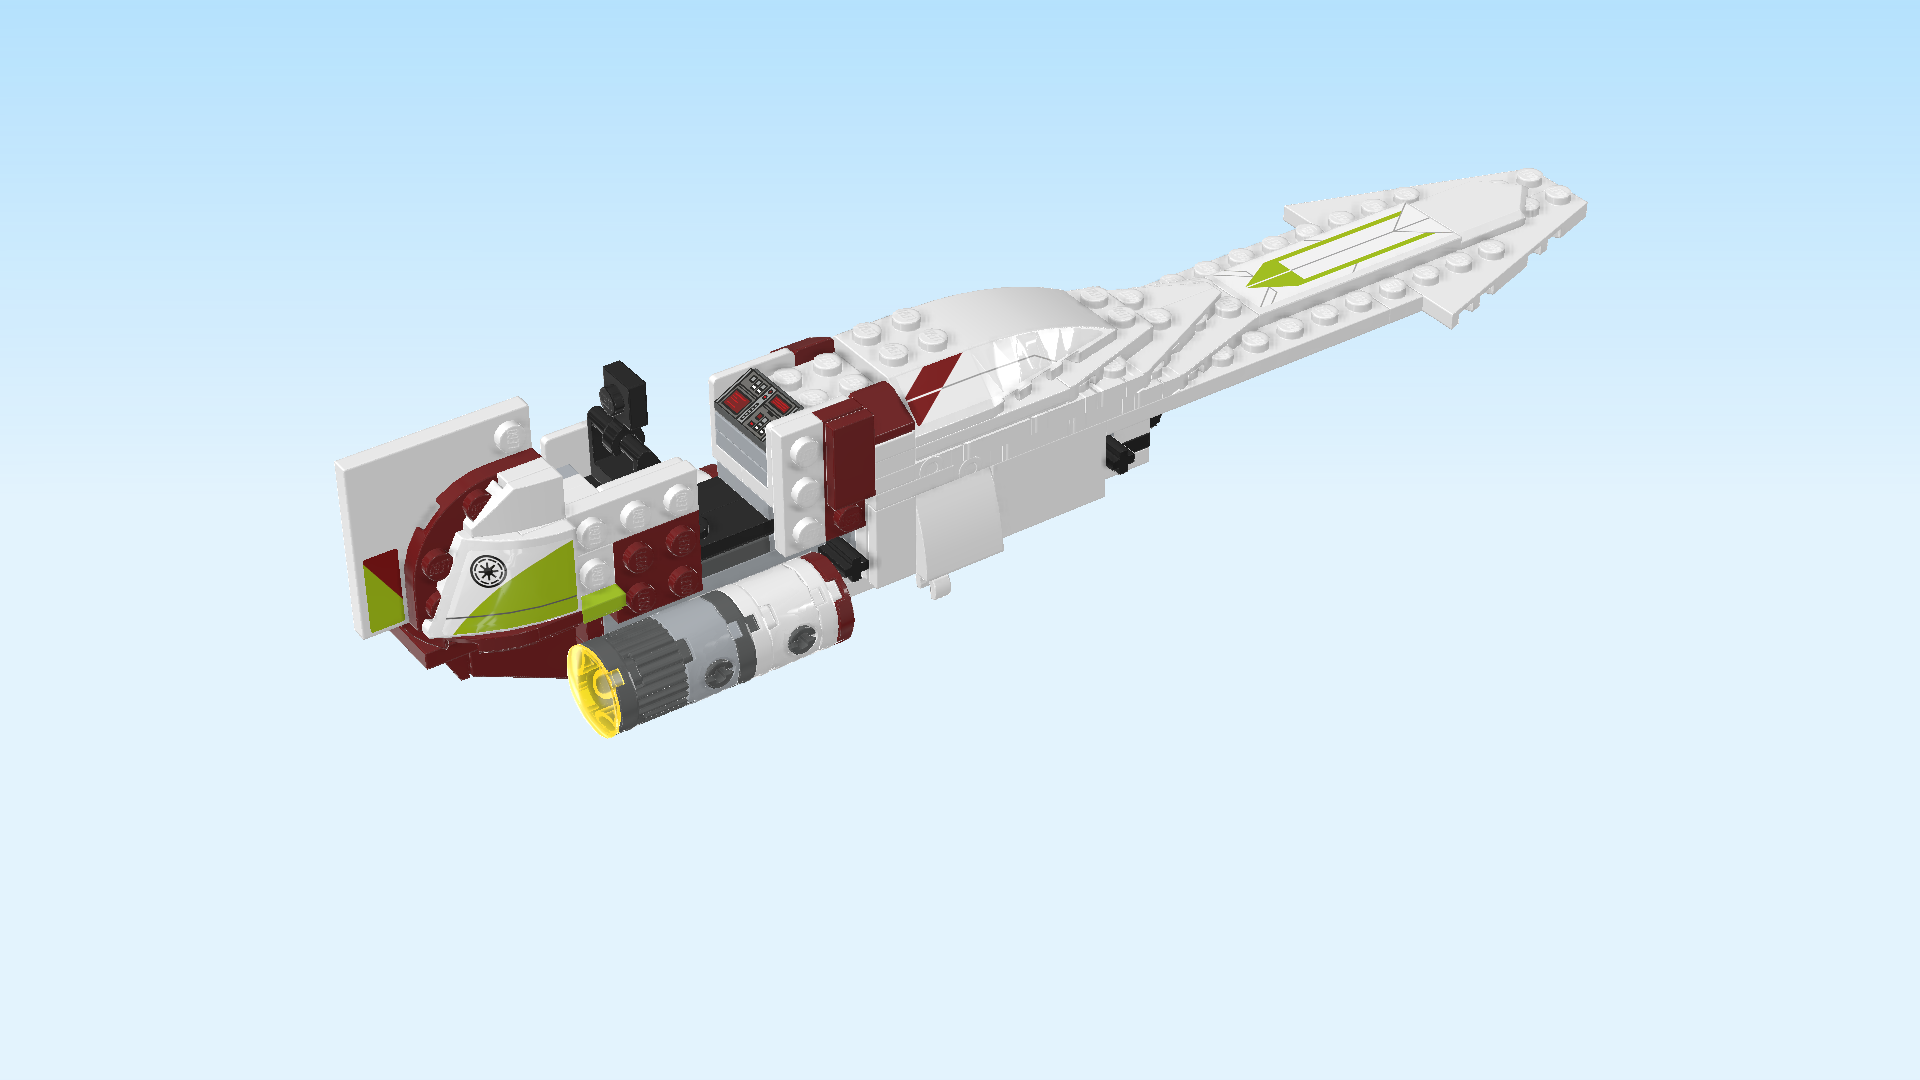
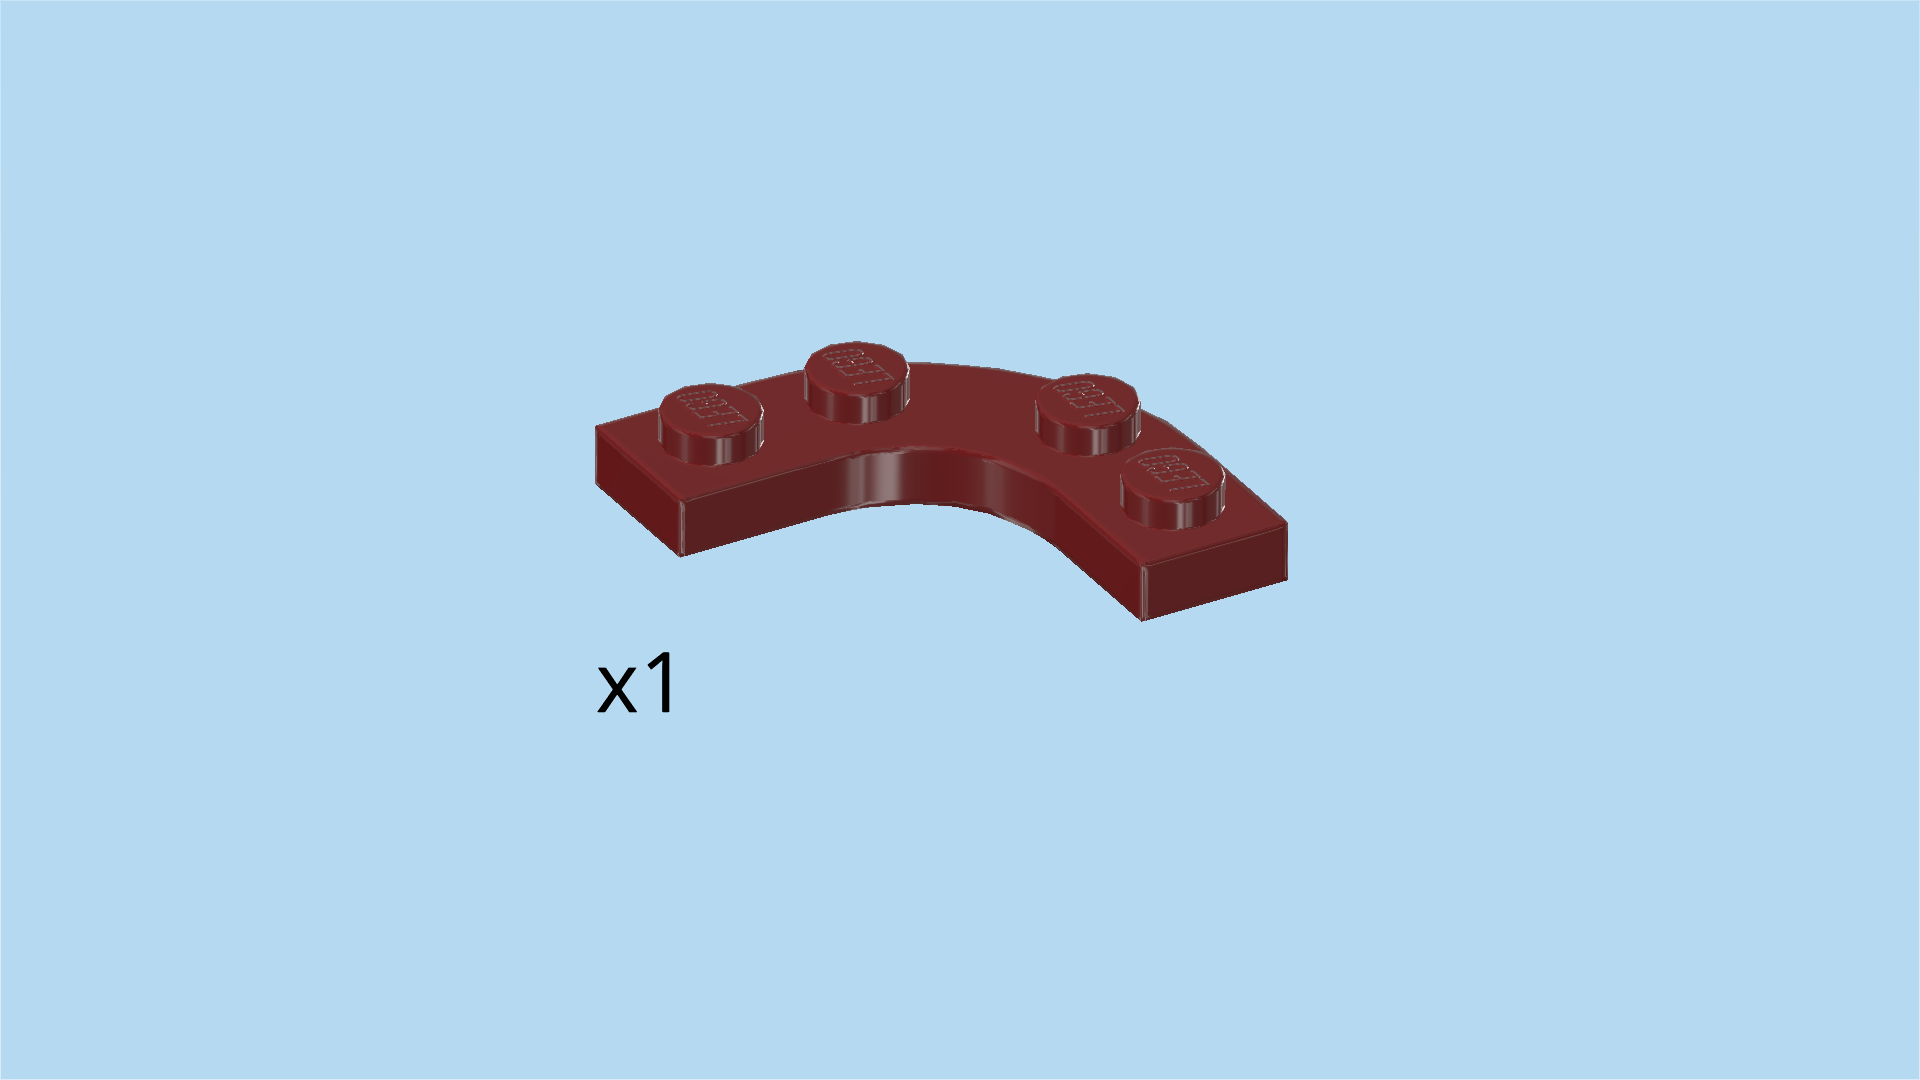
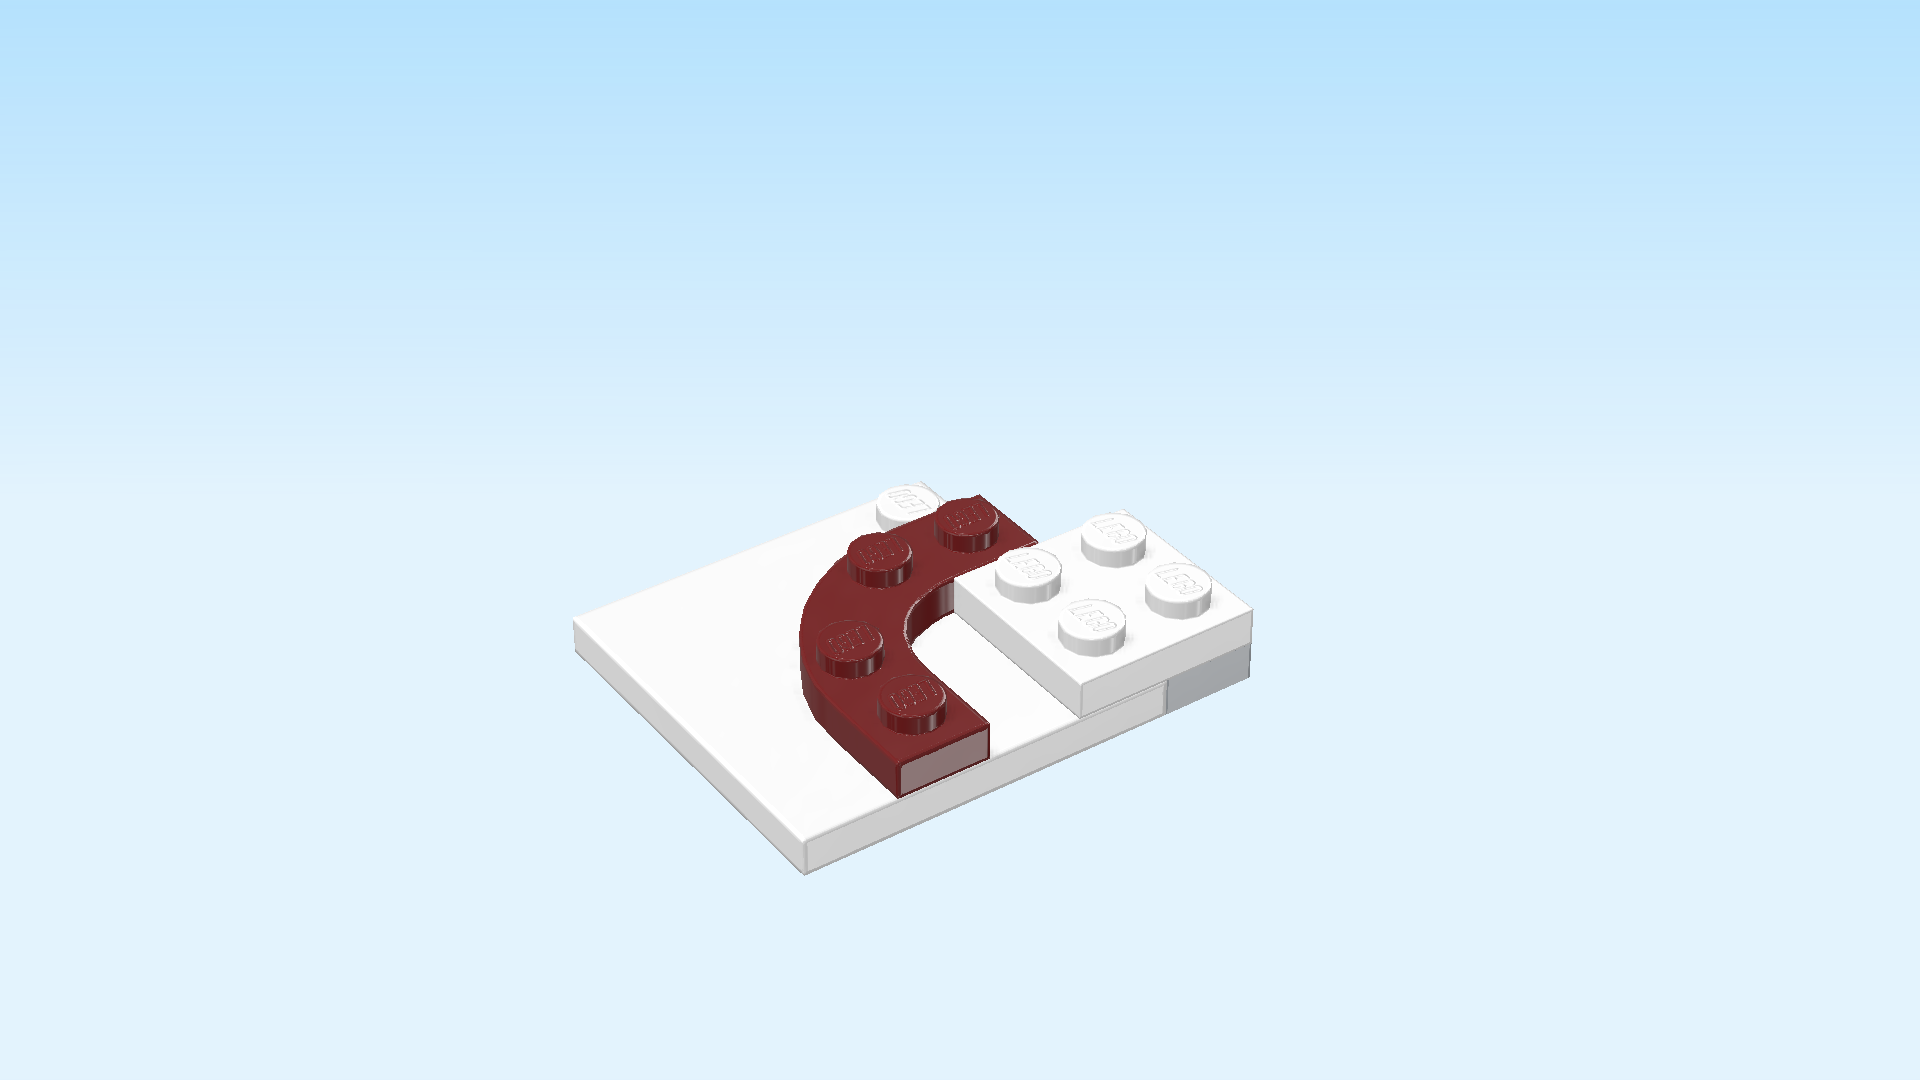
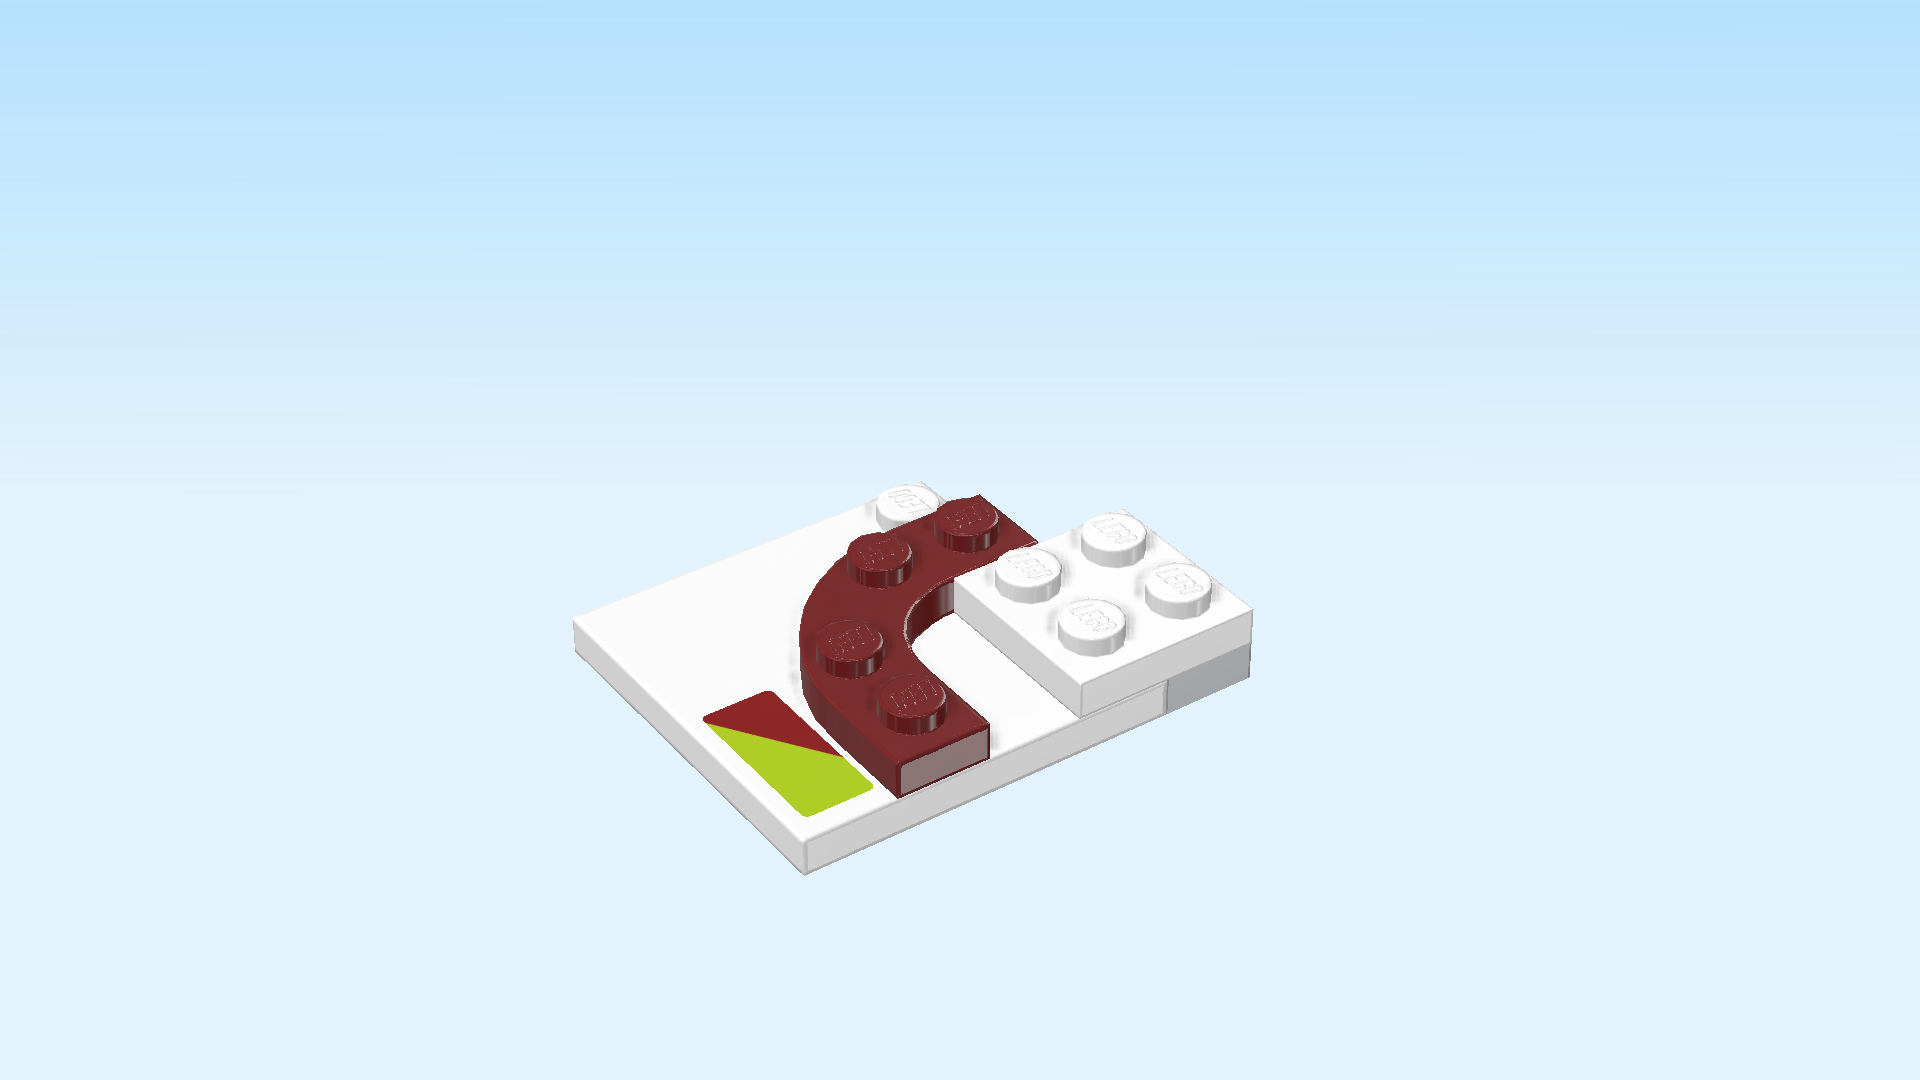
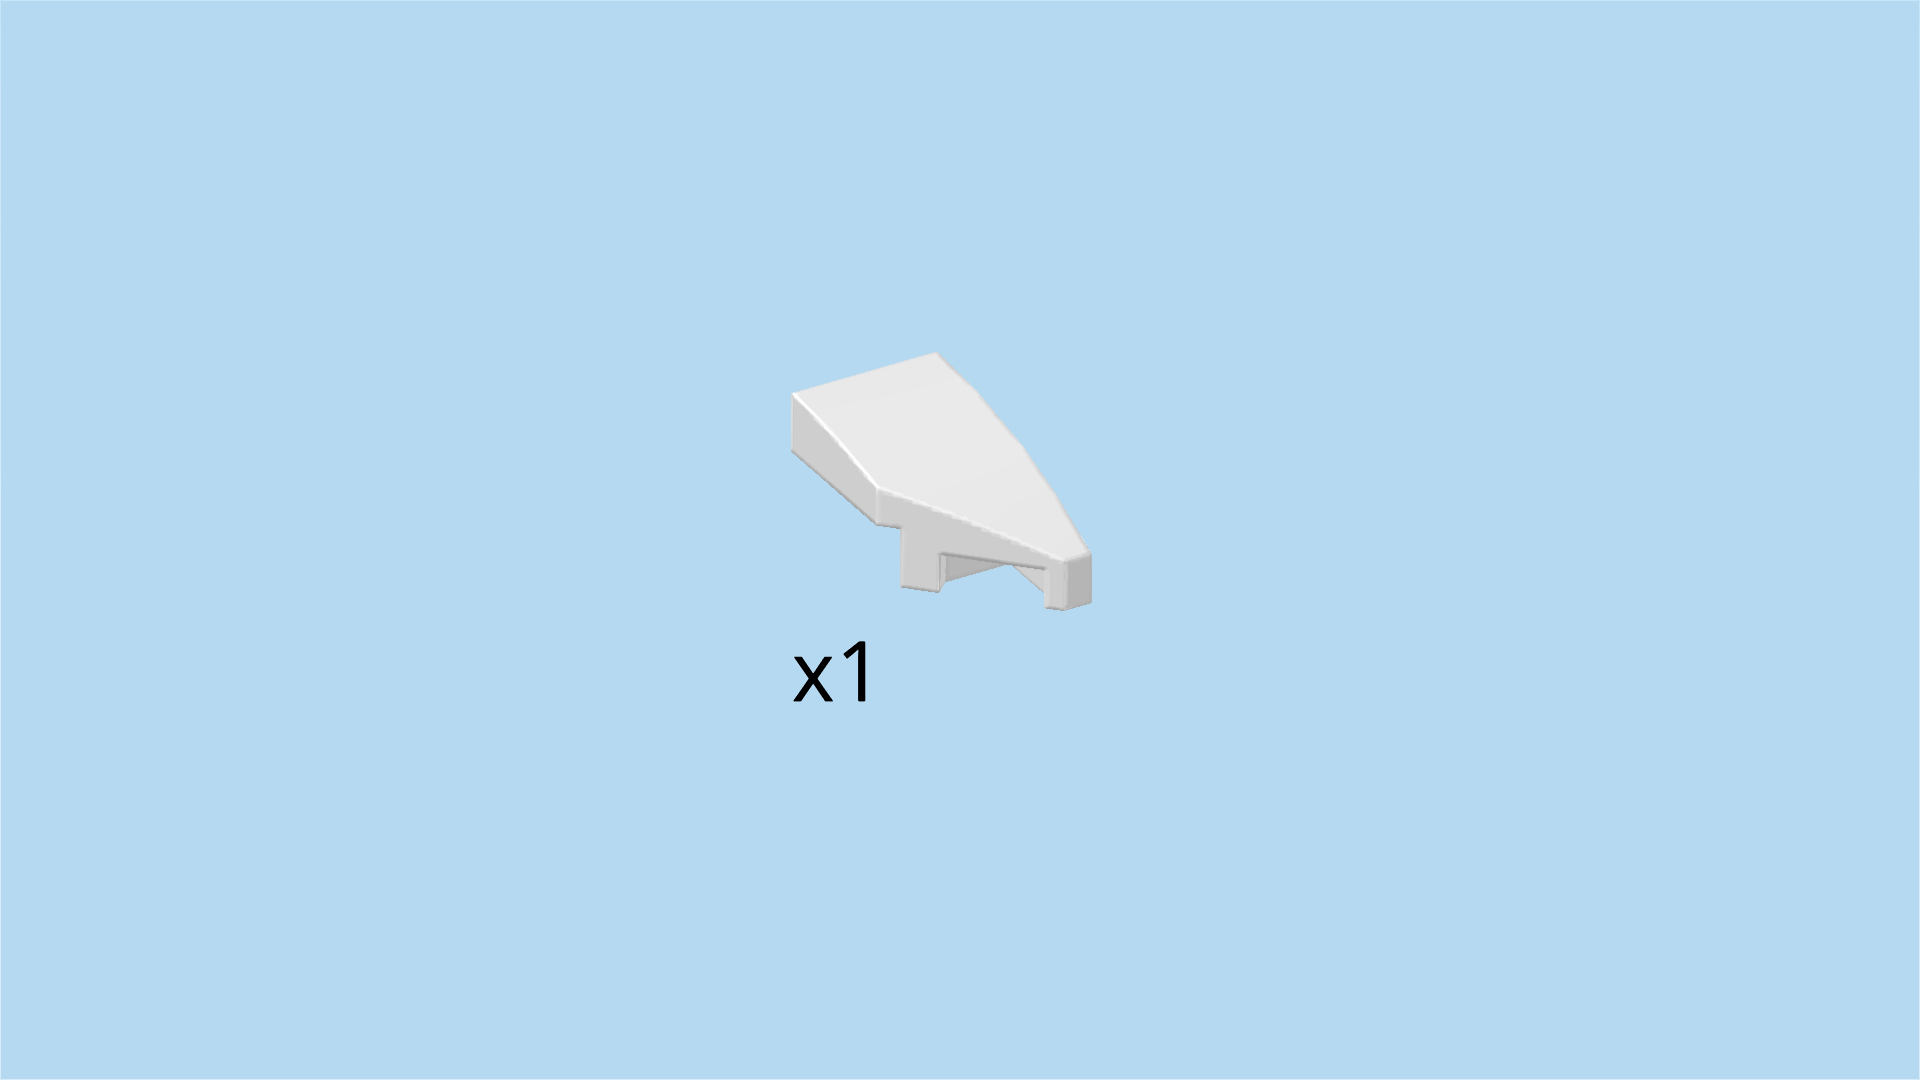
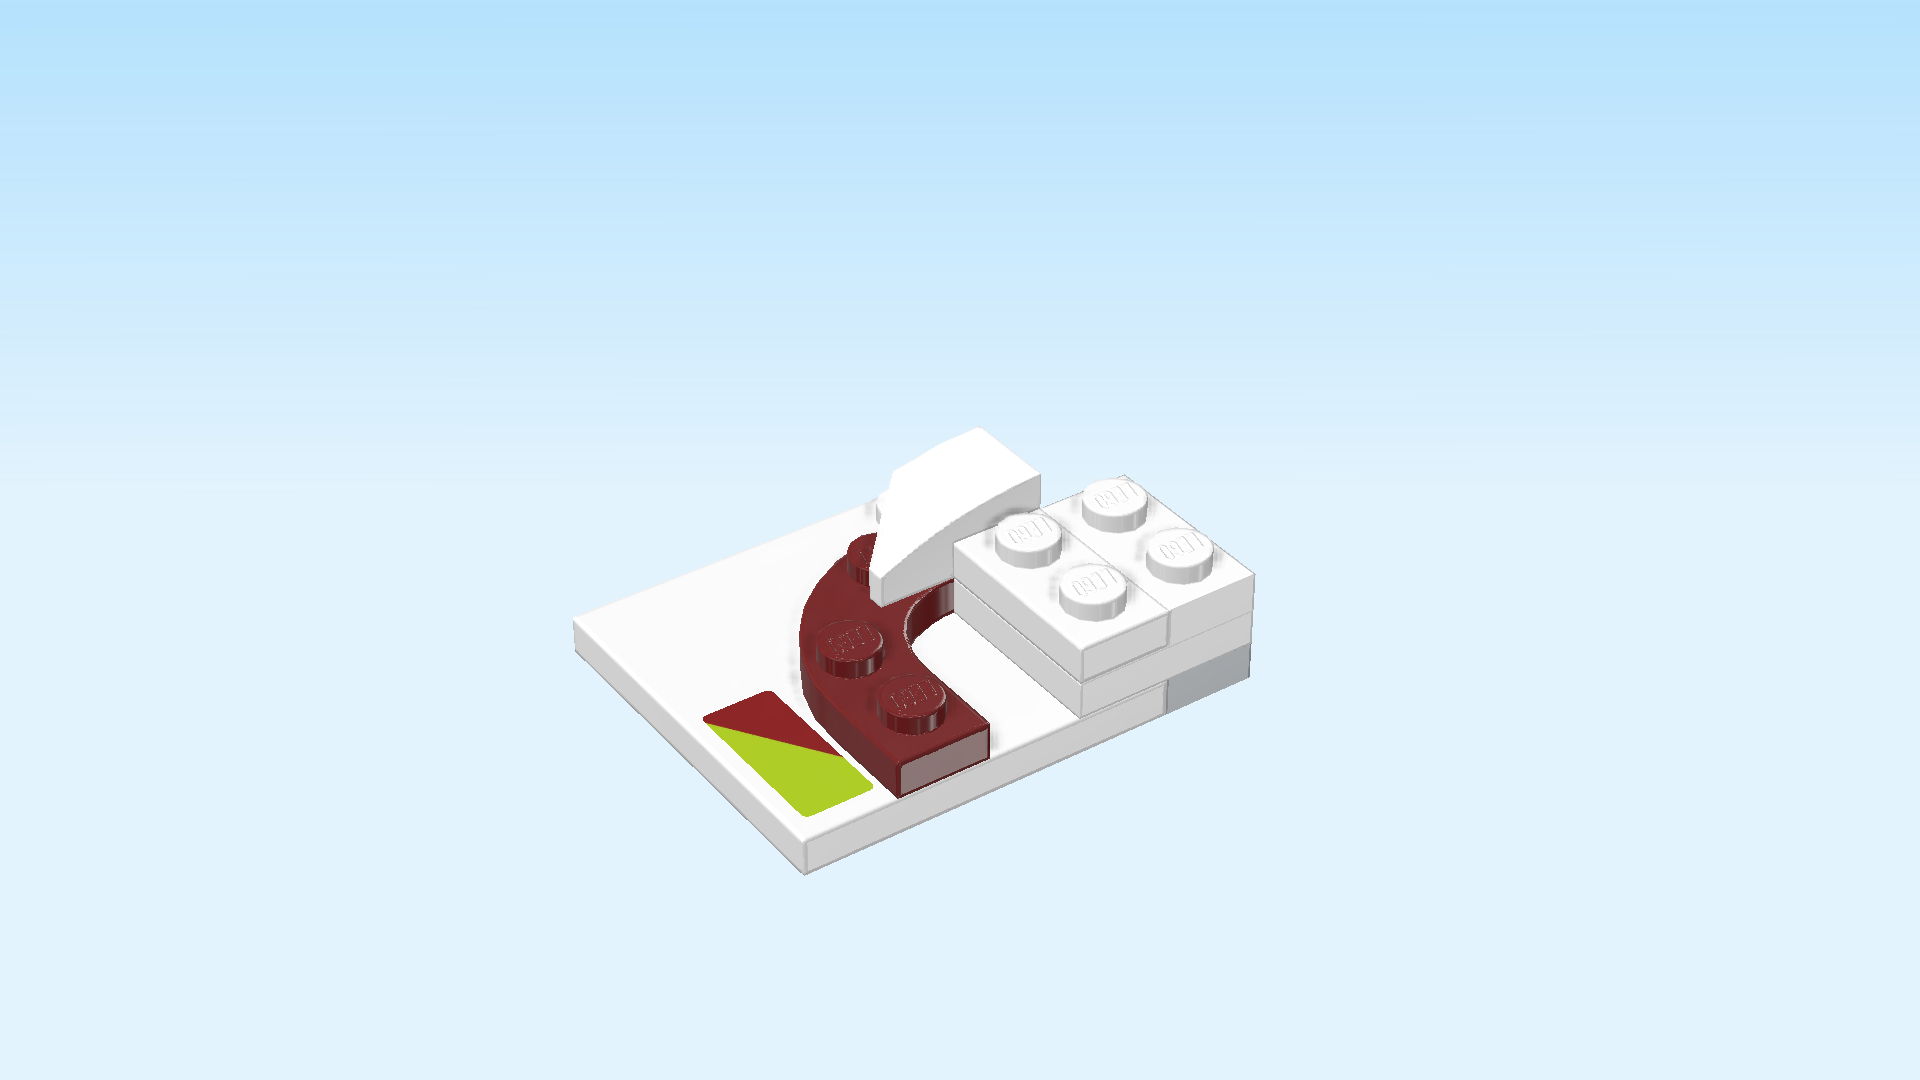
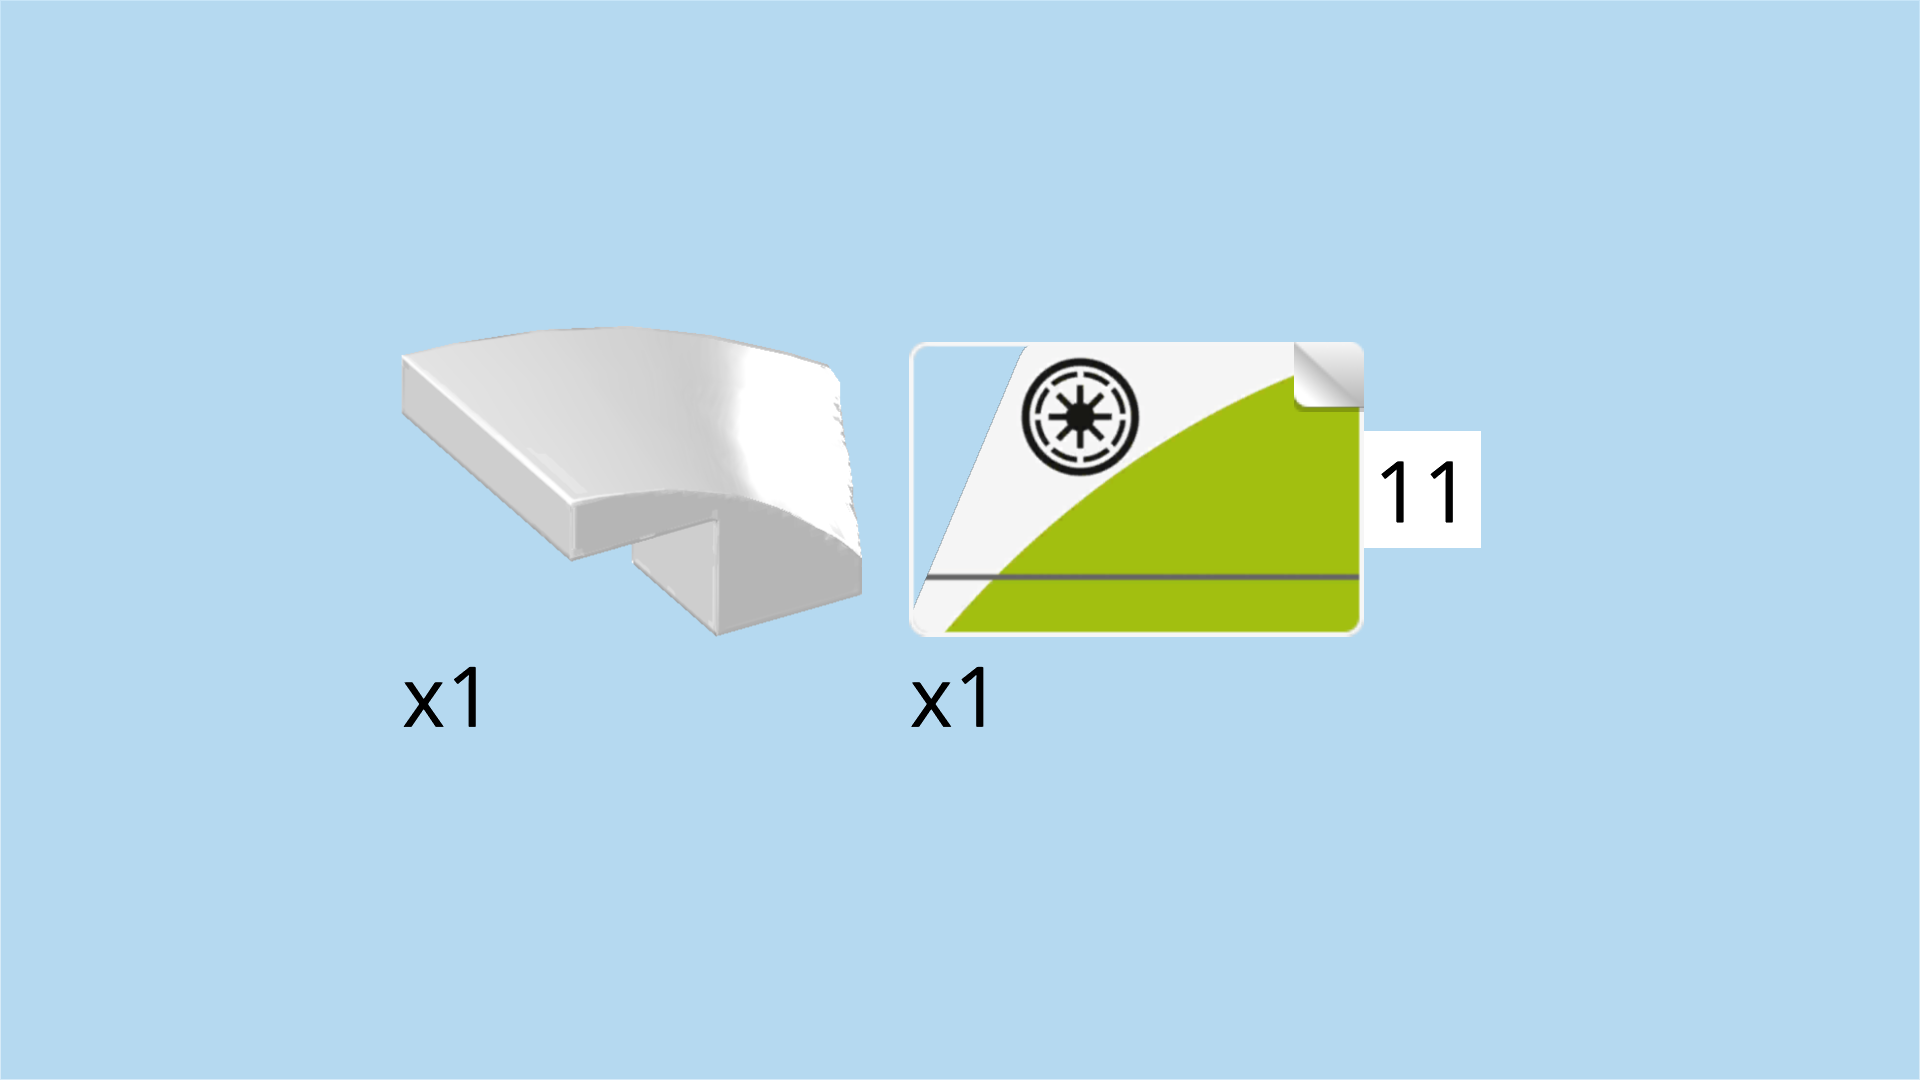
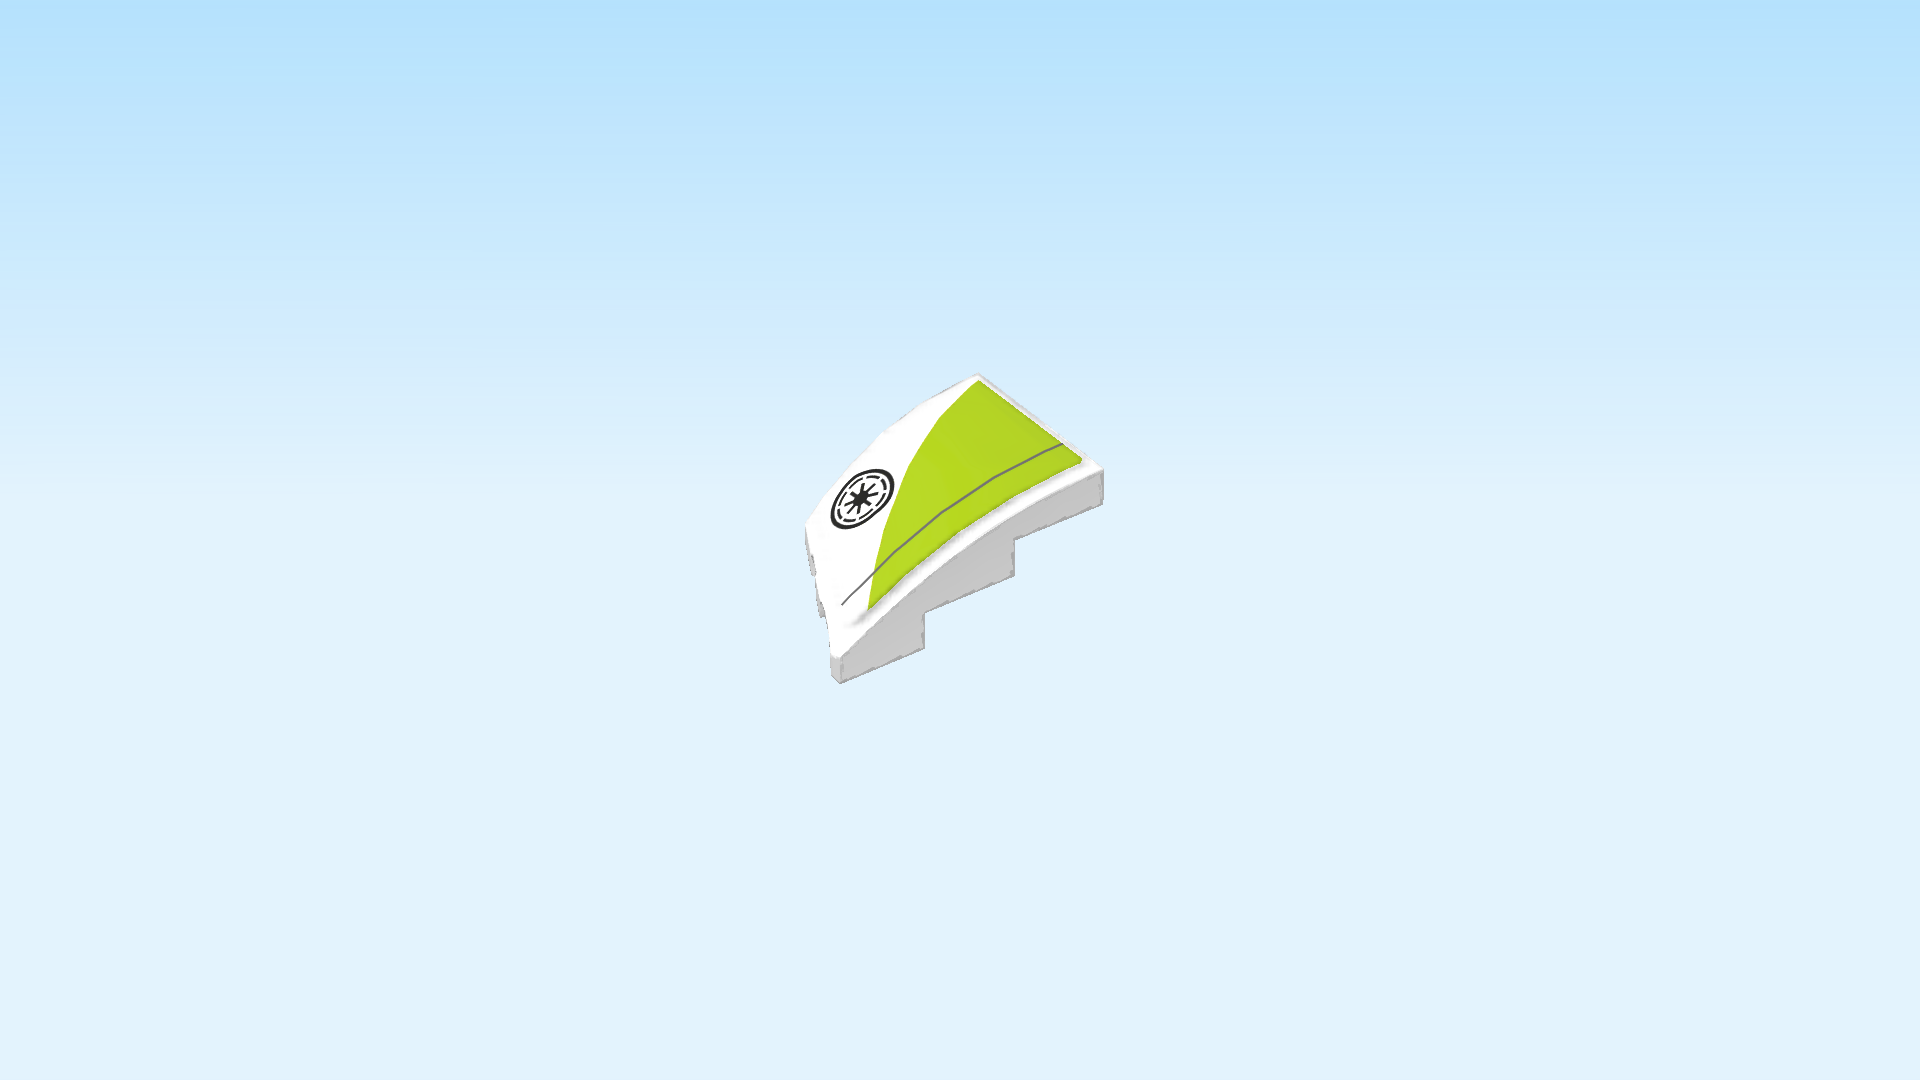
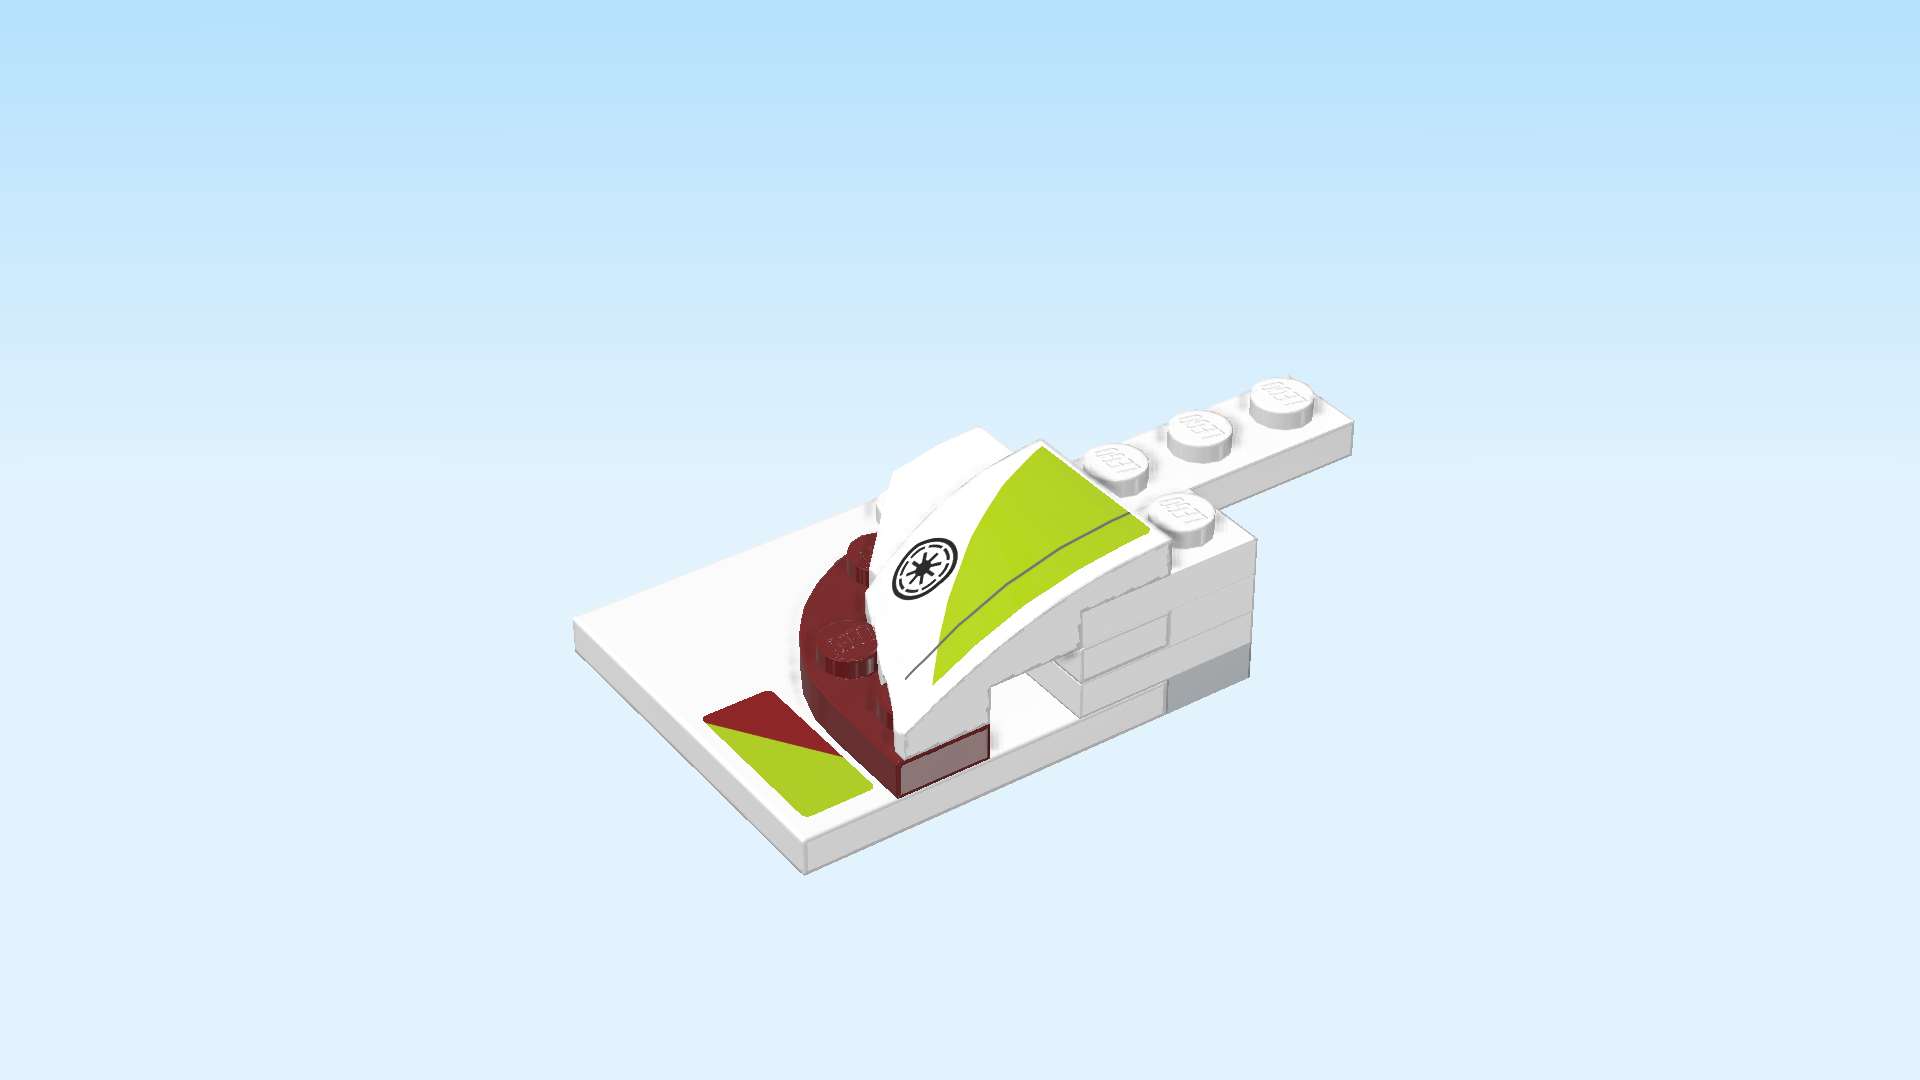
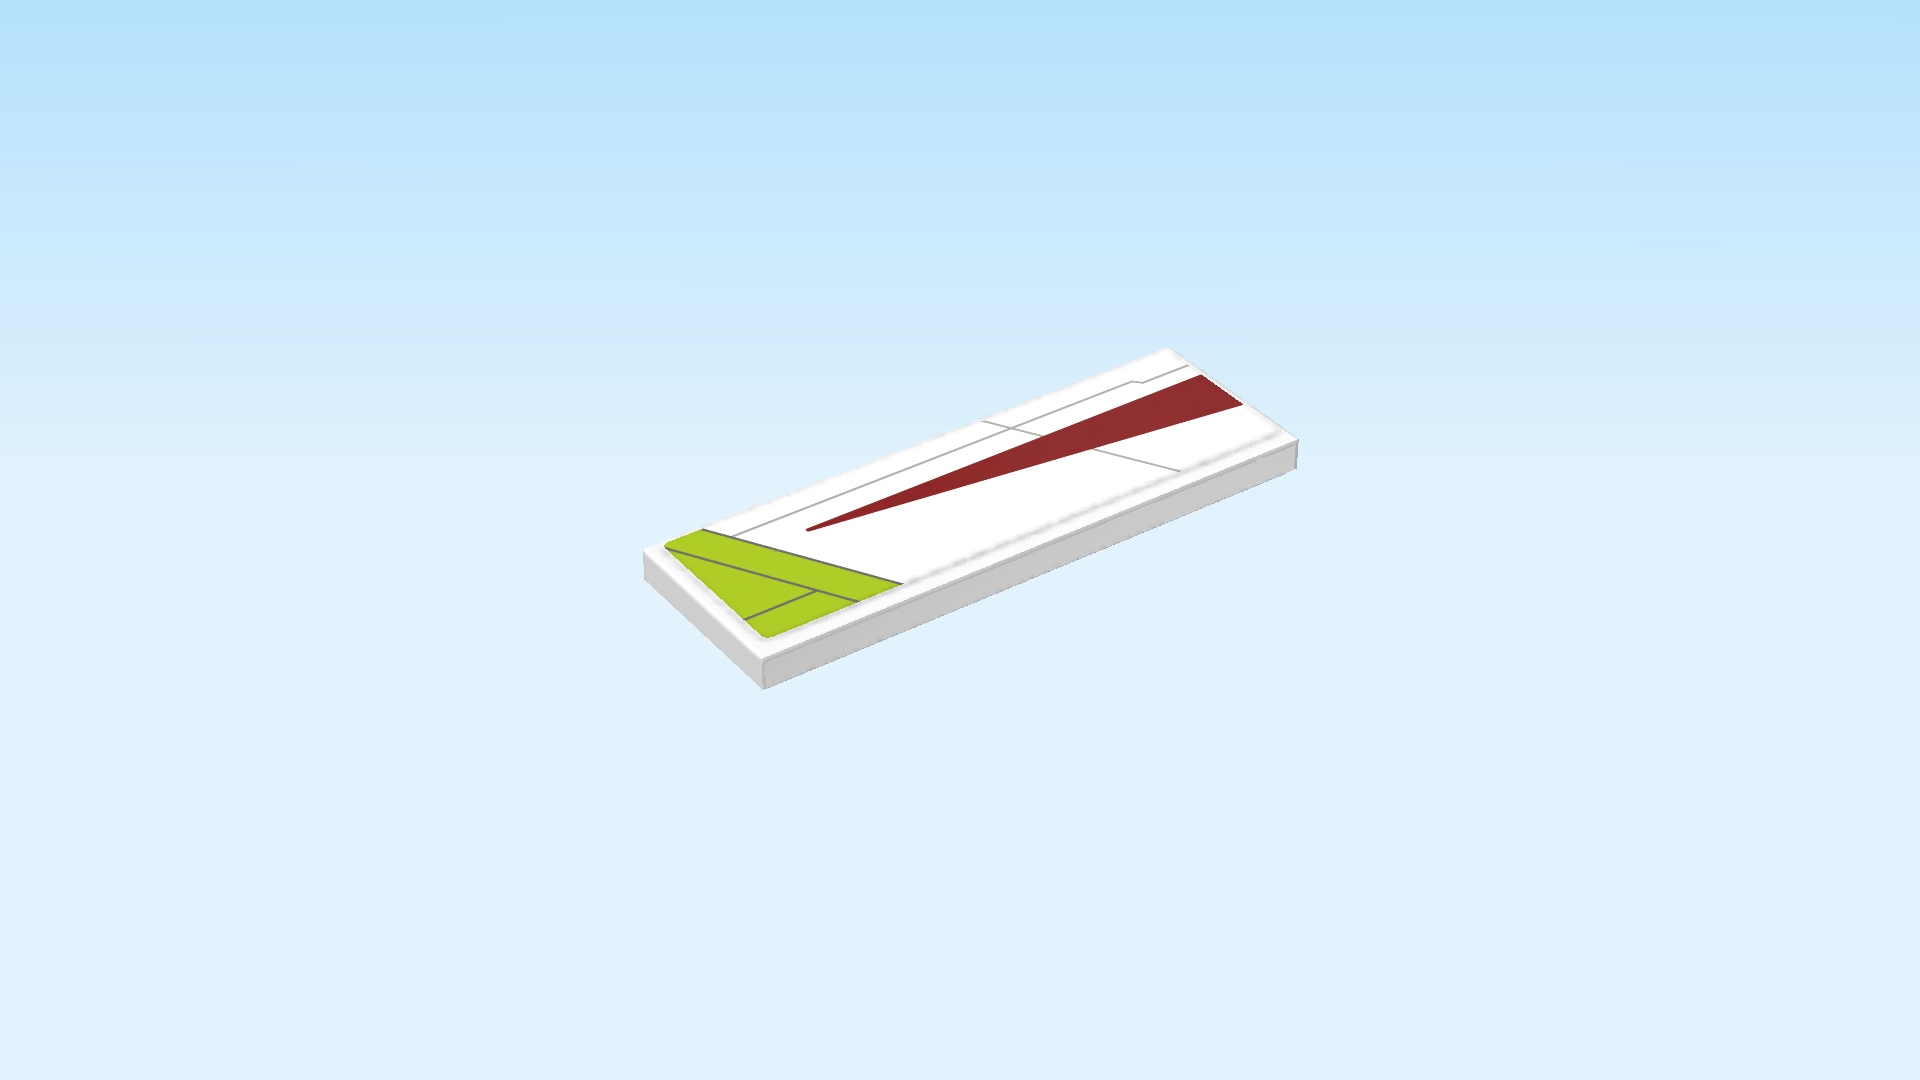
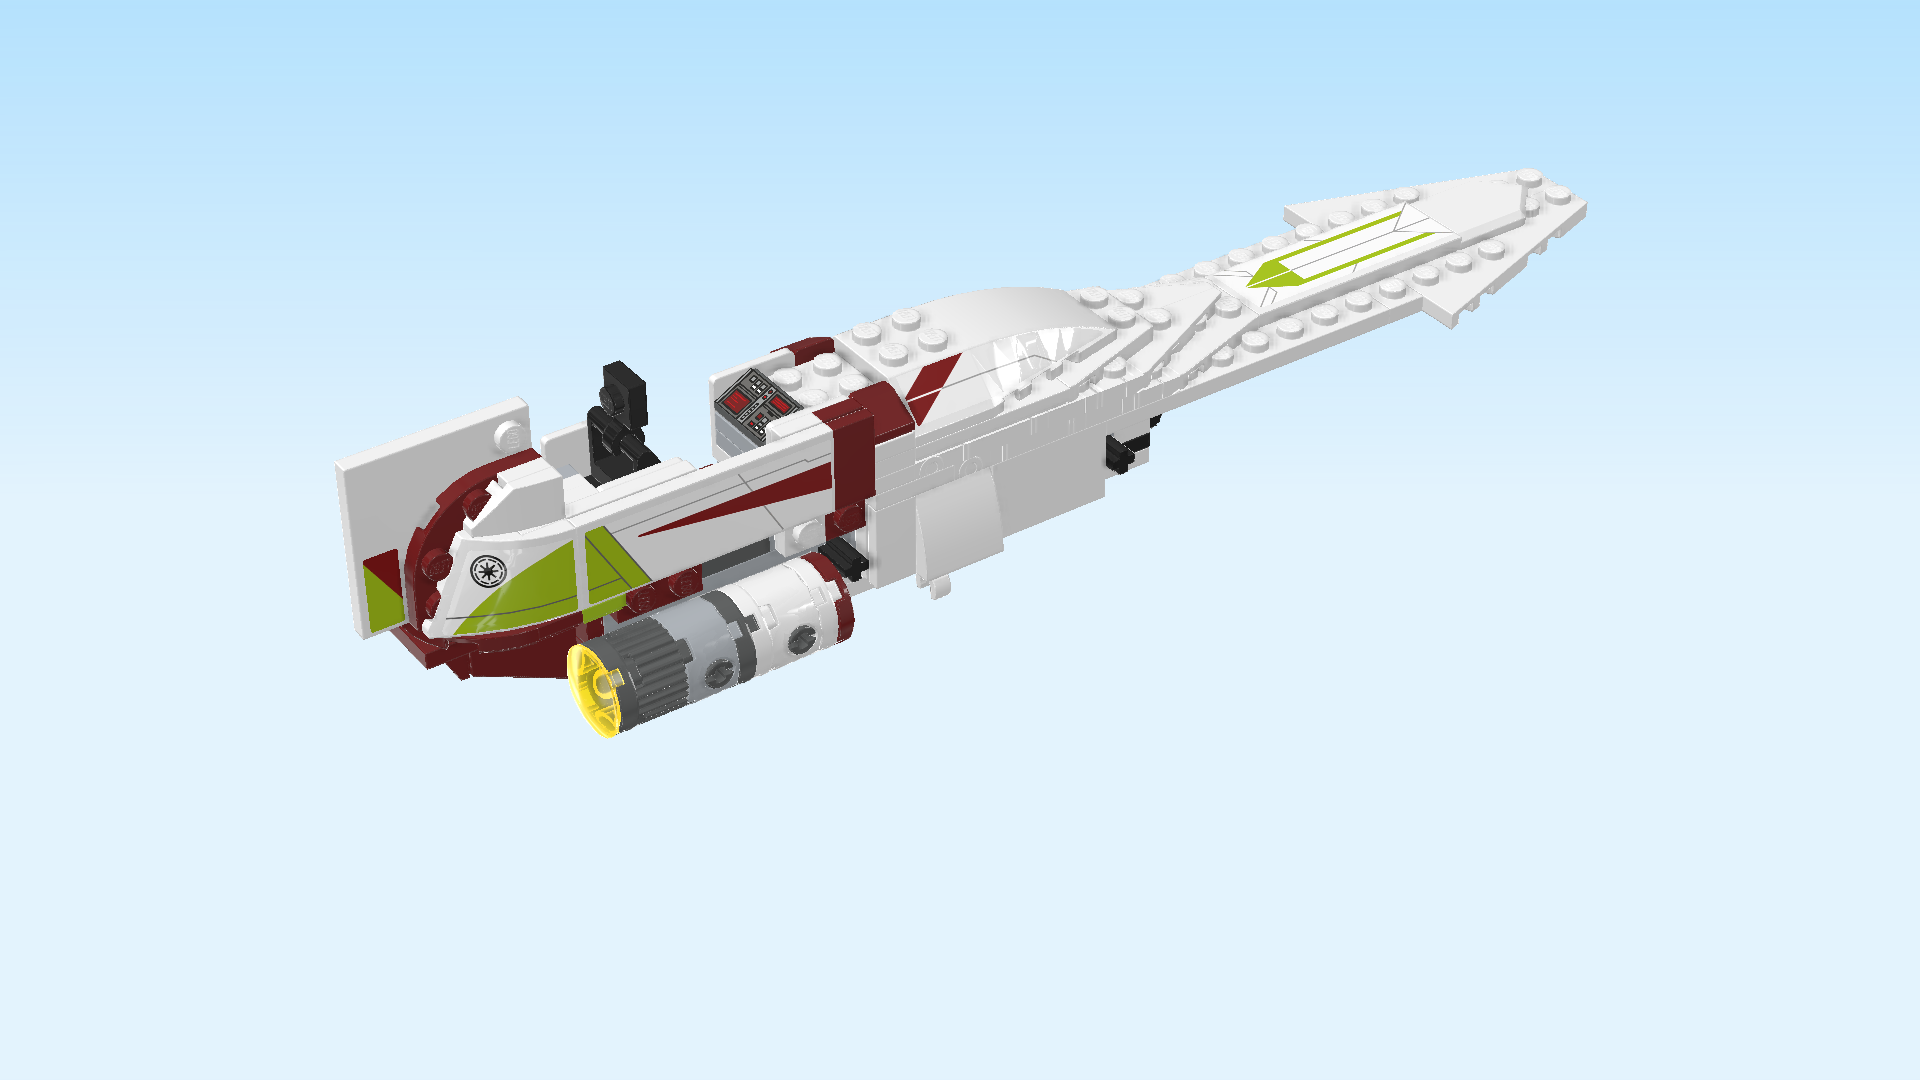
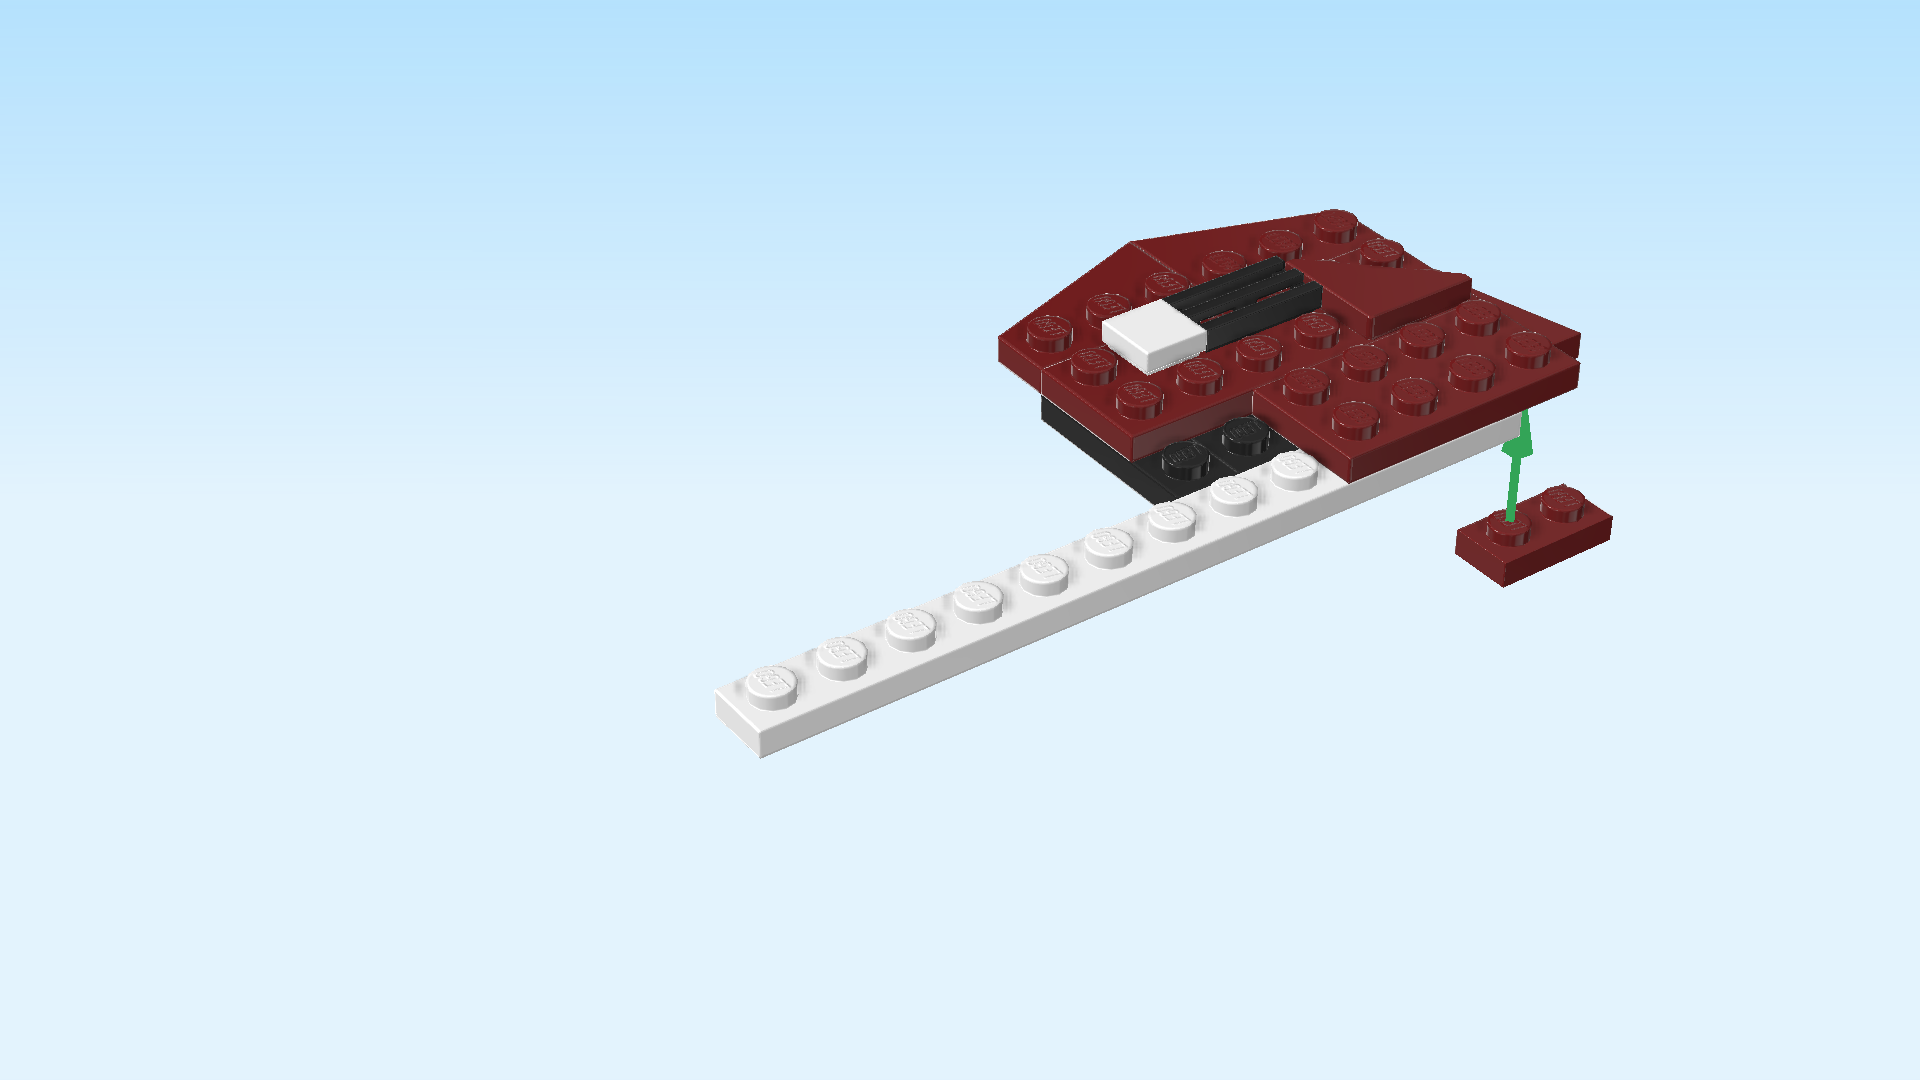
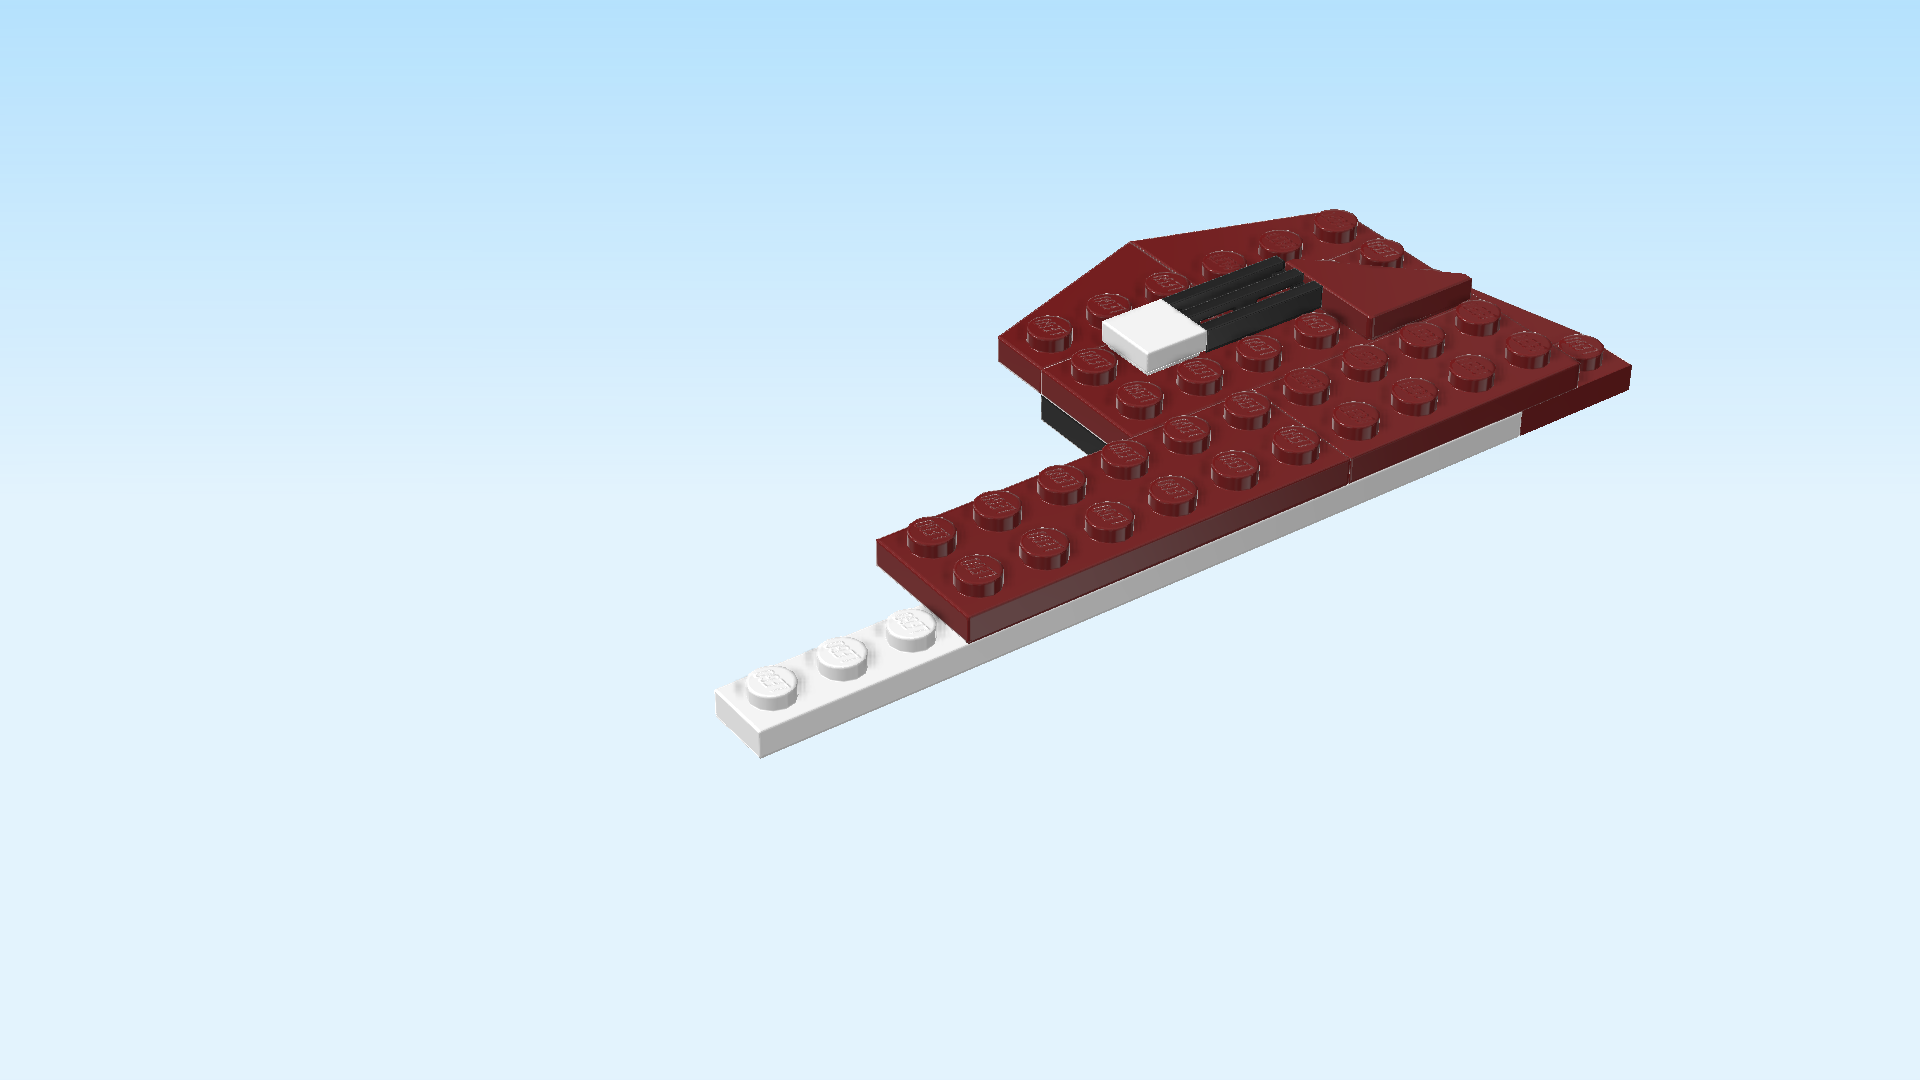
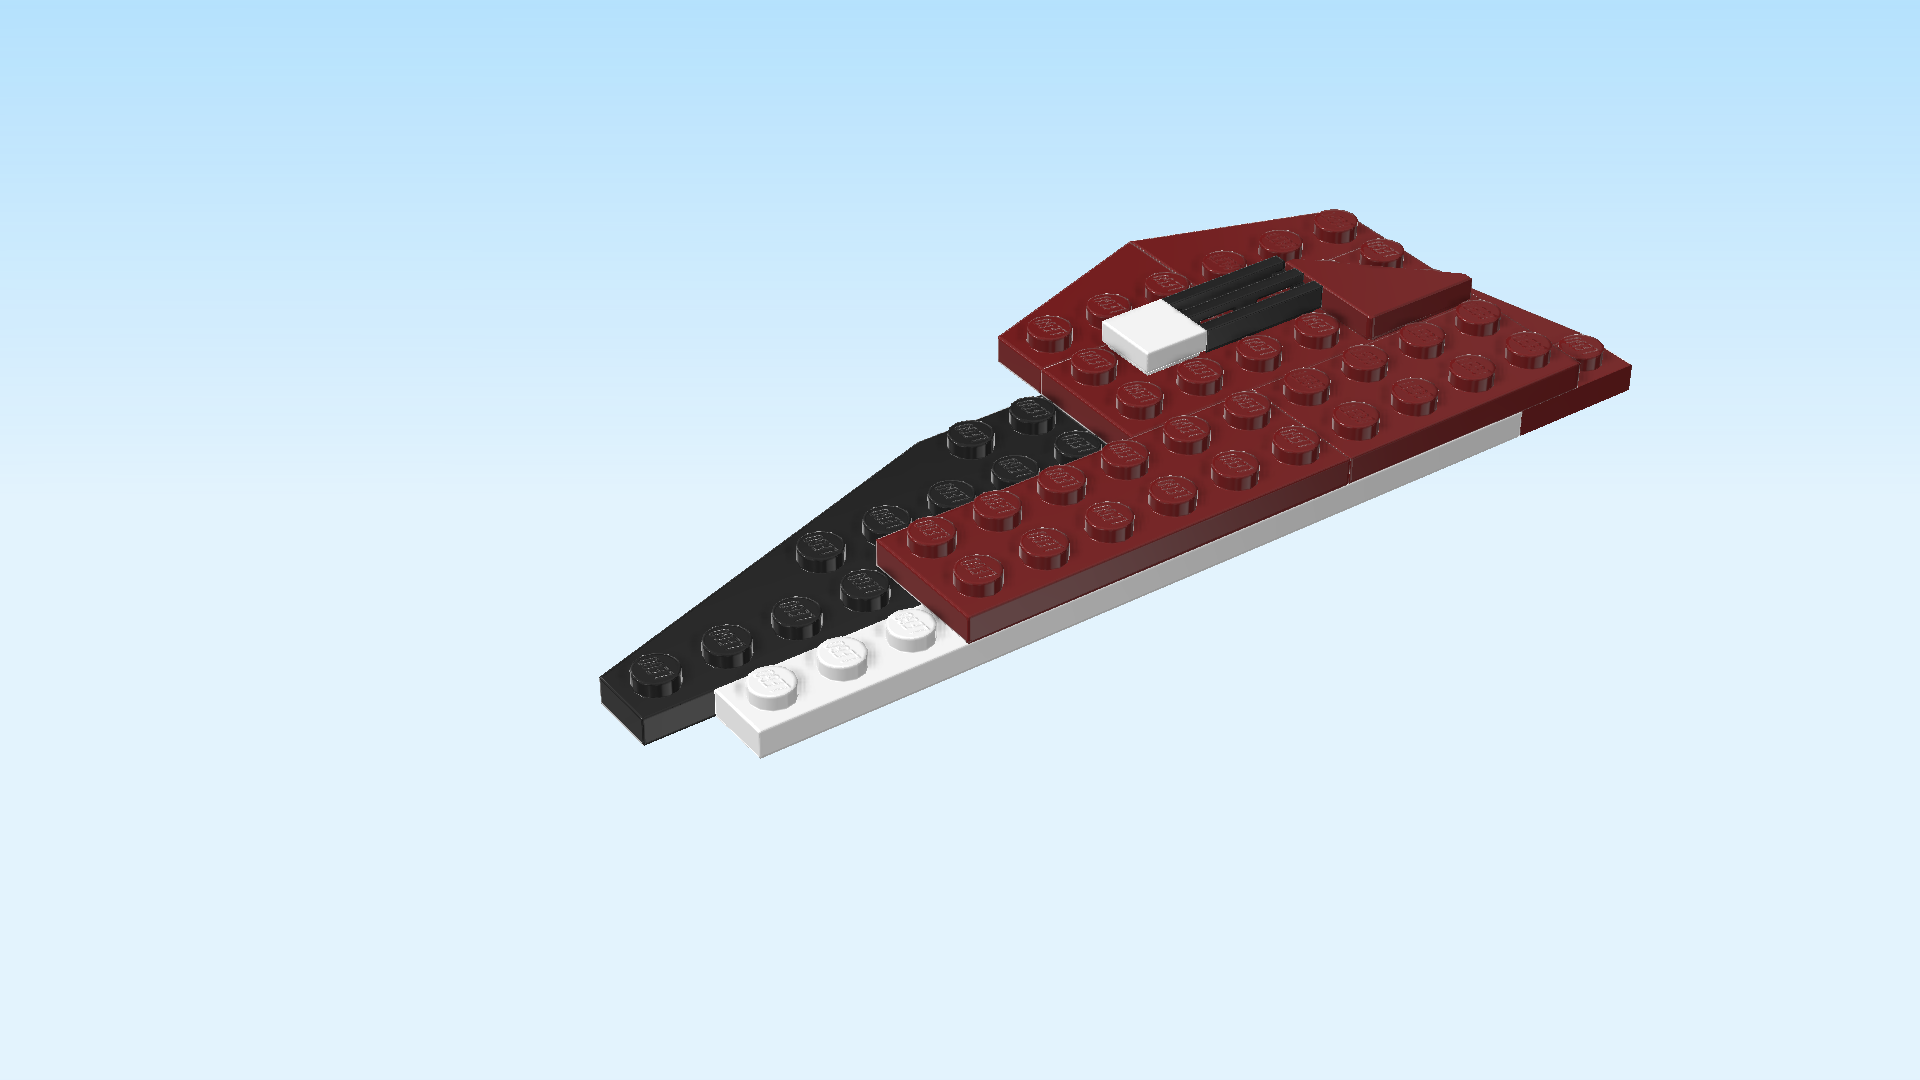
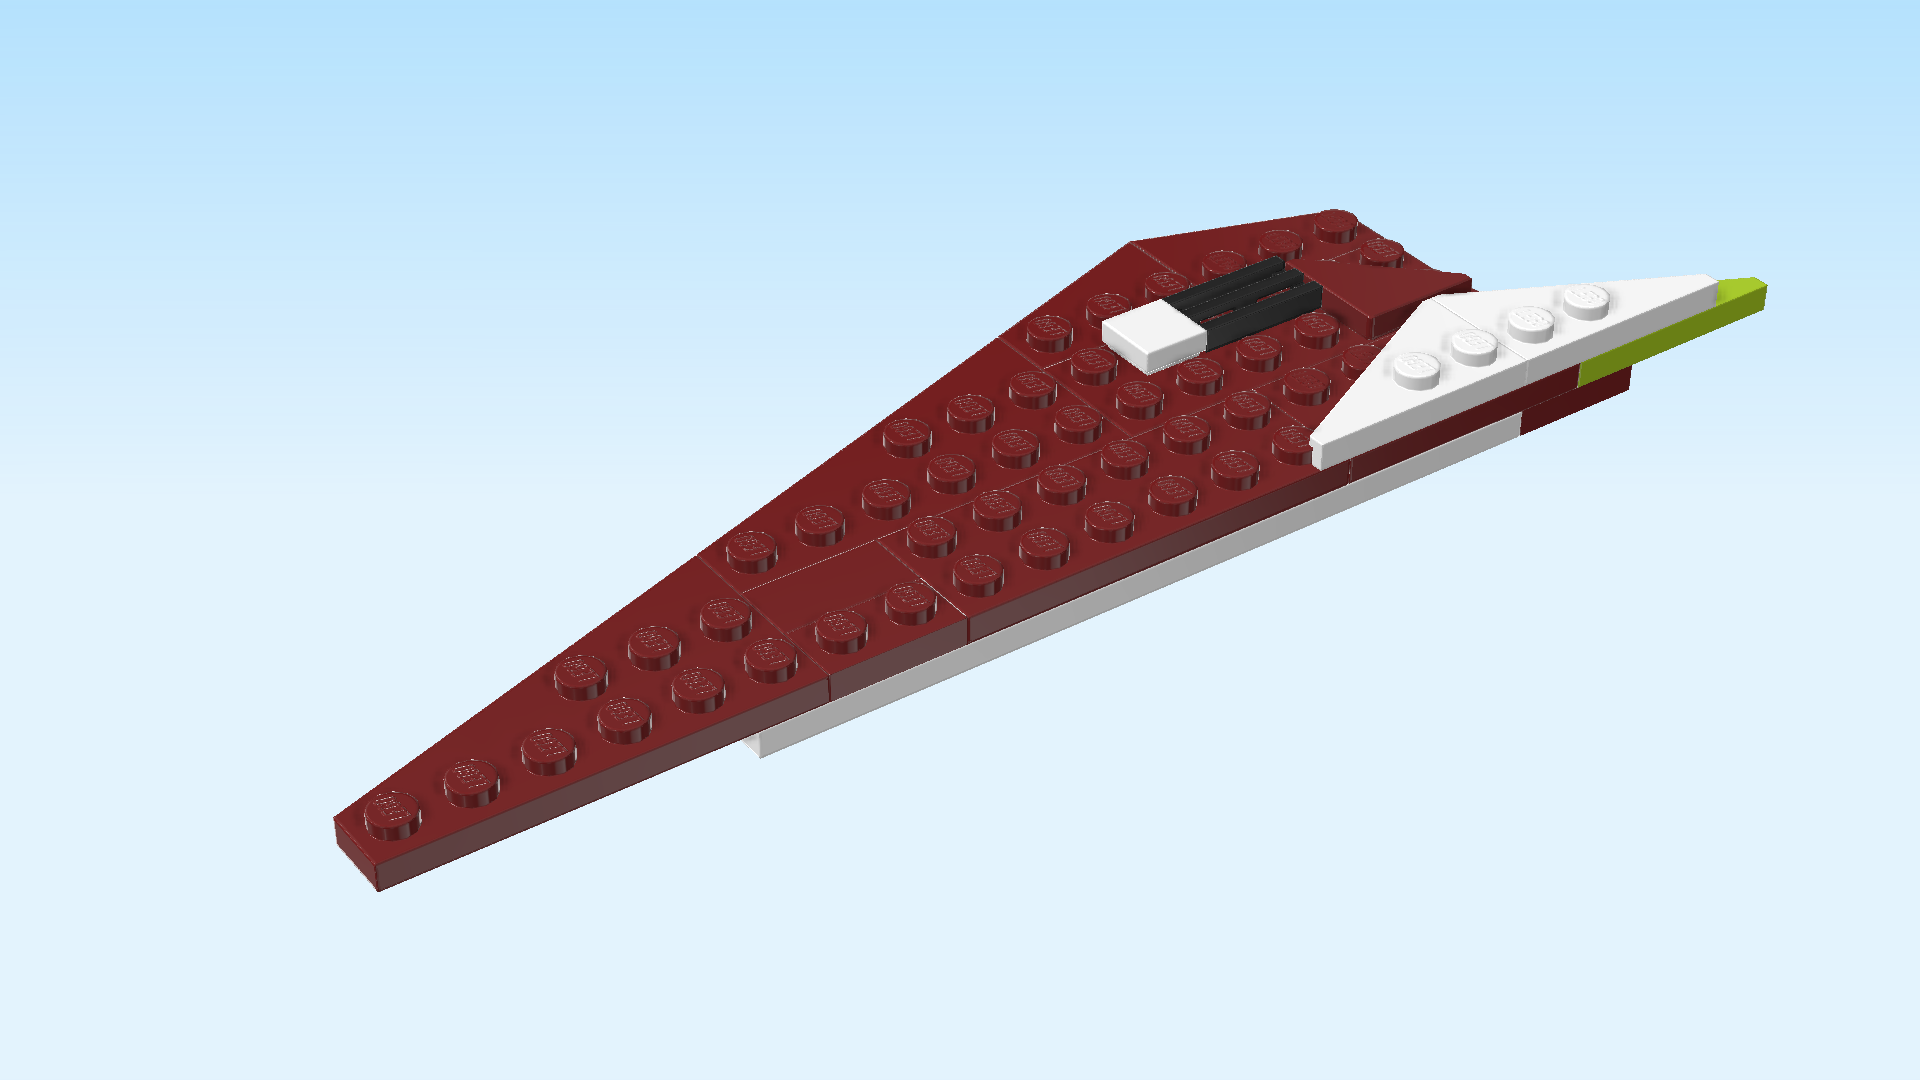
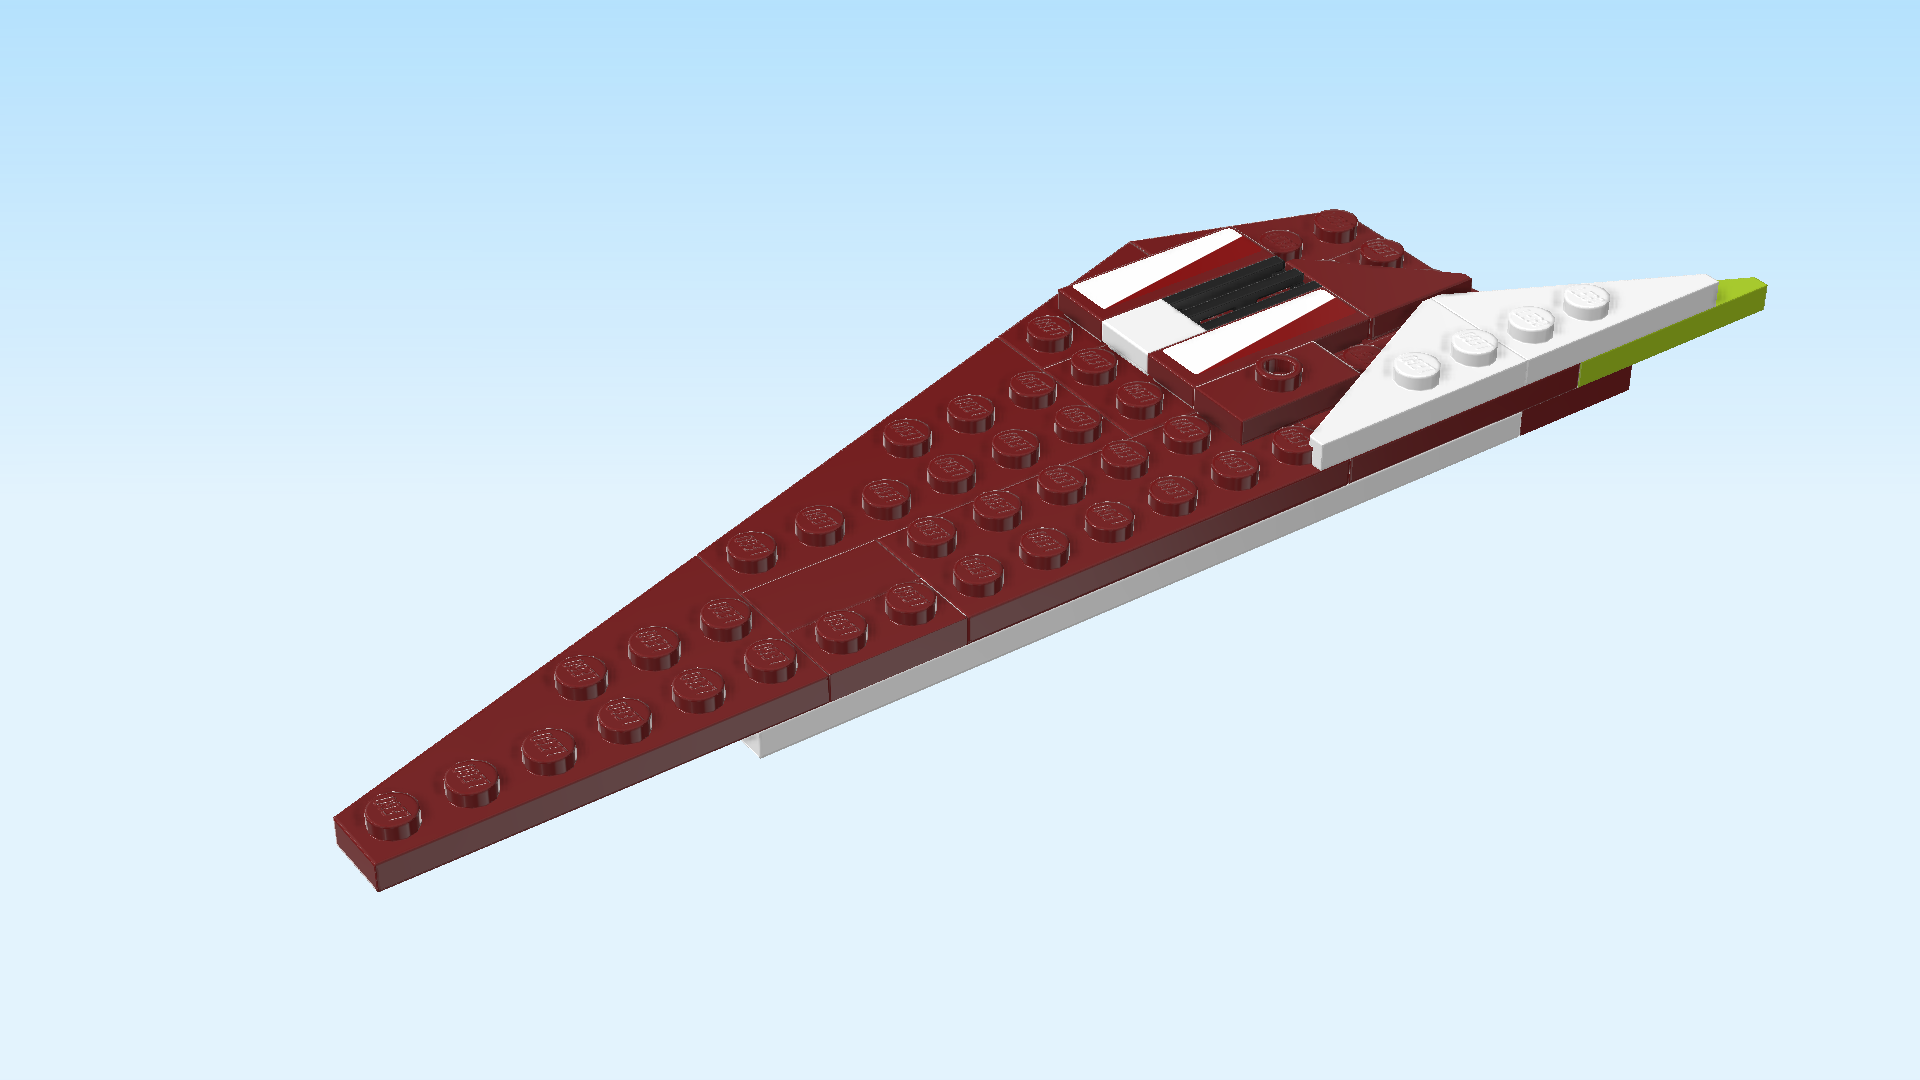
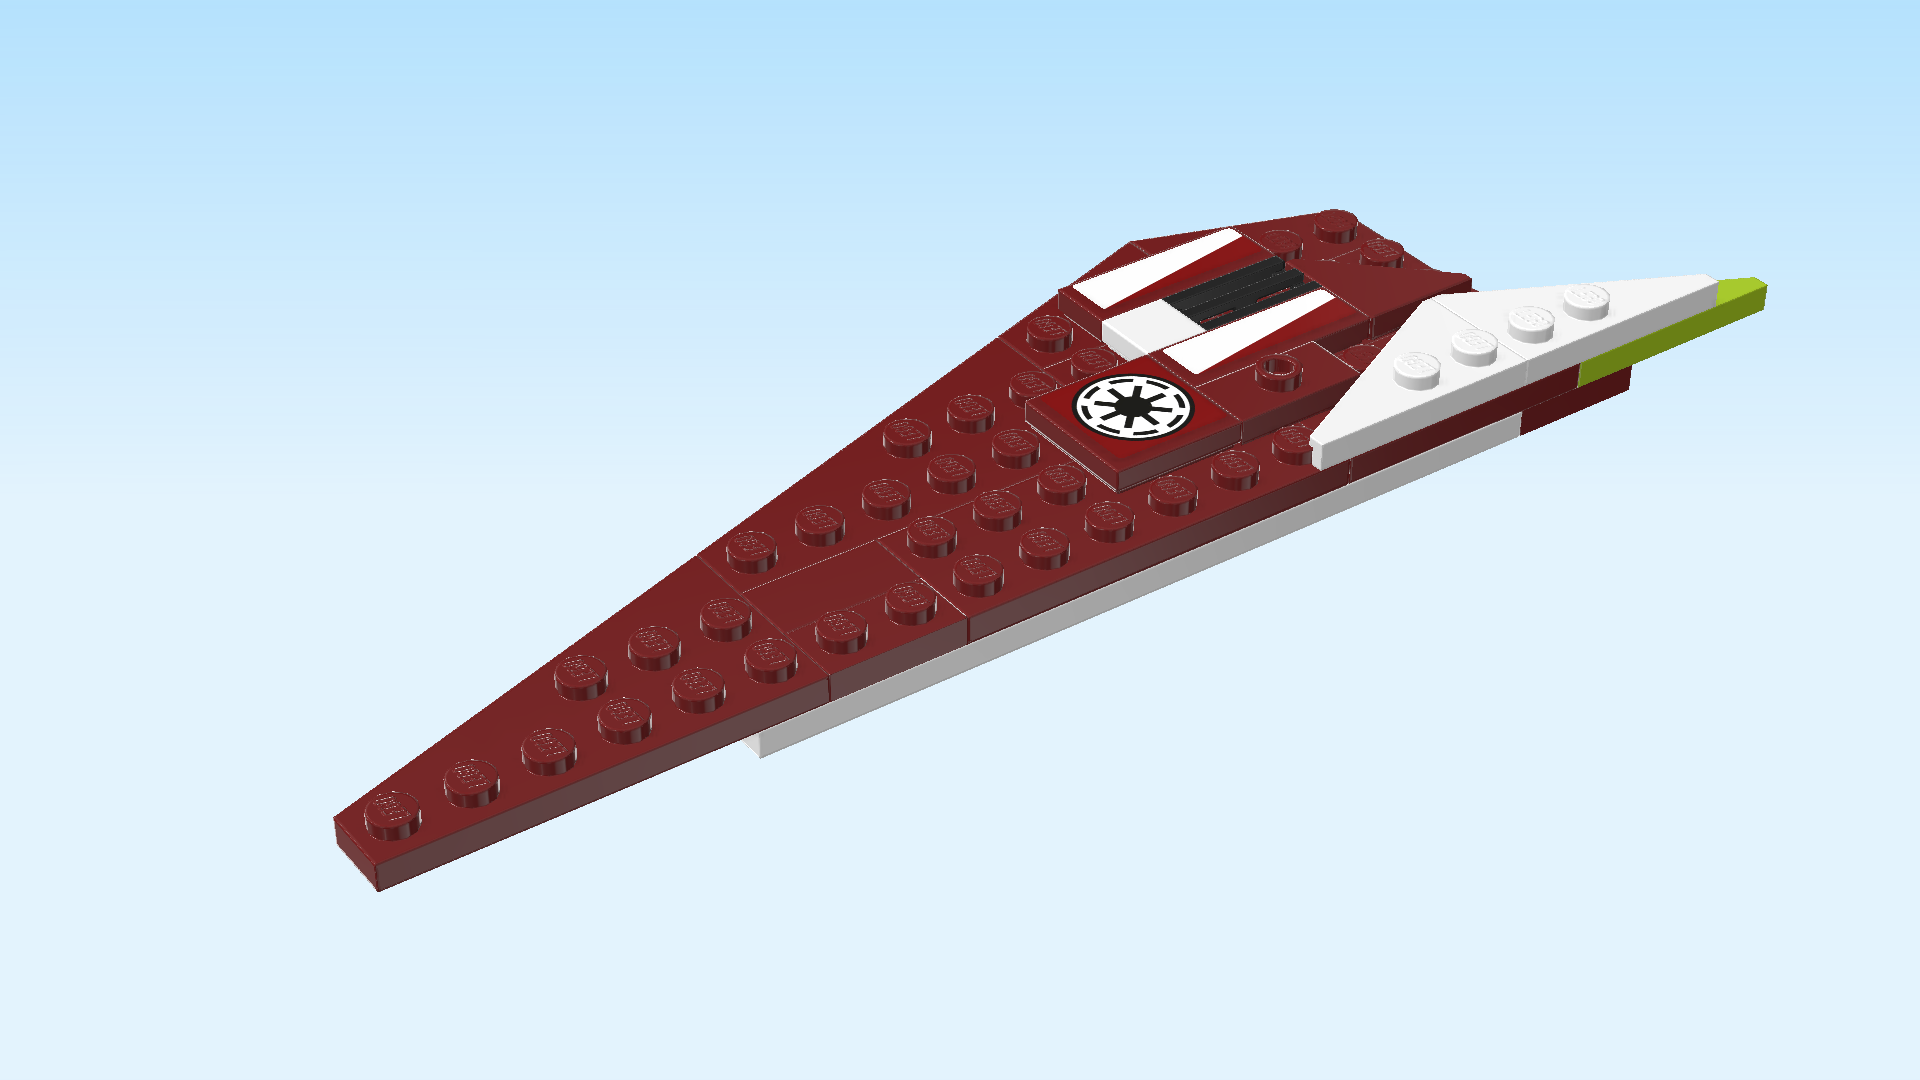
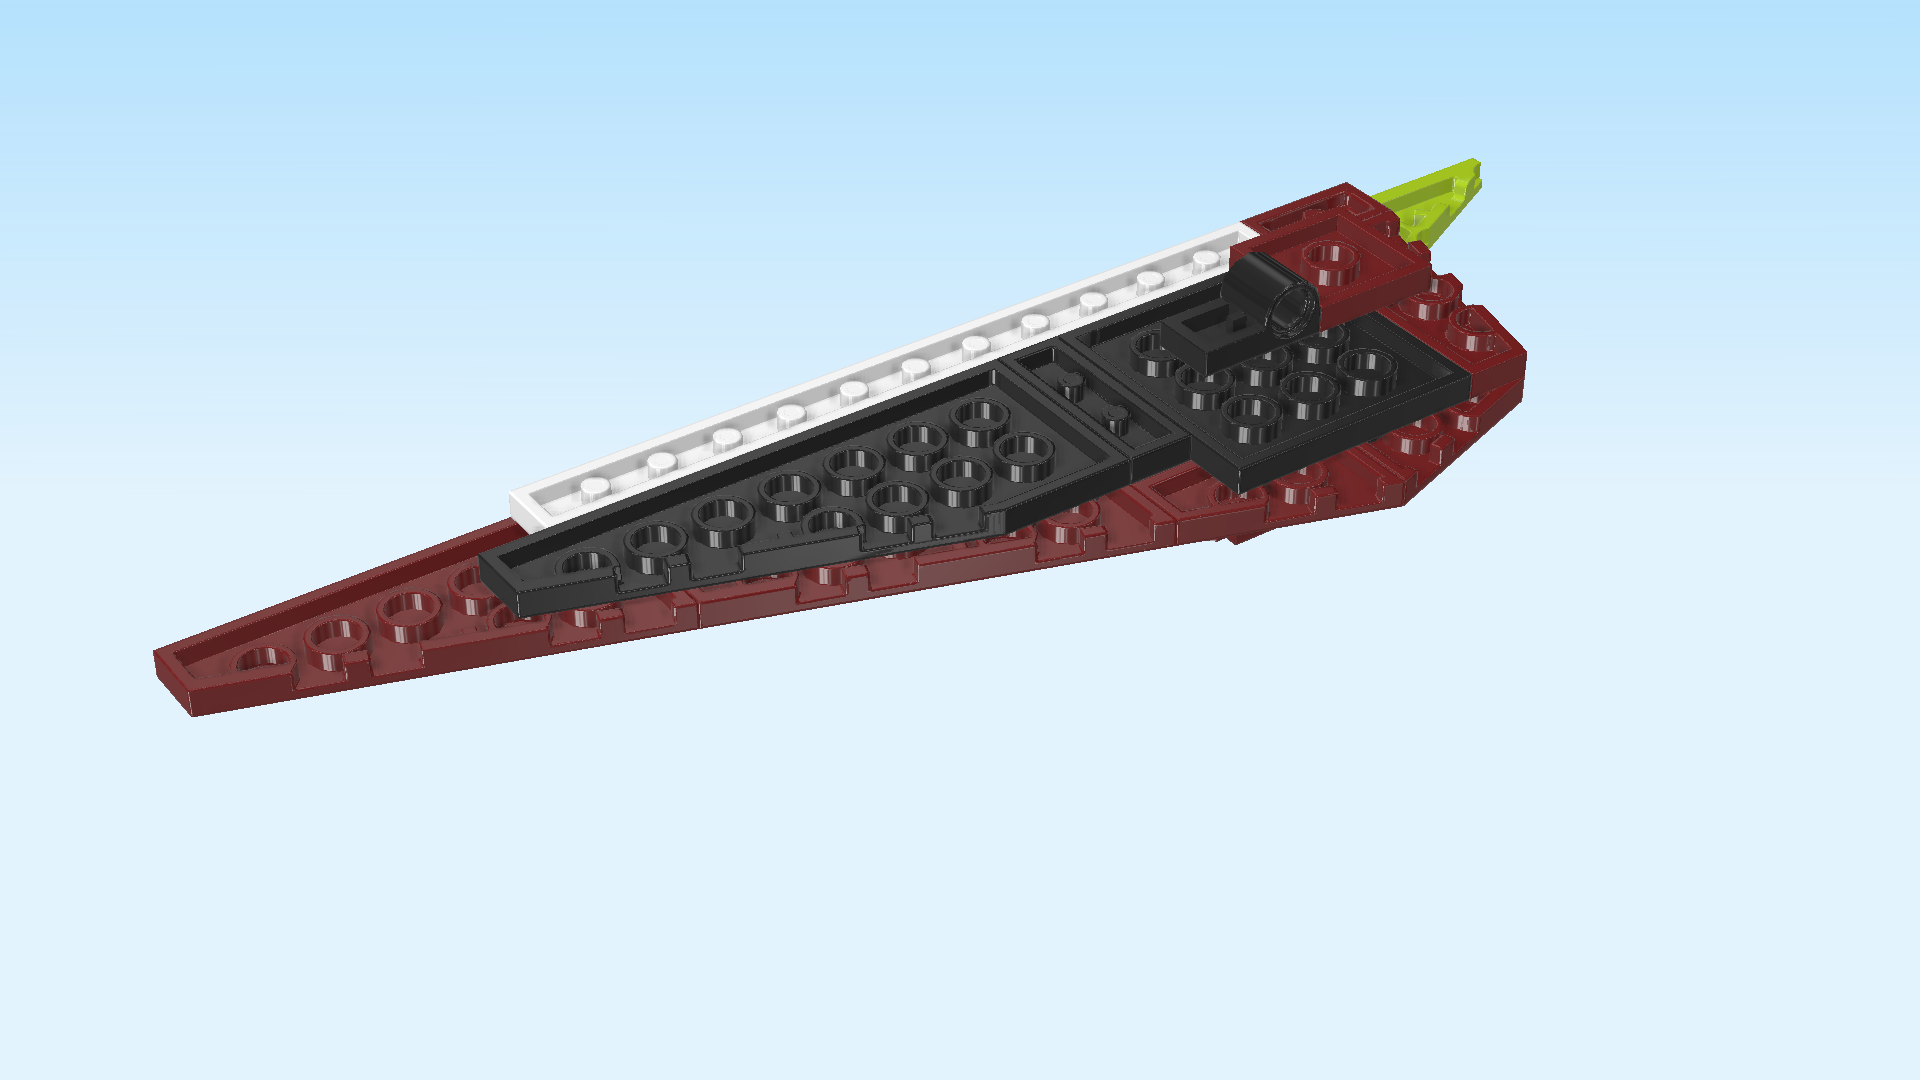
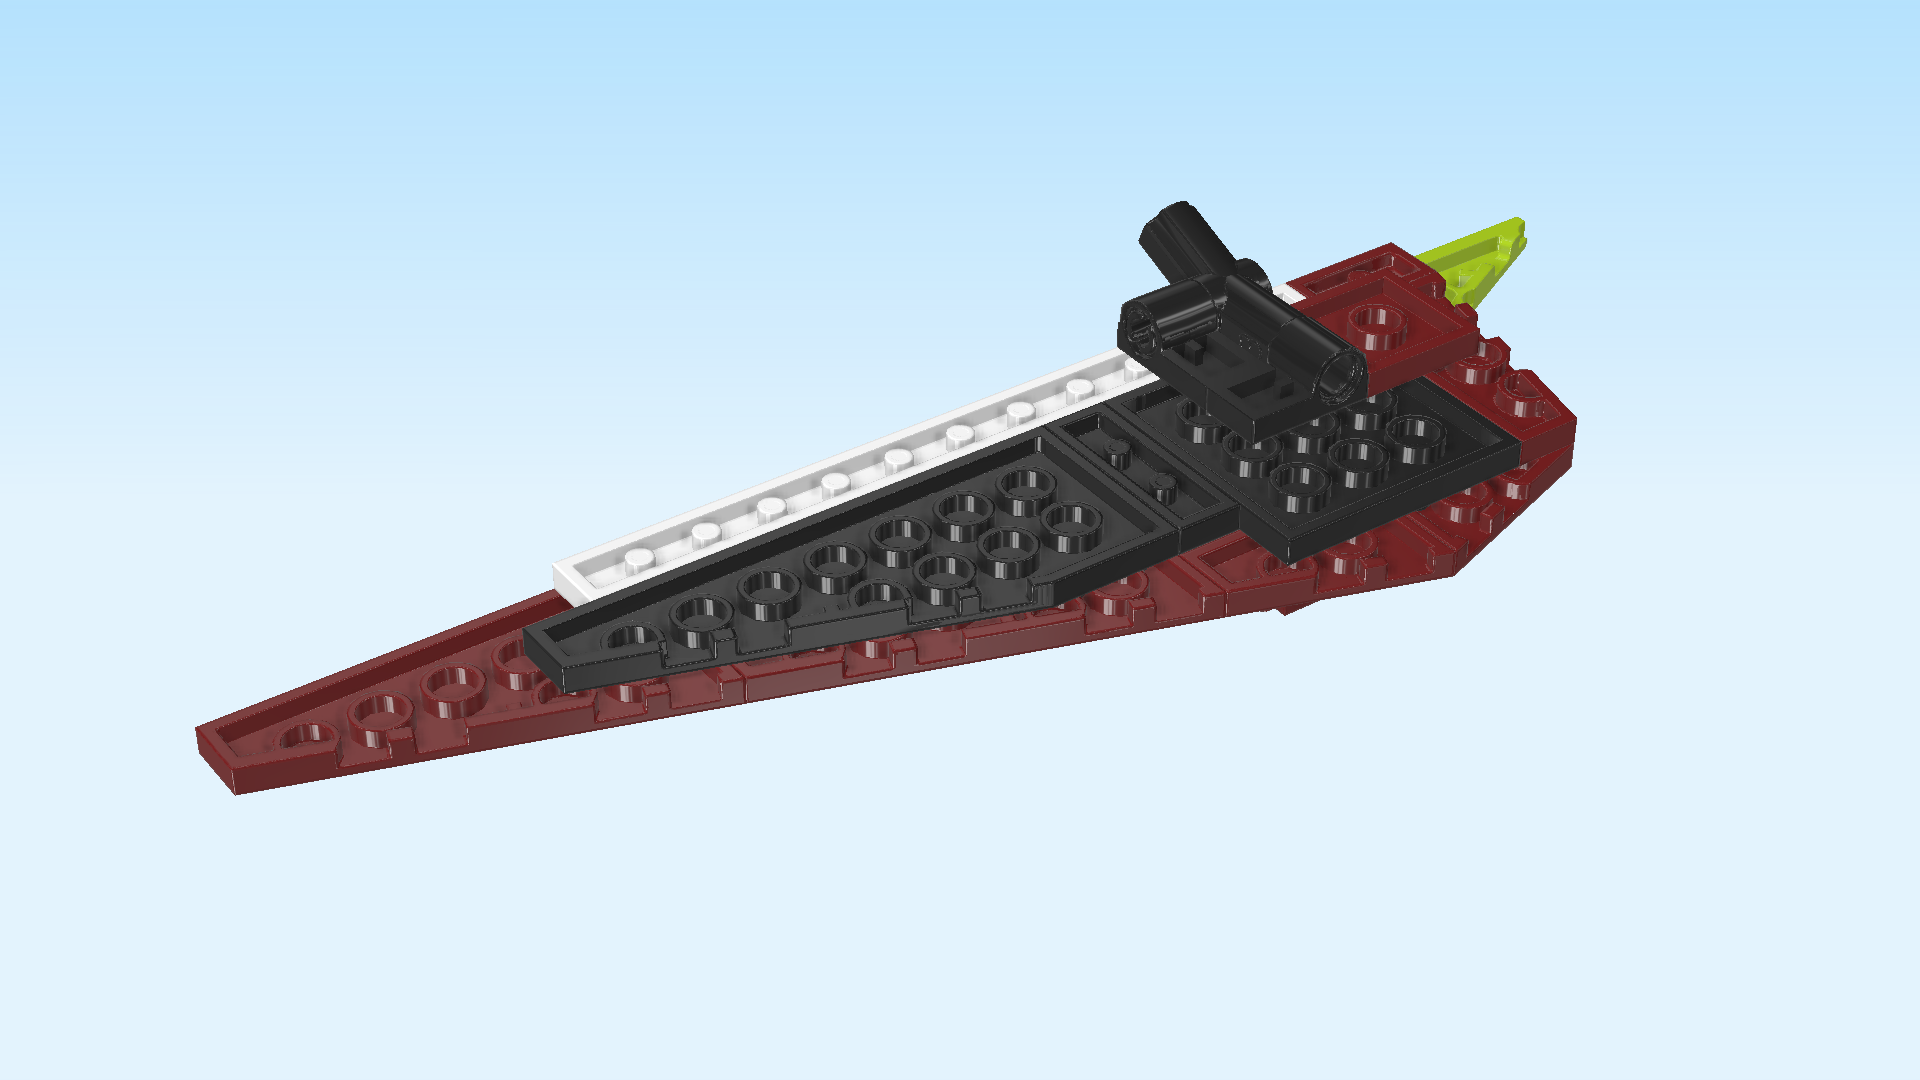
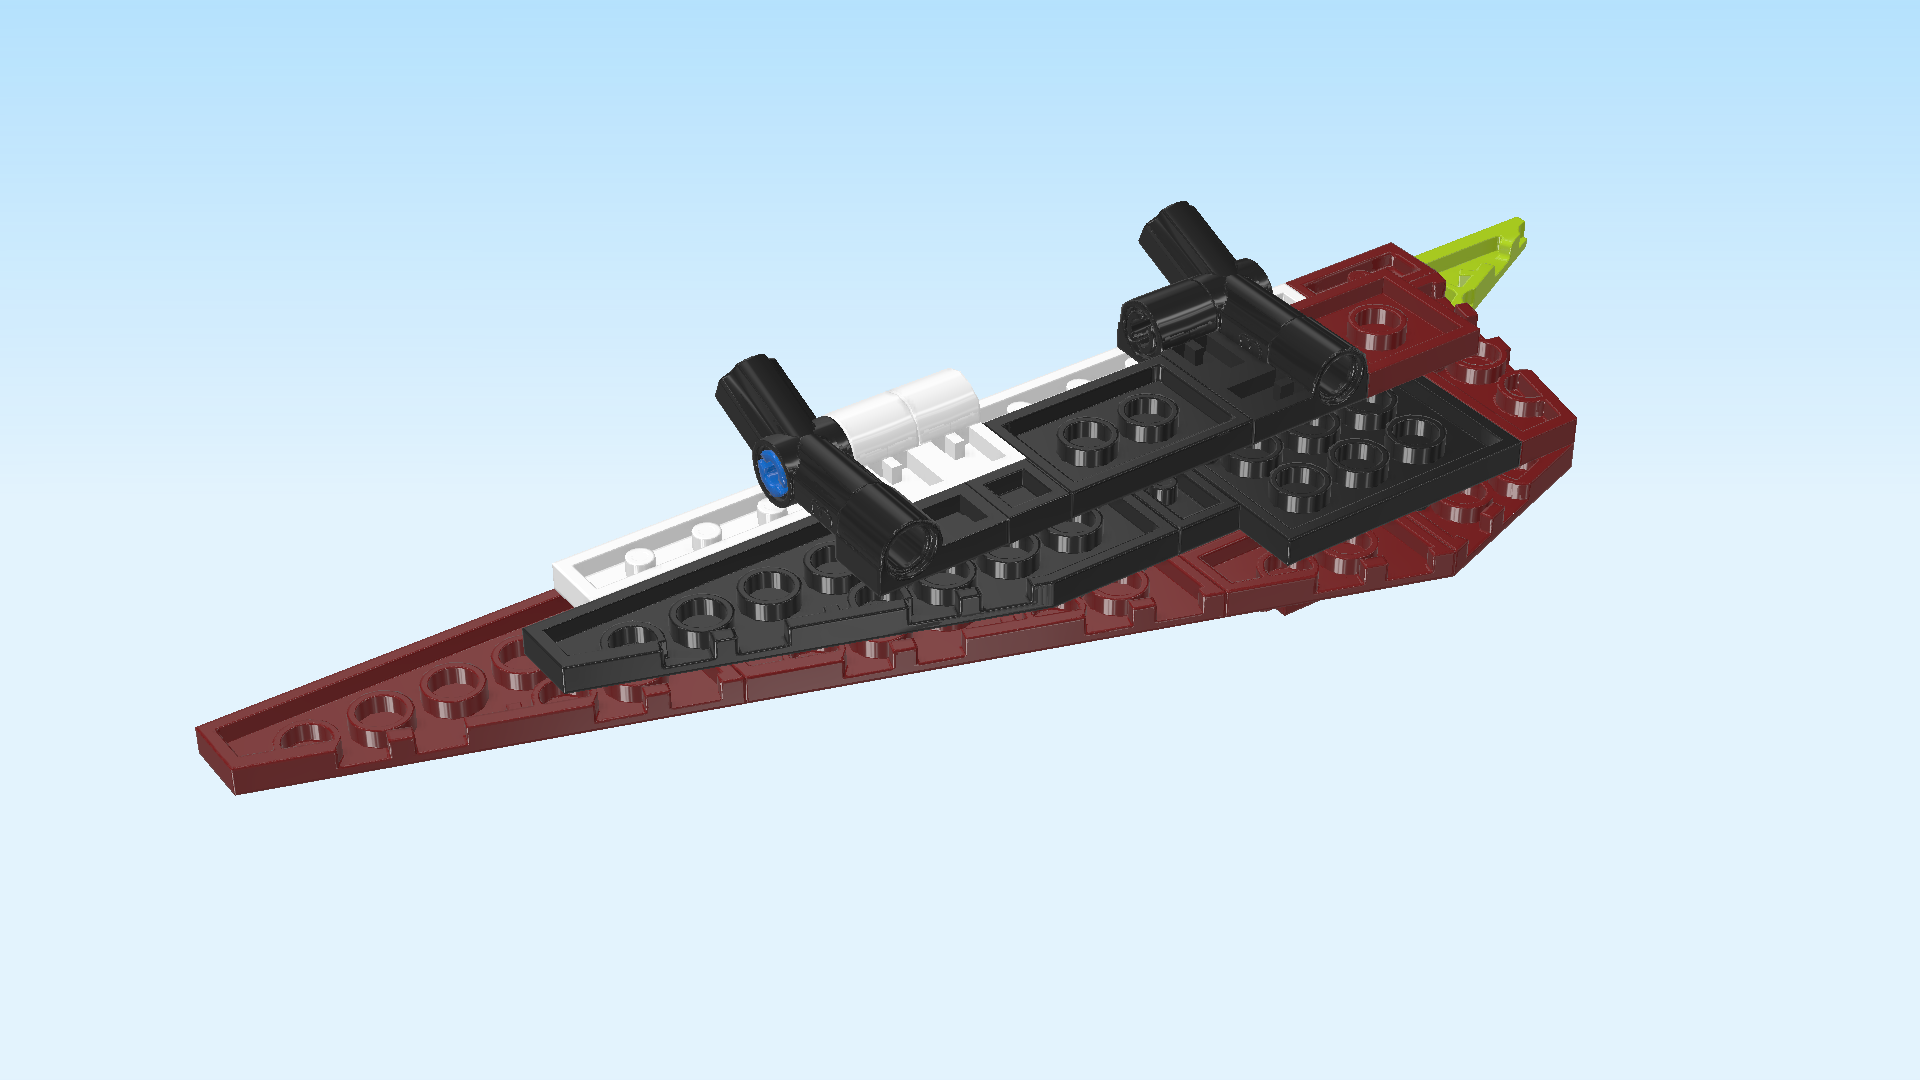
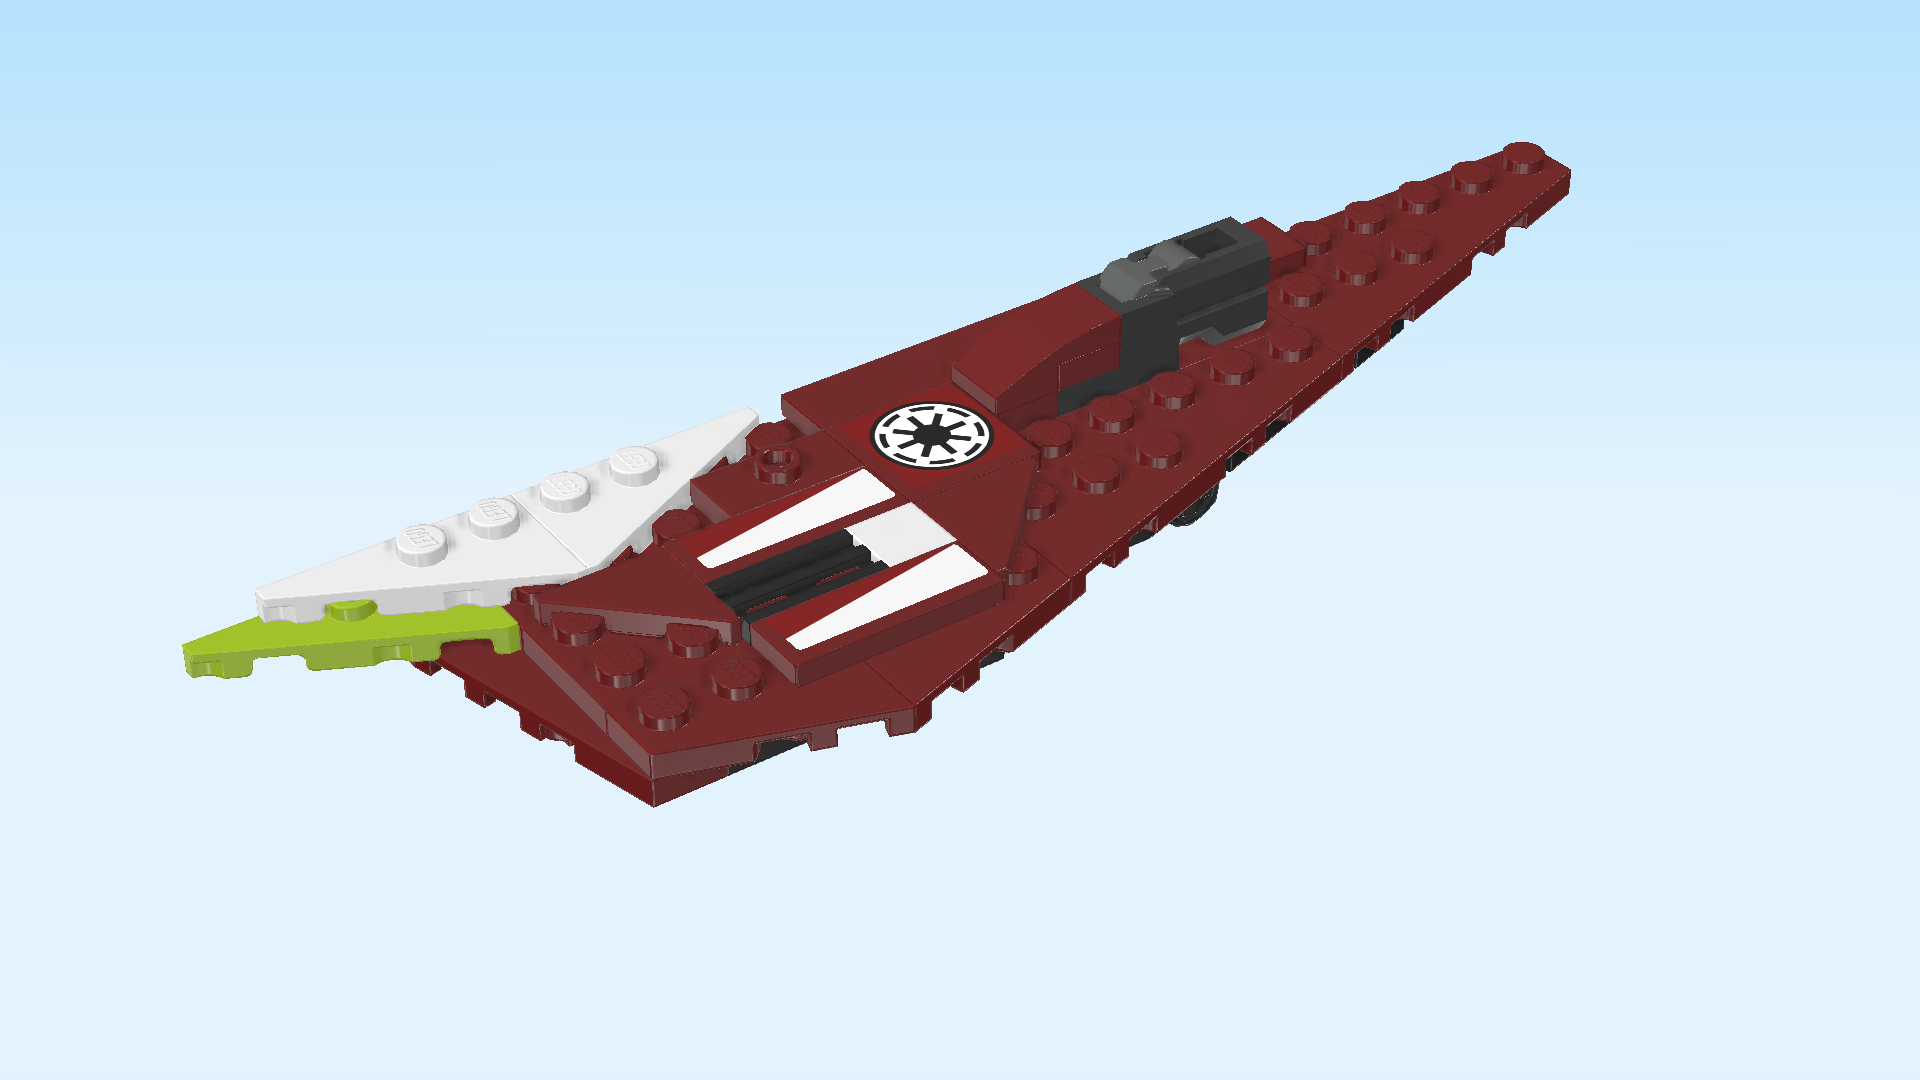
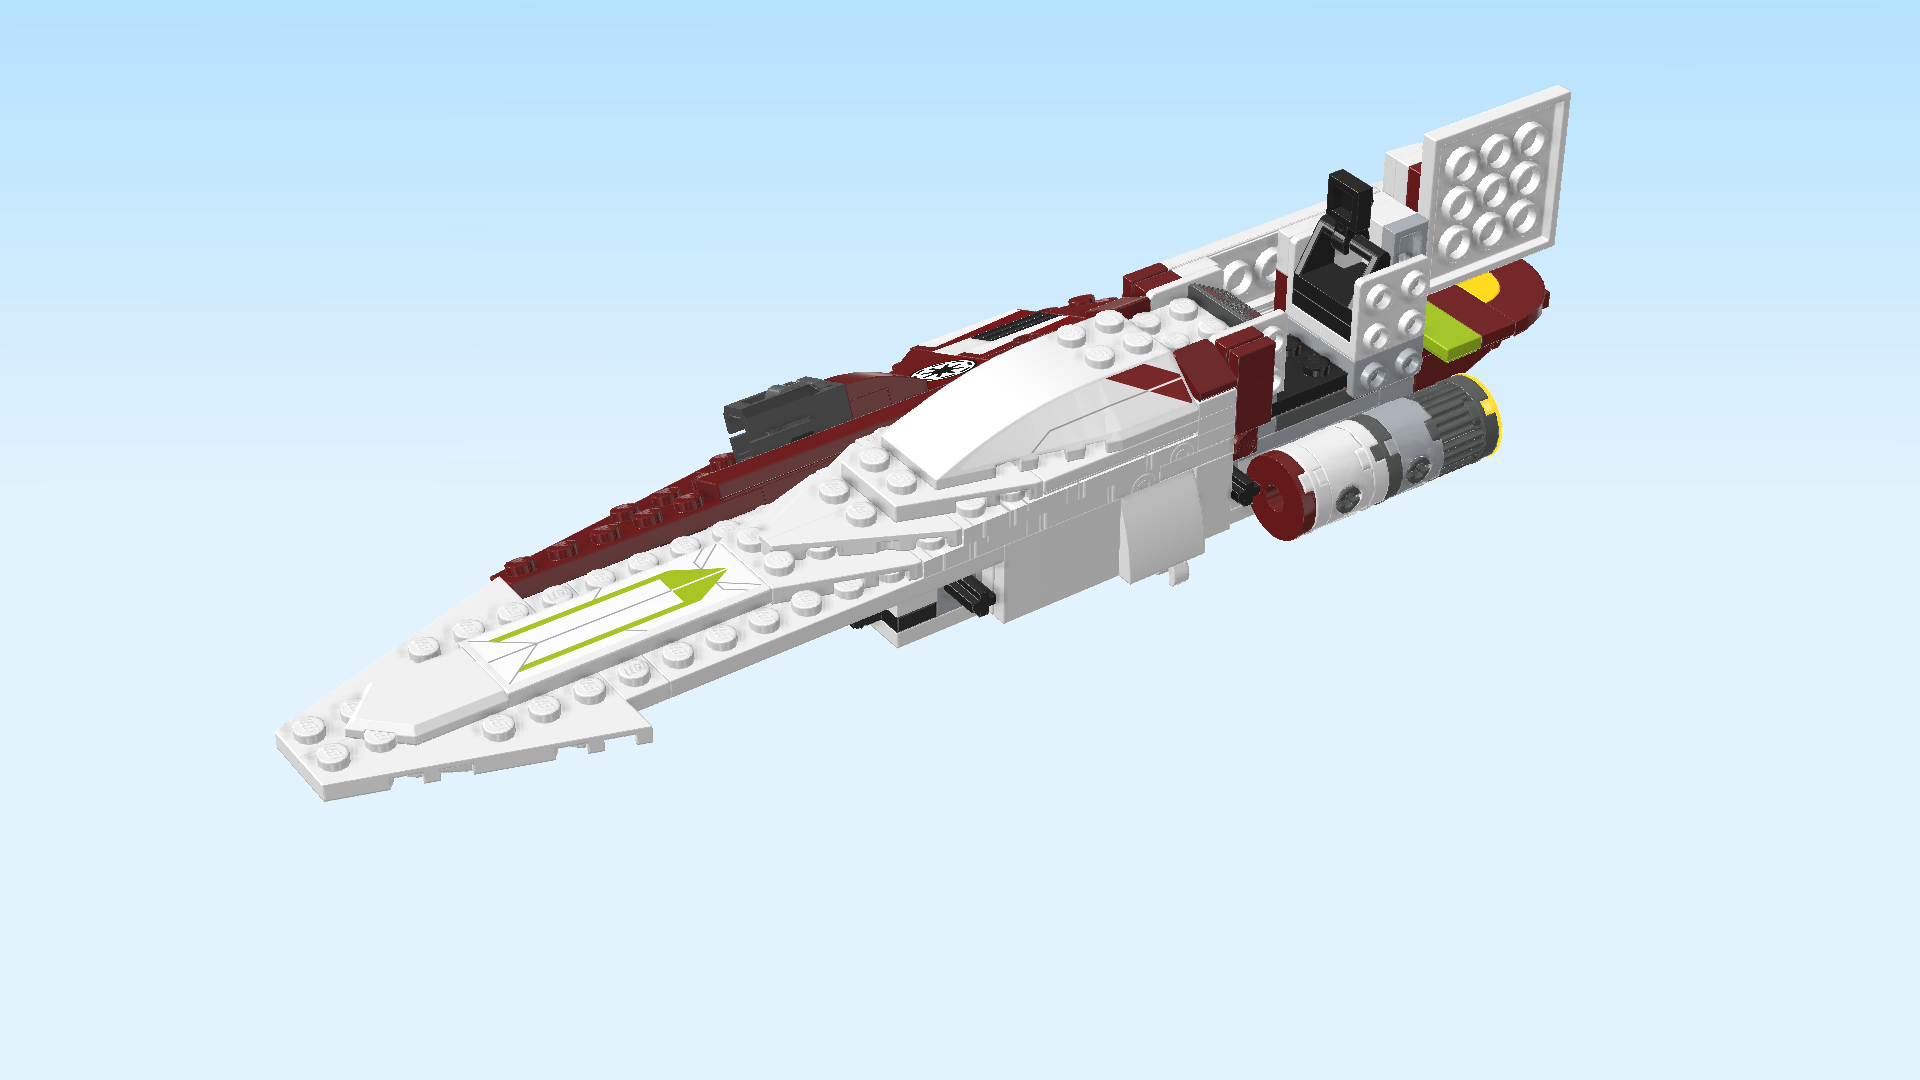
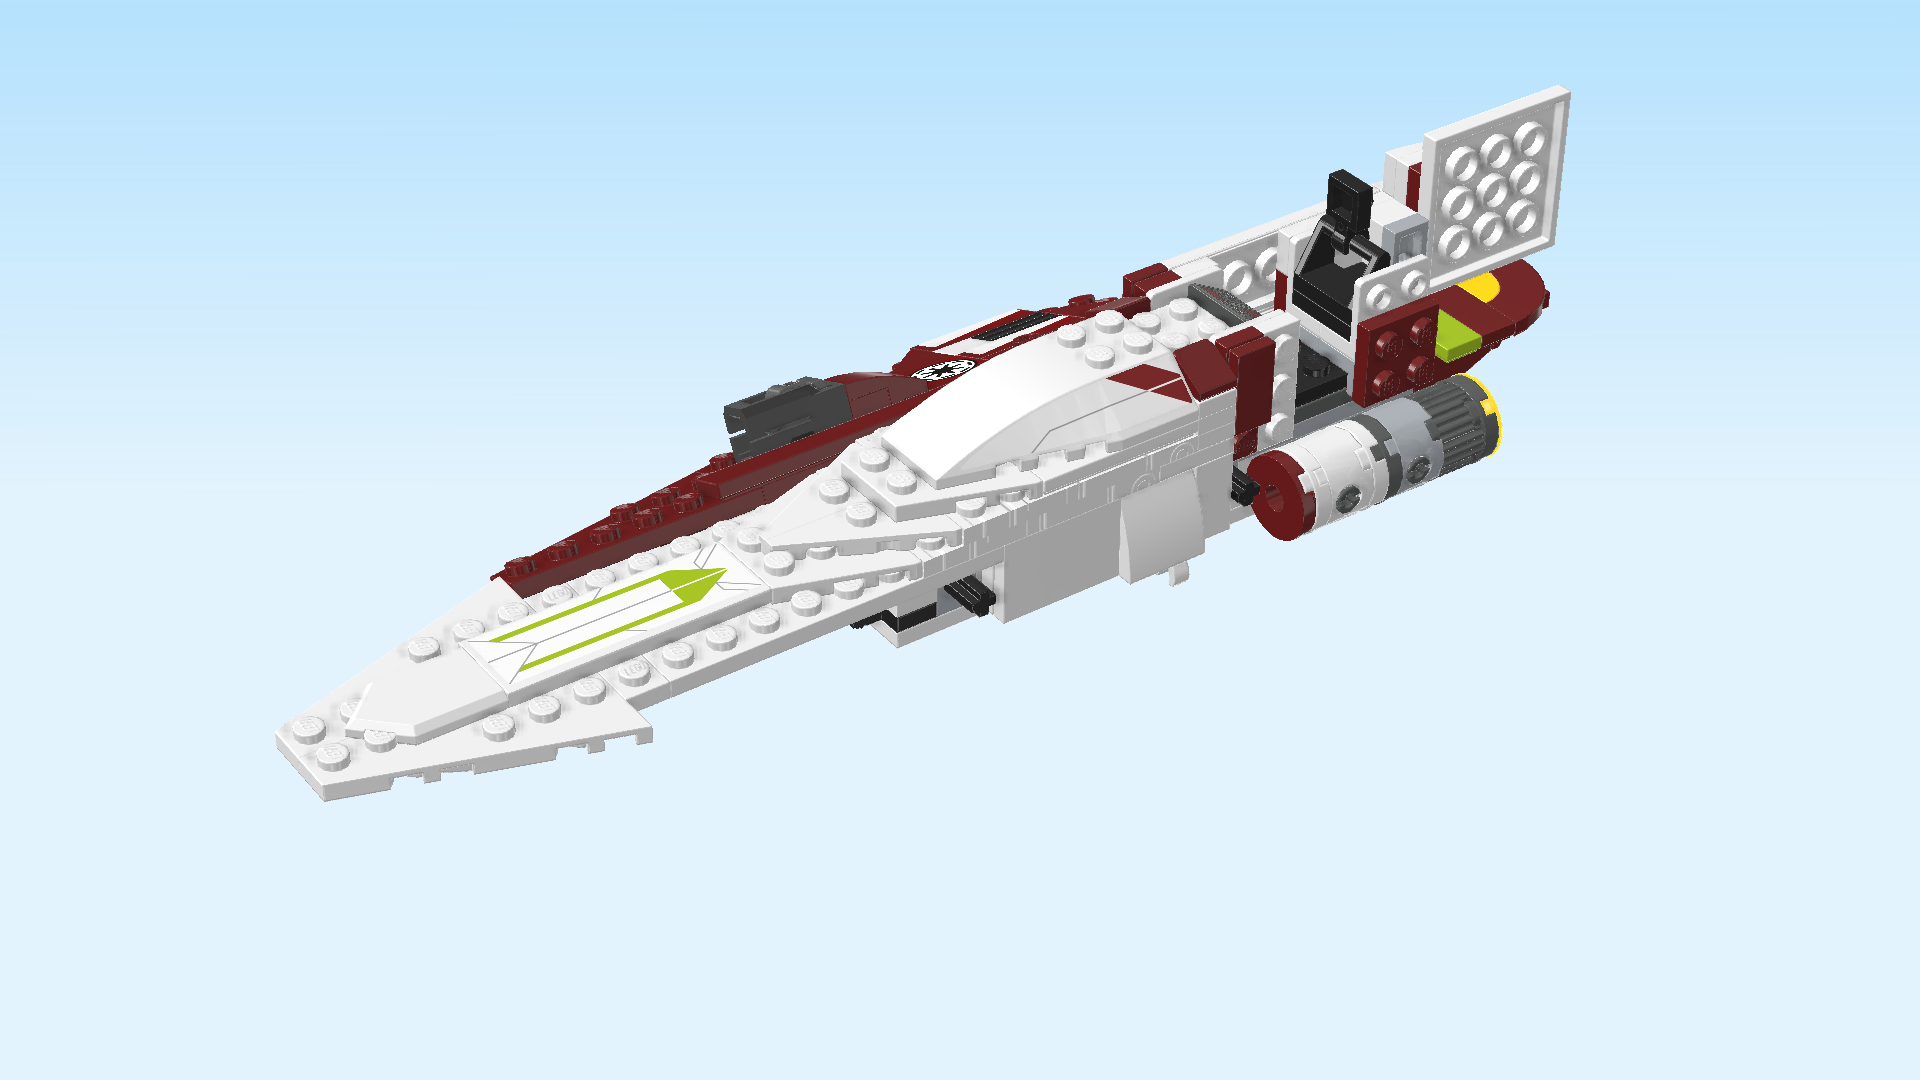
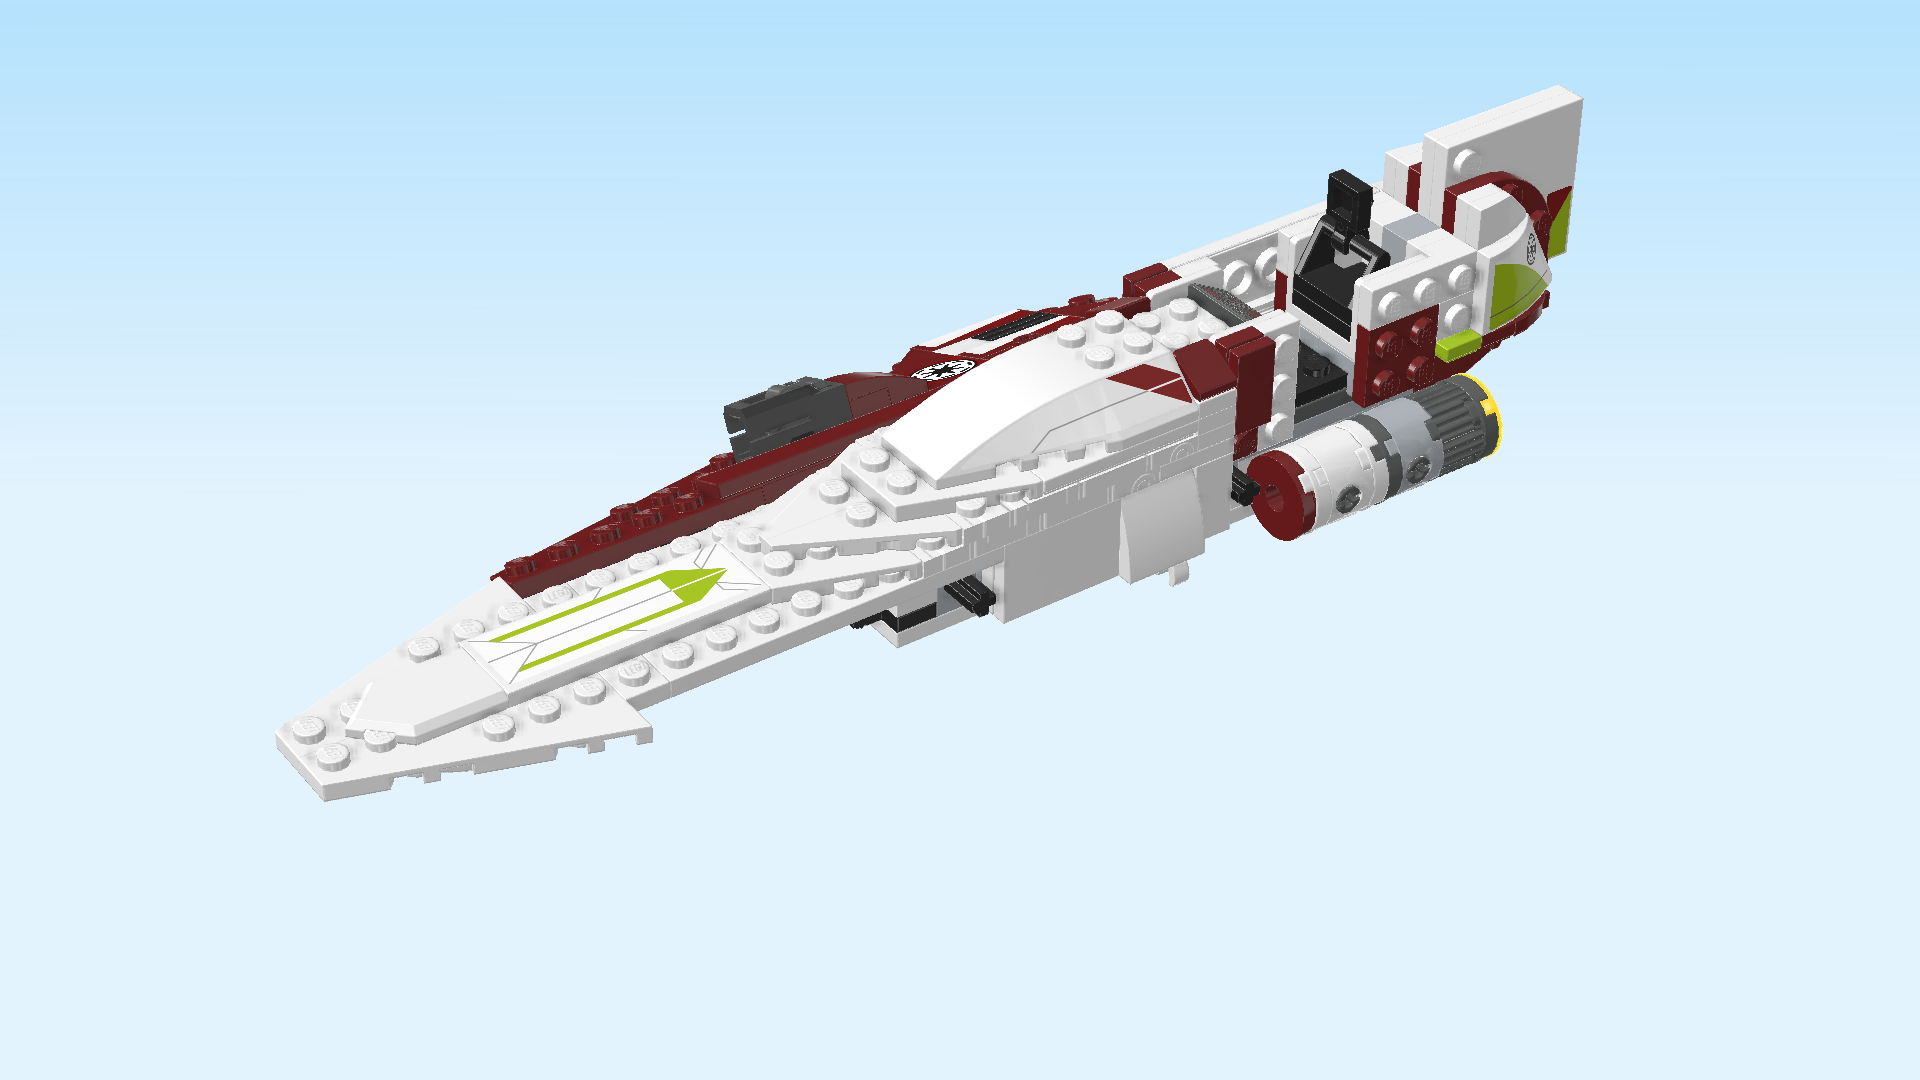
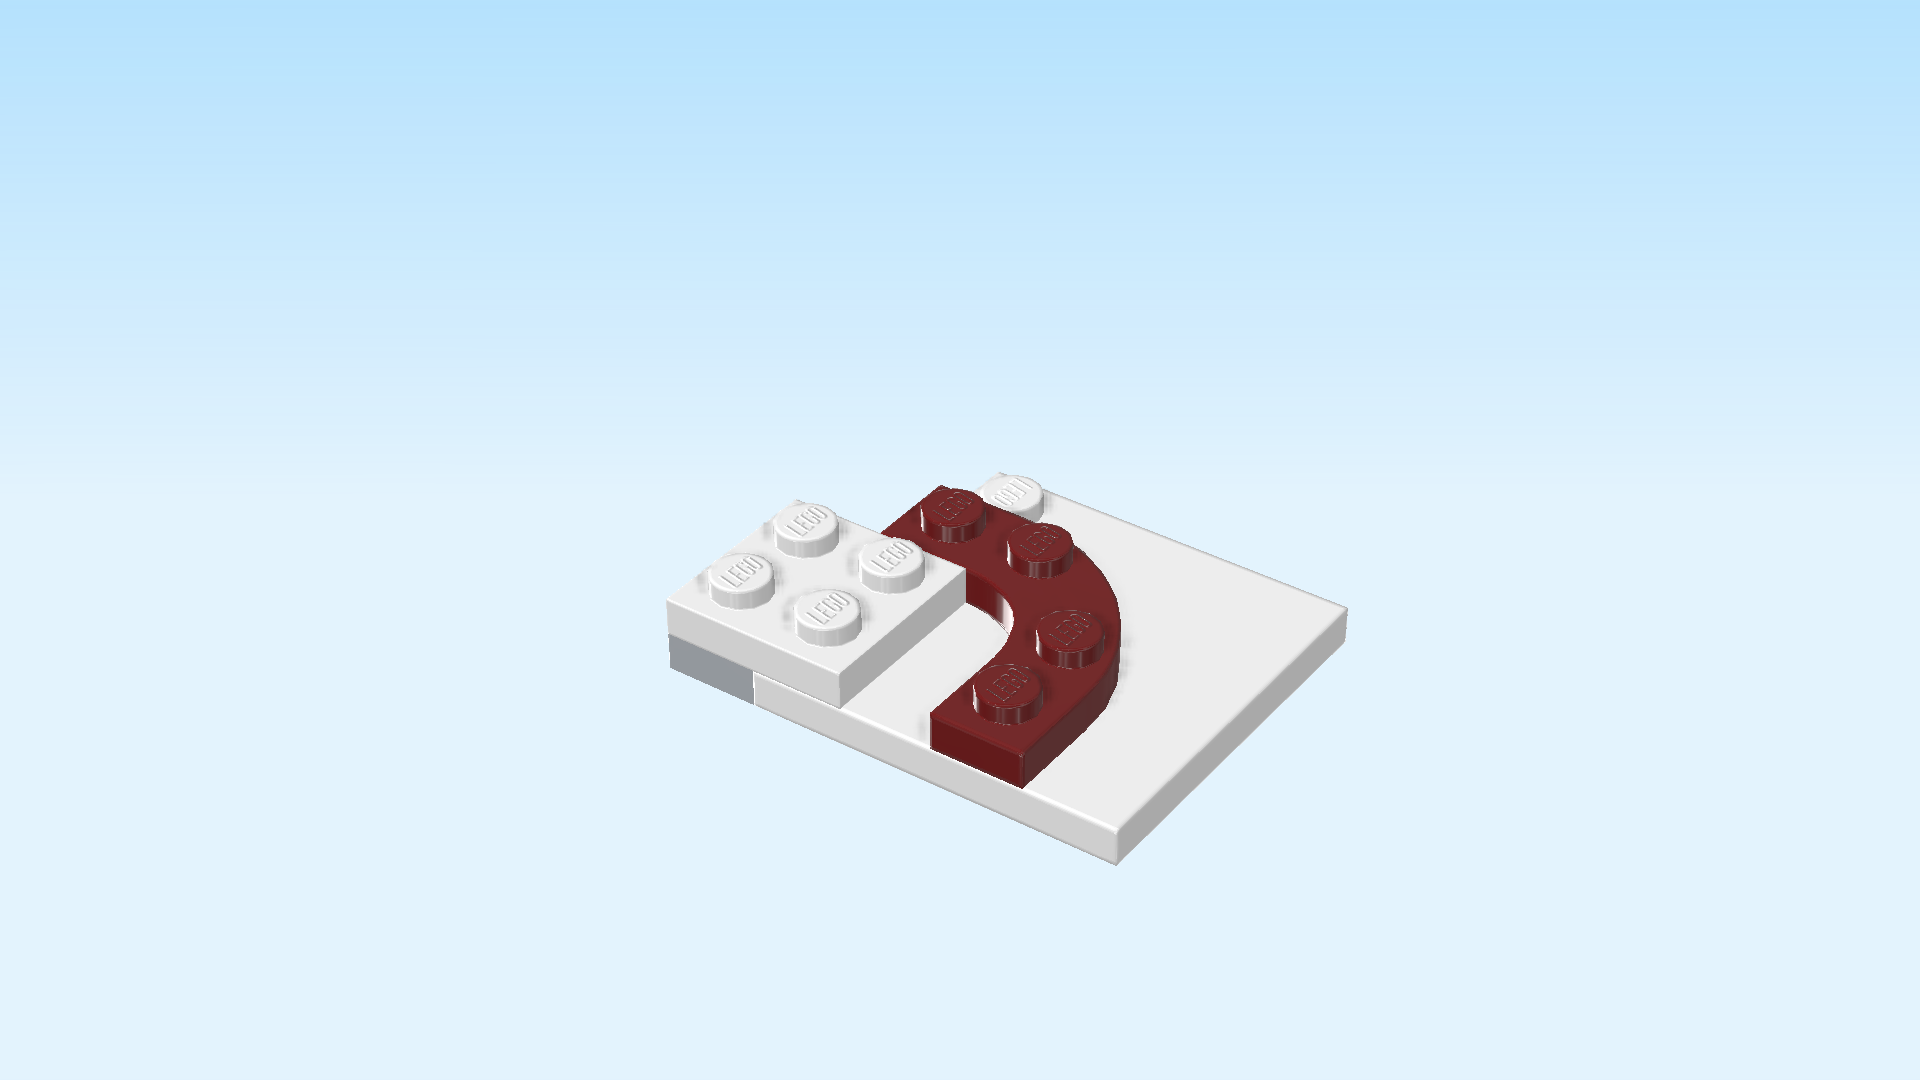
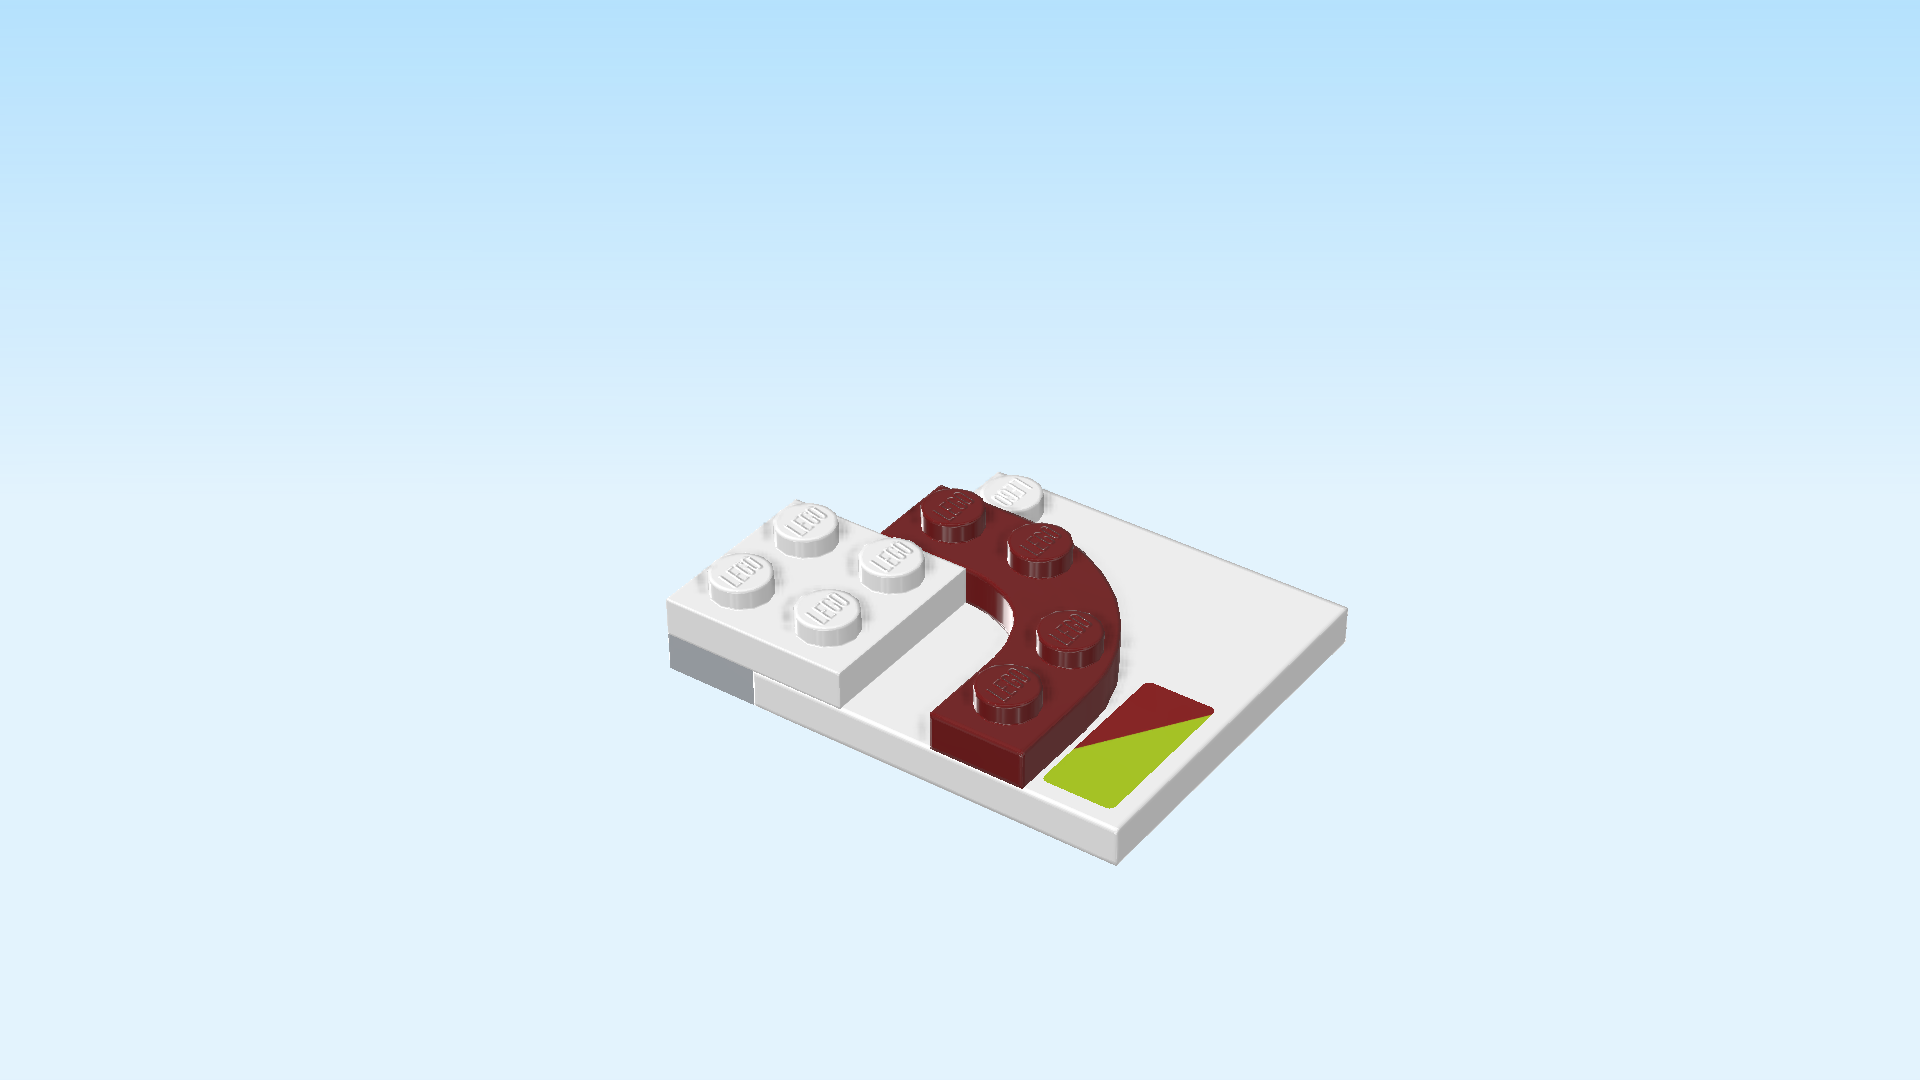
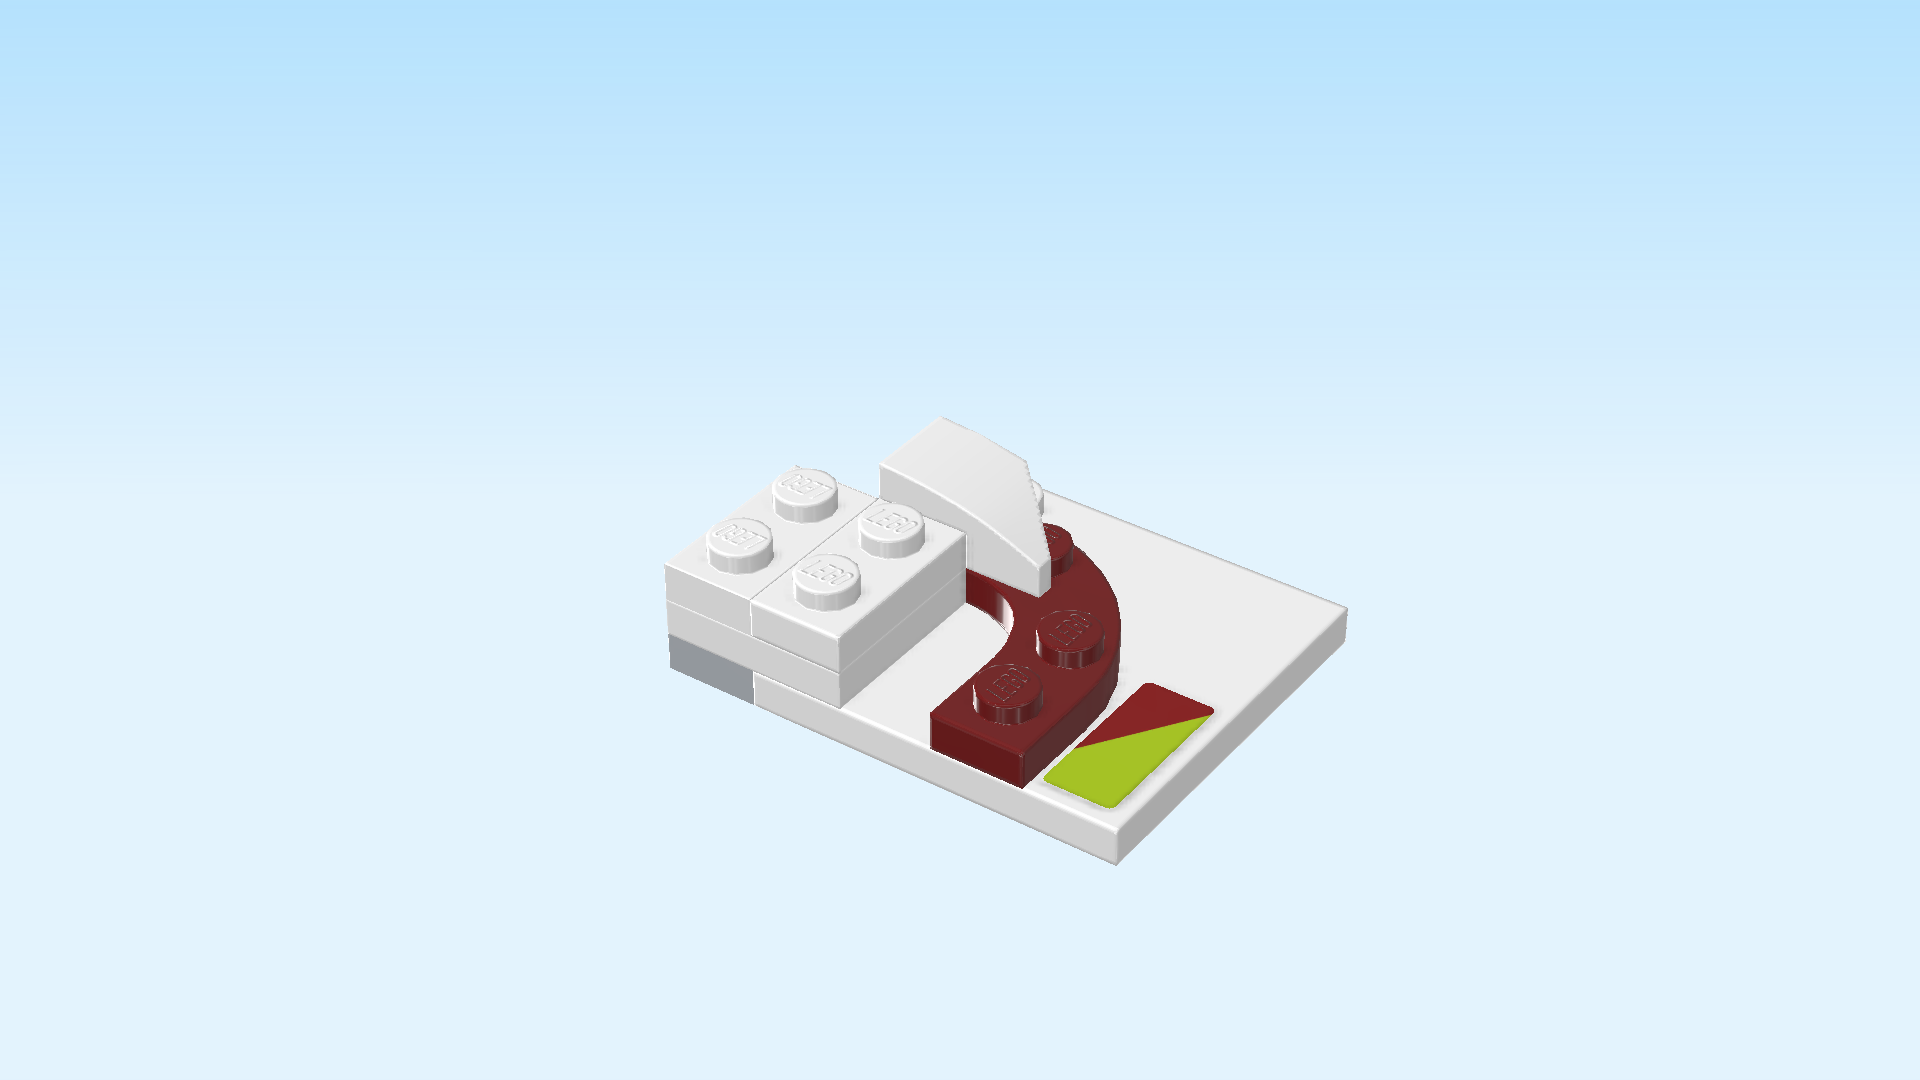
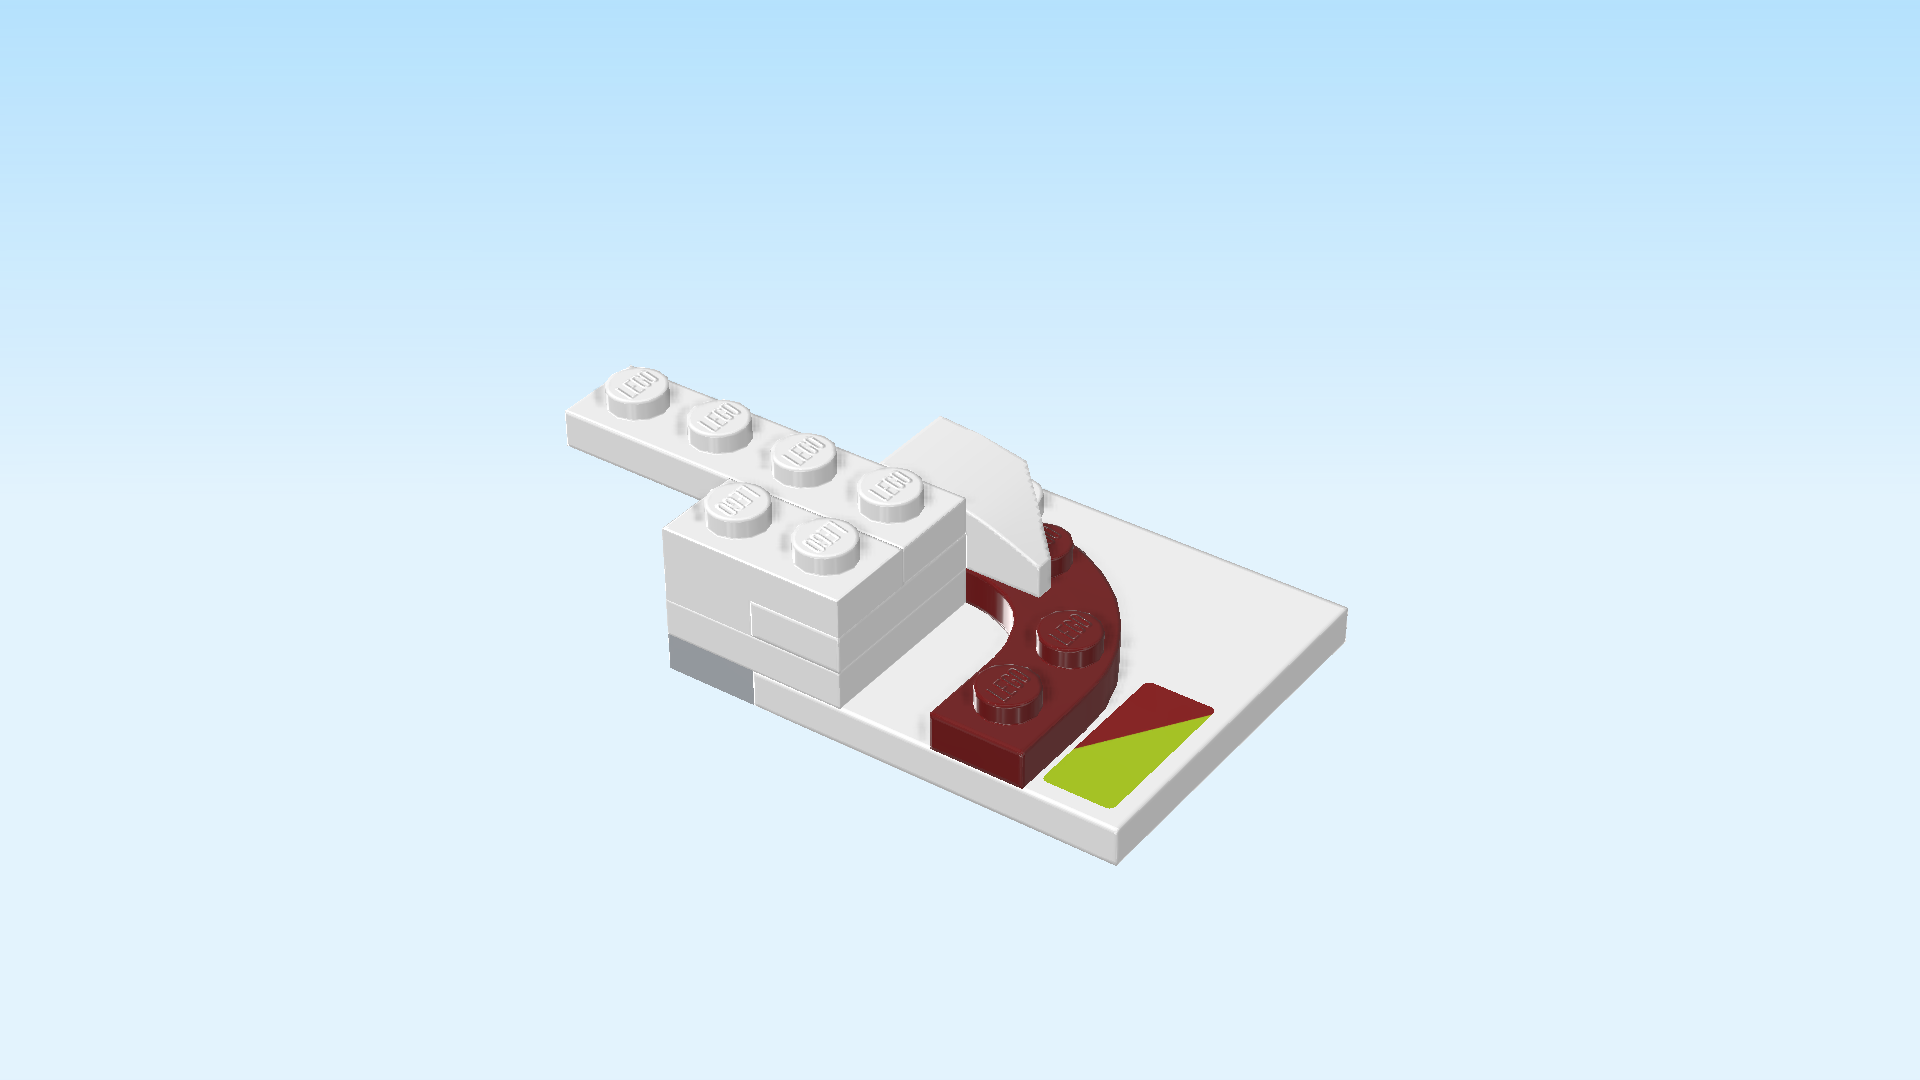
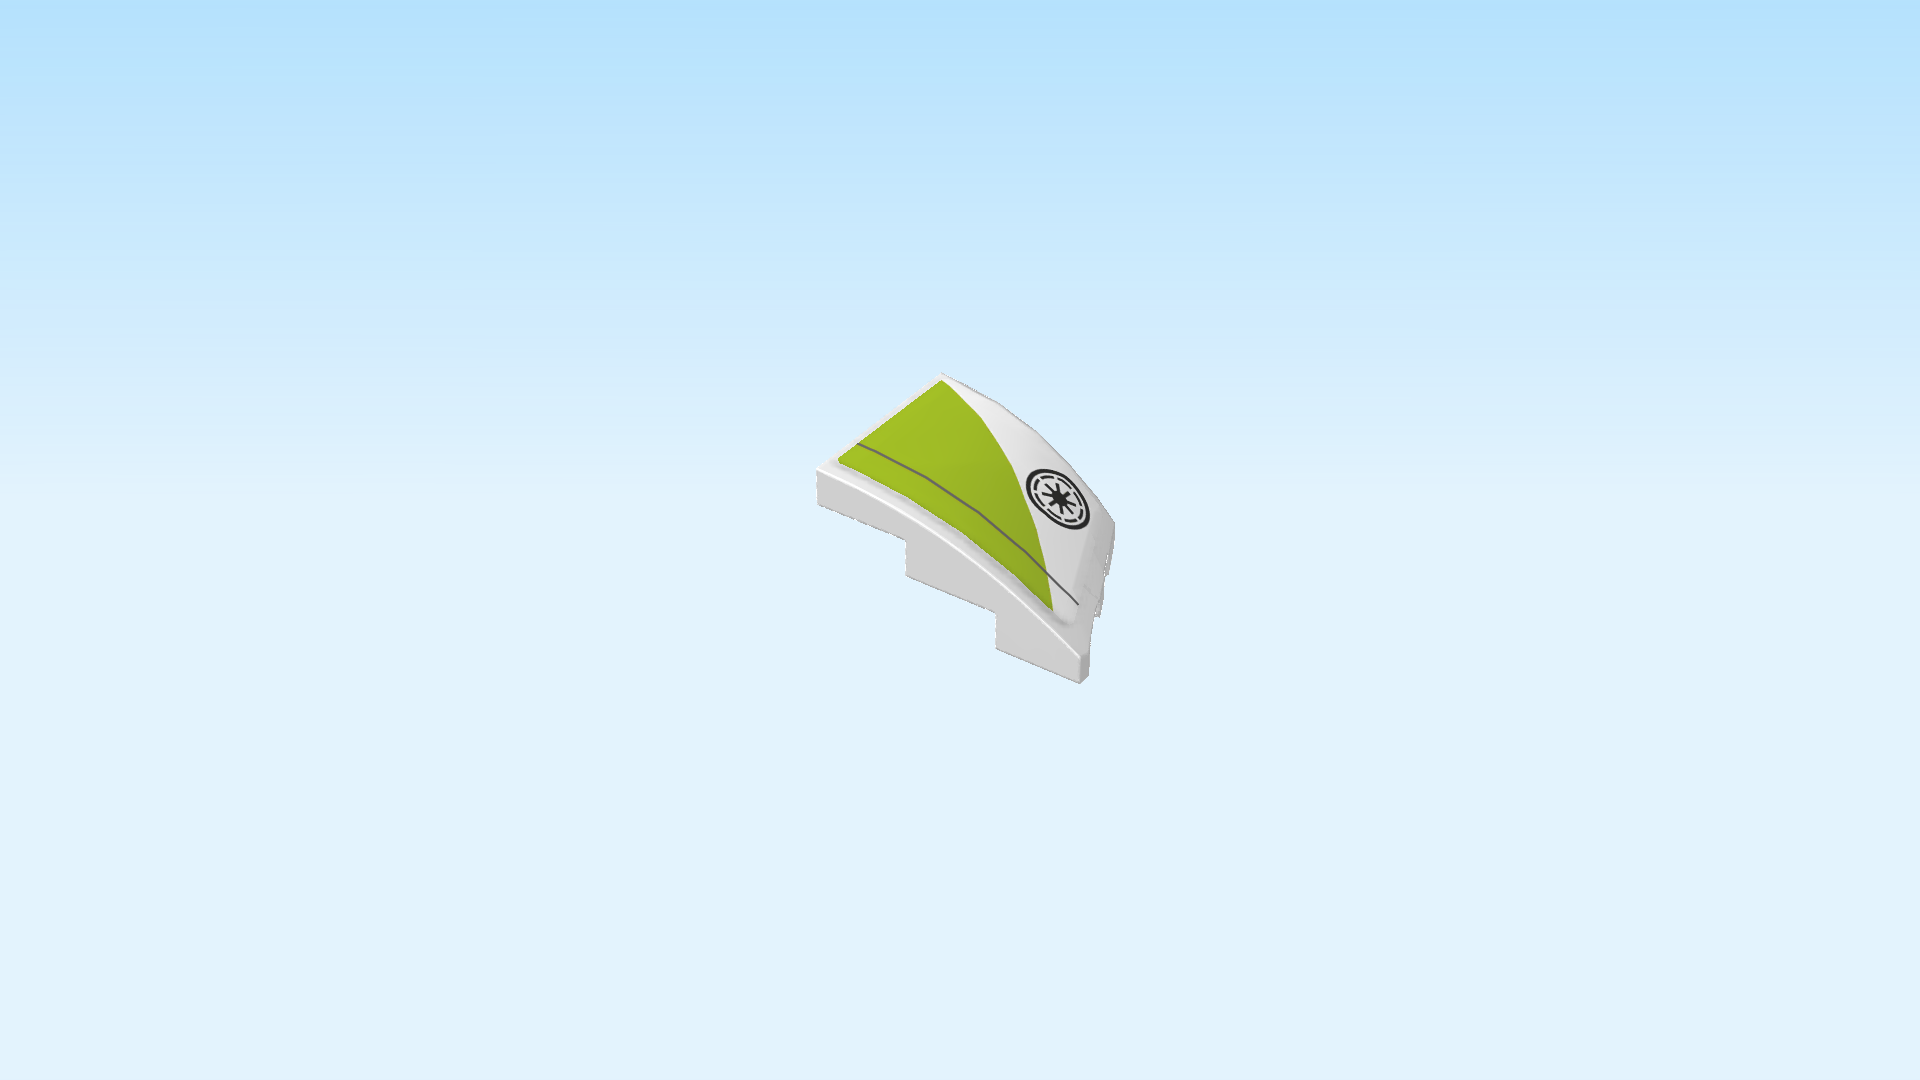
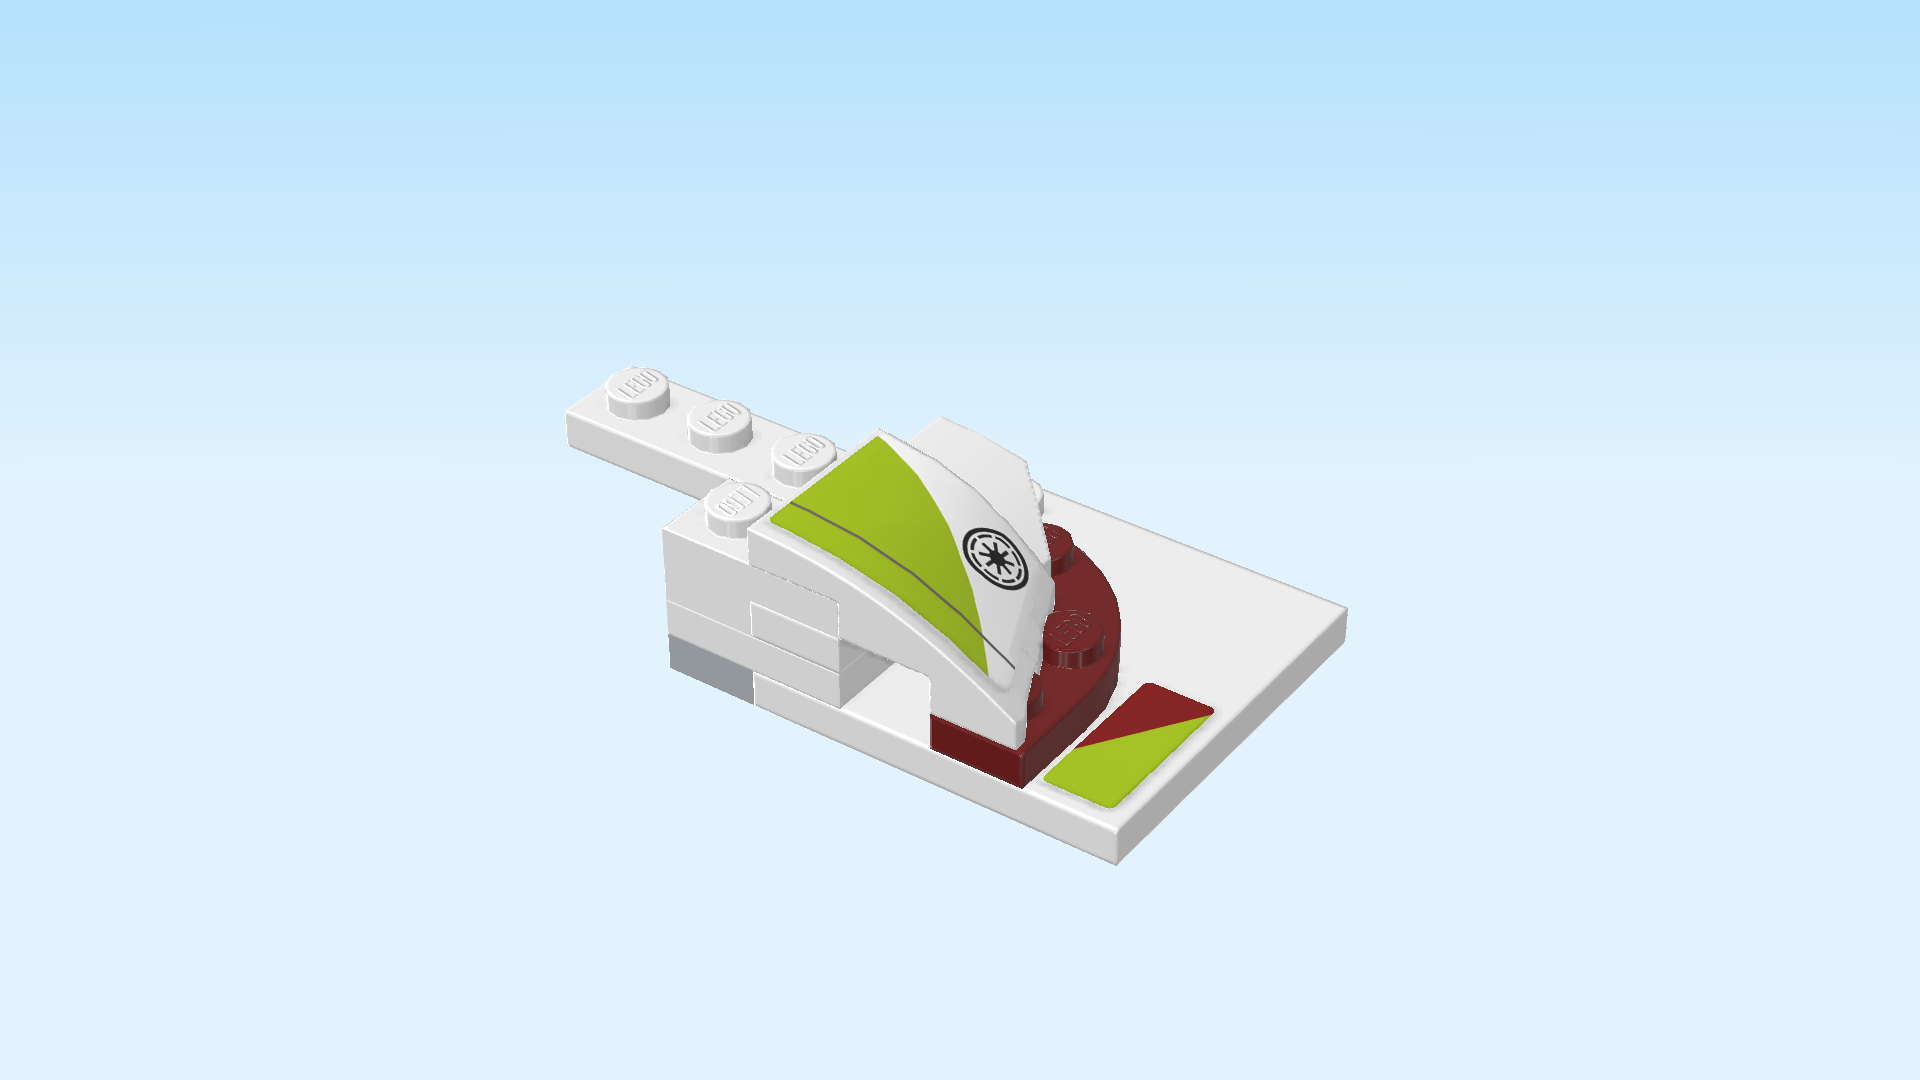
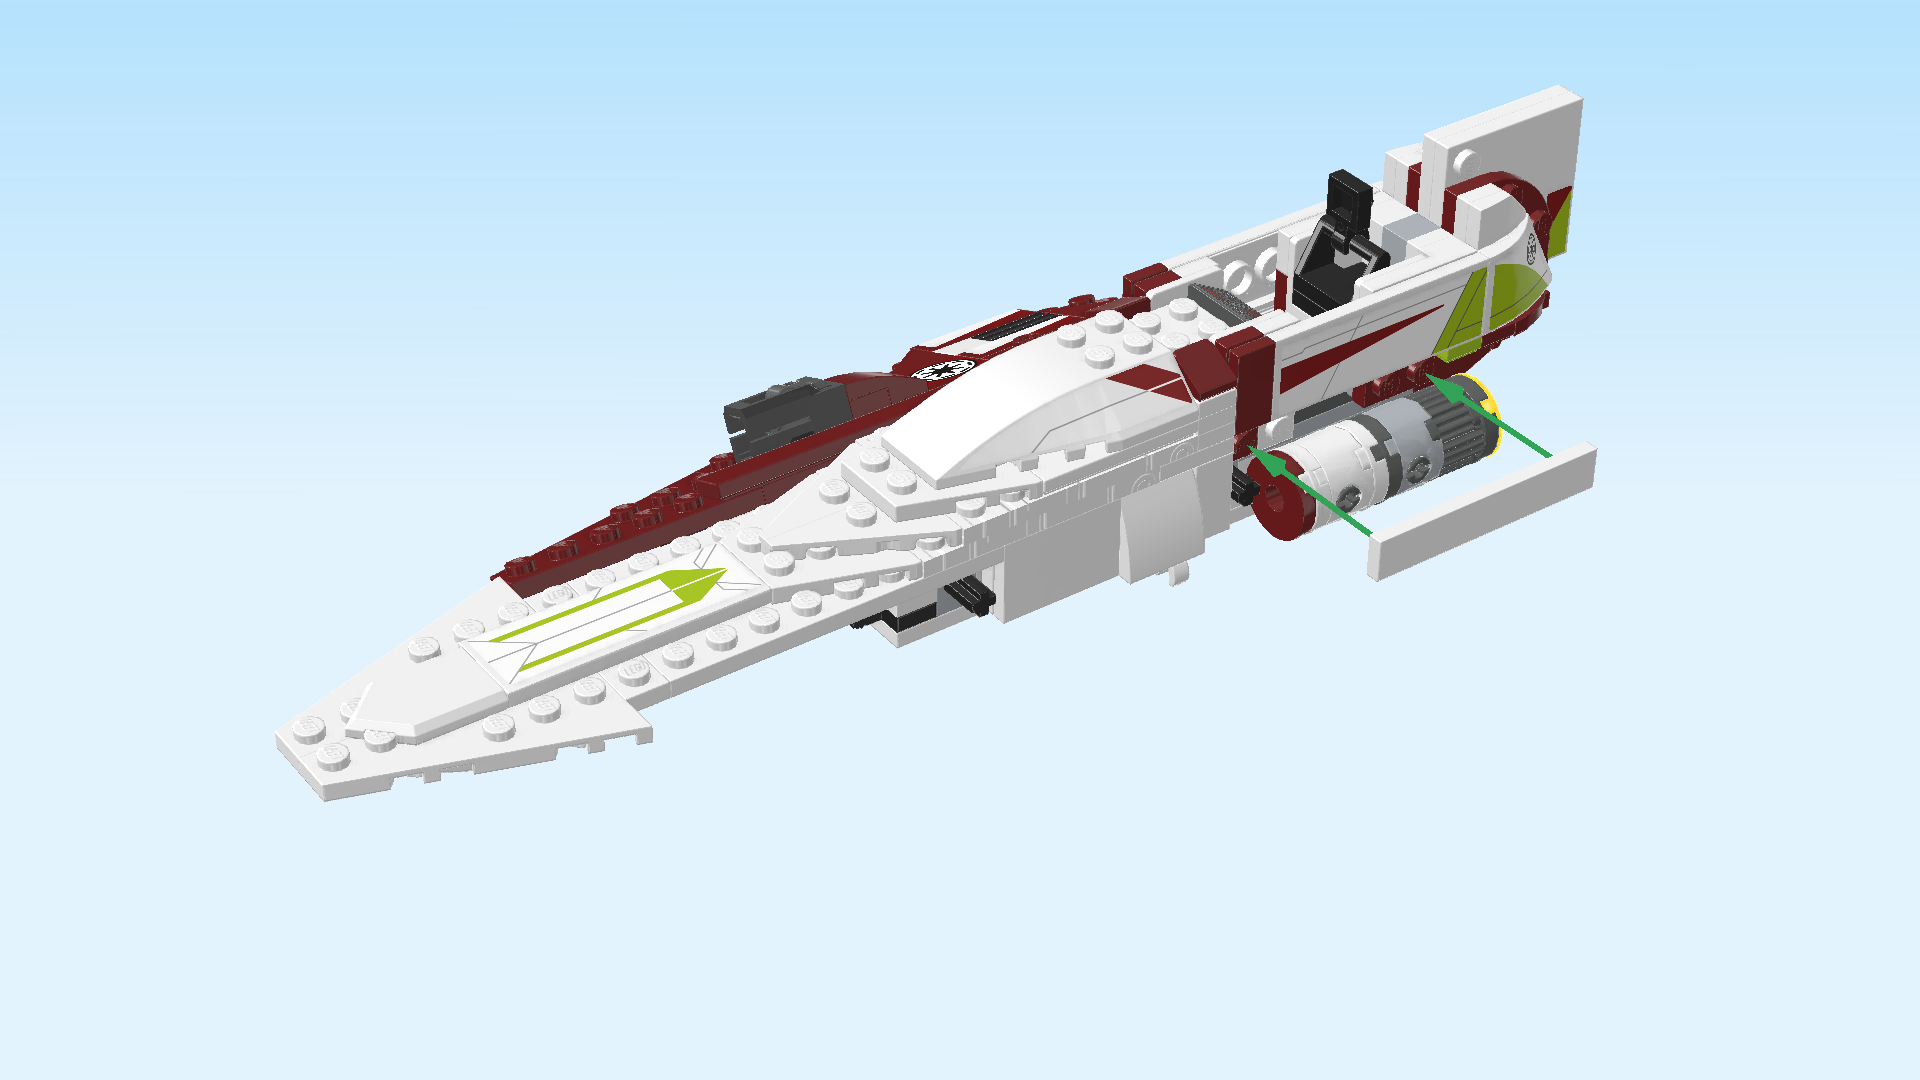
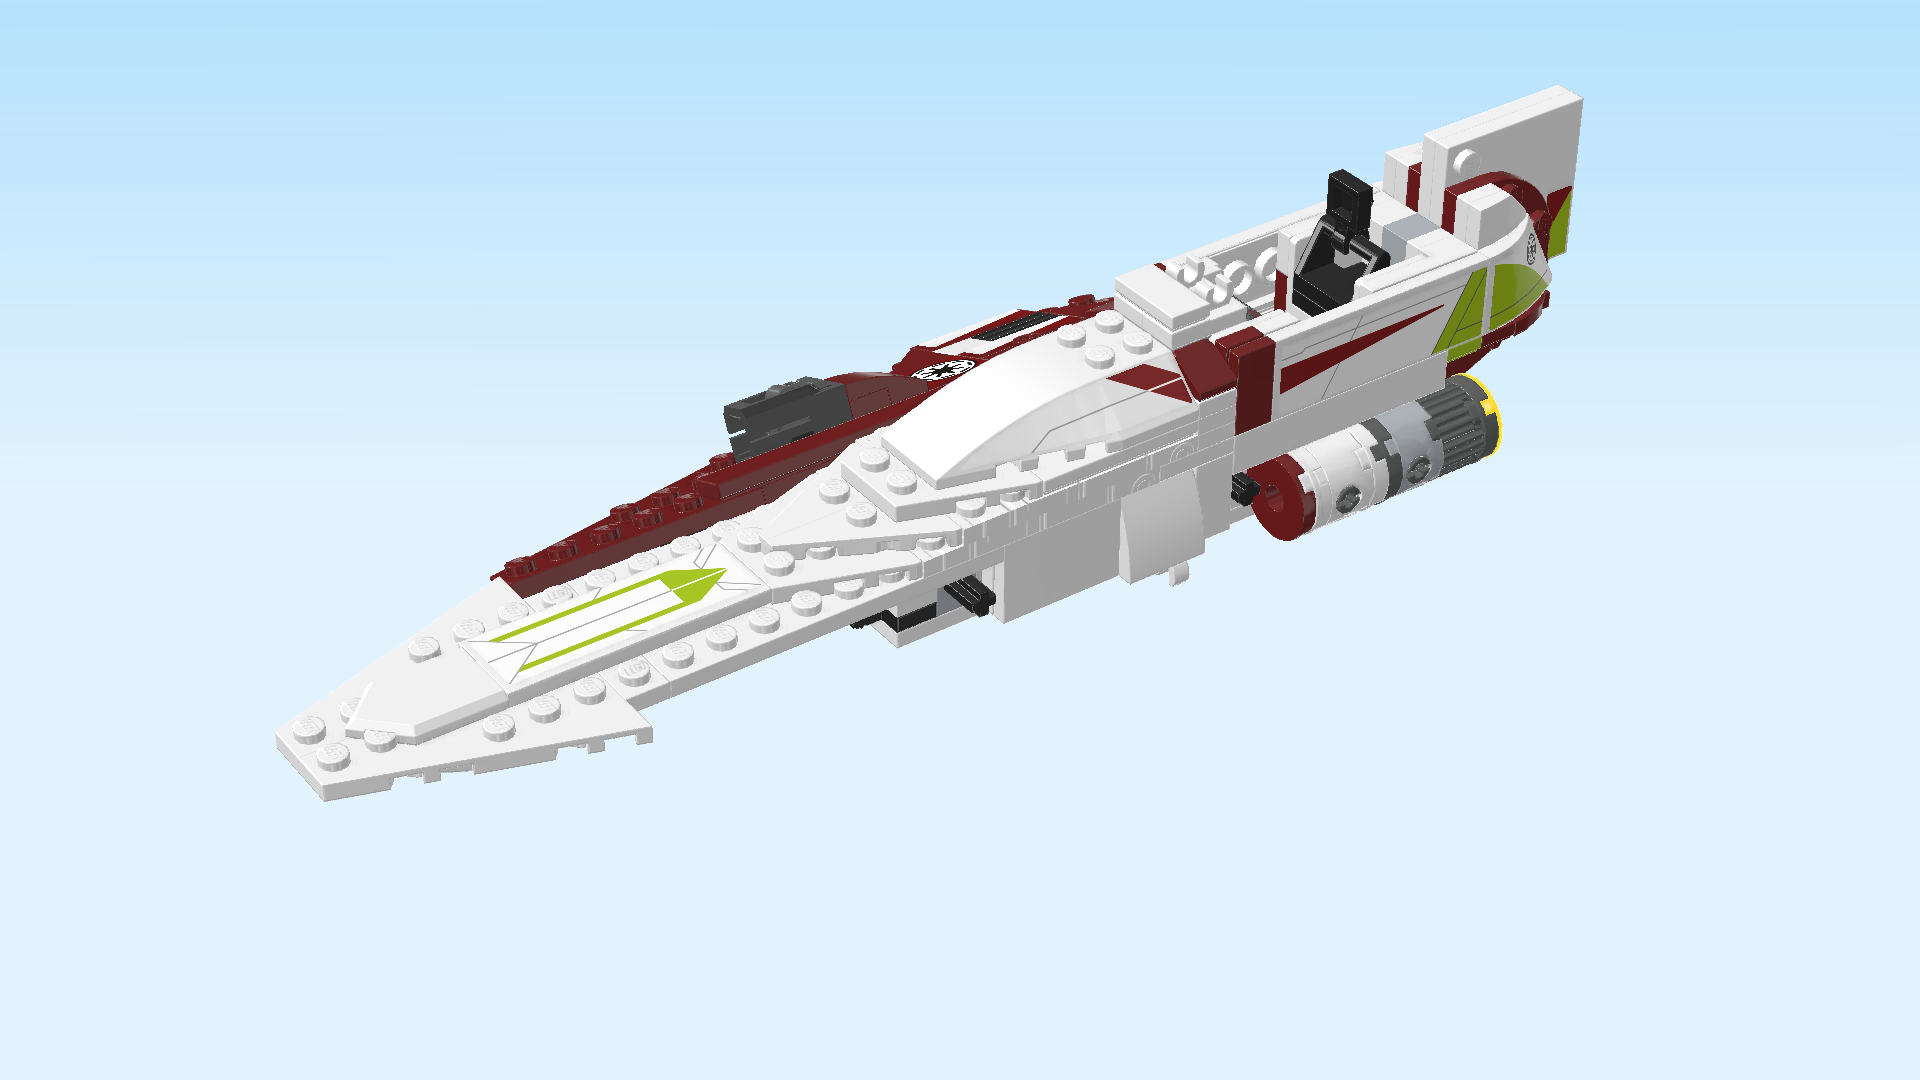
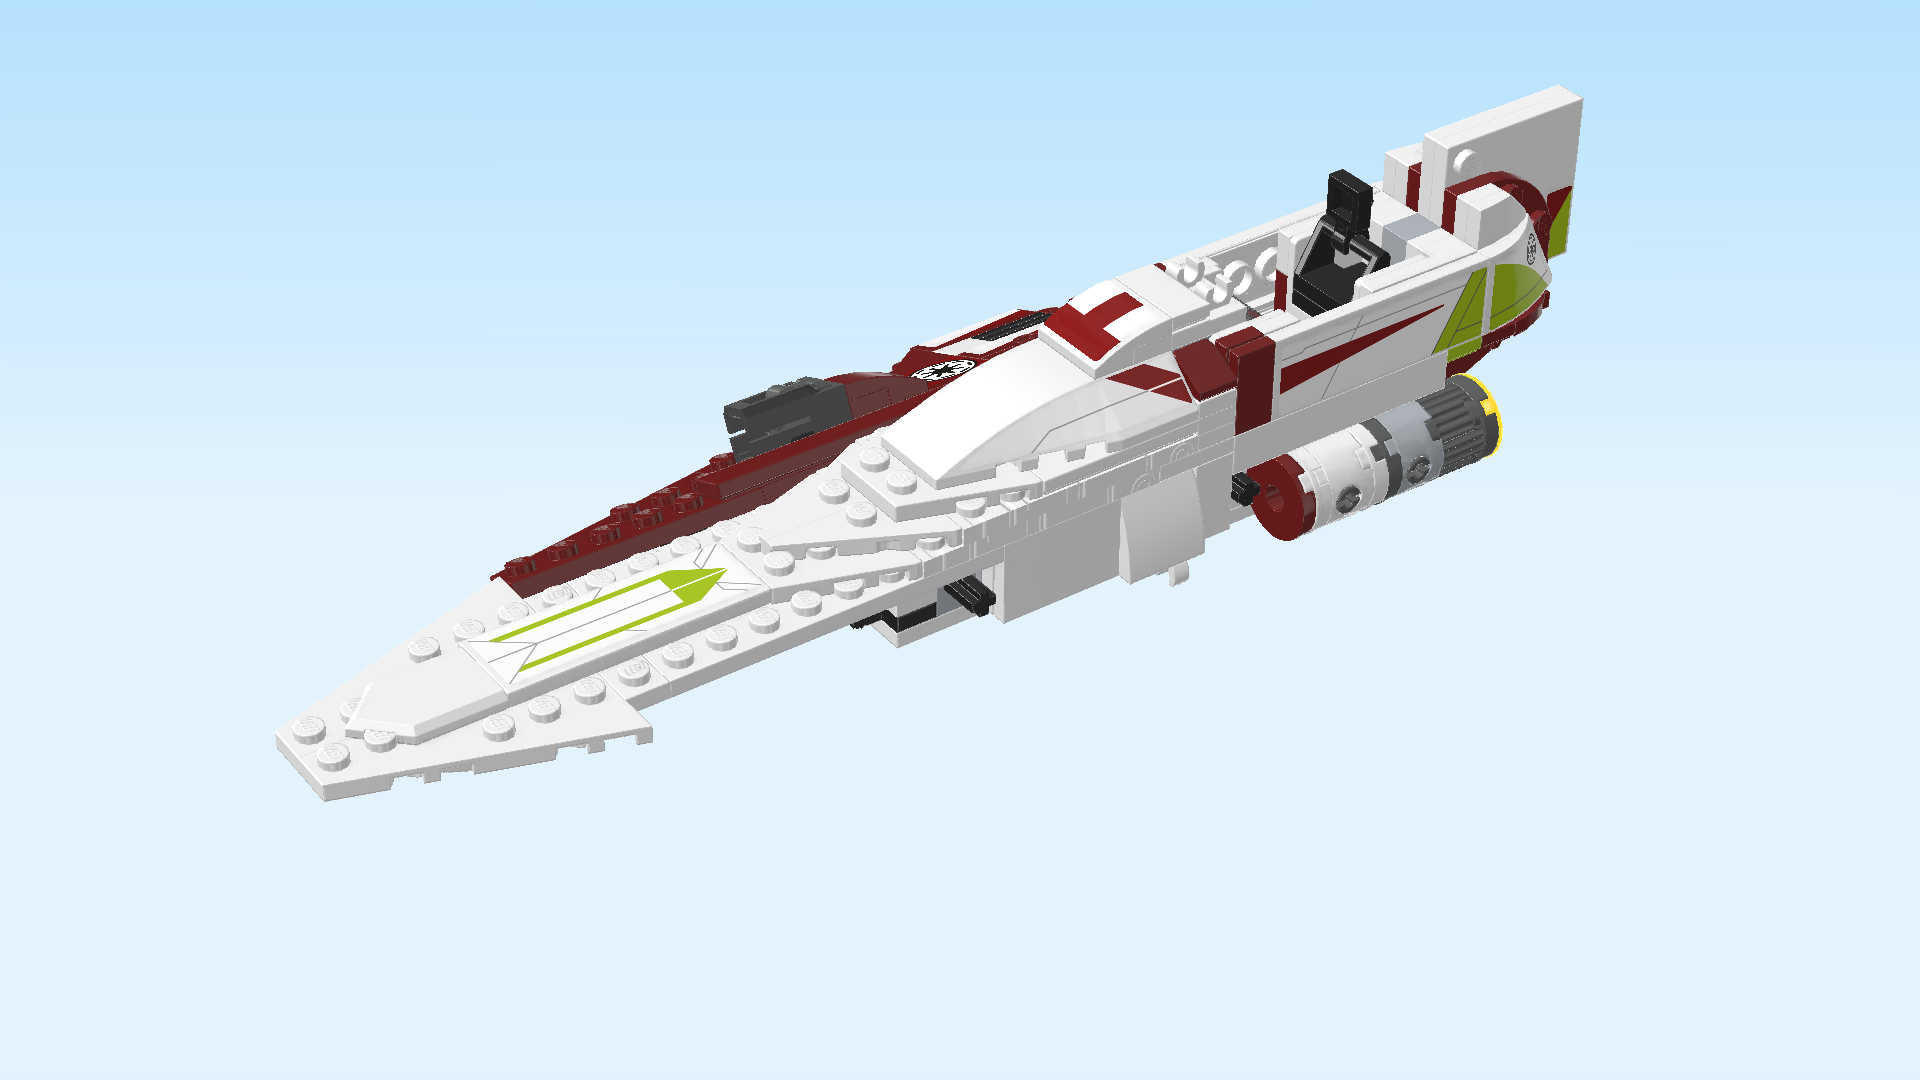
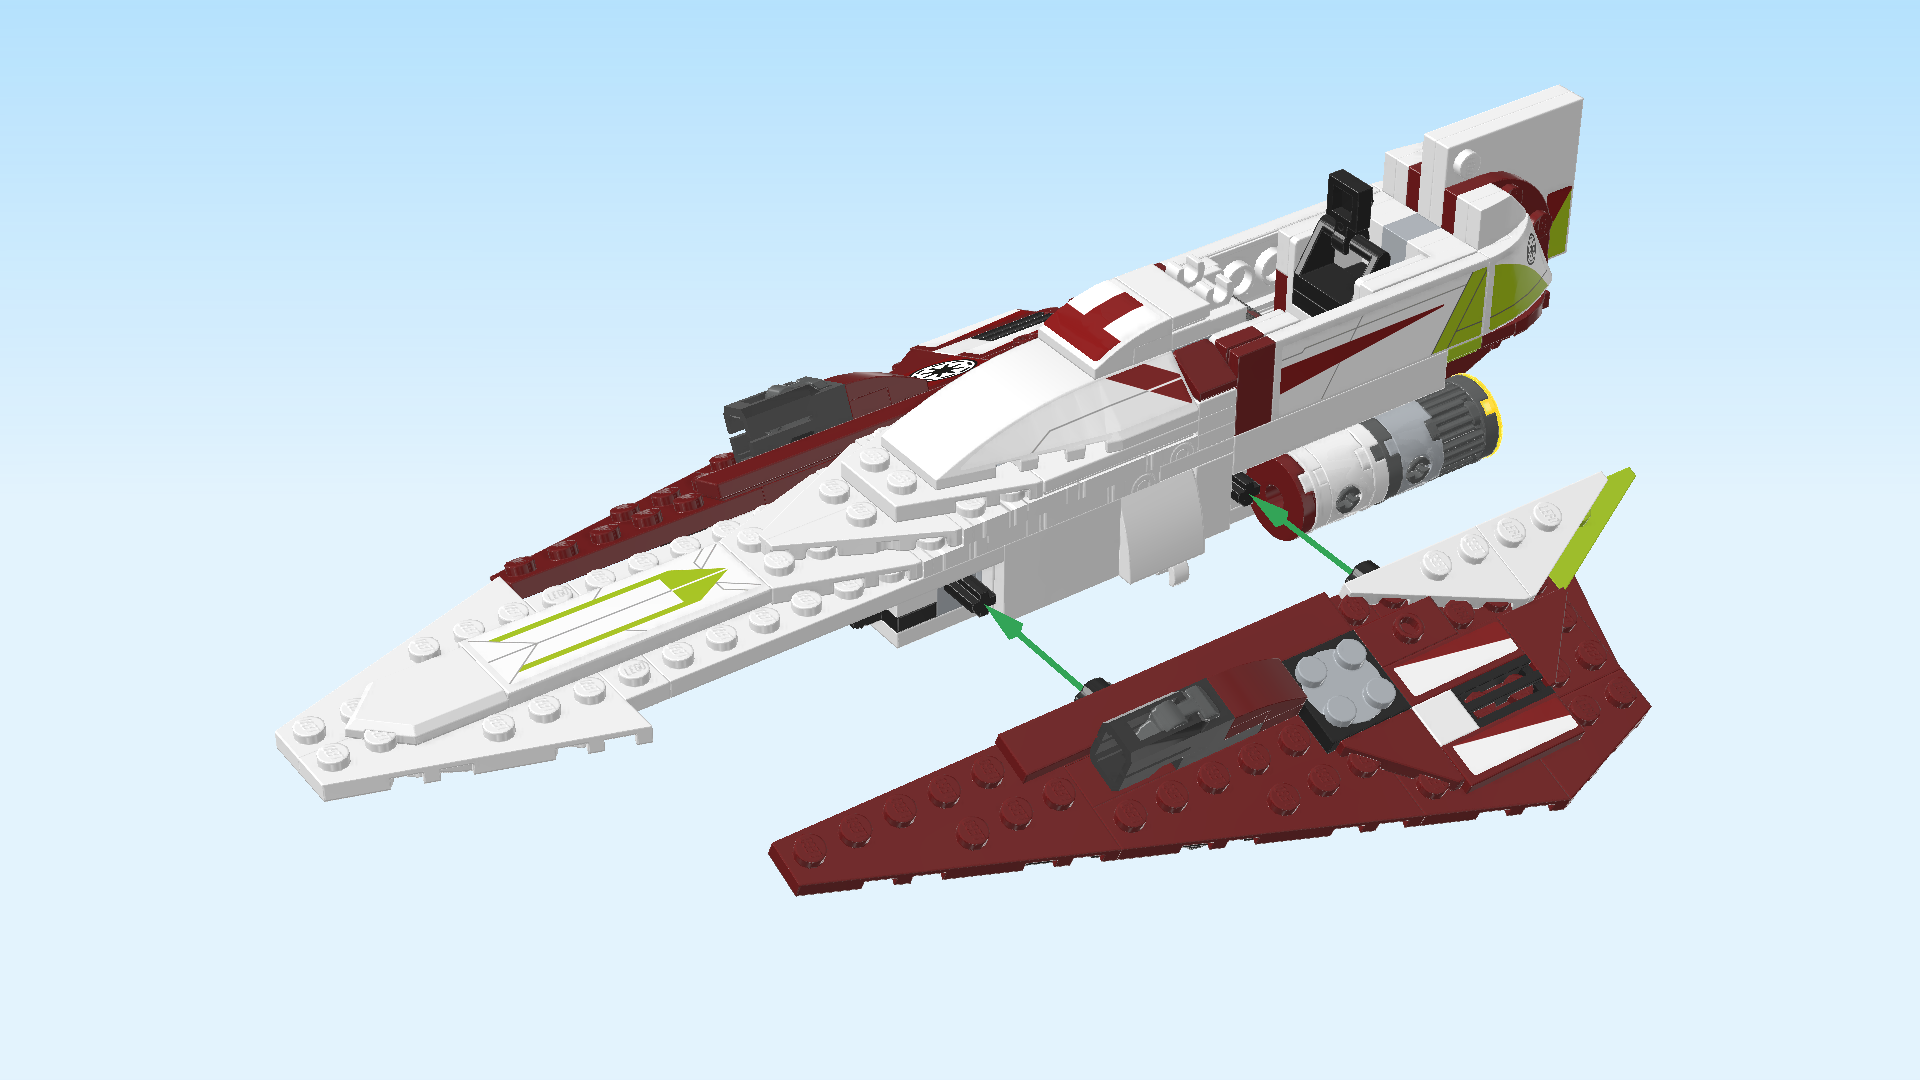
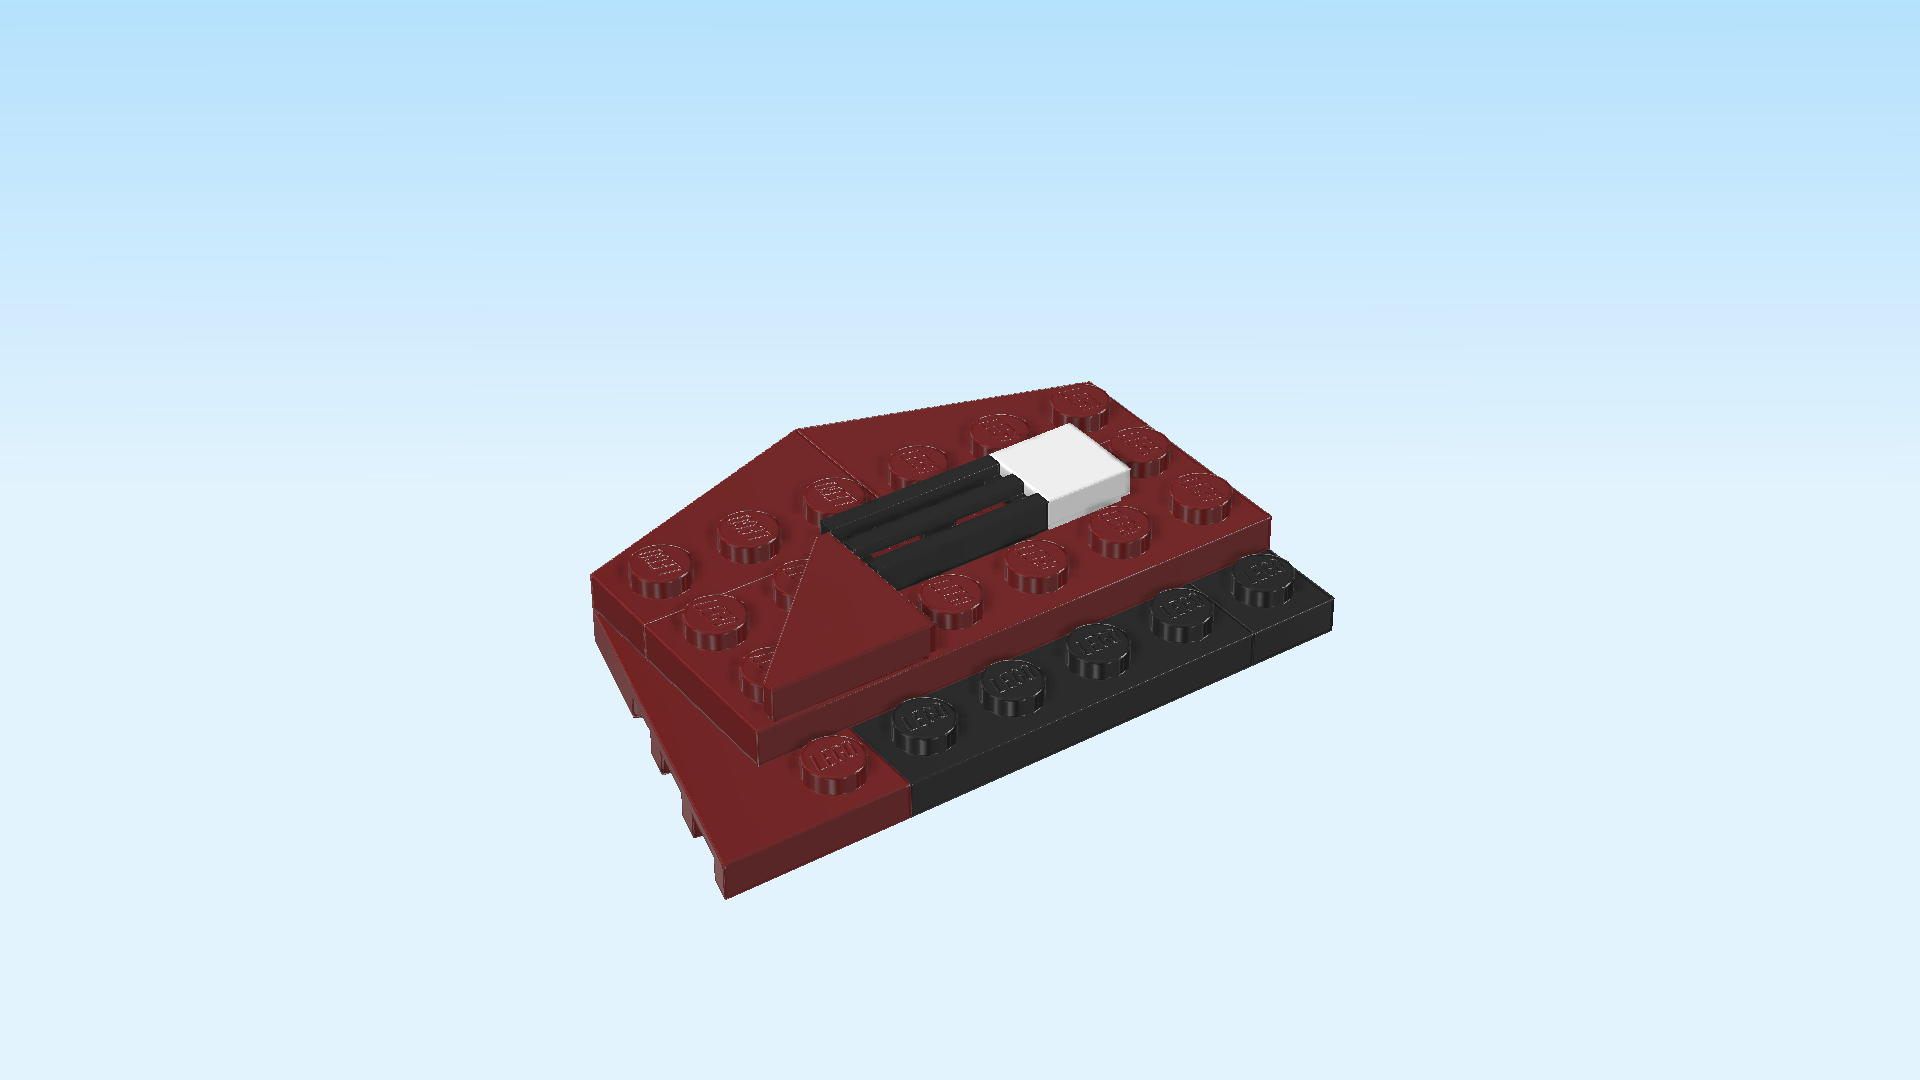
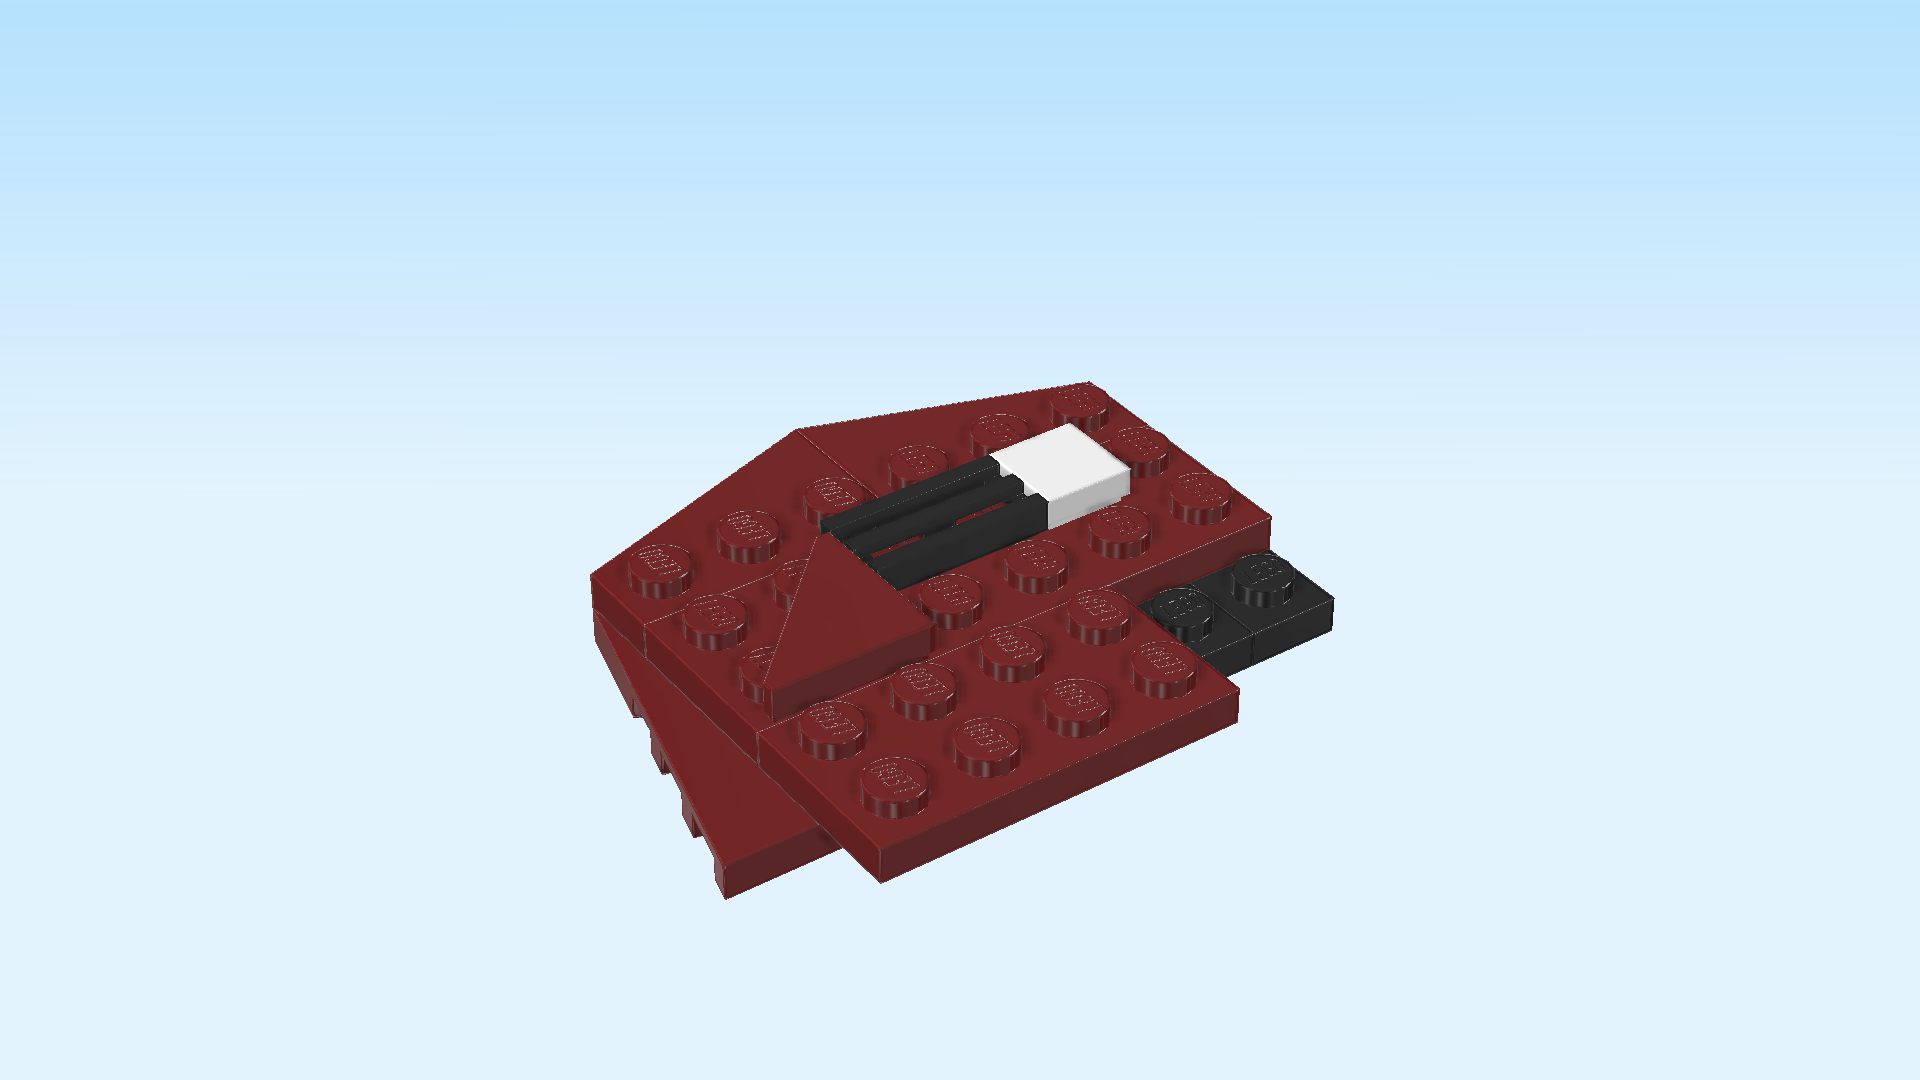
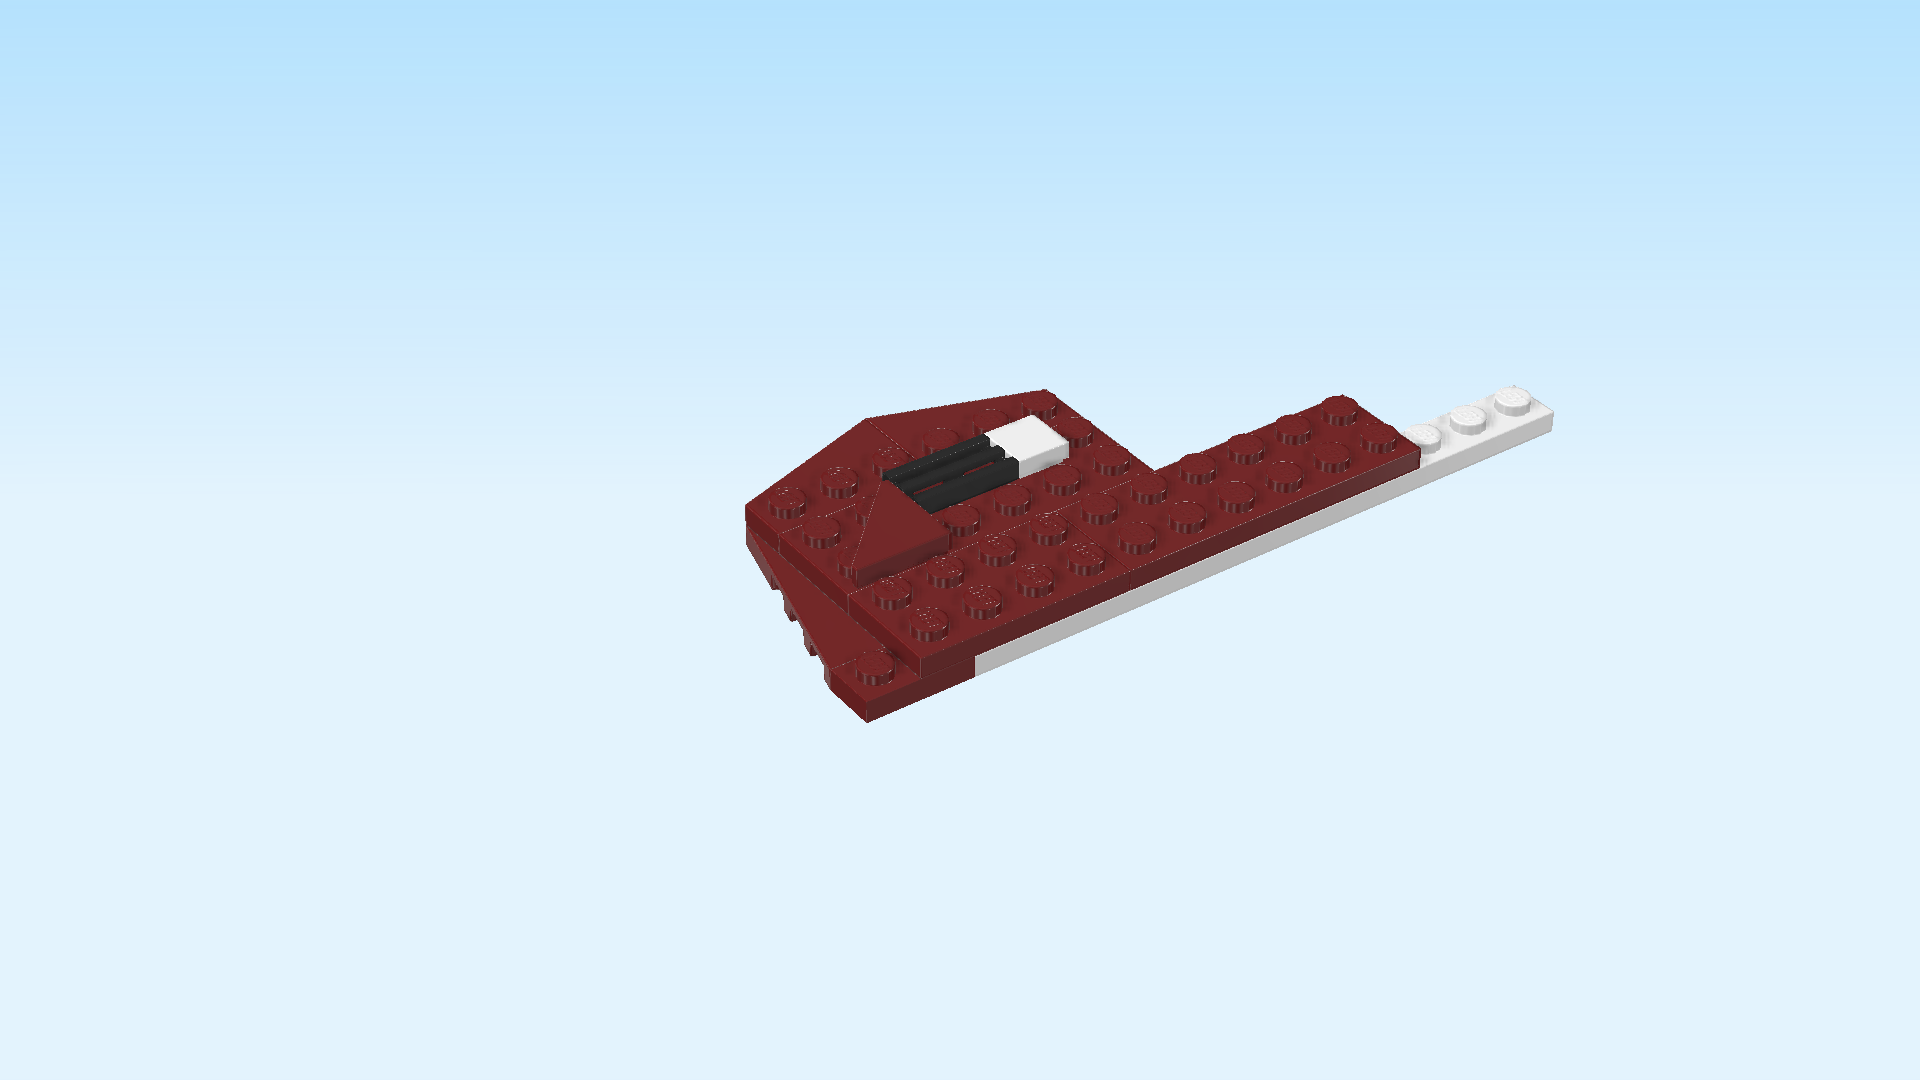
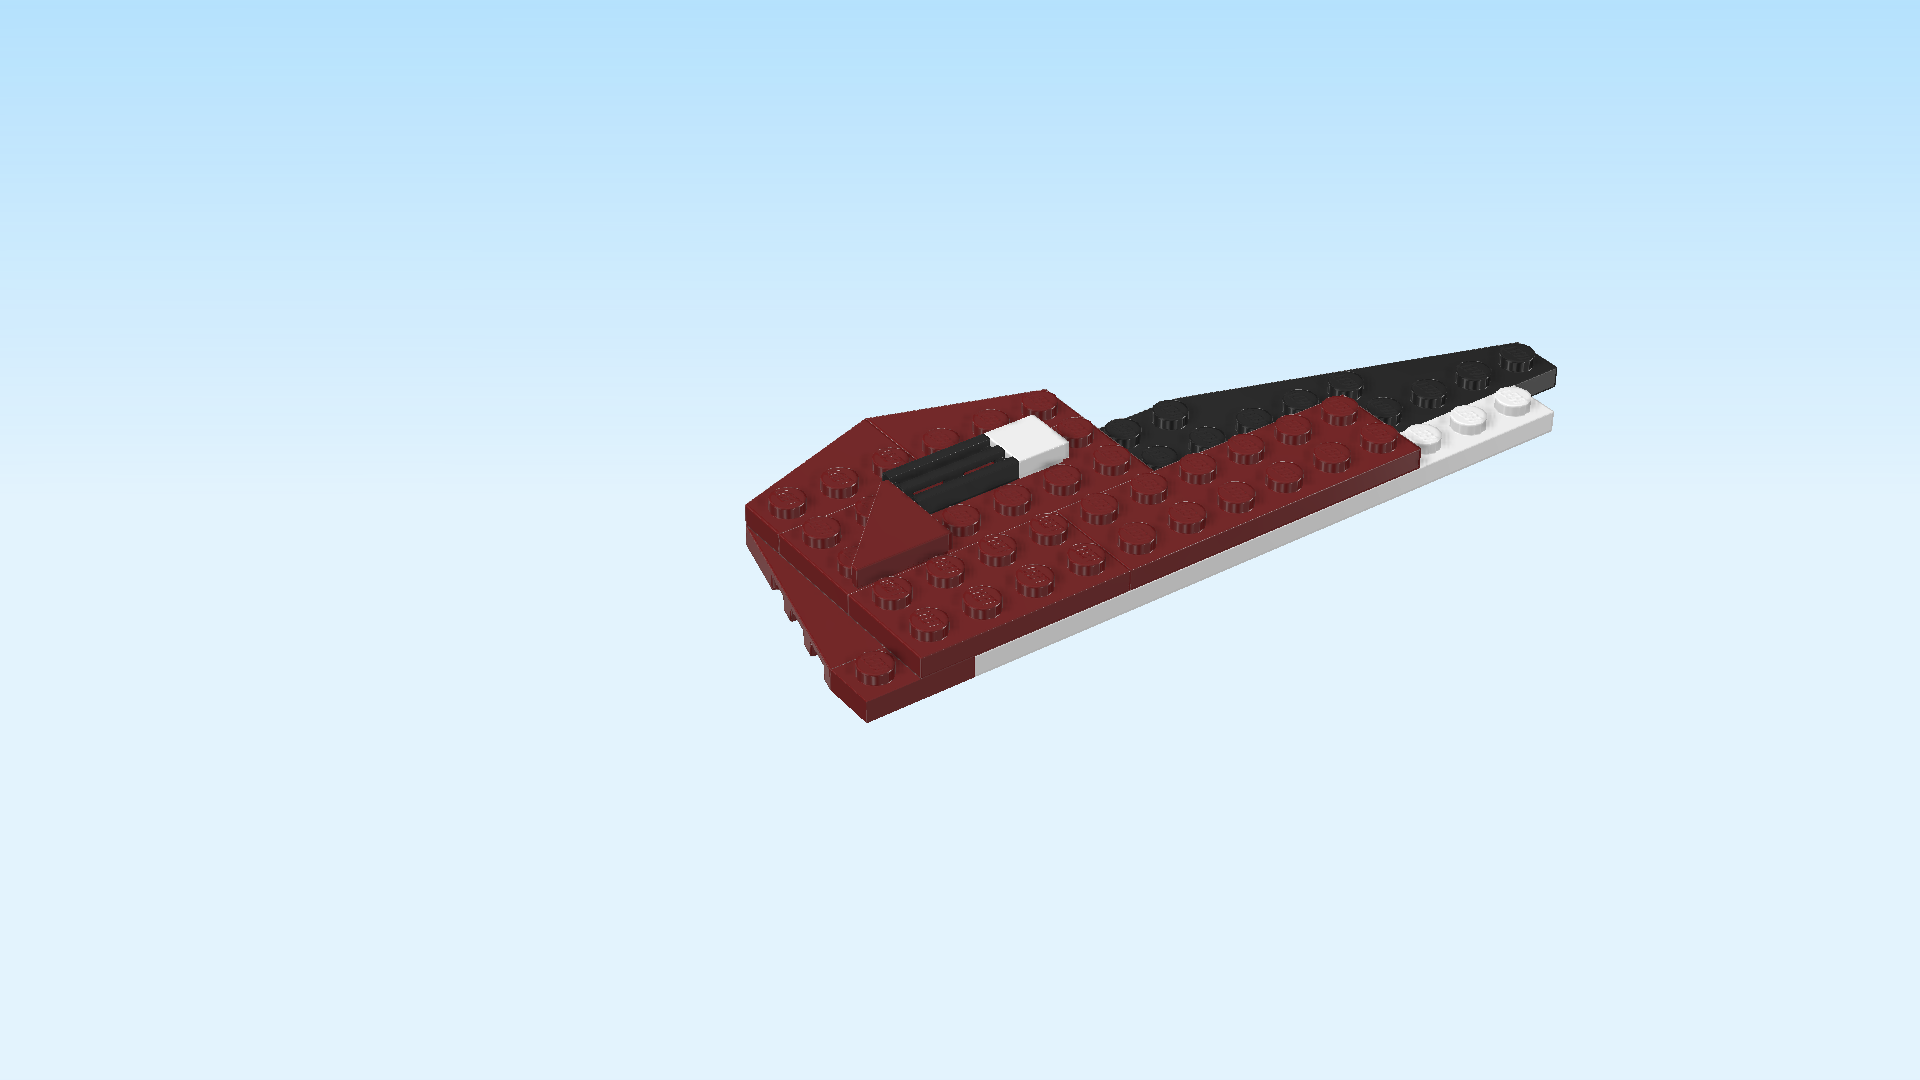
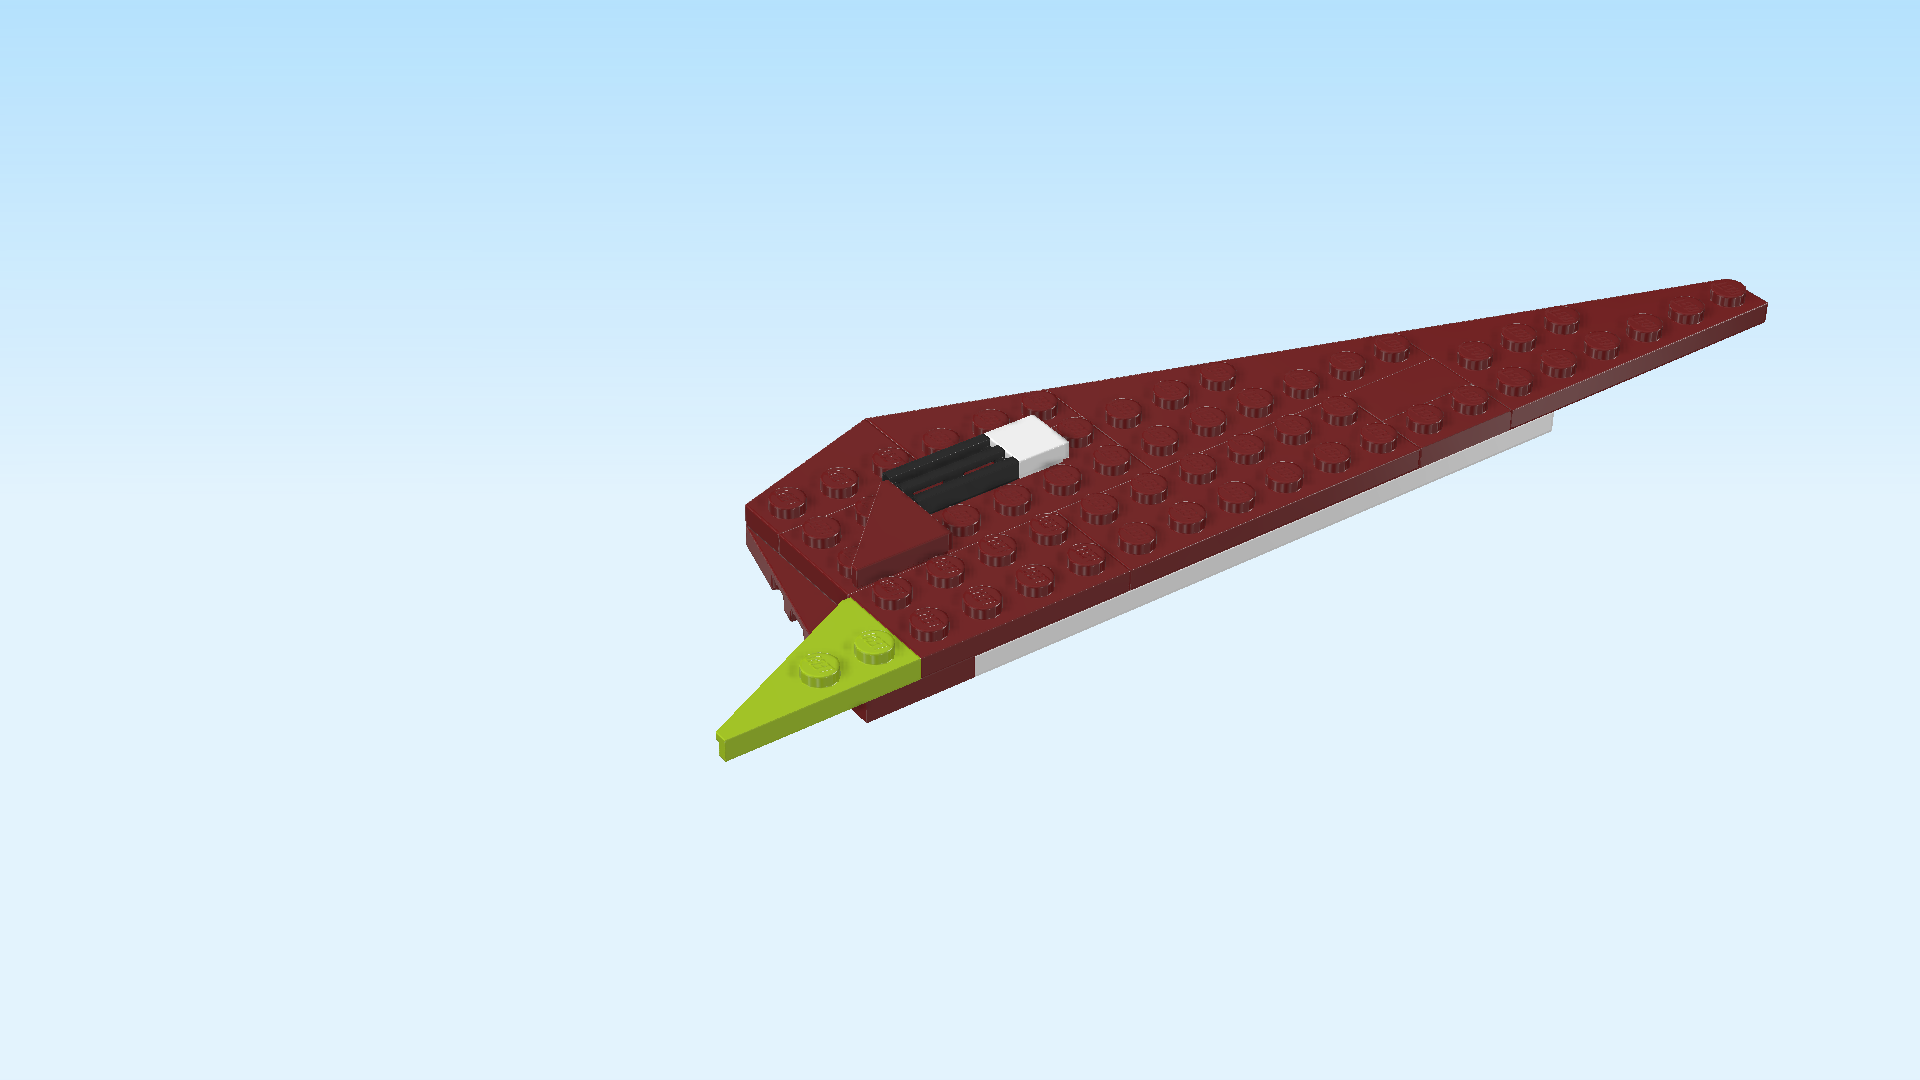
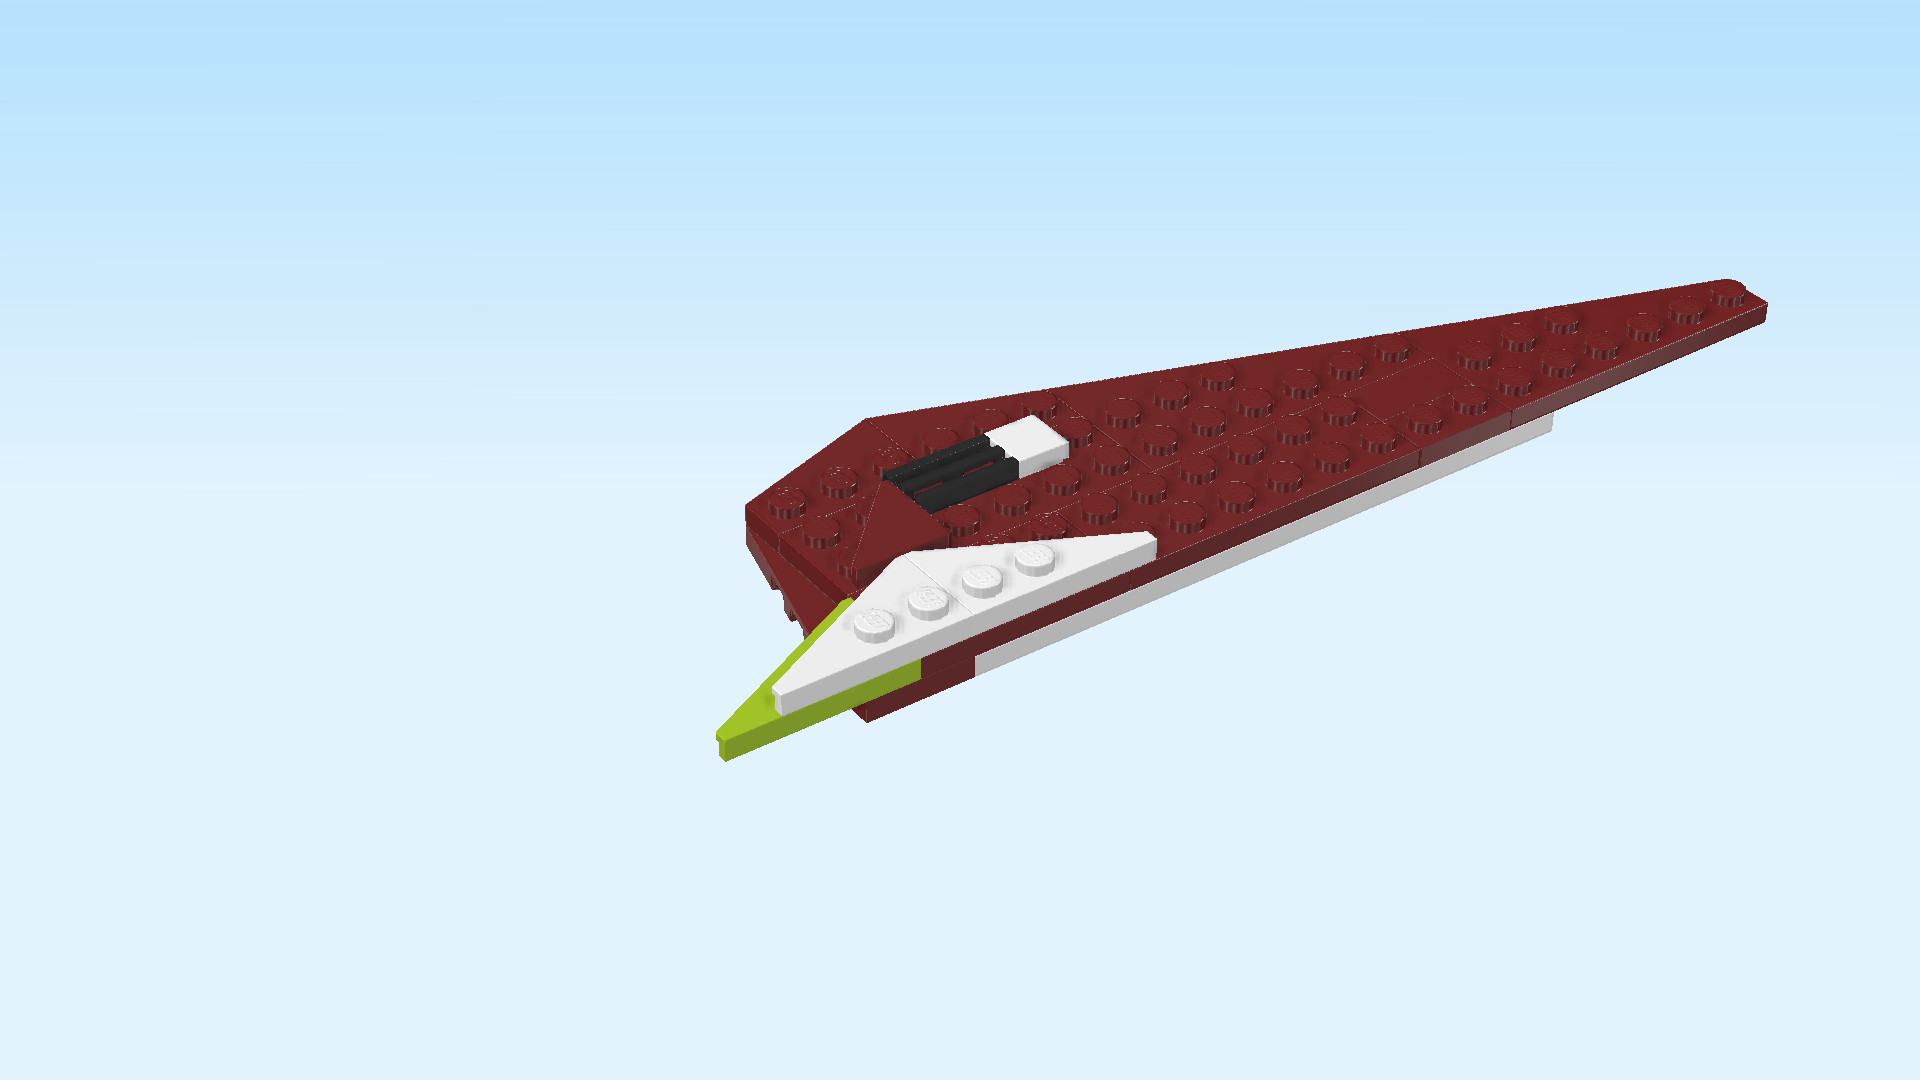
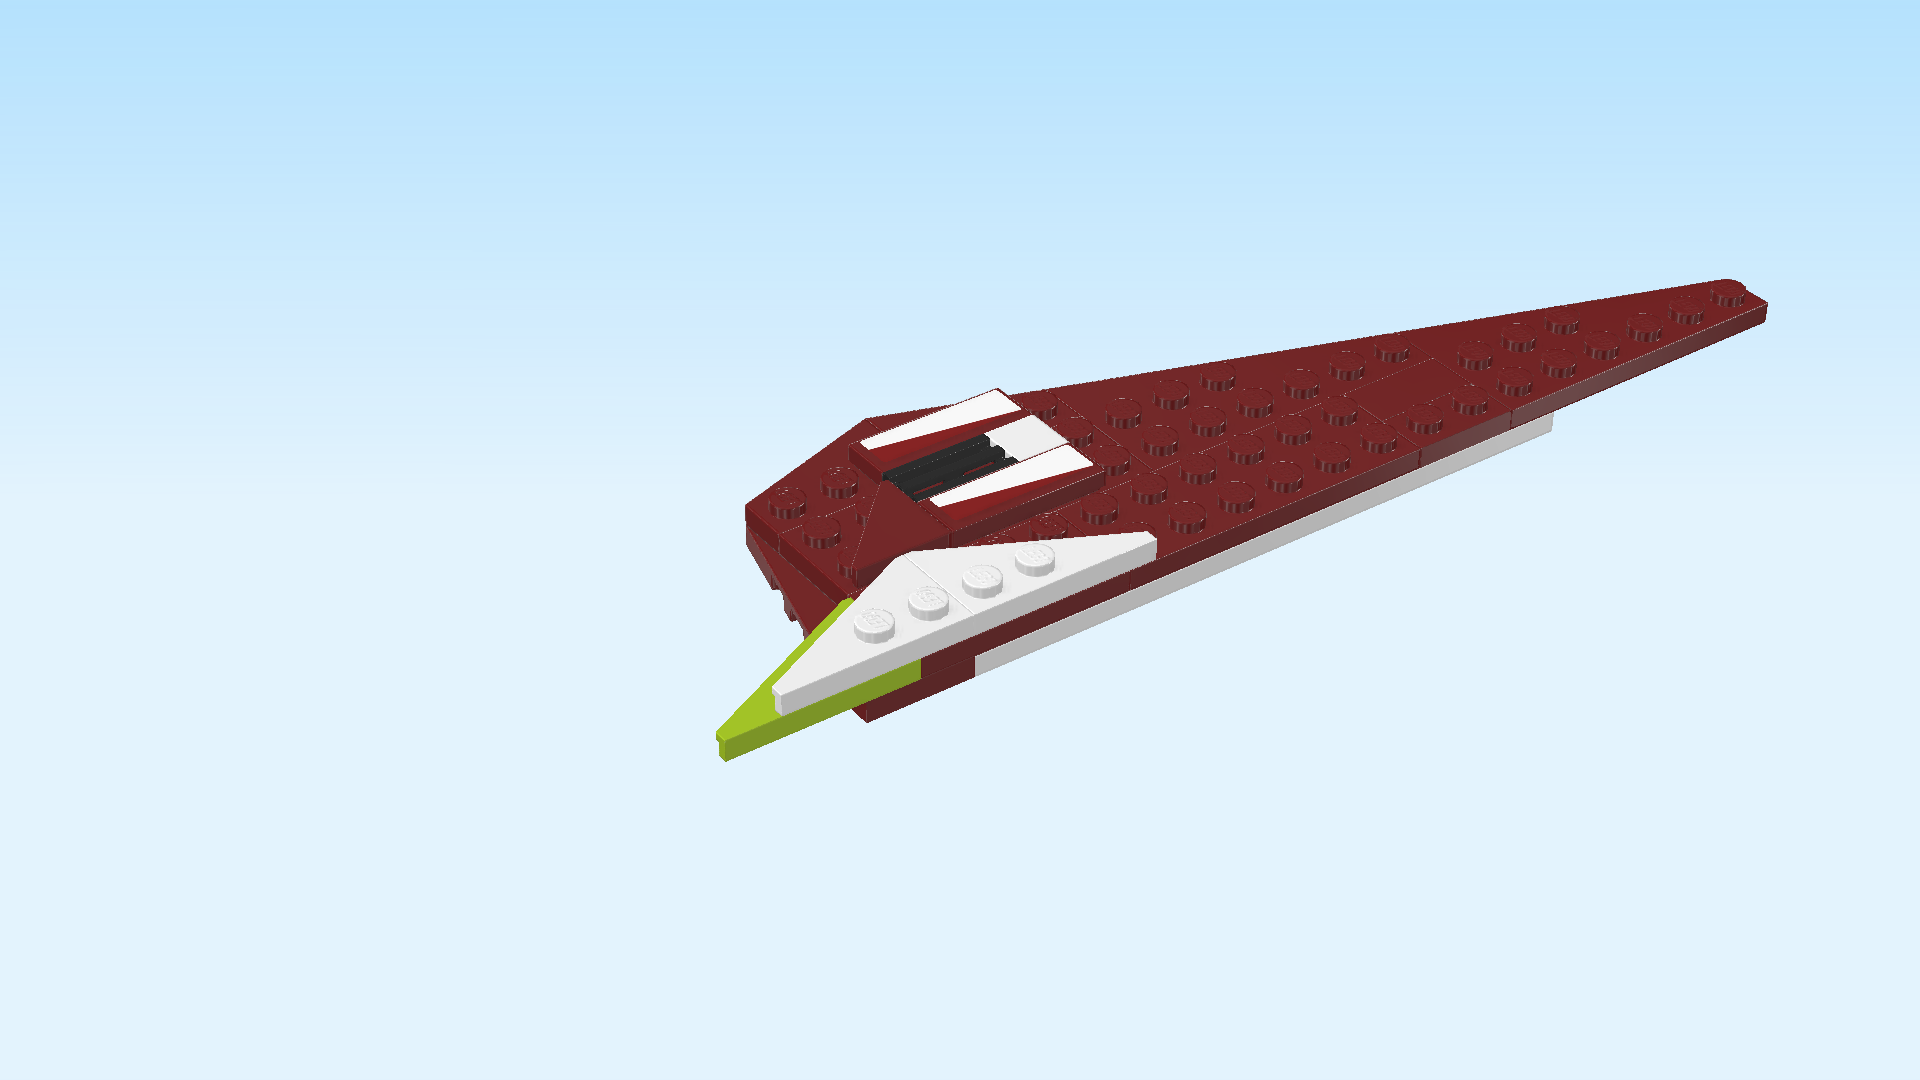
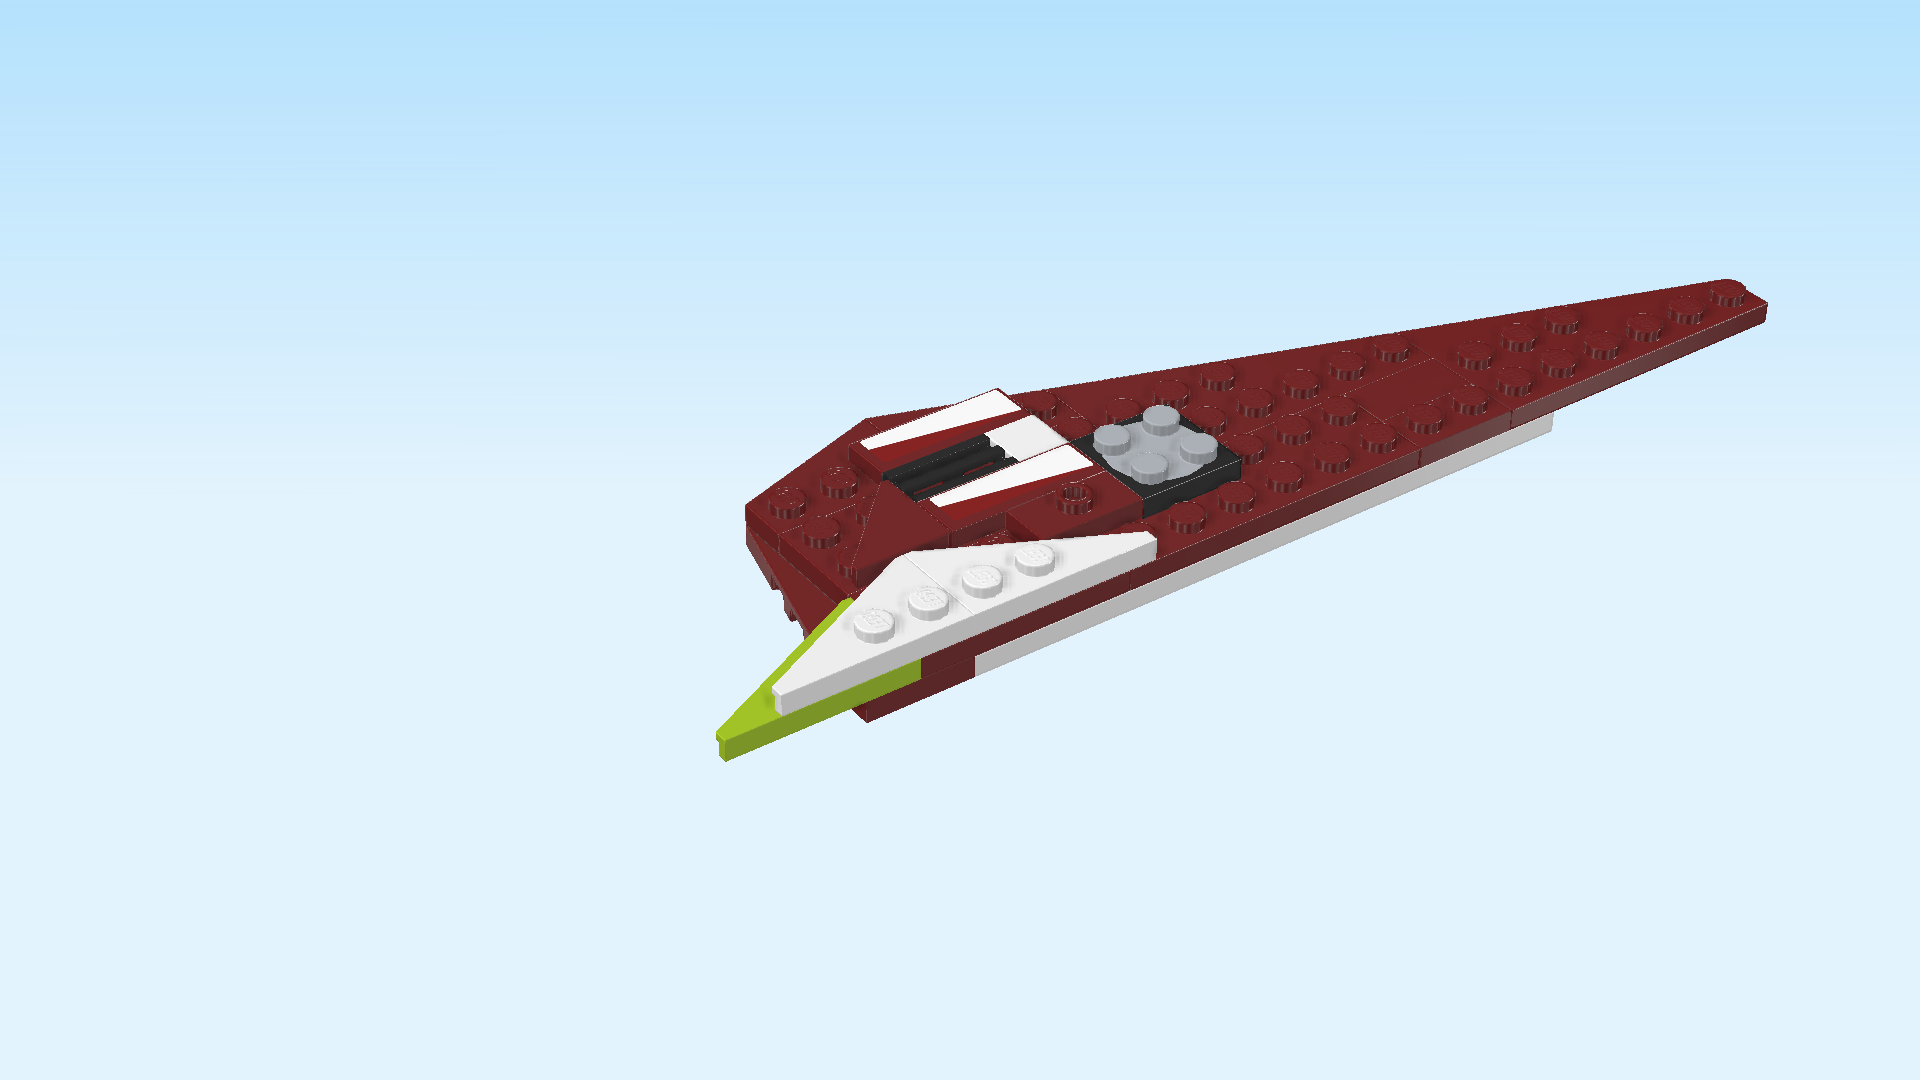
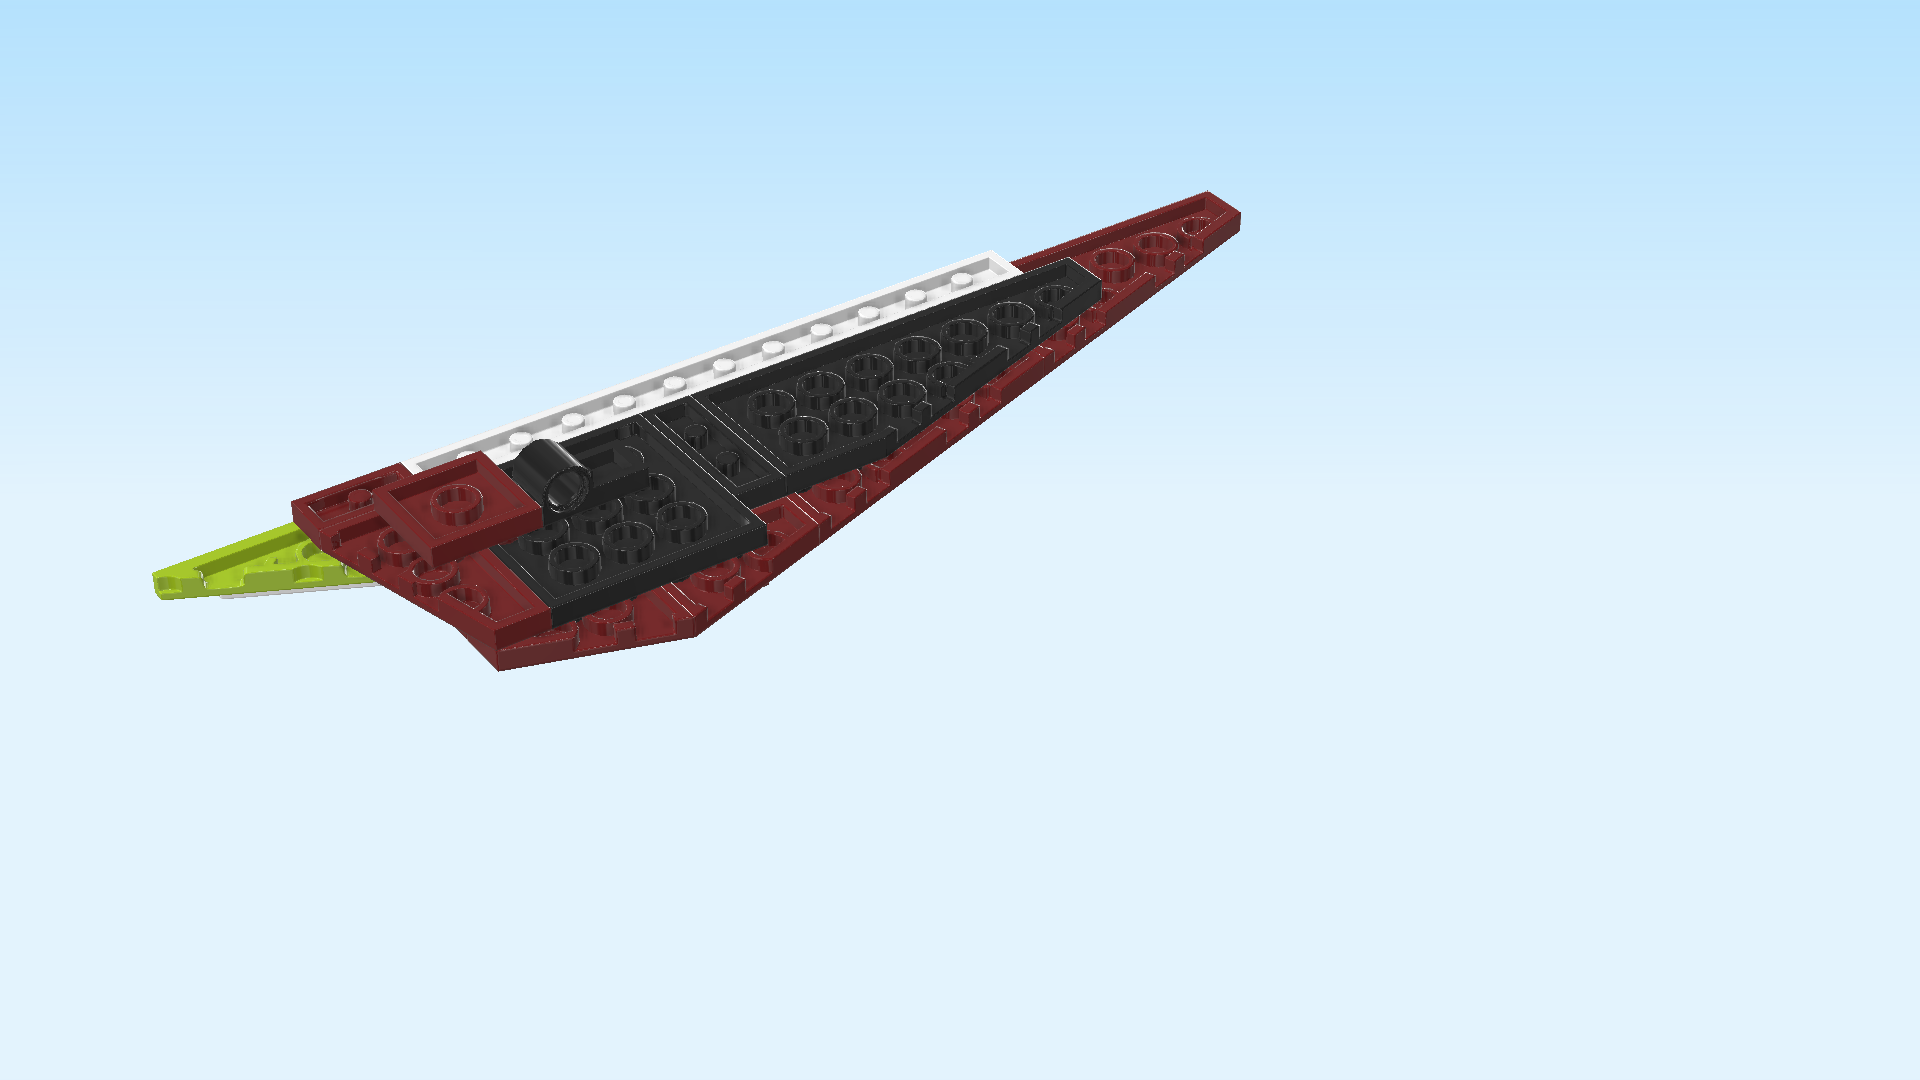
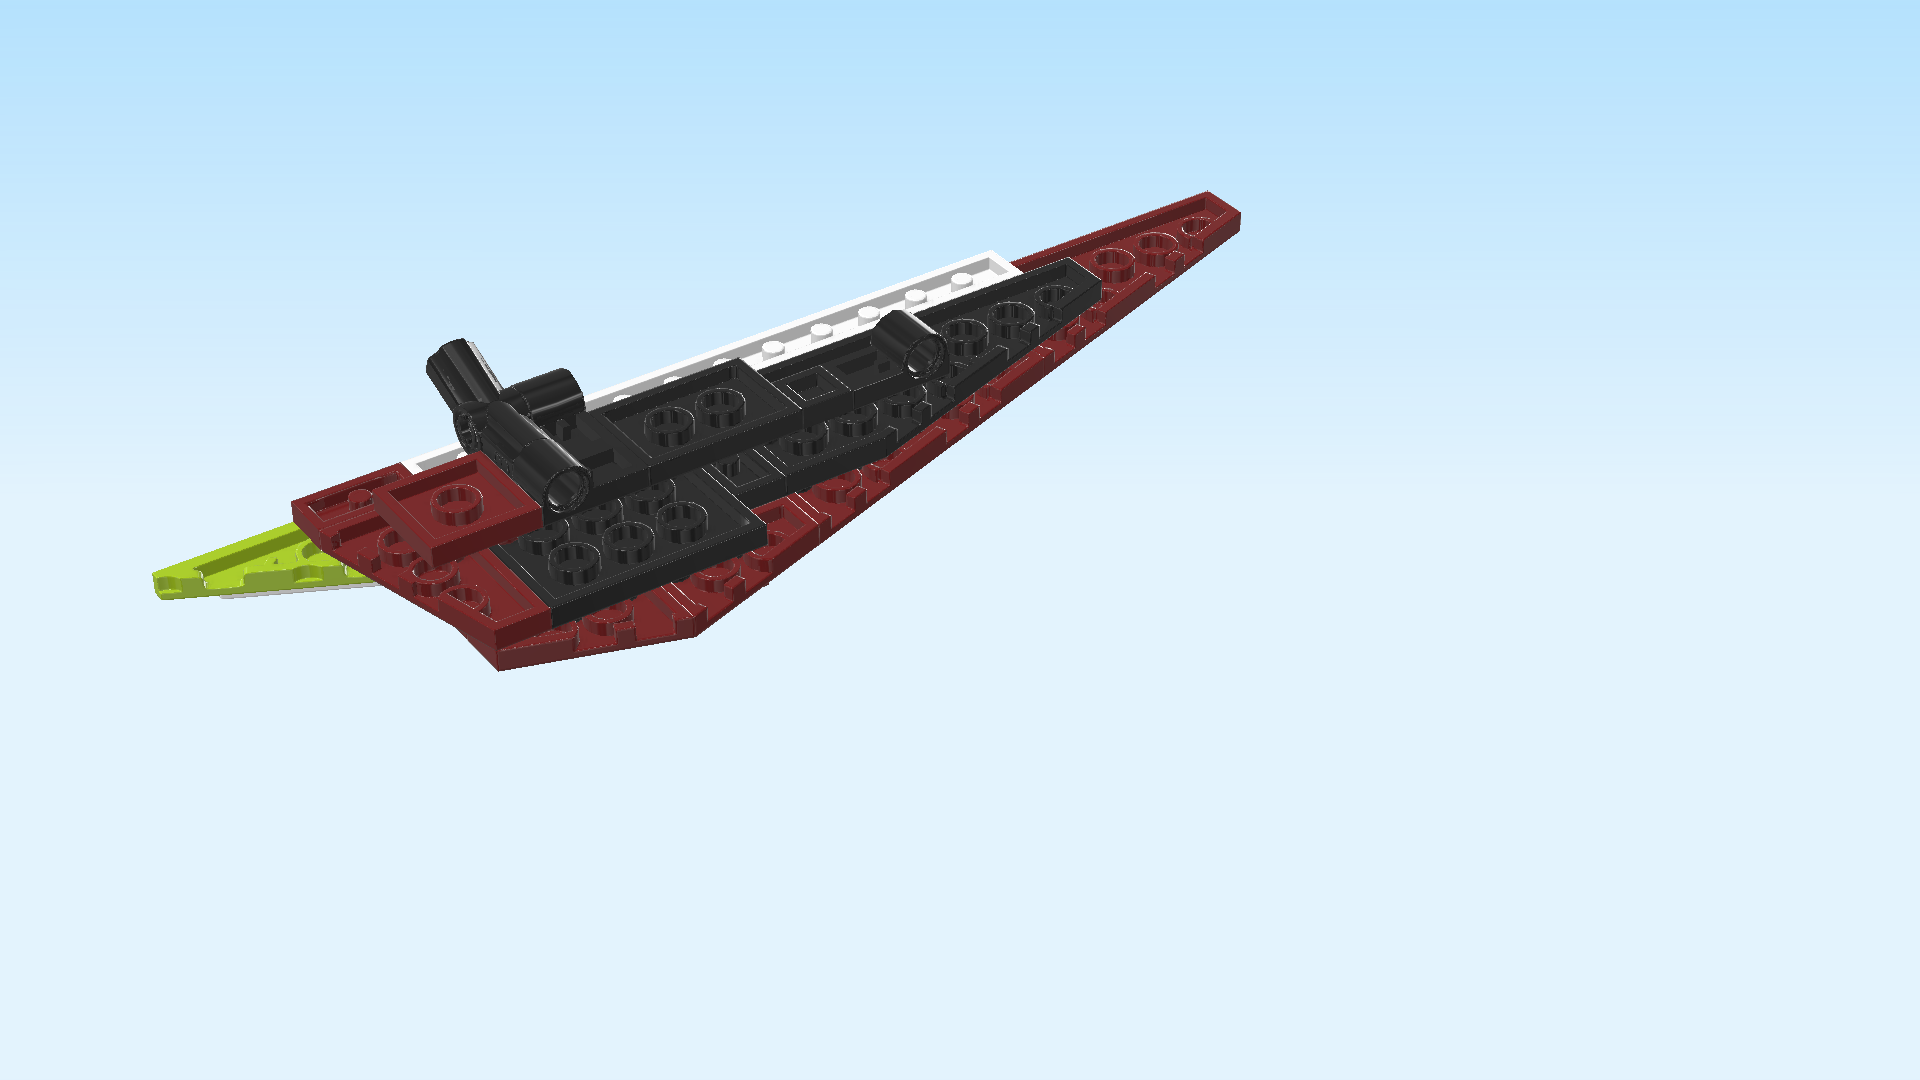
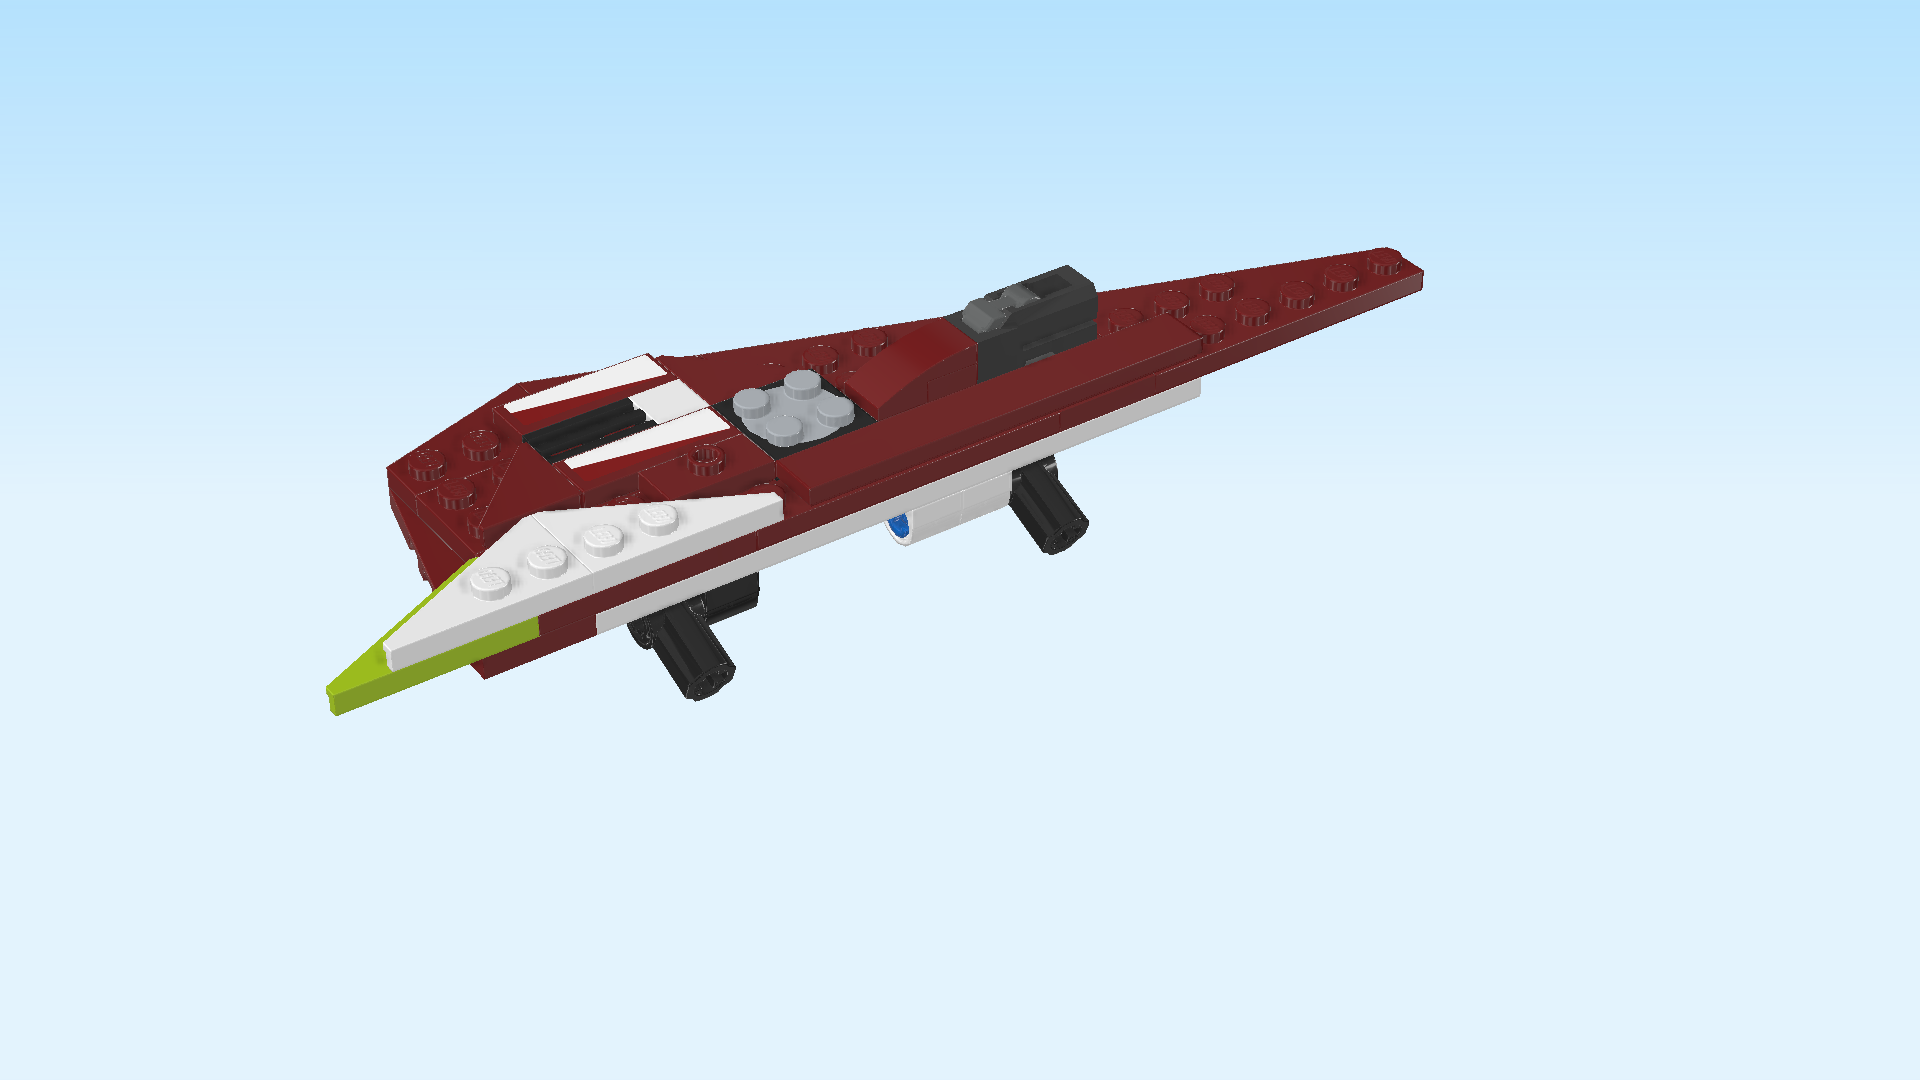
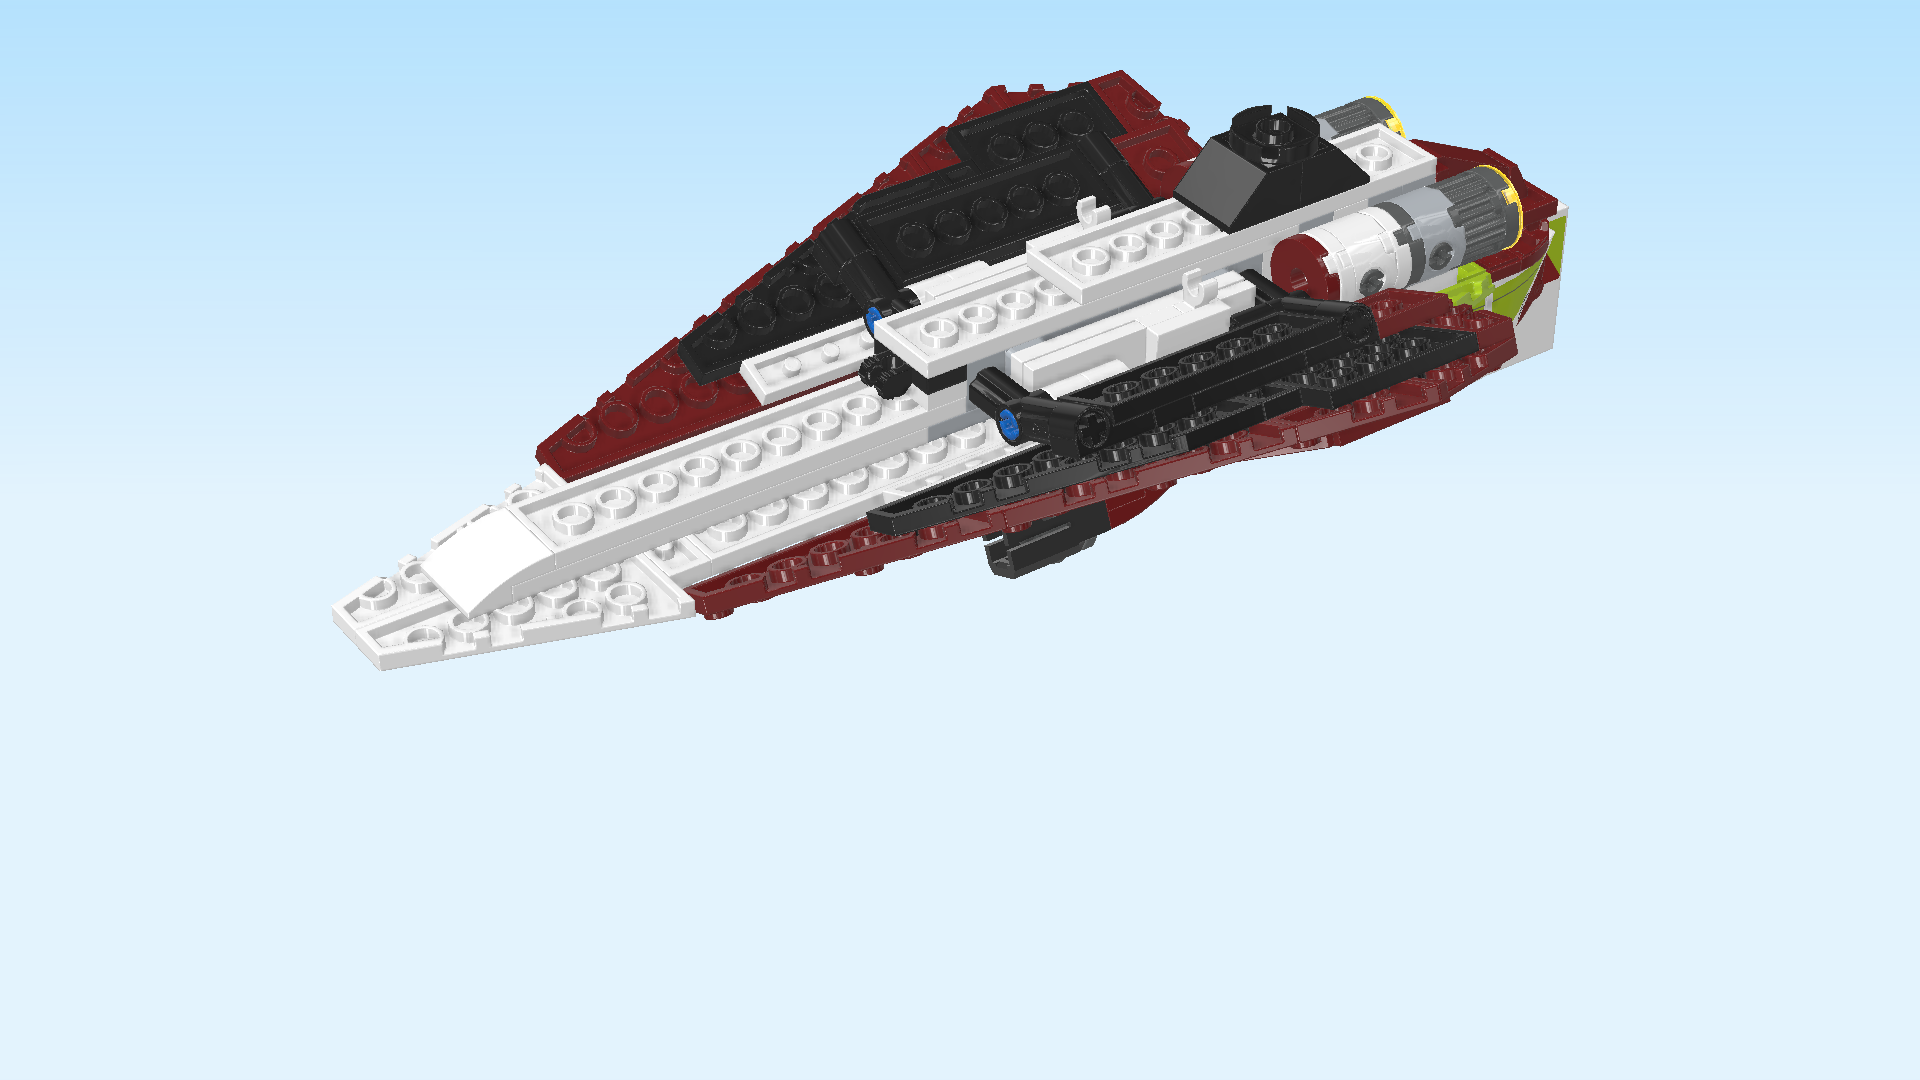
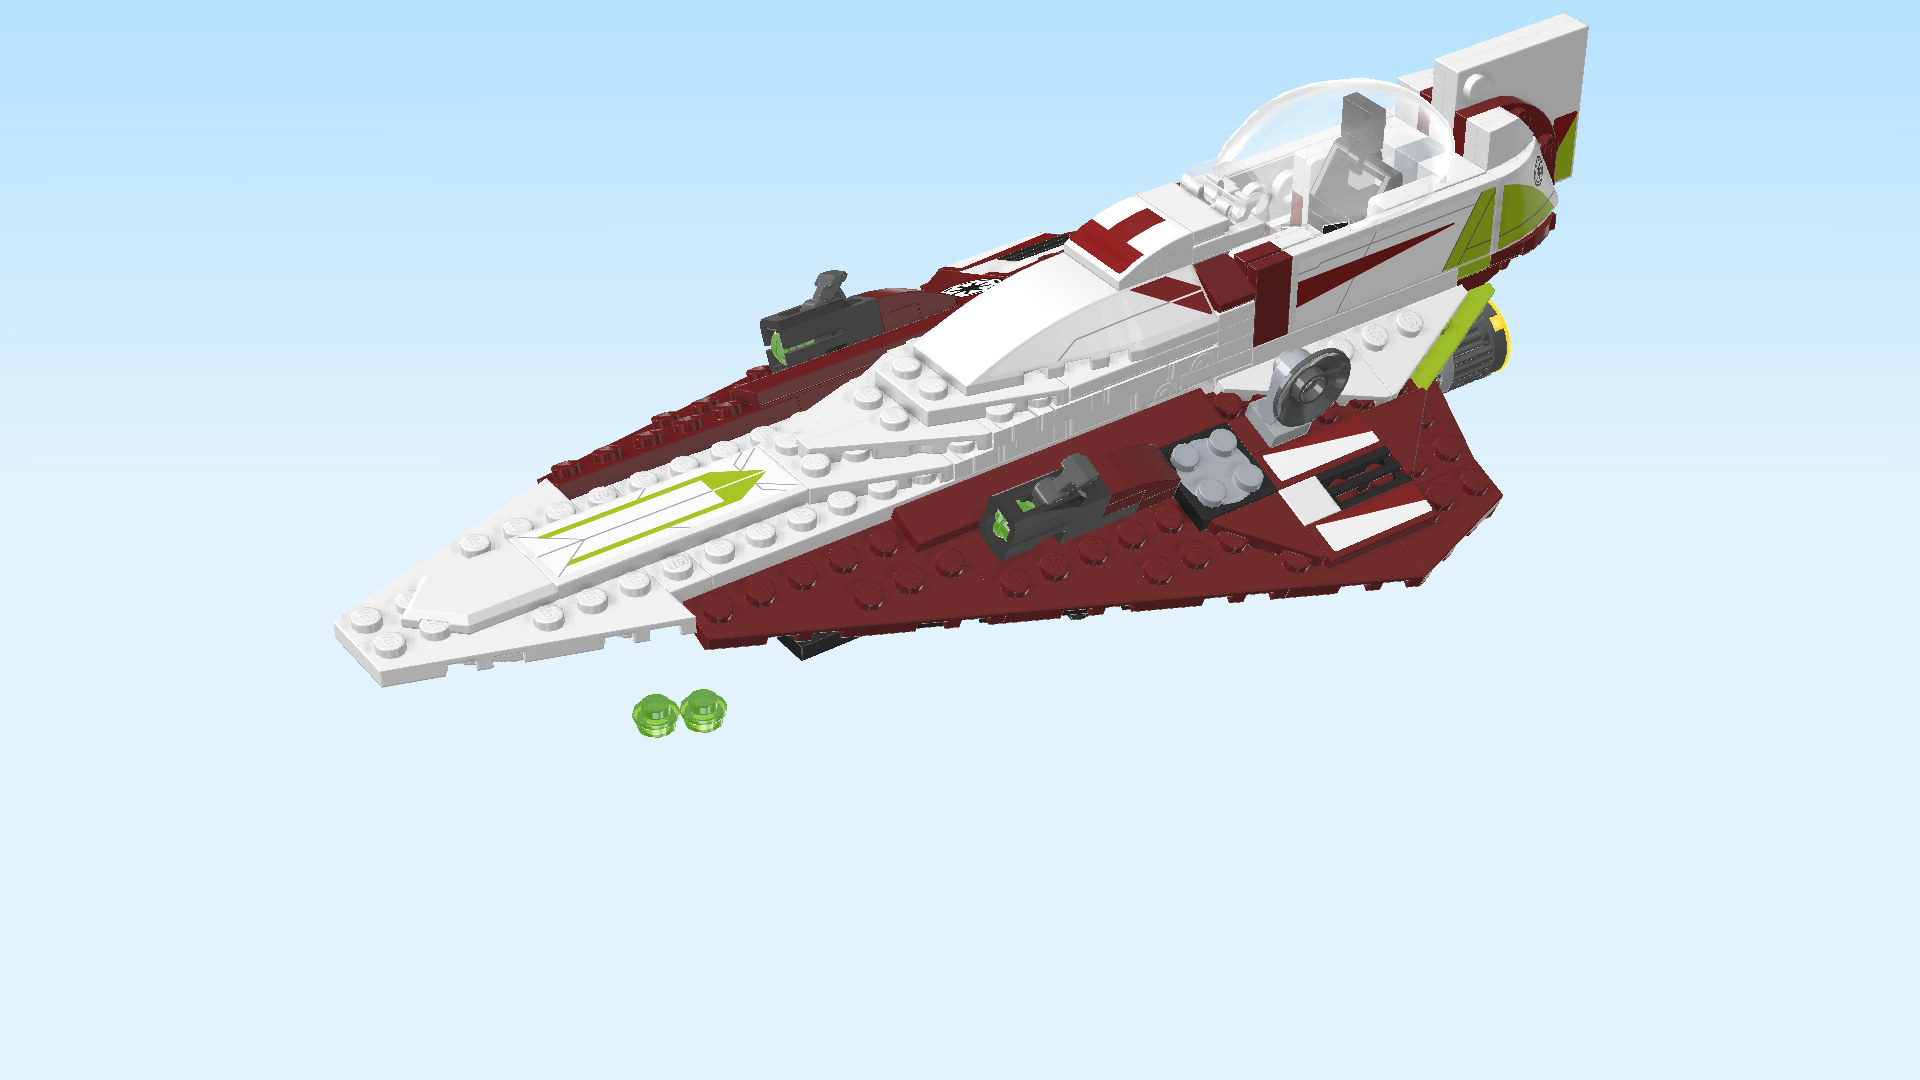
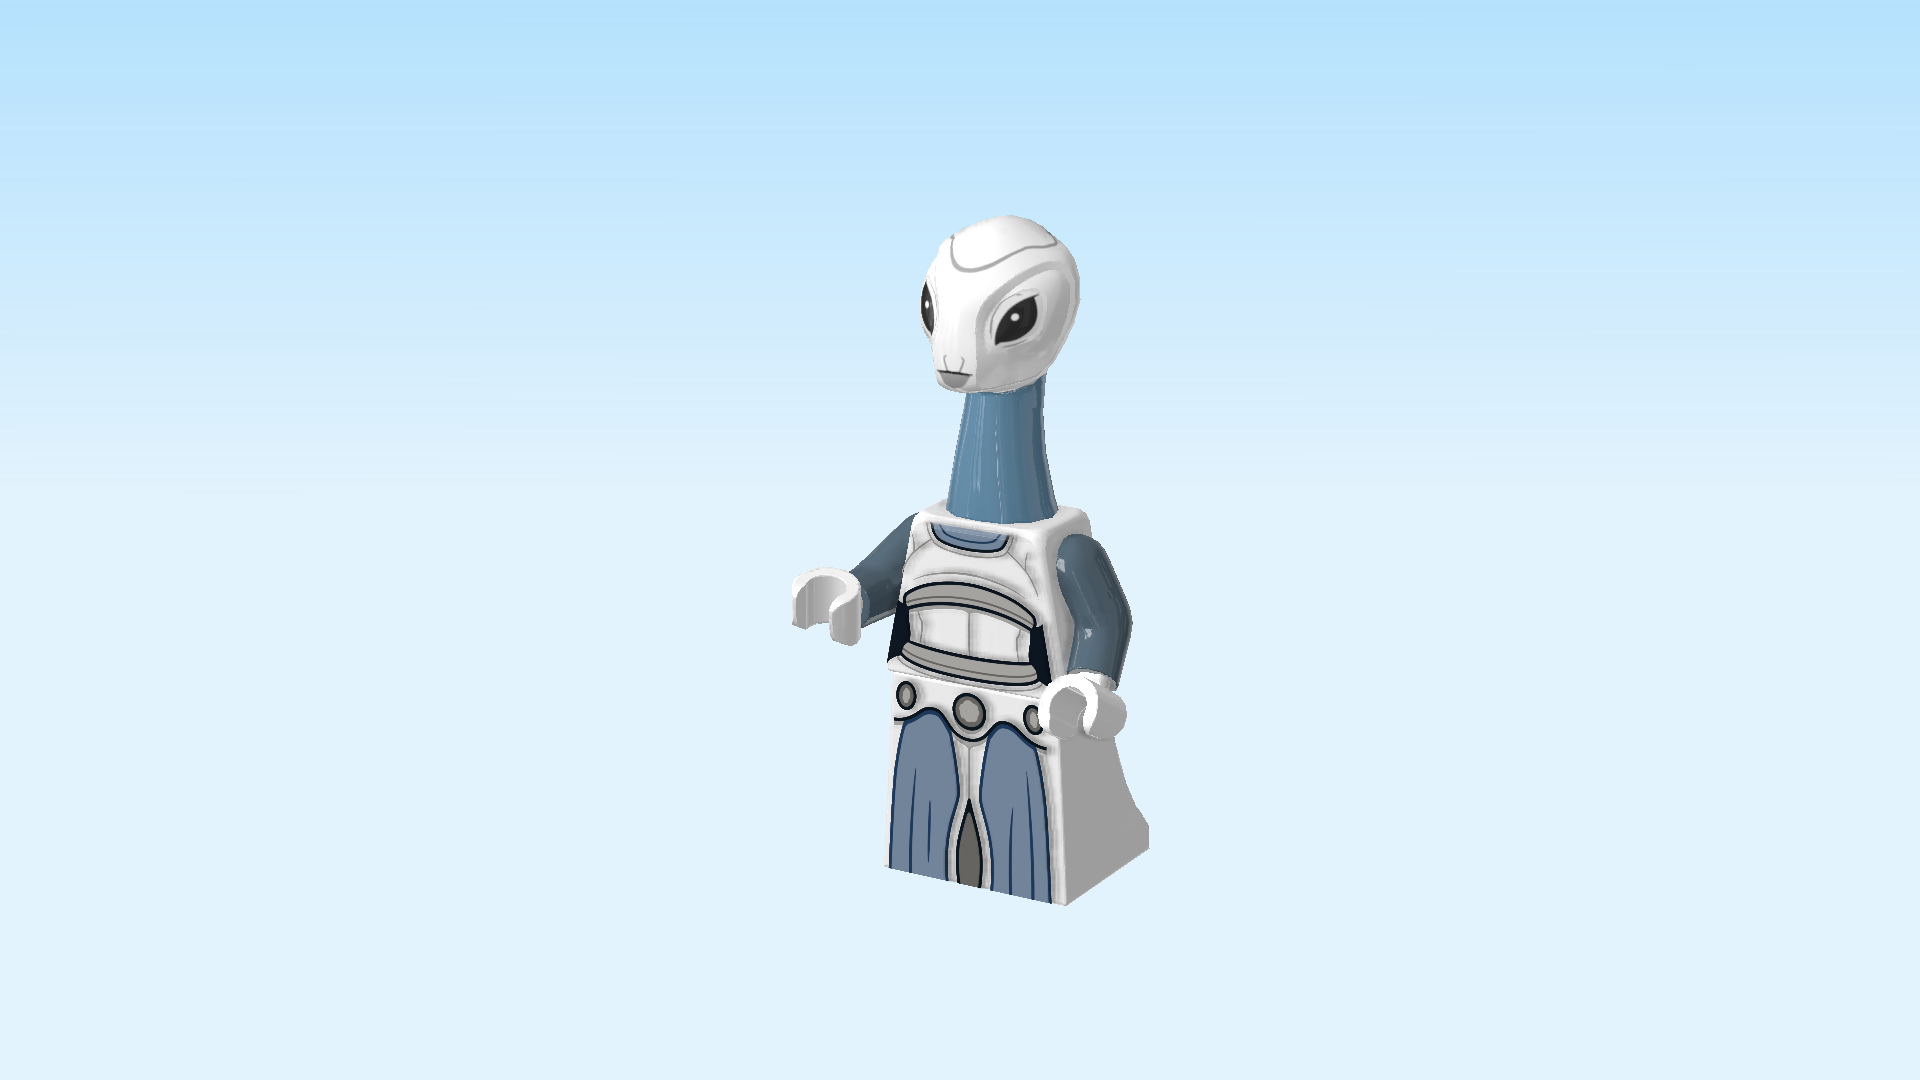
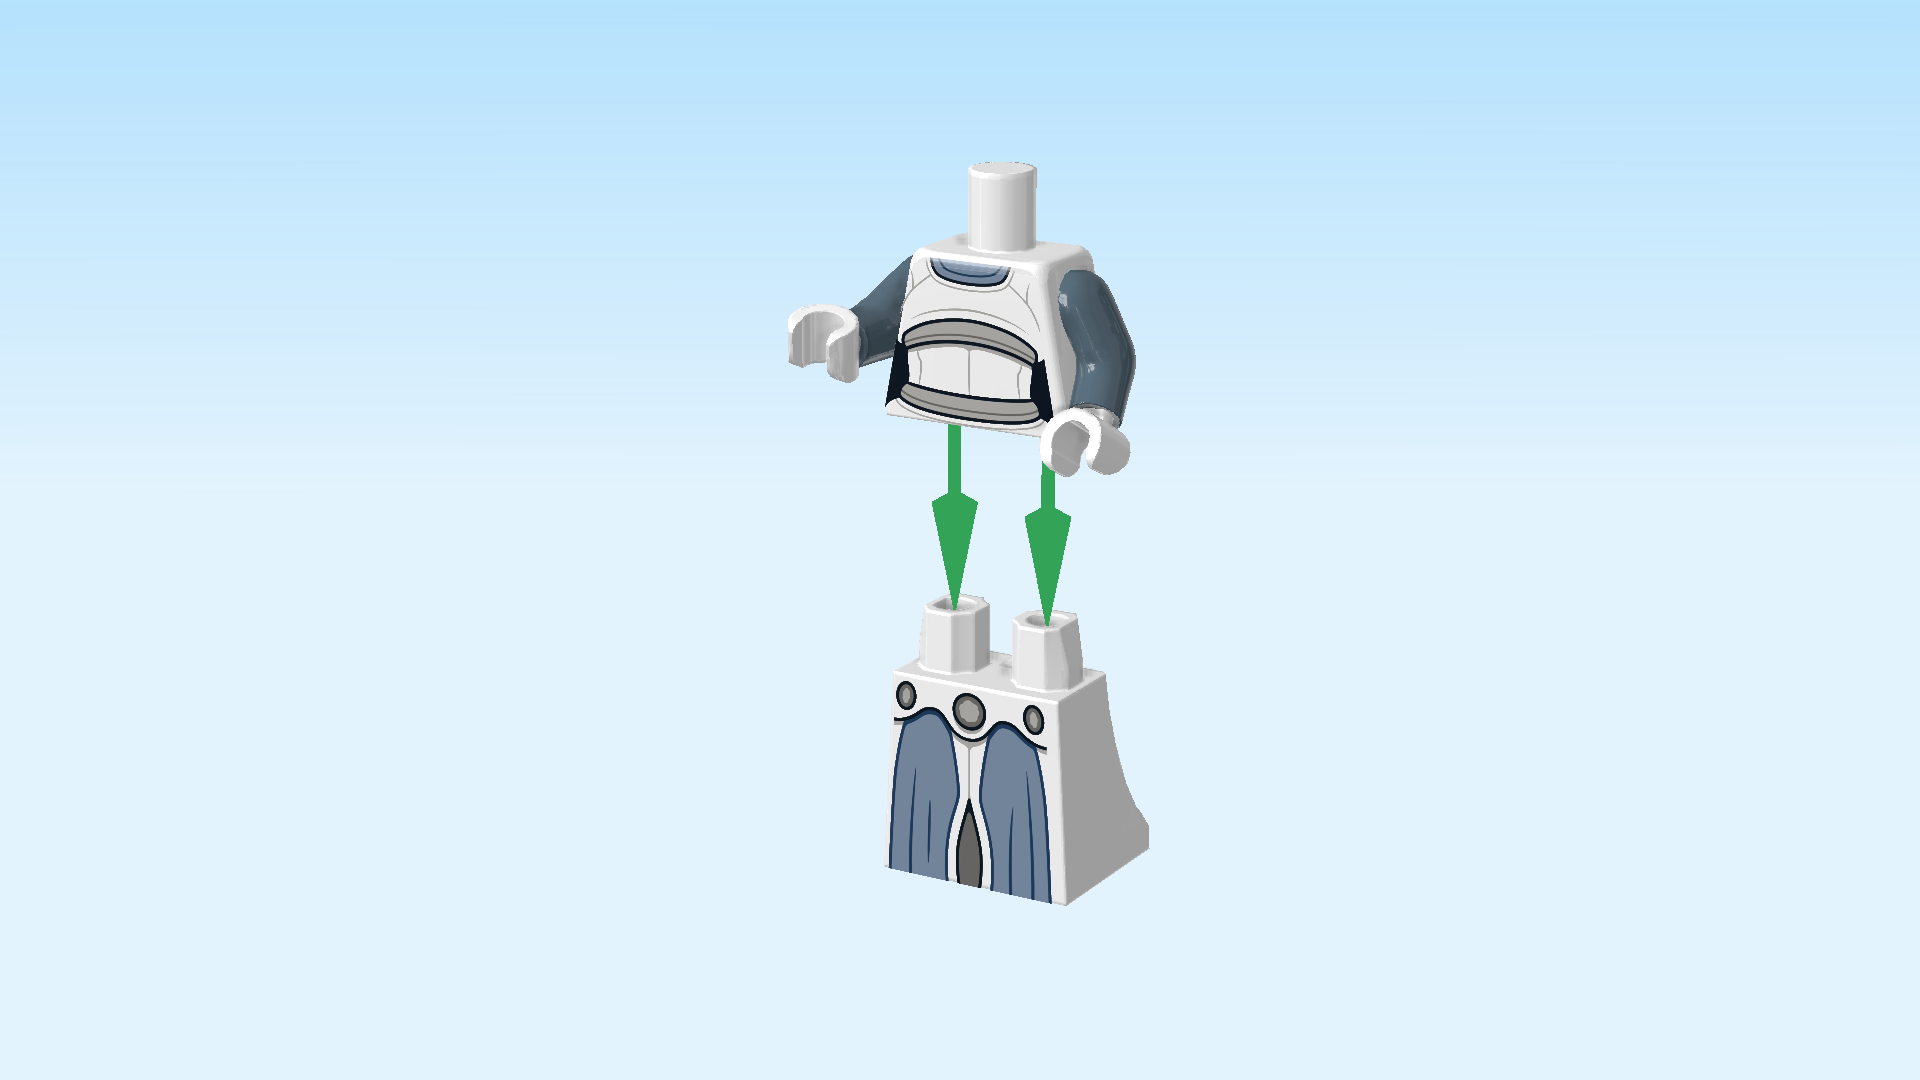
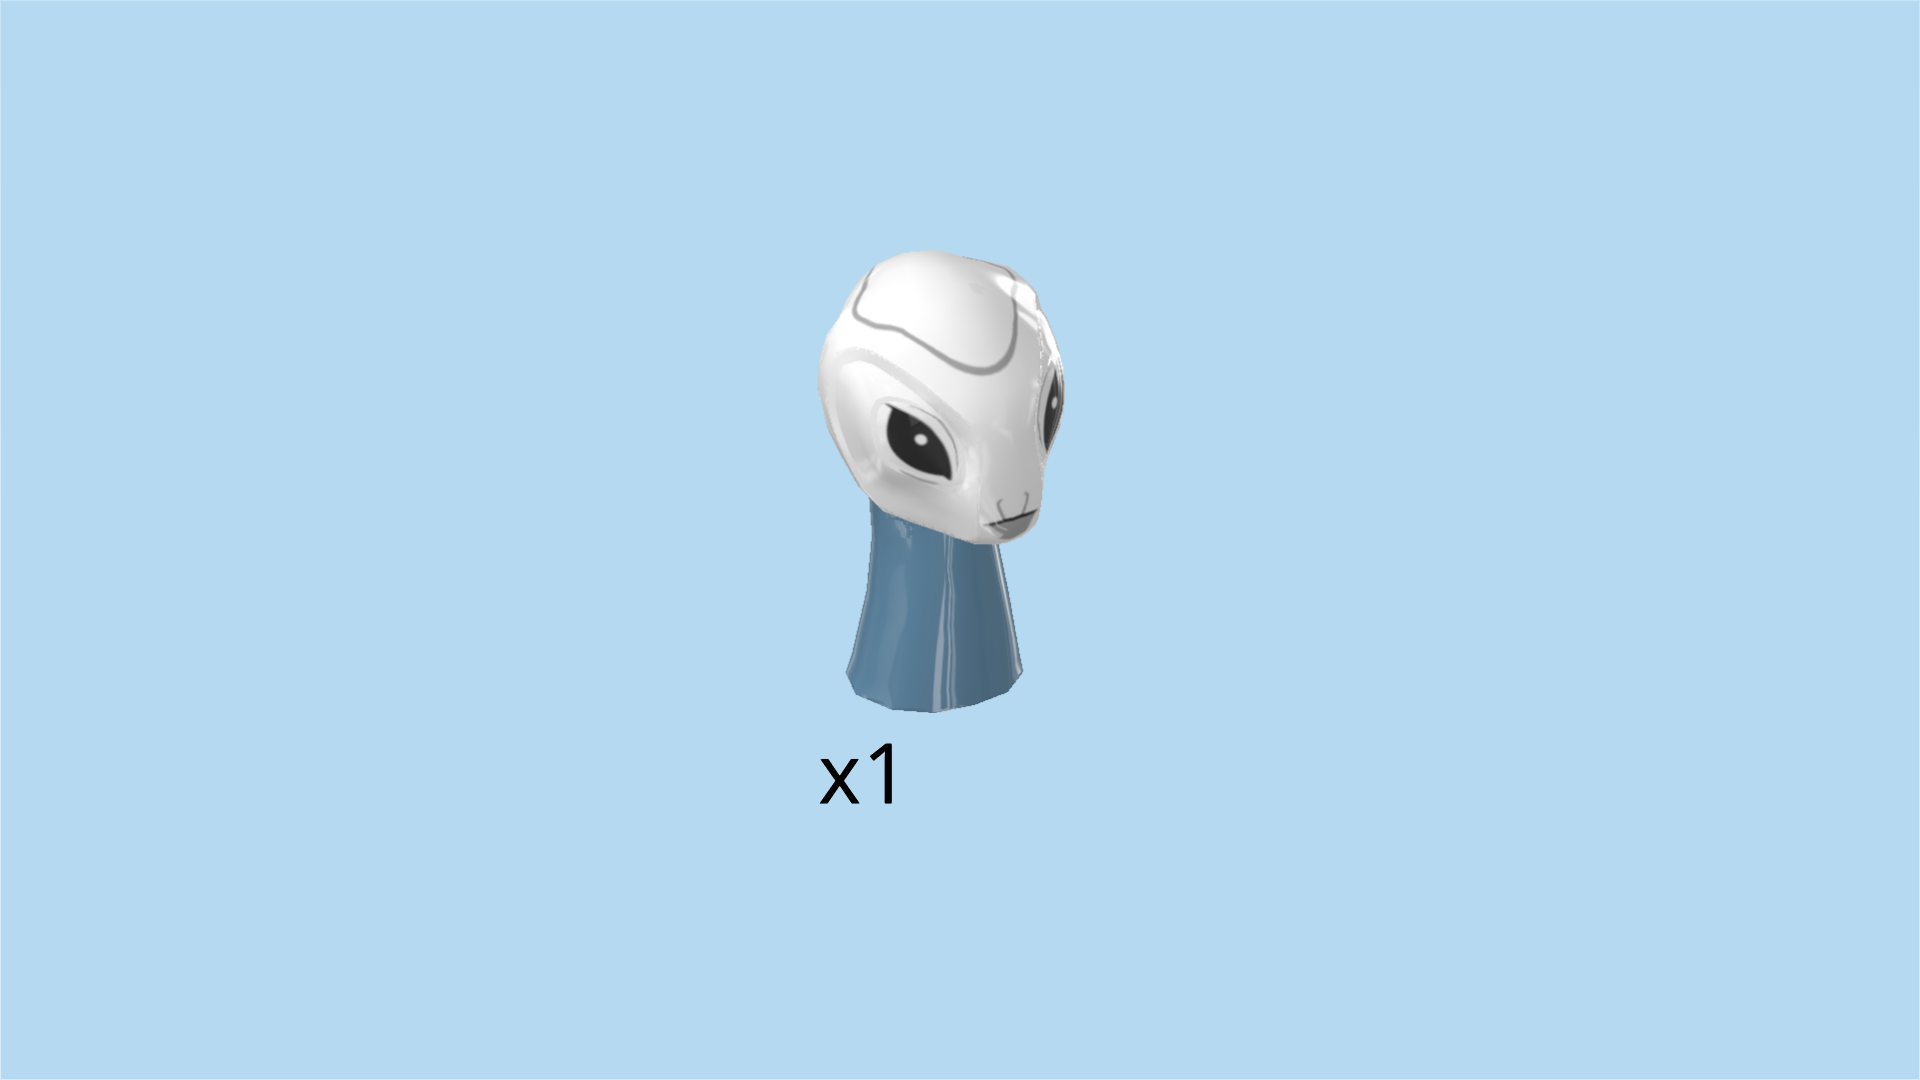
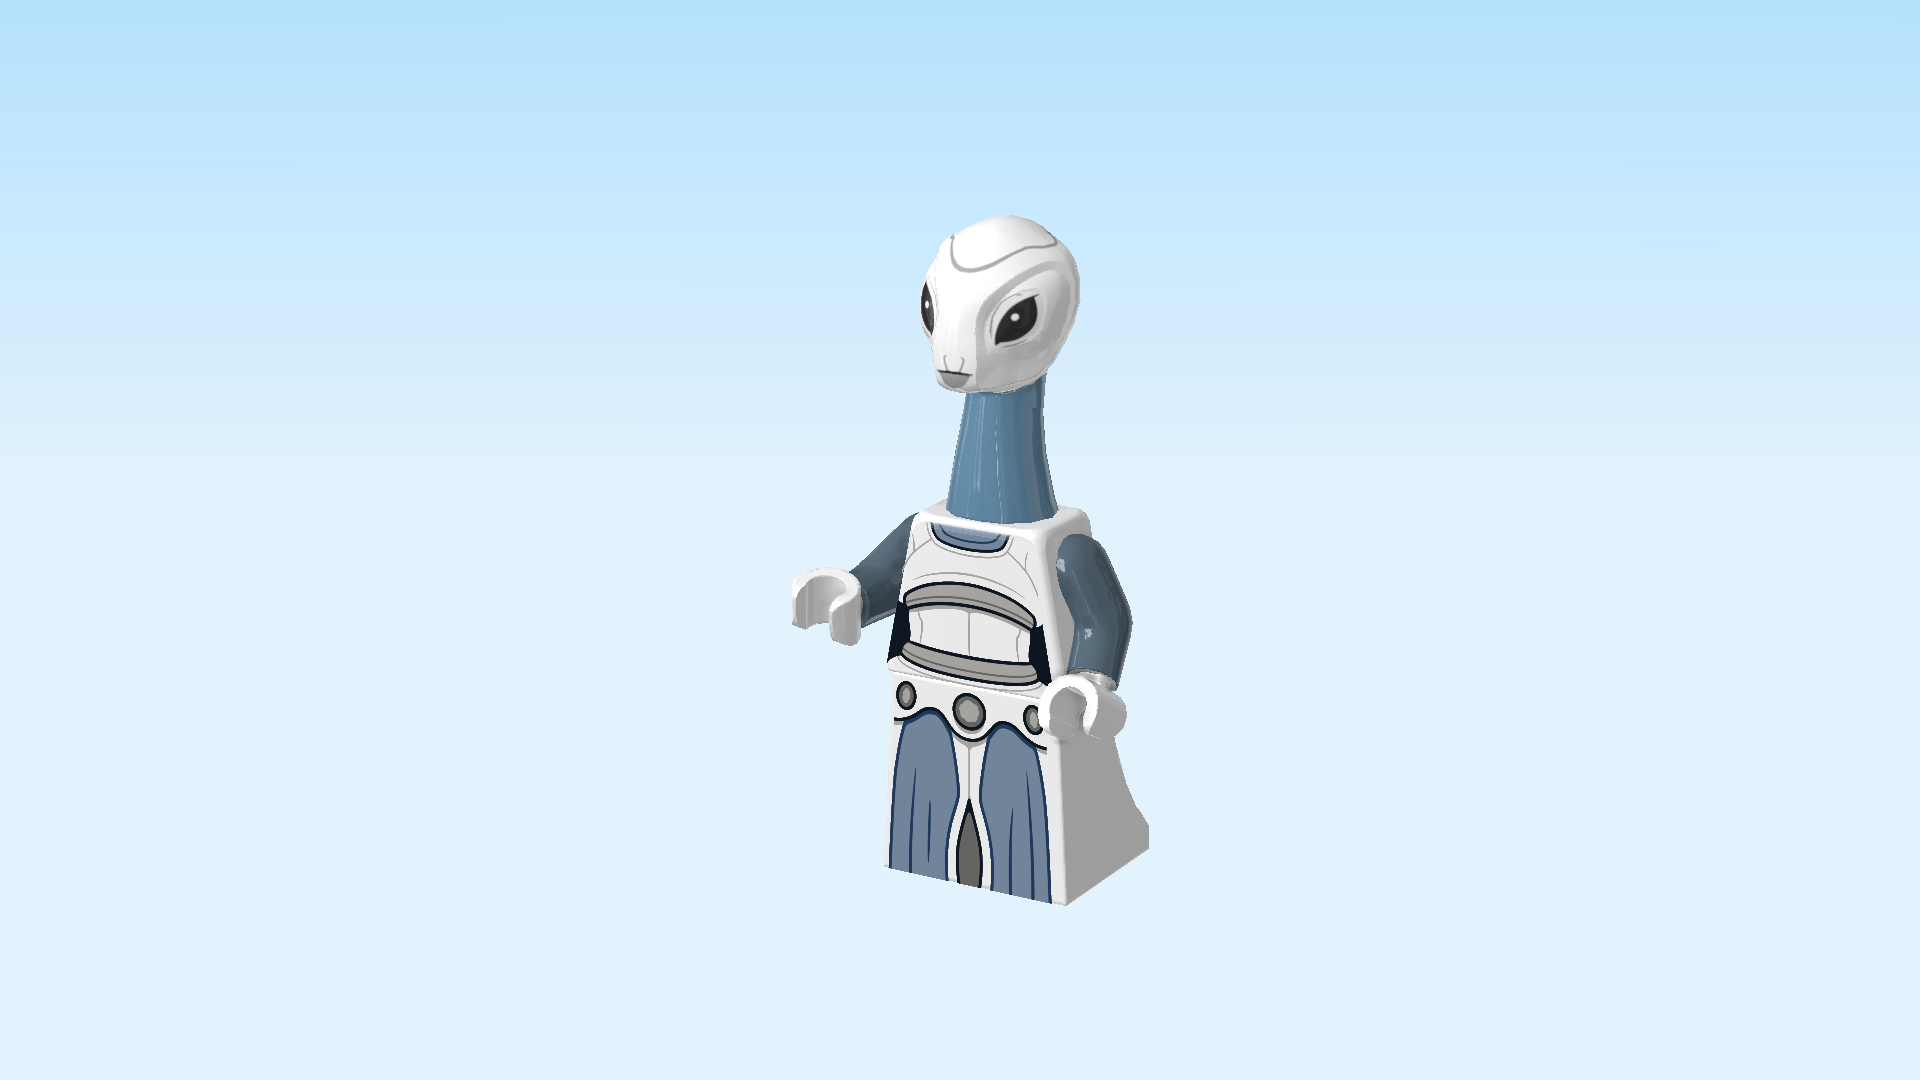
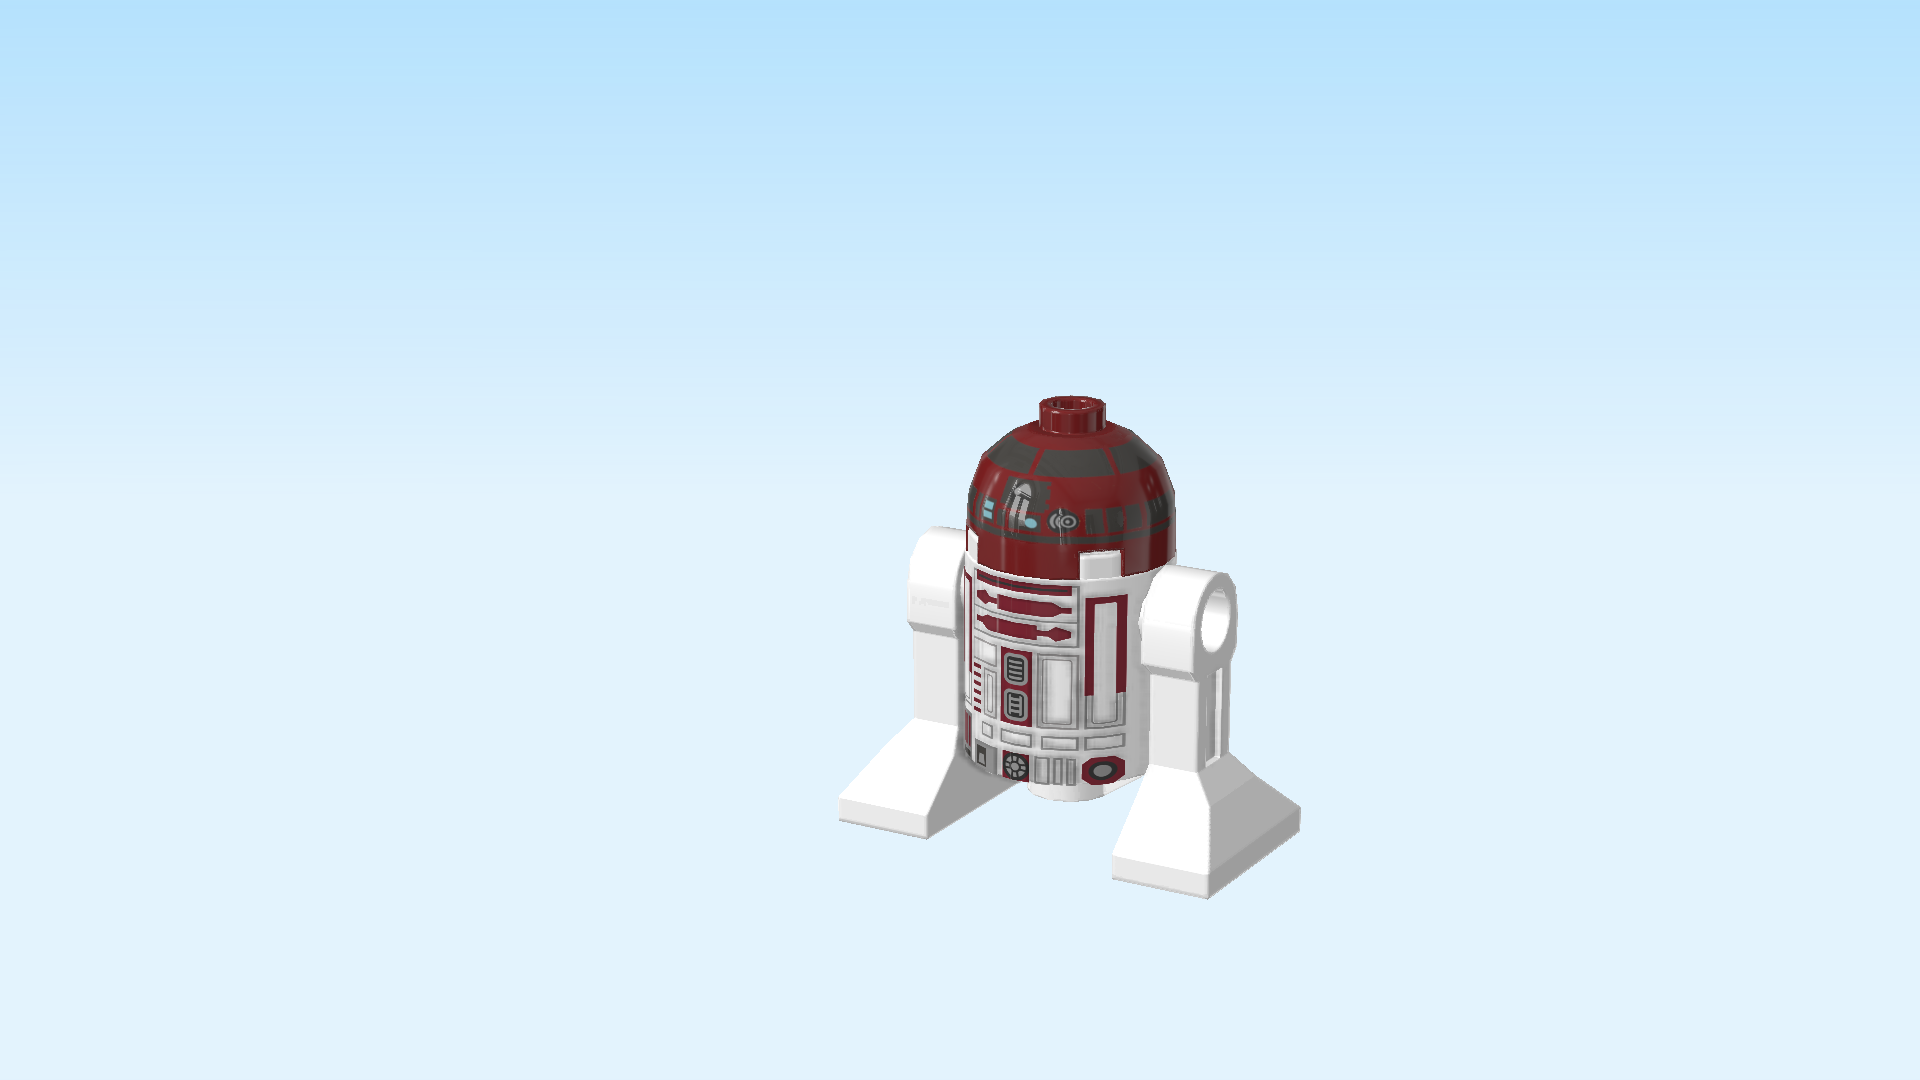
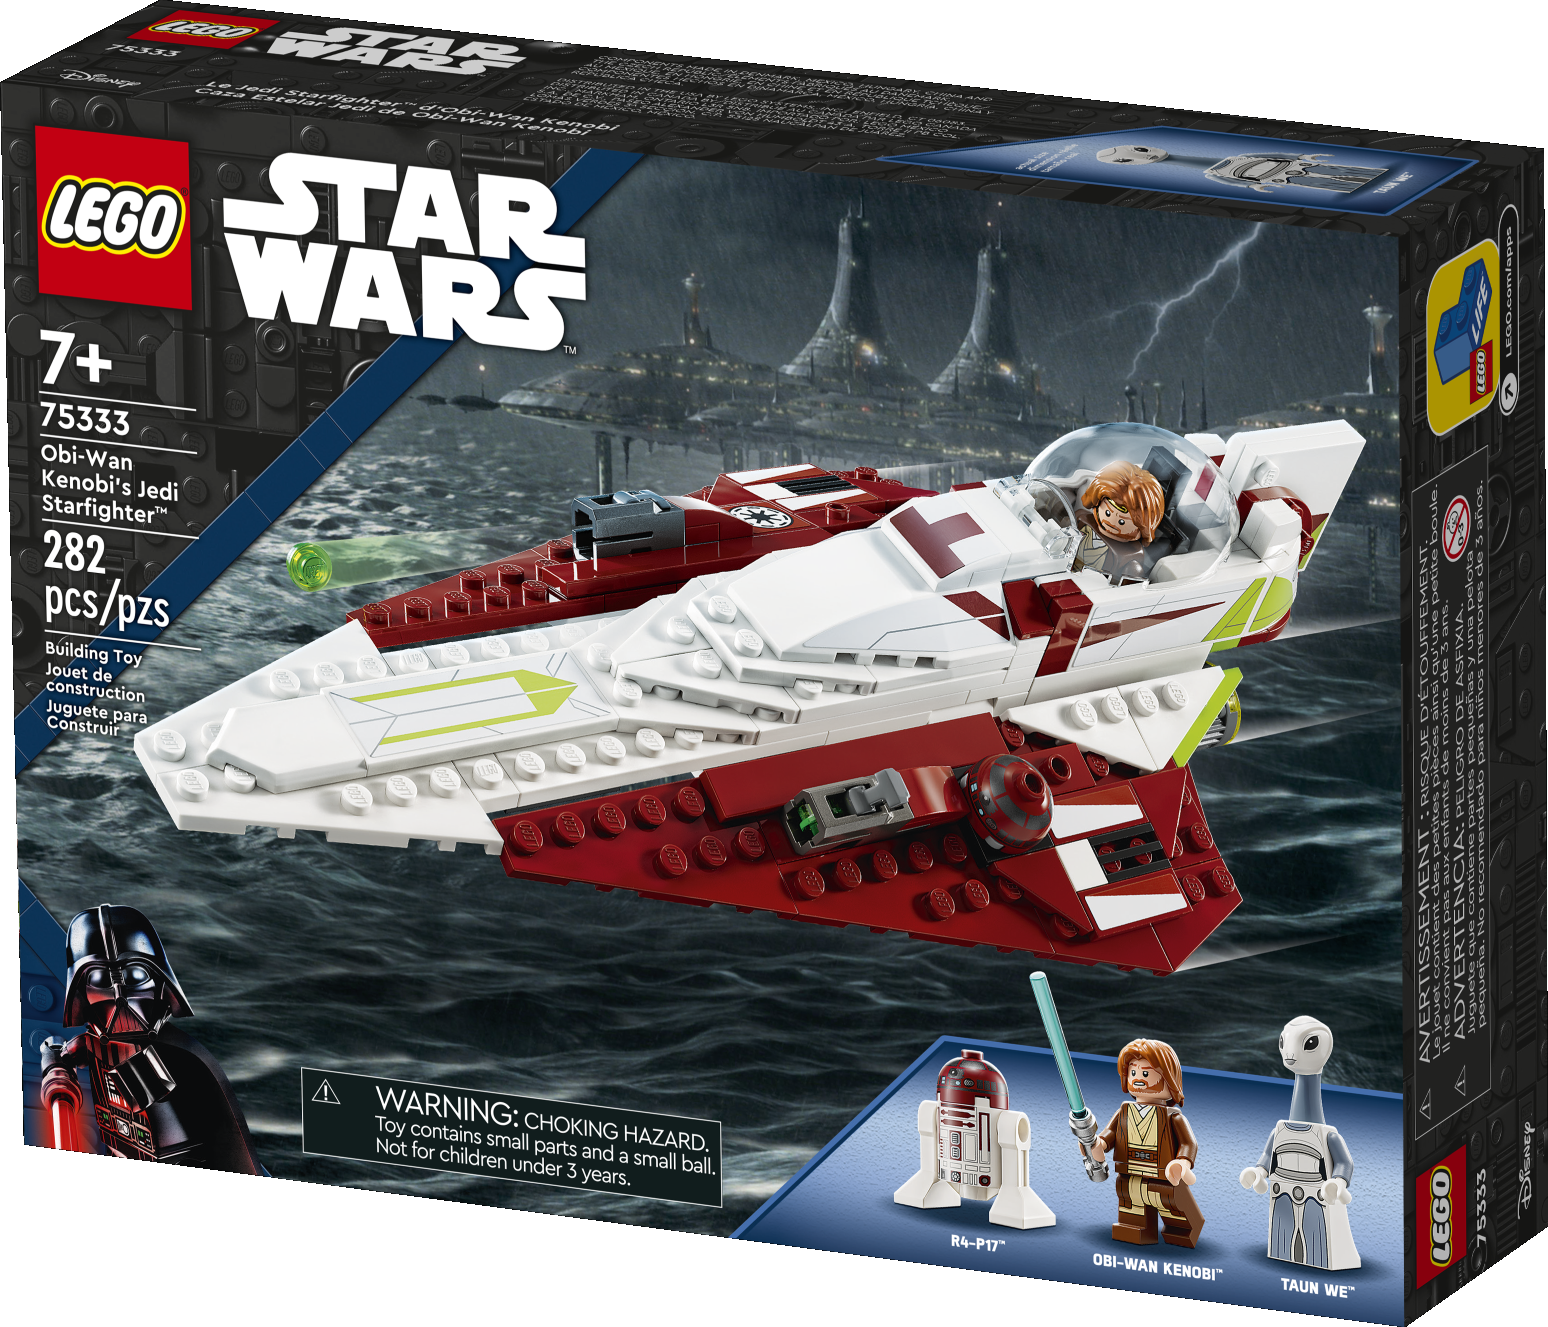
On the box cover, the Starfighter is flying across the dark troubled sea of the aquatic extragalactic planet Kamino. The futuristic buildings of Tipoca City, the capital city of Kamino, are built on stilts; they can be seen in the background. The pilot of the Starfighter is Jedi Master Obi-Wan Kenobi. The Starfighter itself has a tapered, aerodynamic shape. Its two wings are dark red while the main body is white. There are some light green decorations on the white part of the spacecraft. The cockpit is slightly raised and is located at the tail end of the Starfighter. The 2 engines at the bottom help the spacecraft reach impressive speeds. There is a shooter on top of each wing, and a swivel plate for the head of R4-P17, the hyperspace navigator astromech. In the bottom right corner are detailed images of the three Minifigures included in this set: Obi-Wan Kenobi, the master Jedi holding a light-green lightsaber, his astromech R4-P17, and Taun We, a Kaminoan female administrative aide. A haunting image of LEGO Darth Vader can be found in the bottom left corner. He is not included in this set, but his presence looms large in the intergalactic realms. Let's get started!

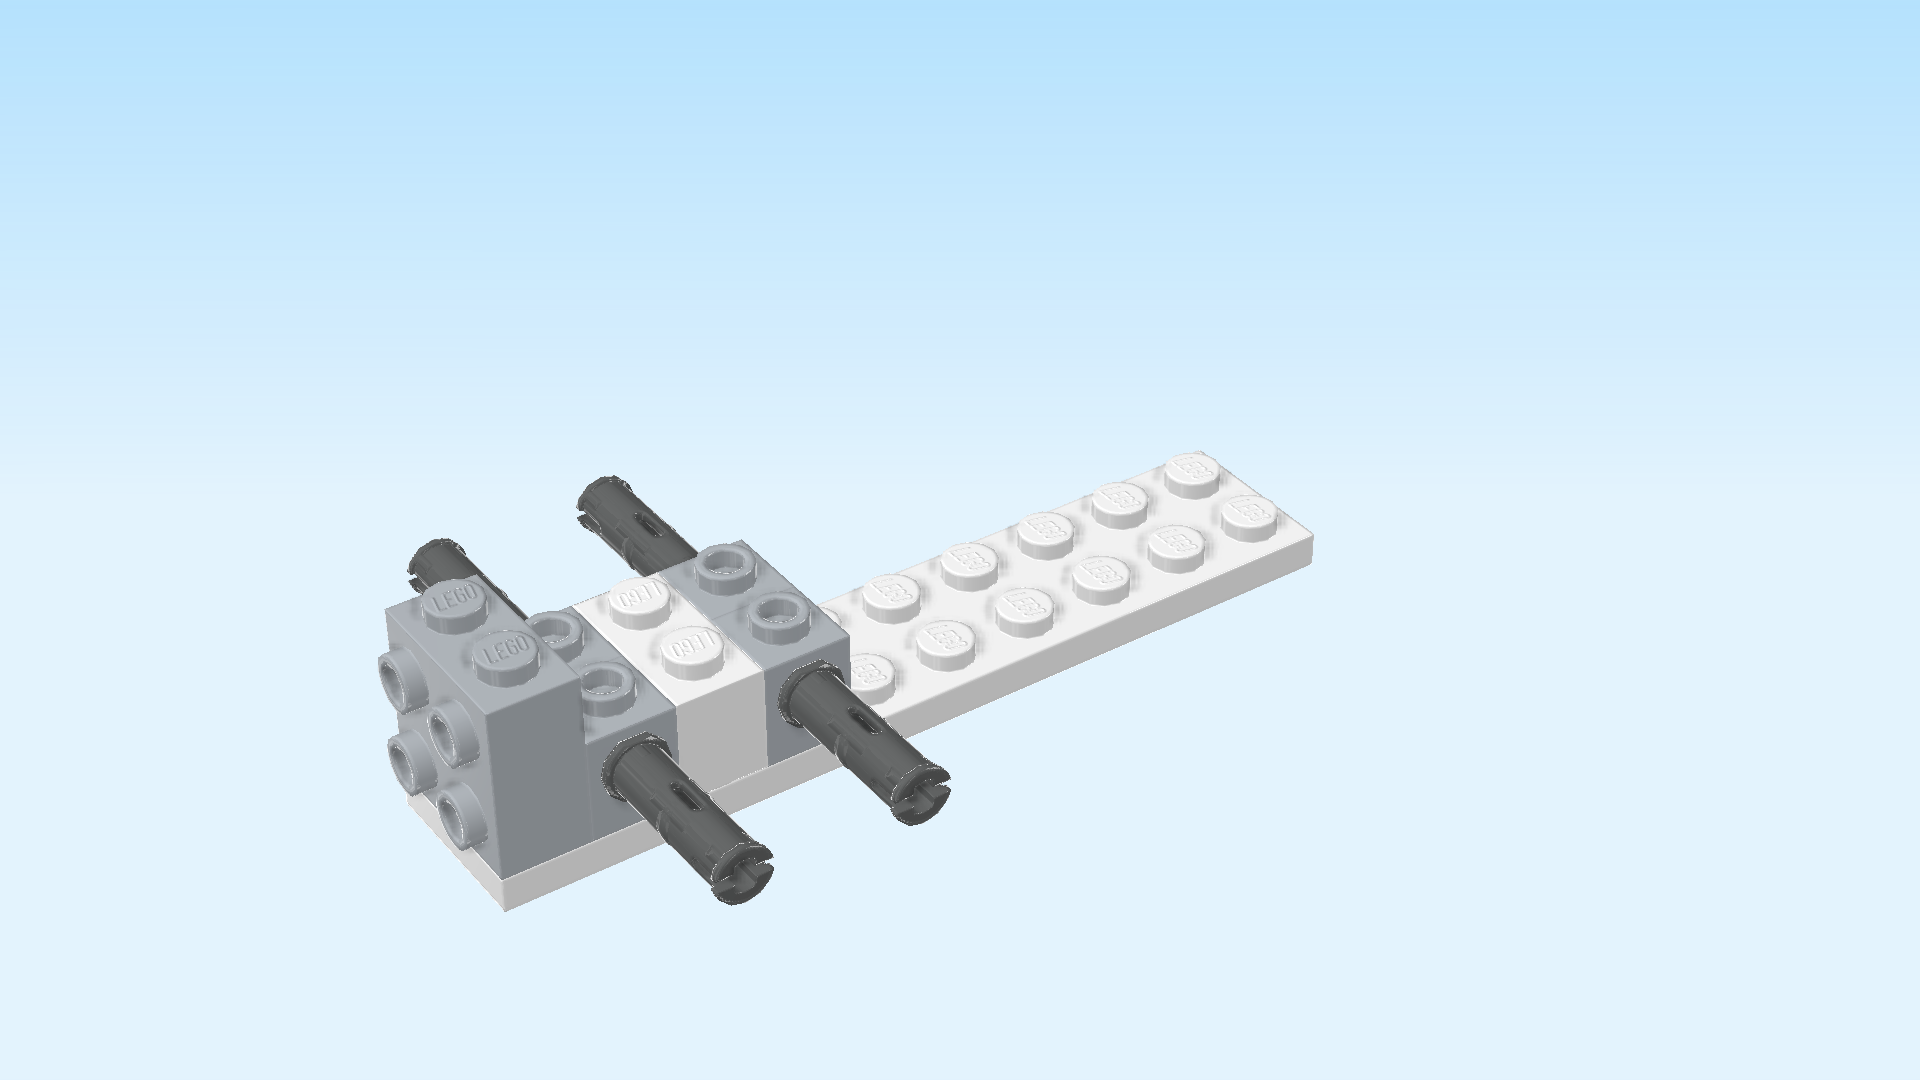
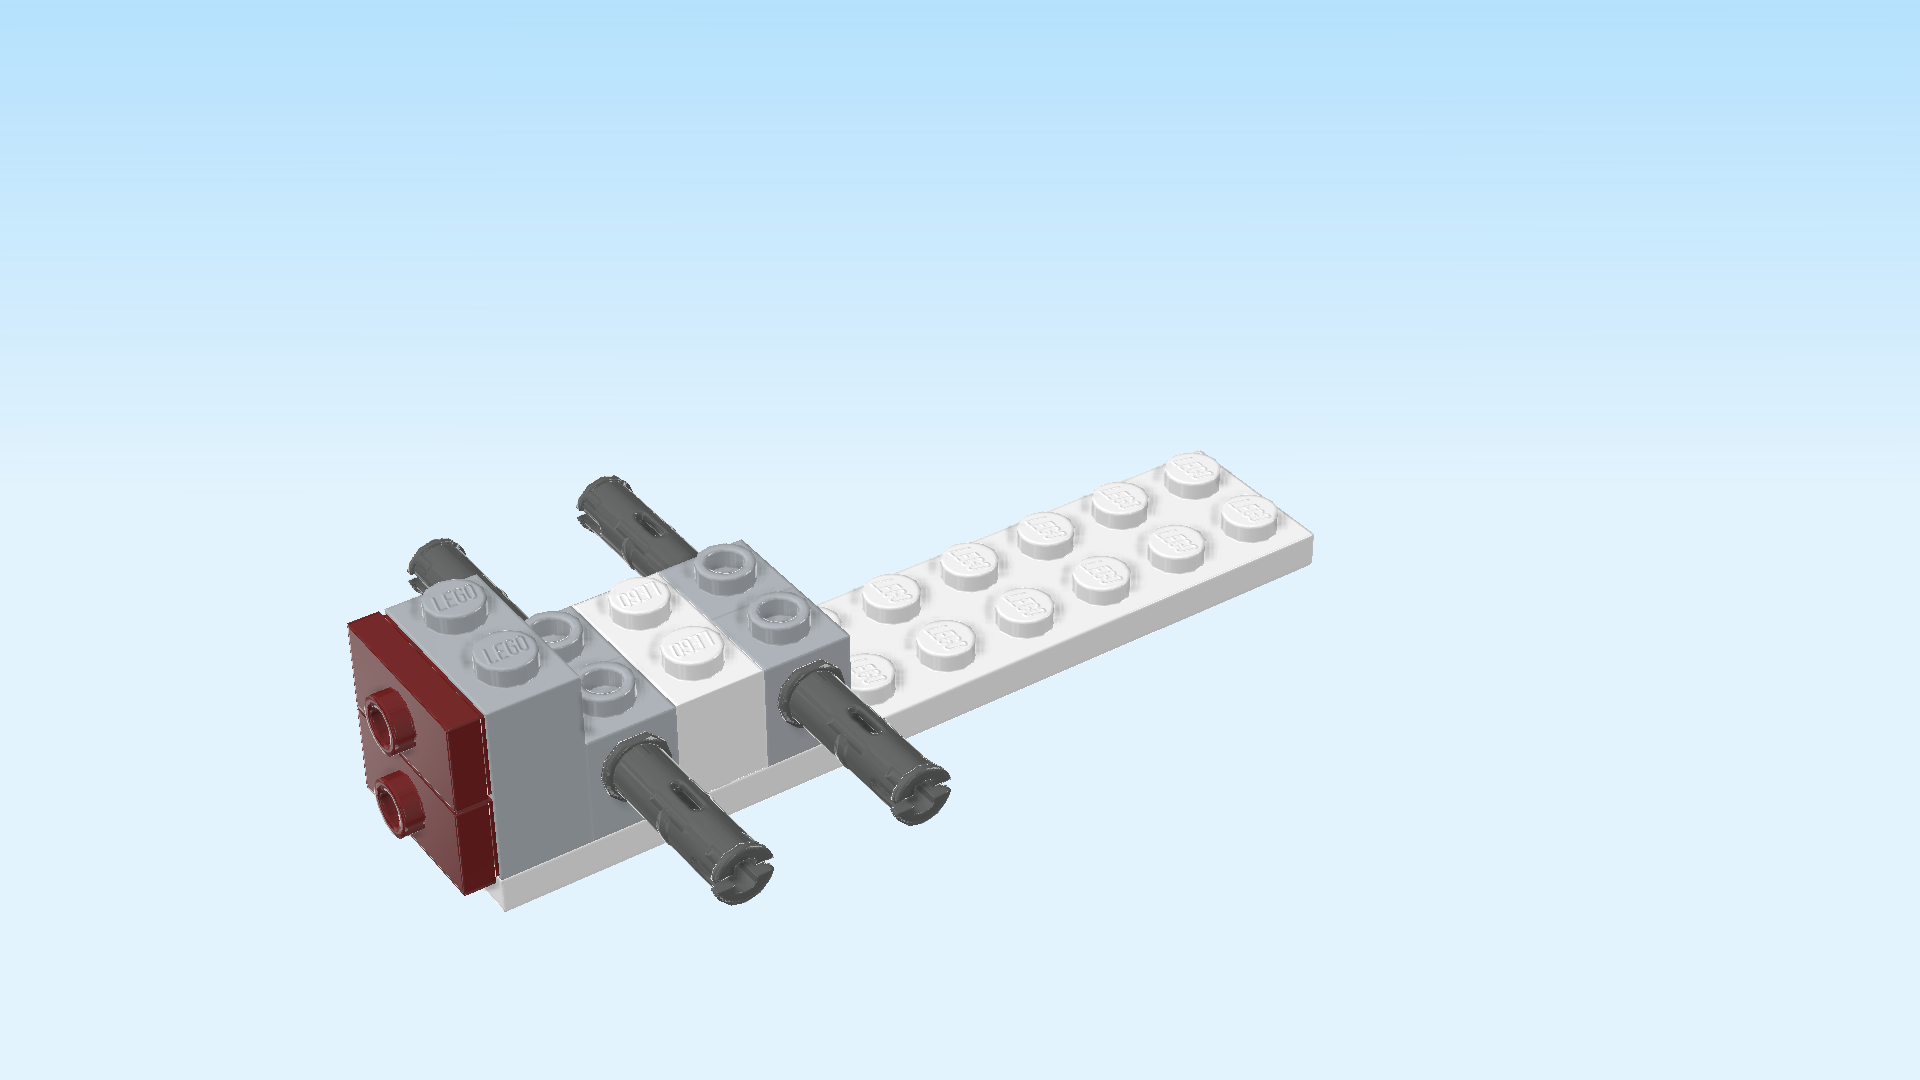
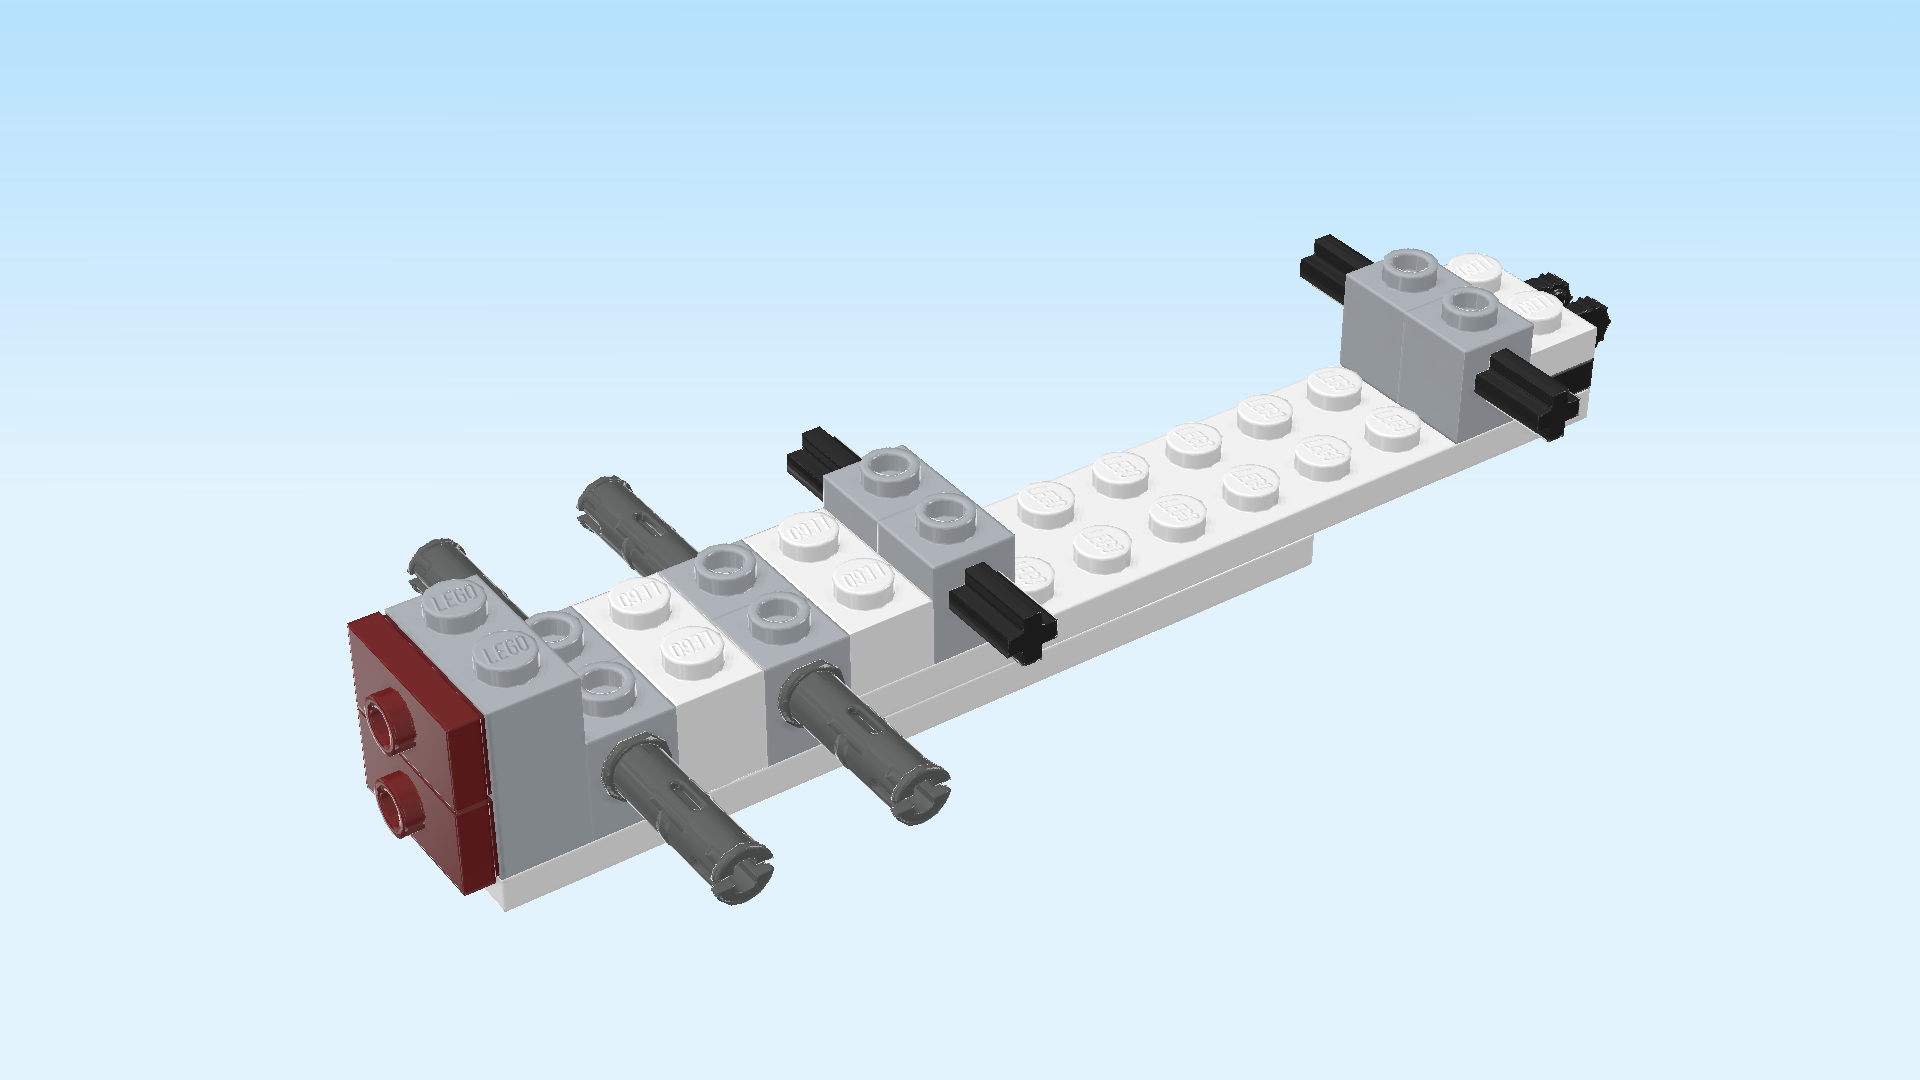
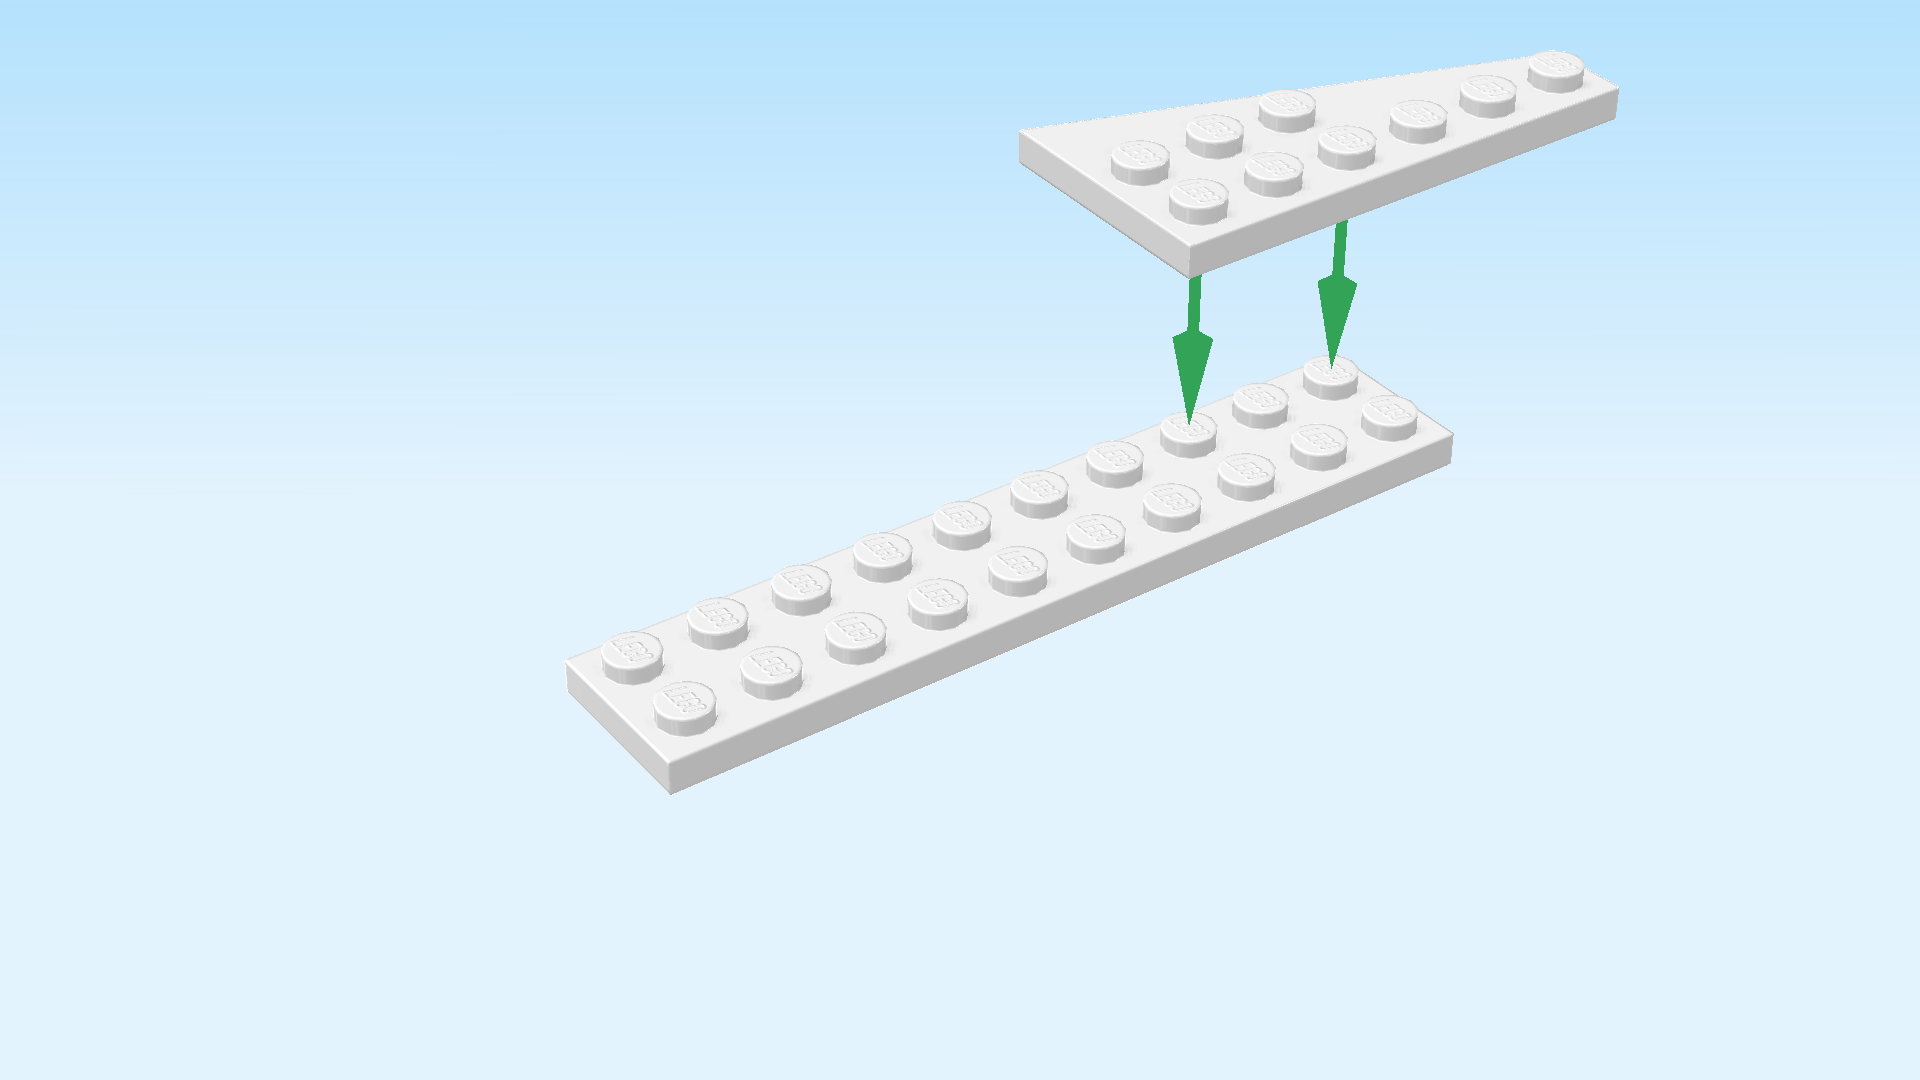
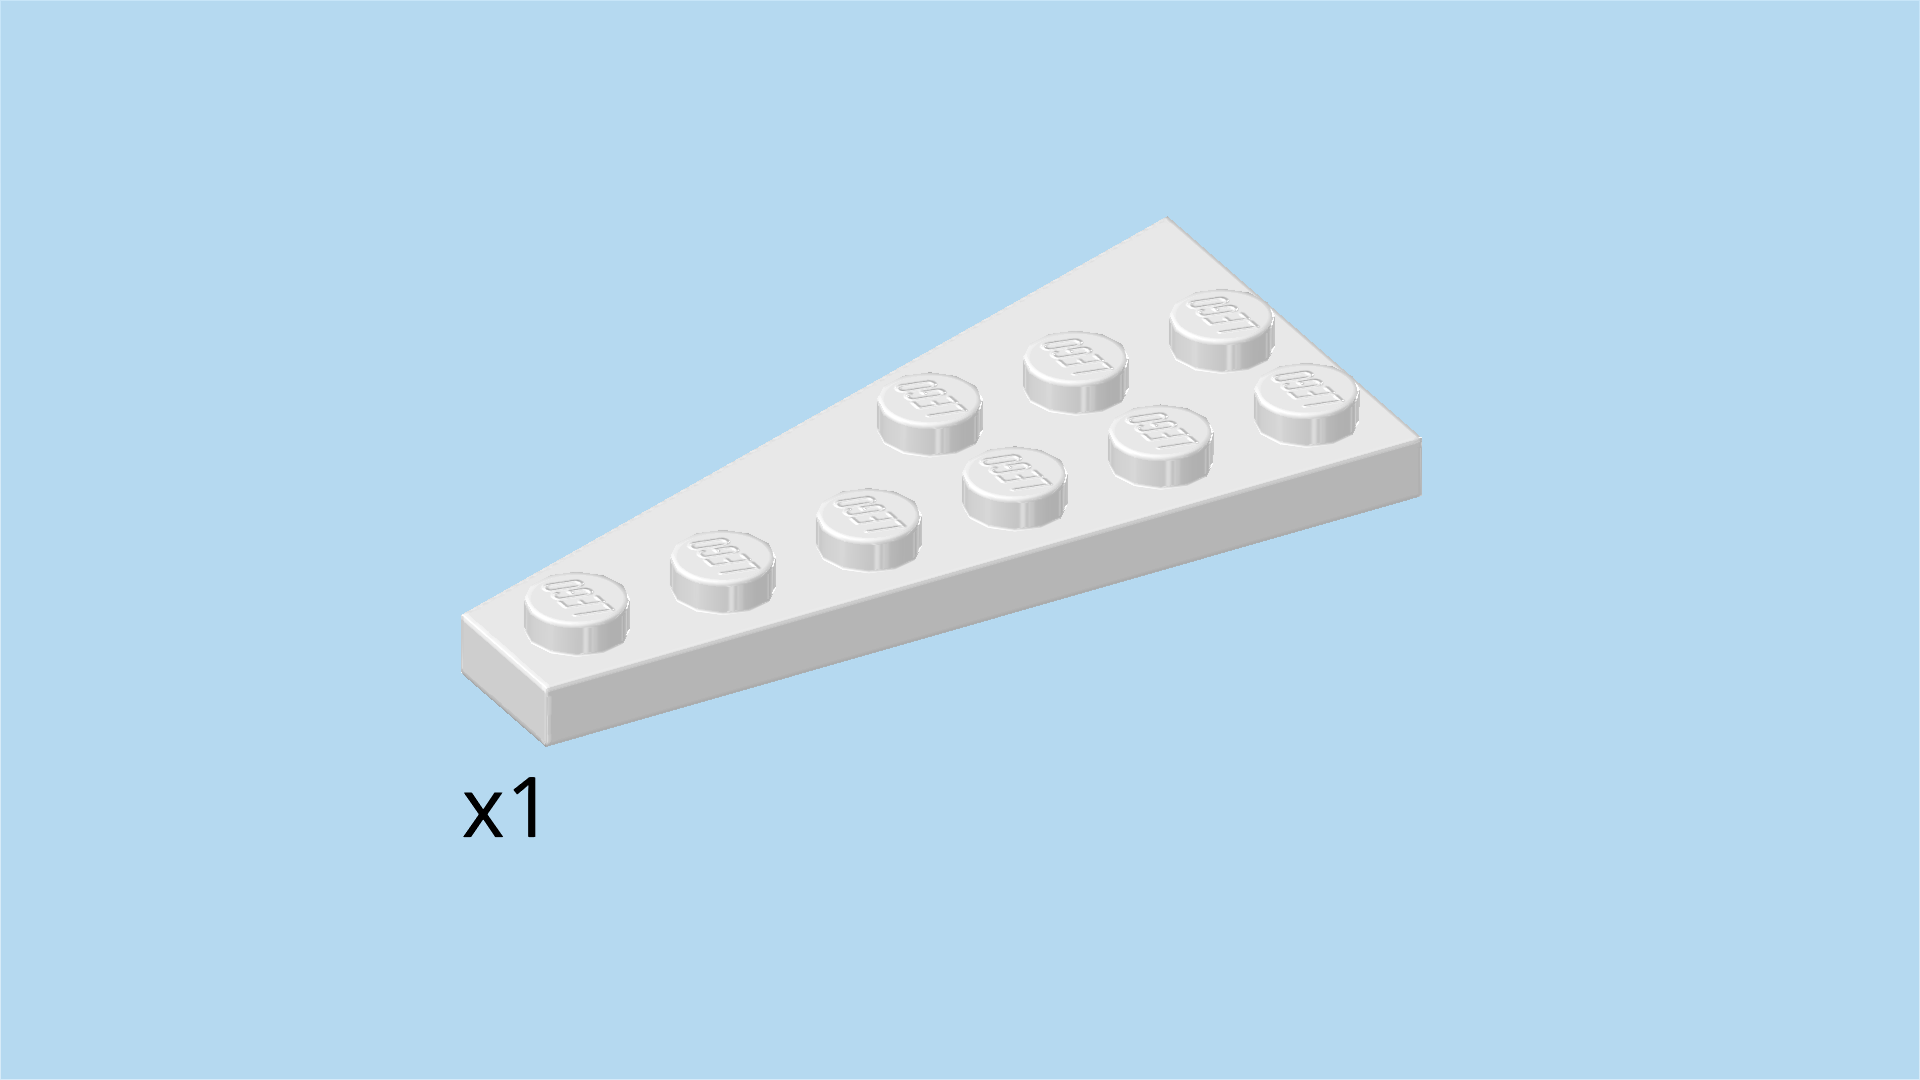
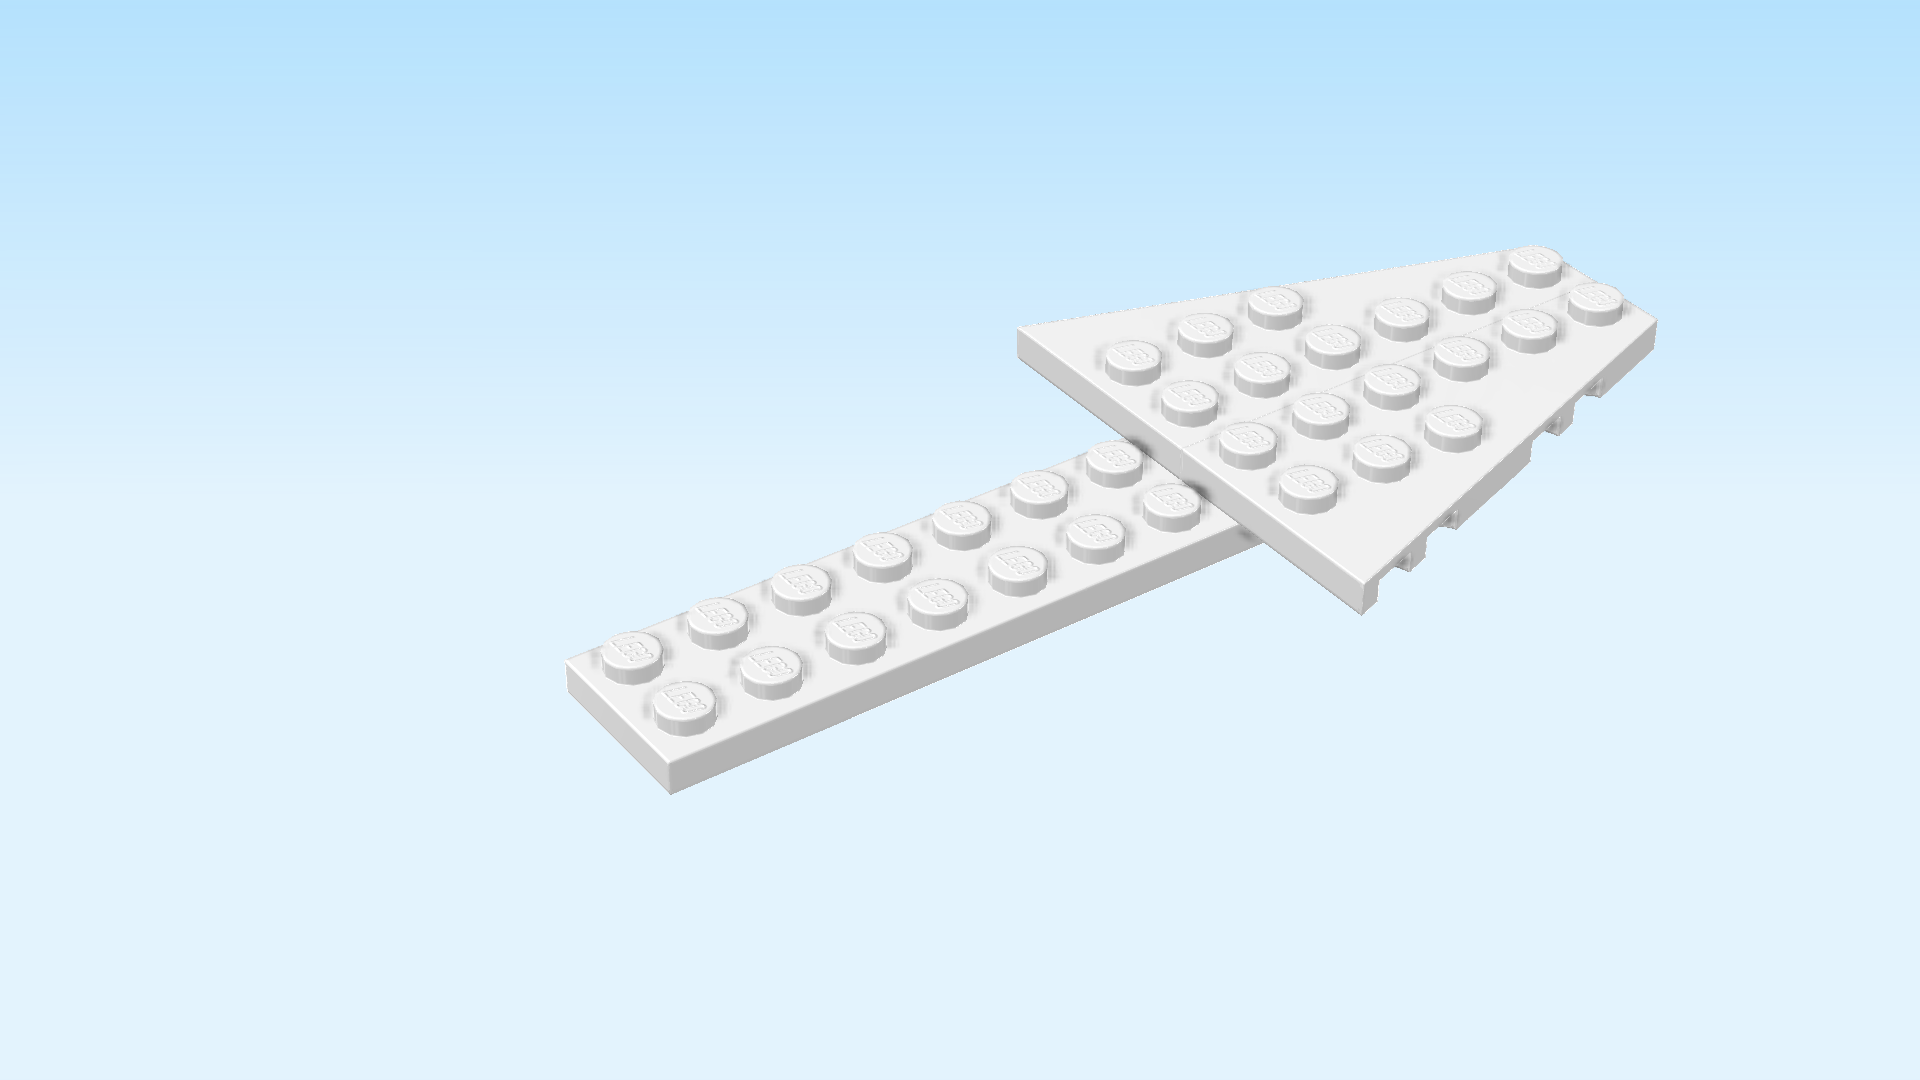
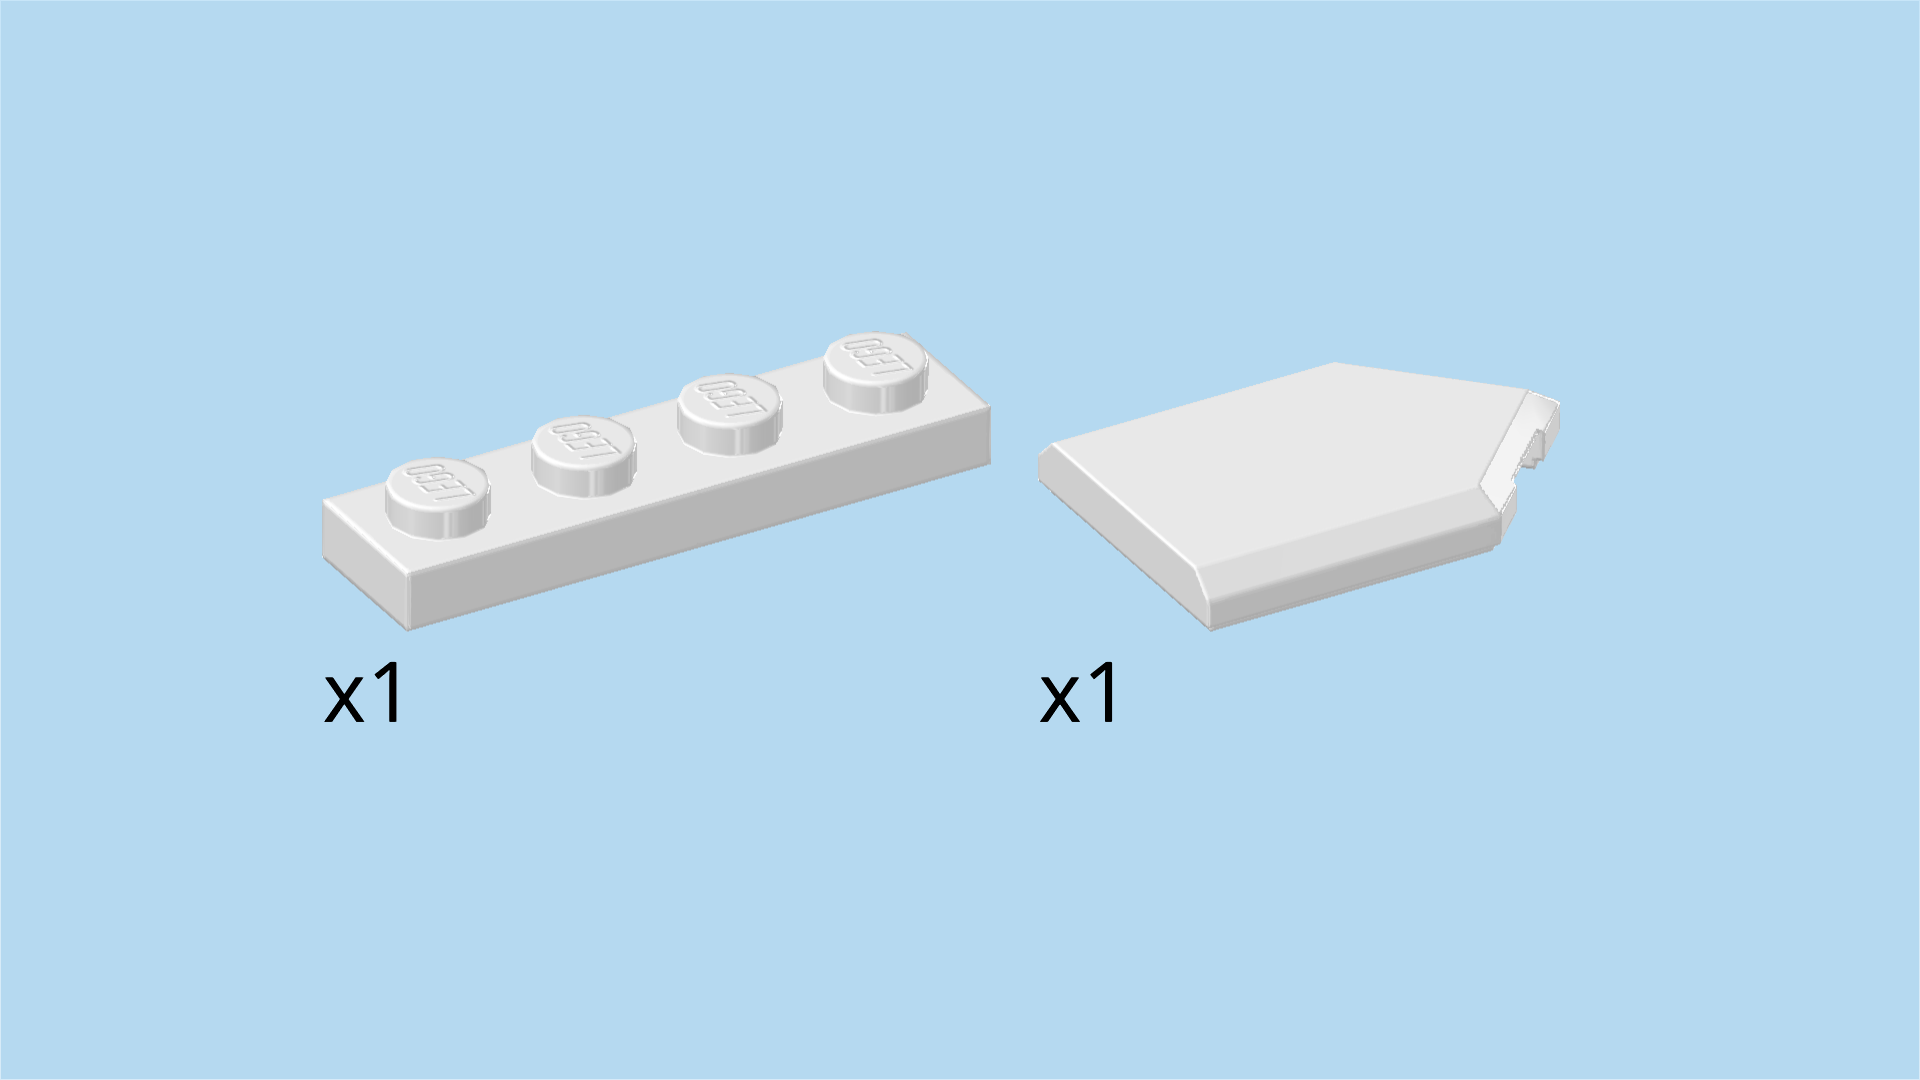
Open the box. This can be tricky; ask someone to help you!

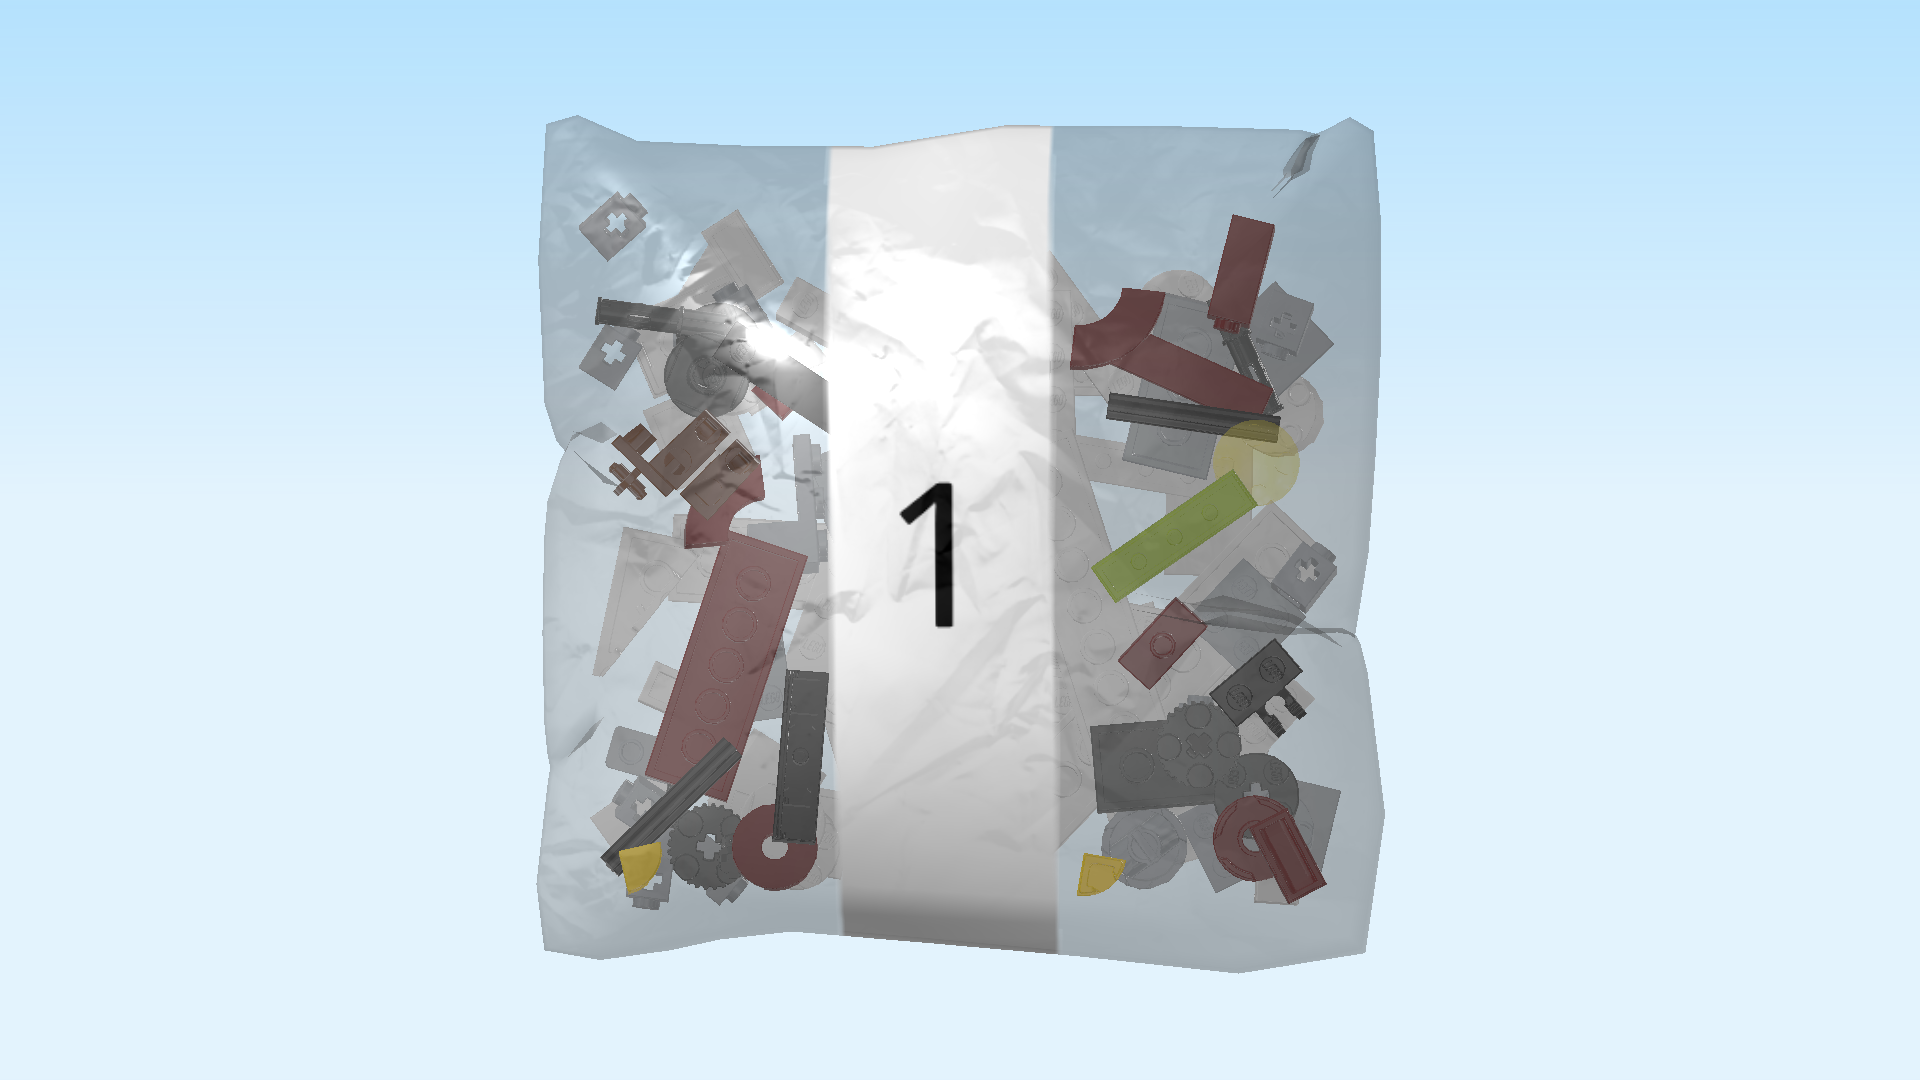
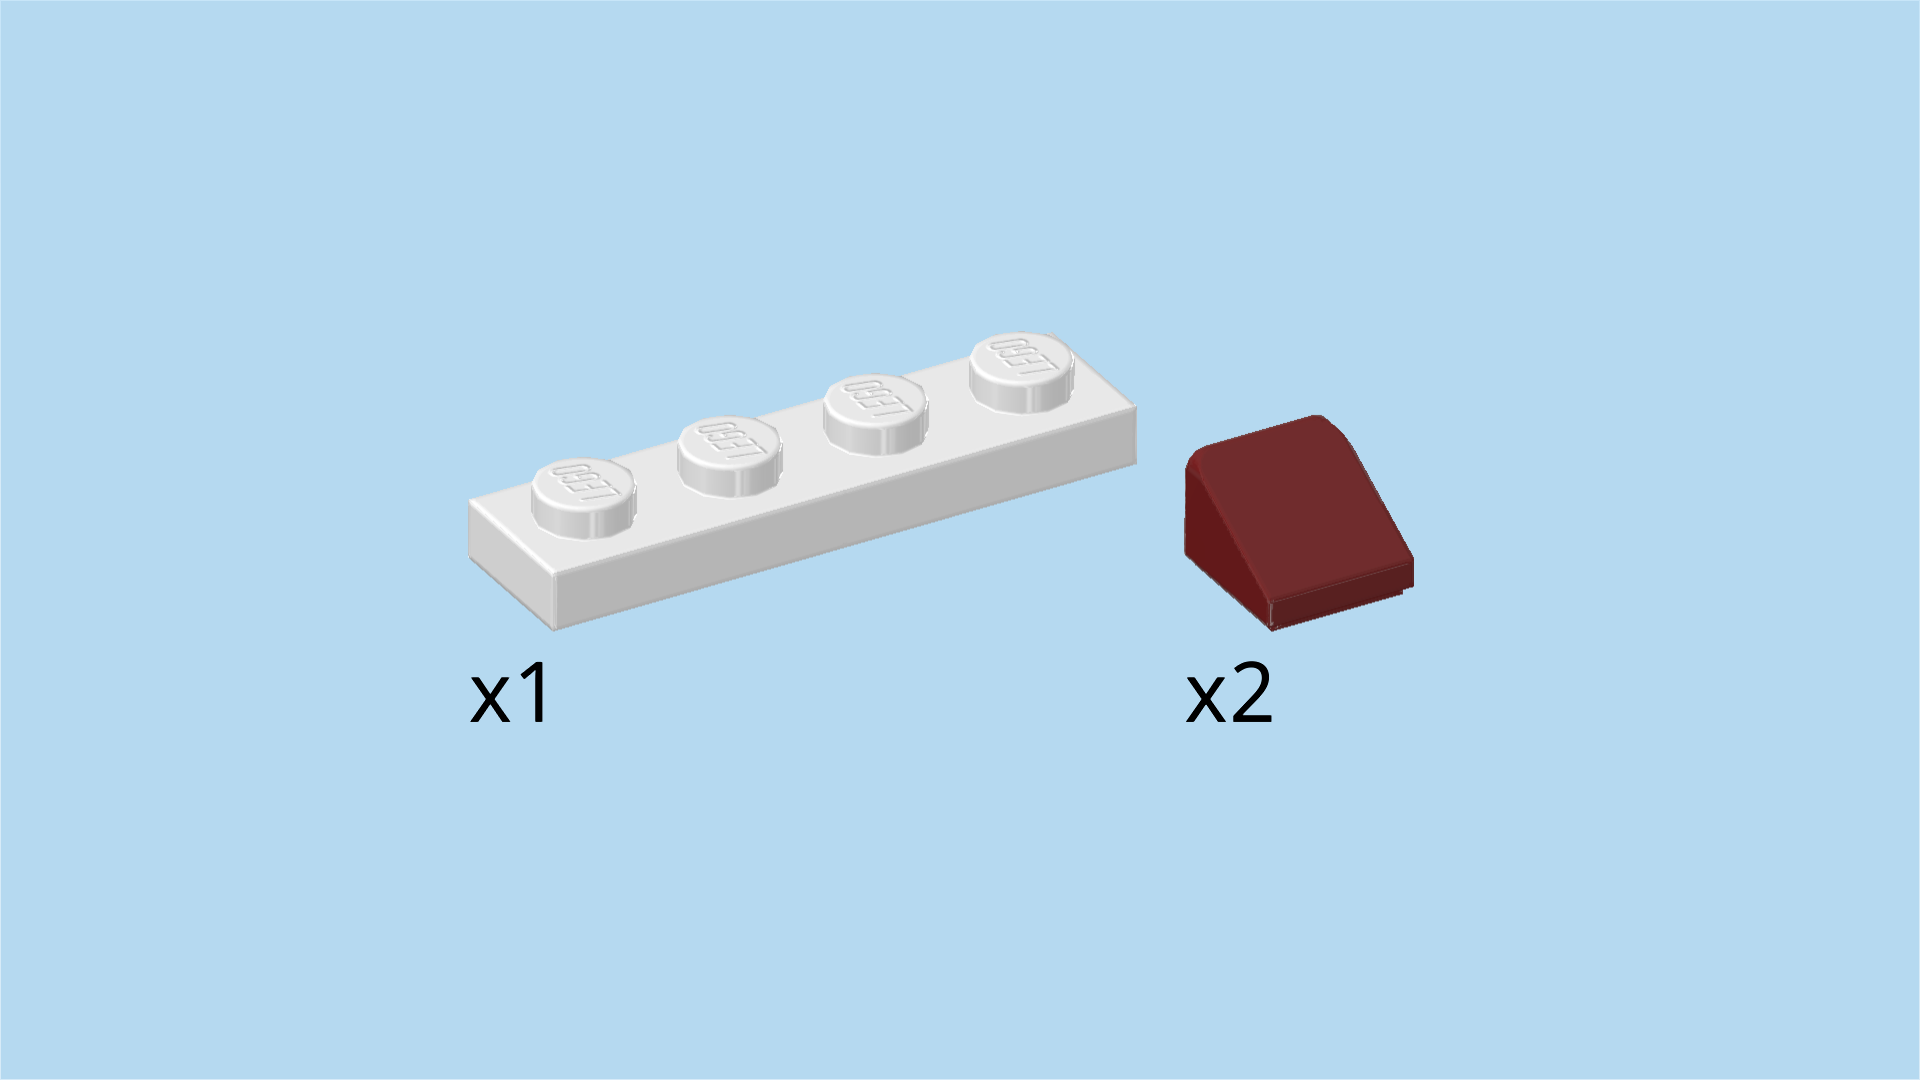
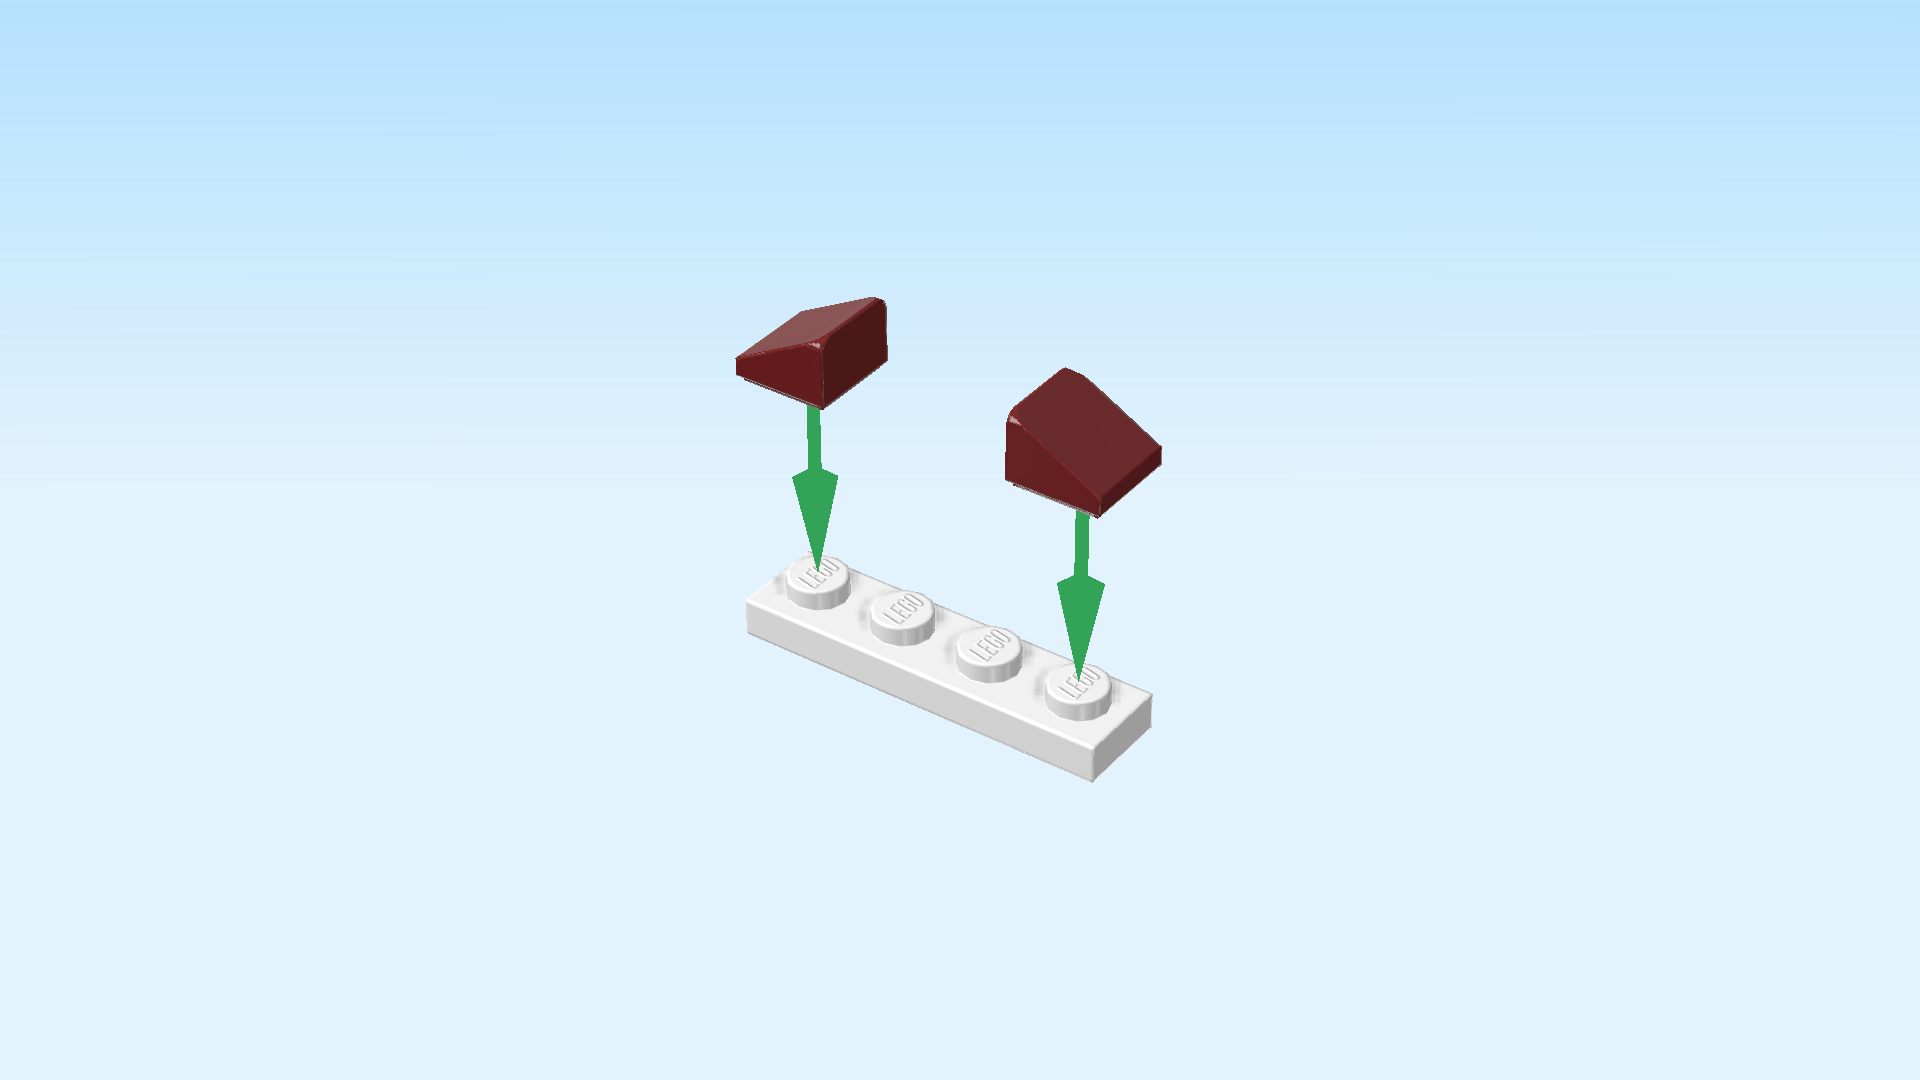
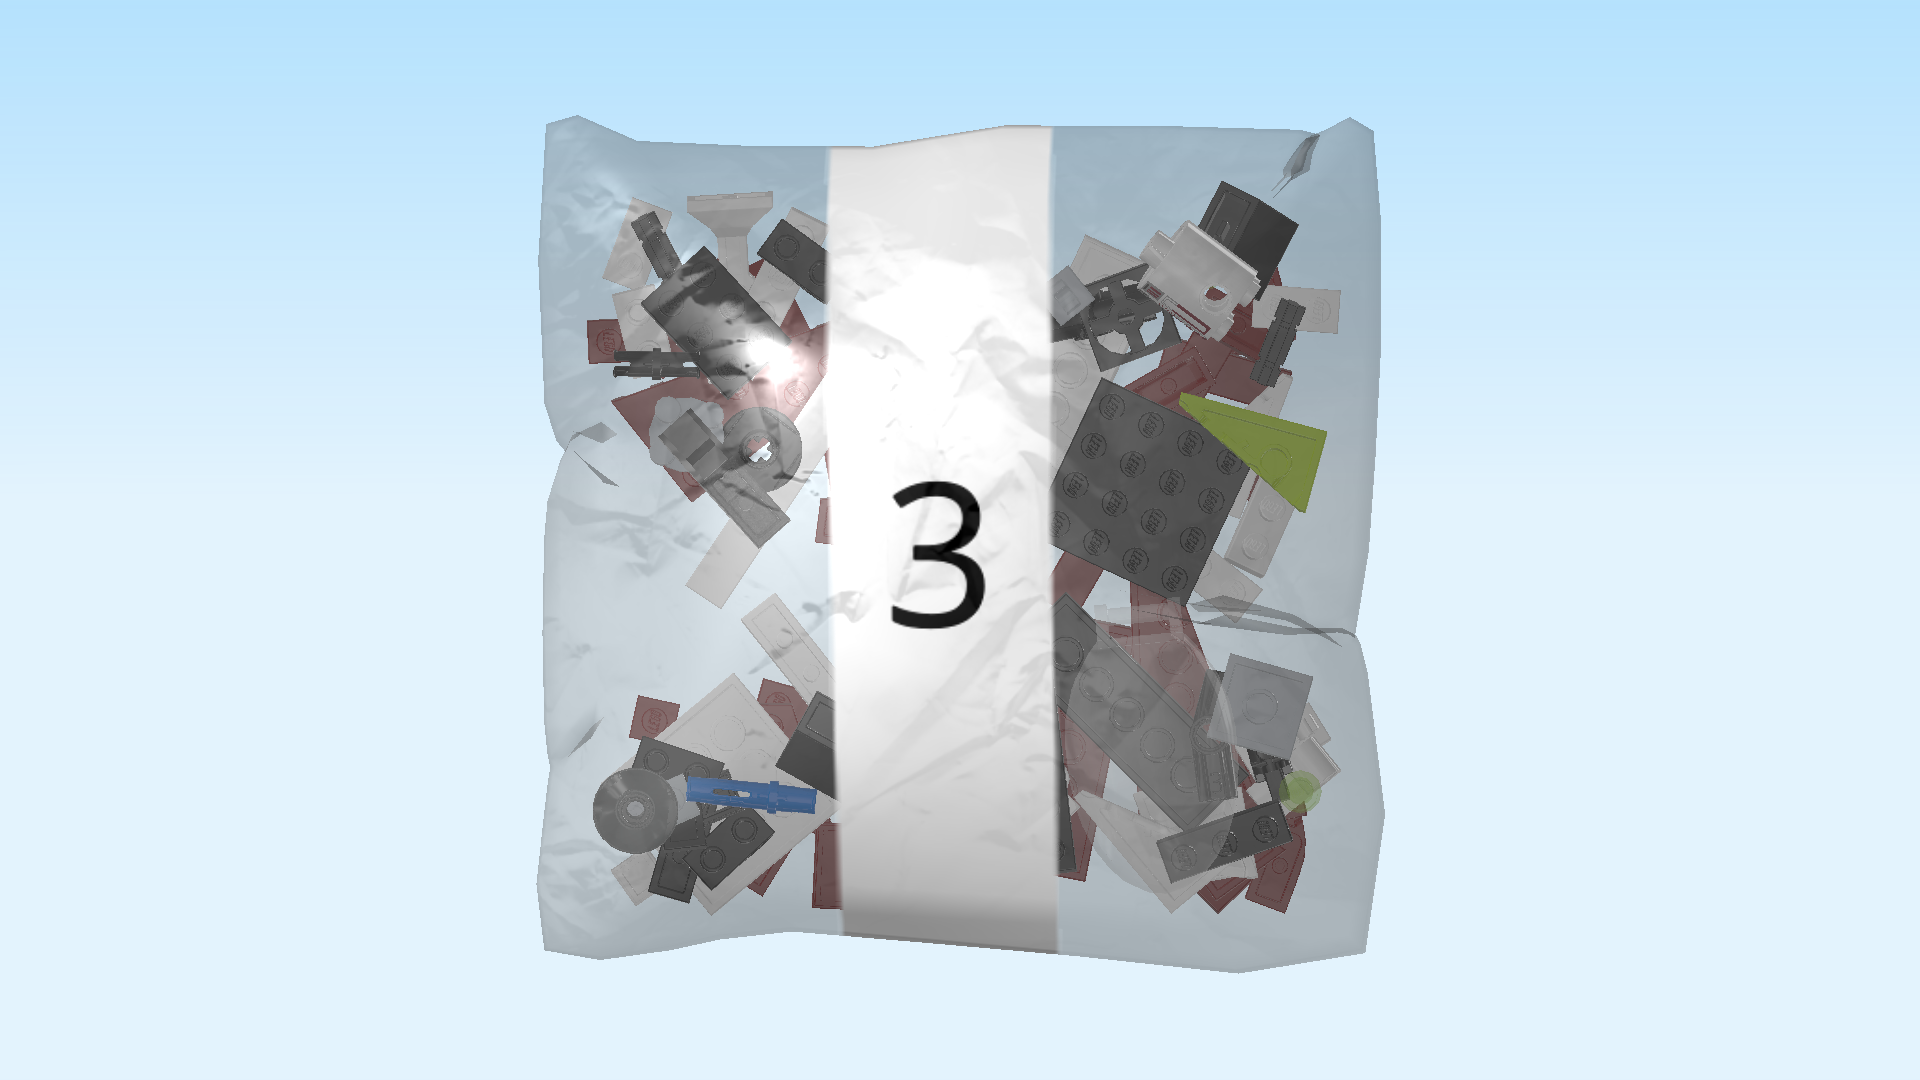
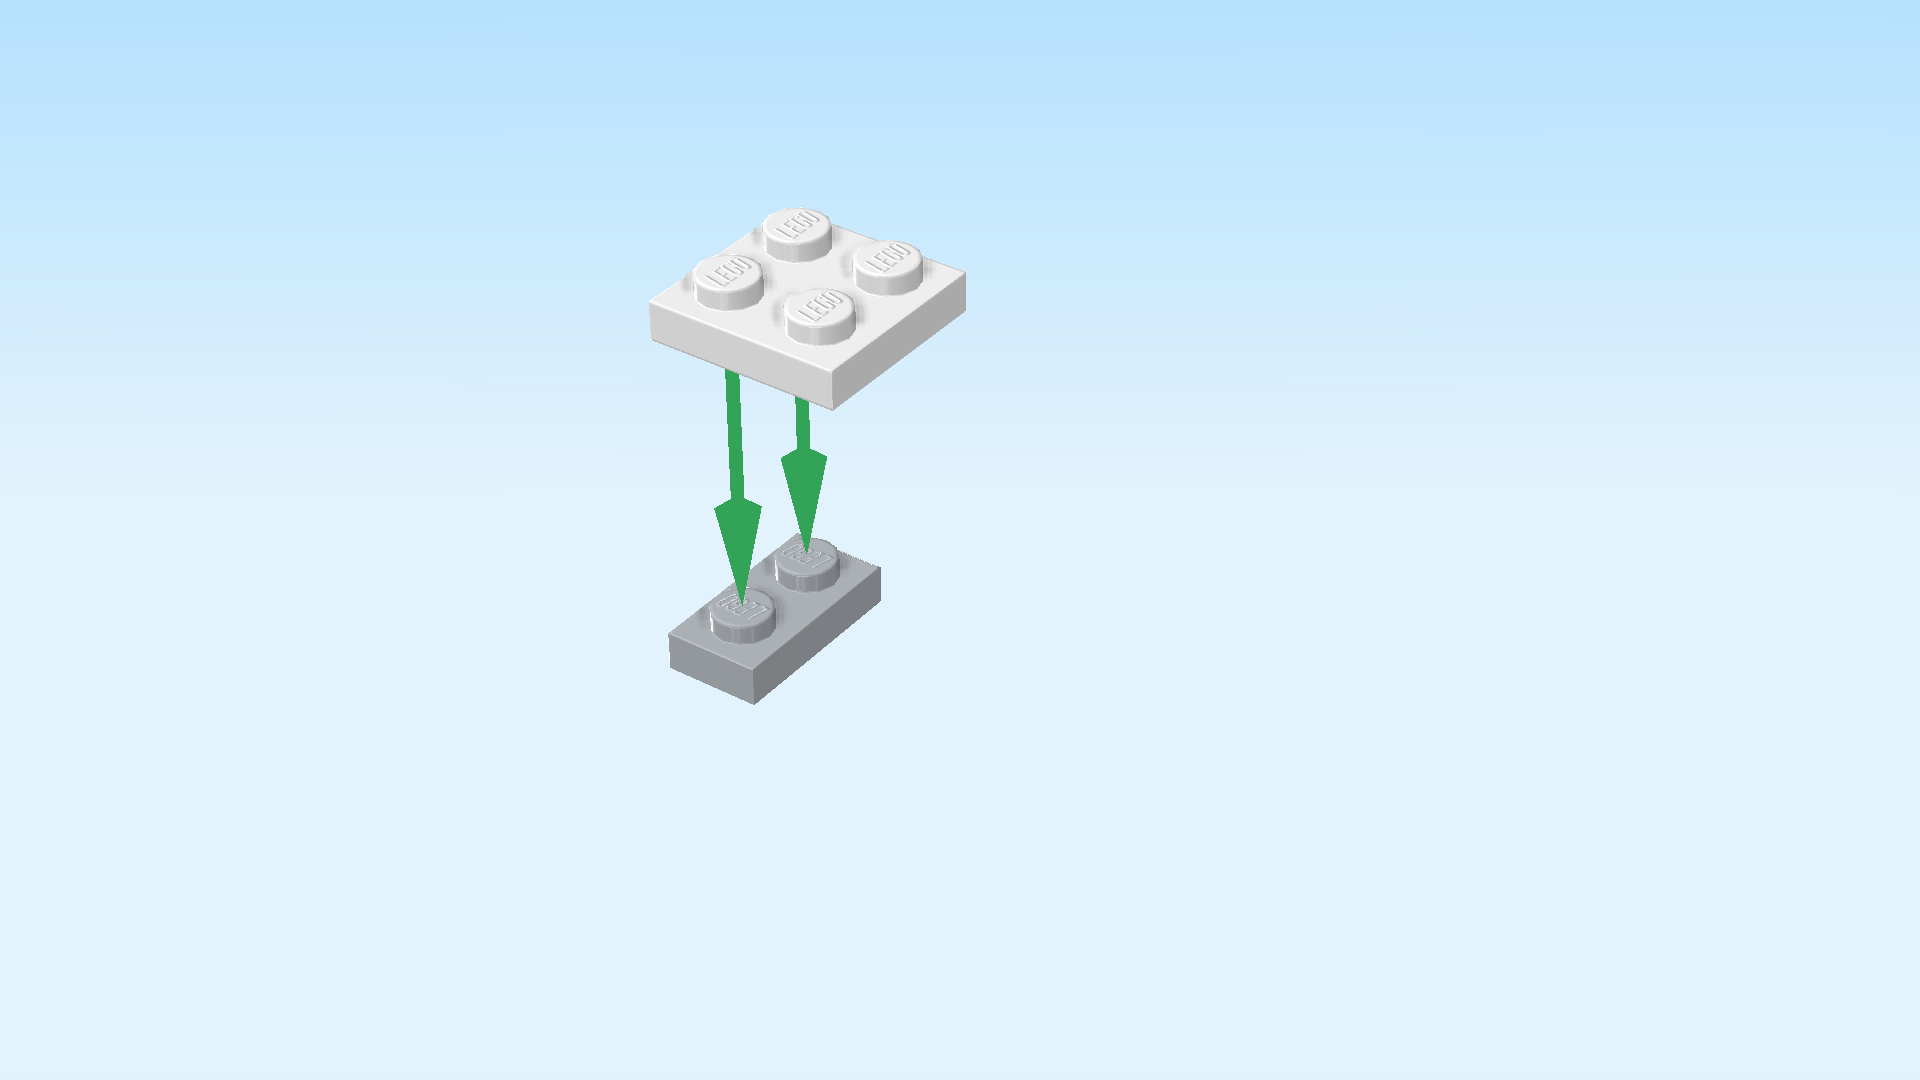
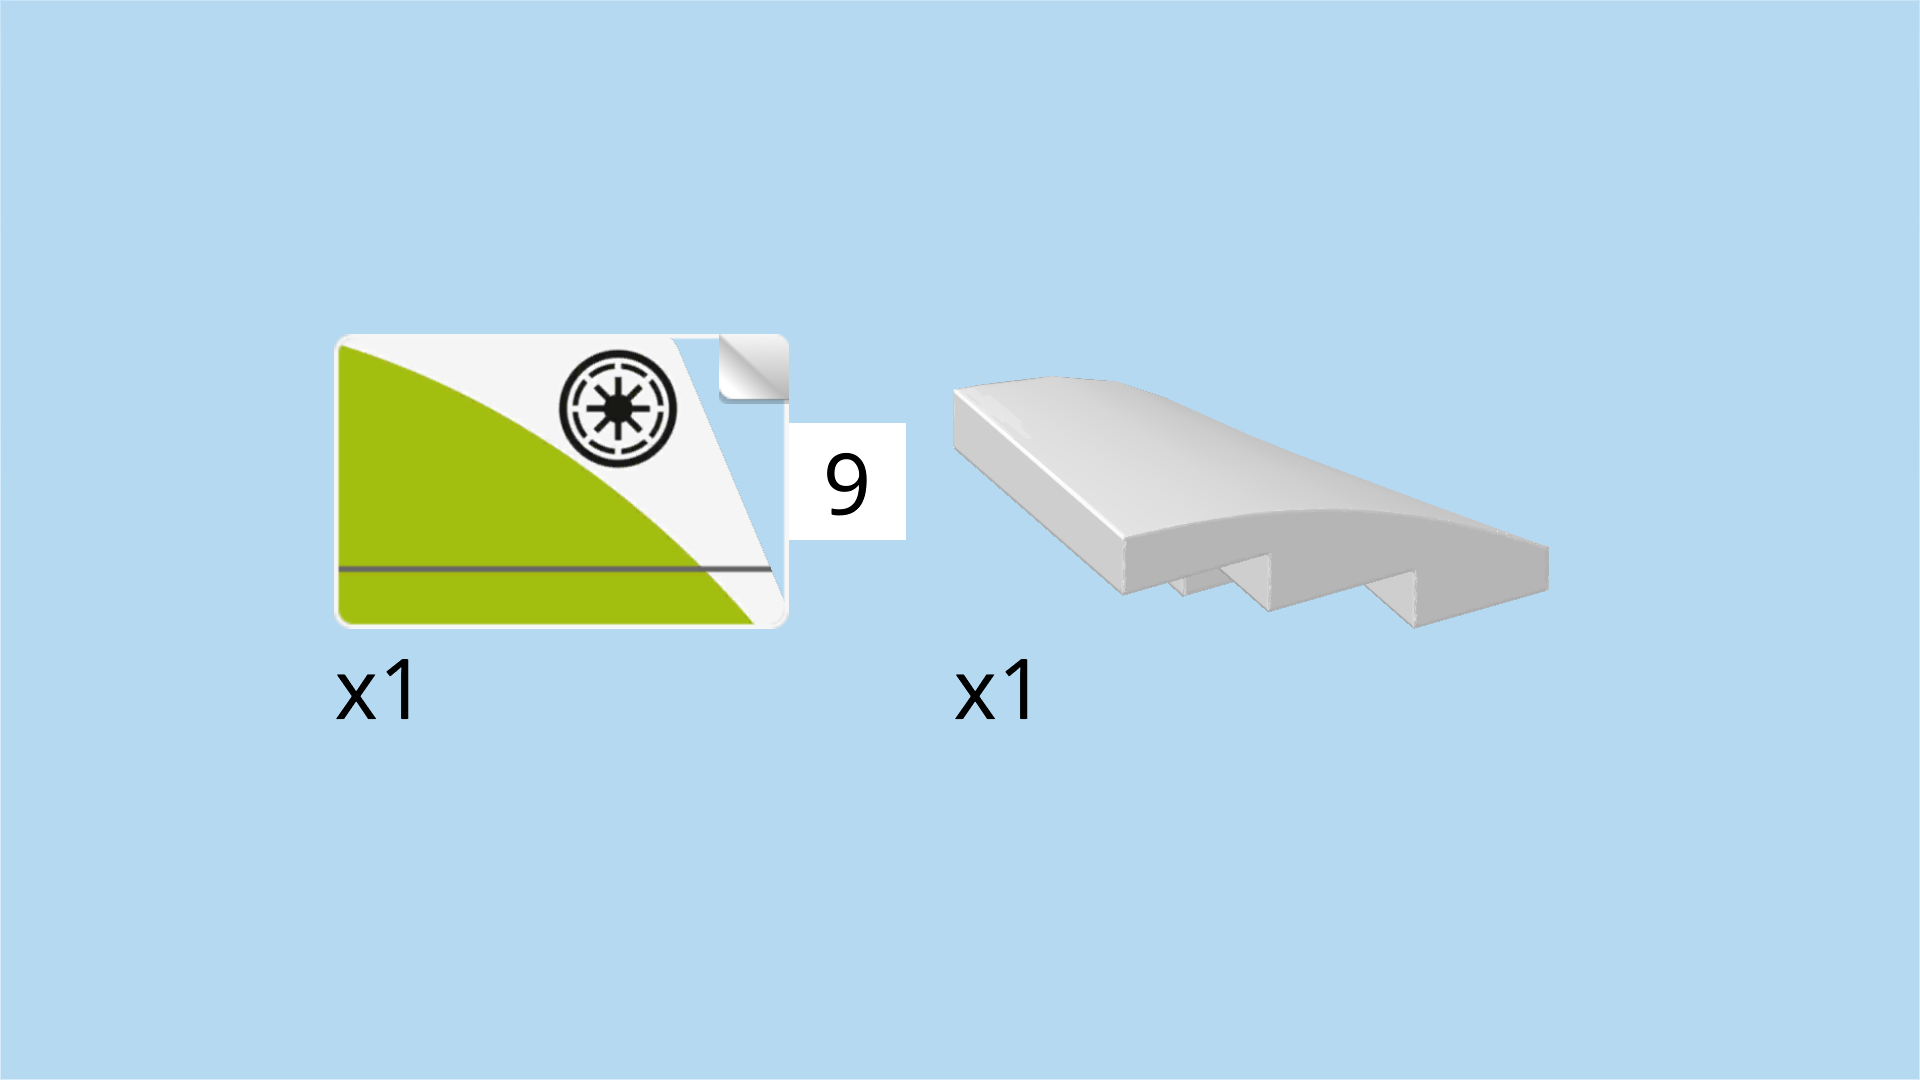
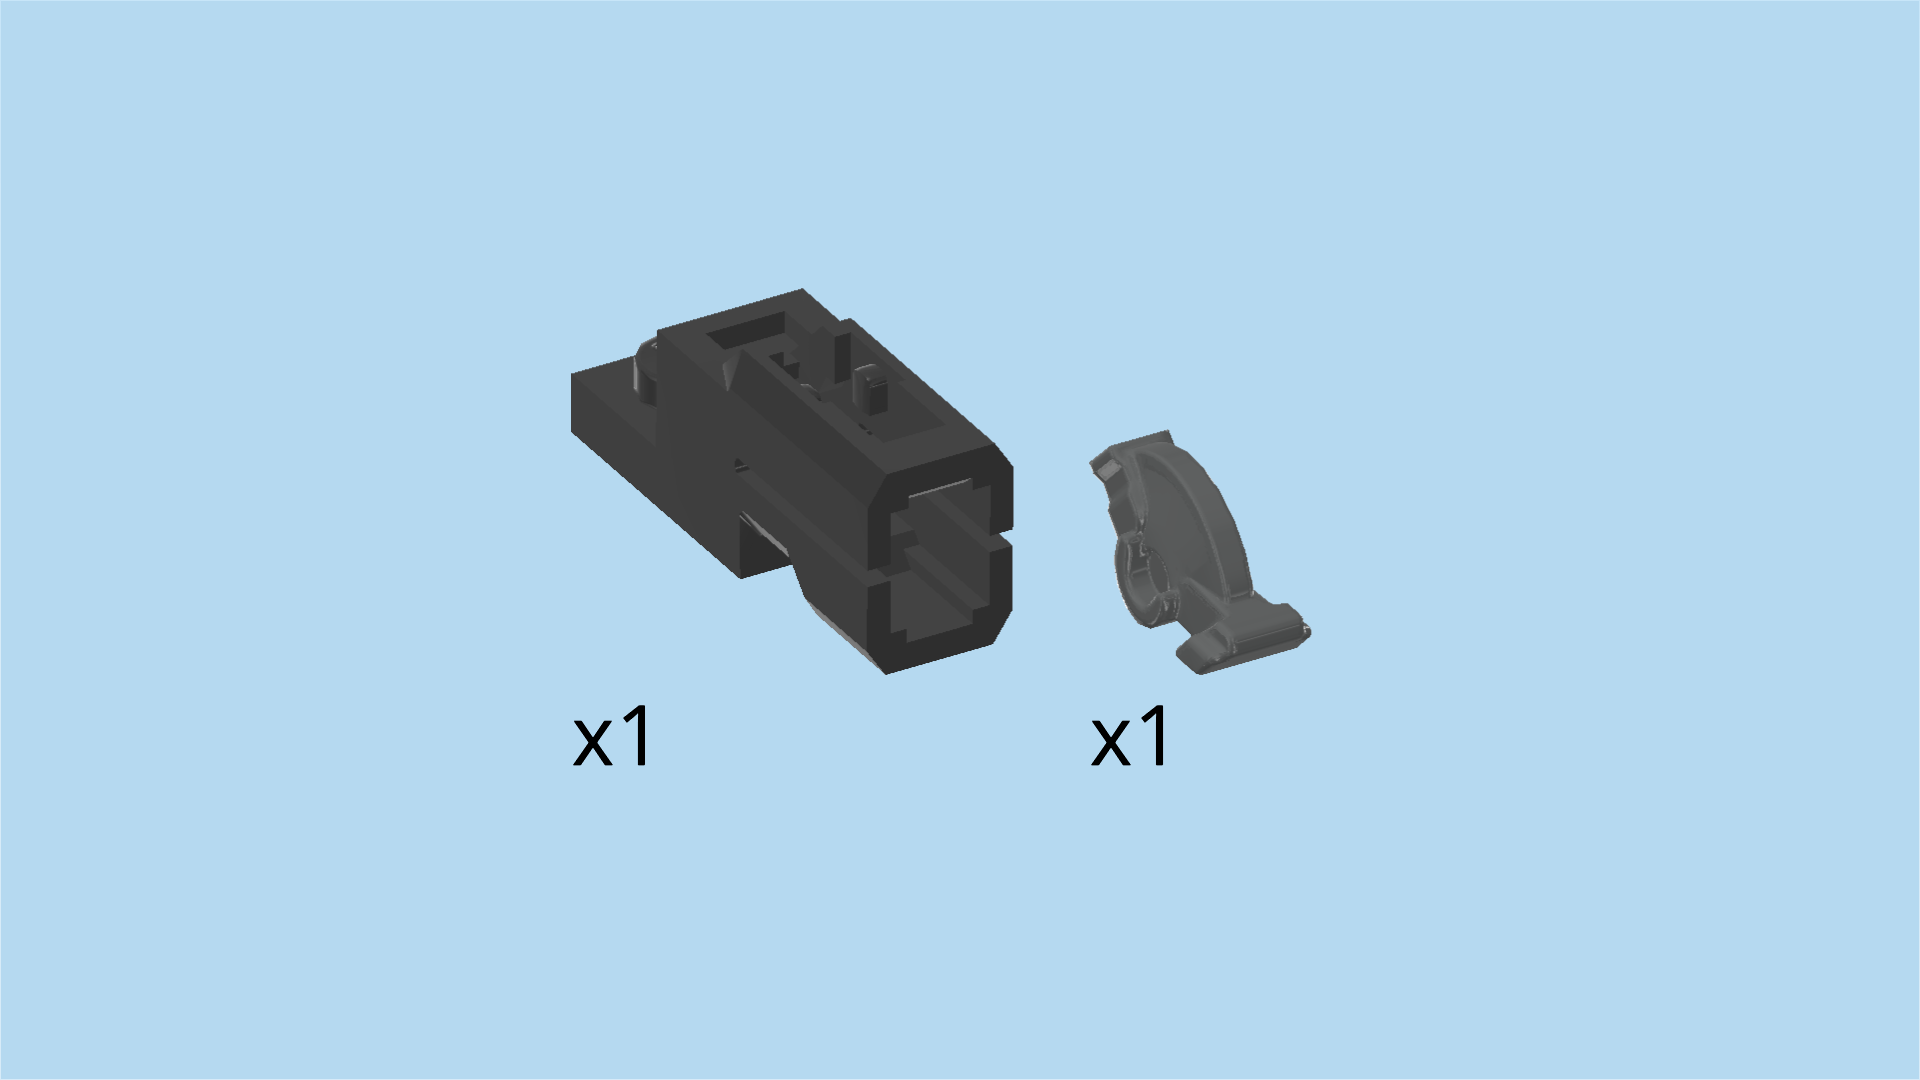
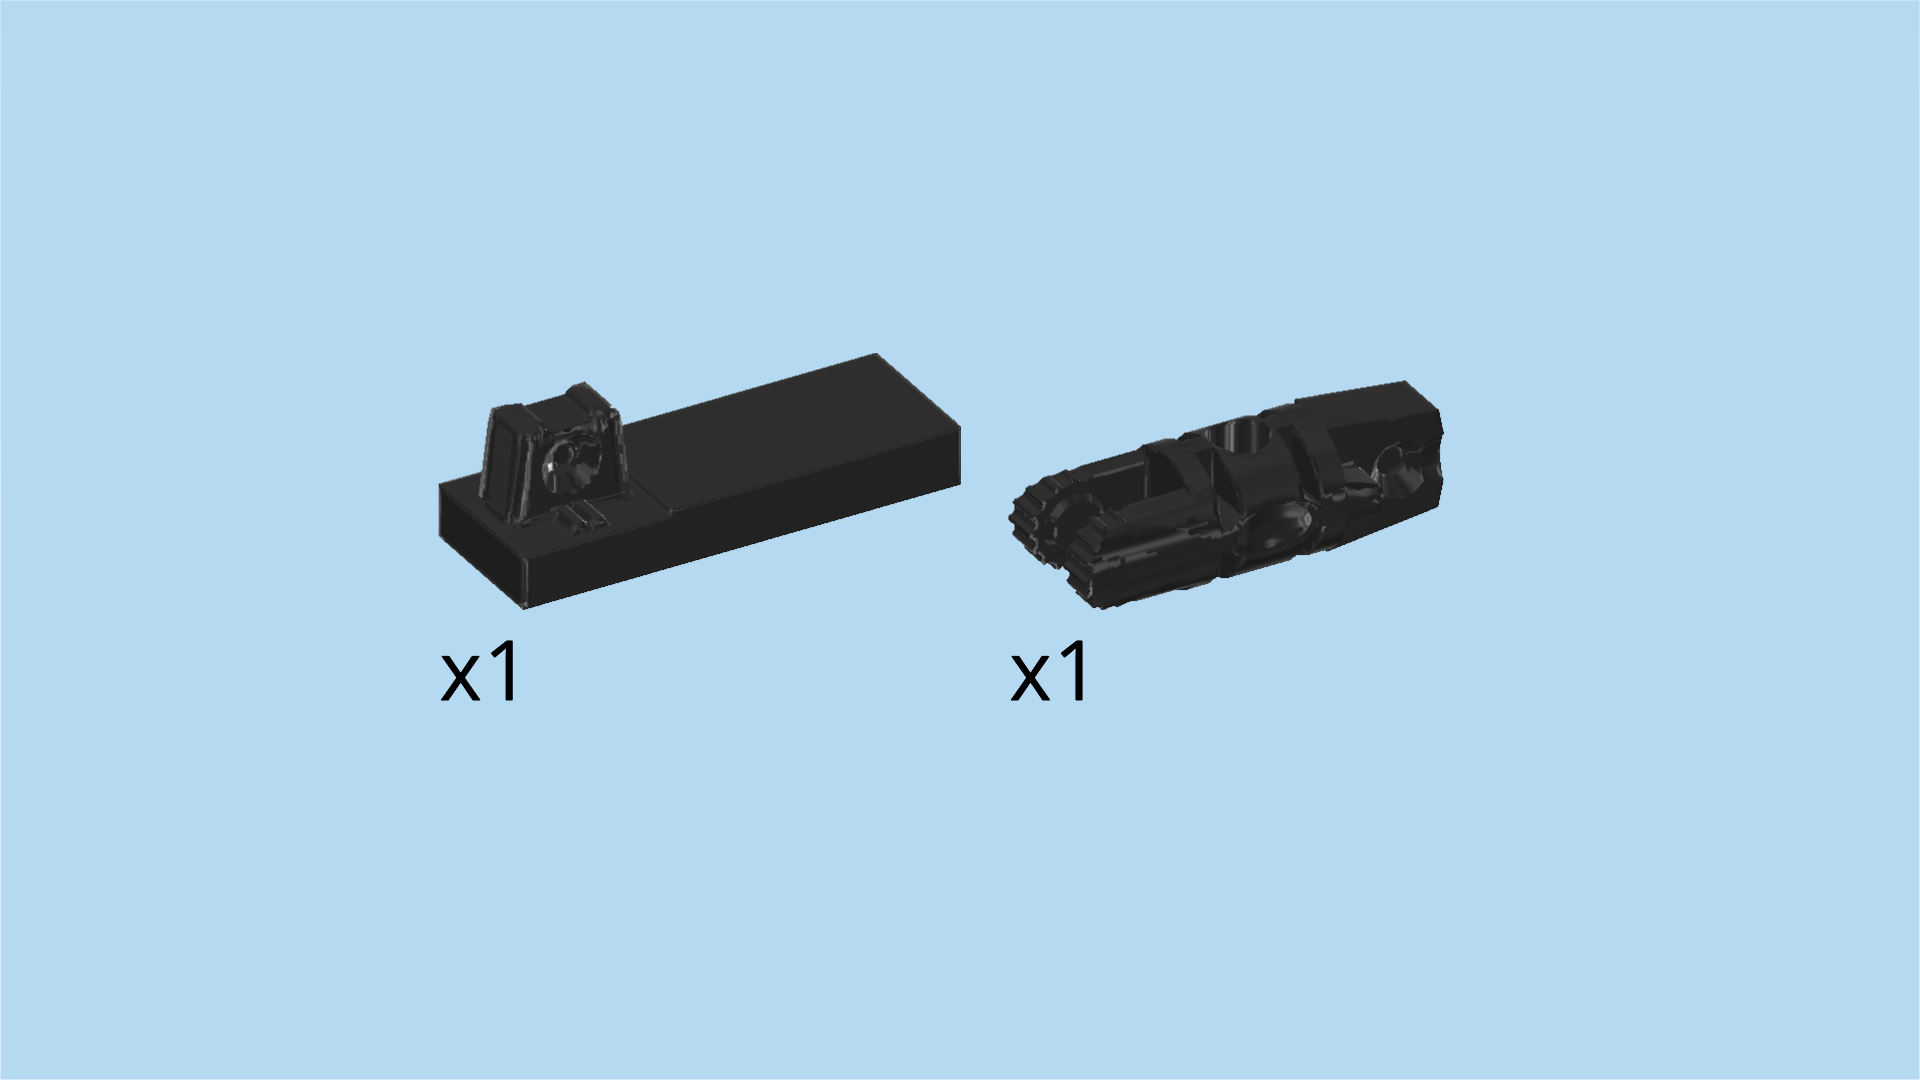
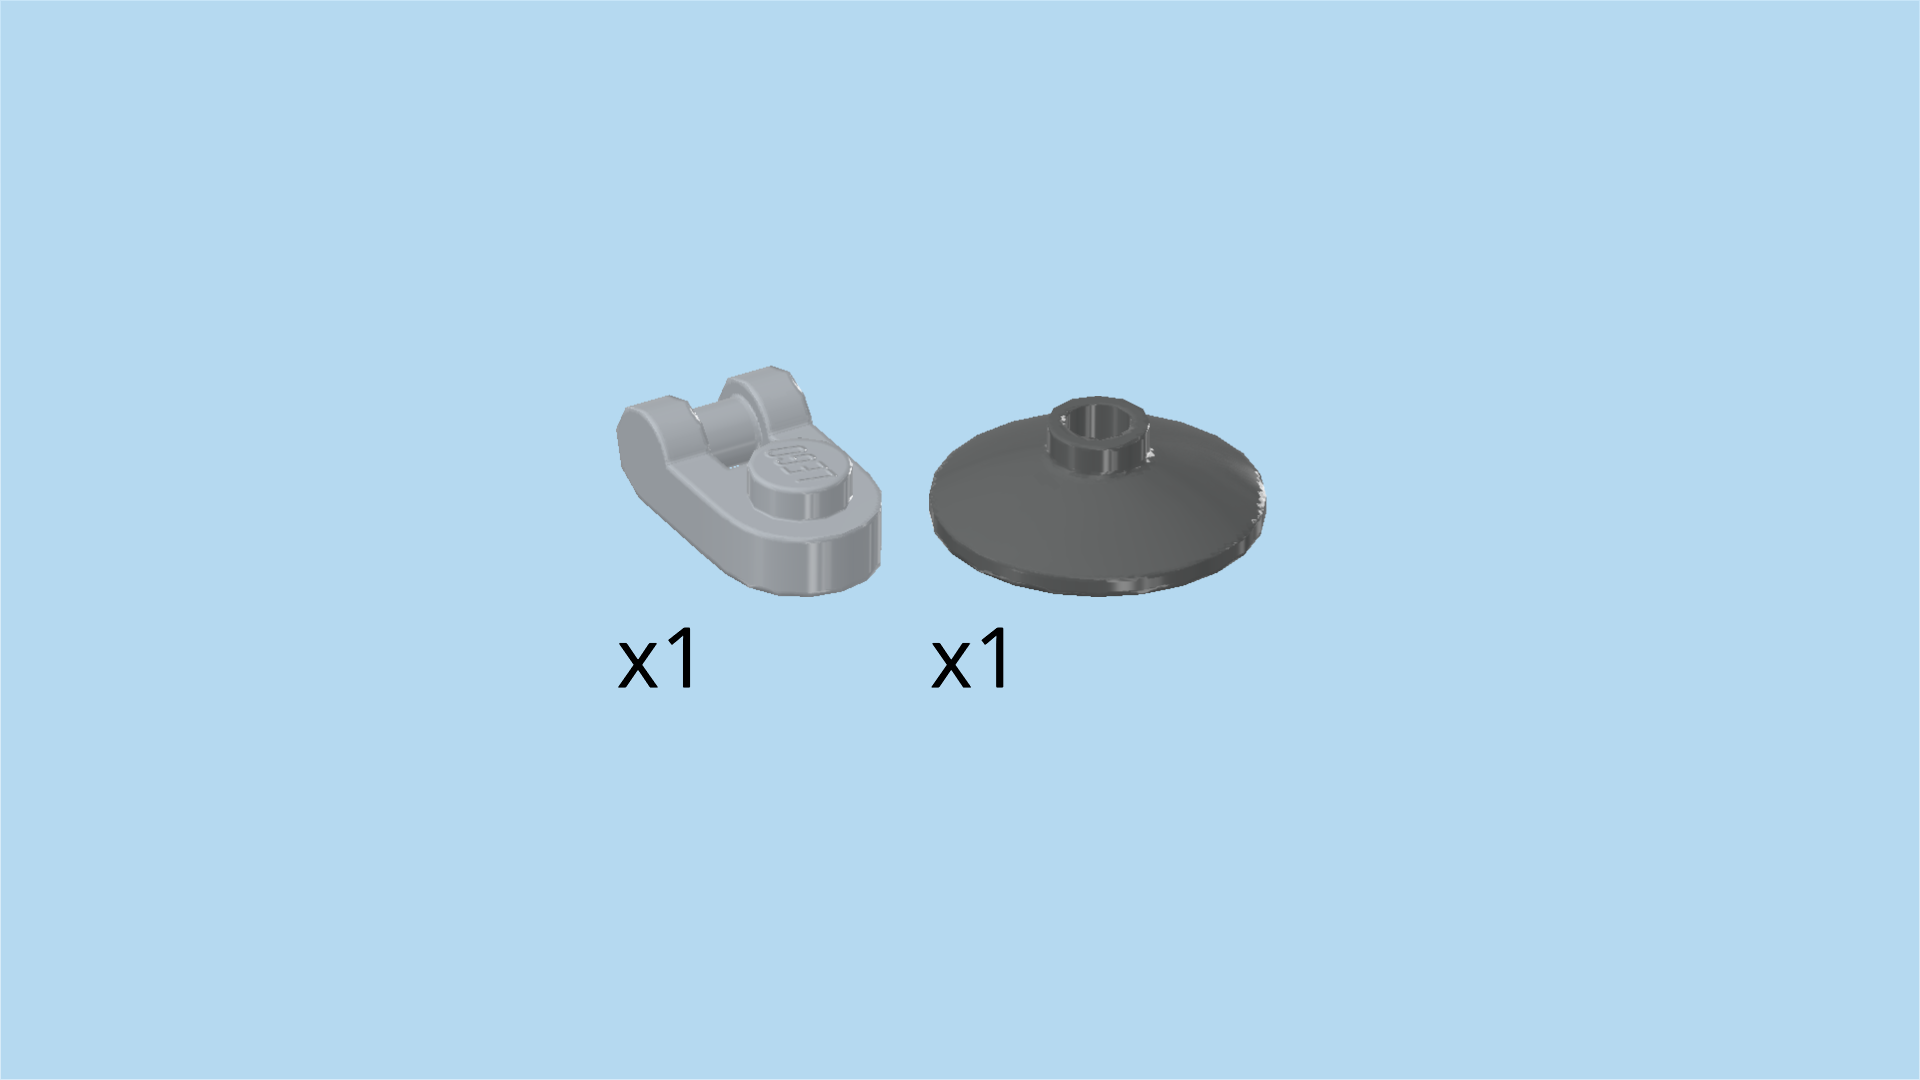
The box contains 1 booklet with visual building instructions, 3 bags with numbers printed on them, and 1 sheet with stickers. Ask a sighted person to help you find the correct bag!

Carefully open bag number 1 and any small sub-bags in it. This bag contains all bricks and pieces for the Obi-Wan Kenobi Minifigure and the first third of the Jedi Starfighter, meaning that we will build the underbody with additional support strut, the front and tail ends of the Starfighter and the 2 engines.

Before you start building, ask a sighted person to help you sort the pieces by color. This makes finding the correct pieces even easier!

First, we will build the Obi-Wan Kenobi Minifigure.

Collect the following 2 pieces:

1 reddish brown and light nougat brown upper part of the body,

and 1 reddish brown pair of legs.

Put the upper body on the legs.

Collect the following 2 pieces:

1 light nougat brown head,

and 1 dark orange hairpiece with medium long hair and middle parting.

Put the head on the body.

Put the hair on the head.

Next, we will build the lightsaber.

Collect the following 2 pieces:

1 dust grey lightsaber holder,

and 1 transparent light blue shaft 4m. (4m means that this piece is roughly 4 knobs long.)

Insert the shaft into the thicker end of the lightsaber holder.

Snap the lightsaber into Obi-Wan's right hand.

Find 1 reddish brown Jedi hood.

You can swap the Jedi hood for Obi-Wan's hair whenever you like.

The Obi-Wan Kenobi Minifigure is finished! Great job! He is wearing a dark brown cloak and a beige robe underneath. He has a full beard and a grim yet determined expression. Obi-Wan is an experienced Jedi ready to face any challenge!

Next, we build the first third of the Jedi Starfighter. This includes the underbody as well as the tail and front ends of the Starfighter and the 2 engines.

Collect the following 2 pieces:

1 white plate 2x10,

and 1 medium stone grey brick 1x2x1⅔ with 4 side knobs.

Put the plate 2x10 horizontally on the table.

Put the brick 1x2x1⅔ vertically on the leftmost column, 4 side knobs to the left.

Next, we'll make 4 small sub-parts.

Collect the following 2 pieces:

1 medium stone grey brick 1x1 with side cross hole,

and 1 dark stone grey connector peg 2m with friction ring and cross axle 1m. (This has a tube-like shape and is roughly 3 knobs long. It has a cross axle part and a longer connector peg part.)

Insert the cross axle into the cross hole of the brick, connector peg sticking out towards the front.

Collect the following 6 pieces:

3 medium stone grey bricks 1x1 with side cross hole,

and 3 dark stone grey connector pegs 2m with friction ring and cross axle 1m.

Repeat the previous step: insert the cross axles into the cross holes of the bricks until you have 4 identical parts.

Mount the first sub-part on the structure to the right of the previously mounted piece on the front row, connector peg sticking out toward the front.

Mount the second sub-part behind the previous piece, connector peg to the back.

Skip one knob to the right of the previous part and mount the third sub-part, connector peg to the back.

Mount the fourth sub-part in front of the previous one, connector peg to the front.

If done correctly, there is 1 empty column between the first two sub-parts and the second two sub-parts.

Find 1 white brick 1x2.

Put it vertically on the column between the 4 sub-parts we have just mounted.

Find 2 maroon red plates 1x2 with 1 knob.

Put 1 upright horizontally on the 2 lower side knobs pointing to the left.

Put the other one upright horizontally above the previous piece. If done correctly, the two knobs form a vertical column from top to bottom on the left side surface.

Next, we will build an additional support strut of the underbody.

Find 2 white plates 1x2.

Stack them vertically on top of each other.

Find 1 white plate 2x10.

Put it horizontally on the table.

Put the stacked plates 1x2 vertically on the leftmost column.

Collect the following 2 pieces:

1 white plate 1x2,

and 1 black plate 1x2 with hinge fork.

Put the plate 1x2 with hinge fork vertically on the table, hinge fork to the right.

Put the plate 1x2 vertically on top.

Mount these two stacked plates vertically on the rightmost column, hinge fork to the right.

Next, we will make 2 small sub-parts.

Let's start with one.

Collect the following 2 pieces:

1 black cross axle 4m,

and 1 medium stone grey brick 1x1 with cross hole.

Insert the cross axle from the right into the cross hole. Let ¼ of it stick out towards the left, and half of it towards the right.

Find another medium stone grey brick 1x1 with cross hole.

Push it on the cross axle from the right. Make sure that now, the cross axle protrudes symmetrically on the left and right.

Collect the following 3 pieces:

2 medium stone grey bricks 1x1 with cross hole,

and 1 black cross axle 4m.

Repeat the steps of the first small part: insert the cross axle into the cross hole of 1 brick, then put the second brick on the cross axle, and make sure the cross axles protrude symmetrically.

Mount 1 small part vertically on the second column from the left, cross axle overhanging to the front and back.

Mount the other small part vertically on the second column from the right, cross axle overhanging to the front and back.

The additional support strut of the underbody is finished! Great job! Insert it horizontally into the original build coming from the right, until it touches the rightmost bricks 1x1 with connector pegs. Mount it there.

Find 1 medium stone grey plate 2x4.

Skip the leftmost column of the entire build and mount it horizontally.

Find 1 dark stone grey plate 2x3.

Again, skip the leftmost column of the build and mount it horizontally.

Starting from the left edge, the top surface should now have 4 columns on the highest level and then 2 columns that are a bit lower. The next element will level this difference out. Continue for detailed instructions.

Next, let's assemble another sub-part.

Collect the following 2 pieces:

1 medium stone grey stepped brick 2x3 - 2x2 with top and bottom plate,

and 1 white flat tile 1x2.

Put the stepped brick horizontally on the table, 2x3 plate to the left, 2x2 plate to the right.

Put the flat tile 1x2 vertically on the second column from the right edge. This means it will be mounted on the lower part of the stepped brick.

Keep the building orientation (meaning that the top plate is protruding to the left, and mount this sub-part horizontally to the right of the previously mounted piece (the plate 2x3) .

If done correctly, the highest level of the top surface from the left now consists of 7 columns of equally level knobs.

The right edge of this stepped brick 2x3 - 2x2 will later be the reference point for mounting the front end of the Starfighter.

Collect the following 4 pieces:

2 medium stone grey top angle plates 1x1 - 1x2 with 2 side knobs,

and 2 black plates 1x4 with 2 knobs.

Skip 2 columns from the left and put 1 plate 1x4 horizontally on the front row.

Put the other plate 1x4 horizontally behind the previous piece.

Put 1 top angle plate to the right of the previous piece, 2 side knobs to the back.

Put the other angle plate in front of the previous piece, 2 side knobs to the front.

Now, we will build the tail end of the Starfighter.

Collect the following 3 pieces:

1 maroon red plate 2x6,

and 2 maroon red quarter-arched tiles 2x2.

Put the plate 2x6 horizontally on the table.

Mount 1 quarter-arched tile on the leftmost knob of the front row, arch bending from the back left to the front right and half of it overhanging to the front.

Mount the other quarter-arched tile on the leftmost knob of the back row, arch bending from the front left to the back right and overhanging to the back.

If done correctly, these two tiles now form a half arch on the left edge of the plate 2x6.

Find 2 bright yellow quarter-circle tiles 1x1.

Put 1 into the inside arch of the previous piece, perfectly complementing its form to a quarter circle.

Put the other one into the inside arch of the front quarter arched tile, filling the half circle.

Collect the following 2 pieces:

1 bright yellowish green flat tile 1x4,

and 1 maroon red flat tile 1x4.

Put the maroon red flat tile 1x4 vertically centered to the right of the previous pieces, symmetrically overhanging to the front and back.

Put the bright yellowish green flat tile 1x4 vertically to the right of the previous piece, symmetrically overhanging to the front and back.

The tail end of the Starfighter is finished! Great job! Keep the building orientation and mount it on the 2 leftmost columns of the structure. The tiled surface which is 4 knobs long will protrude to the left.

Find 1 medium stone grey plate 2x2.

First, find the cross axle sticking out towards the front and back in the center of the structure. Do not confuse it with the longer connector pegs on the left half of the build or the cross axle on the right edge.

Mount the plate 2x2 on the 2 knobs that are directly above that center cross axle and the column to its left. Make sure there are 2 empty knobs to its right on the same level.

Next, we build the front end of the Starfighter.

Collect the following 2 pieces:

1 white plate 2x10,

and 1 white left wedge plate 3x6 with angle. (To make sure you have the correct wedge plate, put it on the table so that its straight edge with 6 knobs is forming a straight line on the left. Now, the thinner end should be pointing towards you and the angled side should run towards the right back. If this does not describe the plate you are holding, you probably have the wrong wedge plate.)

Put the plate 2x10 horizontally on the table.

Turn the left wedge plate so that its thicker end is on the left, the thinner end on the right and the angled edge is at the back.

Mount it in this orientation on the three rightmost knobs of the back row, 1 row and angled edge overhanging to the back, 3 knobs overhanging to the right.

Find 1 white right wedge plate 3x6 with angle. (It is the mirrored version of the left wedge plate: When the thinner end is pointing towards you, the angled edge is on the left.)

Turn it so that its thicker end is to the left, the thinner end is to the right and the angled edge is at the front.

Mount it in that orientation in front of the previous piece on the 3 rightmost knobs of the front row.

Together, the two wedge plates form an arrow-like shape with a blunt tip pointing to the right.

Collect the following 2 pieces:

1 white flat tile 2x3 with arrow-shaped end,

and 1 white plate 1x4.

Put the plate 1x4 vertically to the left of the 2 previous pieces, symmetrically overhanging to the front and back.

Skip the rightmost column of the build and mount the flat tile 2x3 horizontally on the 2 middle rows, arrow-shaped end pointing to the right.

Find 1 white plate 4x8.

Mount it horizontally to the left of the vertical plate 1x4 of the previous step, symmetrically overhanging to the front and back, and 2 columns overhanging to the left.

Collect the following 2 pieces:

1 white flat tile 2x6,

and 1 rectangular sticker number 5. (Ask for help to identify the correct sticker. If you do not want to apply the sticker now, skip the next 2 sentences.)

Put the sticker on the flat tile 2x6.

The sticker is white with fine grey lines in geometrical patterns on it and a bright green bullet-shaped contour on it.

Mount the flat tile 2x6 horizontally centered to the left of the flat tile 2x3 with arrow-shaped end.

Collect the following 2 pieces:

1 white trapezoid plate 3x4 with cut-out,

and 1 medium stone grey plate 2x4.

Put the trapezoid plate 3x4 to the left of the previous piece, cut-out and wide end to the left.

Put the plate 2x4 horizontally to the left of the previous piece, fitting it into its cut-out, 1 column overhanging to the left.

Now, let's make another small sub-part.

Collect the following 2 pieces:

1 medium stone grey stepped brick 2x3 - 2x2 with top and bottom plate,

and 1 white flat tile 1x2.

Put the stepped brick horizontally on the table, plate 2x3 to the left, plate 2x2 to the right.

Put the flat tile 1x2 vertically on the second column from the right. This means it will be mounted on the lower part of the stepped brick.

Find 2 medium stone grey top angle plates 1x1 - 1x2 with 2 side knobs.

Put 1 on the third knob of the front row from the left, 2 side knobs to the front. This means it will be mounted on the higher part of the stepped brick.

Put the other one behind the previous piece, side knobs to the back.

Now, flip the front end structure upside down and turn it left to right. The 2 wedge plates should point to the left now.

Flip the small sub-part upside down, plate 2x3 to the left. The 2 bottommost levels of its knobs match the shape on the right edge: 2 knobs are lower, 4 knobs to their left are slightly higher. Mount it so that the shapes are matching, plate 2x2 overhanging to the right.

Collect the following 2 pieces:

1 white plate 2x10,

and 1 white inverted one-stepped curve tile 2x2x⅔.

First, identify the two different levels on the left edge of the front end structure. The 2 wedge plates 3x6 form the lowest level, and the previously mounted plate 2x10 forms the next level.

Mount the inverted curve tile so that its step matches this level difference, curve to the left.

Put the plate 2x10 horizontally to the right of the previous piece.

The front end of the Starfighter is finished! Well done! First, flip it right side up again and turn it left to right so that the 2 wedge plates are pointing to the right.

Find the stepped brick 2x3 - 2x2 that was mounted on the original structure before. Its right edge and the stepped brick of the front end should meet in the middle of the structure. Mount it there, the front end of the Starfighter should fit neatly into the shape of the original build. A total of 14 columns are overhanging to the right.

Great job so far! The undercarriage of the Starfighter is starting to take shape!

Next, let's make another small part.

Collect the following 2 pieces:

1 medium stone grey plate 2x2,

and 1 medium stone grey plate 2x2 with 1 knob.

Put the plate 2x2 on the table.

Put the plate 2x2 with 1 knob on top.

Mount this small part in the center of the structure between the 2 vertical flat tiles 1x2. In other words, it should be mounted on the spot where the 2 stepped bricks 2x3 - 2x2 meet.

Next, we will build a bottom side panel.

Collect the following 2 pieces:

1 white plate 2x6,

and 1 white flat tile 2x3.

Put the plate 2x6 horizontally on the table.

Put the flat tile 2x3 horizontally on the right half of the previous piece.

Collect the following 2 pieces:

1 white plate 1x1 with vertical side clasp,

and 1 white plate 1x1.

Put the plate 1x1 to the left of the previous piece on the front row.

Put the plate 1x1 with clasp to the left of the previous piece, clasp to the front.

Find 1 white one-stepped curve tile 2x2x⅔.

Put it on top of the 2 previous pieces and the row behind them, curve to the back.

Find 1 white flat tile 1x2.

Put it vertically on the leftmost column.

The bottom side panel is finished! Flip it upright and mount it on the 4 side knobs pointing to the front. It fits perfectly between the 2 cross axles pointing to the front.

Make sure the clasp is pointing to the bottom and the flat tile 1x2 and curve tile 2x2 are on the left half of the panel when mounted.

Now, we will build the second bottom side panel.

Collect the following 2 pieces:

1 white plate 2x6,

and 1 white flat tile 2x3.

Put the plate 2x6 horizontally on the table.

Put the flat tile 2x3 on the left half of the previous piece.

Collect the following 2 pieces:

1 white plate 1x1 with vertical side clasp,

and 1 white plate 1x1.

Put the plate 1x1 to the right of the previous piece on the front row.

Put the plate 1x1 with clasp to the right of the previous piece, clasp to the front.

Find 1 white one-stepped curve tile 2x2x⅔.

Put it on the two previous pieces and the row behind them, curve to the back.

Find 1 white flat tile 1x2.

Put it vertically on the rightmost column.

The second bottom side panel is finished! First, turn the main structure from left to right. Now, the front end with wedge plates is pointing to the left, and the tail end with half-circle tiles to the right.

Mount the bottom side panel upright on the 4 side knobs pointing to the front between the two cross axles, clasp to the bottom, flat tile 1x2 and curve tile 2x2 on the right side.

Collect the following 4 pieces:

2 white corner plates 1x2 - 1x2,

and 2 white plates 1x6.

To identify the mounting points for these parts, find the trapezoid plate 3x4 with cut-out mounted on the center left of the top surface. Its cut-out and wide end are pointing to the right.

Put 1 plate 1x6 horizontally to the right of the trapezoid plate on the frontmost row. Note that it will only attach to 2 knobs.

Repeat symmetrically on the backmost row with the other plate 1x6.

Turn 1 corner plate so that its outer corner is pointing to the back right, 1 knob pointing to the left, 1 knob pointing to the front. (Like the Braille letter "D".)

Mount it in that orientation to the right of the previous piece.

Turn the other corner plate so that its outer corner is to the front right, 1 knob to the back, the other knob to the left. (Like the Braille letter "J".) Mount it in front of the previous piece.

Collect the following 3 pieces:

1 white plate 1x4,

and 2 white plates 1x6.

Put the plate 1x4 vertically on the rightmost knobs of the 2 previous pieces.

Put 1 plate 1x6 horizontally to the left of the previous piece on the back row.

Repeat symmetrically on the front row.

Collect the following 3 pieces:

1 white right wedge plate 2x4 with angle, (If its thinnest end is pointing towards you, the long straight edge and 2 knobs should be on the right and the angled edge on the left.)

1 white left wedge plate 2x4 with angle, (It is the mirrored version of the right wedge plate.)

and 1 medium stone grey plate 2x2.

Turn the left wedge plate 2x4 so that its long straight edge is to the back, the thicker end to the right and the thinner end to the left.

Mount it in this orientation to the left of the previous piece on the front row and the row behind it. The front row will only be covered partly.

Put the right wedge plate behind the previous piece. Make sure their long straight edges are meeting in the middle.

Put the plate 2x2 to the right of the 2 previous pieces on the 2 middle rows.

Next, we build the 2 engines.

Collect the following 4 pieces:

2 dark stone grey round profile bricks 2x2 with top cross hole, (These bricks have many thin vertical grooves on their side surface.)

and 2 dark stone grey round plates 2x2.

Put the round plates next to each other on the table.

Put 1 round profile brick on top of each round plate.

These are the bases of the 2 engine structures. Since they are identical, we will continue building them in parallel.

Collect the following 4 pieces:

2 dark stone grey round plates 2x2,

and 2 medium stone grey round bricks 2x2 with side hole.

Put 1 brick with side hole on each engine structure. Make sure their side holes are running from left to right.

Put the 2 round plates on top of the two previous pieces.

Collect the following 4 pieces:

2 white round bricks 2x2 with side hole,

and 2 white round plates 2x2.

Put 1 round plate on each engine structure.

Put the 2 round bricks with side hole on top of the 2 previous pieces, their side holes running from left to right.

It is important that the 2 holes on each engine structure have the same orientation. Make sure again that the holes are running from left to right.

Collect the following 4 pieces:

2 white round plates 2x2,

and 2 maroon red round tiles 2x2 with middle hole.

Put 1 round plate on each engine structure.

Put the 2 round tiles on top of the 2 previous pieces.

Find 2 transparent yellow inverted curve disks 2x2 with 4 knobs.

Mount them underneath the 2 engine structures, curves to the bottom.

The 2 engines are finished! Well done! Hold 1 engine structure horizontally in front of you, curved end to the right. Turn it so that the 2 side holes are running from front to back. You will use those holes for mounting.

Mount the engine at the front side on the right bottom of the main structure by inserting the 2 connector pegs into the 2 side holes.

Repeat symmetrically at the back with the second engine: turn it horizontally, curved end to the right, holes front to back. Insert the 2 connector pegs at the back bottom right into the 2 side holes.

Now, we will build the support beam of the tail end.

Collect the following 2 pieces:

1 maroon red roof tile 1x2x2, 65°,

and 1 maroon red smooth roof tile 1x1x⅔.

Put the roof tile 1x2x2 horizontally on the table, slope to the right.

Put the roof tile 1x1x⅔ on top, slope to the right.

Before mounting, flip the main structure upside down. Make sure the tail end (this is the end with the tiled half circle) remains on the right.

Flip the support beam upright so that its slope is towards the top and ascending from the bottom right to the top left.

Mount the support beam centered on the 2 side knobs pointing to the right. It will also rest on the undersurface of the tiled half-circle.

Open bag number 2. You can choose to have the bricks sorted by color again. This bag contains all bricks and pieces for the second third of the Jedi Starfighter, meaning we will build the pilot's seat and the control panel, the first half of the tail fin and the right wing.

Find 2 medium stone grey top angle plates 1x2 - 1x2 with 2 side knobs.

Flip the structure right side up again. Keep the tail end (the tiled half circle) on the right side.

Put 1 top angle plate horizontally on the 2 front knobs to the left of the tiled half circle, side knobs to the front.

Put the other one horizontally behind the previous piece, side knobs to the back.

Next, we will build the seat back of the pilot's seat.

Collect the following 3 pieces:

1 black plate 2x2 with 2 knobs,

1 black plate 1x2 with angled top handle,

and 1 black plate 1x1 with vertical side clasp.

Put the plate 2x2 on the table, the 2 knobs forming a column on the right.

Put the plate with angled top handle vertically on the 2 knobs, slope to the right.

Snap the clasp of the plate 1x1 on the top handle from the top, its knob pointing to the left.

Find 2 white bottom angle plates 1x2 - 2x2 with 4 side knobs.

They will be mounted underneath the seat back structure. Continue for detailed instructions.

Put 1 horizontally on the table, 4 side knobs pointing to the back. Then, mount the seat back structure on the plate 1x2, keeping its building orientation. This means the slope of the handle is on the right, the top knob is pointing to the left.

Put the other bottom angle plate underneath the structure at the front, 4 side knobs pointing to the front.

The seat back of the pilot's seat is finished! Great job! First, turn it from left to right so that the top knob is pointing to the right and the slope is to the left.

Mount it in that orientation on top of the 2 previously mounted top angle plates 1x2 - 1x2 on the right edge of the structure.

Collect the following 5 pieces:

2 white plates 1x1,

1 white trapezoid plate 3x4 with cut-out,

and 2 white flat tiles 1x4.

Find the 2 wedge plates 2x4 mounted roughly in the middle of the top surface of the main structure. Together, they have 4 knobs. Use them as reference for the next building step.

Leave the 2 left knobs of the 4 knobs mentioned above empty, and mount the trapezoid plate 3x4 to their right, cutout to the right.

Put 1 flat tile 1x4 horizontally to the right of the previous piece on the frontmost row.

Put 1 plate 1x1 to the right of the previous piece.

Repeat symmetrically on the backmost row: put the other flat tile 1x4 horizontally to the right of the trapezoid plate, and the plate 1x1 to its right.

Next up, we will build the control panel.

Collect the following 2 pieces:

1 medium stone grey plate 2x3,

and 1 medium stone grey plate 2x2.

Put the plate 2x3 horizontally on the table.

Put the plate 2x2 on the 4 left knobs.

Now, we make a sub-part of the control panel.

Collect the following 3 pieces:

1 white plate 1x4,

and 2 maroon red smooth roof tiles 1x1x⅔.

Put the plate 1x4 horizontally on the table.

Put 1 smooth roof tile 1x1 on the leftmost knob, slope to the left.

Repeat symmetrically on the rightmost knob, slope to the right.

Mount this sub-part vertically on the rightmost column of the control panel structure, symmetrically overhanging to the front and back.

Collect the following 2 pieces:

1 white plate 2x2,

and 1 dark stone grey smooth roof tile 1x2x⅔. (This piece is printed.)

Put the plate 2x2 centered on the 2 right columns, leaving the leftmost column empty.

Put the smooth roof tile 1x2 vertically to the left of the previous piece, slope to the left.

This piece is printed with the instruments, displays, and switches of the control panel.

Find 2 white bottom angle plates 1x2 - 2x2 with 4 side knobs.

Put 1 horizontally underneath the control panel structure on the 2 leftmost knobs of the back row, 4 side knobs to the back.

Repeat symmetrically at the front: put the other one horizontally underneath the 2 leftmost knobs of the front row, 4 side knobs to the front.

The control panel is finished! Well done! Before mounting it, turn it left to right so that the control panel slope is towards the right.

Mount it in this orientation opposite the seat back of the pilot's seat. Make sure the empty space between the control panel and the seat back is 2x2.

Collect the following 2 pieces:

1 white curve piece 4x6 with 3 slopes and 4 knobs, (This will be the engine hood)

and 1 sticker number 1. (Ask for help to identify the correct sticker. If you do not want to attach stickers now, skip the next 4 sentences.)

Put the curve piece 4x6 horizontally on the table, 4 knobs on the left, long curve towards the right.

Attach the sticker to the side slope at the front. It is white with a descending grey line in the middle and a bold diagonal red stripe in the upper left corner.

Find the sticker number 3. Ask a sighted person to help you find the correct sticker.

Attach it to the side slope at the back. It has the same design as the previous sticker.

Mount the engine hood horizontally to the left of the control panel unit, the 4 knobs on the right, long slope towards the left.

You may have noticed already that the engine hood only connects to a few knobs. This makes it easily removable in order to store equipment in the empty space underneath. We will get back to that later!

Next, we will build a small side panel.

Collect the following 2 pieces:

1 maroon red plate 1x3,

and 1 maroon red flat tile 1x2.

Put the plate 1x3 vertically on the table.

Put the flat tile 1x2 vertically on the 2 backmost knobs.

First, turn the main structure left to right so that the tail end (the tiled half circle) is to the left.

Find the 4 side knobs of the control panel pointing to the front. Do not confuse them with the 6 front side knobs that are a bit more to the left.

Mount the small side panel upright vertically on the 2 right side knobs of those 4 control panel side knobs. Make sure its knob is at the bottom. Note that this bottom part will not connect but sit on a tiled surface.

Find 1 white plate 1x3.

Mount it upright vertically to the left of the previous element. Its bottom knob does not actually connect but sits on a tiled surface.

Find 1 maroon red plate 2x2.

Put it upright on the 4 lower side knobs of the 6 side knobs pointing to the front in front of the seat back of the pilot's seat.

Now, we will build the first half of the tail fin.

Collect the following 2 pieces:

1 white plate 2x2,

and 1 medium stone grey plate 1x2.

Put the plate 1x2 vertically on the table.

Put the plate 2x2 on the previous piece, 1 column overhanging to the left.

Find 1 white plate 4x4 with 4 knobs on one edge.

Put it on the table, 4 knobs forming a column on the right.

Mount the structure from the previous step: Put its left column on the 2 front knobs of the current piece.

Find 1 maroon red quarter-arched plate 3x3. (This plate has a total of 4 knobs.)

Turn it so that 2 knobs are pointing towards you in a straight line, plate bending to the right back, the other 2 knobs pointing to the right.

Mount it in this orientation: Put its rightmost knob on the second knob from the back of the plate 4x4. The rest of the quarter-arched plate will sit on tiled surface, bending from the right back towards the front left.

Continue if you want to decorate this piece with a sticker now. If not, skip the next 3 sentences.

Find 1 small rectangular sticker number 13. Ask a sighted person to help you find the correct sticker.

Put it vertically in the front left corner to the left of the previous piece.

It is half maroon red, half bright green. The two halves are divided diagonally.

Collect the following 2 pieces:

1 white plate 1x2,

and 1 white plate 1x3.

Put the plate 1x2 vertically on the 2 rightmost knobs of the current structure.

Put the plate 1x3 vertically to the left of the previous piece. Make it flush with the front edge.

Find 1 white right wedge tile 1x2 with curve and 45° cut. (Do not confuse it with the left wedge tile. If you put the right wedge tile vertically on the table, the narrow tip pointing towards you, the 45° cut should be on the left.)

Put it horizontally on the backmost knob of the previous piece, narrow end and slope to the left, 45° cut towards the back.

Collect the following 2 pieces:

1 white plate 1x4,

and 1 white plate 1x2.

Put the plate 1x4 horizontally on the 2 knobs in front of the previous piece, 2 knobs overhanging to the right.

Put the plate 1x2 horizontally in front of the previous piece.

Collect the following 2 pieces:

1 white 2-stepped right wedge tile 2x3 with cut (Do not confuse it with the left wedge tile. If you put the right wedge tile on the table, higher end at the back, the cut-off edge should be on the left.)

and 1 sticker number 11. (Ask for help to identify the correct sticker. If you do not want to apply the sticker now, skip the next 2 sentences.)

Put the right wedge tile on the table, high end at the back, cut edge towards you.

Put the sticker on top, matching the shape of the wedge tile. The sticker has a white section with the Republic crest which is a black eight-spoked sigil, and a green section with a thin grey vertical line.

Mount the right wedge tile horizontally on the front edge, starting with the leftmost knob on the front row. Its sharp-angled tip should point to the left, and its longest edge should be at the front, curve to the left.

The first half of the Starfighter tail fin is finished! Well done! Flip it upright and make sure the 2 protruding knobs are pointing to the right. Mount those 2 knobs on the 2 topmost knobs of the 6 side knobs in front of the pilot's seat back.

If done correctly, the plate 4x4 of the tail fin will protrude slightly on the left edge.

Collect the following 2 pieces:

1 white flat tile 2x6,

and 1 sticker number 10. (If you do not want to apply the sticker now, skip the next 2 sentences.)

Put the flat tile 2x6 horizontally on the table.

Put the sticker on top. It is white with a few geometrical shapes on it: a thin acute-angled triangle in maroon red from the left edge towards the right edge, and a beveled green section on the right edge with several thin grey lines running through the different sections.

Mount the flat tile 2x6 upright horizontally to the right of the tail fin. If done correctly, it will touch the vertically mounted side panel on its right.

If stickers are already applied: The sticker designs merge now, with the green sections of the stickers fitting together, giving the space craft a sleek design.

Find 1 white flat tile 1x6.

Put it upright horizontally below the previous piece. Make sure it meets the other tiled surfaces on its right edge.

Next, we will build the right wing of the Starfighter.

Collect the following 2 pieces:

1 black plate 1x3,

and 1 maroon red plate 2x6.

Put the plate 1x3 vertically on the table.

Turn the plate 2x6 horizontally, and mount its leftmost column on the 2 back knobs of the previous piece. The frontmost knob of the plate 1x3 protrudes to the front.

Since the wing is a more complex build, we will use this plate 2x6 as a reference in the next few steps, so try to remember it.

Collect the following 2 pieces:

1 maroon red right wedge plate 2x4 with angle, (Put it in front of you, narrow end pointing towards you. The straight edge and 4 knobs should be on the right, the angled edge should be on the left.)

and 1 black plate 4x4.

Put the plate 4x4 underneath the previous piece, to the right of the plate 1x3, 1 row protruding to the back.

Put the wedge plate vertically to the right of the previous piece, still underneath the plate 2x6, narrow end to the back, straight edge to the left.

Collect the following 3 pieces:

1 maroon red triangular flat tile 2x2 with 45° cut,

1 black grille tile 1x2,

and 1 white flat tile 1x1.

Turn the triangular flat tile 2x2 so that its right angle is pointing to the front left. Mount it on the 2 rightmost columns of the plate 2x6.

Put the grille tile 1x2 to the left of the previous piece on the back row of the plate 2x6.

Put the flat tile 1x1 to the left of the previous piece.

Collect the following 2 pieces:

1 maroon red left wedge plate 2x3 with angle, (Put it on the table, thinner end pointing towards you. The straight edge with 3 knobs should be on the left, and the angled edge should be on the right.)

and 1 maroon red right wedge plate 2x3 with angle. (It is the mirrored version of the left wedge plate.)

Put the left wedge plate 2x3 horizontally on the backmost row protruding at the bottom, starting from the right edge, angled edge to the back, narrow end to the right.

Put the right wedge plate 2x3 horizontally to the left of the previous piece, narrow end to the left, angled edge to the back. Its leftmost knob does not connect to any knobs.

Find 1 maroon red plate 2x4.

Skip the 2 leftmost knobs of the front row and mount it horizontally on the front row, 1 row overhanging to the front.

Collect the following 2 pieces:

1 maroon red plate 1x2,

and 1 white plate 1x12.

Put the plate 1x2 horizontally underneath the rightmost knob of the previous piece's front row. Make sure its right knob protrudes to the right, and its right edge is flush with the tip of the wedge plate behind it.

Put the plate 1x12 horizontally to the left of the previous piece, 3 knobs connecting underneath the plate 2x4, the rest freely protruding towards the left.

Find 1 maroon red plate 2x6.

Put it horizontally to the left of the plate 2x4 at the top front, partly covering the previous piece.

If done correctly, there are still 3 single knobs of the plate 1x12 protruding towards the left.

Find 1 black right wedge plate 3x8 with angle. (If the thinnest end is pointing towards you, the long straight edge with 8 knobs should be on the right, and the angled edge should be on the left.)

Put it horizontally on the table, straight edge with 8 knobs at the front, thinnest end to the left.

Mount it underneath the previous piece in that orientation, directly behind the plate 1x12. The 4 leftmost knobs of its front row should remain empty. This also means that its leftmost knob will protrude towards the left.

Collect the following 3 pieces:

1 maroon red right wedge plate 3x6 with angle, (When its thinner end is pointing towards you, the straight edge with 6 knobs should be on the right, the angled edge on the left.)

1 maroon red plate 1x2,

and 1 maroon red flat tile 1x2.

Put the plate 1x2 horizontally on the frontmost row, leaving the leftmost knob of the frontmost row empty.

Put the flat tile 1x2 horizontally behind the previous piece.

Put the right wedge plate horizontally behind the previous piece, straight edge with 6 knobs to the front, thinnest end to the left. Make sure that its 2 leftmost knobs are directly behind the previous piece.

Collect the following 2 pieces:

1 maroon red right wedge plate 3x6 with angle, (When its thinner end is pointing towards you, the straight edge with 6 knobs should be on the right, the angled edge on the left.)

and 1 bright yellowish green left wedge plate 2x4 with angle. (When its thinnest end is pointing towards you, the 2 knobs should be on the left back, the angled edge should be on the right.)

Put the right wedge plate 3x6 horizontally on the 3 leftmost knobs protruding from the bottom, straight edge and 6 knobs aligning with the front edge, thinner end protruding to the left.

Put the left wedge plate 2x4 horizontally on the rightmost knob of the frontmost row (this knob is at a lower level) , thinnest end pointing to the right, angled edge to the back.

Collect the following 2 pieces:

1 white right wedge plate 2x4 with angle, (It is the mirrored version of the last piece we have mounted.)

and 1 white left wedge plate 2x4 with angle. (This has the same shape as the last piece we have mounted.)

Turn the left wedge plate into the same orientation as the last piece you have mounted. Mount it on top of the previous piece, but move it one knob to the left. Their rightmost tips should be staggered.

Put the right wedge plate mirrored to the left of the previous piece. If done correctly, the two current pieces form a row of 4 consecutive knobs together on the front edge.

Collect the following 2 pieces:

1 maroon red flat tile 1x3,

and 1 sticker number 6. (If you do not want to apply the sticker now, skip the next 2 sentences. If you do that, the next sentence will tell you to collect another piece before we continue with mounting. This is correct.)

Put the flat tile 1x3 horizontally on the table.

Put the sticker on top. One half is maroon red, the other half is white. The halves are separated diagonally.

Collect the following 2 pieces:

Another maroon red flat tile 1x3,

and another sticker number 6. (If you do not want to apply the sticker now, skip the next 2 sentences.)

Put the flat tile 1x3 on the table.

Put the sticker on top. It has the same design as the previous sticker.

Mount 1 flat tile 1x3 horizontally behind the grille tile 1x2 and flat tile 1x1 on the top surface of the wing structure.

Mount the other flat tile 1x3 horizontally in front of the grille tile 1x2 and flat tile 1x1.

Find 1 maroon red plate 1x2 with 1 knob.

Put it horizontally in front of the previous piece and align their left edges.

Collect the following 2 pieces:

1 maroon red flat tile 2x2,

and 1 square sticker number 4. (If you do not want to apply the sticker now, skip the next 2 sentences.)

Put the flat tile 2x2 on the table.

Put the sticker on top. It is a maroon red sticker with the black-and-white Republic crest on it, which is an eight-spoked sigil.

Put the flat tile 2x2 to the left of the two previous pieces.

Collect the following 2 pieces:

1 maroon red triangular flat tile 2x2 with 45° cut,

and 1 maroon red flat tile 1x8.

Turn the triangular flat tile so that its right angle corner is pointing to the front right.

Mount it behind the previous piece.

Put the flat tile 1x8 horizontally on the frontmost row to the left of the 2 wedge tiles 2x4.

Collect the following 2 pieces:

1 maroon red plate 2x2,

and 1 black plate 1x2 with side bottom tube.

First, flip the wing structure upside down. Make sure the narrow wing tip is still pointing to the left, while the protruding wedge tile 2x4 is still pointing to the right.

Mount the plate 2x2 in the right back corner, but leave the backmost row empty and also leave the angled edge on the right and the tip of the lower wedge plate on the right edge empty.

If done correctly, the piece is mounted on the rightmost possible position on the second and third row from the back without its edge or any corners protruding on the right.

Put the plate 1x2 with tube horizontally to the left of the previous piece aligned with its front row, tube on the right.

Next up, we build a support pipe of the wing underbody.

Collect the following 2 pieces:

1 black connector peg 2m with middle ring, (This is a connector peg that is roughly 2 knobs long and has a friction ring in the middle)

and 1 black angled cross axle extension 3m with bushing hole. (This is shaped like a thick bent pipe that is roughly 3 knobs long with a round hole in the middle and cross holes on each end.)

Hold the cross axle extension vertically in your hand, middle bushing hole running from left to right. Make sure it bends towards the bottom. Keep it in this orientation while building.

Insert the connector peg into the middle bushing hole from the left, half of the connector peg sticking out towards the left.

Find 1 black plate 1x2 with side bottom tube.

Turn it upside down and vertically, tube to the back.

Put the tube on the connector peg coming from the left.

Mount the support pipe on the wing structure behind the previously mounted plate 1x2 with side bottom tube. If done correctly, one cross hole end of the cross axle extension and the mounted tube will align. The cross axle extension protrudes to the back.

Collect the following 3 pieces:

1 black plate 1x1,

1 black plate 2x3,

and 1 black plate 1x2 with side bottom tube.

Put the plate 2x3 horizontally to the left of the 2 previously mounted plates 1x2 with side bottom tube. If done correctly, the backmost row remains empty.

Put the plate 1x1 to the left of the previous piece aligned with its front row.

Put the plate 1x2 with side bottom tube horizontally to the left of the previous piece, this time tube to the left.

Now, we will build another support pipe.

Collect the following 2 pieces:

1 white plate 1x2 with side bottom tube,

and 1 bright blue connector peg 3m with asymmetric ring.

Put the plate 1x2 upside down and vertically on the table, tube to the back.

Insert the longer end of the connector peg 3m into the tube from the left. If done correctly, it will protrude symmetrically to the left and right.

Find 1 white plate 1x2 with side bottom tube.

Turn it upside down and vertically, tube to the back.

Put the tube on the connector peg sticking out towards the right.

Find 1 black angled cross axle extension 3m with bushing hole.

Hold it vertically, bushing hole running from left to right, and make sure it bends towards the bottom. Put the bushing on the connector peg sticking out towards the left.

The support pipe is finished! Well done! Mount it behind the last plate 1x2 with side bottom tube you have mounted on the wing structure. Make sure the front cross hole and the tube of said plate align again, cross axle extension protruding to the back.

Collect the following 3 pieces:

1 black plate 2x6,

and 2 black cross axles 2m with 2 grooves.

Put the plate 2x6 horizontally between the 2 cross axle extensions. It should fill the space between them perfectly.

Fully insert the cross axles with grooves from the front into the front ends of the 2 cross axle extensions.

Now, we will build the first shooter.

It is possible that the next two pieces come pre-assembled. See if you can find the 2 individual parts, otherwise search for the assembled part.

Collect the following 2 pieces:

1 dark stone grey shooter trigger, (This is a very small, uniquely shaped element. It resembles a wide-angled segment of a circle with a tiny hinge-like tip and a knob-like thicker end. Ask for help if you cannot identify or find it.)

and 1 titanium metallic shooter barrel with plate 1x2.

Put the shooter barrel with plate on the table, knob of the plate to the left.

Insert the trigger into the top slot, rounded part to the bottom, knob-like end to the left.

Collect the following 2 pieces:

1 maroon red one-stepped curve tile 1x2x⅔,

and 1 maroon red plate 1x1.

Put the plate 1x1 on the knob on the left edge.

Put the one-stepped curve tile horizontally on top of the previous piece, curve to the left, 1 half overhanging to the left.

Find 1 maroon red plate 1x1.

Put it underneath the previous piece on the left edge.

The shooter is finished! Great job! First, flip the wing structure right side up again. Turn it so that the straight long edge of the wing is at the back, pointy wedge plates 2x4 on the left, narrow wing tip to the right.

Mount the shooter horizontally in front of the flat tile 1x8 mounted on the backmost row, and to the right of the flat tile 2x2. Its open end should be on the right.

The right wing of the Starfighter is finished! Fantastic job, this was a really intricate build! Before you mount it, make sure the main structure is oriented horizontally, tail fin on the left.

Put the cross axle extensions protruding from the bottom towards the back on the 2 cross axles pointing towards you on the front side of the main structure.

Open bag number 3. You can choose to have the bricks sorted by color again. This bag contains all bricks and pieces for the last third of the Starfighter, meaning we will finish the tail fin and the cockpit as well as build the left wing, and the bricks for the landing gear, the R4-P17 Minifigure and the Taun We Minifigure.

Next up, we will build the small side panel for the other side.

Collect the following 2 pieces:

1 maroon red plate 1x3,

and 1 maroon red flat tile 1x2.

Put the plate 1x3 vertically on the table.

Put the flat tile 1x2 vertically on the 2 backmost knobs.

First, turn the main structure left to right so that the tail fin is pointing to the right and the finished wing is to the back.

Find the 4 side knobs pointing to the front in front of the control panel. Do not confuse them with the 6 side knobs in front of the pilot's seat back.

Mount the small side panel upright on the 2 left side knobs of those 4 side knobs. Make sure its top edge is flush with the rest of the structure, and its 1 knob is at the bottom.

Find 1 white plate 1x3.

Put it upright vertically to the right of the previous element. Make sure its top end is flush with the rest of the structure.

Find 1 maroon red plate 2x2.

Put it upright on the 4 lower side knobs of the 6 side knobs pointing to the front in front of the pilot's seat back.

Next, we will build the second half of the tail fin.

Collect the following 2 pieces:

1 white plate 2x2,

and 1 medium stone grey plate 1x2.

Put the plate 1x2 vertically on the table.

Put the plate 2x2 on the previous piece, 1 column overhanging to the right.

Find 1 white plate 4x4 with 4 knobs on one edge.

Put it on the table, 4 knobs forming a column on the left.

Mount the small structure from the previous step: Put its right column on the 2 front knobs of the current piece.

Find 1 maroon red quarter-arched plate 3x3.

Turn it so that 2 knobs are pointing towards you in a straight line, quarter-arch bending to the left back, the other 2 knobs pointing to the left.

Mount it in this orientation: Put its leftmost knob on the second knob from the back of the plate 4x4. The rest of the quarter-arched plate will sit on tiled surface, bending from the left back towards the front right.

Continue if you want to decorate this structure with a sticker now. If not, skip the next 3 sentences.

Find 1 small rectangular sticker number 12. Ask a sighted person to help you find the correct sticker.

Put it vertically in the front right corner to the right of the previous piece.

It has the same design as the sticker on the other half of the tail fin: it is half maroon red, half bright green. The two halves are divided diagonally.

Collect the following 2 pieces:

1 white plate 1x2,

and 1 white plate 1x3.

Put the plate 1x2 vertically on the 2 leftmost knobs of the current structure.

Put the plate 1x3 vertically to the right of the previous piece. Make it flush with the front edge.

Find 1 white left wedge tile 1x2 with curve and 45° cut. (Do not confuse it with the right wedge tile. If you put the left wedge tile vertically on the table, the narrow tip pointing towards you, the 45° cut should be on the right.)

Put it horizontally on the backmost knob of the previous piece, narrow end and slope to the right, 45° cut towards the back.

Collect the following 2 pieces:

1 white plate 1x4,

and 1 white plate 1x2.

Put the plate 1x4 horizontally on the 2 knobs in front of the previous piece, 2 knobs overhanging to the left.

Put the plate 1x2 horizontally in front of the previous piece.

Collect the following 2 pieces:

1 white 2-stepped left wedge tile 2x3 with cut, (Do not confuse it with the right wedge tile. If you put the left wedge tile on the table, higher end at the back, narrow tip pointing towards you, the cut-off edge should be on the right.)

and 1 sticker number 9. (Ask for help to identify the correct sticker. If you do not want to apply the sticker now, skip the next 2 sentences.)

Put the left wedge tile on the table, higher end at the back, narrow tip pointing towards you.

Put the sticker on top, matching the shape of the wedge tile. The sticker has a white section with the Republic crest, which is a black eight-spoked sigil, and a green section with a thin grey vertical line.

Mount the right wedge tile horizontally on the front edge, starting with the rightmost knob on the front row, slope to the right. The longest edge of the wedge tile should be at the front.

The second half of the tail fin is finished! Well done! Flip it upright and make sure the 2 protruding knobs are pointing to the left. Mount those protruding knobs on the 2 topmost knobs of the 6 side knobs in front of the pilot's seat back.

The plates 4x4 of the two tail fin halves should align in the middle. The tail fin is finished now!

Collect the following 2 pieces:

1 white flat tile 2x6,

and 1 rectangular sticker number 8. (If you do not want to apply the sticker now, skip the next 2 sentences.)

Put the flat tile 2x6 horizontally on the table.

Put the sticker on top. Like before with sticker number 10, this sticker is white with a few geometrical shapes on it: a thin acute-angled triangle in maroon red from the left edge towards the right edge, and a beveled green section on the right edge with several thin grey lines running through the different sections.

Mount the flat tile 2x6 upright horizontally to the left of the tail fin. If done correctly, it will also touch the vertically mounted side panel on its left edge.

If stickers are already applied: The sticker designs merge now, with the green sections of the stickers fitting together, giving the space craft a sleek design.

Find 1 white flat tile 1x6.

Put it upright horizontally below the previous piece. Make sure it meets the other tiled surface on its left edge.

Next up, we will build the cockpit mount.

Collect the following 3 pieces:

2 white plates 1x2 with top clasp,

and 1 medium stone grey plate 2x2.

Put the plate 2x2 on the table.

Put 1 plate 1x2 horizontally on the front row, clasp to the right.

Put the other plate 1x2 horizontally behind the previous piece, clasp to the right.

Find 1 white flat tile 1x2.

Put it vertically on the left column.

The cockpit mount is finished! Well done! Mount it on the 4 knobs to the left of the control panel, clasps to the right. The control panel is the printed roof tile 1x2 mounted to the left of the pilot's seat.

Next, we will build the front hood bezel.

Collect the following 2 pieces:

1 white plate 1x2,

and 1 white one-stepped curve tile 2x2x⅔.

Put the plate 1x2 vertically on the table.

Put the curve tile 2x2 on top, curve to the left, its left half overhanging to the left.

Continue if you want to decorate this piece with a sticker now. If not, skip the next 2 sentences.

Find 1 square sticker number 2. Ask a sighted person to help you find the correct sticker.

Put it on the curve tile. It is white with a thick, upside-down letter "T" in maroon red on it.

Mount the front hood bezel to the left of the cockpit mount, slope to the left.

Now, we will build the left Starfighter wing.

Note that it is almost identical to the right wing, so you will probably recognize a lot of steps from before. But do not worry, we will explain everything in detail.

Collect the following 2 pieces:

1 black plate 1x3,

and 1 maroon red plate 2x6.

Put the plate 1x3 vertically on the table.

Turn the plate 2x6 horizontally, and mount its rightmost column on the 2 back knobs of the previous piece. The frontmost knob of the plate 1x3 protrudes to the front.

Just like before with the right wing, keep this plate 2x6 in mind since we will use it as a reference in the beginning.

Collect the following 2 pieces:

1 black plate 4x4,

and 1 maroon red left wedge plate 2x4 with angle. (Put it in front of you, narrow end pointing towards you. The straight edge and 4 knobs should be on the left, the angled edge should be on the right.)

Put the plate 4x4 underneath the previous piece, to the left of the plate 1x3, 1 row protruding to the back.

Put the wedge plate vertically to the left of the previous piece, still underneath the plate 2x6, narrow end to the back, straight edge to the right.

Collect the following 3 pieces:

1 maroon red triangular flat tile 2x2 with 45° cut,

1 white flat tile 1x1,

and 1 black grille tile 1x2.

Turn the triangular flat tile 2x2 so that its right angle is pointing to the front right. Mount it on the 2 leftmost columns of the plate 2x6.

Put the grille tile 1x2 horizontally to the right of the previous piece on the back row of the plate 2x6.

Put the flat tile 1x1 to the right of the previous piece.

Collect the following 2 pieces:

1 maroon red left wedge plate 2x3 with angle, (Put it on the table, thinner end pointing towards you. The straight edge with 3 knobs should be on the left, and the angled edge should be on the right.)

and 1 maroon red right wedge plate 2x3 with angle. (It is the mirrored version of the left wedge plate.)

Put the right wedge plate 2x3 horizontally on the backmost row protruding at the bottom, starting from the left edge, angled edge to the back, narrow end to the left.

Put the left wedge plate 2x3 horizontally to the right of the previous piece, narrow end to the right. There is no knob underneath its rightmost knob to connect to.

Find 1 maroon red plate 2x4.

Skip the 2 rightmost knobs of the front row and mount it horizontally on the front row, 1 row overhanging to the front.

Collect the following 2 pieces:

1 maroon red plate 1x2,

and 1 white plate 1x12.

Put the plate 1x2 horizontally underneath the leftmost knob of the previous piece's front row, its left knob not connecting to any other piece.

Put the plate 1x12 horizontally to the right of the previous piece, 3 knobs connecting underneath the plate 2x4, the rest freely protruding towards the right.

Find 1 maroon red plate 2x6.

Put it horizontally to the right of the plate 2x4 at the top front, partly covering the previous piece.

If done correctly, there are still 3 single knobs of the plate 1x12 protruding towards the right.

Find 1 black left wedge plate 3x8 with angle. (If the thinnest end is pointing towards you, the long straight edge with 8 knobs should be on the left, and the angled edge should be on the right.)

Put it horizontally on the table, straight edge with 8 knobs at the front, thinnest end to the right.

Mount it underneath the back row of the previous piece in that orientation. The 4 rightmost knobs of its front row should remain empty. This also means that its rightmost knob will protrude towards the right.

Collect the following 3 pieces:

1 maroon red left wedge plate 3x6 with angle, (When the thinnest end is pointing towards you, the straight edge with 6 knobs should be on the left, the angled edge on the right.)

1 maroon red flat tile 1x2,

and 1 maroon red plate 1x2.

Put the plate 1x2 horizontally on the frontmost row, leaving the rightmost knob of the frontmost row empty.

Put the flat tile 1x2 horizontally behind the previous piece.

Put the left wedge plate horizontally behind the previous piece, straight edge with 6 knobs to the front, thinnest end to the right. Align it with the previous piece on the right edge.

Collect the following 2 pieces:

1 maroon red left wedge plate 3x6 with angle, (When the thinnest end is pointing towards you, the straight edge with 6 knobs should be on the left, the angled edge on the right.)

and 1 bright yellowish green right wedge plate 2x4 with angle. (When the thinnest end is pointing towards you, the 2 knobs should be on the right back, the angled edge should be on the left.)

Put the left wedge plate 3x6 horizontally on the 3 rightmost knobs protruding from the bottom, straight edge and 6 knobs aligning with the front edge, thinner end protruding to the right.

Put the right wedge plate 2x4 horizontally on the leftmost knob of the frontmost row (this knob is on a lower level) , thinnest end pointing to the left, angled edge to the back.

Collect the following 2 pieces:

1 white right wedge plate 2x4 with angle, (it has the same shape as the last piece we have mounted.)

and 1 white left wedge plate 2x4 with angle. (It is the mirrored version of the last piece we have mounted.)

Turn the right wedge plate into the same orientation as the last piece you have mounted. Mount it on top of the previous piece, but move it one knob to the right. Their rightmost tips should be staggered.

Put the left wedge plate mirrored to the right of the previous piece. If done correctly, the two current pieces form a row of 4 consecutive knobs together on the front edge.

Collect the following 2 pieces:

1 maroon red flat tile 1x3,

and 1 rectangular sticker number 7. (If you do not want to apply the sticker now, skip the next 2 sentences. If you do that, the next sentence will tell you to collect another piece before we continue with mounting. This is correct.)

Put the flat tile 1x3 horizontally on the table.

Put the sticker on top. One half is maroon red, the other half is white. The halves are separated diagonally.

Collect the following 2 pieces:

Another maroon red flat tile 1x3,

and another rectangular sticker number 7. (If you do not want to apply the sticker now, skip the next 2 sentences.)

Put the flat tile 1x3 on the table.

Put the sticker on top. It has the same design as the previous sticker.

Mount 1 flat tile 1x3 horizontally behind the grille tile 1x2 and flat tile 1x1 on the top surface of the wing structure.

Mount the other flat tile 1x3 horizontally in front of the grille tile 1x2 and flat tile 1x1.

Find 1 maroon red plate 1x2 with 1 knob.

Put it horizontally in front of the previous piece and align their right edges.

Now, we will build the swivel plate for R4-P17's head.

It is possible that this element comes pre-assembled. See if you can find the individual parts, otherwise search for the assembled part.

Collect the following 2 pieces:

1 black socket of swivel plate 2x2,

and 1 medium stone grey rotating part of swivel plate 2x2.

Insert the rotating part into the socket to assemble the swivel plate 2x2.

Mount the swivel plate on the second and third row from the front, to the right of the plate 1x2 with 1 knob and flat tile 1x3. If done correctly, its front edge will align with the front edge of the piece mounted in the previous step.

Collect the following 2 pieces:

1 maroon red triangular flat tile 2x2 with 45° cut,

and 1 maroon red flat tile 1x8.

Turn the triangular flat tile so that its right angle corner is pointing to the front right.

Mount it behind the previous piece.

Put the flat tile 1x8 horizontally on the frontmost row to the right of the 2 wedge tiles 2x4.

Collect the following 2 pieces:

1 maroon red plate 2x2,

and 1 black plate 1x2 with side bottom tube.

First, flip the wing structure upside down. Make sure the narrow wing tip is still pointing to the right, while the protruding wedge tile 2x3 is still pointing to the left.

Mount the plate 2x2 in the left back corner, but leave the backmost row and the angled edge on the left empty, and also leave the wedge plate on the lower level on the left edge empty.

If done correctly, the piece is mounted on the leftmost possible position on the second and third row from the back without its edge or any corners protruding on the left.

Put the plate 1x2 with tube horizontally to the right of the previous piece aligned with its front row, tube on the left.

Next up, we will build a support pipe of the wing underbody.

Collect the following 2 pieces:

1 black connector peg 2m with middle ring,

and 1 black angled cross axle extension 3m with bushing hole.

Hold the cross axle extension vertically in your hand, bushing hole running from left to right. Make sure it bends towards the bottom.

Insert the connector peg into the middle bushing hole from the right, half of the connector peg sticking out towards the right.

Find 1 black plate 1x2 with side bottom tube.

Turn it upside down and vertically, tube to the back.

Put the tube on the connector peg coming from the right.

Mount the support pipe on the wing structure behind the previously mounted plate 1x2 with side bottom tube. If done correctly, one cross hole end of the cross axle extension and the mounted tube will align. The cross axle extension protrudes to the back.

Collect the following 3 pieces:

1 black plate 1x1,

1 black plate 2x3,

and 1 black plate 1x2 with side bottom tube.

Put the plate 2x3 horizontally to the right of the 2 previously mounted plates 1x2 with side bottom tube.

Put the plate 1x1 to the right of the previous piece aligned with its front row.

Put the plate 1x2 with side bottom tube horizontally to the right of the previous piece, this time tube to the right.

Next, we build another support pipe.

Collect the following 2 pieces:

1 white plate 1x2 with side bottom tube,

and 1 bright blue connector peg 3m with asymmetric ring.

Put the plate 1x2 upside down and vertically on the table, tube to the back.

Insert the longer end of the connector peg 3m into the tube from the right. If done correctly, it will protrude symmetrically to the left and right.

Find 1 white plate 1x2 with side bottom tube.

Turn it upside down and vertically, tube to the back.

Put the tube on the connector peg sticking out towards the left.

Find 1 black angled cross axle extension 3m with bushing hole.

Hold it vertically, bushing hole running from left to right, and make sure it bends towards the bottom. Put the bushing on the connector peg sticking out towards the right.

The second support pipe is finished! Well done! Mount it behind the last plate 1x2 with side bottom tube you have mounted on the wing structure. Make sure the front cross hole and the tube of said plate align again, cross axle extension protruding to the back.

Collect the following 3 pieces:

1 black plate 2x6,

and 2 black cross axles 2m with 2 grooves.

Put the plate 2x6 horizontally between the 2 cross axle extensions. It should fill the space between them perfectly.

Fully insert the cross axles with grooves from the front into the front ends of the 2 cross axle extensions.

Next, we will build the second shooter.

It is possible that the next two pieces come pre-assembled. See if you can find the 2 individual parts, otherwise search for the assembled part.

Collect the following 2 pieces:

1 dark stone grey shooter trigger,

and 1 titanium metallic shooter barrel with plate 1x2.

Put the shooter barrel with plate on the table, knob of the plate to the left.

Insert the trigger into the top slot, rounded part to the bottom, knob-like end to the left.

Collect the following 2 pieces:

1 maroon red one-stepped curve tile 1x2x⅔,

and 1 maroon red plate 1x1.

Put the plate 1x1 on the knob on the left edge.

Put the one-stepped curve tile horizontally on top of the previous piece, curve to the left, 1 half overhanging to the left.

Find 1 maroon red plate 1x1.

Put it underneath the previous piece on the left edge.

The second shooter is finished! Well done! First, flip the wing structure right side up again. Turn it so that the straight long edge of the wing is at the front, pointy wedge plates 2x4 on the left, wing tip to the right.

Mount the blaster horizontally behind the flat tile 1x8 mounted on the frontmost row and to the right of the swivel plate 2x2. Its open end should be on the right.

The left Starfighter wing is finished! Well done! Before you mount it, make sure the main structure is oriented horizontally, tail fin on the right.

Turn the wing left to right so that the cross axle extensions protrude towards the back and put them on the 2 cross axles pointing towards you on the front side surface.

Now, we will build the rear landing support.

Collect the following 2 pieces:

1 black inverted roof tile 2x2, 45°,

and 1 black round plate 2x2.

Put the round plate 2x2 on the table.

Put the inverted roof tile 2x2 on the 2 right knobs, slope overhanging to the right.

Find 1 black inverted roof tile 2x2, 45°.

Put it on the 2 left knobs of the round plate, slope overhanging to the left.

Flip the landing support upside down and put it on the table. Keep the horizontal orientation.

Flip the main structure upside down, keeping the tail fin on the right.

Identify the 2 middle rows of the main structure and the highest plate 2x10 on those middle rows.

Skip the rightmost 2x2 surface of that plate 2x10 and mount the rear landing support horizontally to its left.

Now, we will build the front landing gear.

Collect the following 2 pieces:

1 black linking element 1m with hinge fork and hinge stub,

and 1 black plate 1x3 with top hinge stub.

Put the plate 1x3 with top hinge stub on the table, hinge stub to the right.

Snap the hinge fork of the linking element from the top on the hinge stub of the plate. Make sure they form a right angle.

Make sure the main structure is still upside down, tail fin on the right, and find the hinge fork protruding towards the left in the center of the structure.

Snap the hinge stub of the landing gear on the hinge fork on the main structure.

You can retract the landing gear when in flight mode and return it for landing and parking.

Now, we will build the radar dish.

Collect the following 2 pieces:

1 medium stone grey round plate 1x1 with side shaft,

and 1 dark stone grey satellite dish 2x2 with 1 knob.

Put the satellite dish 2x2 on the table, 1 knob to the top.

Put the round plate 1x1 on top, side shaft to the back.

Find 1 medium stone grey plate 1x1 with top clasp.

Snap its clasp on the side shaft. The plate 1x1 part of this piece will be the mounting point for the radar dish.

The radar dish is finished! Flip it upright so that the satellite dish is facing you. Mount it to the right of the swivel plate 2x2 on the plate 1x2 with 1 knob.

Find 1 transparent cockpit 6x4x2 with shaft.

Snap its shaft onto the cockpit mount left of the dashboard.

Make sure the cockpit extends towards the right, and the curvature is to the top. You can open and close it as needed.

Find 4 transparent bright green round plates 1x1.

These are the ammunition for your shooter. Put 1 of them into the opening of the shooter at the back, and repeat at the front.

Loading the shooters makes the triggers go up. Pushing down on the triggers with just the right amount of force and speed will make your ammunition blow out with amazing speeds! It takes a bit of practice, so be patient and maybe have some additional ammunition ready.

The Jedi Starfighter is finished! What an achievement, very well done! You should be proud of yourself. Finally, it is Obi-Wan Kenobi's turn to get in the cockpit and take the Starfighter for a spin.

Next, we will build the Taun We Minifigure.

Collect the following 2 pieces:

1 white Taun We skirt, (This piece is straight at the front and its curved side extends towards the back. There are 2 connector pins at the top.)

and 1 white and sand blue upper part of the body.

Put the upper body on top of the skirt.

Find 1 white Taun We head. (Taun We has a long neck, her head is oval with big almond-shaped eyes.)

Put it on the body.

The Taun We Minifigure is finished! Great job! She is wearing a white and sand blue long dress with a belt with grey rhinestones and a corsage. The sleeves are sand blue, and so is the part of the dress covering her long neck. She has black eyes with white pupils, her skin is pearly white. She is the one greeting Obi-Wan upon his arrival on Tipoca City, the capital city of Kamino.

Next up, we will build the R4-P17 Minifigure.

Collect the following 3 pieces:

2 white robot legs 1x2x2⅔ with connector,

and 1 white round brick 2x2x2 with side hole. (This piece is printed.)

Hold the round brick 2x2x2 so that its side hole is running from left to right and the 4 knobs are to the top.

Insert the connector of 1 robot leg into the side hole from the right.

Insert the connector of the other robot leg into the side hole from the left.

Find 1 maroon red dome 2x2 with 1 knob. (This piece is printed.)

Put it on top of the robot body.

The R4-P17 Minifigure is finished! Great job! The astromech droid has a white body, its front is printed with panels, tool slots, registers, etc. in red and grey. The red head is printed with a dark grey panel as well as cameras and sensors. The astromech droid is personally assigned to Obi-Wan Kenobi.

You have finished building the entire set! Fantastic job! It is time to fire up the engines of the Starfighter and visit Tipoca City. Taun We will be waiting for Obi-Wan and R4-P17 already. Before take-off, you can take R4-P17's head off and put it on the swivel plate. It will help Obi-Wan Kenobi with navigating. Store R4-P17's body in the empty space underneath the hood. You are good to go!

Enjoy!