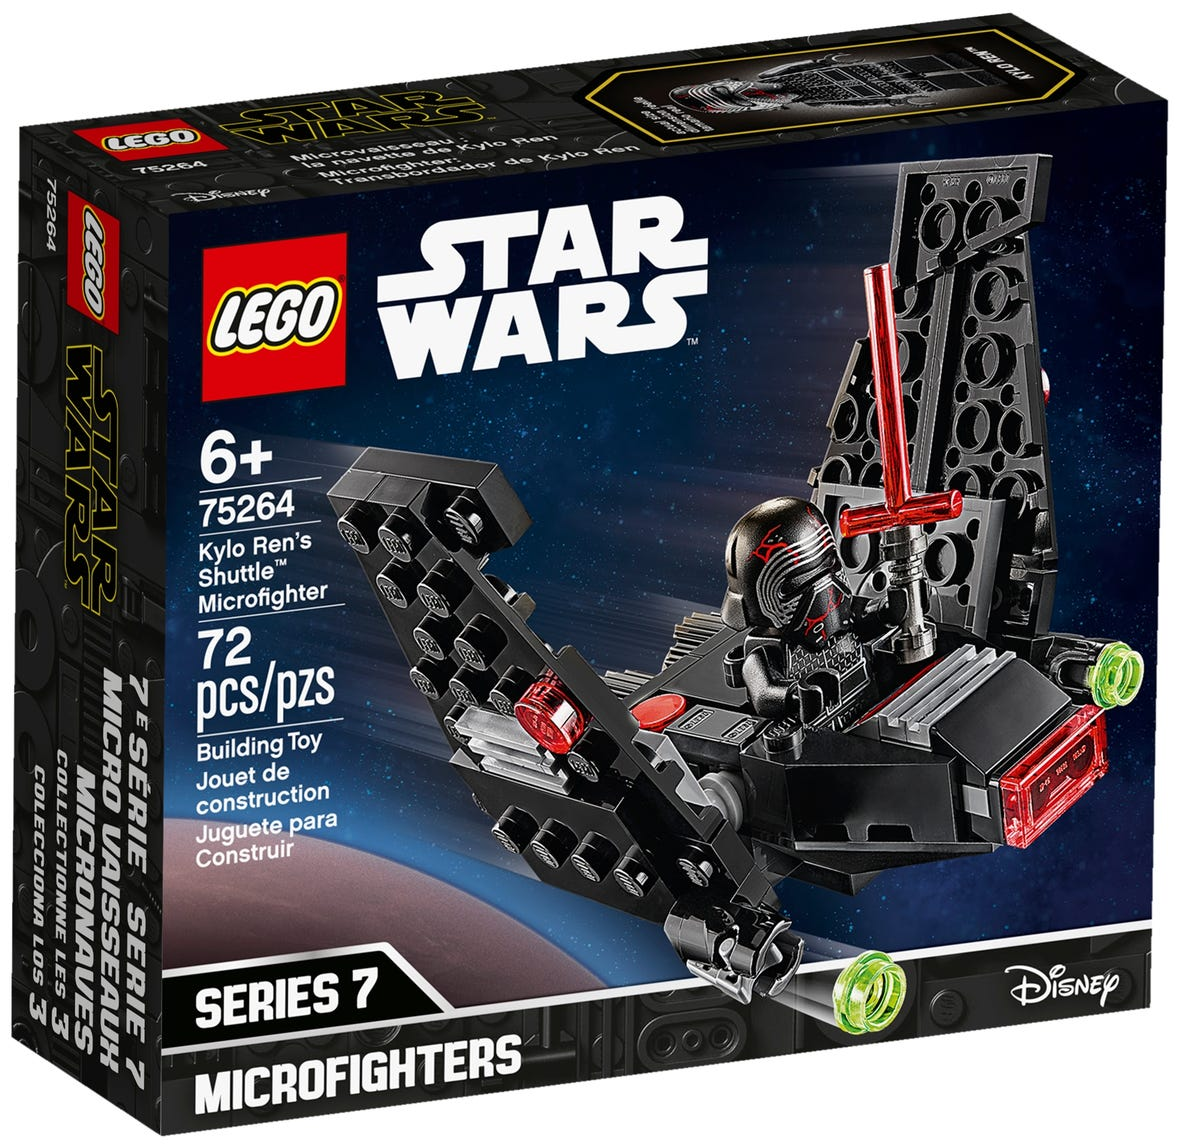
| LEGO Audio & Braille Building Instructions for the LEGO Star Wars set "Kylo Ren's Shuttle Microfighter". |
| Lead First Order missions with Kylo Ren's Shuttle Microfighter! Play out epic battles from Star Wars: the Rise of Skywalker, or make up your own galactic adventures. |
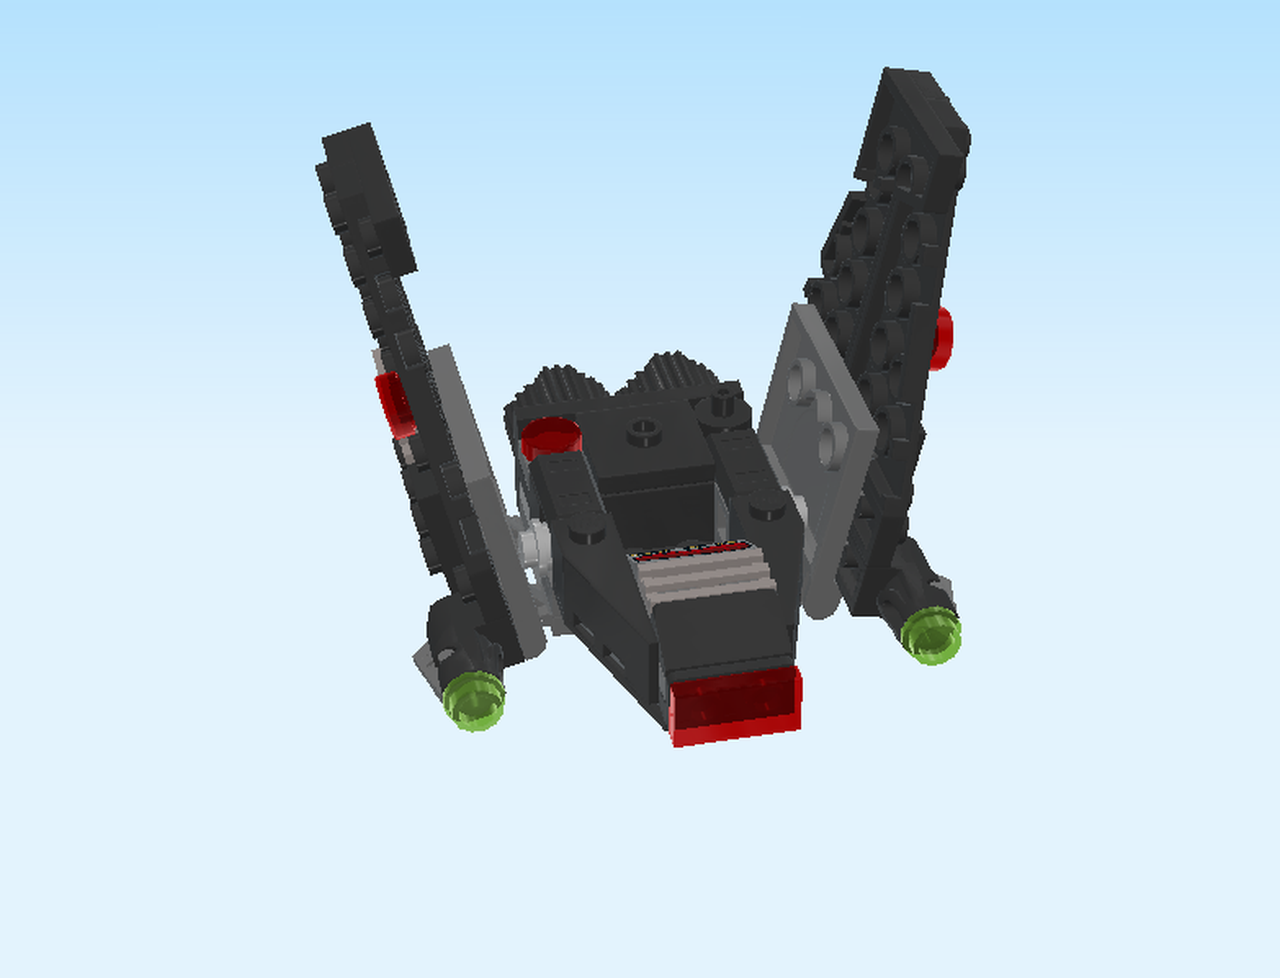
| The box cover shows Kylo Ren flying the Shuttle Microfighter at great speed! |
| Open the box. This can be tricky; ask someone to help you! |
| The box contains a booklet with visual building instructions and unnumbered bags. |
| Before you get started, ask a sighted person to help you sort the bricks by color. This way, you will be even faster in finding the right piece! |
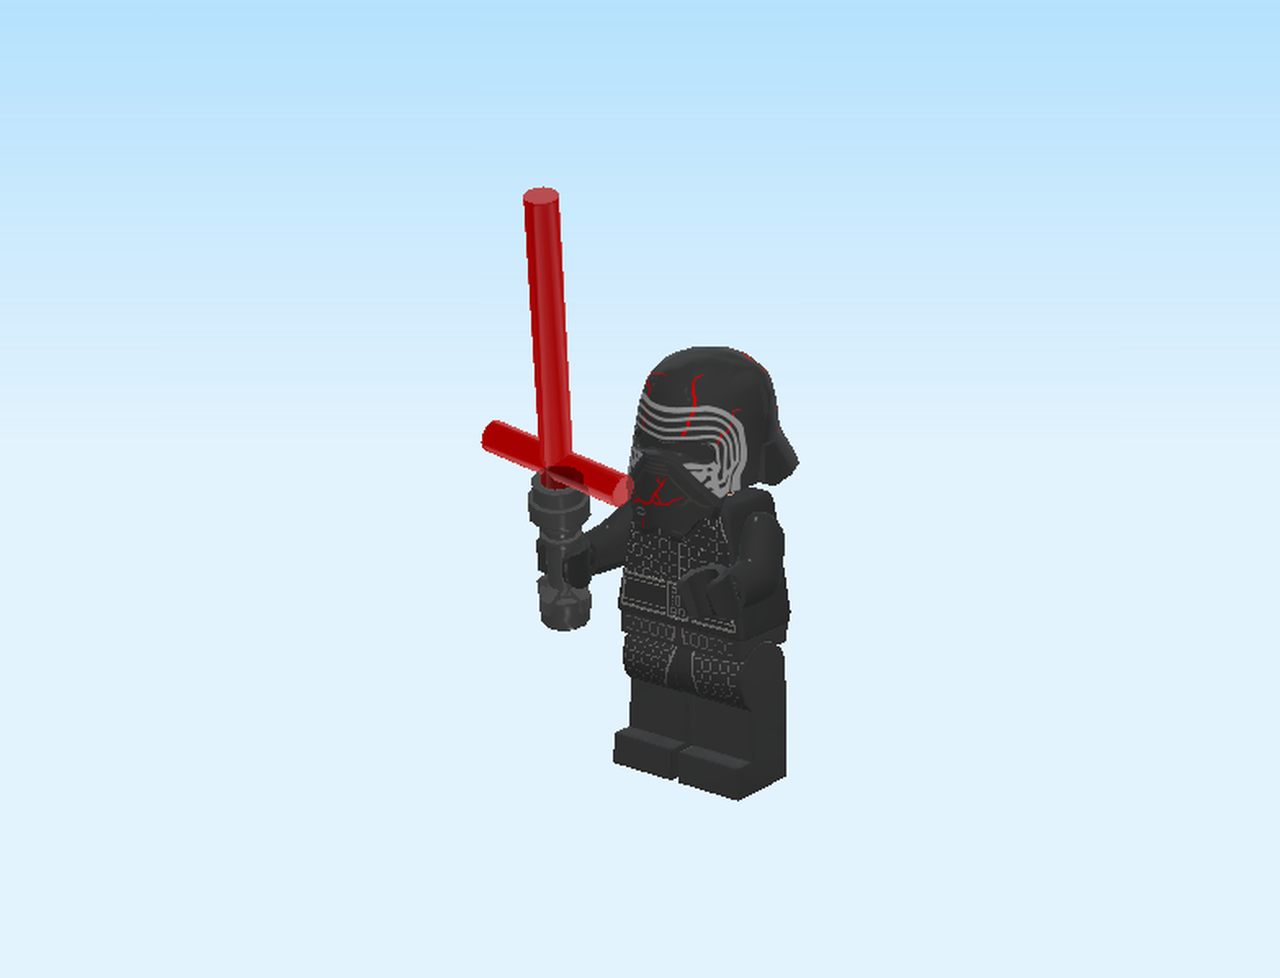
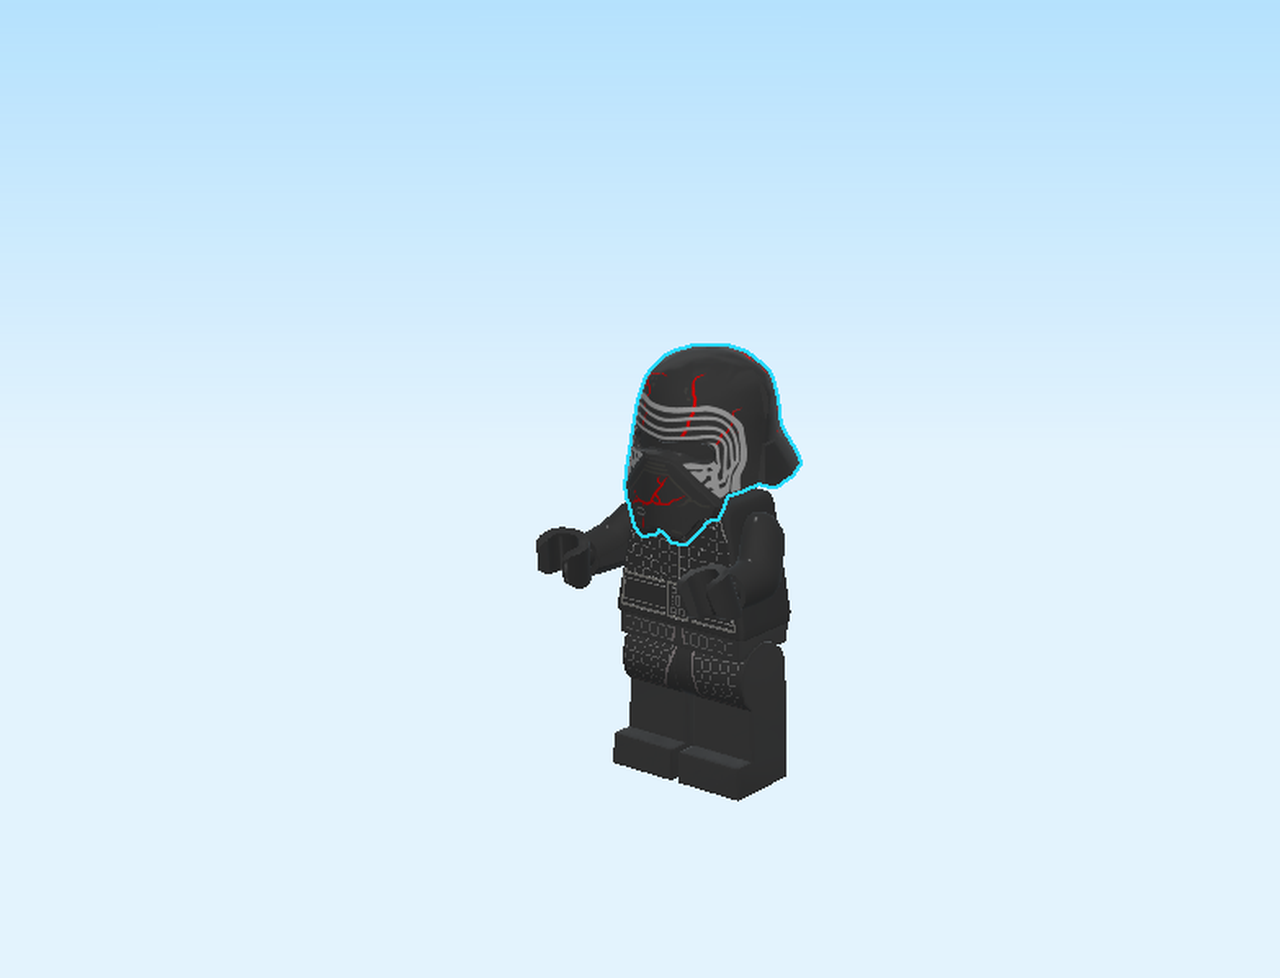
| In the first section we are going to build the minifigure Kylo Ren. |
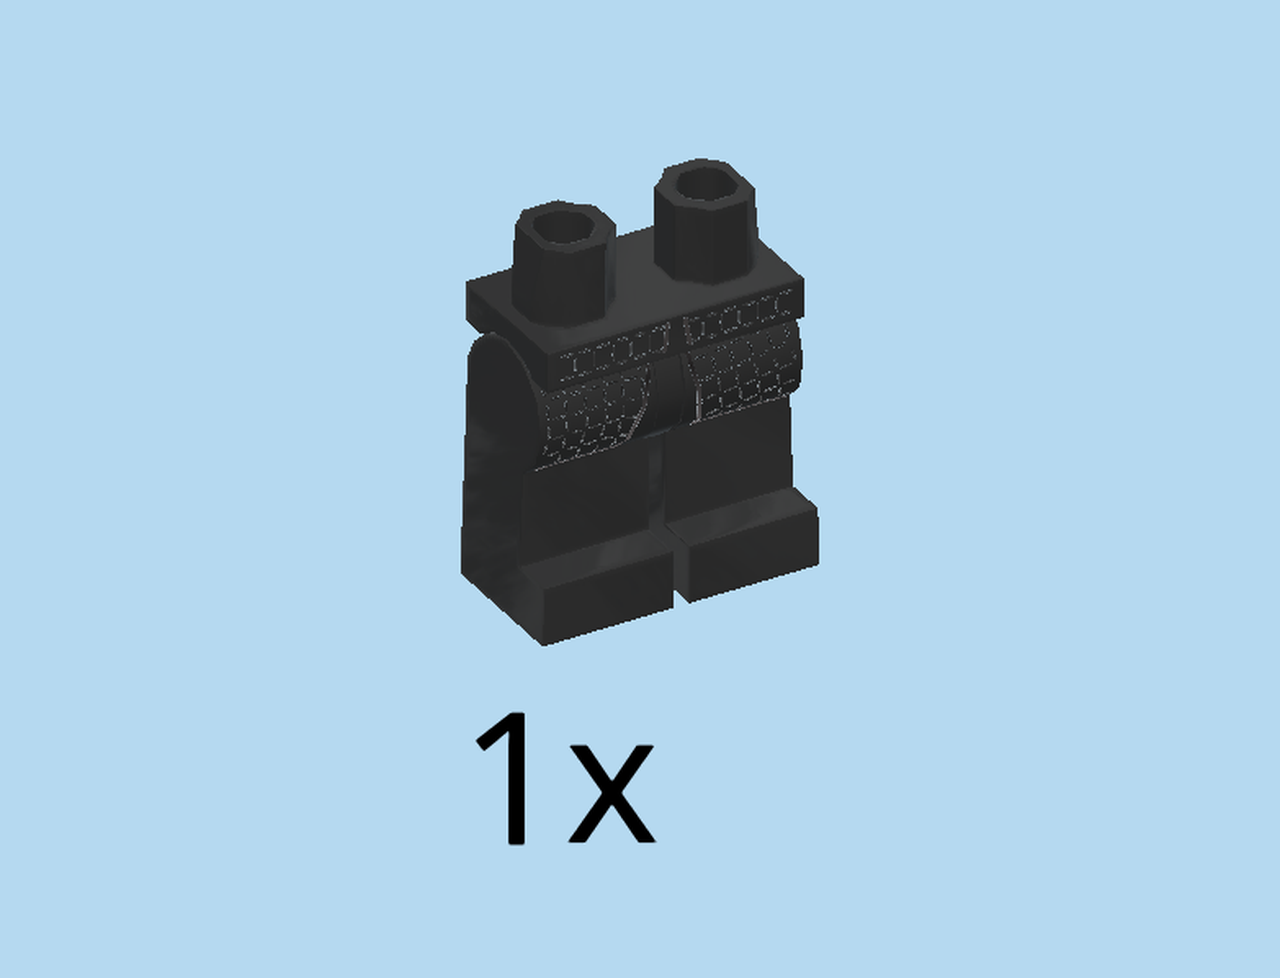
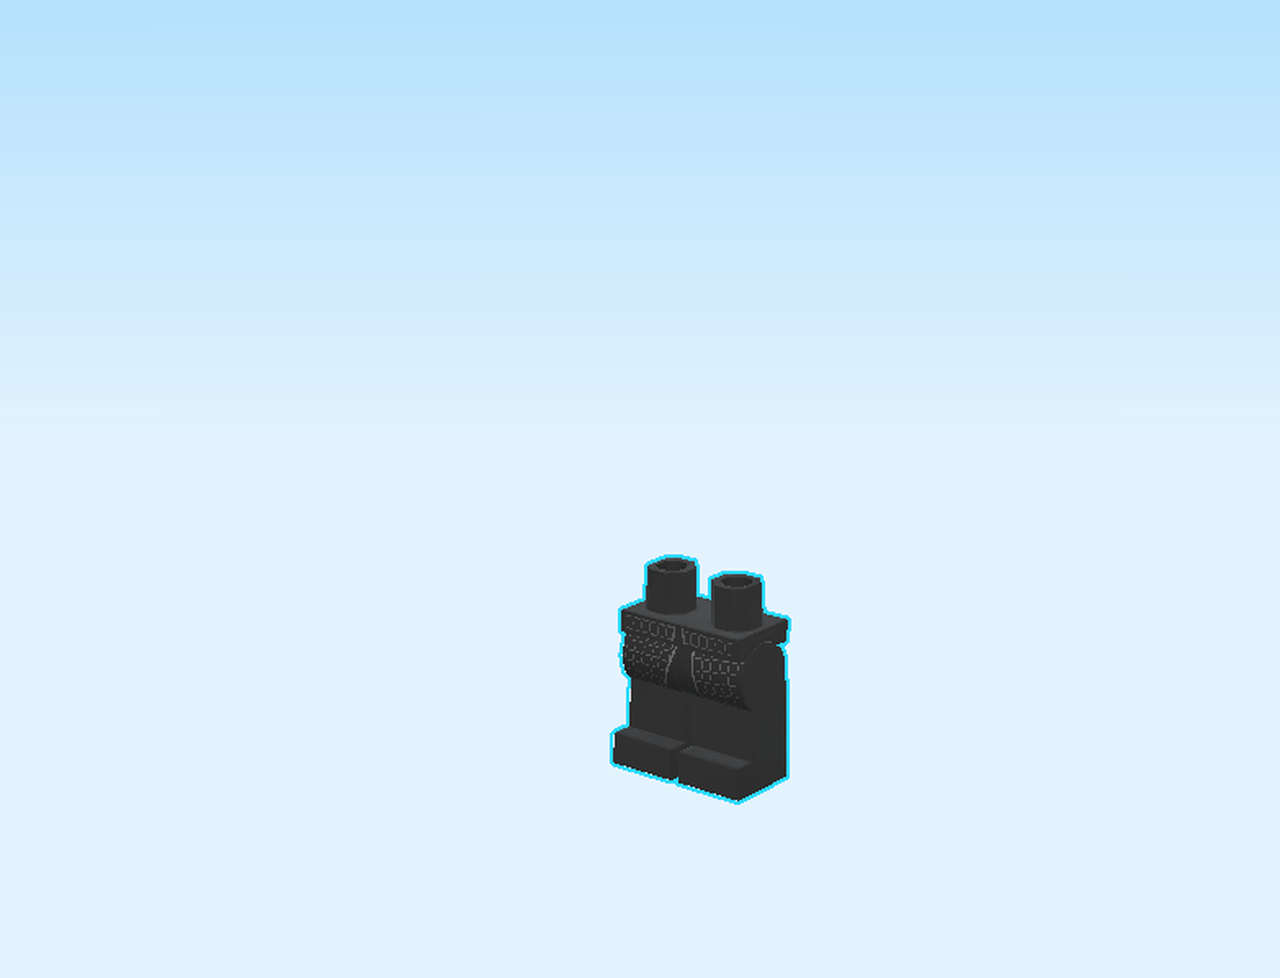
| Find 1 black pair of legs. |
| Put it horizontally on the table. |
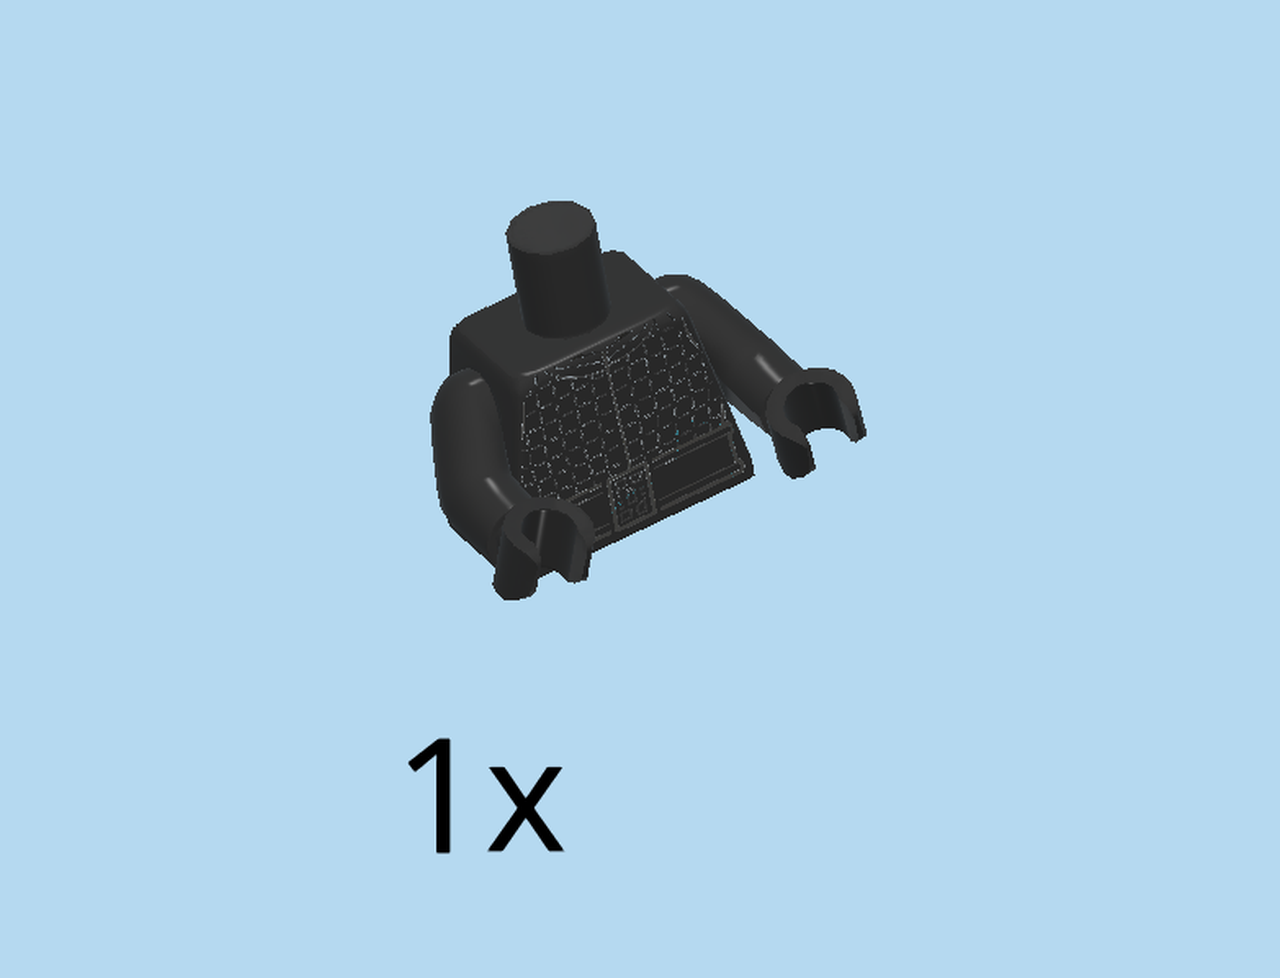
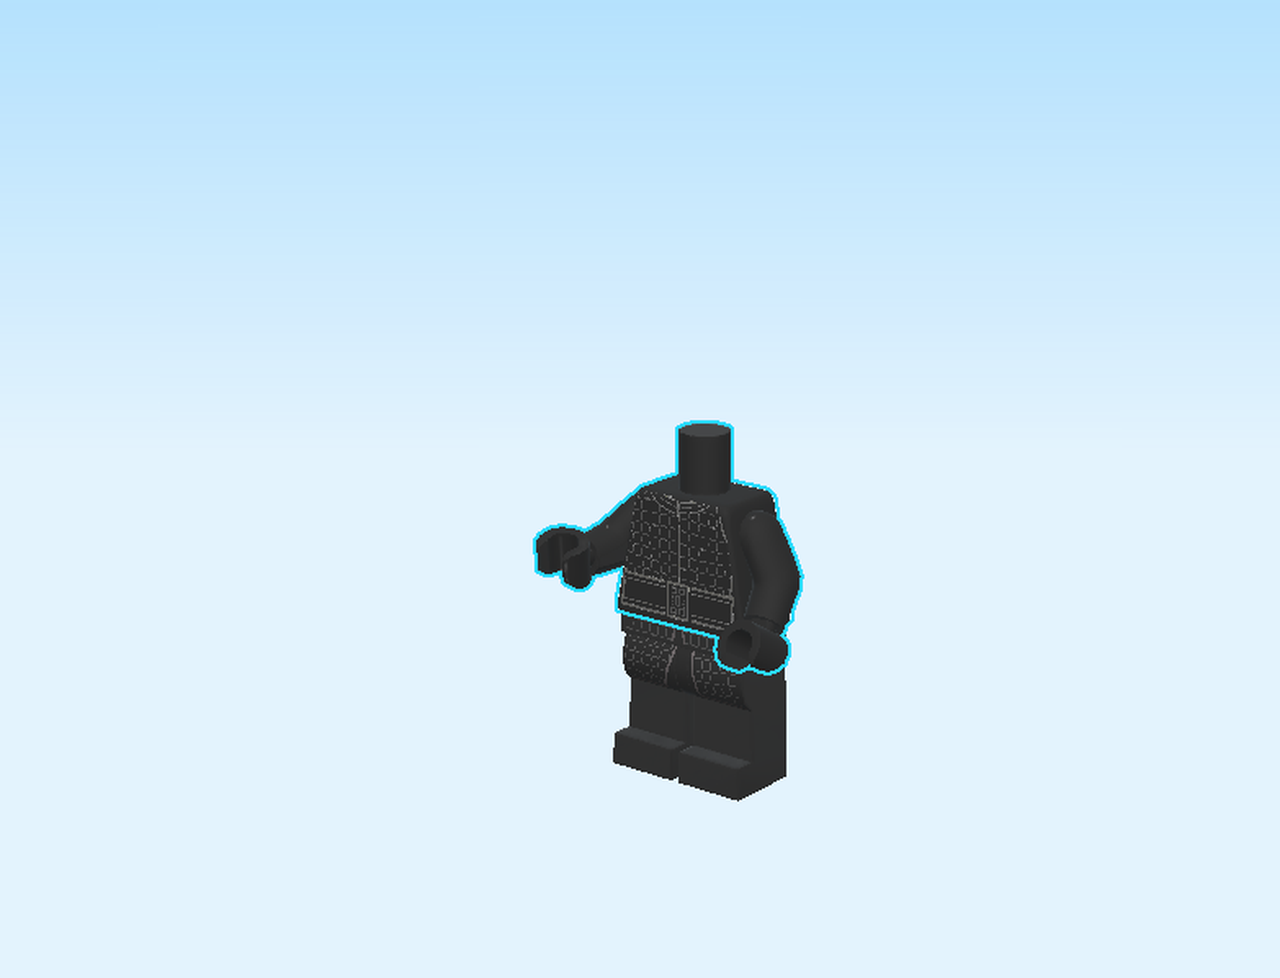
| Find 1 black upper part of the body. |
| Put it on top of the legs. |
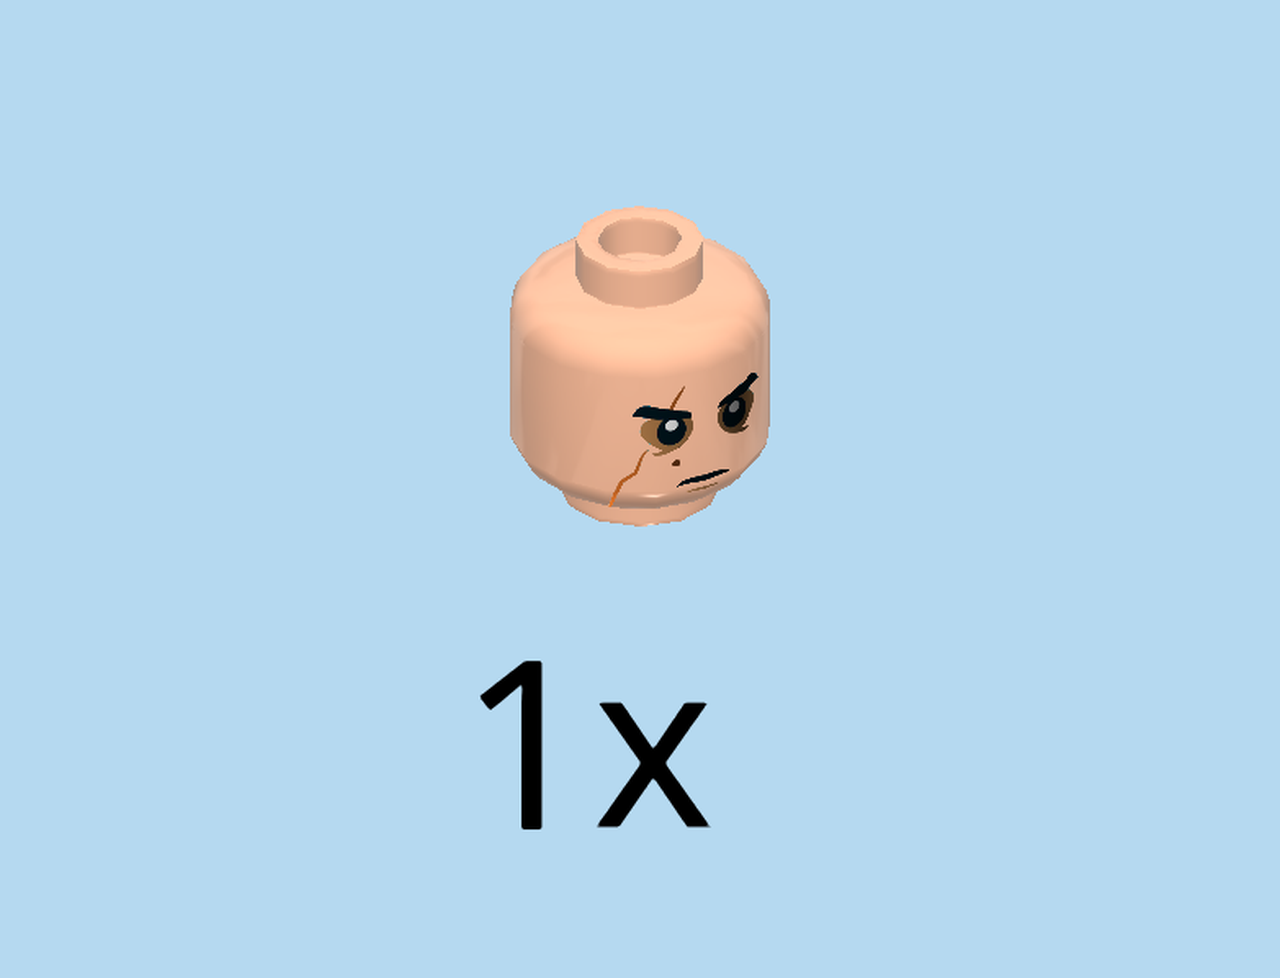
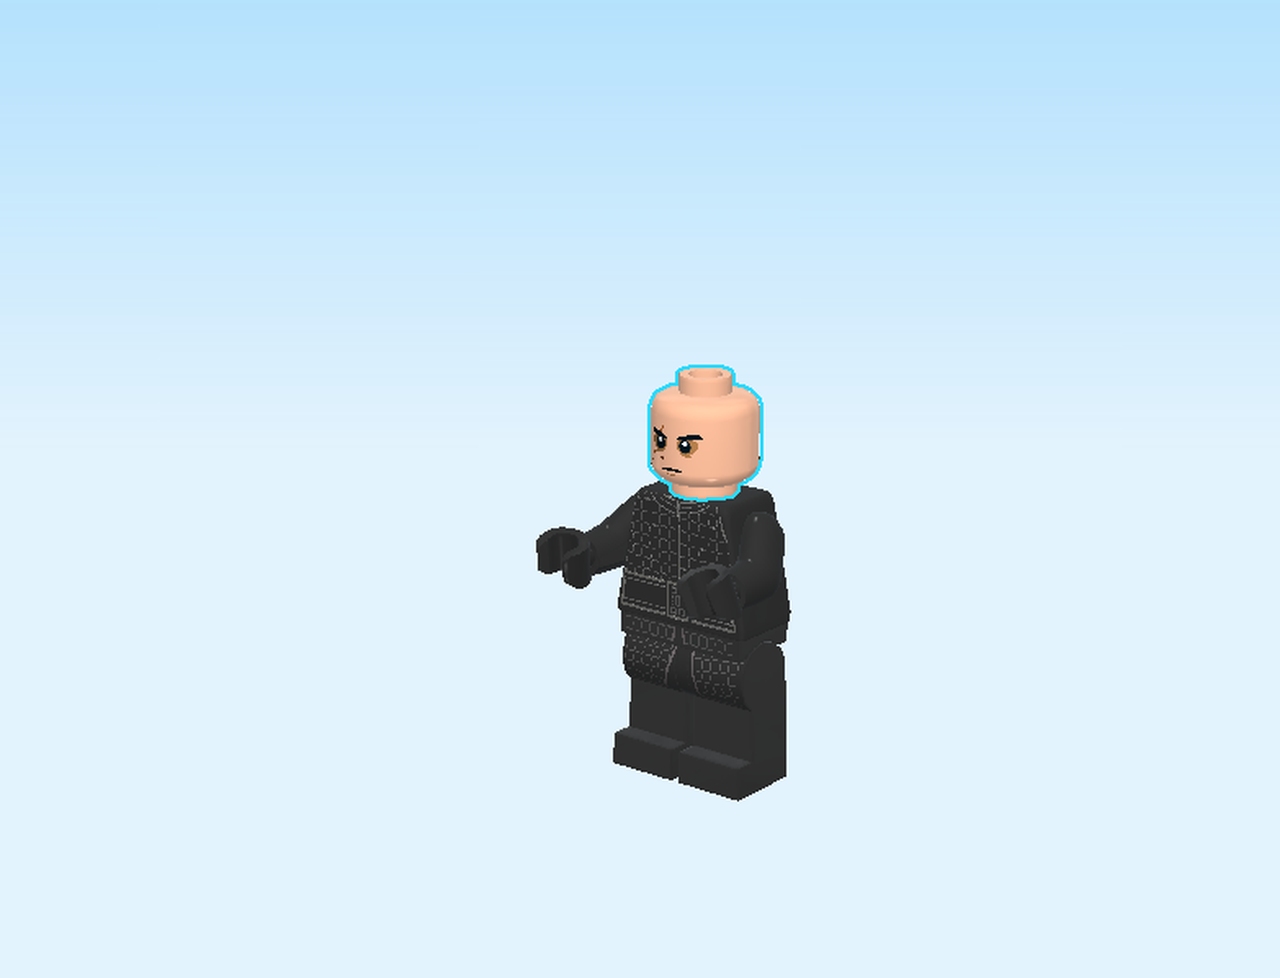
| Find 1 light nougat brown head. |
| Put it on top. |
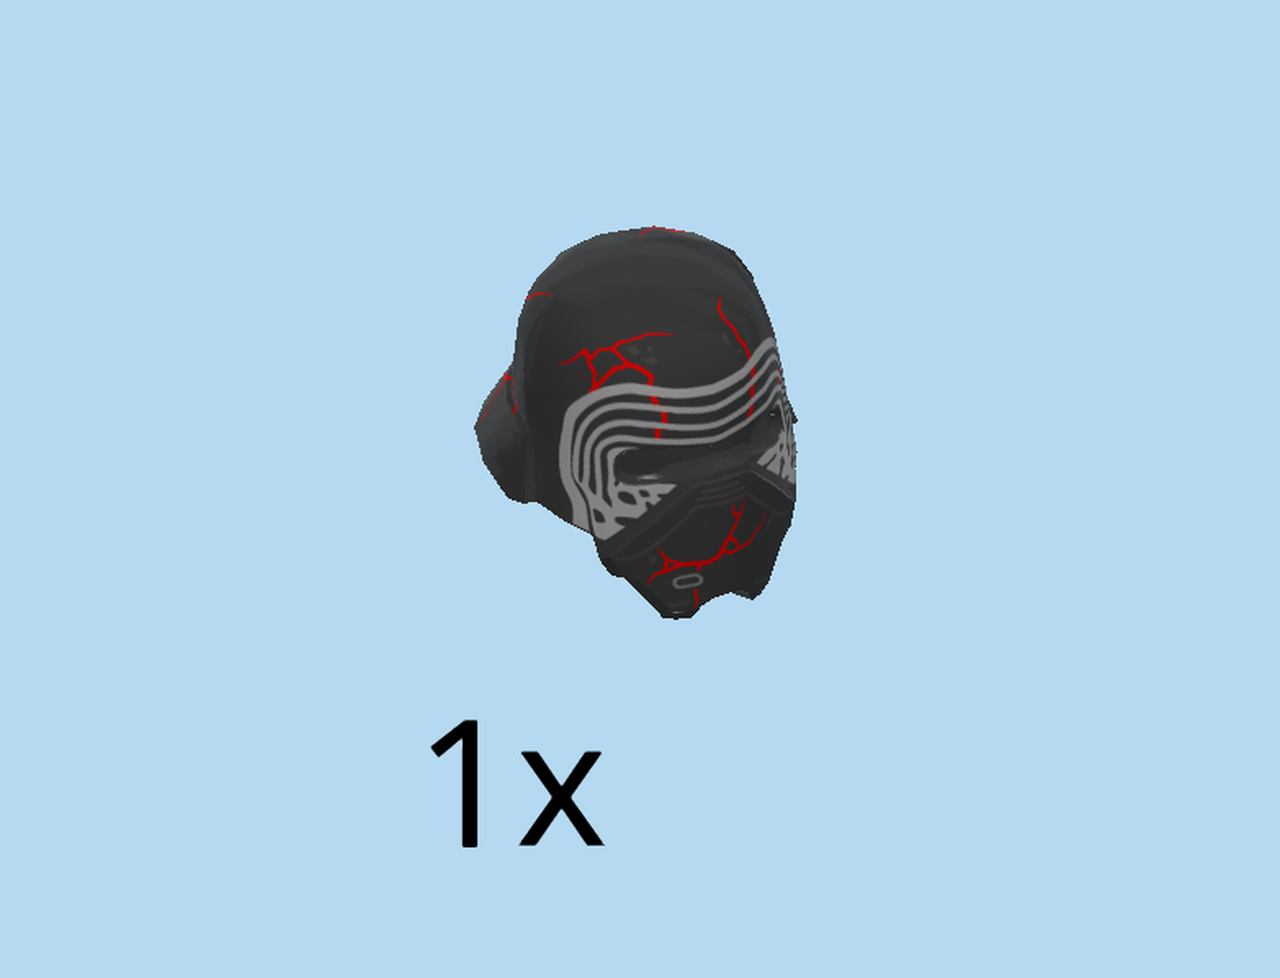
| Find 1 black Kylo Ren helmet. |
| Put it on top. |
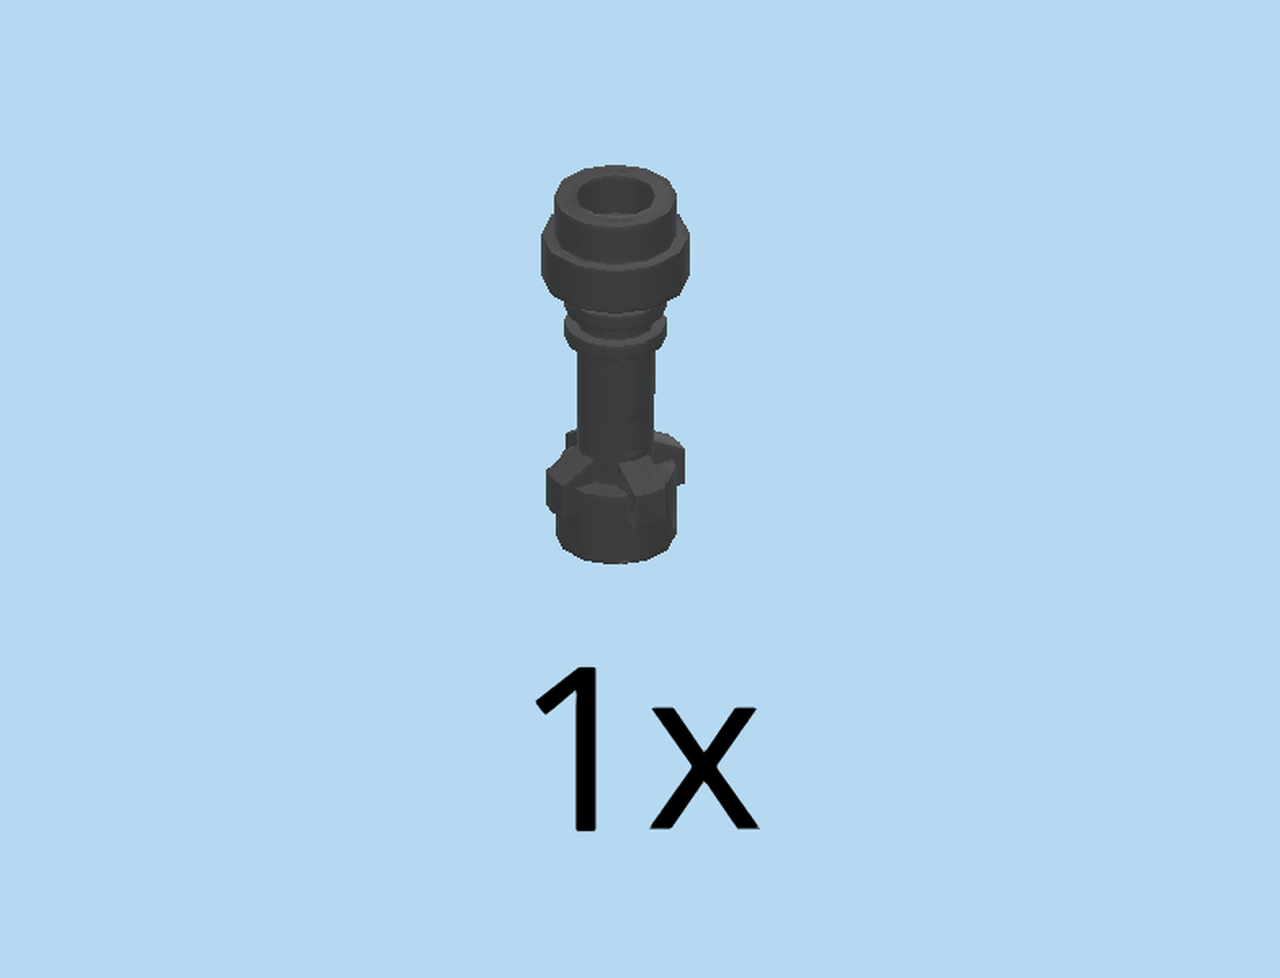
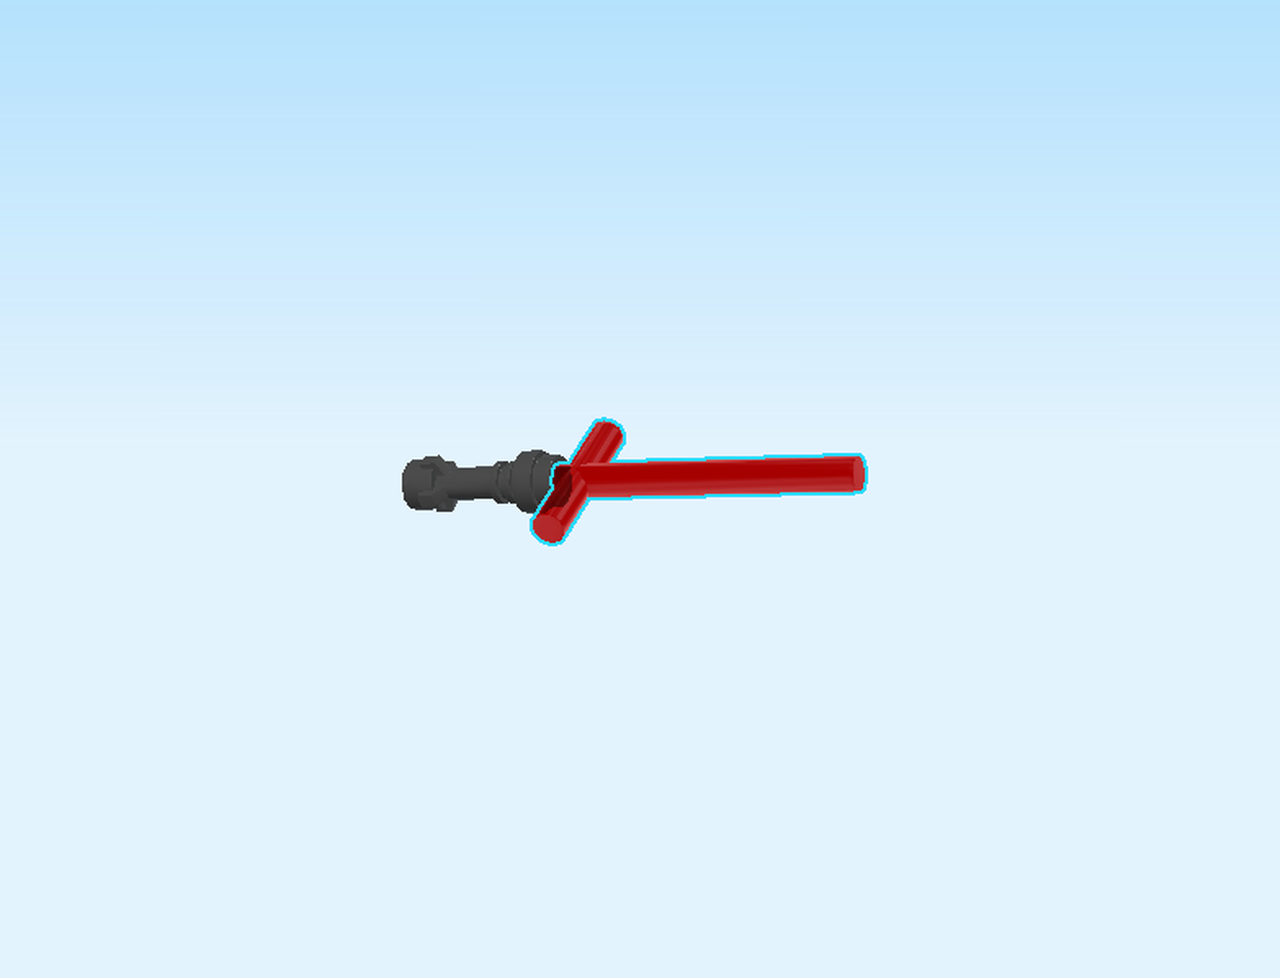
| We are now going to build the lightsaber. |
| Find 1 titanium metallic lightsaber holder. |
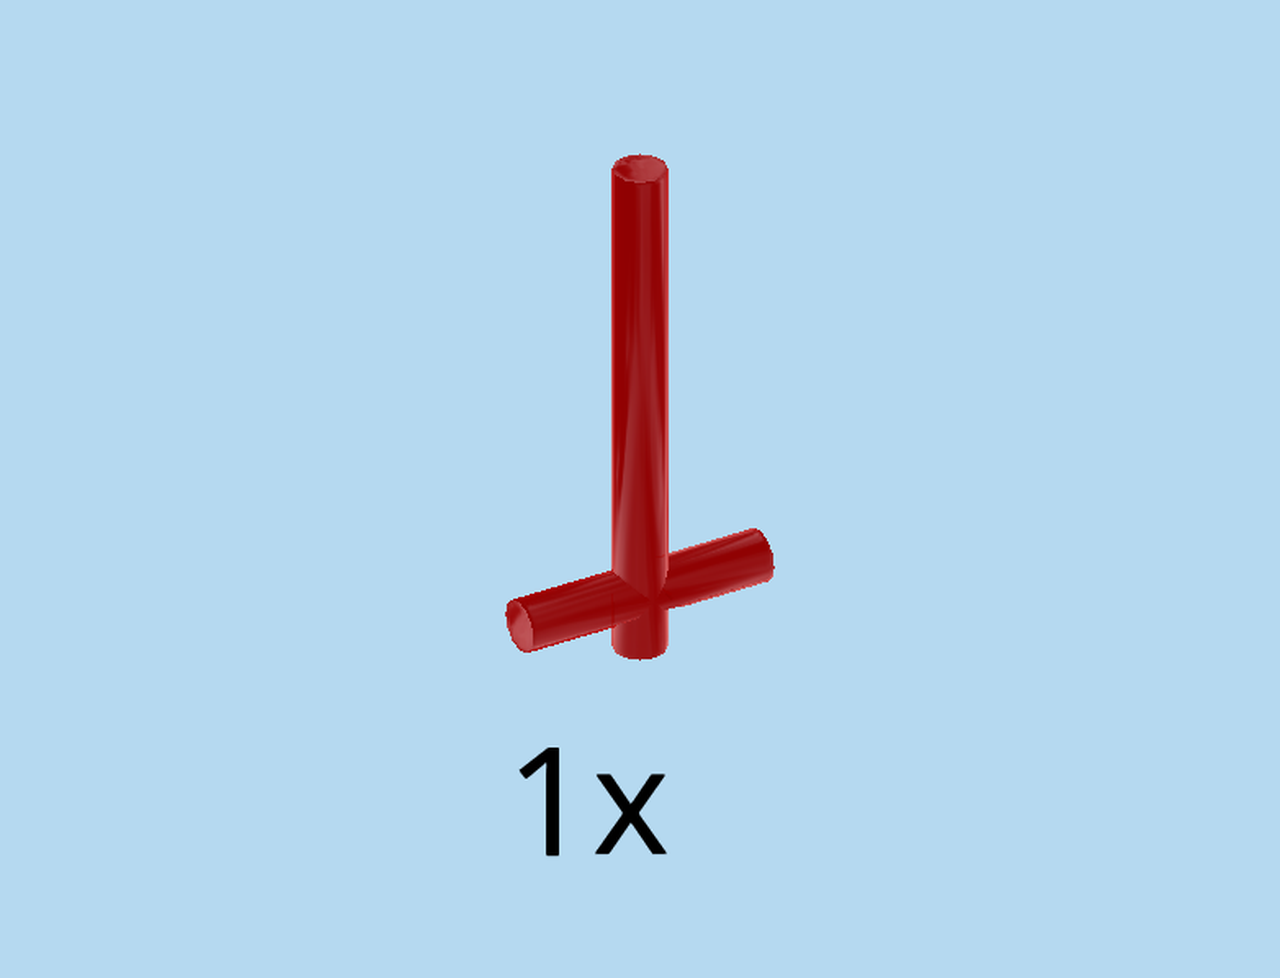
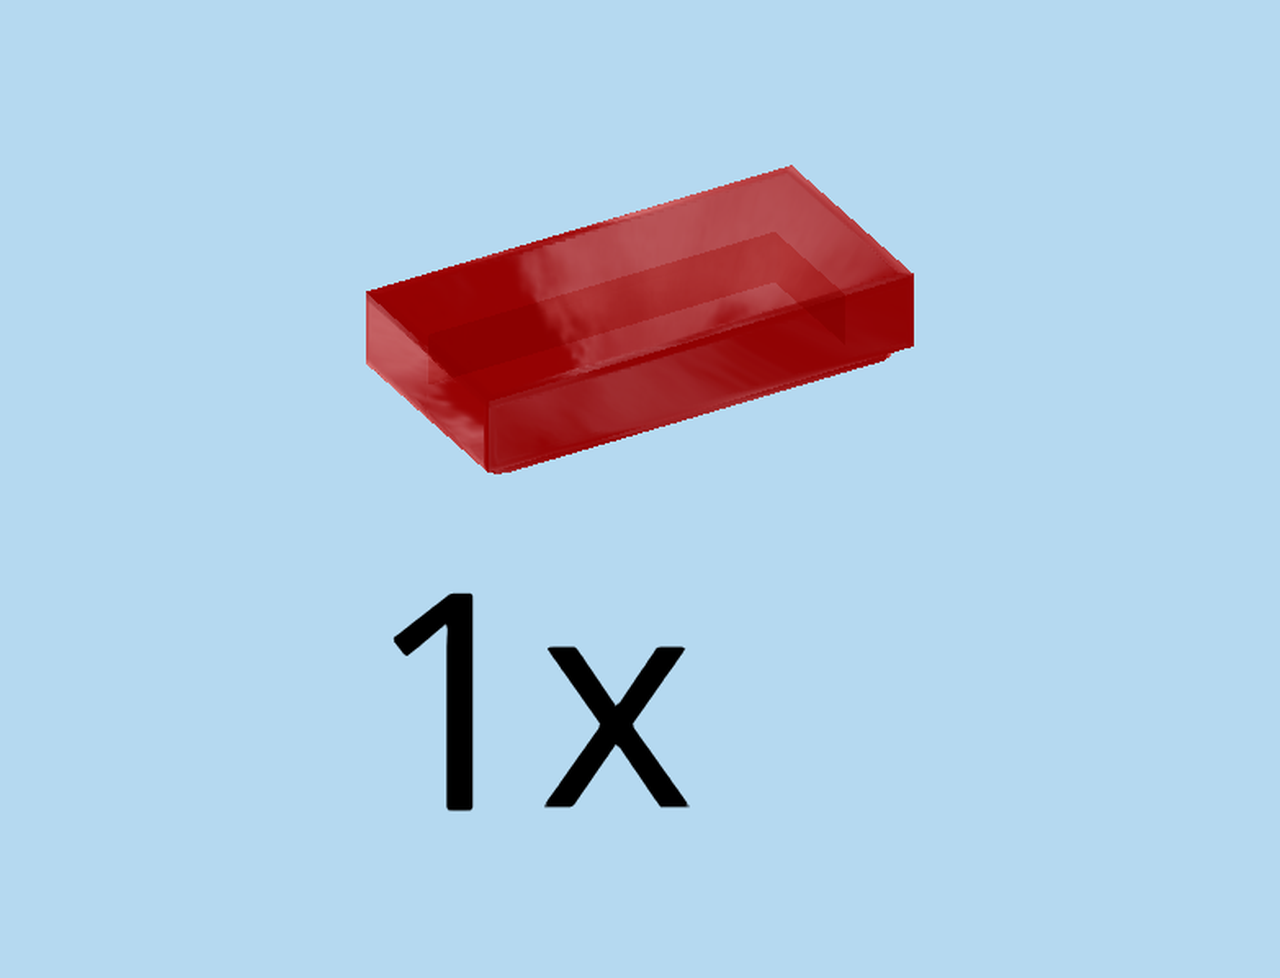
| Find 1 transparent red t-shaped shaft 2x4. |
| Insert it into the lightsaber holder, with the t-shape closest to the holder. |
| Put the lightsaber into the right hand of the minifigure. |
| The minifigure is now finished! Well done! Put him aside for now. |
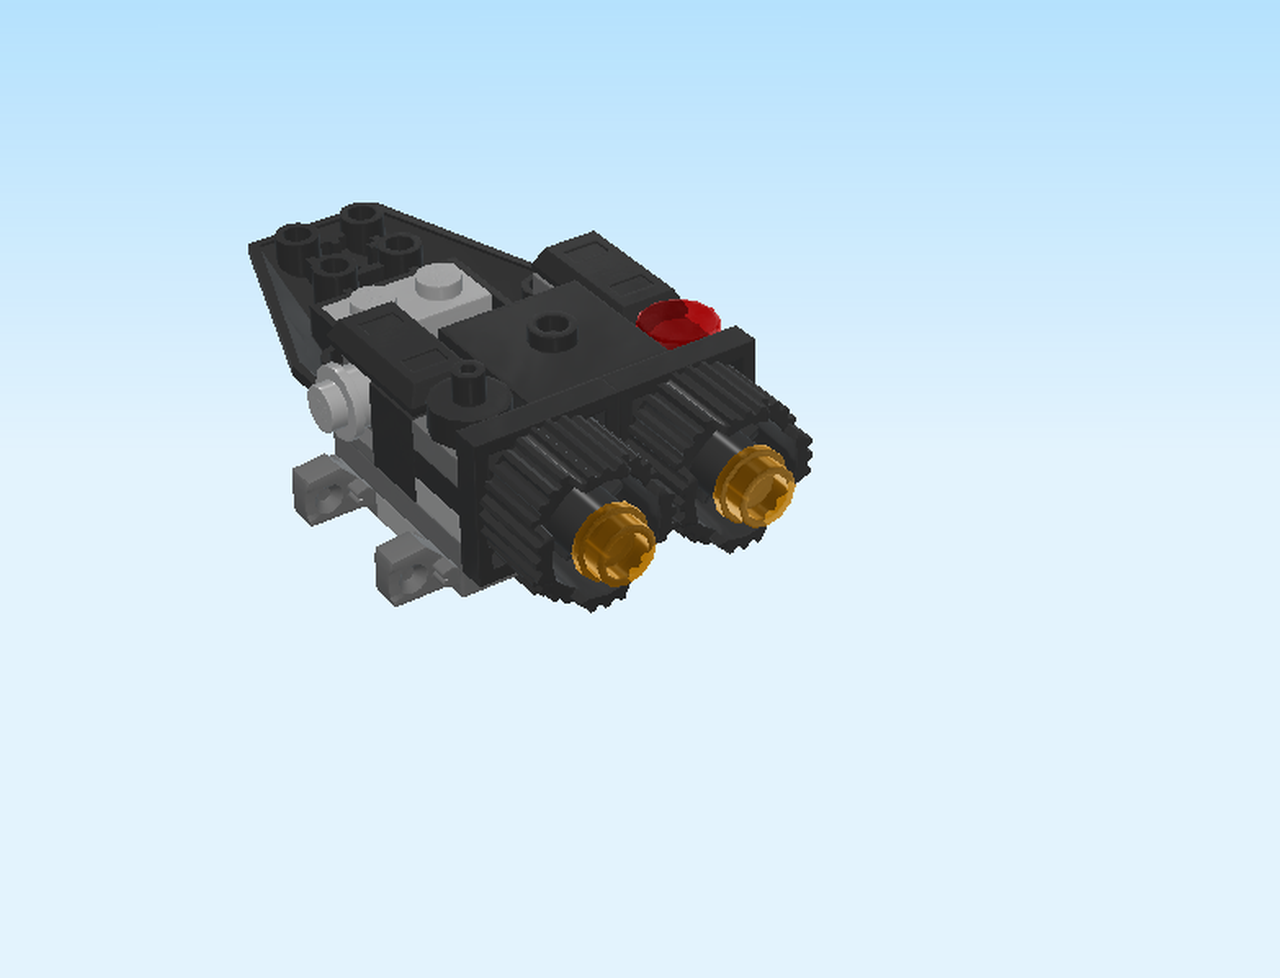
| In the next section we are going to build the Shuttle Microfighter. |
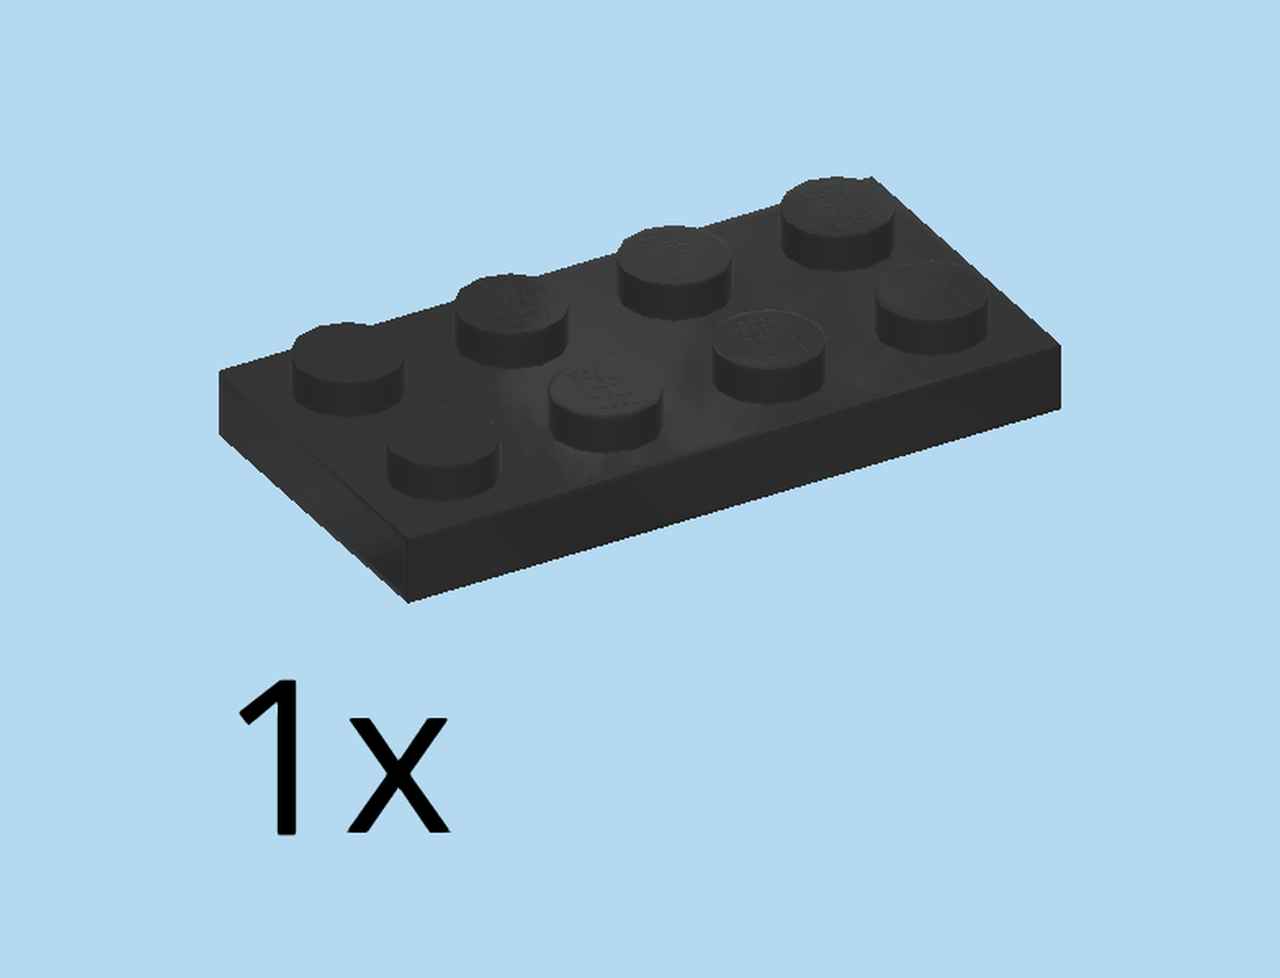
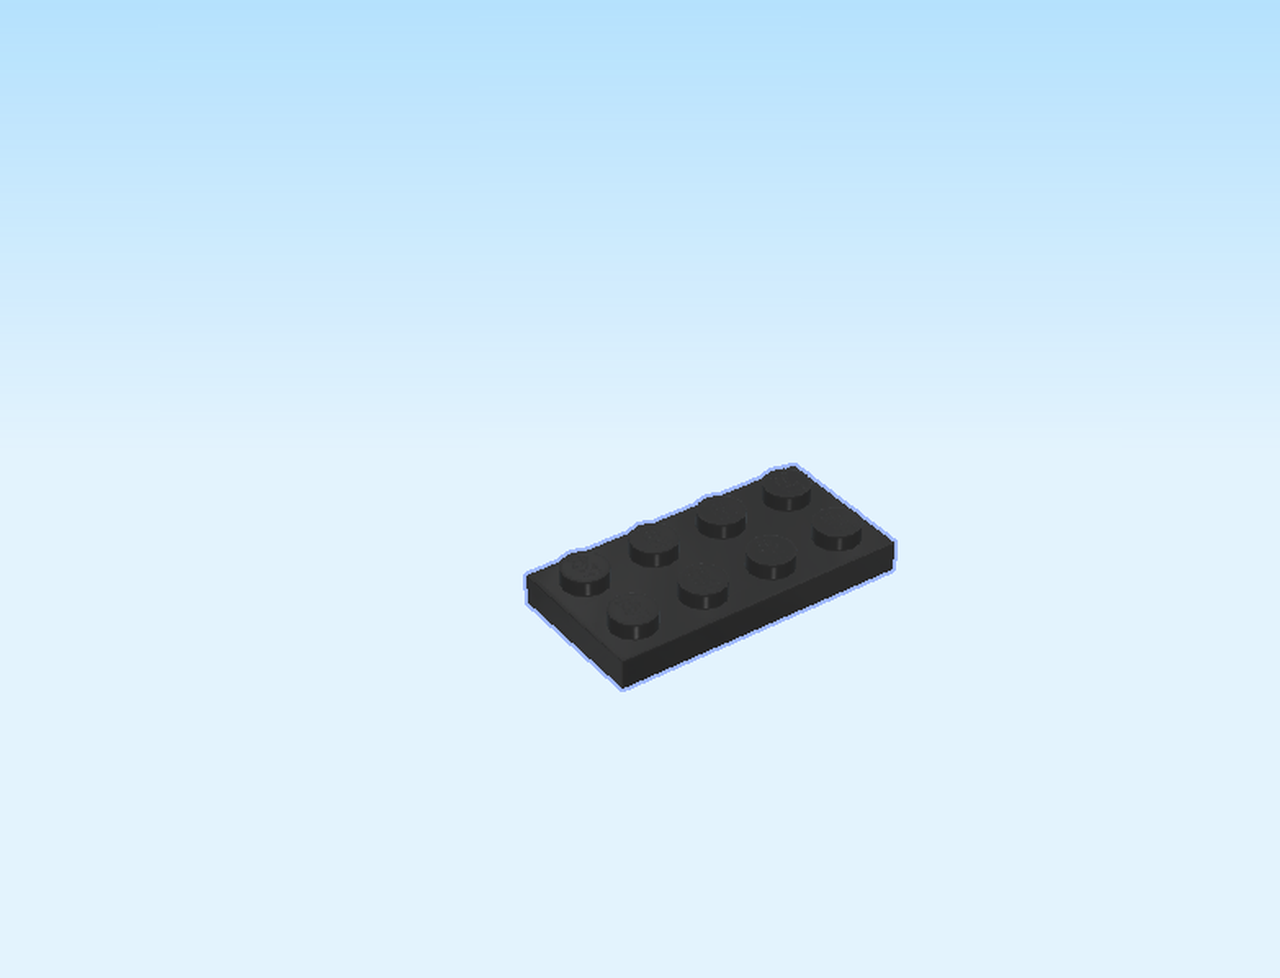
| Find 1 black plate 2x4. |
| Put it horizontally on the table. |
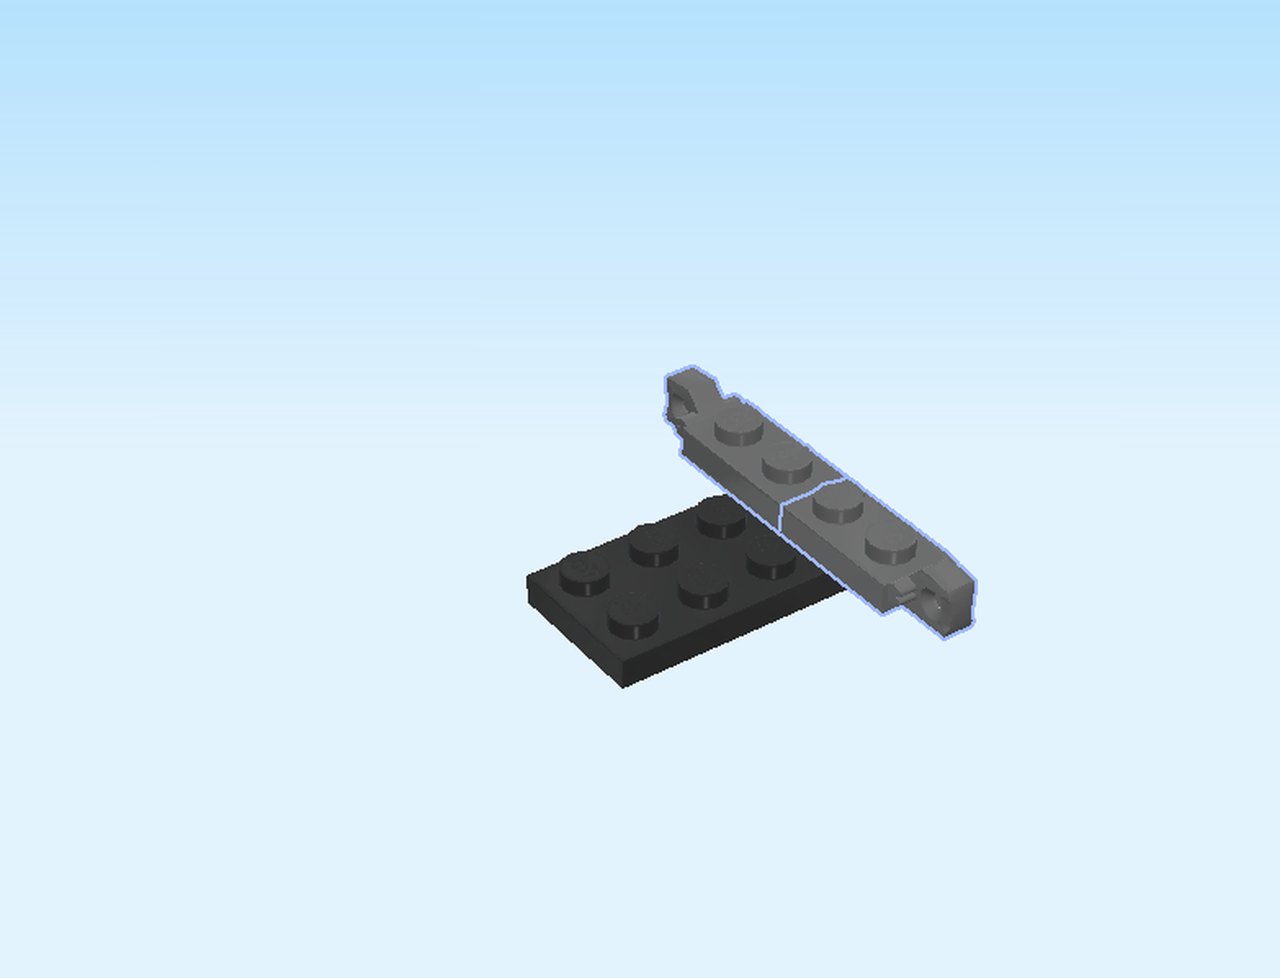
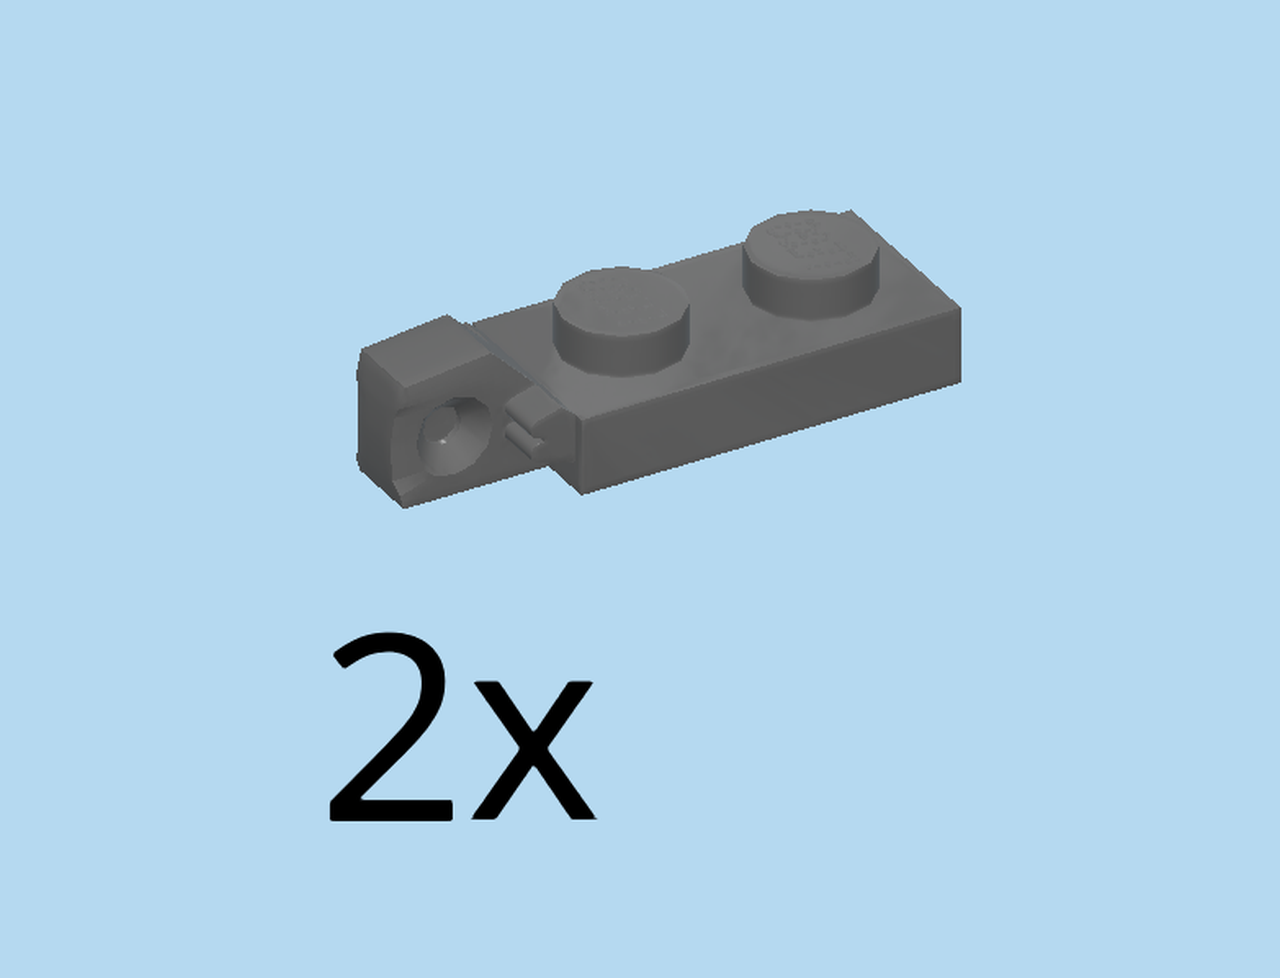
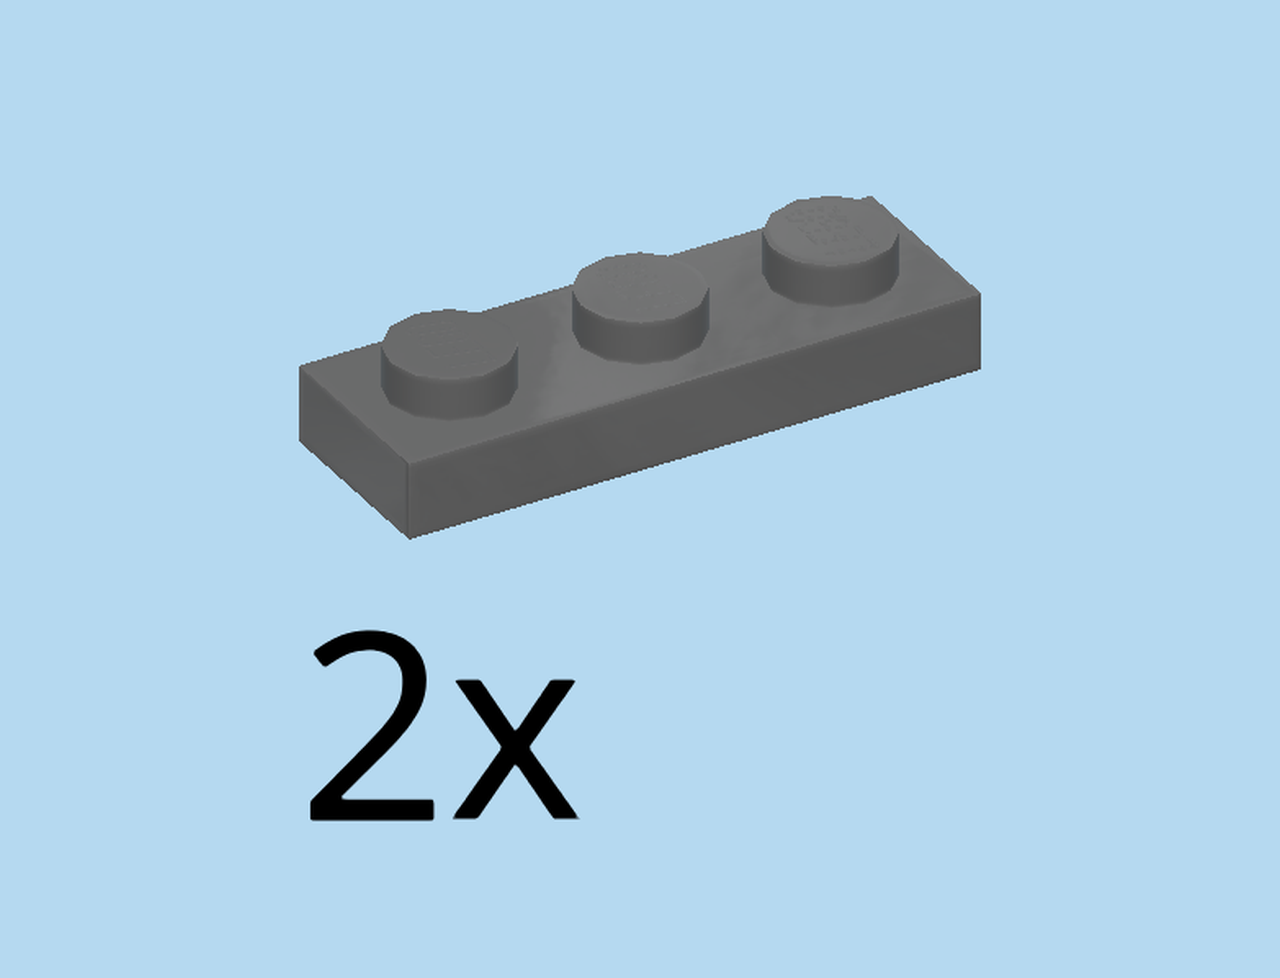
| Find 2 dark stone grey plates 1x2 with hinge stub vertical/end. |
| Put one vertically on one knob on the rightmost edge at the back with the vertical stub to the back. |
| Put the other one vertically on one knob on the rightmost edge at the front with the vertical stub towards you. |
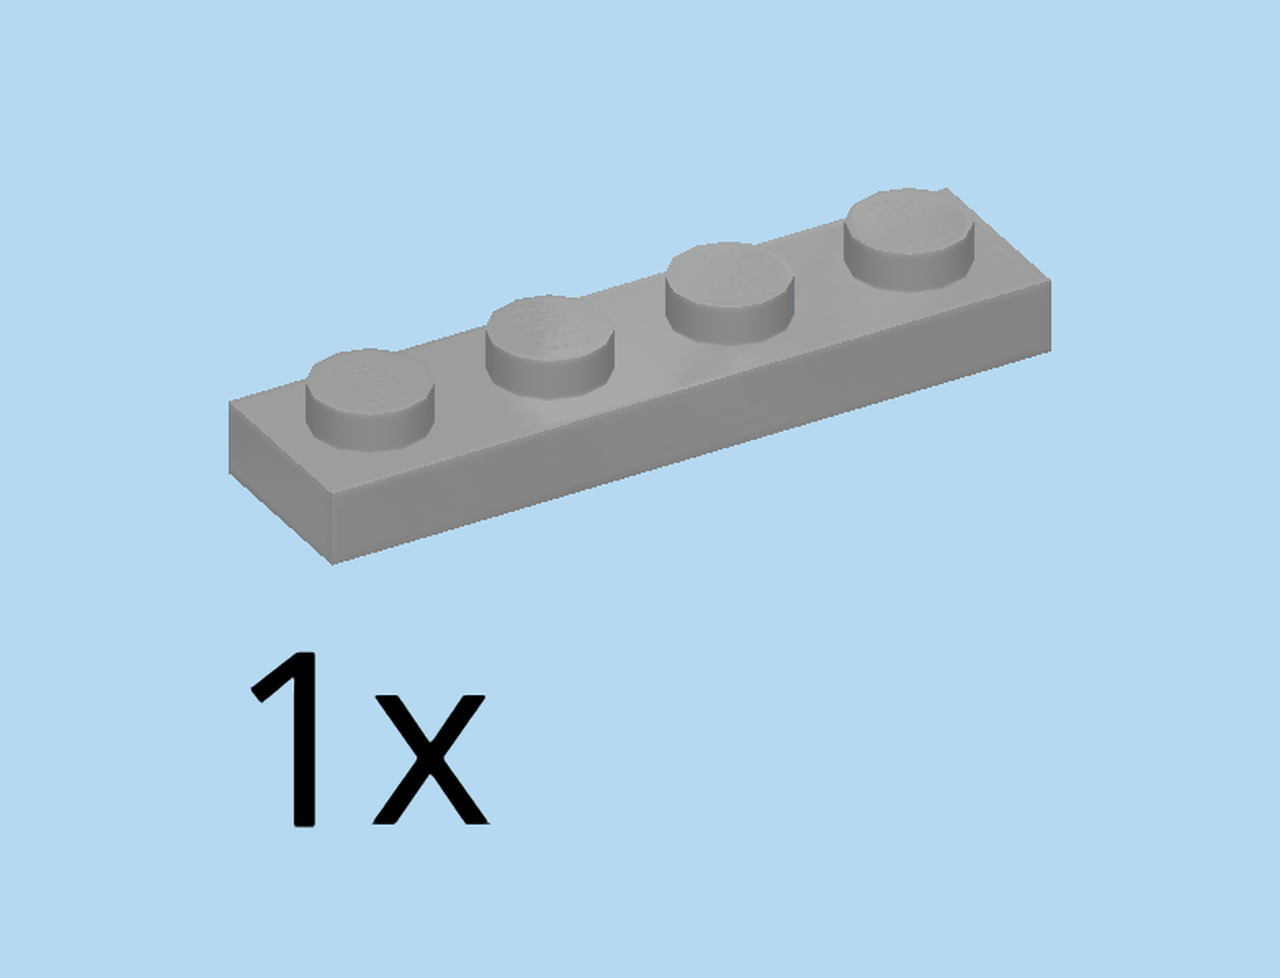
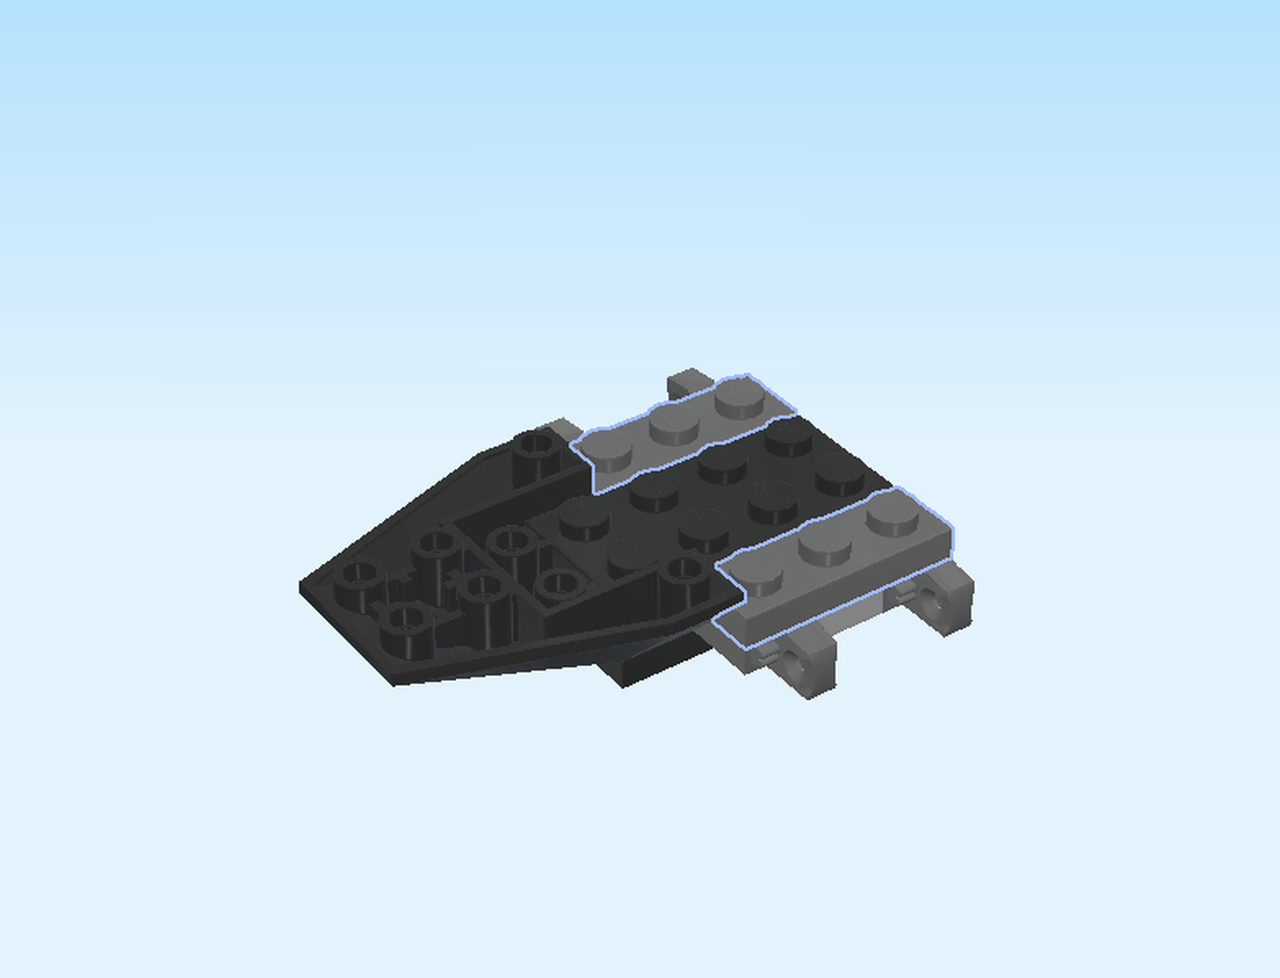
| Find 1 medium stone grey plate 1x4. |
| Put it vertically centered to the left of the previous plates. |
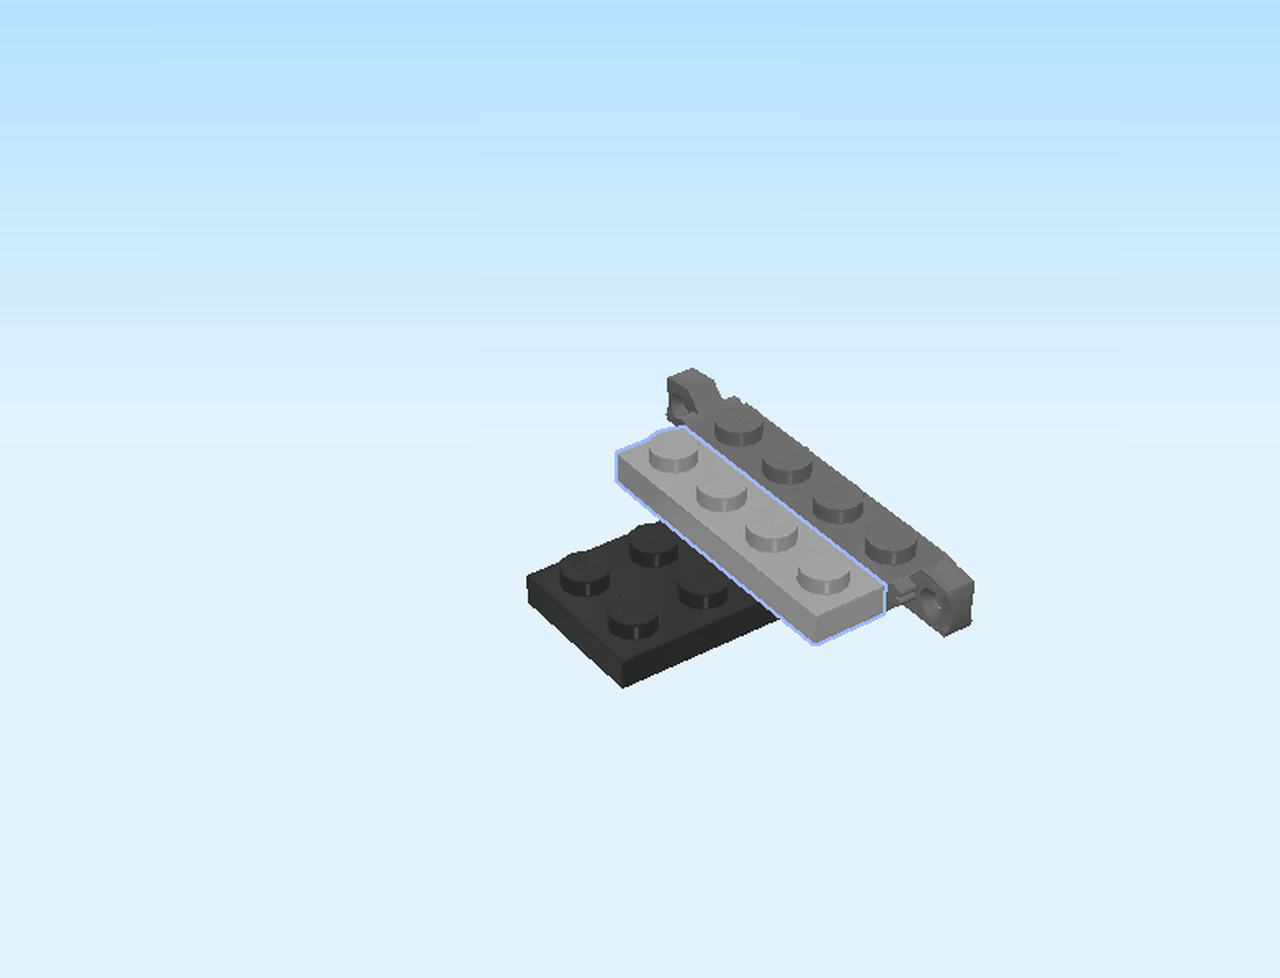
| Find 2 dark stone grey plates 1x2 with hinge stub vertical/end. |
| Put one vertically on the backmost knob to the left of the previous piece, hinge stub to the back. |
| Repeat symmetrically at the front. |
| Find 1 black inverted roof tile 4x2. |
| Put it on the leftmost edge with the slope to the left, knobs to the top. |
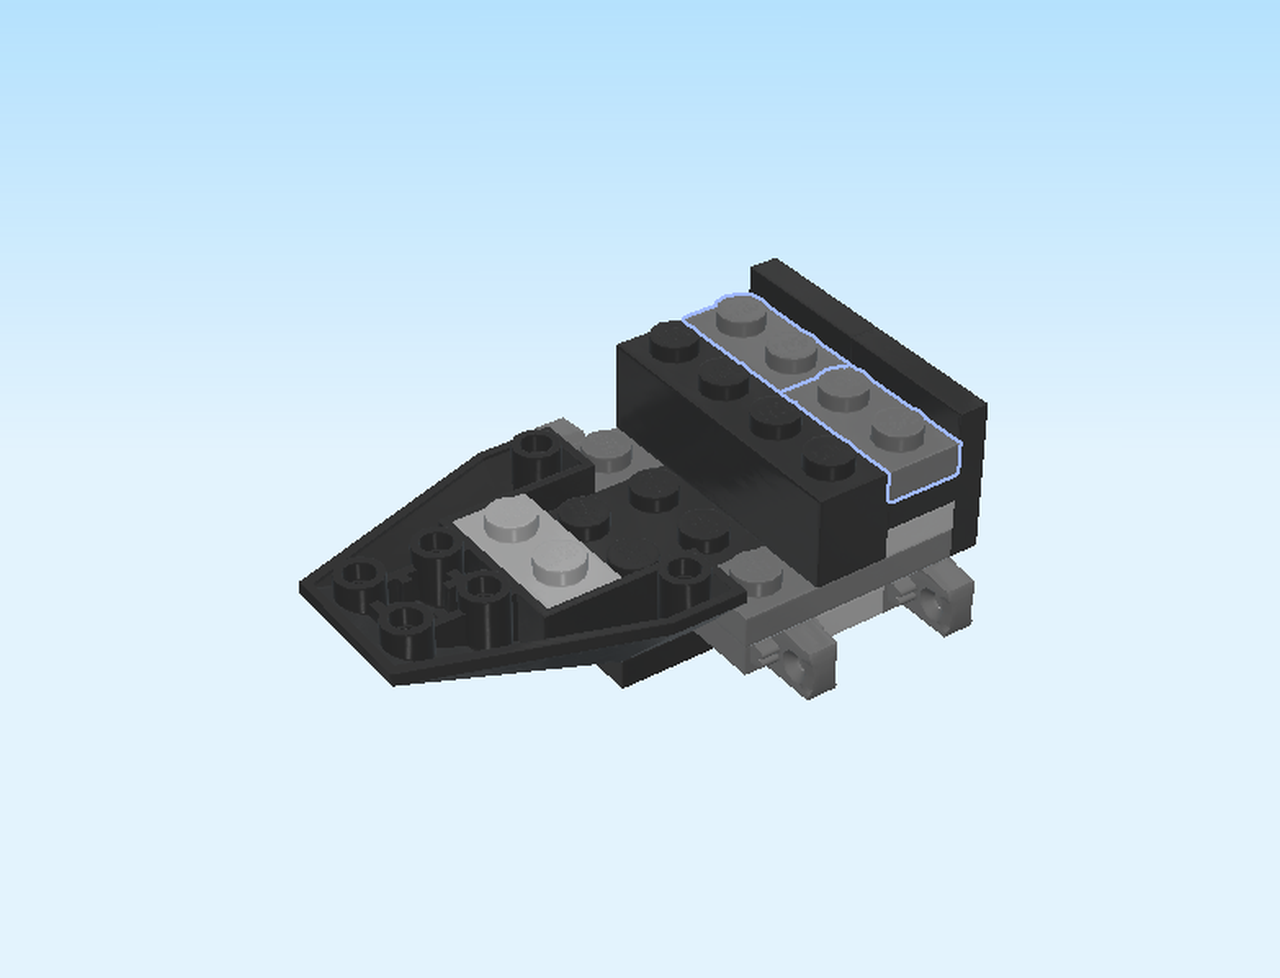
| Find 1 black plate 2x4. |
| Put it horizontally centered starting from the rightmost edge. |
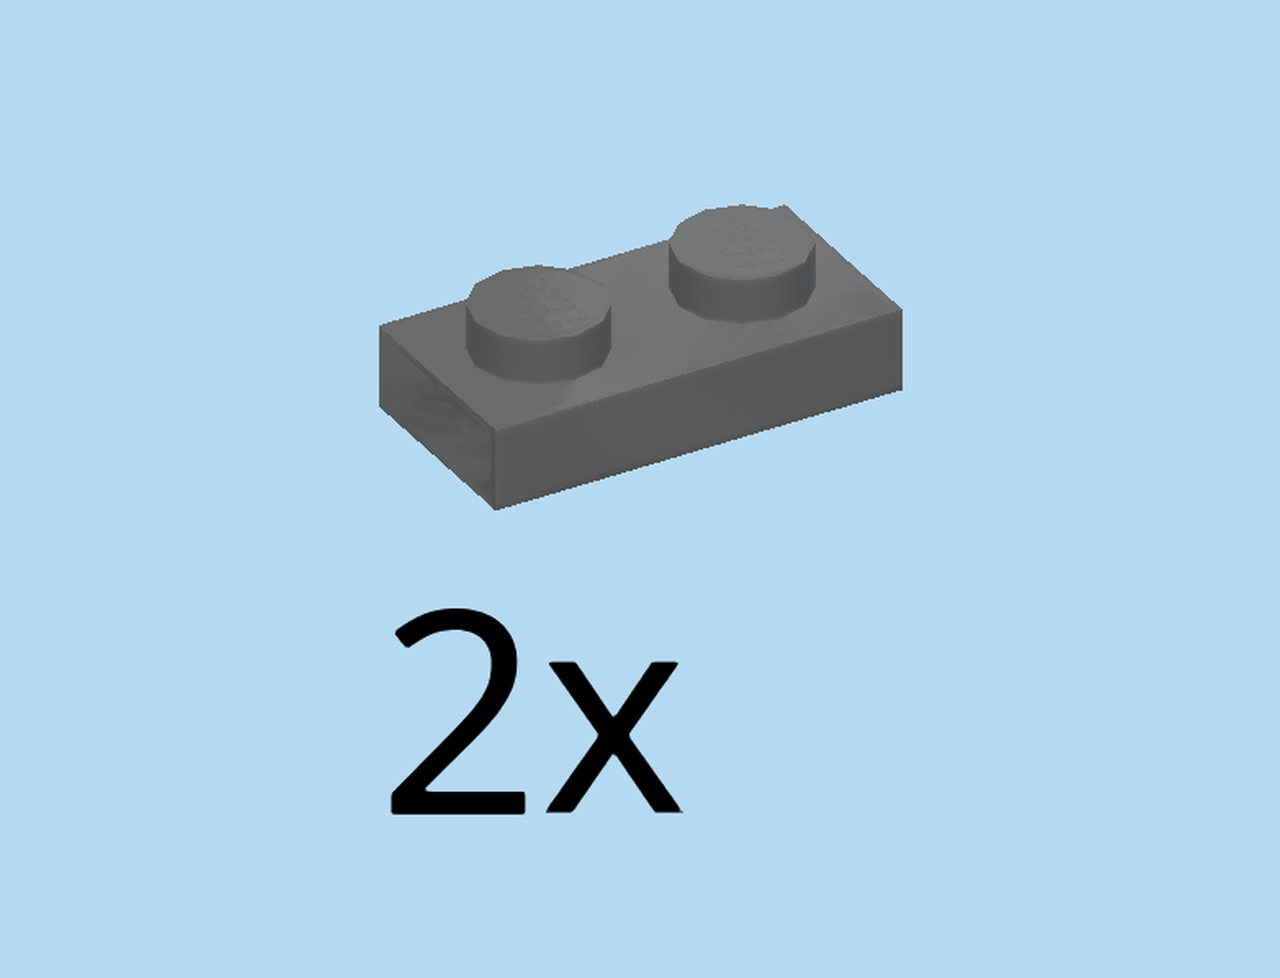
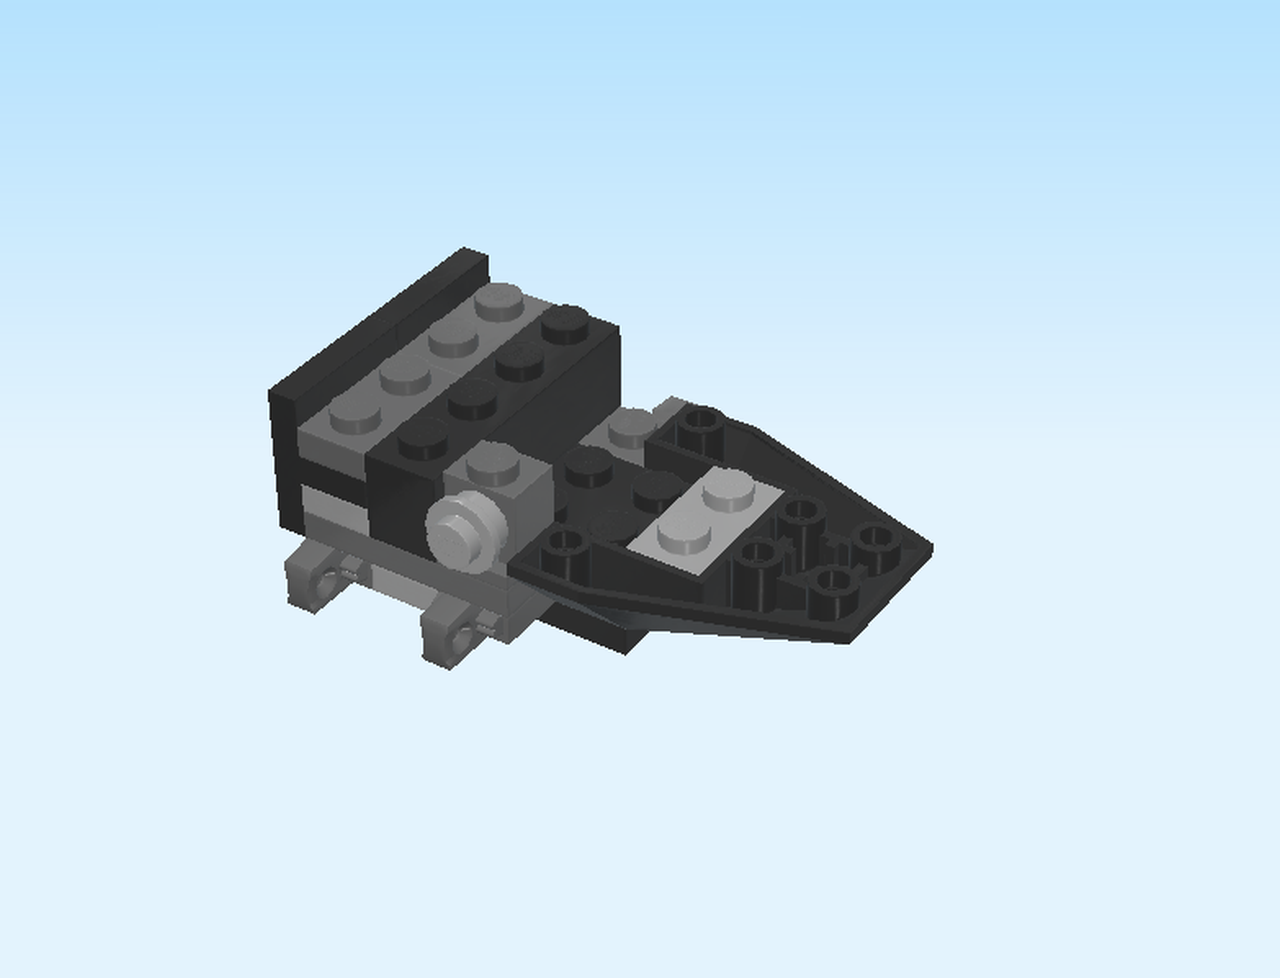
| Find 2 dark stone grey plates 1x3. |
| Put them horizontally starting from the right, 1 in front of and 1 behind the previous plate. |
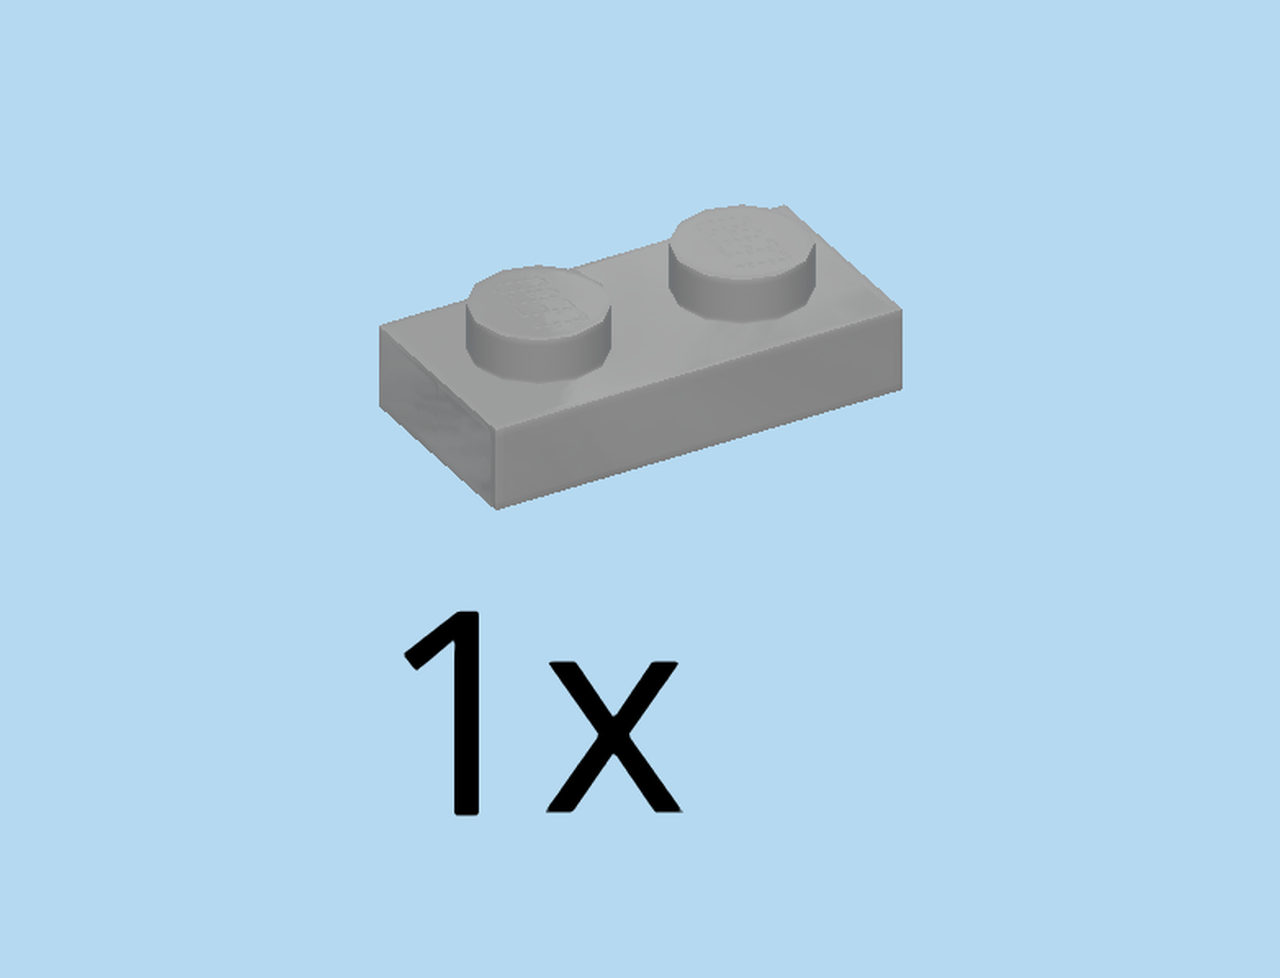
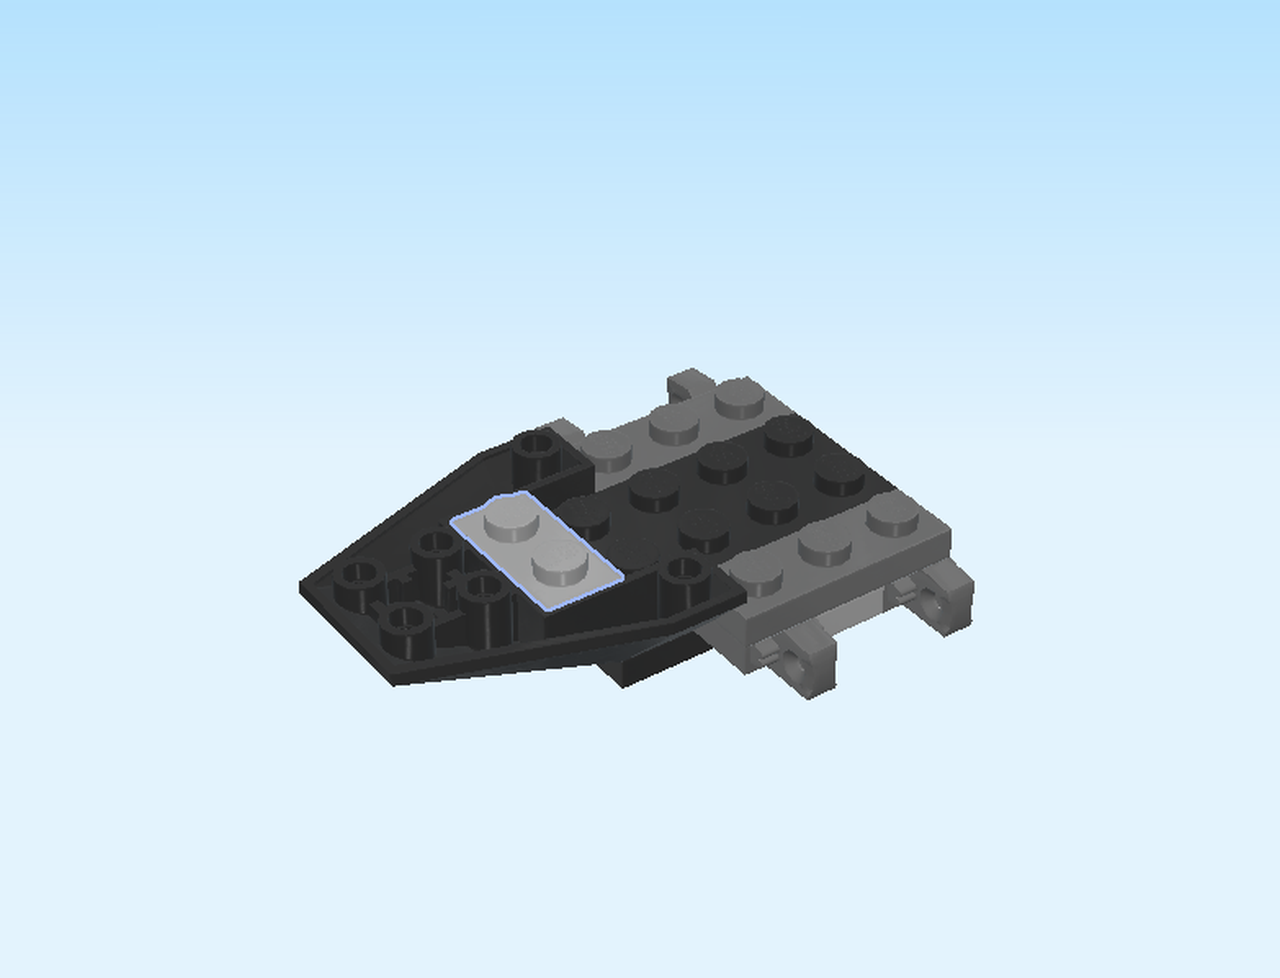
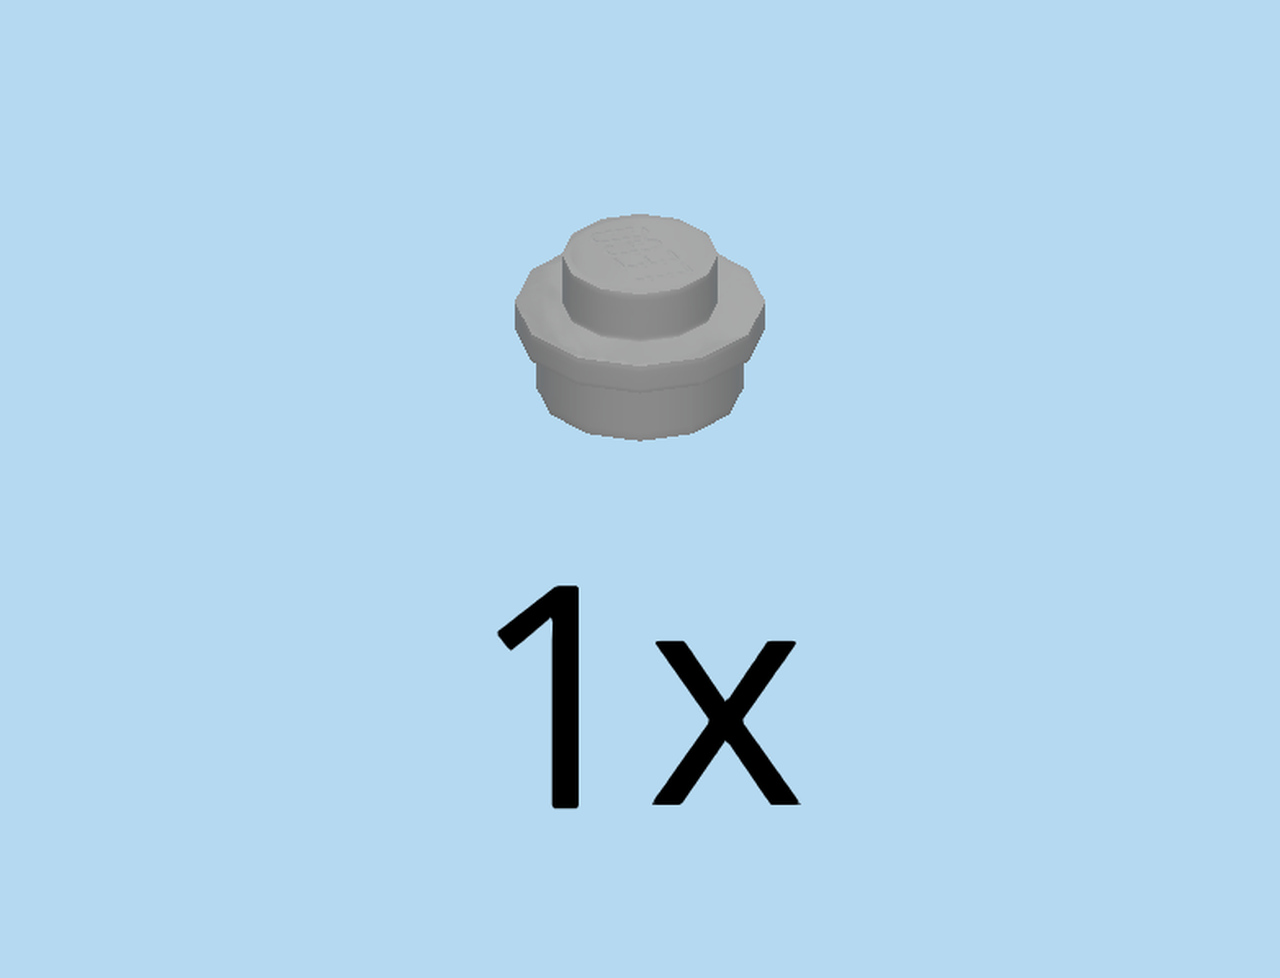
| Find 1 medium stone grey plate 1x2. |
| Put it vertically on the lower part of the inverted roof tile 4x2 on the left. |
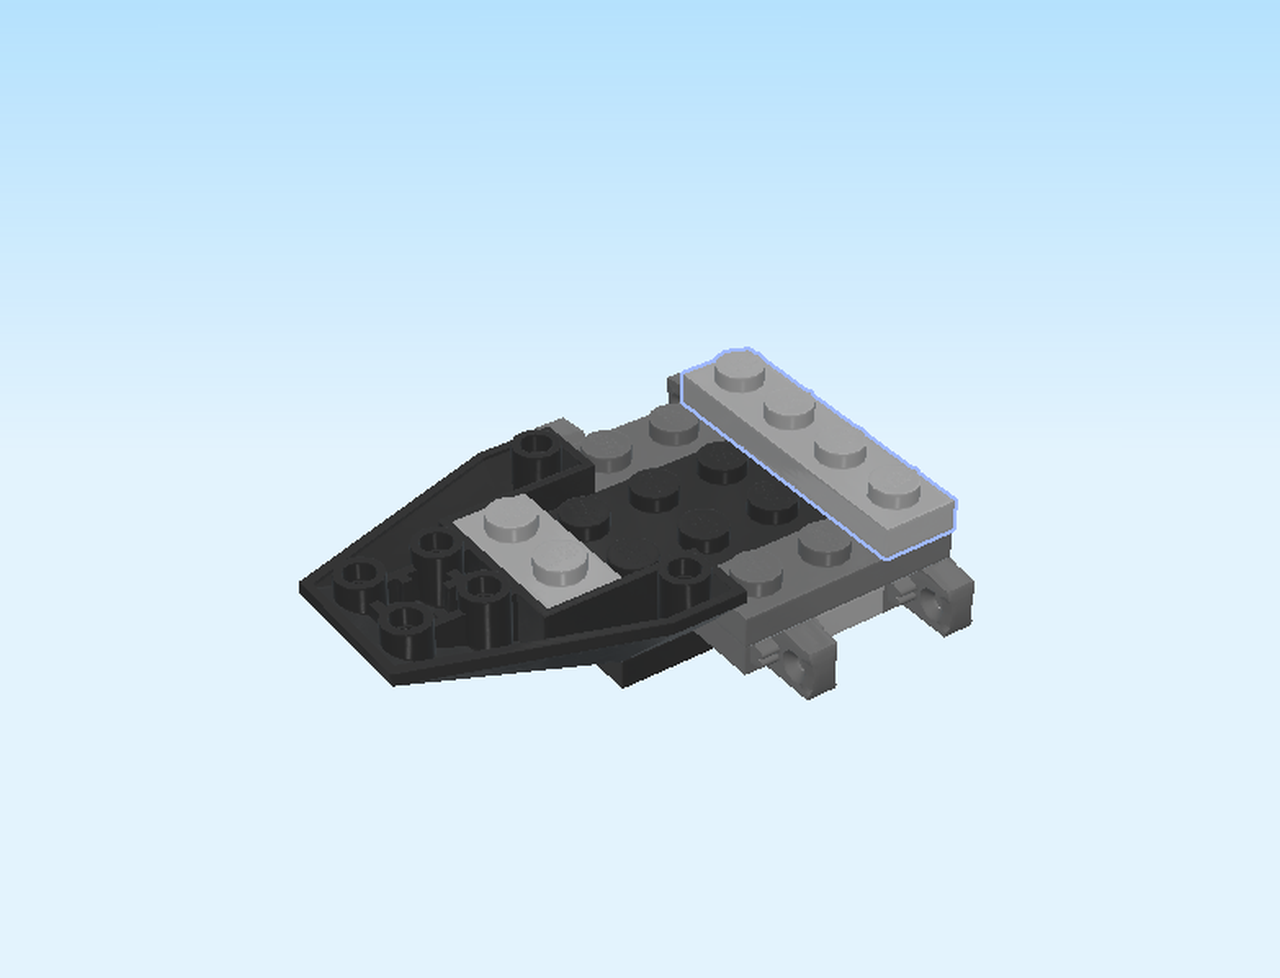
| Find 1 medium stone grey plate 1x4. |
| Put it vertically on the rightmost edge. |
| Find 2 black flat tile 2x2 with top middle plate 1x2. |
| Careful! These pieces have a special orientation! |
| Put the top plates 1x2 vertically on the rightmost edge, with the flat tiles 2x2 to the right. |
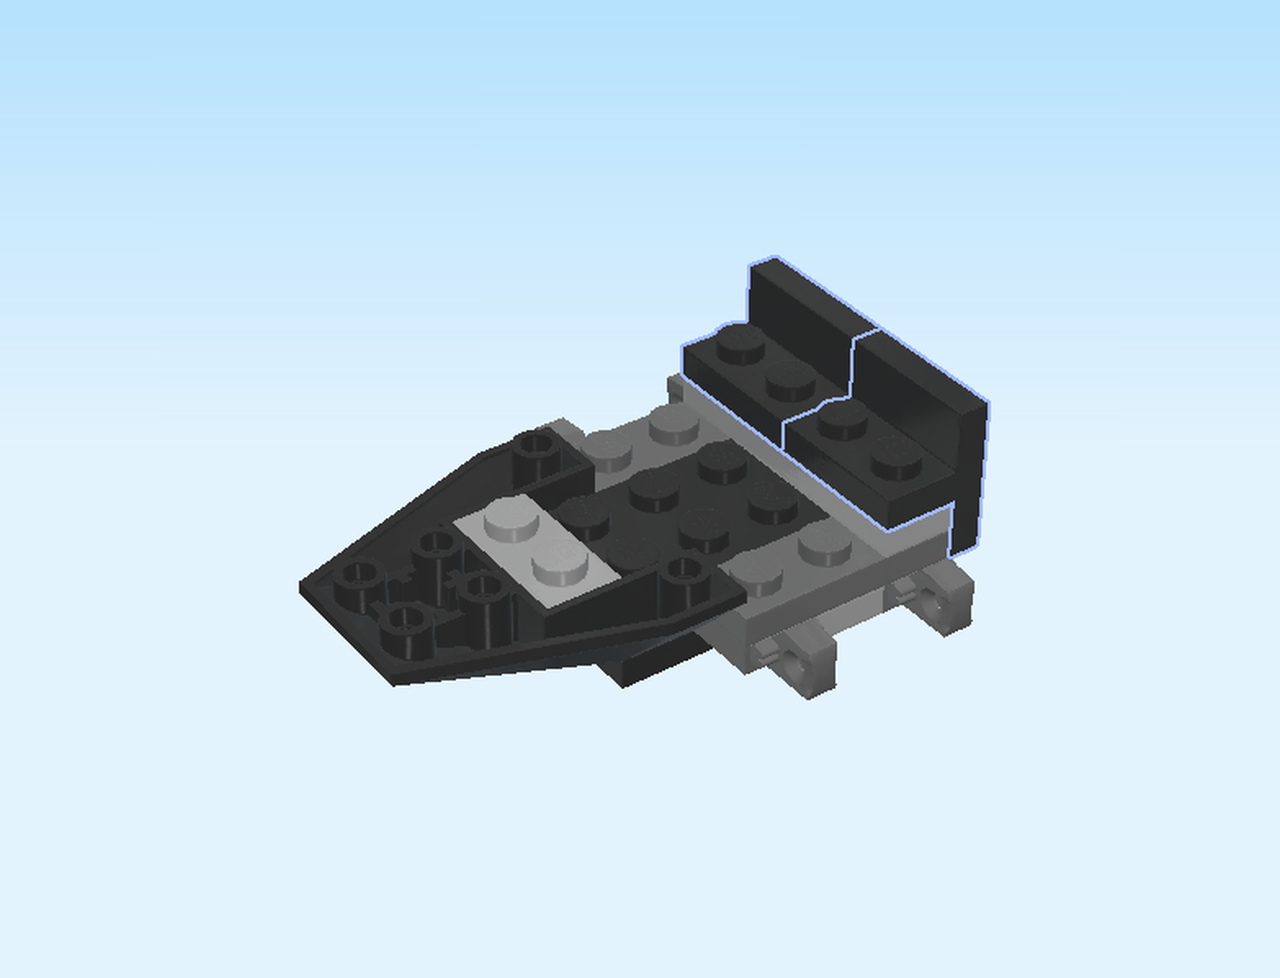
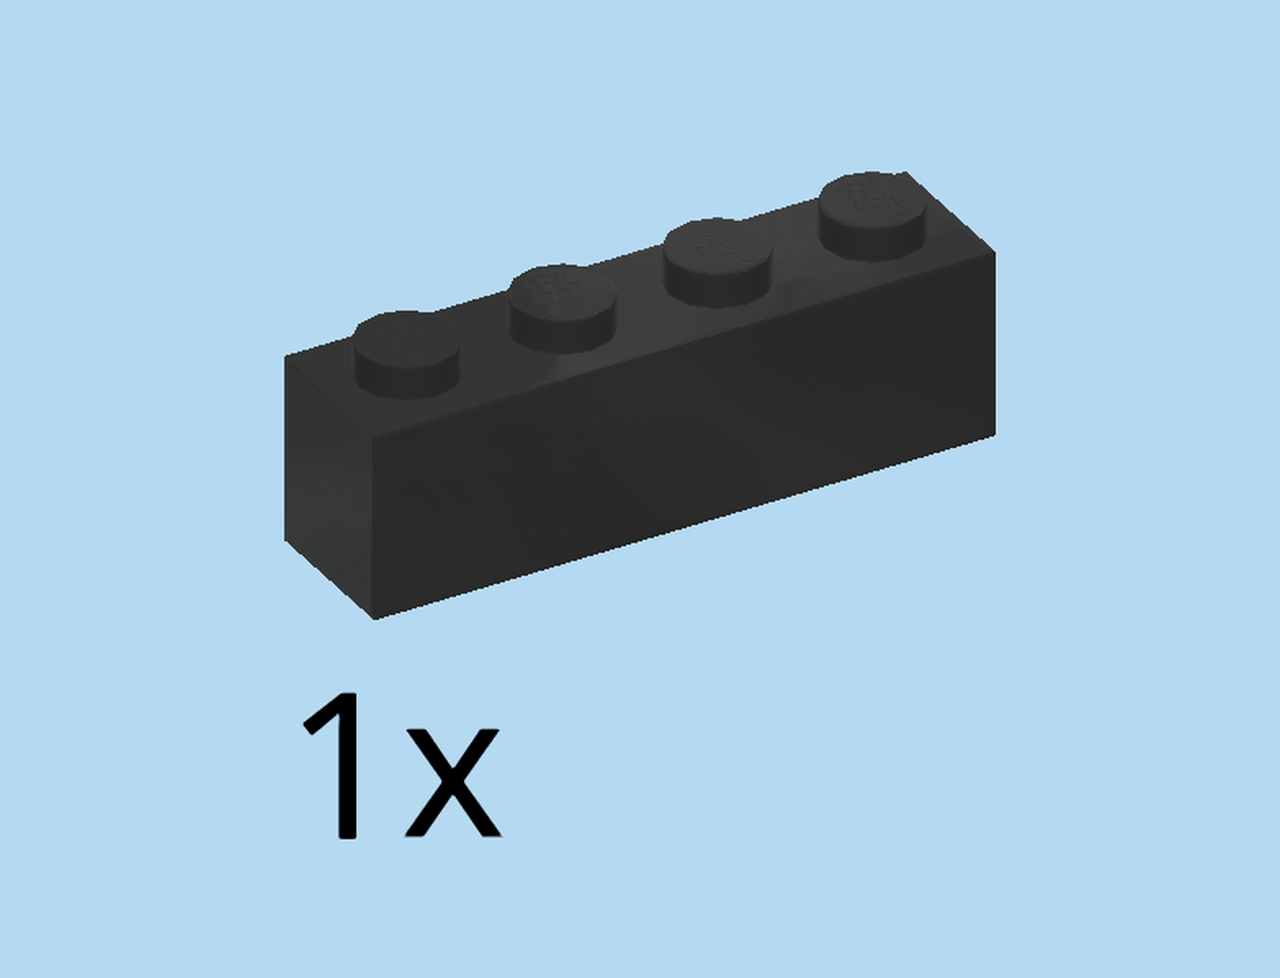
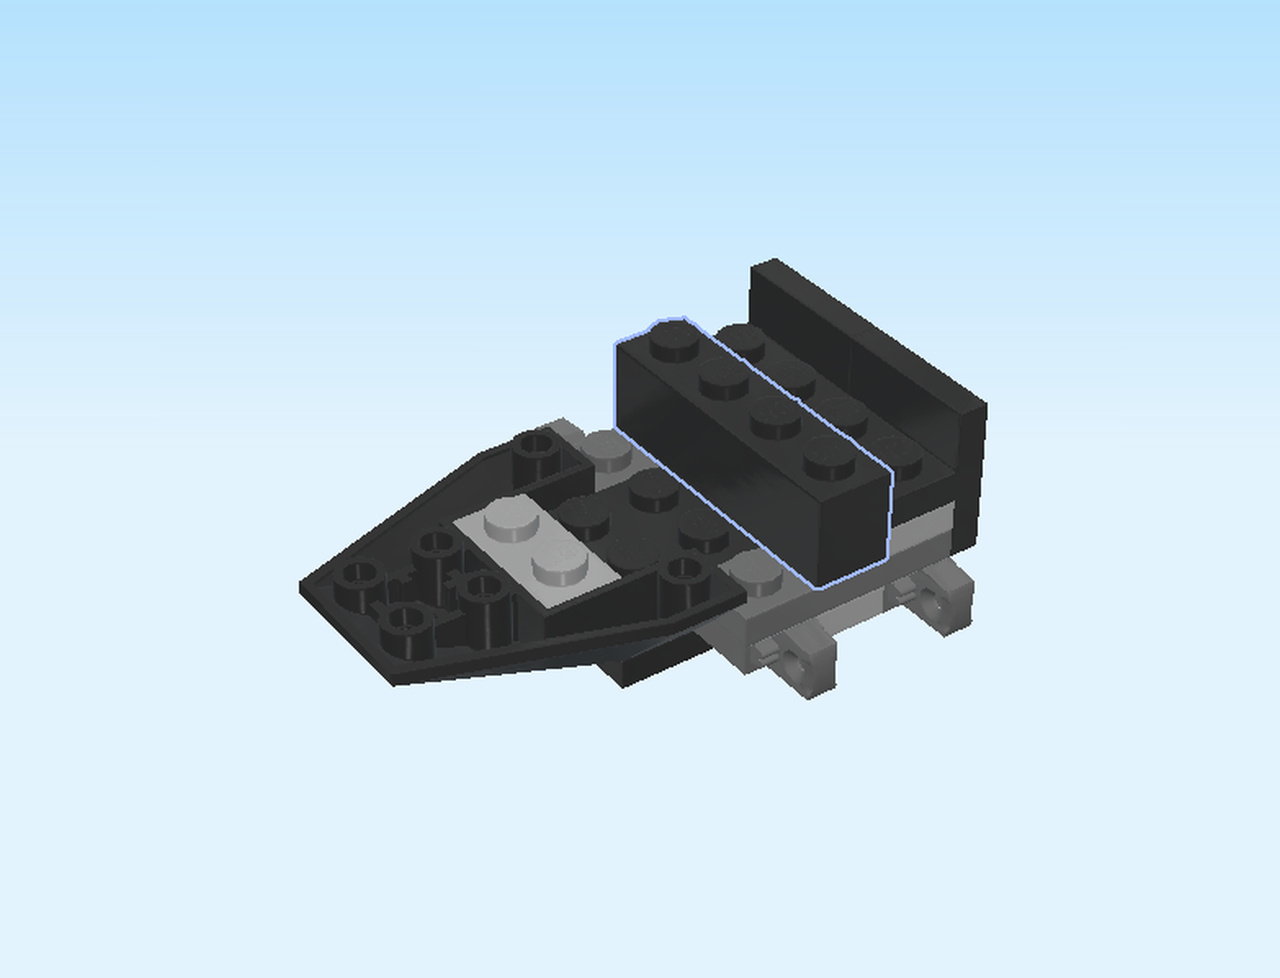
| Find 1 black brick 1x4. |
| Put it vertically to the left of the previous pieces. |
| Find 2 dark stone grey plates 1x2. |
| Put them vertically to the right of the previous pieces. |
| Turn the model so the inverted roof tile is pointing to the right. |
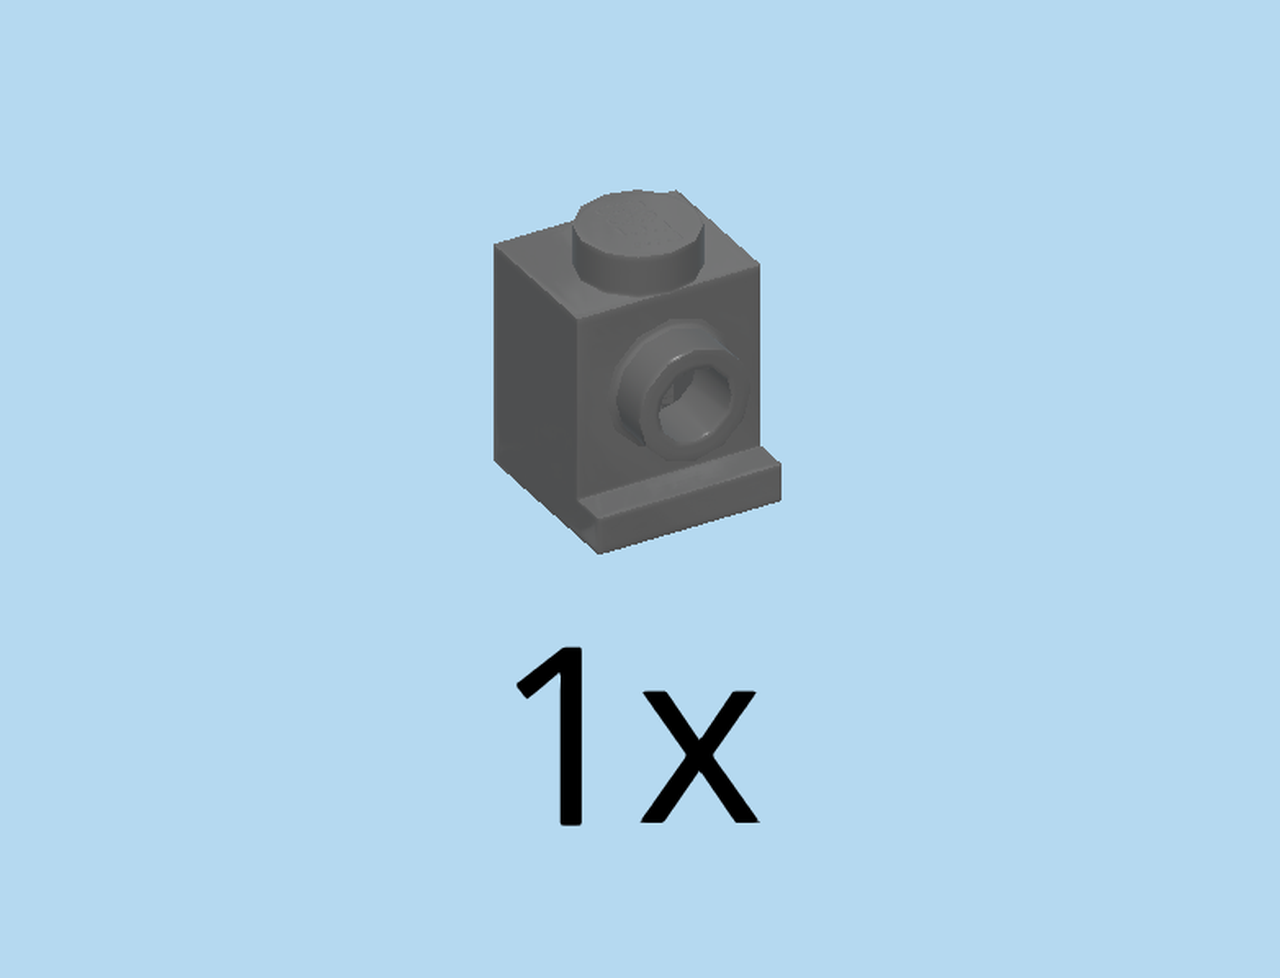
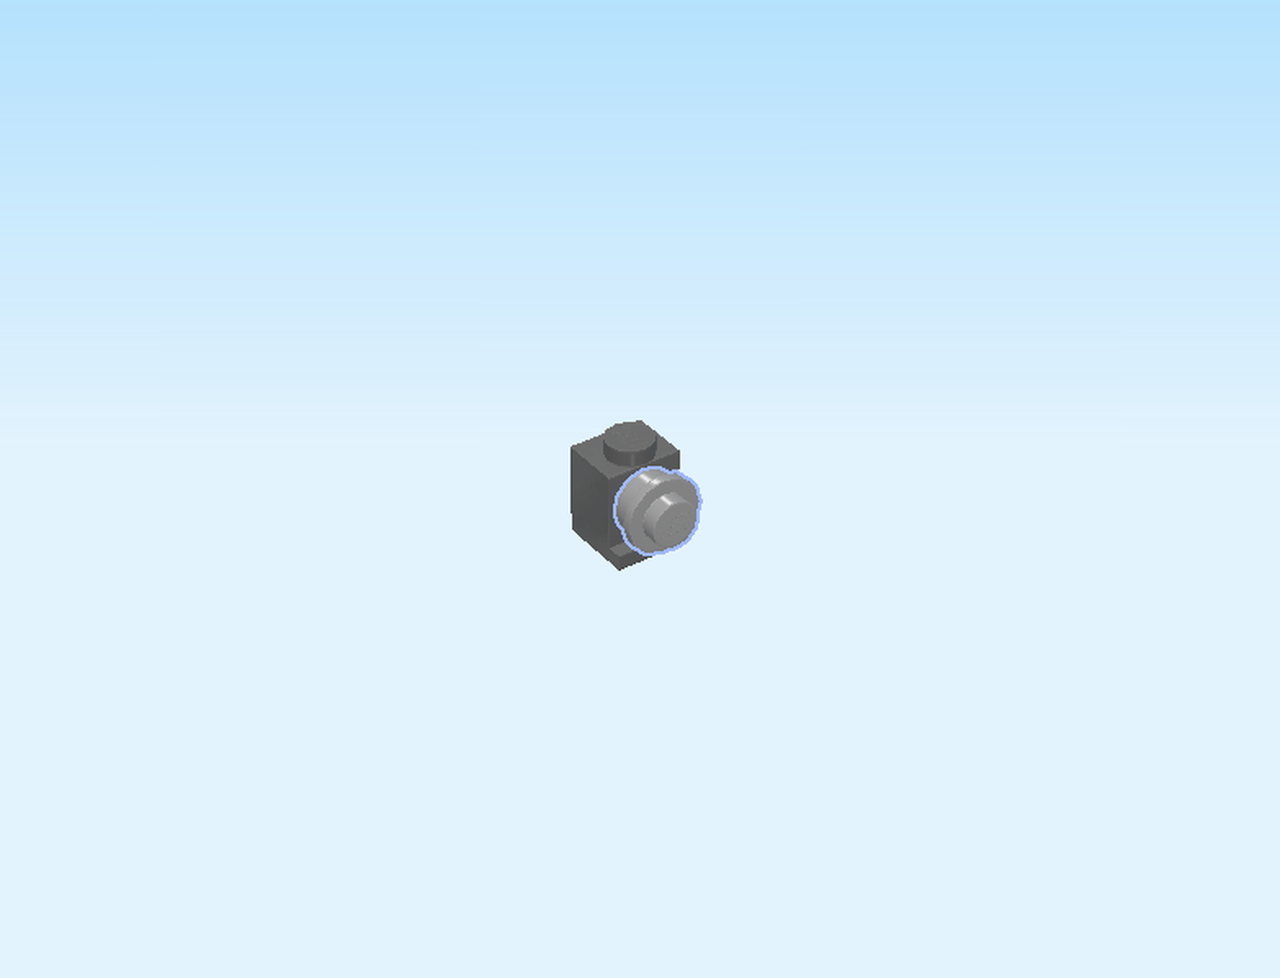
| Find 1 dark stone grey brick 1x1 with side knob and bottom foot. |
| Find 1 medium stone grey round plate 1x1. |
| Put the round plate 1x1 on the side knob of the previous piece. |
| Put the small build on the front row on the third knob from the left, with the side knob pointing forward. |
| Turn the model so the inverted roof tile is pointing to the left. |
| Find 1 dark stone grey brick 1x1 with side knob and bottom foot. |
| Find 1 medium stone grey round plate 1x1. |
| Put the round plate 1x1 on the side knob. |
| Put the small build on the front row on the third knob from the right, with the side knob pointing forward. |
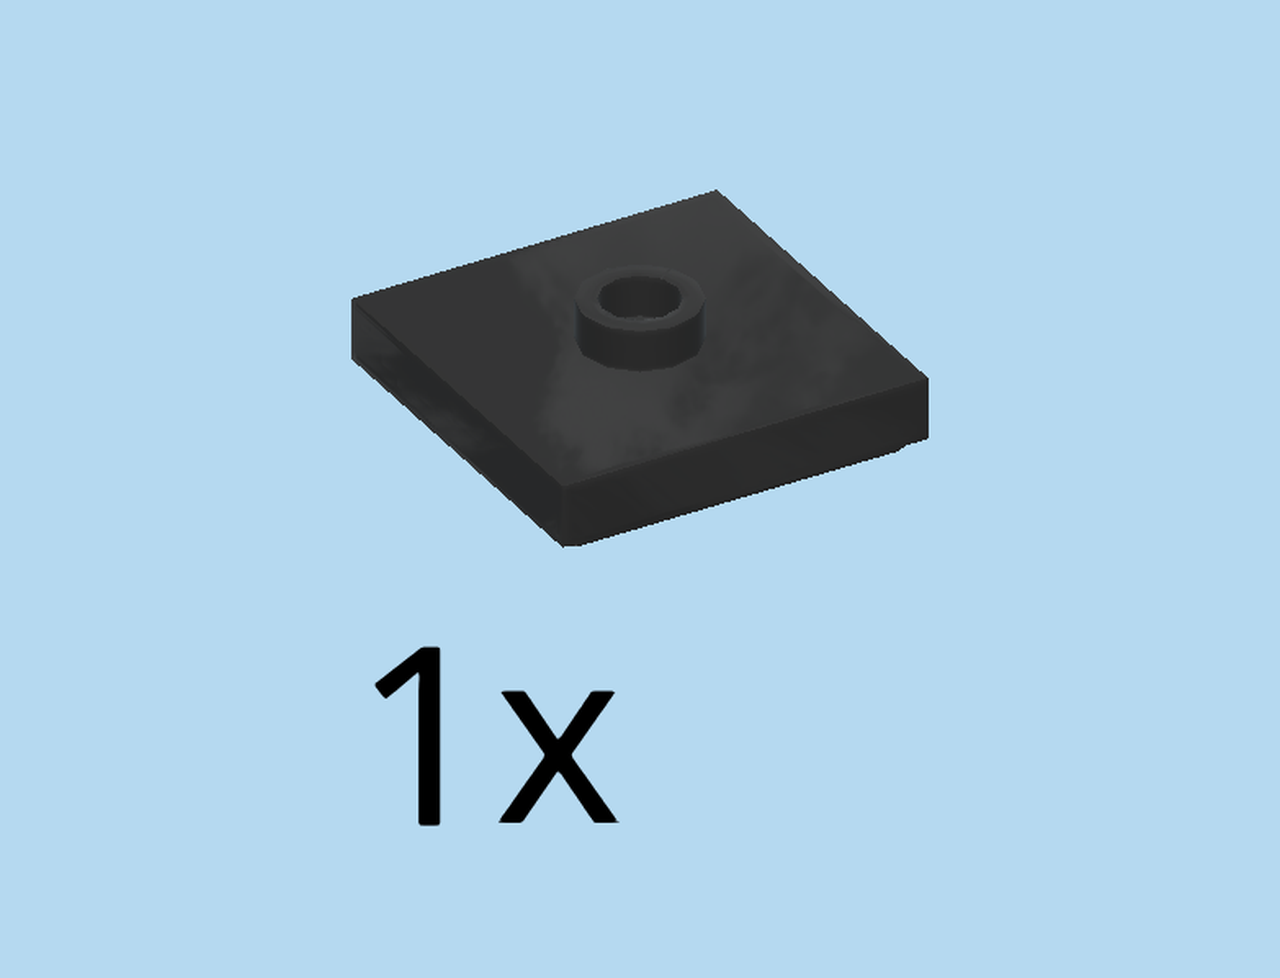
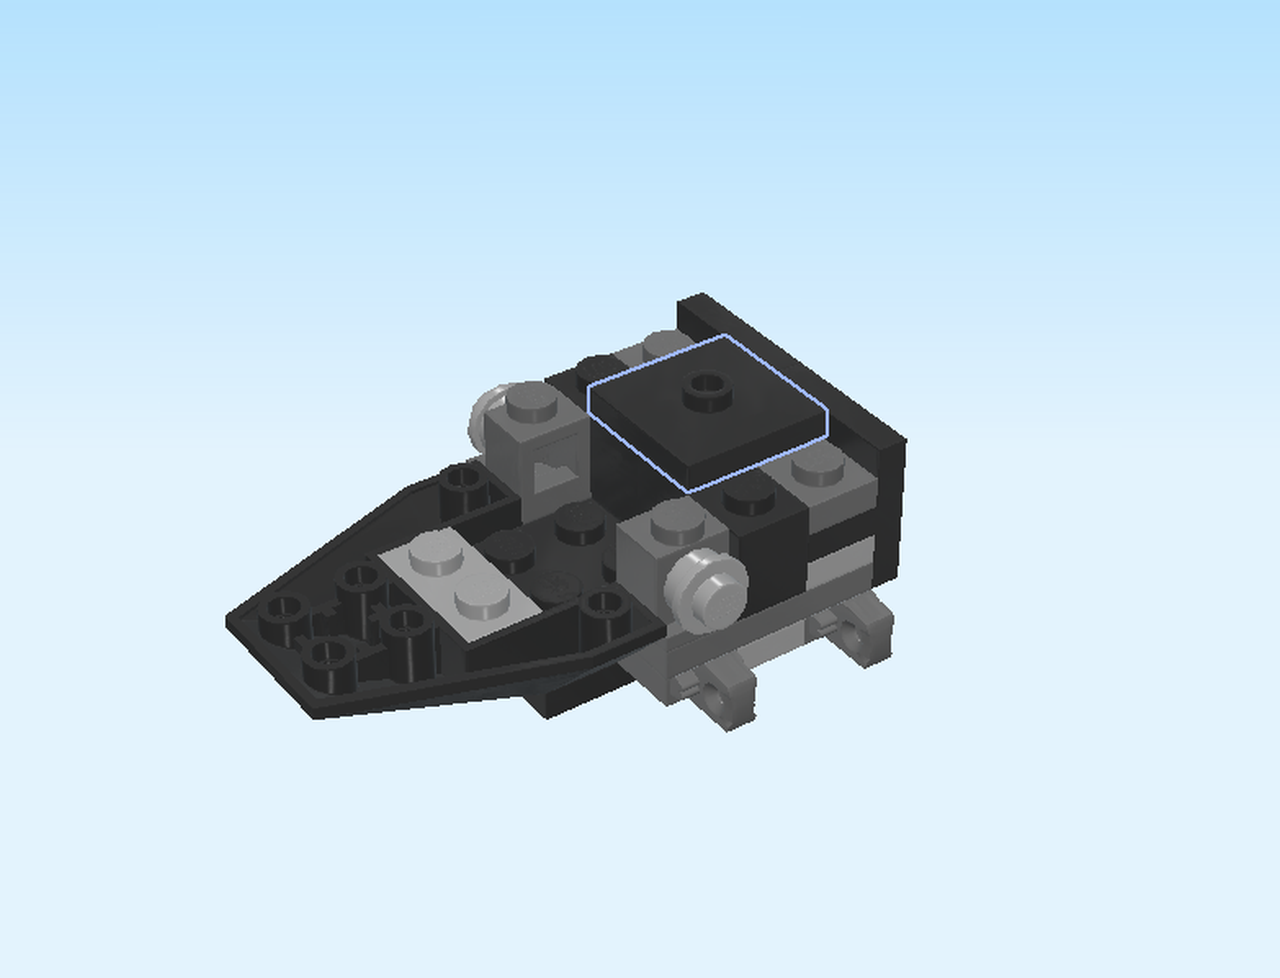
| Find 1 black plate 2x2 with 1 knob. |
| Put it on top, centered at the rightmost edge. |
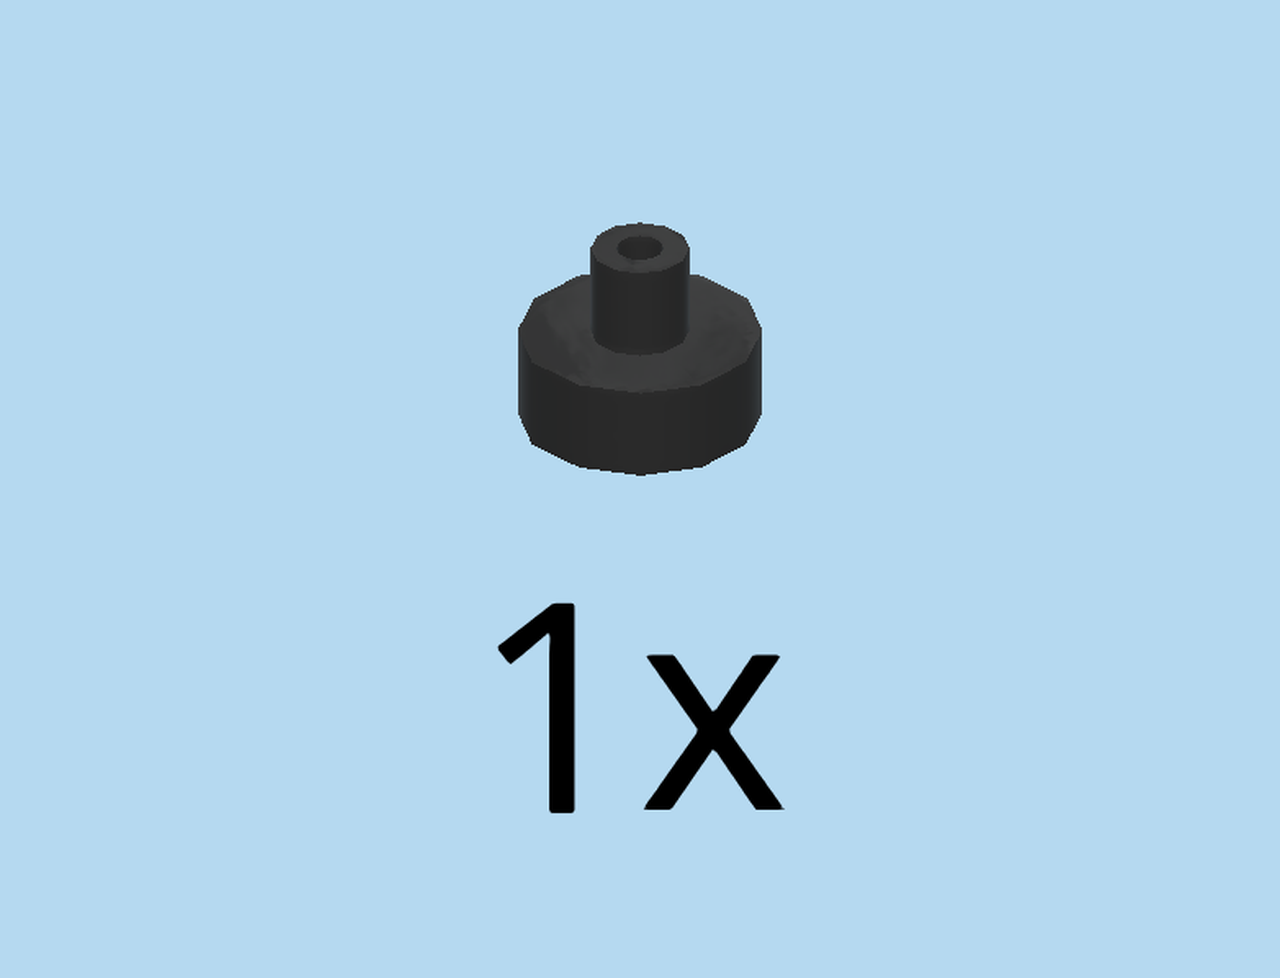
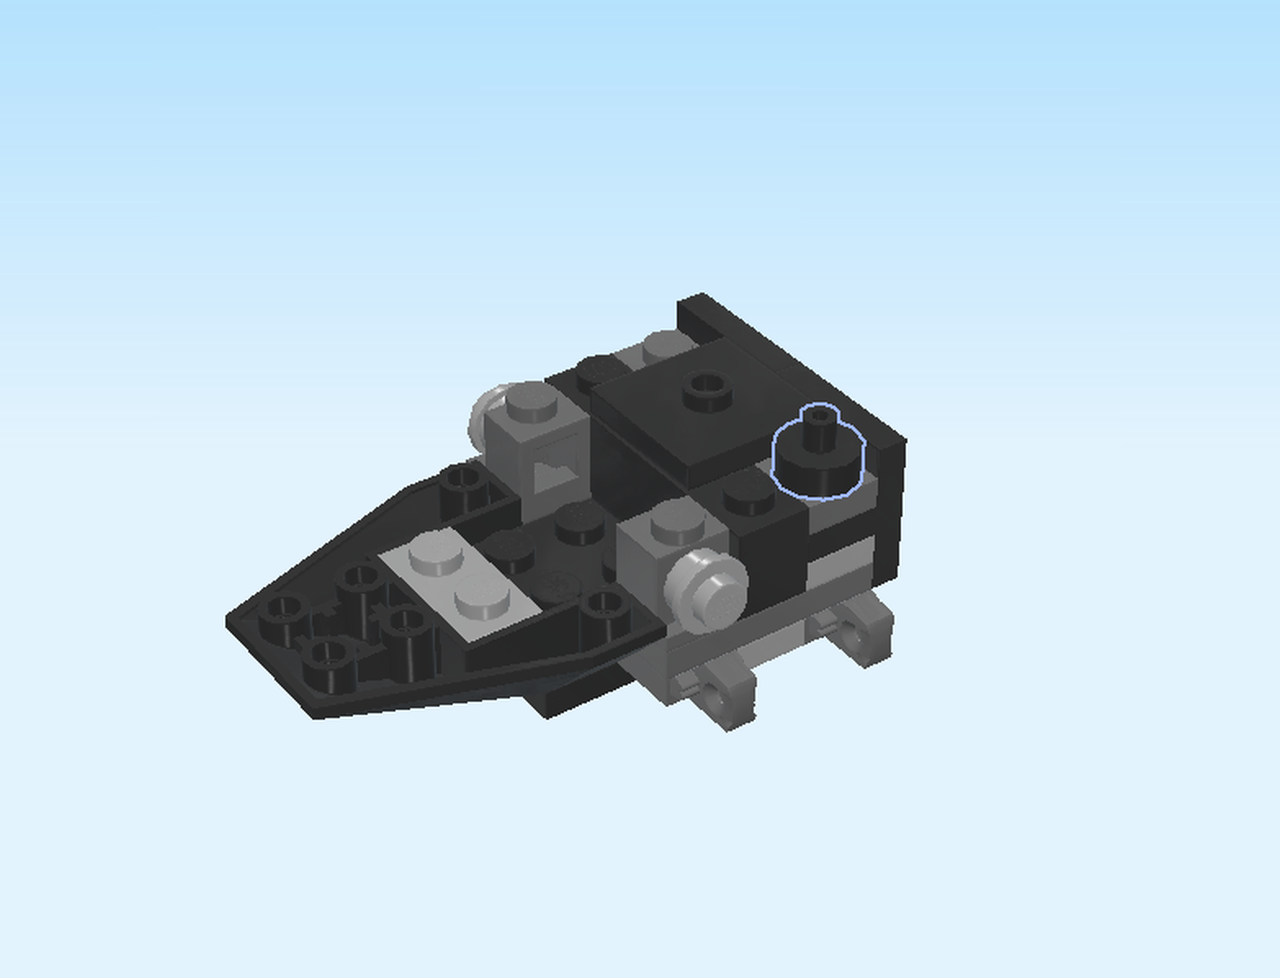
| Find 1 black round plate 1x1 with top shaft. |
| Put it in front of the previous plate at the rightmost edge. |
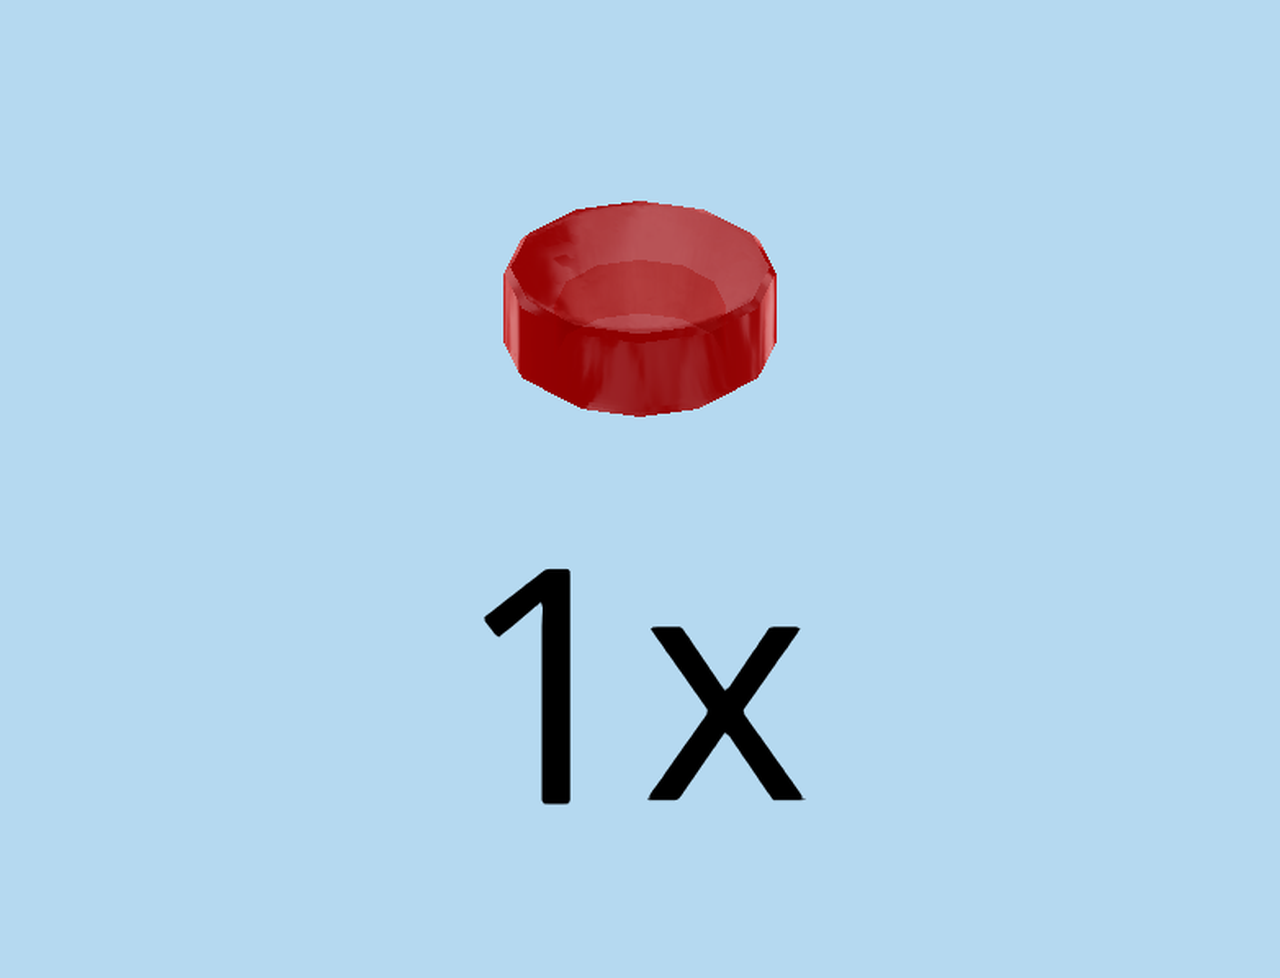
| Find 1 transparent red round tile 1x1. |
| Put it on the backmost knob on the right edge. |
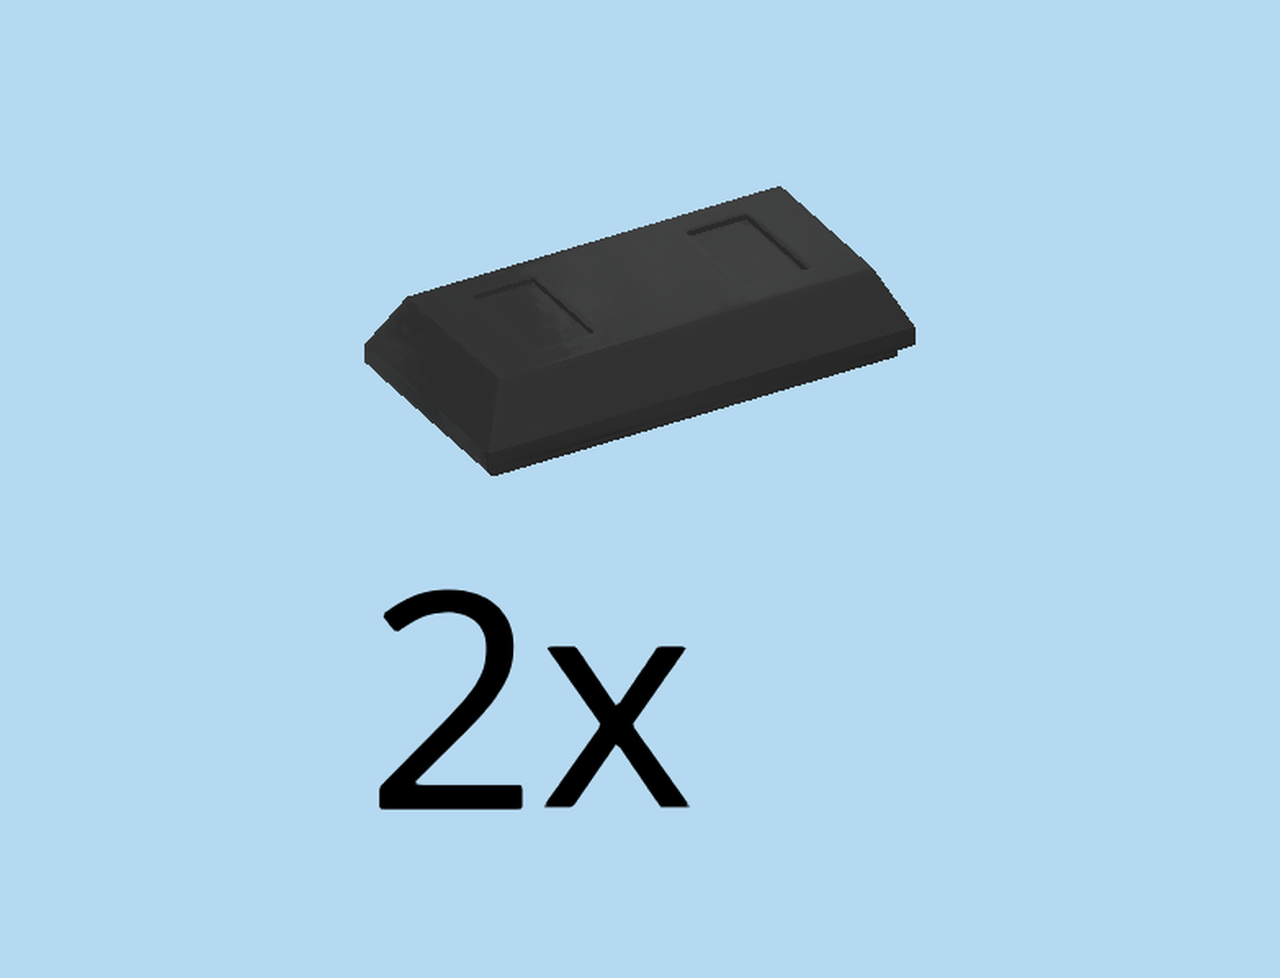
| Find 2 black ingots 1x2. |
| Put one horizontally to the left of previous round tile. |
| Repeat symmetrically at the front. |
| Turn the model so the inverted roof tile is pointing away from you. |
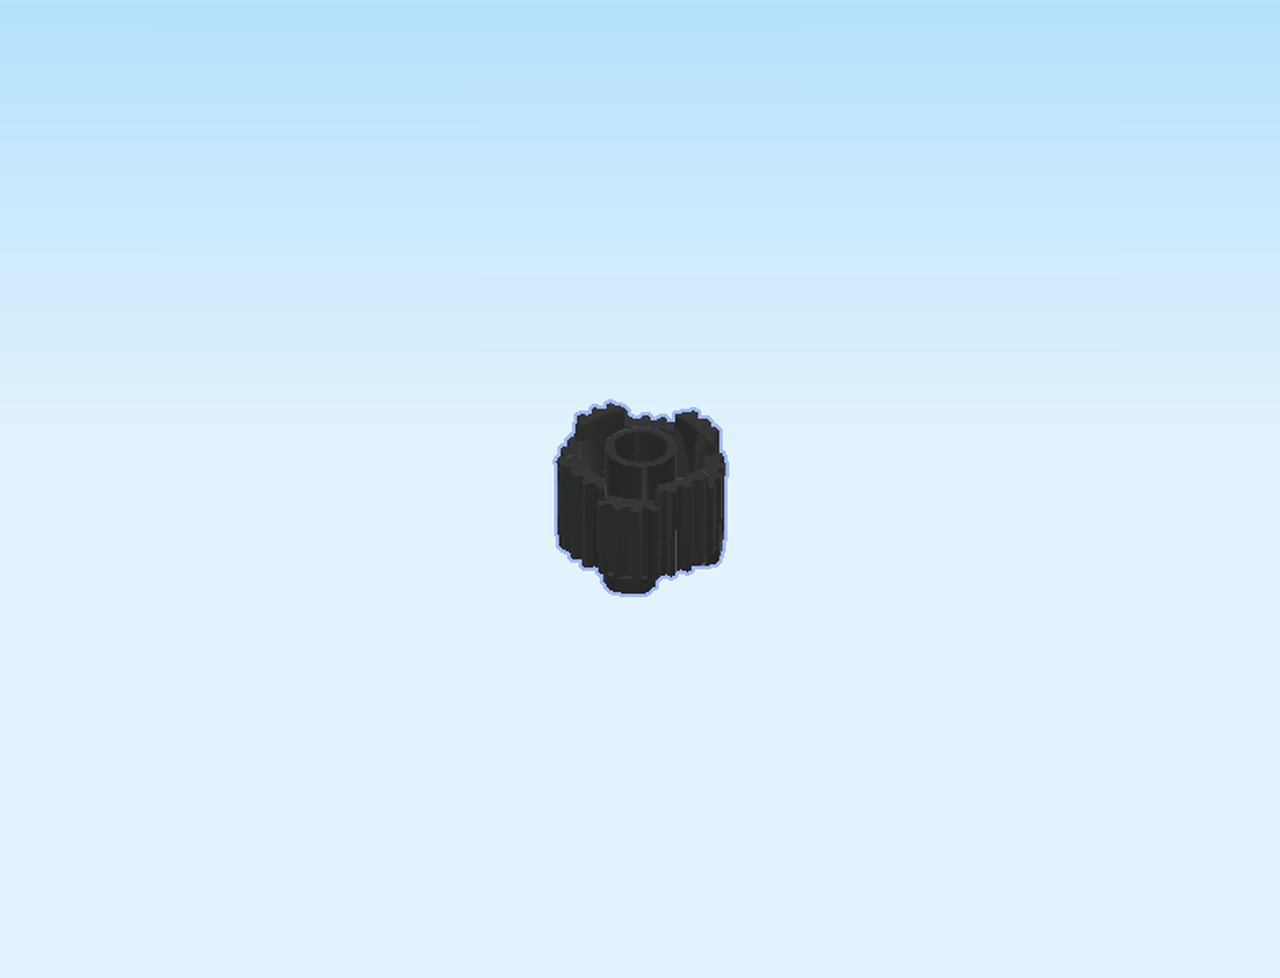
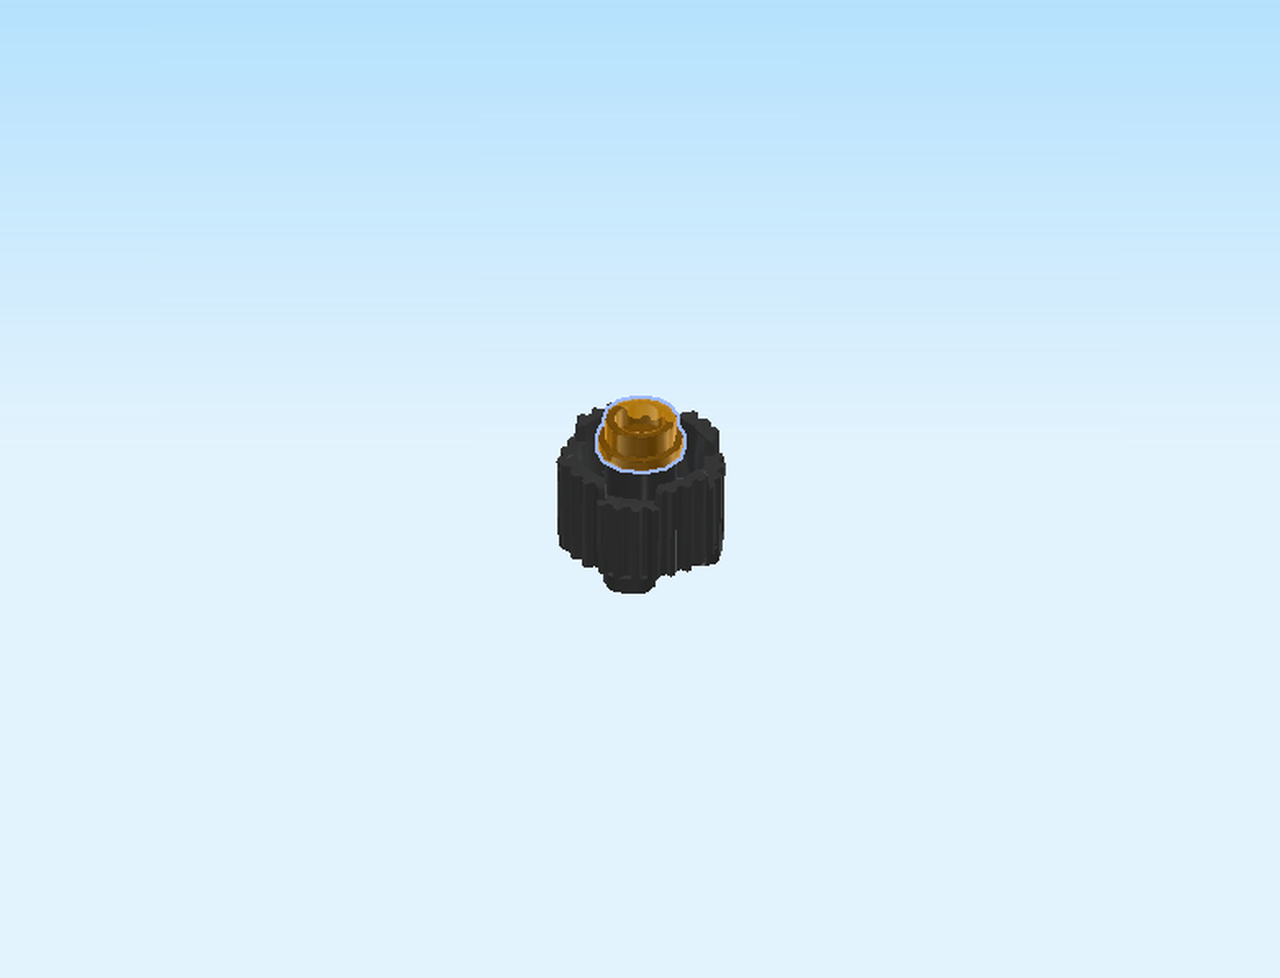
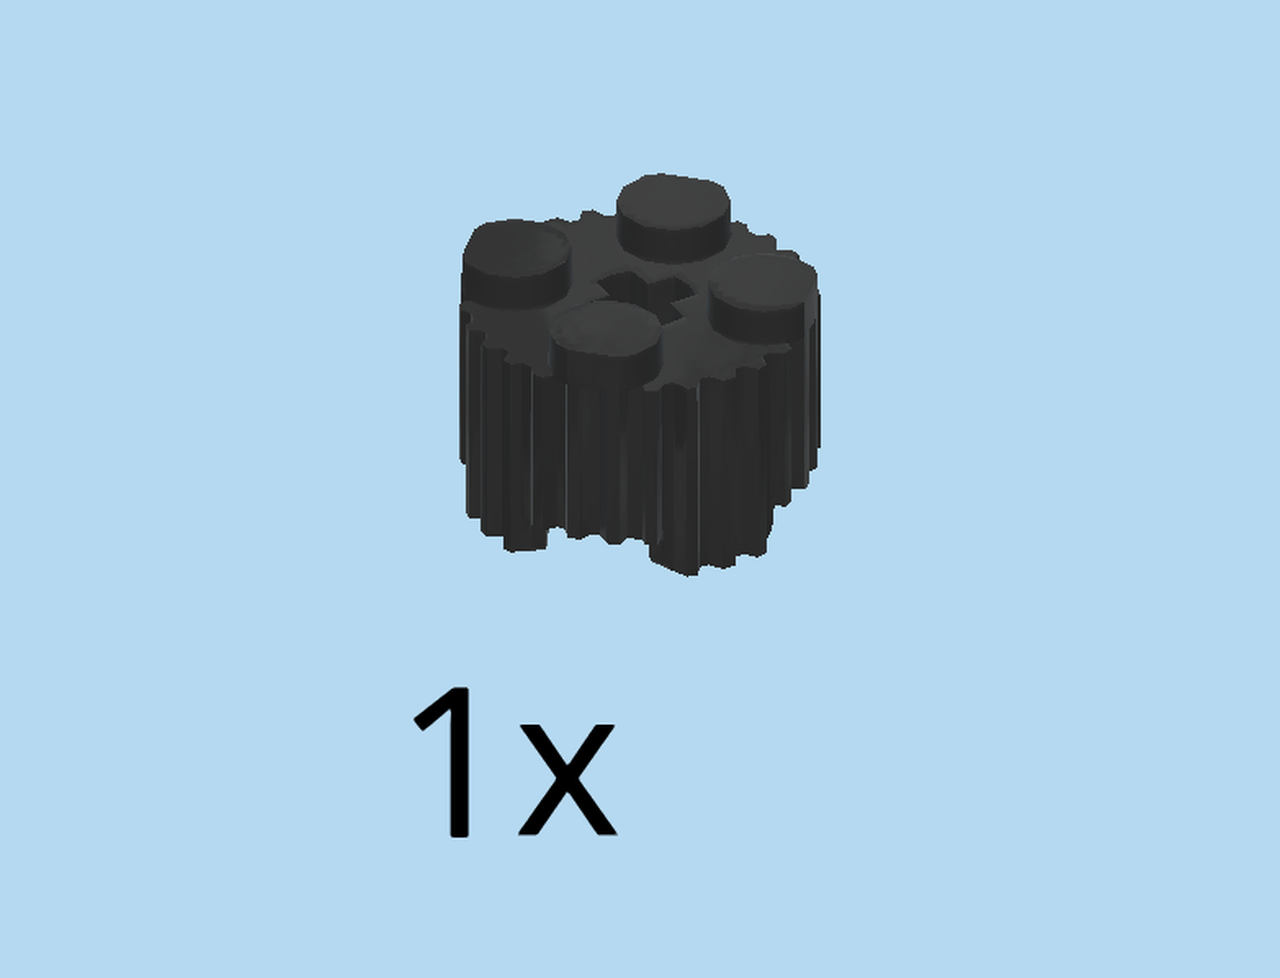
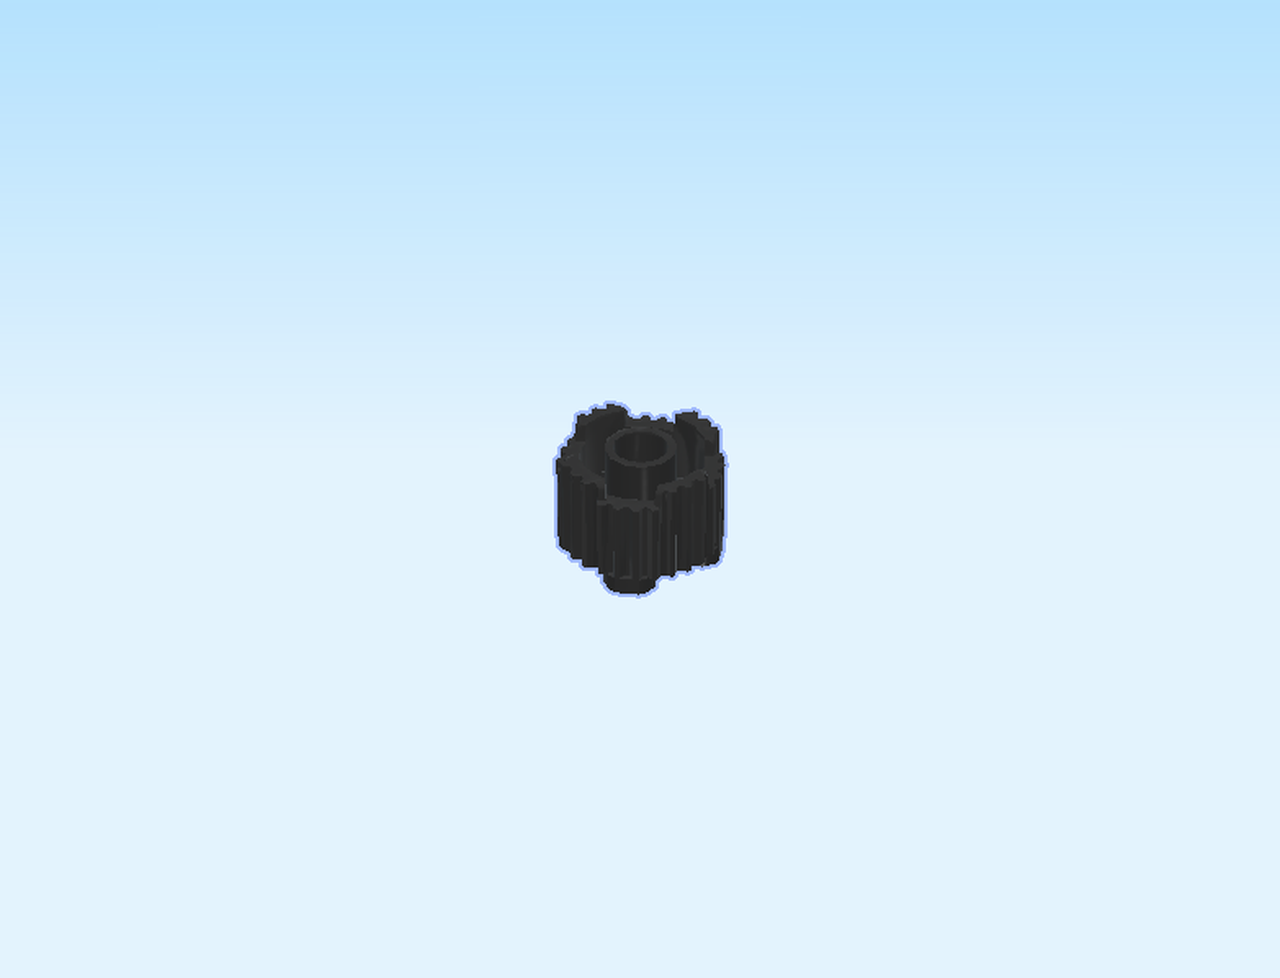
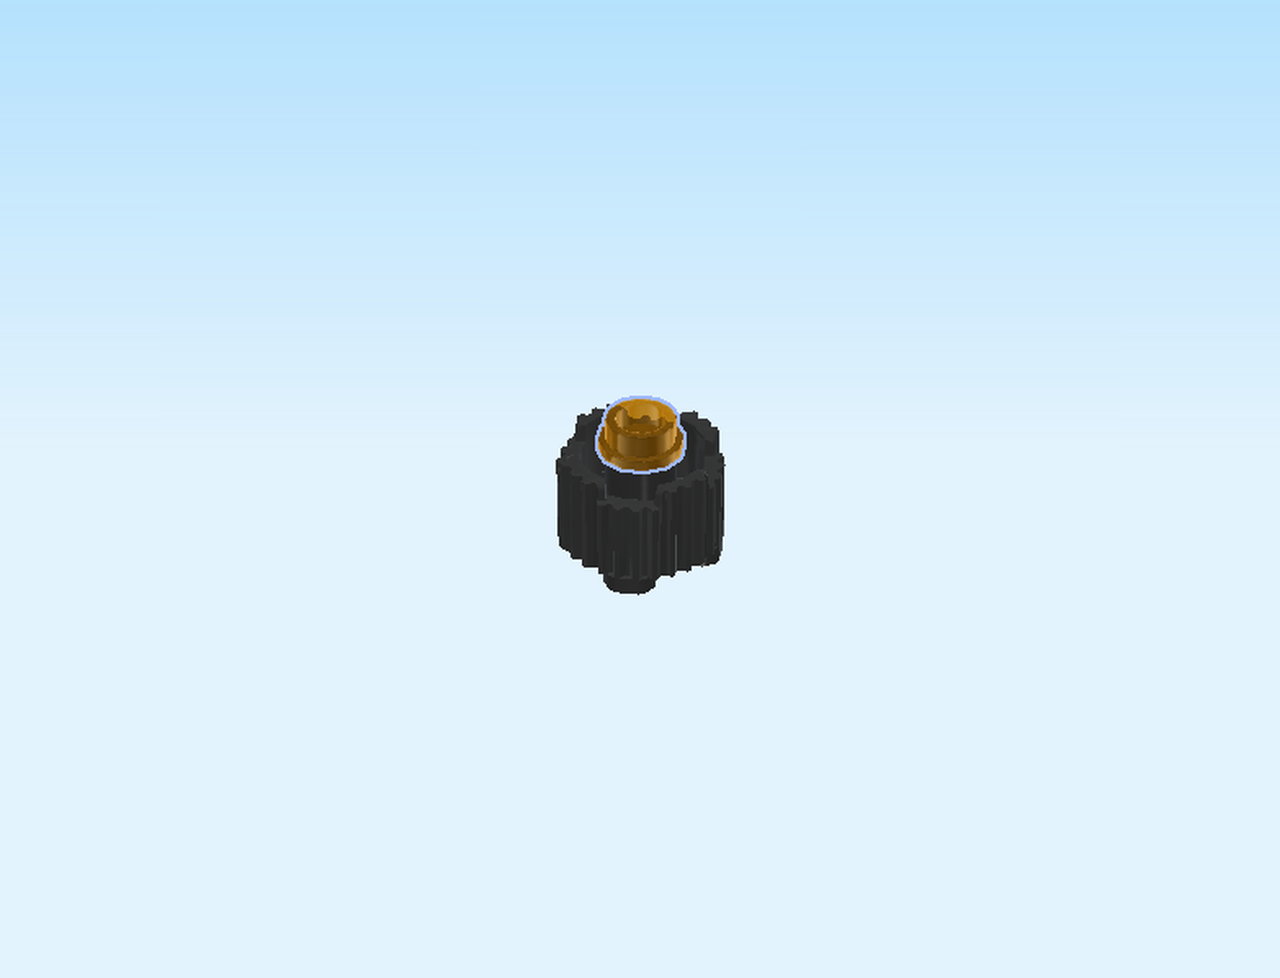
| Find 1 black grooved round brick 2x2 with cross hole. |
| Put it on the table with the knobs pointing downwards. |
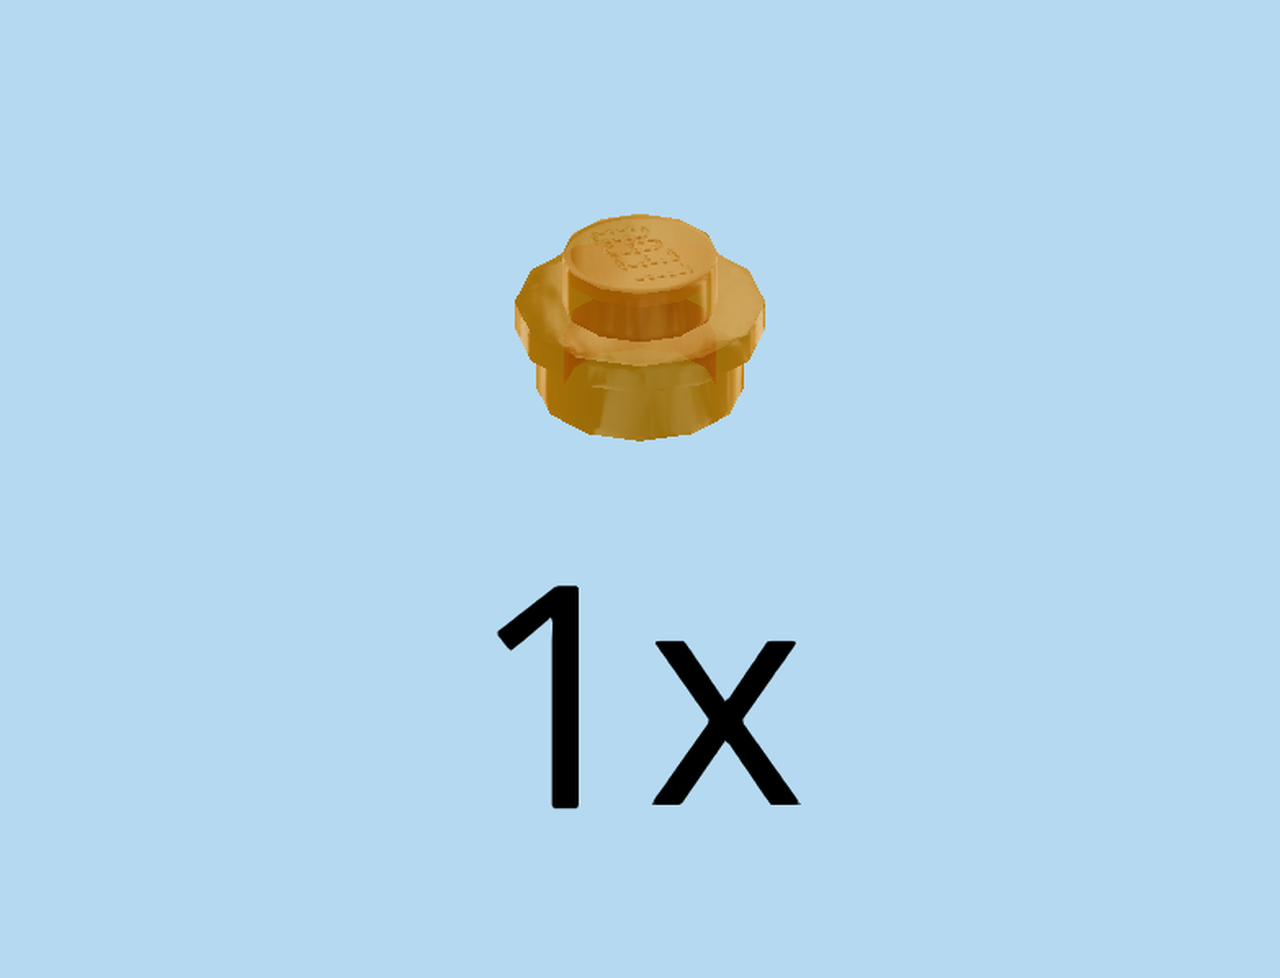
| Find 1 transparent bright orange round plate 1x1. |
| Turn the round plate upside down and put the knob in the middle of the round brick. |
| Turn the small build upright so that the knob is pointing to the front. |
| Mount the small build on the front side surface on the right. |
| Let's build one more of those for the left side. |
| Find 1 black grooved round brick 2x2 with cross hole. |
| Put it on the table with the knobs pointing downwards. |
| Find 1 transparent bright orange round plate 1x1. |
| Turn the round plate upside down and put the knob in the middle of the round brick. |
| Turn the small build upright so that the knob is pointing to the front. |
| Mount the small build on the front side surface on the left. |
| Now, turn the structure so that the inverted roof tile is pointing to the left again. |
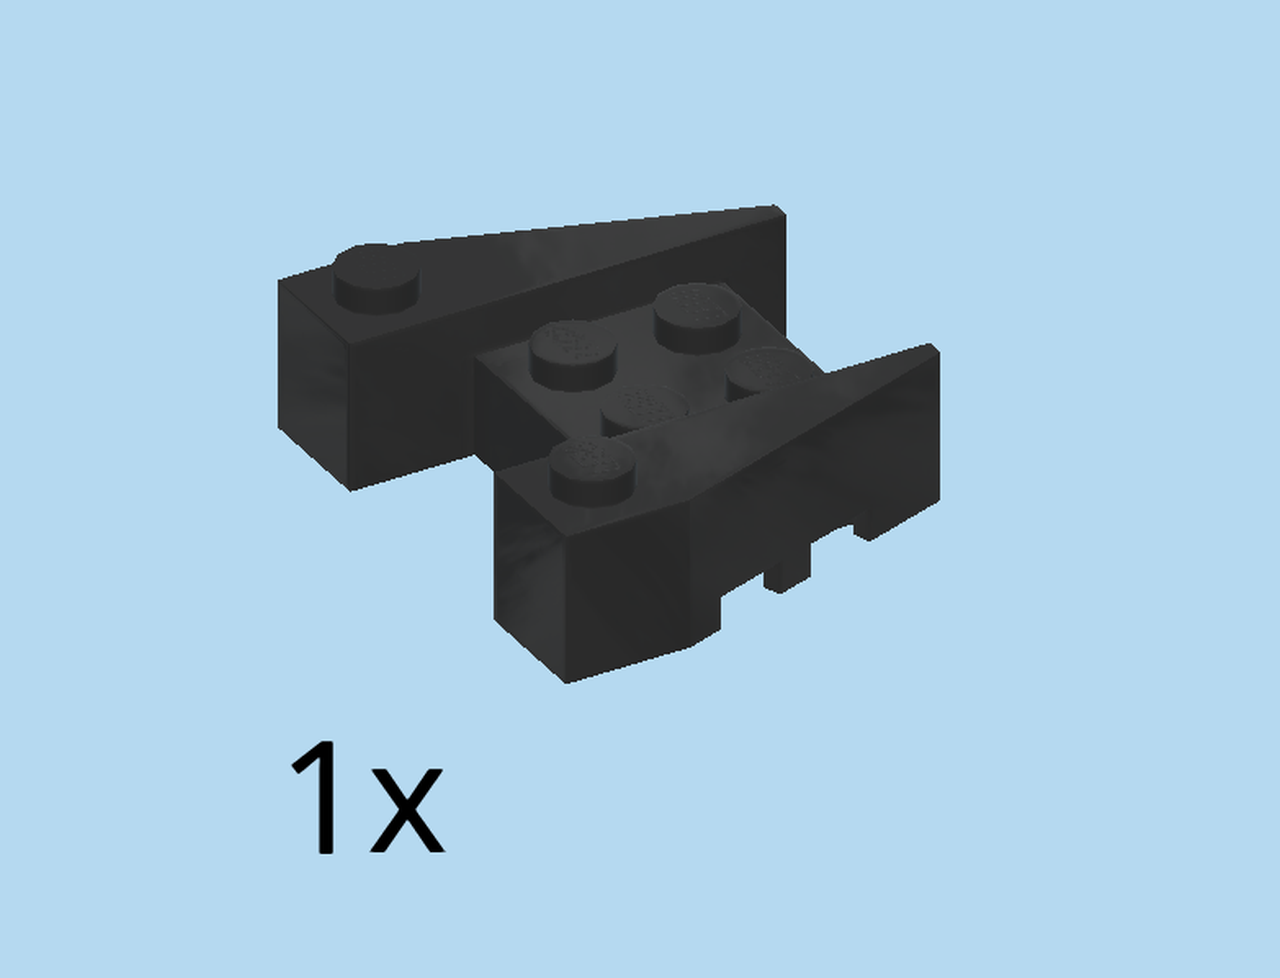
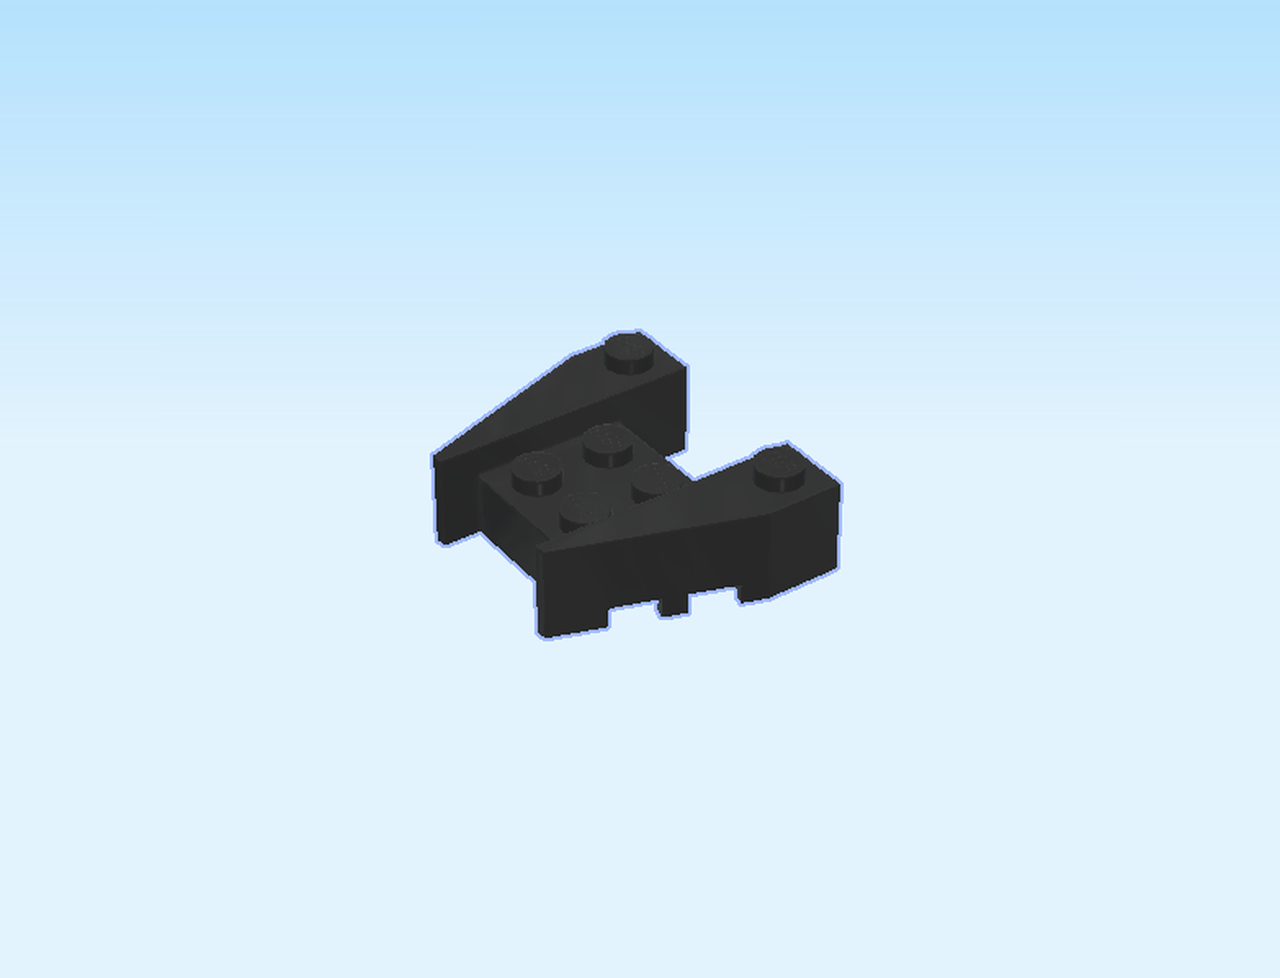
| Find 1 black angle brick 4x4 with 2 cutouts. |
| Put it on the table with the slopes pointing to the left. |
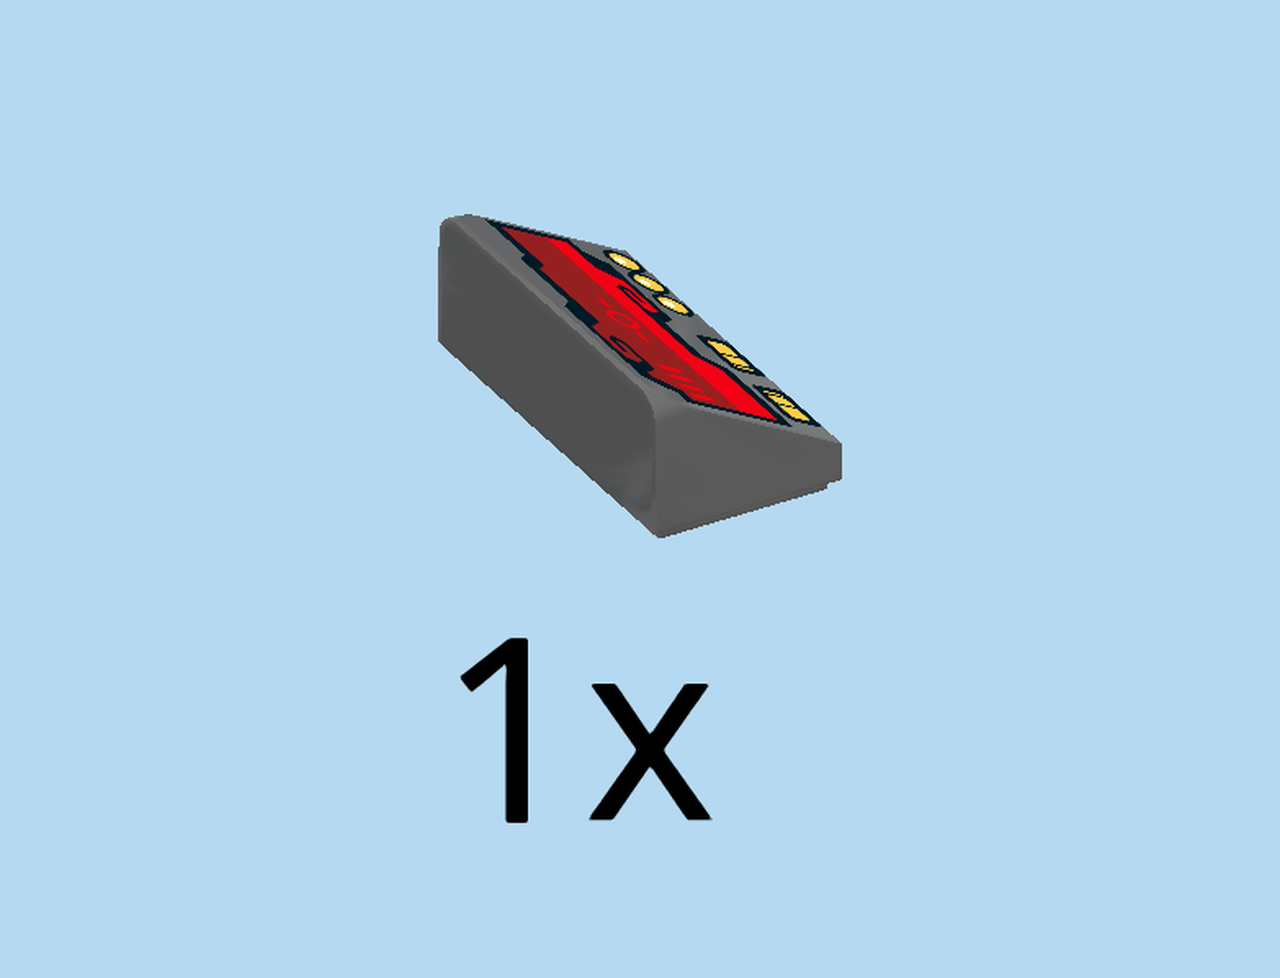
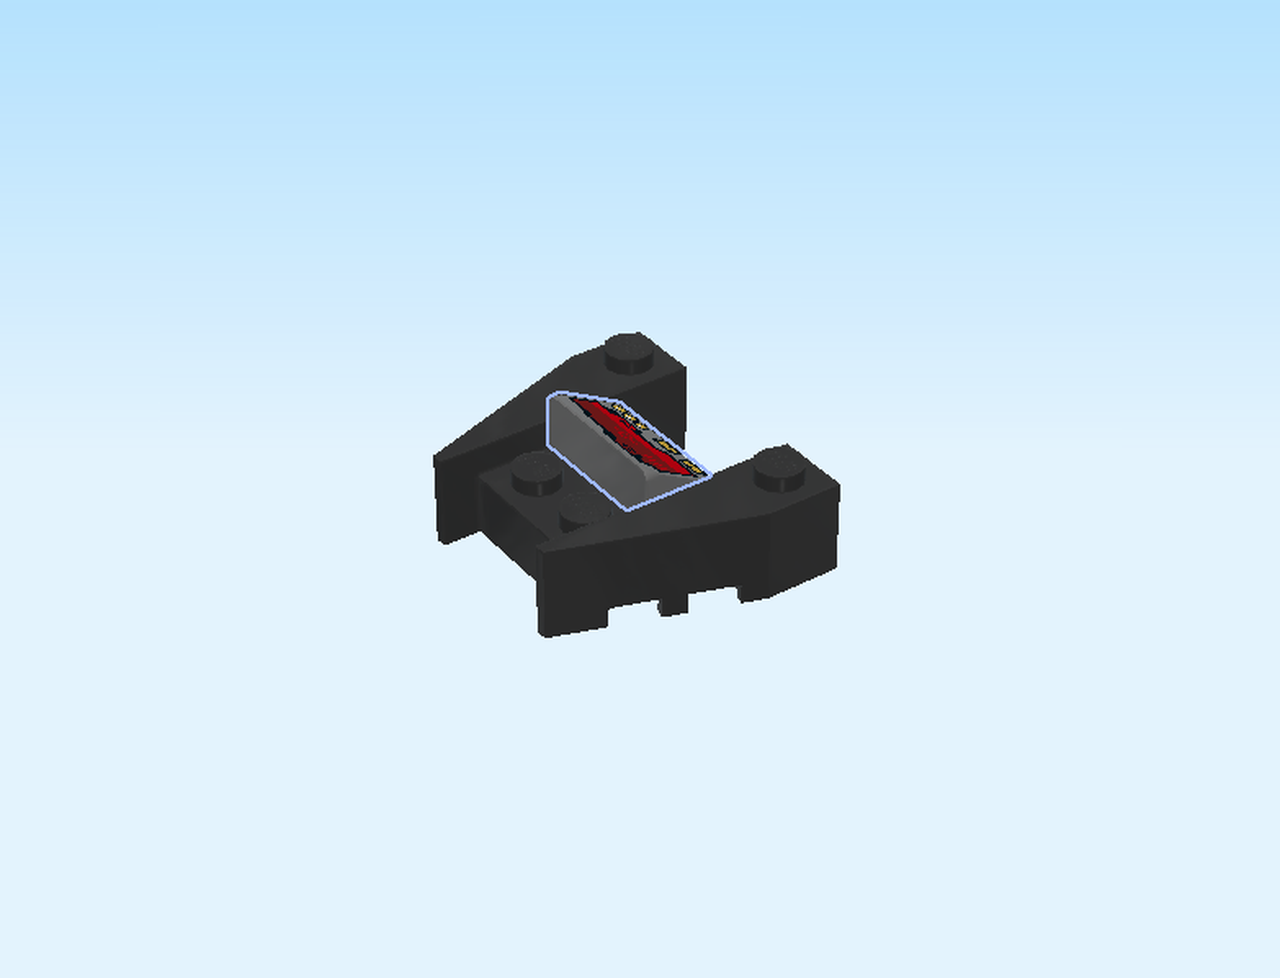
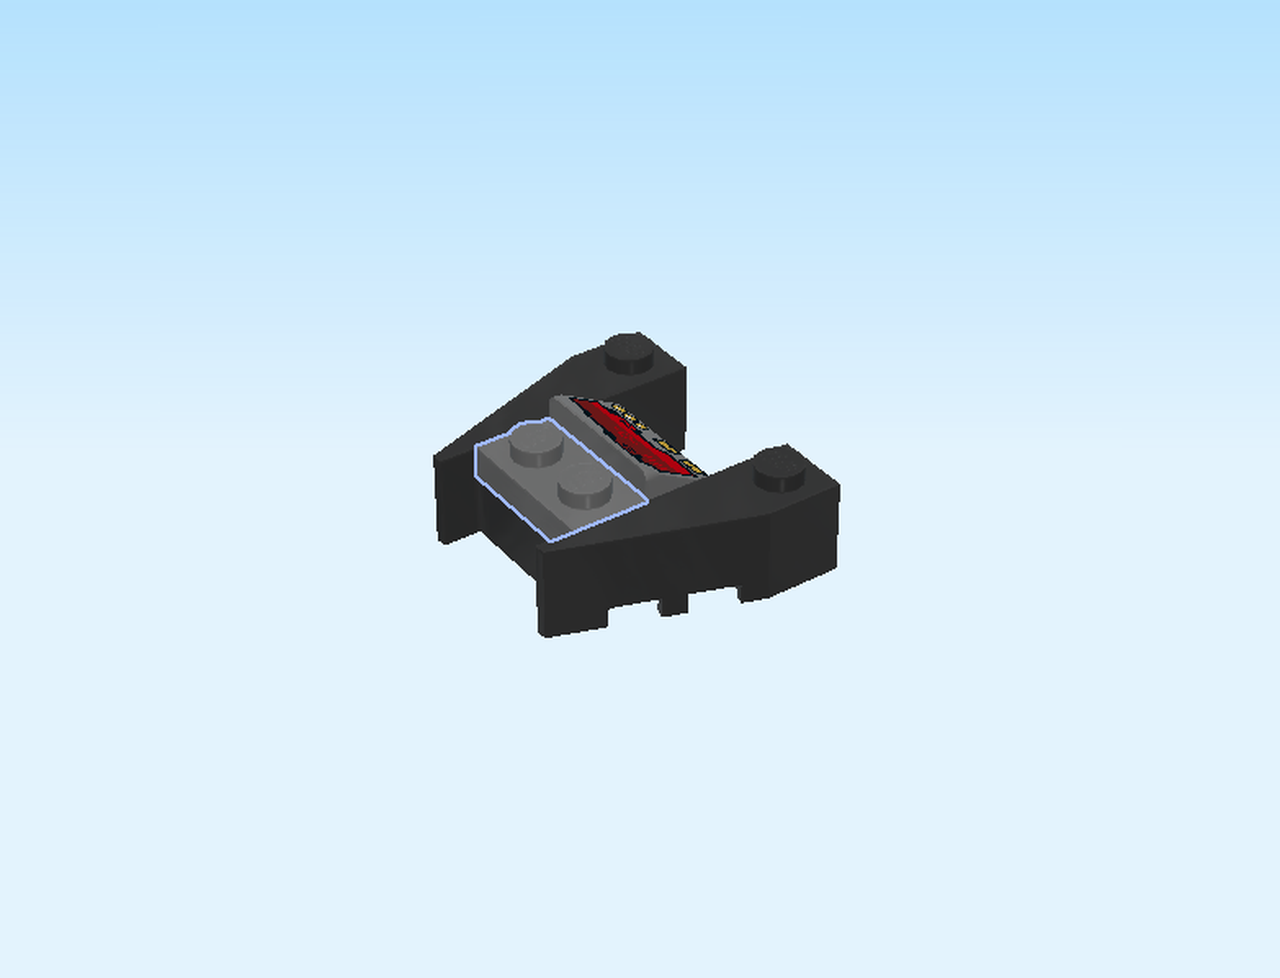
| Find 1 dark stone grey smooth roof tile 1x2x⅔. |
| Put it vertically on the right column in the middle, with the slope to the right. |
| The tile is printed with a flying control panel. |
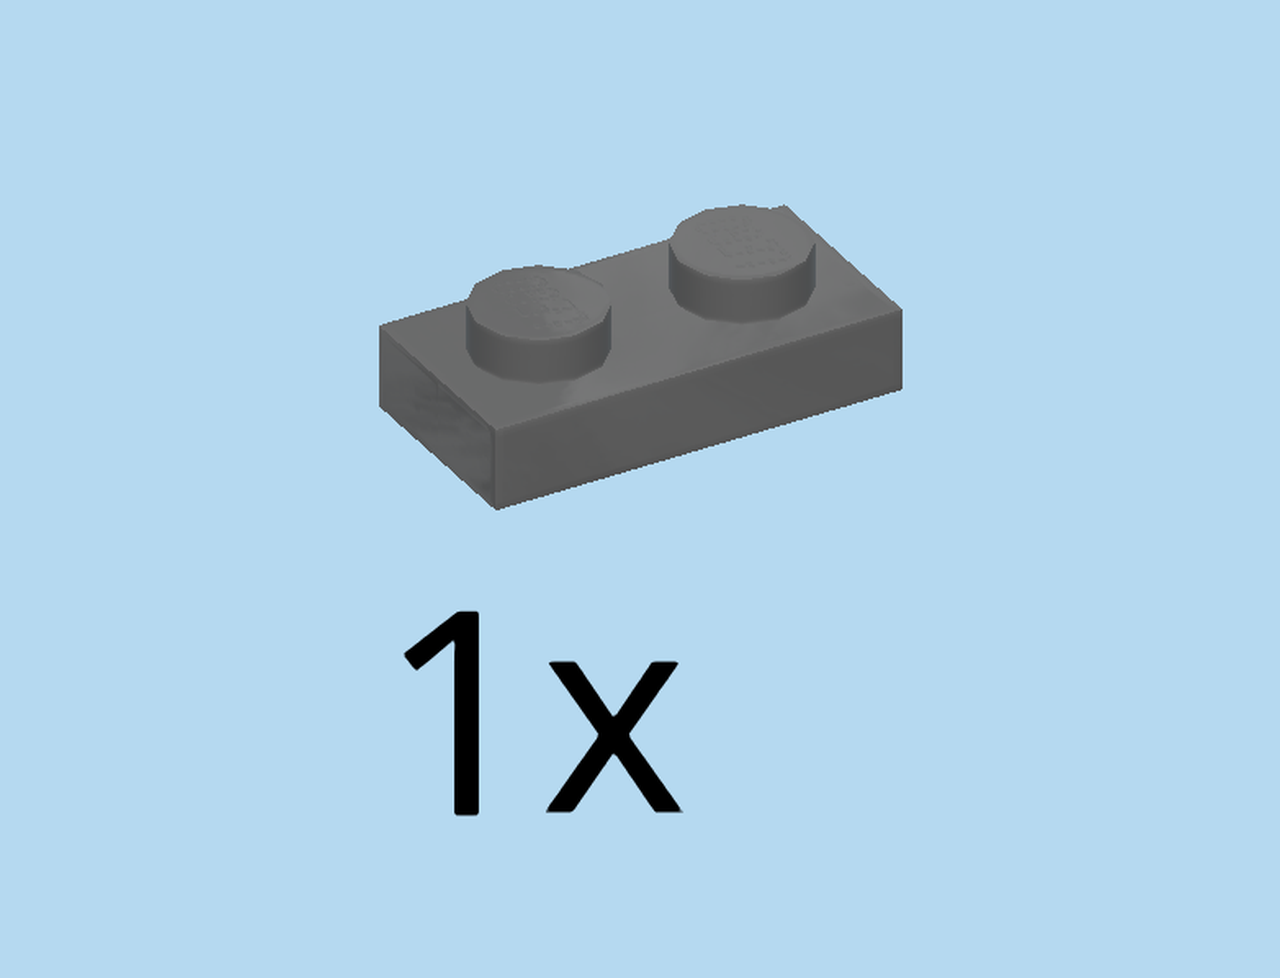
| Find 1 dark stone grey plate 1x2. |
| Put it vertically to the left. |
| Find 1 silver metallic grille tile 1x2. |
| Put it vertically on top. |
| Mount the small build on the left with the side slopes to the left. Make sure the leftmost column remains empty! |
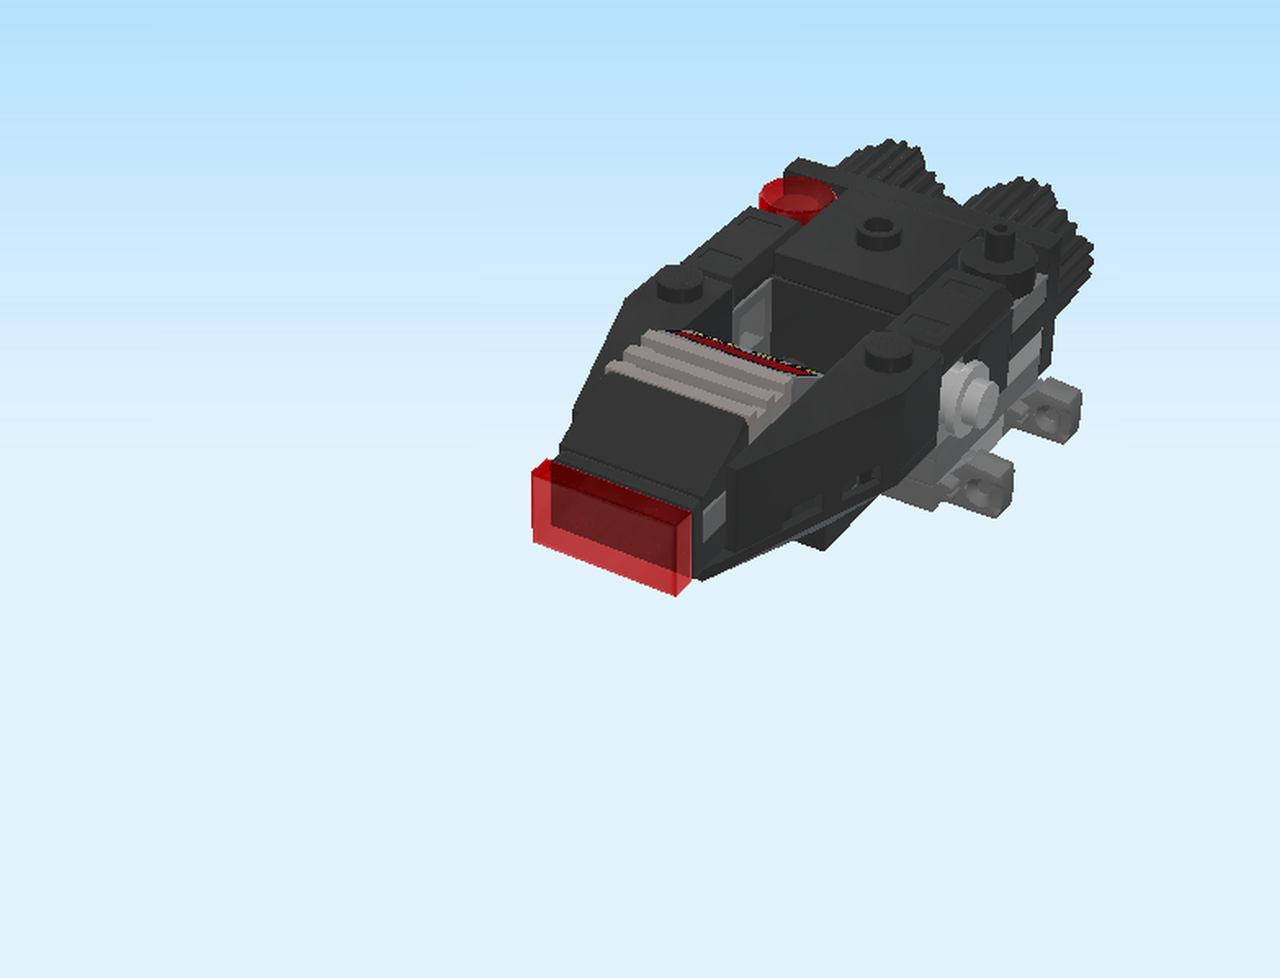
| Turn the model so the inverted roof tile is pointing towards you. |
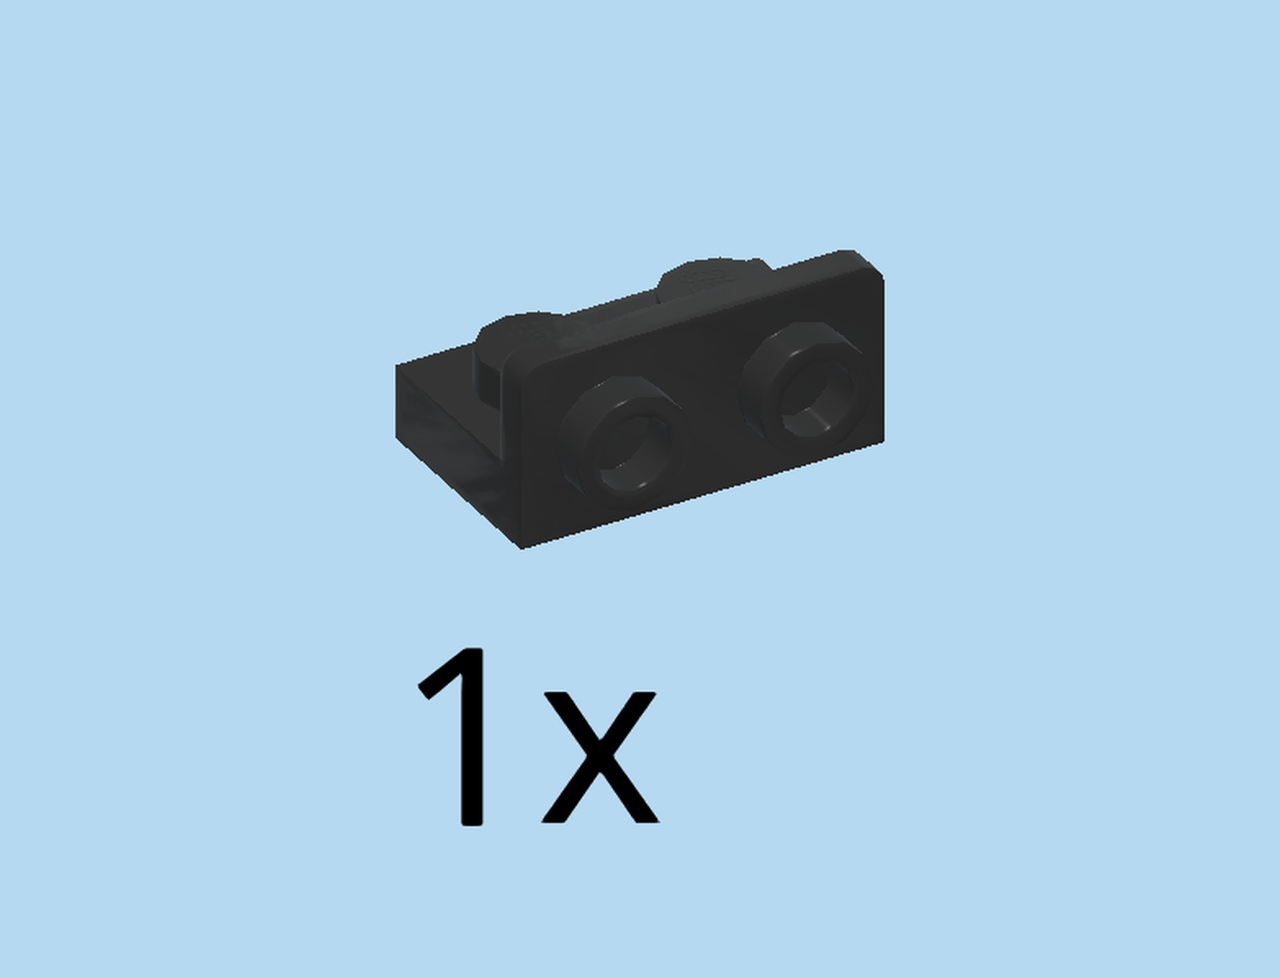
| Find 1 black bottom angle plate 1x2 - 1x2 with side 2 knobs. |
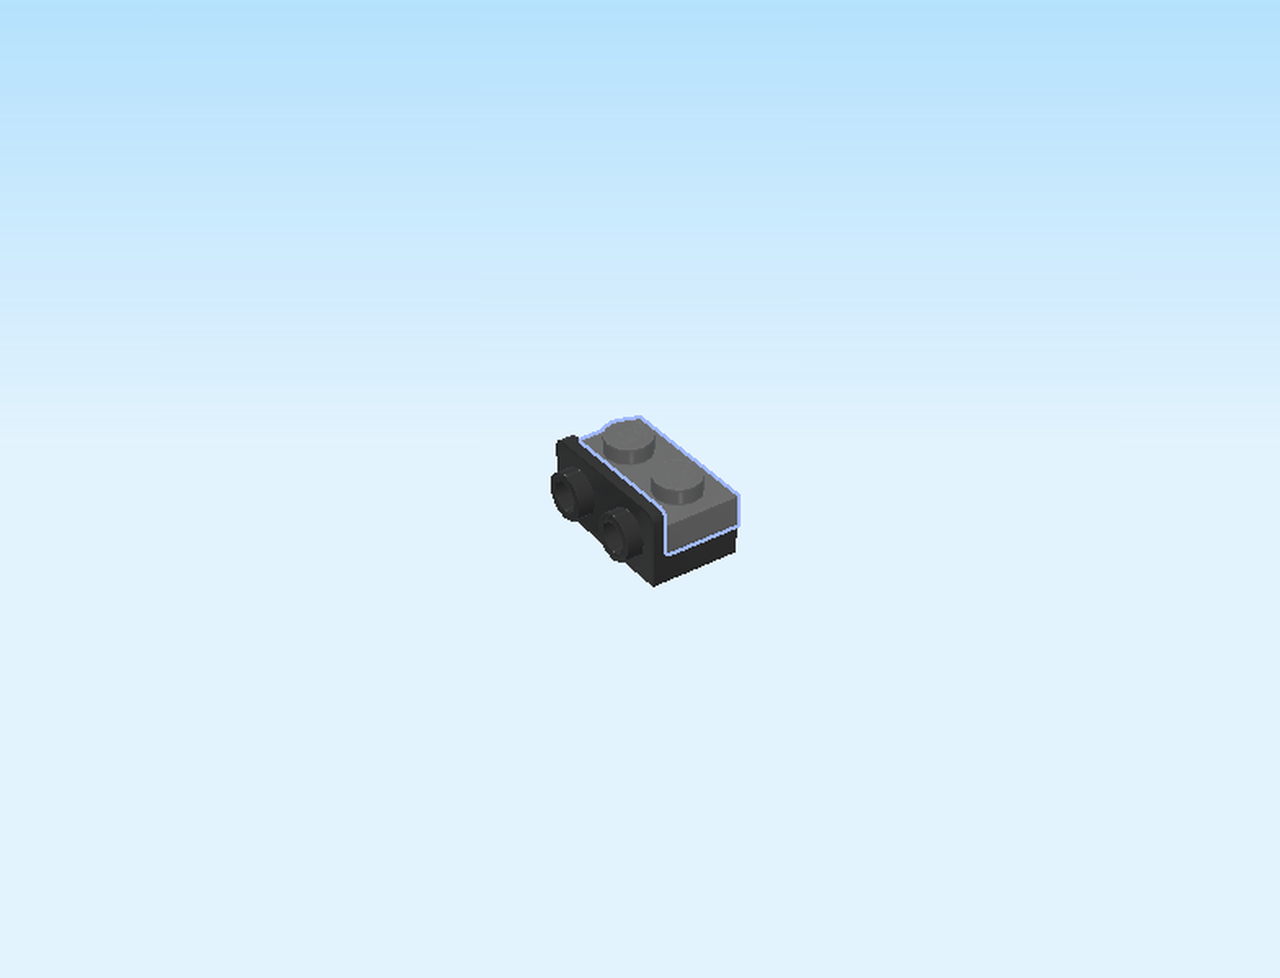
| Find 1 dark stone grey plate 1x2. |
| Put the plate on top and the angle plate with 2 knobs pointing towards you. |
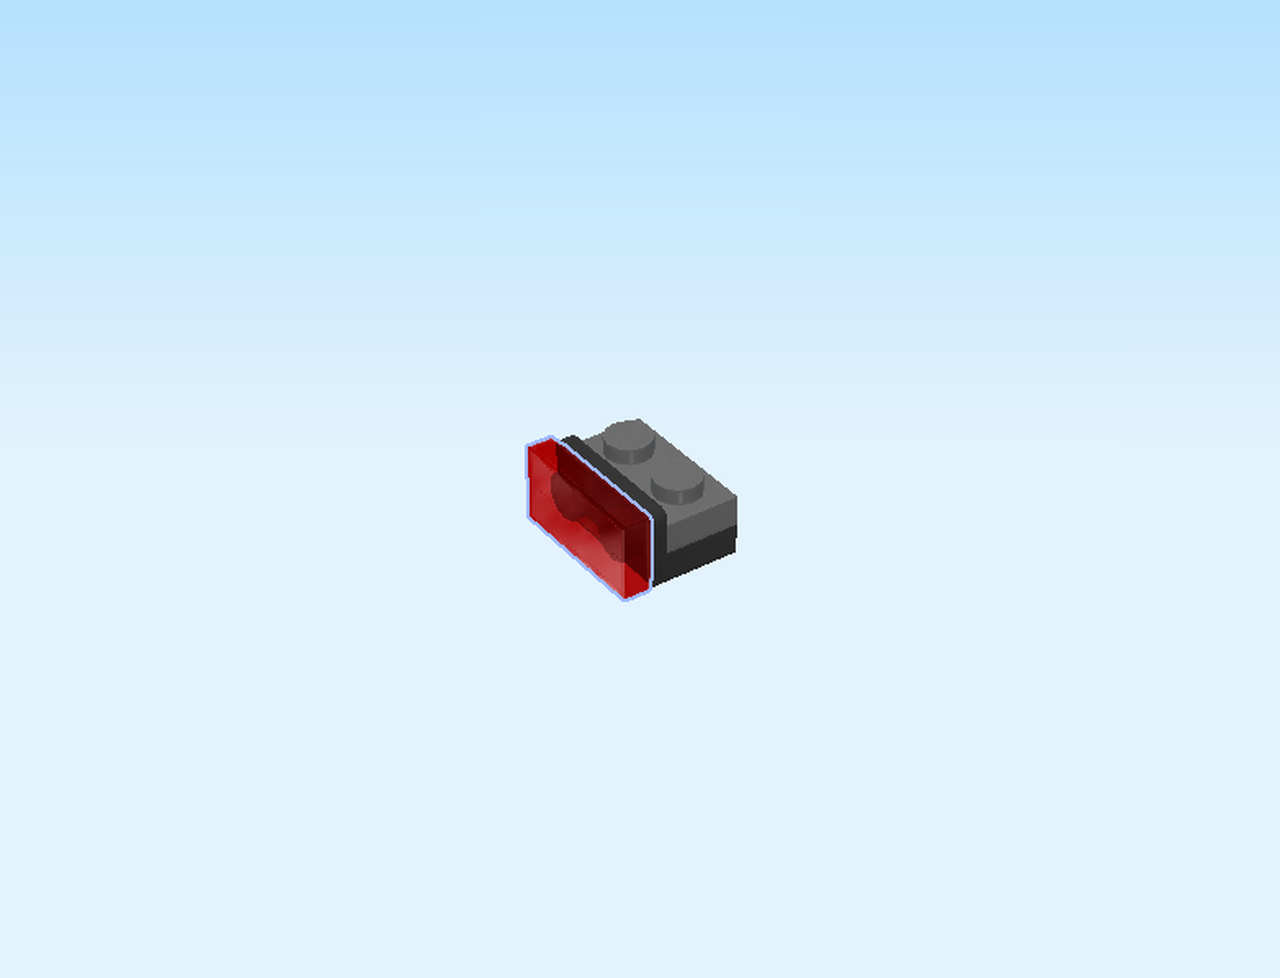
| Find 1 transparent red flat tile 1x2. |
| Careful! This piece has a special orientation! We will mount it on the side surface of the angle plate. |
| Mount the tile horizontally on the side knobs. |
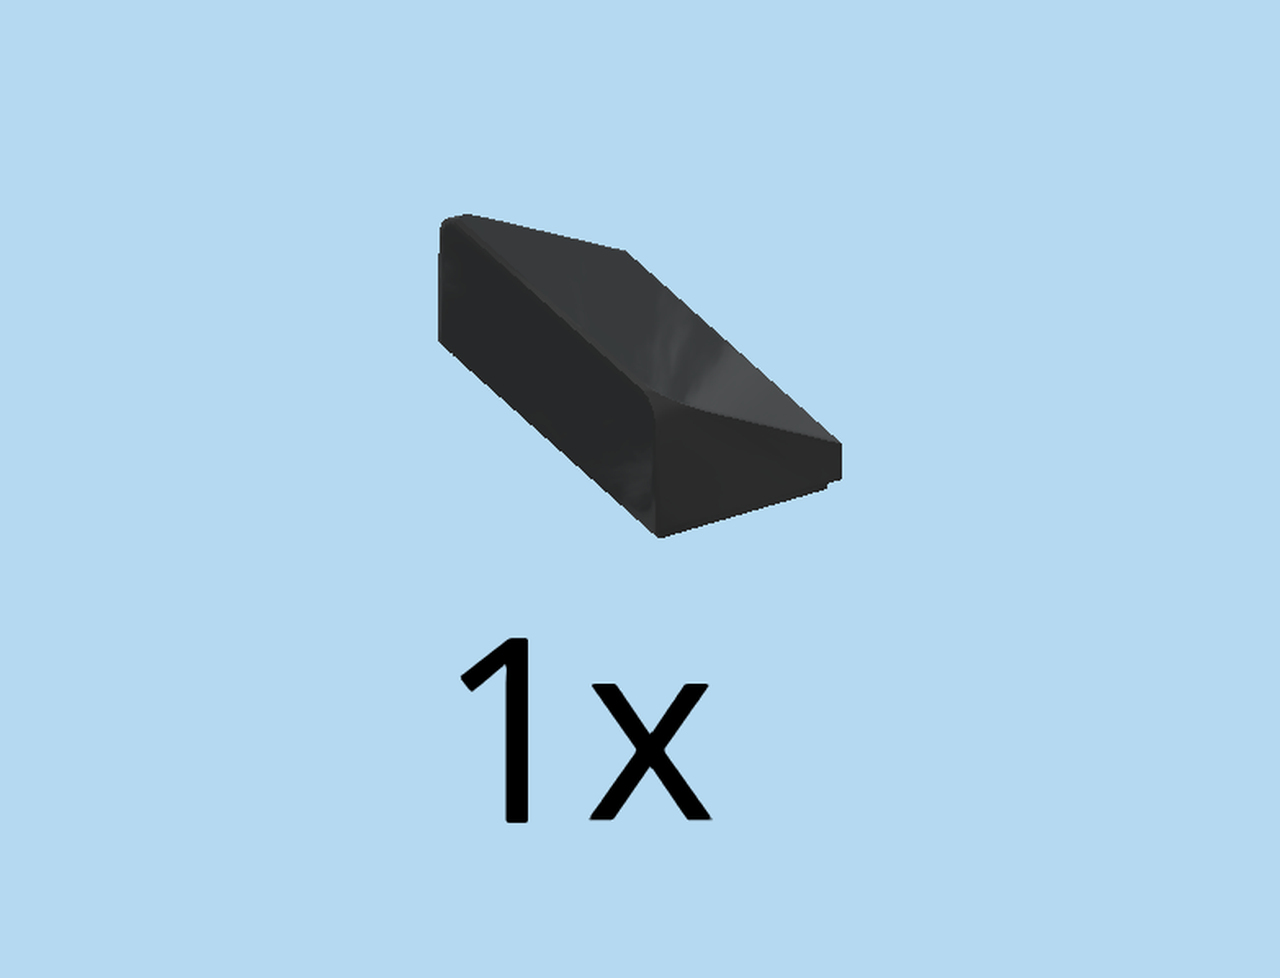
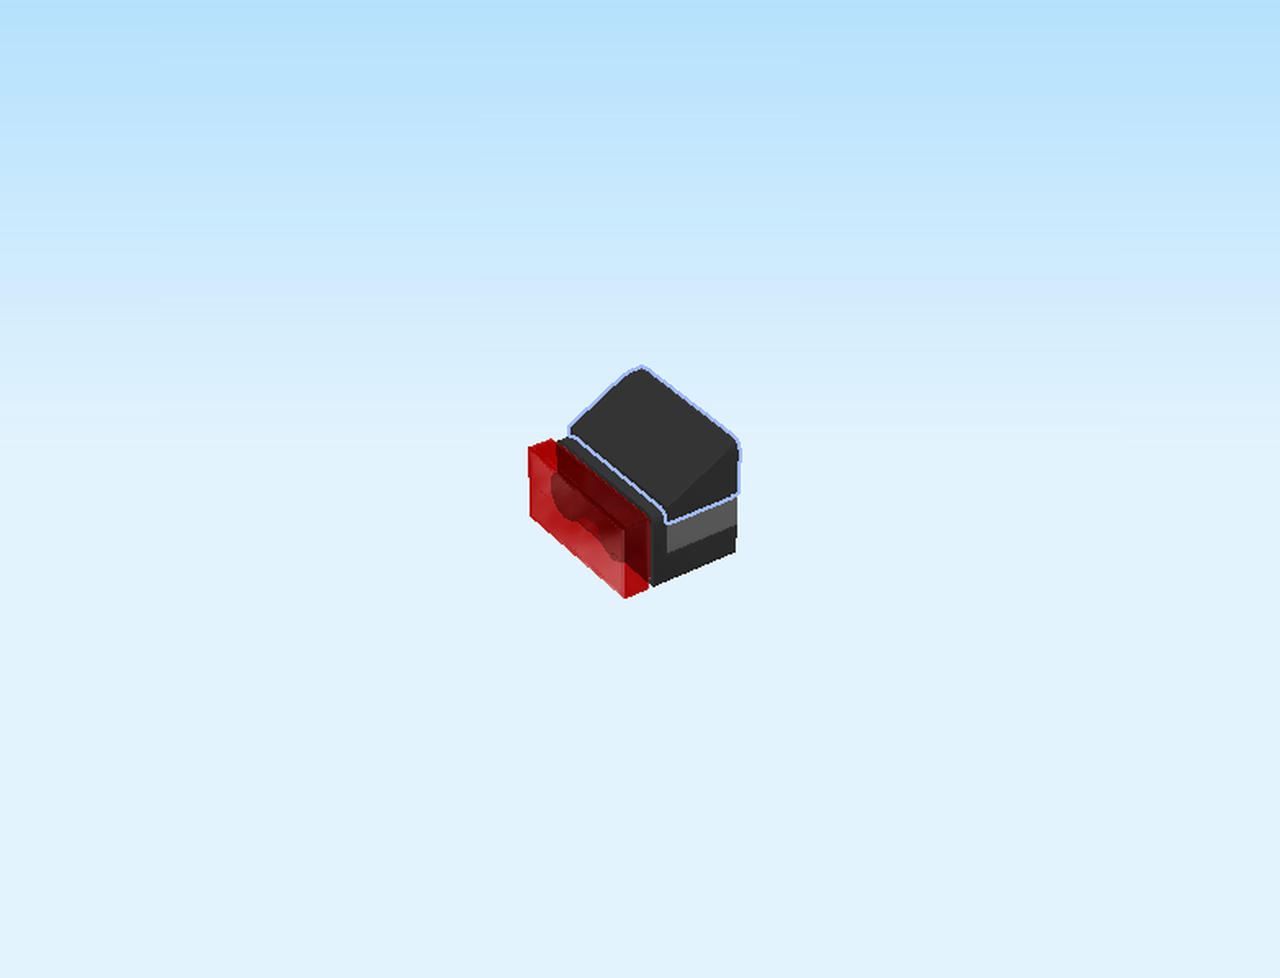
| Find 1 black smooth roof tile 1x2x⅔. |
| Put it horizontally on top with the slope to the front. |
| Mount this small build on the frontmost row, flat tile 1x2 pointing towards you. |
| Put the model aside for now. |
| Next, we will build the first of 2 wings of the shuttle. |
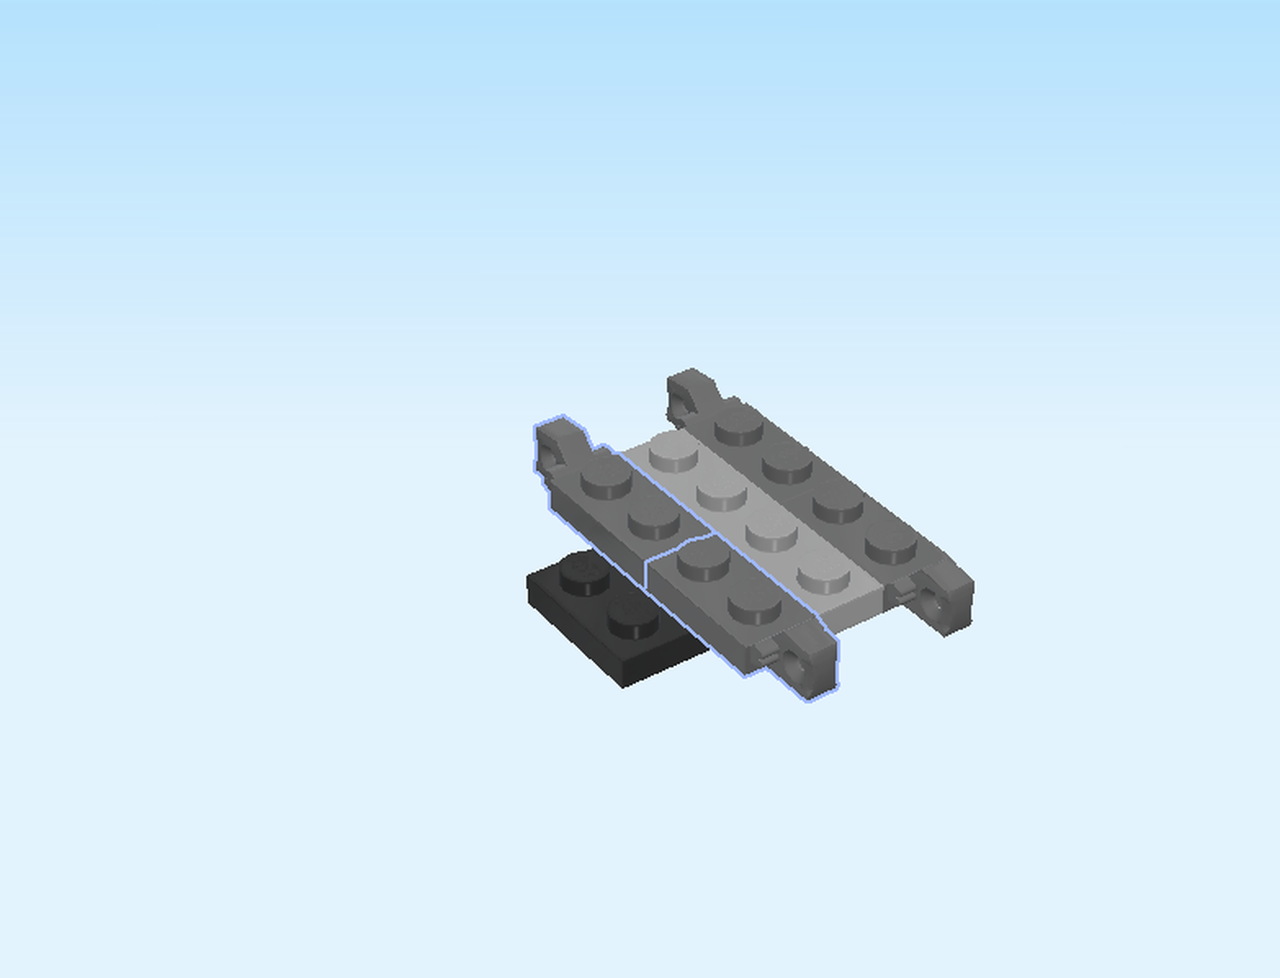
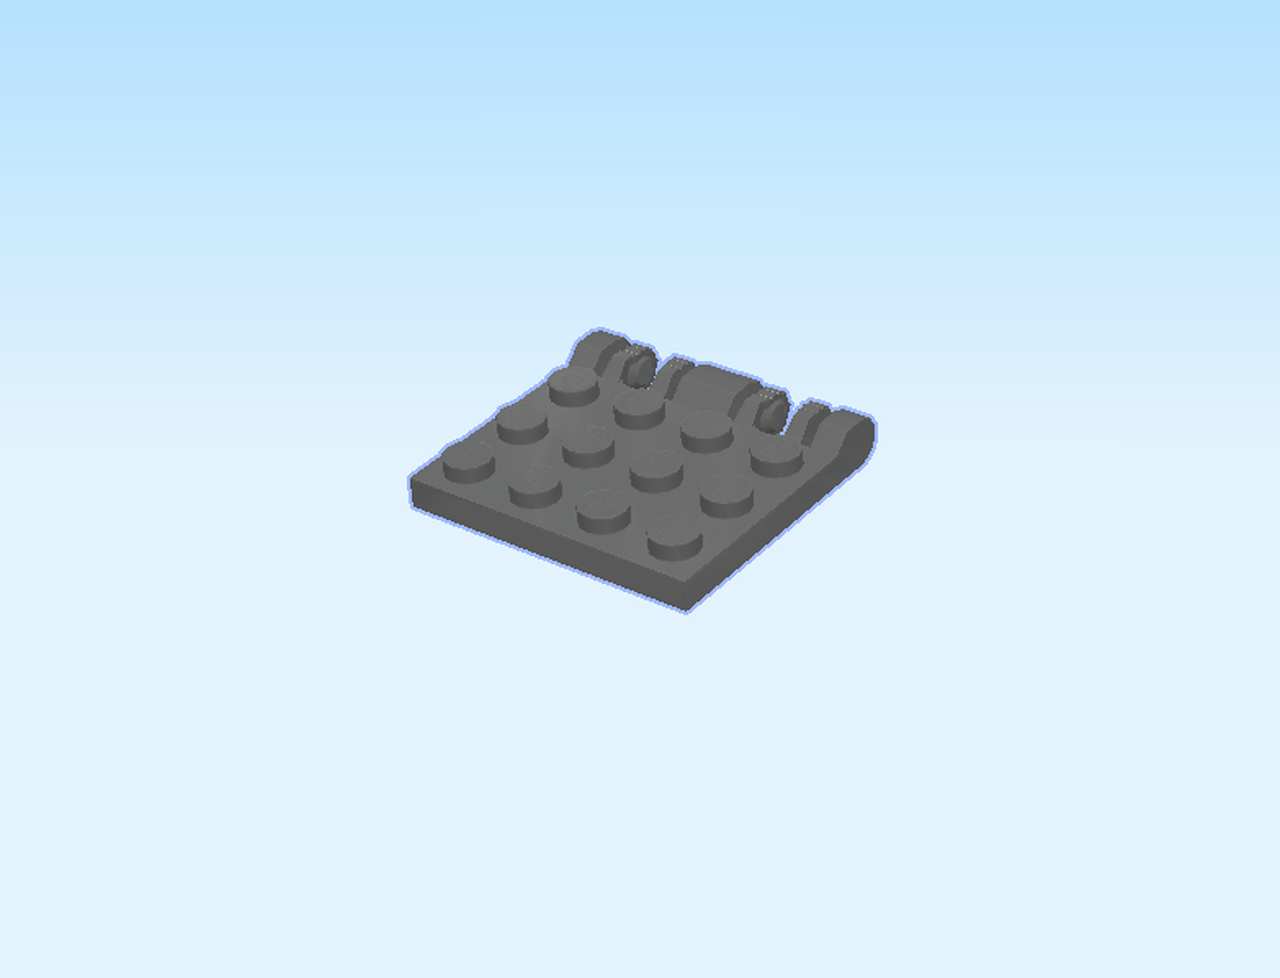
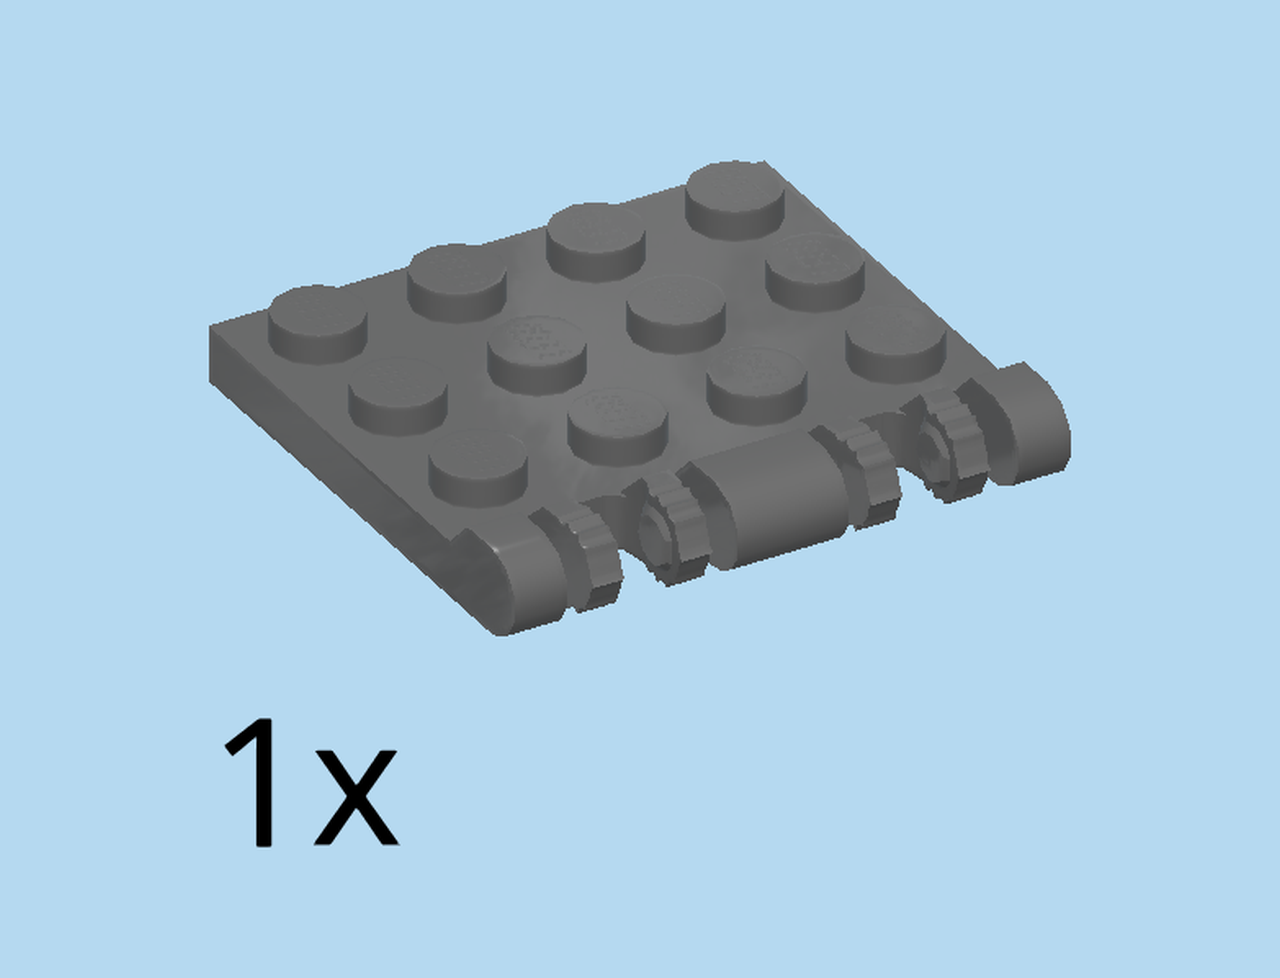
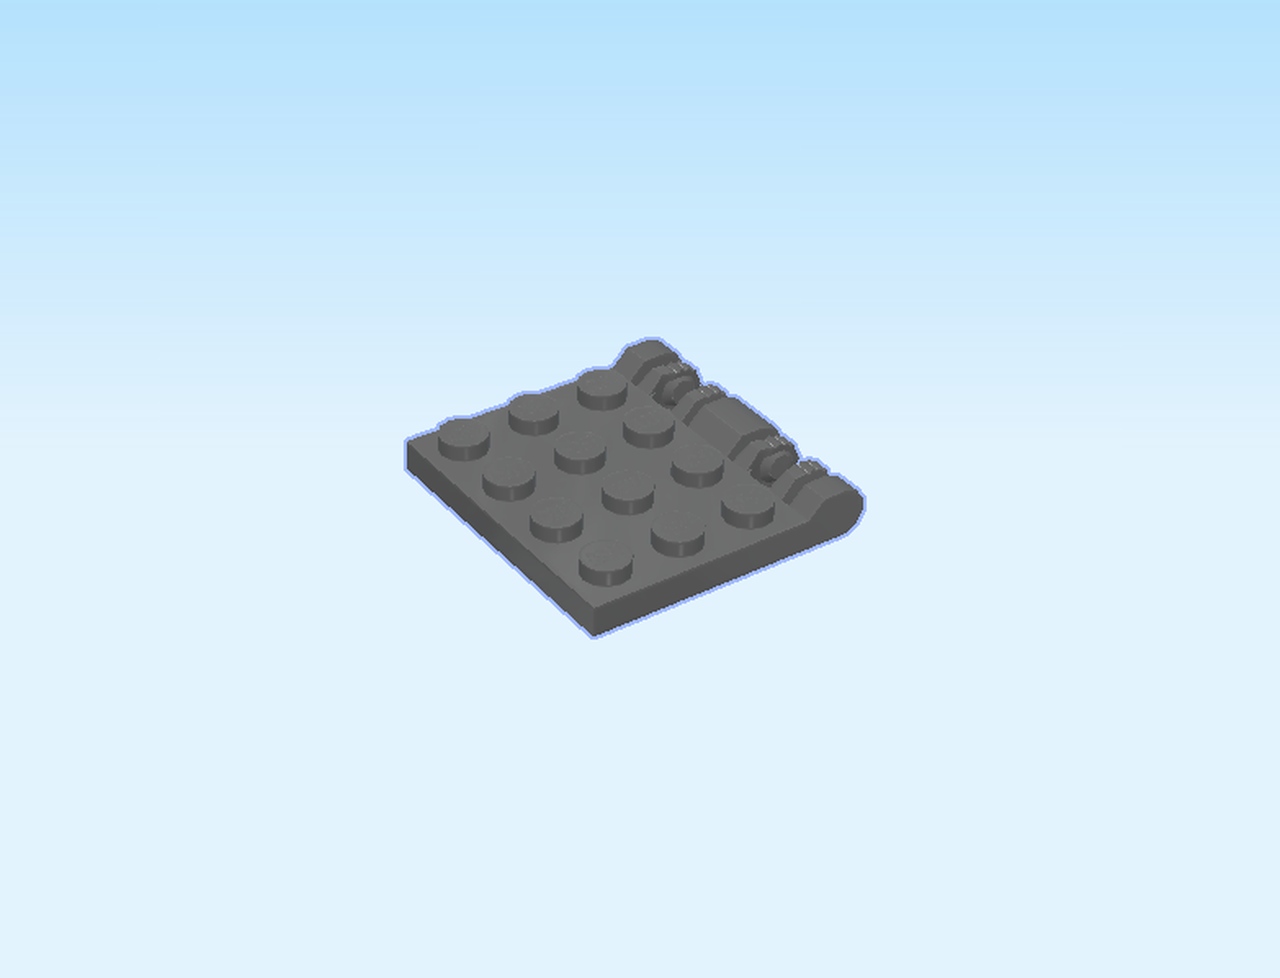
| Find 1 dark stone grey plate 4x4 with hinge forks. |
| Put it on the table with the forks to the back. |
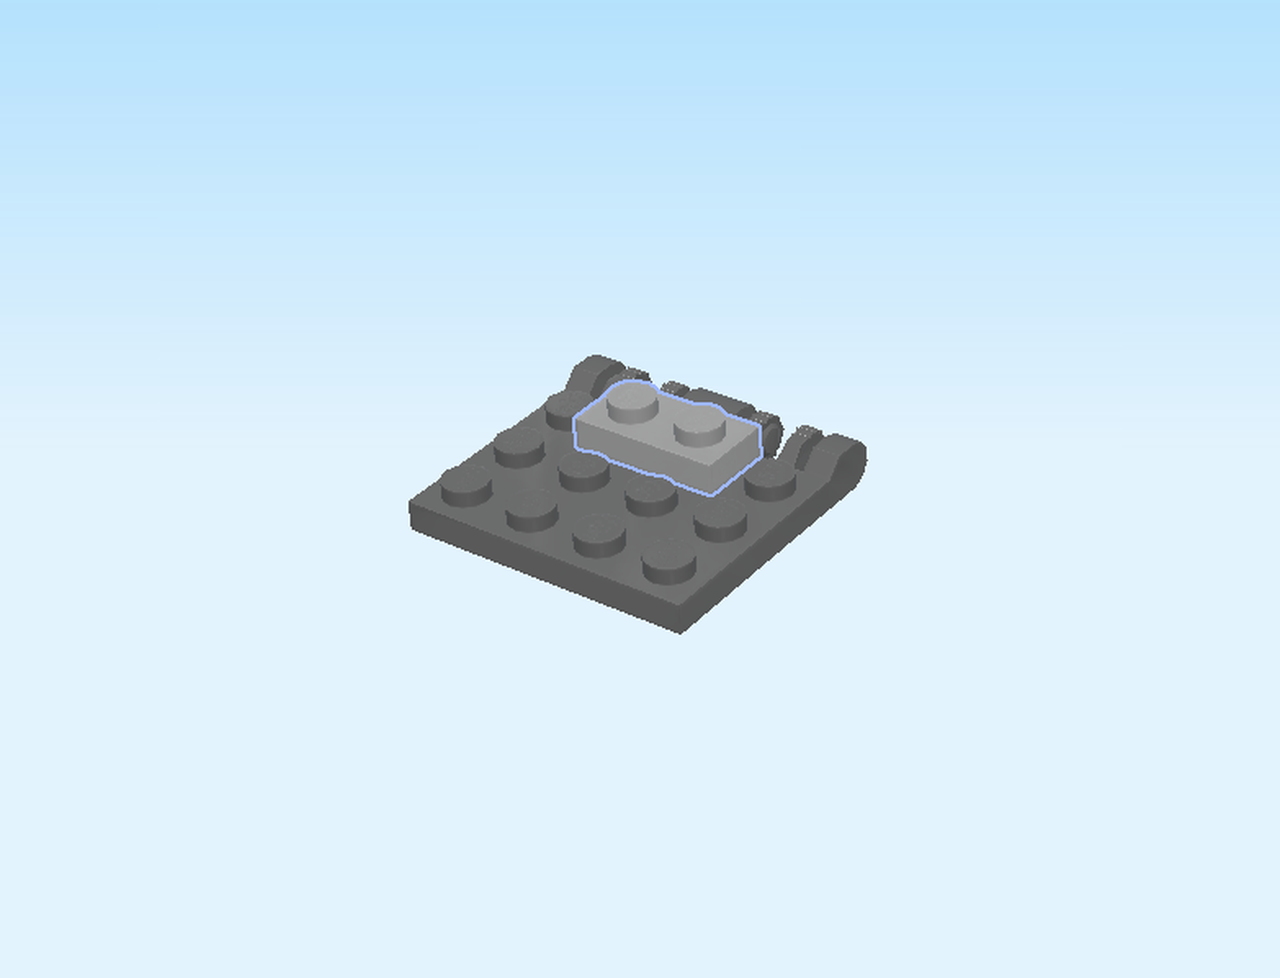
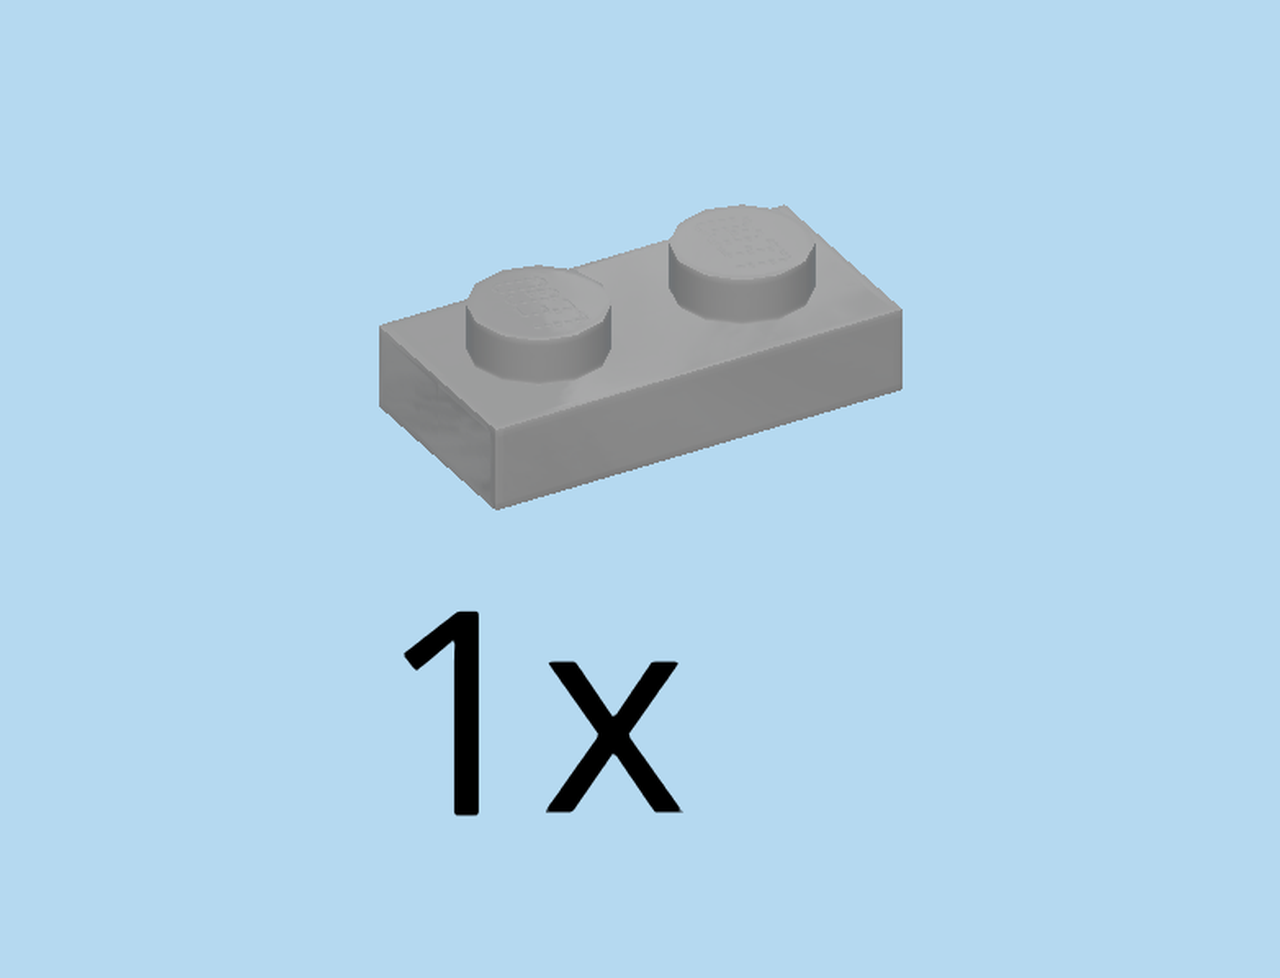
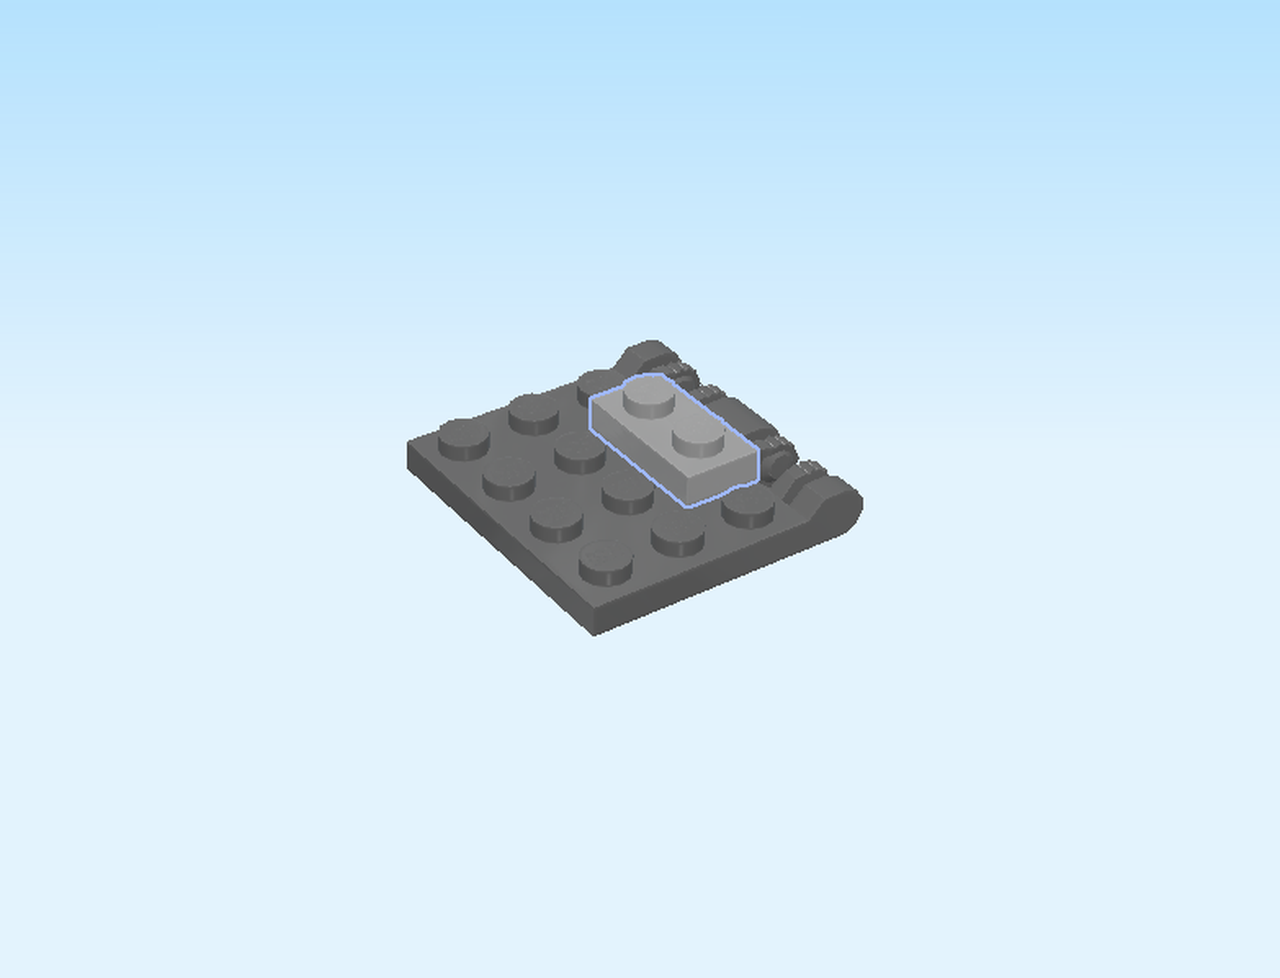
| Find 1 medium stone grey plate 1x2. |
| Put it horizontally centered on the backmost row. |
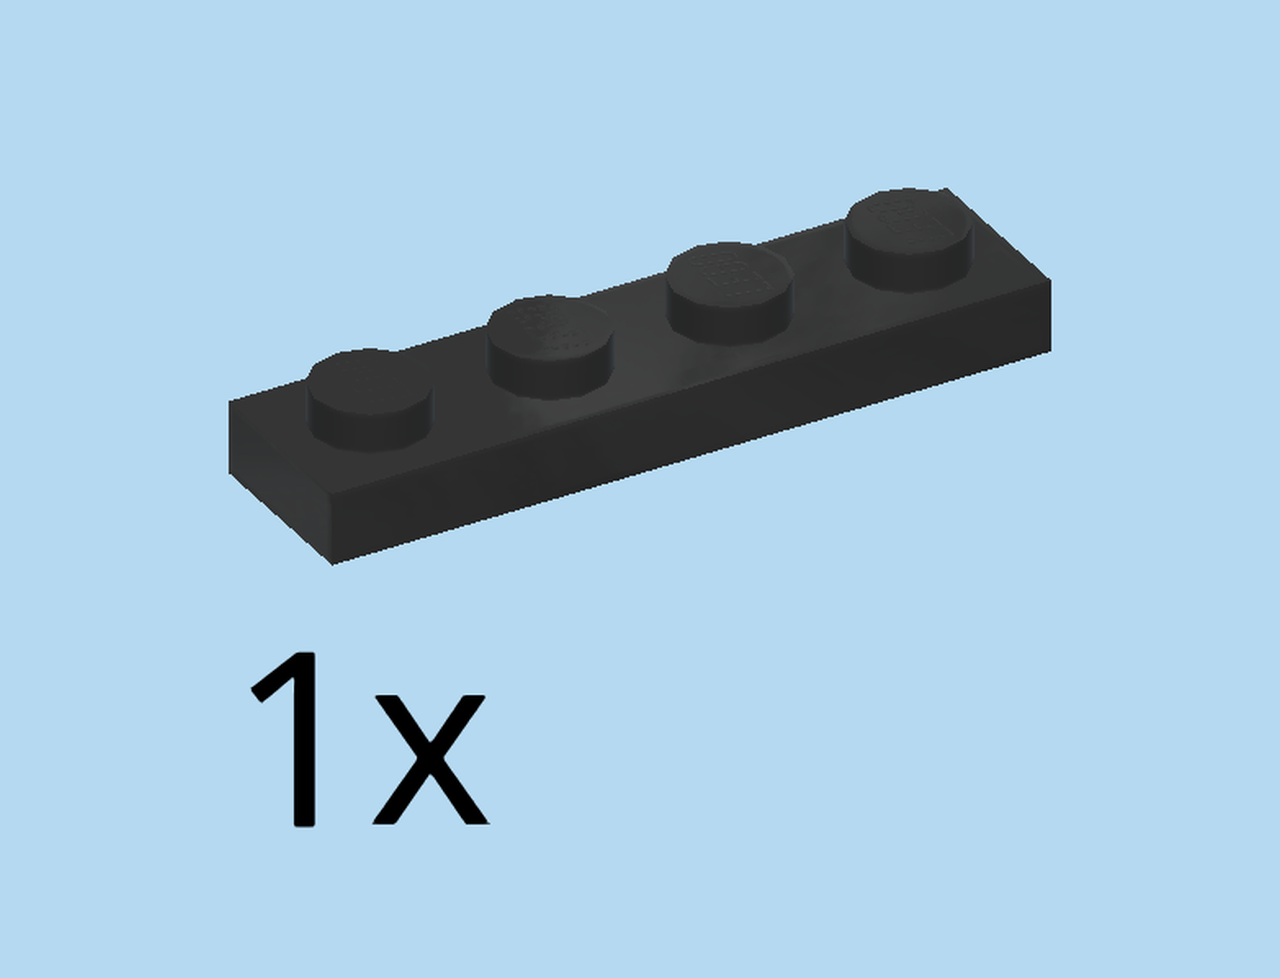
| Find 1 black plate 1x4. |
| Put it horizontally in front of the previous piece with 1 knob overhanging to the left. |
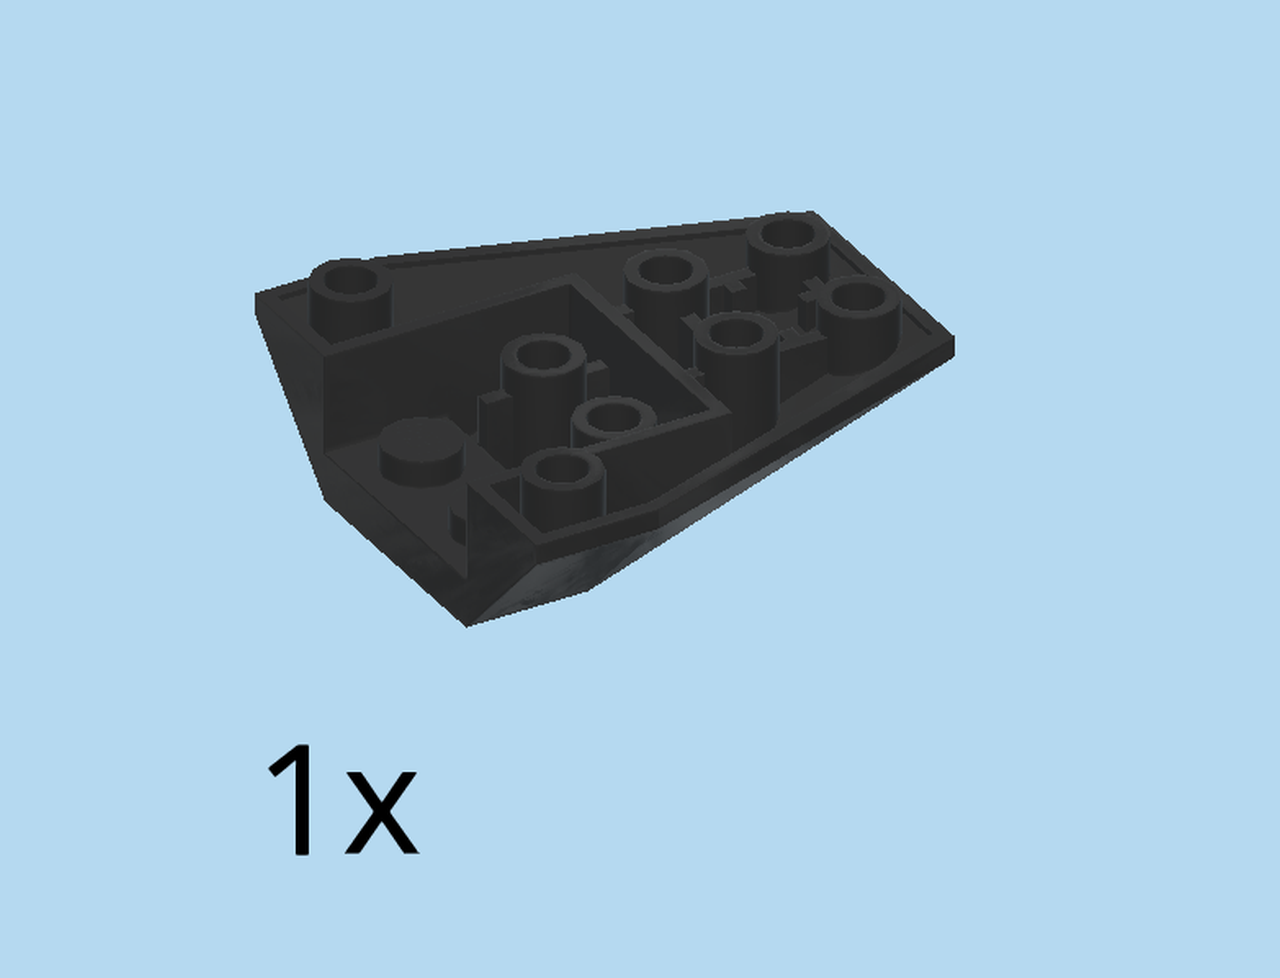
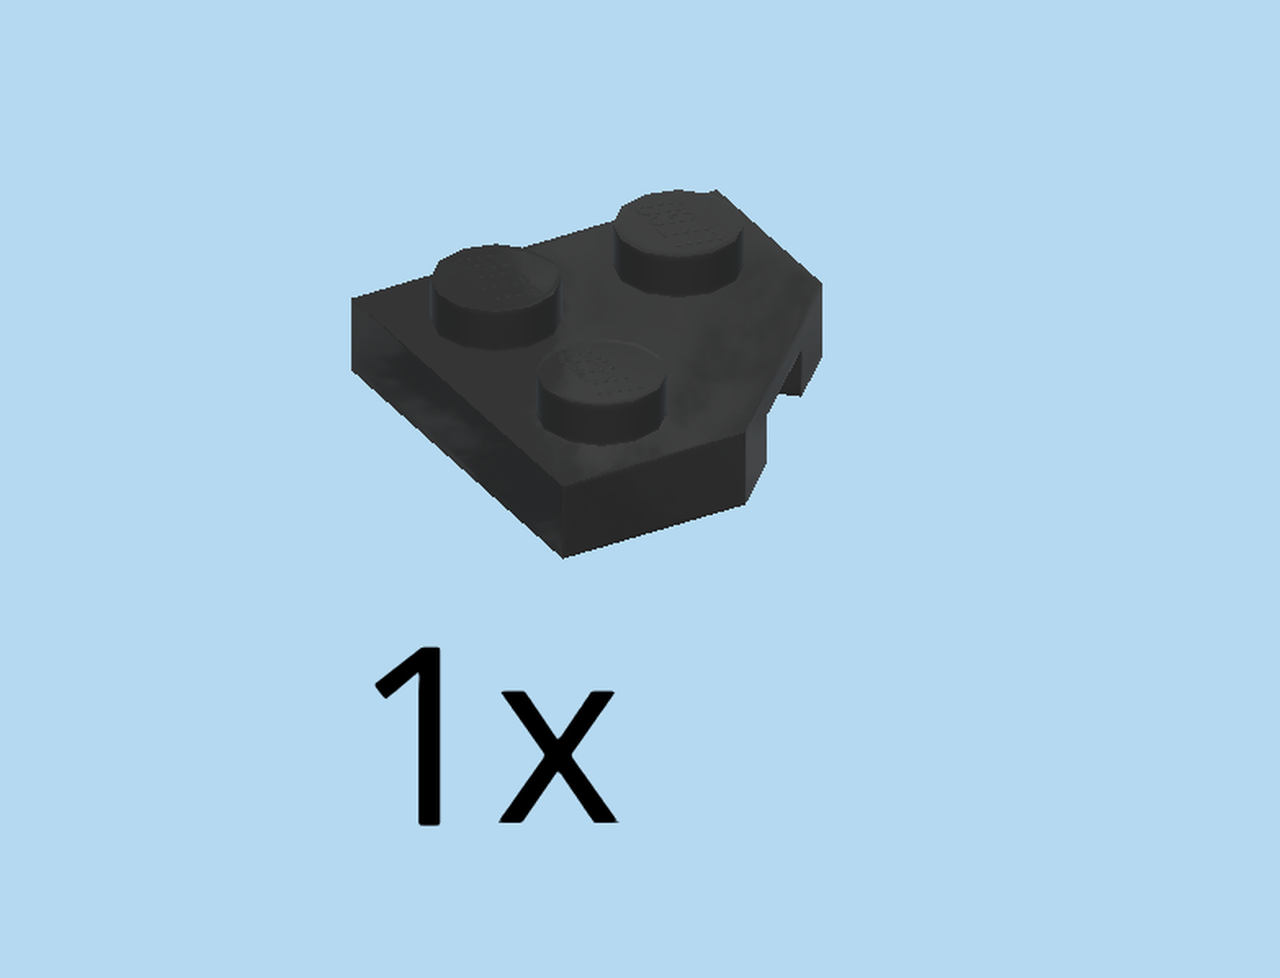
| Find 1 black plate 2x2 with 45° corner. |
| Put it to the right of the 2 previous pieces, the 45 degree corner to the back and right. |
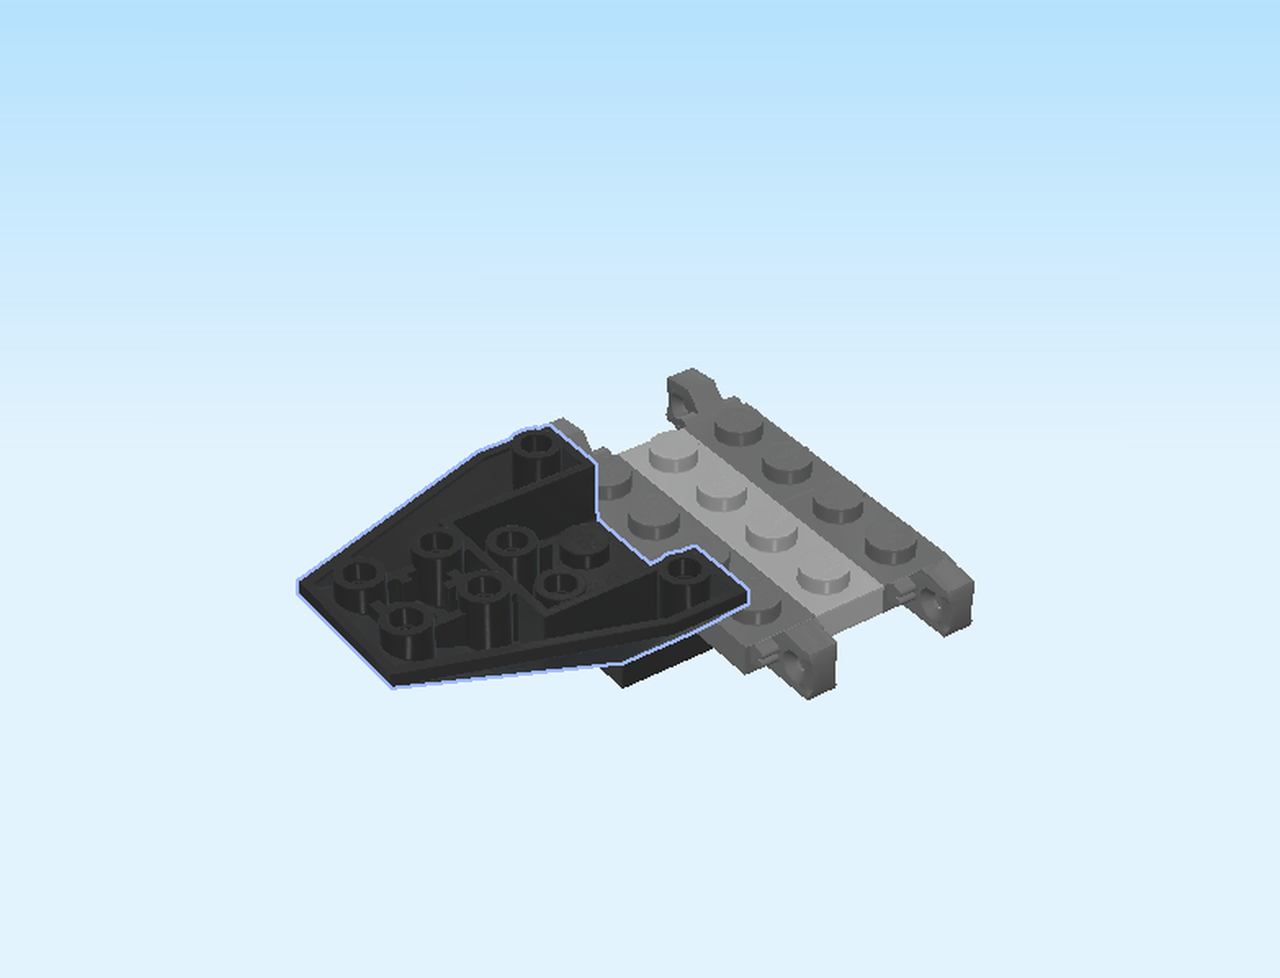
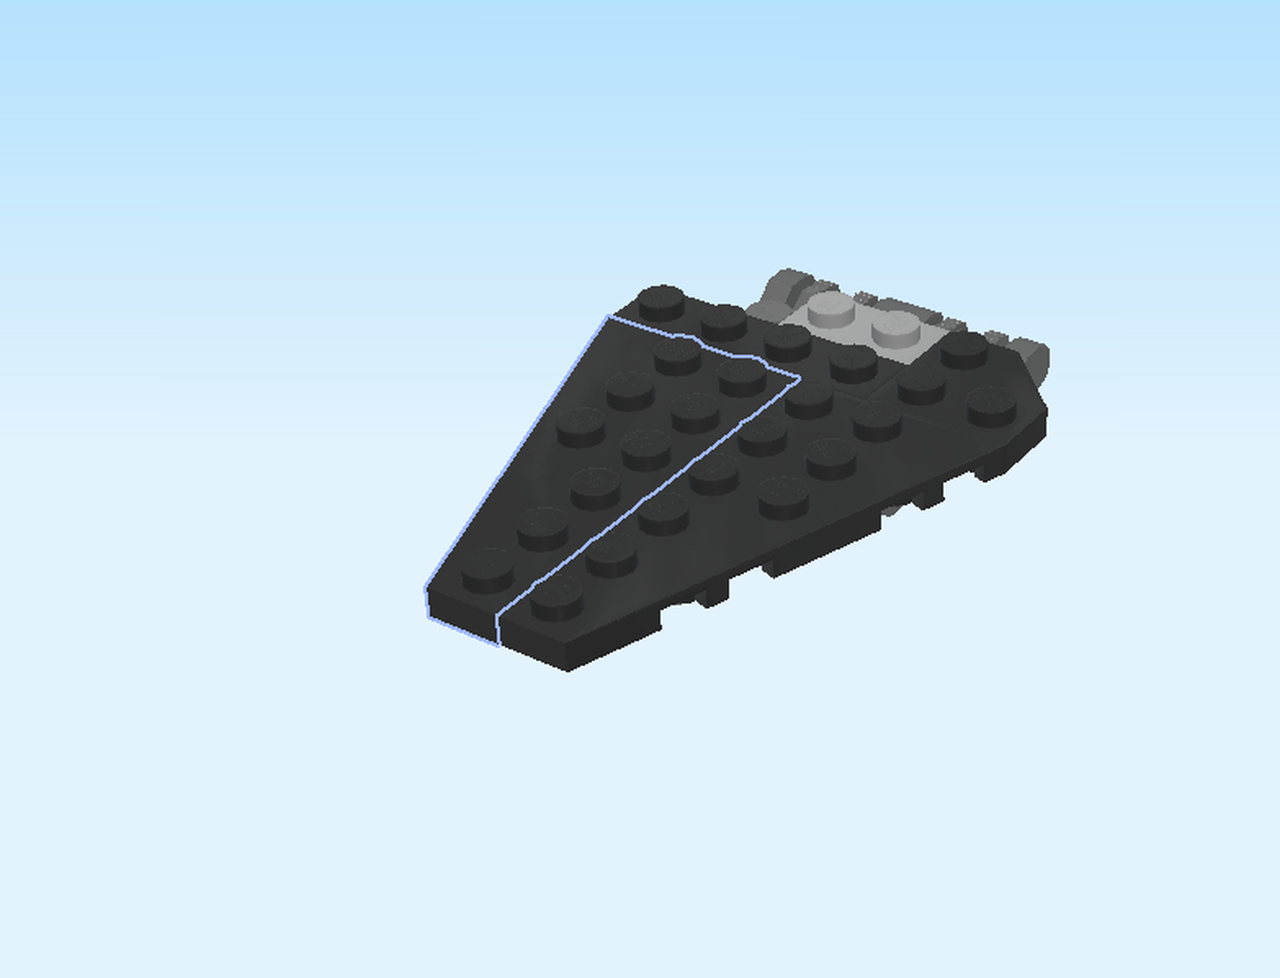
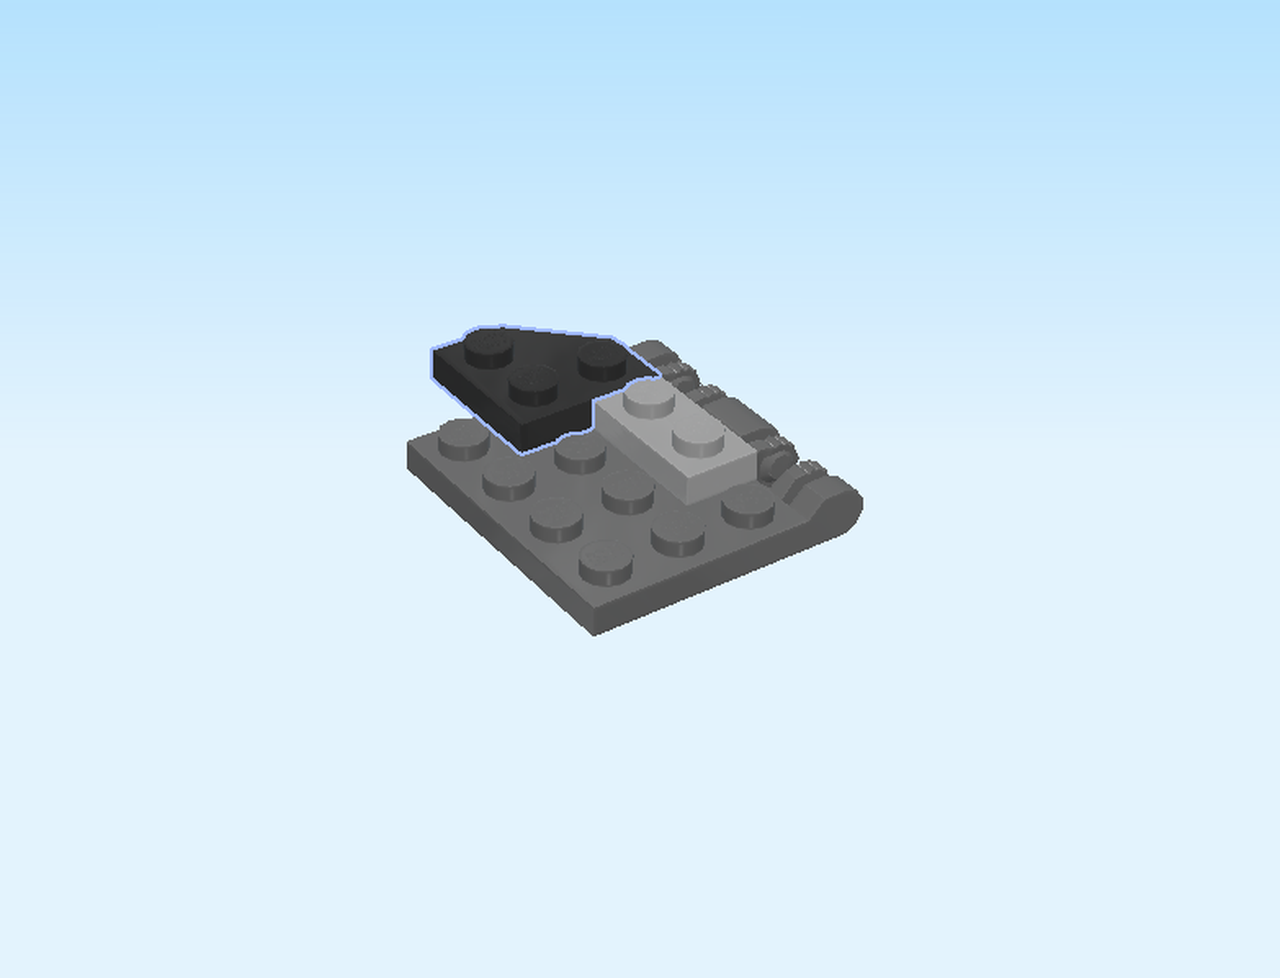
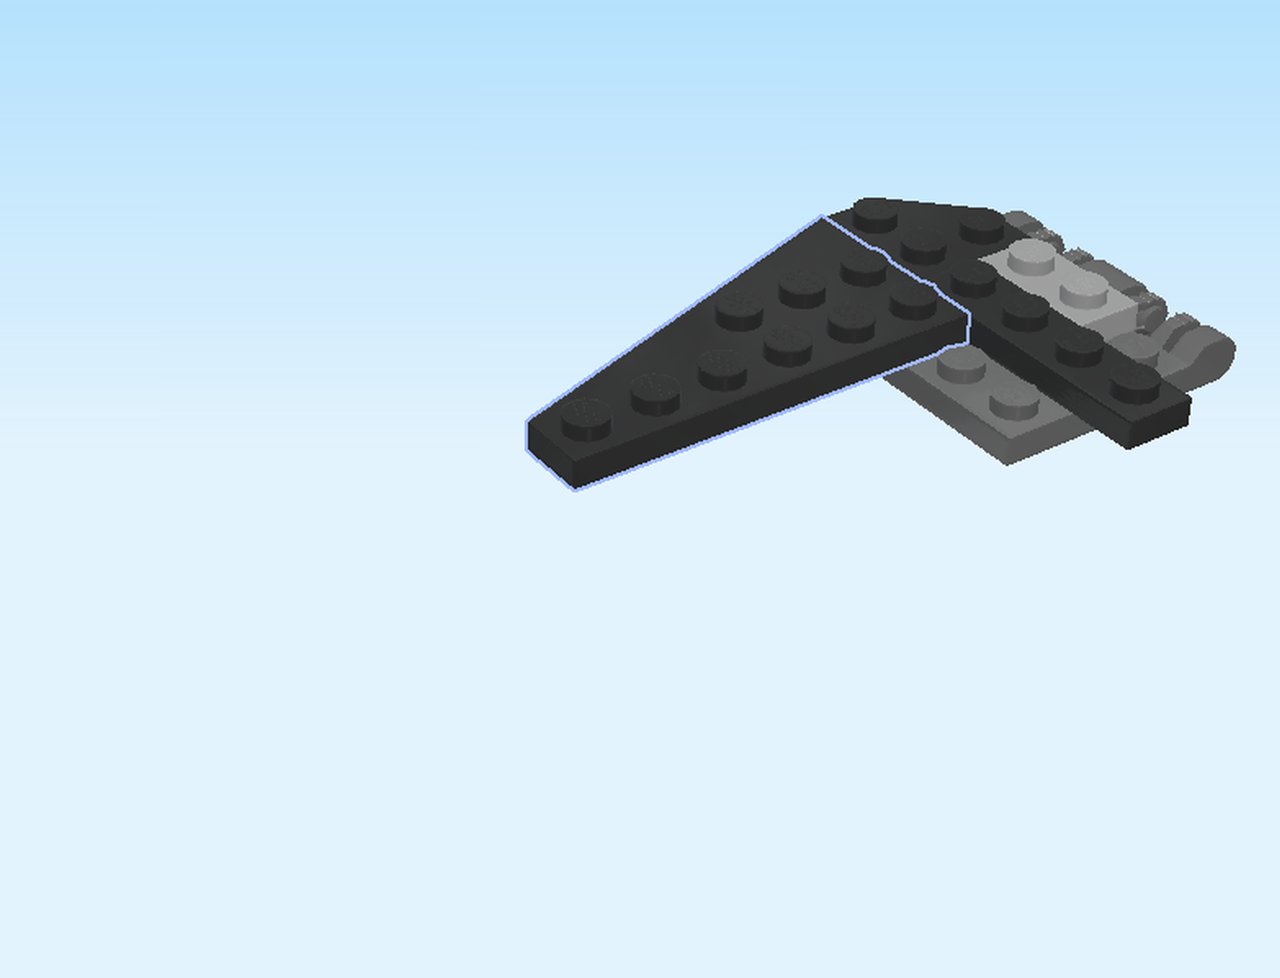
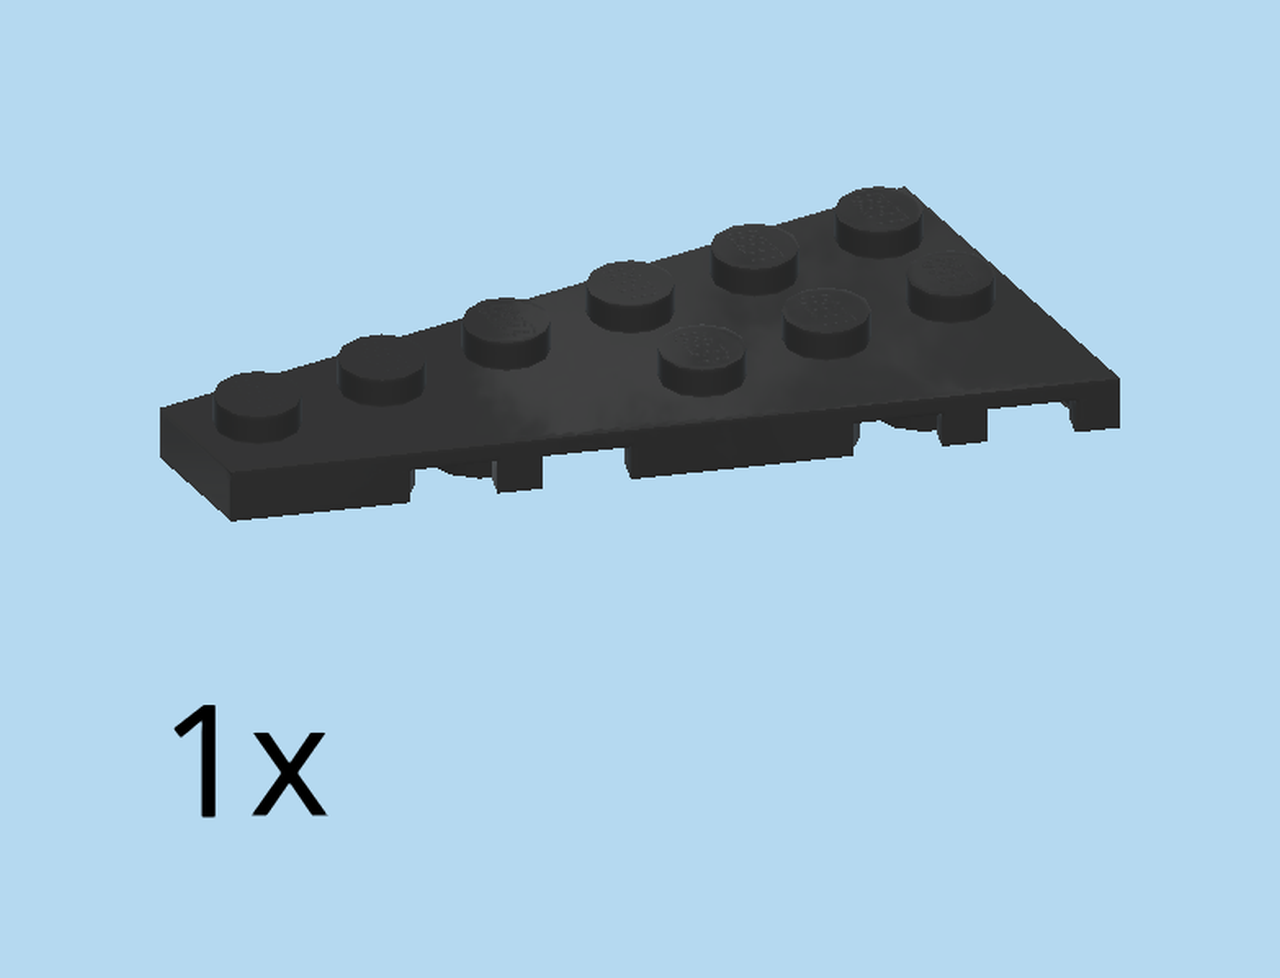
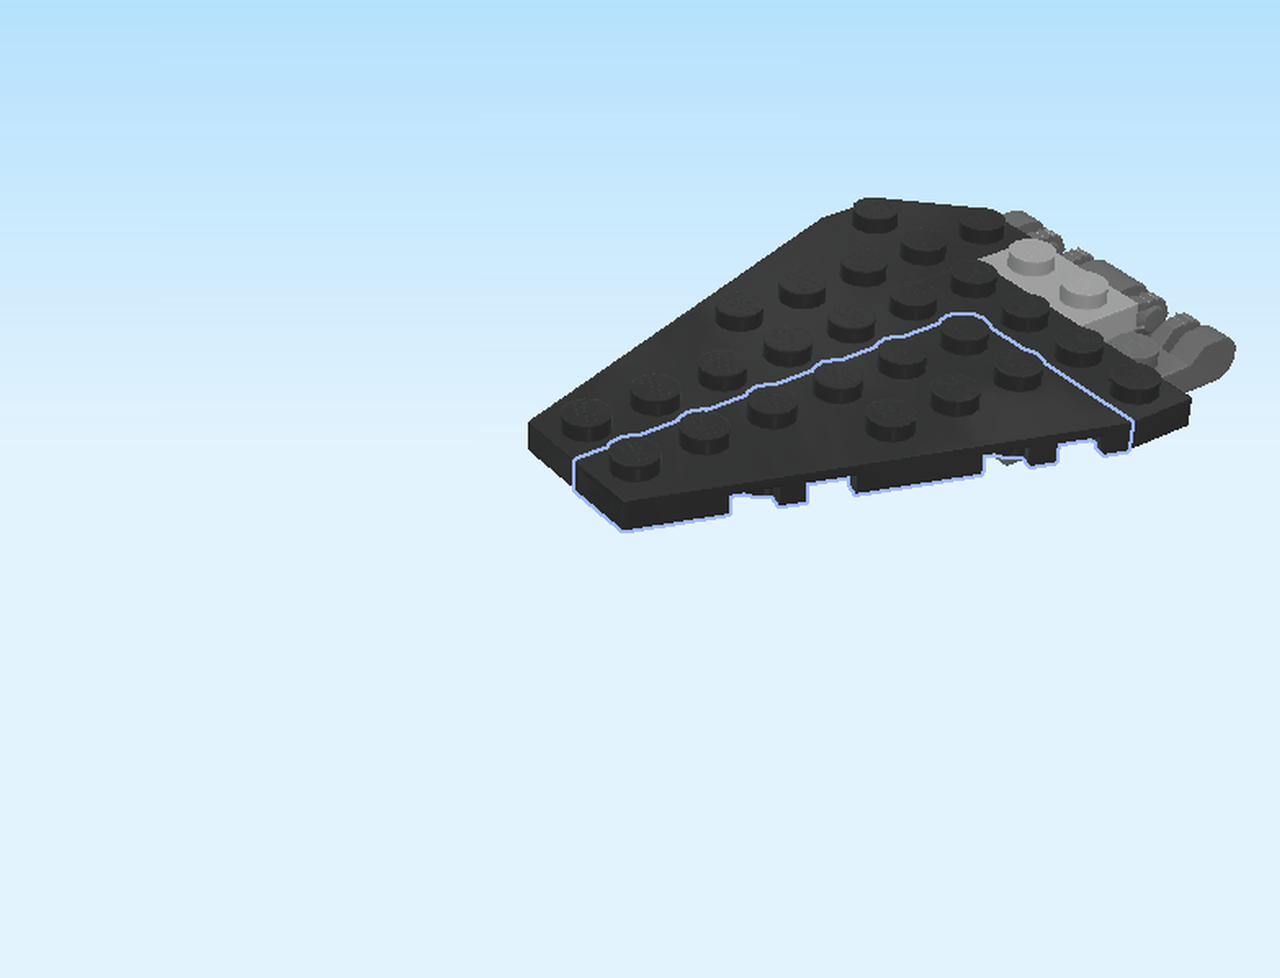
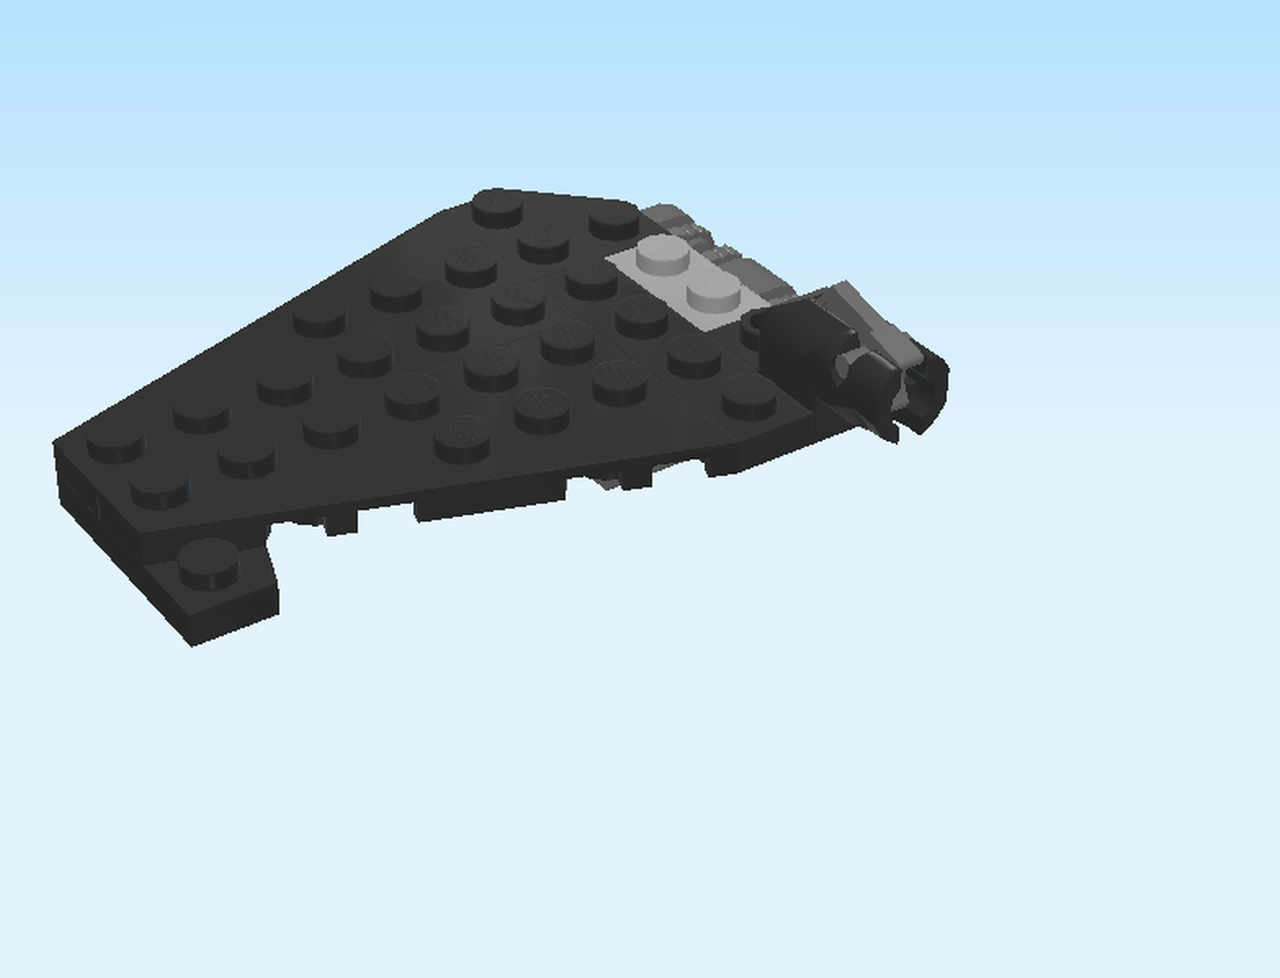
| Find 1 black left wing plate 3x6 with angle. |
| Put it vertically on the 2 front knobs on the right with the narrow edge towards you, angled side to the right. |
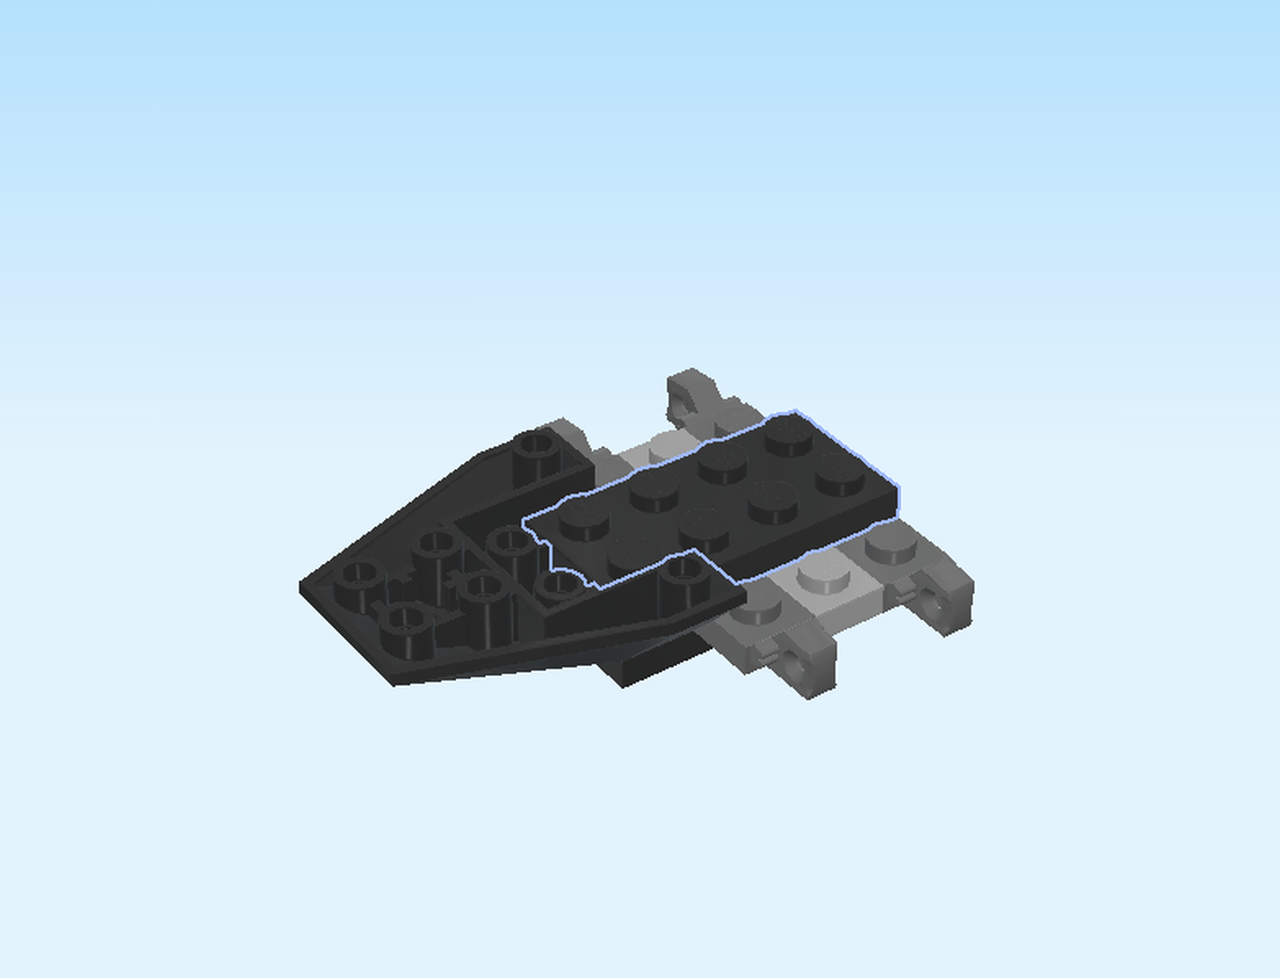
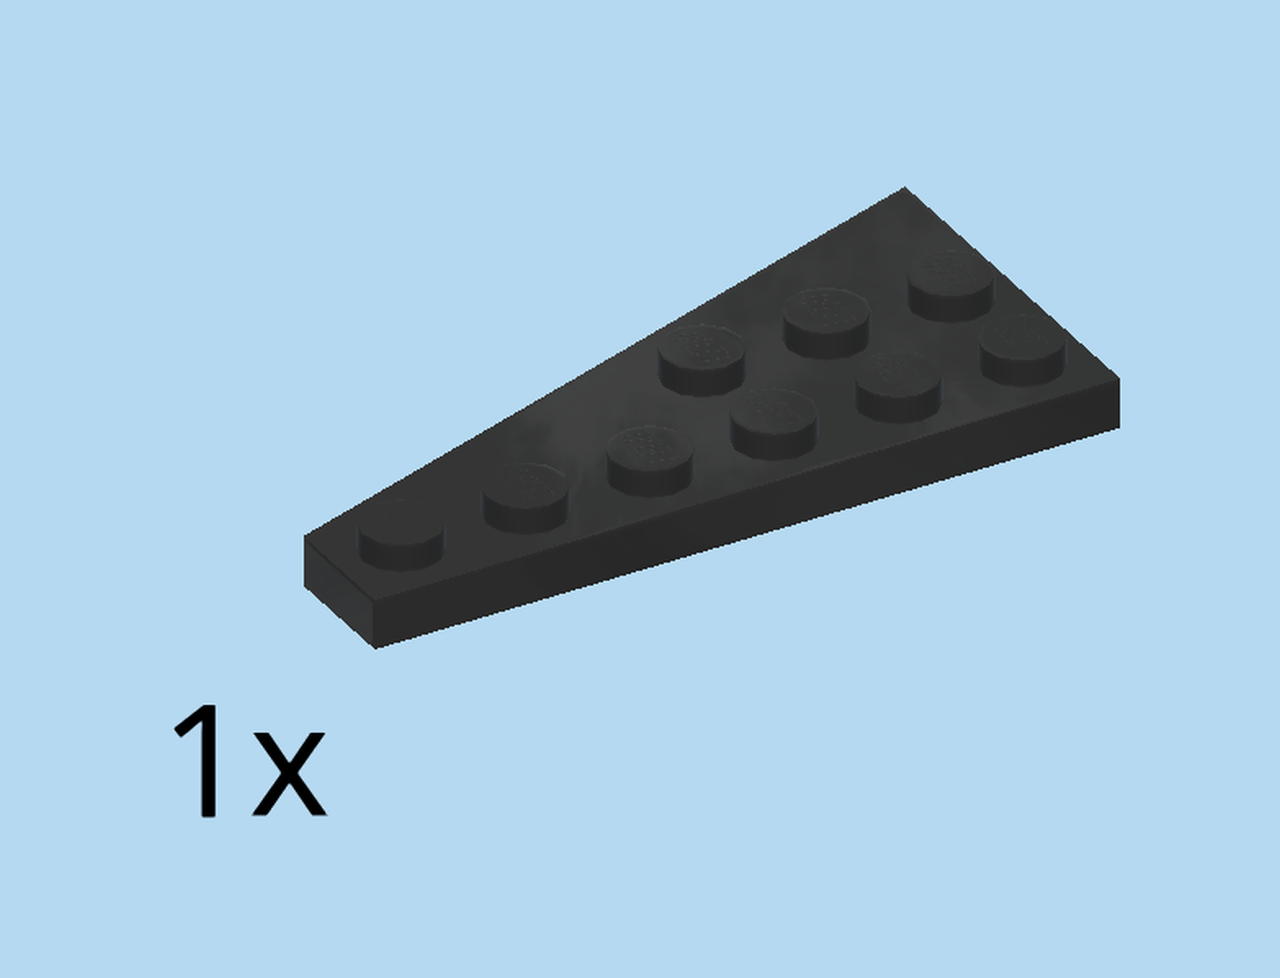
| Find 1 black right wing plate 3x6 with angle. |
| Put it on the 2 front knobs to the left with the narrow edge towards you, angled side to the left. |
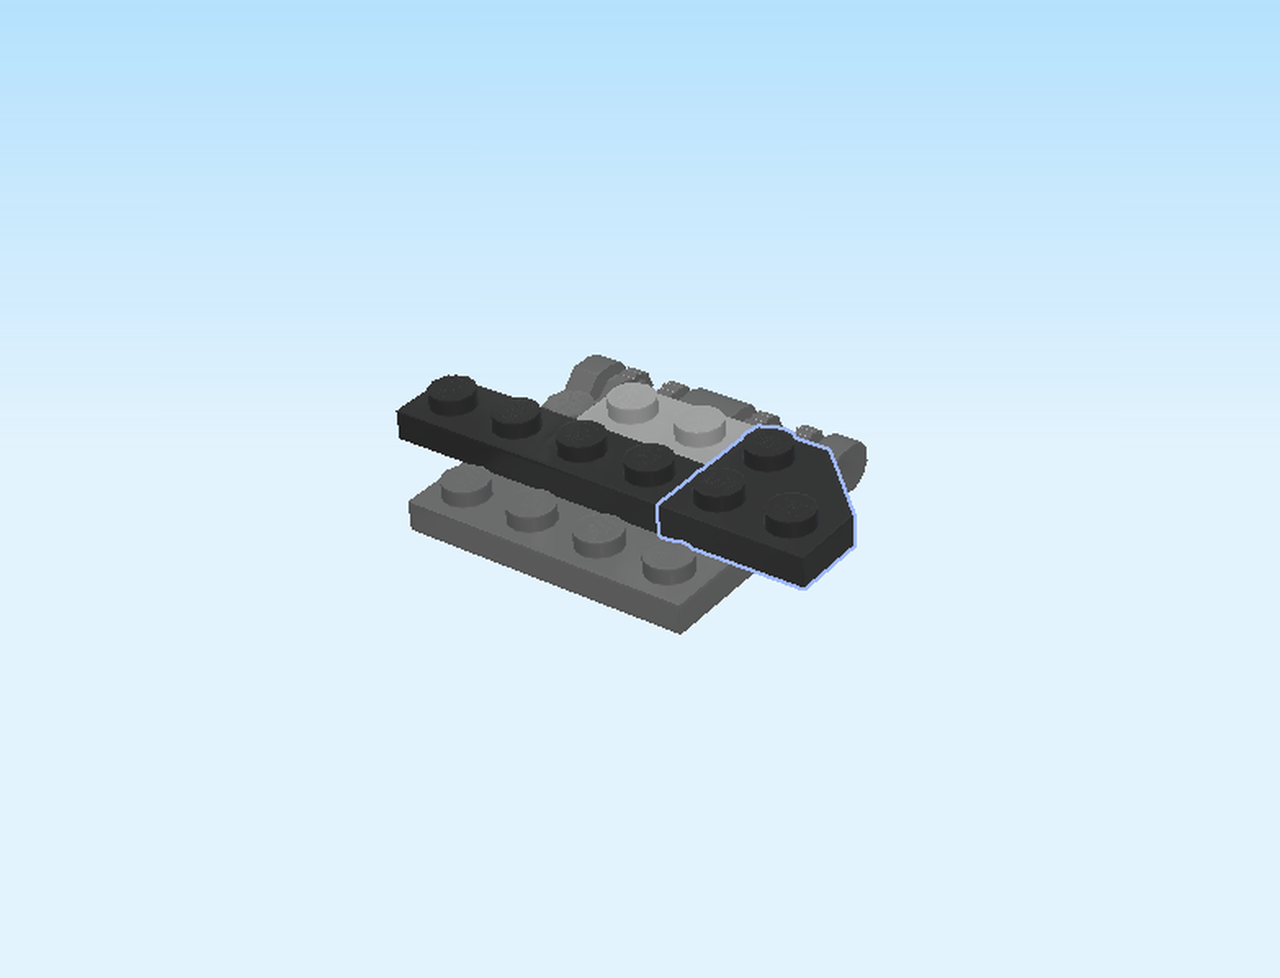
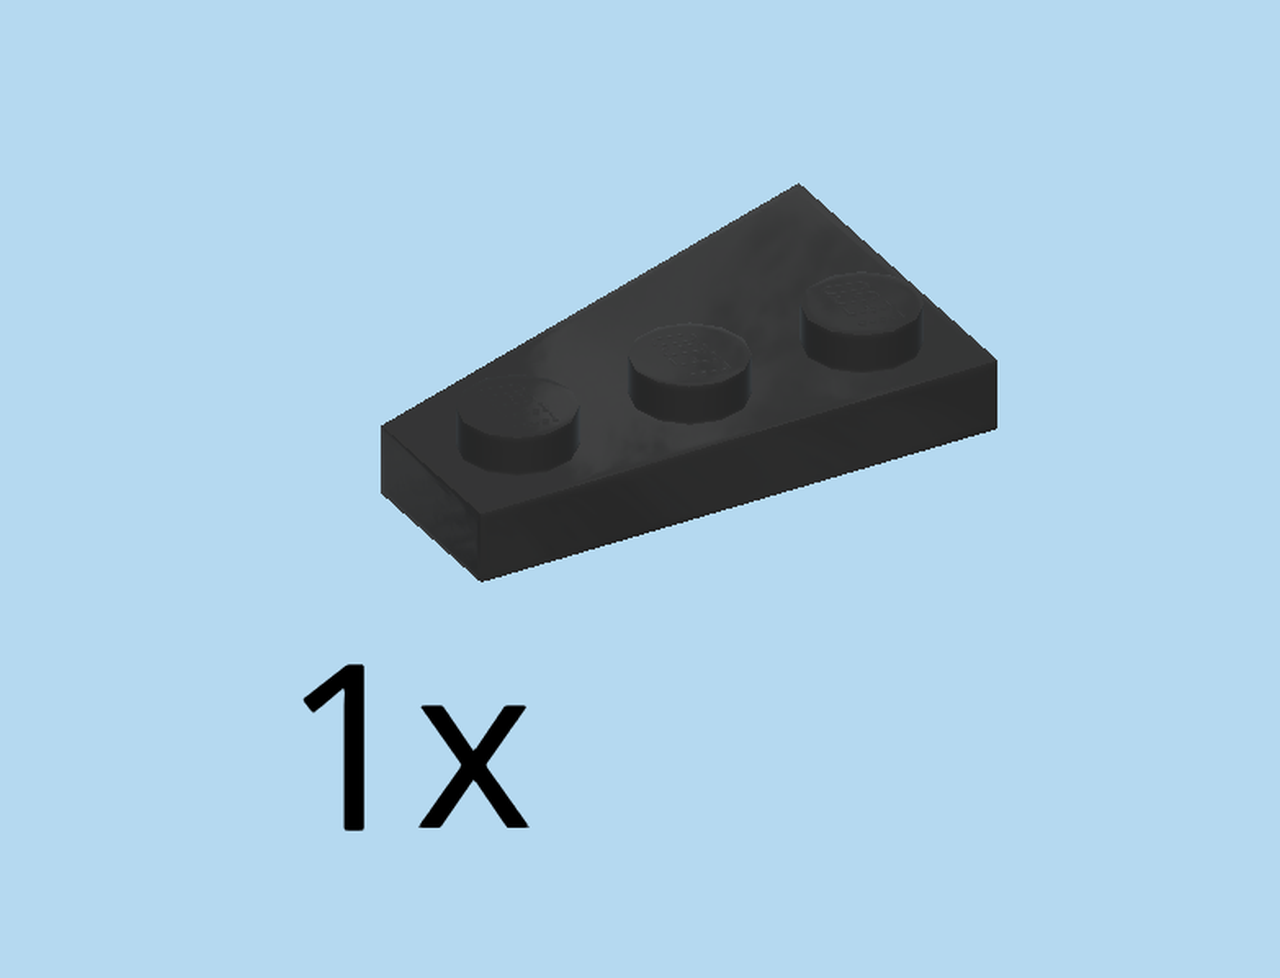
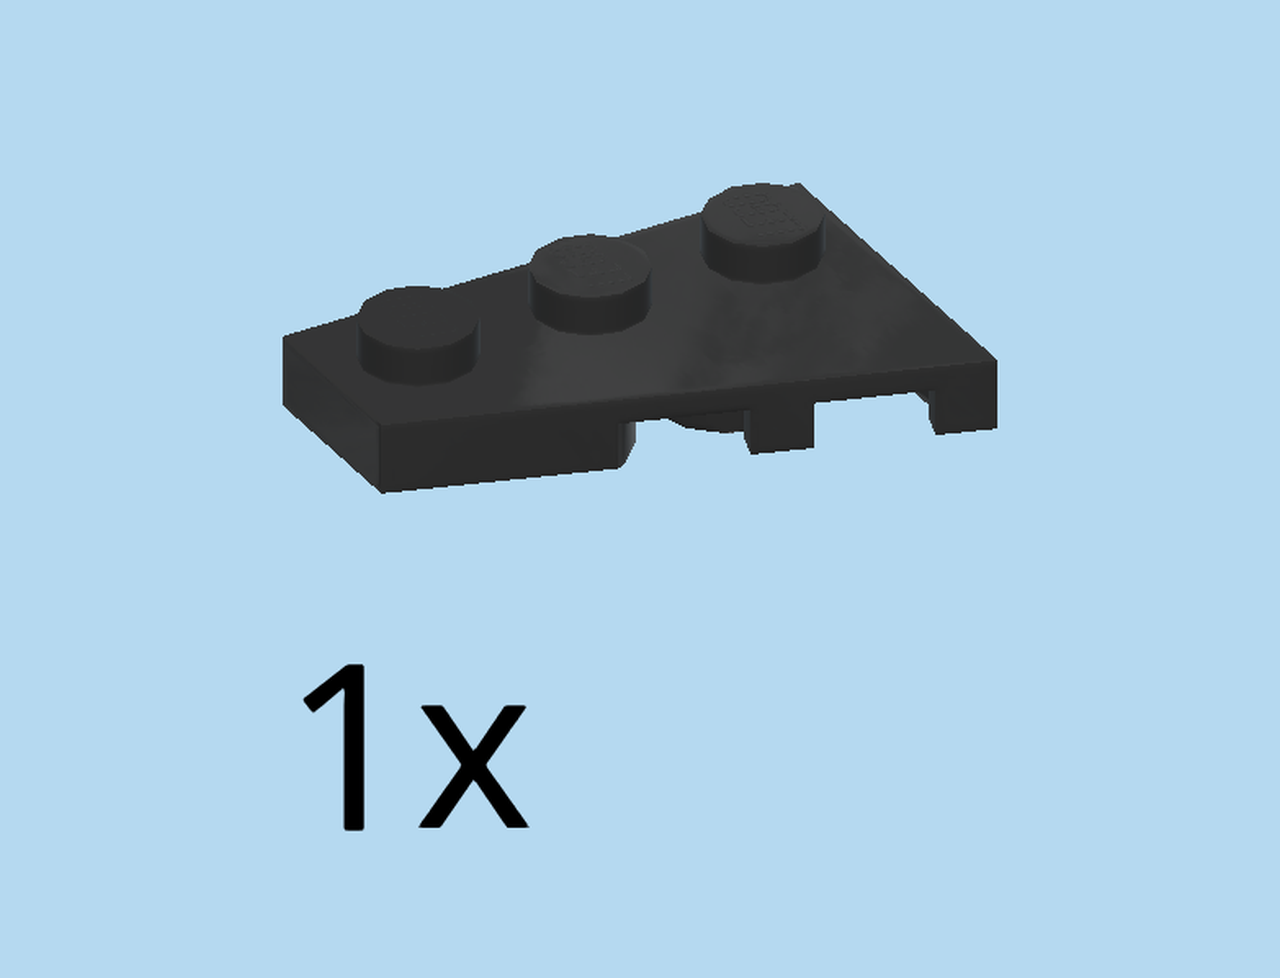
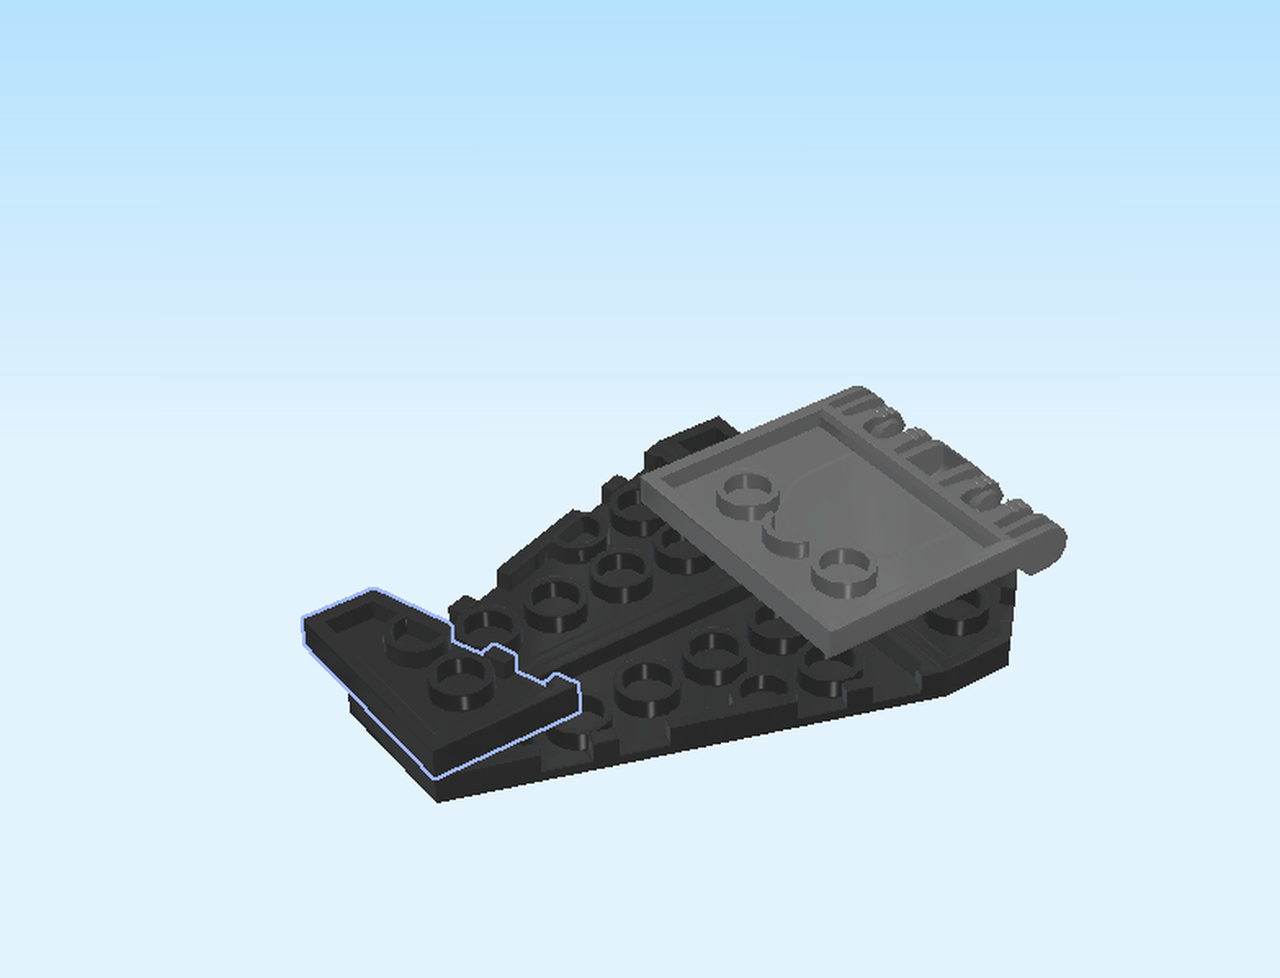
| Find 1 black right wing plate 2x3 with angle. |
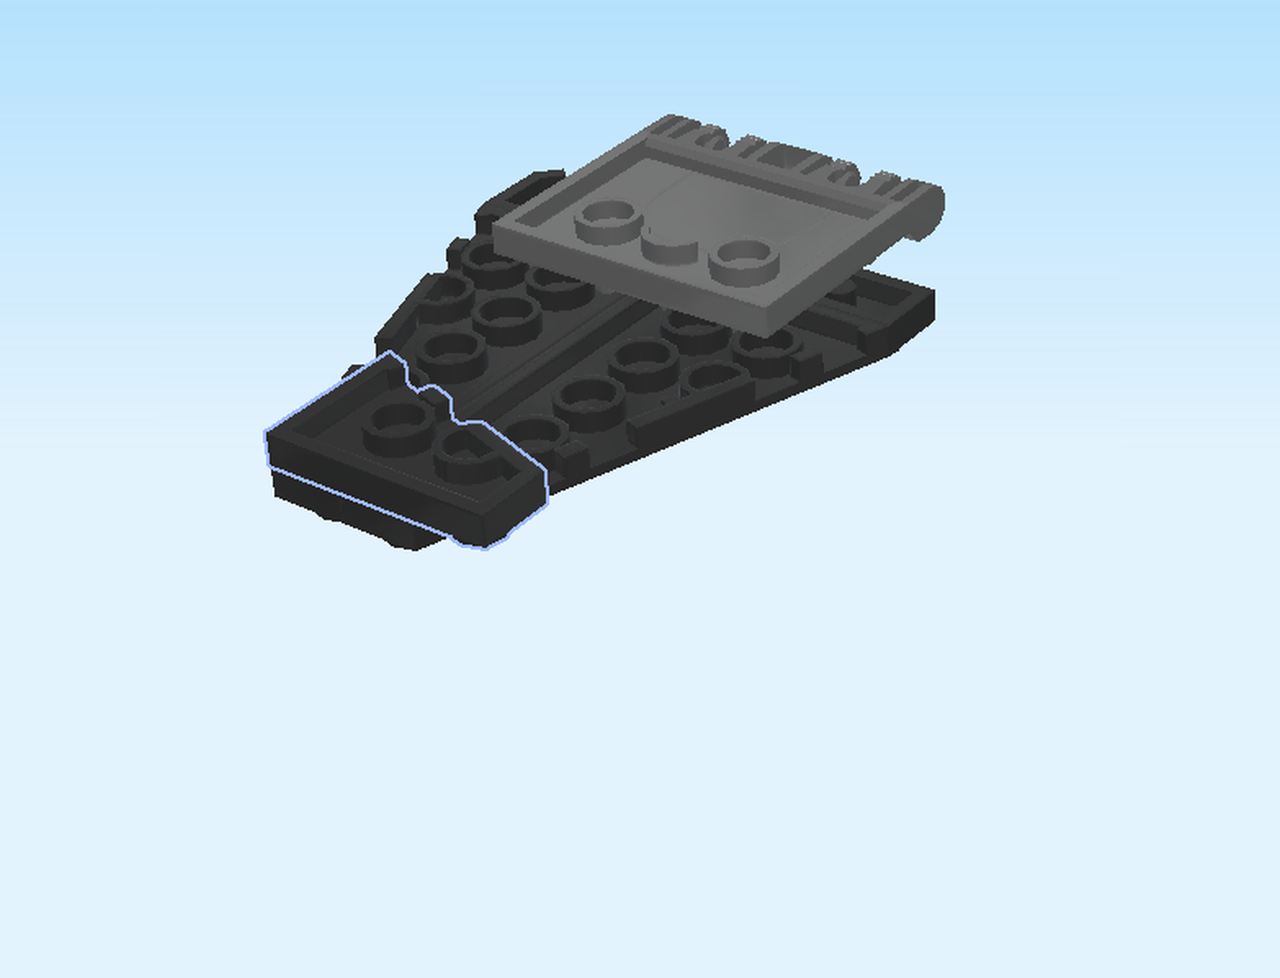
| Turn the build upside down with the tip of the wing towards you. |
| Turn the angle plate upside down and put the plate in the front with the narrow edge overhanging to the right. |
| Turn the model right side up again. |
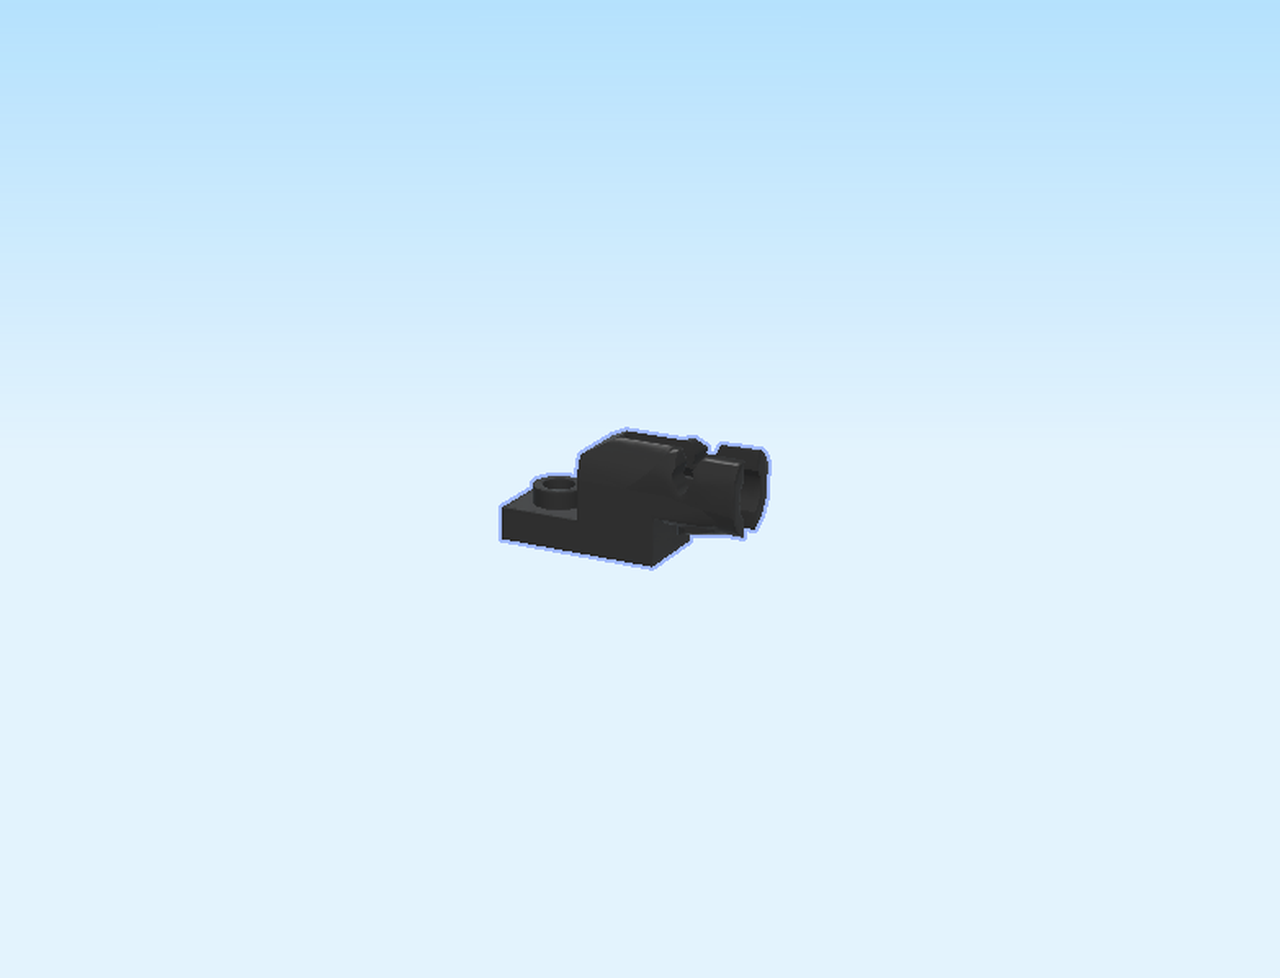
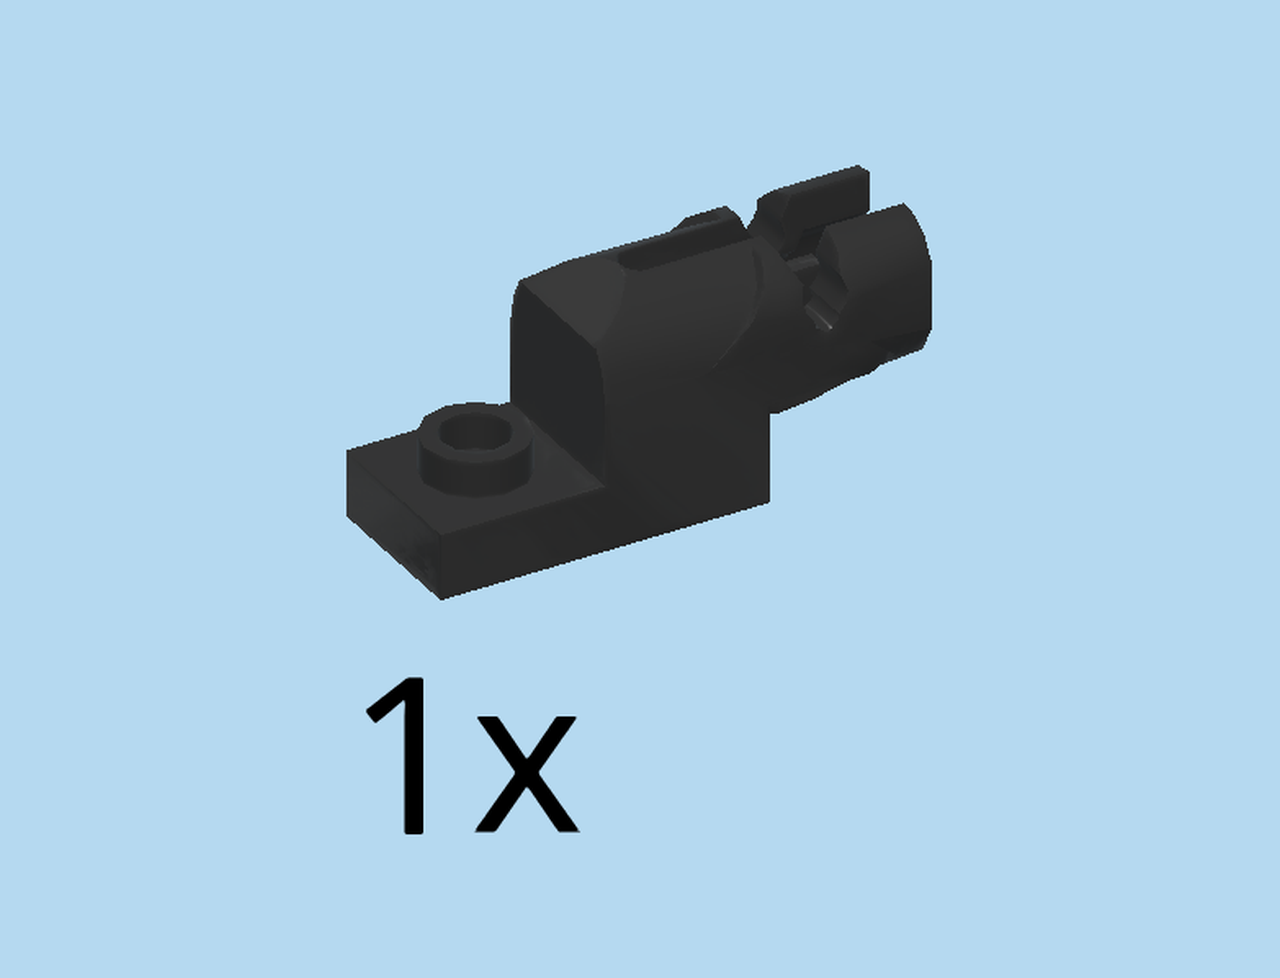
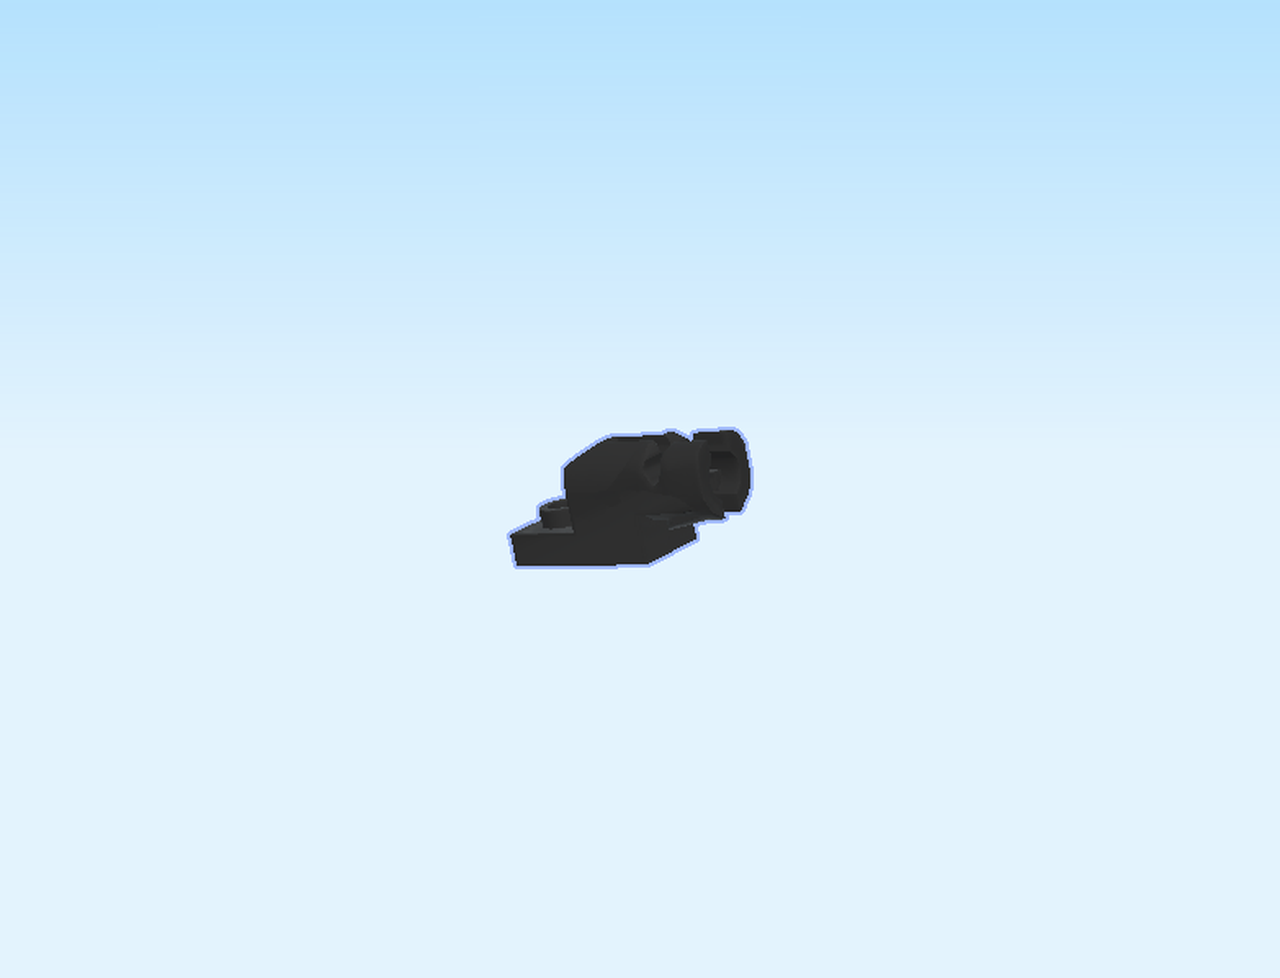
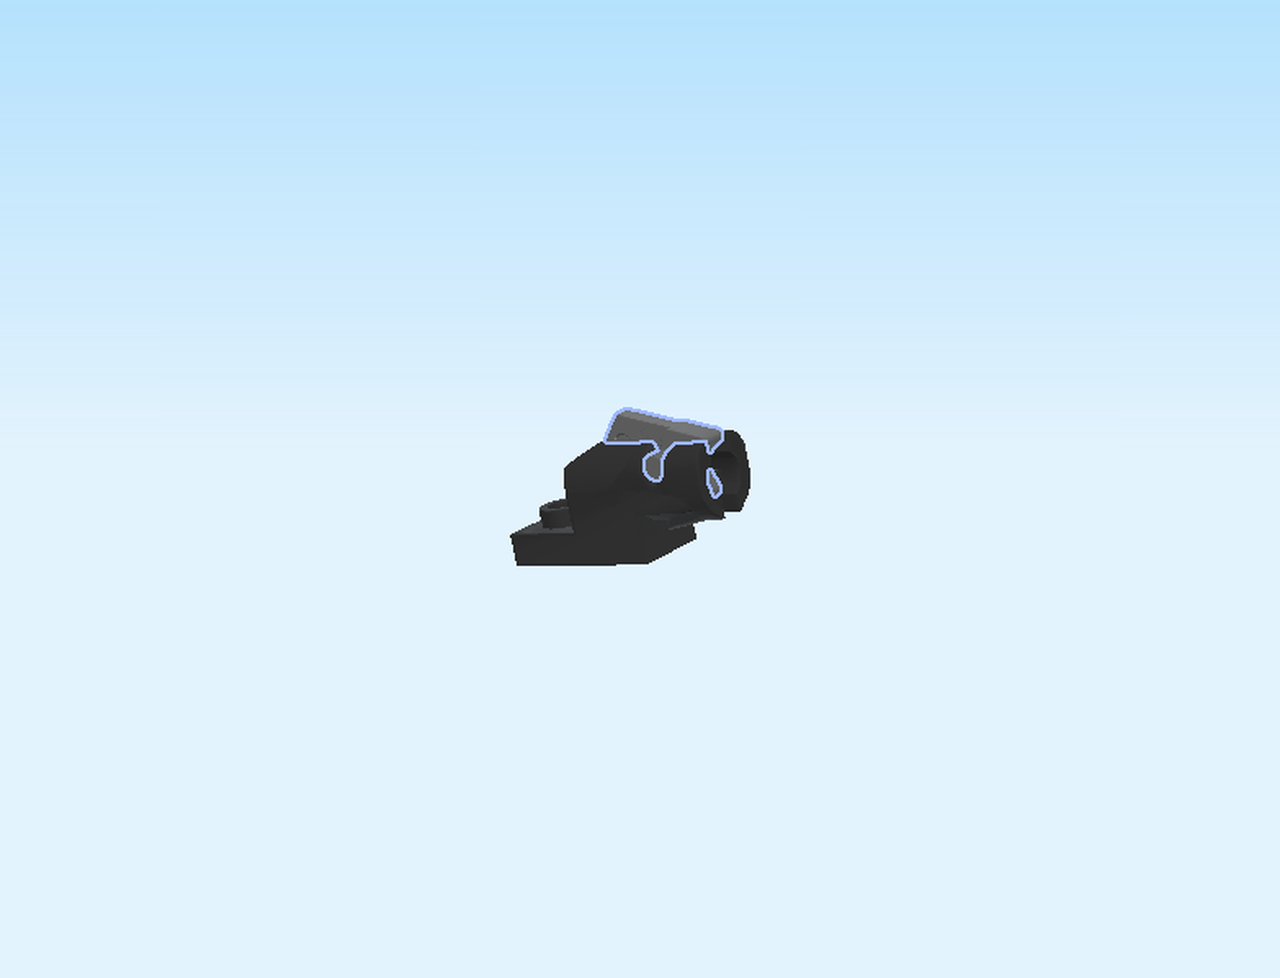
| Find 1 black plate 1x2 with shooter base. |
| Put it horizontally on the table, shooter base to the right. |
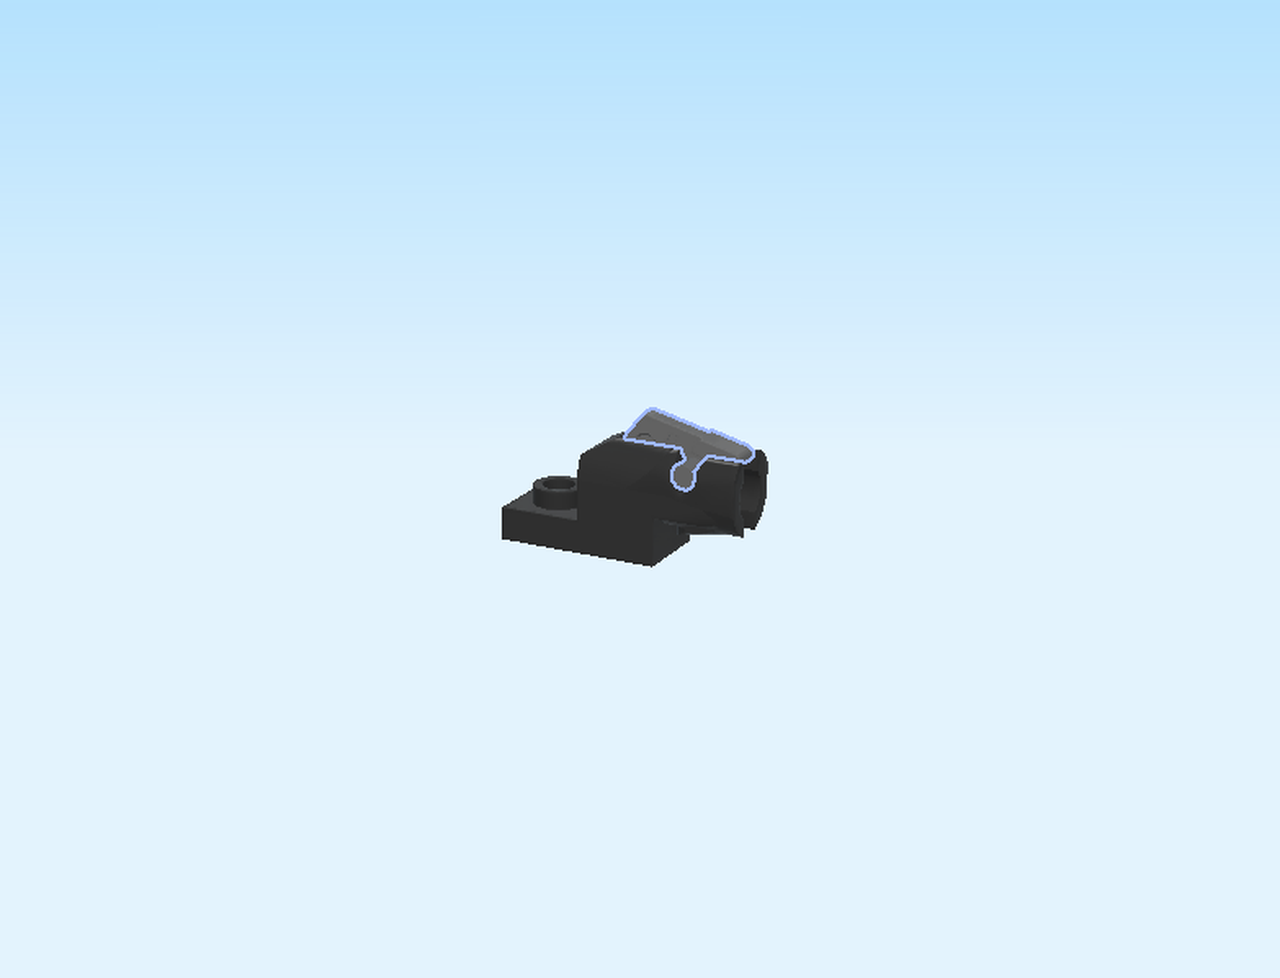
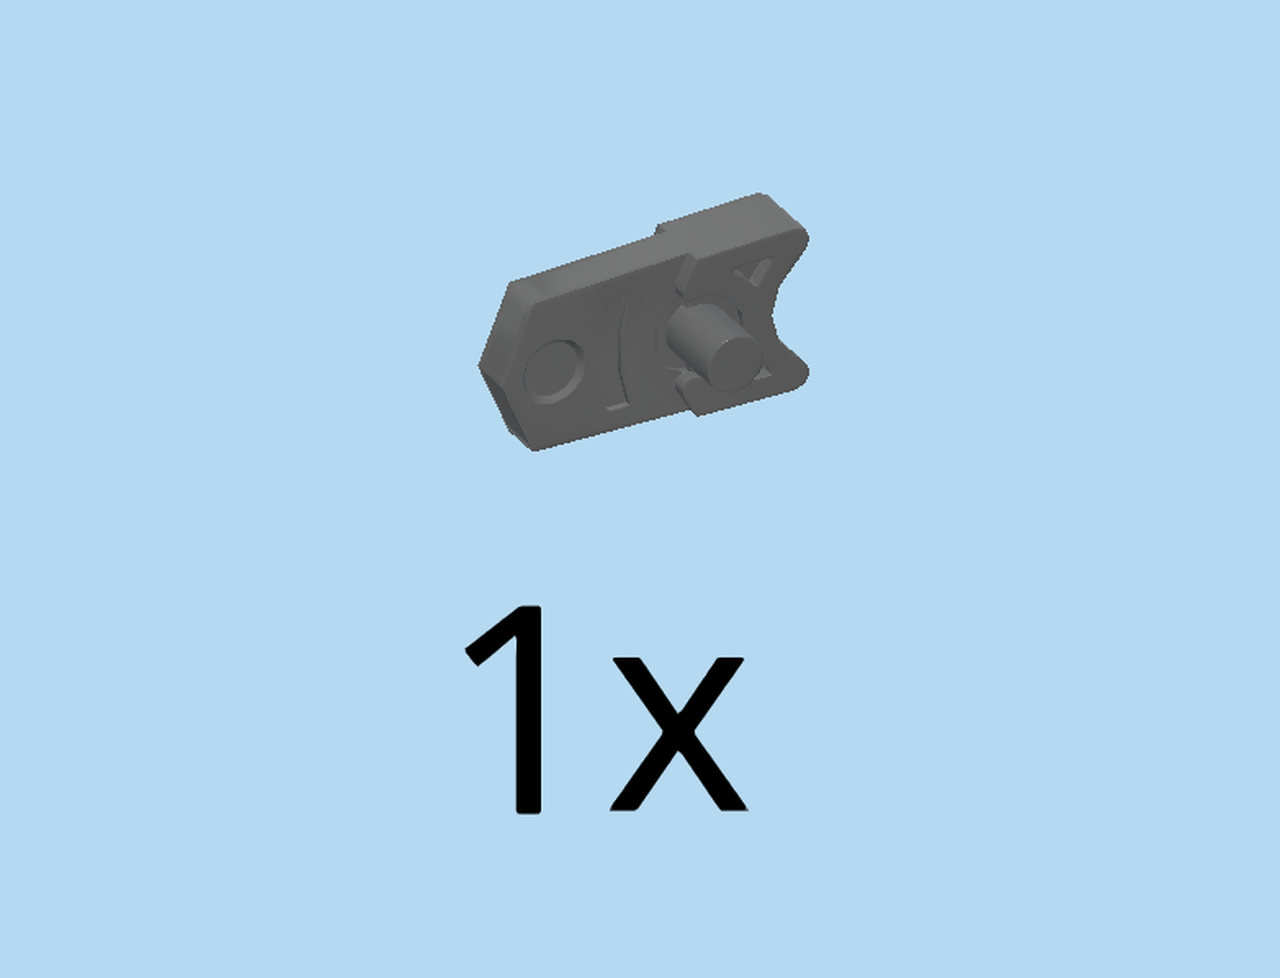
| Find 1 dark stone grey flat trigger with 2 small shafts. |
| Careful! This can be tricky, ask someone to help you if needed. |
| Put it on the shooter base. The small shafts fit perfectly into the notch on top of the shooter base. |
| Mount the shooter horizontally on the leftmost knob of the back row, shooter pointing to the left. |
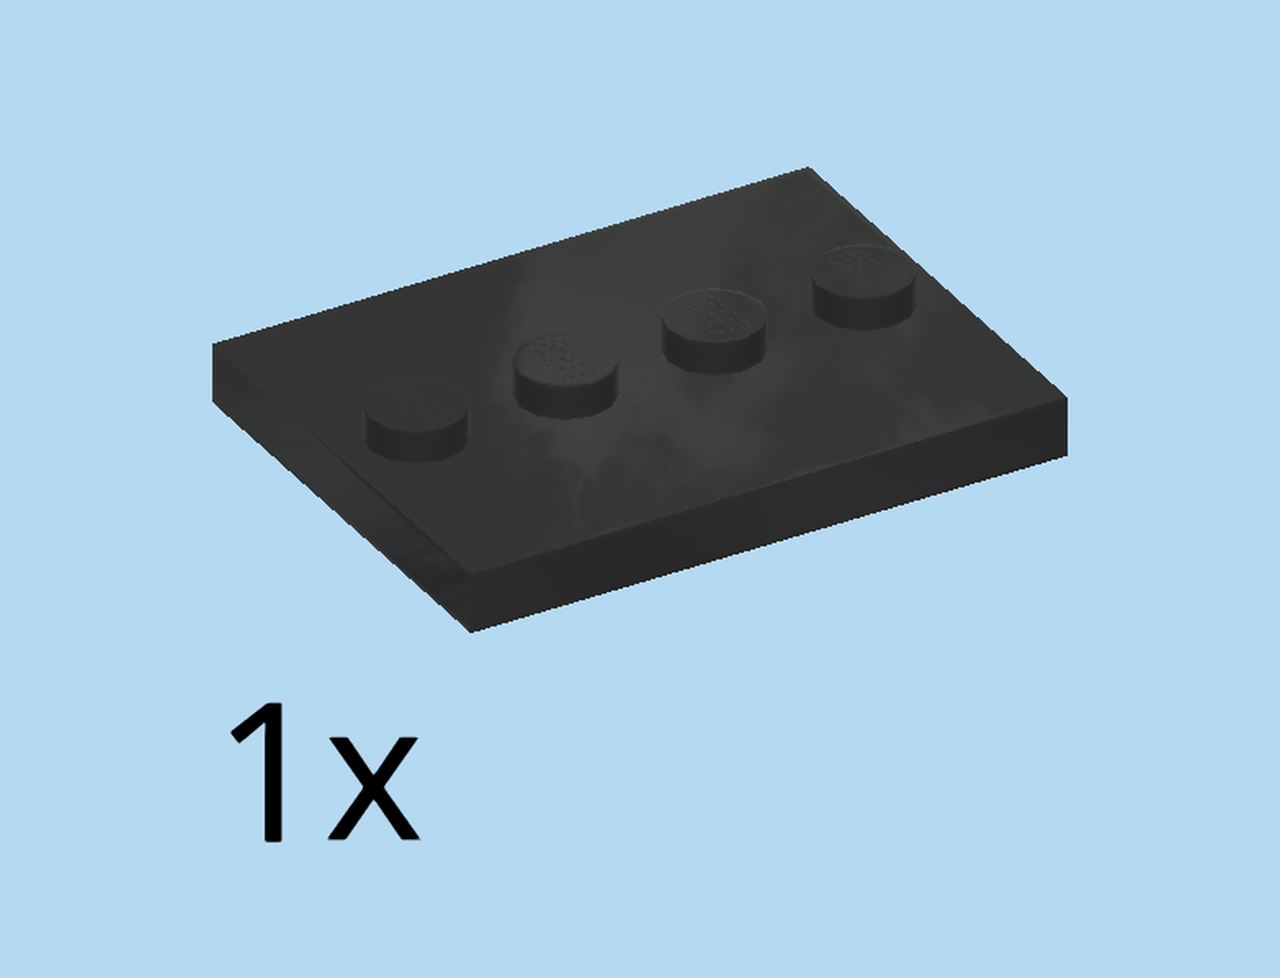
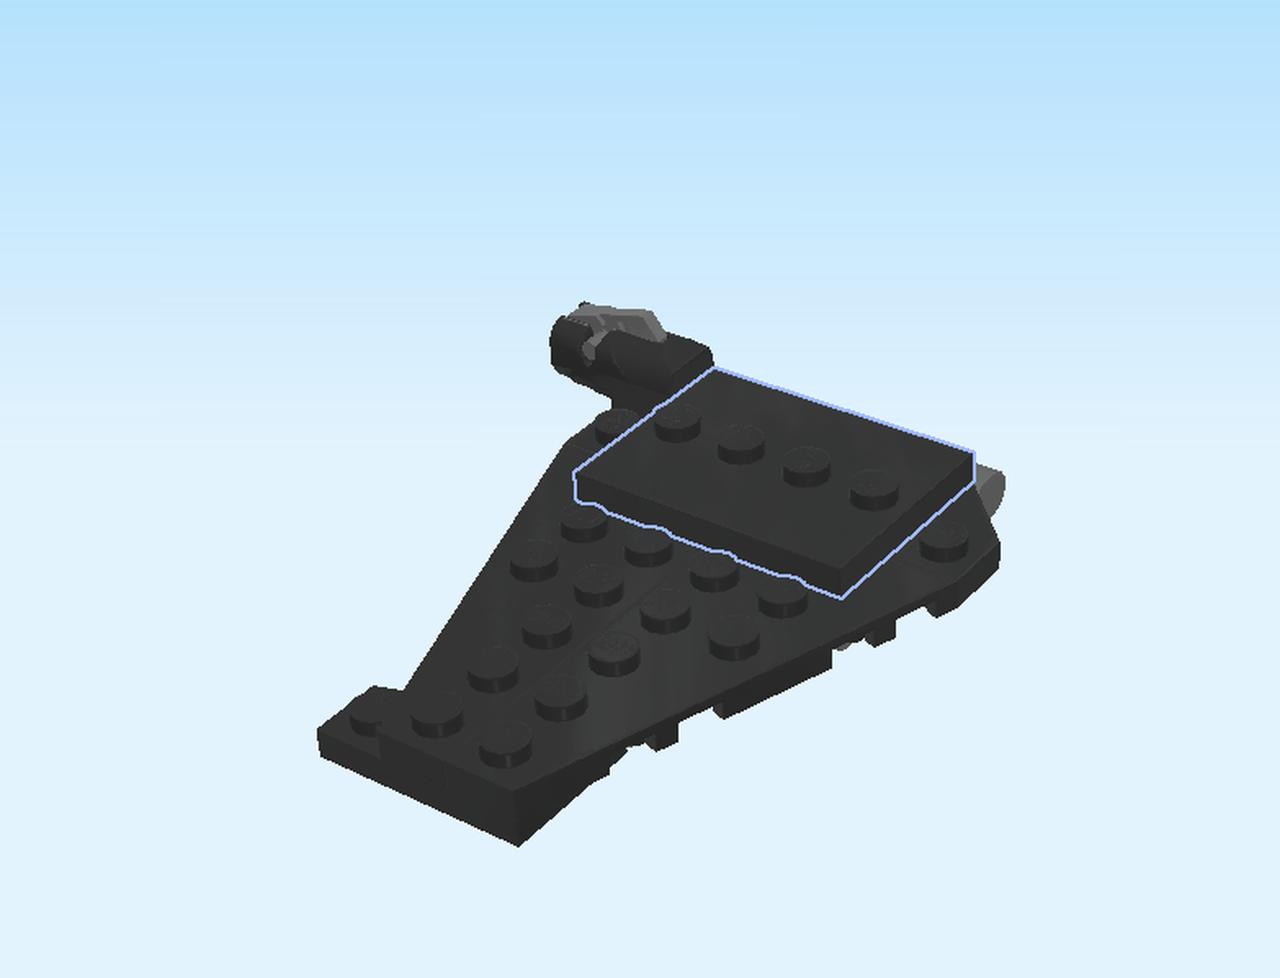
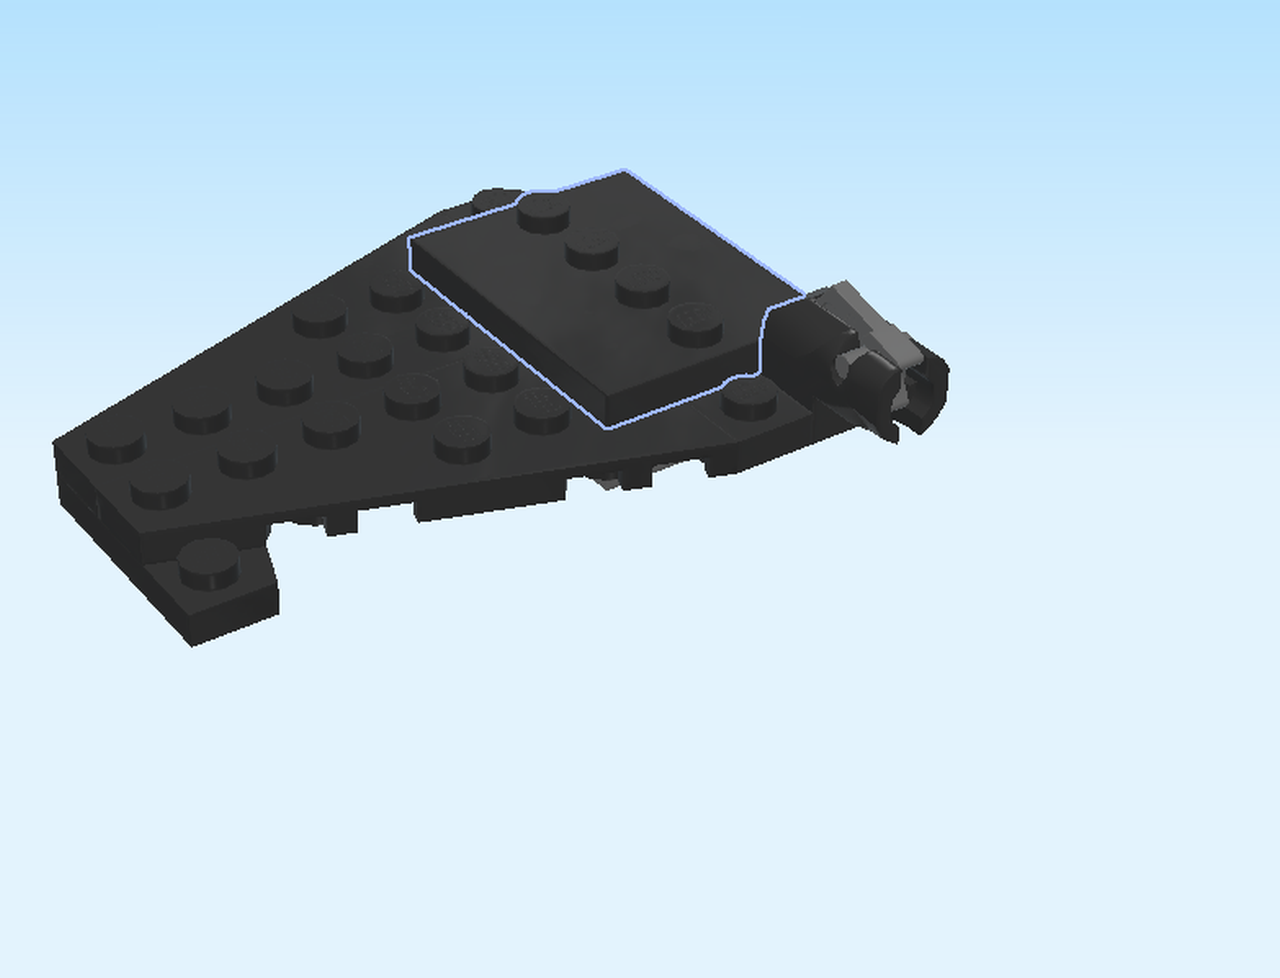
| Find 1 black plate 3x4 with 4 knobs. |
| Put it horizontally all the way to the back. |
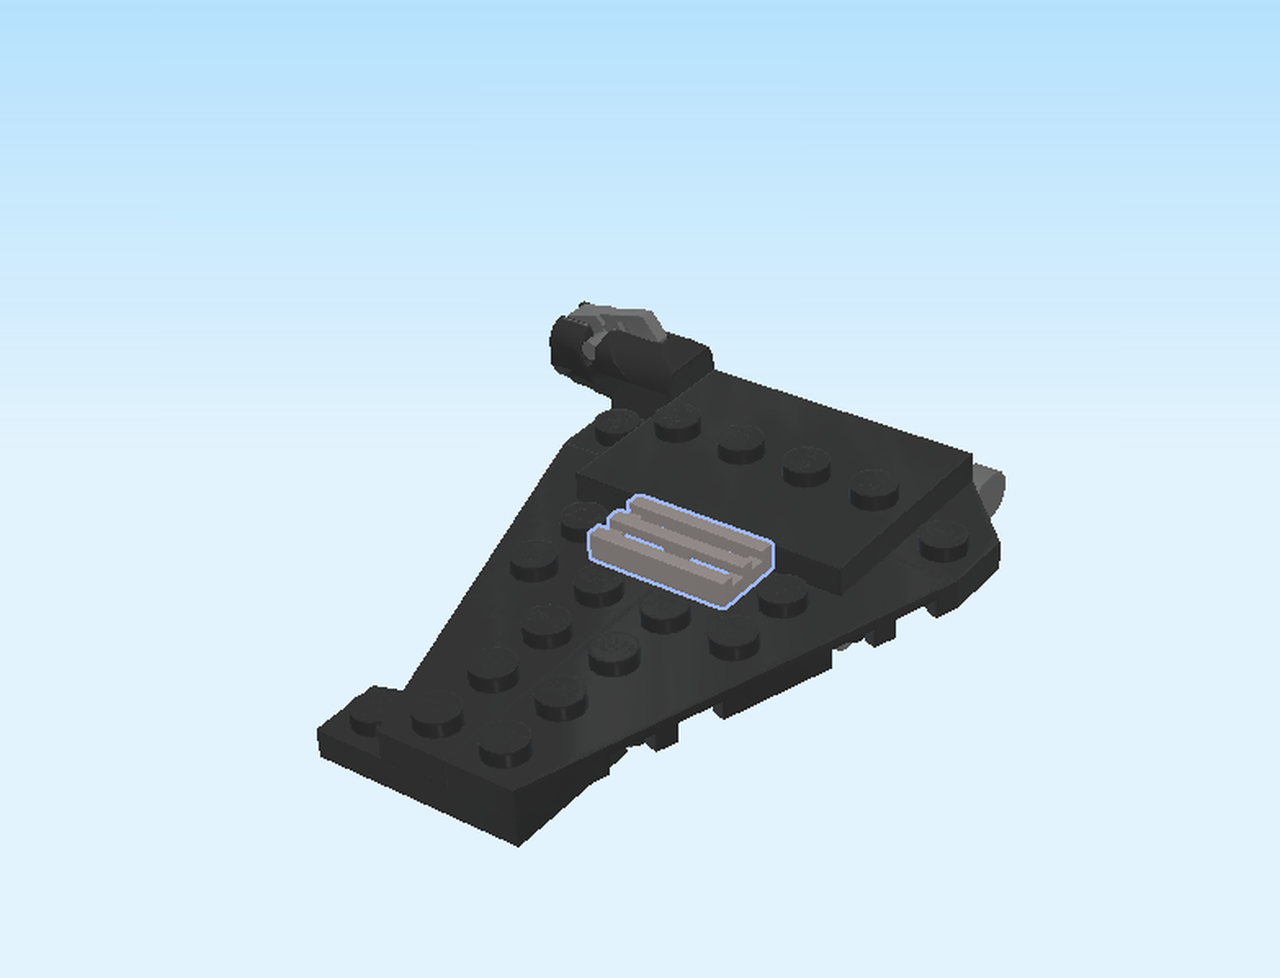
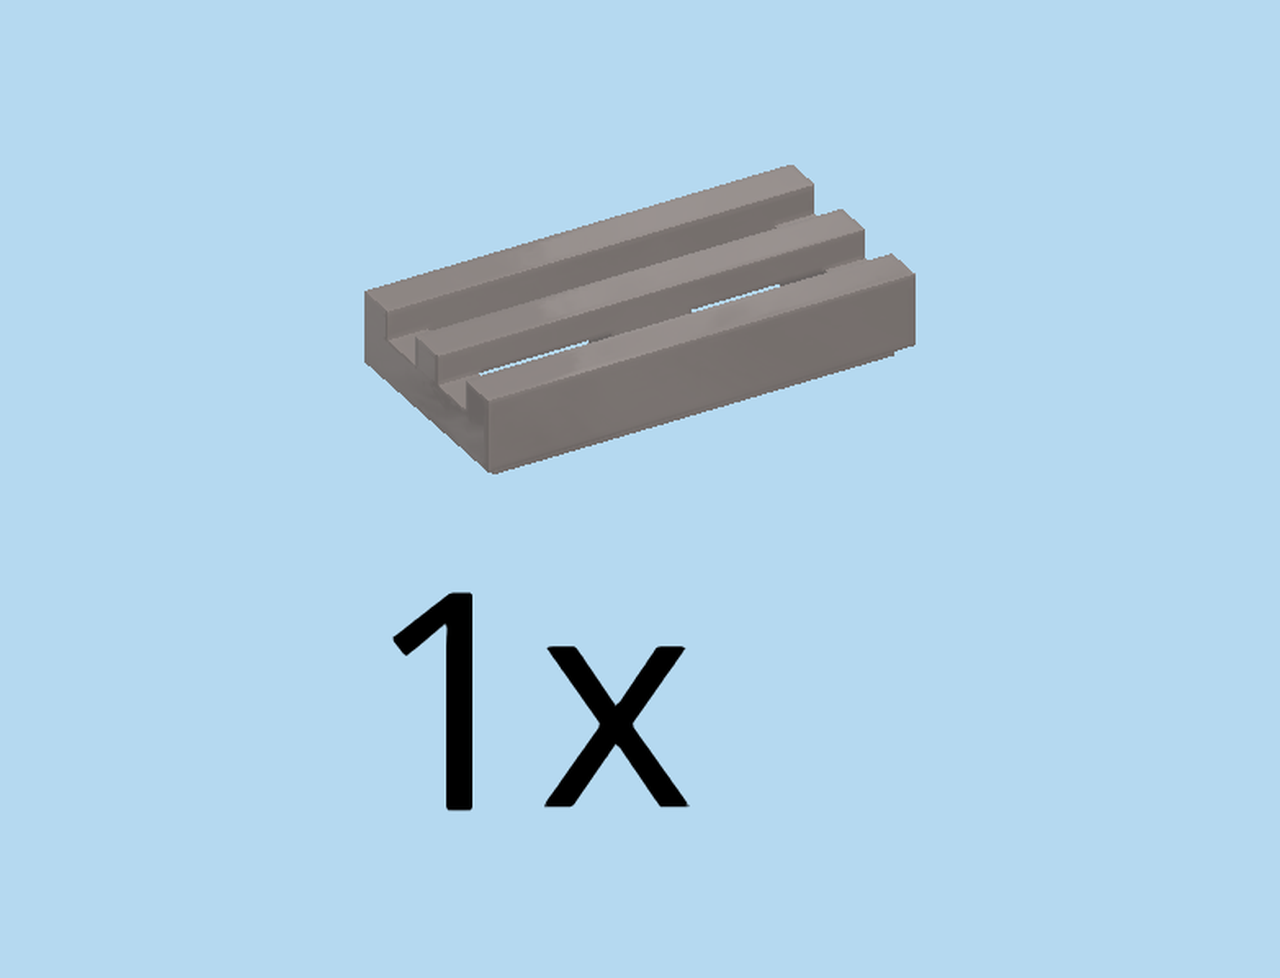
| Find 1 silver metallic grille tile 1x2. |
| Put it horizontally centered in front of previous piece. |
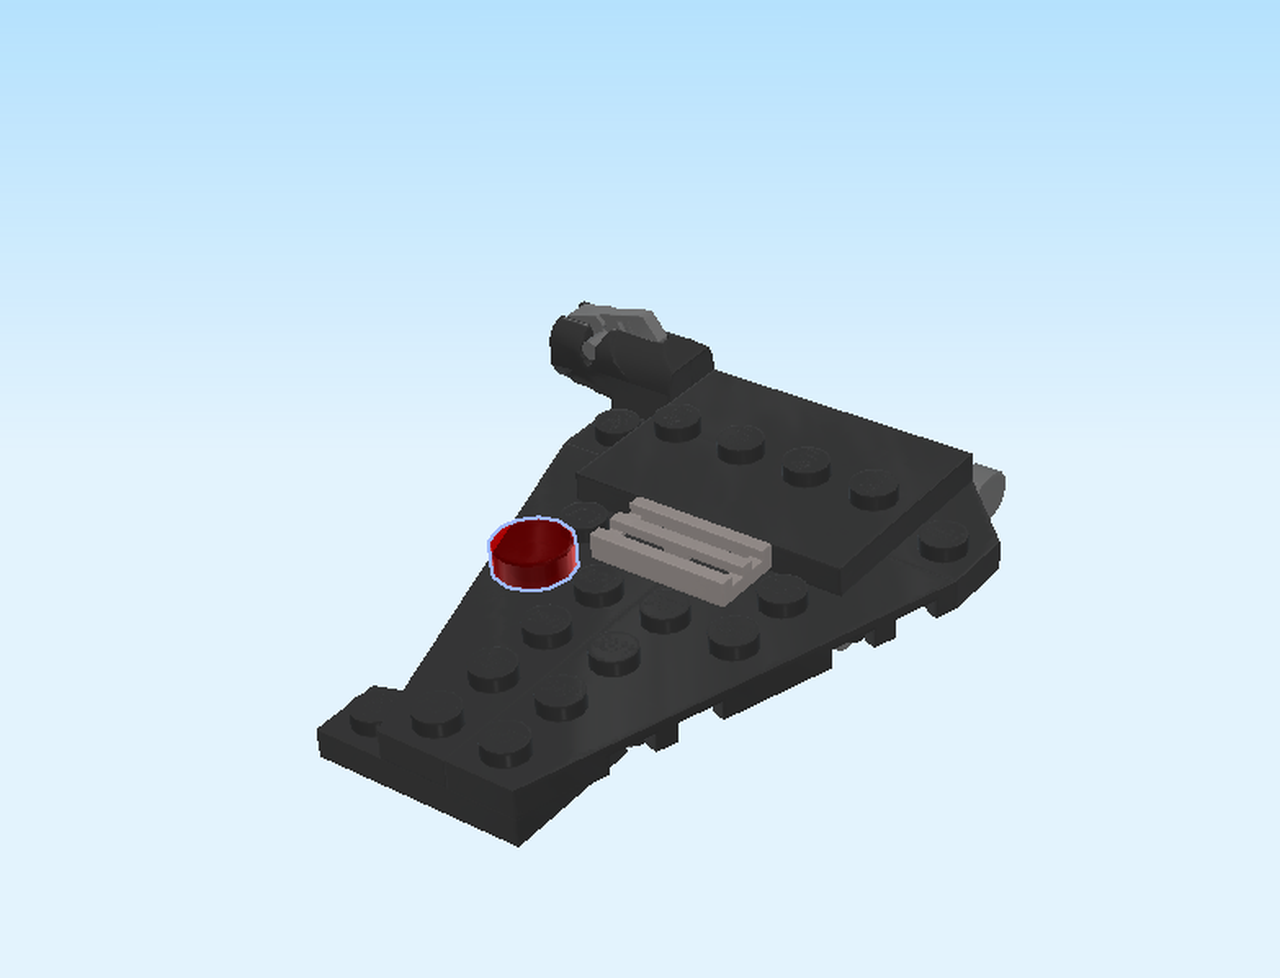
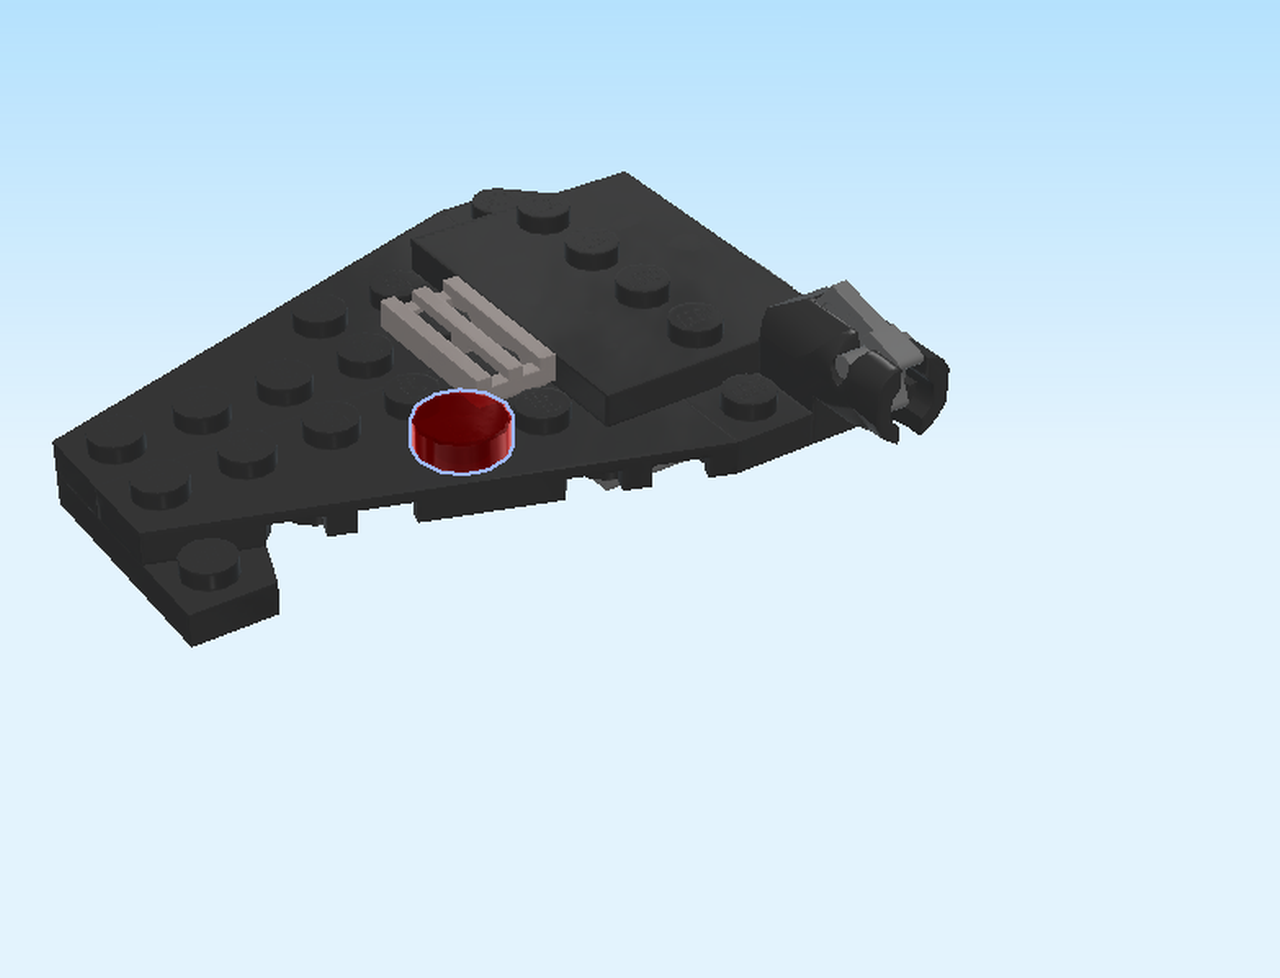
| Find 1 transparent red round tile 1x1. |
| Put it on 4th row from the front on the leftmost knob. |
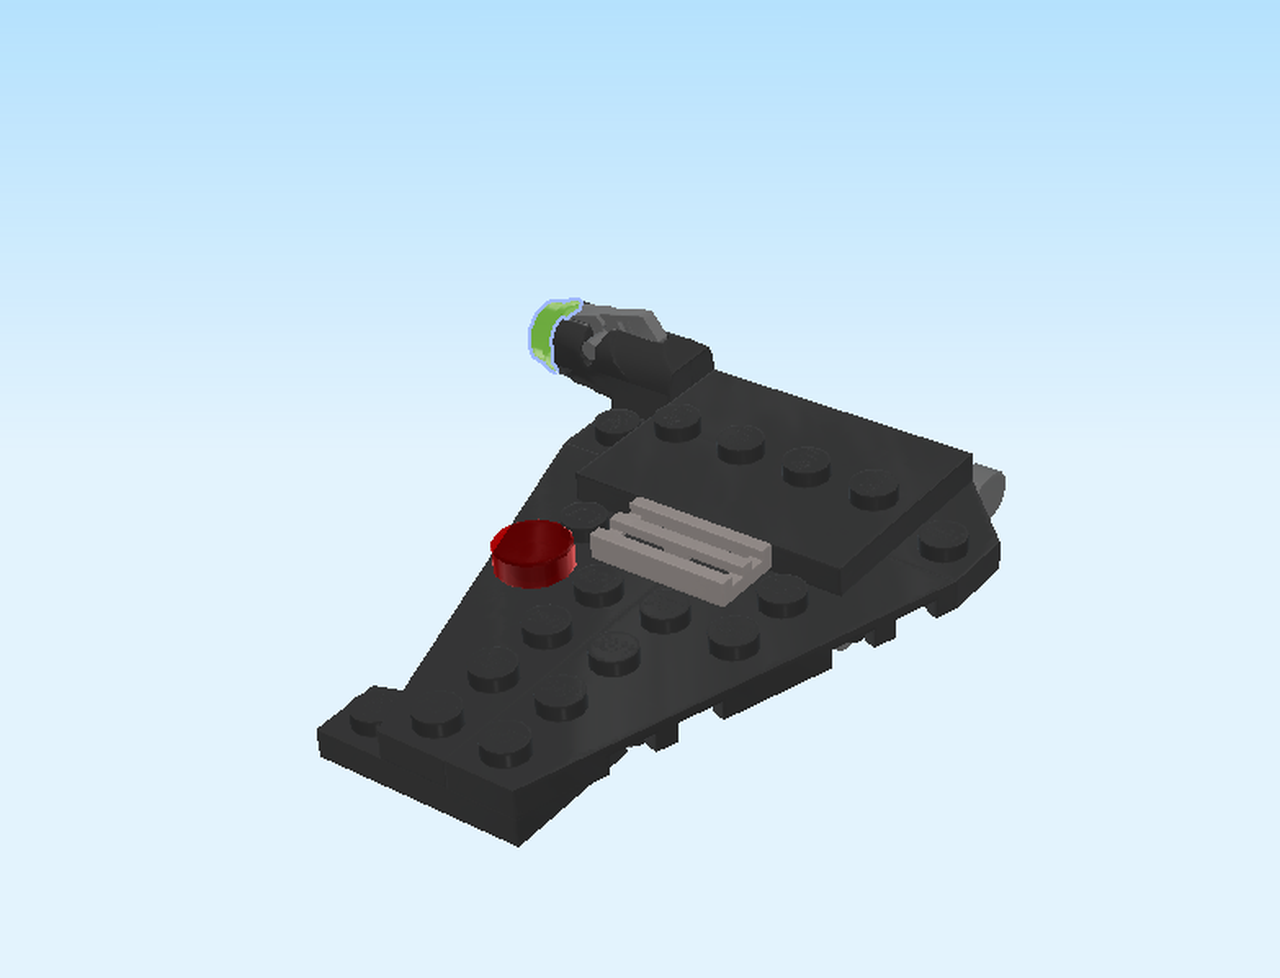
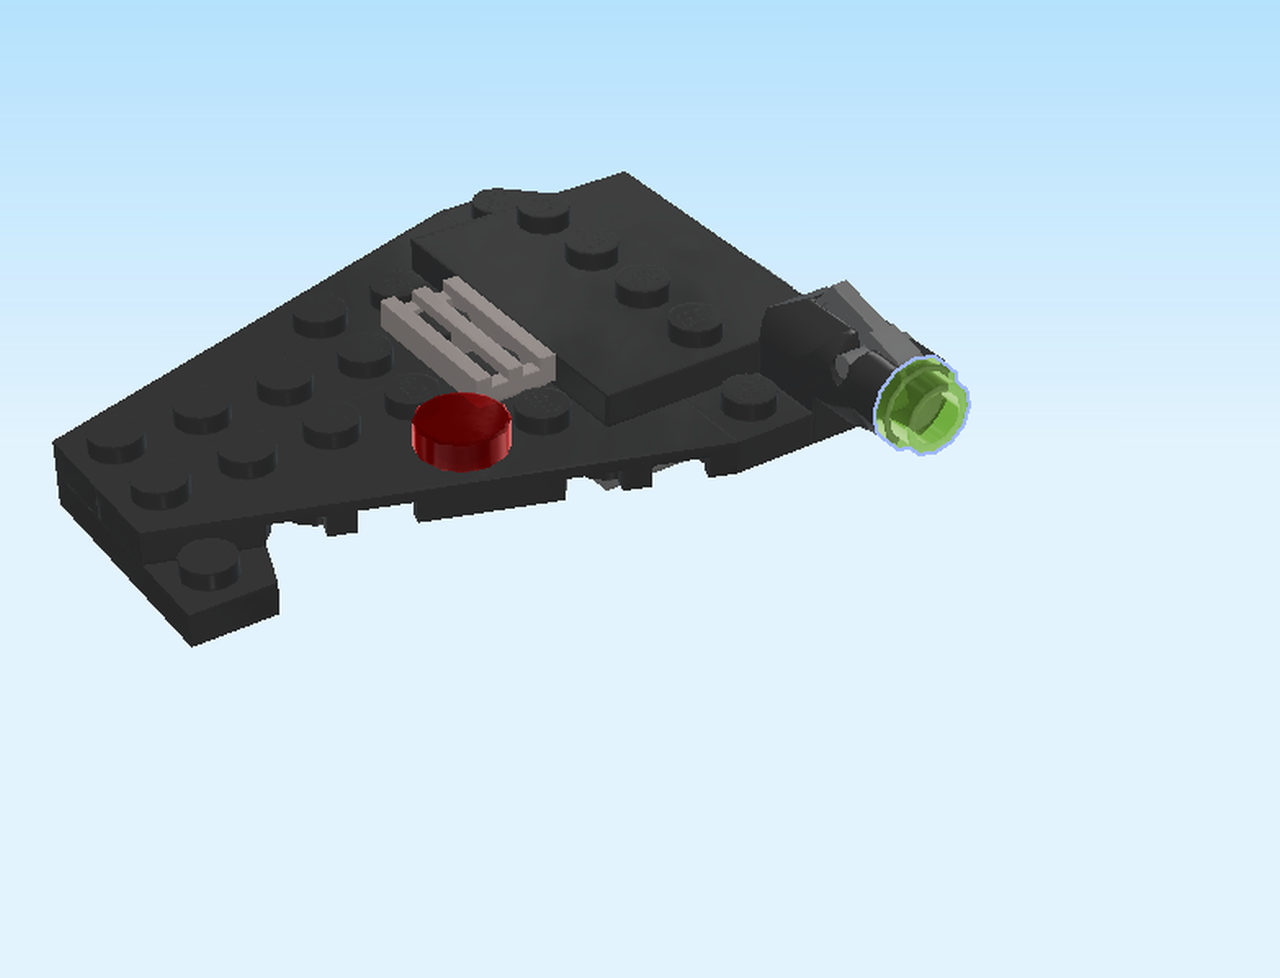
| Find 1 transparent bright green round plate 1x1. |
| Put it on the shooter base on the left side at the back and use it for ammunition. |
| Warning. Do not aim at eye or face. |
| Nice job, the wing is now finished. |
| You are now going to mount the wing on the model. |
| Turn the wing upside down with the hinge forks pointing to the right. Click the forks onto the two vertical stubs on the left side of the model. |
| Flip the wing in upright position. |
| You are now going to build the second wing. |
| Find 1 dark stone grey plate 4x4 with hinge forks. |
| Put it on the table with the forks to the right. |
| Find 1 medium stone grey plate 1x2. |
| Put it vertically centered on the rightmost column. |
| Find 1 black plate 2x2 with 45° corner. |
| Put it on the back row on the right edge, 45° corner to the back and right. |
| Find 1 black plate 1x4. |
| Put it vertically on the second column from the left, one knob overhanging to the front. |
| Find 1 black right wing plate 3x6 with angle. |
| Put it horizontally on the back 2 knobs of the leftmost column, angled side to the back. |
| Find 1 black left wing plate 3x6 with angle. |
| Put it horizontally in front of the previous piece, angled side to the front. |
| Find 1 black left wing plate 2x3 with angle. |
| Turn the build upside down with the tip of the wing to the left. |
| Turn the angle plate upside down and put the plate on the leftmost edge with the narrow edge to the back. |
| Turn the model right side up again. |
| Find 1 black plate 1x2 with shooter base. |
| Put it horizontally on the table, shooter base to the right. |
| Find 1 dark stone grey flat trigger with 2 small shafts. |
| Careful! This can be tricky, ask someone to help you if needed. |
| Put it on the shooter base. The small shafts fit perfectly into the notch on top of the shooter base. |
| Put the shooter vertically on the front knob on the rightmost edge, shooter base to the front. |
| Find 1 black plate 3x4 with 4 knobs. |
| Put it vertically behind the previous piece on the rightmost edge. |
| Find 1 silver metallic grille tile 1x2. |
| Put it vertically centered to the left of the previous plate. |
| Find 1 transparent red round tile 1x1. |
| Put it on the 4th column from the left on the front knob. |
| Find 1 transparent bright green round plate 1x1. |
| Put it on the shooter base and use it for ammunition. |
| Warning. Do not aim at eye or face. |
| You are now going to mount the wing on the model. |
| Turn the wing upside down with the forks to the left. Click the forks onto the two vertical hinge stubs on the right side of the model. |
| Flip the wing in upright position. |
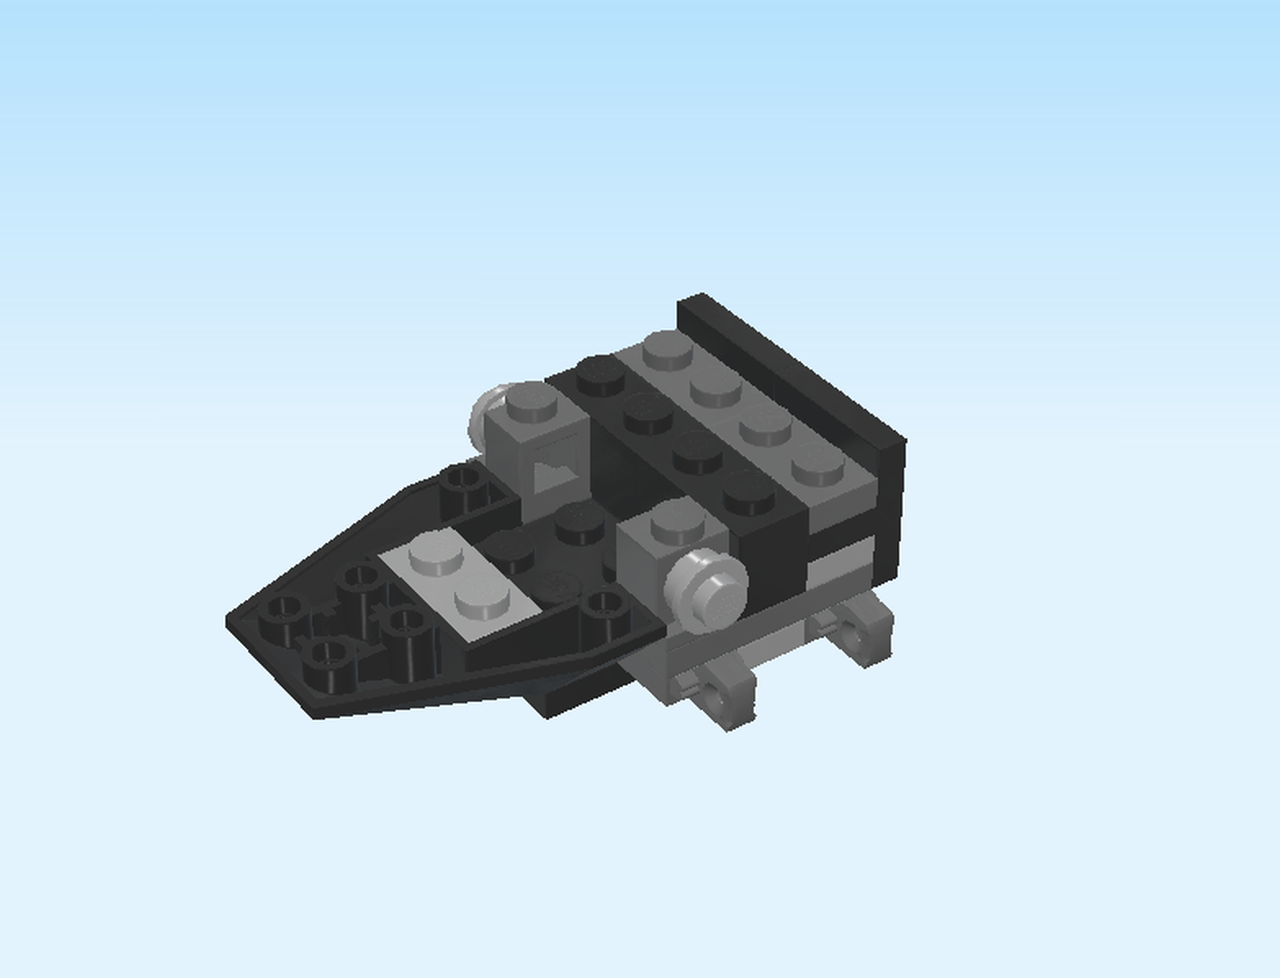
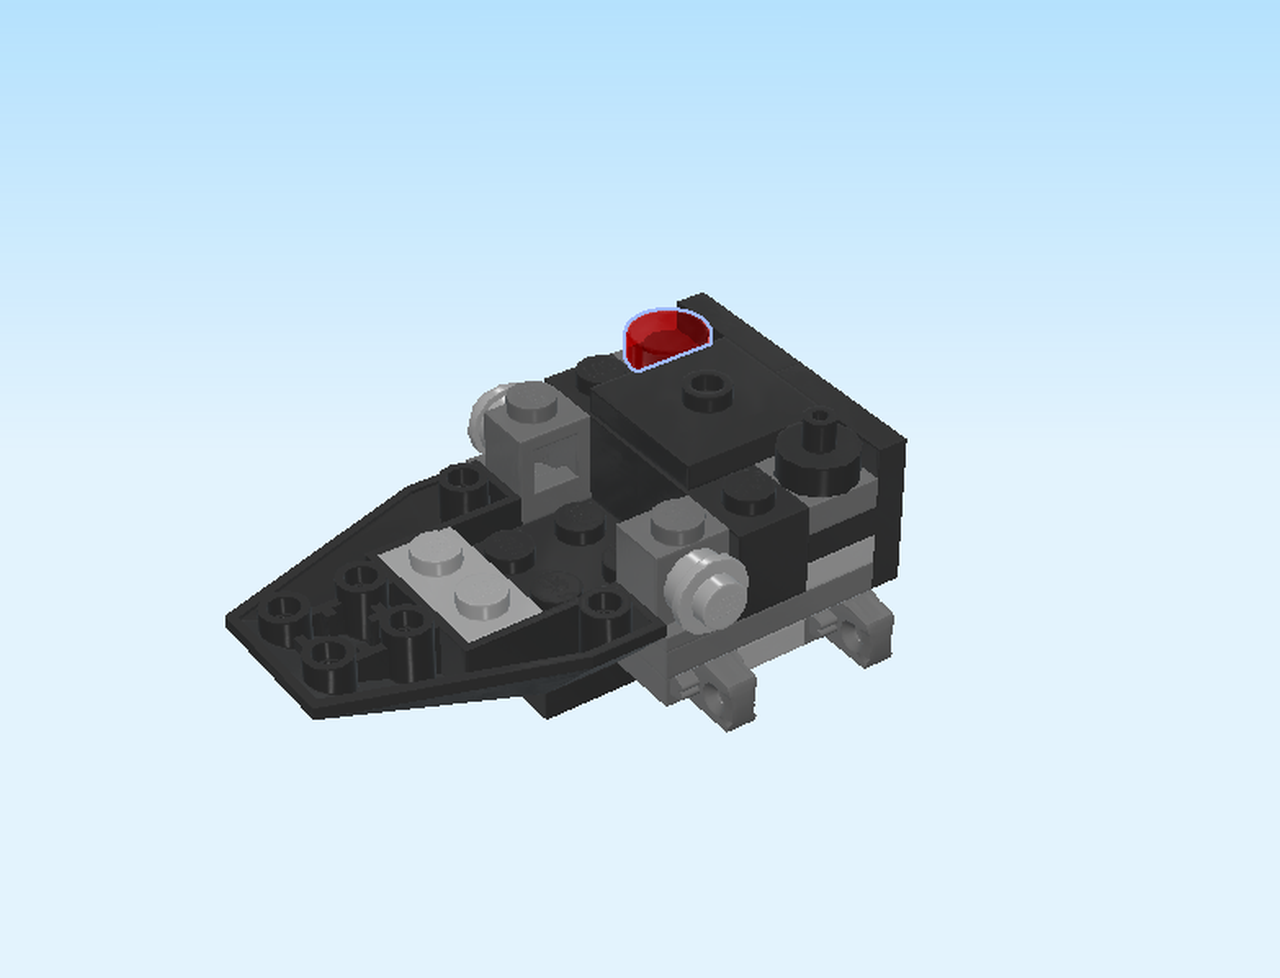
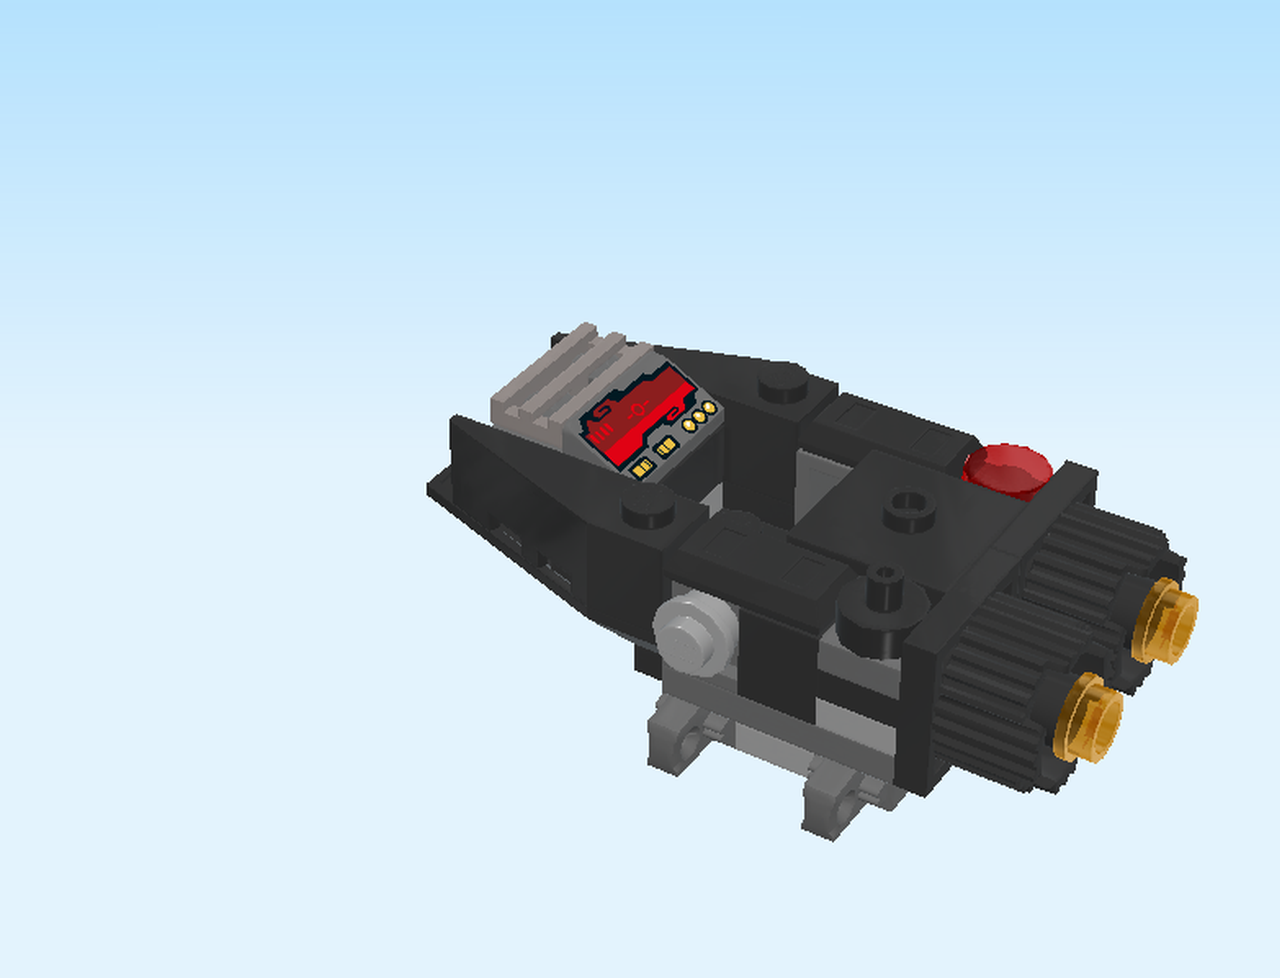
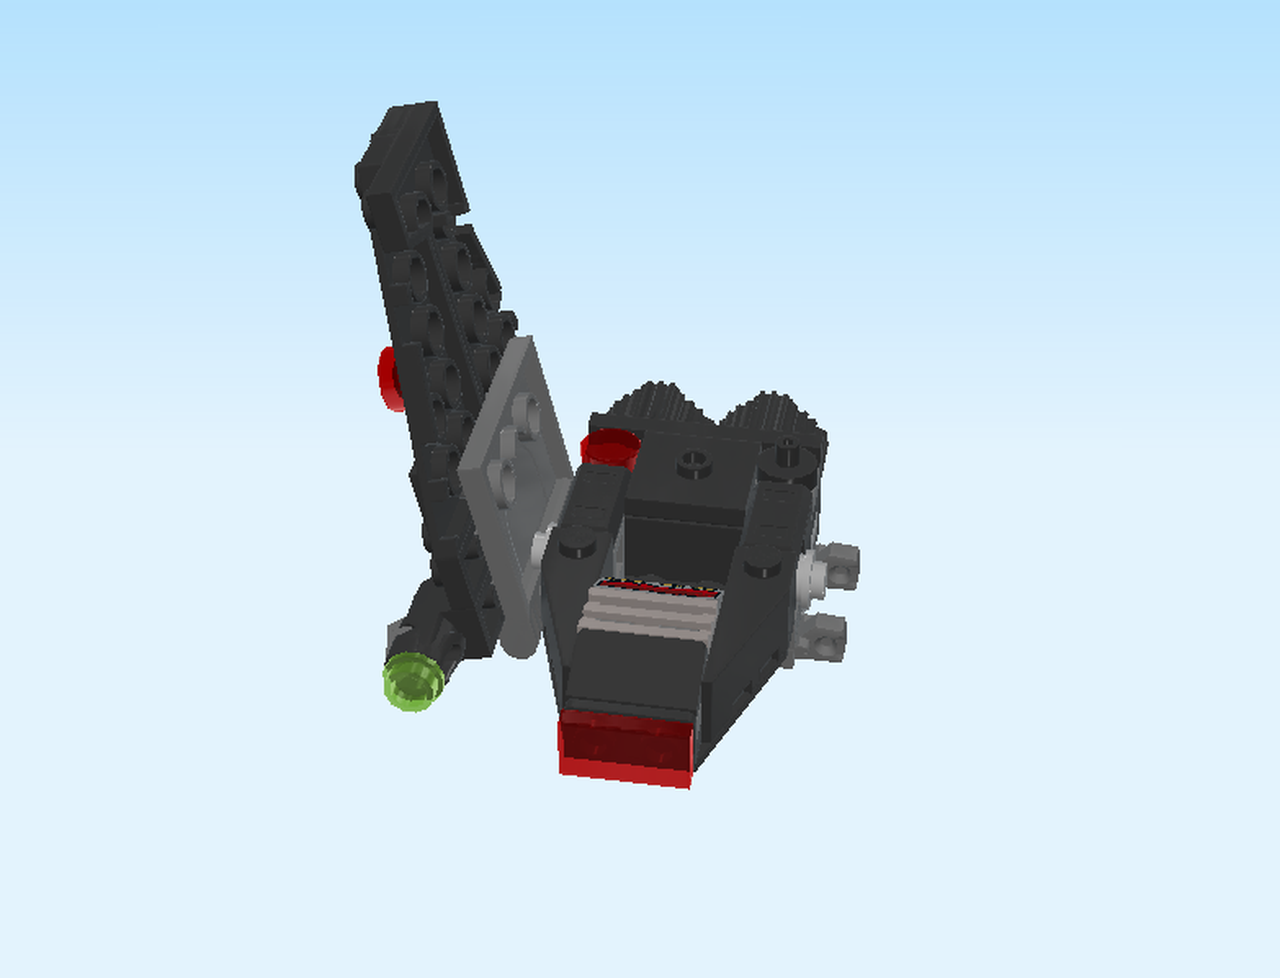
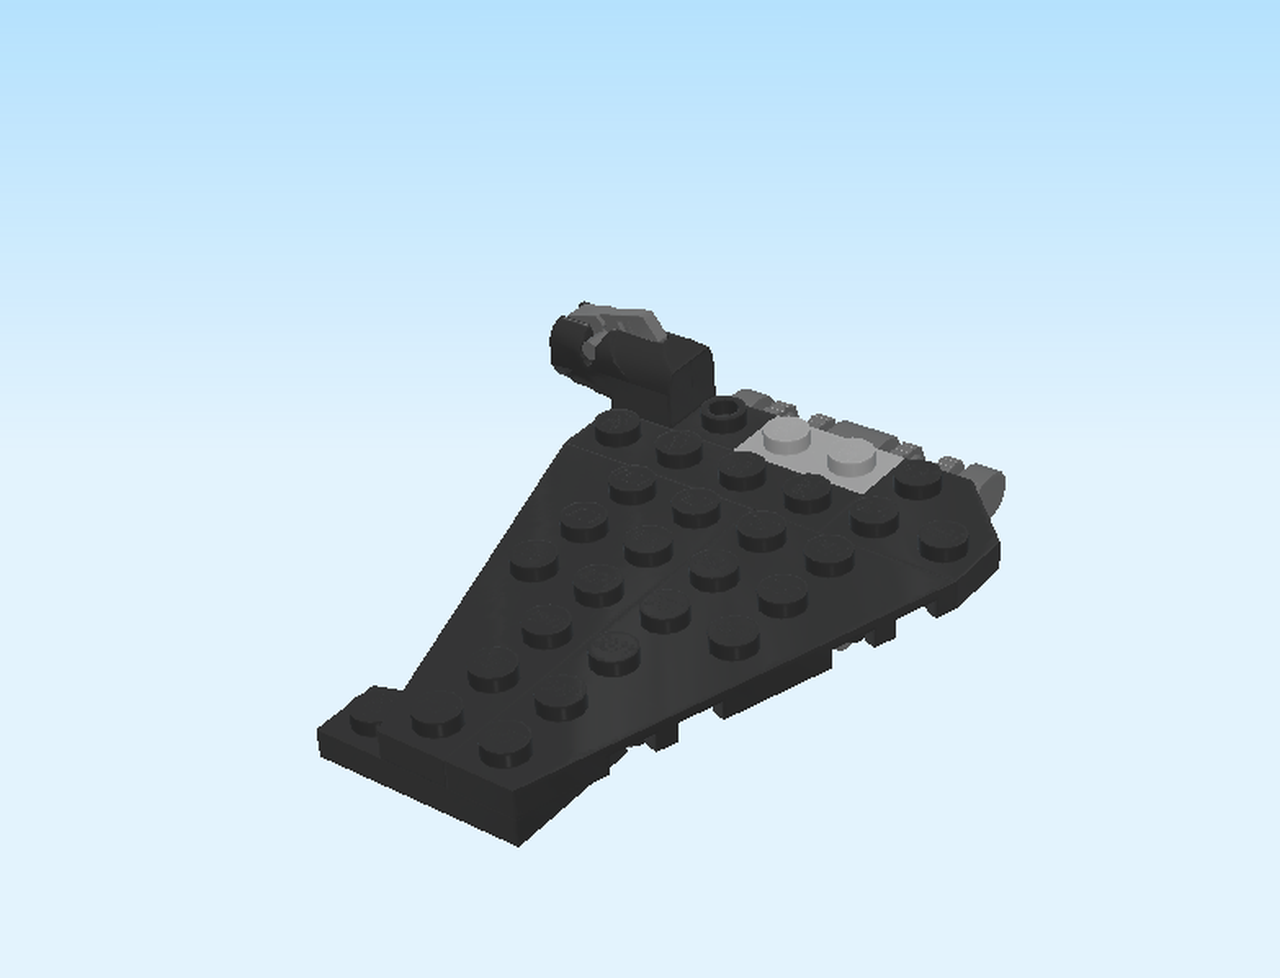
| Your Star Wars Kylo Ren's Shuttle is finished! Great job! With his lightsaber and shuttle, he is now ready for any space battles that might come his way! |
| Enjoy! |