LEGO 71829 Lloyd's Green Forest Dragon  

LEGO Audio & Braille Building Instructions for the LEGO Ninjago set "Lloyd's Green Forest Dragon".

If you would like to access the help menu to find out how to use and navigate these instructions, tap with two fingers or press key "H".

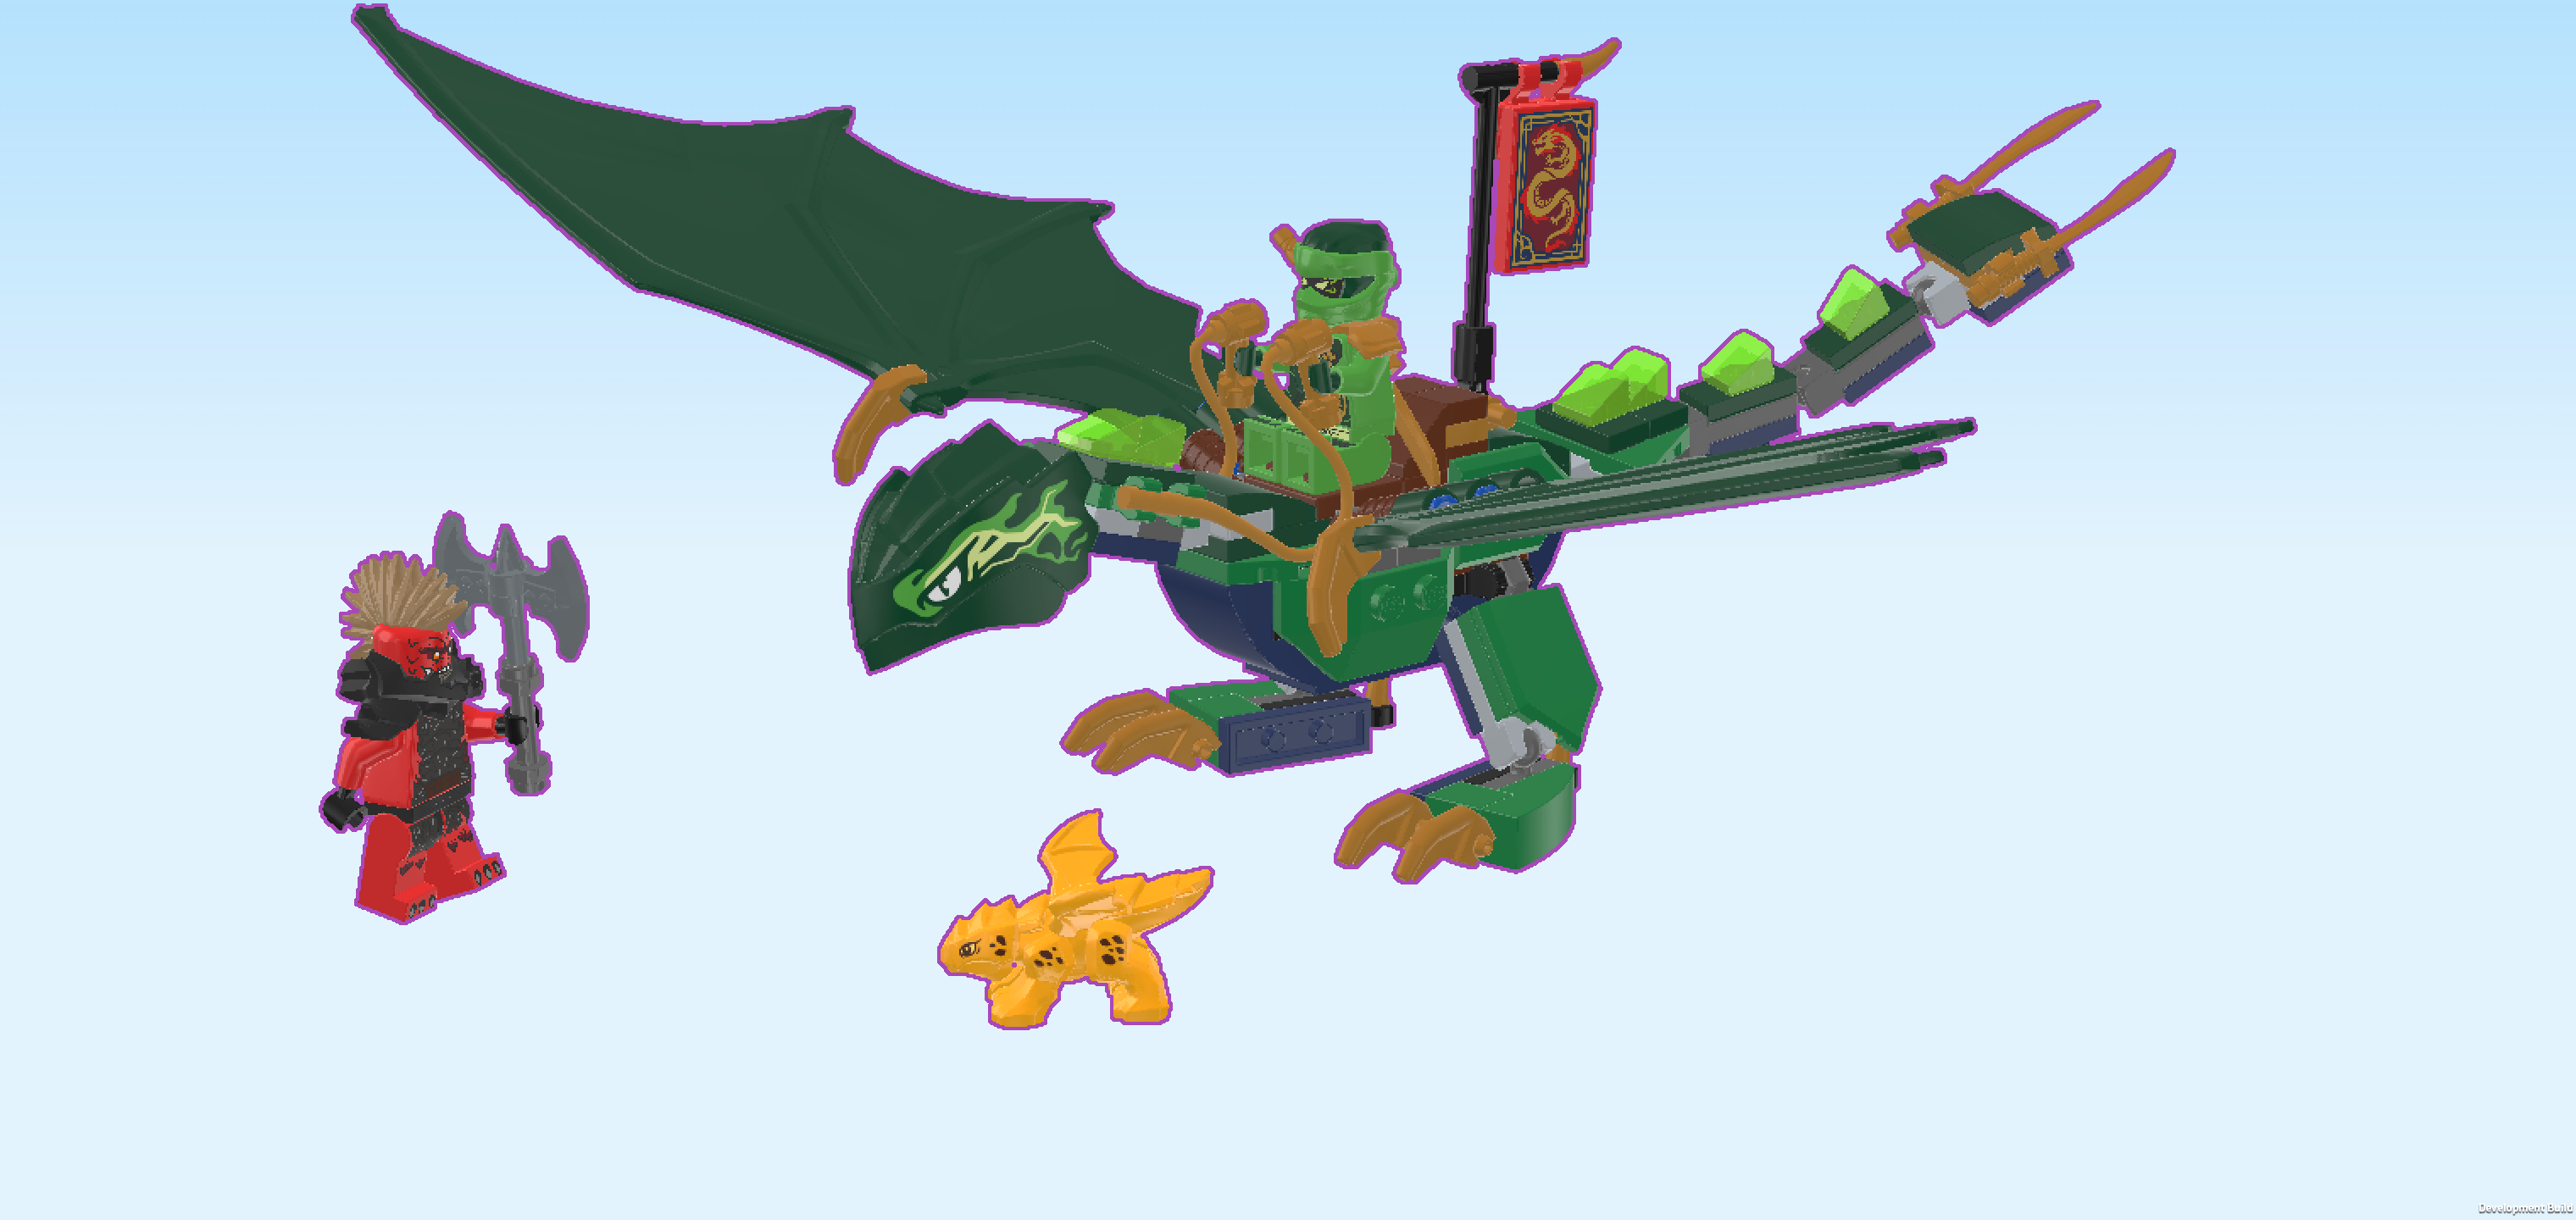
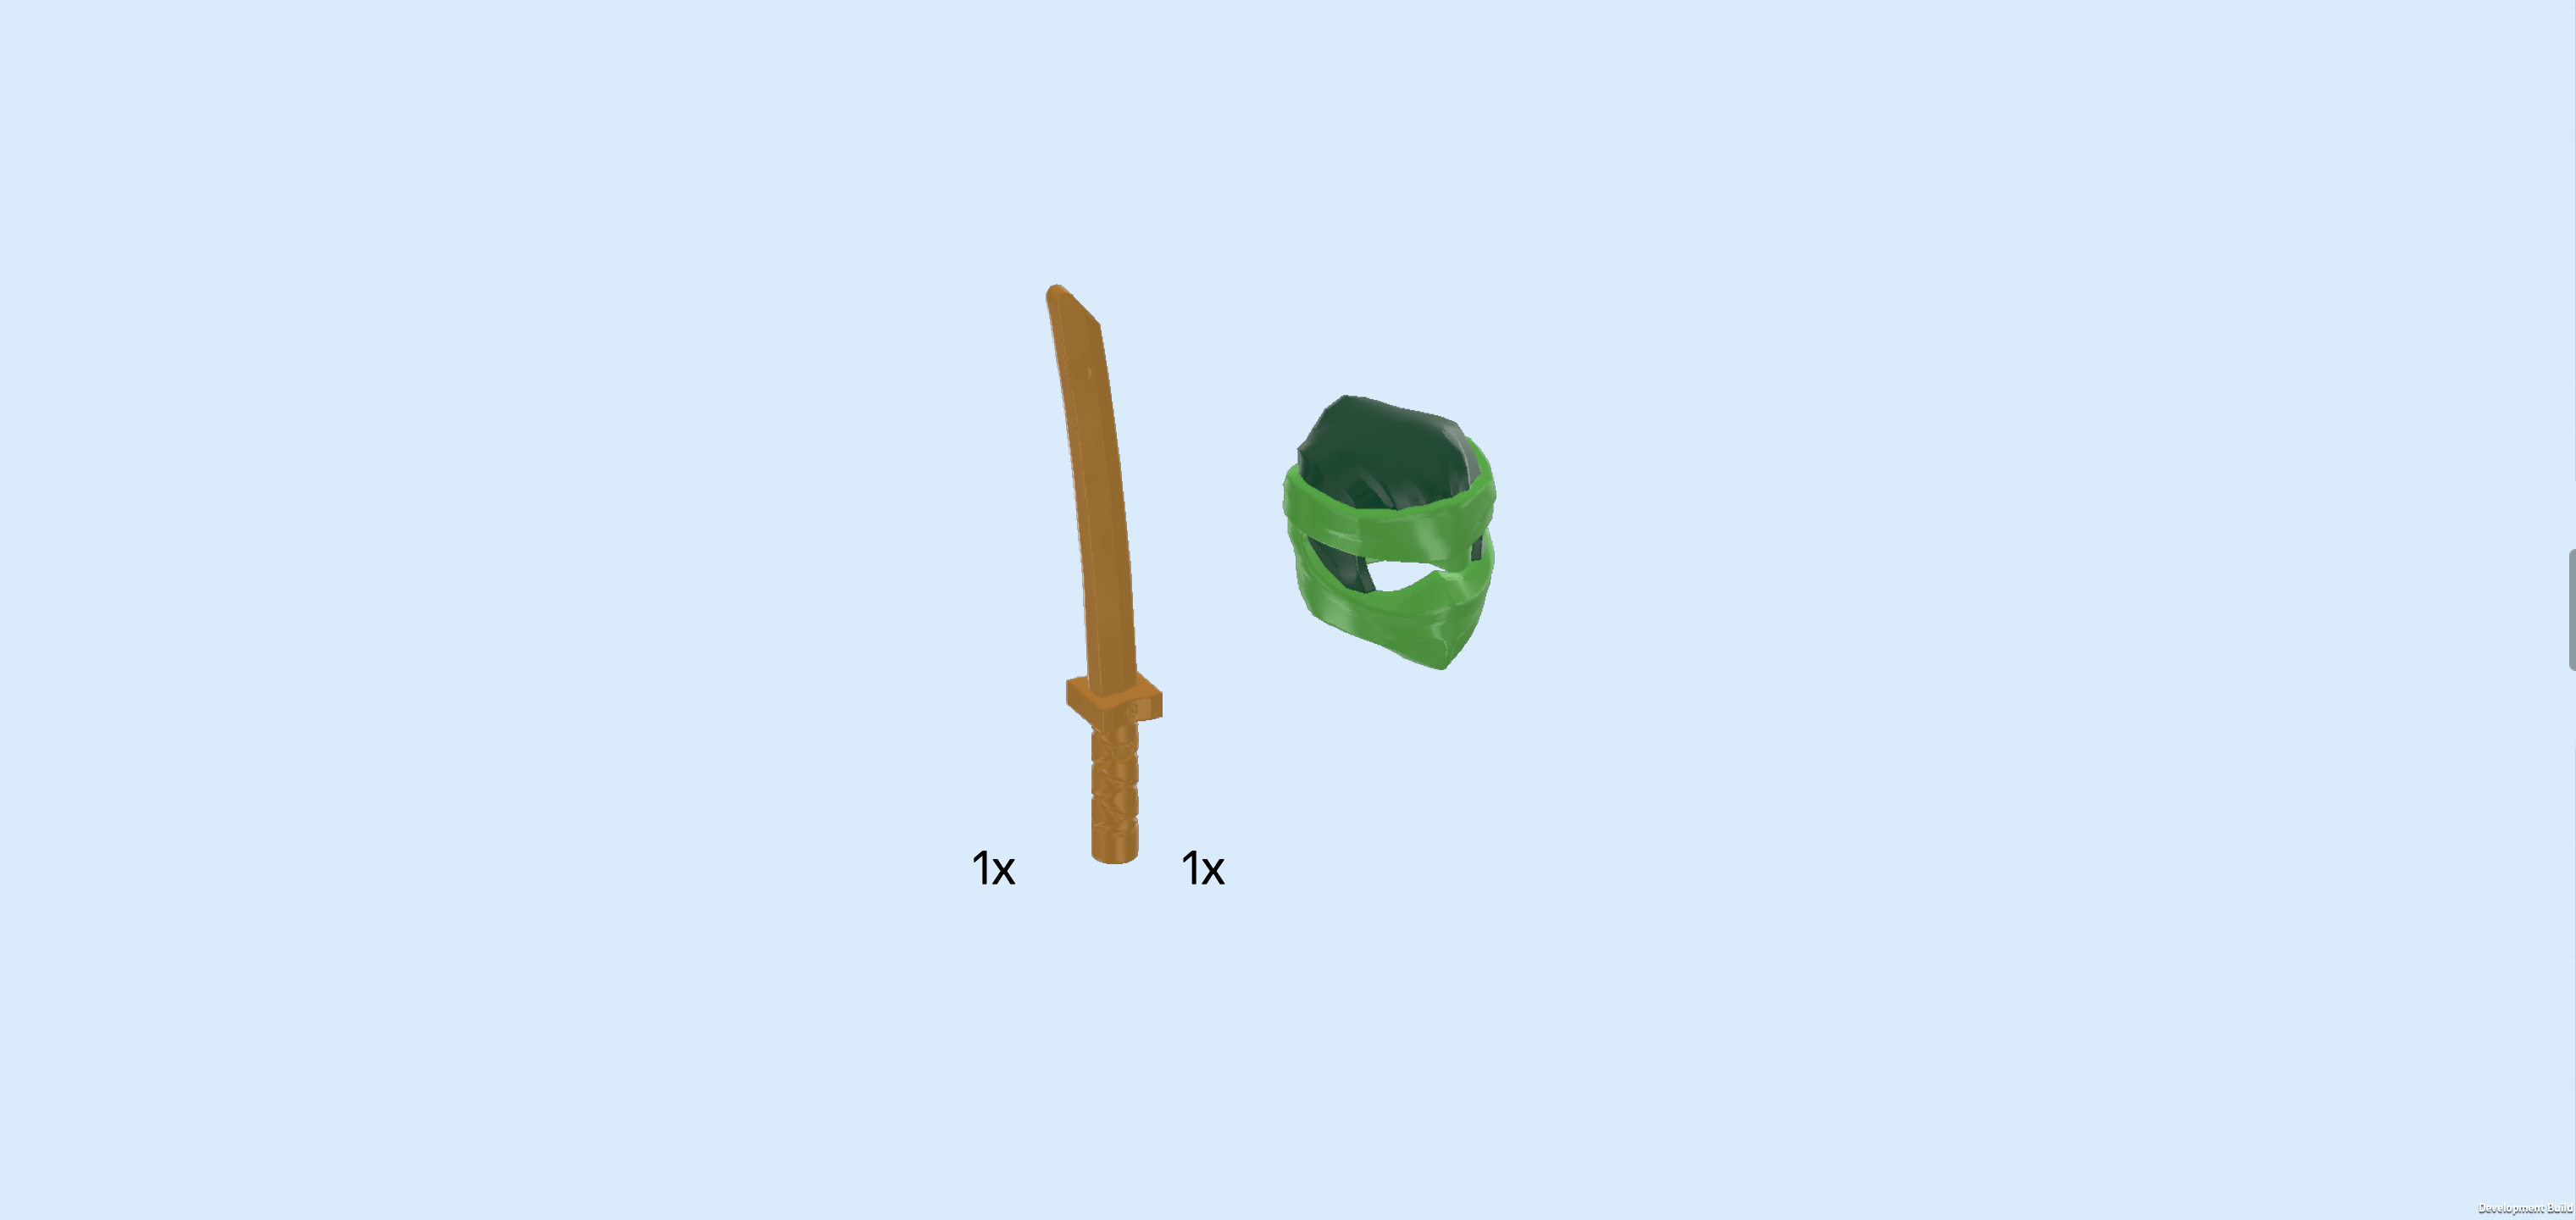
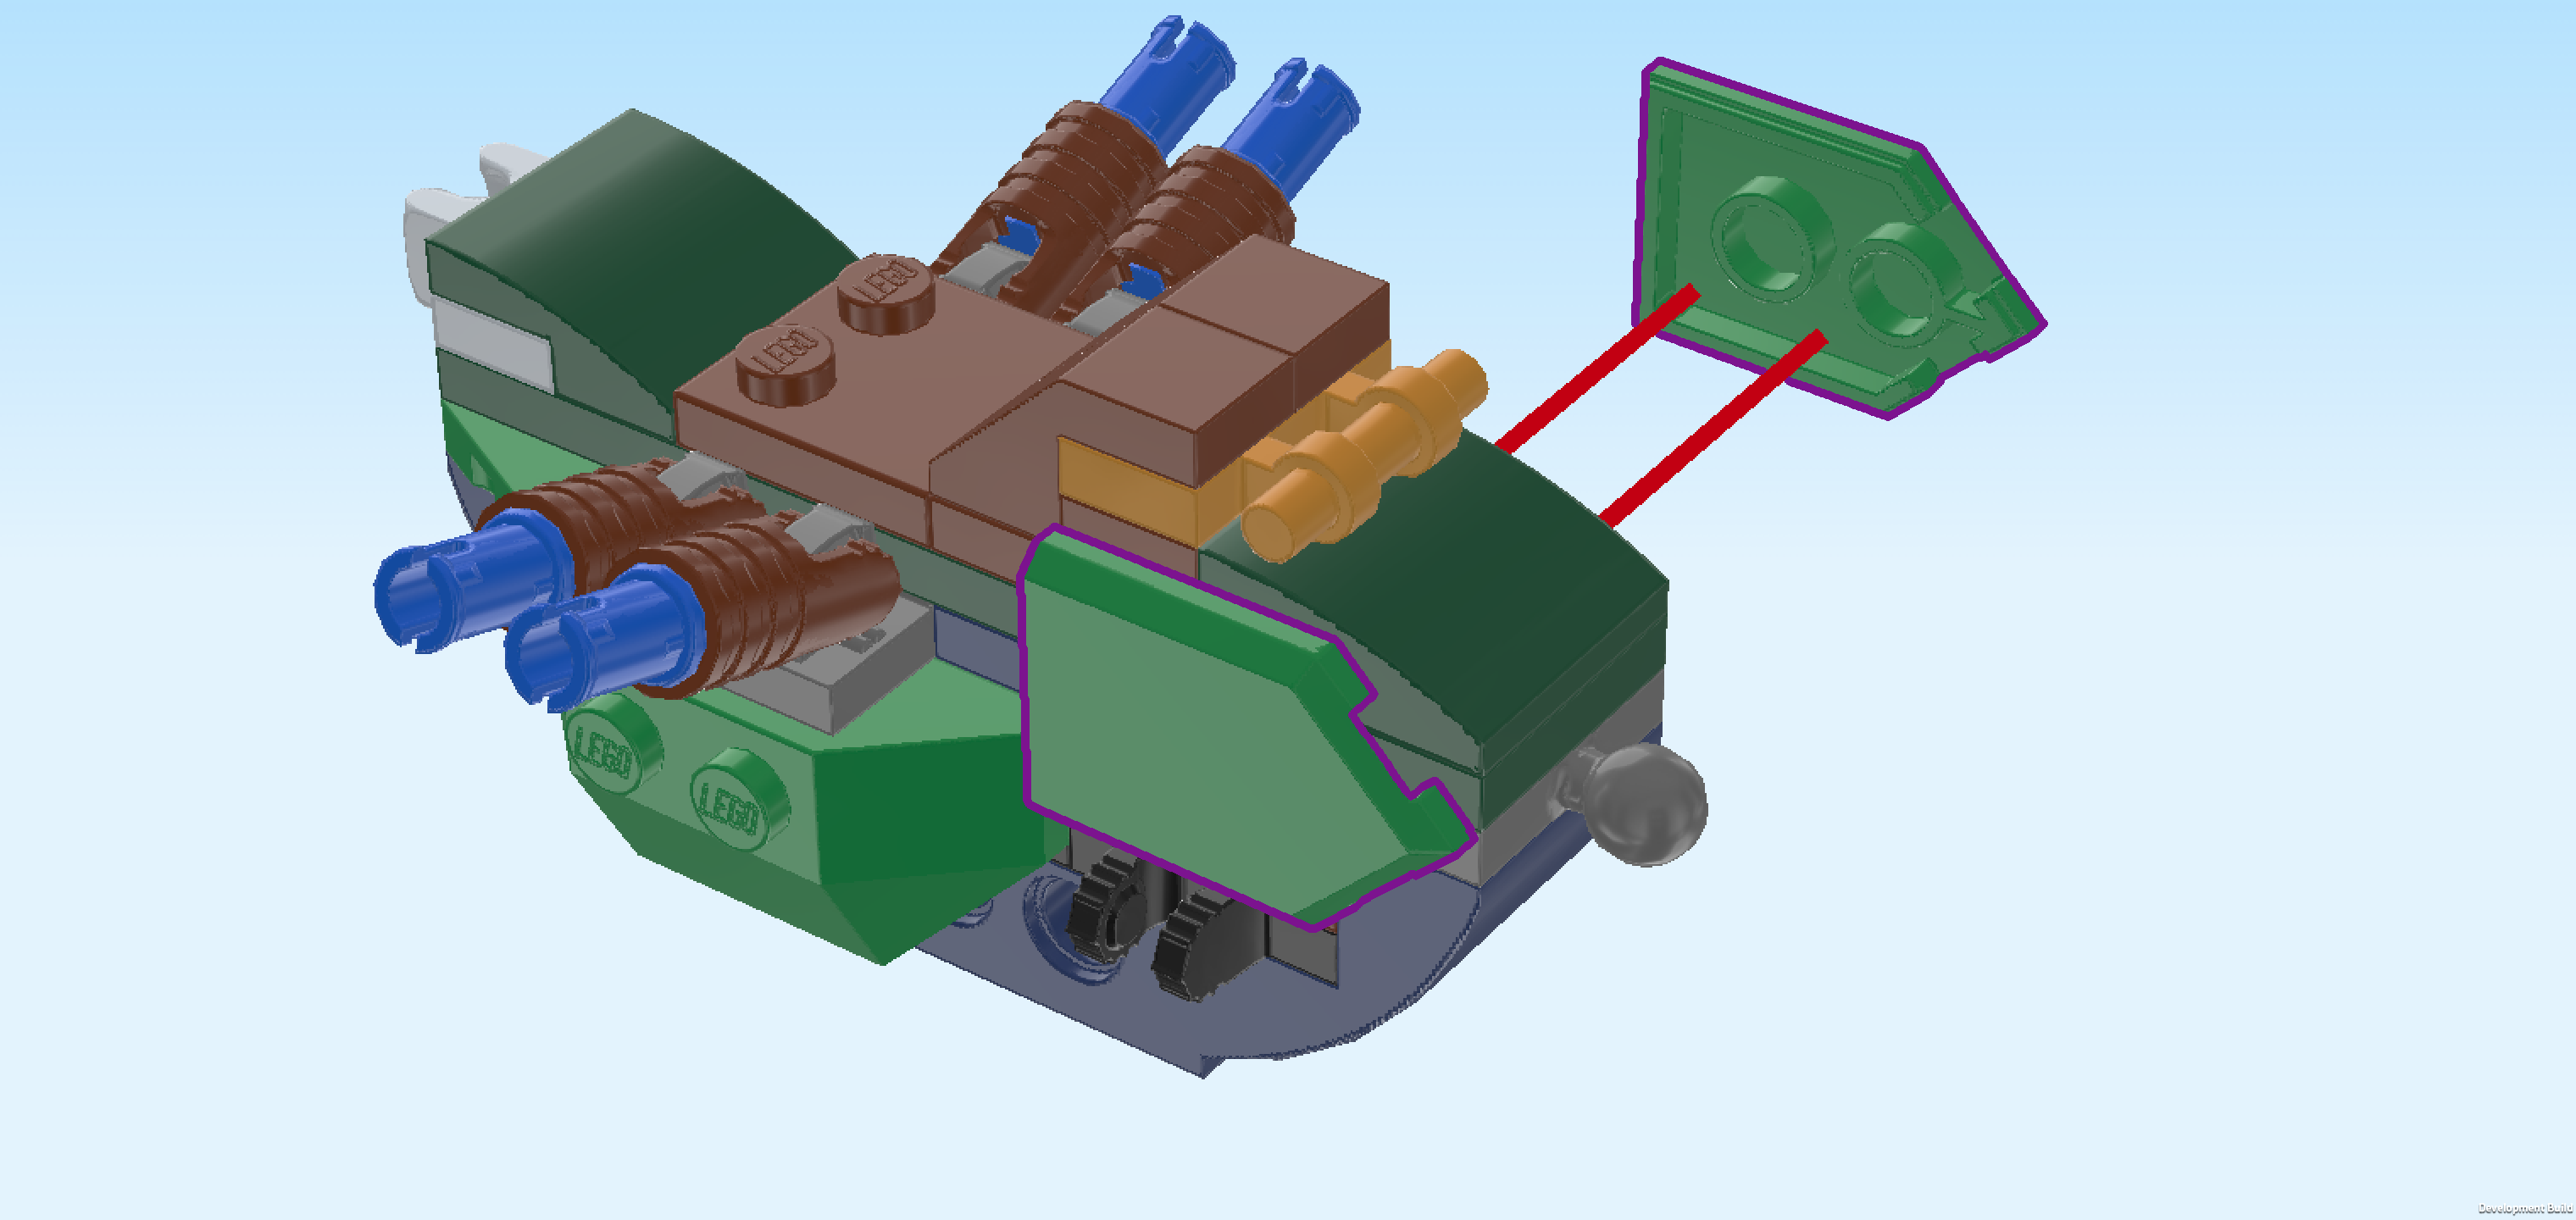
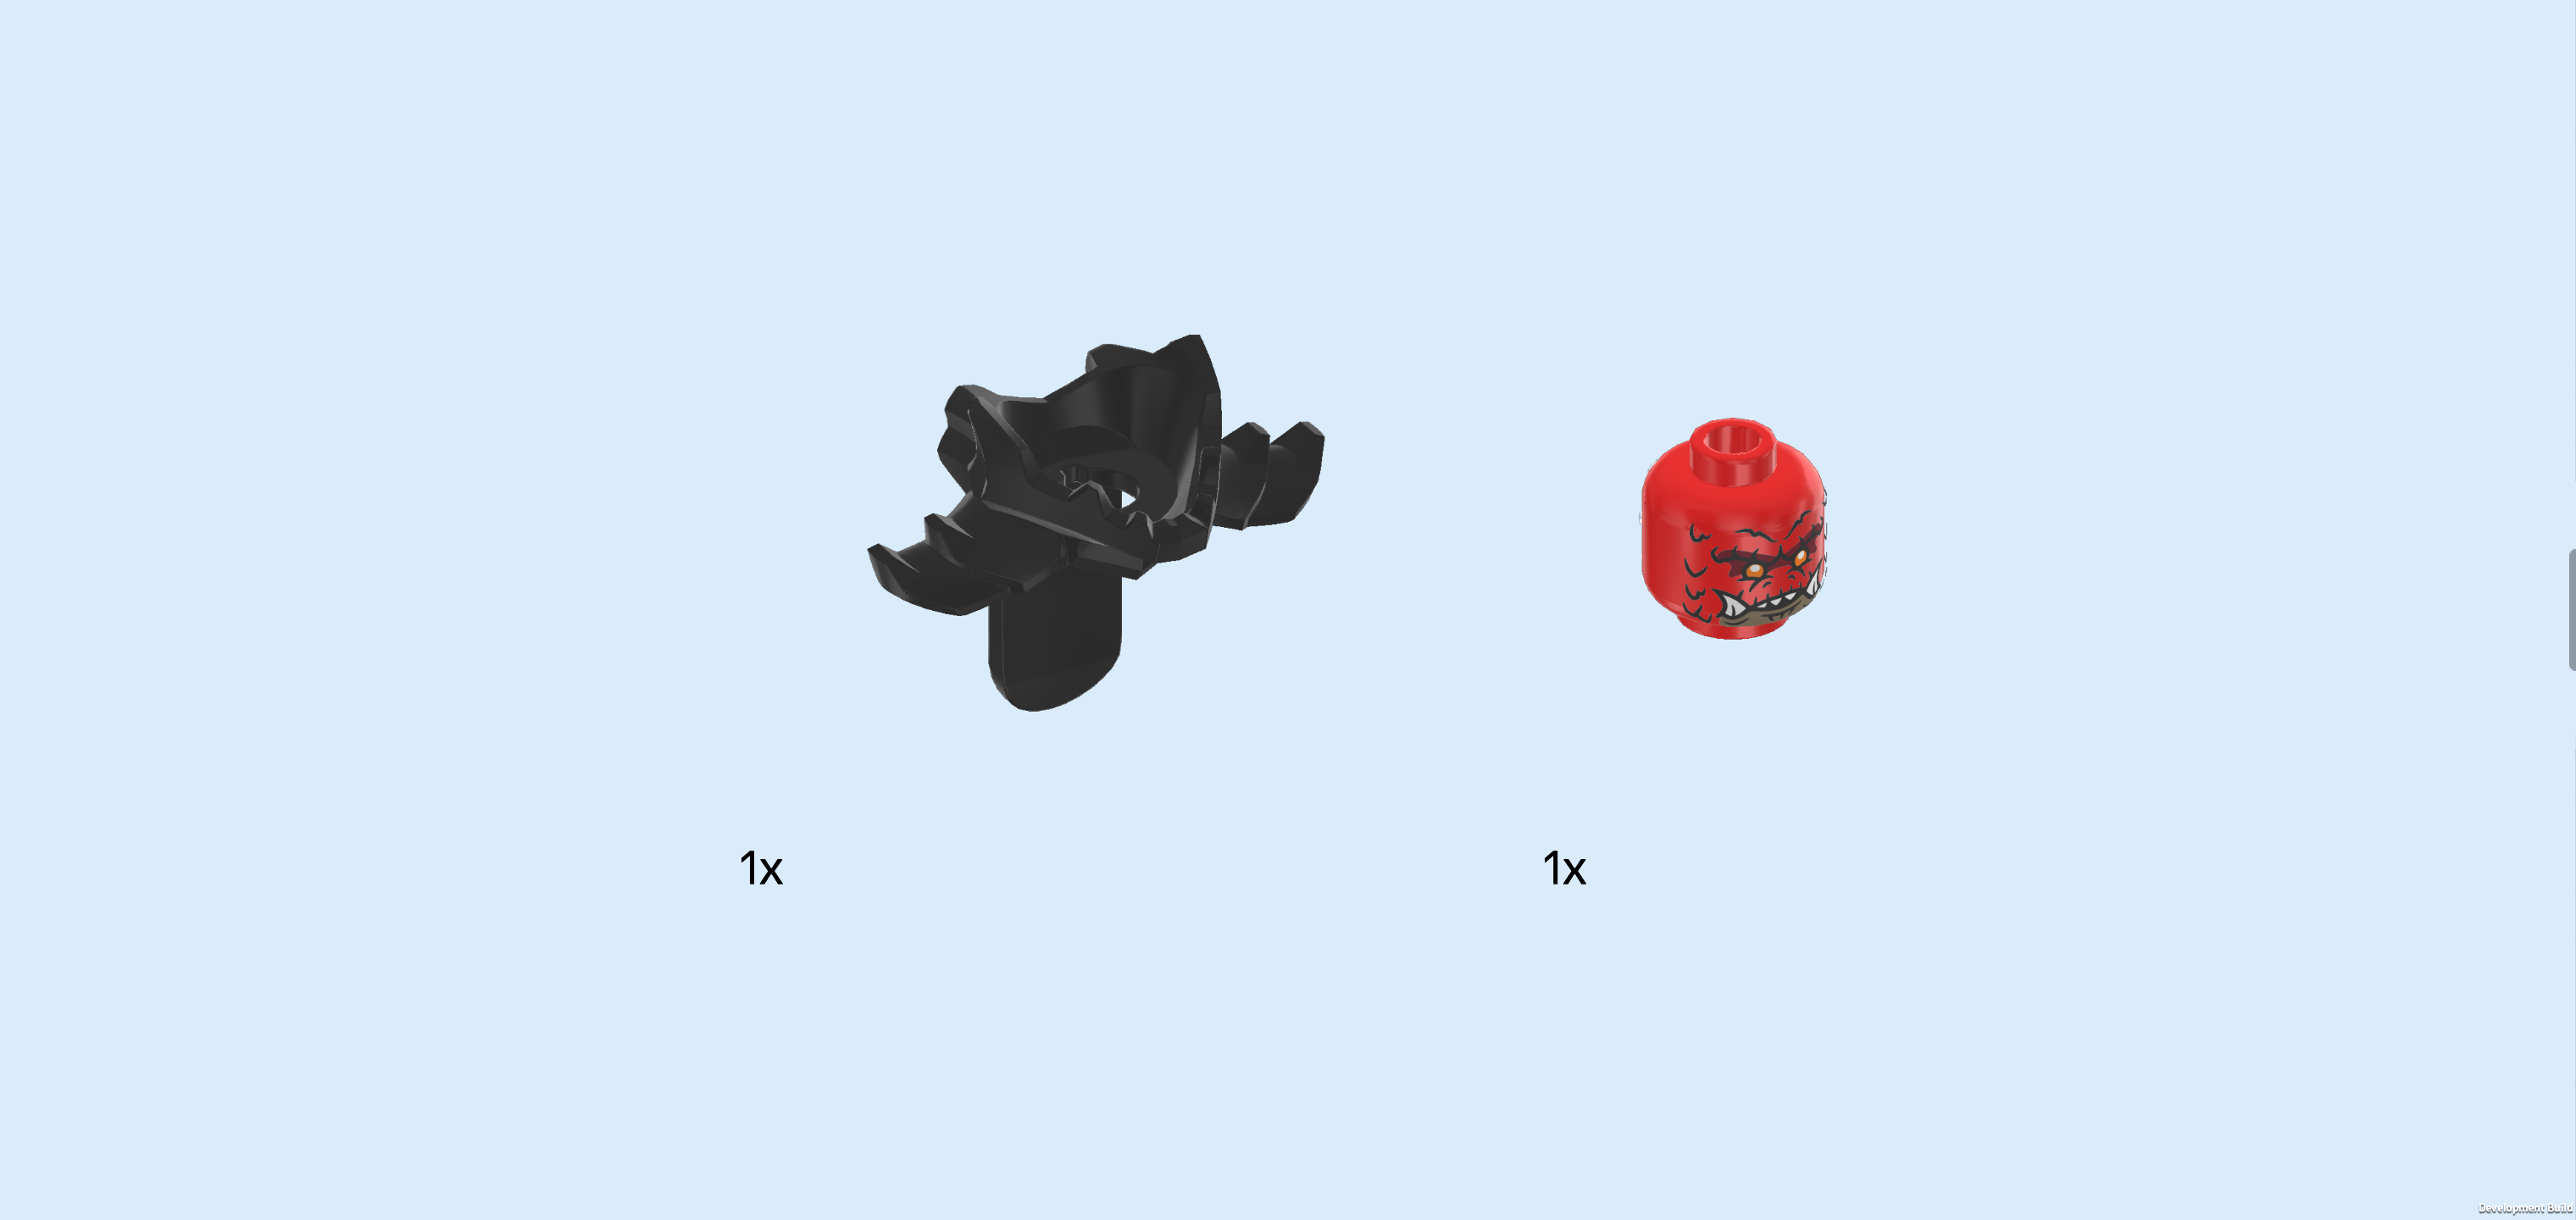
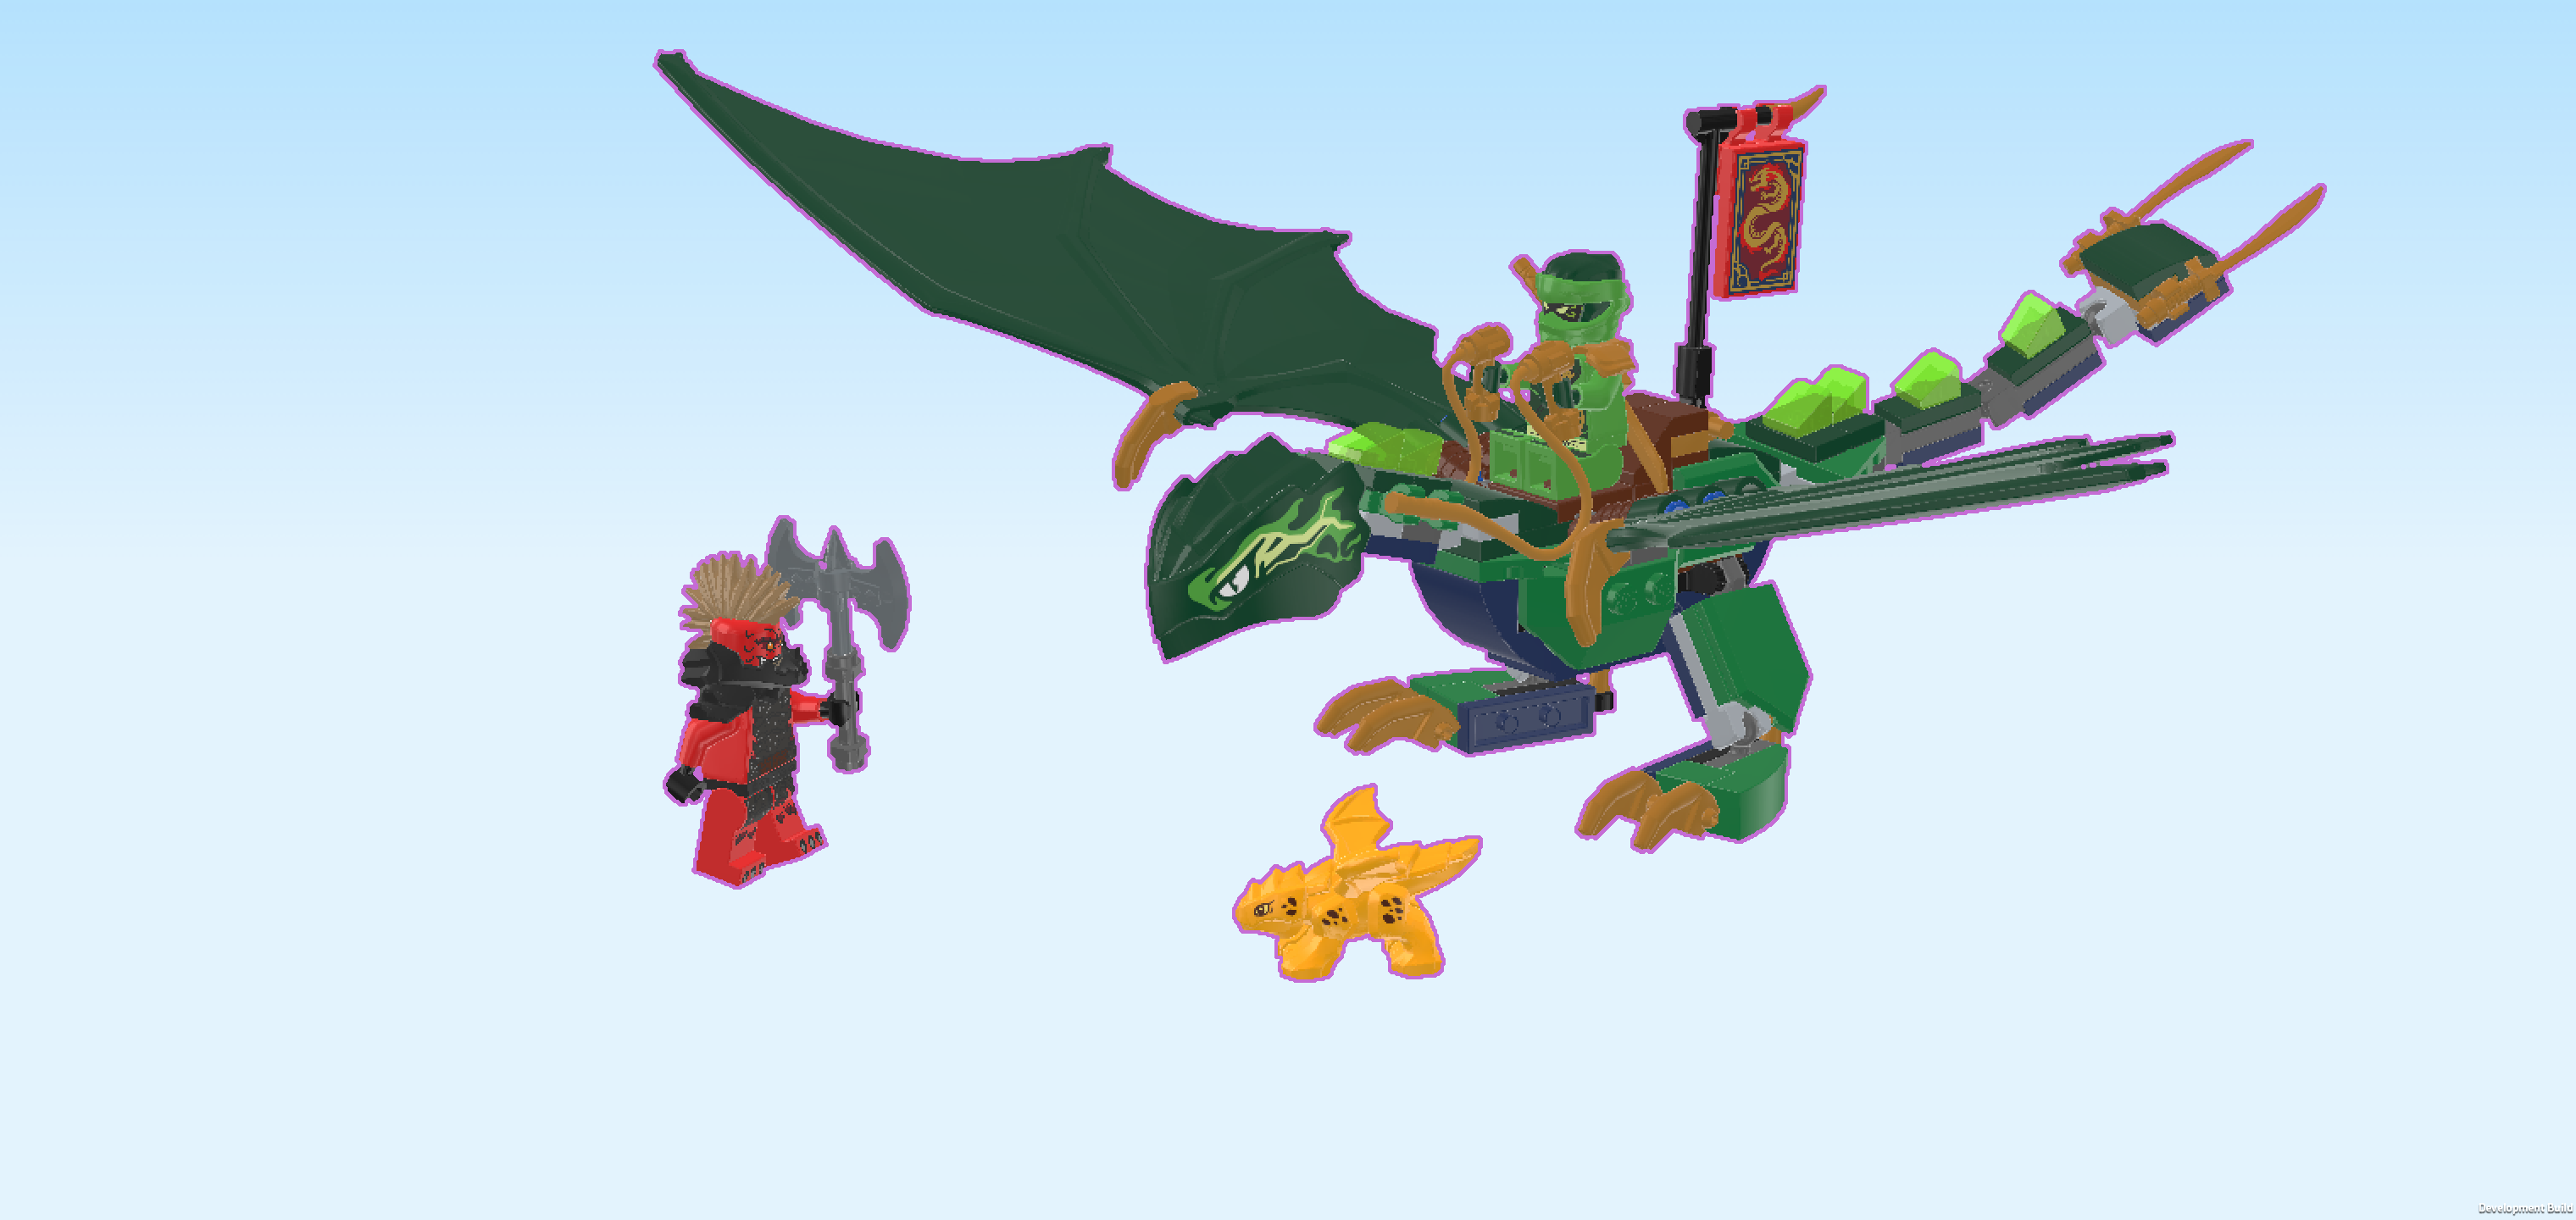
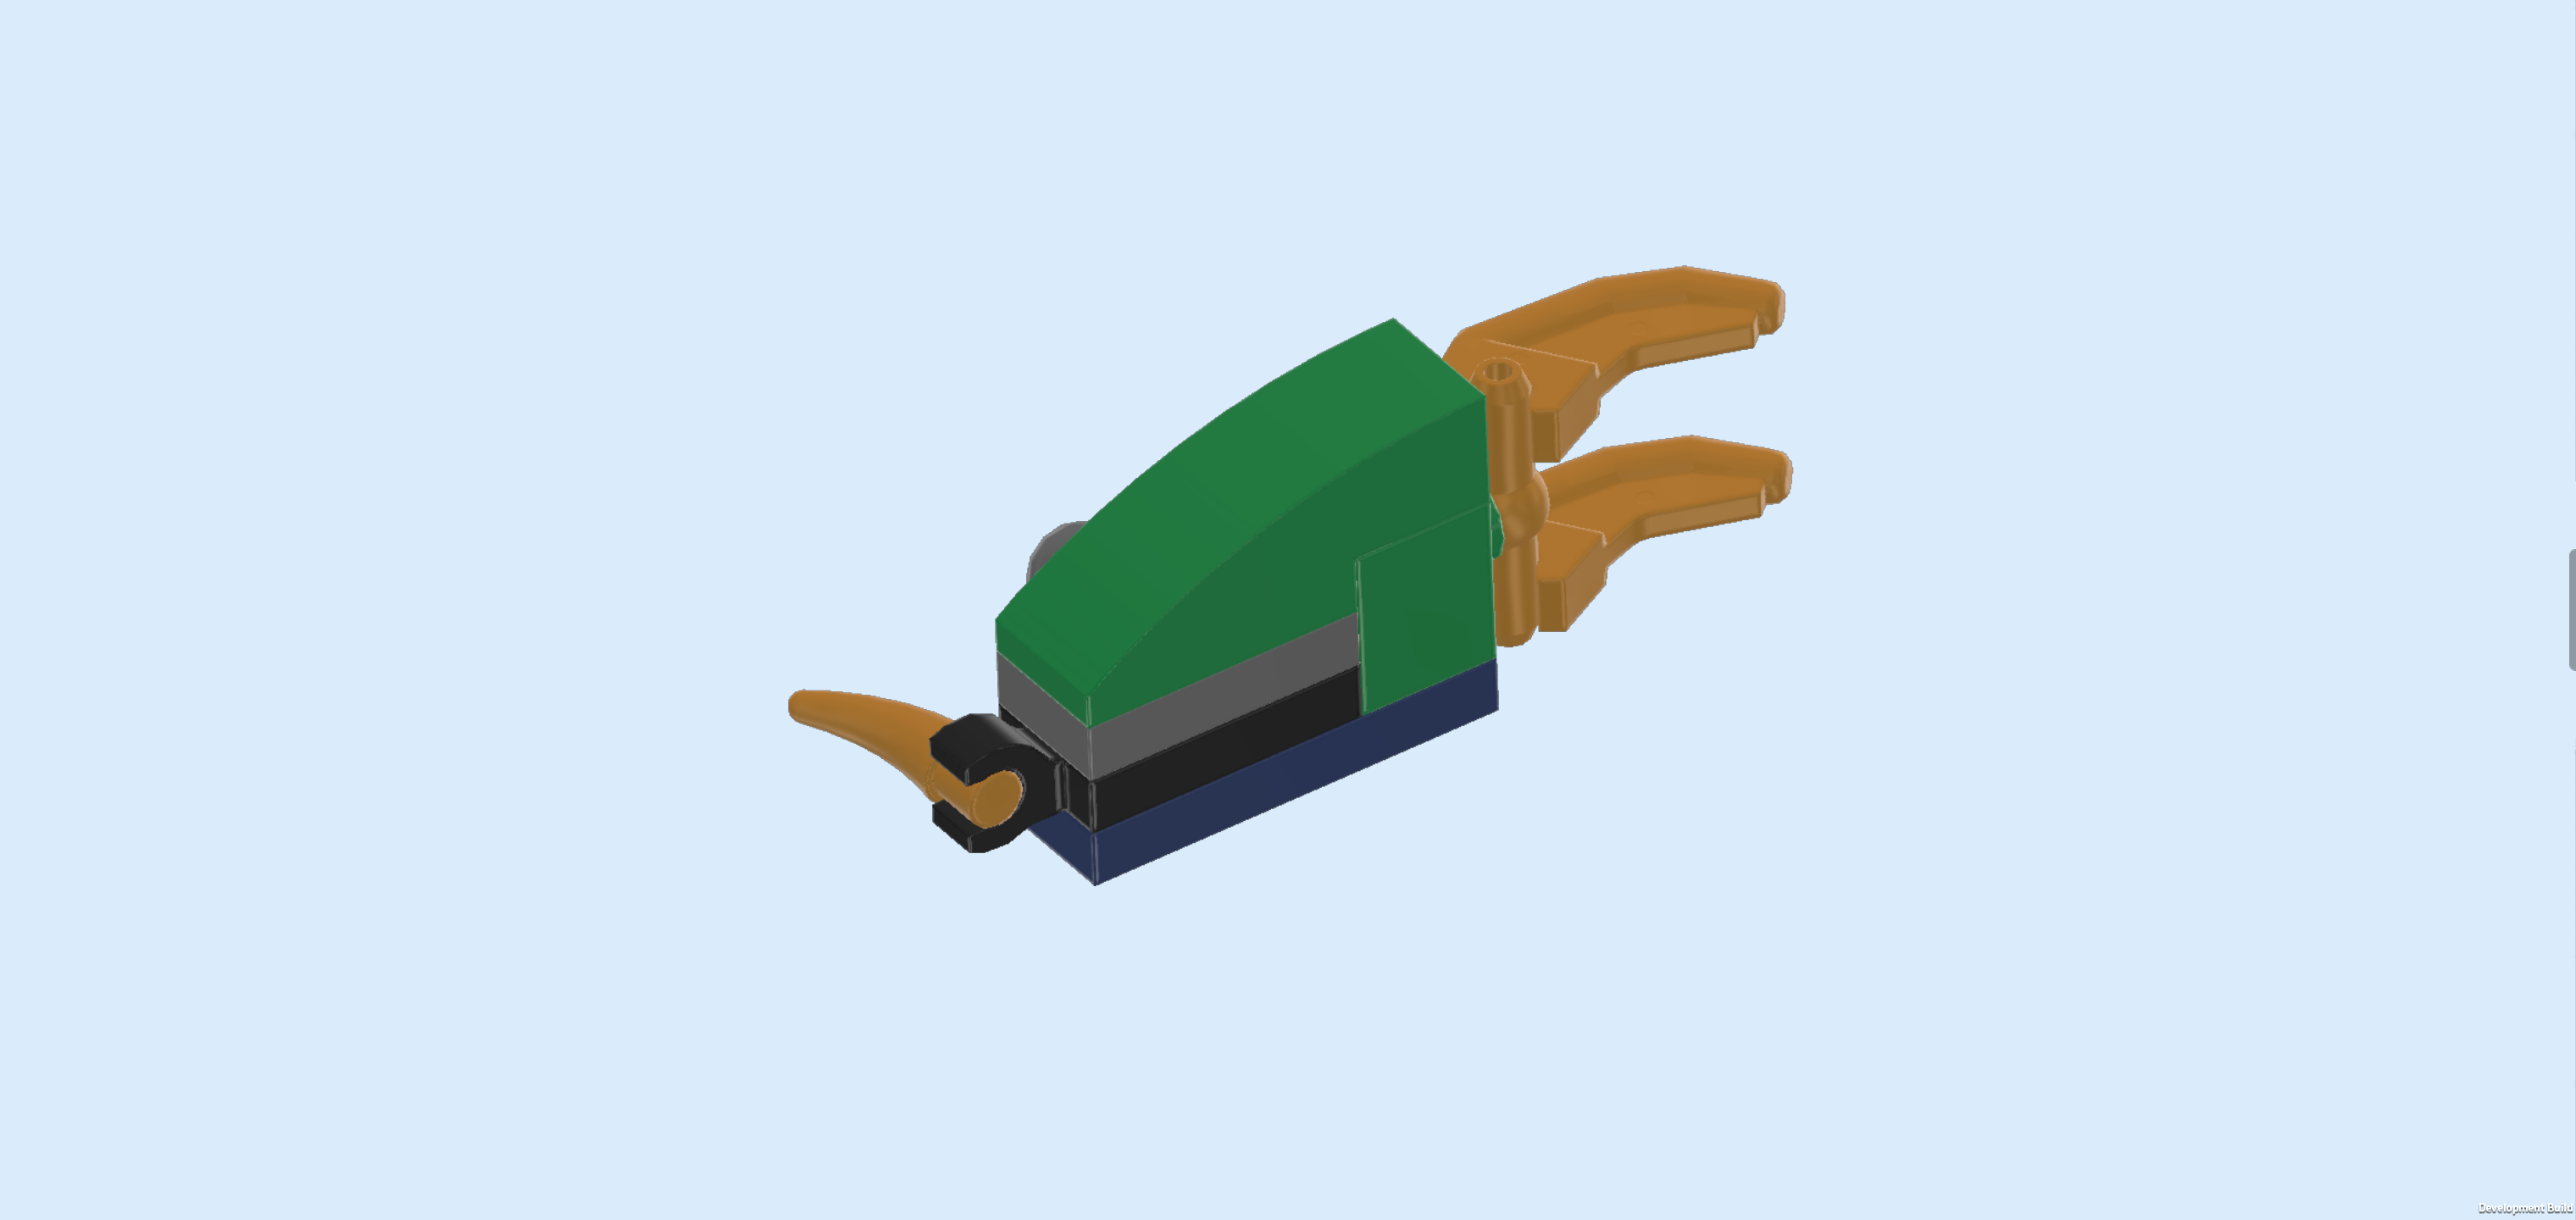
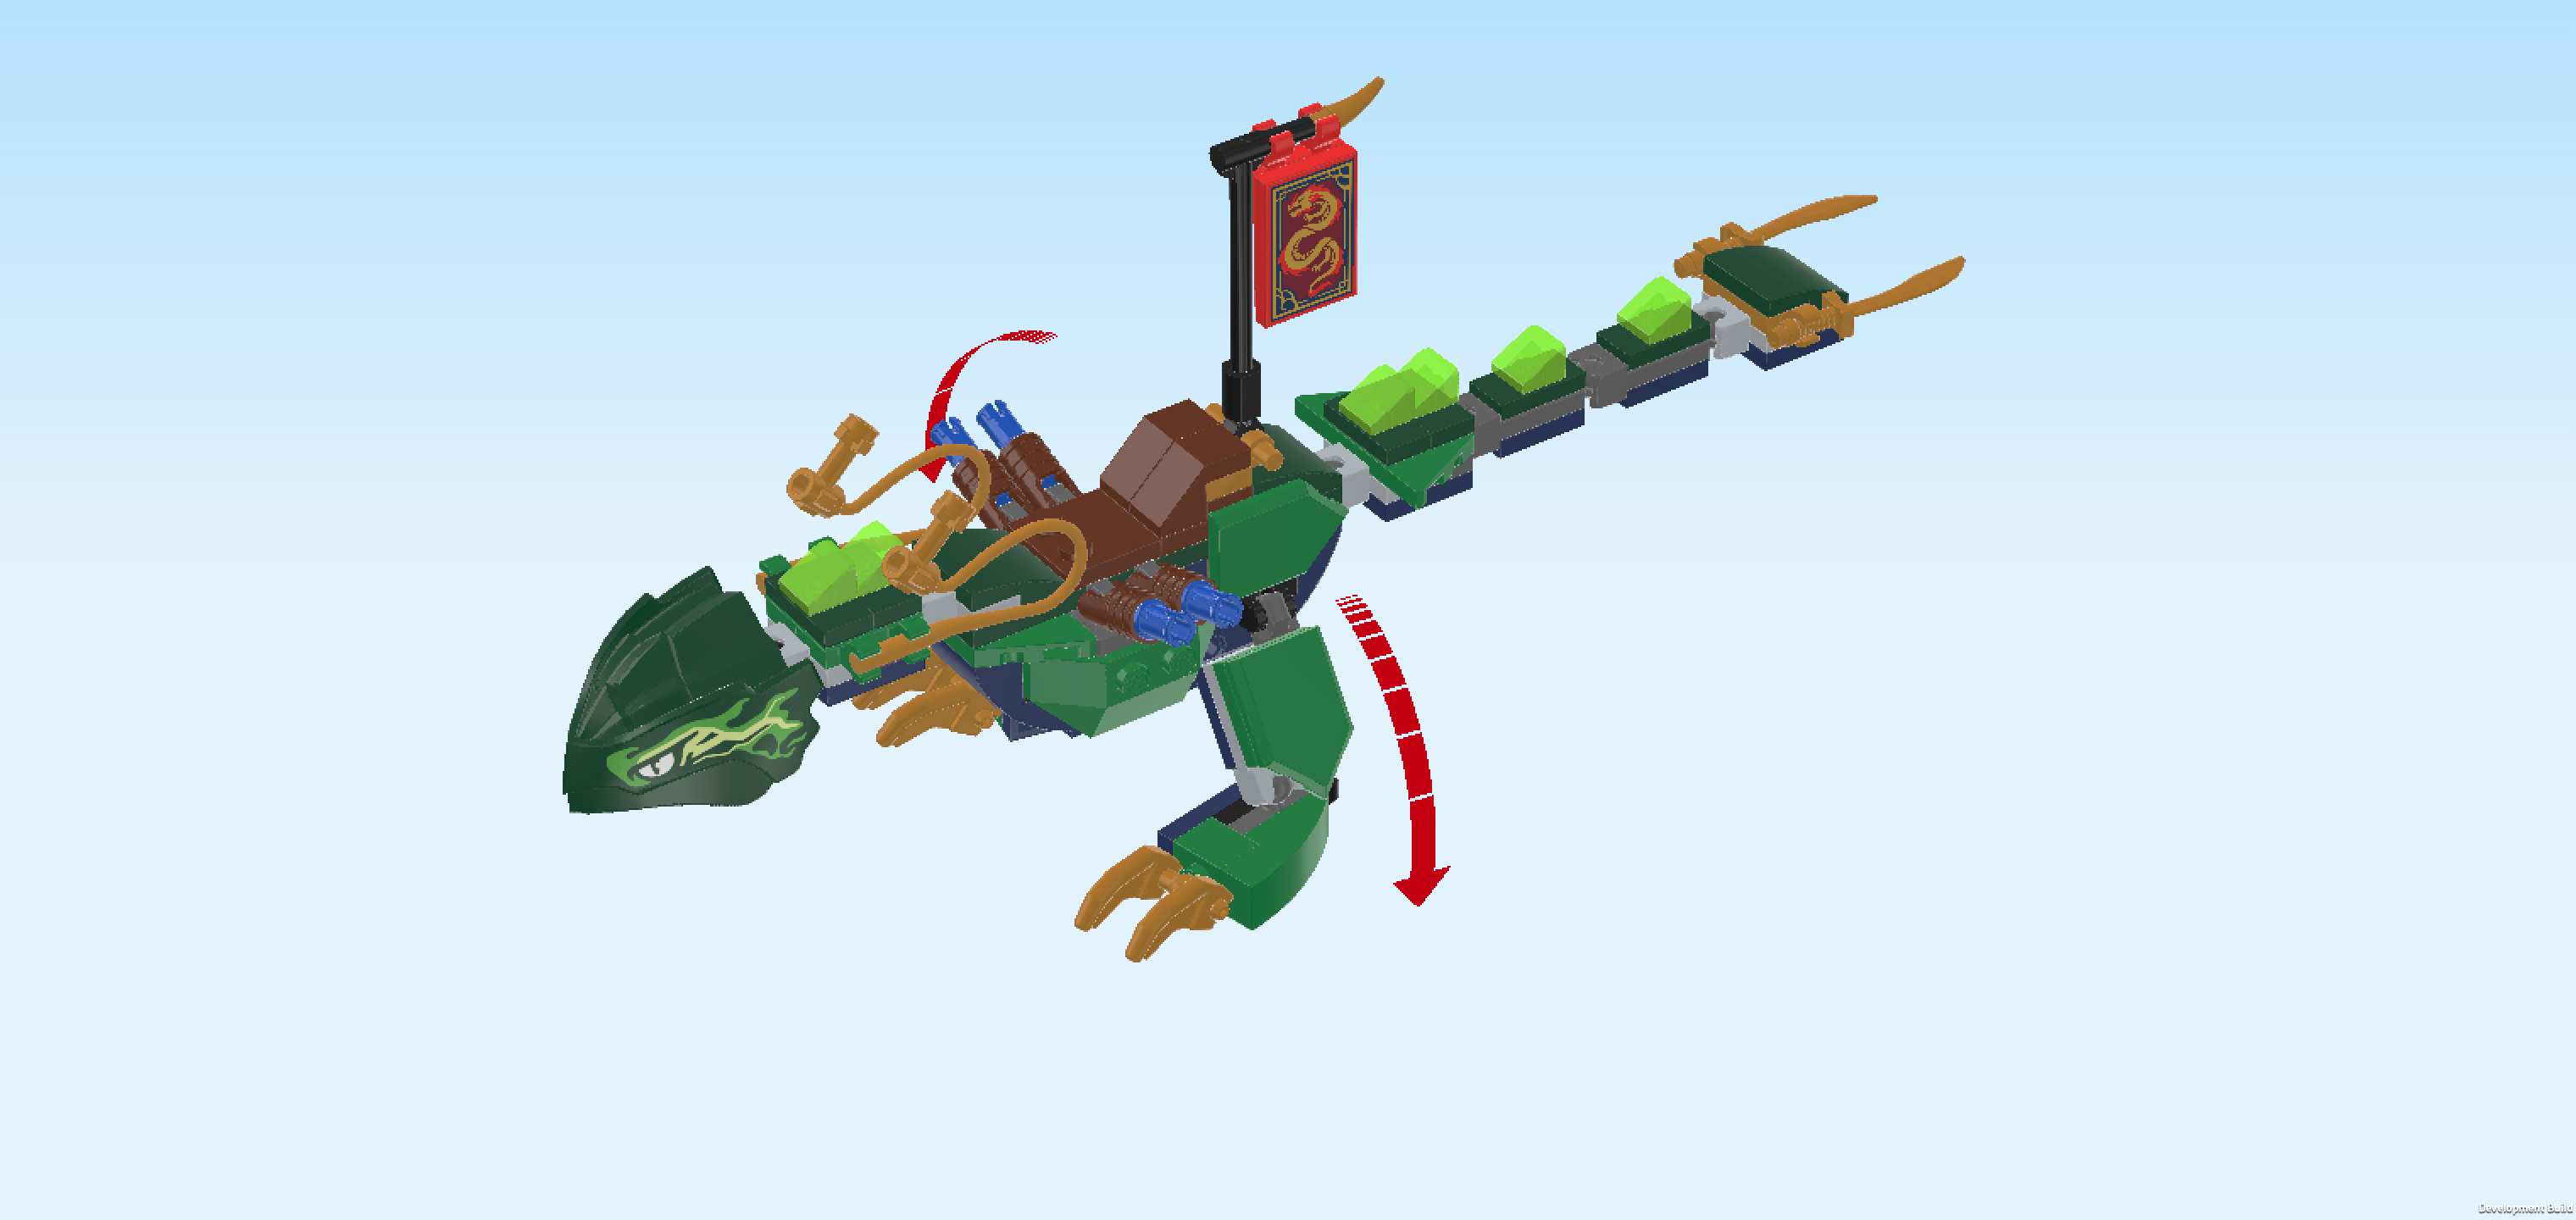
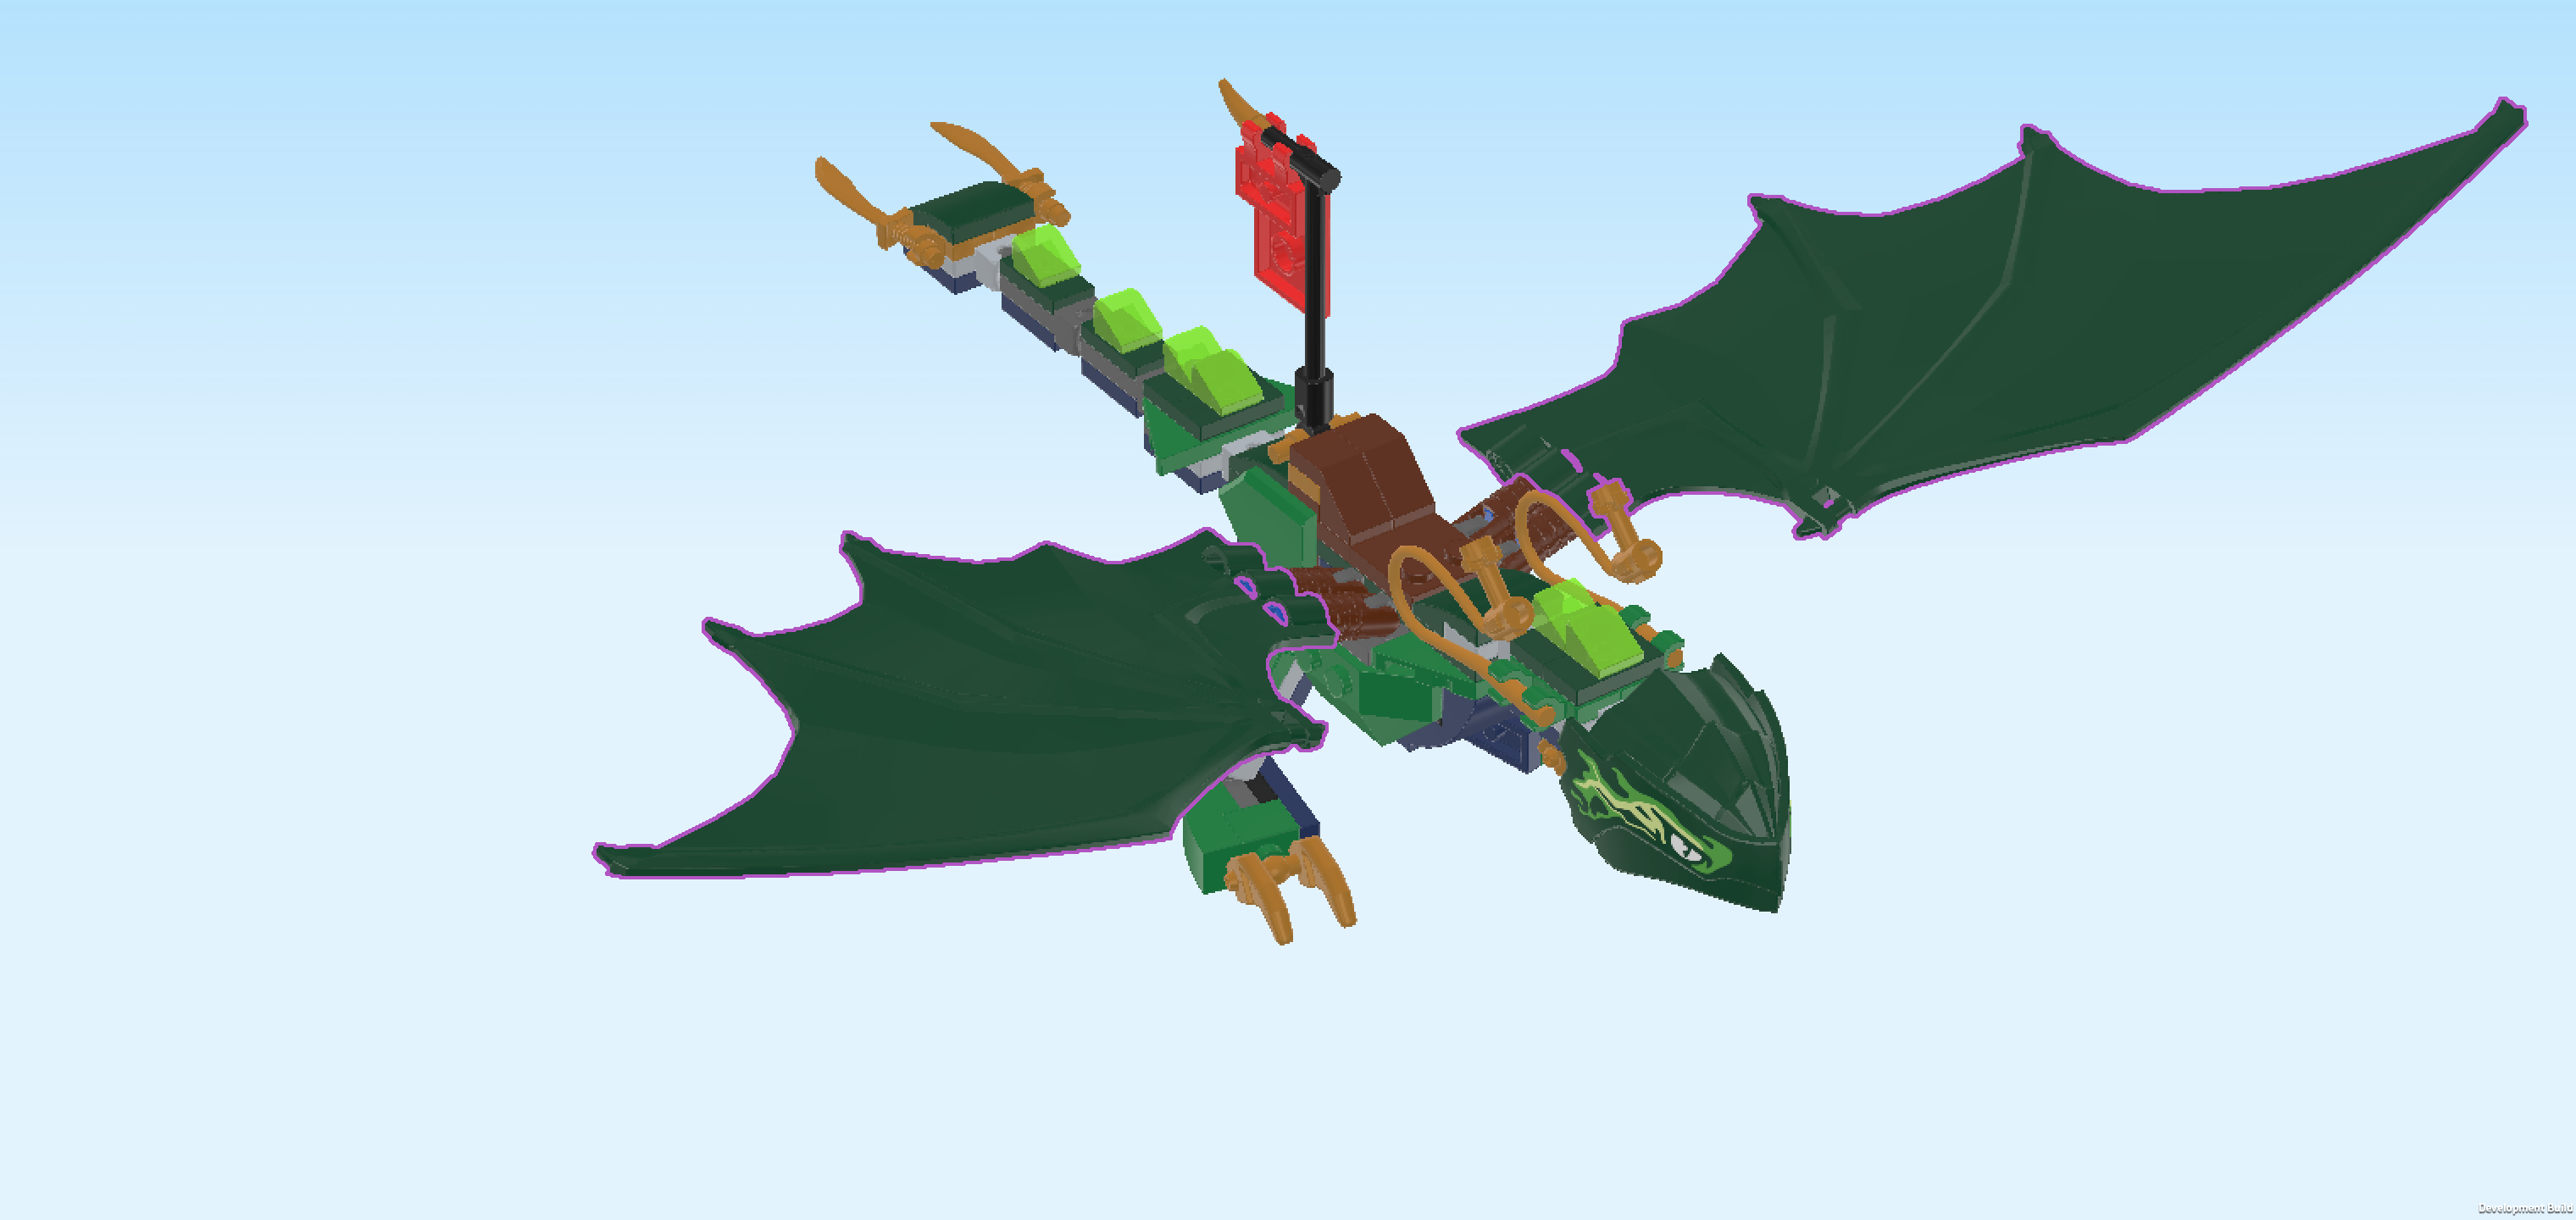
Swoop down from the sky with Lloyd riding on the back of his majestic dragon! In the middle of the World Forest the Elemental Master of Energy is also armed with a golden katana sword to rescue the Dragon Baby from the clutches of the evil Dragonian Scout! Too many Dragonians have been turned evil and feral! It is up to Lloyd to save this innocent creature!

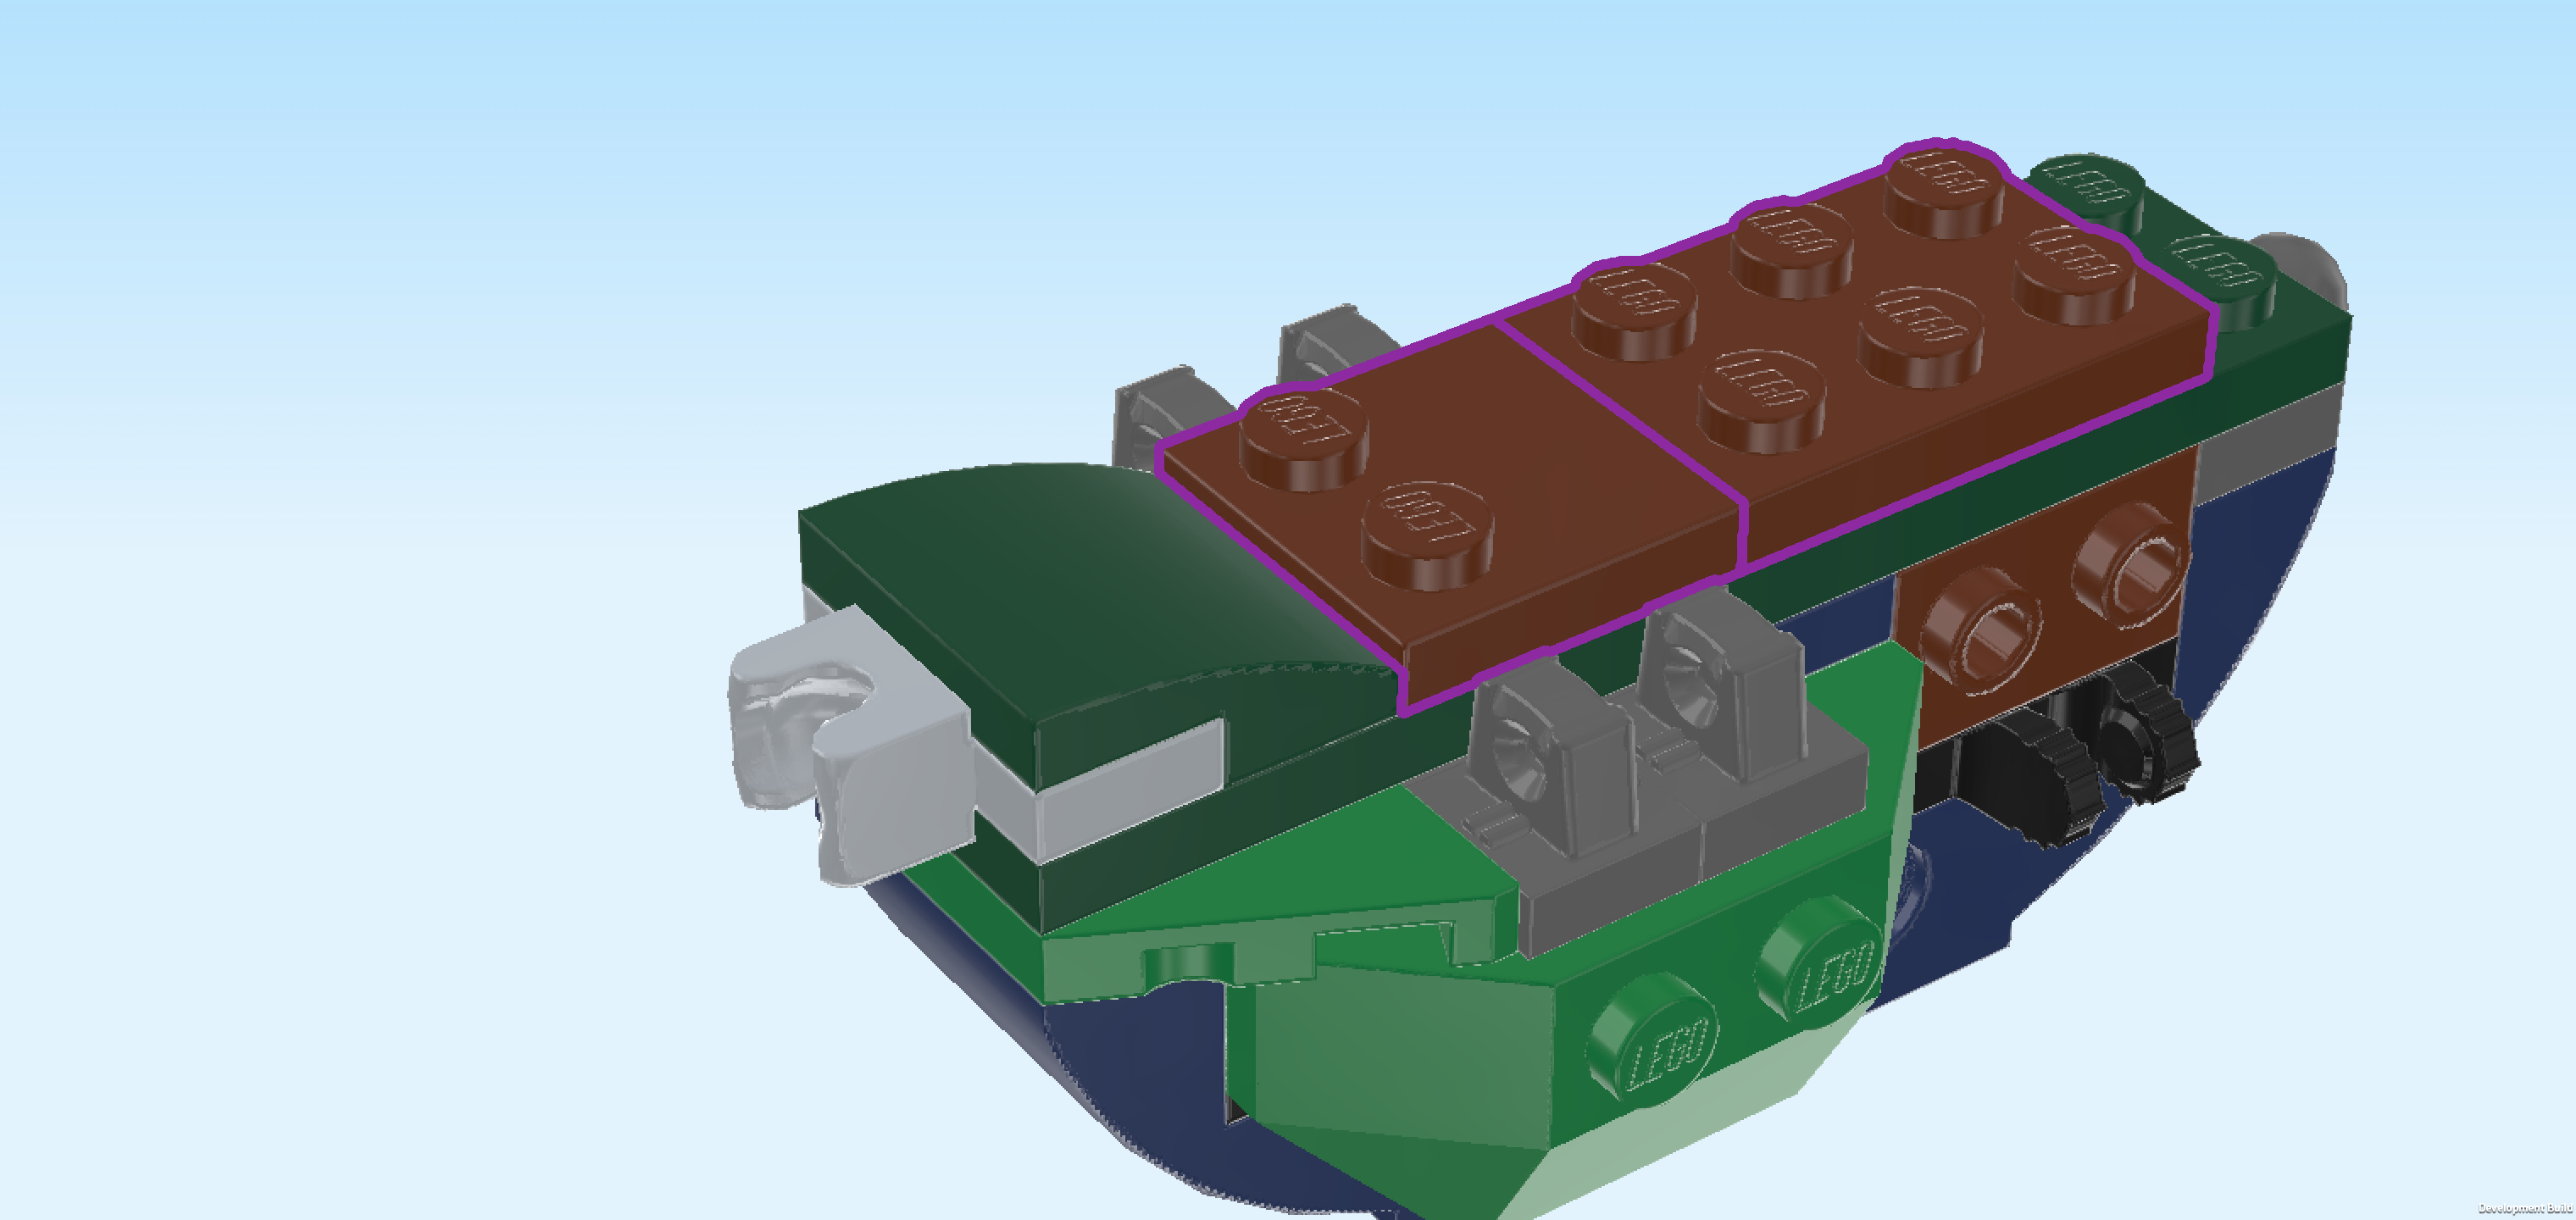
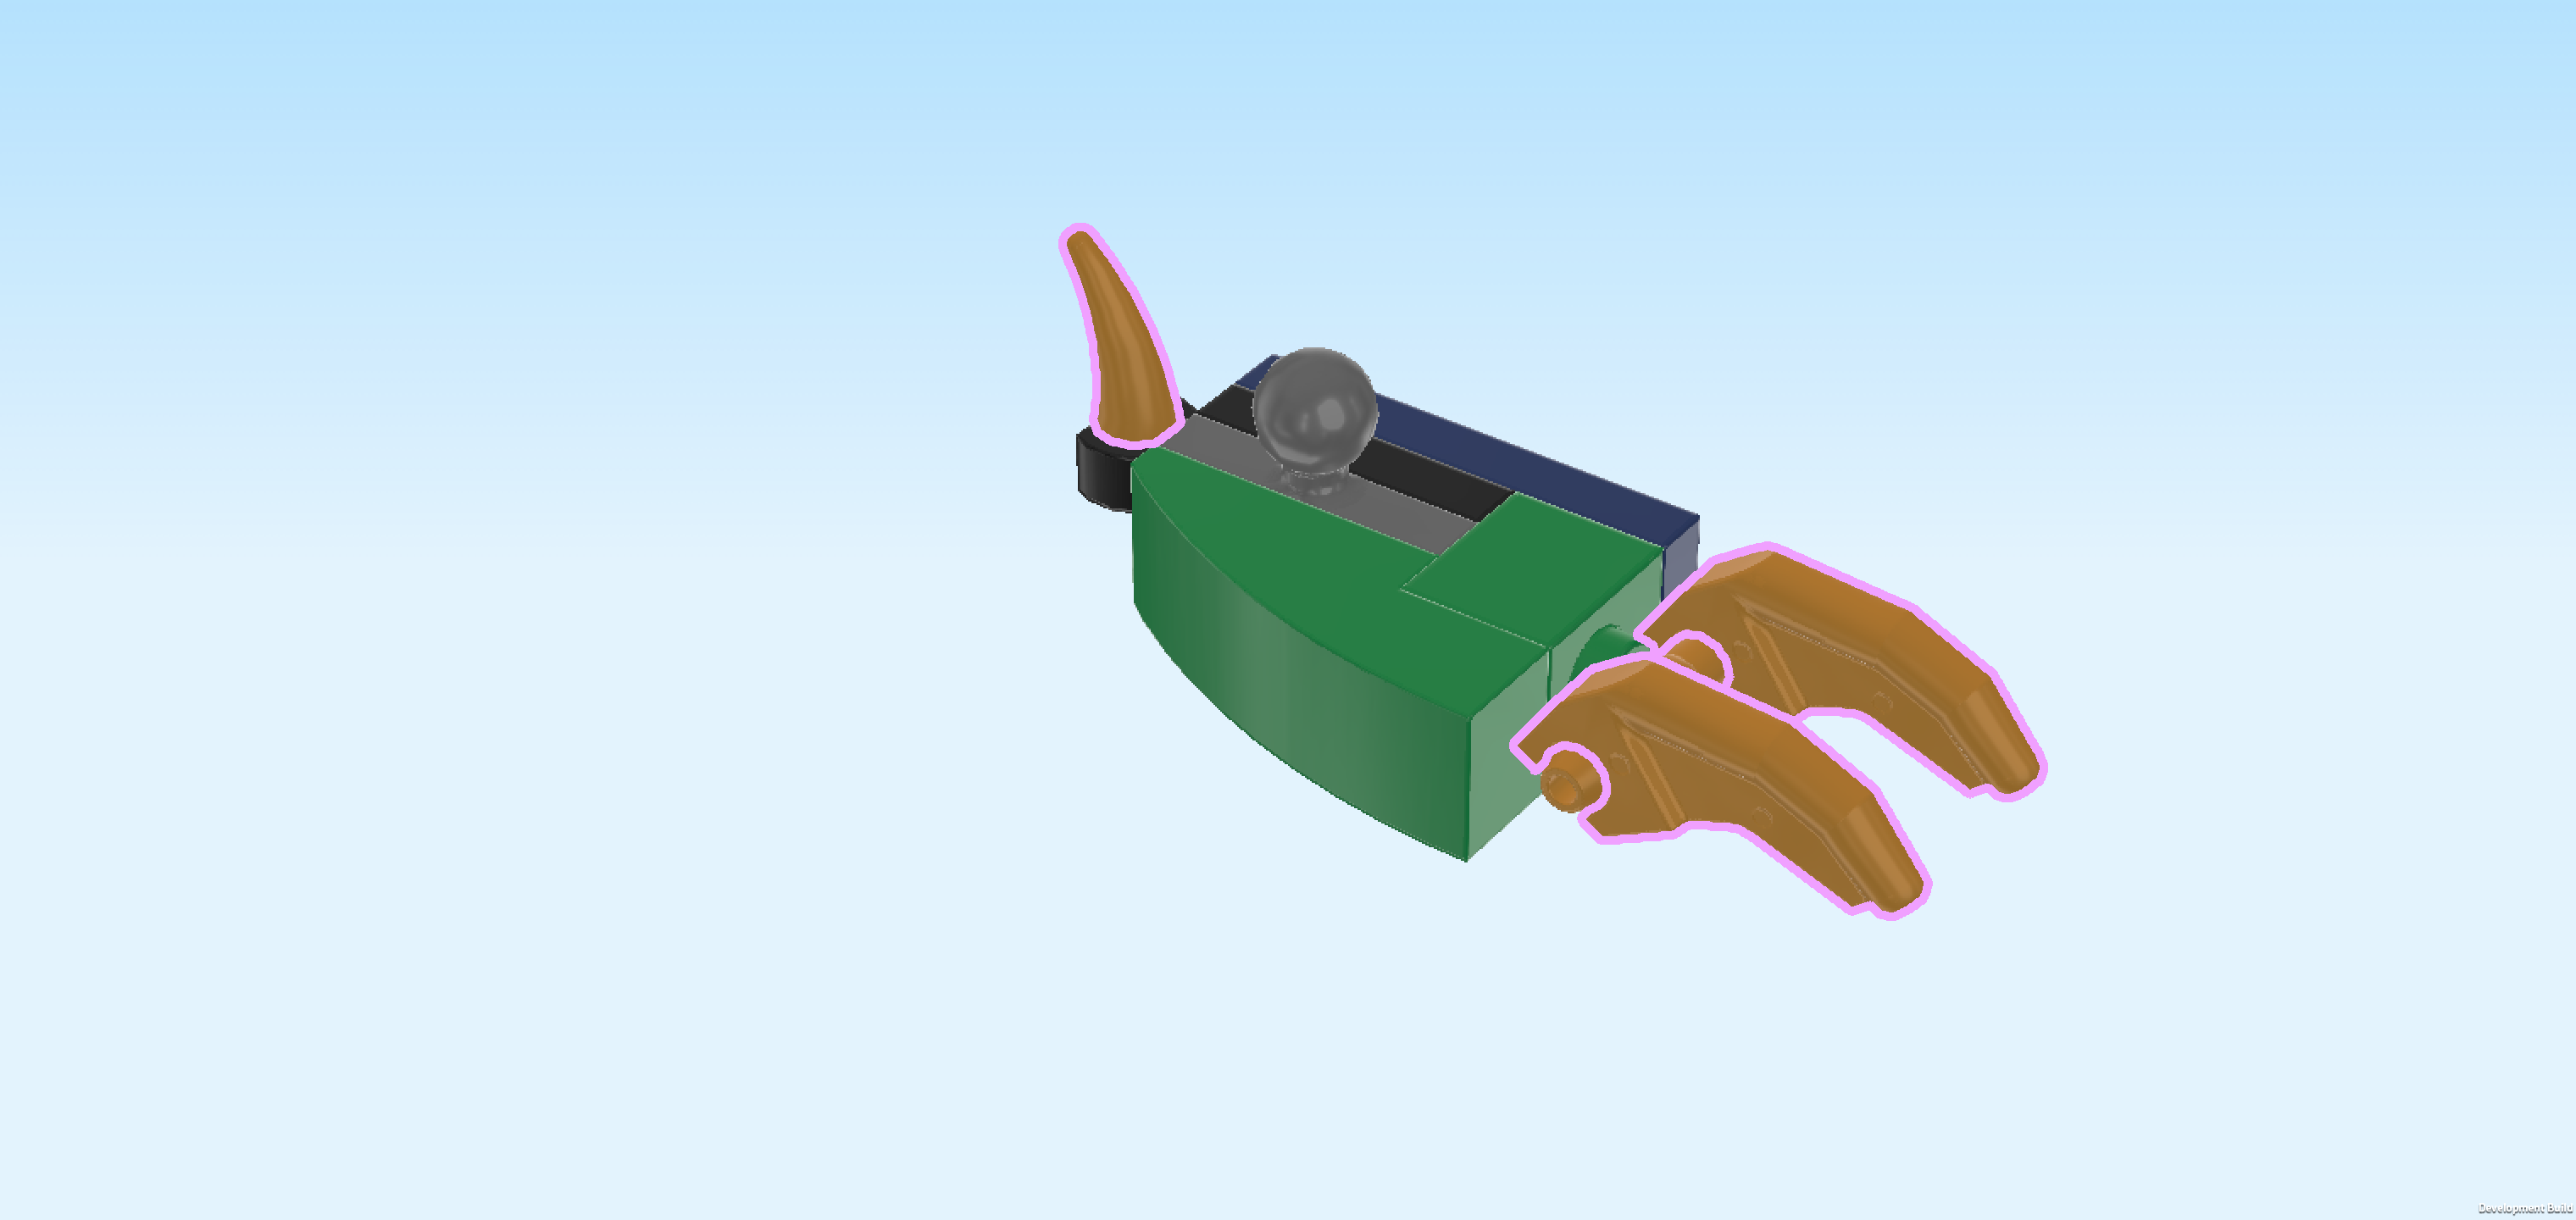
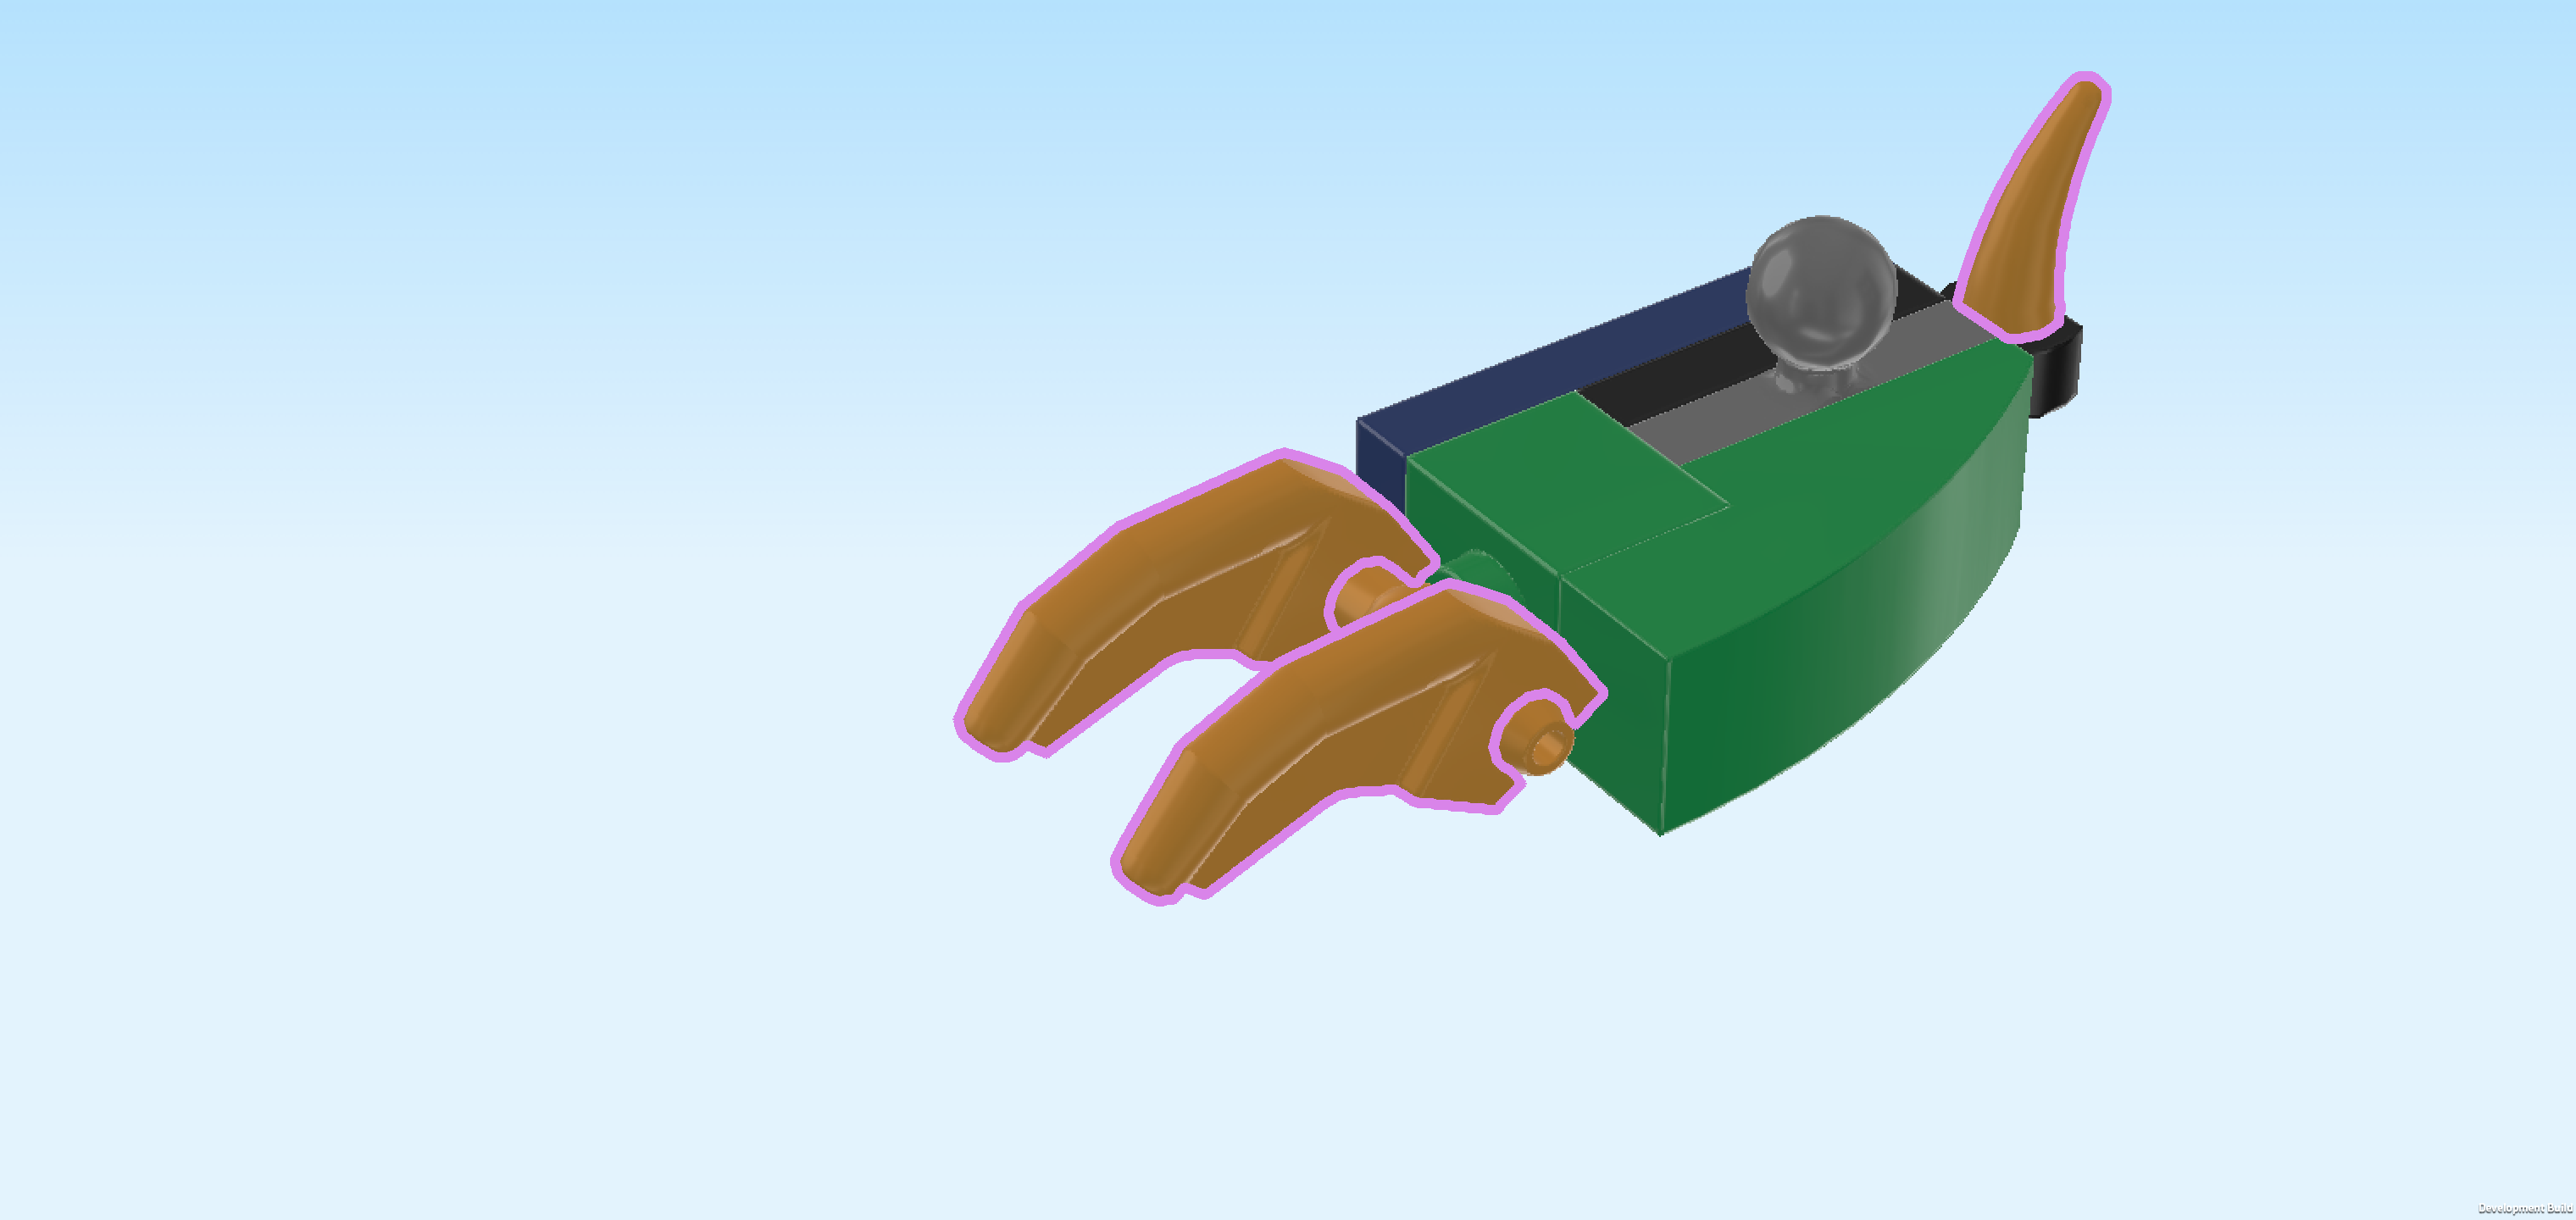
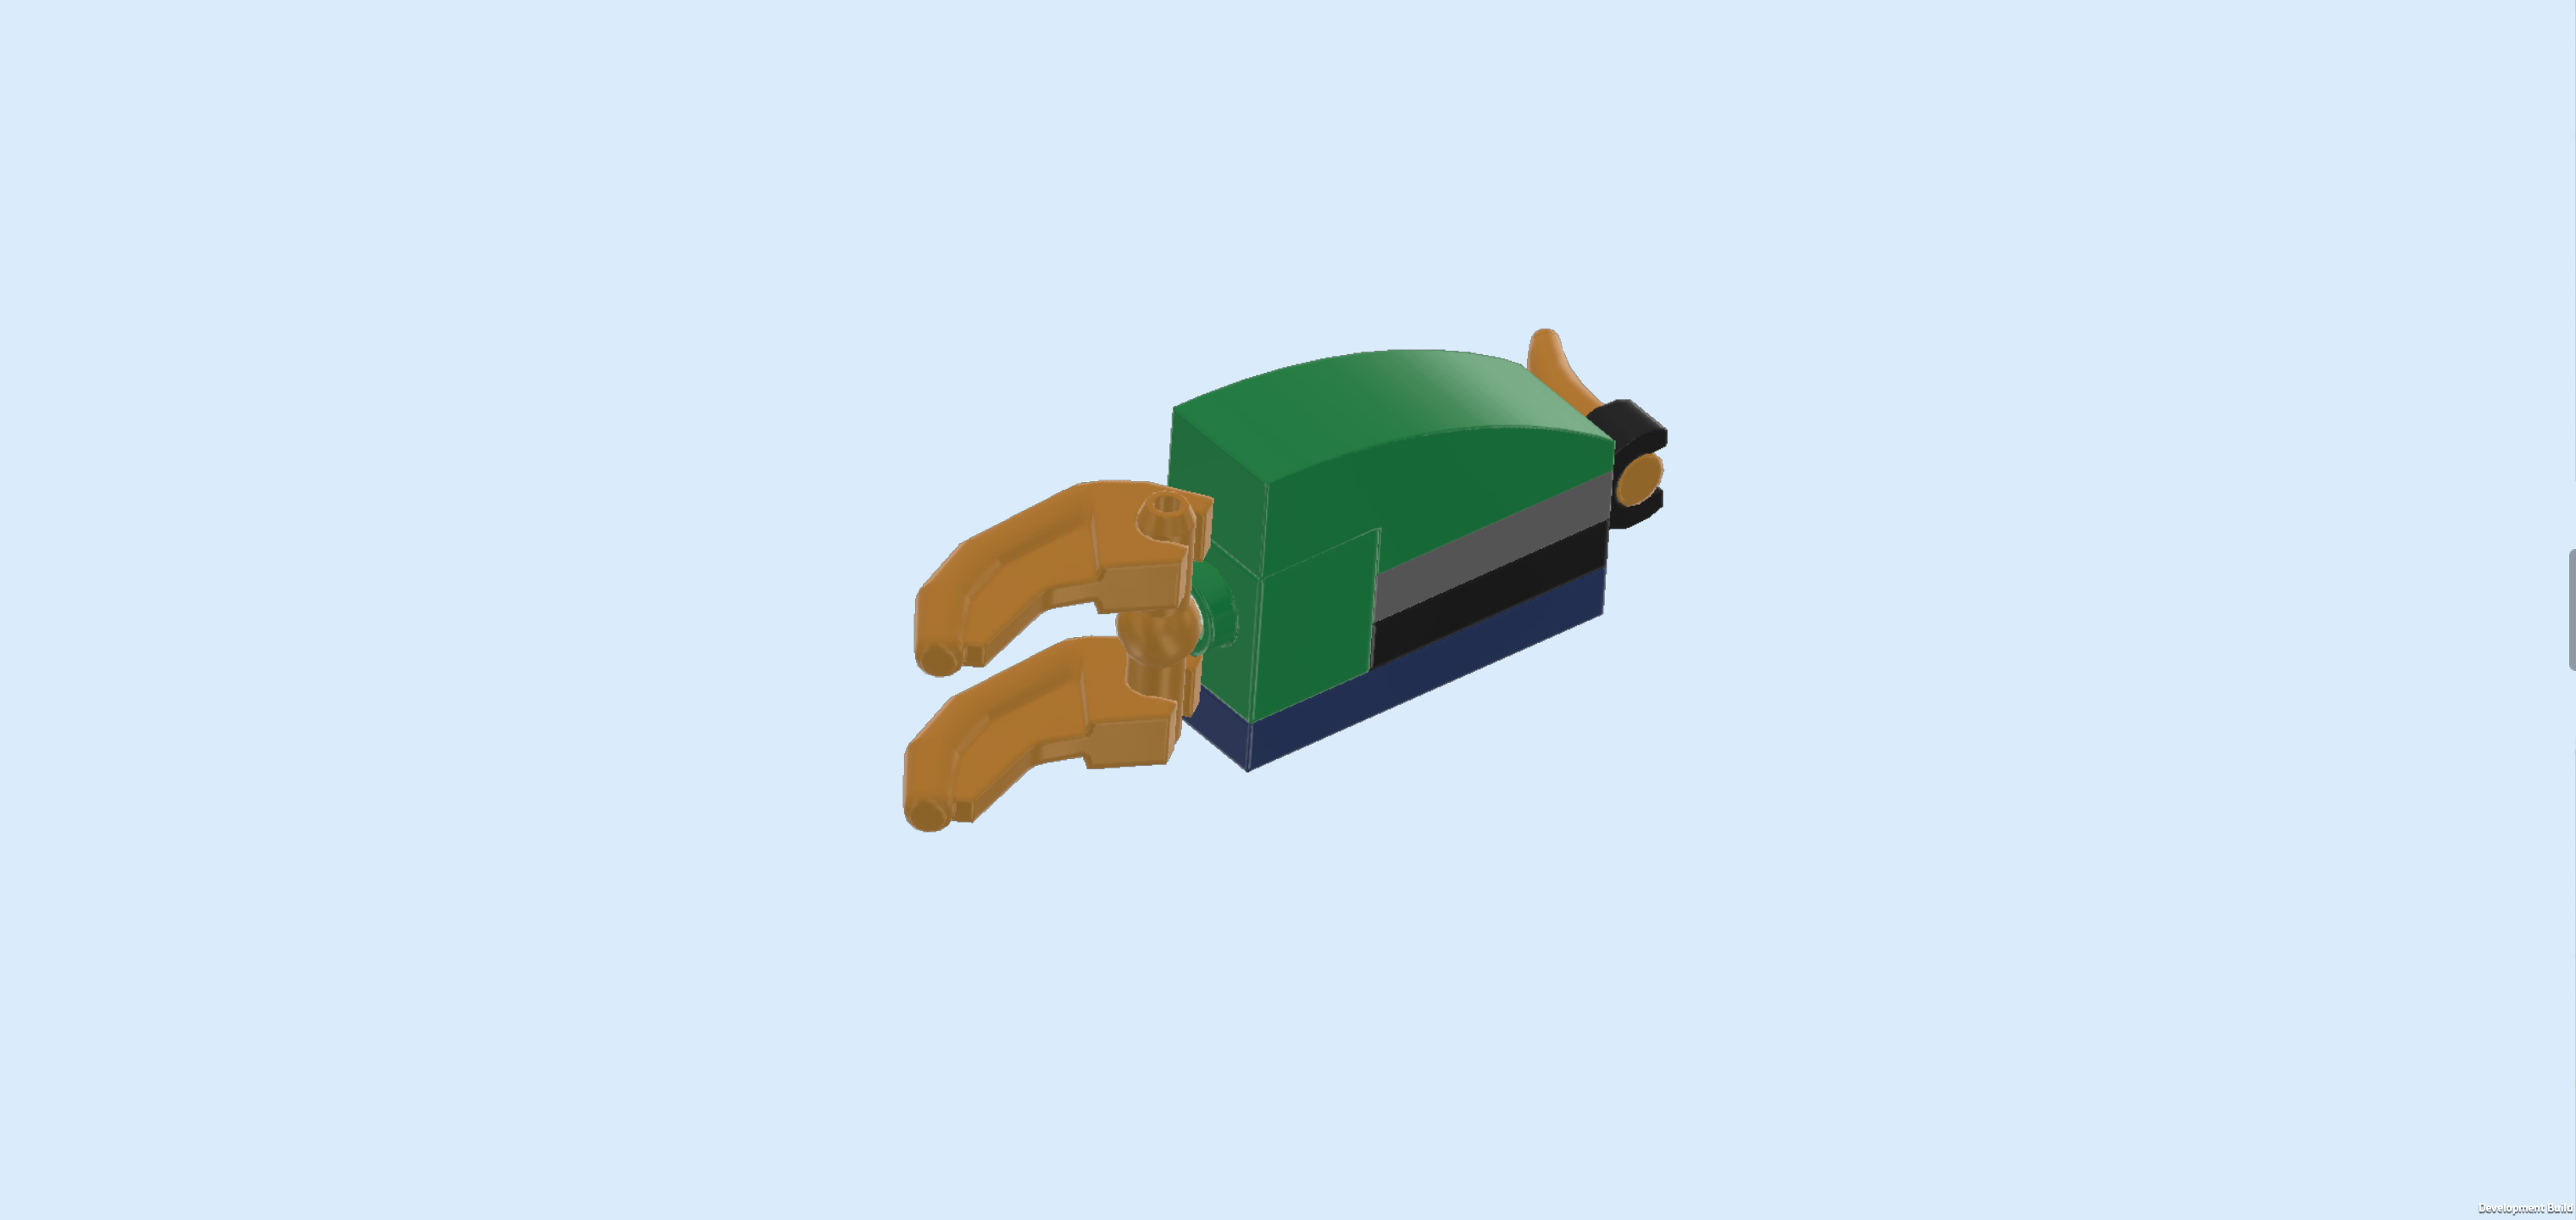
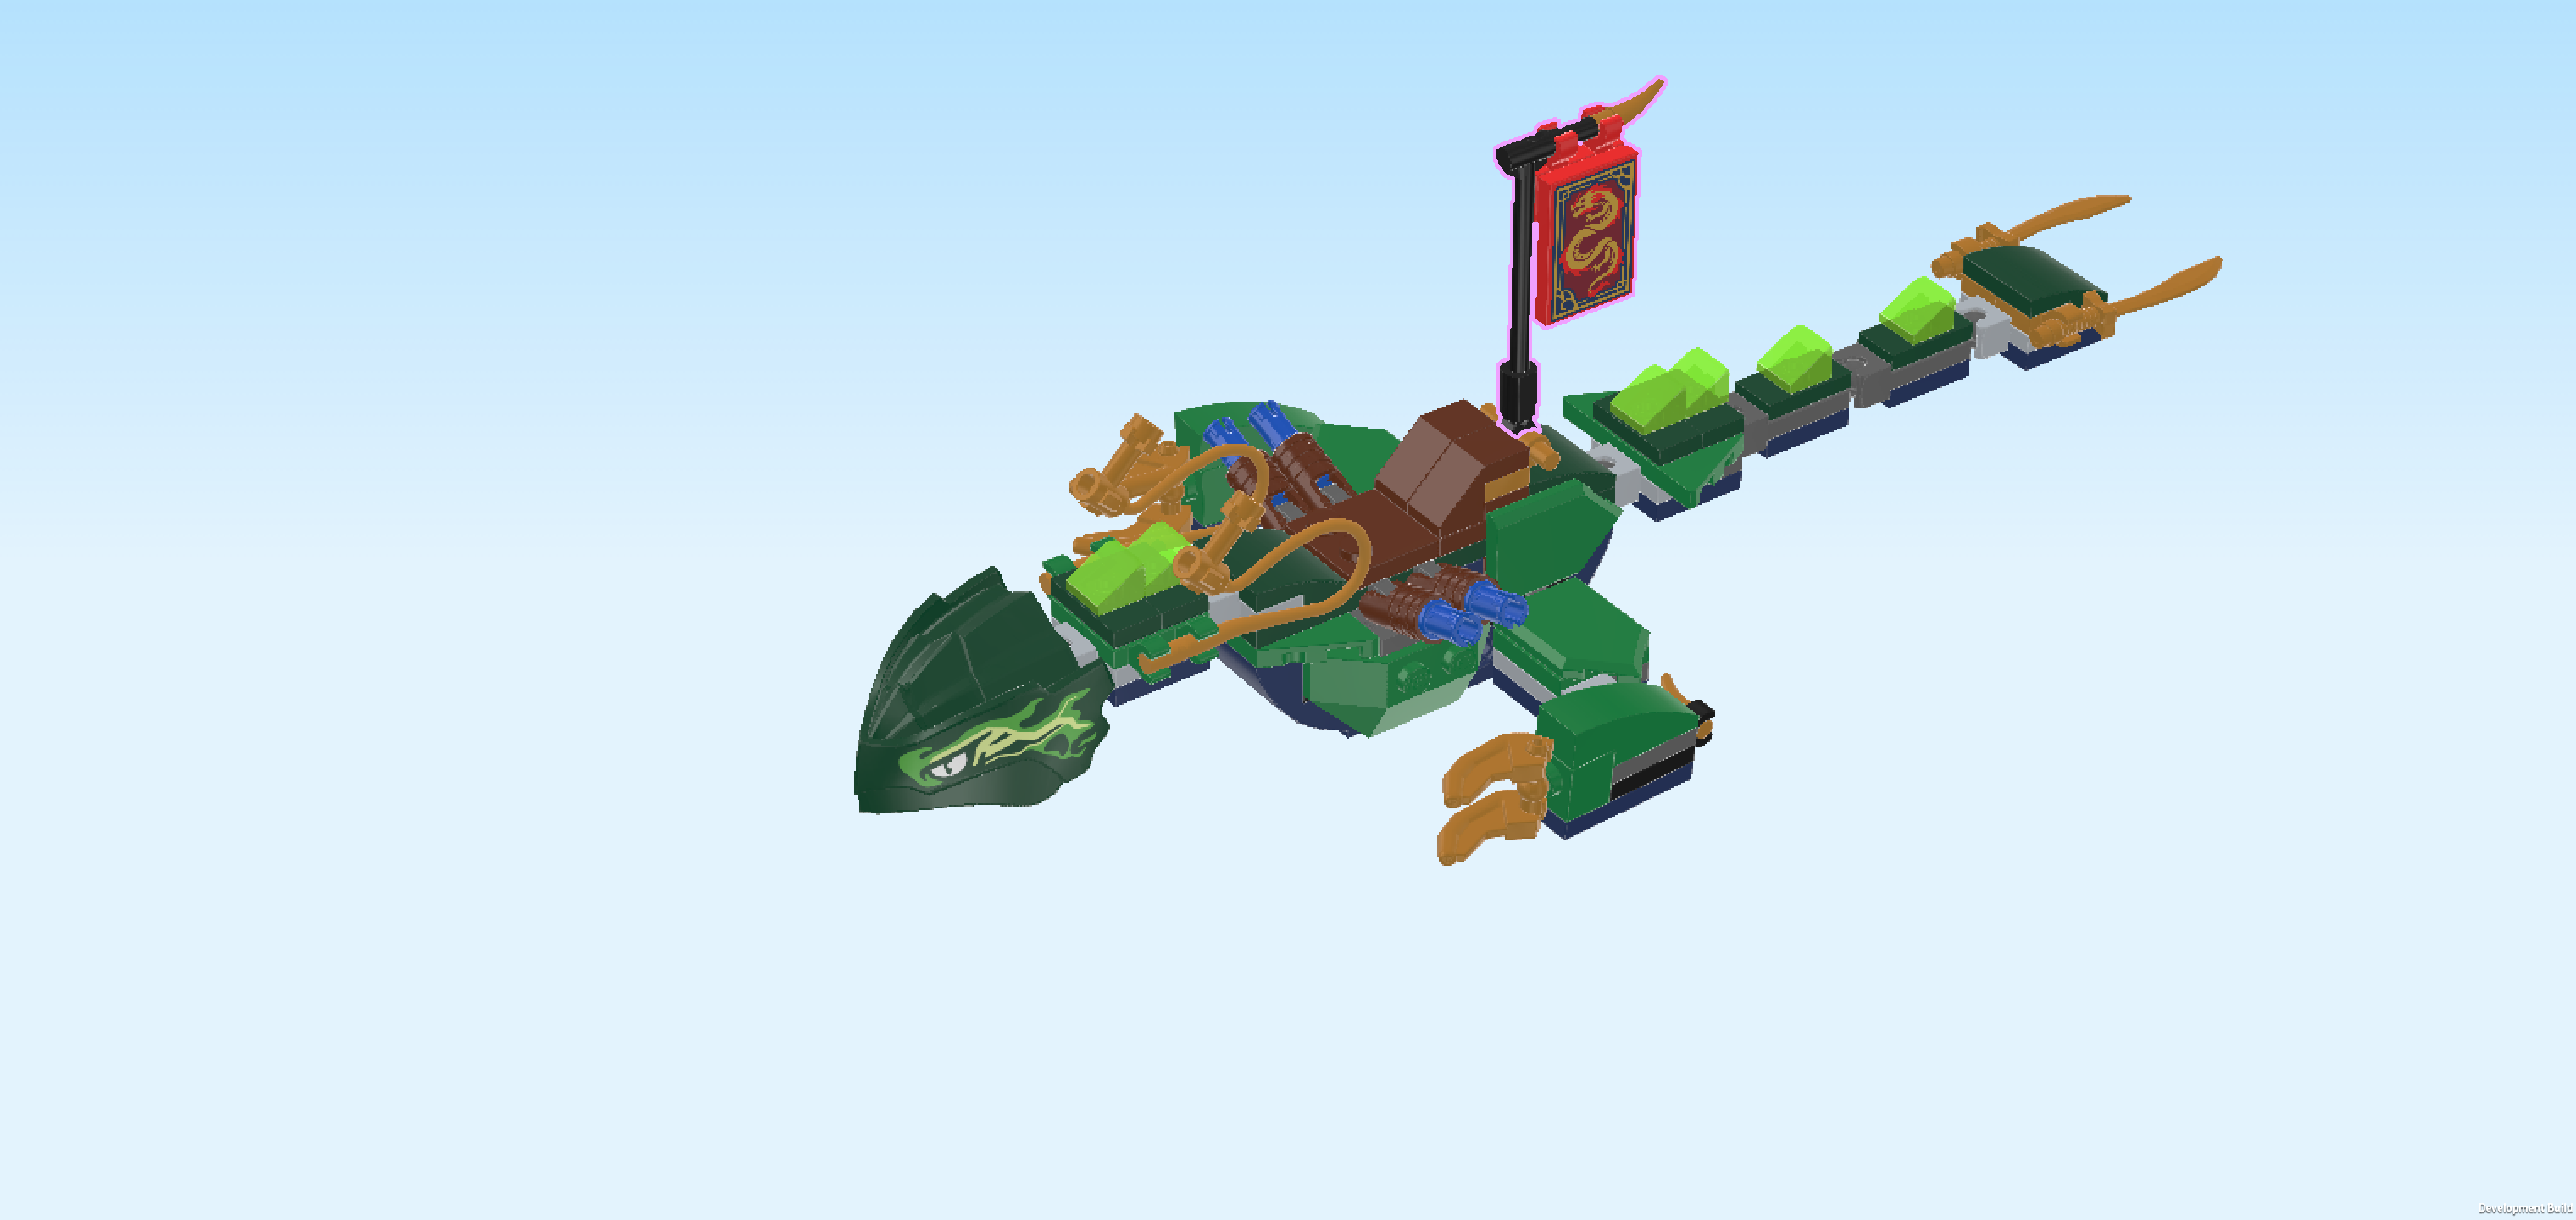
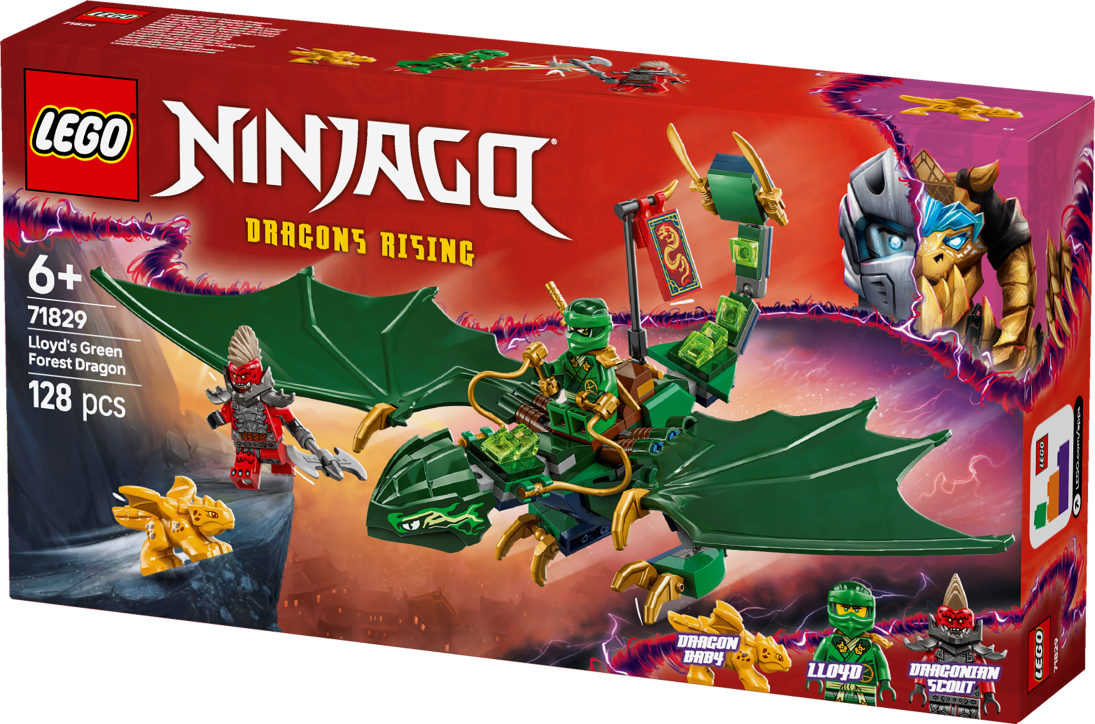
The box cover shows an epic rescue scene in the mystical World Forest. Lloyd, the green ninja, is soaring through the sky on the back of his majestic green Forest Dragon. The dragon’s giant dark green wings are fully spread, and its powerful claws and fierce green eyes make it look strong and determined. Lloyd is sitting in a brown and green saddle on the dragon’s back, holding a golden katana sword. The dragon's tail is long and flexible, decorated with green crystal elements and golden blades. A red ninja banner with a golden dragon symbol is attached to the saddle. Down below, a dangerous Dragonian Scout with red and silver armor is standing on a rocky cliff. He looks up toward Lloyd with a menacing battle axe in hand. Just in front of him, the little golden Dragon Baby stands at the edge of the cliff, in need of rescue! The background shows steep rocky cliffs glowing with magical energy, and nestled far below in the mist is a quiet mountain village with small traditional wooden houses, surrounded by purple lightning and swirling haze. The scene taking place high above the peaceful village, however, is charged with action, adventure, and danger. Lloyd must act fast to save the Dragon Baby! Let’s start building and join the rescue mission!

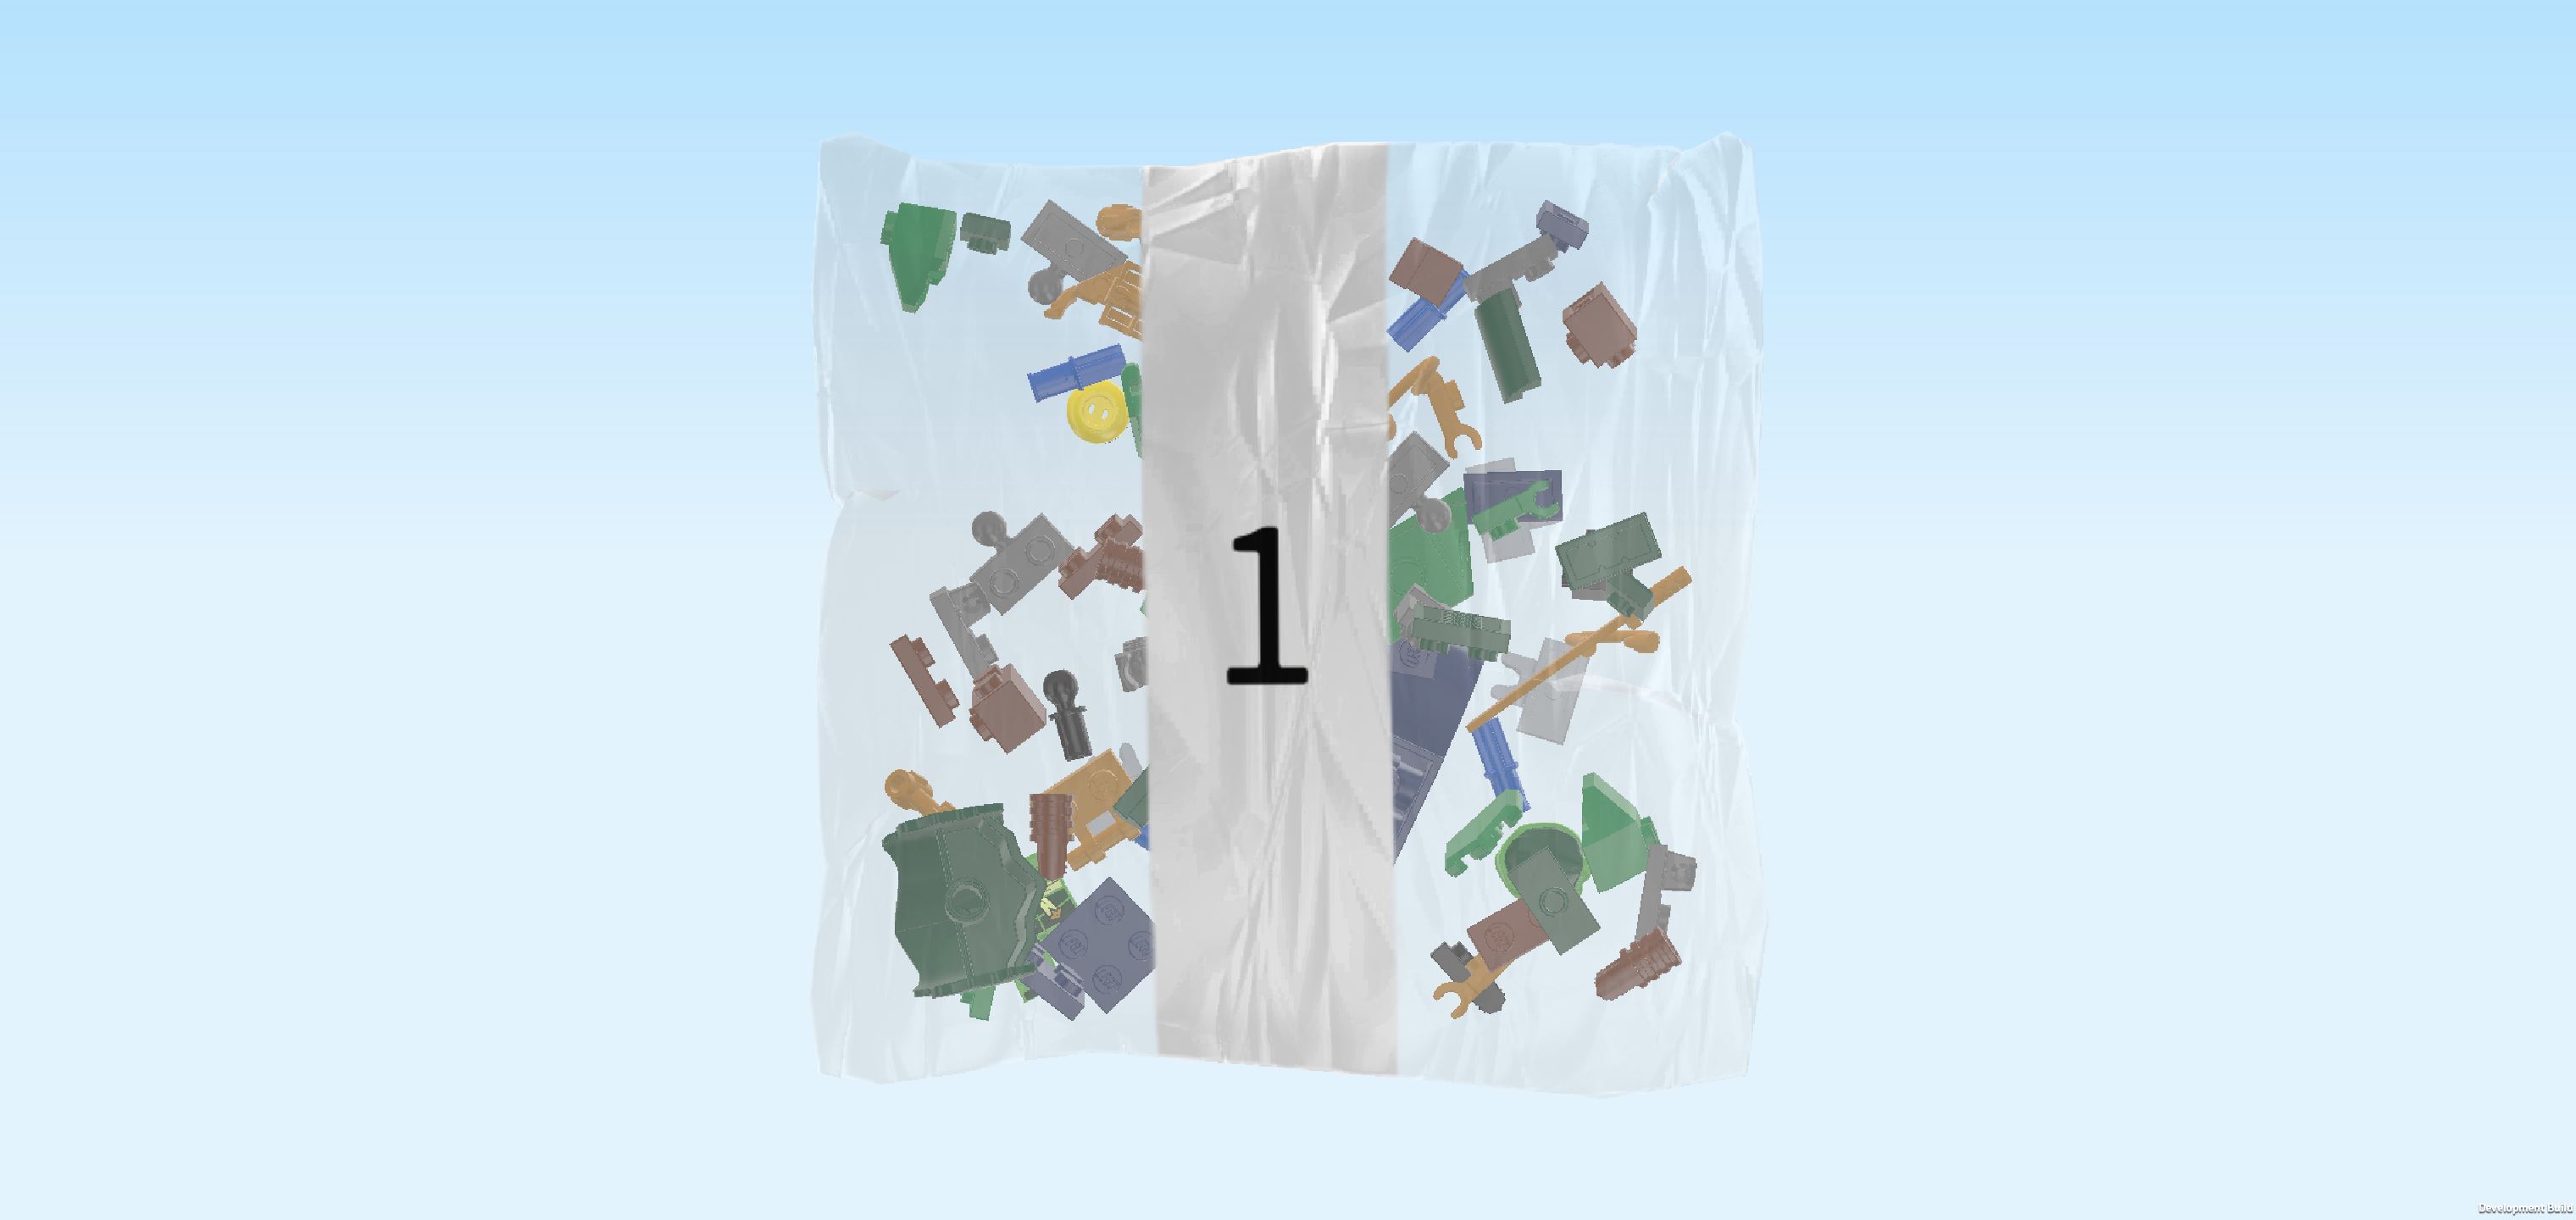
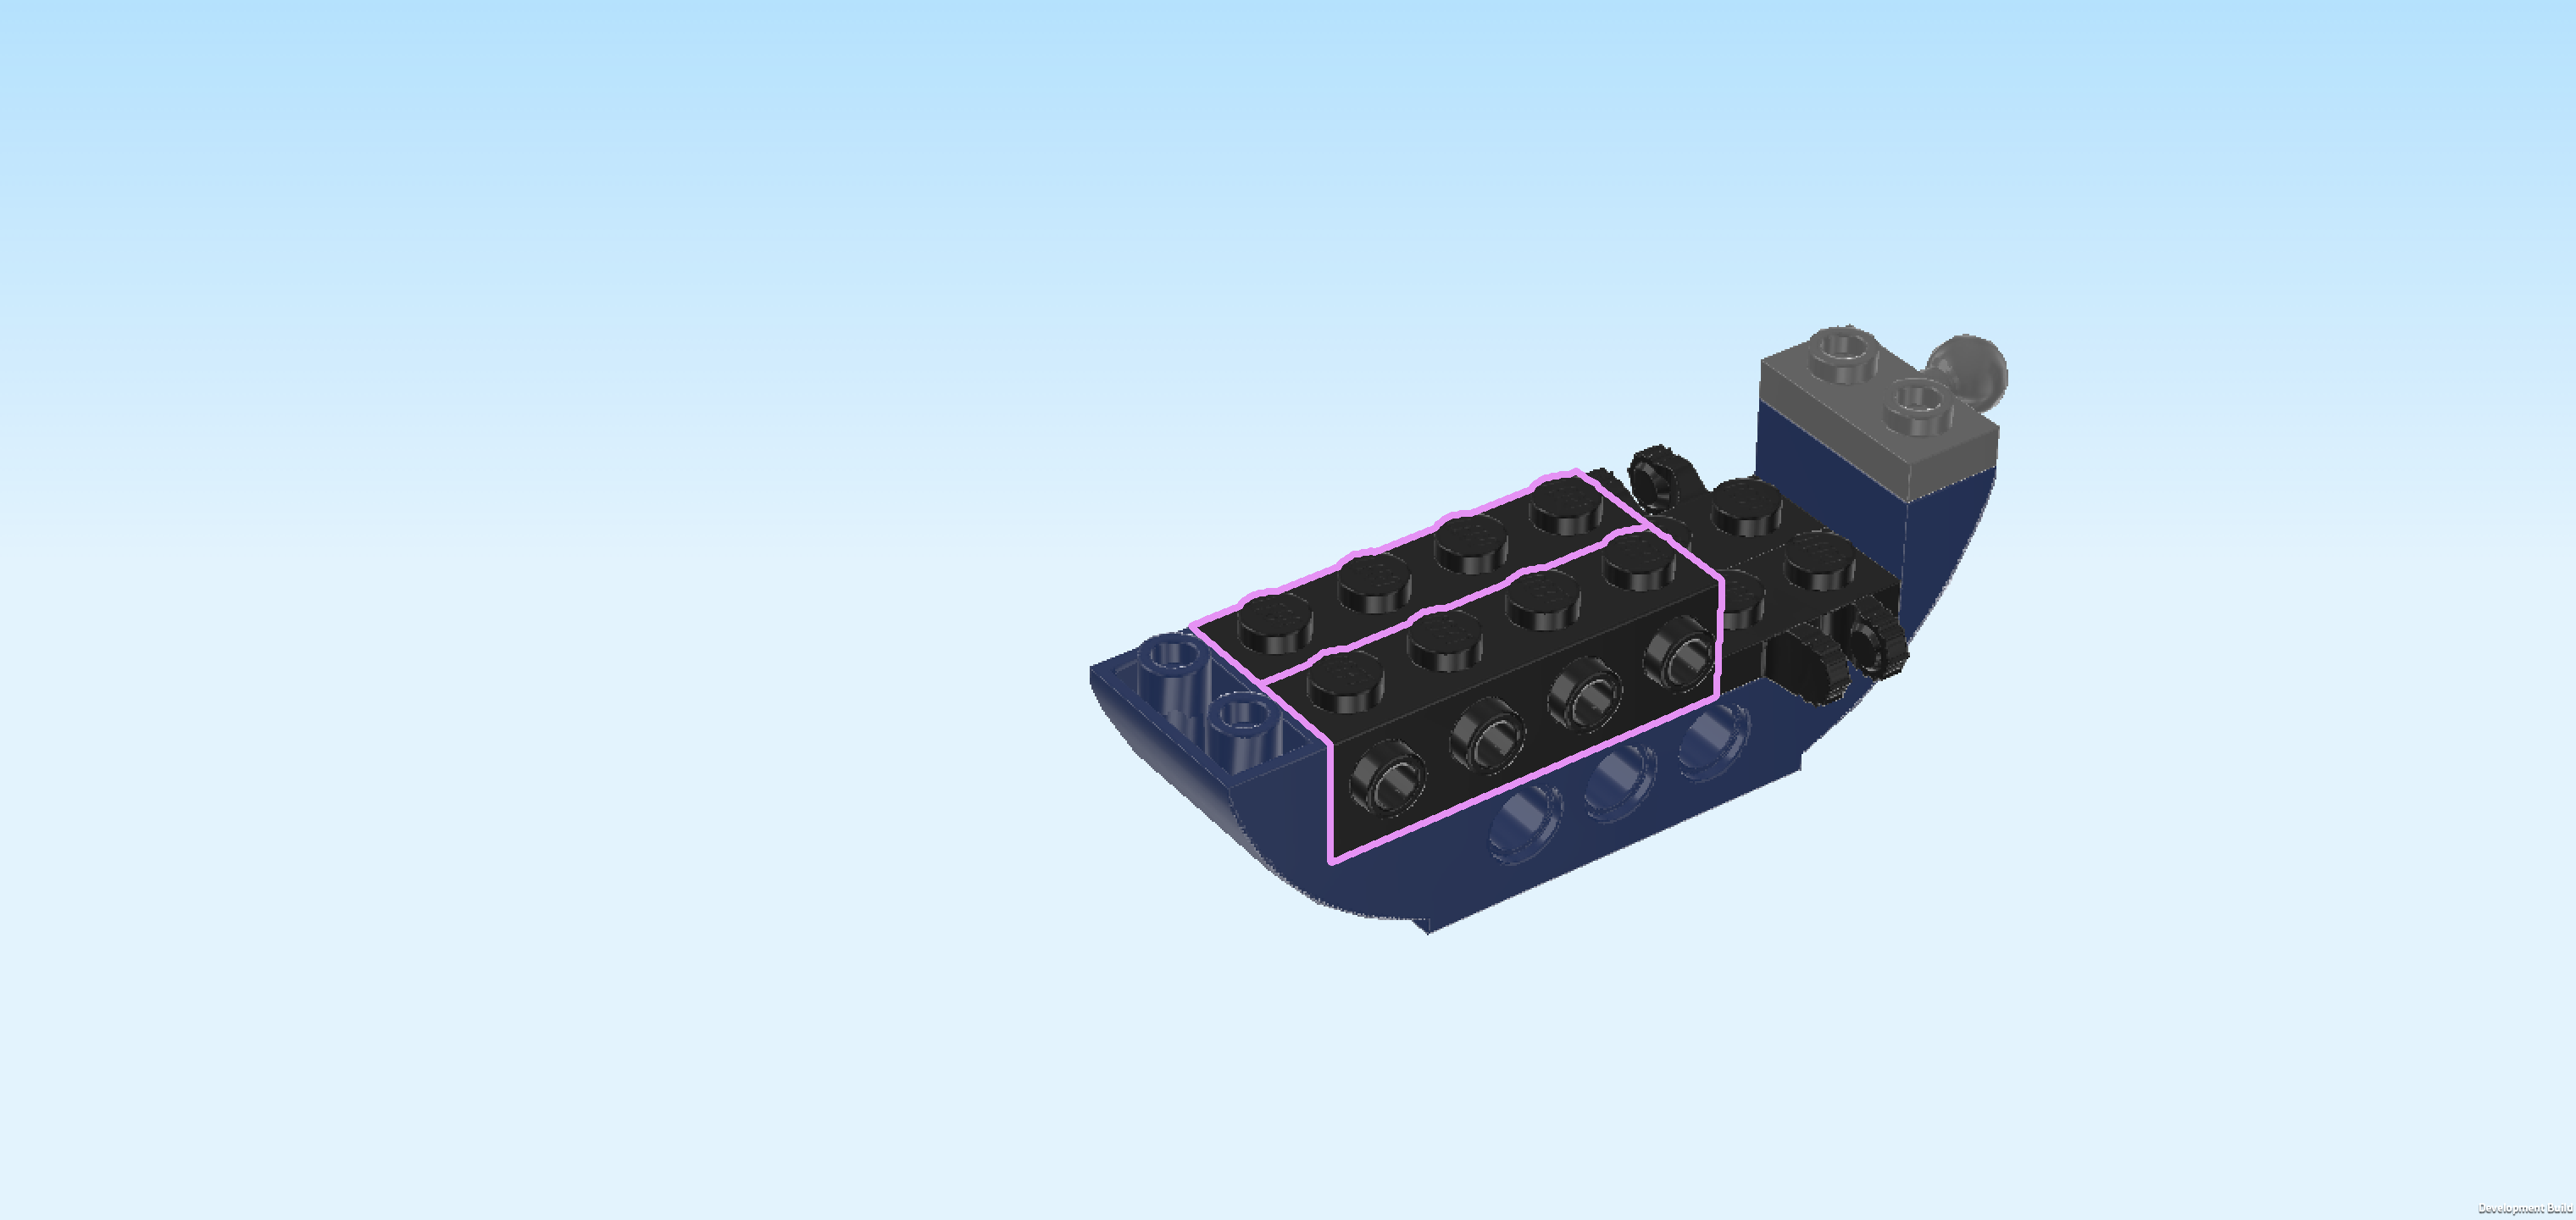
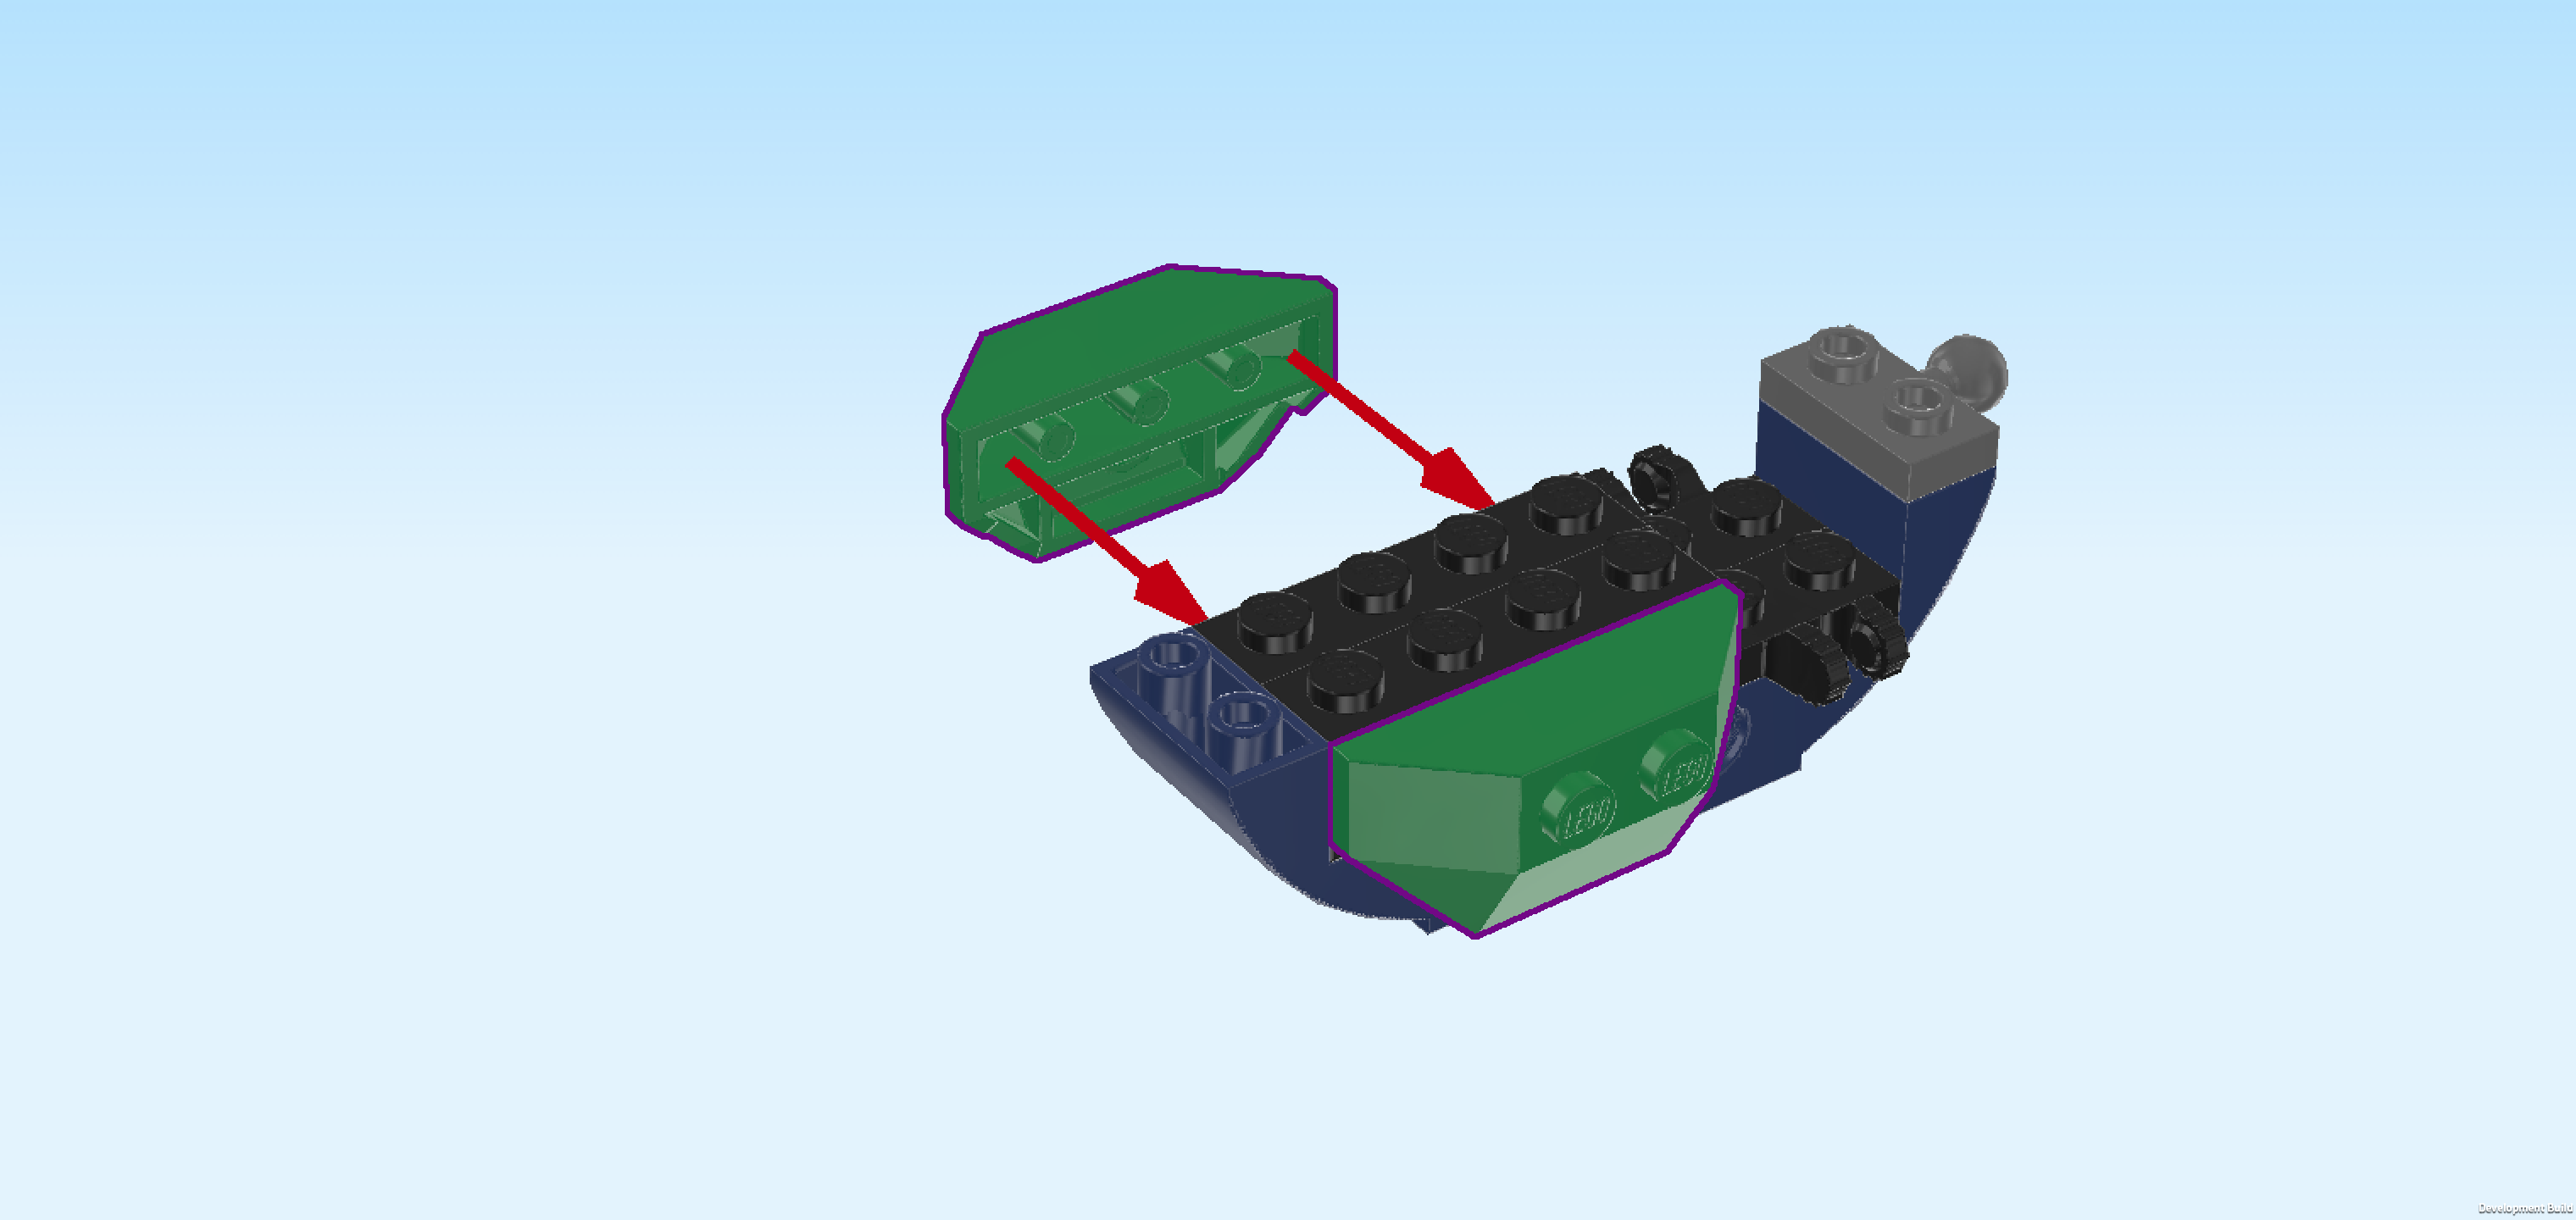
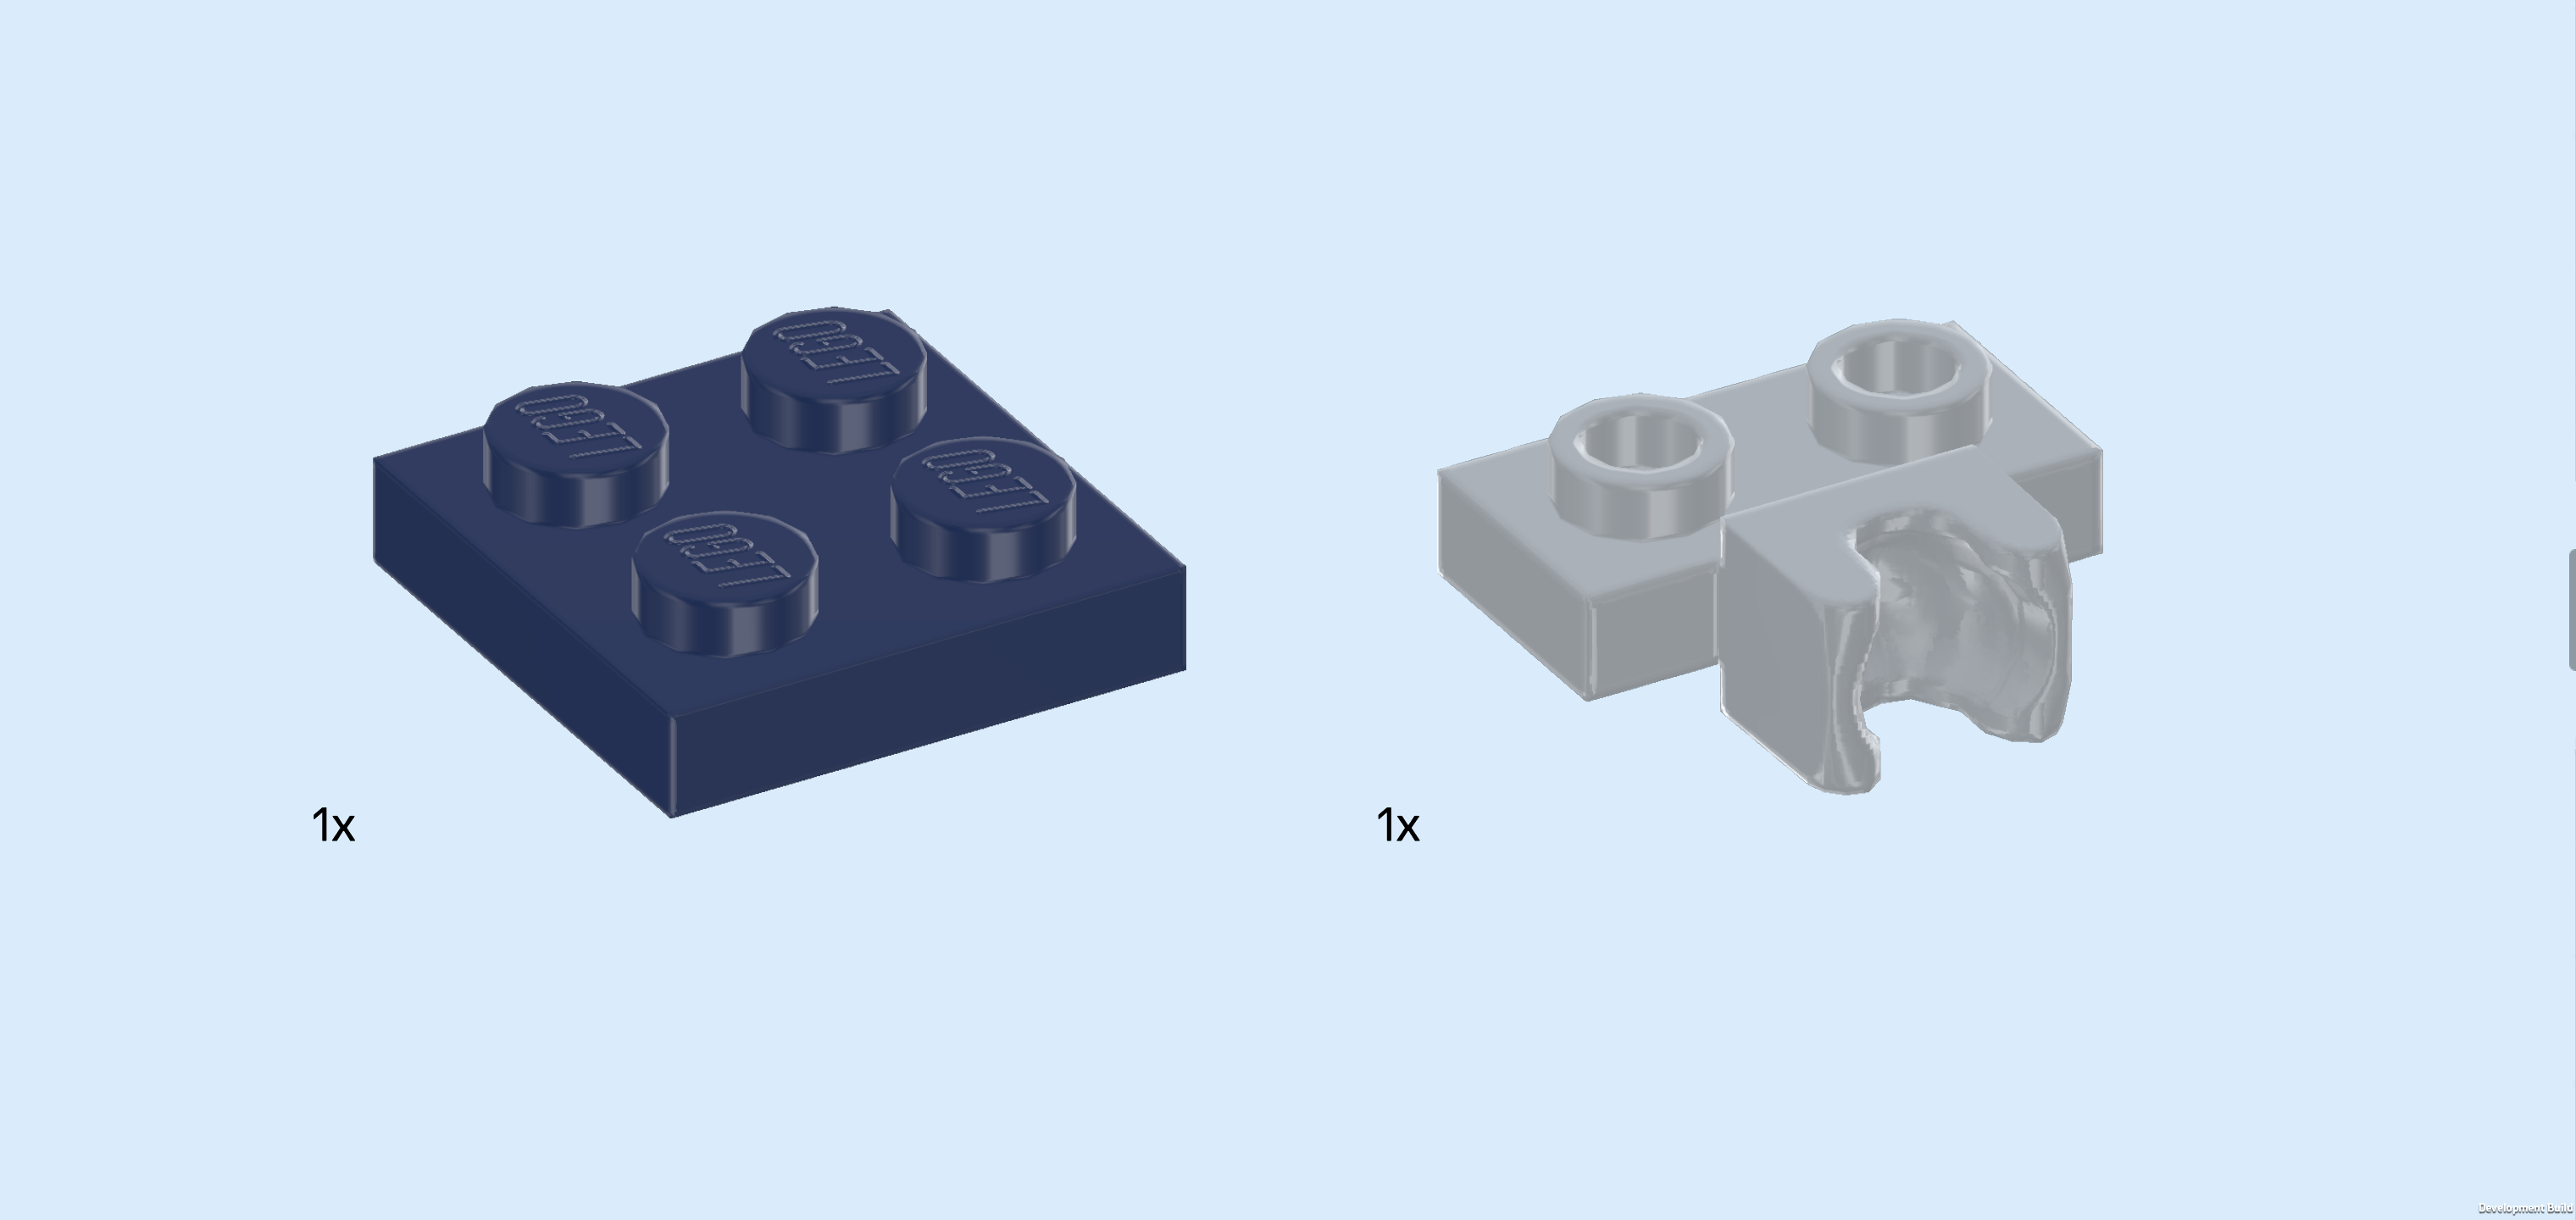
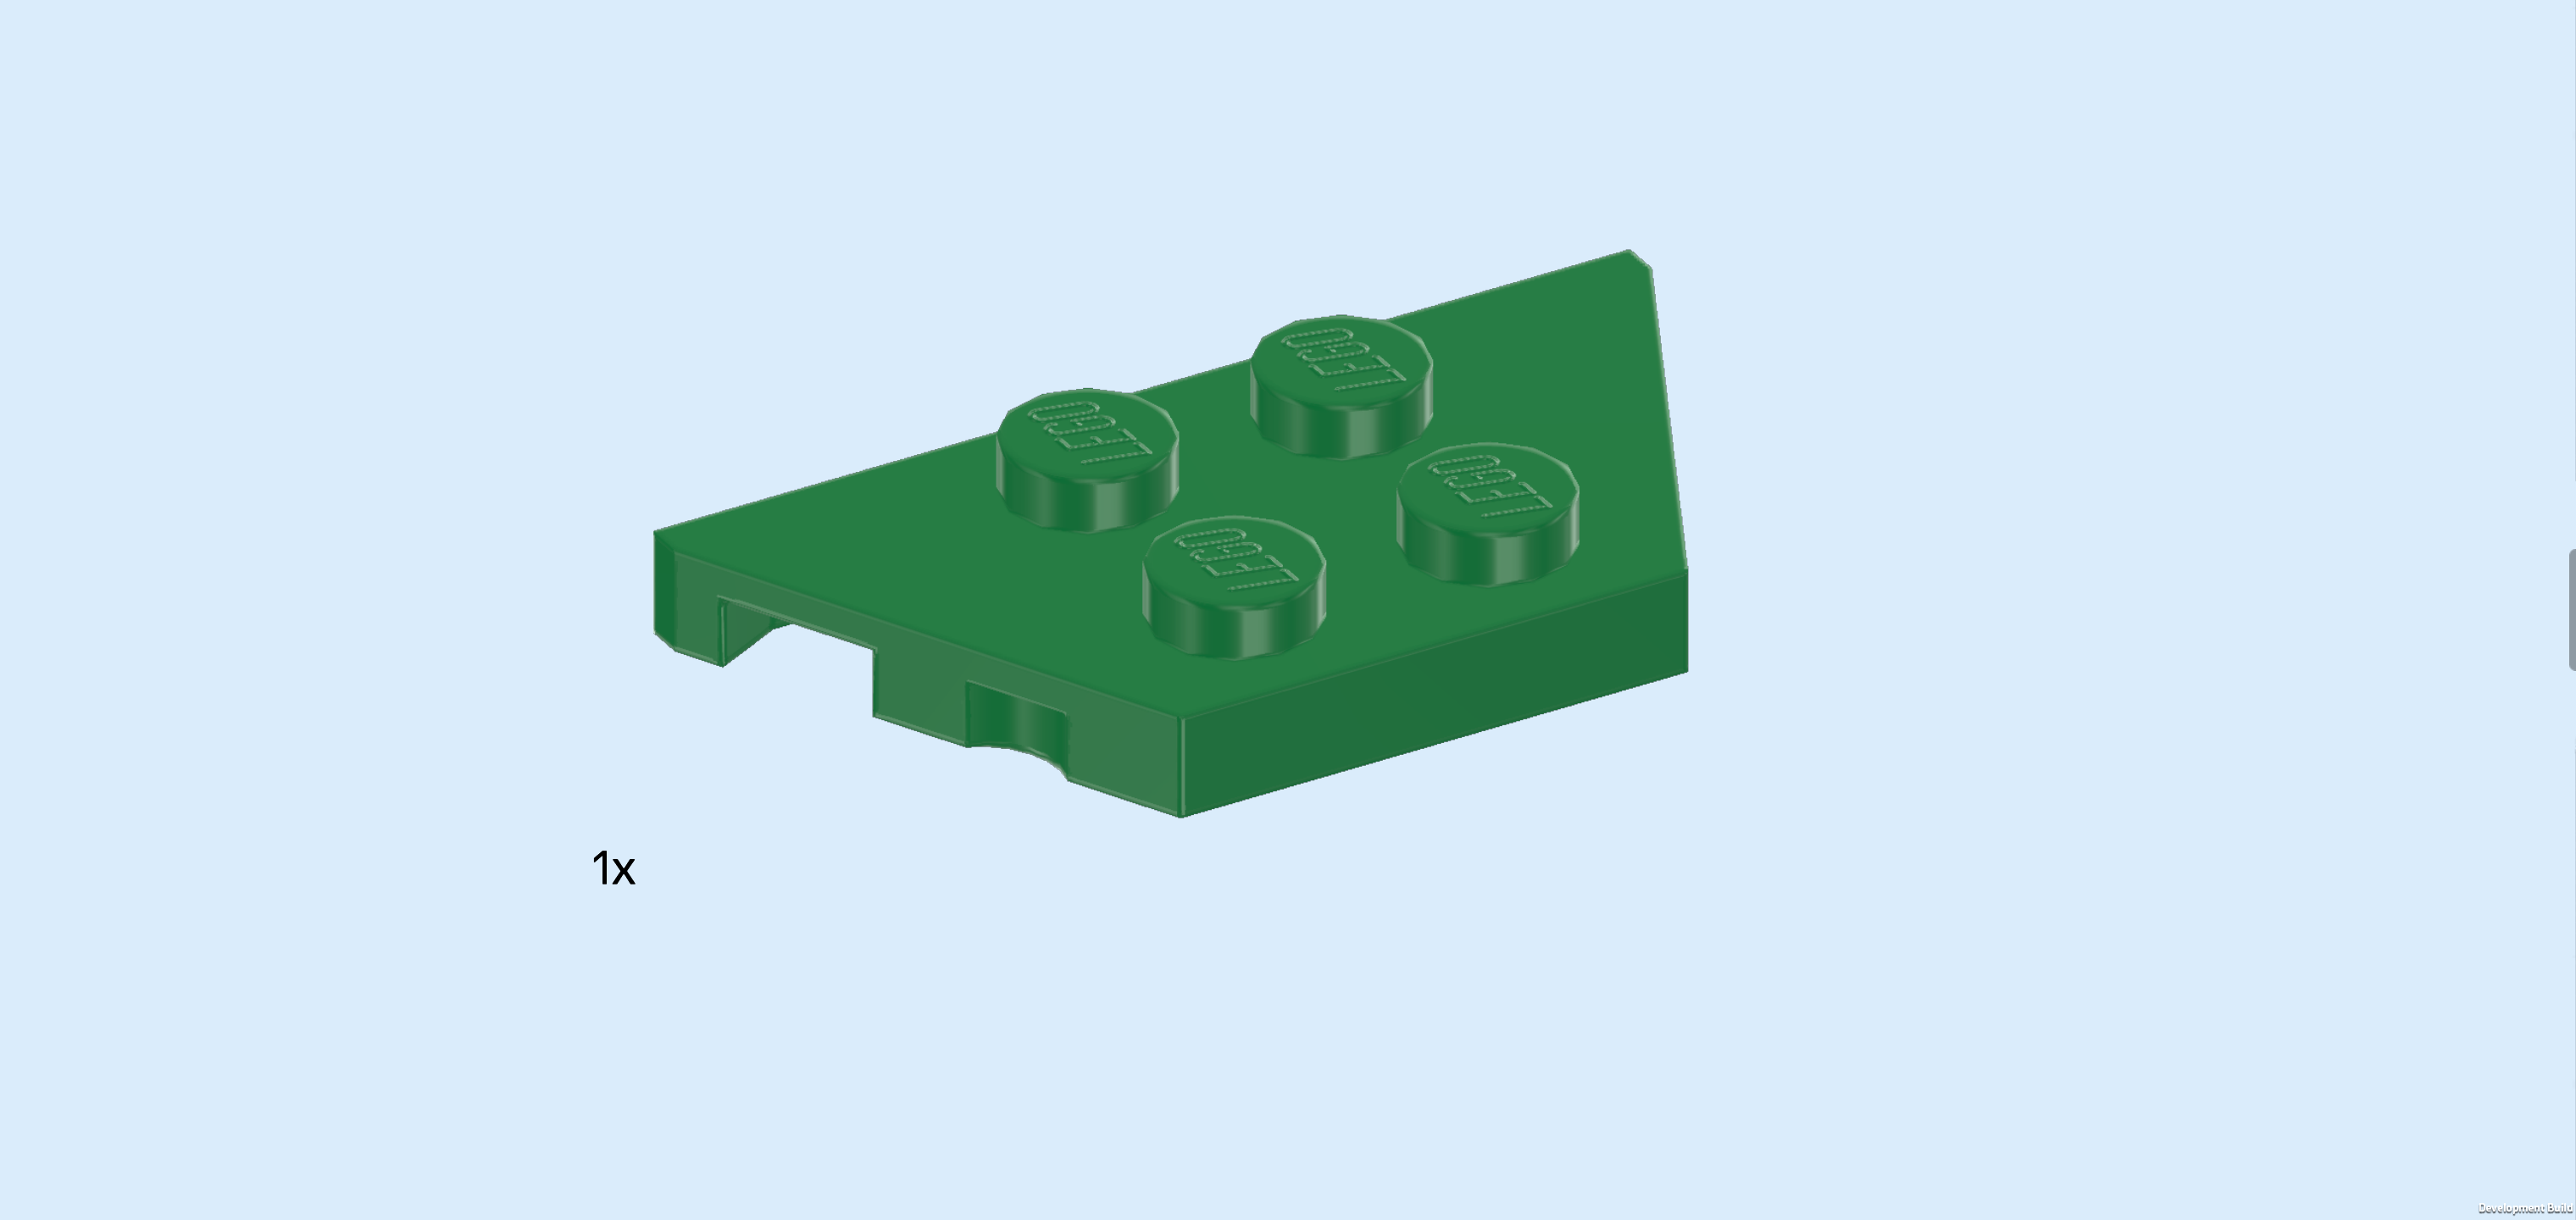
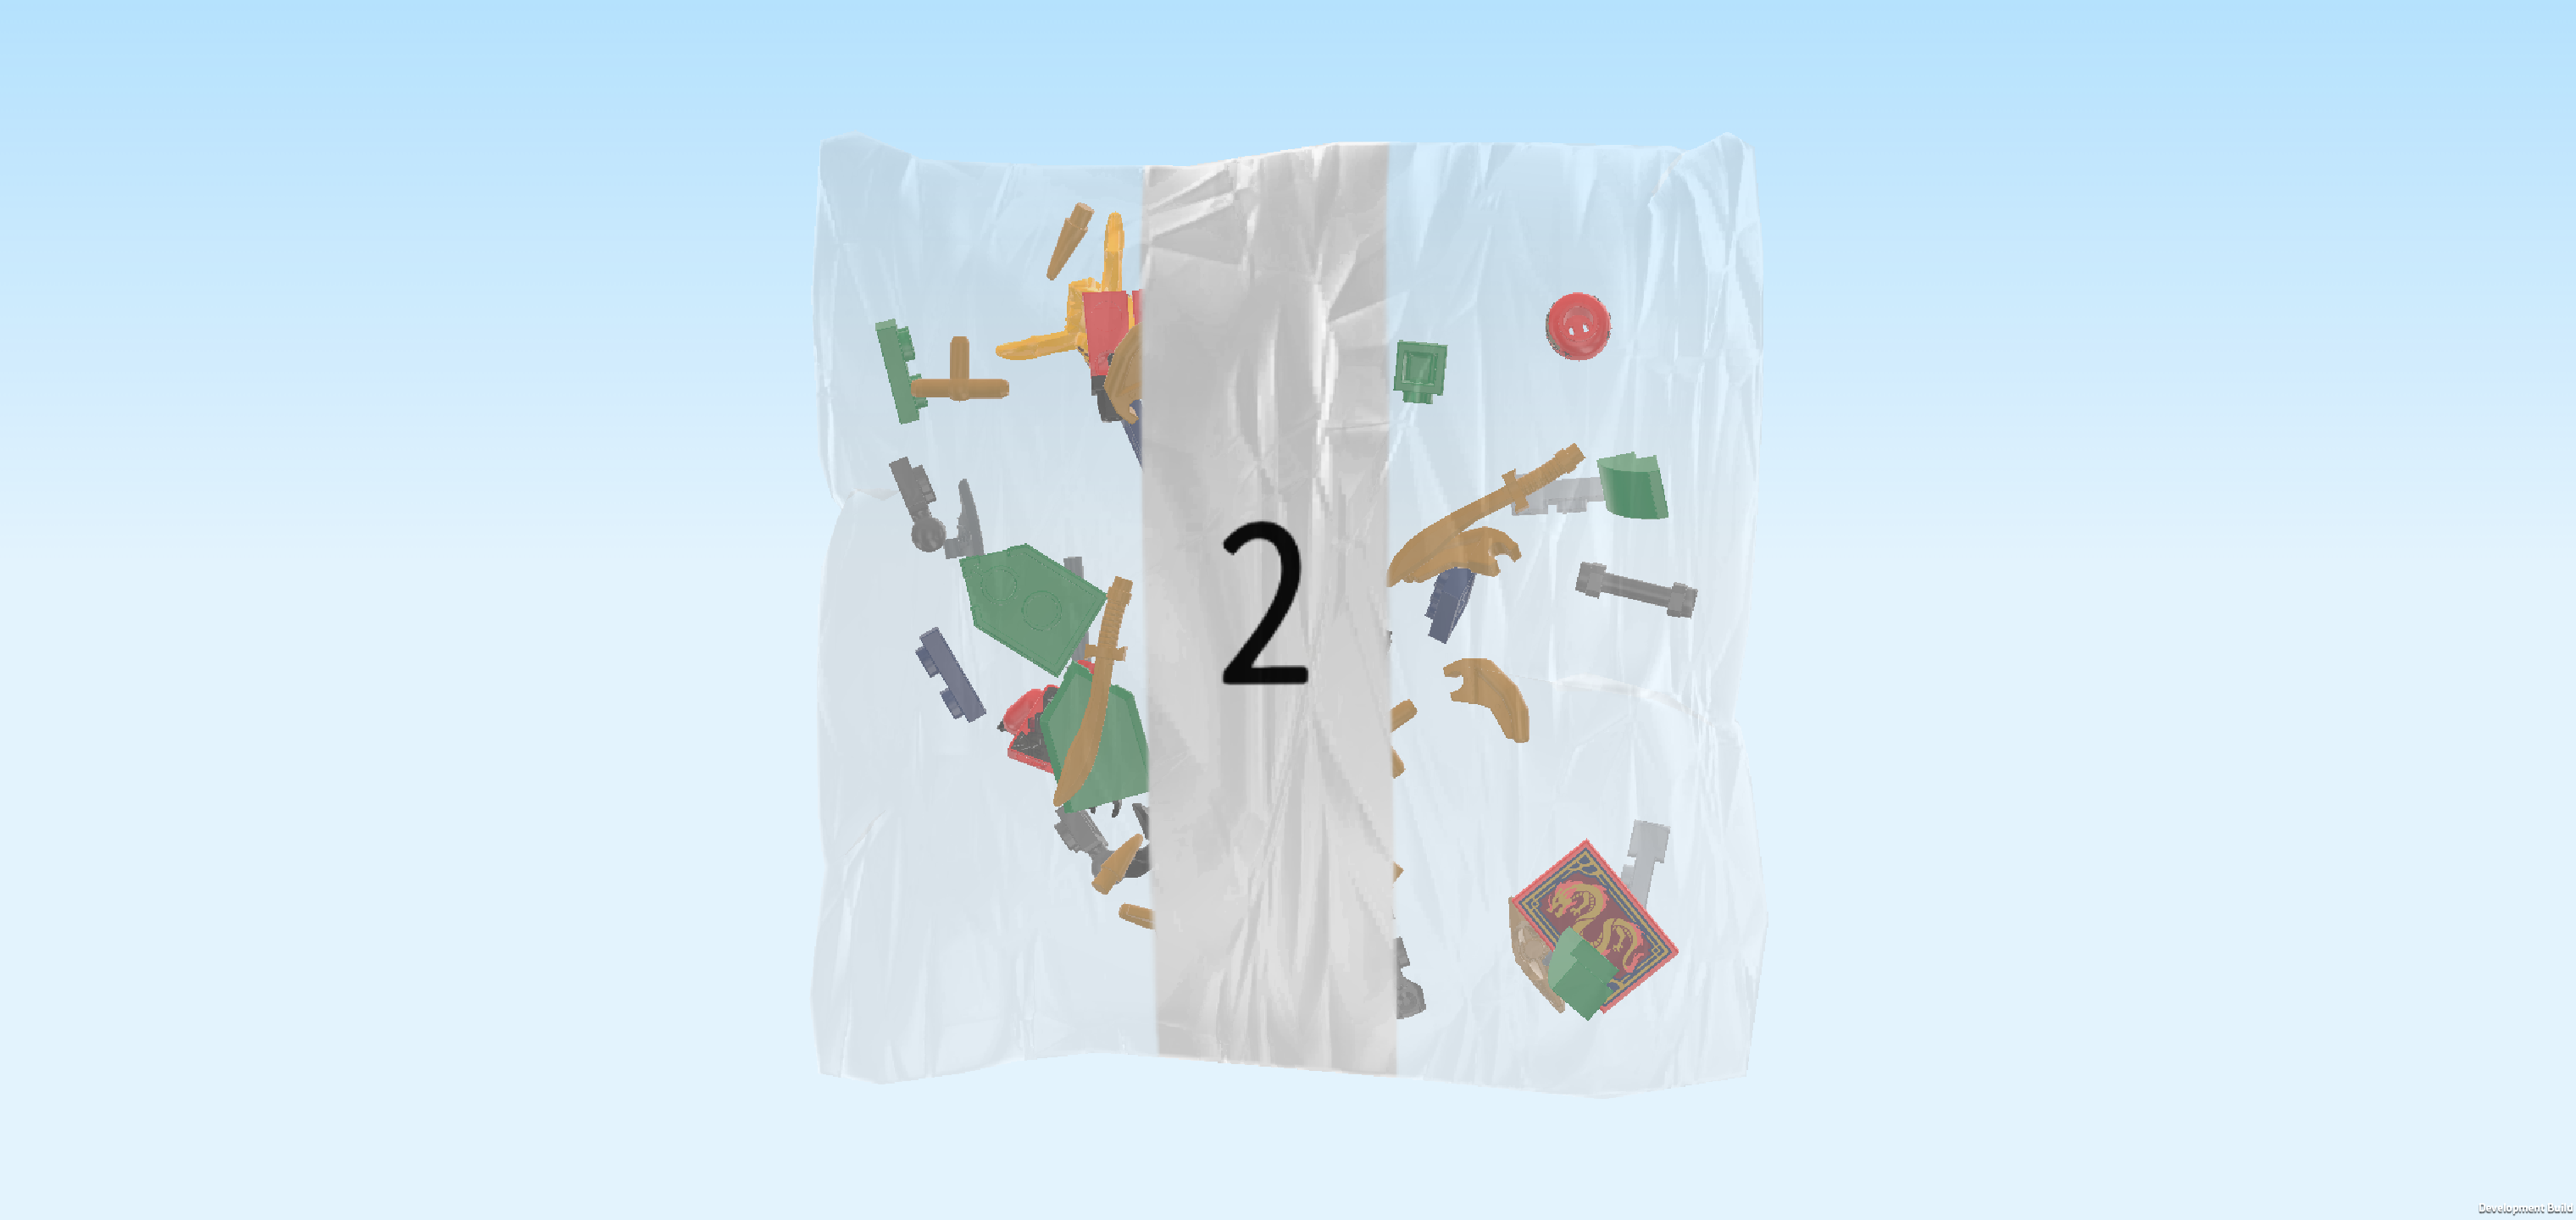
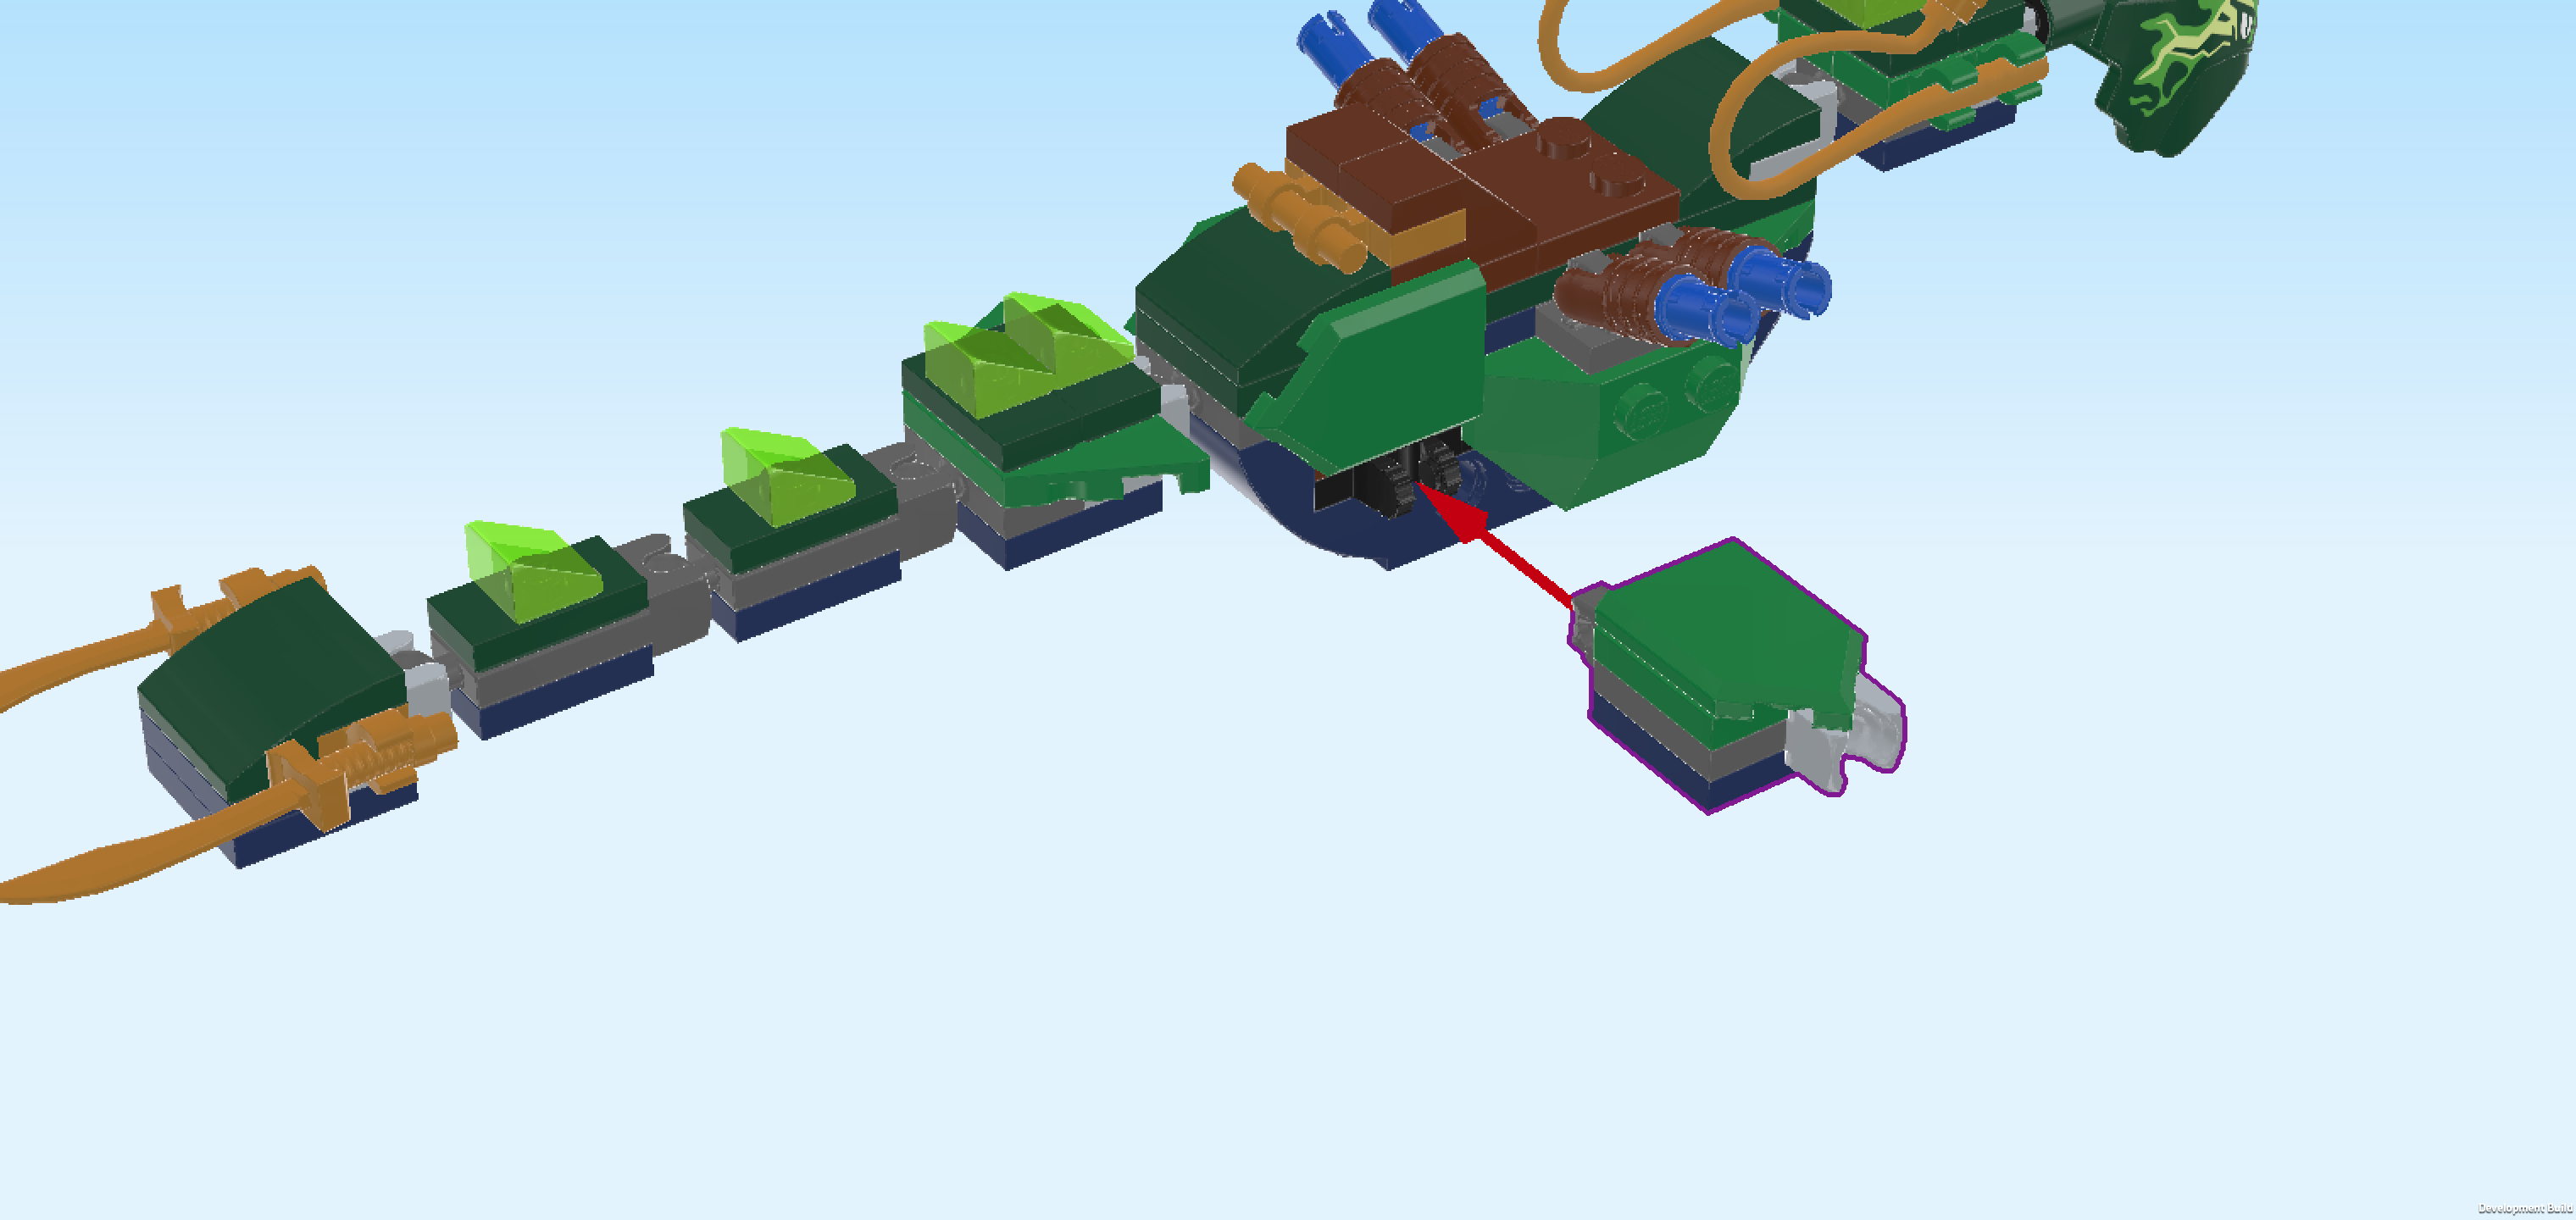
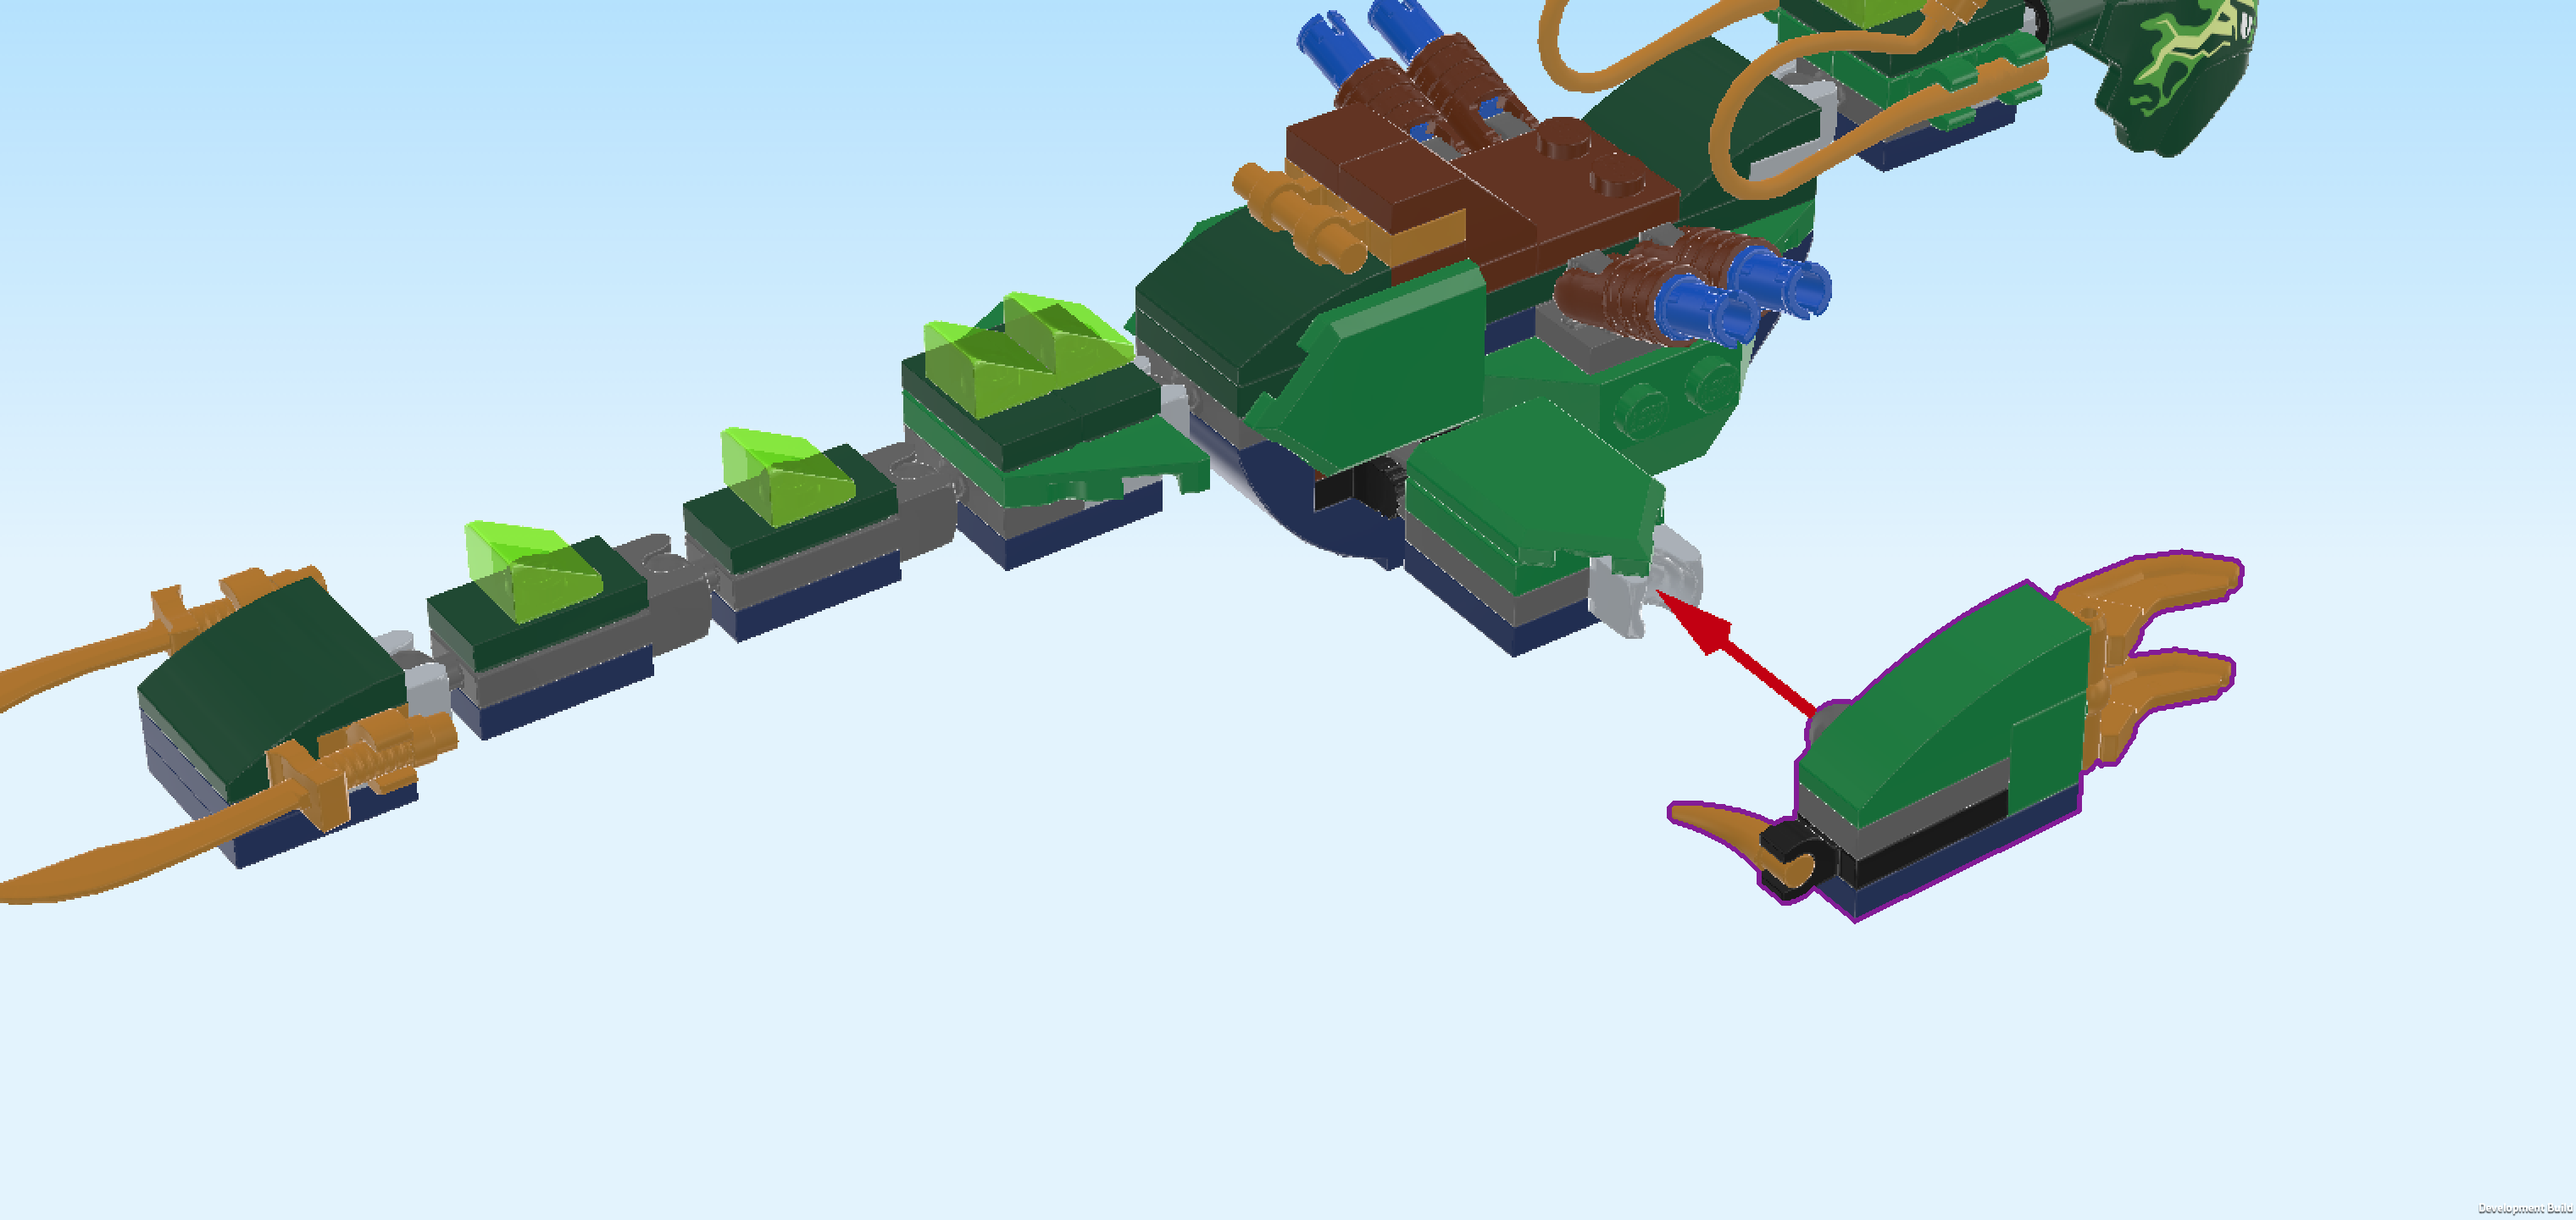
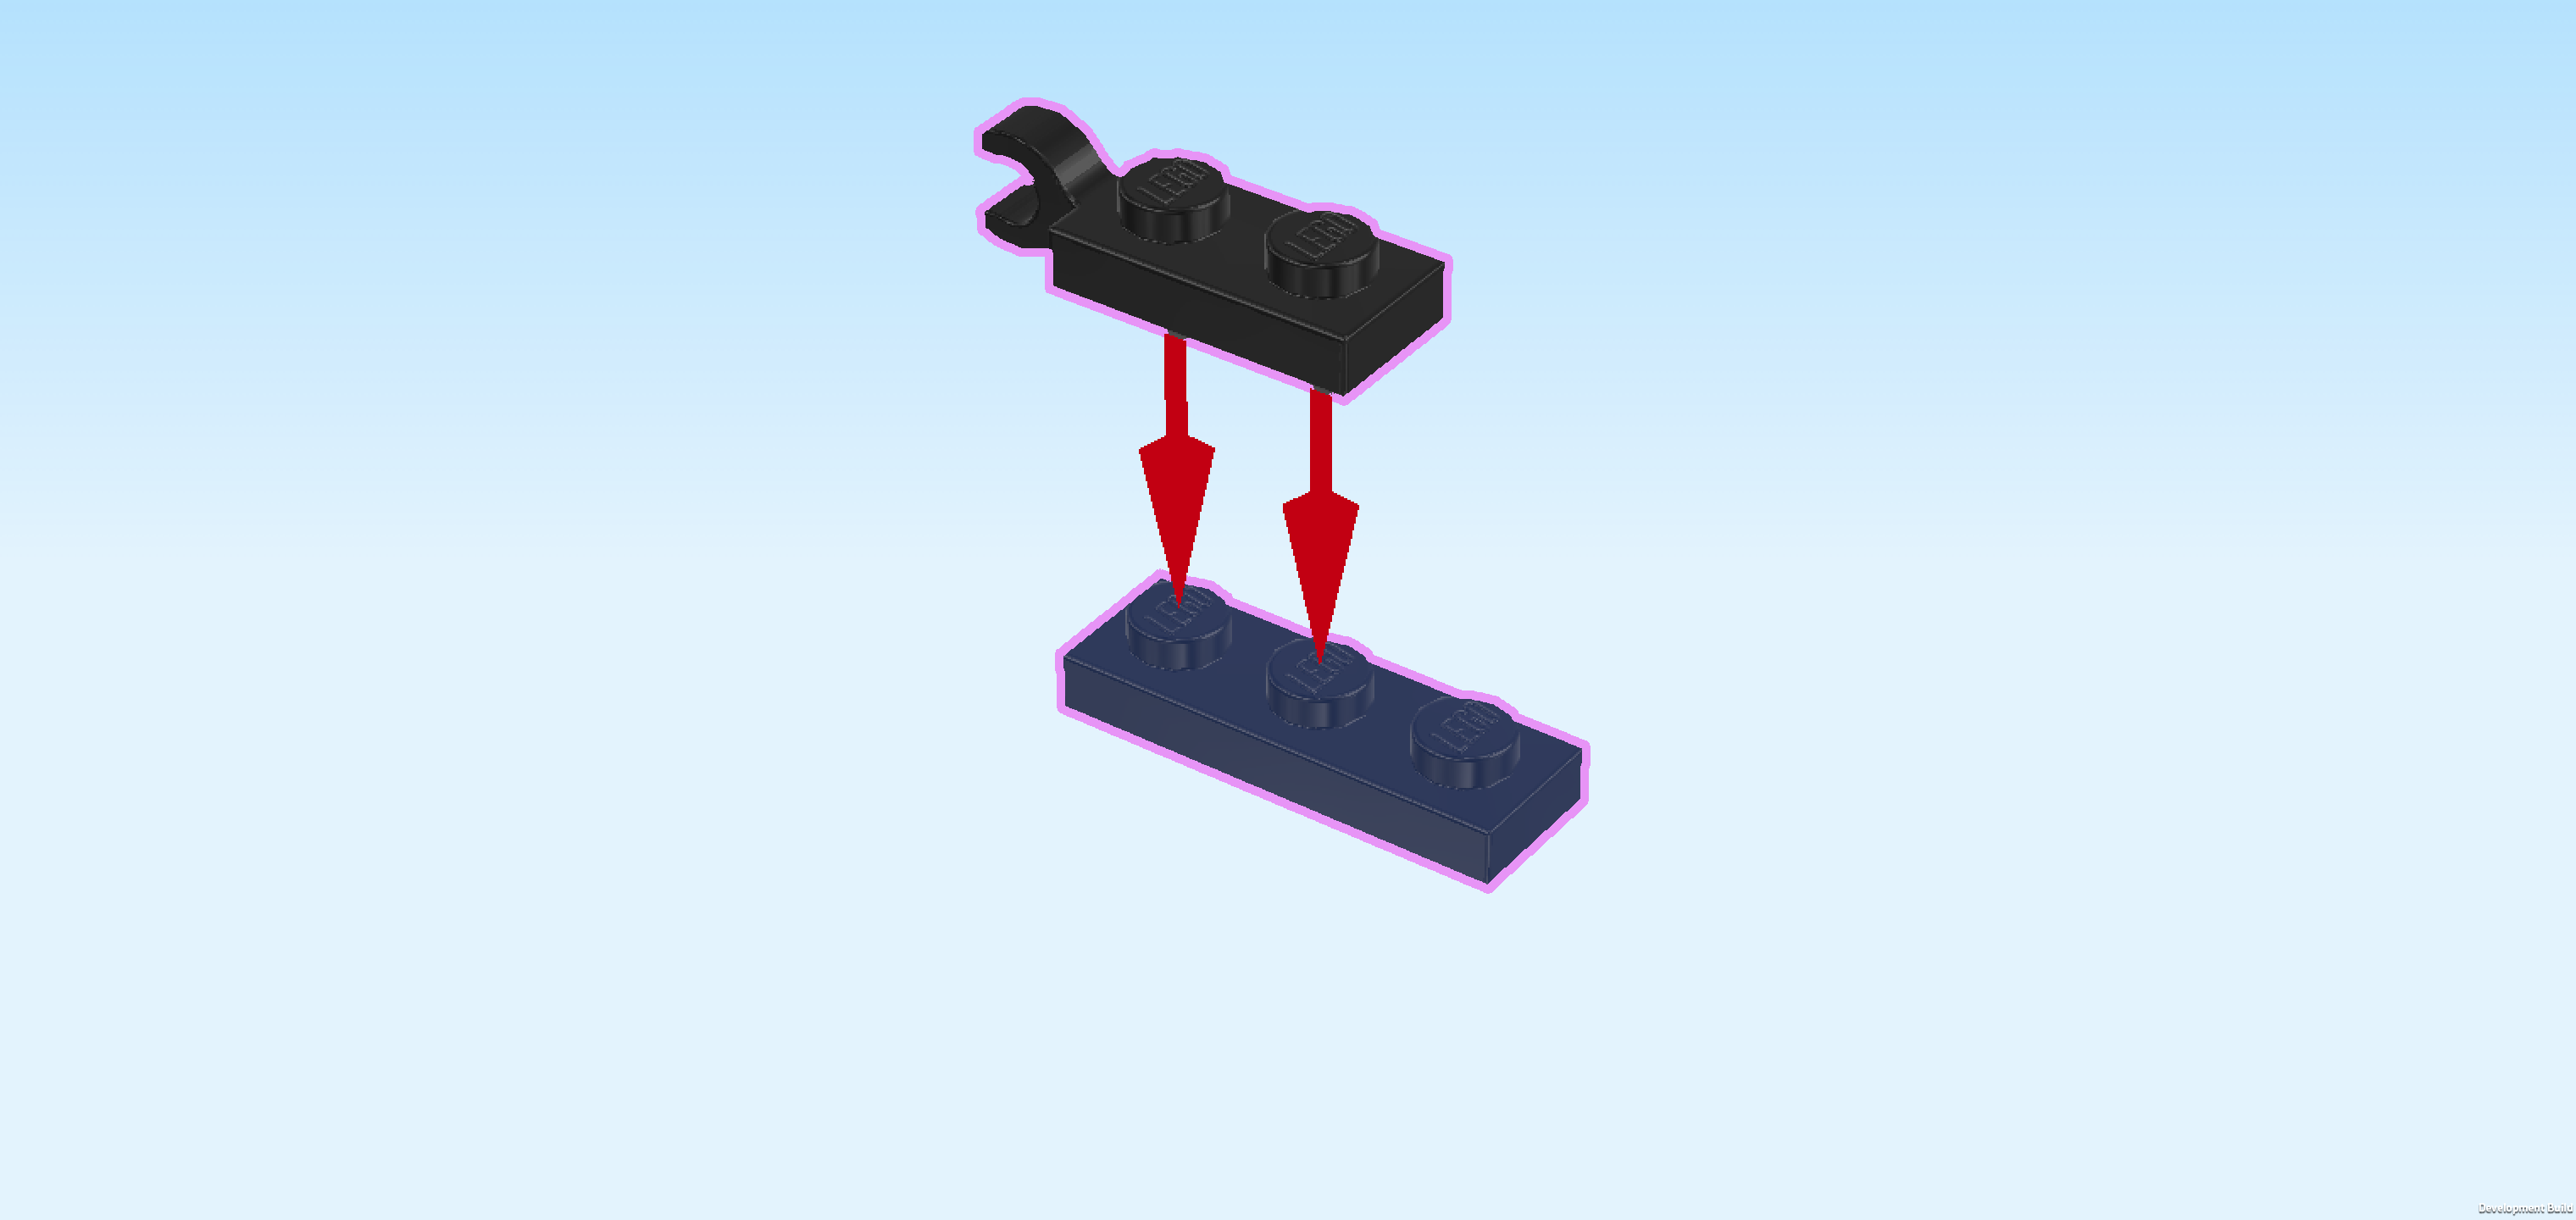
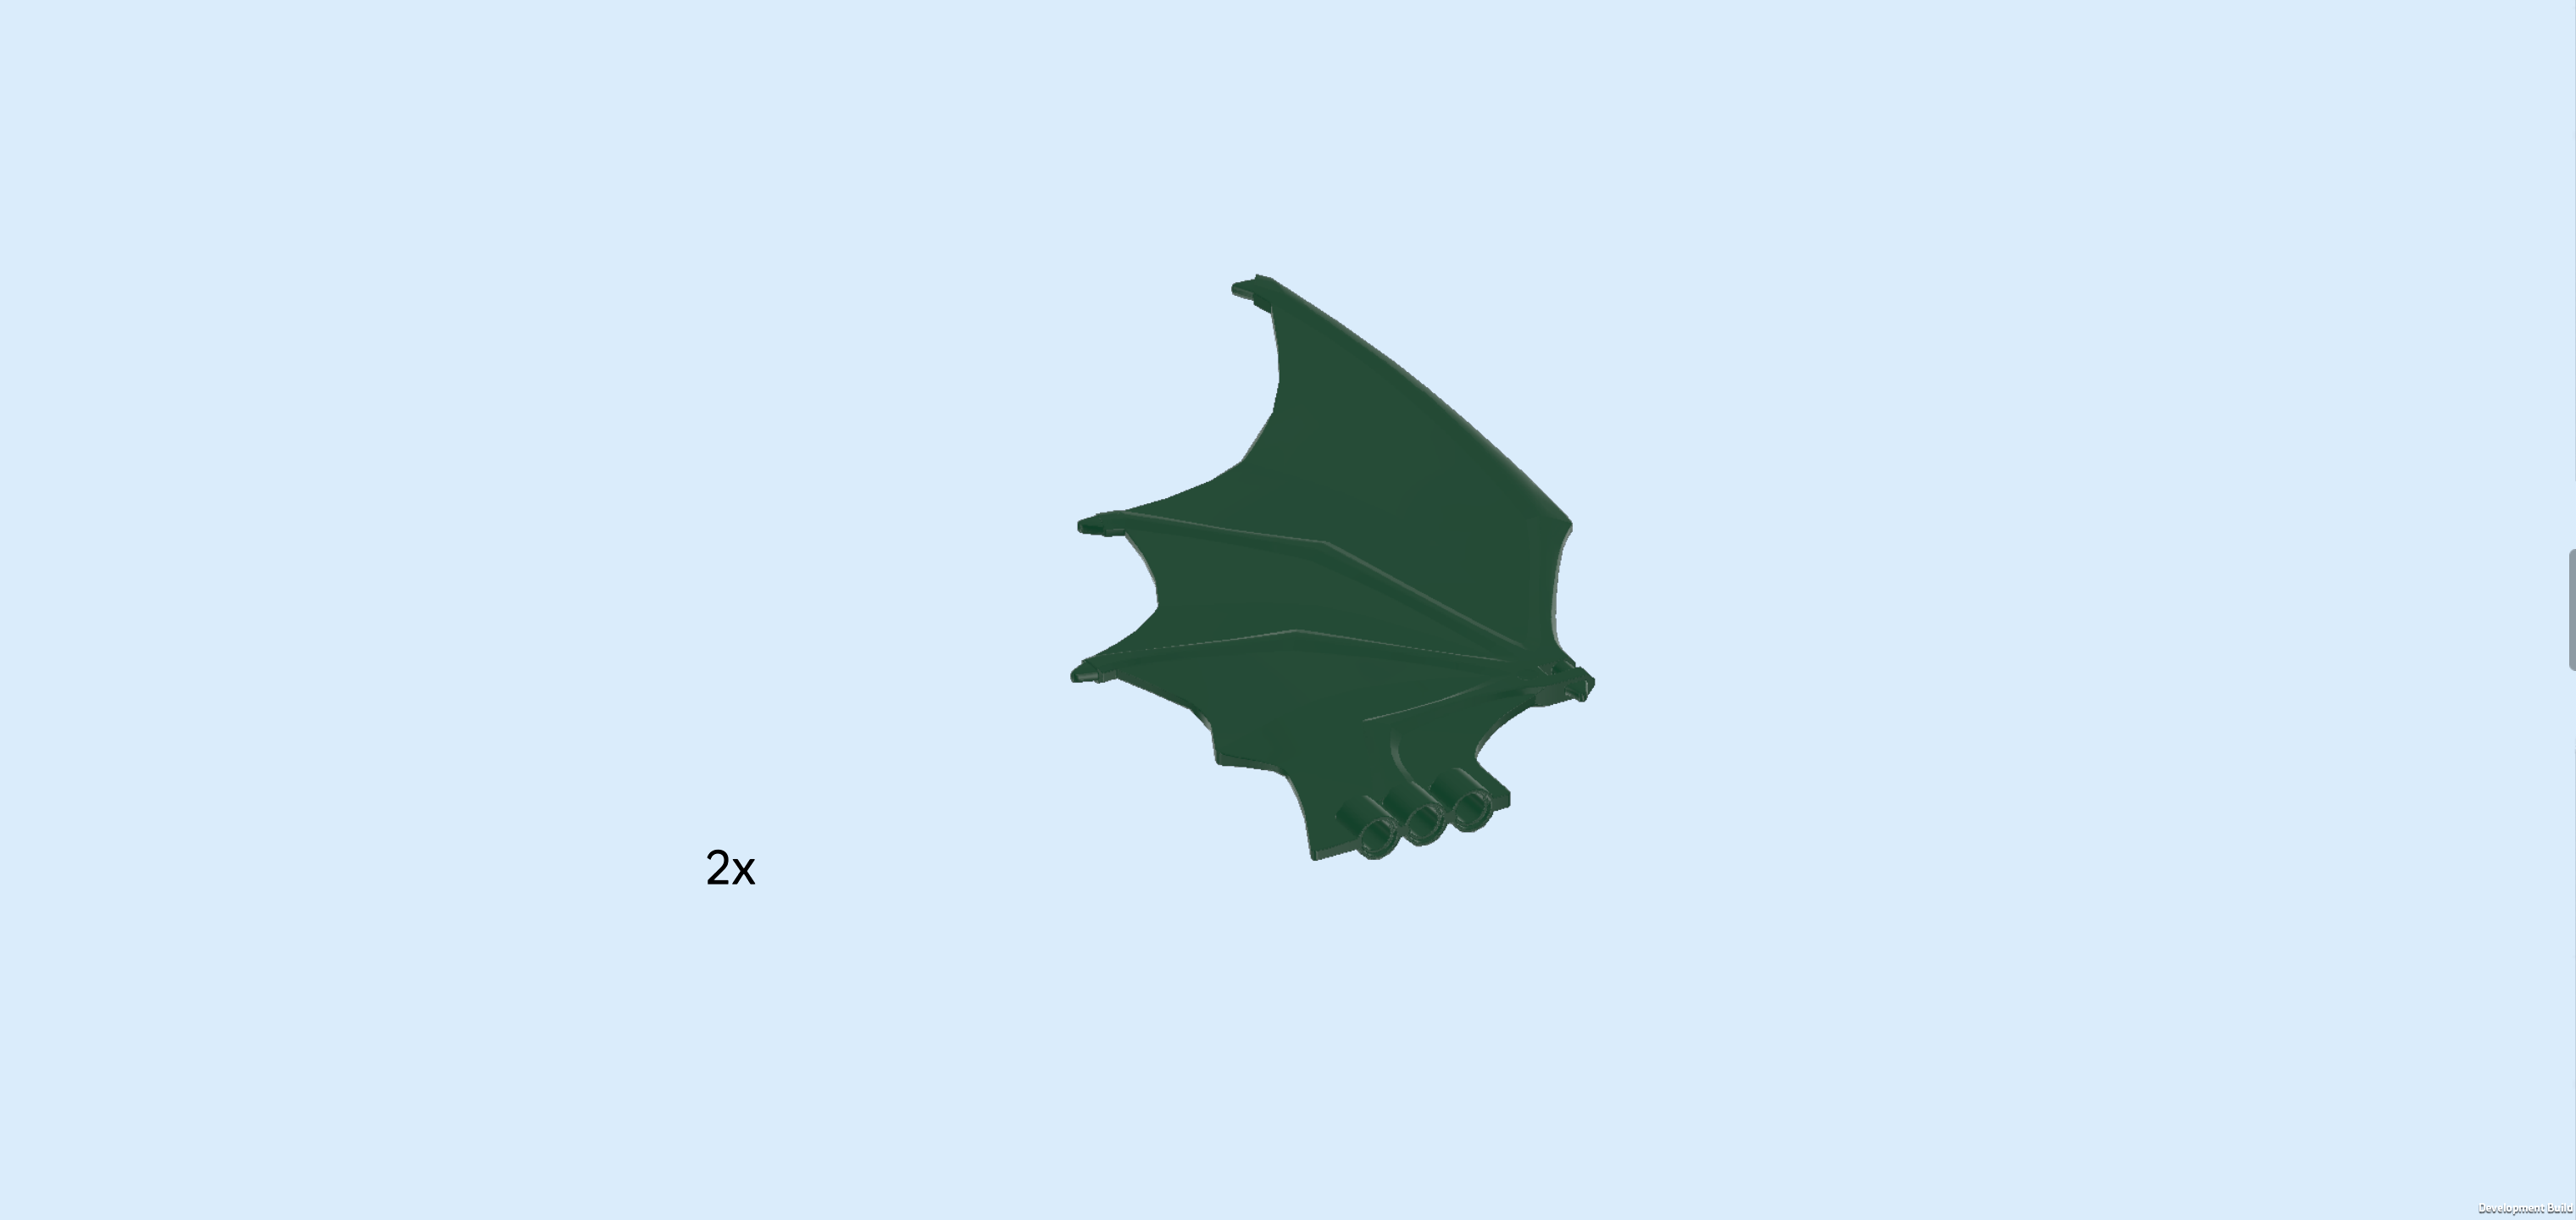
Open the box. It contains visual building instructions, 2 numbered bags and 2 loose pieces: 2 wide dragon wings. We will refer to the bag numbers to guide you through the building process. Please ask a sighted person to help you identify the correct bags!

Carefully open bag number 1 and any small sub-bags in it. This bag contains all bricks and pieces for the Lloyd Minifigure and the Dragon Body with tail and head.

If you like, you can ask a sighted person to help you sort the pieces by color before you start building. We recommend using trays or bowls. This can make finding the correct pieces easier! However, if you would like to build without brick colors entirely, you can also ignore them or turn them off. There are different ways to sort and organize the bricks and your building process. It is up to you!

First, we will build the Lloyd Minifigure.

Collect the following 2 pieces:

1 bright green and mossy green upper part of the body,

and 1 bright green pair of legs.

Put the upper body on the legs. Make sure that the hands and toes are pointing in the same direction.

Collect the following 2 pieces:

1 warm gold back armor, (This is a cage-like structure with a neck tab)

and 1 bright yellow Minifigure head.

Put the back armor around the Minifigure's neck, cage part to the back.

Put the Minifigure head on the body.

Collect the following 2 pieces:

1 warm gold katana sword 6m,

and 1 mossy green and bright green ninja helmet.

Put the ninja helmet on the head.

Snap the handle of the katana sword into Lloyd's left hand.

Next, we will build the Dragon body with tail and head.

Collect the following 2 pieces:

1 earth blue inverted double curve brick 2x8x2,

and 1 dark stone grey plate 1x2 with ball on long side.

Put the inverted double curve brick 2x8x2 horizontally on the table, curves to the left and right. Make sure its knobs form straight rows and columns in front of you.

Put the plate 1x2 vertically on the rightmost column, ball to the right.

Find 2 black plates 1x2 with hinge fork.

Put 1 horizontally on the back row directly to the left of the previous piece, hinge fork to the back. This means it will sit on the lower level of the double curve brick.

Put the other one horizontally in front of the previous piece, hinge fork to the front.

Find 2 black bricks 1x4 with 4 side knobs.

Put 1 horizontally to the left of the previous piece, side knobs to the front.

Put the other one horizontally behind the previous piece, side knobs to the back.

Find 2 dark green roof tiles 2x4 with 5 slopes and 1 straight side.

Put 1 upright horizontally on the side knobs of the previous piece, making sure that its straight side is to the top and flush with the brick.

Repeat symmetrically at the front.

Collect the following 3 pieces:

2 reddish brown bricks 1x2 with 2 side knobs on long side,

and 1 earth blue plate 1x2.

Put 1 brick 1x2 horizontally on the back row to the right of the brick 1x4, side knobs to the back.

Put the other brick horizontally in front of the previous piece, side knobs to the front.

Put the plate 1x2 vertically to the left of the 2 previous pieces.

Collect the following 5 pieces:

4 dark stone grey plates 1x2 with top hinge part,

and 1 dark green trapezoid plate 2x4.

Put 1 plate with hinge vertically to the left of the previous piece's back knob, its back half should sit on the top edge of the 5-sloped roof tile. Make sure the hinge is towards the back.

Put 1 plate with hinge vertically in front of the previous piece, hinge to the front.

Put the other 2 plates with hinges vertically to the left of the 2 previous pieces in the same orientation.

Put the trapezoid plate 2x4 vertically to the left of the previous piece, narrow end to the left. Its shape matches the shape of the structure below.

Find 1 mossy green plate 2x8.

Put it horizontally centered on top of the structure.

Next up, we will make a small sub-part.

Collect the following 2 pieces:

1 mossy green one-stepped curve tile 2x2,

and 1 medium stone grey plate 1x2 with ball cup on long side.

Put the plate 1x2 vertically on the table, ball cup to the left.

Put the one-stepped curve tile 2x2 on top, curve to the right, 1/2 overhanging to the right.

Mount the sub-part on the leftmost edge of the structure, ball cup overhanging to the left.

Collect the following 2 pieces:

1 reddish brown plate 2x3,

and 1 reddish brown plate 2x2 with 2 knobs.

Put the plate 2x2 to the right of the sub-part, its 2 knobs forming a column on the left.

Put the plate 2x3 horizontally to the right of the previous piece.

Find 1 mossy green one-stepped curve tile 2x2.

Put it on the 2 rightmost columns of the structure, curve to the right.

Next, we will make another small sub-part.

Collect the following 2 pieces:

1 reddish brown plate 1x2,

and 1 warm gold plate 1x2 with shaft on long side.

Put the plate 1x2 (the one without shaft) vertically on the table.

Put the plate with shaft on top, shaft to the right.

Mount the sub-part vertically on the rightmost column of knobs, shaft still to the right. This means the shaft will hover above the curve of the right curve tile 2x2.

Find 2 reddish brown smooth roof tiles 1x1 with overhanging top tile 1x1.

Turn 1 horizontally so that its top tile is pointing to the right. Mount the top tile on the back knob of the sub-part you have just mounted. This means that the sloped portion will sit to the left of the sub-part.

Repeat symmetrically at the front.

Find 4 reddish brown hinge forks with cross hole 1m. (This is a small tube-like piece with grooves that has a cross hole and a hinge fork.)

Snap the 4 hinge forks on the 4 hinge parts on the dragon body and let them point at an angle to the top.

Find 4 bright blue connector pegs 2m with cross axle pin. (2m means that this piece is about 2 knobs long.)

Insert the cross-hole parts of these pieces into the cross holes of the 4 previous pieces, 1/2 sticking out at an angle towards the top.

Find 2 dark green flat tiles 2x3 with arrow-shaped end.

Before you mount them, turn the structure from left to right so that the ball is now pointing to the right and the ball cup is to the left.

Identify the 2 side knobs pointing to the front at the right edge of the front side surface. Do not confuse them with the side knobs in the center of the structure.

Mount 1 flat tile horizontally on those 2 side knobs, making sure you attach the lower half to the side knobs and the arrow-shaped end is pointing to the right. The arrow tip should not protrude beyond the right edge of the structure.

Repeat symmetrically at the back.

Next, we will build the first segment of the dragon tail.

Collect the following 2 pieces:

1 earth blue plate 2x2,

and 1 medium stone grey plate 1x2 with ball cup on long side.

Put the plate 2x2 on the table.

Put the plate 1x2 vertically on the left column, ball cup to the left.

Find 1 dark stone grey plate 1x2 with ball on long side.

Put it vertically on the right column, ball to the right.

Find 1 dark green trapezoid plate 2x4.

Put it vertically centered on top, narrow end to the right, pointy ends symmetrically overhanging to the front and back.

Find 2 mossy green plates 1x2 with 1 knob.

Put them vertically next to each other on top of the previous piece.

Find 2 transparent bright green smooth roof tiles 1x1x⅔.

Put 1 on the left knob, slope to the left.

Put the other one on the right knob, slope to the left again.

The first segment of the dragon tail is finished! Well done! Snap the ball cup on the ball that is currently protruding from the right edge of the main structure.

Next, we will build 2 more dragon tail segments.

Find 2 dark stone grey plates 1x2 with ball and ball cup on short sides.

Hold 1 horizontally, ball cup to the left, ball to the right, and snap the ball cup of the second plate on the ball of the first one.

Put them on the table horizontally, outer ball cup to the left, outer ball to the right.

Find 2 earth blue plates 1x2.

Put 1 horizontally underneath the left plate of the connected plates and the other one horizontally underneath the right one.

Find 2 mossy green plates 1x2, with 1 knob.

Put them horizontally on the top surfaces of the 2 connected plates.

Find 2 transparent bright green smooth roof tiles 1x1x⅔.

Put 1 on the left knob, slope to the left.

Put the other one on the right knob, slope to the left.

The 2 additional dragon tail segments are finished! Great job! Snap the ball cup on the ball of the first dragon tail segment we have built earlier.

Now, we will build the tip of the dragon tail.

Collect the following 2 pieces:

1 earth blue plate 1x2,

and 1 earth blue plate 2x2.

Put the plate 2x2 on the table.

Put the plate 1x2 vertically on the right column.

Find 1 medium stone grey plate 1x2 with ball cup on long side.

Put it vertically on the left column, ball cup to the left.

Find 2 warm gold plates 1x1 with vertical side clasp.

Put 1 on the previous piece's back knob, clasp to the back.

Repeat symmetrically at the front.

Find 1 mossy green one-stepped curve tile 2x2.

Put it on top of this structure, curve to the right.

The tip of the dragon tail is finished! Well done! Snap its ball cup on the empty ball of the 2 previous dragon tail segments.

We will use the 2 clasps later to mount supercool swords!

Next, we will build the dragon's neck.

Collect the following 2 pieces:

1 earth blue plate 2x2,

and 1 dark stone grey plate 1x2 with ball on long side.

Put the plate 2x2 on the table.

Put the plate 1x2 vertically on the right column, ball to the right.

Find 1 medium stone grey plate 1x2 with ball cup on long side.

Put it vertically on the left column, ball cup to the left.

Find 2 dark green plates 1x2 with 2 vertical clasps on long side.

Put 1 horizontally on the back row, clasps to the back.

Put the other one horizontally on the front row, clasps to the front.

Find 2 mossy green plates 1x2, with 1 knob.

Put 1 vertically on the left column.

Put the other one vertically on the right column.

Find 2 transparent bright green smooth roof tiles 1x1x⅔.

Put 1 on the left knob, slope to the left.

Put the other one on the right knob, slope to the left.

The dragon's neck is finished! Great job! Snap its ball on the ball cup that is located on the left edge of the dragon structure.

Find 2 warm gold Minifigure whips with small knob at the end.

Hold 1 whip so that its handle (this is the slightly thicker straight end) is at the bottom and the whip is extending to the right, bending up, and the knob-tip is pointing to the left again.

Then, snap the handle into the 2 clasps pointing to the front from the dragon neck. Make sure the left edge of the handle is flush with the left clasp.

Repeat symmetrically at the back.

Find 2 warm gold t-shaped shafts 1m with 3 knobs.

Hold 1 so that the end with the 2 hollow knobs is at the bottom. Then, put 1 of those 2 bottom hollow knobs on the knob end of the back whip. The shaft should be extending at an angle towards the top right.

Repeat symmetrically at the front.

Collect the following 2 pieces:

1 black connector peg 1m with ball,

and 1 mossy green dragon head.

Hold the dragon head so that its nose tip is pointing to the left, which means the hollow part is towards the right and the jagged surface is to the top.

Insert the connector peg from the right into the round hole in the middle of the dragon head's hollow part.

Snap the ball of the connector peg on the ball cup of the neck.

The Dragon body with tail and head is finished! Great job! The side of the dragon’s head is decorated with a printed design showing a fierce green eye surrounded by bright green flame-like markings. The sharp shapes make the dragon look fast, wild, and full of energy.

With this, we have finished building everything from bag number 1. Well done! We usually pack a few extra bricks and pieces in each bag, so if you still have some pieces left there is no need to worry that you missed something. If you like, you can take a break now and return to the instructions later by skipping to the section introducing bag number 2. If you want to continue building right away, simply move on to the next sentence.

Open bag number 2. You can choose to have the bricks sorted by color again if you like. This bag contains all bricks and pieces for the Dragonian Scout with Dragon Baby and the remaining parts of the dragon including legs and wings.

Next, we will build the Dragonian Scout with Dragon Baby.

Collect the following 2 pieces:

1 bright red and black upper part of the body,

and 1 titanium metallic and bright red pair of legs.

Put the upper body on the legs. Make sure that the hands and toes are pointing in the same direction.

Collect the following 2 pieces:

1 titanium metallic shoulder armor with back plate,

and 1 bright red Minifigure head.

Put the shoulder armor around the neck, back plate pointing down along the Minifigure's back.

Put the Minifigure head on the body.

Find 1 mud brown Mohawk hairpiece.

Put it on the head. The hair tips should form a line from front to back.

Next up, we will build the Dragonian's axe.

Collect the following 2 pieces:

1 silver metallic harpoon spike,

and 1 dark stone grey handle 2.5m with 2 end knobs.

Insert the blunt end of the harpoon spike into one of the hollow knobs of the handle.

Find 2 silver metallic axe heads.

Snap one on the harpoon spike directly below its pointy end, axe head pointing to the right.

Snap the other one on the harpoon spike directly below the previous one, axe head pointing to the left.

The Dragonian's axe is finished! Well done! Snap it into the Dragonian's left hand.

Find 1 yellowish orange dragon baby figurine.

What a sweet little creature! The dragon baby is bright orange and has a few black spots on the side of its body. It has fierce black eyes and has a determined look on its face!

The Dragonian Scout Minifigure with Dragon Baby is finished! Great job! This fierce warrior has a bright red face with glowing yellow eyes, sharp fangs, and black markings that make him look wild and dangerous. He wears spiky black armor with a dark, scaly pattern and has claw-like details on his legs. On his head is a tall mohawk, and he carries a giant double-bladed axe. Once a guardian of the dragons, the Dragonian Scout has now been twisted by dark magic into an adversary who wants to kidnap the dragon baby. He's ready to fight!

Next, we will make the remaining parts of the dragon including legs and wings.

Find 2 warm gold swords with wide blade.

Before you mount them, turn the dragon so that the head is pointing to the right and the tail is to the left.

Snap the handle of 1 blade into the front clasp on the dragon tail tip, sword protruding to the left. Make sure its curved edge is towards the front.

Repeat symmetrically at the back, curved edge to the back. What a fierce weapon this dragon tail will be!

Next, we will build the first dragon leg. We will start with the thigh.

Collect the following 2 pieces:

1 earth blue plate 2x2,

and 1 medium stone grey plate 1x2 with ball cup on short side.

Put the plate 2x2 on the table.

Put the plate 1x2 horizontally on the back row, ball cup to the right.

Find 1 dark stone grey plate 1x2 with hinge stub on short side.

Put it horizontally on the front row, hinge stub to the left.

Find 1 dark green plate 2x2.

Put it on the top surface.

Find 1 dark green flat tile 2x3 with arrow-shaped end.

Put it on top, arrow-shaped end to the right. The tip of the arrow-shaped end will hover partly above the ball cup.

To mount this part, turn it so that the hinge stub is pointing to the back. Snap the hinge stub on the single hinge fork that is pointing to the front in the bottom half of the dragon body, more towards the left edge of the body.

Next, we will build the dragon's foot.

Collect the following 2 pieces:

1 black plate 1x2 with vertical clasp on short side,

and 1 earth blue plate 1x3.

Put the plate 1x3 horizontally on the table.

Put the plate 1x2 horizontally on the 2 left knobs, clasp overhanging to the left.

Collect the following 2 pieces:

1 dark green brick 1x1 with side knob,

and 1 dark stone grey plate 1x2 with ball on long side.

Put the plate 1x2 horizontally on top of the previous piece, ball to the back.

Put the brick 1x1 to the right of the previous piece, side knob to the right.

Find 1 dark green one-stepped curve tile 1x3.

Put it horizontally on top of the structure, curve to the left.

Find 1 warm gold T-shaped shaft 2m x 1m.

Before you mount it, tilt the foot structure towards you until it lies flat on the table. Its curved surface is now towards you, the ball is pointing to the top, the clasp is to the left.

Insert the short end of the T-shaped shaft into the hollow side knob on the right, its longer shaft running along the right side surface.

Collect the following 3 pieces:

1 warm gold small horn with short shaft,

and 2 warm gold claws with thick clasp.

Snap 1 claw on the back half of the previous piece, claw bending up and its tip pointing down.

Repeat symmetrically at the front.

Insert the short shaft of the horn from the top into the clasp that is pointing to the left, horn tip pointing to the left.

The dragon's foot is finished! Flip it upright so that the smooth curved surface is the top surface again. Snap the ball on the ball cup of the dragon's thigh, making sure that the 2 claws are pointing to the right and the horn is on the left edge, pointing to the back.

Now, we will build the second thigh.

Collect the following 2 pieces:

1 earth blue plate 2x2,

and 1 medium stone grey plate 1x2 with ball cup on short side.

Put the plate 2x2 on the table.

Put the plate 1x2 horizontally on the back row, ball cup to the left.

Find 1 dark stone grey plate 1x2 with hinge stub on short side.

Put it horizontally on the front row, hinge stub to the right.

Find 1 dark green plate 2x2.

Put it on top of the thigh structure.

Find 1 dark green flat tile 2x3 with arrow-shaped end.

Put it on top of the previous piece, arrow-shaped end pointing to the left, its tip hovering above the ball cup.

Before you mount it, turn the entire dragon structure around so the head is pointing to the left again.

Snap the hinge stub of the thigh structure on the hinge fork pointing to the front, mirroring the first thigh we have mounted.

Next, we will build the second foot.

Collect the following 2 pieces:

1 black plate 1x2 with vertical clasp on short side,

and 1 earth blue plate 1x3.

Put the plate 1x3 horizontally on the table.

Put the plate 1x2 horizontally on the 2 right knobs, clasp to the right.

Collect the following 2 pieces:

1 dark green brick 1x1 with side knob,

and 1 dark stone grey plate 1x2 with ball on long side.

Put the plate 1x2 horizontally on top of the previous piece, ball to the back.

Put the brick 1x1 to the left of the previous piece, side knob to the left.

Find 1 dark green one-stepped curve tile 1x3.

Put it horizontally on top, curve running towards the right.

Find 1 warm gold T-shaped shaft 2m x 1m.

Tilt the foot structure towards you until it lies flat on the table. Curved surface towards you, ball to the top, clasp to the right.

Insert the shaft's shorter end into the hollow side knob on the left, longer shaft running along the left side surface.

Collect the following 3 pieces:

1 warm gold small horn with short shaft,

and 2 warm gold claws with thick clasp.

Snap the 2 claws on the 2 halves of the shaft, claws bending up and tips pointing down.

Insert the short shaft of the horn from the top into the clasp on the right edge, horn tip pointing to the right.

The second foot is finished! Well done! Flip it upright again so that the curved surface is the top surface, claws to the left, horn pointing to the back. Snap the ball on the ball cup of the thigh.

You have finished building the dragon's legs! Fantastic job! However, for now keep them in their building orientation as we need a stable base for the next building steps. We are almost there, and at the end, your dragon will rise to stand!

Now, we will build the ninja banner.

Collect the following 2 pieces:

1 black L-shaped shaft 5m x 2m,

and 1 black small tube with clasp.

Hold the L-shaped shaft so that its short end is on the right and pointing towards you, and the long end is oriented horizontally and pointing to the left.

Put the small tube on the long end of the shaft.

Find 1 bright red plate 1x2 with 2 vertical clasps on long side.

Hold it vertically, clasps pointing to the right, and snap them on the short shaft end, coming from the left. This means the plate will sit in the corner of the L-shaped shaft. Note that the front clasp won't connect.

Find 1 warm gold small horn with short shaft.

Insert its shaft from the front into the front clasp of the previous piece, horn to the front and bending to the right.

Find 1 bright red flat tile 2x3. (This piece is printed.)

Hold it horizontally and mount its rightmost edge on the plate 1x2, the rest of the tile extending towards the left without connecting.

The tile shows a stylized golden dragon curled into an S-shape on a dark red background. The dragon has a fierce face, sharp claws, and a winding tail. A golden frame with angular corner patterns surrounds the image, giving it the look of a traditional banner or crest.

Filp the ninja flag upright, turn it so that the printed flag is at the top and facing you, and snap the bottom clasp into the handle that is located on the top right edge of the dragon body.

Now it is time to fold the legs of the dragon down and adjust the different ball joints so it can stand!

But wait, something's missing! Continue to go through the last few steps to finish this magnificent creature!

Find 2 mossy green wide dragon wings.

Turn the dragon so that it is looking at you, meaning that the tail is extending towards the back and the head is facing you.

Hold 1 wing so that its mounting holes are on the left edge and the wider wing edge is towards the back. The outer wing tip should be pointing slightly to the back on the right edge.

Insert the 2 connector pegs sticking out towards the top right on the side of the body into 2 mounting holes of the wing.

Repeat symmetrically on the left.

Find 2 warm gold claws with thick clasp.

Snap 1 on the very small shaft located on the front edge of the wing, claw bending up and its tip pointing down.

Repeat symmetrically on the second wing.

The dragon is finished! Very well done, what a magnificent creature!

You have also finished building the entire set! Fantastic work! It is time for Lloyd to mount his dragon, take the reins and launch the rescue mission for the baby dragon! The Dragonian Scout is a dangerous and fierce adversary, but with the help of his wonderful dragon, Lloyd will do everything in his power to overpower him and get the dragon baby to safety!

Enjoy!