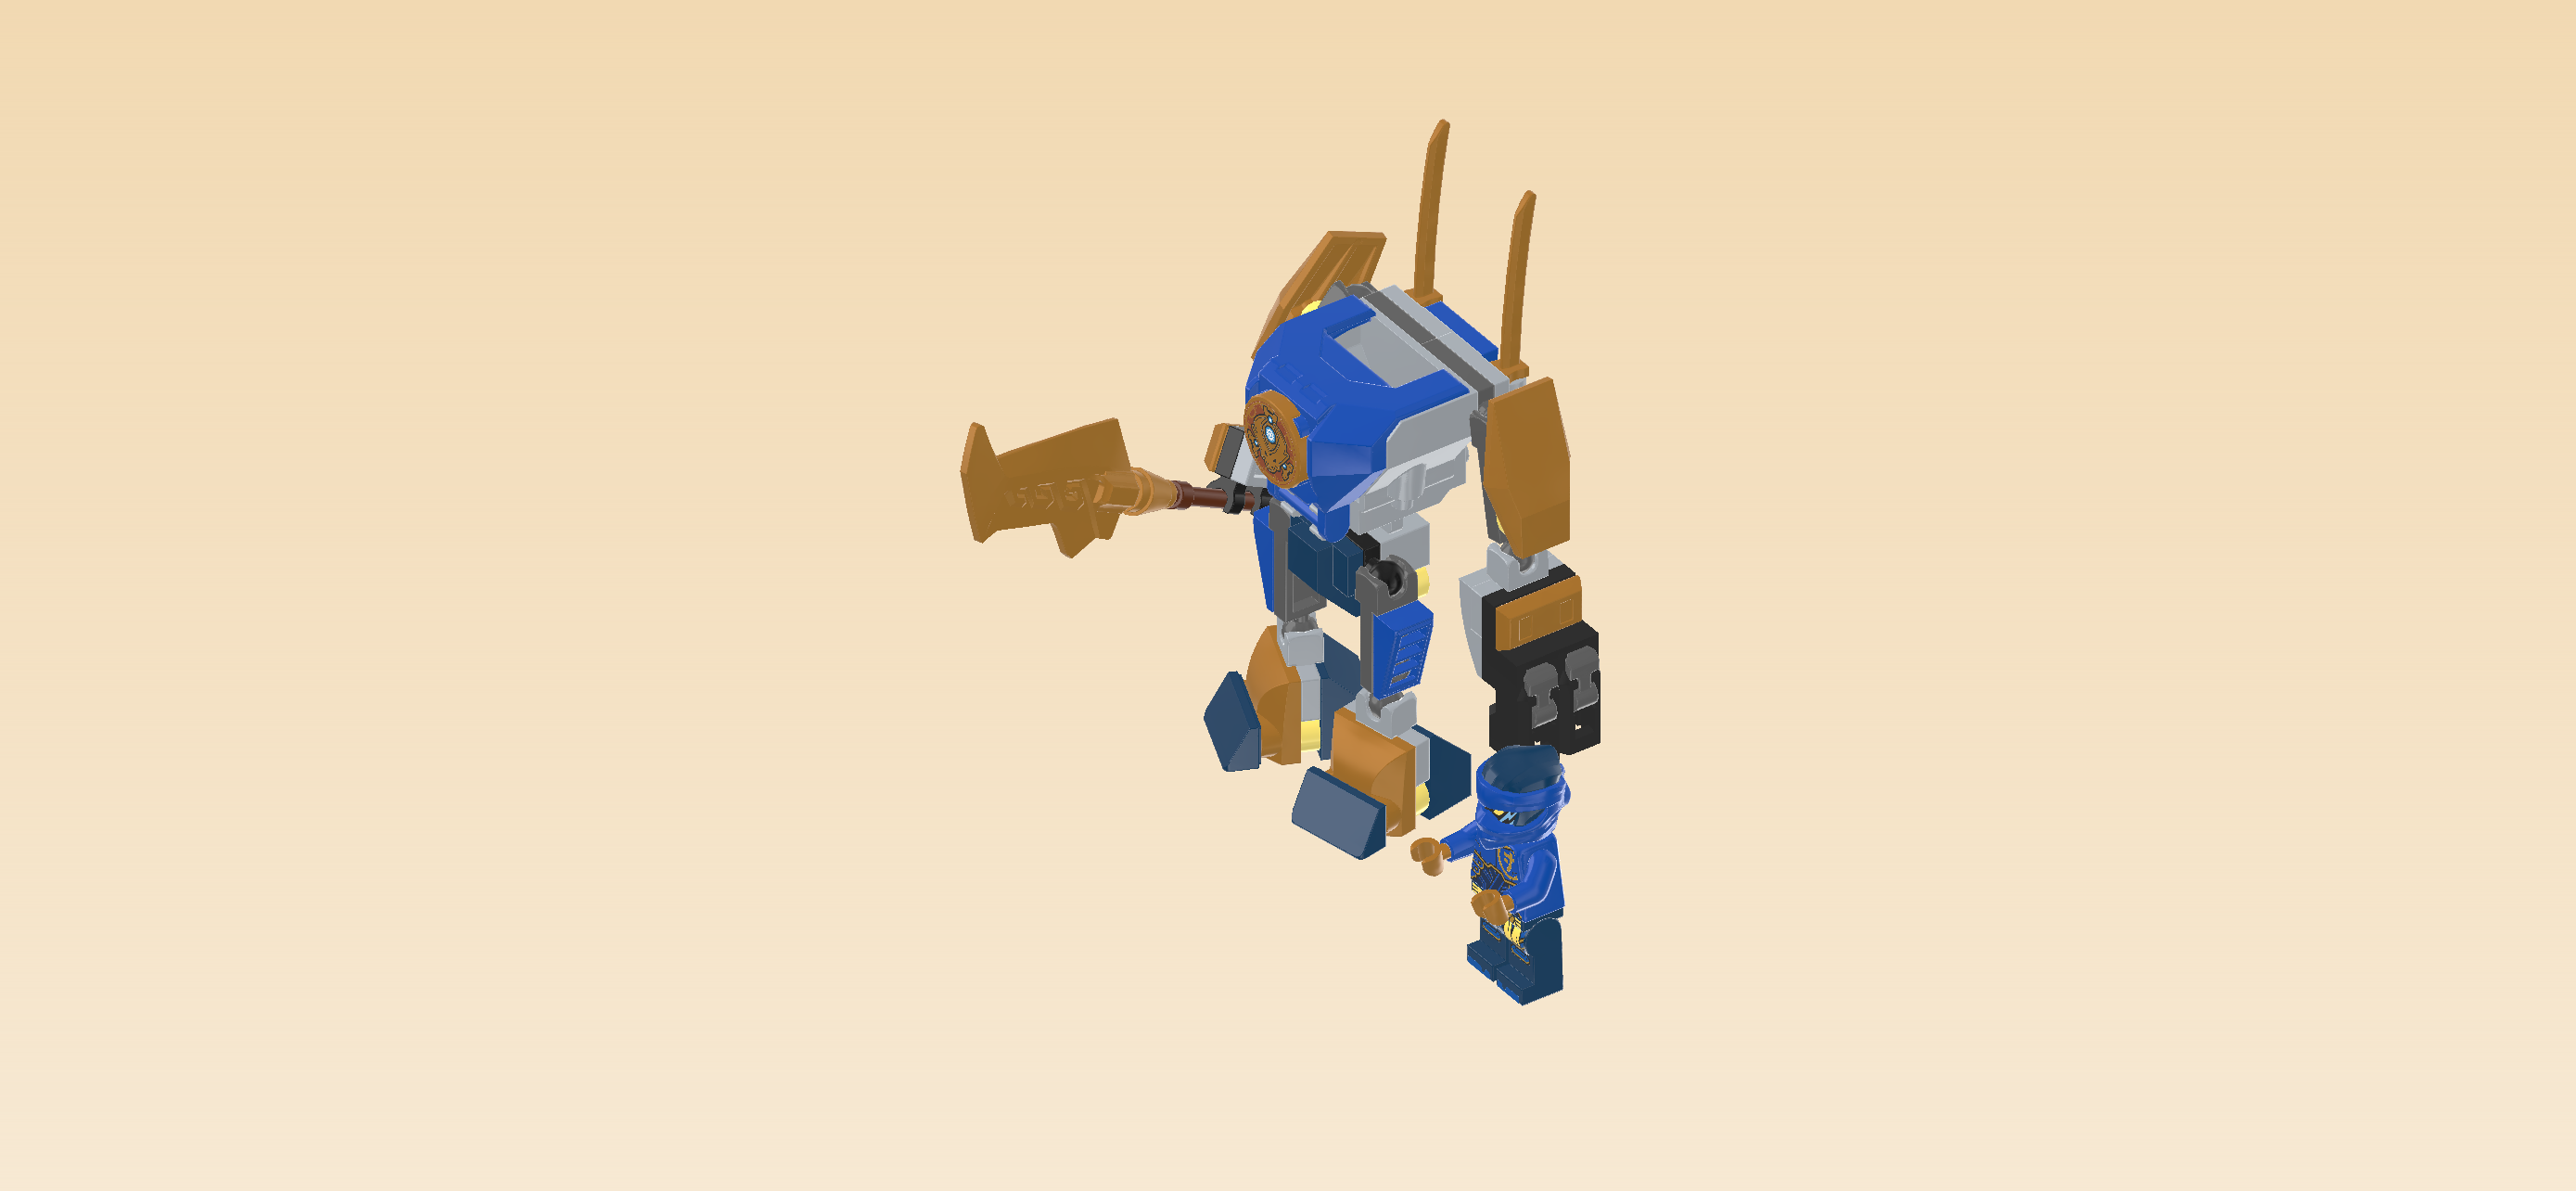
LEGO 71805 Jay's Mech Battle Pack 

LEGO Audio & Braille Building Instructions for the LEGO Ninjago set "Jay's Mech Battle Pack".

Team up with Jay and master Lloyd to take on 2 members of the evil Wolf Mask Army on the edge of the Shadow Forest. Jump into the mech suit and head into battle wielding its large golden sword and firing studs from 2 powerful shooters. But watch out – the villainous pair have a crossbow and a dangerous set of claws! They are determined to seize power for the evil Lord Ras. Only you can stop them!

On the box cover, the battle between our two ninja heroes and the Wolf Mask Army villains is in full swing. Jay is maneuvering the mech suit. It is a huge mechanical suit with poseable arms, legs and cockpit. It is wielding a large golden sword and can fire ammo from its 2 shooters. The mech's color scheme is bright blue with black and grey elements and golden protective plates. The mech is standing on a grassy battleground with rugged mountains in the background. The air around the fight is tinted pink and purple with dark clouds in the left background; it seems like a storm is coming from afar. Jay is using the mech's shooter arm to shoot at the Wolf Army members attacking from the left. Lloyd, dressed in his white master suit, is helping Jay from the ground, swinging his mighty sword at the villains. The scene is surrounded by a fiery frame, and at the bottom right there are detailed portraits of the four Minifigures included in this set: master Lloyd, Jay, the Wolf Mask Claw Warrior, and the Wolf Mask Guard. Let's dive into the Dragons Rising universe and start building!

Open the box. This can be tricky; ask someone to help you!

The box contains 1 booklet with visual building instructions and 2 unnumbered bags.

Carefully open all bags. Before you start building, ask a sighted person to help you sort the pieces by color. This makes finding the correct pieces even easier! Also, the heads, legs and torsos of the 4 Minifigures included in this set have identical shapes. Ask a sighted person to identify the correct pieces when building the Minifigures.

First, we will build the Jay Minifigure.

This set contains four different Minifigures. However, their heads, legs and torsos all have identical shapes. They only differ in their colors and prints. Ask a sighted person to help you identify the correct pieces for the Minifigures so you can continue on your own after that. We will start with Jay and Lloyd where only the two heads have the same color (but slightly differing prints). Jay's suit is blue, Lloyd's suit is beige and white. So if you have sorted the pieces by color, you might be able to find most of the pieces for Jay and Lloyd on your own. However, the Wolf Mask Army villains are also blue-ish, so there still is a chance of mixing things up.
Collect the following 2 pieces:

1 bright blue and warm gold upper part of the body,

and 1 earth blue pair of legs.

Put the upper body on top of the legs.

Collect the following 2 pieces:

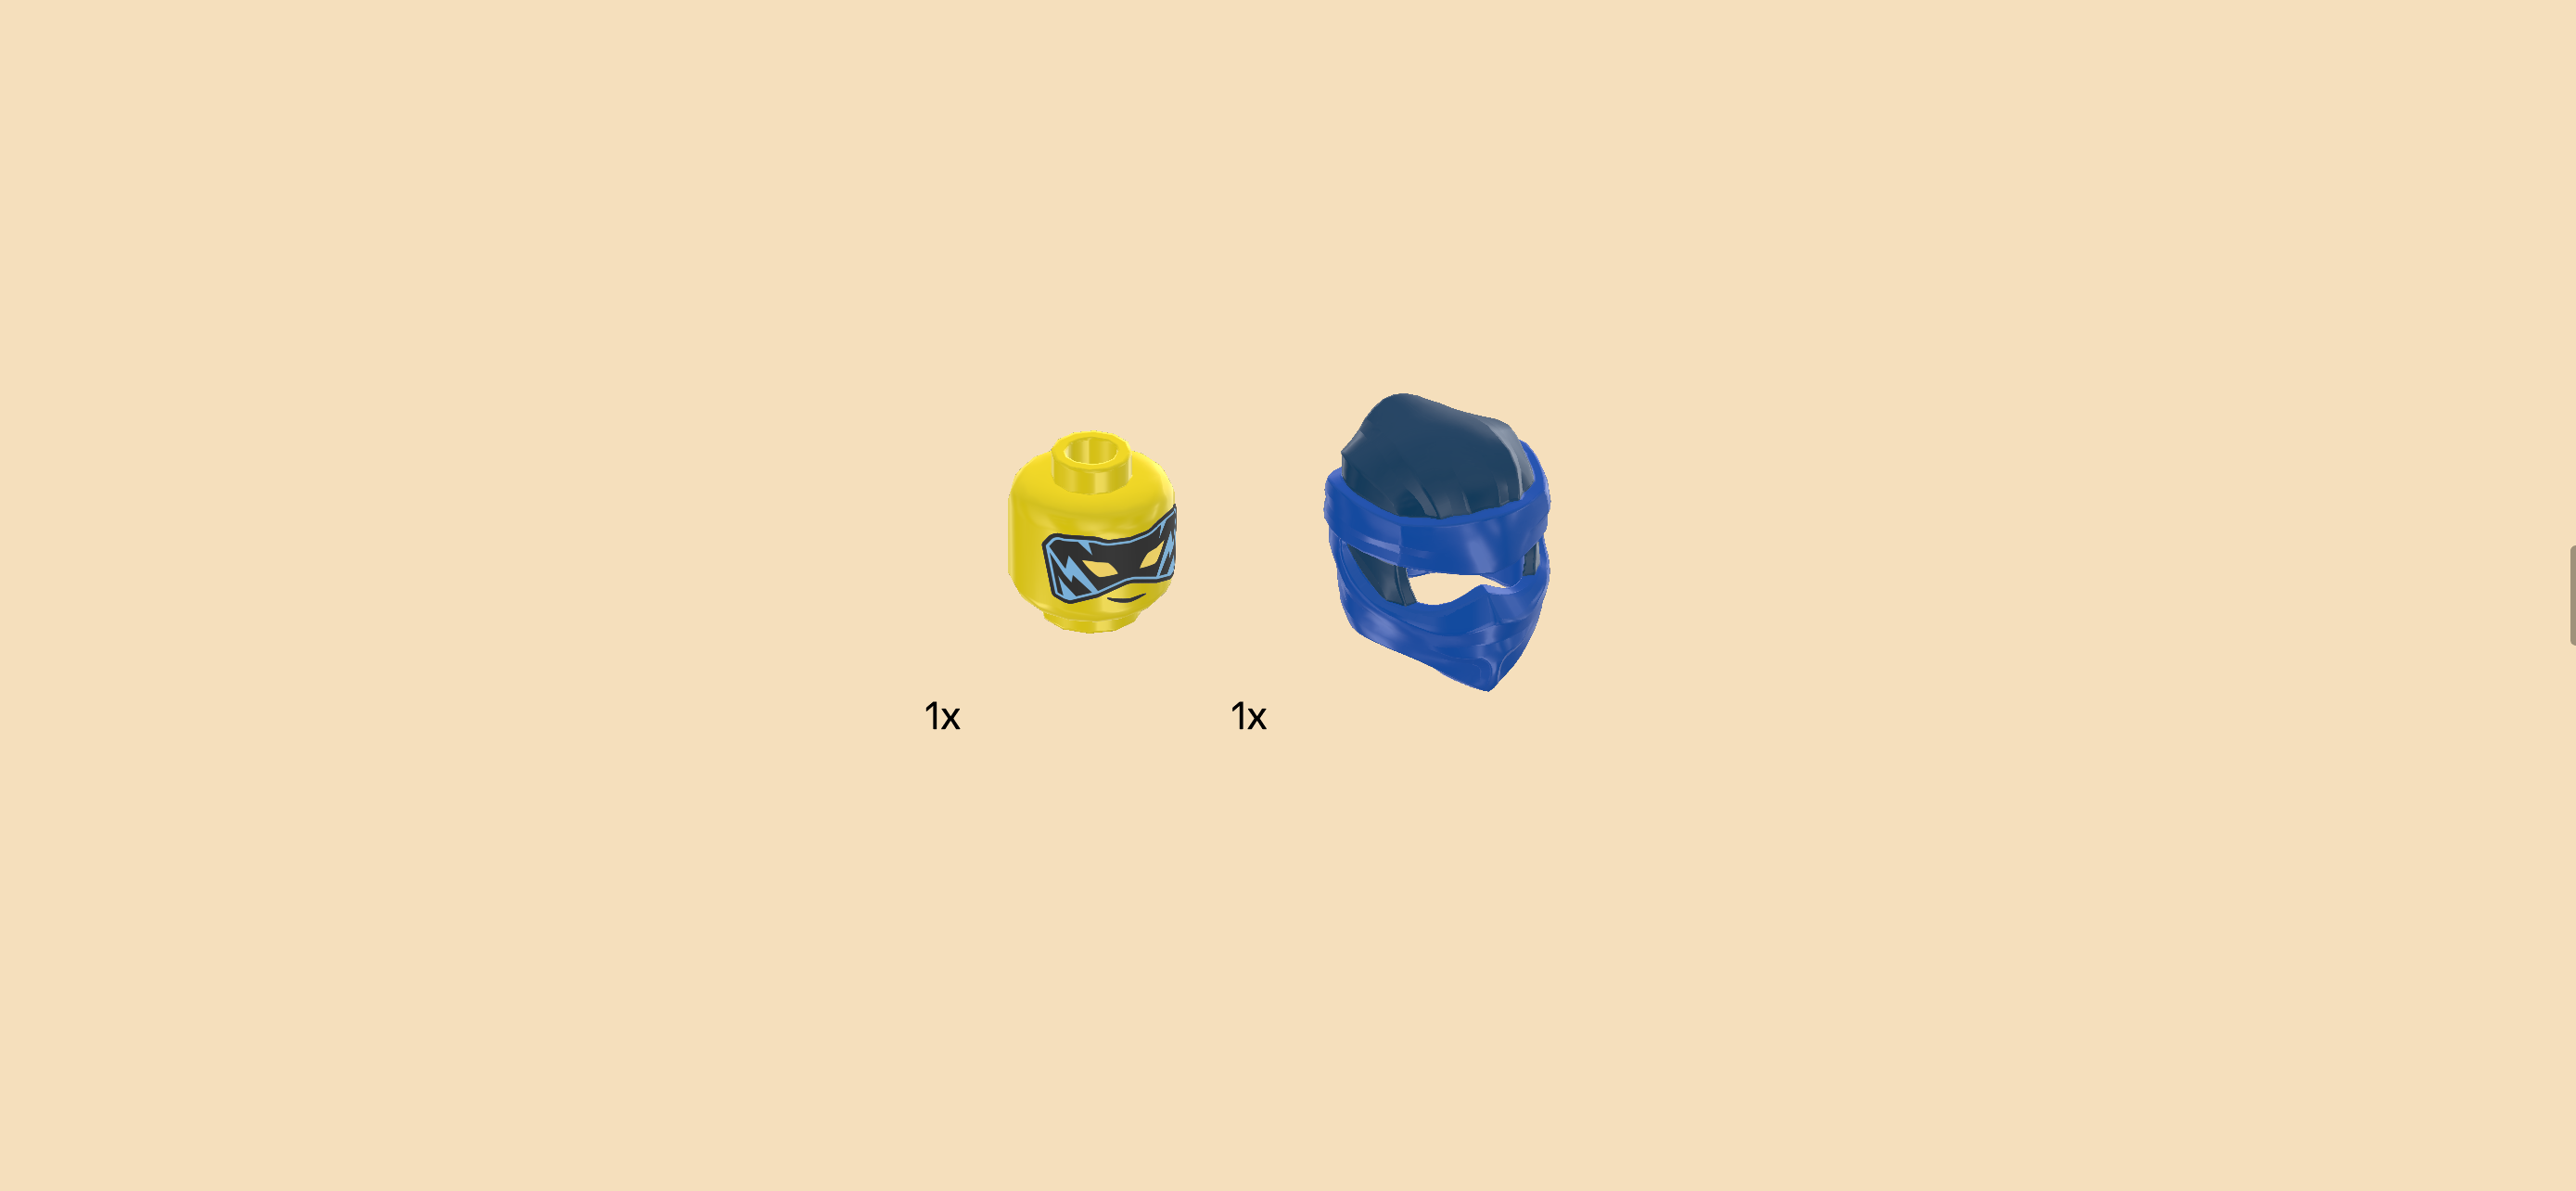
1 bright yellow Minifigure head,

and 1 earth blue and bright blue ninja helmet.

Put the Minifigure head on the body.

Put the ninja helmet on the head.

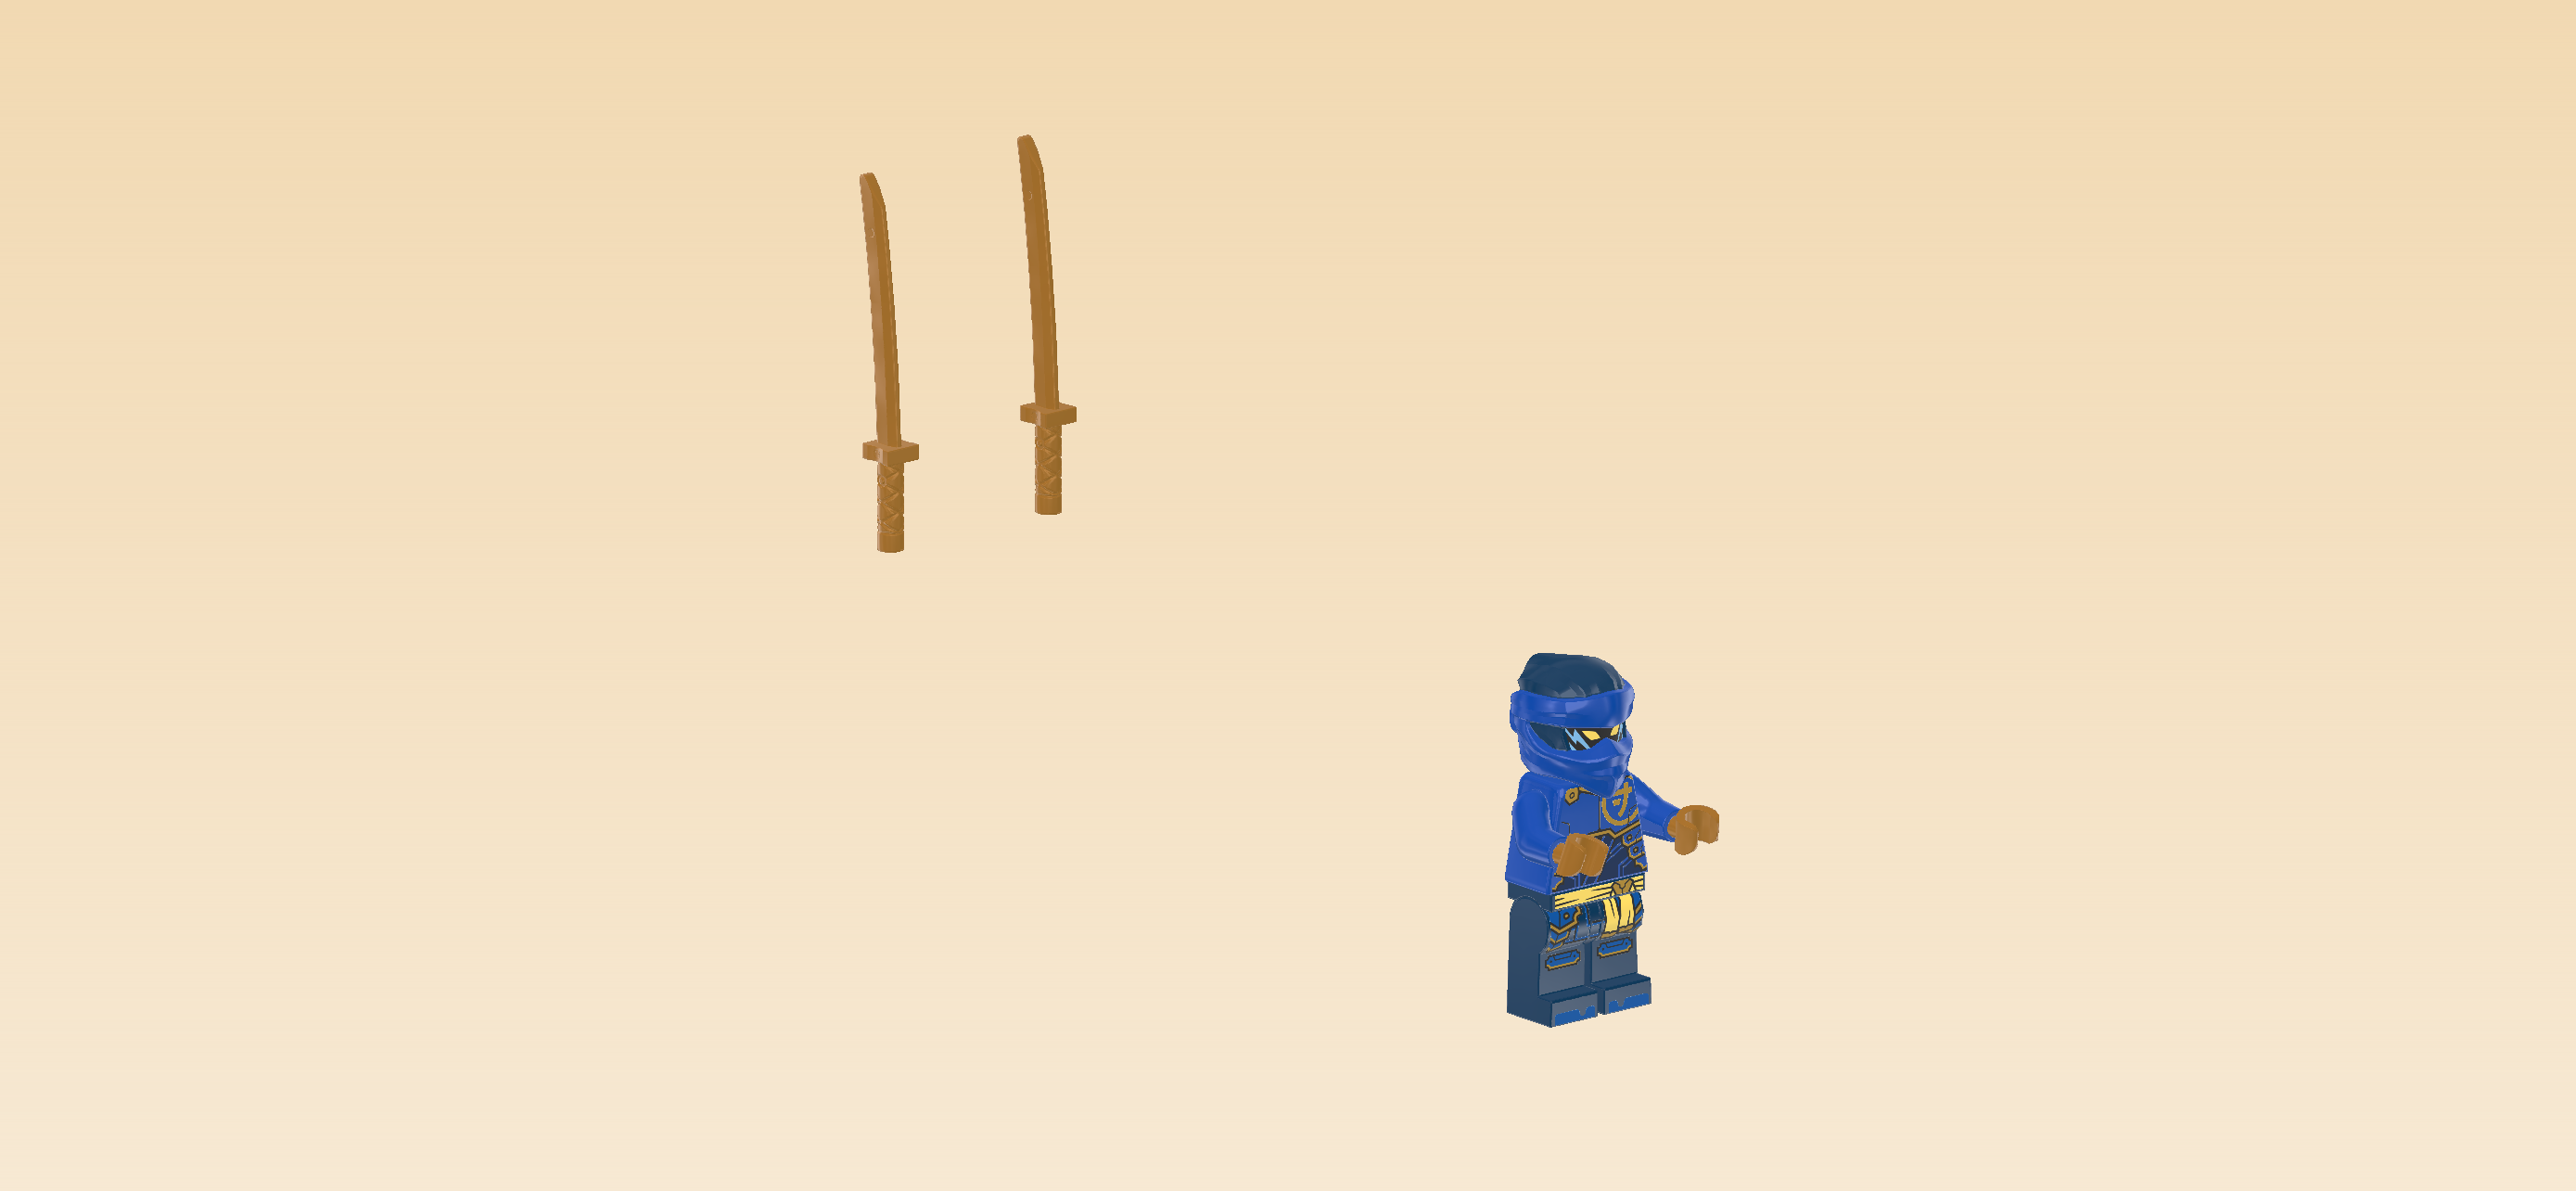
Find 2 warm gold katana swords 6m. (These are thin, long swords. Do not confuse them with the slightly smaller sword that has a curved blade.)

Snap one into each of Jay's hands.

The Jay Minifigure is finished! Well done! Jay is wearing his mech pilot suit with golden embellishments and a lemon yellow belt. The suit has dark blue pants with light blue kneepad and toe prints. The bright blue upper body has golden rib-like elements on the sides that open up in the middle revealing dark blue tightly wound ribbons. His Ninjargon symbol is printed in gold on his left shoulder. His ninja hood is a dark blue helmet with bright blue wrap cloths protecting his chin and forehead. The back of his suit features a golden print of his name in Ninjargon and again the golden rib-like elements revealing dark bright blue protective plates. Jay's head has two face prints: one side shows the black digital eye mask with golden eyes and blue lightning effects, and the other side shows his face with an angry expression. He has pale freckles, black eyes and brown eyebrows, his teeth are clenched. Jay is a strong and courageous fighter. He is ready for battle, but first we need to build his ally, his enemies and his mech suit. Let's continue!

Now, we will build the Master Lloyd Minifigure.

Collect the following 2 pieces:

1 white and bright yellow upper part of the body,

and 1 white pair of legs.

Put the upper body on top of the legs.

Collect the following 2 pieces:

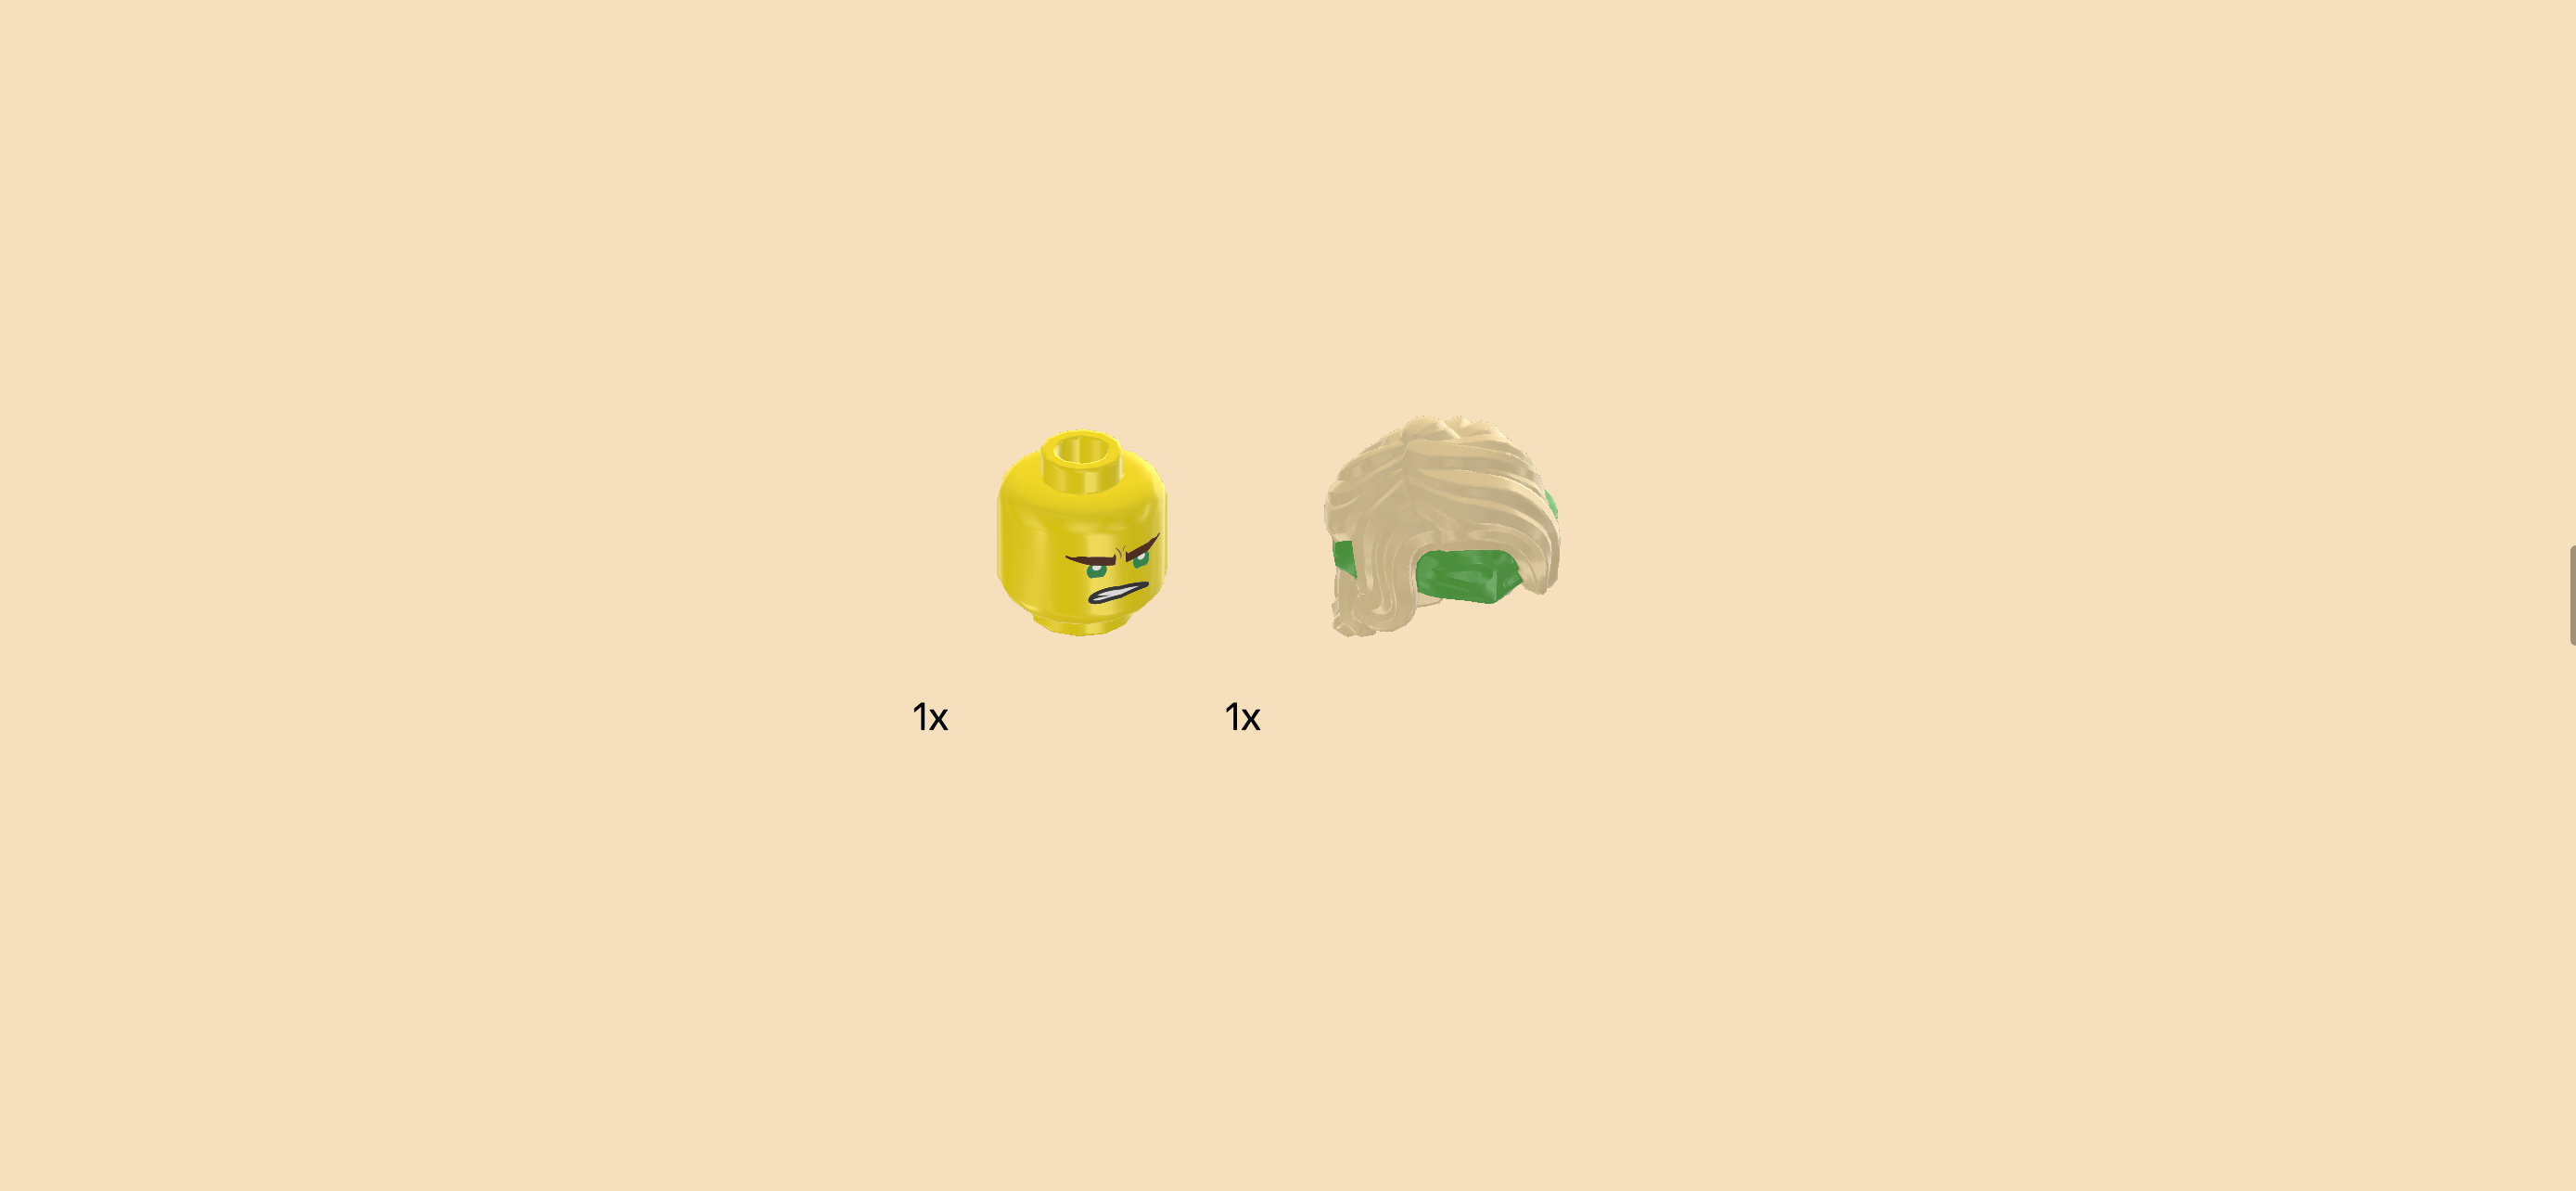
1 bright yellow Minifigure head,

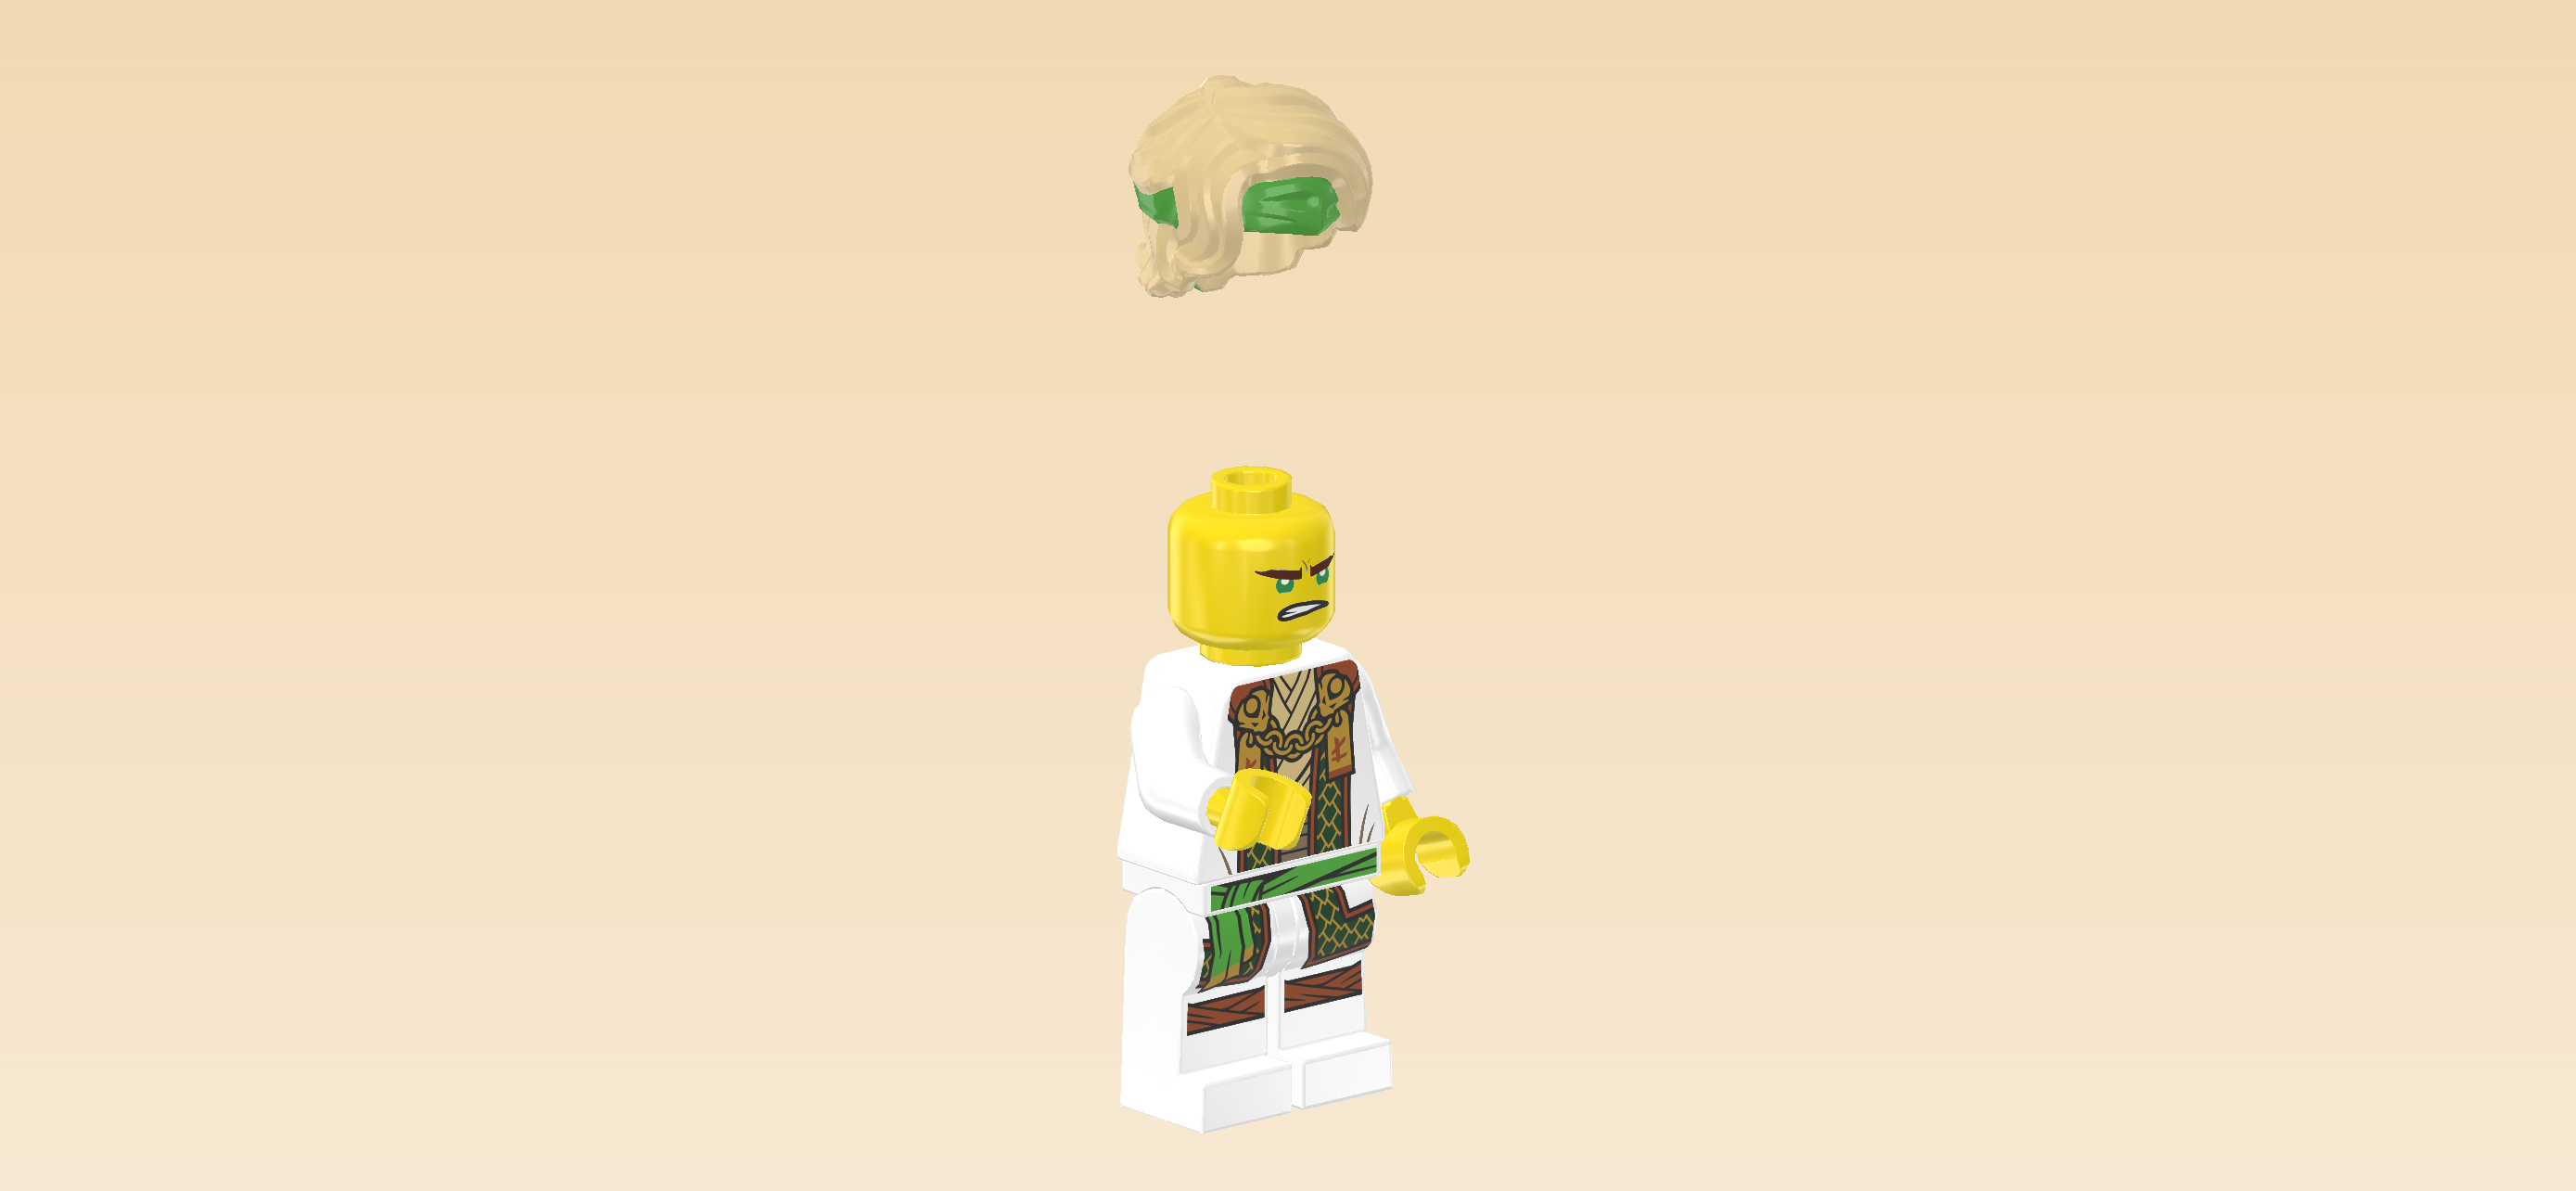
and 1 pale ocher yellow and bright green hairpiece with medium-length straight hair and headband.

Put the Minifigure head on the body.

Put the hairpiece on top.

Next, we will assemble Lloyd's sword.

Collect the following 2 pieces:

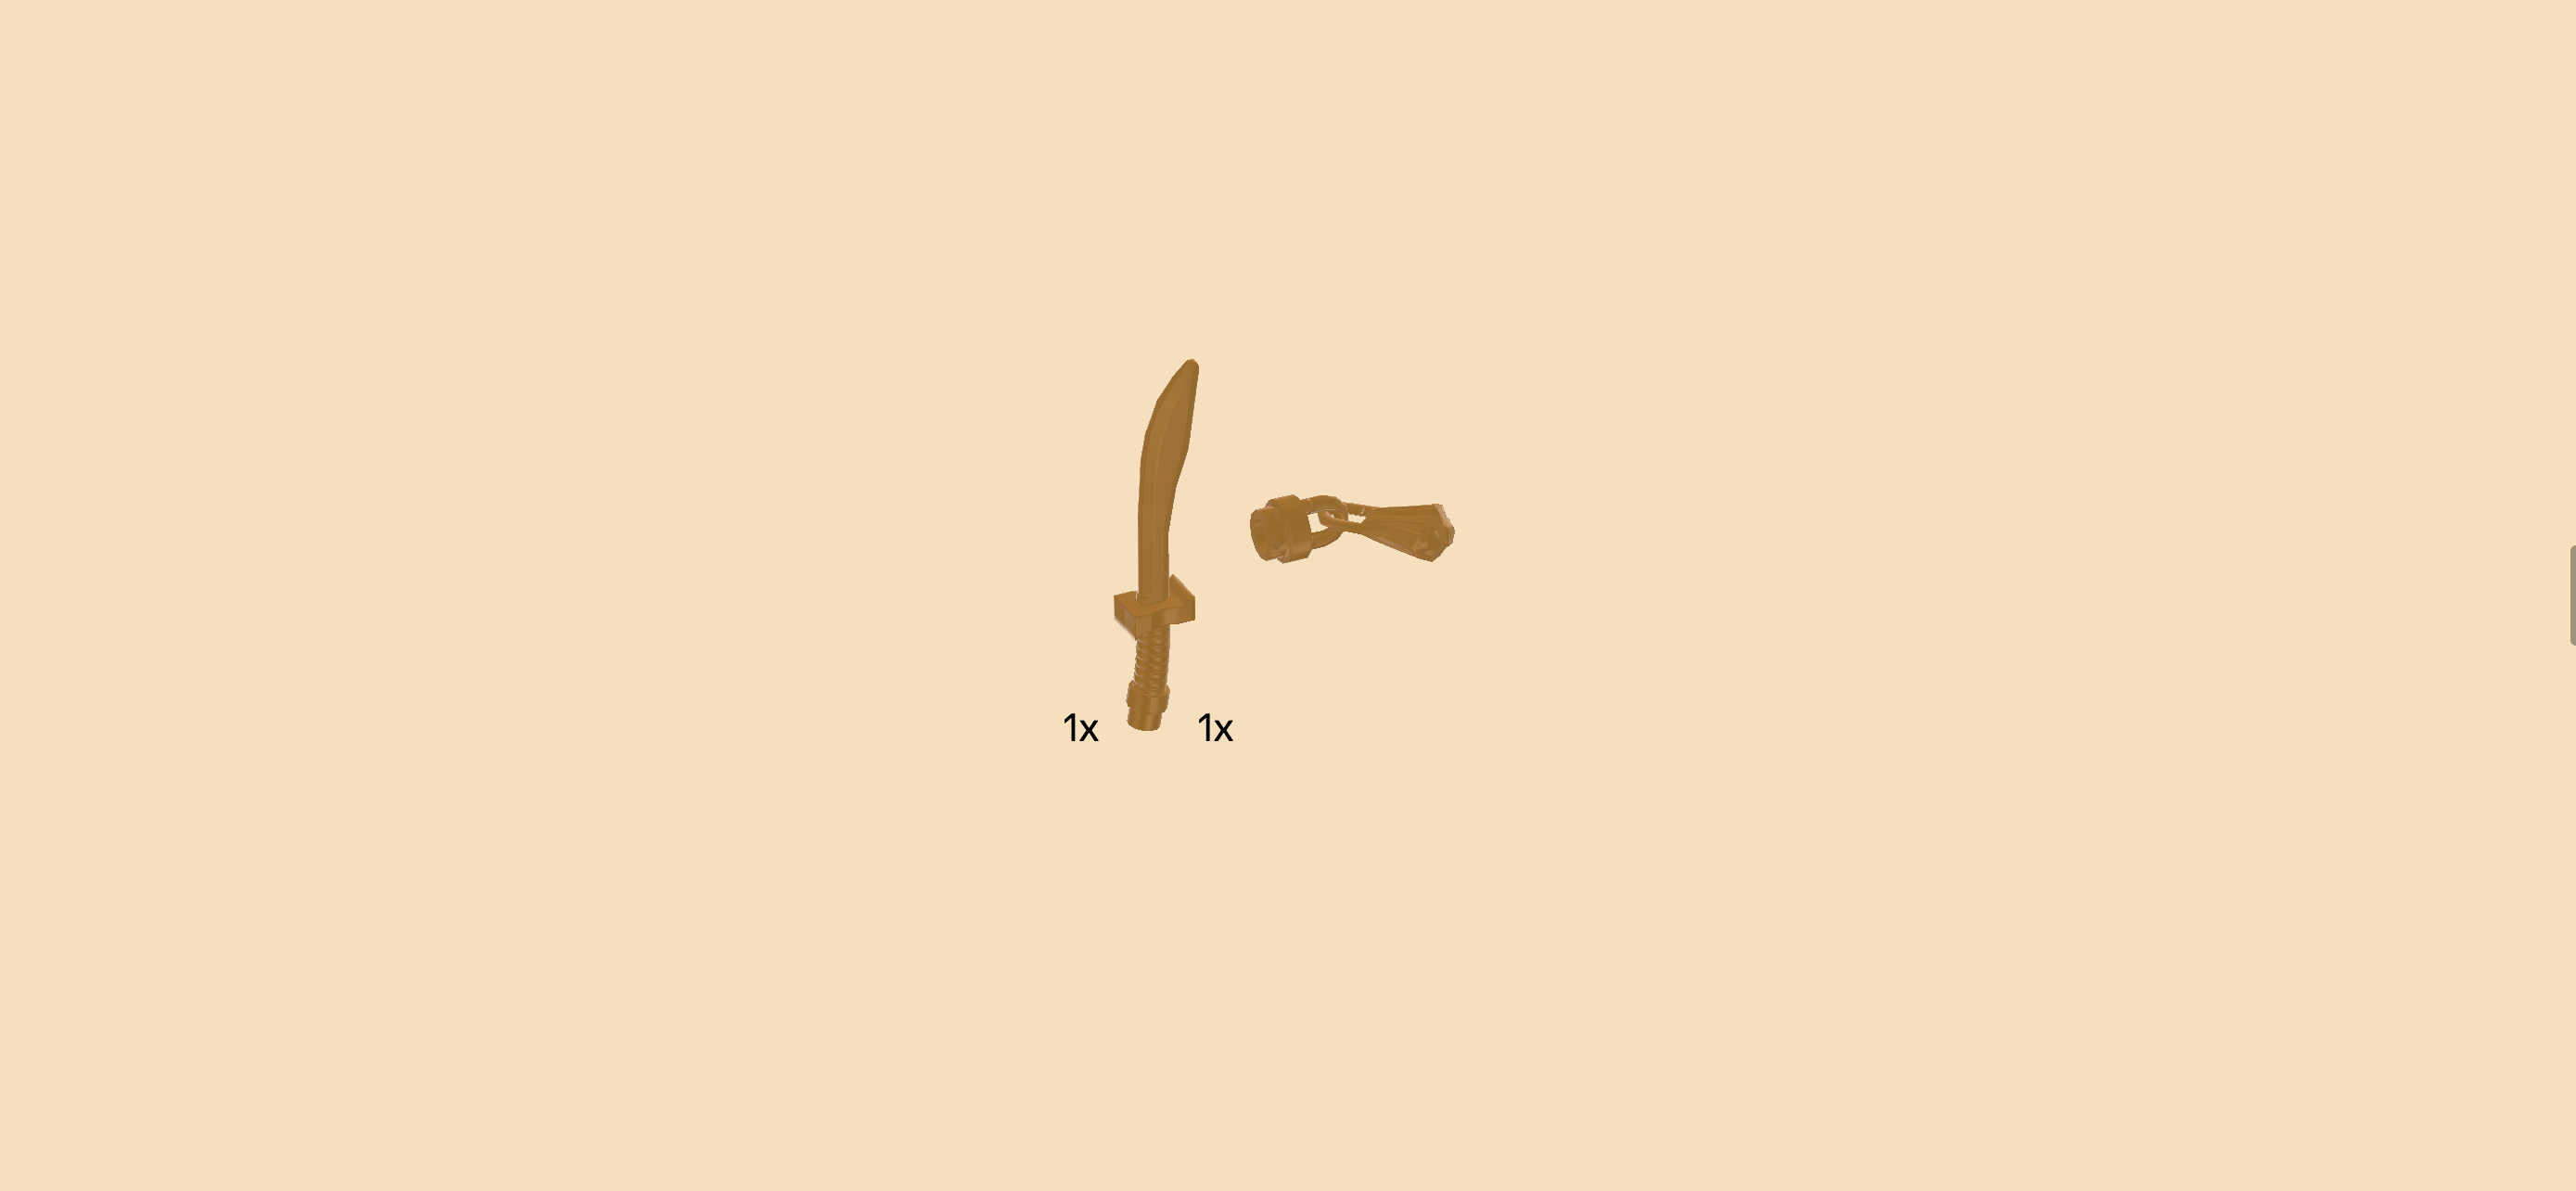
1 warm gold sword with wide blade,

and 1 warm gold tassel with knob.

Put the knob of the tassel on the bottom of the sword's shaft.

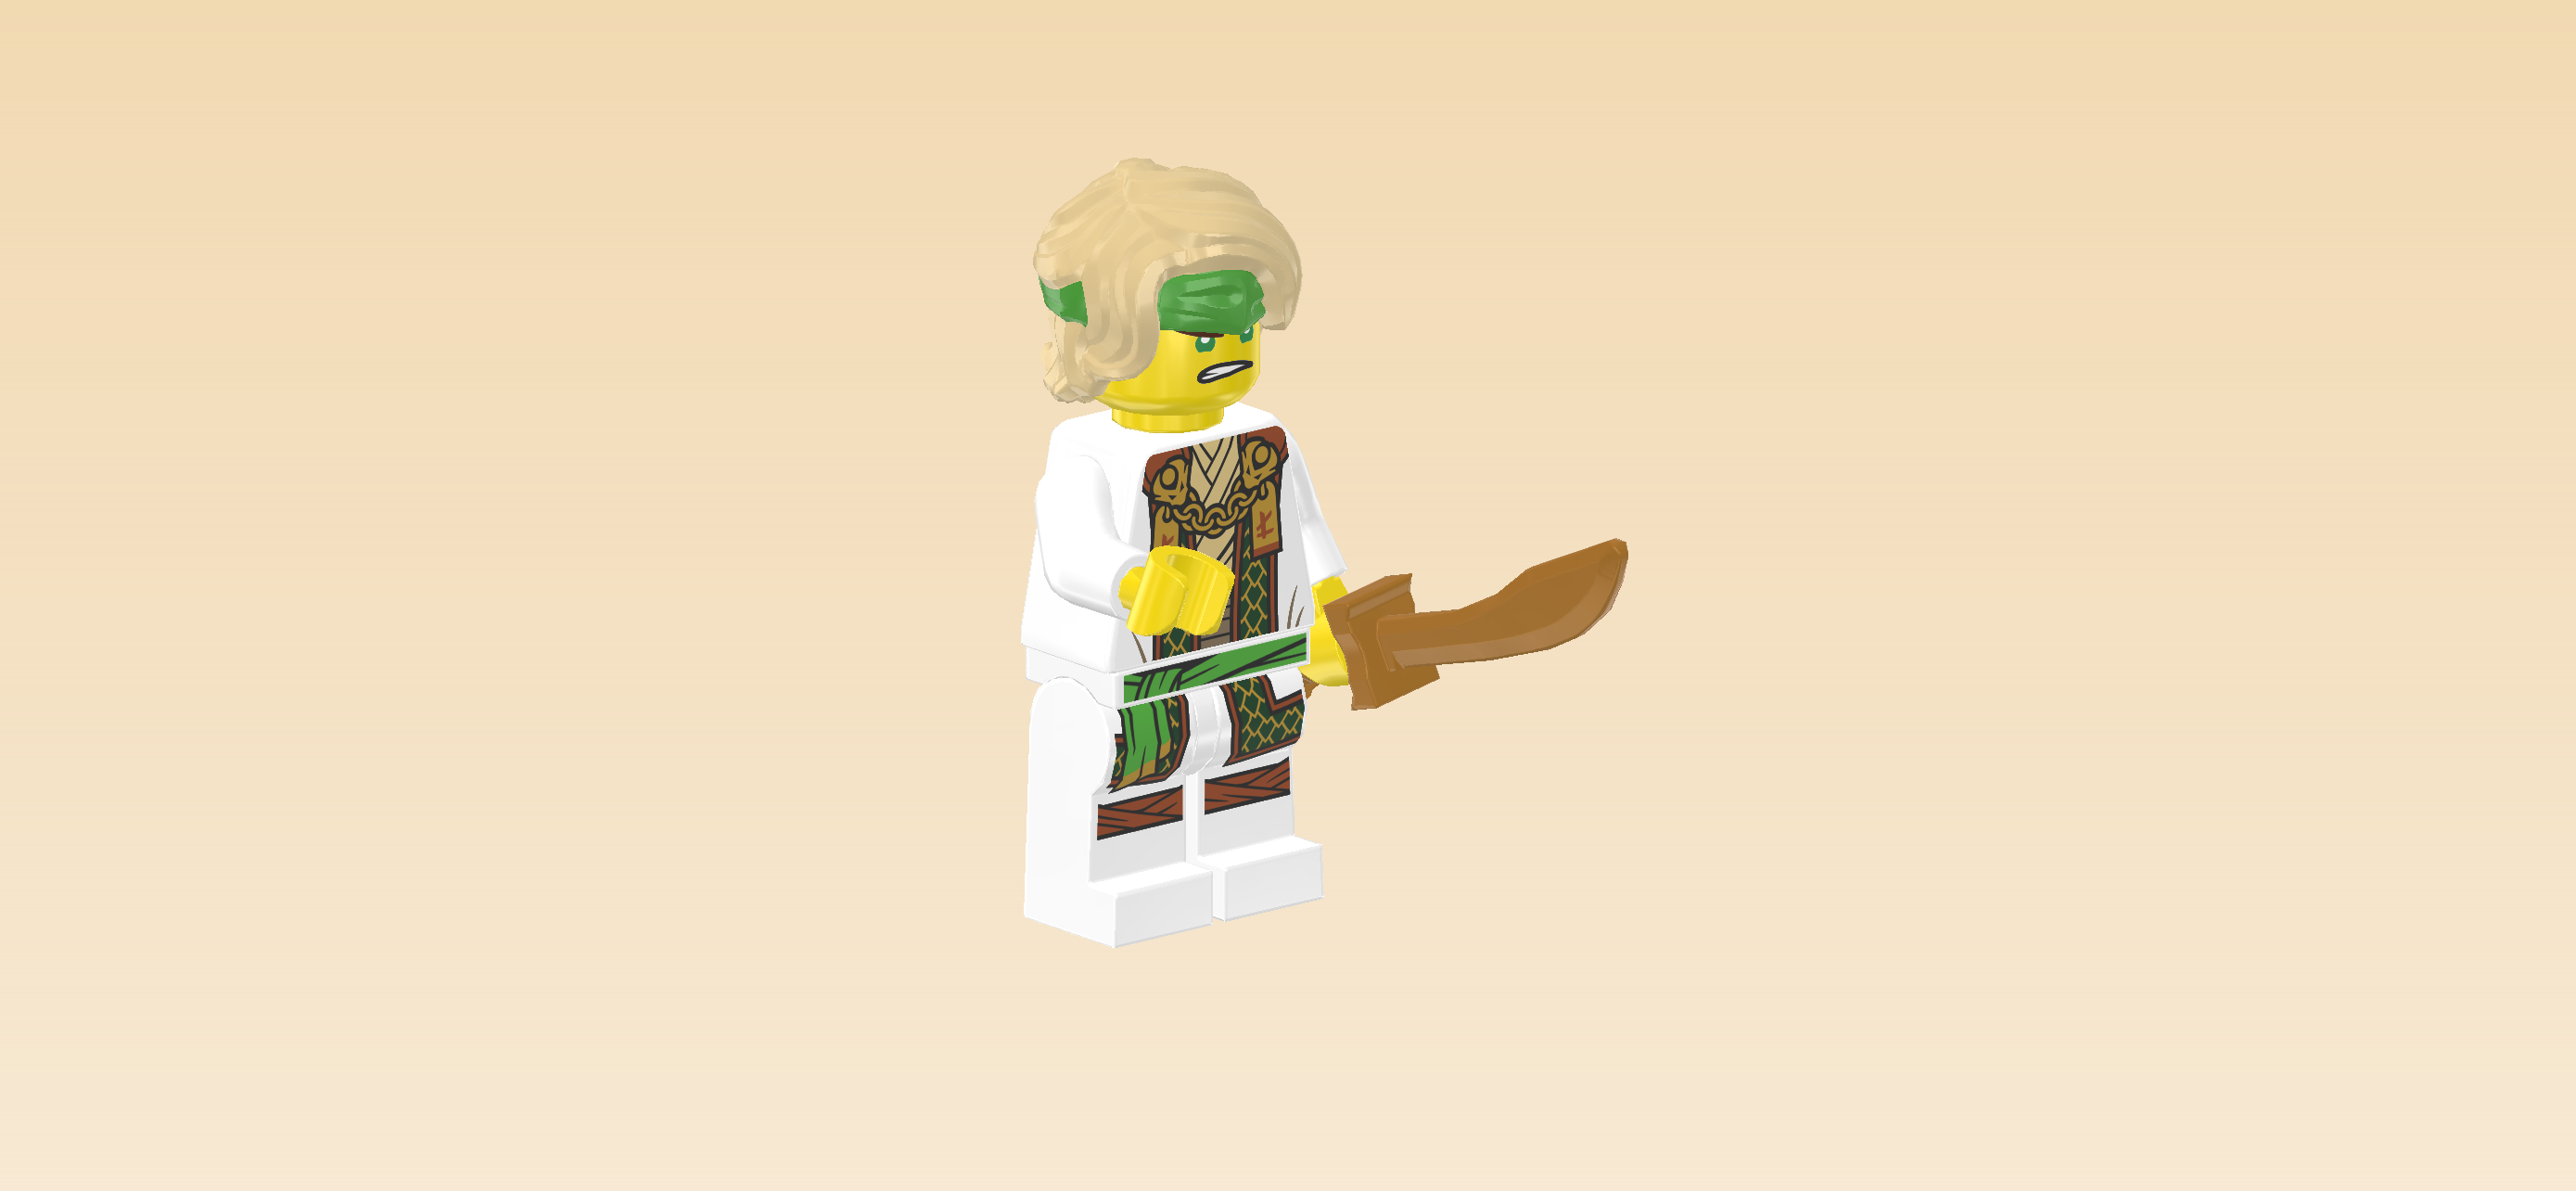
Snap the handle of the sword into Lloyd's left hand.

The Master Lloyd Minifigure is finished! Well done! Lloyd is wearing his Master suit. It is a beige wrapped ninja suit with a white coat on top. The coat has a dragon-scale trim in dark green and gold and is held together by a golden chain around the neck. The back of the coat is printed with a green version of the Dragon's Rising logo which is a dragon head surrounded by golden flames. The coat is tied together with a bright green belt. The kneepads are woven dark-brown elements. Lloyd's head has two face prints: one side shows his face with an angry expression; he has green eyes, brown eyebrows and his teeth are clenched. On the other side, lloyd has a cheeky smile on his face. He is wearing his bright green bandana on his head. His mighty master sword is a great weapon on the battleground. He will need it later!

Next, we will build the Wolf Mask Claw Warrior.

The heads, upper bodies and legs of the two Wolf Army warriors are identical even in color and print. The two Minifigures only differ in utensils and headgear.

Collect the following 2 pieces:

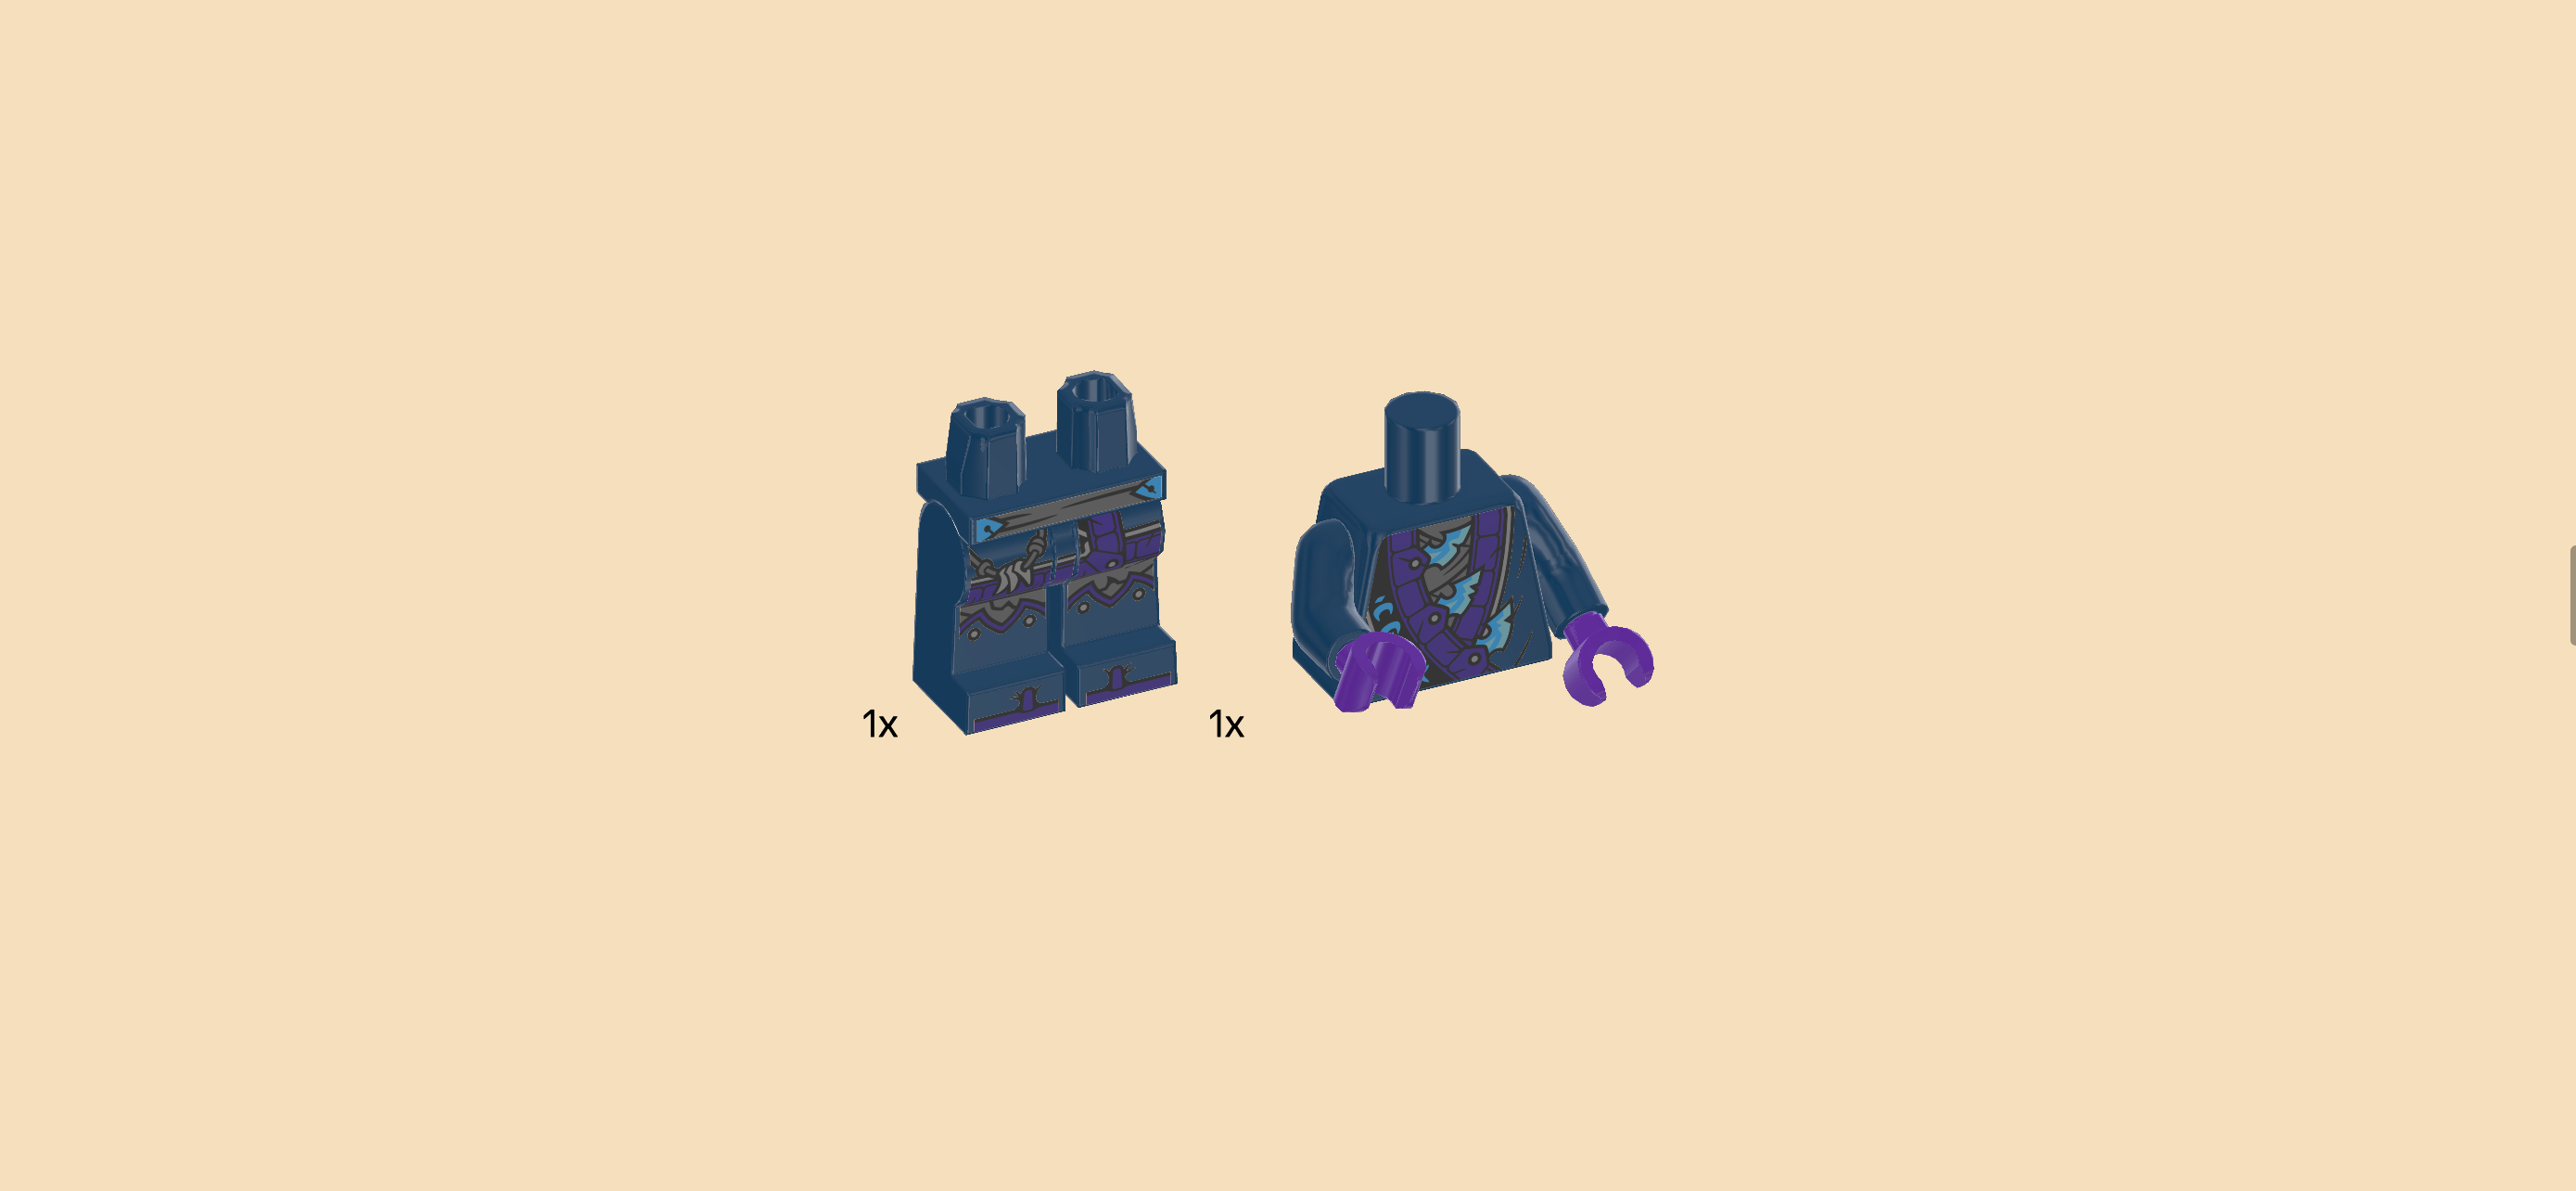
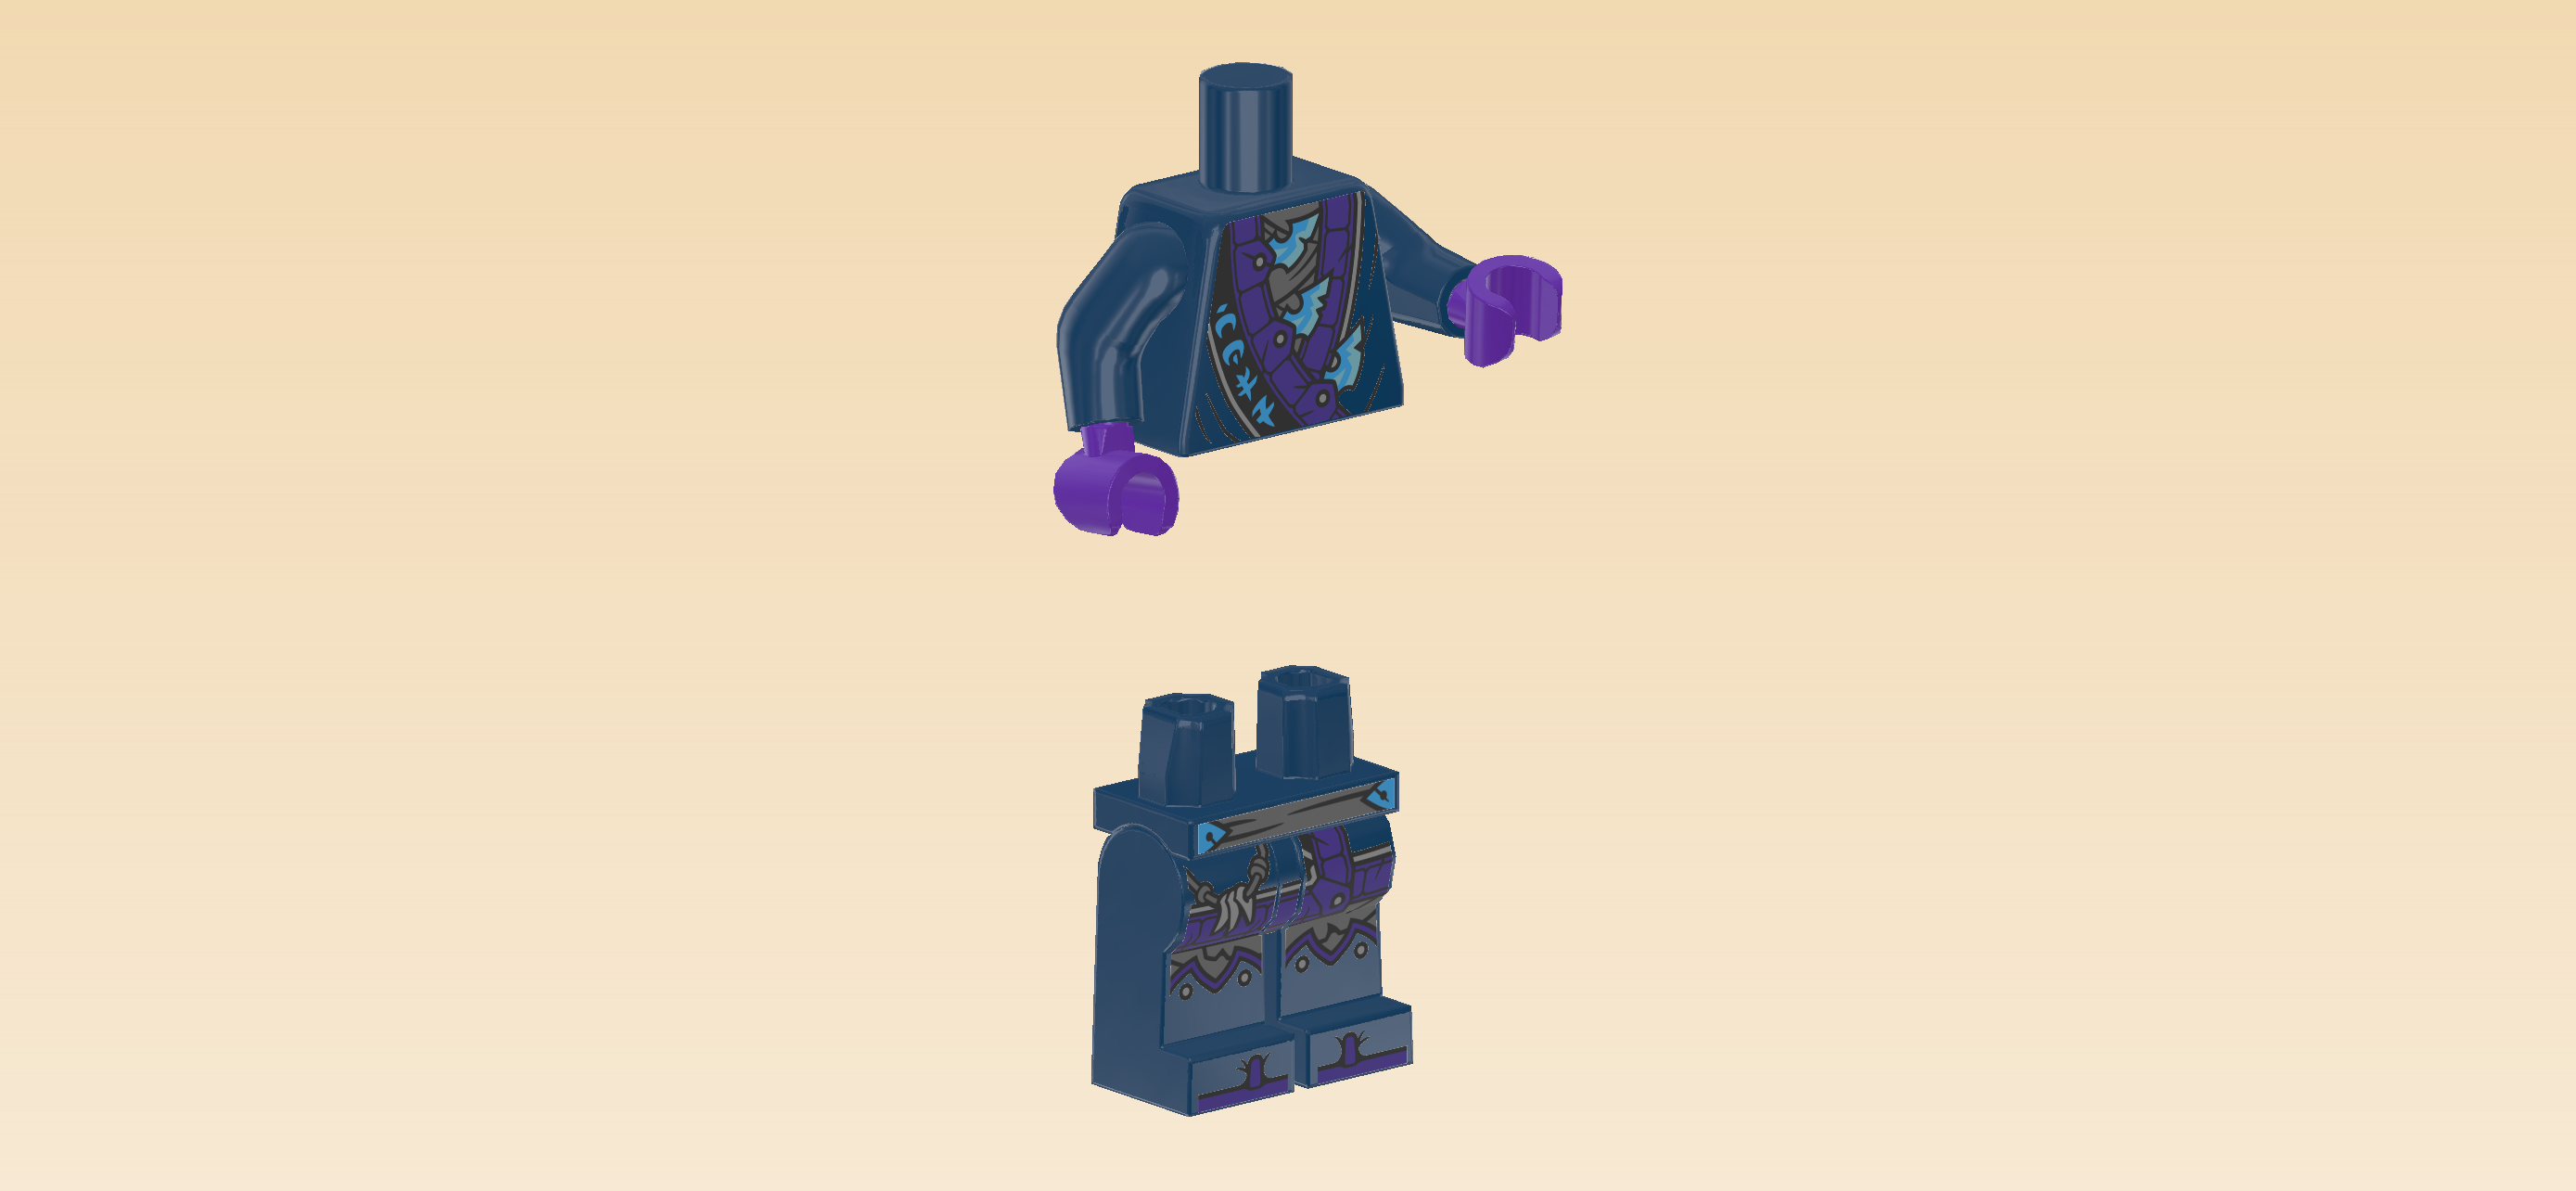
1 earth blue and medium lilac upper part of the body,

and 1 earth blue pair of legs.

Put the upper body on the legs.

Collect the following 2 pieces:

1 earth blue Minifigure head,

and 1 earth blue straight shoulder plate with middle hole.

Put the straight shoulder plate horizontally on the neck. Make sure the outer tips are pointing slightly upwards.

Put the head on the body.

Collect the following 3 pieces:

2 silver metallic three-tipped claws,

and 1 dark azure blue and earth blue wolf mask helmet.

Put the knob of 1 claw on top of the Minifigure's hand.

Repeat with the other claw on the other hand.

Put the wolf mask helmet on the head.

The Wolf Mask Claw Warrior is finished! Well done! The Claw Warrior is wearing the Wolf Mask Army suit. It is a dark blue suit with lilac elements and light blue embellishments. The suit consists of trousers with silver plating and a wrapped jacket with lilac trims, a grey belt and the word "wolf" in Ninjargon printed on it in light blue. There are light blue blades sticking out of the jacket trim. The suit has a grey belt with a chain of wolf teeth attached to it. At the back, the Wolf Mask Army suit is printed with the logo of the army. It is a wolf-version of an ouroboros, an ancient symbol depicting a dragon eating its own tail. The symbol is light blue with a lilac center and outline. The helmet is an intricately molded wolf mask with bright blue teeth and eye sockets. It is tied together at the back of the warrior's head. His claws seem to be really dangerous weapons, so our ninja heroes better watch out!

Now, we will build the Wolf Mask Guard.

Collect the following 2 pieces:

1 earth blue pair of legs,

and 1 earth blue and medium lilac upper part of the body.

Put the upper body on top of the legs.

Collect the following 2 pieces:

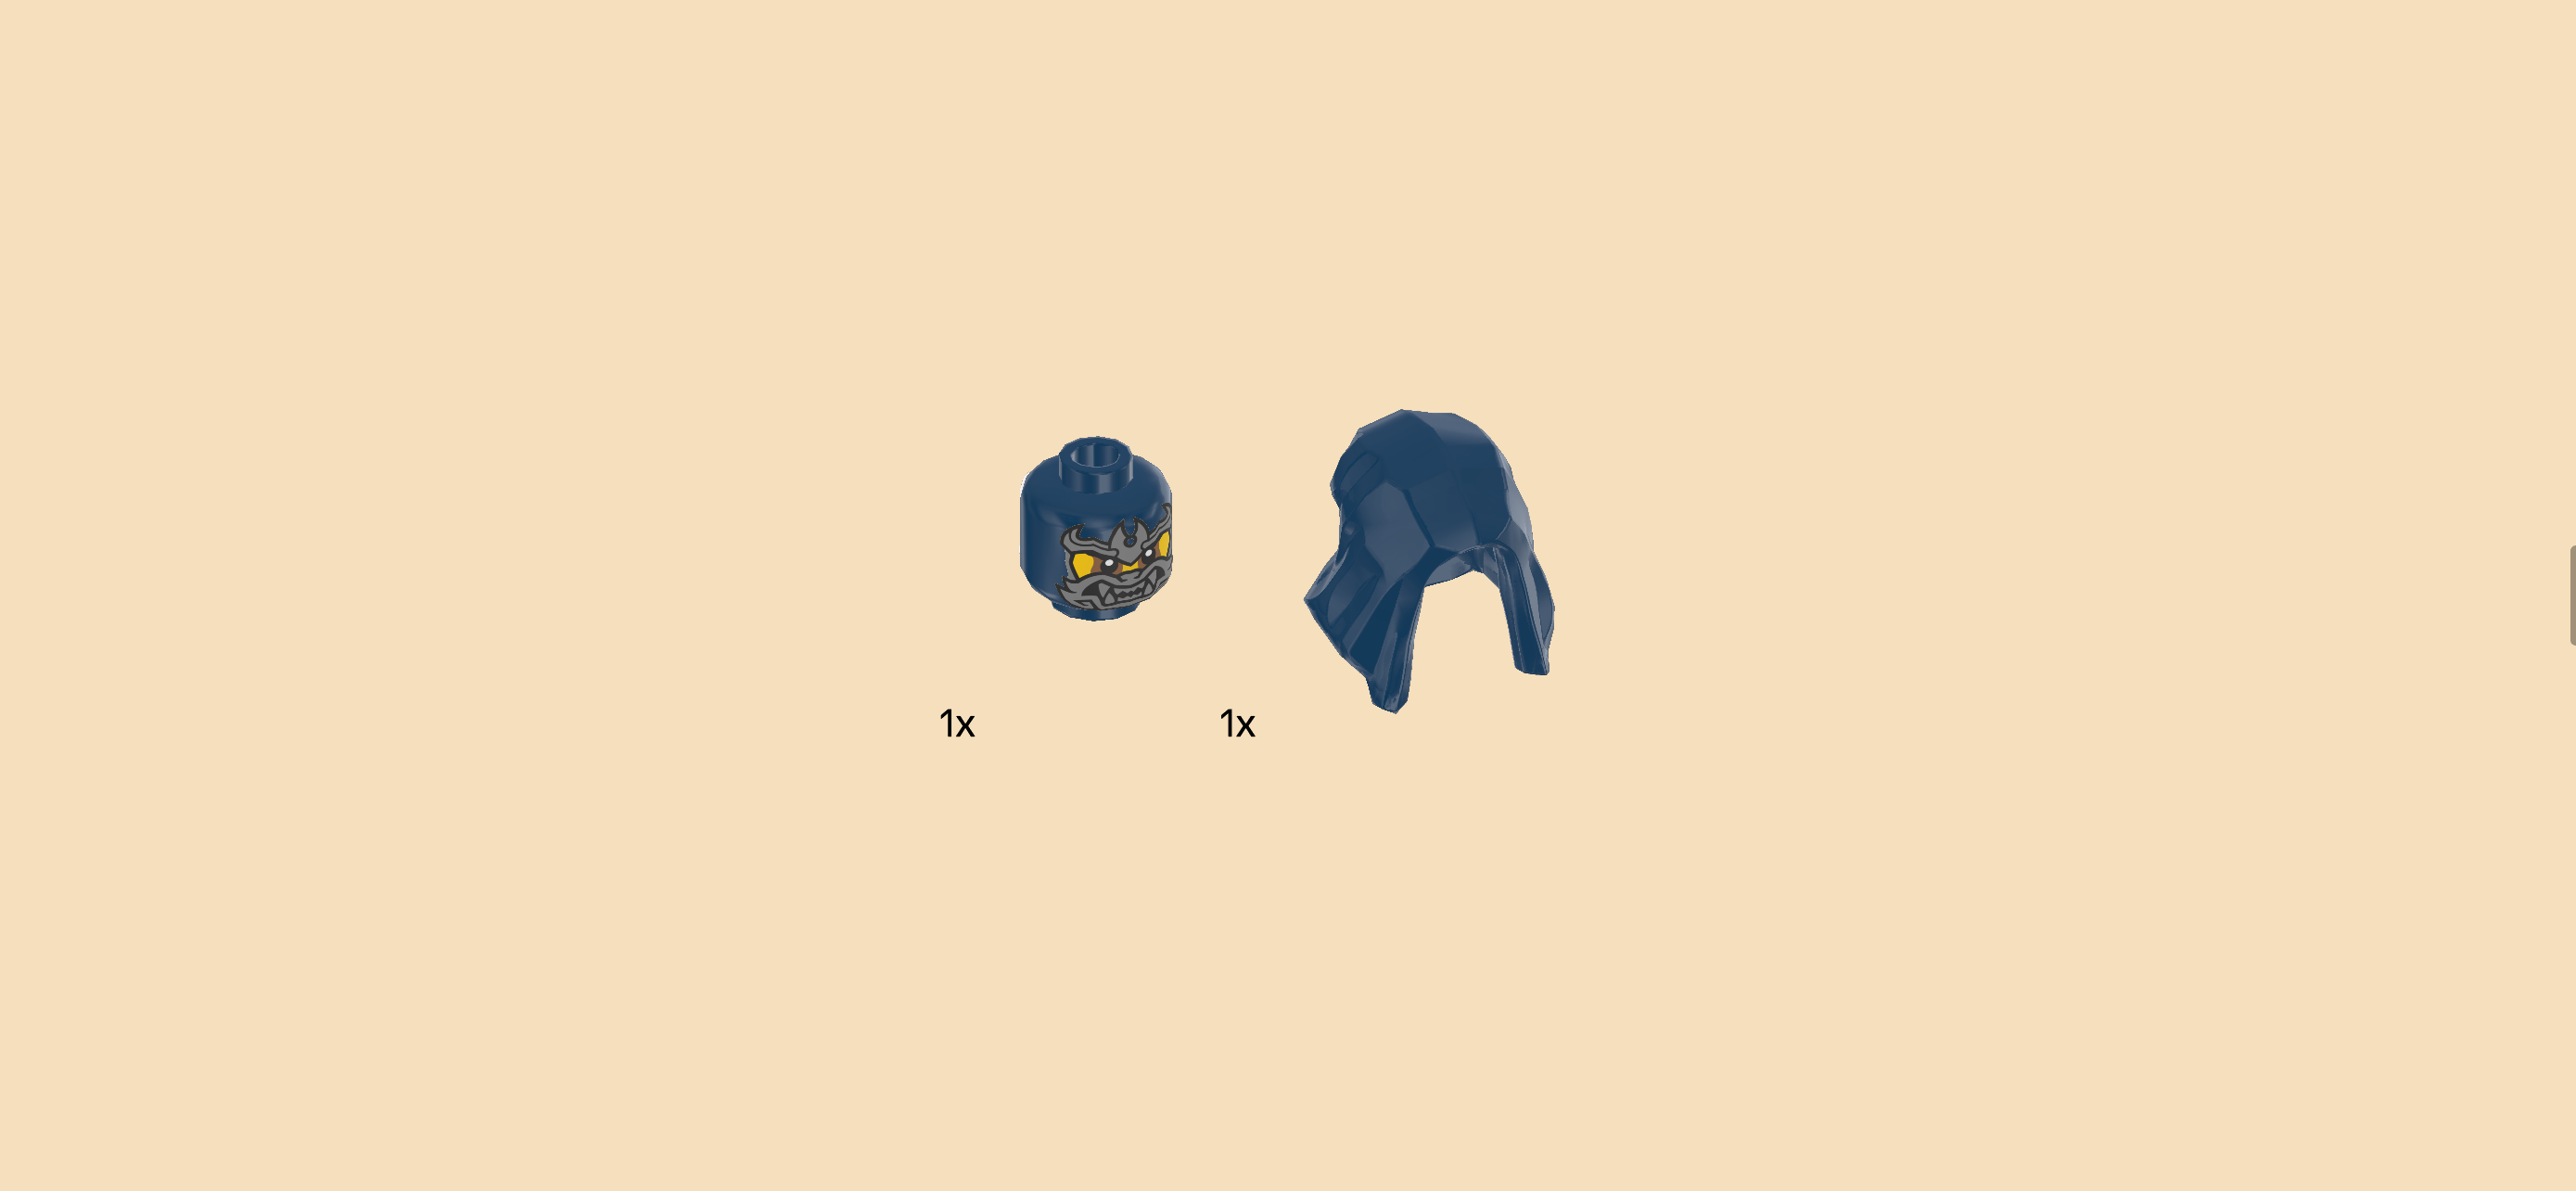
1 earth blue Minifigure head,

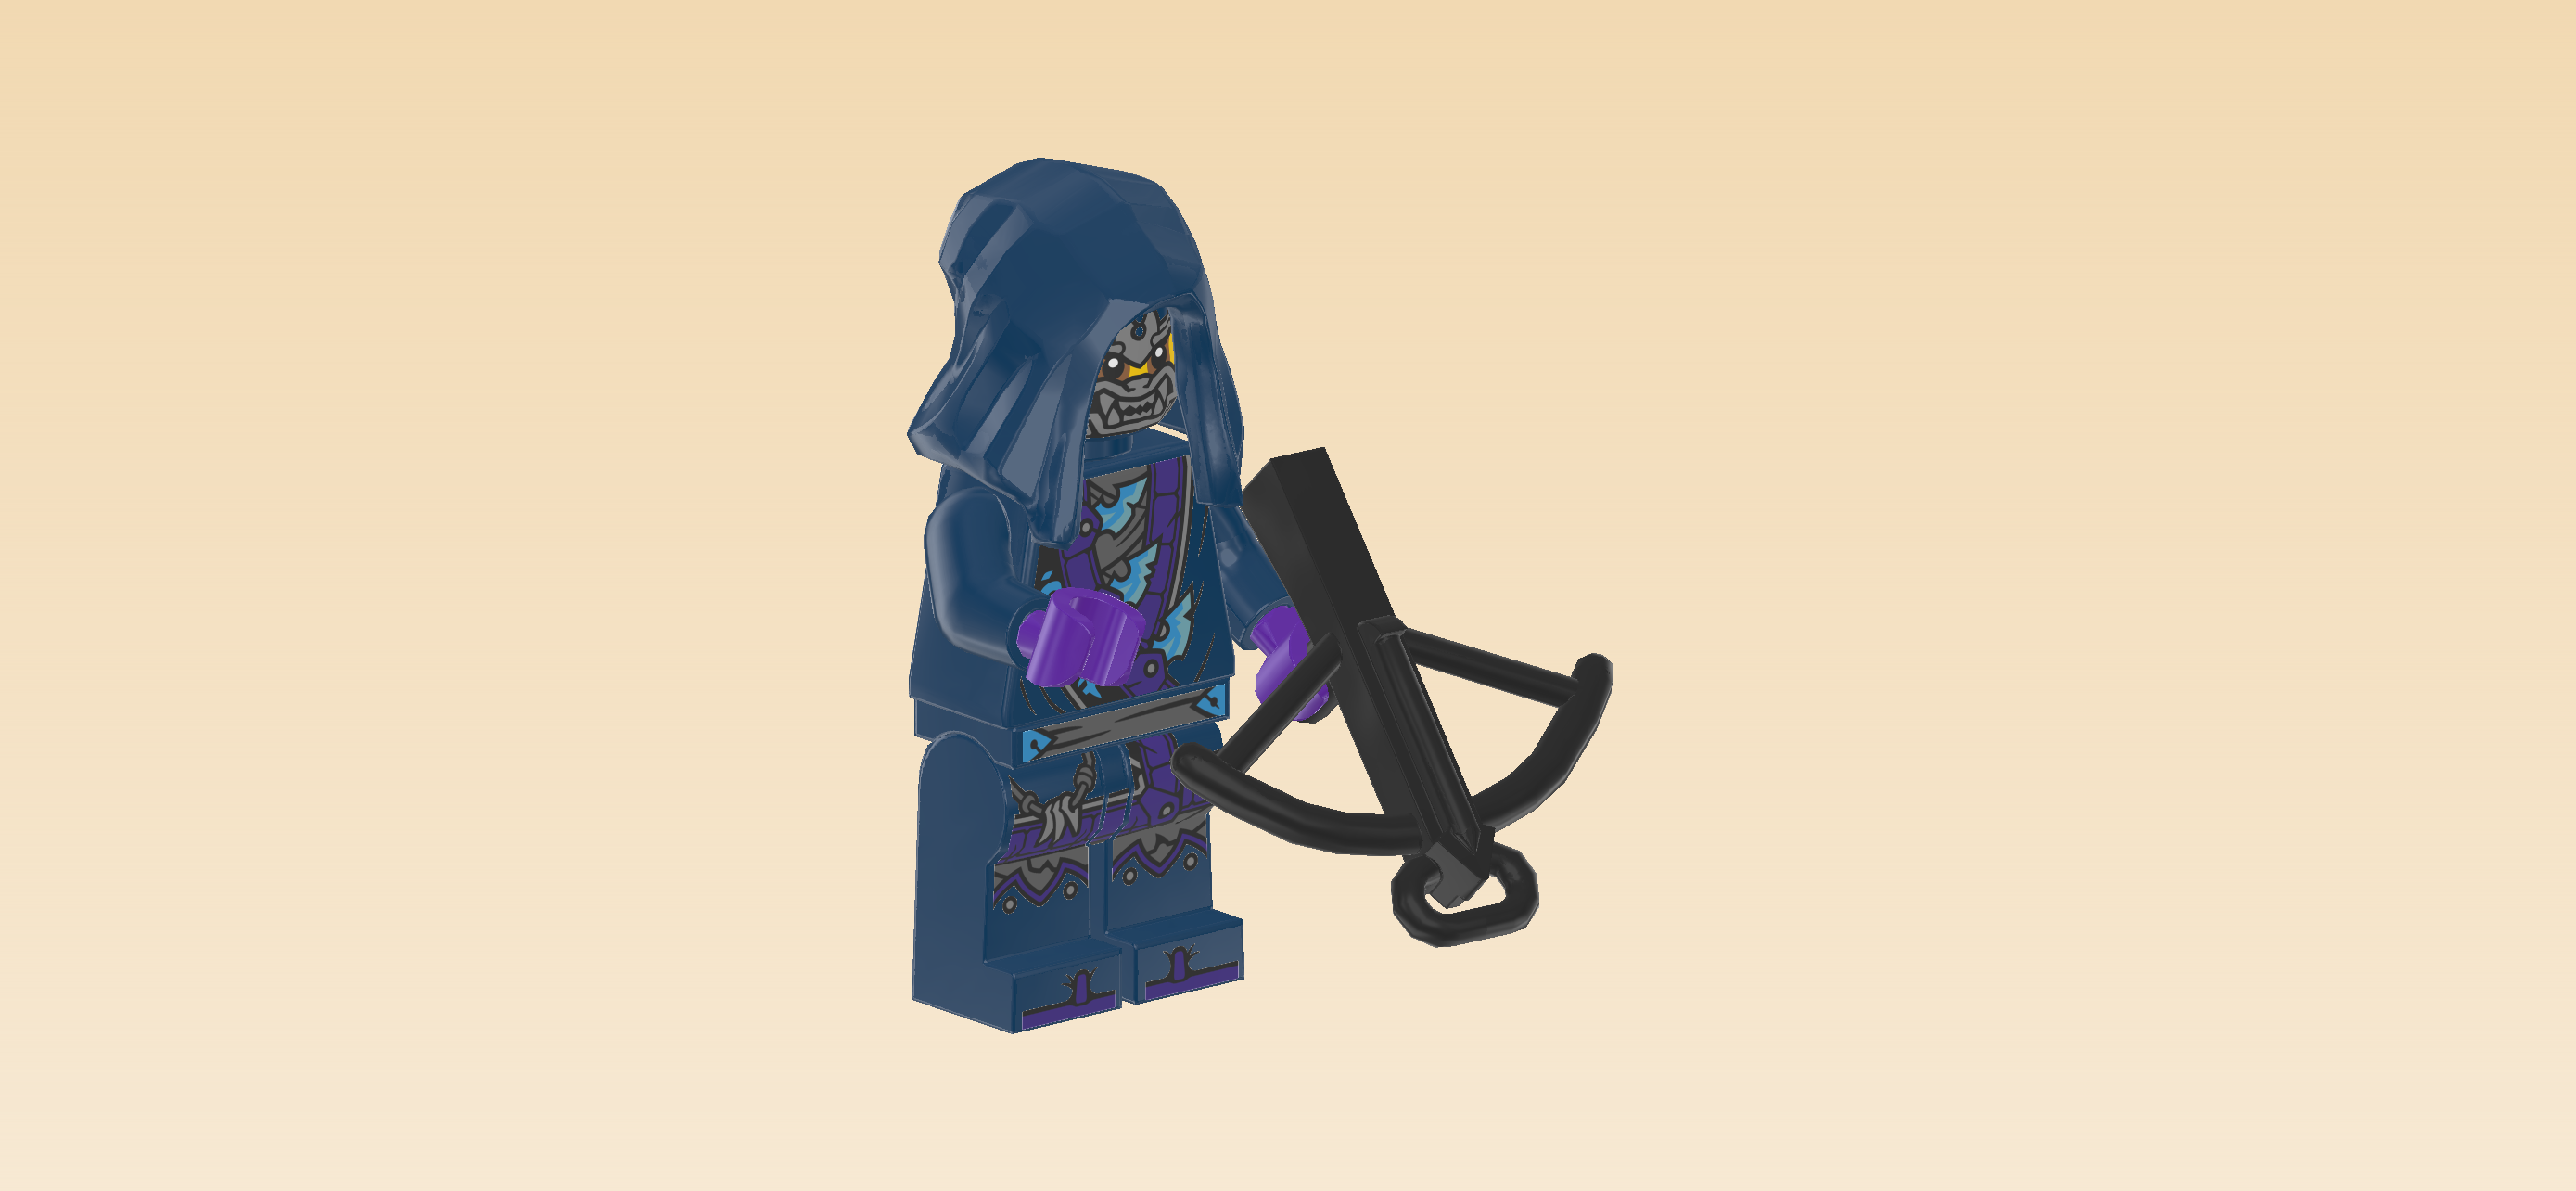
and 1 earth blue hooded headgear.

Put the Minifigure head on the body.

Put the hooded headgear on top.

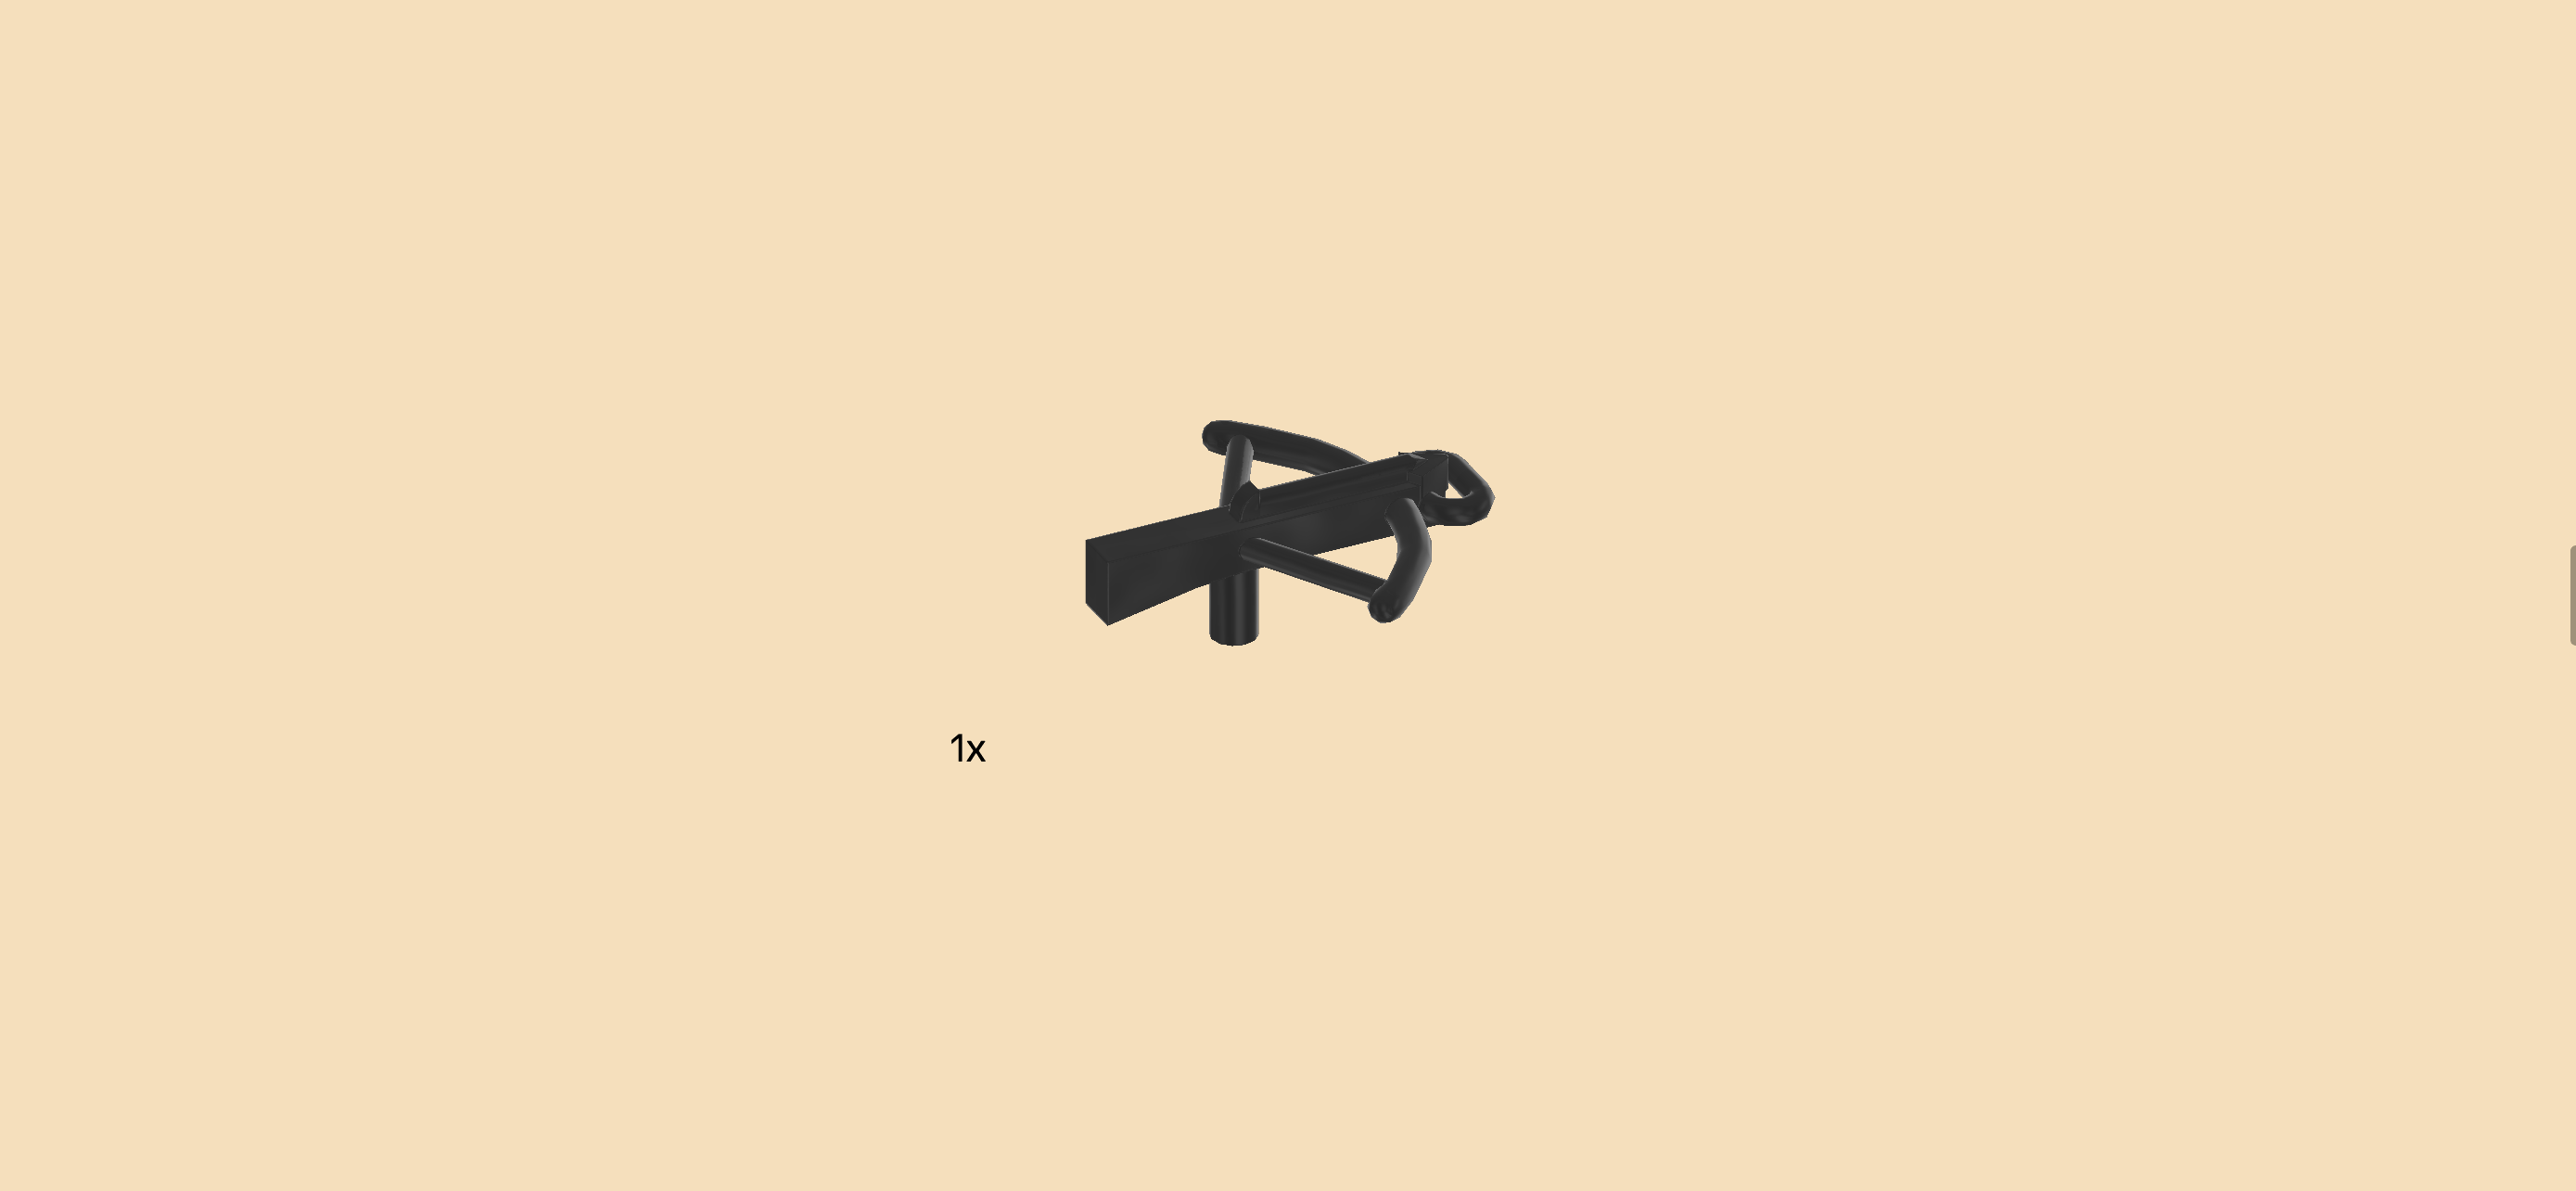
Find 1 titanium metallic crossbow.

Snap the small handle at the bottom of the crossbow into the guard's left hand so that the crossbow shaft is resting on his hand and pointing away from him.

The Wolf Mask Guard is finished! Well done! He is wearing the same suit as the Wolf Mask Claw Warrior but instead of the wolf mask helmet he is wearing a hood. The face print of the Wolf Mask Army warriors is frightful: they have silver skull-like wolf faces that grimace awfully. Their eye sockets are bright yellow, and on one side the eyes are black while on the other, they glow bright blue. They are clenching their pointy teeth. It is obvious that these villains are not to be messed with. You better watch out!

Next, we will build the mech. We'll start with the mech's cockpit.

Collect the following 2 pieces:

1 warm gold round tile 2x2, (This piece is printed.)

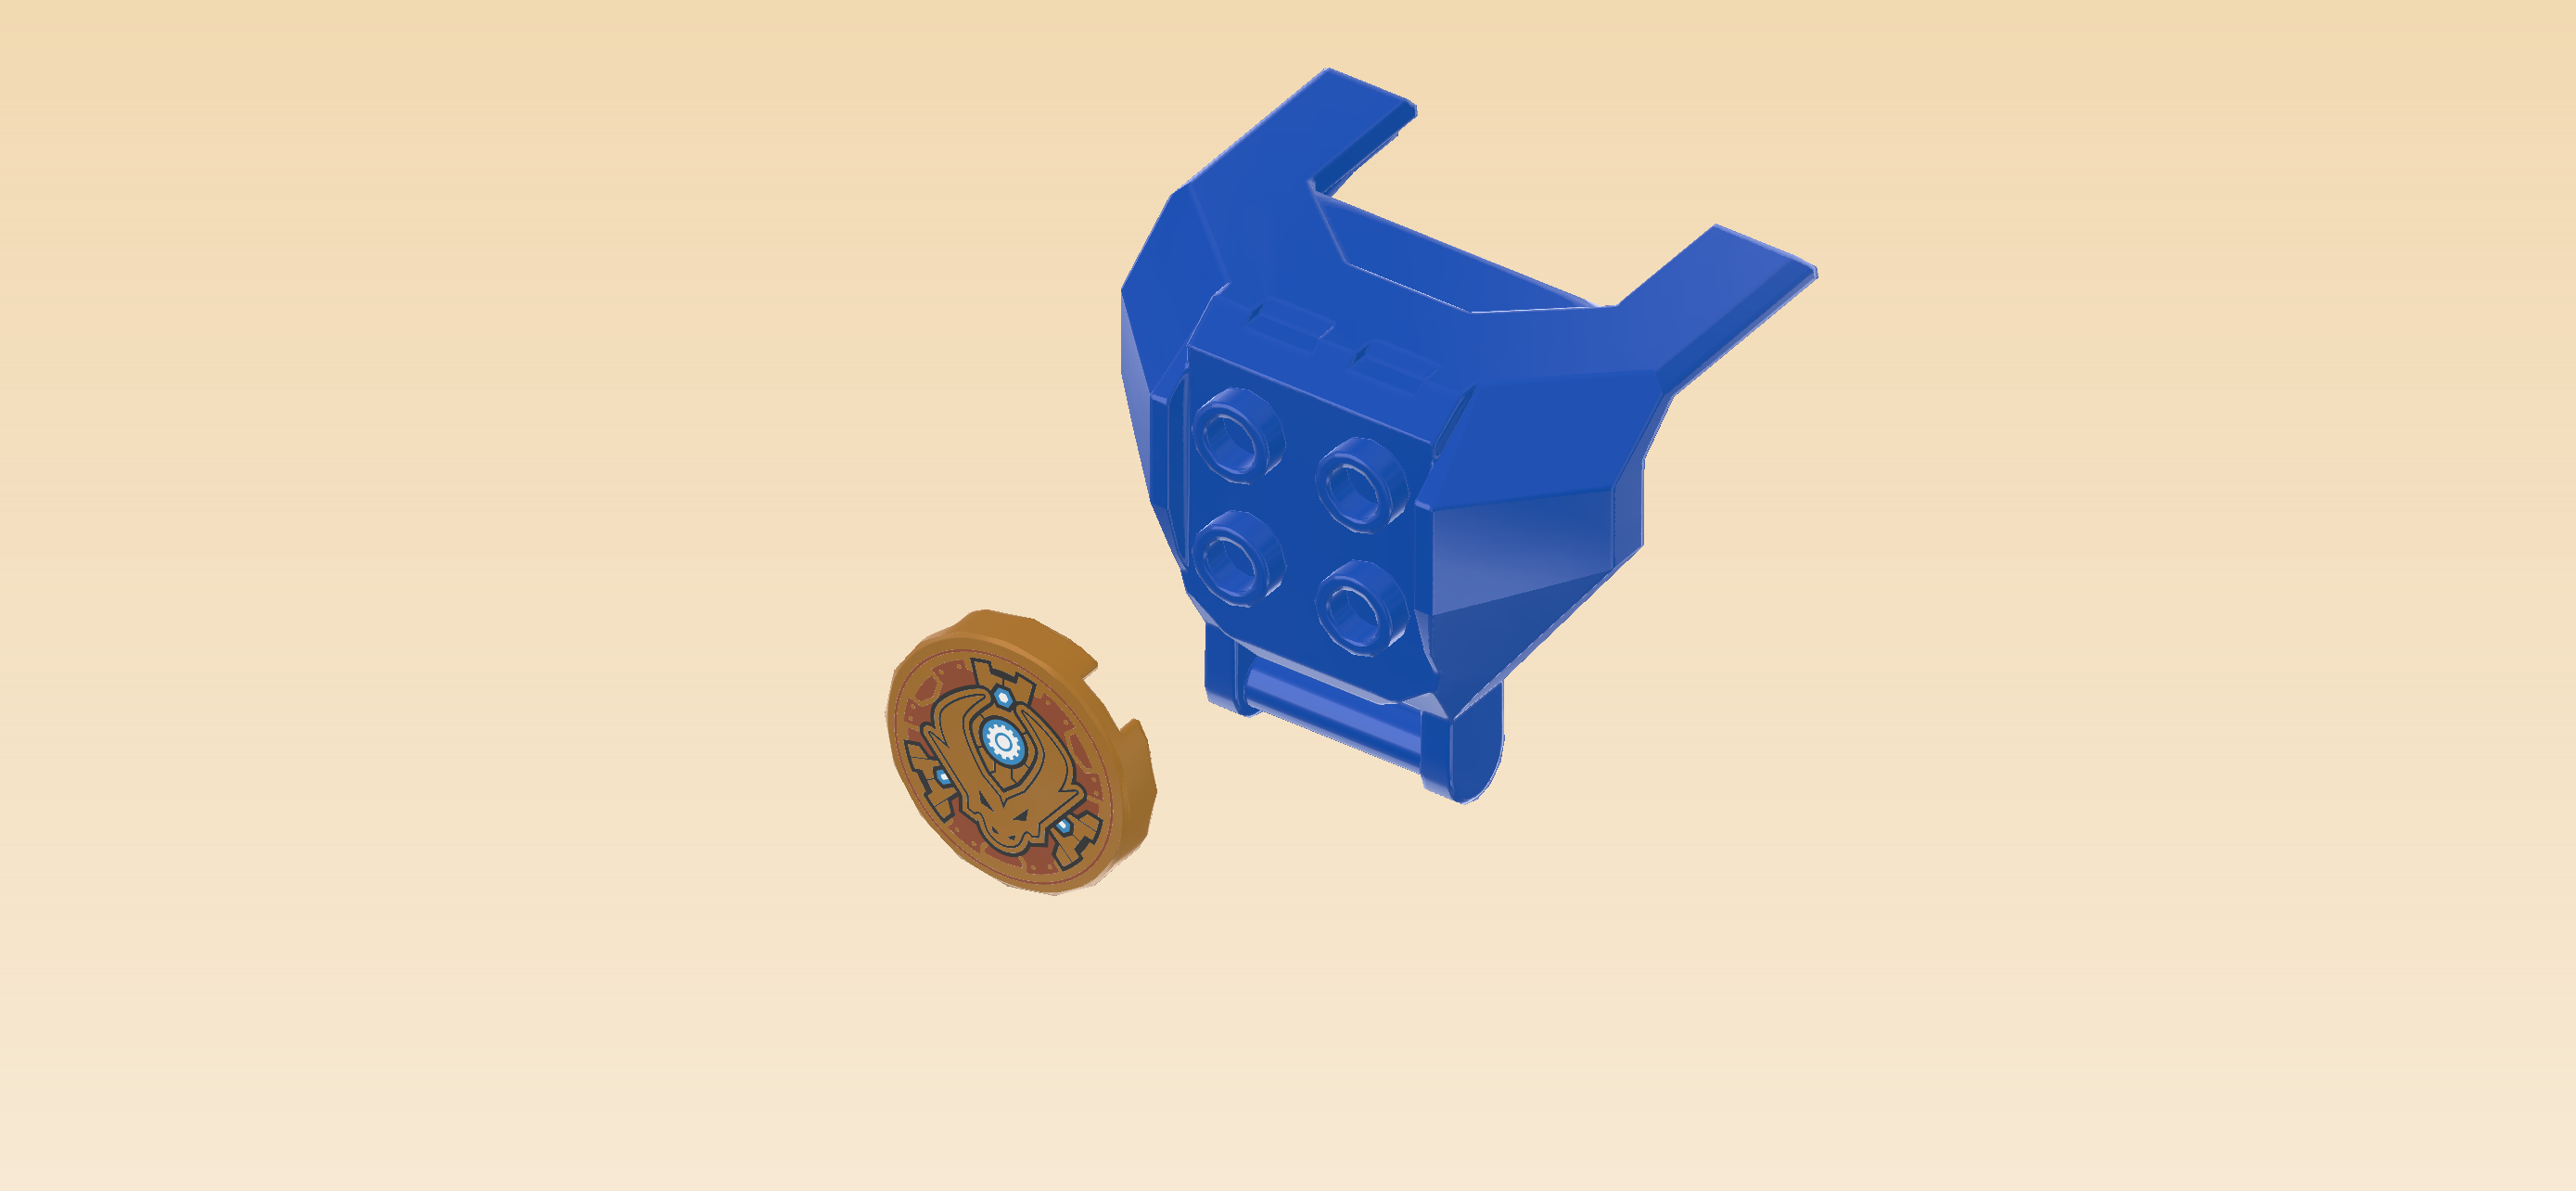
and 1 bright blue chest piece 3x3x4 with bottom shaft and 2 tabs.

Hold the chest piece upright so that its 4 knobs are facing you, the shaft is at the bottom and the 2 shoulder tabs are pointing to the back.

Put the round tile 2x2 upright on the 4 knobs.

This piece is printed with a brown-and-black version of the Dragons Rising logo: it is an intricate drawing of an embellished dragonhead that has a blue gem on its forehead.

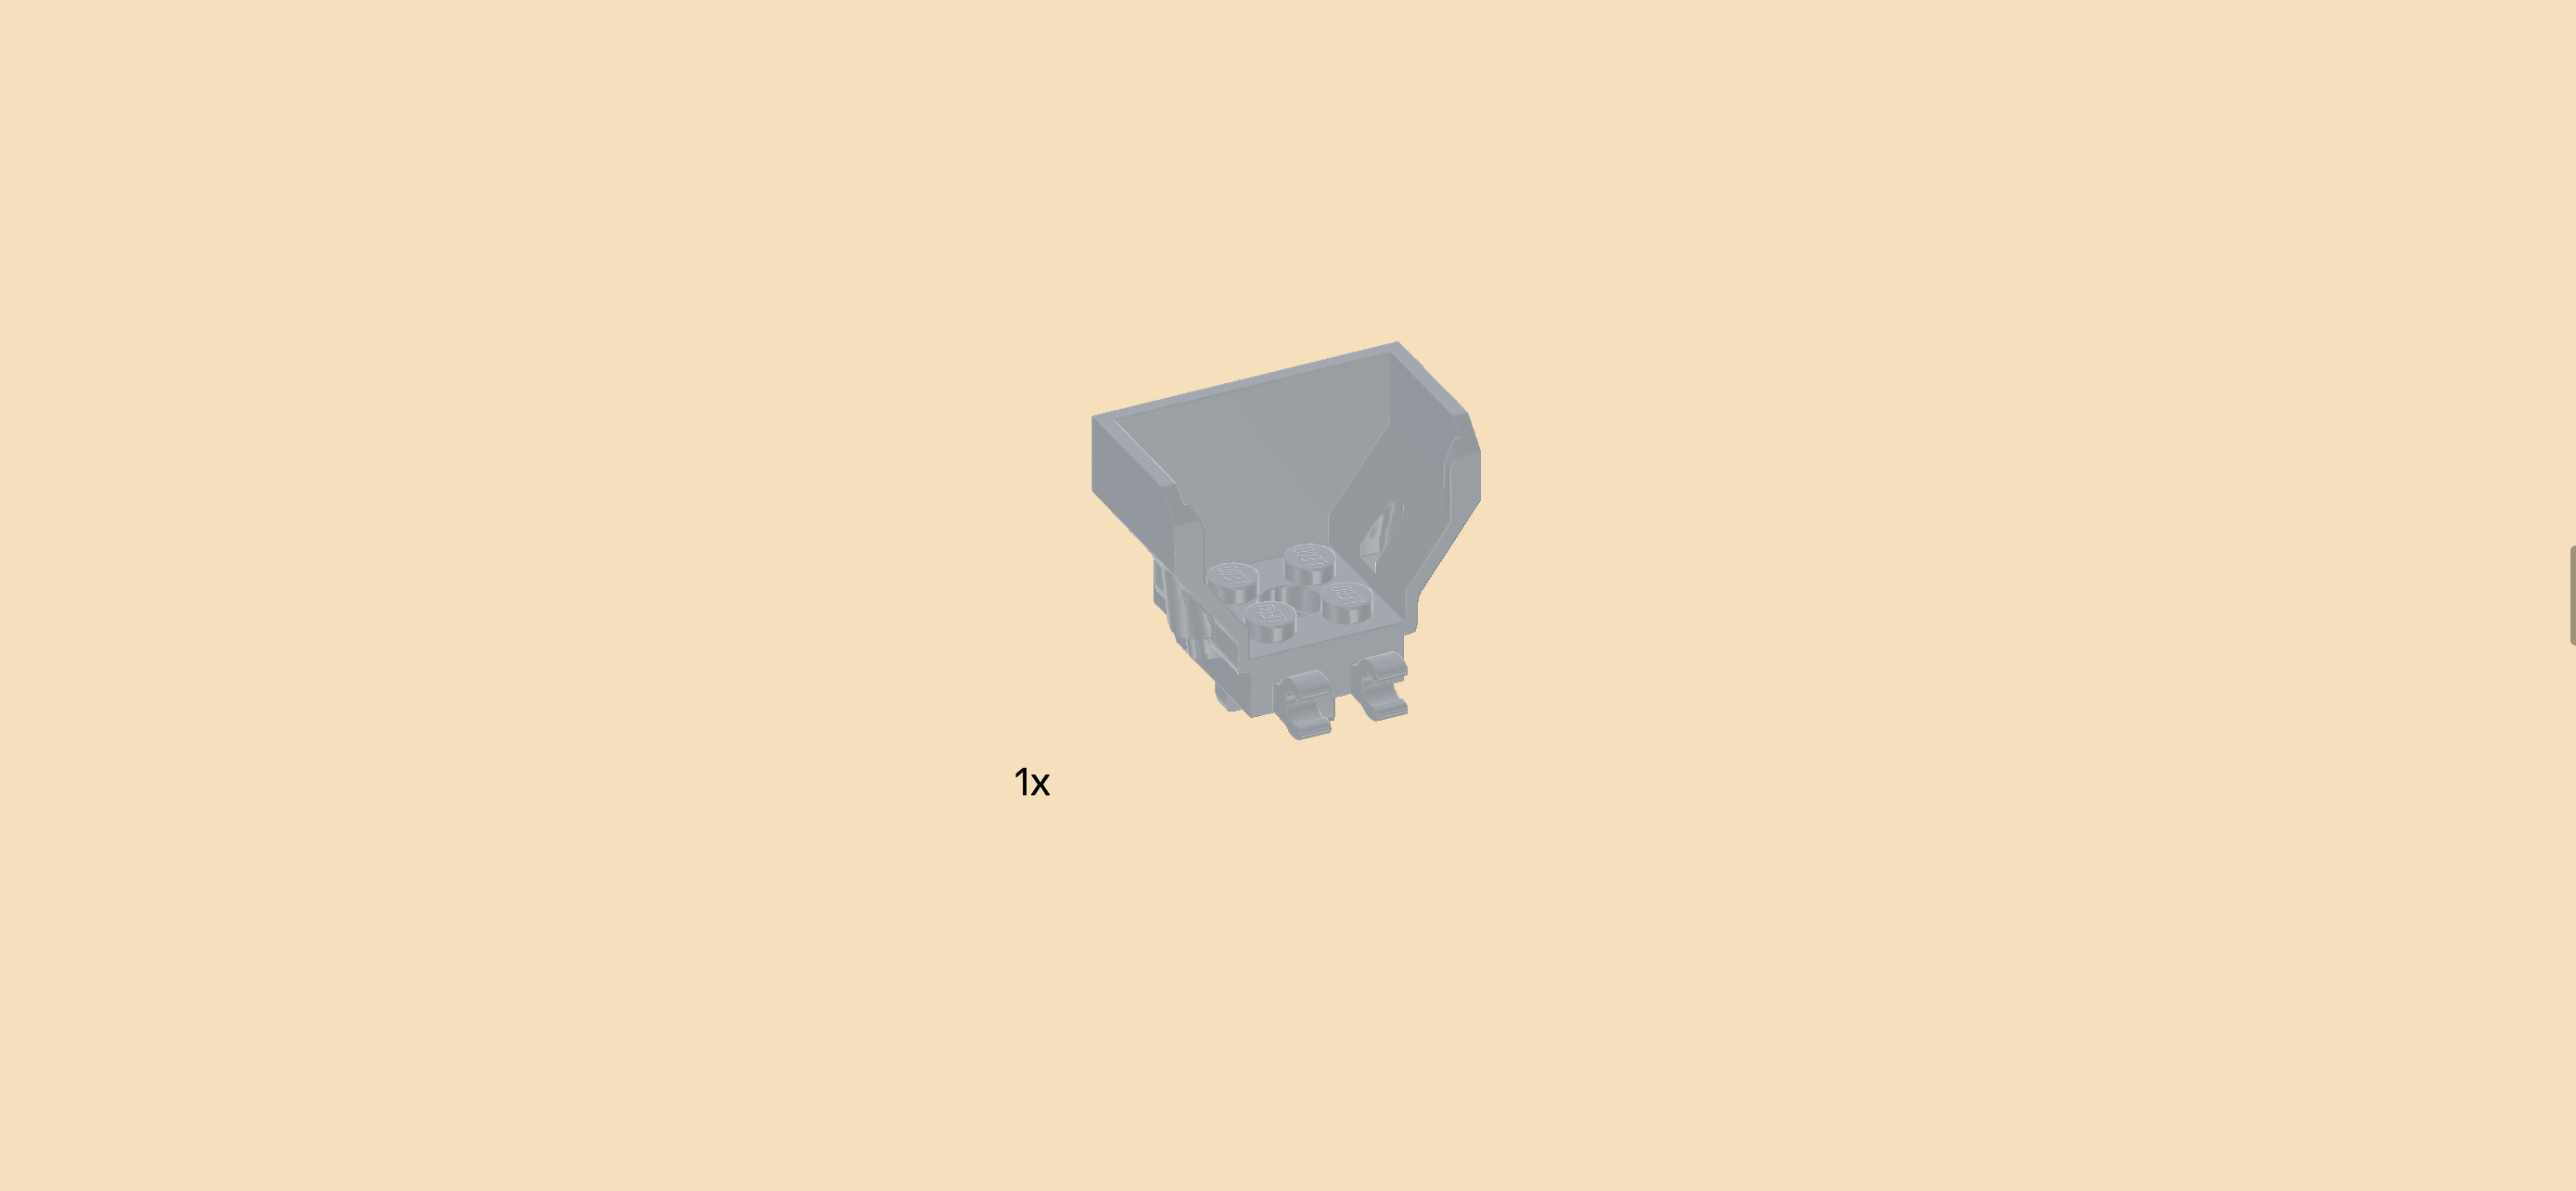
Find 1 medium stone grey mech cockpit 2x4x3.

Hold it so that its wider part is at the top and the side opening with the 2 clasps is towards the front.

Snap the bottom shaft of the chest piece into the 2 clasps.

You should now be able to open the chest piece towards the front. When closed, there is an empty space between the 2 shoulder tabs. This is where we will later mount the ninja controlling the mech.

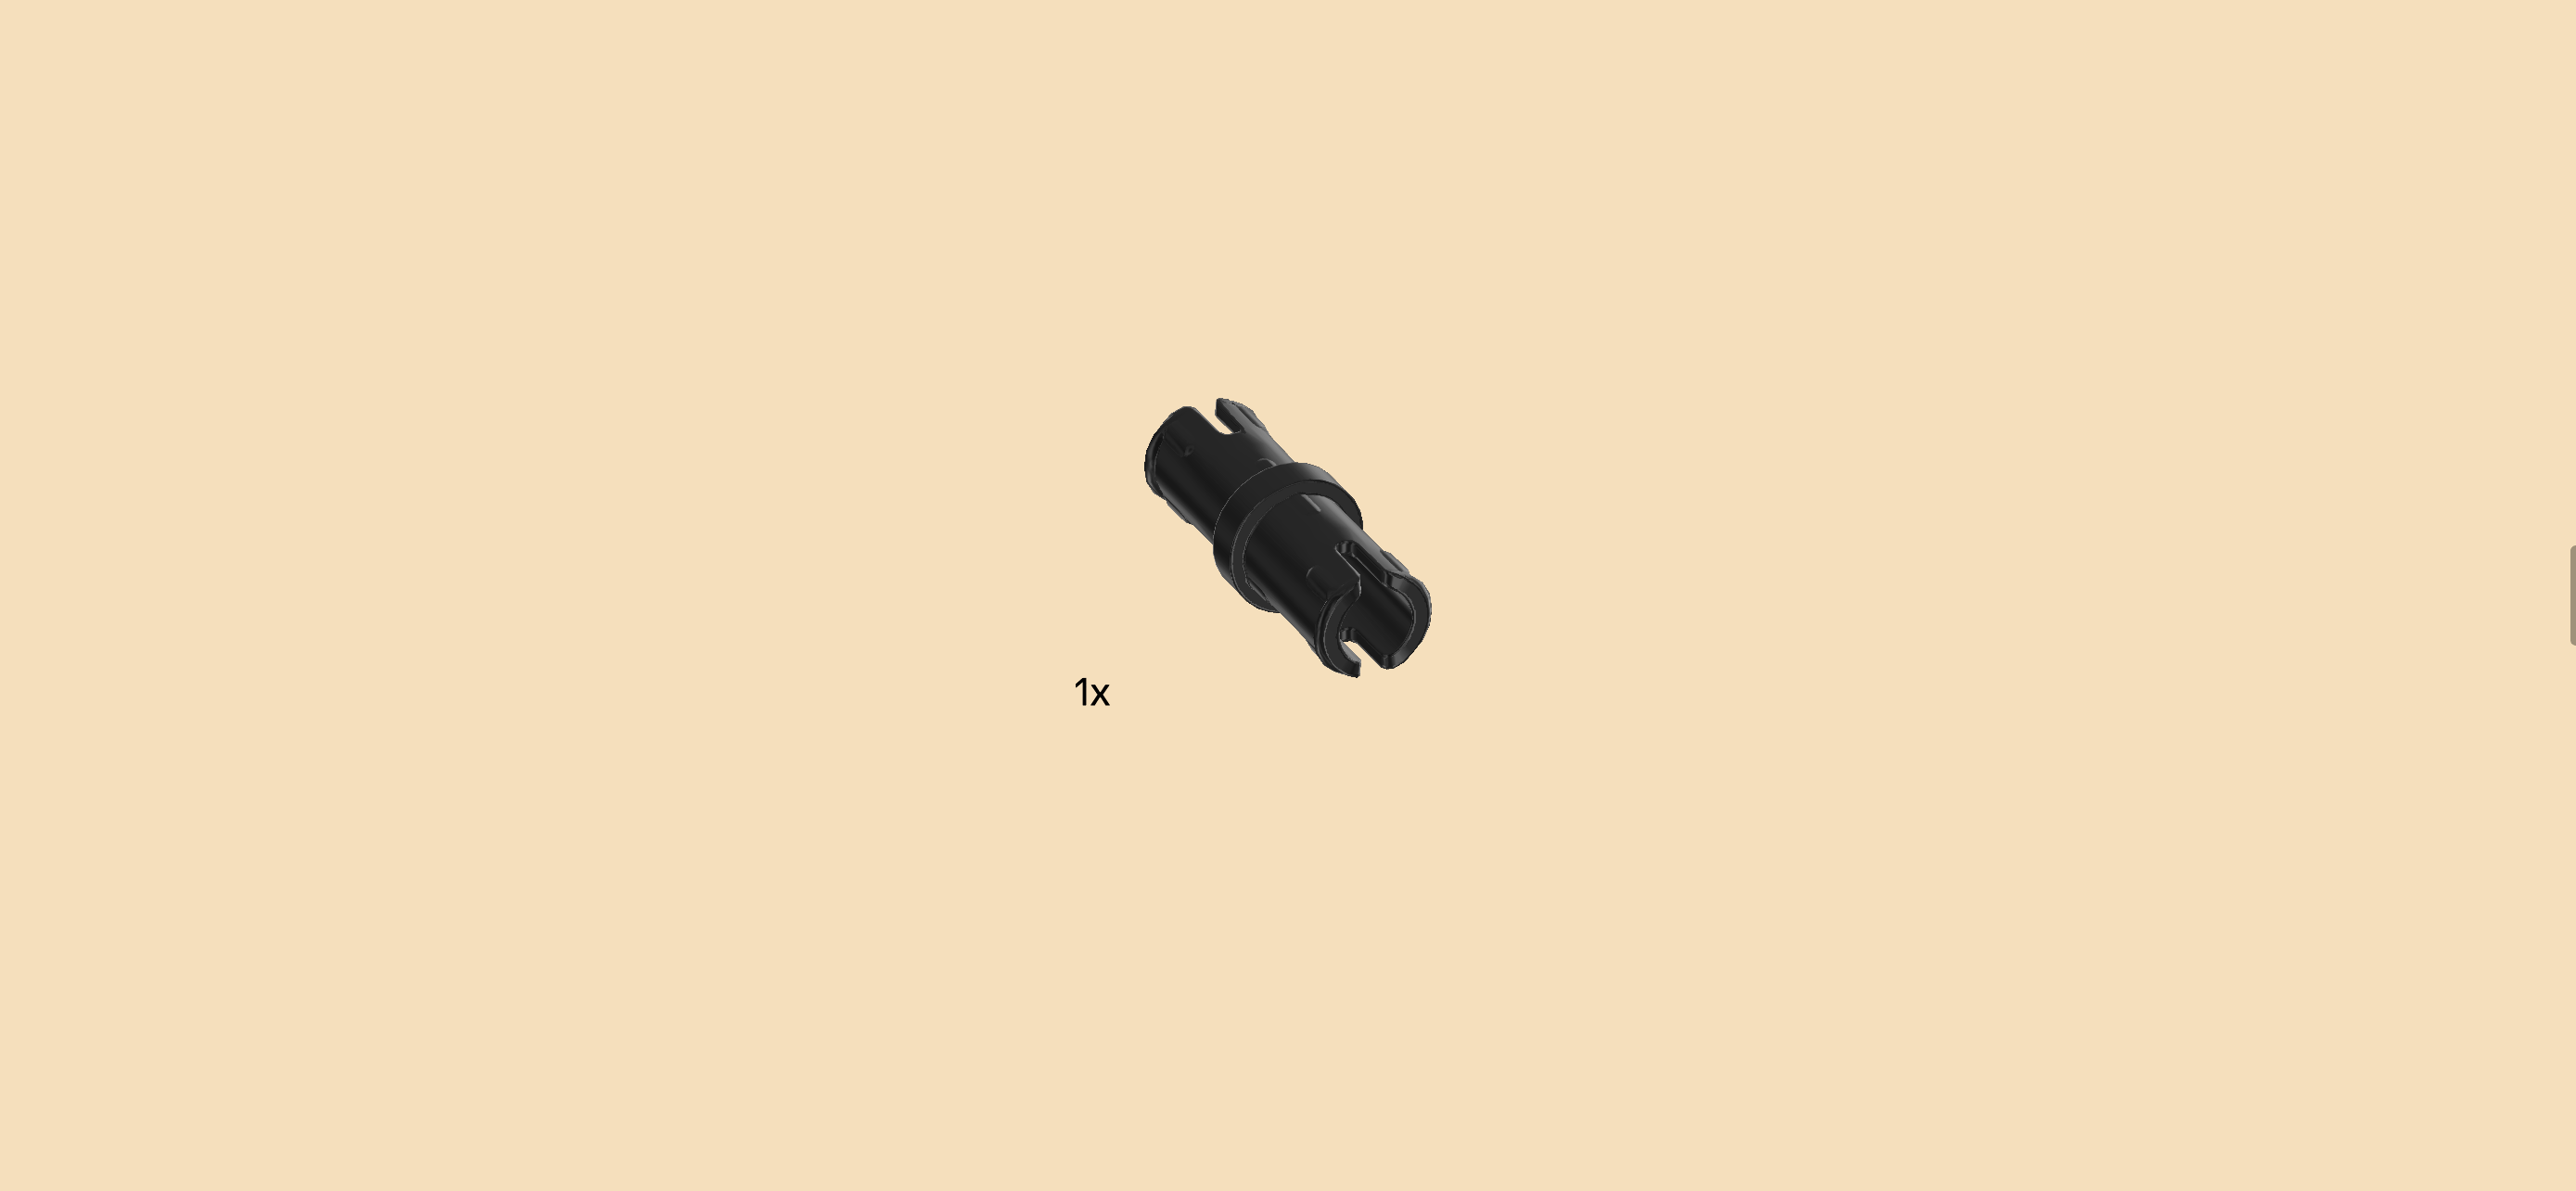
Find 1 black connector peg 2m with middle ring.

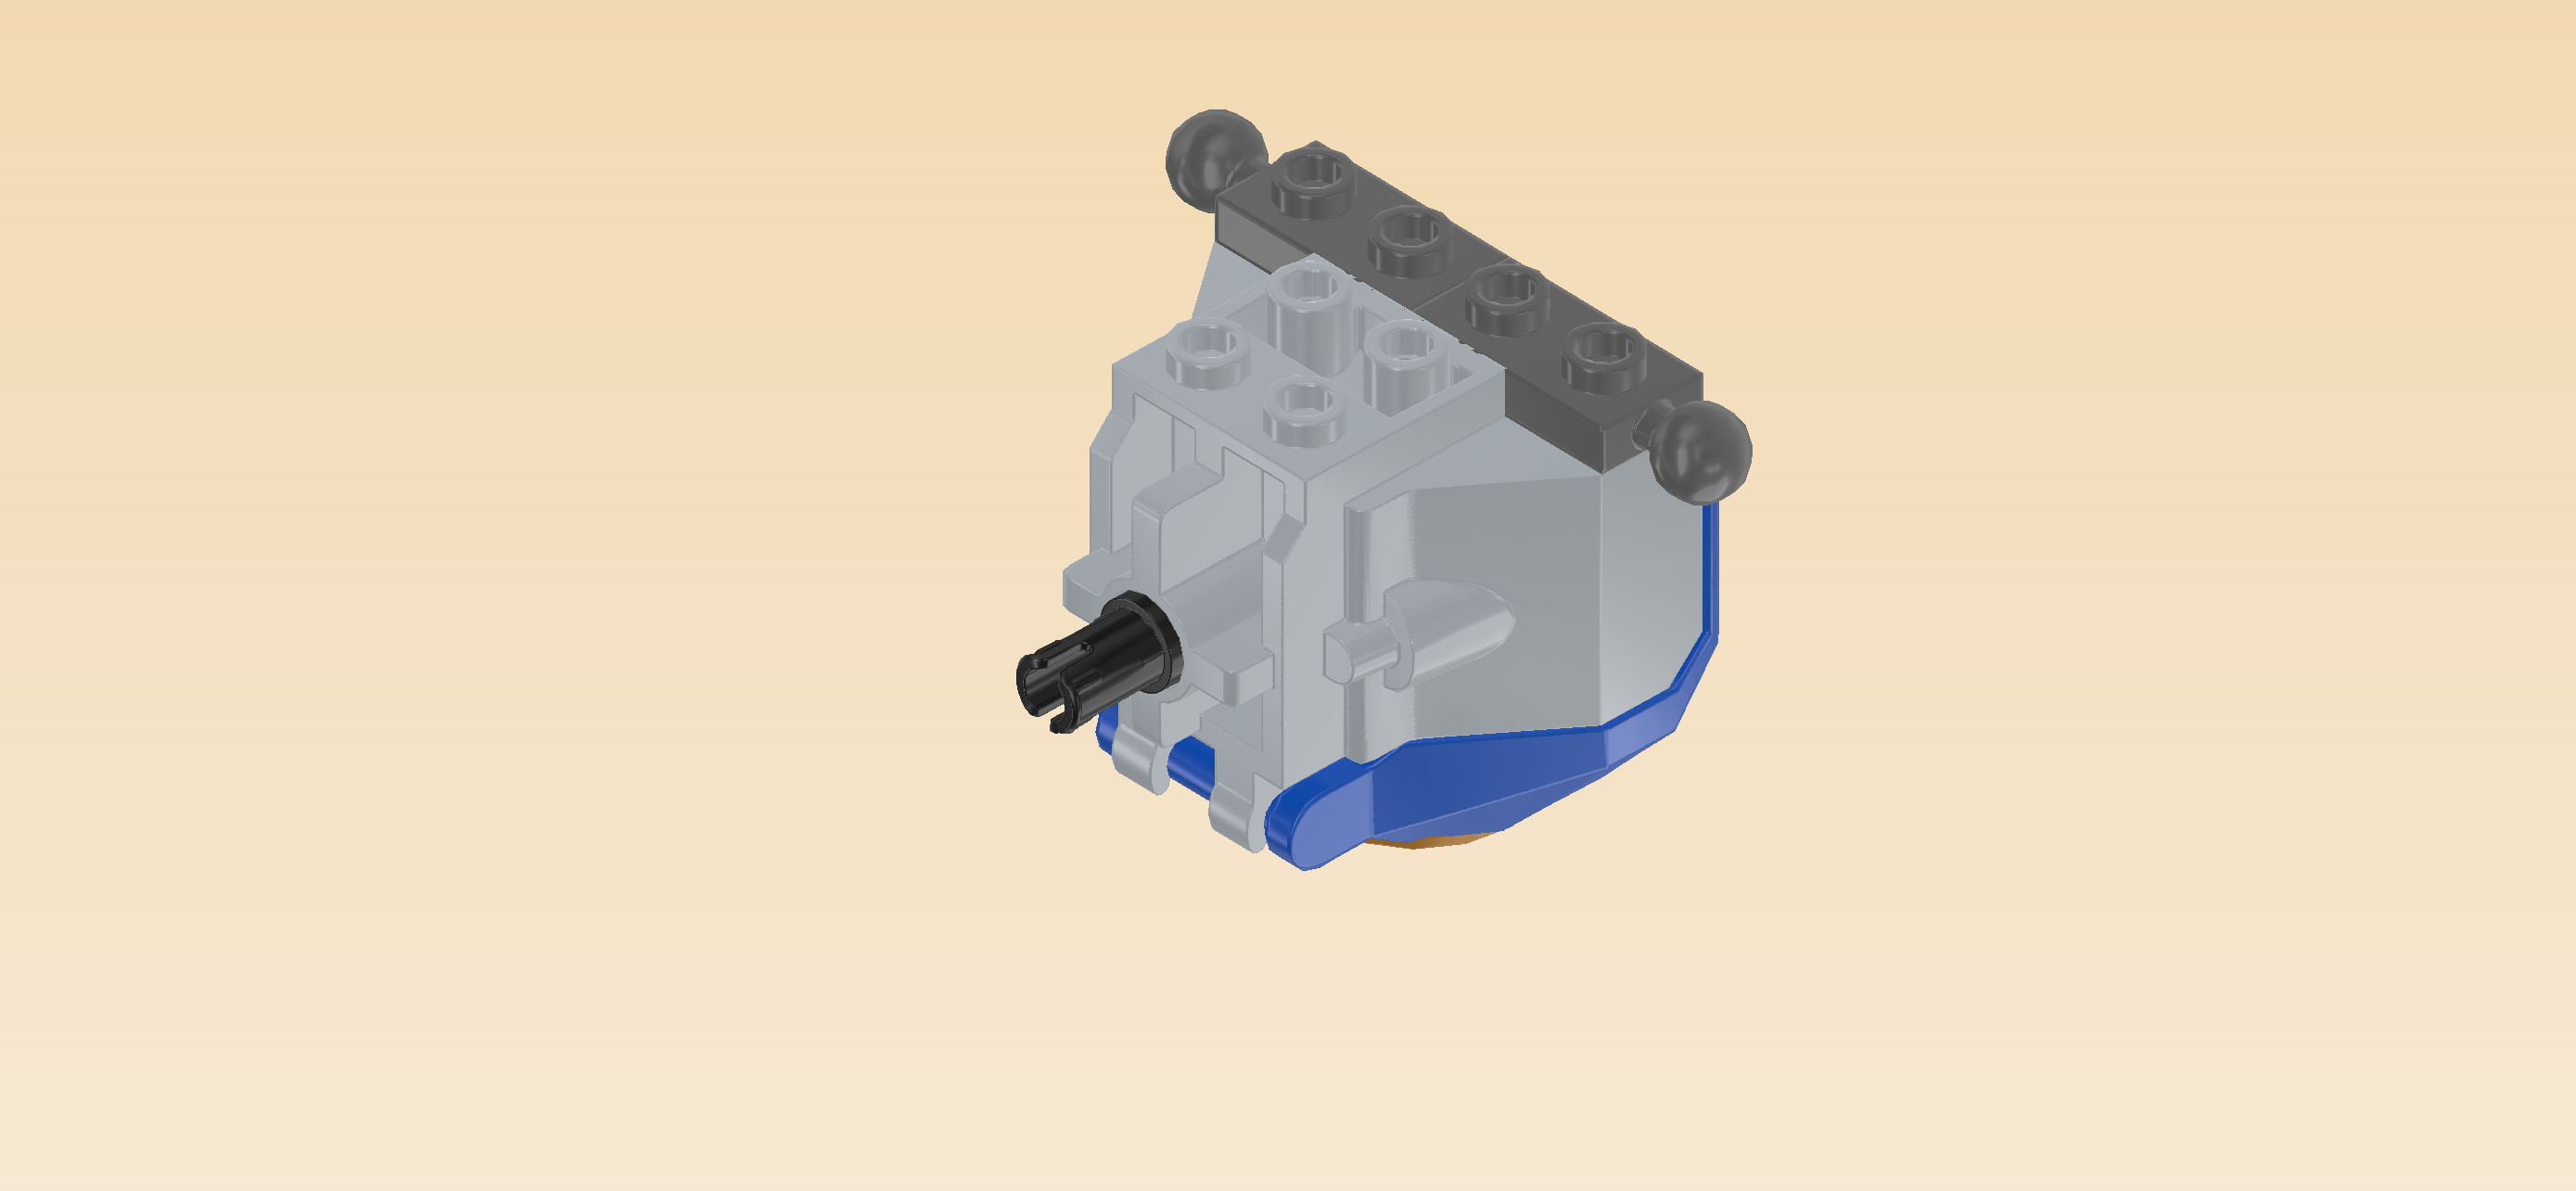
First, flip the mech cockpit by 90° and put it down so that the chest piece with printed round tile is touching the table. Make sure that the opening for the Minifigure is towards the back.

Insert the connector into the round hole in the middle of the front side surface, one half sticking out towards the front.

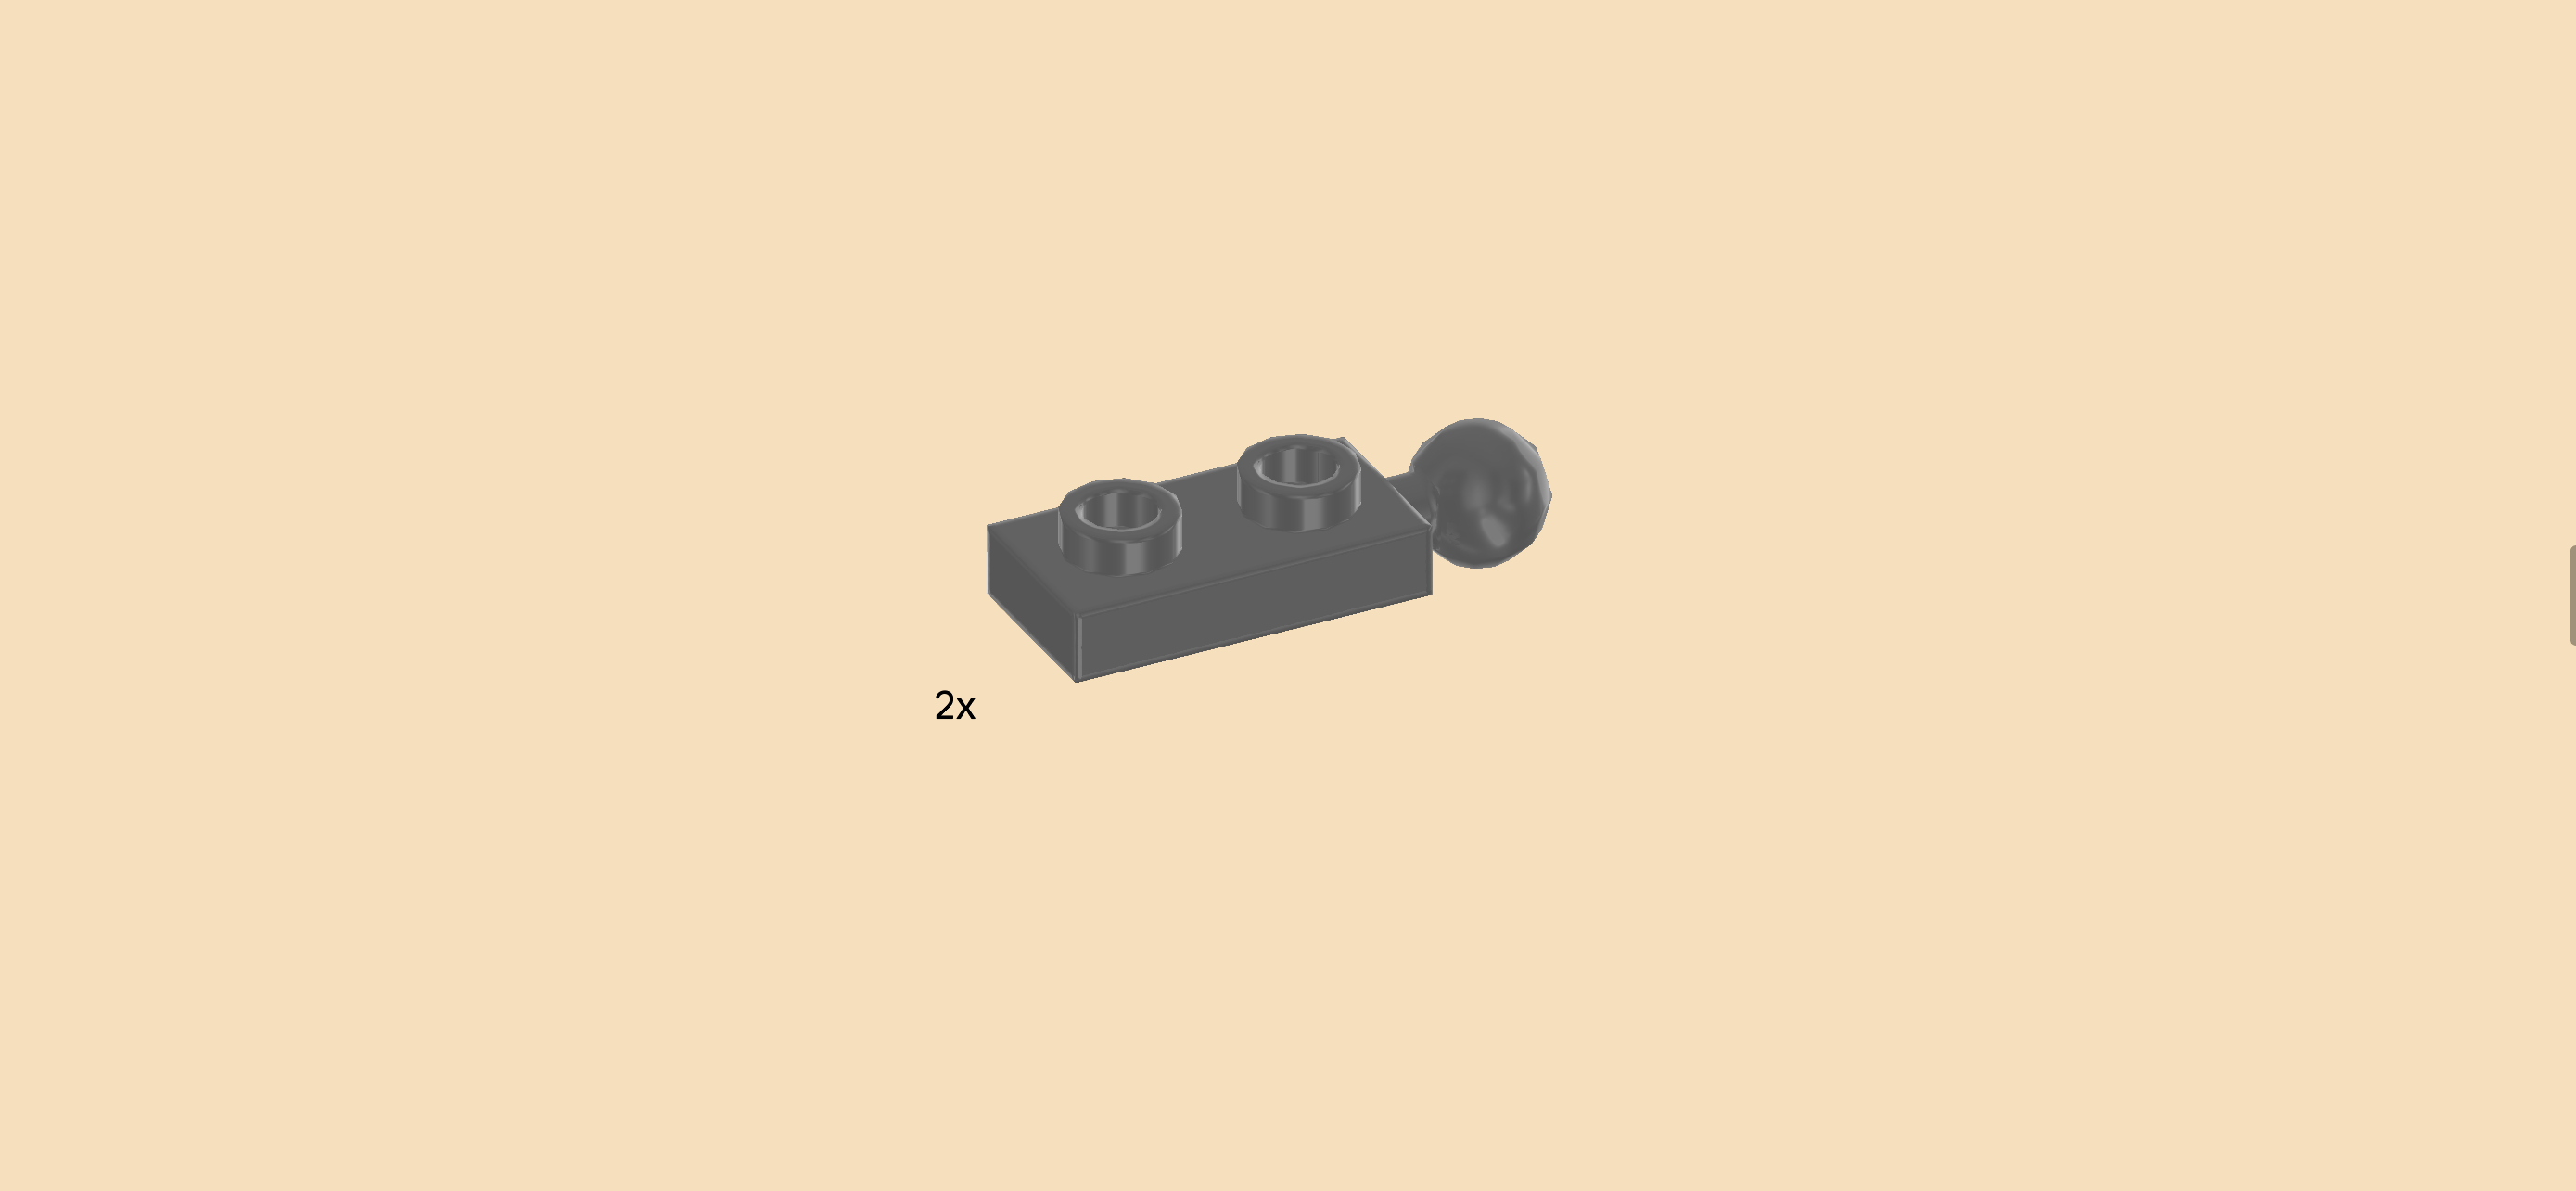
Find 2 dark stone grey plates 1x2 with ball on short side.

Put 1 horizontally on the right half of the backmost row, ball overhanging to the right.

Put the other one horizontally to the left of the previous piece, ball overhanging to the left.

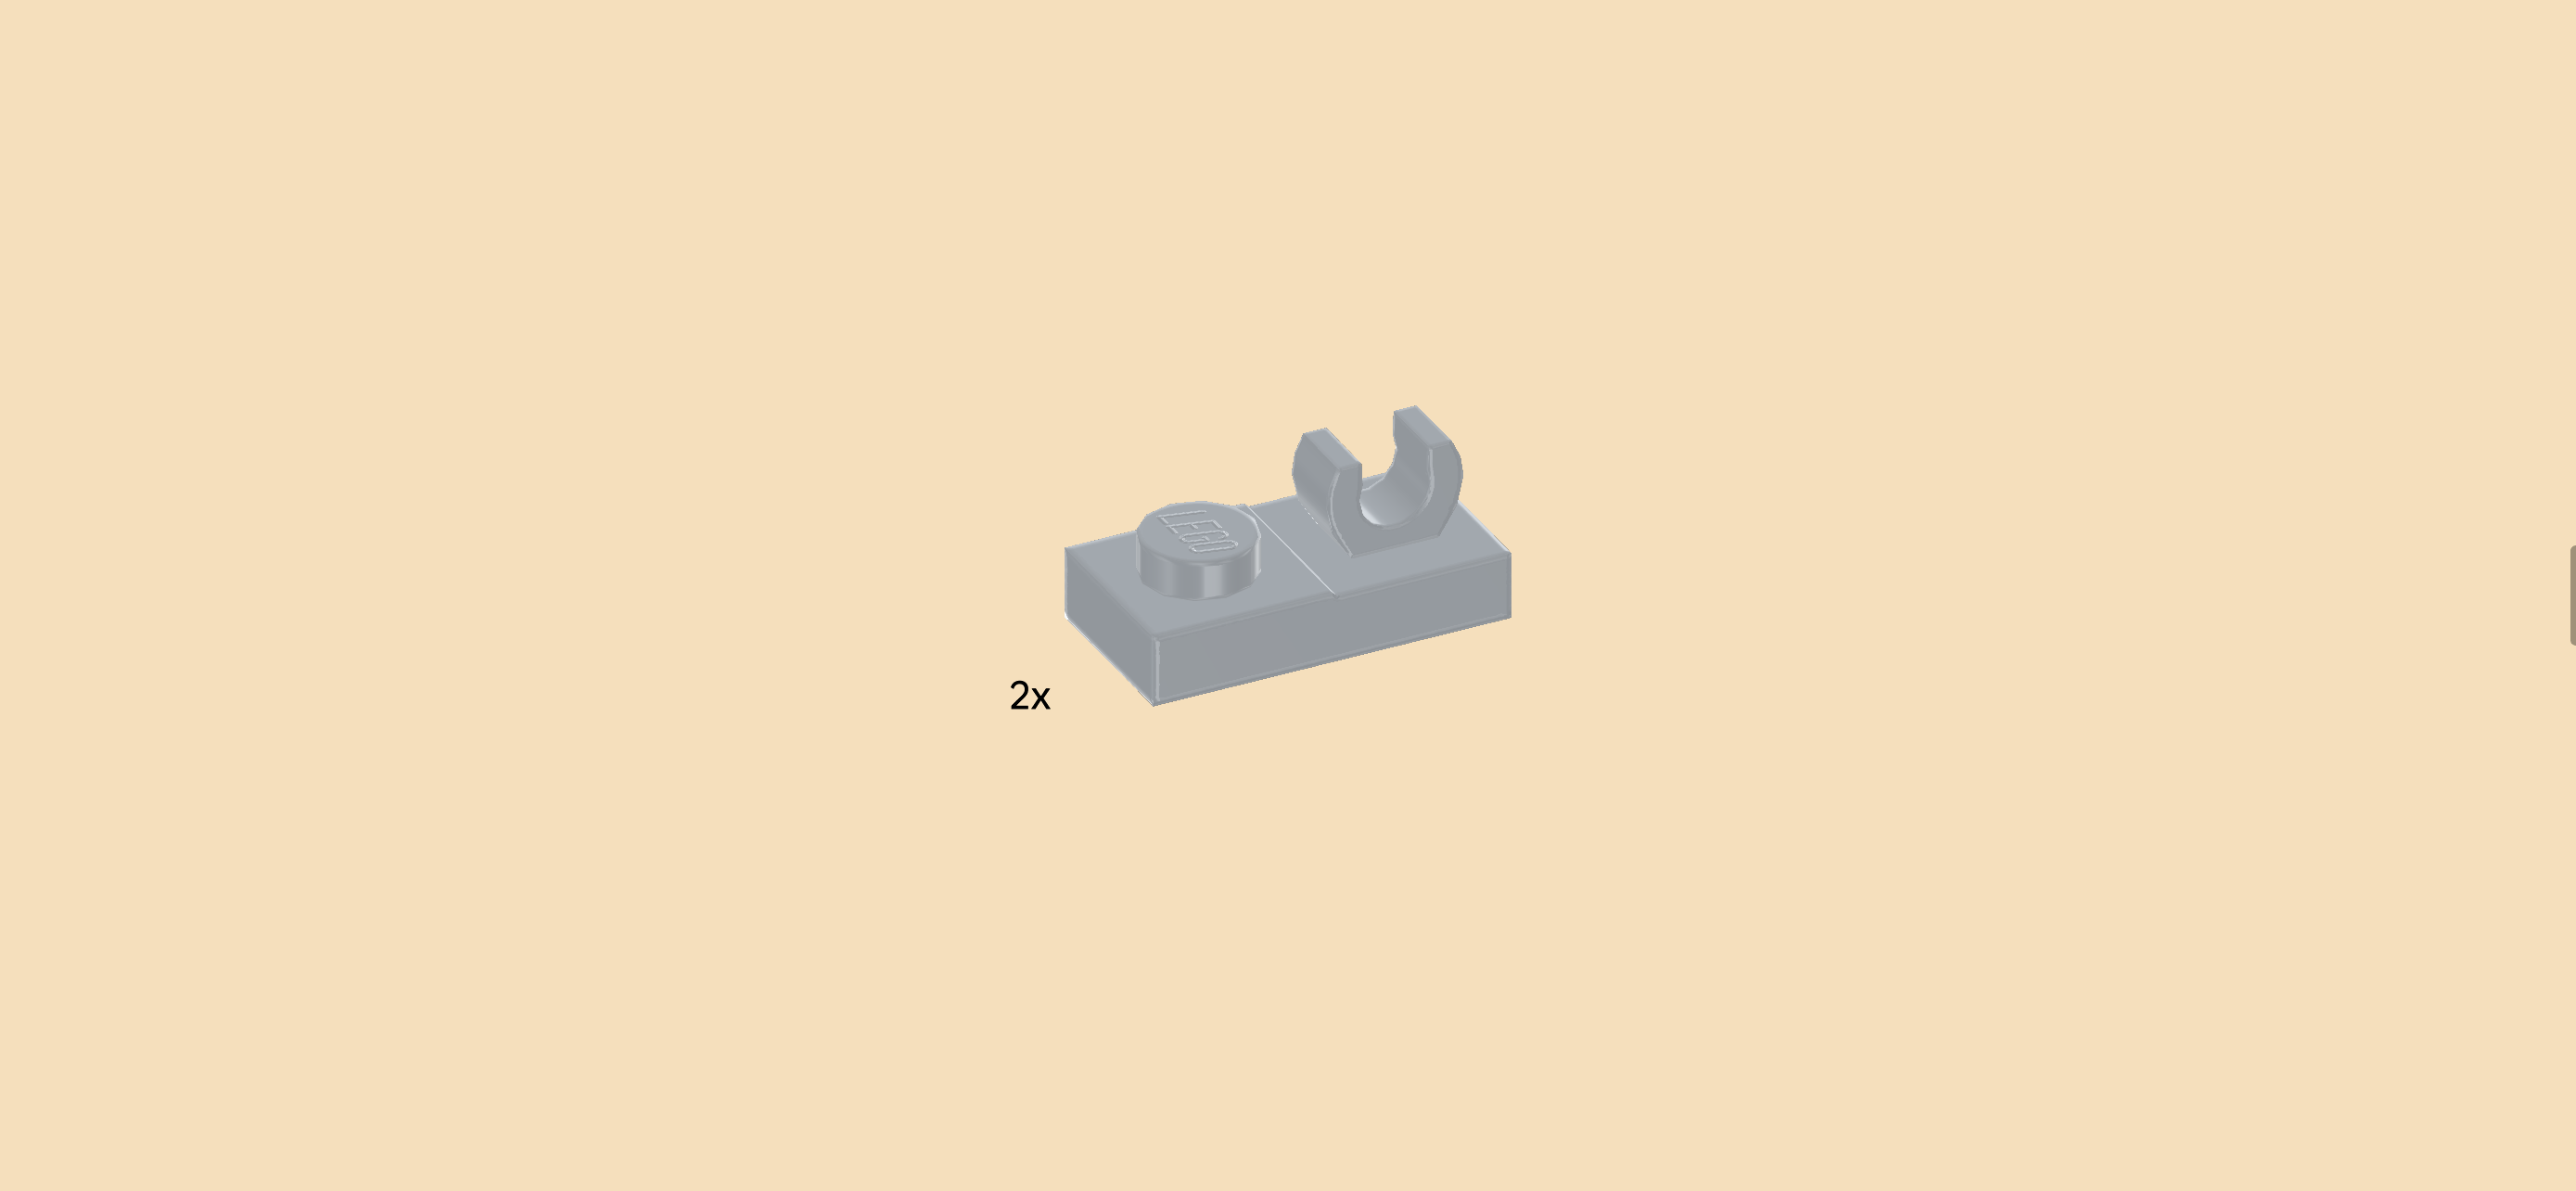
Find 2 medium stone grey plates 1x2 with top clasp.

Put 1 horizontally on the previous piece, clasp to the left.

Put the other one horizontally to the right of the previous piece, clasp to the right.

If done correctly, the knobs of these 2 pieces are meeting in the middle, and the clasps are at the edges.

Find 1 bright blue one-stepped curve tile 2x2.

Put it on the knobs of the 2 previous pieces and the row in front of them, curve to the front.

Next, we will build the mech torso.

Collect the following 2 pieces:

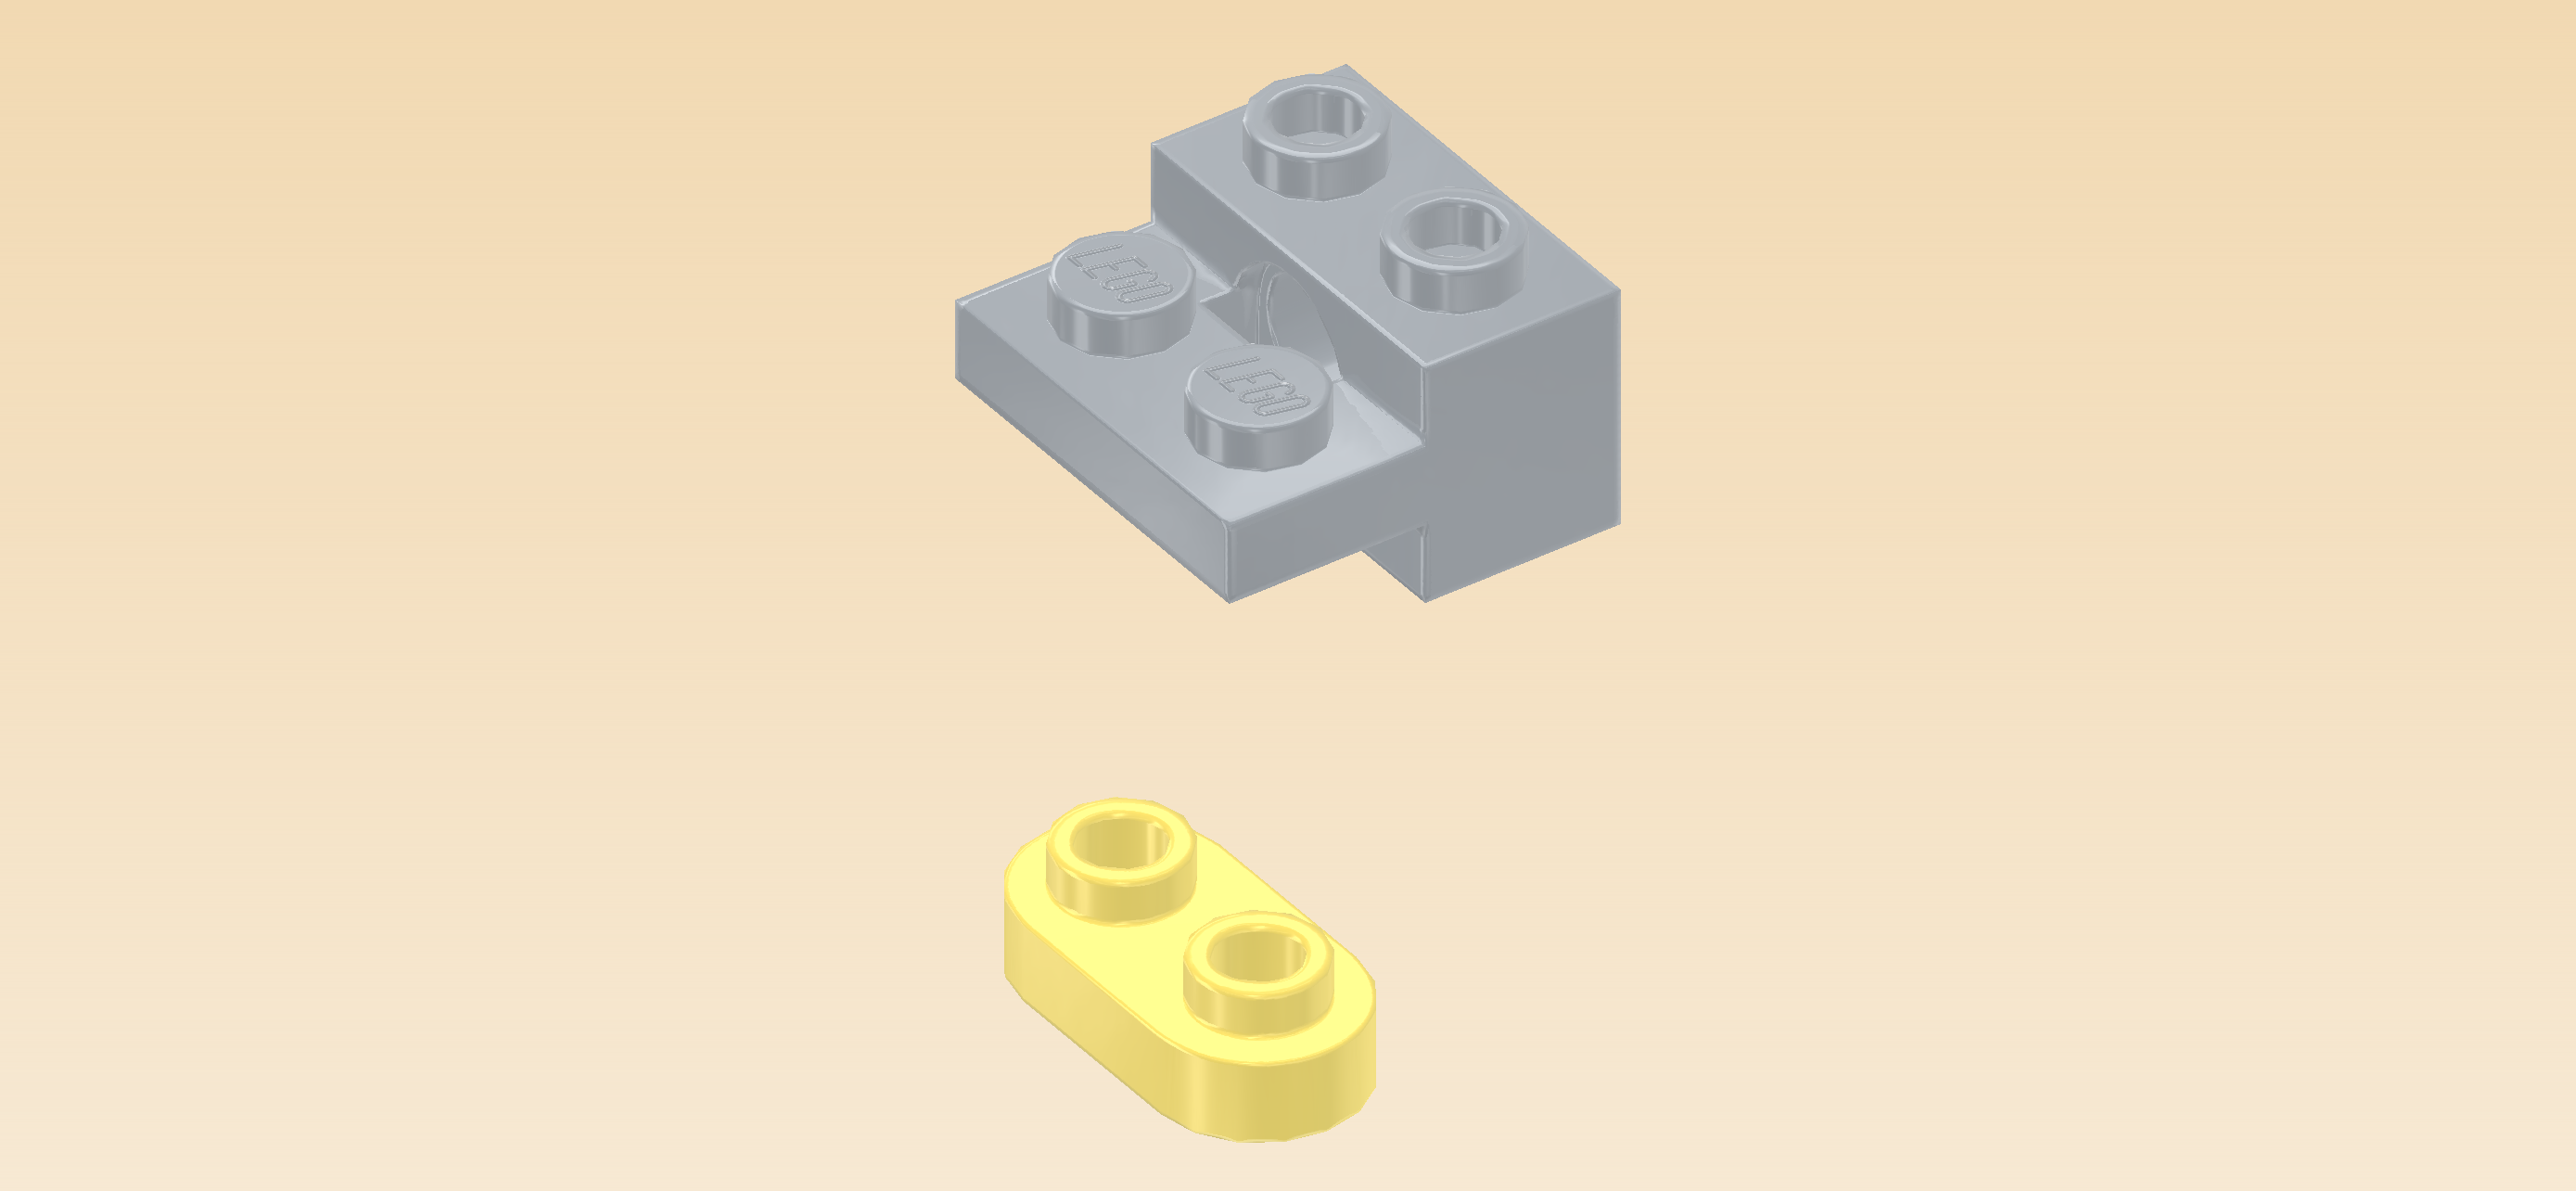
1 lemon yellow rounded plate 1x2,

and 1 medium stone grey brick 1x2 with side plate 1x2 and side hole.

Put the rounded plate 1x2 vertically on the table.

Put the side plate of the brick on top, brick overhanging to the right.

Find 1 black plate 1x2 with 2 balls on short ends.

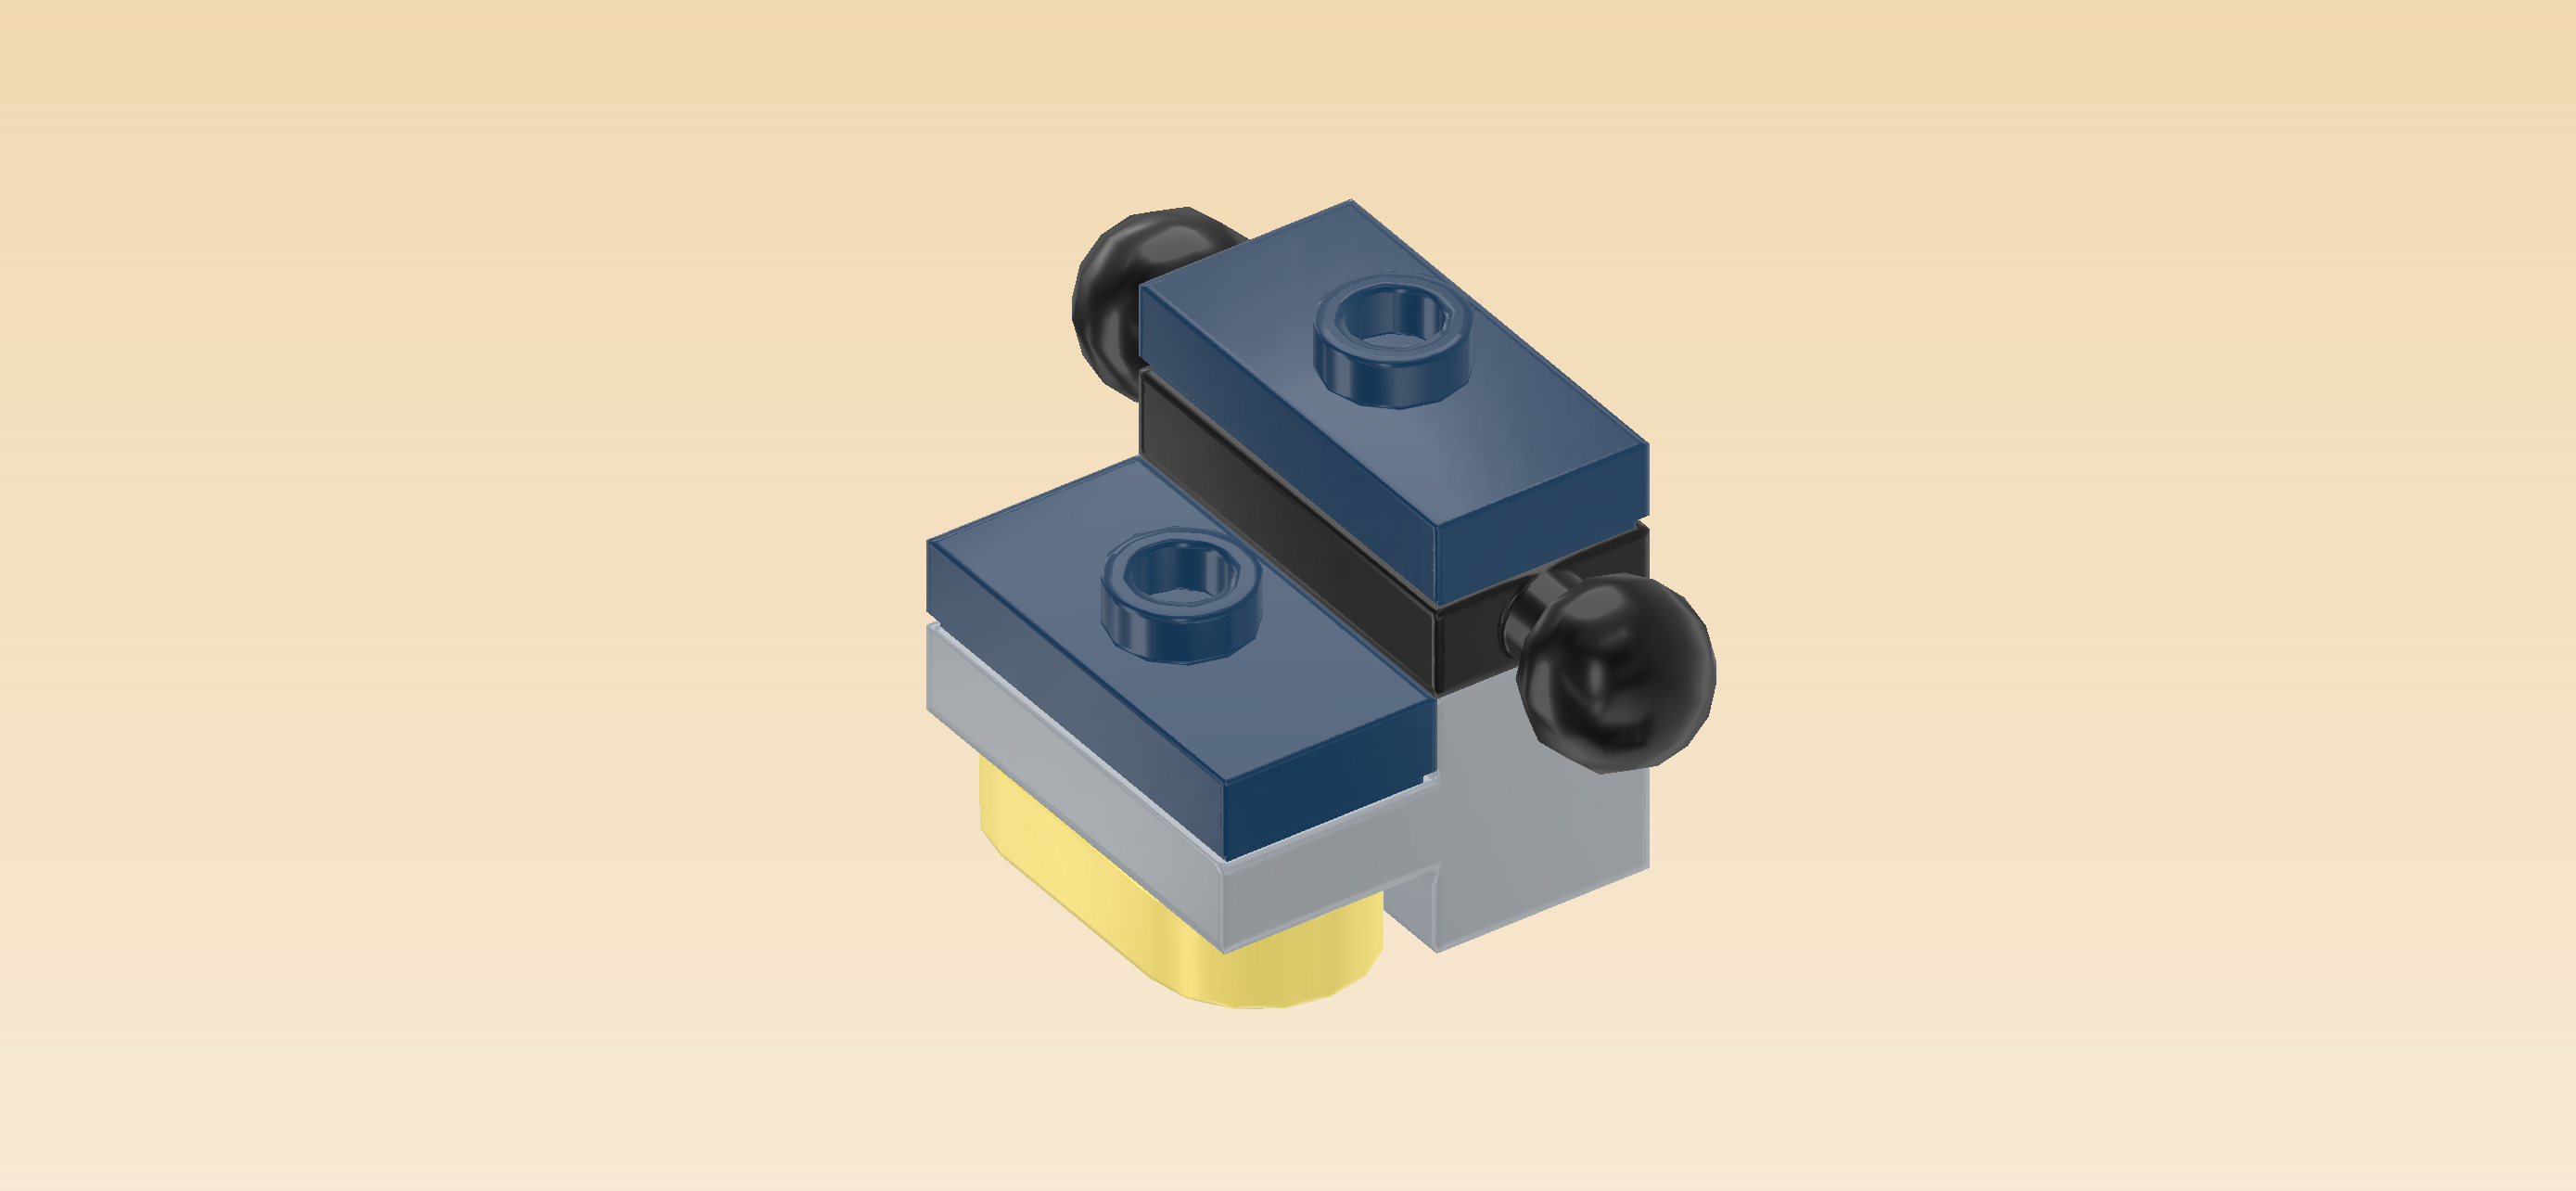
Put it vertically on top of the brick, balls to the front and back. This means that the side plate will remain empty for now.

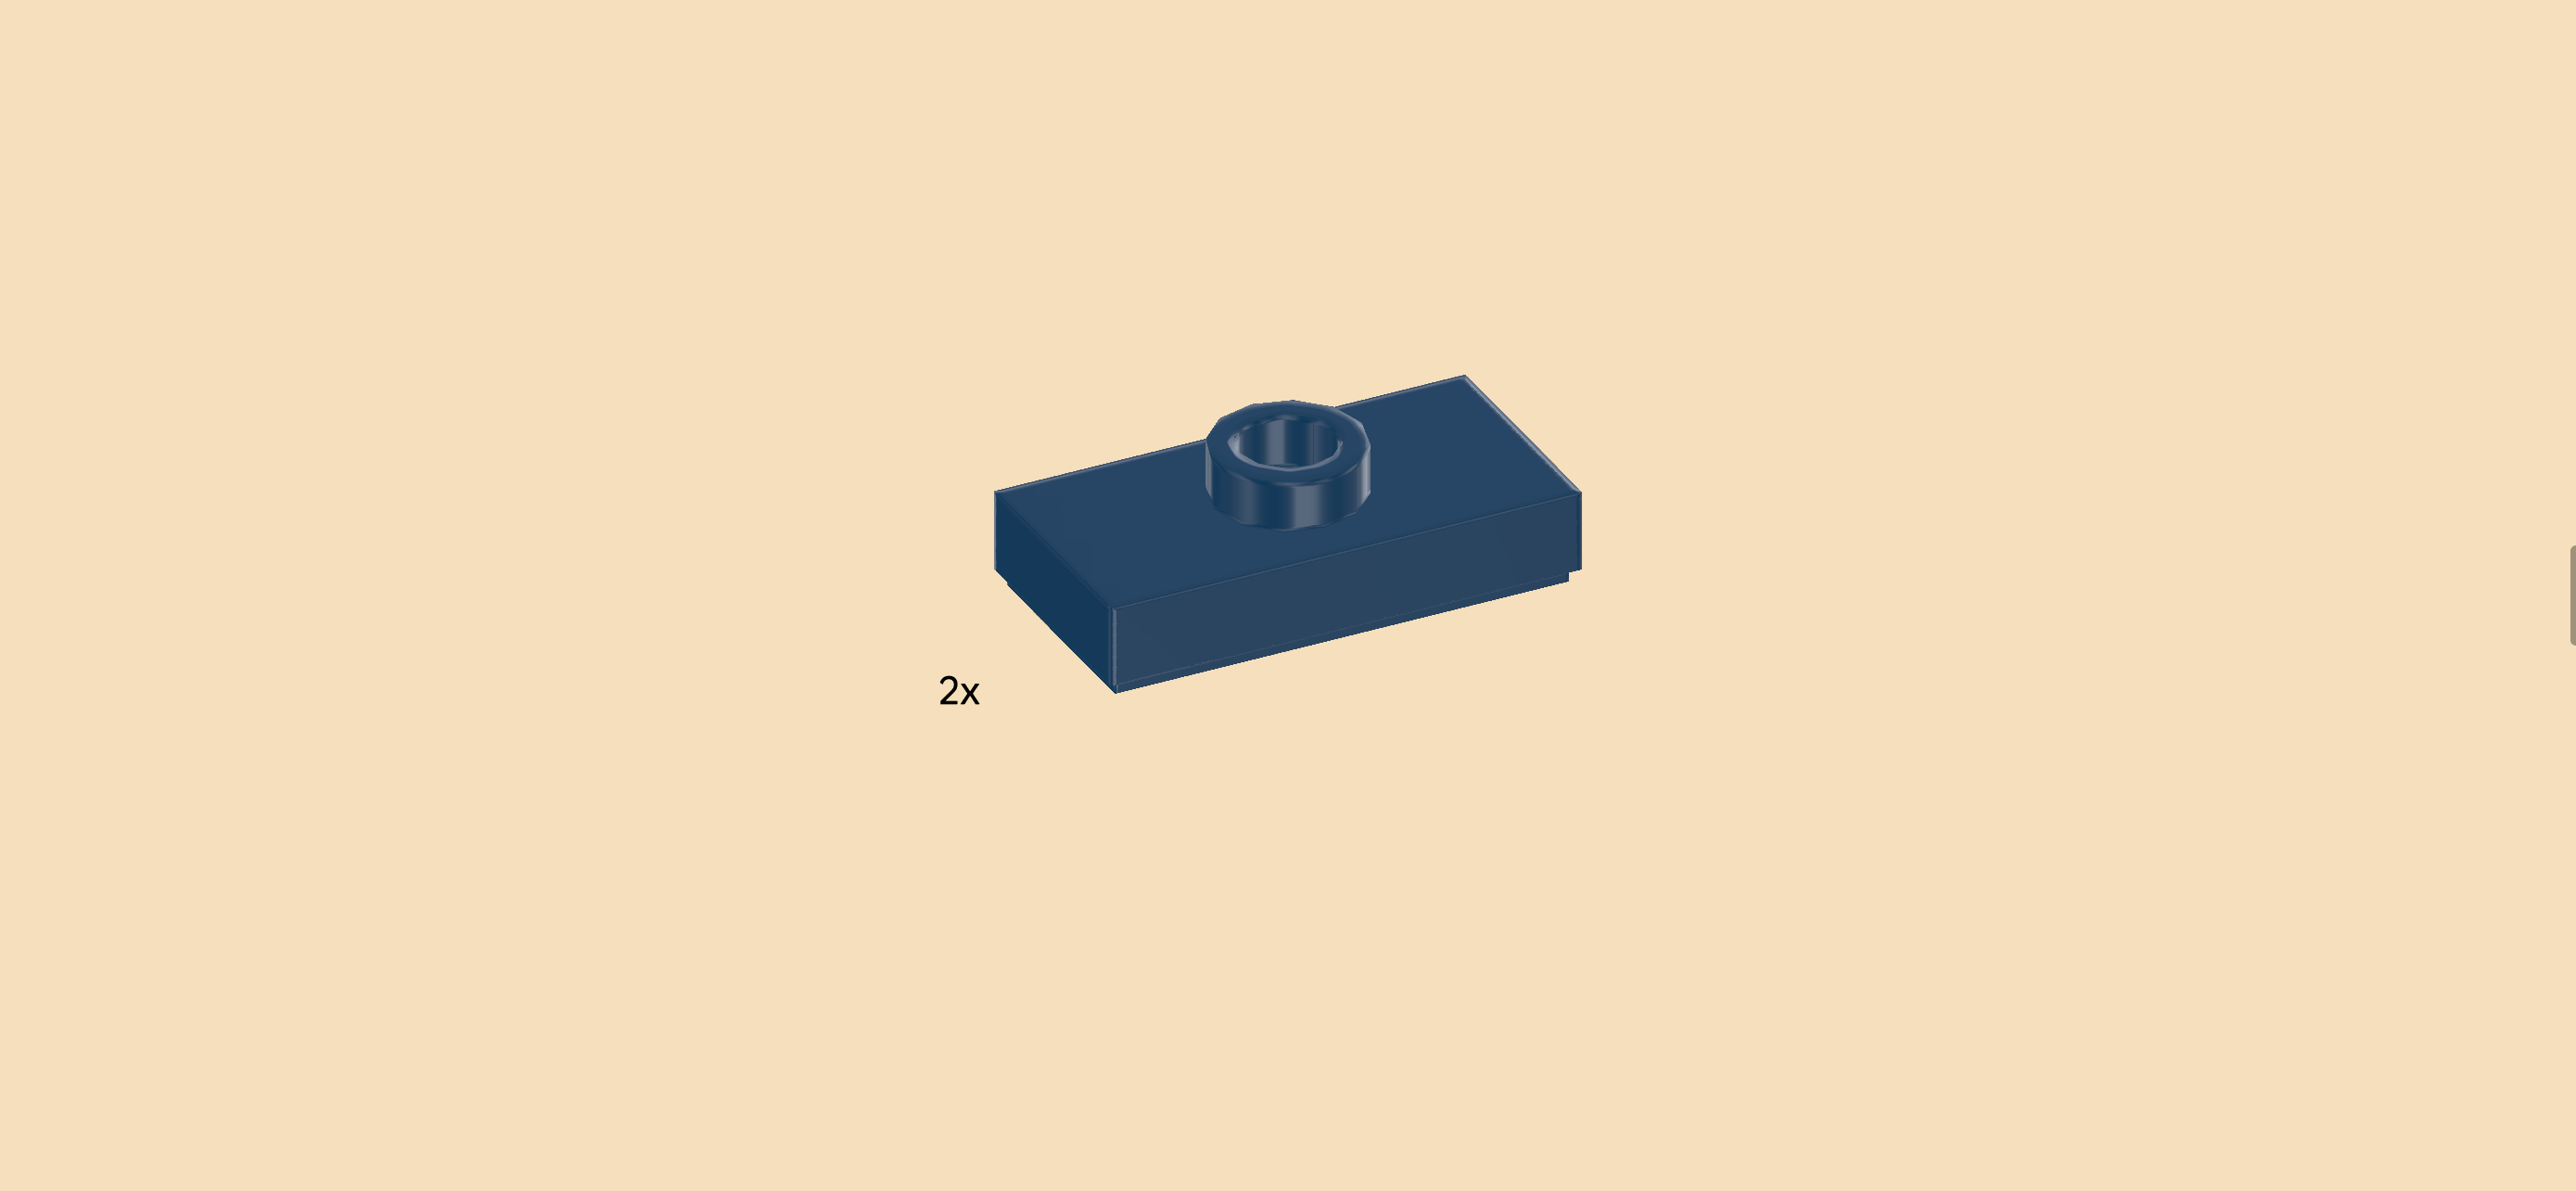
Find 2 earth blue plates 1x2 with 1 knob.

Put 1 vertically on the previous piece.

Put the other one vertically on the left column.

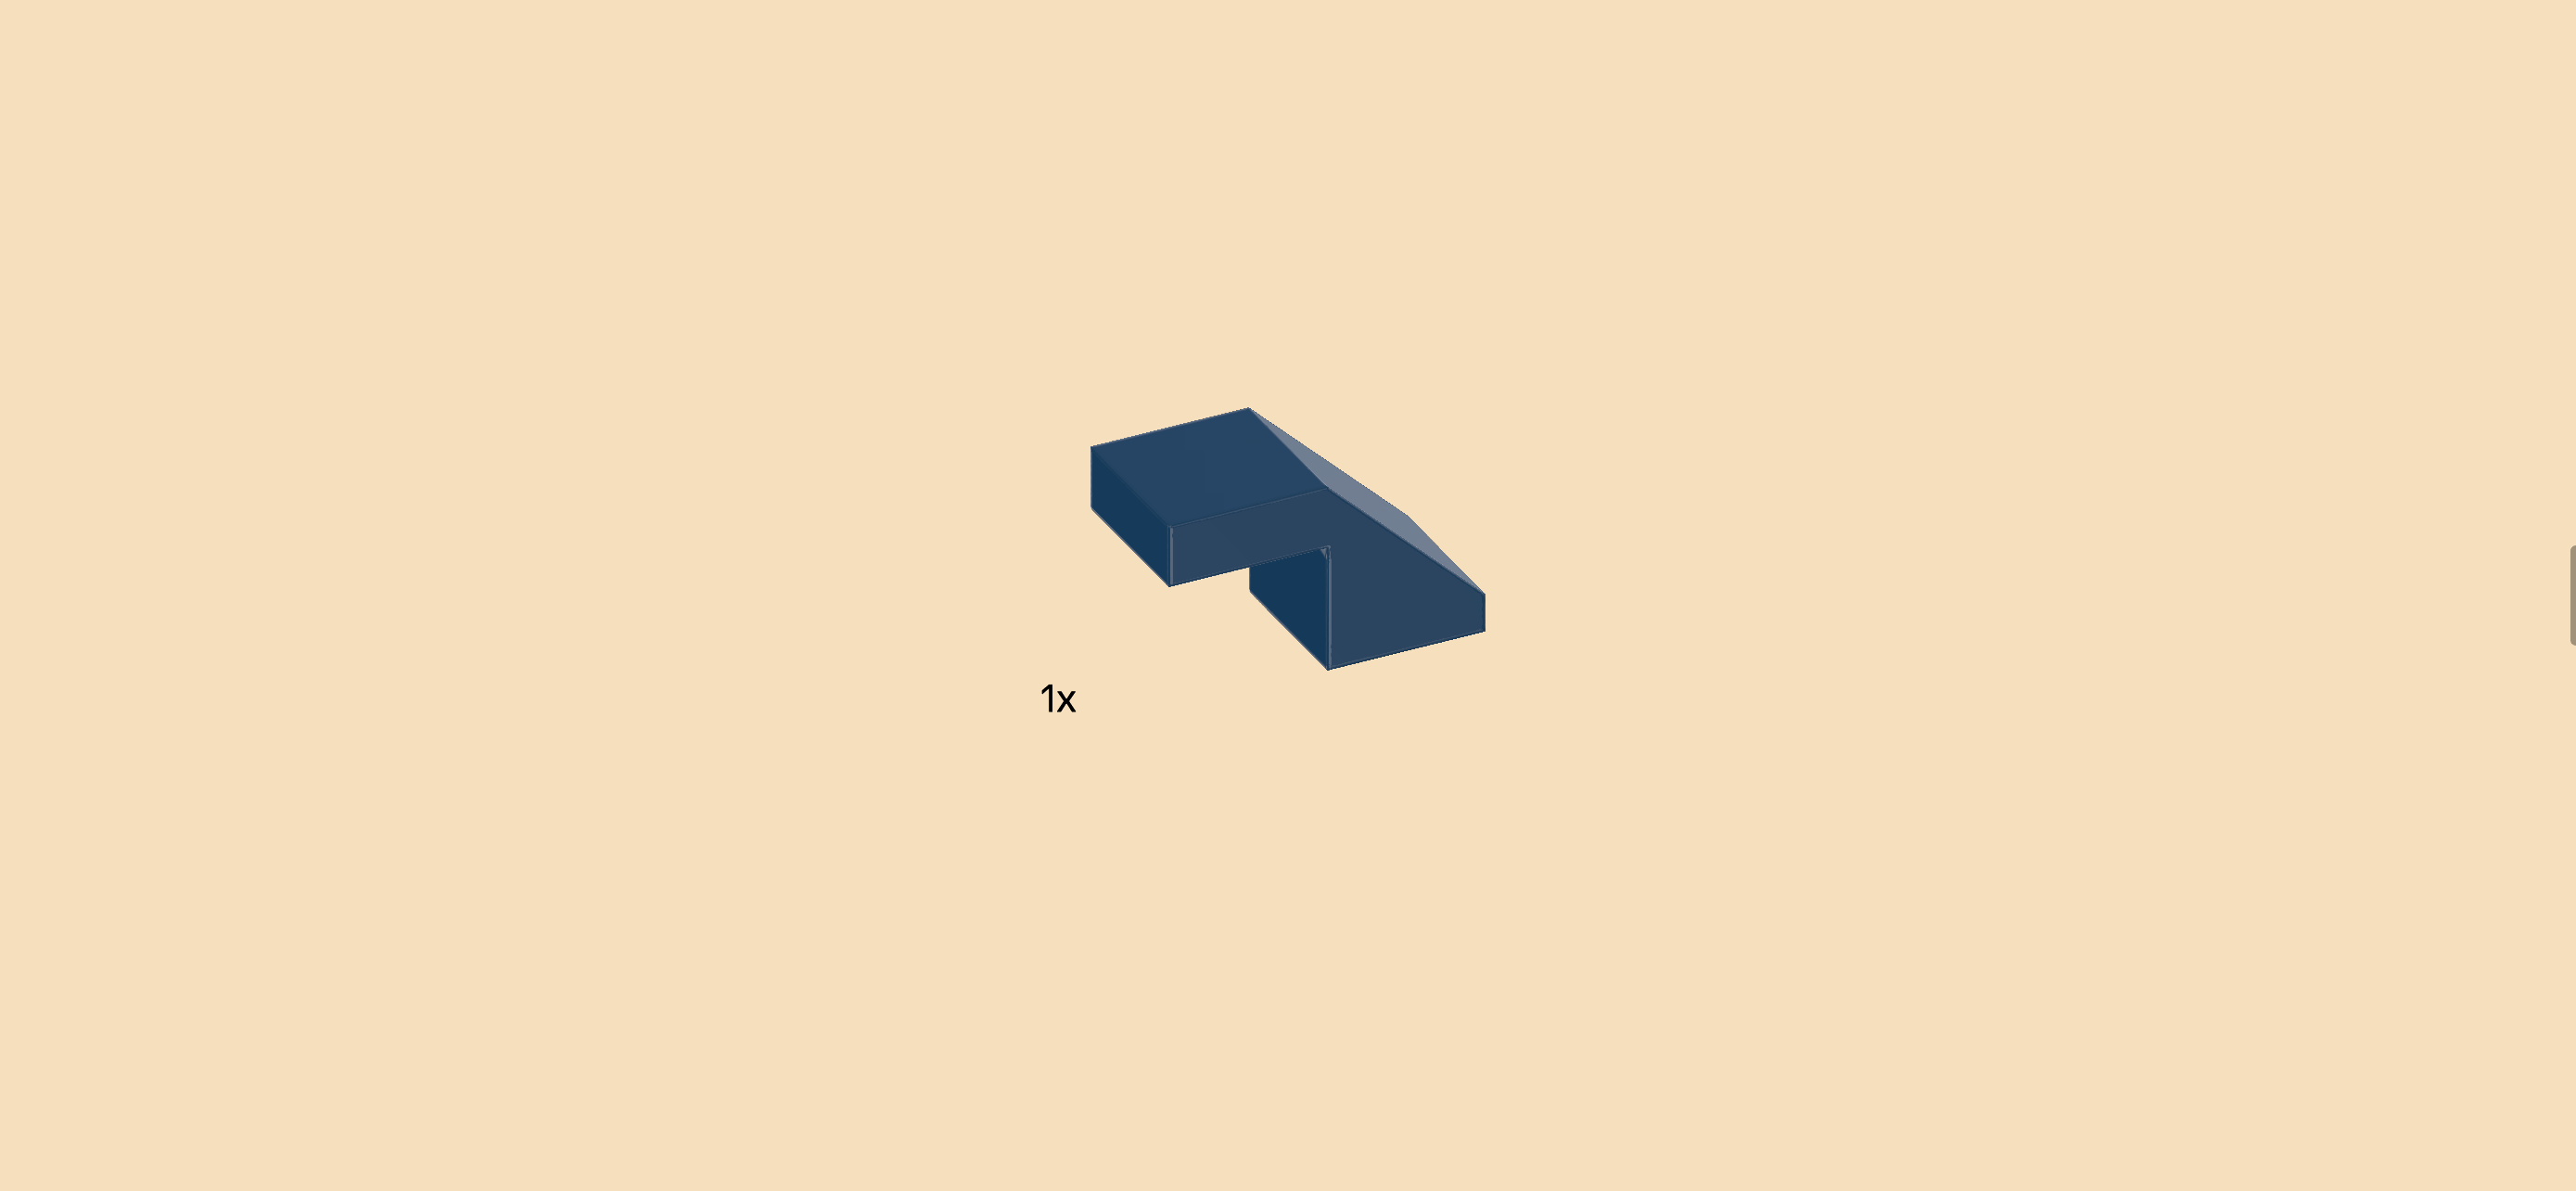
Find 1 earth blue smooth roof tile 1x1 with overhanging top tile 1x1.

Turn it horizontally so that the overhanging top tile is pointing to the right, and mount this piece on the 2 knobs of the 2 previous pieces.

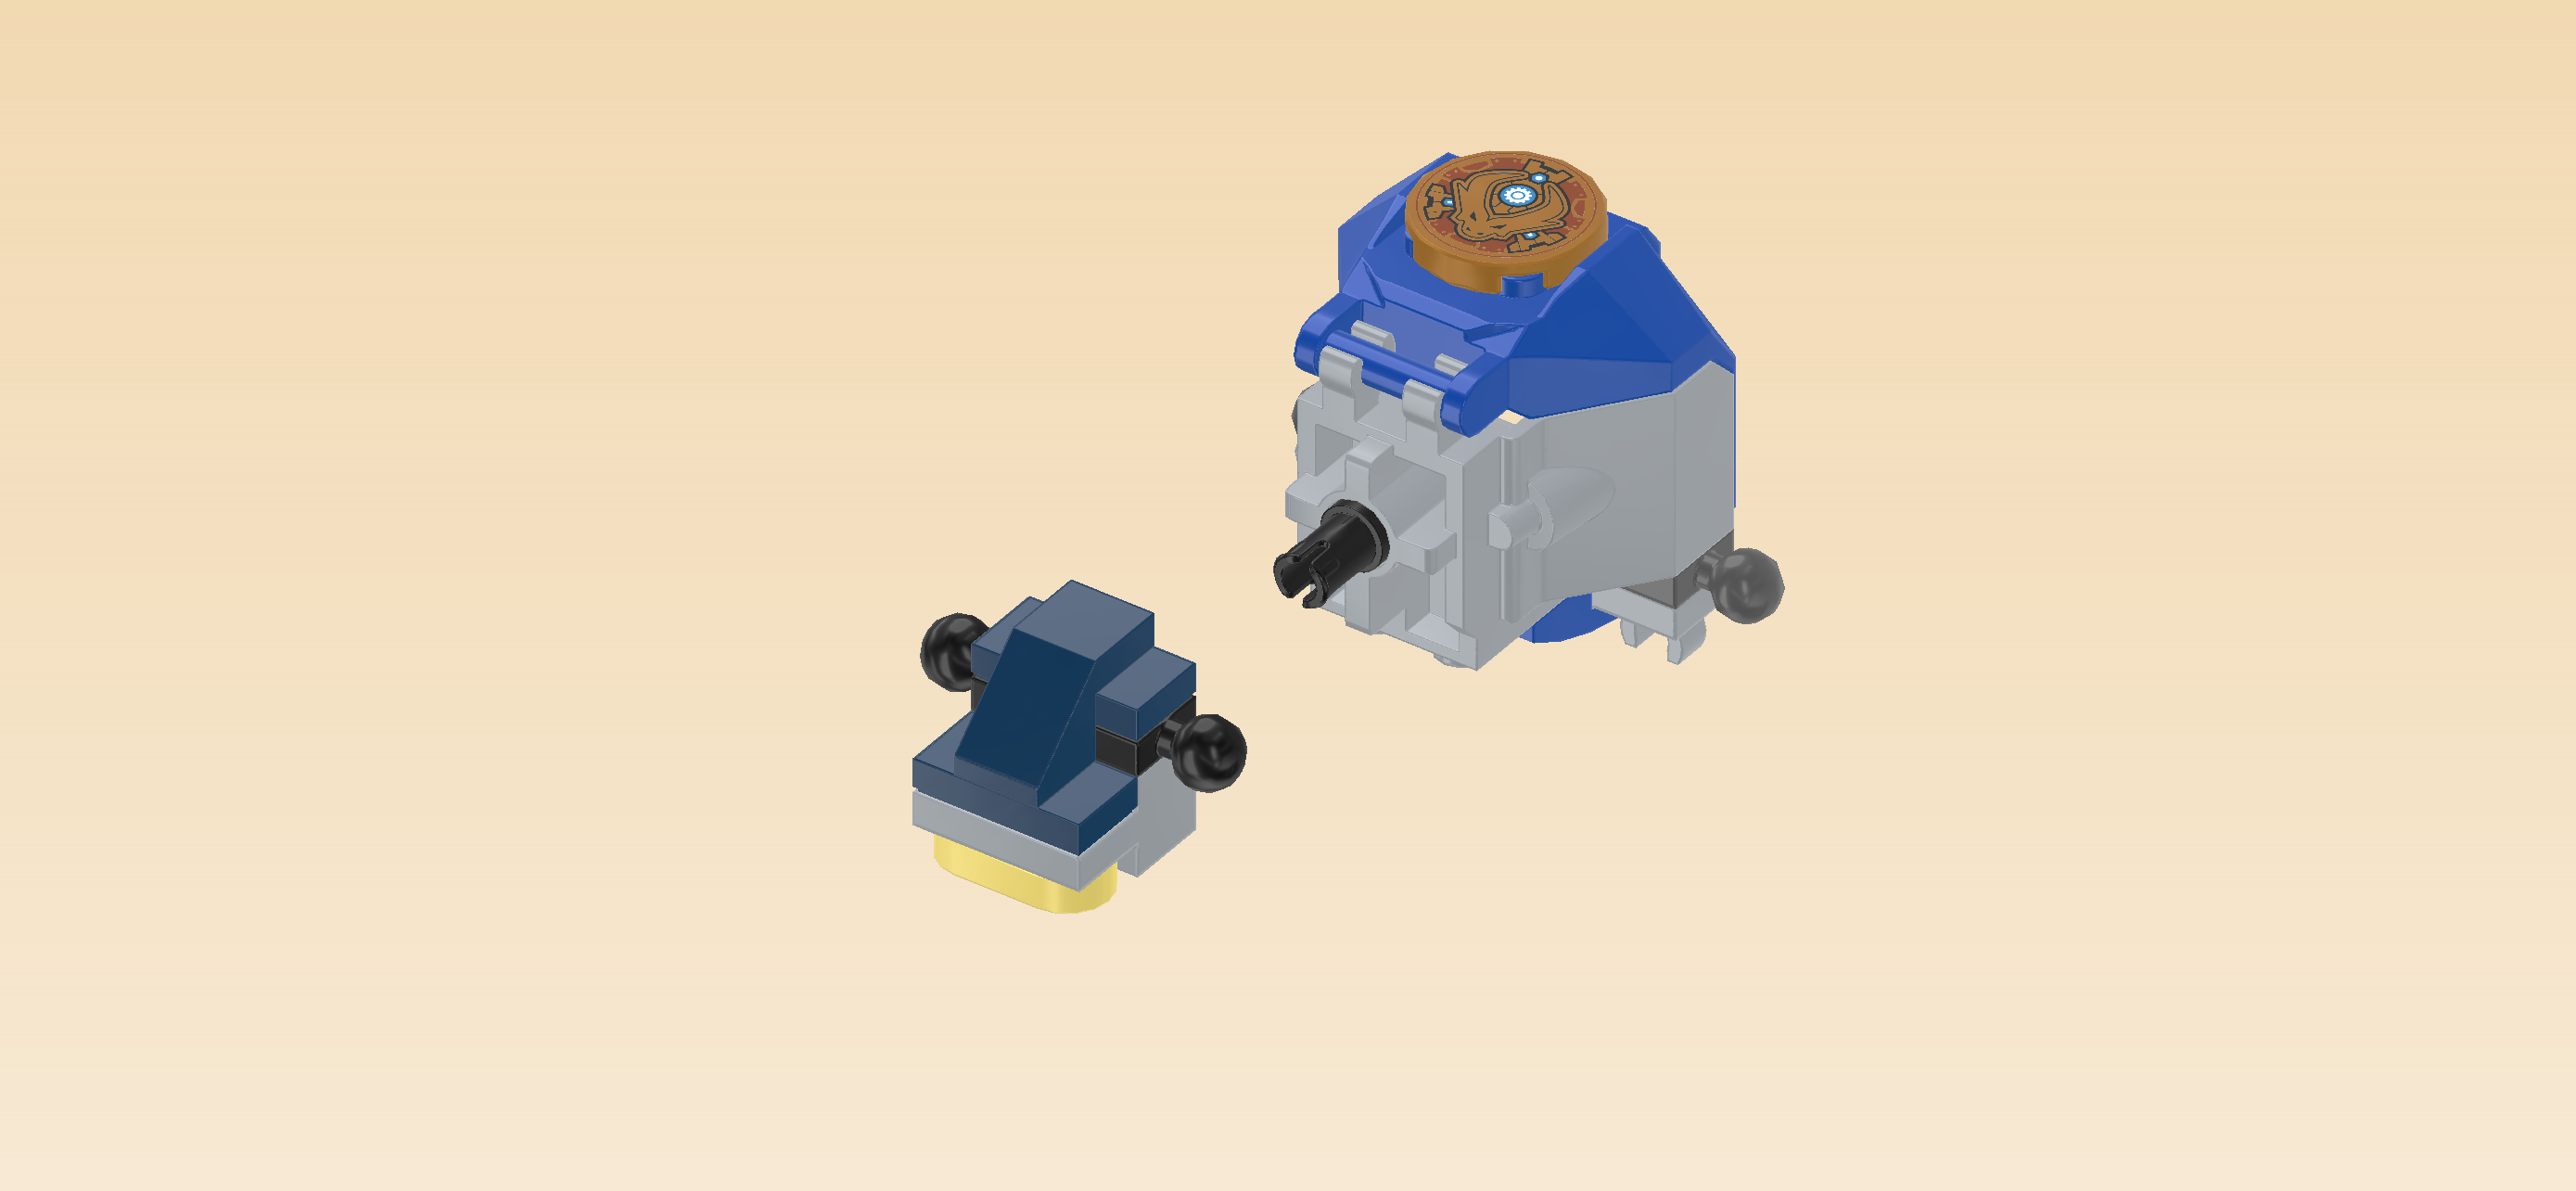
The mech torso is finished! Great job! Before mounting it, fetch the mech cockpit and turn it right side up again. This means that the chest plate with round tile should be towards the top and the 2 clasps should touch the table. This will be a bit wobbly, but not to worry, this is as intended.

Insert the connector peg sticking out from the cockpit into the hole on the torso's right side surface.

Next, we will build the legs of the mech.

Collect the following 4 pieces:

2 dark stone grey plates 1x2 with ball and ball cup on short sides,

and 2 bright blue roof tiles with lattice 1x2x⅔.

Put 1 plate with ball and ball cup horizontally on the table, ball to the left, ball cup to the right.

Put 1 roof tile horizontally on top, slope to the left.

Repeat with the two remaining pieces.

The legs of the mech are finished! Well done! First, turn the mech cockpit with torso vertically so that the torso is pointing towards you and the chest plate is towards the top.

Now, flip 1 leg upright so that the roof tile with lattice is pointing to the back, and the ball cup pointing to the left. Snap that ball cup on the torso's right ball.

Flip the other leg upright so that the roof tile with lattice is to the back but the ball cup is pointing to the right this time. Snap it on the torso's left ball.

Now, we will assemble the feet of the mech.

Collect the following 4 pieces:

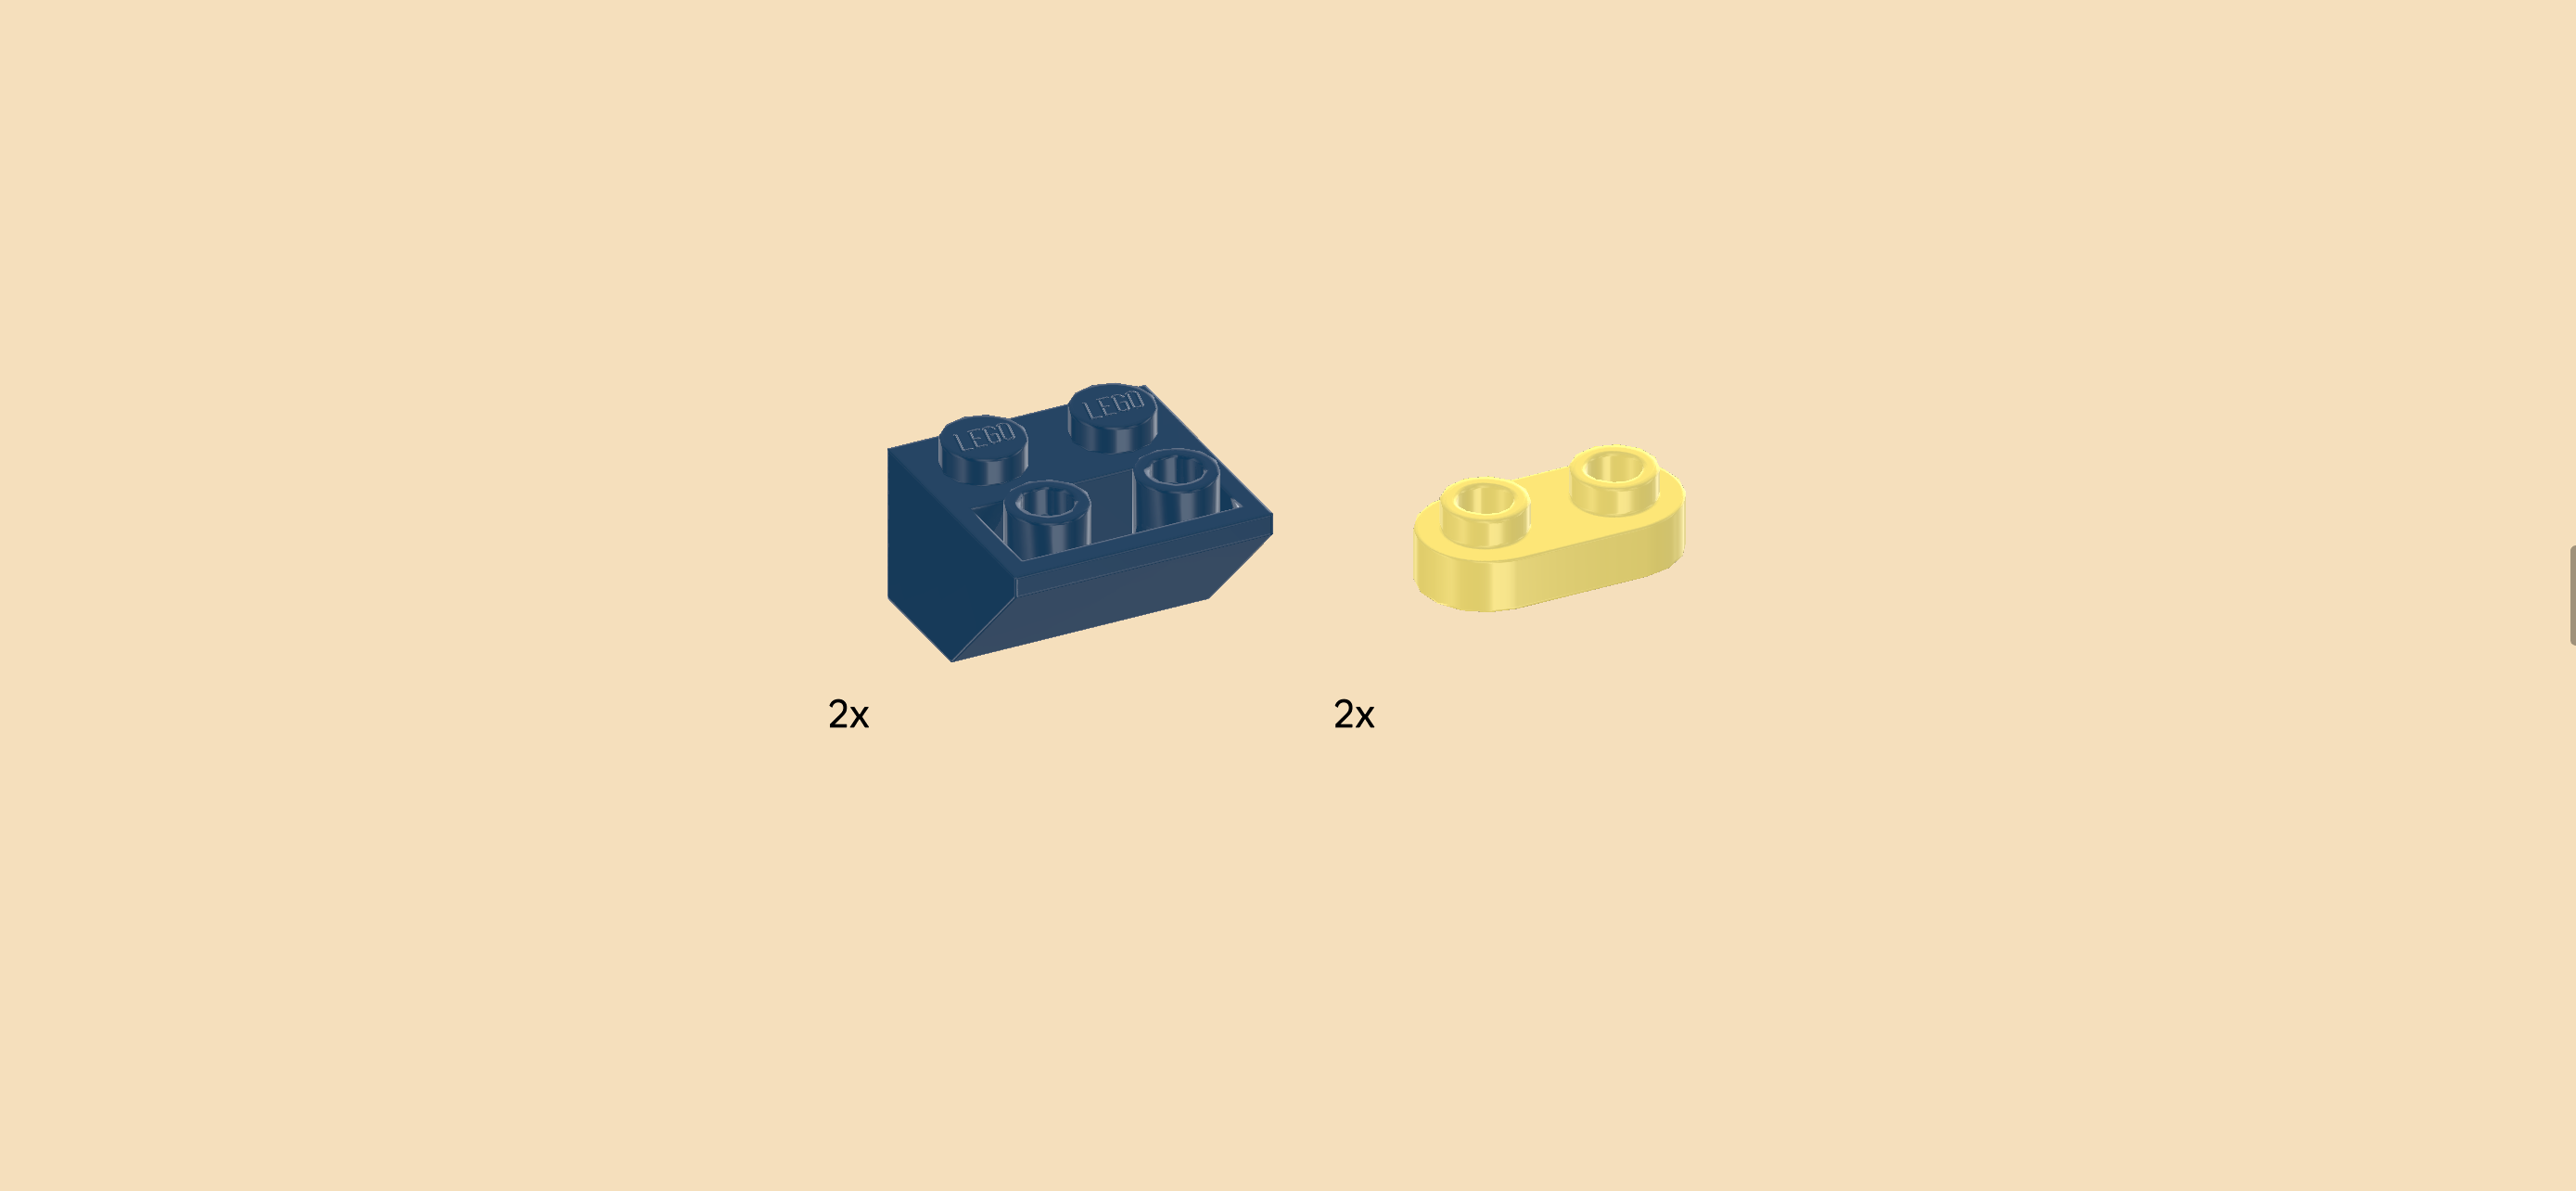
2 earth blue inverted roof tiles 2x2, 45°,

and 2 lemon yellow rounded plates 1x2.

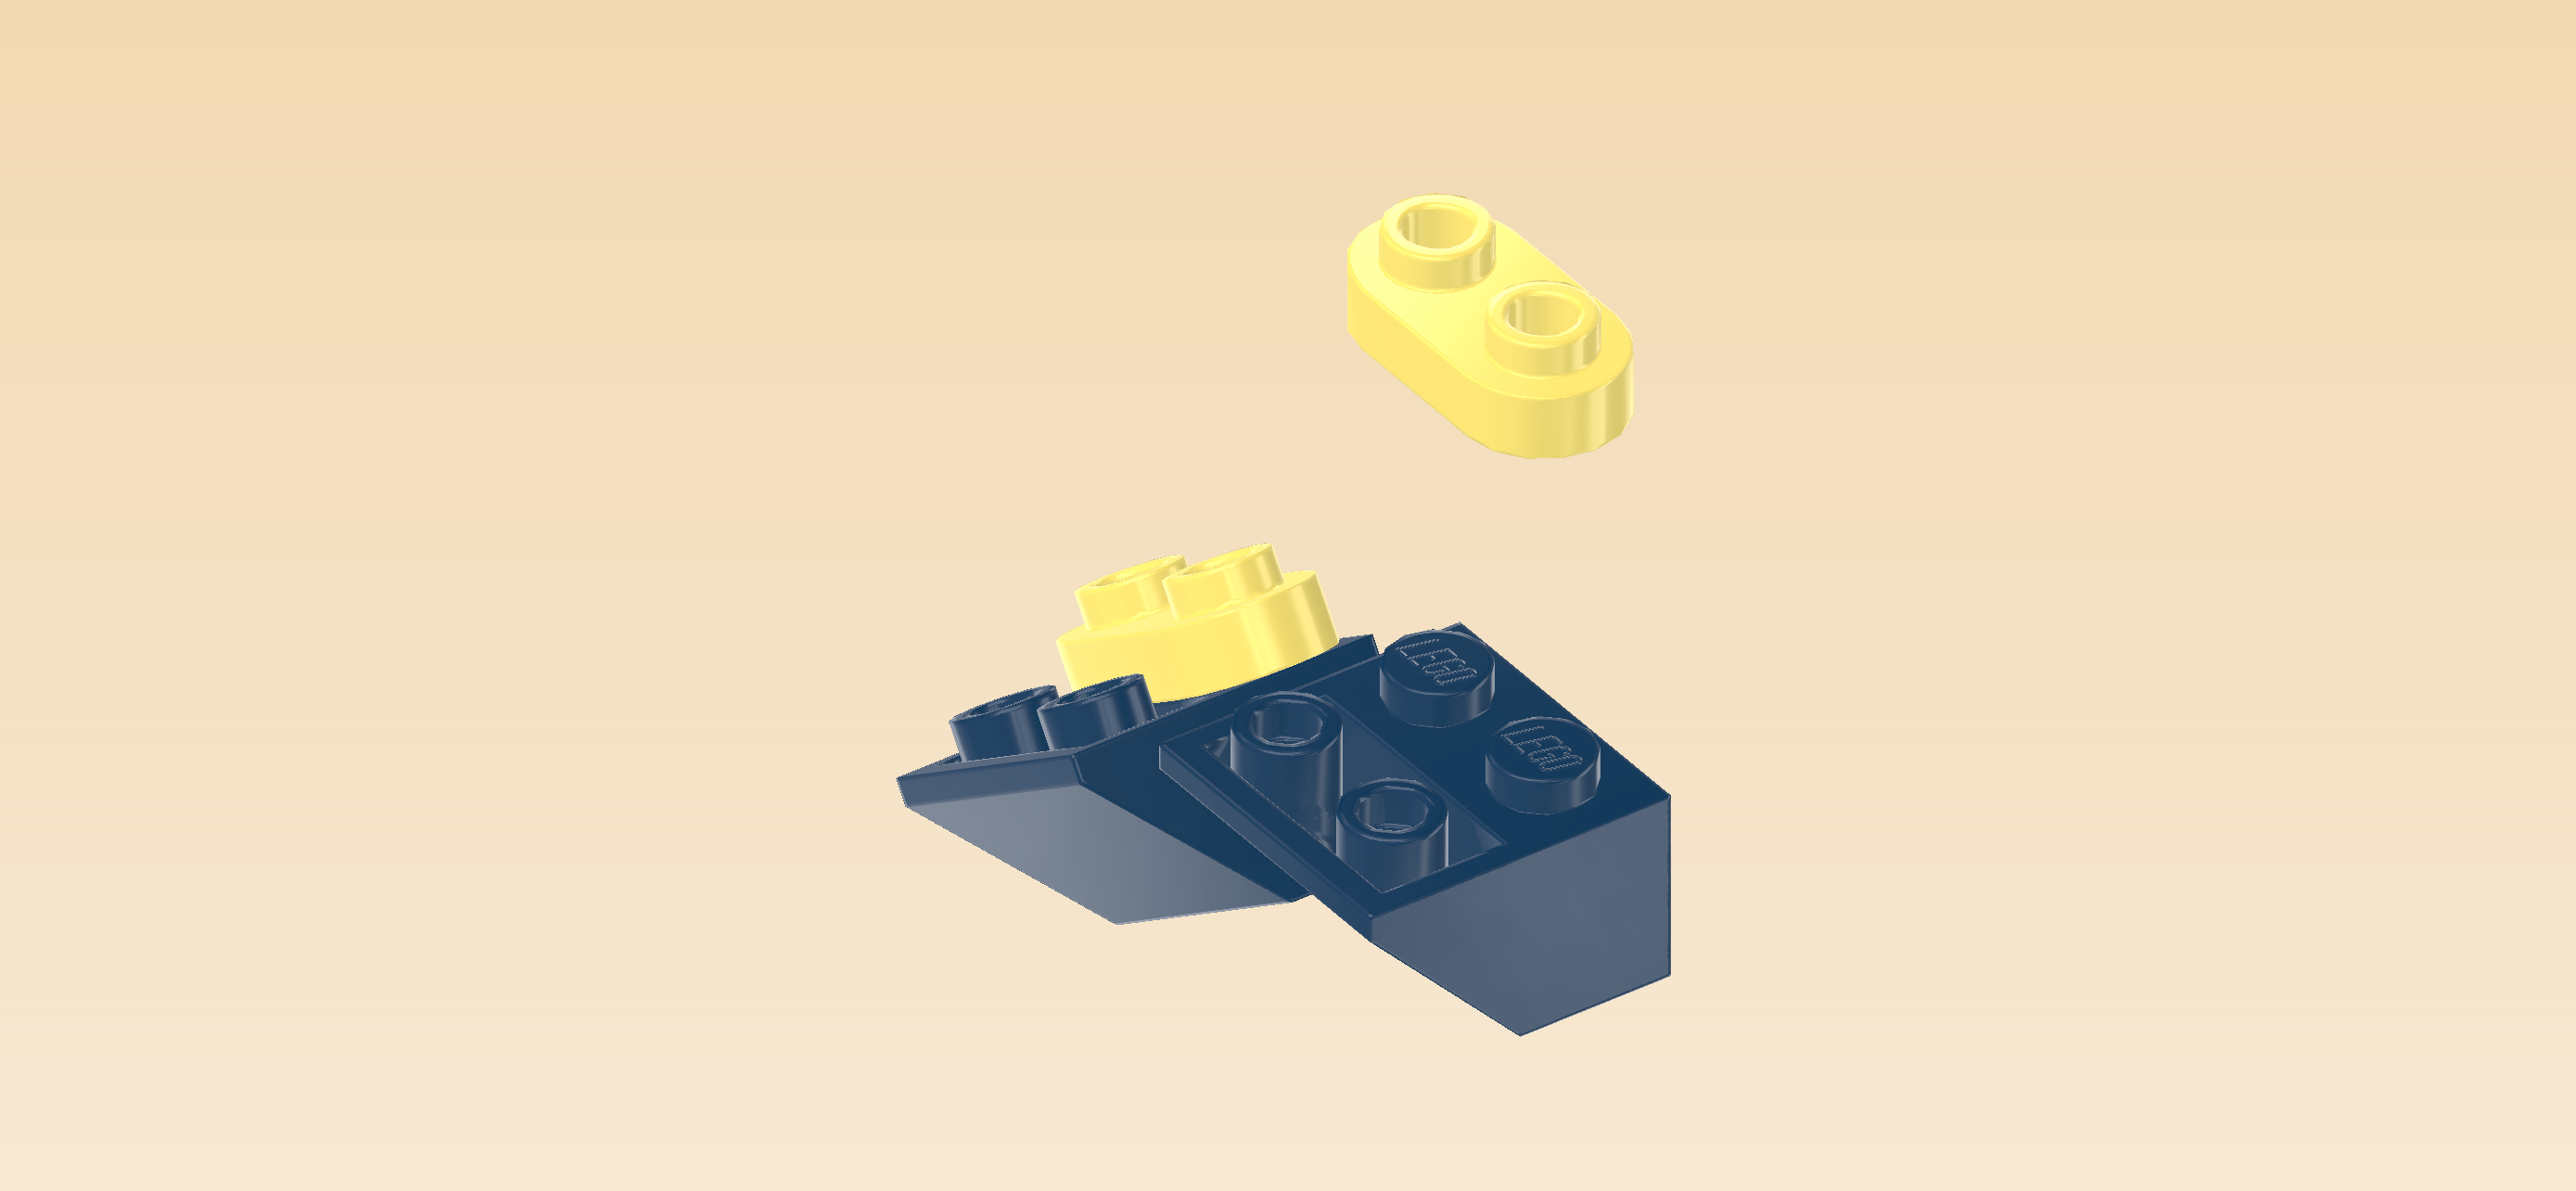
Put 1 inverted roof tile 2x2 on the table, slope to the left.

Put 1 rounded plate 1x2 vertically on the right column.

Repeat with the two remaining pieces.

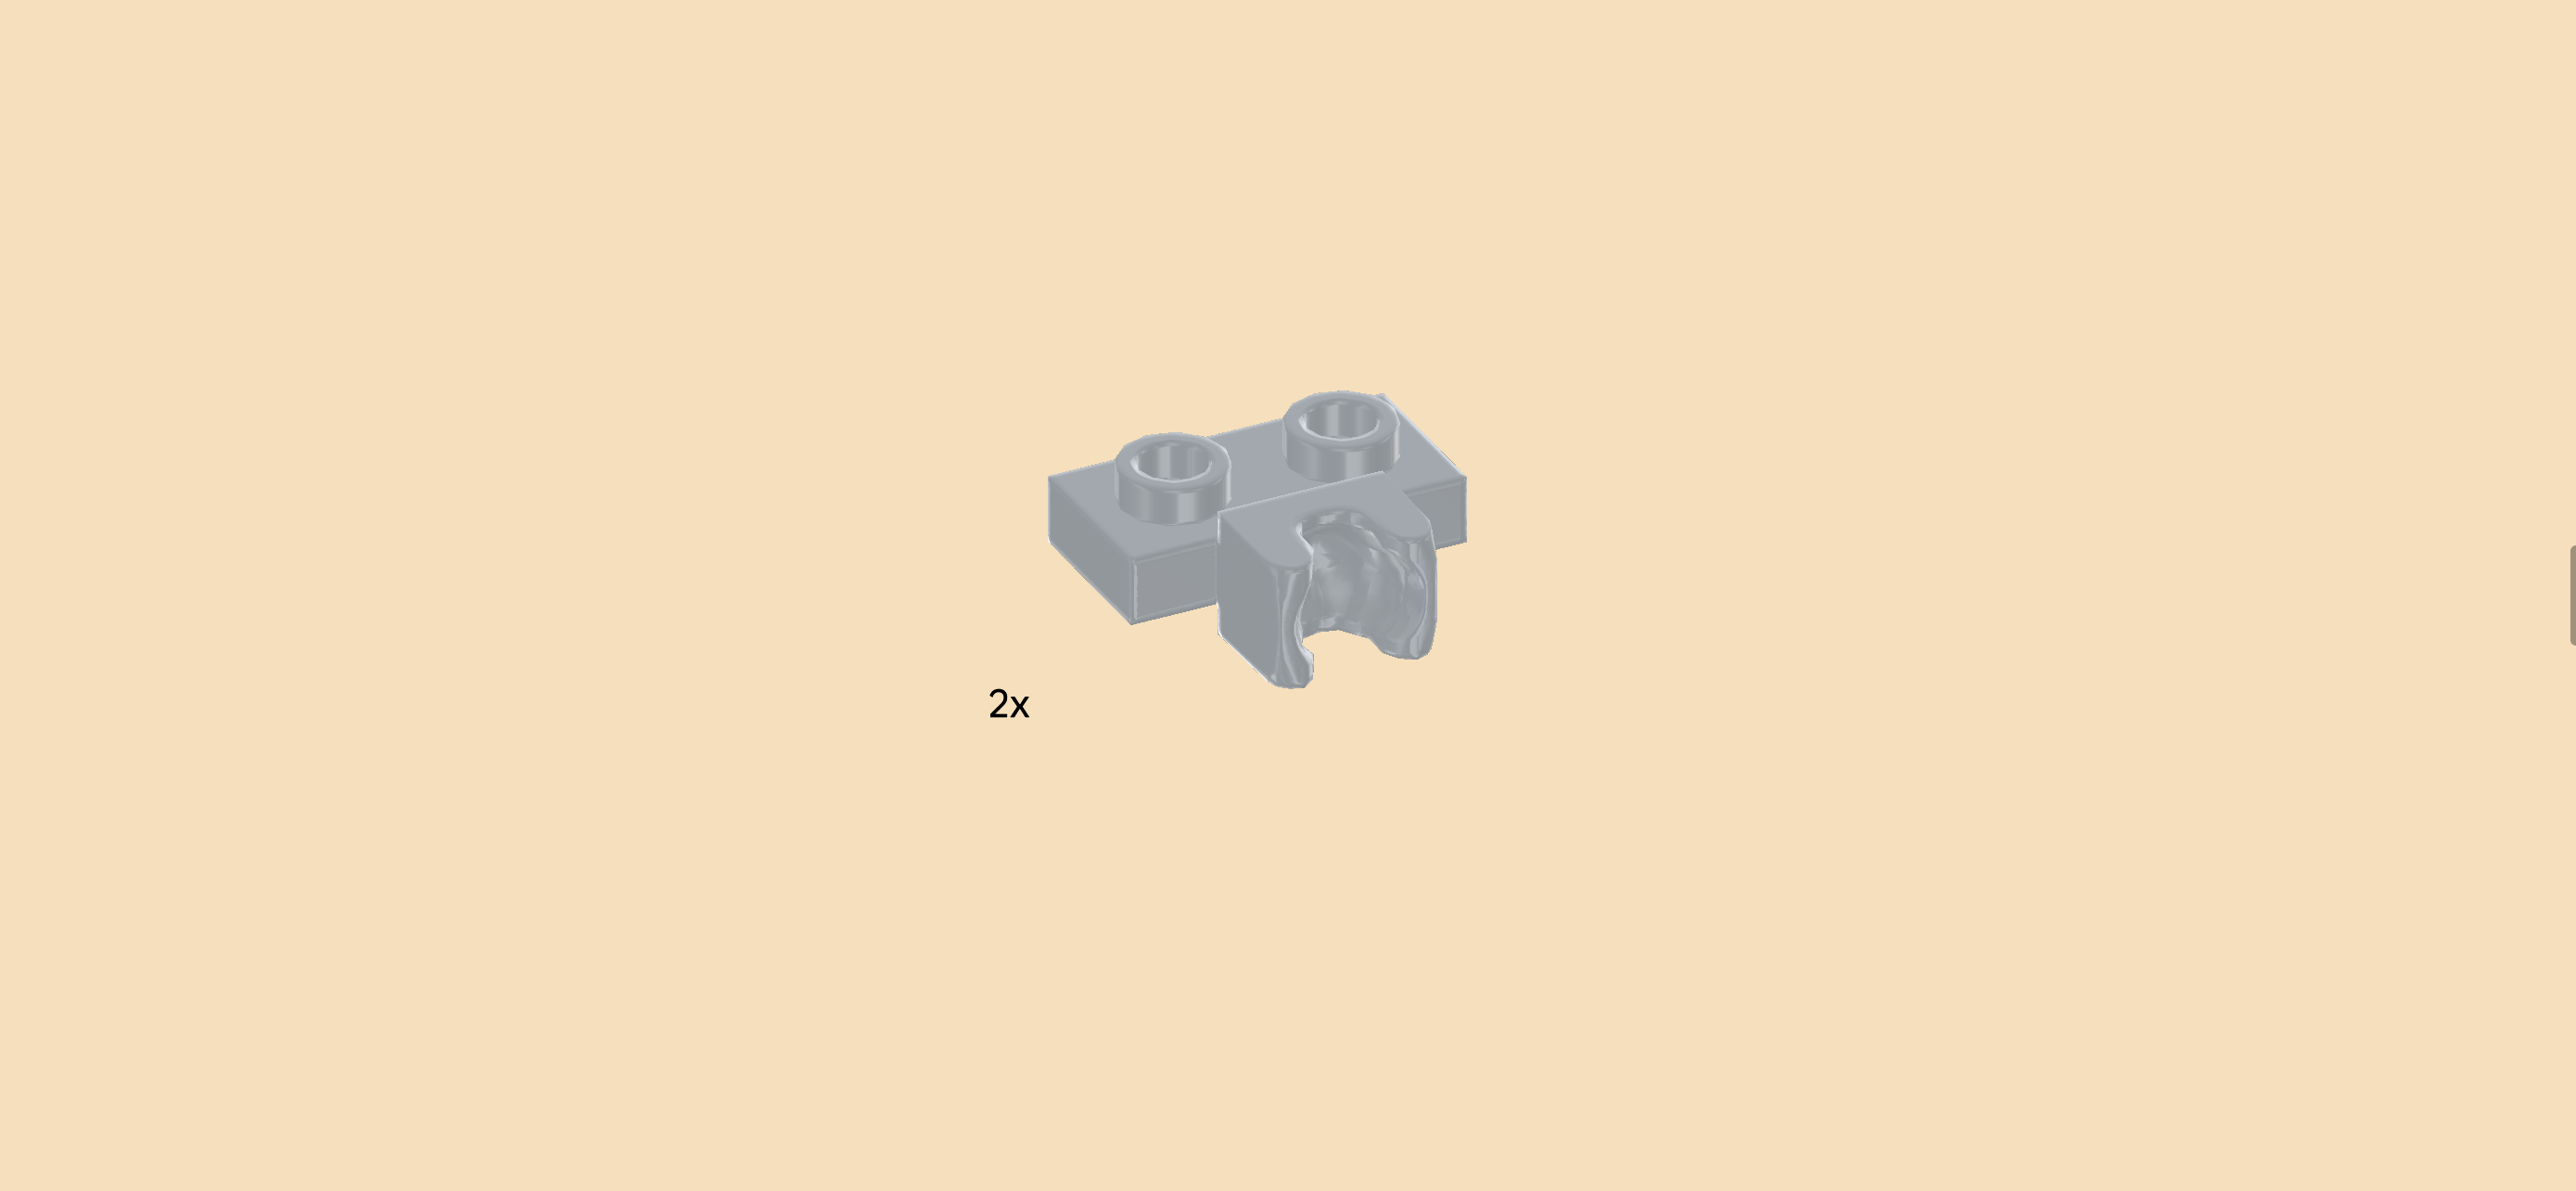
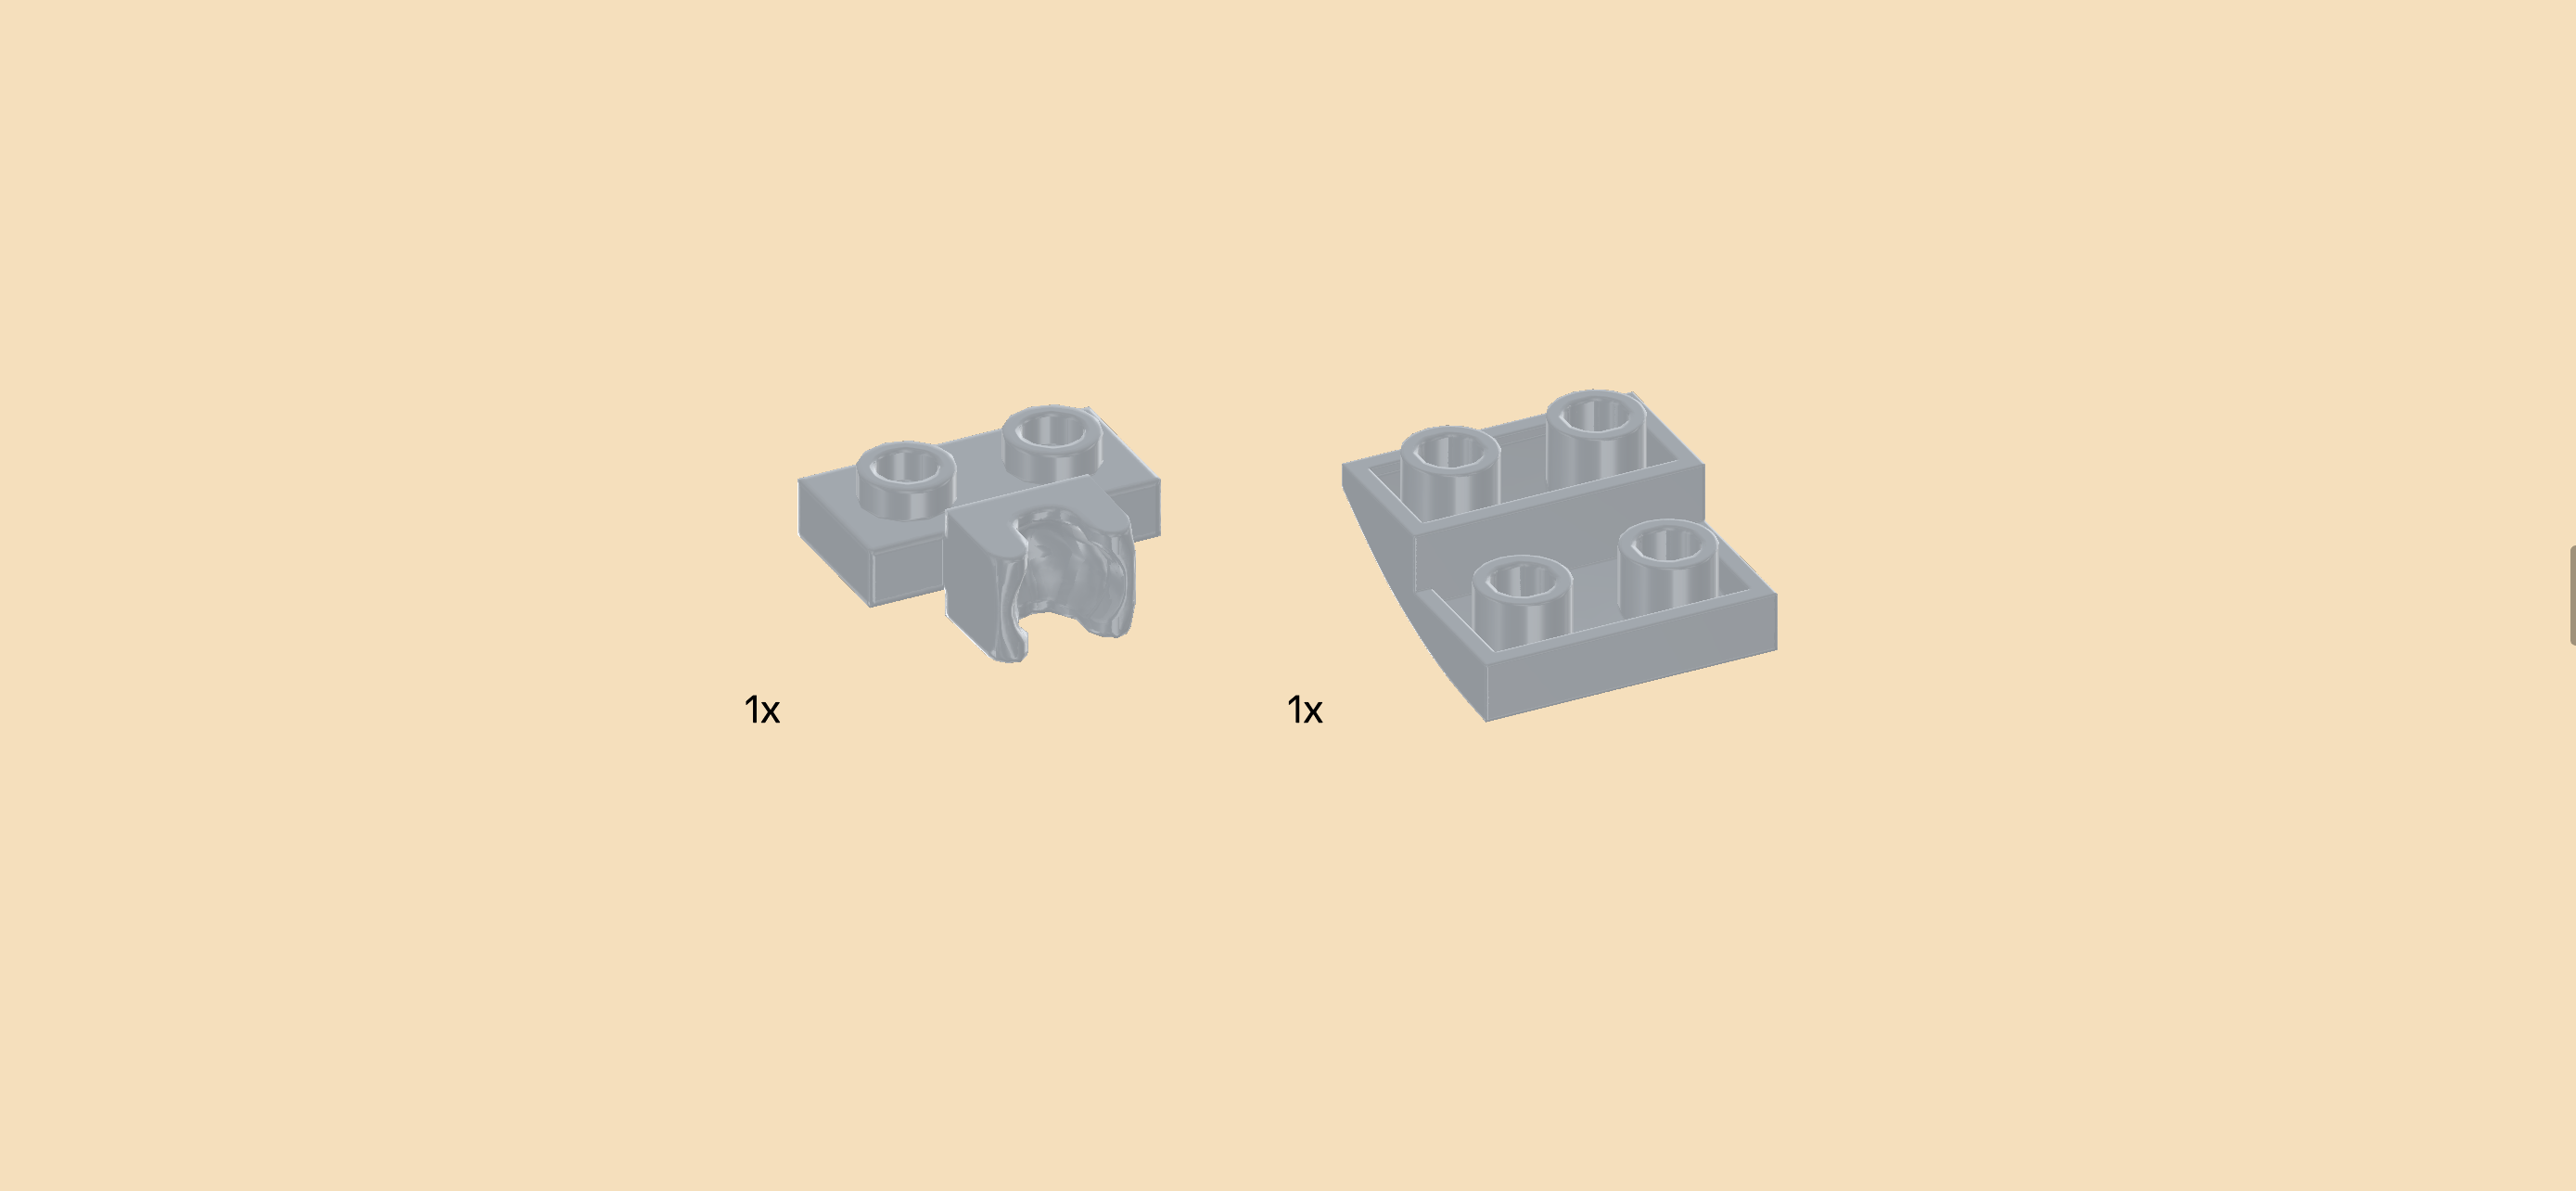
Find 2 medium stone grey plates 1x2 with ball cup on long side.

Put 1 vertically to the left of the previous piece, ball cup overhanging to the left.

Repeat with the remaining plate on the other foot structure.

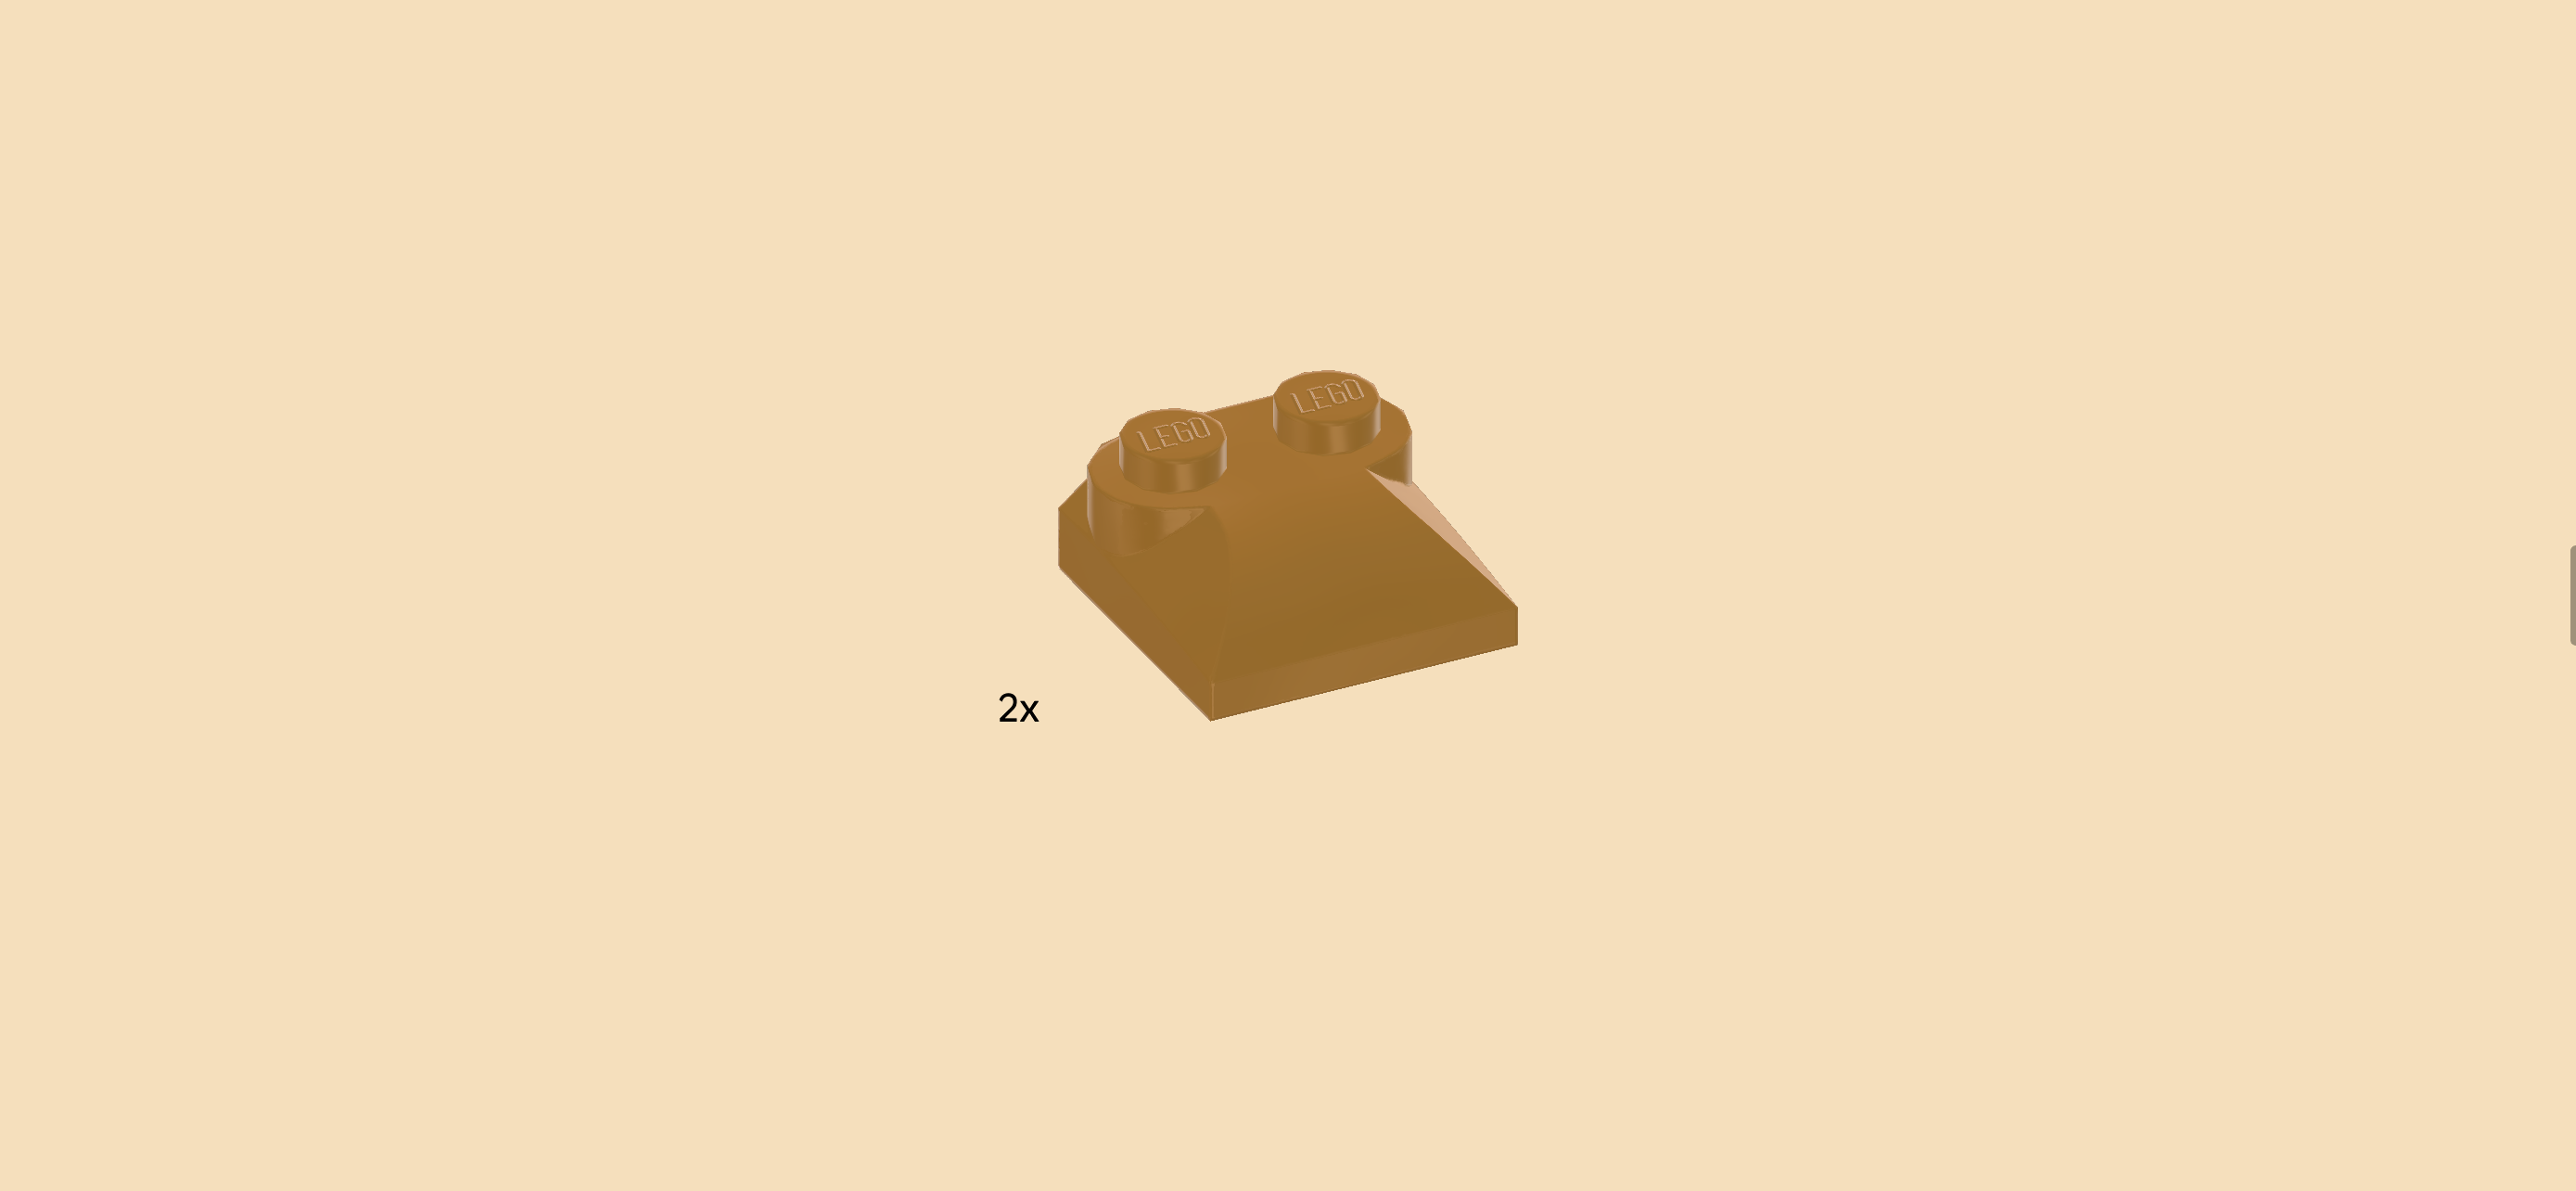
Find 2 warm gold curve plates 2x2 with 3 slopes and 2 knobs.

Put 1 on top of one foot structure. Make sure the 2 knobs form a column on the right and the slopes are towards the left and the front and back.

Repeat with the other foot structure.

Find 2 earth blue smooth roof tiles 1x2x⅔.

Put 1 vertically on the previous piece, slope to the left.

Repeat with the other foot structure.

The feet of the mech are finished! Well done! Snap the ball cup of one foot on the ball at the end of the right leg. Make sure the surface with curve and smooth roof tile 1x2 is pointing to the top.

Repeat symmetrically on the left with the second foot, again curve and smooth roof tile 1x2 to the top.

Now it's time to find out whether your mech can stand. First, fold the legs towards you so that the soles of the feet are facing you, curves and smooth roof tiles 1x2 still pointing to the top. Now, try to let the mech stand on the feet. You might have to adjust the hip joints or ankle joints to give it a stable stance. The cockpit should open towards the front. The roof tiles with lattice on the upper legs should be on the left and right side, and the curves and smooth roof tiles 1x2 of the feet should be pointing to you. Very well done so far, the mech is coming along nicely!

Next, we will build the upper arms of the mech.

Collect the following 4 pieces:

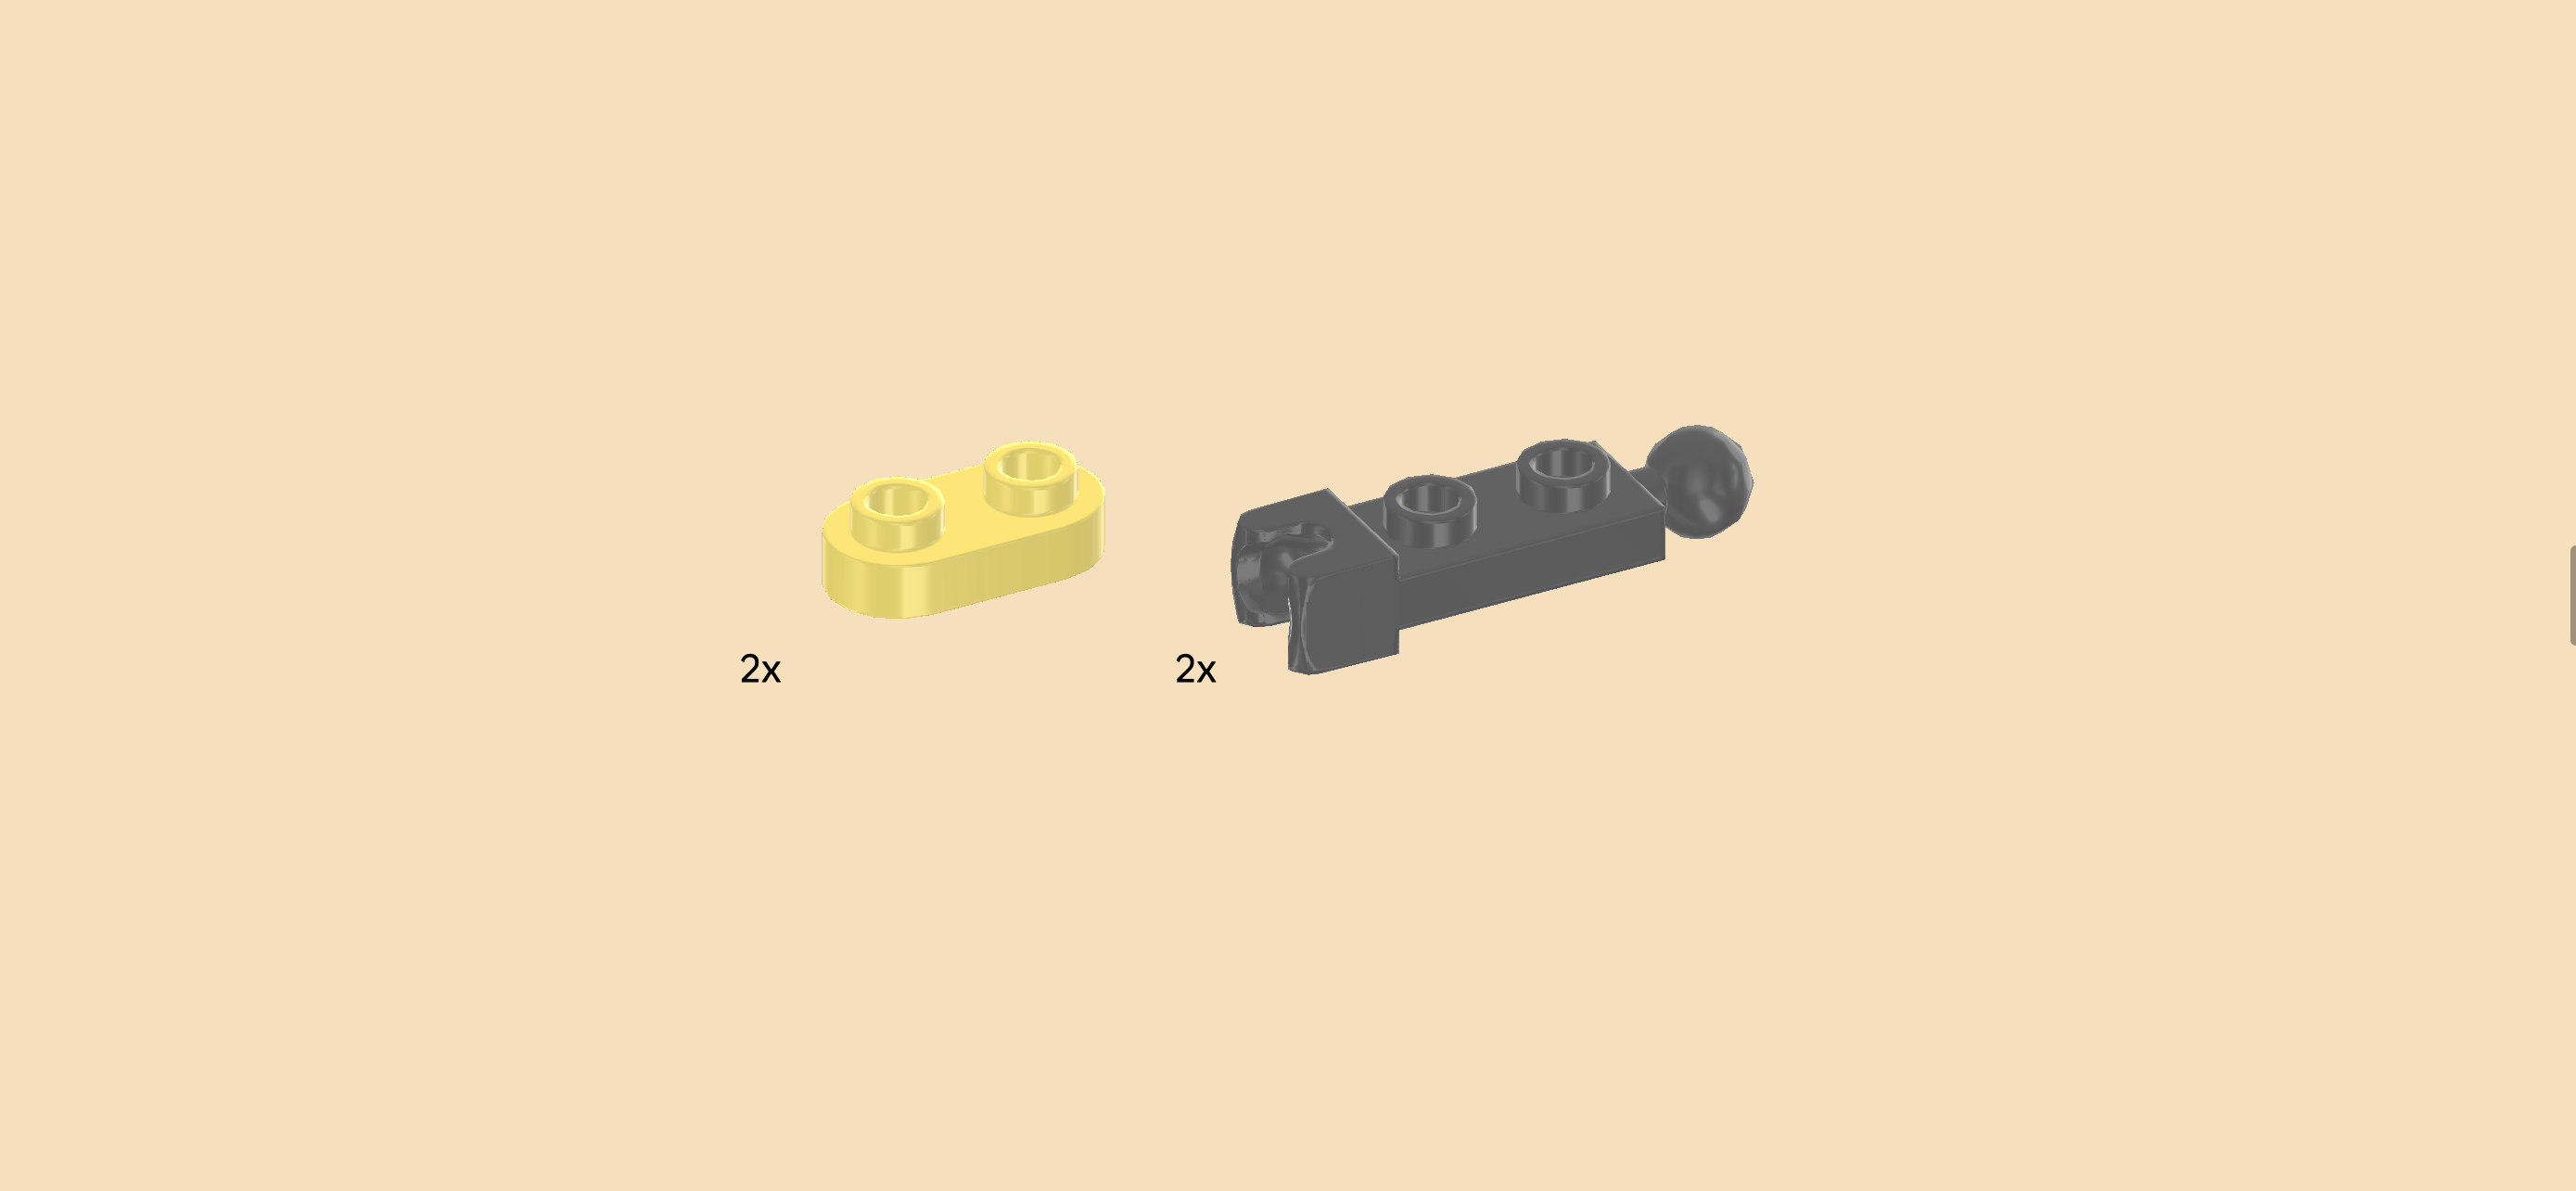
2 lemon yellow rounded plates 1x2,

and 2 dark stone grey plates 1x2 with ball and ball cup on short sides.

Put 1 plate with ball and ball cup horizontally on the table, ball cup to the left and ball to the right.

Put 1 rounded plate horizontally on top.

Repeat with the two remaining pieces.

Find 2 warm gold curved armor shells 1x3 with bottom pins.

Hold it horizontally, bottom pins on the right side, and insert the bottom pins into the 2 hollow knobs of the previous piece, 1/3 hovering above the ball cup.

Repeat with the remaining armor shell on the other upper arm.

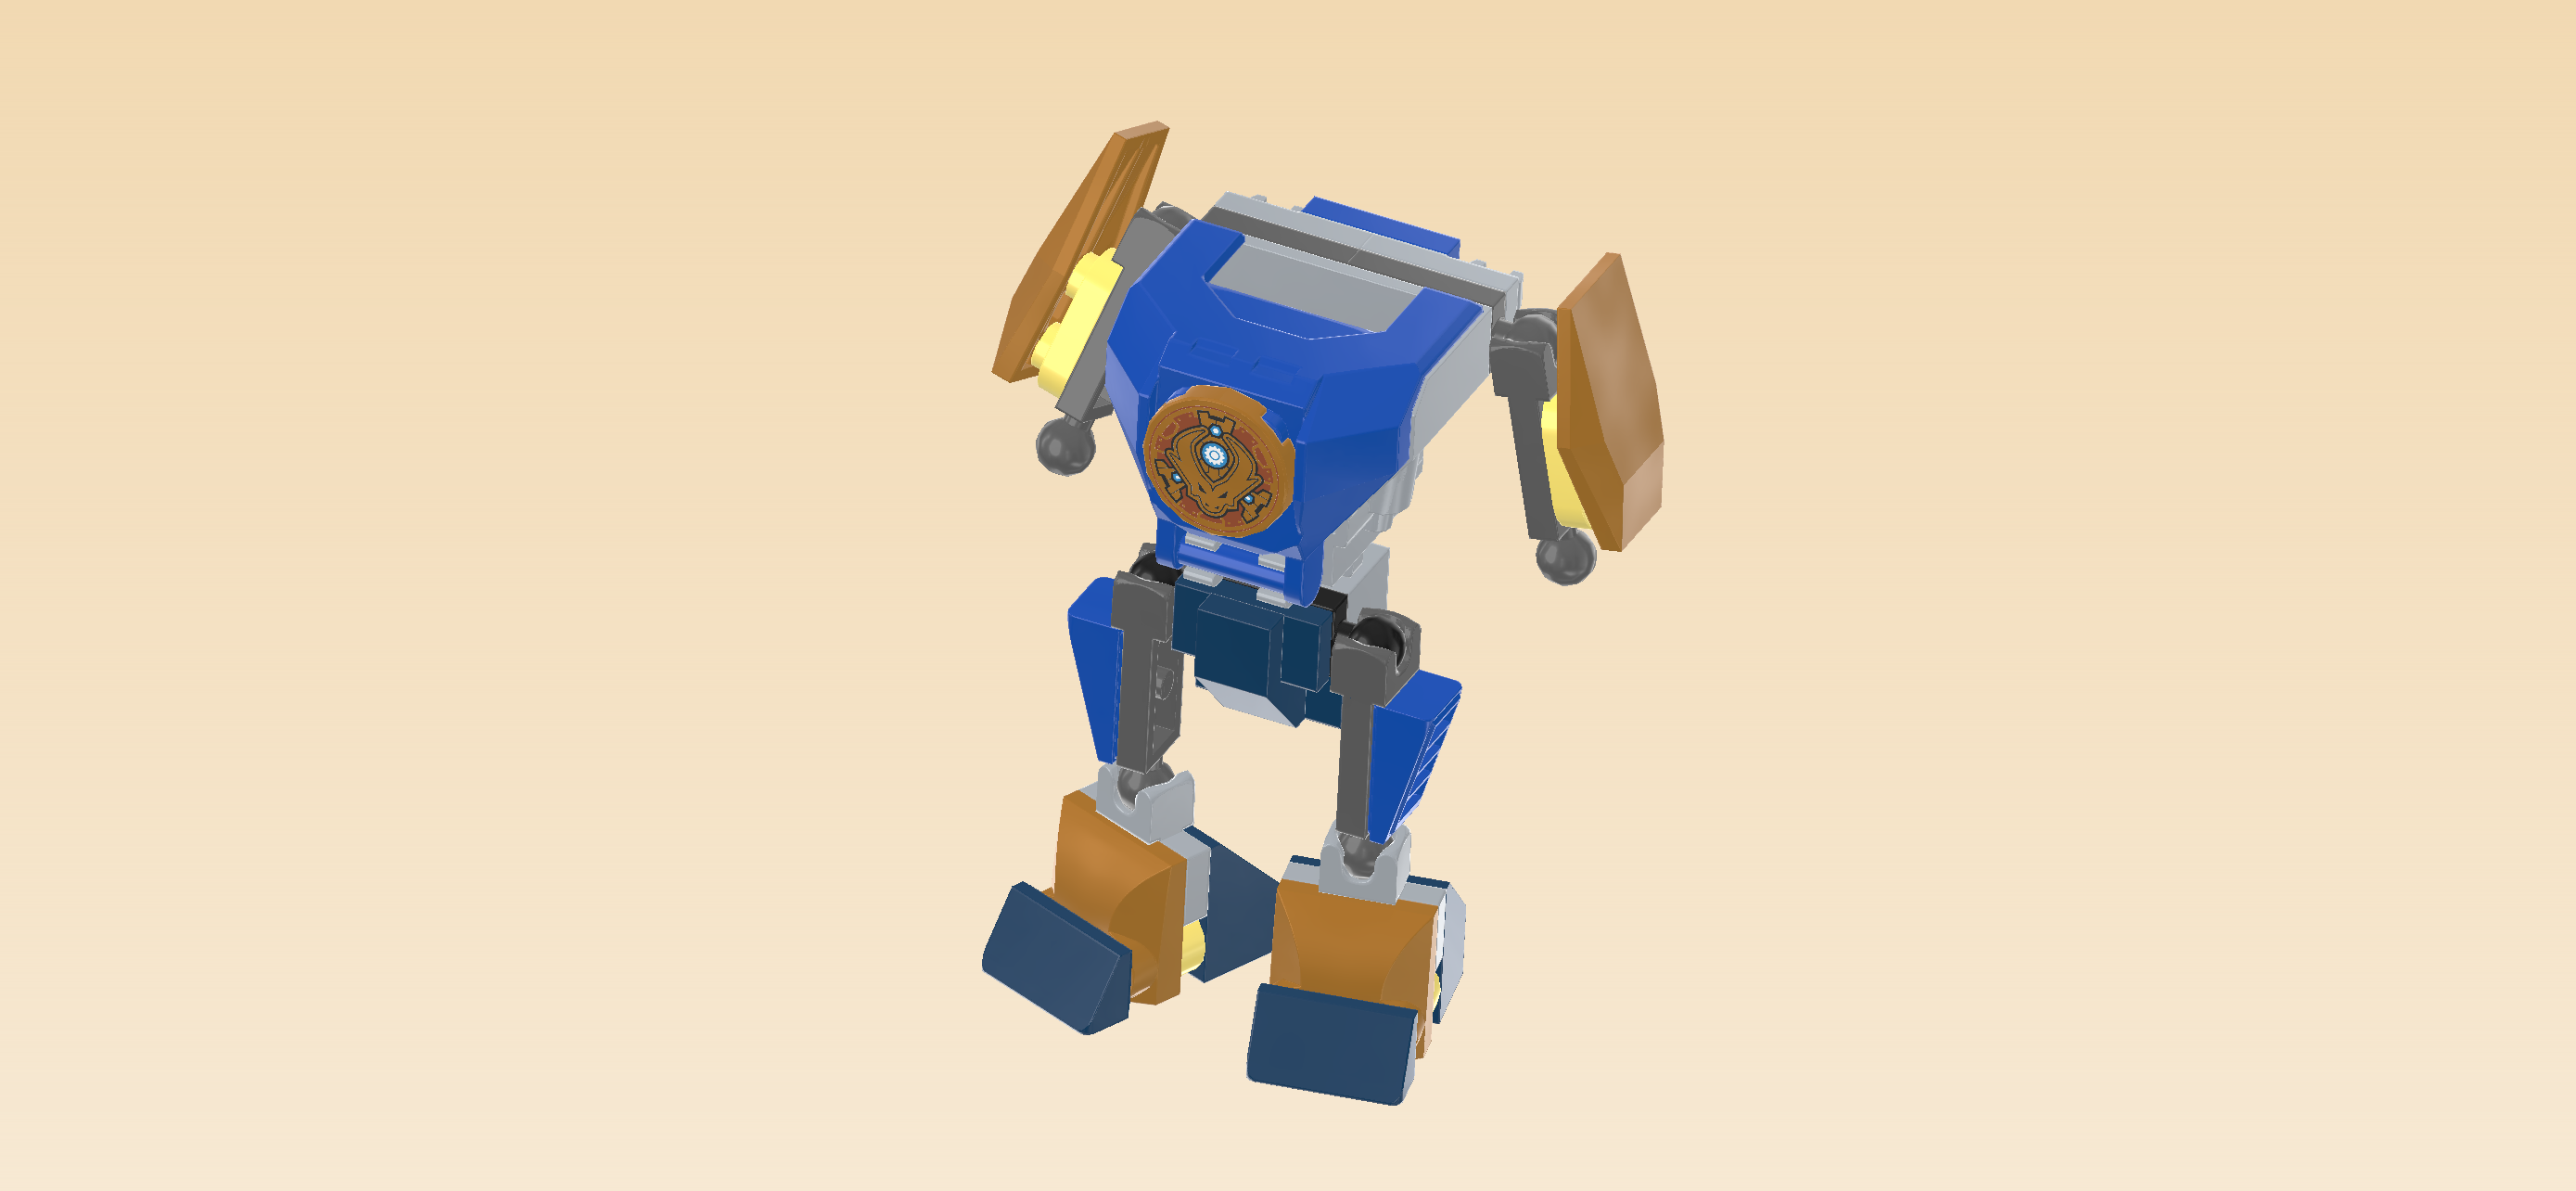
The upper arms of the mech are finished! Well done! Snap the ball cup of one arm into the right ball at the top of the mech. Make sure the armor shell is at the top.

Repeat symmetrically on the left.

Next, we will build the mech's shooter arm.

Collect the following 2 pieces:

1 medium stone grey plate 1x2 with ball cup on long side,

and 1 medium stone grey inverted one-stepped curve tile 2x2x⅔.

Put the inverted one-stepped curve tile on the table, higher end towards the right.

Put the plate with ball cup vertically on the left column, ball cup overhanging to the left.

Next up, we will assemble the 2 shooters.

Collect the following 4 pieces:

2 titanium metallic shooter barrels with 1x2 plate,

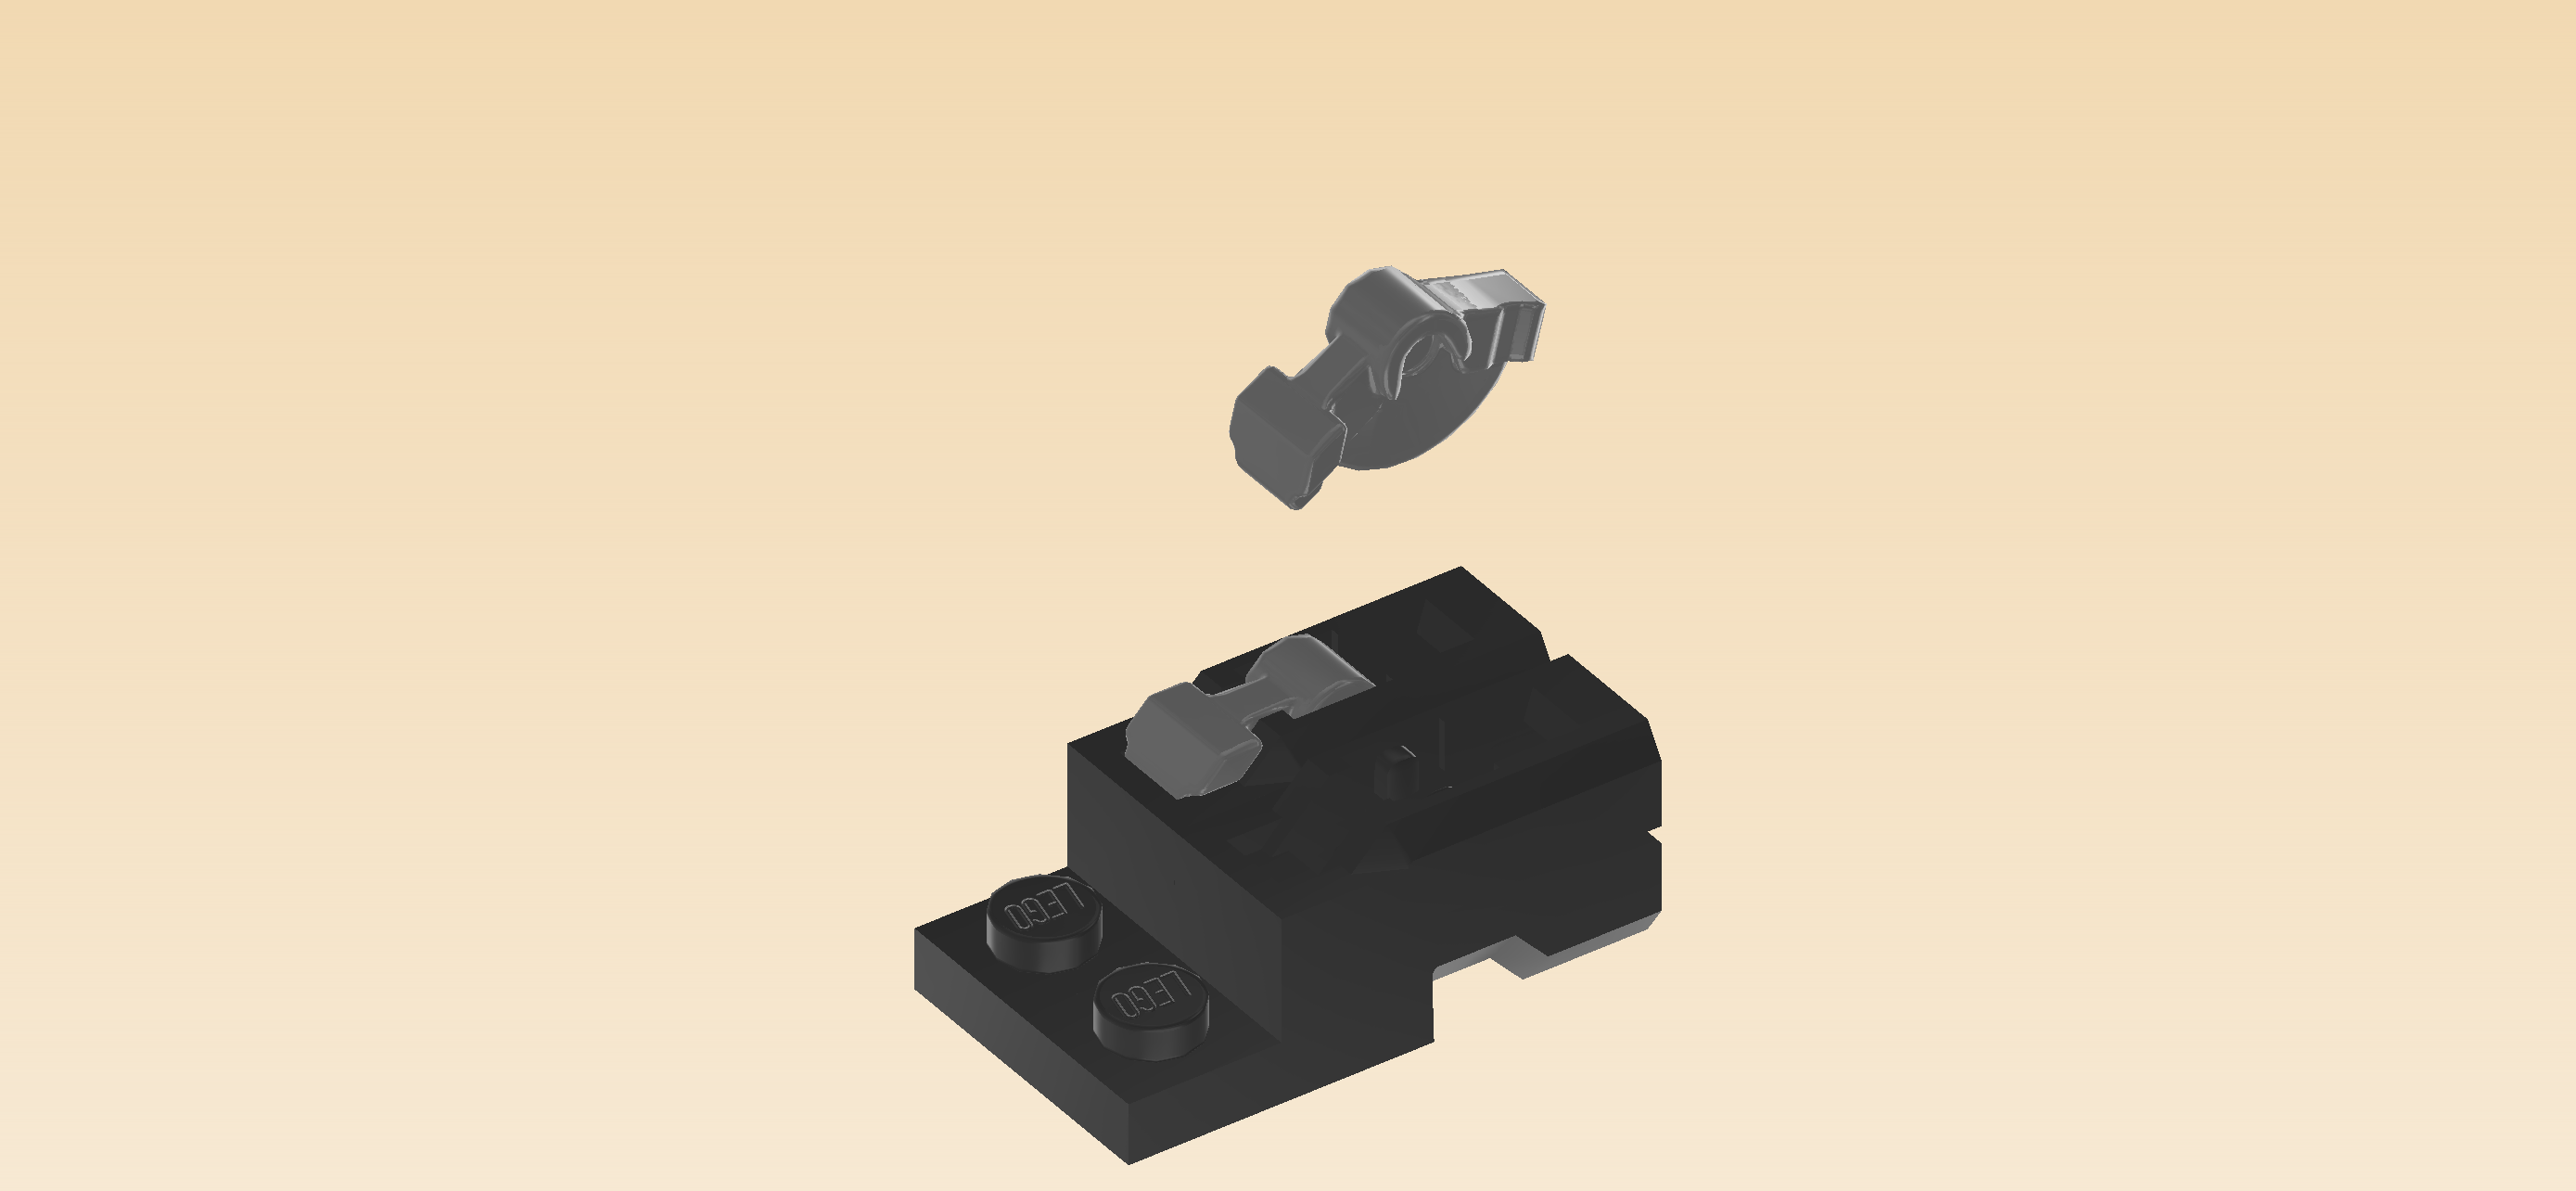
and 2 dark stone grey shooter triggers. (These are very small, uniquely shaped elements. The trigger resembles a wide-angled segment of a circle with a tiny hinge-like tip and a knob-like thicker end.)

The shooters are tricky to assemble. Ask for help if it doesn't work, but first let's give it a try!

Put the shooter barrel with 1x2 plate horizontally on the table, open end of the barrel to the right.

Insert the trigger into the top slot, circle segment towards the bottom, thicker end to the left.

Repeat with the other shooter barrel and trigger.

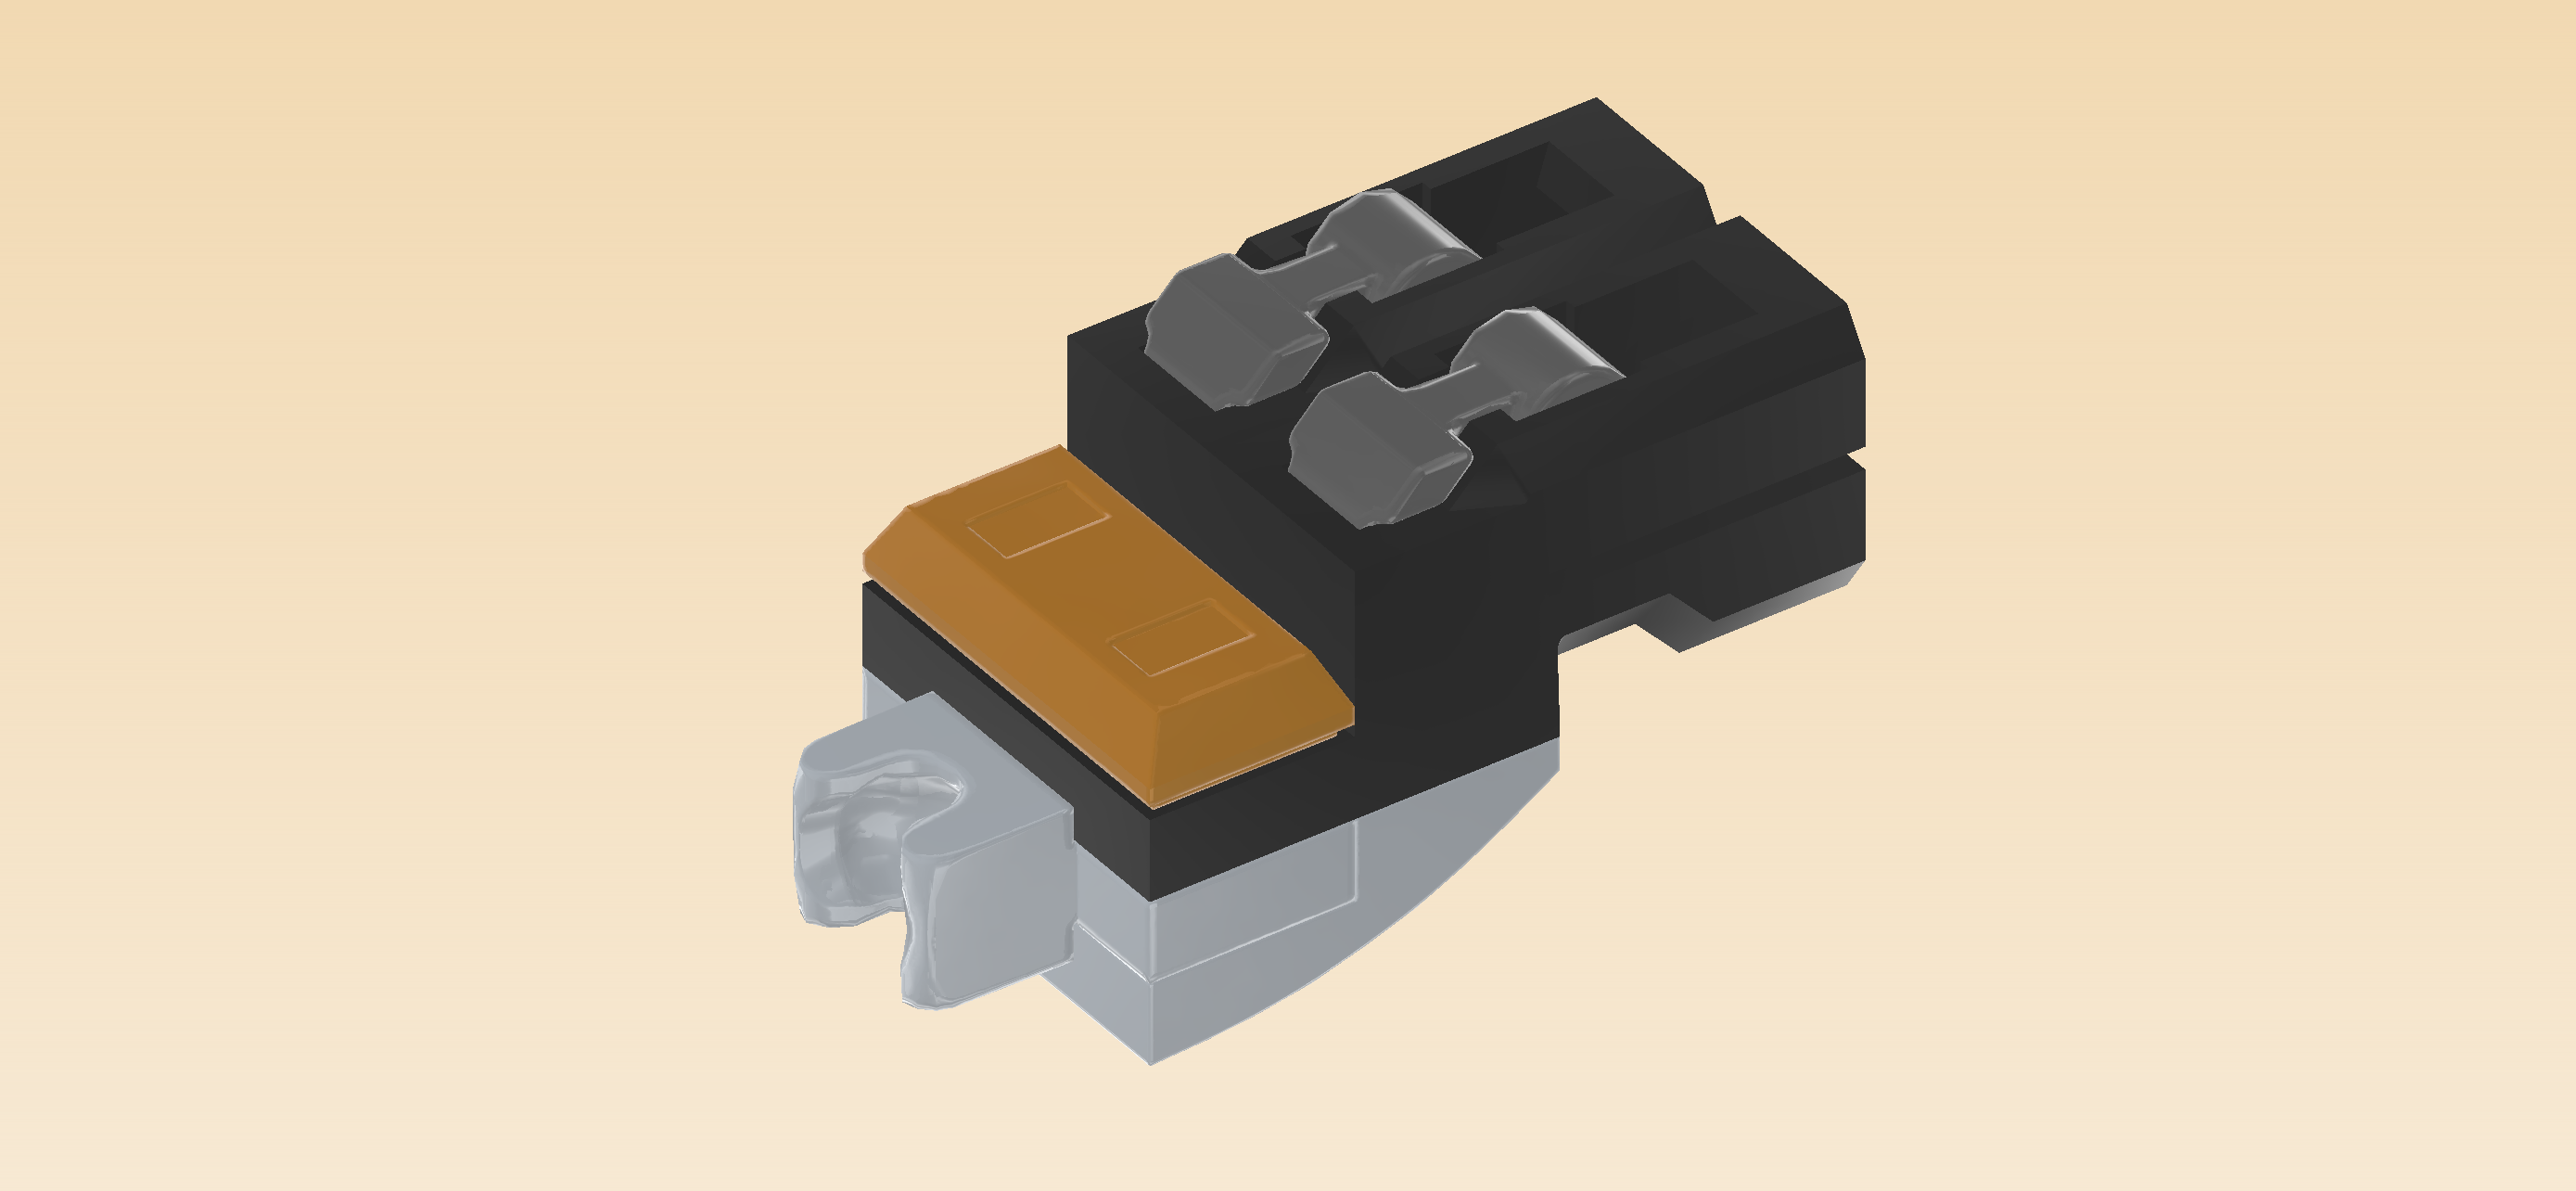
The 2 shooters are finished! Well done! Mount 1 horizontally on the back row of the shooter arm structure, shooter barrel overhanging to the right.

Mount the other one horizontally in front of the previous piece, shooter barrel overhanging to the right.

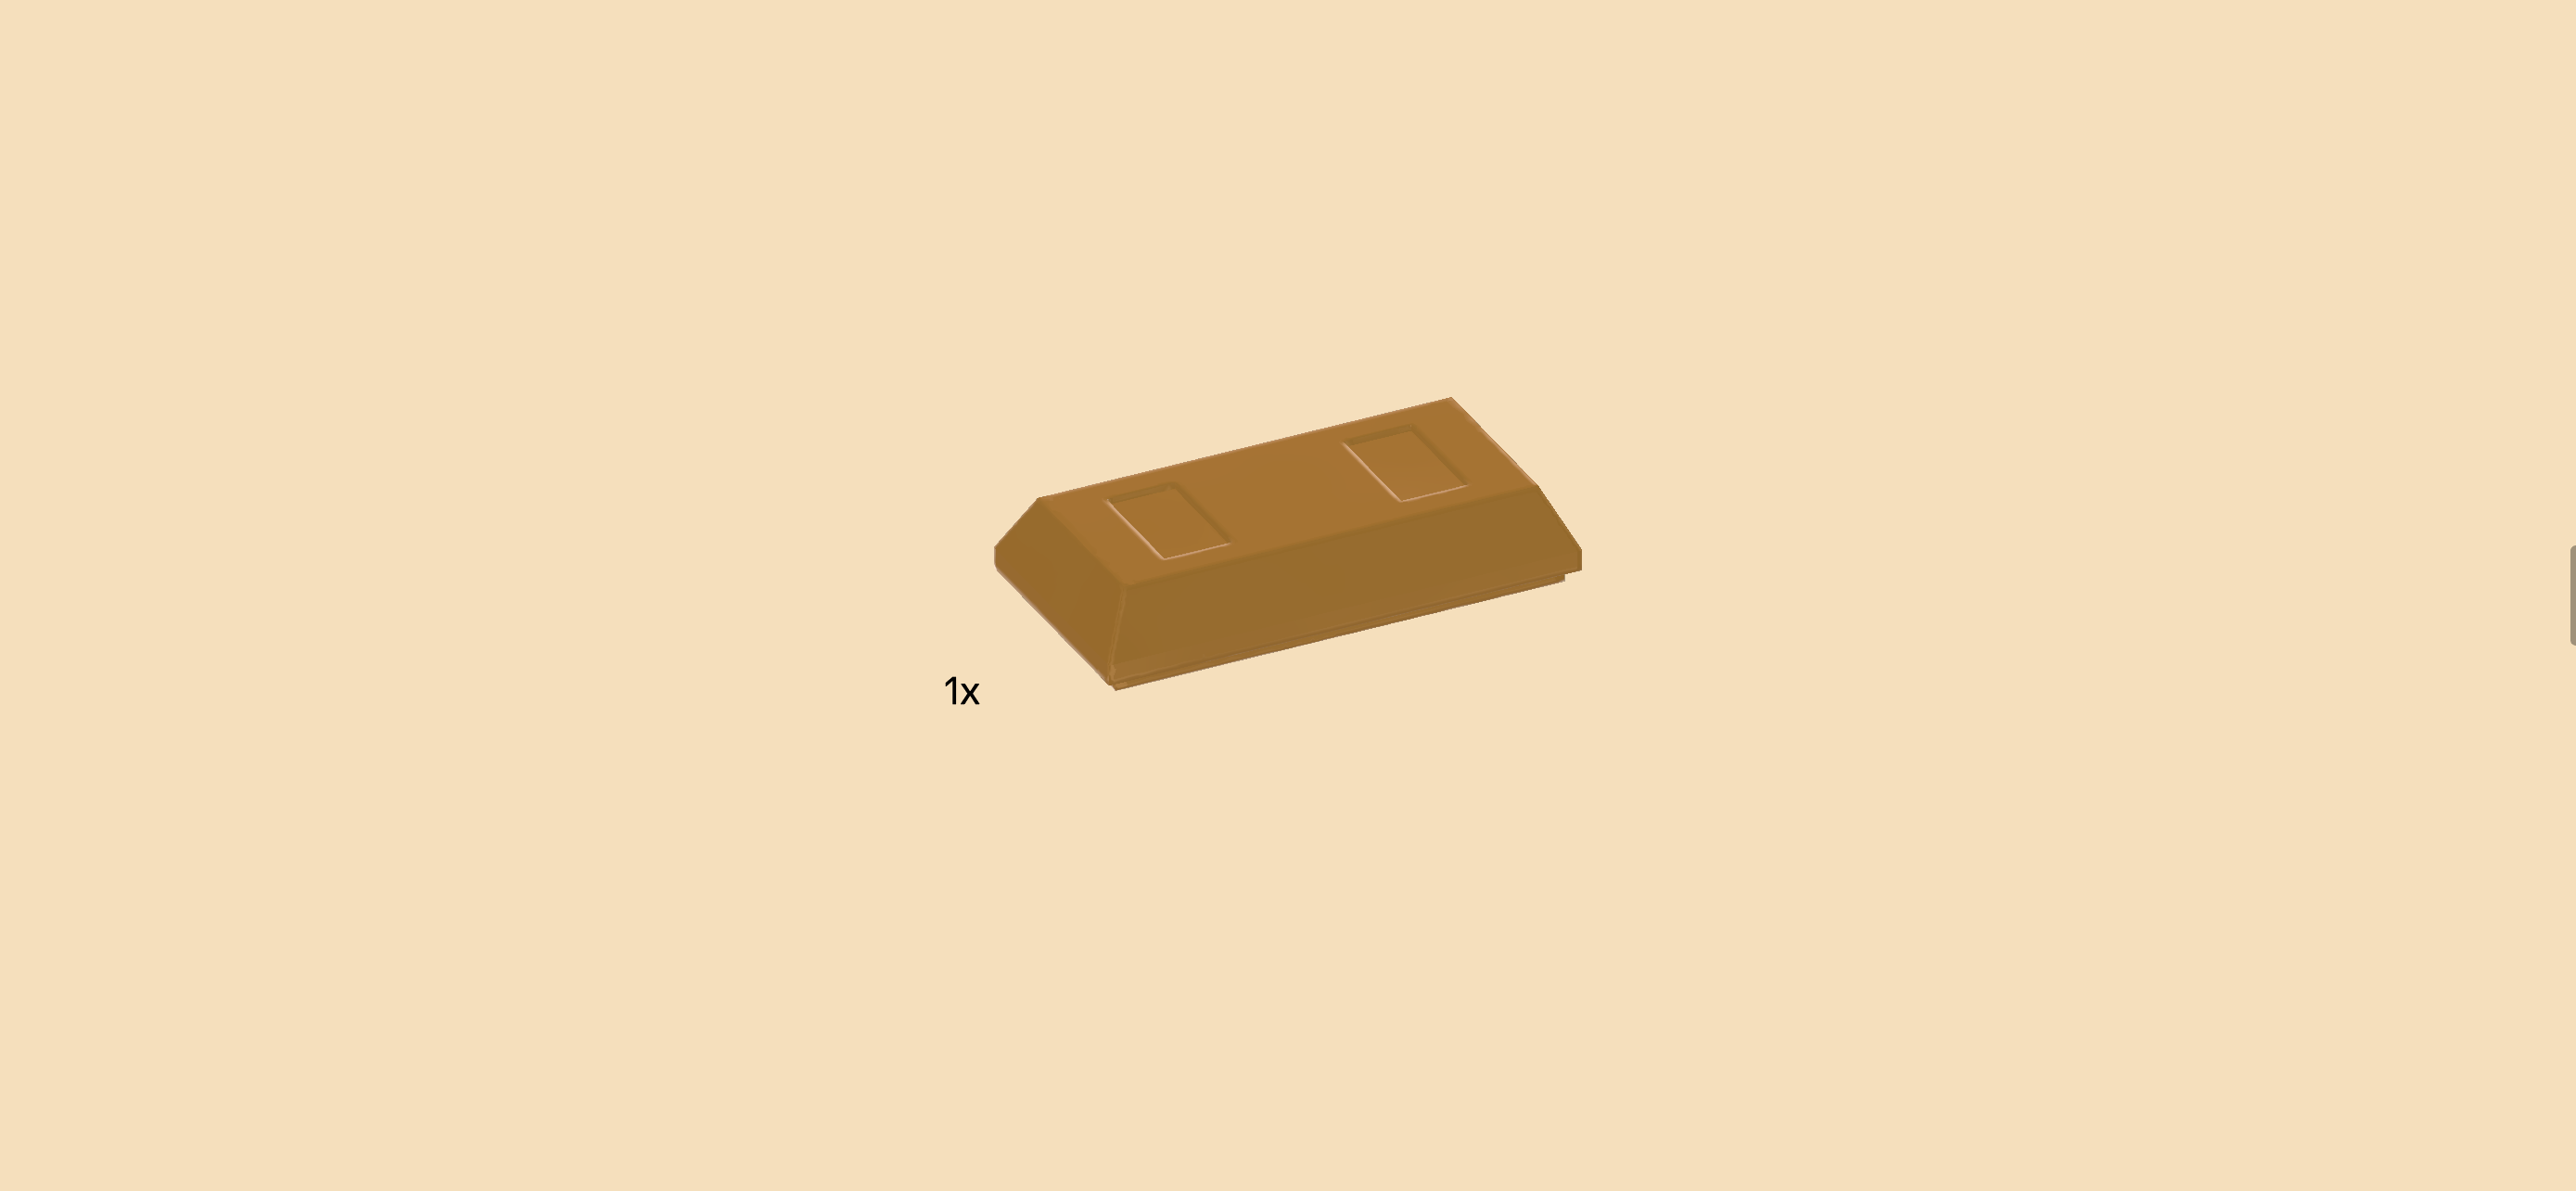
Find 1 warm gold ingot 1x2.

Put it vertically on the 2 knobs of the shooters to secure them.

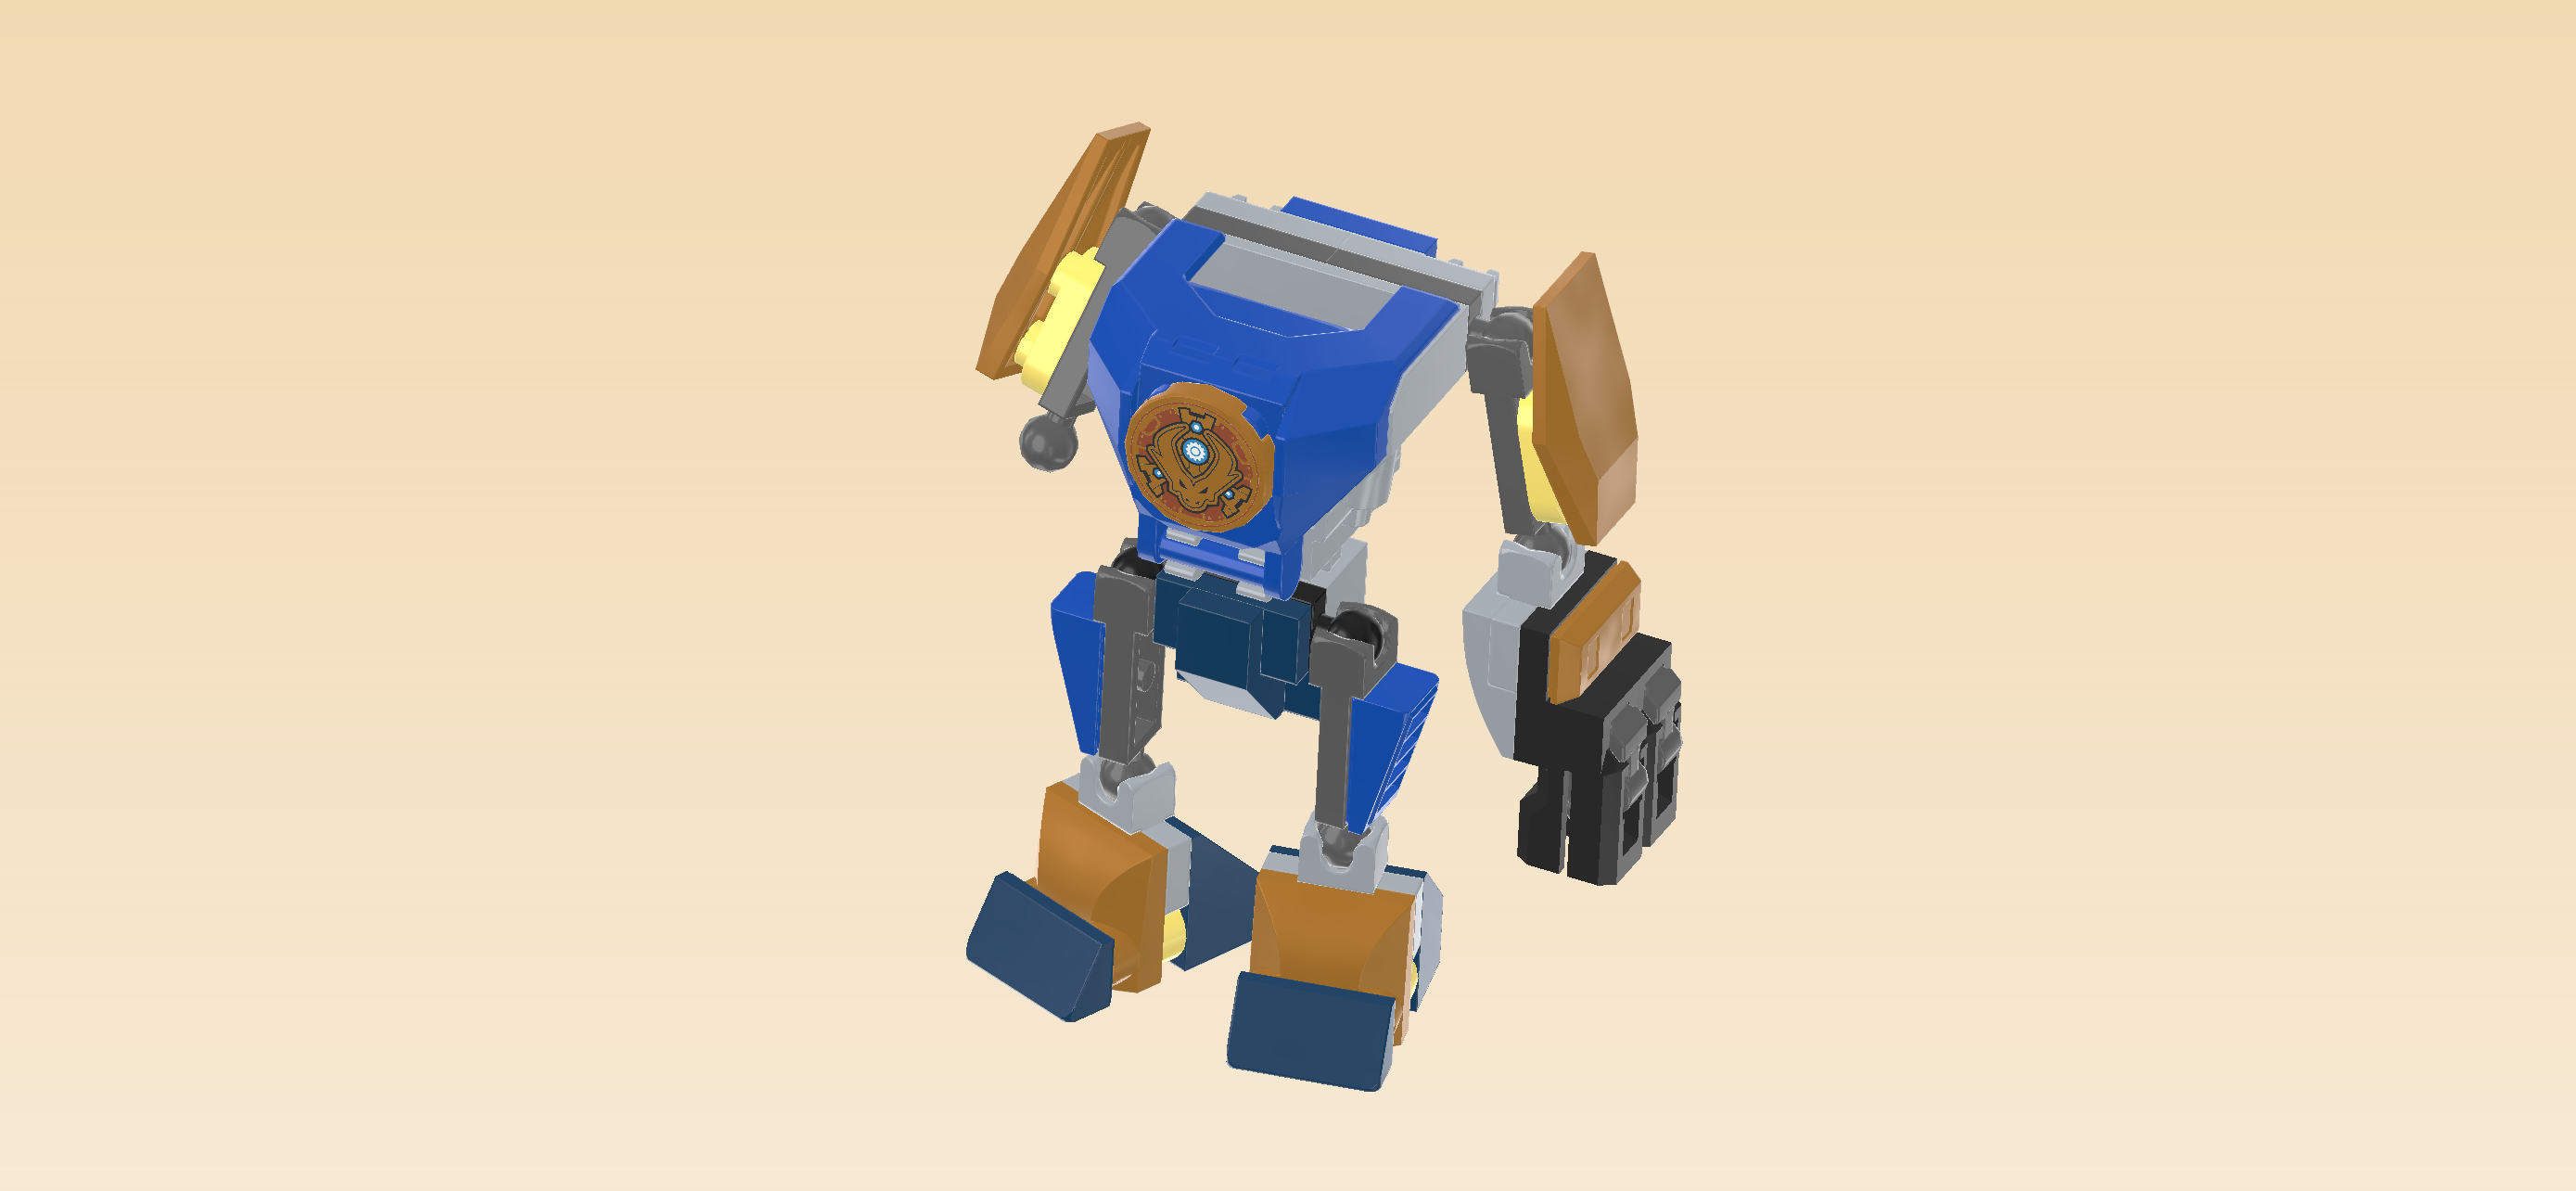
The mech's shooter arm is finished! Well done! Snap the ball cup on the ball at the end of the right arm.

Now, we will build the mech's sword arm.

Collect the following 2 pieces:

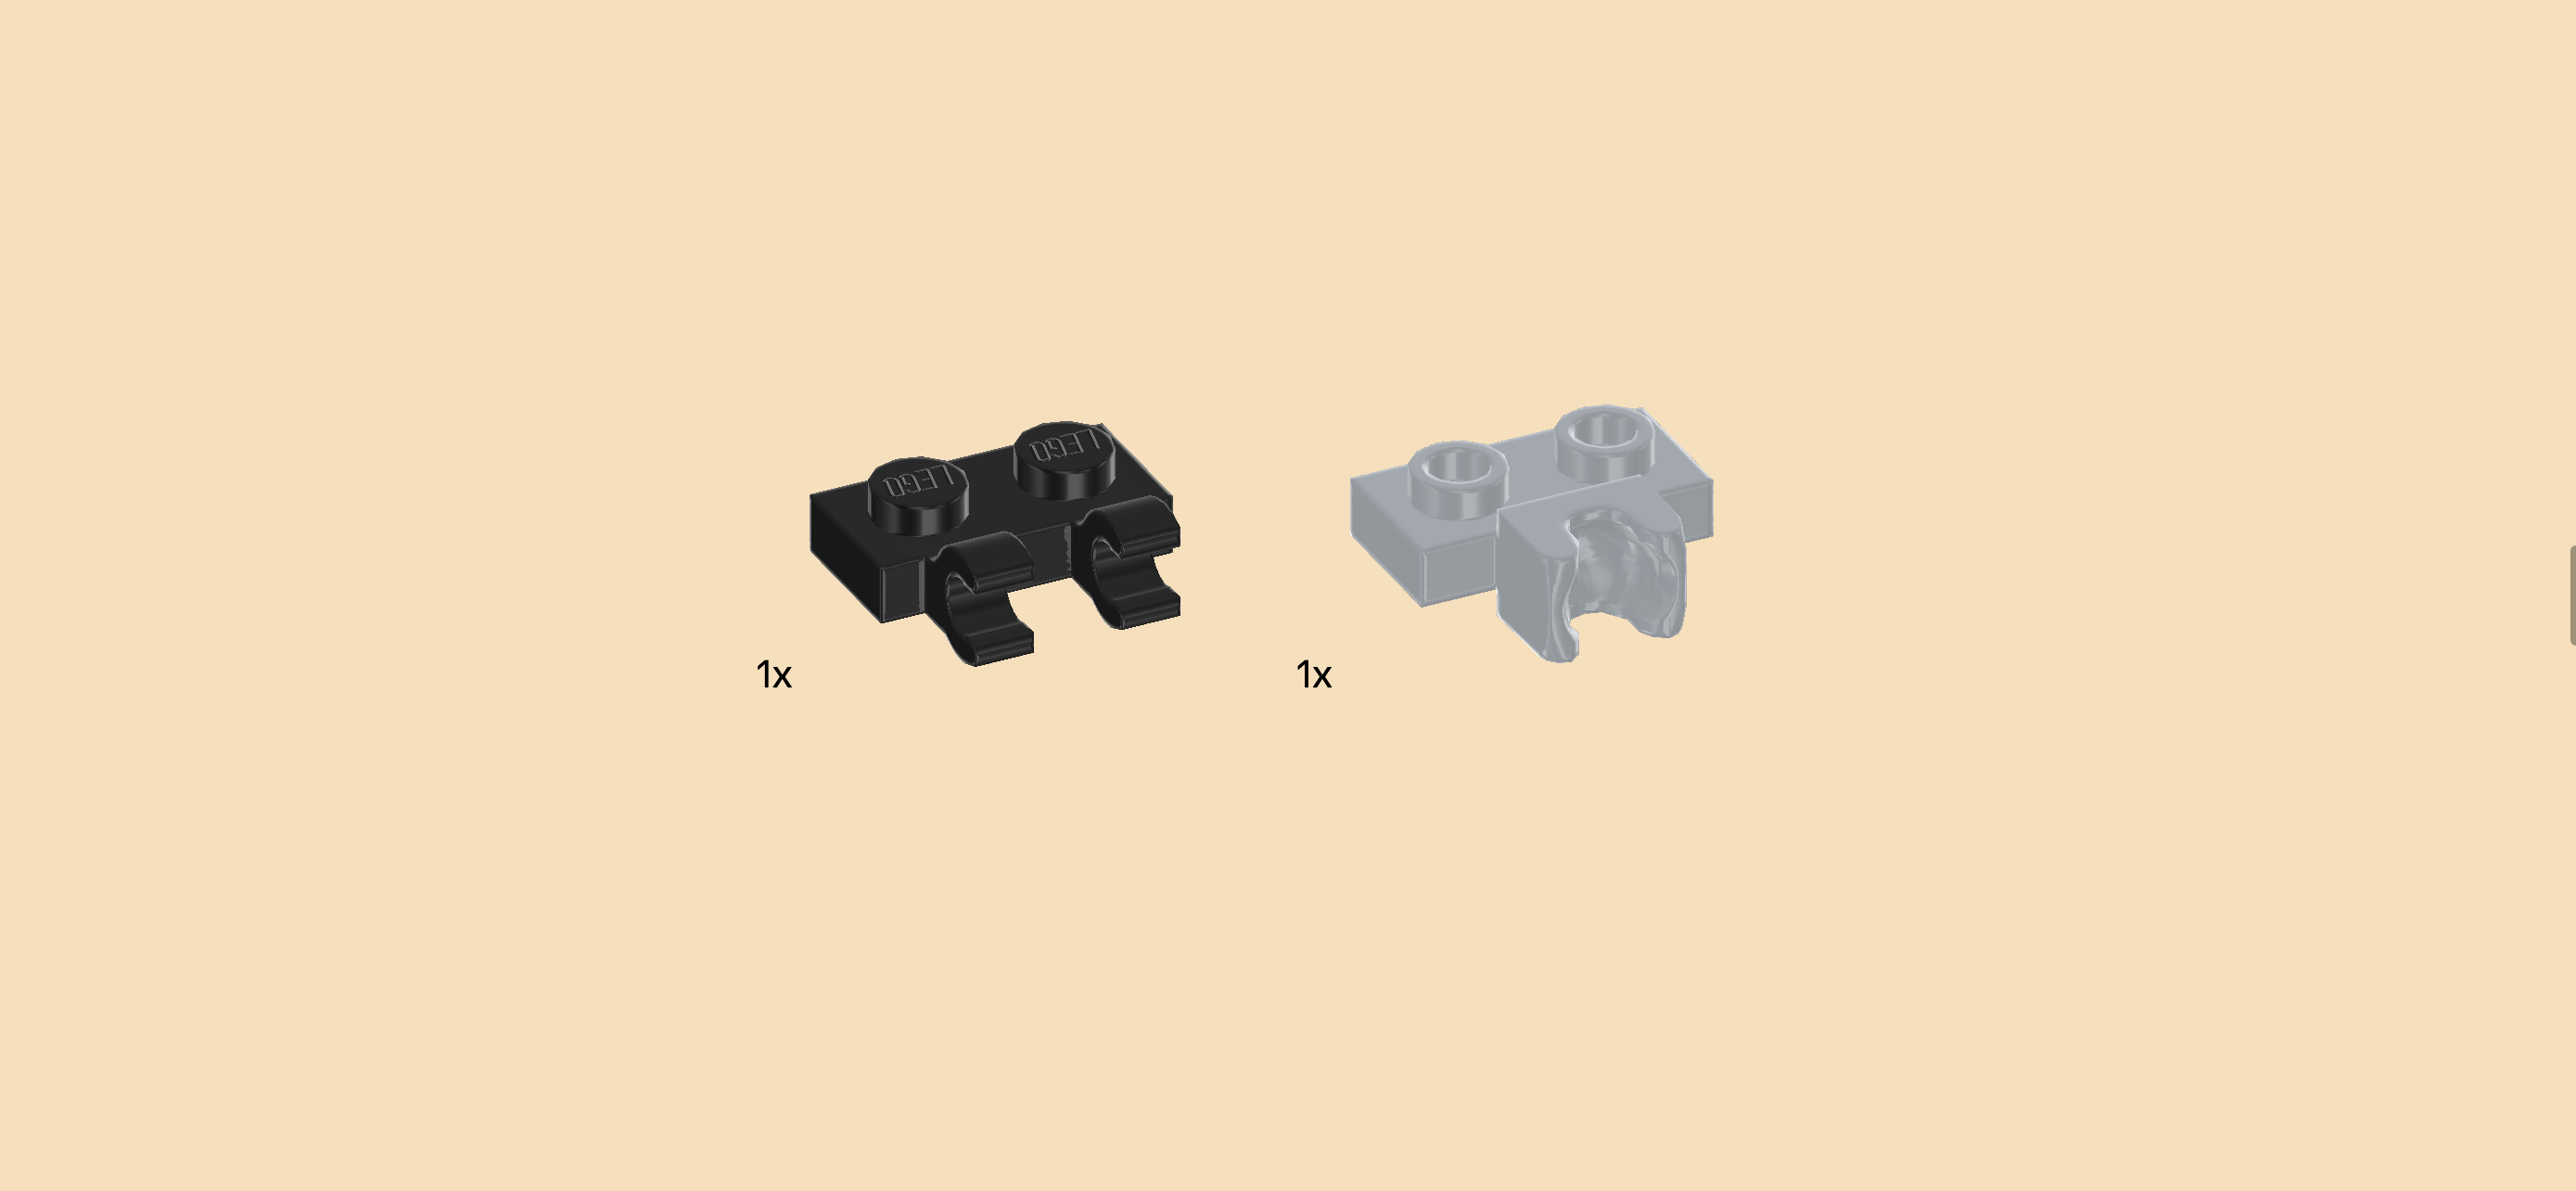
1 black plate 1x2 with 2 vertical clasps on long side,

and 1 medium stone grey plate 1x2 with ball cup on long side.

Put the plate with ball cup vertically on the table, ball cup to the right.

Put the plate with 2 clasps vertically on top, clasps to the left.

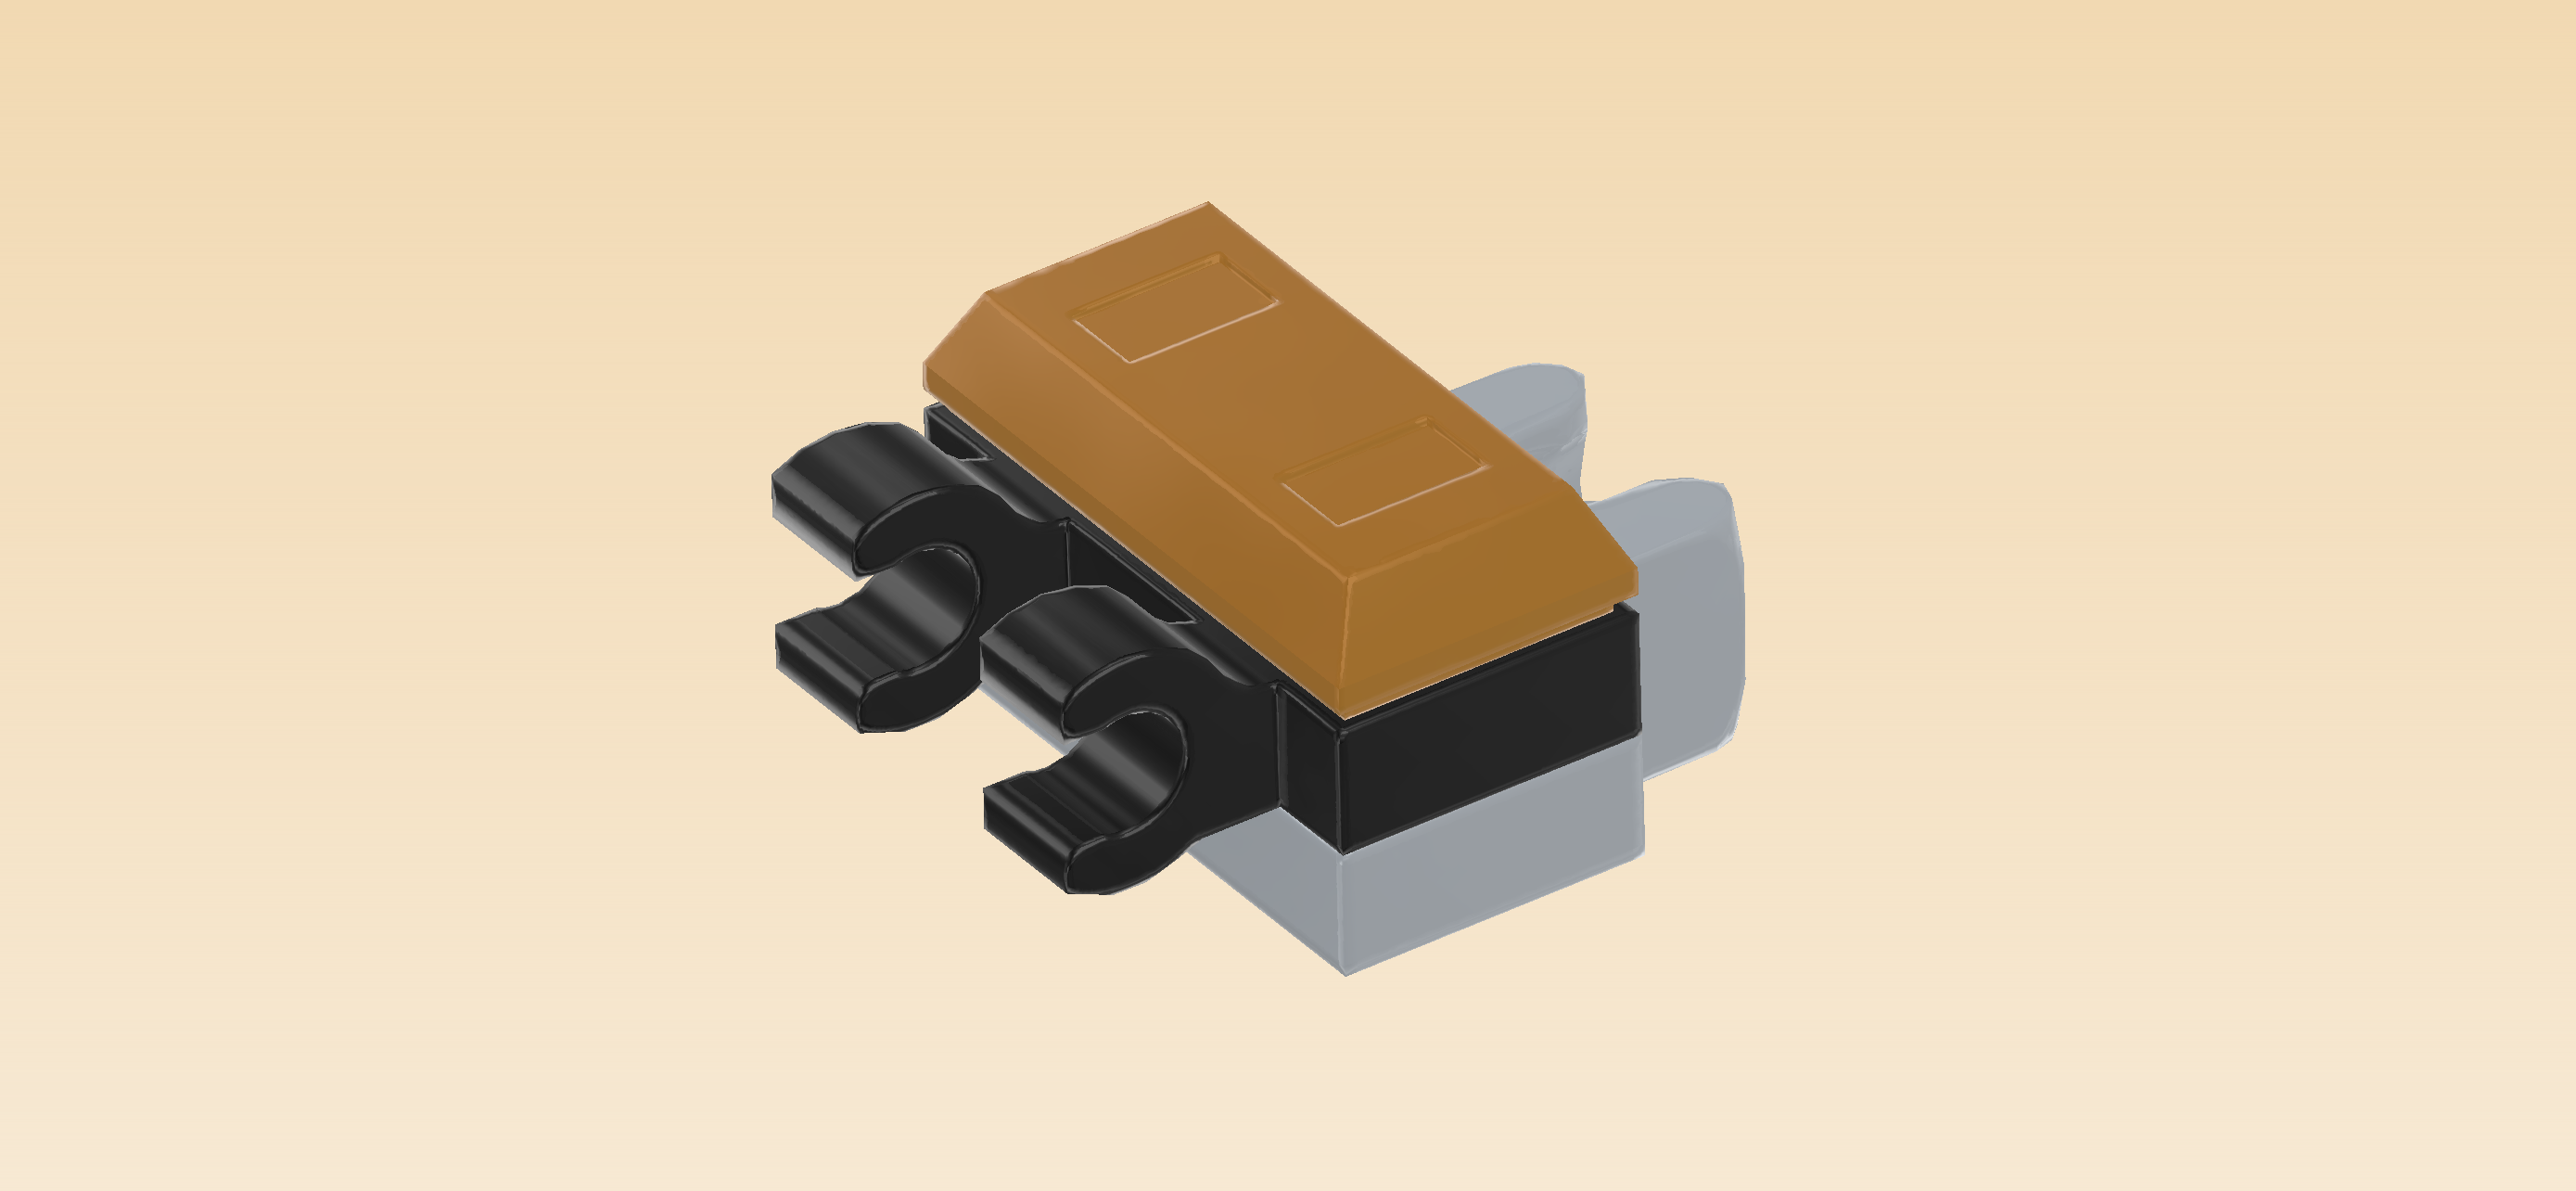
Find 1 warm gold ingot 1x2.

Put it vertically on top.

To mount the sword arm, snap its ball cup on the ball of the left arm.

Next up, we will build the large sword.

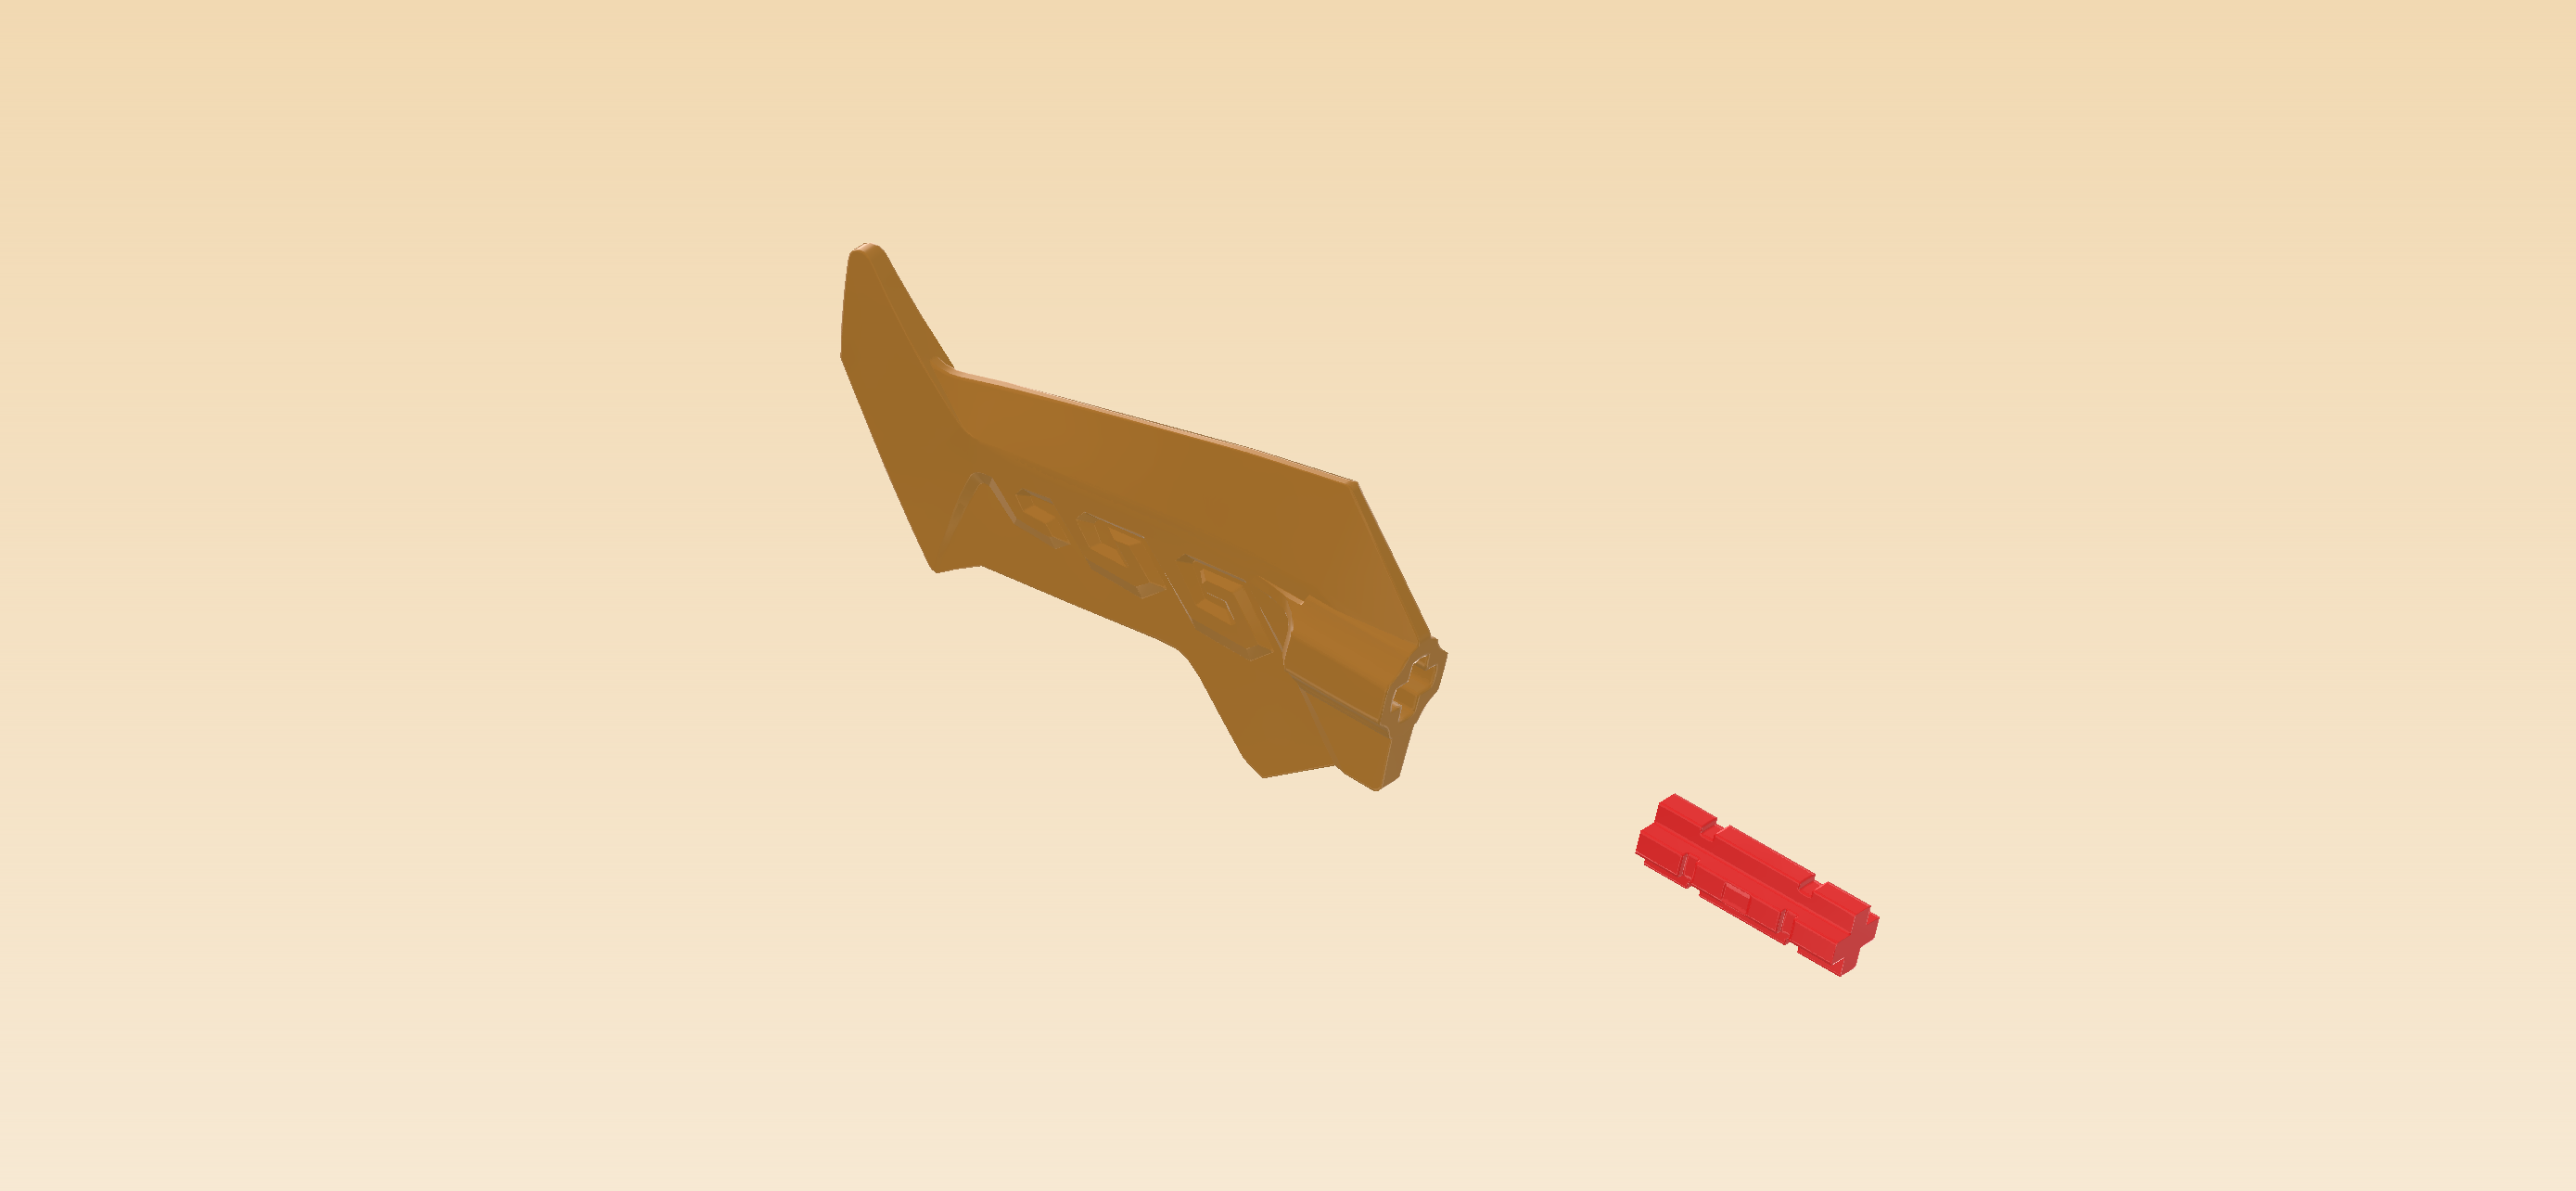
Collect the following 2 pieces:

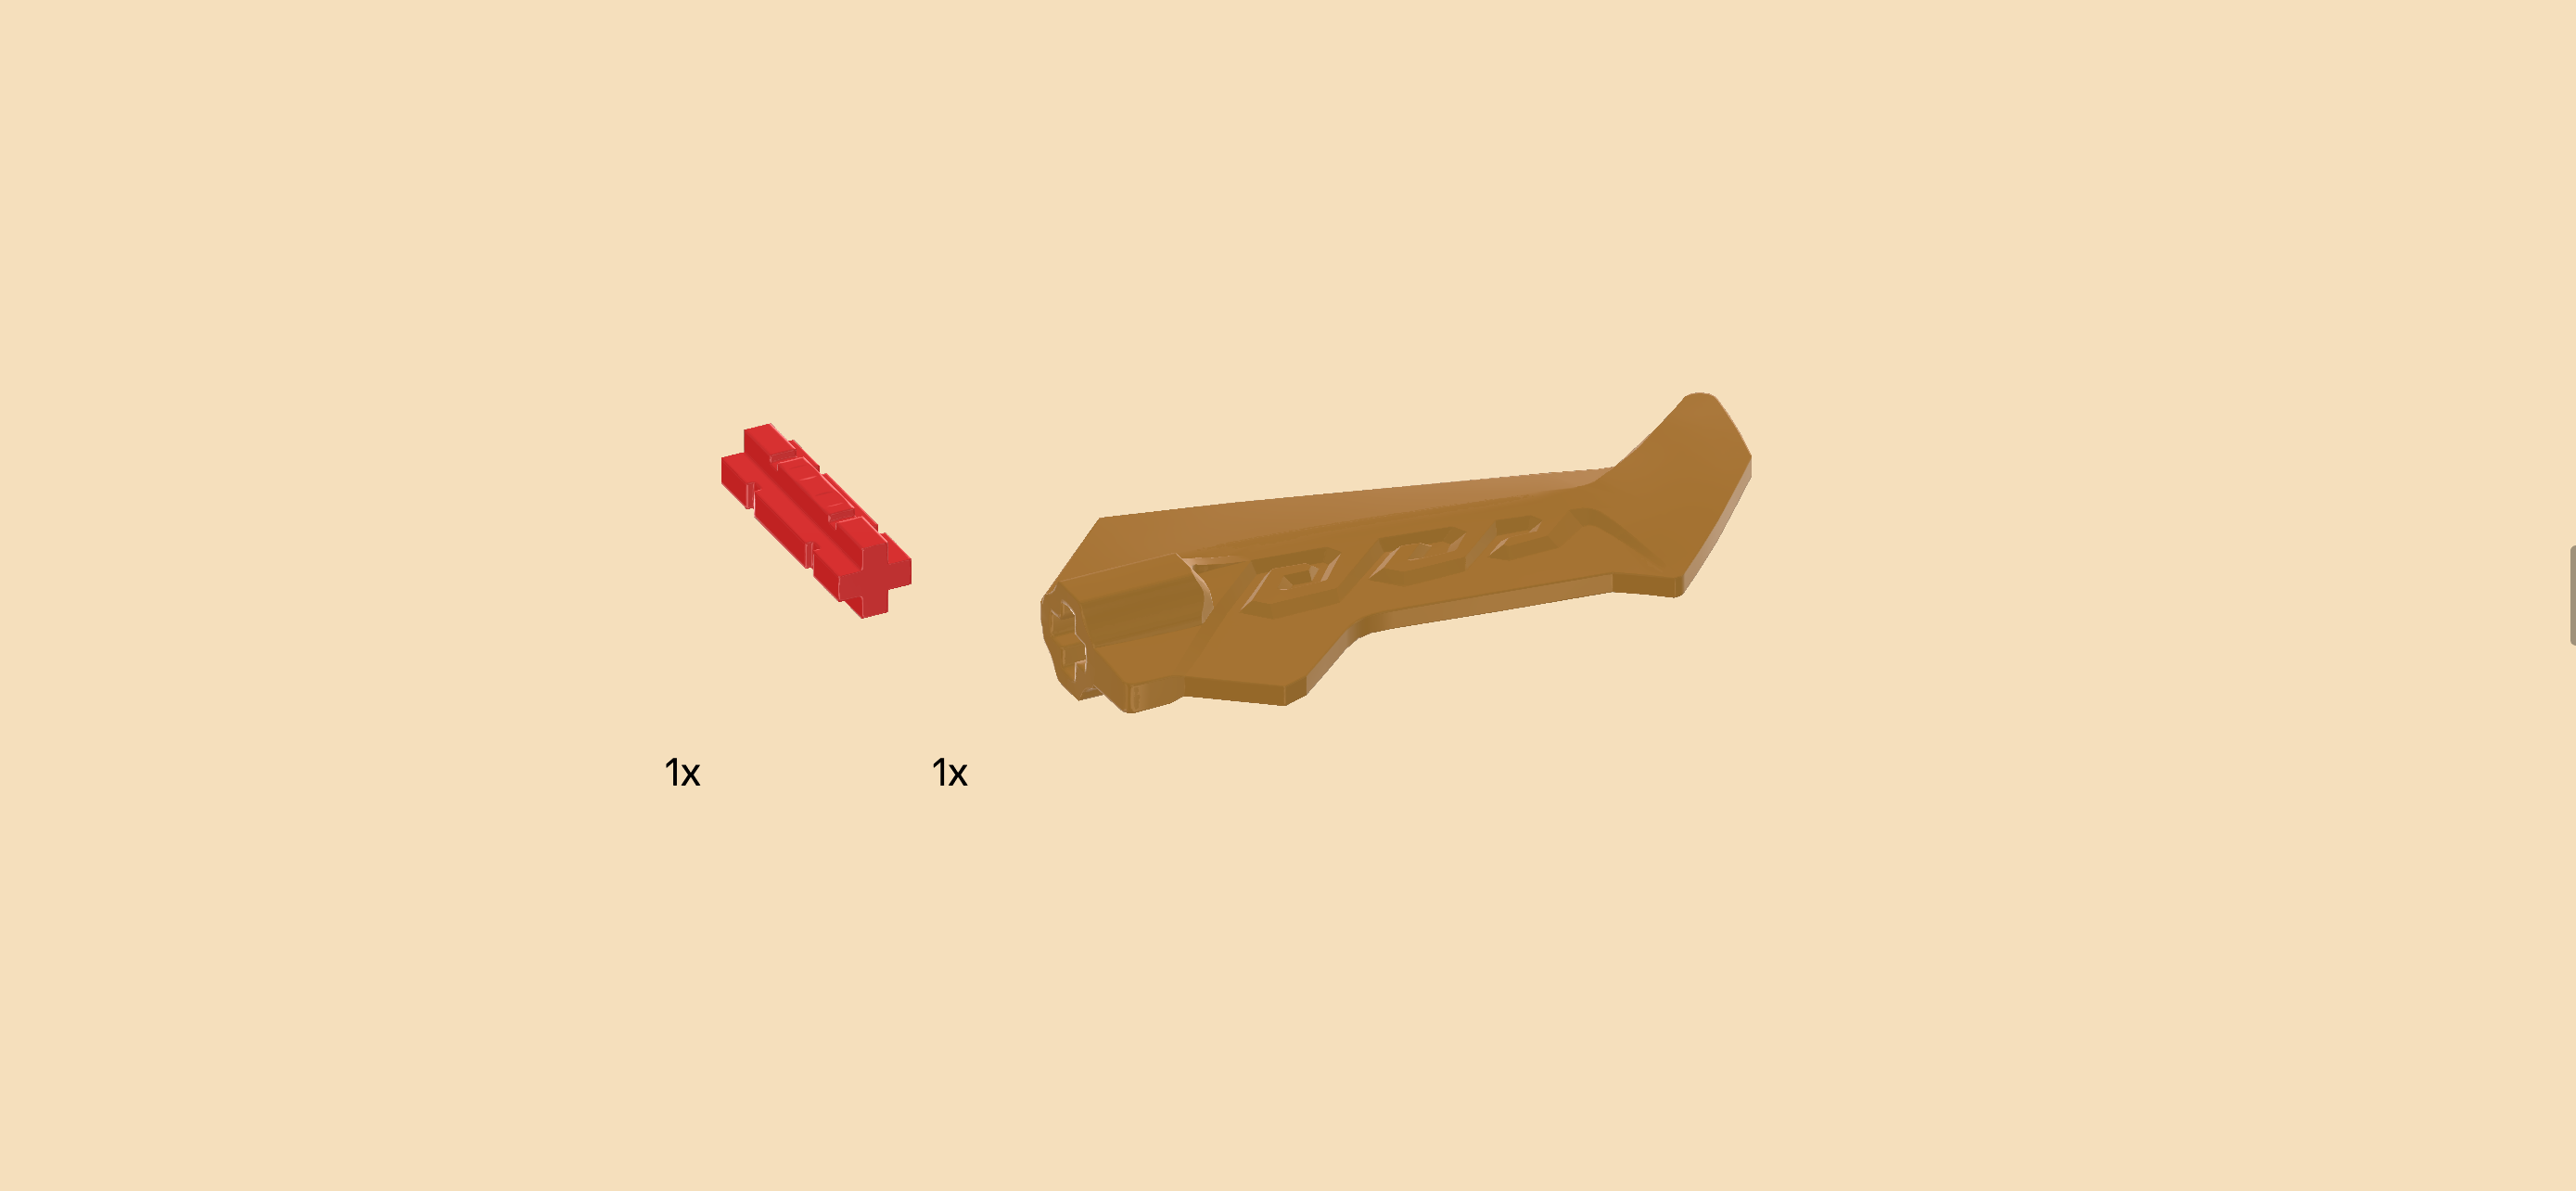
1 bright red cross axle 2m with 2 grooves, (2m means that this piece is about 2 knobs long)

and 1 warm gold jagged blade 3x6 with cross hole.

Insert the cross axle into the blade's cross hole, one half sticking out from the blade.

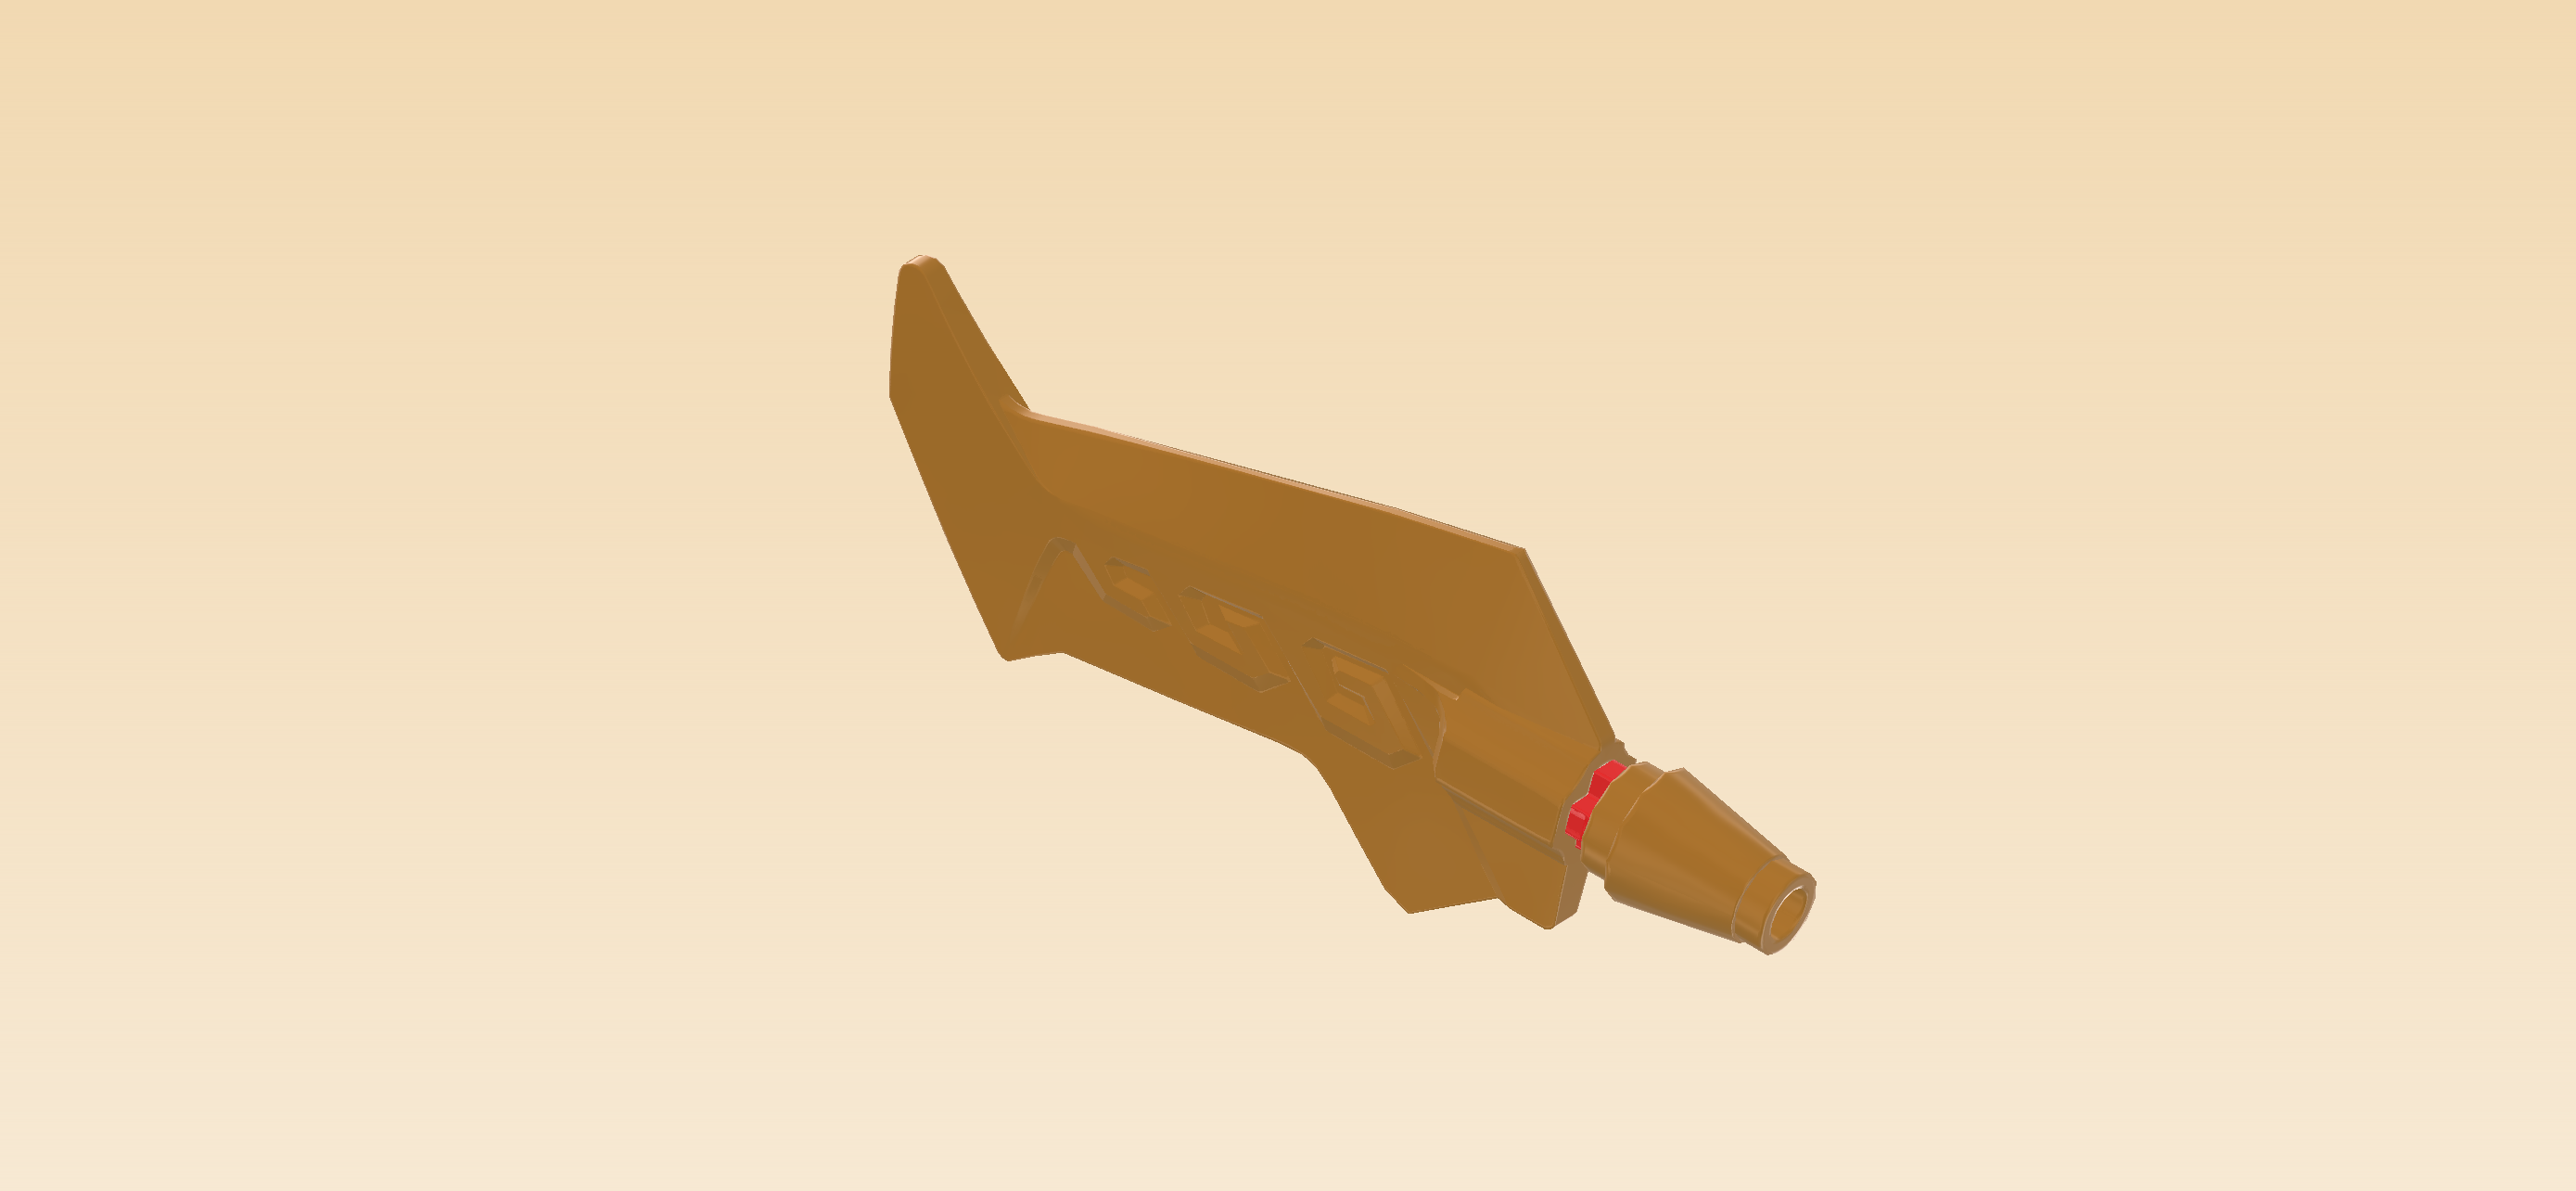
Find 1 warm gold nose cone 1x1.

Put its wider end on the cross axle that is sticking out from the blade.

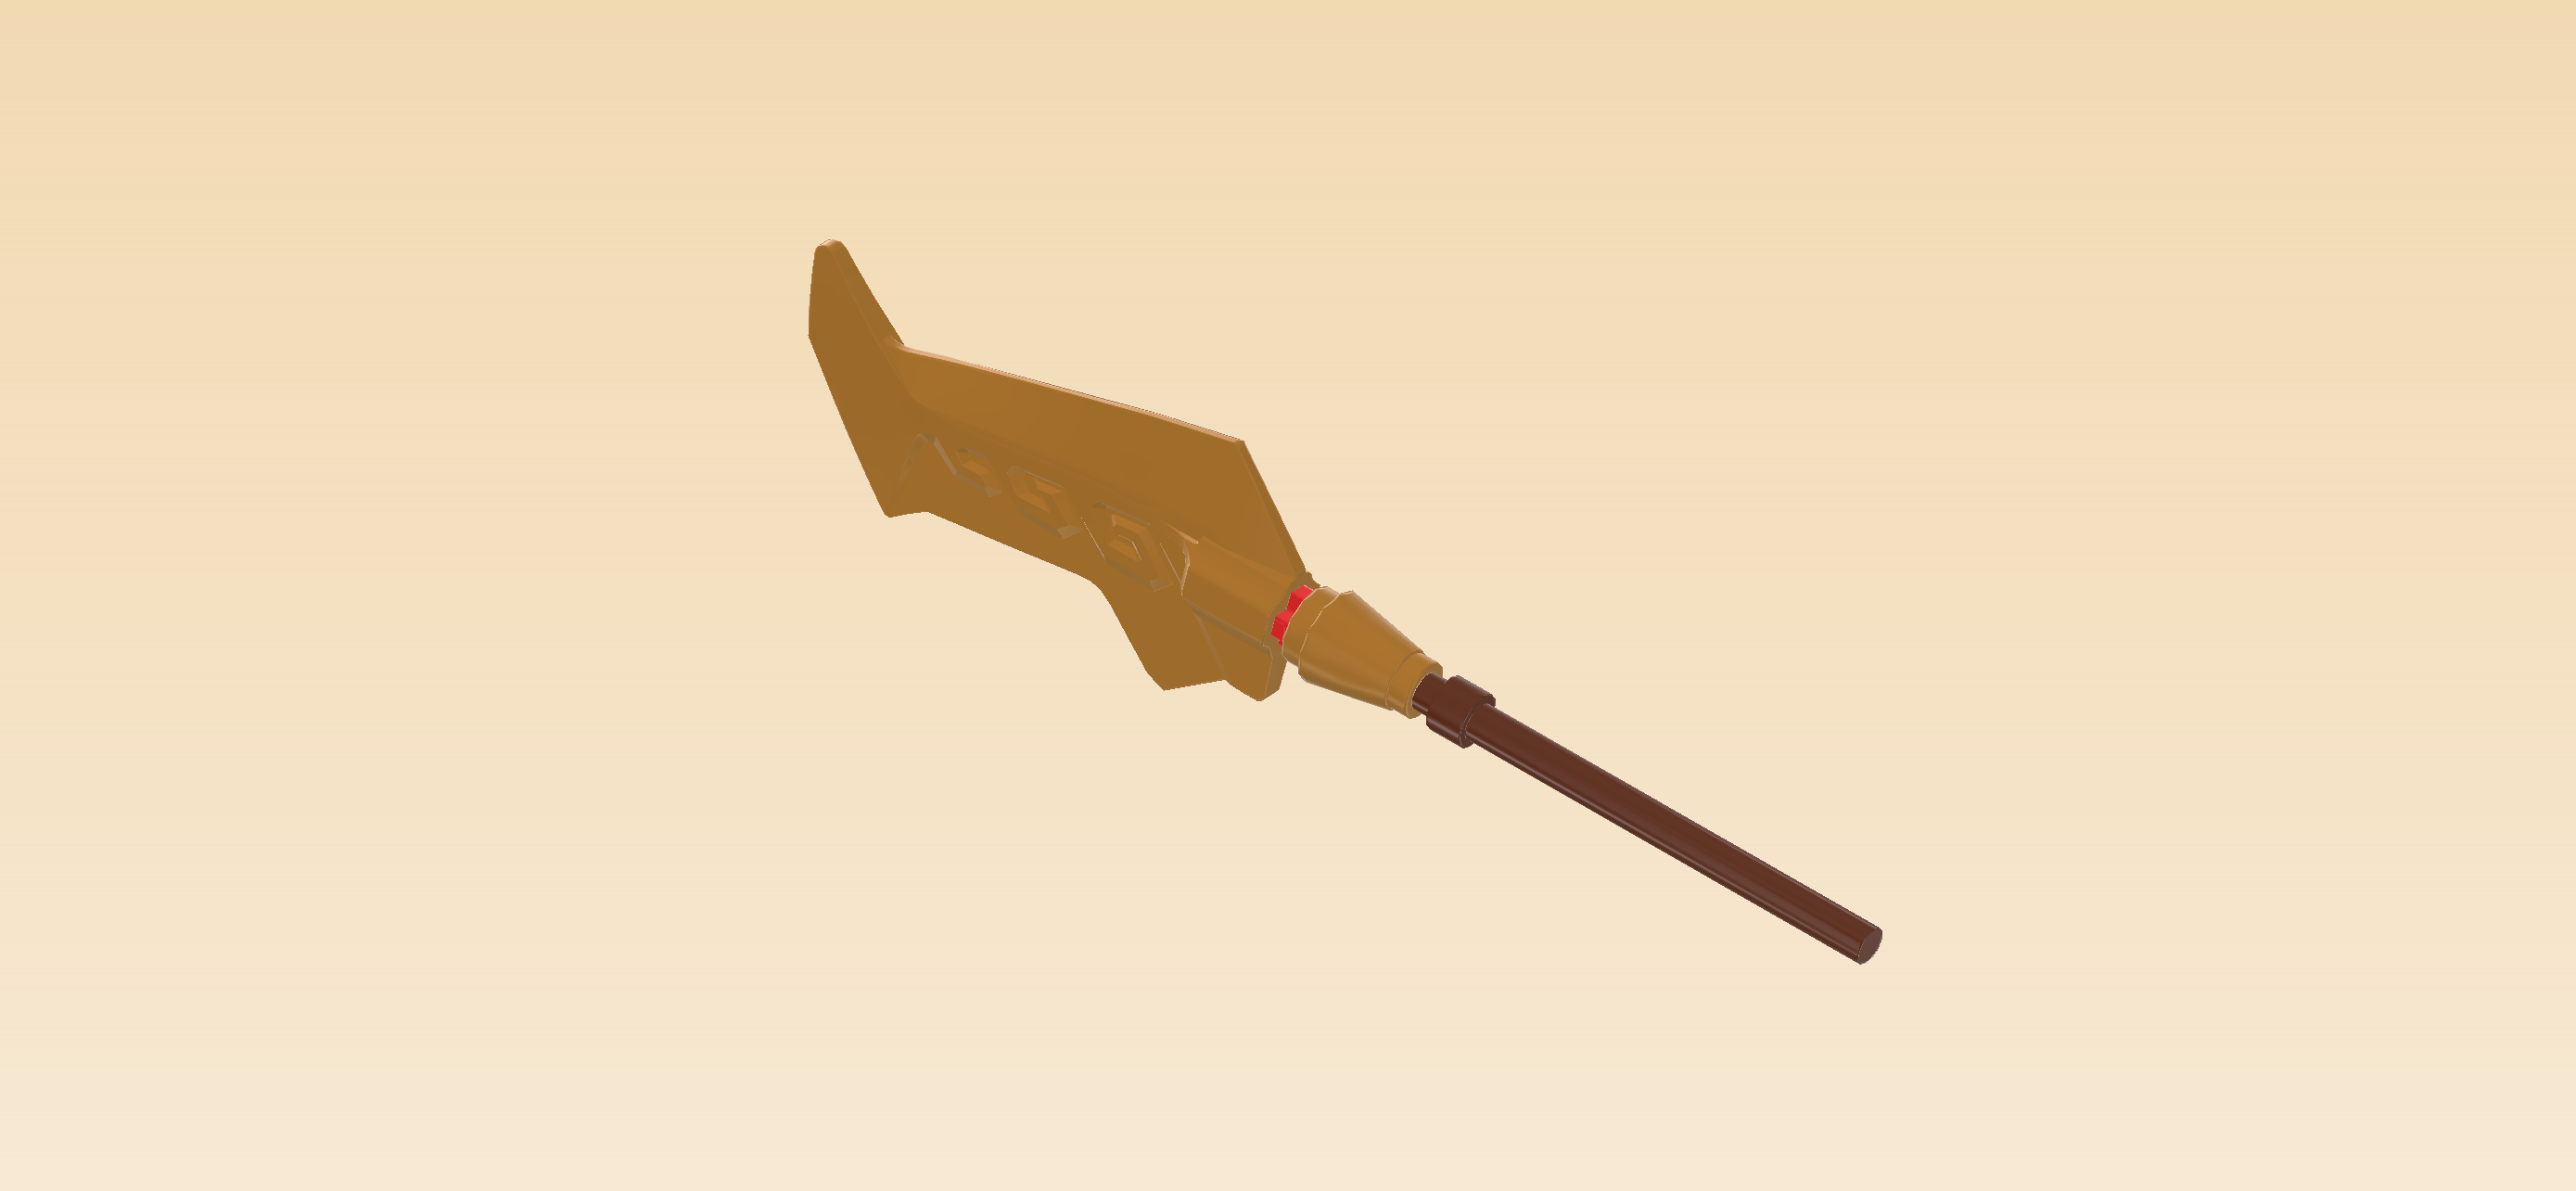
Find 1 reddish brown shaft 6m with ring.

Insert the short end of the shaft (this is the shaft end that is closer to the ring) into the hollow knob of the previous piece.

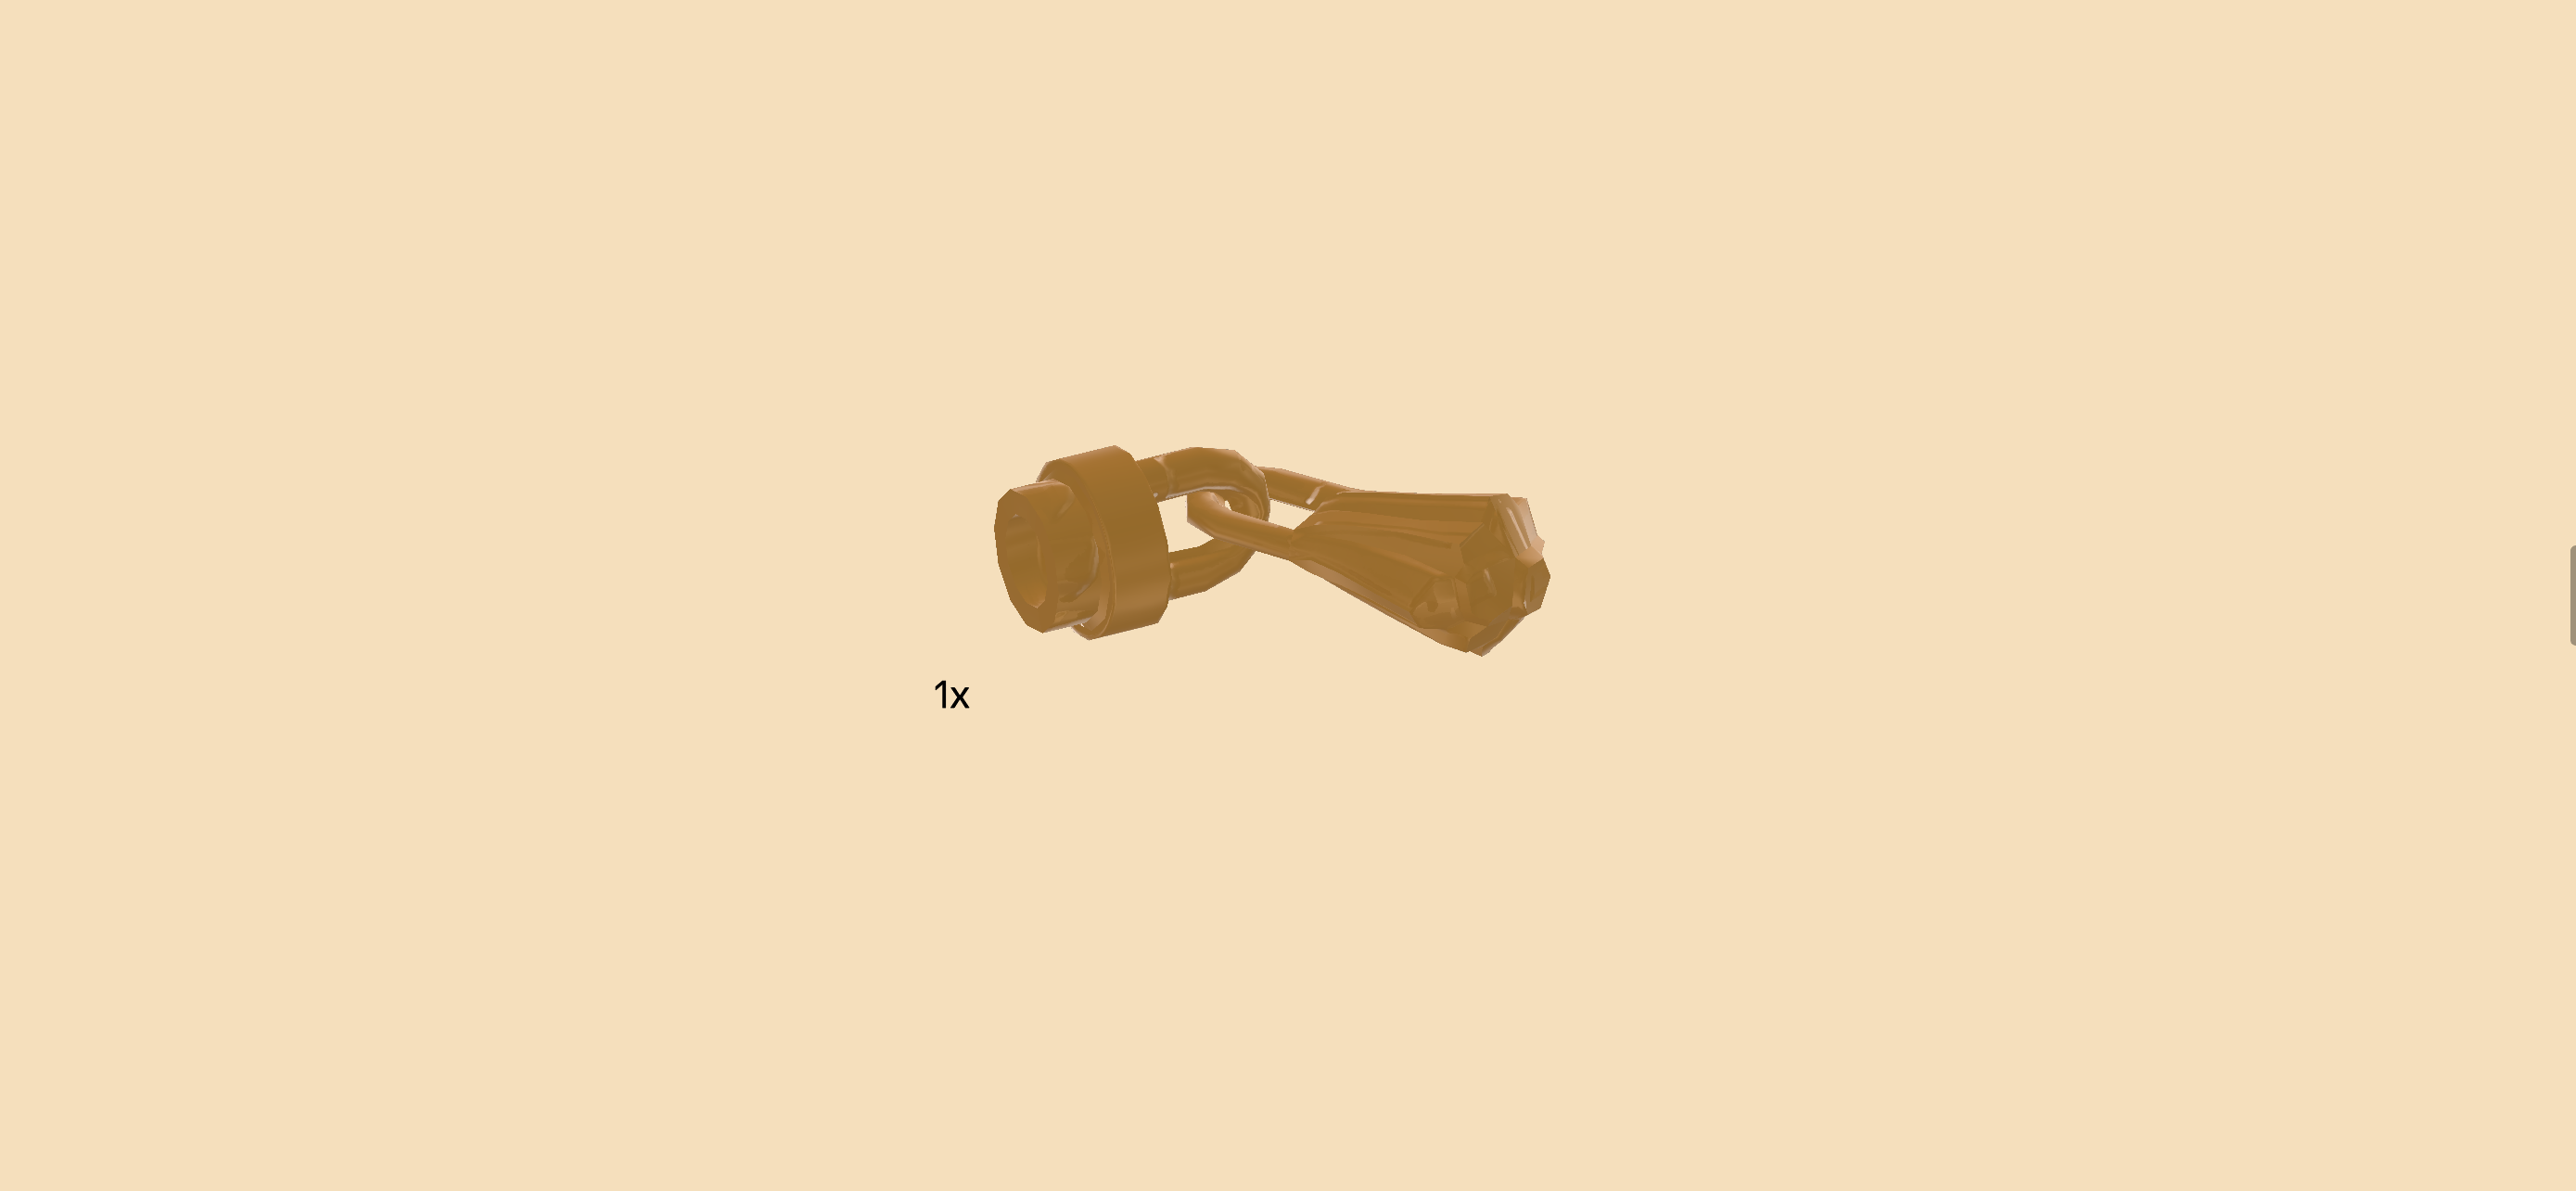
Find 1 warm gold tassel with knob.

Put its knob on the empty end of the previous piece.

The large sword is finished! Well done! Snap the long shaft into the clasps of the sword arm, sword blade pointing towards the top.

Find 4 transparent light blue round plates 1x1.

Insert 1 into each shooter. Be very careful not to trigger the shooters in the process.

Warning! Do not aim at eye or face.

To trigger the shooters, aim the shooter arm in the desired direction and push down on the triggers, for example with your thumb. This might take some practice, but you will figure it out for sure. Use the 2 remaining round tiles 1x1 as reserve ammunition.

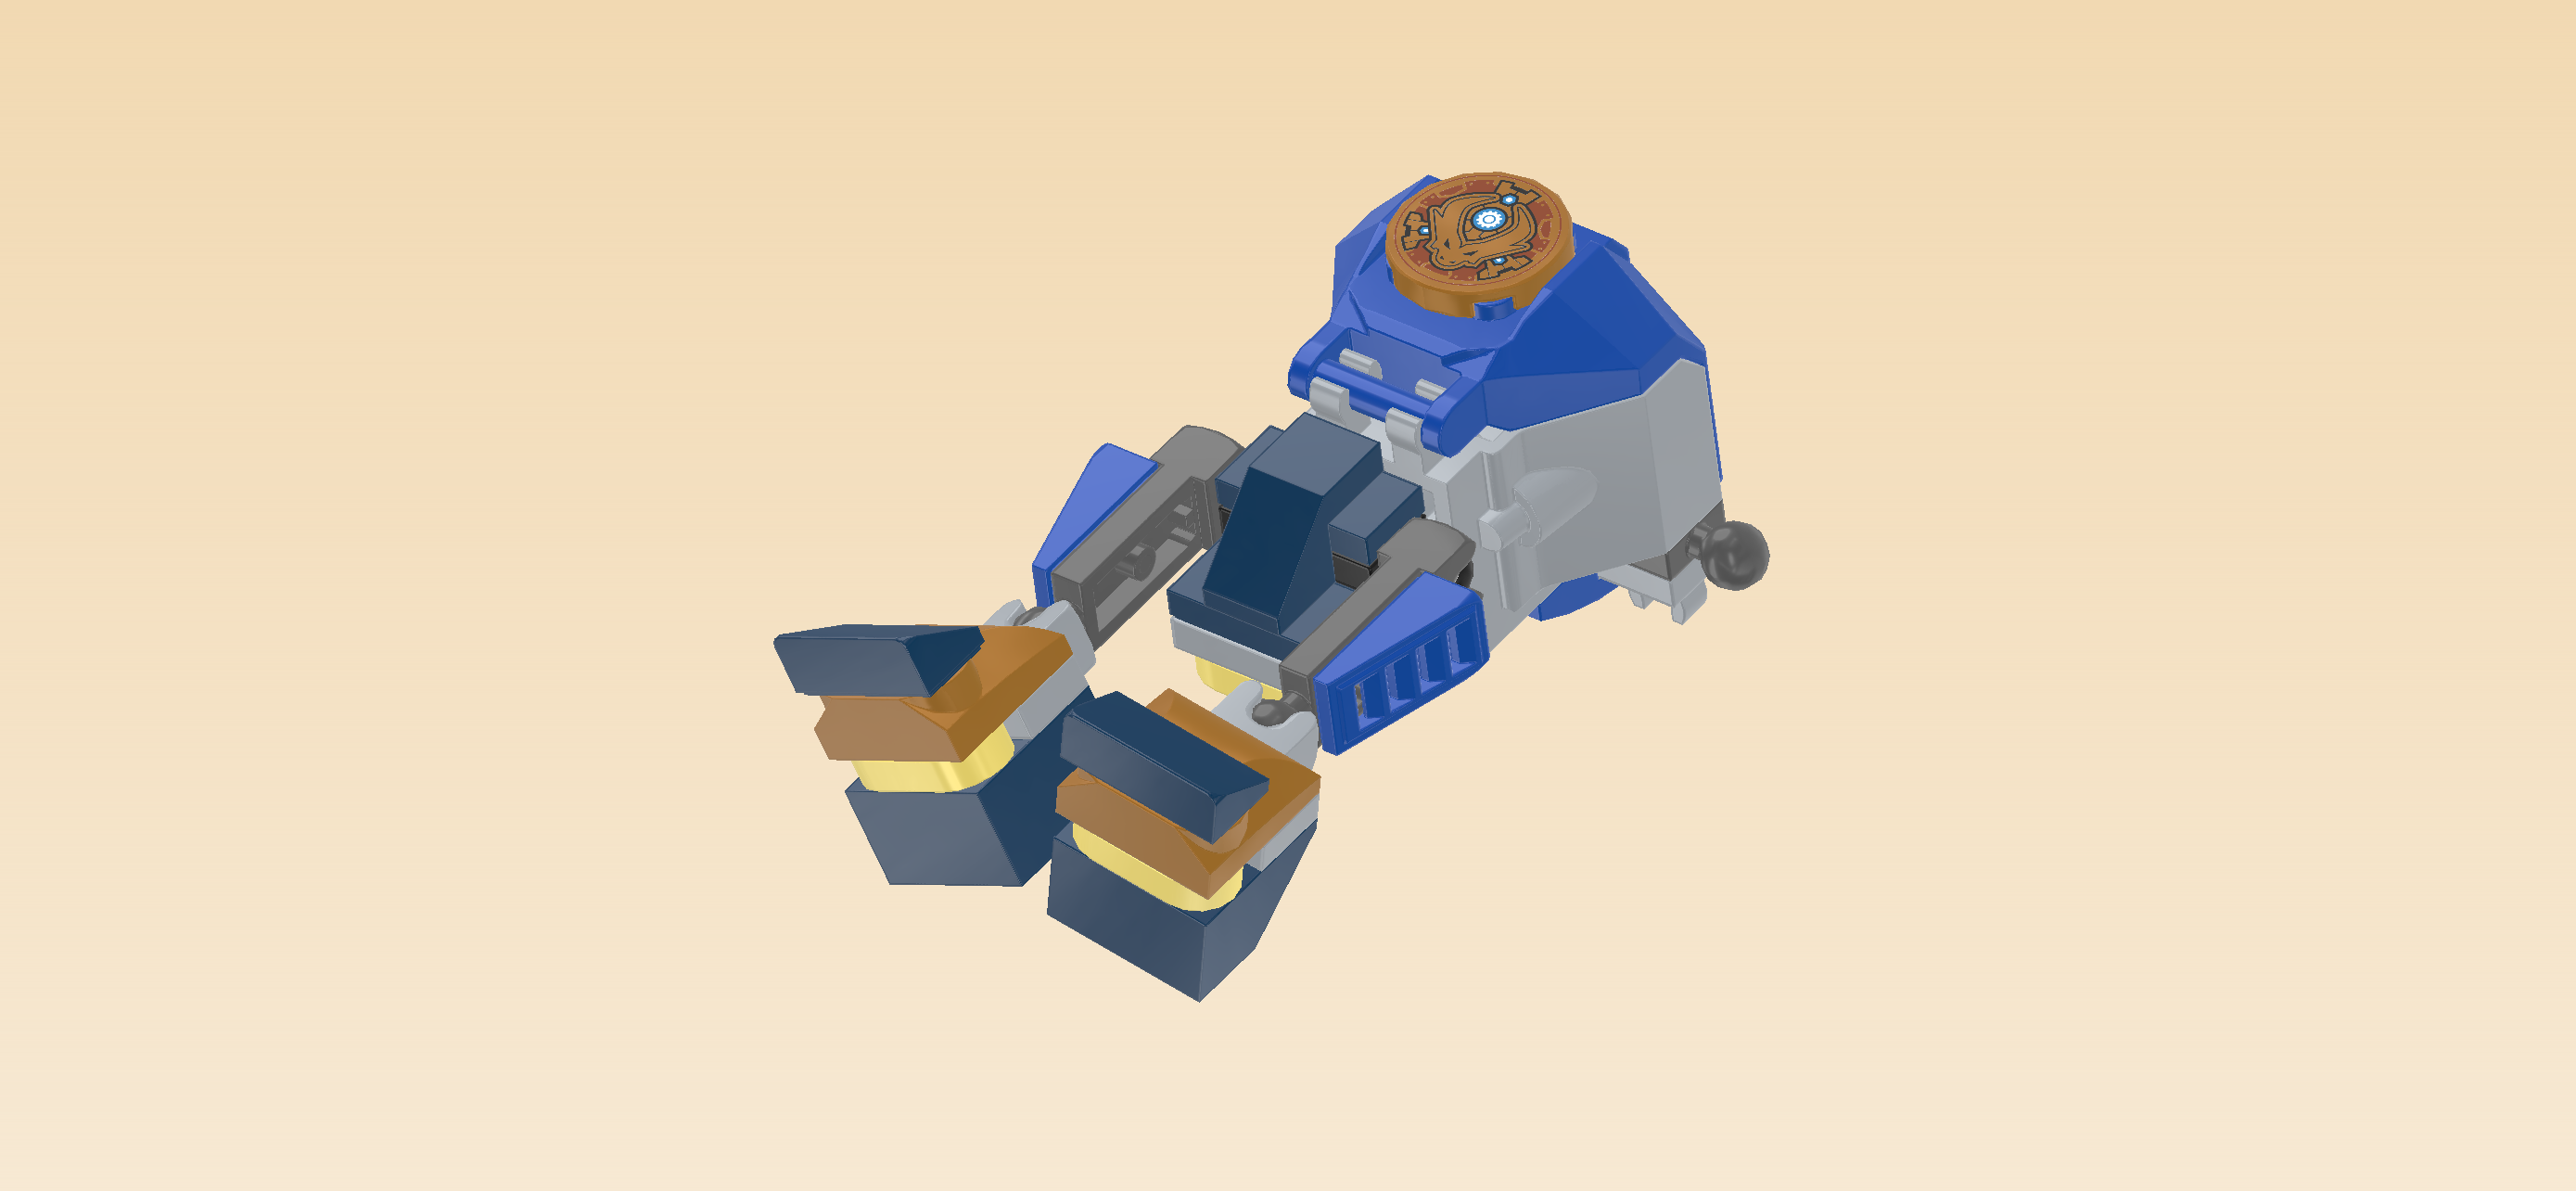
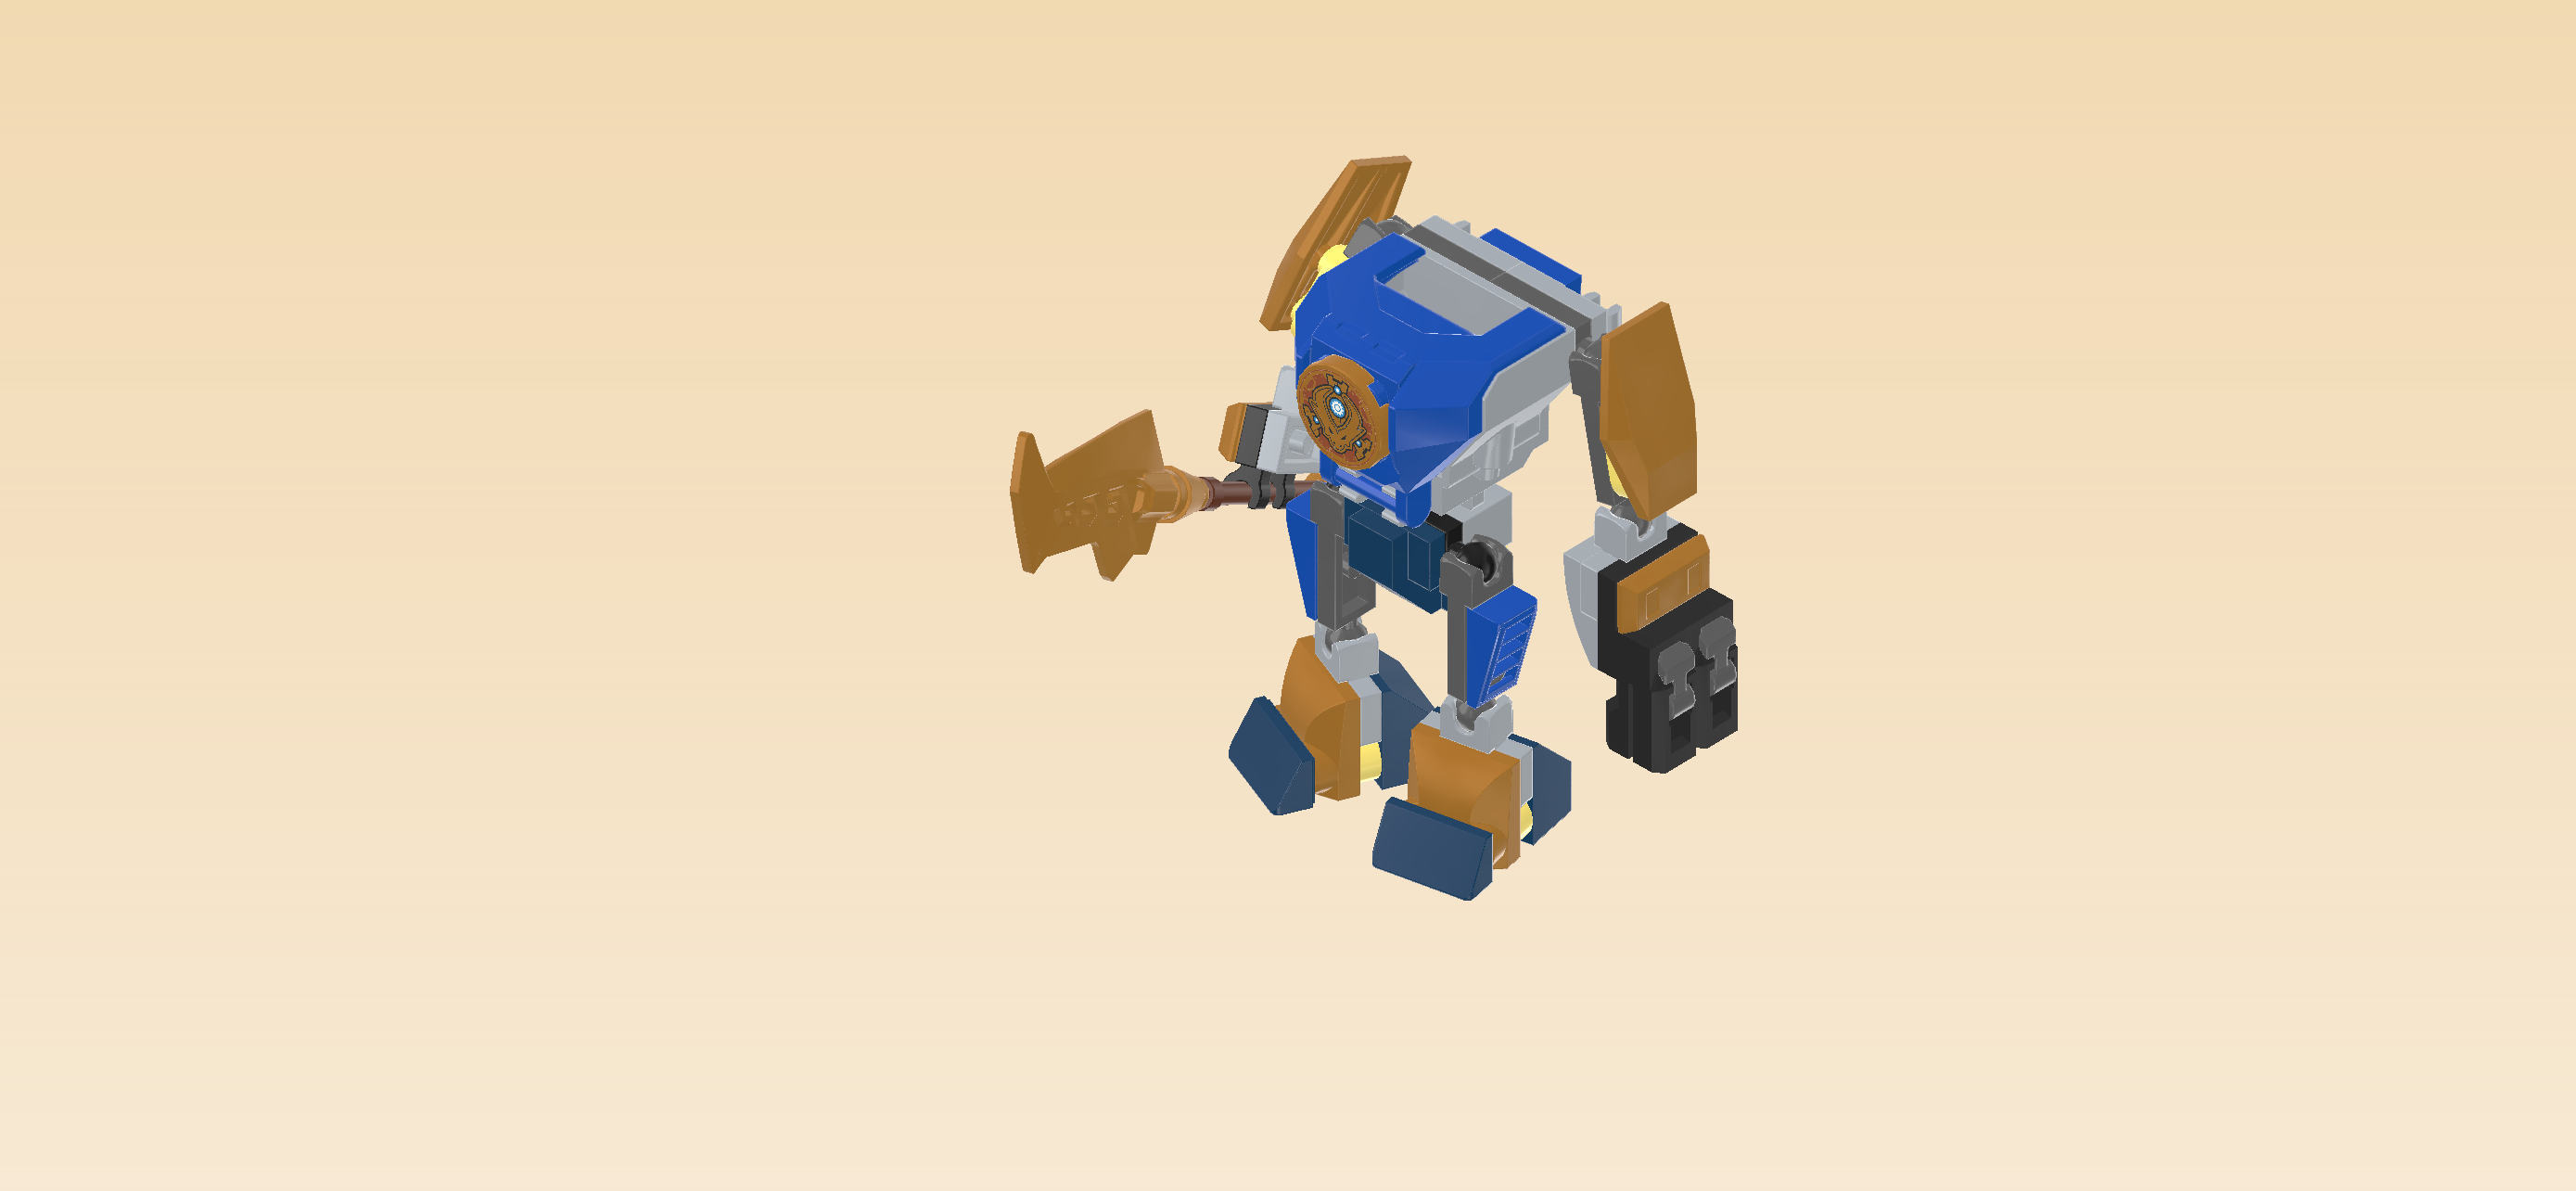
The mech is finished, fantastic job! It is time for Jay to mount the mech and go into battle. Open the mech's chest plate and seat Jay in the cockpit. Close the chest plate again. While Jay is maneuvering the mech, he can't hold his katanas. Luckily, the mech is equipped with stowing options: You can snap the katana handles into the 2 clasps at the back of the cockpit.

You have finished building the entire set! Very well done! Get into the mech, make sure your shooters are loaded, the sword is in position and everybody has their weapons. Then it is time for an epic battle between good and evil. Watch out for the conniving tricks of the Wolf Mask Army fighters and use your best ninja moves to outfight them.

Enjoy!