| LEGO Audio & Braille Building Instructions for the LEGO Ninjago set "Kai and Ras's Car and bike Battle". |
| Get ready to join forces with Kai as he enters a high-speed race against the evil dragon hunter Lord Ras! Jump behind the wheel of Kai's supercool dragon car, rev the engine and zoom after Lord Ras on his powerful all-terrain trike. You must catch him to make sure he doesn’t grab the precious blue lightning. The future of the new NINJAGO world depends on you! Can you win this race? |
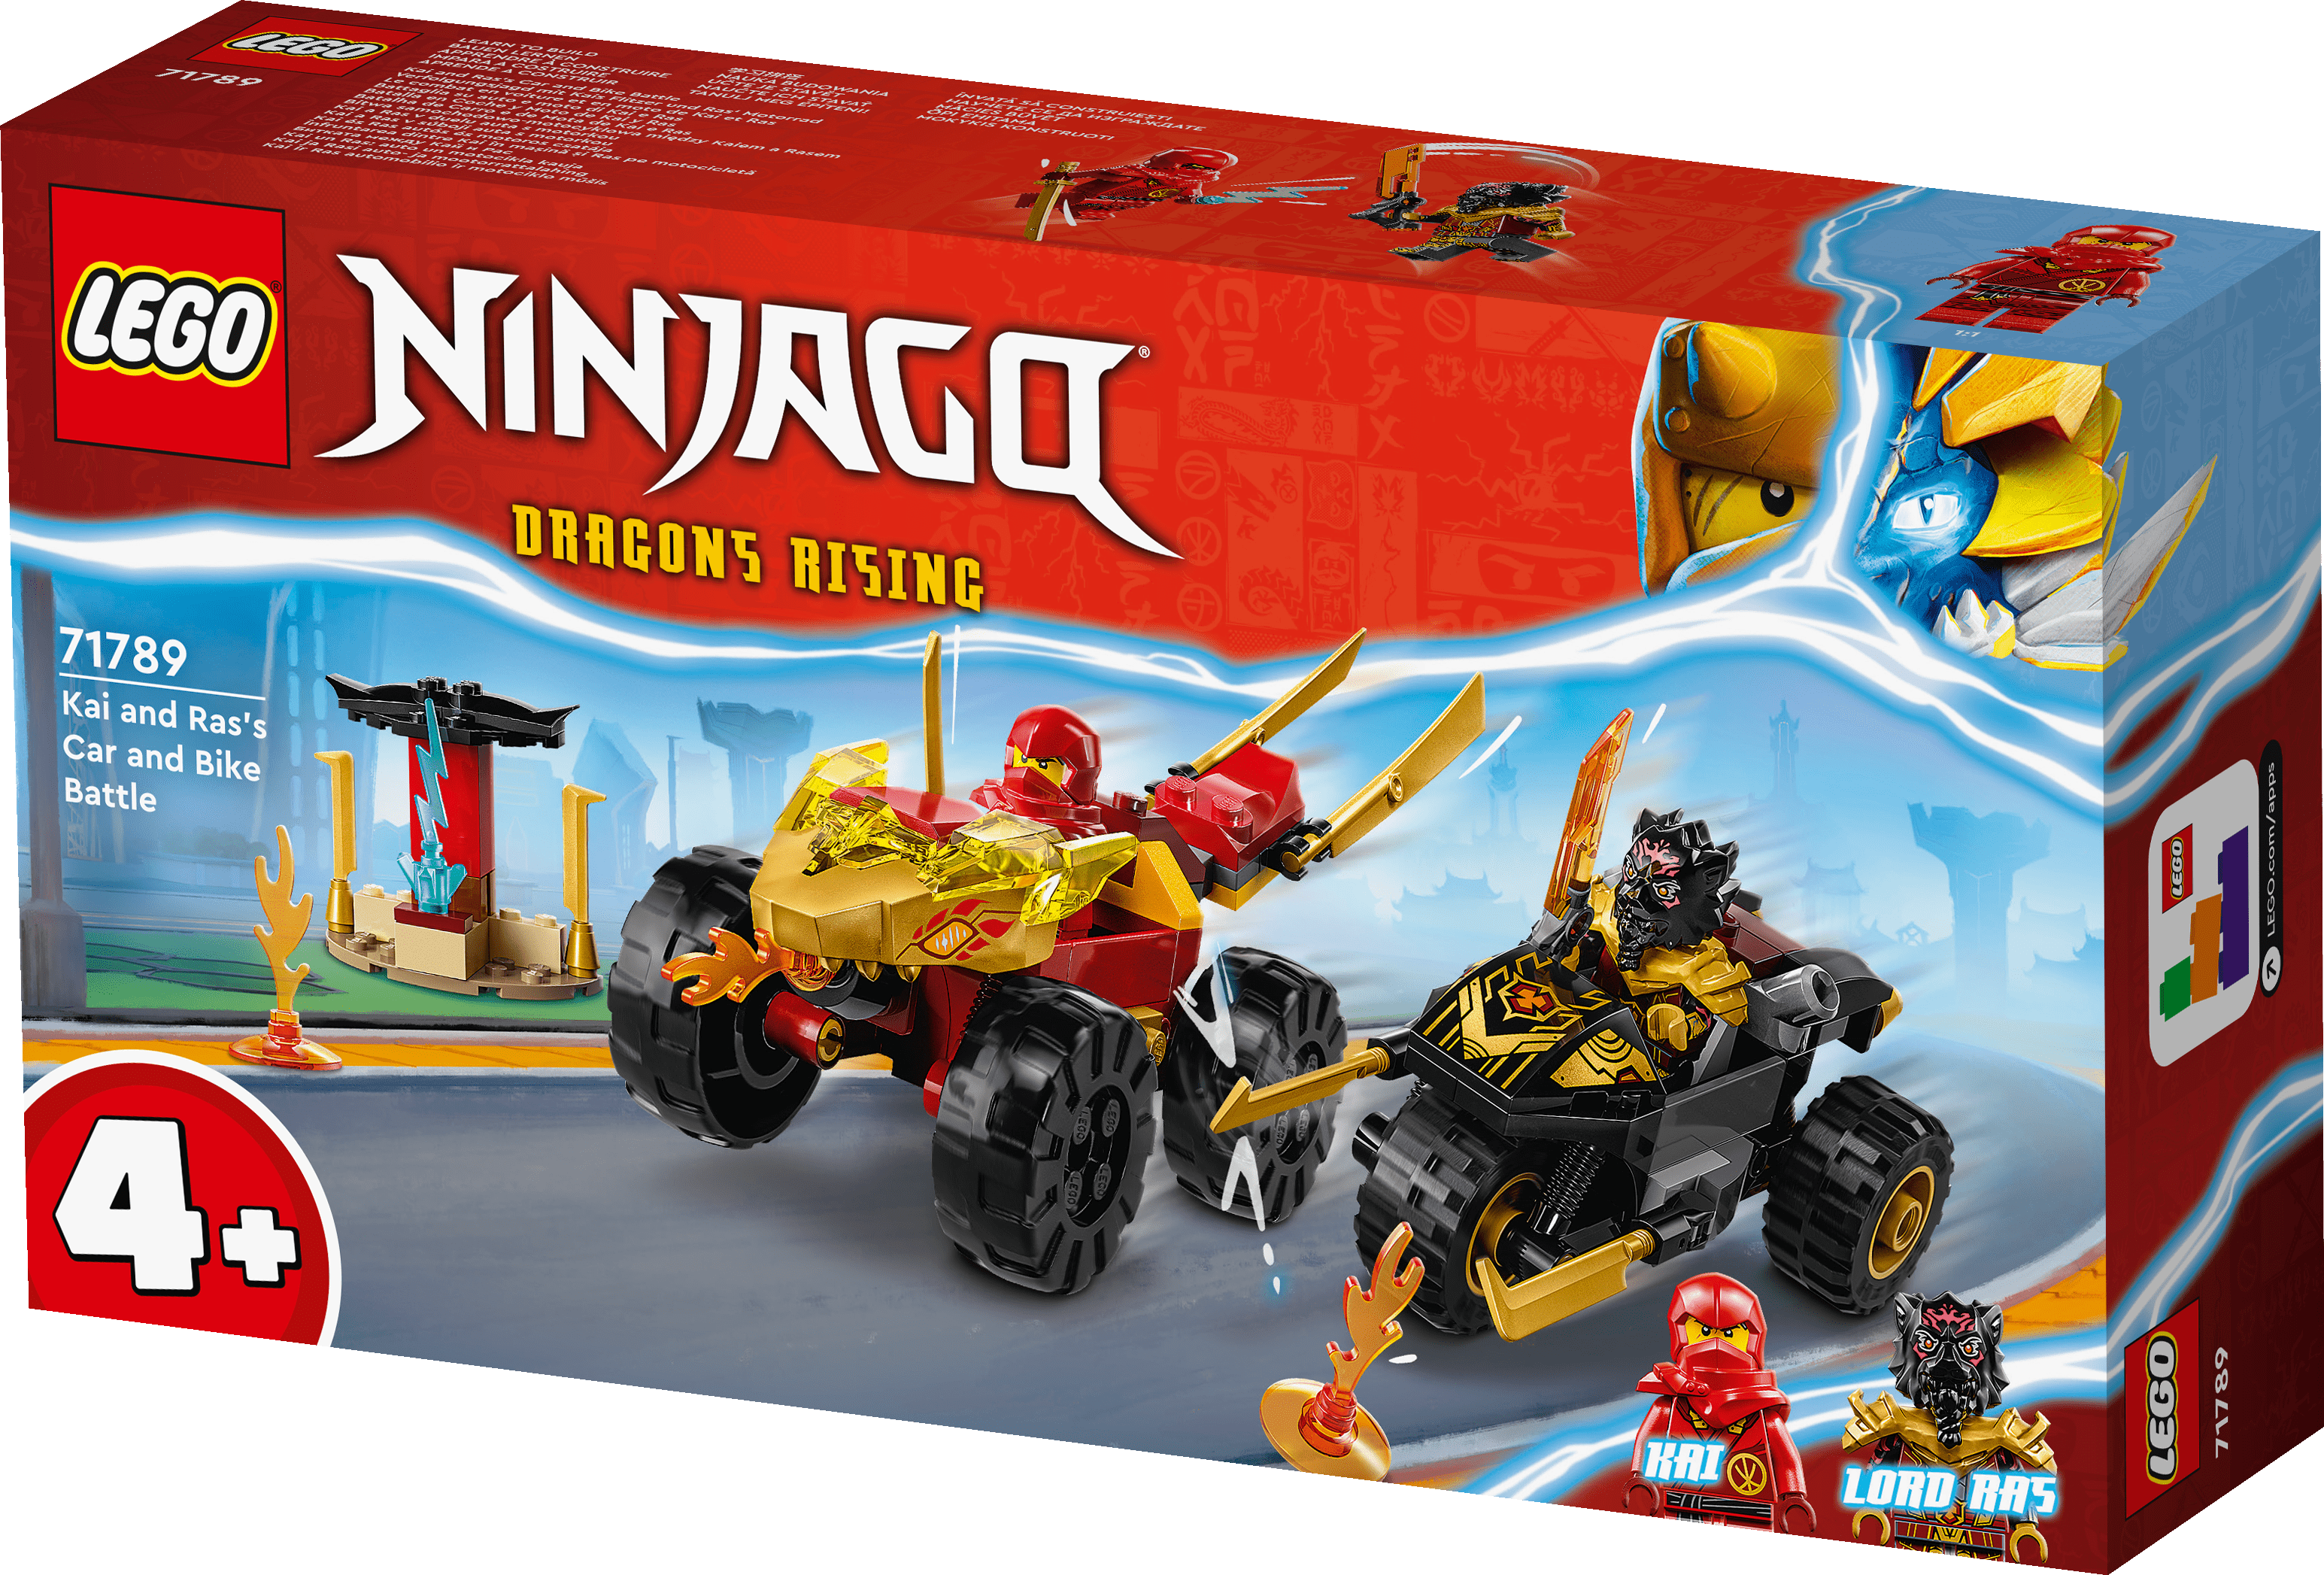
| On the box cover, the battle between Kai and Ras is in full swing. They are racing down the streets of Ninjago City, Kai in his blazing red dragon car and Ras on his black high-speed trike. Both vehicles are airbrushed with golden ornaments and are heavily equipped with weapons and tricks. One of Ras's trike swords is getting dangerously close to Kai's car wheels. Kai better watches out! In the background of the scene, the shrine with the blue lightning is located. It is the reason for this battle: Ras is trying to steal the blue lightning. In the bottom right corner of the box cover, there is a portrait of Kai in his red Merge suit and Ras in his metallic-grey, golden and maroon red suit. Find out more about the looks of this set during building. Let's get going! |
| Open the box. This can be tricky; ask someone to help you! |
| The box contains 2 booklets with visual building instructions, and 2 bags with numbers printed on them. Ask a sighted person to help you find the correct bag! |
| Open bag number 1. This bag contains all bricks and pieces for the Kai Minifigure and Kai's dragon car. |
| Before you start building, ask a sighted person to help you sort the pieces by color. This makes finding the correct pieces even easier! |
| First, we will build the Kai Minifigure. |
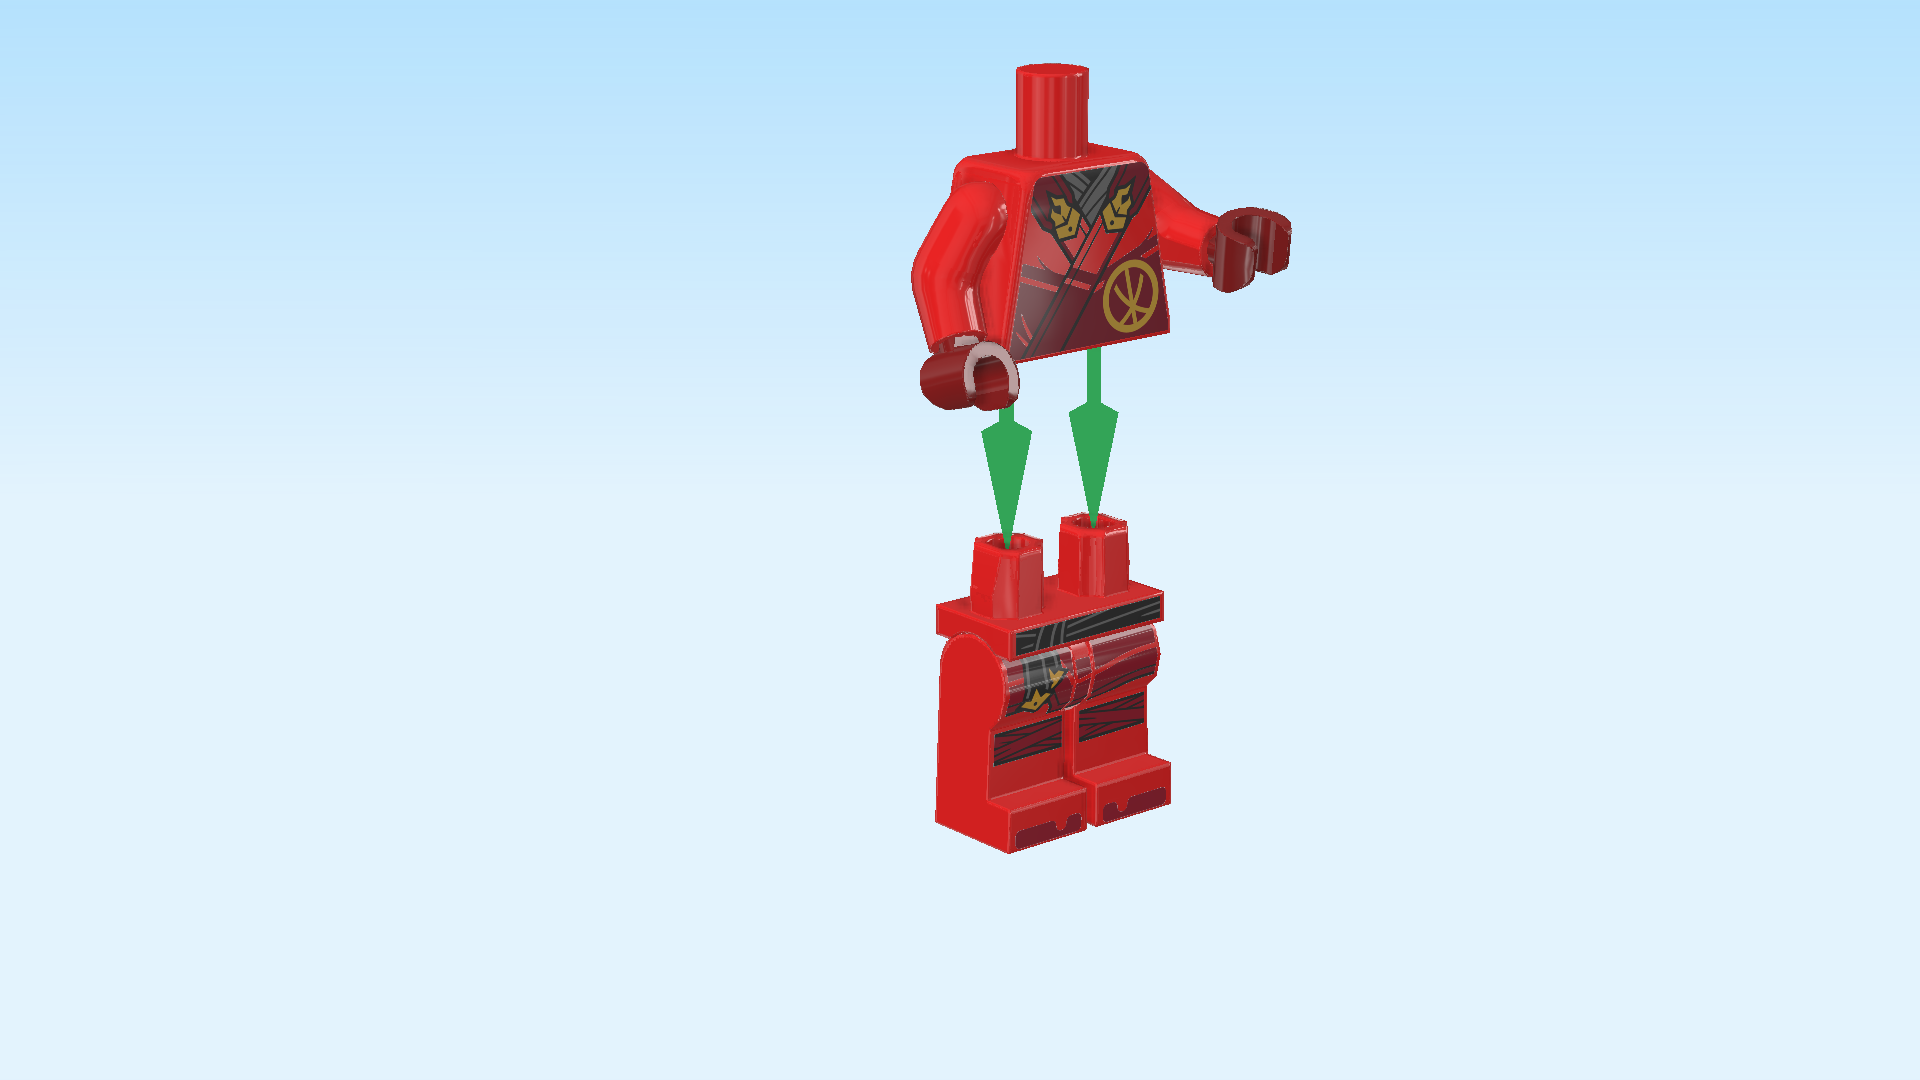
| Collect the following 2 pieces: |
| 1 bright red and maroon red upper part of the body, |
| and 1 bright red pair of legs. |
| Put the upper part of the body on the legs. |
| Collect the following 2 pieces: |
| 1 bright yellow Minifigure head, |
| and 1 bright red shoulder armor with scarf and sword holder. |
| Put the shoulder armor around the neck. Make sure that the ring-shaped sword holder is at the back. |
| Put the head on the neck. |
| Collect the following 2 pieces: |
| 1 bright red Dragons Rising Ninjago helmet, |
| and 1 warm gold katana sword 6m. |
| Put the helmet on the head. |
| Snap the shaft of the katana sword into the left hand. |
| The Kai Minifigure is finished! Well done! Kai is wearing his blazing red Merge suit with splashes of maroon across the torso and legs. Kai is wearing a black belt with a lateral knot. The first letter of his name in Ninjargon is printed on the right bottom front of his jacket in gold. He is wearing an armor-and-mask combination on his head and shoulders. At the back, there is a ring-shaped sword holder for his golden katana: if Kai ever needs both his hands empty, insert the blade of the katana into the side slots on the sword holder. His head has two face prints: one side shows a daring grin; there is a white band-aid above his left eye, and a scar above his right eye. On the other side, he is wearing the black eye mask with red claws, and his teeth are clenched. |
| Next up, we will make 2 flame elements. |
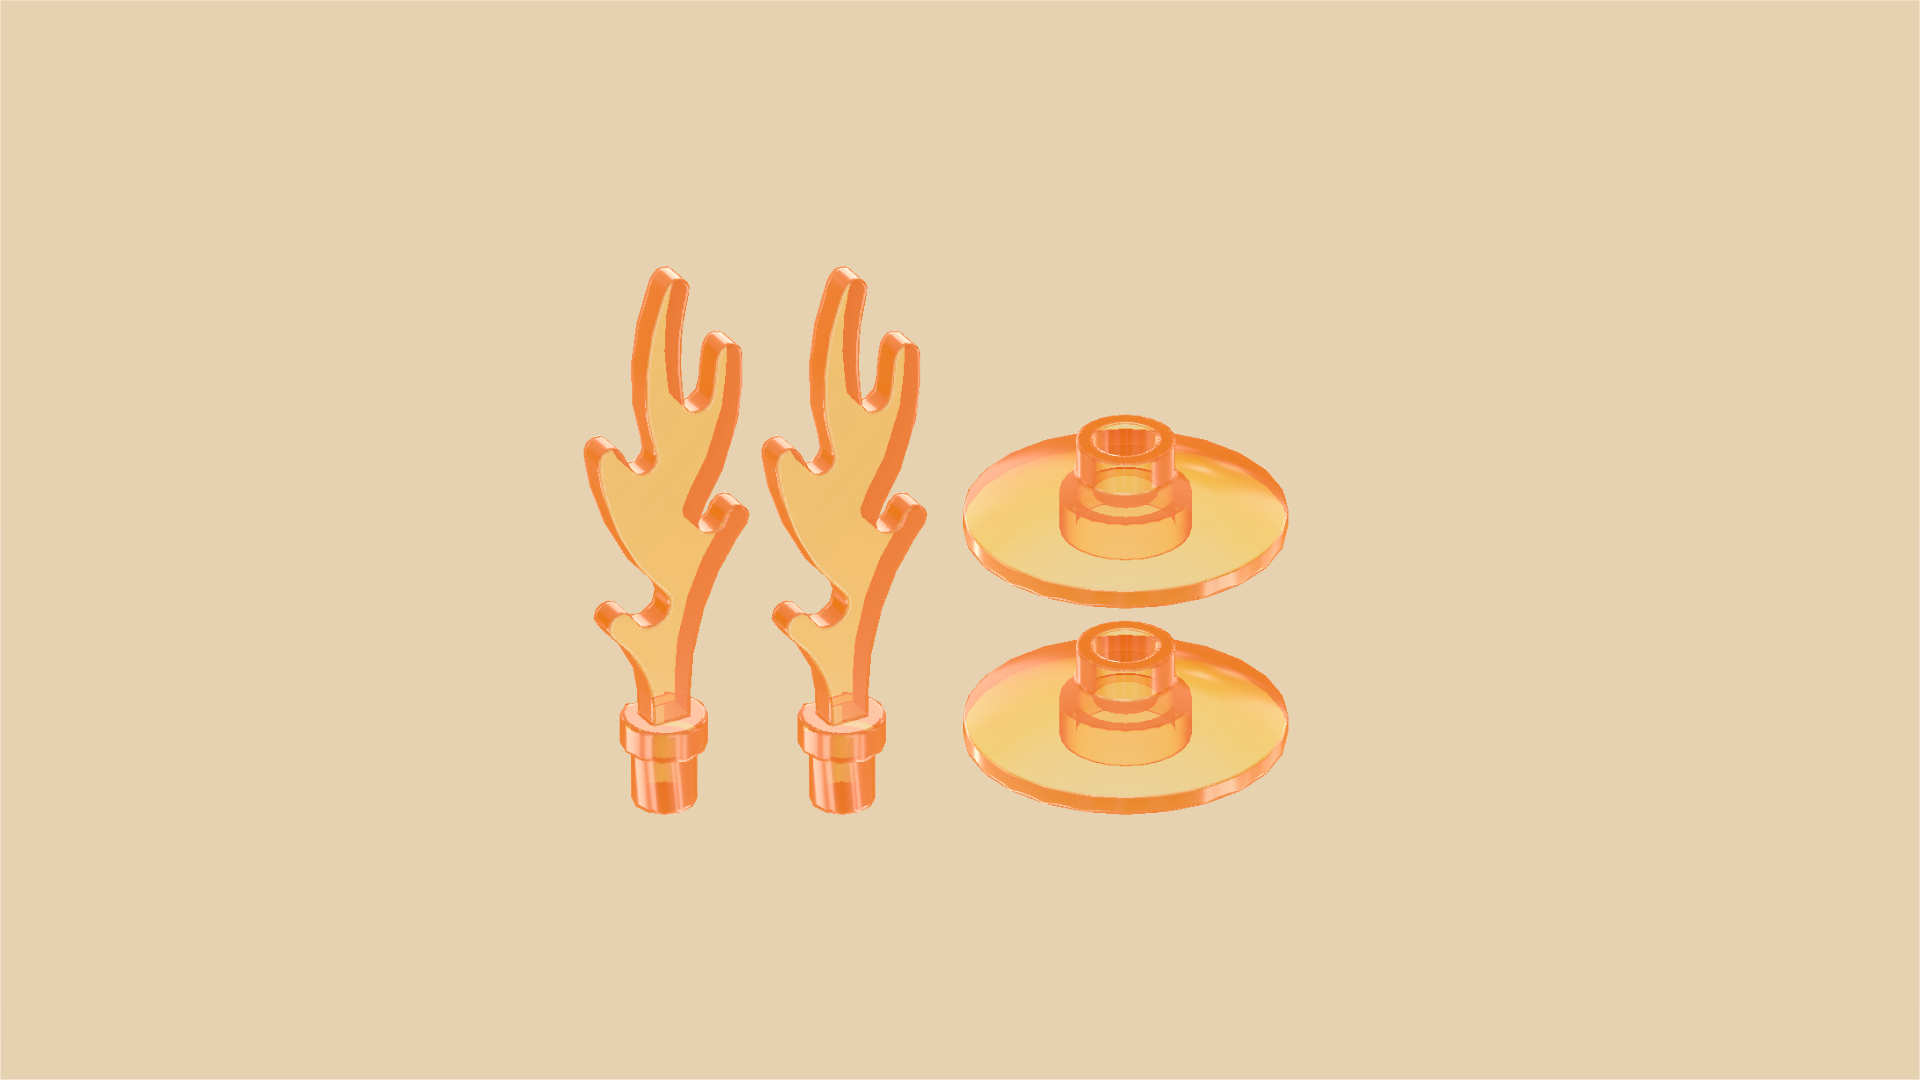
| Collect the following 4 pieces: |
| 2 transparent bright orange disks 2x2 with 1 knob, |
| and 2 transparent bright orange flames with 5 fire tongues. |
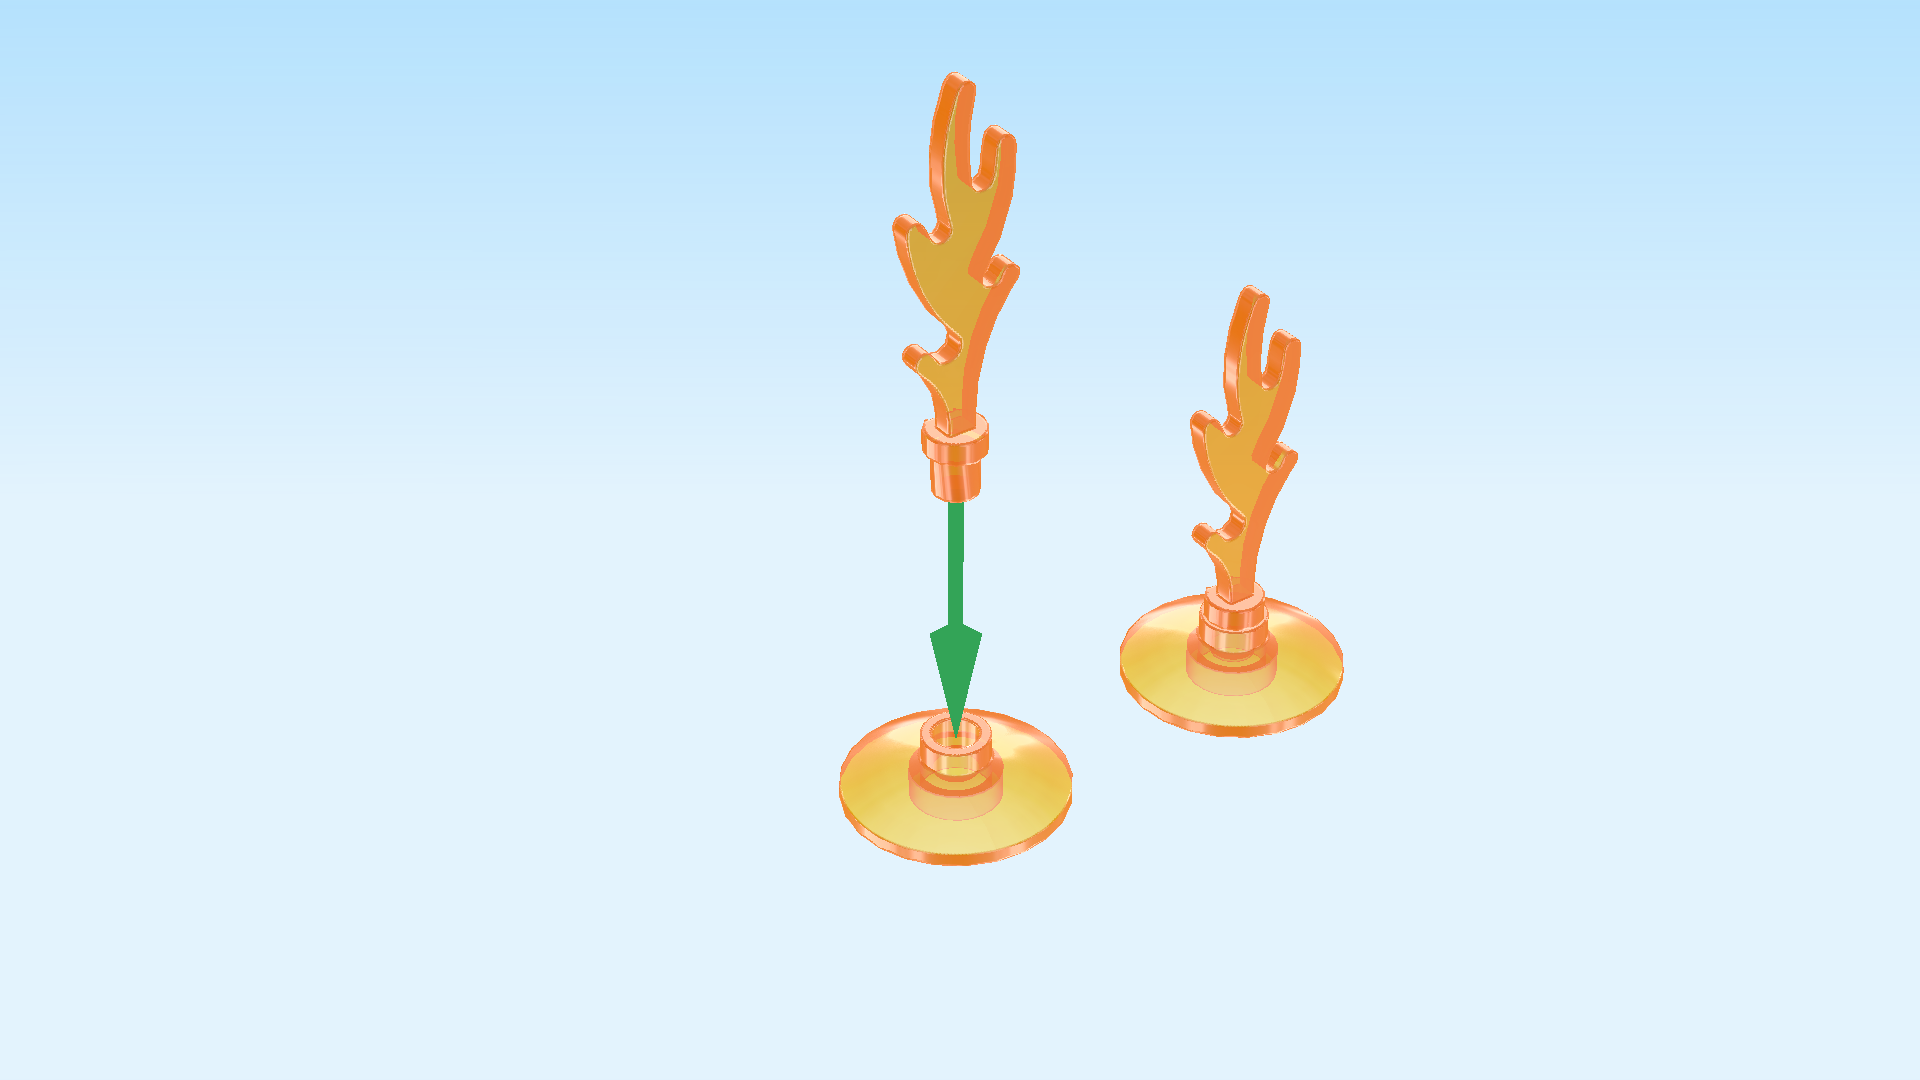
| Put 1 disk 2x2 on the table. |
| Insert the bottom shaft of the flame into the knob from the top. |
| Repeat with the other disk and flame. |
| The flame elements are finished! Kai will load them on his dragon car and use them against Ras if needed. |
| Next, we will build Kai's dragon car. |
| Collect the following 3 pieces: |
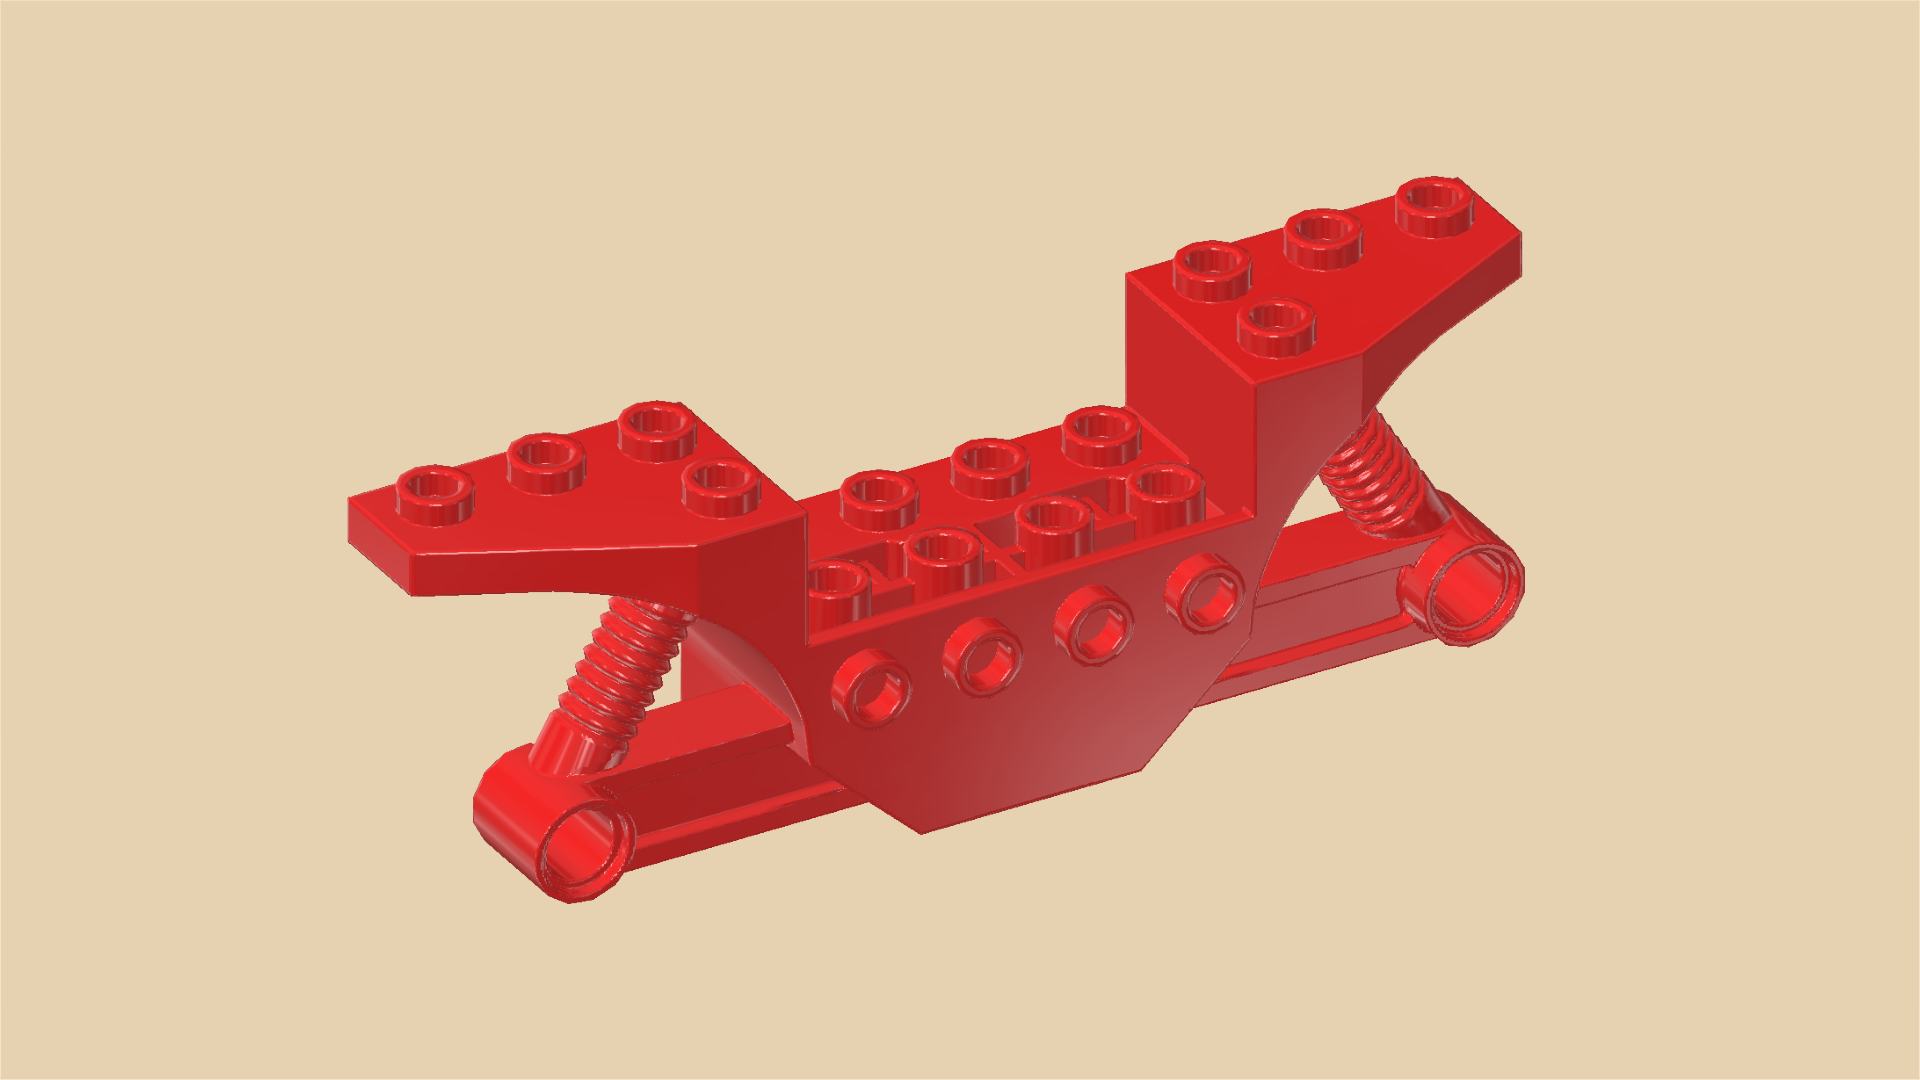
| 1 bright red vehicle frame 2x10 with 2 suspension springs, |
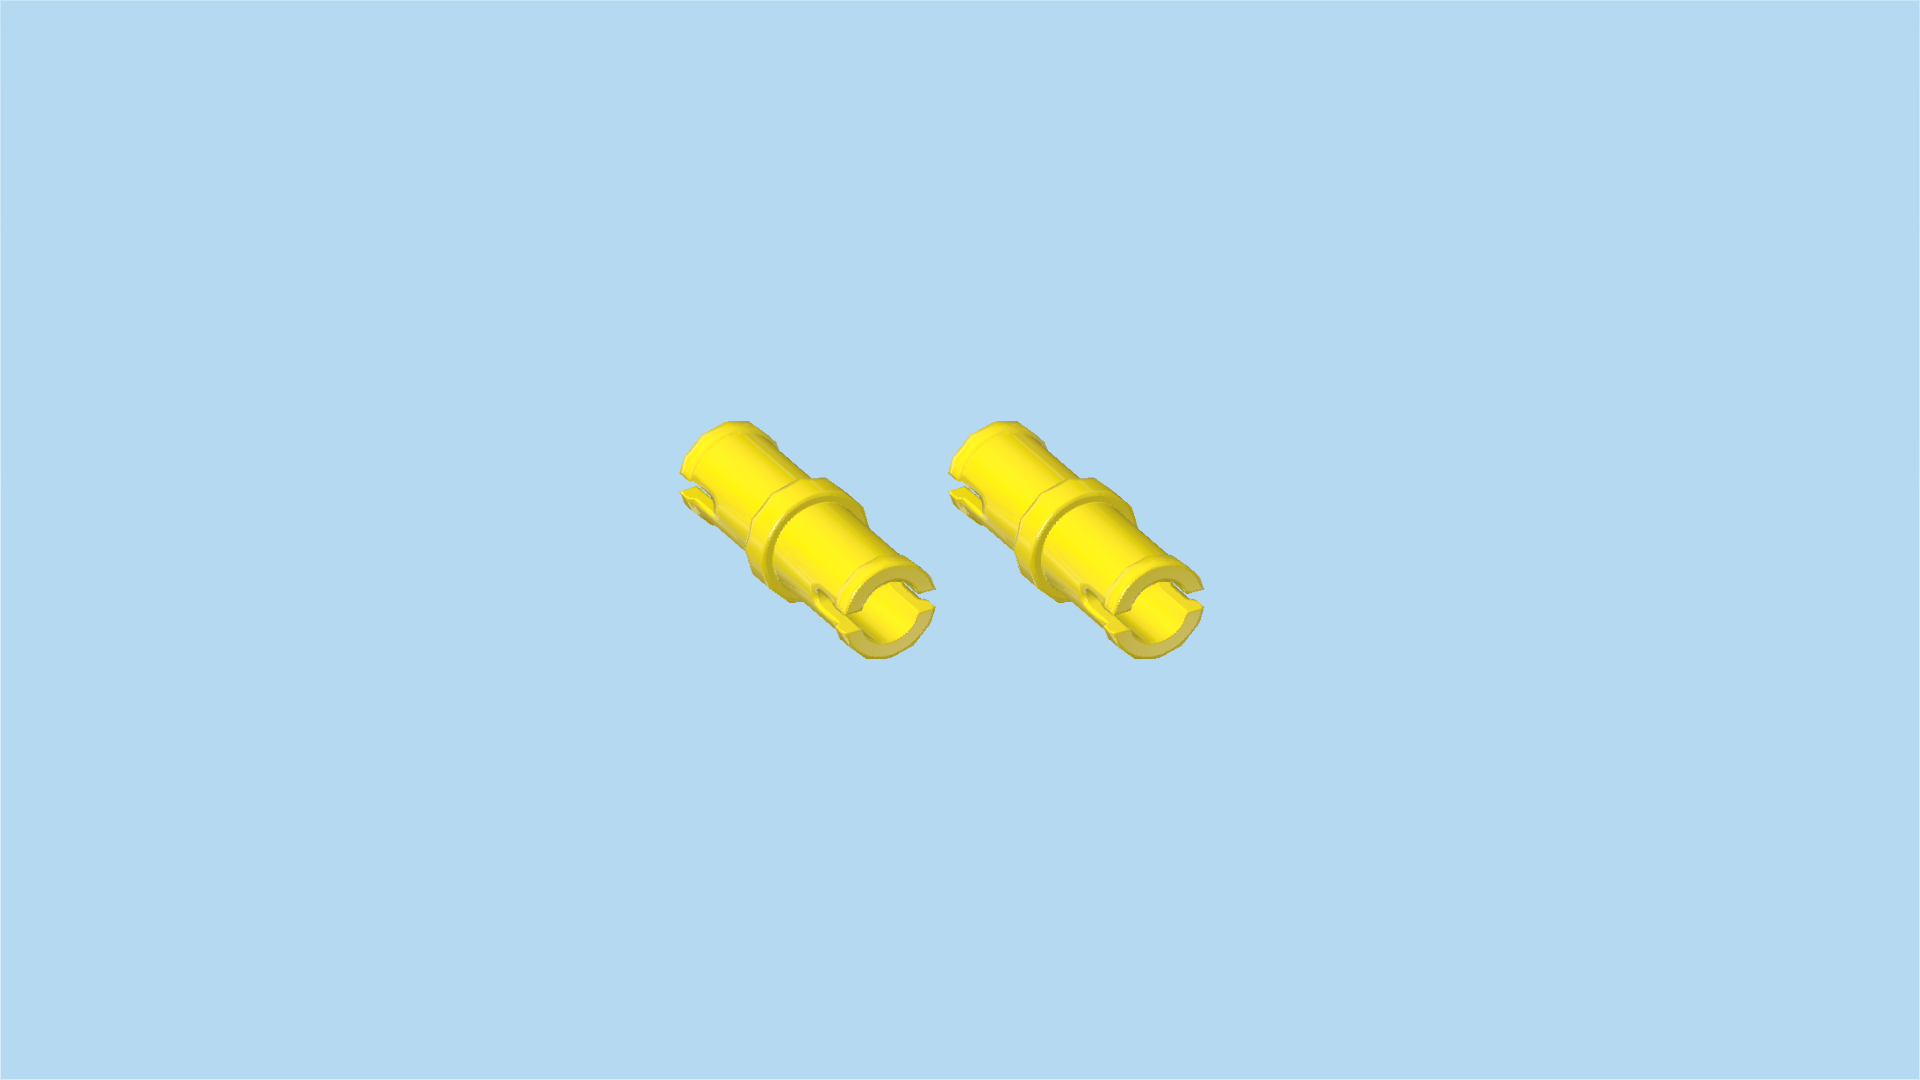
| and 2 bright yellow connector pegs 2m with middle ring. |
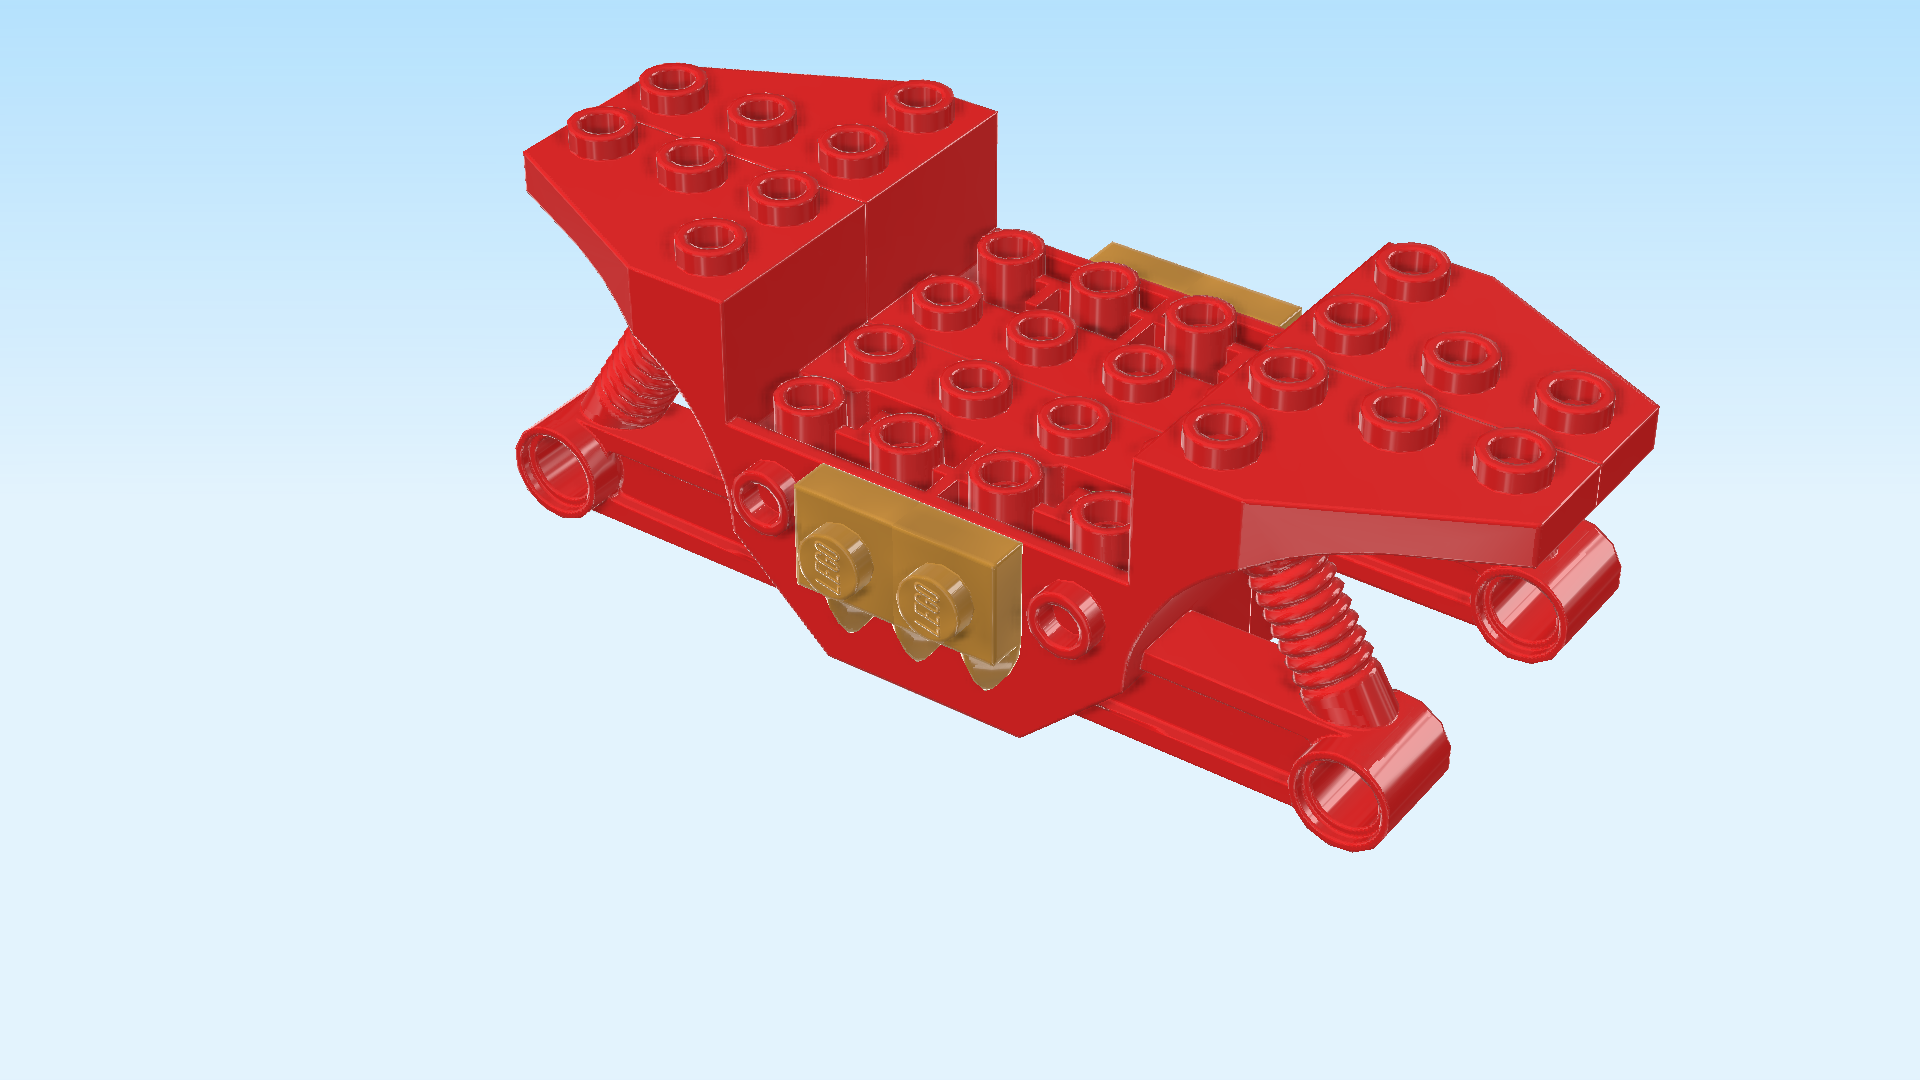
| Put the vehicle frame 2x10 horizontally on the table, 4 side knobs pointing to the back, and 2 side holes towards the front. |
| Insert the connector pegs from the front into the 2 side holes in the middle of the frame body. Do not confuse them with the 2 outer holes under the suspension springs. |
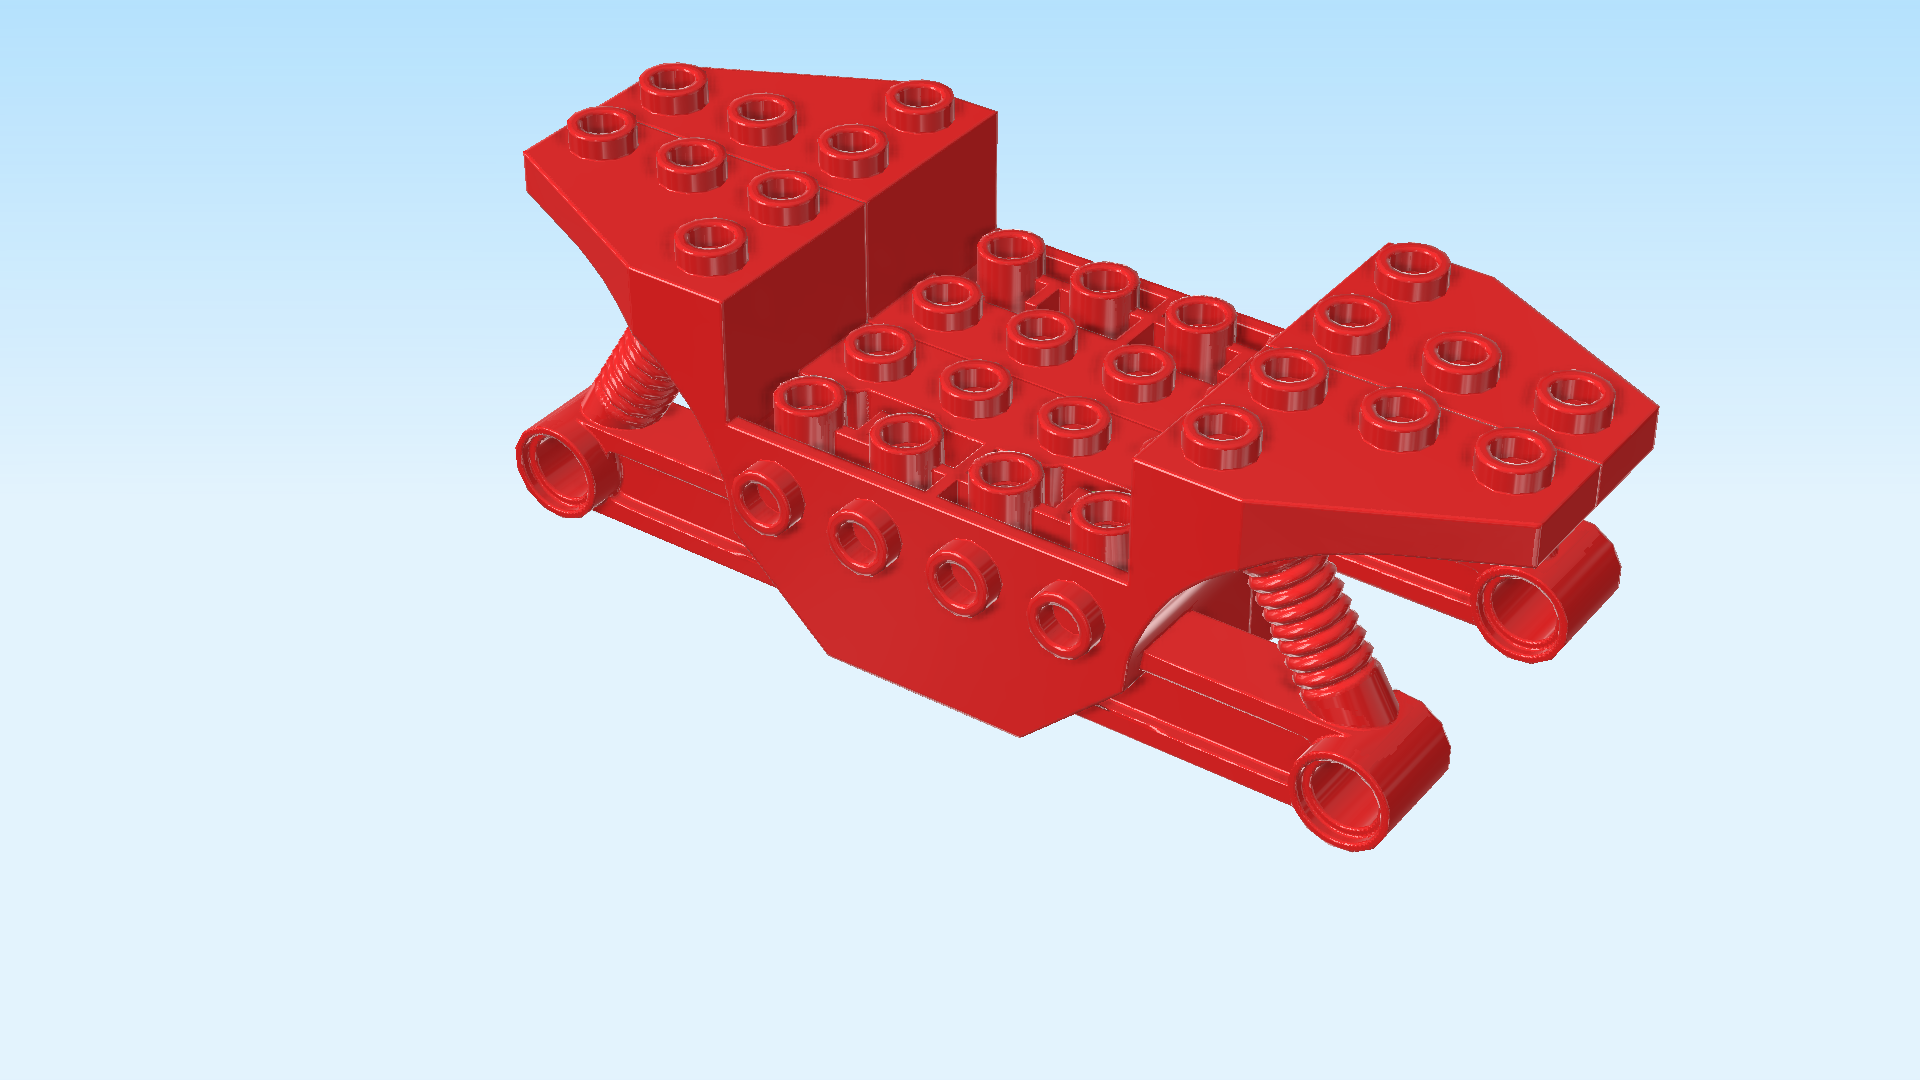
| Find another bright red vehicle frame 2x10 with 2 suspension springs. |
| Hold it horizontally and turn it so that its 2 side holes are towards the back, and the 4 side knobs are towards the front. |
| Now, snap this vehicle frame on the 2 connector pegs of the previous step to connect the 2 vehicle frames with each other. |
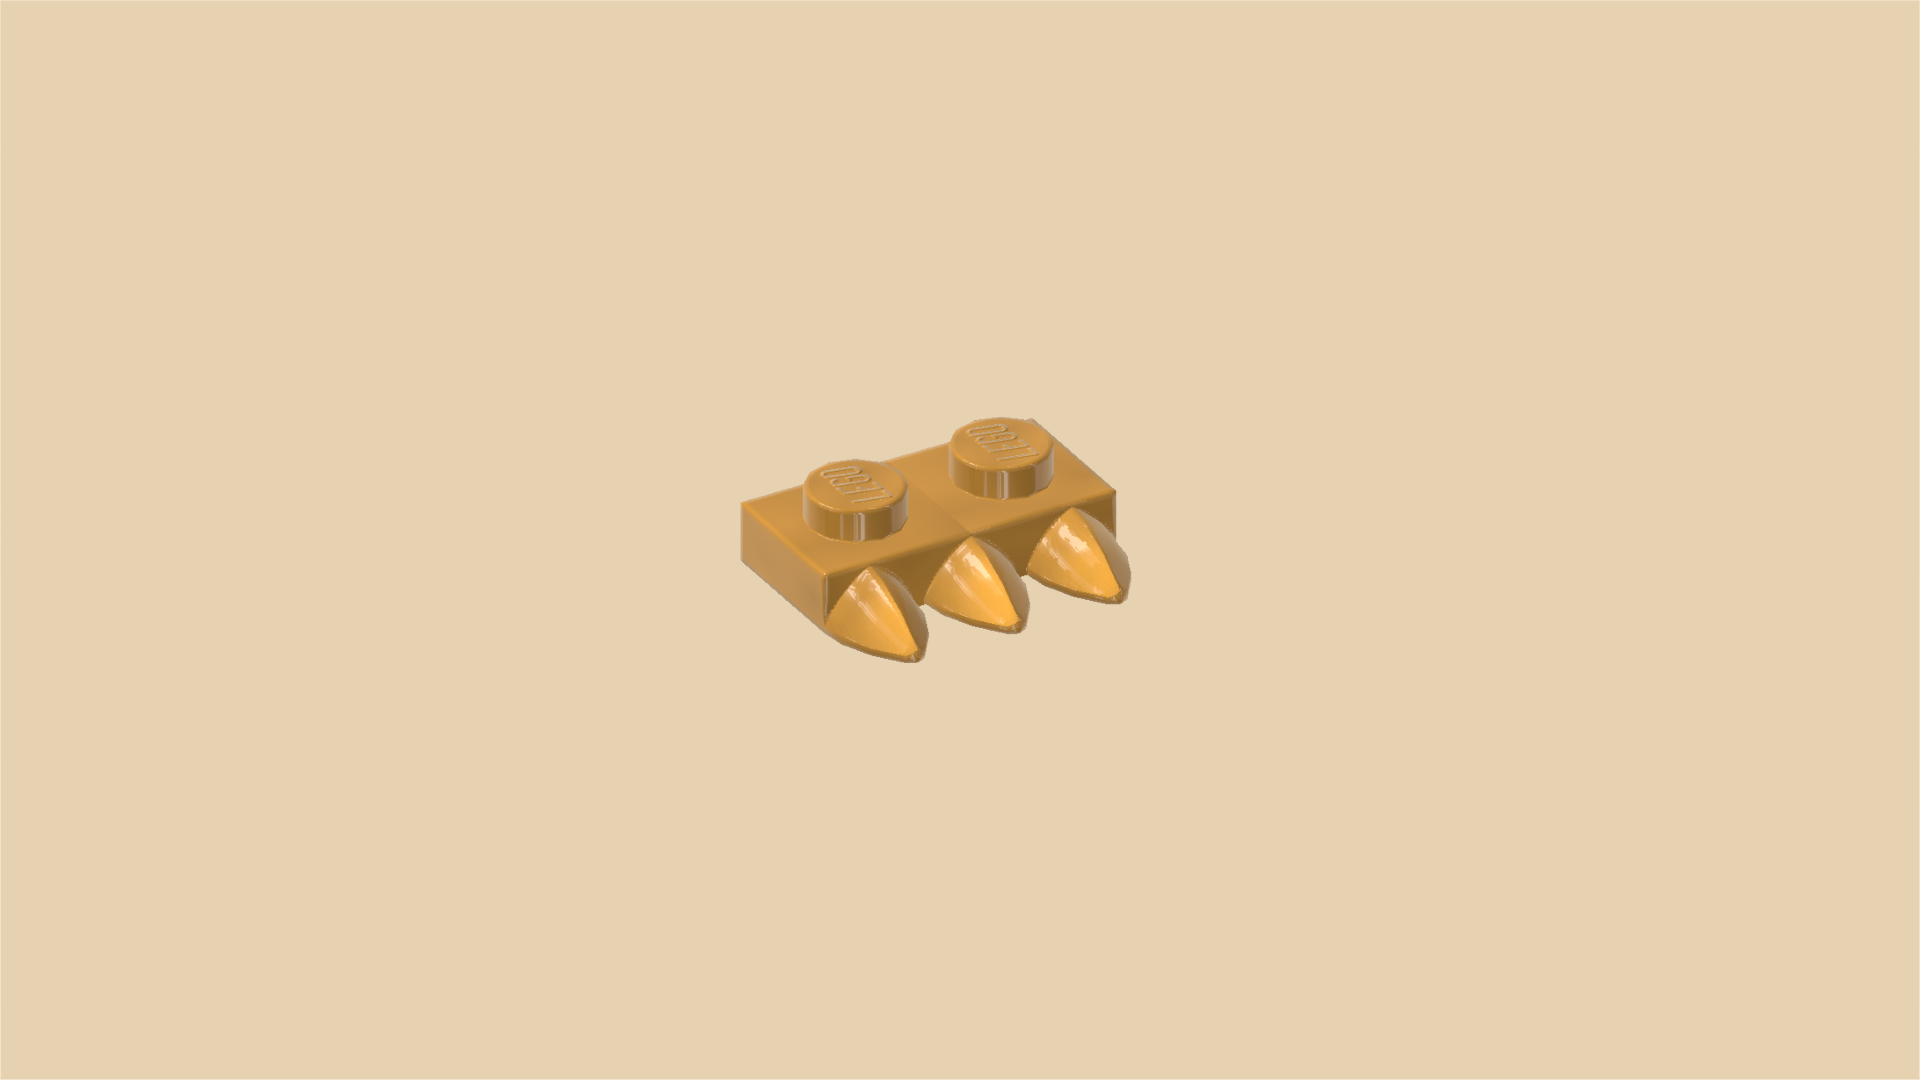
| Find 1 warm gold plate 1x2 with 3 teeth on long side. |
| Put it upright horizontally on the 2 middle knobs of the 4 side knobs pointing to the front, teeth to the bottom. |
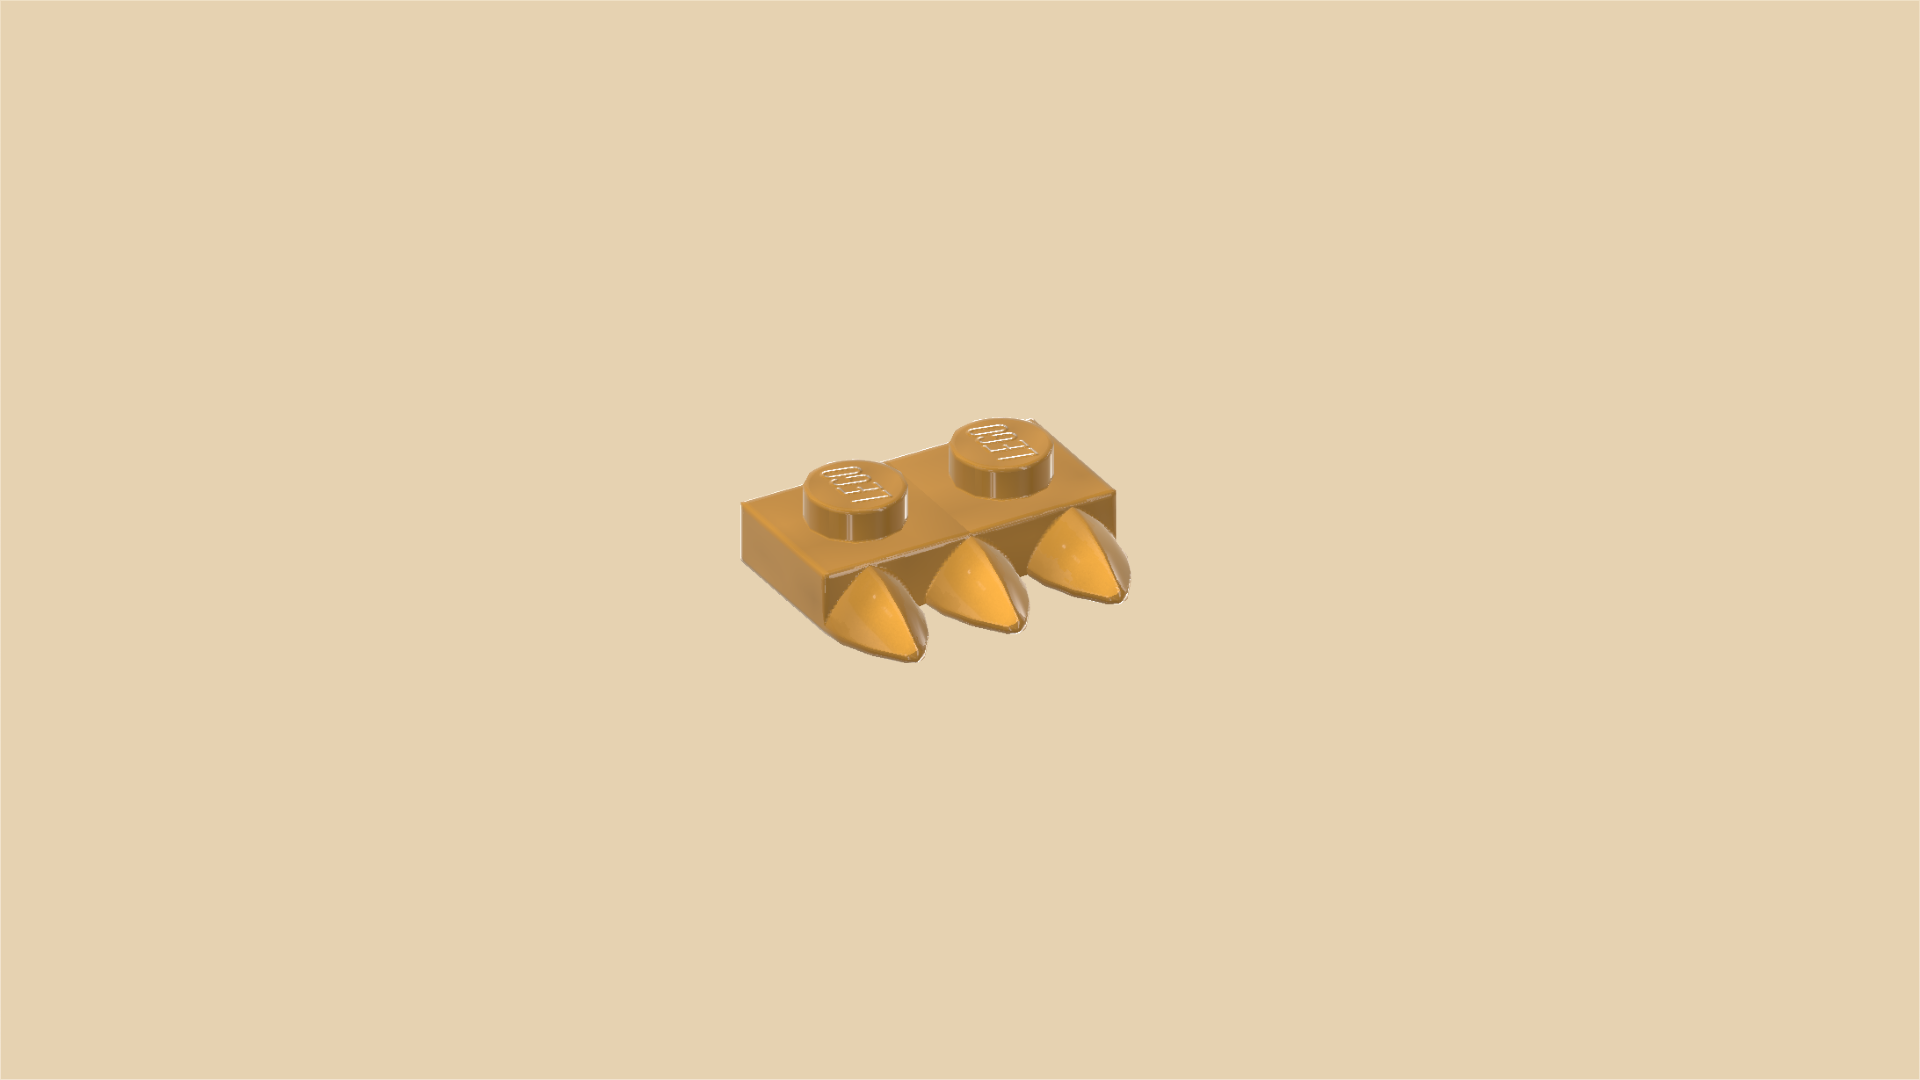
| Find another warm gold plate 1x2 with 3 teeth on long side. |
| Repeat the previous step at the back: put it upright horizontally on the 2 middle knobs of the 4 side knobs pointing to the back, teeth to the bottom. |
| Collect the following 2 pieces: |
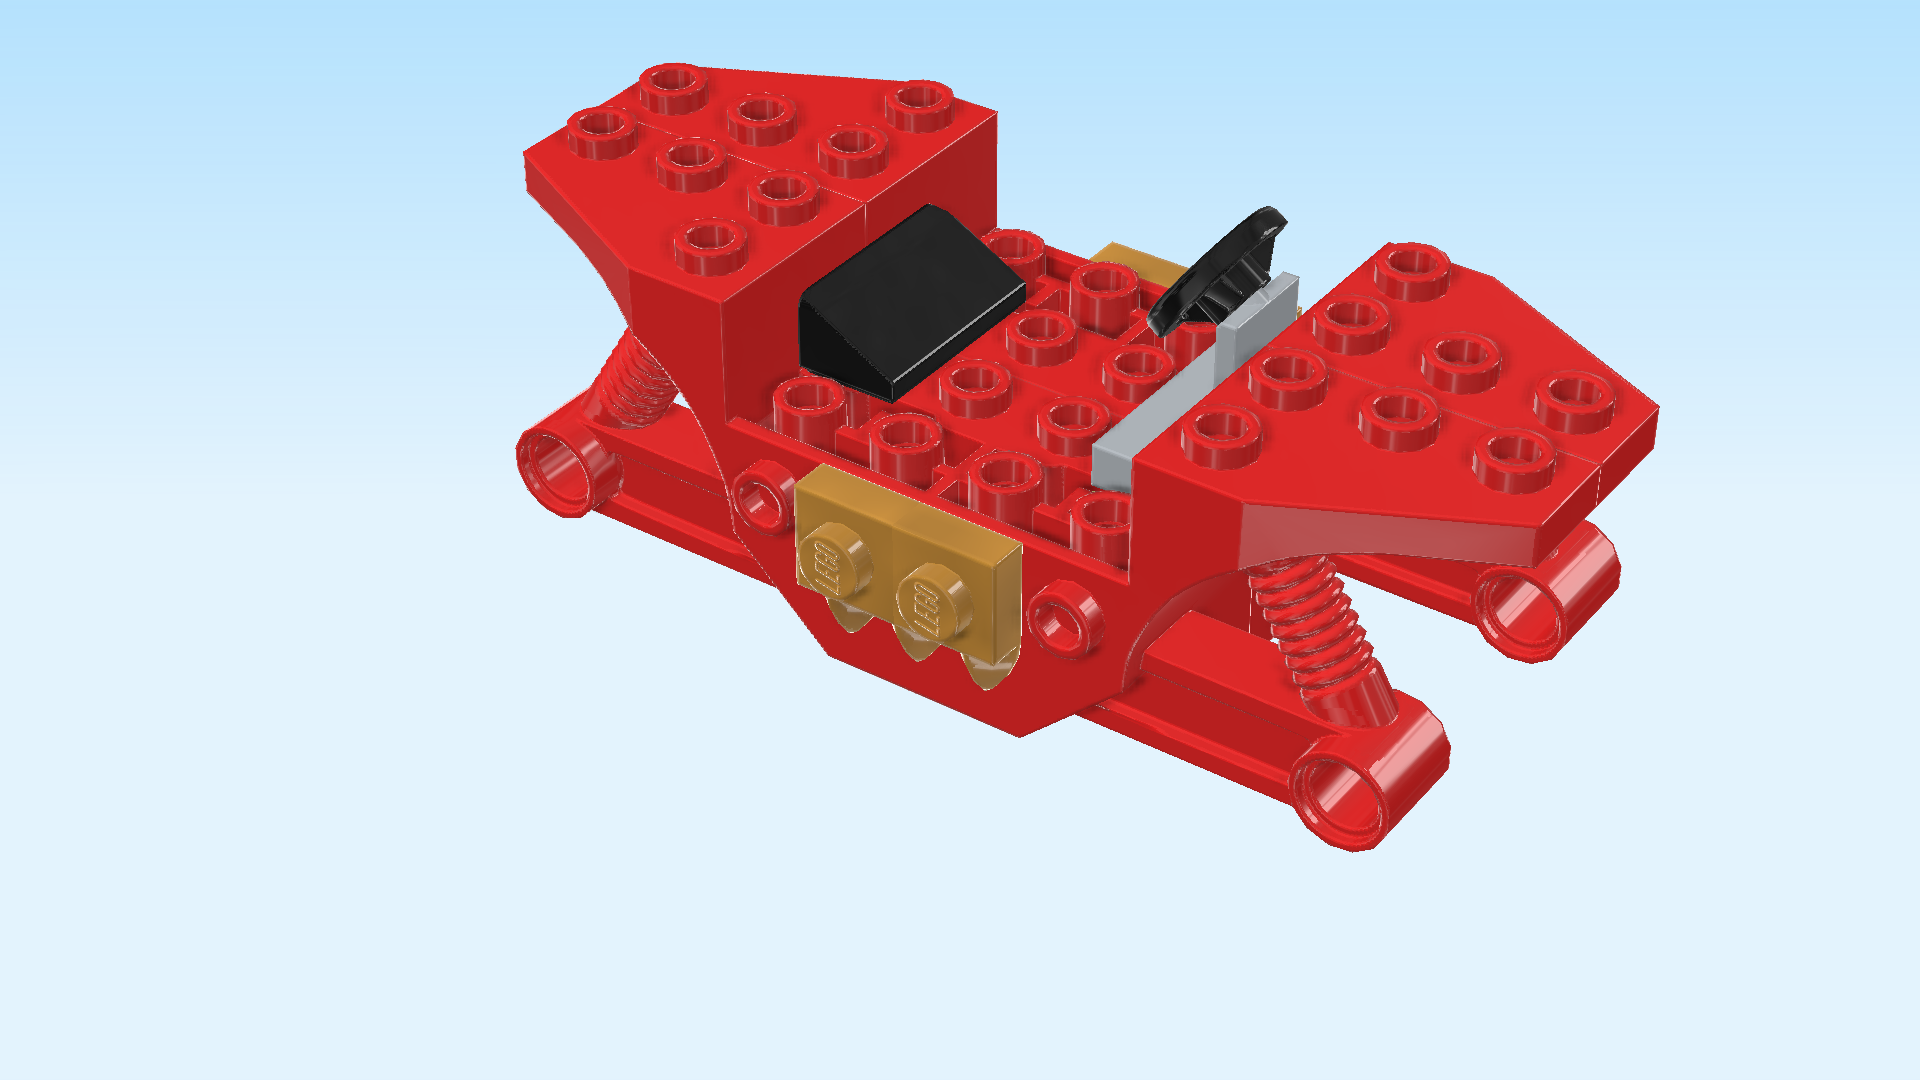
| 1 black smooth roof tile 1x2x⅔, |
| and 1 black and medium stone grey small steering wheel with plate 1x2. |
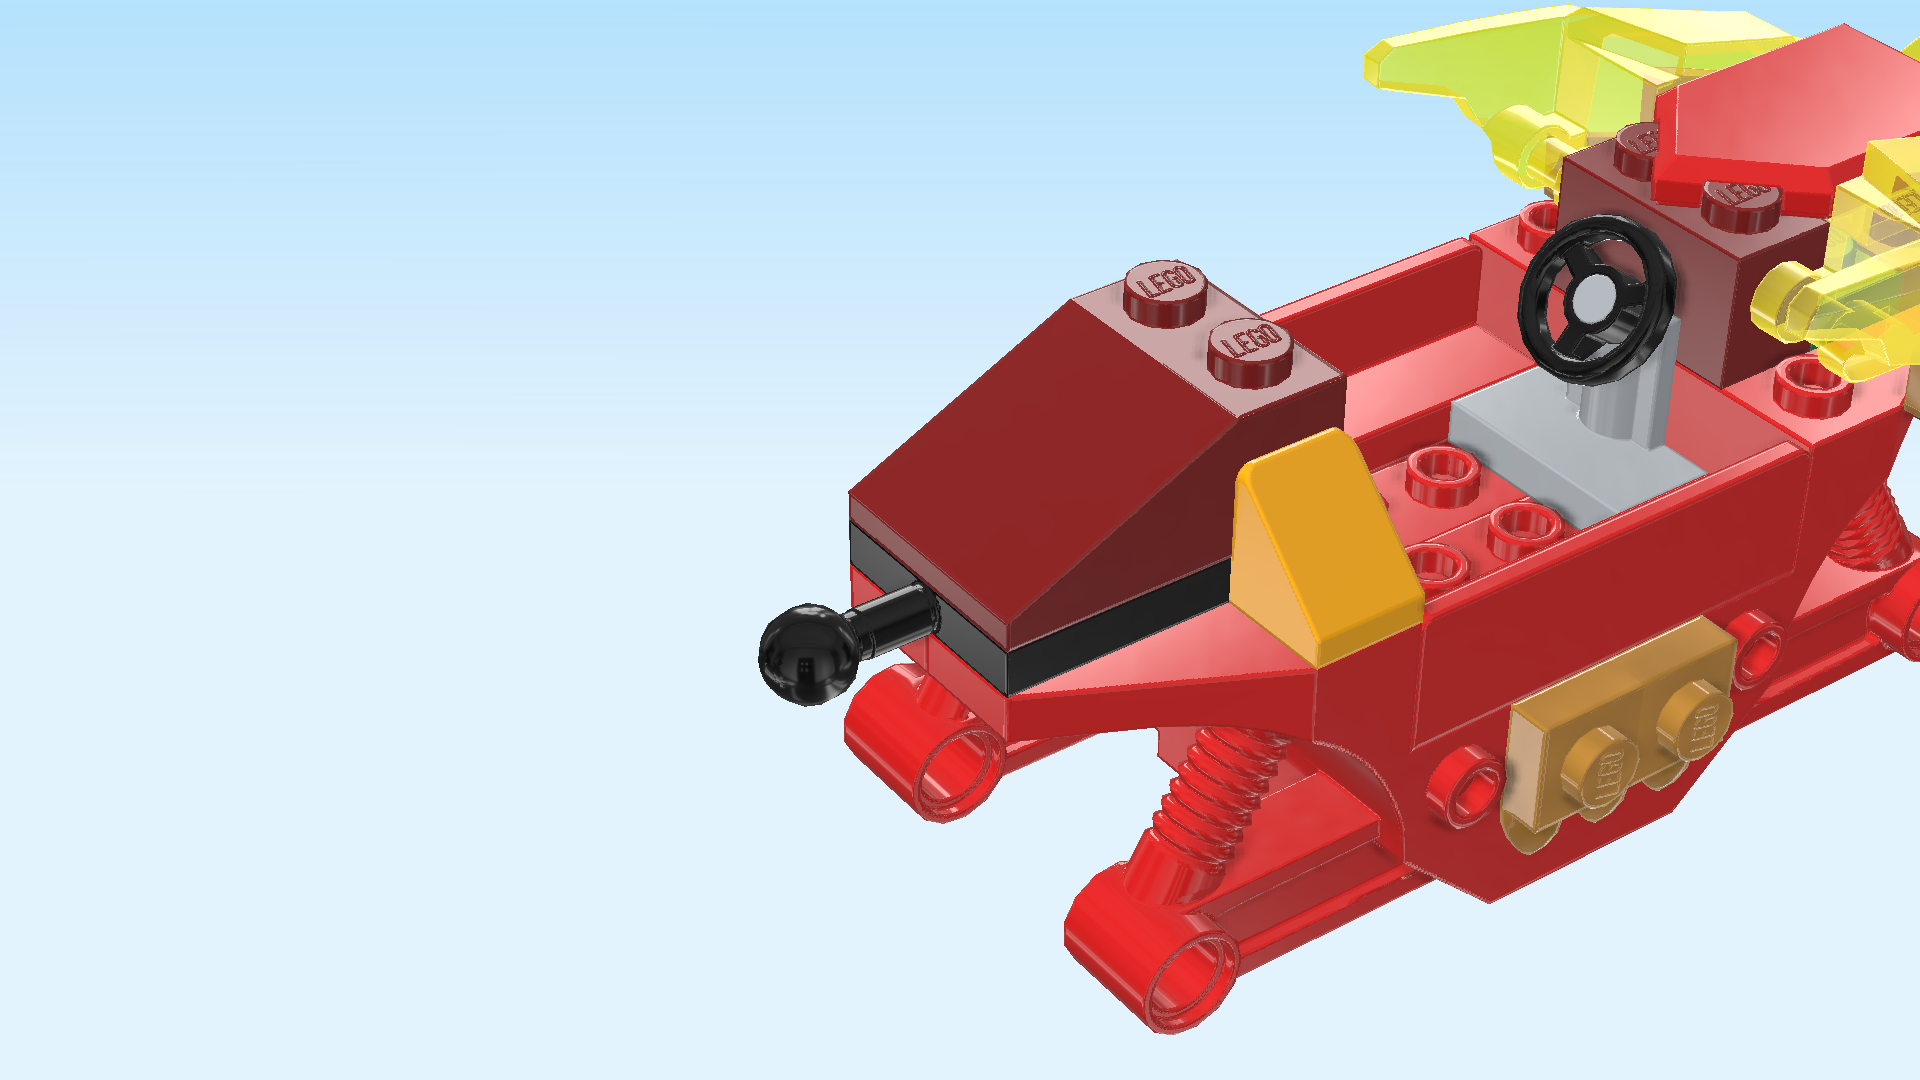
| Put the roof tile 1x2 vertically centered on the leftmost column of the low part in the center of the vehicle, slope to the right. |
| Put the small steering wheel 1x2 vertically centered on the rightmost column of the low part, steering wheel to the left. |
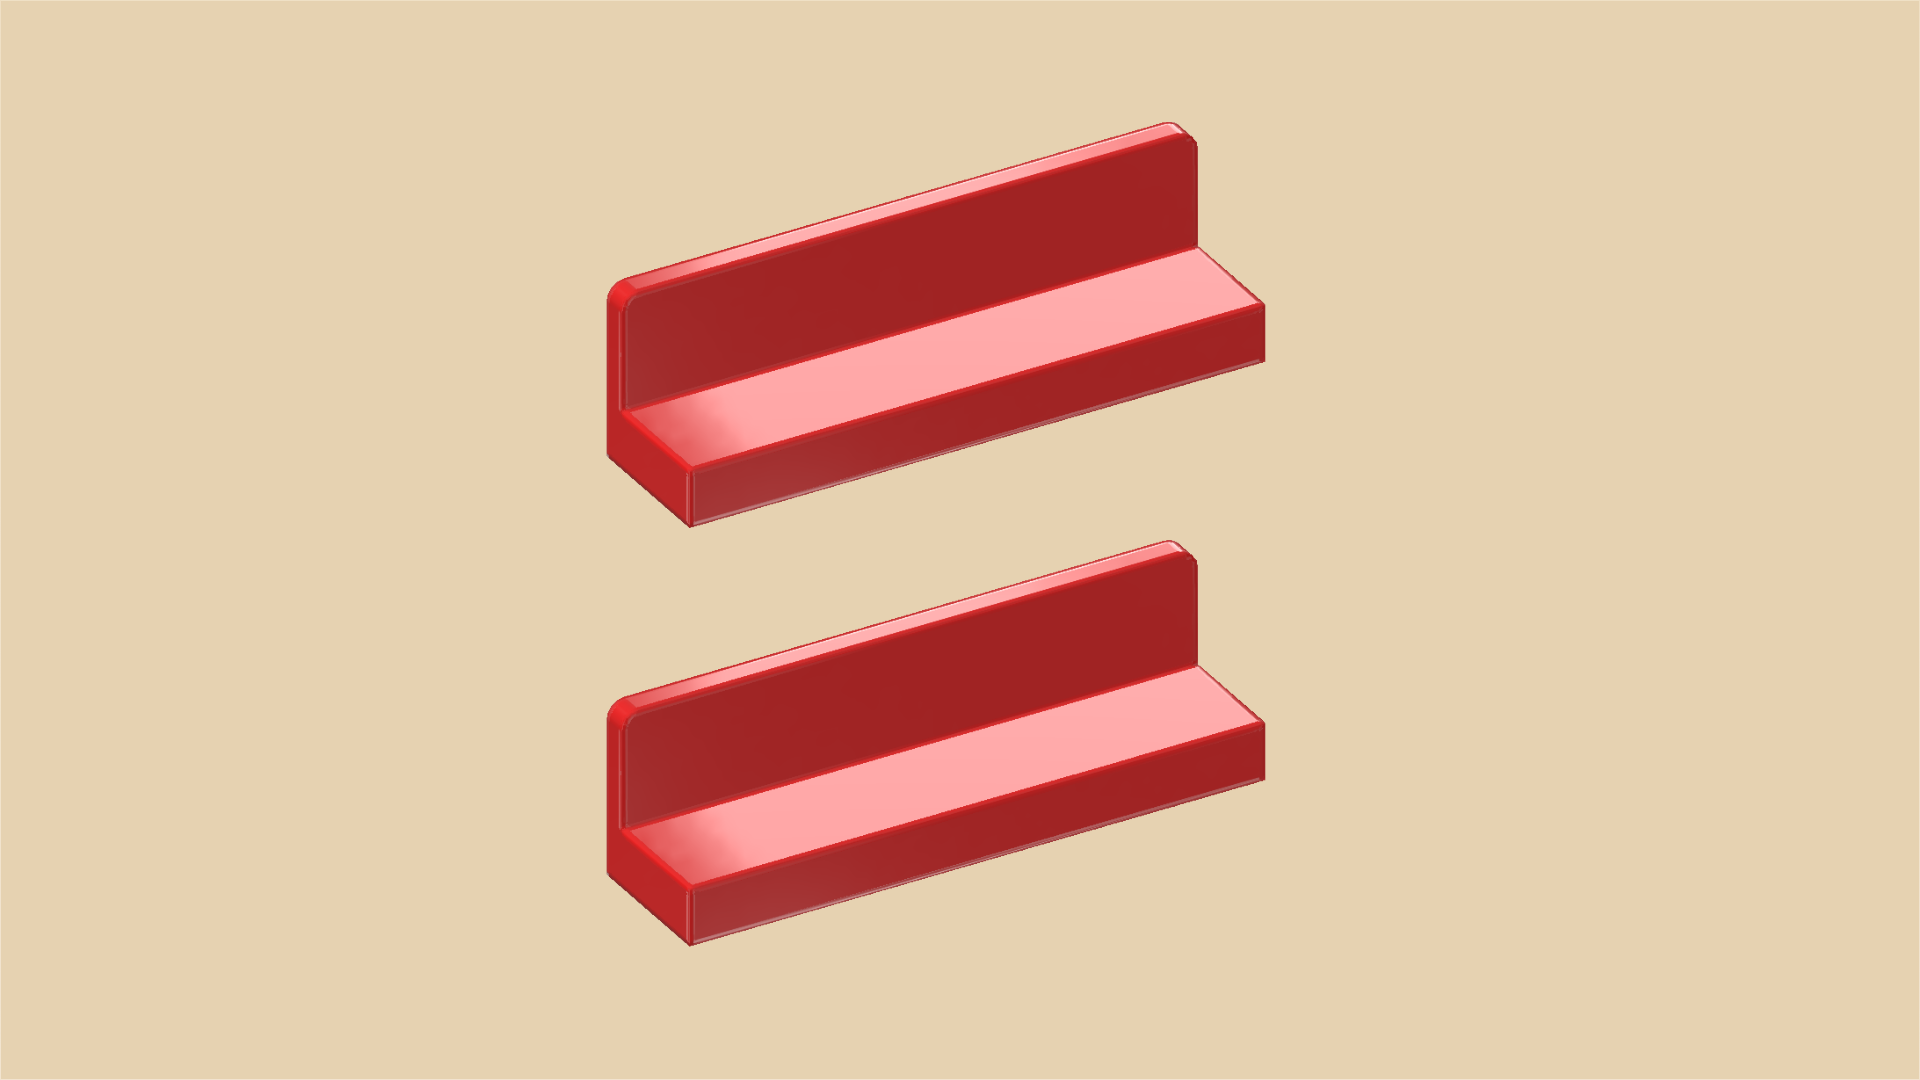
| Find 2 bright red panel elements 1x4x1 with panel on long side. |
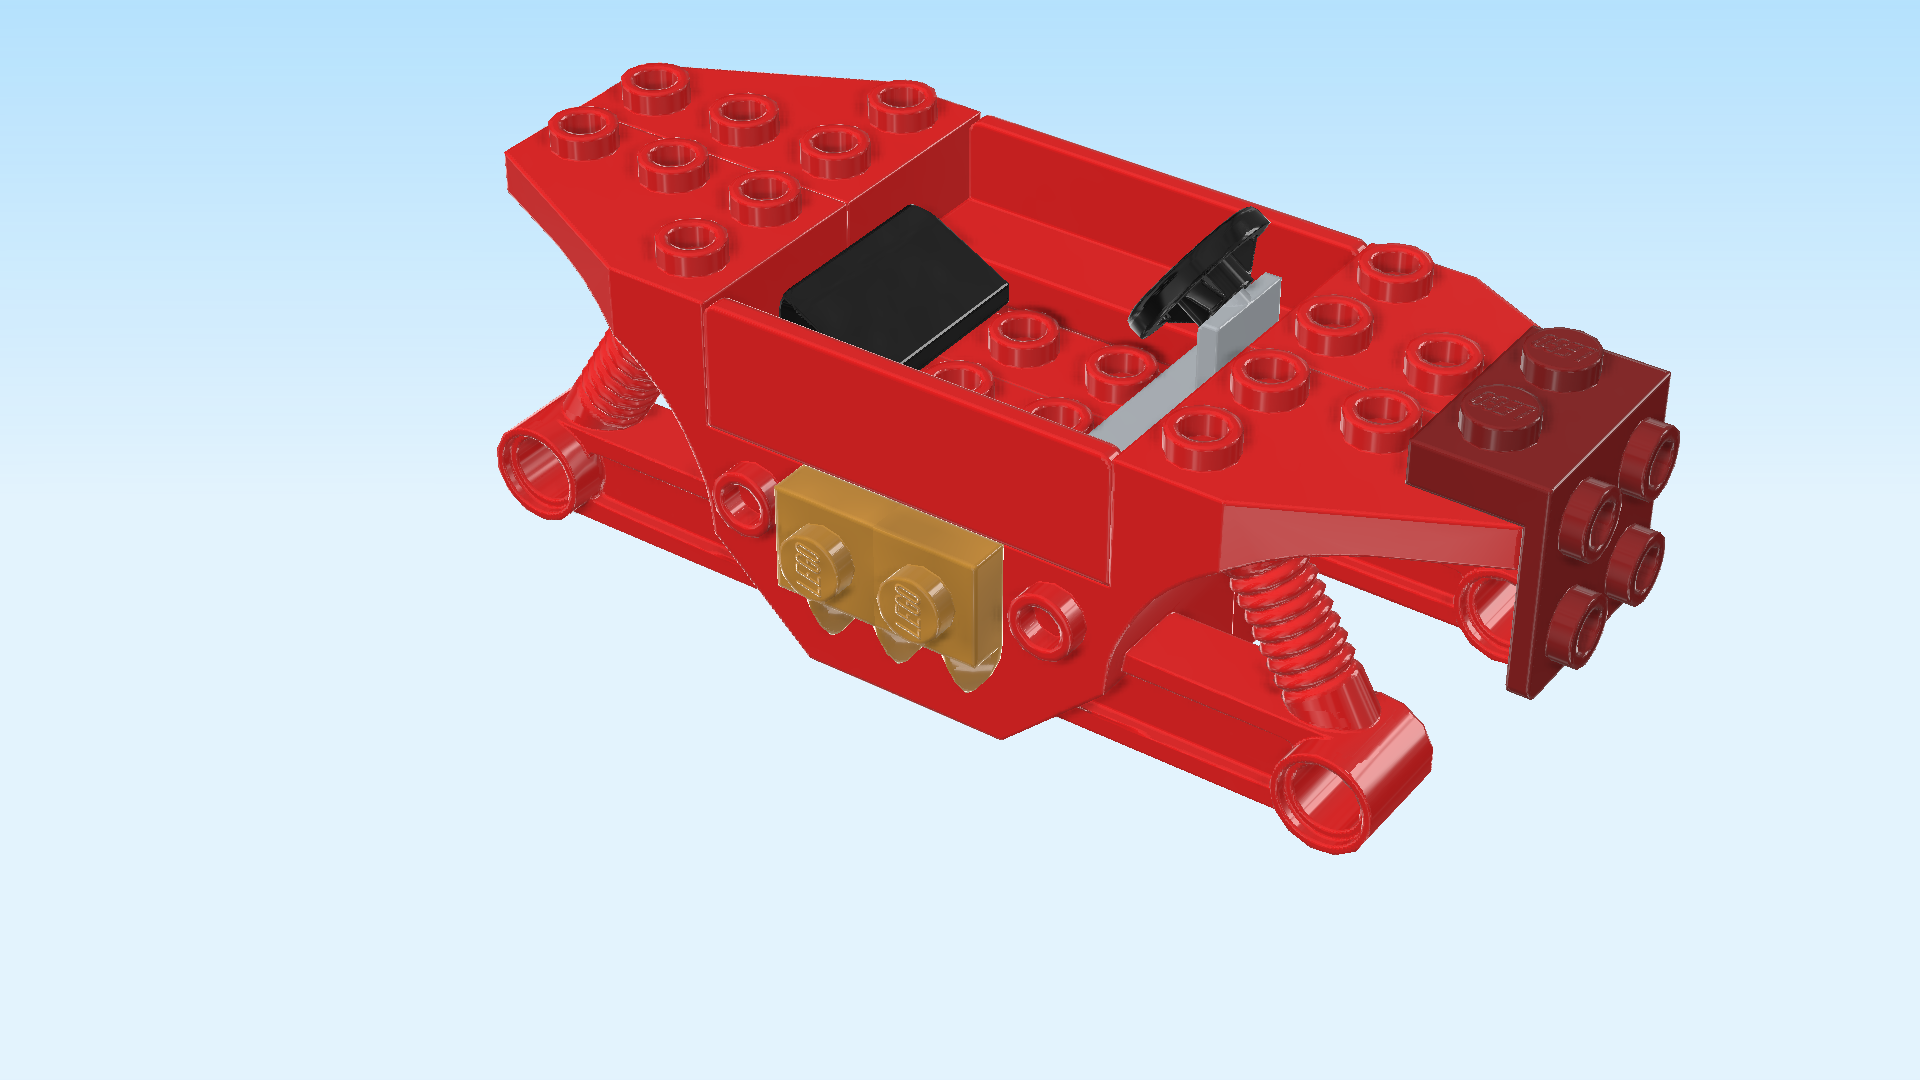
| Put 1 horizontally on the frontmost row of the low part in the middle, panel to the front. |
| Repeat symmetrically at the back, panel to the back. |
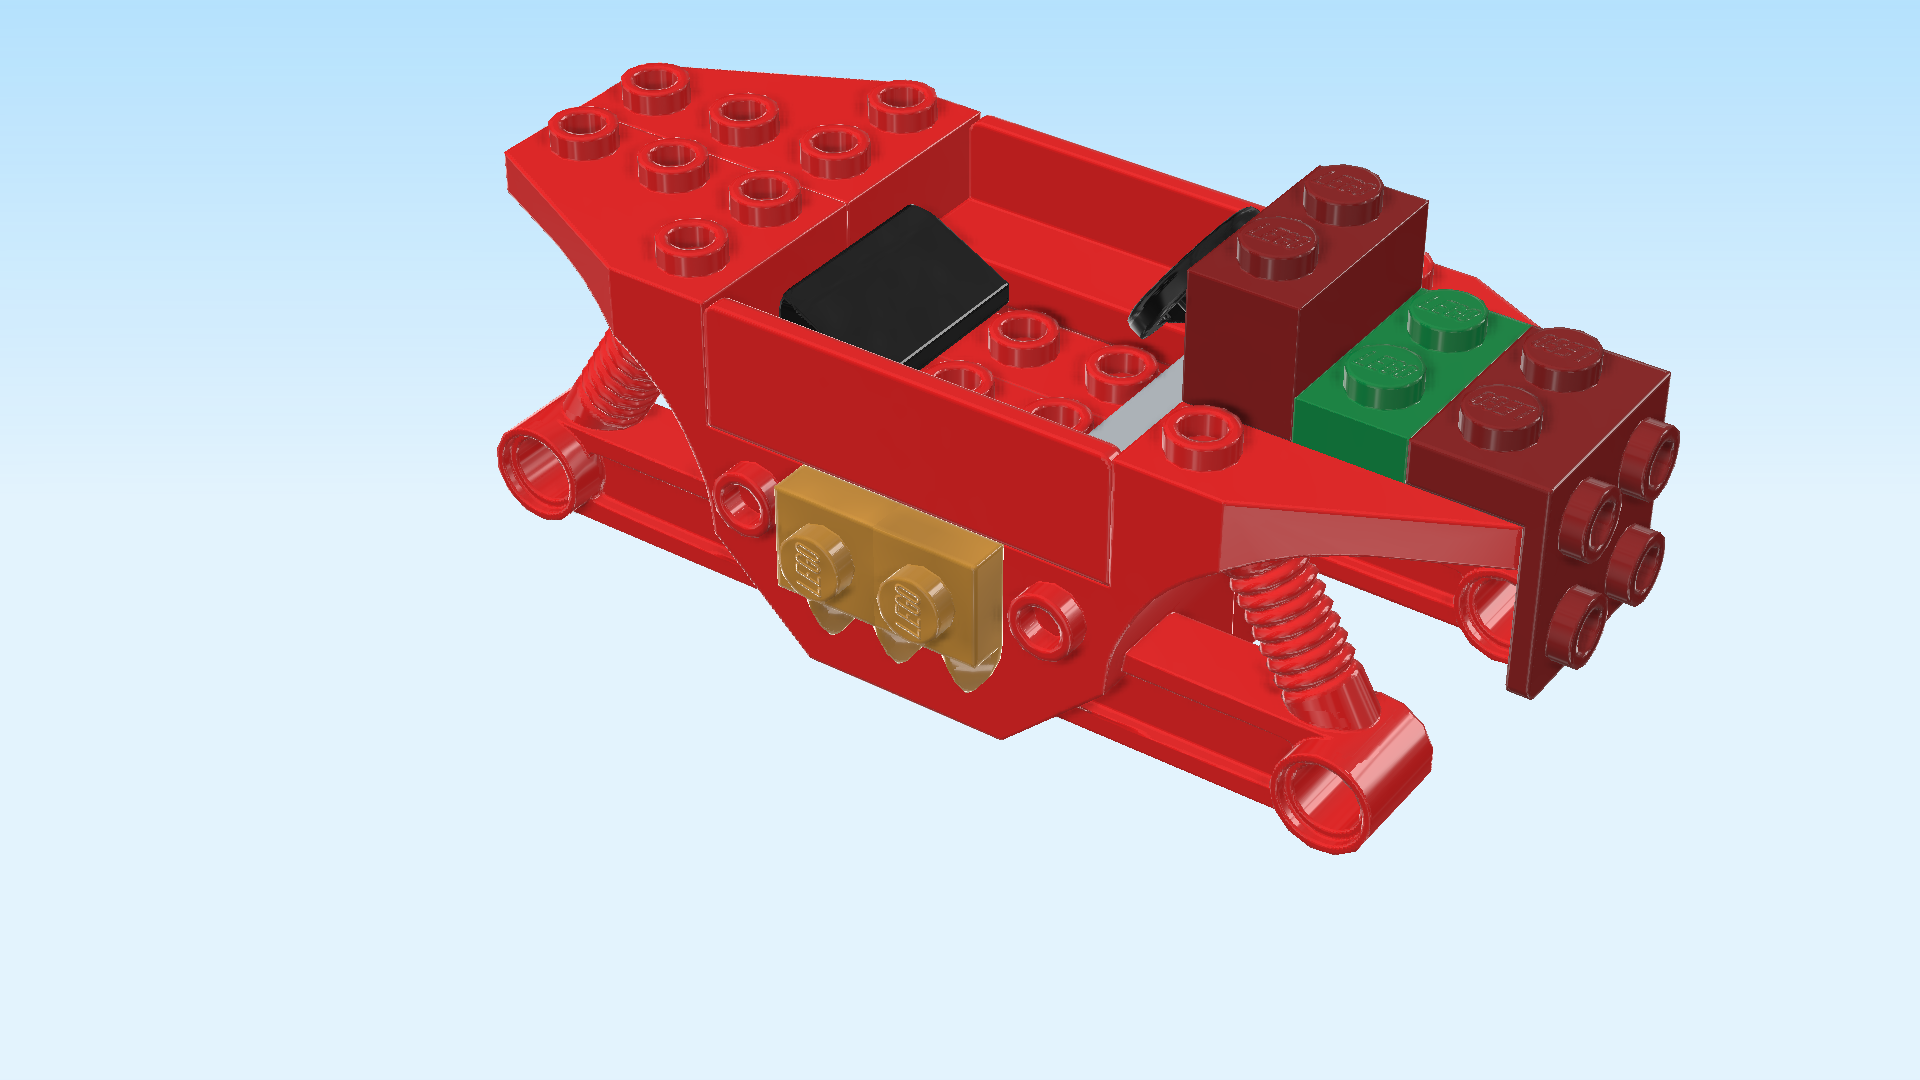
| Find 1 maroon red top angle plate 1x2 - 2x2 with 4 side knobs. |
| Put it vertically on the rightmost column of the entire car structure, 4 side knobs pointing to the right. |
| Collect the following 2 pieces: |
| 1 maroon red brick 1x2, |
| and 1 dark green plate 1x2. |
| Put the plate 1x2 vertically to the left of the previous piece. |
| Put the brick 1x2 vertically centered to the left of the previous piece. |
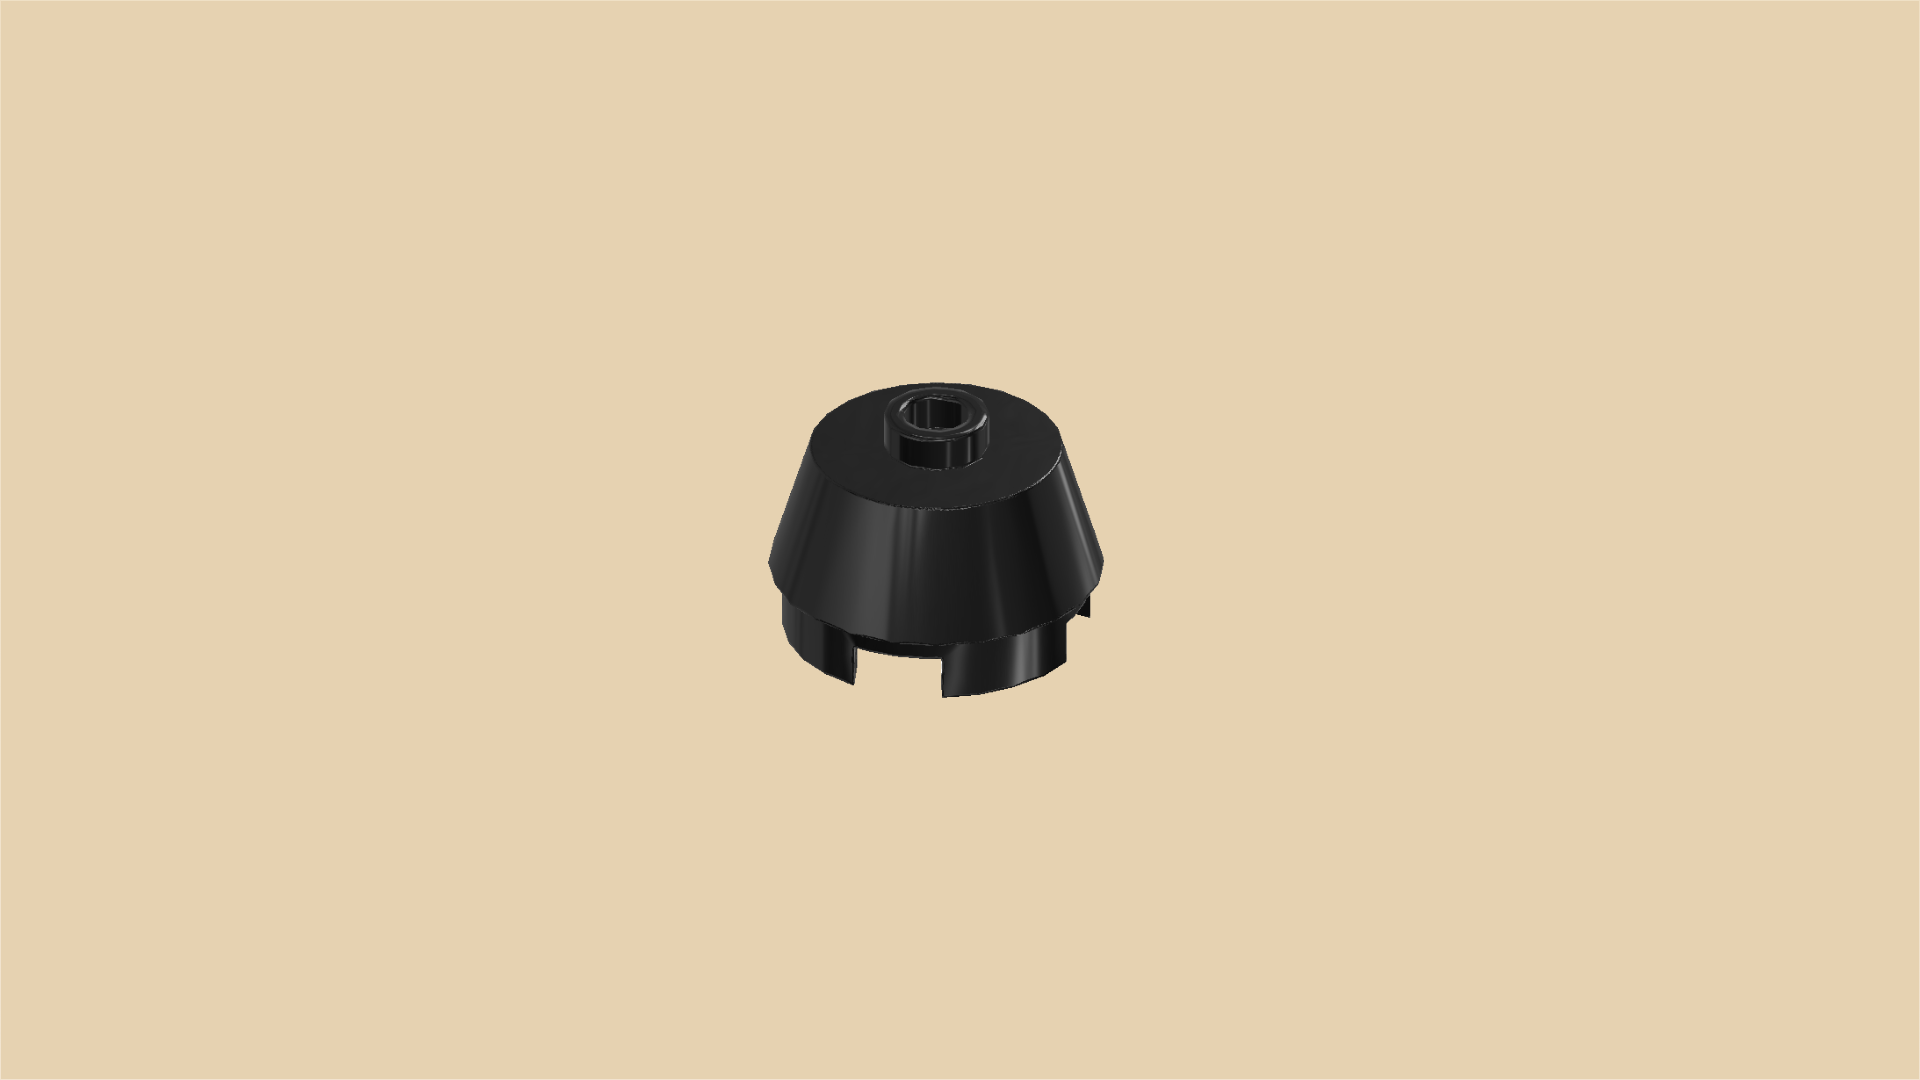
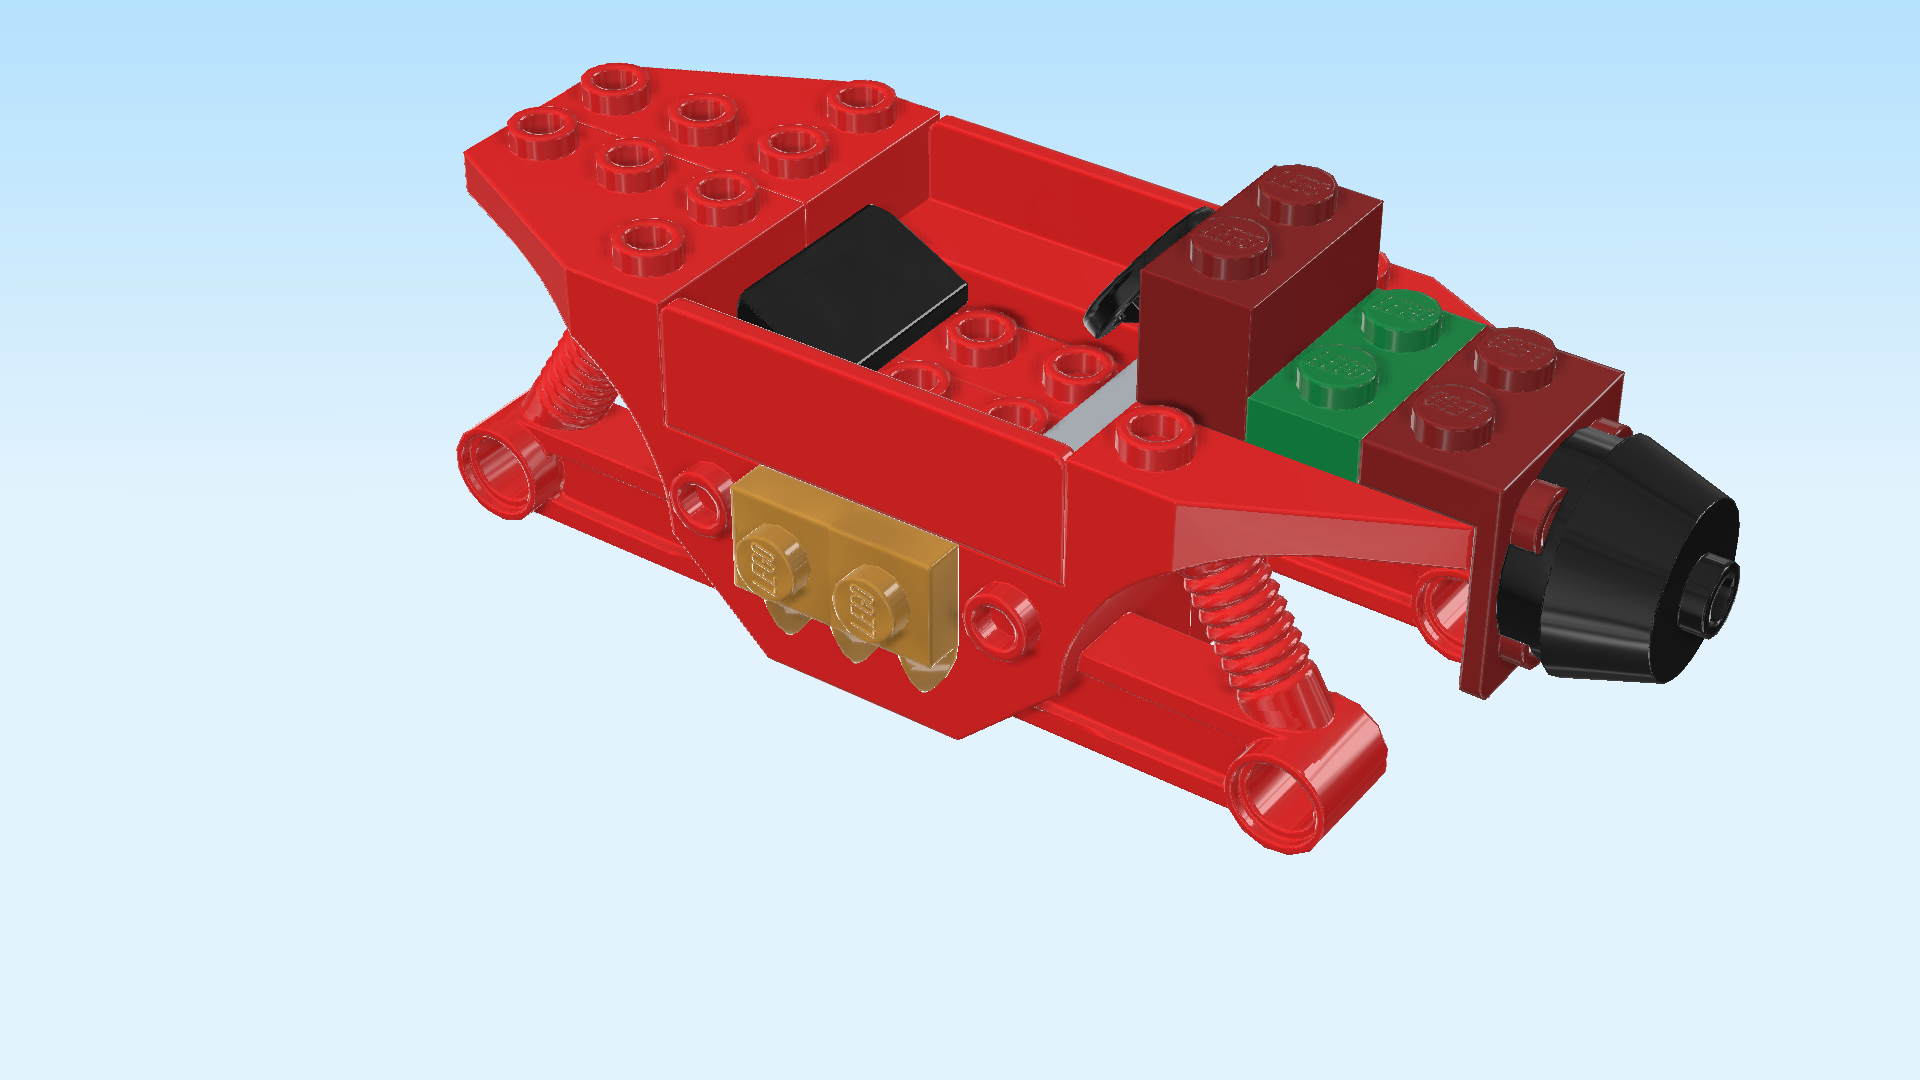
| Find 1 black round brick 2x2 with sloped sides and 1 knob. |
| Put it upright on the 4 side knobs pointing to the right. |
| Find 1 transparent bright orange round plate 1x1 with through-hole. |
| Put it upright on the knob of the previous piece. |
| Find 1 transparent bright orange flame with 5 fire tongues. |
| Flip it sideways and insert its bottom shaft into the knob of the previous piece, flame pointing to the right. |
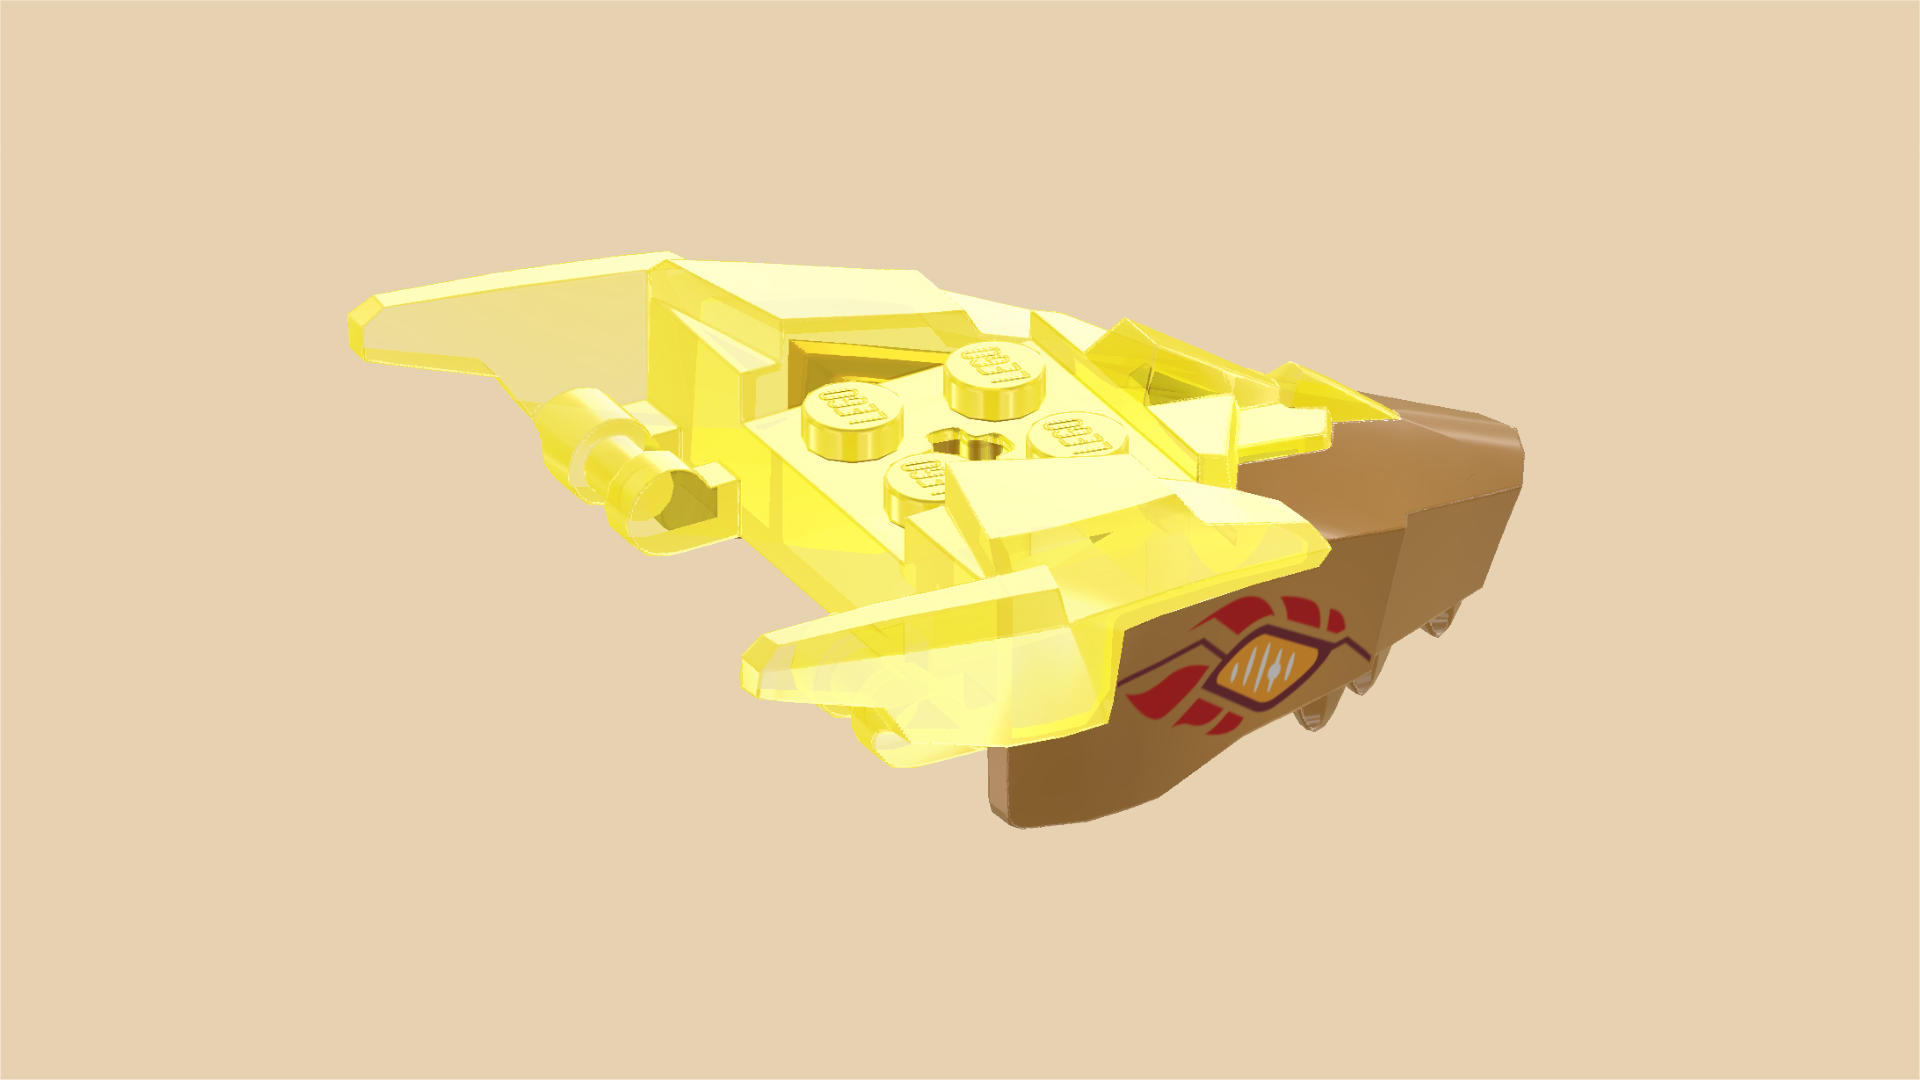
| Find 1 transparent yellow and warm gold upper jaw of a dragon head. |
| Turn it so that its tip (the snout of the dragon) is pointing to the right. Mount it directly to the right of the brick 1x2 we have mounted in a previous step. The snout should sit above the round brick with sloped sides, with the flame coming out of the dragon's imaginary mouth. |
| Find 1 bright red flat tile 2x3 with arrow-shaped end. |
| Put it horizontally on the 4 top knobs of the previous piece, arrow-shaped end to the left. The tip of the arrow should sit between the 2 knobs of the brick 1x2. |
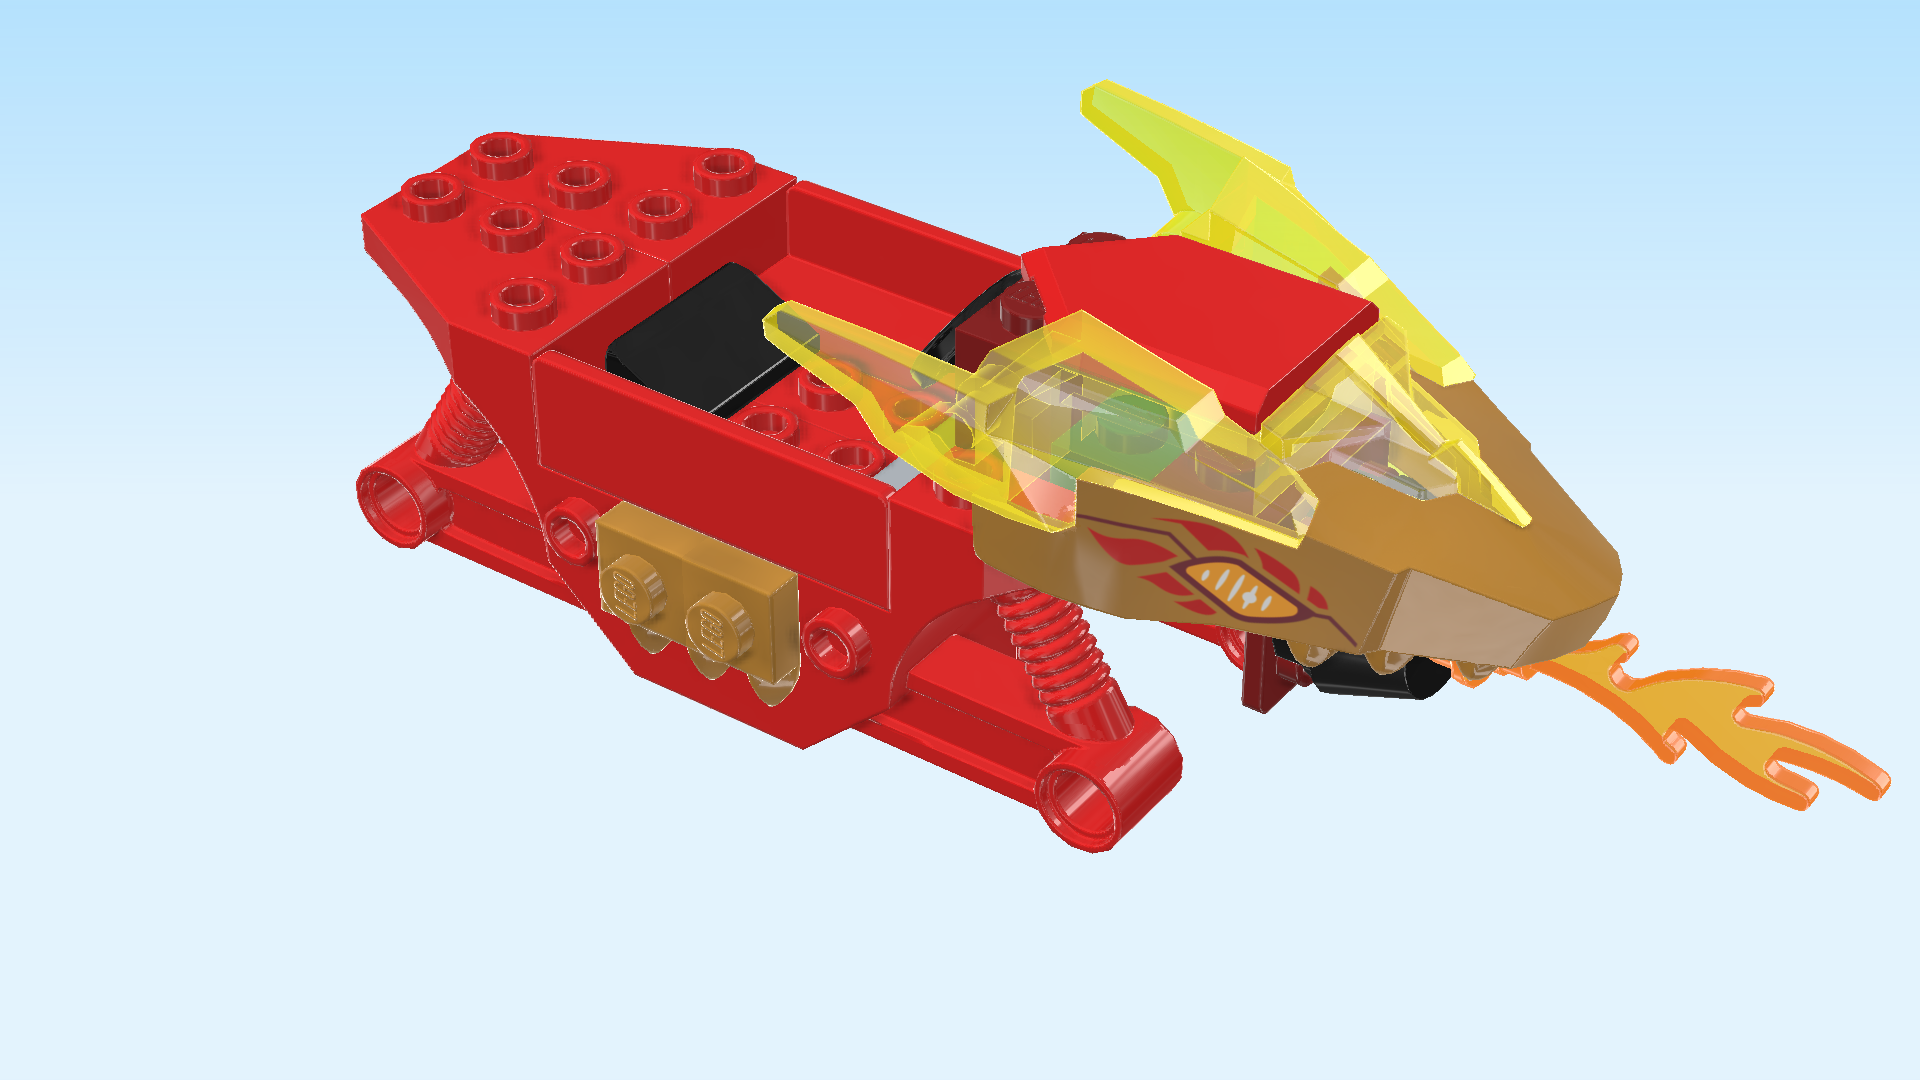
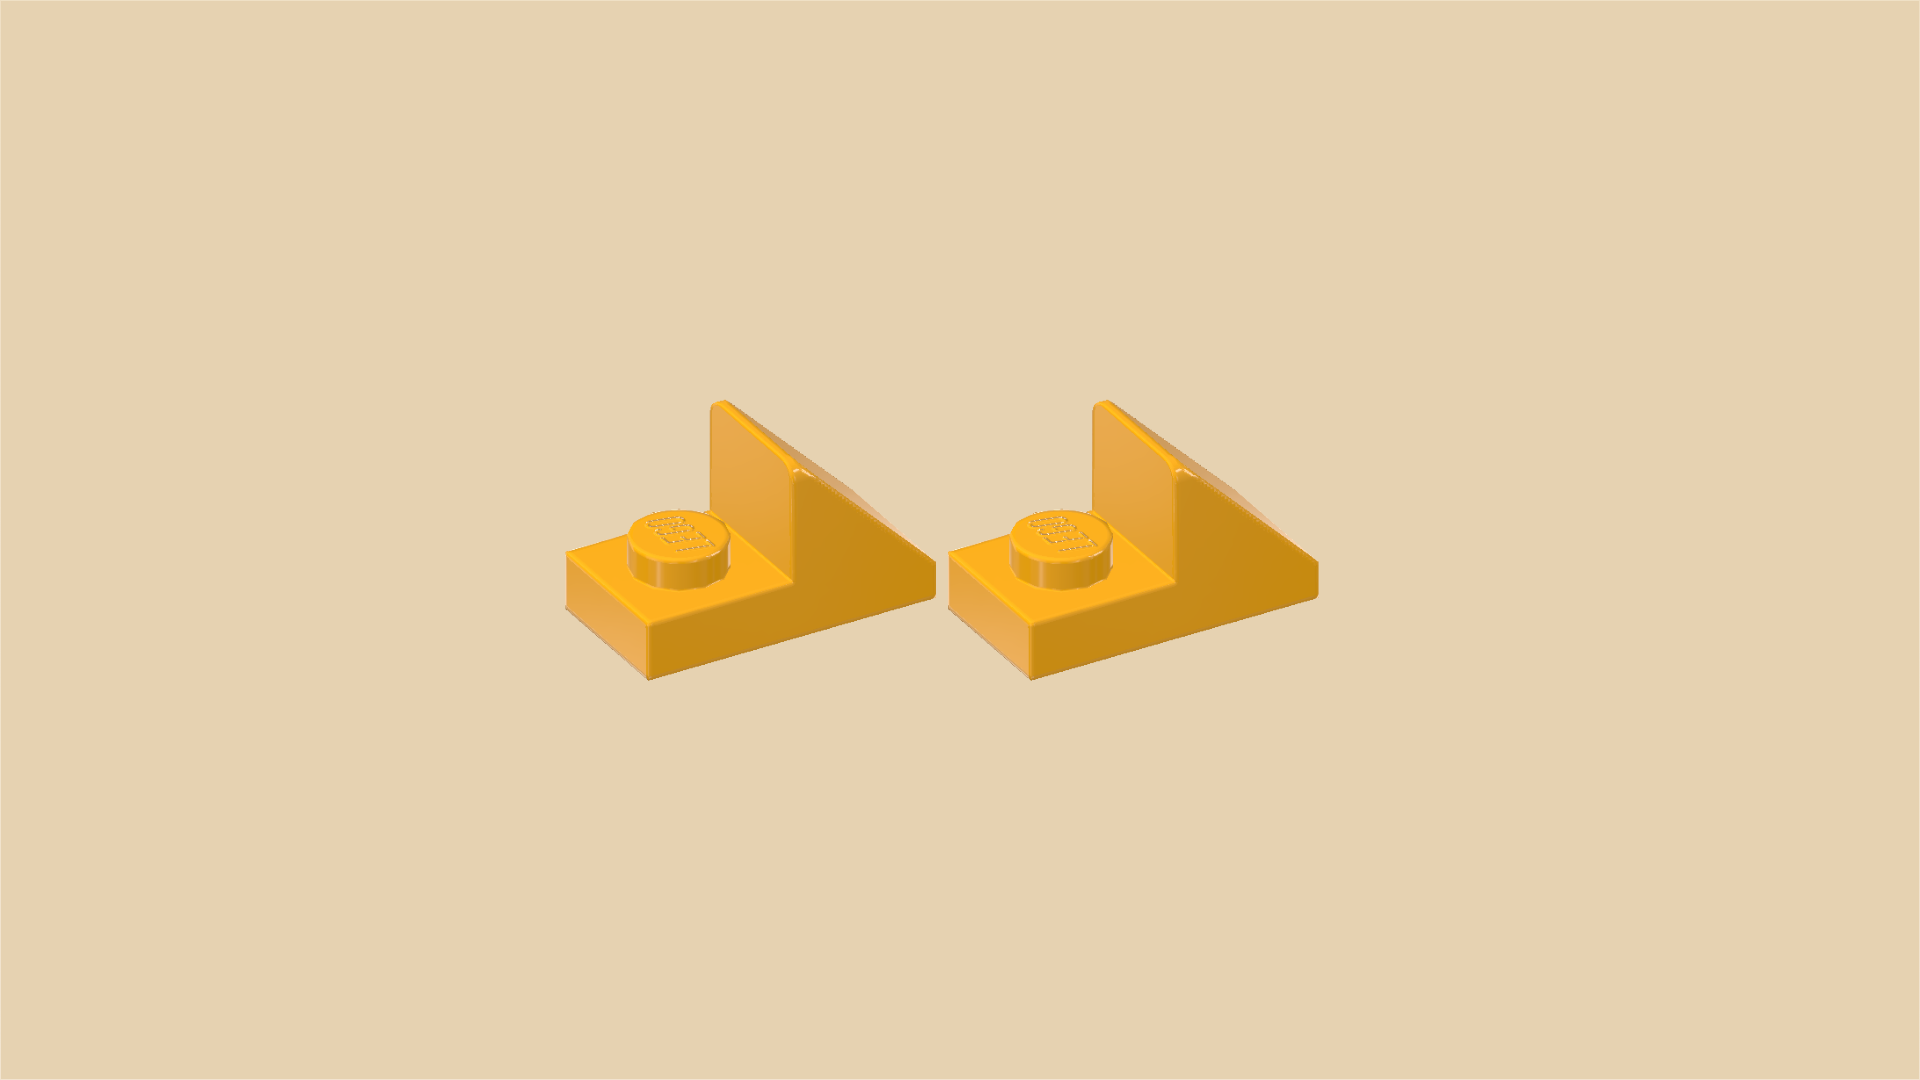
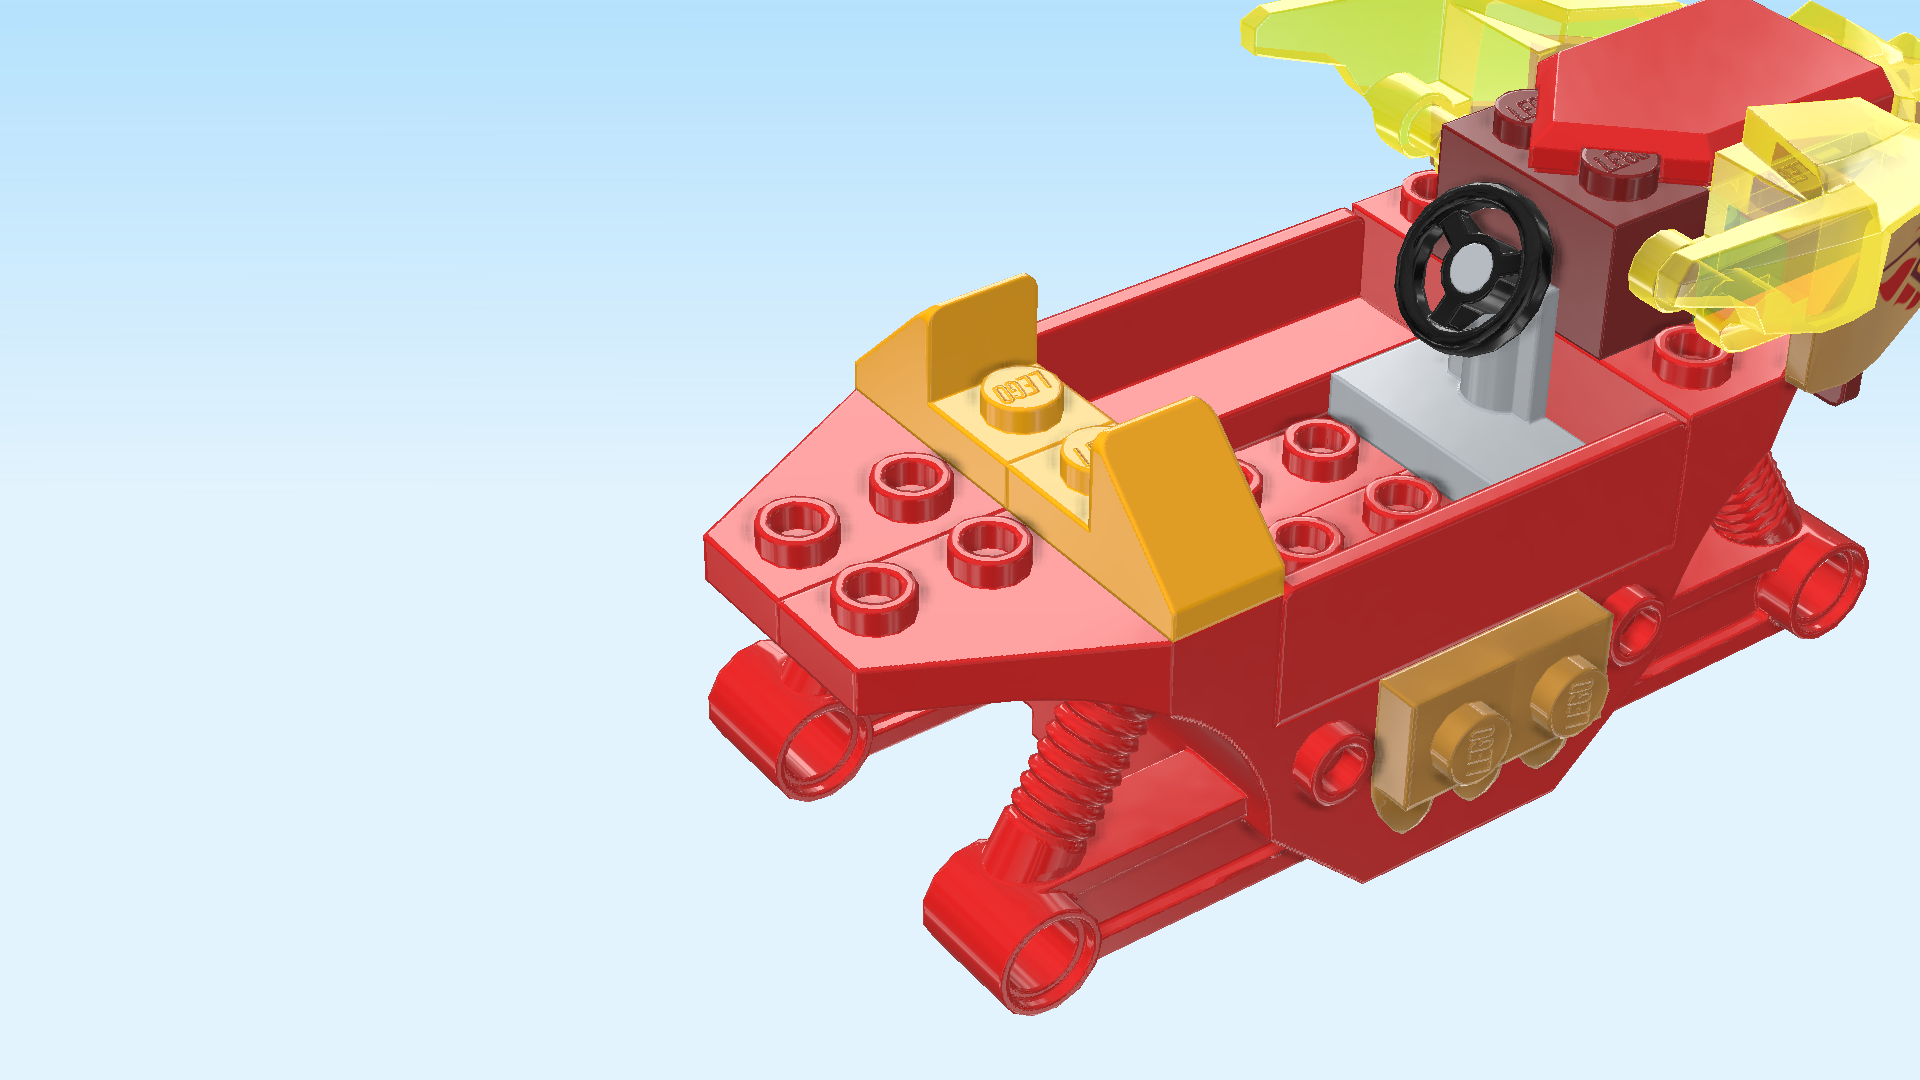
| Find 2 flame yellowish orange plates 1x2 with top roof tile 1x1, 45°. |
| Put 1 vertically on the third column from the left on its 2 back knobs, slope to the back. |
| Put the other one vertically in front of the previous piece, slope to the front. |
| Find 1 black plate 2x2 with middle hole and side ball on shaft. |
| Put it to the left of the 2 previous pieces, shaft with ball overhanging to the left. |
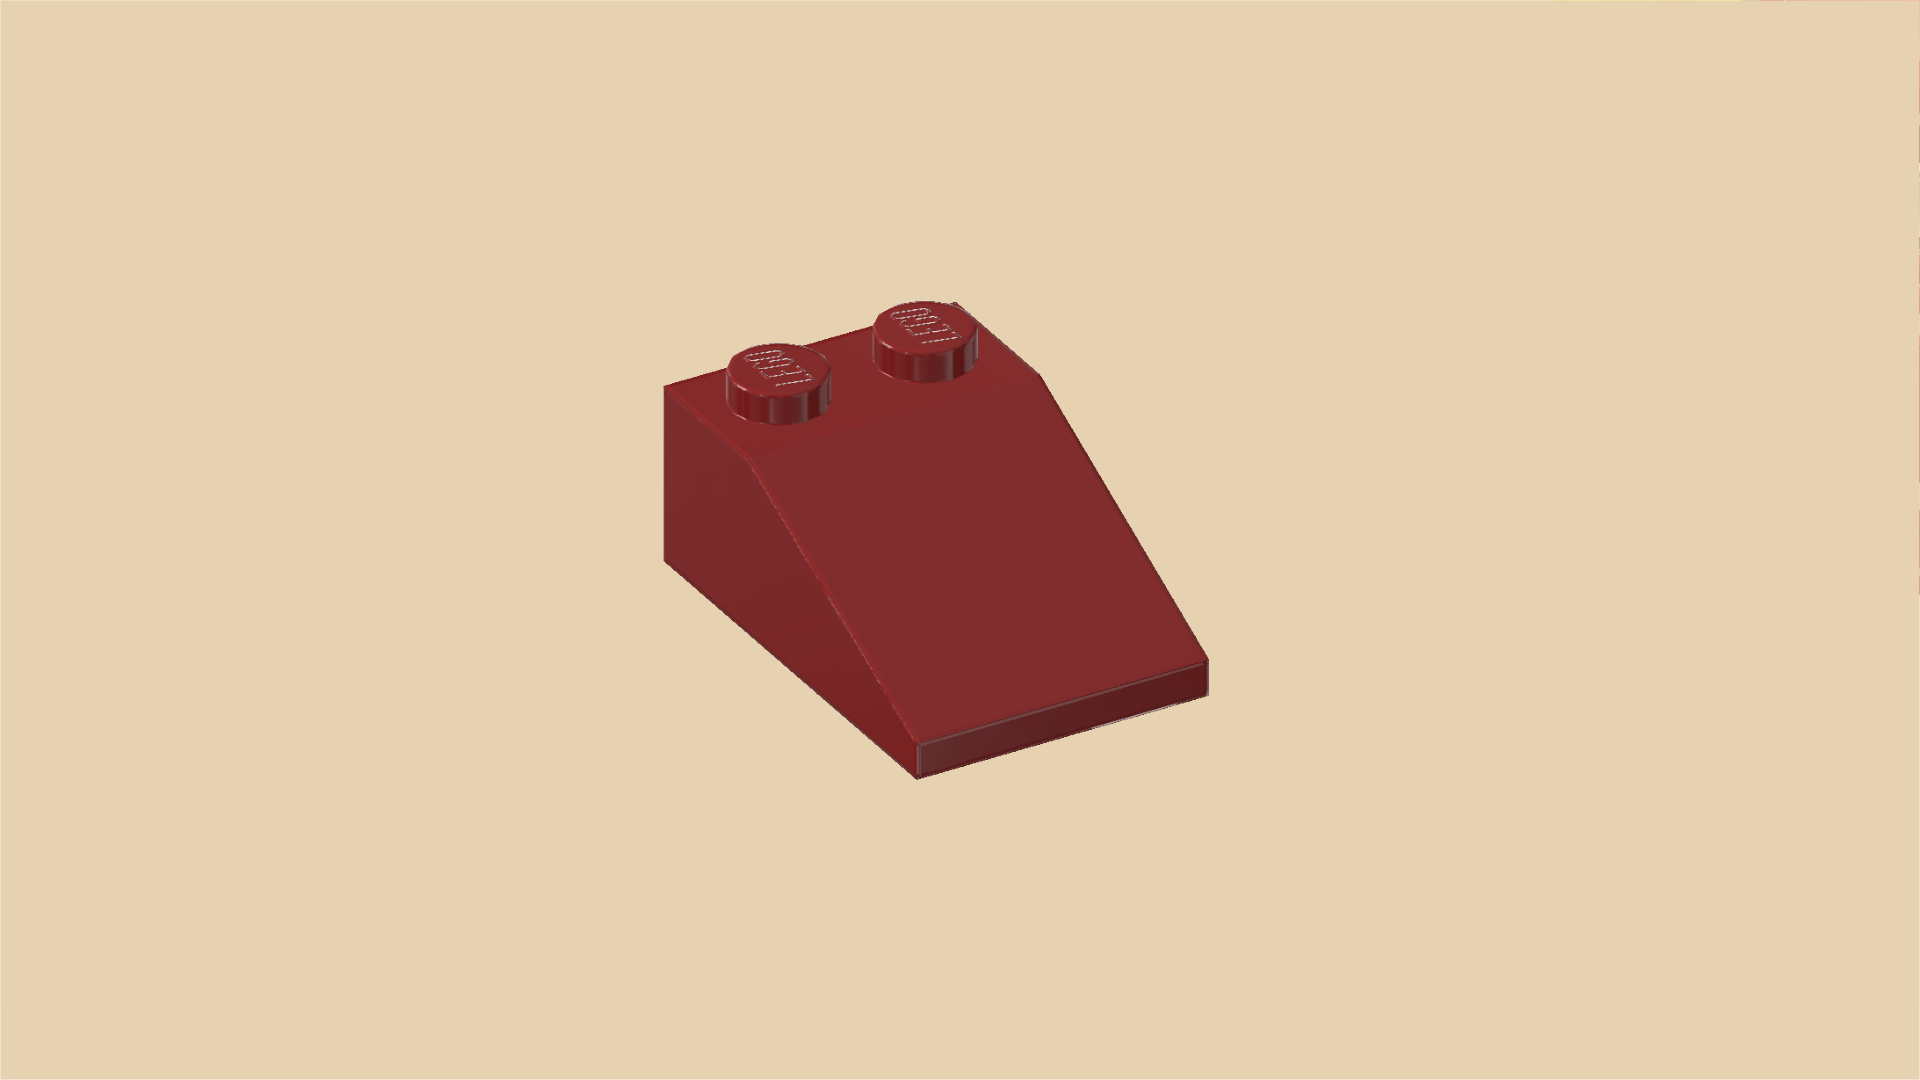
| Find 1 maroon red roof tile 2x3, 25°. |
| Put it horizontally on the 3 previous pieces, slope to the left. |
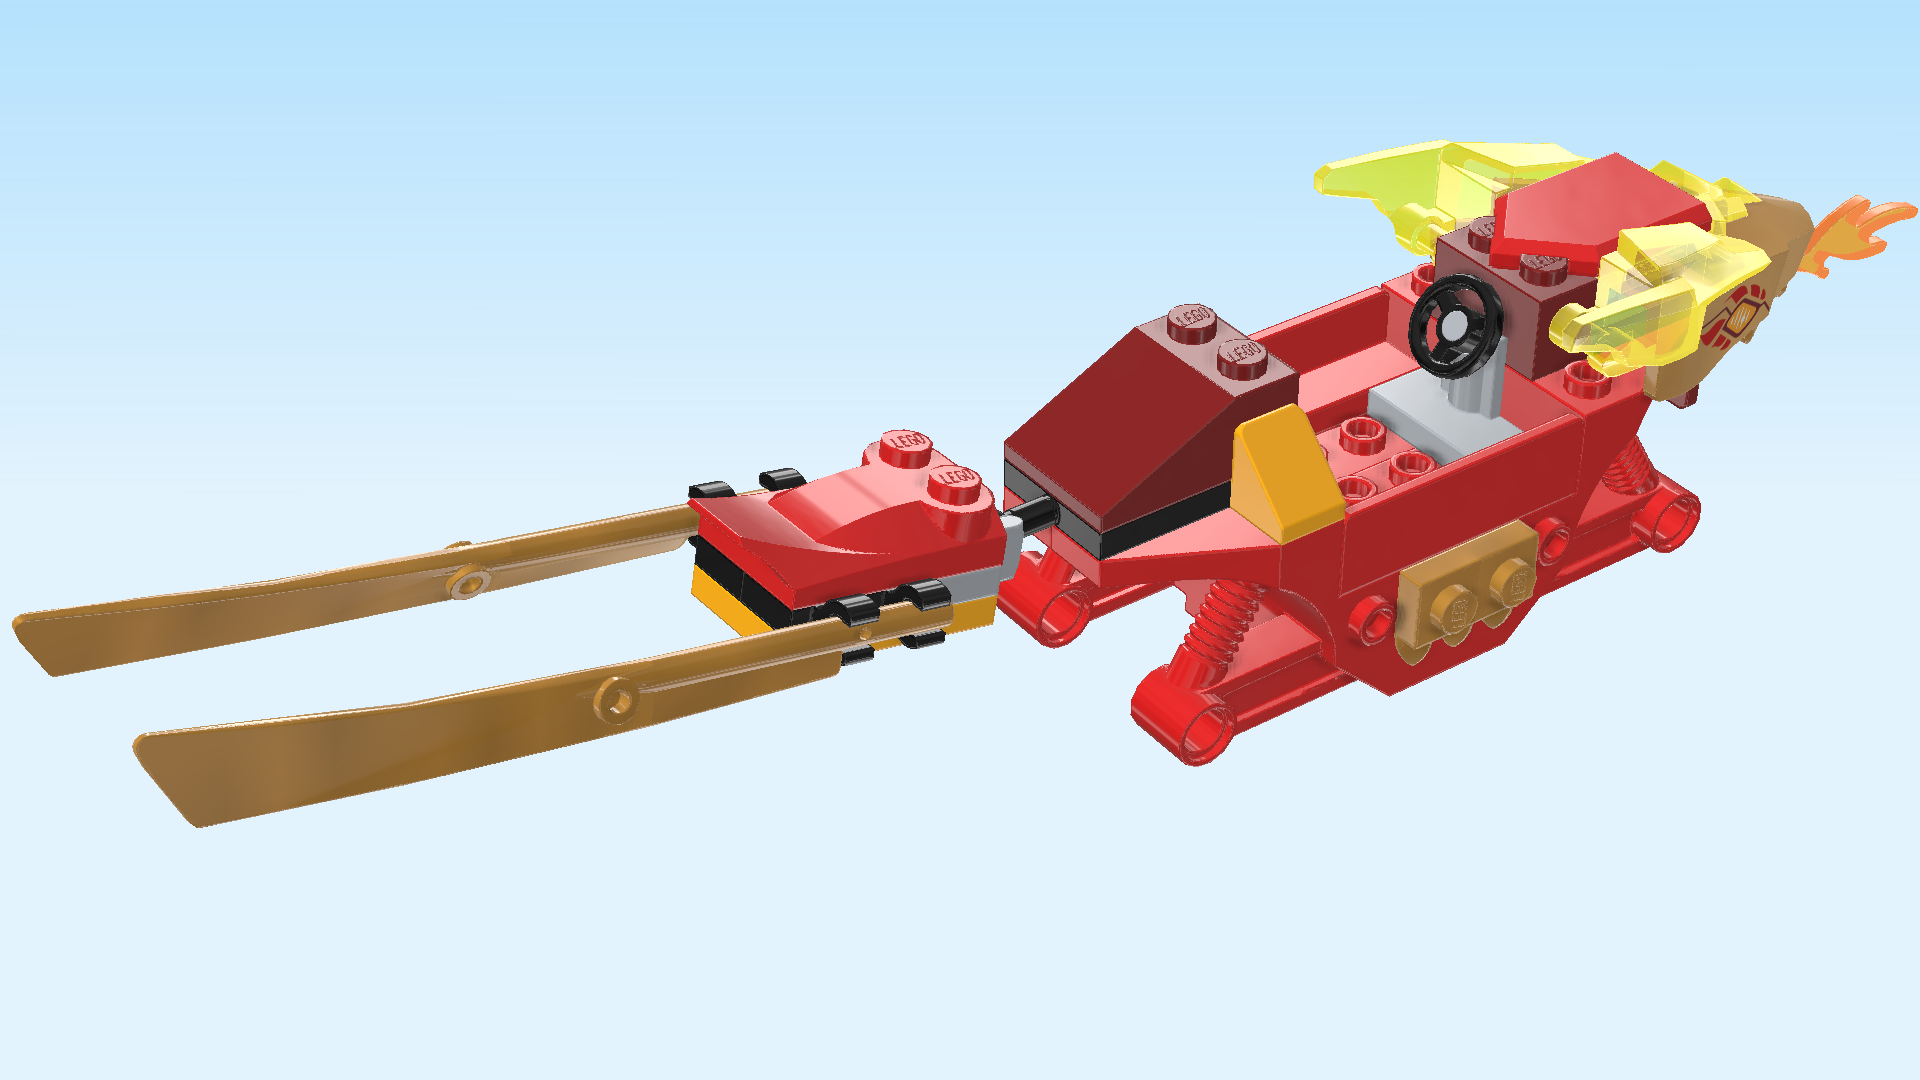
| Next up, we will build the movable dragon car tail with swords. |
| Collect the following 2 pieces: |
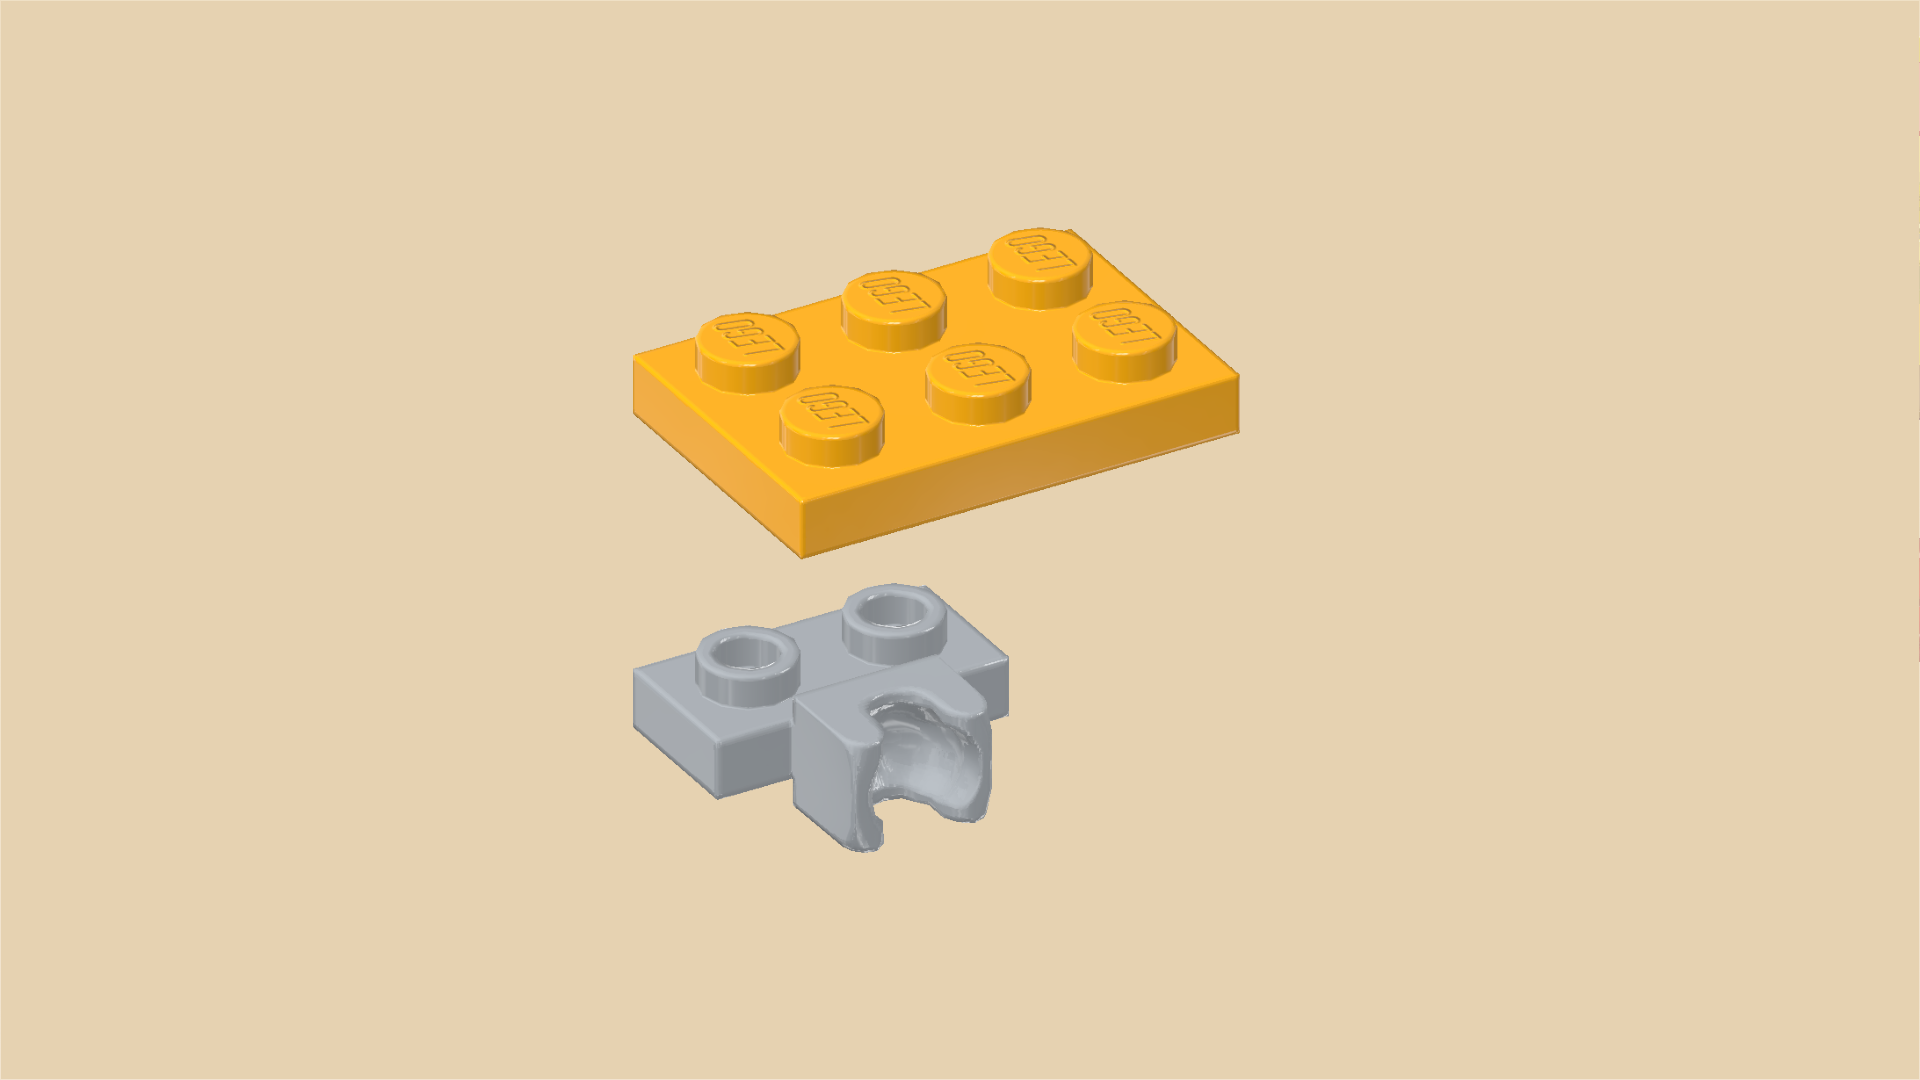
| 1 flame yellowish orange plate 2x3, |
| and 1 medium stone grey plate 1x2 with ball cup on long side. |
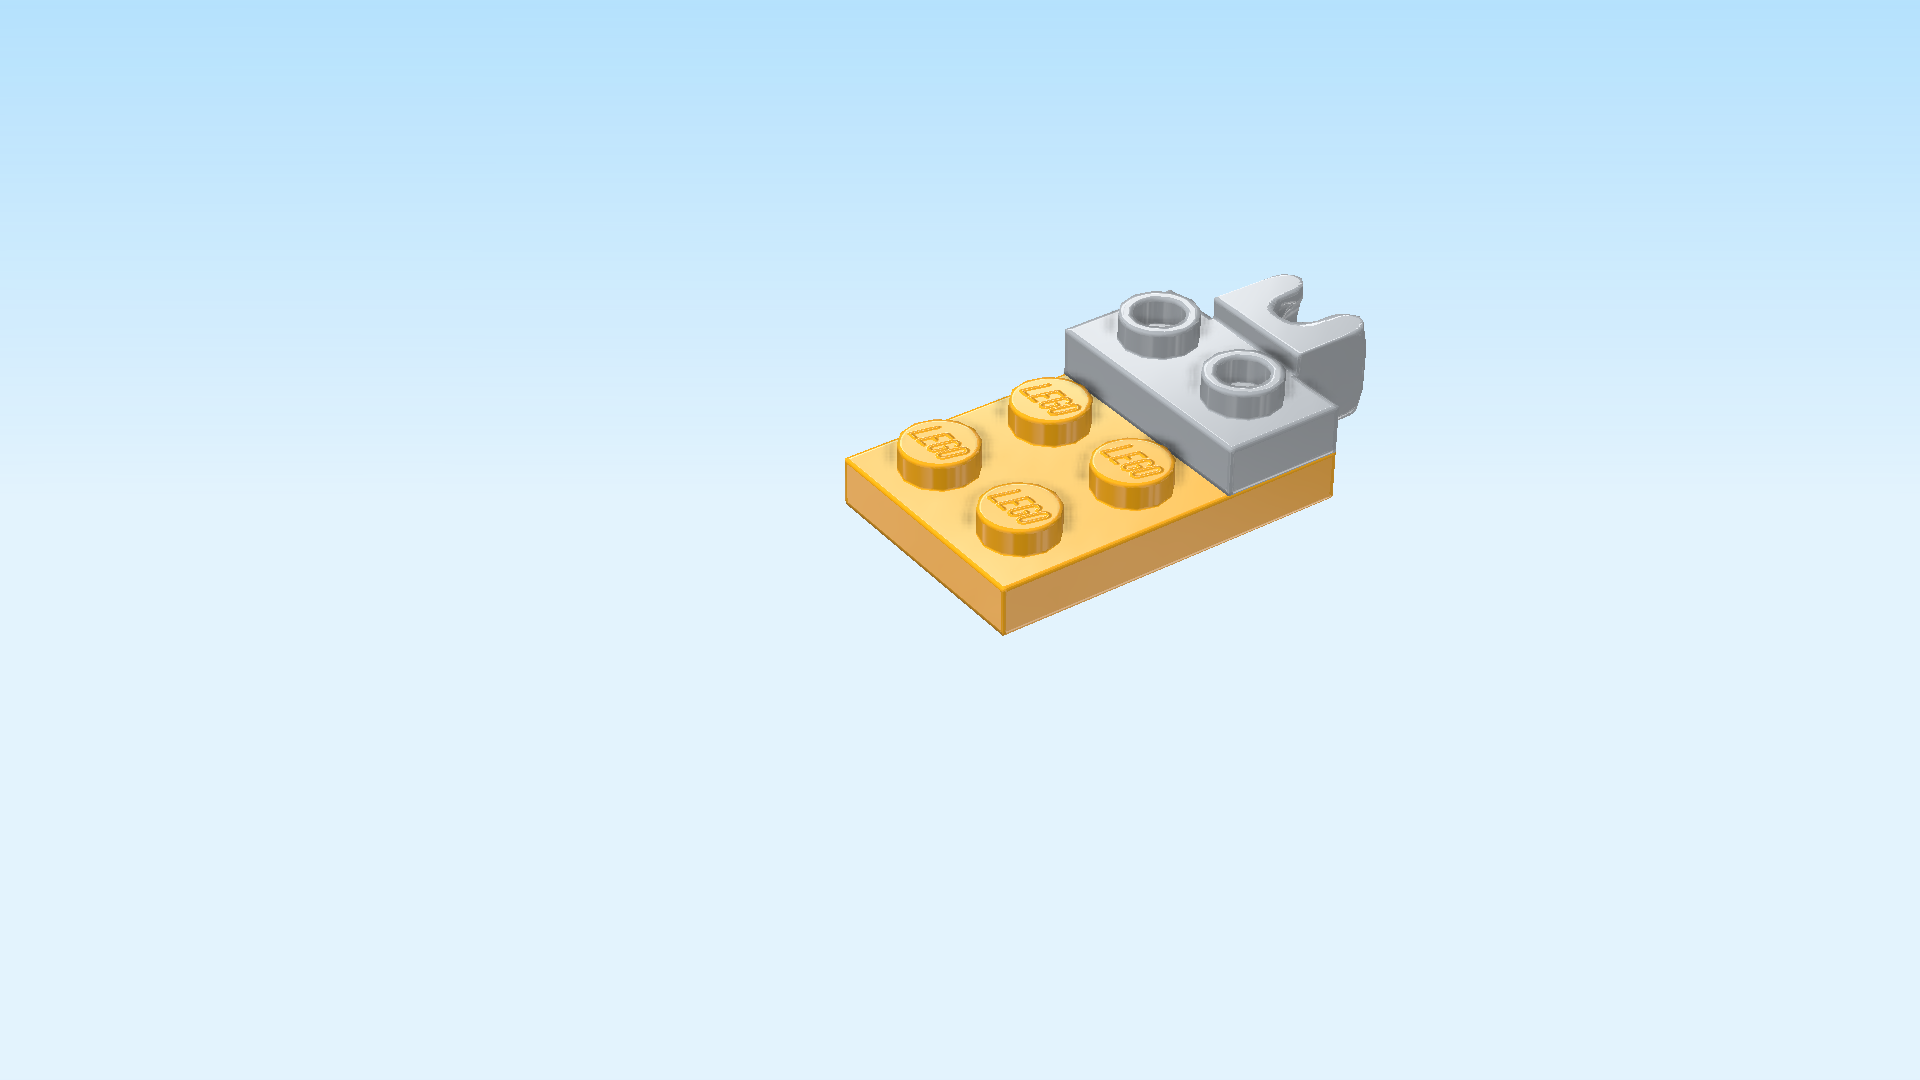
| Put the plate 2x3 horizontally on the table. |
| Put the plate with ball cup vertically on the rightmost column of the previous piece, ball cup to the right. |
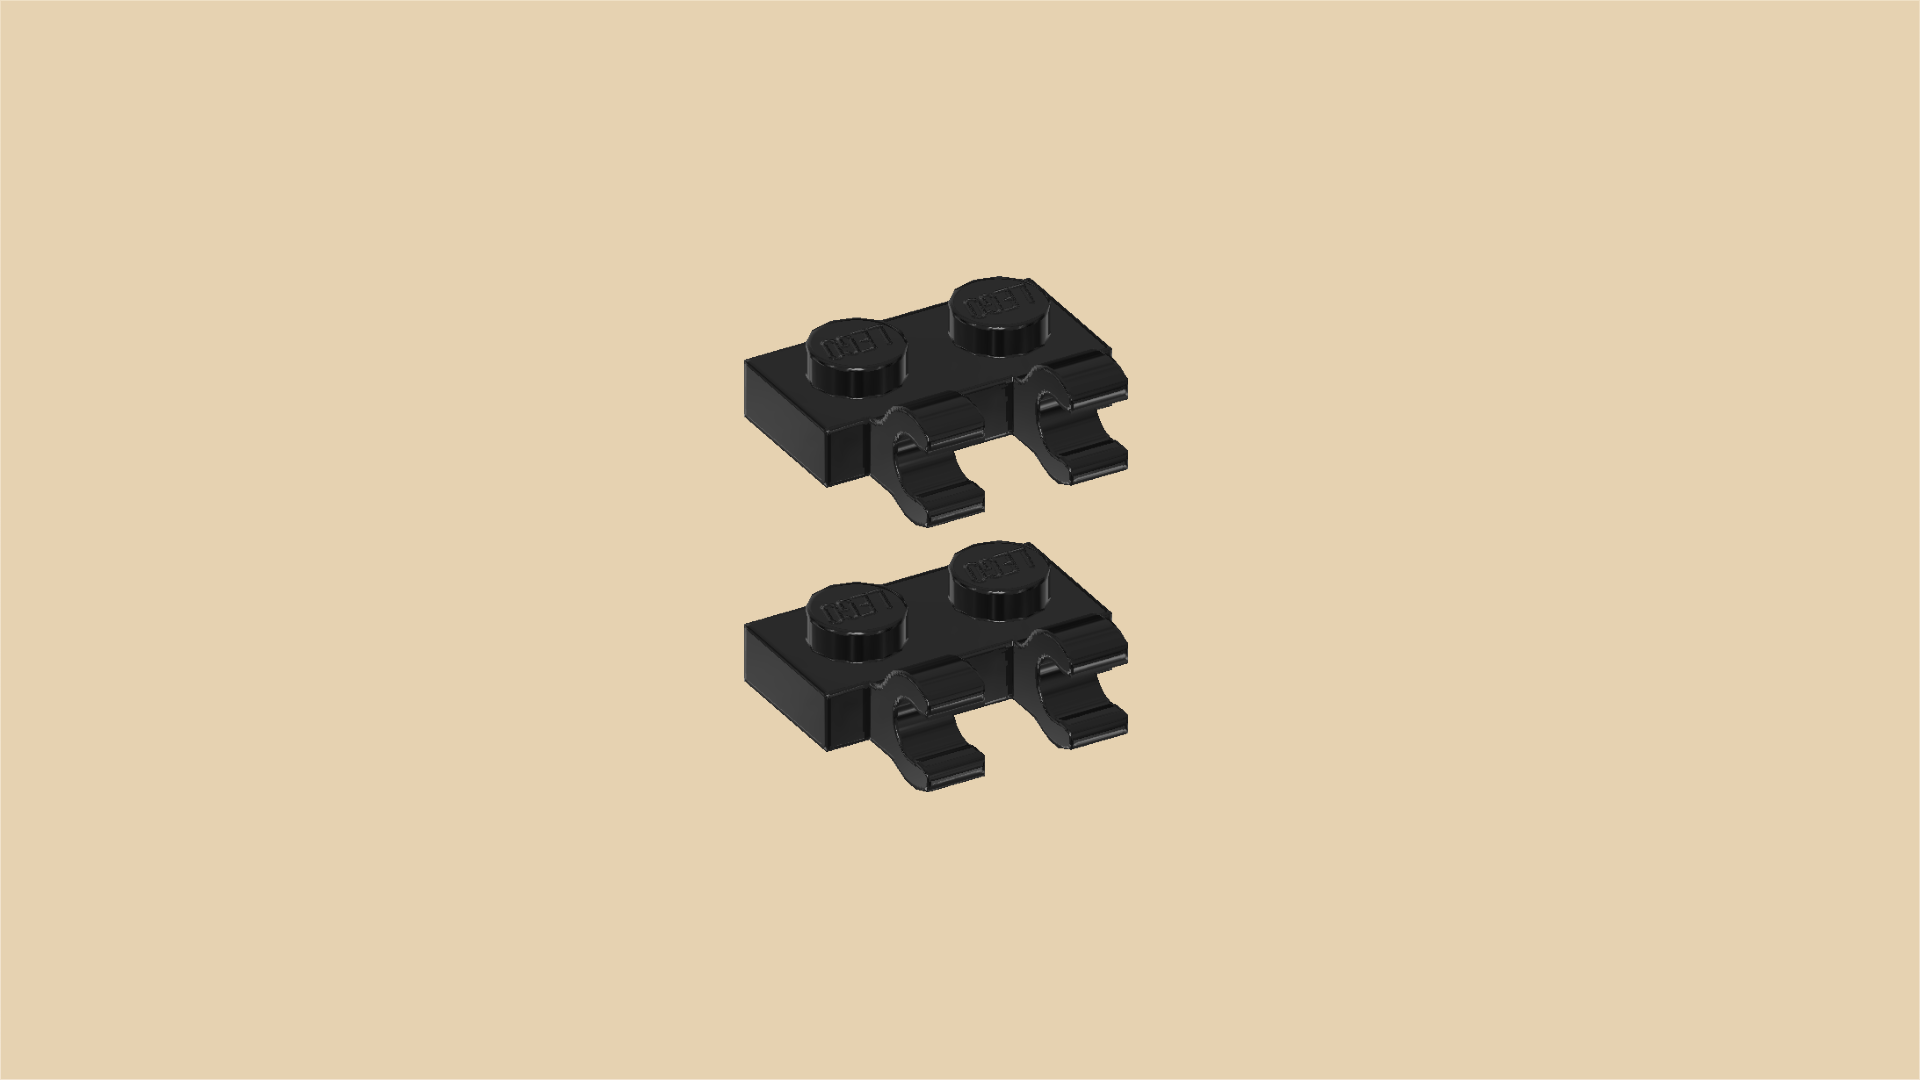
| Find 2 black plates 1x2 with 2 vertical clasps on long side. |
| Put 1 horizontally on the back row to the left of the previous piece, clasps to the back. |
| Put the other one horizontally in front of the previous piece, clasps to the front. |
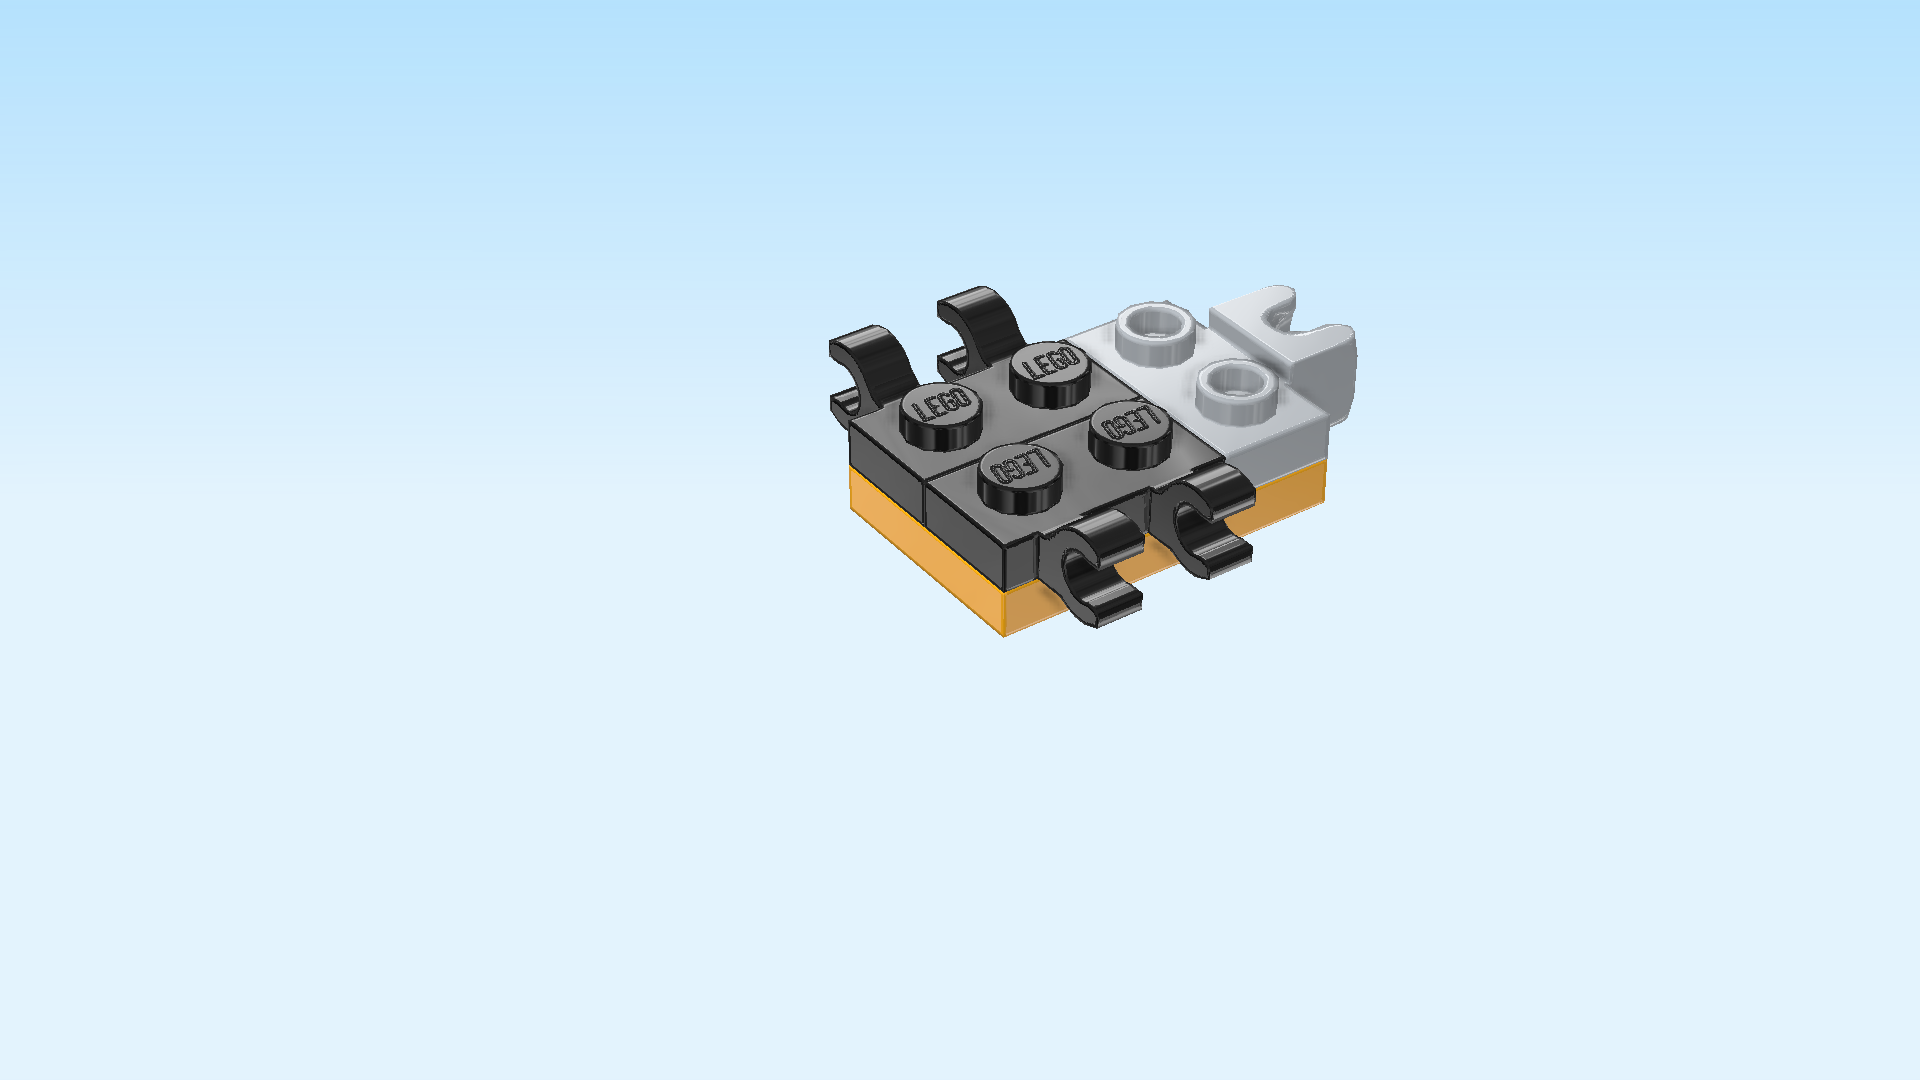
| Find 1 bright red curve plate 2x3x⅔ with 2 knobs and fin. |
| Put it horizontally on the 3 previous pieces, fin to the left, 2 knobs to the right. |
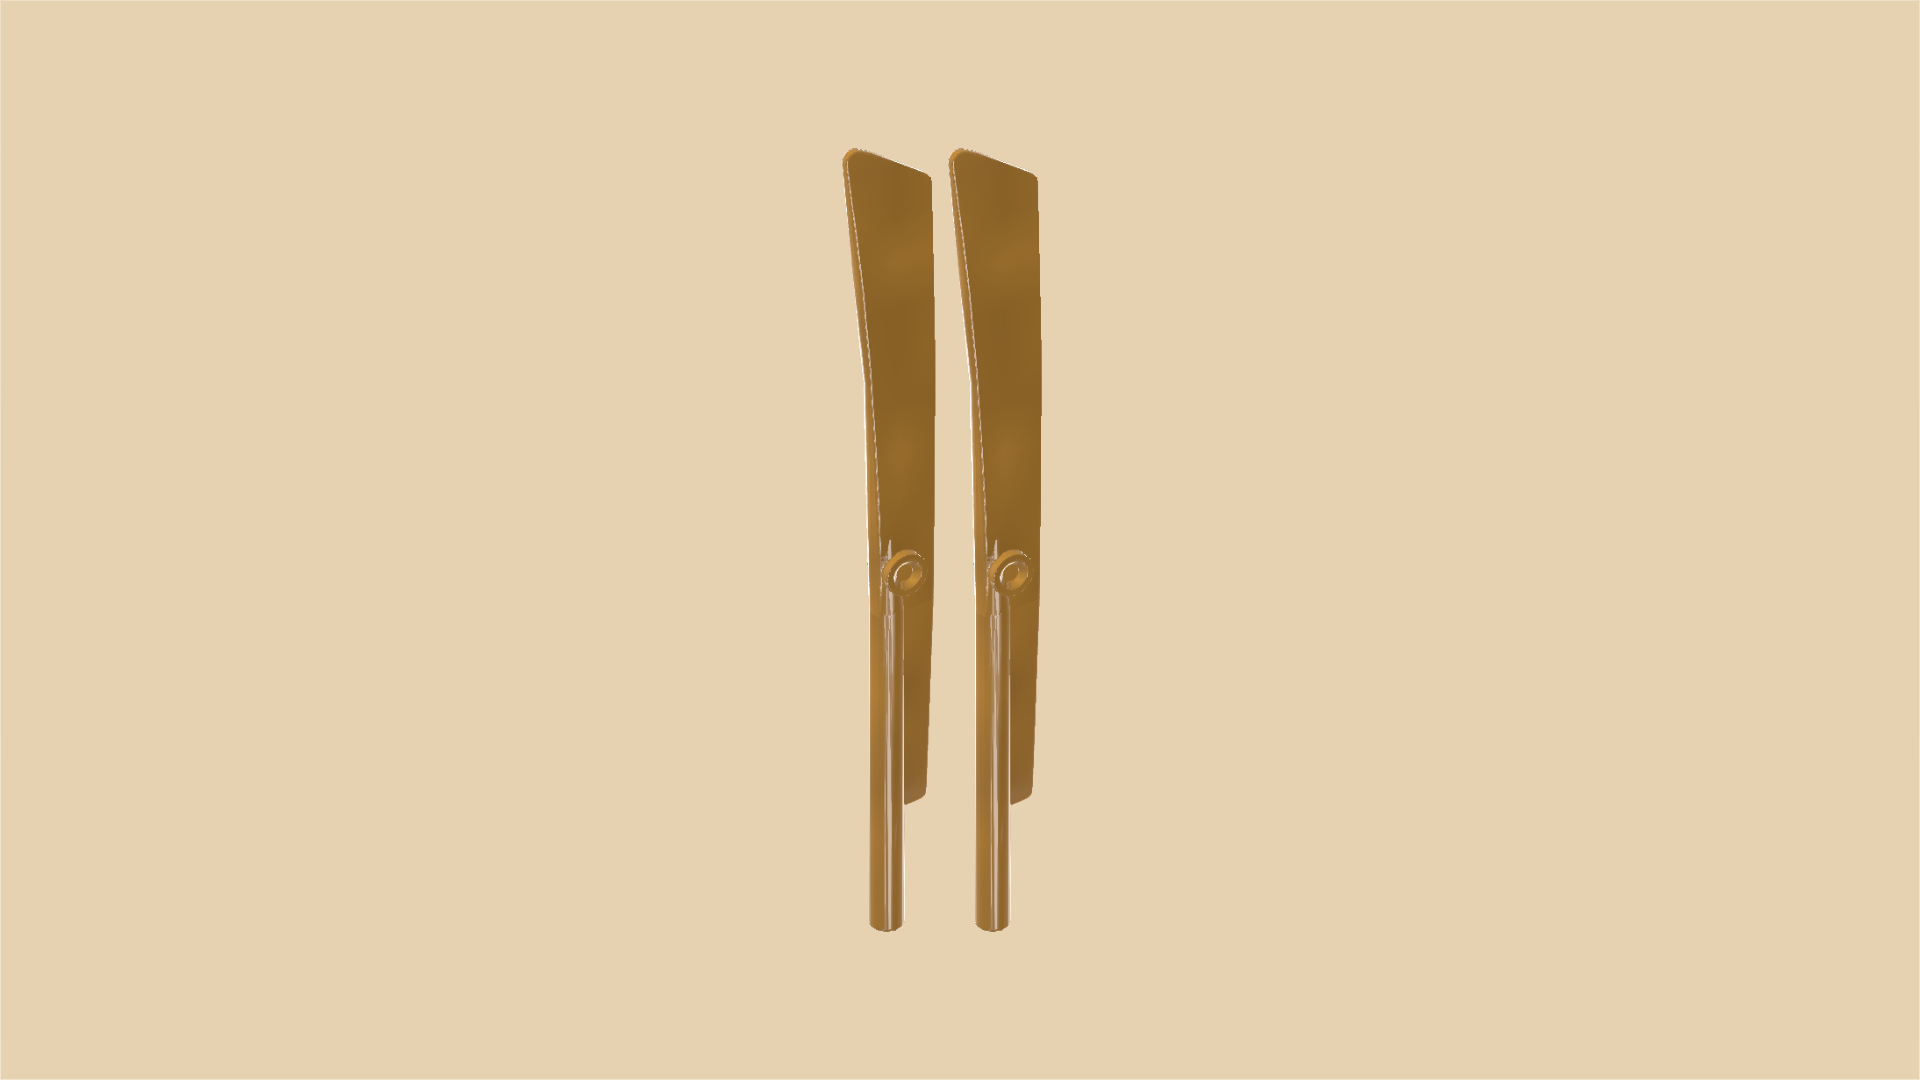
| Find 2 warm gold sword blades 10m with shaft. |
| Hold one horizontally, shaft to the right, and make sure that the tip is slanted towards the bottom. |
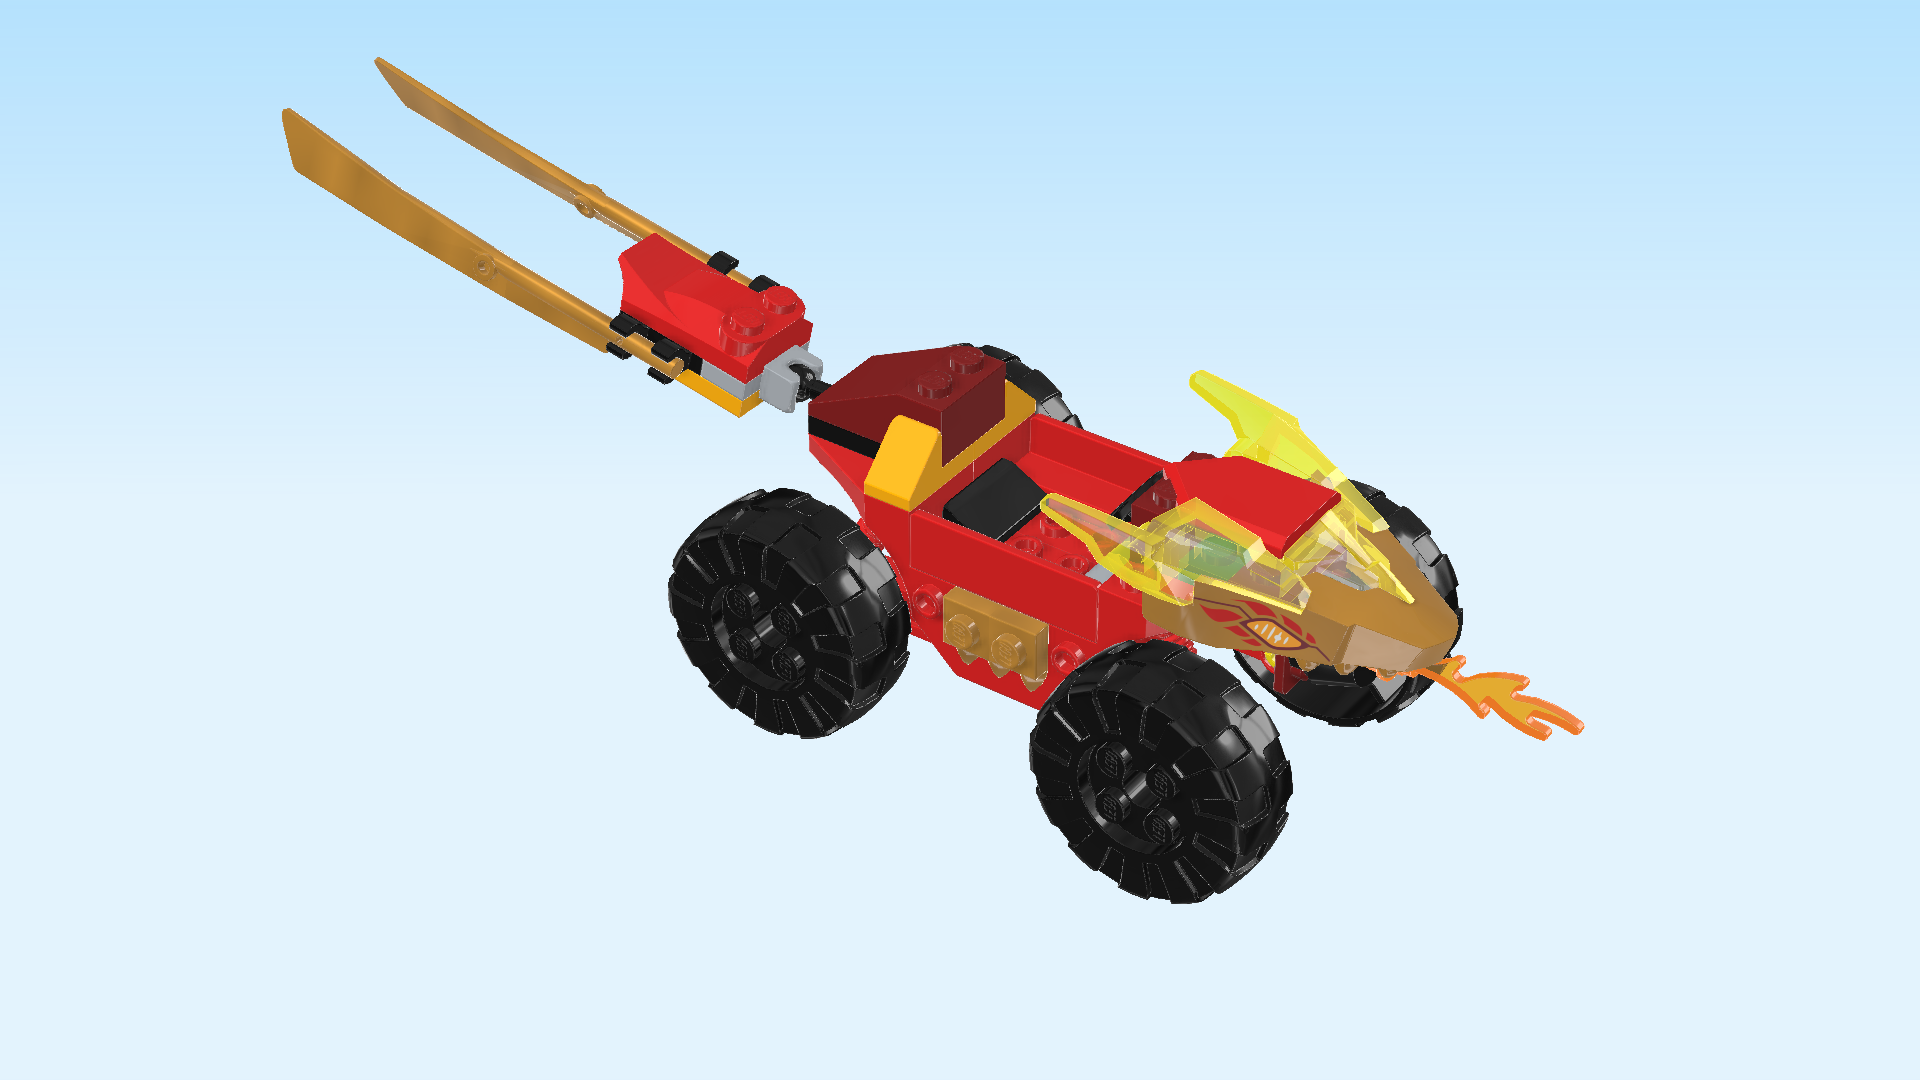
| Snap the shaft into the 2 clasps at the front, sword blade extending towards the left. |
| Repeat symmetrically at the back. |
| The movable dragon car tail with swords is finished! Snap the ball cup onto the ball with shaft on the left side of the car. |
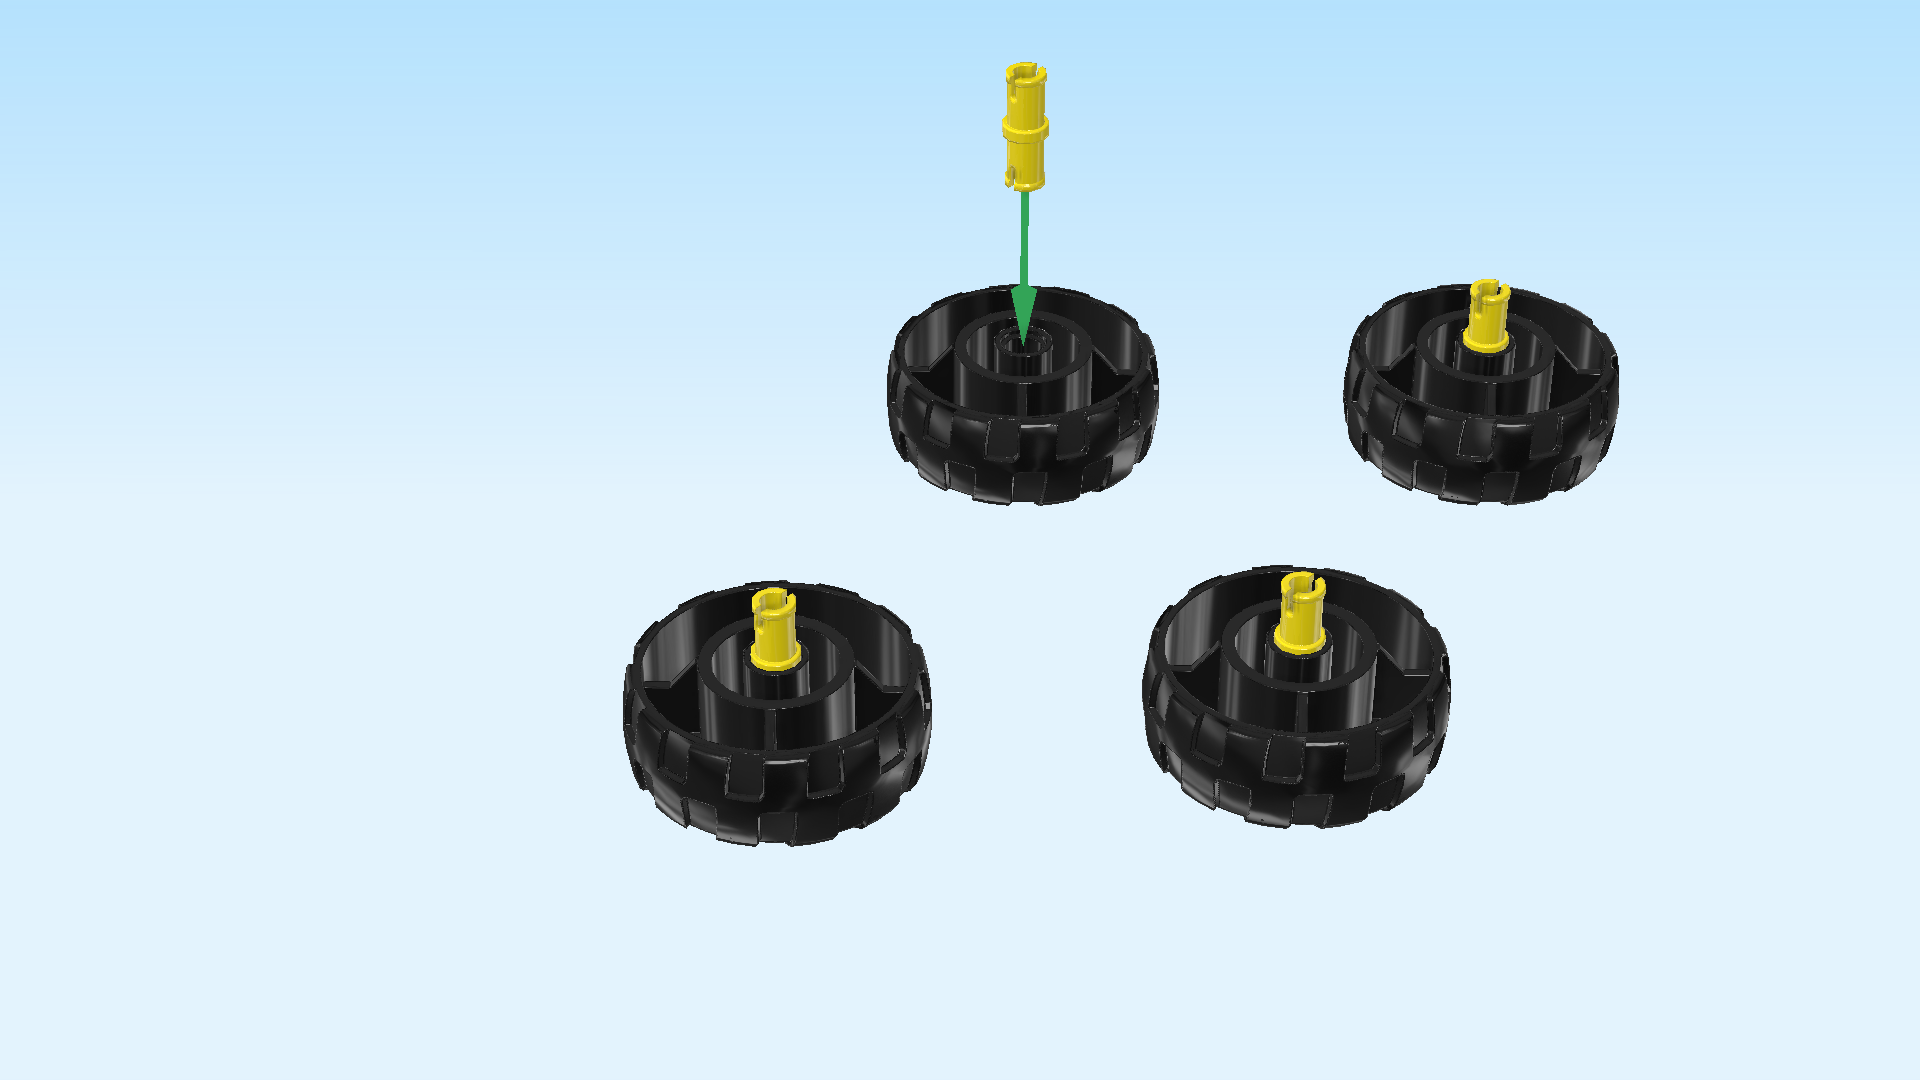
| Next, we will assemble the 4 wheels. |
| Collect the following 8 pieces: |
| 4 bright yellow connector pegs 2m with middle ring, |
| and 4 black hard plastic wheels with 4 knobs. |
| Put the 4 wheels flat on the table, making sure their knobs are towards the bottom. |
| Insert the connector pegs from the top into the round holes in the middle of the wheels. |
| The 4 wheels are finished! Before you mount them, identify the mounting holes: The holes to be used here are the ones at the bottom of the suspension springs on the left and right edges of the vehicle. There are 2 mounting holes at the front and 2 holes at the back. You can ignore the inner sides of those holes. |
| Snap the connectors of 2 wheels into the 2 holes at the front, and repeat symmetrically at the back. |
| Kai's dragon car is finished! Great job! Time to take it for a test drive: Put Kai in the driver's seat, check if your movable car tail with swords is working, and off you go! |
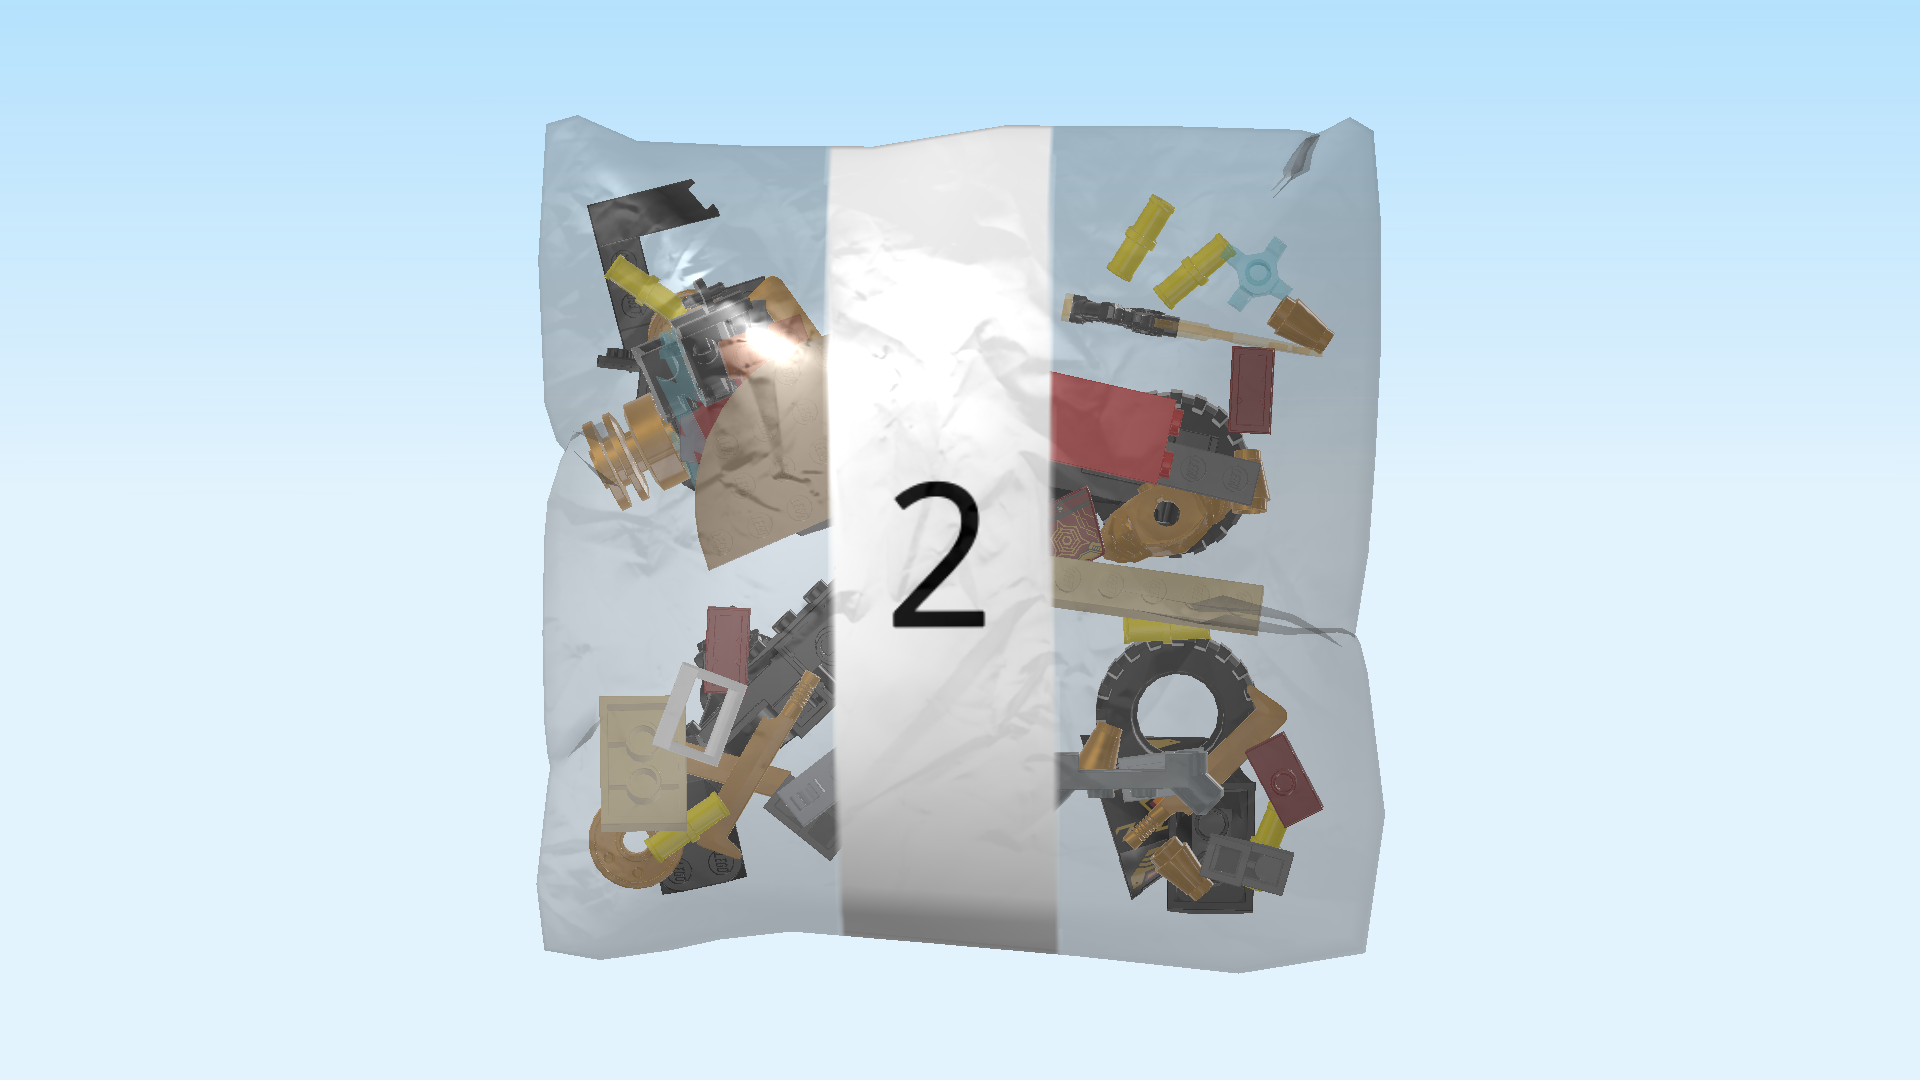
| Open bag number 2. You can choose to have the bricks sorted by color again. This bag contains all bricks and pieces for the Ras Minifigure, the blue lightning shrine, and Ras's all-terrain trike. |
| Next up, we build the Ras Minifigure. |
| Collect the following 2 pieces: |
| 1 maroon red, black and warm gold upper part of the body, |
| and 1 titanium metallic pair of legs. |
| Put the upper part of the body on the legs. |
| Collect the following 2 pieces: |
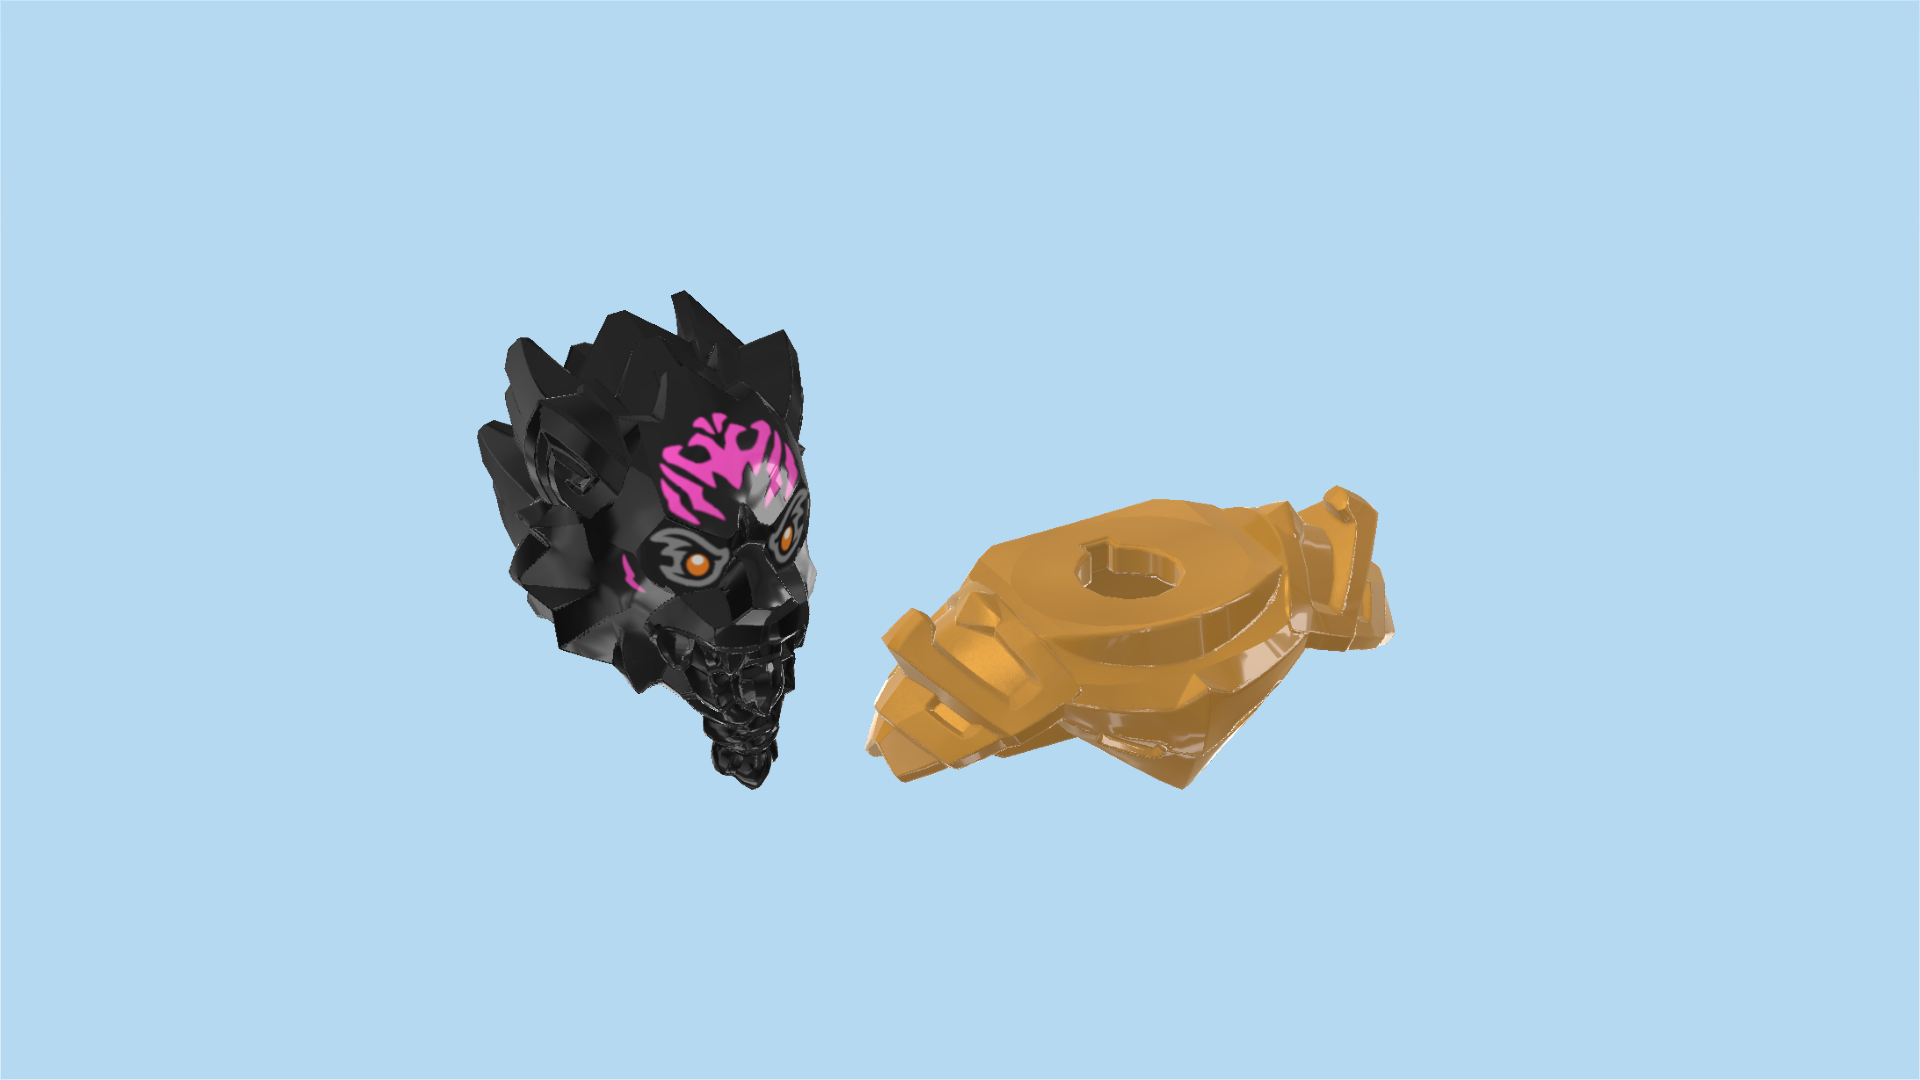
| 1 black spiky head, |
| and 1 warm gold shoulder armor plate. |
| Put the armor plate around the neck, 2x2 back plate with 1 knob towards the back. |
| Put the head on the neck. |
| Find 1 transparent bright orange and titanium metallic Imperium sword. |
| Snap its handle into Ras's right hand. |
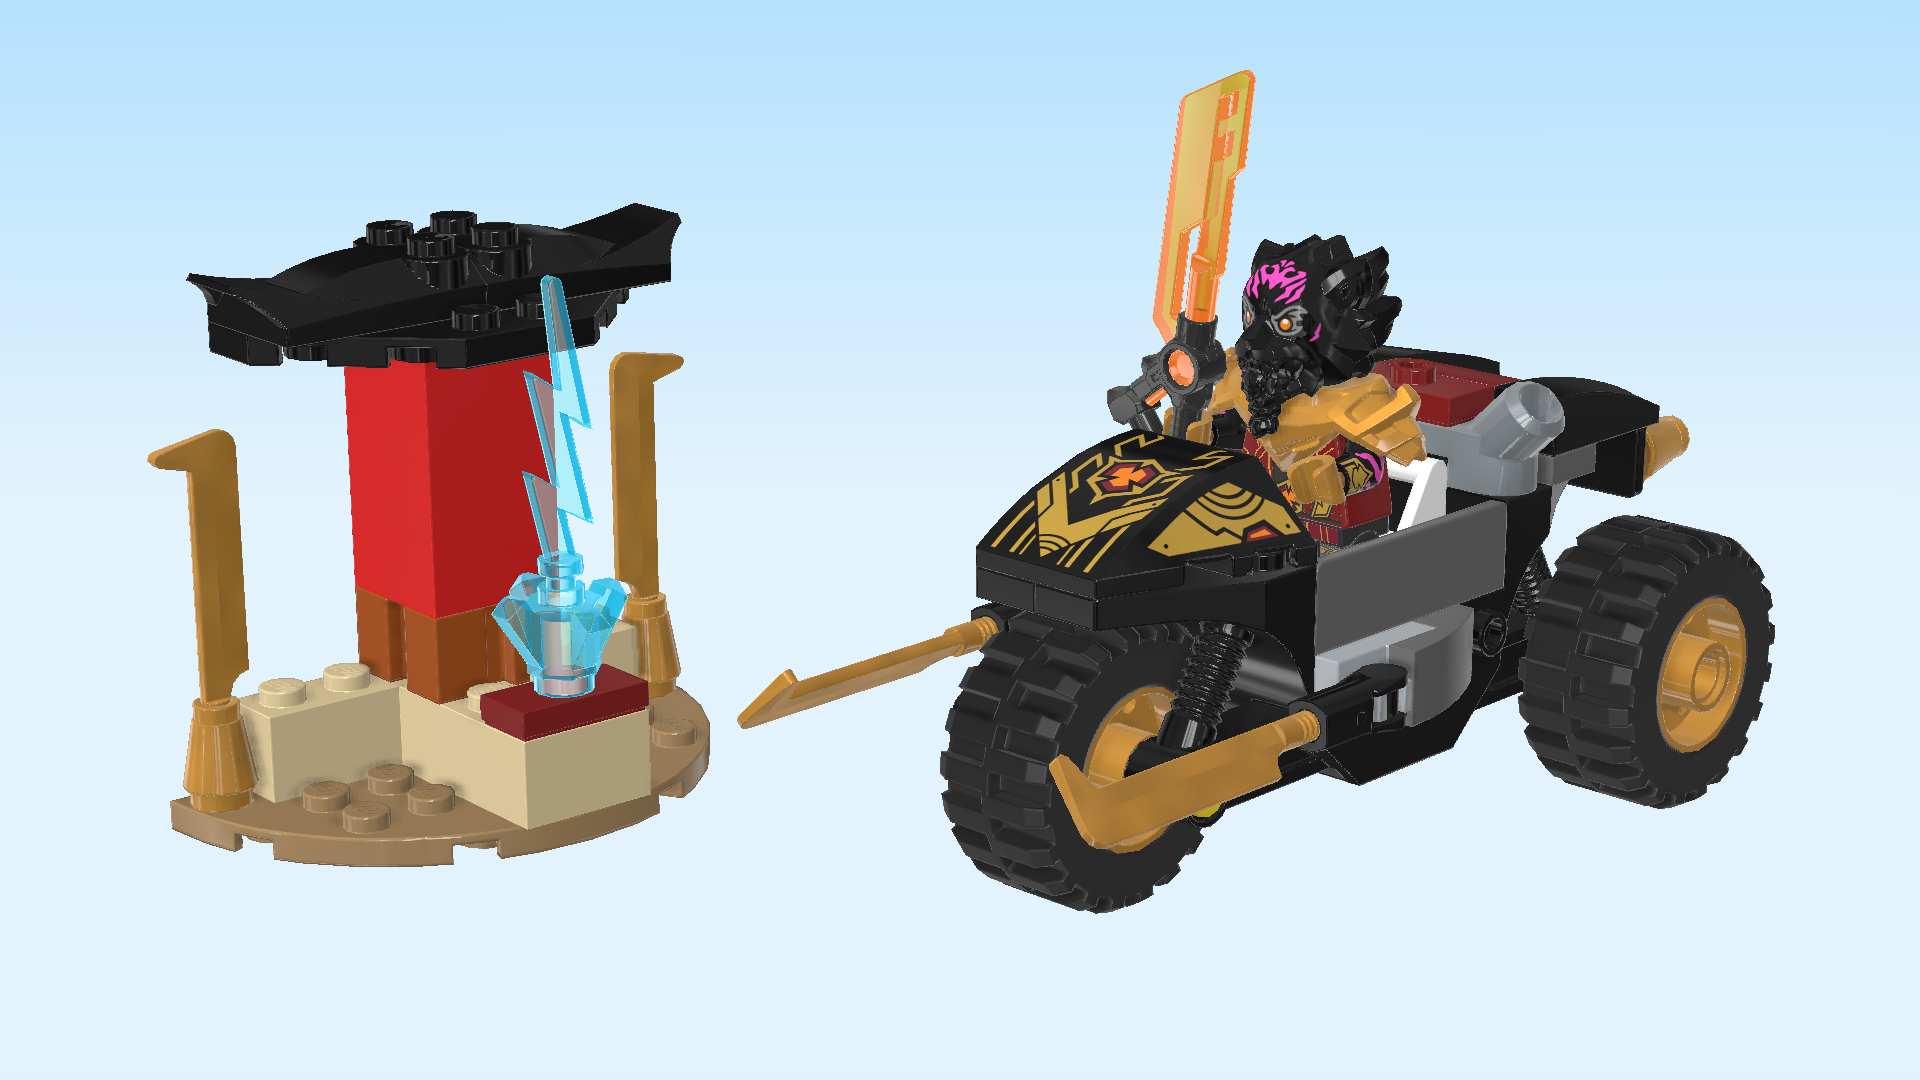
| The Ras Minifigure is finished! Great job! Lord Ras is a tiger-humanoid which explains his feline ears and the spiky mane on his head. His head is pitch black, he has orange eyes and neon-pink tiger stripes on his forehead and cheeks. He is wearing an impressive metallic grey suit with a maroon red robe on top, both of which are embellished with golden embroidery. His arms are pitch black, too, again with neon-pink tiger stripes. His weapon of choice is the Imperium sword, a type of weapon used by the Claws of Imperium. He looks grim and dangerous. Kai better watch out! |
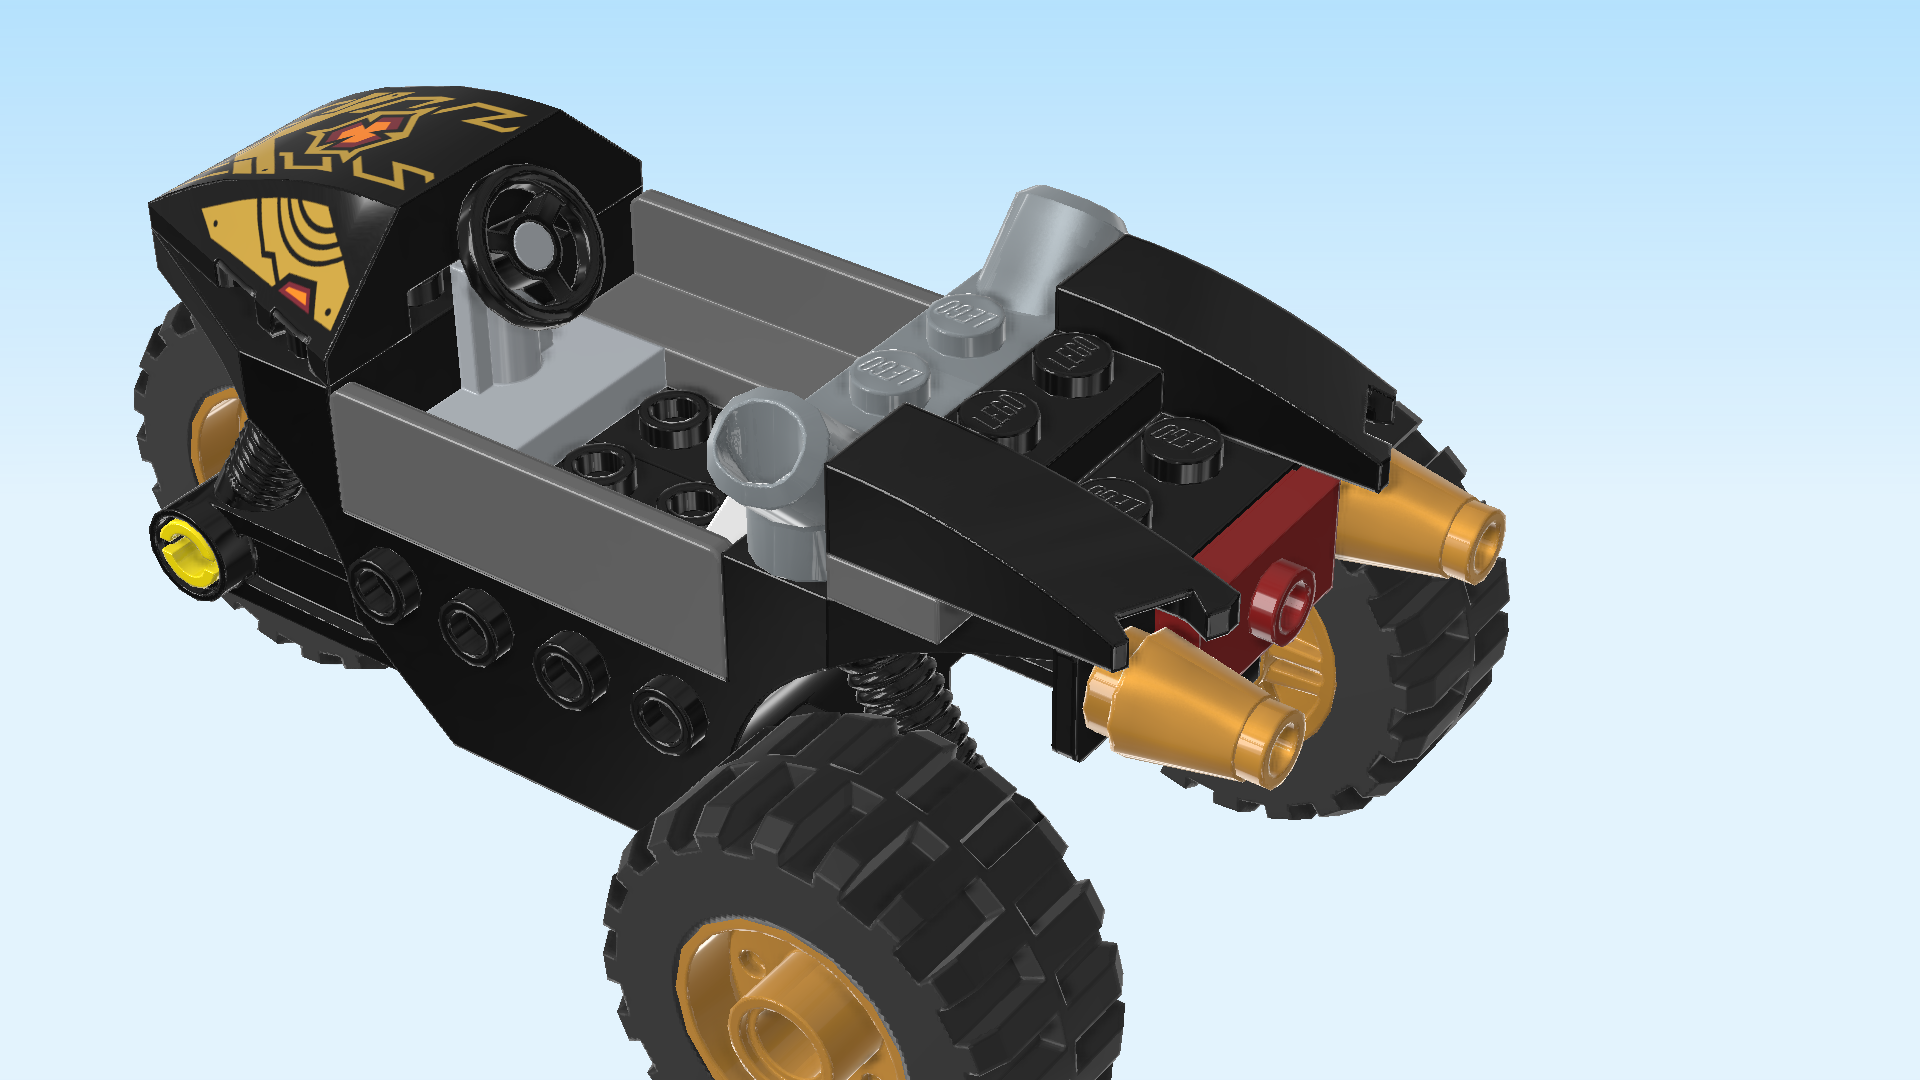
| Next, we will build Ras's all-terrain trike. |
| Collect the following 3 pieces: |
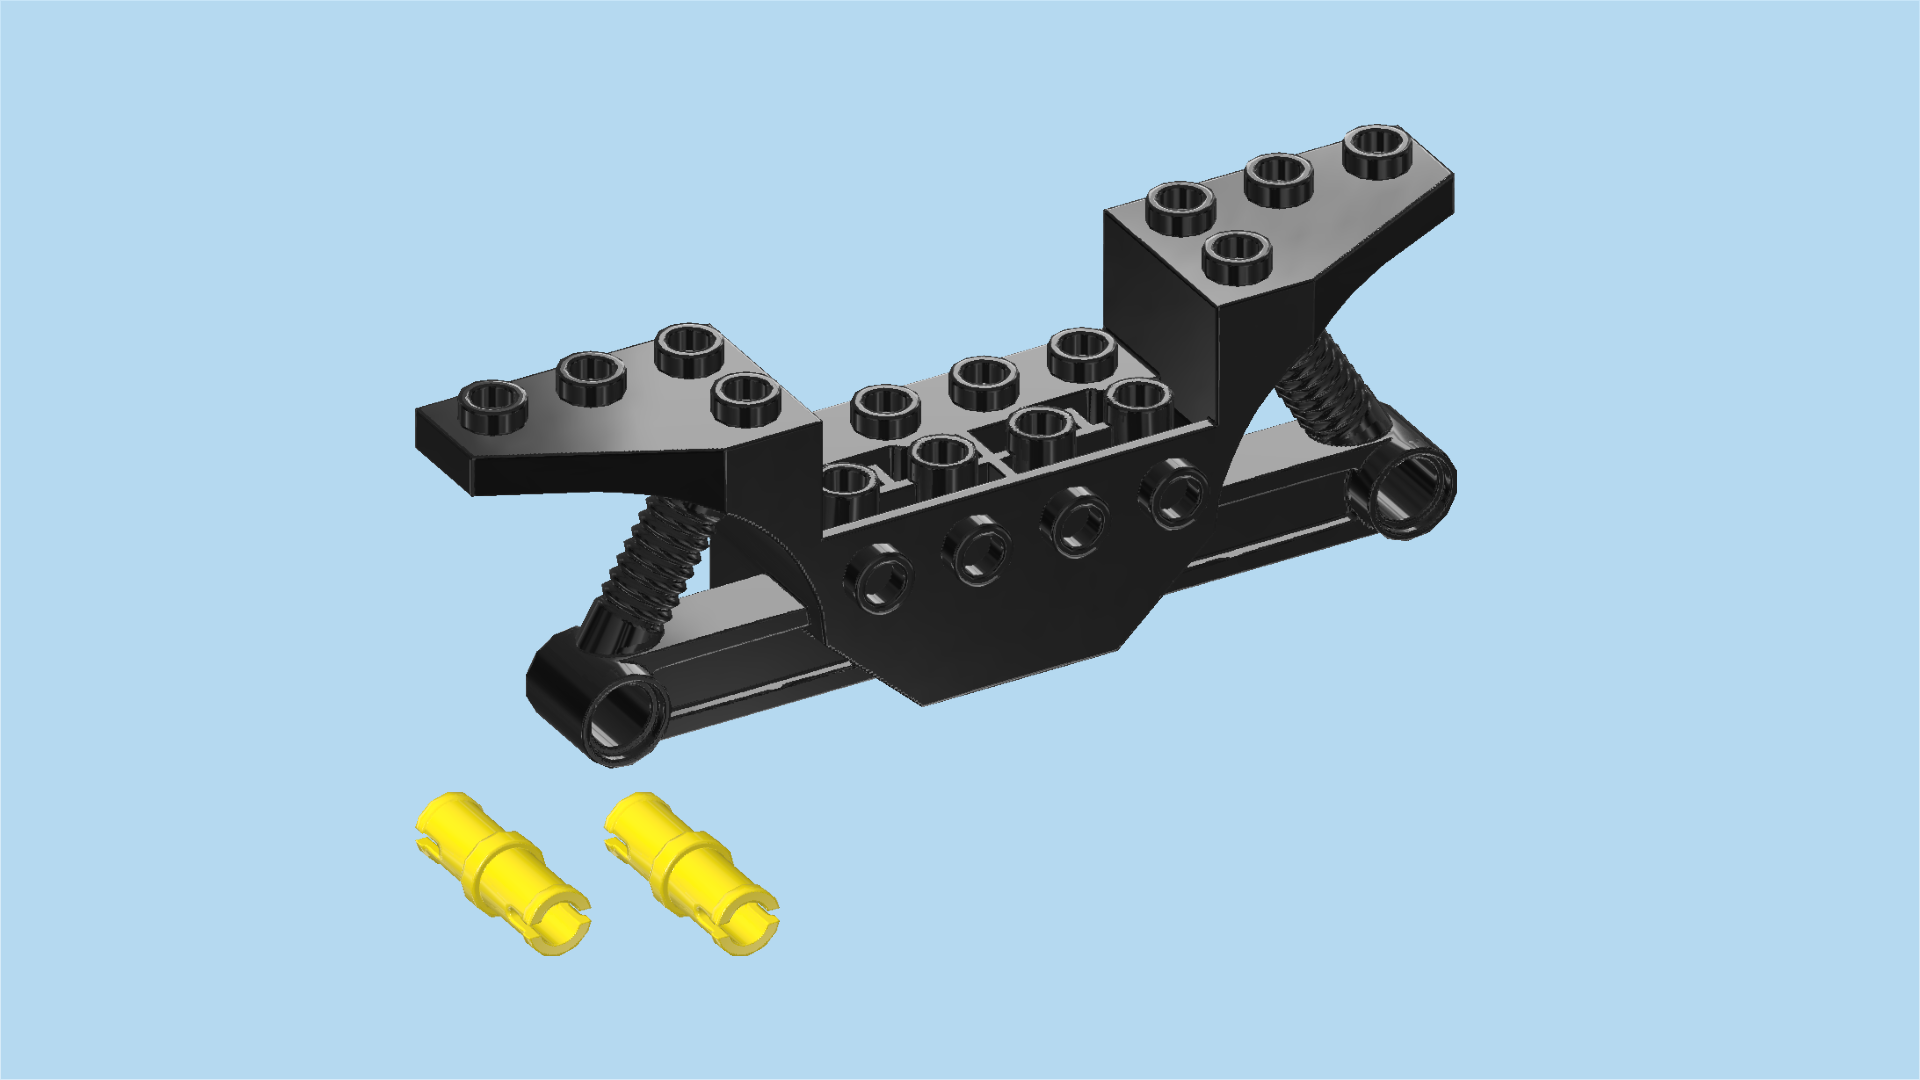
| 1 black vehicle frame 2x10 with 2 suspension springs, |
| and 2 bright yellow connector pegs 2m with middle ring. |
| Put the vehicle frame 2x10 horizontally on the table, 4 side knobs to the back and 2 middle holes to the front. |
| Insert the 2 connector pegs into the 2 round holes in the middle of the vehicle body. |
| Next, we will assemble the front wheel of the trike. |
| Collect the following 2 pieces: |
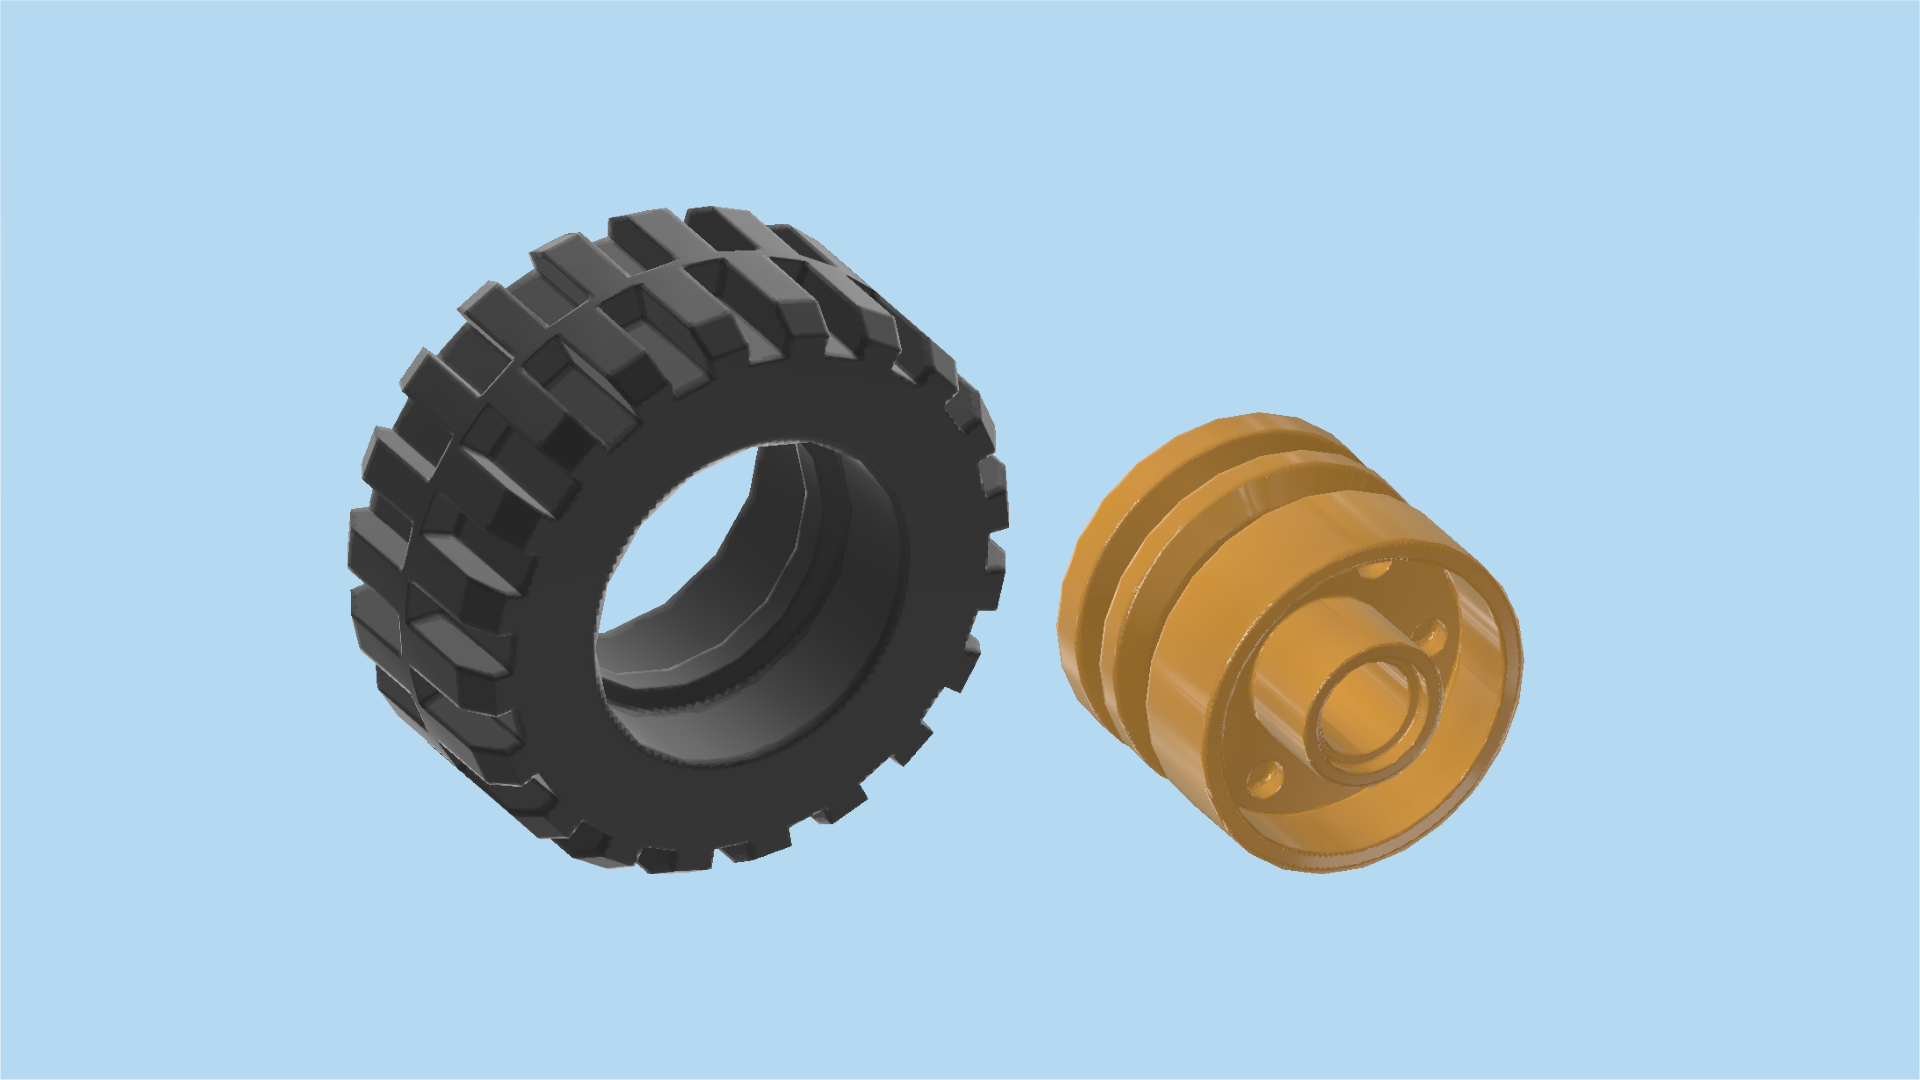
| 1 warm gold wide rim with hole and spokes, |
| and 1 black wide rubber tire with high profile. |
| Put the rim in the tire. |
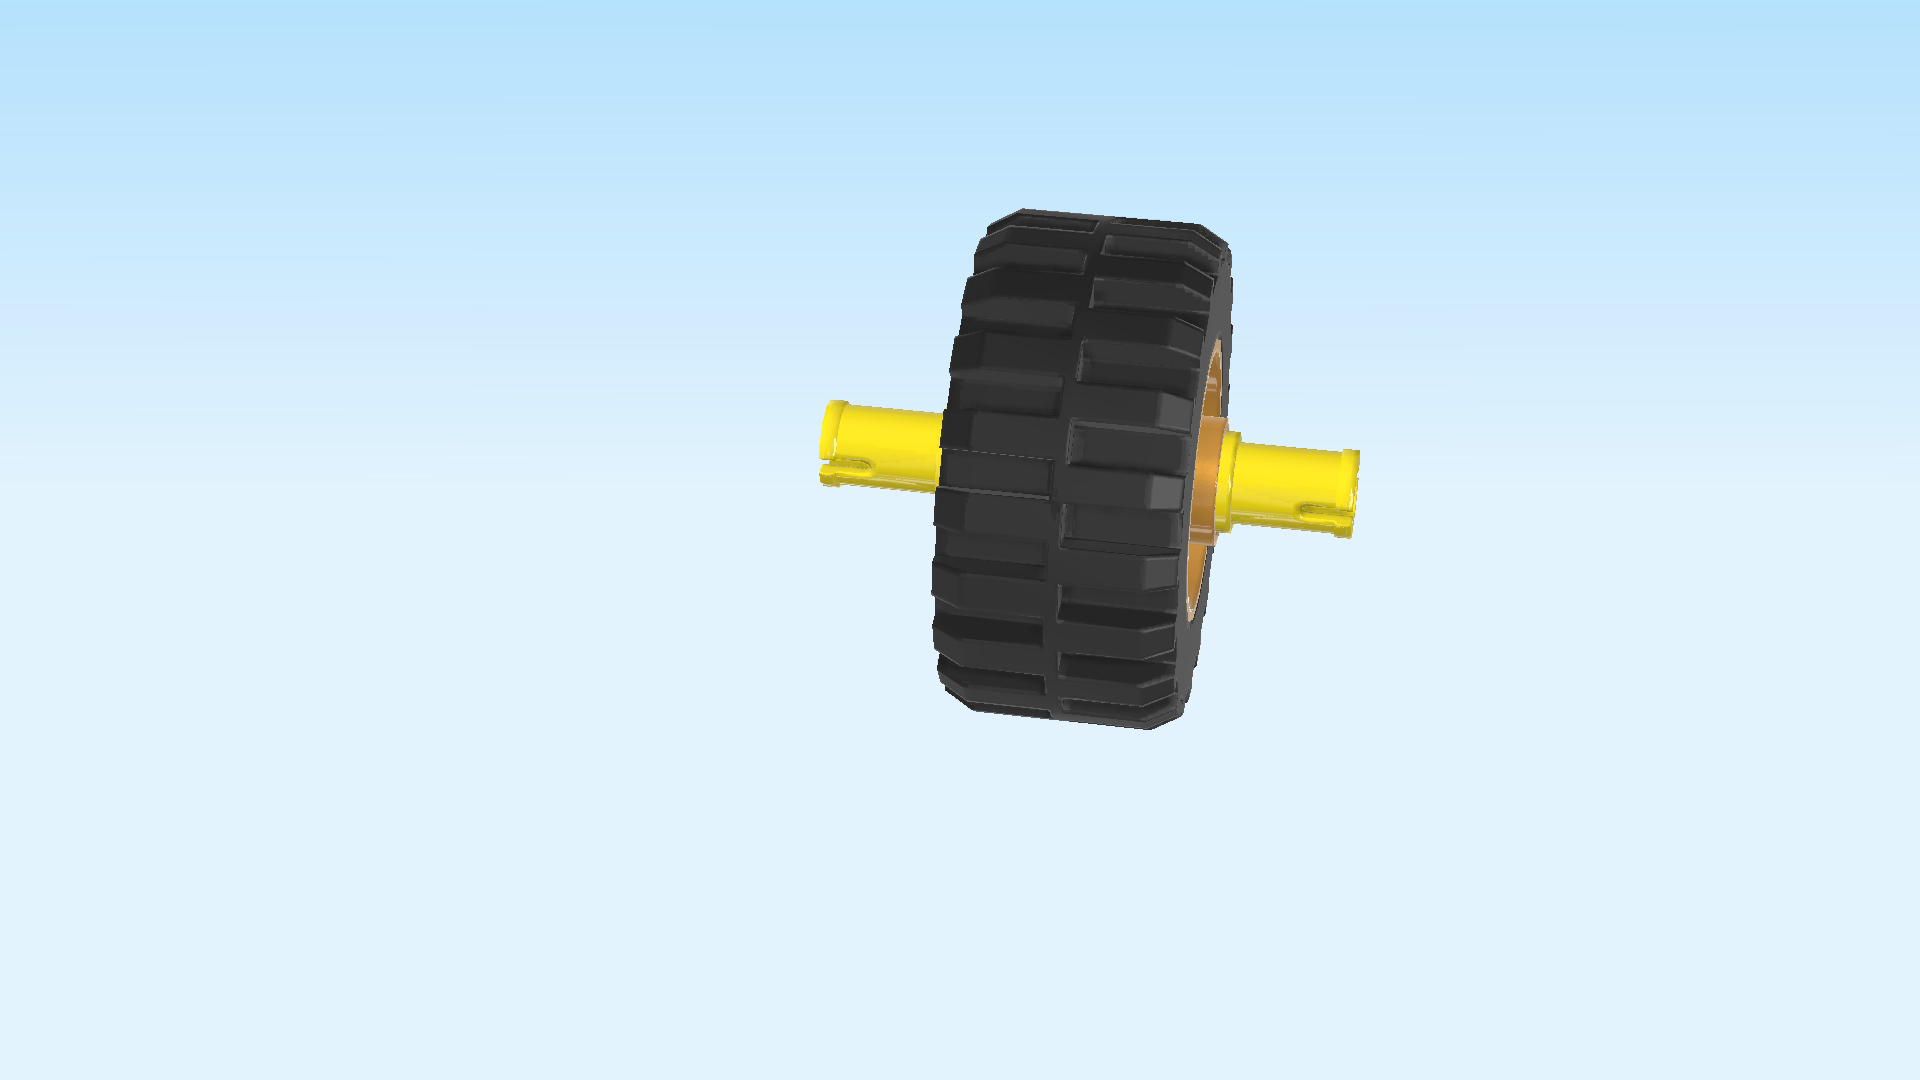
| Find 2 bright yellow connector pegs 2m with middle ring. |
| Insert them into the middle hole in the rim from the left and right. |
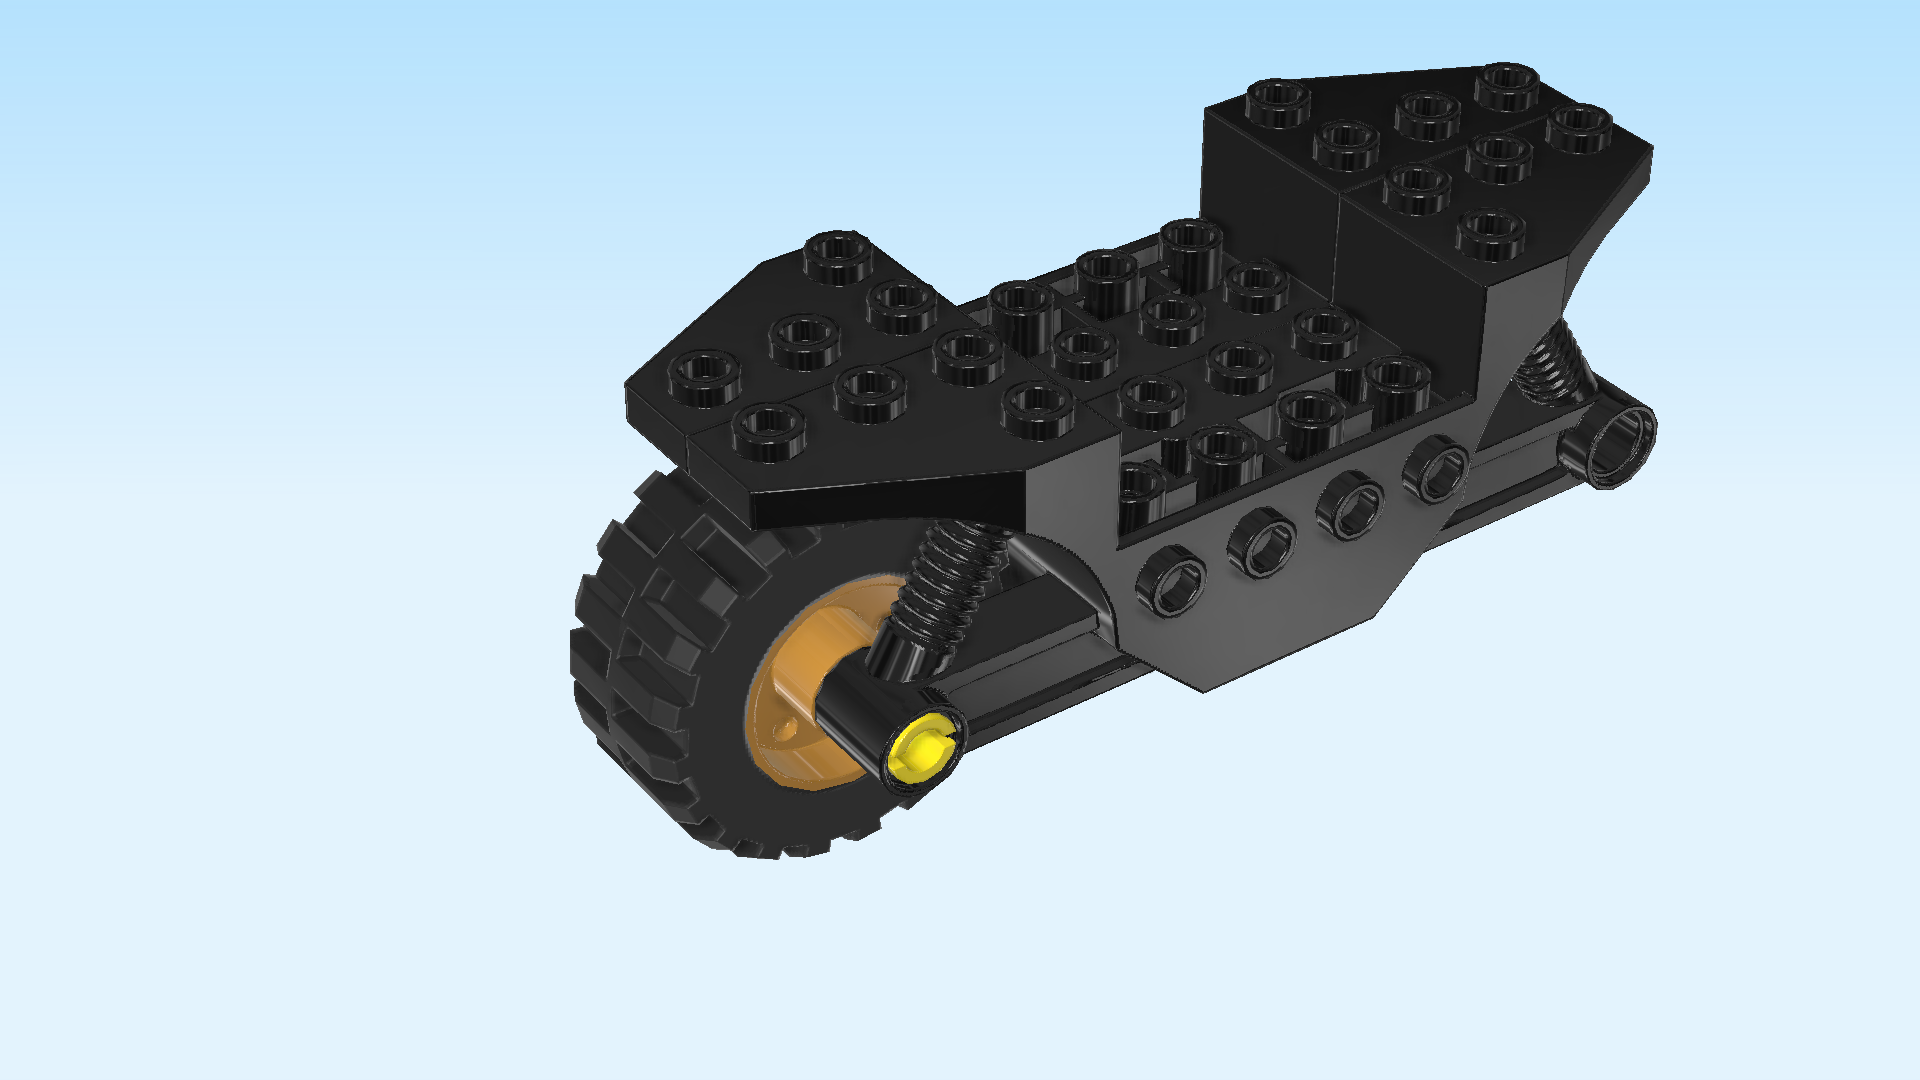
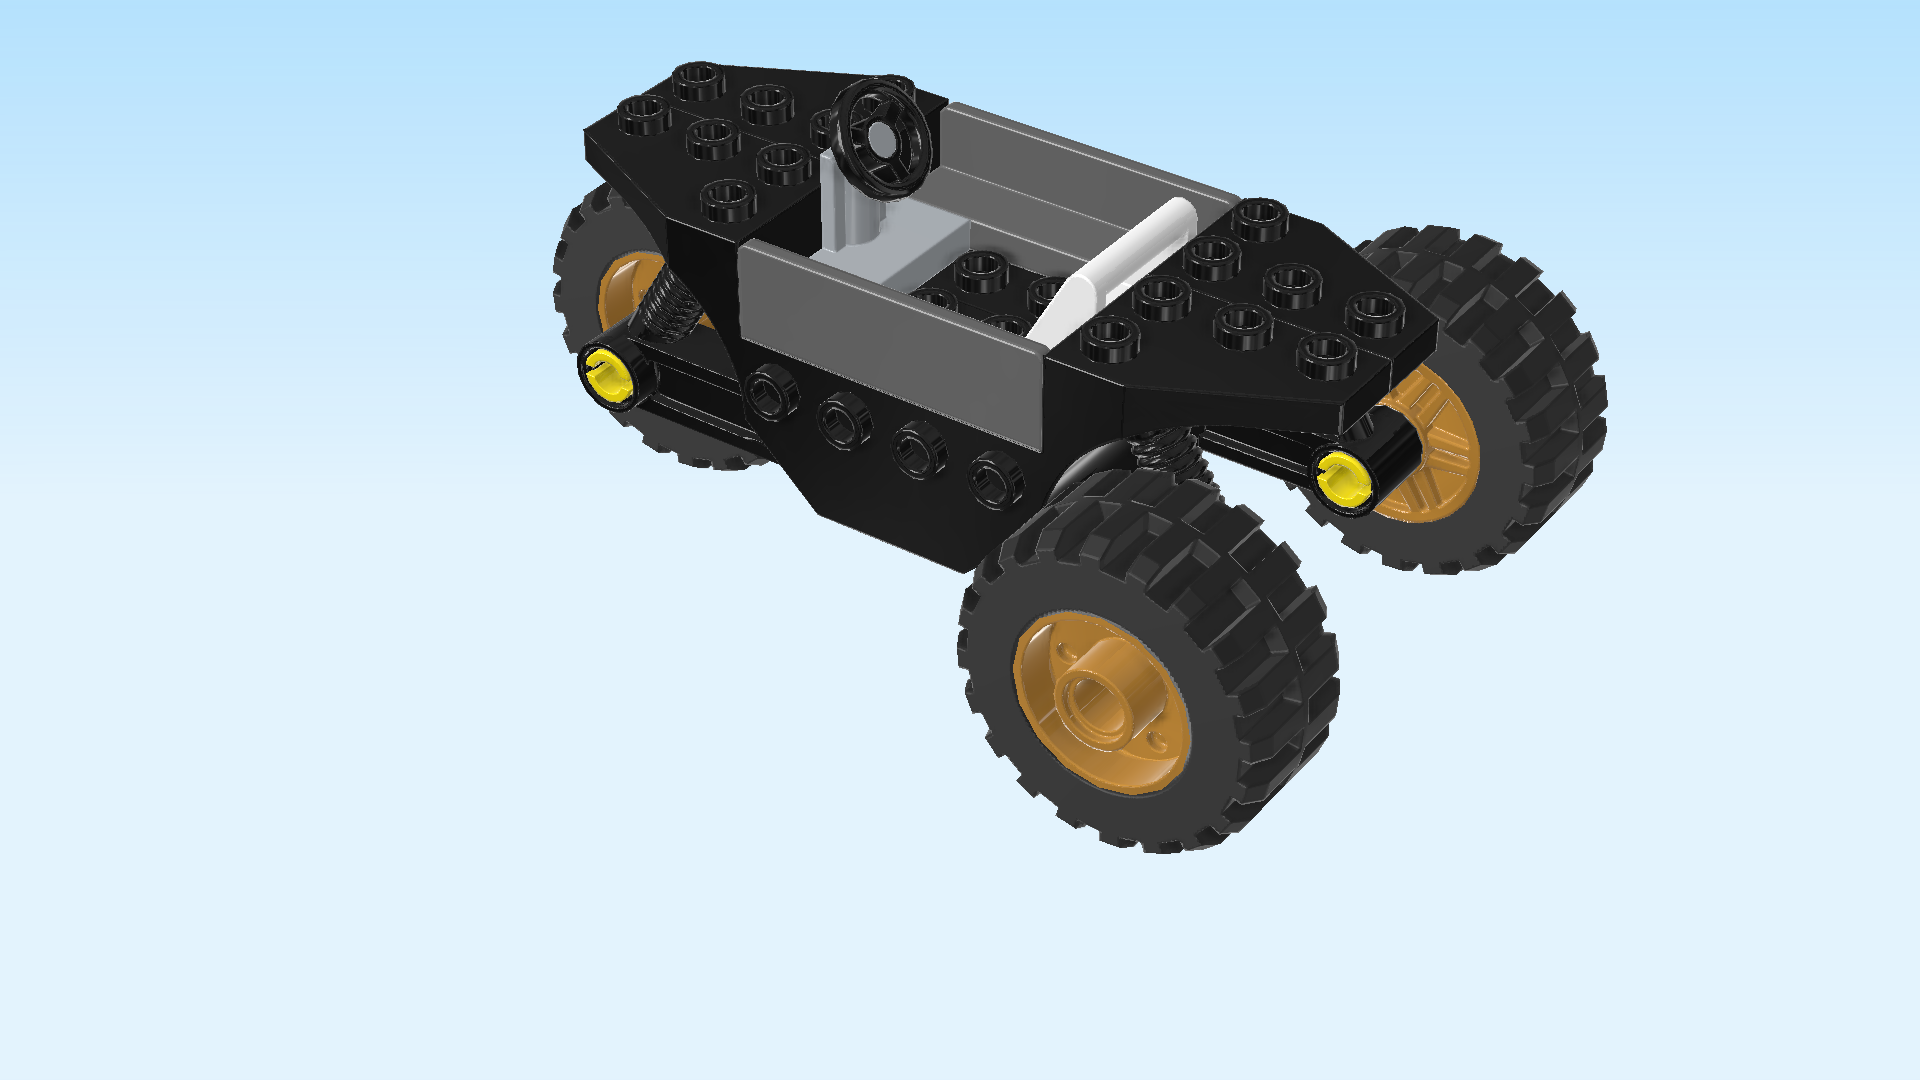
| To mount the front wheel, insert 1 of its connectors into the round hole at the bottom left of the vehicle frame coming from the front. |
| Find another black vehicle frame 2x10 with 2 suspension springs. |
| Turn it horizontally so that the 4 side knobs are pointing to the front and the 2 middle holes are at the back. |
| Put it on the other vehicle frame coming from the front. To connect the two, insert the 3 connectors into the 3 matching holes: 2 holes are located in the middle of the vehicle body, and 1 is at the bottom left. |
| Next, we will build the 2 rear wheels of the trike. |
| Collect the following 4 pieces: |
| 2 warm gold wide rims with hole and spokes, |
| and 2 black wide rubber tires with high profile. |
| Put the rims in the tires. |
| Find 2 bright yellow connector pegs 2m with middle ring. |
| Put the wheels flat on the table so that the rim side with the spokes is to the top. |
| Insert the 2 connector pegs into the middle holes of the rims coming from the top. |
| The 2 rear wheels of the trike are finished! Snap one into the round hole at the bottom right coming from the front, and repeat symmetrically at the back with the second wheel. |
| Collect the following 3 pieces: |
| 2 dark stone grey panel elements 1x4x1 with panel on long side, |
| and 1 white tile 1x2 with angled top handle. |
| Put 1 panel element 1x4x1 horizontally centered on the frontmost row in the recess, panel to the front. |
| Repeat symmetrically at the back, panel to the back. |
| Put the tile 1x2 vertically on the rightmost column of the low part in the middle of the vehicle, slope to the left. |
| This will be the seatback of the trike. |
| Find 1 black and medium stone grey small steering wheel with plate 1x2. |
| Put it vertically on the leftmost column of the low part in the middle, steering wheel to the right. |
| Find 1 black curve piece 3x4 with 3 sloped sides. |
| Put it horizontally on the left edge of the trike (this means it will sit above the single wheel) , curve to the left. Make sure its shape matches the shape of the knobs. |
| Collect the following 2 pieces: |
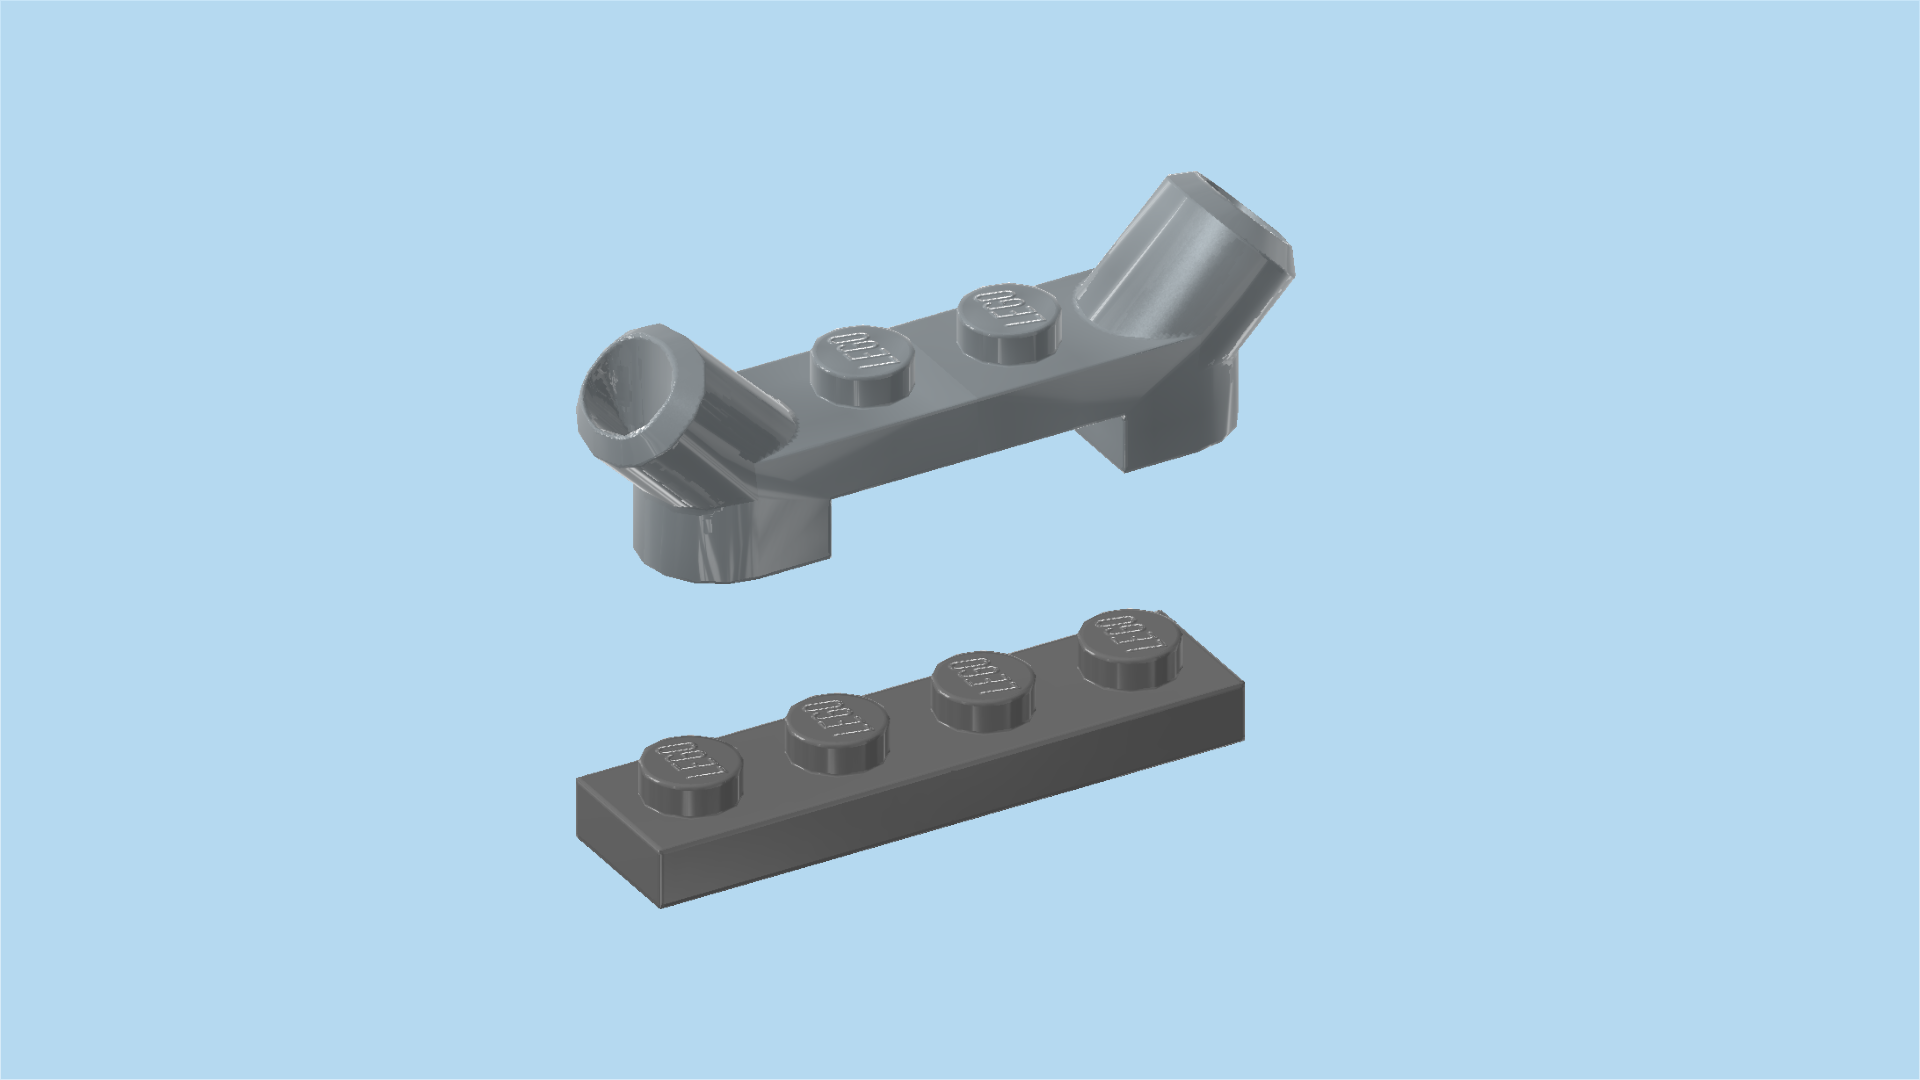
| 1 silver metallic plate 1x4x⅔ with 2 diagonal top tubes, |
| and 1 dark stone grey plate 1x4. |
| Put the plate 1x4 (the one without tubes) vertically centered on the second column from the right edge, symmetrically overhanging to the front and back. |
| Put the plate 1x4 with diagonal top tubes vertically to the left of the previous piece. |
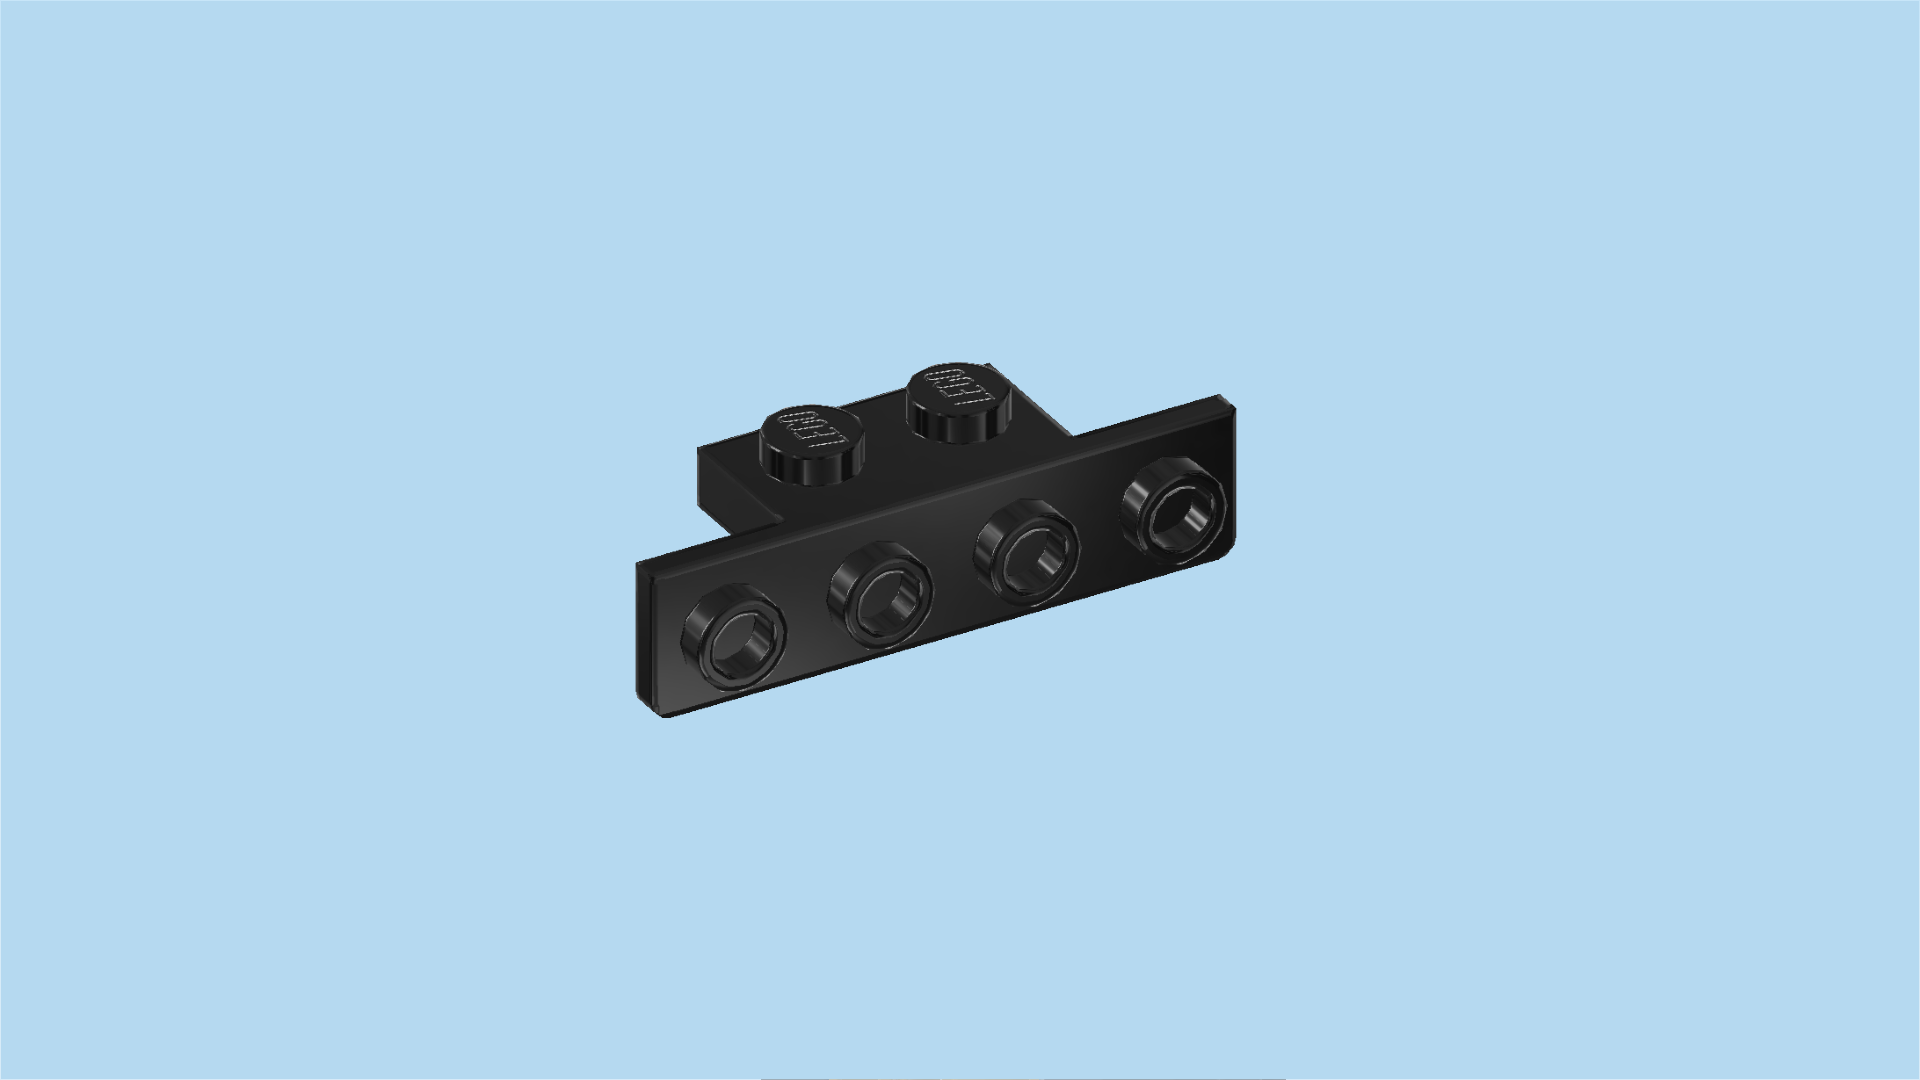
| Find 1 black top angle plate 1x2 - 1x4 with 4 side knobs. |
| Put it vertically on the rightmost column, 4 side knobs overhanging to the right. |
| Collect the following 3 pieces: |
| 1 maroon red plate 1x2 with 1 knob, |
| and 2 warm gold nose cones 1x1. |
| Put the plate 1x2 upright horizontally on the 2 middle knobs of the side knobs pointing to the right. |
| Put 1 nose cone 1x1 upright on the side knob behind the previous piece. |
| Put the other nose cone 1x1 upright on the frontmost knob of the side knobs pointing to the right. |
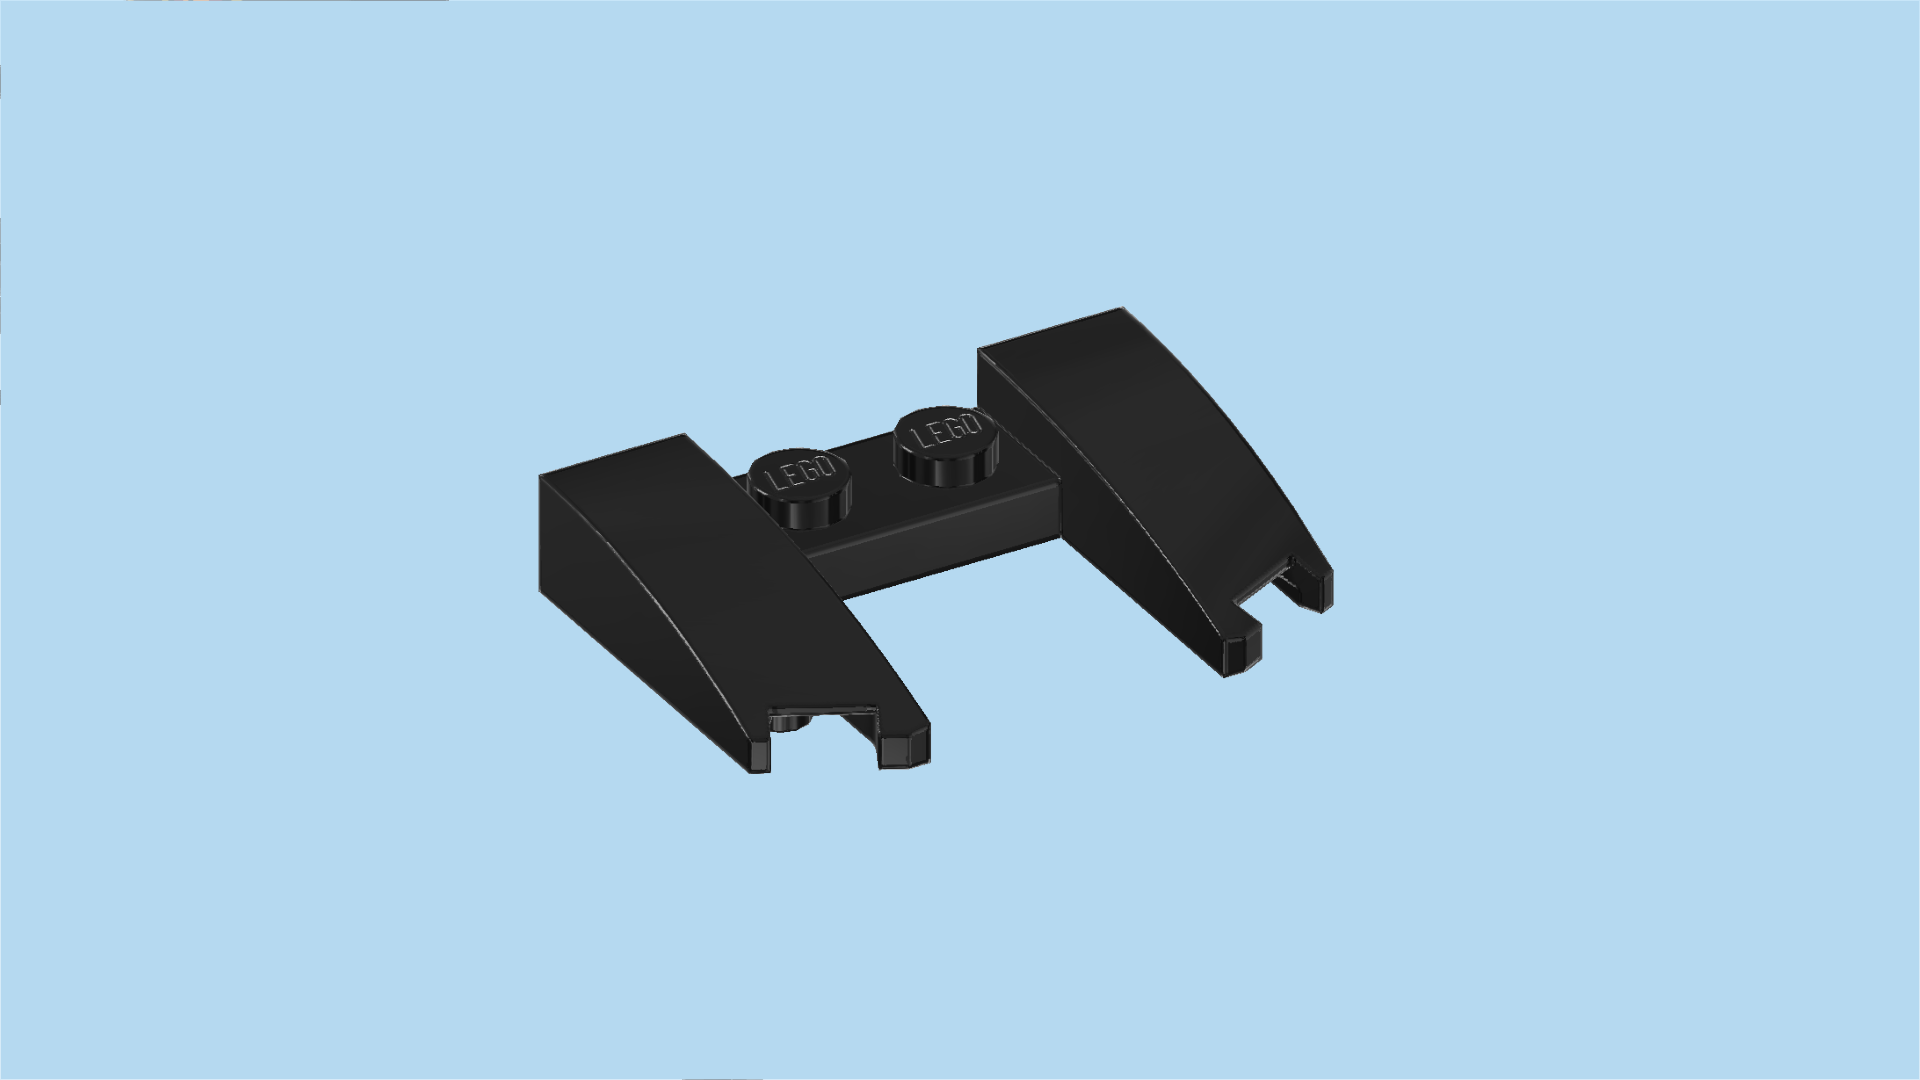
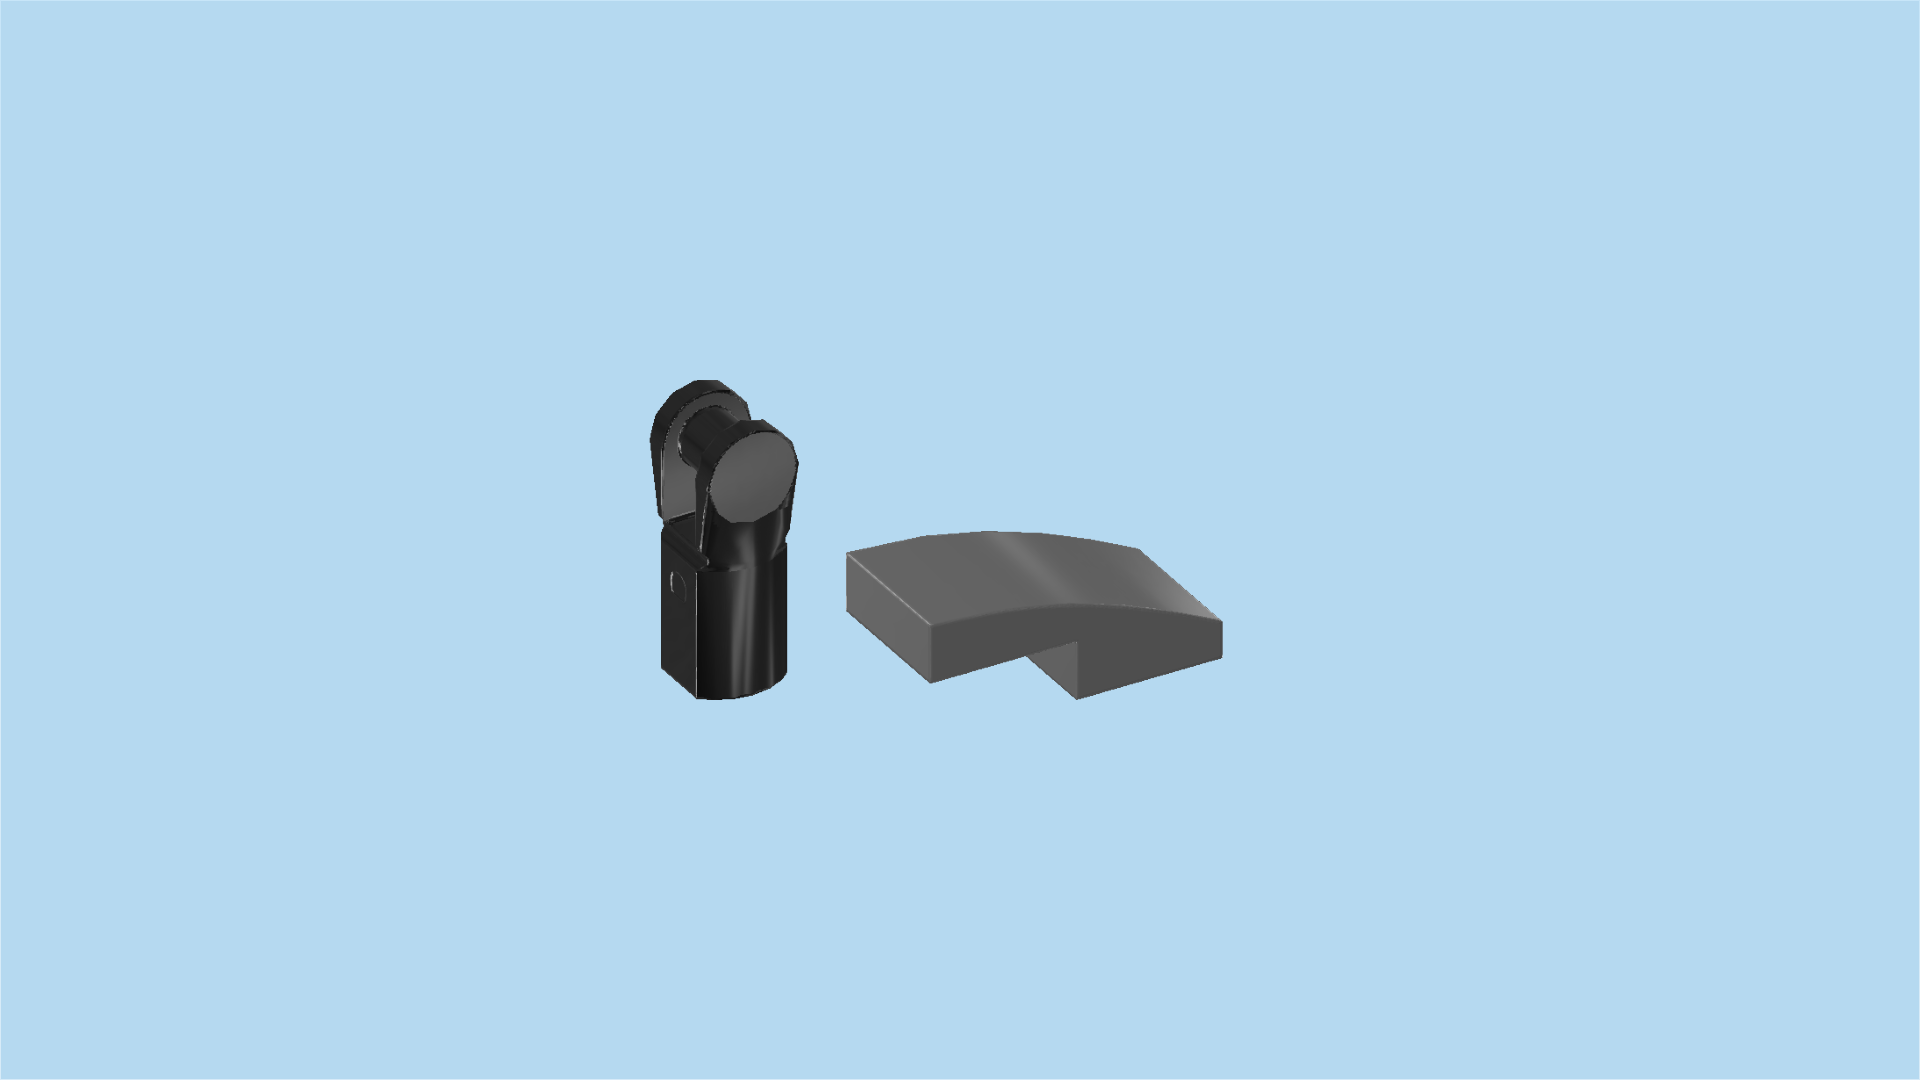
| Find 1 black bracket plate 1x2 with 2 curved wedge tiles 1x3. |
| Put it vertically on the second column from the right, curved wedge tiles pointing to the right. |
| Collect the following 2 pieces: |
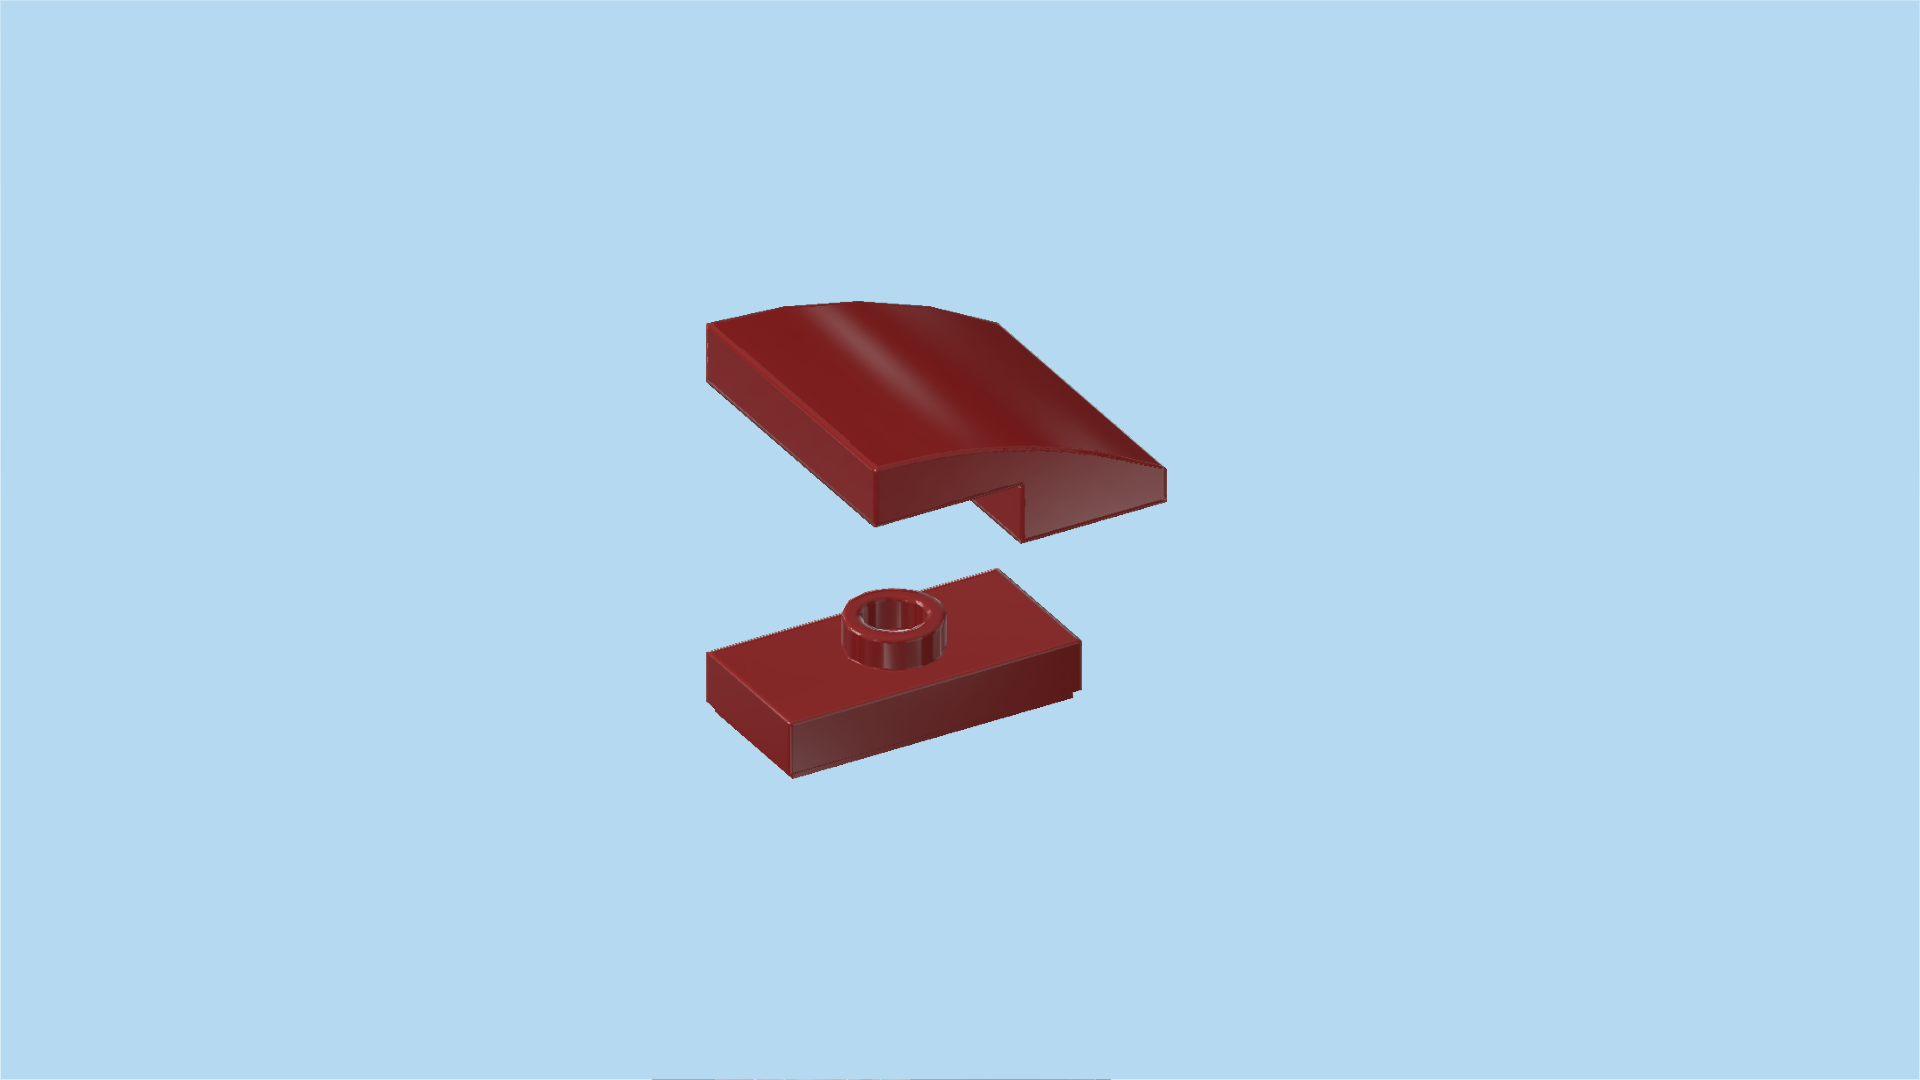
| 1 maroon red plate 1x2 with 1 knob, |
| and 1 maroon red one-stepped curve tile 2x2x⅔. |
| Put the plate 1x2 vertically between the 2 diagonal tubes in the right half of the trike. |
| Put the one-stepped curve tile 2x2x⅔ to the right of the previous piece, curve to the right. |
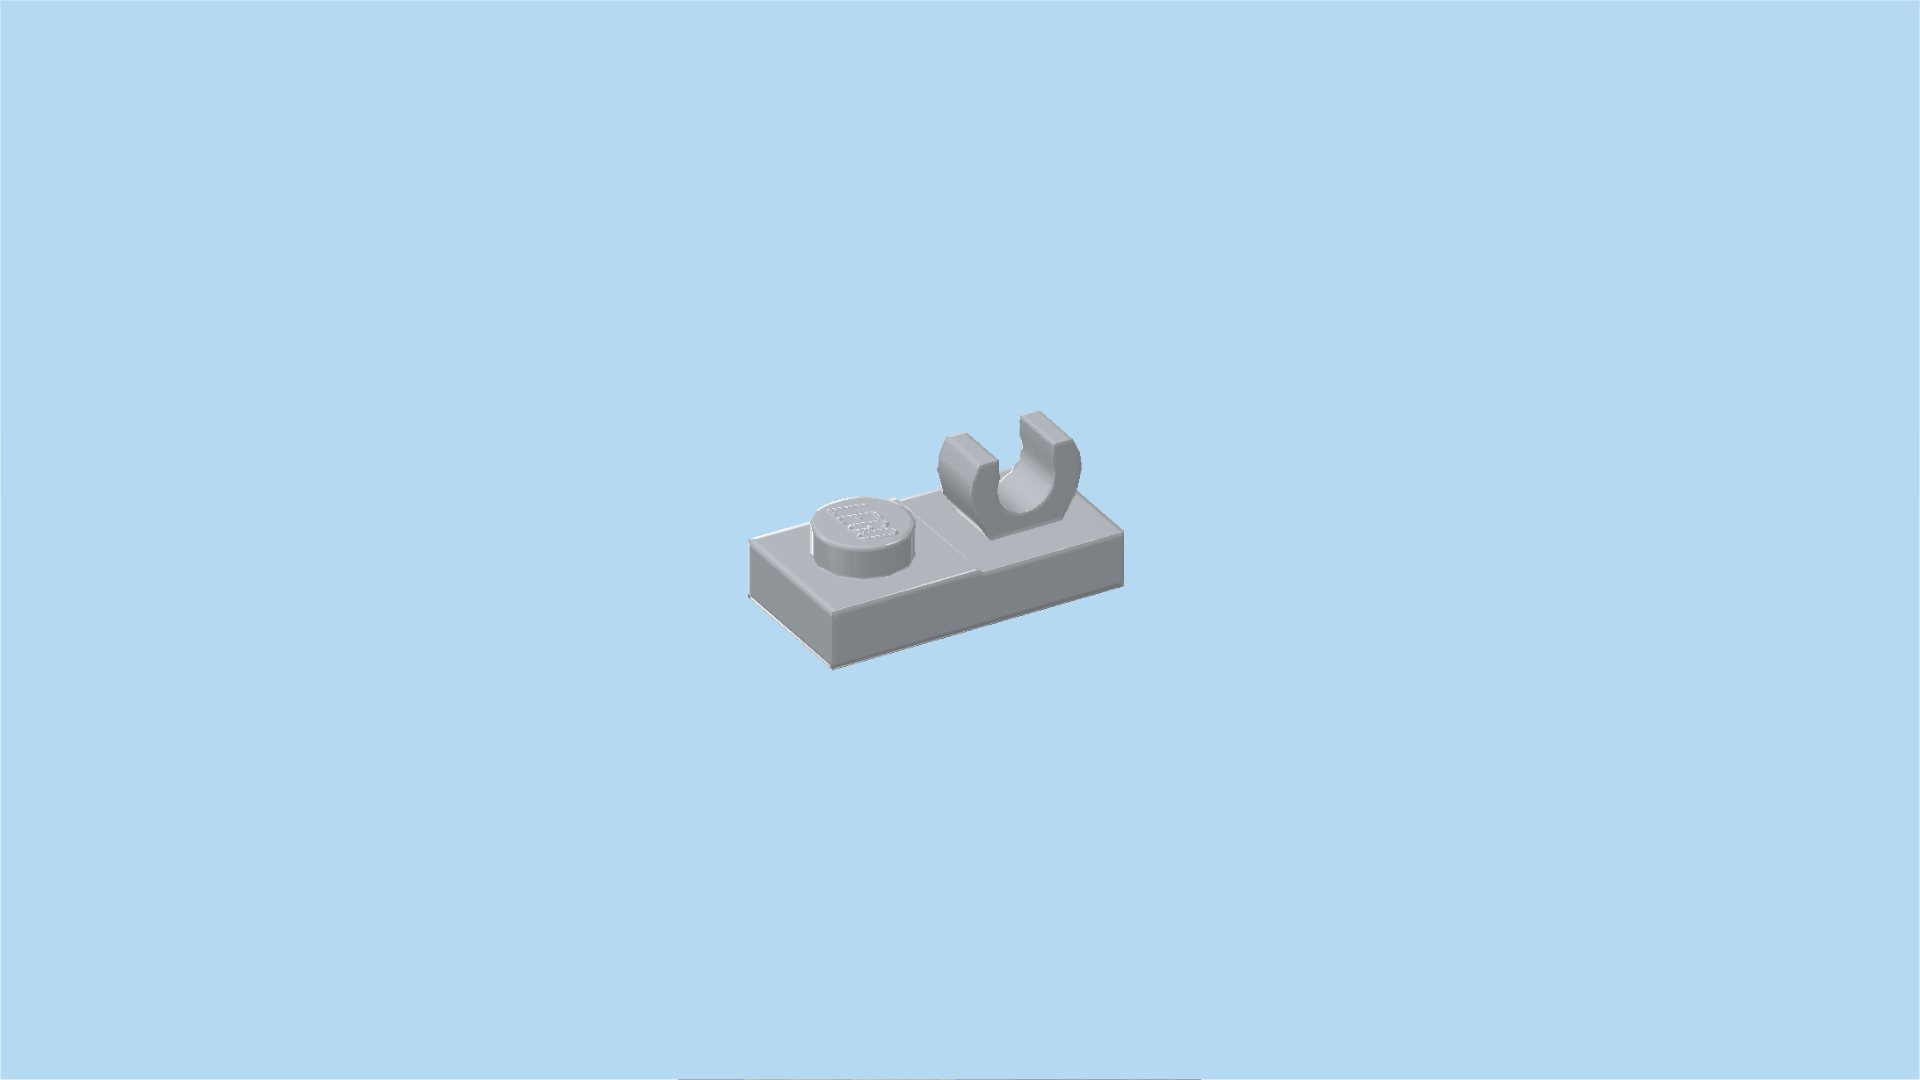
| Find 1 medium stone grey plate 1x2 with top clasp. |
| Put it upright horizontally on the 2 left side knobs pointing to the front, clasp to the left. |
| Collect the following 2 pieces: |
| 1 black small tube with shaft, |
| and 1 dark stone grey one-stepped curve tile 1x2x⅔. |
| Snap the shaft of the small tube into the clasp of the previous piece, small tube pointing to the left. |
| Put the one-stepped curve tile 1x2x⅔ upright horizontally to the right of the previous piece, curve to the right. |
| Find 1 warm gold wide-bladed sword with hooked tip. |
| Hold it horizontally, hooked tip to the left and pointing up. |
| Insert the shaft of the sword from the left into the small tube from the previous step. |
| Find 1 medium stone grey plate 1x2 with top clasp. |
| Before you mount it, turn the trike from left to right. Now, the single wheel is to the right and the sword from the previous step is at the back, also pointing to the right. |
| Put the plate with clasp upright horizontally on the 2 right side knobs pointing to the front, clasp to the right. |
| Collect the following 2 pieces: |
| 1 black small tube with shaft, |
| and 1 dark stone grey one-stepped curve tile 1x2x⅔. |
| Snap the shaft of the small tube on the clasp of the previous piece, tube pointing to the right. |
| Put the one-stepped curve tile 1x2x⅔ upright horizontally to the left of the previous piece, curve to the left. |
| Find 1 warm gold wide-blade sword with hooked tip. |
| Hold it horizontally, hooked tip to the right and pointing up. |
| Insert the shaft of the sword into the tube from the previous step. |
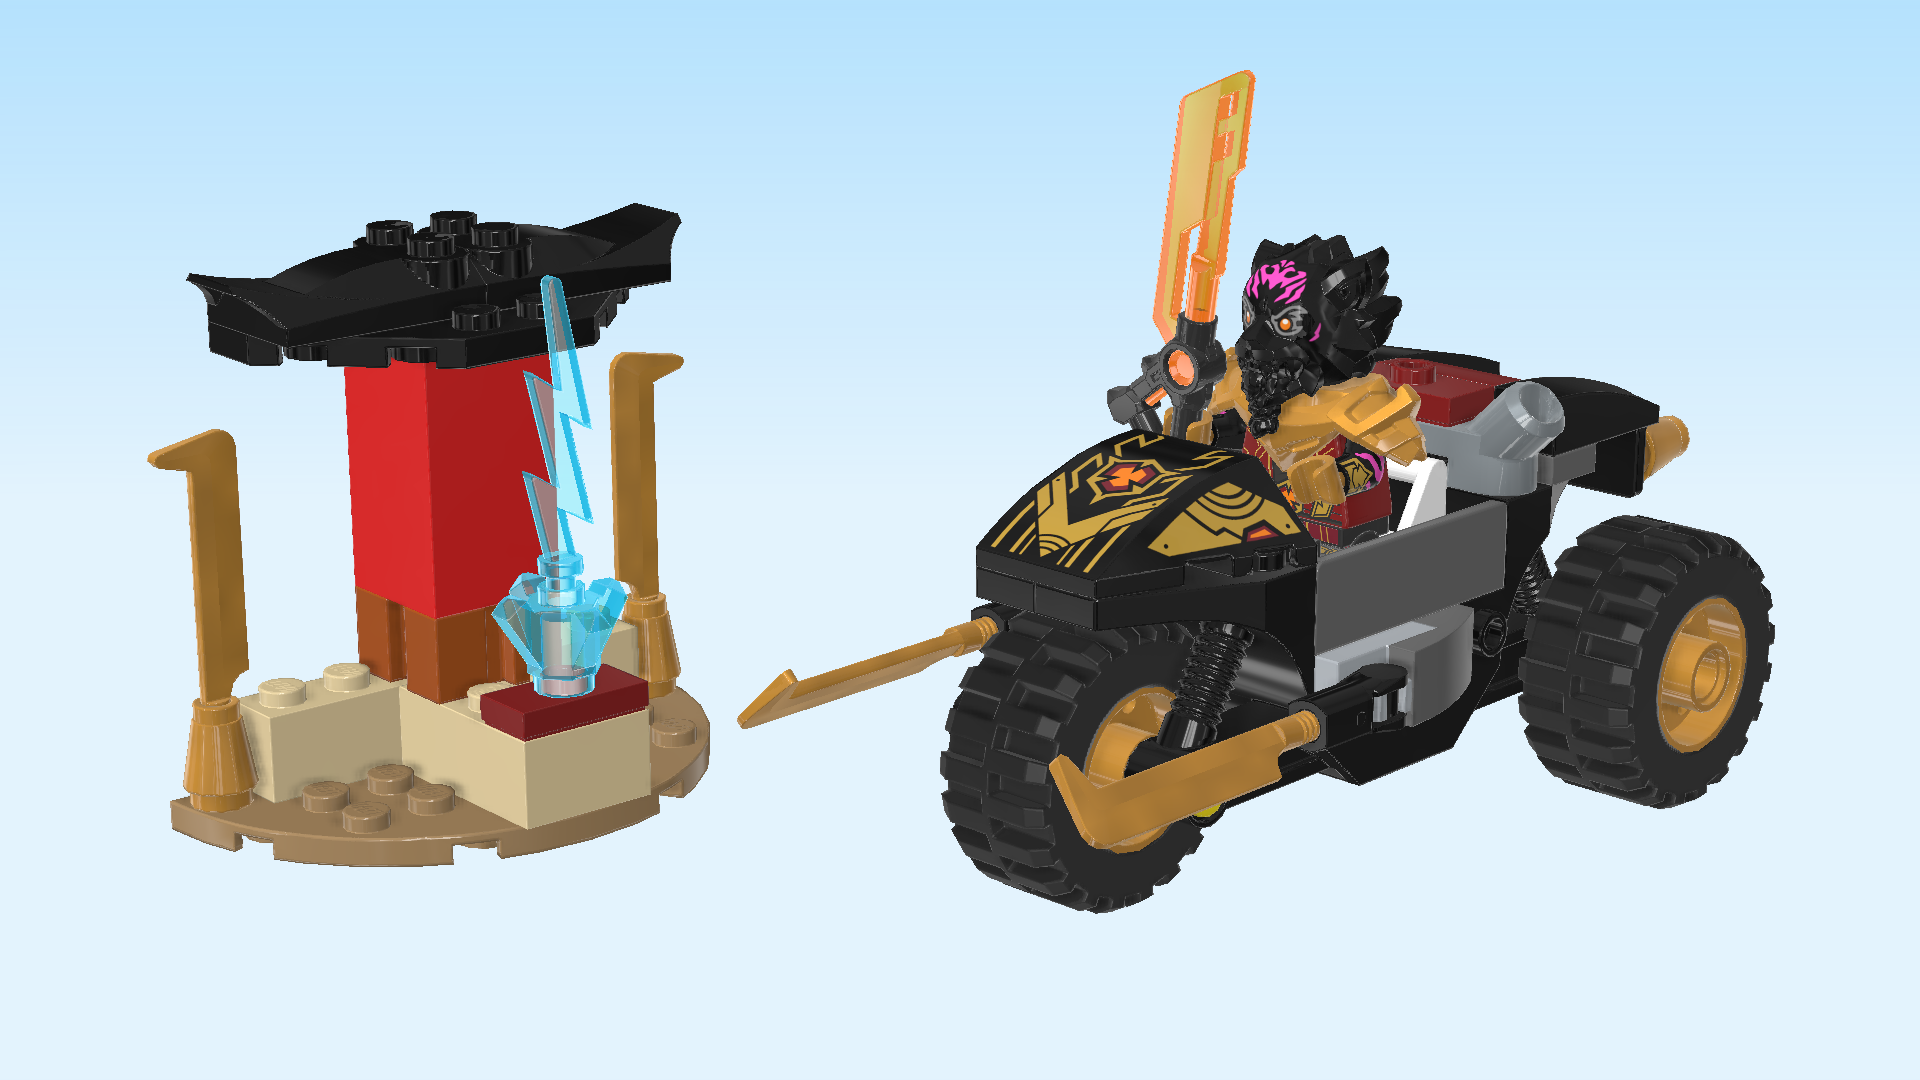
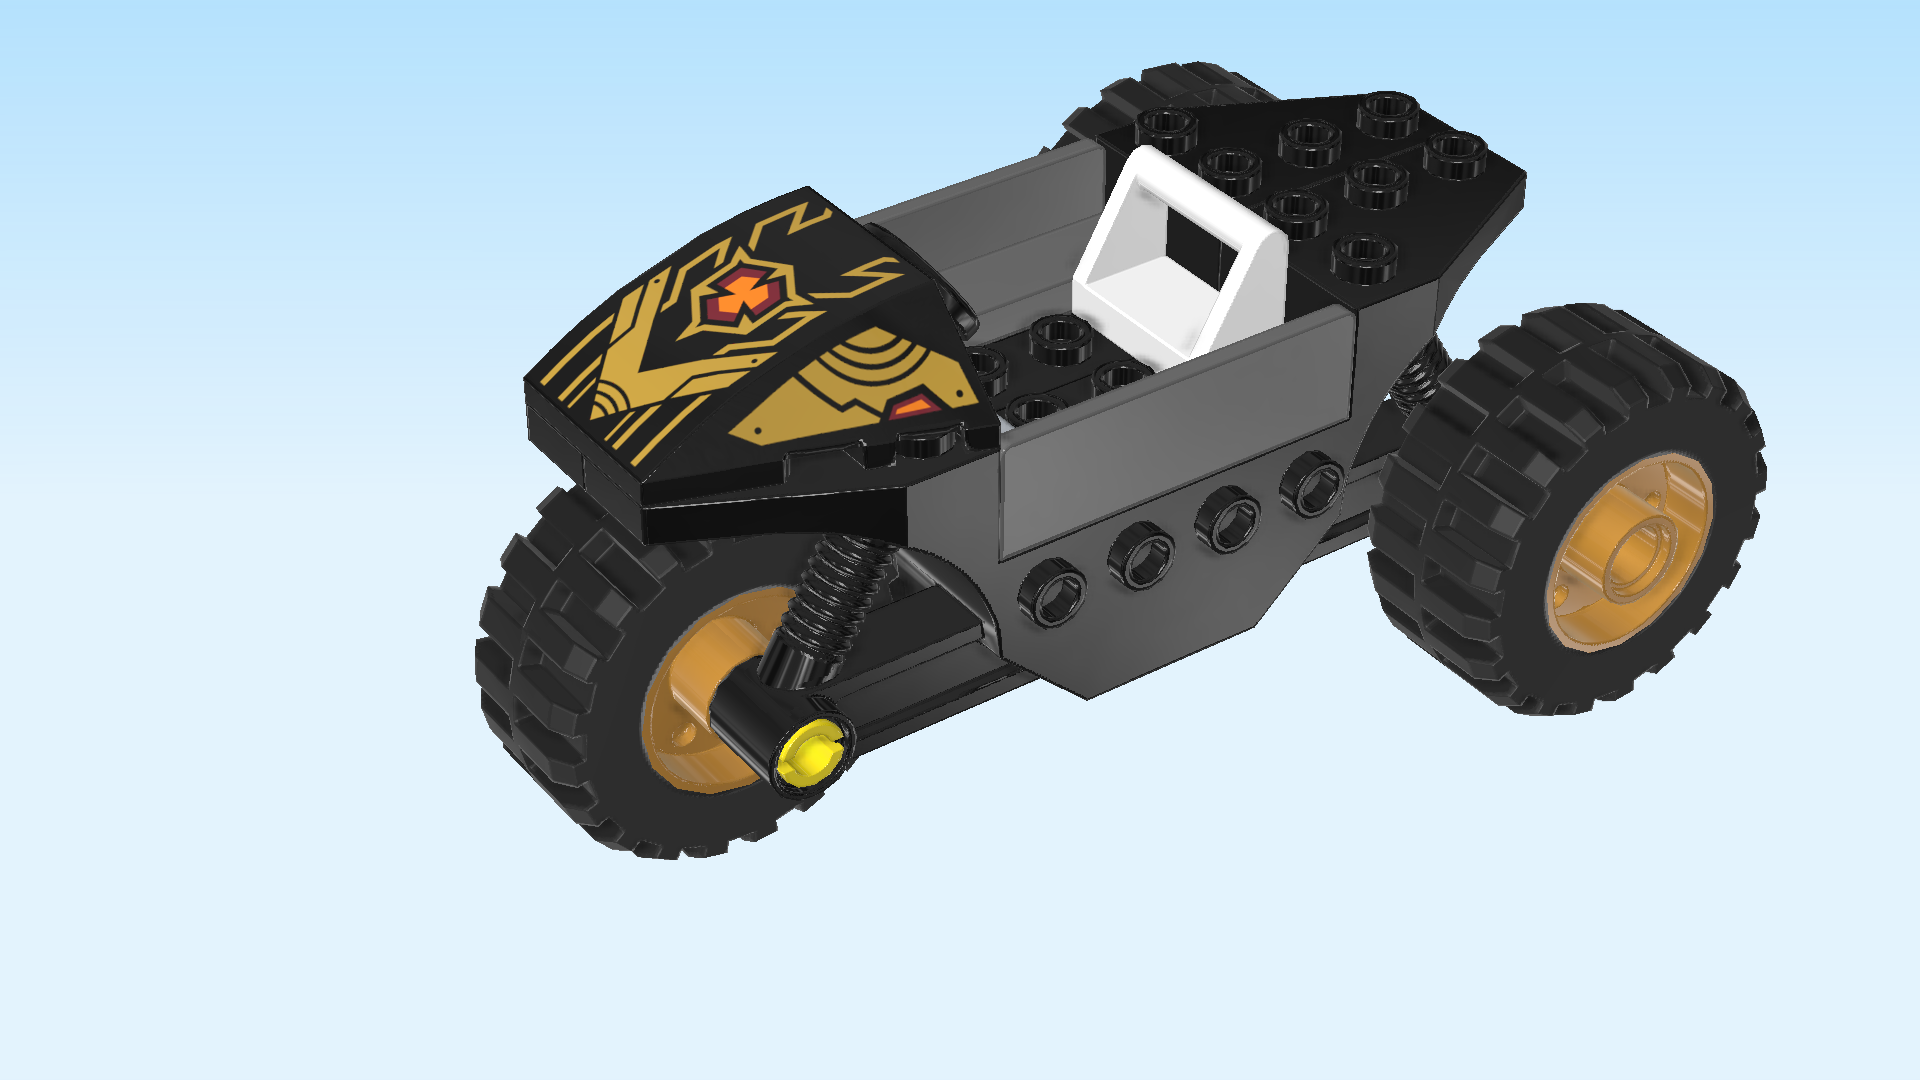
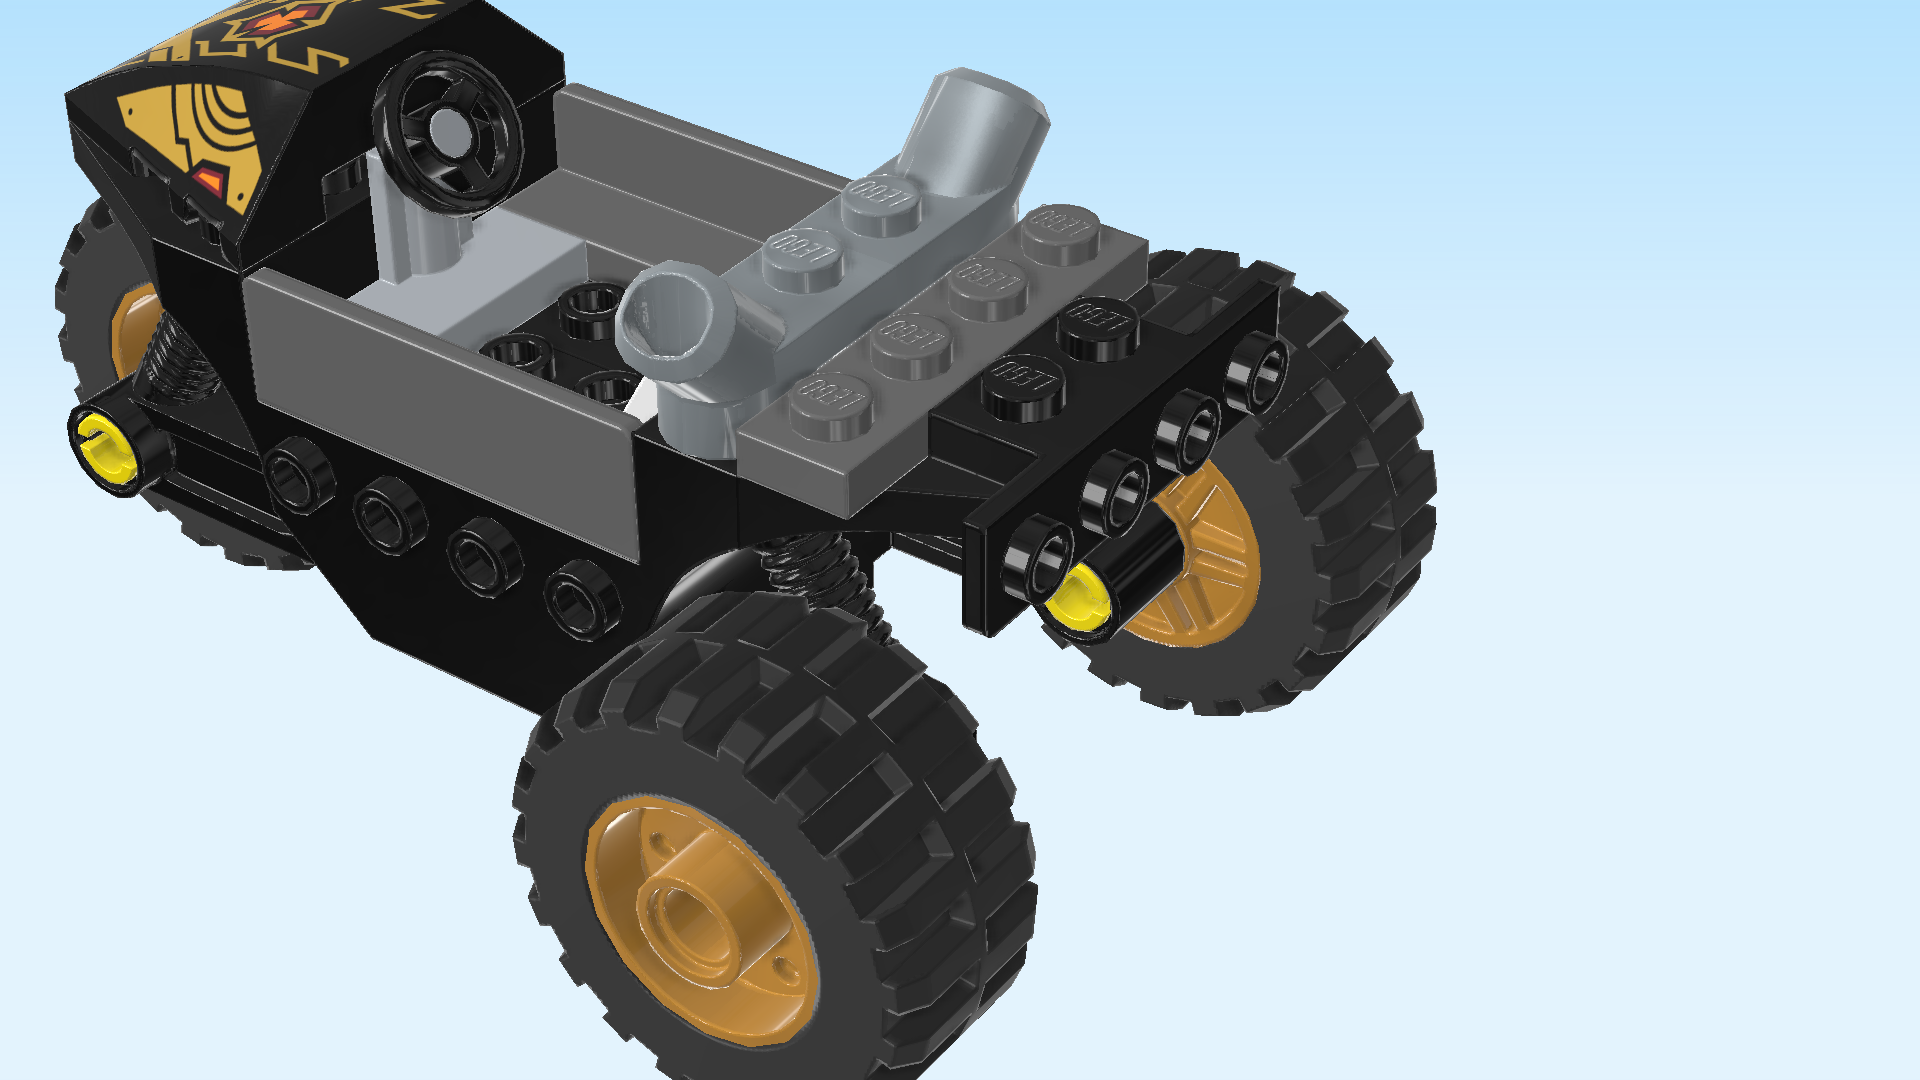
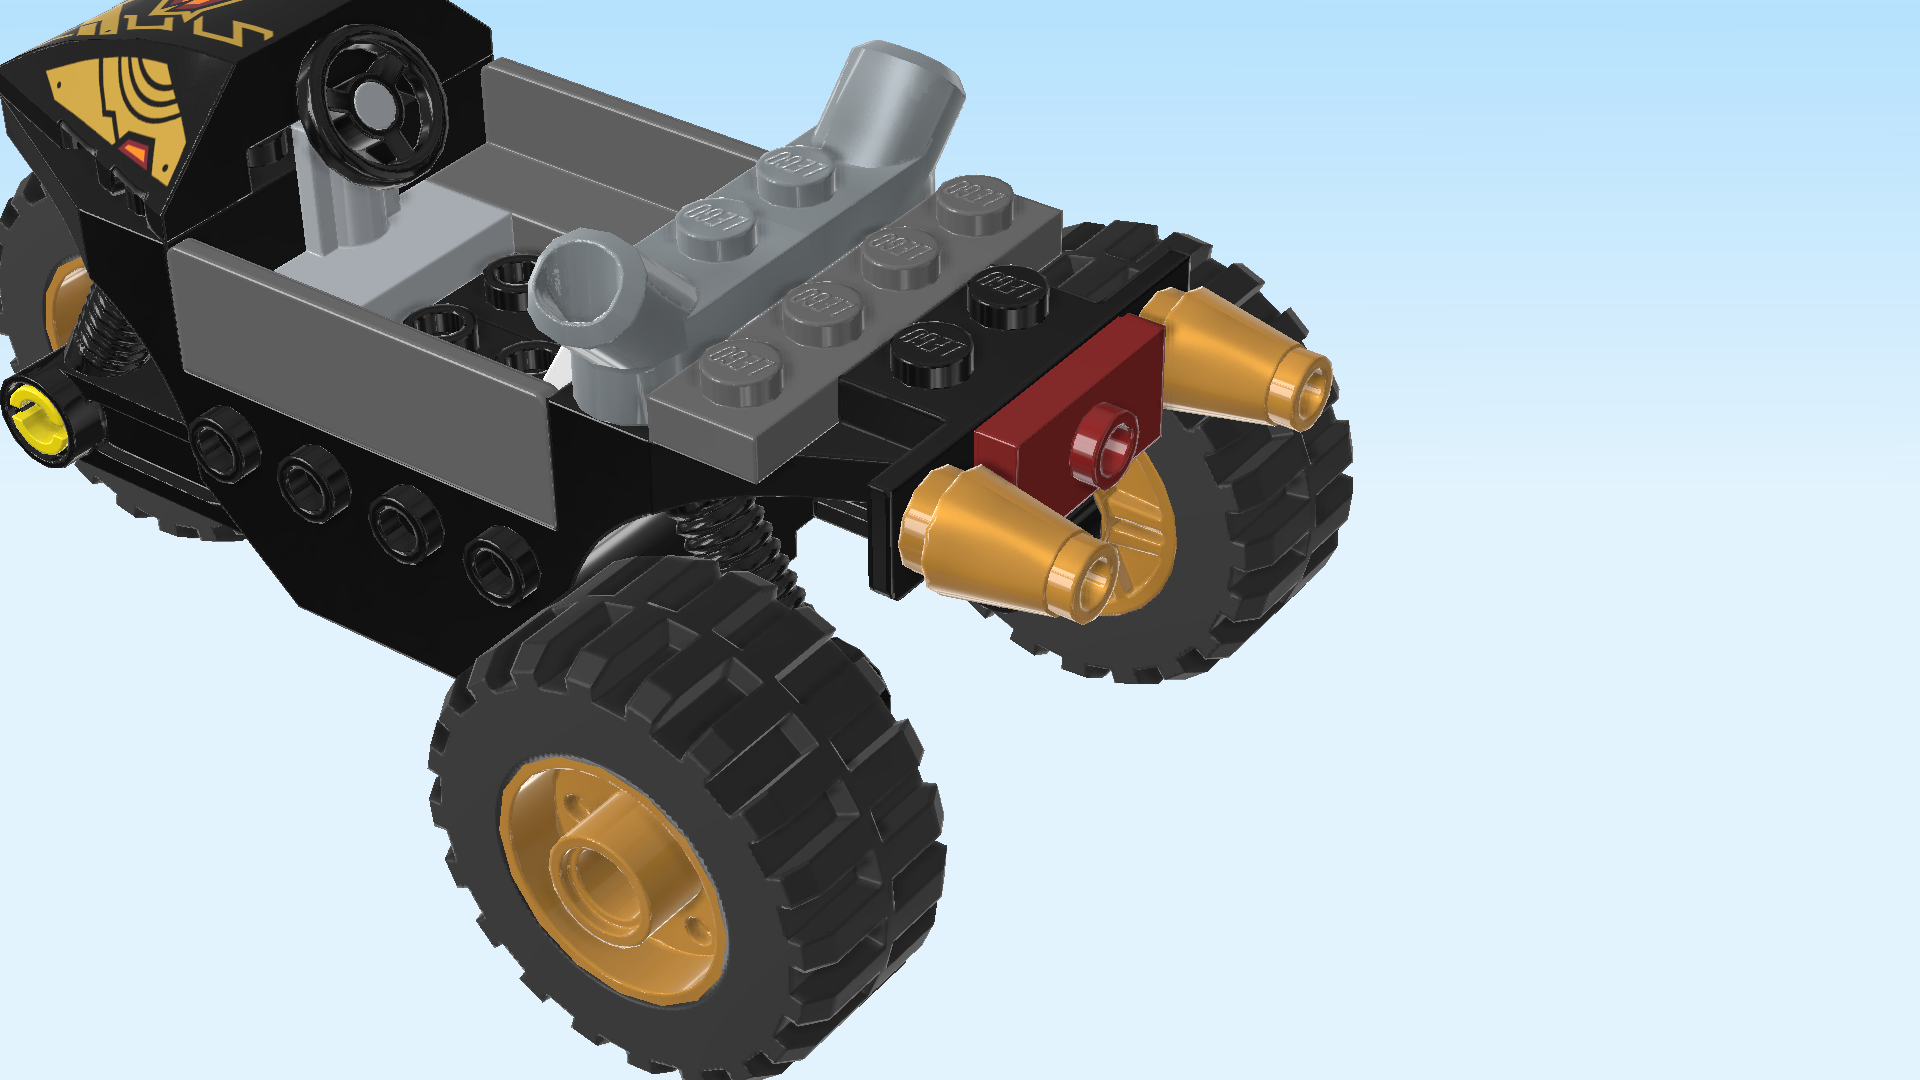
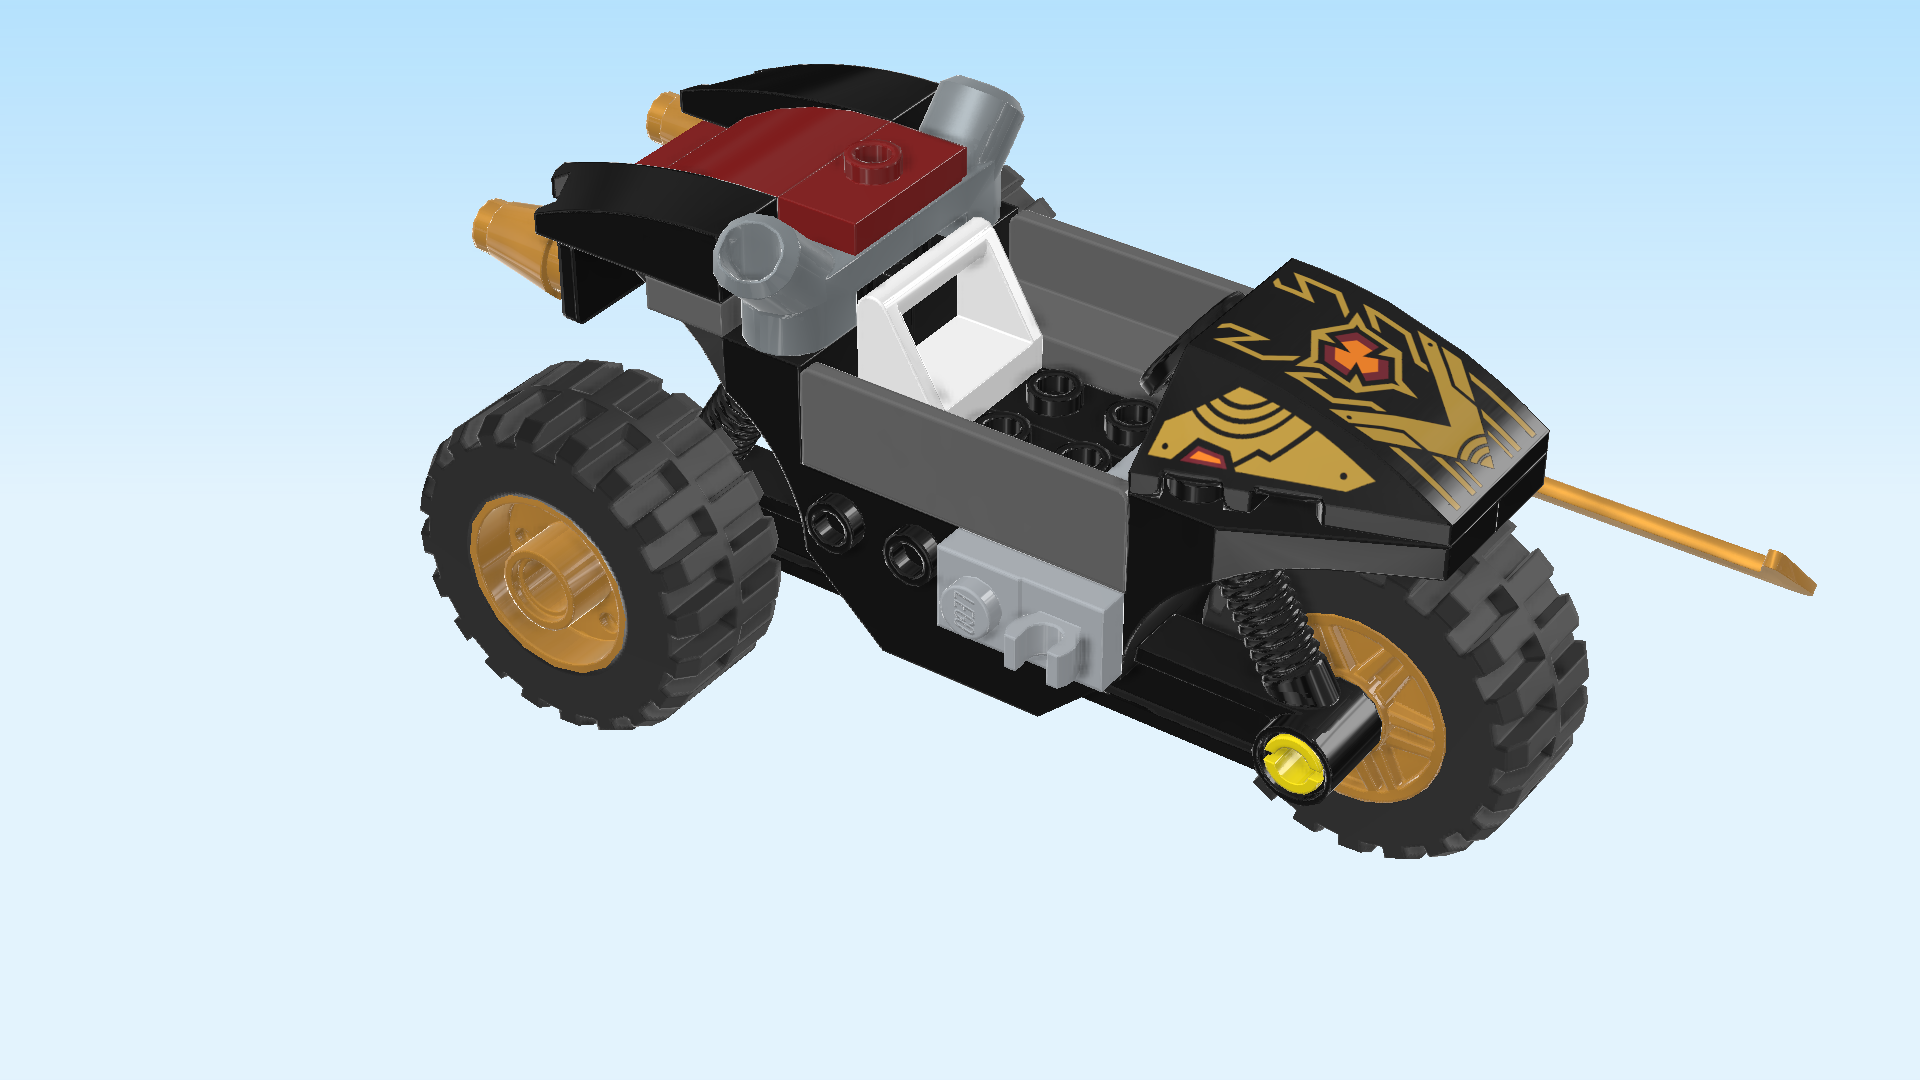
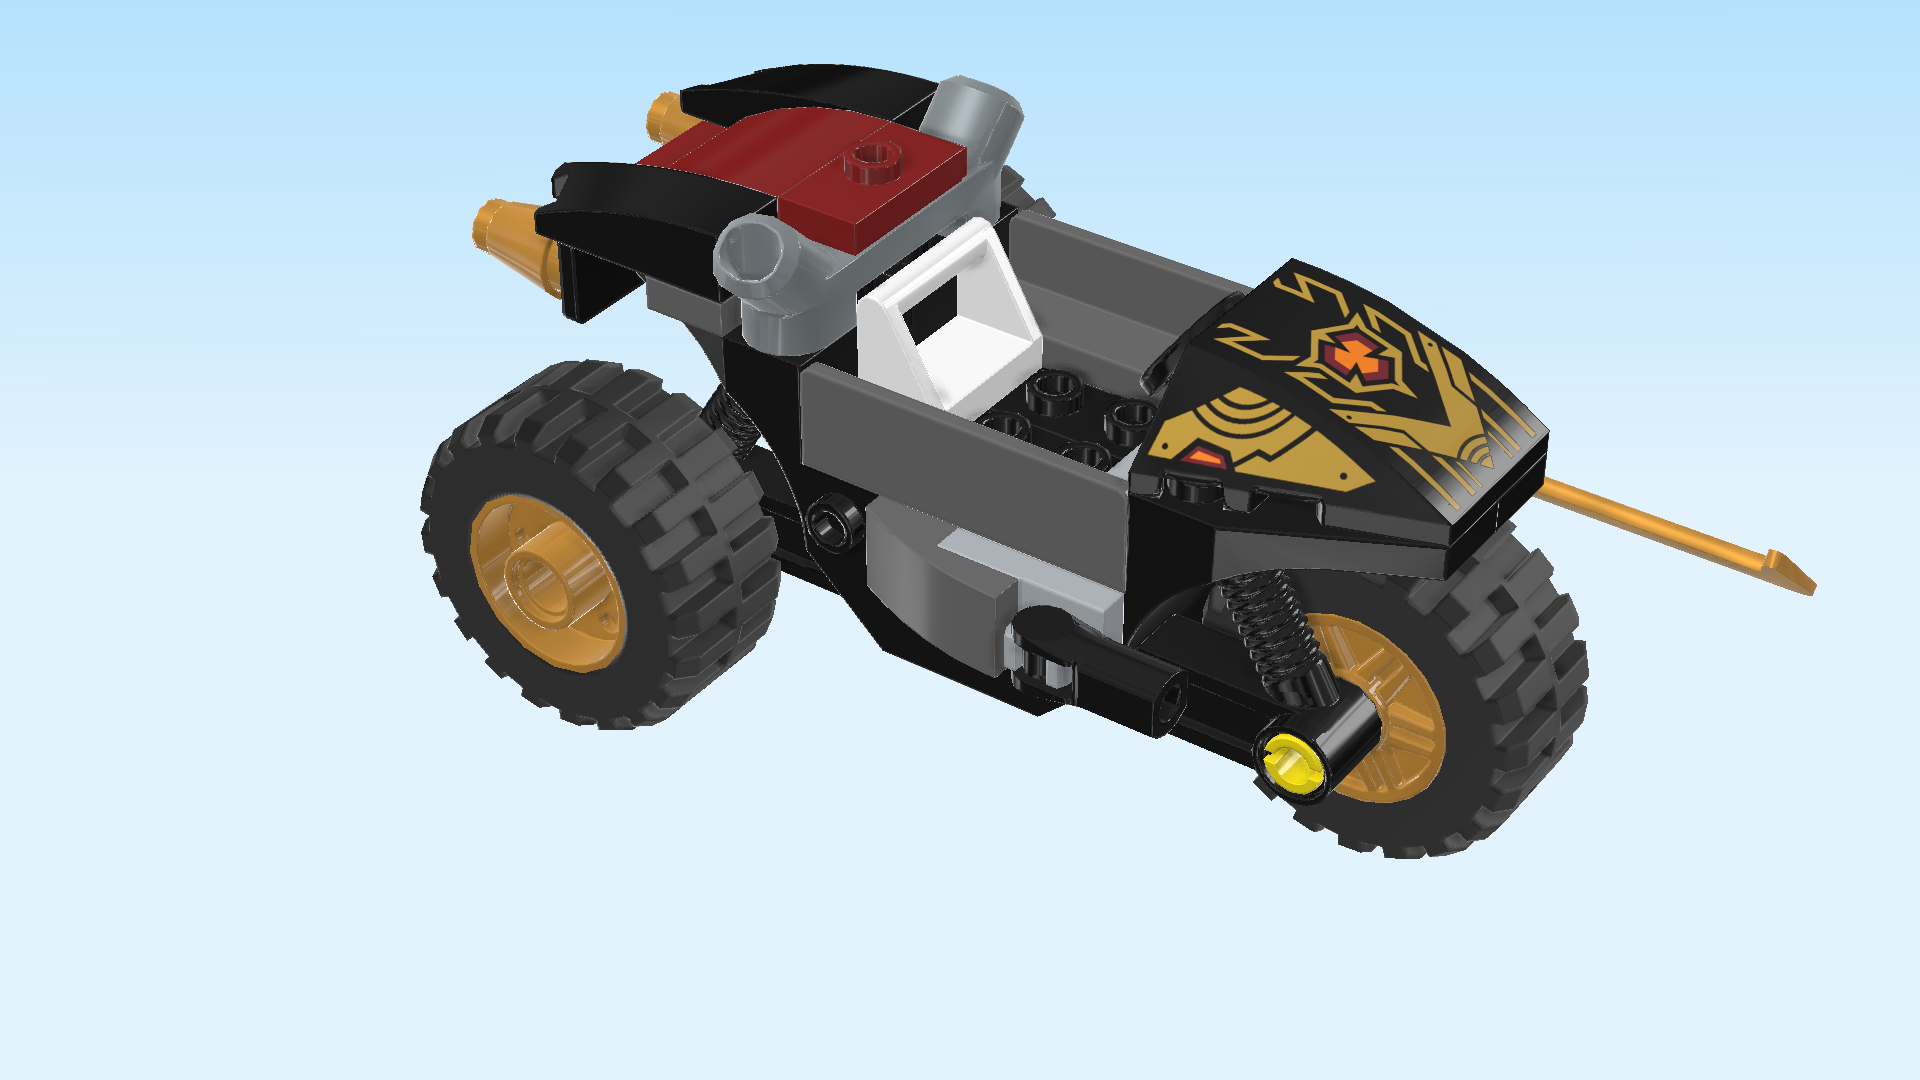
| Ras's all-terrain trike is finished! Well done! Put Ras in the driver's seat and find out how fast his trike can go. |
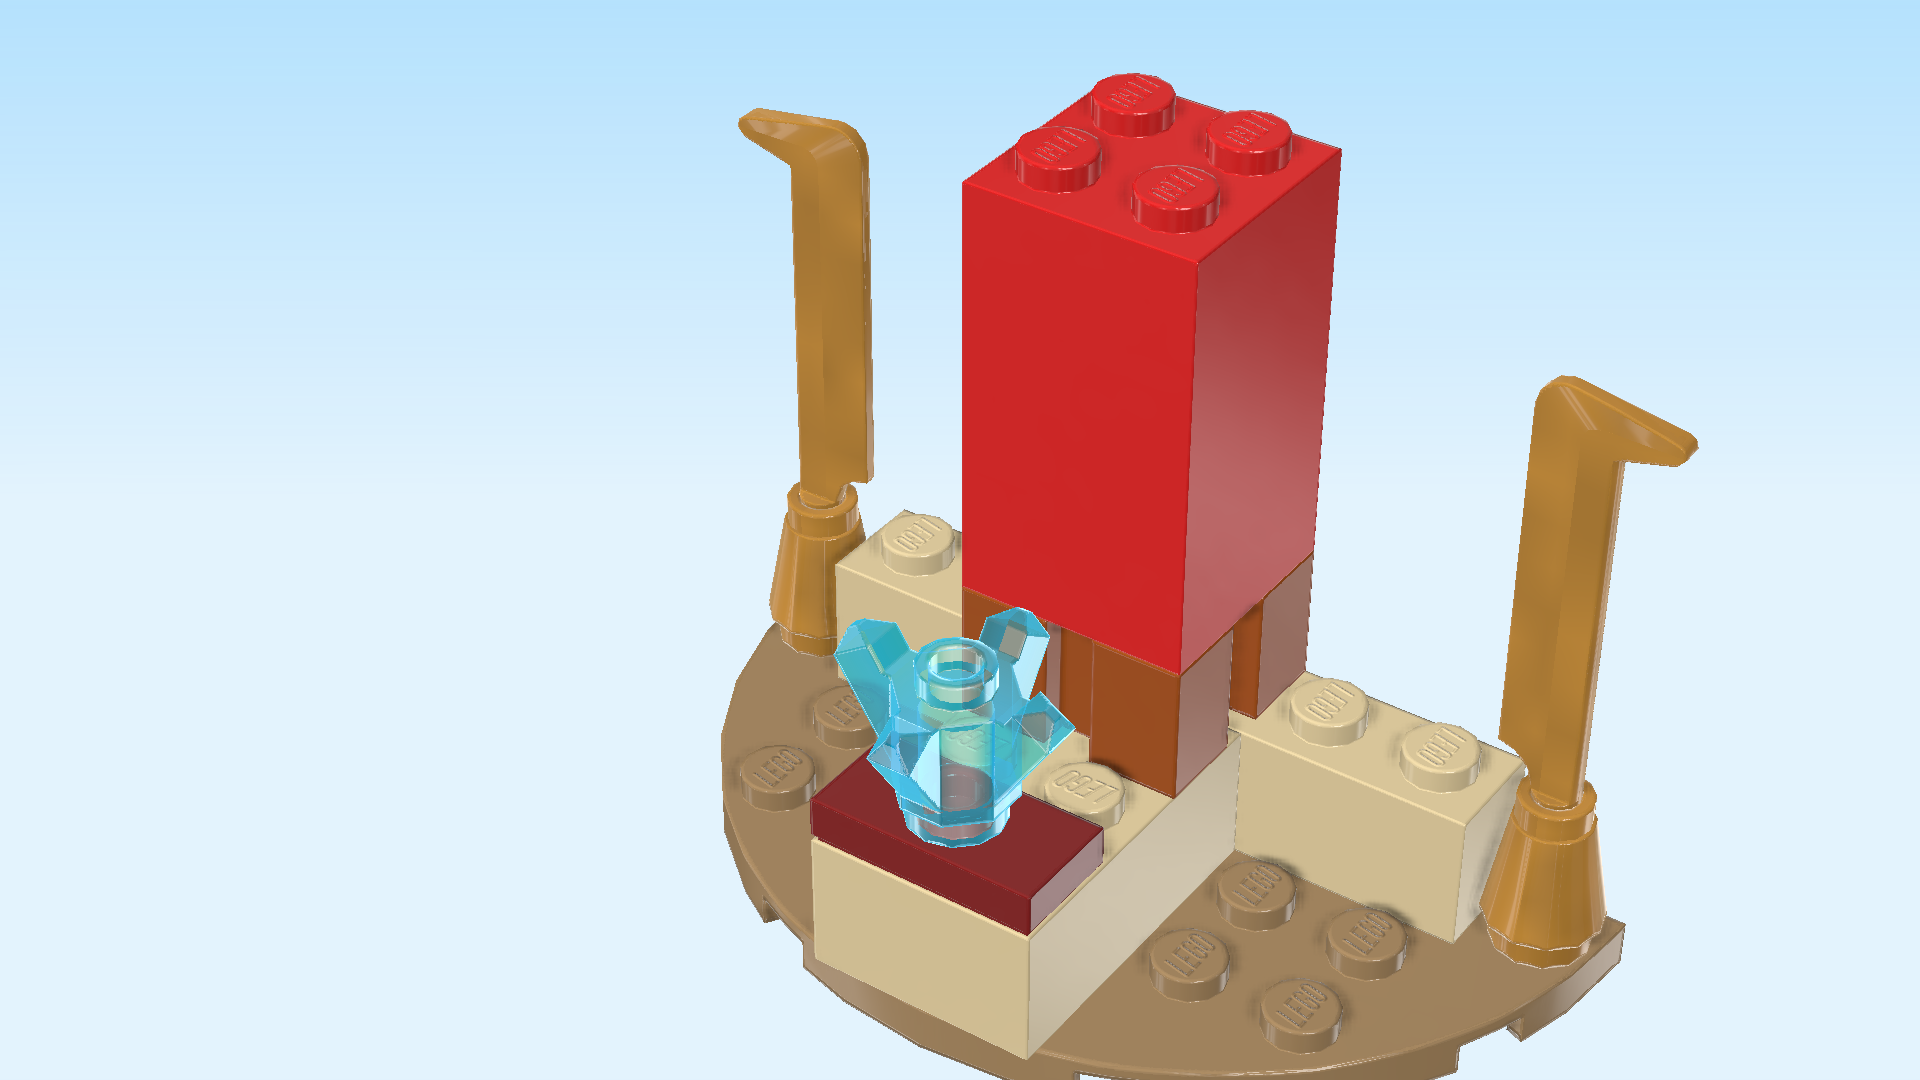
| Next, we build the blue lightning shrine. |
| Collect the following 3 pieces: |
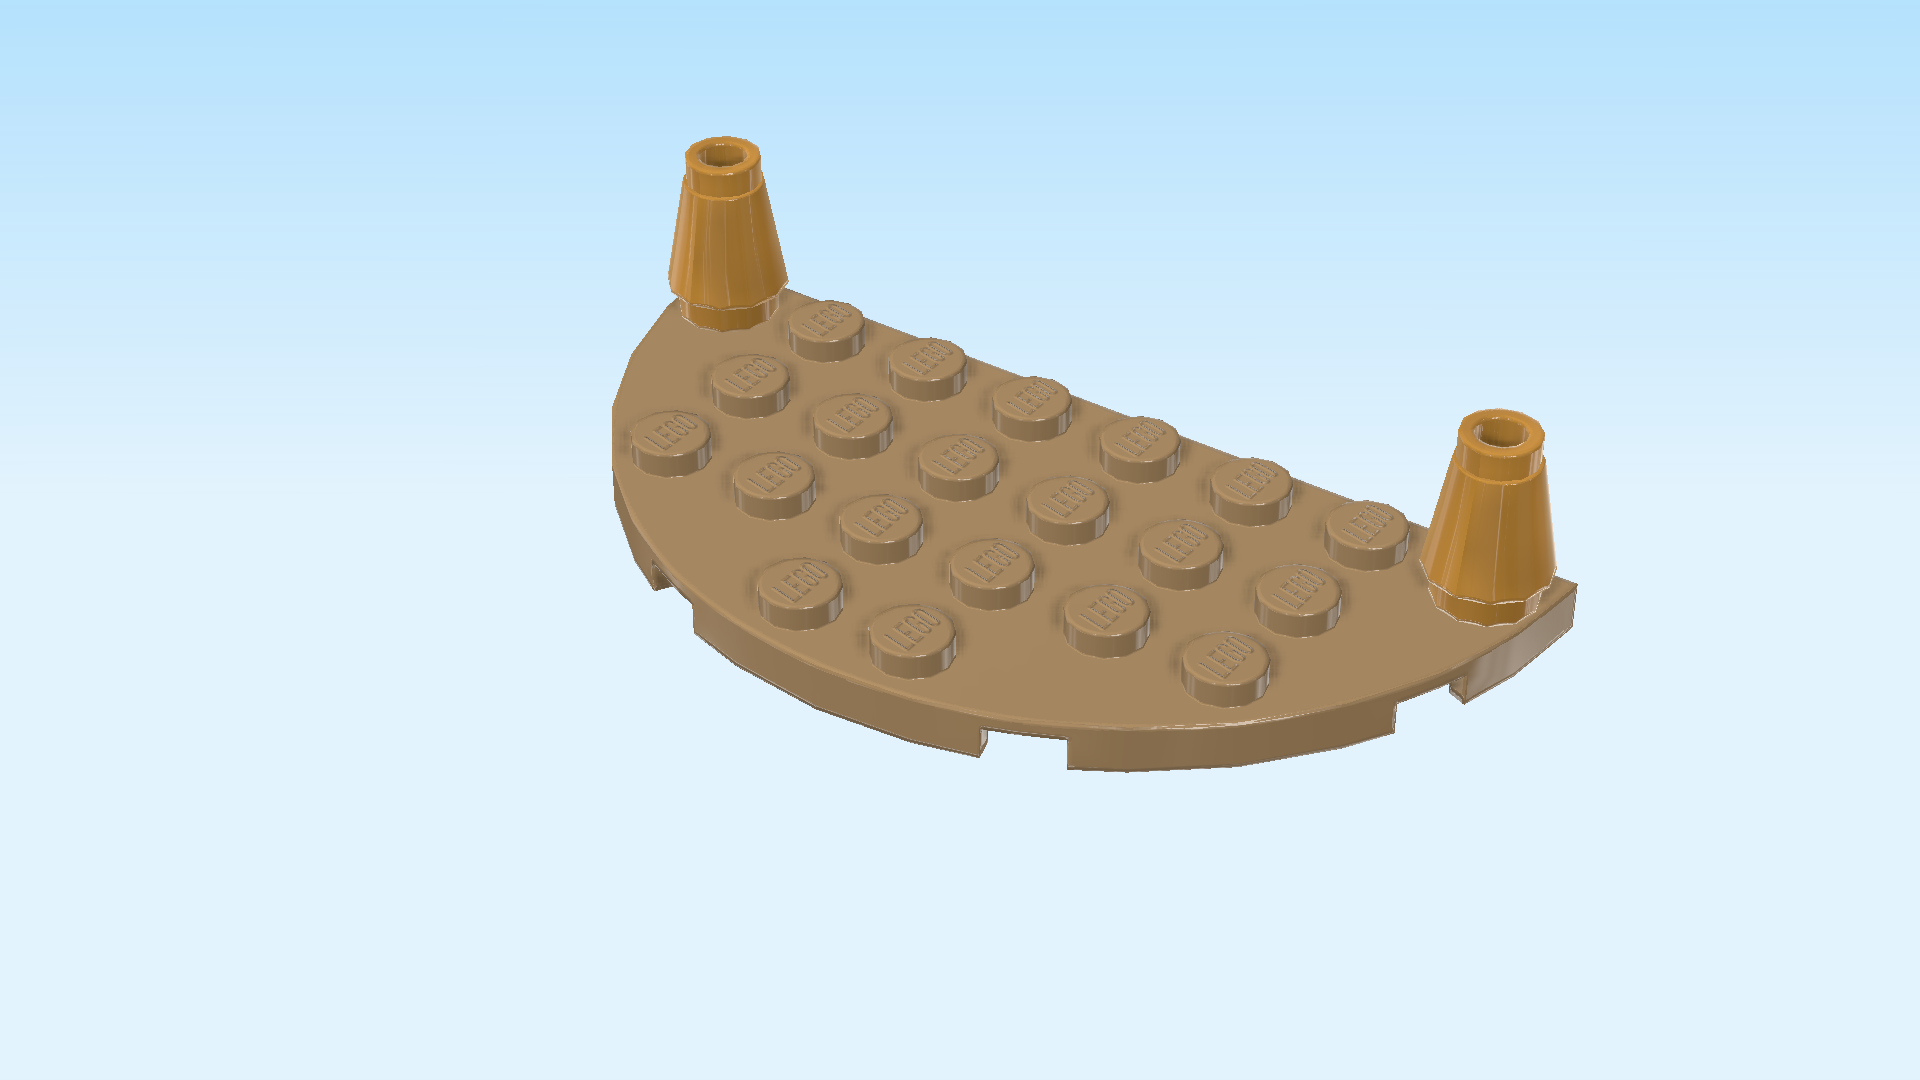
| 1 mud grey half-circle plate 4x8, |
| and 2 warm gold nose cones 1x1. |
| Put the half-circle plate 4x8 on the table, straight edge to the back. |
| Put 1 nose cone 1x1 on the leftmost knob of the backmost row, and the other nose cone on the rightmost knob of the backmost row. |
| Collect the following 2 pieces: |
| 1 pale ocher yellow brick 2x3, |
| and 1 pale ocher yellow brick 1x6. |
| Put the brick 1x6 horizontally between the two previous pieces on the backmost row. |
| Put the brick 2x3 vertically centered in front of the previous piece. |
| Collect the following 2 pieces: |
| 1 maroon red plate 1x2 with 1 knob, |
| and 1 dark orange brick 2x2 with 4 side grooves and cross hole. |
| Put the plate 1x2 horizontally on the frontmost row of the previous piece. |
| Put the brick 2x2 centered on the 2 backmost rows. |
| Find 2 warm gold wide-blade swords with hooked tip. |
| Insert the shaft of one sword into the nose cone in the back left corner, hooked tip pointing to the left. |
| Repeat symmetrically on the right, hooked tip to the right. |
| Collect the following 2 pieces: |
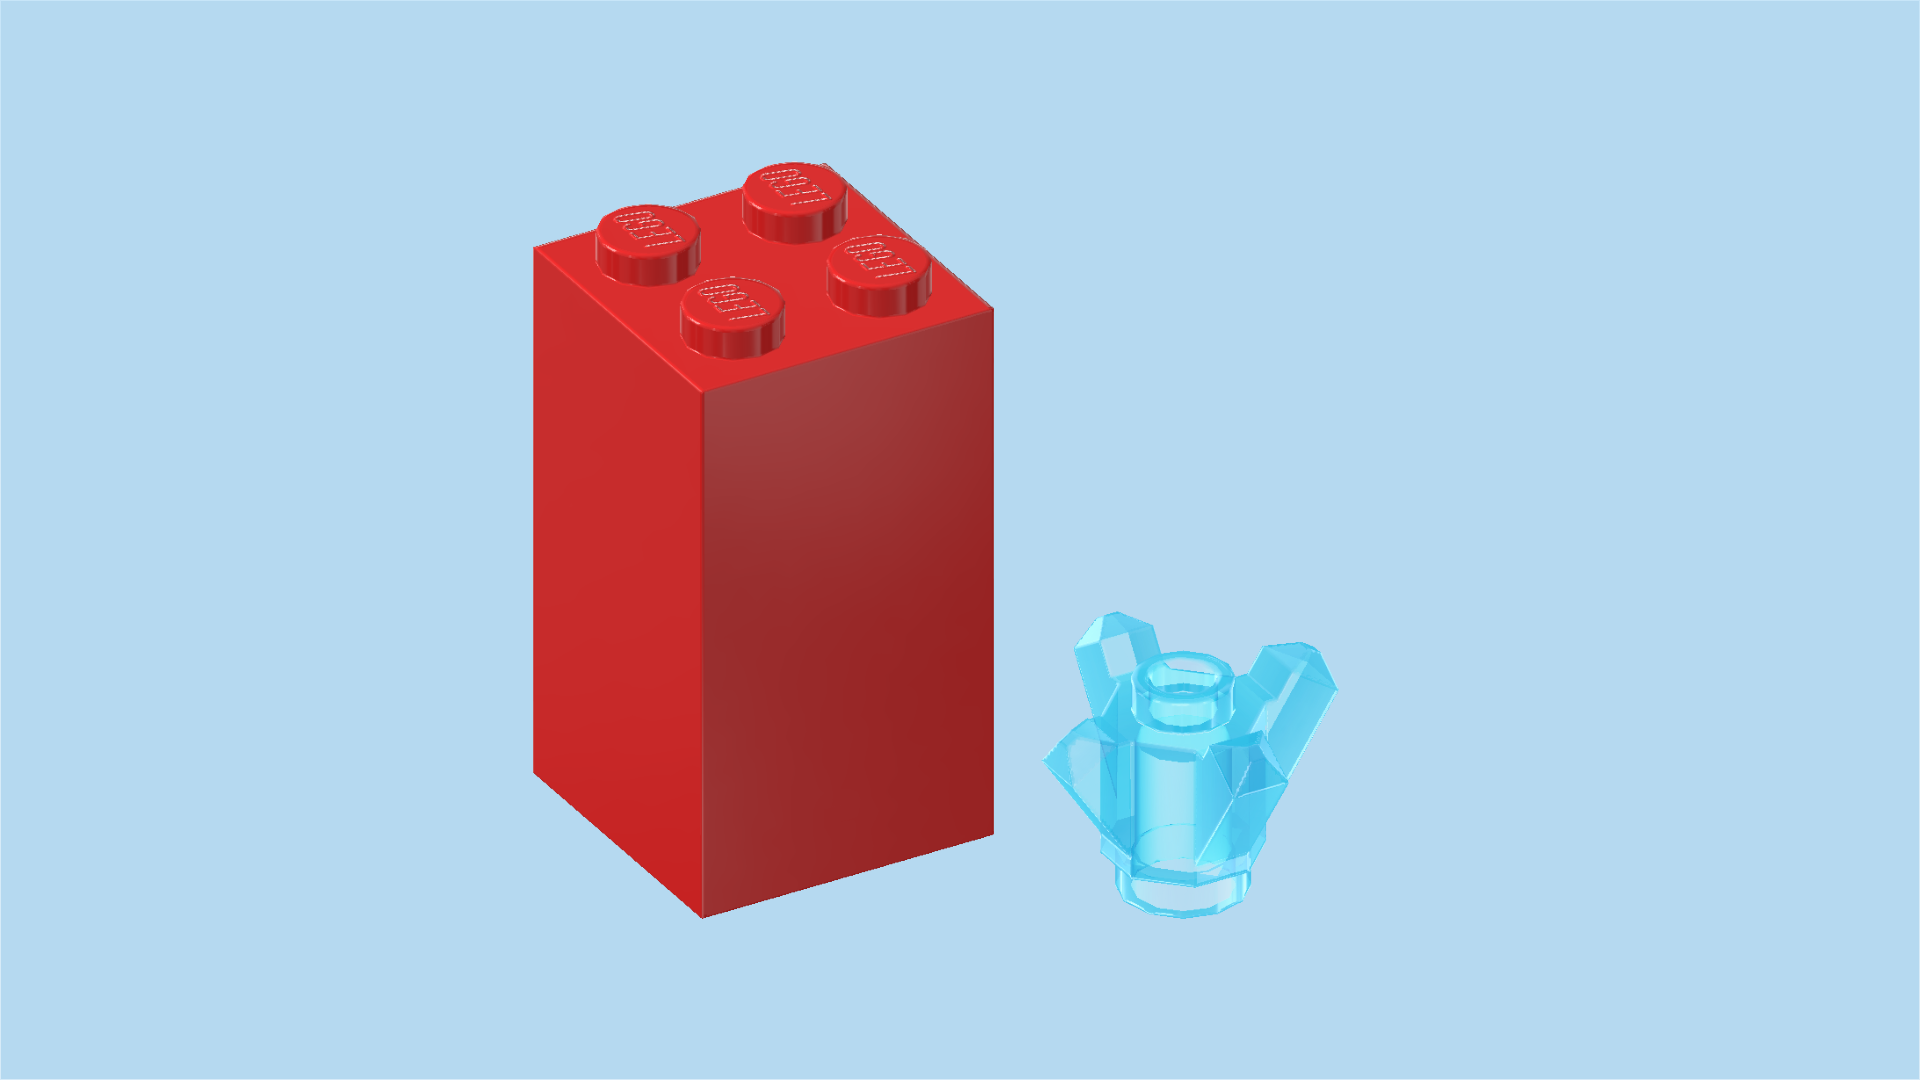
| 1 bright red brick 2x2x3, |
| and 1 transparent light blue Chima Chi crystal 1x1x1. |
| Put the brick 2x2x3 centered on the 2 backmost rows. This means it will sit on the brick 2x2 with 4 grooves. |
| Put the Chima Chi crystal 1x1x1 on the one knob of the frontmost row. |
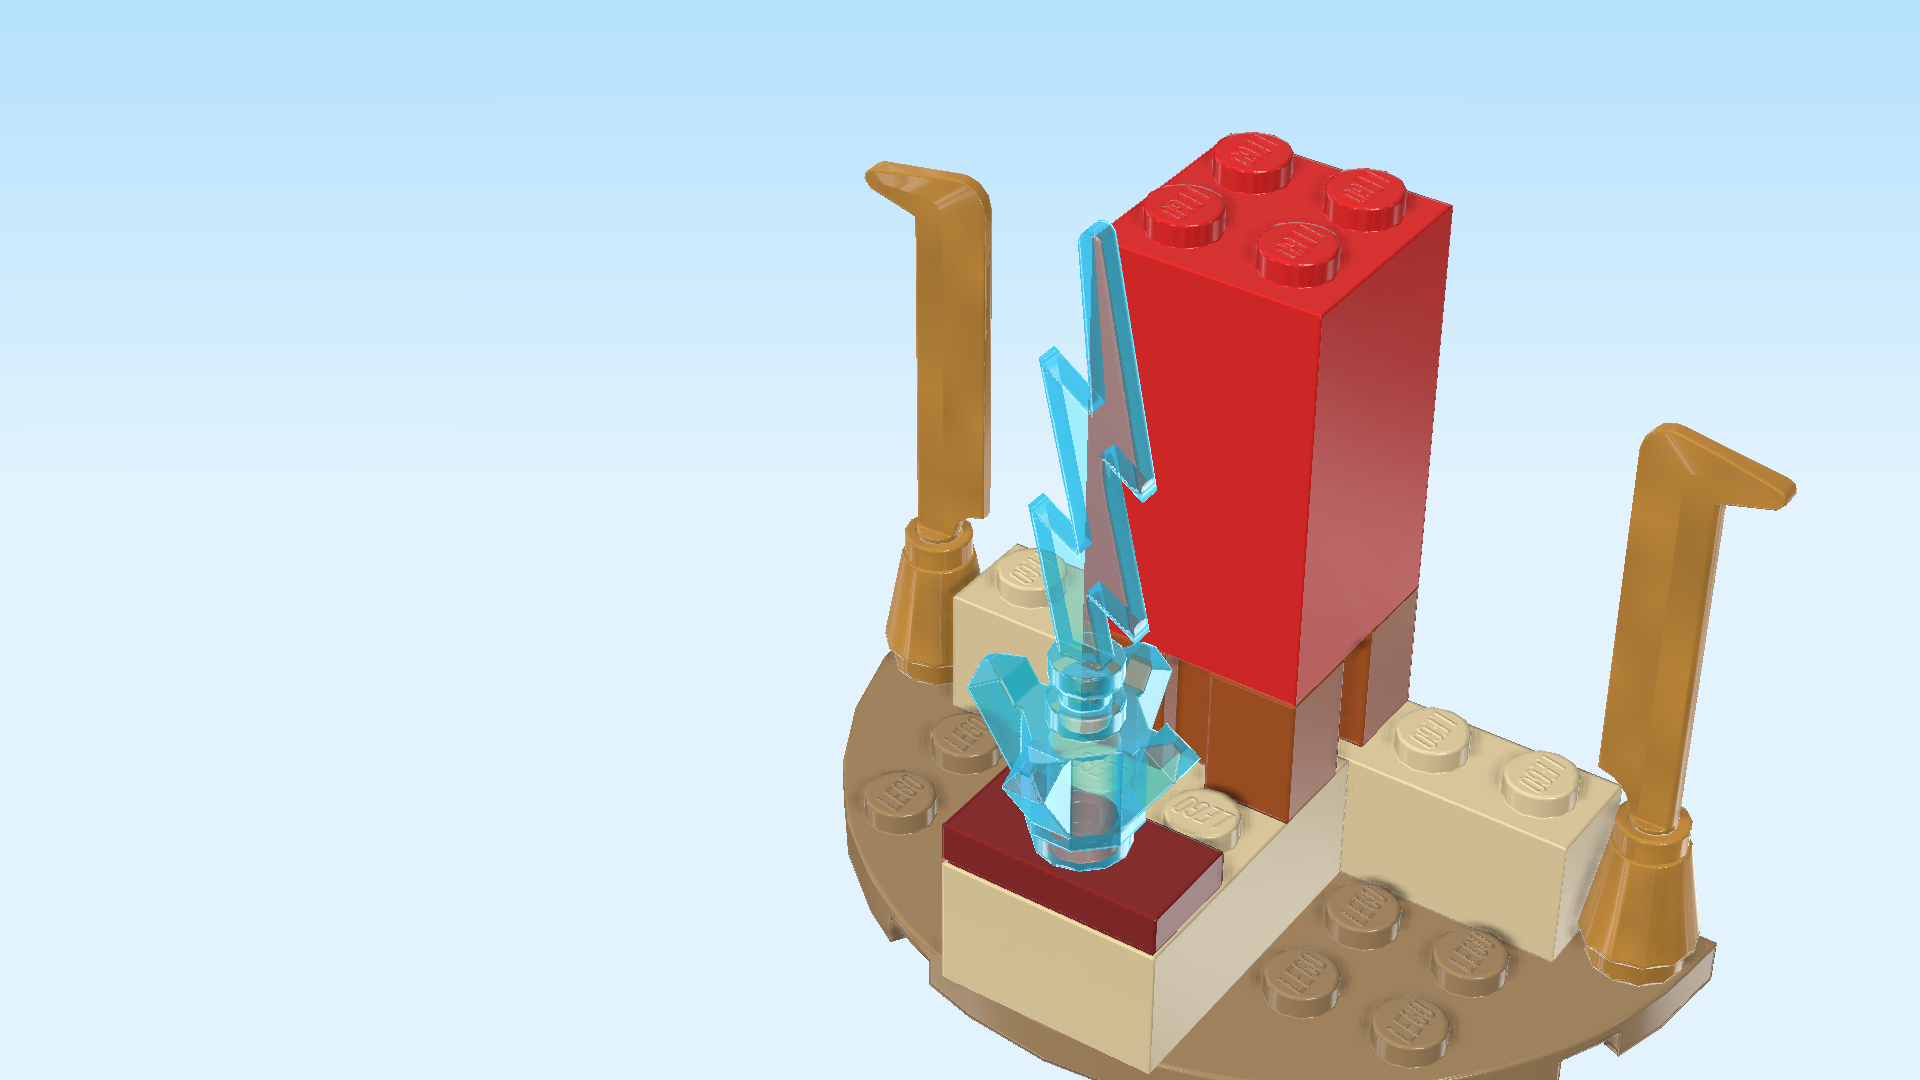
| Find 1 transparent light blue lightning bolt. |
| Insert its small bottom shaft into the knob of the previous piece coming from the top. |
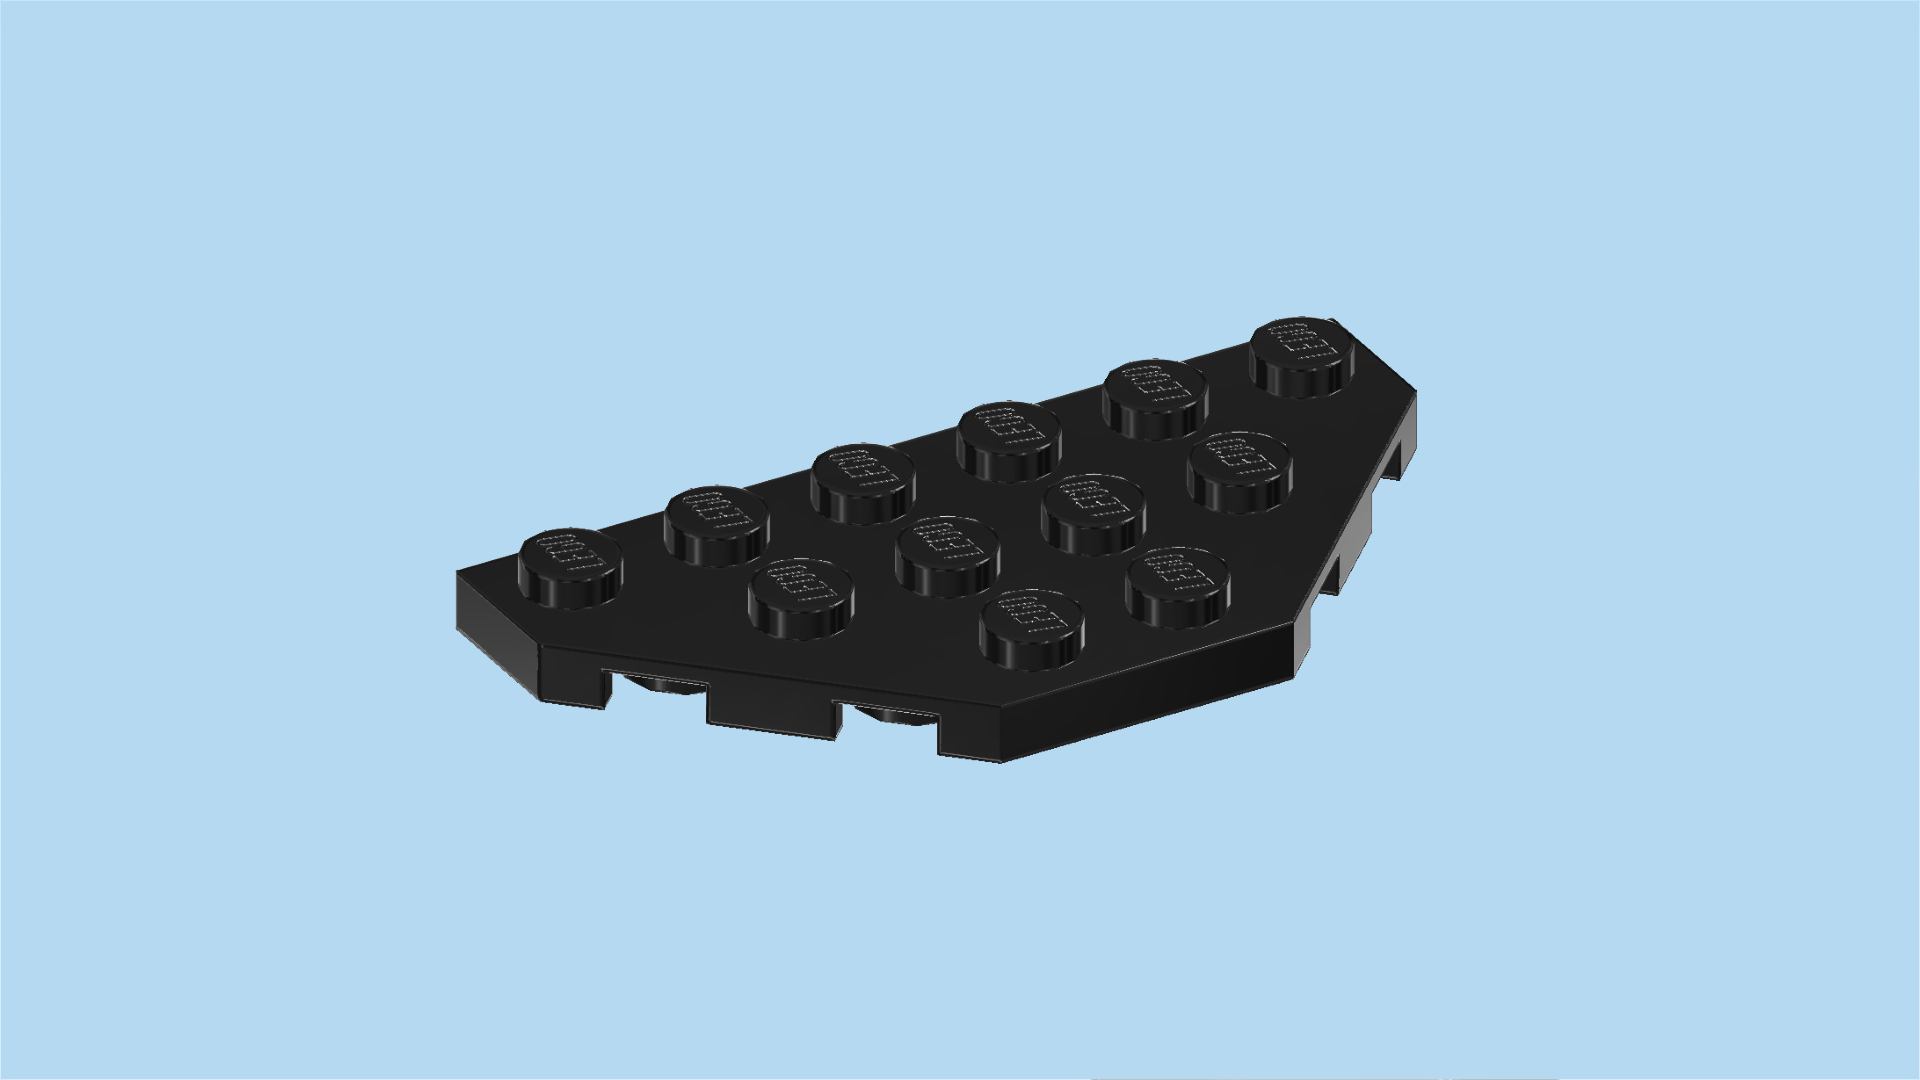
| Find 1 black wedge plate 3x6 with 2 cut-off corners. |
| Hold it horizontally so that its longest edge is at the back. |
| Mount it horizontally centered on the 2x2 brick tower at the back edge. Make sure 1 row is overhanging to the front, and the left and right edges are overhanging symmetrically. |
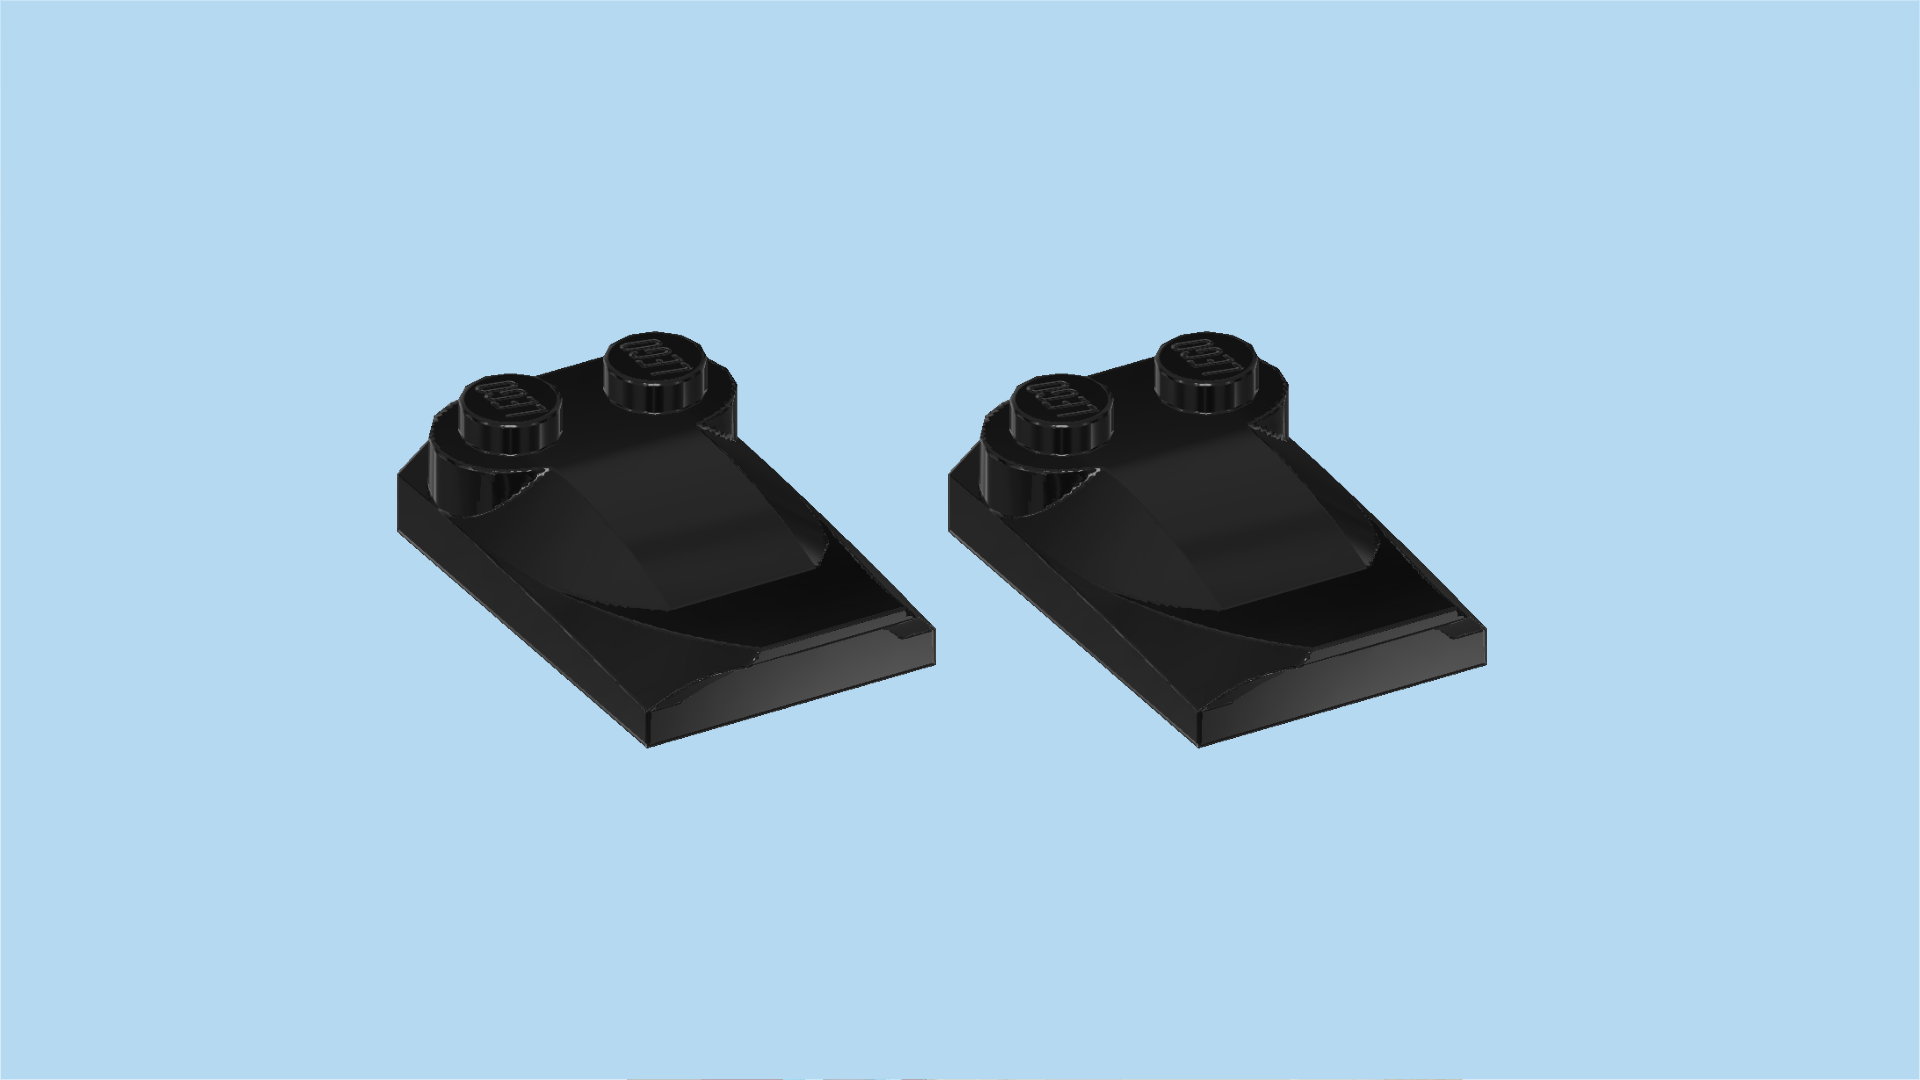
| Find 2 black curve plates 2x3x⅔ with 2 knobs and fin. |
| Put 1 horizontally on the left half of the previous piece on the 2 back rows, fin to the left. |
| Put the other one horizontally to the right of the previous piece, fin to the right. |
| If done correctly, the two curve plates symmetrically cover the wedge plate 3x6, leaving its 2 frontmost knobs empty. |
| The blue lightning shrine is finished! Great job! This shrine is used for safekeeping the precious blue lightning. You have to guard it well to stop Ras from stealing it! Are you up for the challenge? |
| You have finished building the entire set! Fantastic job! Now it's time to put your racing and fighting skills to the test: use your swords and flames to fight off Ras and keep him in check. Watch out: Ras also has some tricks up his sleeve, and his all-terrain trike is an awfully fast vehicle. It's not going to be easy to safeguard the blue lightning! Let's see who wins! |
| Enjoy! |
