LEGO 71768 Jay's Golden Dragon Motorbike 

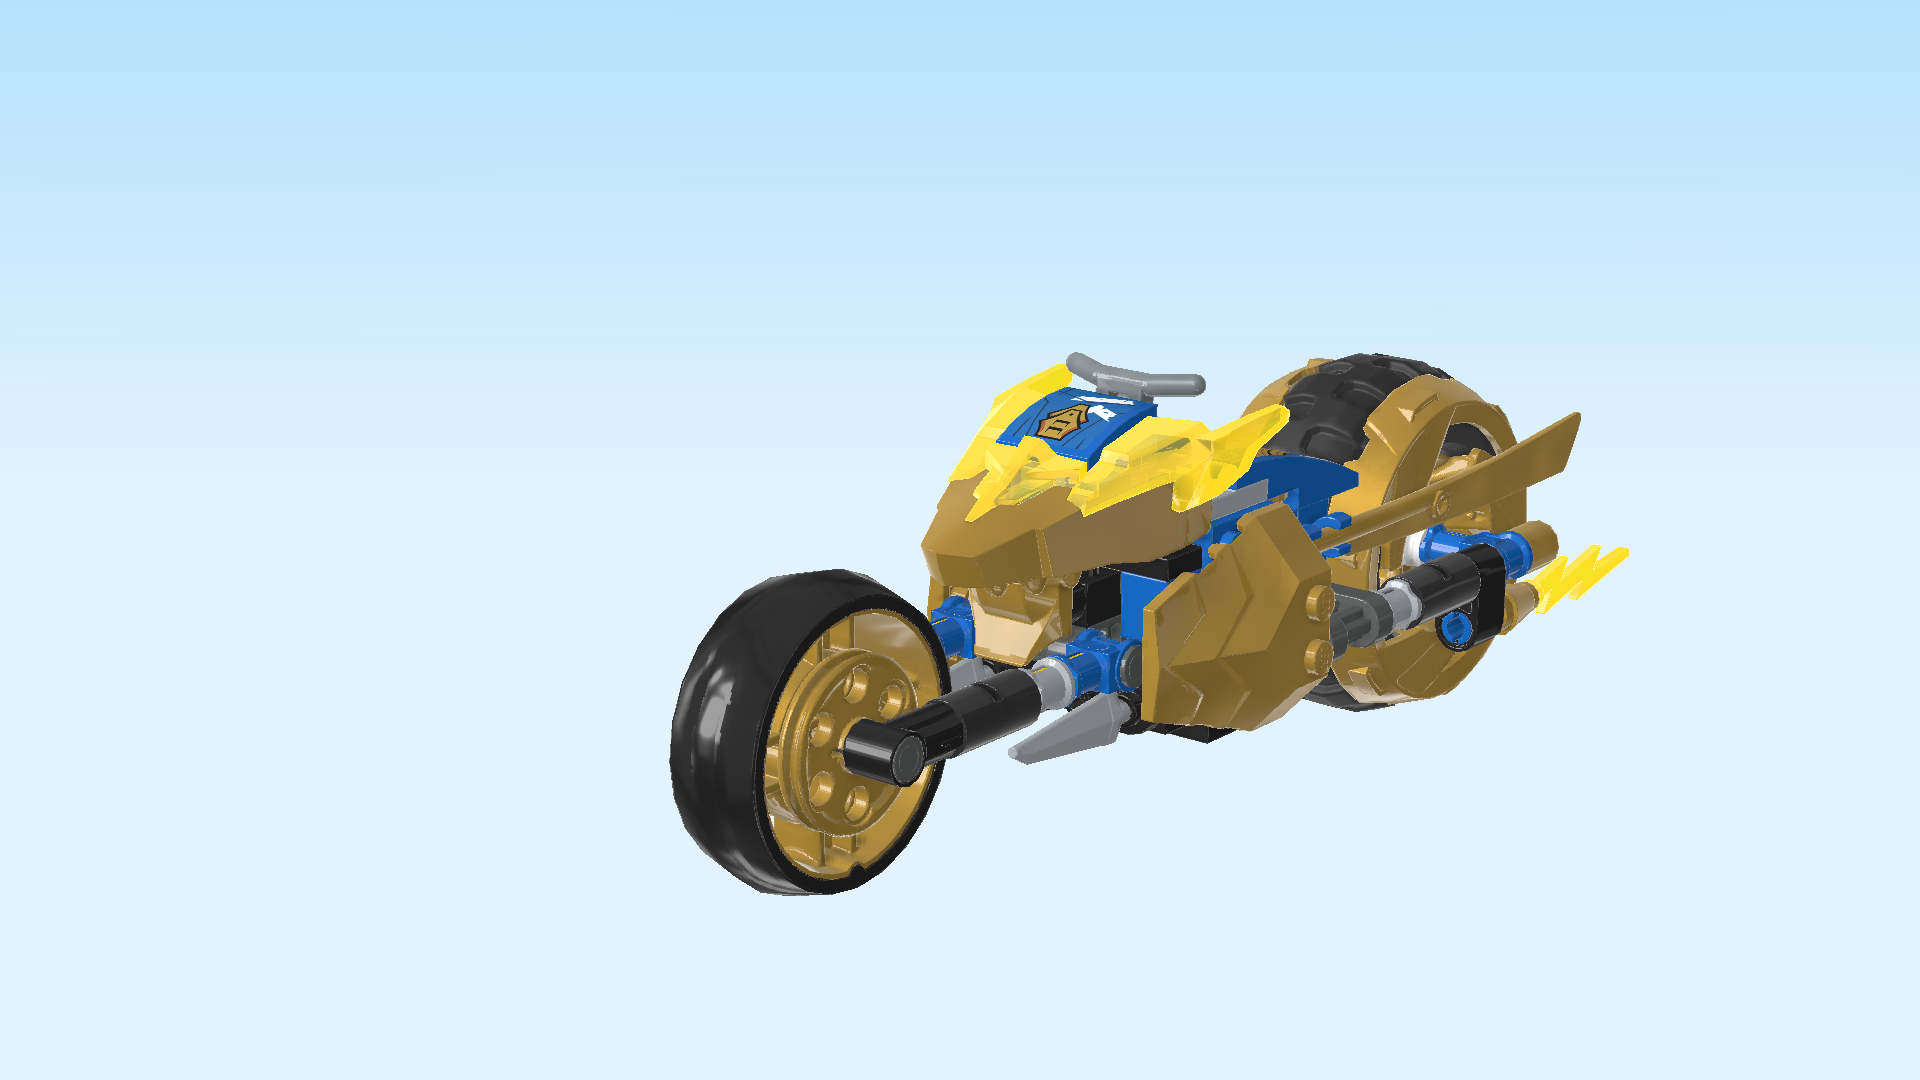
LEGO Audio & Braille Building Instructions for the LEGO Ninjago set "Jay's Golden Dragon Motorbike".

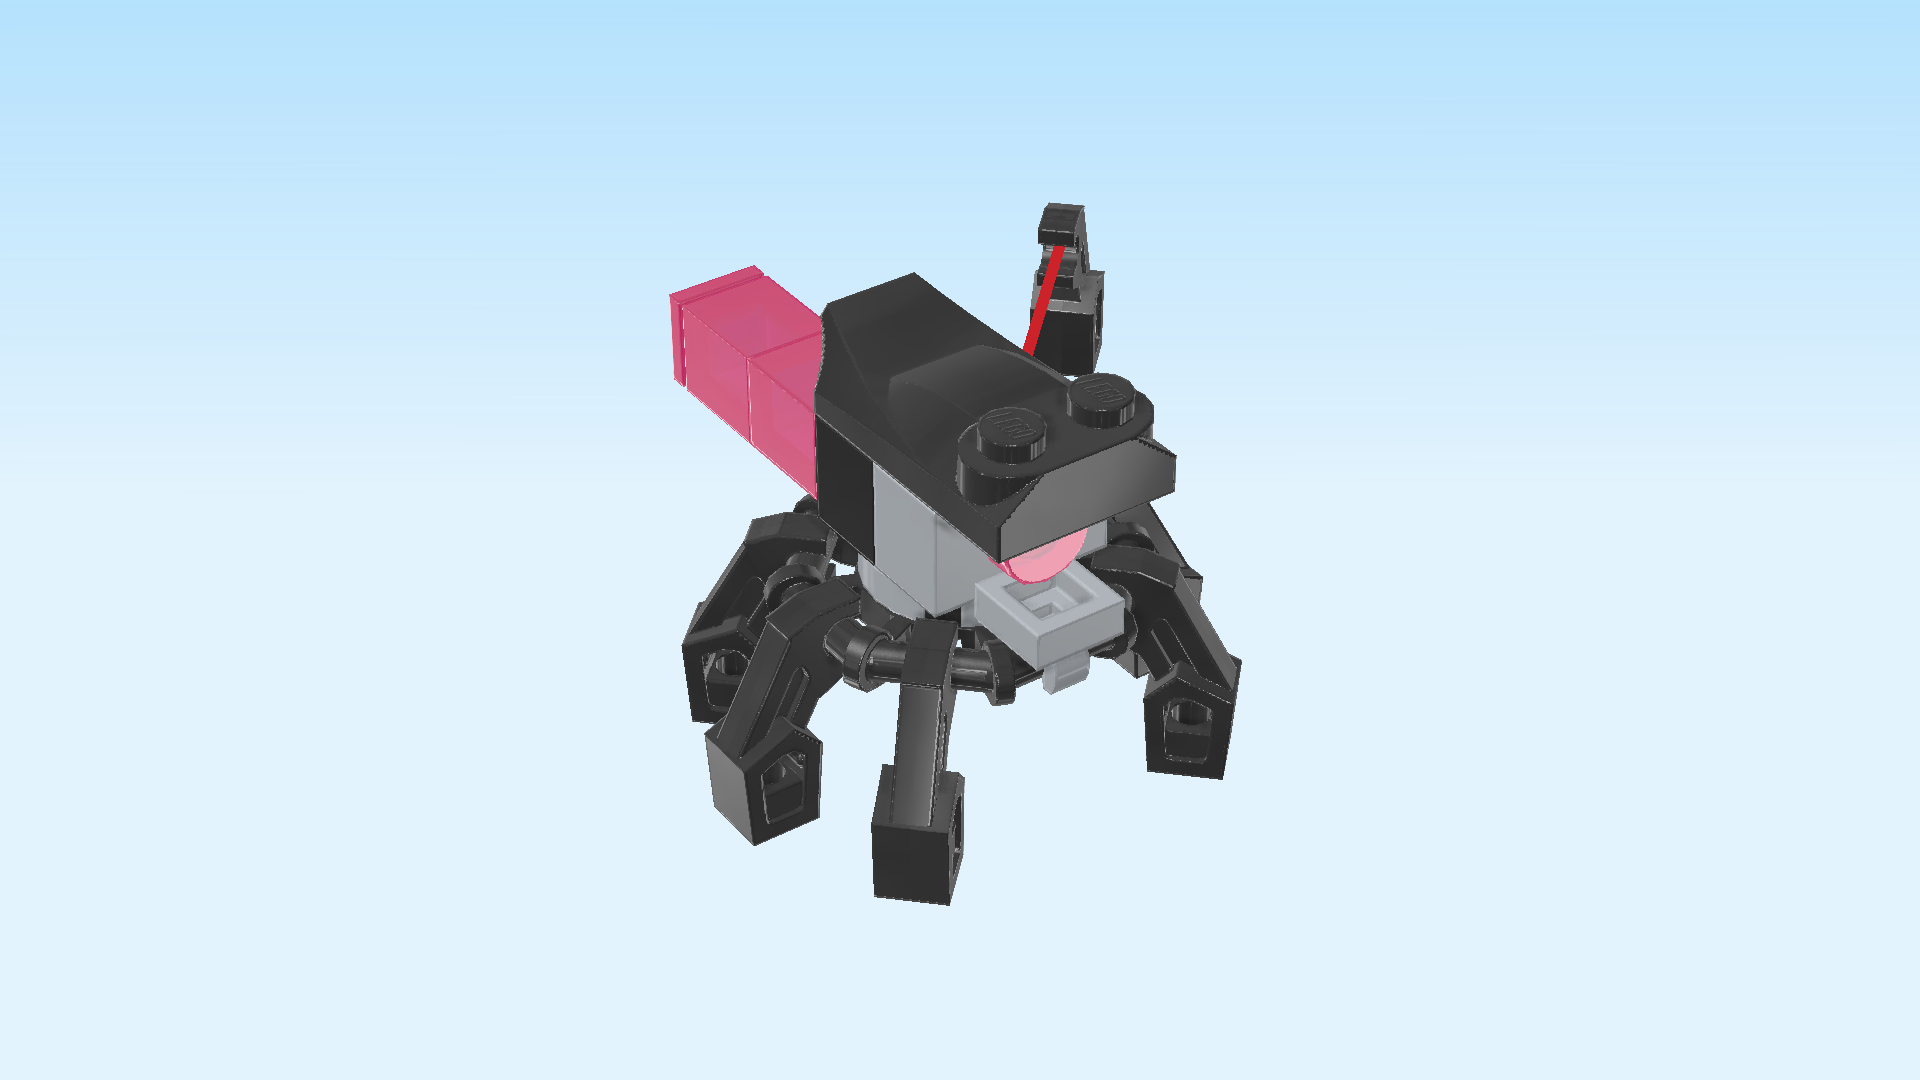
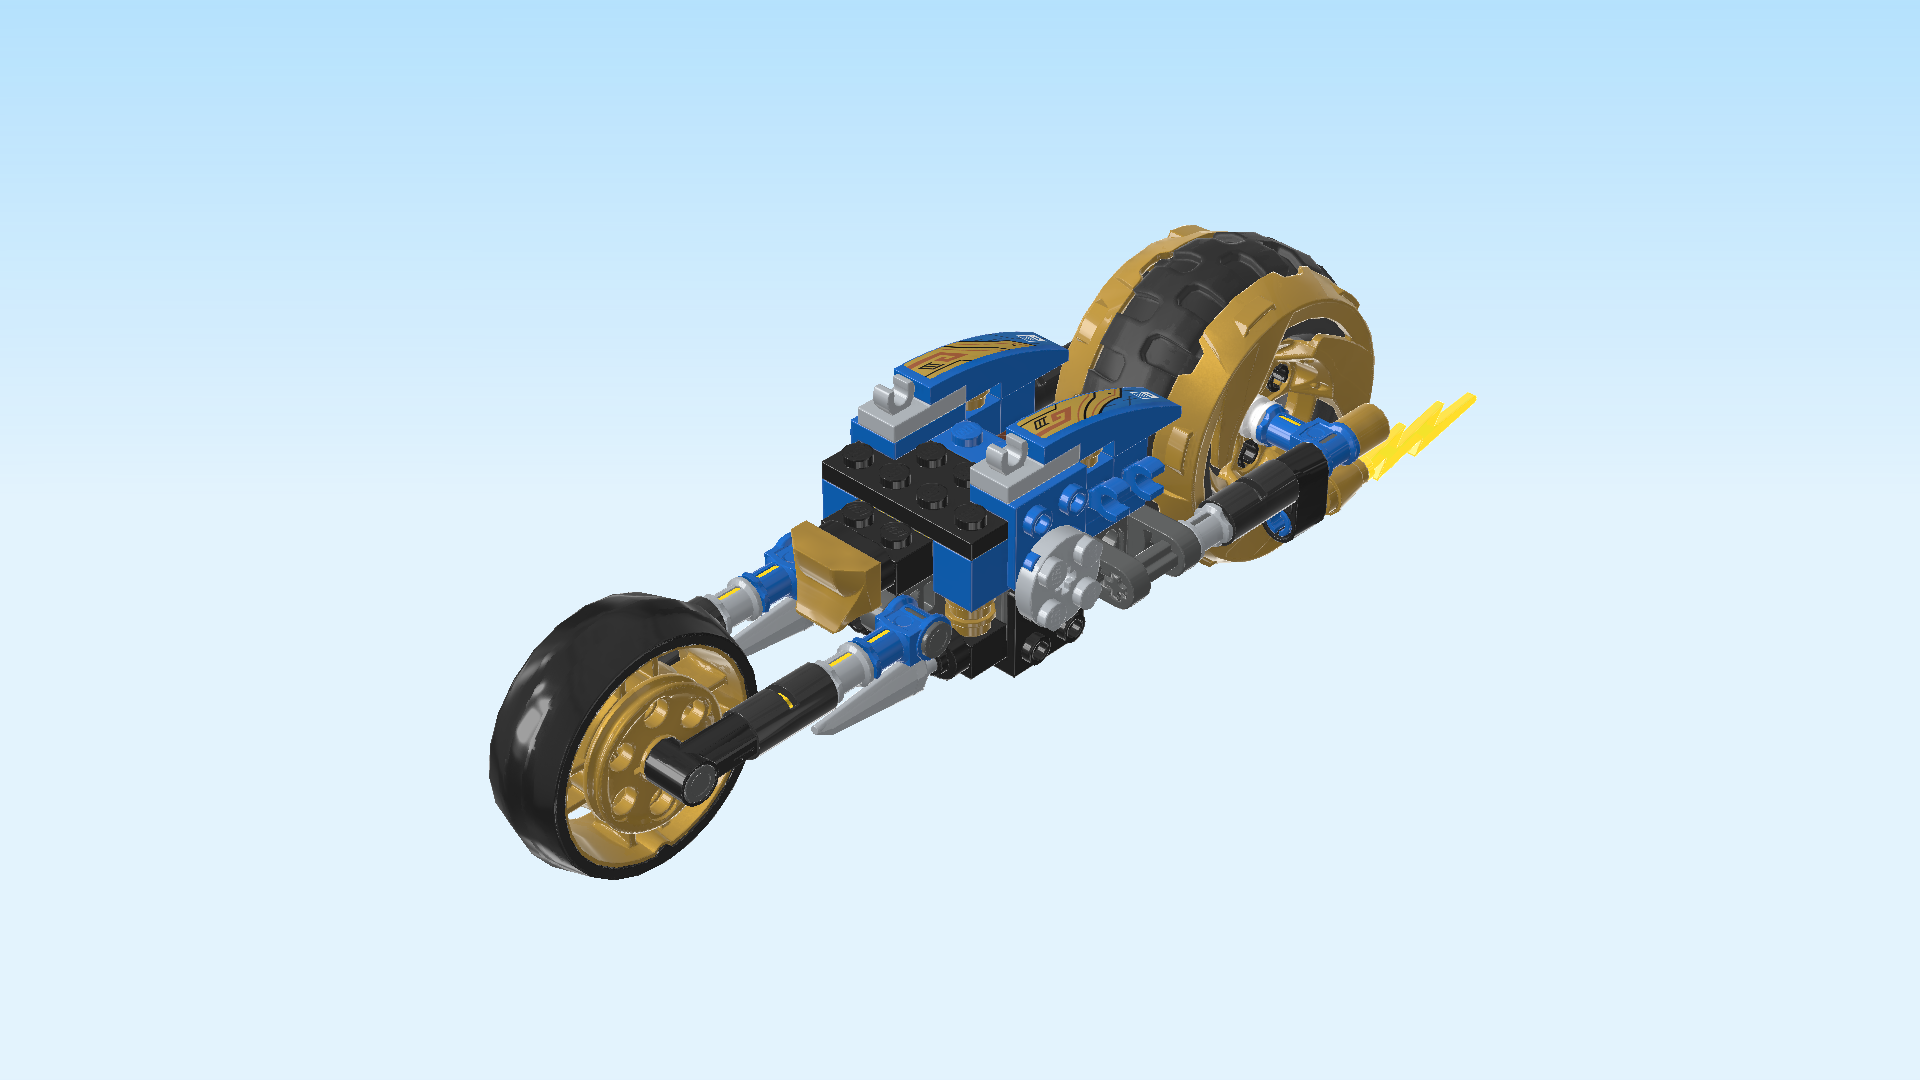
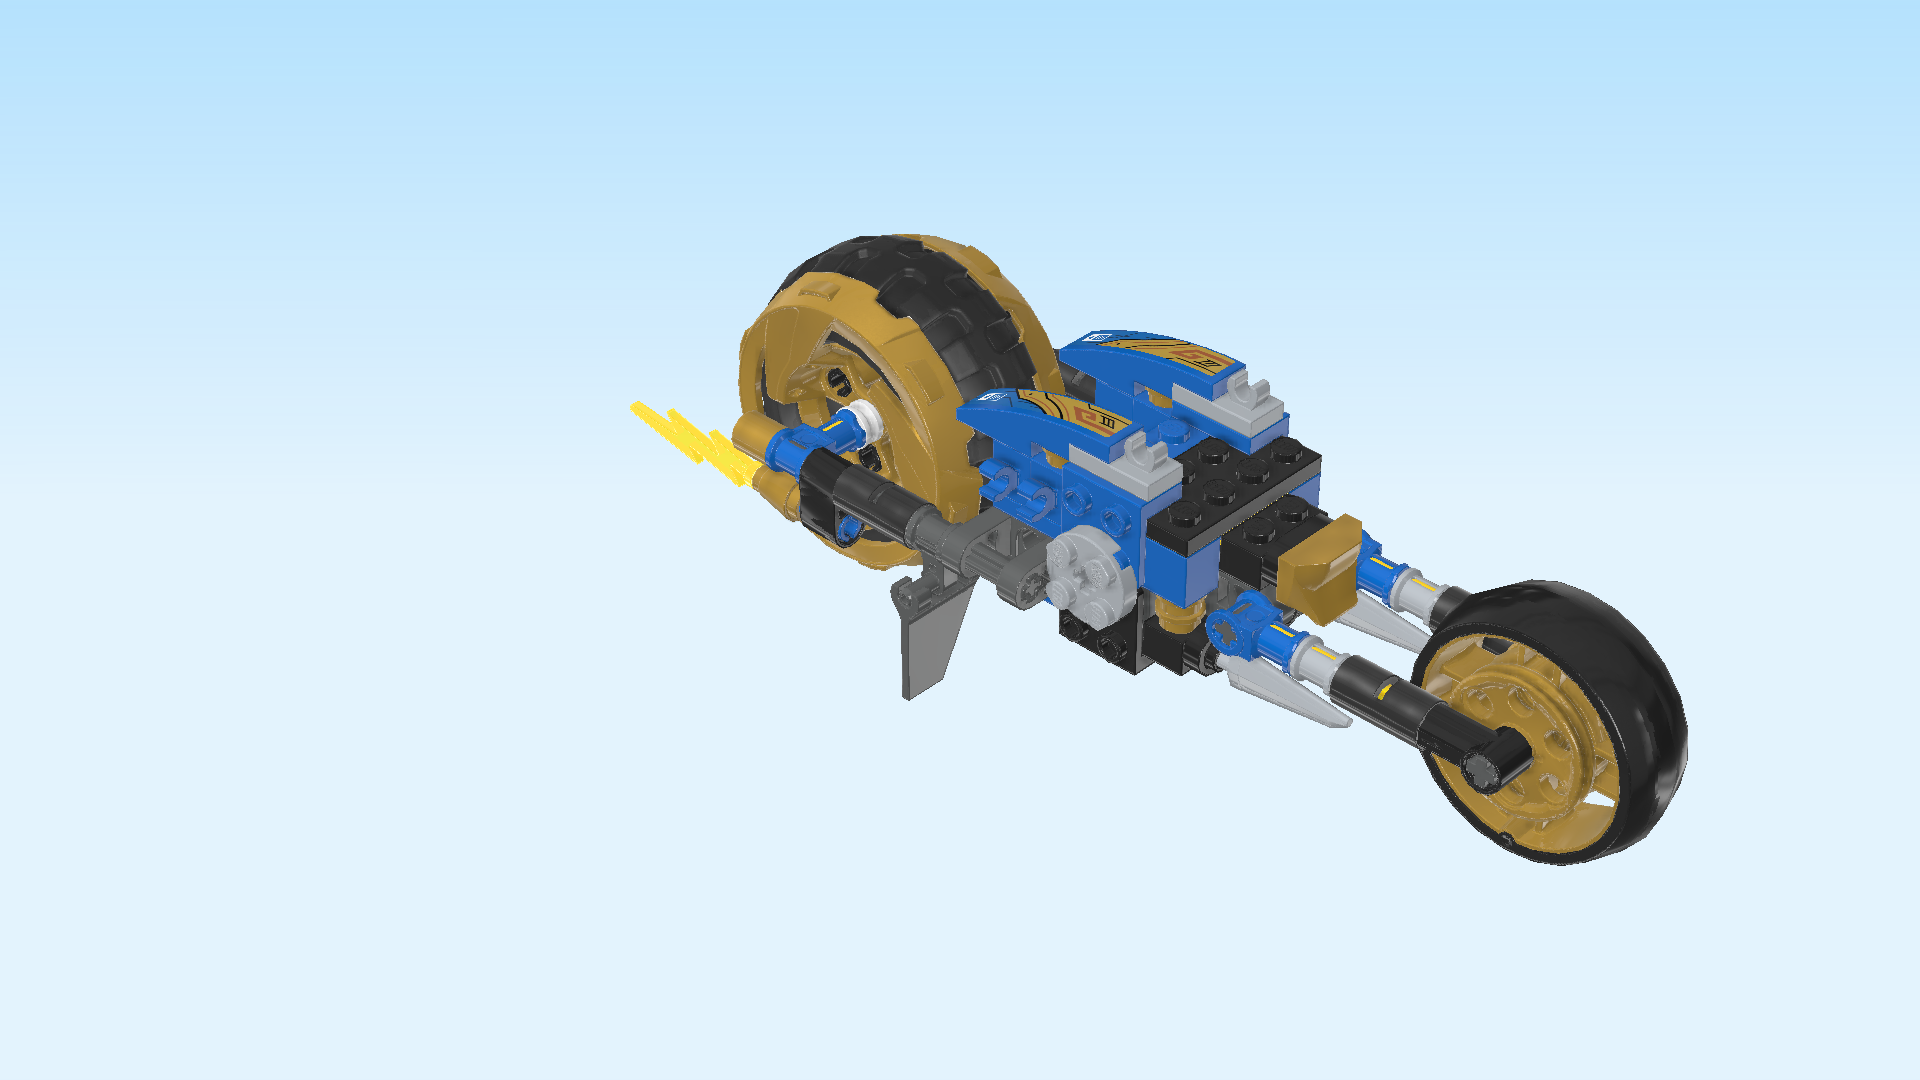
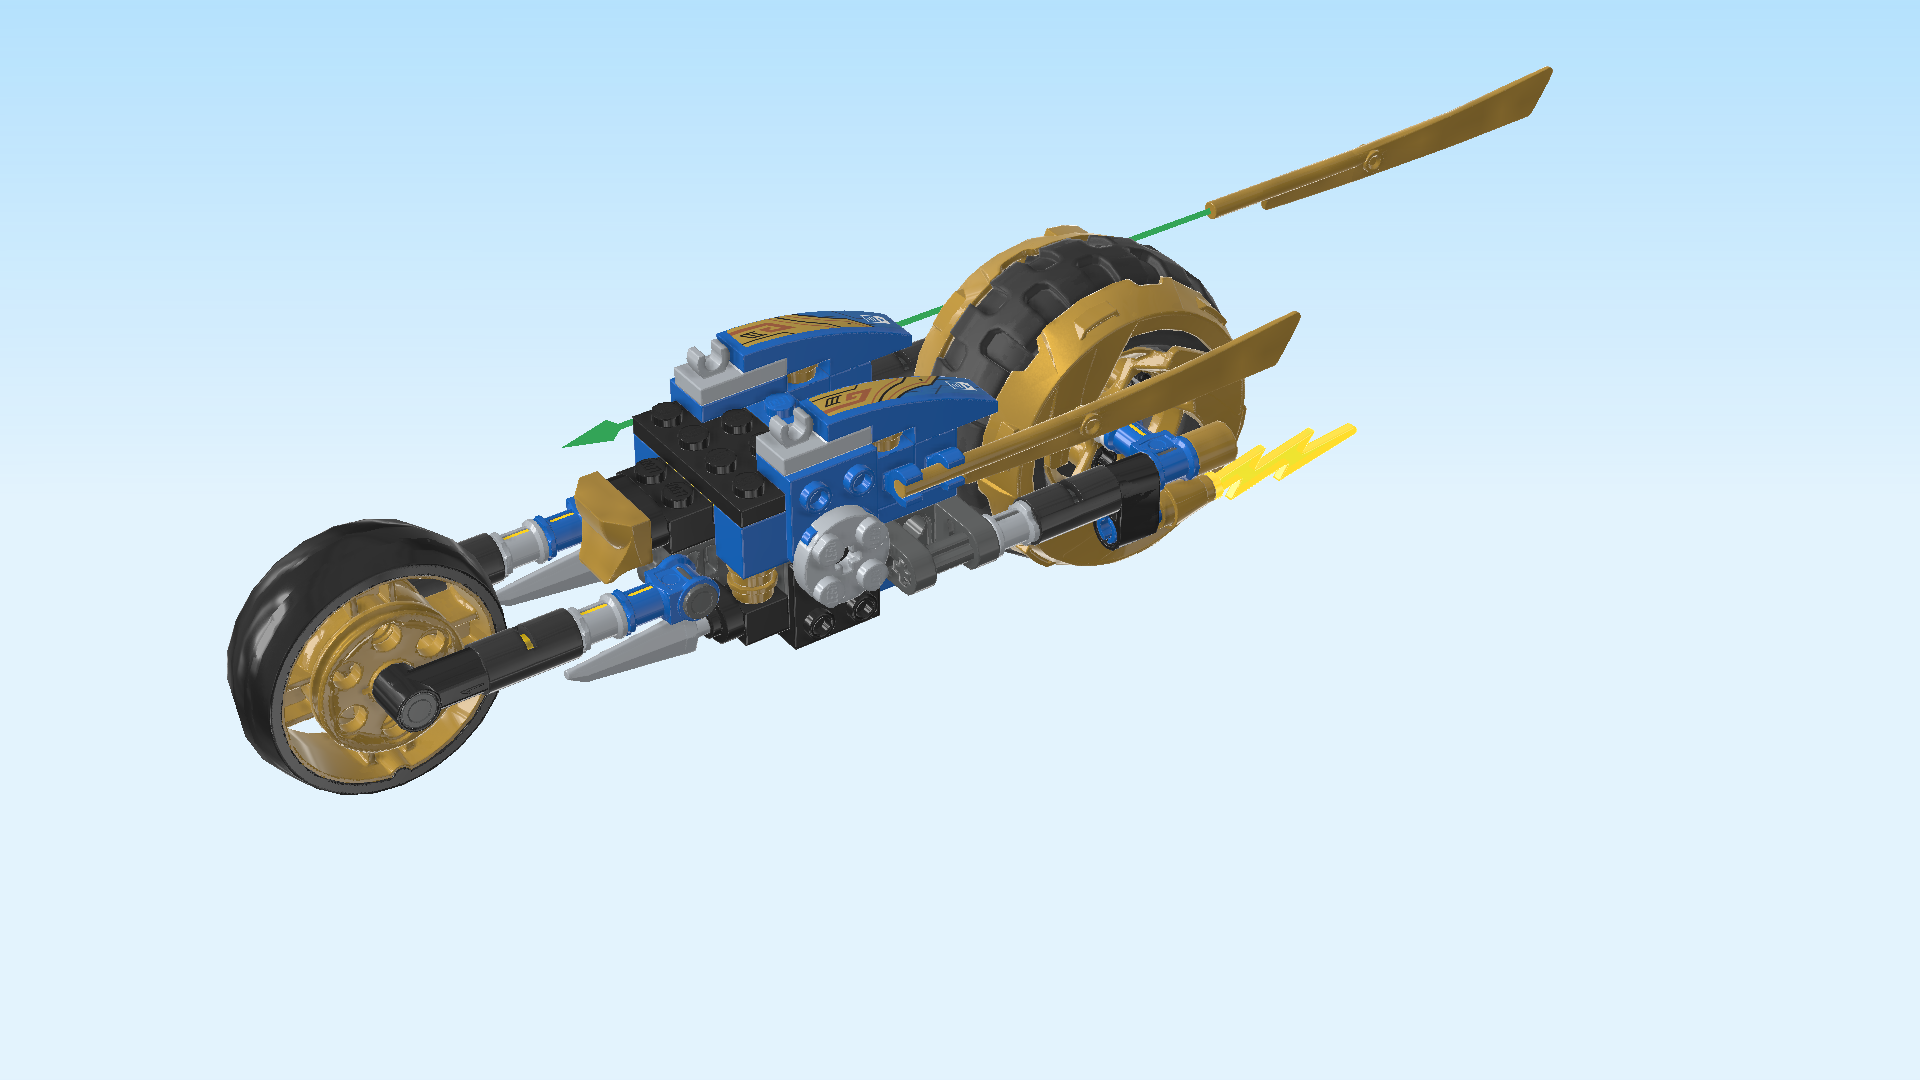
Ride into battle on the back of Jay's Golden Dragon Motorbike! Watch out for a dangerous crystal spider and a Vengestone Warrior armed with a sword who are ready to attack. Take them on with the awesome golden dragon power of this supercool bike to win back Jay's elemental weapon. It is crucial that you come together to ensure good triumphs over evil and NINJAGO City remains free!

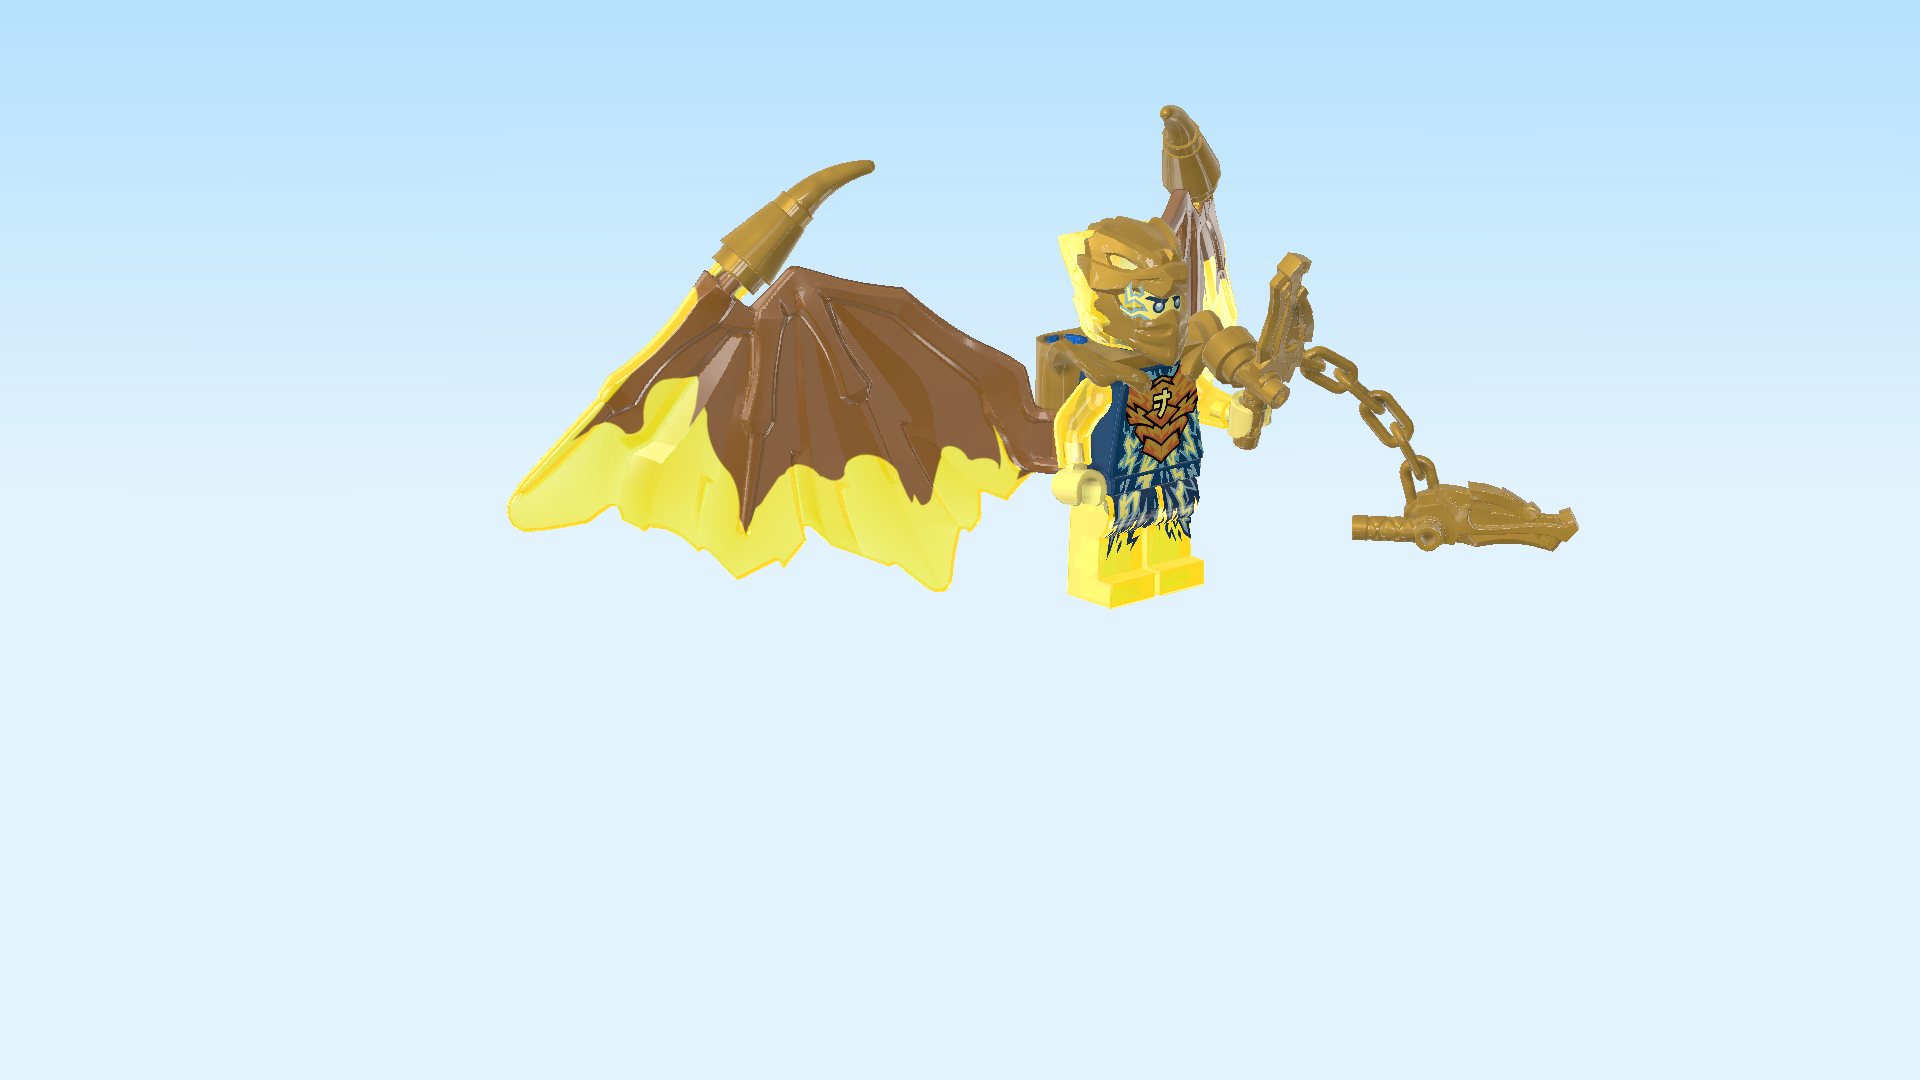
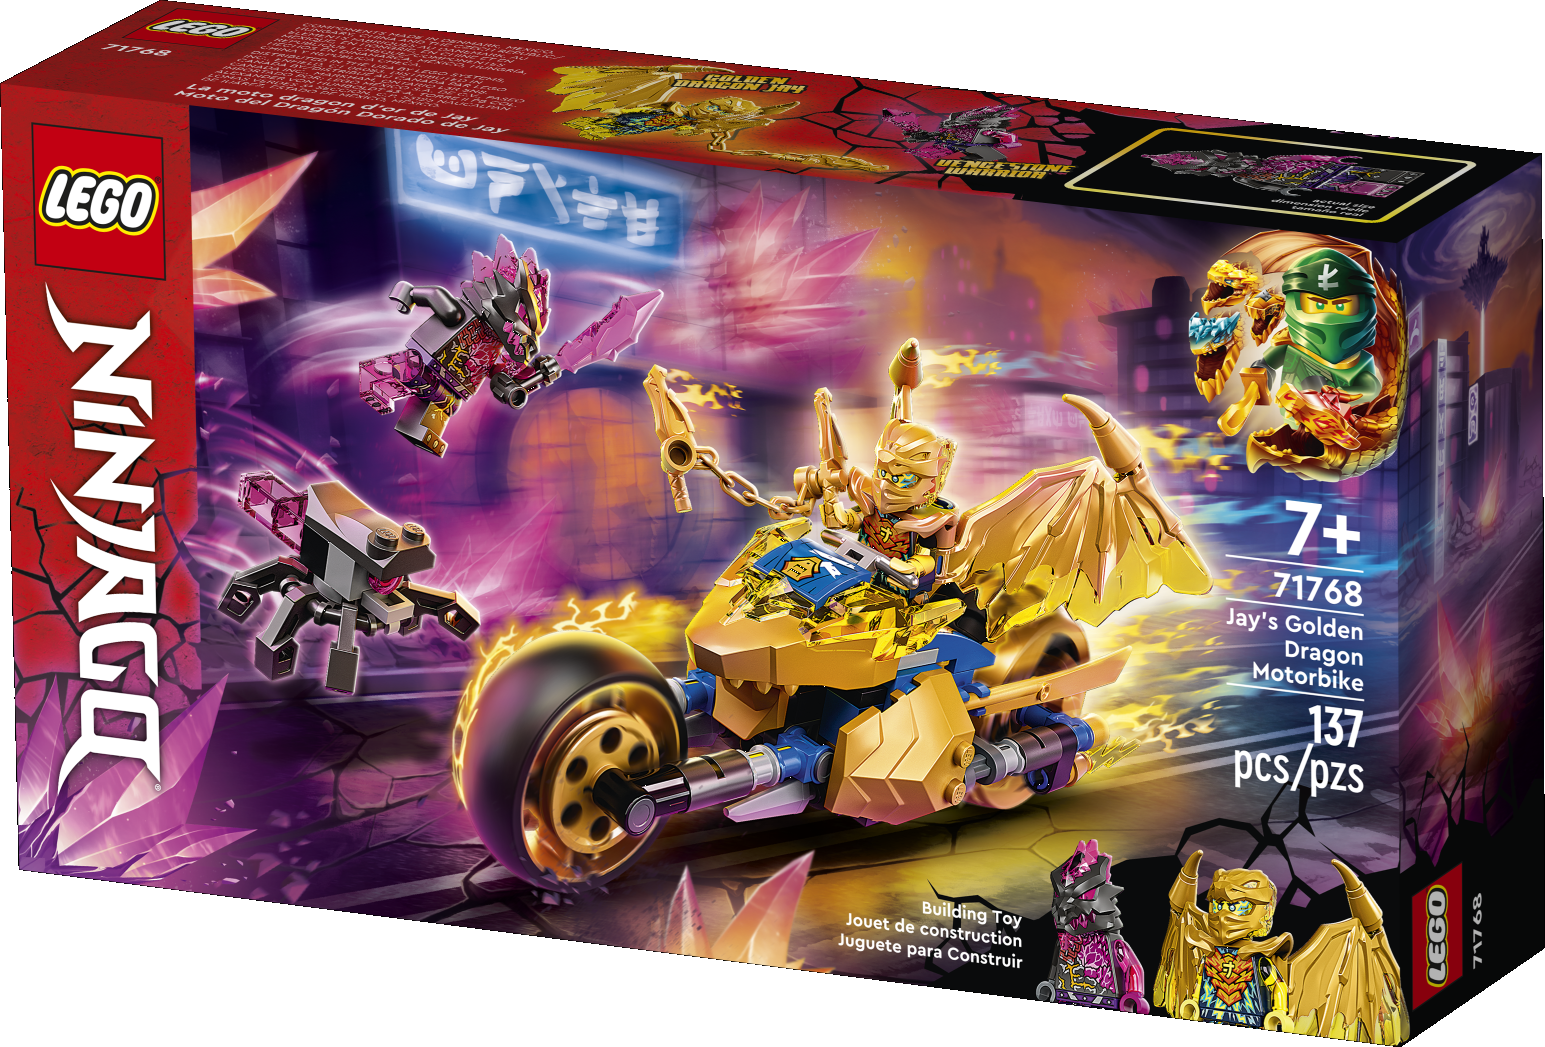
The box cover shows an action-packed scene of the Ninjago Crystalized universe. Golden Dragon Jay is racing his Motorbike at lightning speed through the streets of Ninjago City, bolts of electricity emitting from his bike. He is chasing after his adversaries, a Vengestone Warrior and the crystal spider, his golden nunchucks in full swing. It is nighttime in Ninjago City, only pink and blue neon lights are illuminating the scene. The houses and streets of the city are blurry, that's how fast Jay is going! The power of Vengestone crackling is already starting to crack the streets of Ninjago City. Jay better hurry up! In the bottom right corner, there are detailed portraits of the Jay and Vengestone Warrior Minifigures.

Open the box. This can be tricky; ask someone to help you!

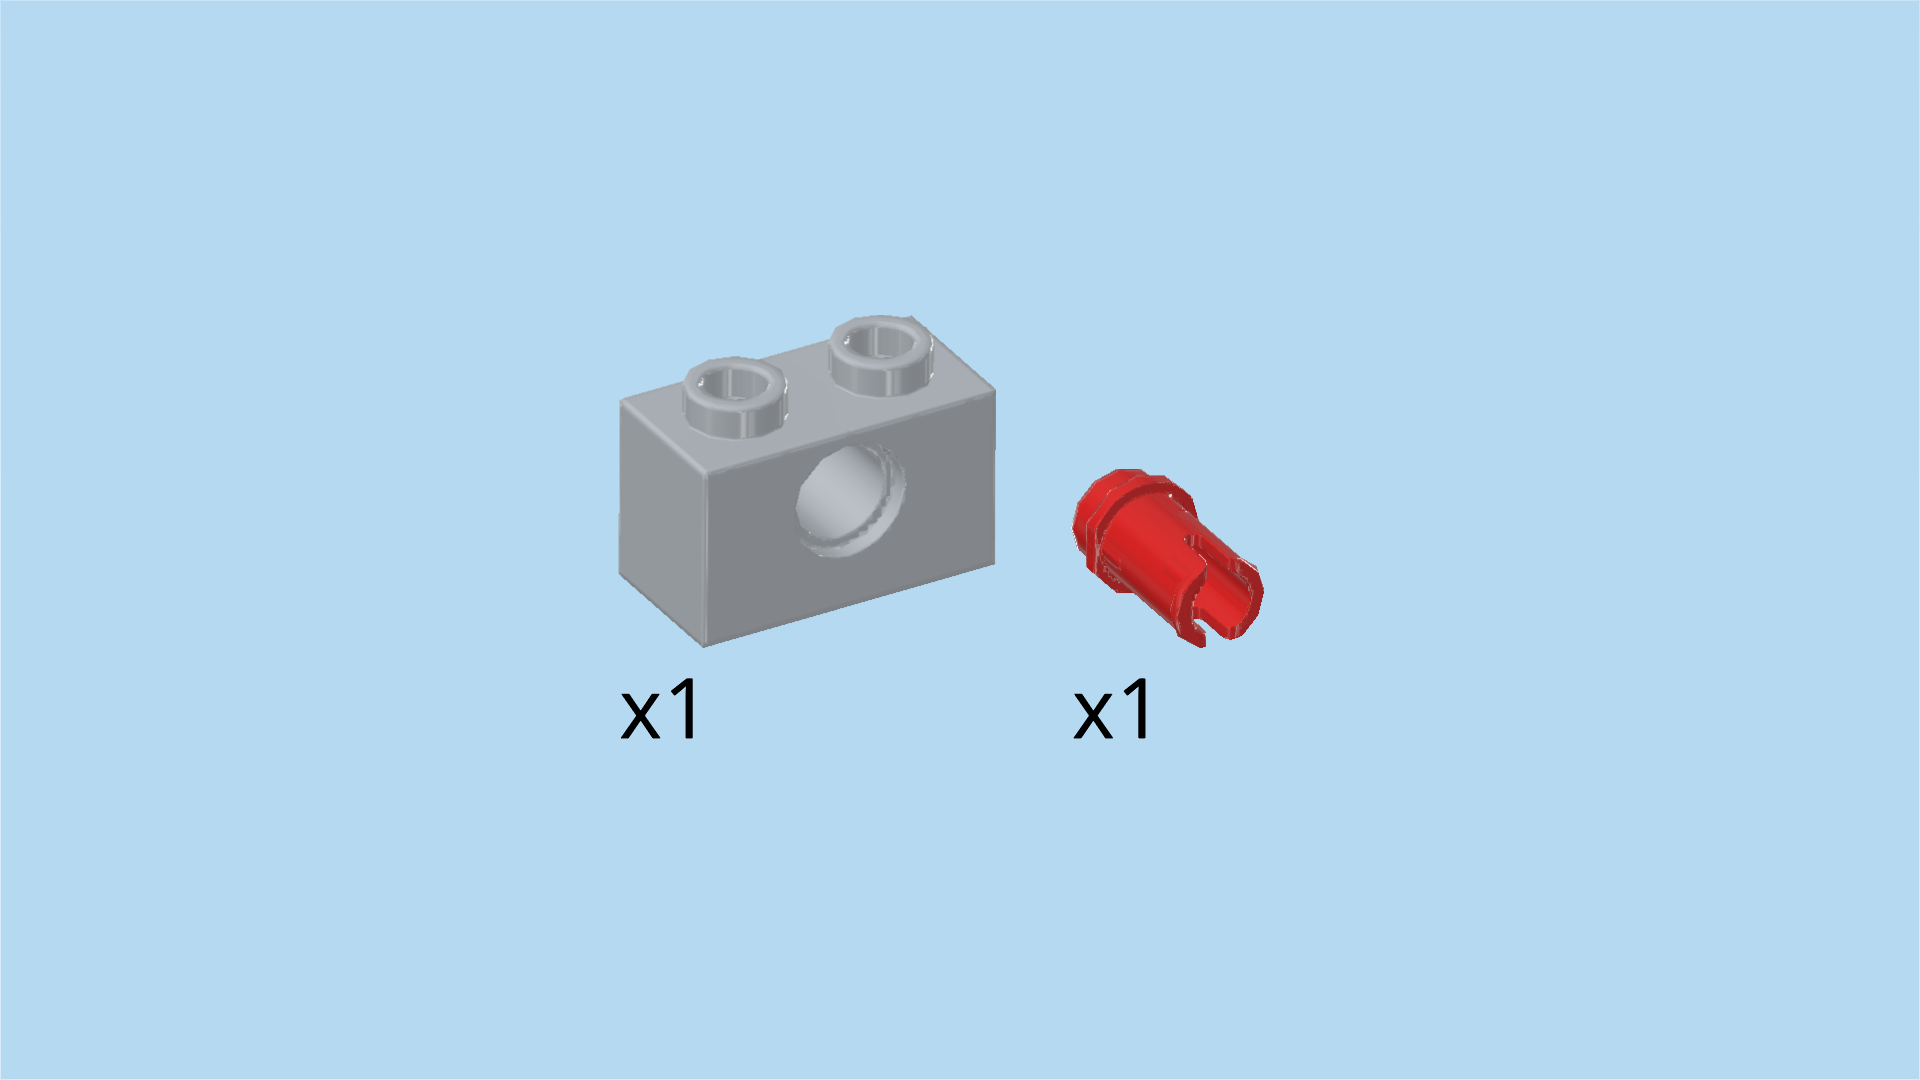
The box contains 1 booklet with visual building instructions, 4 bags, a small sheet with stickers, and 2 loose pieces: the front tire of the motorbike (without profile) and the rear tire with profile.

Carefully open all bags. Before you start building, ask a sighted person to help you sort the pieces by color. This makes finding the correct pieces even easier!

First, we will build the Golden Dragon Jay Minifigure.

The upper and lower body of the 2 Minifigures in this set have the same shape. Ask for help if you are not sure whether you have found the correct pieces.

Collect the following 2 pieces:

1 earth blue, transparent yellow and lemon yellow upper part of the body,

and 1 earth blue and transparent yellow pair of legs.

Put the upper body on the legs.

Collect the following 2 pieces:

1 warm gold shoulder armor plate with 3 holes,

and 1 transparent yellow Minifigure head.

Put the shoulder armor plate on the neck. Use the single hole between the two braces, 2 holes to the back.

The 2 rear holes will be used to mount the wings later.

Put the head on top.

Find 1 transparent yellow and warm gold Ninjago biker helmet. (Do not confuse it with the Vengestone Warrior's head piece which has a mohawk made of spikes.)

Put it on the head.

Next, we will build the 2 wings.

Collect the following 2 pieces:

1 transparent yellow wing,

and 1 bright blue connector peg 2m with cross axle pin. (2m means that this piece is roughly 2 knobs long.)

Hold the wing in your hand. Make sure its 3 wing tips are to the bottom and its cross axle pin is pointing to the top.

Insert the cross axle pin of the connector from the top into the bushing (the bushing is the round hole) on the side of the wing. The connector peg will stick out to the top.

Collect the following 2 pieces:

another bright blue connector peg 2m with cross axle pin,

and another transparent yellow wing.

Repeat the previous step: hold the wing, 3 wing tips to the bottom and wing cross axle to the top. Insert the cross axle pin of the connector from the top into the bushing.

The 2 wings are finished! To mount them, insert the 2 connector pegs from the bottom into the 2 rear holes of the shoulder armor plate. Make sure the 6 wing tips are pointing to the bottom.

Find 2 warm gold nose cones 1x1.

Put the wider end of 1 nose cone on the cross axle pin on top of the wing.

Repeat with the other nose cone and wing.

Find 2 warm gold horns with shaft. (They are a bit bigger than a brick 1x1.)

Put the bottom shafts of the horns into the 2 previous pieces, horn tips to the top.

Now, we will build Jay's golden nunchucks.

Nunchucks are a two-part weapon, in this case 2 knives that are connected by a chain.

Collect the following 2 pieces:

1 warm gold small Ninjago knife, (There are a lot of different pieces in this set that are similar. The Ninjago knife has a larger main handle with 2 small cross shafts, and a relatively short and thick blade with lots of relief.)

and 1 warm gold chain 6m with 2 knobs.

The Ninjago knife has a larger main handle and two smaller cross shafts. Insert one of the cross shafts into one of the chain knobs.

Find another warm gold small Ninjago knife.

Insert one of its cross shafts into the other chain knob.

Jay's nunchucks are finished! Great job! Snap the handle of one knife into Jay's left hand.

The Golden Dragon Jay Minifigure is finished! Well done! Jay's legs, arms and head are translucent and bright yellow, there is a powered up elemental look to him. At the top of his legs, on his hips and front torso, dark blue and lemon yellow bursts of lightning are spreading. He is wearing a golden chest plate with the "J" symbol in Ninjargon in the middle. Ninjargon is the main writing system used by the people of Ninjago. The back of his torso is also printed with dark blue and silver metallic bursts of lightning and the "J" symbol. Jay's facial expression is grim, and his face is covered in lemon yellow and silver metallic lightning bolts. Jay's helmet has a golden dragon mask at the front and is translucent yellow at the back. The outer tip and the inner part of his wings are translucent yellow, too, while the rest of them is golden.

Next up, we will build the Vengestone Warrior.

Collect the following 2 pieces:

1 medium lilac, transparent raspberry red and titanium metallic pair of legs,

and 1 titanium metallic, transparent raspberry red, dark stone grey and purple violet upper part of the body.

Put the upper body on the legs.

Find 1 transparent raspberry red and titanium metallic Vengestone Warrior head with spikes.

Put it on top. Use the smaller hole at the back for mounting.

Now, we will build the Vengestone crystal sword.

Collect the following 2 pieces:

1 titanium metallic T-shaped shaft with 3 knobs, (This will serve as the hilt of the sword)

and 1 transparent raspberry red serrated blade. (Do not confuse it with the yellow lightning bolts which are a bit thinner and zigzagged, the silver metallic smooth sword blades, or the long sword blades that are about 10 knobs long.)

Insert the shaft of the blade into the knob on the longer shaft end.

Snap the shaft into the Warrior's left hand.

The Vengestone Warrior Minifigure is finished! Well done! The Vengestone Warrior is partly translucent pink, for instance his left arm, right leg as well as the spikes, eye holes and teeth of his mask, and of course his crystalized sword. His torso, the other arm and leg and the rest of his head are metallic anthracite. There is Vengestone crackling on his legs and torso and he has a very grim look overall. He is definitely not to be trifled with!

Next, we will build the crystal spider.

Collect the following 2 pieces:

1 titanium metallic octagonal ring with 4 top knobs,

and 1 medium stone grey round plate 2x2.

Put the octagonal ring on the table.

Put the round plate 2x2 on top.

Find 1 black brick 1x2 with 2 side knobs.

Put it vertically on the 2 left knobs, side knobs to the left.

Find 1 medium stone grey plate 1x1 with top clasp.

Turn it upside down and put its clasp on the rightmost ring segment opposite of the previous piece.

Now, we will make a sub-part of the spider.

Turn the structure by a quarter turn so that the side knobs are pointing to the back.

Collect the following 2 pieces:

1 medium stone grey brick 1x2 with technic hole,

and 1 bright red connector peg 1m with knob. (1m means that this piece is roughly as big as a plate 1x1.)

Put the brick 1x2 horizontally on the table.

Insert the connector peg into the hole from the front, knob to the front.

Find 1 transparent raspberry red round tile 1x1.

Put it upright on the knob of the previous piece.

Mount this sub-part horizontally on the front row between the two previously mounted pieces. If done correctly, the round tile 1x1 is pointing to the front and is located above the plate 1x1 with clasp.

Next, we will make another sub-part of the spider.

Collect the following 2 pieces:

1 transparent raspberry red hollow brick 1x2,

and 1 transparent raspberry red pyramid-shaped tile 1x1x⅔.

Put the brick 1x2 horizontally on the table.

Put the pyramid-shaped tile 1x1 on the right knob.

Find 1 transparent raspberry red brick 1x1.

Put it on the left knob.

Find 1 transparent raspberry red pyramid-shaped tile 1x1x⅔.

Put it on top of the previous piece.

Now flip this sub-part so that it's flat and its pyramids are pointing to the back. Mount it in this orientation on the 2 side knobs pointing to the back.

Find 1 titanium metallic curve plate 2x3½ with 2 knobs and fin.

Put it vertically on the 4 knobs on top of the structure, 1 row of knobs overhanging to the front, fin to the back.

Find 6 titanium metallic mechanical arms with clasp.

Snap the clasps of 3 arms on the 3 ring segments on the left.

Repeat symmetrically on the 3 right segments. The backmost ring segment remains empty, the frontmost segment is already occupied.

Make sure these pieces are pointing down. They are the legs of the spider! Since this is a technical spying device, it only has 6 legs instead of 8 legs for ideal weight distribution and flight characteristics.

The crystal spider is finished! Well done! The Vengestone army created the mechanical spiders for spying, secret missions and other misdemeanors. Watch out!

Now, we build the Golden Dragon Motorbike.

It consists of a two giant wheels with an intricate suspension system, and a middle build with golden side protection plates and airbrushed rear fenders. The engine hood is designed as a dragon head. We will start with the middle build.

Collect the following 2 pieces:

1 bright blue plate 2x3,

and 1 dark stone grey technic brick 1x2 with 2 technic beams 1m on long side. (This means that each protruding technic beam is about as big as a round plate 1x1.)

Put the plate 2x3 horizontally on the table.

Put the technic brick 1x2 horizontally on the 2 left knobs of the back row, 2 technic beams overhanging to the back.

Find 1 dark stone grey palisade brick 1x2. (A palisade brick has slightly rounded sides with recesses in the middle.)

Put it horizontally to the right of the previous piece, 1 knob overhanging to the right.

Find 1 black one-stepped plate 2x2x⅔ with 2 side knobs.

Turn it so that its side knobs are pointing to the right. Mount it underneath the previous piece in that orientation, aligning it with the edge of the plate 2x3. 1 row will protrude to the right.

Find 1 bright blue brick 2x4.

Put it horizontally on the frontmost row, 1 row overhanging to the front.

Find 1 bright blue plate 2x3.

Put it horizontally underneath the previous piece, aligning them on the left edge, 1 row protruding towards the front.

Find 1 black one-stepped plate 2x2x⅔ with 2 side knobs.

Turn it so that its side knobs are pointing to the right. Mount it on the right edge in front of its twin. For now, it will only connect to 1 knob of the brick 2x4.

Find 1 dark stone grey technic brick 1x2 with 2 technic beams 1m on long side.

Put it horizontally on the frontmost row, starting from the left edge, 2 technic beams overhanging to the front.

Find 1 dark stone grey palisade brick 1x2.

Put it horizontally to the right of the previous piece.

Find 2 warm gold round plates 1x1.

Stack them on top of each other.

Find another 2 warm gold round plates 1x1.

Stack them on top of each other, too.

Mount the first stack on the backmost knob of the rightmost column, and the second stack on the frontmost knob of the same column.

Find 2 black rounded plates 1x2.

Put 1 upright horizontally on the 2 front side knobs pointing to the right.

Put the other one upright horizontally behind the previous piece.

Find 2 medium stone grey smooth sword blades 3m with shaft.

Insert the shaft into the backmost side knob pointing to the right, blade pointing to the right.

Repeat symmetrically on the frontmost side knob pointing to the right.

Find 2 bright blue plates 2x3.

Put 1 horizontally on the 2 backmost rows, starting from the left edge.

Put the other one horizontally in front of the previous piece.

Find 1 dark stone grey technic brick 1x2 with 2 technic beams 1m on long side.

Put it vertically centered on the rightmost column, 2 technic beams overhanging to the right. If done correctly, the brick 1x2 part is mounted between the 2 stacks of round plates 1x1.

Find 1 bright blue corner brick 1x2 - 1x2.

Turn it so that its main corner is pointing to the back left. Mount it in that orientation around the back knob of the previous piece.

Find 1 black one-stepped plate 2x2x⅔ with 2 side knobs.

Put it in front of the previous piece on the rightmost column, side knobs to the right, the right column sits on the 2 technic beams.

Find 1 transparent yellow plate 1x2.

Put it vertically on the left column of the previous piece.

Find 1 bright blue corner brick 1x2 - 1x2.

Turn it so that its main corner is pointing to the front left. Mount it in that orientation around the front knob of the previous piece.

Find 1 bright blue brick 1x4.

First, turn the structure left to right so that the 2 sword blades at the bottom are pointing to the left.

Put the brick 1x4 vertically on the third column from the right. If done correctly, this piece will be slightly higher than the 3 columns of knobs to its left.

Find 1 black plate 2x4.

Put it vertically to the left of the previous piece. The two pieces should now be level with each other.

Find 2 bright blue top angle plates 1x2 - 2x2 with 4 side knobs.

Put 1 on the front row on the third and fourth knob from the right, 4 side knobs to the front.

Repeat symmetrically on the back row on the third and fourth knob from the right.

Find 1 reddish brown plate 2x2 with 2 knobs.

Put it on the 2 middle rows on the rightmost edge, 2 knobs forming a column on the left.

Find 4 bright blue bricks 1x1 with vertical side clasp.

Put 2 next to each other behind the previous piece, clasps to the back.

Repeat symmetrically at the front, clasps to the front.

Find 2 warm gold round plates 1x1.

Put 1 on the front row on the second knob from the right.

Repeat symmetrically on the back row on the second knob from the right.

Find 1 black bottom angle plate 1x2 - 2x2 with 4 side knobs.

Mount it horizontally underneath the 4 side knobs pointing to the front, its 4 side knobs also pointing to the front.

If done correctly, there is a total of 8 side knobs pointing to the front now. They form a surface of 2x4 knobs.

Find 1 medium stone grey round plate 2x2.

Put it upright on the 4 middle knobs of the 8 side knobs pointing to the front.

Find 1 black bottom angle plate 1x2 - 2x2 with 4 side knobs.

Turn the structure left to right again, sword blades pointing to the right again.

Like before, put the bottom angle plate horizontally underneath the 4 side knobs pointing to the front.

Find 1 medium stone grey round plate 2x2.

Put it upright on the 4 middle knobs of the 8 side knobs pointing to the front.

Find 2 medium stone grey plates 1x2 with top clasp.

Put 1 horizontally on the front row directly above the side knobs pointing to the front, clasp to the right.

Repeat symmetrically on the back row, clasp to the right.

Collect the following 2 pieces:

1 bright blue 2-stepped curve tile 1x4,

and 1 rectangular sticker number 2. (Ask for help to find the correct sticker. If you do not want to apply the sticker now, skip the next 2 sentences.)

Put the 2-stepped curve tile 1x4 horizontally on the table.

Put the sticker on top, matching the surface of the curve tile. The sticker has flowing airbrushing patterns in bright blue and gold on it with black outlines.

Mount the curve tile 1x4 horizontally on top of the previously mounted piece and the 2 knobs to its left, slope to the left, ¼ overhanging to the left.

Collect the following 2 pieces:

Another bright blue 2-stepped curve tile 1x4,

and 1 rectangular sticker number 1. (Ask for help to find the correct sticker. If you do not want to apply the sticker now, skip the next two sentences.)

Put the curve tile horizontally on the table.

Put the sticker on top. It has the same design as the previous sticker.

Similar to the previous piece, mount it horizontally on the front row to the left of the clasp, slope to the left, ¼ overhanging to the left.

These two curve tiles will be the rear fenders!

Next up, we'll build the front wheel and suspension for the left side.

Collect the following 2 pieces:

1 bright blue T-shaped cross axle joint 2m, (2m means that this piece is about 2 knobs long)

and 1 dark stone grey cross axle 4m with end stop.

Put the T-shaped cross axle joint on the table, through-hole running from left to right, one-sided hole pointing to the front.

Insert the cross axle from the right into the through-hole at the back. Push it in until it reaches the end stop.

Find 1 bright yellow cross axle 5m.

Insert it from the front into the cross hole at the front.

Find 1 medium stone grey cross bushing 1m. (1m means that it is about as long as a plate 1x1. A bushing is like a small tube.)

Put it on the previous piece and push it in all the way.

Find 1 titanium metallic tube 2m with middle slot.

Put it on the front cross axle and slide it in all the way.

Find 1 black angled bushing 1m with cross axle extension 1m.

Put the cross axle extension part on the front cross axle. Make sure that the round through-hole of this piece is running left to right, not top to bottom.

Collect the following 2 pieces:

1 dark stone grey cross axle 4m with end stop,

and 1 warm gold V-belt wheel 3x3. (This is a rather thin wheel that has a groove on its outer circumference that could fit a belt.)

Insert the cross axle from the right into the bushing at the front (the bushing is the round through-hole) . Slide it until the end stop touches the bushing. Now, this is still a loose fit.

Fix it from the other side by putting the V-belt wheel 3x3 on the cross axle from the left and pushing it in all the way.

Find 1 warm gold and black front wheel without profile. (This is the front wheel of the motorbike. It has 1 cross hole in the middle surrounded by 4 round holes.)

Put the middle cross hole of the wheel on the front cross axle from the left.

Find 1 warm gold V-belt wheel 3x3.

Put it on the front cross axle from the left and push it all the way to the front wheel.

The front wheel and suspension for the left side are finished! Great job! First, turn the main structure so that its 2 bottom sword blades are pointing to the front.

Insert the suspension's rear cross axle from the right into the 2 technic beams pointing to the front (they are located above the sword blades) .

Next up, we will build the front suspension for the right side.

Collect the following 2 pieces:

1 bright blue T-shaped cross axle joint 2m,

and 1 bright yellow cross axle 5m.

Put the T-shaped cross axle joint on the table, this time through-hole running from front to back, one-sided cross hole to the right.

Insert the cross axle from the right into the one-sided cross hole.

Find 1 medium stone grey cross bushing 1m.

Push it on the cross axle until it touches the cross joint.

Find 1 titanium metallic tube 2m with middle slot.

Slide it on the cross axle until it touches the cross bushing.

Find 1 black angled bushing 1m with cross axle extension 1m.

Put the cross axle extension part on the end of the cross axle. Make sure that the round through-hole of this piece is running front to back, and not top to bottom.

The front suspension for the right side is finished! Before you mount it, turn it vertically so that the round through-hole is at the front, and the cross hole is at the back, both holes running from left to right.

Mount the round hole on the front cross axle that is mounted on the wheel, and put the cross hole on the cross axle at the back.

Find 1 black rounded plate 1x2.

Mount it upright horizontally on the 2 side knobs pointing to the front wheel.

Find 1 warm gold curve tile 1x2 with fin.

Put it upright horizontally on the previous piece, fin to the bottom.

Next, we will build the rear suspension with rear wheel.

Collect the following 2 pieces:

1 dark stone grey cross axle 8m with end stop,

and 1 warm gold technic bushing 1m. (A technic bushing is a tube-shaped piece with a round hole. It is about as long as a plate 1x1.)

Hold the cross axle horizontally, end stop to the left.

Put the technic bushing on the cross axle and slide it all the way to the end stop.

Find 1 bright blue T-shaped cross axle joint 2m.

Put the through-hole of the joint on the cross axle and push it until it touches the previous piece, one-sided cross hole to the front.

Now, we will make a sub-part of the rear suspension.

Collect the following 2 pieces:

1 warm gold nose cone 1x1,

and 1 bright blue connector peg 2m with cross axle pin.

Insert the cross axle pin into the wide end of the nose cone. Hold it so that the nose cone is on the left and the connector peg is on the right.

Find 1 black technic beam 2m with 1 round and 1 cross hole.

Put the round hole of the technic beam on the connector peg from the right. This is a loose fit so it will still move around for now.

Find 1 transparent yellow lightning bolt. (This is a zigzagged piece that has a small shaft and is about 4 knobs long.)

Insert its shaft into the narrow end of the nose cone.

Turn the sub-part so that the lightning bolt is pointing to the left. Hold it by the technic beam, and push its cross hole on the cross axle, the rest of the sub-part to the bottom.

Before you push it all the way in, make sure the empty cross bushing mounted on the cross axle is pointing to the front.

Find 1 titanium metallic tube 2m with middle slot.

Slide it on the cross axle from the right and make sure again to push all parts all the way in. The empty cross hole should still point to the front.

Find 1 medium stone grey cross bushing 1m.

Put it on the cross axle and push it in all the way.

Find 1 bright yellow cross axle 5m.

Insert it from the front into the cross hole pointing to the front.

Find 1 white cross bushing 1x½.

Push it all the way down the previous piece.

Next, we assemble the rear wheel and its 2 wheel trims.

Collect the following 4 pieces:

1 warm gold wheel trim 6x6 with 4 middle holes,

and 3 black connector pegs 2m with middle ring.

Put the wheel trim upside down on the table so the 4 hole extensions are pointing to the top.

Insert the 3 connector pegs from the top into the 3 outer holes, leaving the most central hole empty. Half of each connector peg will stick out.

Find 1 black wide balloon tire with profile.

Put it on the wheel trim. It should fit neatly into the main groove of the trim.

Find another warm gold wheel trim 6x6 with 4 middle holes.

Put it on top of the tire. Align it so that the 3 connectors are inserted into the hole extensions of the 3 outer holes of the new wheel trim.

The rear wheel with trims is finished! Great job! Mount it by inserting the front cross axle into the middle hole of the rear wheel. Slide it all the way to the stop position.

Find 1 white cross bushing 1x½.

Put it on the same cross axle as the wheel, push it all the way in.

Now, we will build the right suspension for the rear wheel.

Collect the following 2 pieces:

1 dark stone grey cross axle 8m with end stop,

and 1 warm gold technic bushing 1m.

Hold the cross axle horizontally, end stop to the left.

Slide the bushing on the cross axle all the way to the end stop.

Find 1 bright blue T-shaped cross axle joint 2m.

Push its through-hole on the cross axle, one-ended cross hole to the back.

Next up, we will make a small sub-part of the rear suspension.

Collect the following 2 pieces:

1 warm gold nose cone 1x1,

and 1 bright blue connector peg 2m with cross axle pin.

Insert the cross axle pin into the wider end of the nose cone.

Find 1 black technic beam 2m with 1 round and 1 cross hole.

Put the round hole of the beam on the connector peg. It is a loose fit, so the beam will still move around for now.

Find 1 transparent yellow lightning bolt.

Insert its shaft into the narrow end of the nose cone.

Mount the small sub-part by pushing the cross hole of the technic beam on the cross axle, the rest of the sub-part to the bottom, lightning bolt pointing to the left.

Find 1 titanium metallic tube 2m with middle slot.

Slide it on the cross axle. Make sure to slide the parts all the way in.

The right suspension for the rear wheel is finished! Great job! Turn it horizontally so that the remaining empty cross hole is pointing to the back, and the lightning bolt is to the left.

Mount the empty cross hole on the cross axle sticking out from the rear wheel.

Find 1 dark stone grey shaft 2m with hanging cross bushing 1x1.

Turn it upside down so that the shaft is at the bottom and the cross bushing is at the top. Push the cross bushing on the cross axle of the most suspension mounted in the previous step.

The rear wheel with suspensions is finished! Well done! We will mount it on the motorbike coming from the back. Insert the 2 cross axles of the suspensions from the back into the technic beams pointing to the left and right sides.

Very well done! The motorbike is taking shape!

Find 1 dark stone grey angled banner 2x2 with 2 clasps.

Snap the 2 clasps on the shaft 2m at the bottom of the most previously mounted rear suspension, banner pointing to the bottom.

Find 2 warm gold sword blades 10m with shaft.

Hold 1 vertically, shaft pointing to the front, blade to the bottom, and snap the shaft into the 2 clasps pointing to the right in front of the rear wheel.

Repeat symmetrically on the left.

Now, let's make the side protection panels.

Collect the following 2 pieces:

1 warm gold slope piece 4x4 with staggered scales and 2 knobs,

and 1 transparent yellow plate 1x2.

Put the slope piece 4x4 upside down on the table, narrow end to the left.

Put the plate 1x2 upside down vertically on the rightmost column.

Collect the following 2 pieces:

Another warm gold slope piece 4x4 with staggered scales and 2 knobs,

and another transparent yellow plate 1x2.

Repeat the previous step: put the slope piece upside down on the table, narrow end to the left, and mount the plate 1x2 vertically on the rightmost column.

Mount 1 protection panel upright on the 4 side knobs on the left, wider end to the back, narrow end to the front. The back edge of the slope plate touches the side technic beam with cross axle.

Repeat symmetrically on the right side.

Next, we'll build the engine hood and steering wheel.

Collect the following 2 pieces:

1 silver metallic handlebar with bottom shaft,

and 1 medium stone grey plate 1x2 with vertical clasp on long side.

Put the plate 1x2 horizontally on the table, clasp to the back.

Snap the shaft of the handlebar into the clasp, handlebar to the top.

Find 1 transparent yellow and warm gold lower jaw of a dragon head. (This is a big part shaped like the lower part of a dragon head. Its bottom and front tip are golden, the rest is translucent yellow.)

Turn it so that the narrow end is pointing towards you and identify its 4 top knobs.

Mount the plate with handlebar horizontally on the 2 back knobs, handlebar to the top and at the back.

Collect the following 2 pieces:

1 bright blue one-stepped curve tile 2x2x⅔,

and 1 square sticker number 3. (Ask for help to find the correct sticker. If you do not want to apply the sticker now, skip the next 2 sentences.)

Put the one-stepped curve tile 2x2x⅔ on the table.

Put the sticker on top. It is blue with 2 white stripes showing part of the letter "J" in Ninjargon. In the middle, there is a golden front grille.

Mount the curve tile 2x2 on the 4 top knobs of the engine hood, curve to the front.

The engine hood and steering wheel are finished! Well done! First, identify the 2 small shafts at the back of the engine hood. Snap them into the 2 clasps in front of the 2 rear fenders in the center of the structure.

The Golden Dragon Motorbike is finished! Great job! Now, Jay can finally mount his cool bike and chase after the Vengestone Warrior and the crystal spider. Use his golden nunchucks to catch the enemies. In his Golden Dragon form, he is unstoppable!

You have finished building the entire set! Well done! The Vengestone Warrior and the crystal spider are a threat to Ninjago City, bringing chaos and commotion. As the Ninja of Lightning, it is Jay's job to make sure the Crystal King's minions are stopped! When he spreads his Golden Dragon wings and gets on his bike, he usually prevails. Go, Ninja, go!

Enjoy!