LEGO 71757 Lloyd's Ninja Mech 

LEGO Audio & Braille Building Instructions for the LEGO Ninjago set "Lloyd's Ninja Mech".

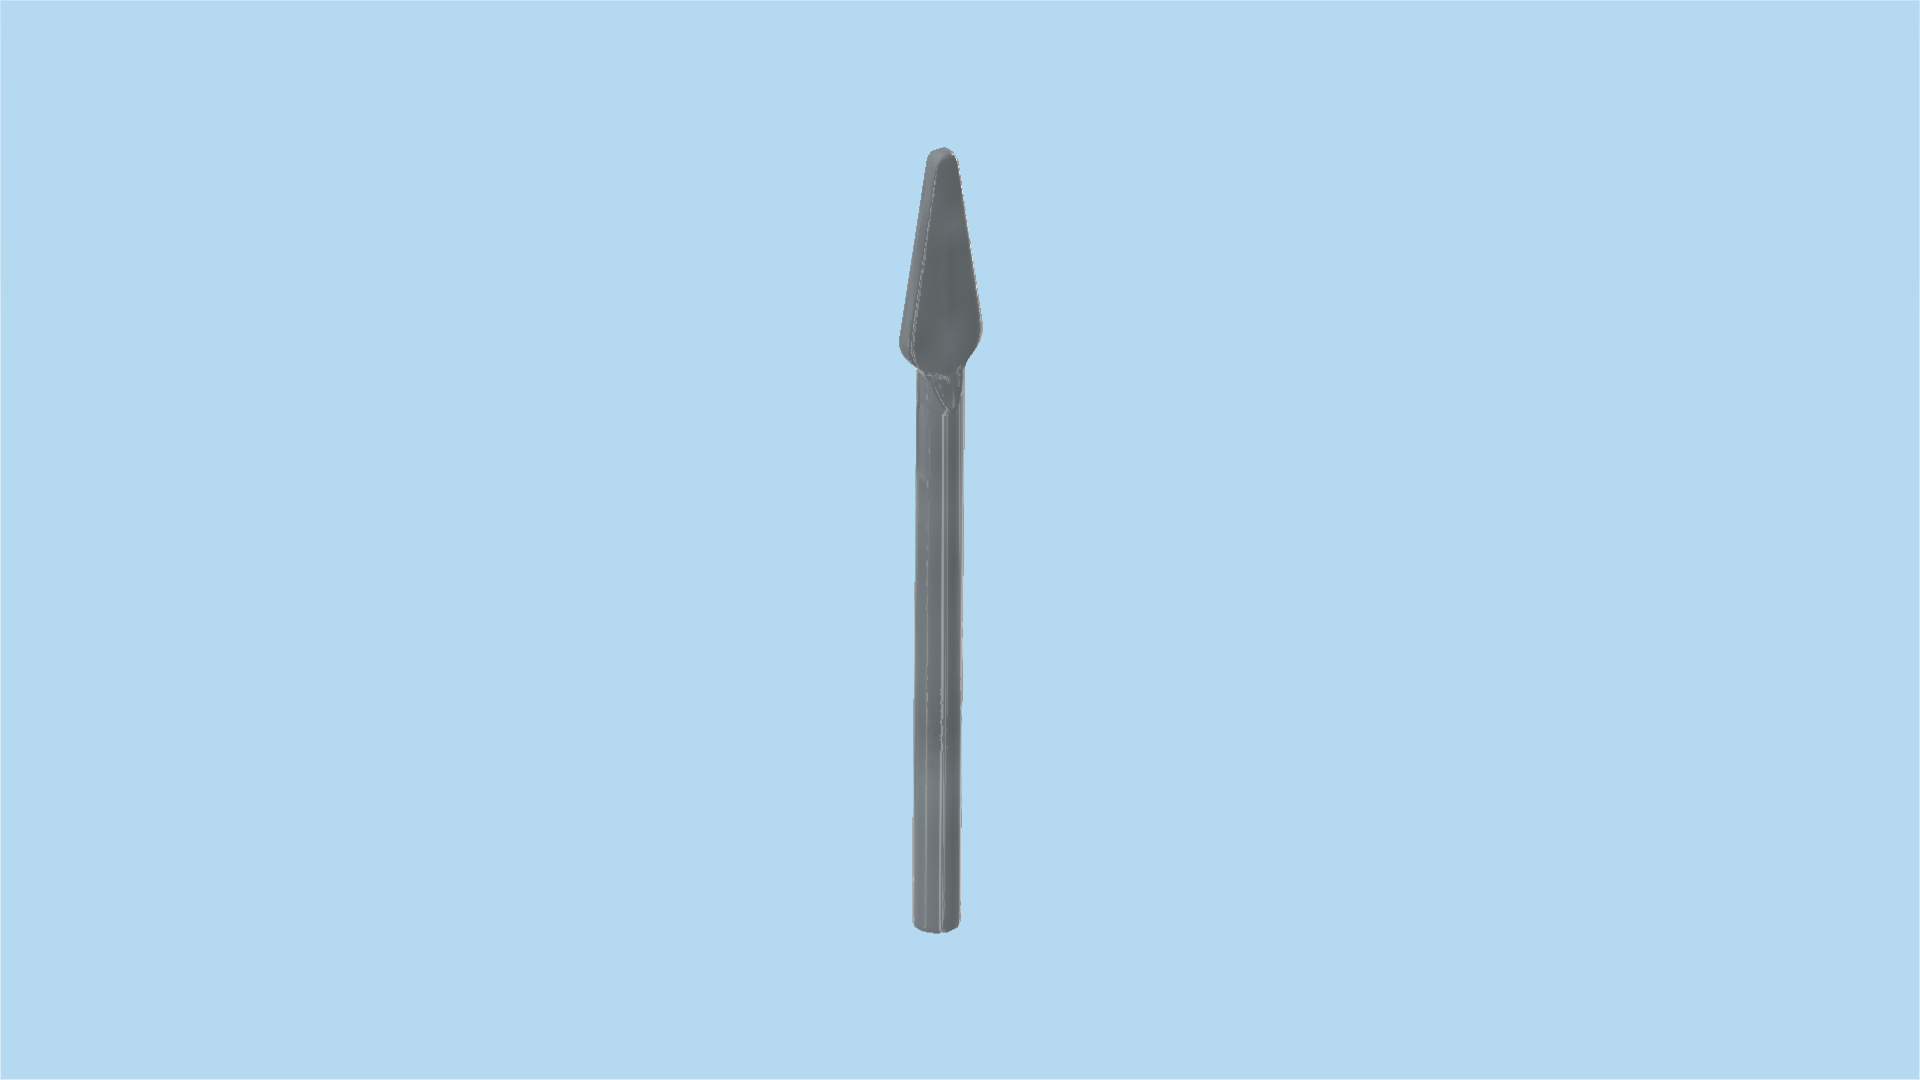
Join forces with Lloyd and his powerful mech to take on the evil snake warrior Boa Destructor. Jump in the mech’s cockpit and stride into the exciting action with 2 large swords. Woah – be careful! The pesky snake is ready to battle you with his long sharp spear. Can you use all your skills and might to defeat him? It is crucial that you triumph to save NINJAGO City!

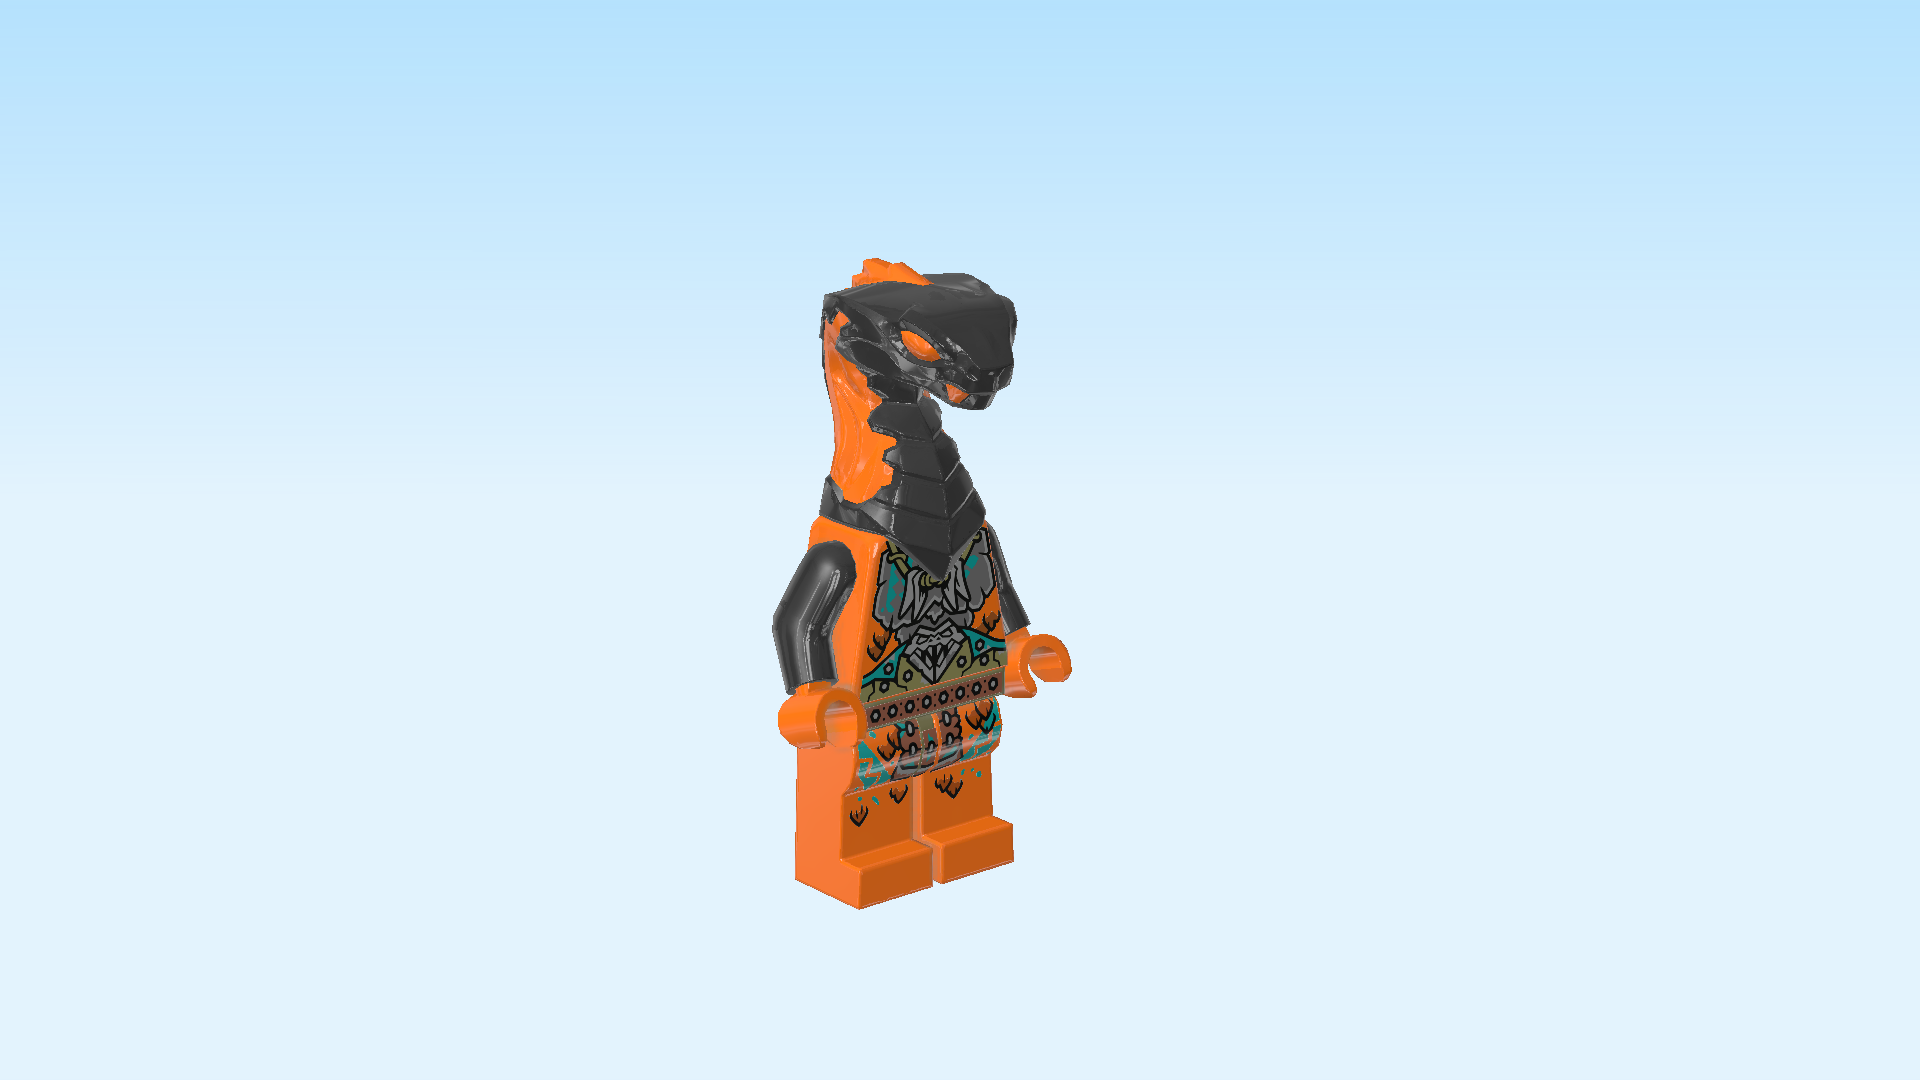
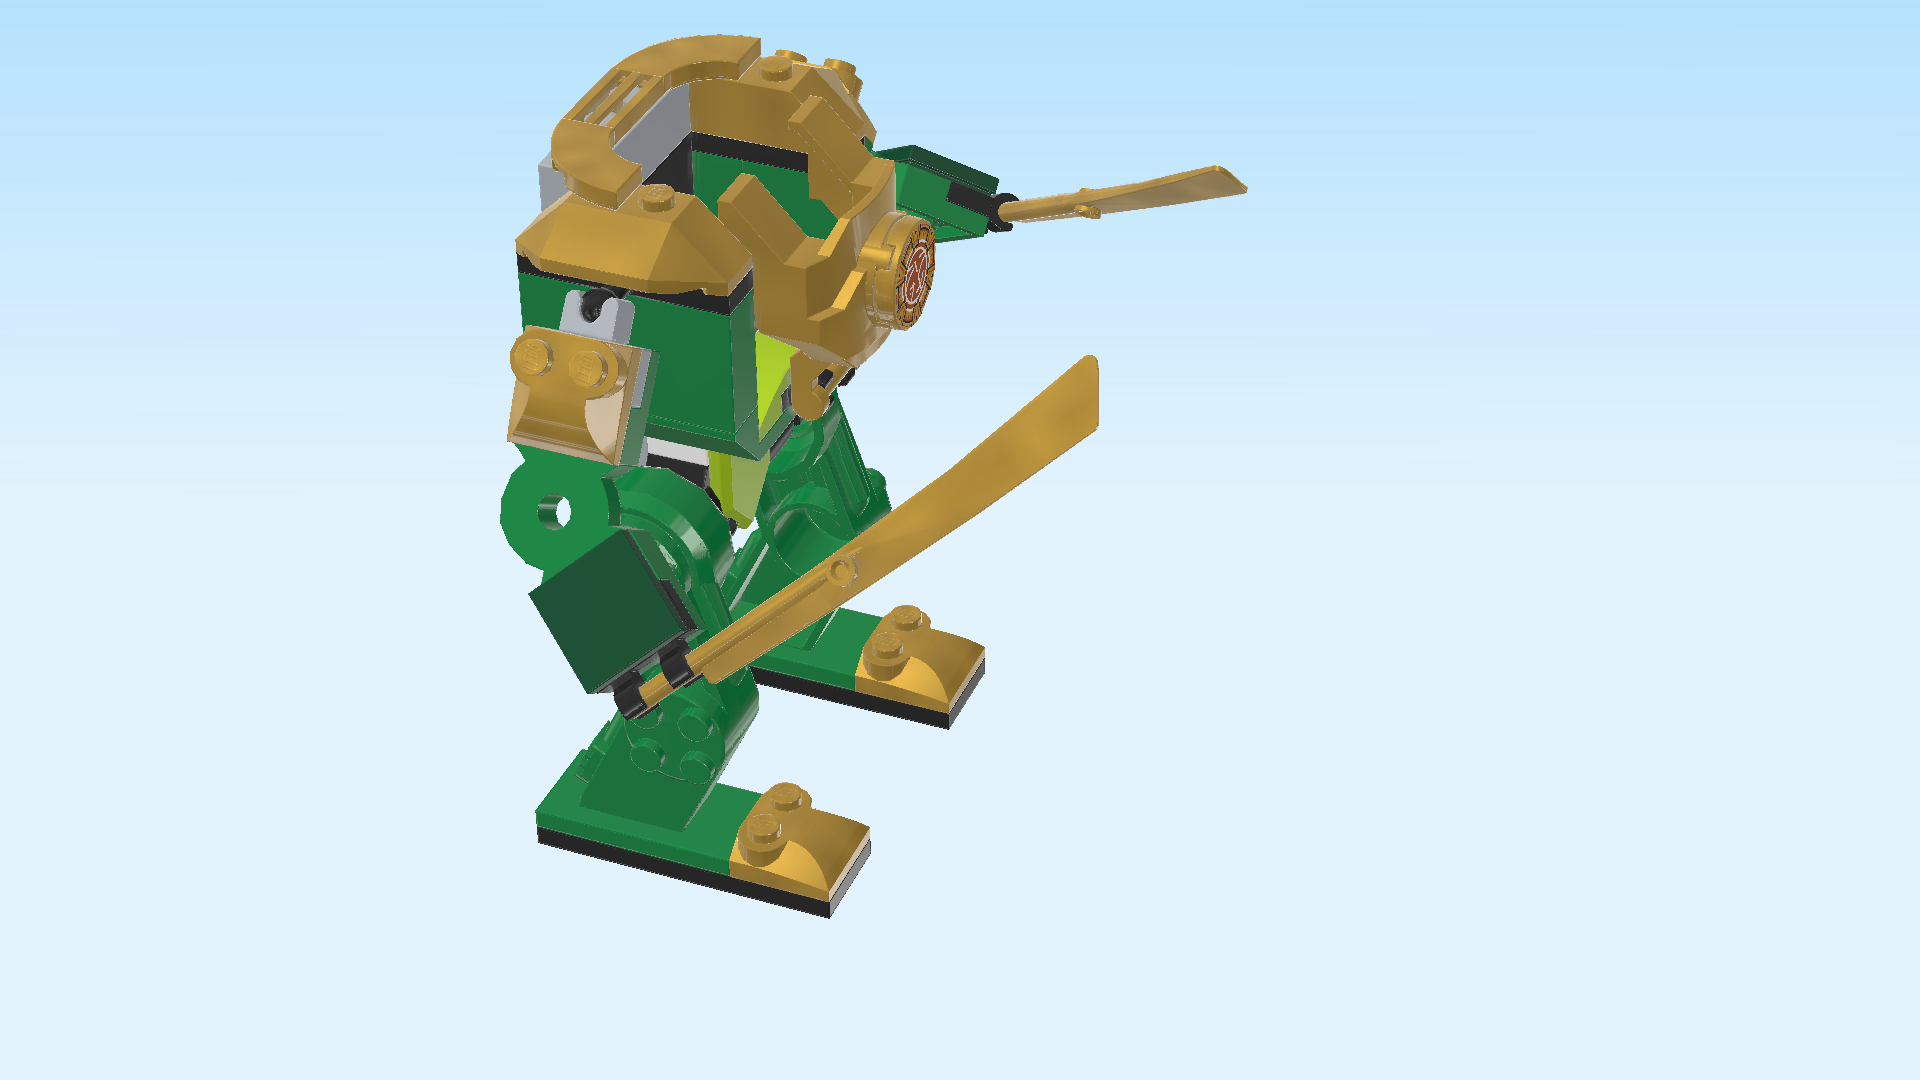
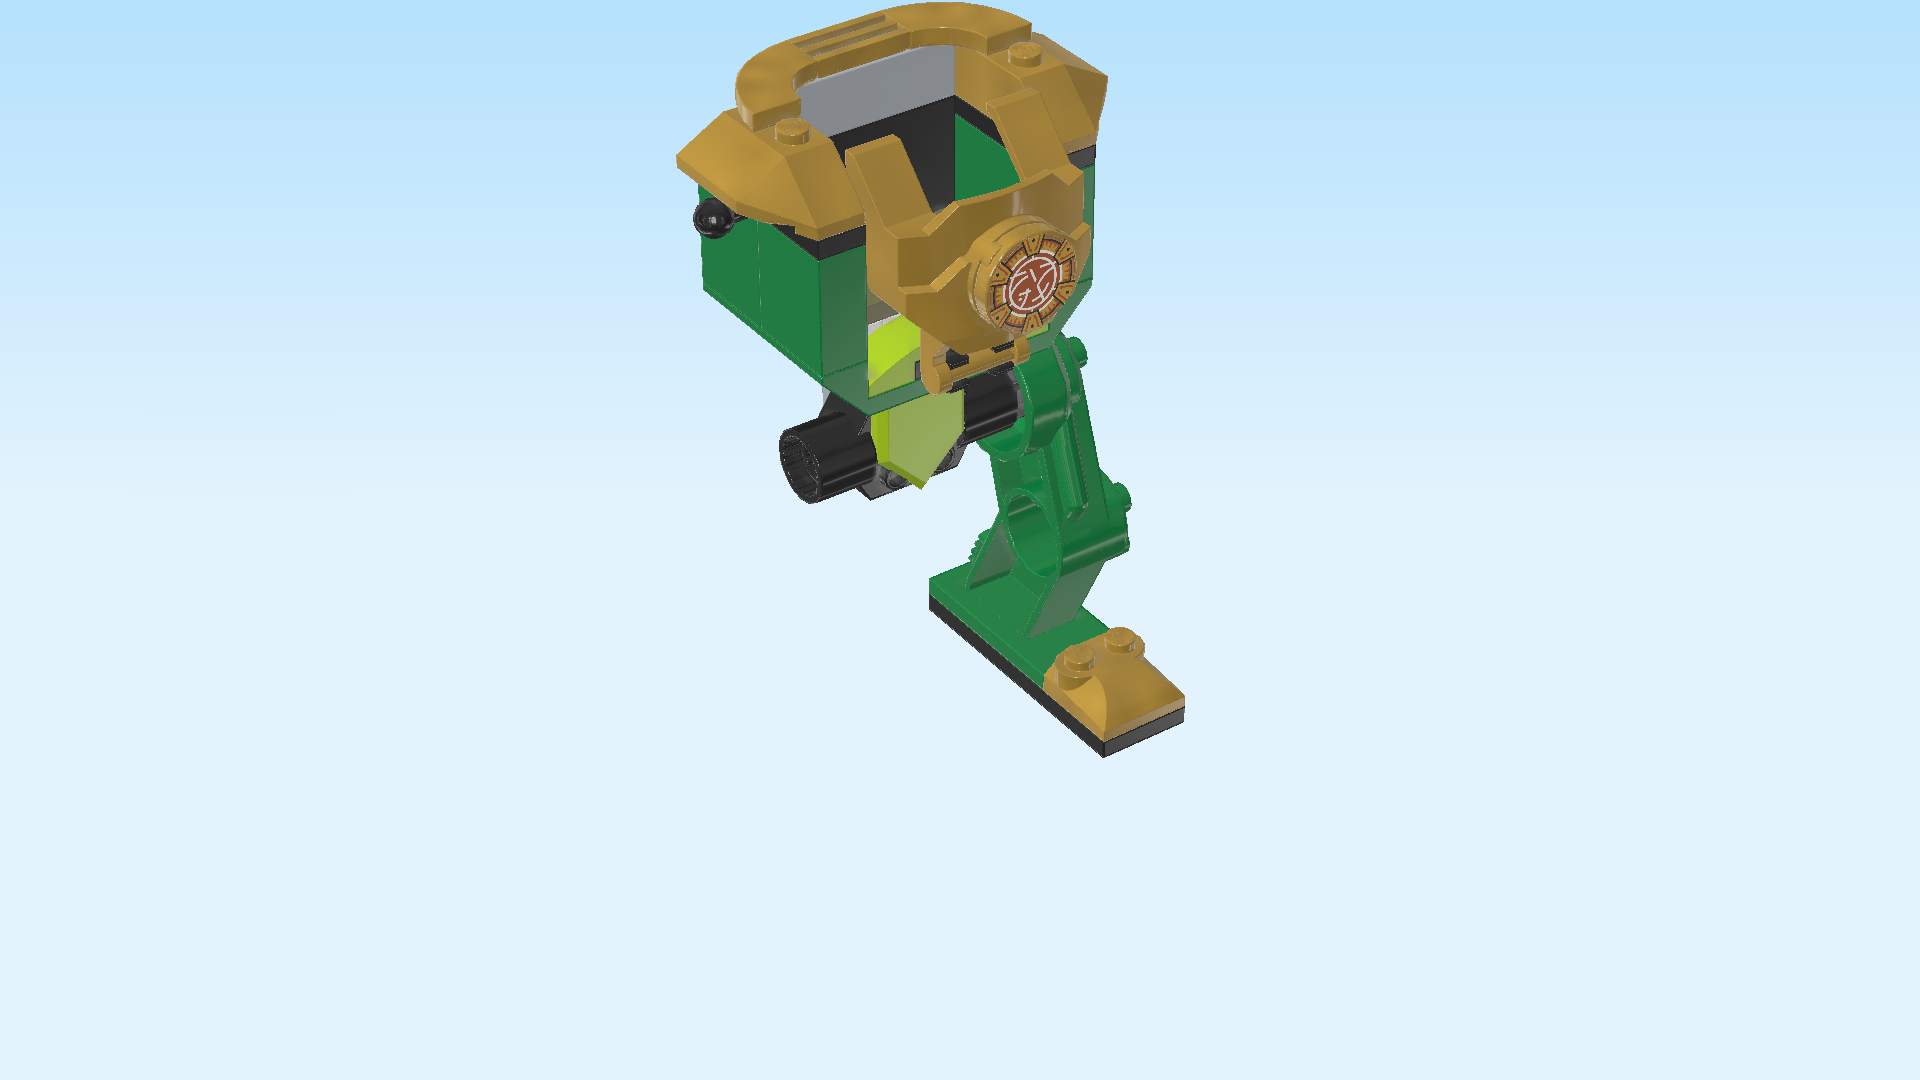
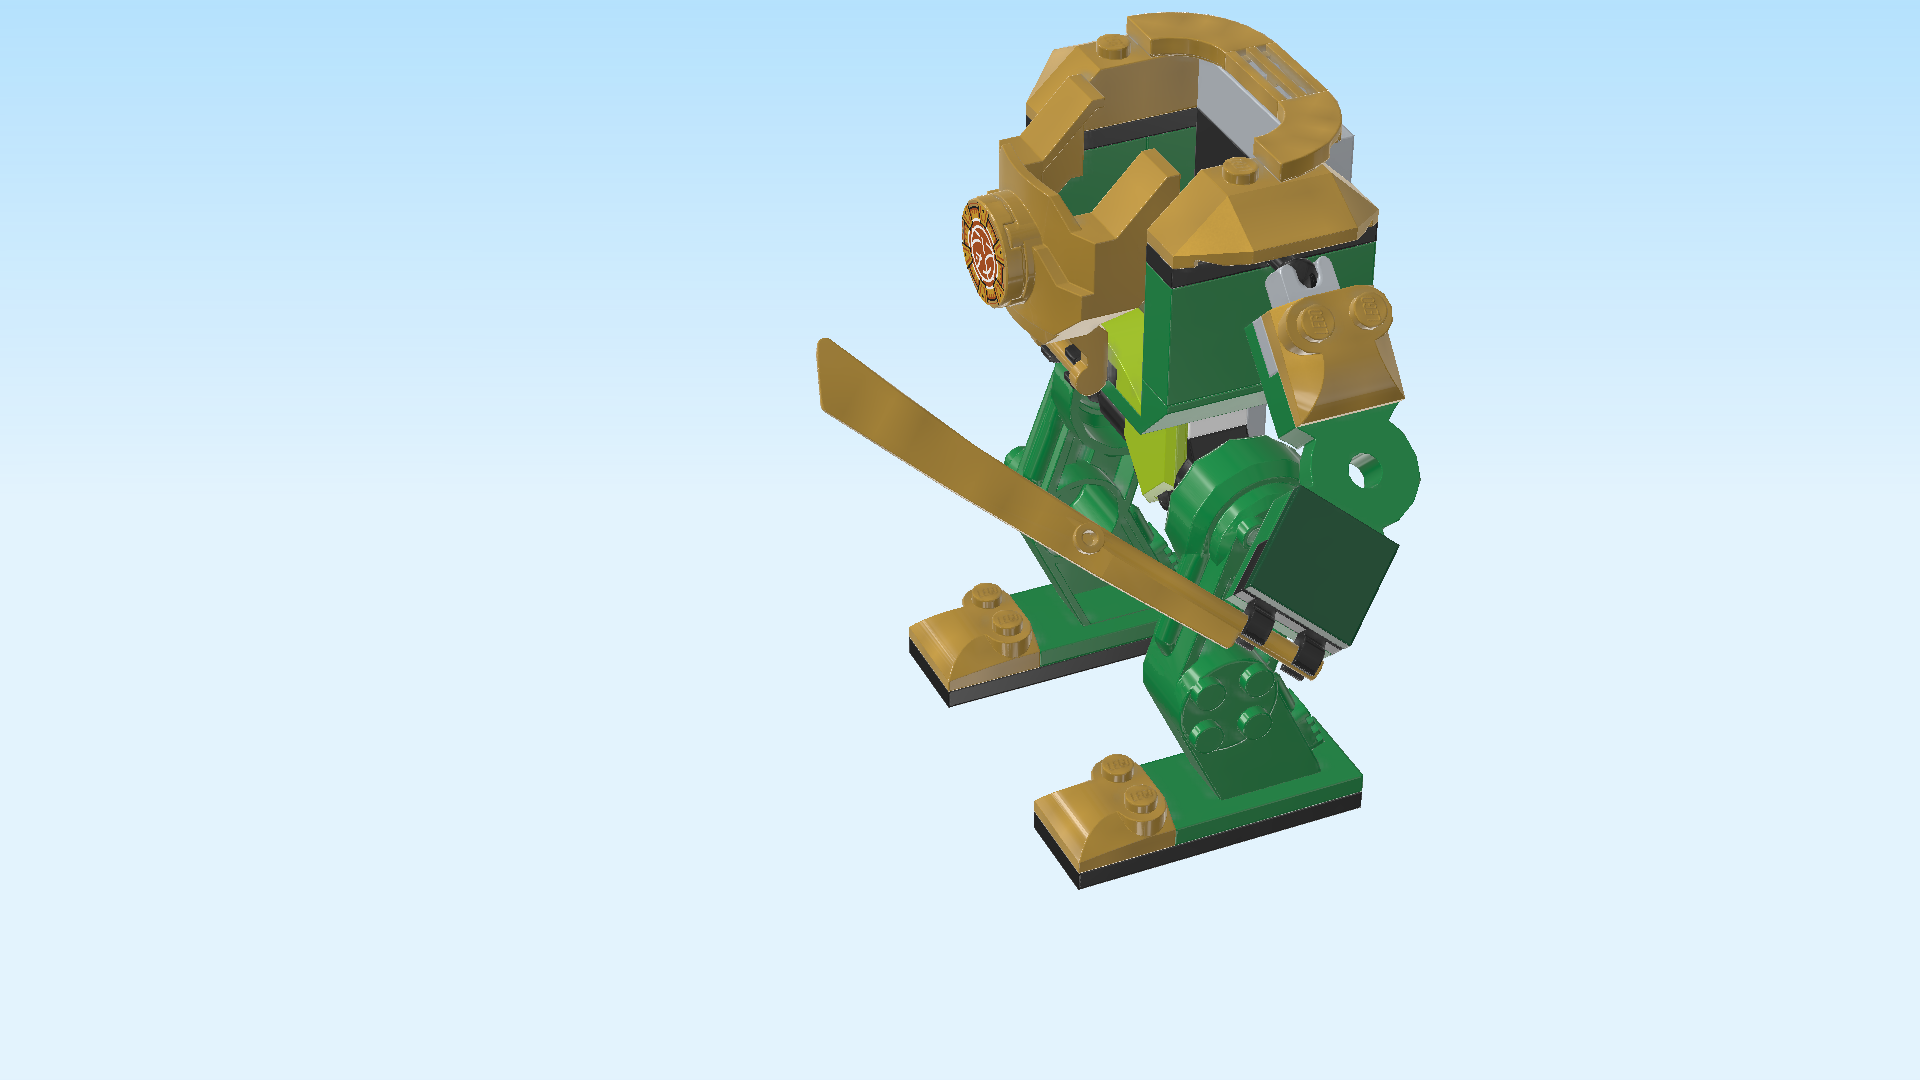
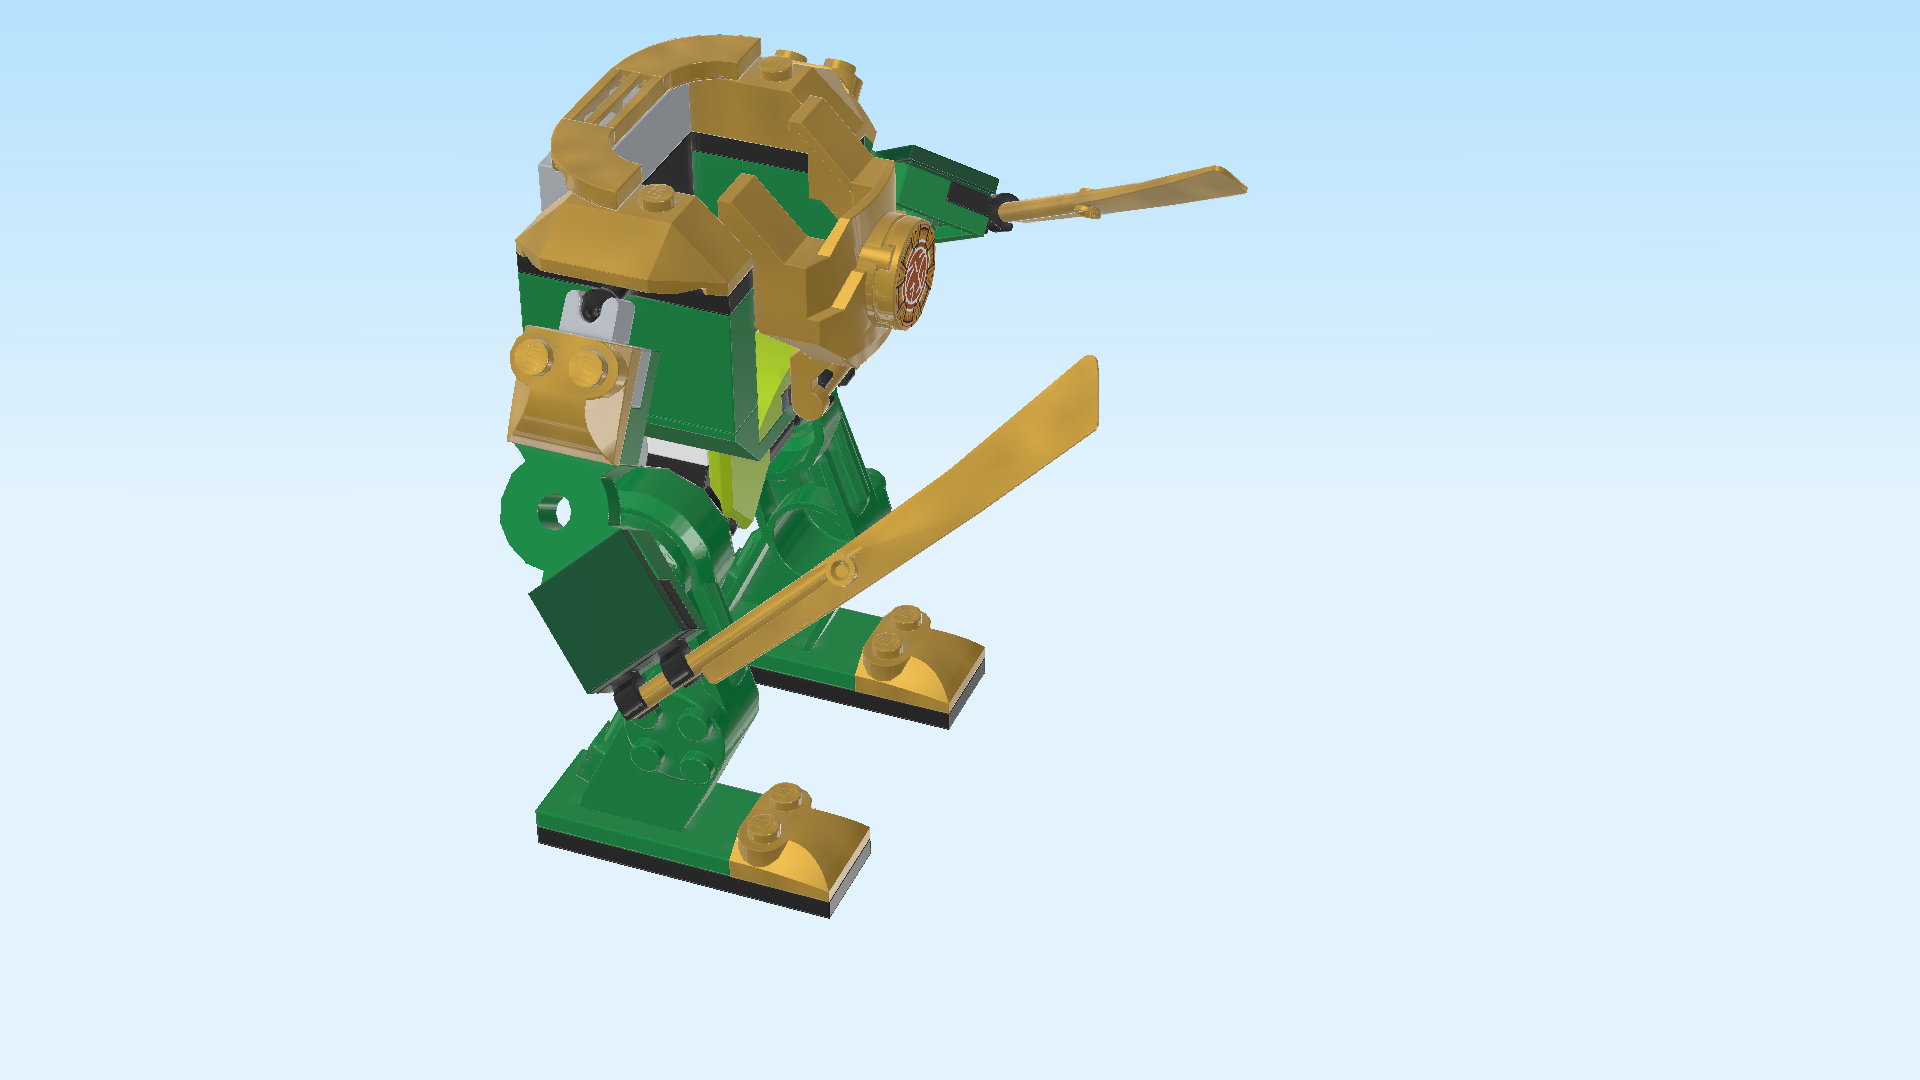
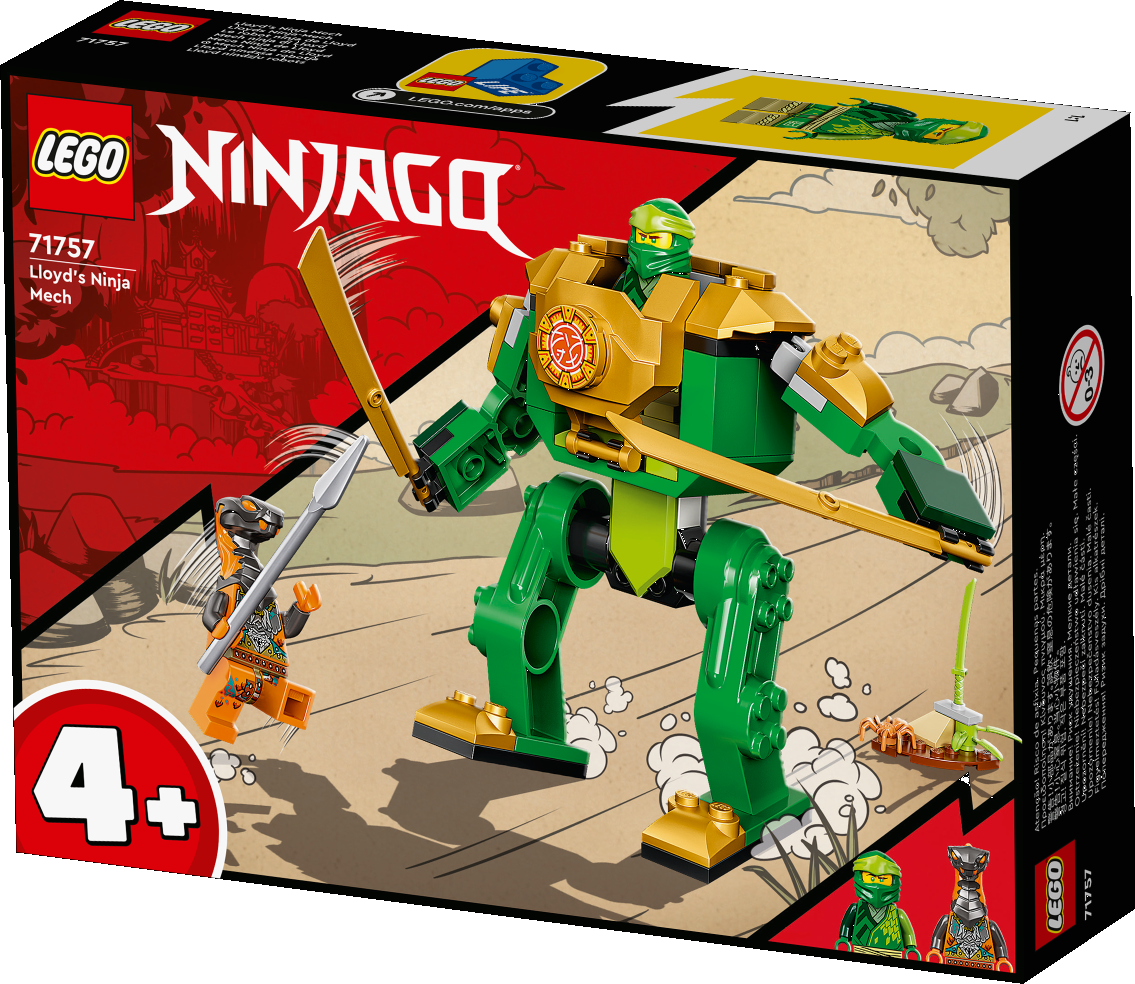
On the box cover, the battle between Lloyd and Boa Destructur is in full swing on a dirt road near Ninjago City. The Ninjago dojo temple is in the background at the left. Lloyd is in the cockpit of his green and gold mech, towering over Boa Destructor and fending him off with his two golden swords. Luckily, the mech is sturdy and equipped with a chest shield - Lloyd is well-protected. But his adversary is strong, and very fast. In case Lloyd has to chase him by foot, his katana sword is waiting for him on the ground, mounted on a small rock. Let's see who will gain the upper hand!

Open the box. This can be tricky; ask someone to help you!

The box contains 1 booklet with visual building instructions and 1 small and 1 large bag with bricks.

Carefully open both bags. Before you start building, ask a sighted person to help you sort the pieces by color. This makes finding the correct pieces even easier!

First, we will build the Lloyd Minifigure.

Collect the following 2 pieces:

1 olive green pair of legs,

and 1 dark green, mossy green and bright yellowish green upper part of the body.

Put the upper body on top of the legs.

Find 1 bright yellow head.

Put it on the body.

Collect the following 2 pieces:

1 bright yellowish green katana sword,

and 1 dark green and bright yellowish green ninja hat.

Put the hat on the head.

Snap the handle of the sword into Lloyd's left hand.

The Lloyd Minifigure is finished! Great job! Lloyd is wearing a ninja suit in different shades of green that is decorated with a light green dragon wrapping around his chest from the front to the back. The left sleeve is light green, the right sleeve is dark green. Lloyd has green eyes and a grim but determined look on his face, ready to face any challenge. The dragon head and the Ninjago dojo symbol decorate the back of Lloyd's suit. His hat is a typically wrapped ninja hat with special padding around the forehead and the mouth for protection. Lloyd is ready to fight!

Next, we will build the Boa Destructor Minifigure.

Collect the following 2 pieces:

1 bright orange and titanium metallic upper part of the body,

and 1 olive green and bright orange pair of legs.

Put the upper body on top of the legs.

Find 1 titanium metallic and bright orange Boa Destructor headpiece.

Put it on the body, snake head to the front.

Find 1 silver metallic spear.

Snap it into Boa Destructor's left hand.

The Boa Destructor Minifigure is finished! Well done! He has a bright orange body with a few brown scales, the snake warrior's head is black and orange with piercing, orange eyes. He wears a richly decorated loincloth with golden, turquoise and olive green ornaments and a golden belt with silver rivets with a snake head as a belt buckle. Around his neck, Boa Destructor is wearing a tooth necklace with four razor-sharp teeth on it. The back of the snake warrior is covered in silver-grey scales. Watch out, he is a dangerous adversary!

Next, we will build a piece of Ninjago terrain with spider.

Find 1 reddish brown quarter-circle plate 4x4.

Put it on the table. Make sure the pointy corner is in the right back corner. The knobs should form straight rows and columns in front of you.

Collect the following 2 pieces:

1 pale ocher yellow corner roof tile 2x2 with 2 slopes, 45°,

and 1 bright yellowish green round brick 1x1 with 3 bamboo leaves.

Put the roof tile 2x2 in the right back corner, slopes to the left and to the back..

Put the round brick 1x1 in front of the previous piece on the rightmost knob.

Collect the following 2 pieces:

1 medium nougat brown spider figure,

and 1 medium stone grey plate 1x2 with 1 knob.

Put the plate 1x2 vertically on the two previous pieces.

Put the spider figure on the left edge of the terrain.

The Ninjago rock with spider is finished! Great job! The topmost knob has a hole in it. You can stick the handle of Lloyd's katana sword in this knob when you don't need it.

Next, we build the Ninjago Mech.

Let's start with the Mech cockpit.

Collect the following 2 pieces:

1 black brick 1x4x3,

and 1 dark green inverted double roof tile 4x6 with 3 holes, 45°.

Put the inverted roof tile 4x6 horizontally on the table, slopes to the right and left.

Put the brick 1x4x3 horizontally on the backmost row in the middle.

Find 1 white mudguard plate 2x4 with middle hole.

Put it horizontally in front of the previous piece.

Find 1 black plate 1x2 with 2 vertical clasps on long side.

Put it horizontally centered in front of the previous piece, clasps overhanging to the front.

Find 1 bright yellowish green bow tile 1x4x⅔.

Put it horizontally on the frontmost row. It will cover the previous piece. Only the clasps still stick out.

Find 1 olive green plate 2x4.

Put it horizontally behind the previous piece in the middle.

Find 2 dark green bricks 1x2x2.

Put 1 vertically on the rightmost column, starting from the back.

Put the other one vertically in front of the previous piece.

If done correctly, these two pieces fully cover the rightmost column of the structure.

Find 2 dark green bricks 1x2x2.

Put them vertically on the leftmost column, just like you did with the two previous pieces on the right.

Find 2 black plates 1x4 with ball on long side.

Put 1 vertically on the leftmost column, ball overhanging to the left.

Repeat symmetrically on the right, ball overhanging to the right.

Find 1 medium stone grey brick 1x4.

Put it horizontally on the backmost row in the middle.

Find 2 warm gold roof tiles 2x4 with 5 slopes and 1 straight side.

Put 1 vertically on the rightmost column, slopes to the right, 1 column overhanging to the right.

Repeat symmetrically on the left, 1 column overhanging to the left.

These two pieces will be the shoulders of the Mech.

Collect the following 3 pieces:

2 warm gold quarter-arched tiles 2x2,

and 1 warm gold grille tile 1x2.

Put the grille tile 1x2 horizontally on the backmost row in the middle.

Put 1 quarter-arched tile 2x2 to the right of the previous piece, arch bending towards the front.

Repeat symmetrically on the left.

If done correctly, these three pieces form a half-oval starting from the backmost row.

Next, we will assemble the foldable Mech chest.

Find 1 warm gold mech chest plate 4x5x2 with shaft.

Put it on the table, knobs to the top.

Find 1 warm gold round tile 2x2. (This piece is printed.)

Put it on the 4 top knobs of the chest plate.

This piece is printed with the Ninjago dojo symbol in red and white surrounded by golden and brown ornaments.

Now, turn the foldable Mech chest upside down. Snap its shaft into the two clasps pointing to the front. You might have to hold both the structure and the chest plate in your hands to do so.

If done correctly, you can now fold the chest plate up to close the Mech cockpit, and fold it down to open it. In the closed position, the printed round tile is facing the front.

Next up, we will make the hip of the Mech.

Find 1 medium stone grey plate 2x3.

Put it vertically on the table.

Find 1 black brick 2x2 with 2 side tubes and technic hole.

Put it horizontally on the two back rows, tubes to the left and right.

Find 1 white brick 1x2 with technic hole.

Put it horizontally in front of the previous piece.

Find 1 black connector peg 2m with middle ring. (2m means that this piece is 2 knobs long.)

Insert it front-to-back into the technic hole of the previous piece.

If done correctly, half of the connector peg will stick out towards the front.

Find 1 bright yellowish green flat tile 2x3 with pointy end.

Put it on top of the hip structure, pointy end to the back. Make sure it is flush with the front edge of the hip structure.

The Mech hip is finished! Well done! Before you can mount it, tilt the cockpit by 90 degrees towards the back. This means that what used to be the top of the structure is now pointing to the back. The bottom connection points of the cockpit base are now facing the front.

Now, insert the connector of the hip into the hole in the middle of the front side surface.

That was tricky! Well done! You can leave the Mech cockpit like that for now.

Next, we will build the left Mech leg.

Find 1 black plate 2x6.

Put it vertically on the table.

Find 1 warm gold arched curve brick 2x2 with 2 knobs.

Put it on the 4 frontmost knobs, curves to the front.

Find 1 dark green left Mech leg with base plate 2x4. (It is very similar to the right Mech leg. To identify the correct leg, put it on the table on its base plate. Make sure the knee points towards the front. Now, the connector at the top has to point to the left. If it points to the right, you have the wrong leg.)

Put the base plate of the Mech leg vertically behind the arched curve brick. Make sure the knee points towards the front and the connector pin at the top points to the left.

The left Mech leg is finished! Well done! Pick up the Mech cockpit, opening to the top and chest plate to the front.

Now, snap the connector of the leg right-to-left into the right tube of the Mech hip.

The Mech probably cannot stand yet. Put it back on the table, laying on its back side.

Next, we build the right Mech leg.

Find 1 black plate 2x6.

Put it vertically on the table.

Find 1 warm gold arched curve brick 2x2 with 2 knobs.

Put it on the 4 frontmost knobs, curves to the front.

Find 1 dark green and black right Mech leg with base plate 2x4.

Put its base plate vertically behind the previous piece. Make sure the knee points towards the front and the connector pin is pointing to the right.

The right Mech leg is finished! Great job! Snap the connector left-to-right into the left tube of the Mech hip.

Now, the Mech should be able to stand upright. You might have to adjust the legs a little. Fantastic job, that was difficult!

Next, we will build the left Mech arm.

Find 1 dark green bent plate 2x6 with 2 steps and middle circle.

Put it on the table, circle and bend to the back, steps to the left and right.

Collect the following 2 pieces:

1 black plate 1x2 with 2 vertical clasps on long side,

and 1 medium stone grey plate 1x2 with ball cup on long side.

Put the plate 1x2 with 2 vertical clasps vertically on the rightmost column, clasps to the right.

Put the plate 1x2 with ball cup vertically on the leftmost column, ball cup to the left.

Collect the following 2 pieces:

1 mossy green flat tile 2x2,

and 1 warm gold arched curve brick 2x2 with 2 knobs.

Put the arched curve brick on the 4 leftmost knobs, curves to the right.

Put the flat tile 2x2 on the 4 rightmost knobs.

Find 1 warm gold sword blade 10m with shaft.

Hold it flat, blade pointing to the front, and snap the handle into the clasp on the right.

The left Mech arm is finished! Great job! Now, connect the arm's ball cup to the ball joint on the top right of the structure. Careful, the roof tile acting as the Mech's shoulder might come off.

You might have to adjust the sword in the Mech's hand. It should point upwards.

Next, we build the right Mech arm.

Find 1 dark green bent plate 2x6 with 2 steps and middle circle.

Put it on the table, circle and bend towards the back, steps to the left and right.

Collect the following 2 pieces:

1 medium stone grey plate 1x2 with ball cup on long side,

and 1 black plate 1x2 with 2 vertical clasps on long side.

Put the plate 1x2 with 2 vertical clasps vertically on the leftmost column, clasps to the left.

Put the plate 1x2 with ball cup vertically on the rightmost column, ball cup to the right.

Collect the following 2 pieces:

1 mossy green flat tile 2x2,

and 1 warm gold arched curve brick 2x2 with 2 knobs.

Put the arched curve brick on the 4 rightmost knobs, curves to the left.

Put the flat tile 2x2 on the 4 leftmost knobs.

Find 1 warm gold sword blade 10m with shaft.

Hold it flat, blade pointing to the front, and snap its handle into the clasps on the left.

The right Mech arm is finished! Well done! Now, snap its ball cup onto the ball joint at the top of the Mech. Careful, the roof tile acting as the Mech's shoulder might come off.

The Ninjago Mech is finished! Very well done! Now, Lloyd can finally get into the cockpit and start fighting.

You have finished building the entire set, very well done! Now it is time to put the Mech to its ultimate test: Lloyd can climb into the Mech's cockpit and get his swords ready. Boa Destructor is up to no good, so make sure Lloyd protects Ninjago City against him!

Enjoy!