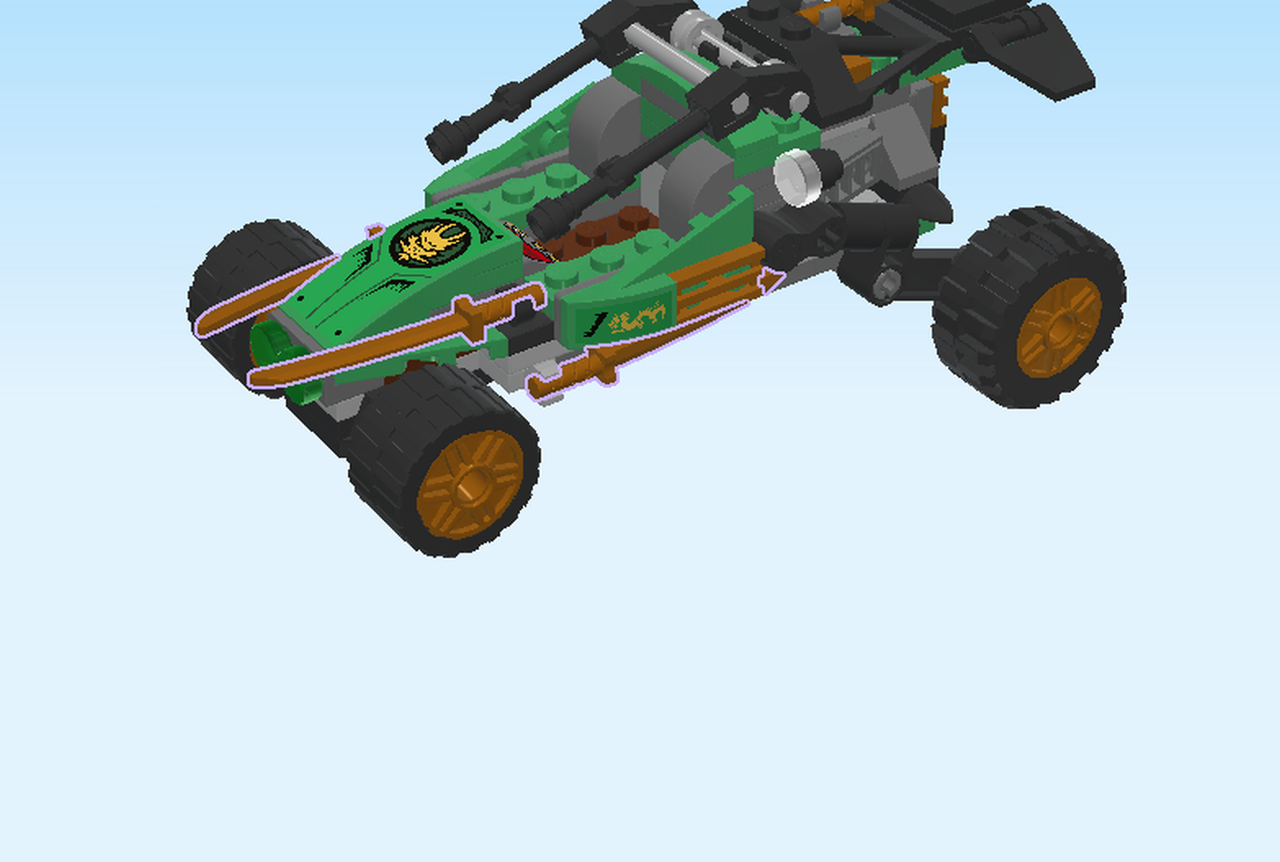
| LEGO Audio & Braille Building Instructions for LEGO Ninjago Legacy set "Jungle Raider". |
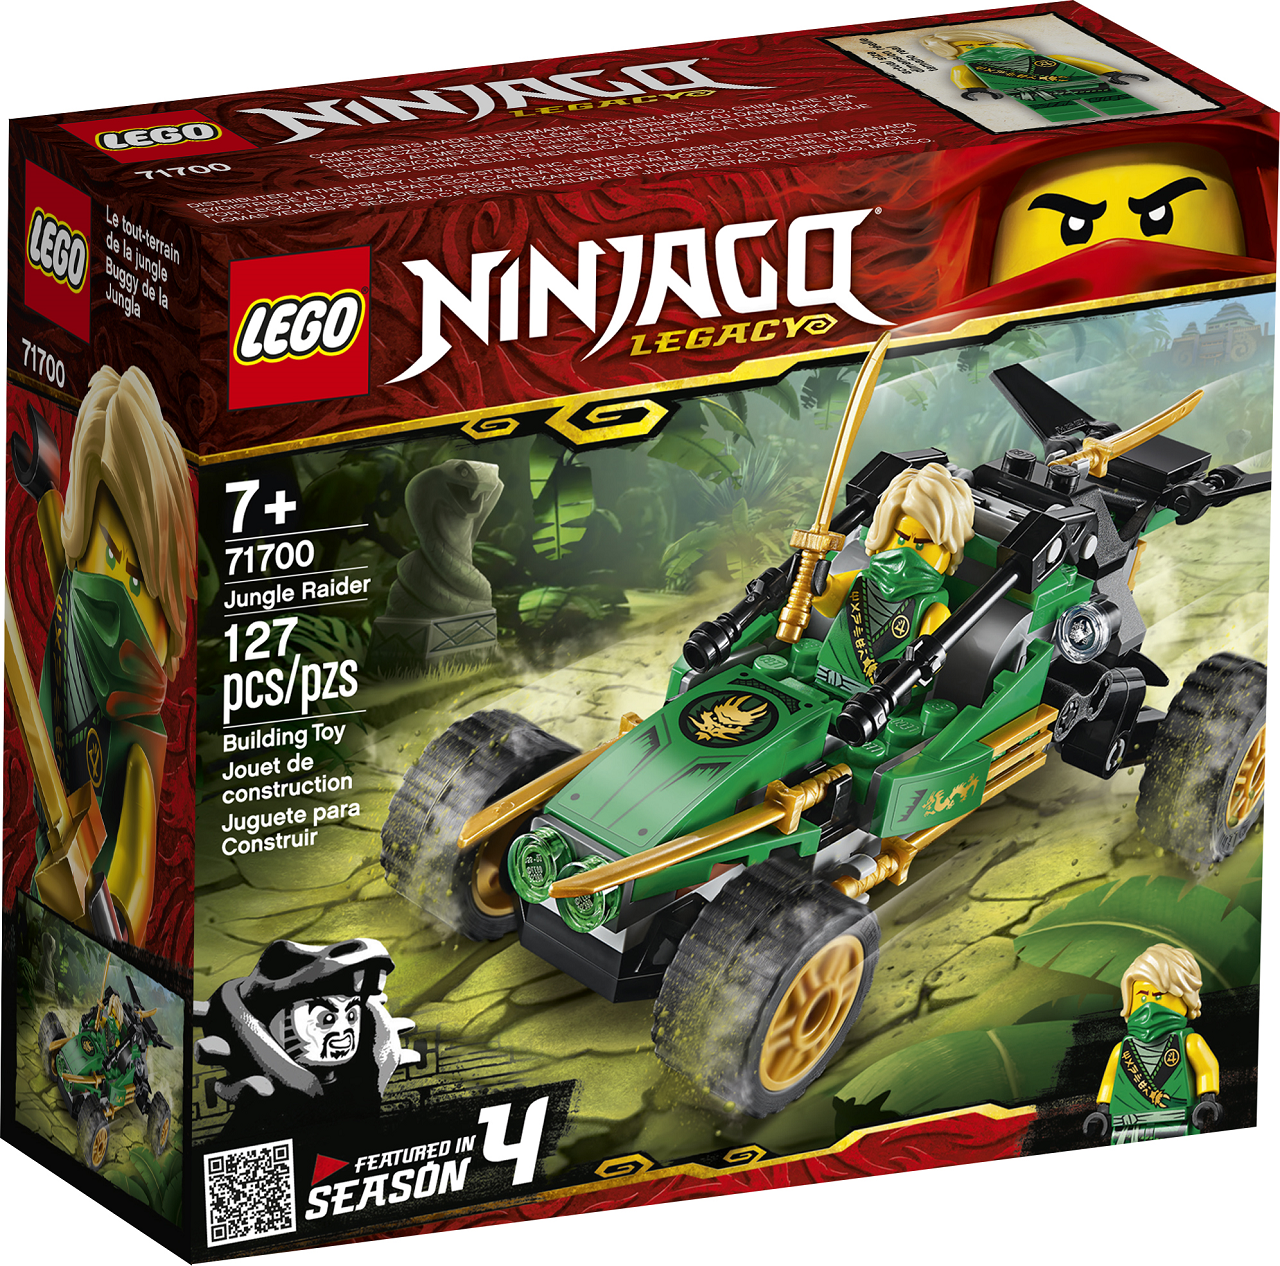
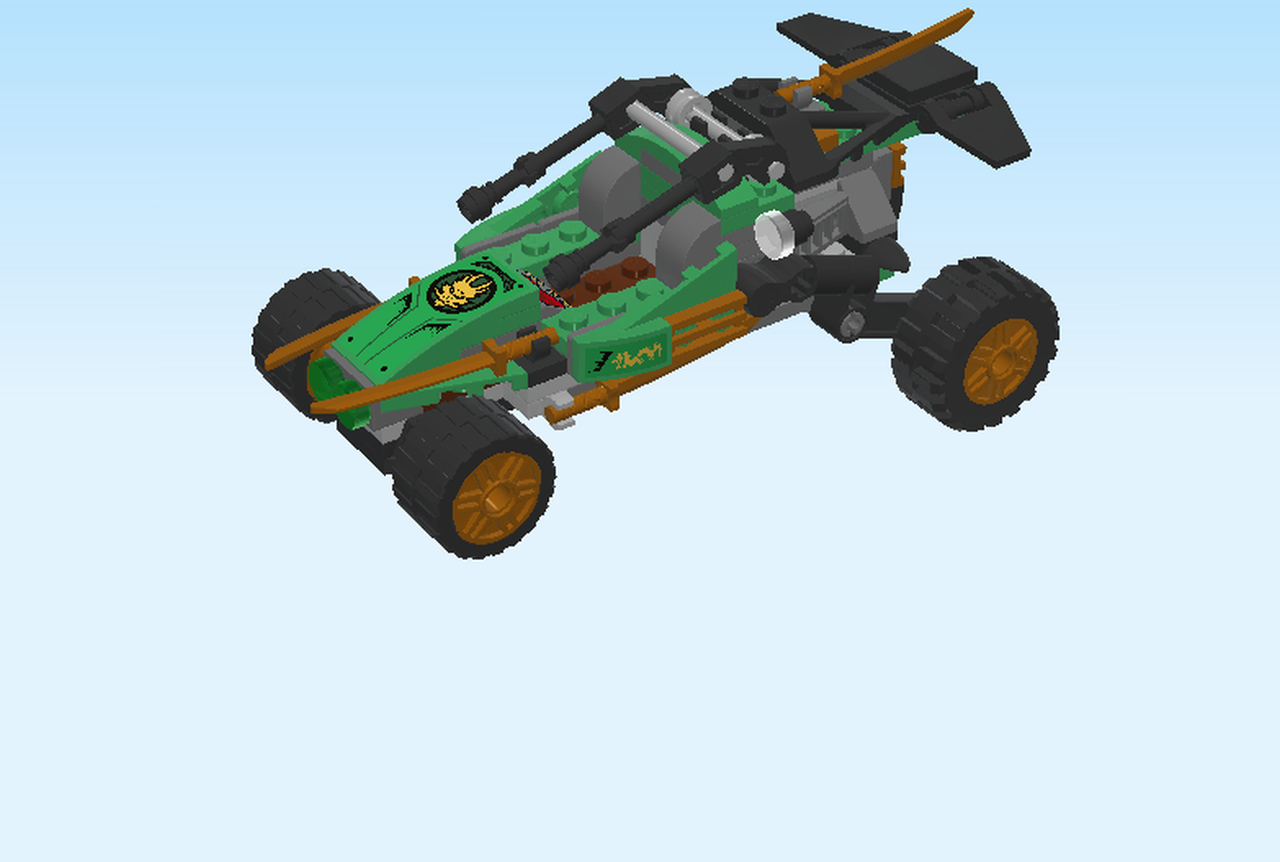
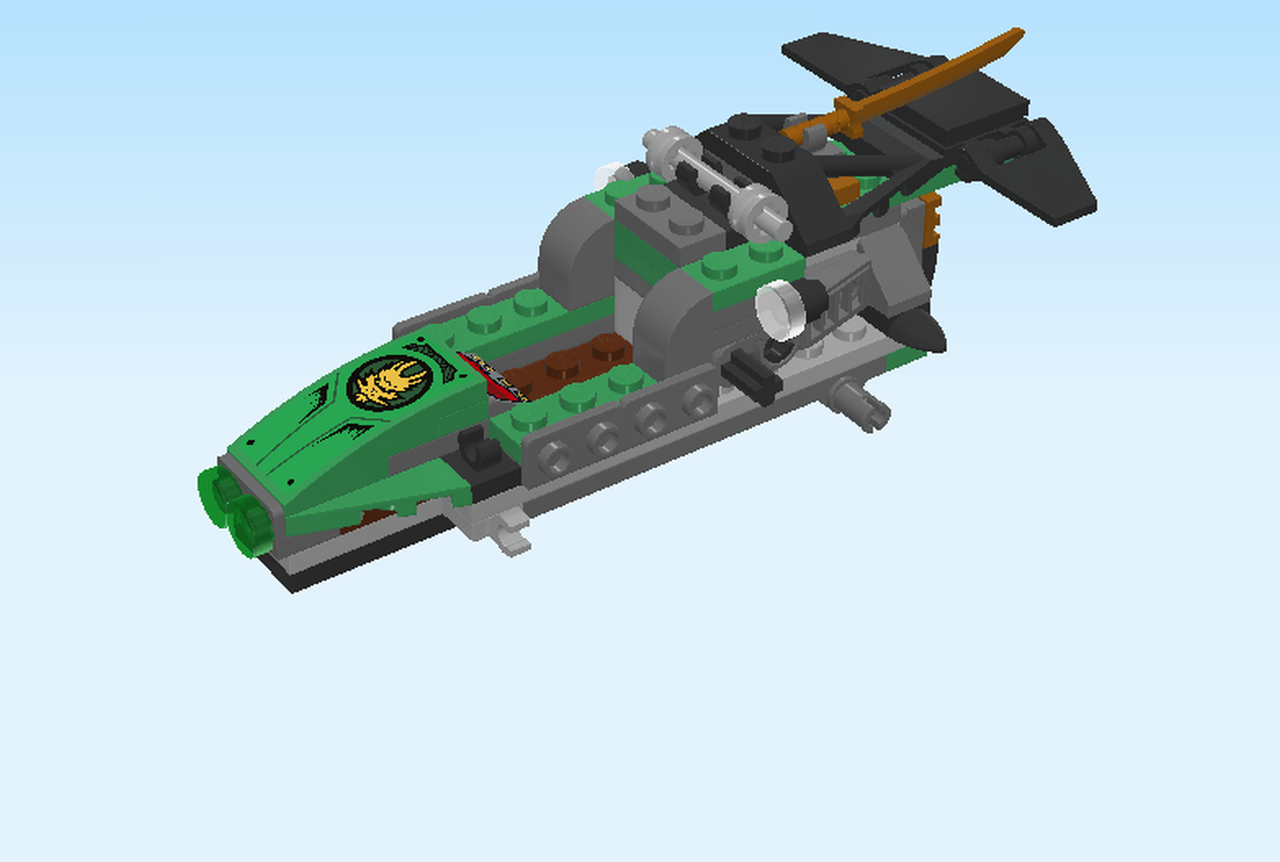
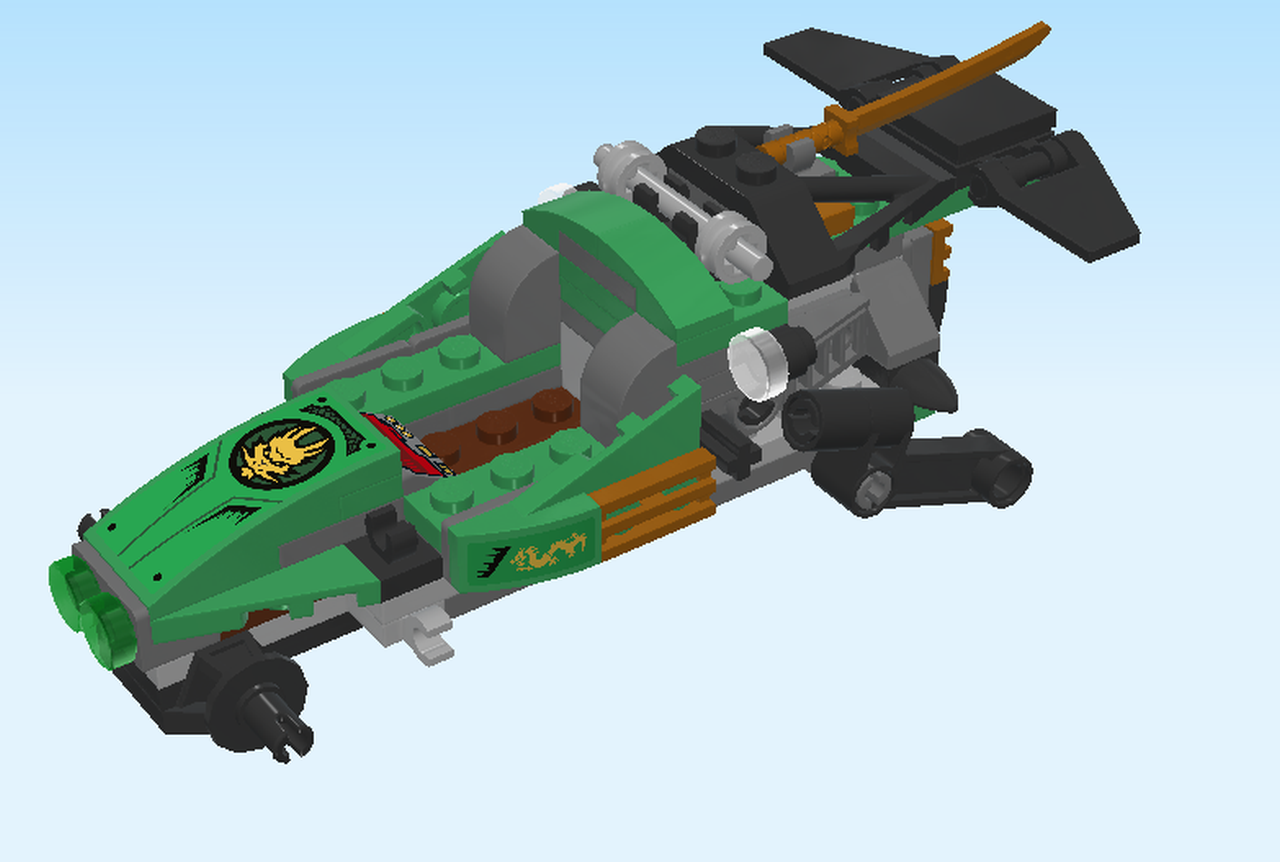
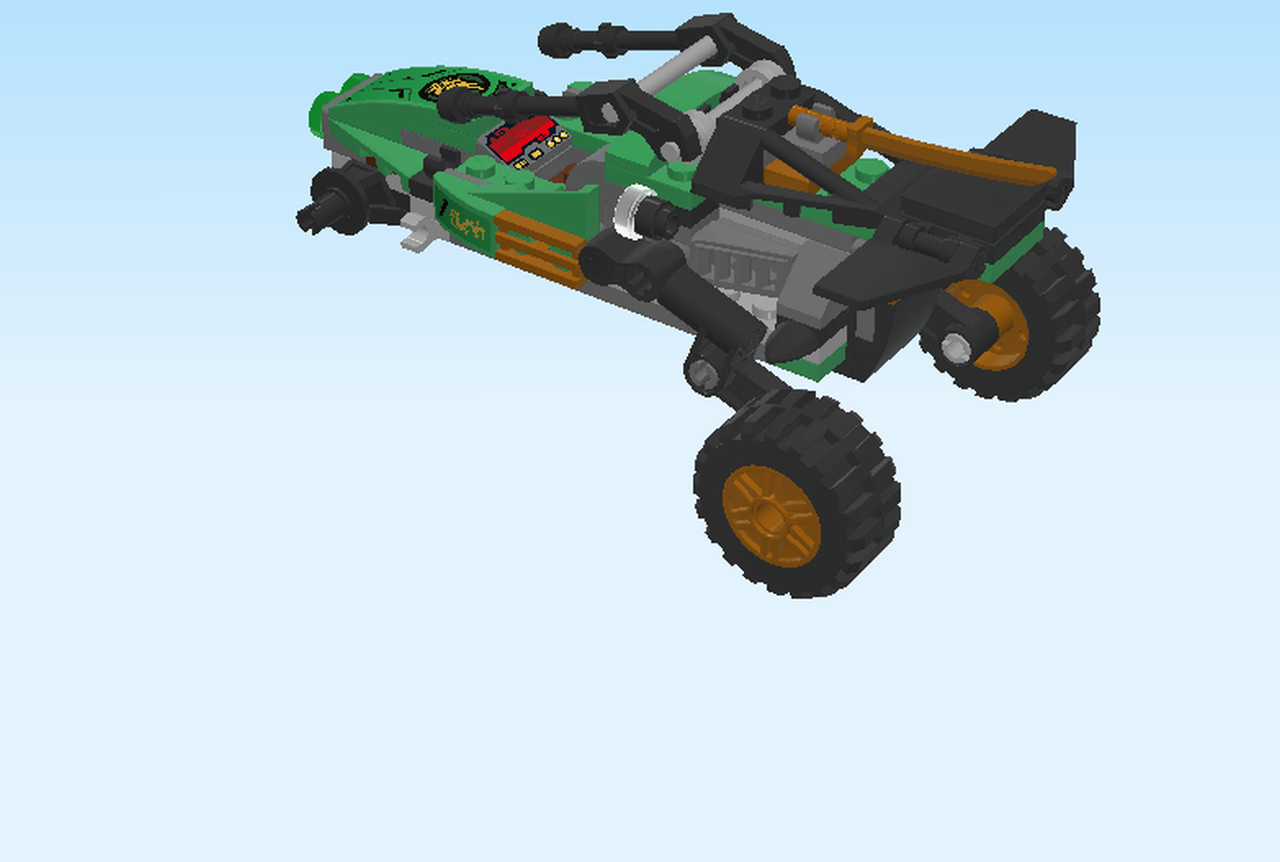
| Team up with Lloyd and race around in this Jungle Raider! This buggy’s awesome built-in suspension and large rubber tires help Lloyd tear across the jungle terrain with ease. Jump into the cockpit and prepare to fight! |
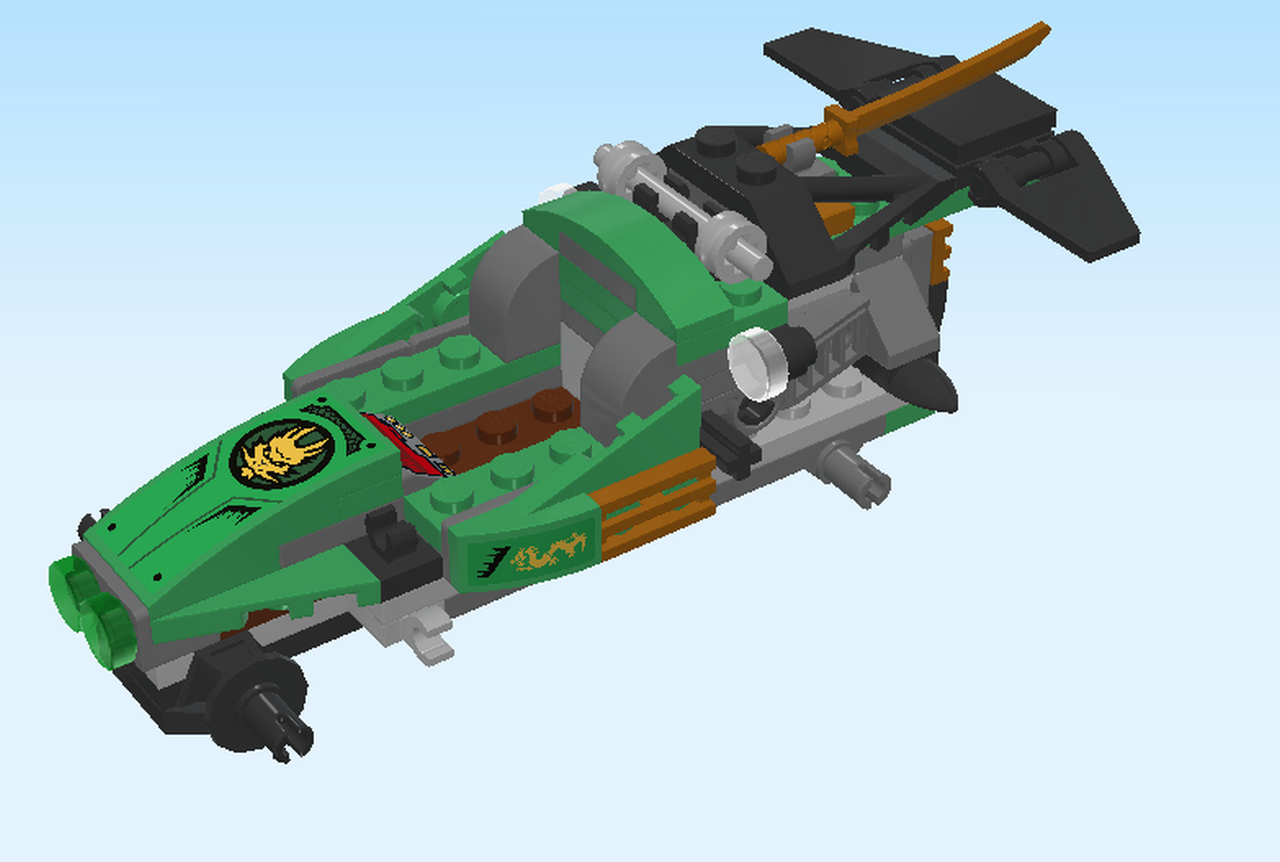
| The box cover shows the Jungle Raider buggy and Lloyd ninja action figure from season 4 of the TV series driving it. |
| Open the box. This can be tricky; ask someone to help you! |
| The box contains a booklet with visual building instructions and bags. Open the bags carefully. Before you get started, ask a sighted person to sort them by color. This way, finding the correct brick will be even faster! |
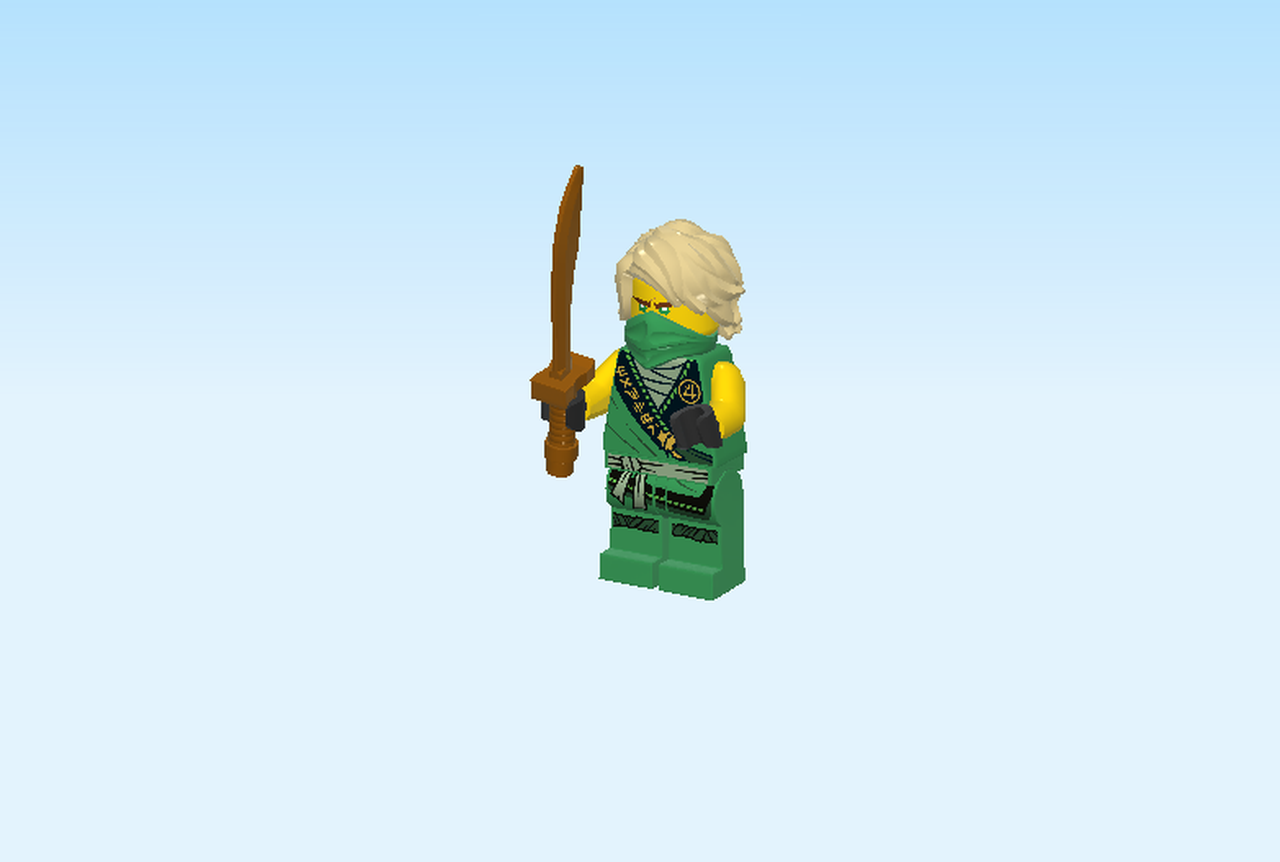
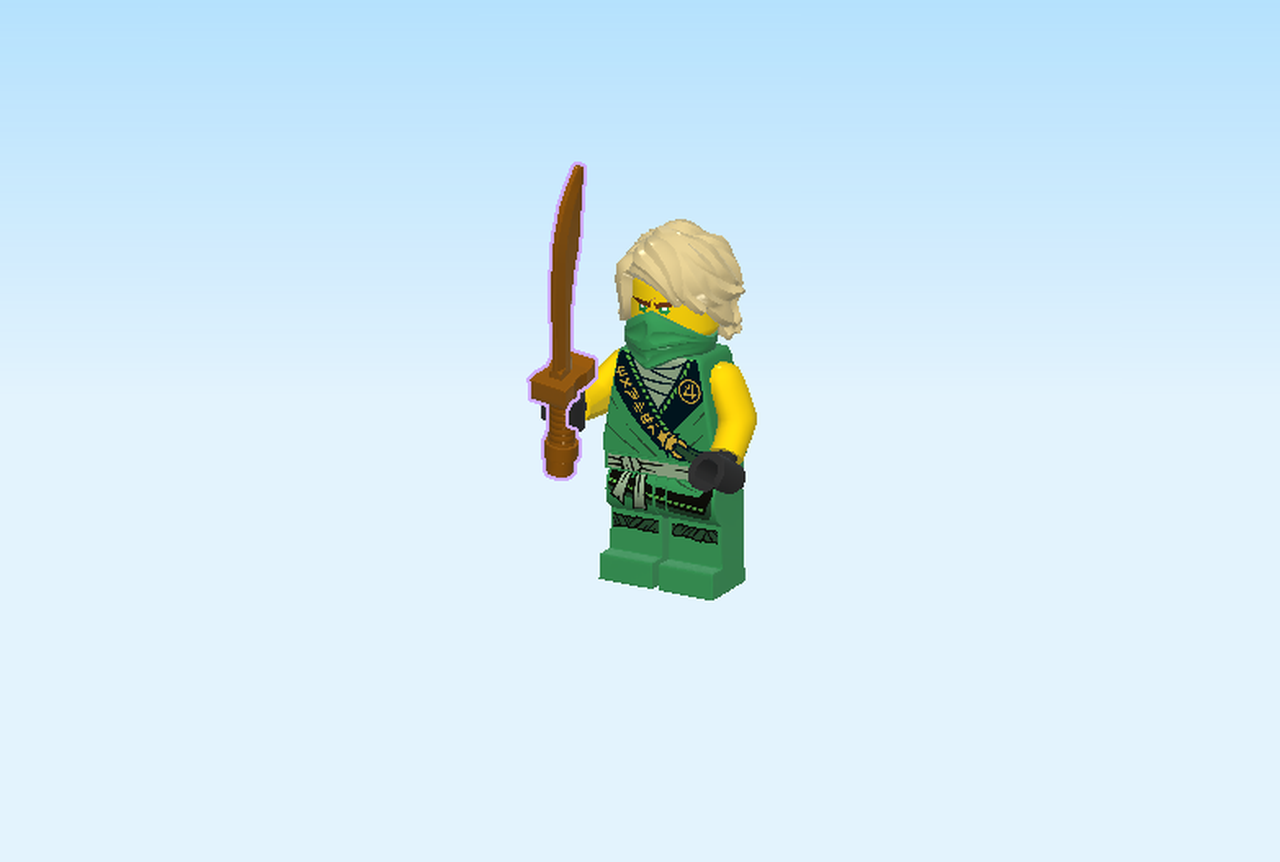
| In the first section we will build the Lloyd minifigure. |
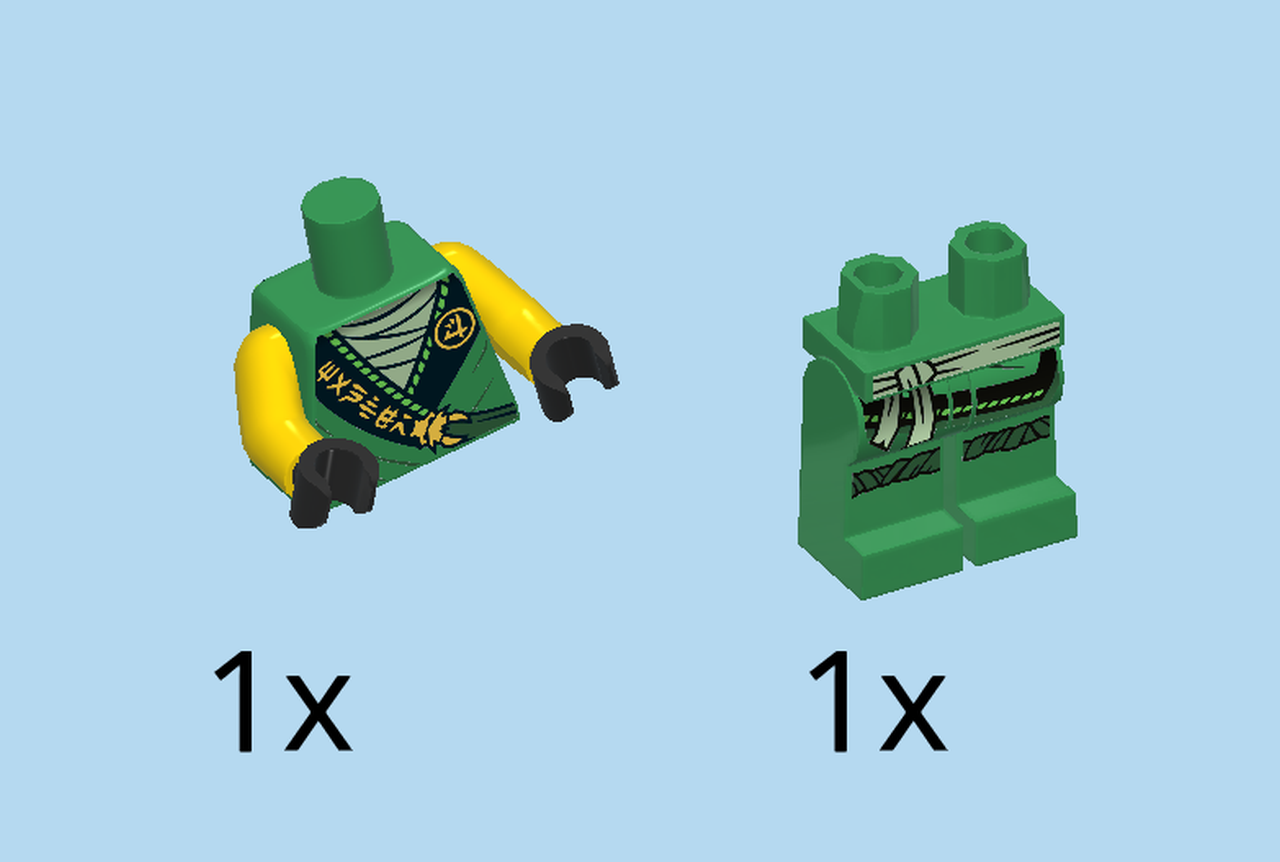
| Collect the following 2 pieces: |
| 1 dark green, bright yellow and black upper part of the body, |
| and 1 dark green pair of legs. |
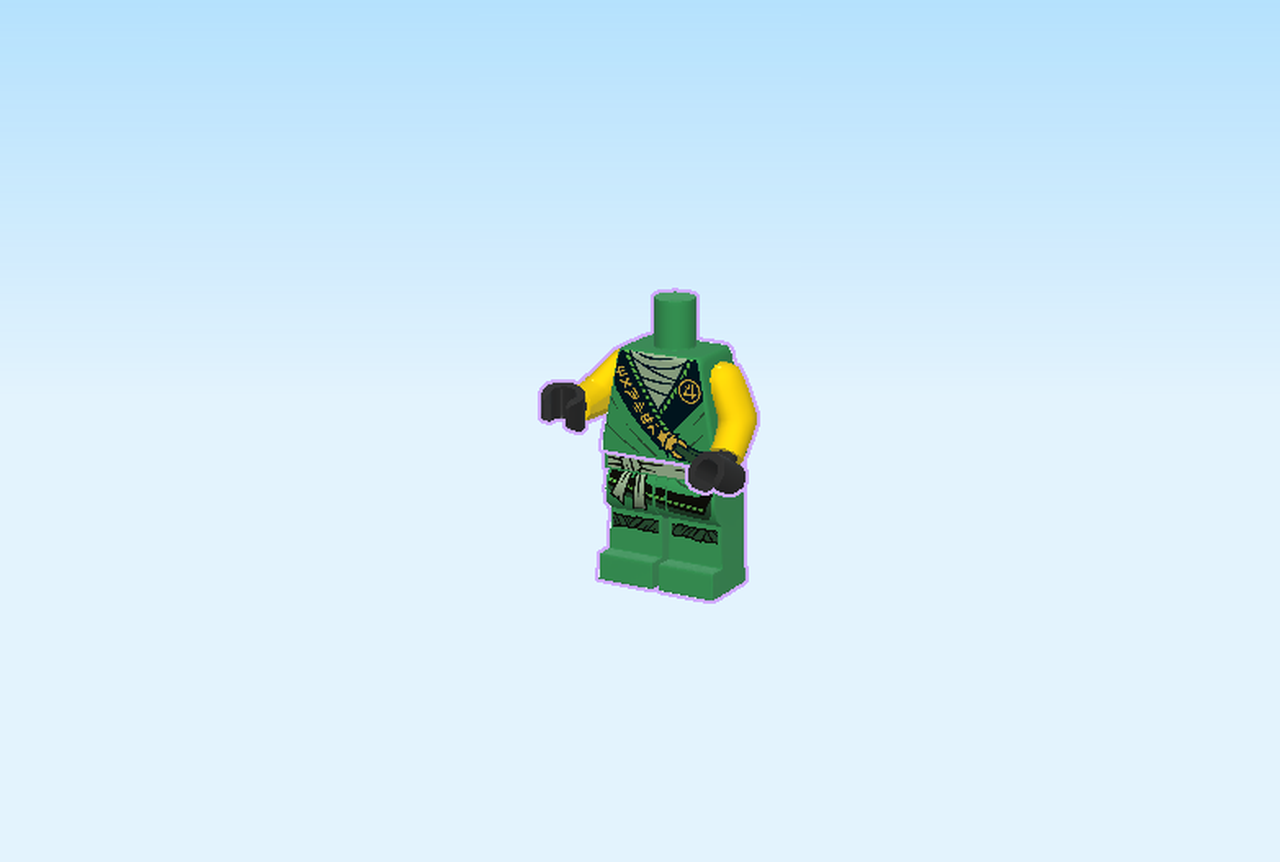
| Put the upper part of the body on the pair of legs. |
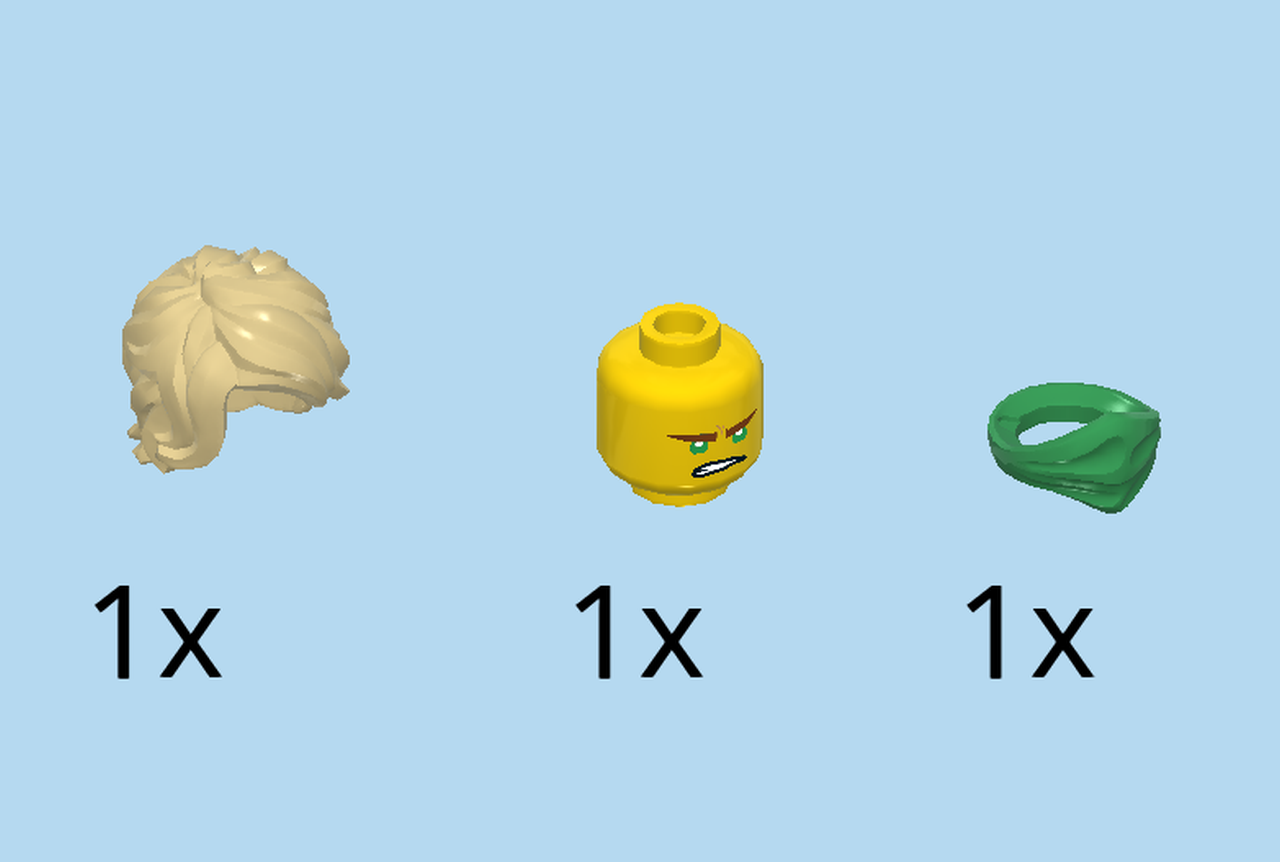
| Collect the following 3 pieces: |
| 1 dark green mask, |
| 1 bright yellow head, |
| and 1 pale ocher yellow hairpiece. |
| Put the mask around the neck. |
| Put the head on top. |
| Put the hair on top of the head. |
| Find 1 warm gold sword with wide blade. |
| Put it in his right hand. |
| Lloyd is now ready to fight his way into the jungle using his sword. |
| In the next section we will build the Jungle Raider. |
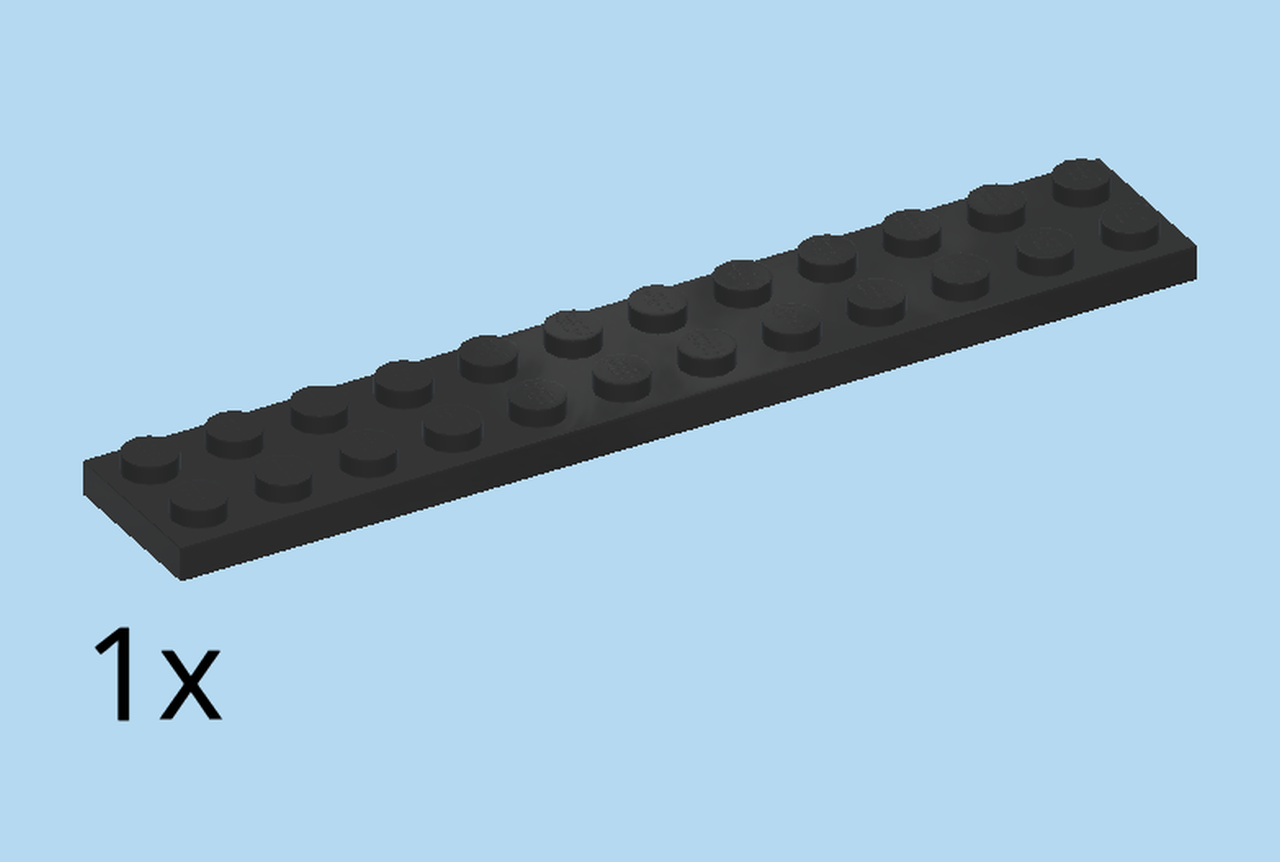
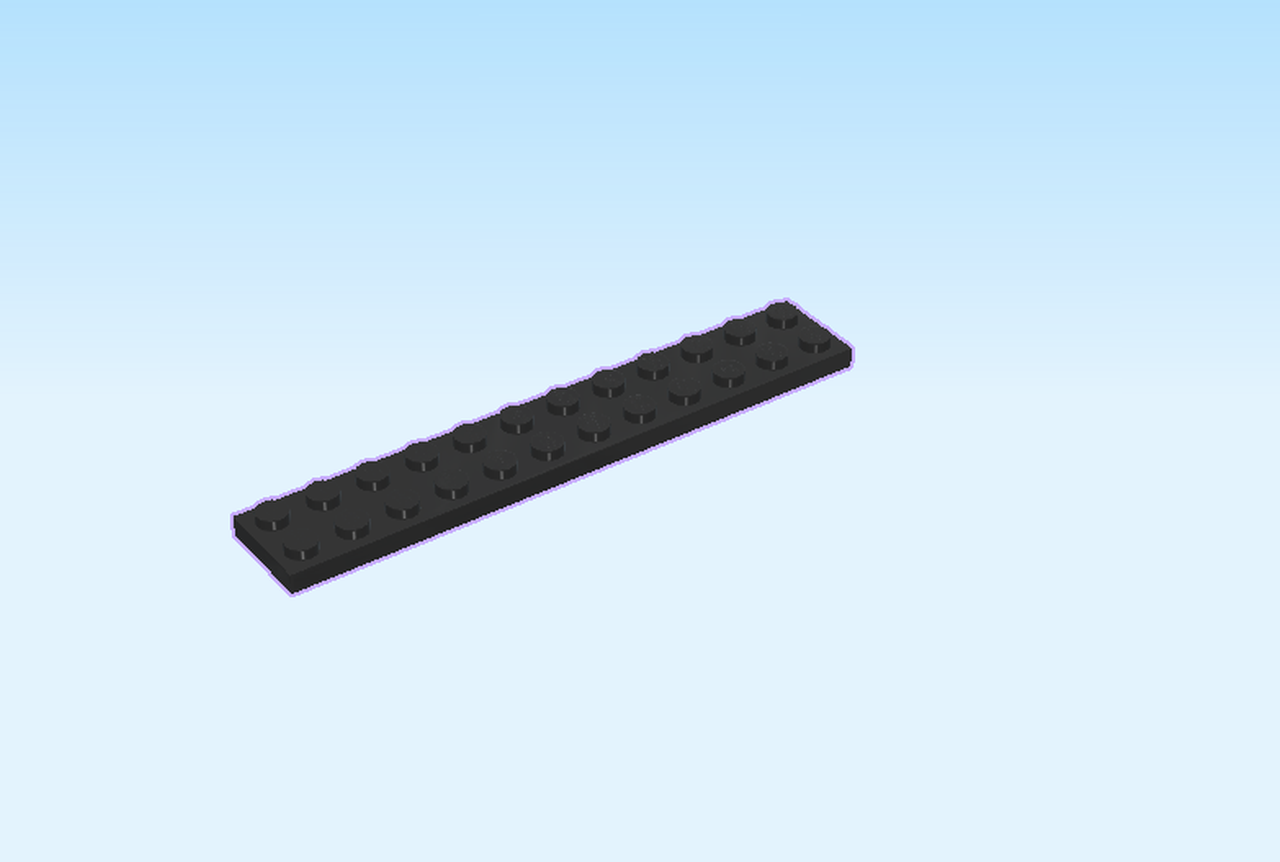
| Find 1 black plate 2x12. |
| Put it horizontally on the table. |
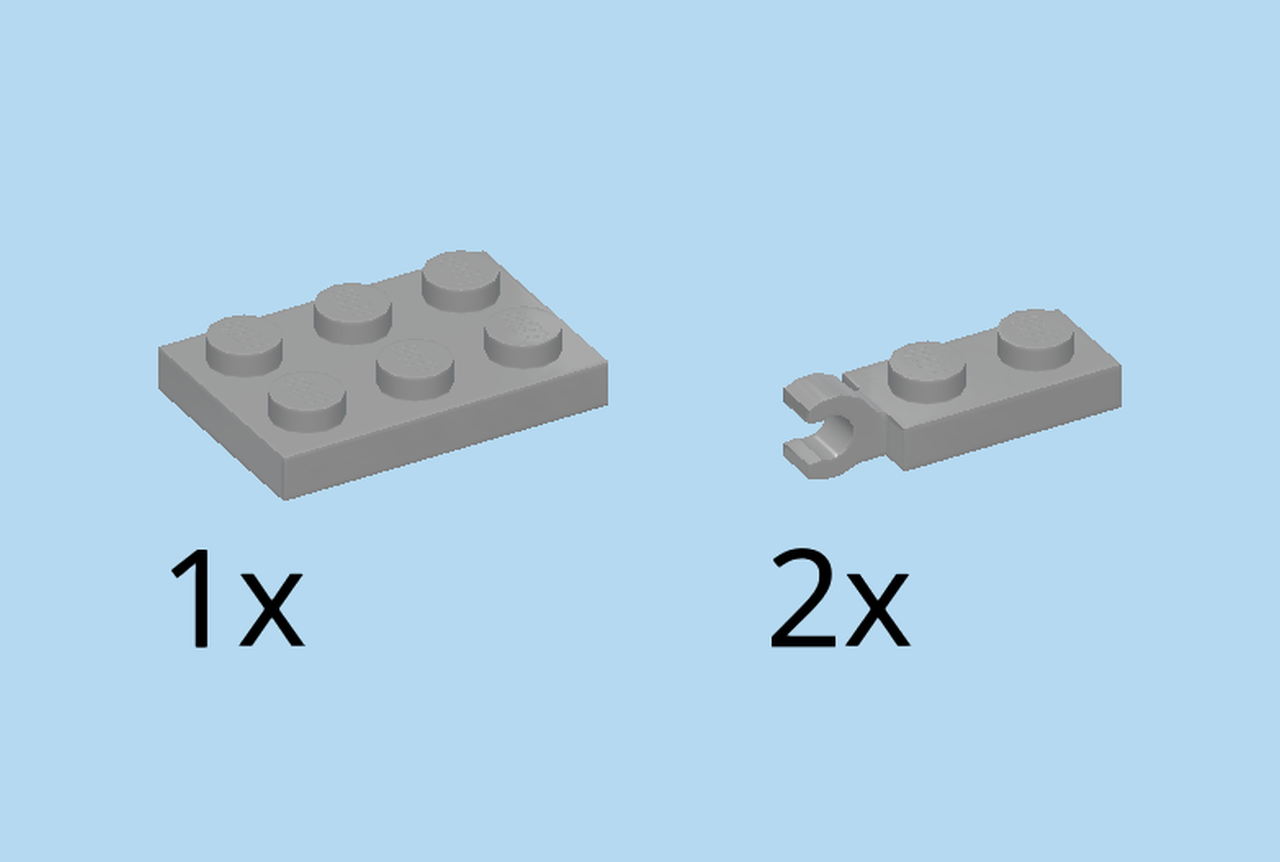
| Collect the following 3 pieces: |
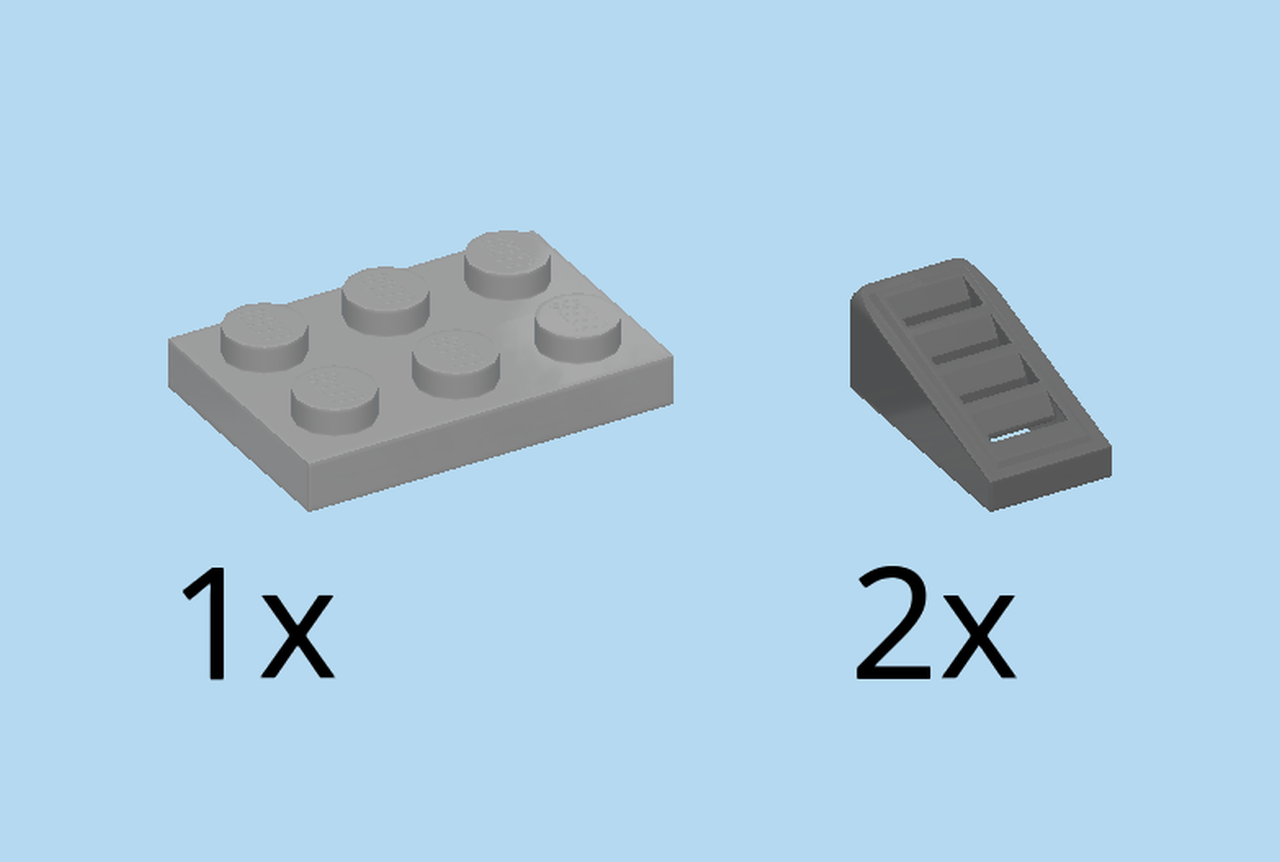
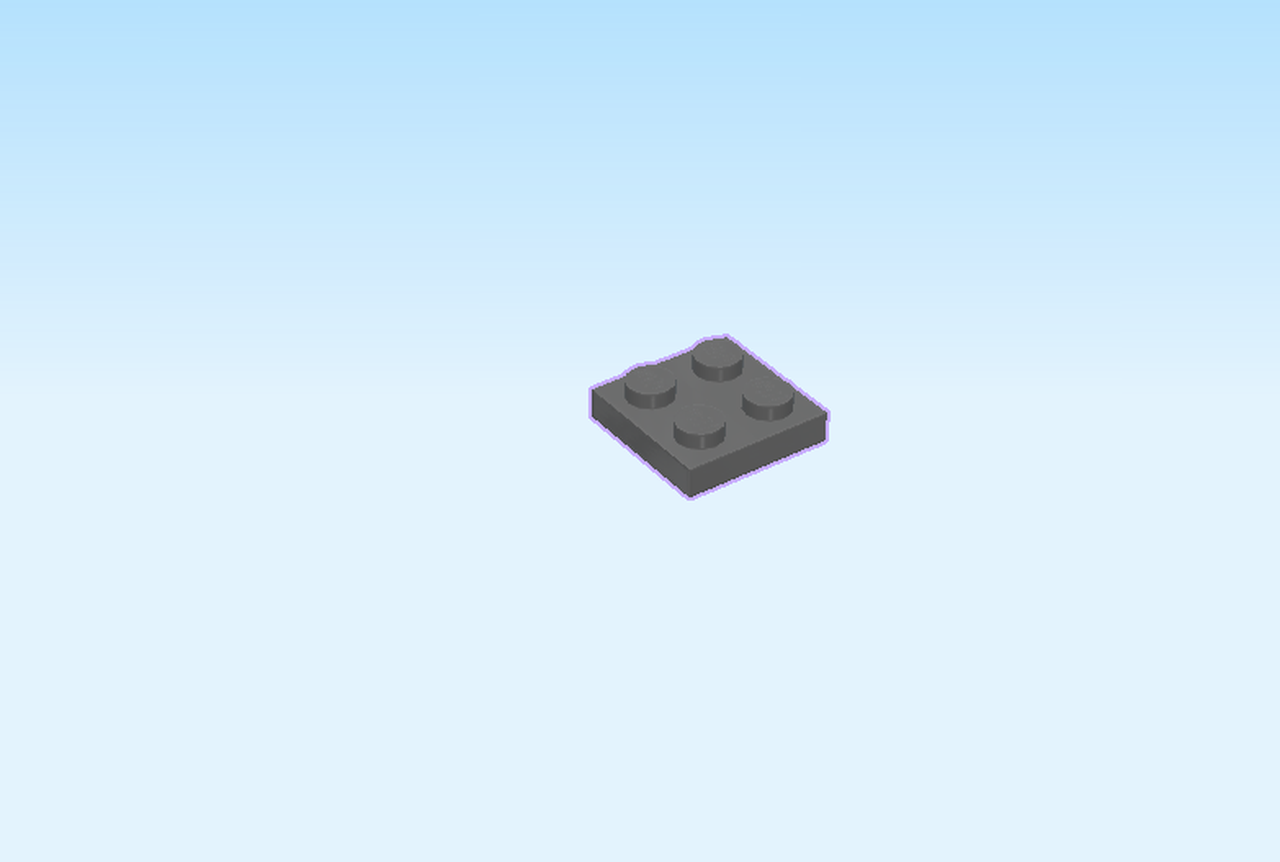
| 1 medium stone grey plate 2x3, |
| and 2 medium stone grey plates 2x1 with vertical clasp on short end. |
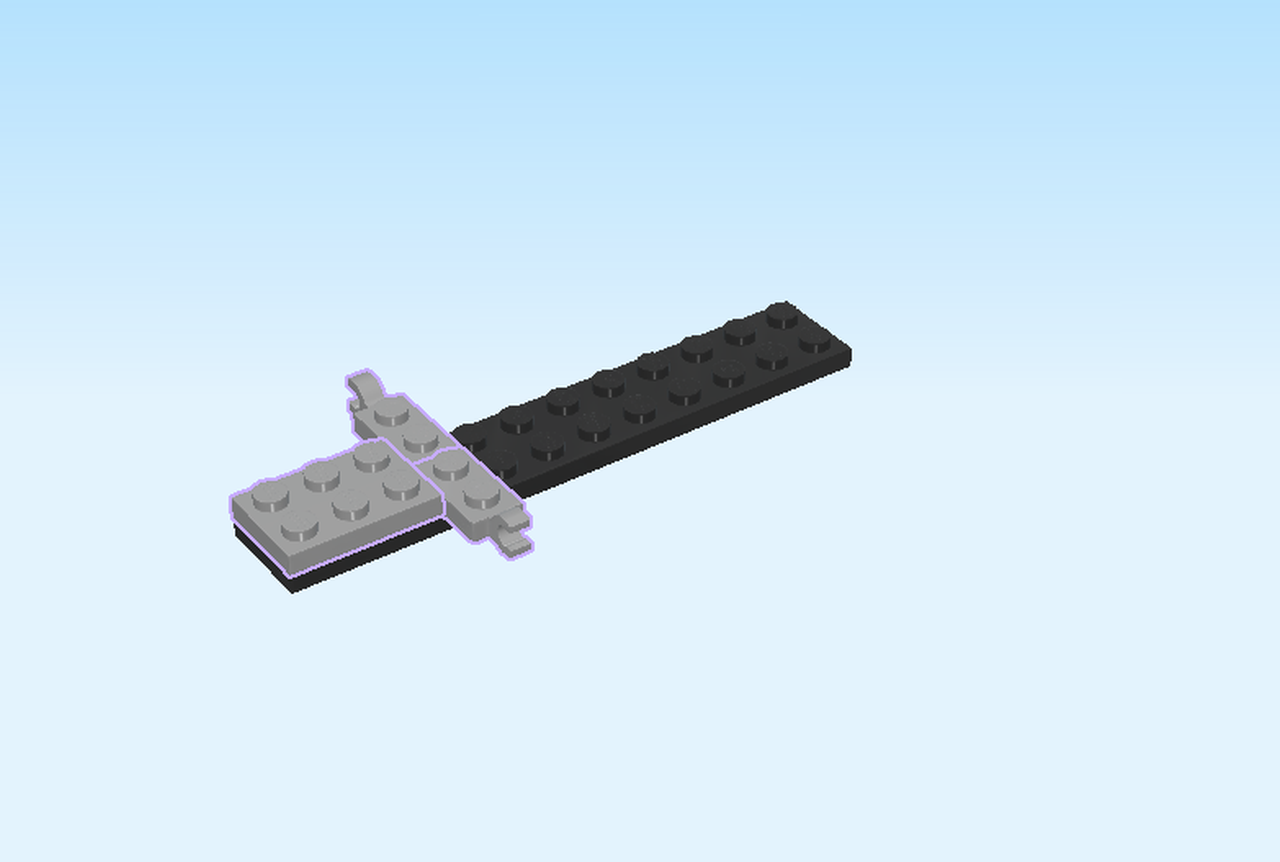
| Put the plate 2x3 horizontally on the left edge. |
| Put 1 plate 2x1 with clasp on the front row to the right of the previous piece, clasp and 1 knob overhanging to the front. |
| Repeat symmetrically at the back. |
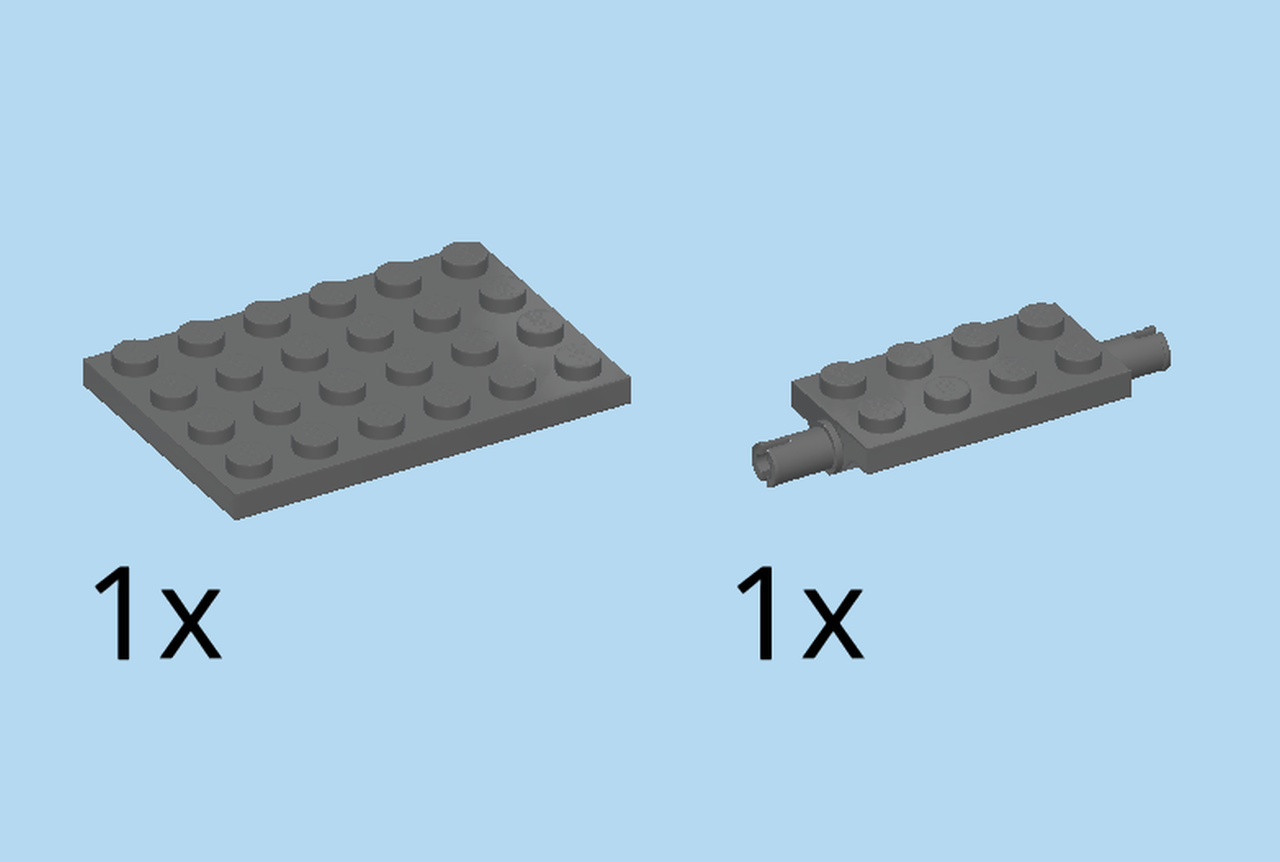
| Collect the following 2 pieces: |
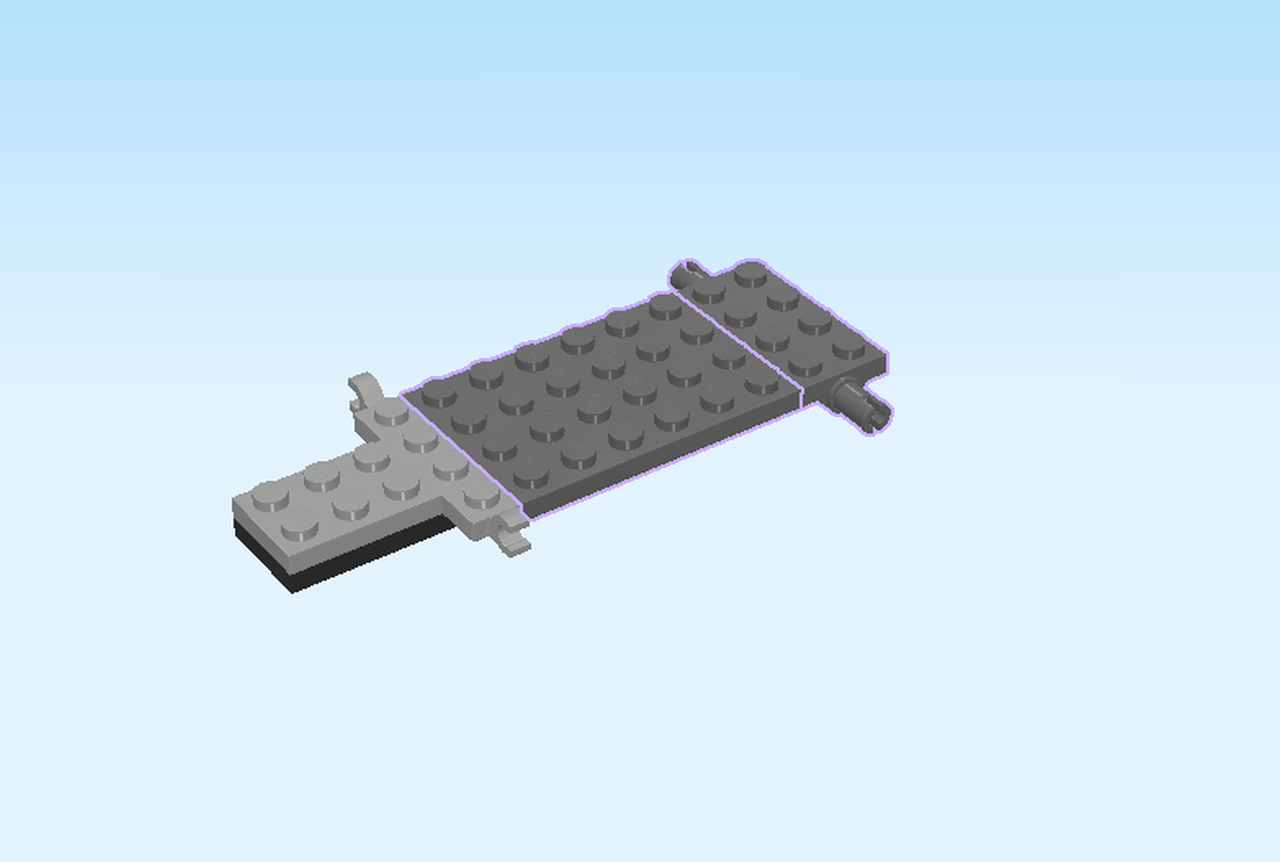
| 1 dark stone grey plate 4x6, |
| and 1 dark stone grey plate 2x4 with 2 side connectors. |
| Put the plate 4x6 horizontally to the right of the previous pieces, one row overhanging to the front and the back. |
| Put the plate 2x4 with 2 side connectors vertically to the right, one row overhanging to the front and the back. |
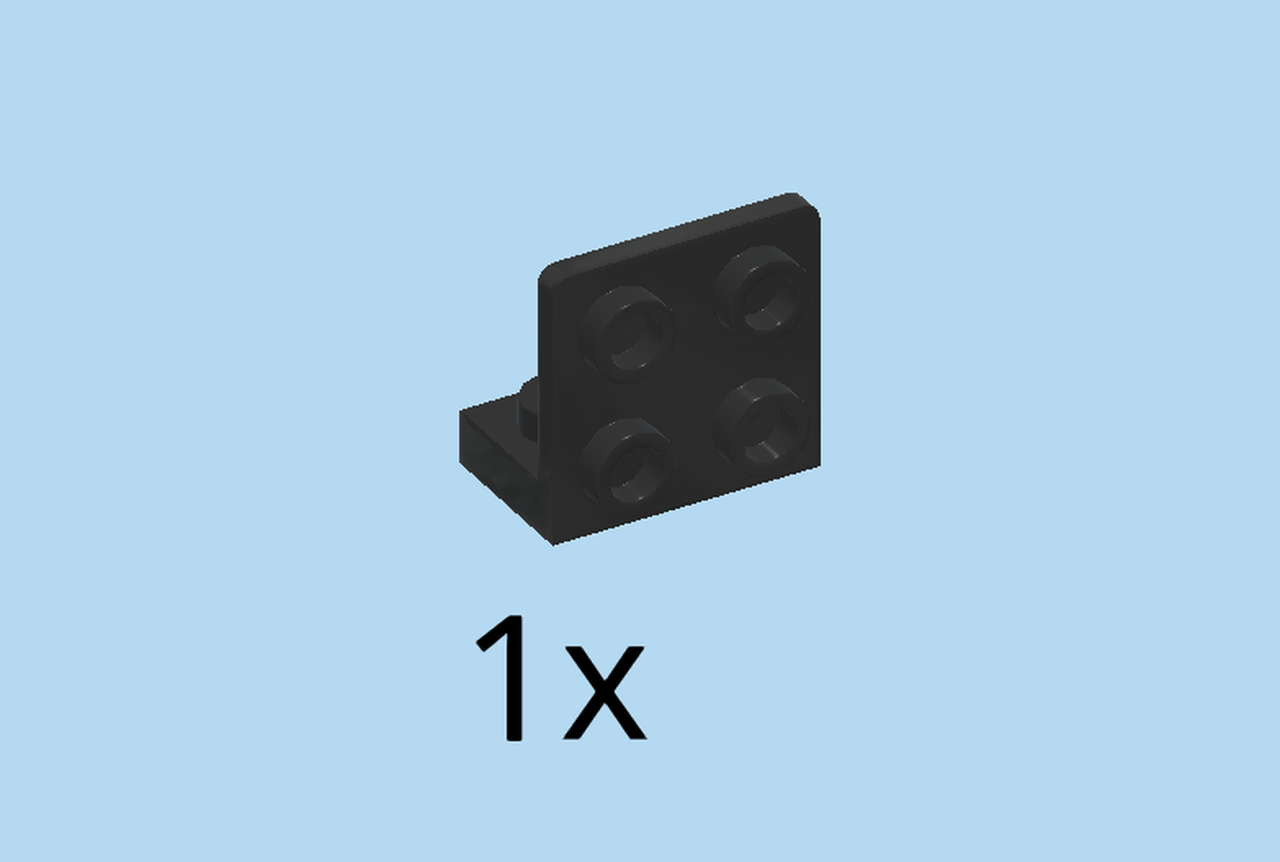
| Find 1 dark stone grey bottom angle plate 1x2 - 1x2 with side 2 knobs. |
| Put it vertically on the leftmost column of the structure, knobs pointing to the left. |
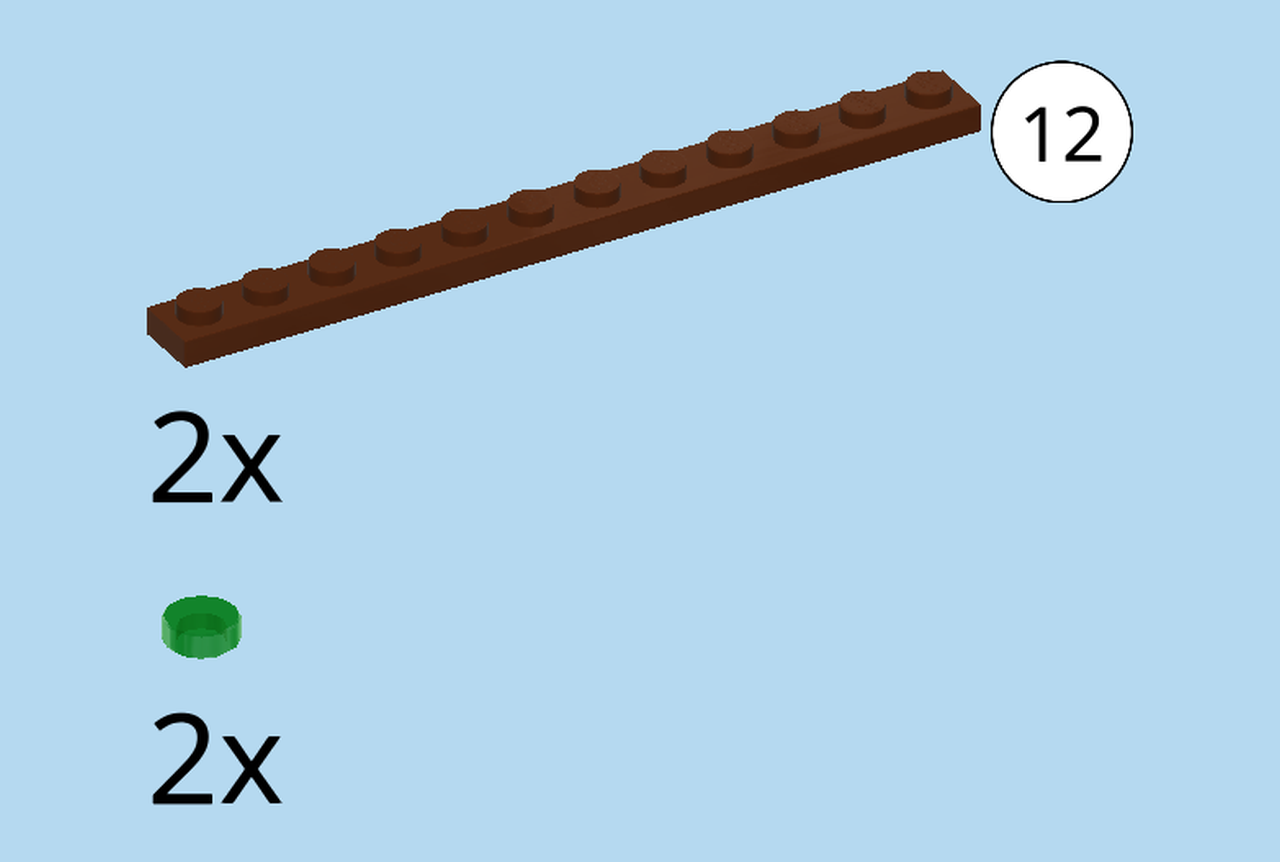
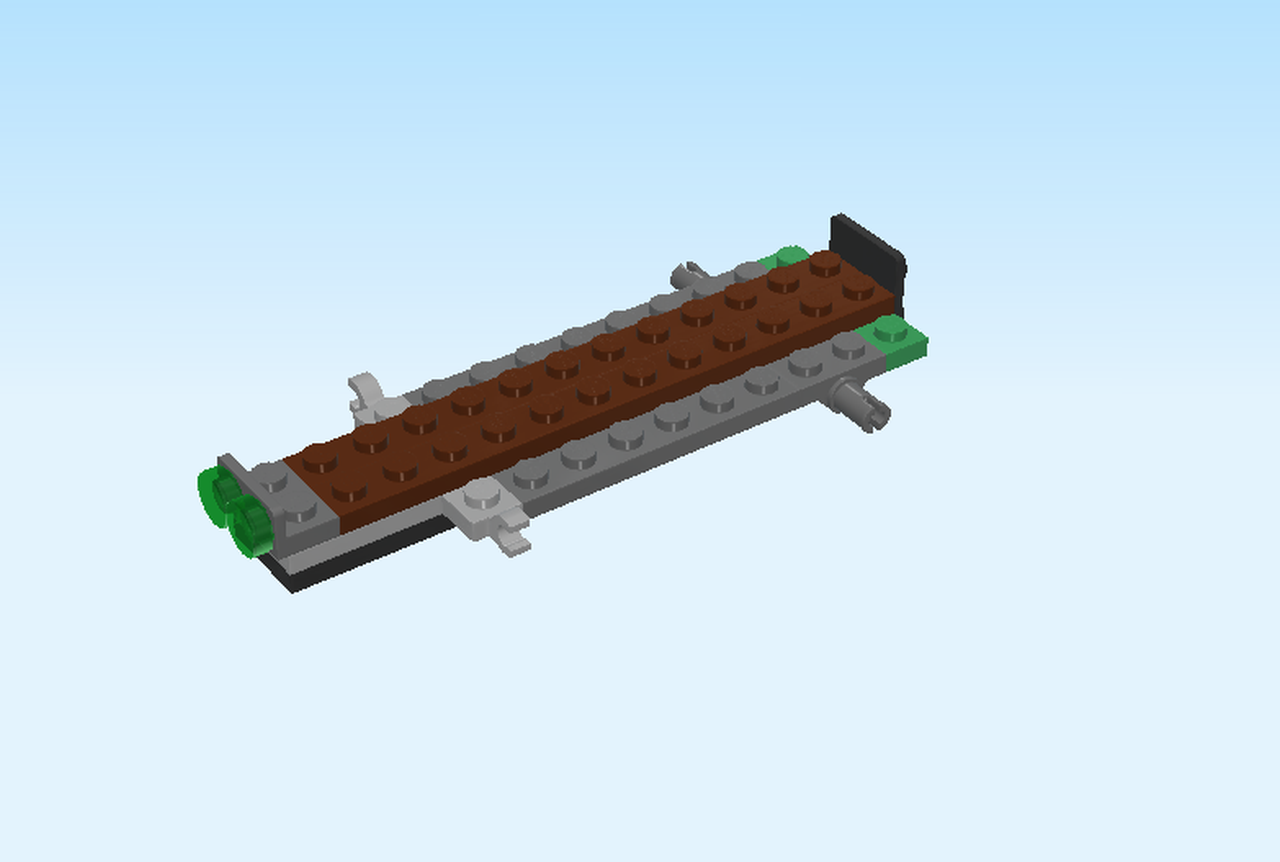
| Collect the following 4 pieces: |
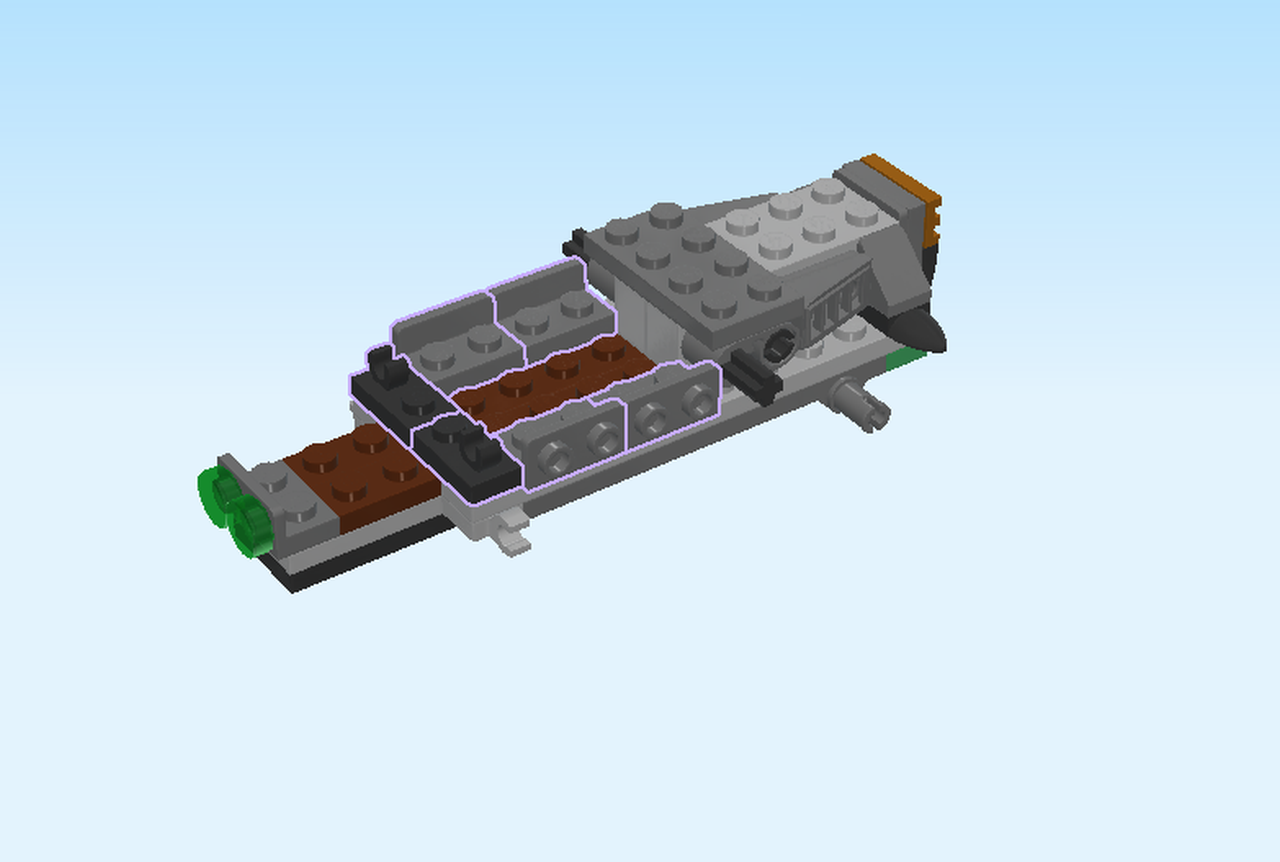
| 2 reddish brown plates 1x12, |
| and 2 transparent green round tiles 1x1. |
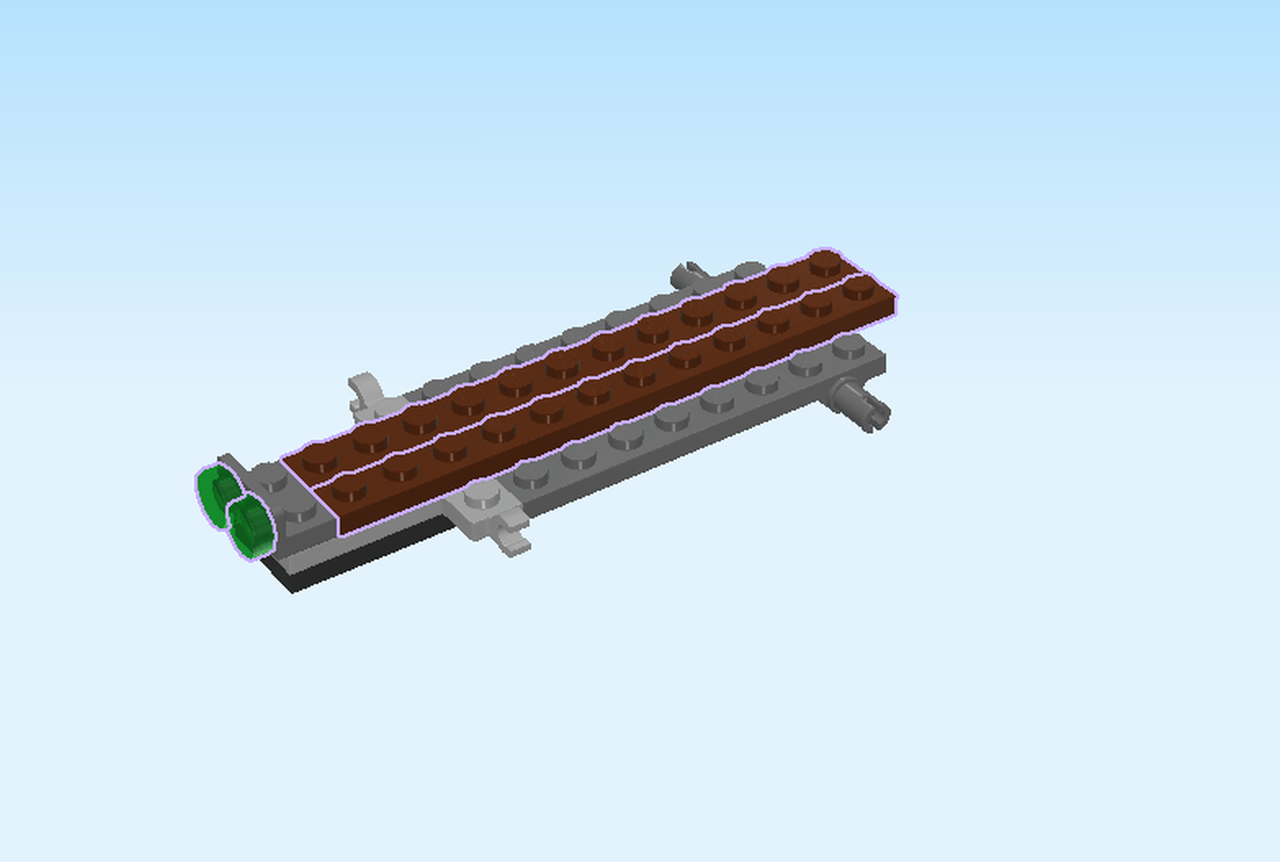
| Put 1 plate 1x12 horizontally to the right of the previous piece and across the structure on the back row, 1 knob overhanging on the right. |
| Put the other one horizontally in front of the previous piece. |
| Put the 2 round tiles upright on the 2 knobs pointing left on the structure. |
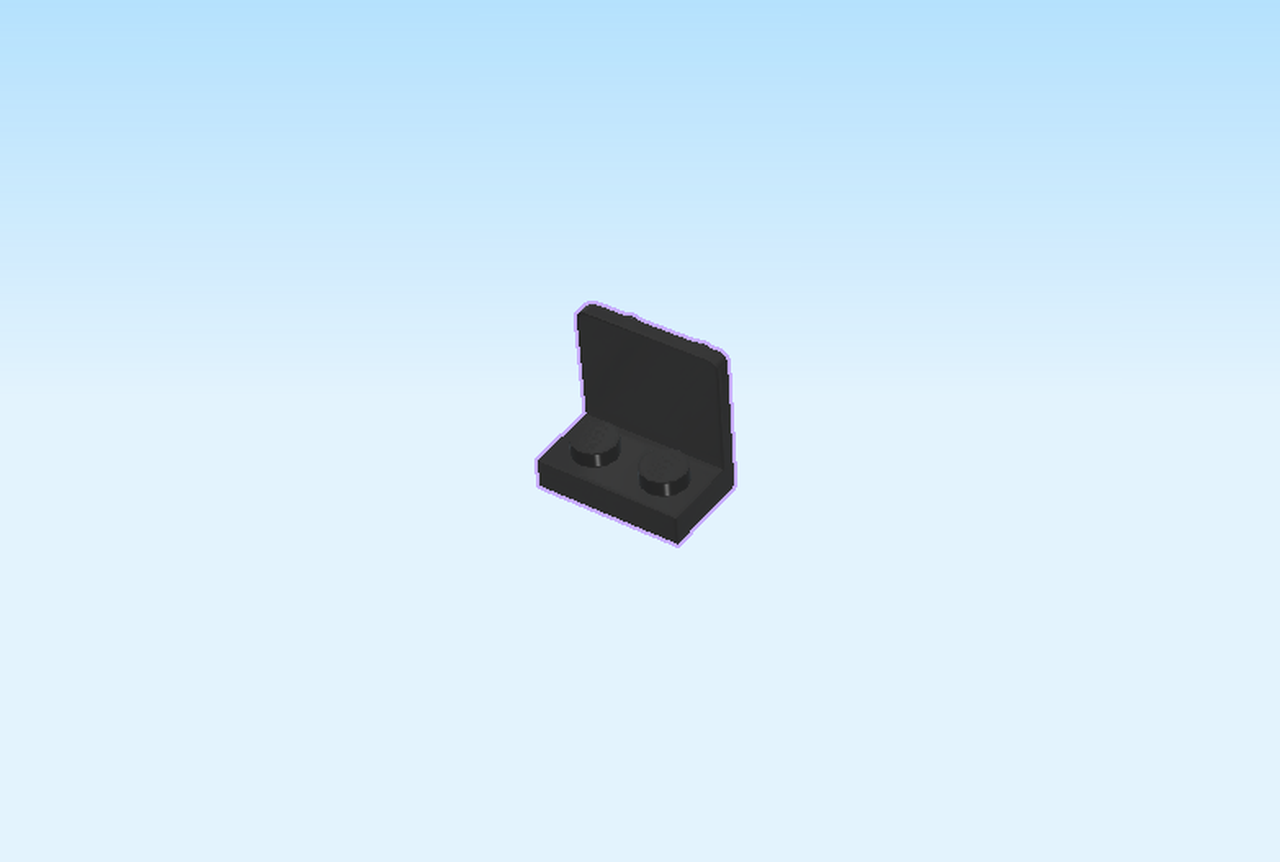
| Find 1 black bottom angle plate 1x2 - 2x2 with 4 side knobs. |
| Put it horizontally on the table, 4 side knobs to the back. |
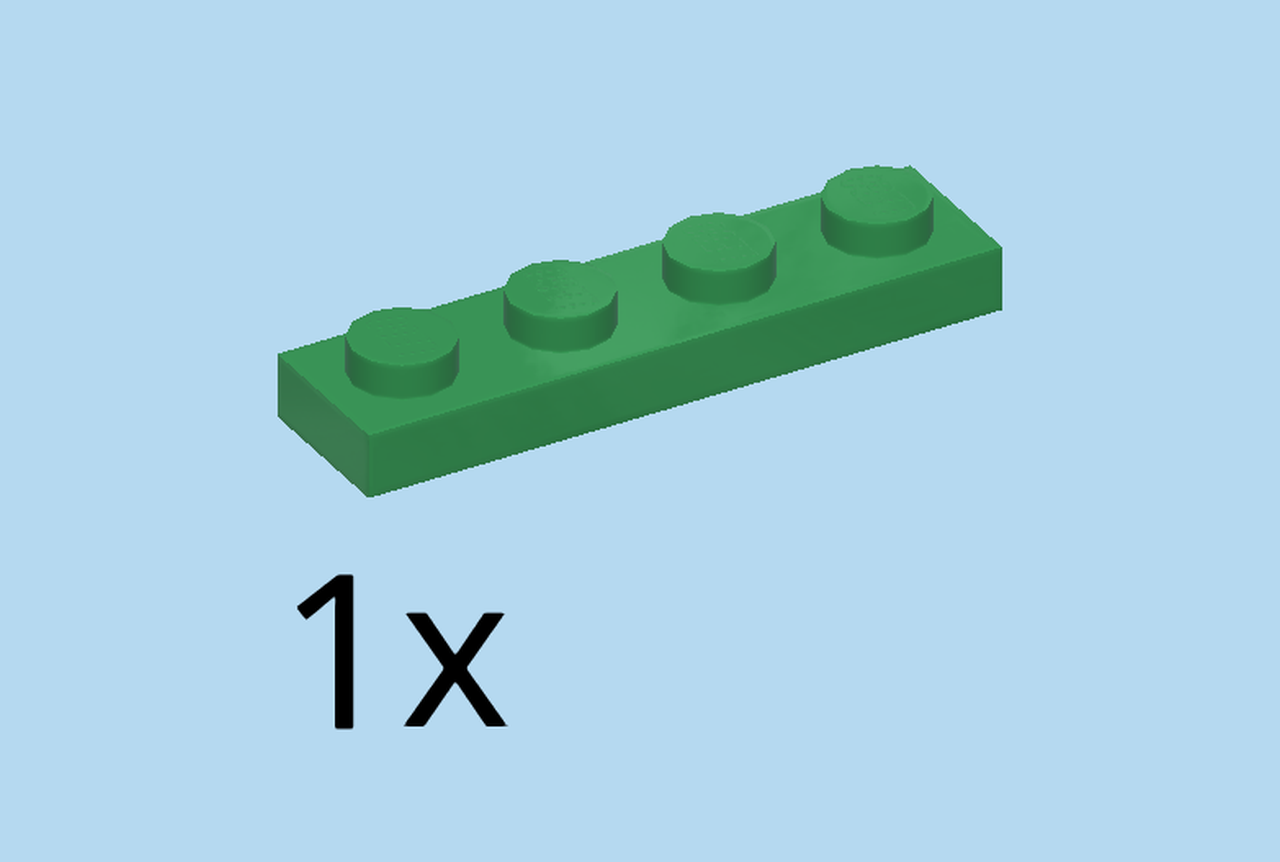
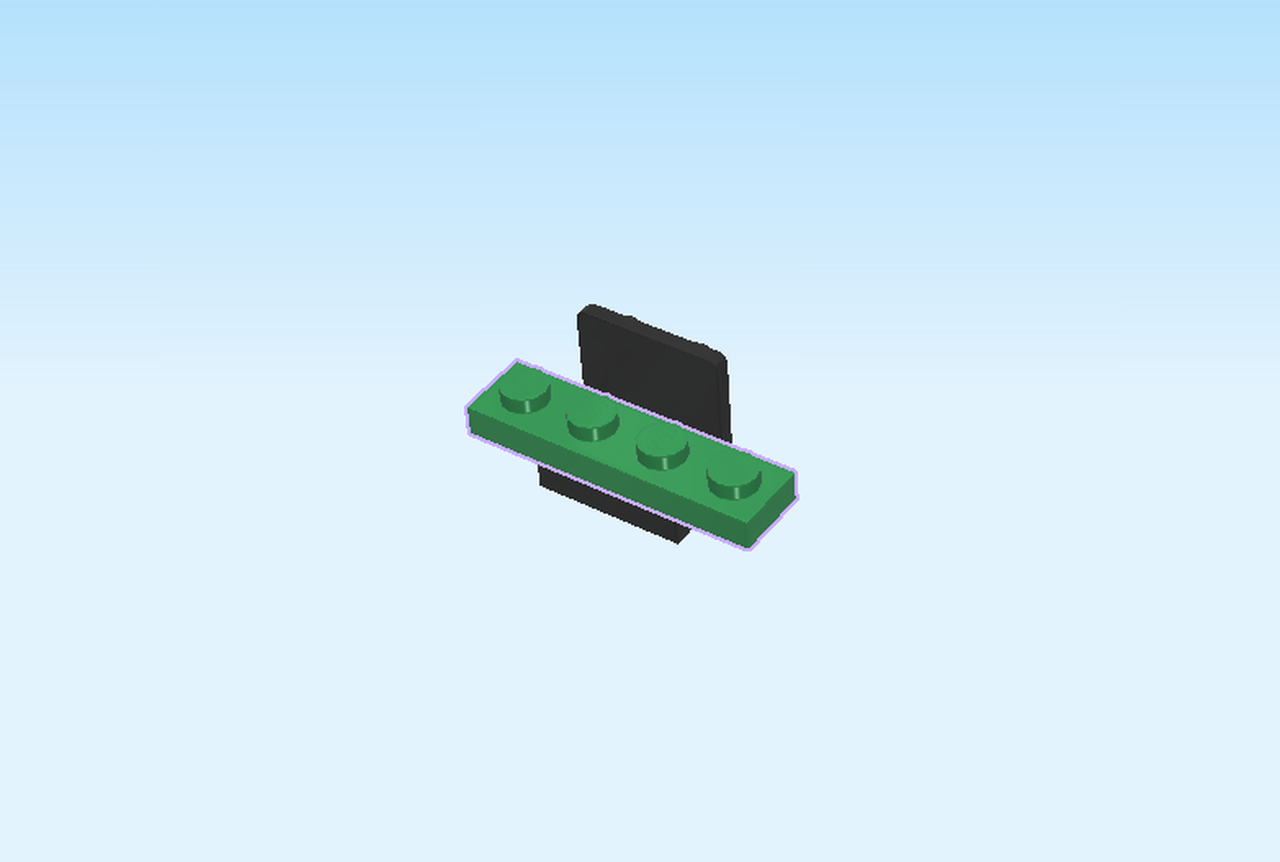
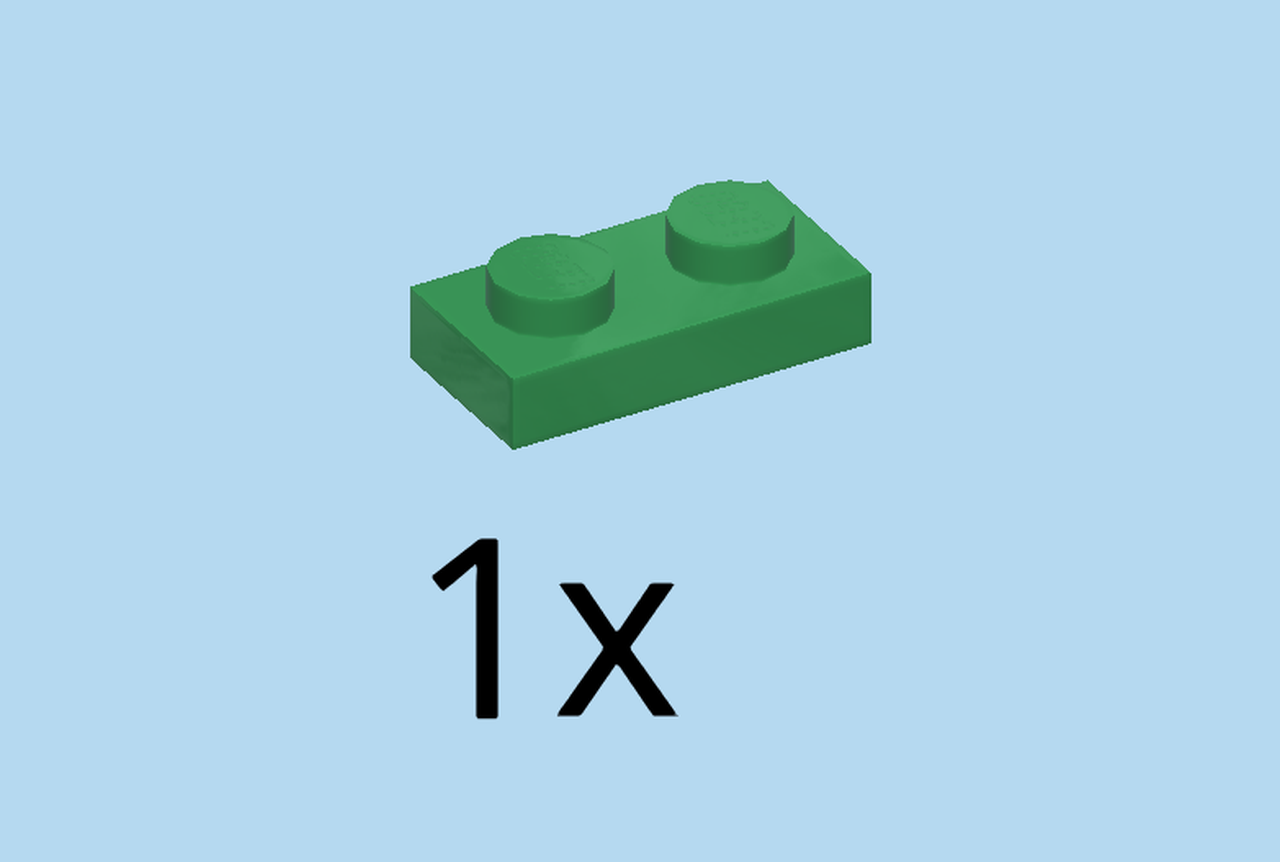
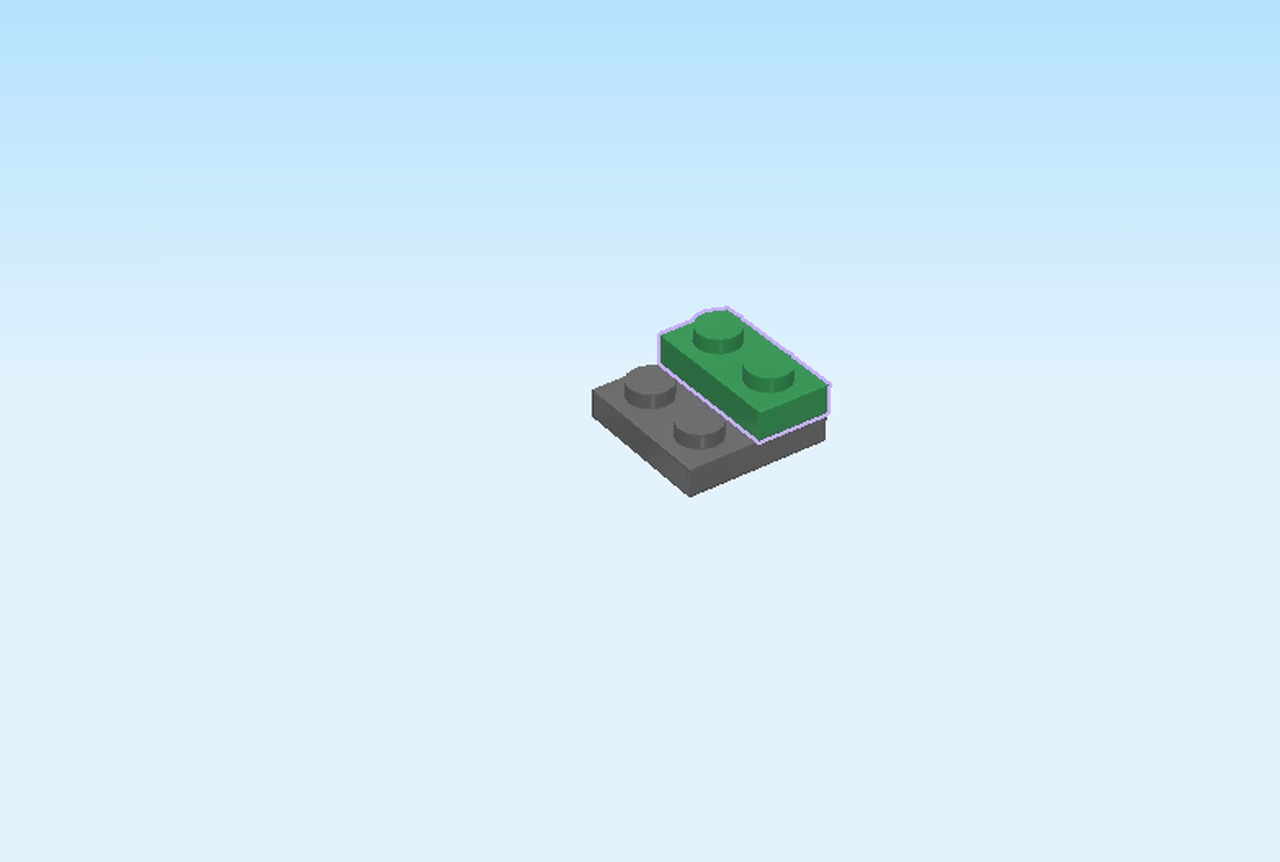
| Find 1 dark green plate 1x4. |
| Put it horizontally on top, one knob overhanging on each side. |
| Careful! Now we will attach this small build to the structure. |
| Put it vertically underneath the overhanging plates on the right side of the structure, side knobs to the right. |
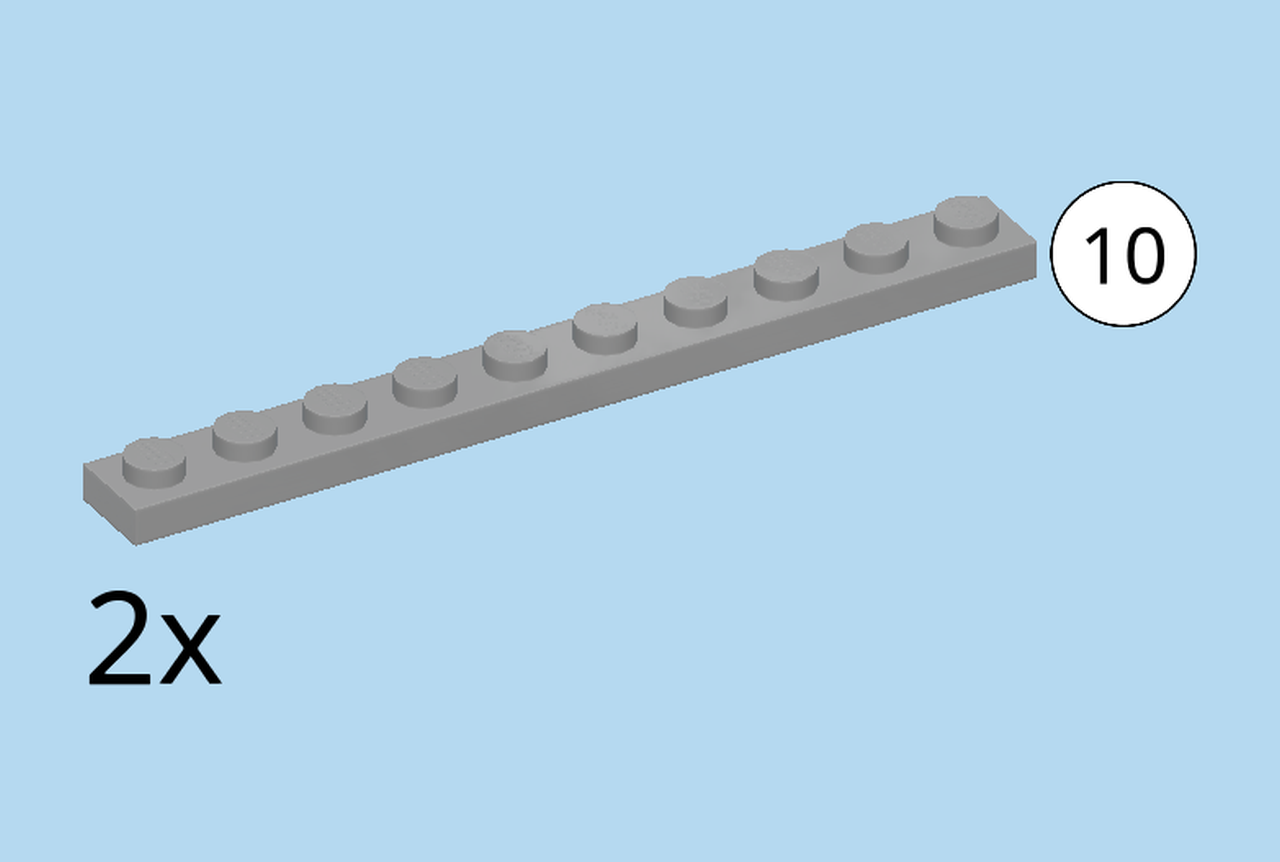
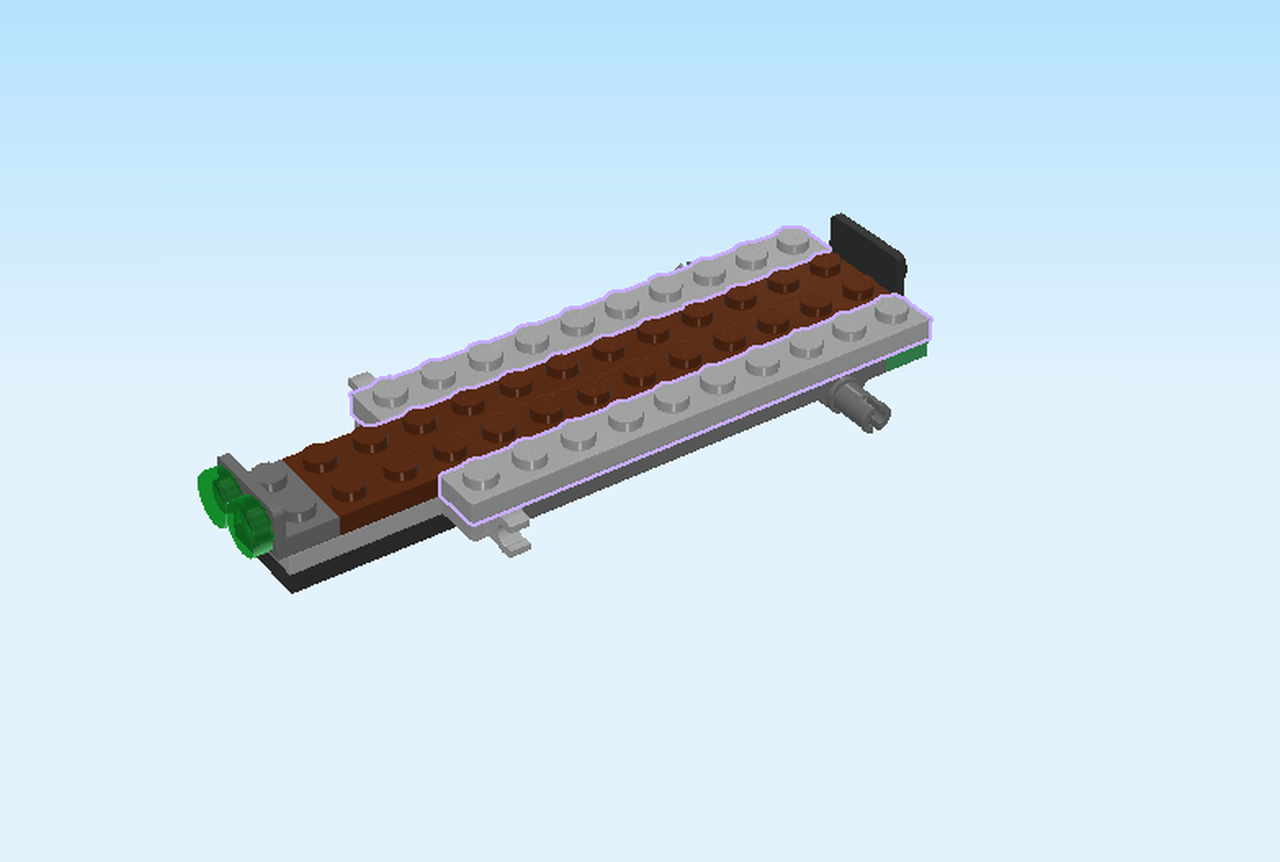
| Find 2 medium stone grey plates 1x10. |
| Put 1 horizontally on the frontmost row, starting from the right. |
| Repeat symmetrically at the back. |
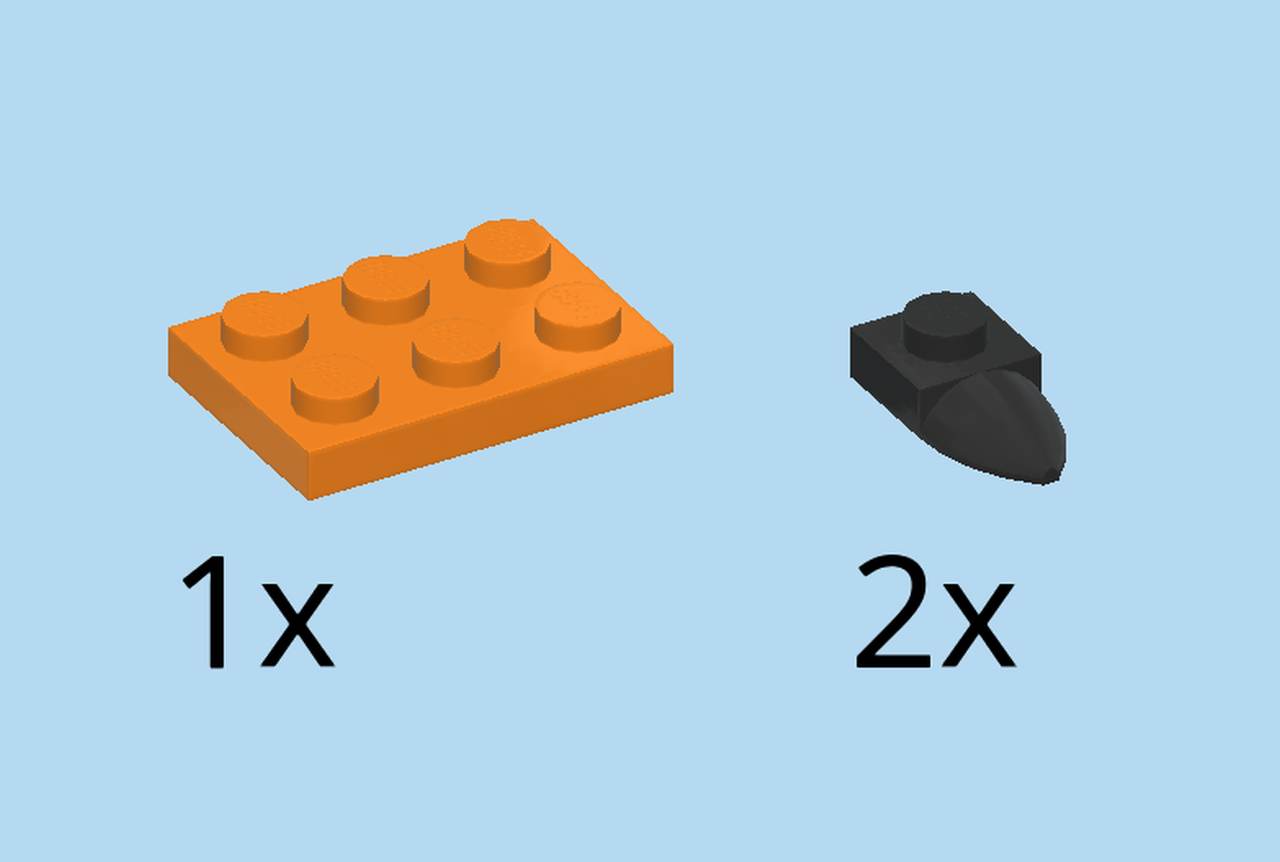
| Collect the following 3 pieces: |
| 1 bright orange plate 2x3, |
| and 2 black plates 1x1 with tooth. |
| Put 1 plate 1x1 with tooth on the previous piece on the rightmost knob, tooth overhanging to the back. |
| Repeat symmetrically at the front. |
| Put the plate 2x3 horizontally between the 2 previous pieces, starting from the right. |
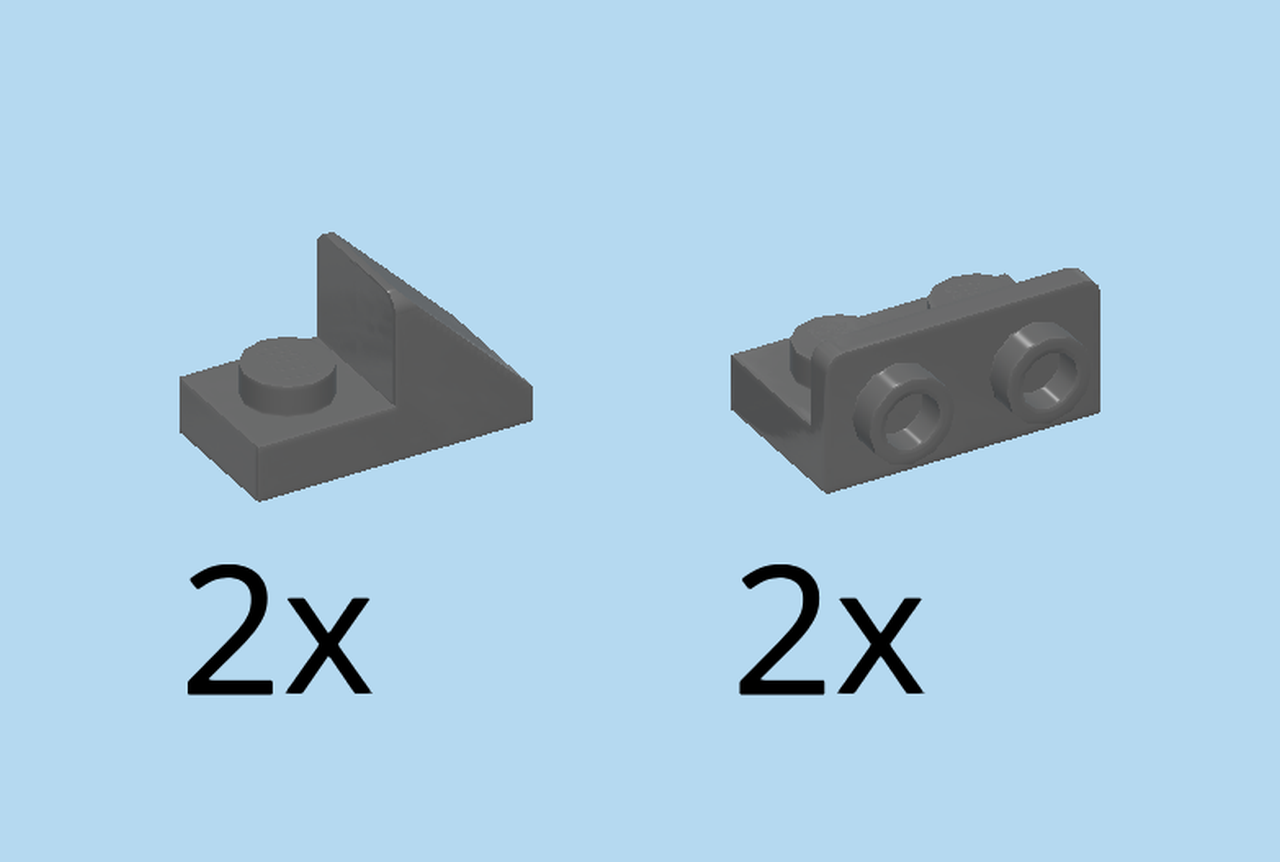
| Collect the following 4 pieces: |
| 2 dark stone grey plates 1x2 with top roof tile, |
| and 2 dark stone grey bottom angle plates 1x2 - 1x2 with side 2 knobs. |
| Put 1 plate 1x2 with top roof tile vertically on the rightmost column on the front two knobs, roof tile to the front. |
| Repeat symmetrically at the back. |
| Put 1 bottom angle plate 1x2 horizontally to the left on the second column from the front, side knobs to the front. |
| Repeat symmetrically at the back, side knobs to the back. |
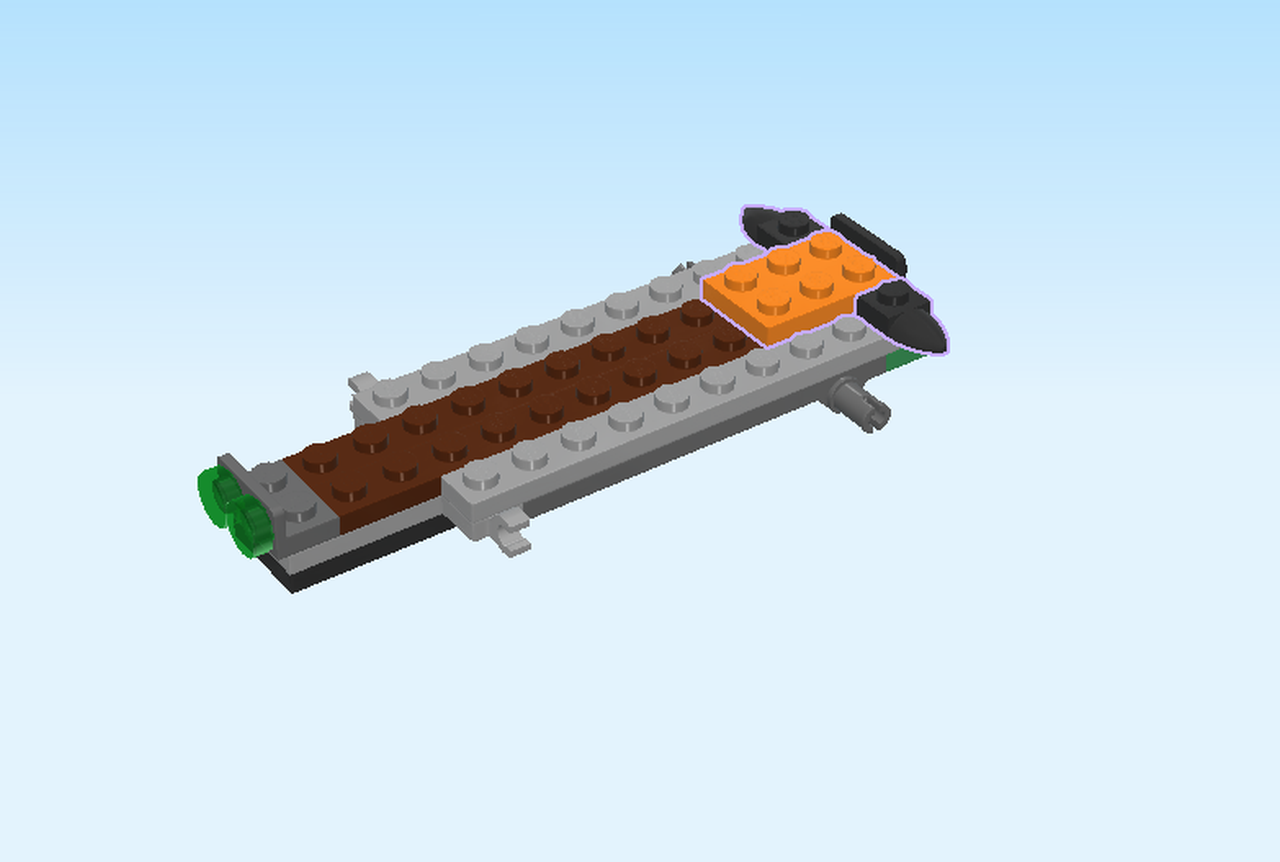
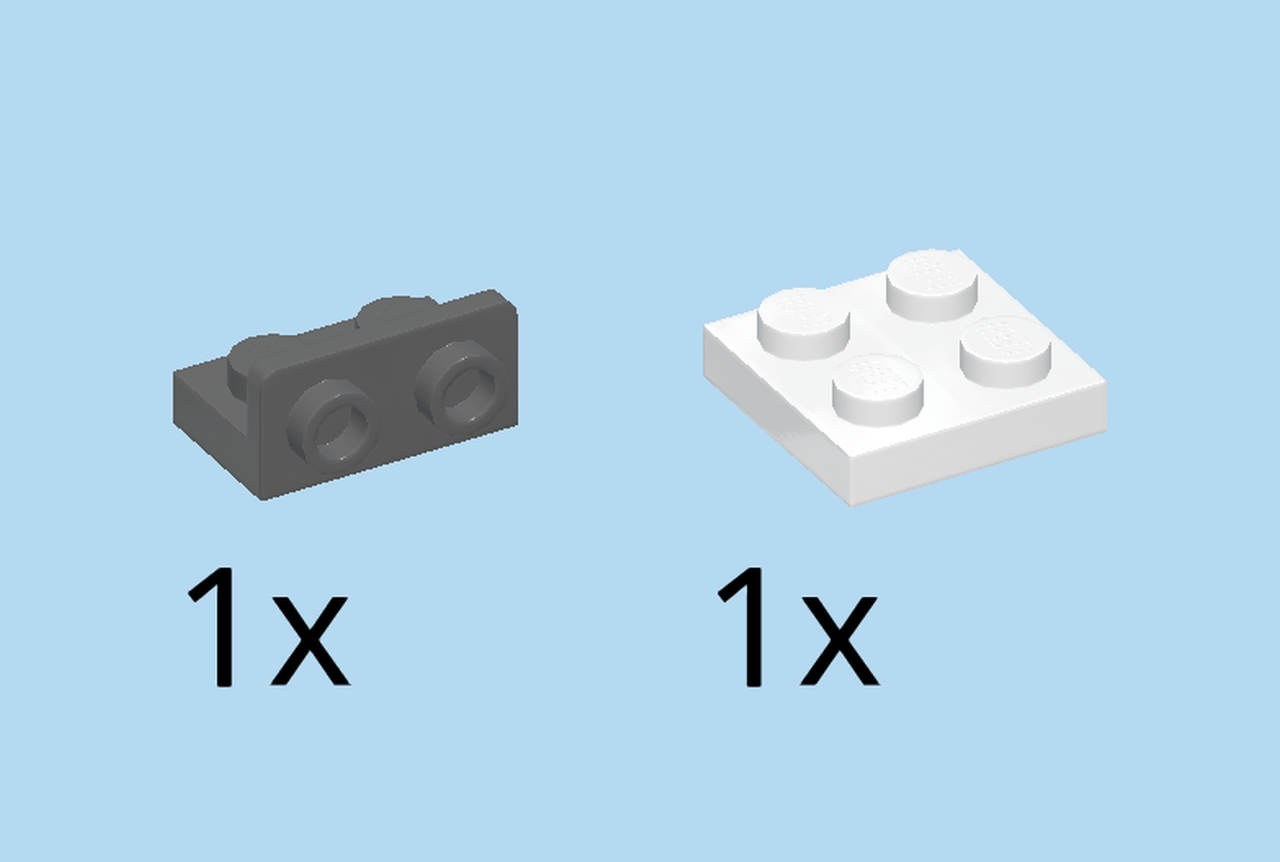
| Collect the following 2 pieces: |
| 1 dark stone grey bottom angle plate 1x2 - 1x2 with side 2 knobs, |
| and 1 white plate 2x2. |
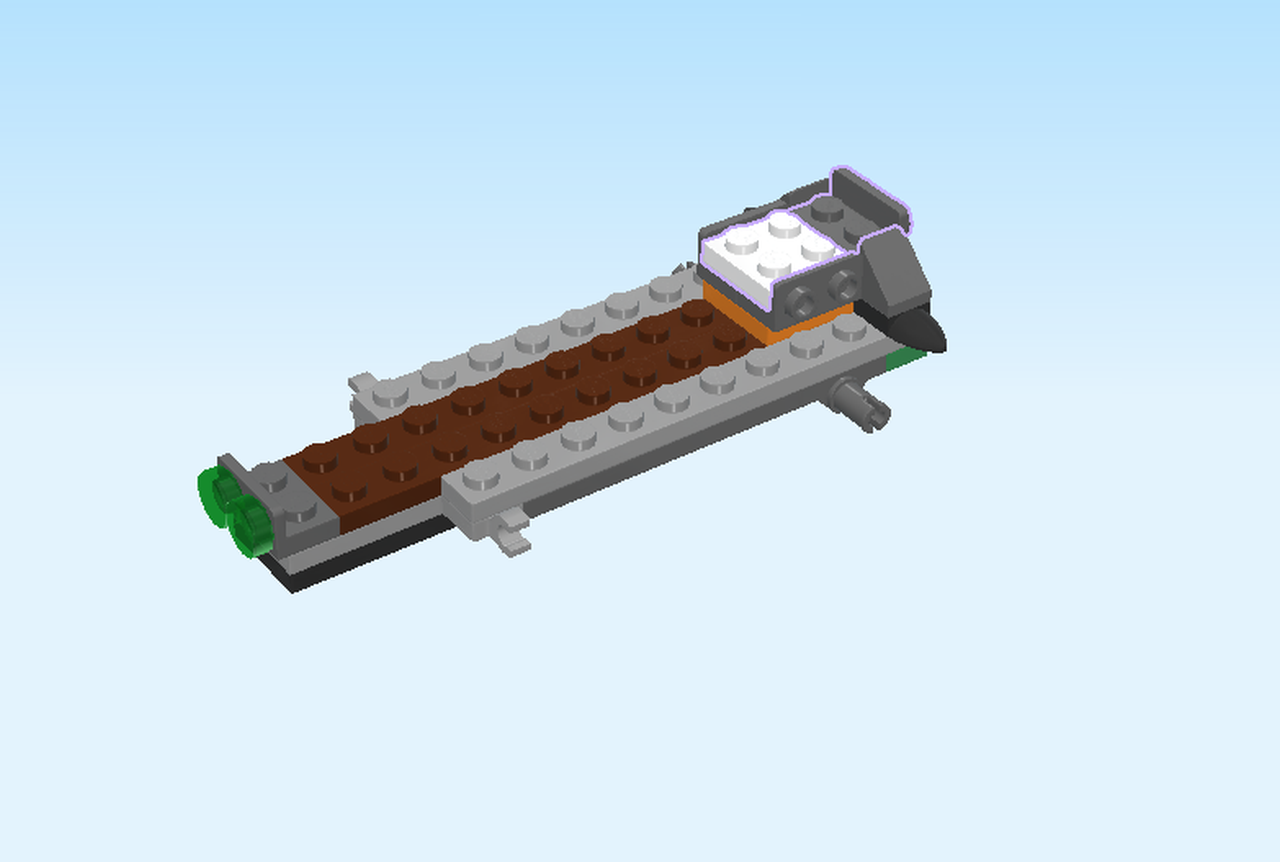
| Put the bottom angle plate 1x2 vertically between the 2 roof tiles, side knobs to the right. |
| Put the plate 2x2 to the left. |
| Collect the following 3 pieces: |
| 1 medium stone grey plate 2x3, |
| and 2 dark stone grey roof tiles 1x2 with lattice. |
| Put the plate 2x3 horizontally on the 2 previous pieces. |
| Put 1 roof tile 1x2 with lattice upright horizontally on the side knobs pointing to the front of the structure, high end to the left. |
| Repeat symmetrically at the back. |
| You are doing great! Now put the structure aside while we continue with 2 smaller builds. |
| Now, we will make 2 small builds for the Jungle Raider. |
| Find 1 dark stone grey technic beam 2m with cross hole. |
| Put it horizontally on the table, holes running front to back, and cross hole on the left. |
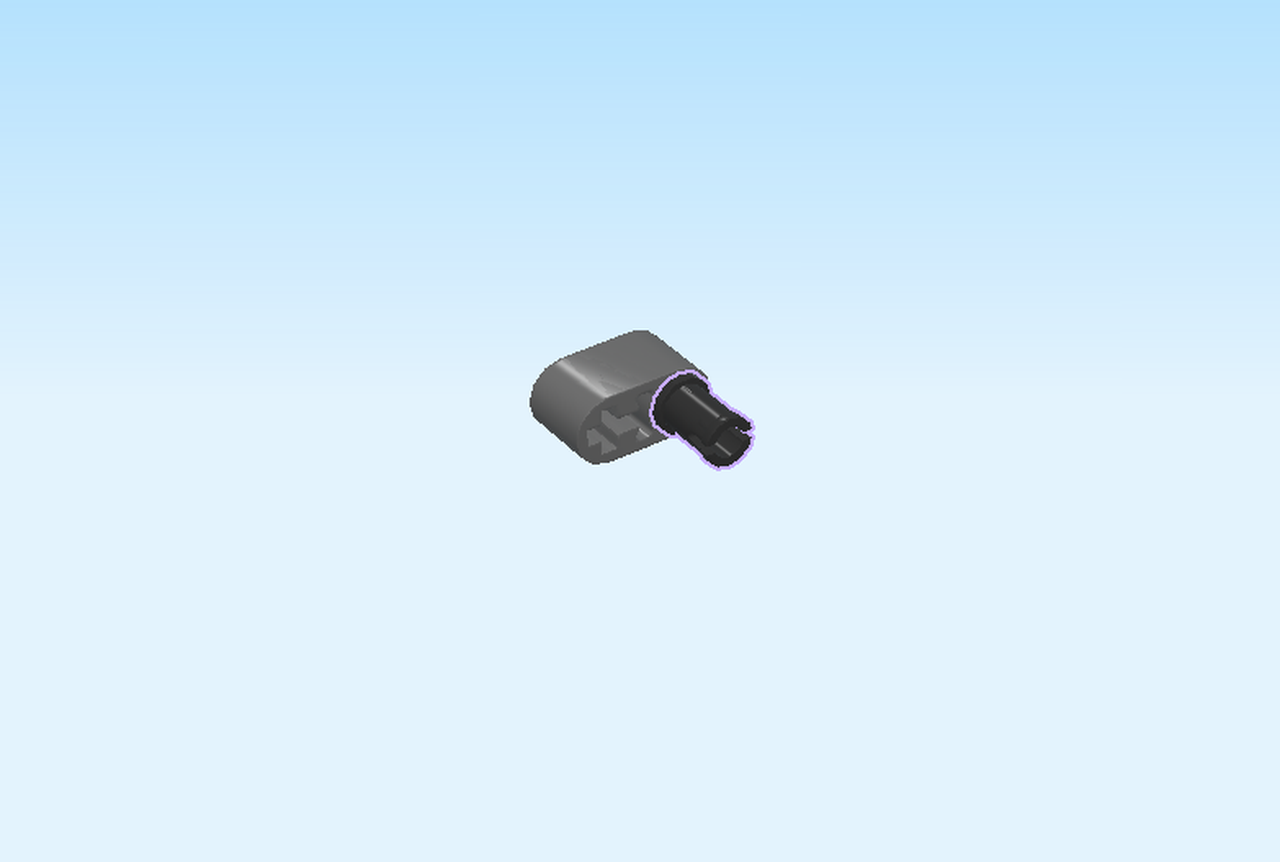
| Find 1 black connector peg with middle friction ring. |
| Insert it front-to-back into the round hole on the right. |
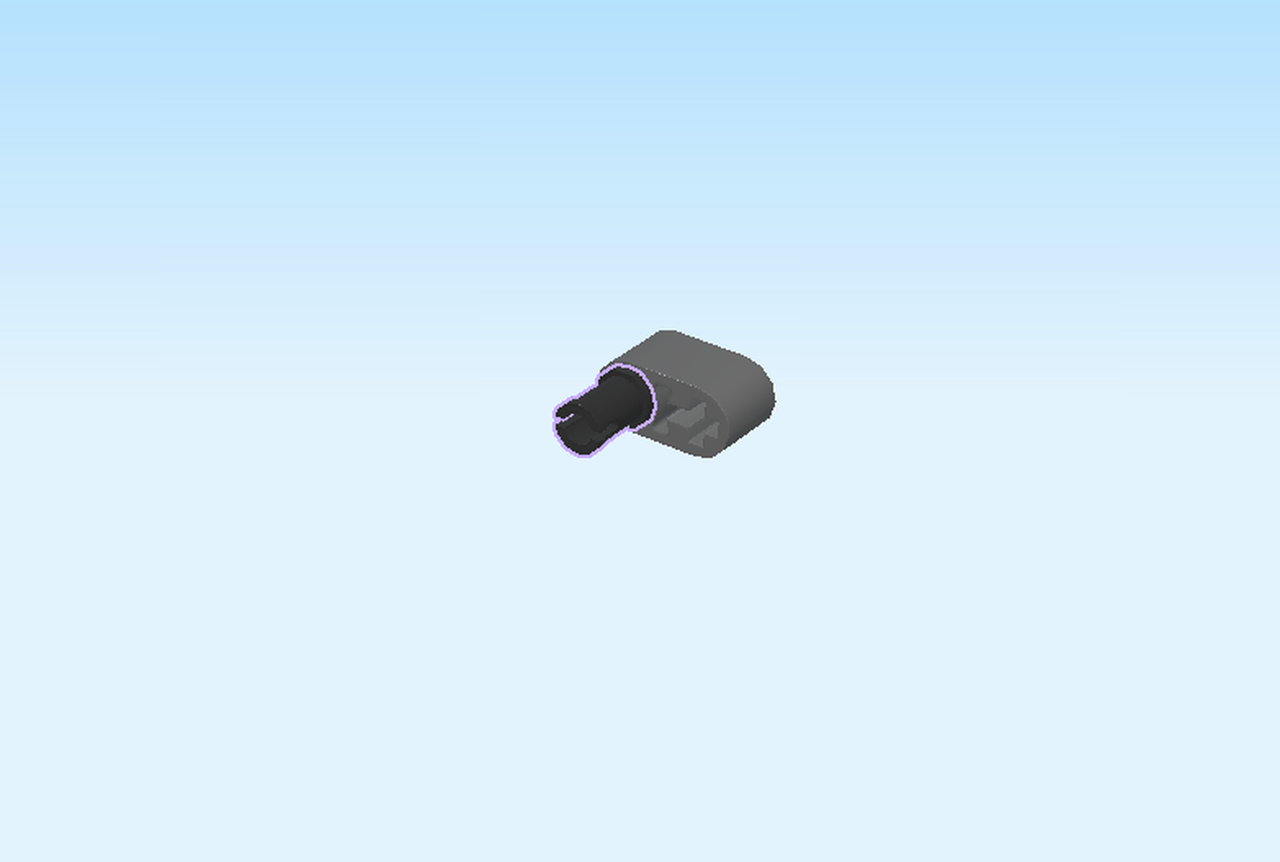
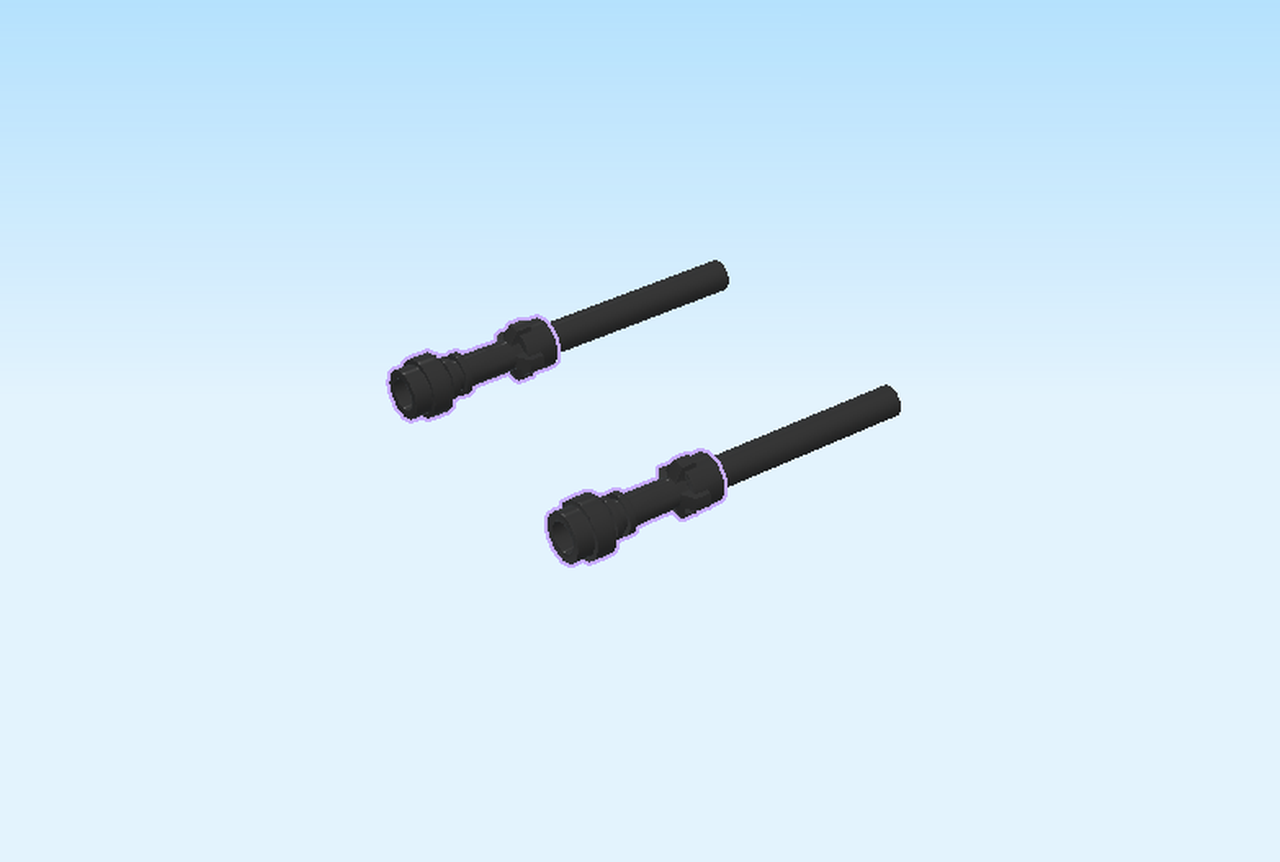
| Find 1 black cross axle 3m with connector peg and friction ring. |
| Insert the cross axle front-to-back into the cross hole on the left. |
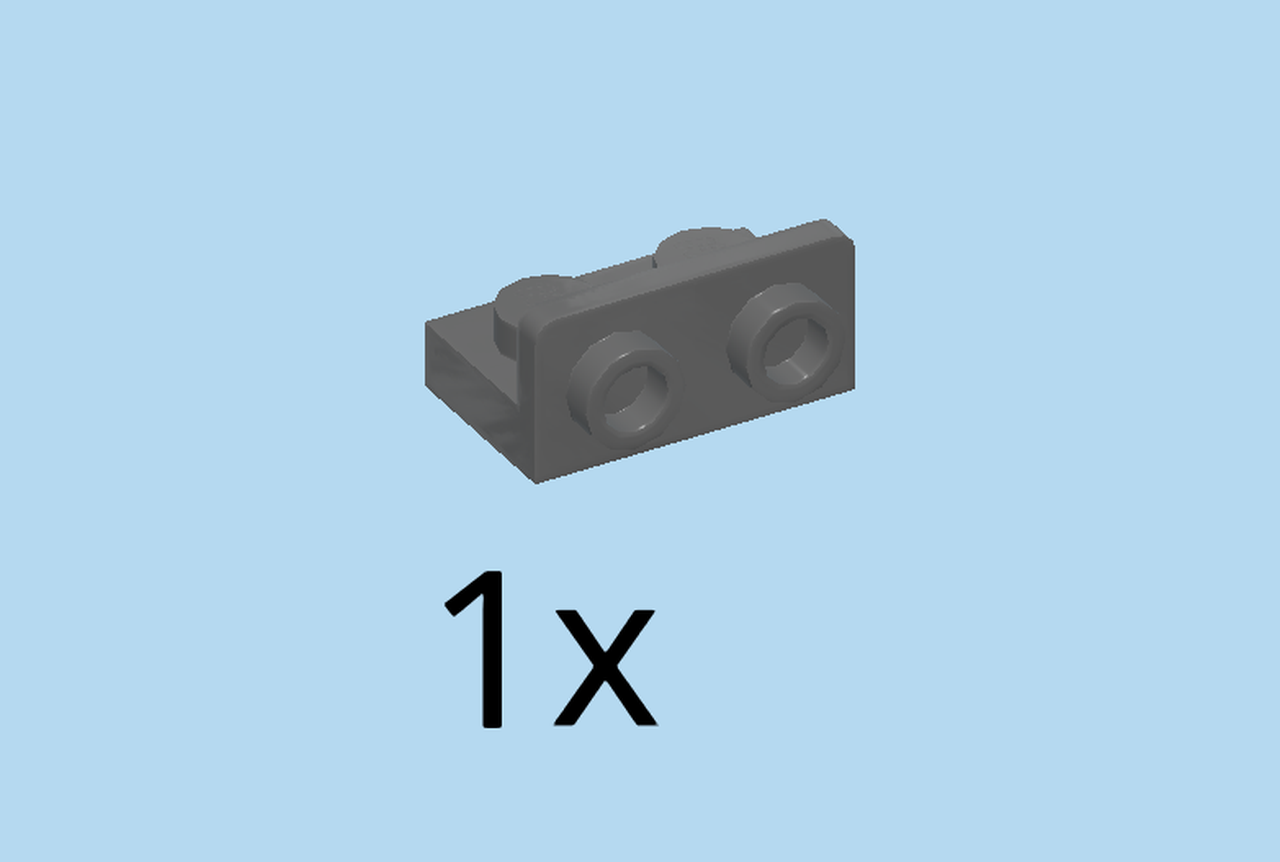
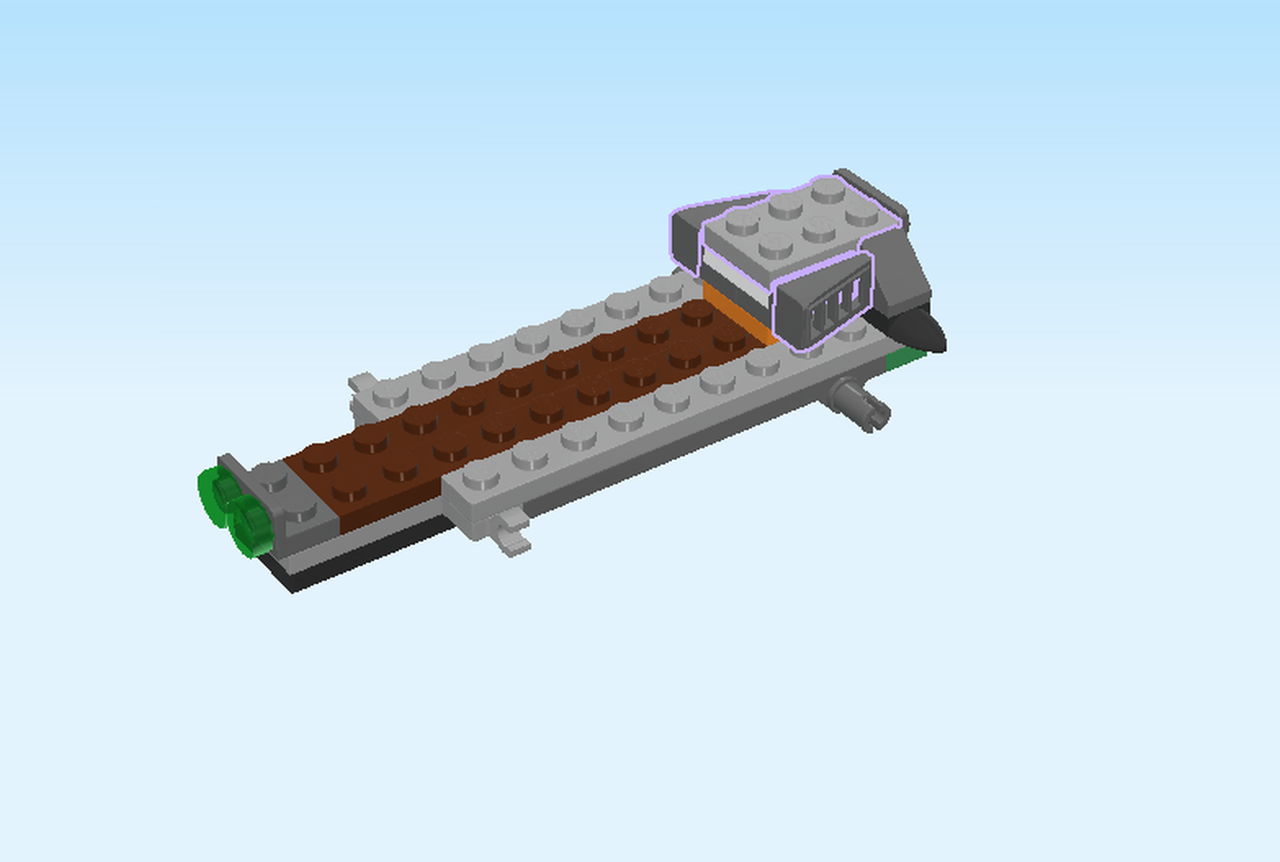
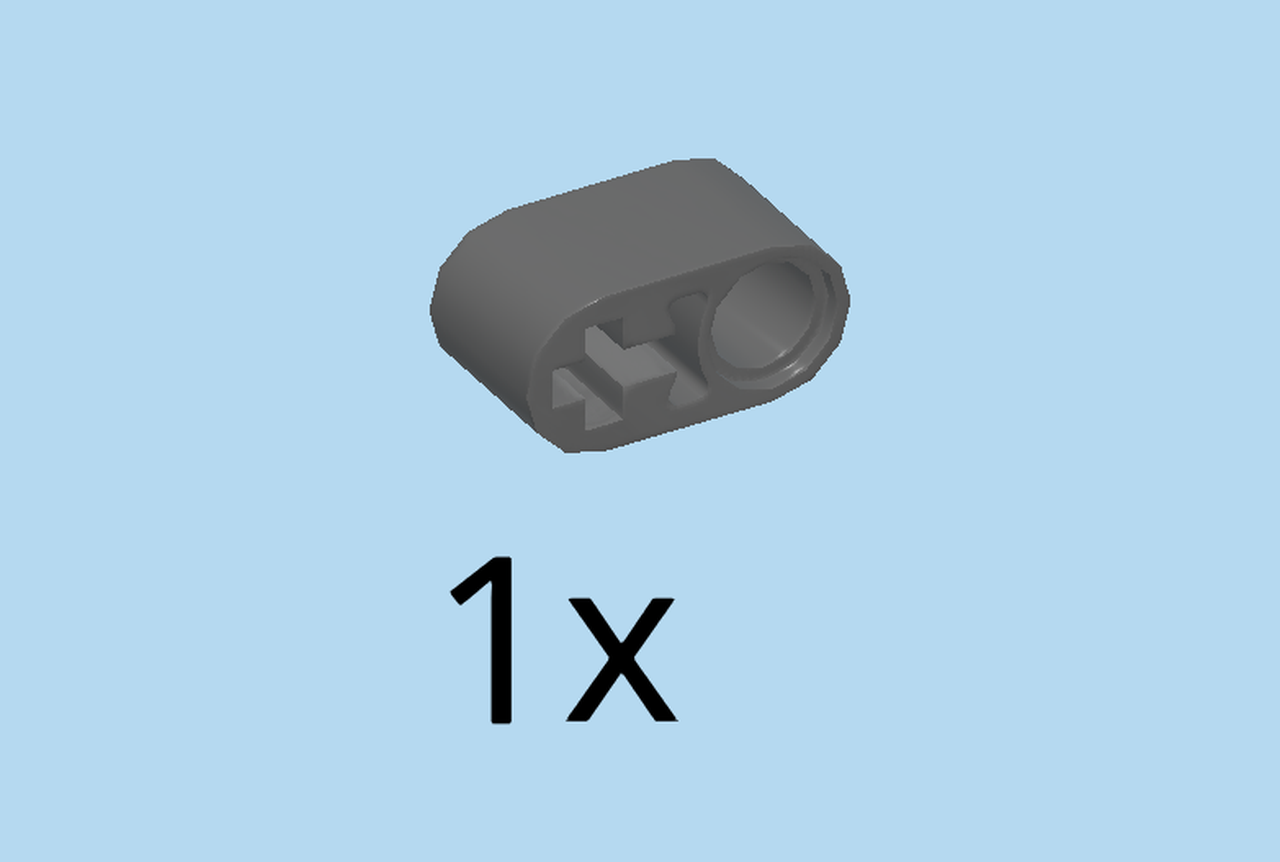
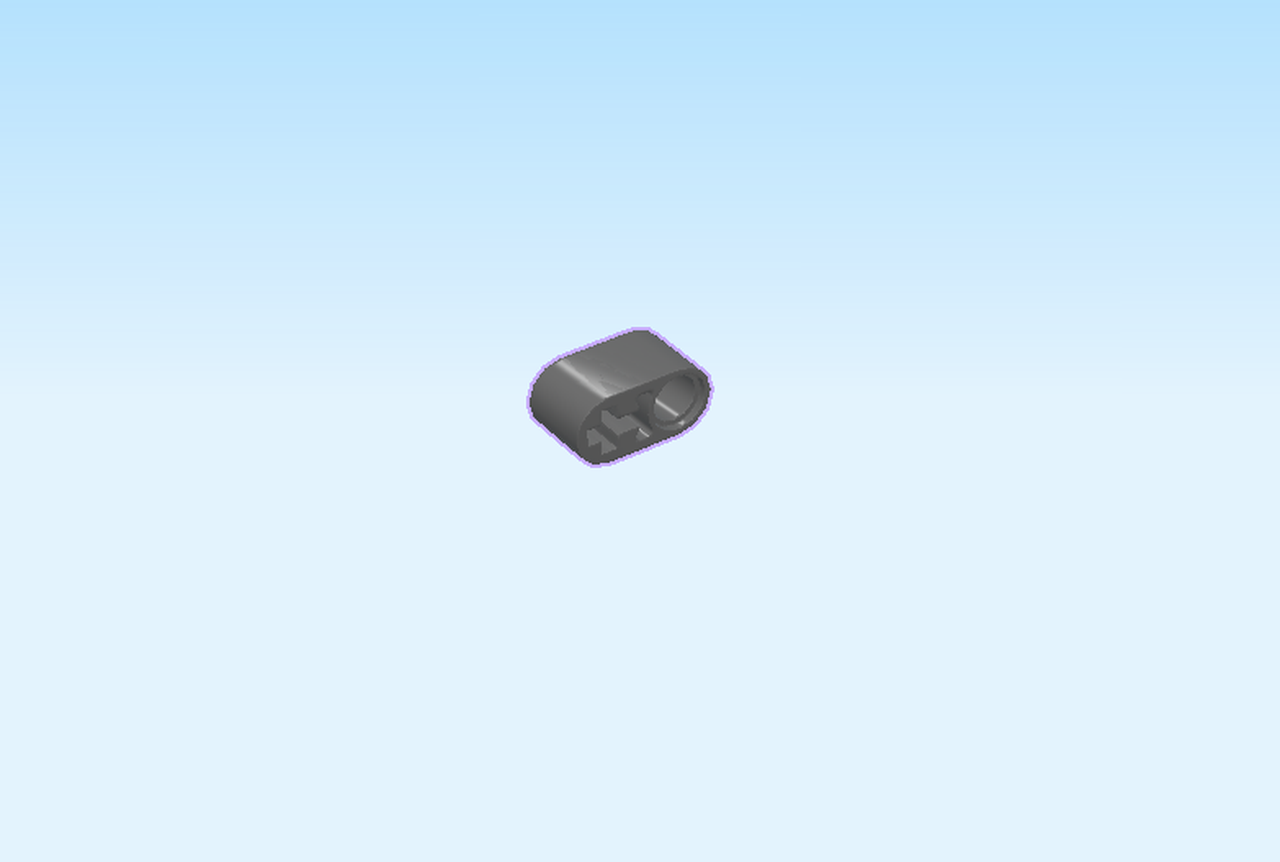
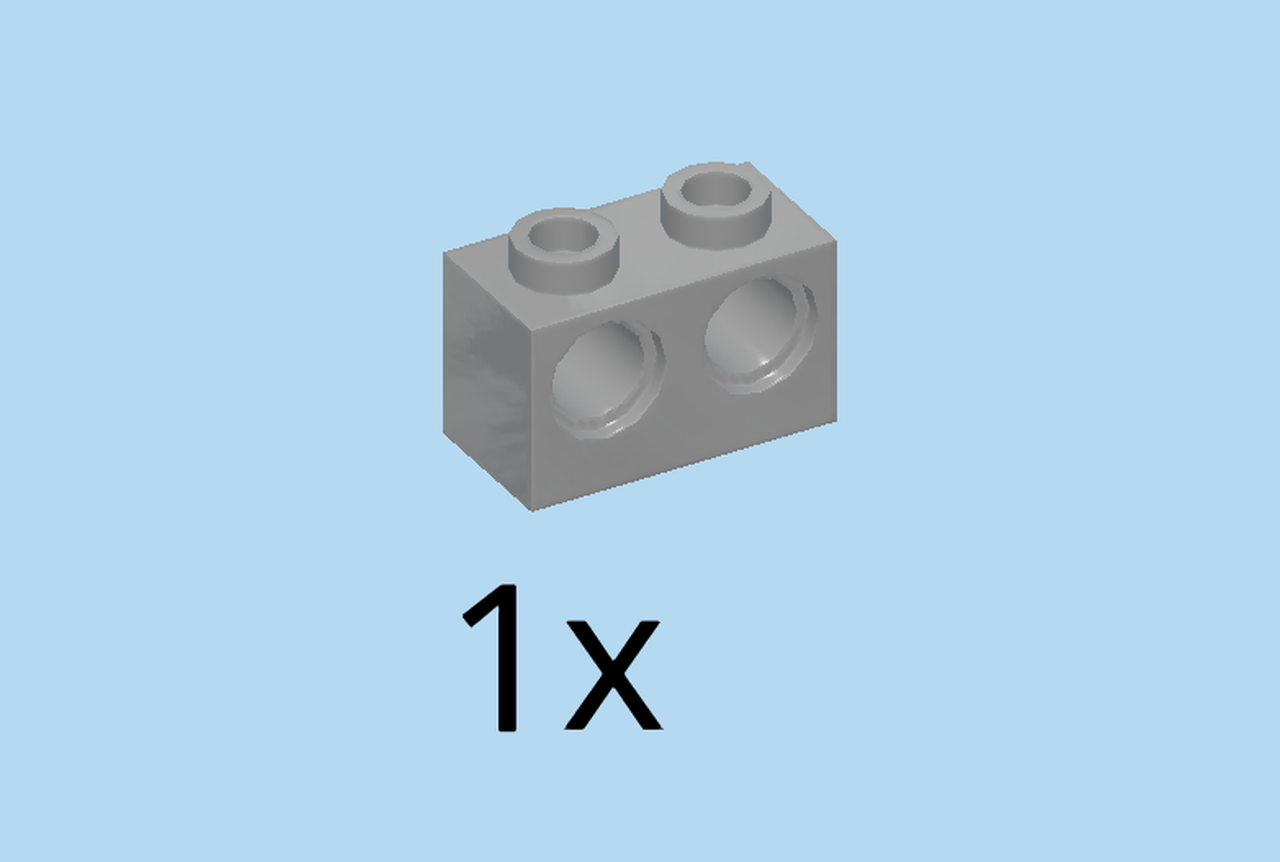
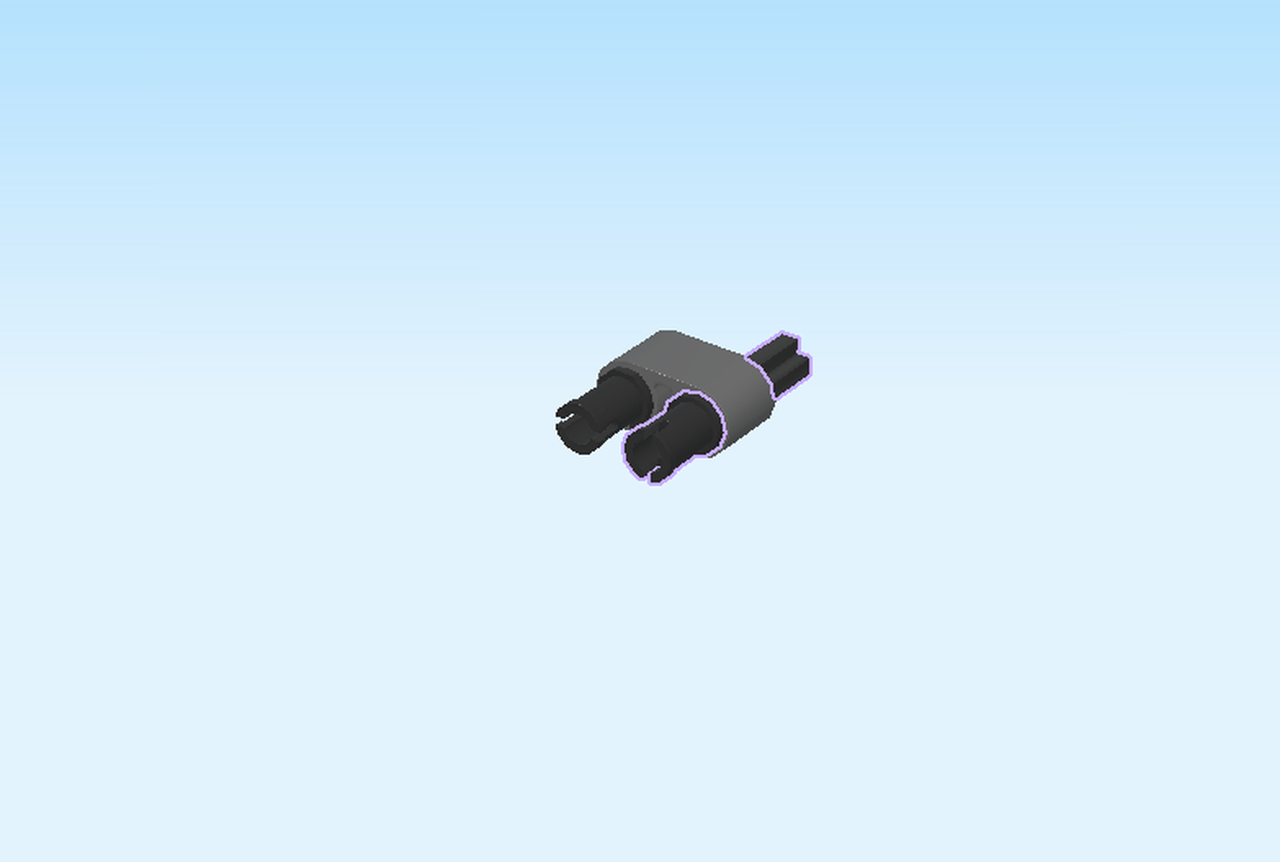
| Find 1 medium stone grey brick 1x2 with 2 holes. |
| The next part can be hard. Make sure to ask for help if needed. |
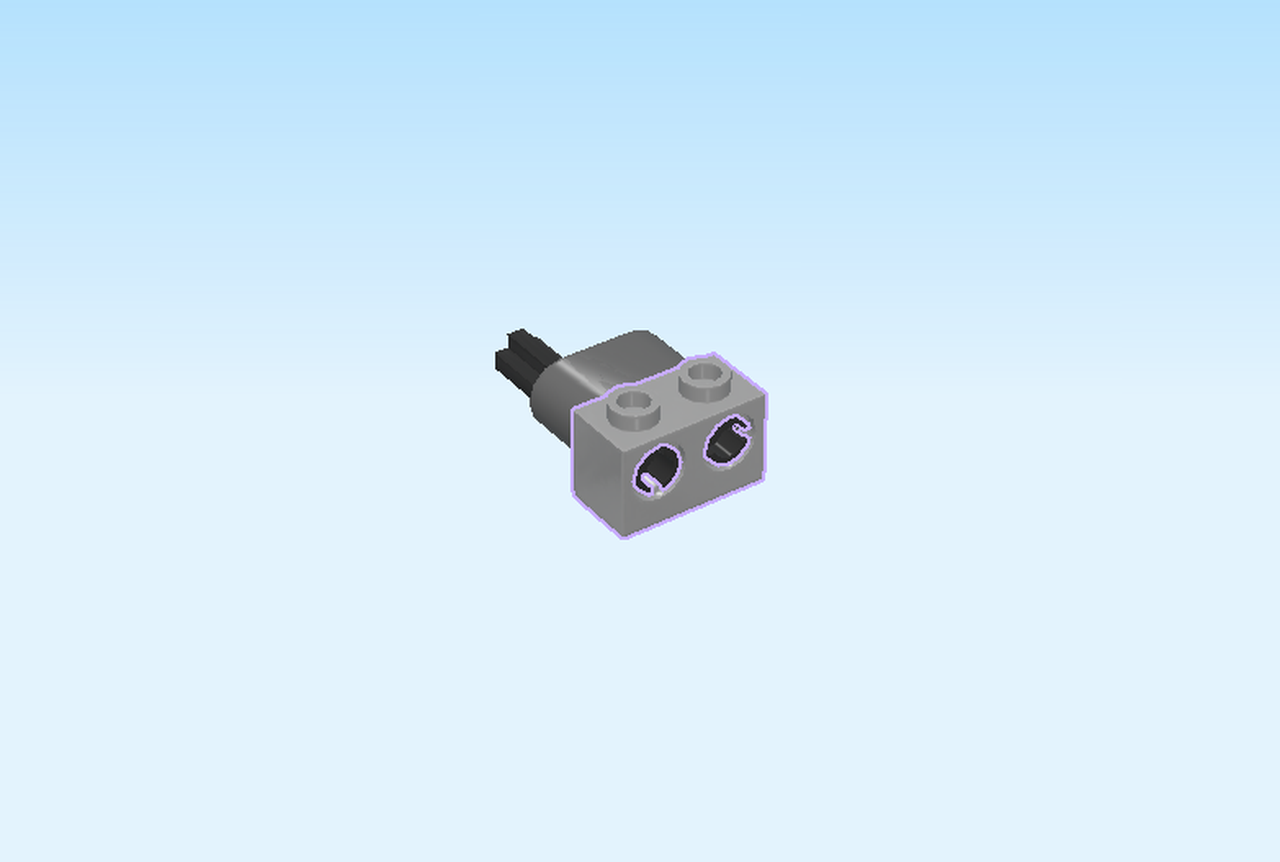
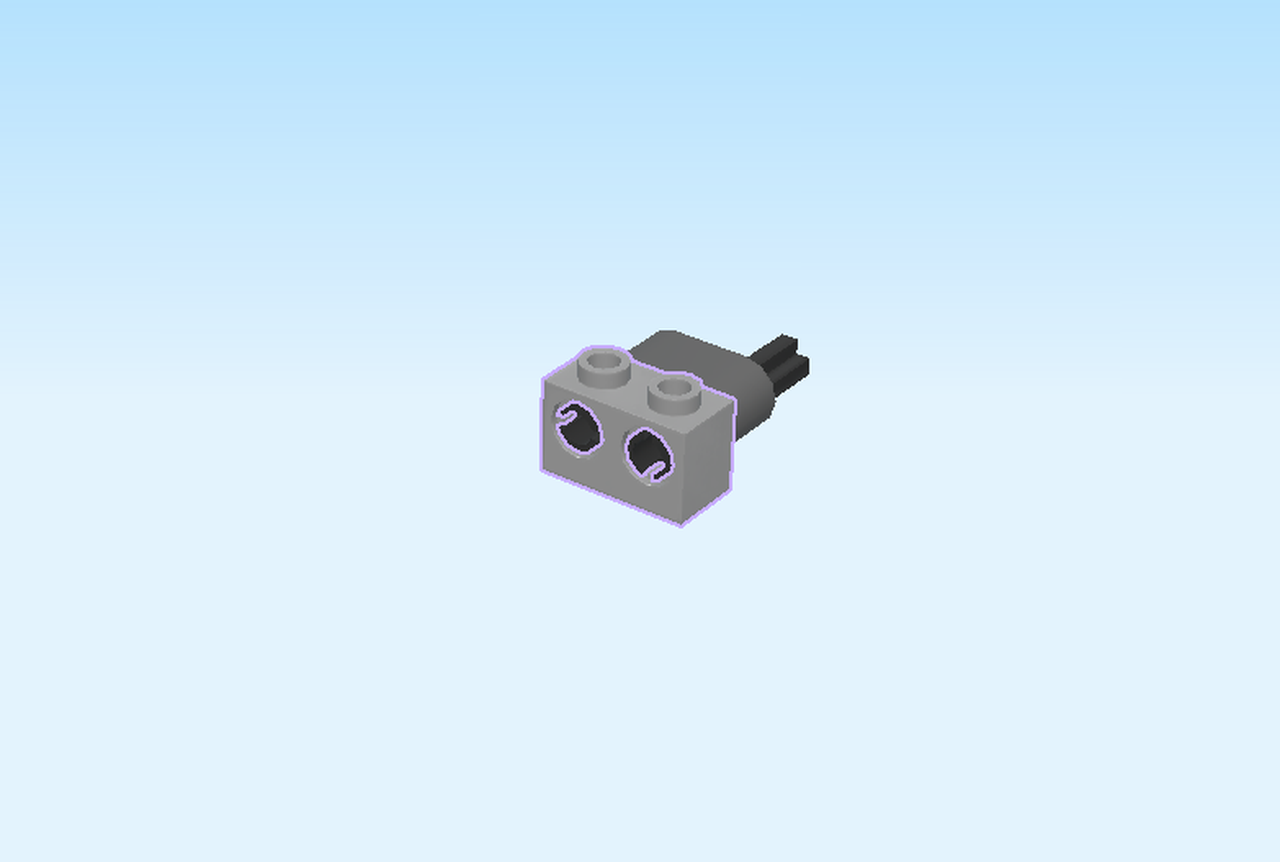
| Insert the 2 connectors at the front into the 2 holes of the brick 1x2. |
| Now, mount this build: put it on the second row from the back, to the left of the roof tile 1x2 with lattice. Make sure the cross axle is overhanging to the back. |
| Good job. You have finished the first small build. |
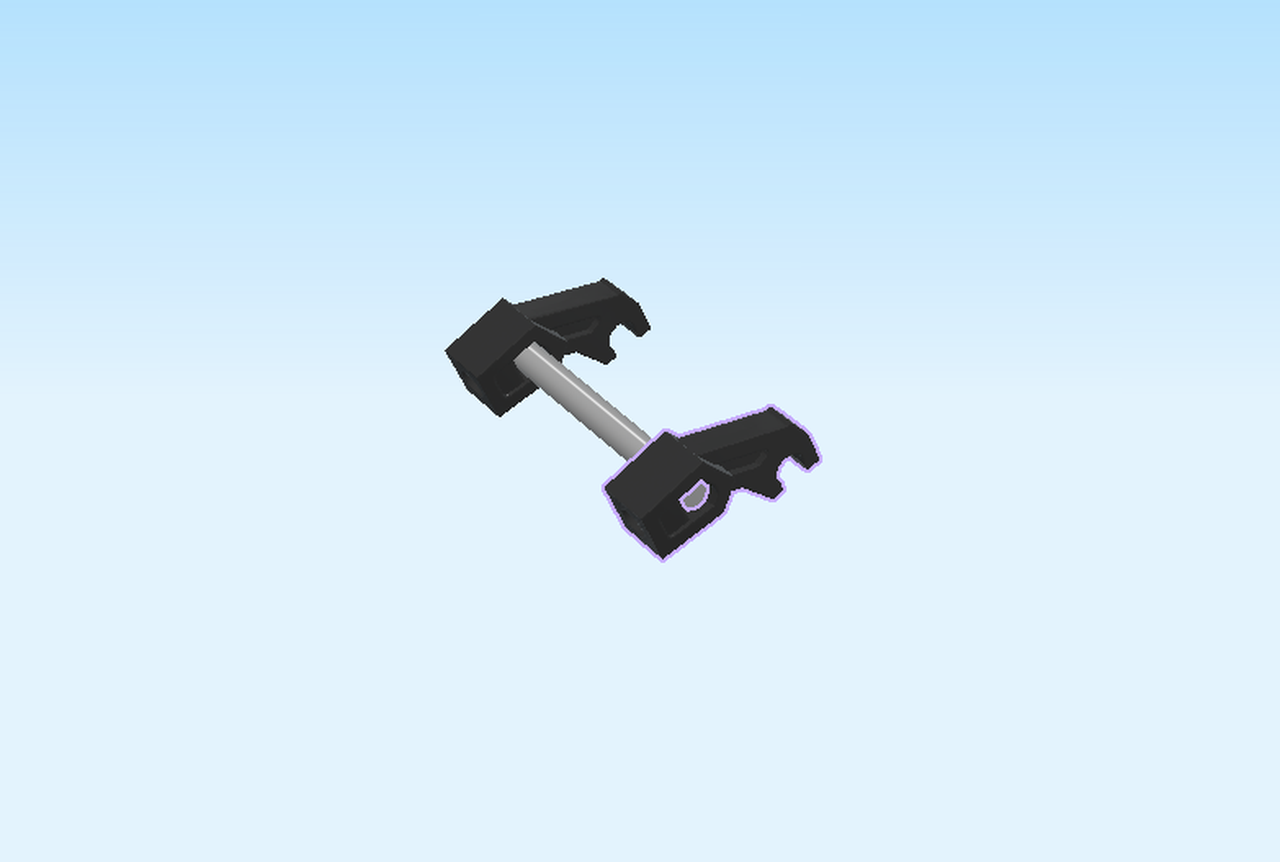
| Now, we will make the second small build. |
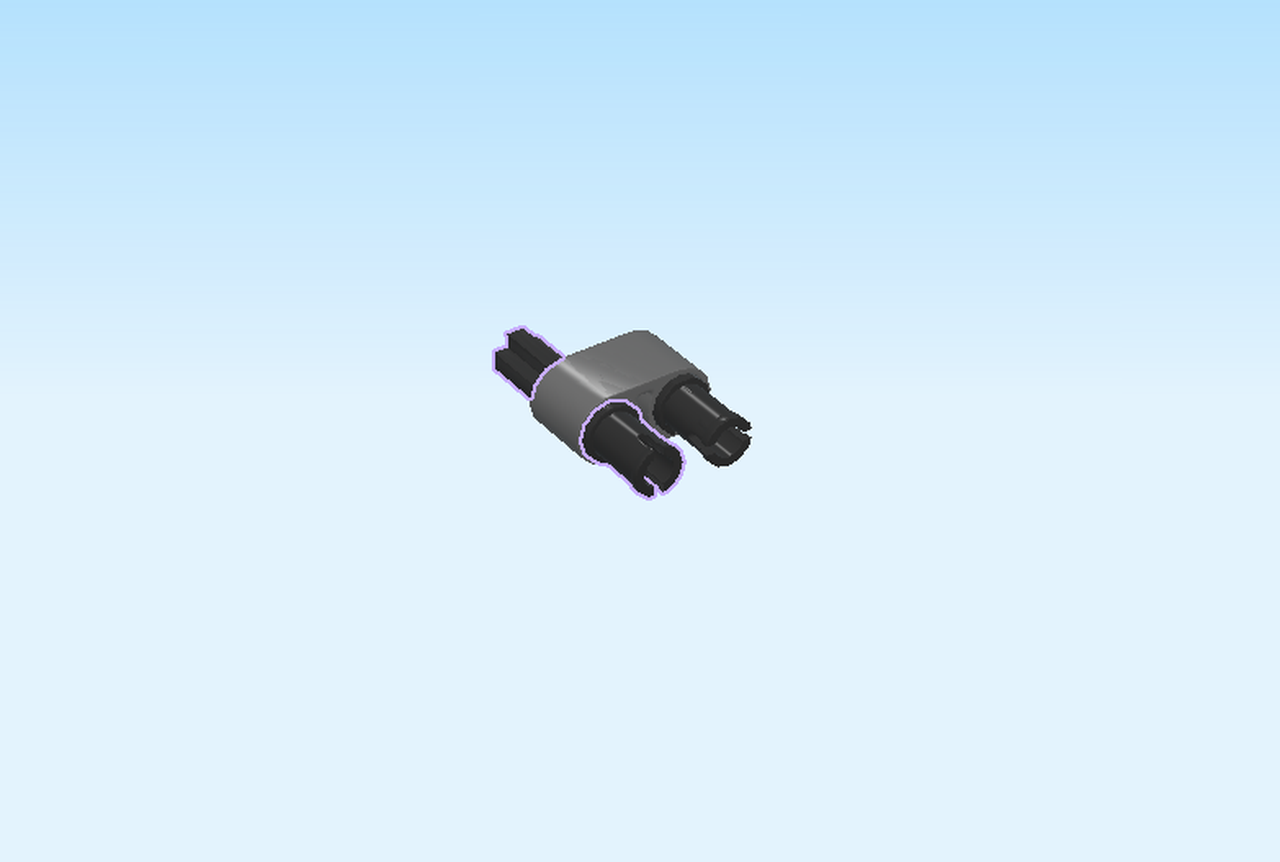
| Find 1 dark stone grey technic beam 2m with cross hole. |
| Put it horizontally on the table, holes front to back. This time the cross hole should be on the right. |
| Find 1 black connector peg with middle friction ring. |
| Insert it front-to-back into the round hole on the left. |
| Find 1 black cross axle 3m with connector peg and friction ring. |
| Insert the cross axle front-to-back into the cross hole. |
| Find 1 medium stone grey brick 1x2 with 2 holes. |
| Insert the 2 connectors at the front into the holes of the brick 1x2. |
| Now turn this part around so that the cross axle is pointing to the front. |
| Now we will put it on the Jungle Raider. That can be hard, so ask for help if needed. |
| Mount it on the second row from the front, left of the roof tile 1x2 with lattice. Make sure the cross axle is overhanging to the front. |
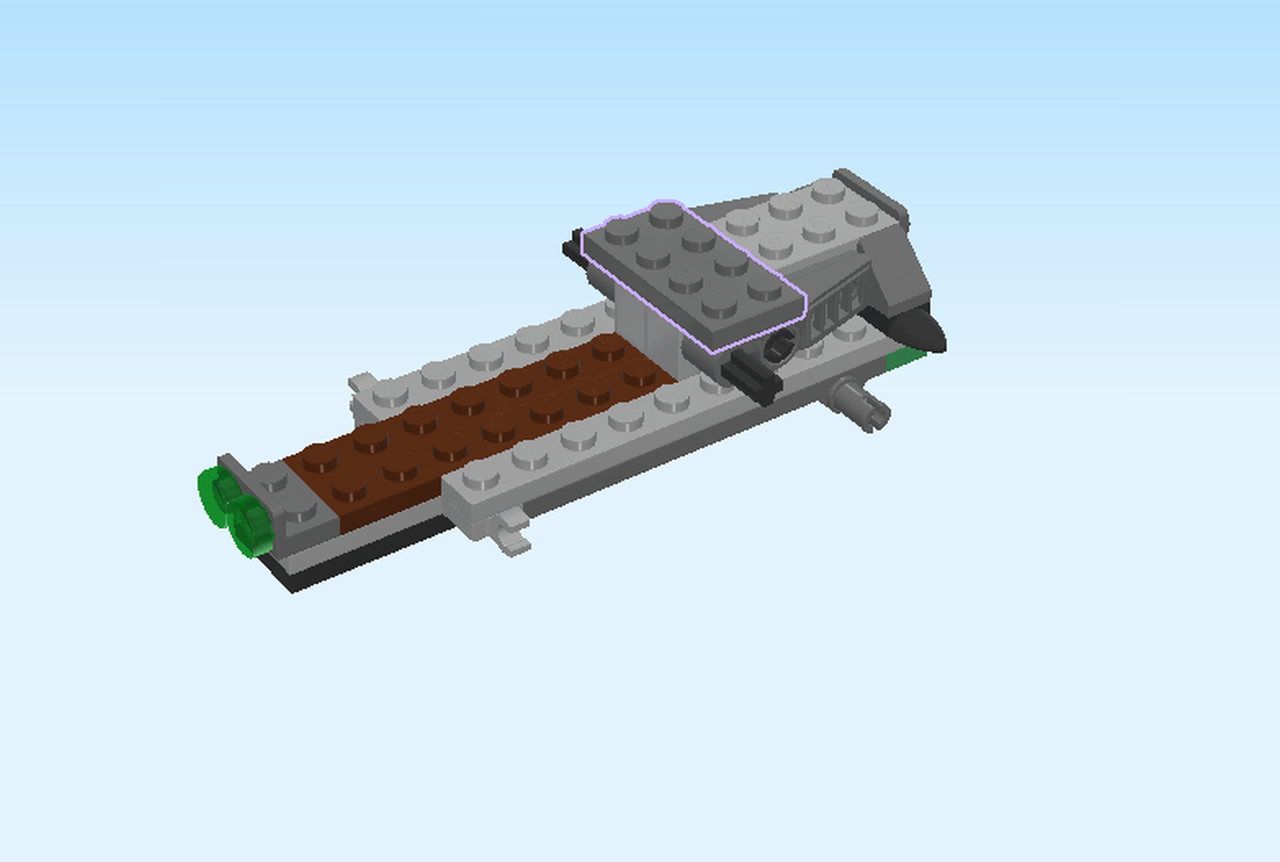
| Find 1 dark stone grey plate 2x4. |
| Put it vertically on the 2 previous small builds, one row overhanging to the front and back. |
| That was a tough part! Great work! |
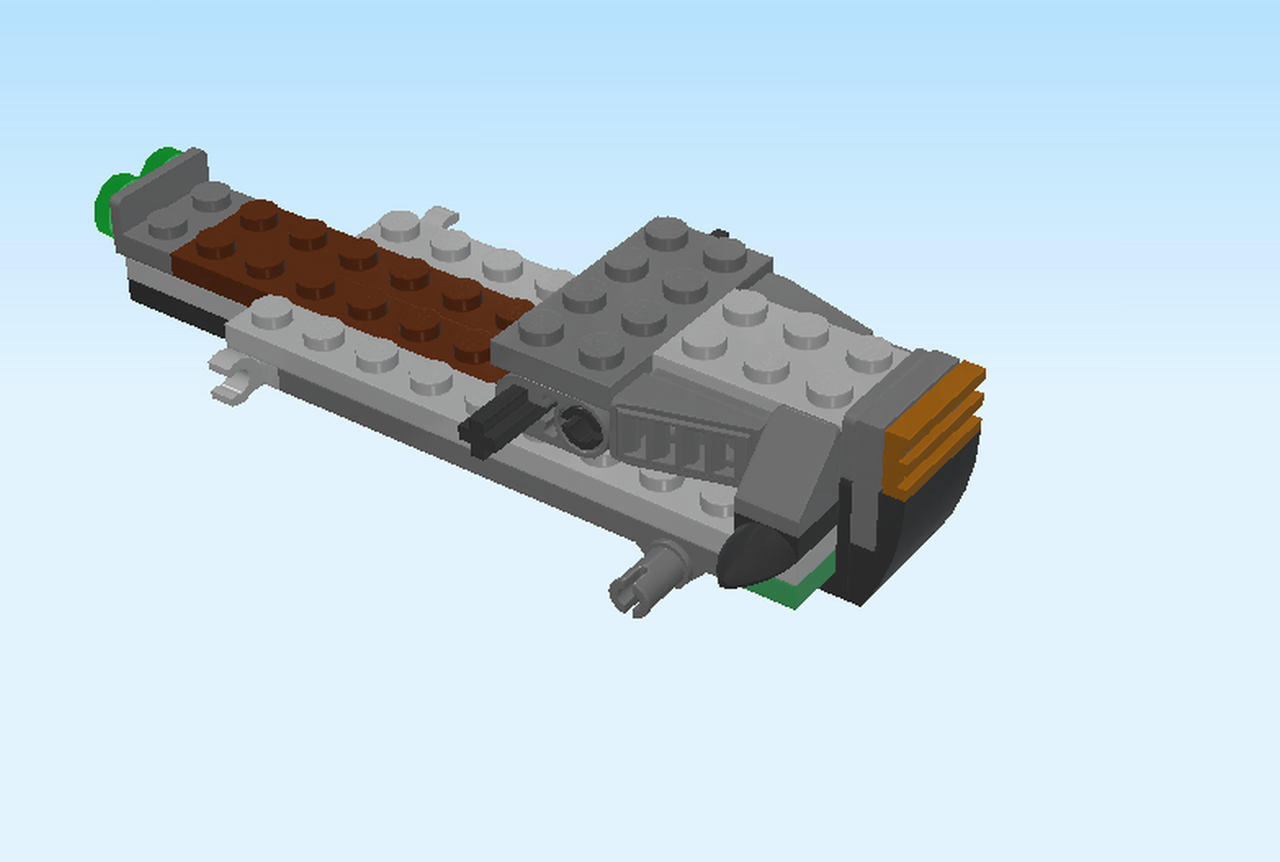
| Now, we will build the back of the Jungle Raider. |
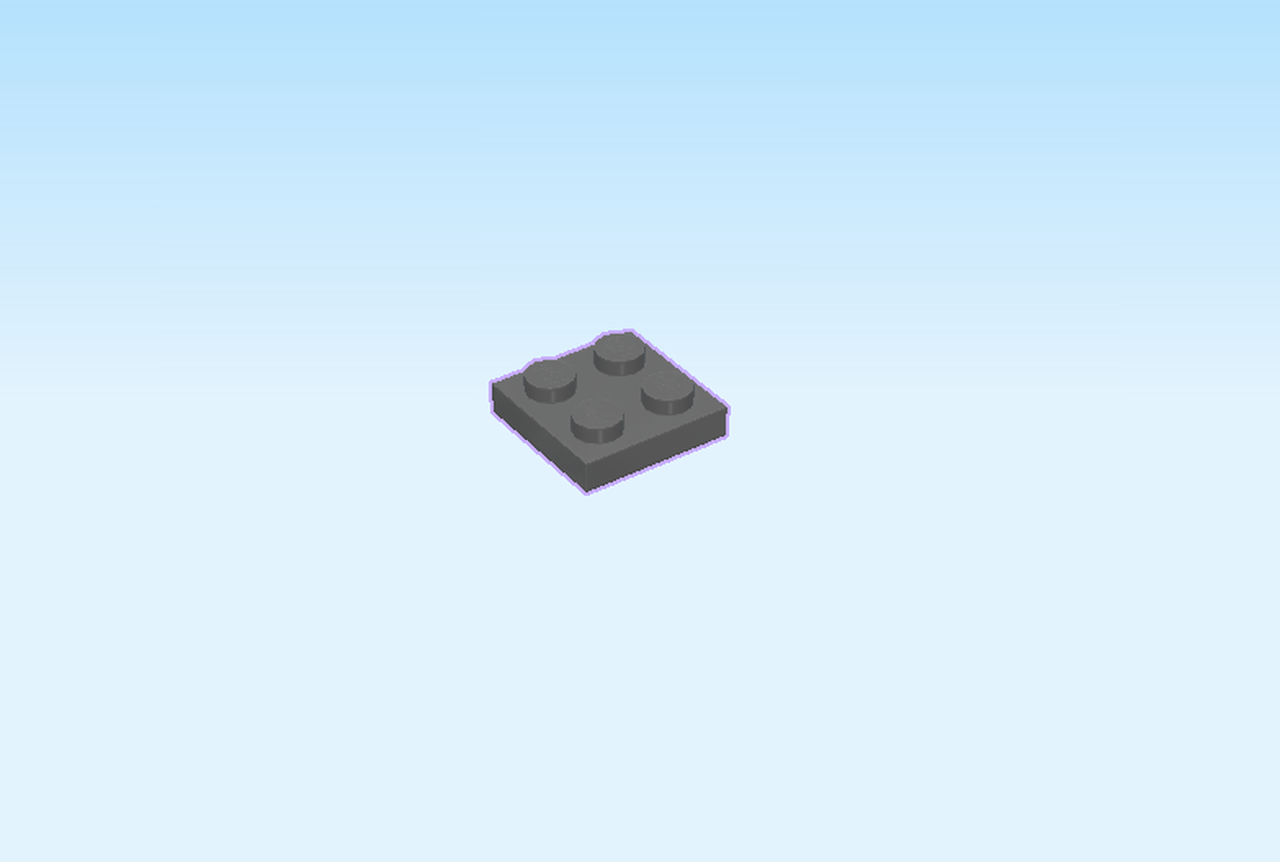
| Find 1 dark stone grey plate 2x2. |
| Put it on the table. |
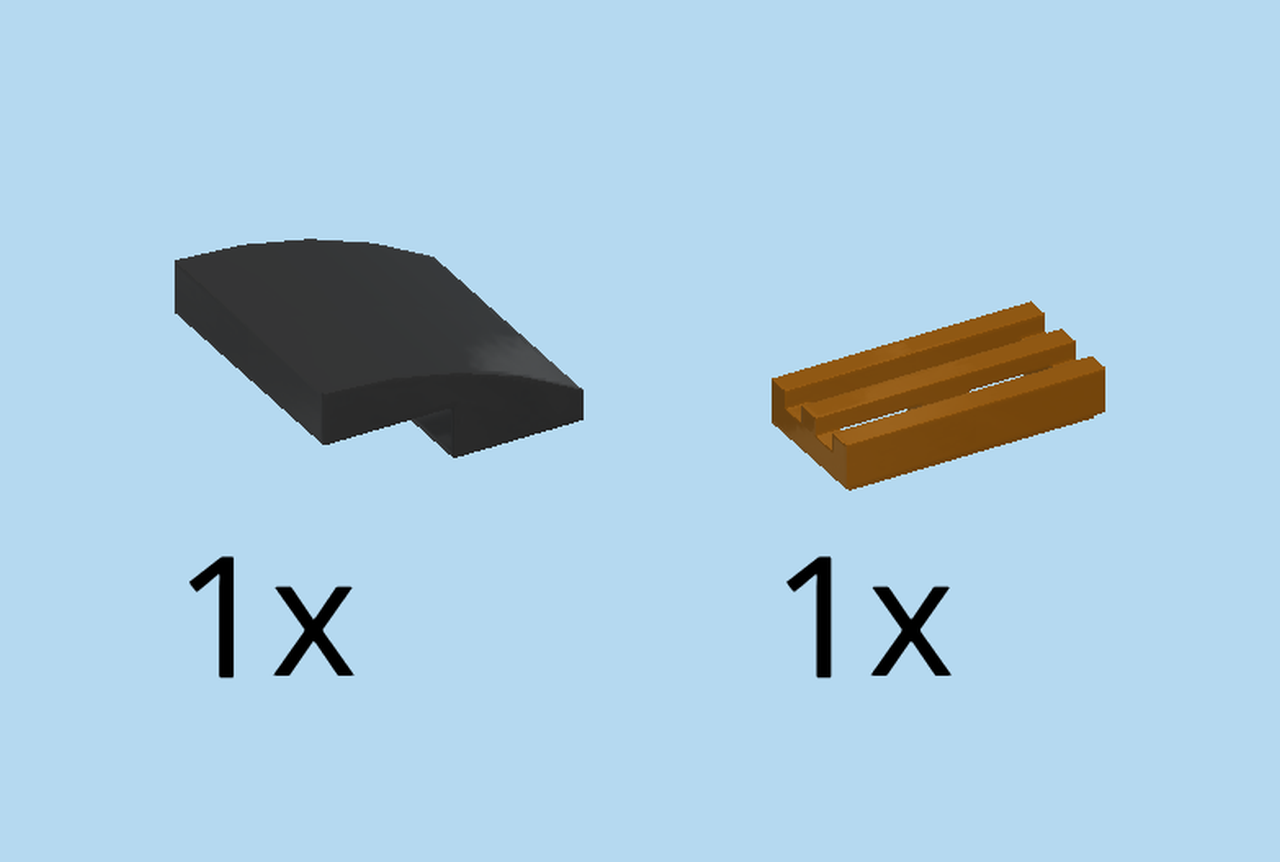
| Collect the following 2 pieces: |
| 1 warm gold grille tile 1x2, |
| and 1 black curved tile 2x2. |
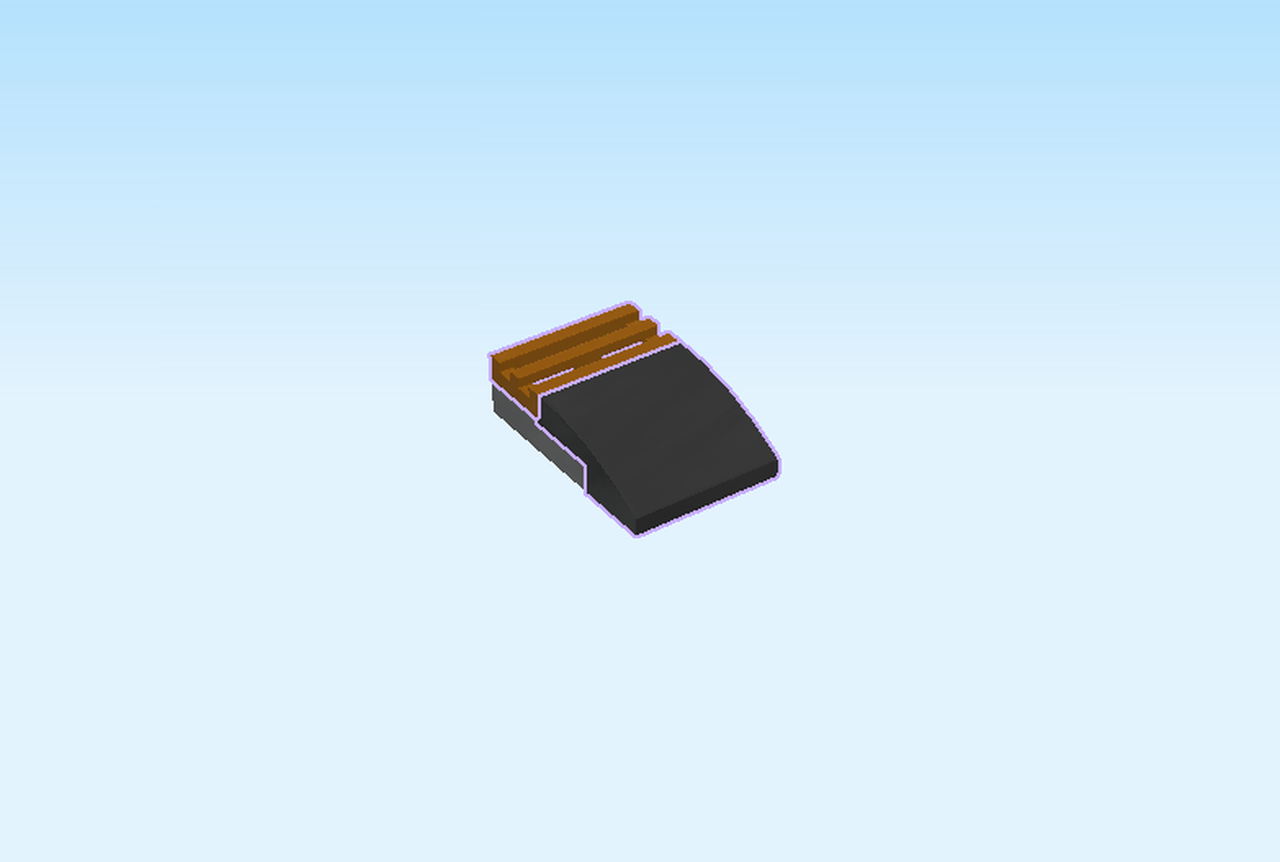
| Put the grill tile 1x2 horizontally on the back row of the previous piece. |
| Put the curved tile 2x2 on the front row, curve overhanging to the front. |
| Next, we will continue to build on the Jungle Raider. |
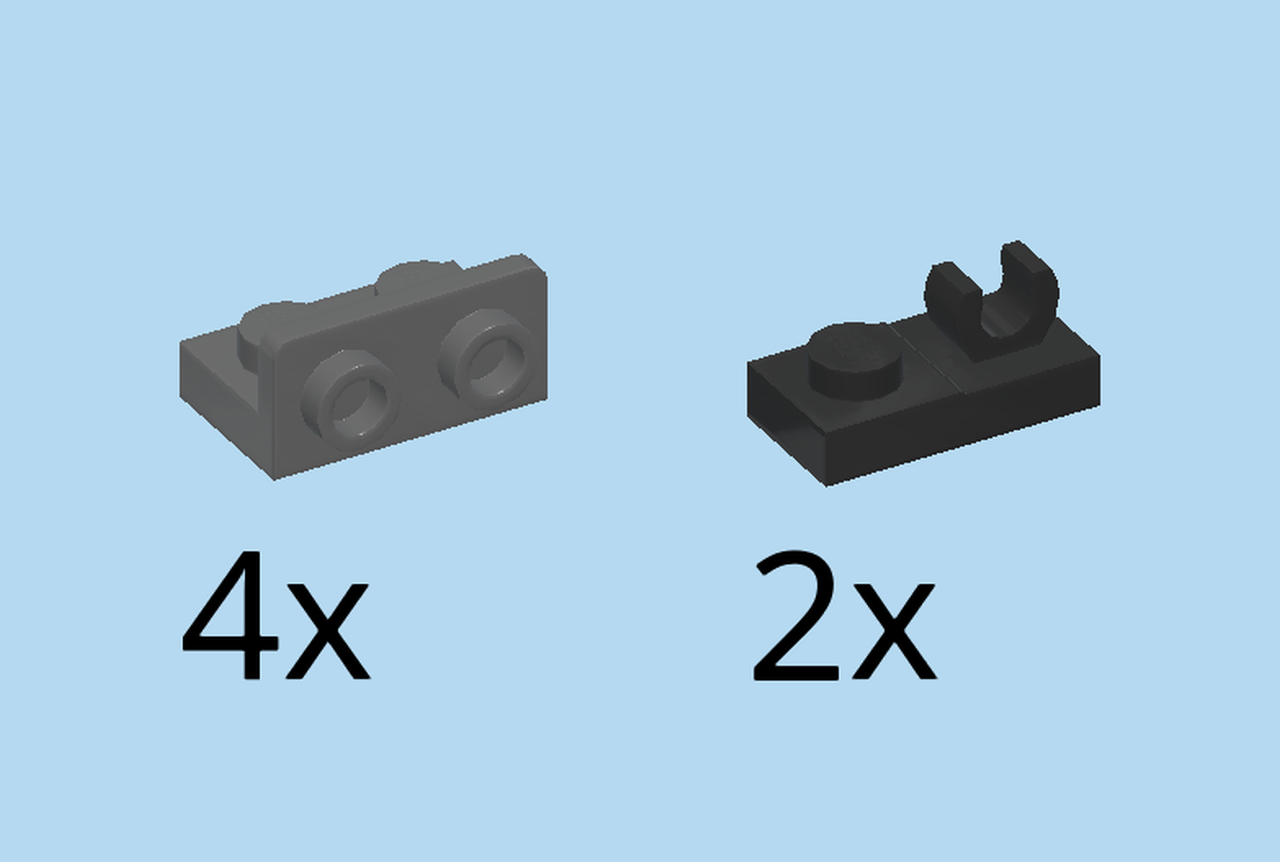
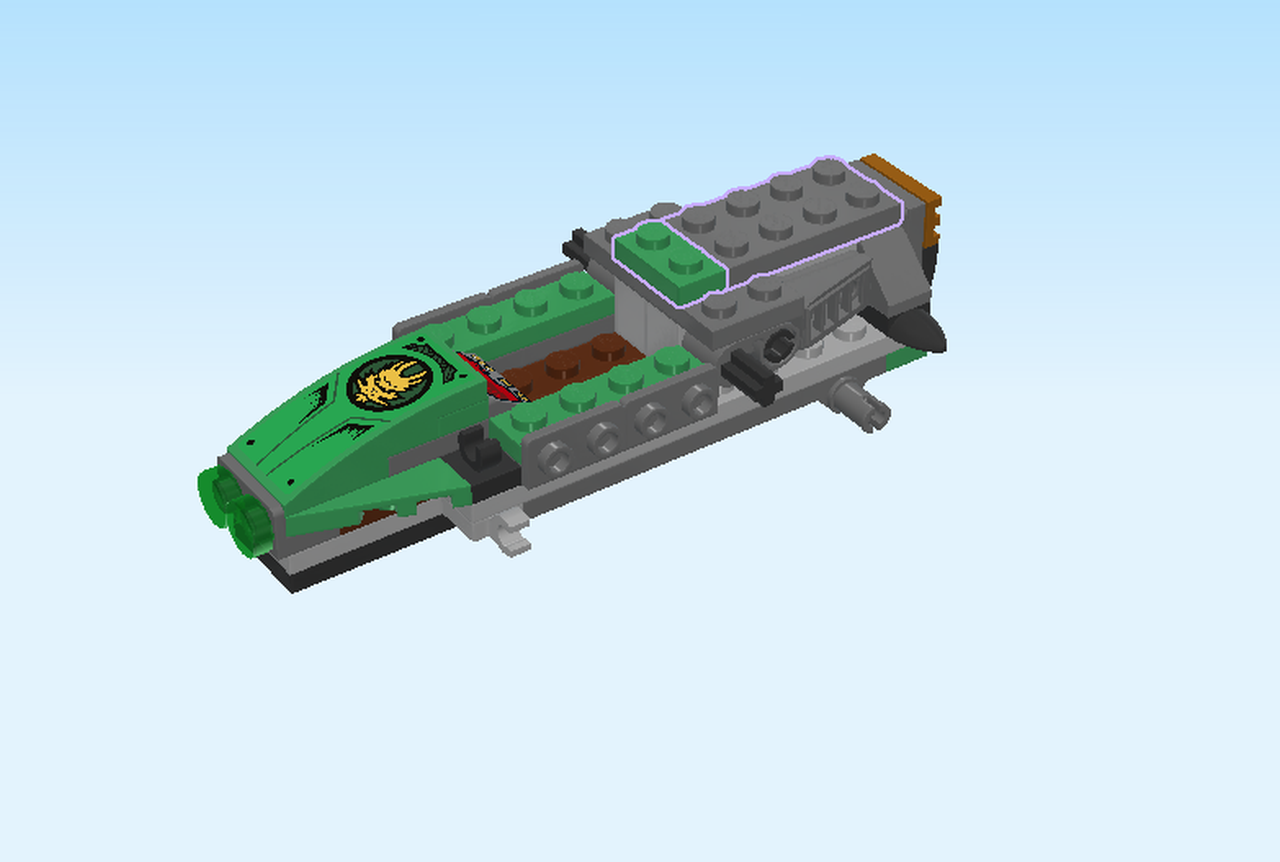
| Collect the following 6 pieces: |
| 2 black plates 1x2 with top clasp, |
| and 4 dark stone grey bottom angle plates 1x2 - 1x2 with side 2 knobs. |
| Put 1 plate 1x2 with top clasp vertically on the fourth column from the left, starting from the front, top clasp to the front. |
| Repeat symmetrically at the back. |
| Put 2 bottom angle plates 1x2 to the left on the back row, side knobs to the back. |
| Repeat symmetrically at the front. |
| Collect the following 2 pieces: |
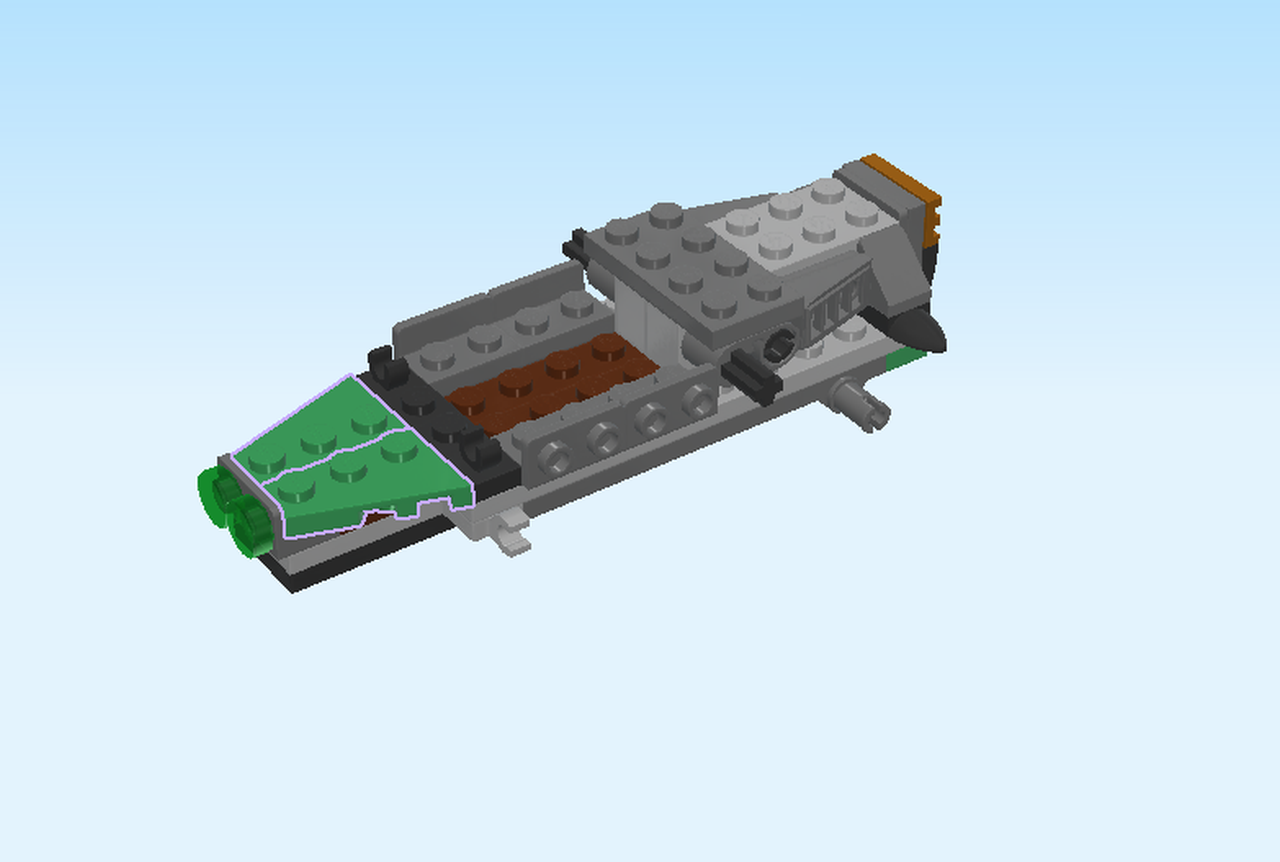
| 1 dark green left plate 2x3 with angle, |
| and 1 dark green right plate 2x3 with angle. |
| Put the left plate 2x3 with angle horizontally on the front row on the left edge of the structure, angle overhanging at the front. |
| Repeat symmetrically at the back. |
| This is the start of the hood for the Jungle Raider. |
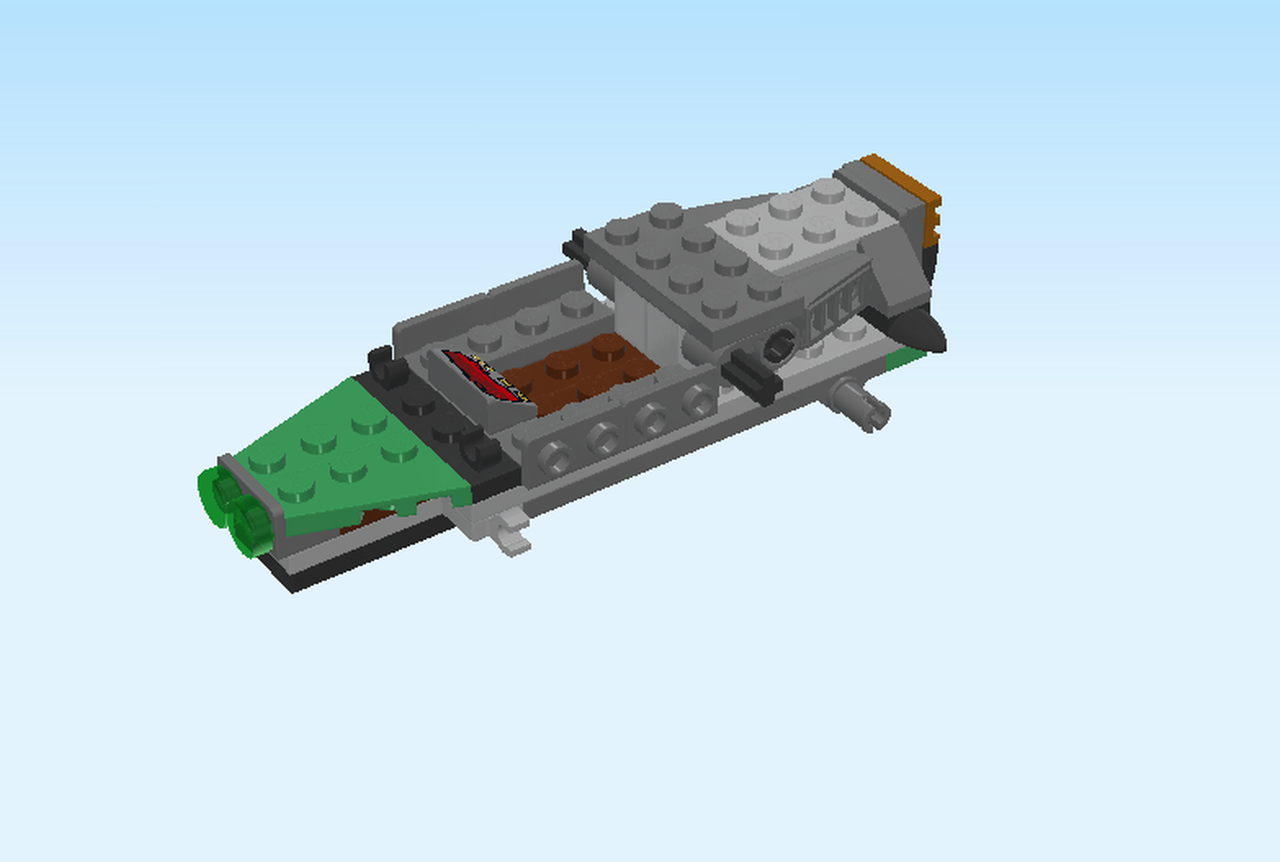
| Now we will build the dashboard to drive the Jungle Raider. |
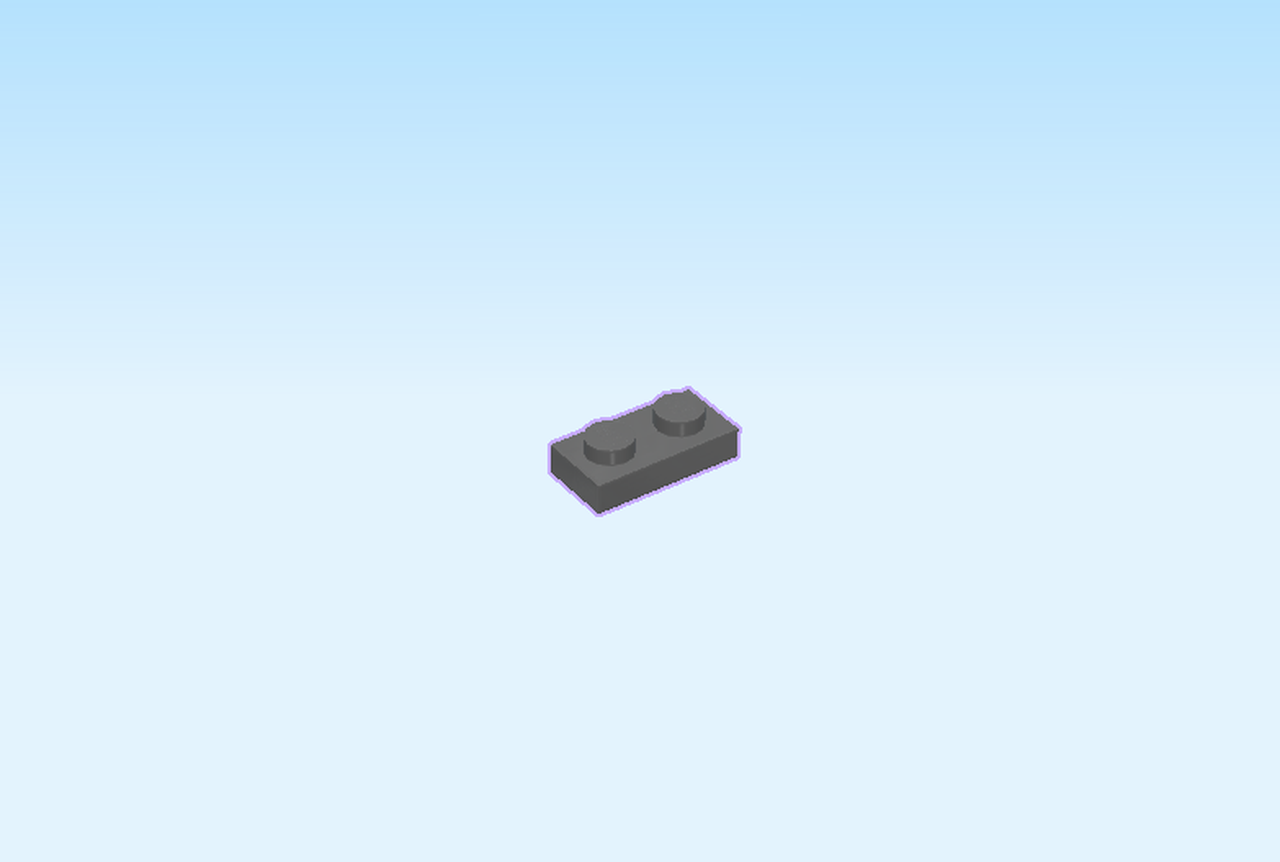
| Find 1 dark stone grey plate 1x2. |
| Put it on the table. |
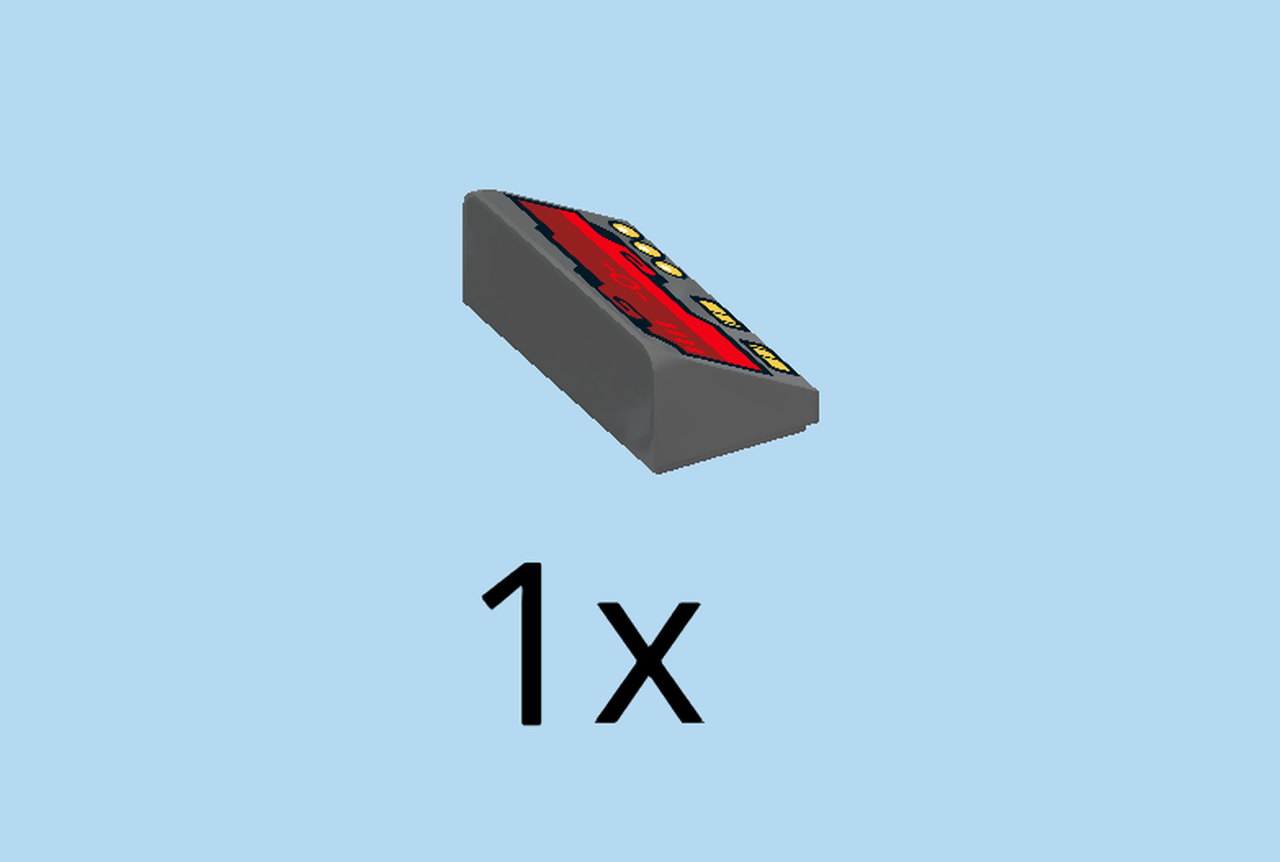
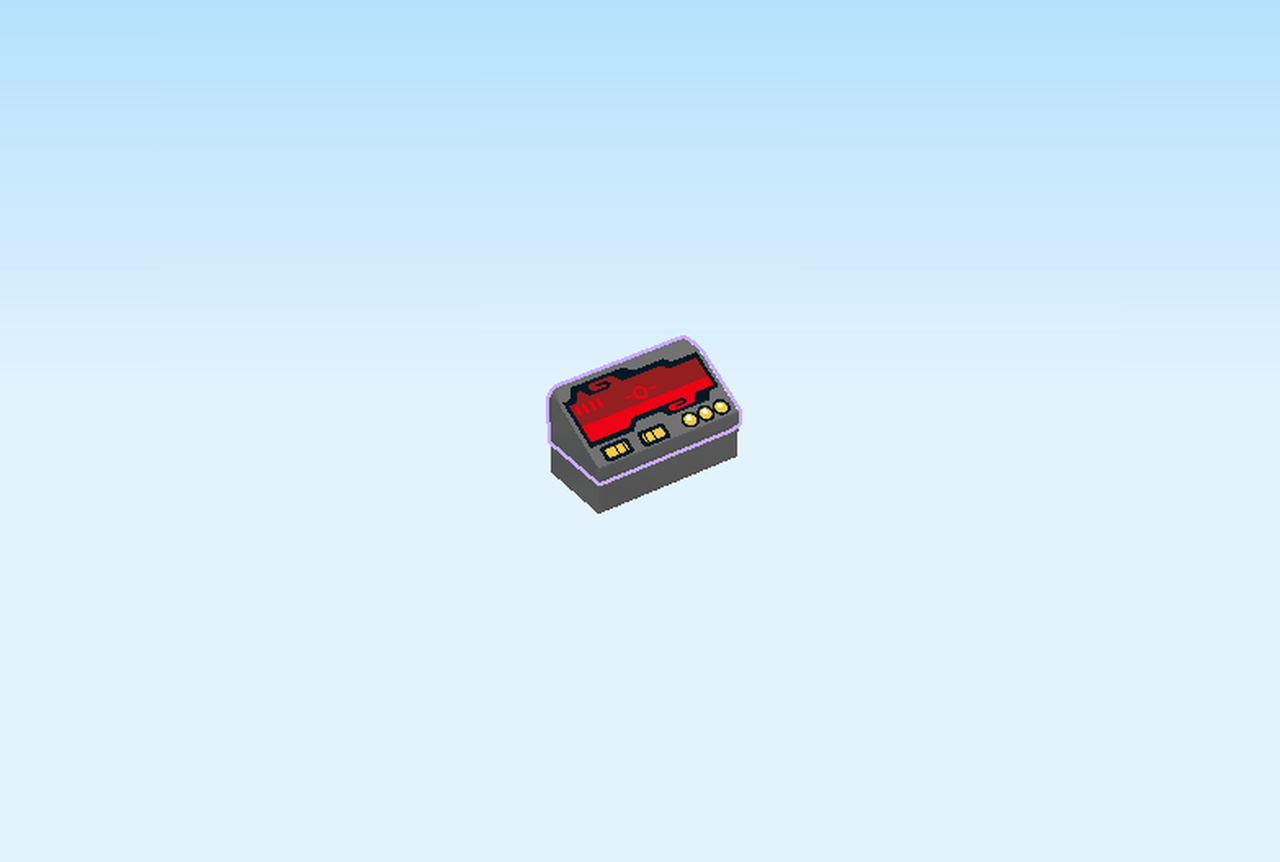
| Find 1 dark stone grey smooth roof tile 1x2. |
| Put it on top of the previous element. |
| The print on this piece shows a red screen and a lot of buttons. |
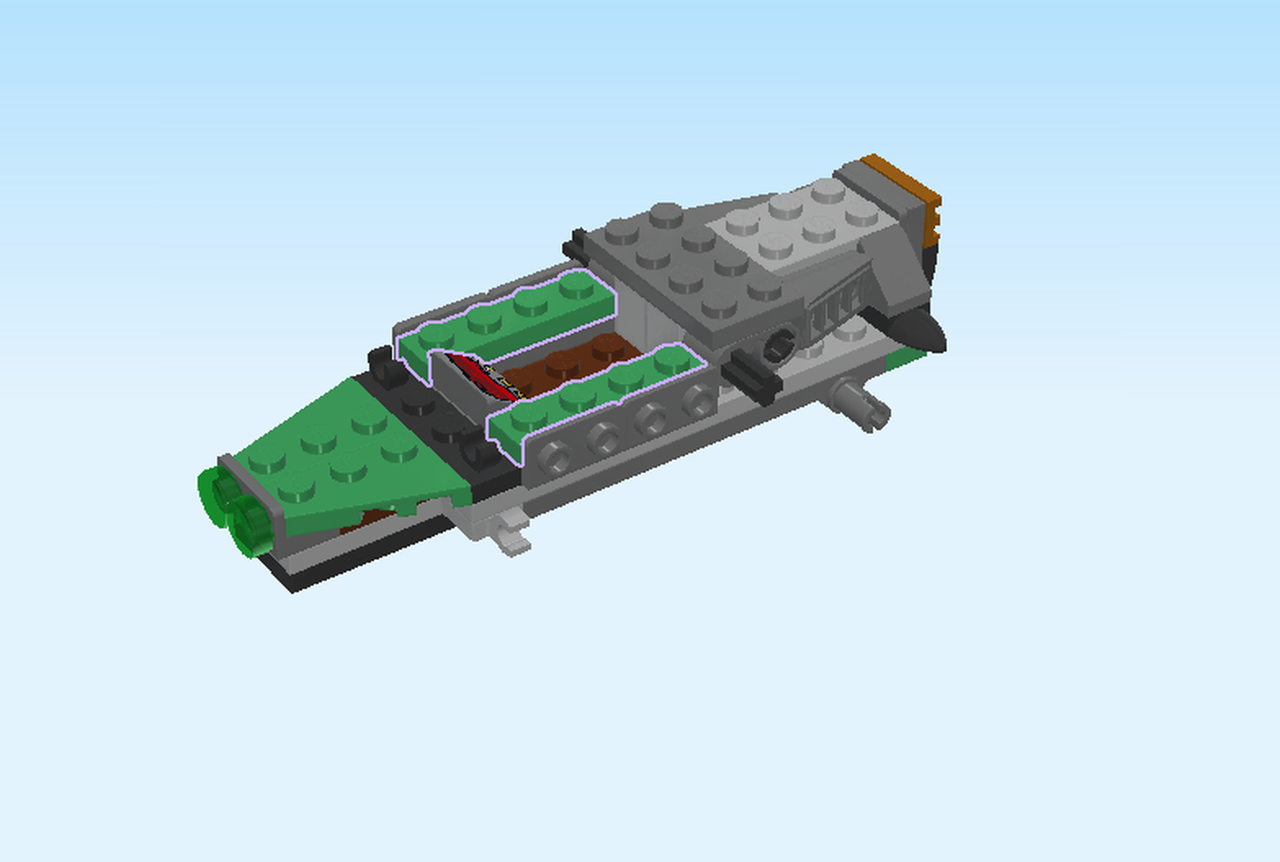
| Find 2 dark green plates 1x4. |
| Put 1 horizontally in front of the previous piece on the front row. |
| Repeat symmetrically on the back row. |
| We will now build the front hood of the Jungle Raider. |
| Find 1 dark stone grey plate 2x2. |
| Put it on the table. |
| Find 1 dark green plate 1x2. |
| Put it vertically on the right column. |
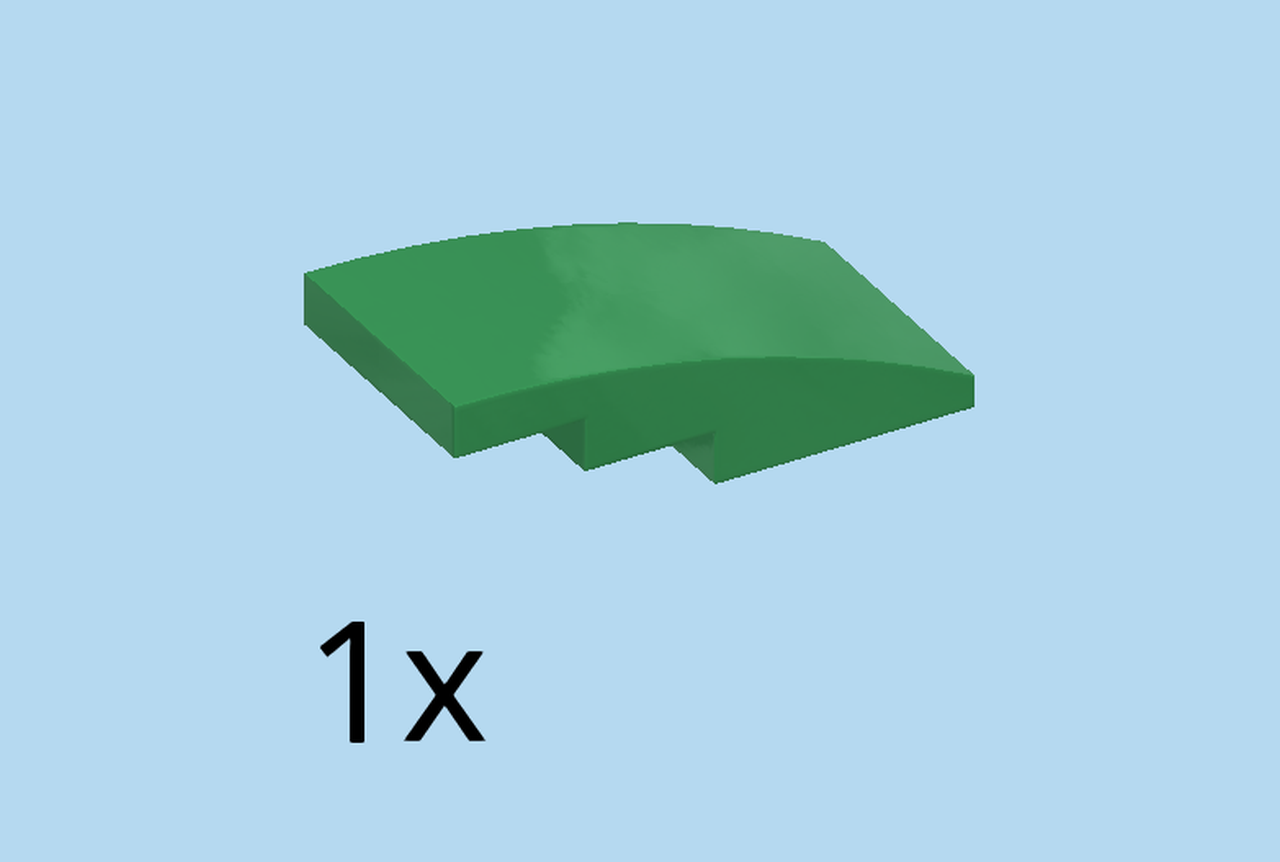
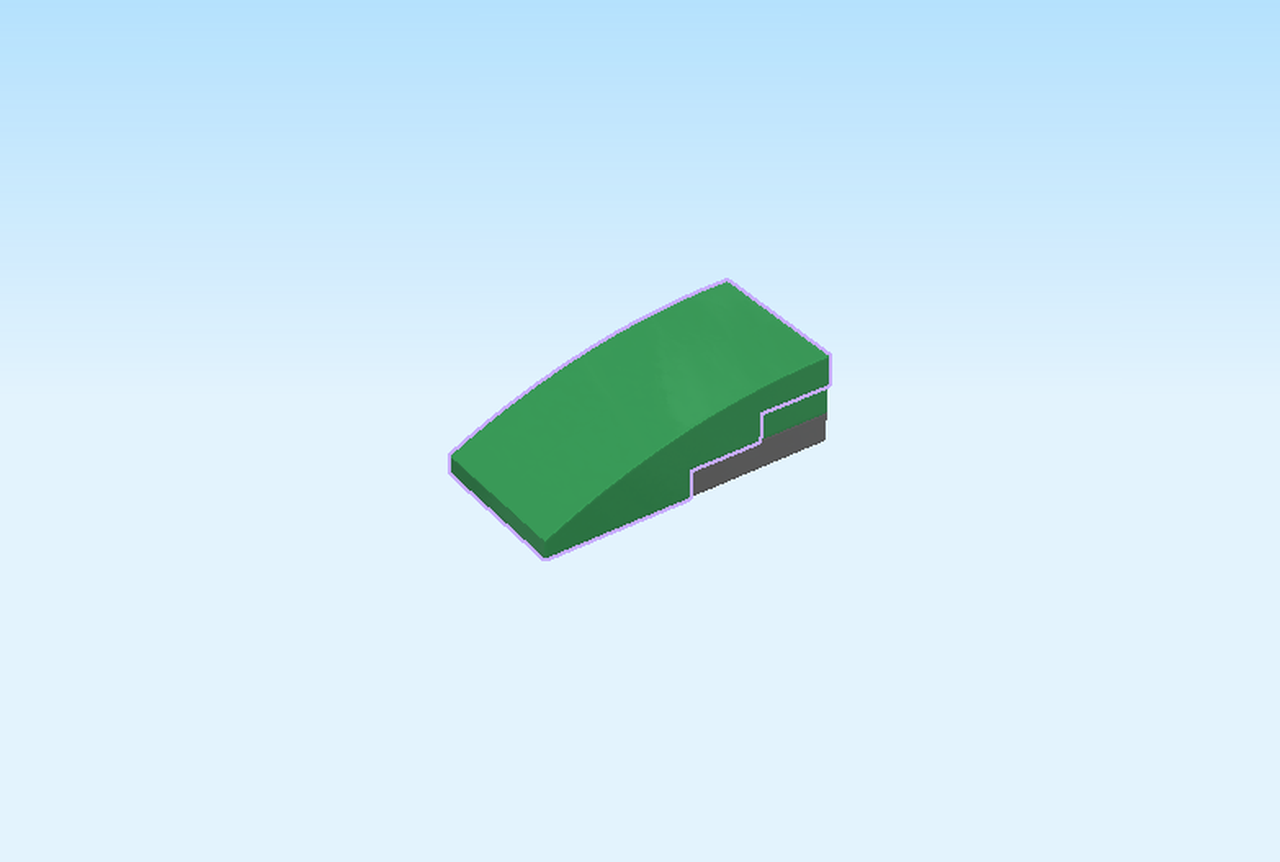
| Find 1 dark green two-step curved tile 2x4. |
| Put it horizontally on the previous piece so that its steps fit exactly on the structure, curve overhanging to the left. |
| Continue if you want to decorate the hood with a sticker now. If not, skip the following 3 sentences. |
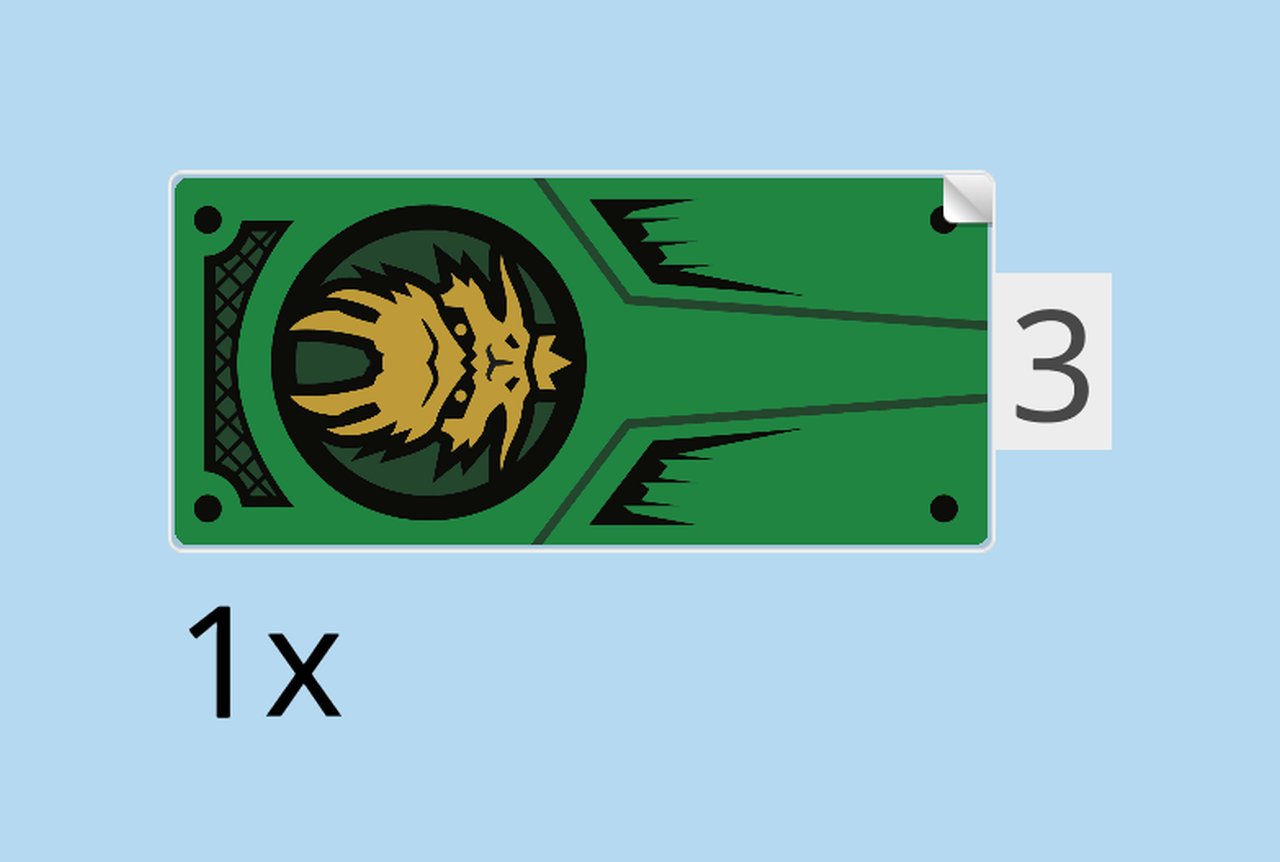
| Find 1 sticker number 3. Ask a sighted person to help you. |
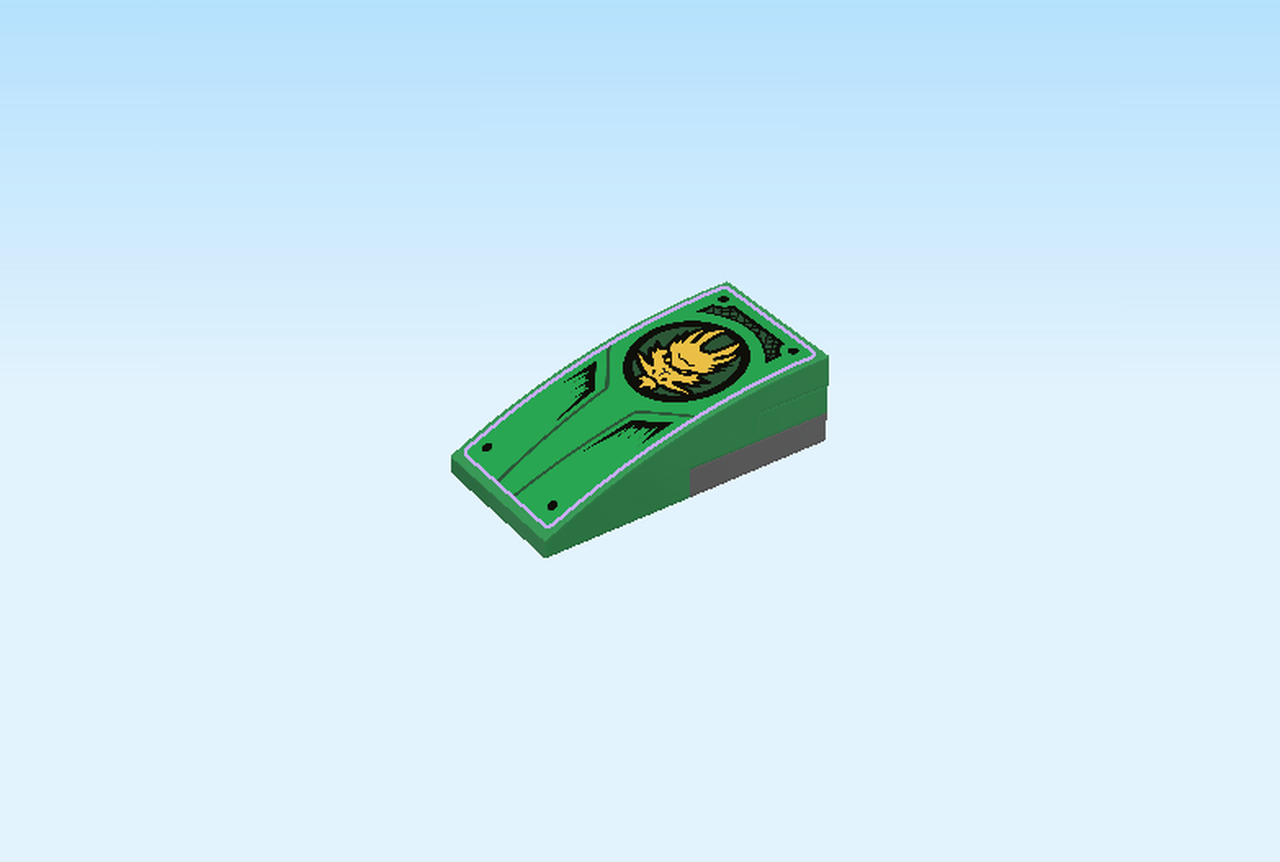
| Put the sticker on the curved tile 2x4. |
| The sticker shows mechanical details with a round Ninjago icon of a dragon. |
| Now, mount the front hood horizontally on the left edge of the Jungle Raider structure, curve to the left. |
| Collect the following 2 pieces: |
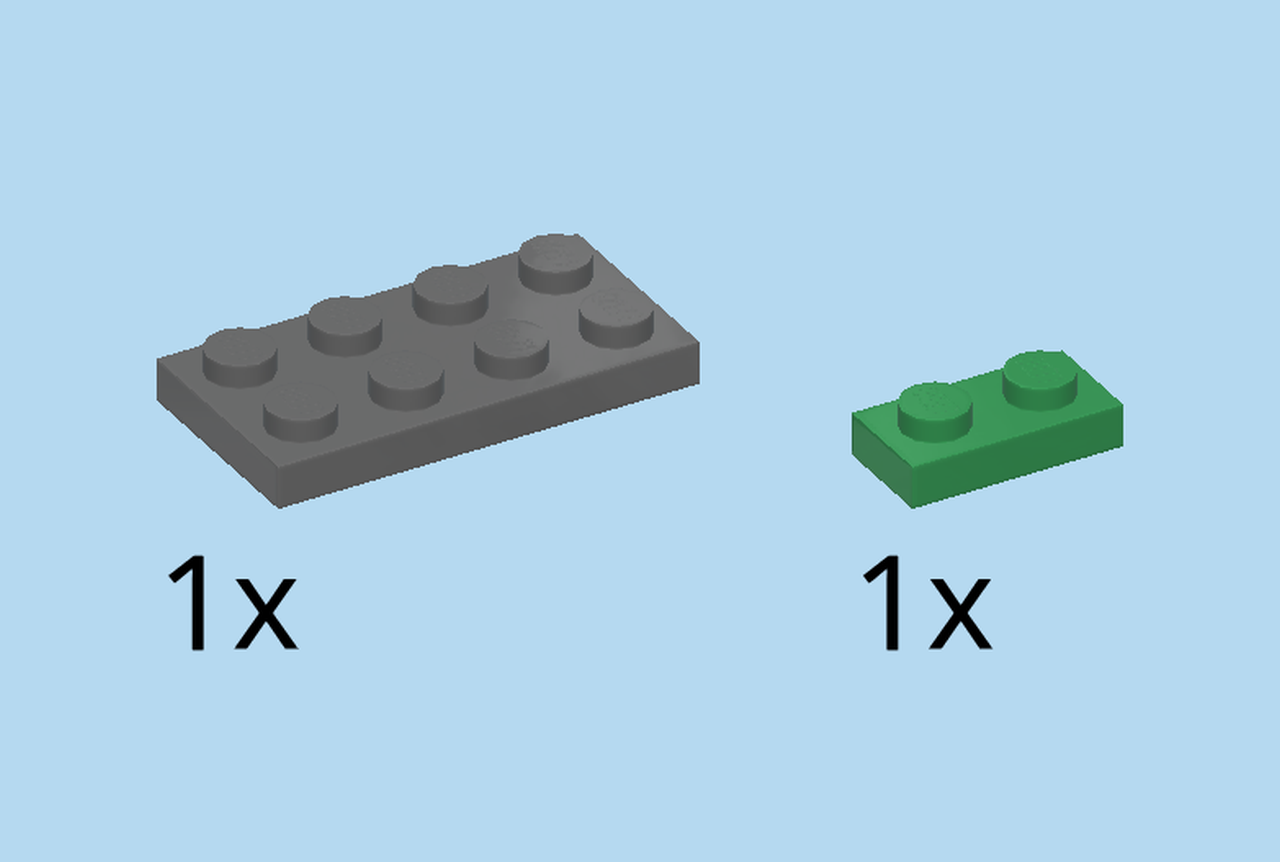
| 1 dark green plate 1x2, |
| and 1 dark stone grey plate 2x4. |
| Put the plate 2x4 horizontally on the right edge on the middle 2 rows. |
| Put the plate 1x2 vertically to the left. |
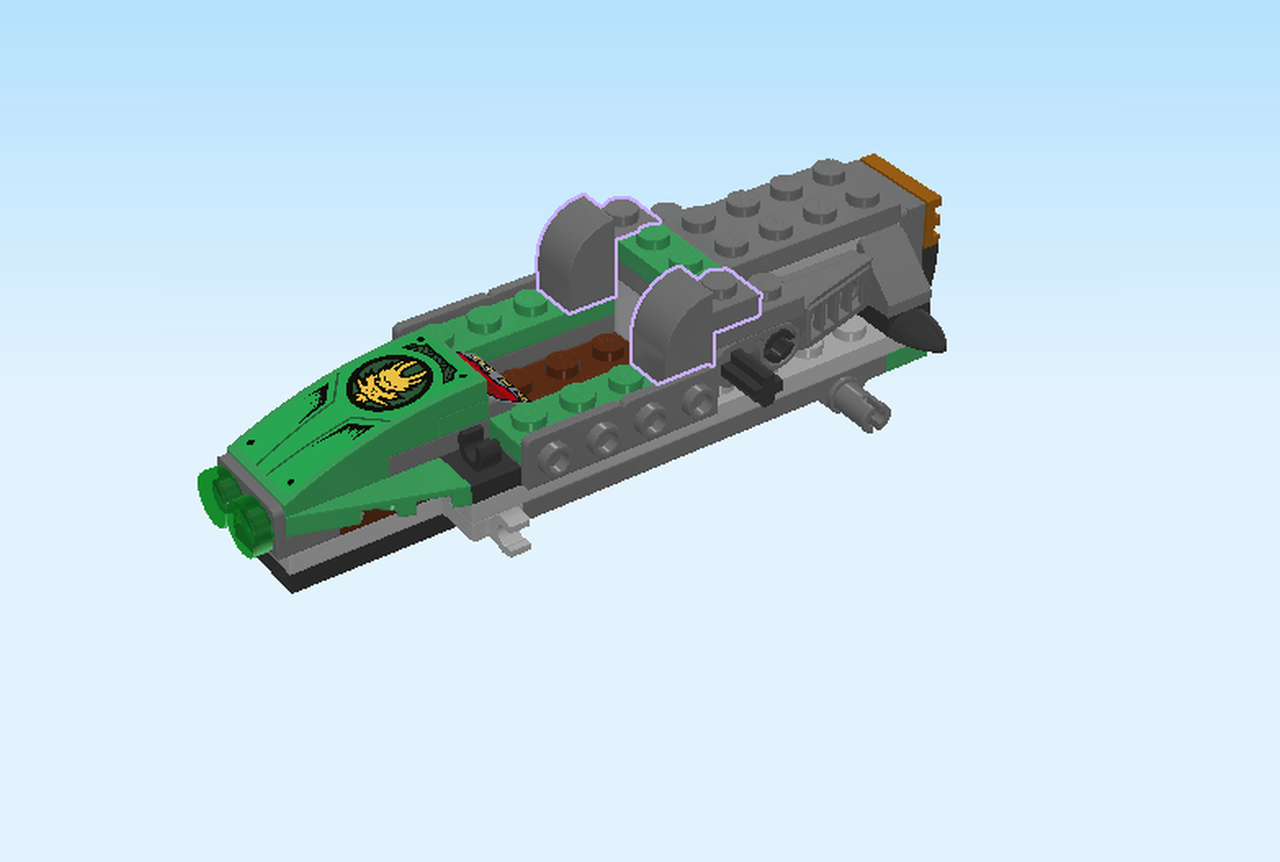
| Find 2 dark stone grey bricks with arch 1x1 and protruding plate. |
| Put 1 on the rightmost knob of the front row, protruding plate to the right, and connecting the lower with the higher level. |
| Repeat symmetrically on the back row. |
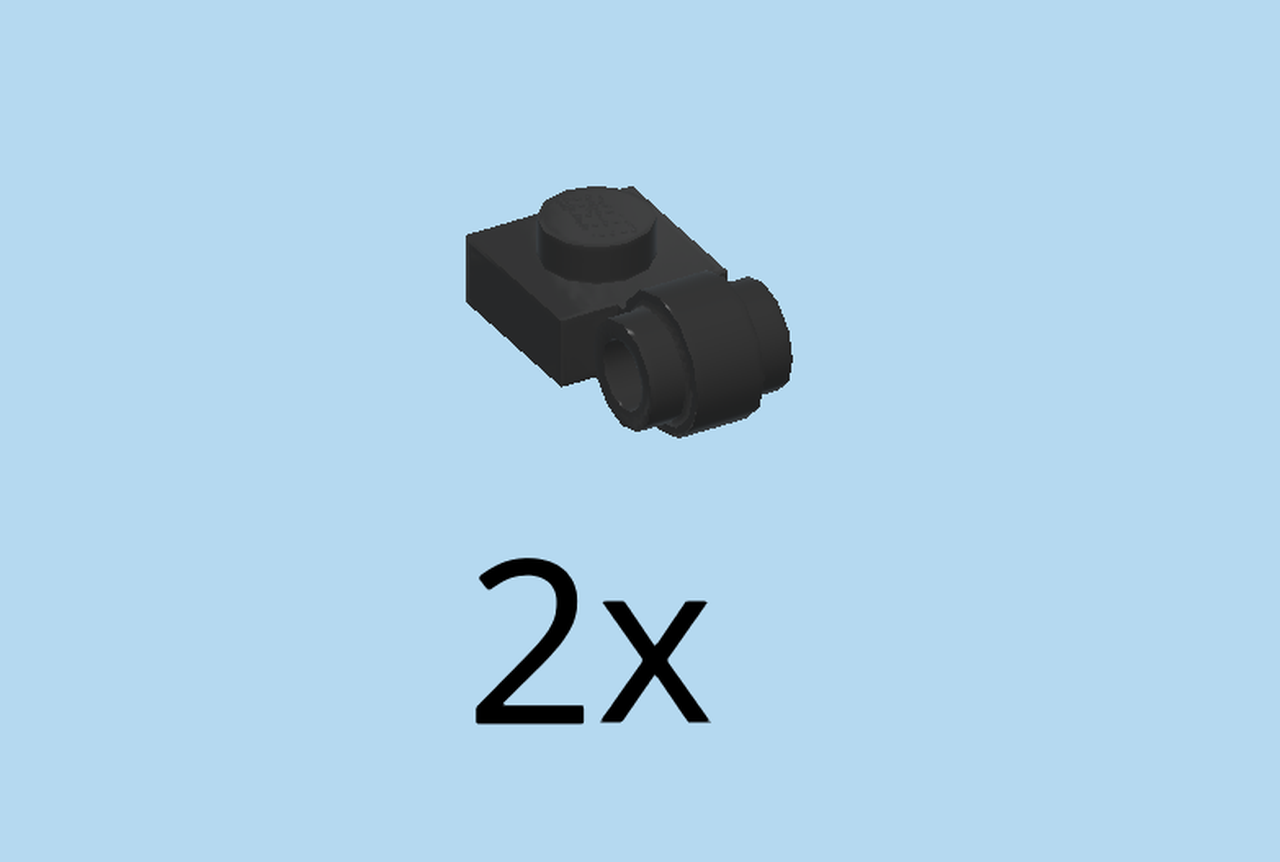
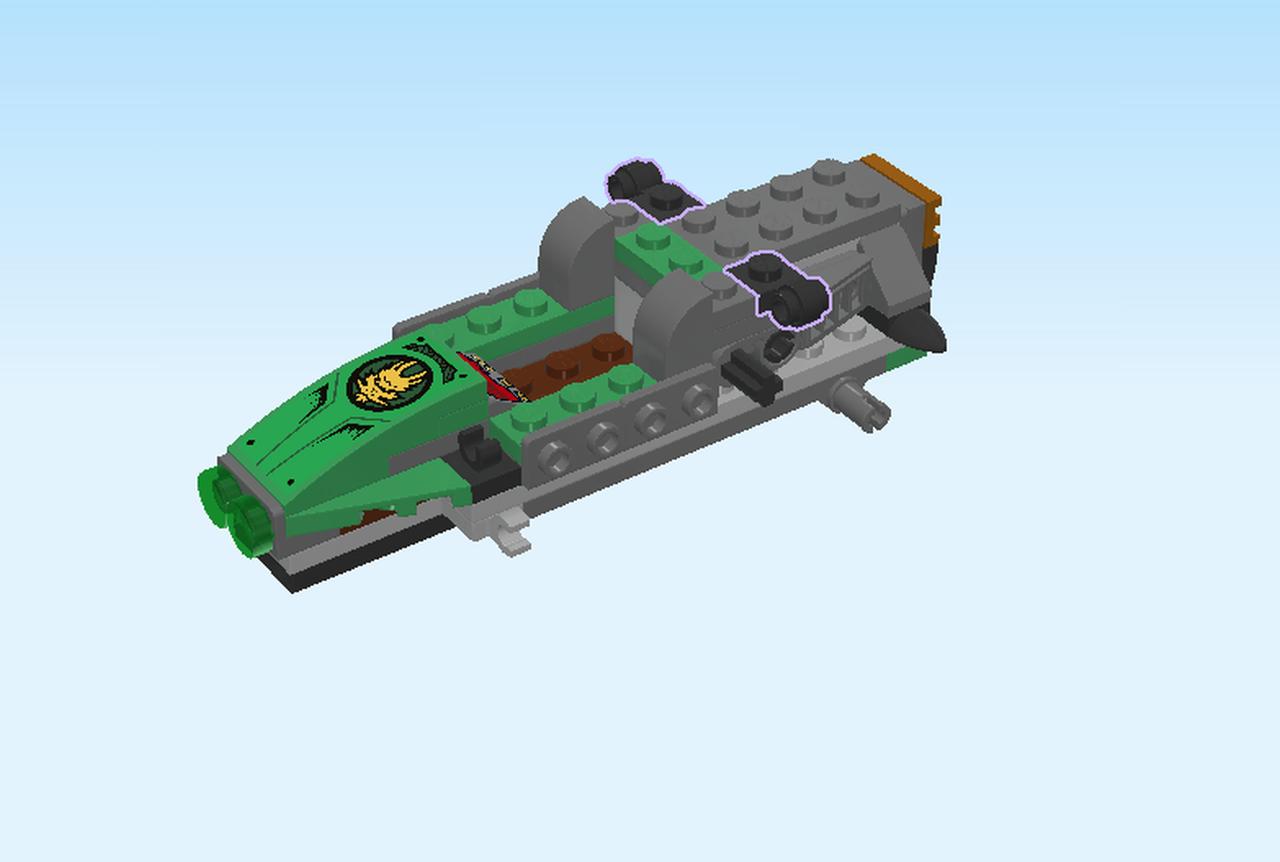
| Find 2 plates 1x1 with twin connector collar. |
| Put one to the right of the previous piece, twin connector collar overhanging to the back. |
| Repeat symmetrically at the front. |
| Find 2 dark green plates 1x2. |
| Put 1 horizontally on top of the previous piece and the protruding plate of the brick with arch 1x1. |
| Repeat symmetrically at the back. |
| Find 2 transparent round tiles 1x1. |
| Put them upright on the twin connector collars pointing left. |
| These are lights that are very important when driving in the jungle. Good job! |
| Now, we will build the tail of the Jungle Raider. |
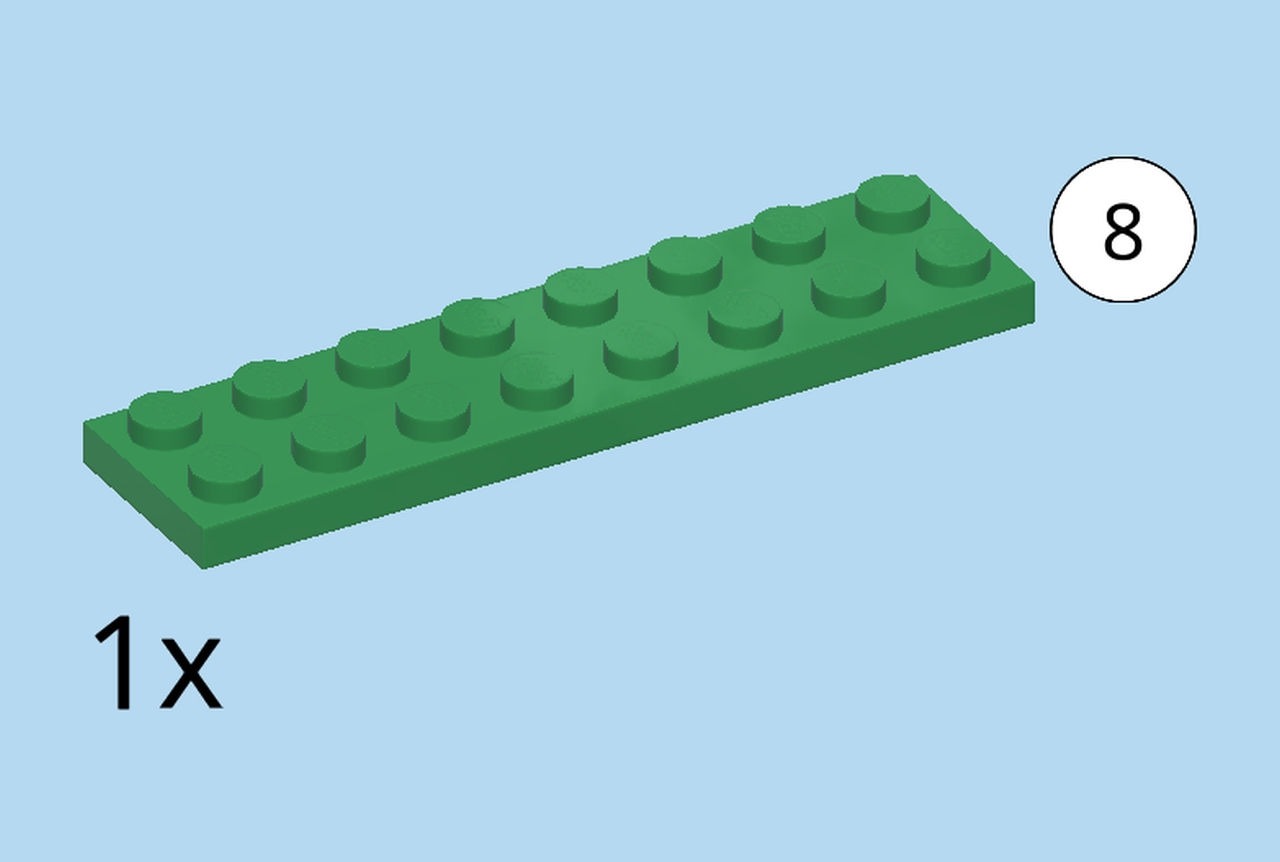
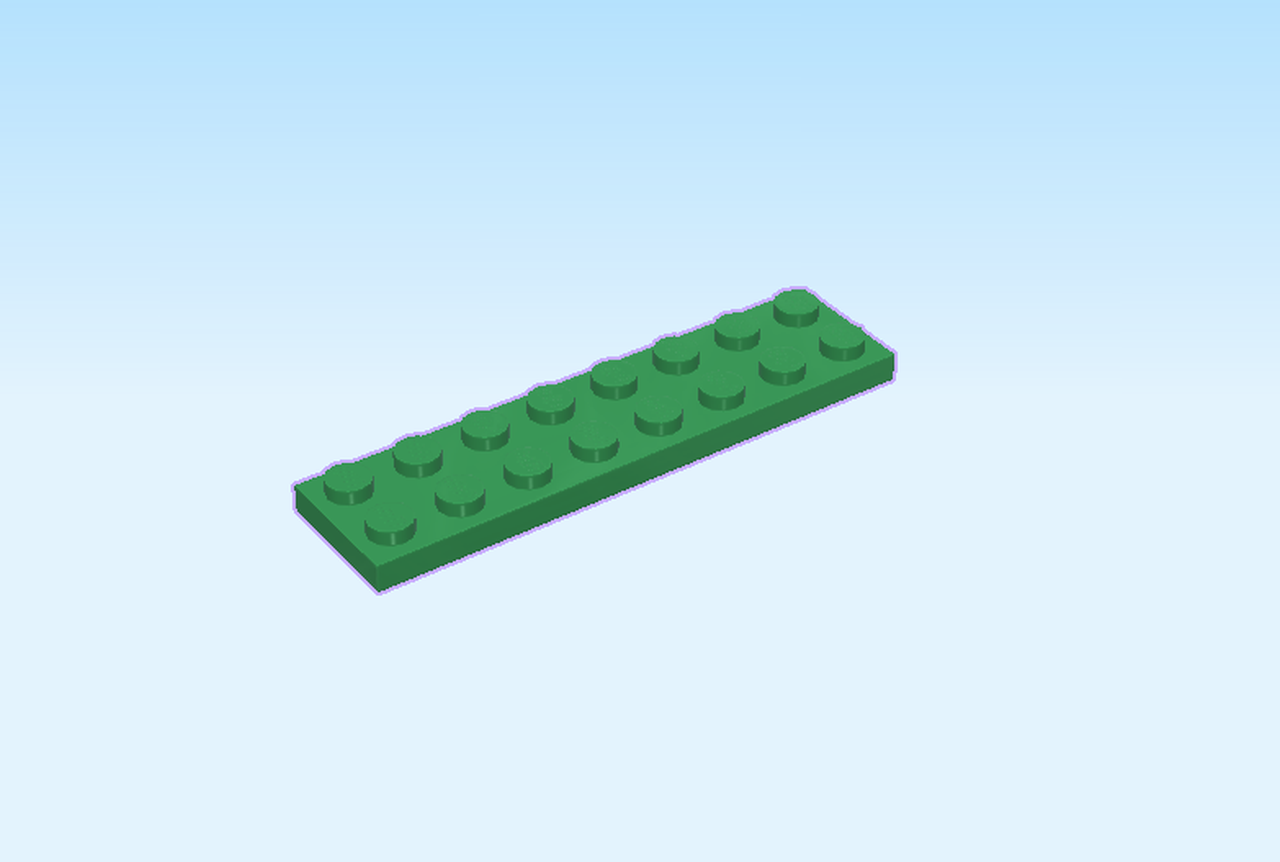
| Find 1 dark green plate 2x8. |
| Put it horizontally on the table. |
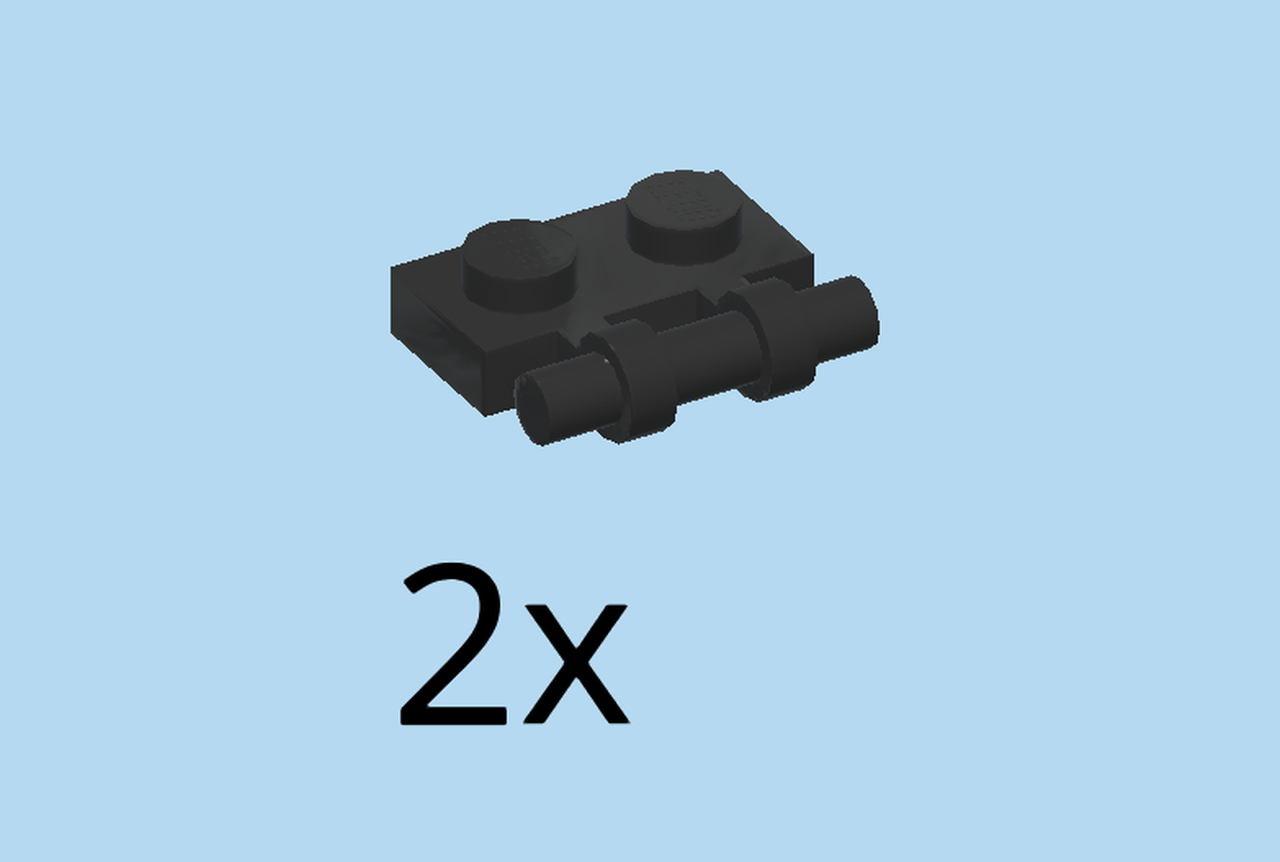
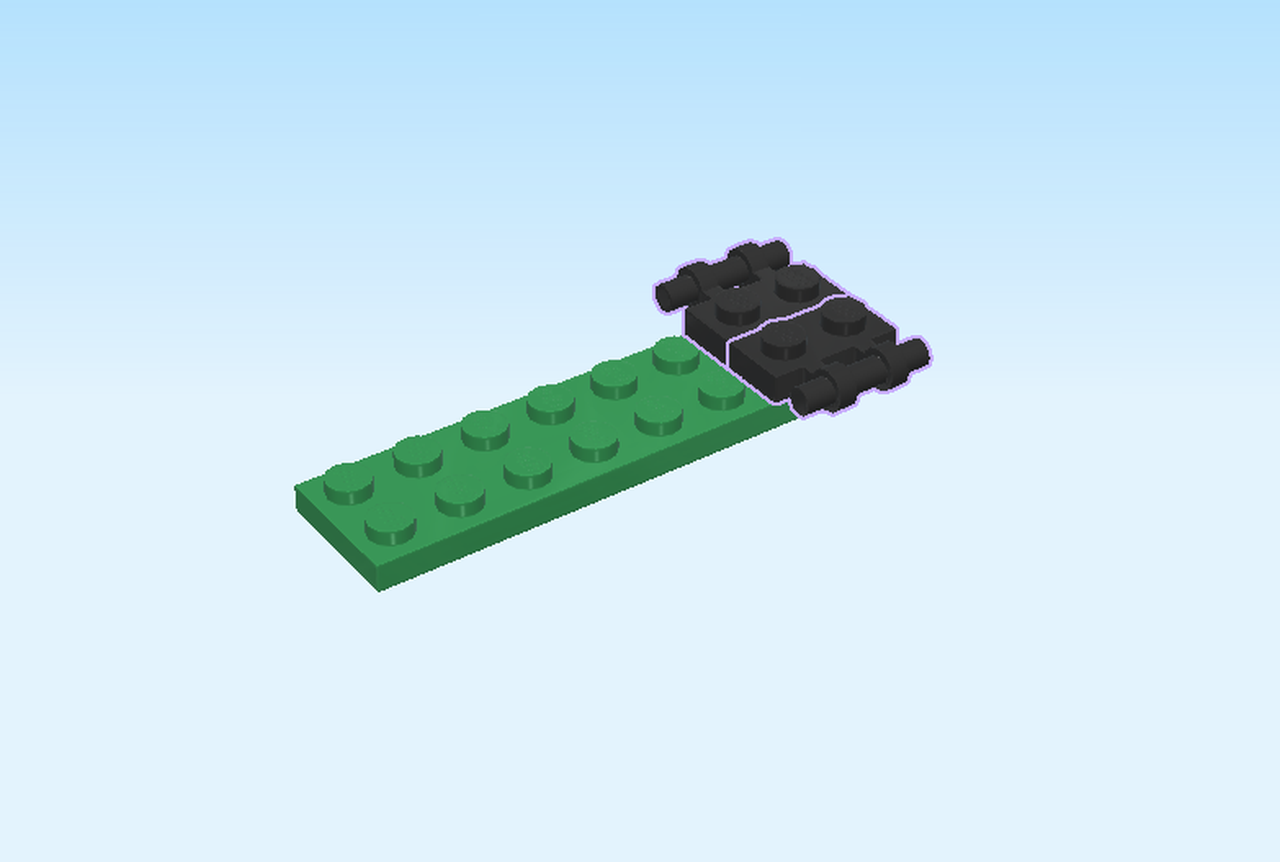
| Find 2 black plates 1x2 with side shaft. |
| Put 1 horizontally on the front row on the right edge, shaft overhanging to the front. |
| Repeat symmetrically at the back. |
| Collect the following 4 pieces: |
| 1 dark stone grey plate 1x2, |
| 2 black plates 1x2 with top clasp, |
| and 1 warm gold plate 1x2 with 1 knob. |
| Put the plate 1x2 vertically on the leftmost column. |
| Put the 2 plates 1x2 with top clasp horizontally to the right, top clasps to the left. |
| Put the plate 1x2 with 1 knob vertically to the right of the previous pieces. |
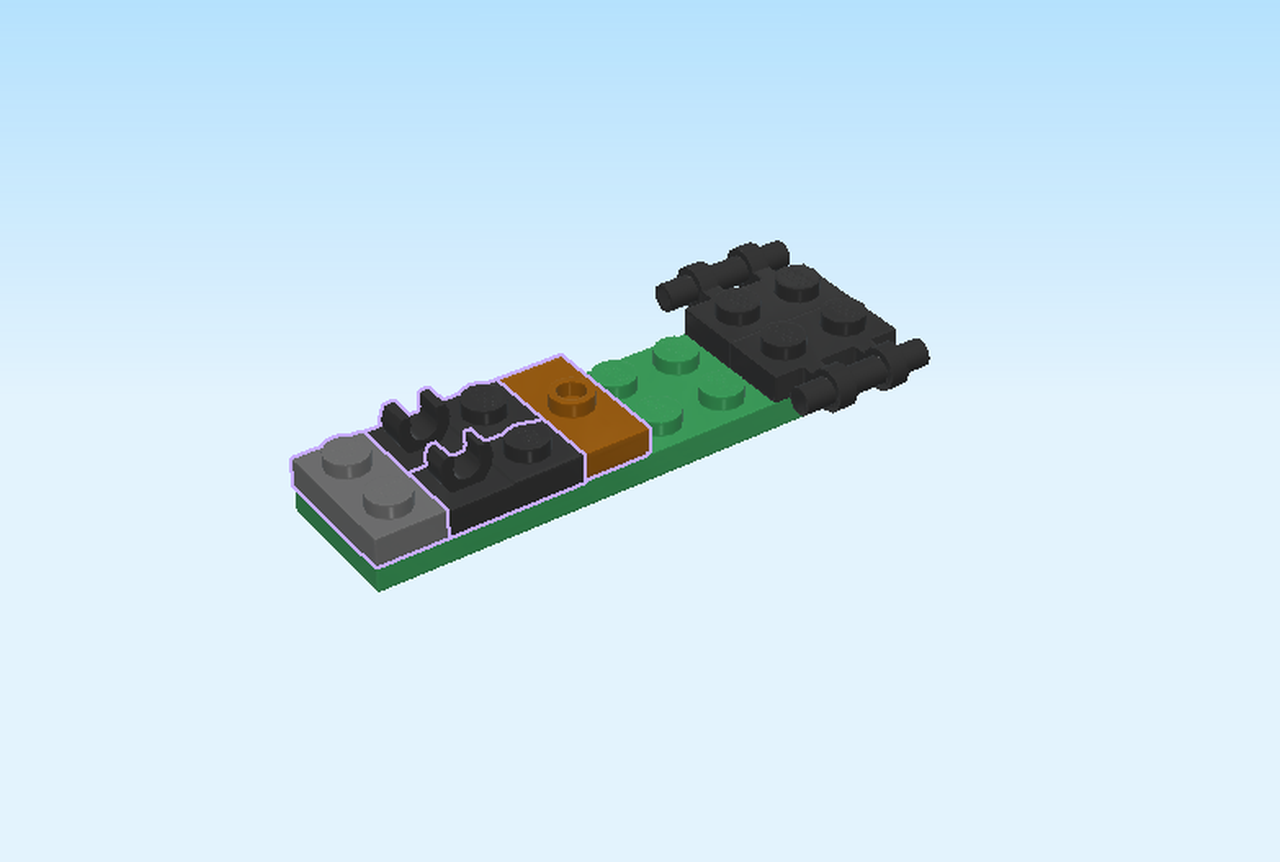
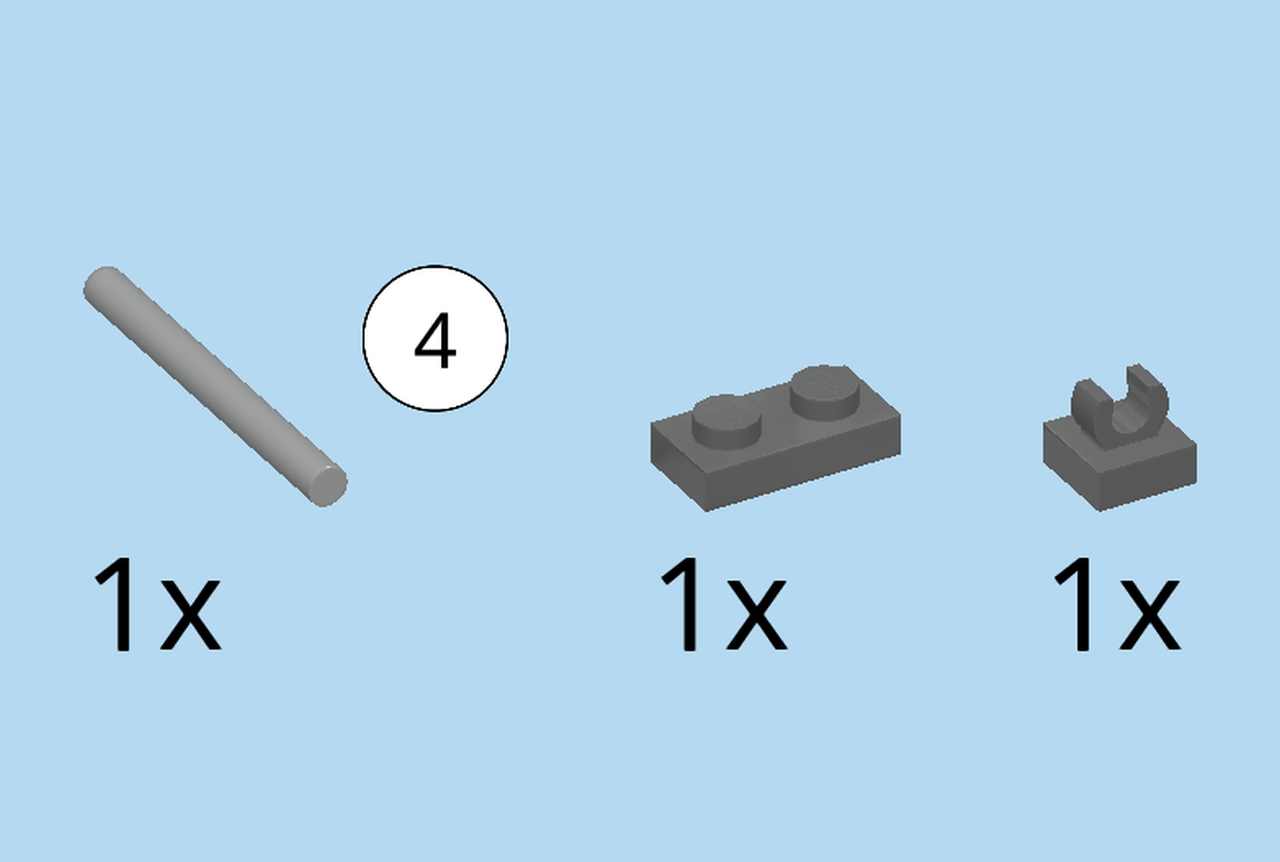
| Collect the following 3 pieces: |
| 1 dark stone grey plate 1x1 with top clasp, |
| 1 medium stone grey shaft, 4 knobs long, |
| and 1 dark stone grey plate 1x2. |
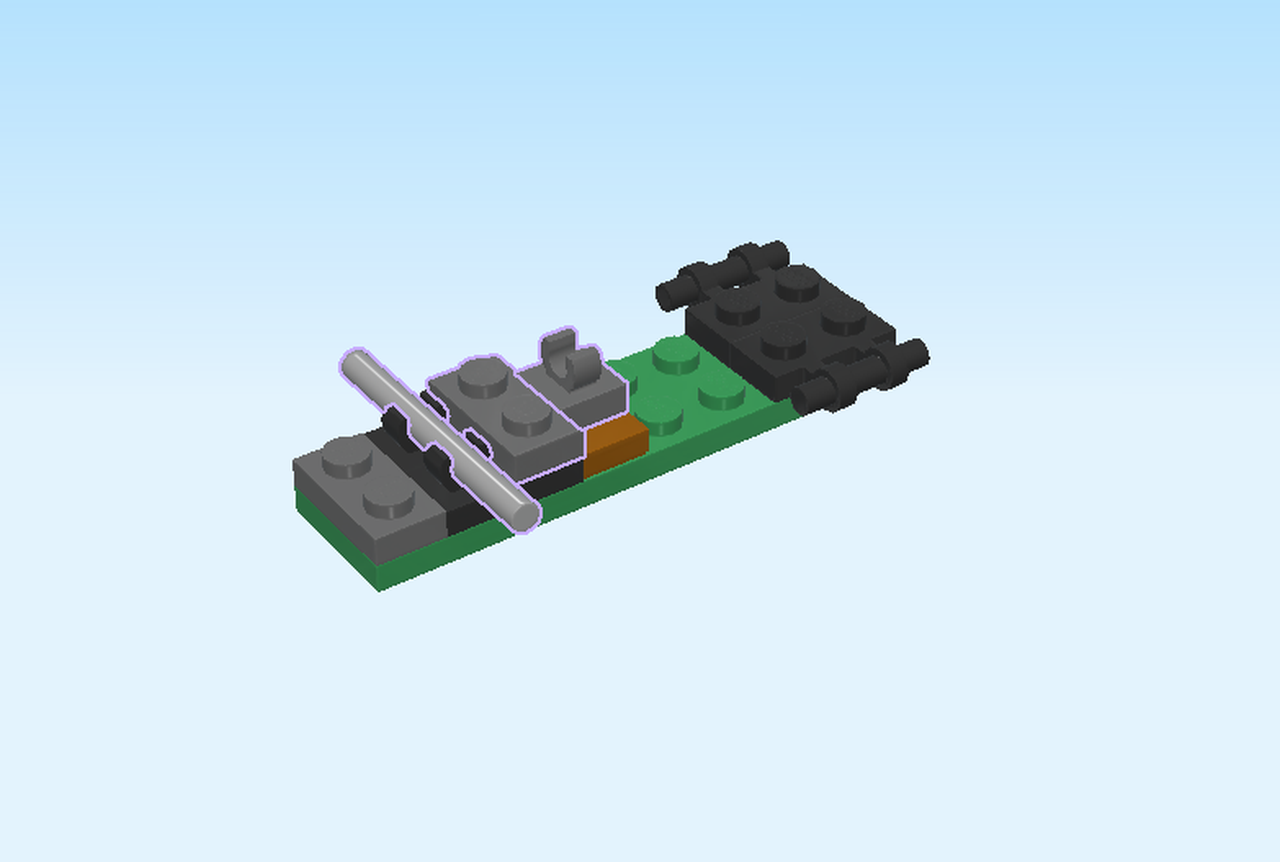
| Put the plate 1x1 with top clasp on the previous piece. Turn the clasp vertically, so its tips are at the front and back. |
| Snap the shaft vertically into the 2 top clasps on the left, shaft overhanging to the front and back. |
| Put the plate 1x2 vertically to the right of the previous piece. |
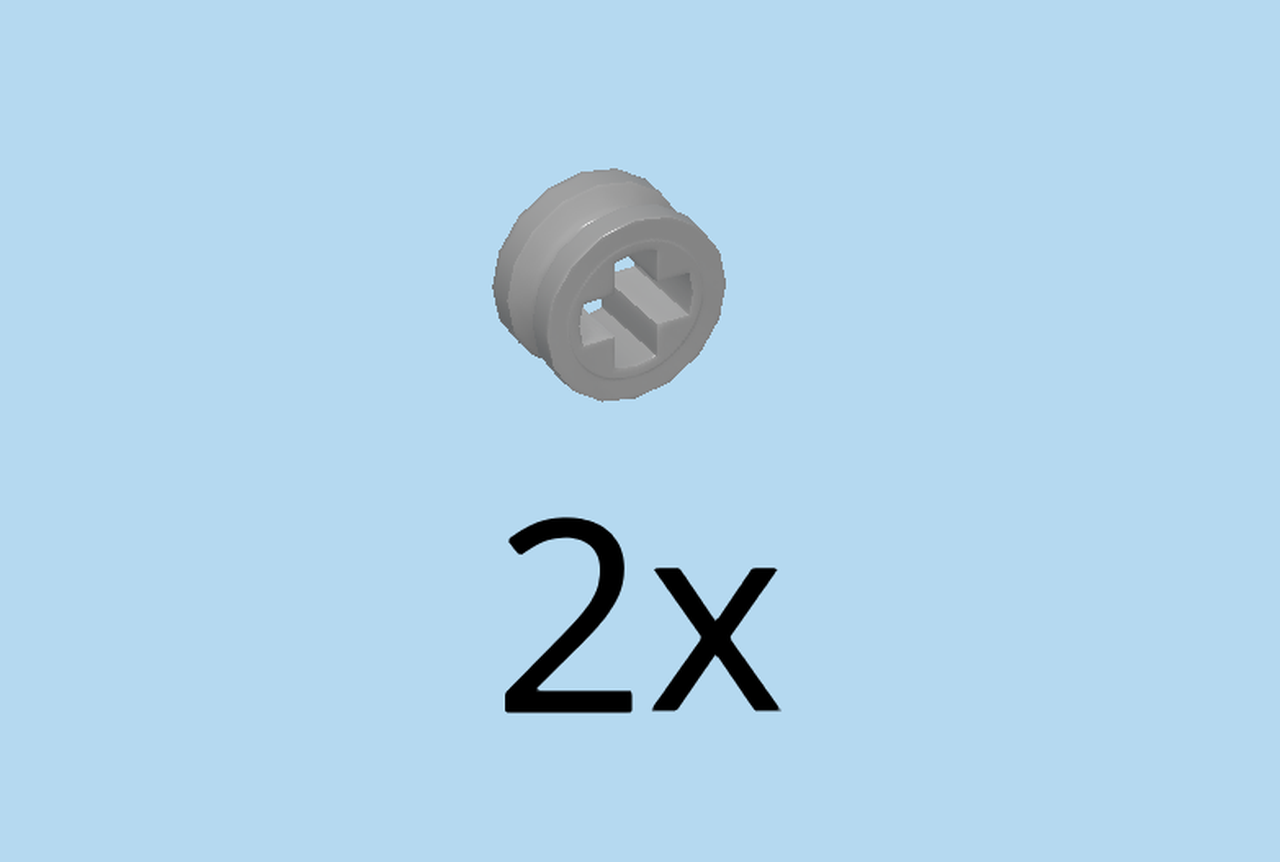
| Find 2 medium stone grey cross bushings 1x½. |
| Put one on each end of the shaft on the left. Push them until they touch the structure. |
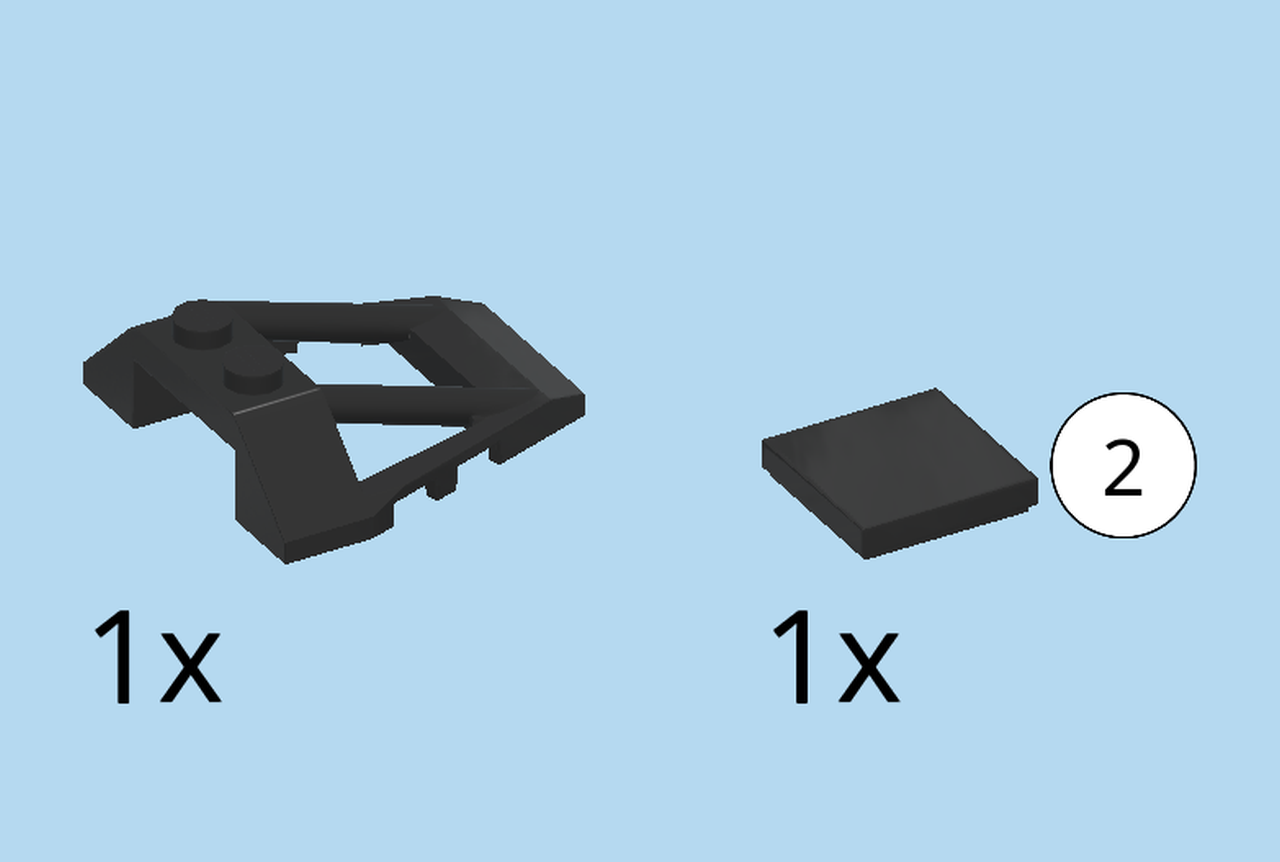
| Collect the following 2 pieces: |
| 1 black car roll cage 4x4, |
| and 1 black flat tile 2x2. |
| Put the car roll cage 4x4 to the right of the shaft, slope to the right. |
| Put the flat tile to the right of the previous piece. |
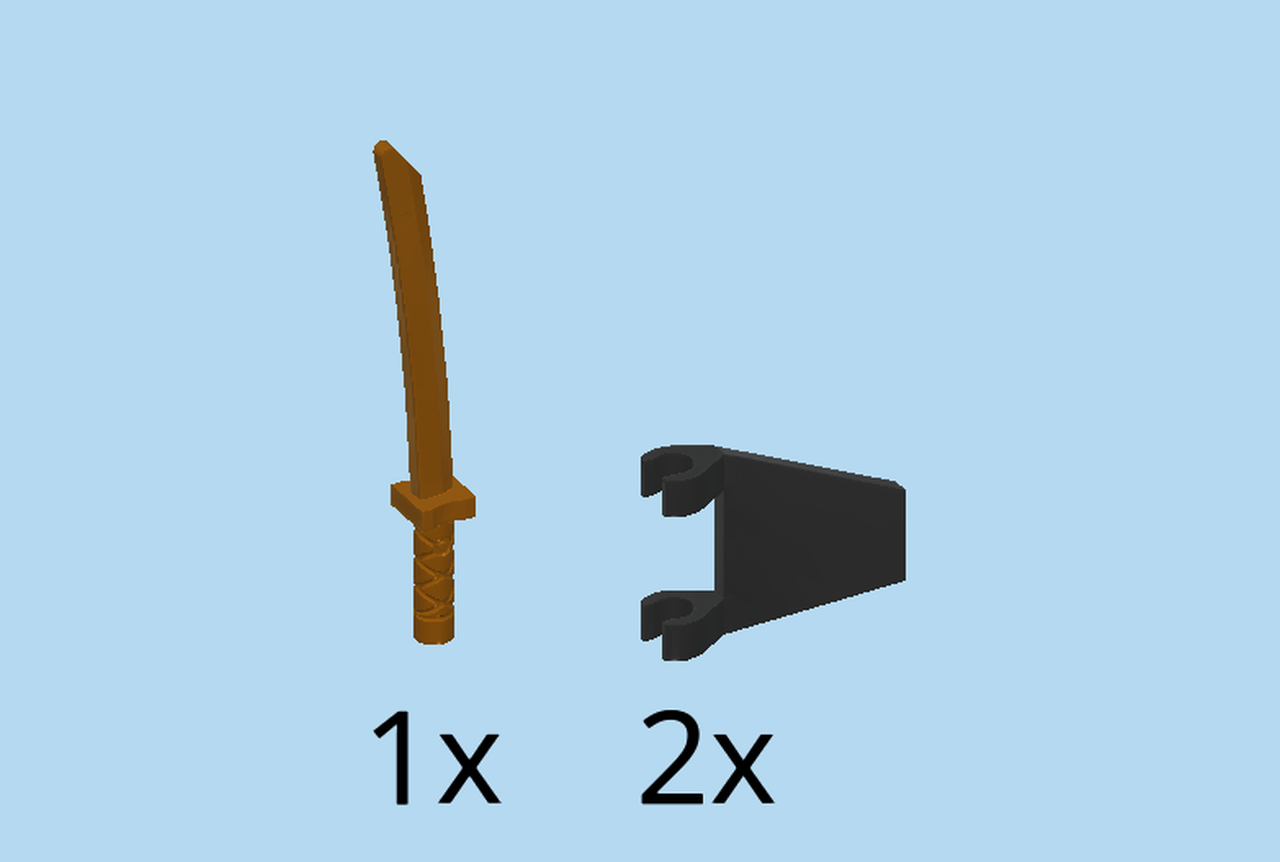
| Collect the following 3 pieces: |
| 1 warm gold katana sword, |
| and 2 black angled banners with 2 clasps. |
| Put the handle of the katana sword in the clasp in the middle of the structure, sword blade pointing to the right. |
| Snap the clasps of 1 angled banner on the side shaft overhanging to the front on the right edge of the structure, angle to the right. |
| Repeat symmetrically at the back. |
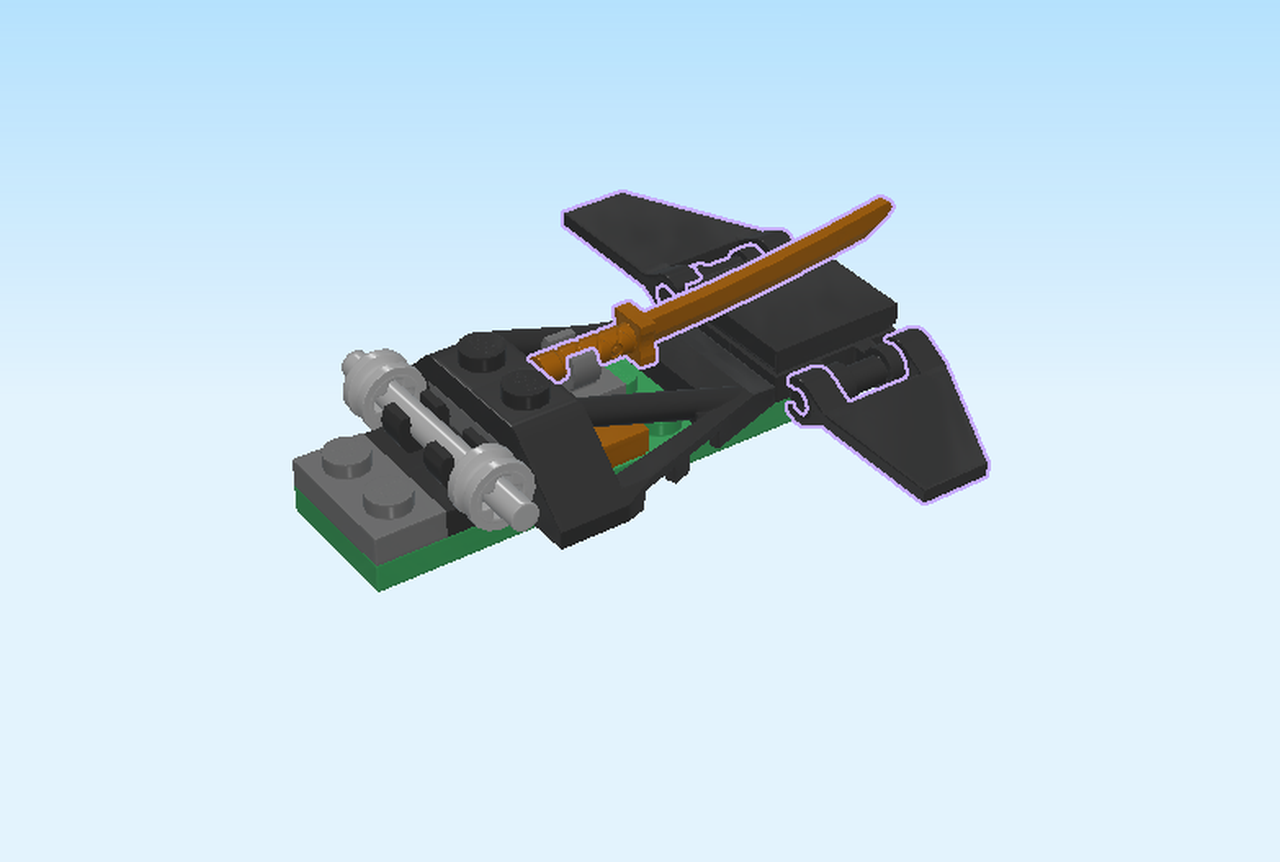
| Now we will attach the tail of the vehicle to the Jungle Raider. This part can be hard! |
| Mount the tail part in the middle 2 rows on the right side of the Jungle Raider, tail overhanging to the right. On the left side, the tail is flush with the rest of the high section of the car body. |
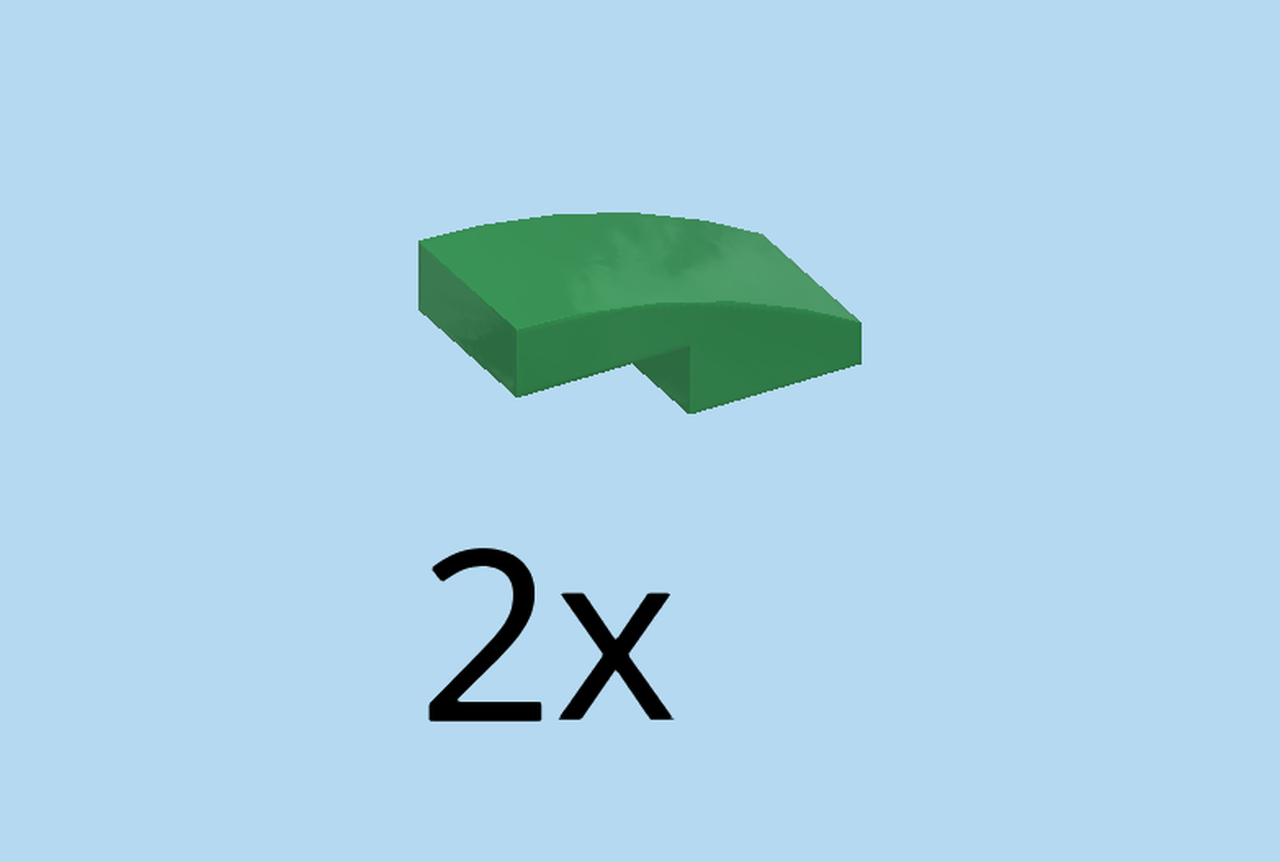
| Find 2 dark green curved tiles 1x2. |
| These 2 pieces will lock the tail. |
| Put 1 vertically on the leftmost column of the high section of the Jungle Raider, curve to the front. |
| Repeat symmetrically at the back, curve to the back. |
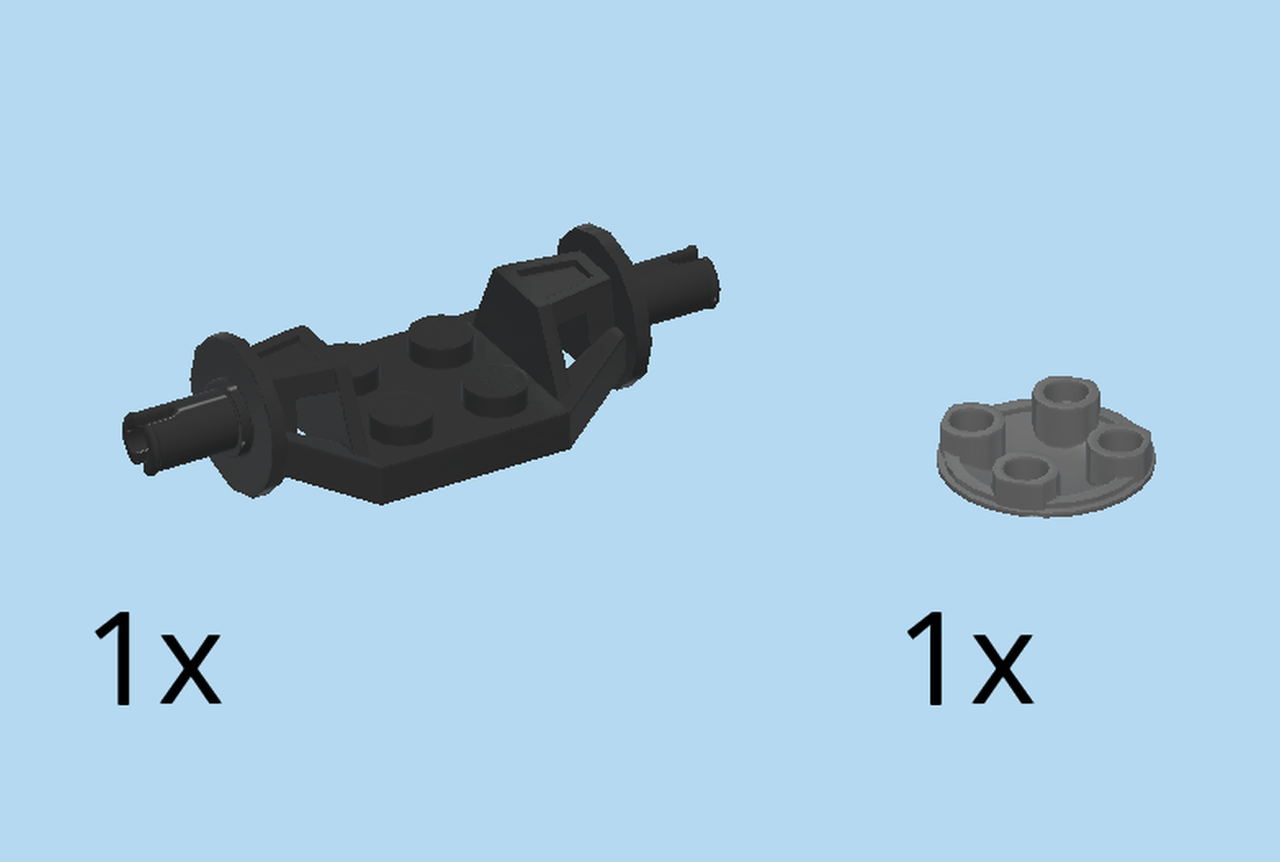
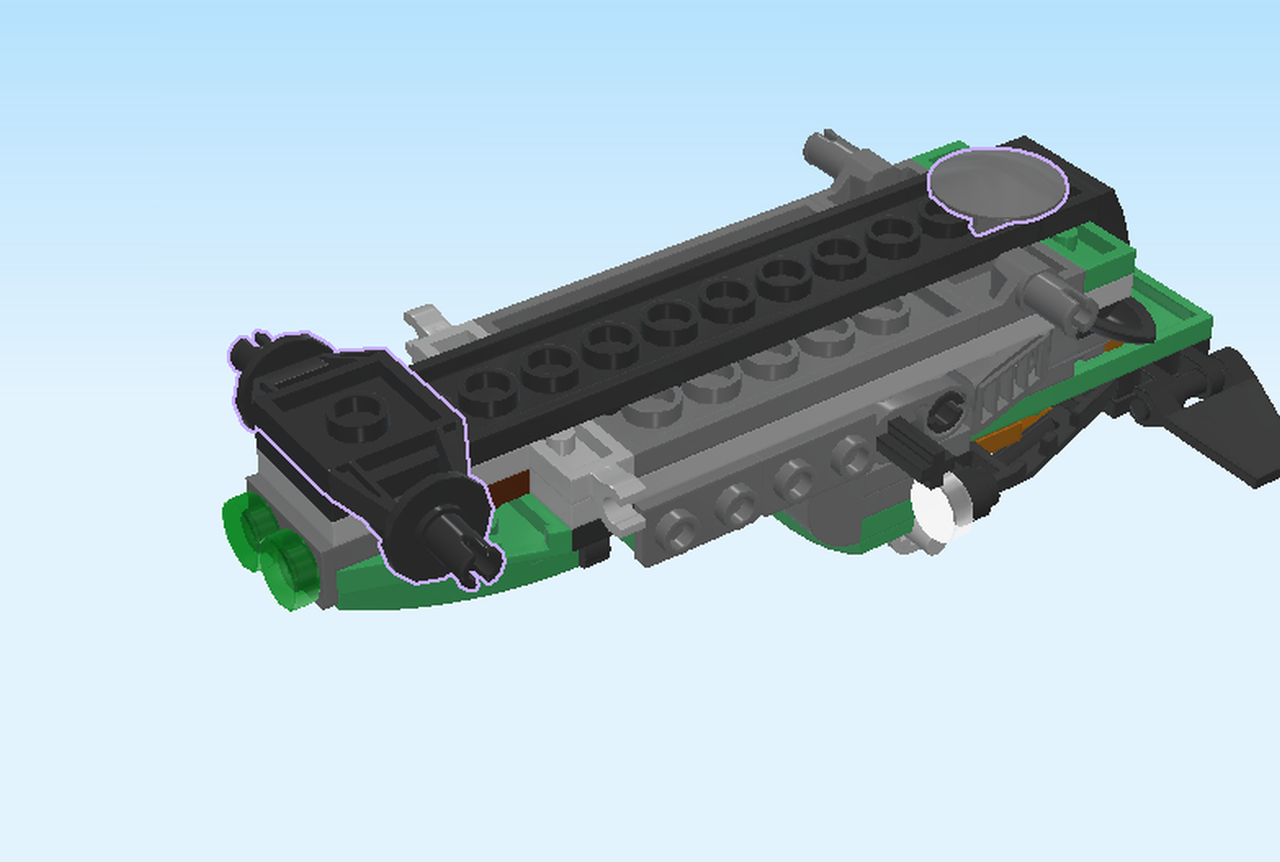
| Collect the following 2 pieces: |
| 1 black plate 2x2 with 2 wheel axles, |
| and 1 dark stone grey curved disk 2x2. |
| Flip the Jungle Raider upside down. This means the top knobs touch the table, tail to the right. |
| Careful! This piece has a special orientation. |
| Flip the plate 2x2 with 2 wheel axles upside down. |
| Put it vertically on the leftmost edge of the structure, wheel axles to the front and back. |
| Put the curved disk 2x2 on the rightmost edge of the structure. |
| Flip the structure right side up again, tail to the left now. |
| Great job! |
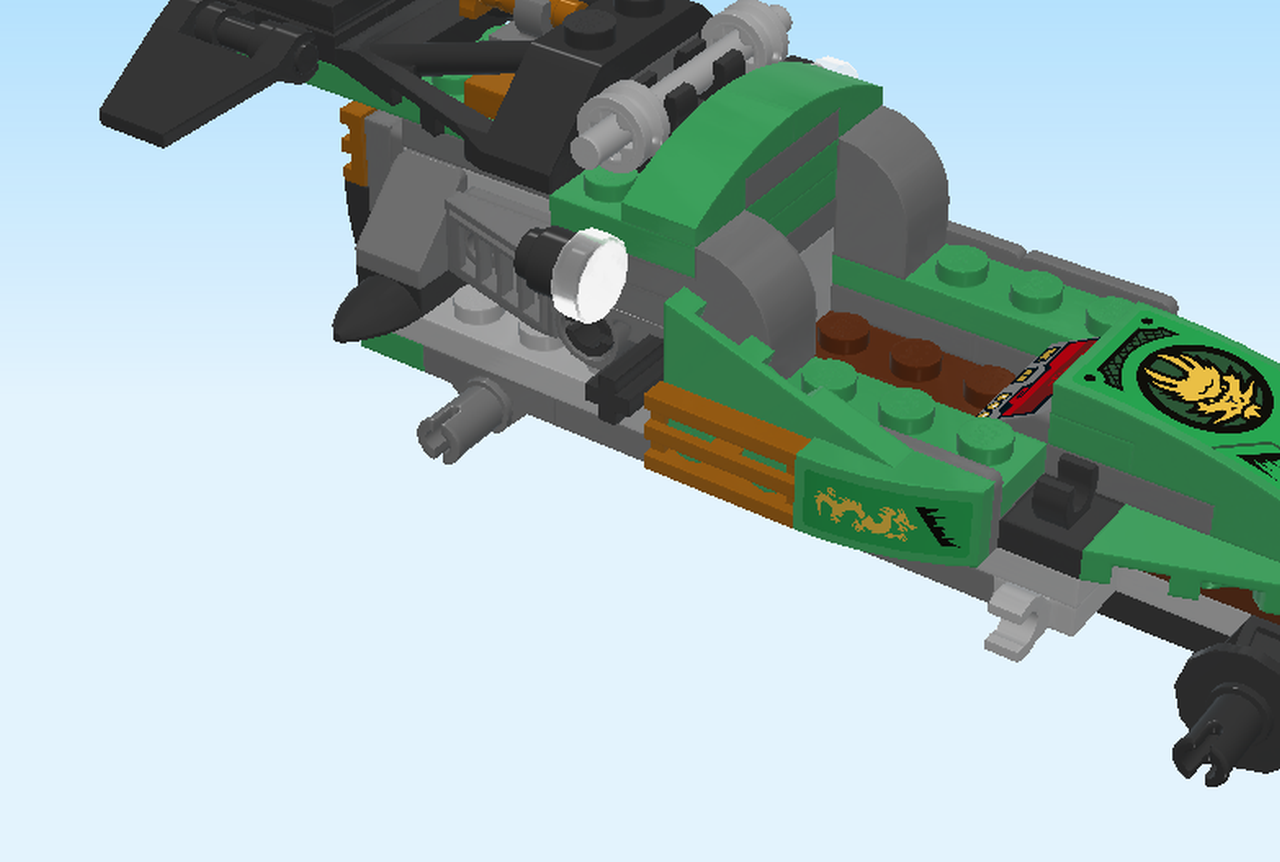
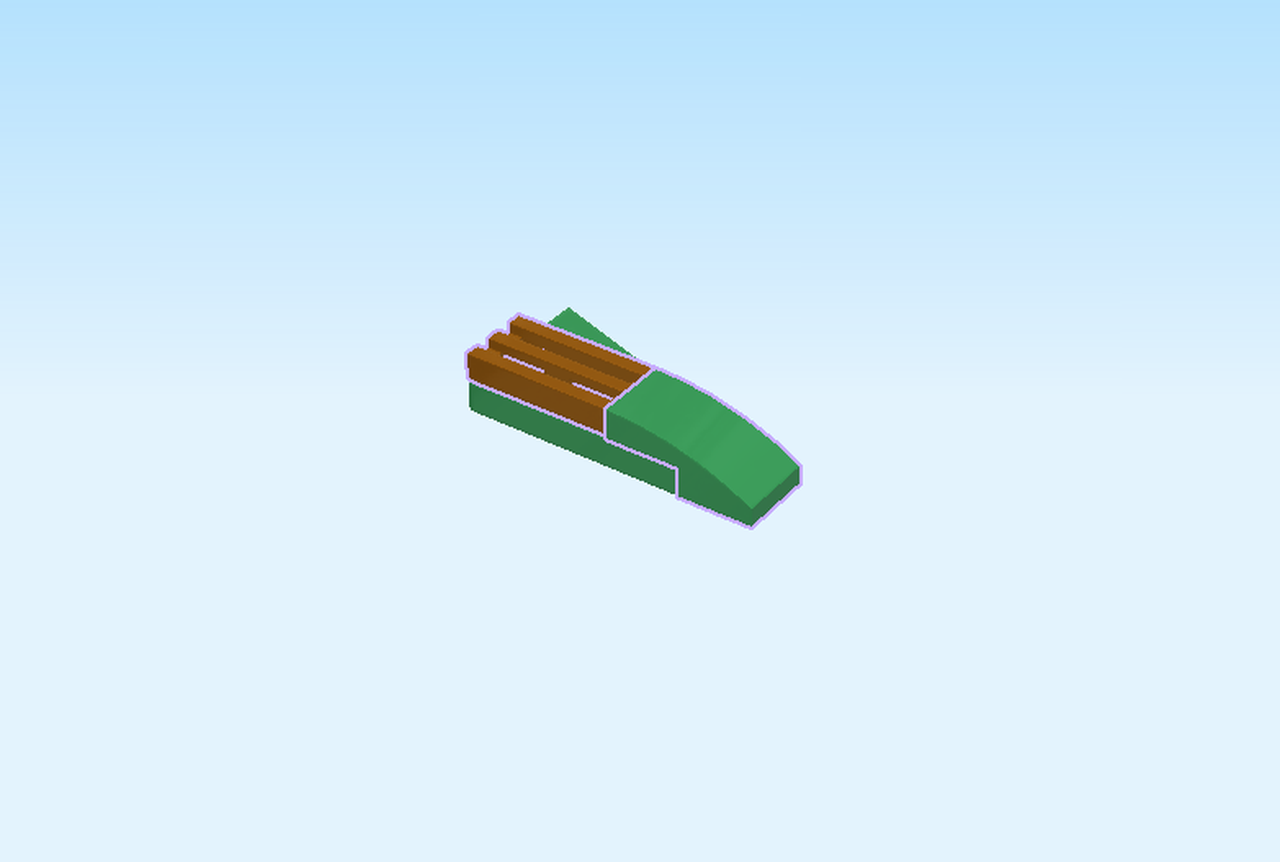
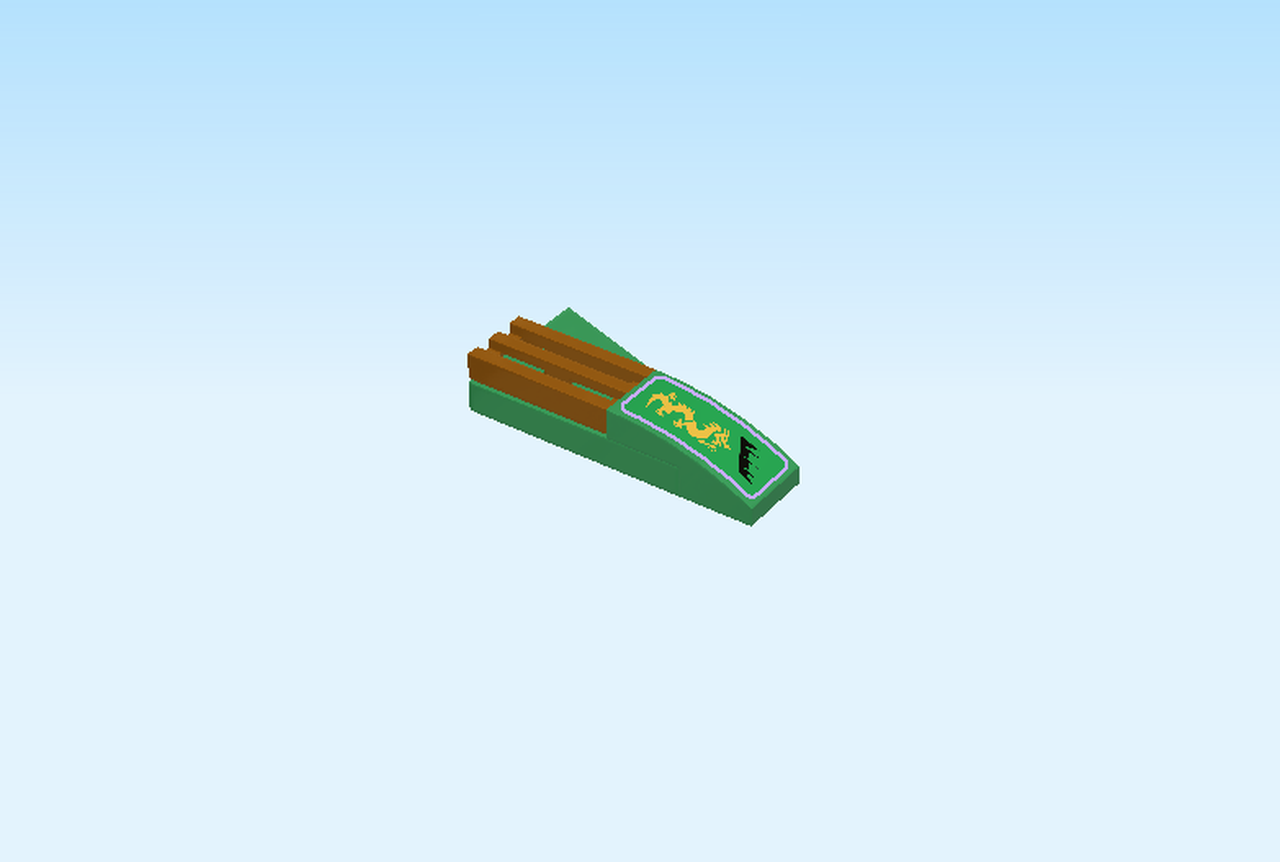
| We will now build one of 2 side panels of the Jungle Raider. |
| Find 1 dark green left plate 2x3 with angle. |
| Put it horizontally on the table, short end to the right. |
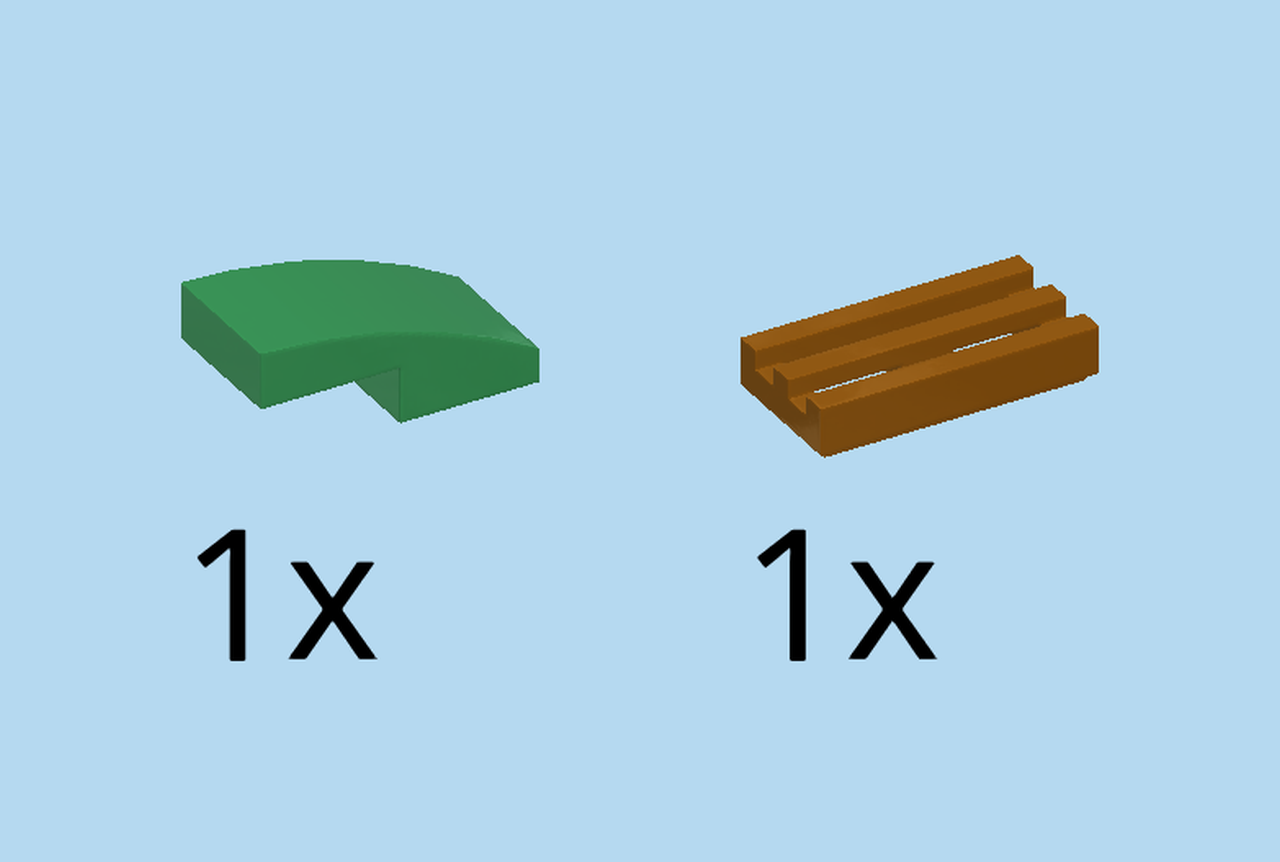
| Collect the following 2 pieces: |
| 1 dark green smooth curved tile 1x2, |
| and 1 warm gold grille tile 1x2. |
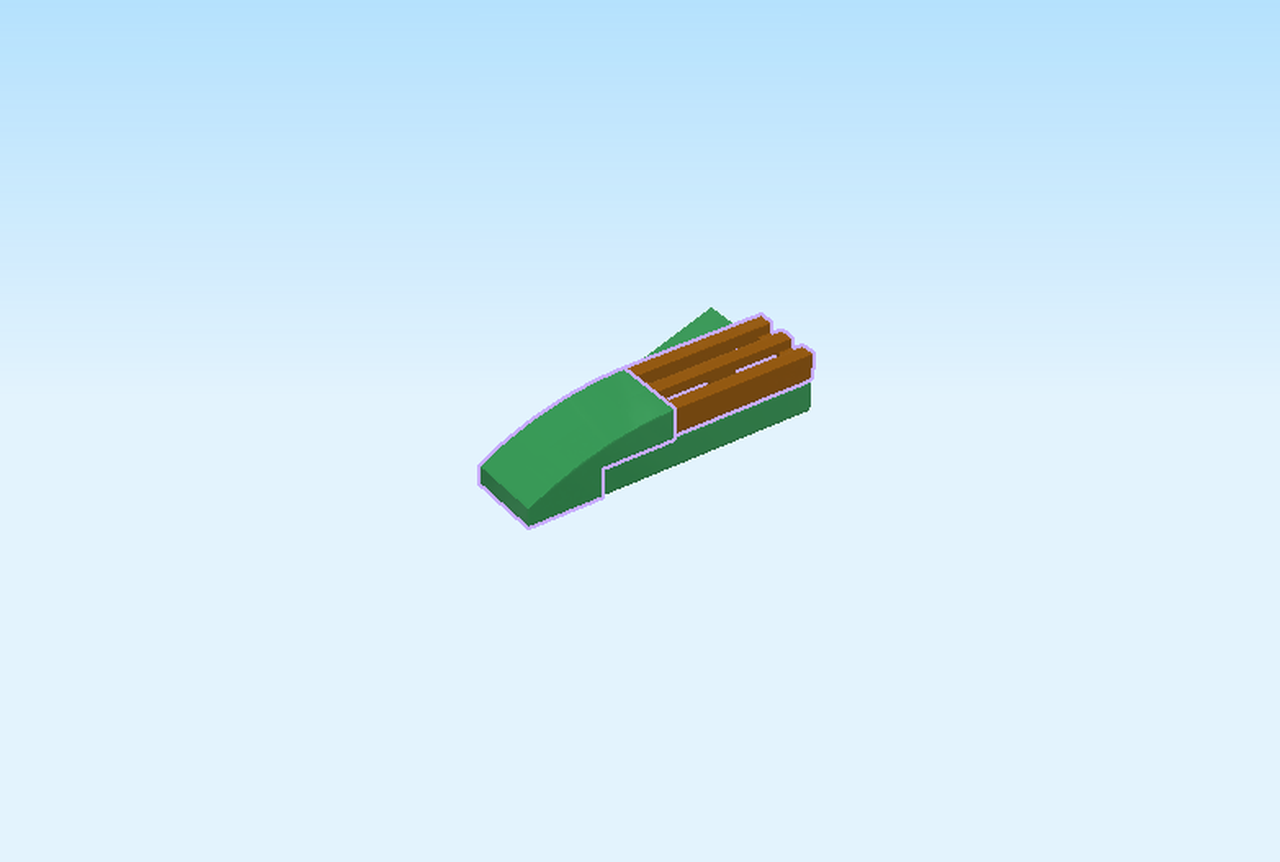
| Put the curved tile 1x2 horizontally on the rightmost knob, curve overhanging to the right. |
| Put the grille tile 1x2 horizontally to the left. |
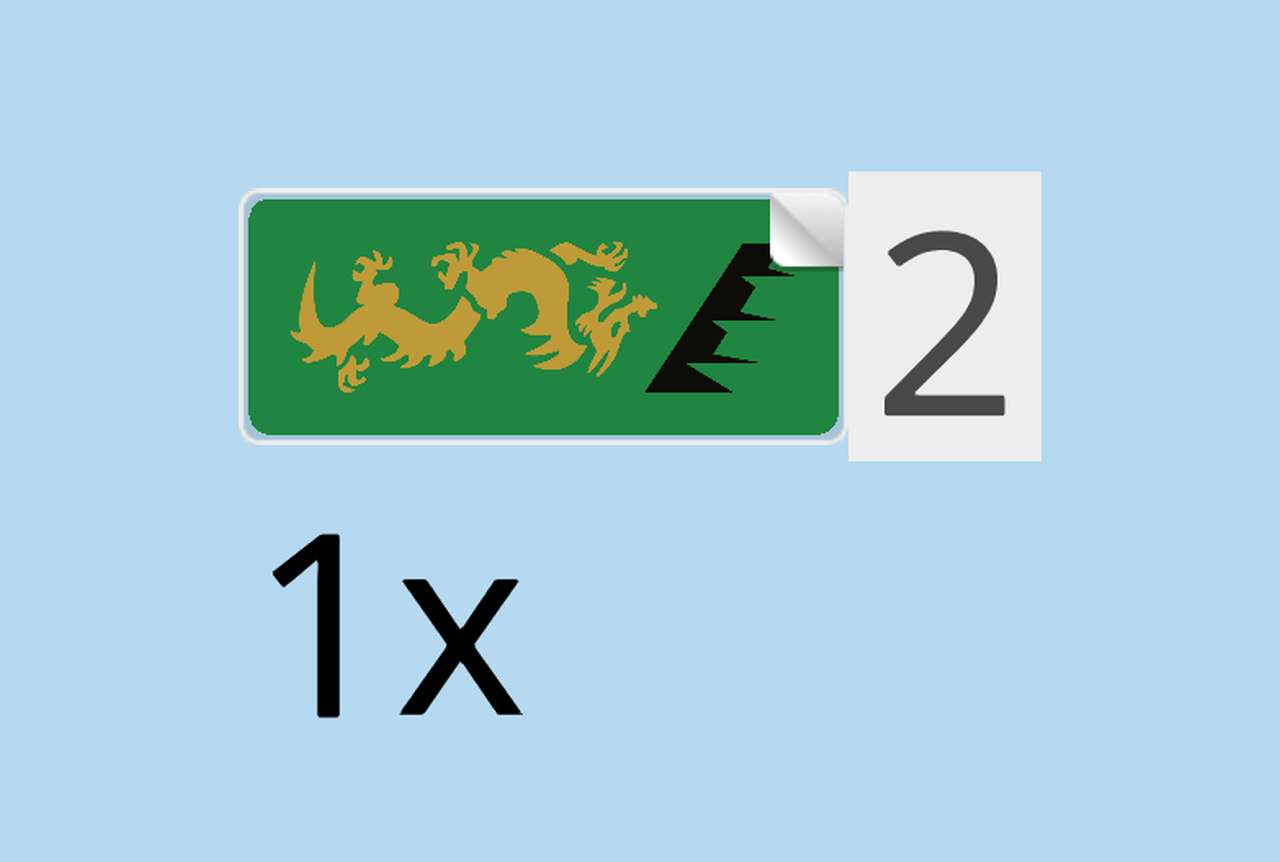
| Continue if you want to decorate the side panel with a sticker now. If not, skip the following 3 sentences. |
| Find 1 sticker number 1. Ask a sighted person to help you. |
| The sticker shows a golden dragon and air ventilation for the Jungle Raider. |
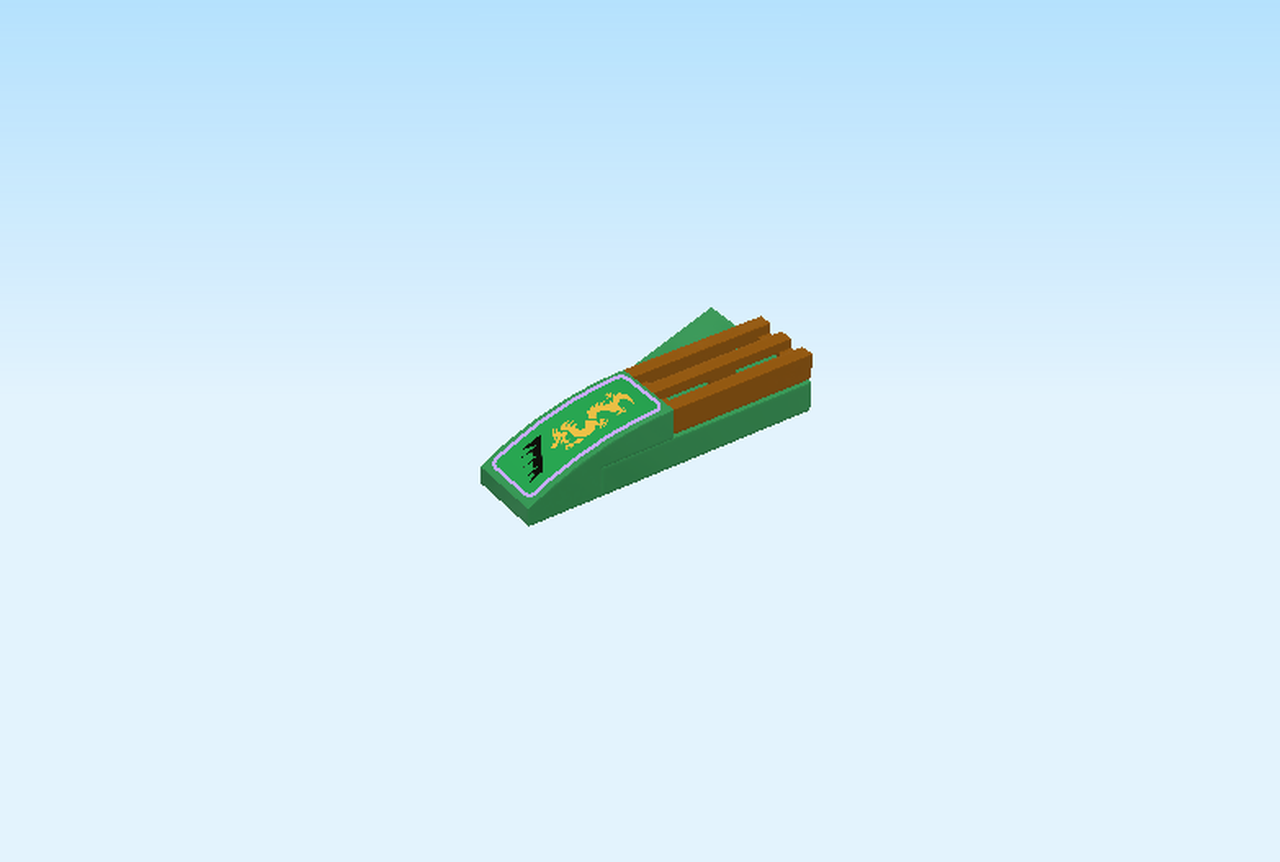
| Put the sticker on the curved tile 1x2. |
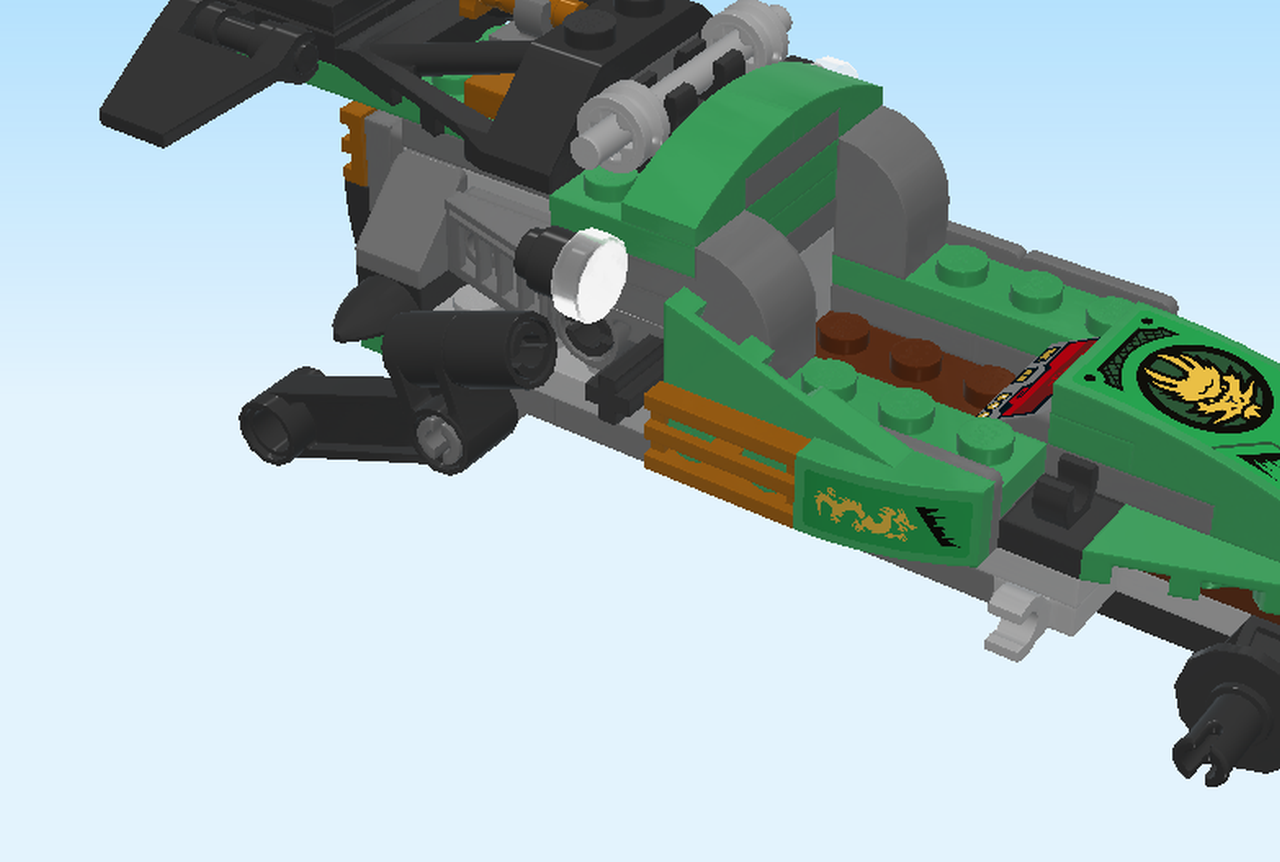
| Mount the side panel on the 4 side knobs on the front of the structure, curve to the right. |
| Now, we will build the rear suspension. |
| Find 1 black angled beam 4x2 with 90° hole. |
| Put it horizontally on the table, top 90° hole to the right. |
| Find 1 black connector peg with middle friction ring. |
| Insert it right-to-left into the top hole, connector overhanging to the right. |
| Find 1 black technic bushing beam 1x1. |
| Put it on the previous piece. |
| Now we will attach the suspension to the Jungle Raider. |
| Put the right hole of the suspension on the rear wheel axle at the front left of the structure. |
| Put the suspension horizontally, but tilt it downwards by a few degrees. |
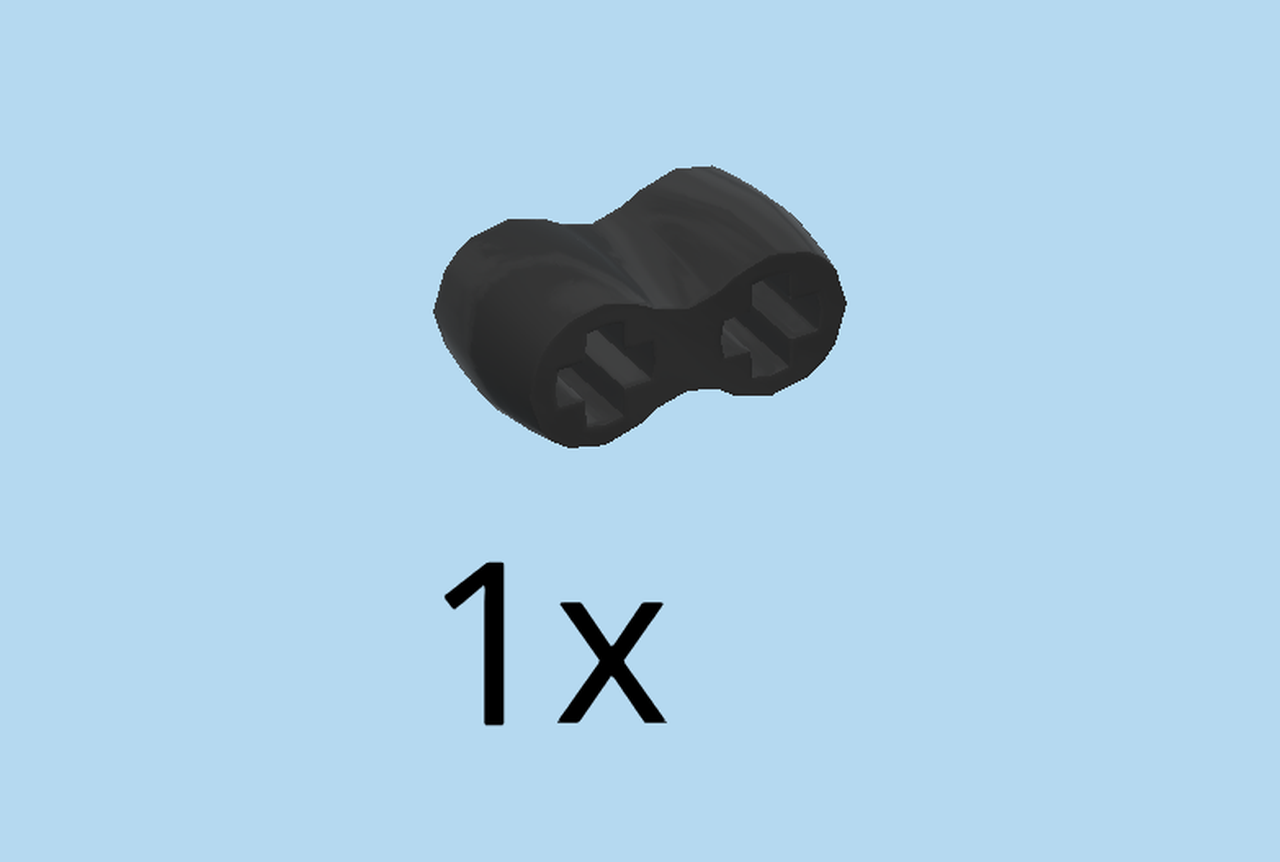
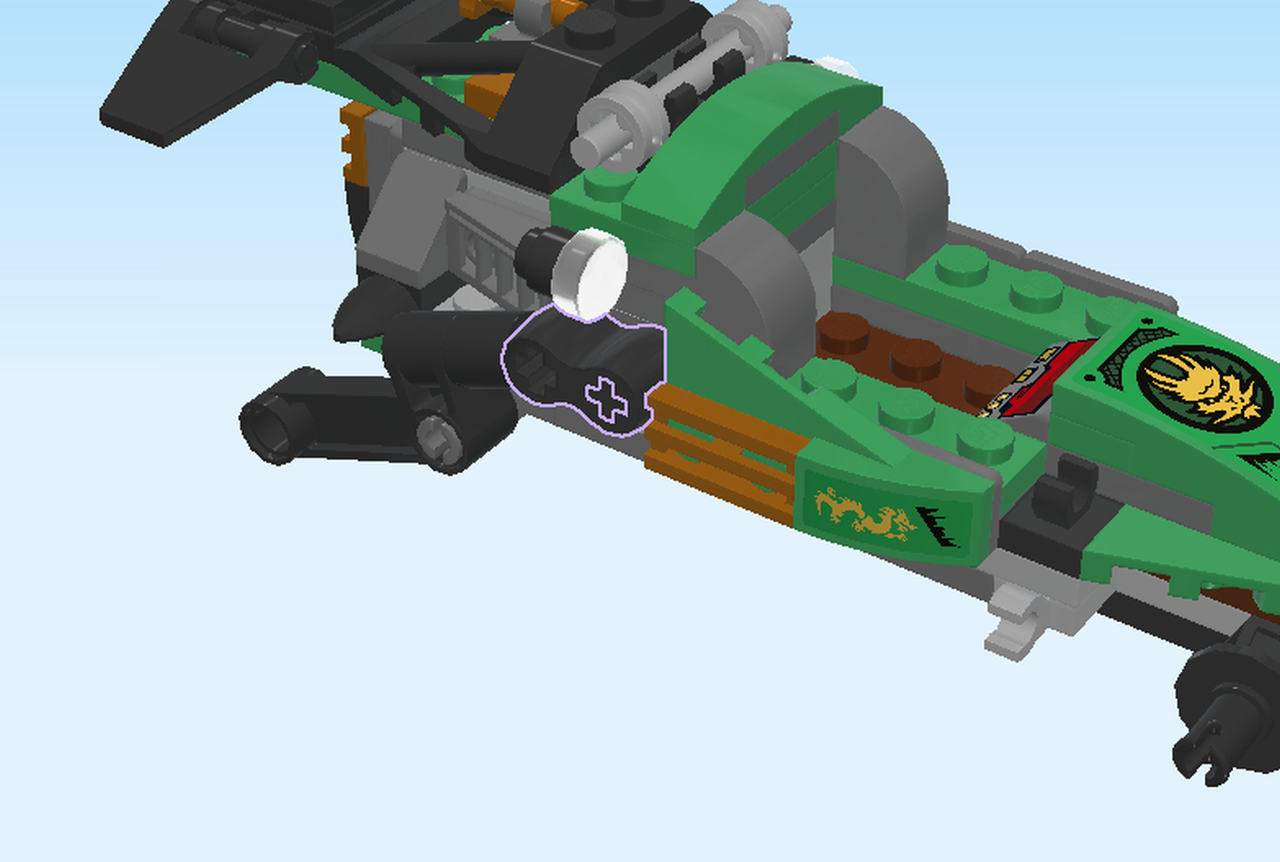
| Find 1 black rubber band with 2 cross holes. |
| Put it horizontally on the cross axle to the right of the suspension. Use the right hole. The suspension now touches the rubber band. |
| Turn the structure left to right so that the other side of the Jungle Raider is at the front. The tail is now to the right. |
| We continue with the side panel for the other side of the Jungle Raider. |
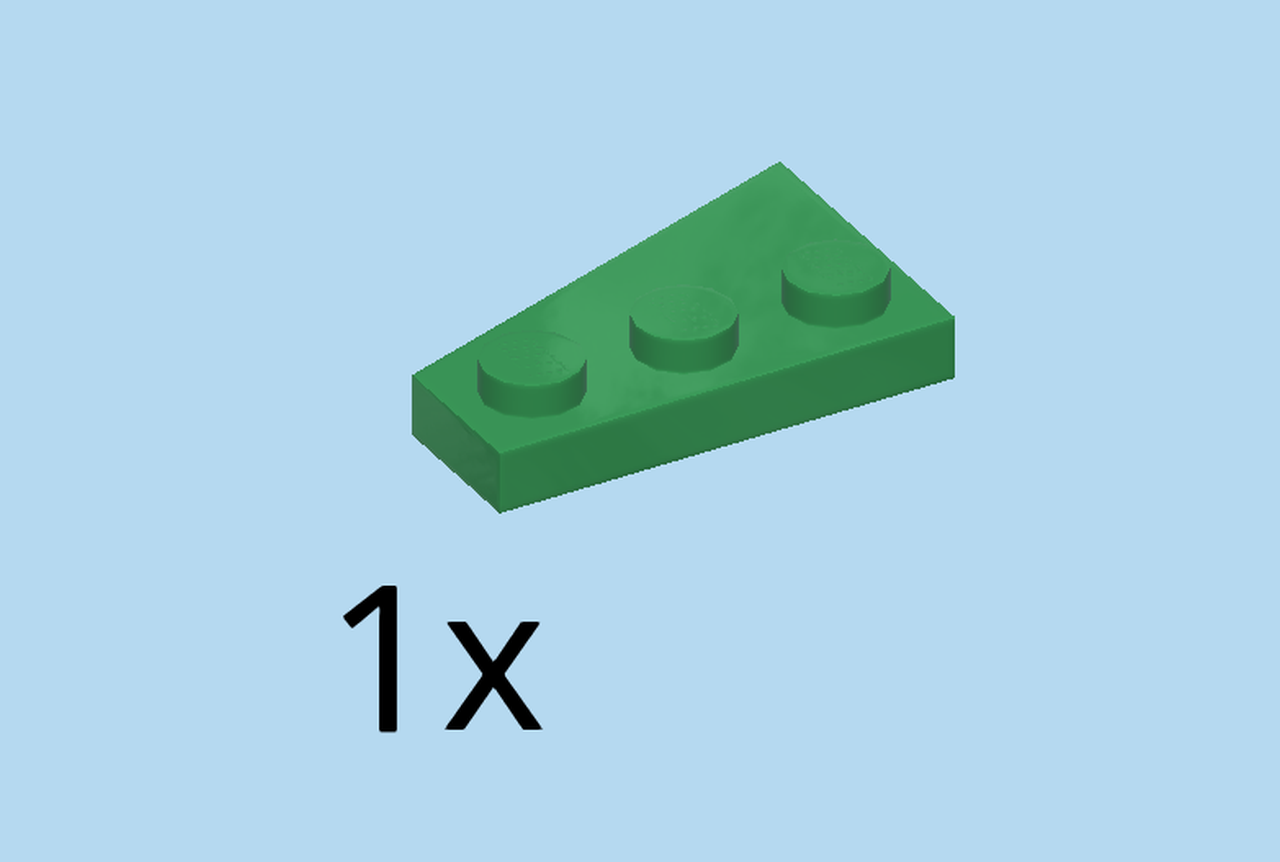
| Find 1 dark green right plate 2x3 with angle. |
| Put it horizontally on the table, short end to the left. |
| Collect the following 2 pieces: |
| 1 dark green smooth curved tile 1x2, |
| and 1 warm gold grille tile 1x2. |
| Put the curved tile 1x2 horizontally on the leftmost knob, curve overhanging to the left. |
| Put the grille tile 1x2 horizontally to the right. |
| Continue if you want to decorate the side panel with a sticker now. If not, skip the following 3 sentences. |
| Find 1 sticker number 2. Ask a sighted person to help you. |
| The sticker shows a golden dragon and air ventilation for the Jungle Raider. |
| Put the sticker on the curved tile 1x2. |
| Mount the side panel upright on the 4 knobs at the front side of the structure, curve to the left. |
| You have now finished the sides. Great work! |
| Let's build the suspension for this side of the Jungle Raider. |
| Find 1 black angled beam 4x2 with 90° hole. |
| Put it horizontally on the table, top 90° hole to the left. |
| Find 1 black connector peg with middle friction ring. |
| Insert it left-to-right into the top hole, connector overhanging to the left. |
| Find 1 black technic bushing beam 1x1. |
| Put it on the previous piece. |
| Put the left hole of the suspension on the rear wheel axle at the front right of the structure. |
| Find 1 black rubber band with 2 cross holes. |
| Put it horizontally on the cross axle to the left of the suspension. Use the left hole. |
| Very well done. Now the suspensions are finished. |
| We will now build an iron bar for the top. |
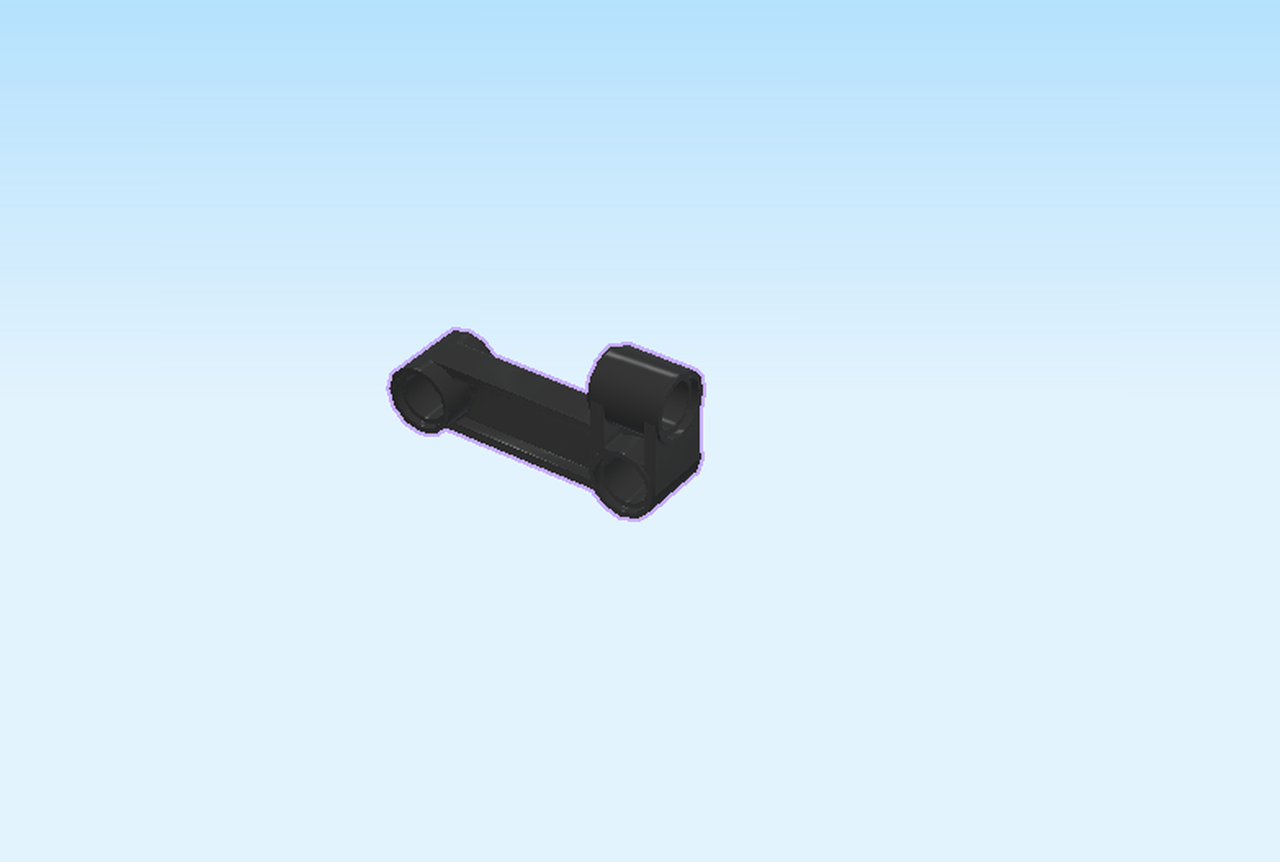
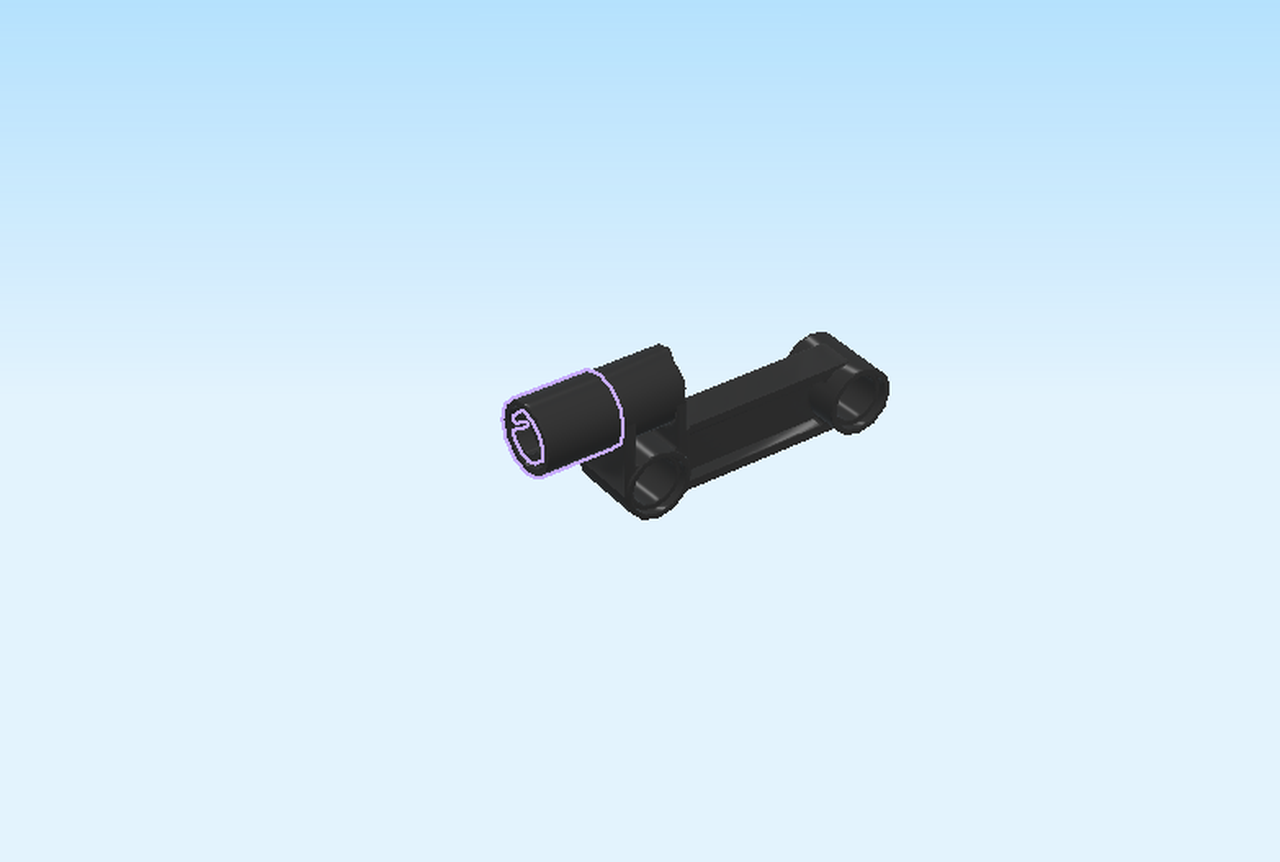
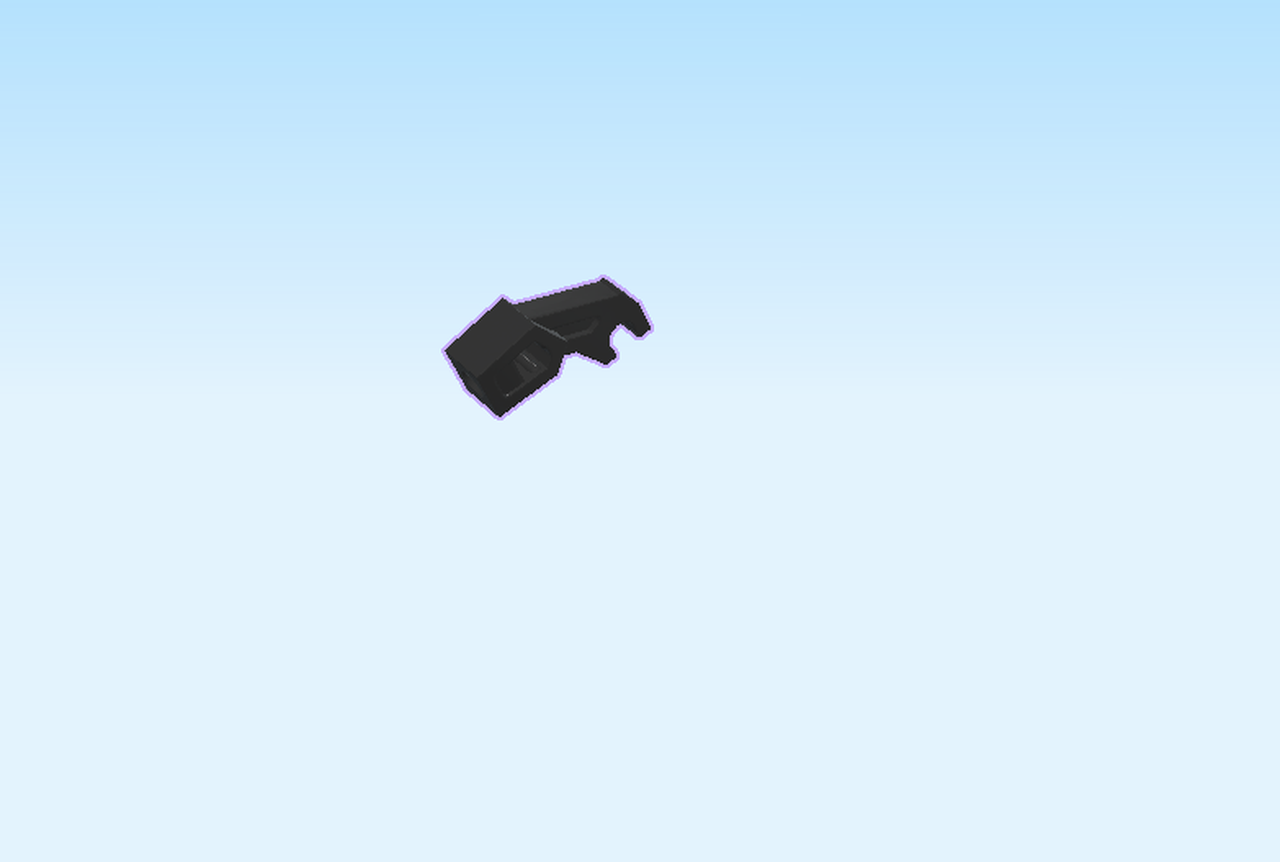
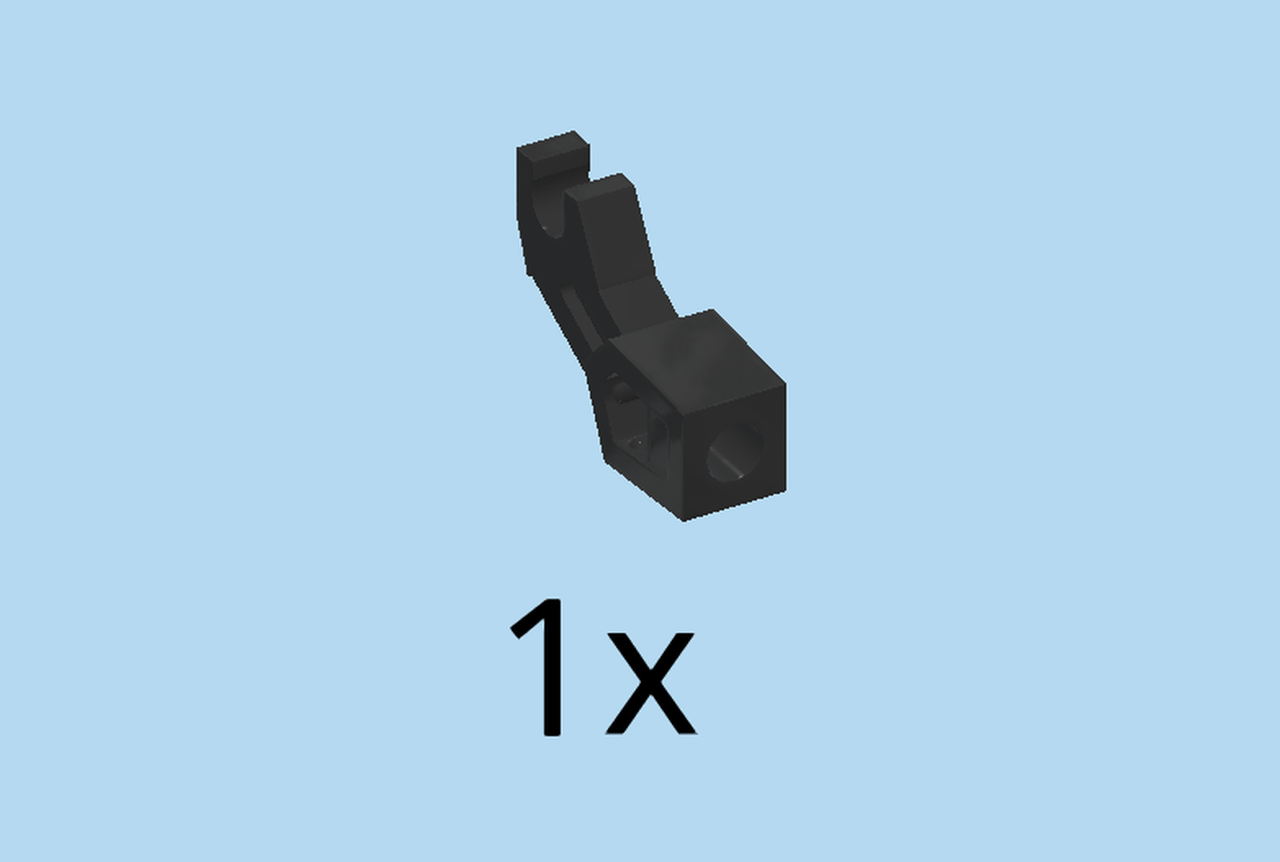
| Find 1 black small robot arm with clasp. |
| Put it on the table, clasp pointing down and to the right. |
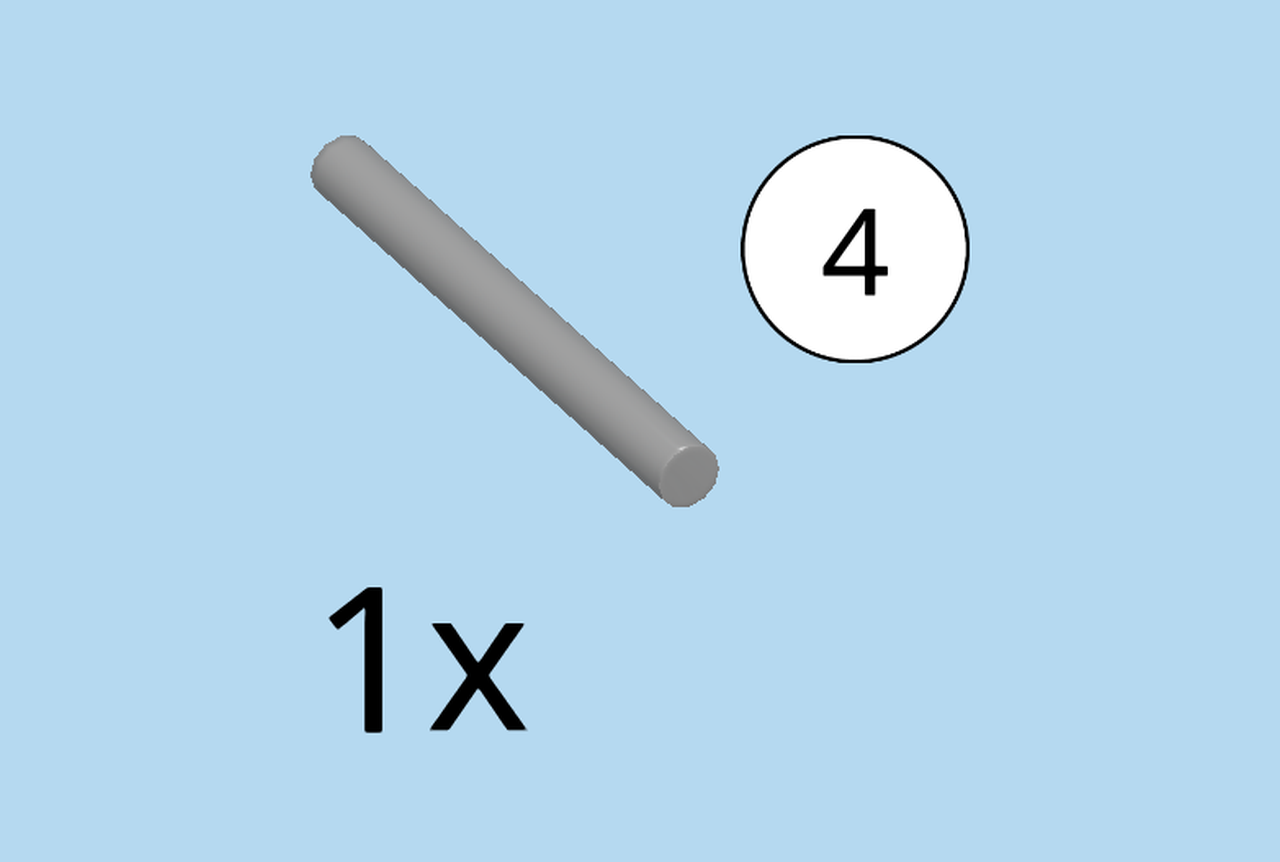
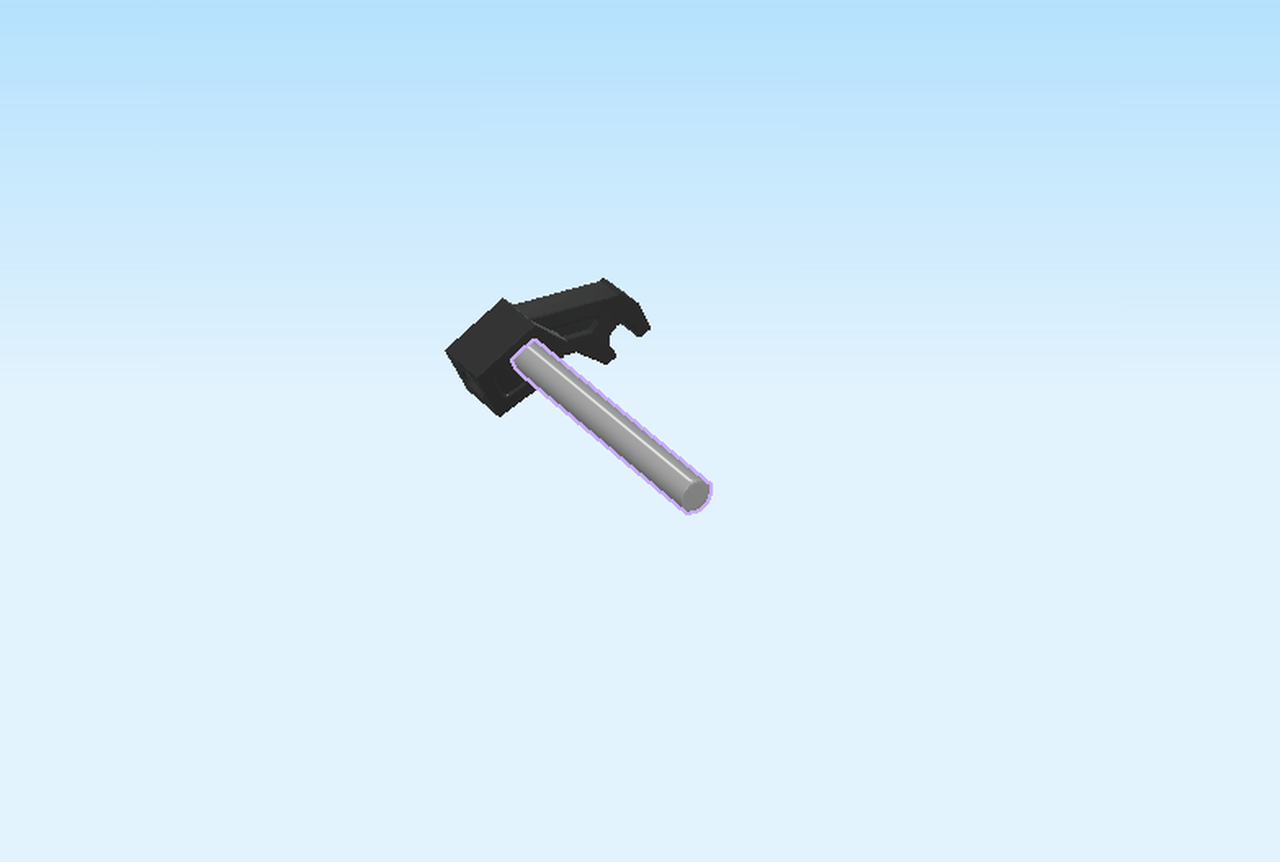
| Find 1 medium stone grey shaft, 4 knobs long. |
| Insert one end of the shaft into the small hole at the front of the robot arm. |
| Find 1 black small robot arm with clasp. |
| Put it symmetrically on the other end of the shaft. |
| Mount the iron bar onto the Jungle Raider by snapping the 2 clasps on the shaft with cross bushings on top of the Jungle Raider, robot arms to the left. |
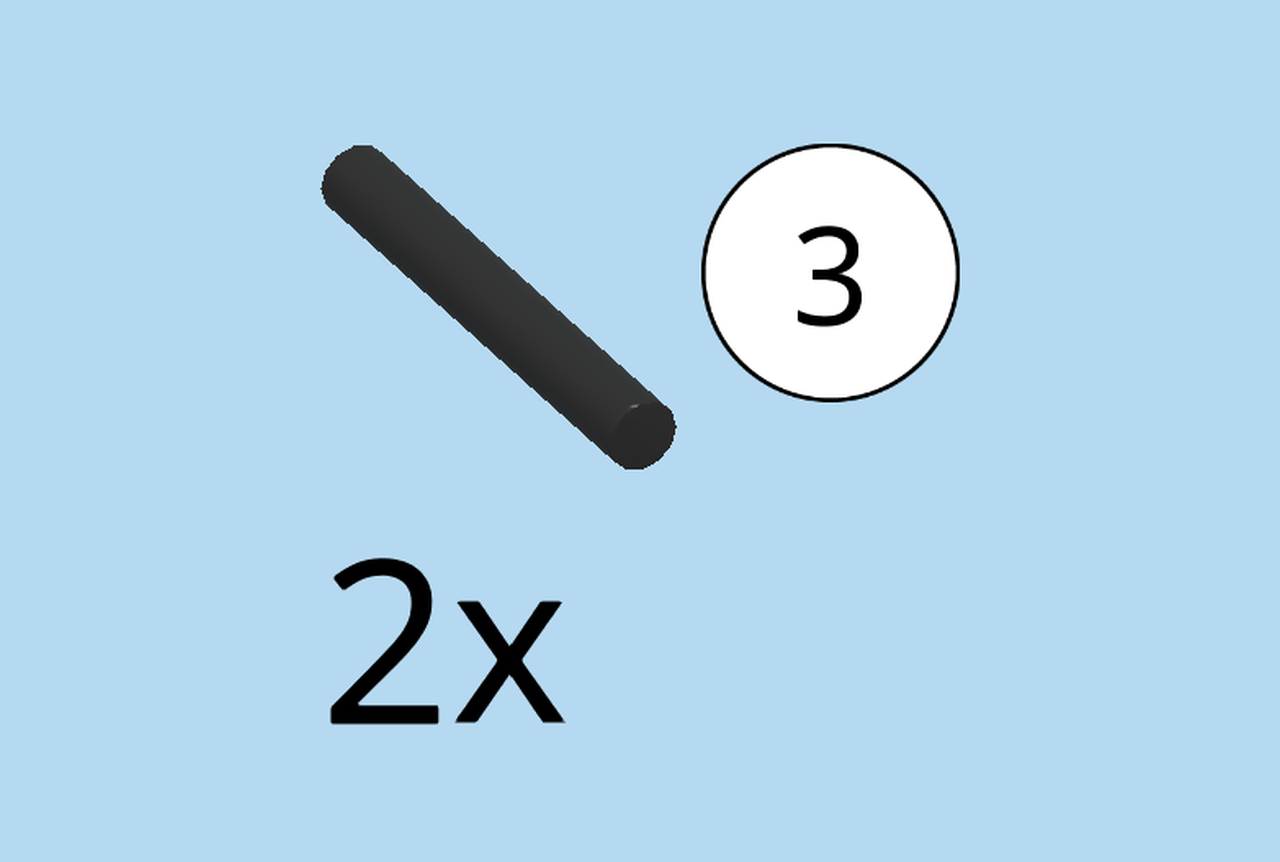
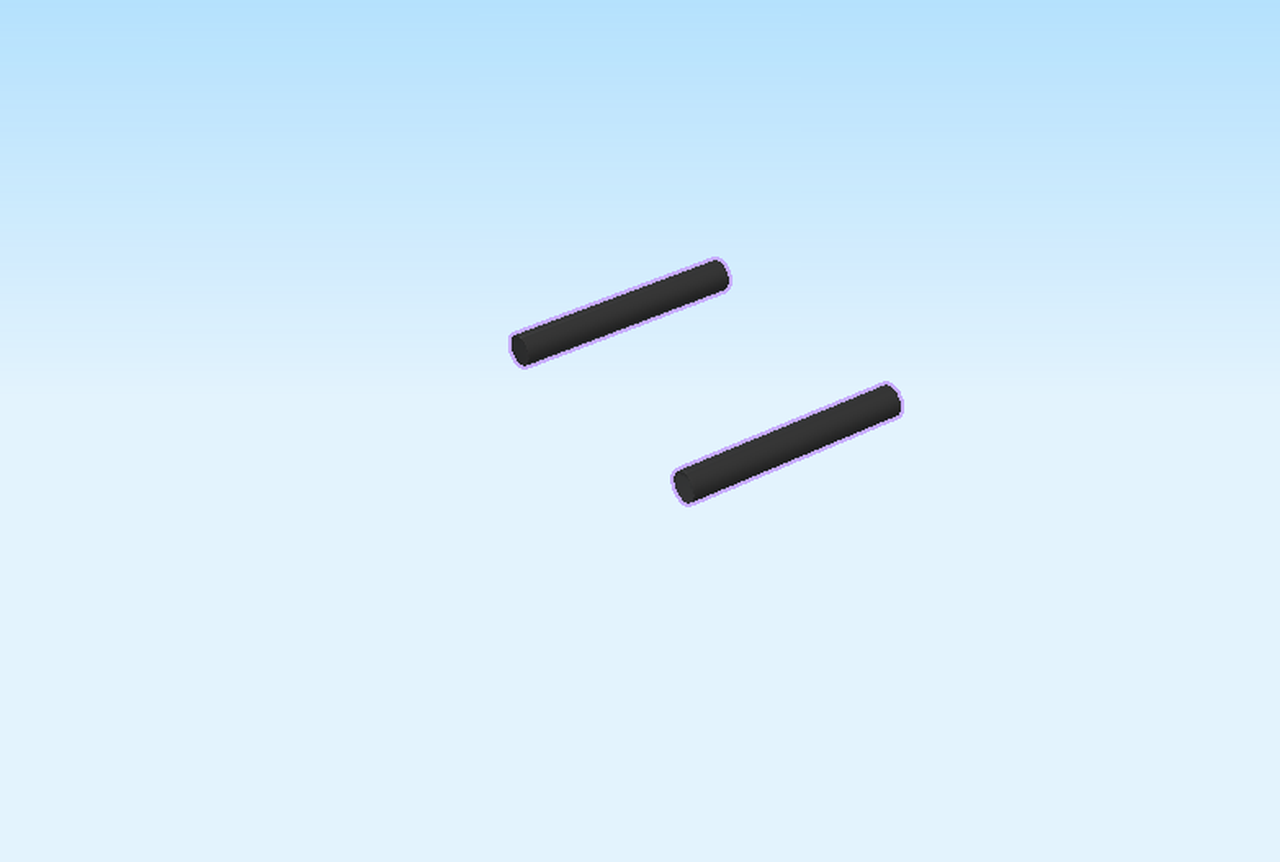
| Find 2 black shafts, 3 knobs long. |
| Put them on the table next to each other. |
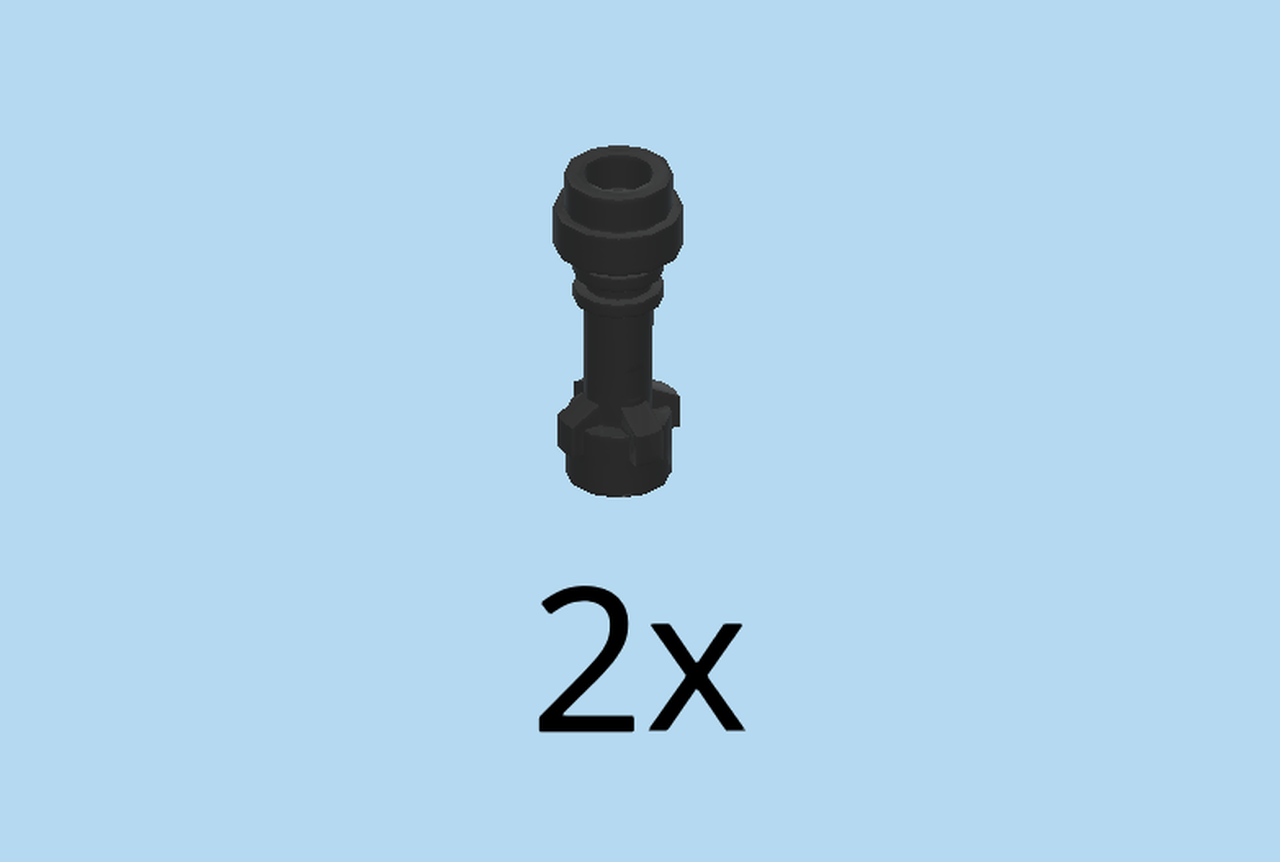
| Find 2 black lightsaber holders. |
| Put one on each of the previous pieces. |
| Insert one part in the end hole of the robot arm at the back, pointing to the left. |
| Repeat symmetrically at the front. |
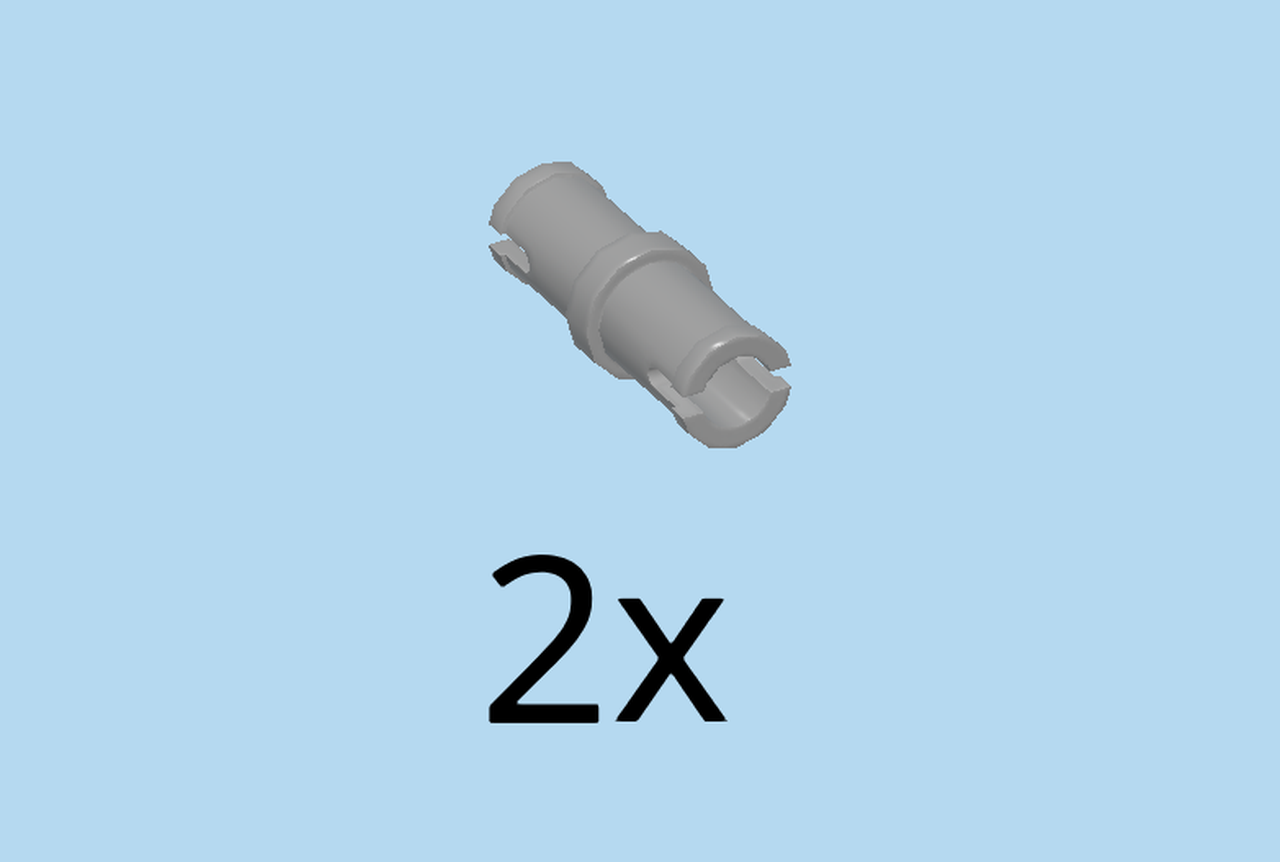
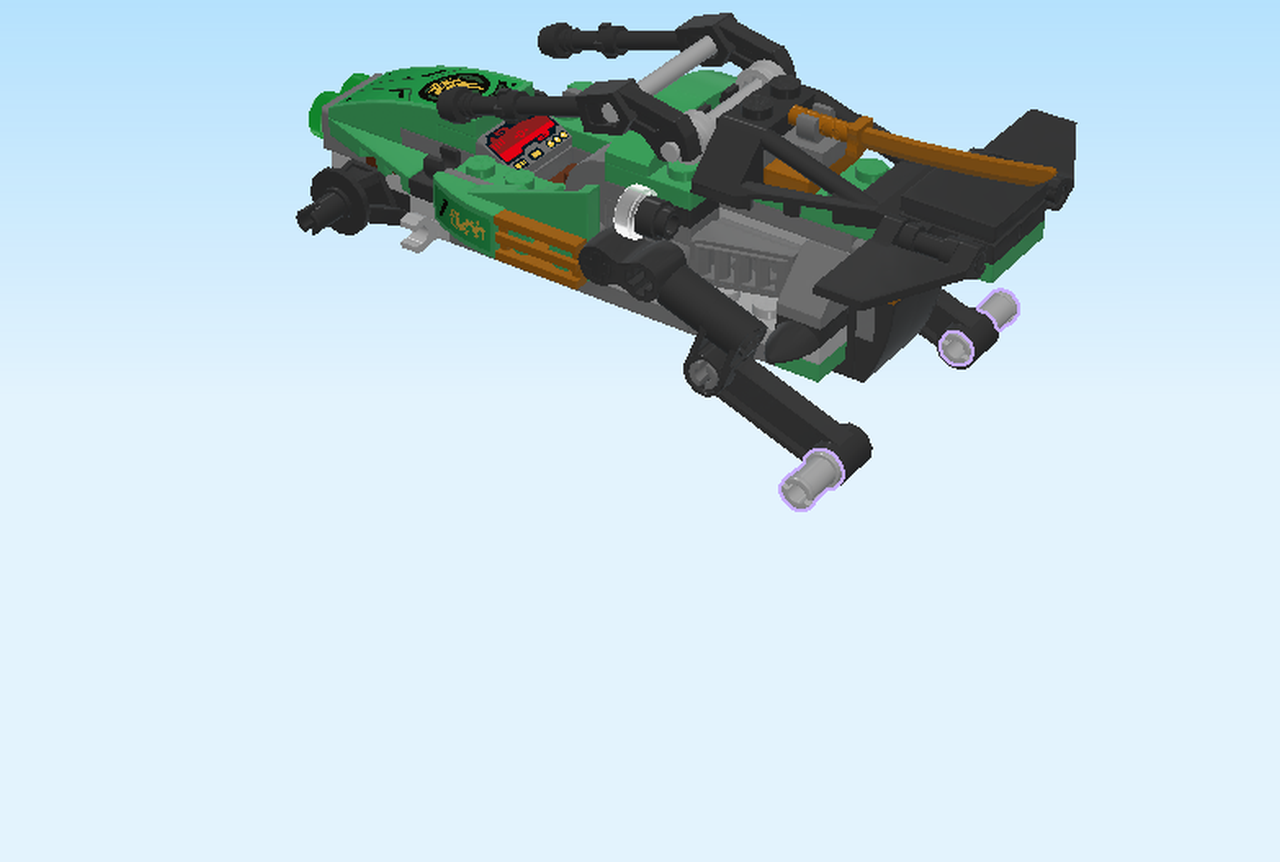
| Find 2 medium stone grey connector pegs with middle friction ring. |
| Put one in each bottommost hole of the suspensions on the right side of the structure, overhanging to the back and front. |
| Good job, we are now almost done! |
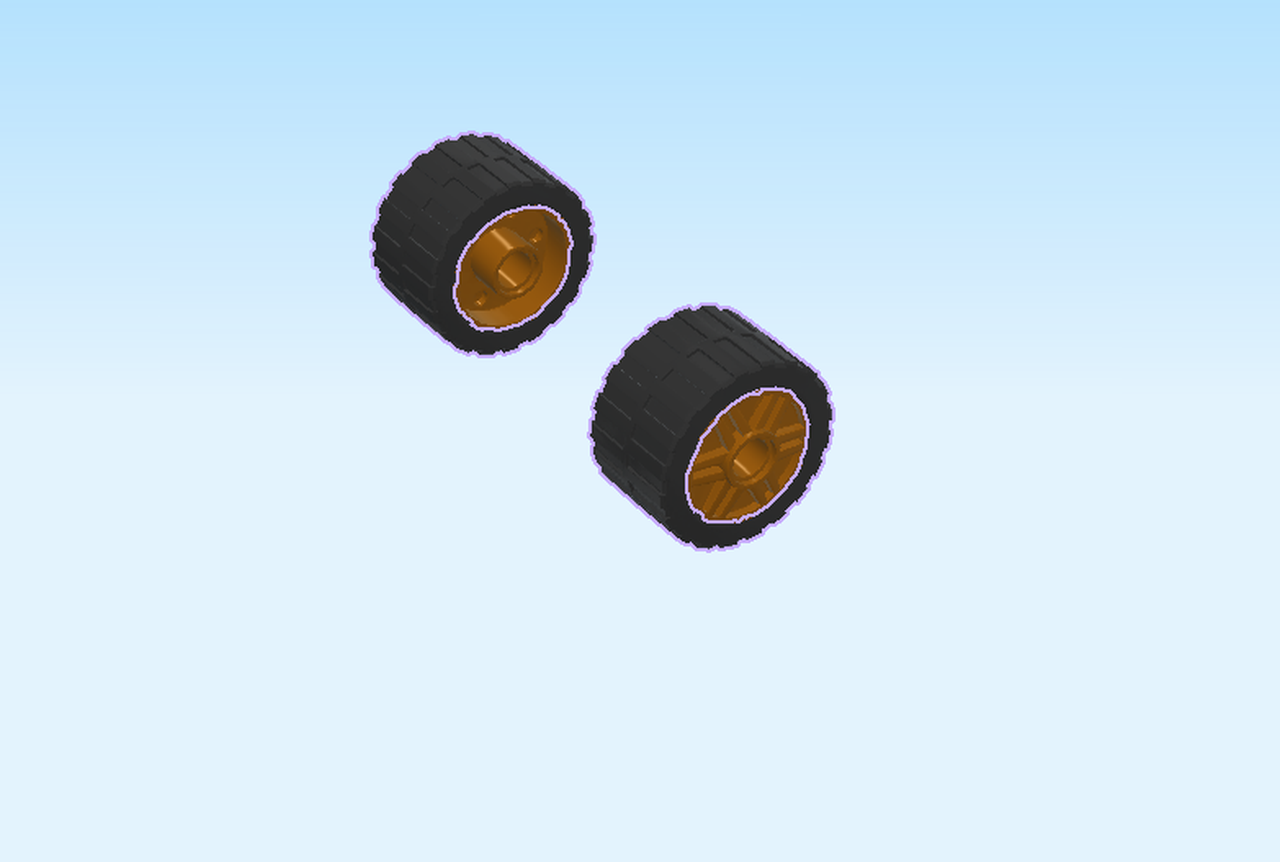
| Now, we will build the rear wheels. |
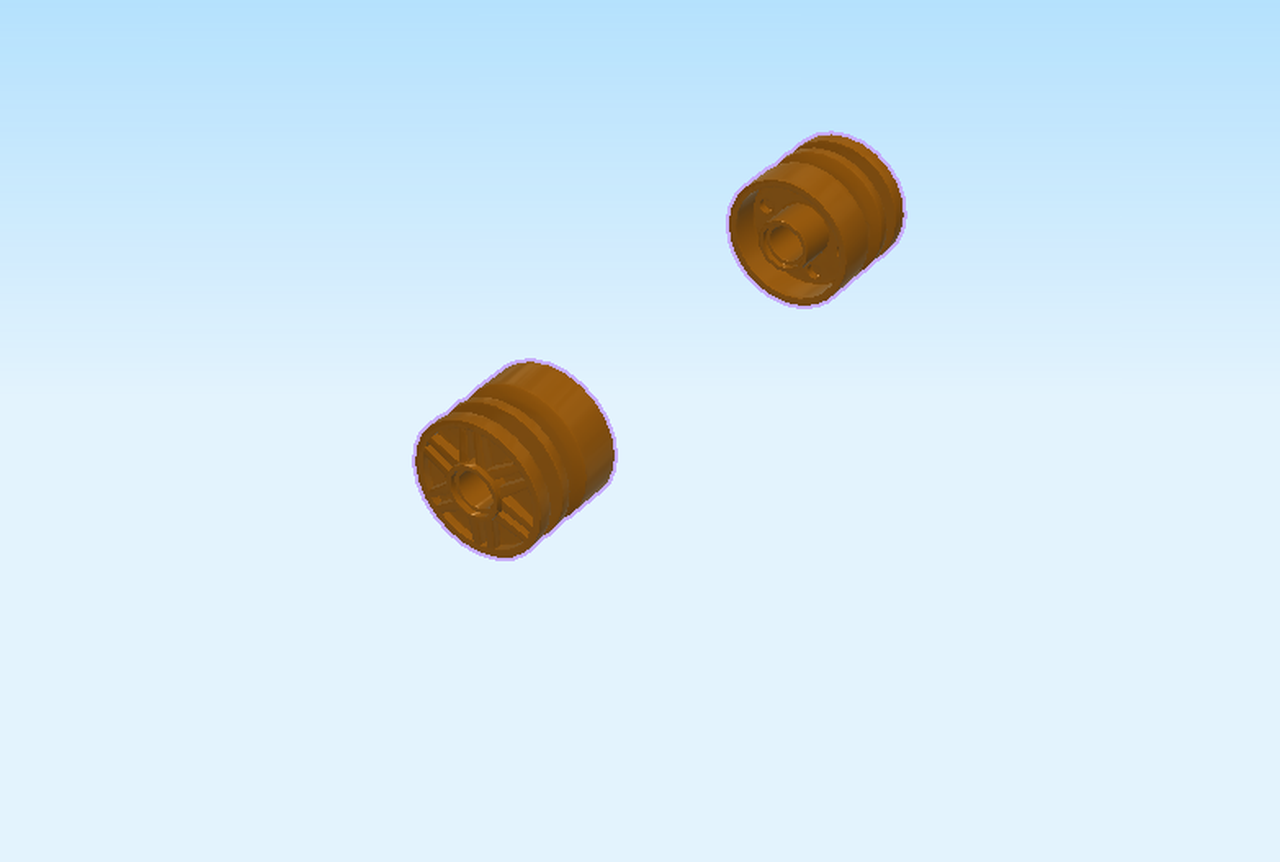
| Find 2 warm gold wide rims 18x14 with hole. |
| Put them on the table. |
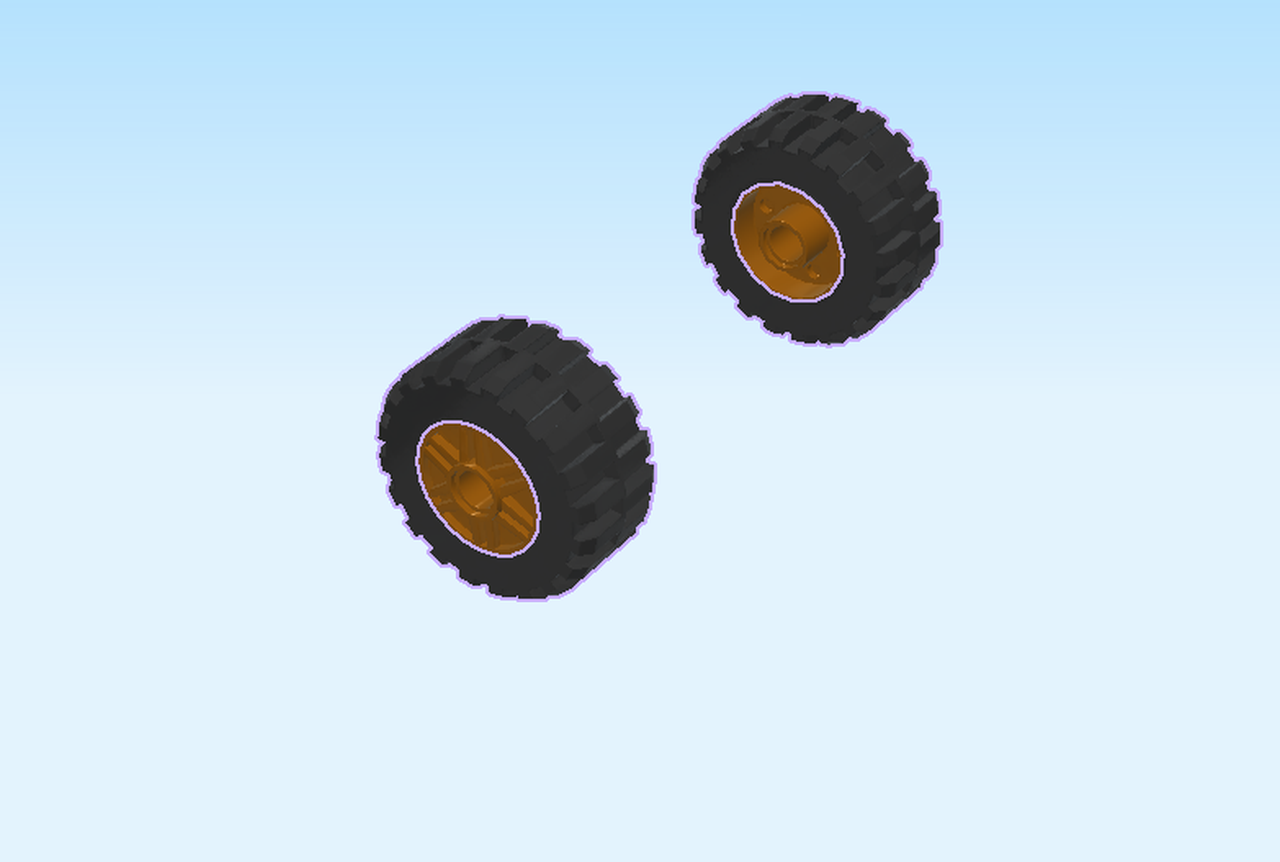
| Find 2 black wide rubber tires with high profile. |
| Put one on each rim. |
| Put them on the bottom connectors of the suspensions, spokes facing outwards. |
| Next, we will build the front wheels. |
| Find 2 warm gold wide rims 18x14 with hole. |
| Find 2 black wide rubber tires with low profile. |
| Put the tires on the rims. |
| Put them on the 2 connectors on the left side of the structure, spokes facing outwards. |
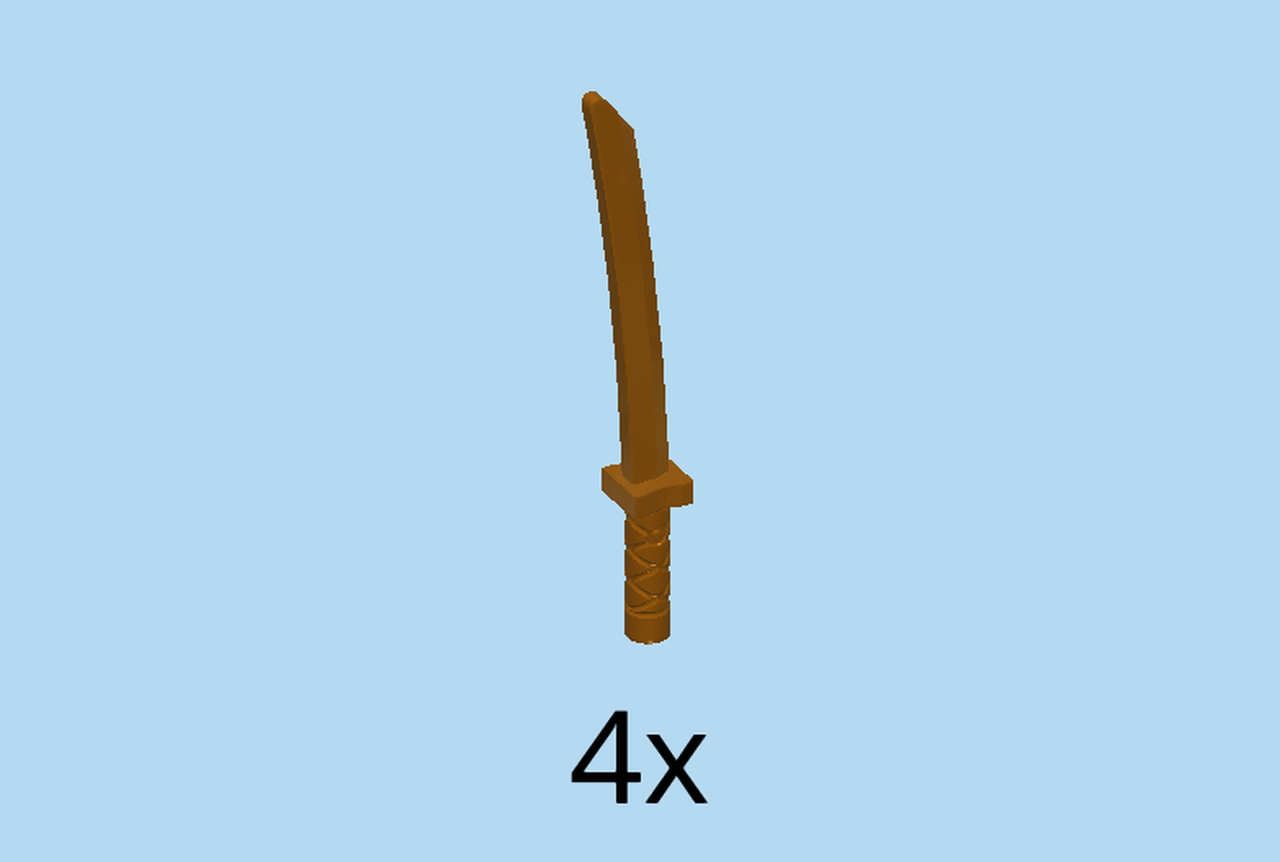
| Find 4 warm gold katana swords. |
| Put the handles of 2 katana swords into the clasps on each side of the hood, blades overhanging the front wheels. |
| Put the other 2 katana swords on the clasps on the side of the Jungle Raider, to the right of the front wheels, blades to the back. |
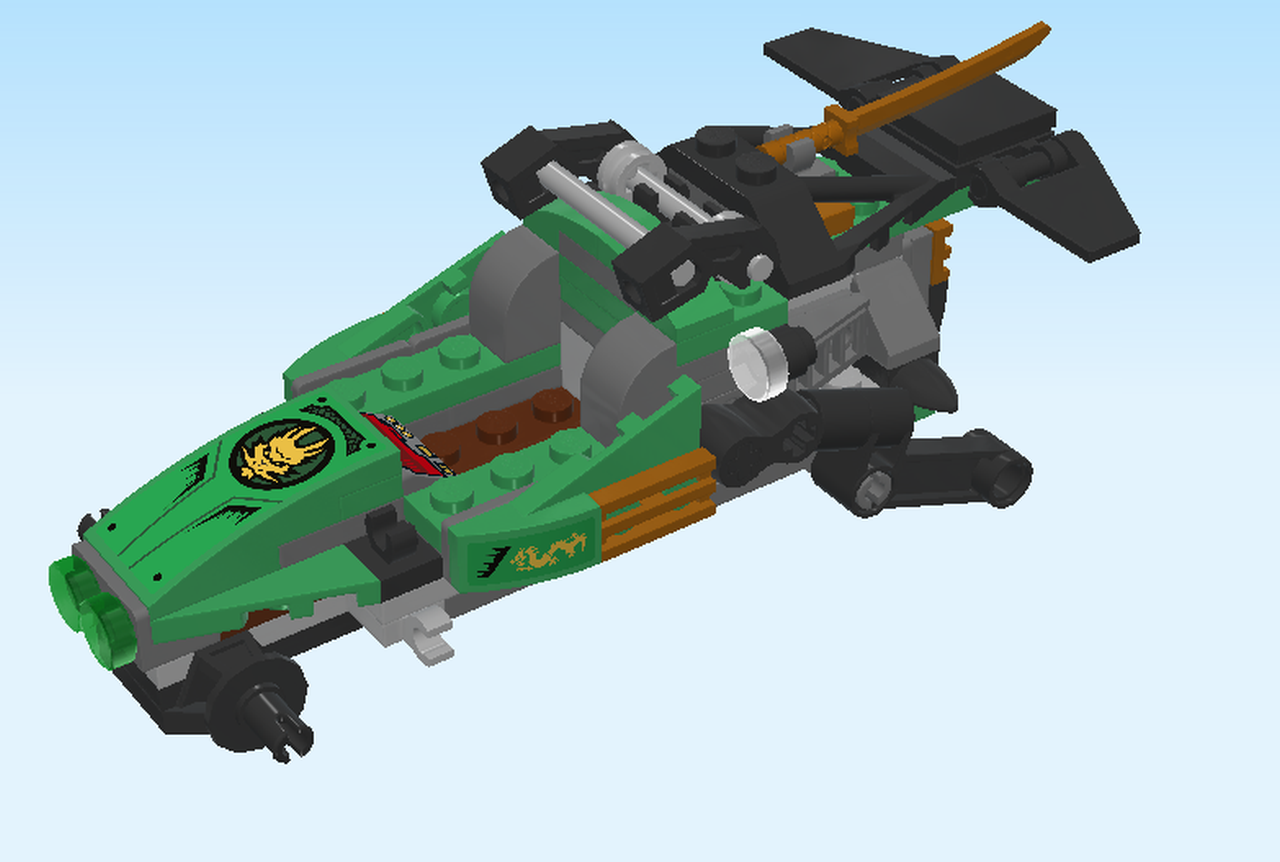
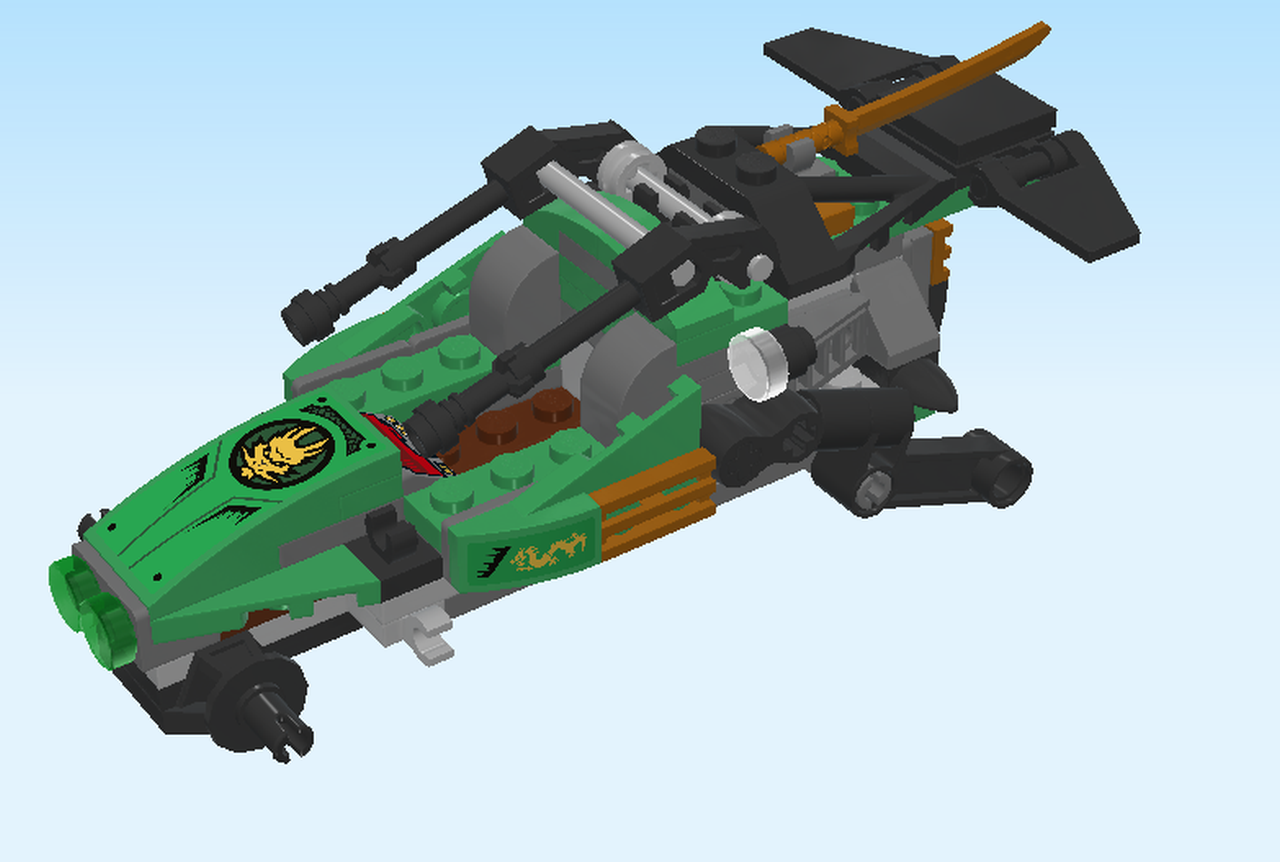
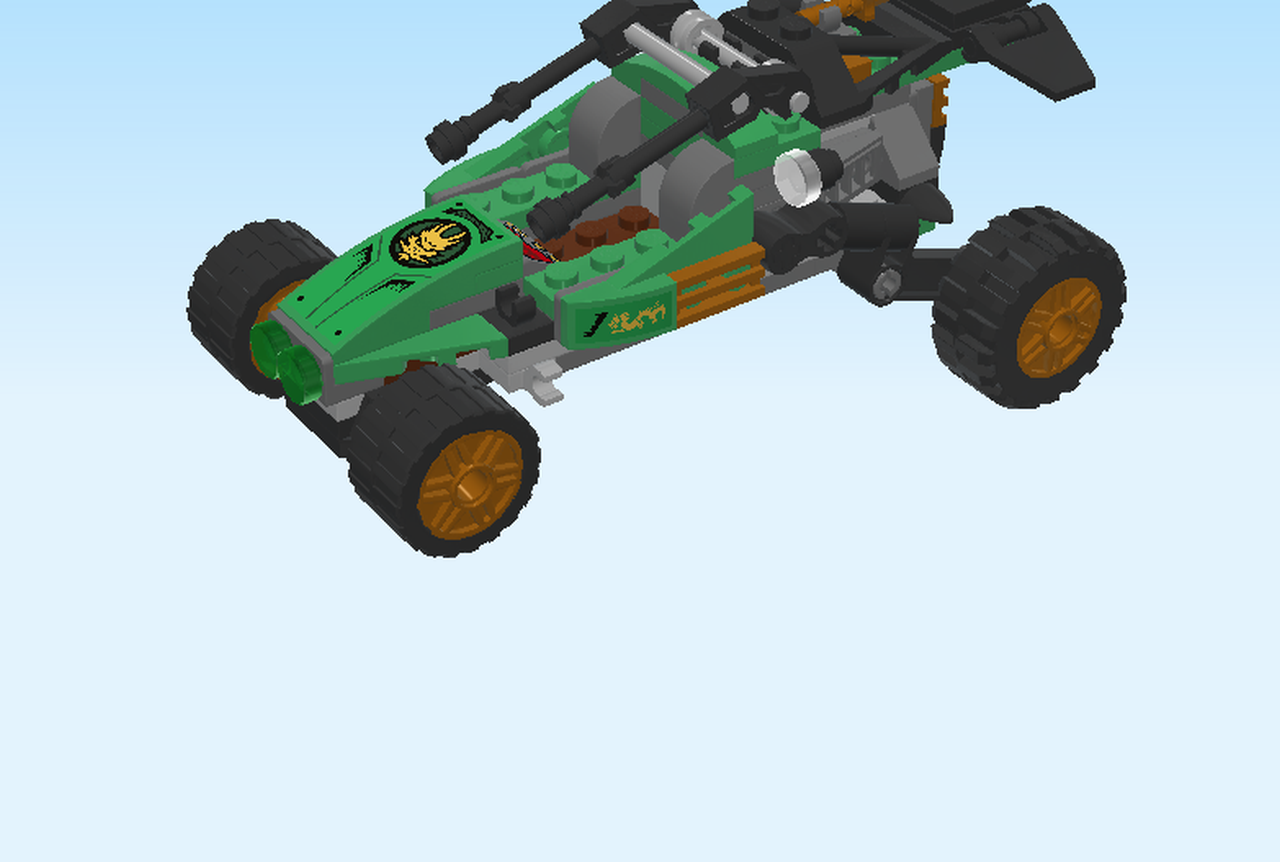
| These swords will help the Jungle Raider cut through the jungle in no time! Make sure you bring your Lloyd minifigure on your adventures. |
| Great job. The build is now finished! Enjoy. |