| LEGO Audio & Braille Building Instructions for the LEGO set "DreamZzz Mateo's Off-Road Car - Main Build". |
| Note: these are the instructions for the main build of the set including the basic glider build, the Mateo Minifigure, and the Grimspawn. To access the instructions for remodeling the glider into buggy or quadcopter mode, go back to the instructions website and navigate to the corresponding instructions. |
| A Grimspawn has stolen the hourglass and you must help Mateo and Z-Blob get it back with this cool vehicle! Choose to build LEGO DREAMZzz Mateo's Off-Road Car as a buggy or a quadcopter. In buggy mode it becomes a robust off-roader, and in quadcopter mode it’s a helicopter with overpowered rear engines. The chase for the hourglass is on! |
| The box cover shows a chase scene in Mateo's dream world! Mateo is chasing after the Grimspawn in his off-road buggy. He is about to jump off a cliff, shooting ammo at the monster. The wicked creature has snatched our hero's hourglass and is flying off towards the Nightmare Kingdom where the grass has turned purple and is streaked with small streams of lava. Threatening red storm clouds are towering in the background. The off-road buggy is a nimble, light-weight all-terrain vehicle in white and neon green that is partly built from parts of Z-Blob, Mateo's robot and best friend. Z-Blob's head is mounted at the back of the vehicle. From there, the robot is supporting his friend and monitoring the situation. Together they might be able to catch the Grimspawn! This action-packed scene is framed with a white cloud silhouette which works like a window in a matrix-like background. A fantastical world! But now, let's get started. |
| Open the box. This can be tricky; ask someone to help you! |
| The box contains 1 booklet with visual building instructions, 2 bags with numbers printed on them, and 1 sheet with 4 stickers. The sticker sheet might include some additional stickers for your enjoyment that are not part of the building instructions. Ask a sighted person to help you identify the correct bags and stickers! |
| Carefully open bag number 1 and any small sub-bags in it. This bag contains all bricks and pieces for the Mateo Minifigure with shooter and hourglass as well as his cool glider. |
| Before you start building, ask a sighted person to help you sort the pieces by color. This makes finding the correct pieces even easier! |
| First, we will build the Mateo Minifigure. |
| Collect the following 2 pieces: |
| 1 dark azure blue, bright blue and bright yellow upper part of the body, |
| and 1 dark stone grey and bright red pair of legs. |
| Put the upper body on the legs. Make sure the hands and toes are pointing in the same direction. |
| Collect the following 2 pieces: |
| 1 bright yellow Minifigure head, |
| and 1 reddish brown hairpiece with dreadlocks. |
| Put the head on the body. |
| Put the hair on the head. |
| Next, we will assemble the shooter. |
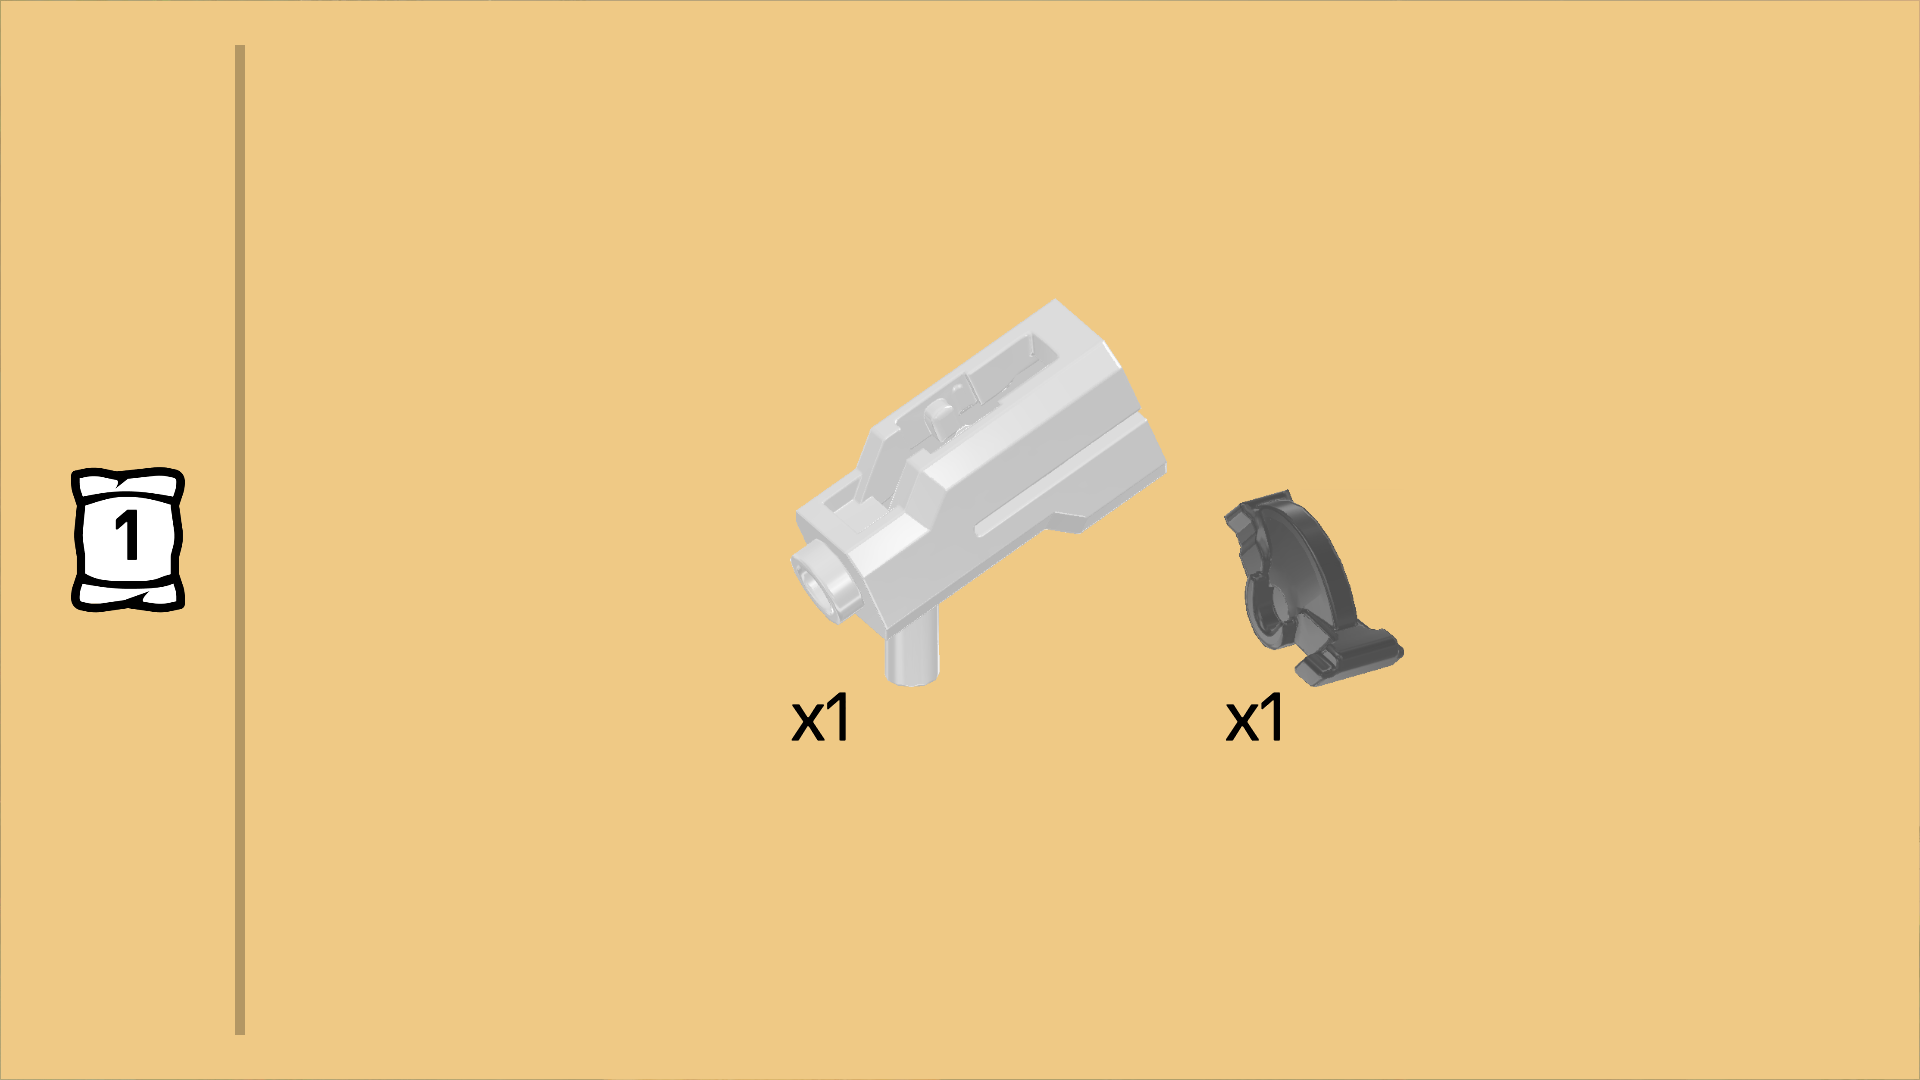
| Collect the following 2 pieces: |
| 1 white shooter barrel with holder, |
| and 1 dark stone grey shooter trigger. |
| The shooter might be tricky to assemble. Ask for help if it doesn't work, but first let's give it a try! |
| Hold the shooter barrel horizontally, open end of the barrel to the right. |
| Insert the trigger into the top slot, circle segment towards the bottom, thicker end to the left. |
| Snap the holder of the shooter into Mateo's left hand. |
| Next, we will assemble the hourglass. |
| Collect the following 2 pieces: |
| 1 transparent and warm gold hourglass, |
| and 1 white round tile 1x1. |
| Put the round tile on the knob of the hourglass. |
| The round tile has a black print with a white hourglass silhouette in the middle. This is the logo of the Night Bureau, an organization that defends the Dream World from dangers. |
| Put the hourglass on Mateo's right hand. |
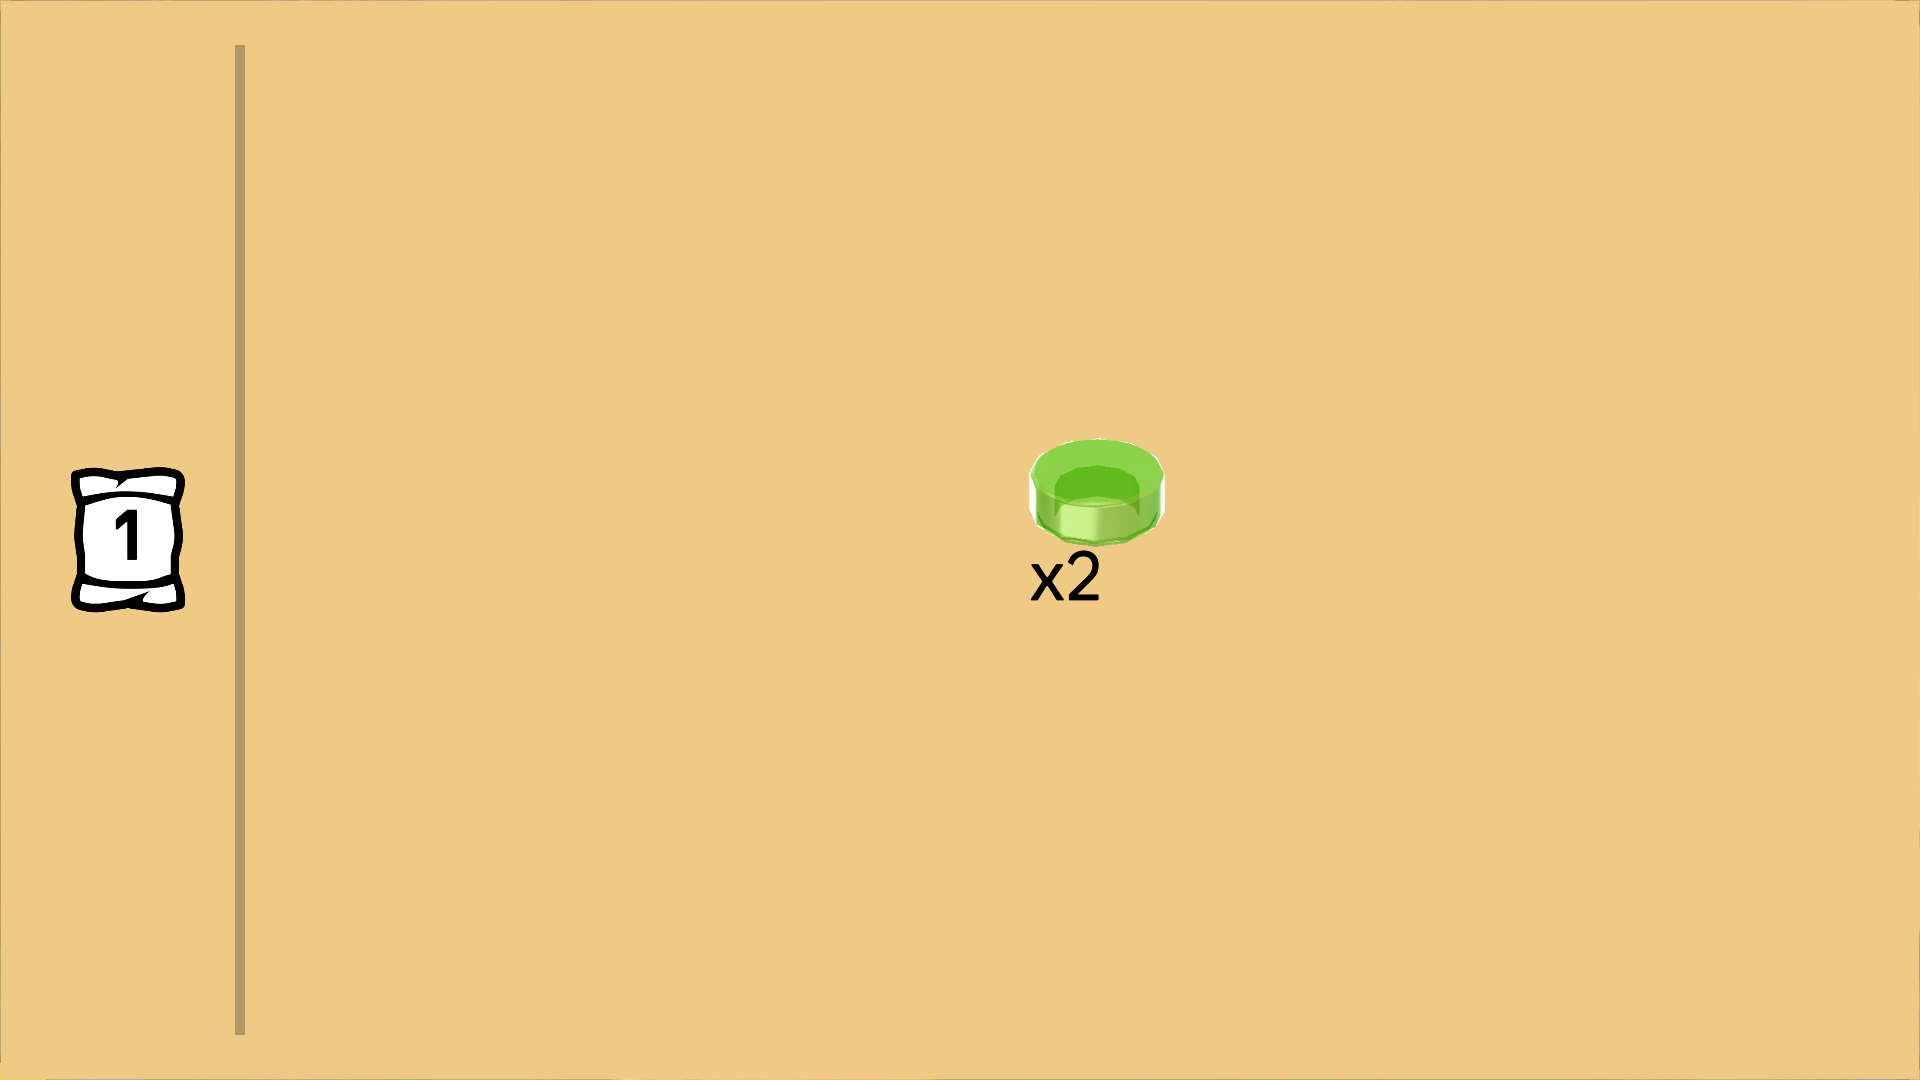
| Find 2 transparent bright green round tiles 1x1. |
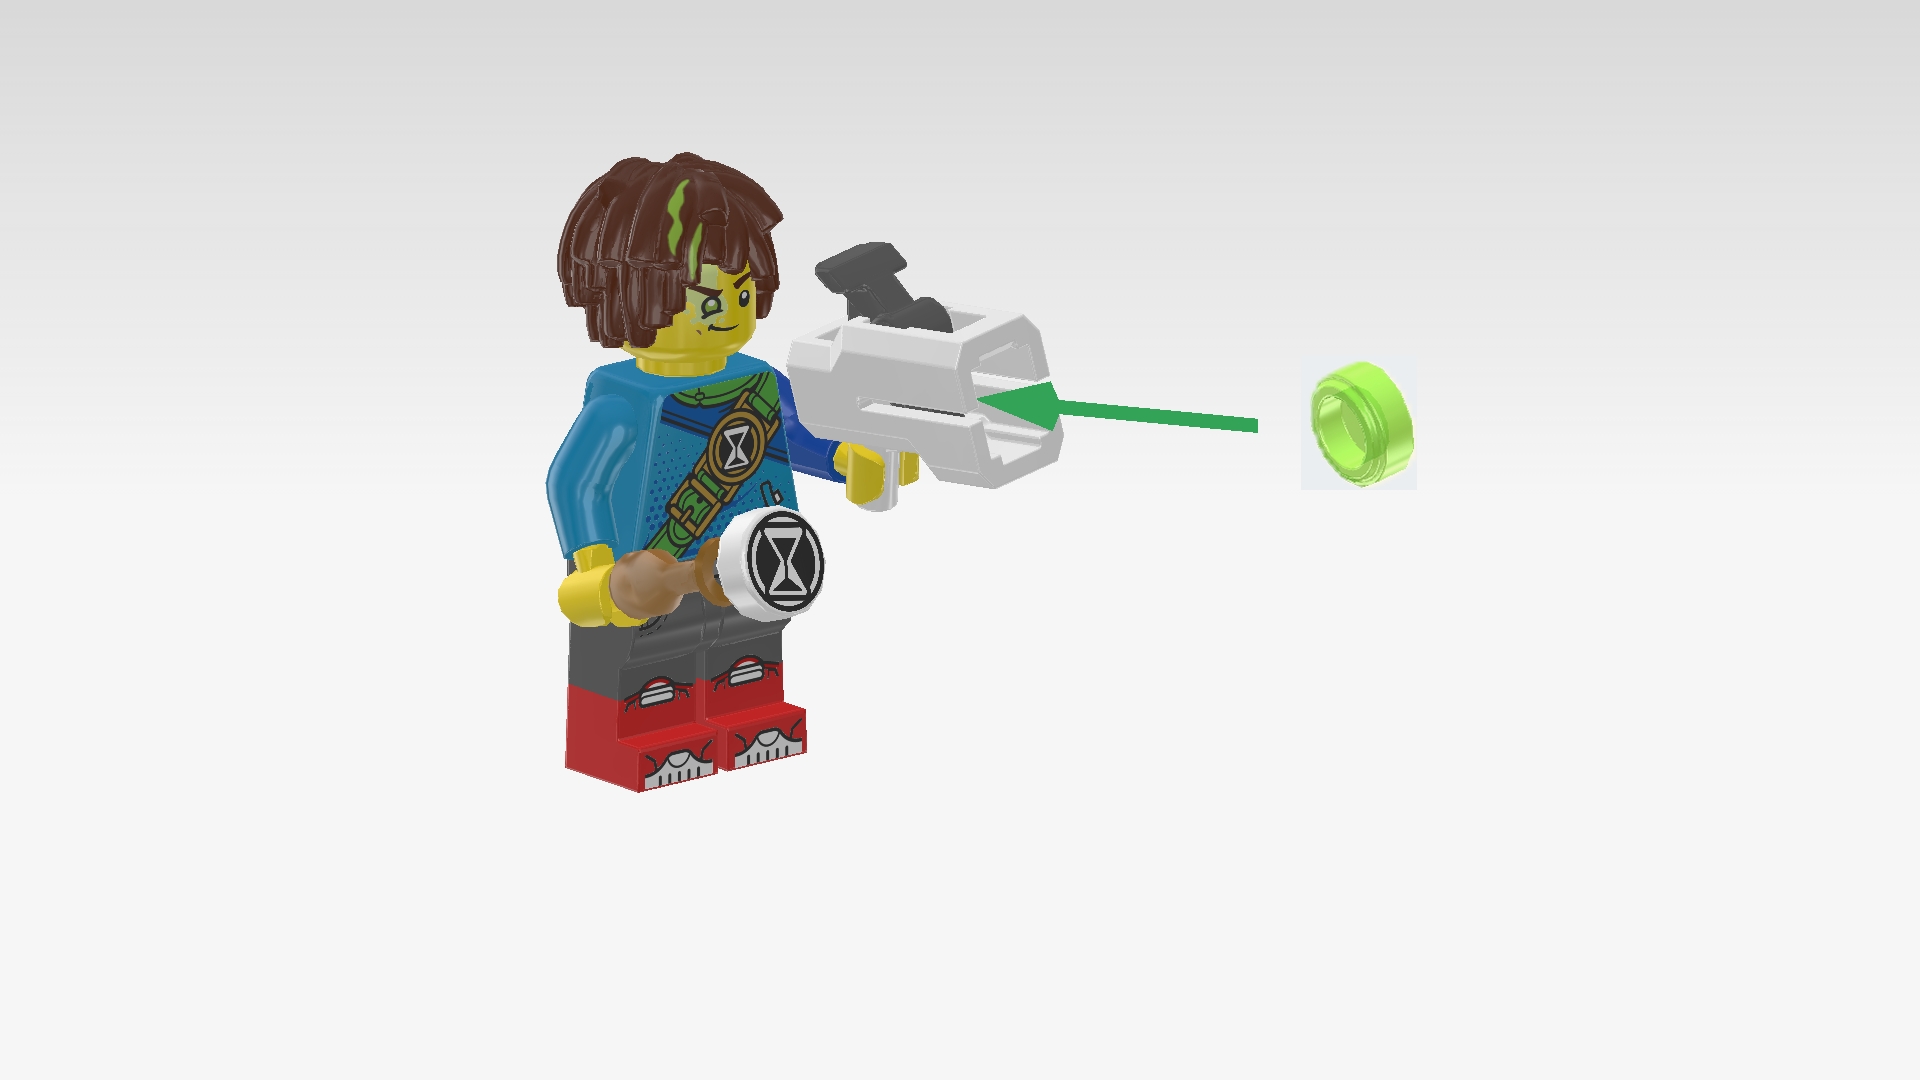
| Carefully insert 1 round tile into the opening of the shooter. Do not push the trigger yet. |
| Warning! Do not aim at eye or face. |
| To trigger the shooter, push down on the trigger from the top with some momentum. This might take some practice, but you will figure it out for sure. Use the additional round tiles 1x1 as reserve ammunition. |
| The Mateo Minifigure is finished! Great job! Mateo is in his Dream World appearance: he is wearing grey jeans with a green belt and red boots. His jacket is blue with a pale, dark blue dotted pattern on it. He wears a green utility belt across his chest with an old-school belt buckle with the hourglass logo at the front and a pocket at the back. His head has two face prints: on one side, he is winking at us cheekily. On the other face, he is showing his broad, enticing smile. There is some green Dream World goo on his right eye, and on some of his dreadlocks. Fighting in the dream world can be a messy business! |
| Next, we will build Mateo's glider. |
| Collect the following 2 pieces: |
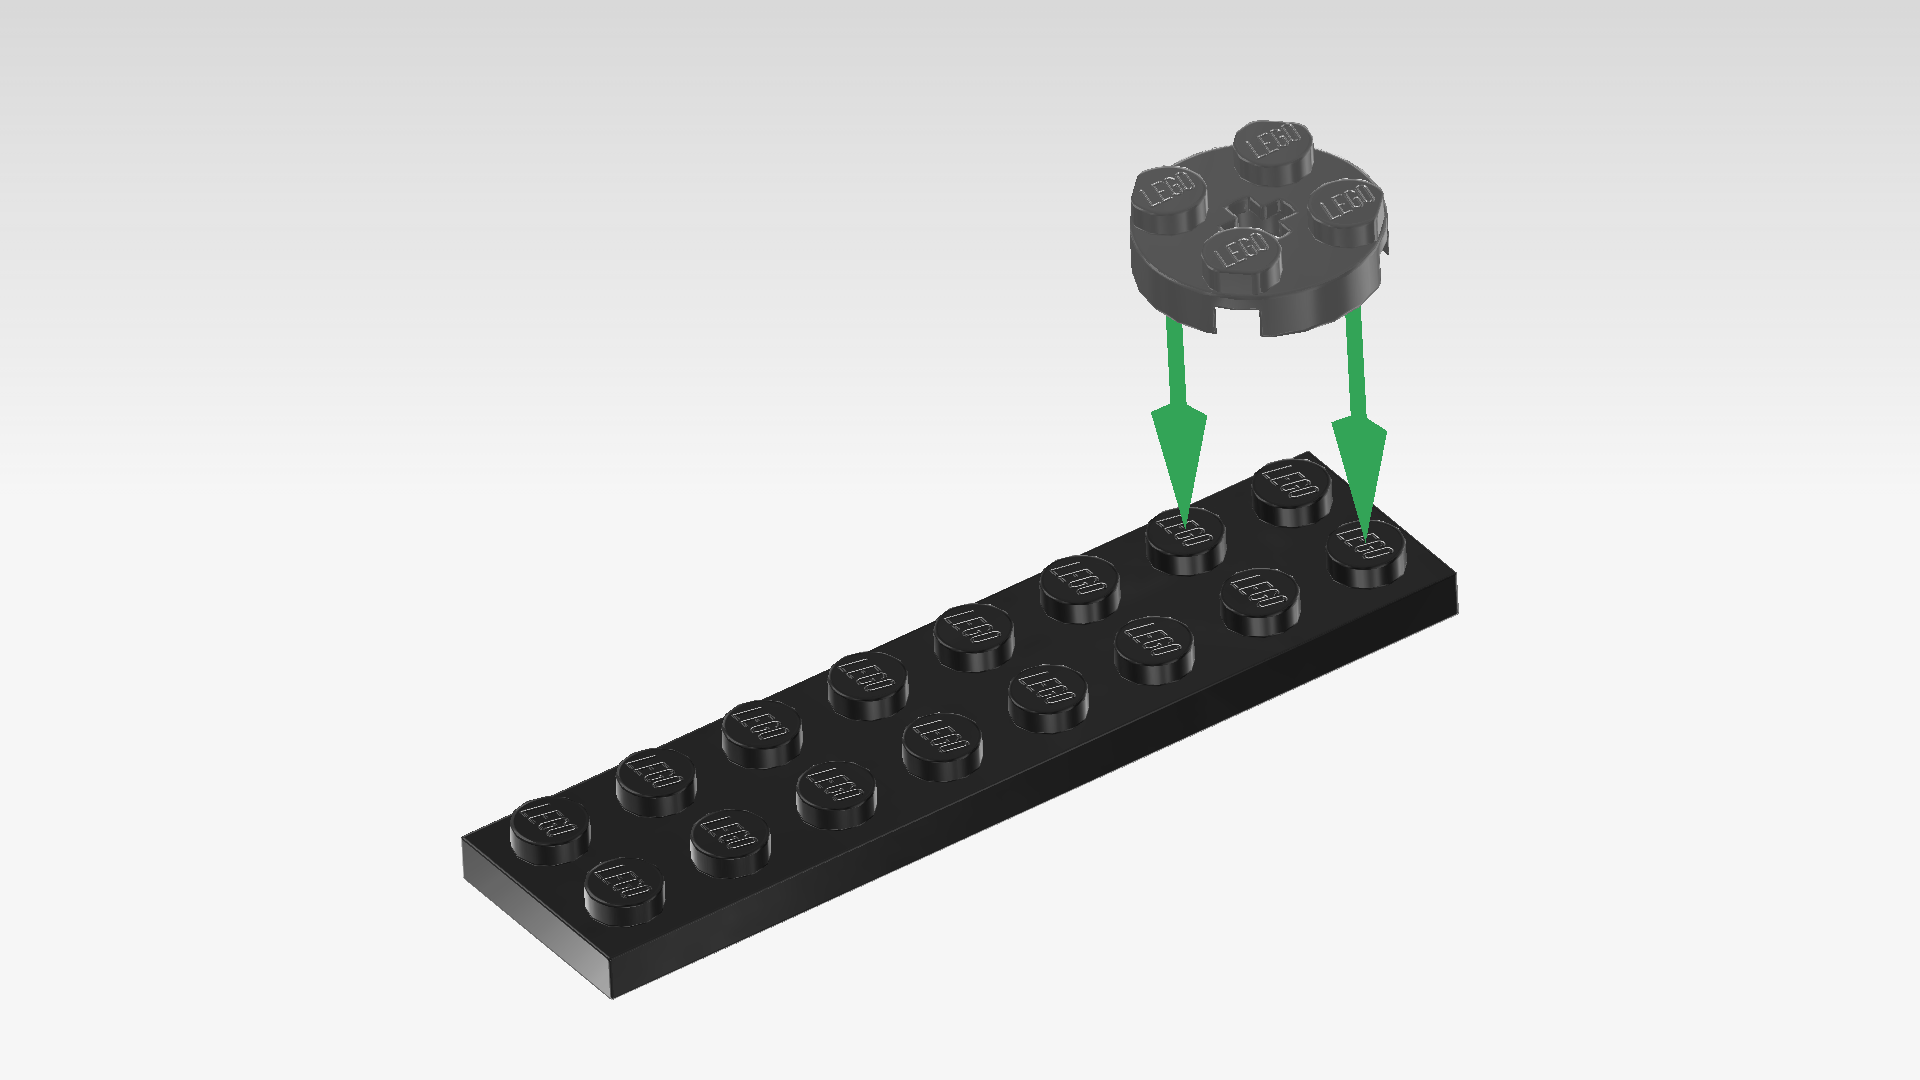
| 1 dark stone grey round plate 2x2, |
| and 1 black plate 2x8. |
| Put the plate 2x8 horizontally on the table. |
| Put the round plate 2x2 on the 2 rightmost columns. |
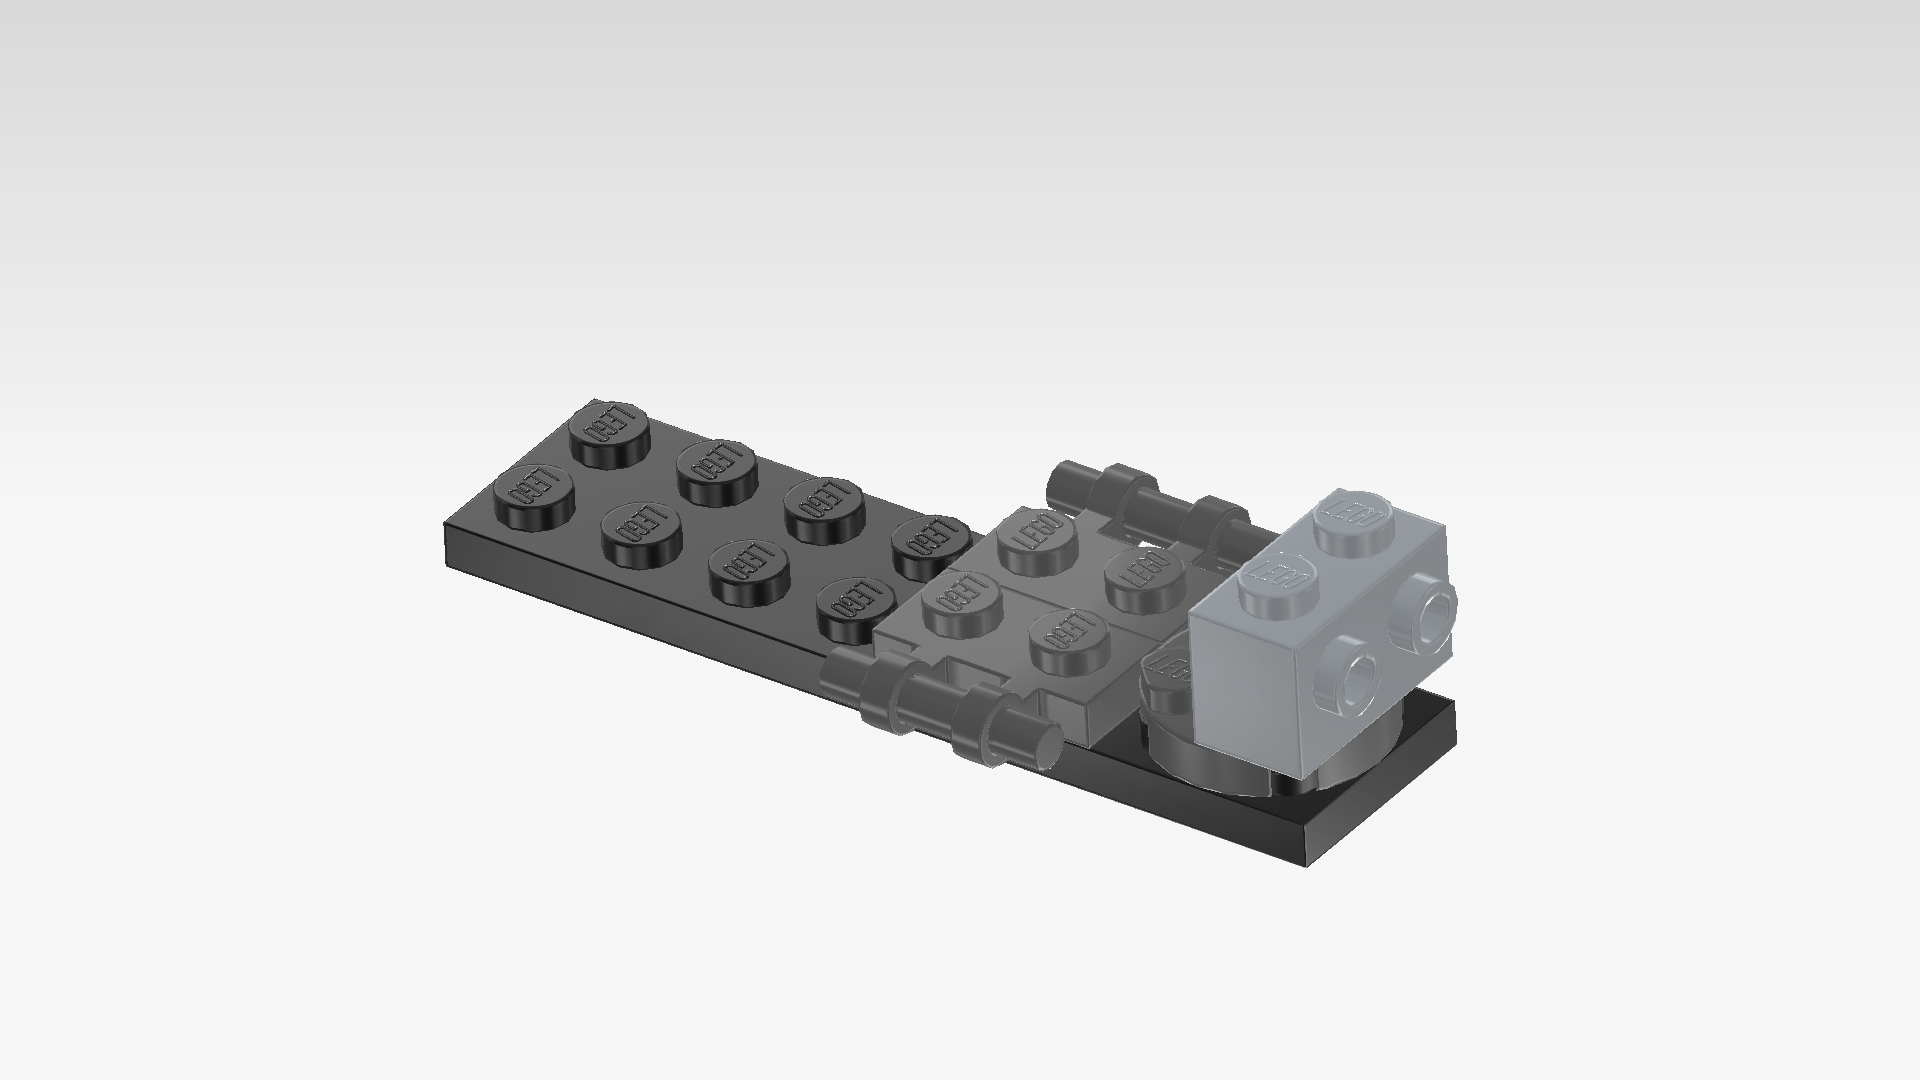
| Find 2 dark stone grey plates 1x2 with shaft on long side. |
| Put 1 horizontally to the left of the previous piece on the back row, shaft to the back. |
| Put the other one horizontally in front of the previous piece, shaft to the front. |
| Find 1 medium stone grey brick 1x2 with 2 side knobs on long side. |
| Put it vertically on the rightmost column, side knobs to the right. |
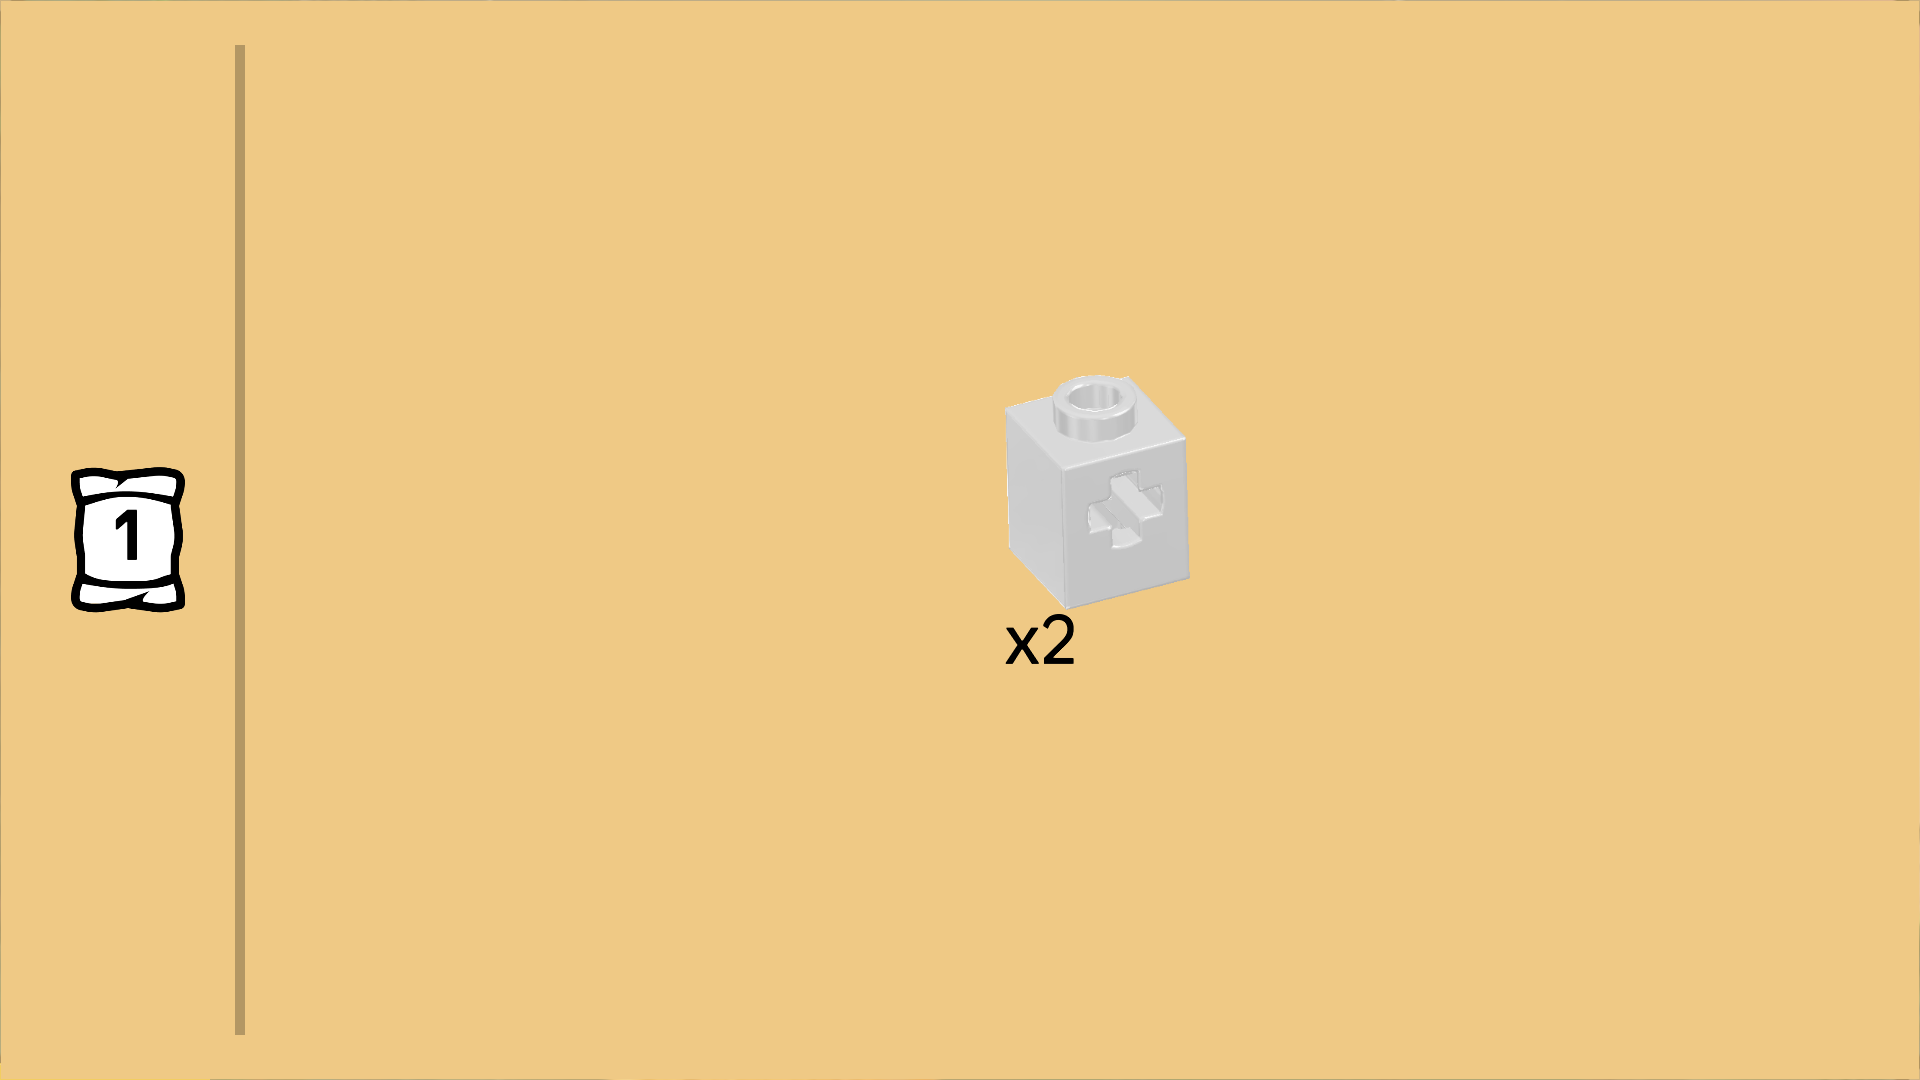
| Find 2 white bricks 1x1 with side cross hole. |
| Put 1 to the left of the previous piece on the back row. Make sure the cross hole is running from front to back. |
| Put the other one in front of the previous piece, again making sure that the cross hole is running from front to back. |
| The orientation of the cross holes is vital. If they are not both running from front to back, you will later be unable to rebuild the glider into buggy or quadcopter mode. |
| Find 1 white inverted roof tile 2x2, 45°. |
| Put it on the leftmost column, slope overhanging to the left. |
| Find 2 white bricks 1x1 with side cross hole. |
| Put 1 to the right of the previous piece on the back row. Make sure that the cross hole is running from front to back. |
| Put the other one in front of the previous piece, cross hole running from front to back. |
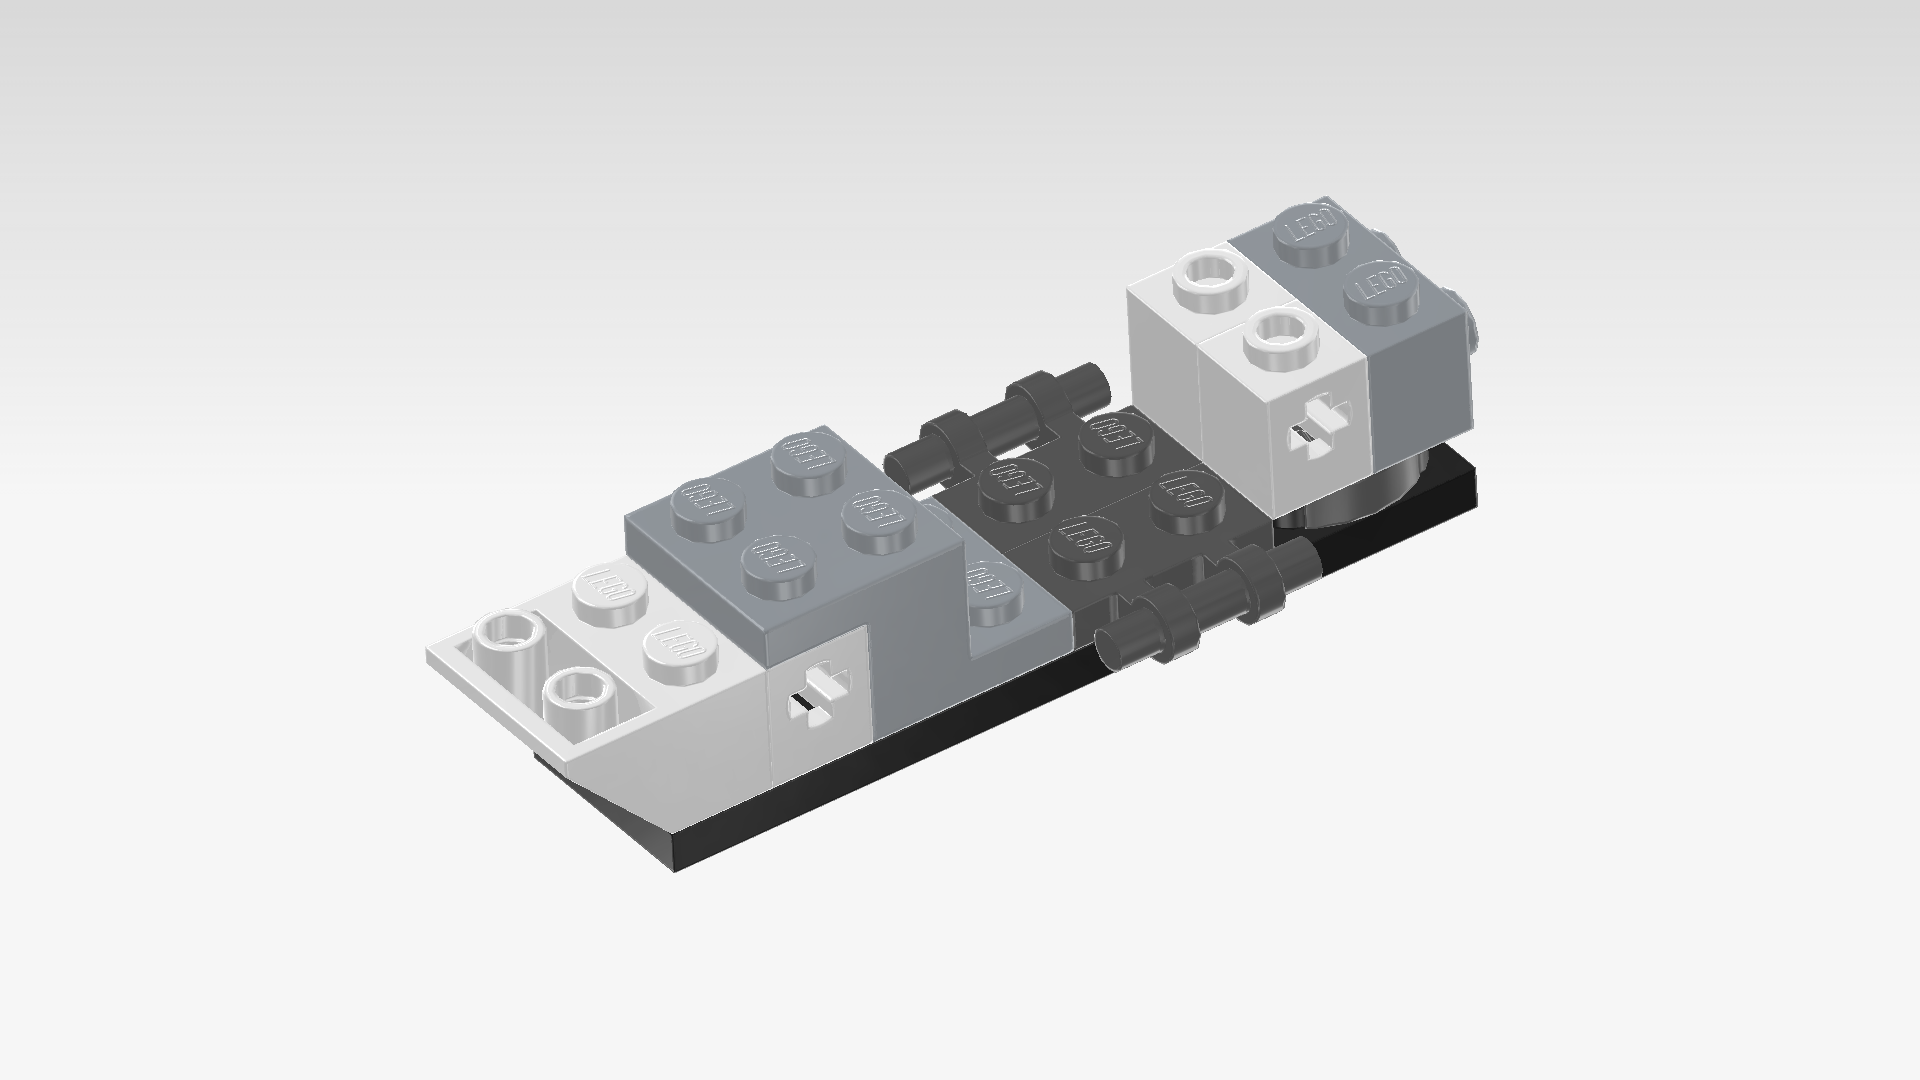
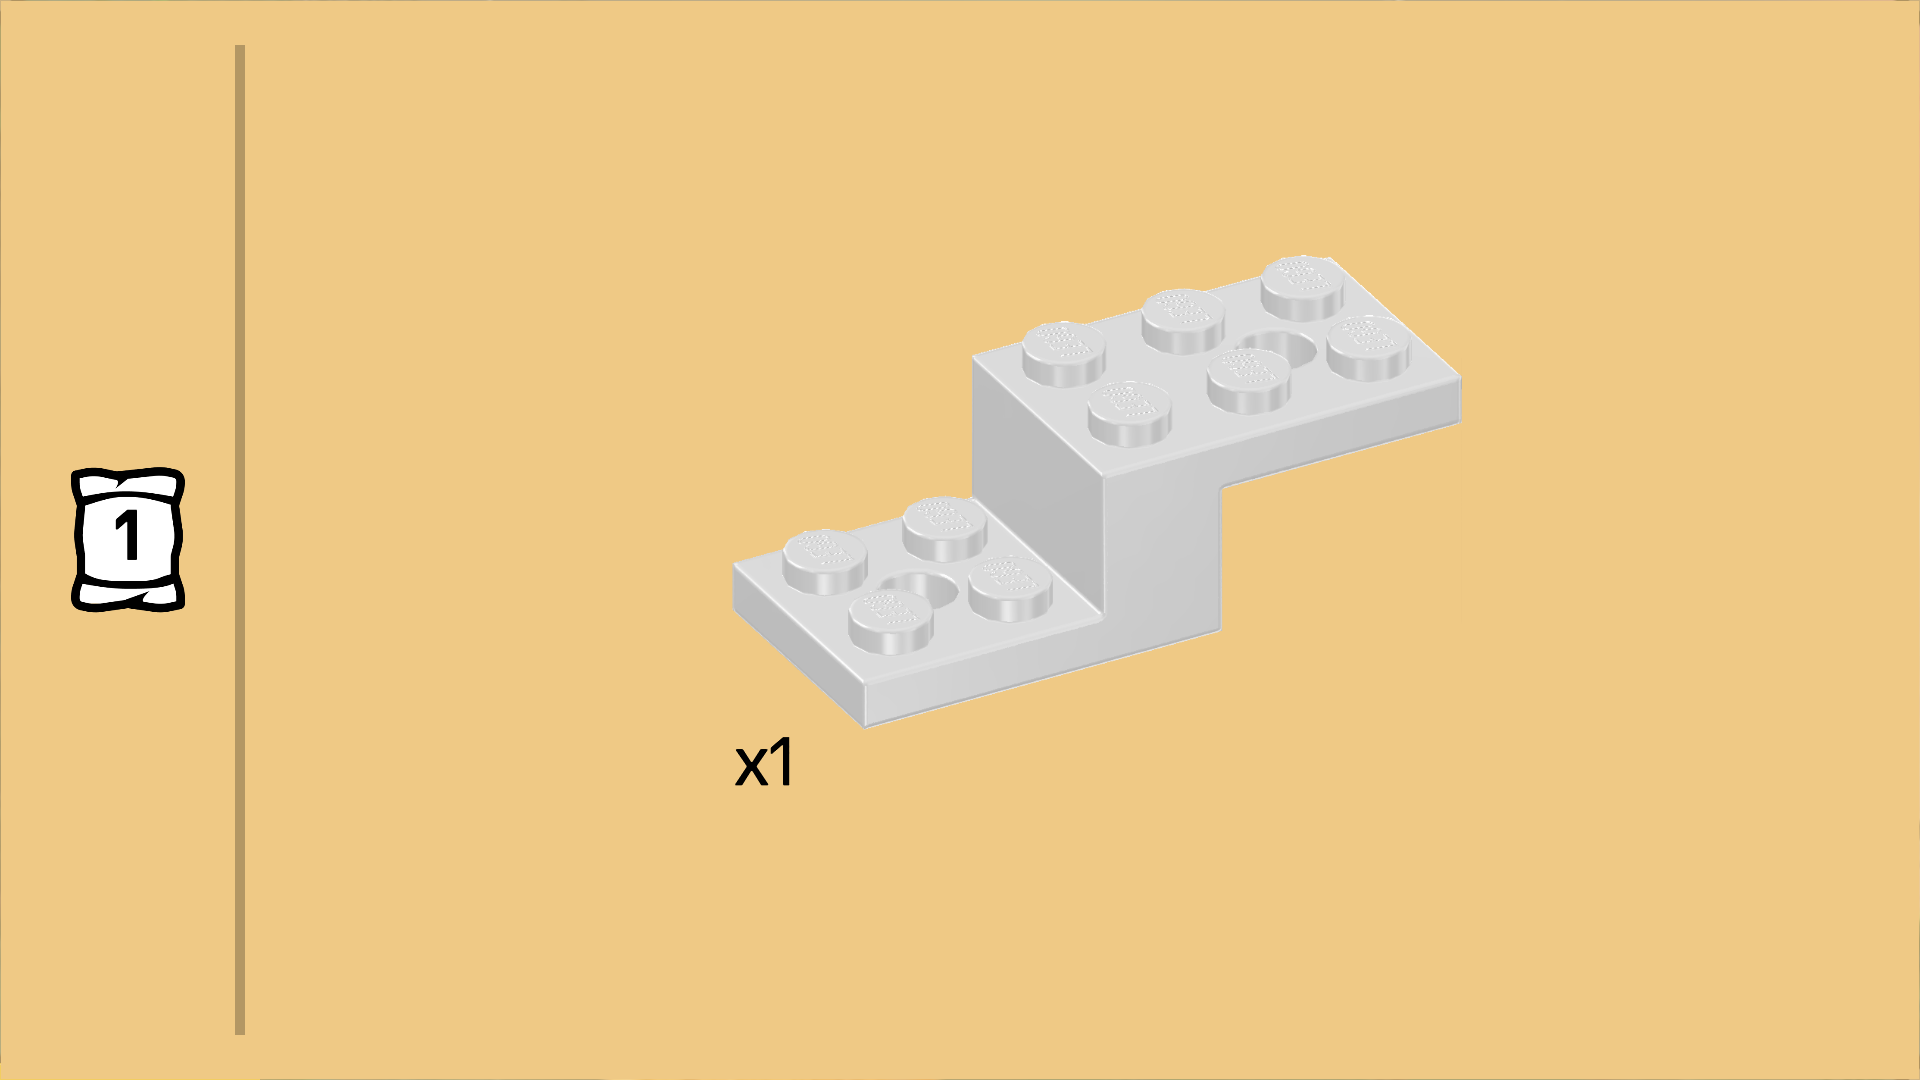
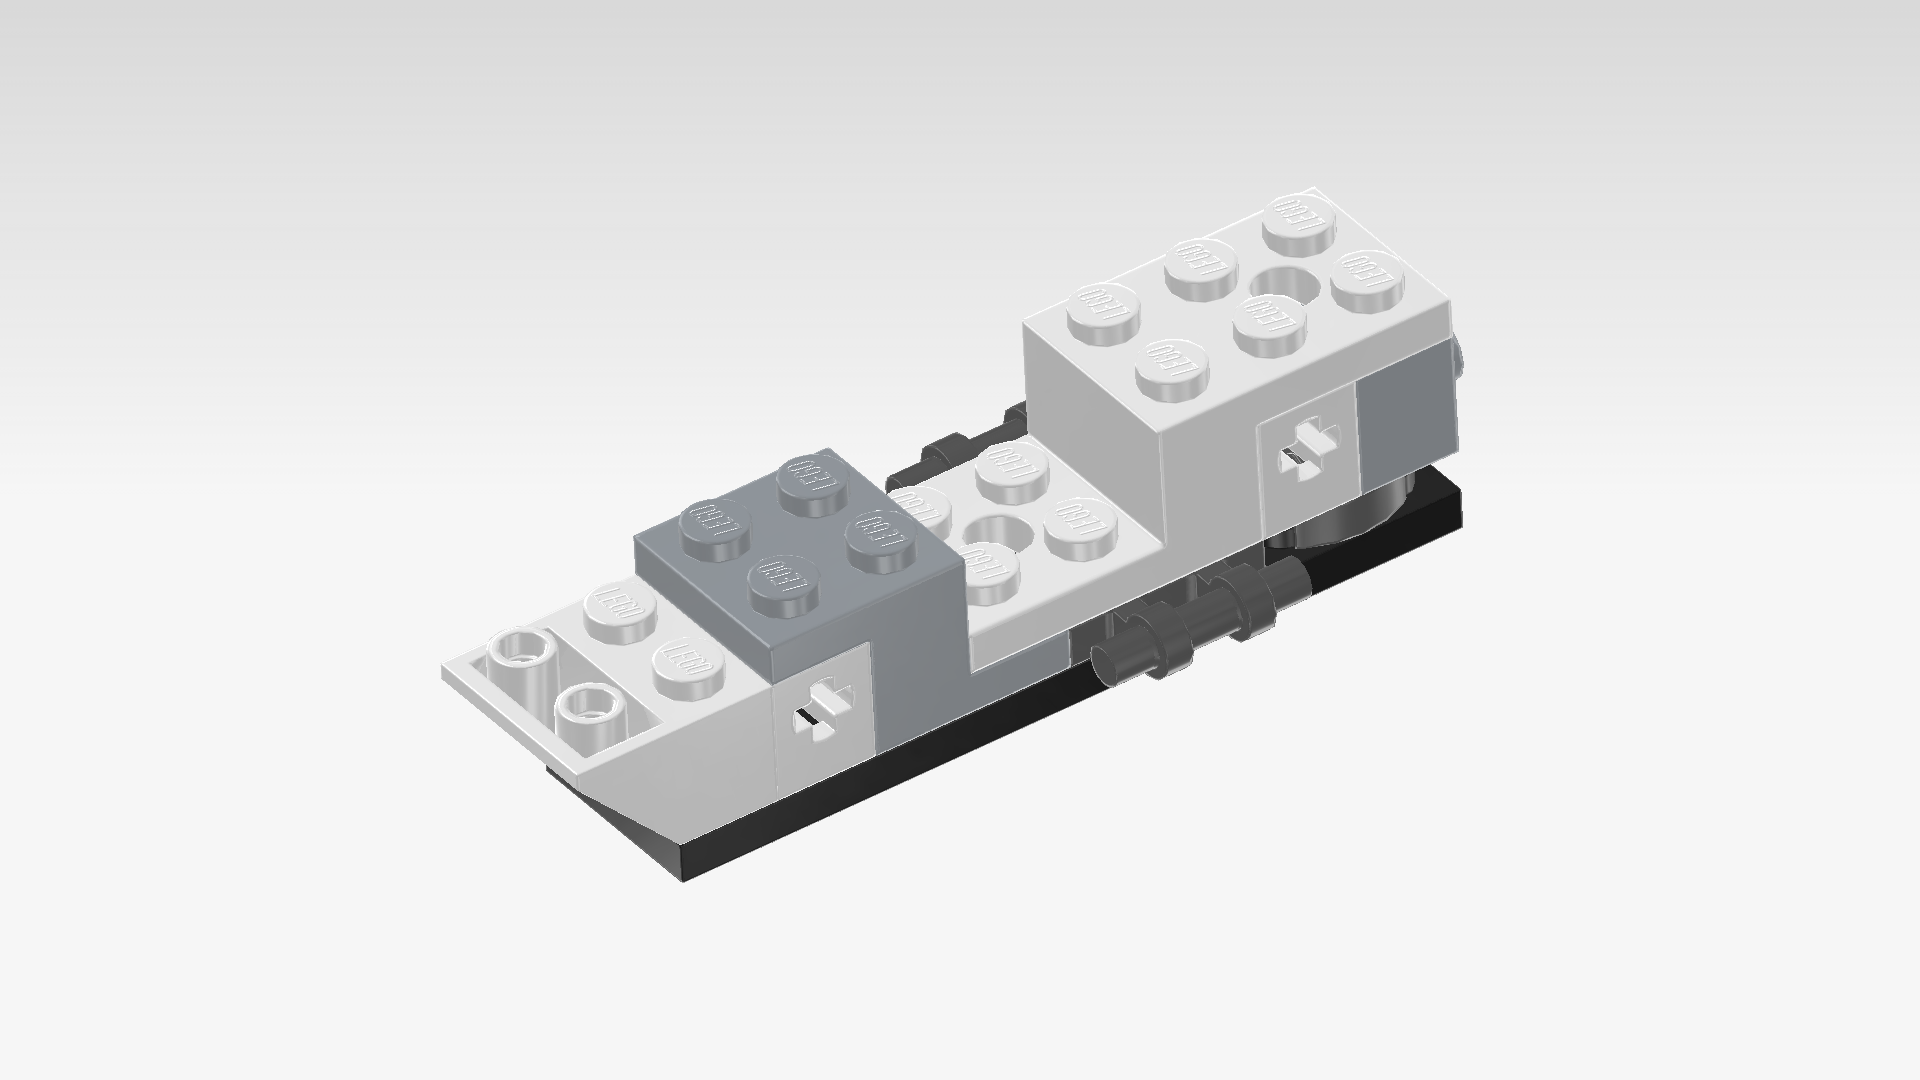
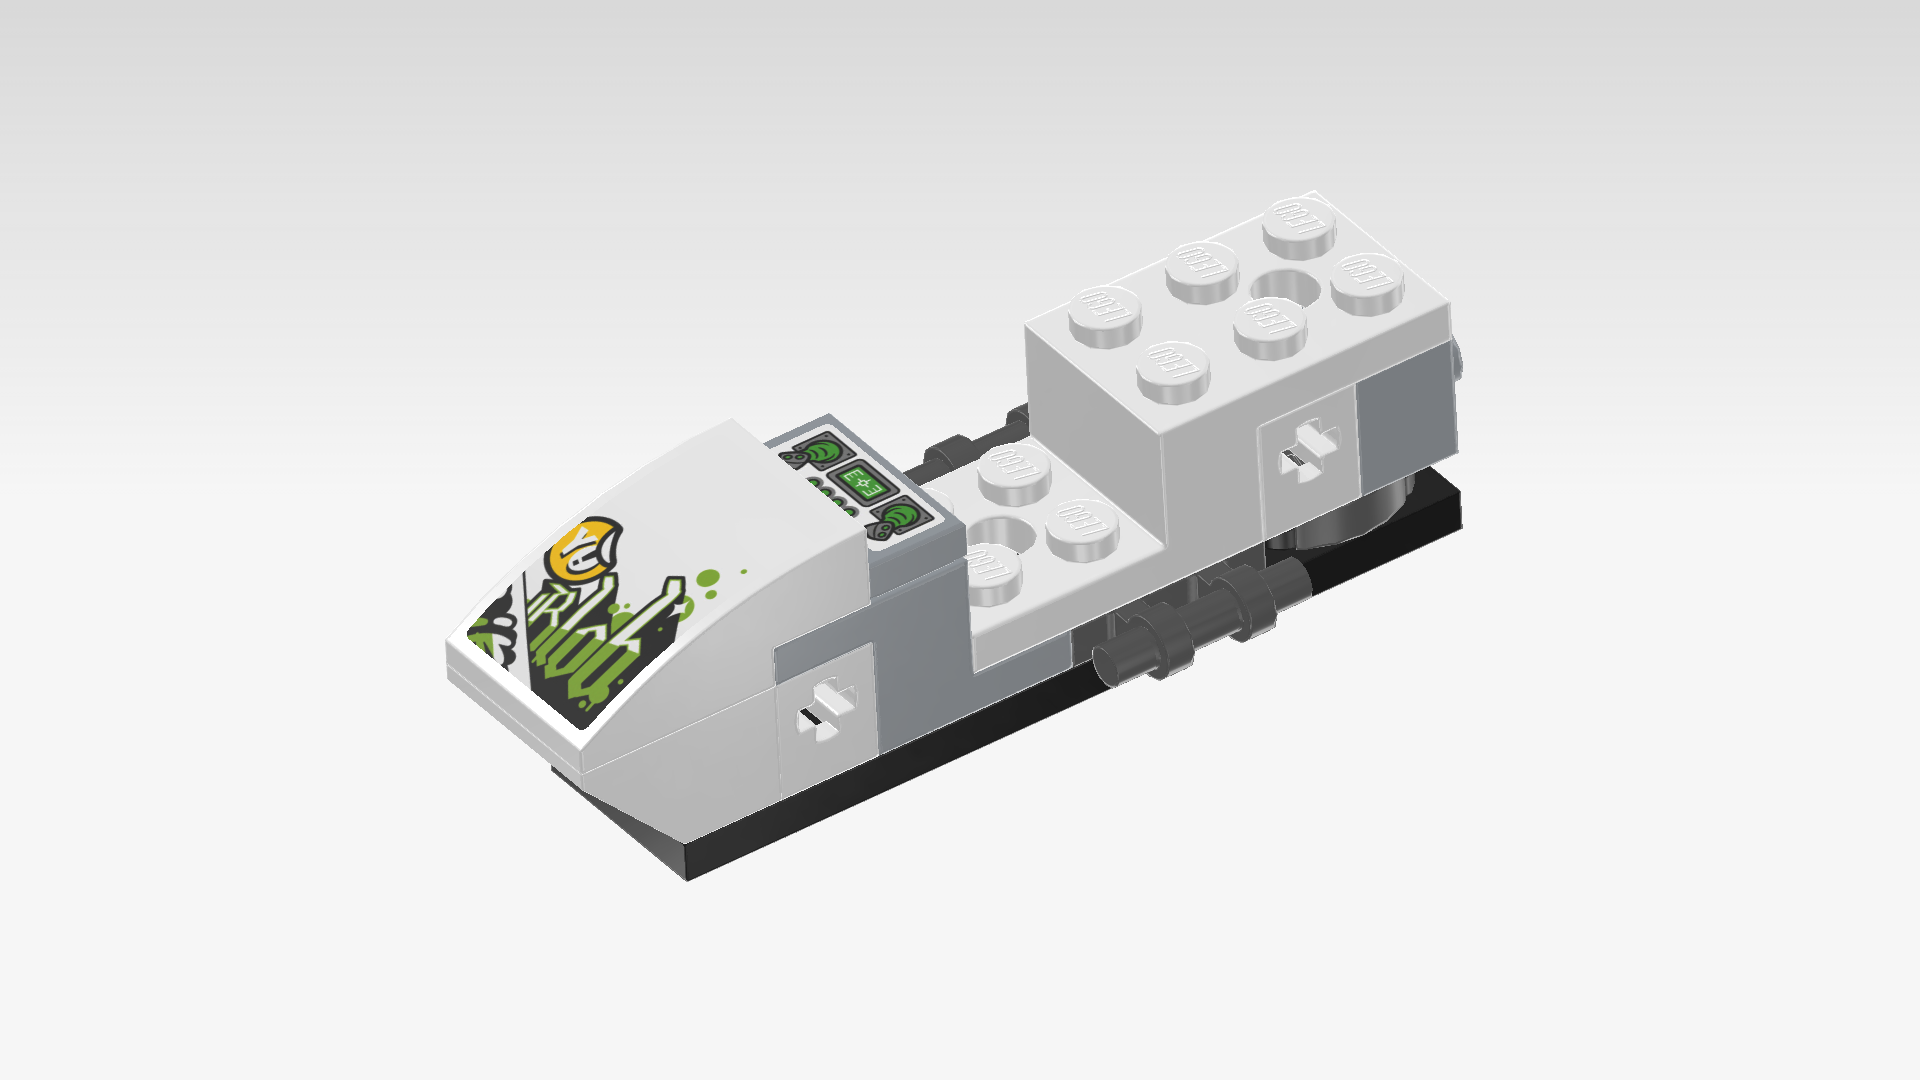
| Find 1 medium stone grey stepped brick 2x3 with top and bottom plate. |
| Turn it horizontally so that the top plate is pointing to the left. |
| Mount the top plate on the 2 previous pieces and the rest of the brick on the 2 columns to their right, perfectly matching the shape of the structure. |
| Find 1 white stepped brick 2x5 with top and bottom plate. |
| Turn it horizontally so that its top plate is pointing to the right. |
| Mount its lower surface on the 2x3 recess in the middle of the structure, while its top plate is covering the 2 rightmost columns. |
| Collect the following 2 pieces: |
| 1 medium stone grey flat tile 1x2, |
| and 1 rectangular sticker 1x2. |
| Put the sticker on the flat tile 1x2, aligning their shapes. |
| The sticker is printed with the glider's control panel: it's a white panel with 2 green maneuvering joysticks on the left and right, a green target display in the center and several green control buttons below the display. |
| Put the flat tile 1x2 vertically on the fourth column from the left. |
| Collect the following 2 pieces: |
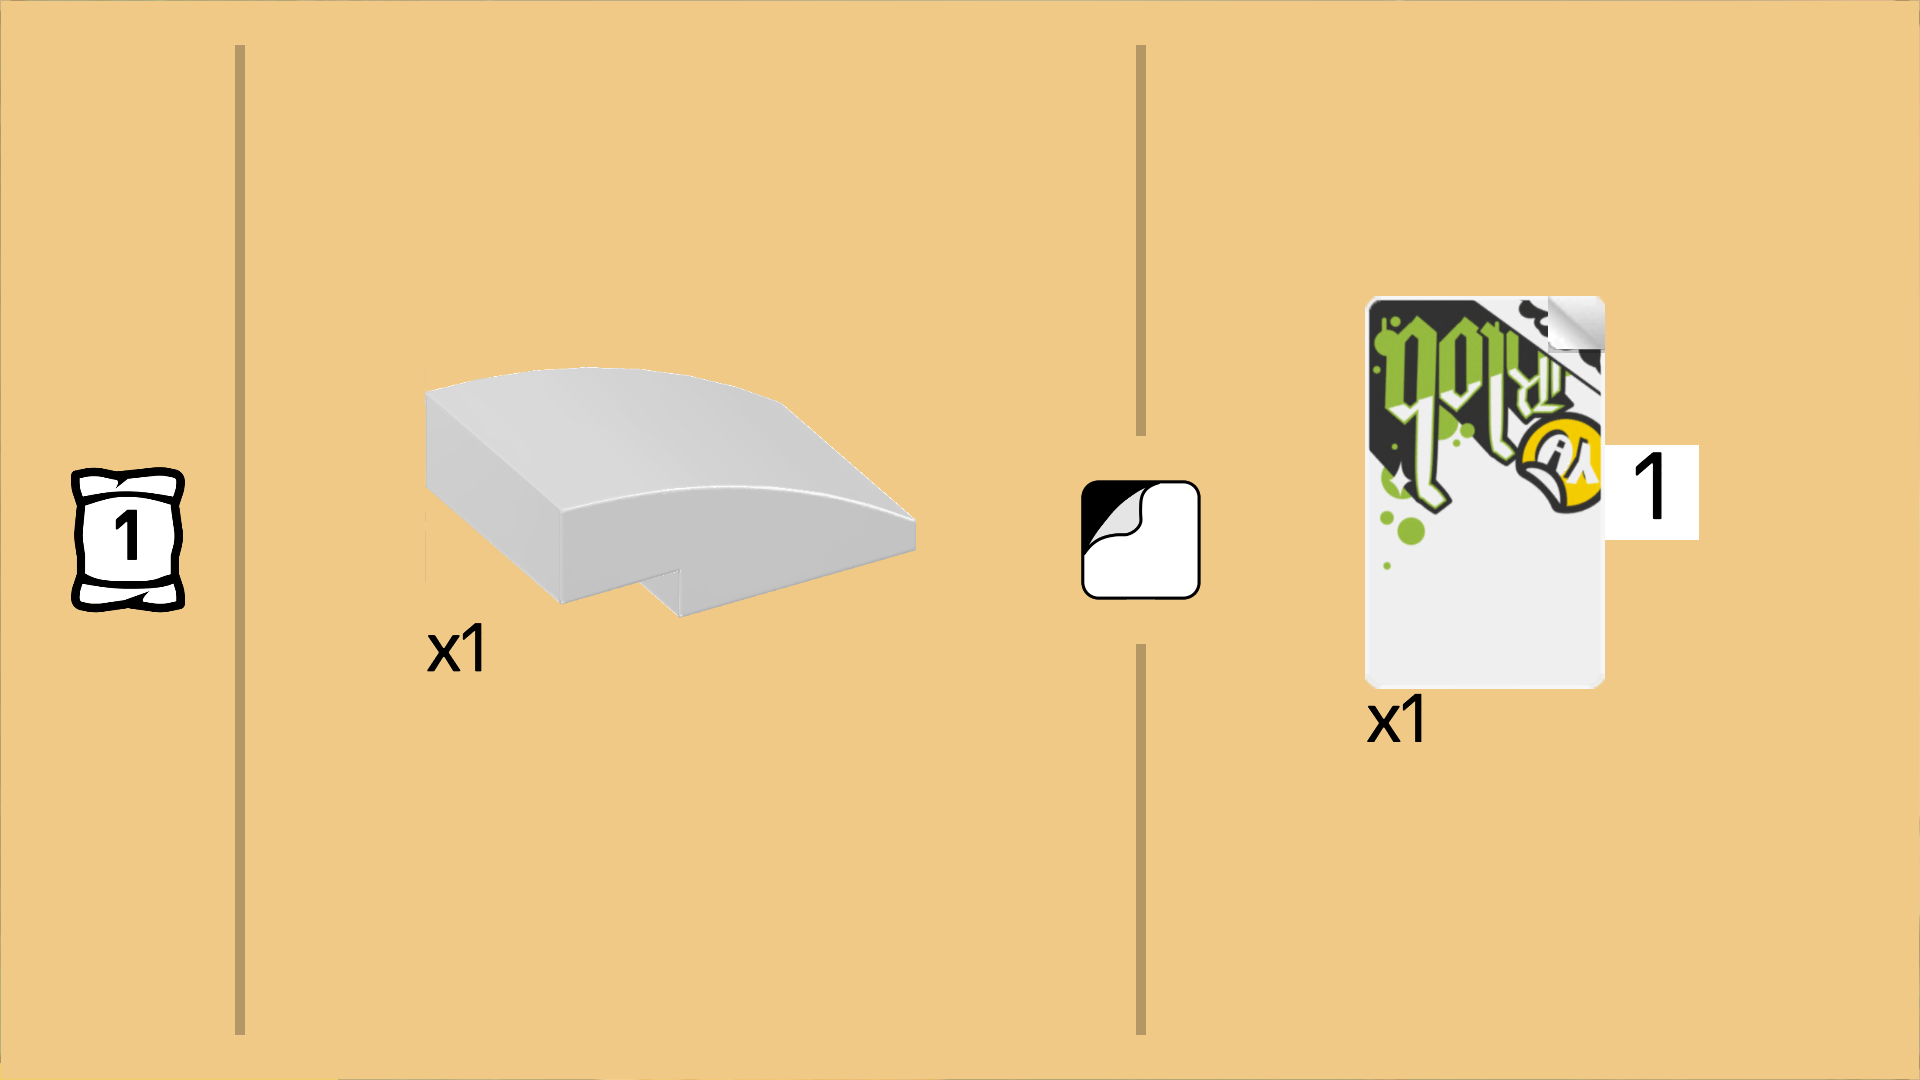
| 1 white one-stepped curve tile 2x3, |
| and 1 rectangular sticker 2x3. |
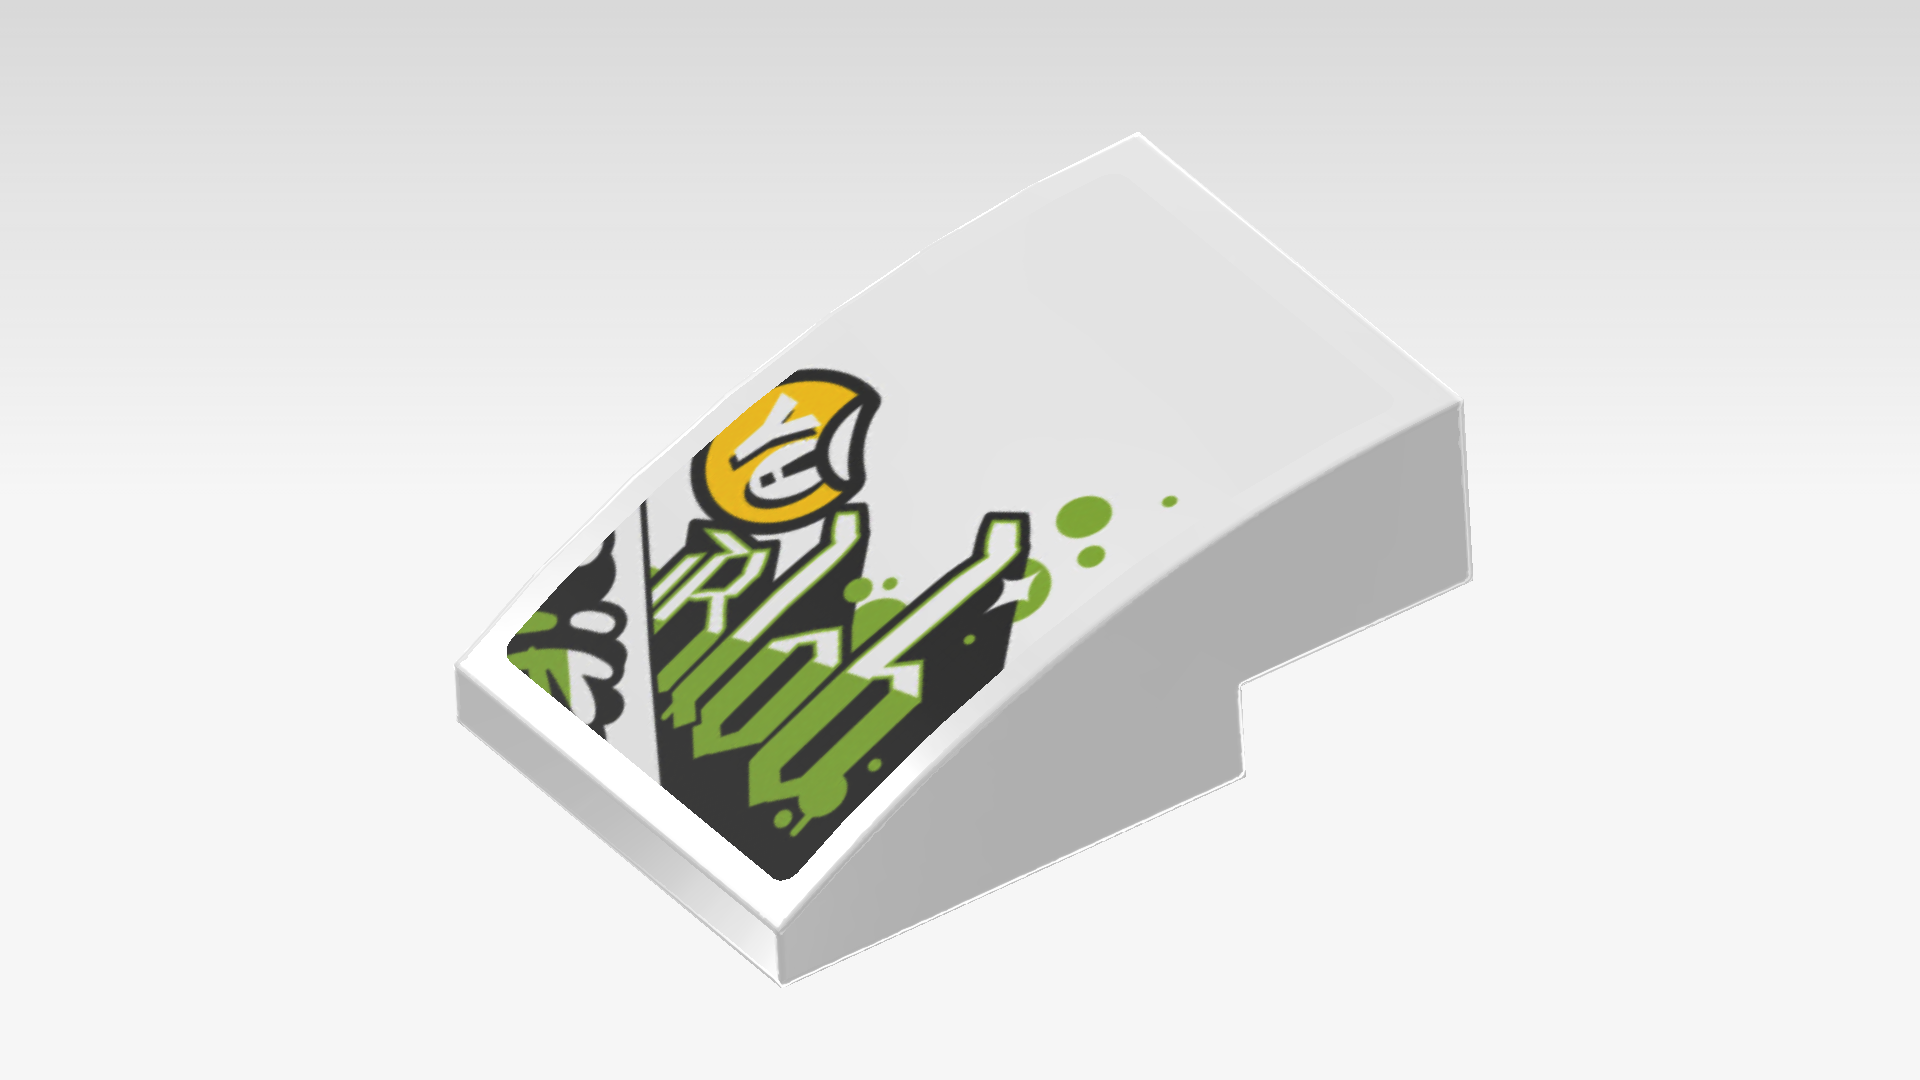
| Put the sticker on the curved surface of the curve tile, matching their shapes. One half of the sticker is white, the other half is printed with a cool airbrush design. The design should be on the lower half of the curve tile. |
| The airbrush design on the sticker is a stylized graffiti of Z-Blob's name in slim white letters with a black outline. The lower half of those letters is filled with a bright green color, and there are several green spots surrounding the letters. There is a round yellow sticker with a white Y and an exclamation point at the top left of the graffiti. This is the engine hood decoration of the glider! |
| Put the curve tile 2x3 horizontally on the leftmost edge, curve to the left. |
| Find 1 white smooth roof tile 1x2x⅔. |
| Put it vertically on the third column from the right, slope to the left. |
| Now, we will build the glider propulsion. |
| Collect the following 2 pieces: |
| 1 bright yellowish green plate 2x4, |
| and 1 white brick 1x4 with 4 side knobs. |
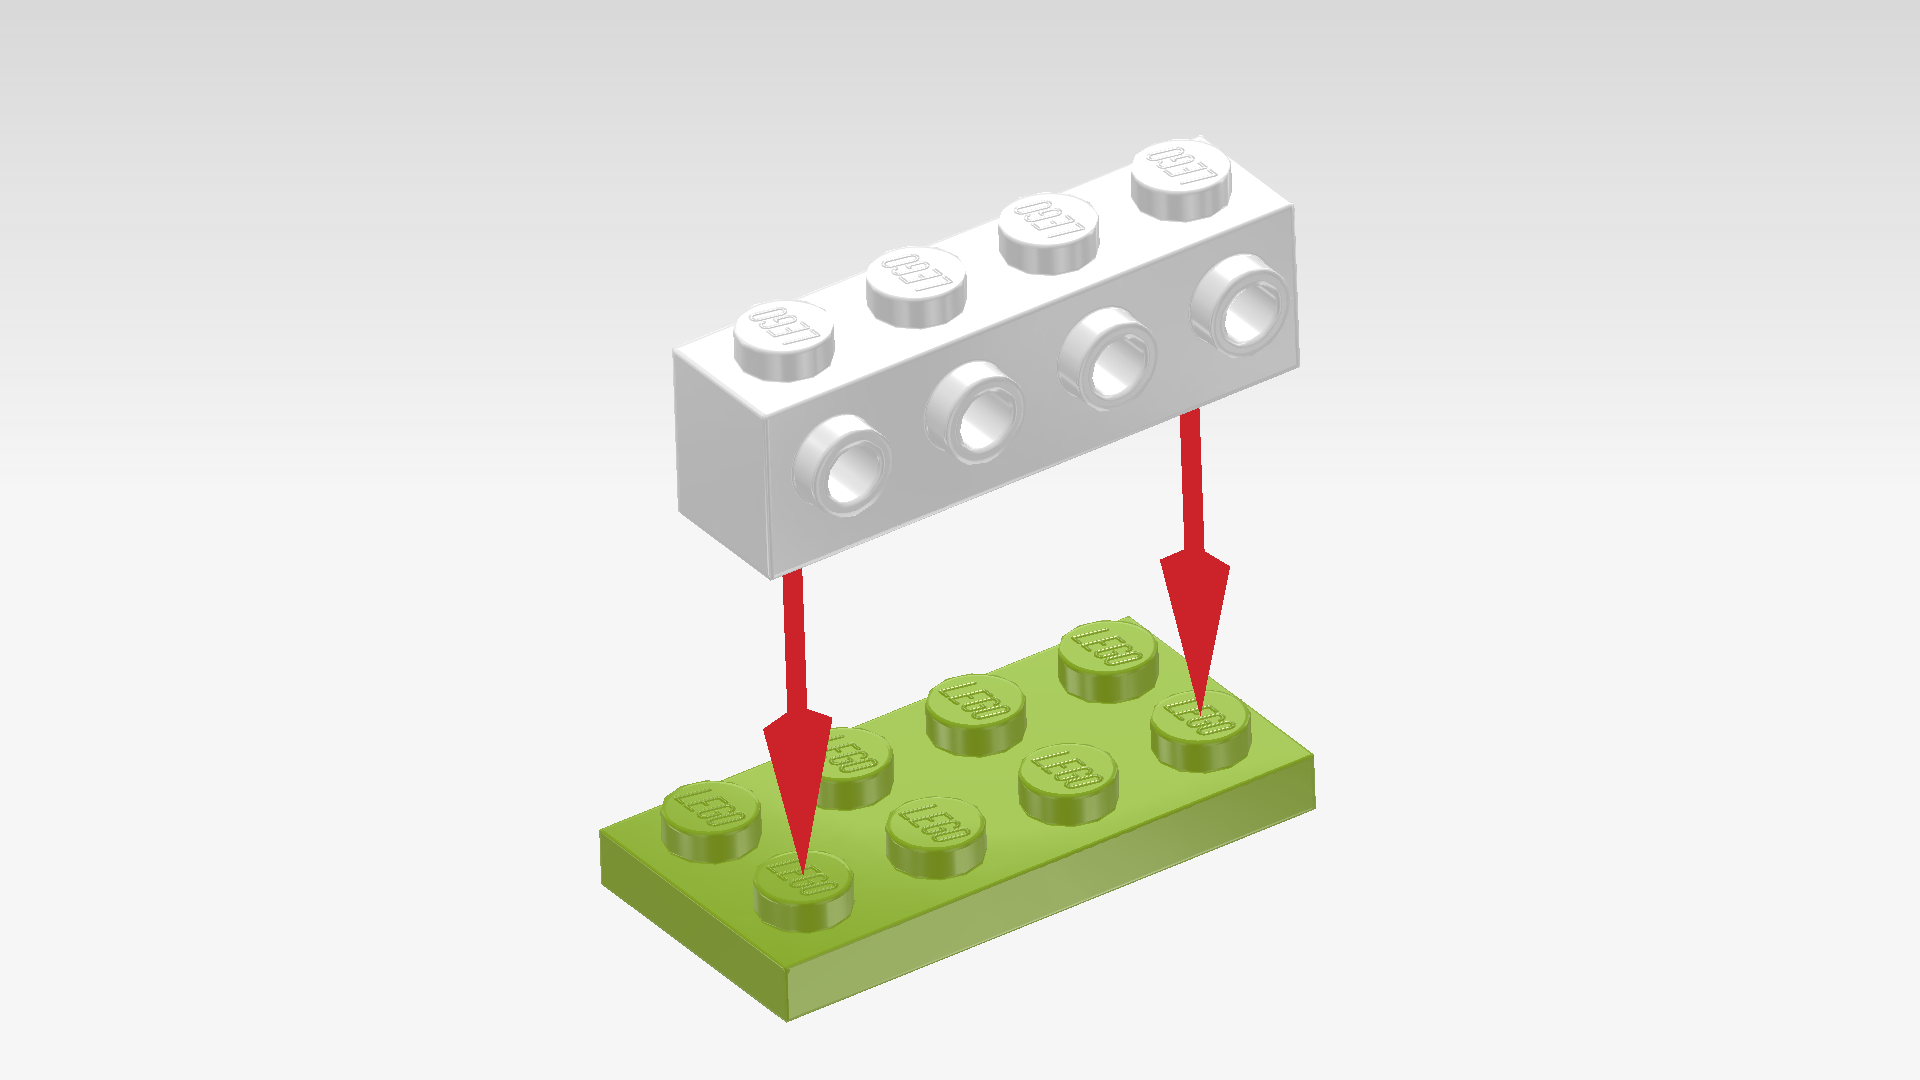
| Put the plate 2x4 horizontally on the table. |
| Put the brick 1x4 horizontally on the front row, side knobs to the front. |
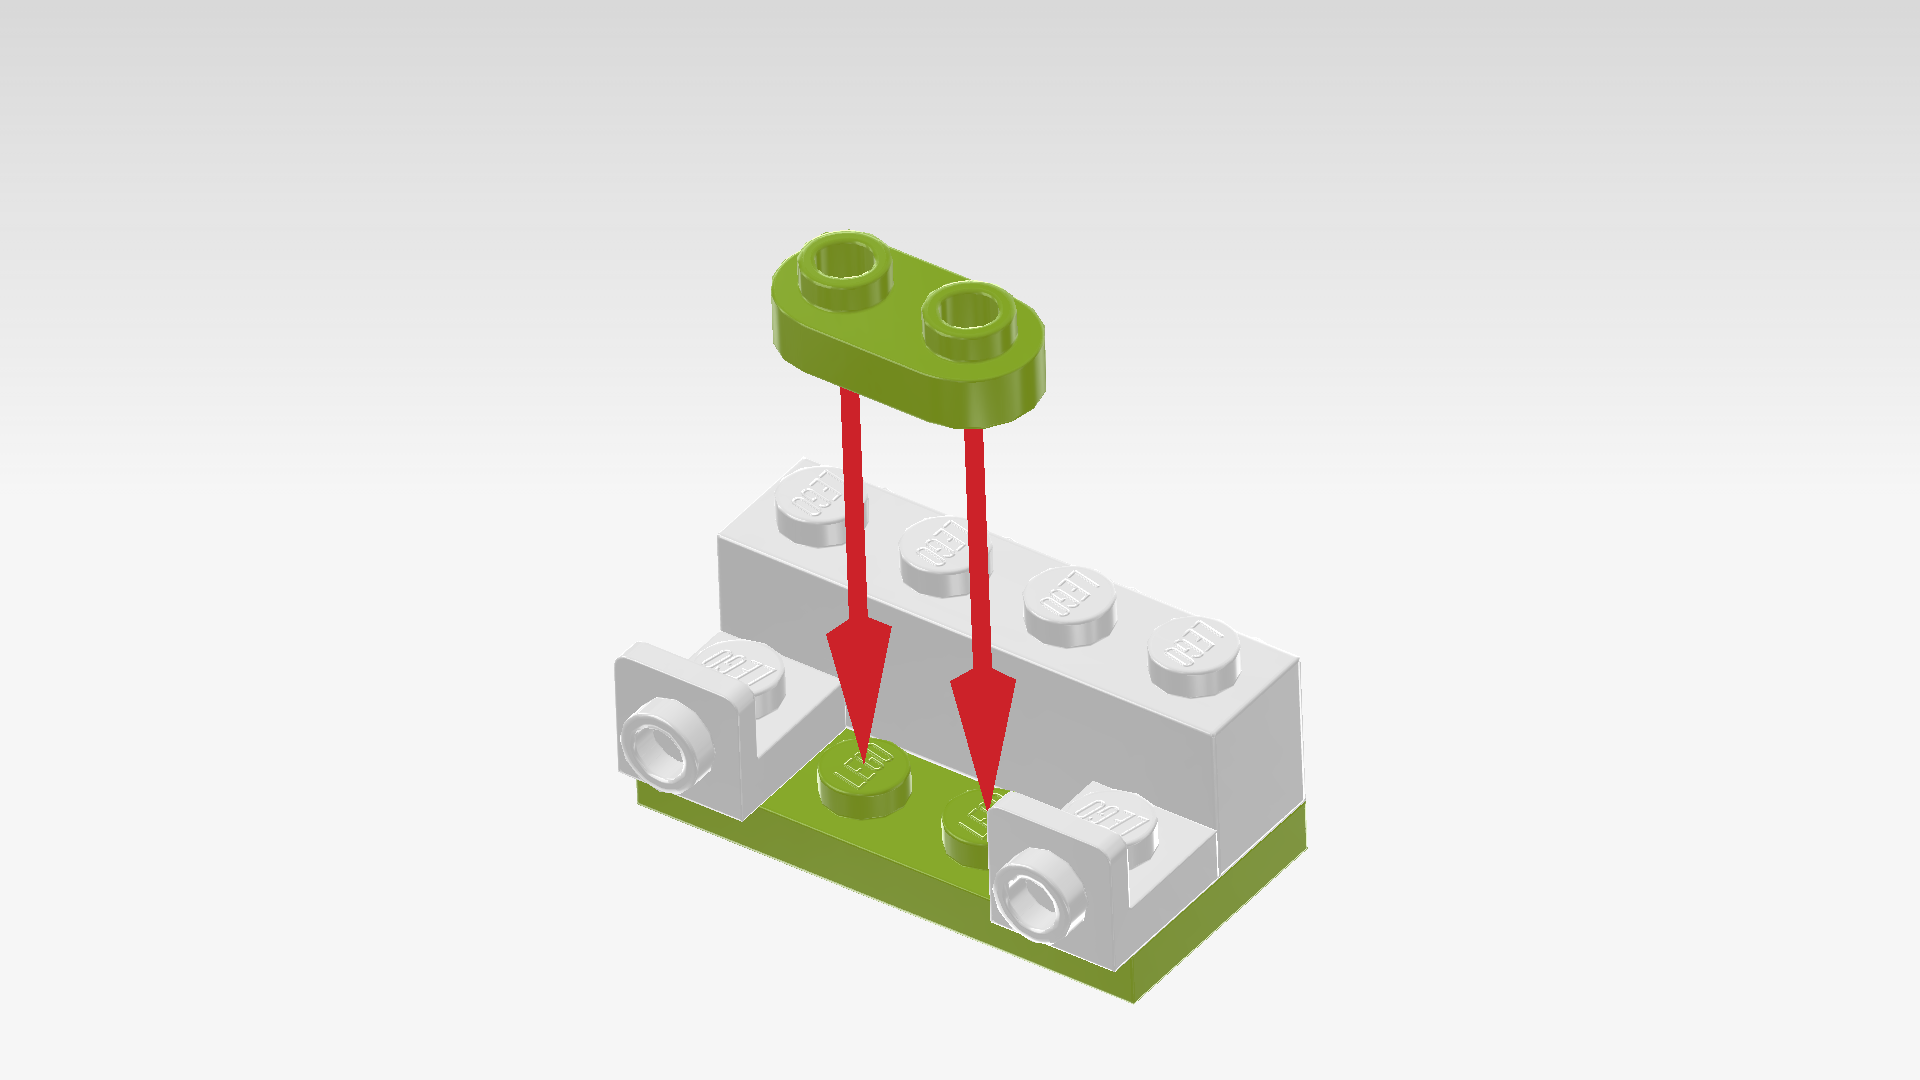
| Collect the following 3 pieces: |
| 1 bright yellowish green rounded plate 1x2, |
| and 2 white bottom angle plates 1x1 - 1x1 with 1 side knob. |
| Turn the structure from the previous step left to right so that the 4 side knobs are pointing to the back. |
| Put the rounded plate 1x2 horizontally centered on the front row. |
| Put 1 bottom angle plate 1x1 to the left of the previous piece, side knob to the front. |
| Repeat symmetrically on the right. |
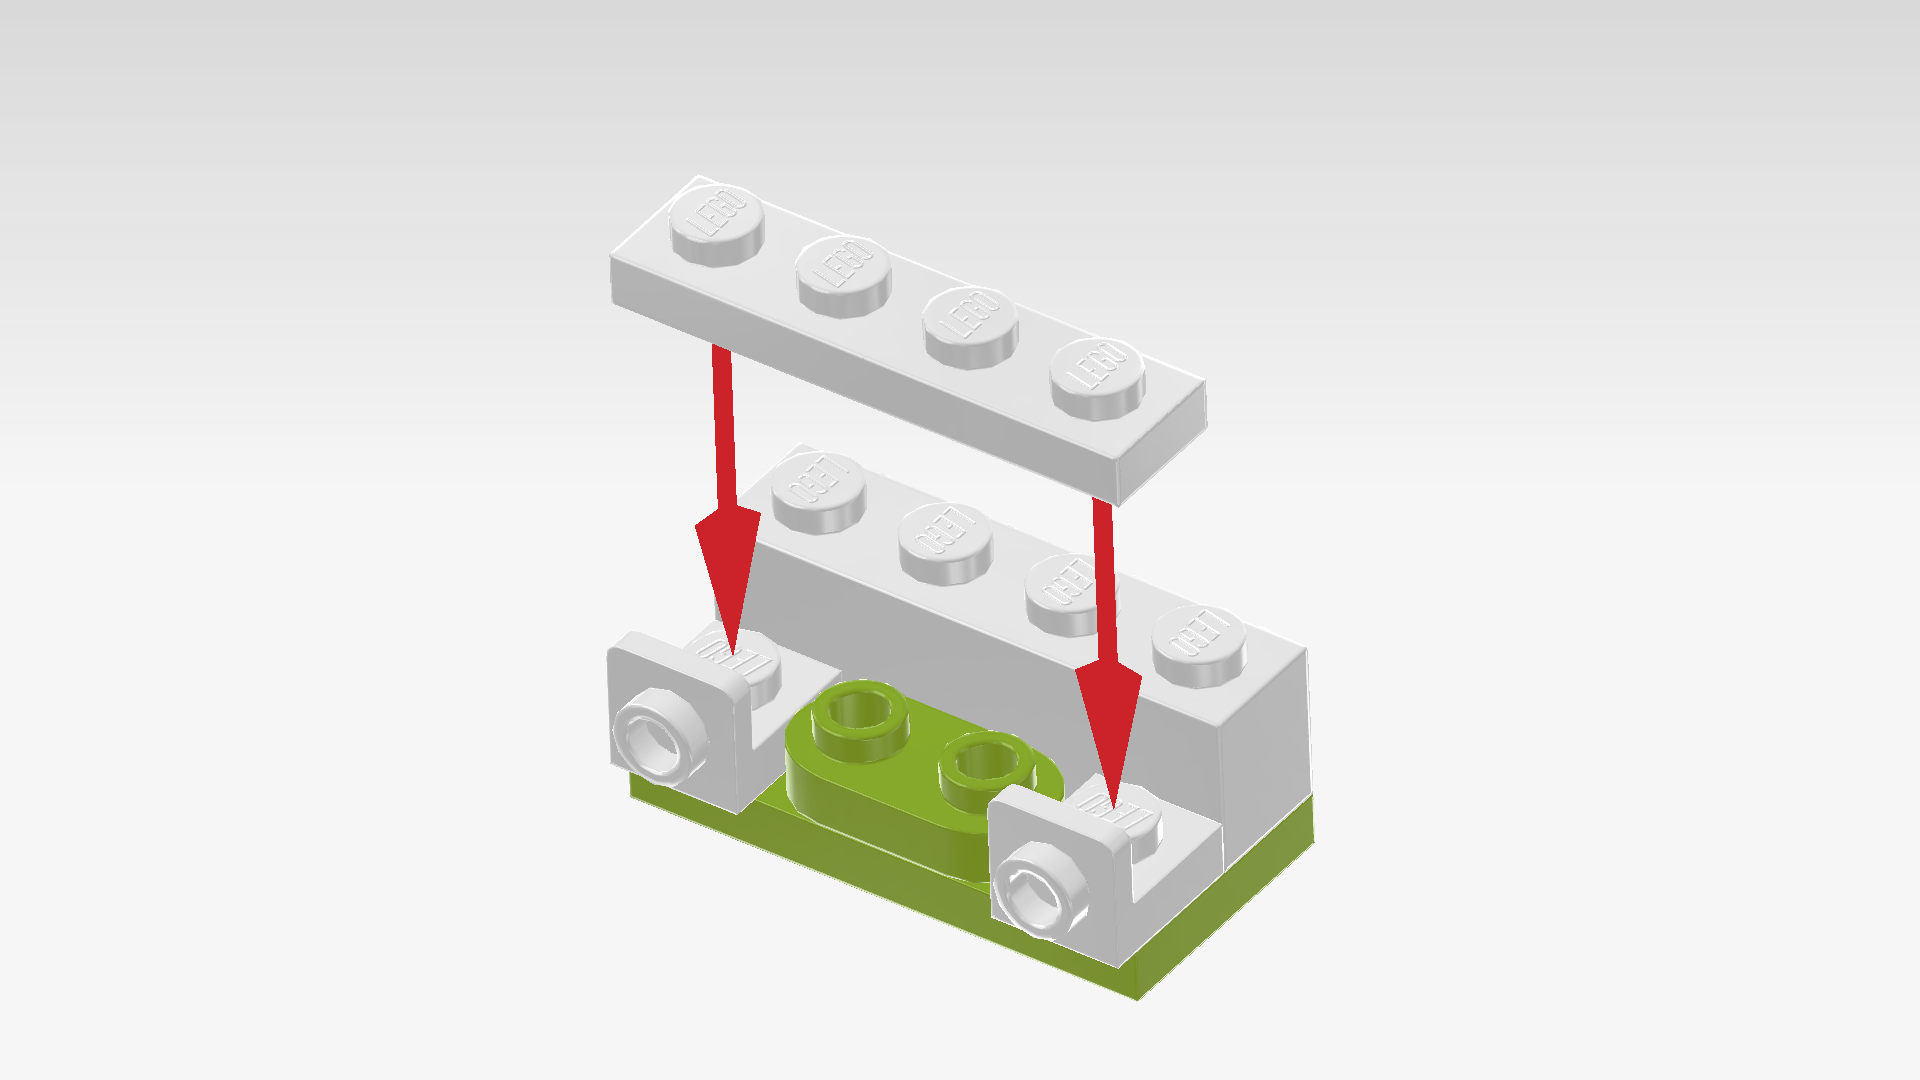
| Find 1 white plate 1x4. |
| Put it horizontally on the front row, which means that it will cover the 3 previous pieces. |
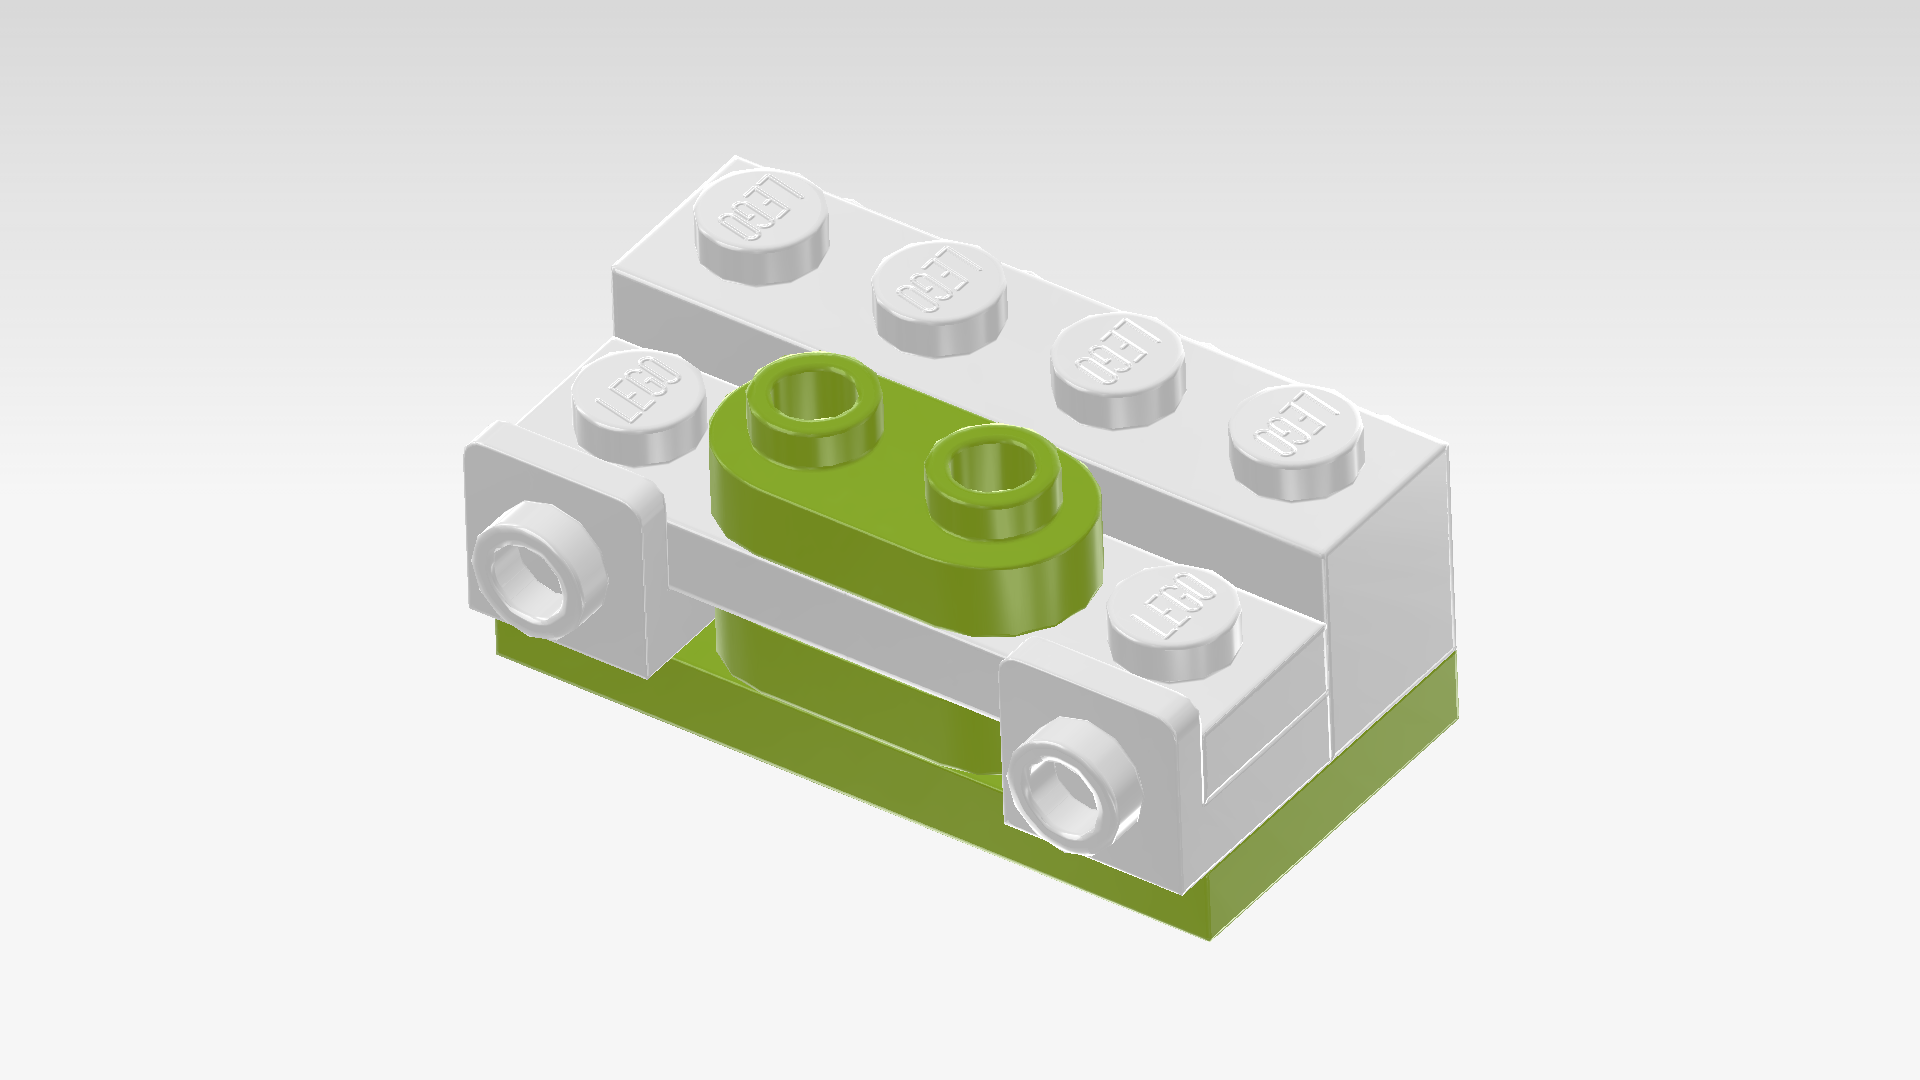
| Find 1 bright yellowish green rounded plate 1x2. |
| Put it horizontally centered on the previous piece. |
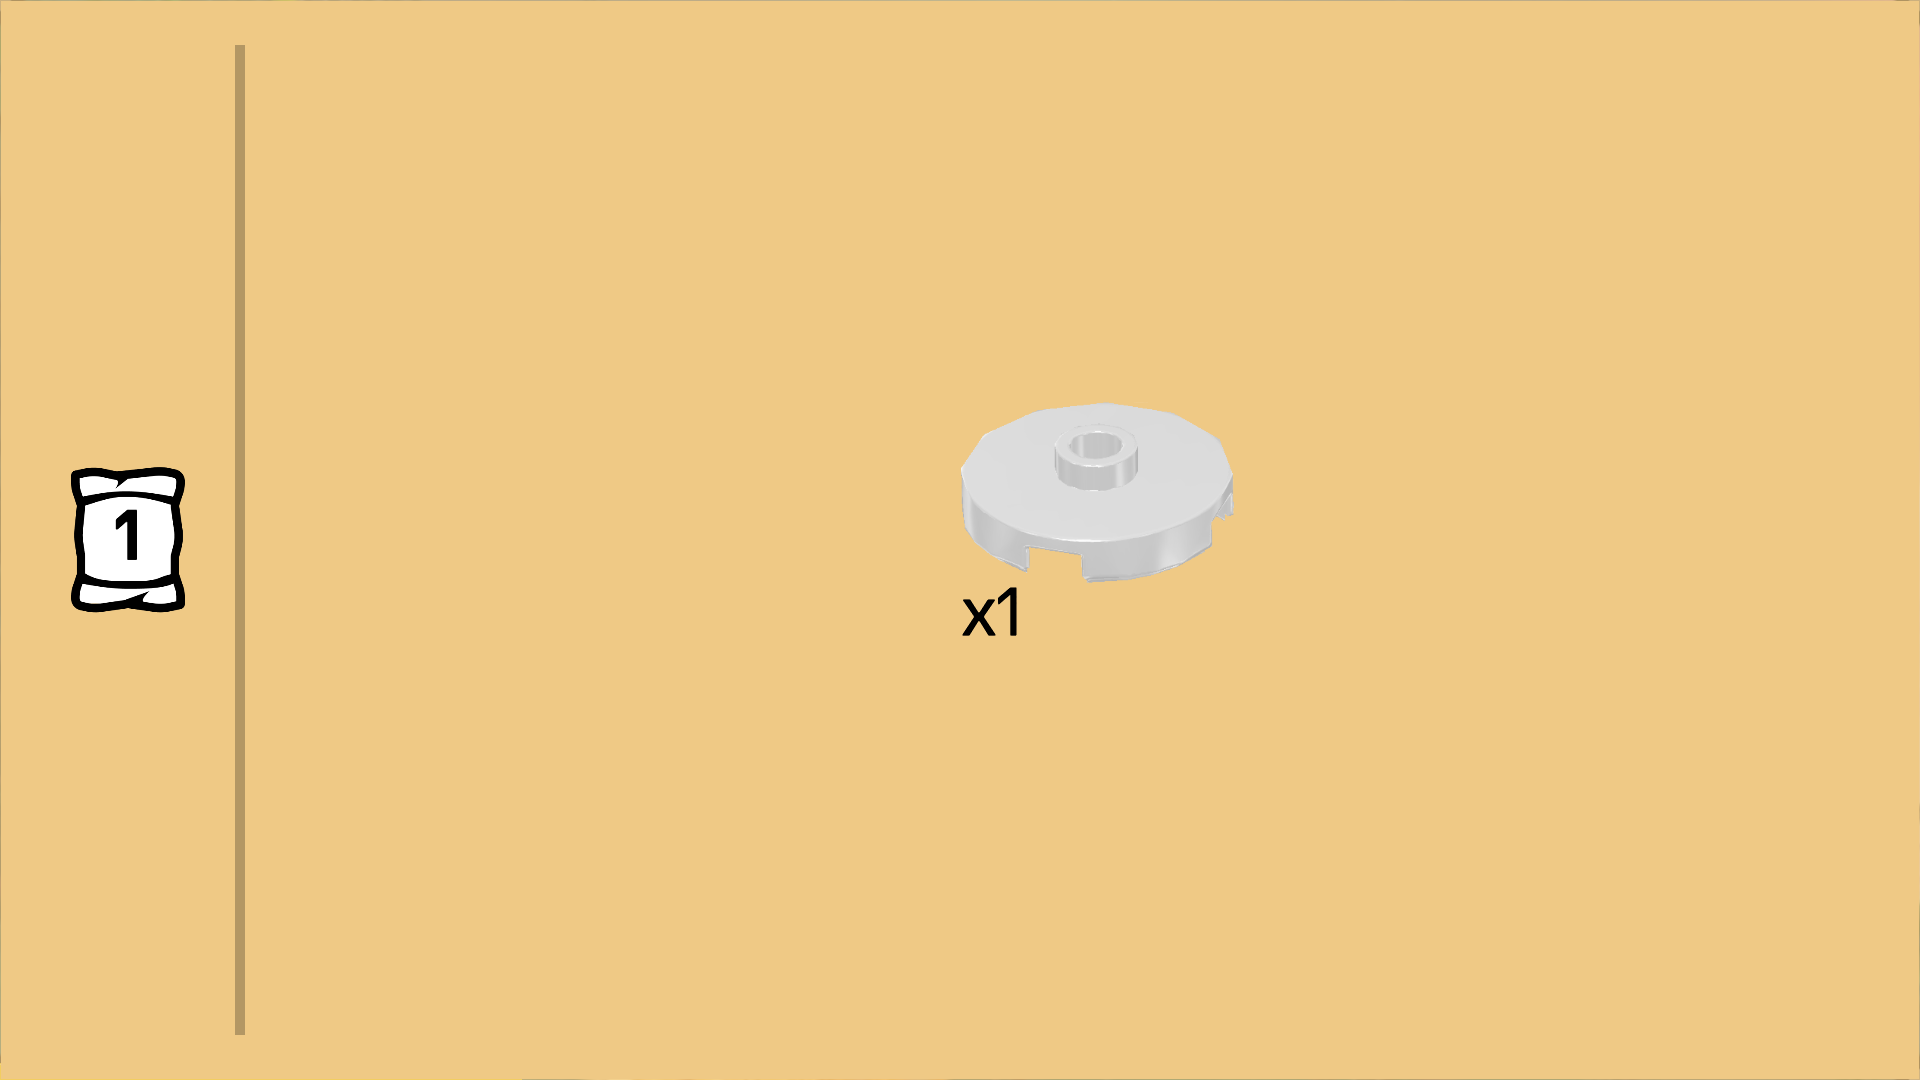
| Find 1 white round plate 2x2 with 1 knob. |
| Put it centered on the 2 middle columns. This means it will sit on the previous piece and the row behind it. |
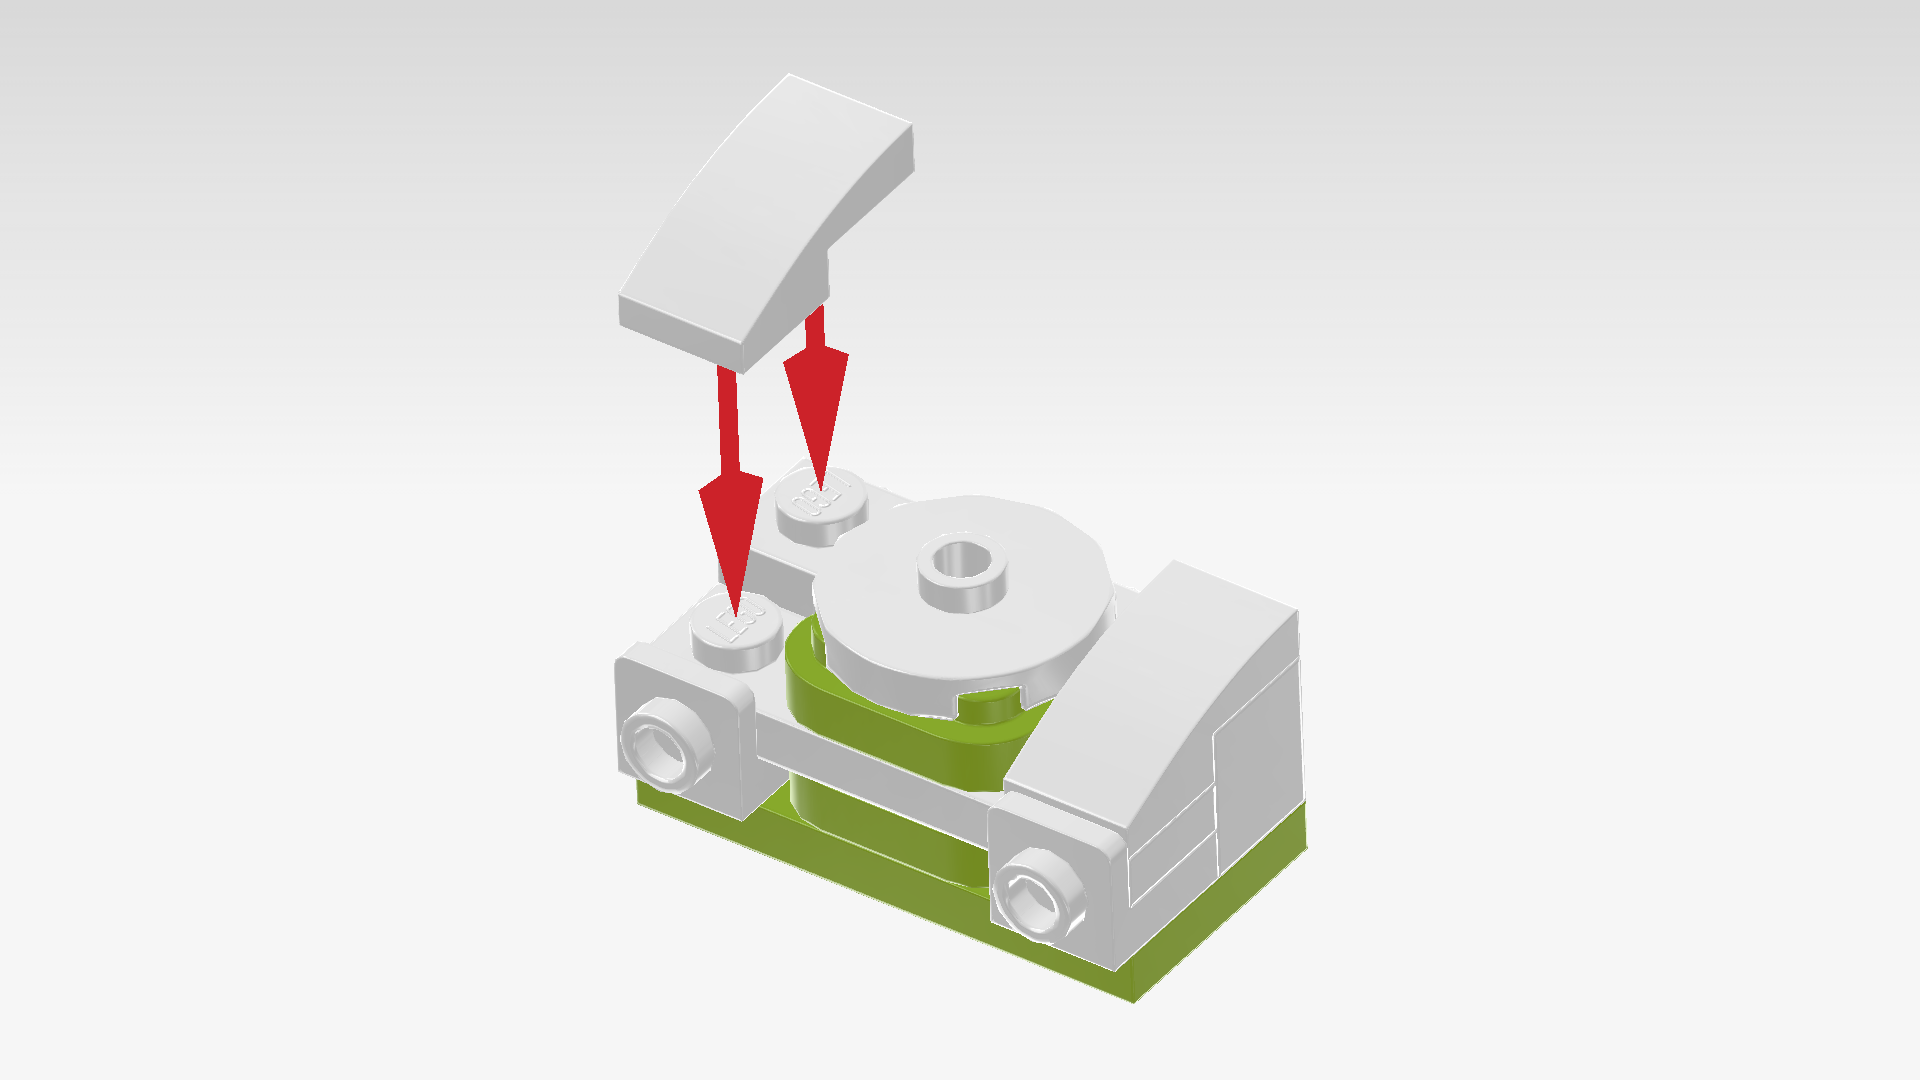
| Find 2 white one-stepped curve tiles 1x2. |
| Put 1 vertically on the rightmost column, curve to the front. |
| Repeat symmetrically on the left. |
| Find 2 medium stone grey round plates 1x1 with through-hole. |
| Put 1 upright on the left side knob pointing to the front. |
| Repeat symmetrically on the right side knob pointing to the front. |
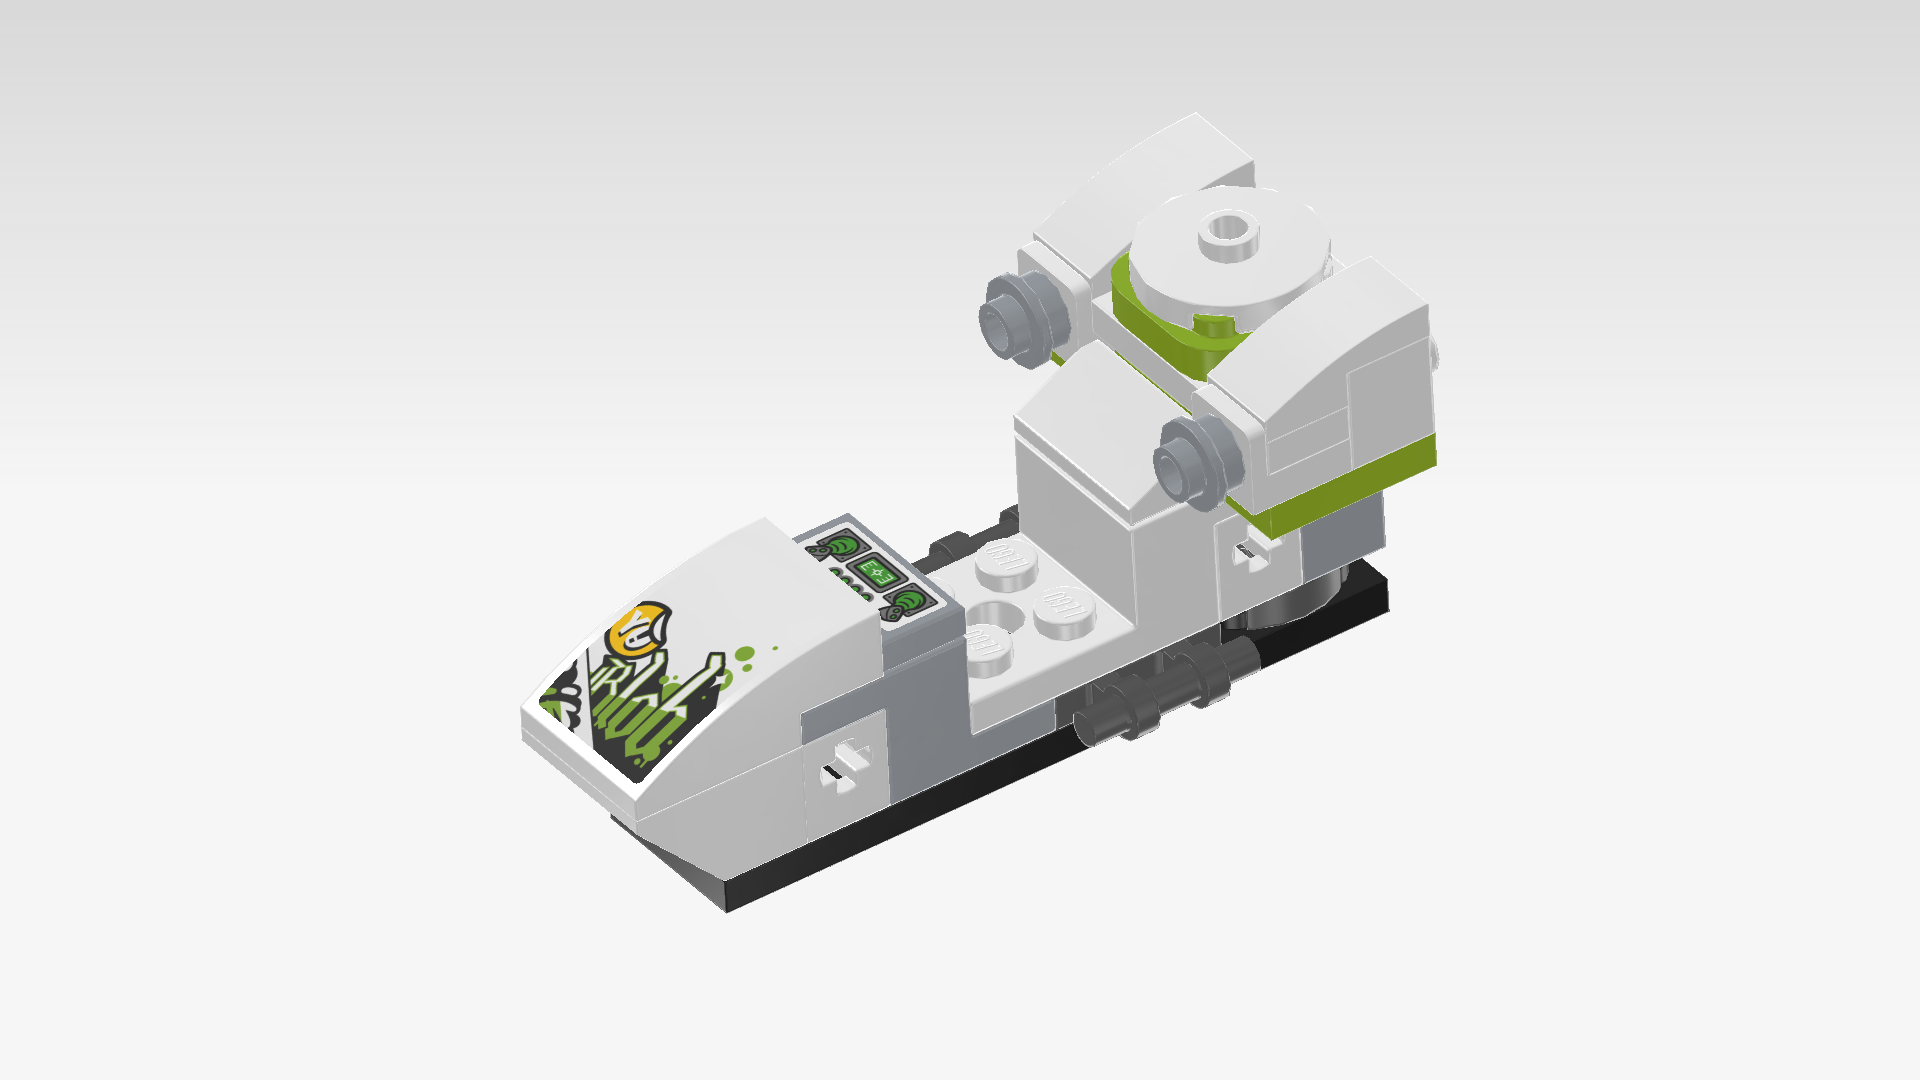
| The glider propulsion is finished! Well done! Turn it vertically so that the 2 previous pieces are pointing to the left. Mount it vertically centered on the 2 rightmost columns of the glider, symmetrically overhanging to the front and back. |
| Collect the following 3 pieces: |
| 2 medium stone grey nose cones 1x1, |
| and 1 white flat tile 2x3. |
| Flip the flat tile 2x4 upright vertically so that its smooth surface is to the right. |
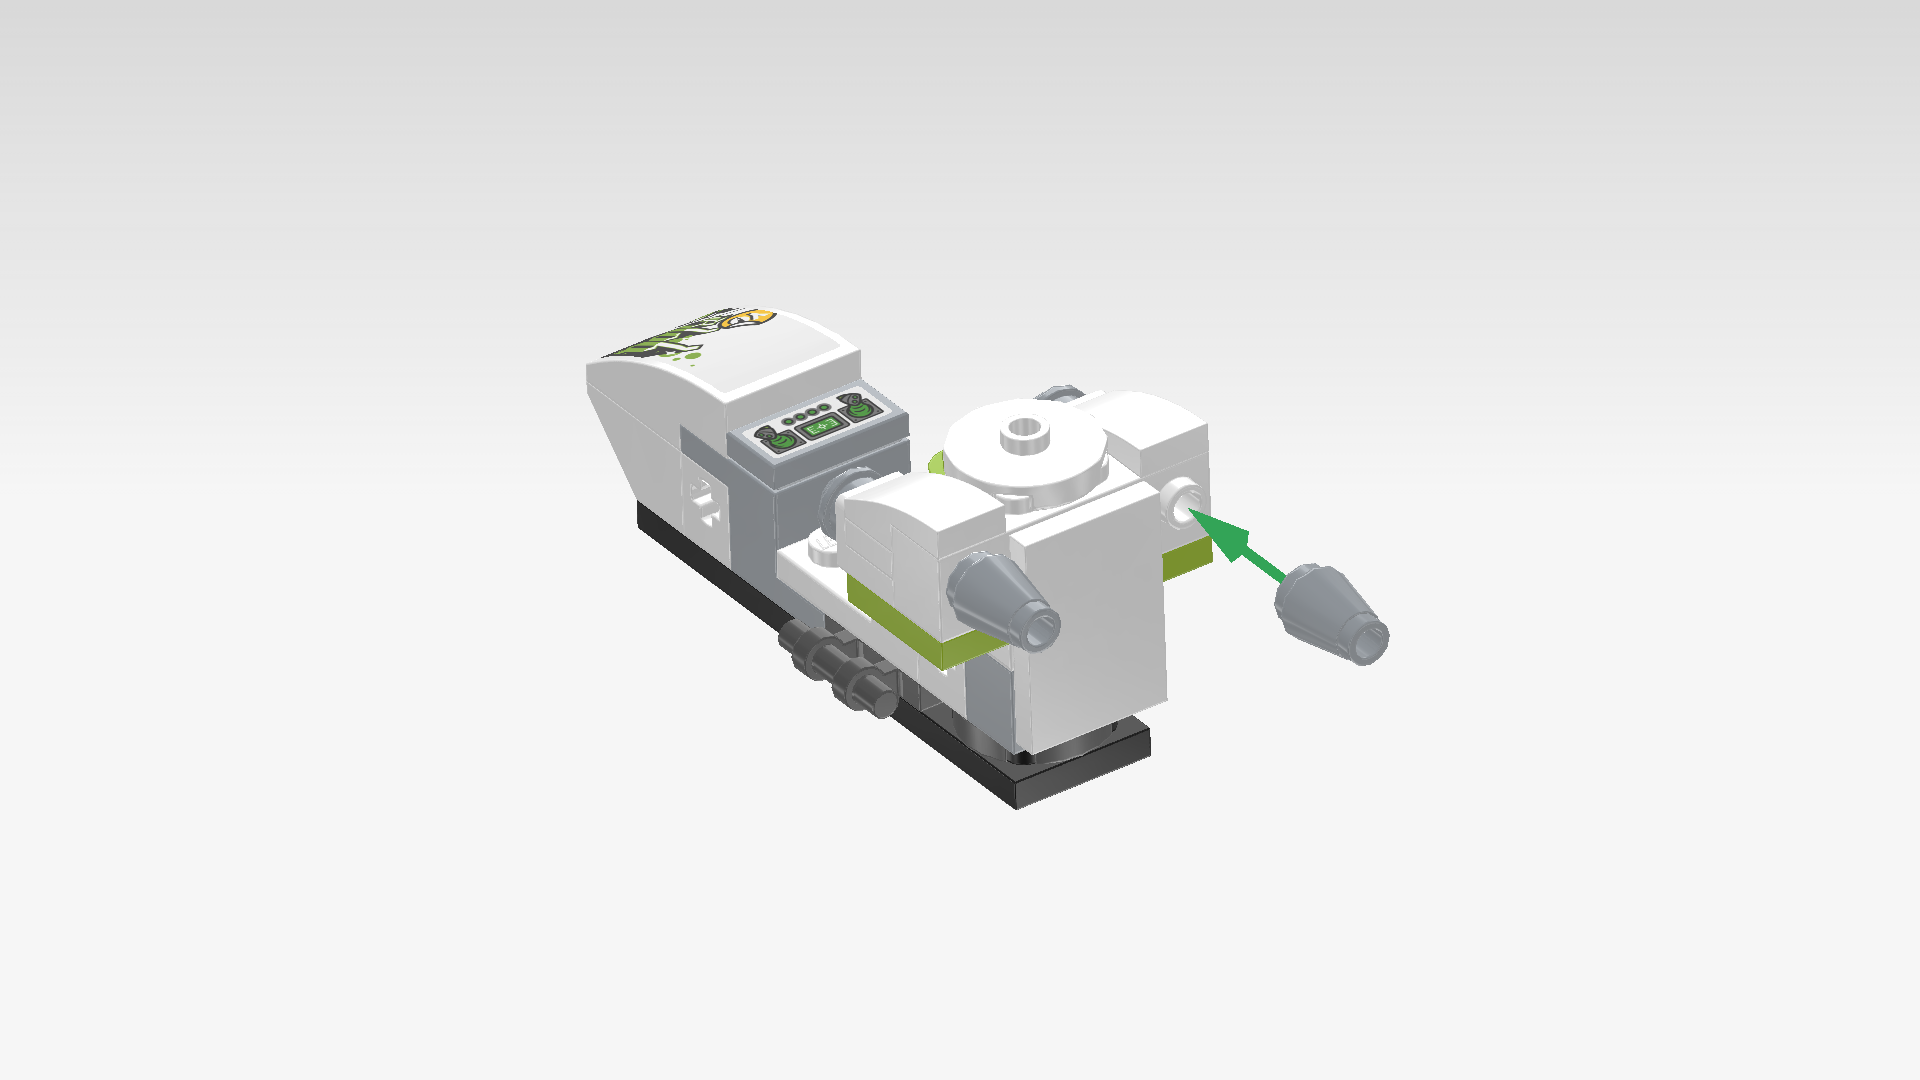
| Mount it centered on the side knobs pointing to the right. If done correctly, the backmost and frontmost side knob of the knobs pointing to the right will remain empty for now. |
| Mount the 2 nose cones 1x1 upright on the 2 remaining side knobs pointing to the right. These are the jets of the glider! |
| Collect the following 2 pieces: |
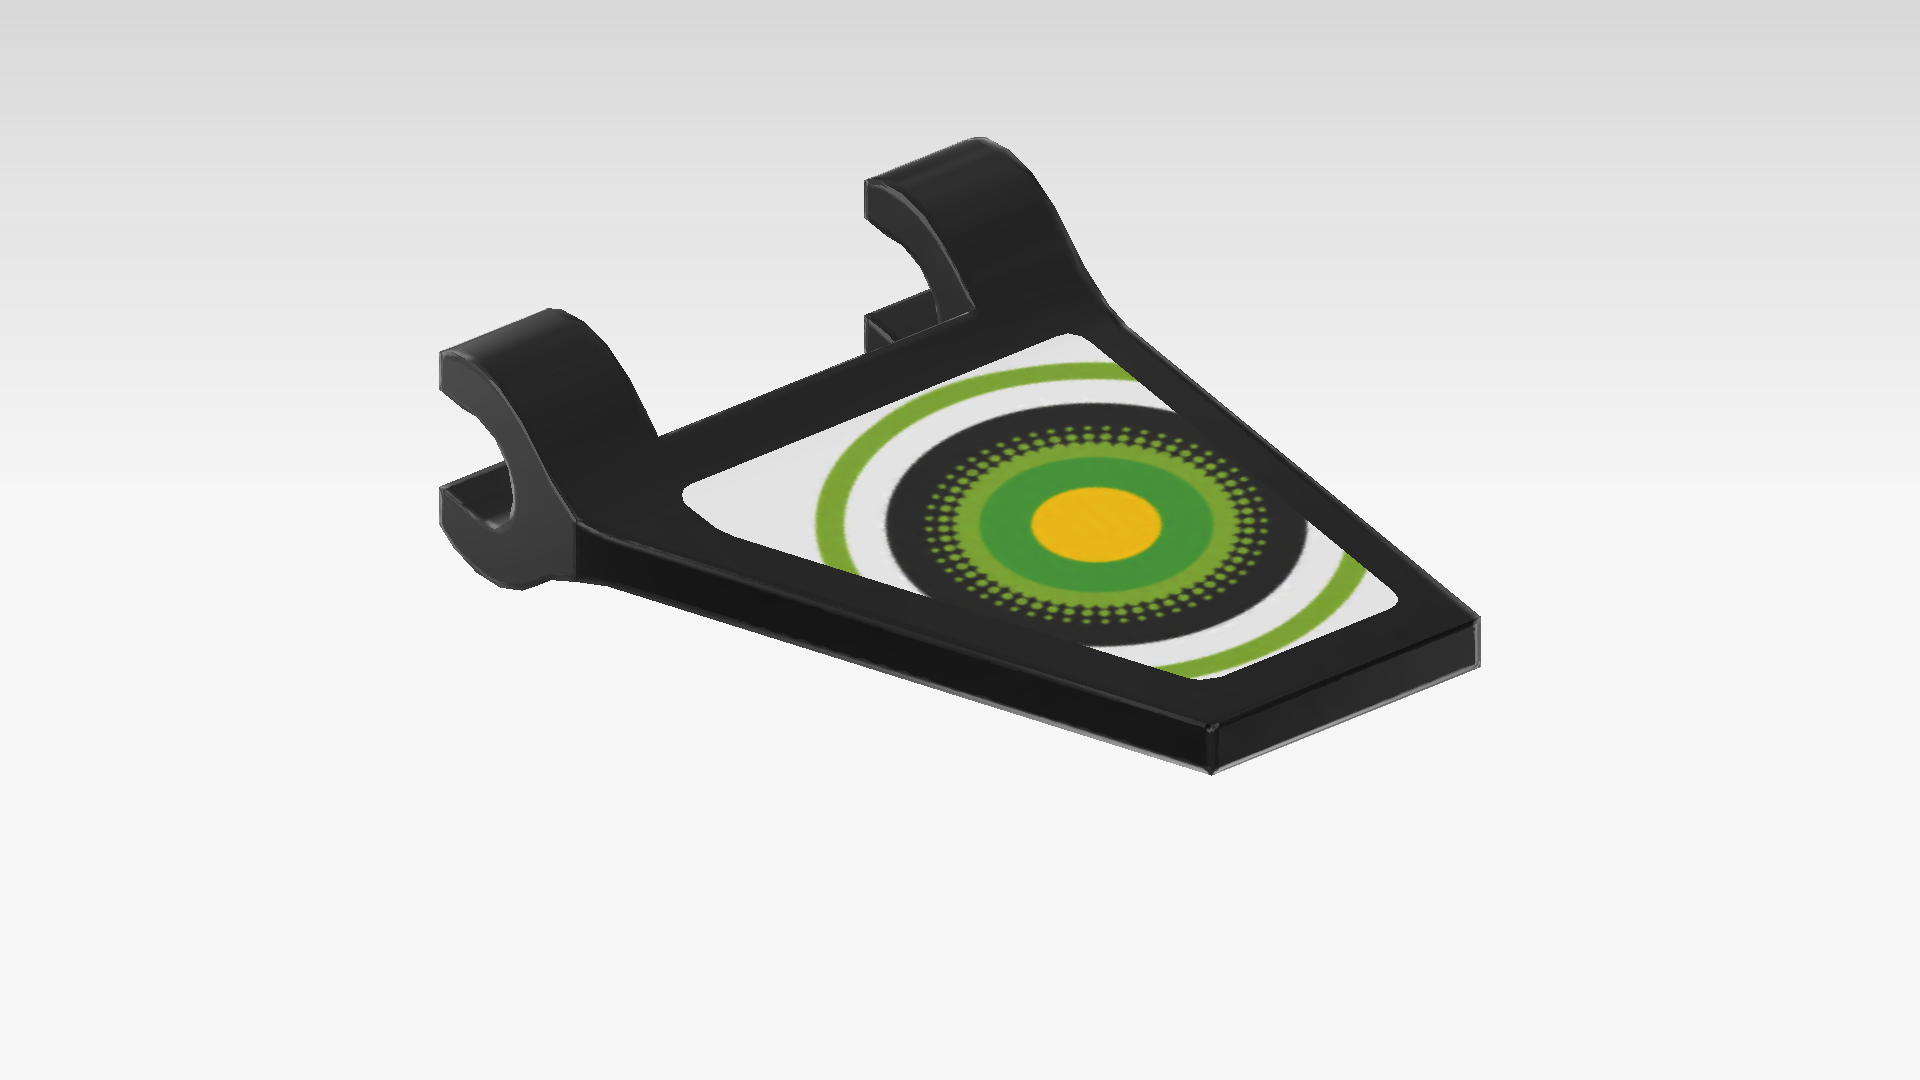
| 1 black angled banner 2x2 with 2 clasps, |
| and 1 banner-shaped sticker. |
| Put the angled banner 2x2 flat on the table, clasps to the front, narrow end to the back, angled edge on the left. Flip it upside down if this does not work. |
| Put the sticker on top, matching the shape of the banner. Only the sticker with the hourglass logo will match the shape of the banner orientation we have established above. |
| The sticker is white with a black dotted pattern starting at the frontmost edge and gradually fading towards the backmost edge. In its center, there is an hourglass logo consisting of a black and white hourglass icon centered on a black circle framed by green and yellow concentric rings. |
| Snap the 2 clasps of the banner into the side shaft protruding to the back of the glider. Make sure that the angled edge is on the left. |
| Collect the following 2 pieces: |
| 1 black angled banner 2x2 with 2 clasps, |
| and 1 banner-shaped sticker. |
| Put the angled banner 2x2 flat on the table, clasps to the back, angled edge on the left. |
| Put the sticker on top, matching the shape of the banner surface. |
| Snap the clasps of the banner on the side shaft protruding to the front, angled edge on the left. |
| Find 1 transparent bright green bulb 1x1 with shaft. |
| Insert its shaft into the hollow knob of the round plate 2x2 mounted on the top right edge of the glider. |
| This piece is printed with 2 black eyes. It is Z-Blob's head! |
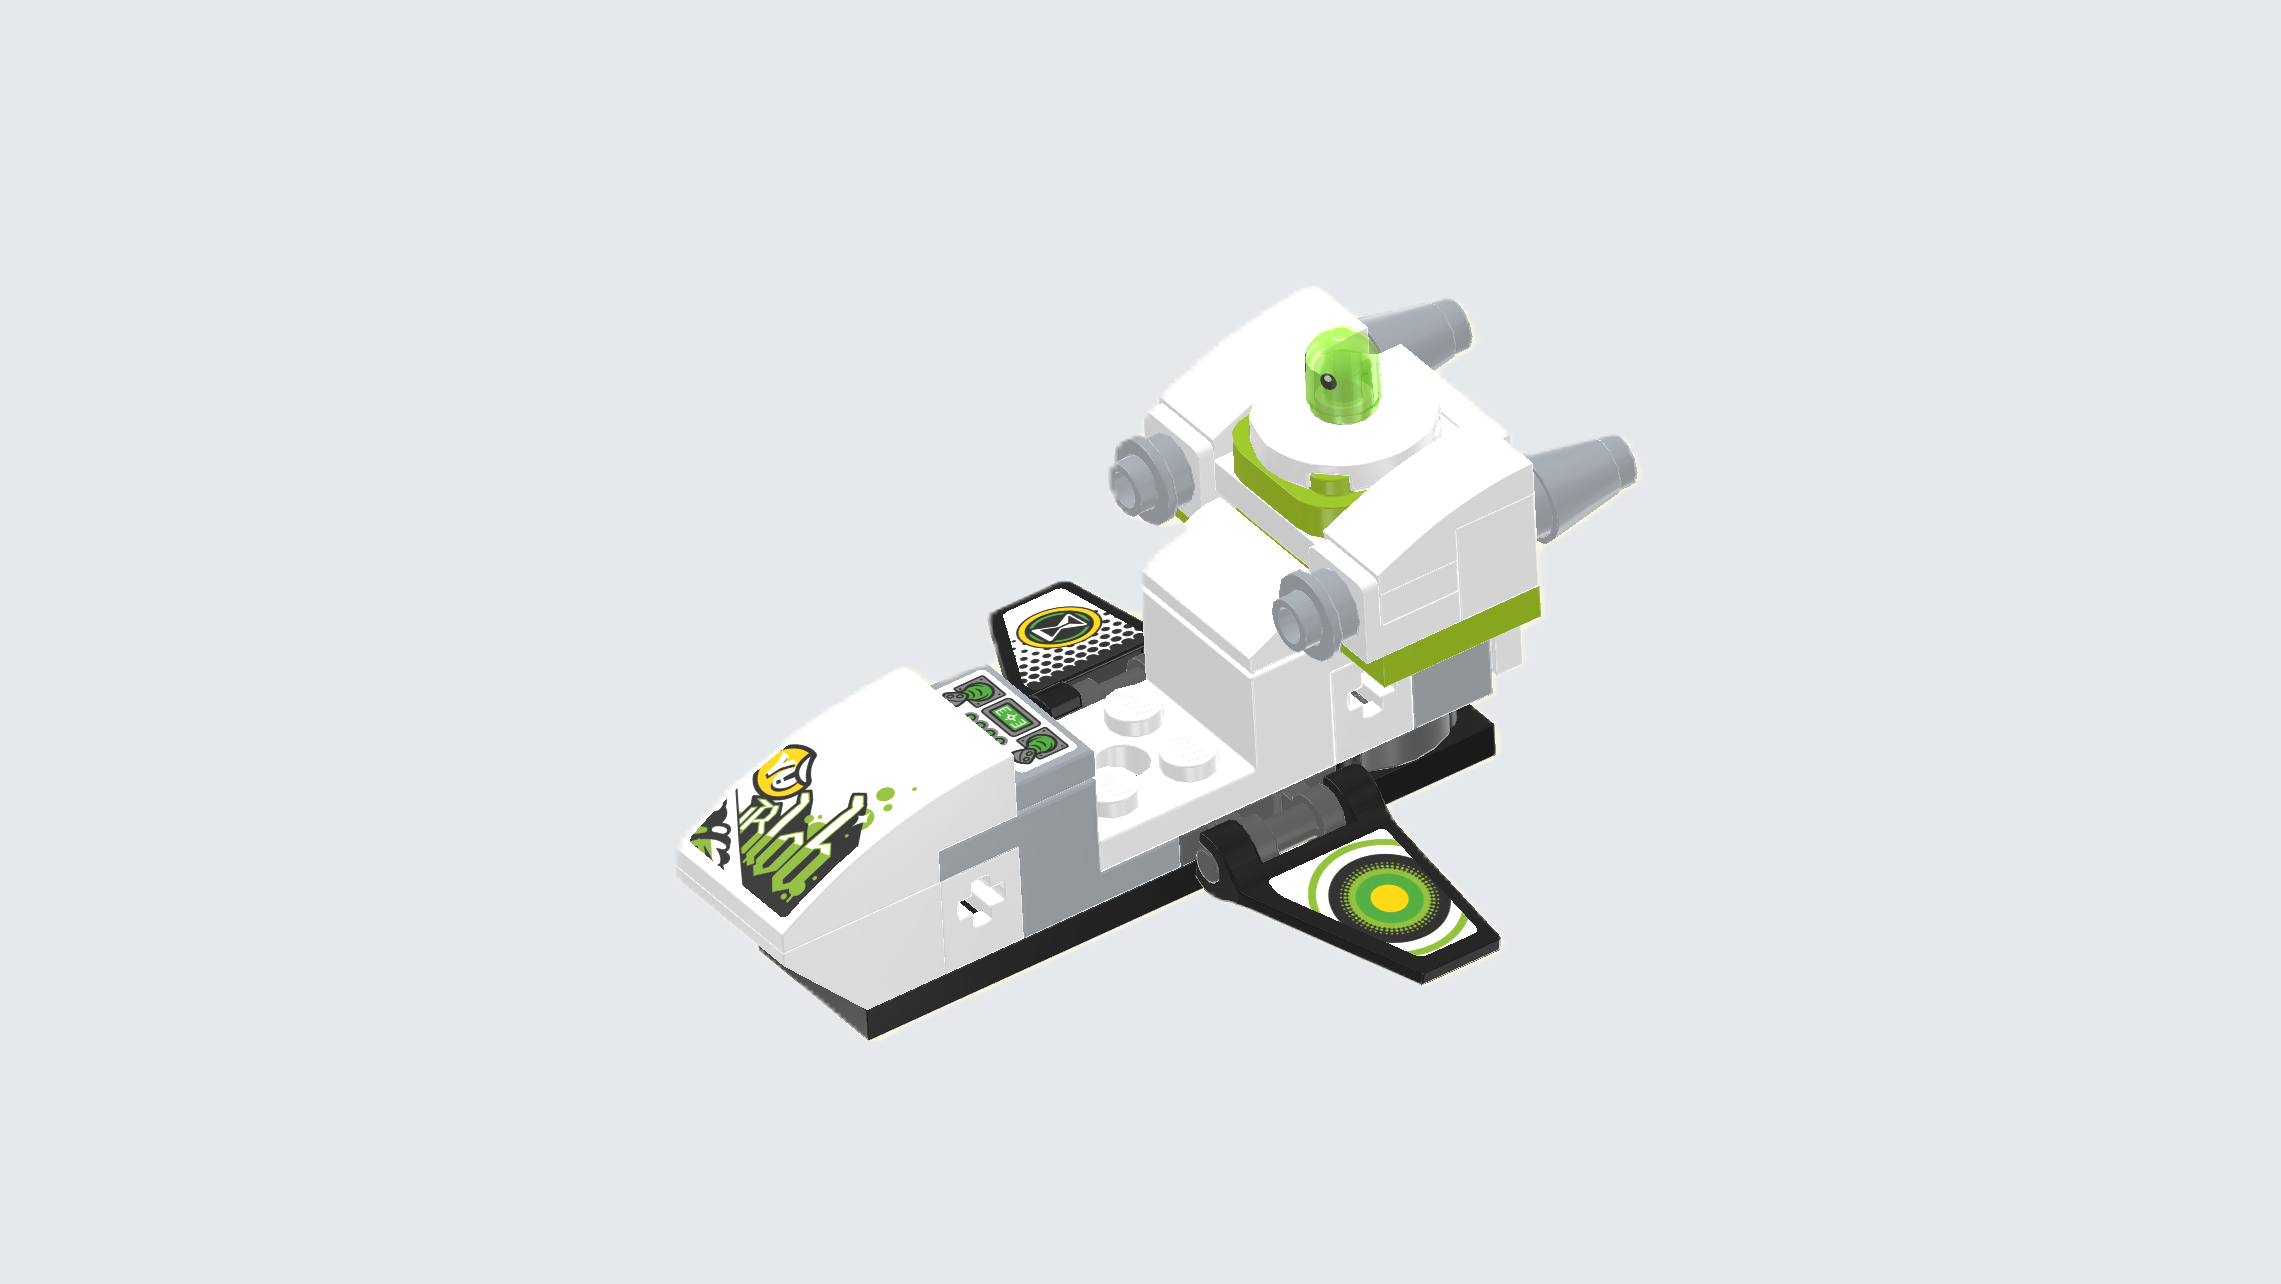
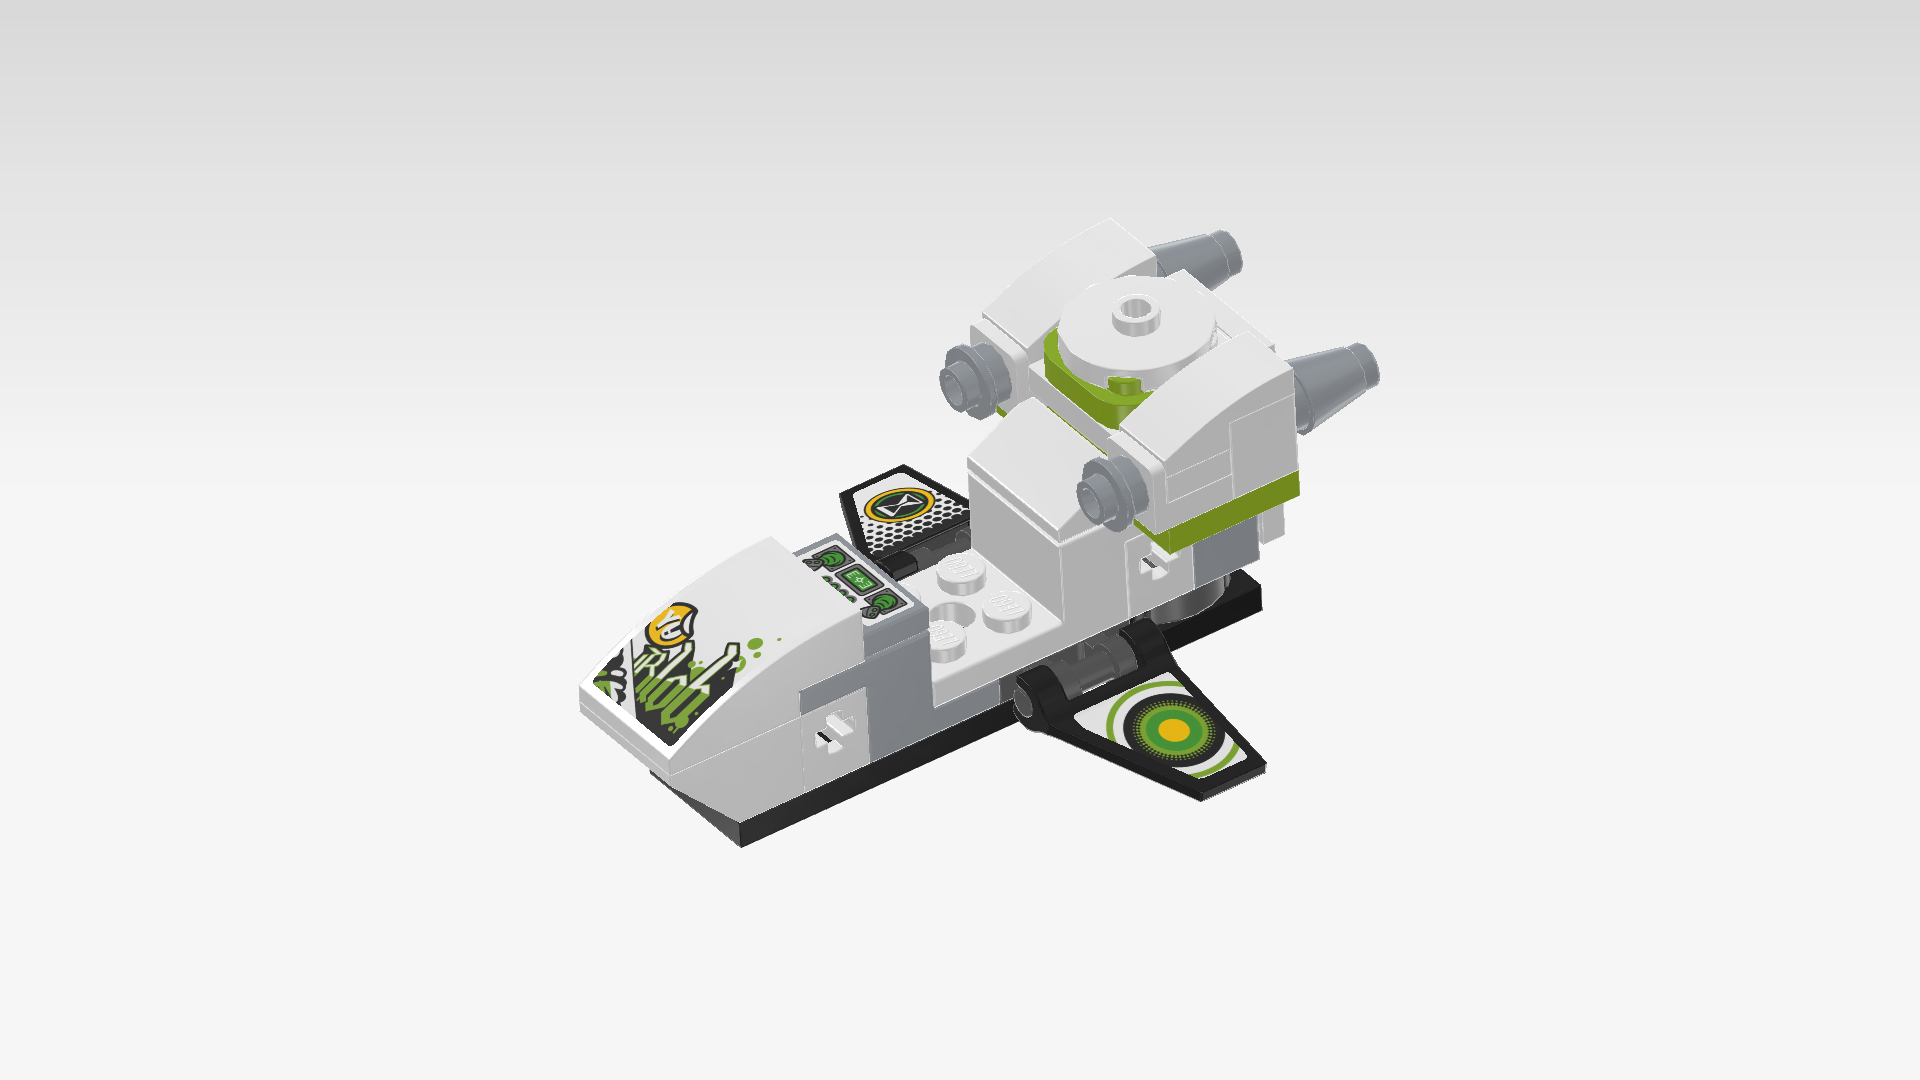
| You have finished building the glider! Very well done! You can already seat Mateo in the pilot's seat and let him glide through the Dream World. Continue for instructions on building the Grimspawn. |
| Open bag number 2. You can choose to have the bricks sorted by color again. This bag contains all bricks and pieces for the Grimspawn. It also contains pieces for the quadcopter and buggy rebuilds, so make sure to keep all pieces safe even if you don't need all of them right now. |
| You can choose to have the bricks sorted by color again if you like. |
| Now, we will build the Grimspawn. |
| Collect the following 2 pieces: |
| 1 black brick 1x1 with 4 side knobs, |
| and 1 bright yellow round tile 1x1. |
| Put the brick 1x1 on the table. |
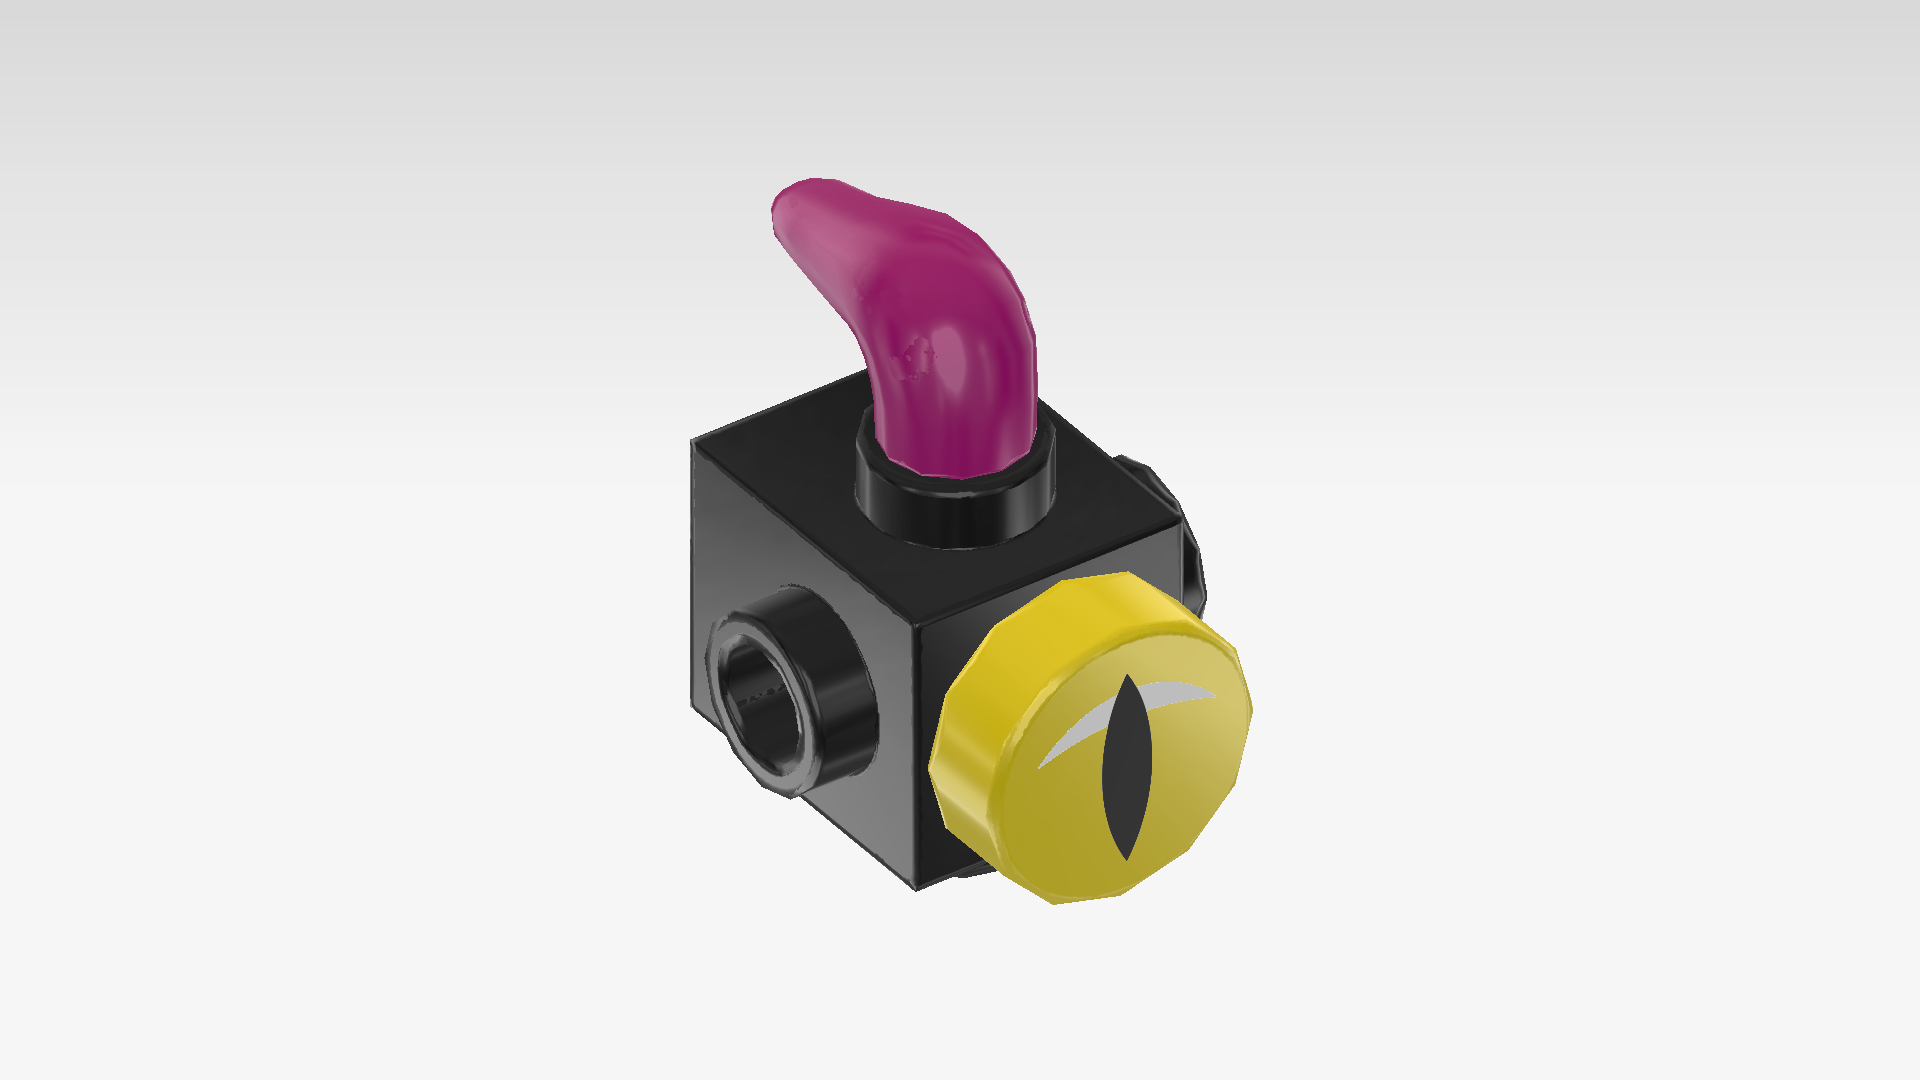
| Put the round tile 1x1 on the top knob. This yellow piece is printed with a black slit-shaped pupil. It is the Grimspawn's eye! |
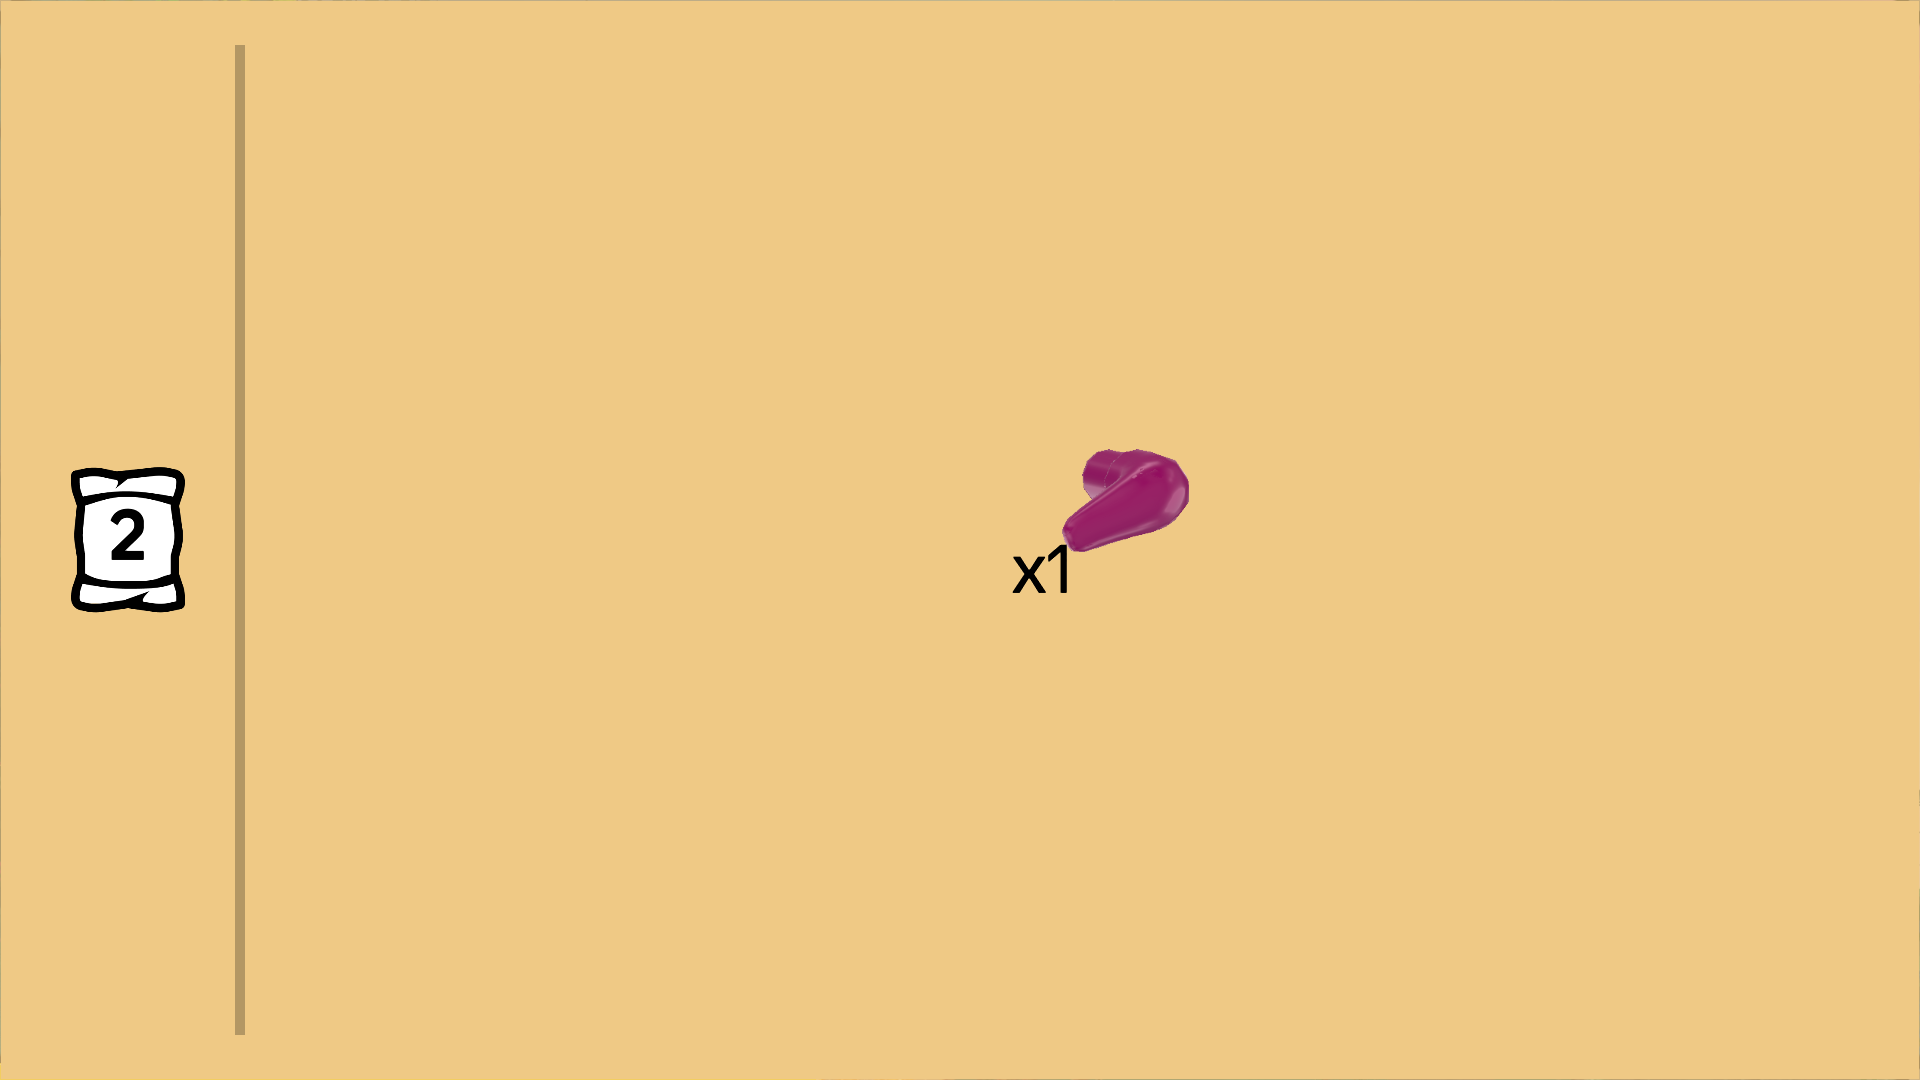
| Find 1 purple violet cow horn with shaft. |
| Flip the brick with side knobs 90° to the front, this means putting it on the table on one of its side knobs. Make sure the previous piece is pointing to the front. |
| Insert the shaft of the horn into the hollow knob at the top, horn pointing to the back. |
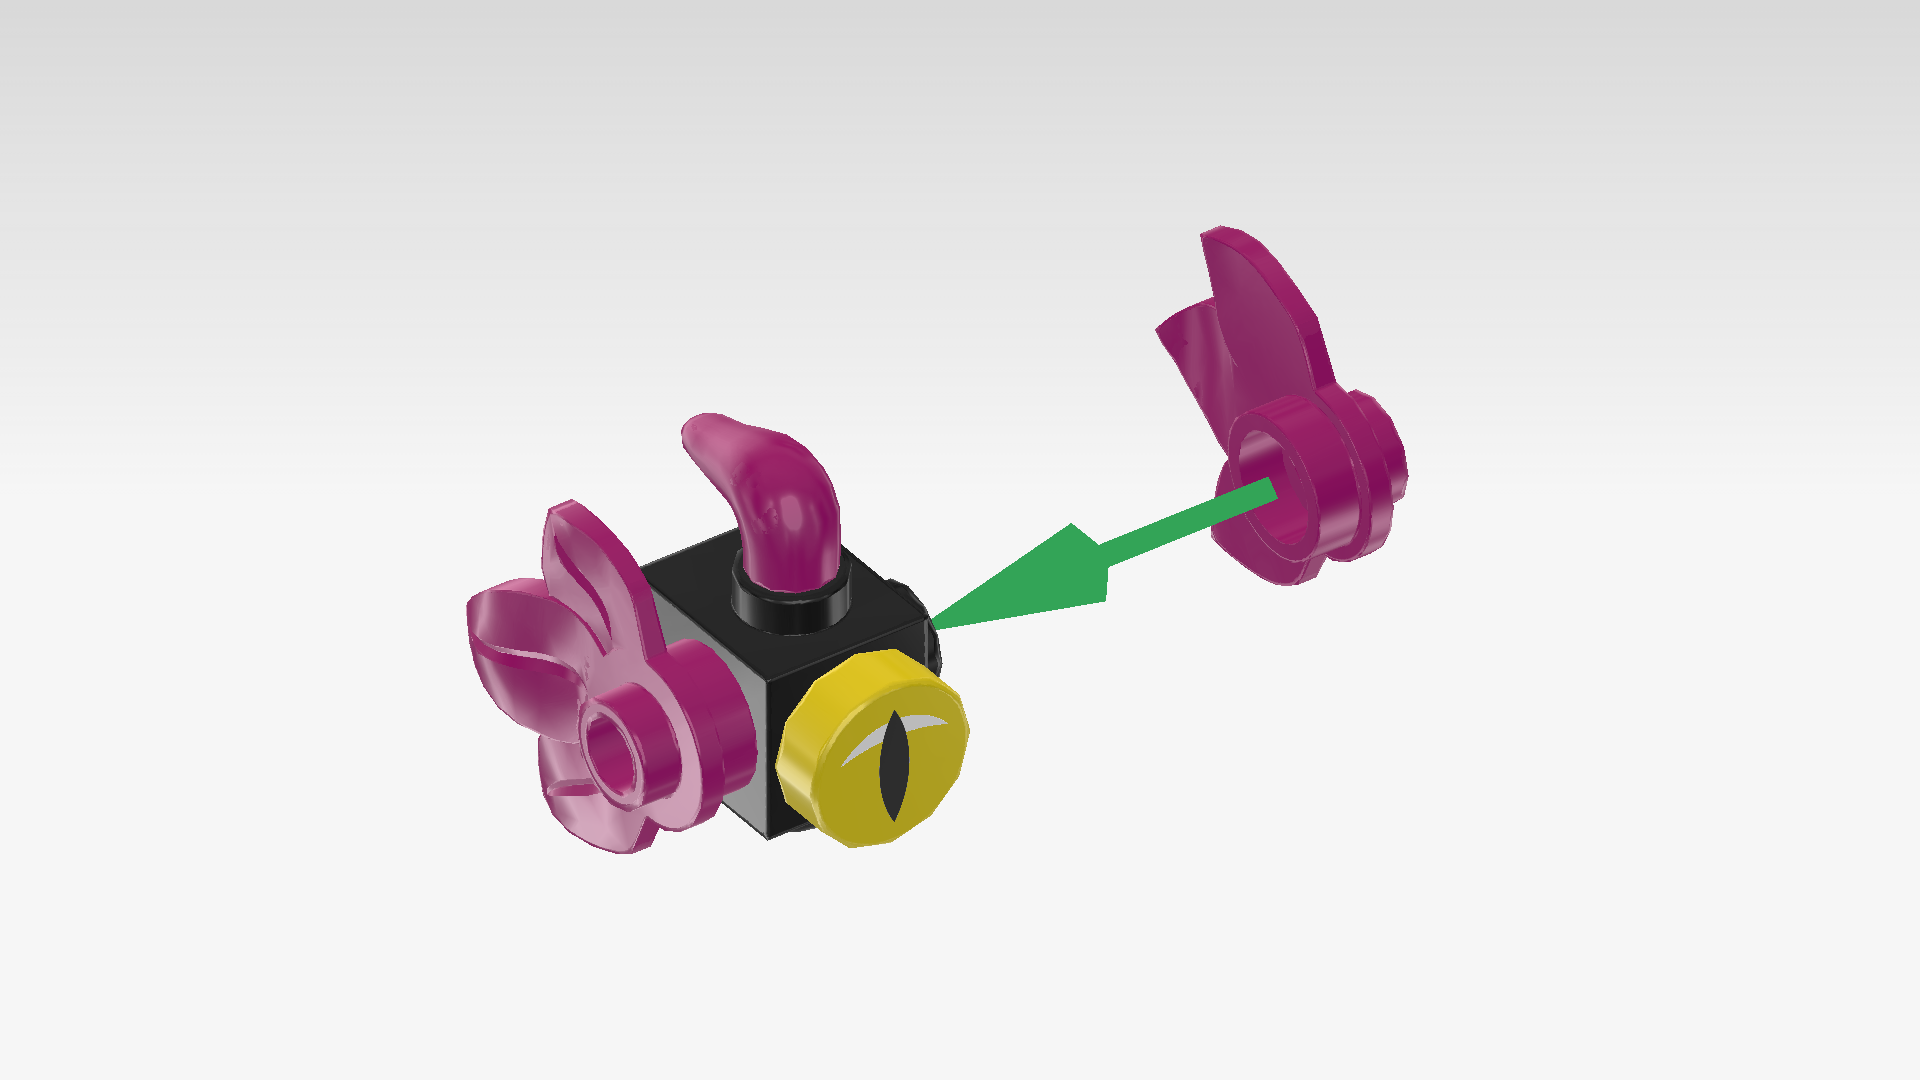
| Find 2 purple violet round plates 1x1 with 3 small leaves. |
| Put 1 upright on the side knob pointing to the right, 3 leaves pointing to the back. |
| Put the other one upright on the left side knob, 3 leaves to the back. |
| The Grimspawn is finished! Well done! A tiny but mighty adversary! |
| You have finished building the main build of the Mateo's Off-Road Car set! Now it's time to choose the mode for Mateo's Dream World vehicle: You can either rebuild it into a dune buggy or a quadcopter with the remaining bricks. Go back to the instructions website and pick the instructions for Path A for the buggy or Path B for the quadcopter. Of course, you can already start playing with what you've built so far. It's entirely up to you! |
| Enjoy! |


