LEGO 71455-B DreamZzz Grimkeeper the Cage Monster - Path A (Mini-Plane) 

LEGO Audio & Braille Building Instructions for the LEGO set "DreamZzz Grimkeeper the Cage Monster - Path A (Mini-Plane)".

Note: these are the instructions for the mini-plane extension of this set. If you would like to build the main build or the hoverbike extension, go back to the instructions website and navigate to the corresponding instructions.

If you have already built the hoverbike extension and would like to rebuild it into the mini-plane now, disassemble the hoverbike before you start with these instructions. You can leave the 2 shooters assembled though. If you build it from scratch, the bricks and pieces for the mini-plane are included in bag 3.

If you like, you can ask a sighted person to sort the pieces by color again.

Now, let's build the mini-plane.

Collect the following 3 pieces:

1 medium stone grey plate 2x4,

and 2 bright yellowish green plates 1x2 with vertical clasp on short side.

Put the plate 2x4 horizontally on the table.

Put 1 plate 1x2 horizontally on the back row, starting from the left edge, clasp to the left.

Put the other one horizontally in front of the previous piece, clasp to the left.

Find 2 bright yellowish green plates 1x2 with vertical clasp on short side.

Put 1 horizontally to the right of the previous piece, clasp to the right.

Put the other one horizontally behind the previous piece, clasp to the right.

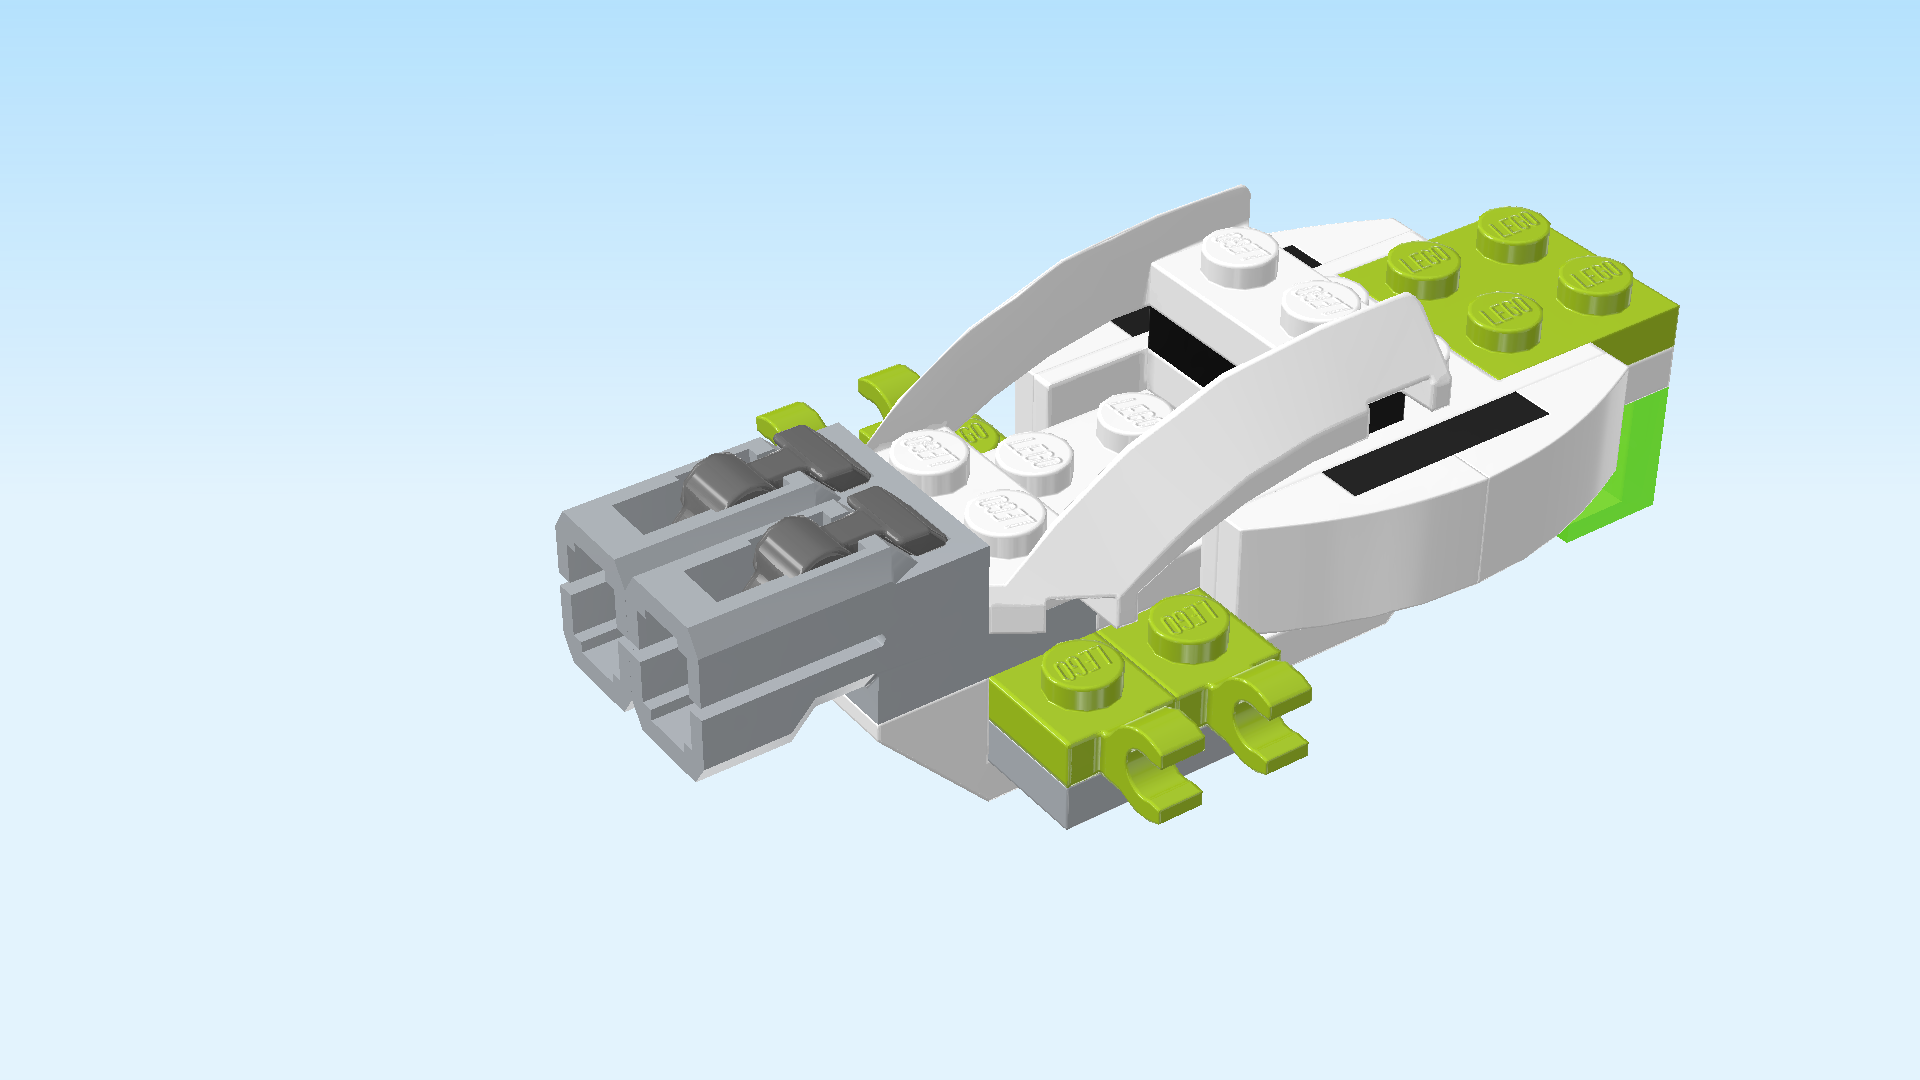
Find 1 white inverted double roof tile 2x6, 45°.

Put it on the table and turn it horizontally, slopes to the left and right.

Turn the structure vertically so that the clasps are to the front and back.

Put the structure centered on the left half of the roof tile, symmetrically overhanging to the front and back. Use the lower columns of the roof tile and leave the higher column on the leftmost edge empty.

Next up, we will build the 2 shooters of the mini-plane.

If the shooters are already assembled from building the hoverbike, skip the next 7 sentences.

Collect the following 4 pieces:

2 dark stone grey shooter triggers, (These are very small, uniquely shaped elements. The trigger resembles a wide-angled segment of a circle with a tiny hinge-like tip and a knob-like thicker end.)

and 2 medium stone grey shooter barrels with 1x2 plate.

The shooter is tricky to assemble. Ask for help if it doesn't work, but first let's give it a try!

Put the shooter barrel with 1x2 plate horizontally on the table, open end of the barrel to the left.

Insert the trigger into the top slot, circle segment towards the bottom, knob-like end to the right.

Repeat with the other shooter barrel and trigger.

The 2 shooters are finished! Well done! Mount 1 horizontally on the third row from the back, starting from the leftmost edge, shooter barrel overhanging to the left.

If done correctly, the shooter will sit on the back knob of the roof tile's left slope and the knob to its right.

Put the other shooter horizontally in front of the first one in the same orientation, shooter barrel overhanging to the left.

Now, let's make a sub-part of the plane.

Collect the following 2 pieces:

1 white plate 2x6,

and 1 bright yellowish green plate 2x2.

Put the plate 2x6 horizontally on the table.

Put the plate 2x2 on the 4 rightmost knobs.

Find 1 transparent bright green hollow brick 1x2.

Put it vertically underneath the rightmost column.

Mount this sub-part horizontally to the right of the 2 shooters, 2 columns overhanging to the right, brick 1x2 overhanging to the bottom.

Find 2 white top angle plates 1x2 - 1x4 with 4 side knobs.

Put 1 horizontally on the sub-part's front row directly to the left of the plate 2x2, side knobs pointing to the front.

Put the other one horizontally behind the previous piece, side knobs to the back.

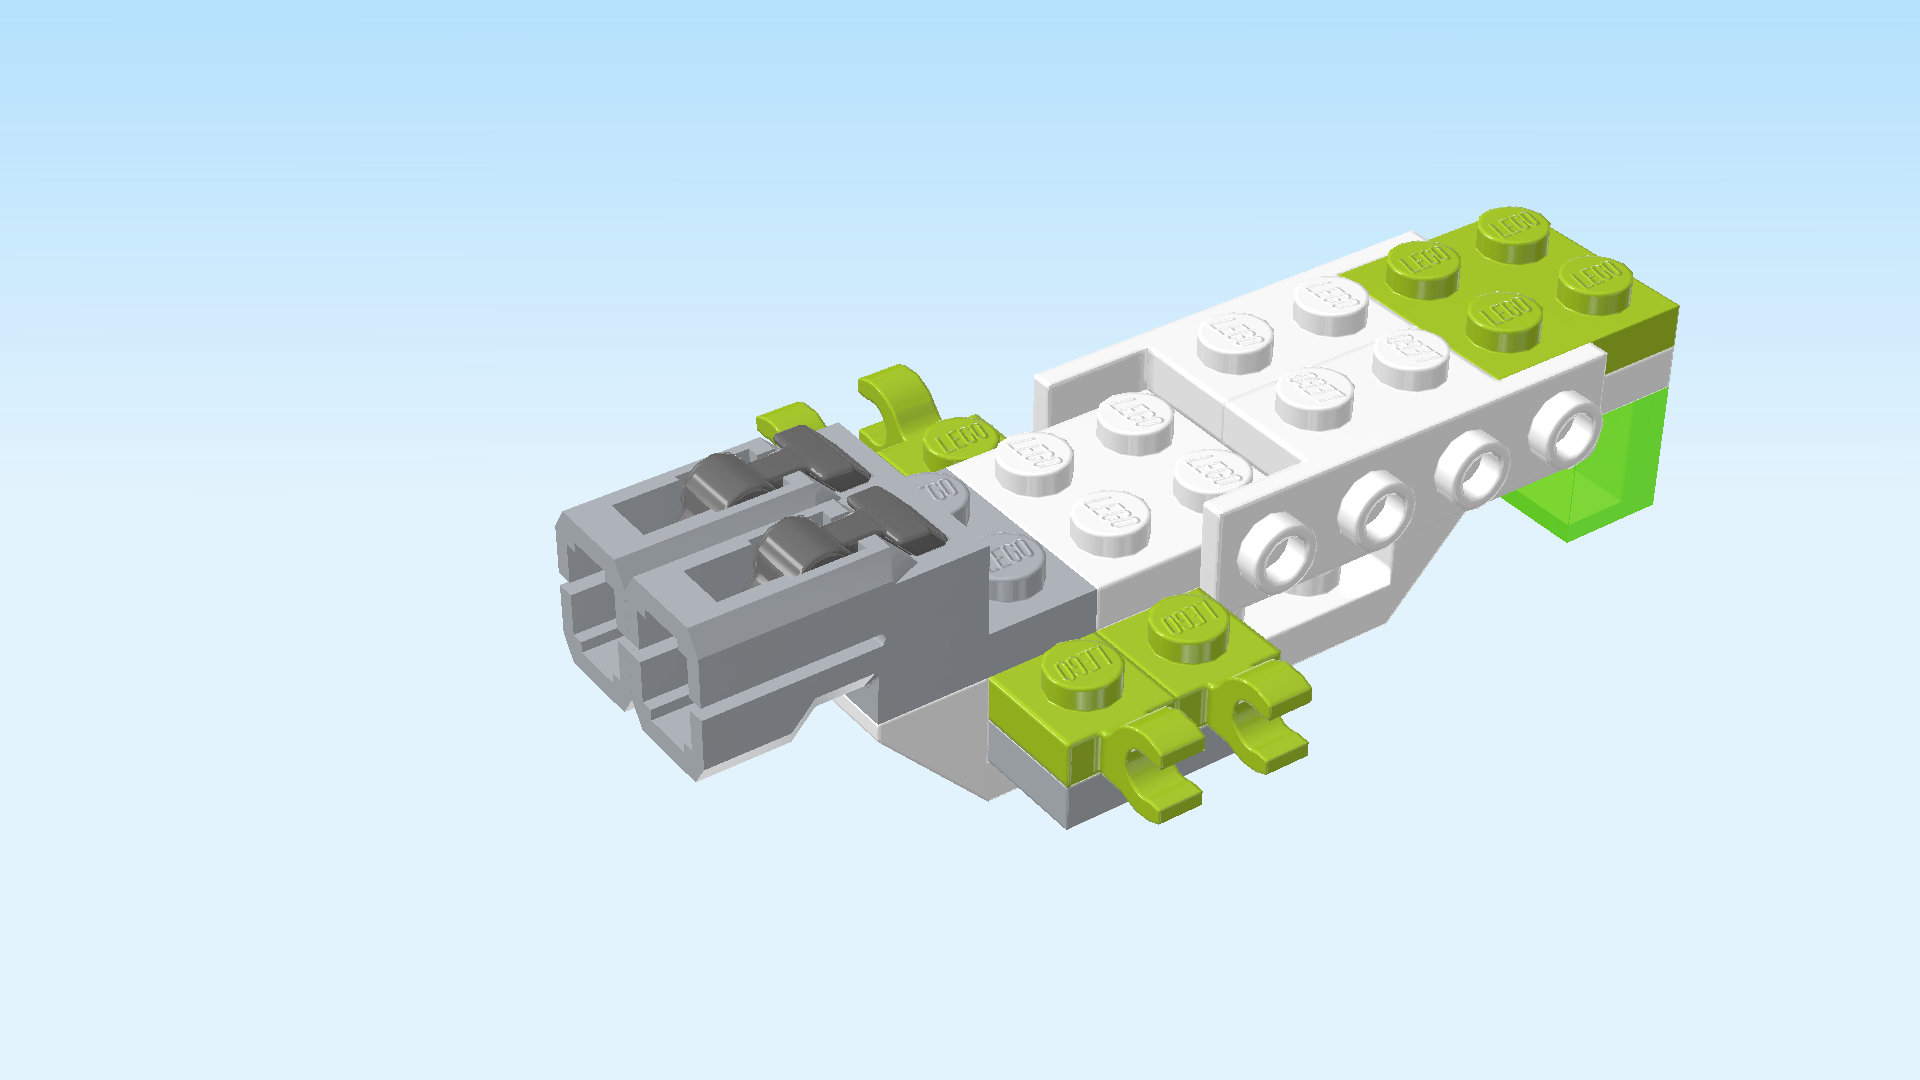
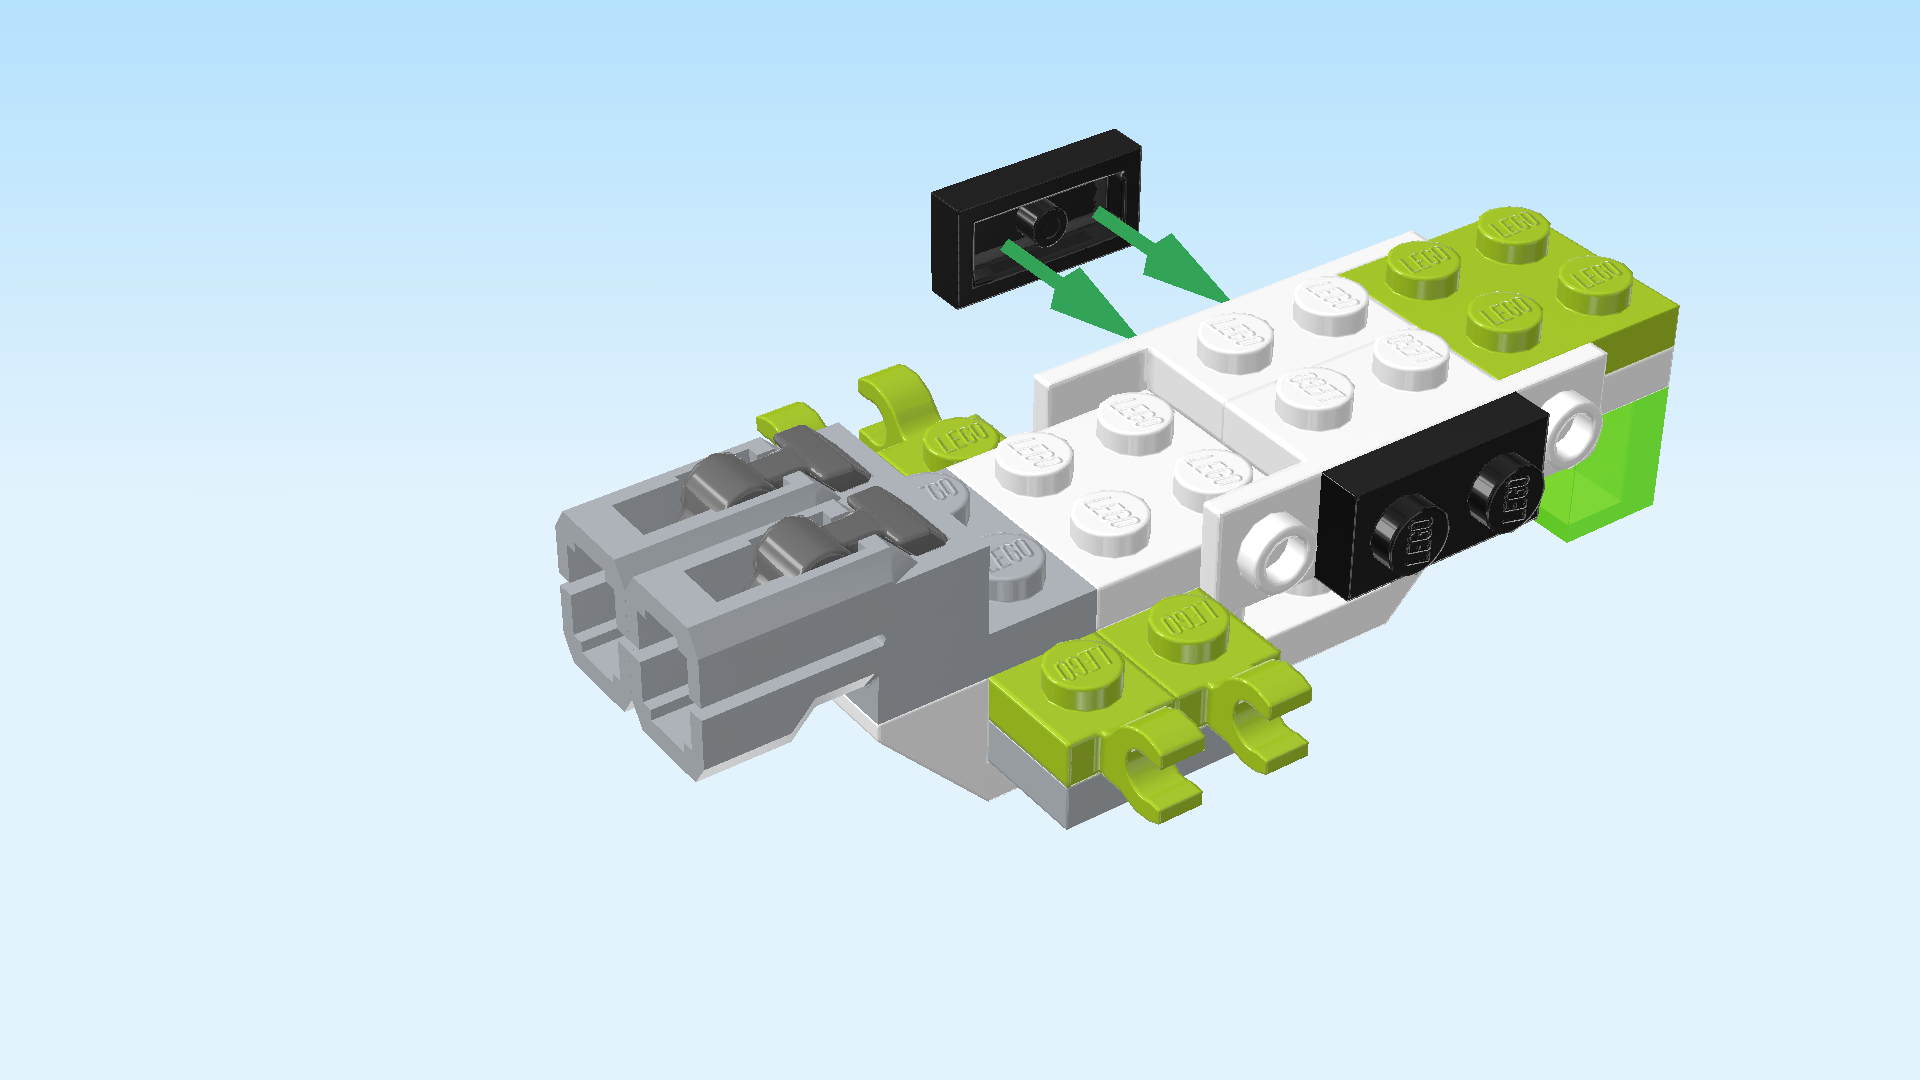
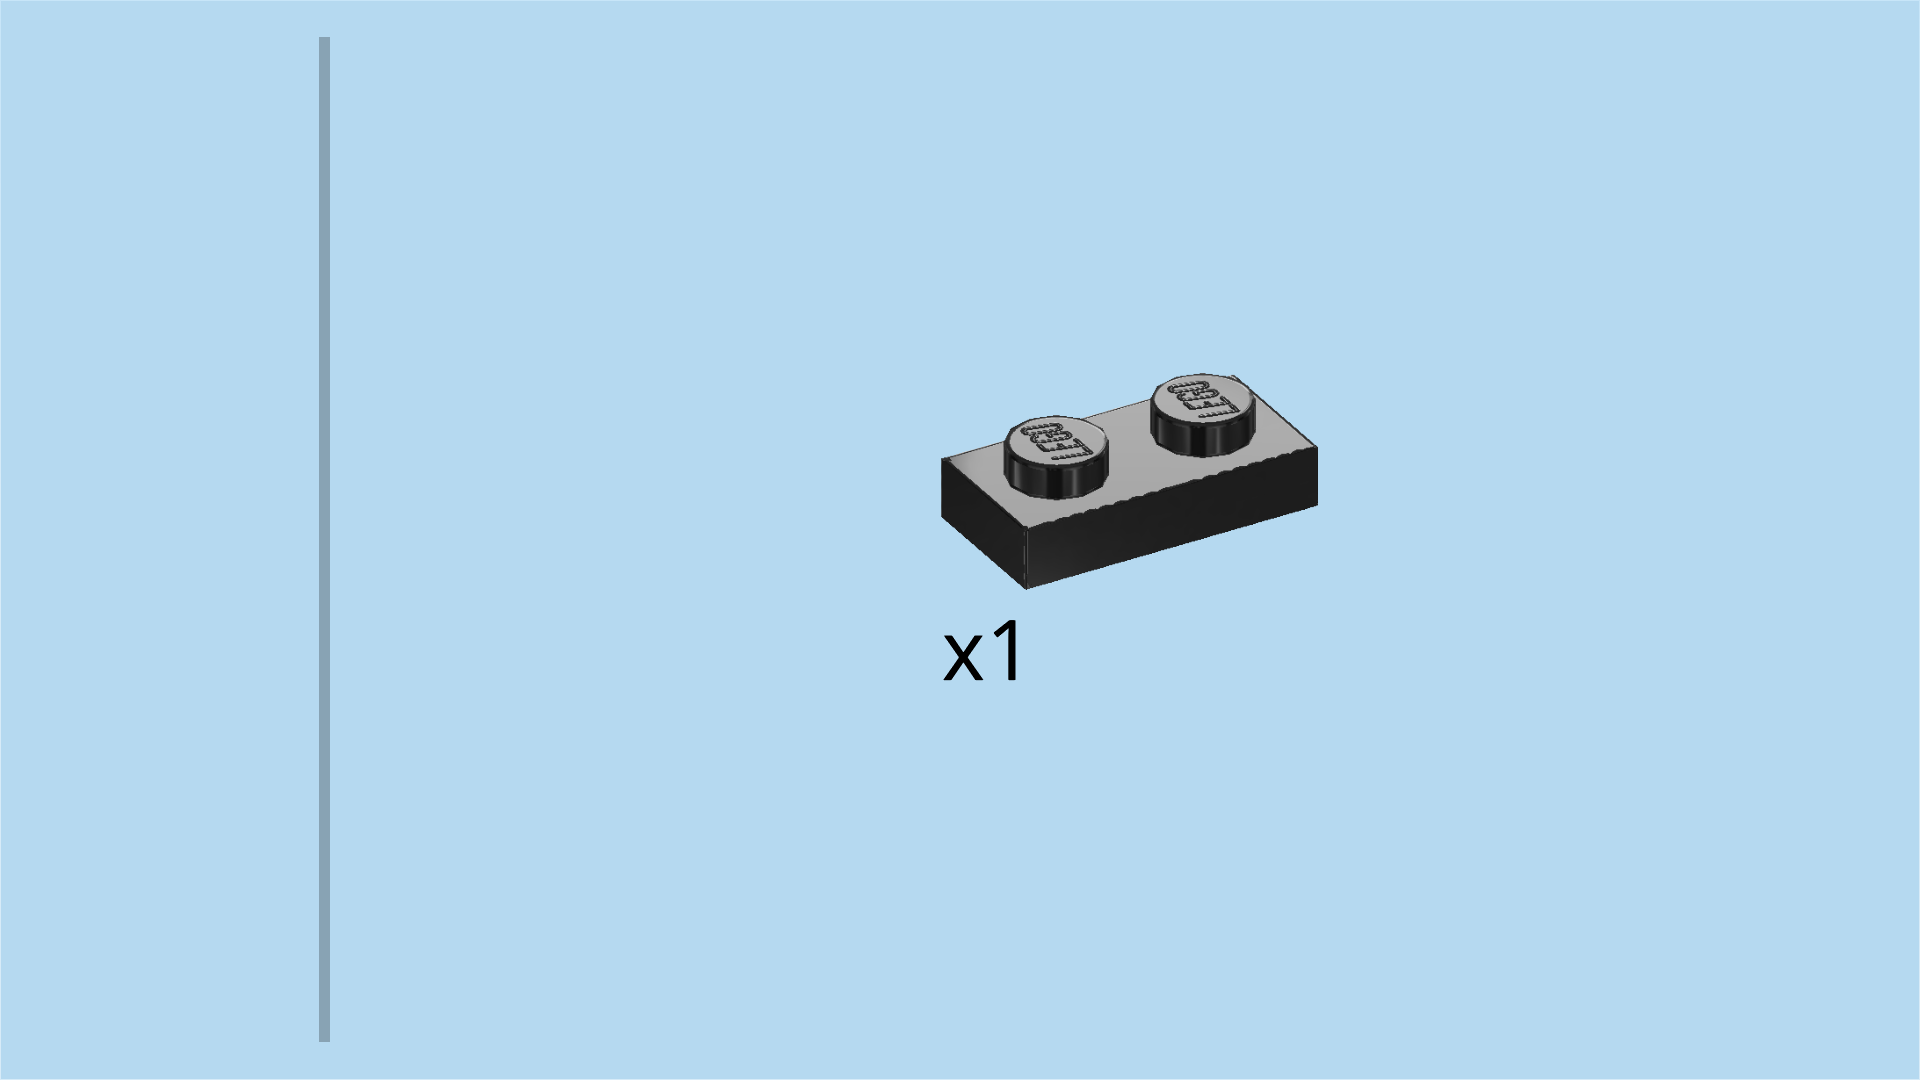
Find 2 black plates 1x2.

Put 1 upright horizontally on the 2 middle side knobs of the previous piece.

Repeat symmetrically at the front.

Find 4 white one-stepped curve tiles 1x2x⅔.

Put 1 upright horizontally on the 2 right side knobs pointing to the front, curve to the right.

Put 1 upright horizontally to the left of the previous piece, curve to the left.

If done correctly, the 2 curve tiles lock in the previous piece. They are all mounted on the side knobs pointing to the front.

Repeat symmetrically at the back.

Find 1 black plate 1x2.

Put it vertically on the fourth column from the right.

Find 1 white curved bracket 2x4x1⅓ with 2 plates 1x2.

Hold it horizontally, higher end to the right. Mount the higher end on the previous piece and the lower end on the knobs of the shooters.

Collect the following 3 pieces:

2 transparent bright green round tiles 1x1,

and 1 dark stone grey smooth roof tile 1x2x⅔. (This piece is printed.)

Put the 2 round tiles on the lower plate 1x2 of the previous piece.

Put the roof tile vertically on the higher plate 1x2 of the curved bracket, slope to the right.

The roof tile is printed with the dashboard of the plane. The instruments are all neon green with yellow indicators and writing. There is one large dial gauge on the left showing the artificial horizon. There is a round radar meter in the top right corner, a bar speed indicator below that and a dial-gauge altimeter in the center.

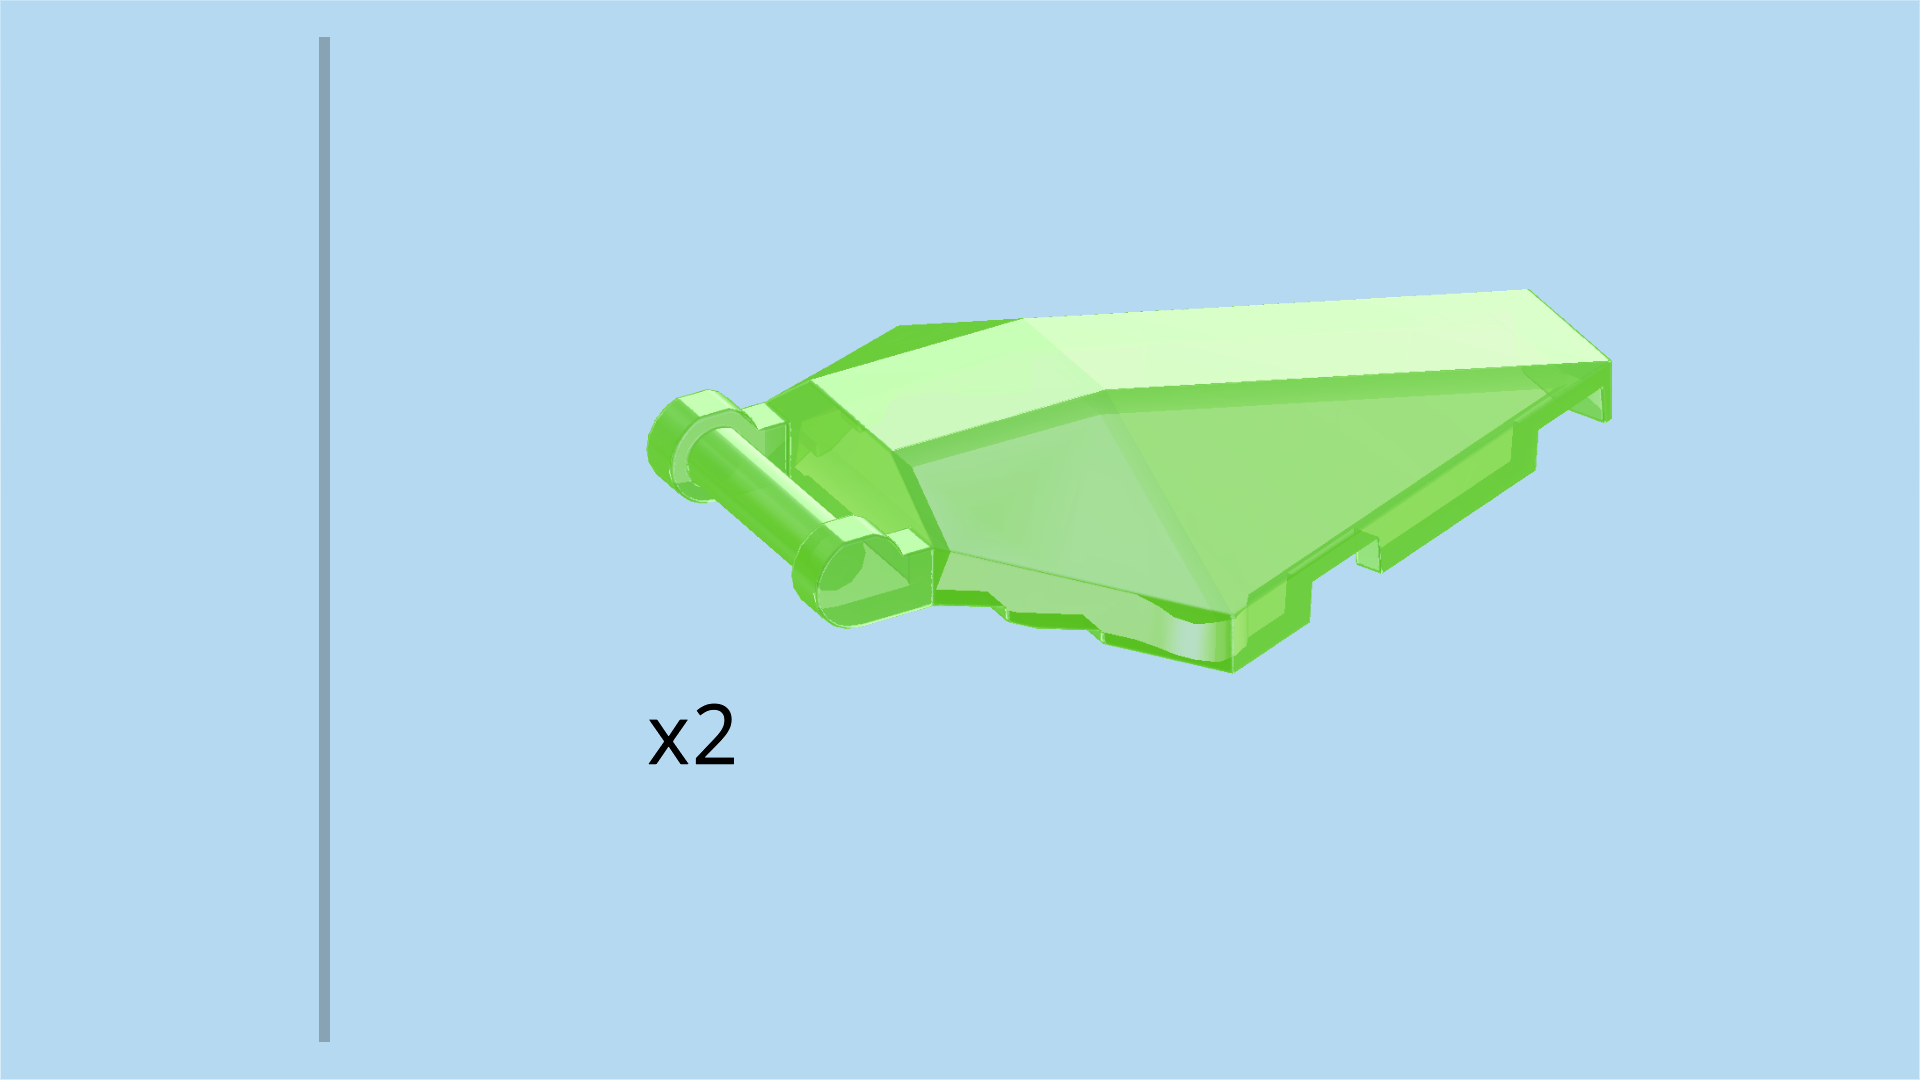
Find 2 transparent bright green cockpits 4x5x1 with shaft. (These cockpits are shaped like kites.)

Hold 1 vertically, cockpit curve to the top, and shaft to the back.

Snap the shaft into the 2 clasps pointing to the front.

Repeat symmetrically at the back.

Find 1 transparent bright green bell jar 2x2 with 1 knob. (This piece has a small side print.)

Put it to the left of the dashboard, print to the left.

This piece is printed with two black eyes. It is Z-Blob's head!

Find 4 transparent bright green round tiles 1x1.

Insert 1 upright into the shooter at the back, but be careful and do not trigger the shooter yet.

Insert another 1 upright into the shooter at the front. Again, do not trigger the shooter yet.

Warning! Do not aim at eye or face.

To trigger the shooter, push down on the trigger from the top. This might take some practice, but you will figure it out for sure. Use the 2 remaining round tiles 1x1 as reserve ammunition.

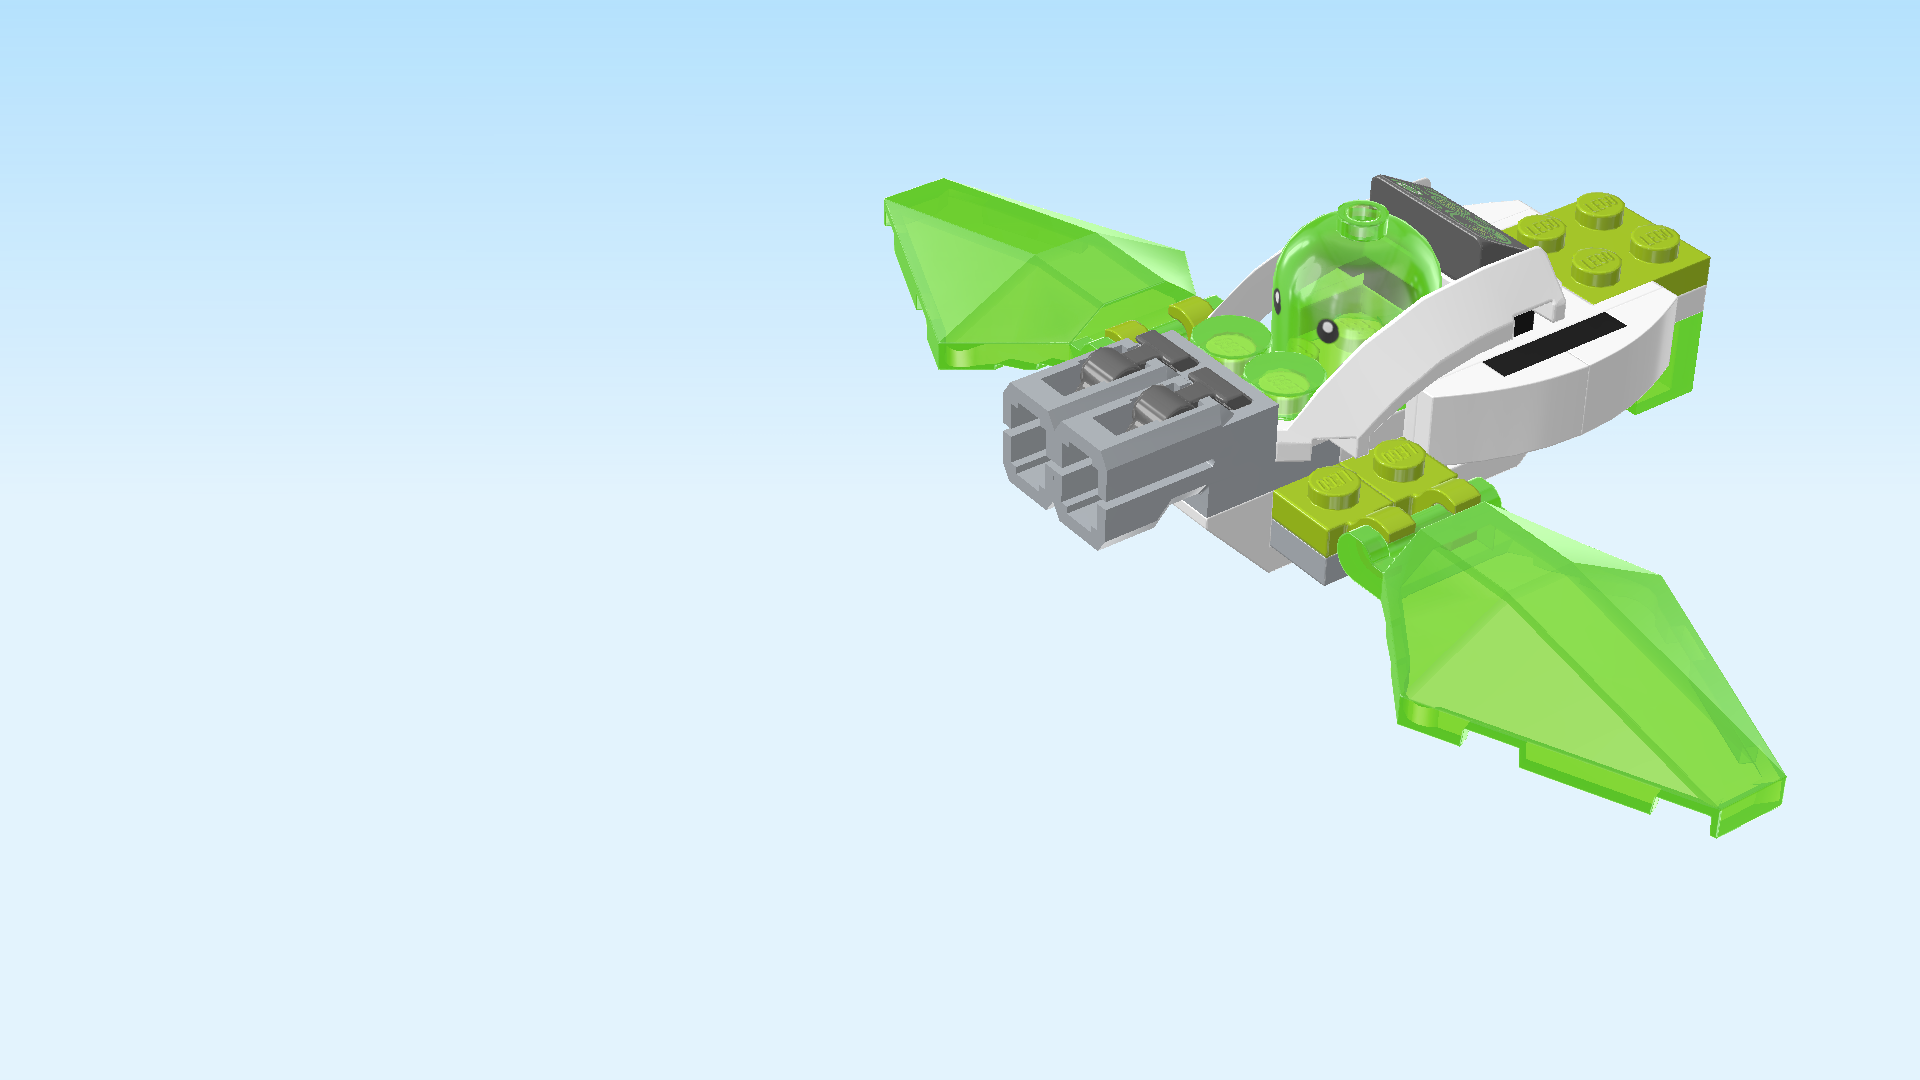
The mini-plane is finished! Well done! You can now seat Mateo on the 4 knobs to the right of the dashboard and launch your plane. It is time to fight the Grimkeeper and rescue Cooper!

Enjoy!