LEGO 71453-B DreamZzz Izzie and Bunchu the Bunny - Path A (Skates and Gloves)

Note that these are the instructions for building skates and gloves for Bunchu the Bunny. You should build the Main Build of this set first, containing the Izzie and Grimspawn Minifigures as well as Bunchu the Bunny. For instructions to the Main Build, go back to the instructions website and navigate to the Main Build instructions.
If you have already built the Wings and Stinger upgrade for Bunchu, you have to disassemble these now because they use some of the same bricks and pieces as the Skates and Gloves.

Open bag number 3. You can choose to have the bricks sorted by color again. This bag contains all bricks and pieces for the skates and the gloves for Bunchu the Bunny.
First, we will build the roller skates. Let's start with one.
Note that the roller skates are identical. You can either build the second roller skate alongside the instructions for the first one, or you can jump back to the beginning of this section after building the first roller skate. We will remind you of that option after the first skate is finished.

Collect the following 3 pieces:
1 medium stone grey plate 2x2 with 2 centered bottom tubes,
and 2 bright yellow connector pegs 2m with middle ring. (2m means that this piece is about 2 knobs long.)
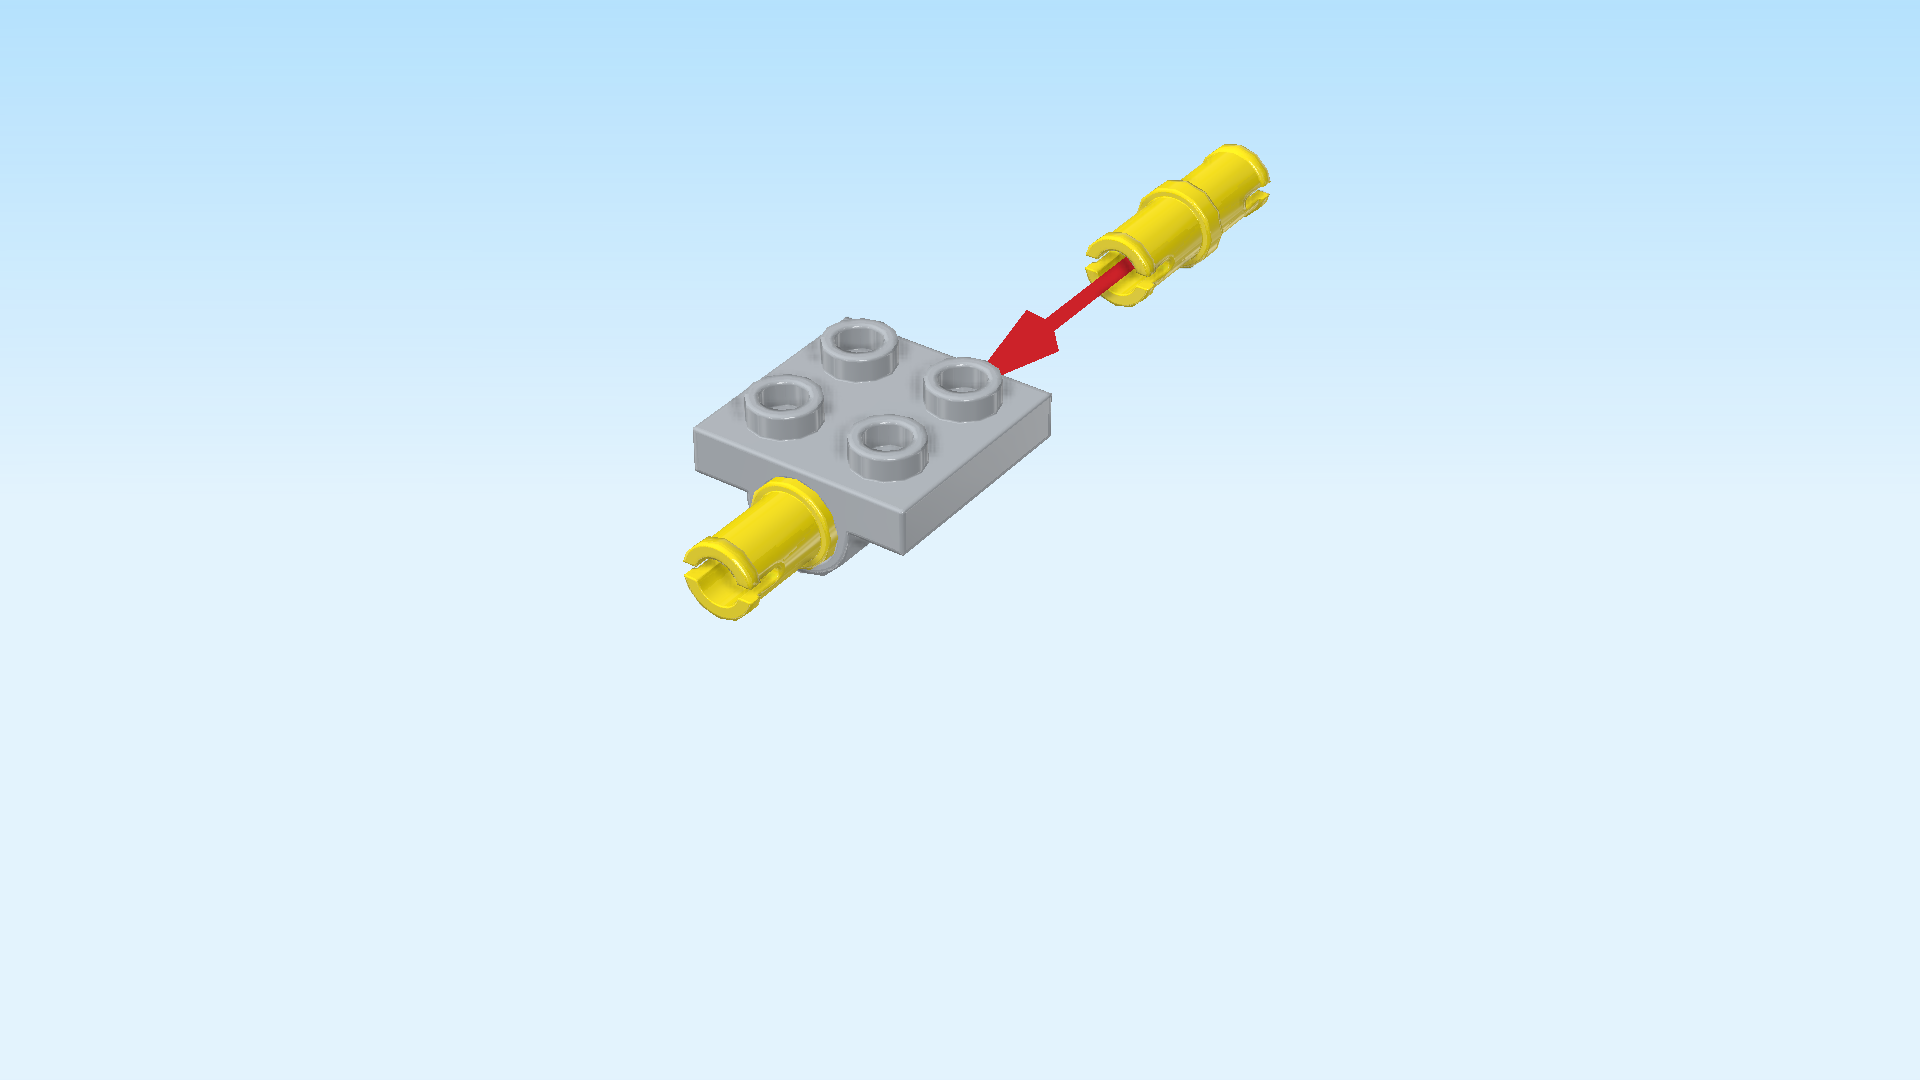
Hold the plate 2x2 so that the bottom tubes are at the front and back.
Insert 1 connector peg into the tube coming from the front, one half overhanging to the front.
Repeat symmetrically at the back, one half of the connector peg overhanging to the back.

Find 1 bright yellow plate 1x2 with upward hook on long side.
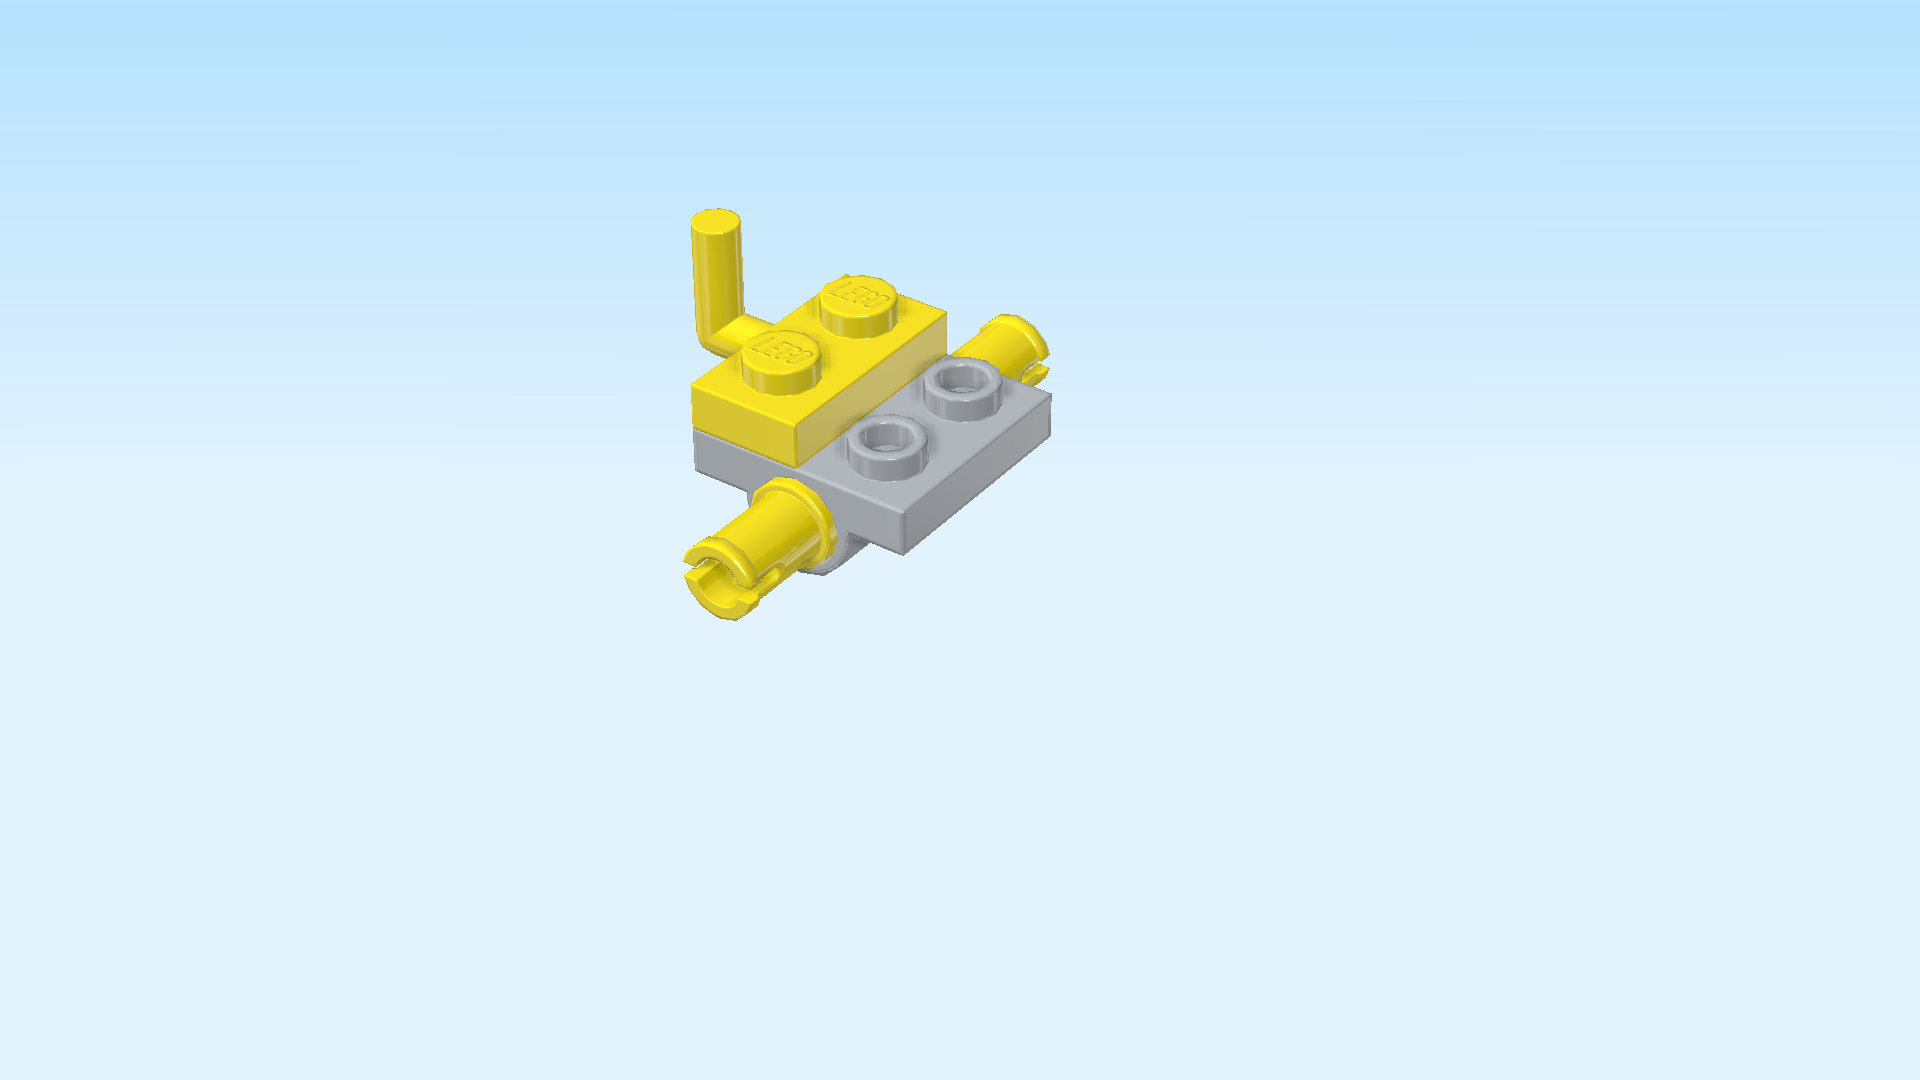
Put it vertically on the left column, upward hook to the left.

Find 1 bright yellow plate 2x3.

Put it horizontally to the right of the previous piece, 2 columns overhanging to the right.

Next, let's make a sub-part of the roller skate.

Collect the following 3 pieces:
1 medium stone grey plate 2x2 with 2 centered bottom tubes,
and 2 bright yellow connector pegs 2m with middle ring.

Hold the plate 2x2 so that the tubes are at the front and back.
Like before, insert the connector pegs into the tubes from the front and back, half of the pegs sticking out towards the front and back.

Find 1 bright yellow top angle plate 1x2 - 1x2 with 2 side knobs.

Put it vertically on the right column, side knobs pointing to the right.

Mount the left column of this sub-part underneath the rightmost column of the roller skate build. If done correctly, 2 connectors are pointing to the front, 2 to the back. The upward hook is on the left, and 2 side knobs are pointing to the right.

Collect the following 3 pieces:
2 flame yellowish orange plates 2x2 with 1 knob,
and 1 flame yellowish orange flat tile 1x2.
Put 1 plate 2x2 on the 4 leftmost knobs.
Put the flat tile 1x2 vertically to the right of the previous piece.
Put the other plate 2x2 to the right of the previous piece.
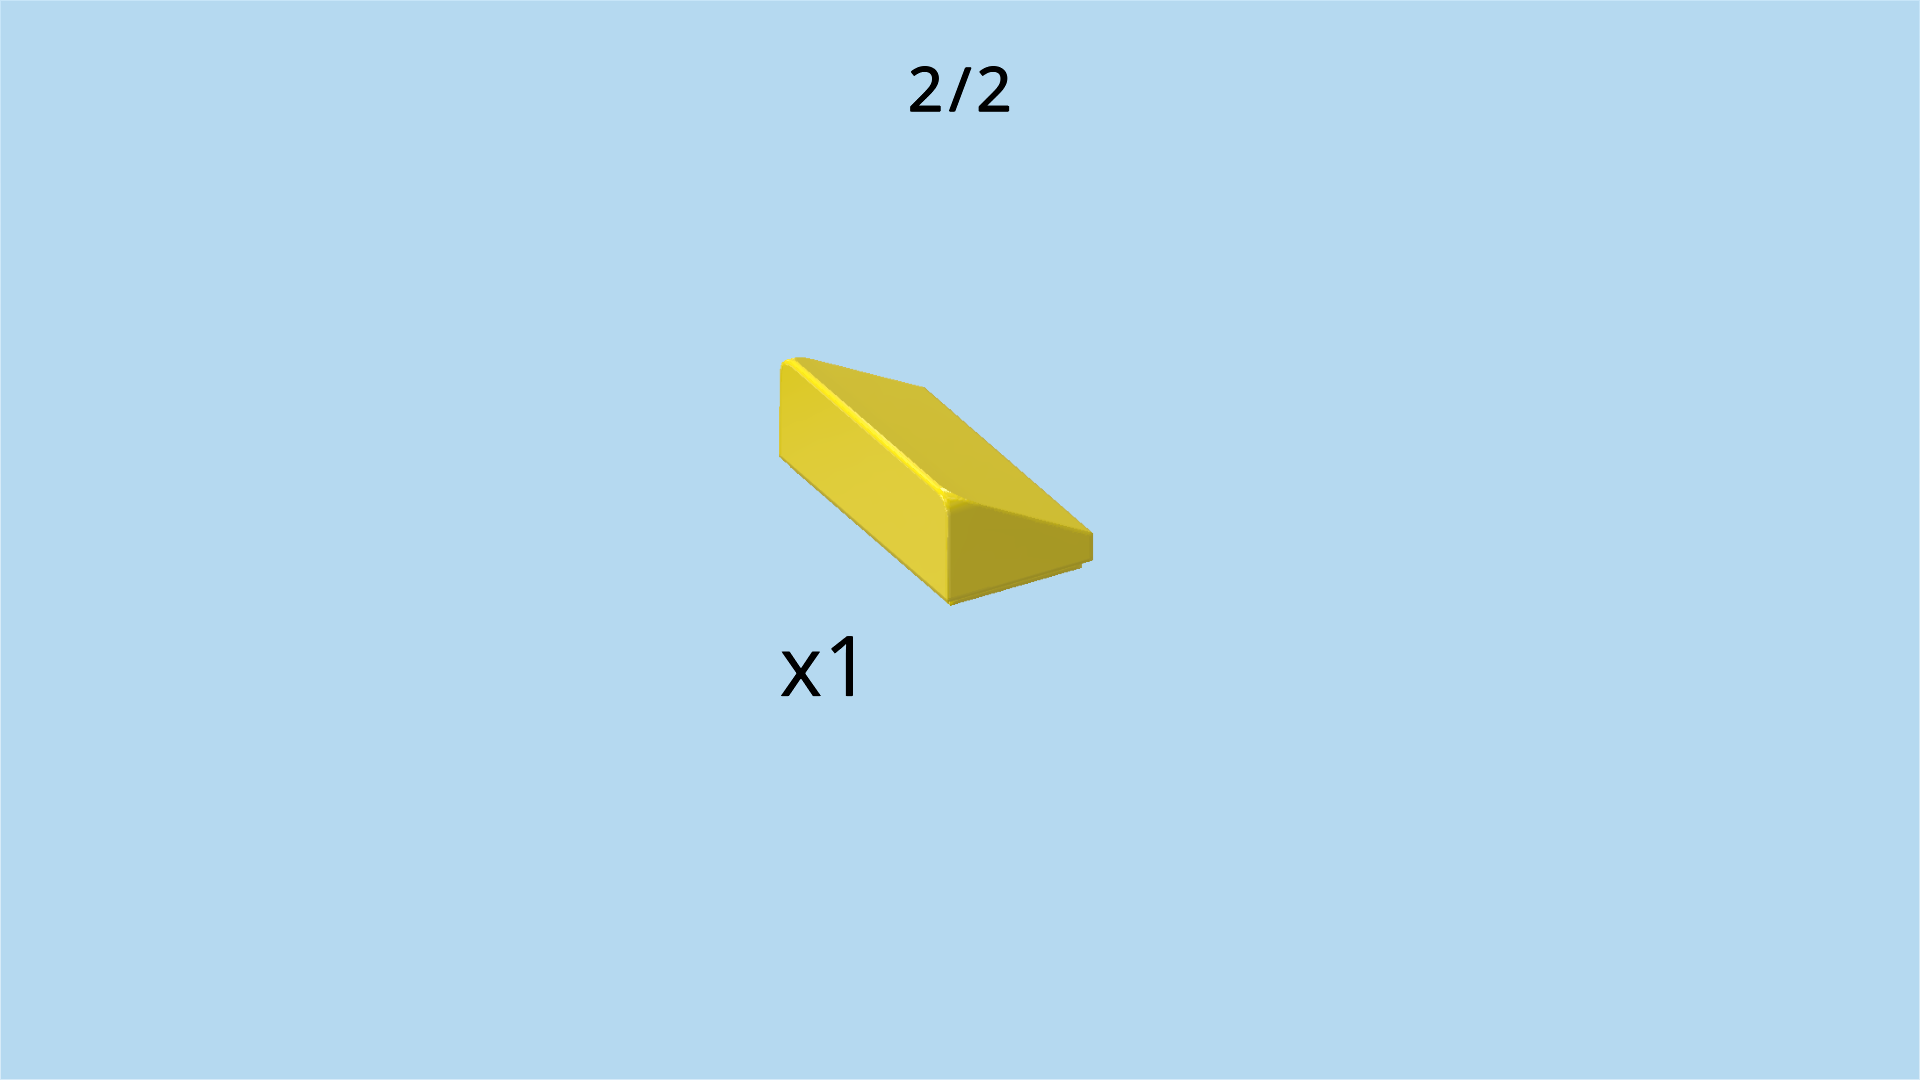
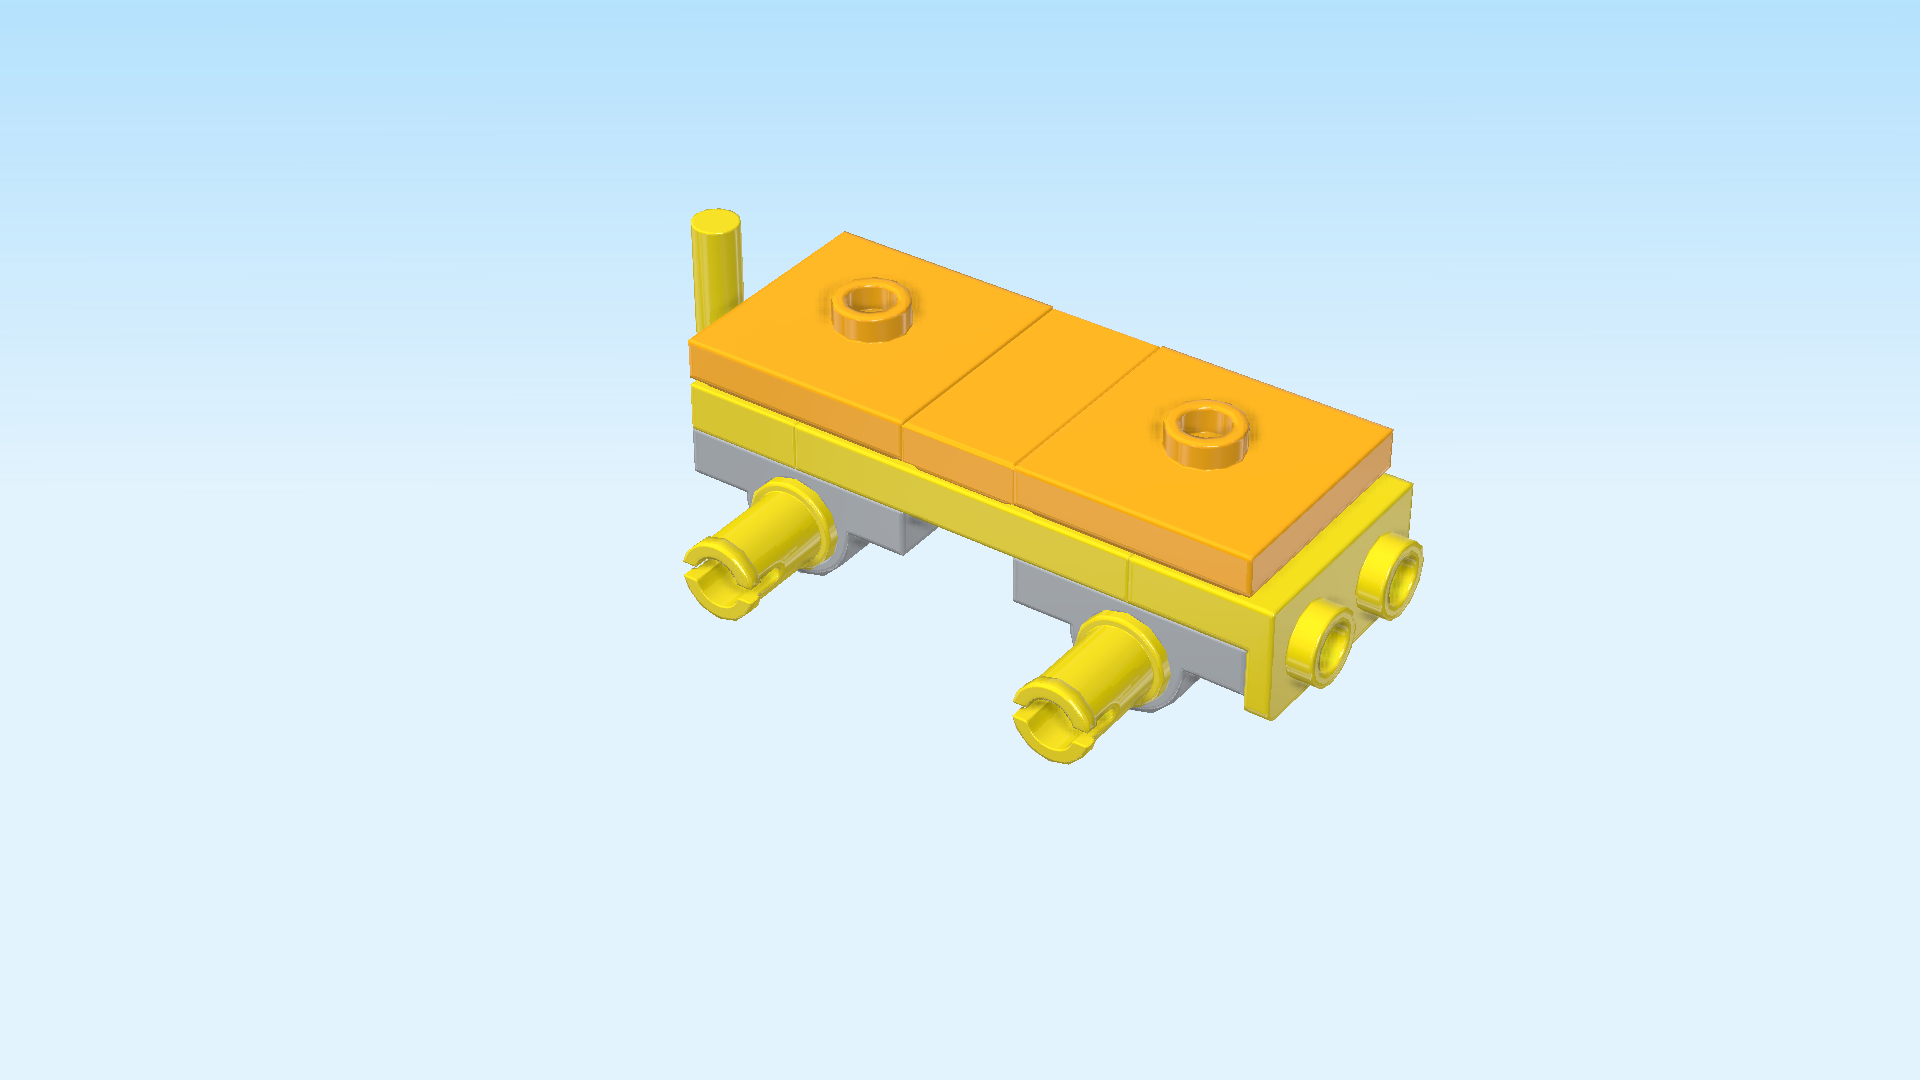
Find 1 bright yellow smooth roof tile 1x2x⅔.

Put it upright horizontally on the 2 side knobs pointing to the right, slope to the top.

Find 4 black small rims with side groove and middle hole.

Put them on the 4 connector pegs.
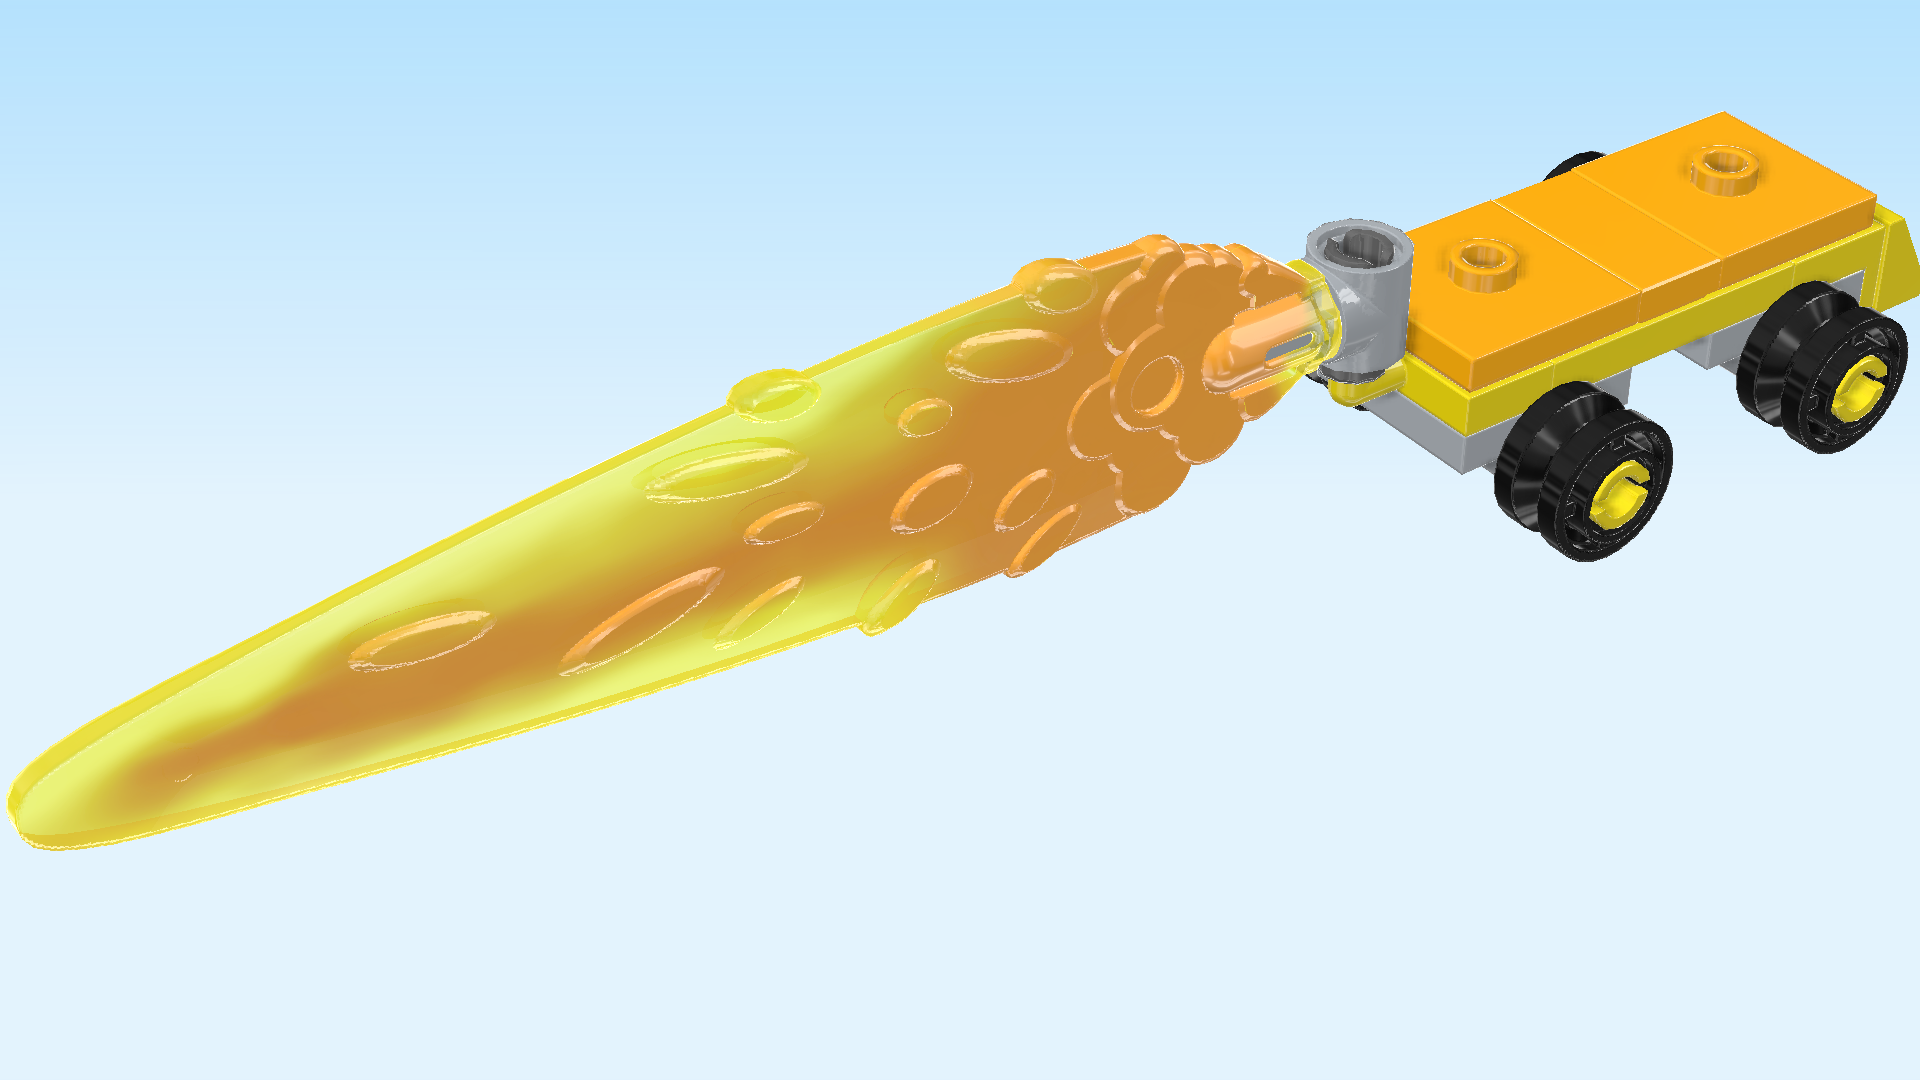
Next, we will assemble the fire tail of the skate.

Collect the following 2 pieces:
1 medium stone grey T-shaped bushing 1m with cross axle,
and 1 dark stone grey connector peg 1m with knob.

Hold the T-shaped bushing so that its round hole is running from top to bottom and the cross axle is pointing to the left.
Insert the connector peg from the bottom into the round hole, its knob to the bottom.

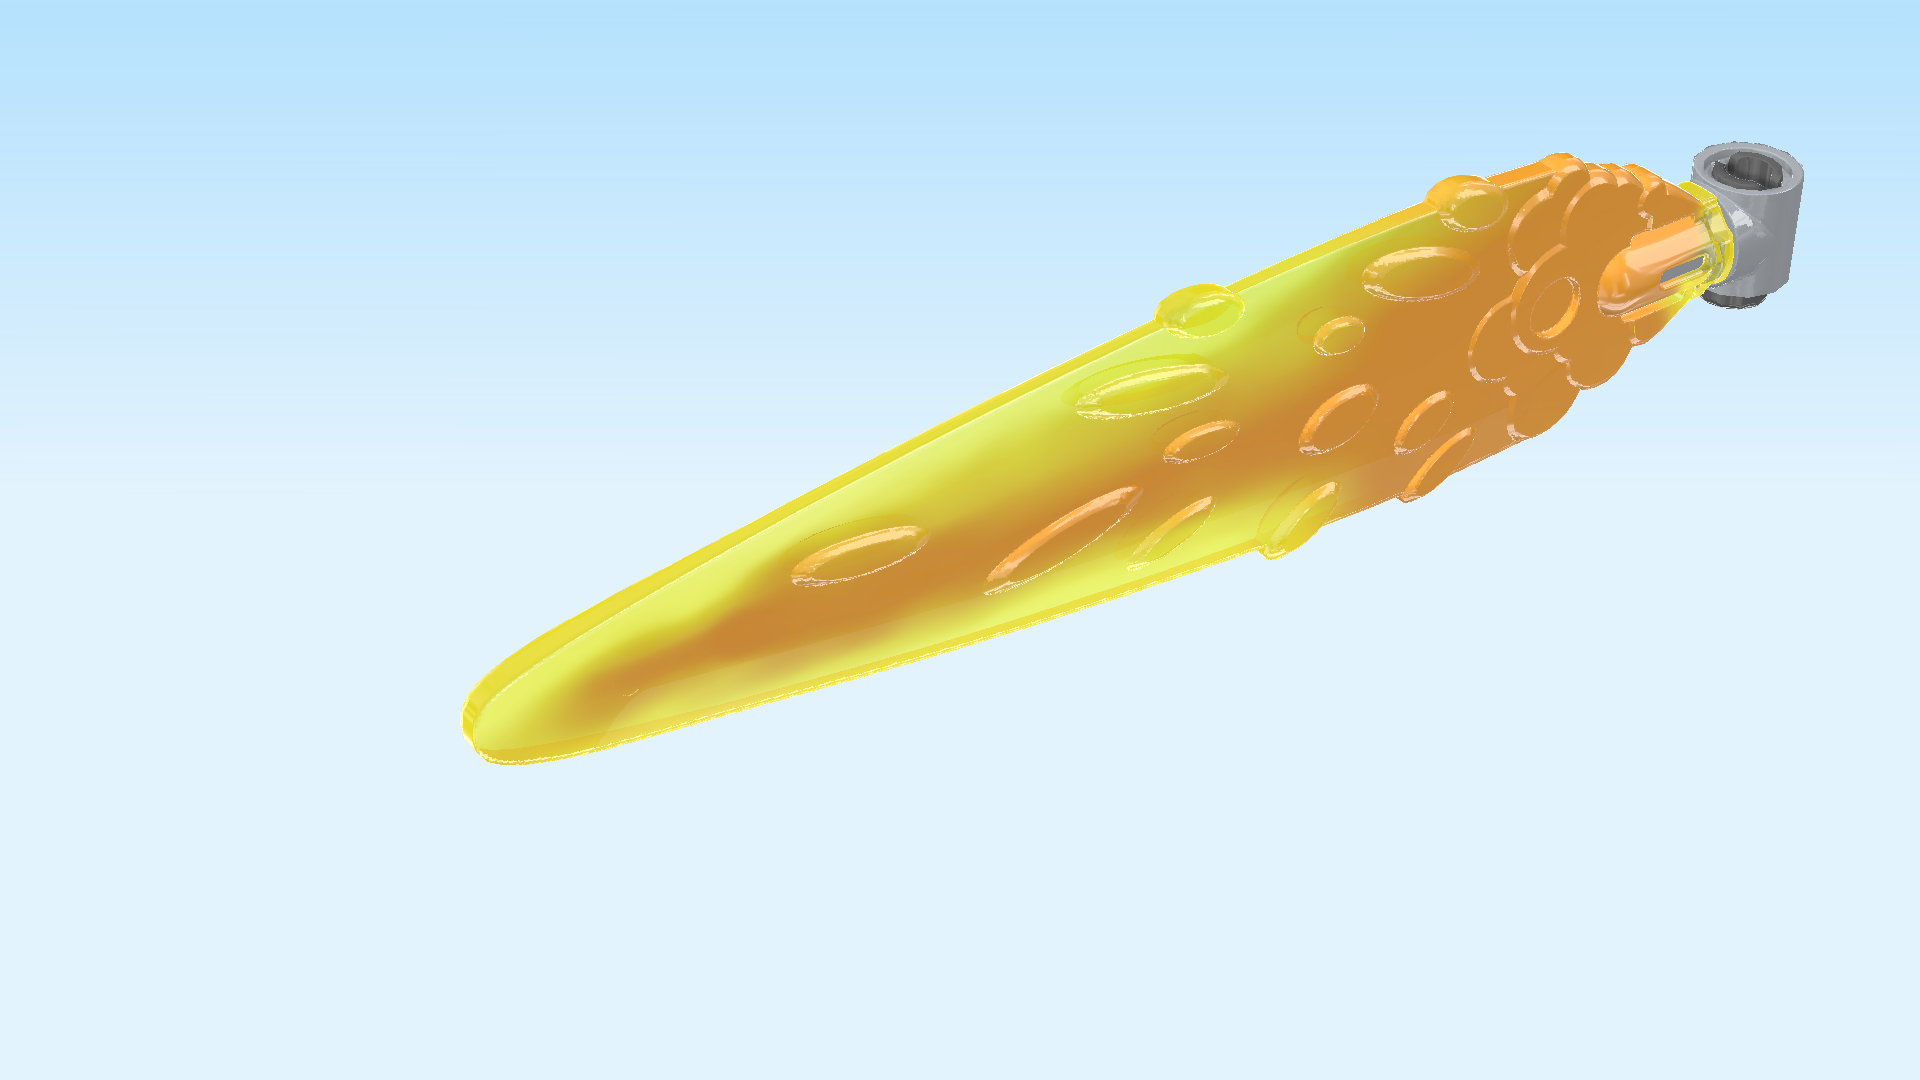
Find 1 transparent yellow fire blade with cross hole.

Put its cross hole on the cross axle. Make sure the fire blade is oriented vertically, so its broad side should be facing you.

To mount the fire tail on the skate, insert the upward hook from the bottom into the hole of the fire tail.
The first roller skate is finished! Well done! If you have built the second skate already, simply continue with the instructions. If not, jump back to the beginning of the section with the title "First, we will build the skates. Let's start with one." and repeat the steps.

Since the skates can roll, it can be a bit tricky to mount them. Put one of Bunchu's feet on one of the skates. Make sure his toes (the half cylinders on his foot) are pointing to the front, and the fire tail is pointing to the back. Repeat with the second foot and skate.
If necessary, adjust Bunchu's torso, legs and feet to give him a stable stance.

Next, we will build Bunchu's gloves.

Collect the following 4 pieces:
2 bright yellow top angle plates 1x2 - 1x2 with 2 side knobs,
and 2 flame yellowish orange one-stepped curve tiles 2x2x⅔.

Put 1 angle plate vertically on the table, 2 side knobs pointing to the left. (The side knobs are the hollow knobs.)
Put 1 curve tile on the angle plate, one half overhanging to the right, curve to the right.
Repeat with the two remaining pieces to build the second glove.

Find 4 flame yellowish orange half-circle tiles 1x1.

Put 1 upright on the back side knob of one glove, half circle to the back.
Put 1 upright in front of the previous piece, half circle to the front.
Repeat with the two remaining pieces on the second glove.
Bunchu's gloves are finished! Great job! Mount one in the building orientation on Bunchu's left arm, the side plate 1x2 with half-circle tiles overhanging to the left.
Mount the second glove on the right arm, side plate 1x2 with half-circle tiles overhanging to the right.
You have successfully plussed up Bunchu the Bunny with gloves and fire tail skates! Well done! now, he will skate through his adventures in lightning speed!