LEGO Audio & Braille Building Instructions for the LEGO City set "Lifeguard Beach Rescue Truck".
If you would like to access the help menu to find out how to use and navigate these instructions, tap with two fingers or press key "H".
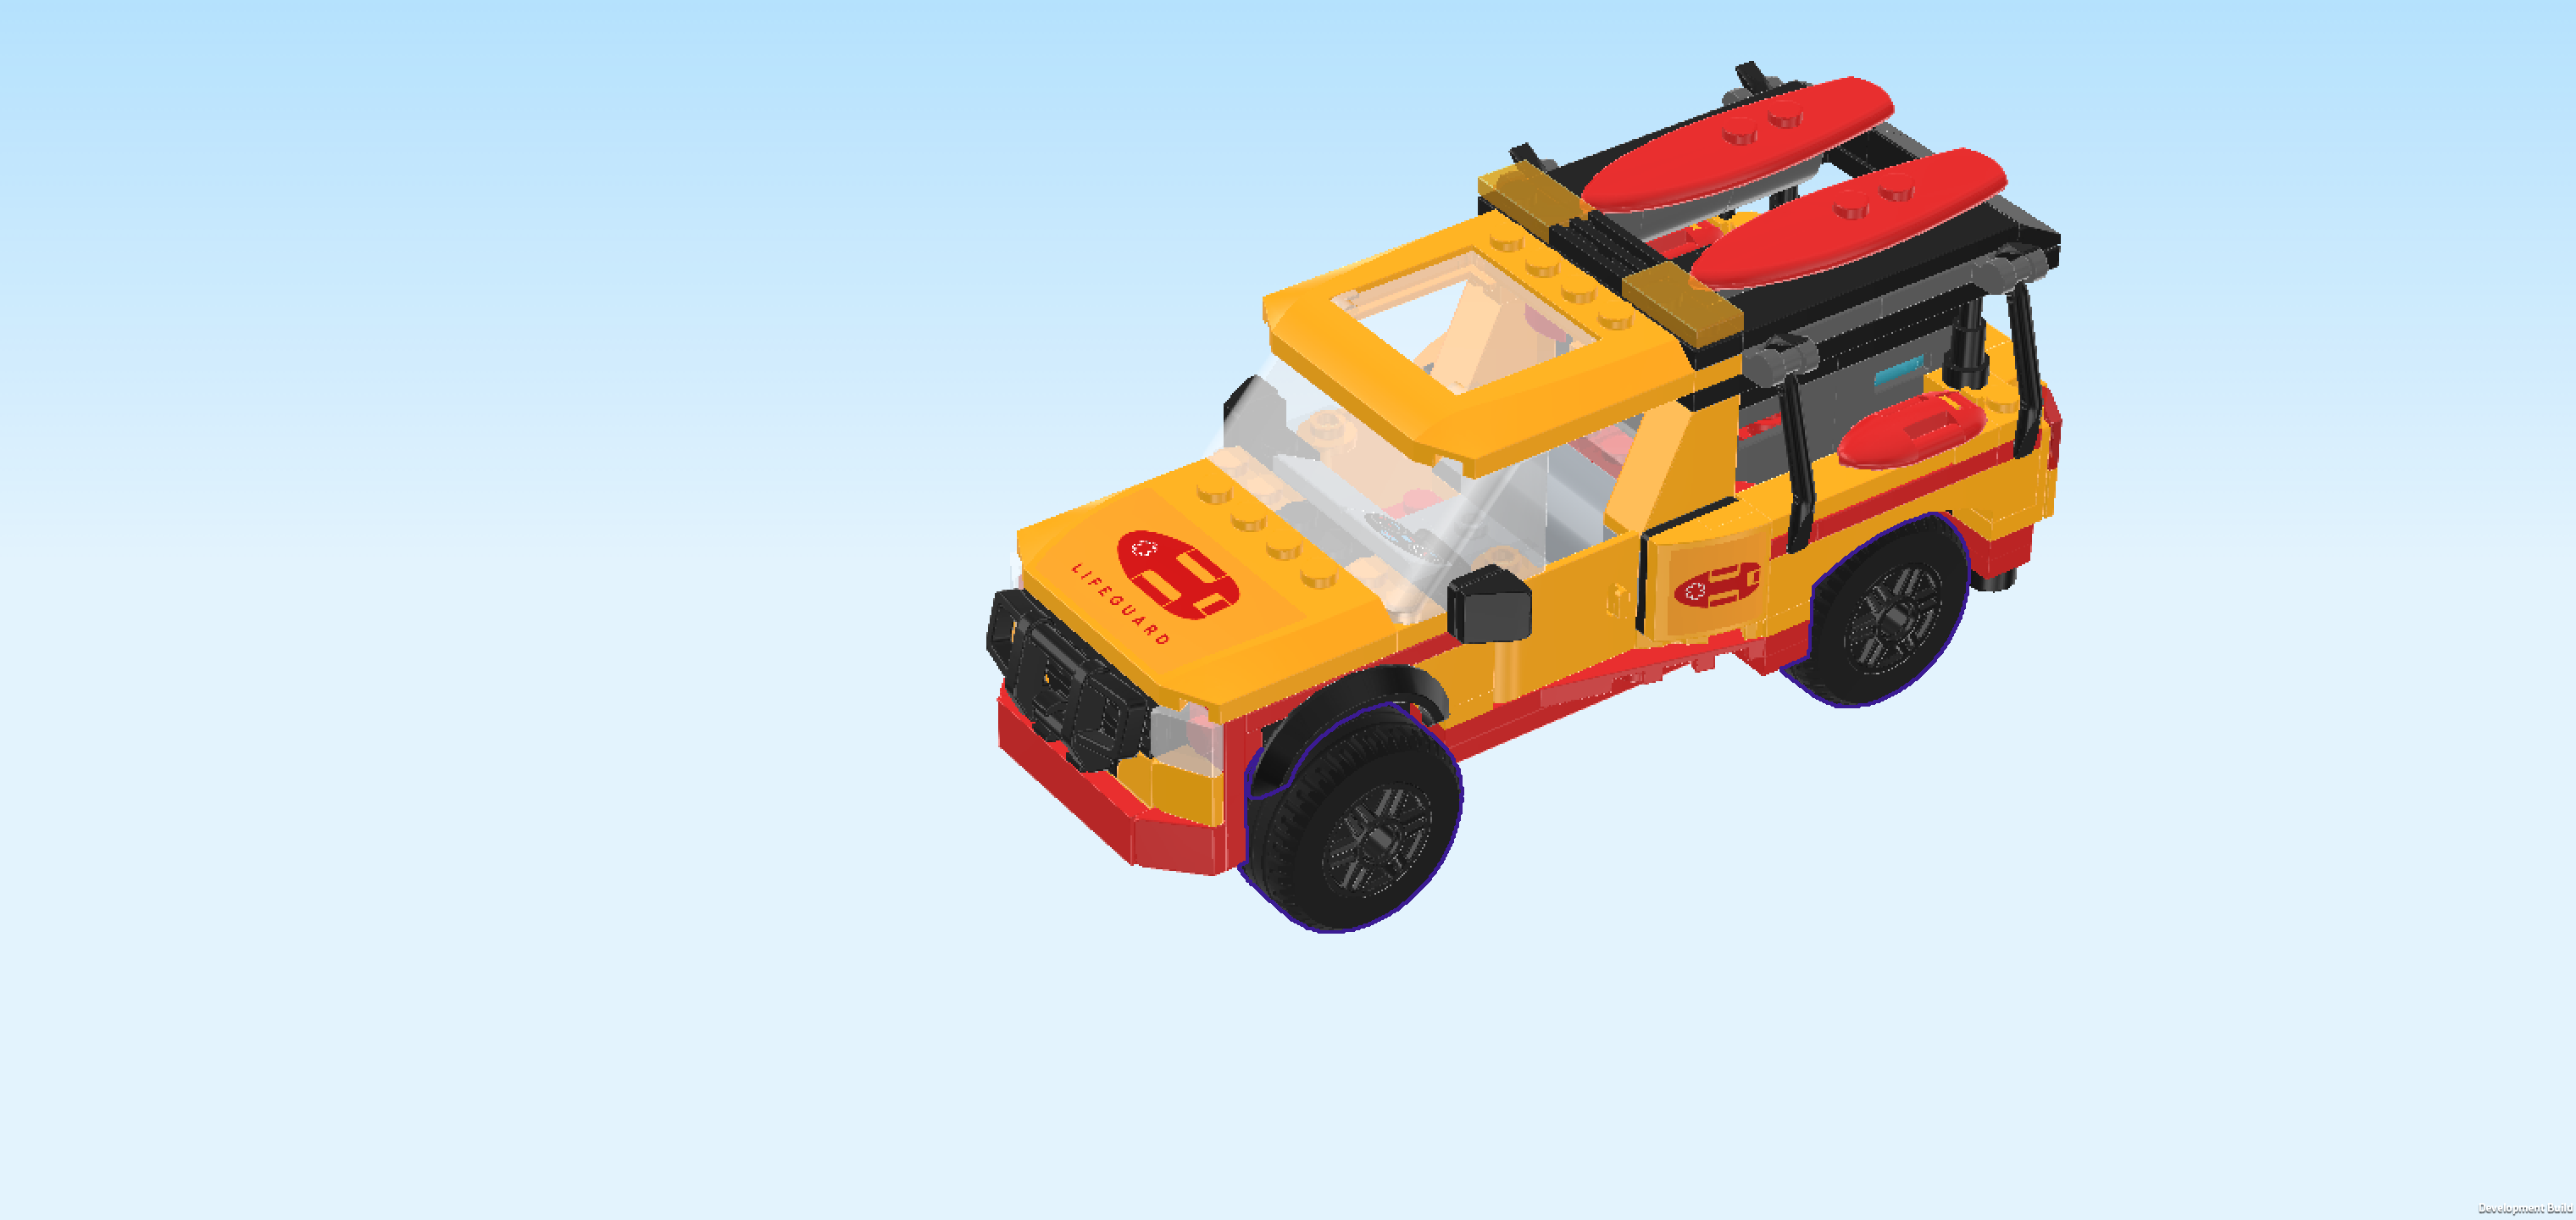
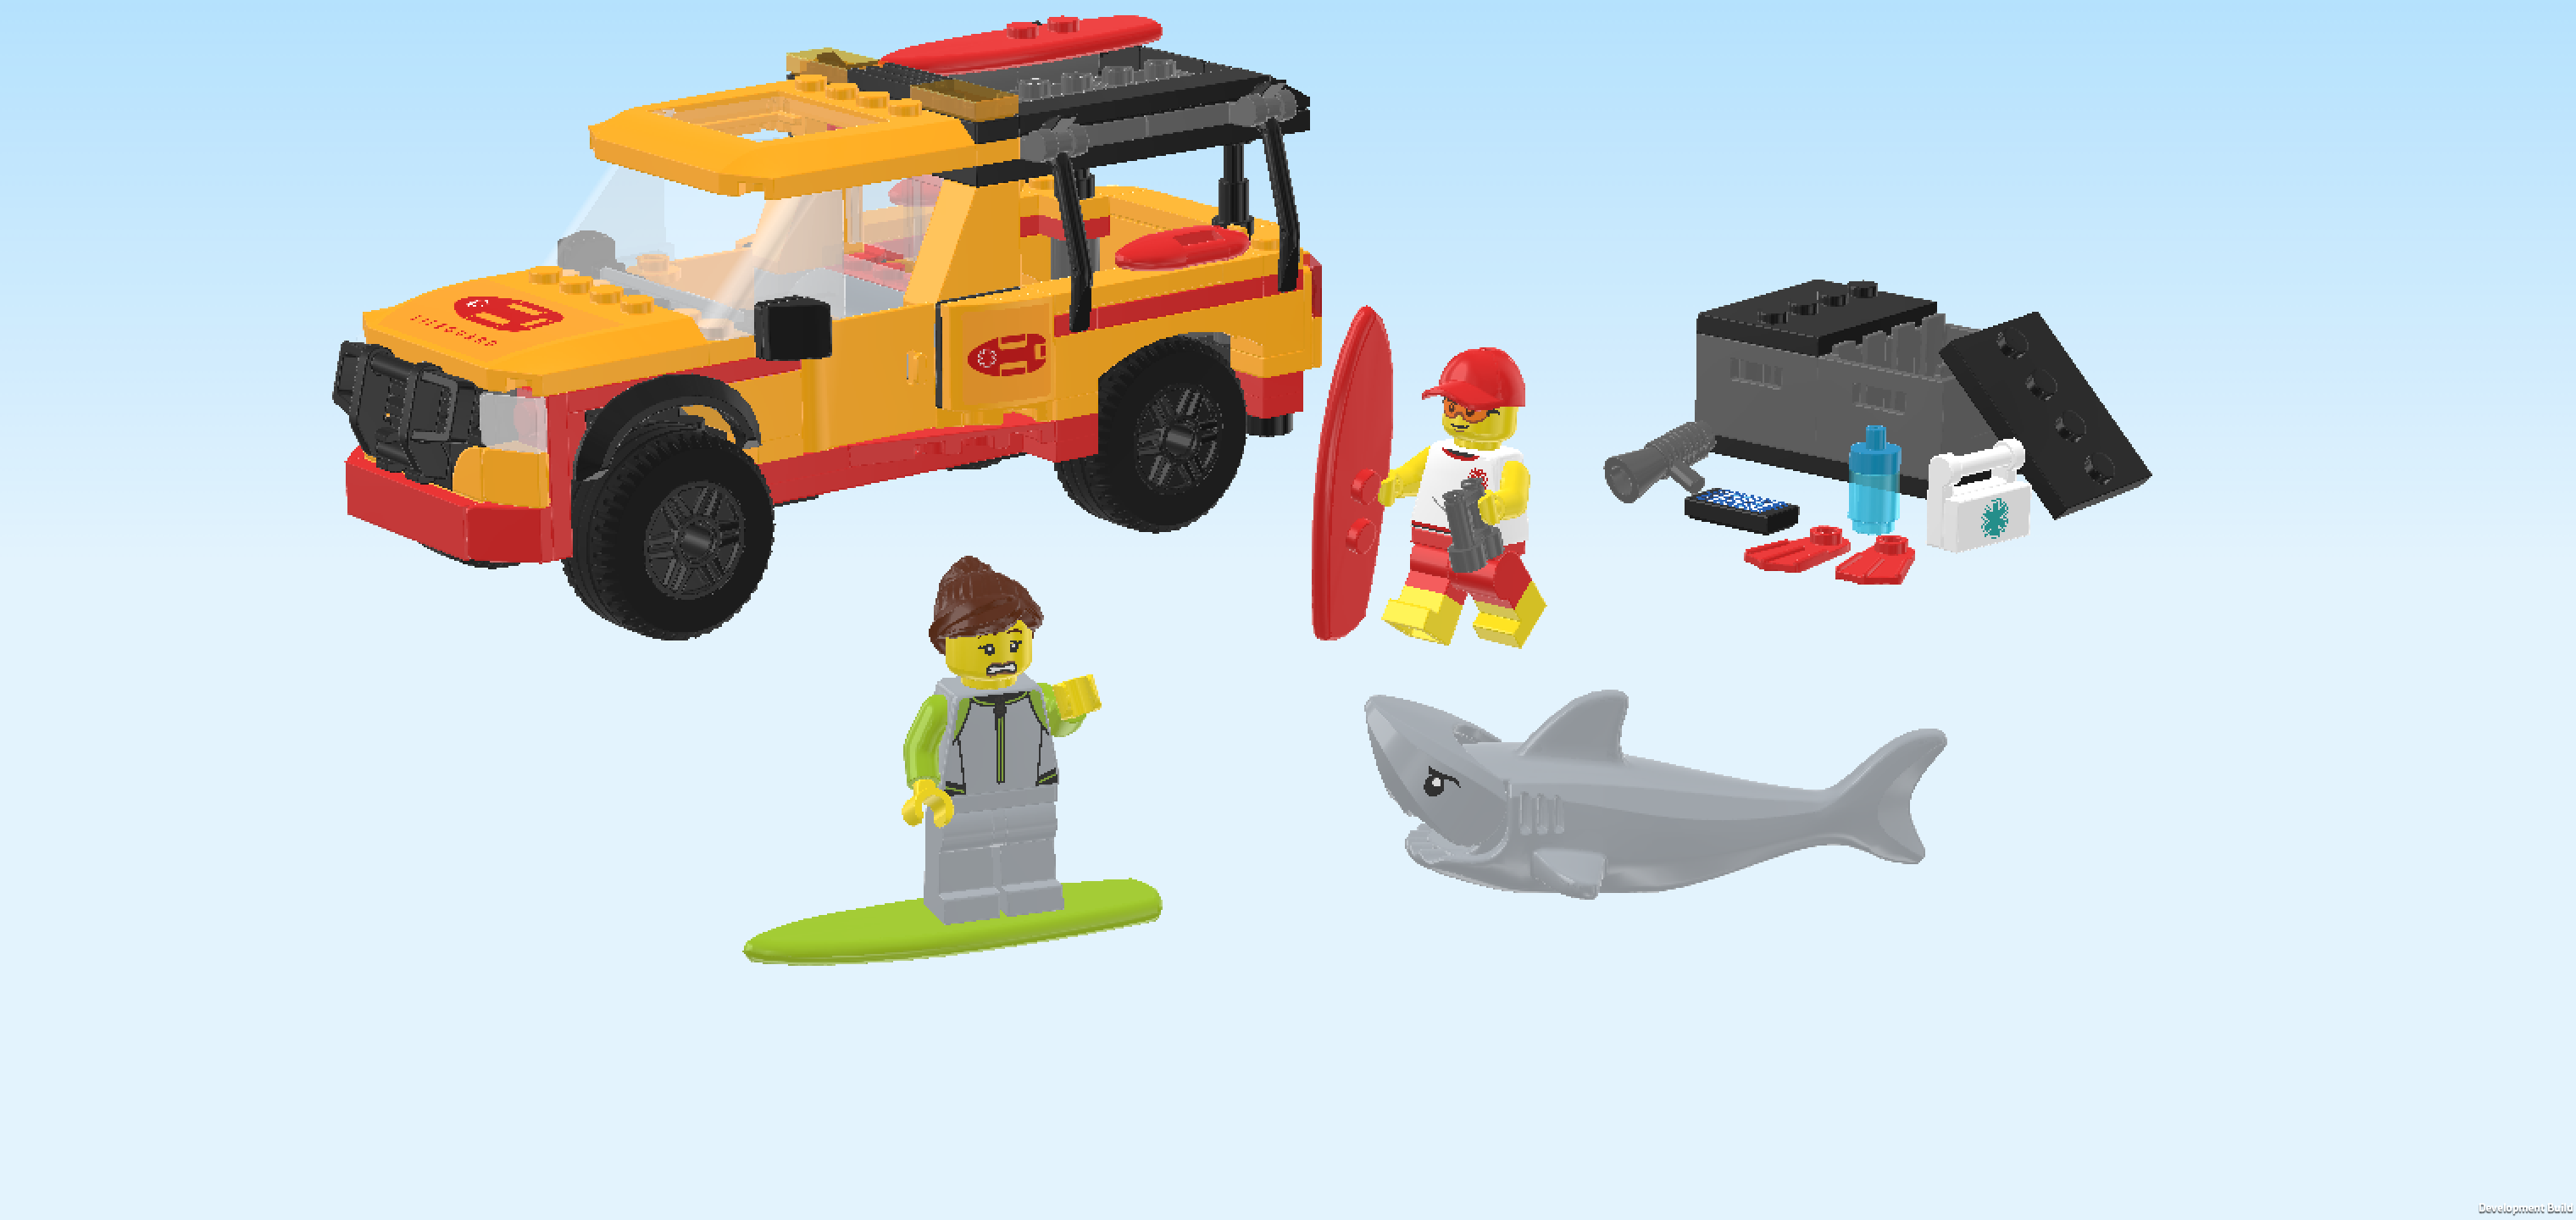
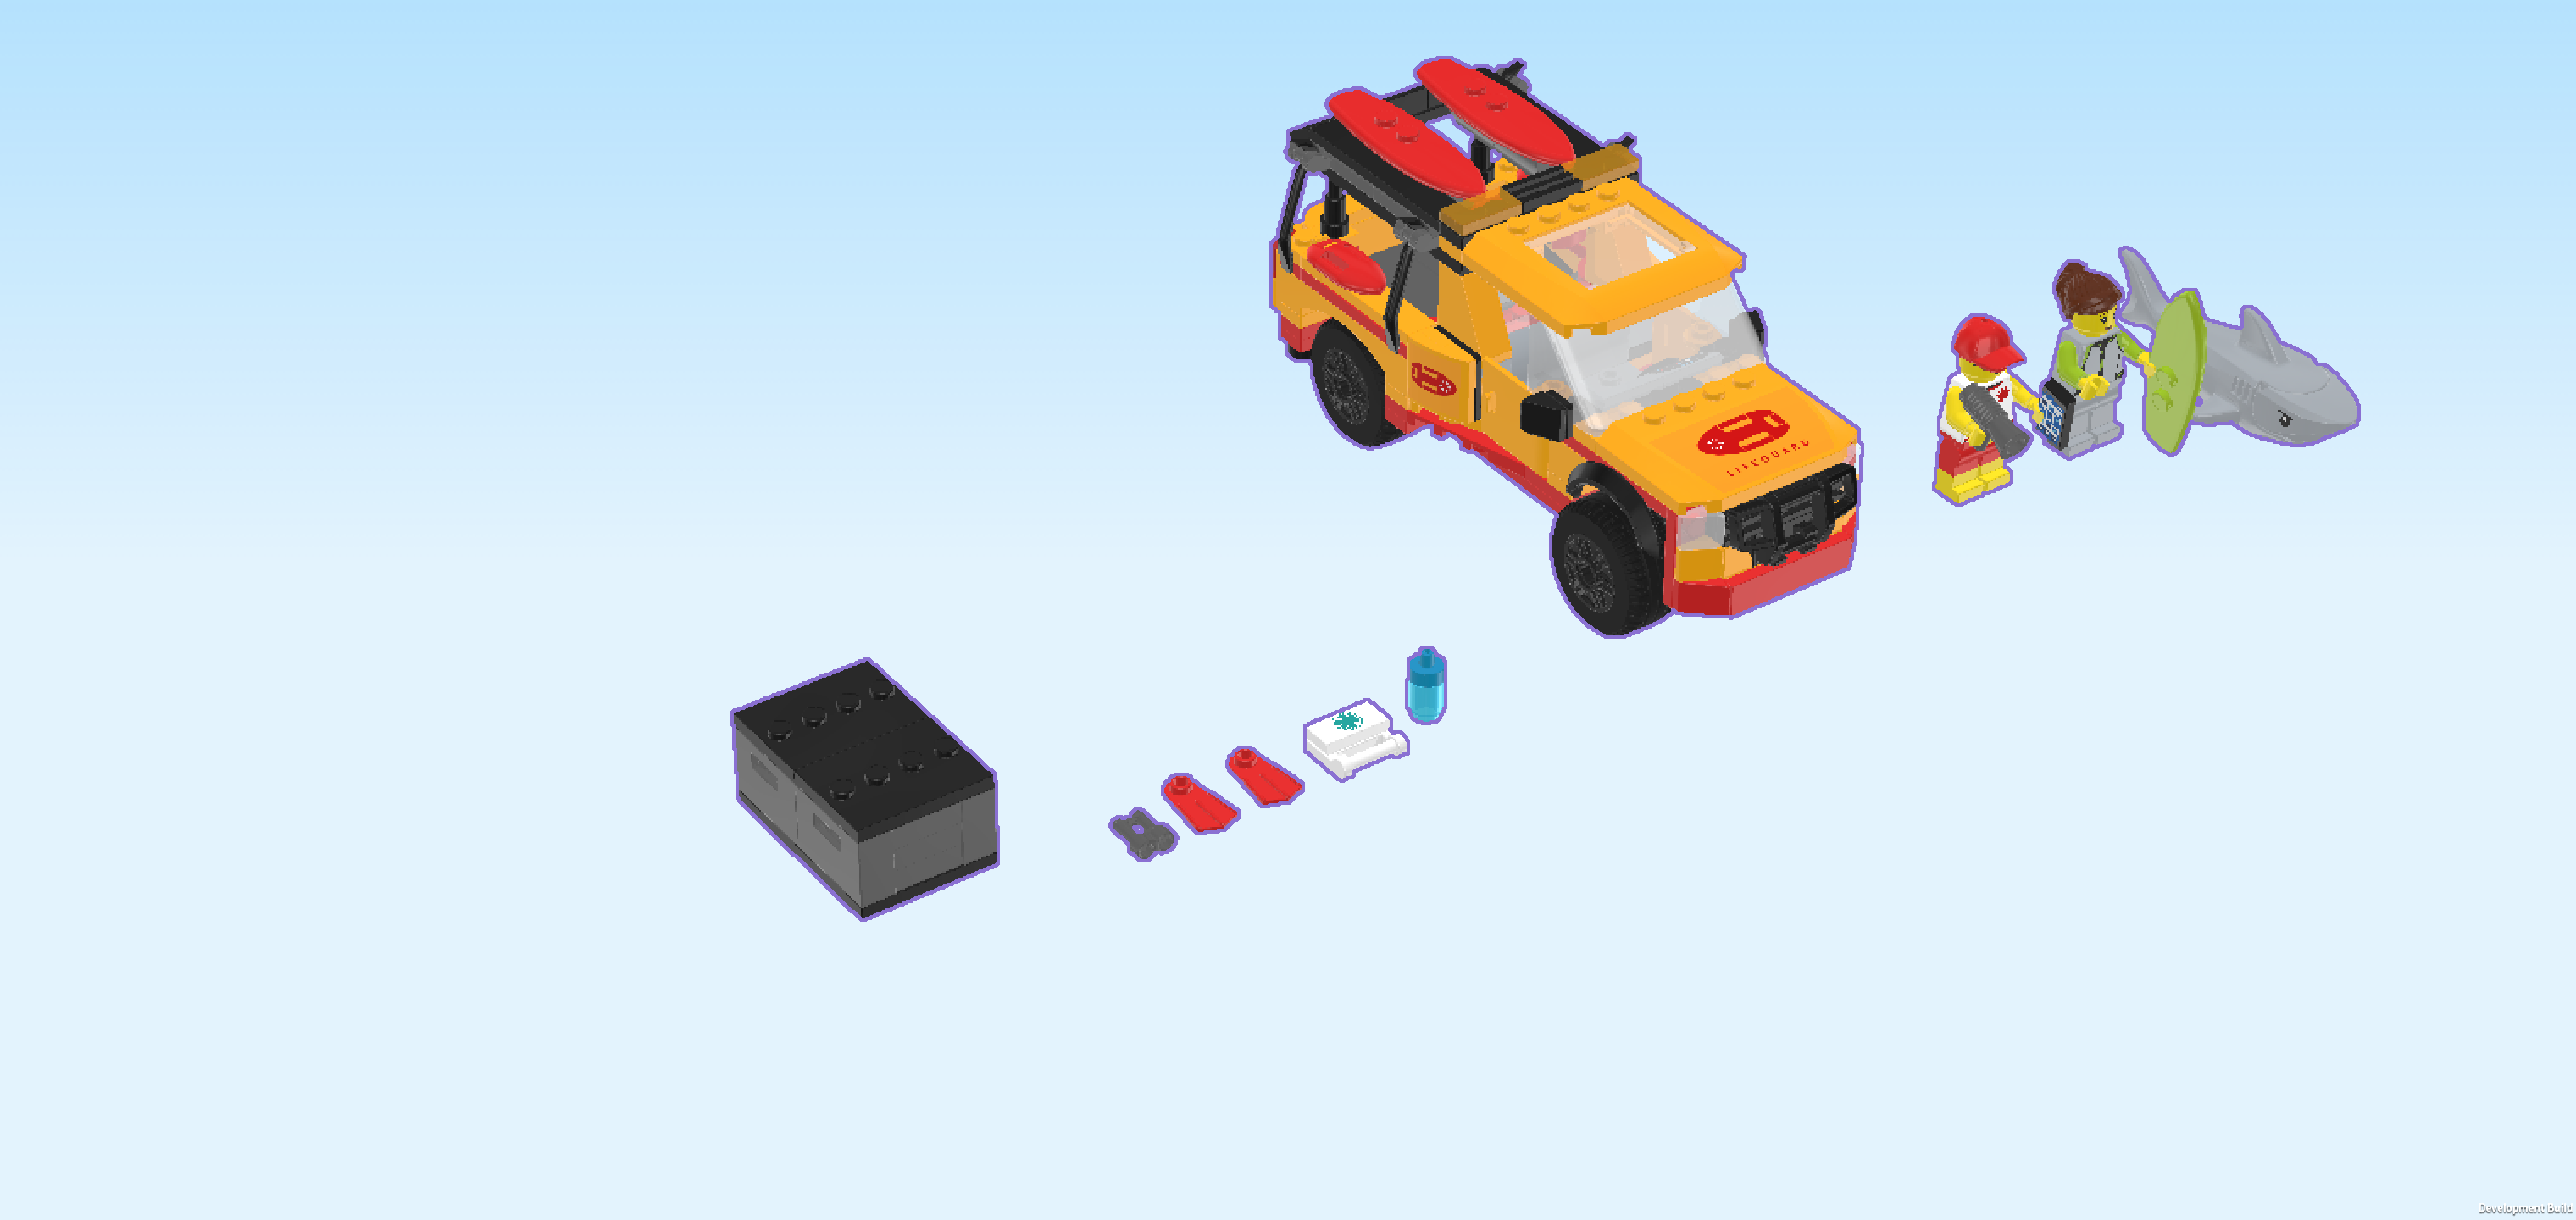
Join the lifeguard aboard a beach rescue truck. This cool vehicle is packed with essential emergency gear, including a first aid kit, binoculars and a megaphone. Open the tailgate, don your flippers, grab a surfboard from the roof rack and brave the waves to rescue a surfer in need. Beware of the lurking shark as you head back to shore! Dive into thrilling beach rescue missions with LEGO City.
The box cover shows a thrilling scene at the LEGO City beach. What seems like a rather quiet day judging from the tame clouds on the early evening sky is actually quite a windy business: the waves are perfect for some class A surfing stunts! Of course, the surfer is amid the wild sea, currently floating in mid air on her surfboard! But what makes this scene thrilling is the fact that right this moment, a shark has appeared on the wavy water surface! You can see the shock on the surfer's face as she is trying to figure out what to do in the middle of her stunt. But not to worry: the lifeguard has already rushed to the scene with his beach rescue truck, a sturdy all-terrain vehicle in yellow, black and red that is now parked on the beige sand of the beach directly in front of the water. The lifeguard is hastily running towards his surfboard which is sticking in the sand not far from the dangerous scene. Life buoy in hand, he is ready to rescue the surfer in need and make sure no one gets hurt. Never a dull moment on the beach! But now, let's start building!
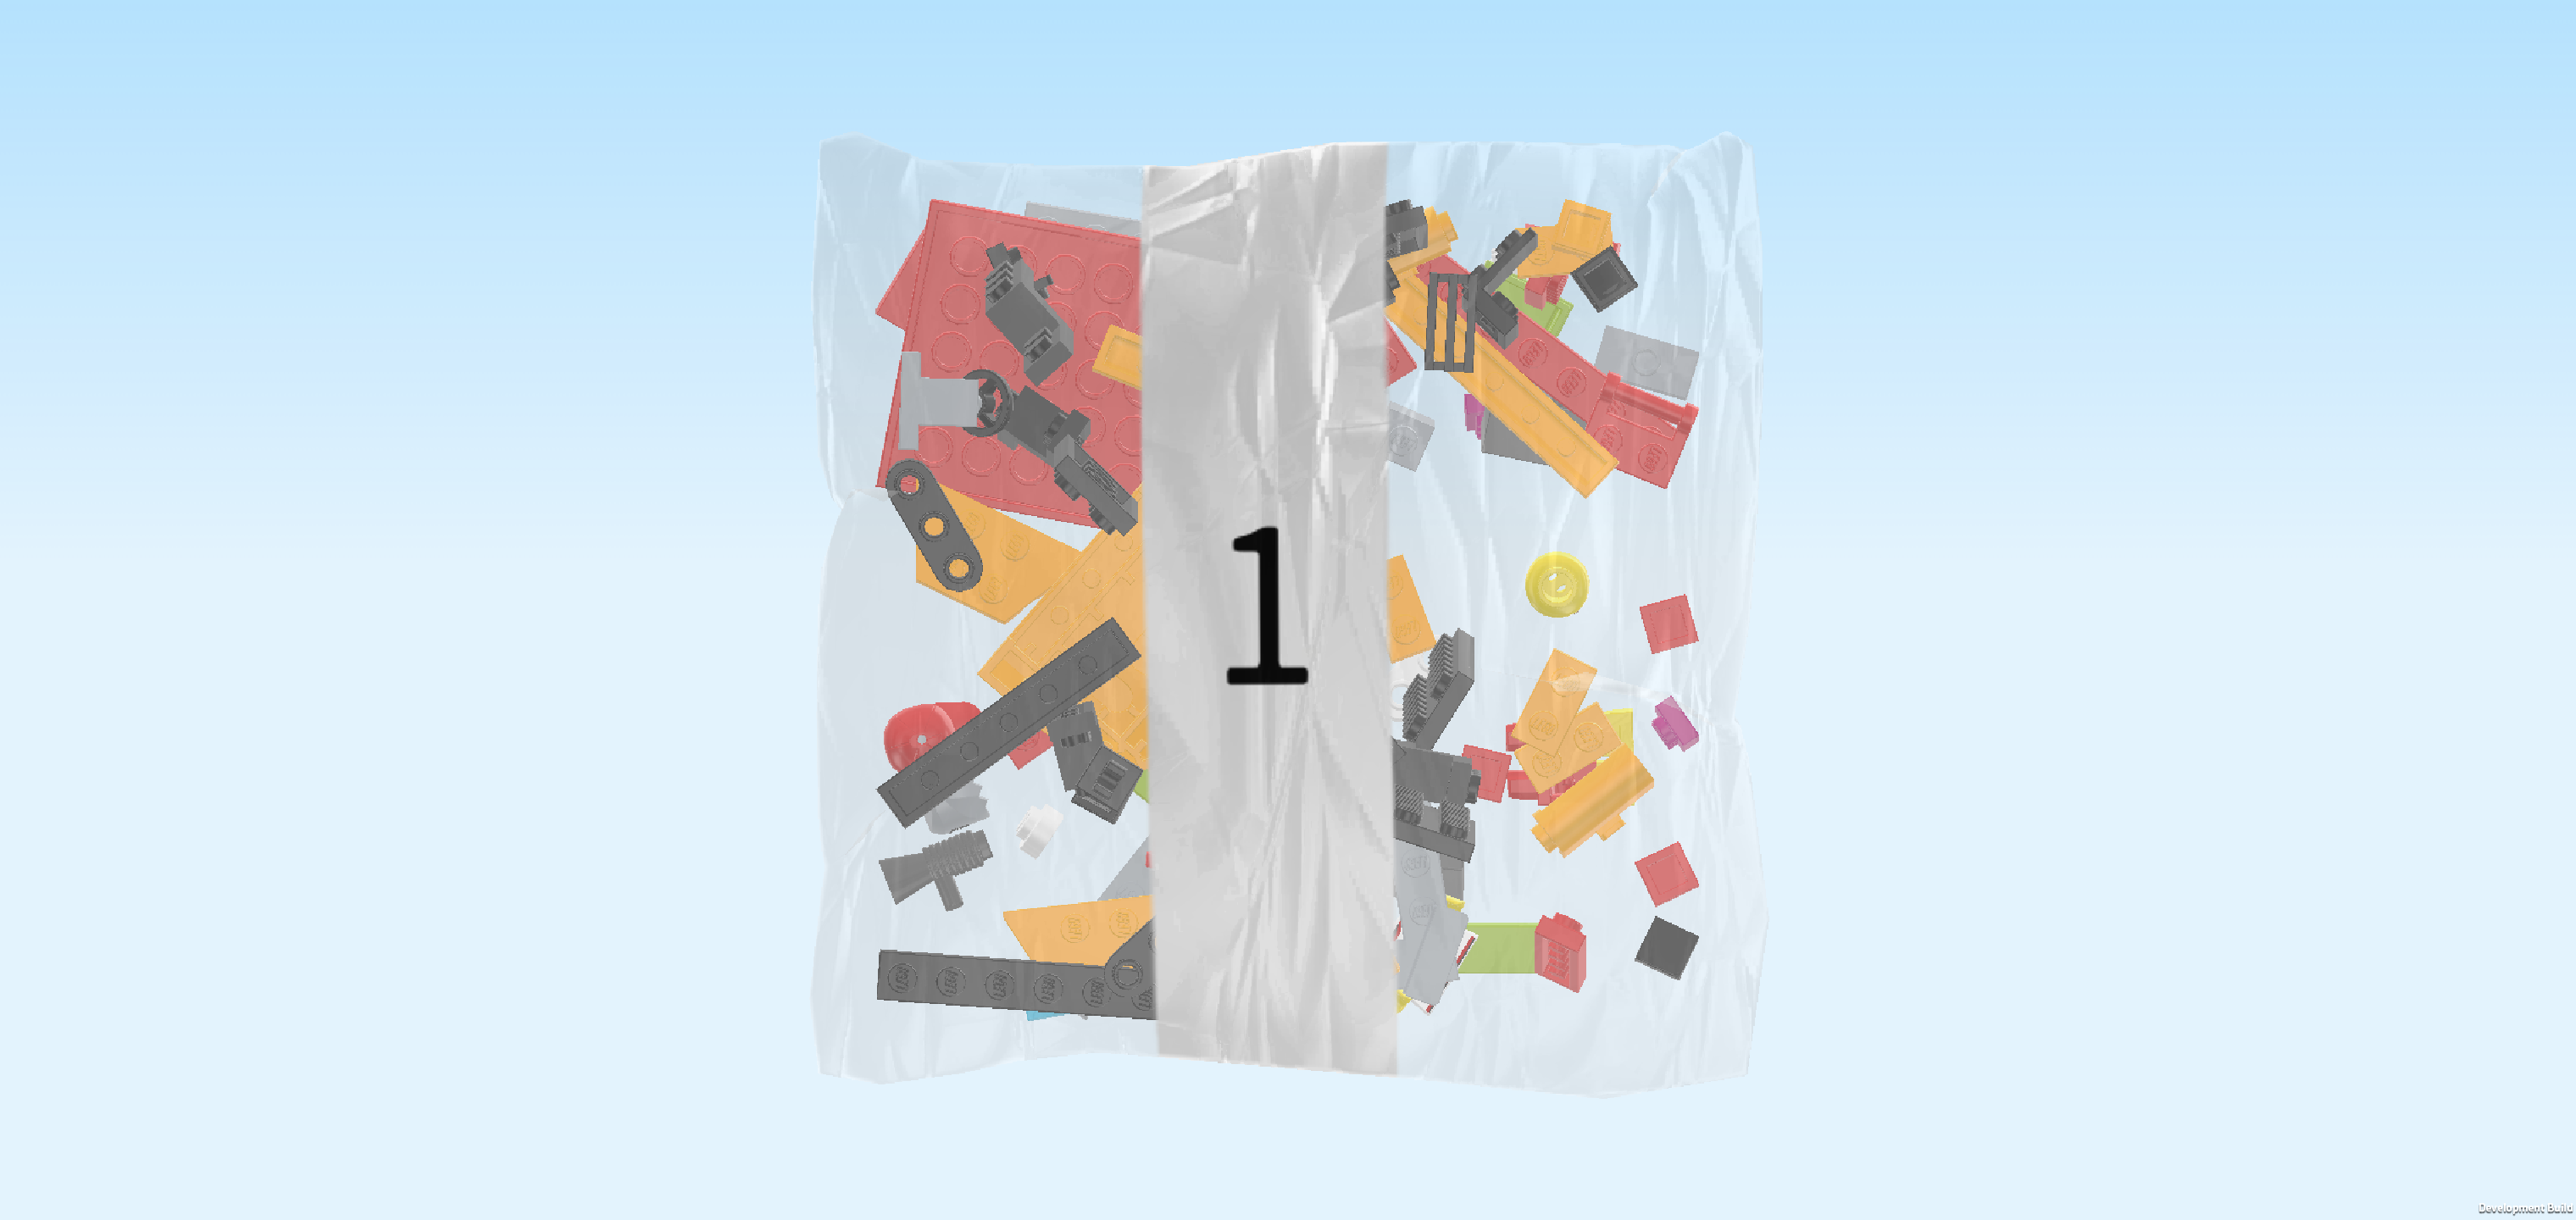
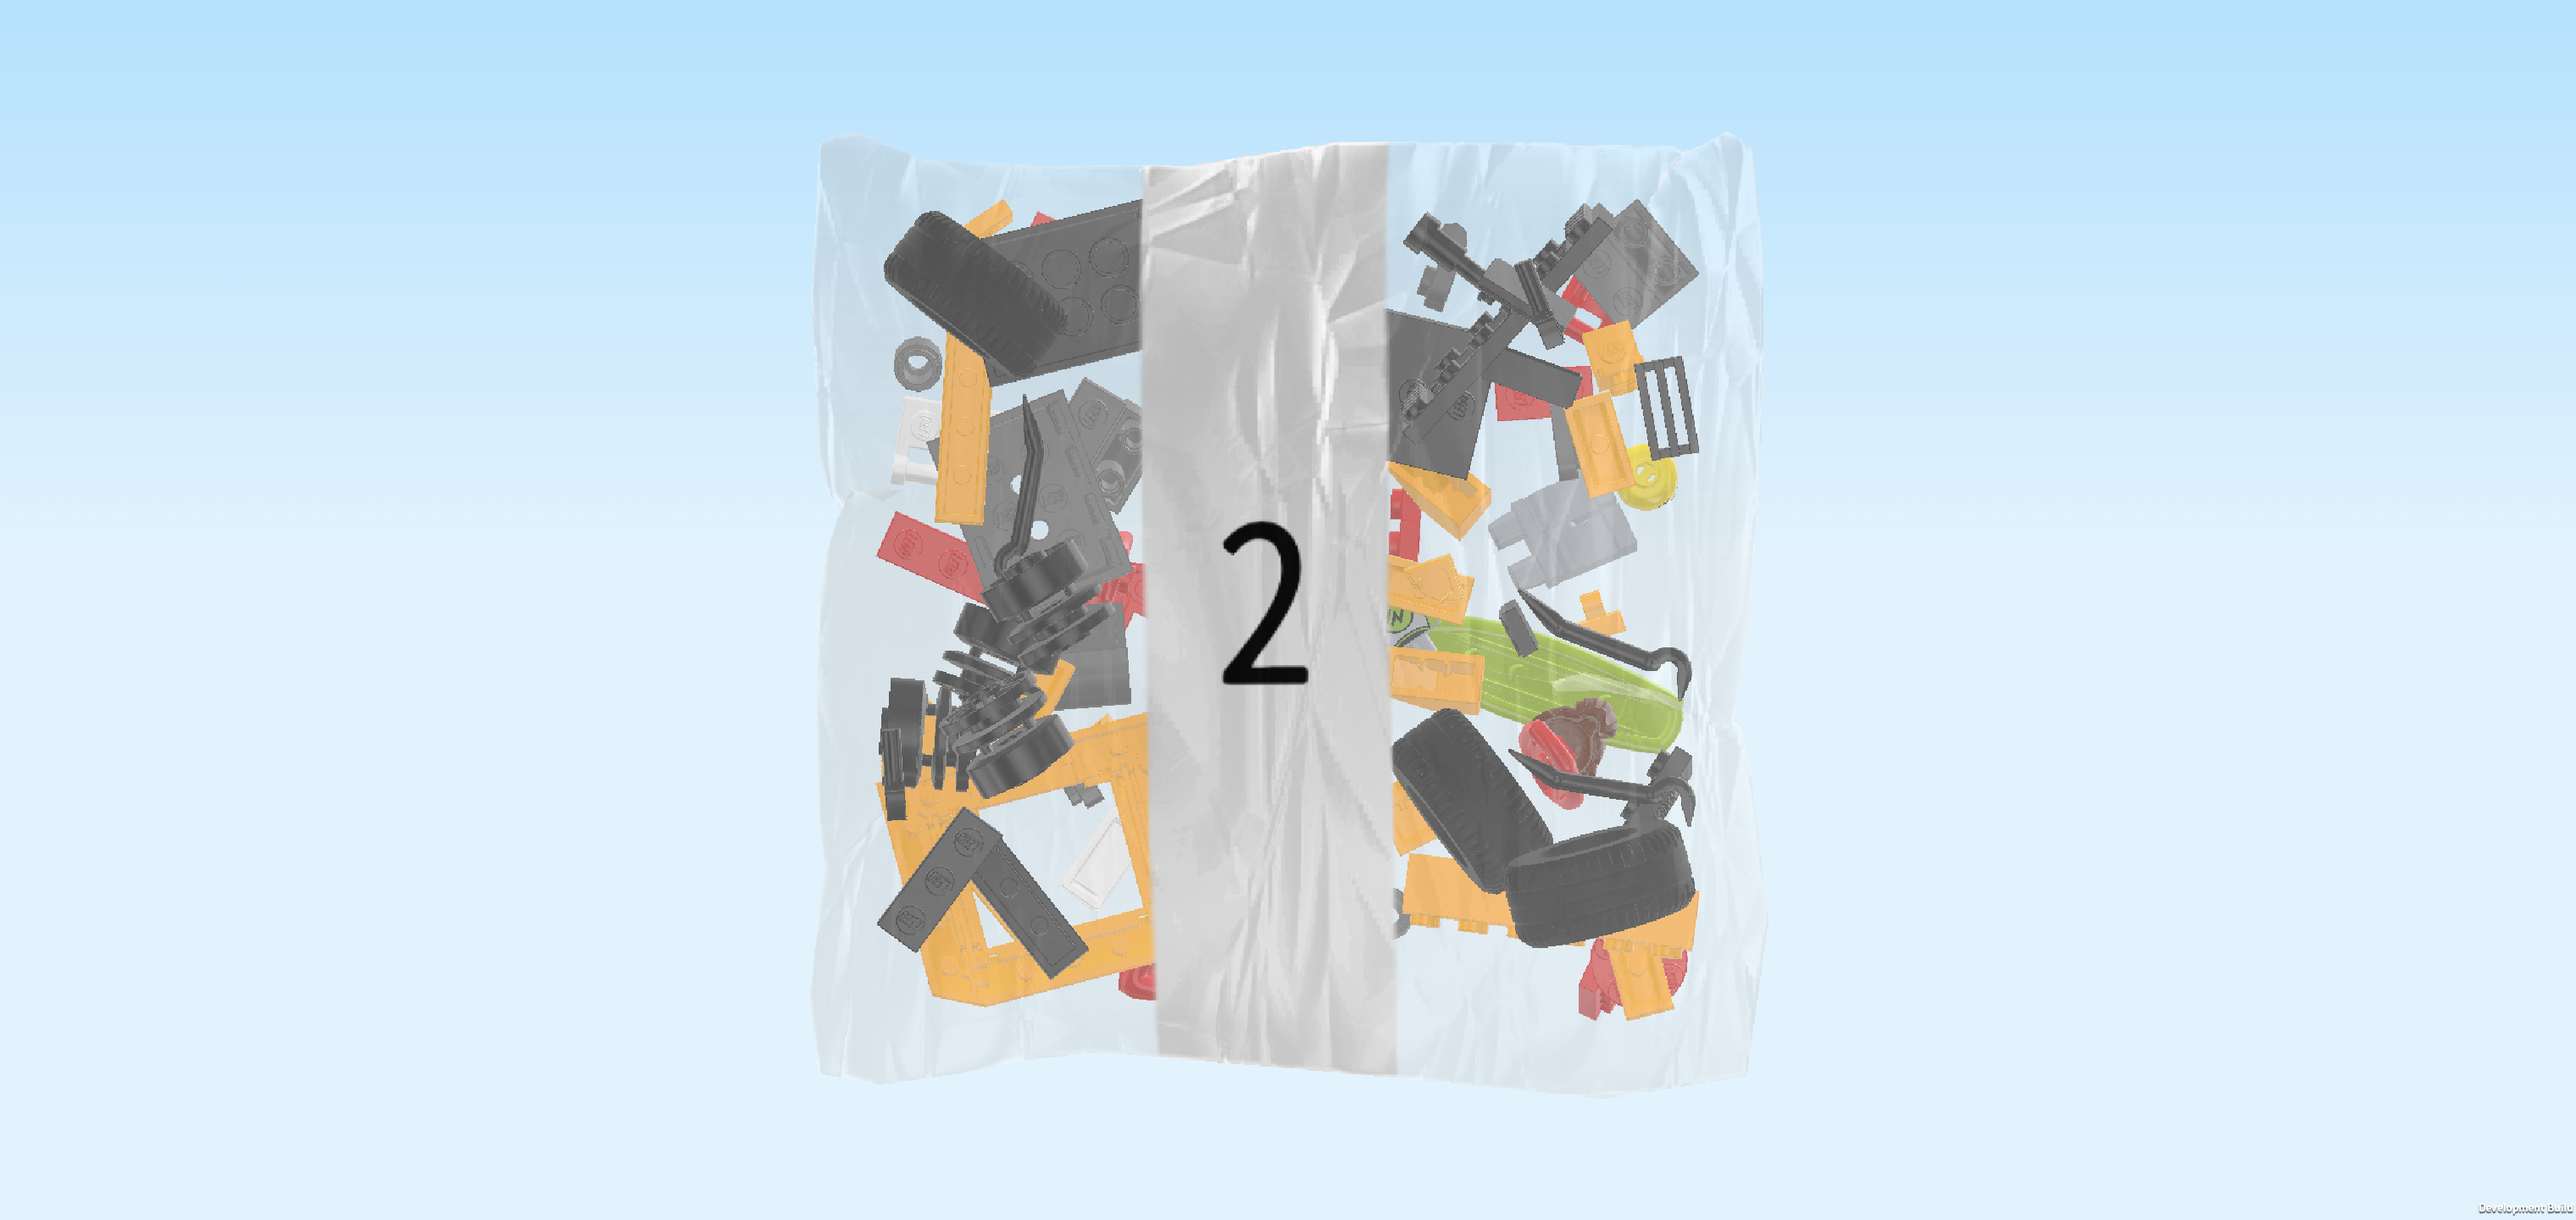
Open the box. It contains 1 booklet with visual building instructions, 2 numbered bags and 1 sheet with 4 stickers. We will refer to the bag numbers to guide you through the building process. Please ask a sighted person to help you identify the correct bags!
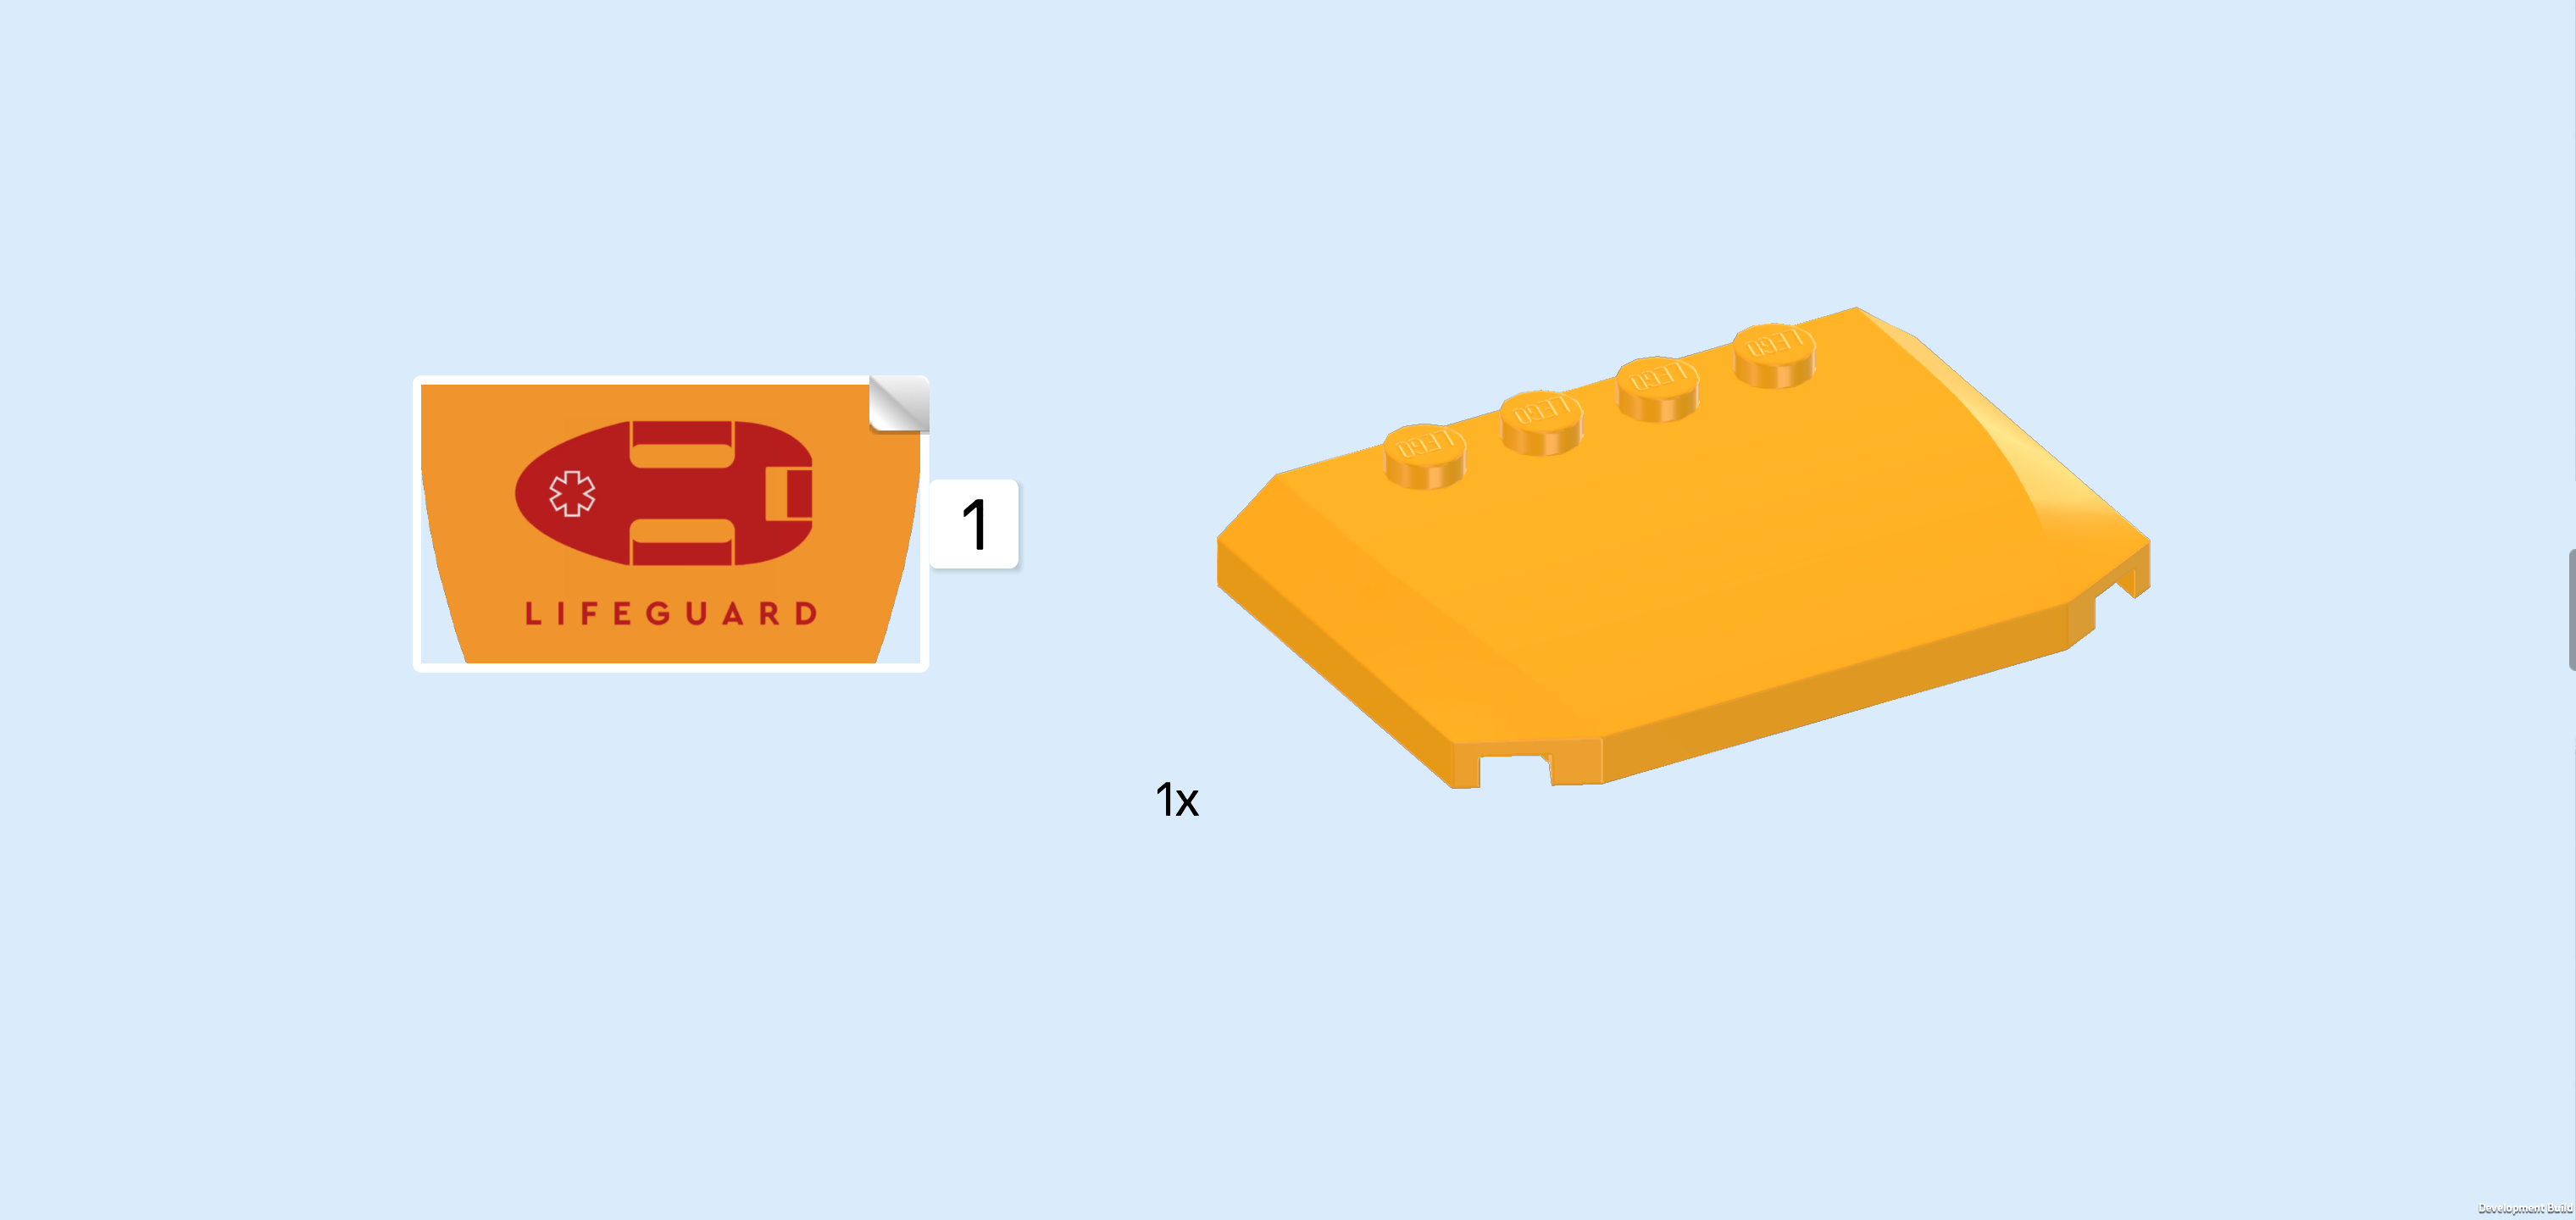
If you would like to attach the stickers of this set yourself, these are your options: since 2 of the 4 stickers included in this set are identical, and the other 2 stickers have unique shapes, you might be able to differentiate the stickers by feeling their outlines and therefore identify them yourself. Alternatively, you can ask a sighted person to orientate the sticker sheet such that the bold red line is on the left edge. Then the largest sticker, which is sticker number 1, is at the back edge (this is the edge furthest away from you). We will refer to both the shape and the location of the sticker on the sticker sheet during the building process. However, of course you can also decide to skip the stickers in the building process for now or ask a sighted person to attach them if you like.