| LEGO Audio & Braille Building Instructions for the LEGO City set "Lifeguard Beach Rescue Truck". |
| If you would like to access the help menu to find out how to use and navigate these instructions, tap with two fingers or press key "H". |
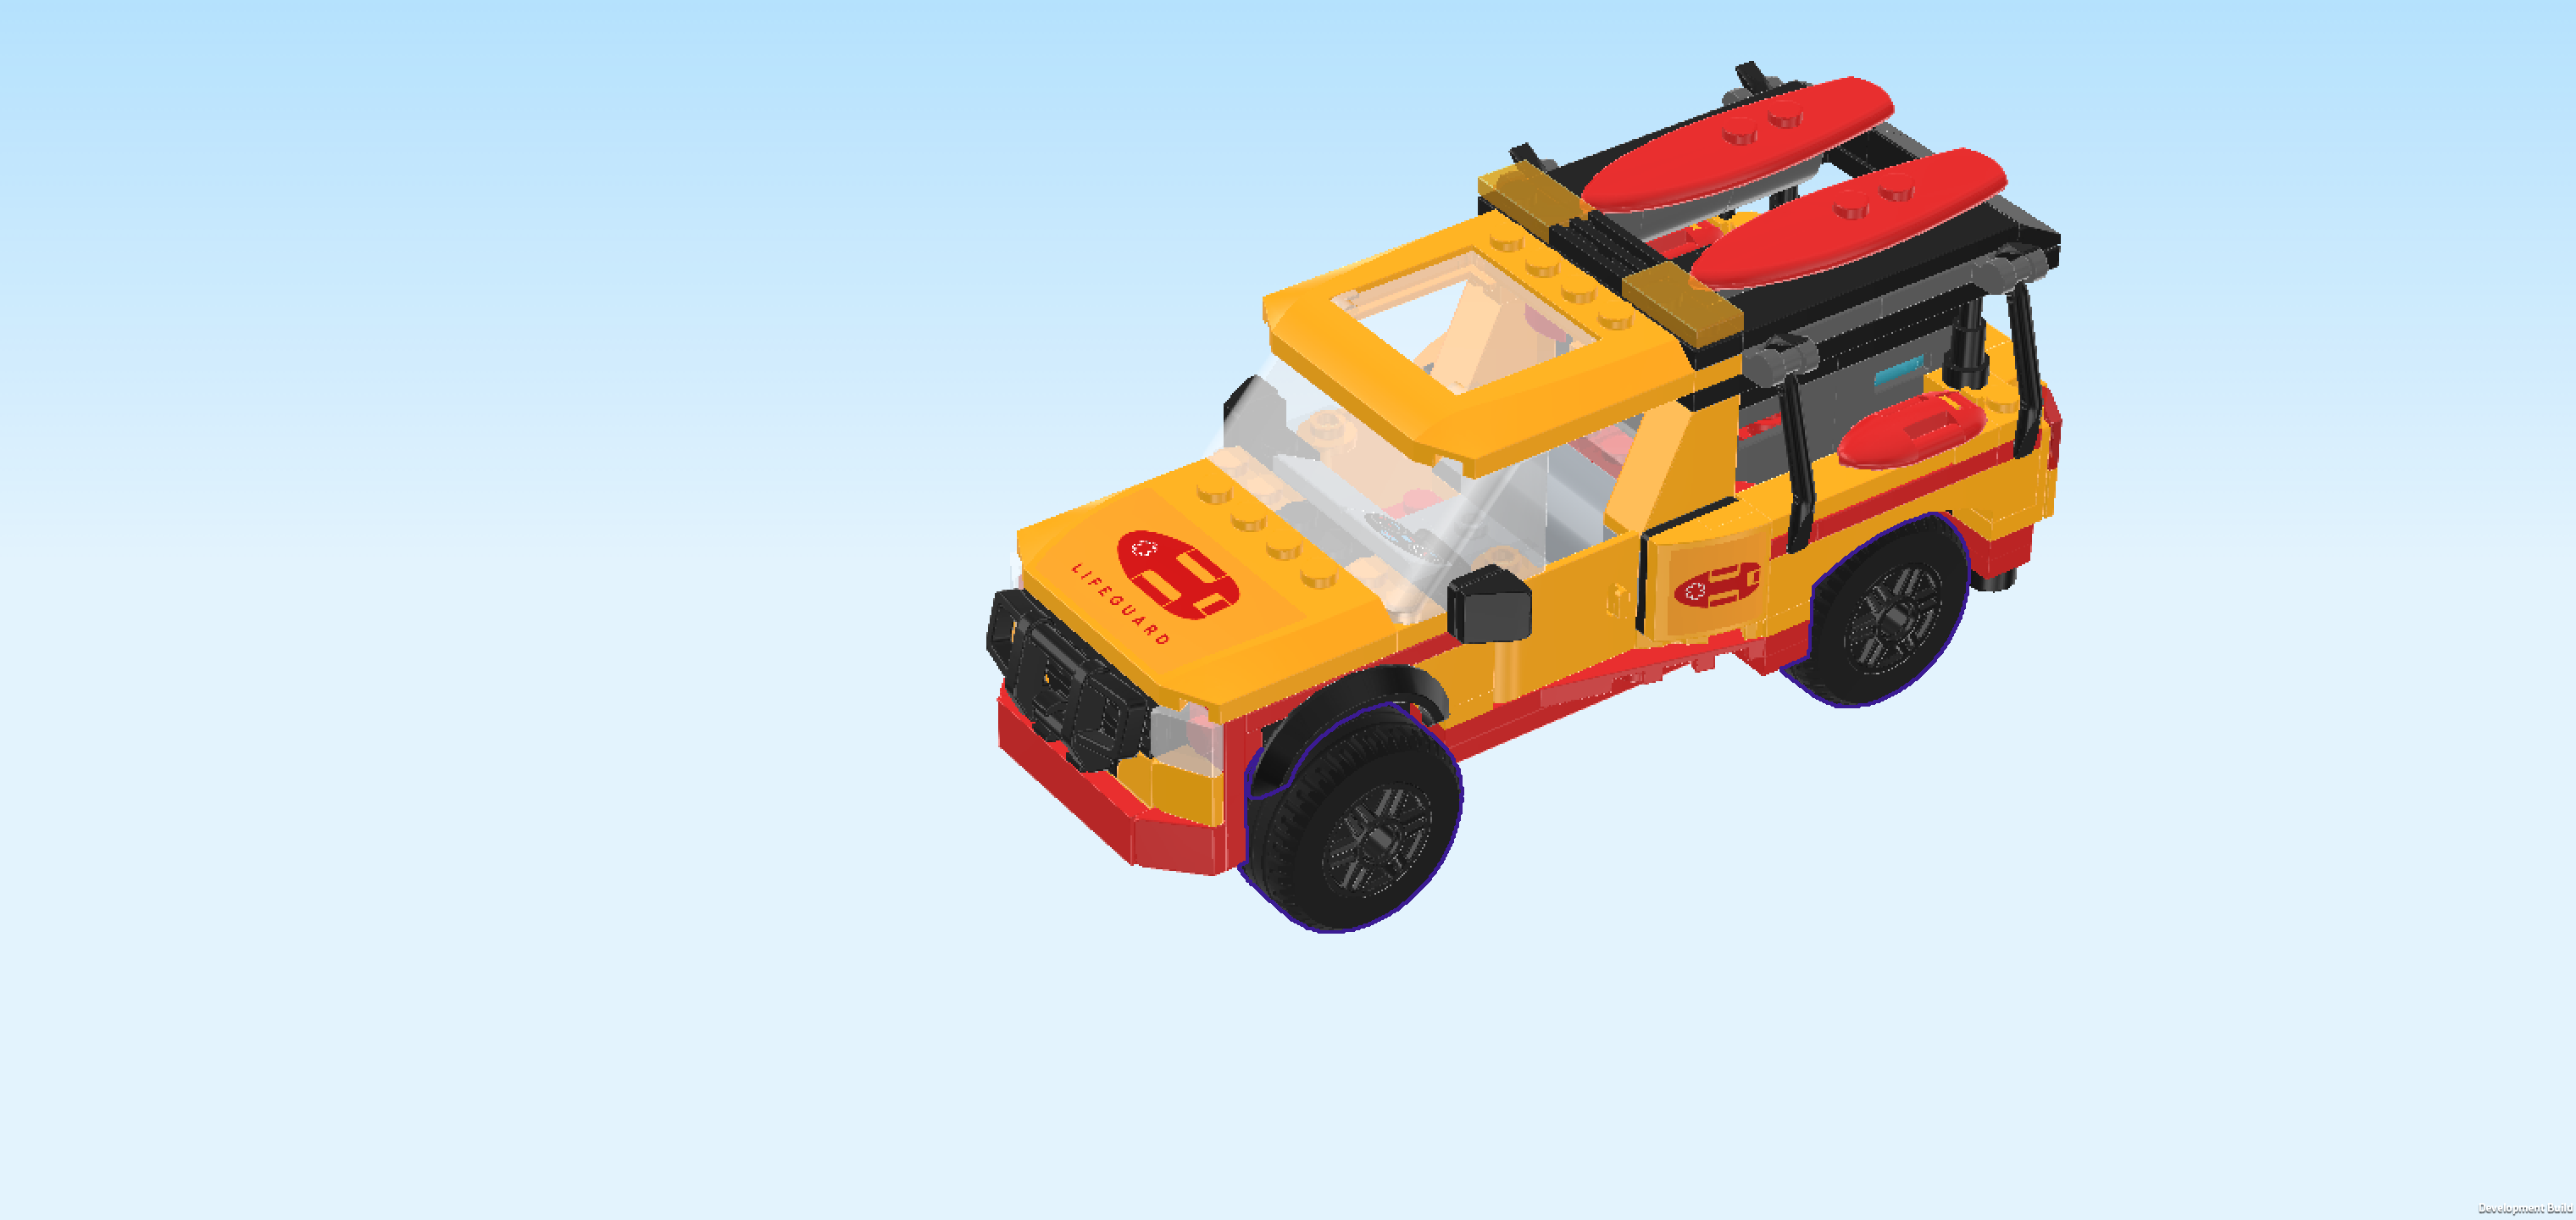
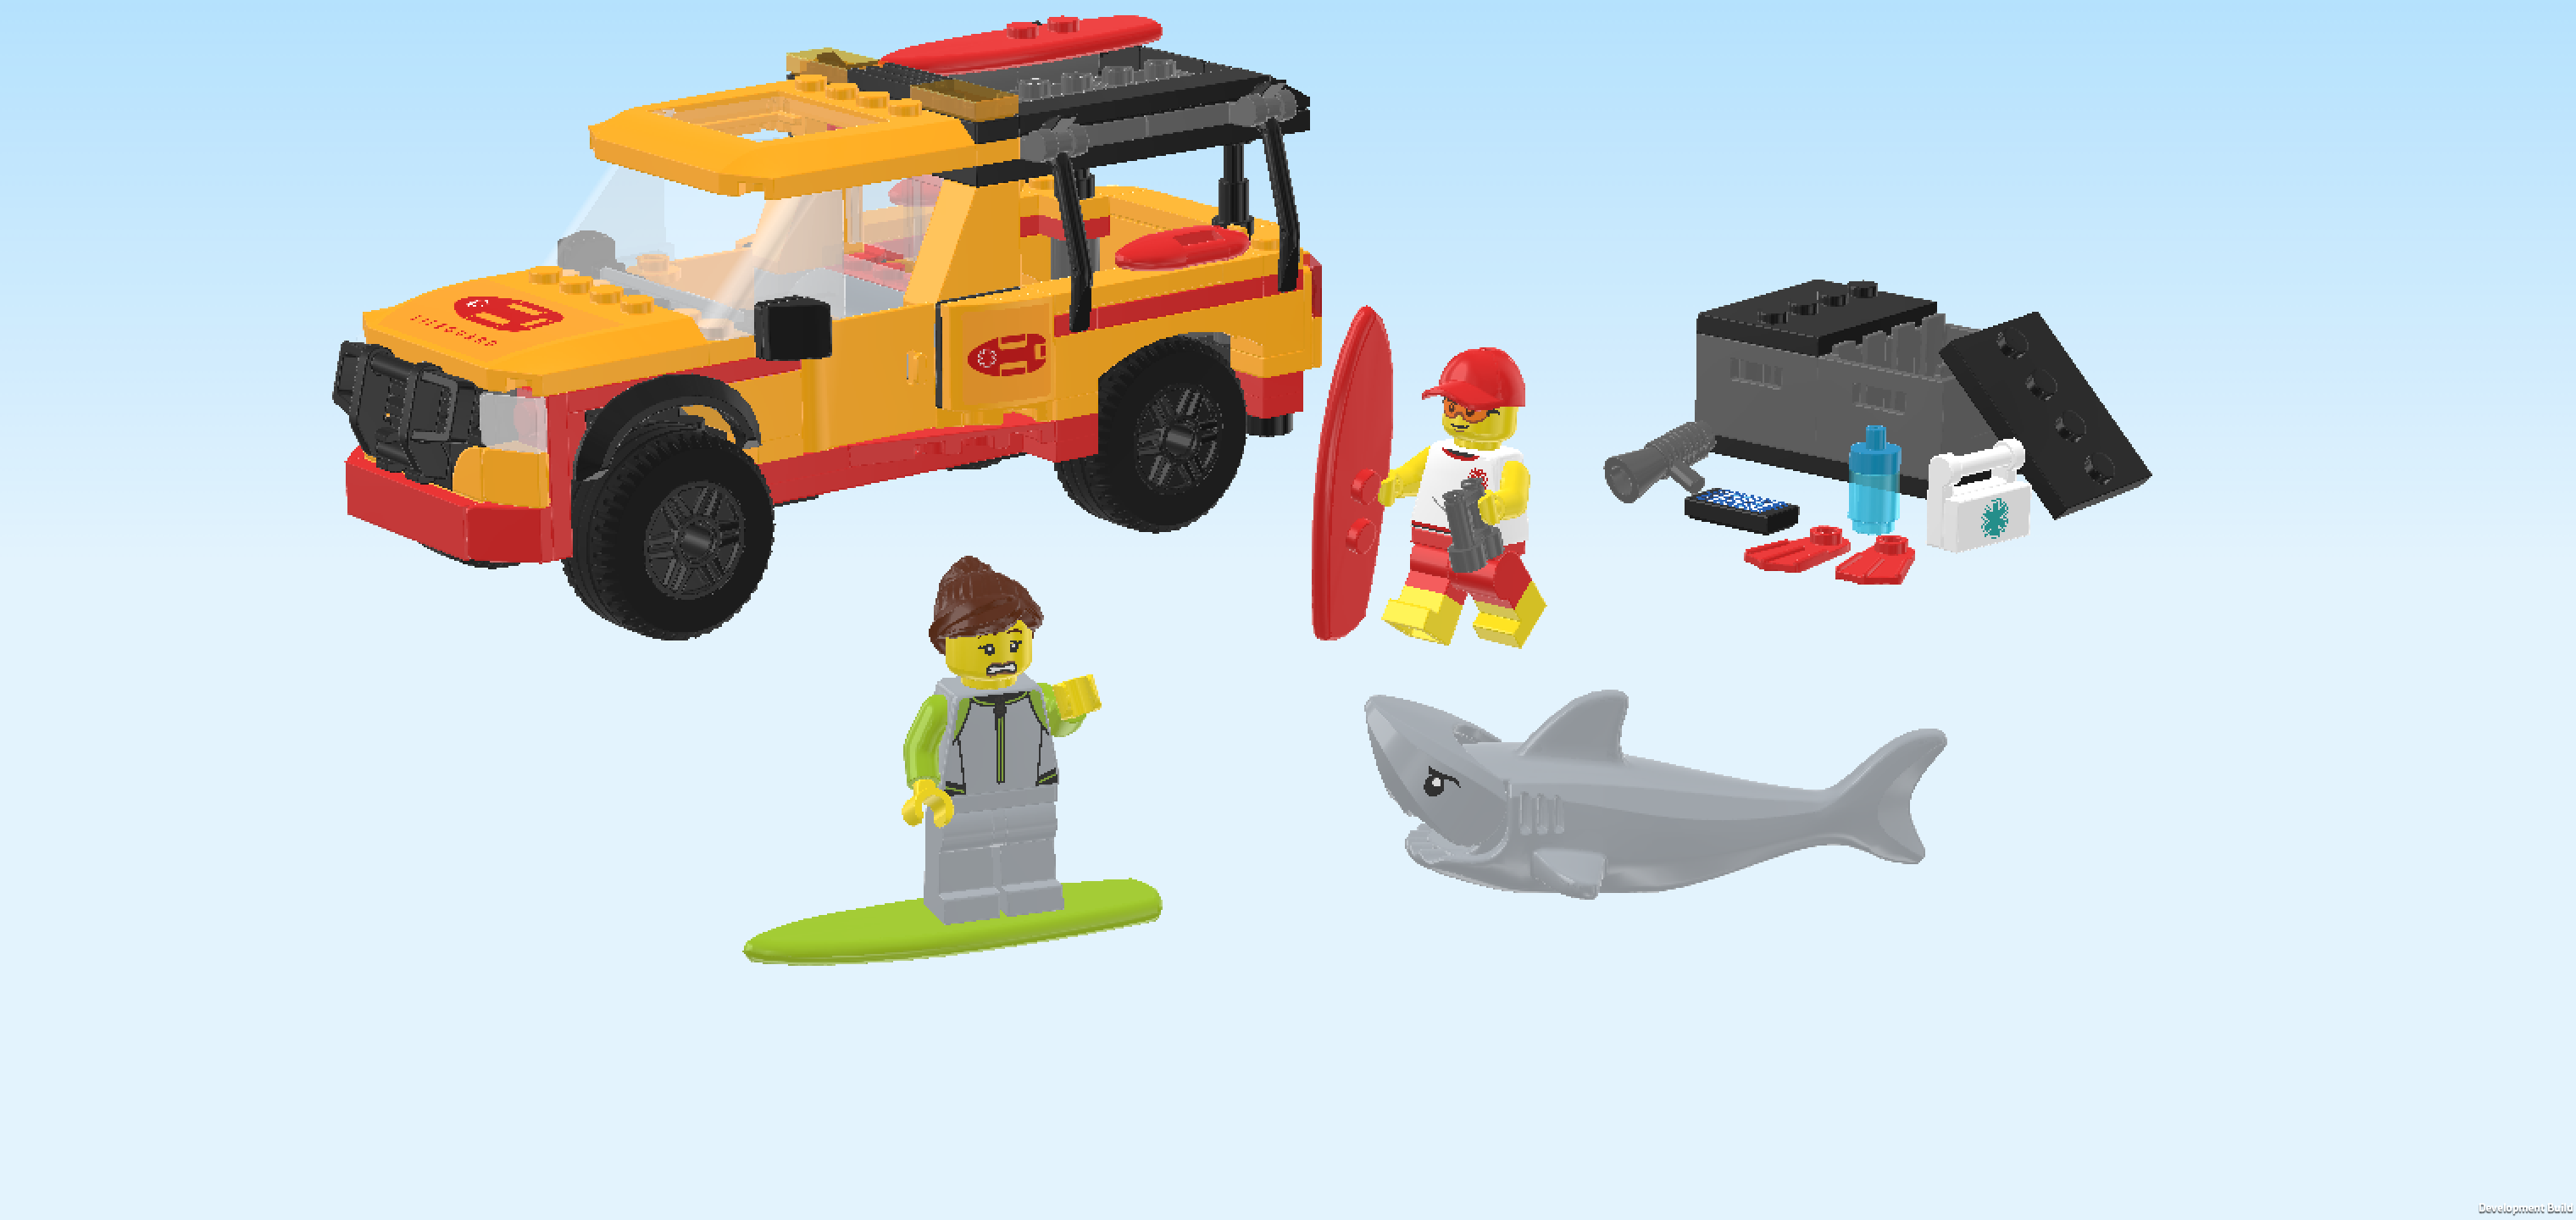
| Join the lifeguard aboard a beach rescue truck. This cool vehicle is packed with essential emergency gear, including a first aid kit, binoculars and a megaphone. Open the tailgate, don your flippers, grab a surfboard from the roof rack and brave the waves to rescue a surfer in need. Beware of the lurking shark as you head back to shore! Dive into thrilling beach rescue missions with LEGO City. |
| The box cover shows a thrilling scene at the LEGO City beach. What seems like a rather quiet day judging from the tame clouds on the early evening sky is actually quite a windy business: the waves are perfect for some class A surfing stunts! Of course, the surfer is amid the wild sea, currently floating in mid air on her surfboard! But what makes this scene thrilling is the fact that right this moment, a shark has appeared on the wavy water surface! You can see the shock on the surfer's face as she is trying to figure out what to do in the middle of her stunt. But not to worry: the lifeguard has already rushed to the scene with his beach rescue truck, a sturdy all-terrain vehicle in yellow, black and red that is now parked on the beige sand of the beach directly in front of the water. The lifeguard is hastily running towards his surfboard which is sticking in the sand not far from the dangerous scene. Life buoy in hand, he is ready to rescue the surfer in need and make sure no one gets hurt. Never a dull moment on the beach! But now, let's start building! |
| Open the box. It contains 1 booklet with visual building instructions, 2 numbered bags and 1 sheet with 4 stickers. We will refer to the bag numbers to guide you through the building process. Please ask a sighted person to help you identify the correct bags! |
| If you would like to attach the stickers of this set yourself, these are your options: since 2 of the 4 stickers included in this set are identical, and the other 2 stickers have unique shapes, you might be able to differentiate the stickers by feeling their outlines and therefore identify them yourself. Alternatively, you can ask a sighted person to orientate the sticker sheet such that the bold red line is on the left edge. Then the largest sticker, which is sticker number 1, is at the back edge (this is the edge furthest away from you). We will refer to both the shape and the location of the sticker on the sticker sheet during the building process. However, of course you can also decide to skip the stickers in the building process for now or ask a sighted person to attach them if you like. |
| Carefully open bag number 1 and any small sub-bags in it. This bag contains all bricks and pieces for the Lifeguard Minifigure, the Shark, and the Vehicle Underbody with driver's cabin. |
| If you like, you can ask a sighted person to sort the pieces by color before you start building. We recommend using trays or bowls. This can make finding the correct pieces easier! However, if you would like to build without brick colors entirely, you can also ignore them or turn them off. There are different ways to sort and organize the bricks and your building process. It's up to you! |
| First, we will build the Lifeguard Minifigure. |
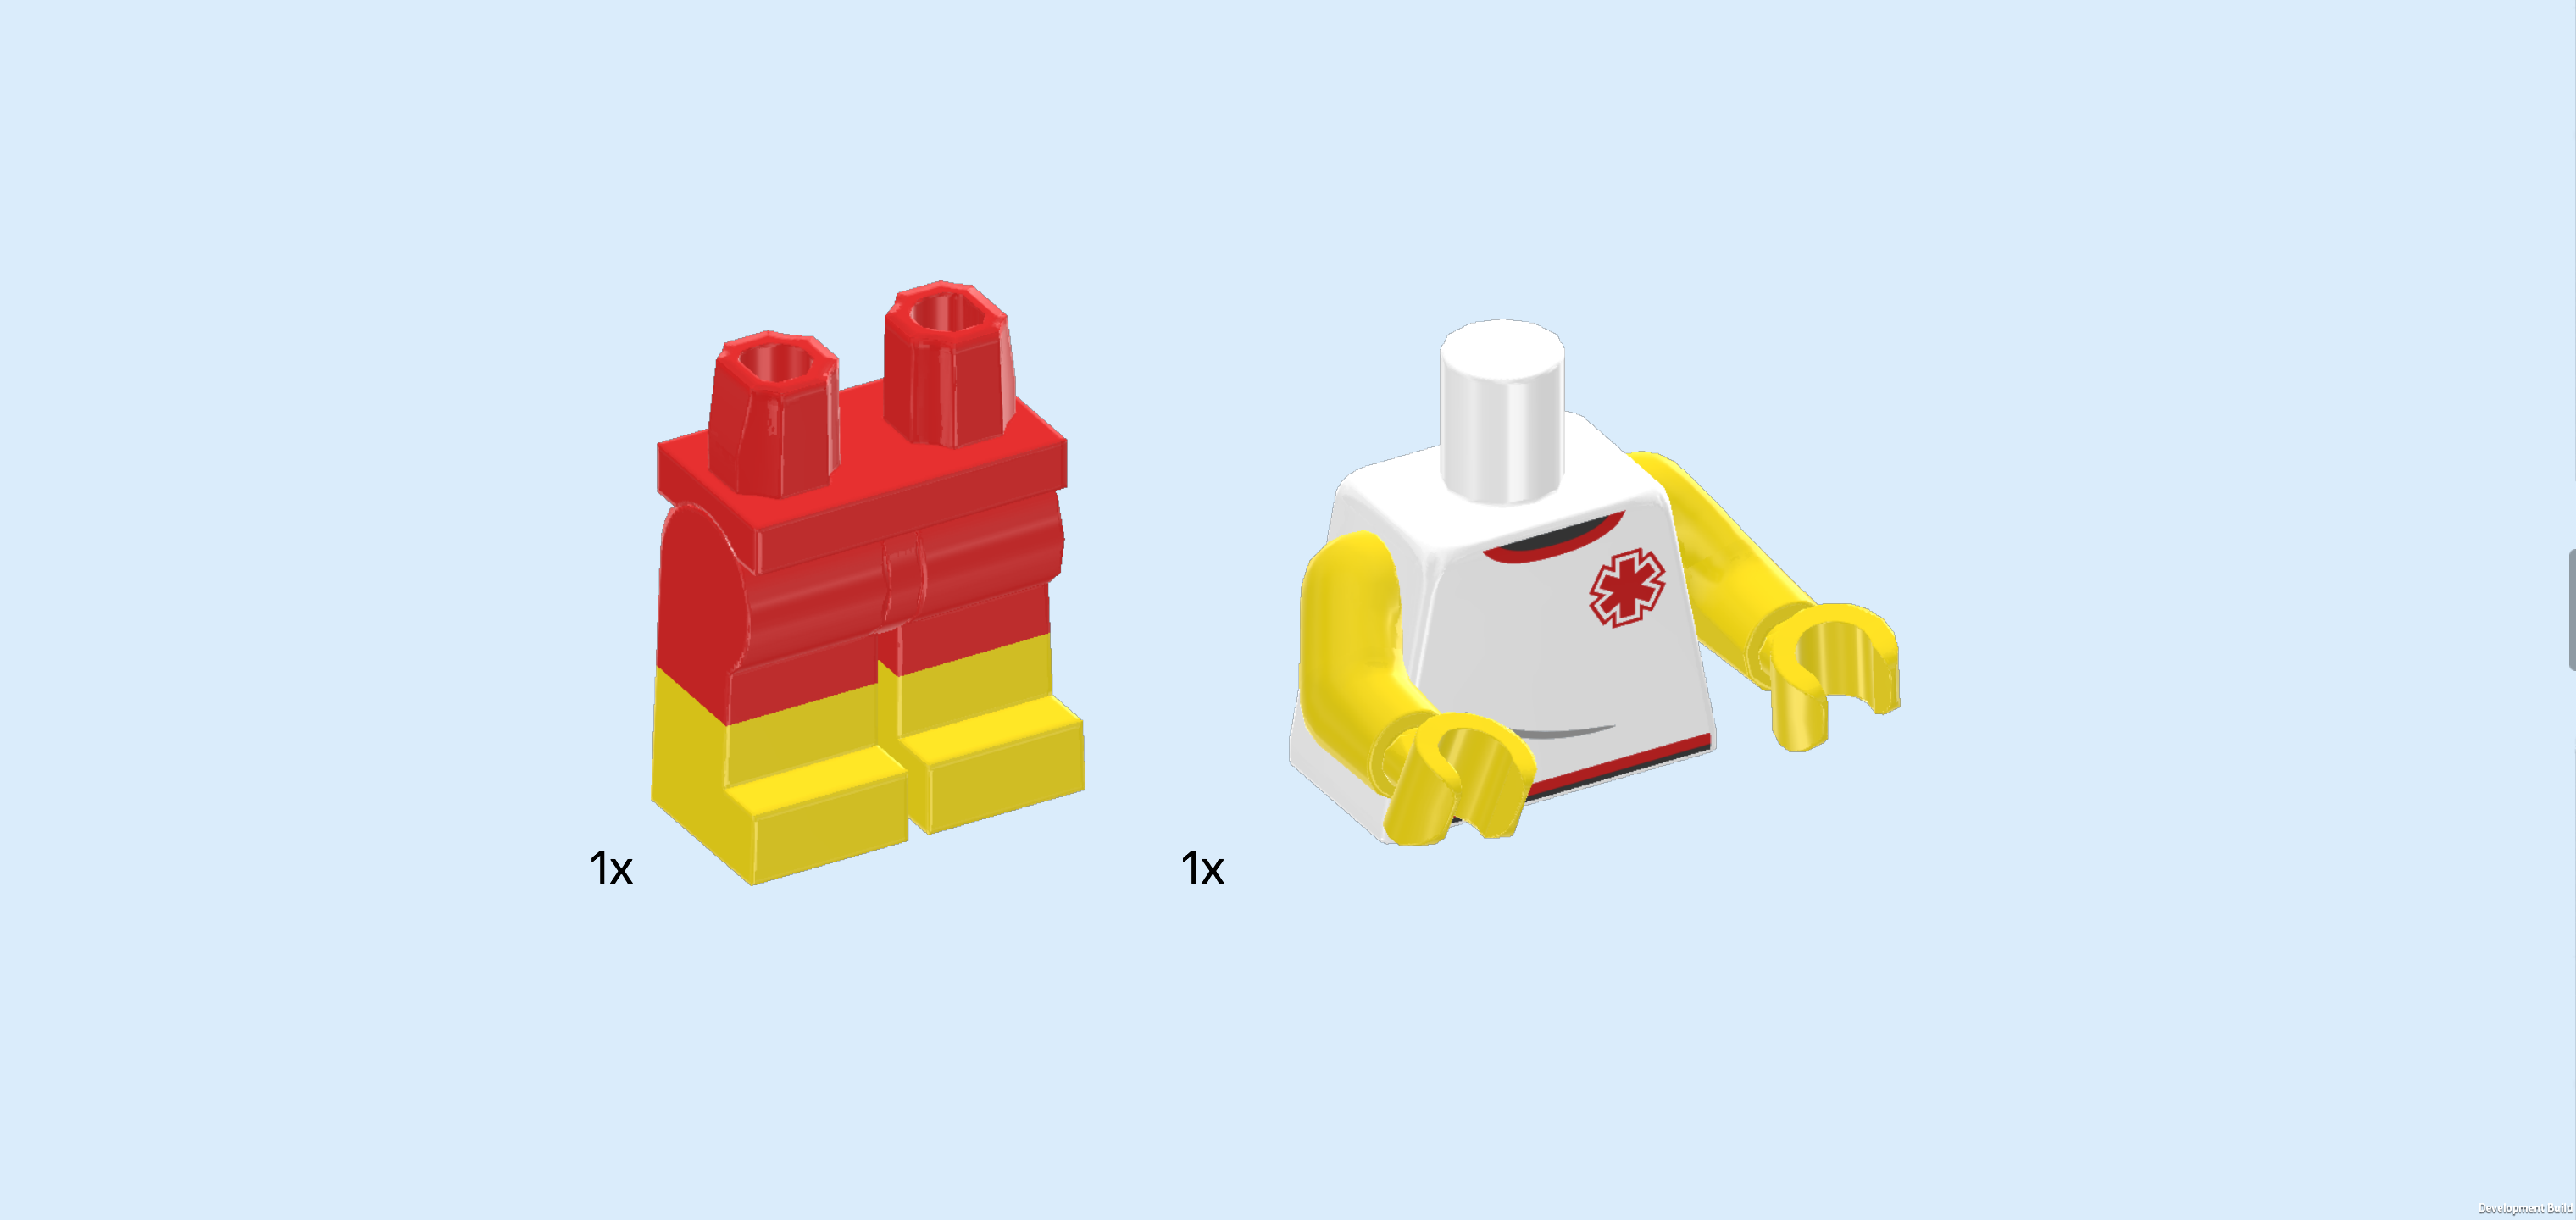
| Collect the following 2 pieces: |
| 1 bright red and bright yellow pair of legs, |
| and 1 white and bright yellow upper part of the body. |
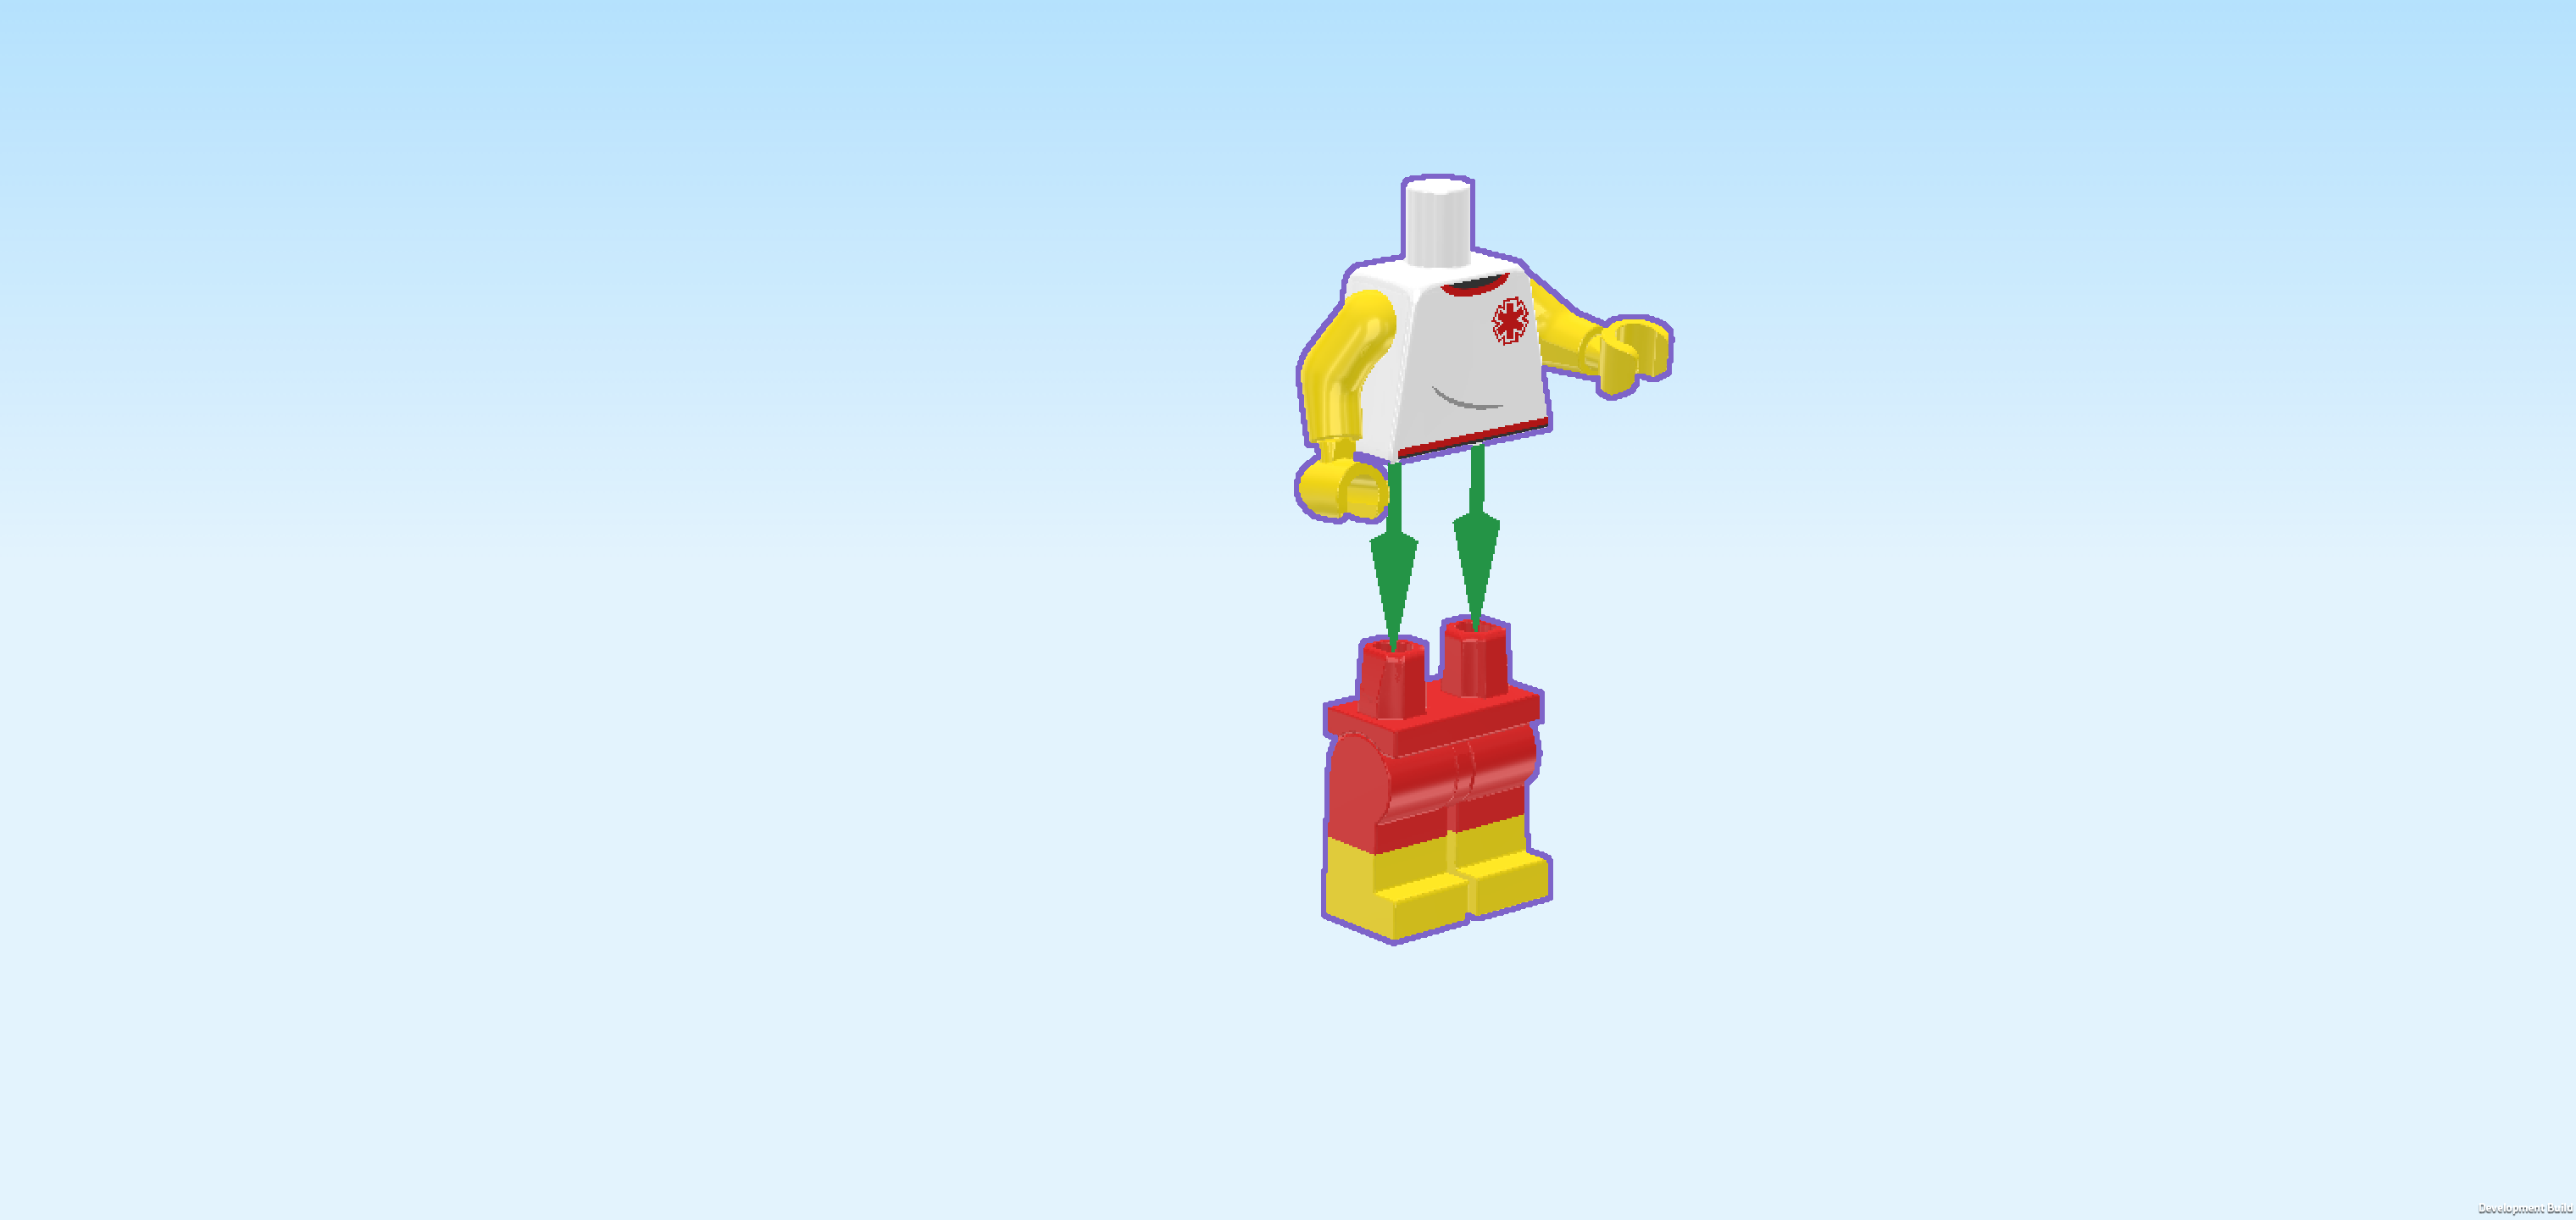
| Put the upper body on the legs. Make sure that the hands and toes are pointing in the same direction. |
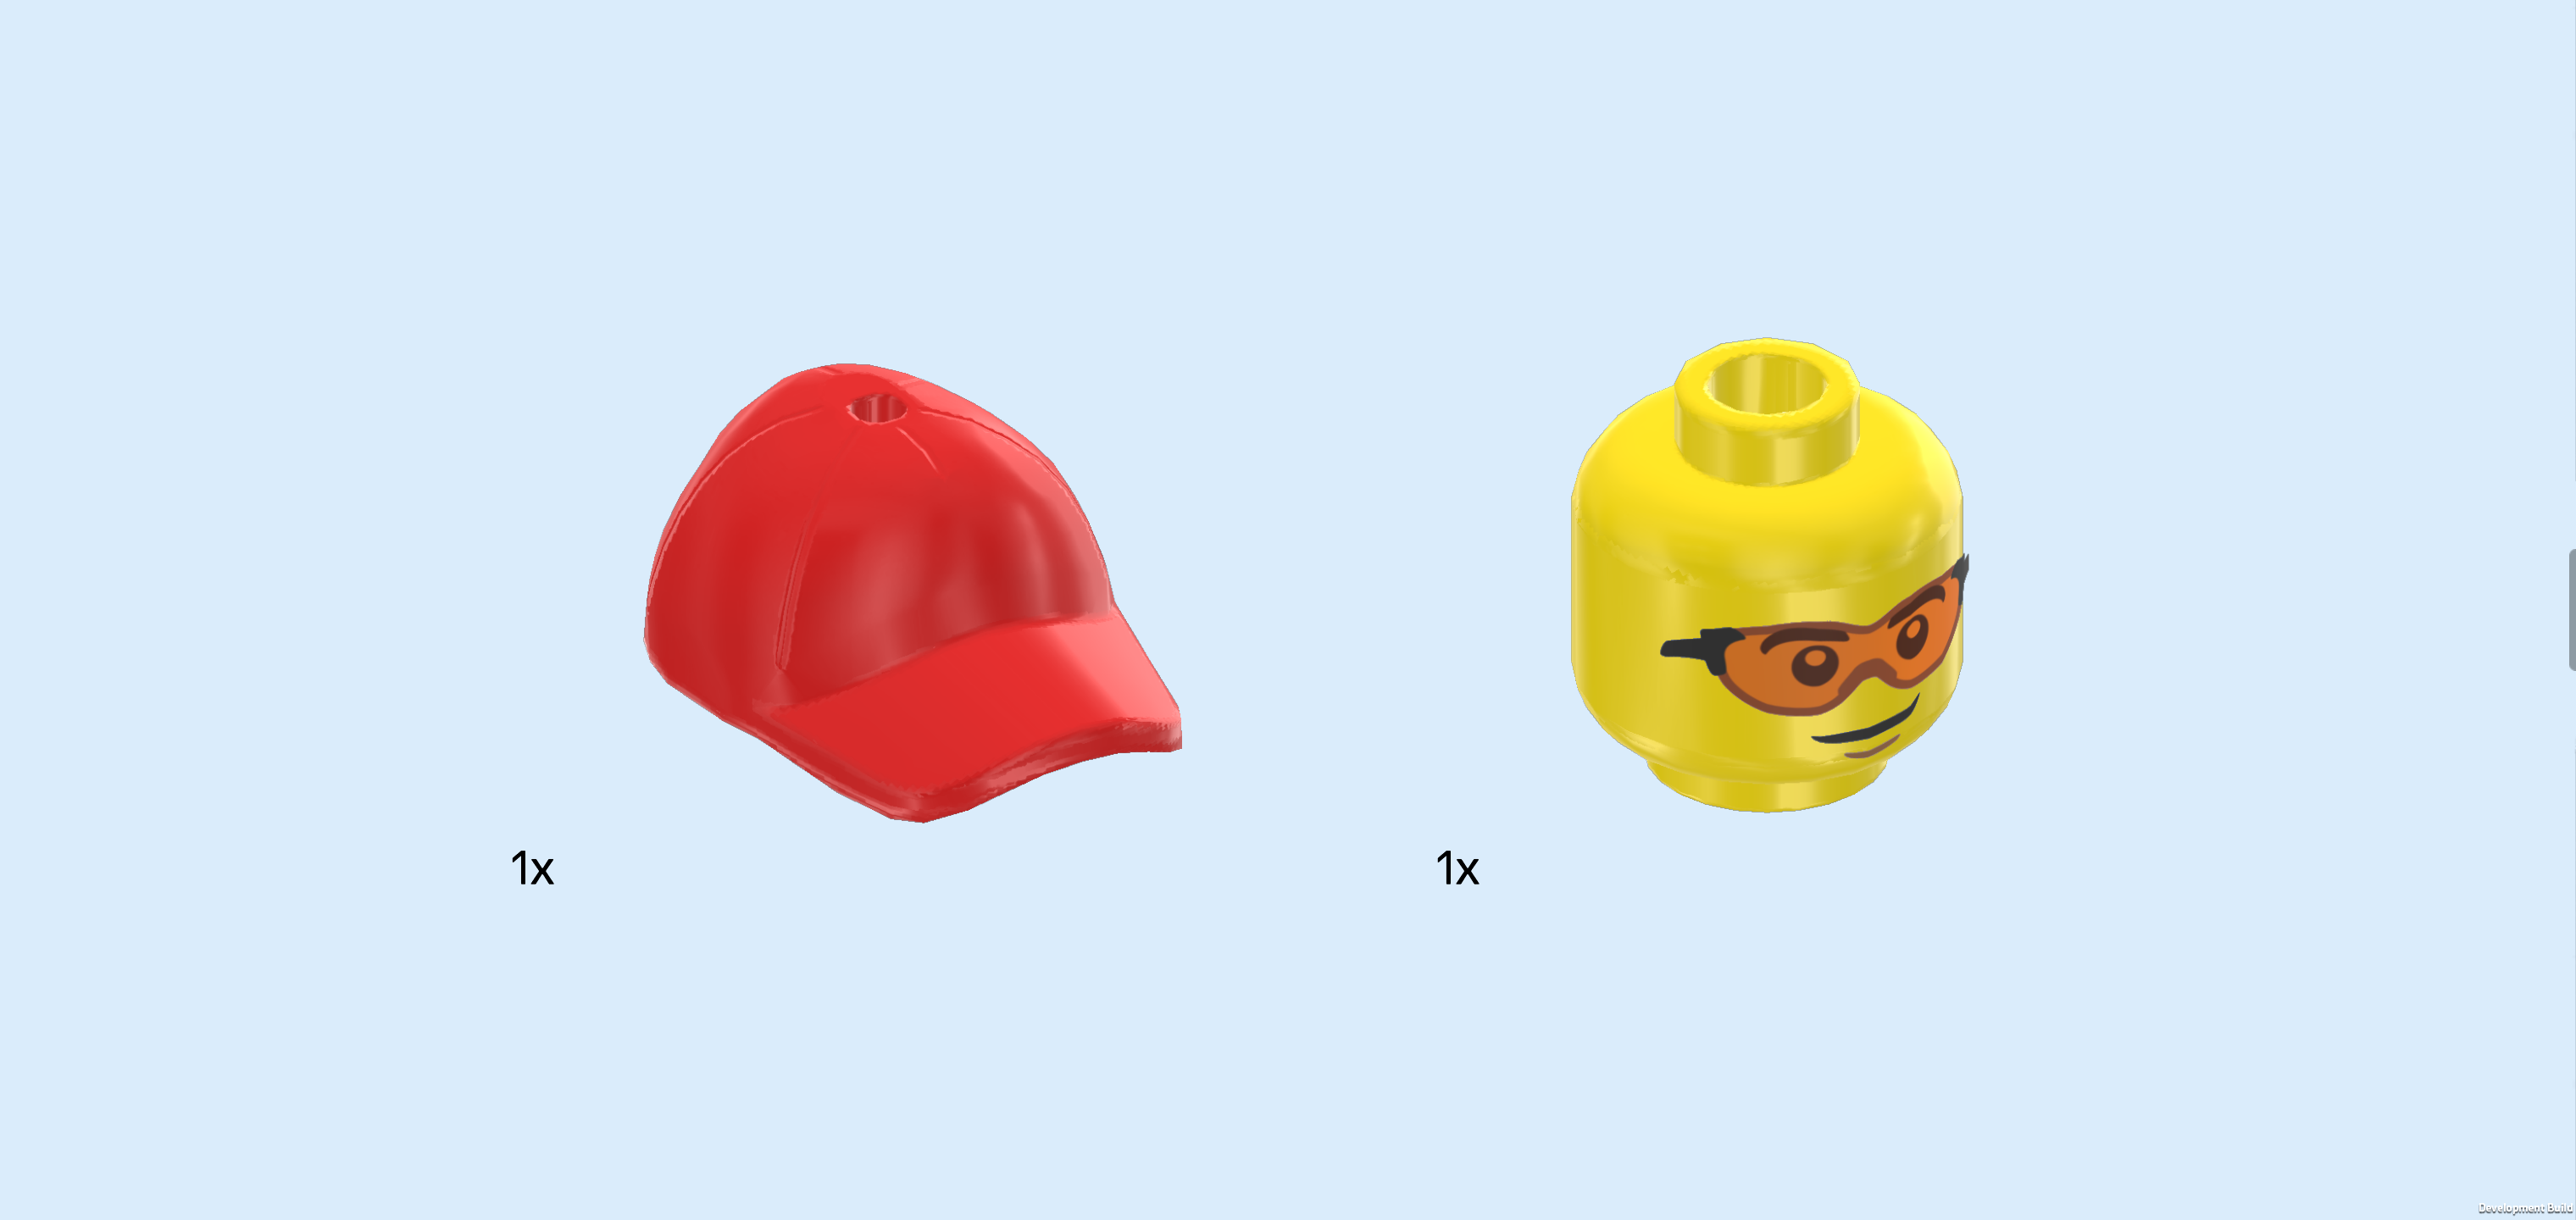
| Collect the following 2 pieces: |
| 1 bright red billed cap, |
| and 1 bright yellow Minifigure head. |
| Put the head on the body. |
| Put the cap on the head, bill to the front. |
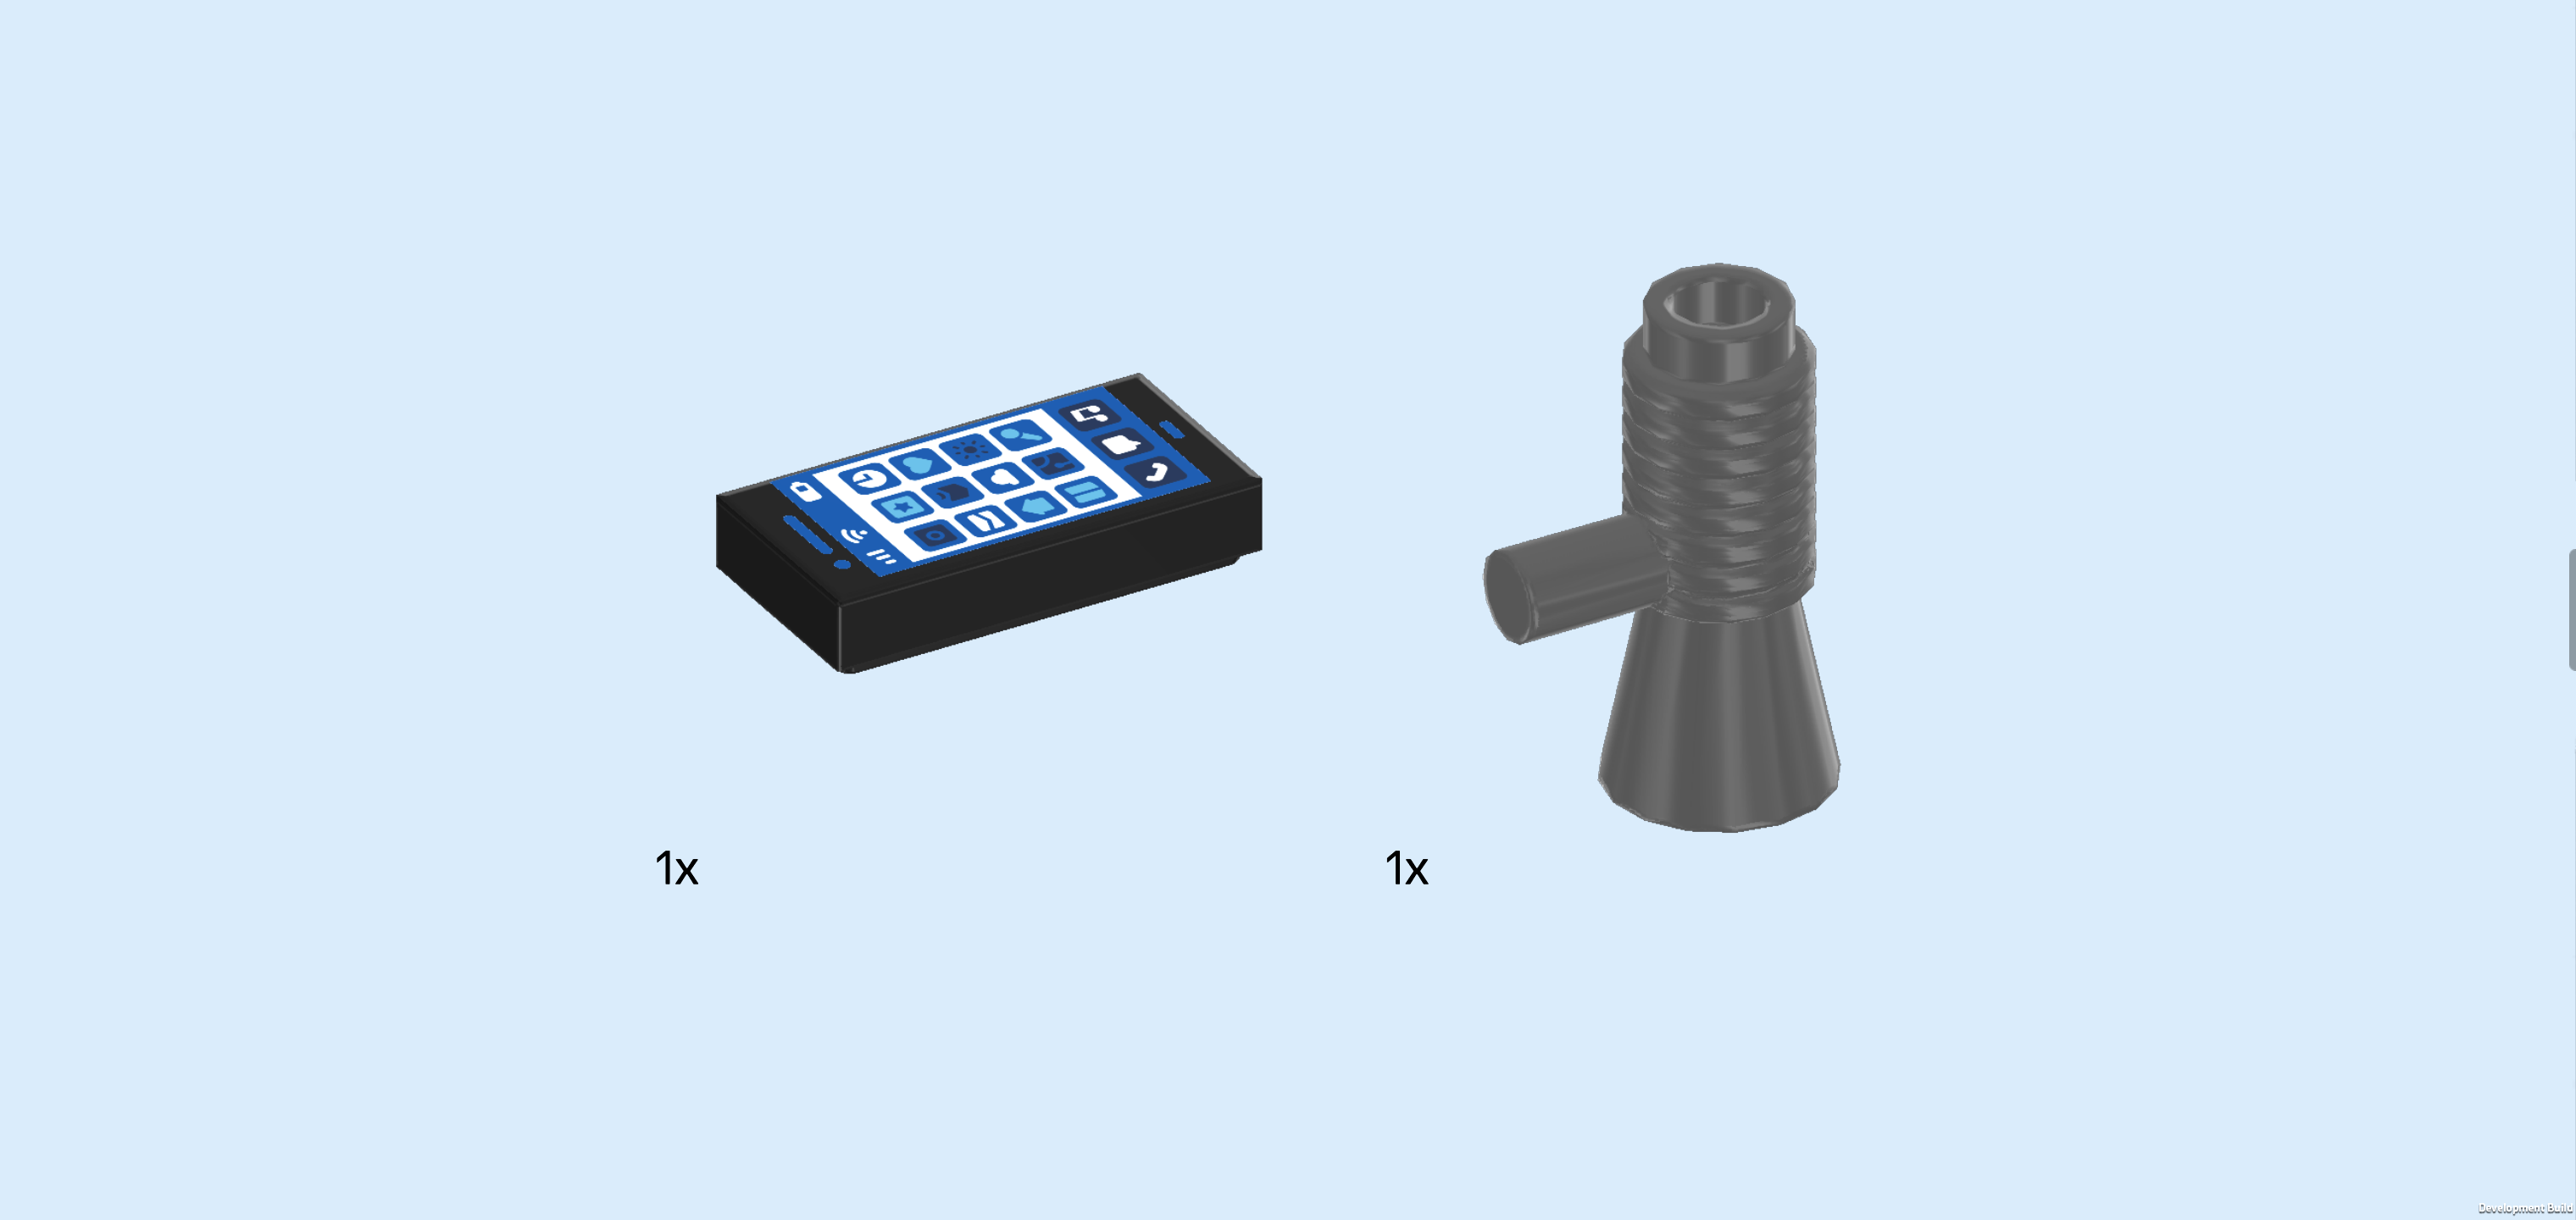
| Collect the following 2 pieces: |
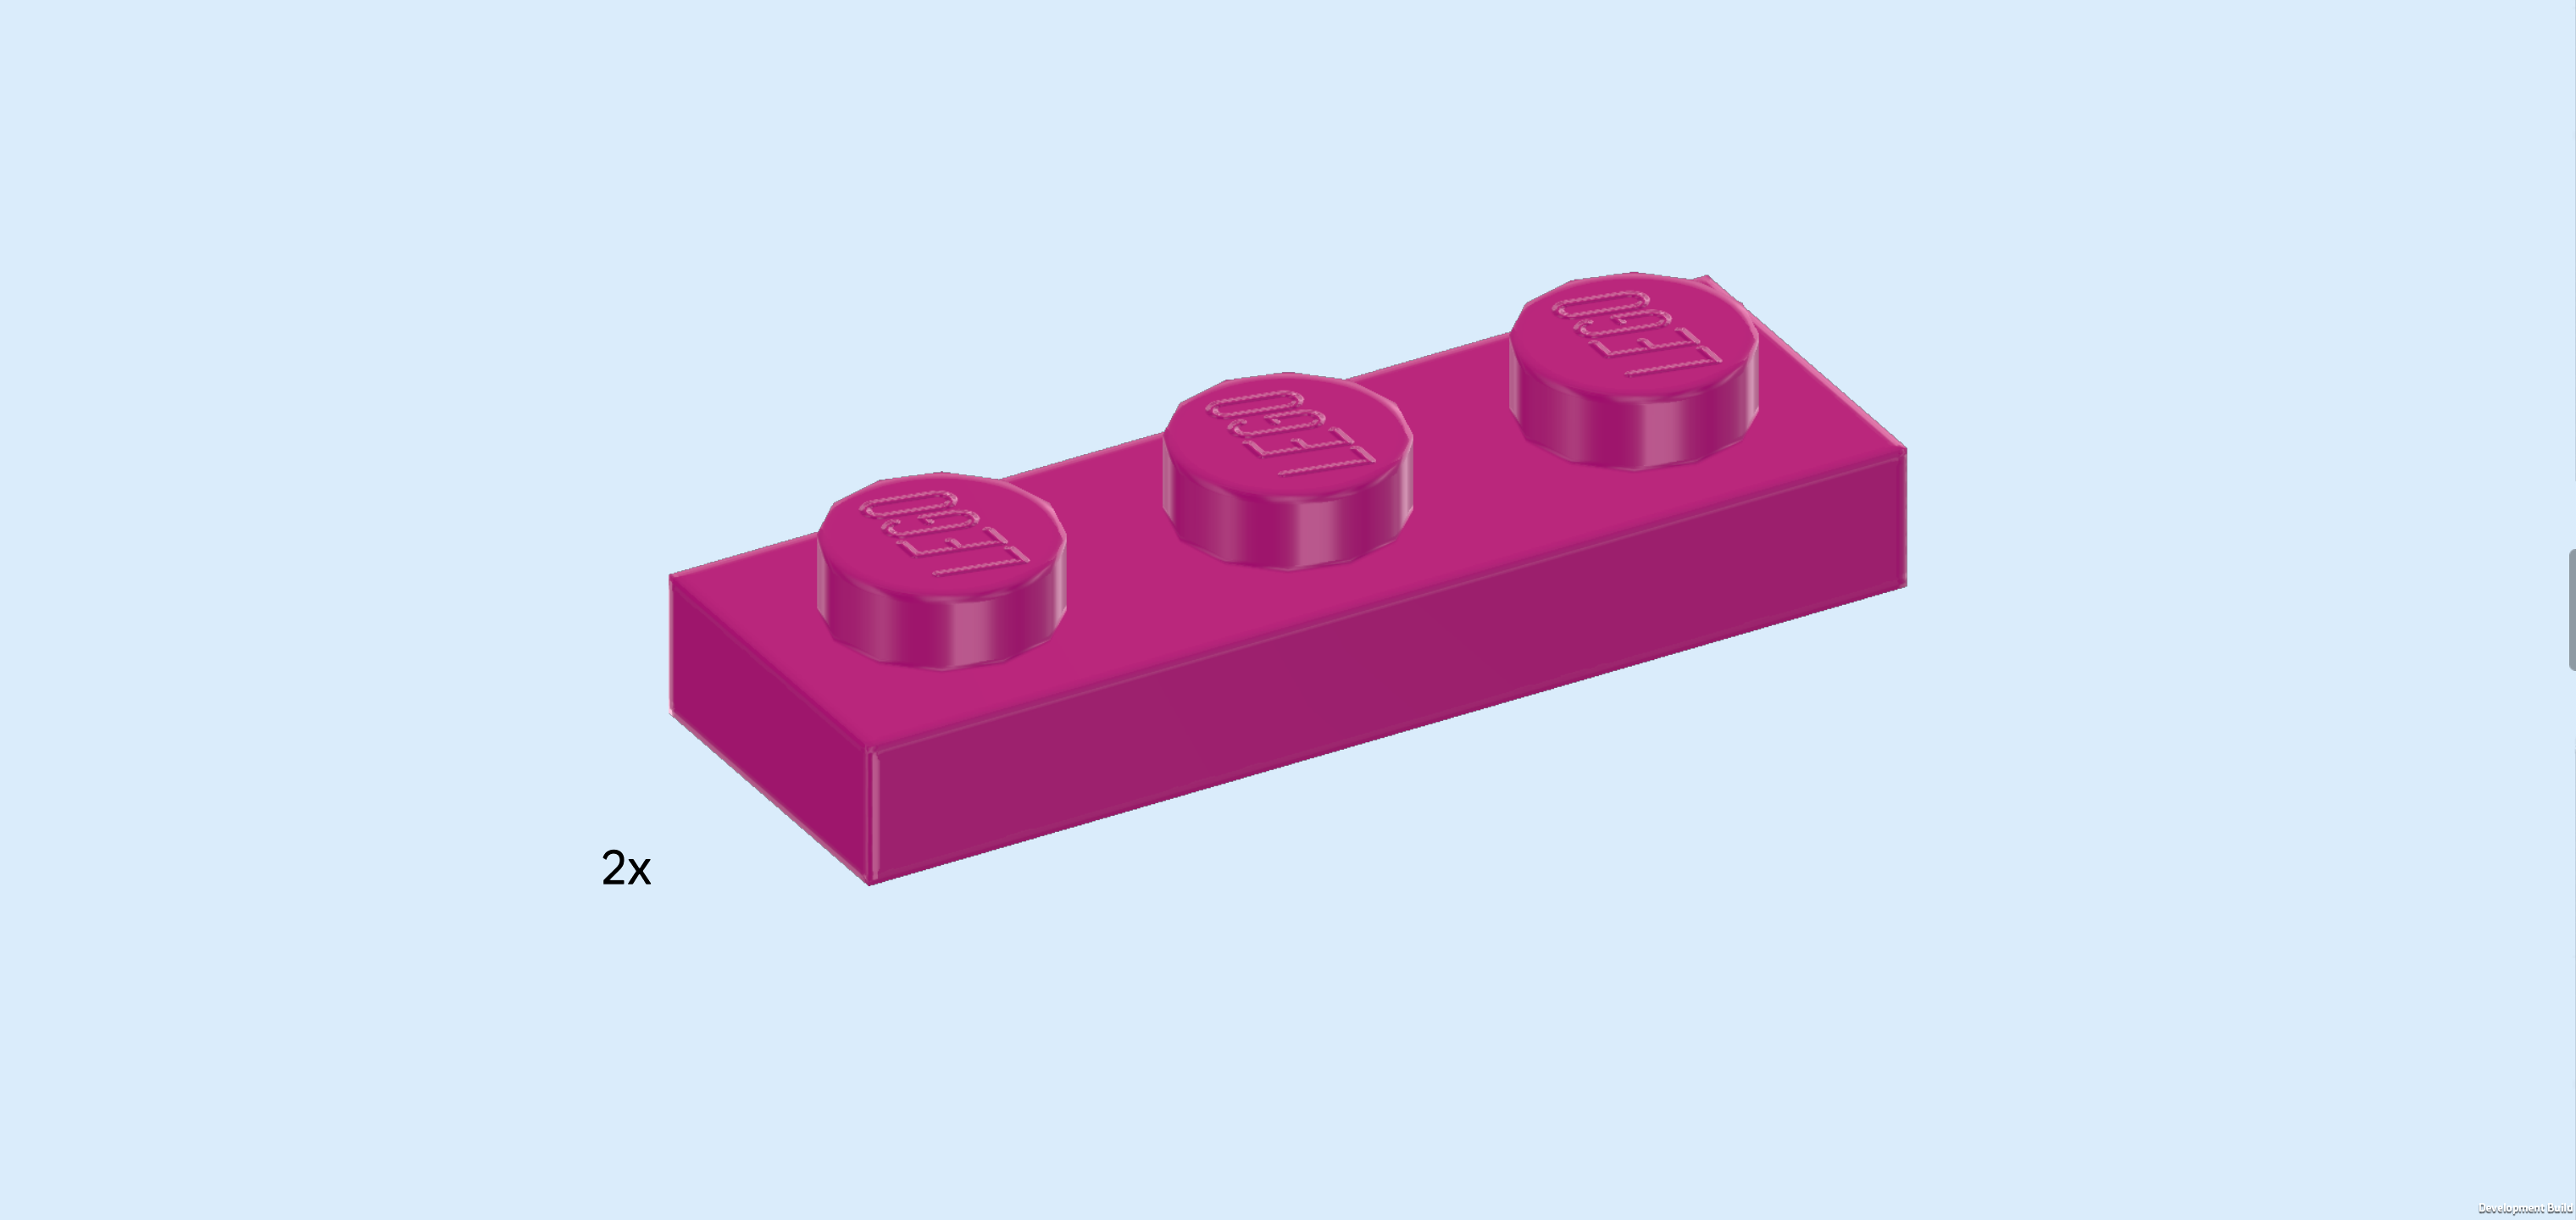
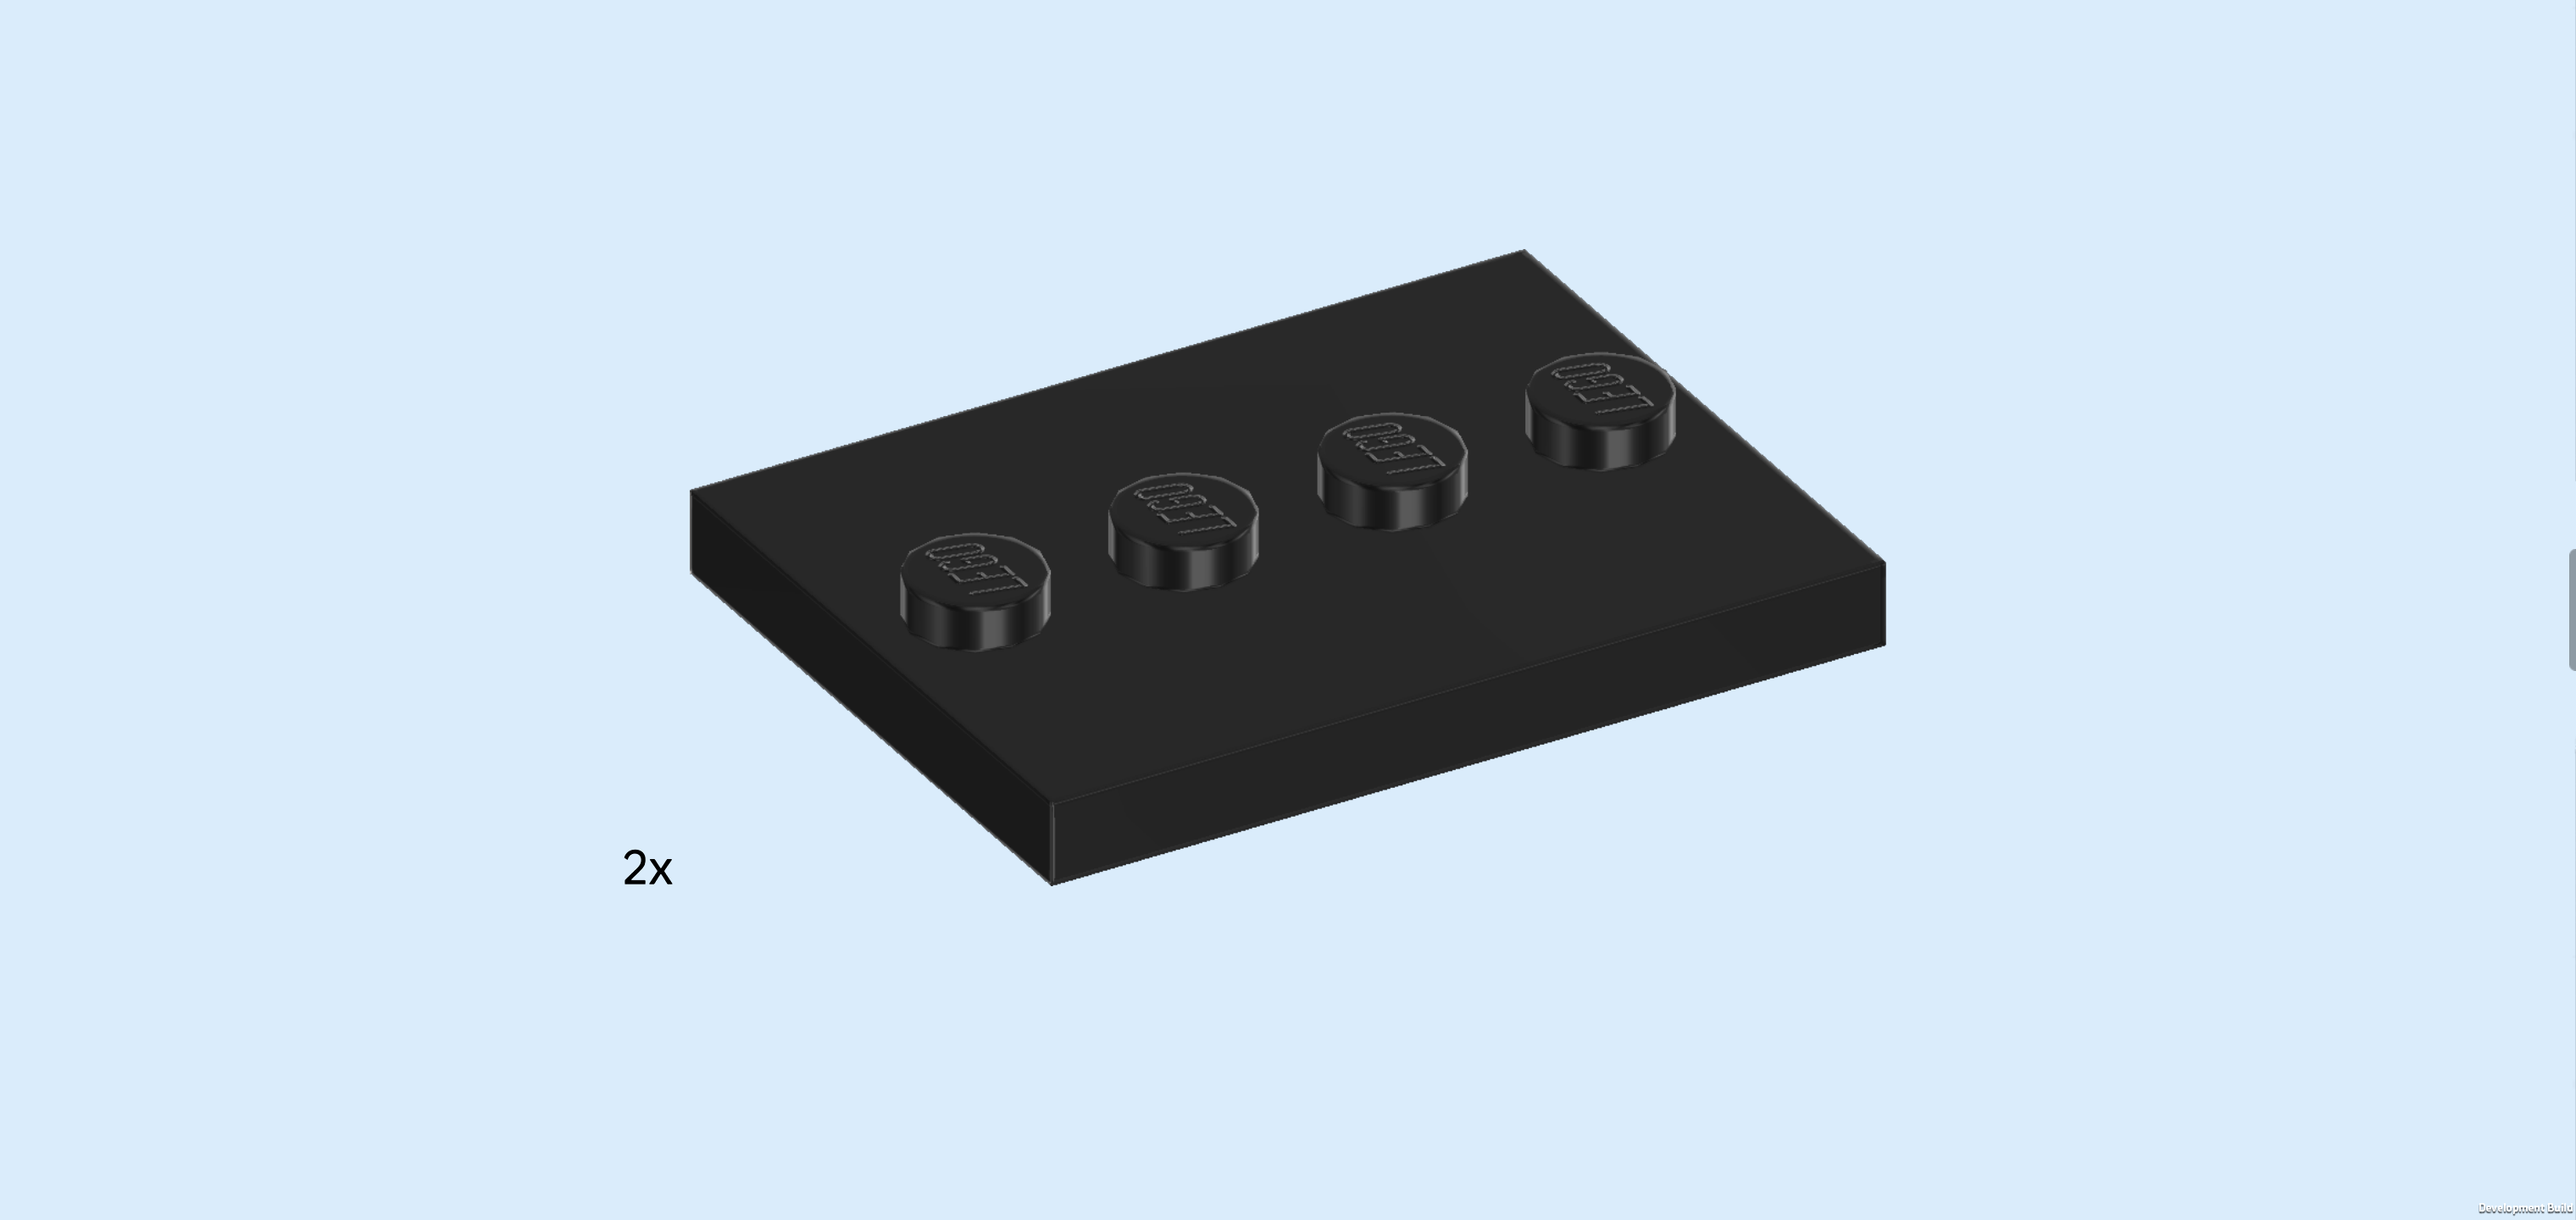
| 1 black flat tile 1x2, |
| and 1 dark stone grey megaphone with shaft. |
| Snap one long edge of the flat tile into the Minifigure's left hand. This piece is printed with the unlocked home screen of a smartphone. There are plenty of app icons on the home screen, and at the top of the screen there are icons for the state of charge, Wi-Fi connectivity and cell reception. |
| Snap the shaft of the megaphone into the Minifigure's right hand, funnel to the front. |
| The Lifeguard Minifigure is finished! Well done! He is wearing bright red shorts which are likely swimming trunks and a white tank top with a round neckline. The shirt has red hems, and there is a red Star of Life symbol printed on the top left chest area, a symbol often used by medical emergency services. It is a star-shaped icon with 6 rays that have blunt ends. The back of the shirt is printed with a red icon of a rescue buoy. The lifeguard is wearing orange-tinted sunglasses to protect his eyes from sun damage. He is not wearing any shoes, so he better watch out for hot sand! |
| Next up, we will assemble the shark. |
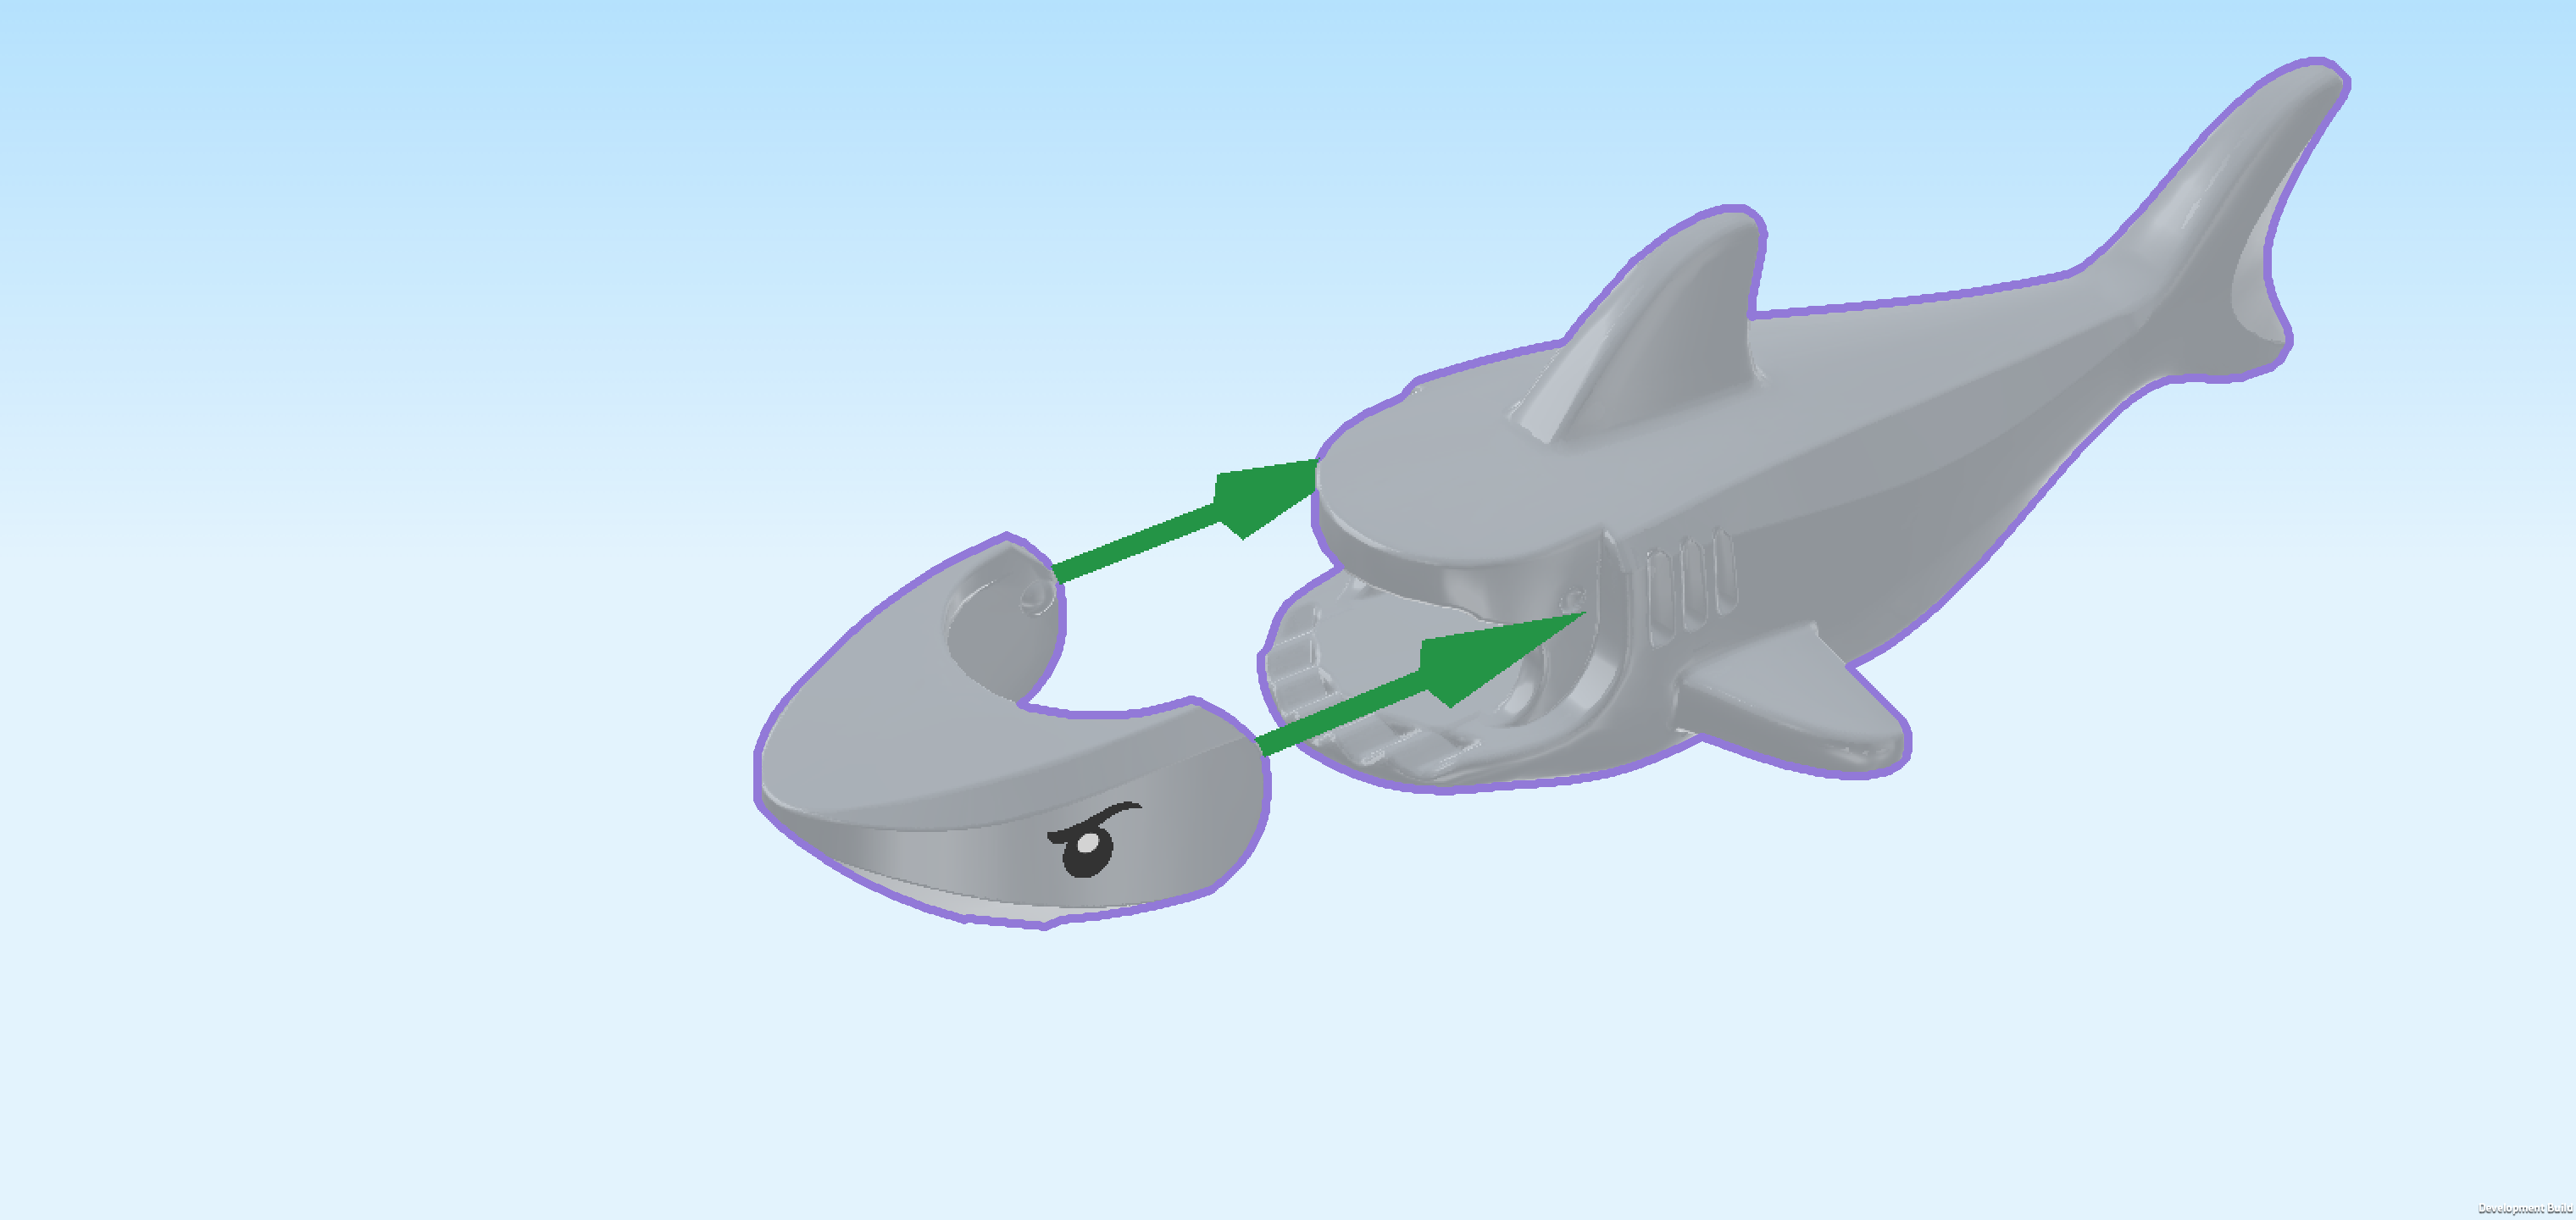
| Collect the following 2 pieces: |
| 1 medium stone grey shark snout with upper jaw, |
| and 1 medium stone grey shark body 6x9. |
| Snap the shark snout into the opening on the shark body. Make sure that straight surface is at the top and the sloped surface is at the bottom. |
| The shark snout is printed with a black pair of eyes on its sides. |
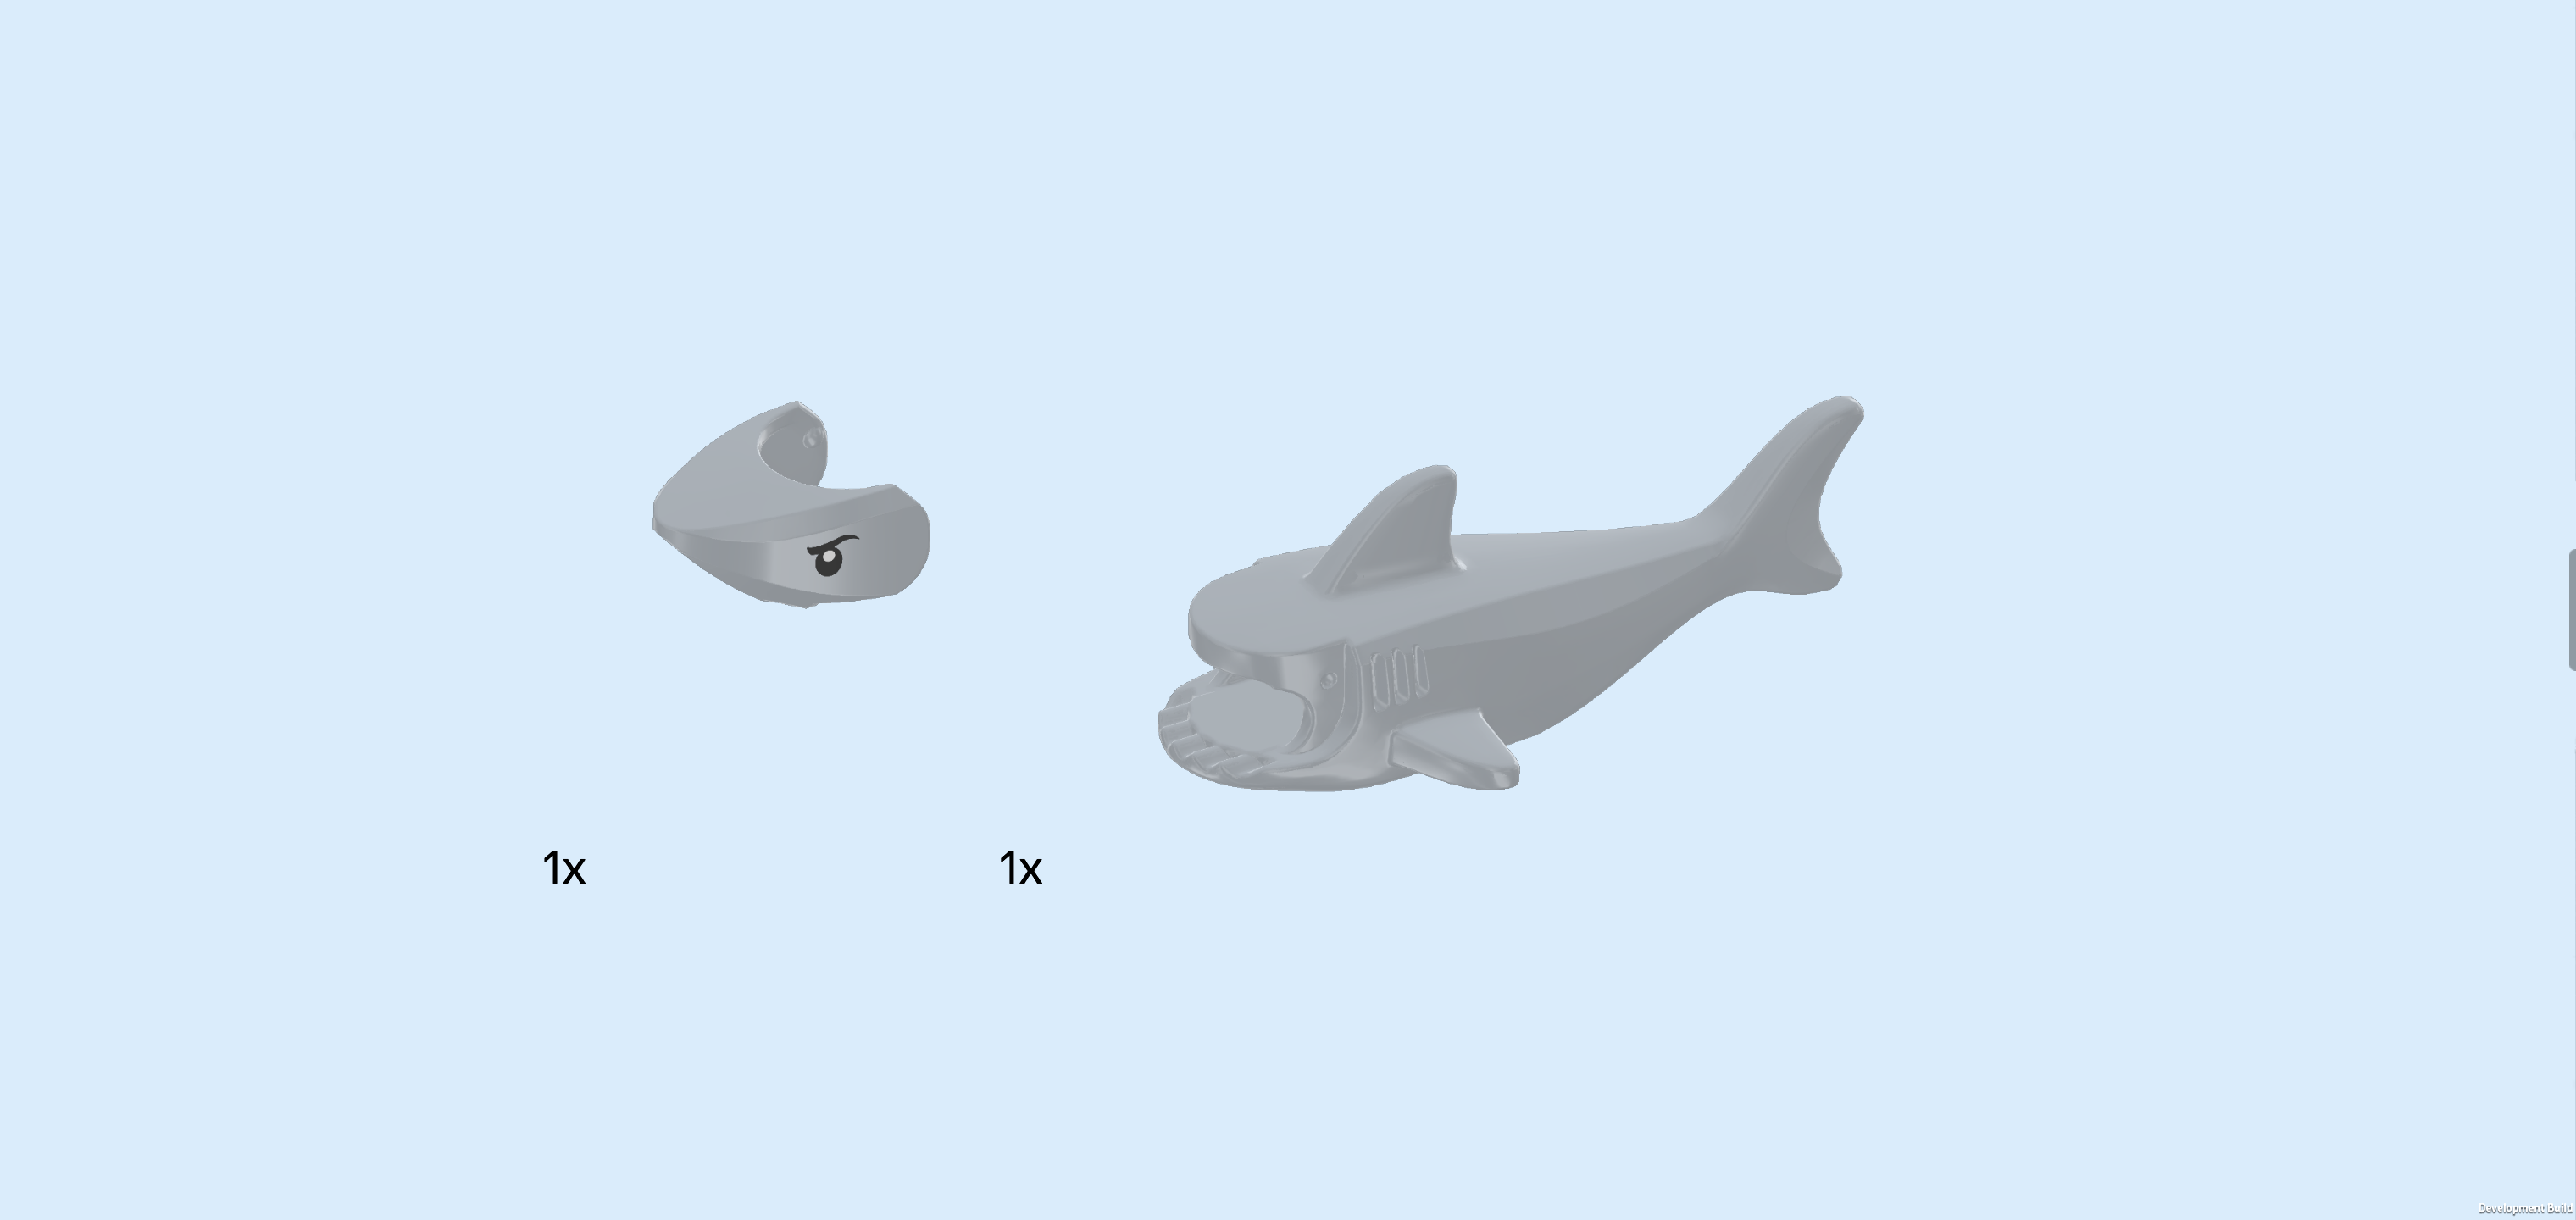
| The shark is finished! Great job! The animal has a grim-looking expression on its face, and the gigantic jaw with razor-sharp teeth is definitely no joking matter. You better watch the sea closely so you can warn swimmers when the shark appears! |
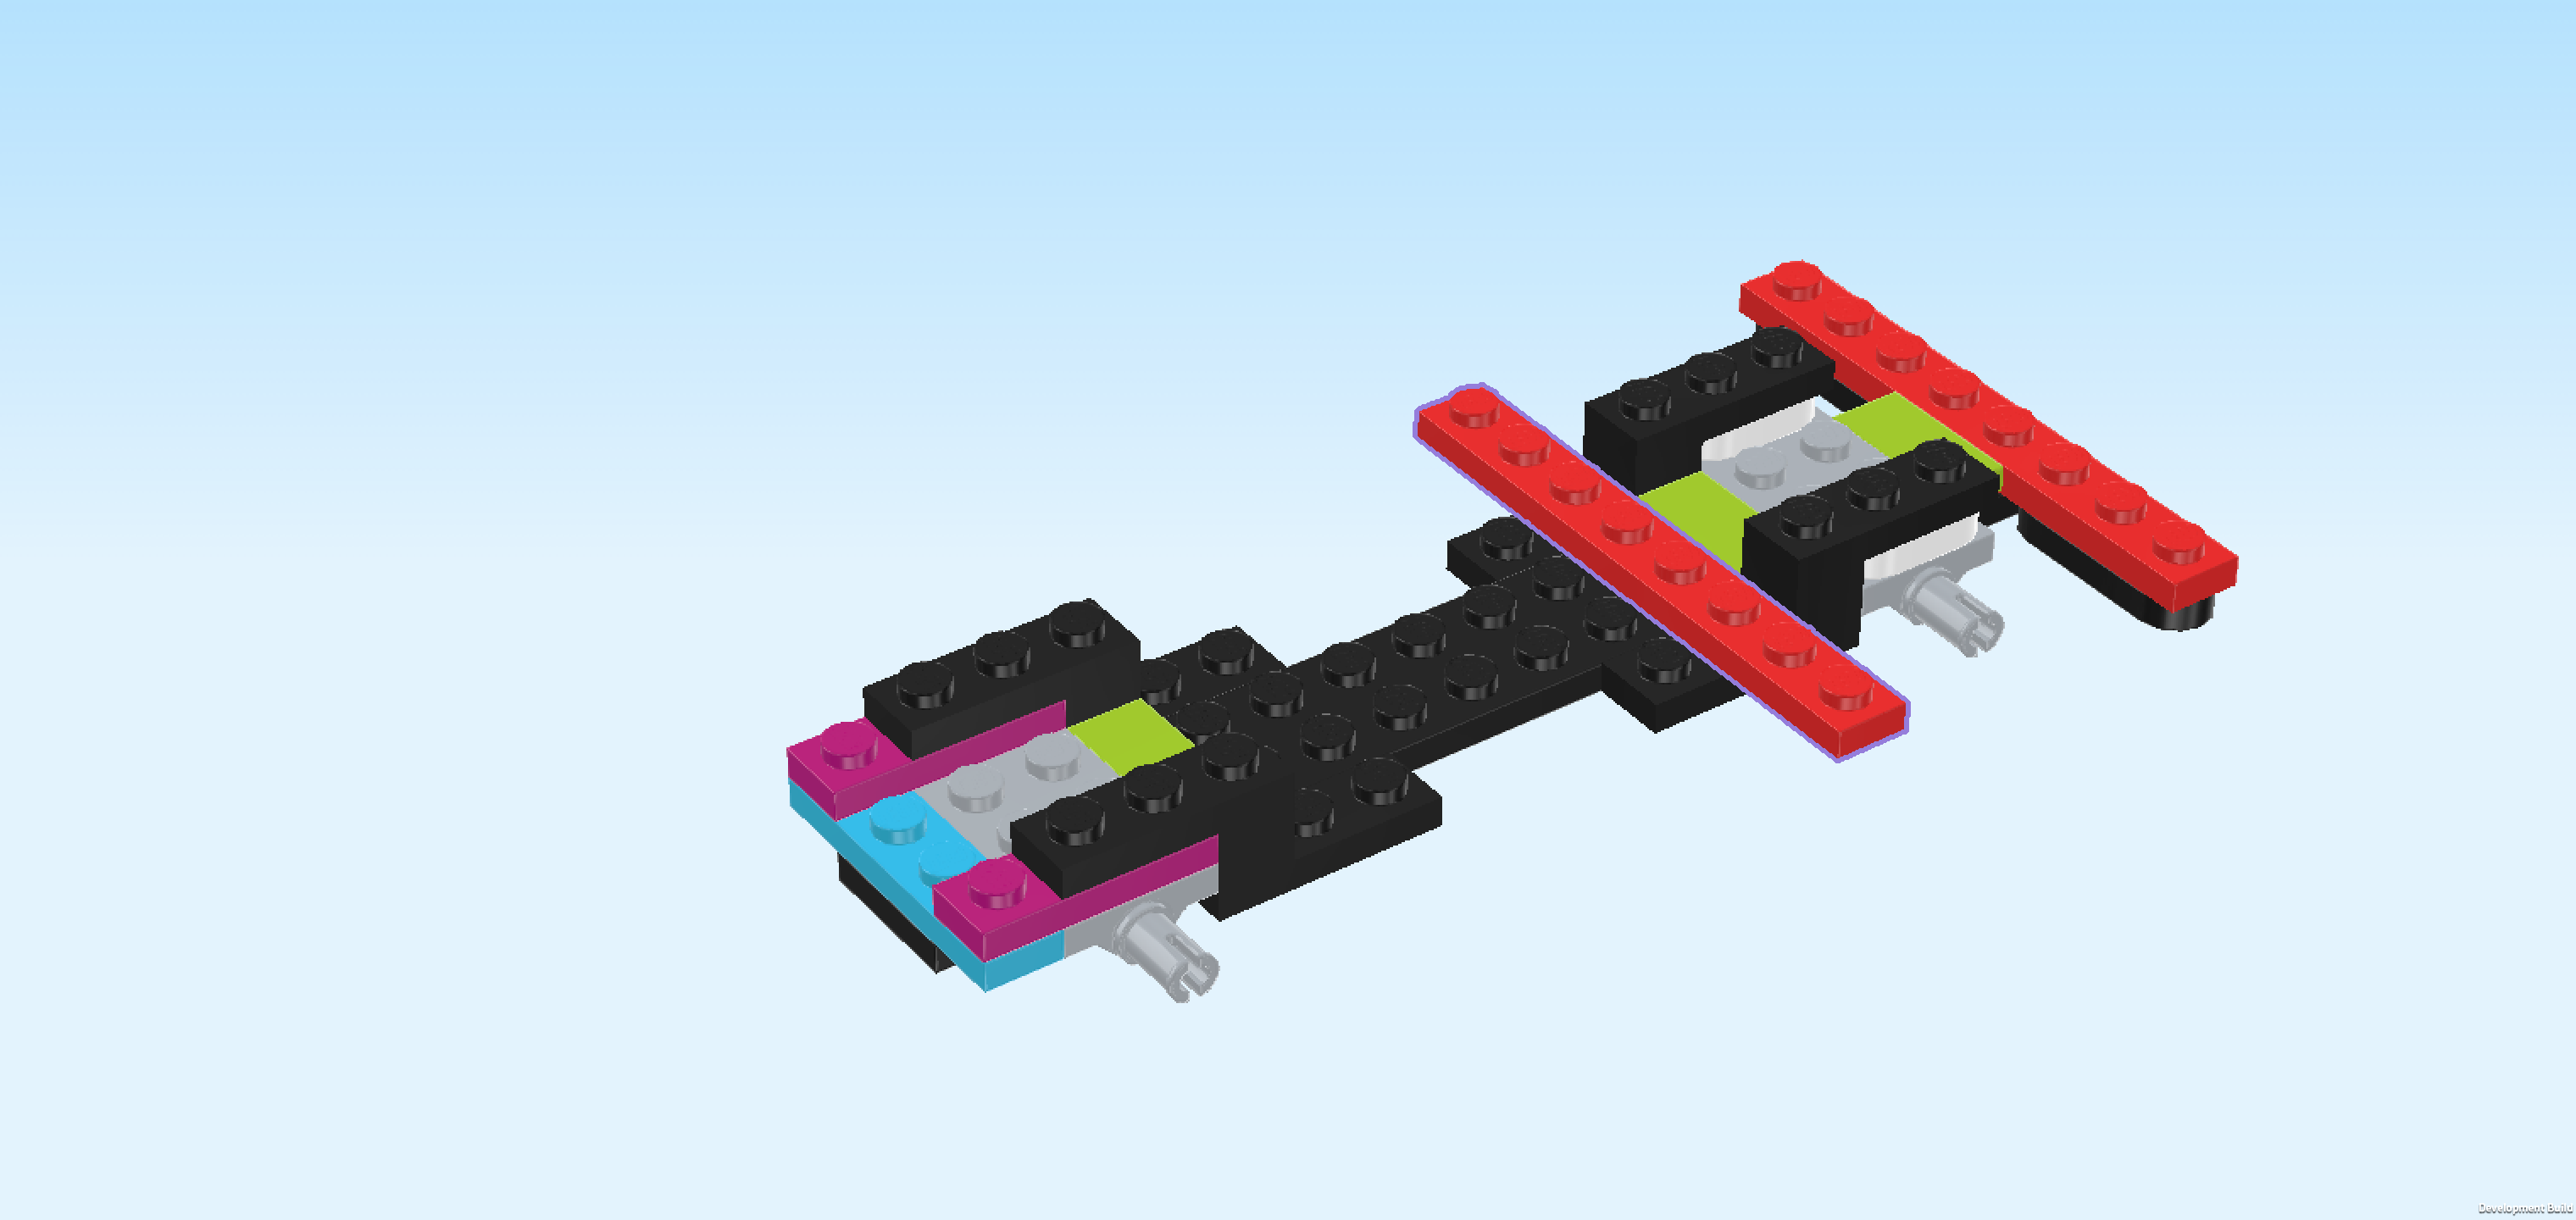
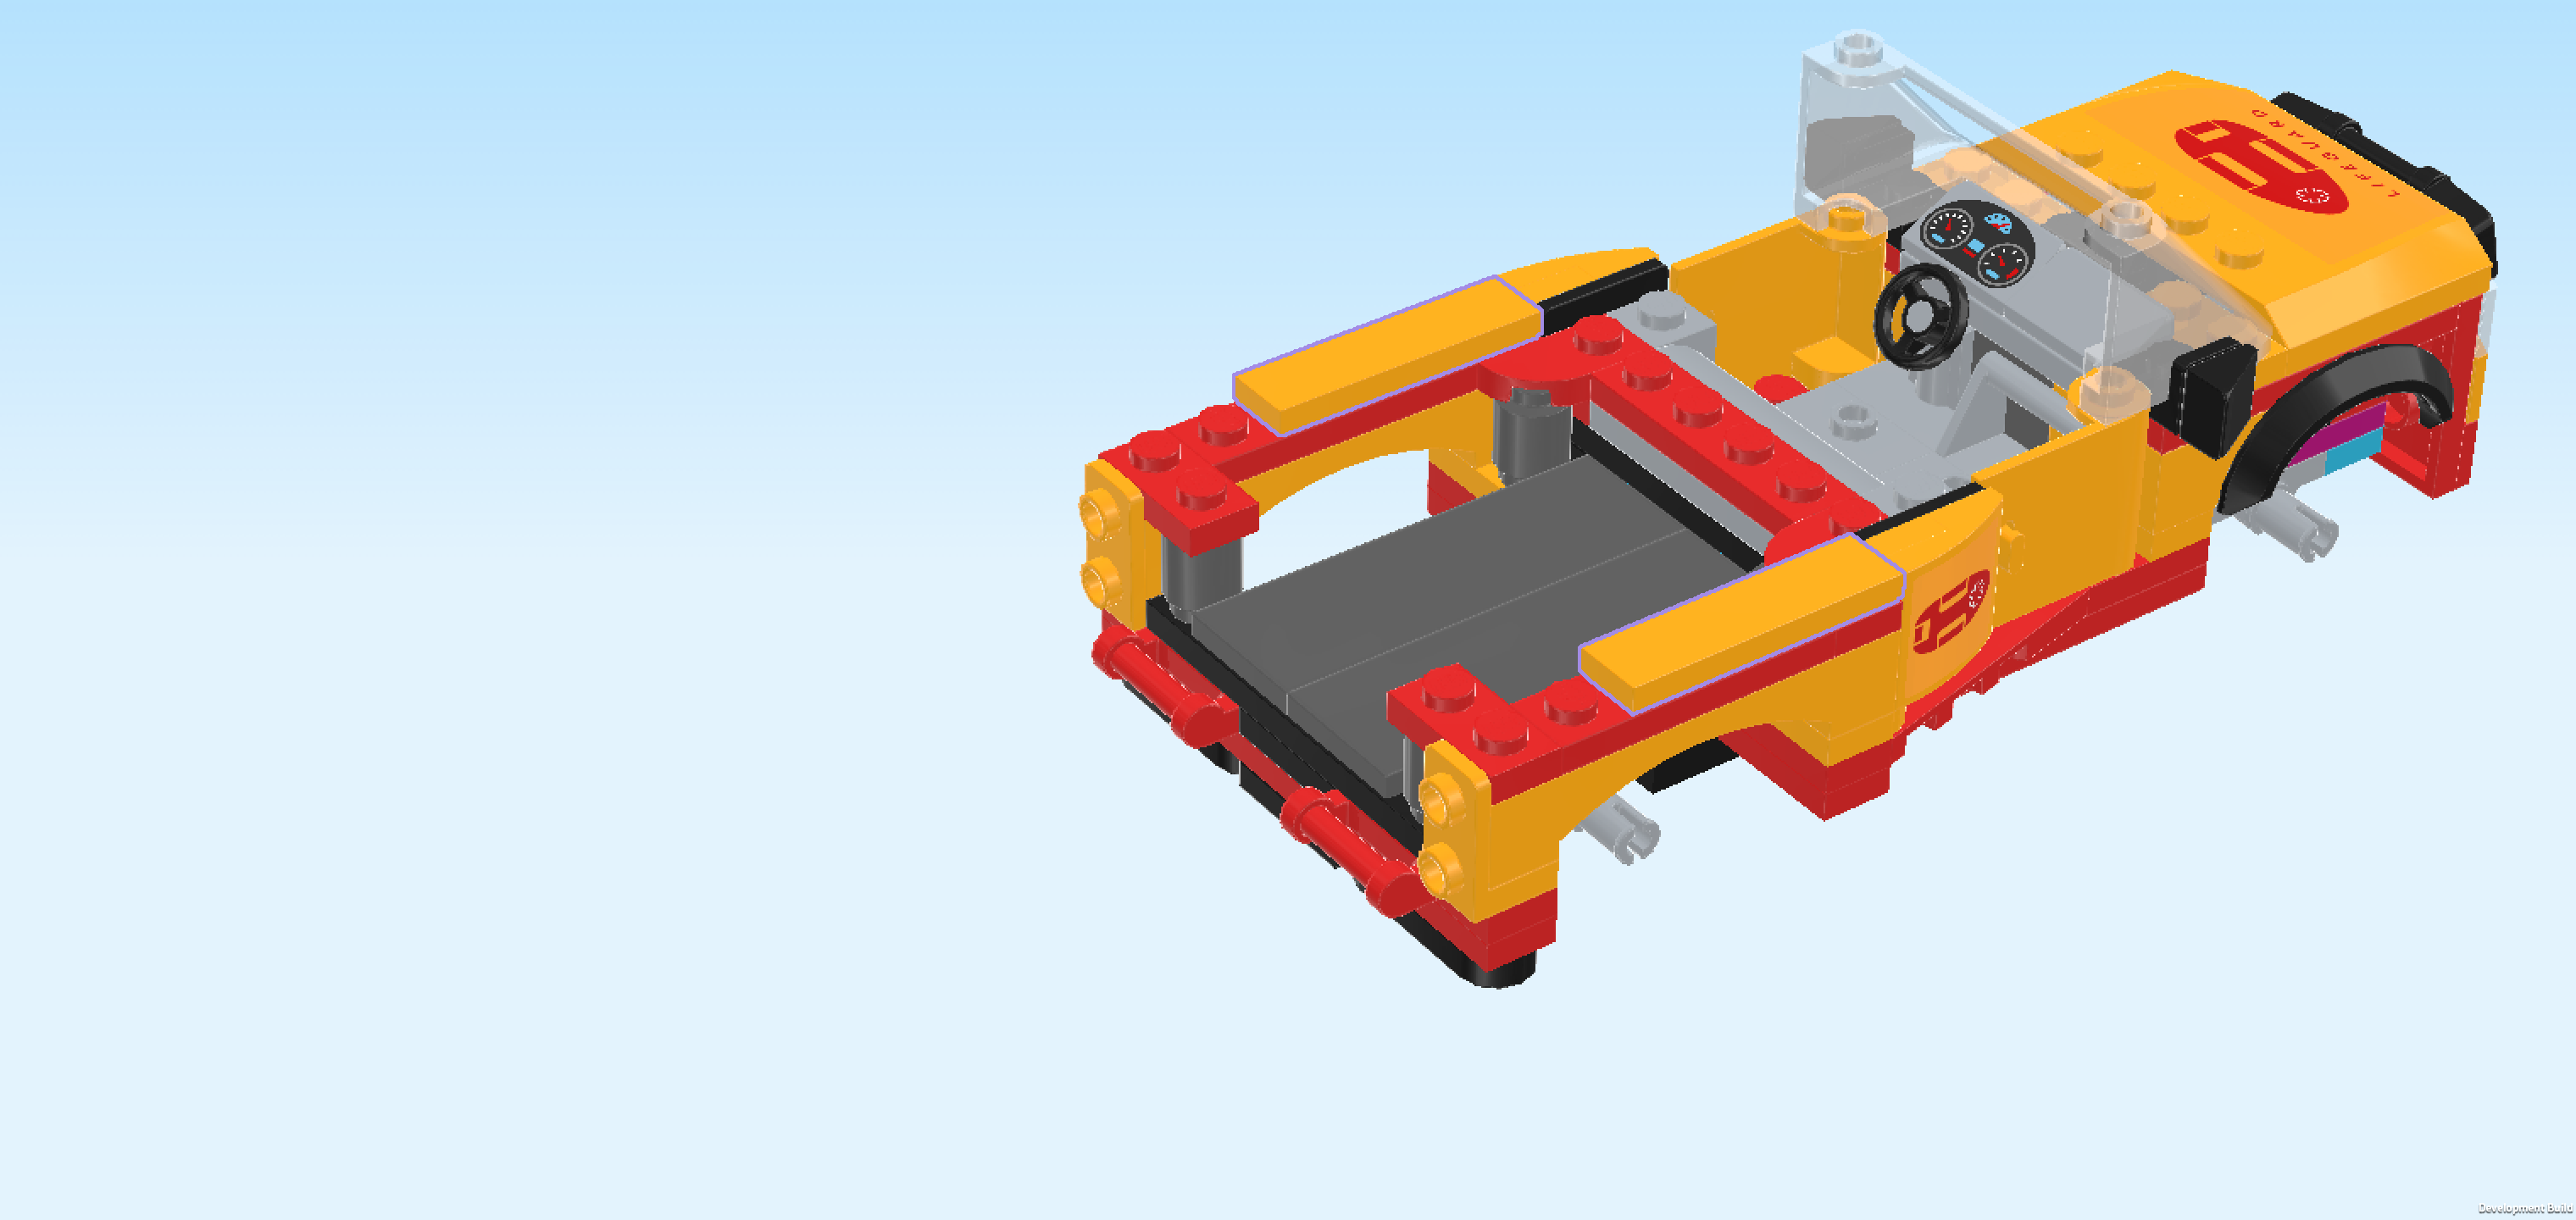
| Next, we will build the Vehicle Underbody with Driver's Cabin. |
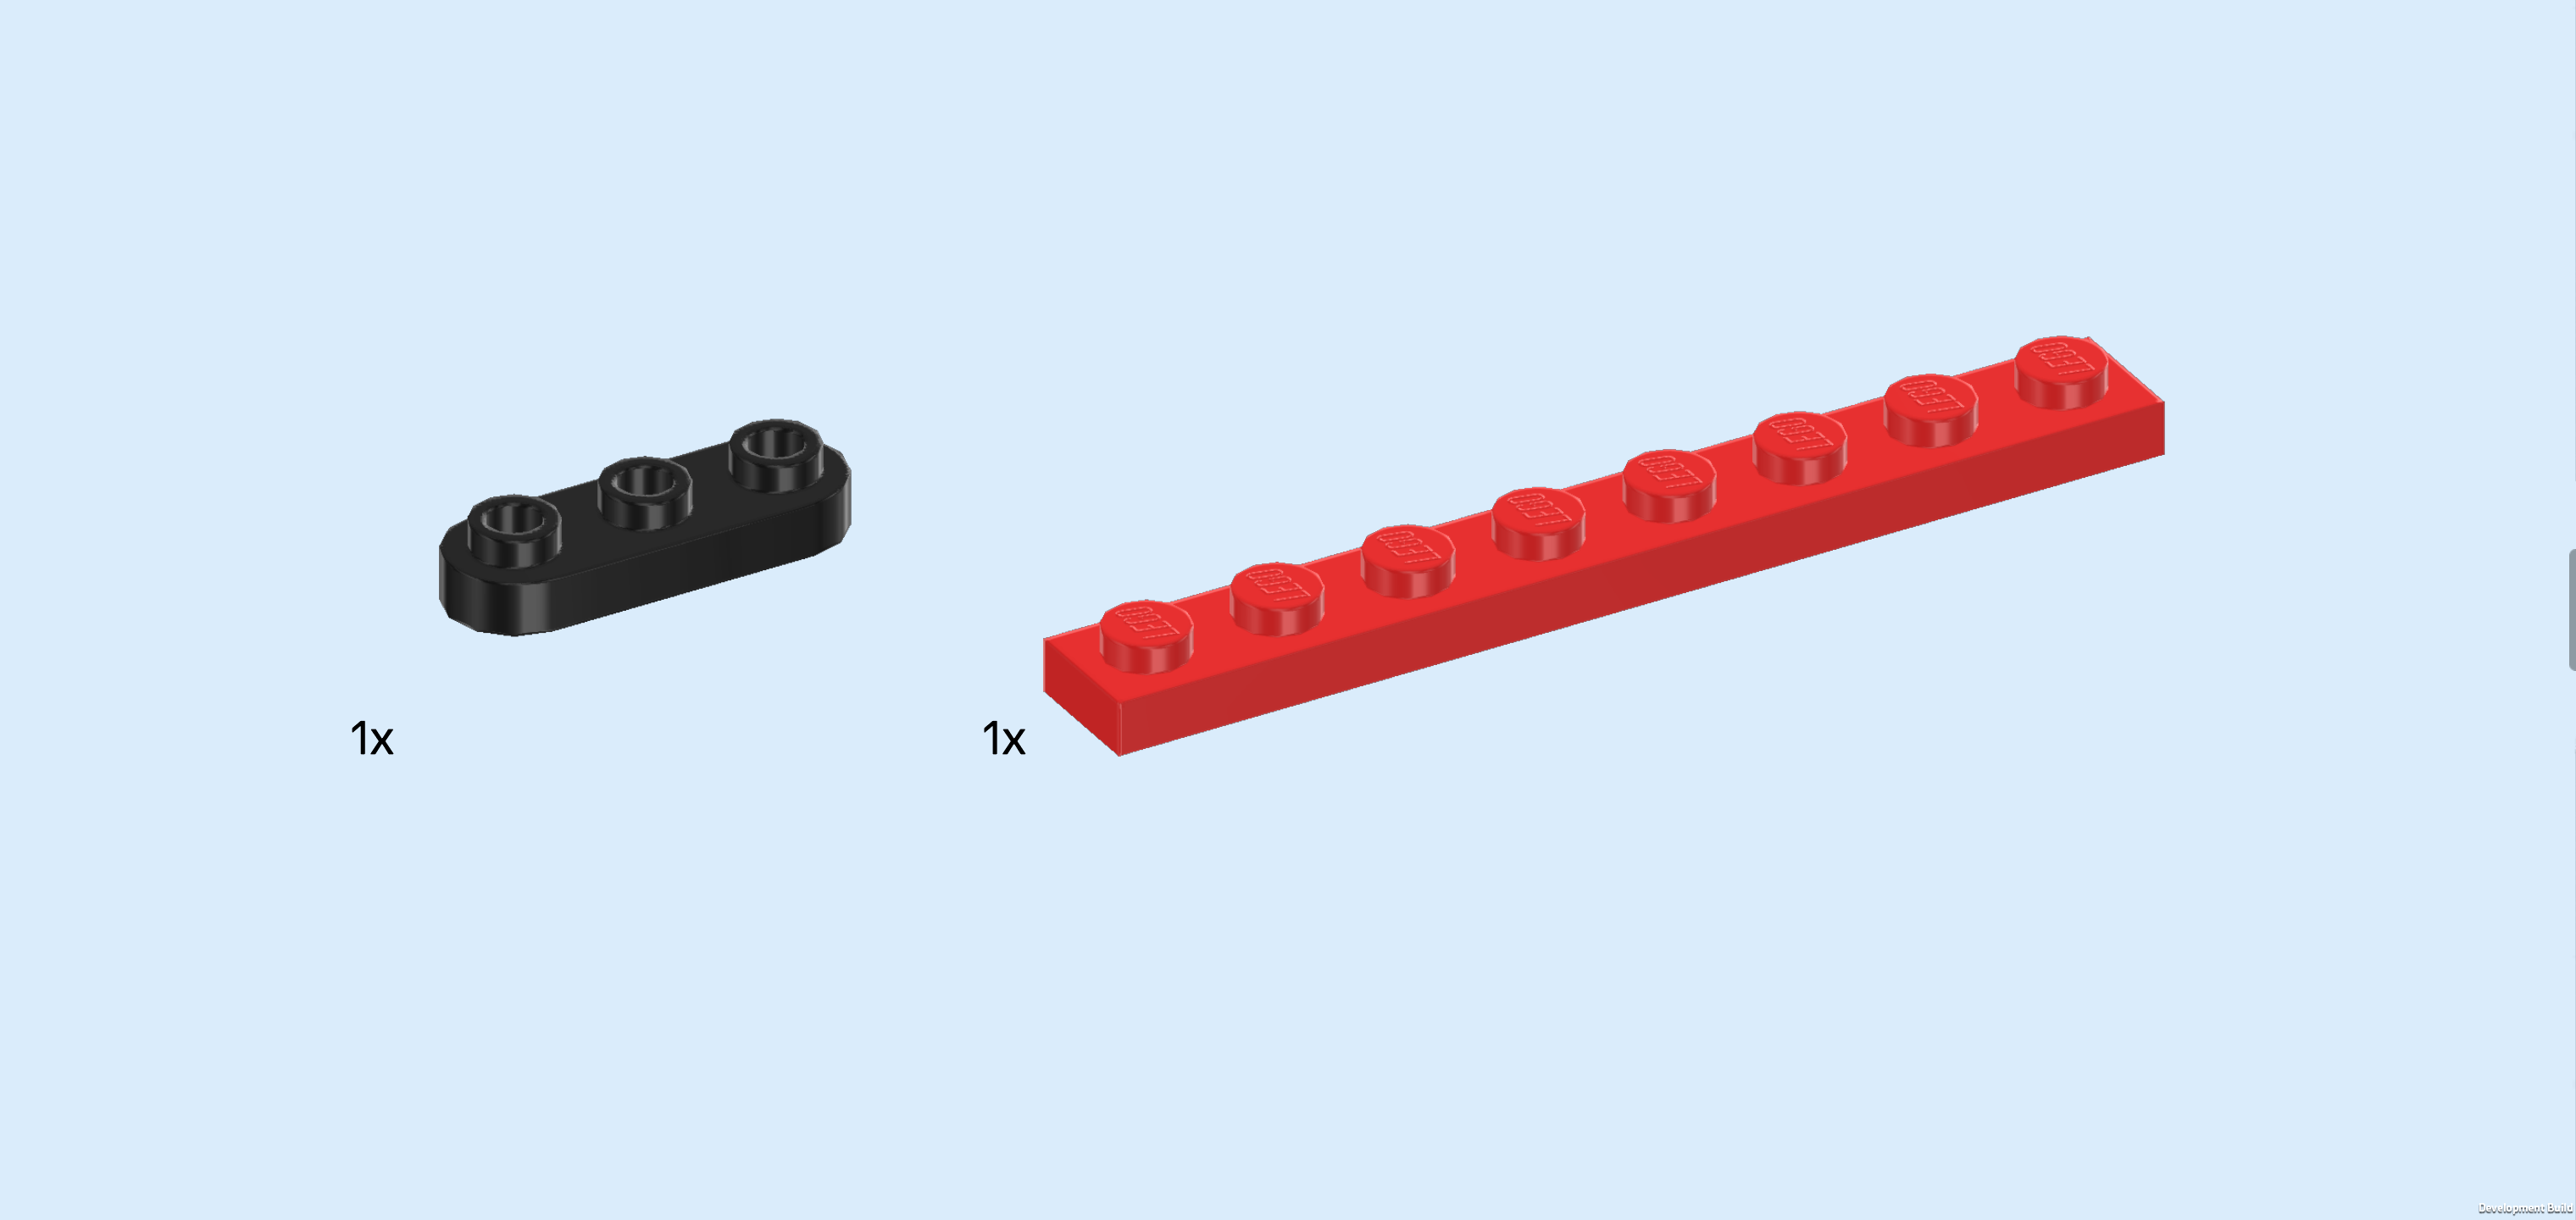
| Collect the following 2 pieces: |
| 1 black rounded plate 1x3, |
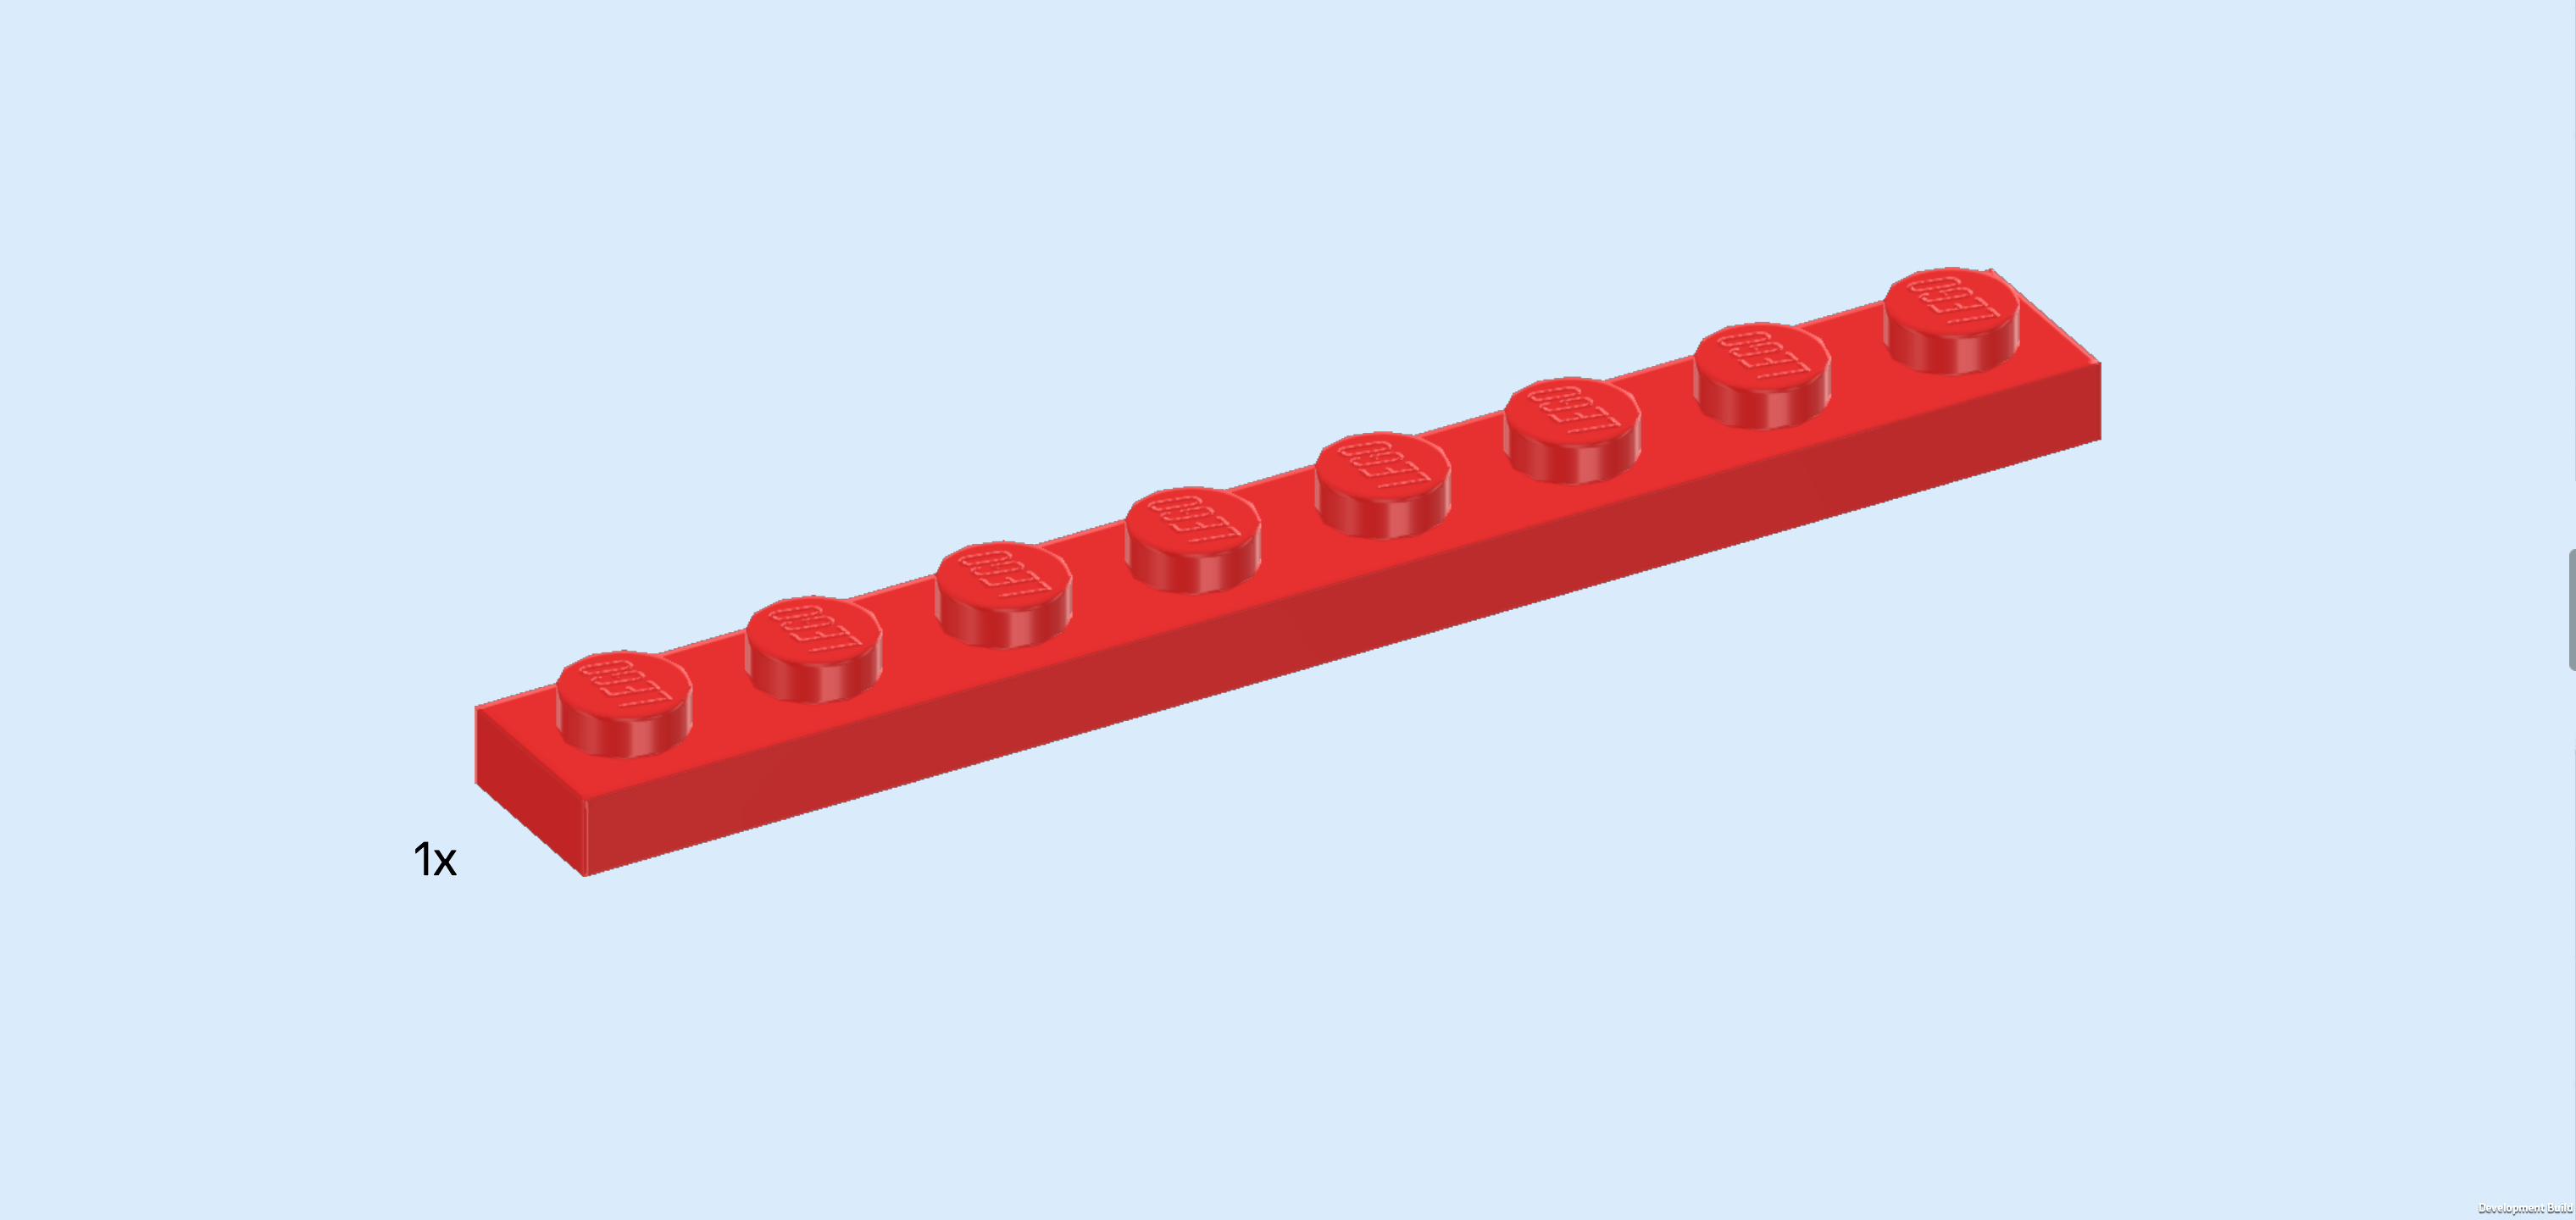
| and 1 bright red plate 1x8. |
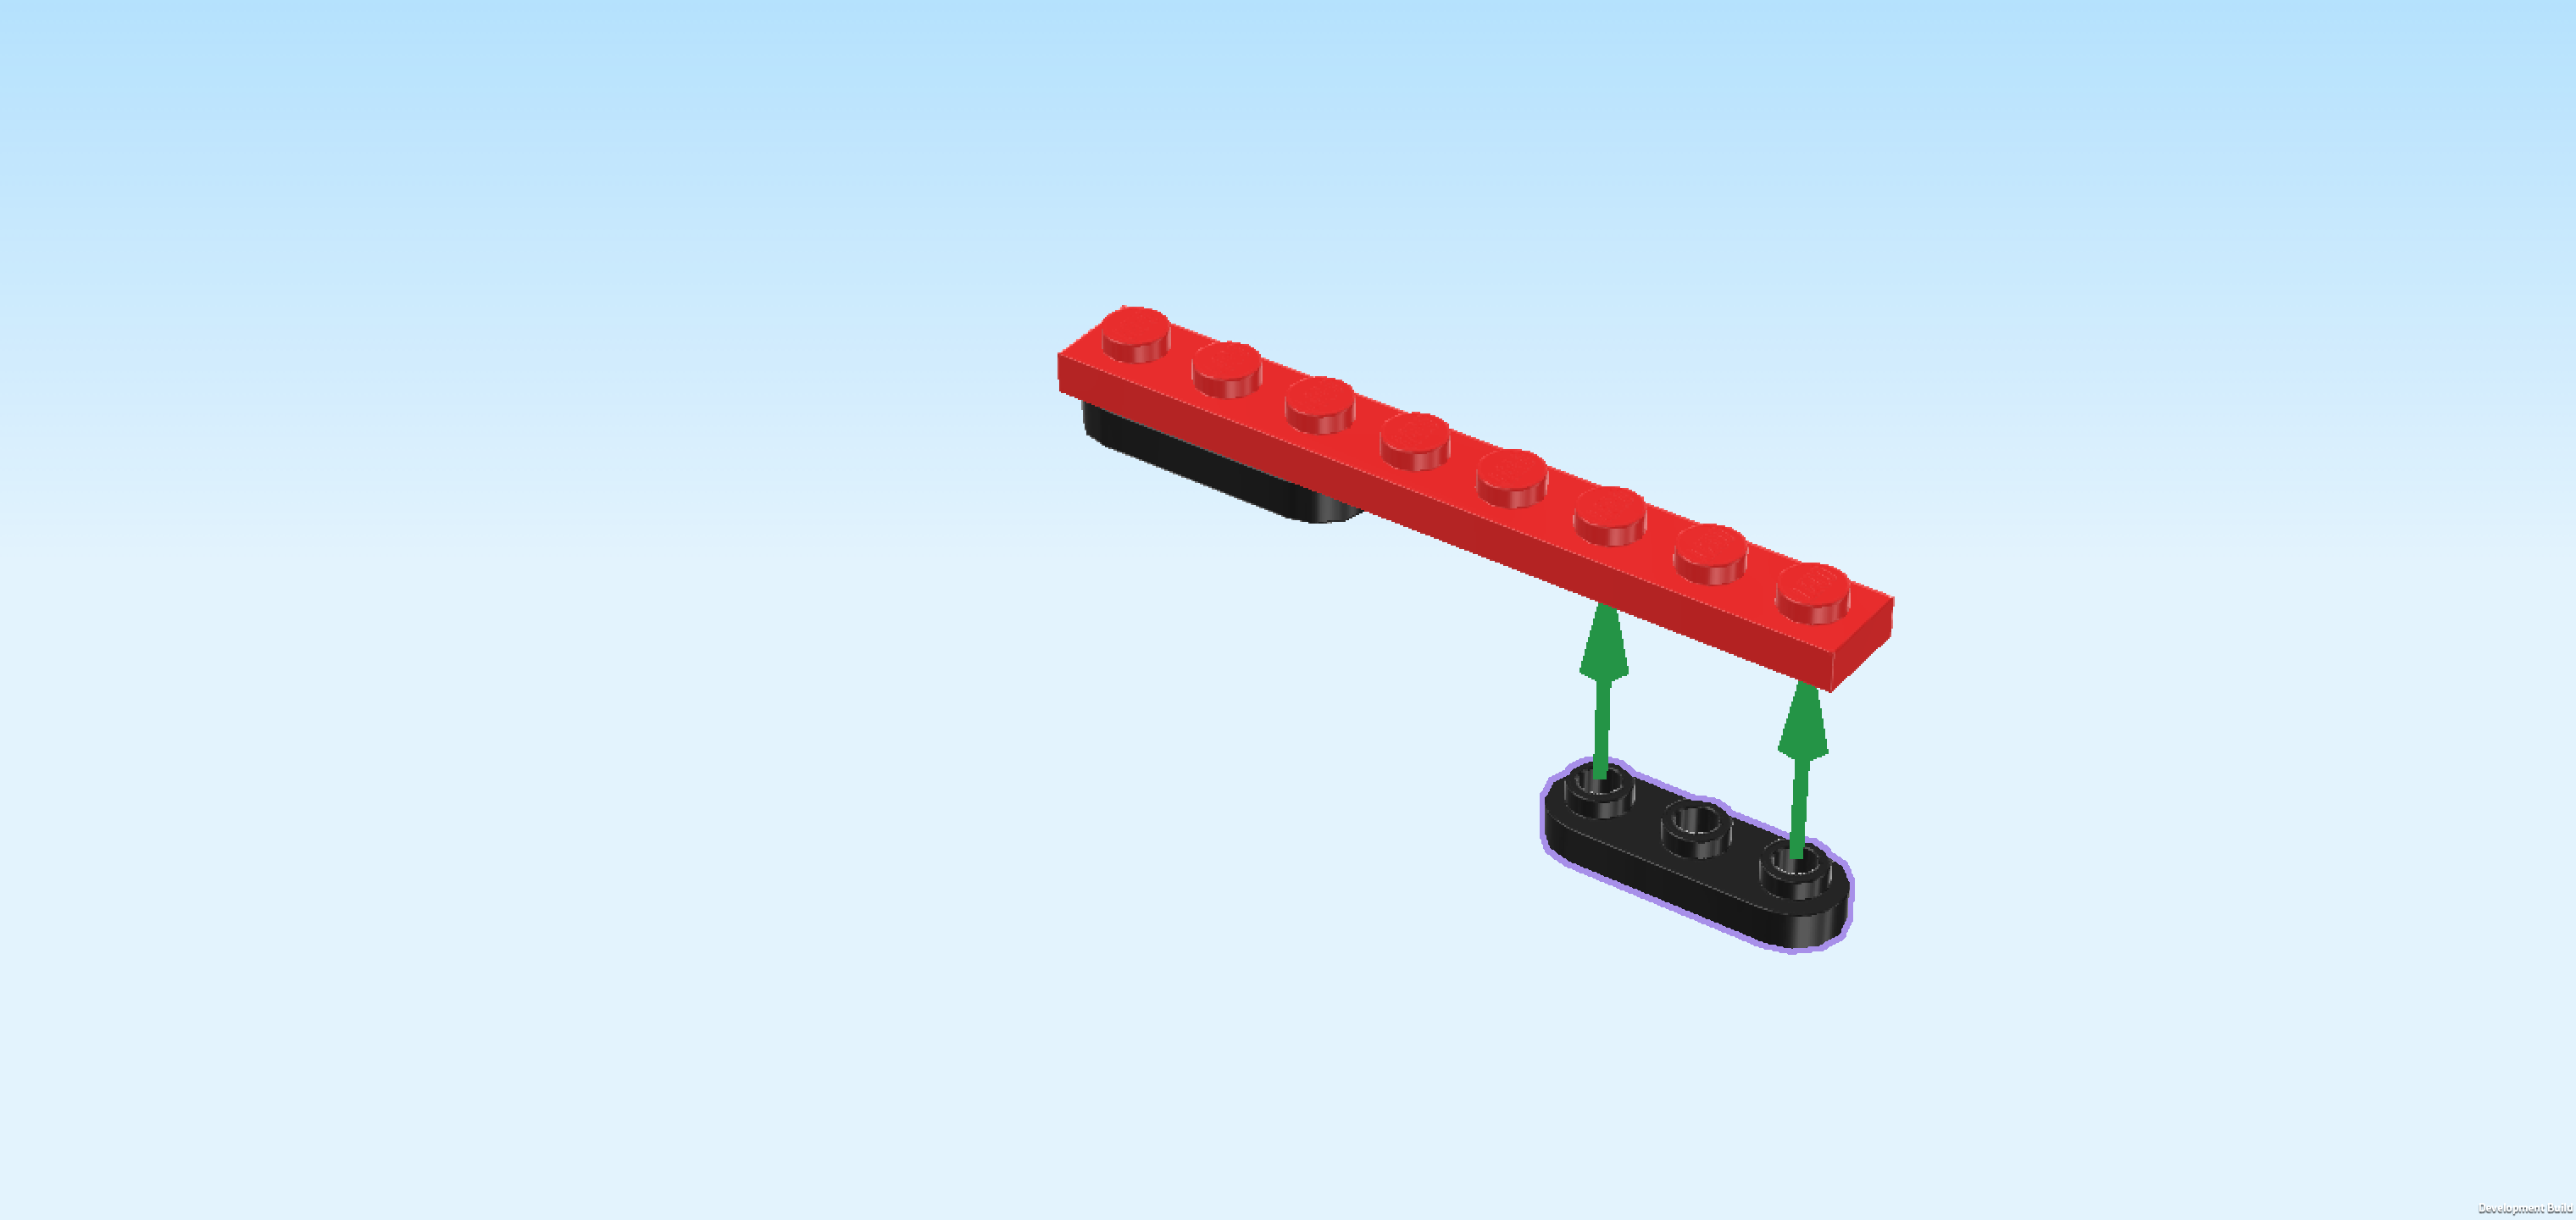
| Put the black rounded plate 1x3 vertically on the table. |
| Put the plate 1x8 vertically on top, starting from the back edge, 5 knobs overhanging to the front. |
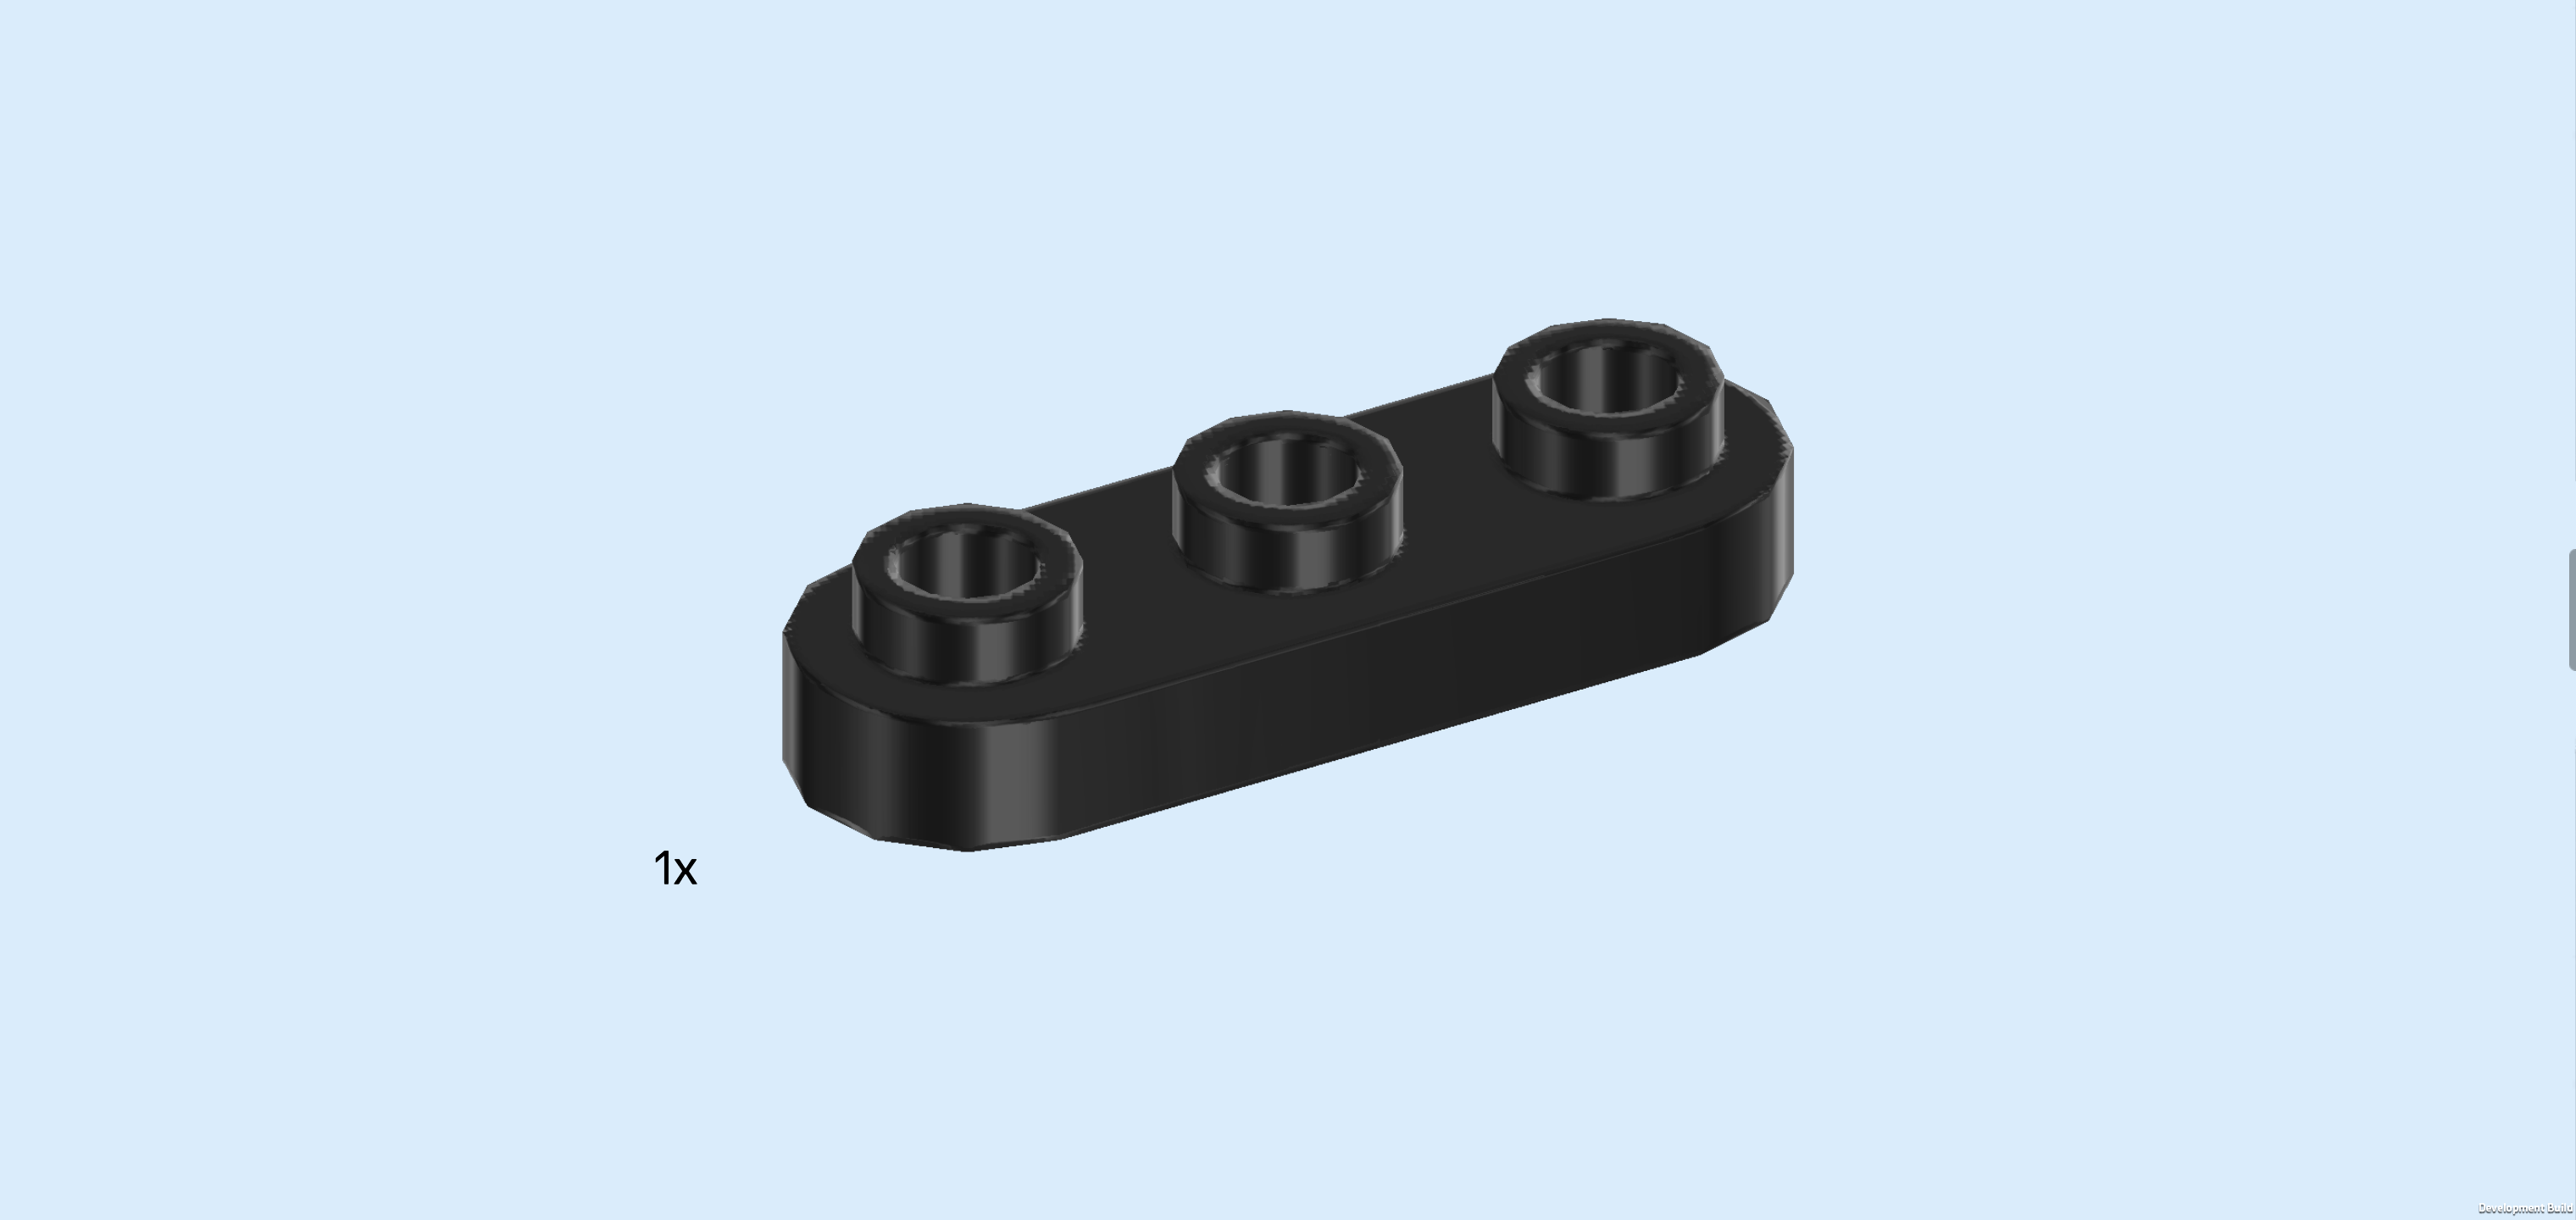
| Find 1 black rounded plate 1x3. |
| Put it vertically underneath the 3 frontmost knobs of the previous piece. |
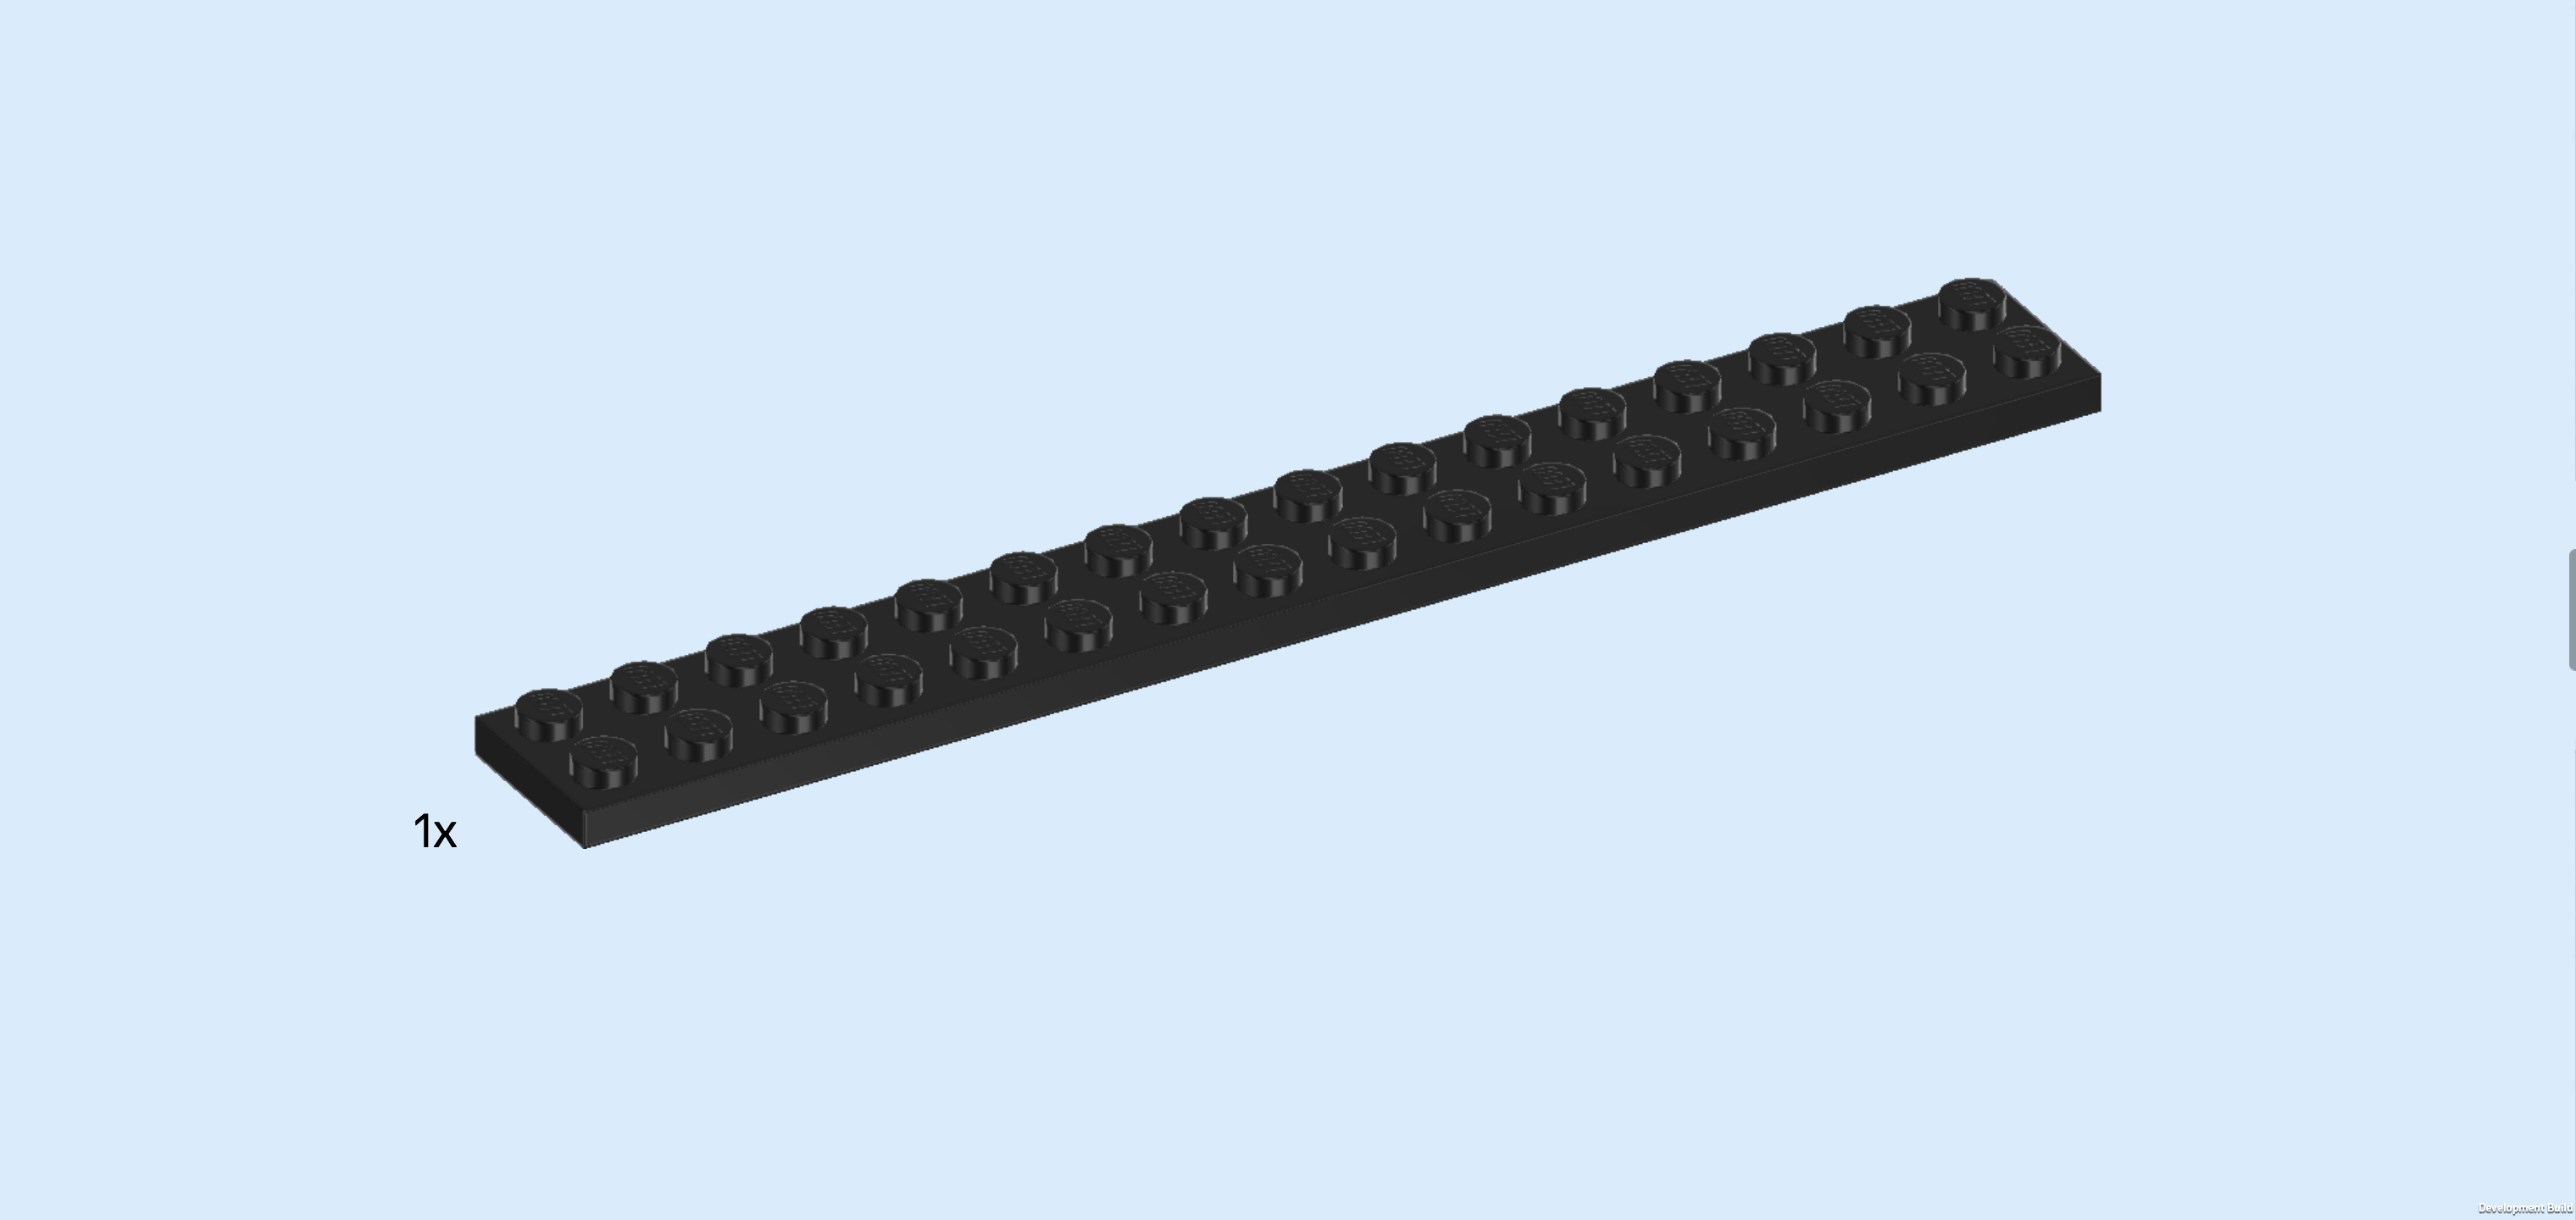
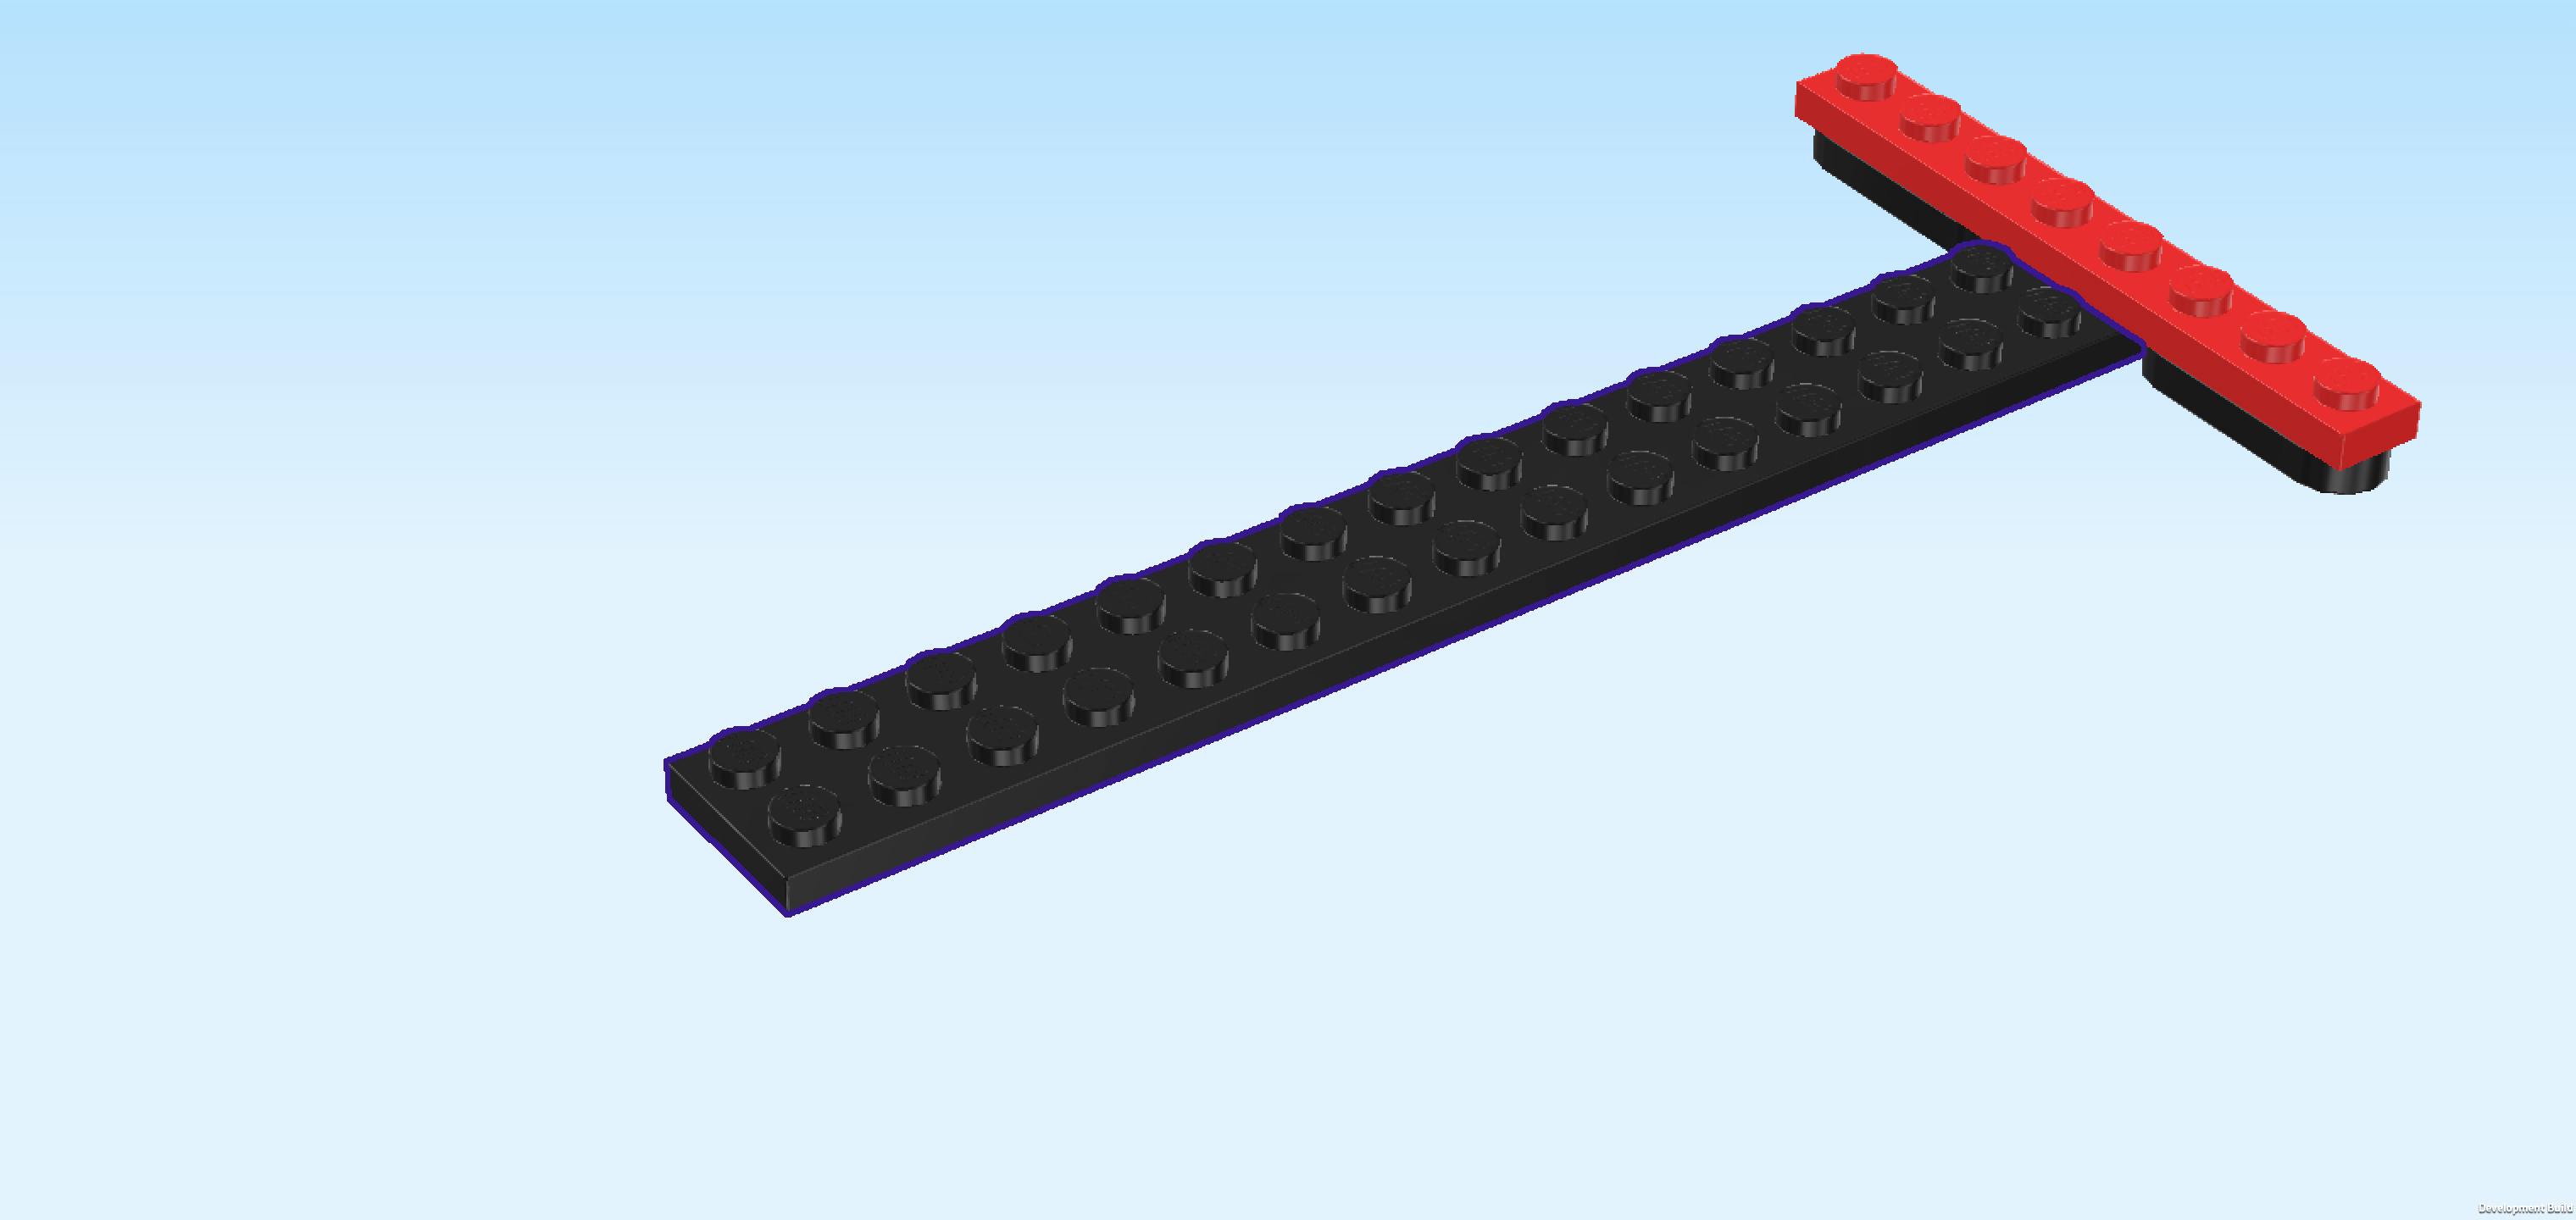
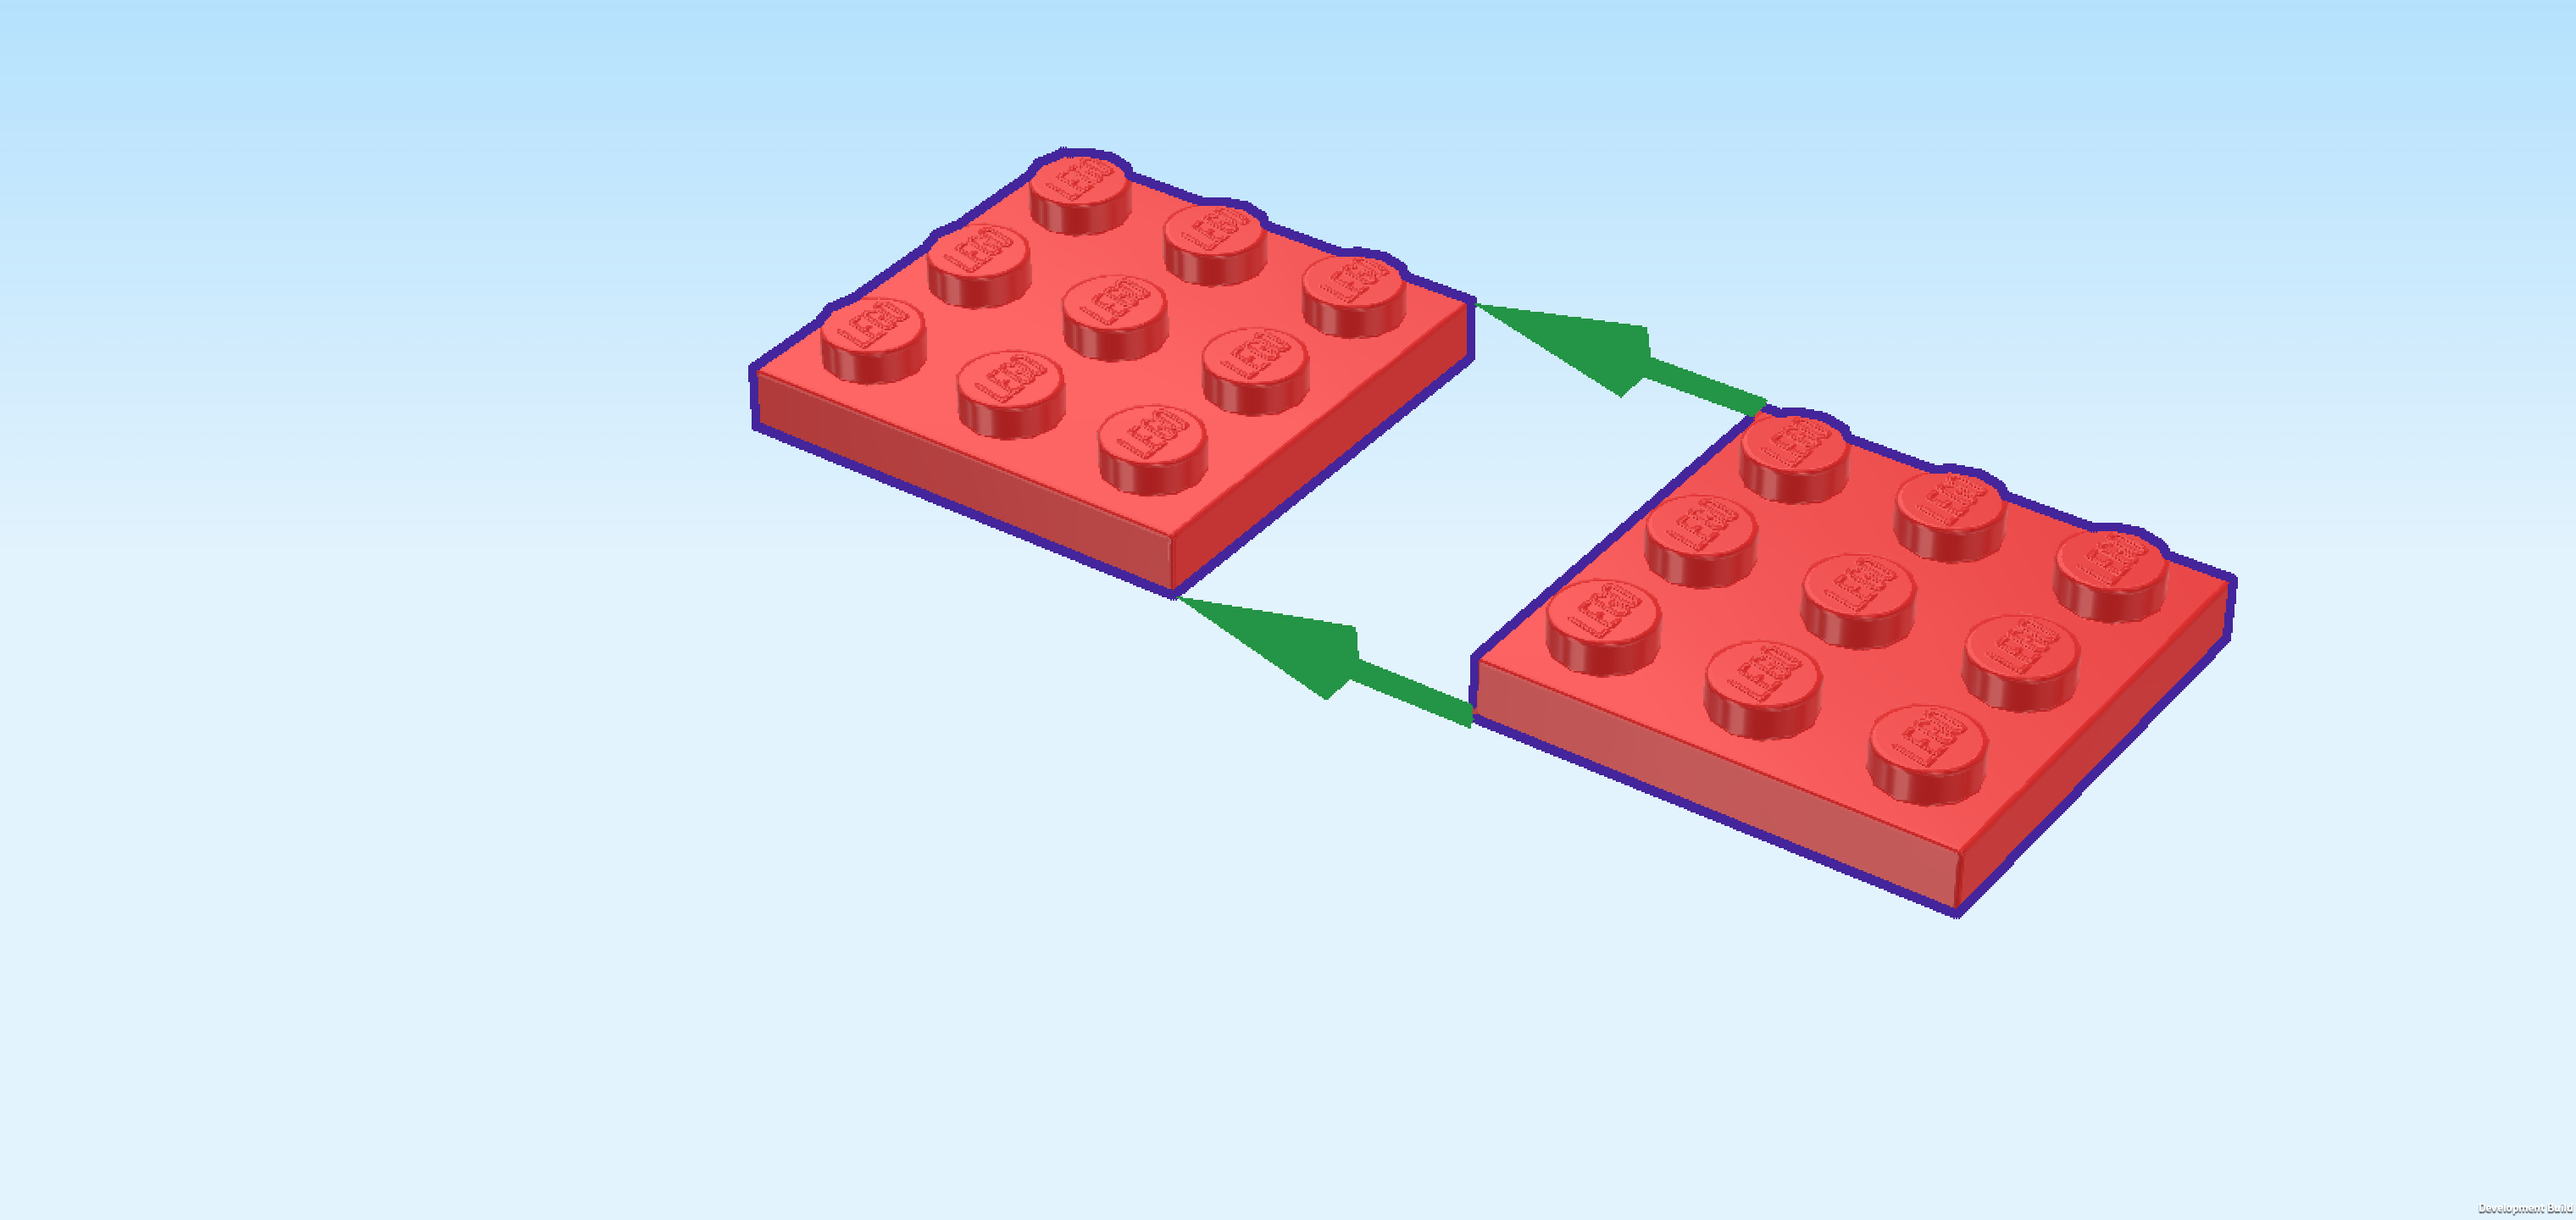
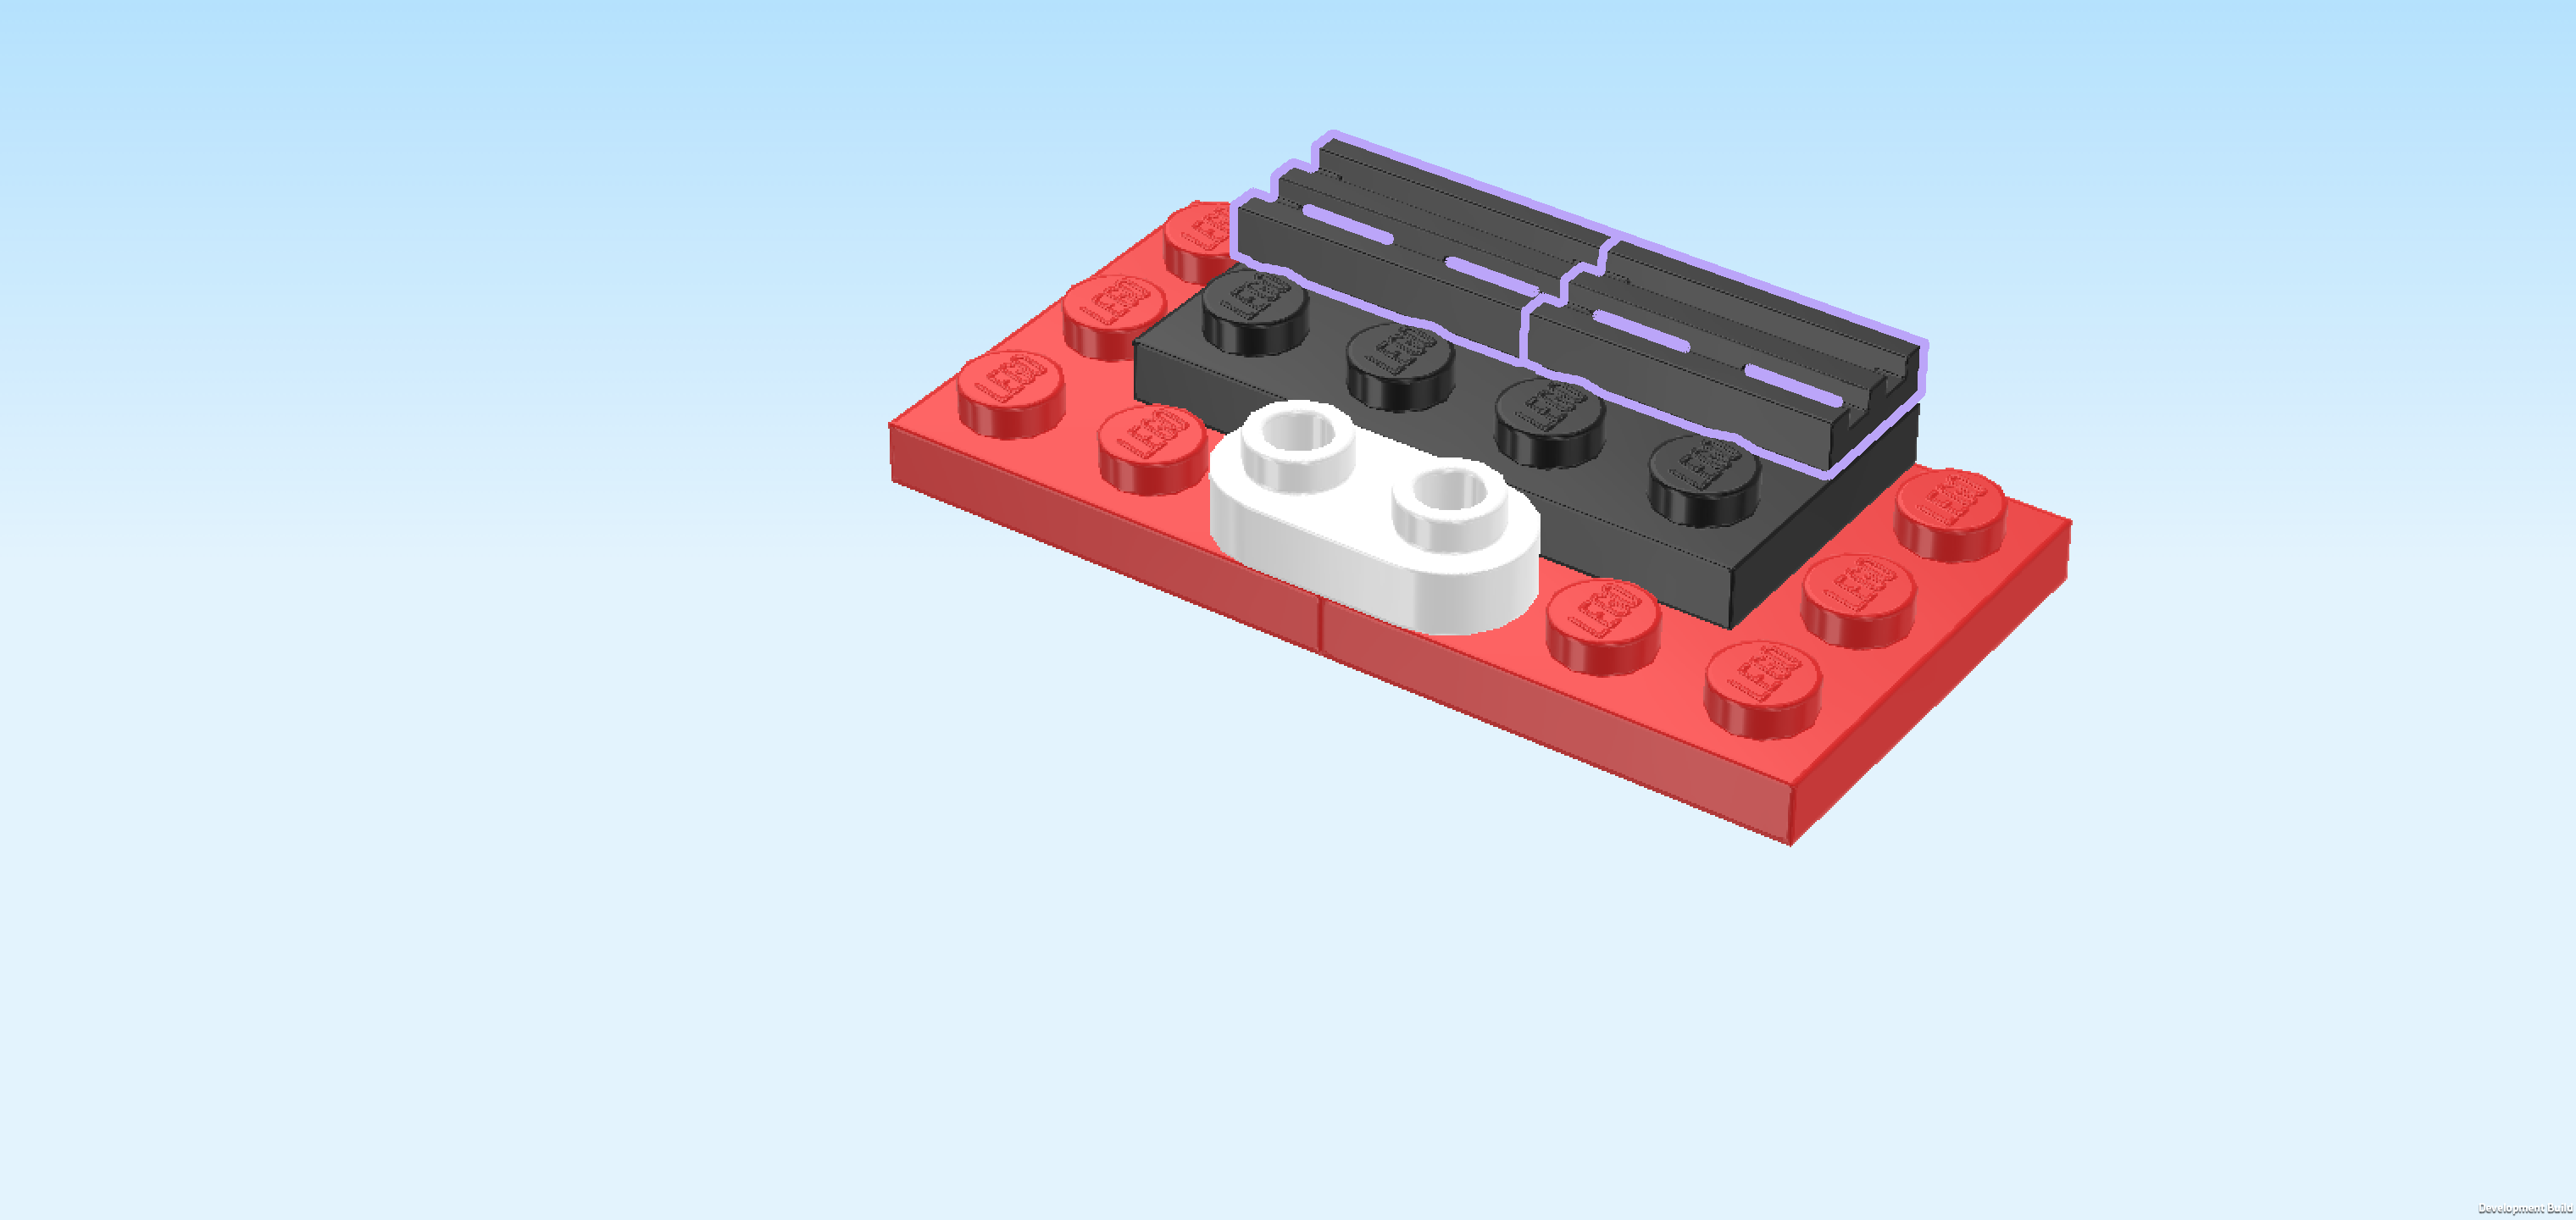
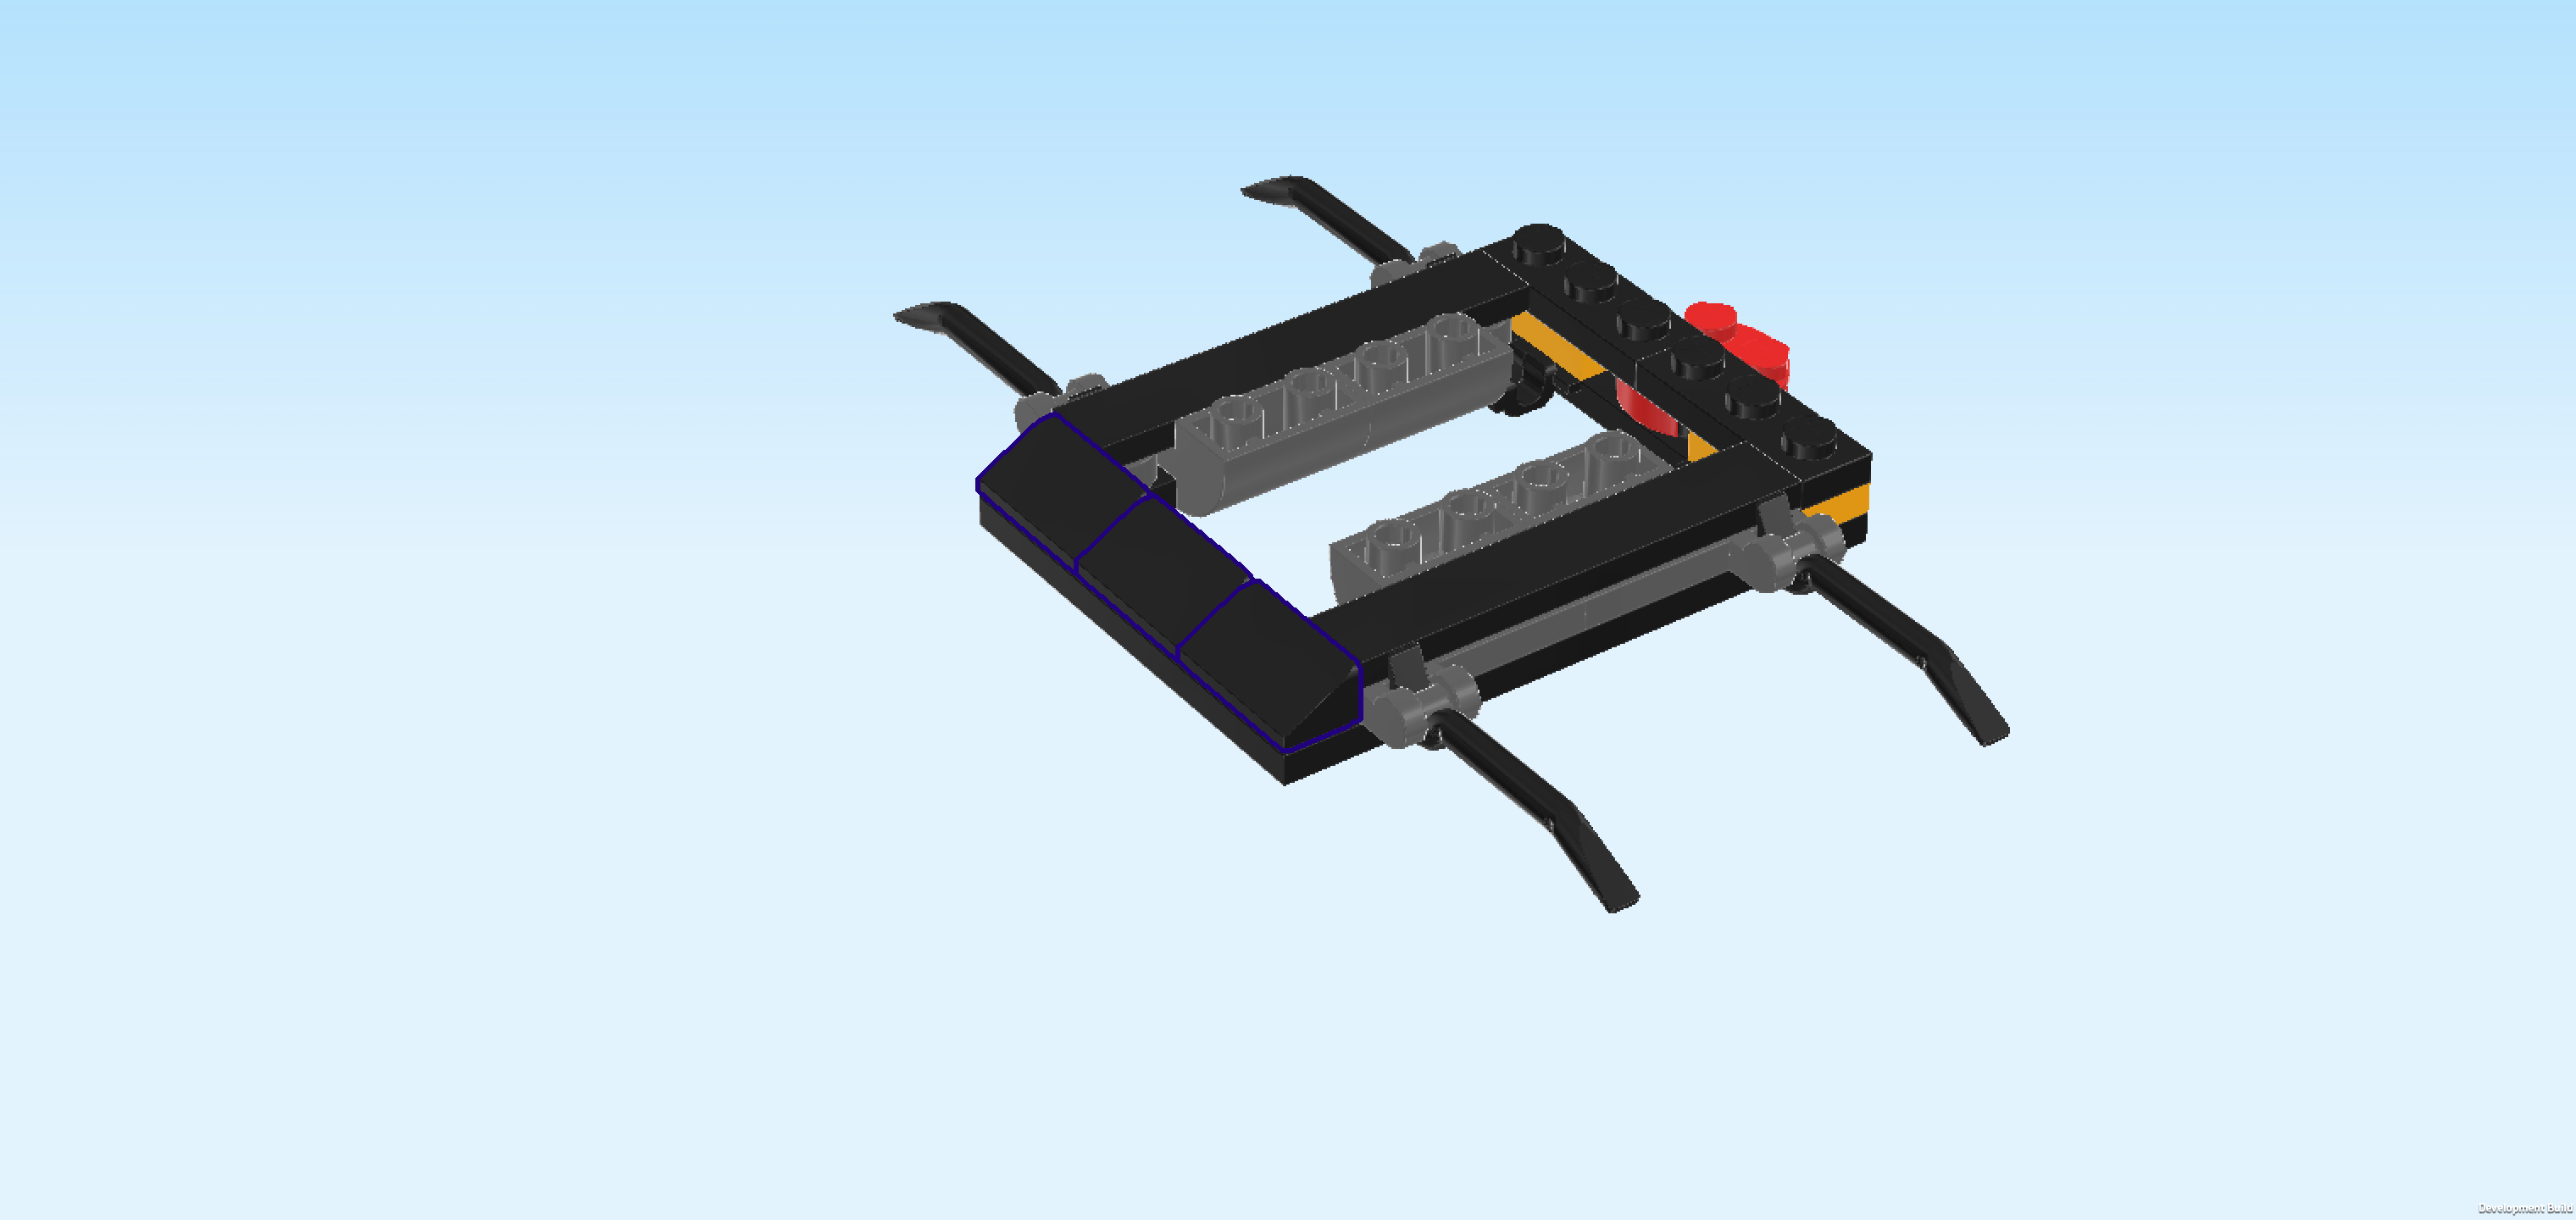
| Find 1 black plate 2x16. |
| Put it horizontally on the table. Then, mount the structure from the previous step centered on the rightmost column, symmetrically overhanging to the front and back. |
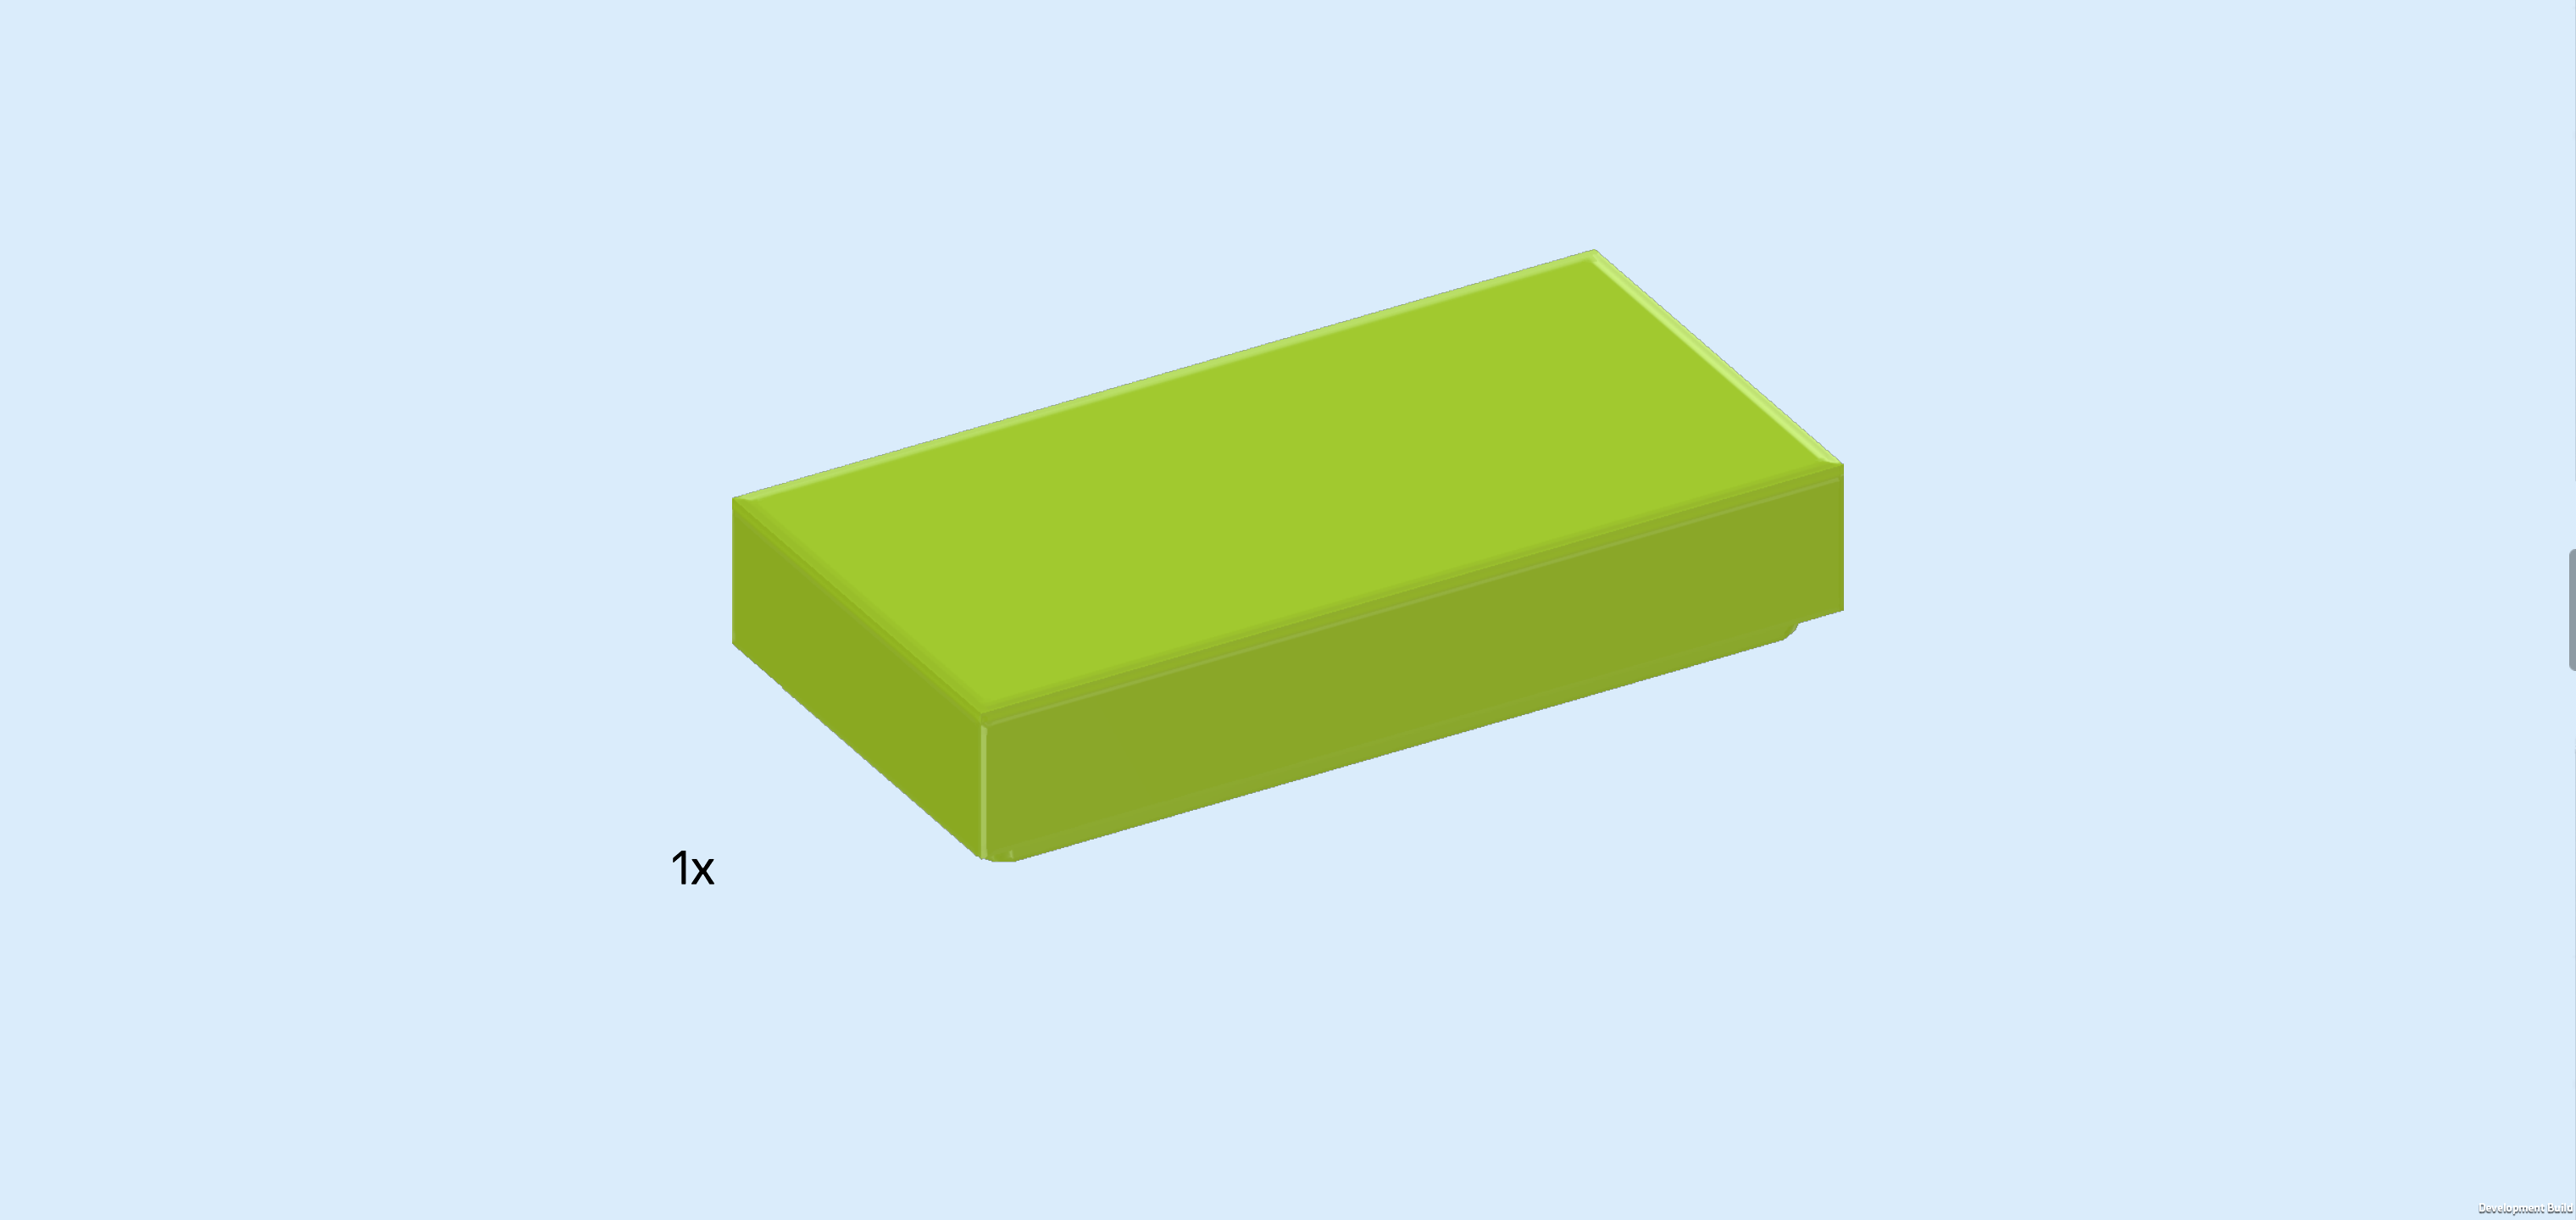
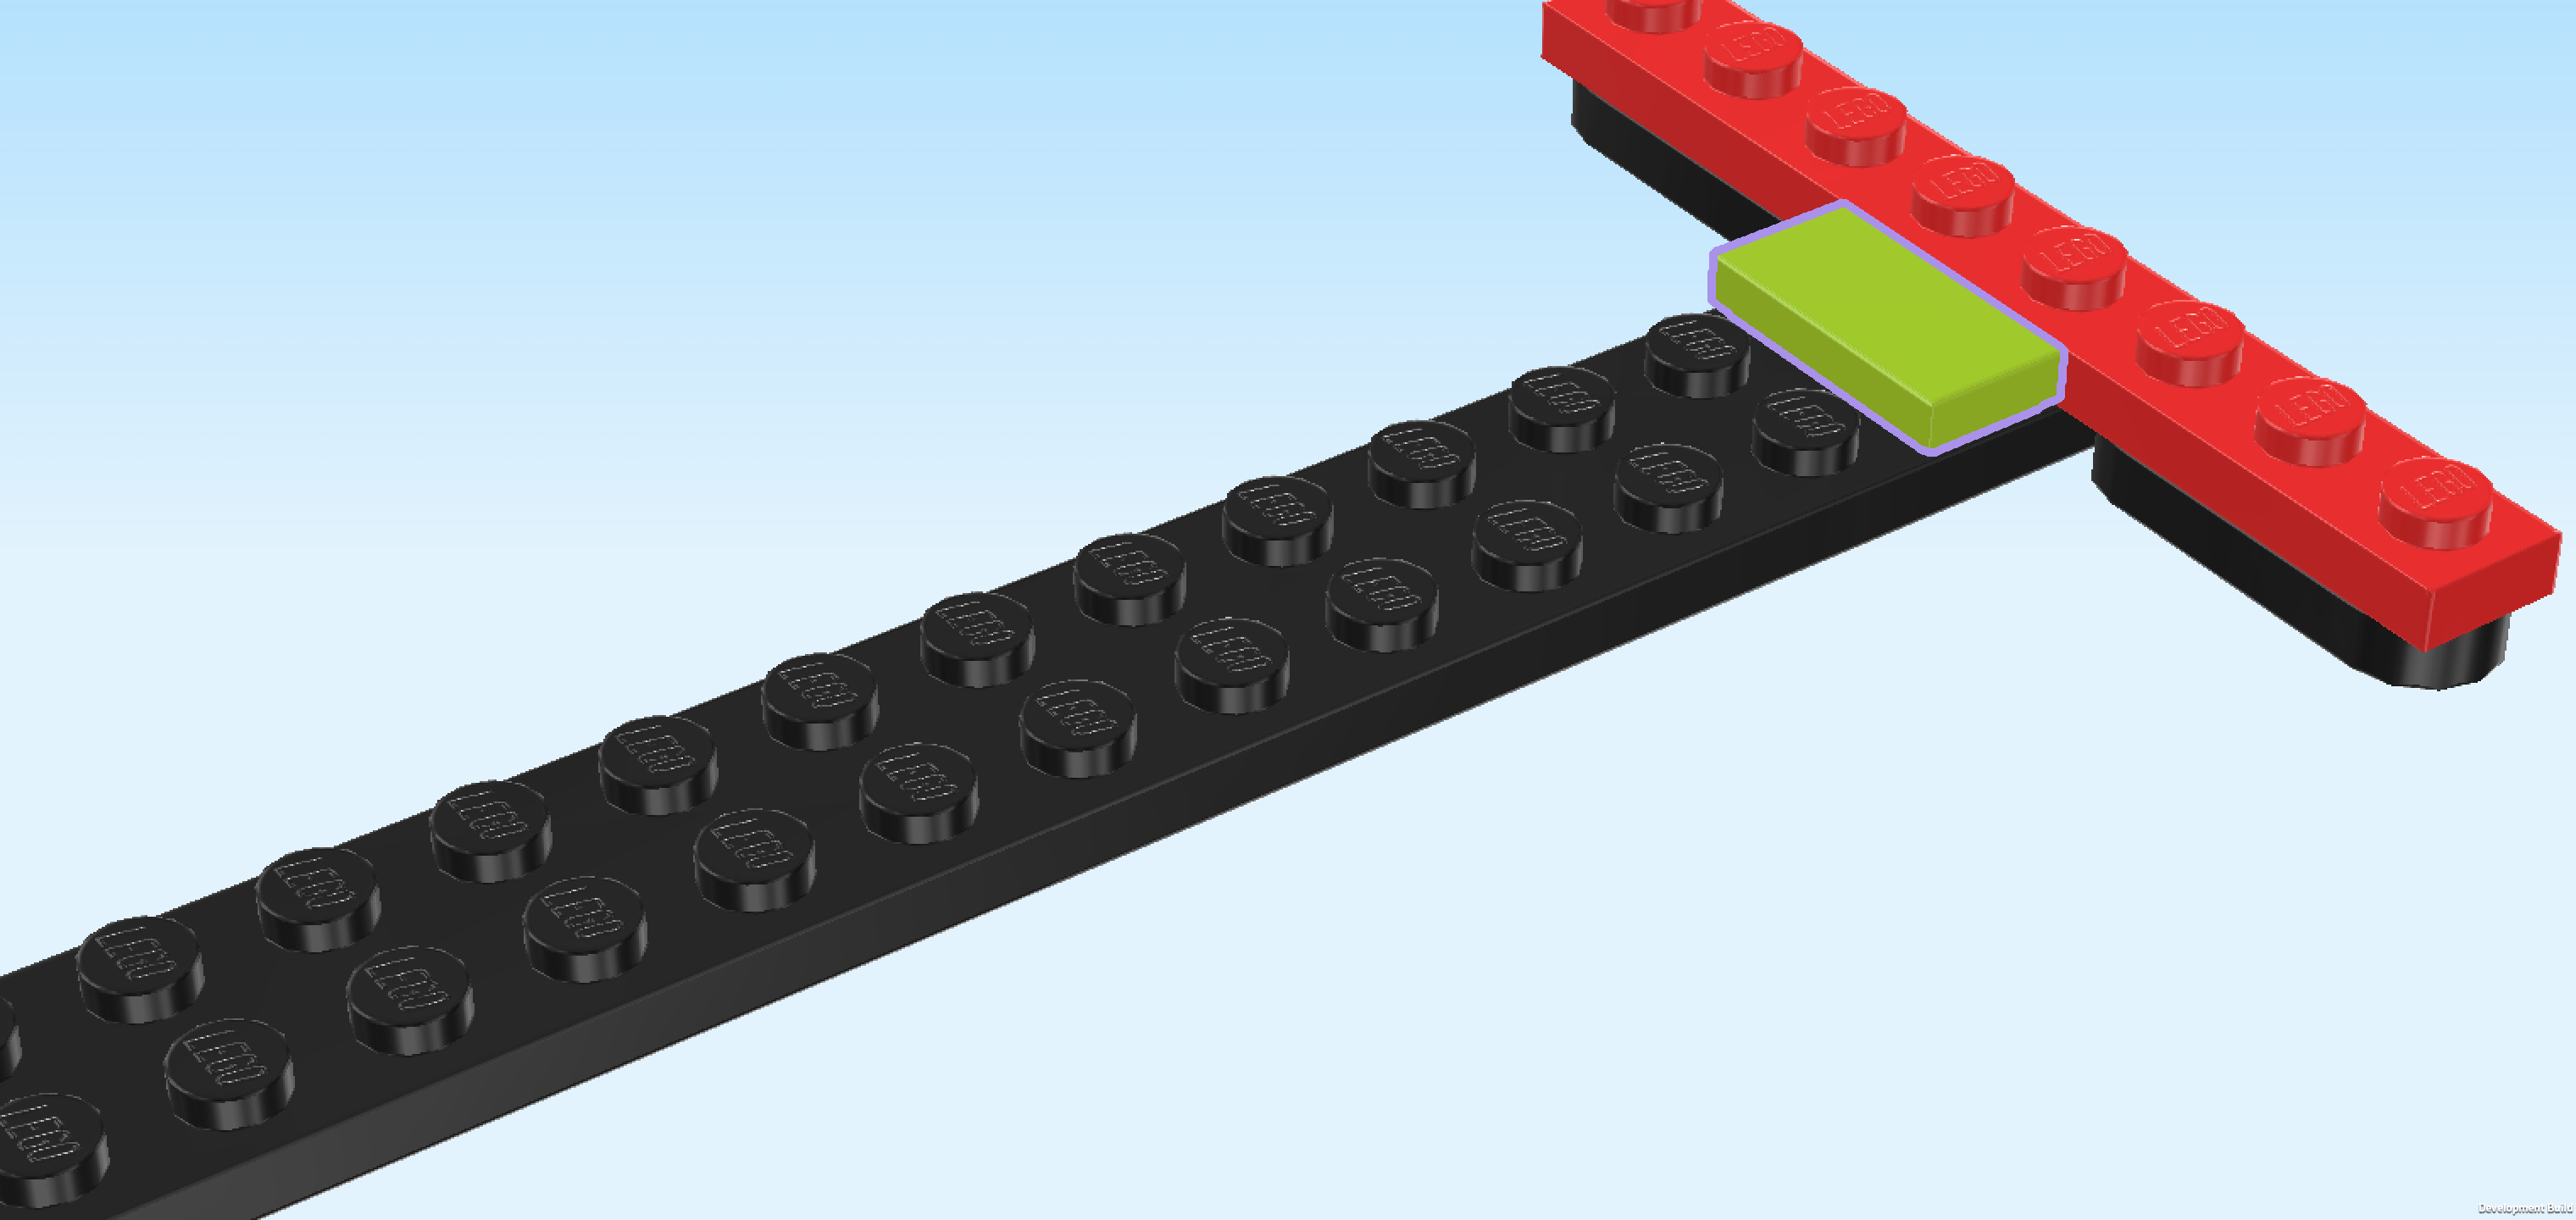
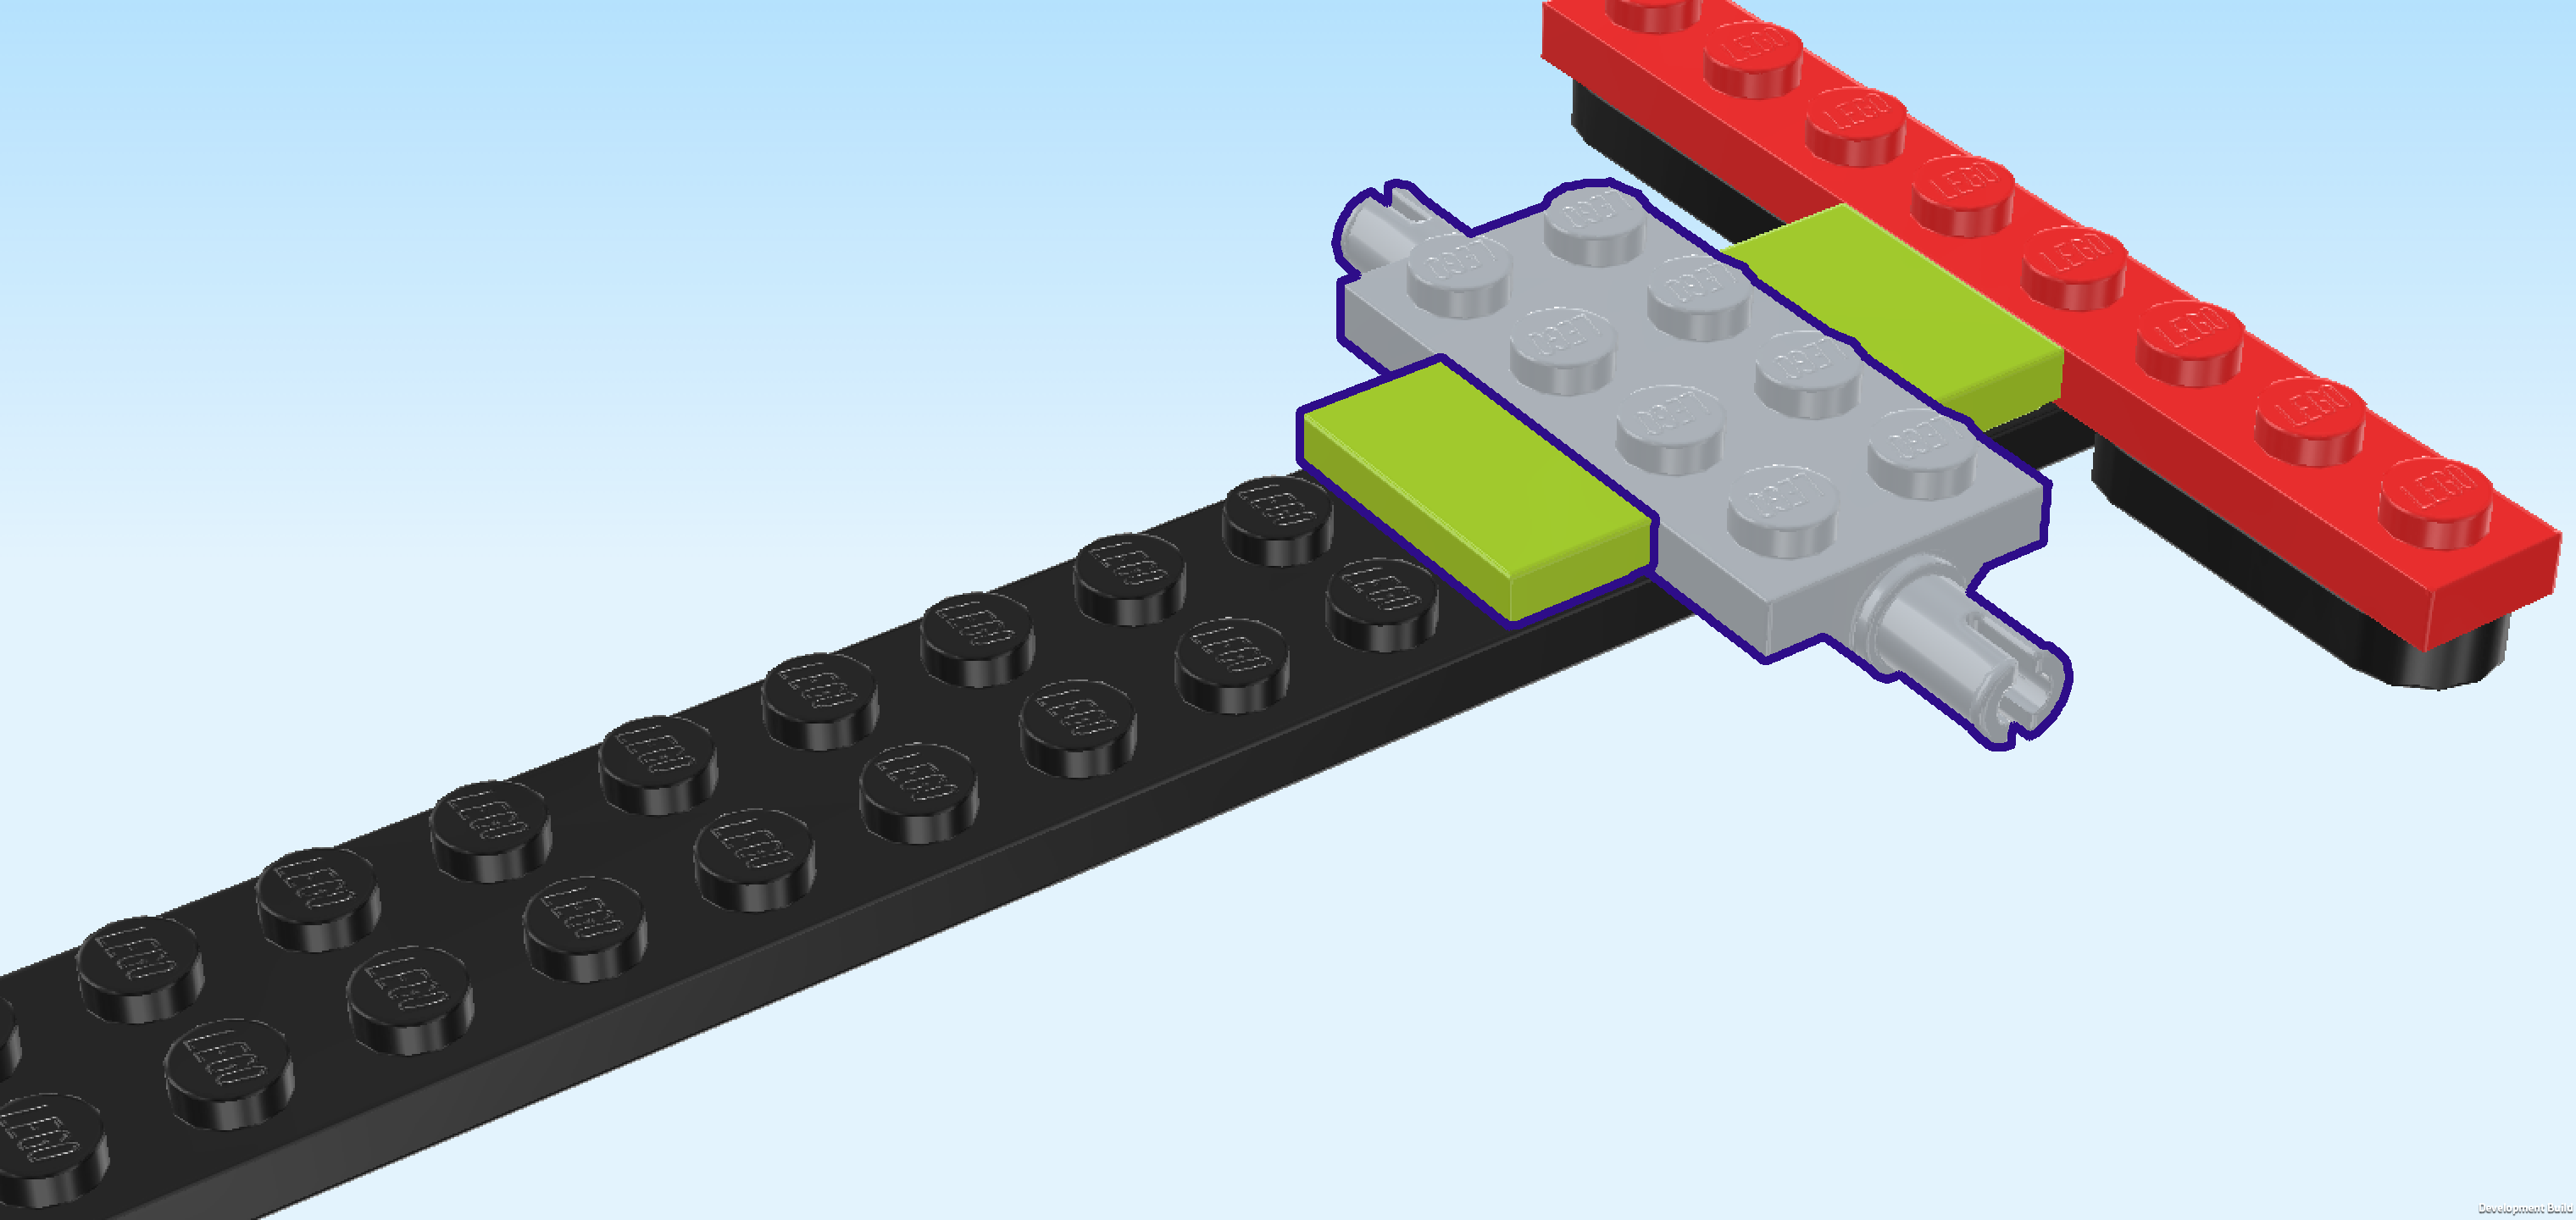
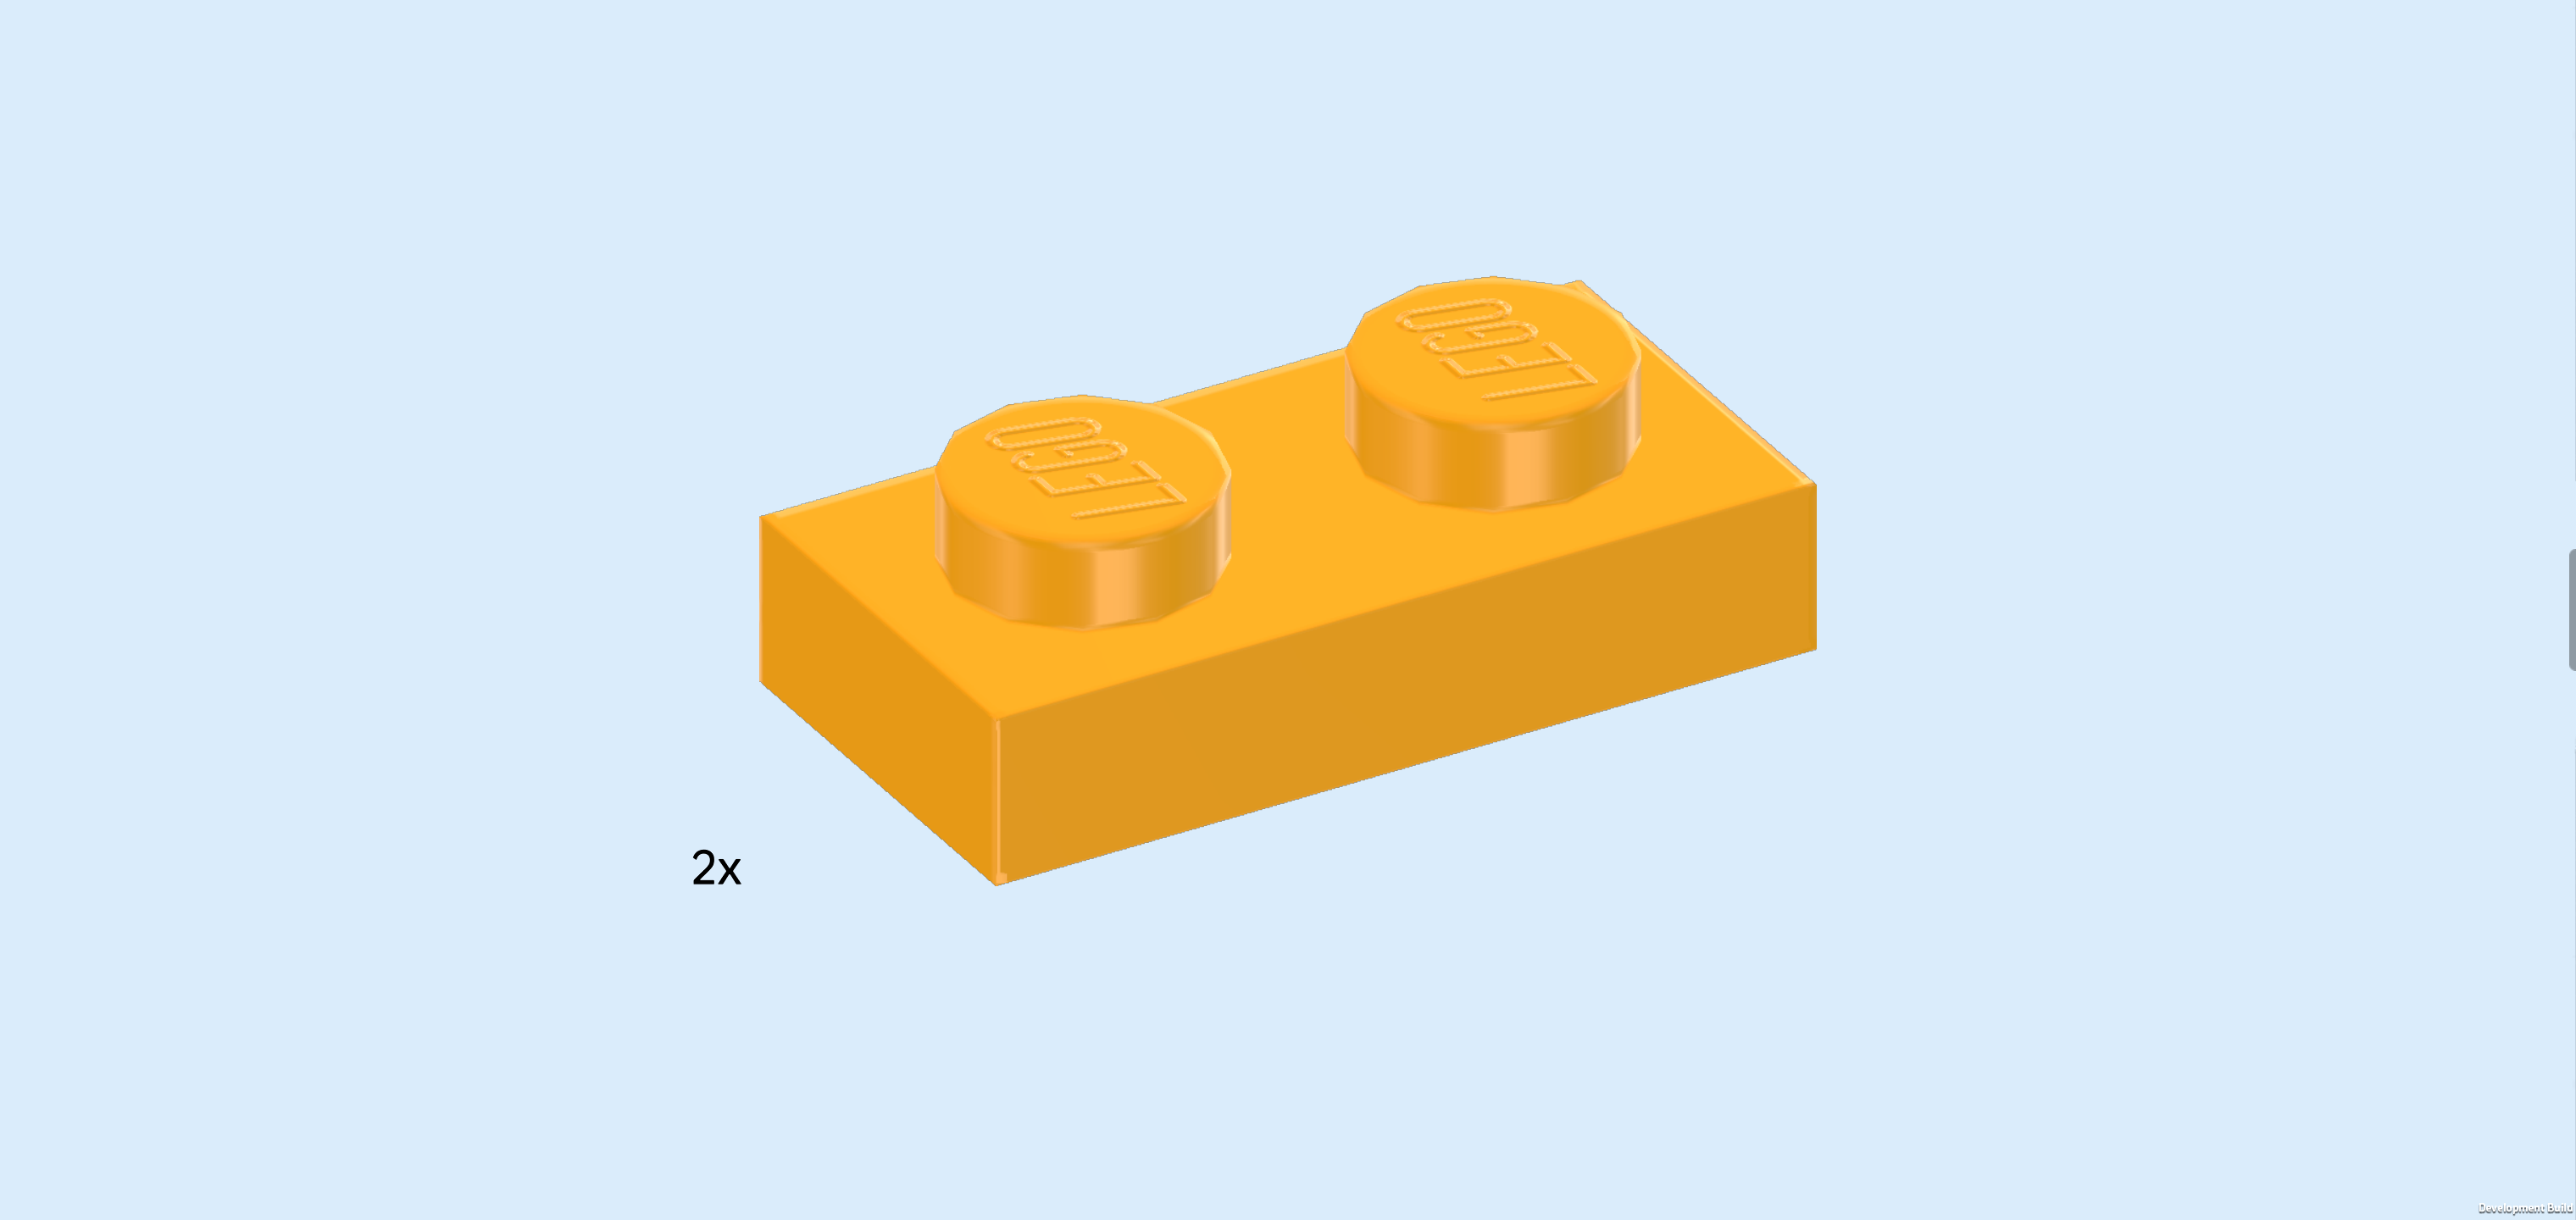
| Find 1 bright yellowish green flat tile 1x2. |
| Put it vertically to the left of the 1x8 structure on the rightmost edge. |
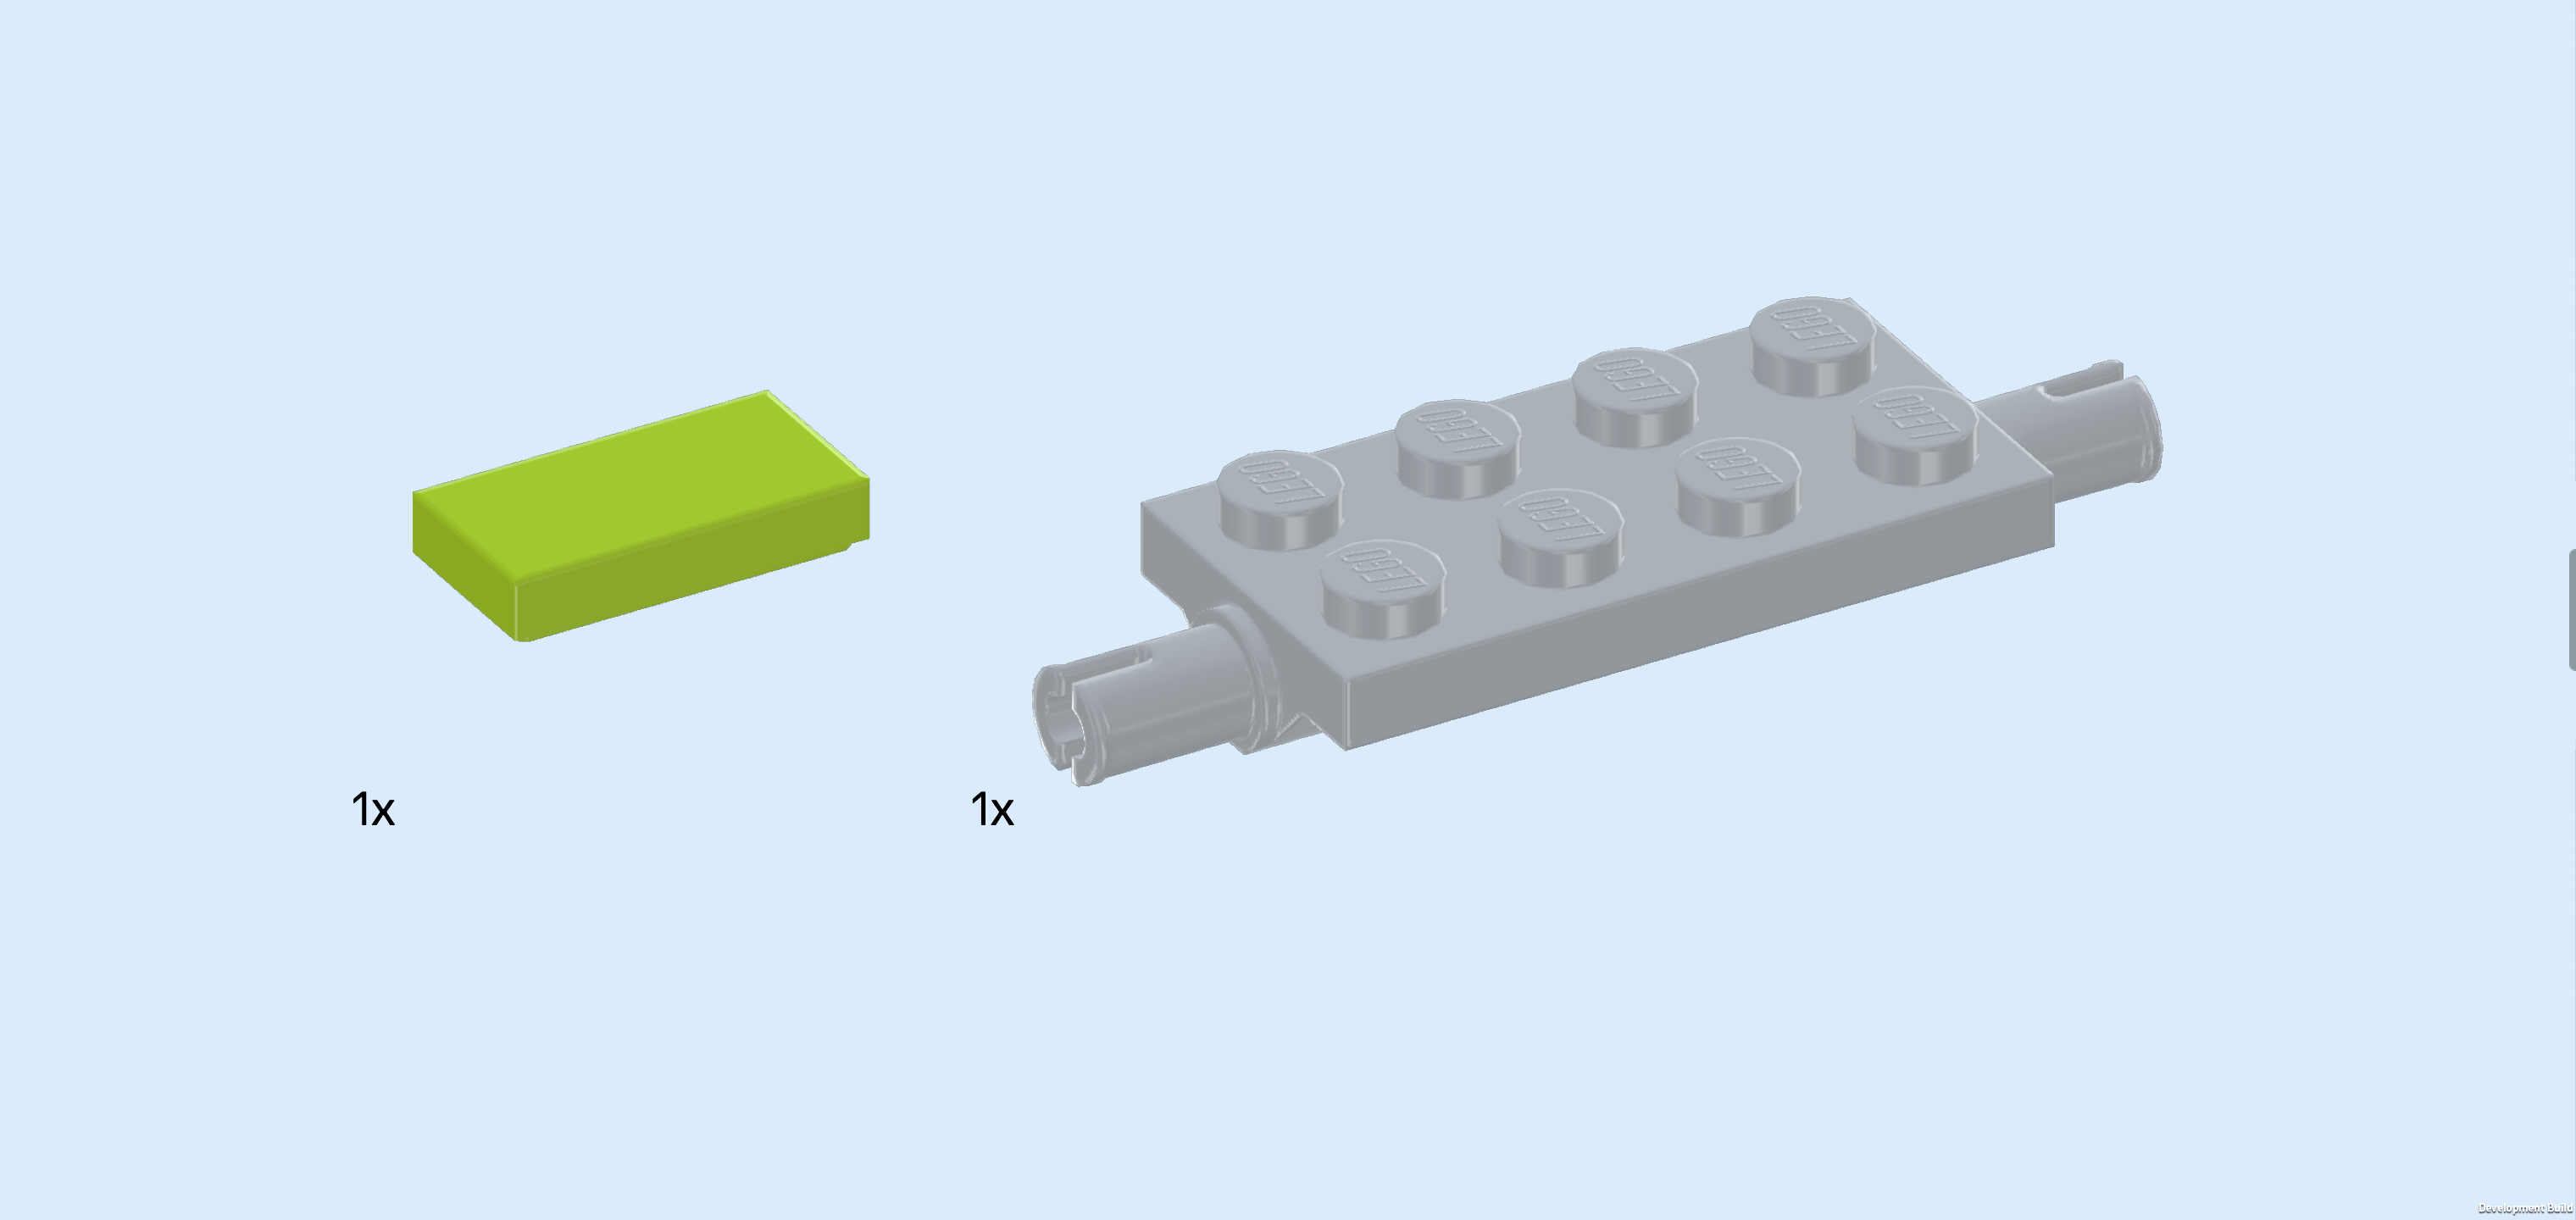
| Collect the following 2 pieces: |
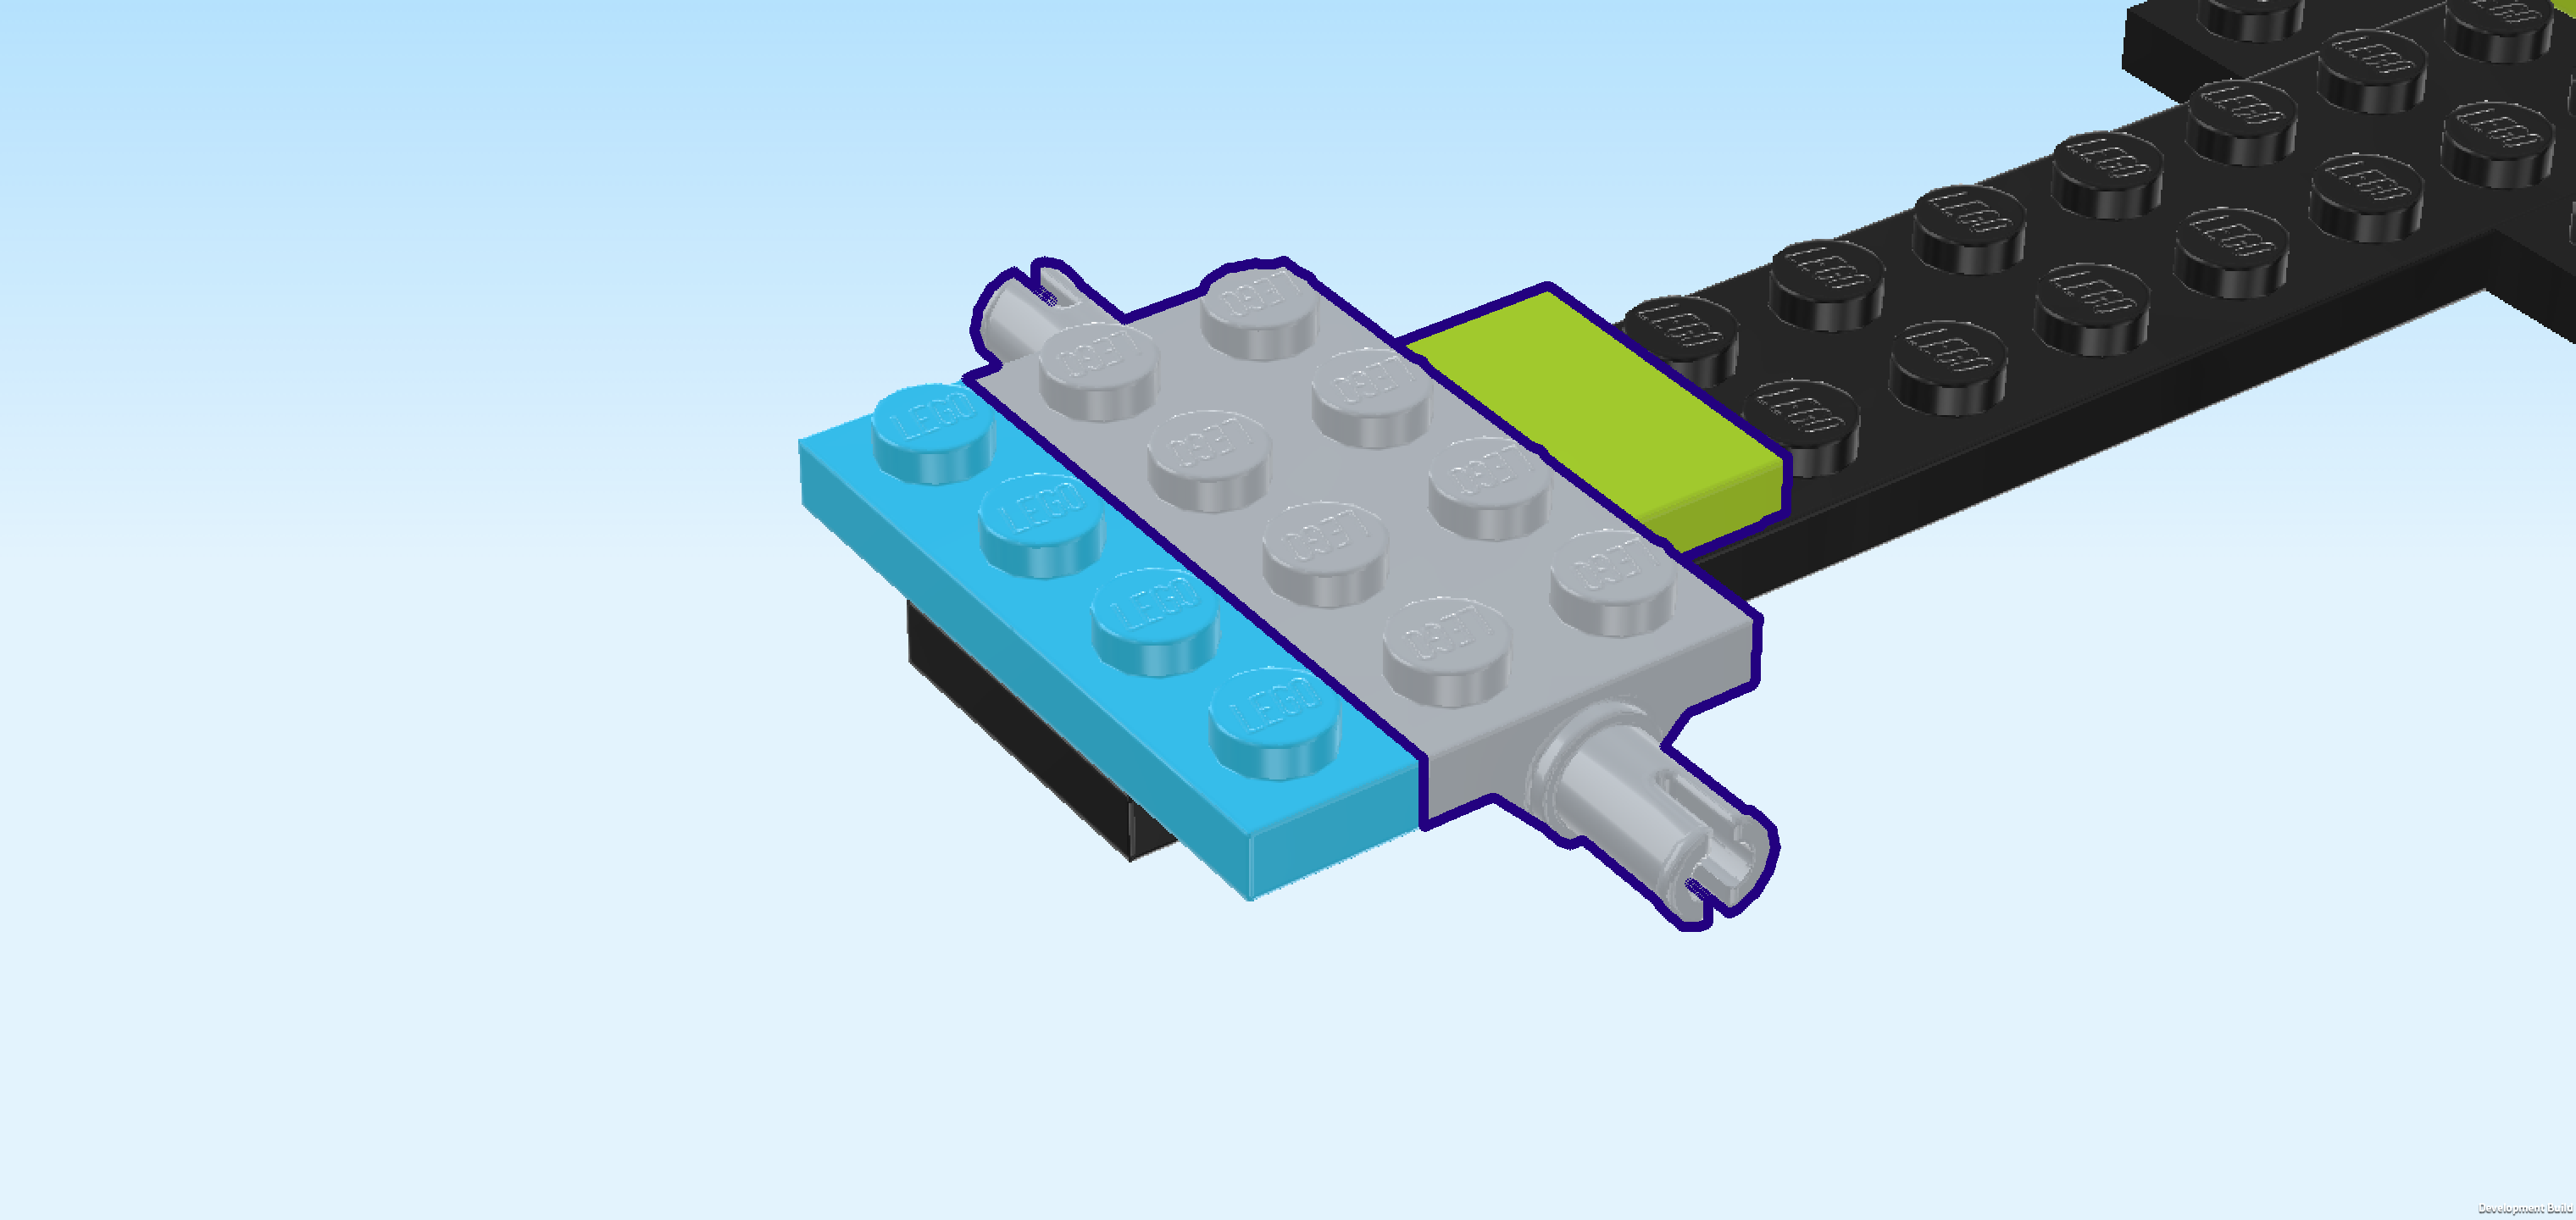
| 1 bright yellowish green flat tile 1x2, |
| and 1 medium stone grey plate 2x4 with 2 connector pins. |
| Put the plate 2x4 vertically centered to the left of the previous piece, symmetrically overhanging to the front and back, connectors pointing to the front and back. |
| Put the flat tile 1x2 vertically to the left of the previous piece. |
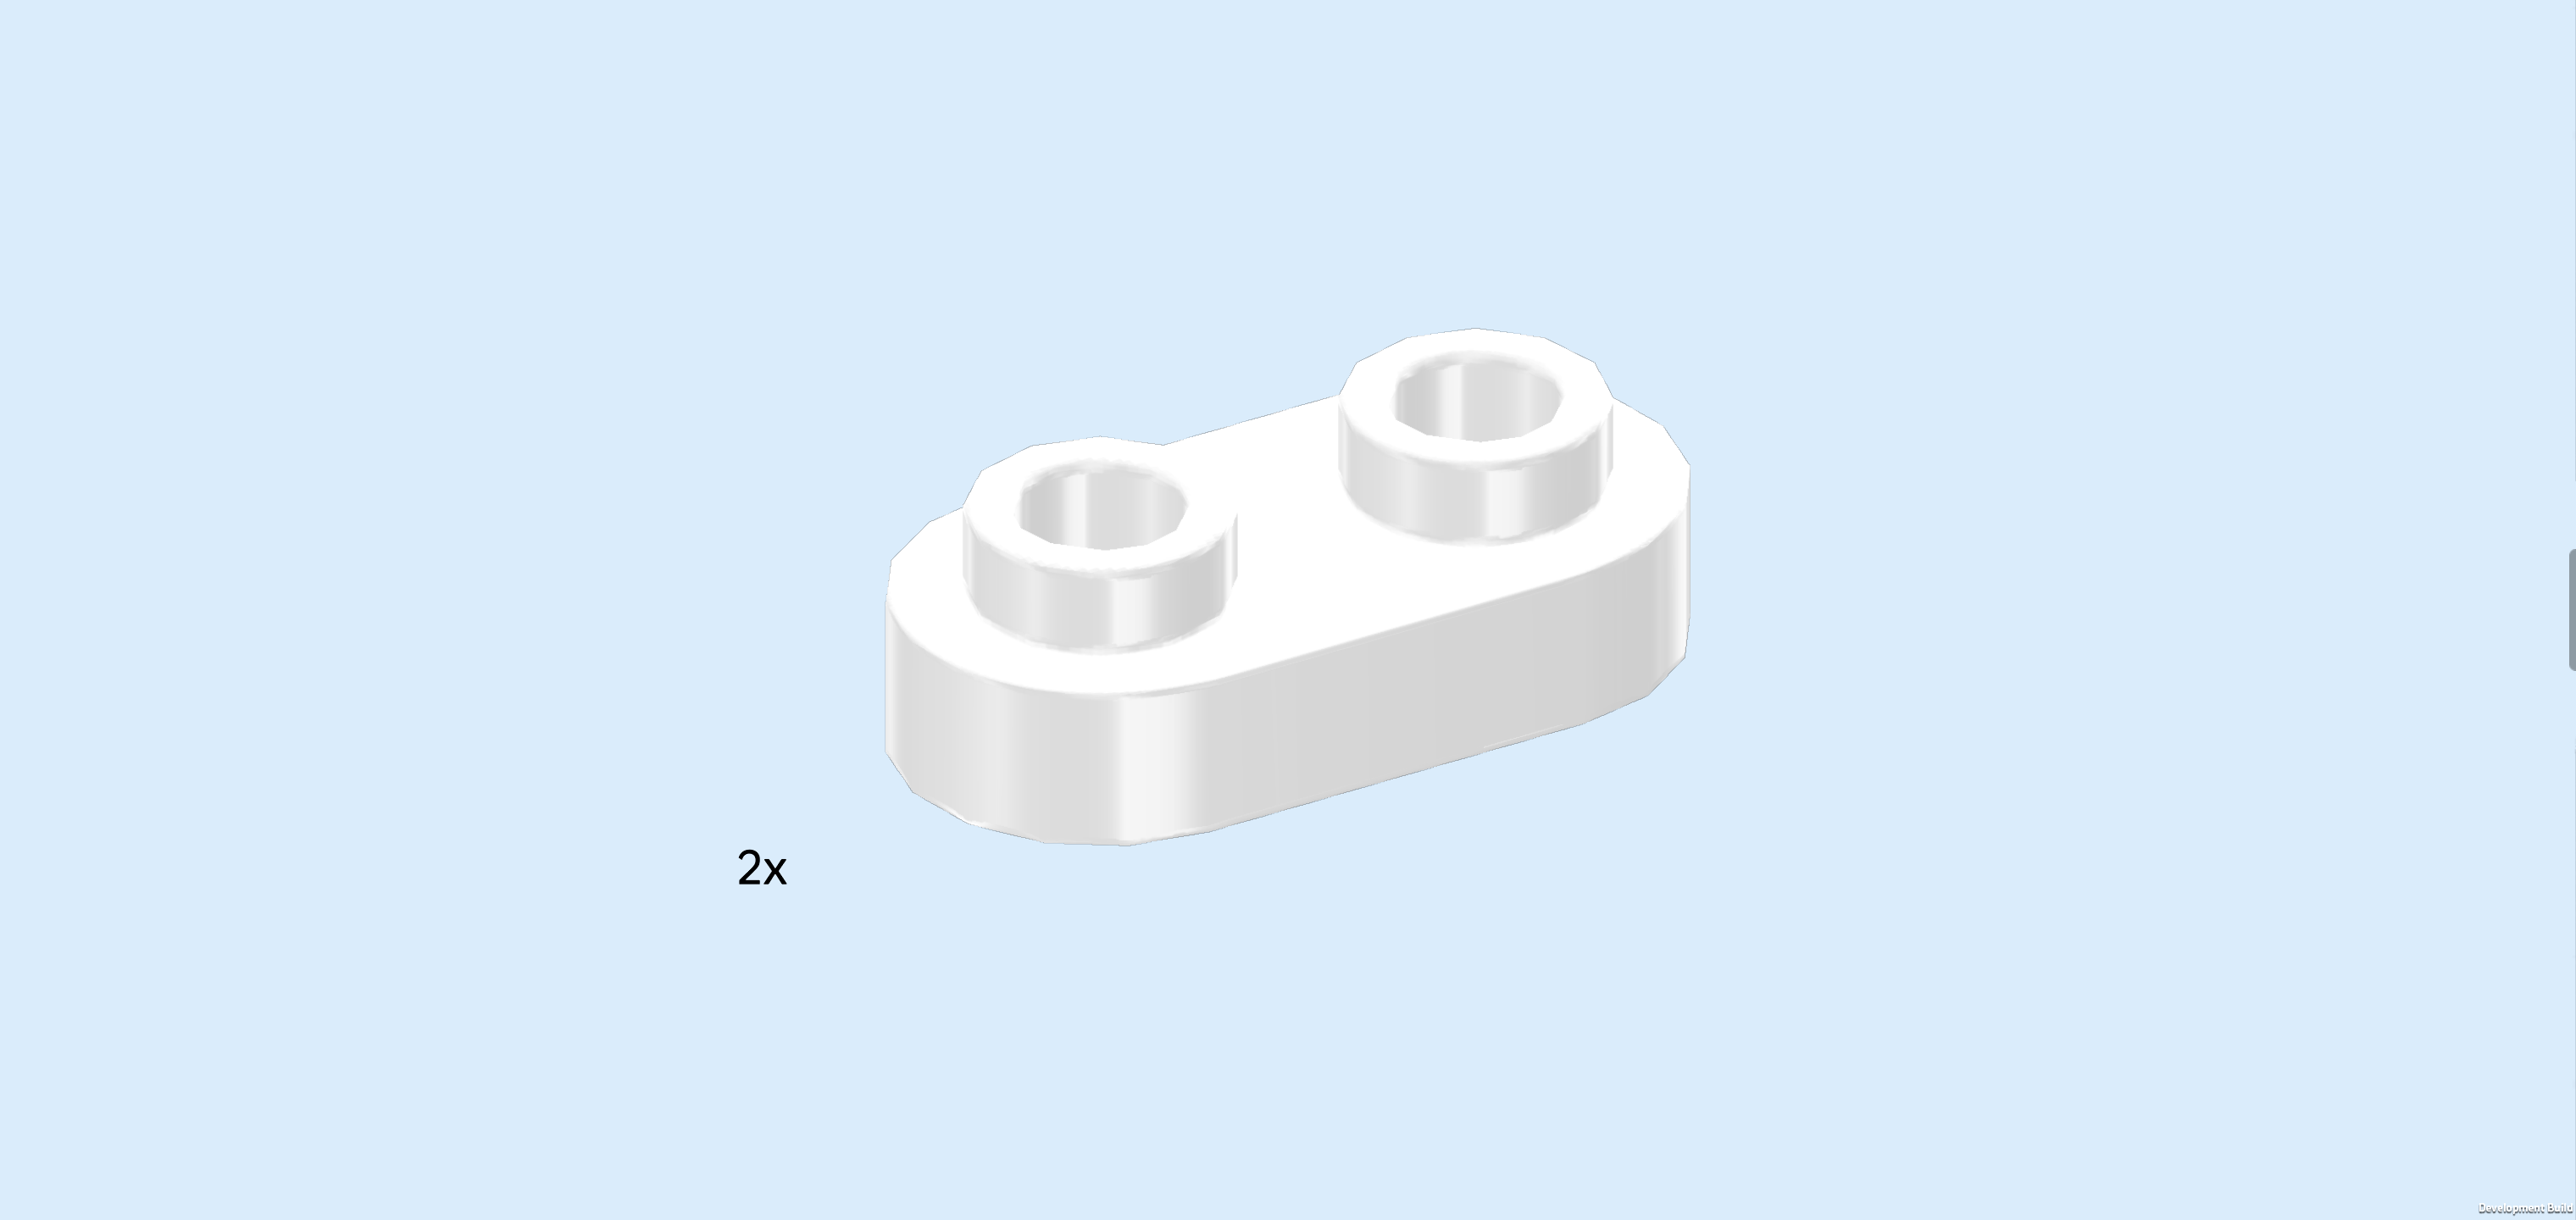
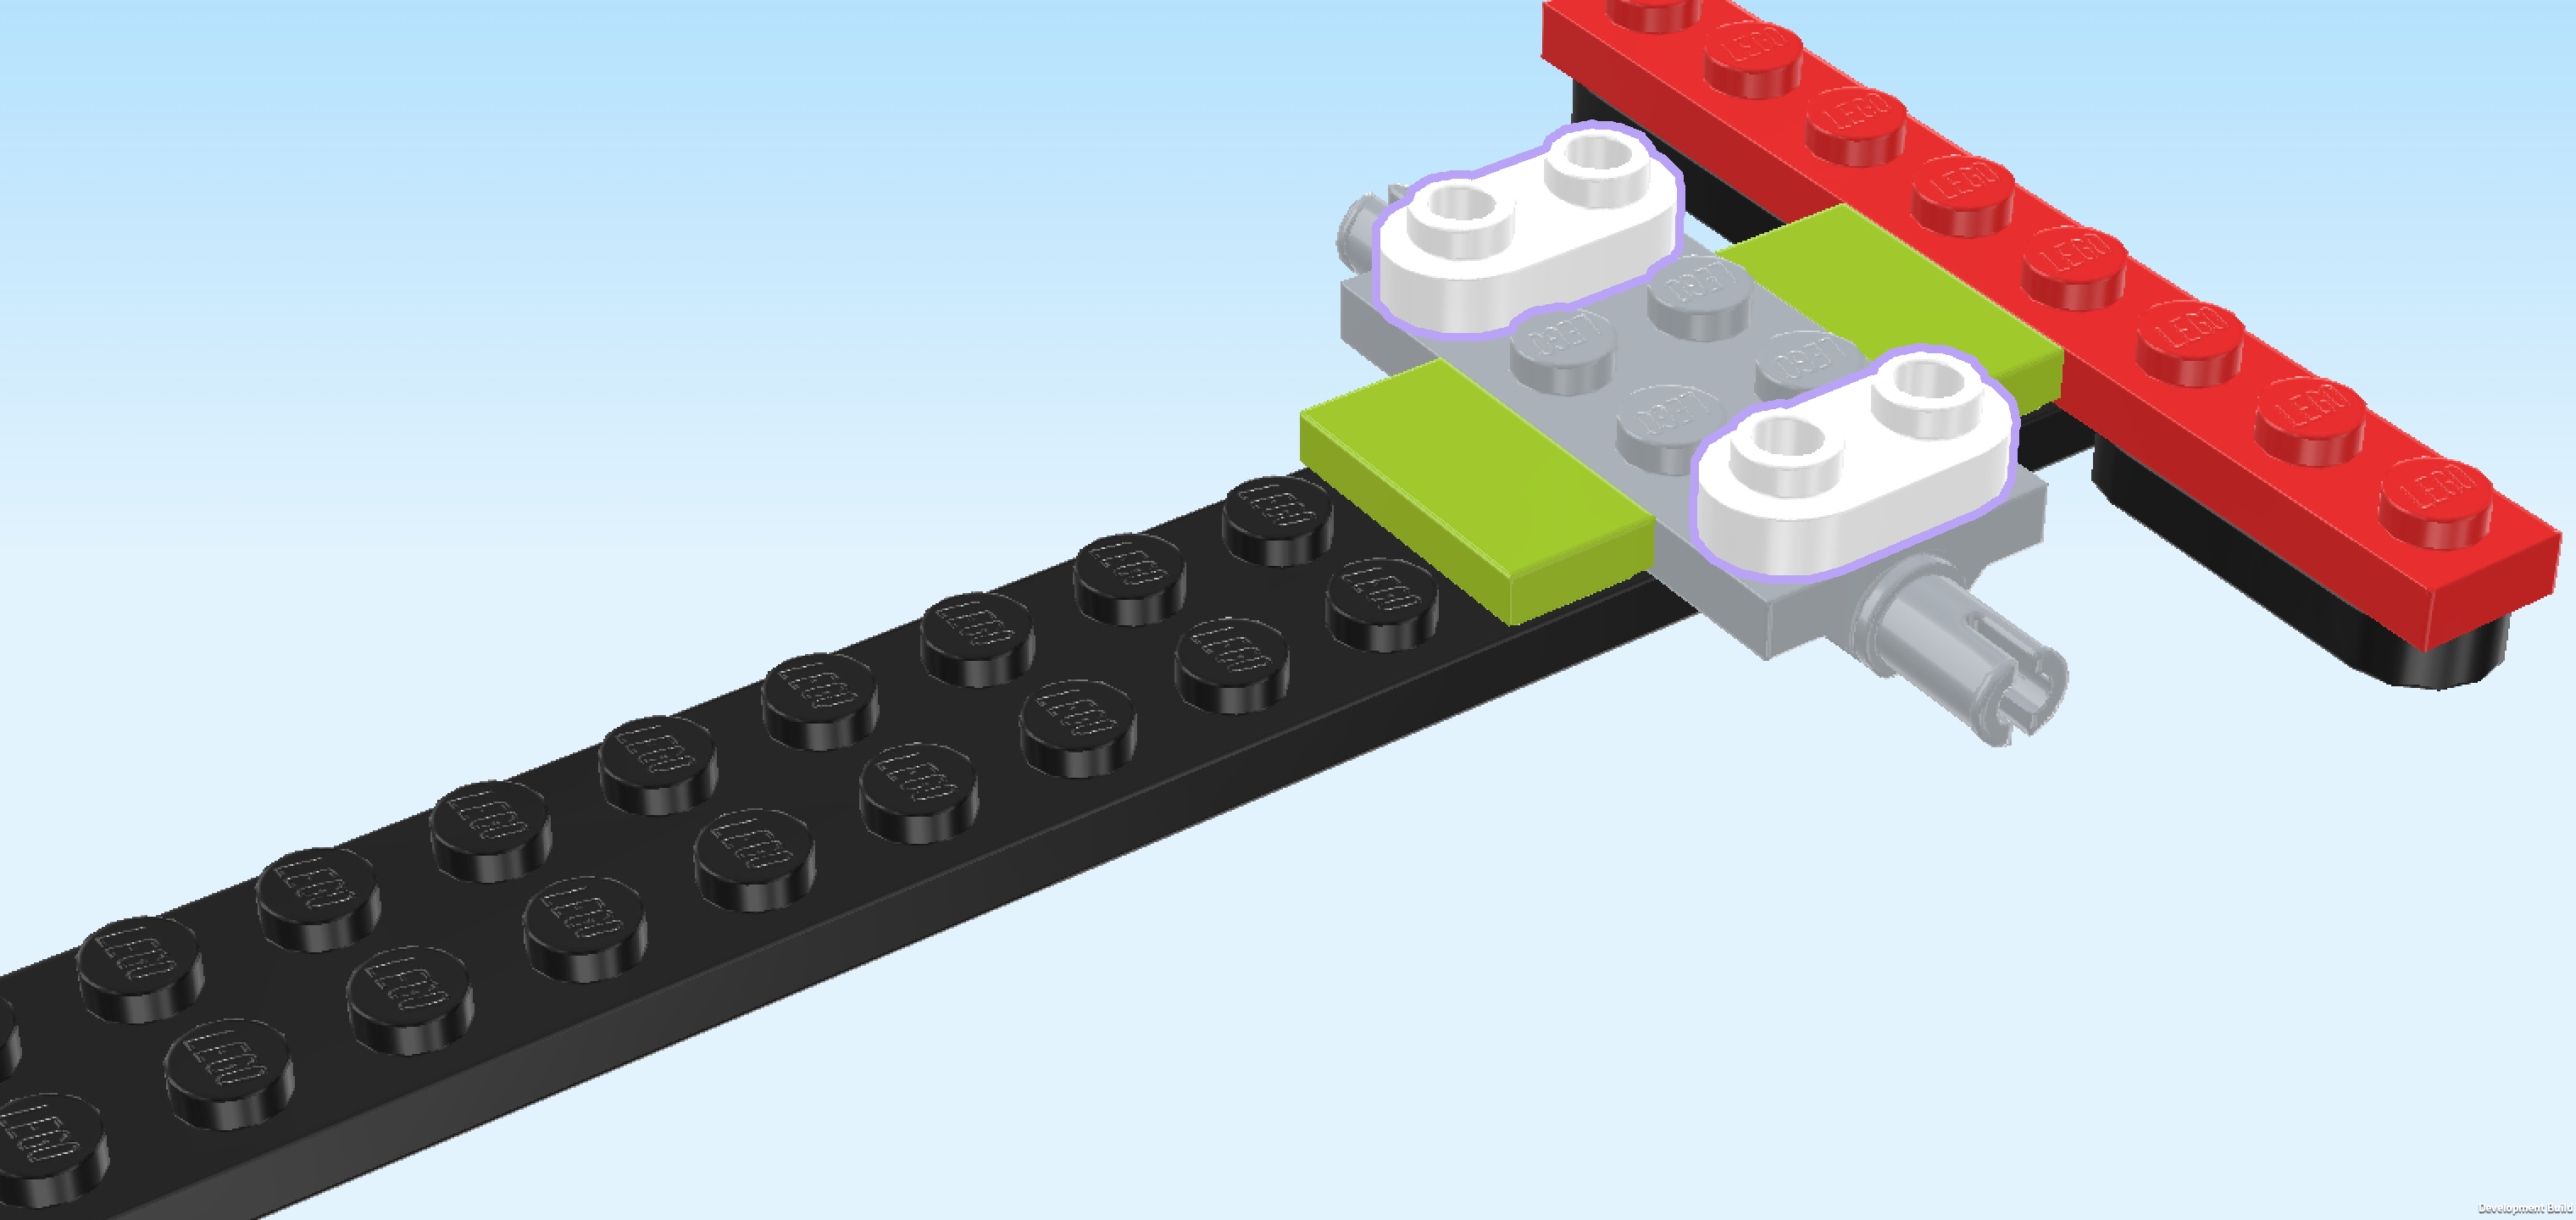
| Find 2 white rounded plates 1x2. |
| Put 1 horizontally on the backmost row of the plate 2x4 with connectors. |
| Repeat symmetrically at the front. |
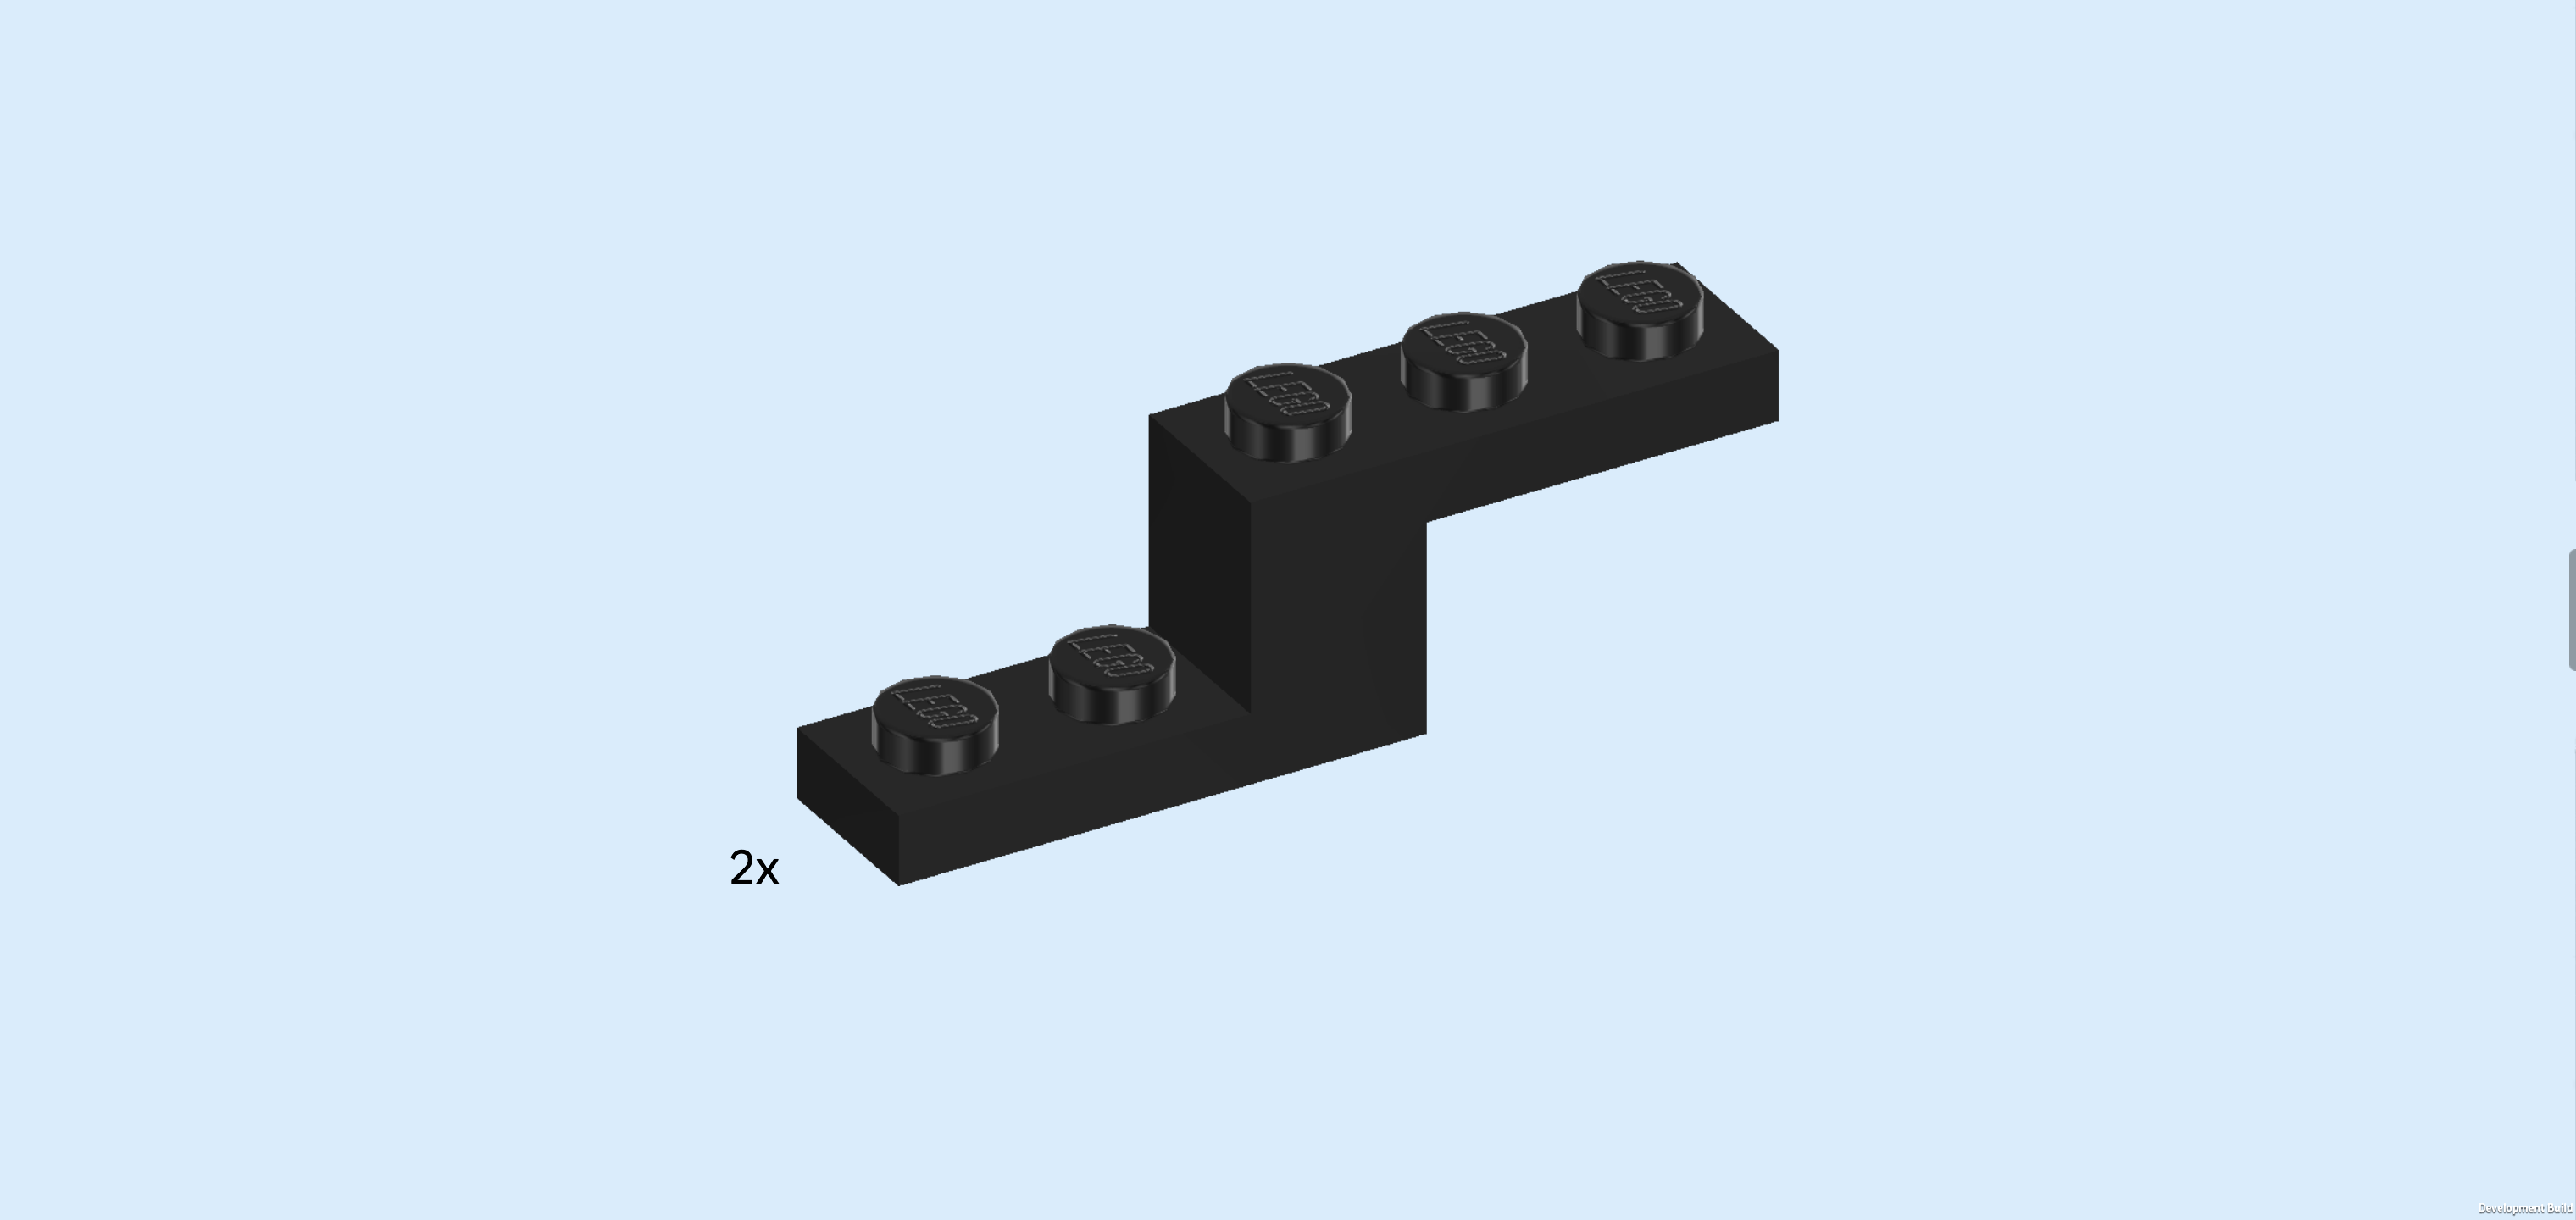
| Find 2 black stepped bricks 1x5 with top and bottom plate. |
| Turn 1 horizontally, top plate pointing to the right, and mount the top plate on the previous piece, brick with bottom plate protruding to the left. |
| Repeat symmetrically at the back. |
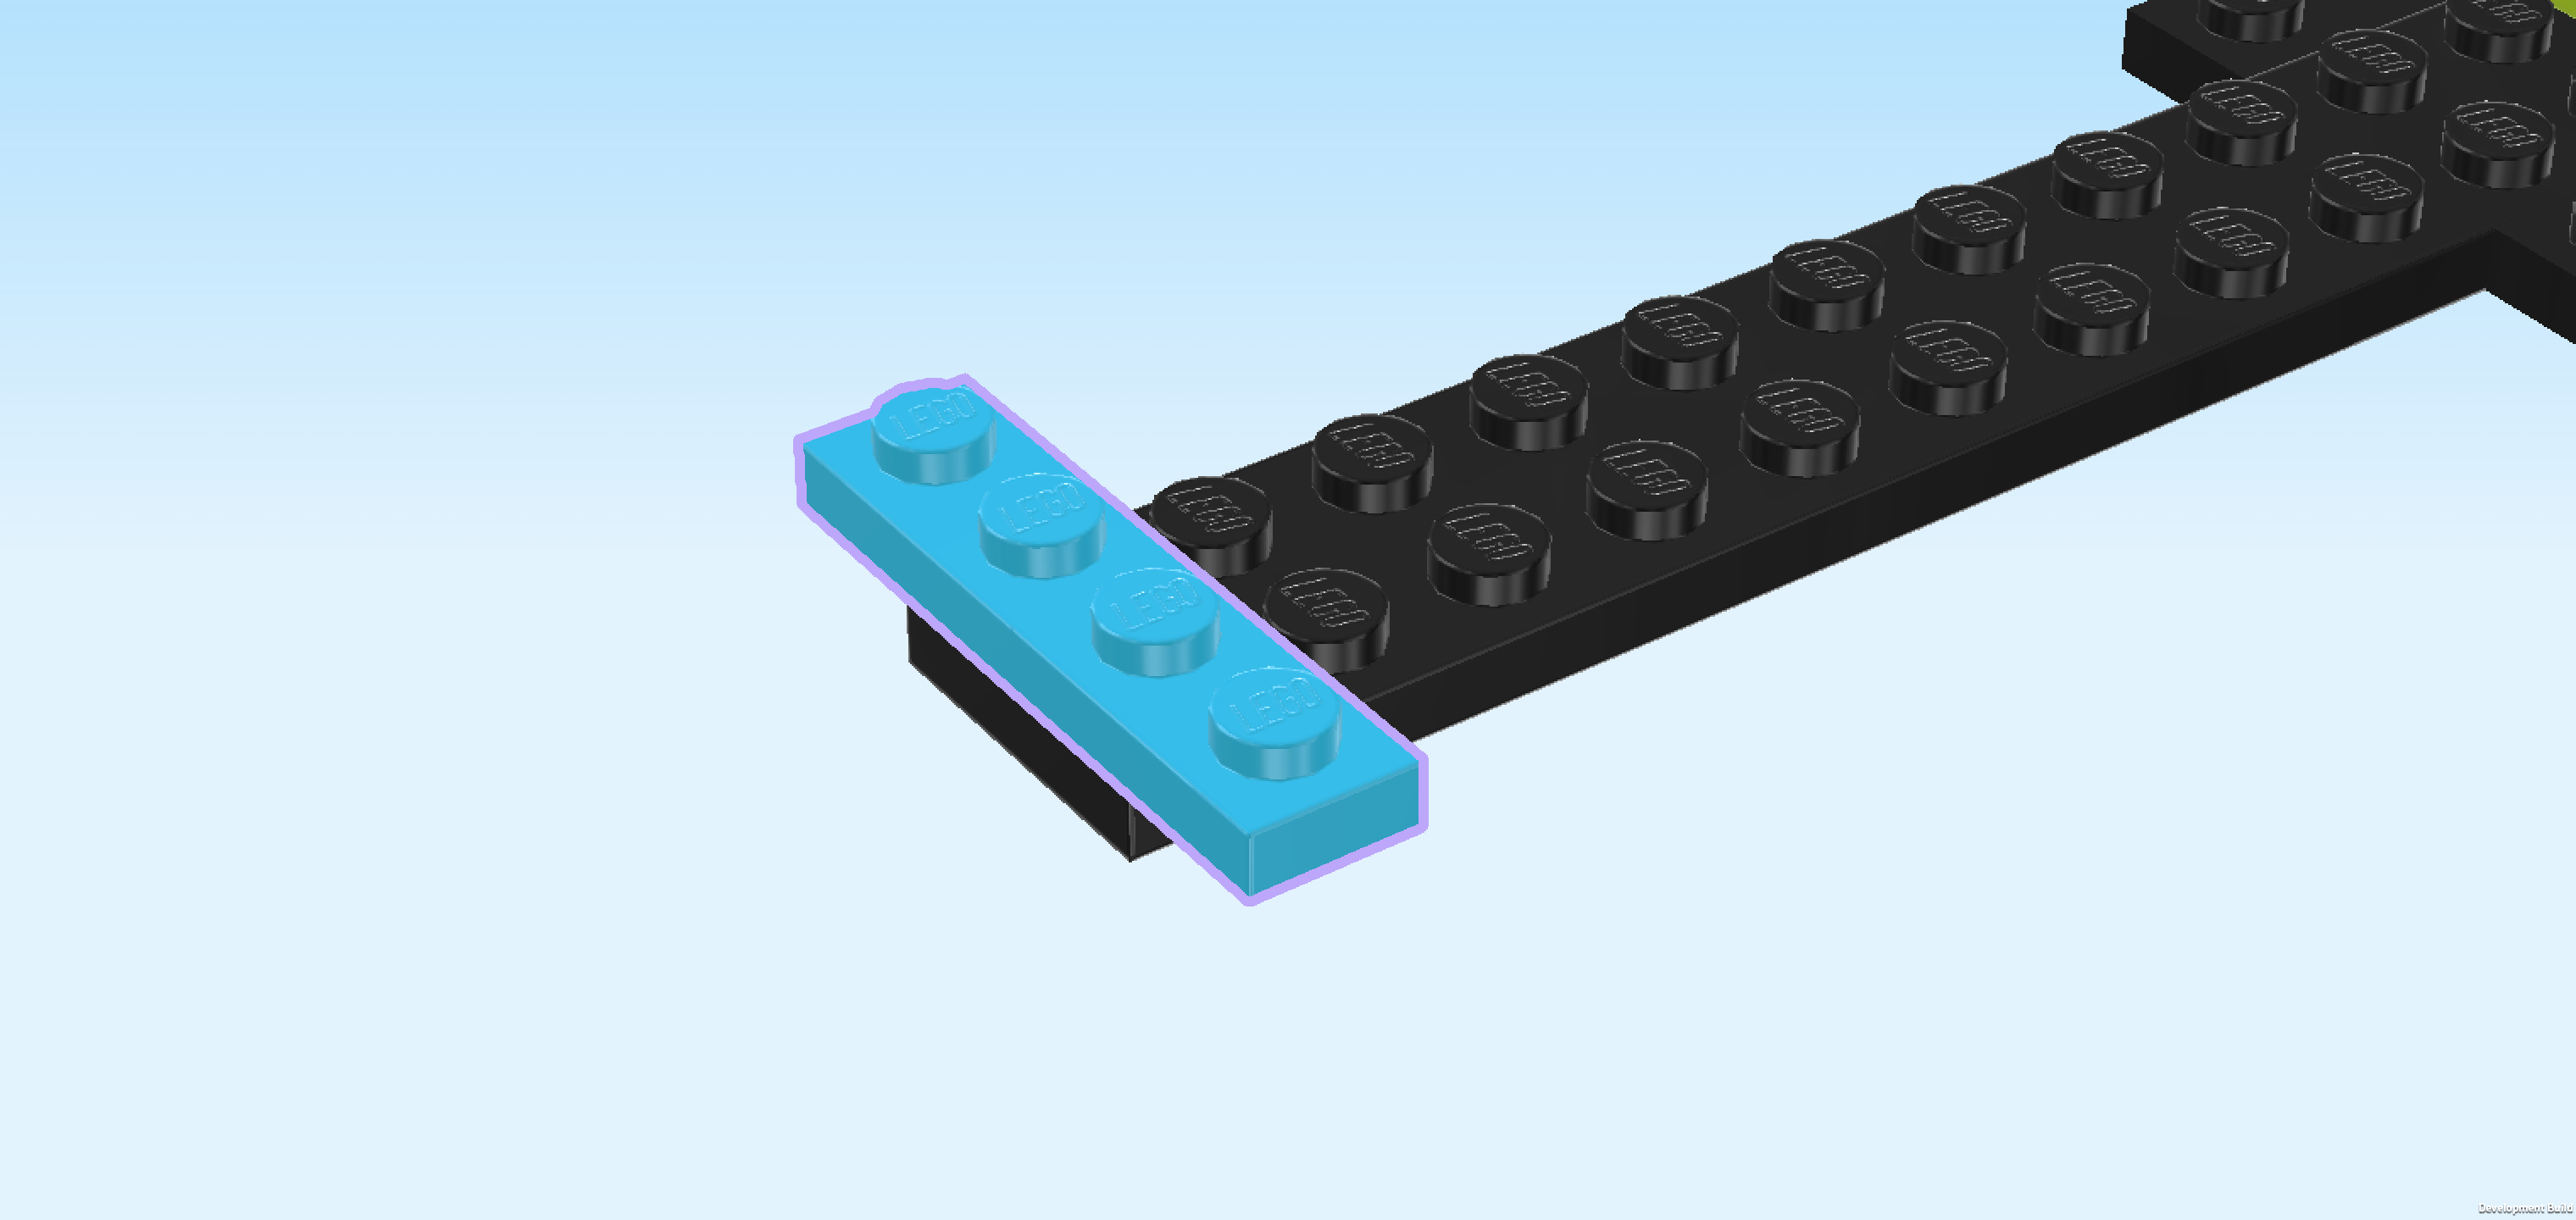
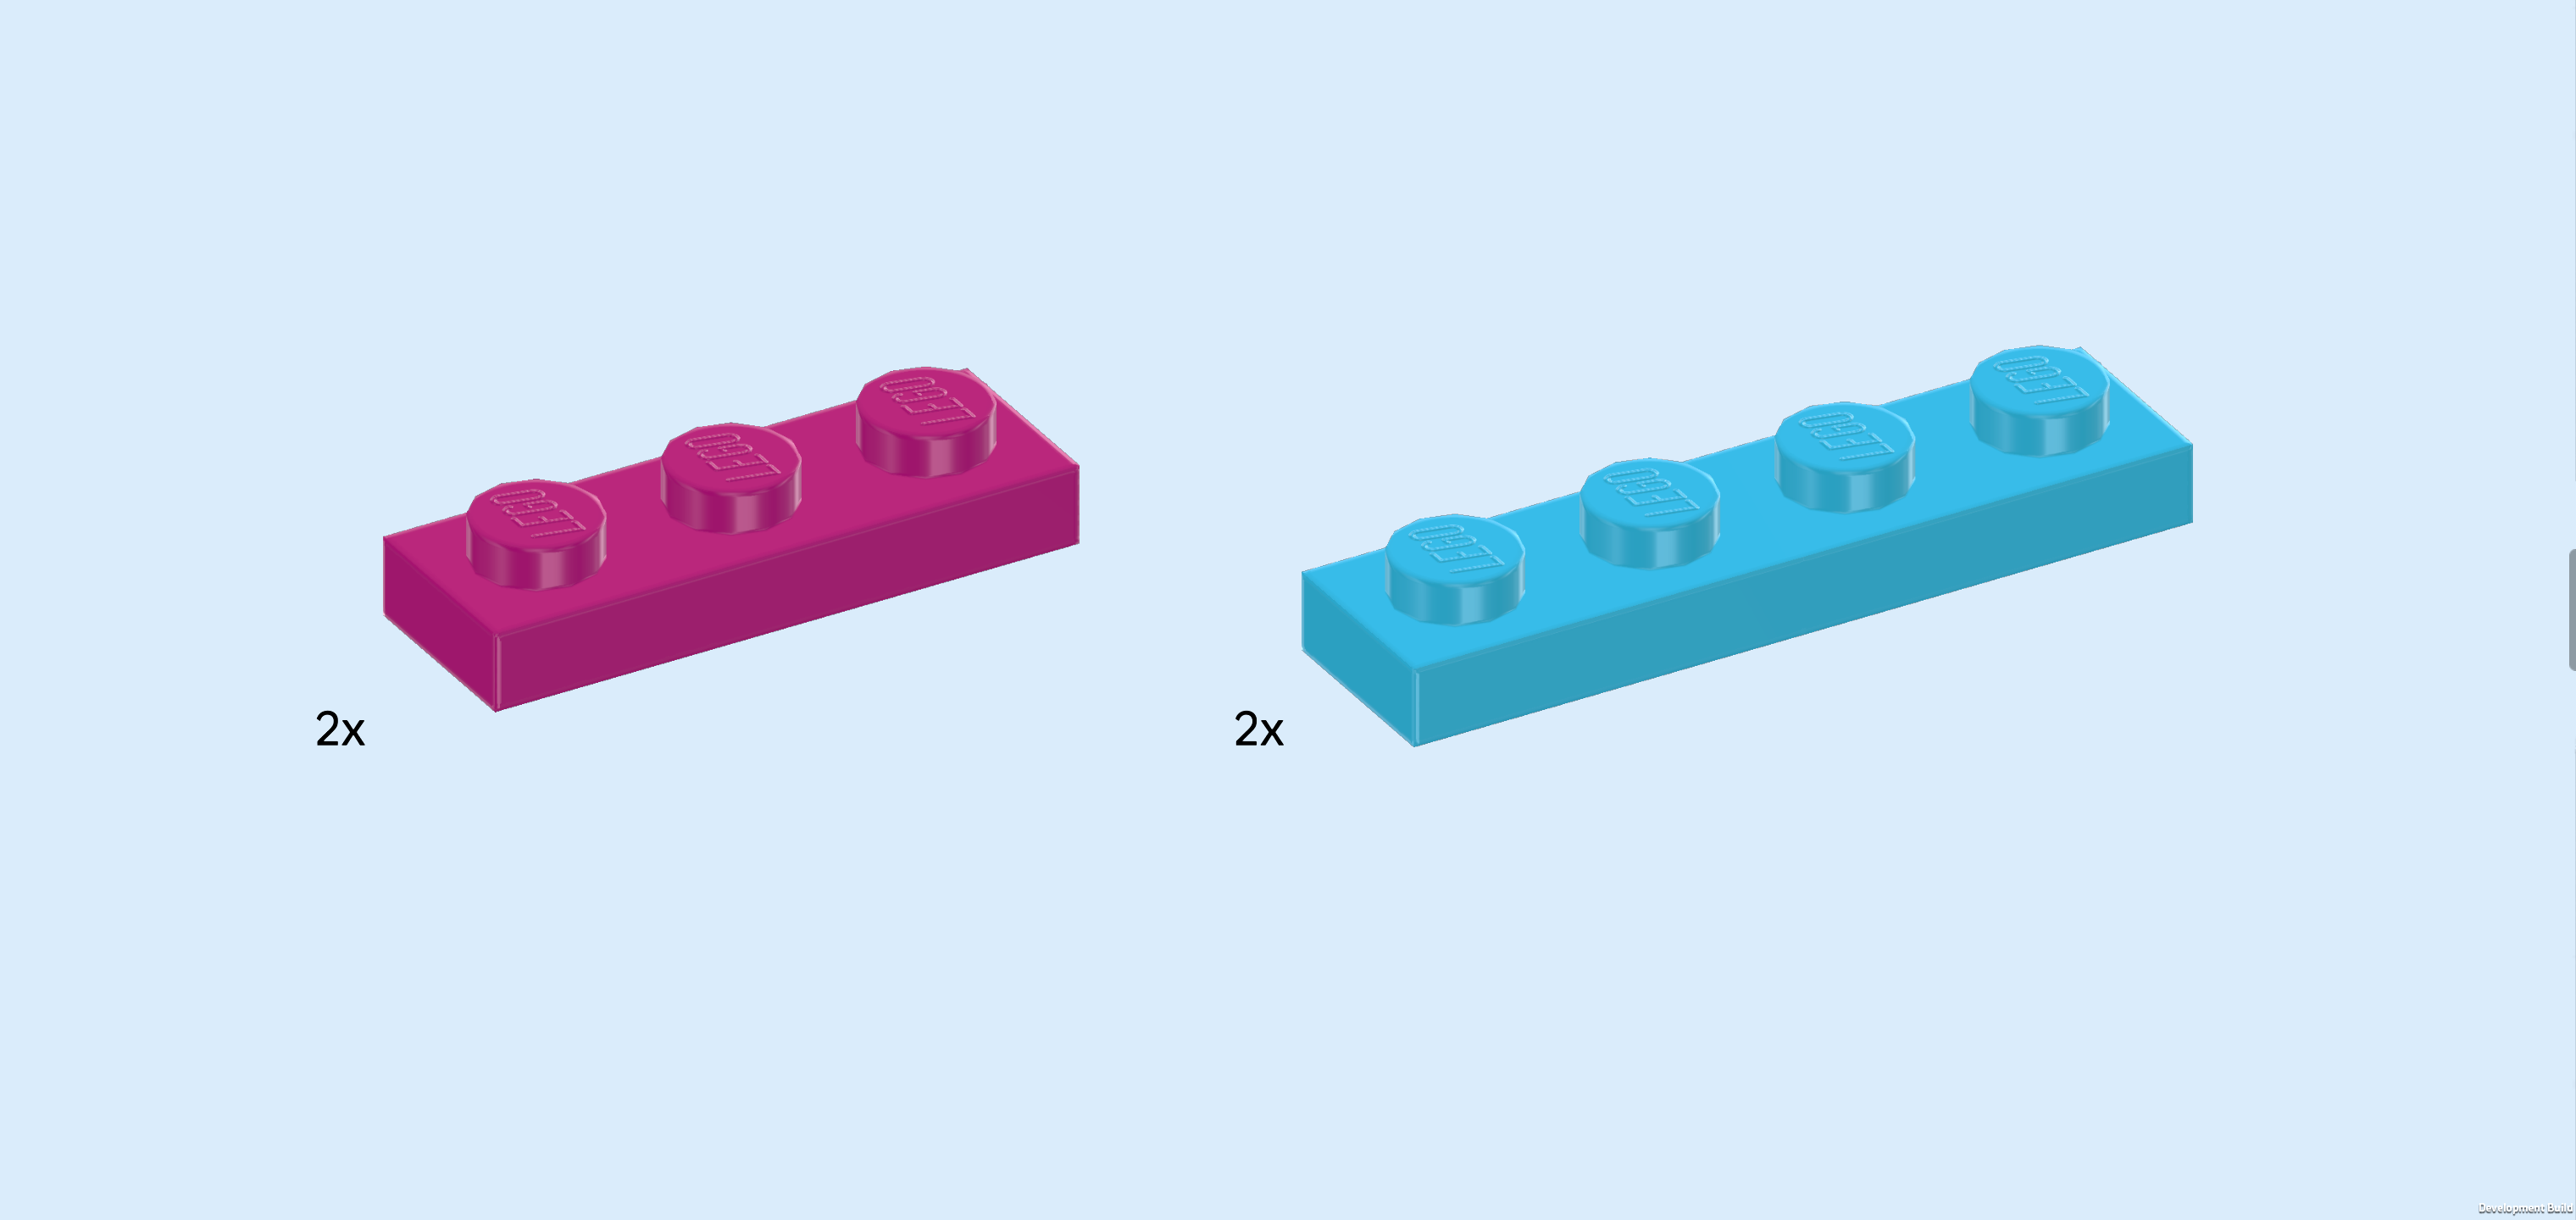
| Find 1 medium azure blue plate 1x4. |
| Put it vertically centered on the leftmost column of the structure, symmetrically overhanging to the front and back. |
| Collect the following 2 pieces: |
| 1 bright yellowish green flat tile 1x2, |
| and 1 medium stone grey plate 2x4 with 2 connector pins. |
| Put the plate 2x4 vertically centered to the right of the previous piece, symmetrically overhanging to the front and back. |
| Put the flat tile 1x2 vertically to the right of the previous piece. |
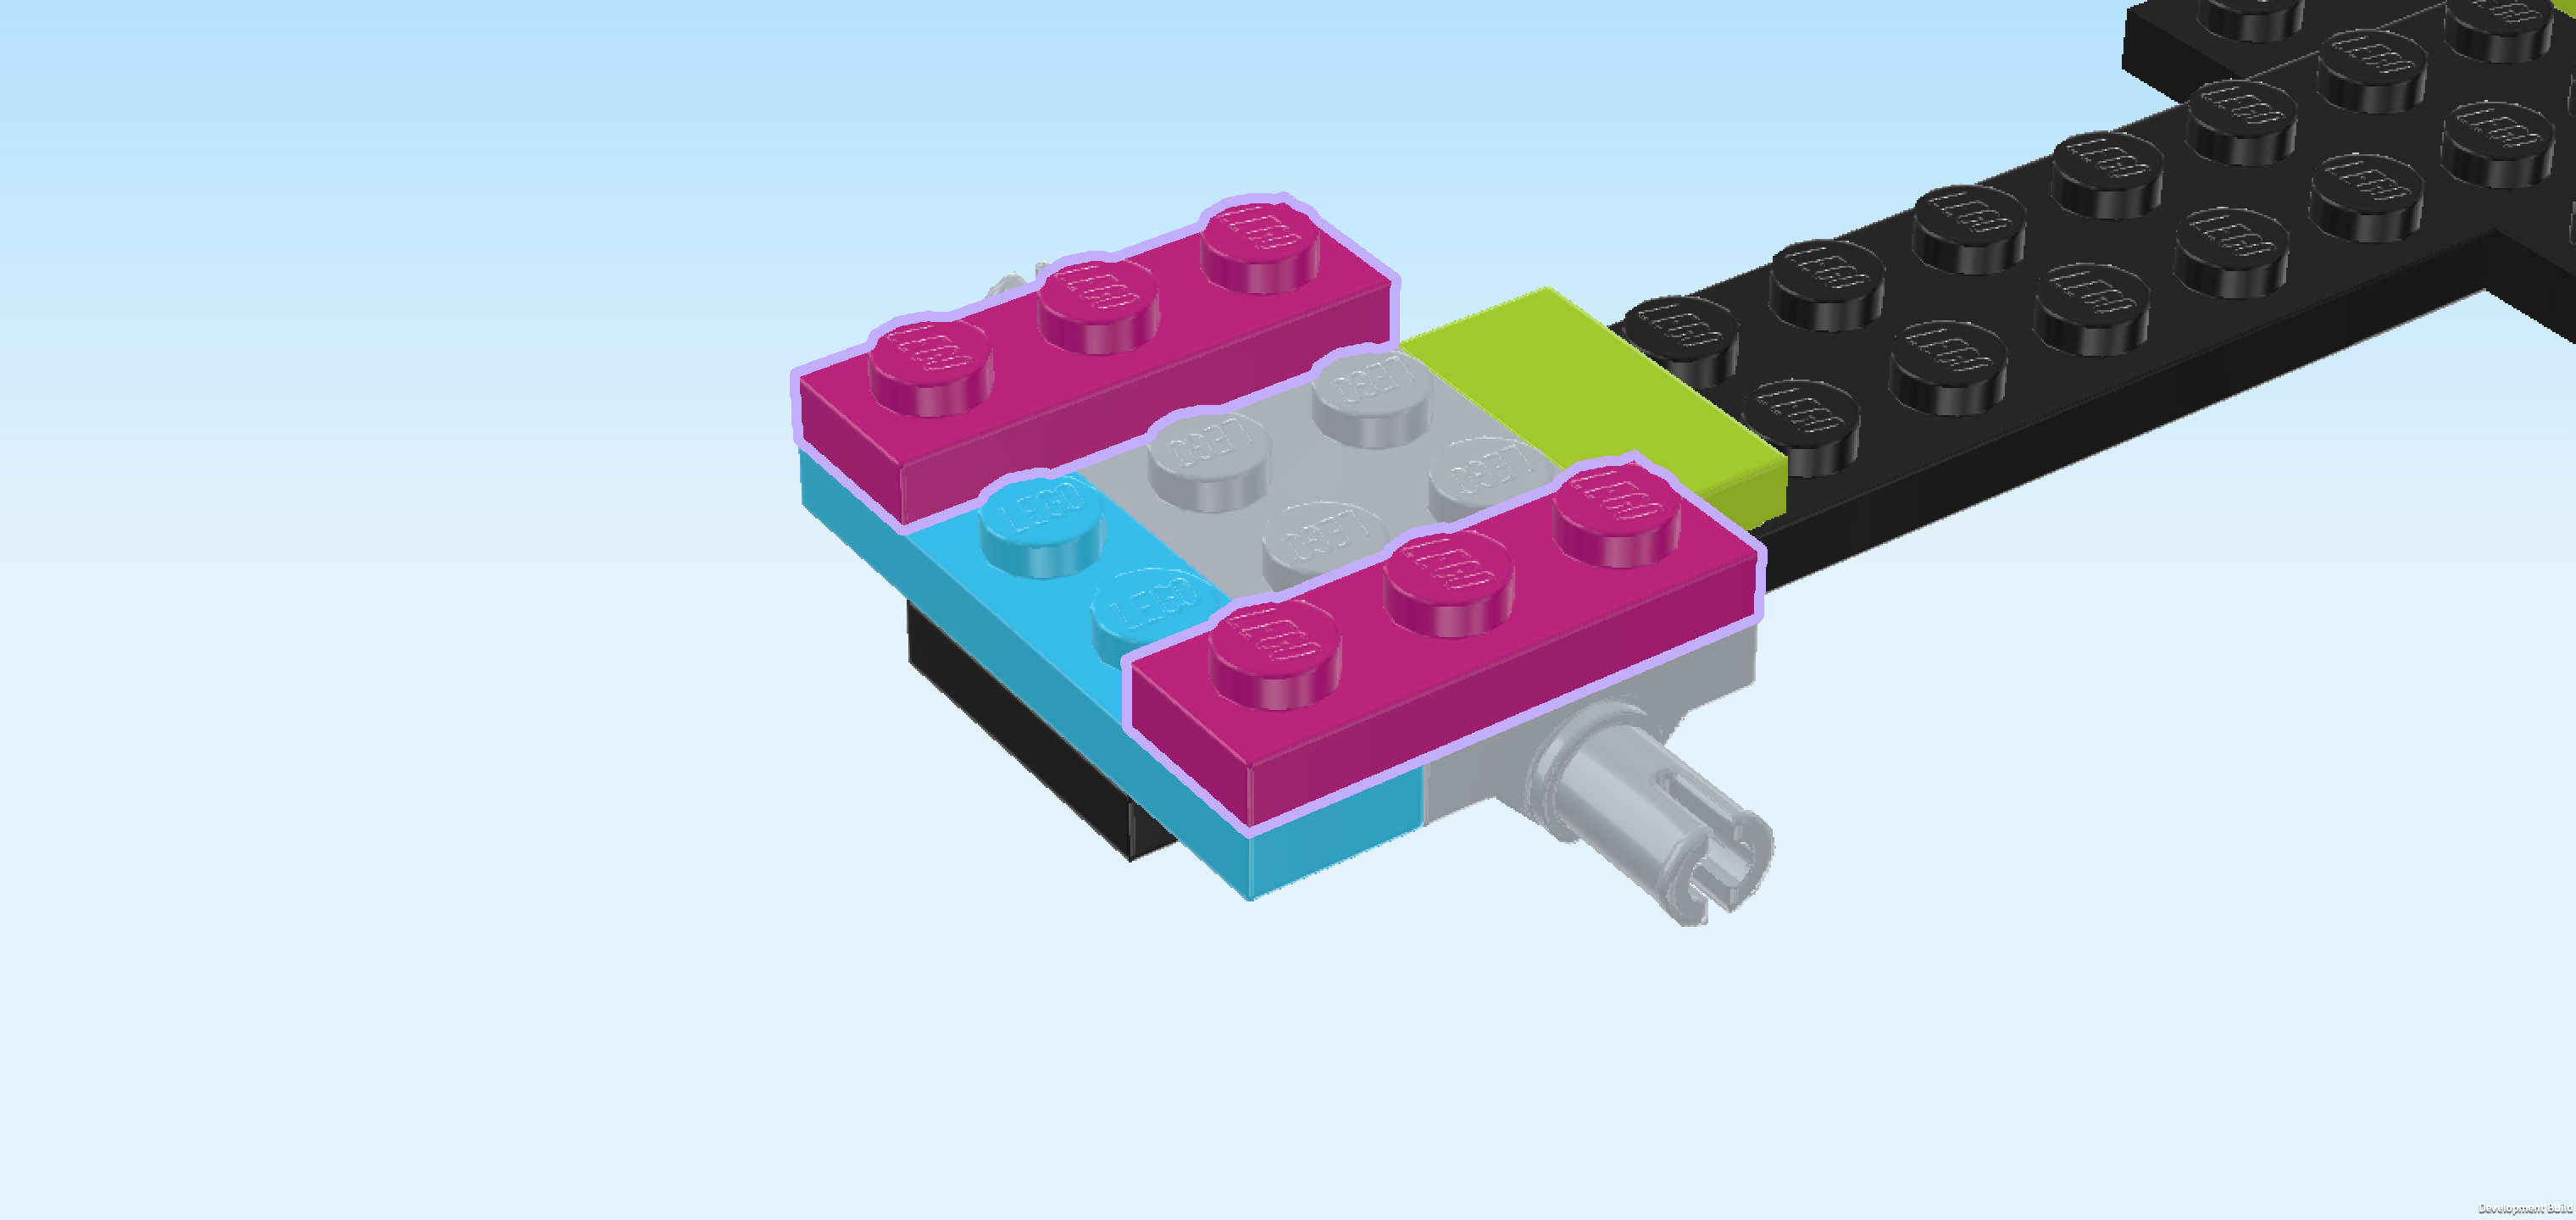
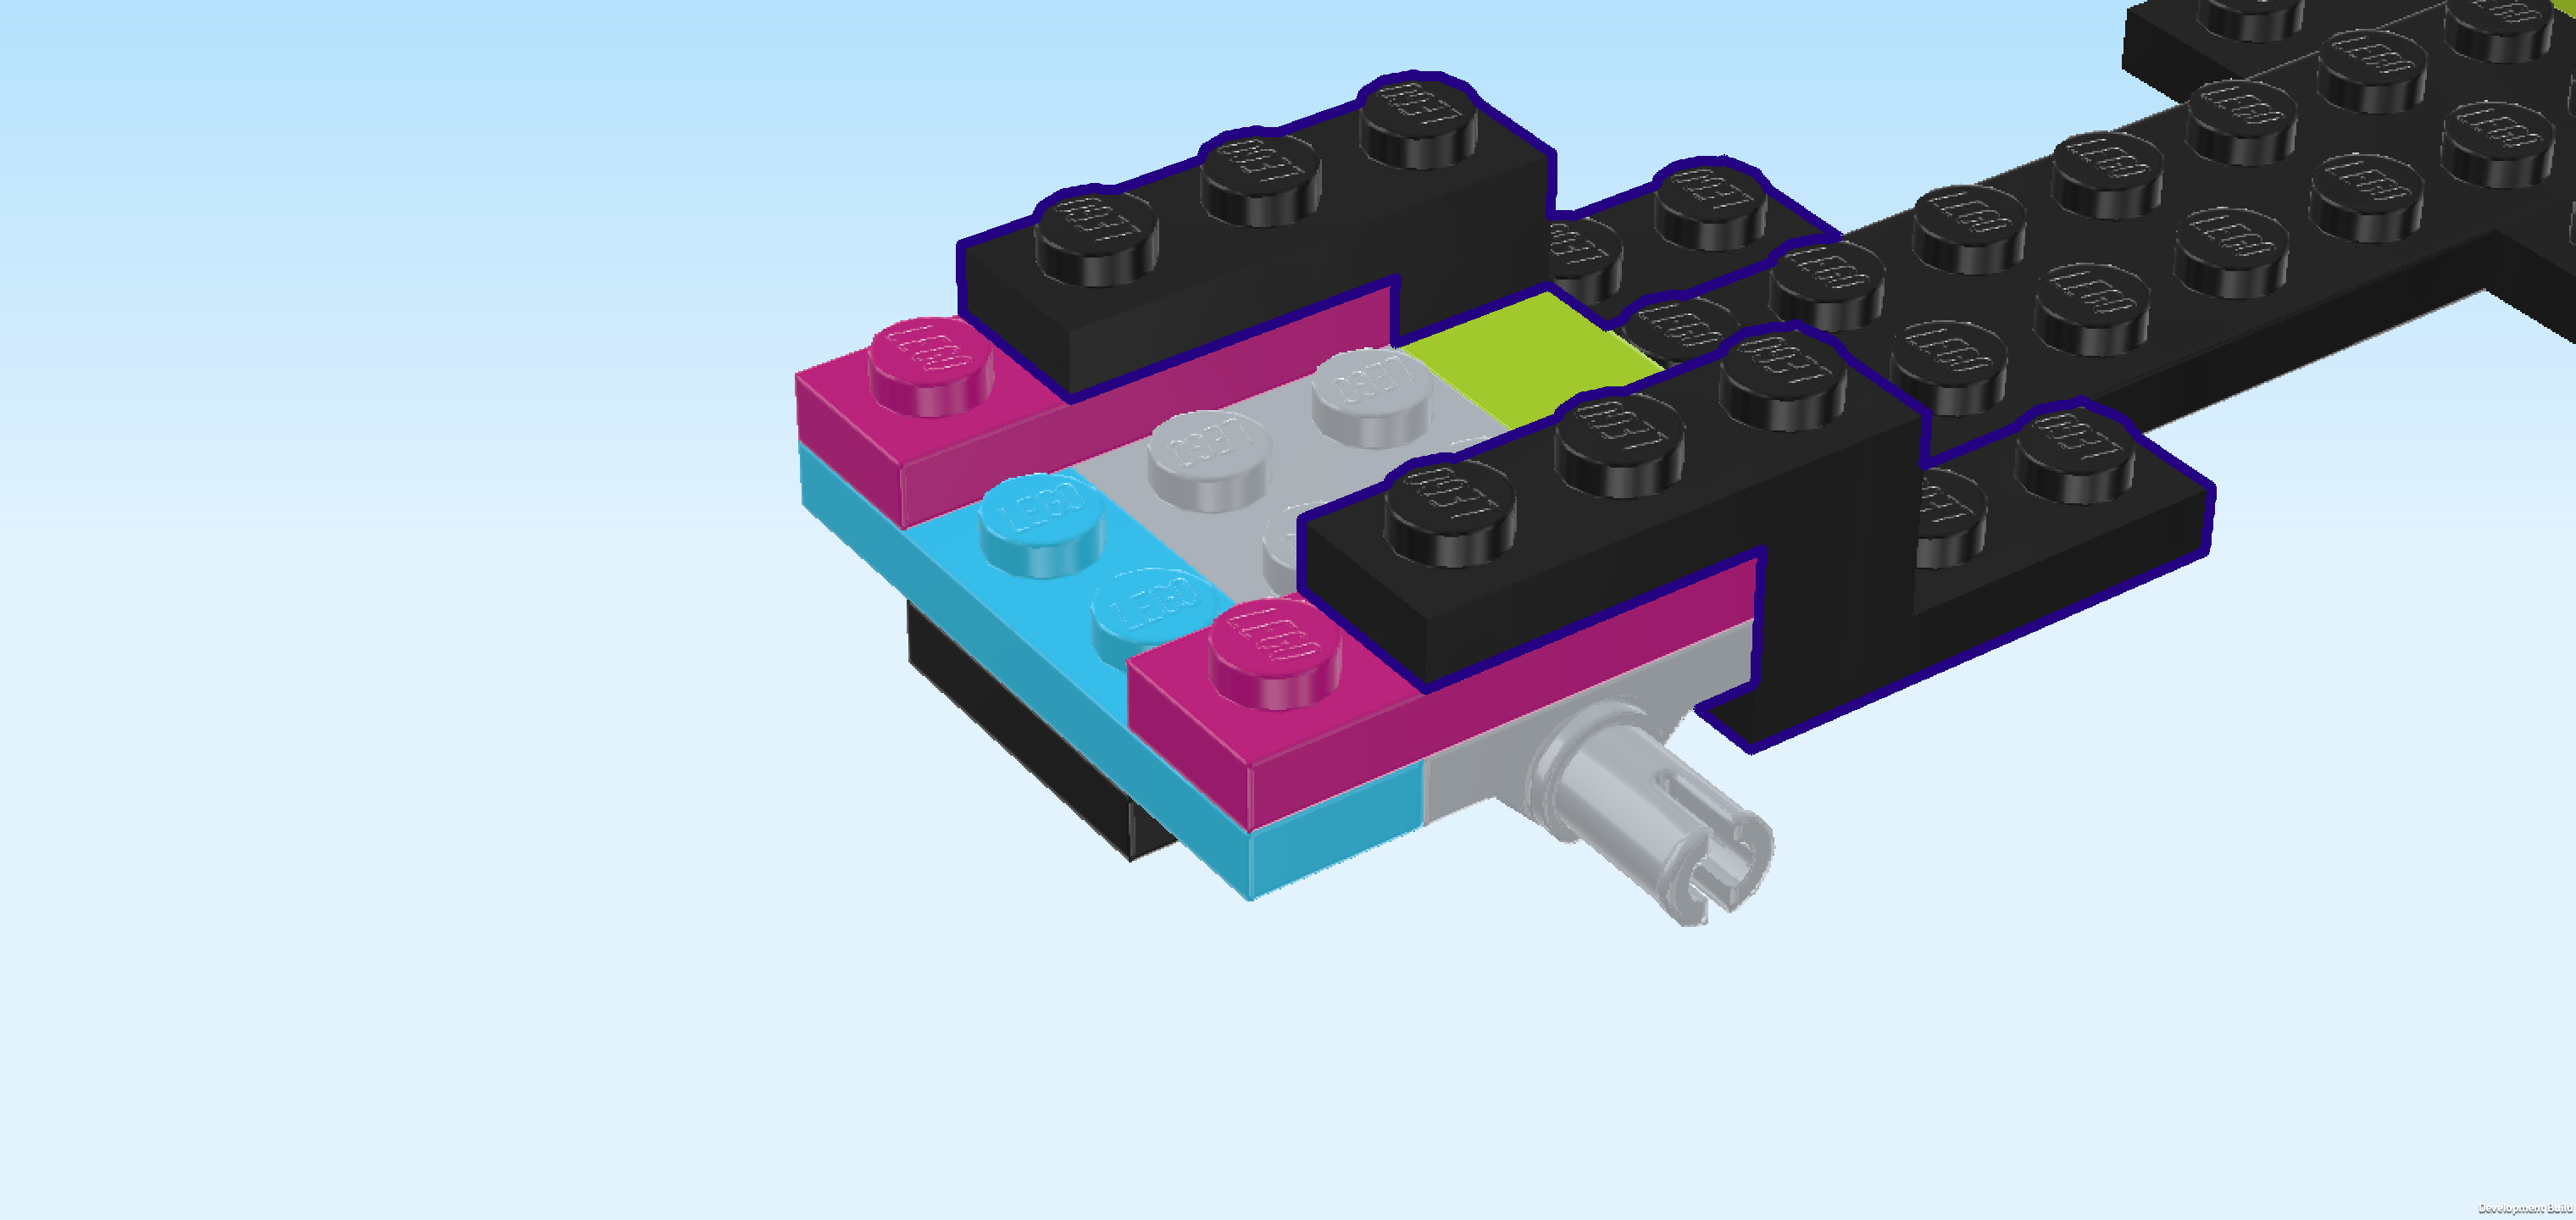
| Find 2 purple violet plates 1x3. |
| Starting from the leftmost edge of the structure, put 1 horizontally on the backmost row. |
| Repeat symmetrically at the front. |
| Find 2 black stepped bricks 1x5 with top and bottom plate. |
| Turn 1 horizontally so that its top plate is pointing to the left, and mount the top plate on the 2 right knobs of the previous piece, brick with bottom plate to the right. |
| Repeat symmetrically at the back. |
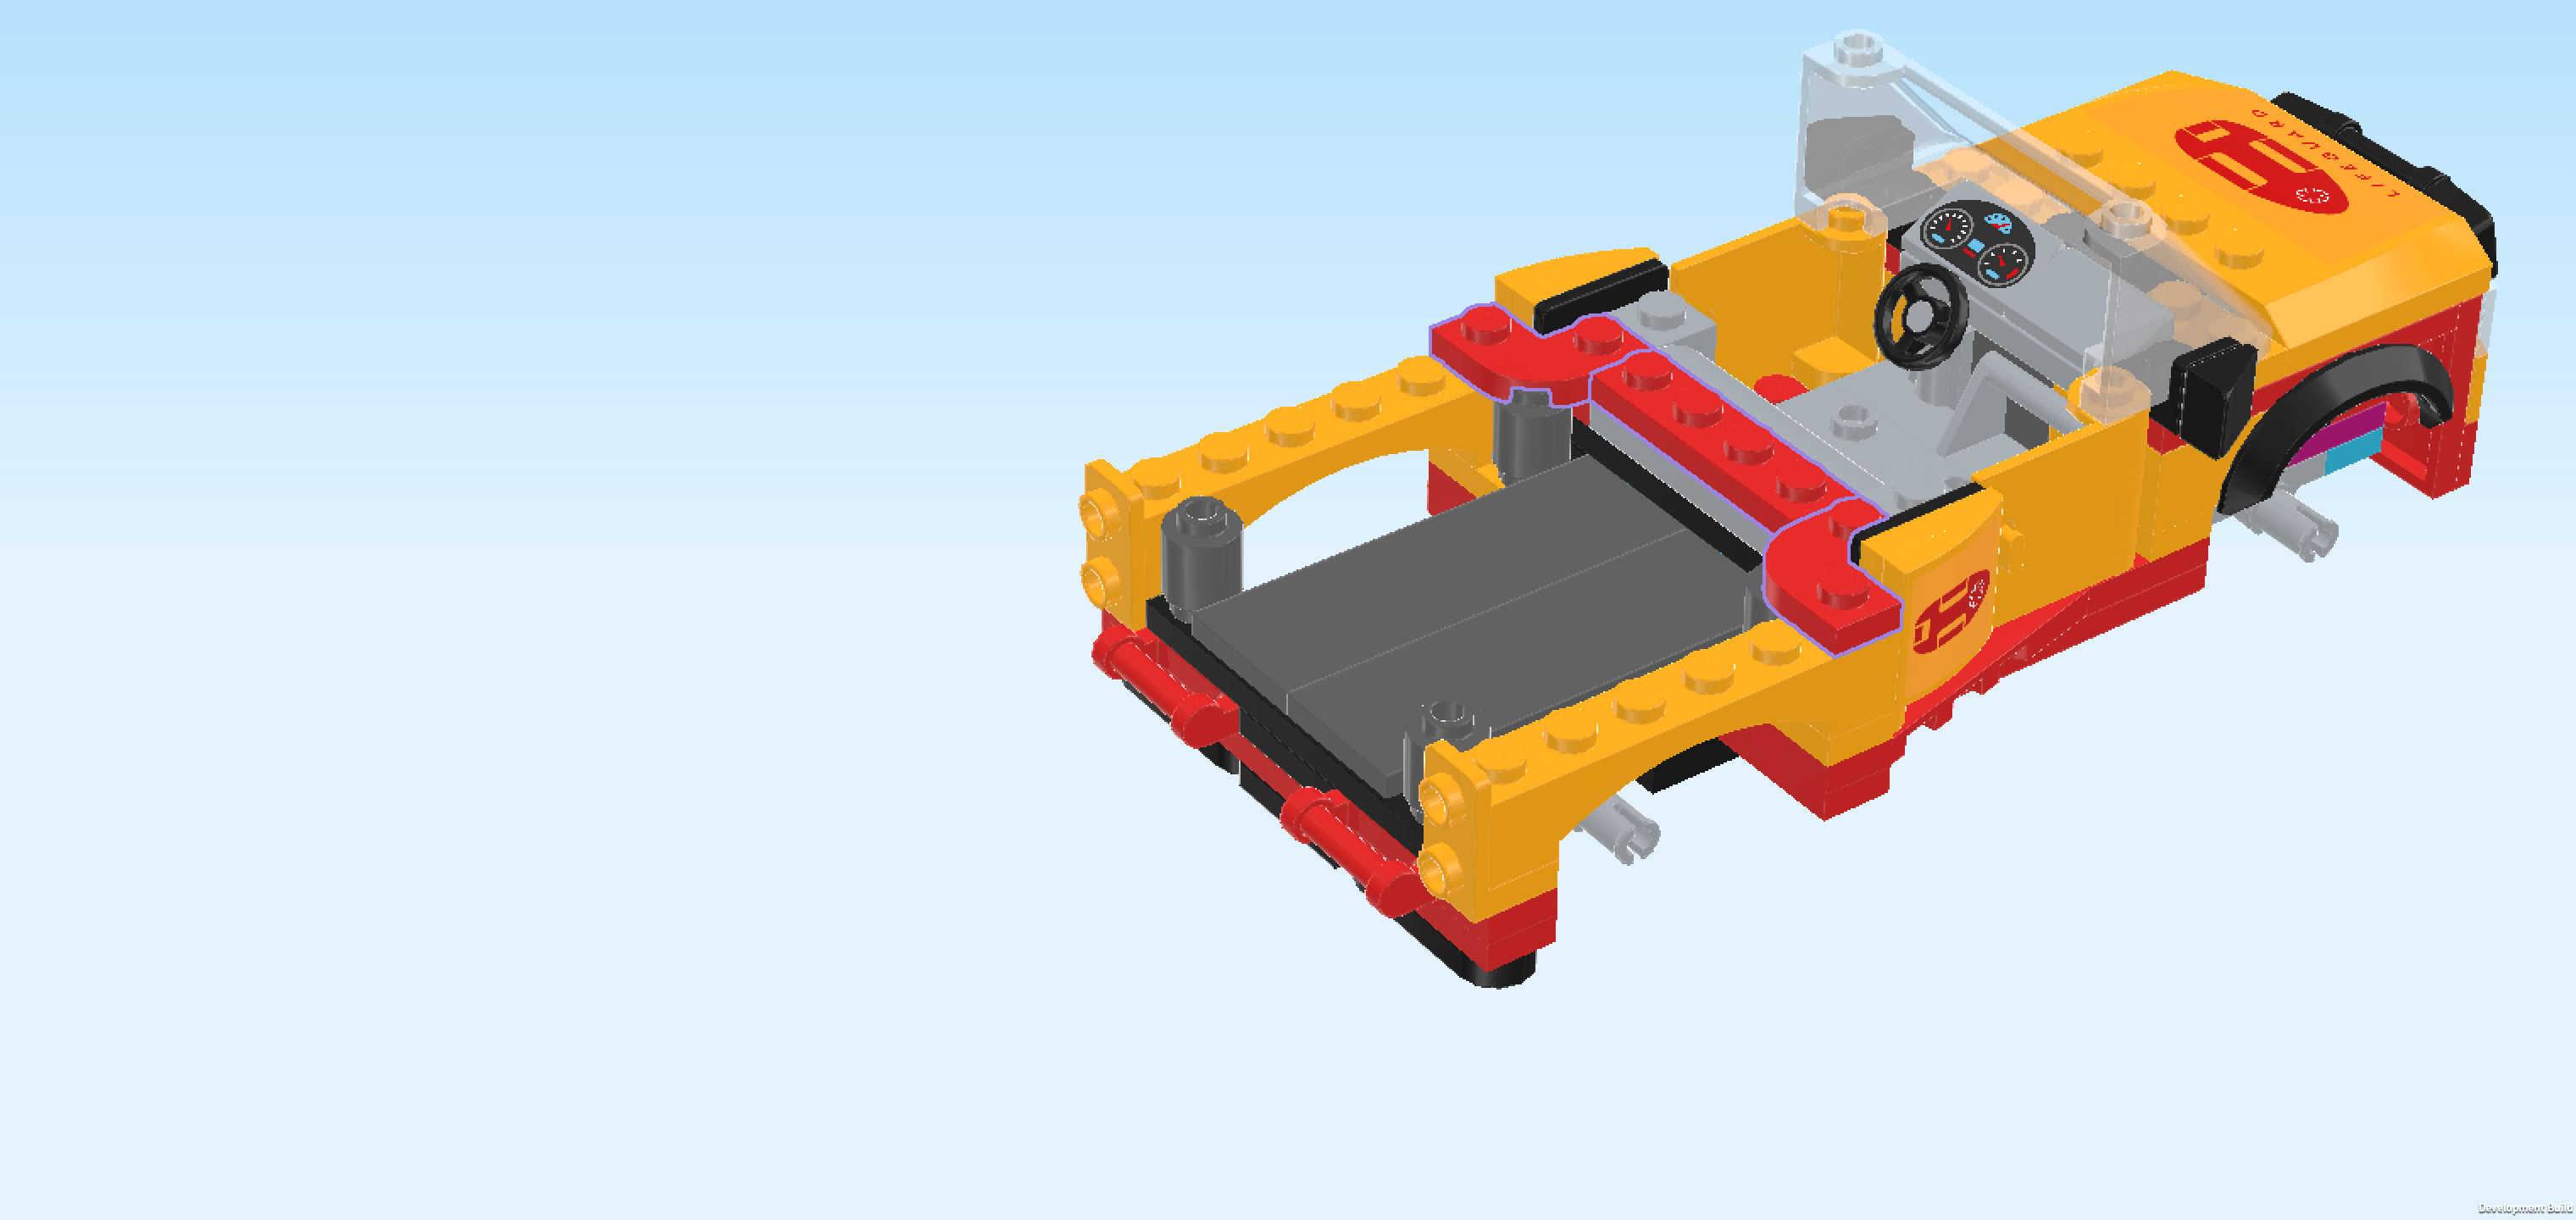
| Find 1 bright red plate 1x8. |
| Put it vertically centered on the sixth column from the right, symmetrically overhanging to the front and back. This means it should sit directly to the left of the high parts of the stepped bricks located in the right half of the structure. |
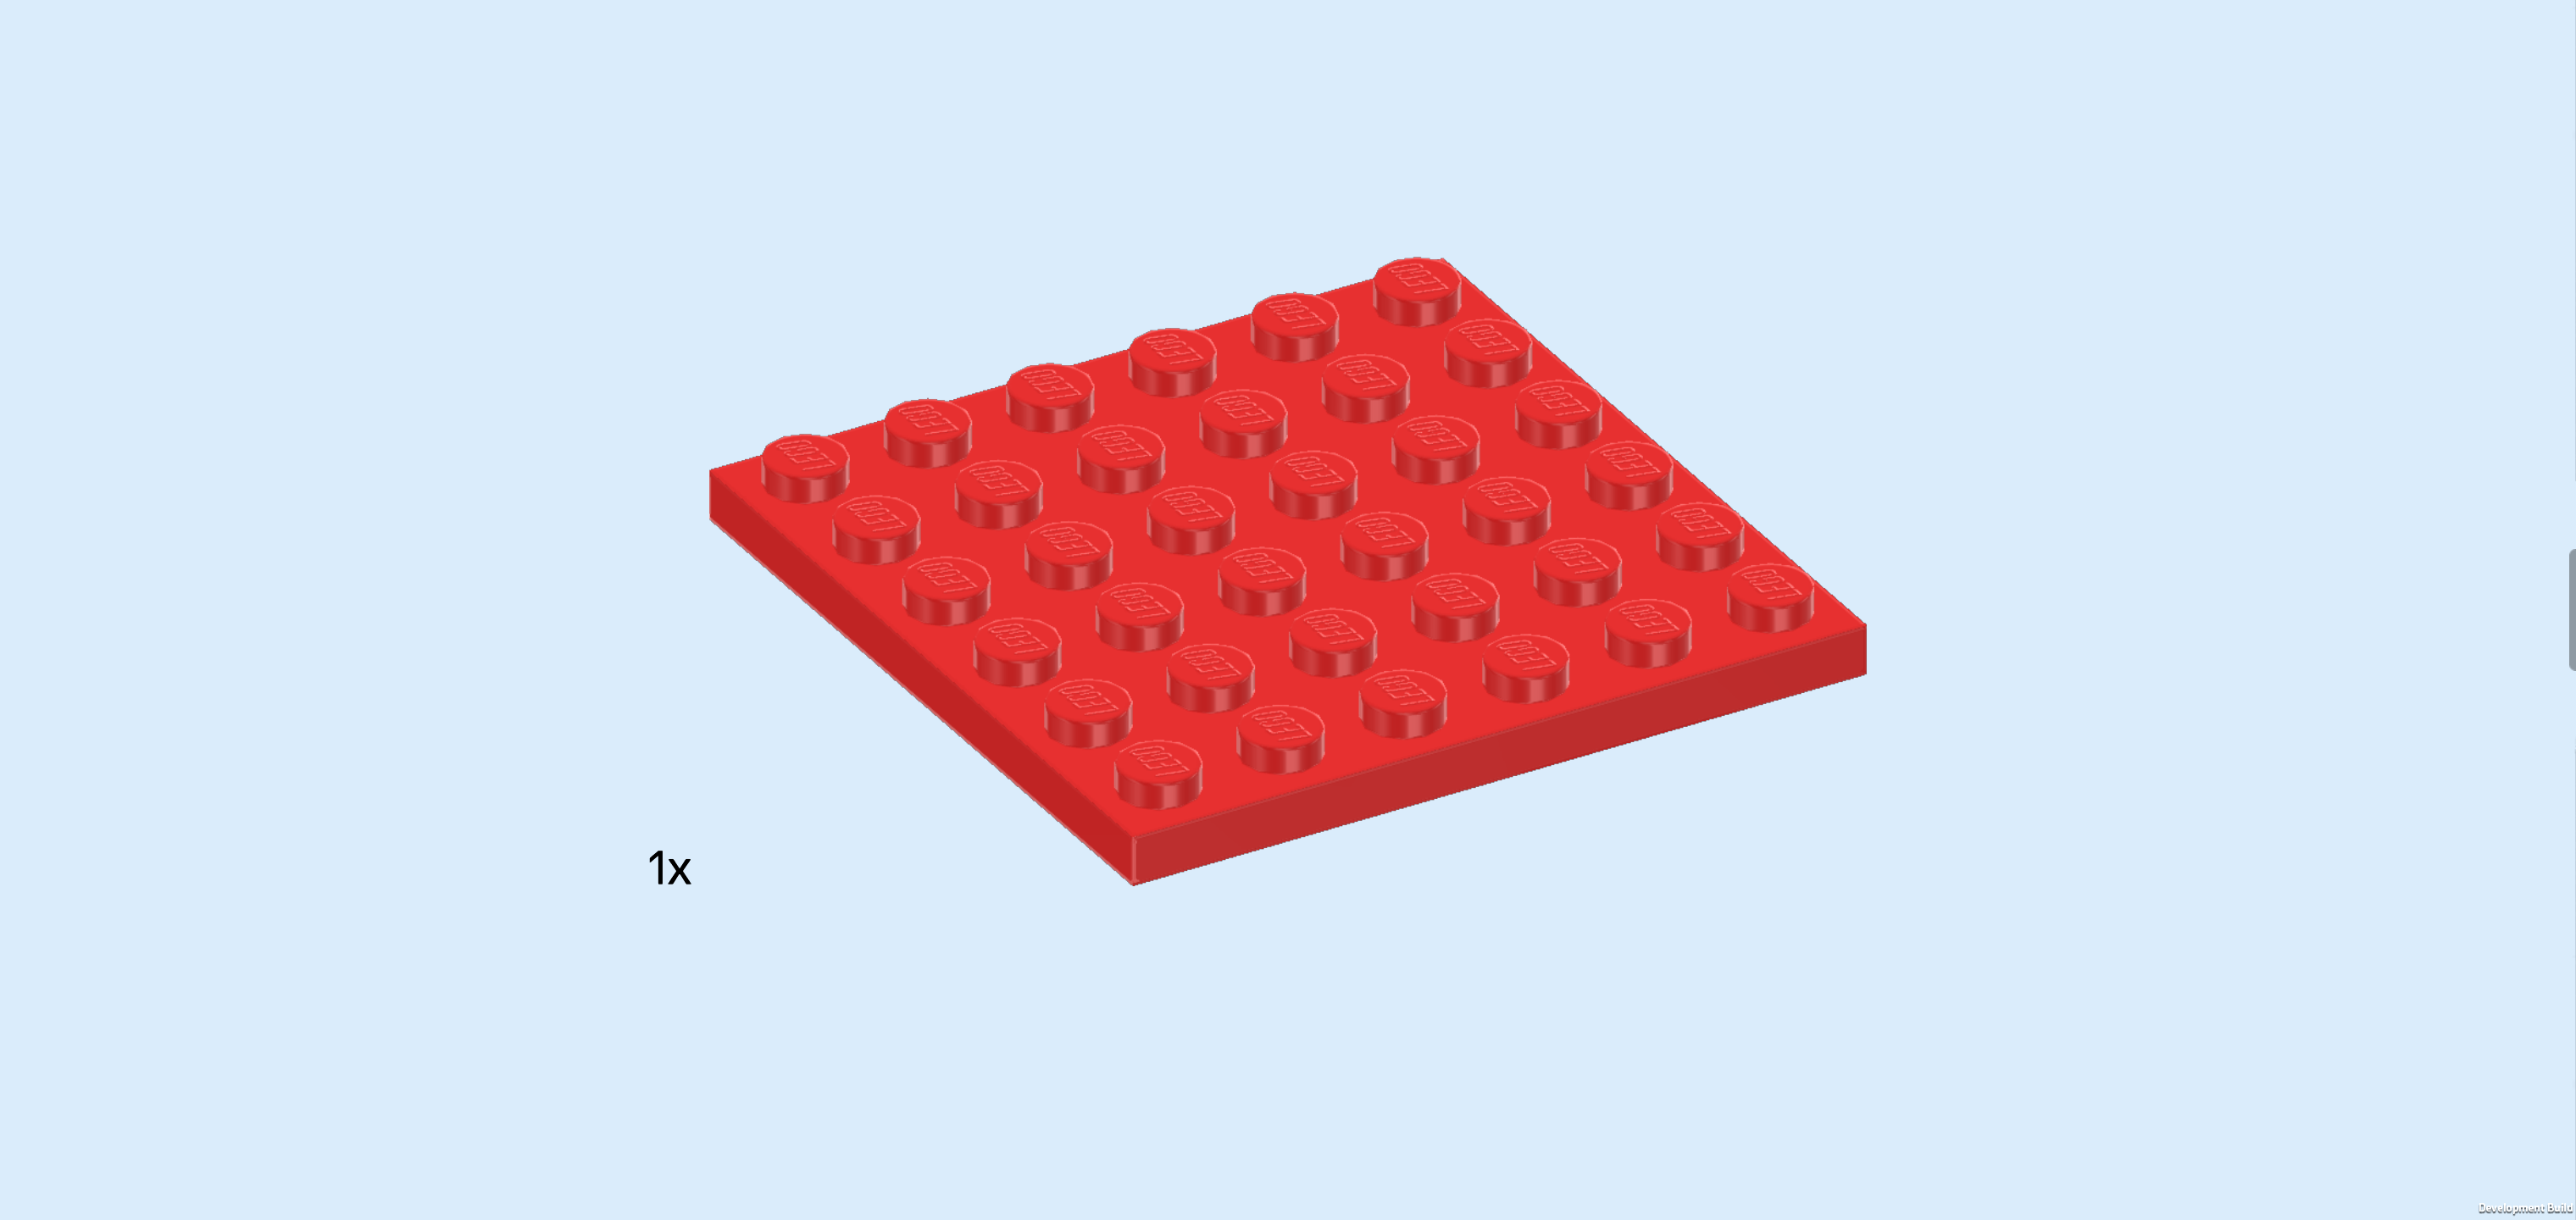
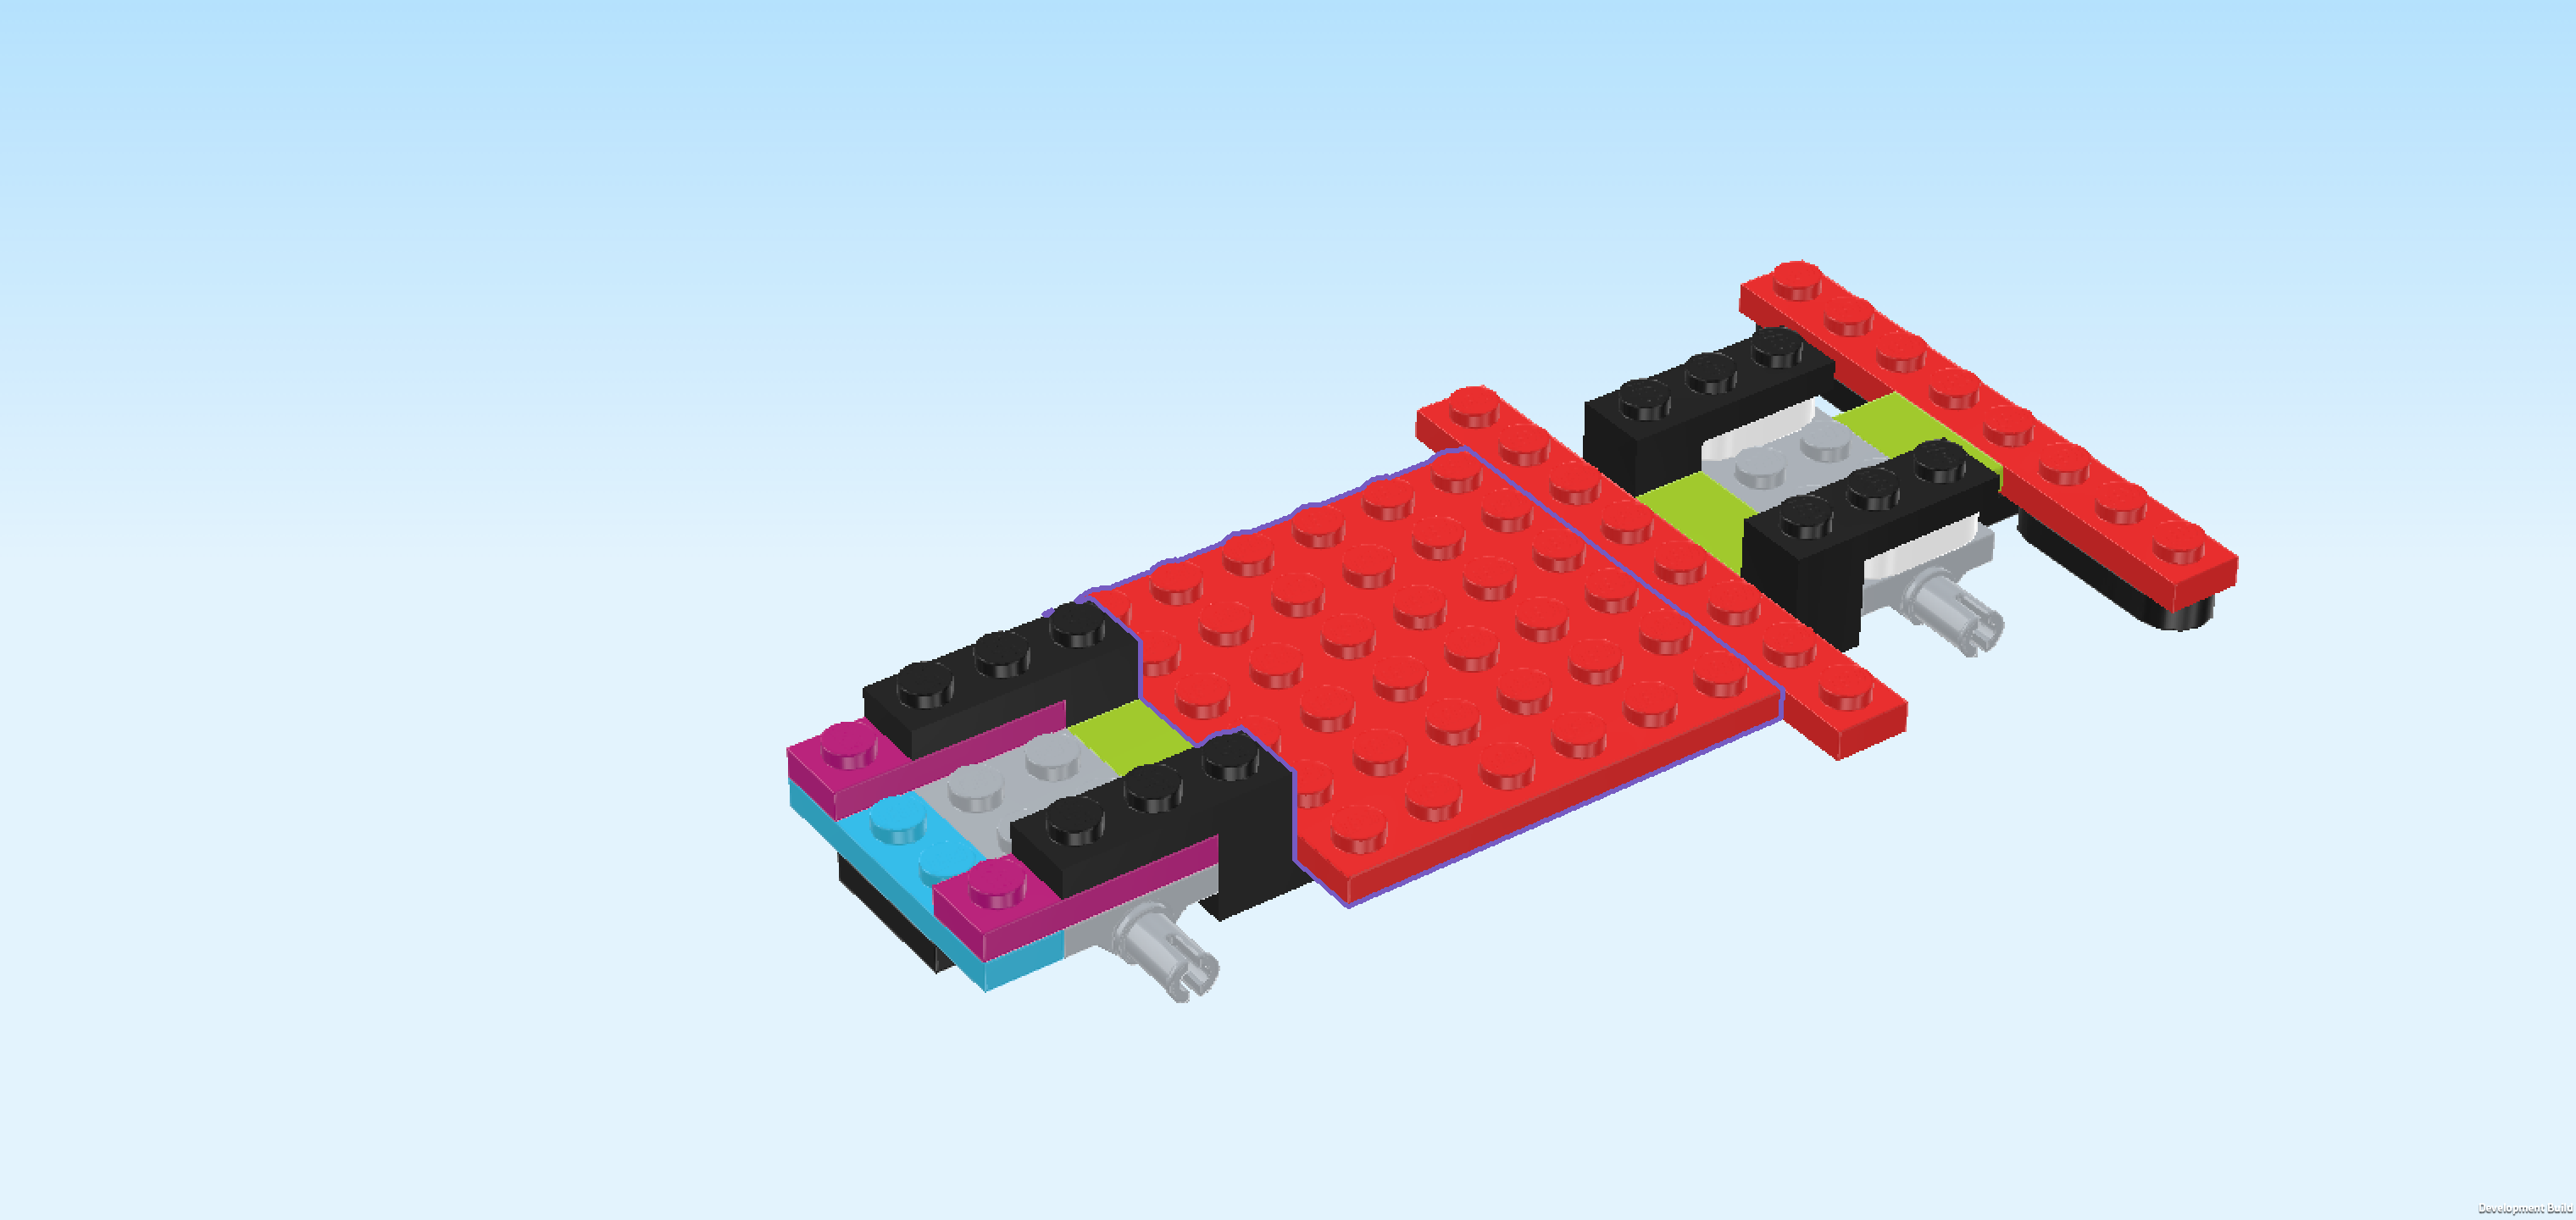
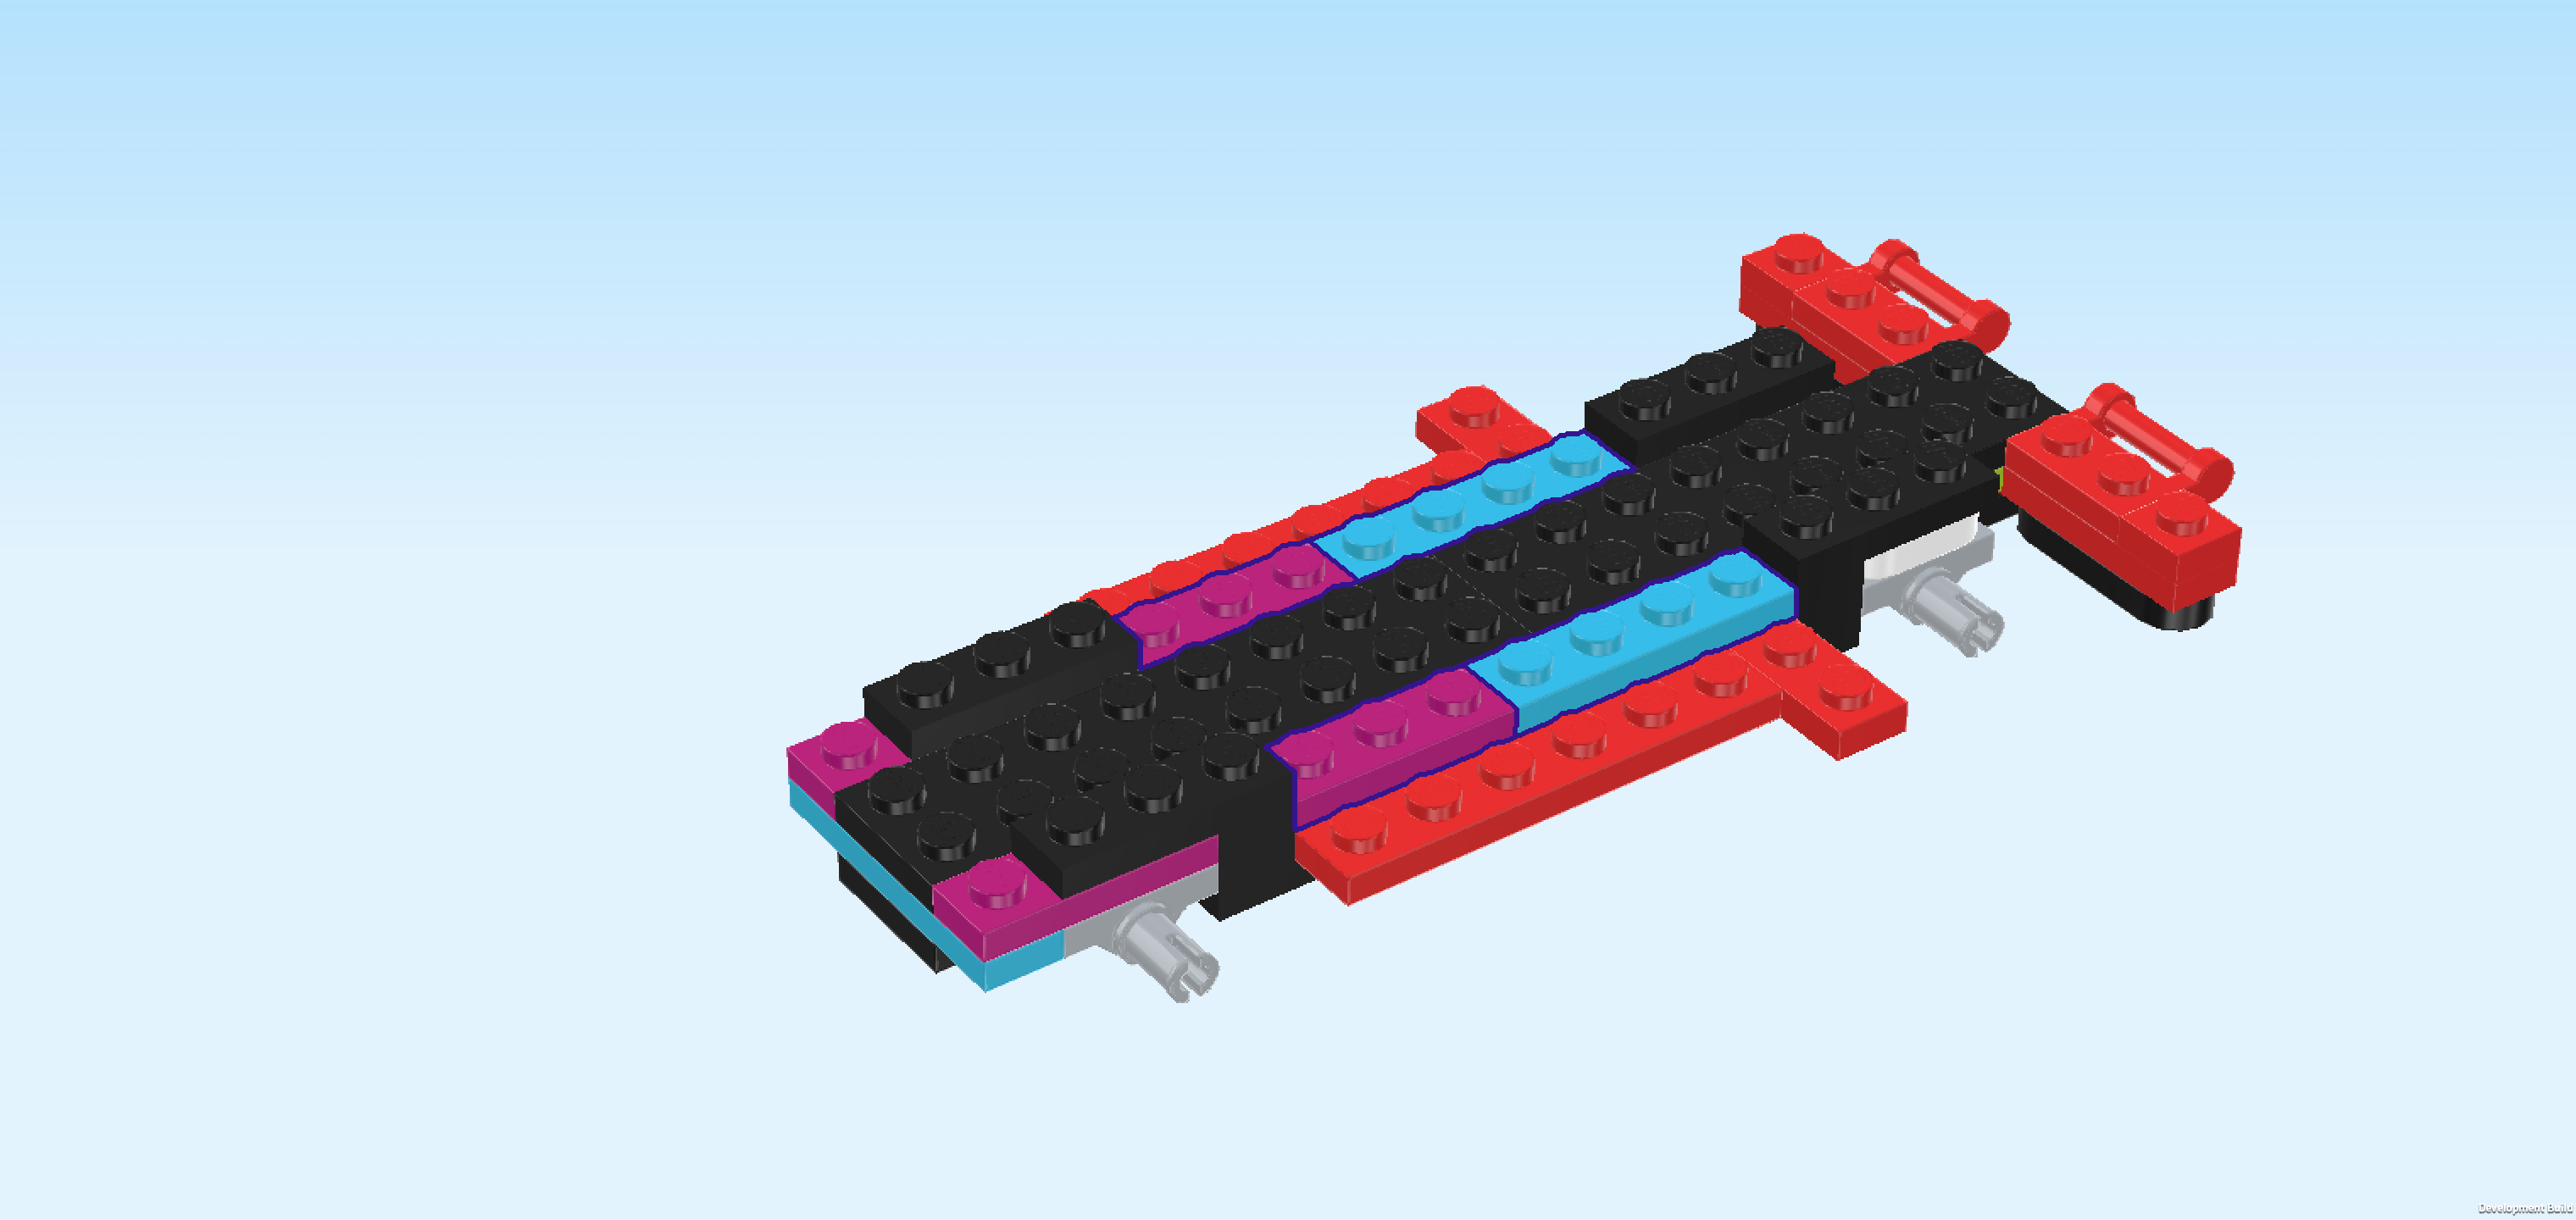
| Find 1 bright red plate 6x6. |
| Put it centered to the left of the previous piece, symmetrically overhanging to the front and back. |
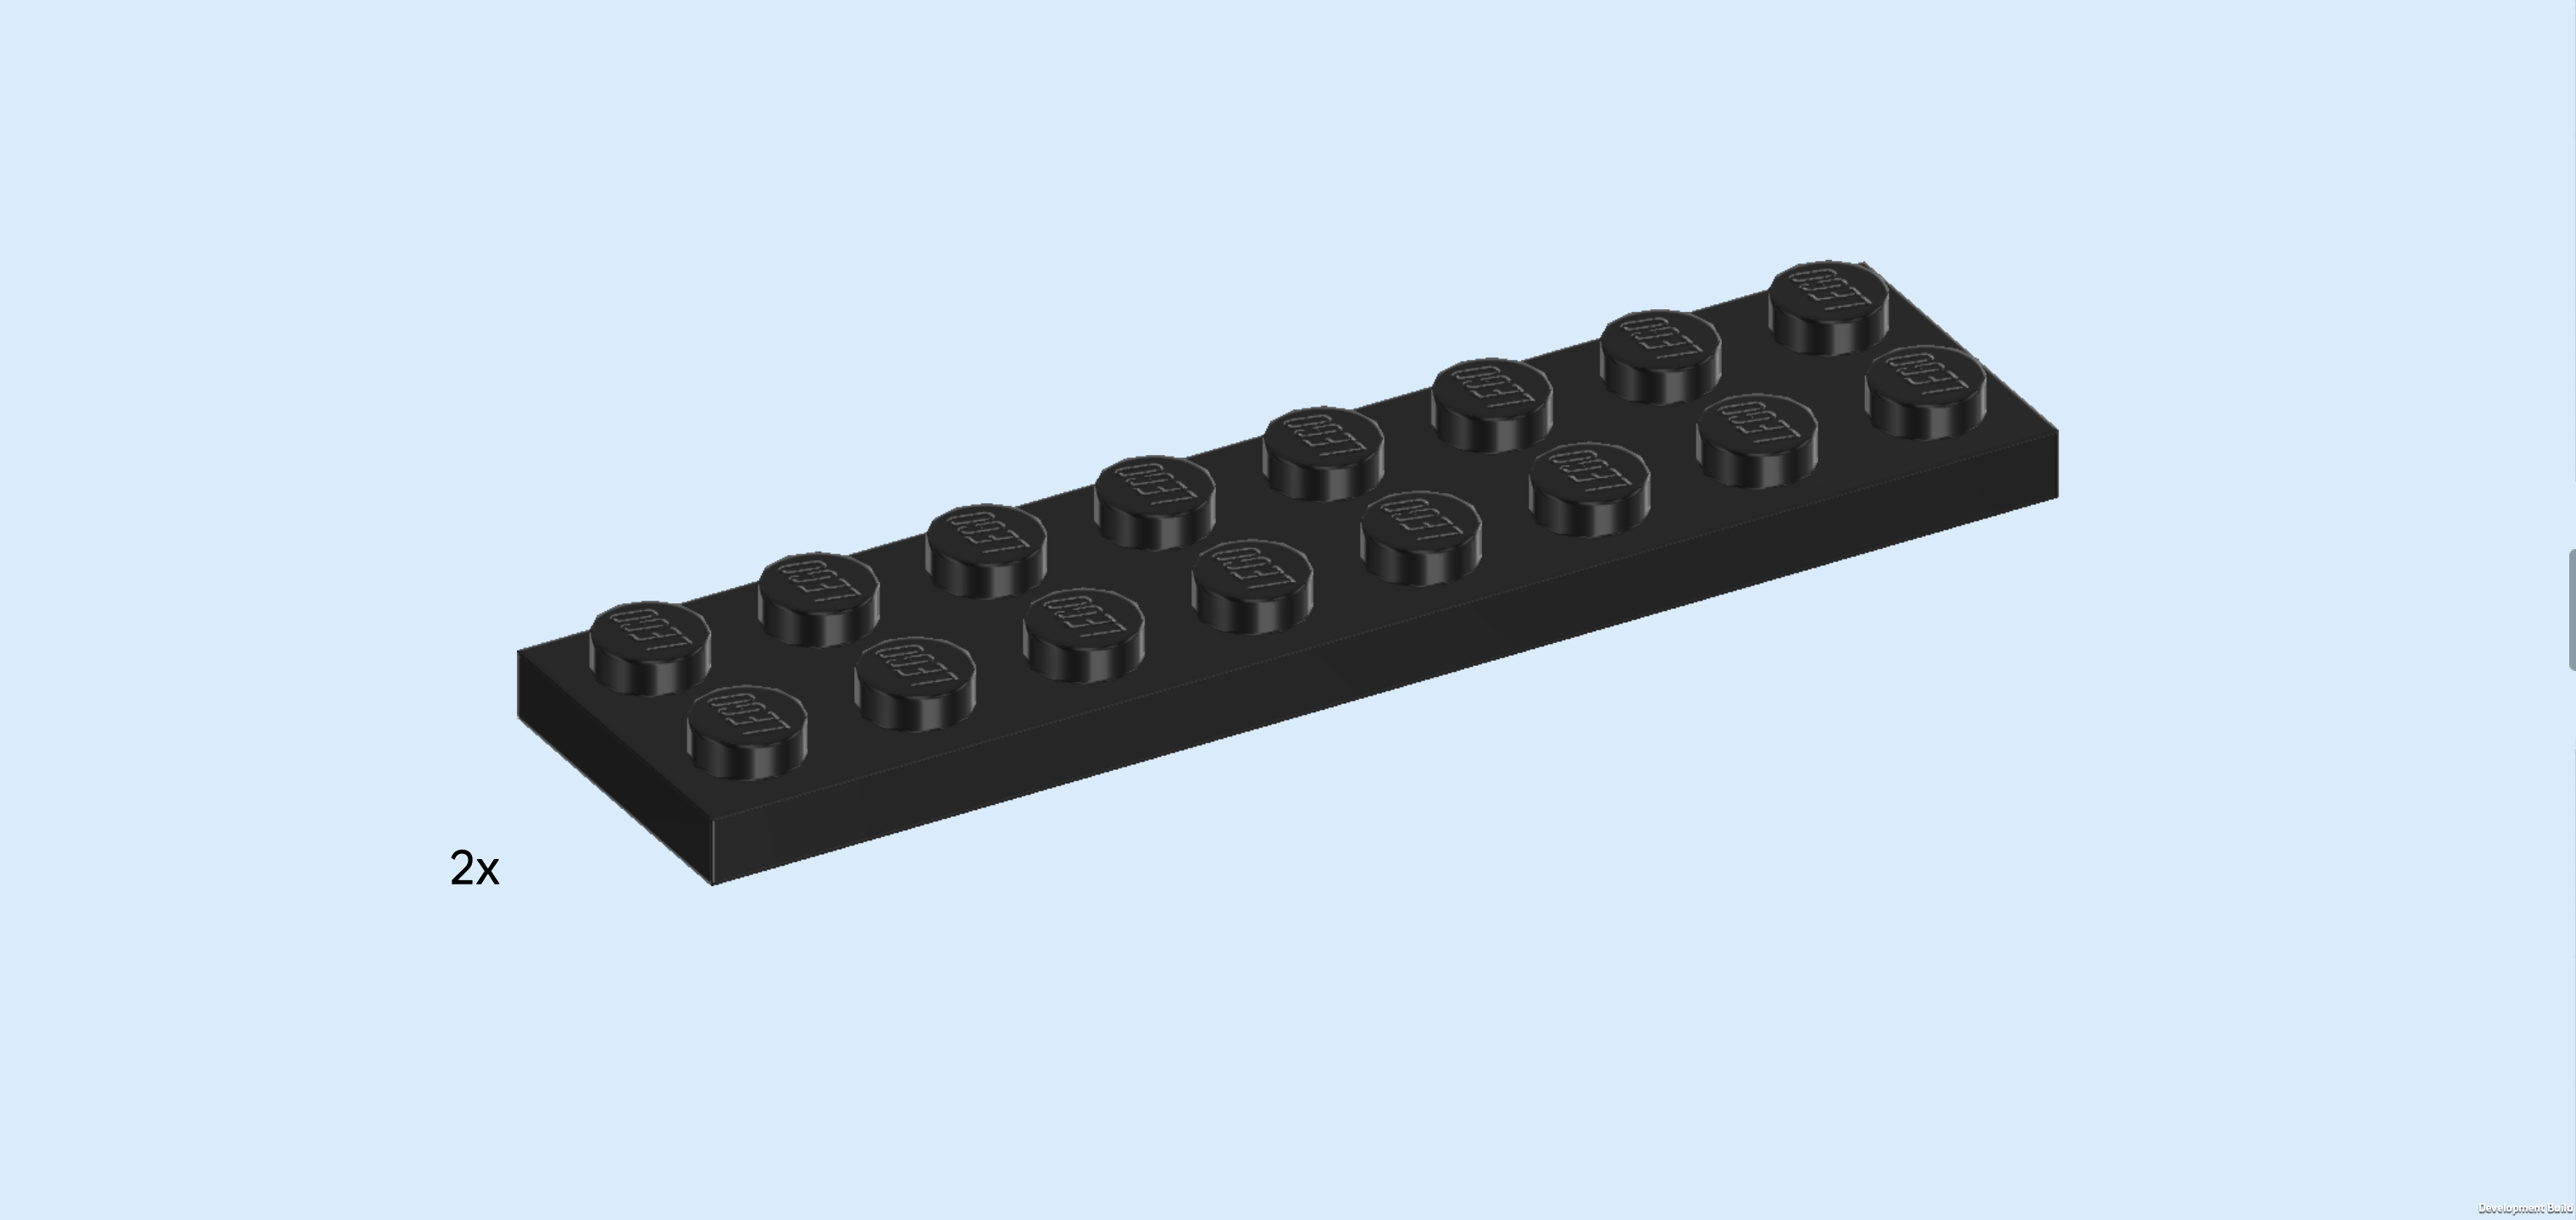
| Find 2 black plates 2x8. |
| Put 1 horizontally on the 2 middle rows of the structure, starting from the left edge. |
| Put the other one horizontally to the right of the previous piece. |
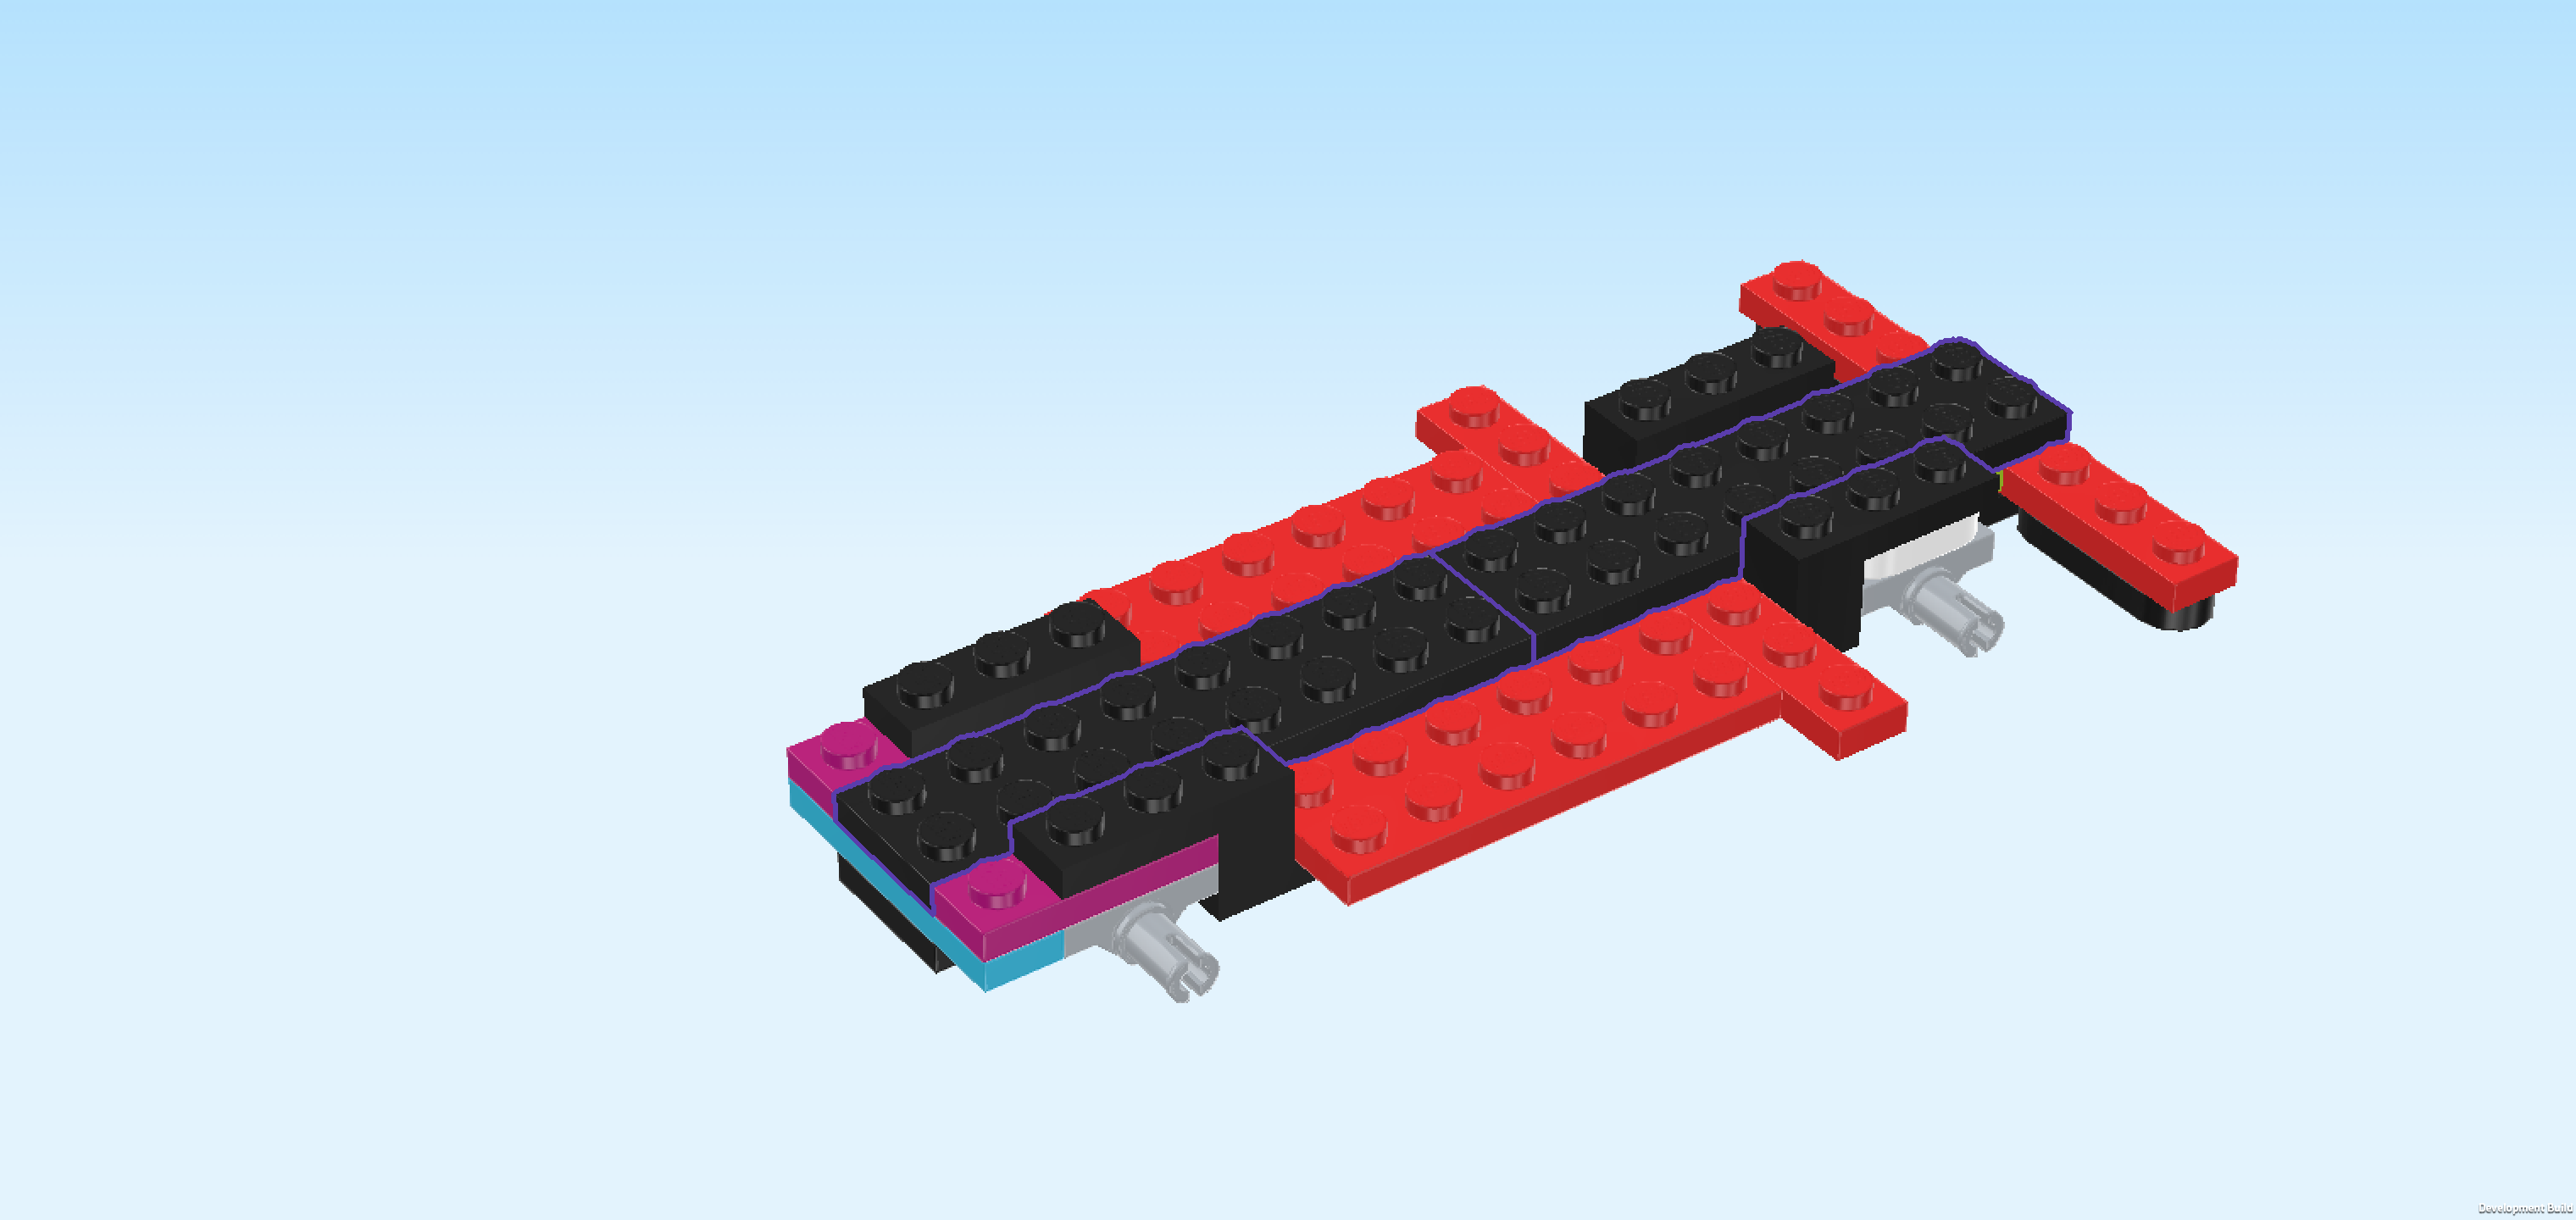
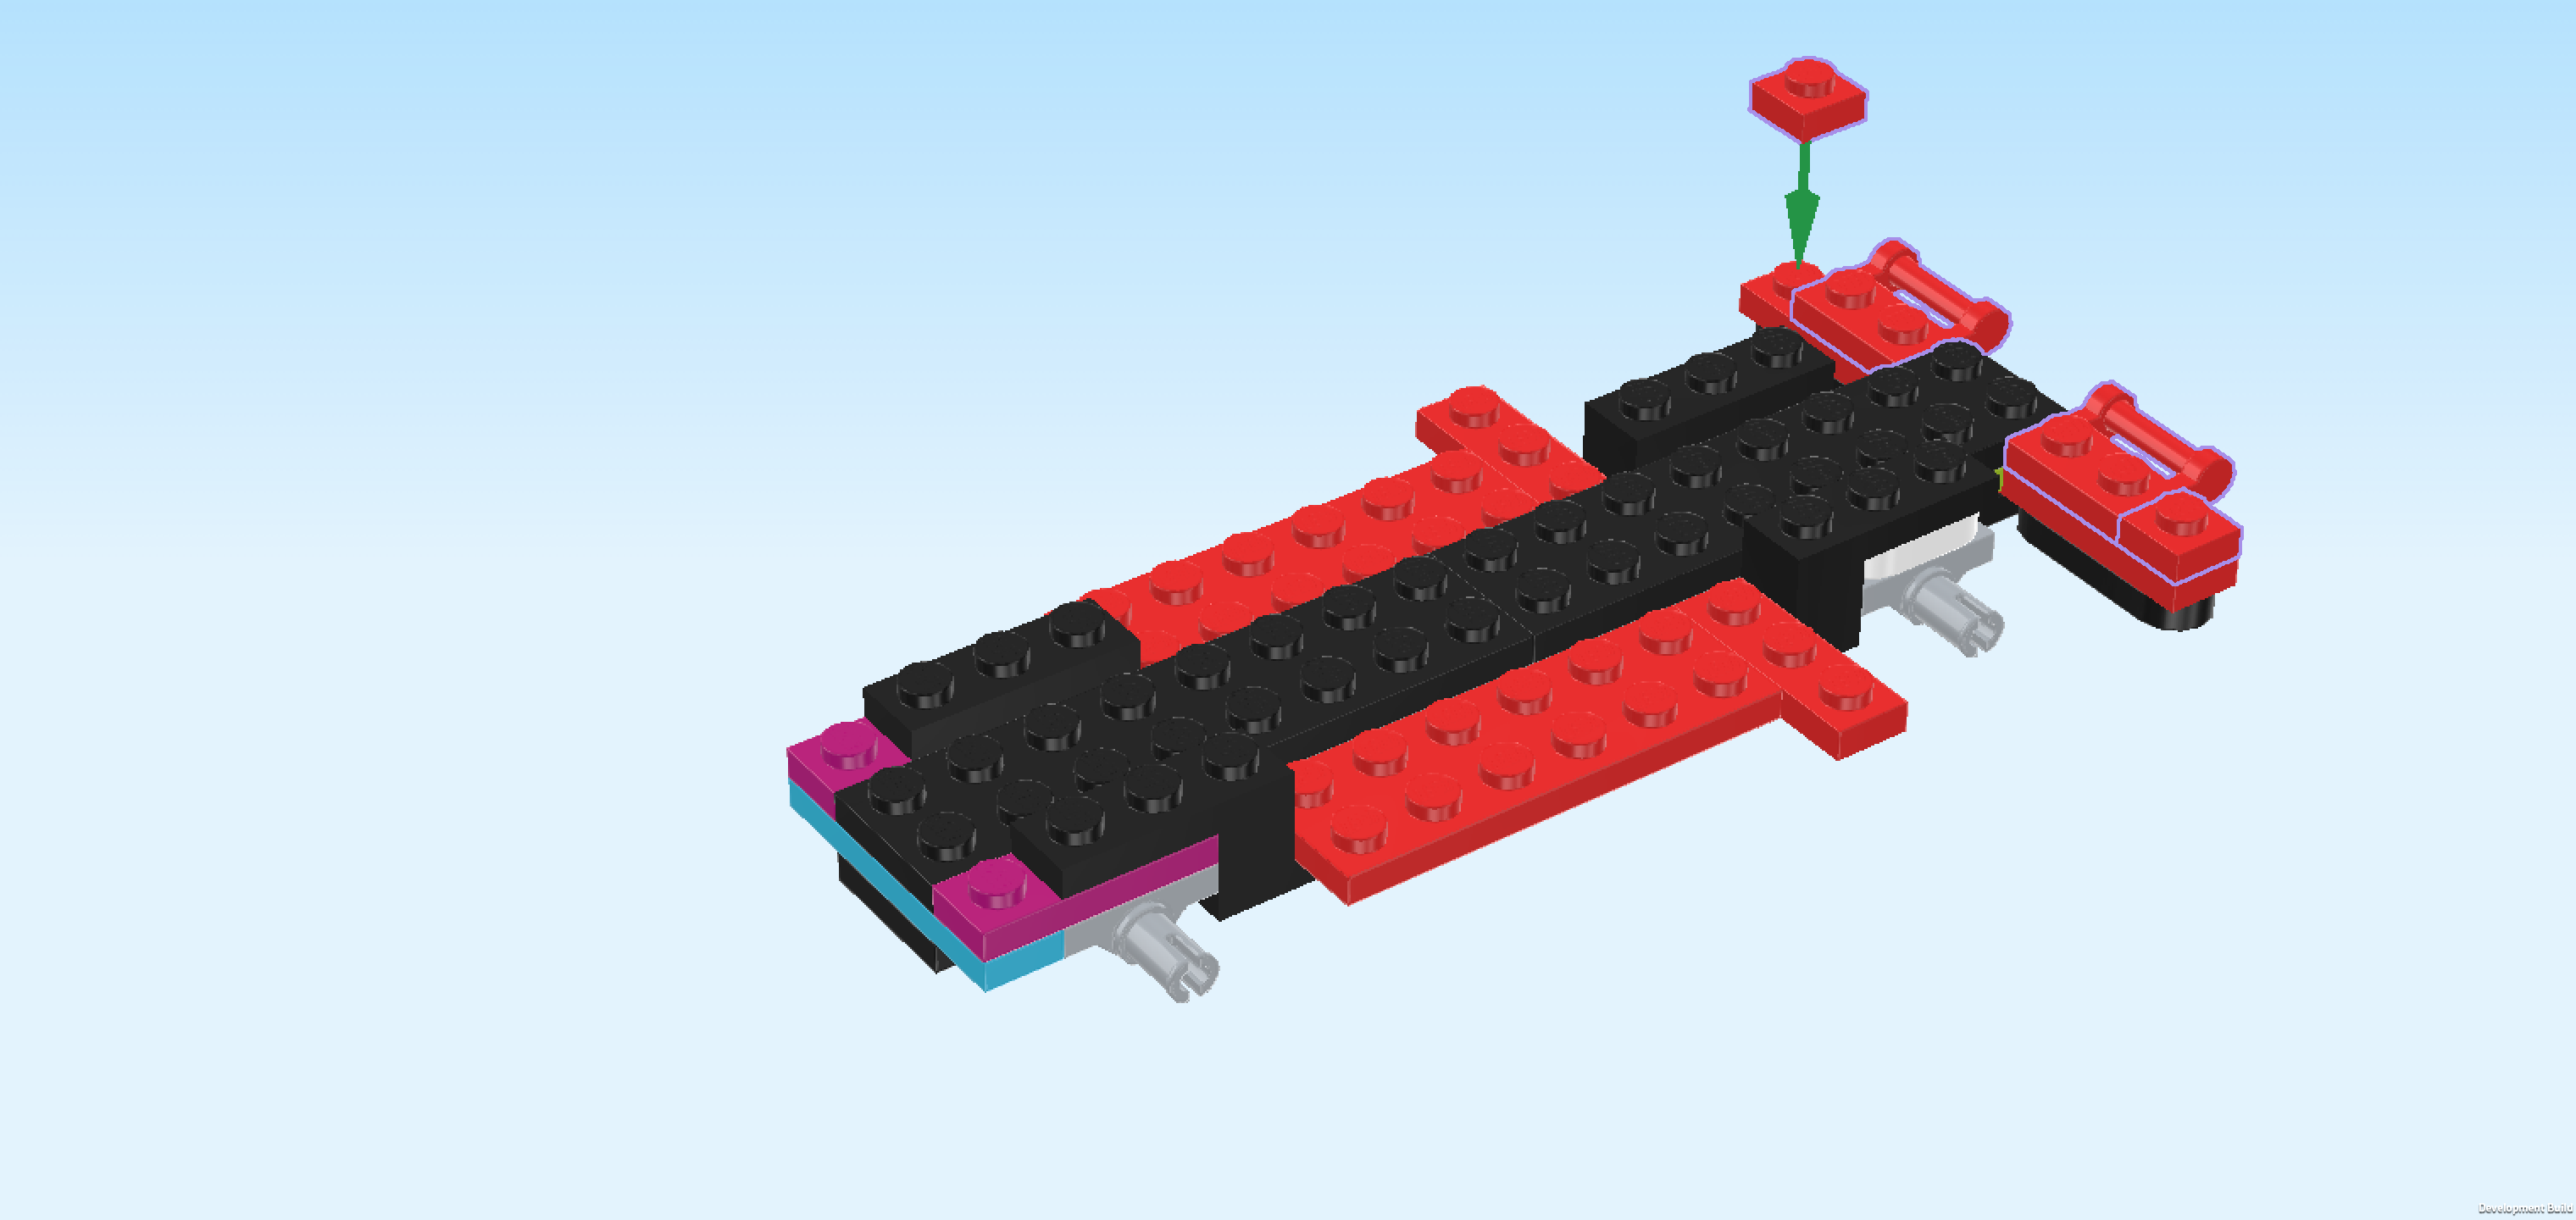
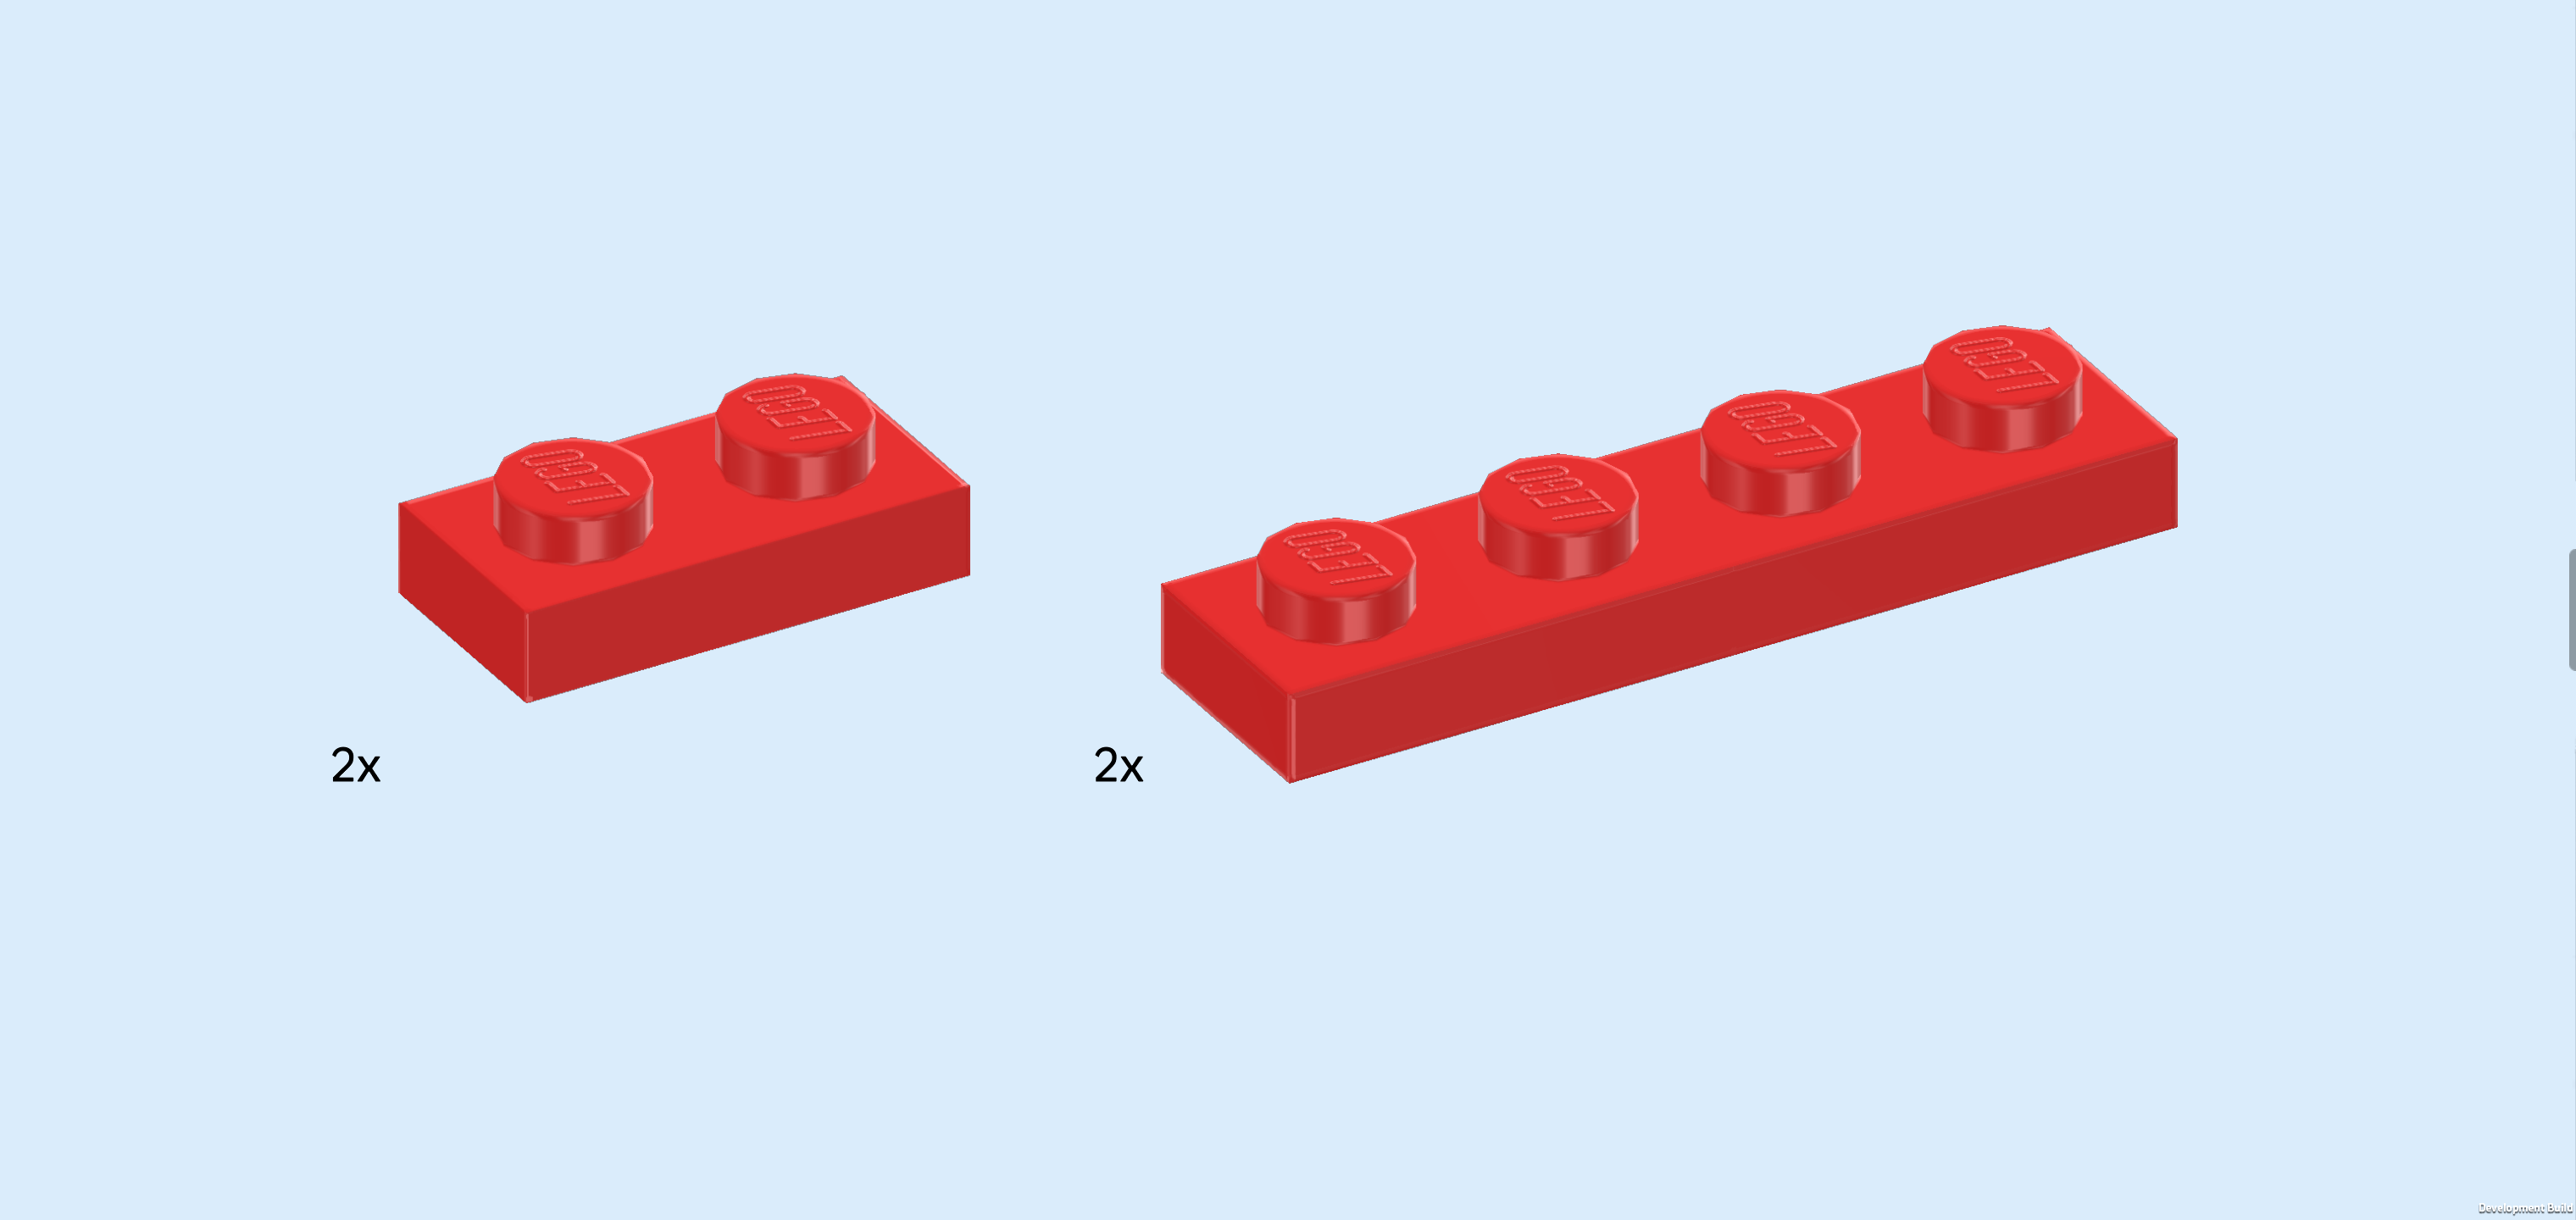
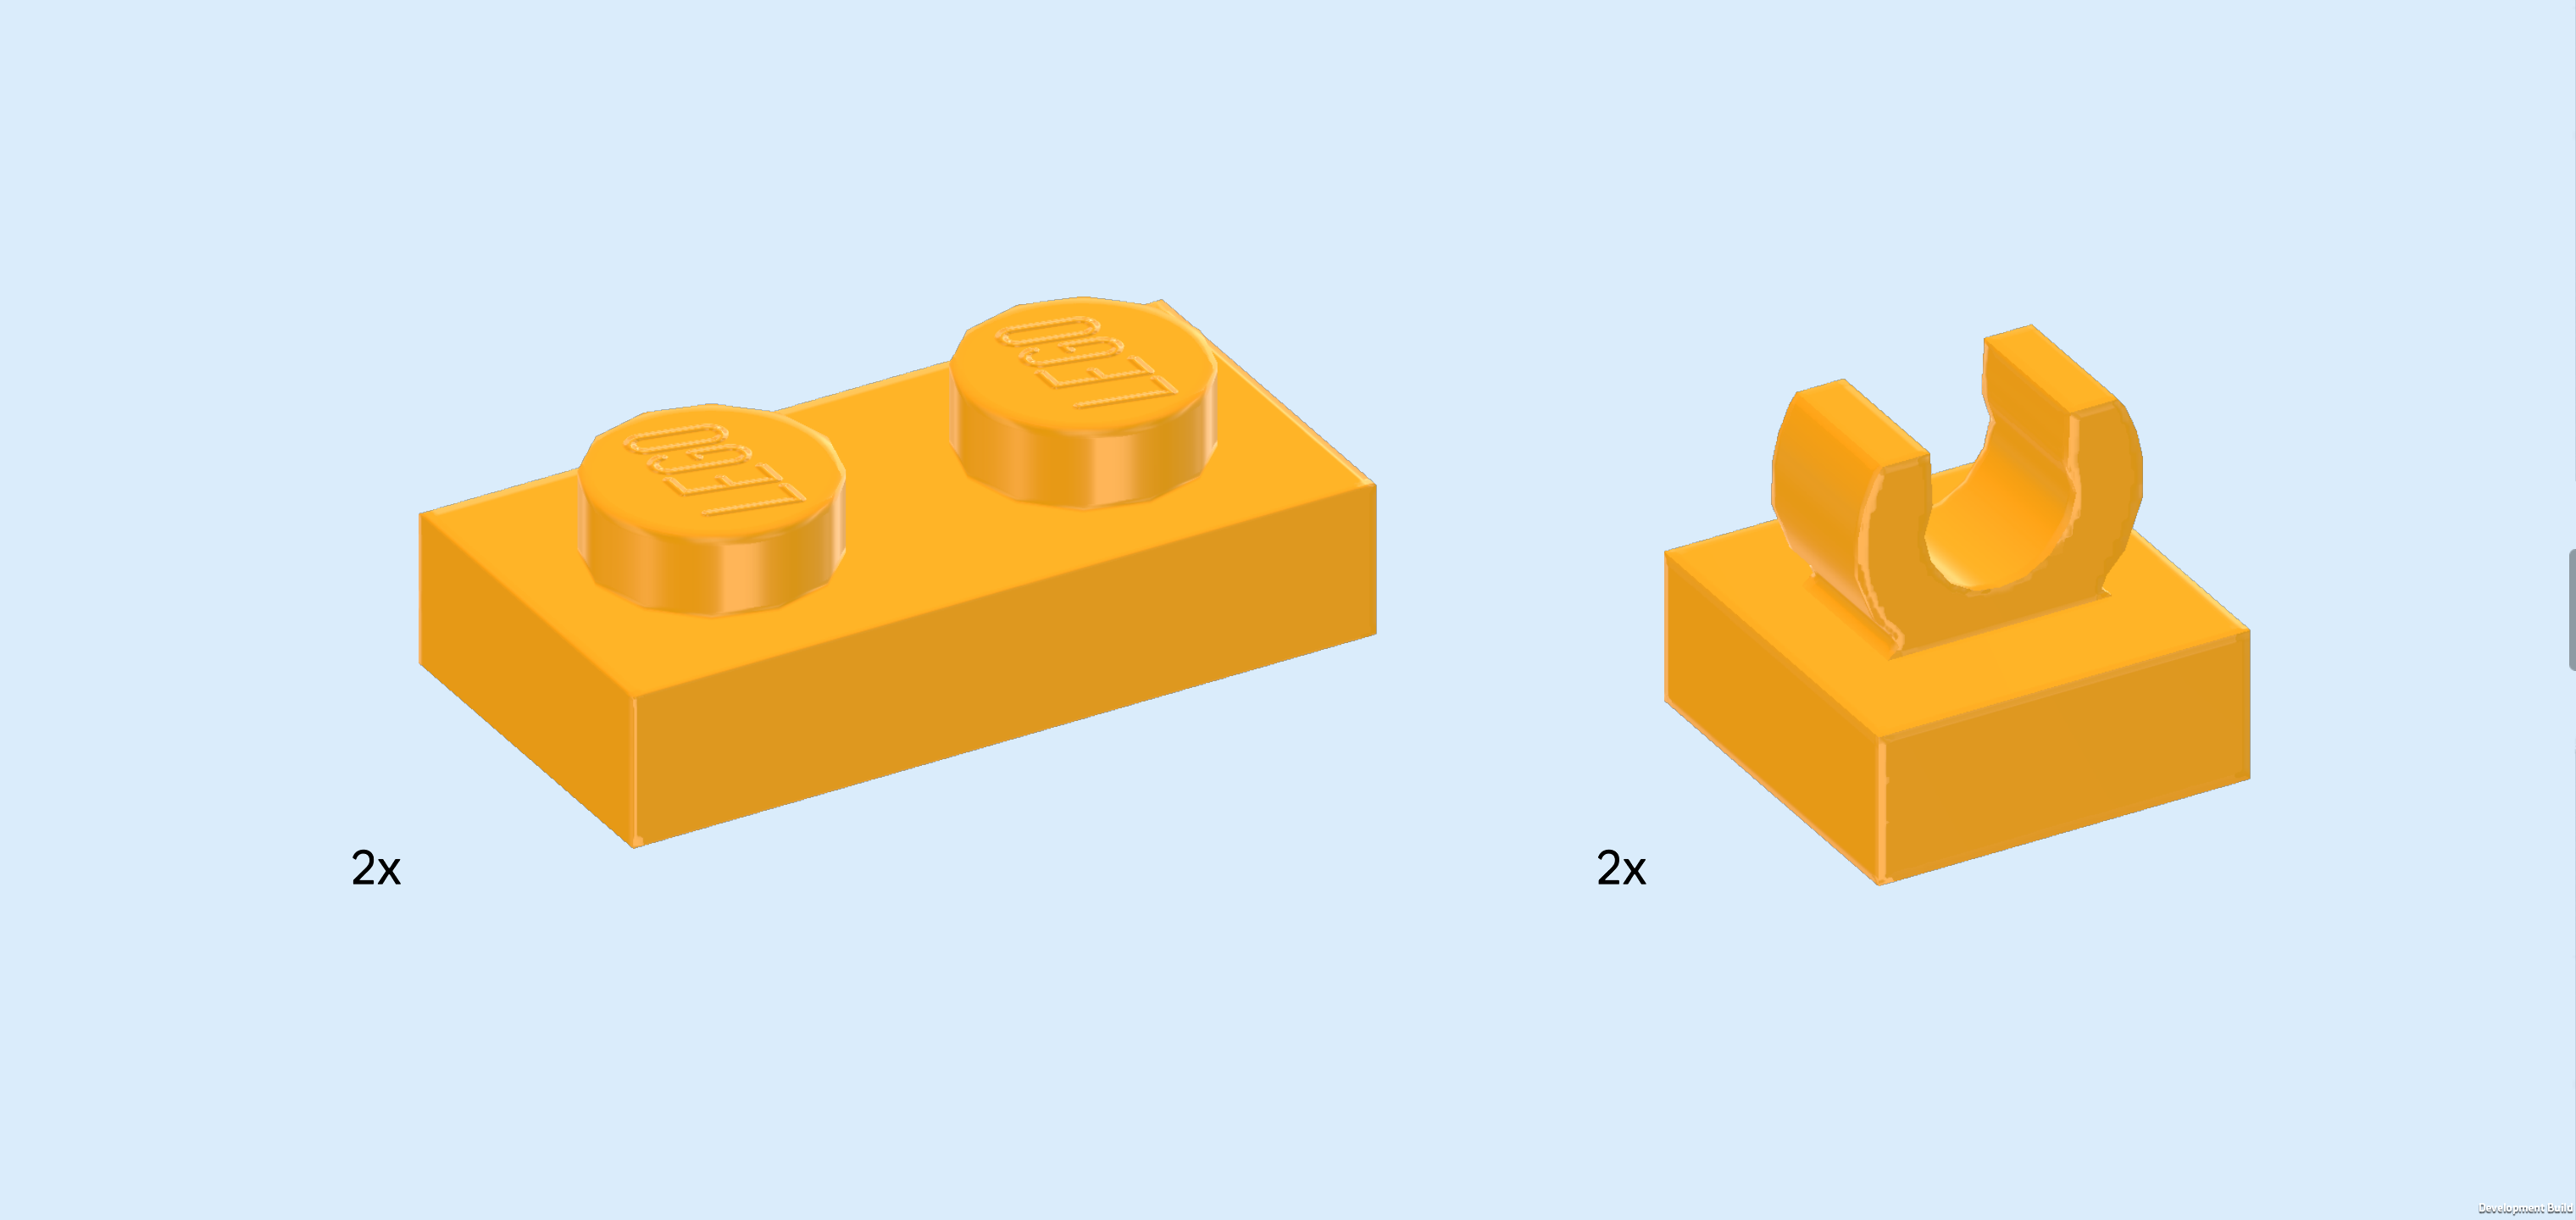
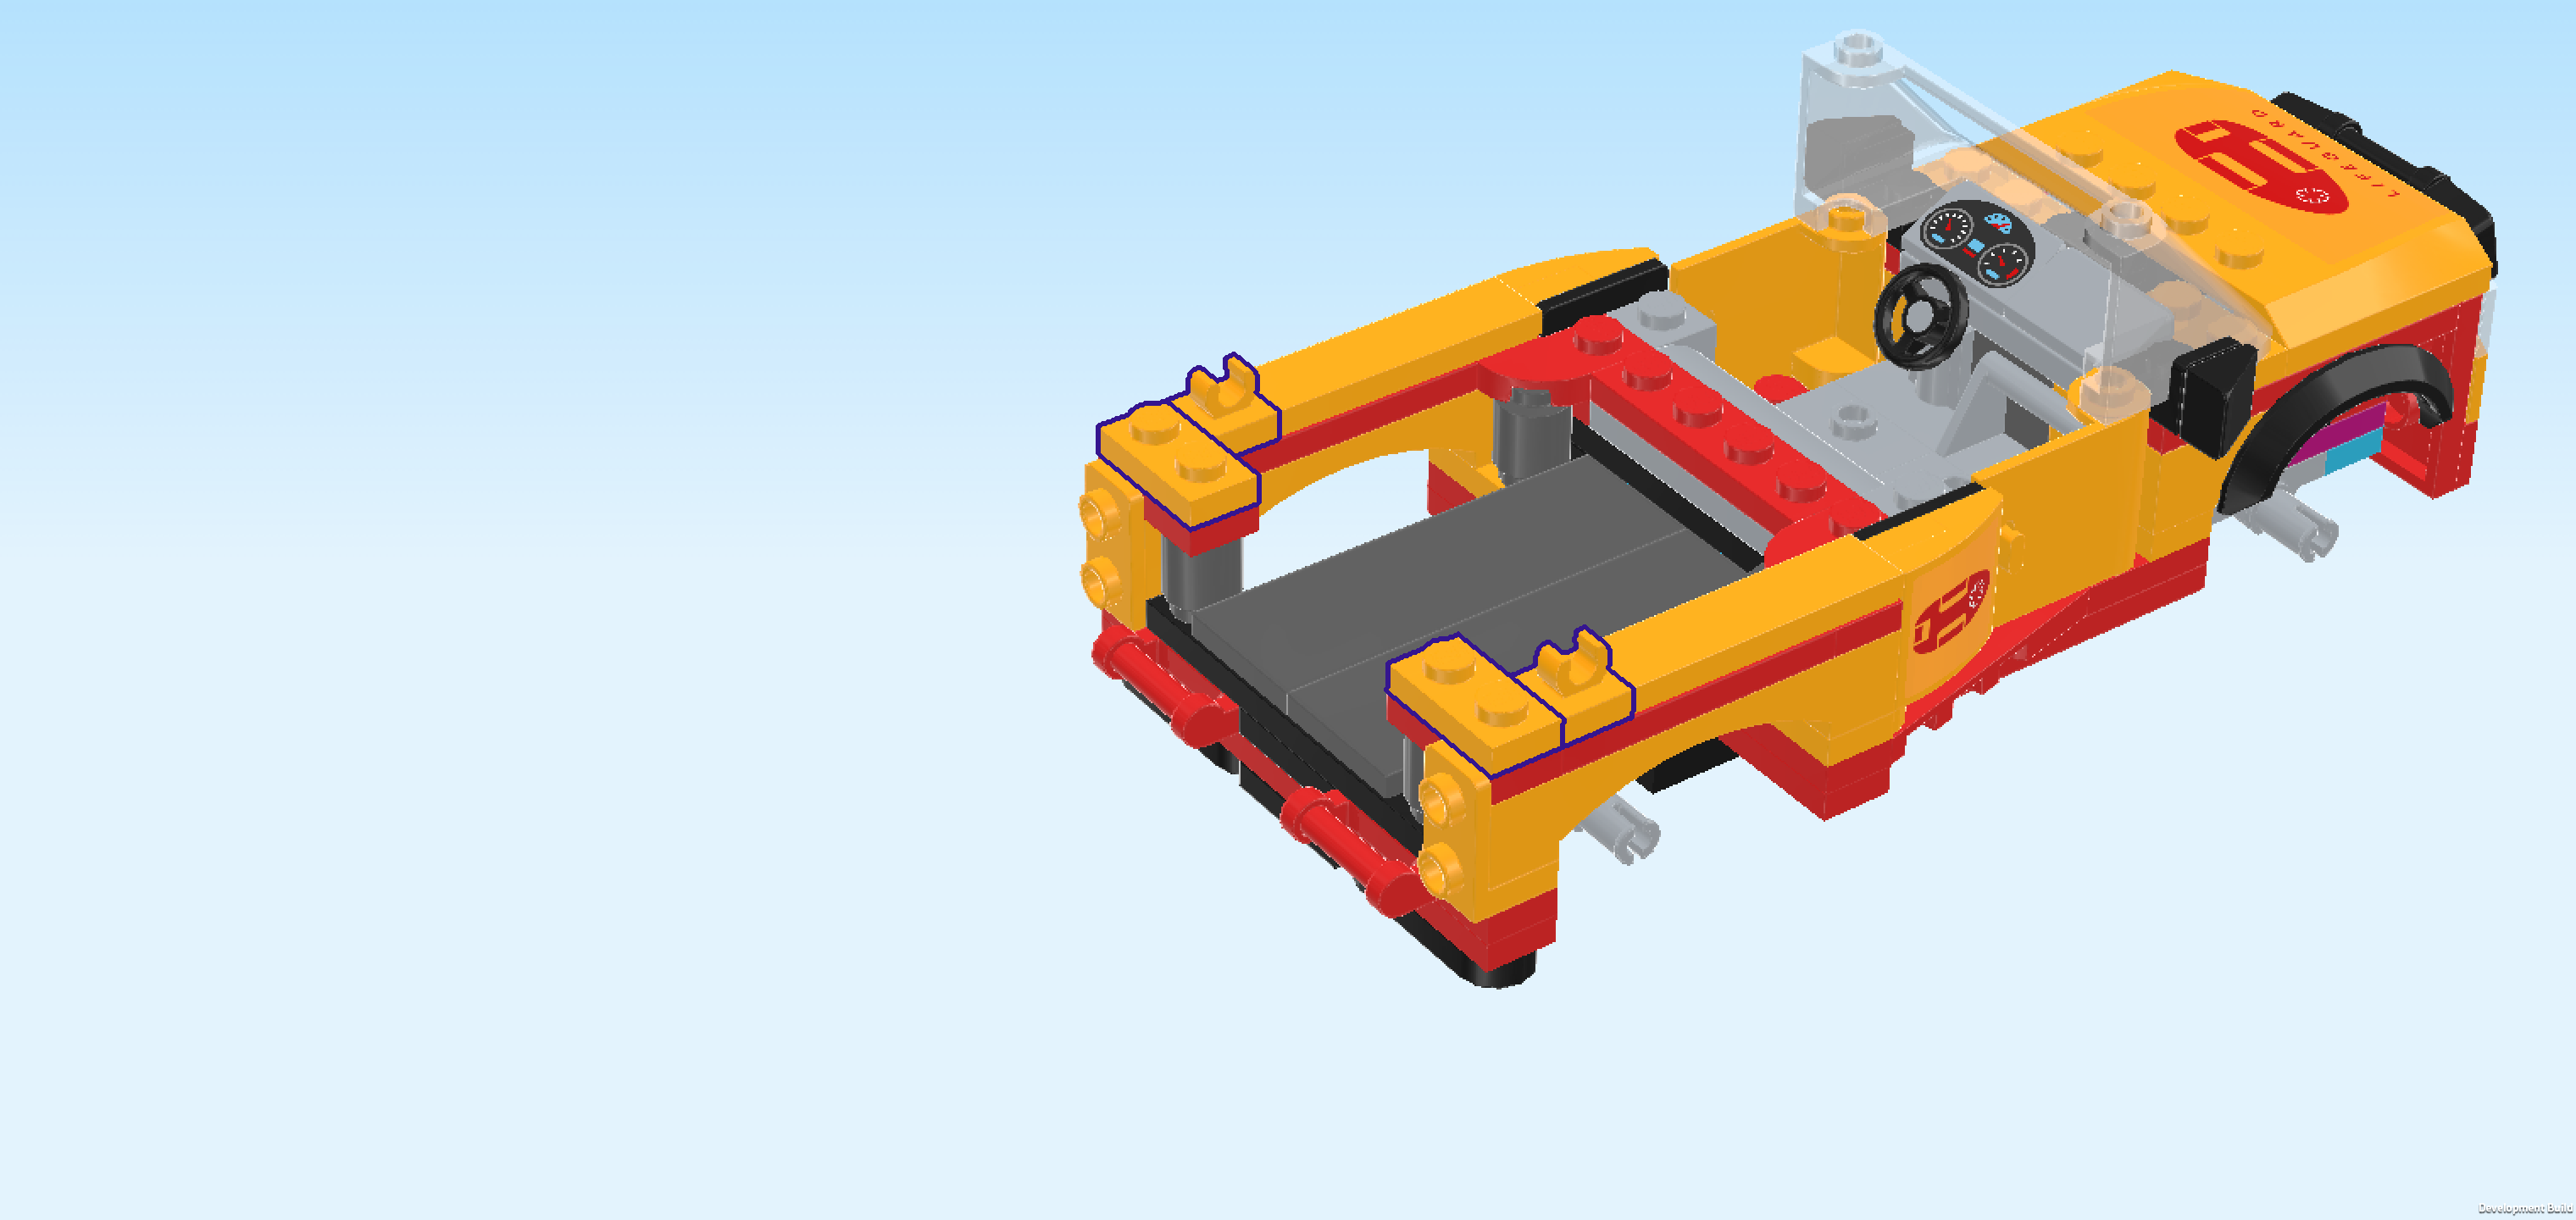
| Collect the following 4 pieces: |
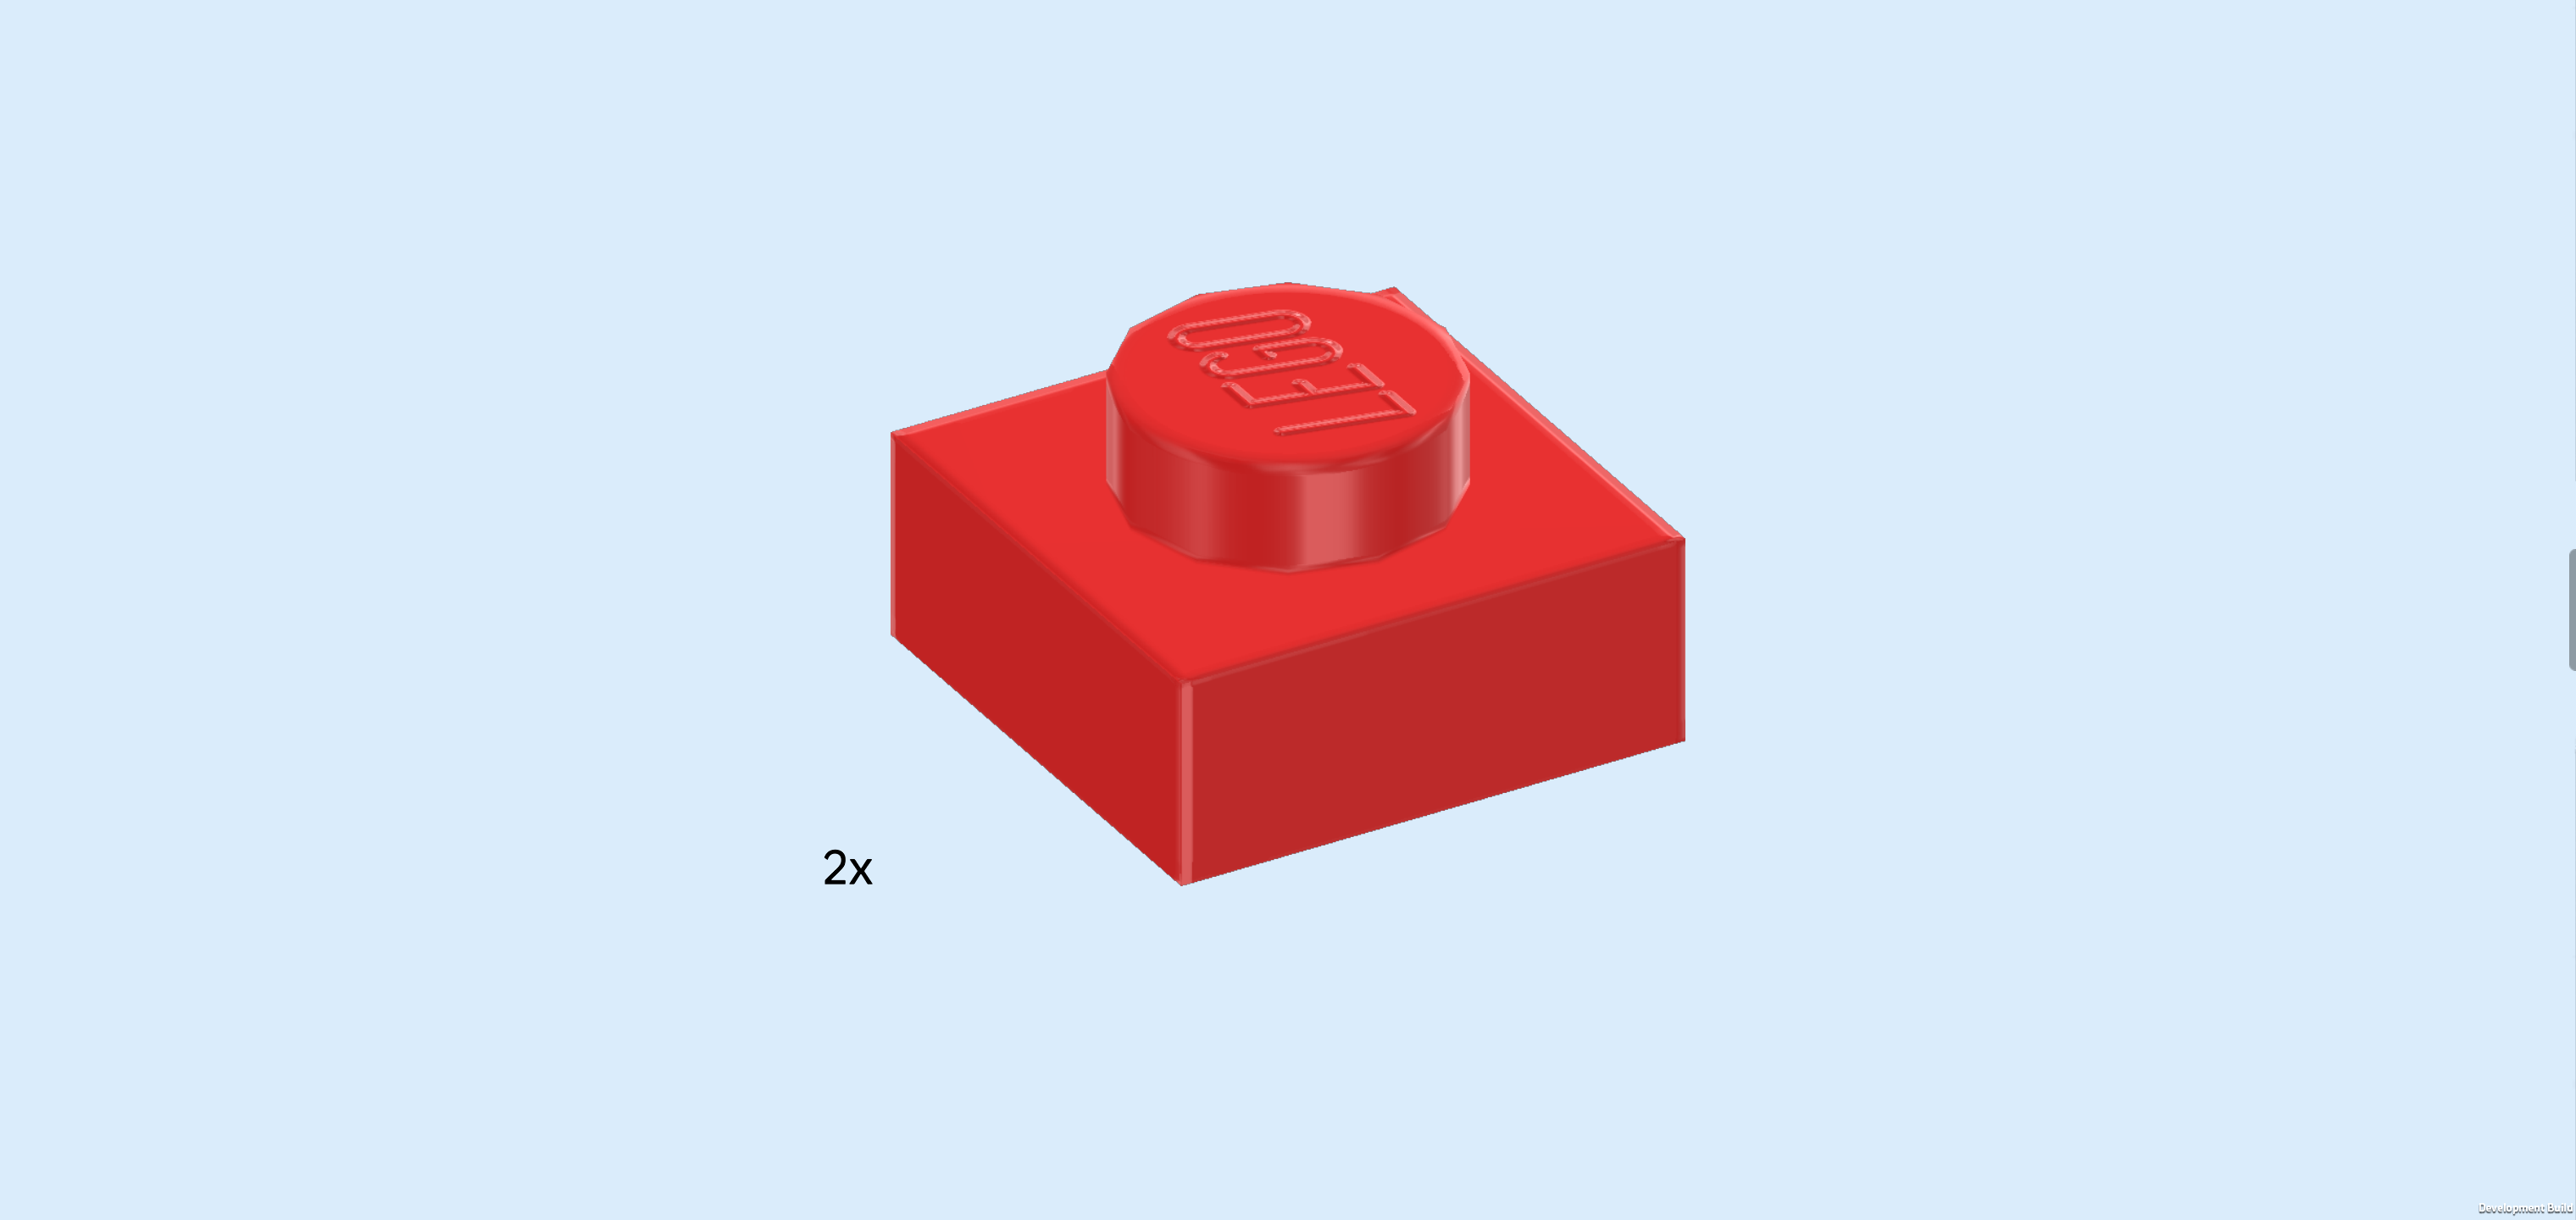
| 2 bright red plates 1x1, |
| and 2 bright red plates 1x2 with handle on long side. |
| Put 1 plate 1x1 on the backmost knob of the rightmost column. |
| Put 1 plate 1x2 vertically in front of the previous piece, handle overhanging to the right. |
| Repeat symmetrically at the front with the 2 remaining pieces. |
| Collect the following 4 pieces: |
| 2 purple violet plates 1x3, |
| and 2 medium azure blue plates 1x4. |
| Put 1 plate 1x3 horizontally in the middle recess of the row behind the 2 middle rows, starting from its left edge. This means that this plate's left edge will touch the stepped brick 1x5 in the left half of that row. |
| Put 1 plate 1x4 horizontally to the right of the previous piece. |
| Repeat symmetrically at the front with the 2 remaining pieces. |
| If done correctly, there are 2 empty knobs in front of the leftmost knob of the last plate 1x4 you have mounted. We will need those 2 knobs in the next step. |
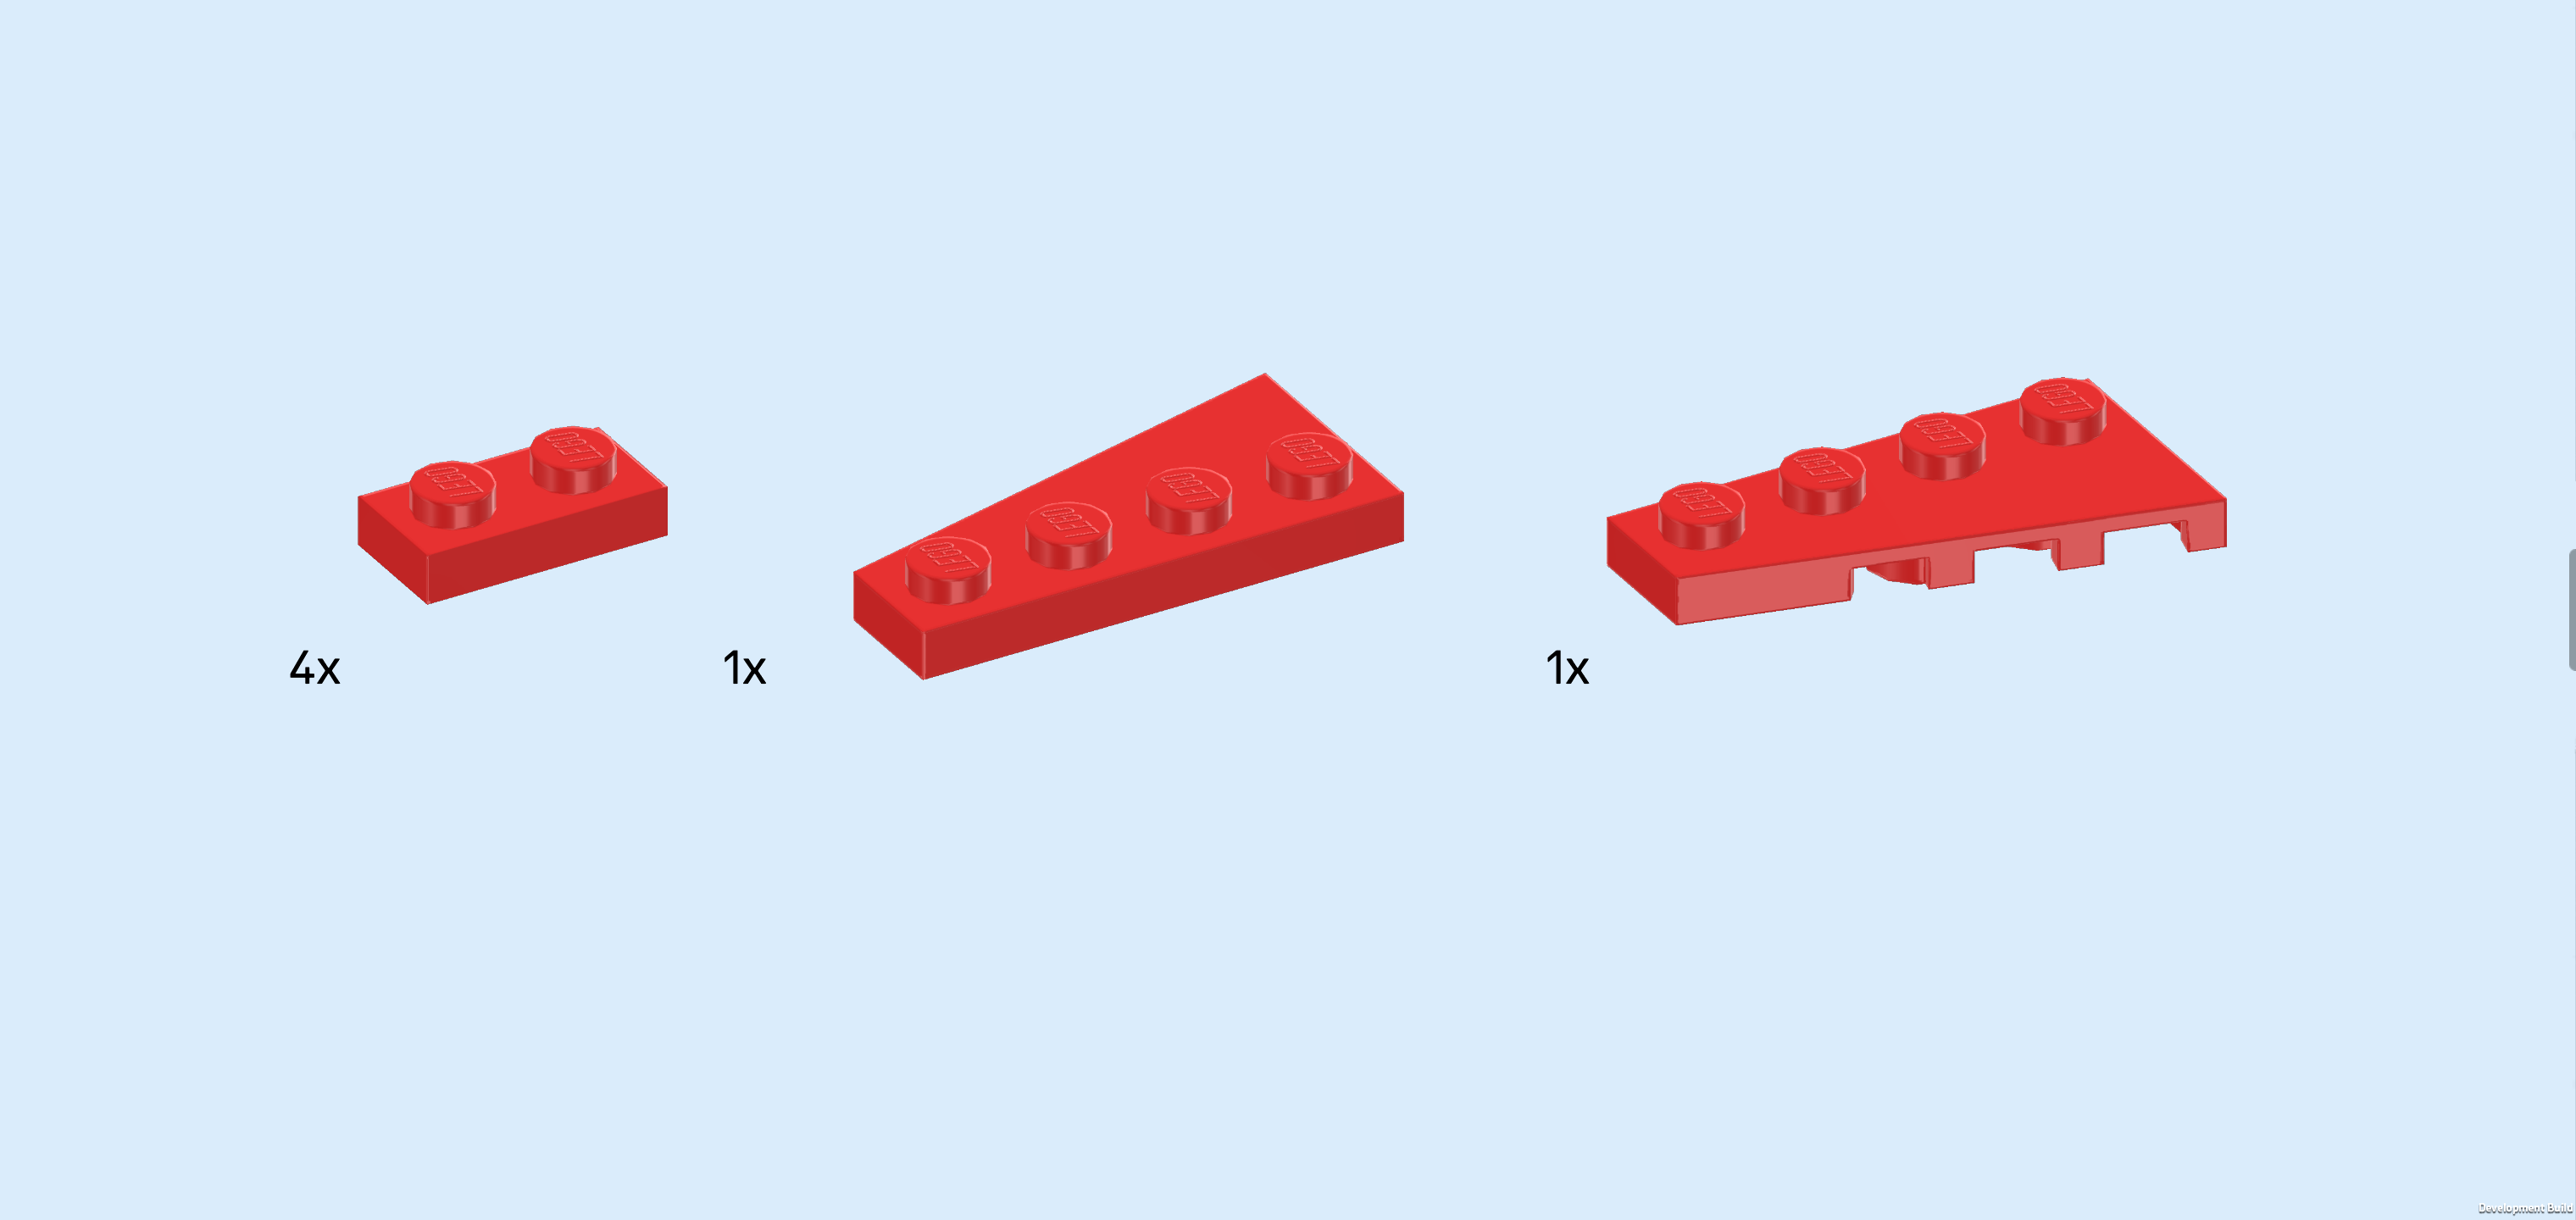
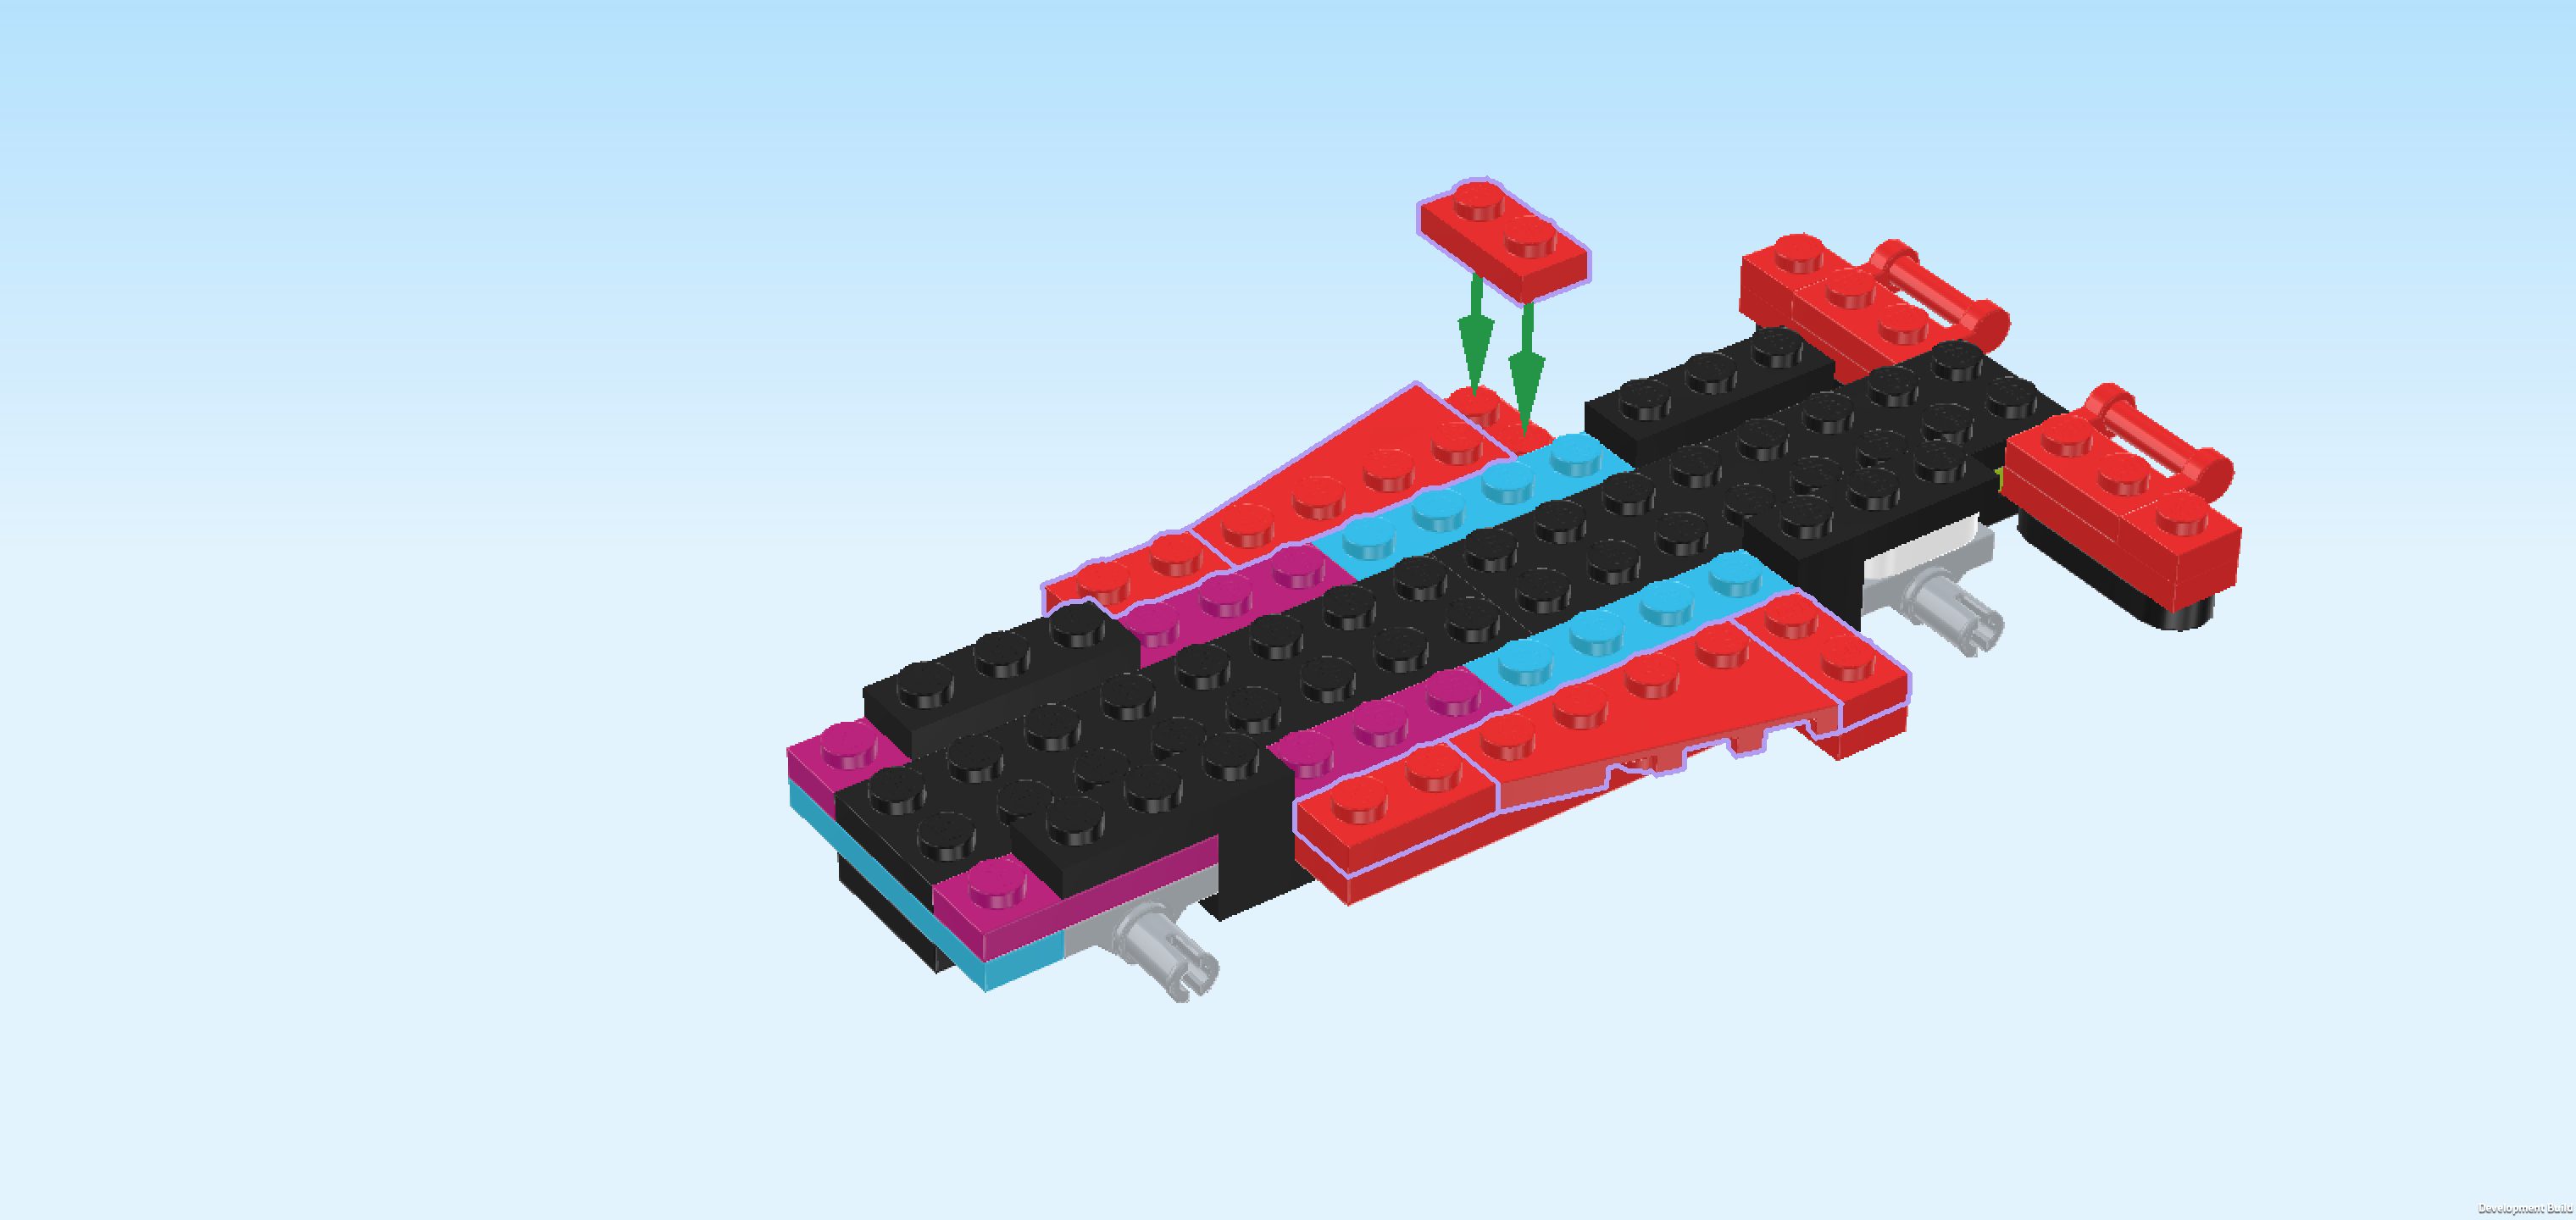
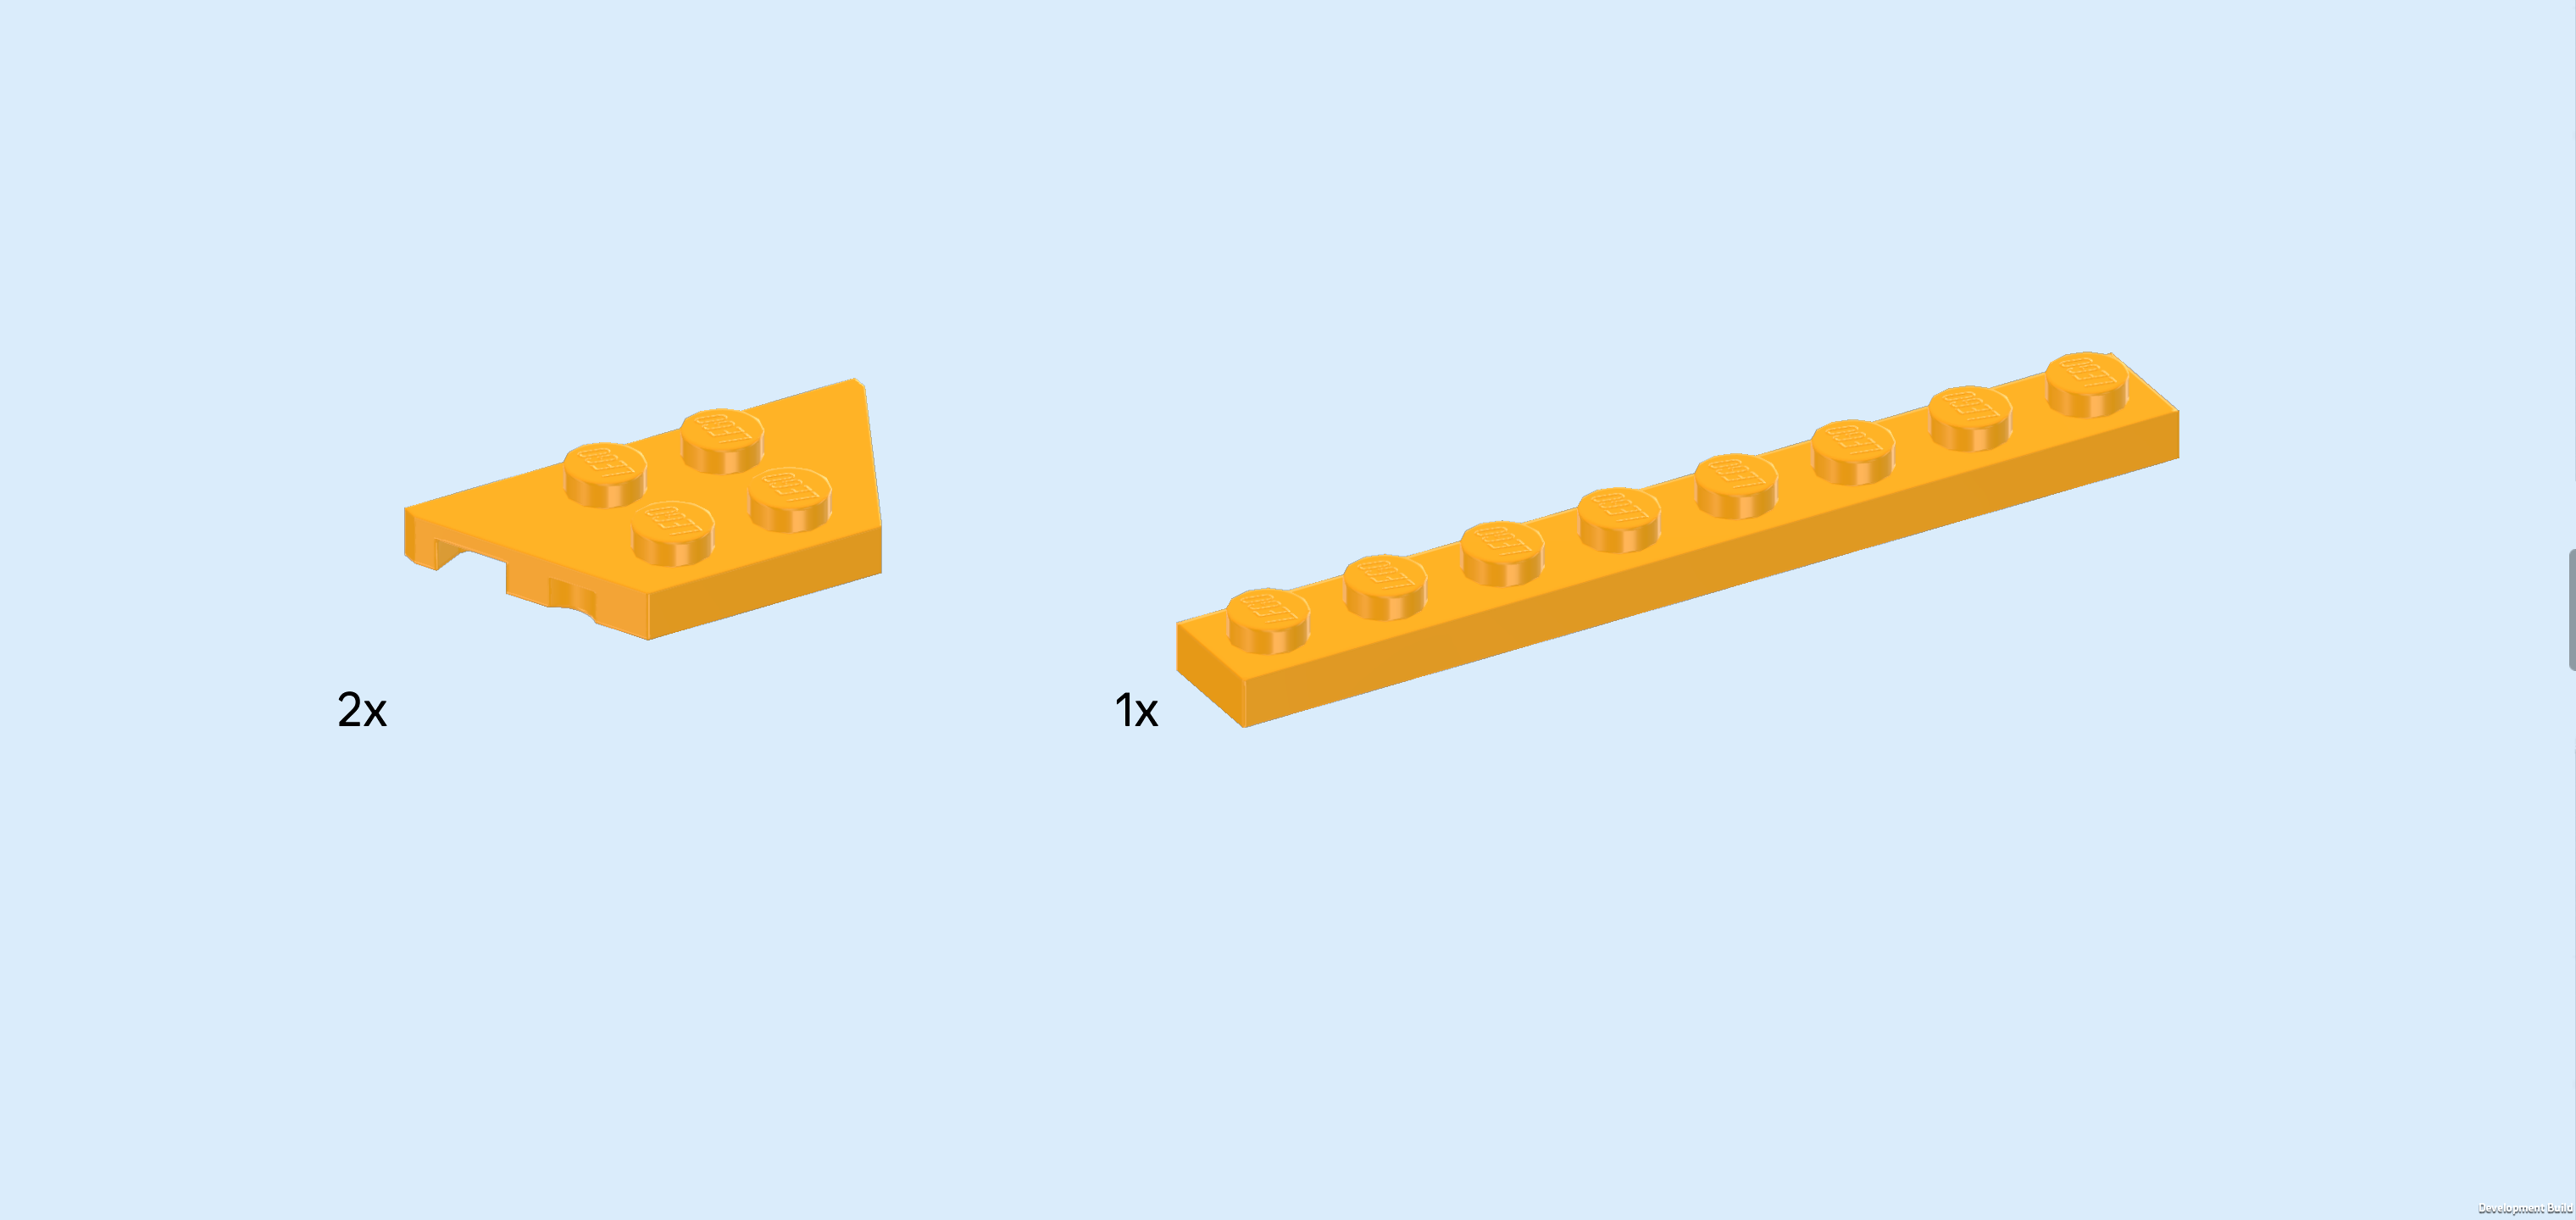
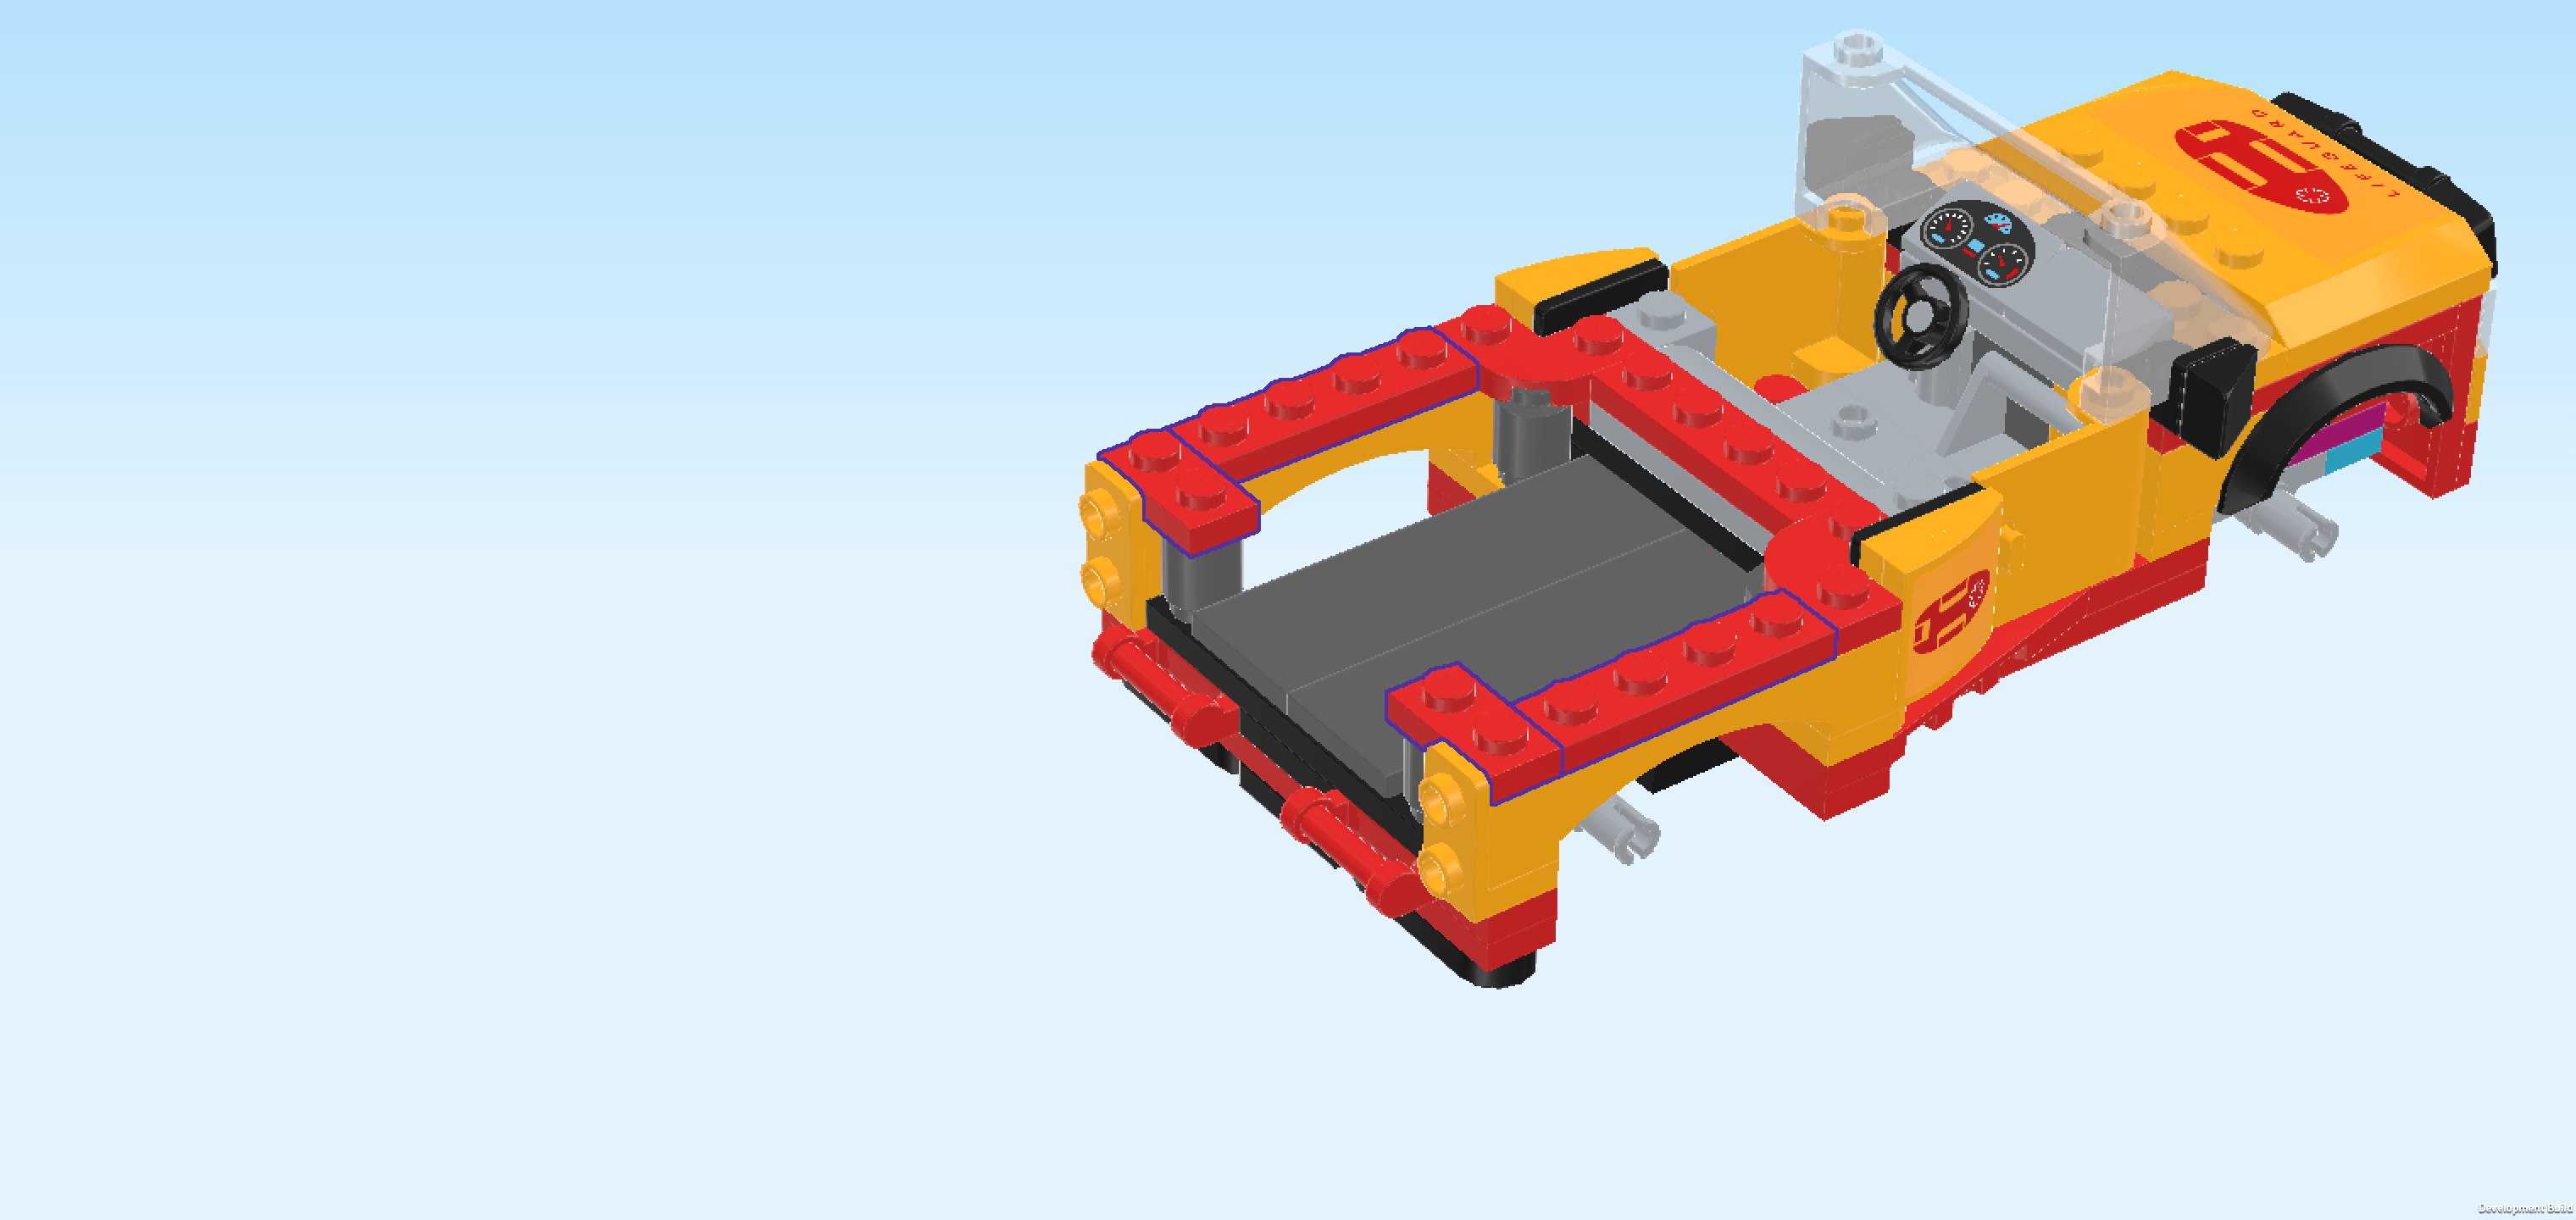
| Collect the following 6 pieces: |
| 4 bright red plates 1x2, |
| 1 bright red wedge plate 2x4 with cut to the left, |
| and 1 bright red wedge plate 2x4 with cut to the right. |
| Put 1 plate 1x2 vertically in front of the leftmost knob of the last plate 1x4 you have mounted. |
| Put the wedge plate 2x4 with cut to the right horizontally to the left of the previous piece, angled edge at the front edge, narrow end of the wedge plate pointing to the left. If this does not add up, try the other wedge plate. |
| Put 1 plate 1x2 horizontally to the left of the previous piece. |
| Repeat symmetrically at the back with the 3 remaining pieces. Make sure the wedge plate's angled edge is at the back edge with its narrow end pointing to the left. |
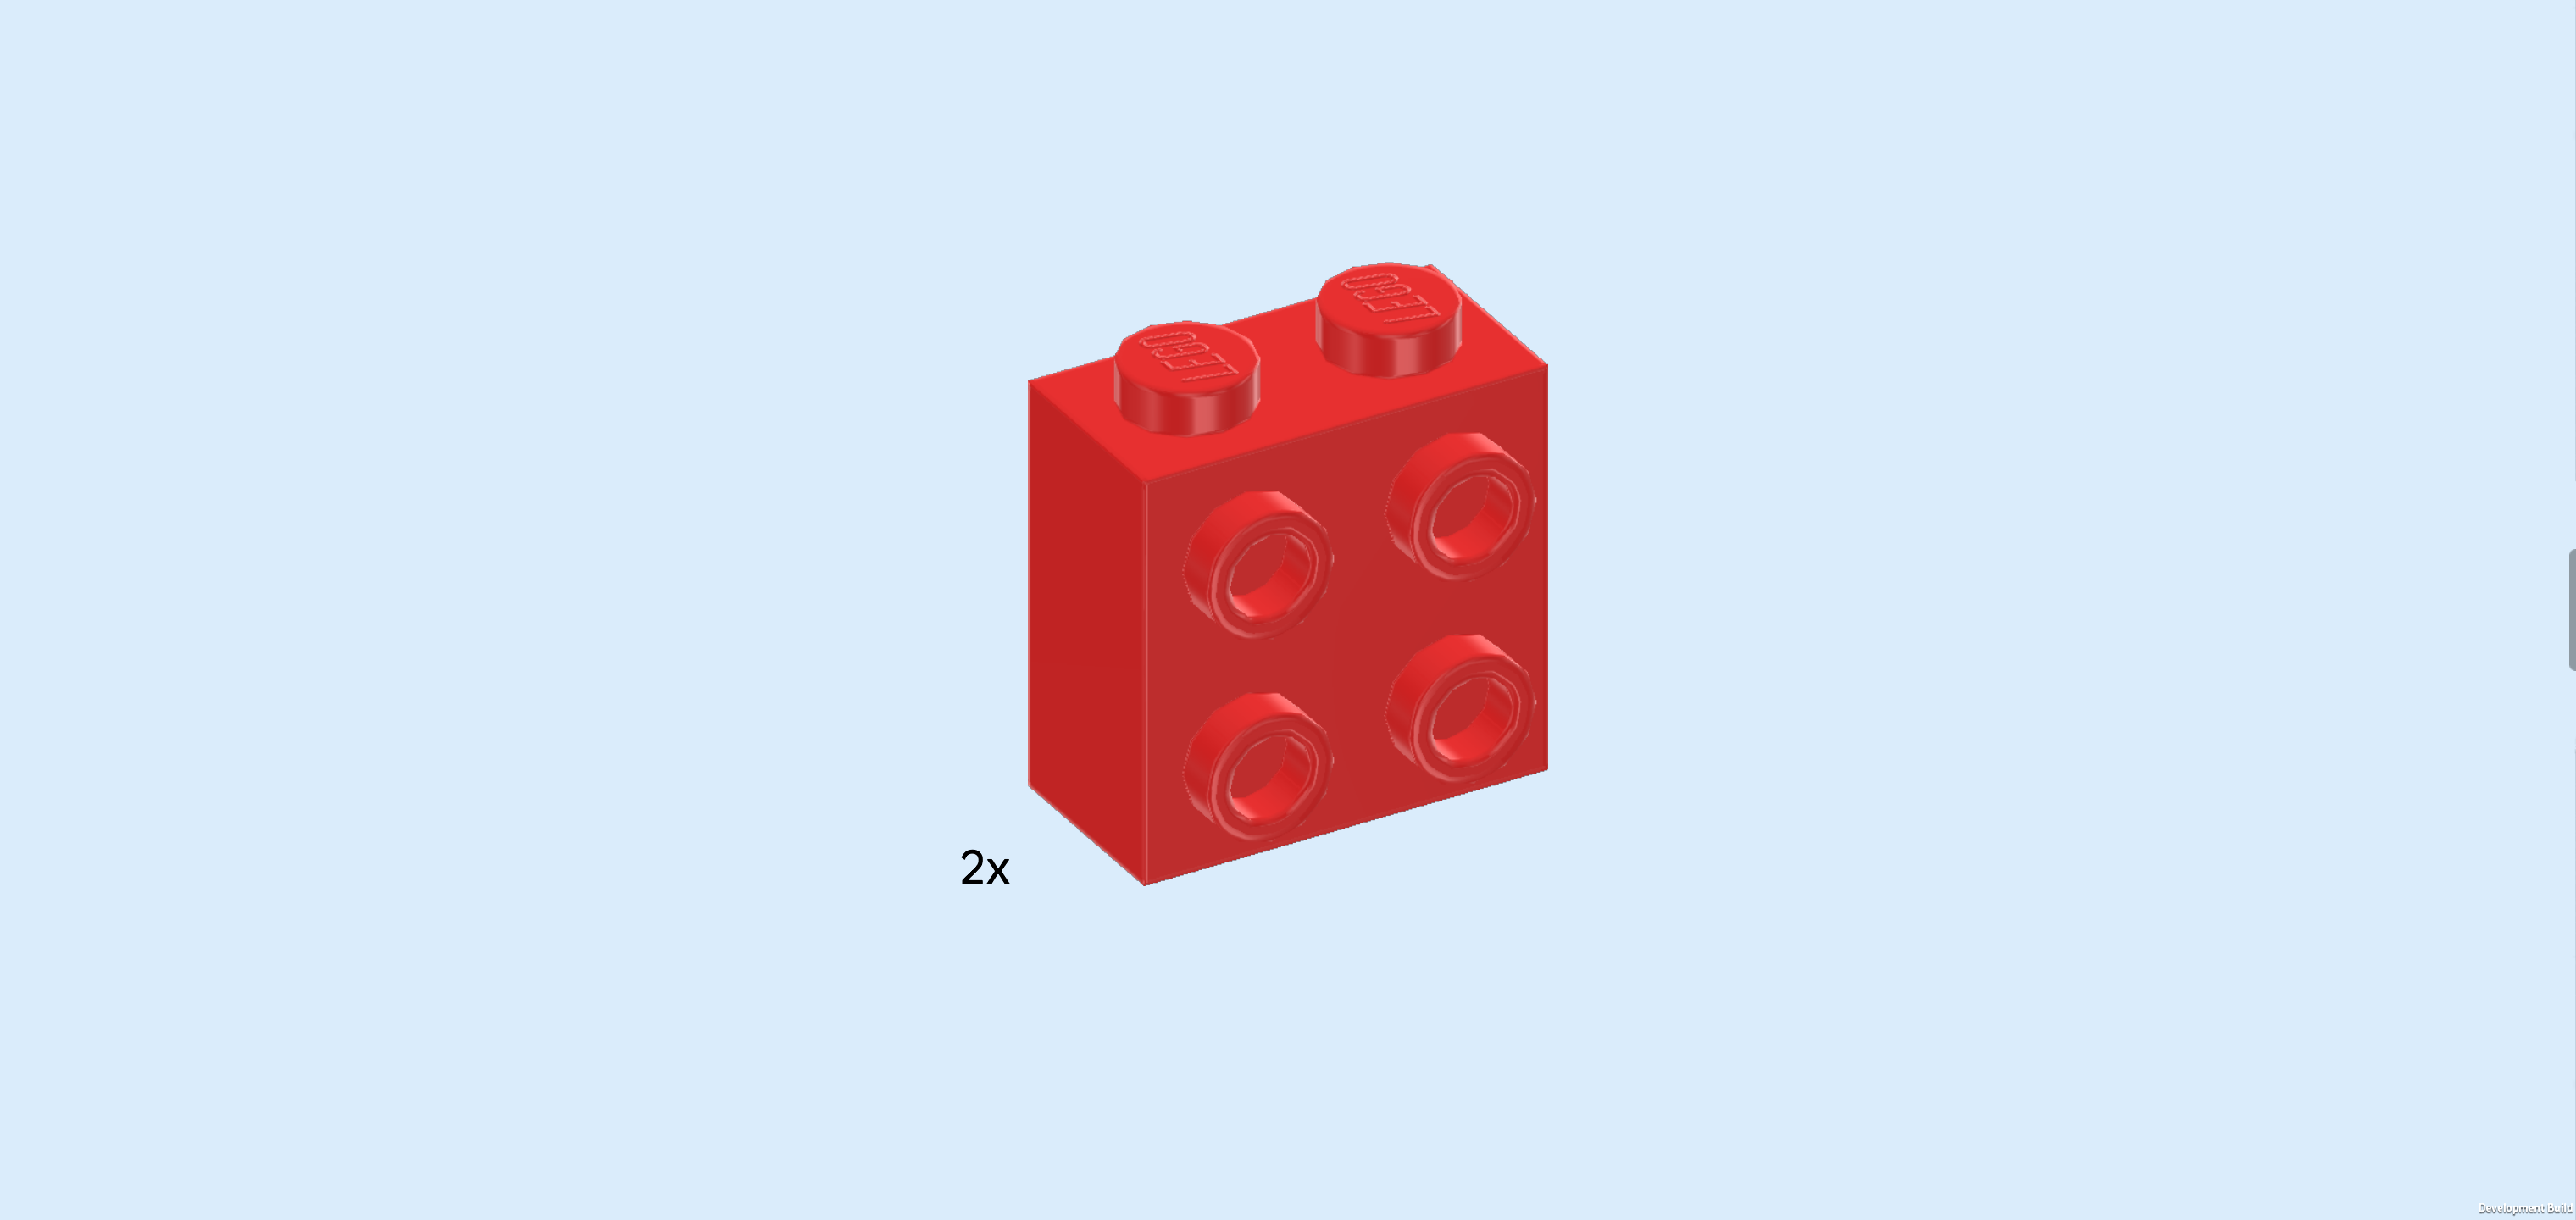
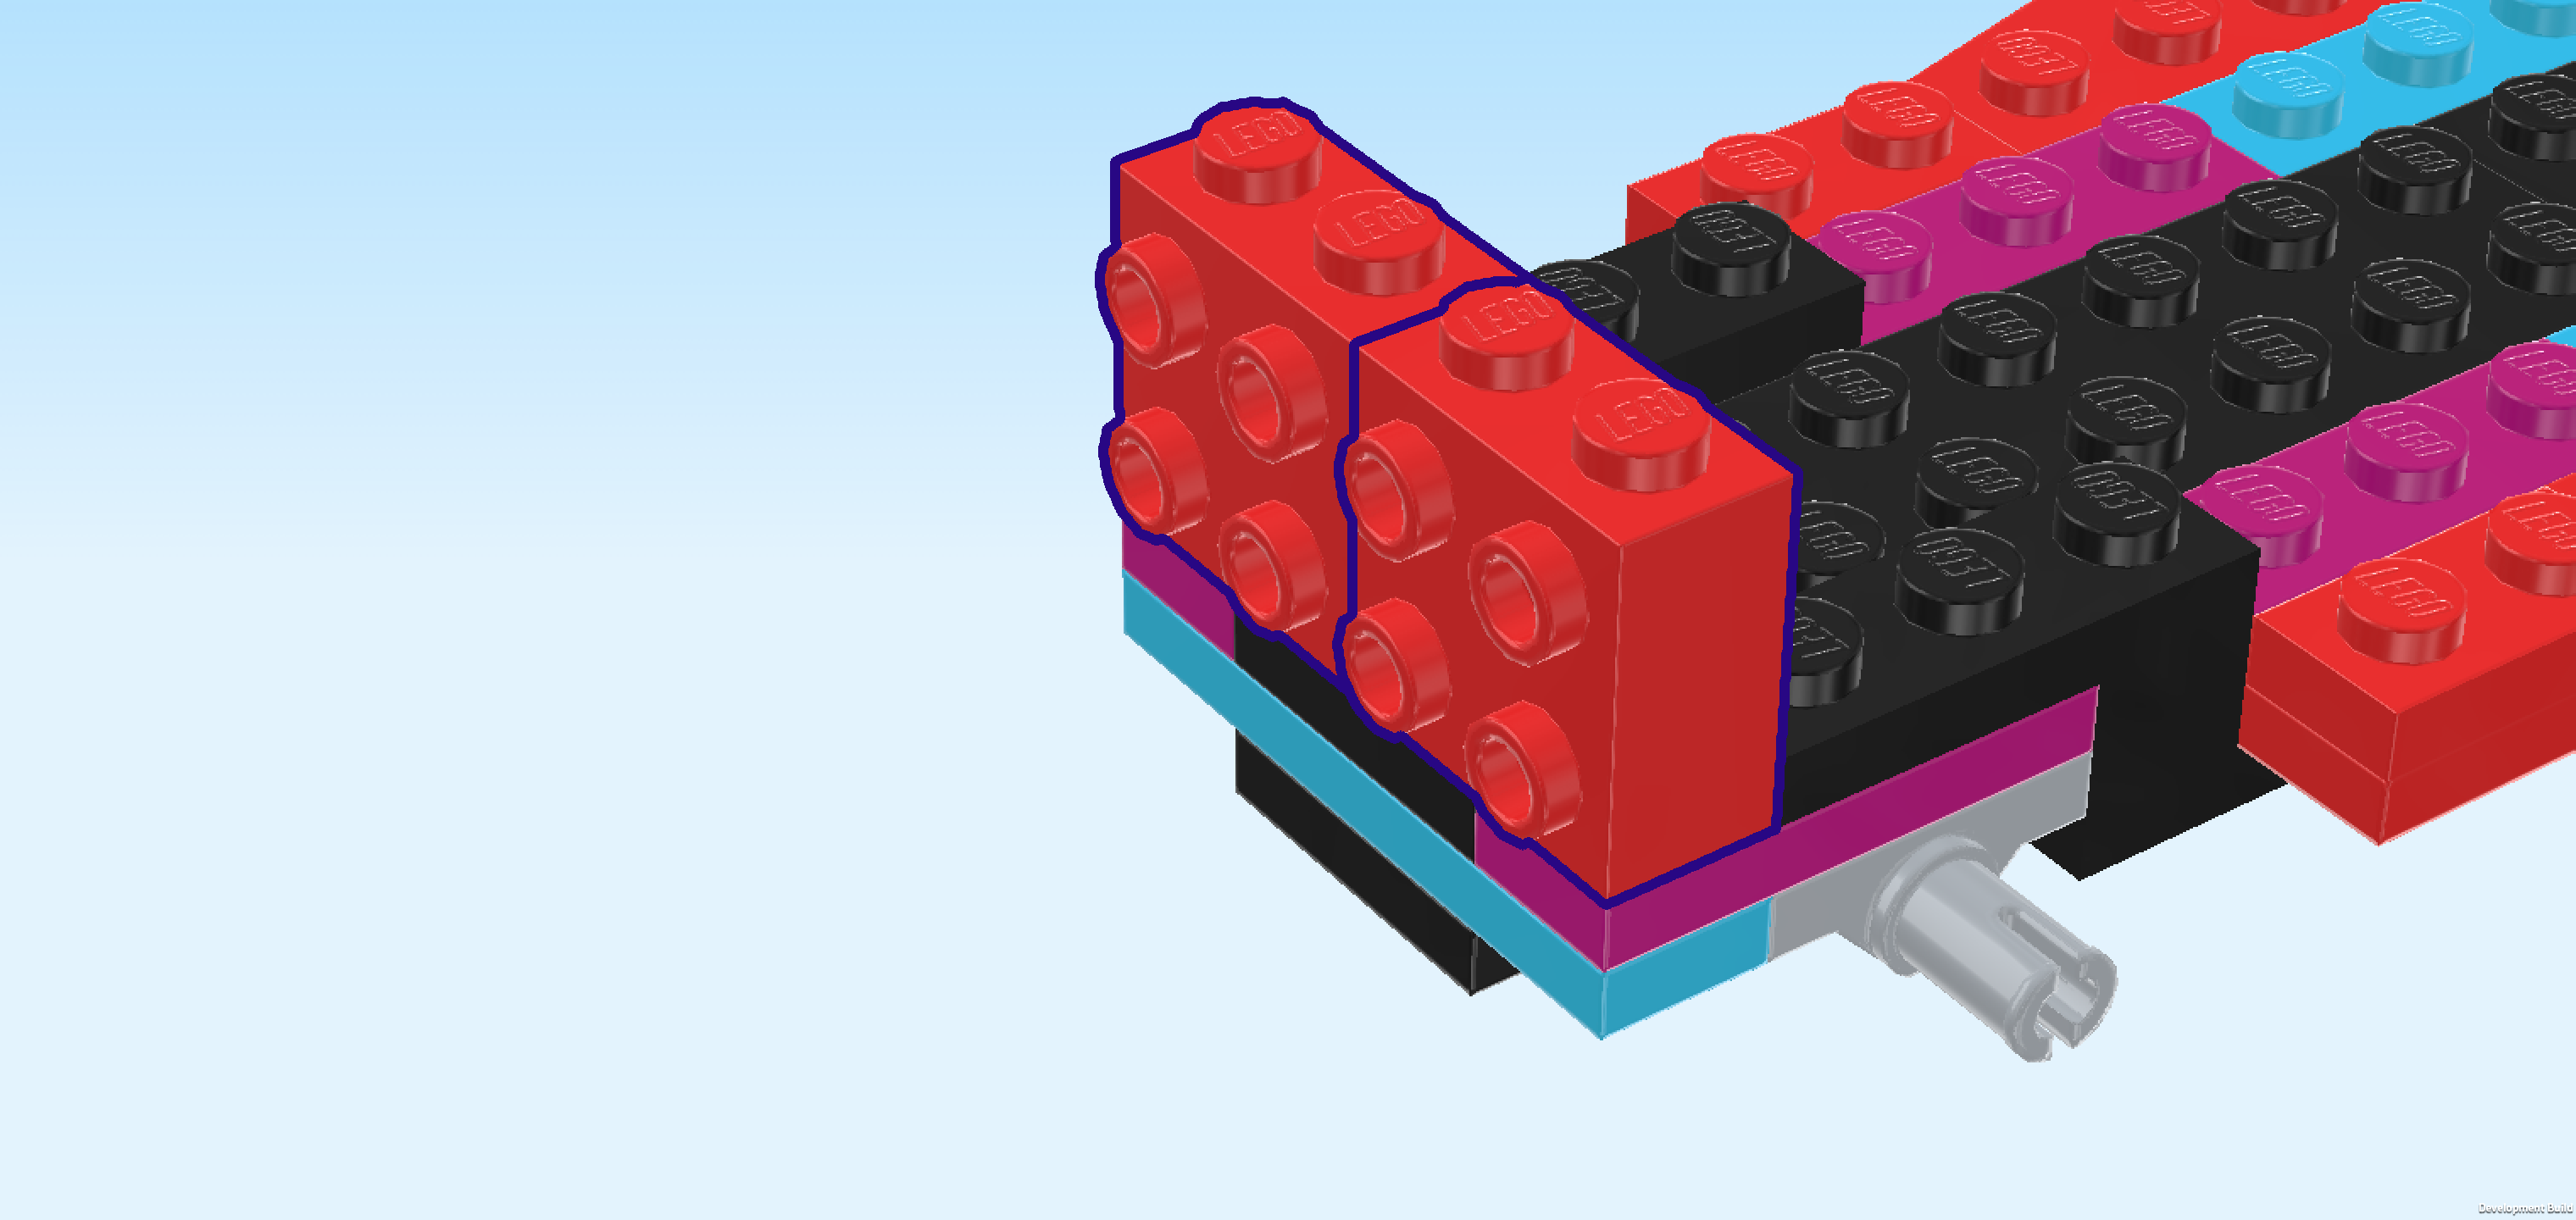
| Find 2 bright red bricks 1x2x1⅔ with 4 side knobs. |
| Put 1 vertically on the leftmost column on its 2 back knobs, side knobs pointing to the left. |
| Put the other one vertically in front of the previous piece, side knobs to the left. |
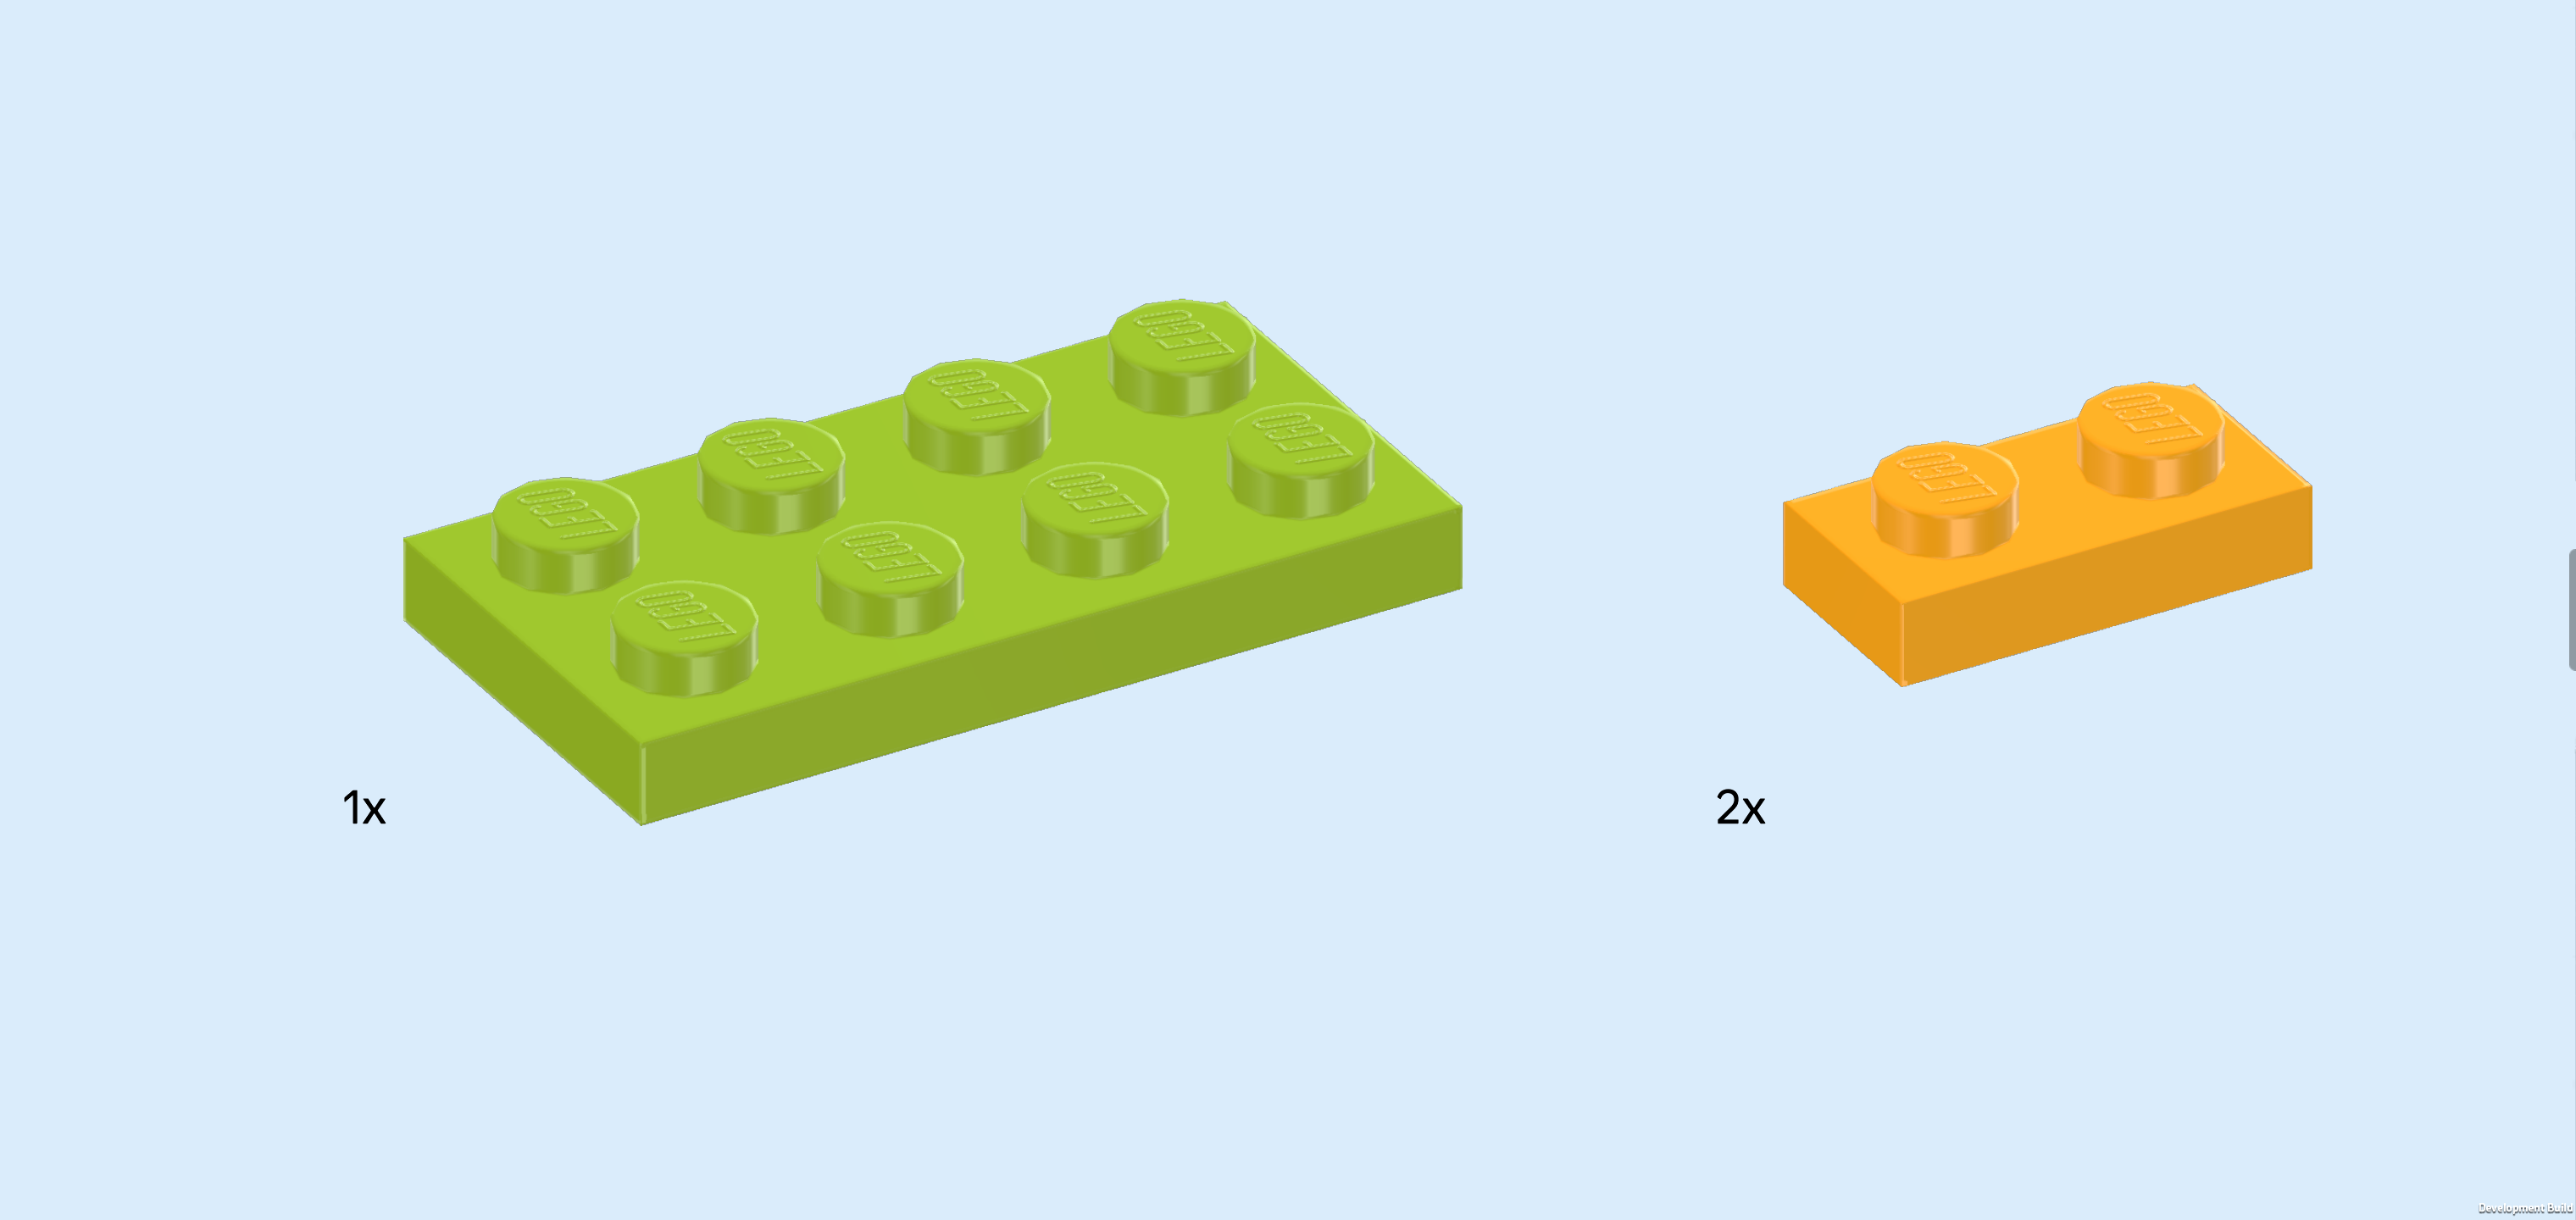
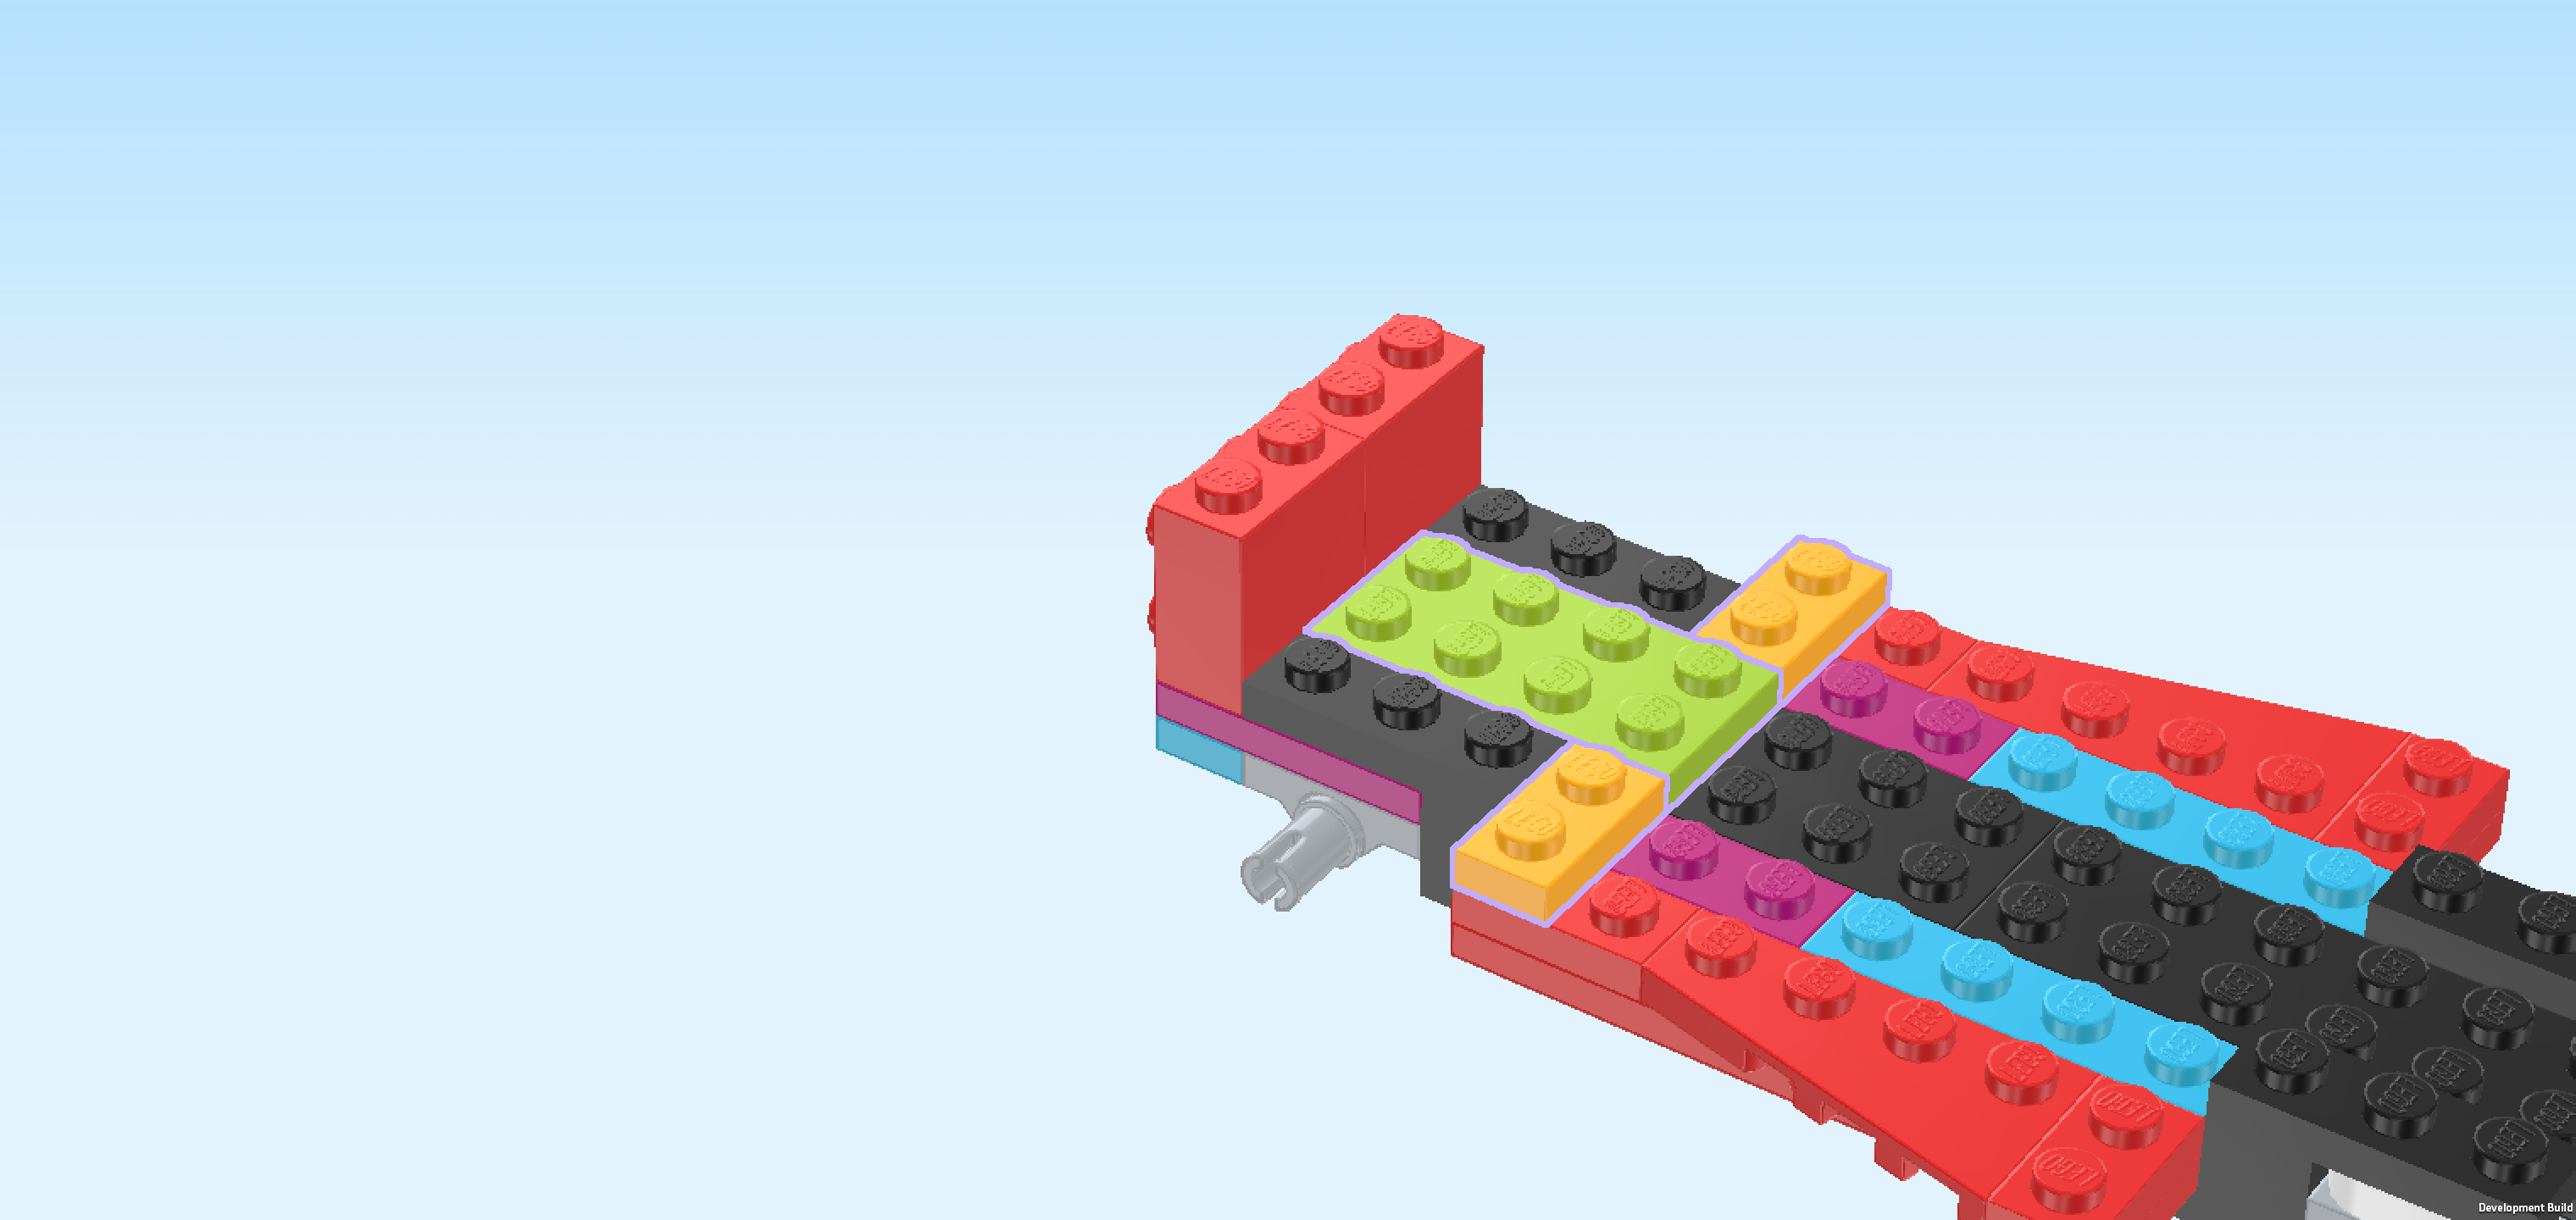
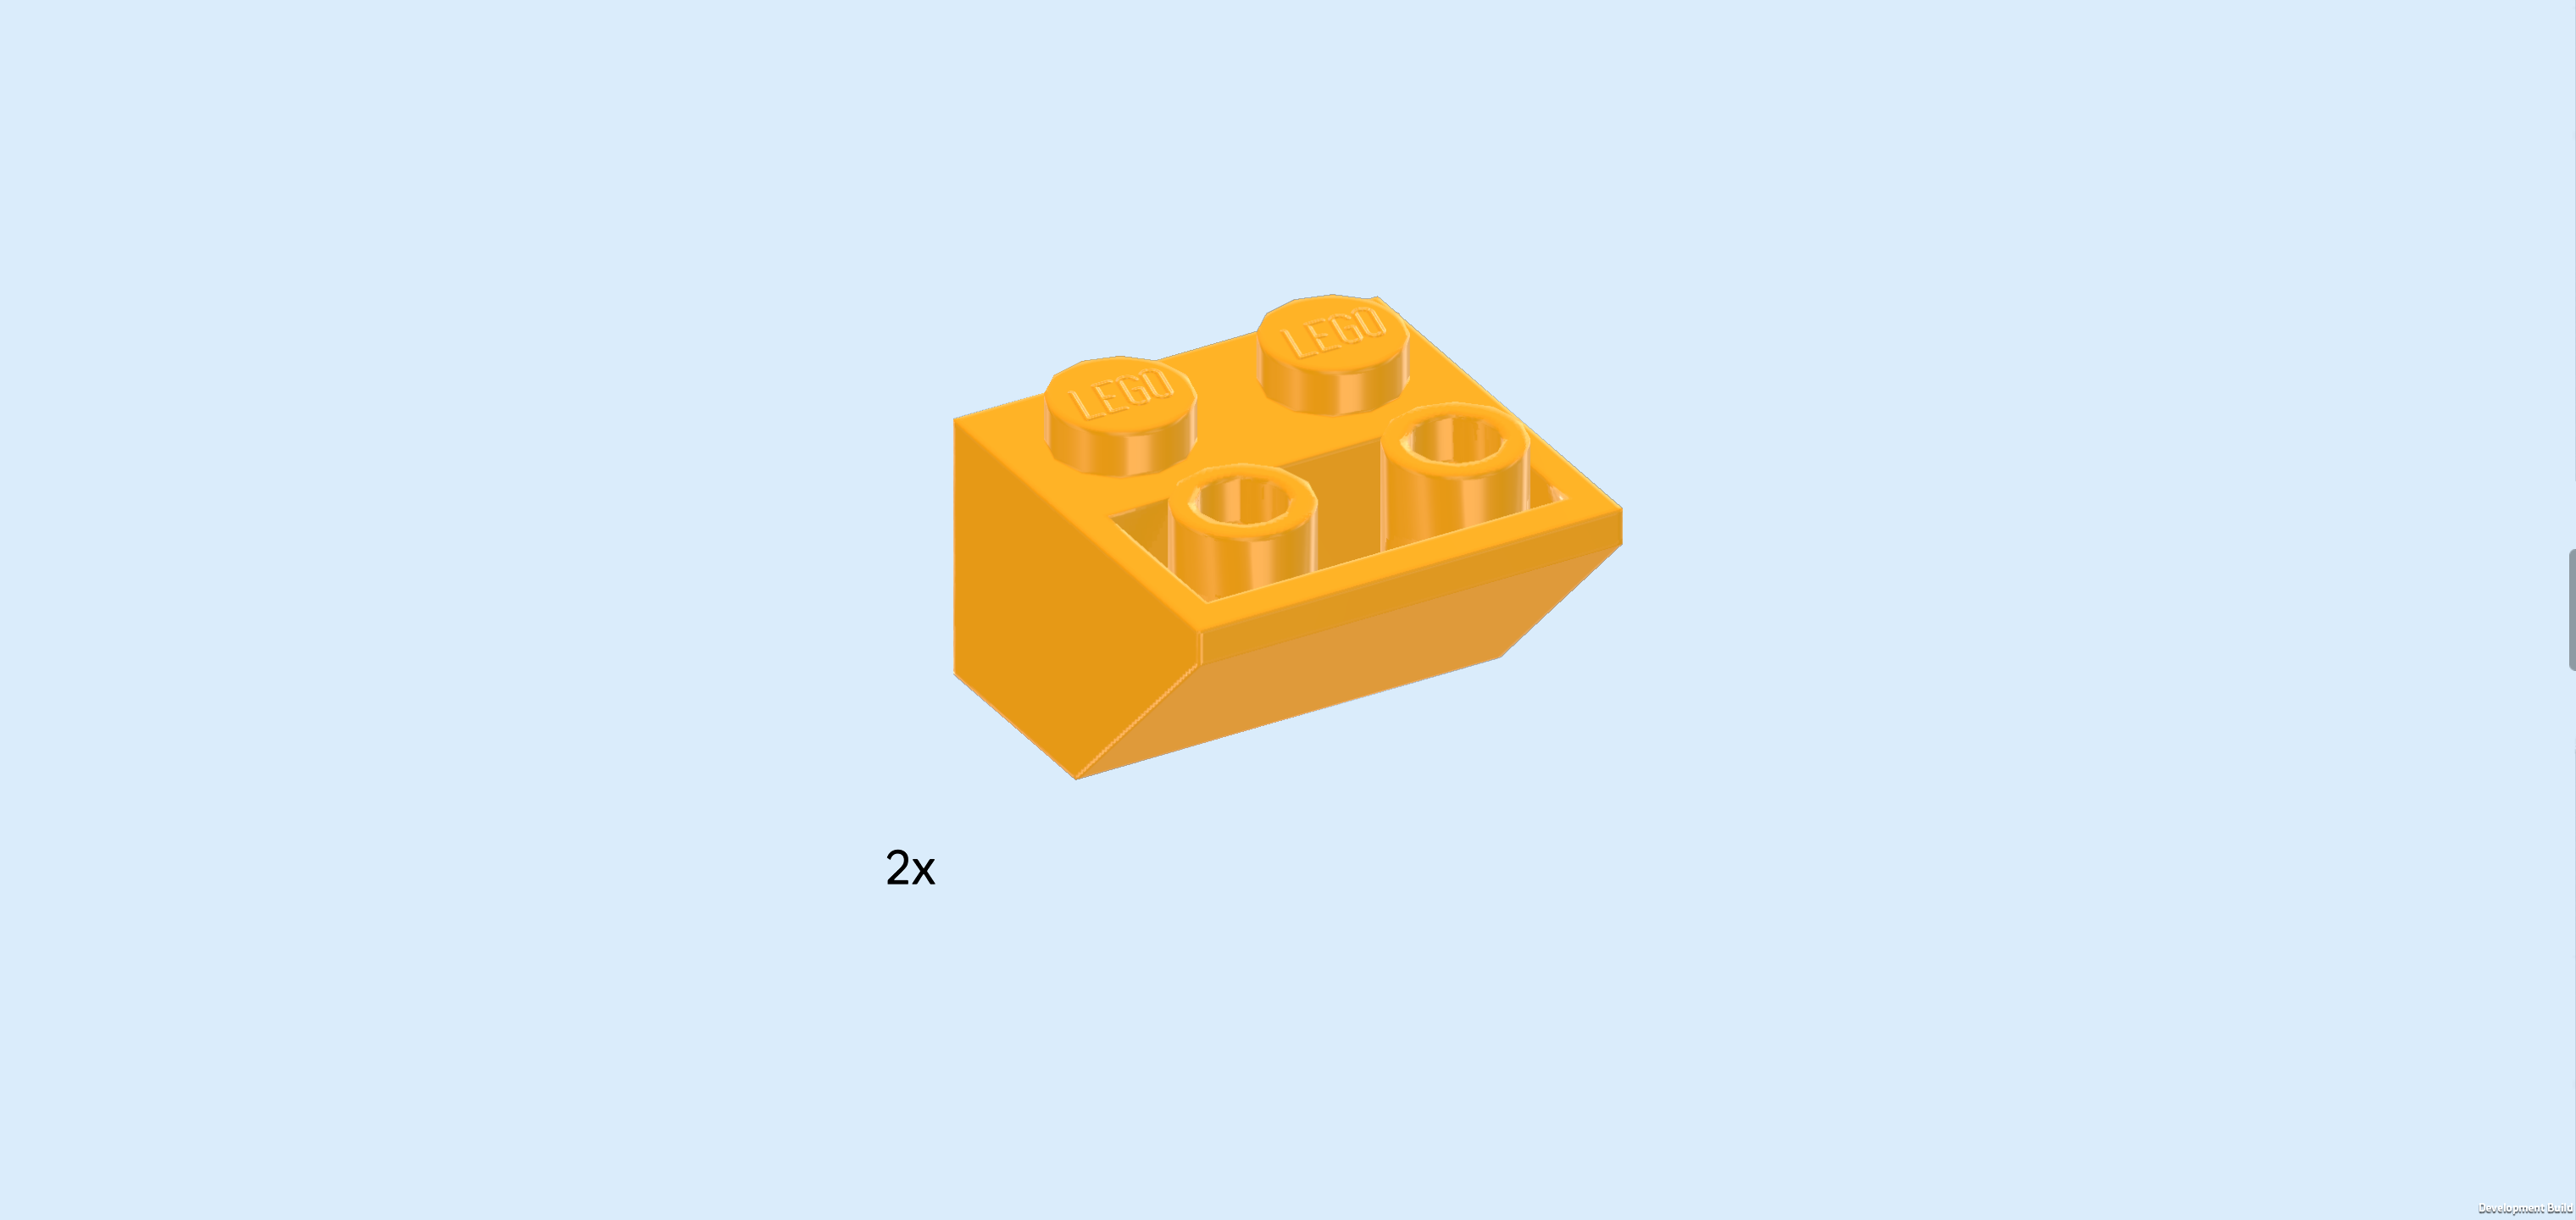
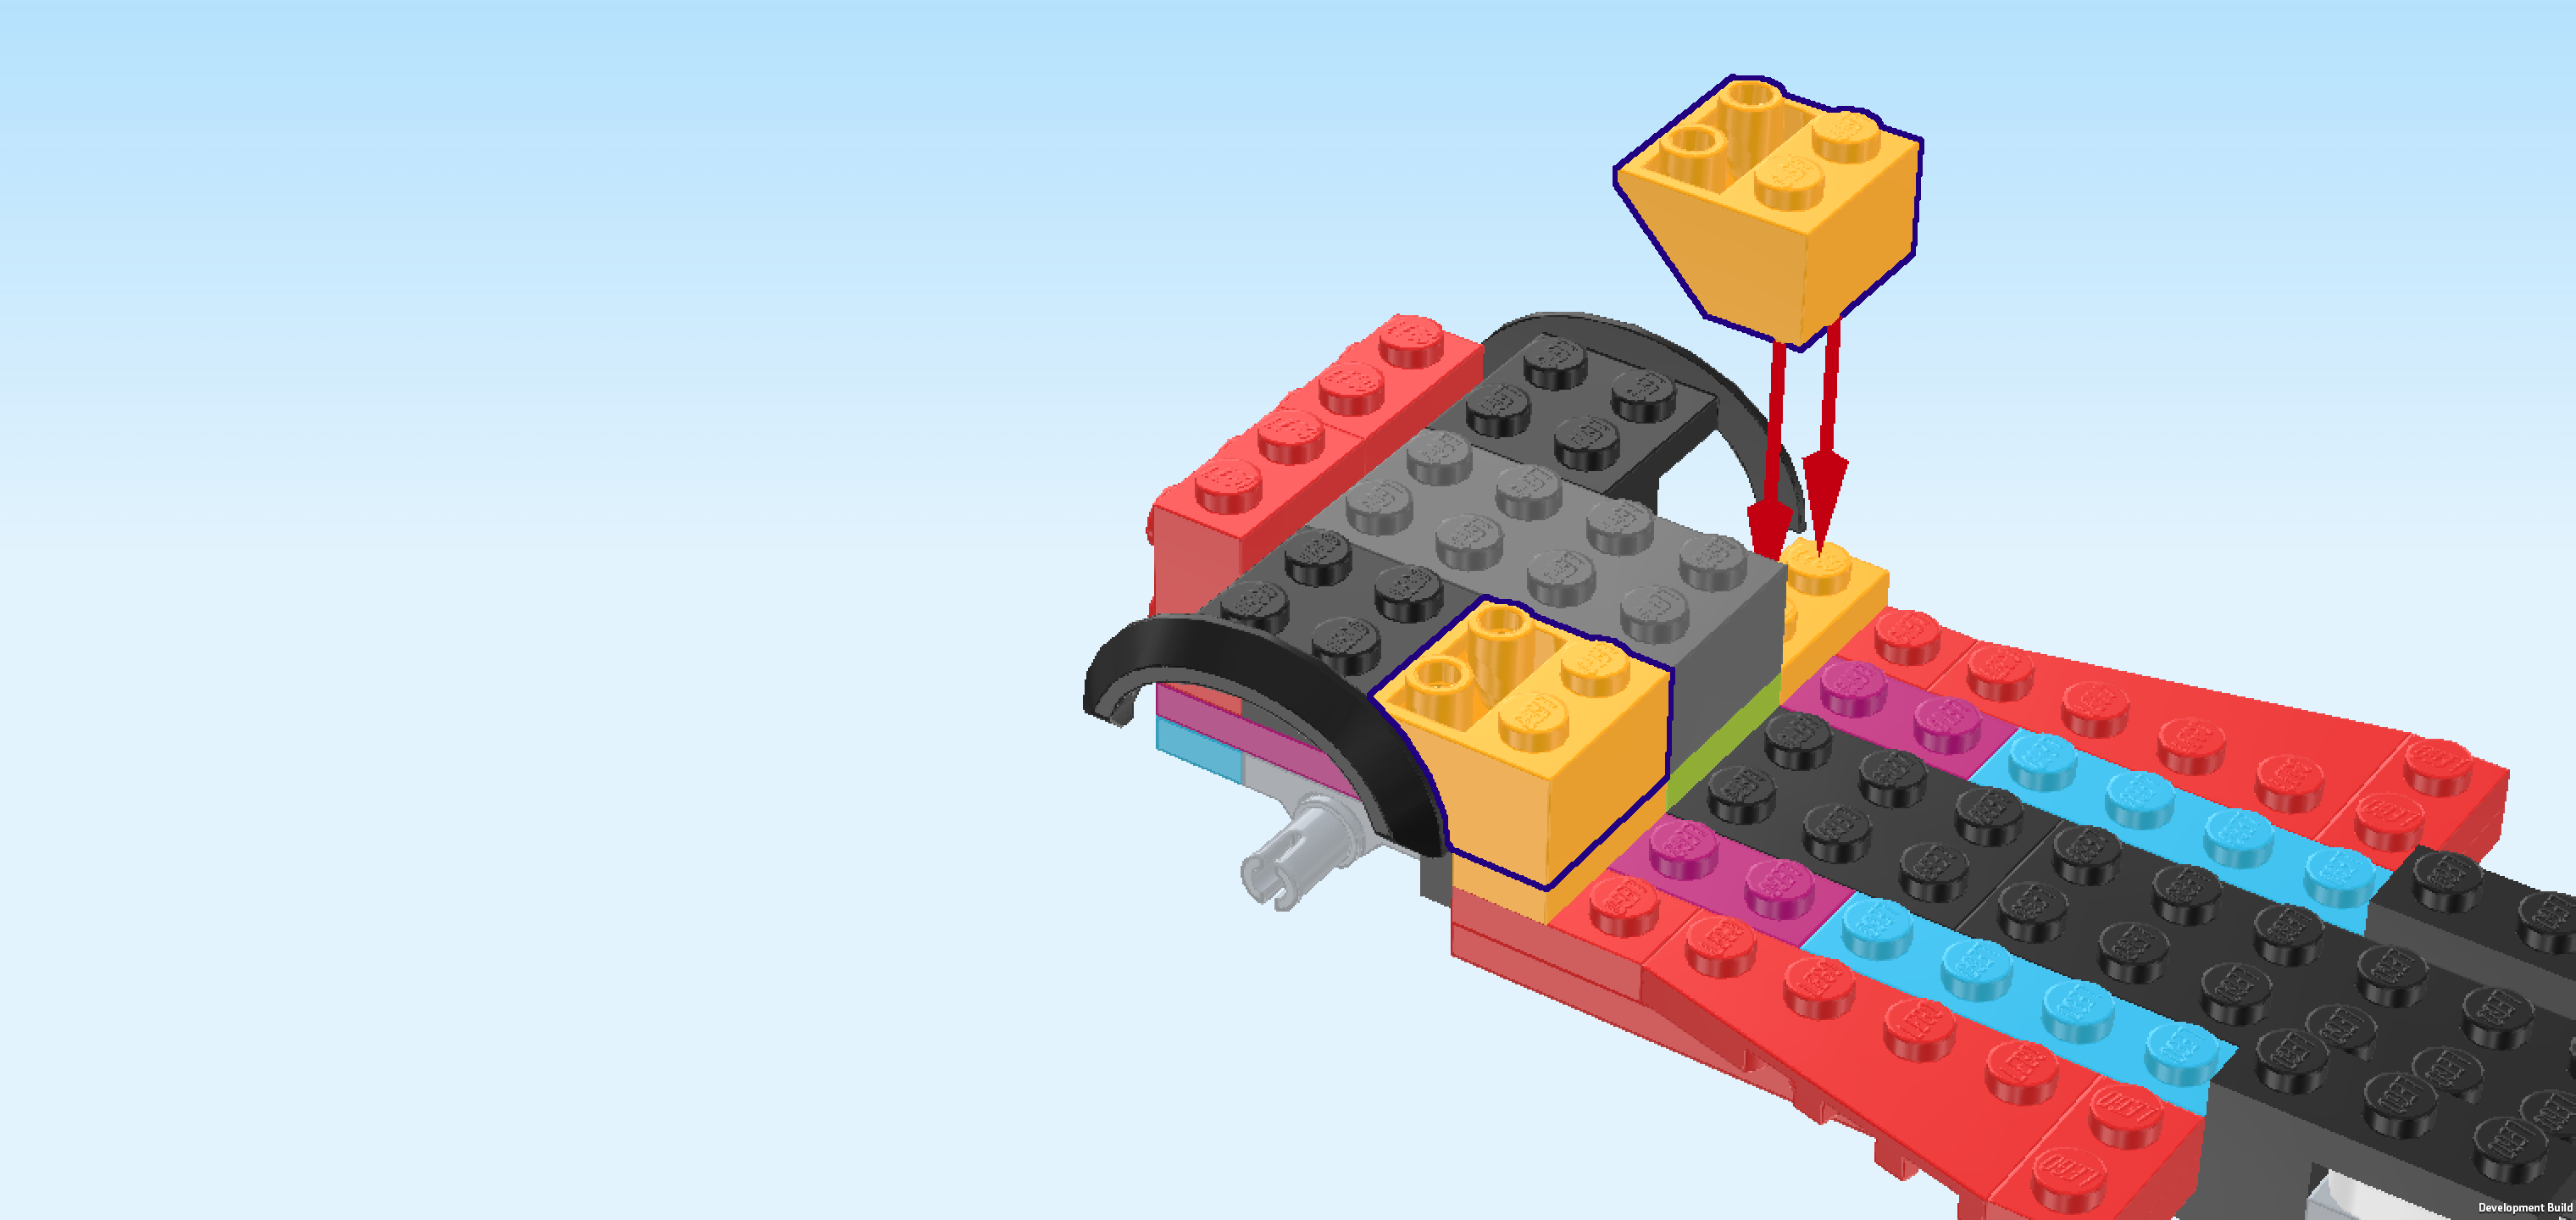
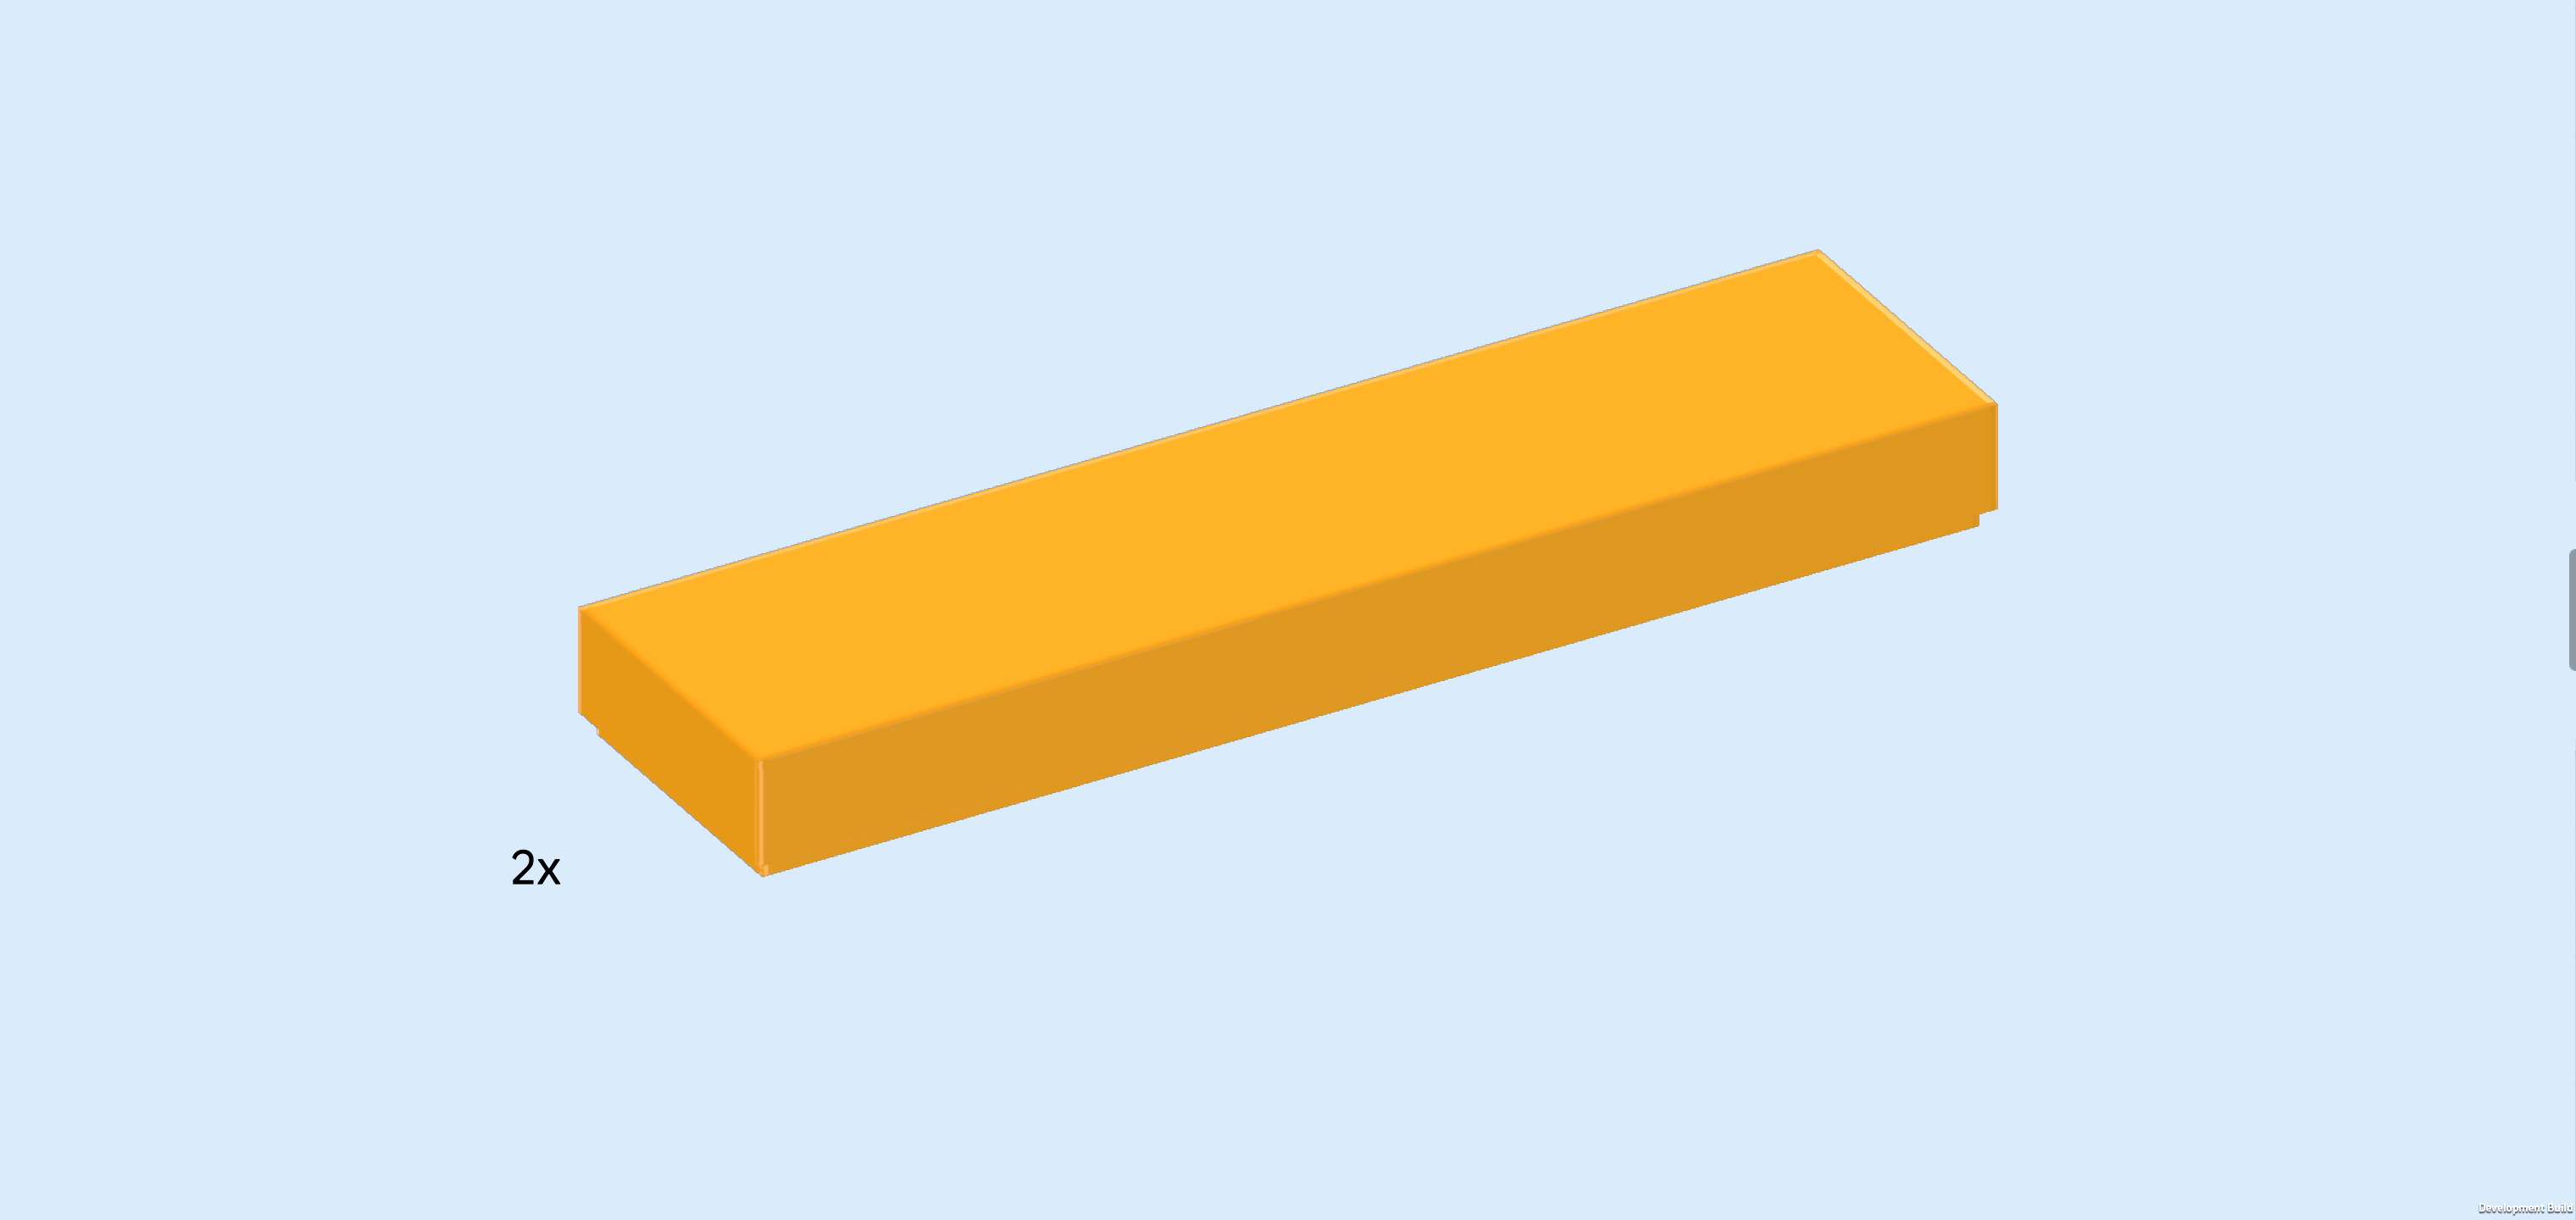
| Collect the following 3 pieces: |
| 1 bright yellowish green plate 2x4, |
| and 2 flame yellowish orange plates 1x2. |
| Put the plate 2x4 horizontally centered to the right of the 2 previous pieces. |
| Put 1 plate 1x2 vertically behind the previous piece's rightmost column. |
| Repeat symmetrically at the front. |
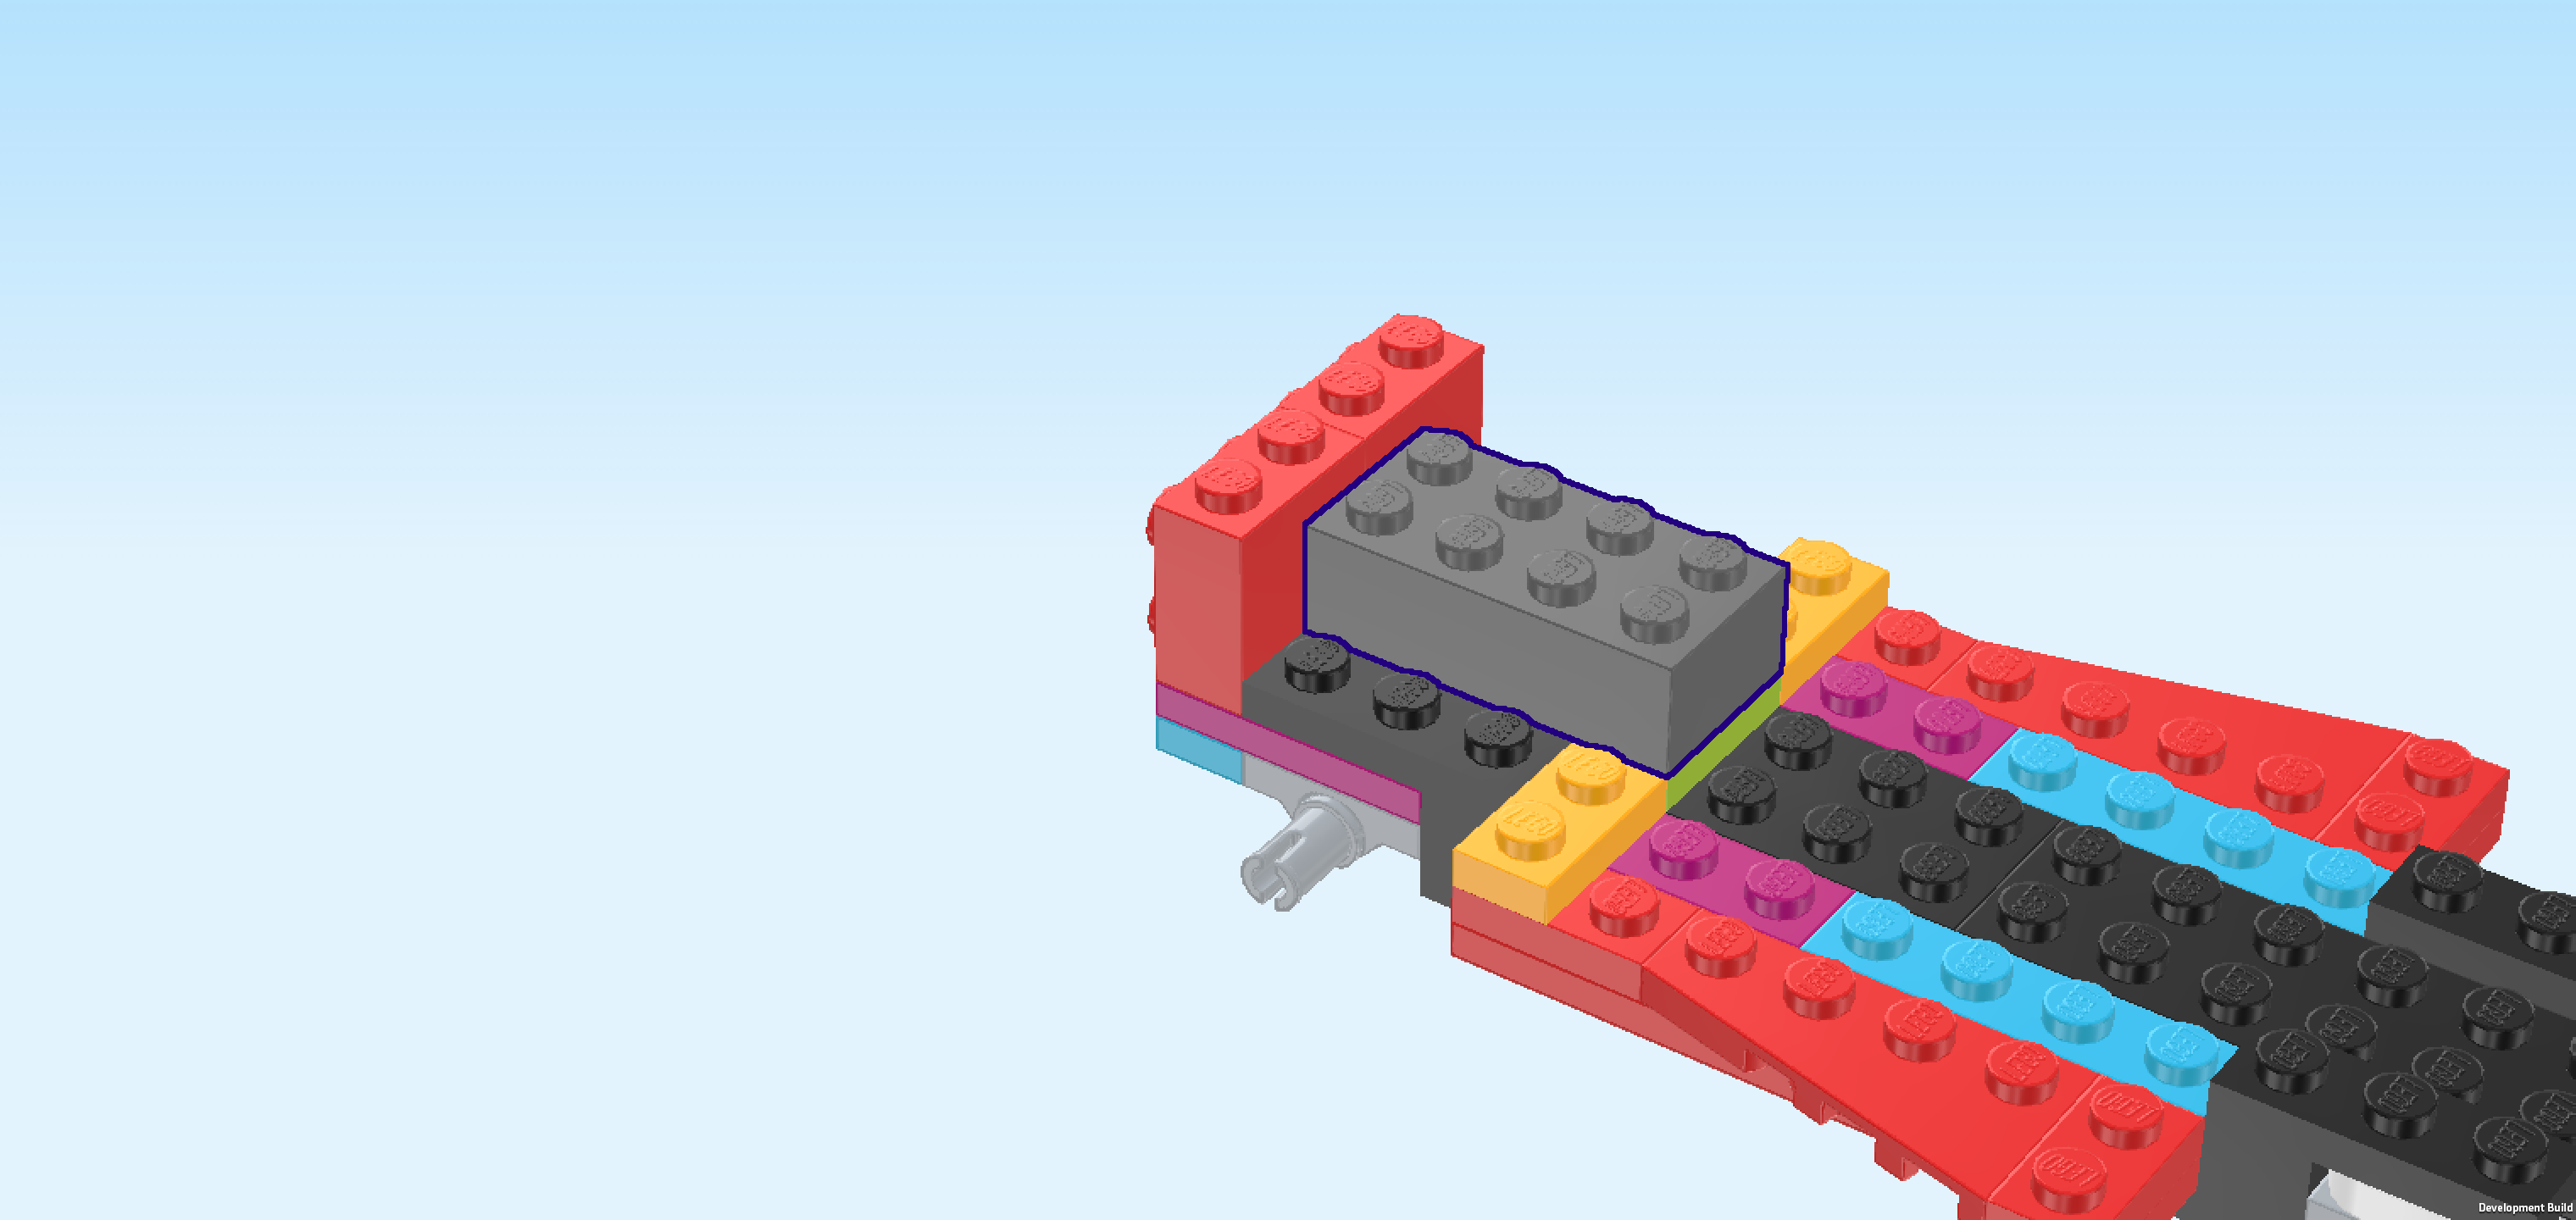
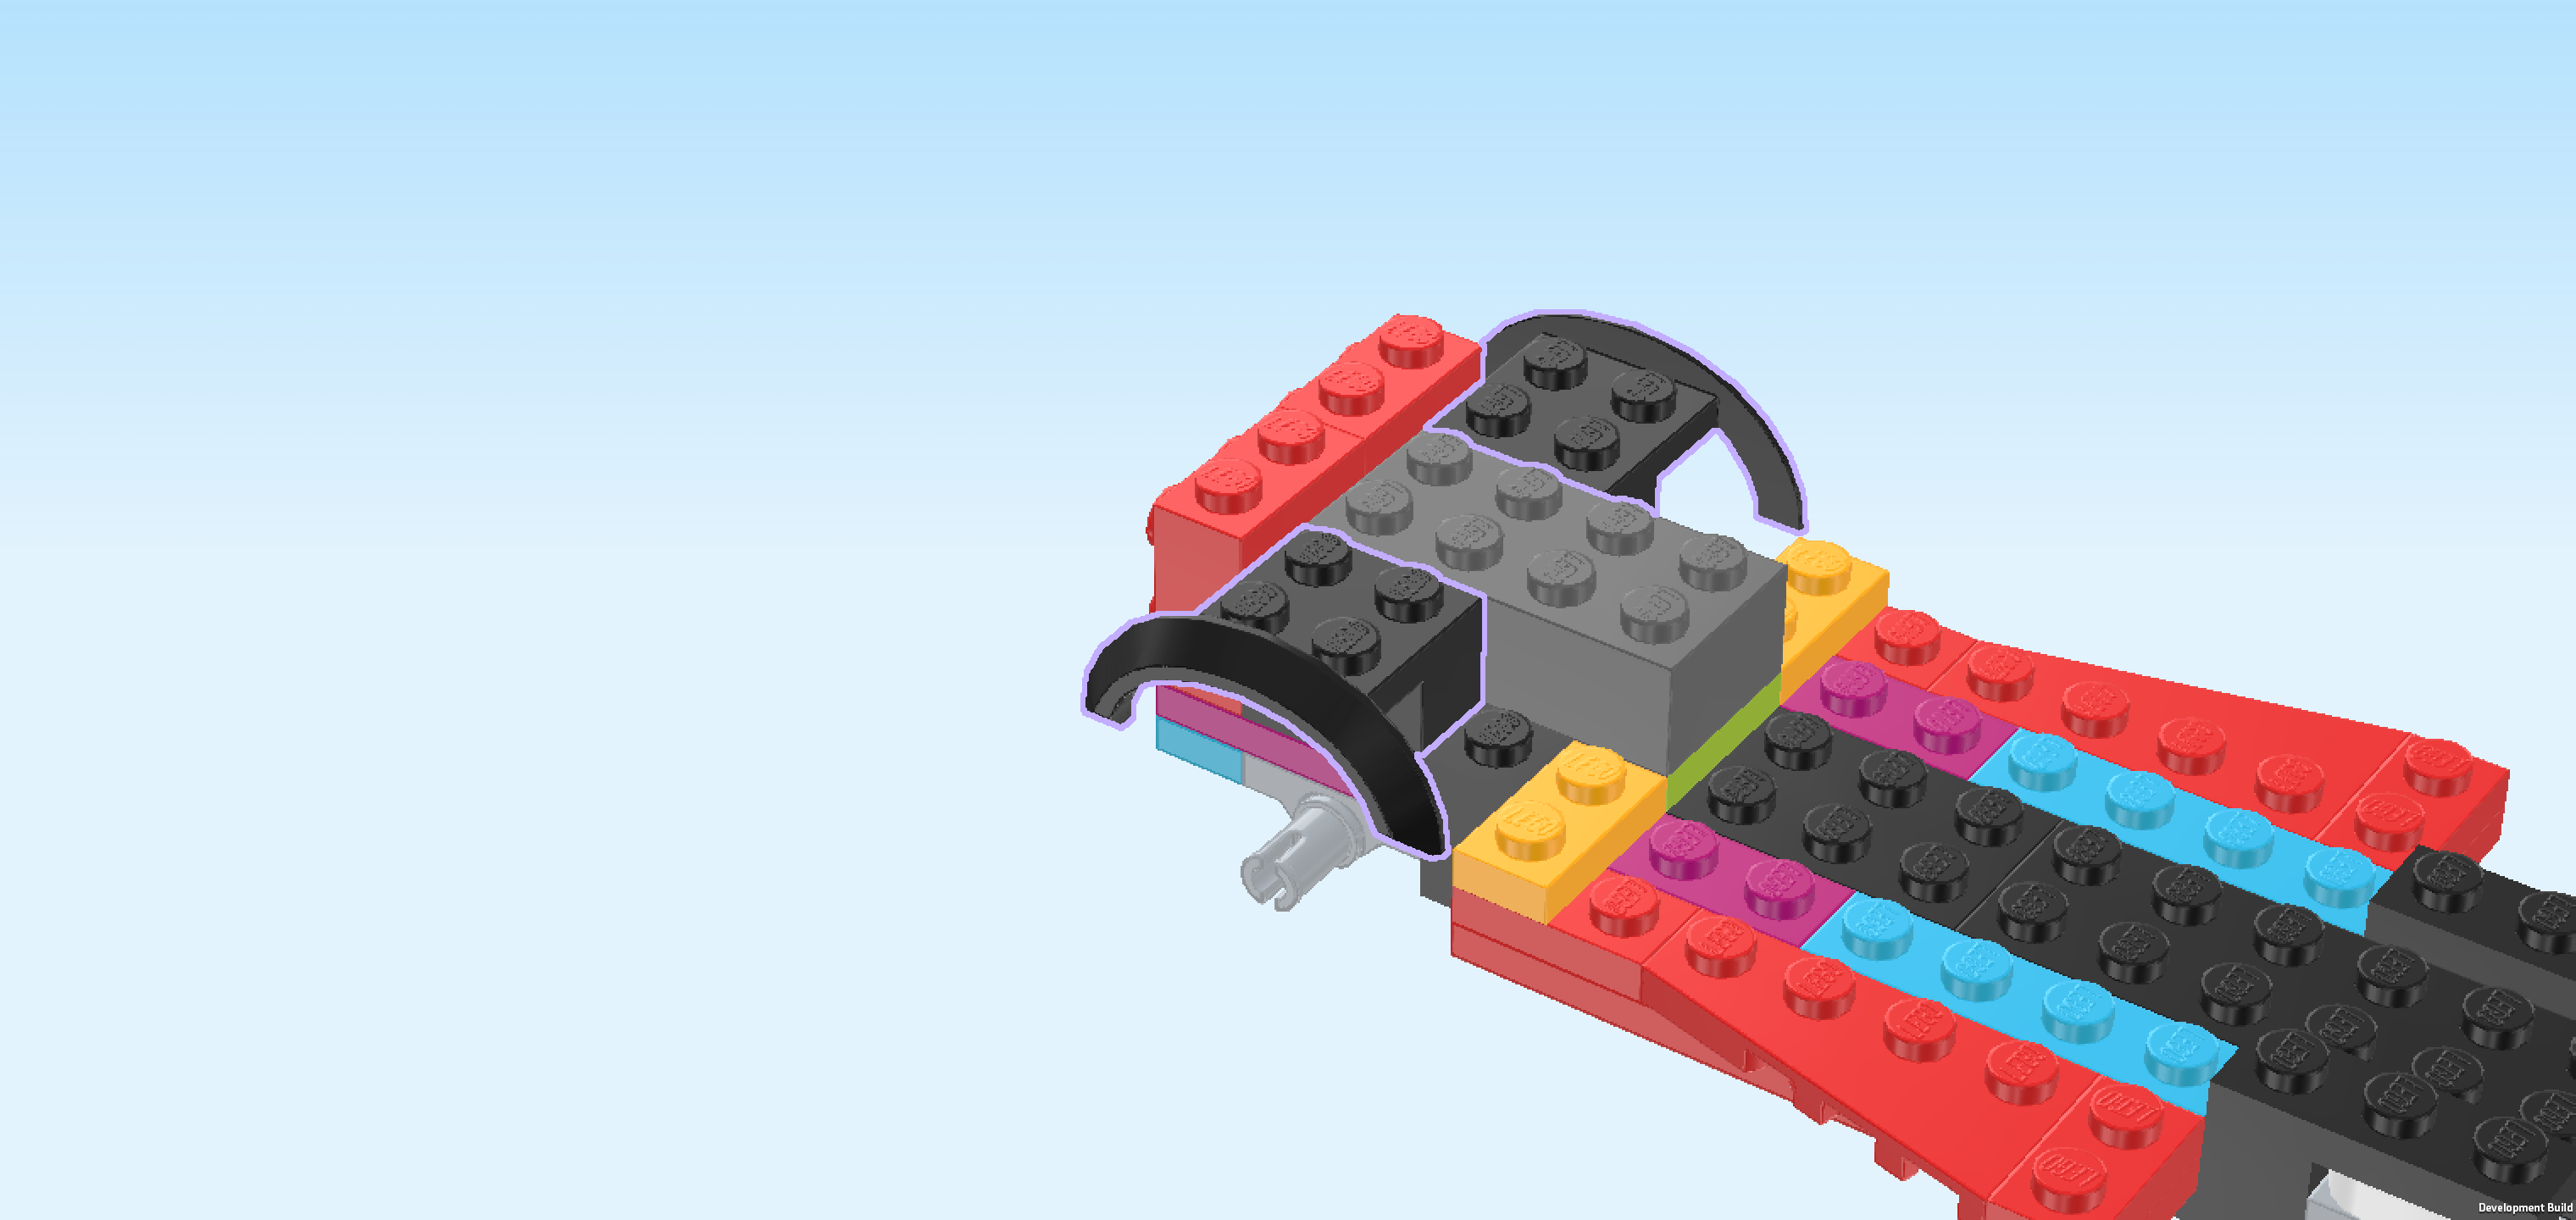
| Find 1 dark stone grey brick 2x4. |
| Put it horizontally on top of the plate 2x4 we have just mounted in the previous step. |
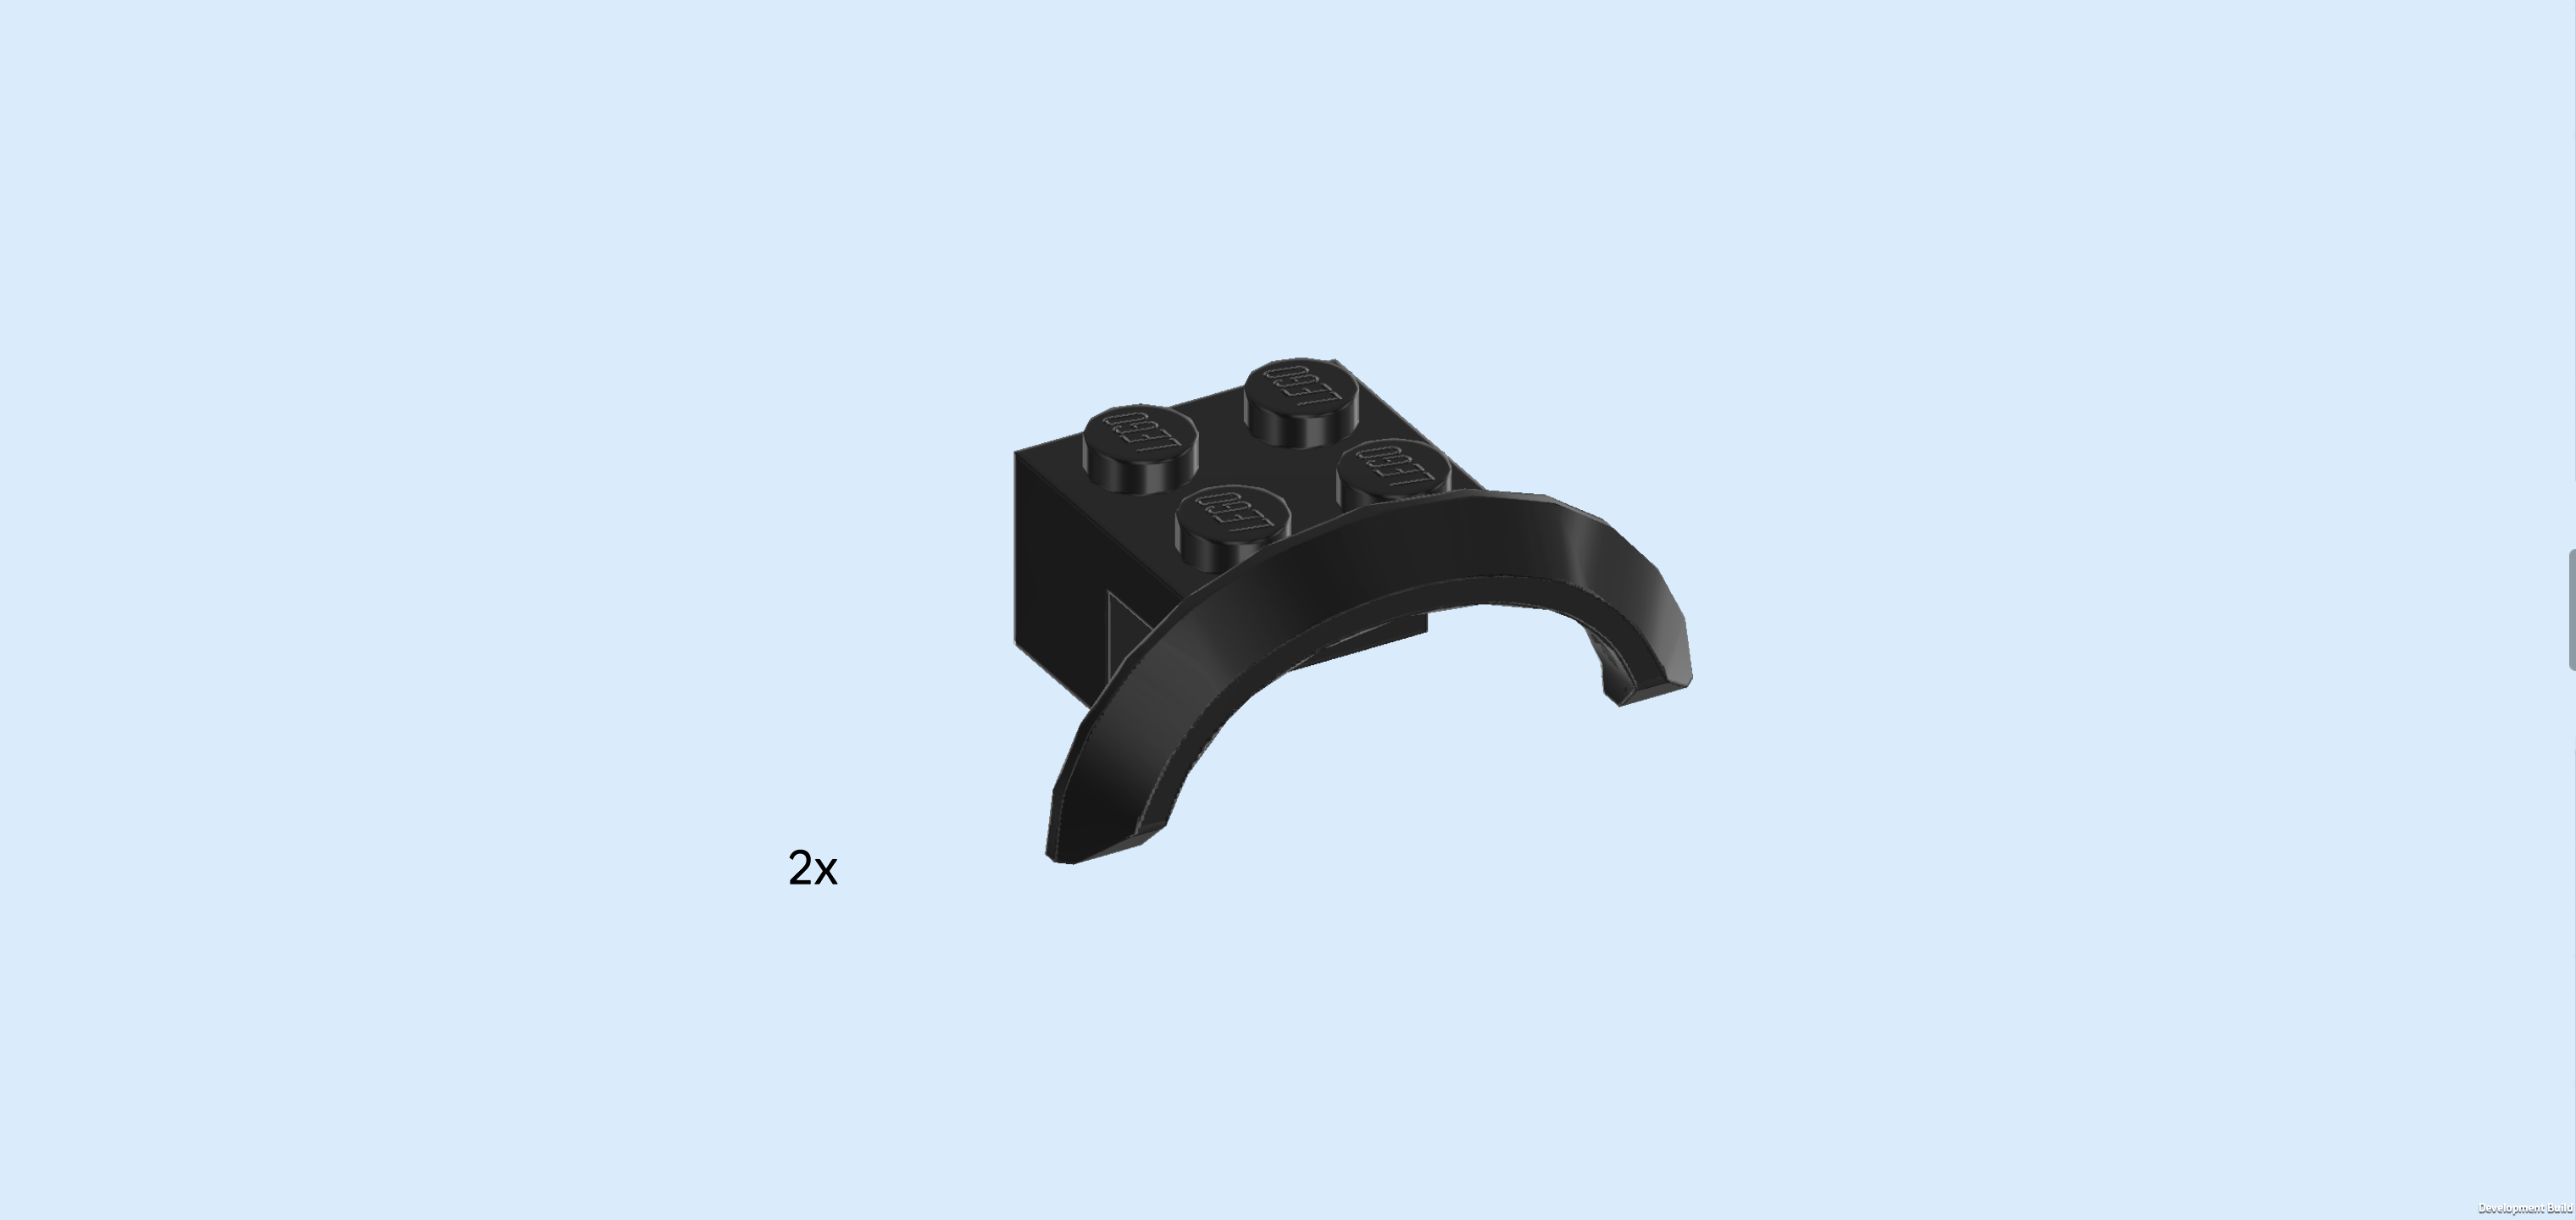
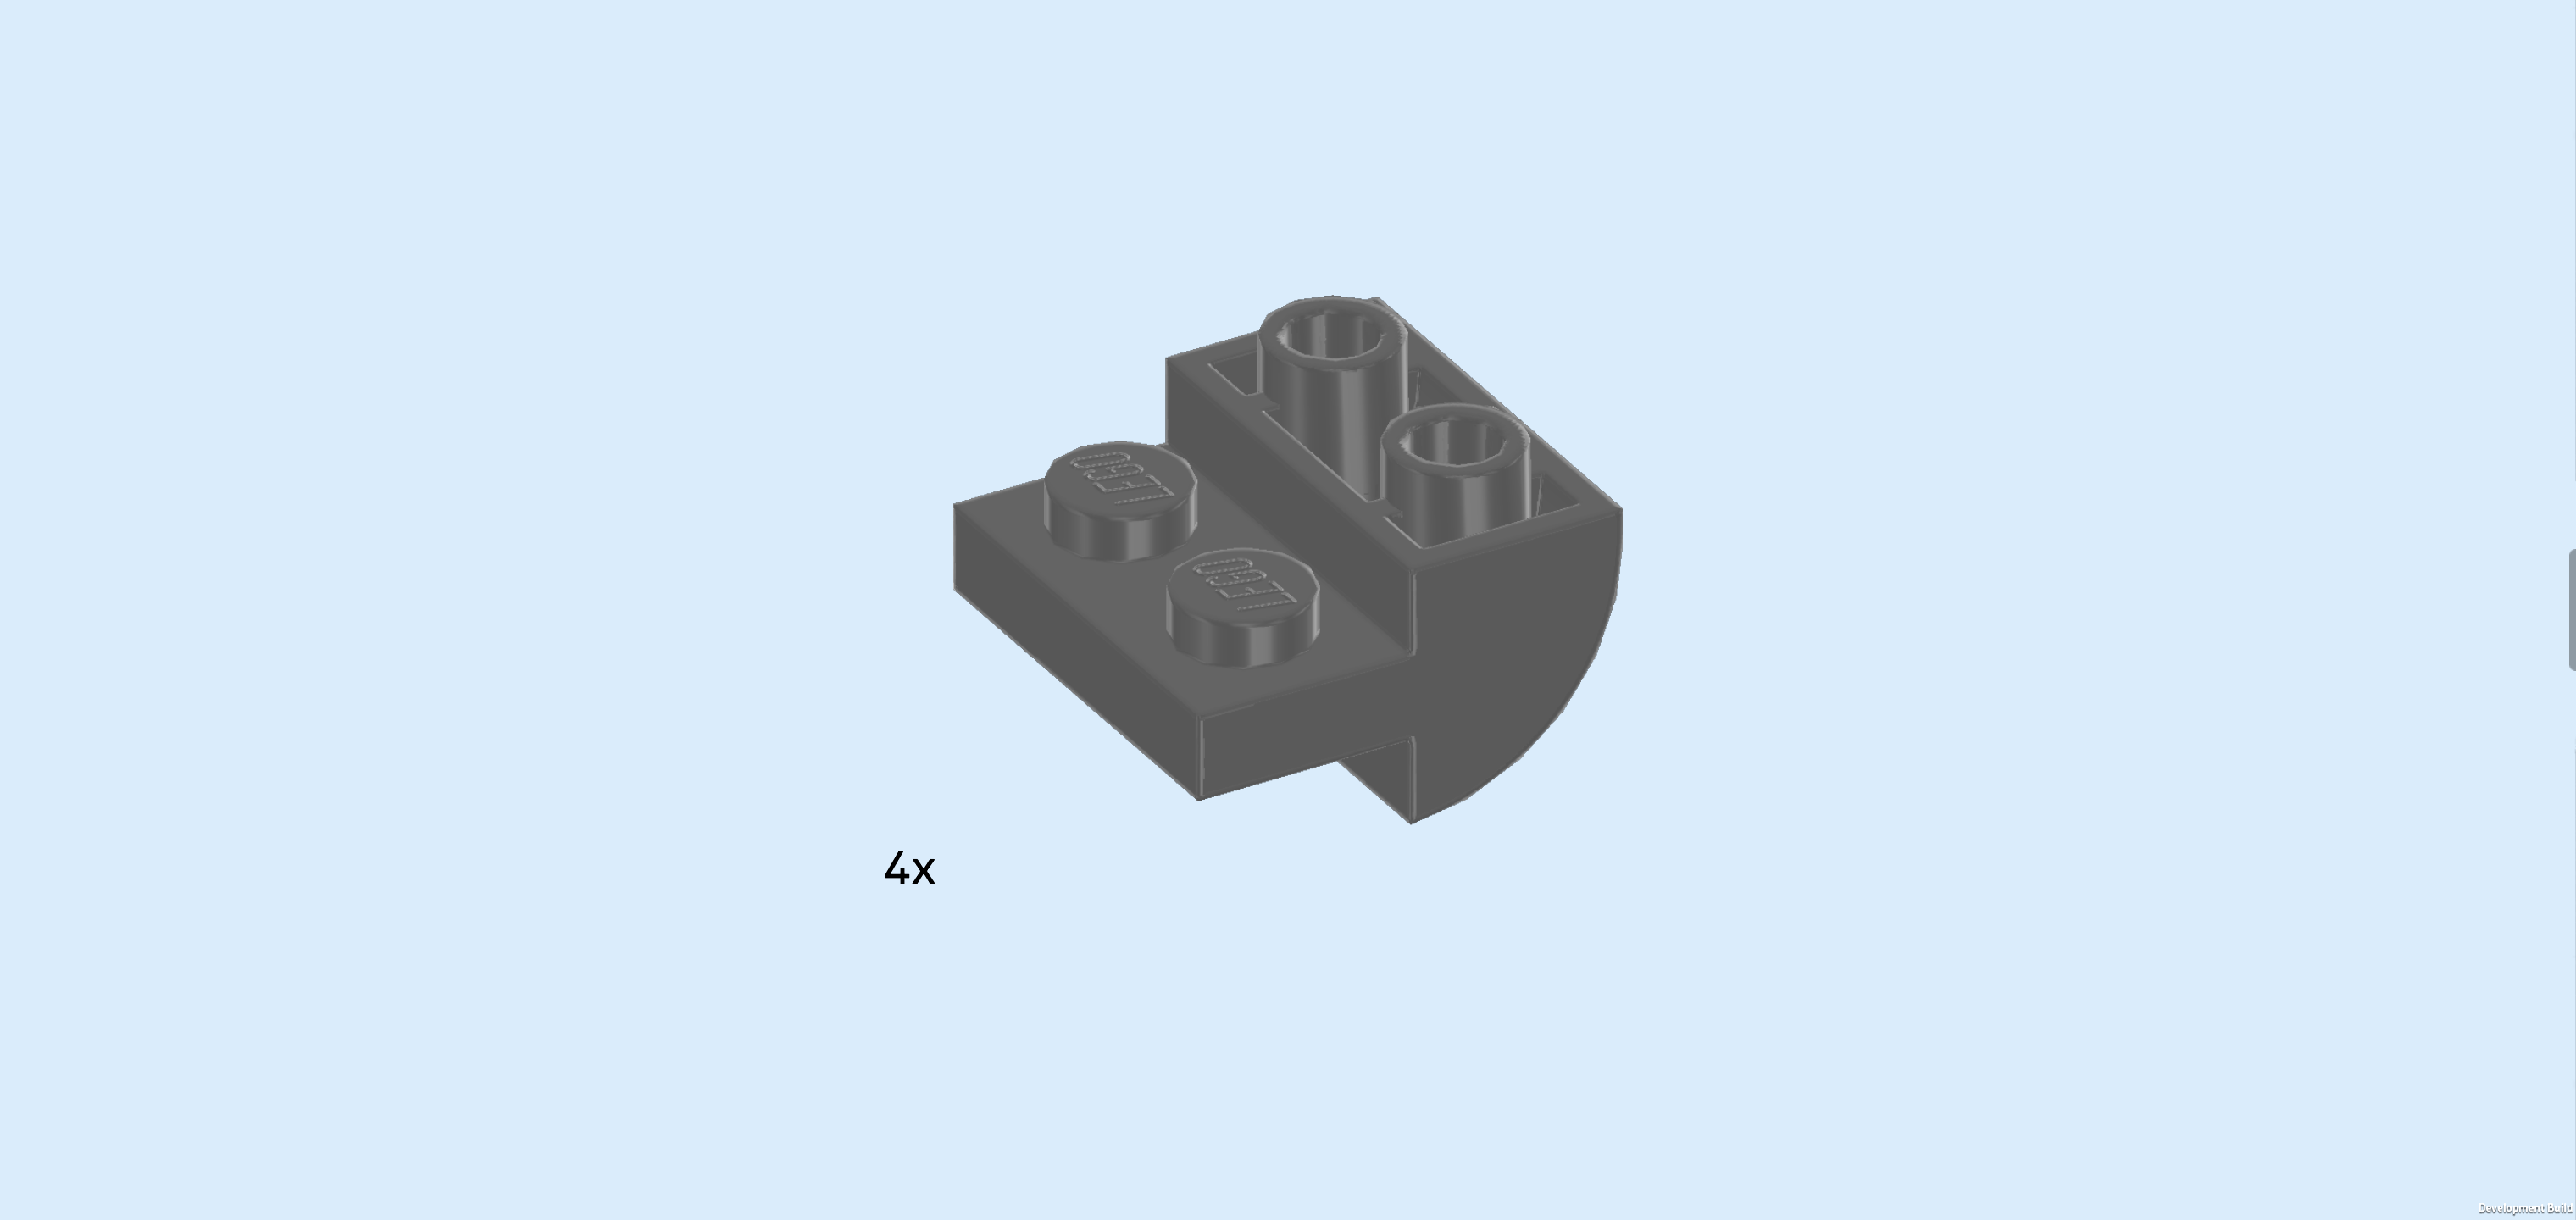
| Find 2 black stepped bricks 2x2 with mudguard. |
| Put 1 in front of the previous piece's left half, mudguard overhanging to the front. |
| Repeat symmetrically at the back, mudguard overhanging to the back. |
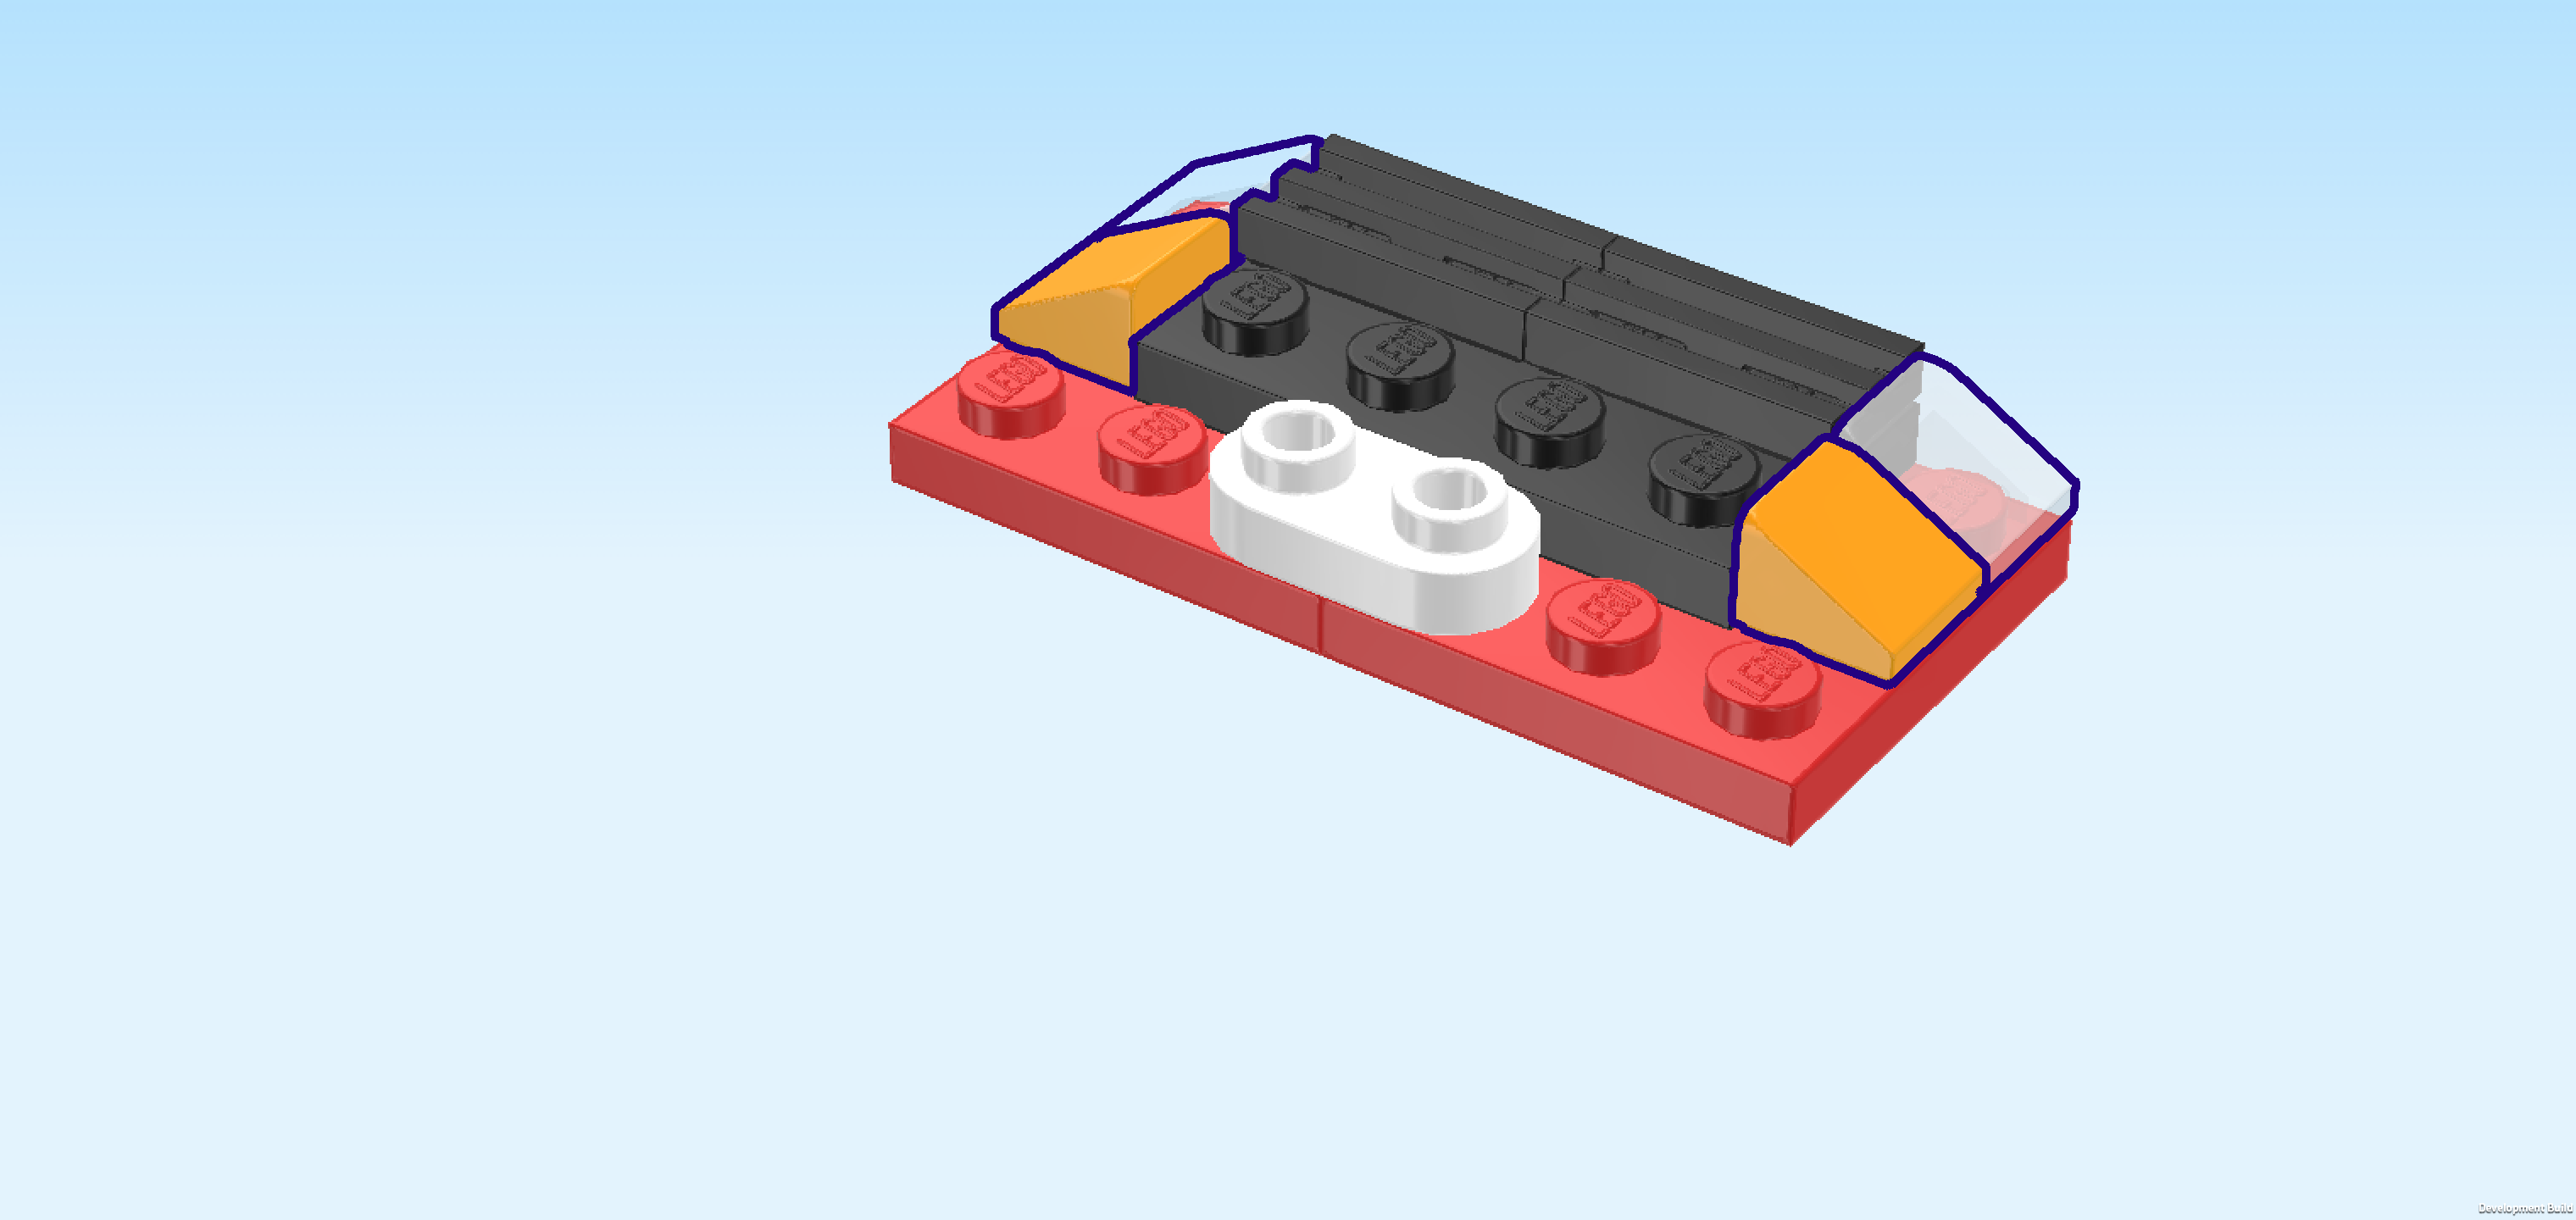
| Find 2 flame yellowish orange inverted roof tiles 2x2, 45°. |
| Put 1 to the right of the previous piece, slope to the left. If done correctly, its left edge will touch the right edge of the mudguard brick from the previous step. |
| Repeat symmetrically at the front. |
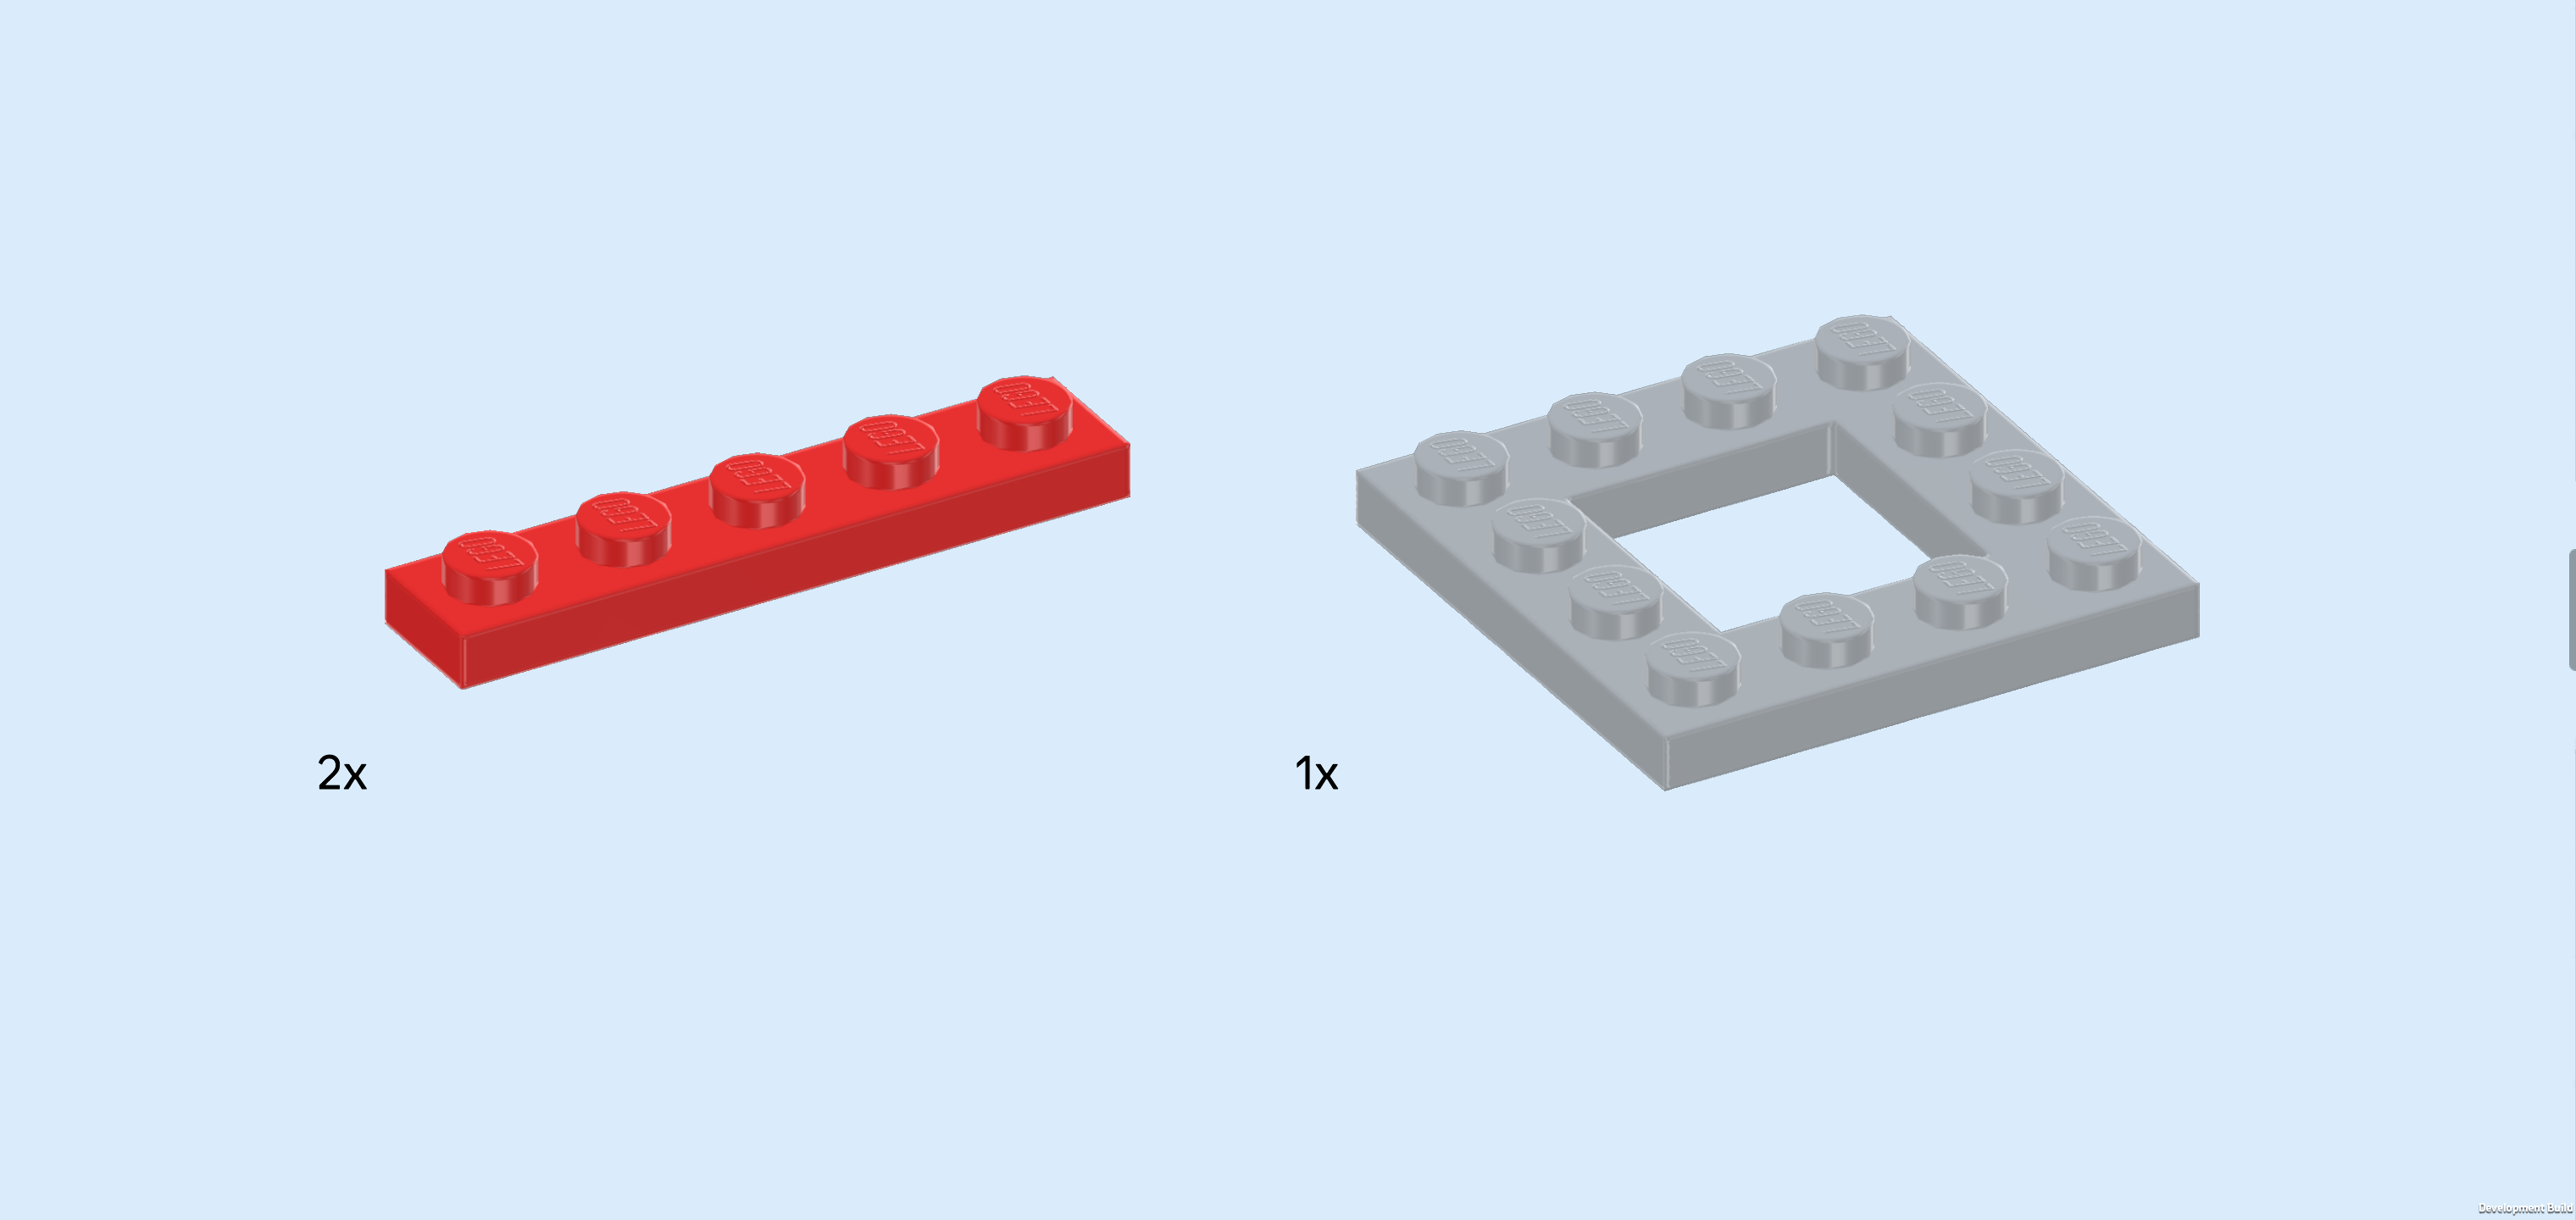
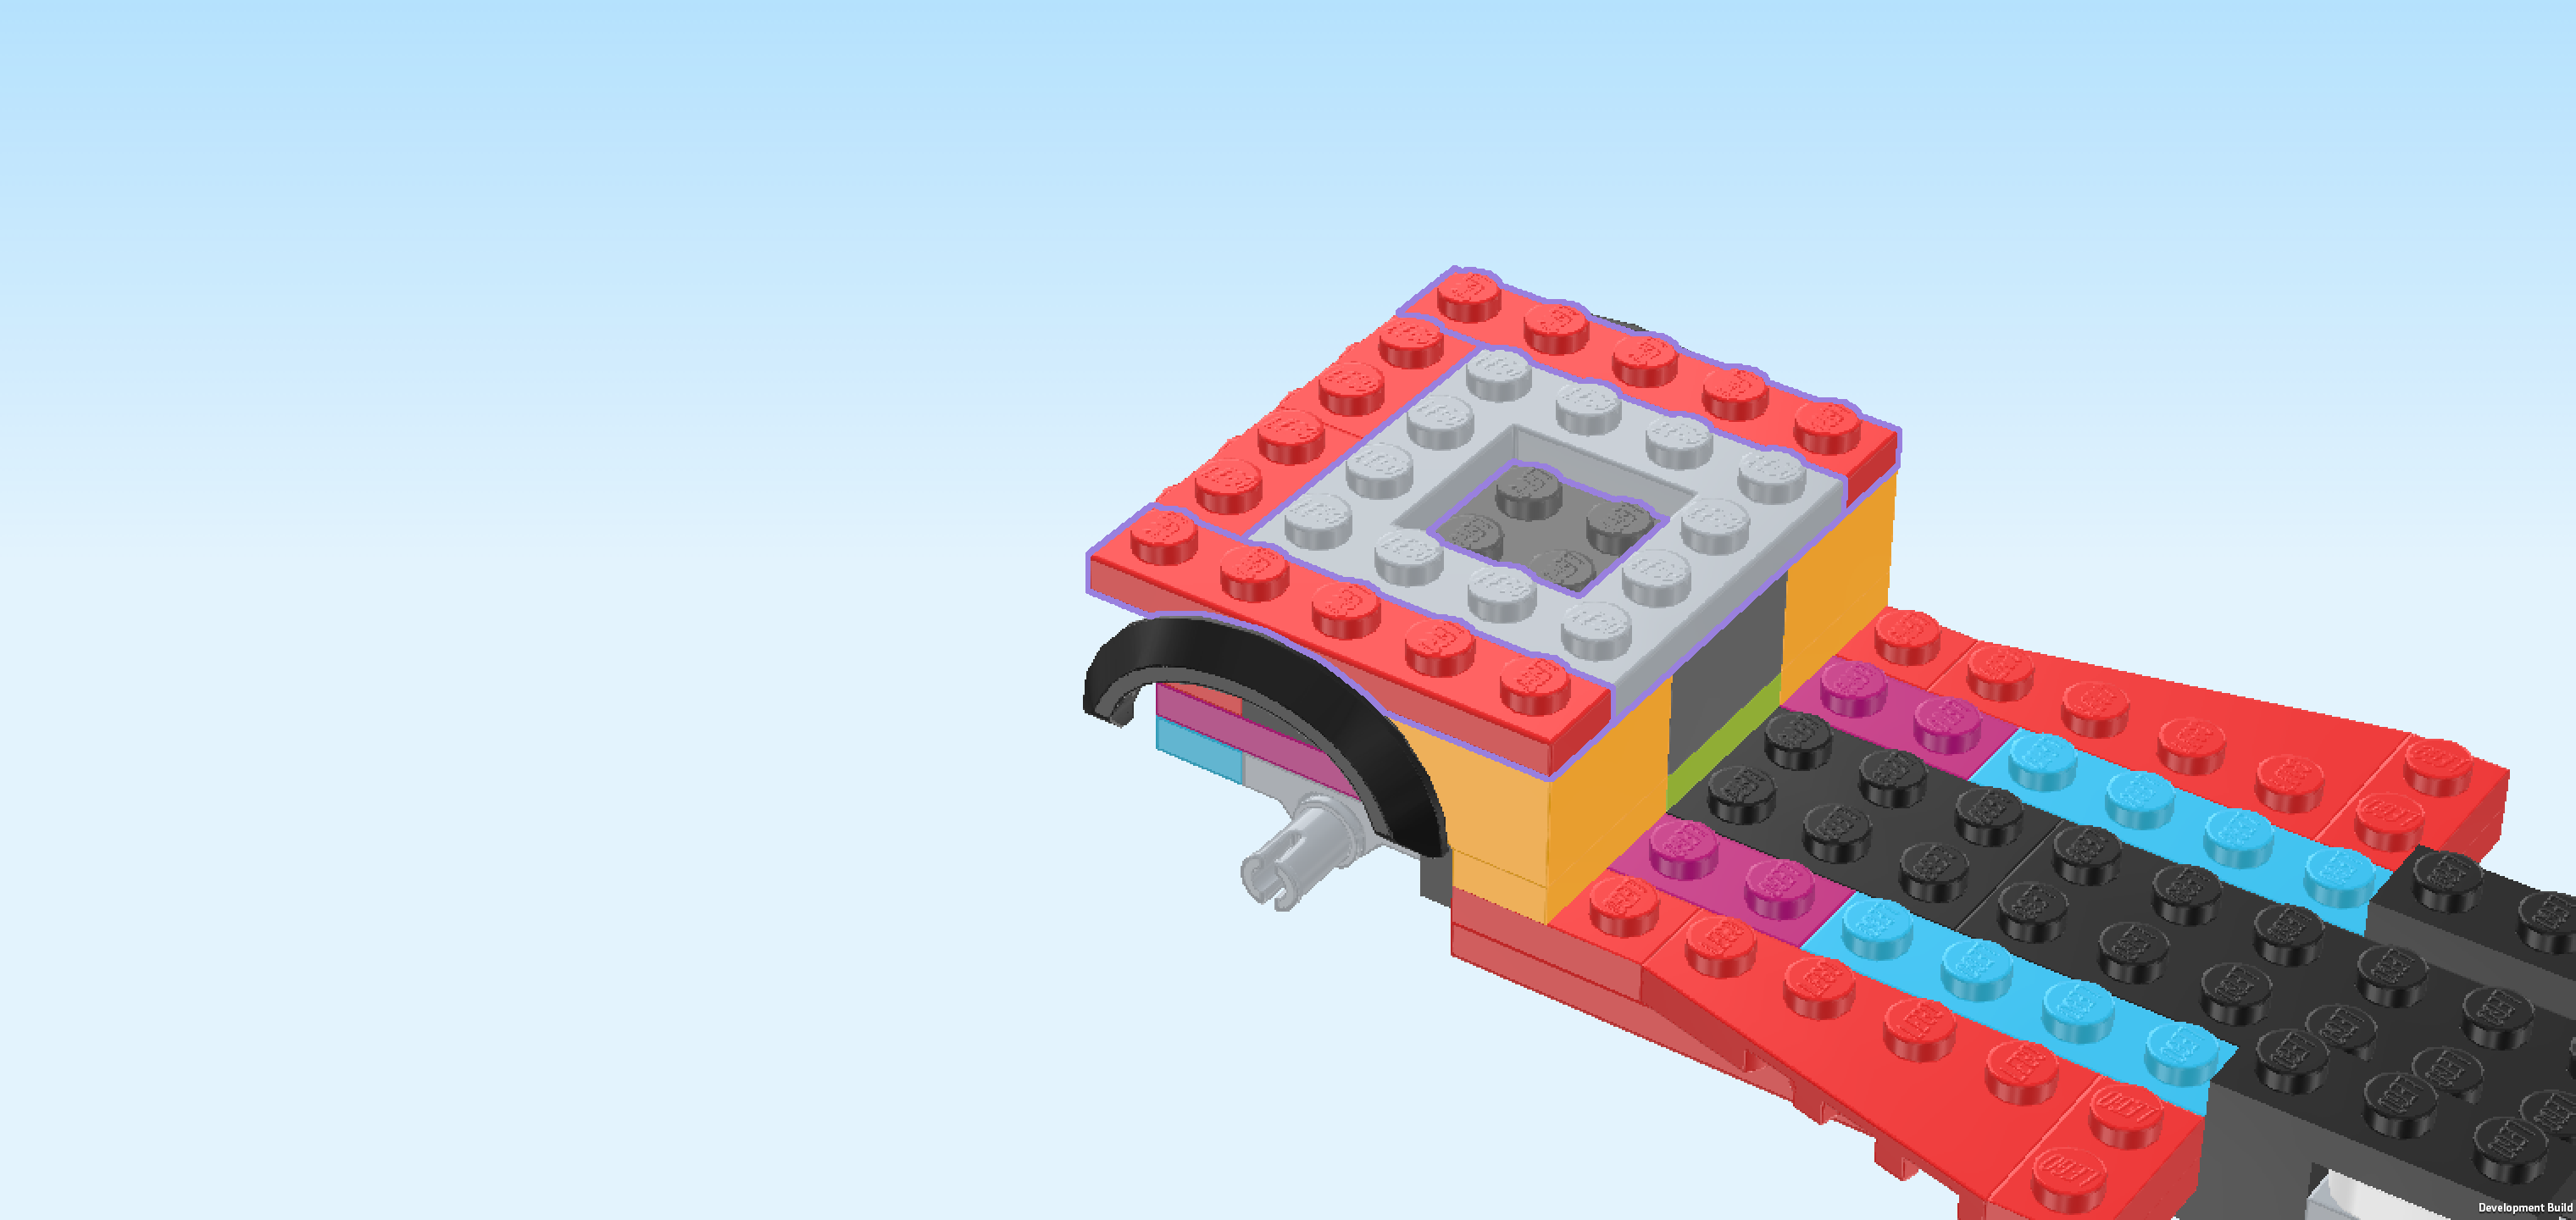
| Collect the following 3 pieces: |
| 2 bright red plates 1x5, |
| and 1 medium stone grey frame plate 4x4 with middle hole. |
| Put 1 plate 1x5 horizontally on the front row of the previous piece and the mudguard brick next to it, 1 knob overhanging to the left. If done correctly, this piece's left edge is flush with the whole structure's left edge. |
| Repeat symmetrically at the back. |
| Put the frame plate 4x4 between the 2 previous pieces, making sure their right edges are flush. |
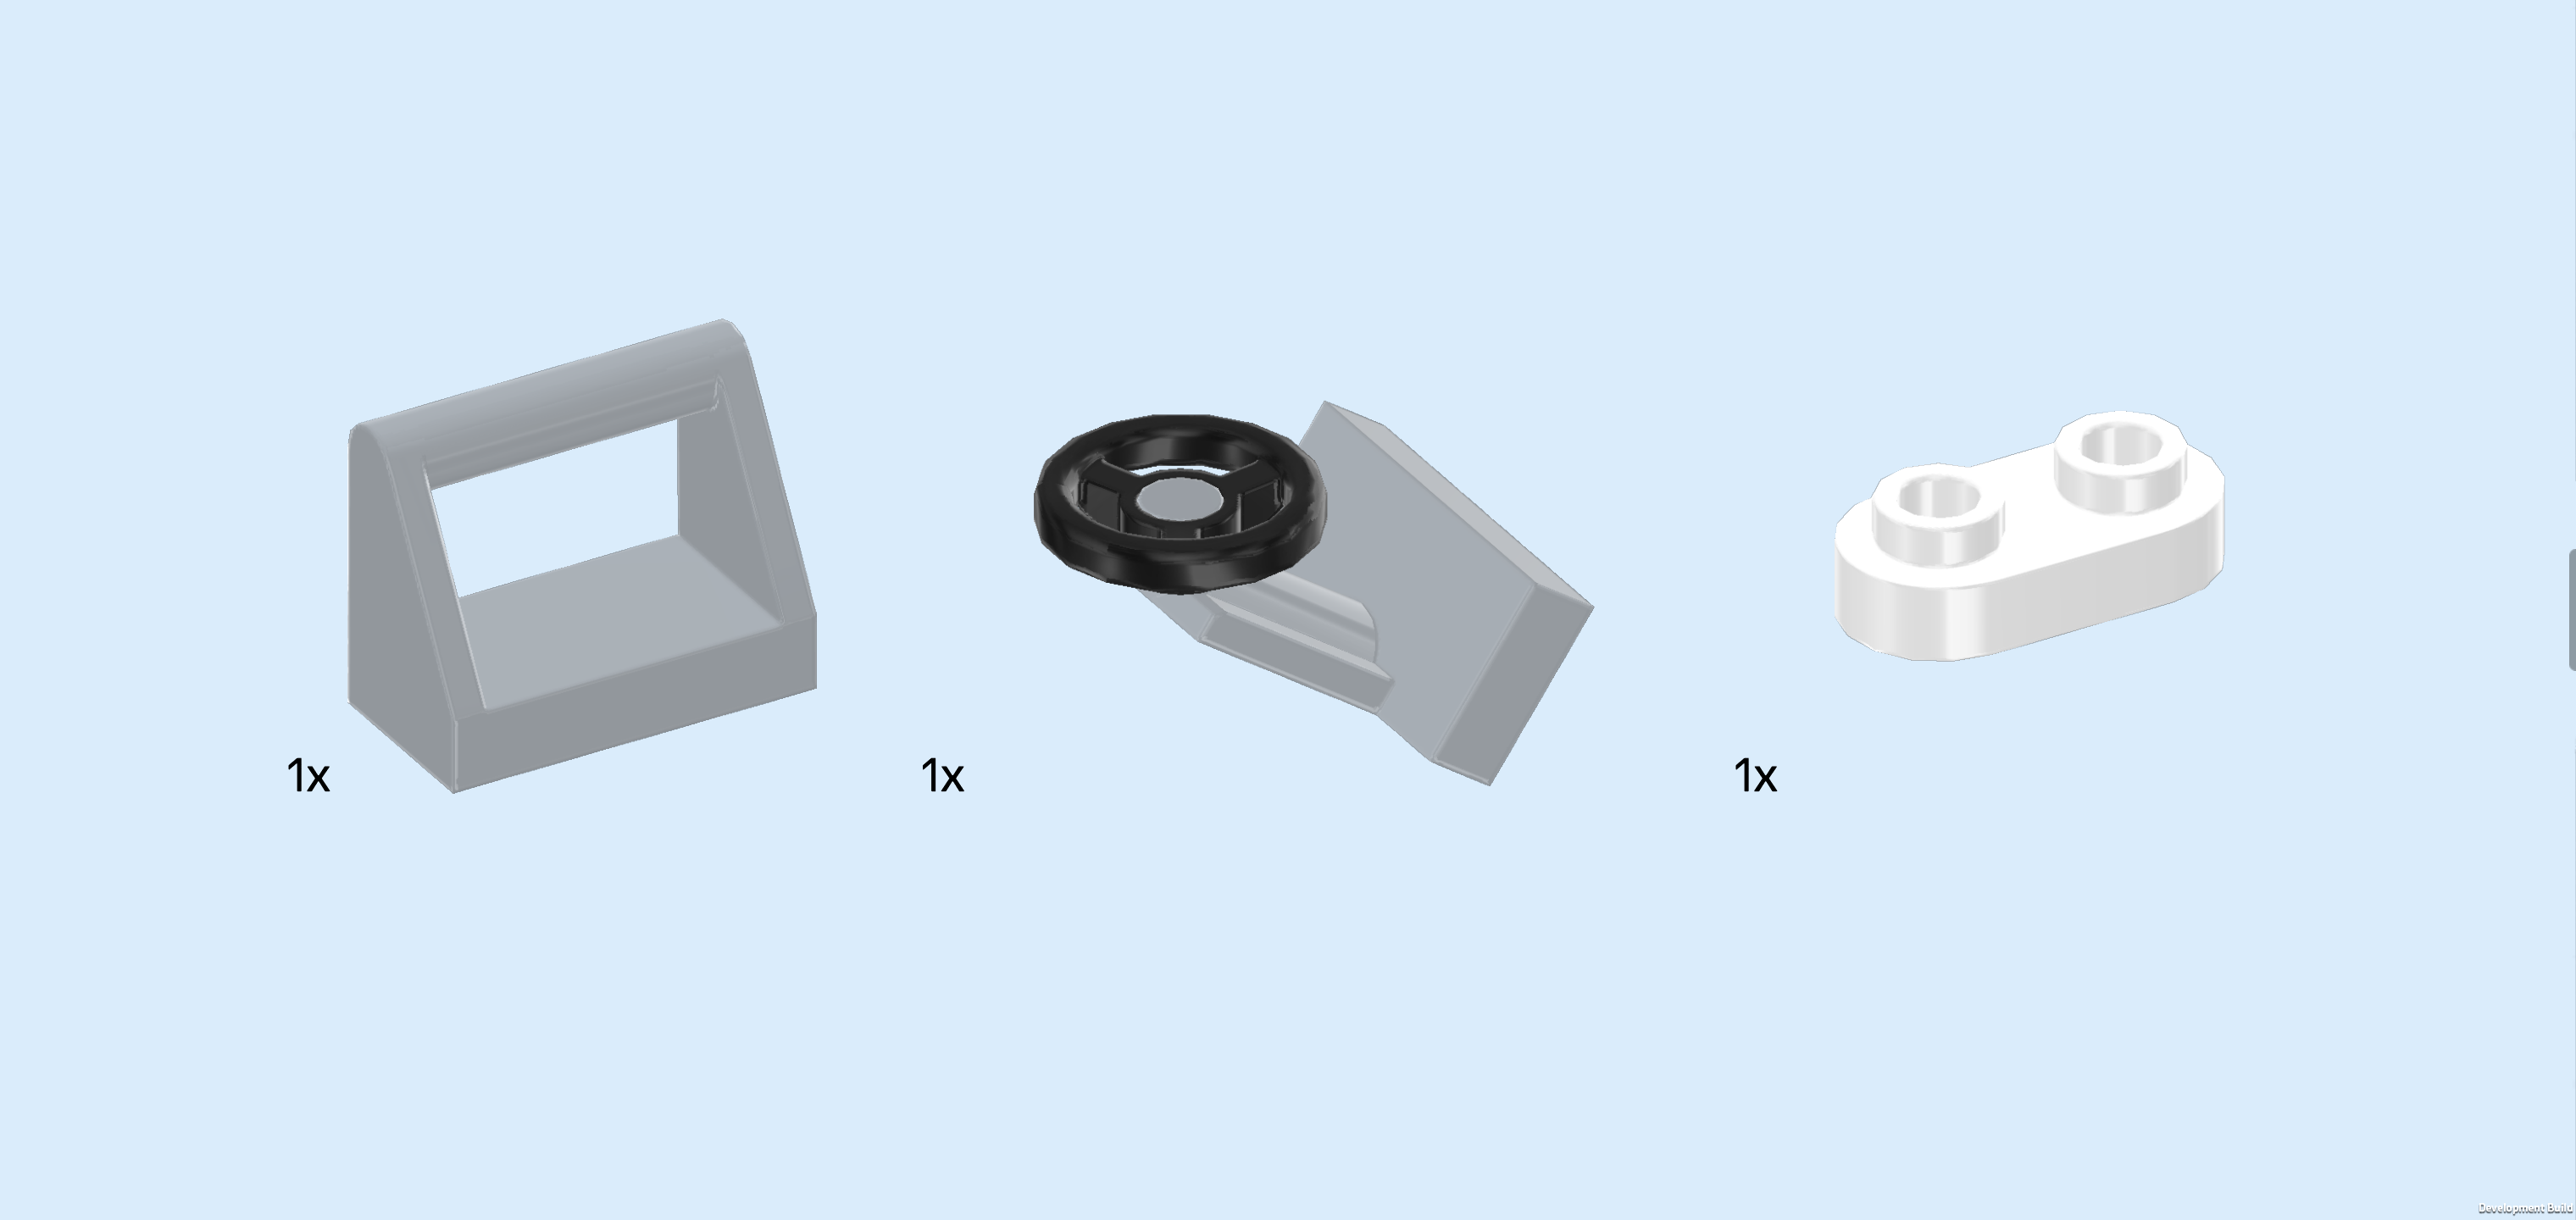
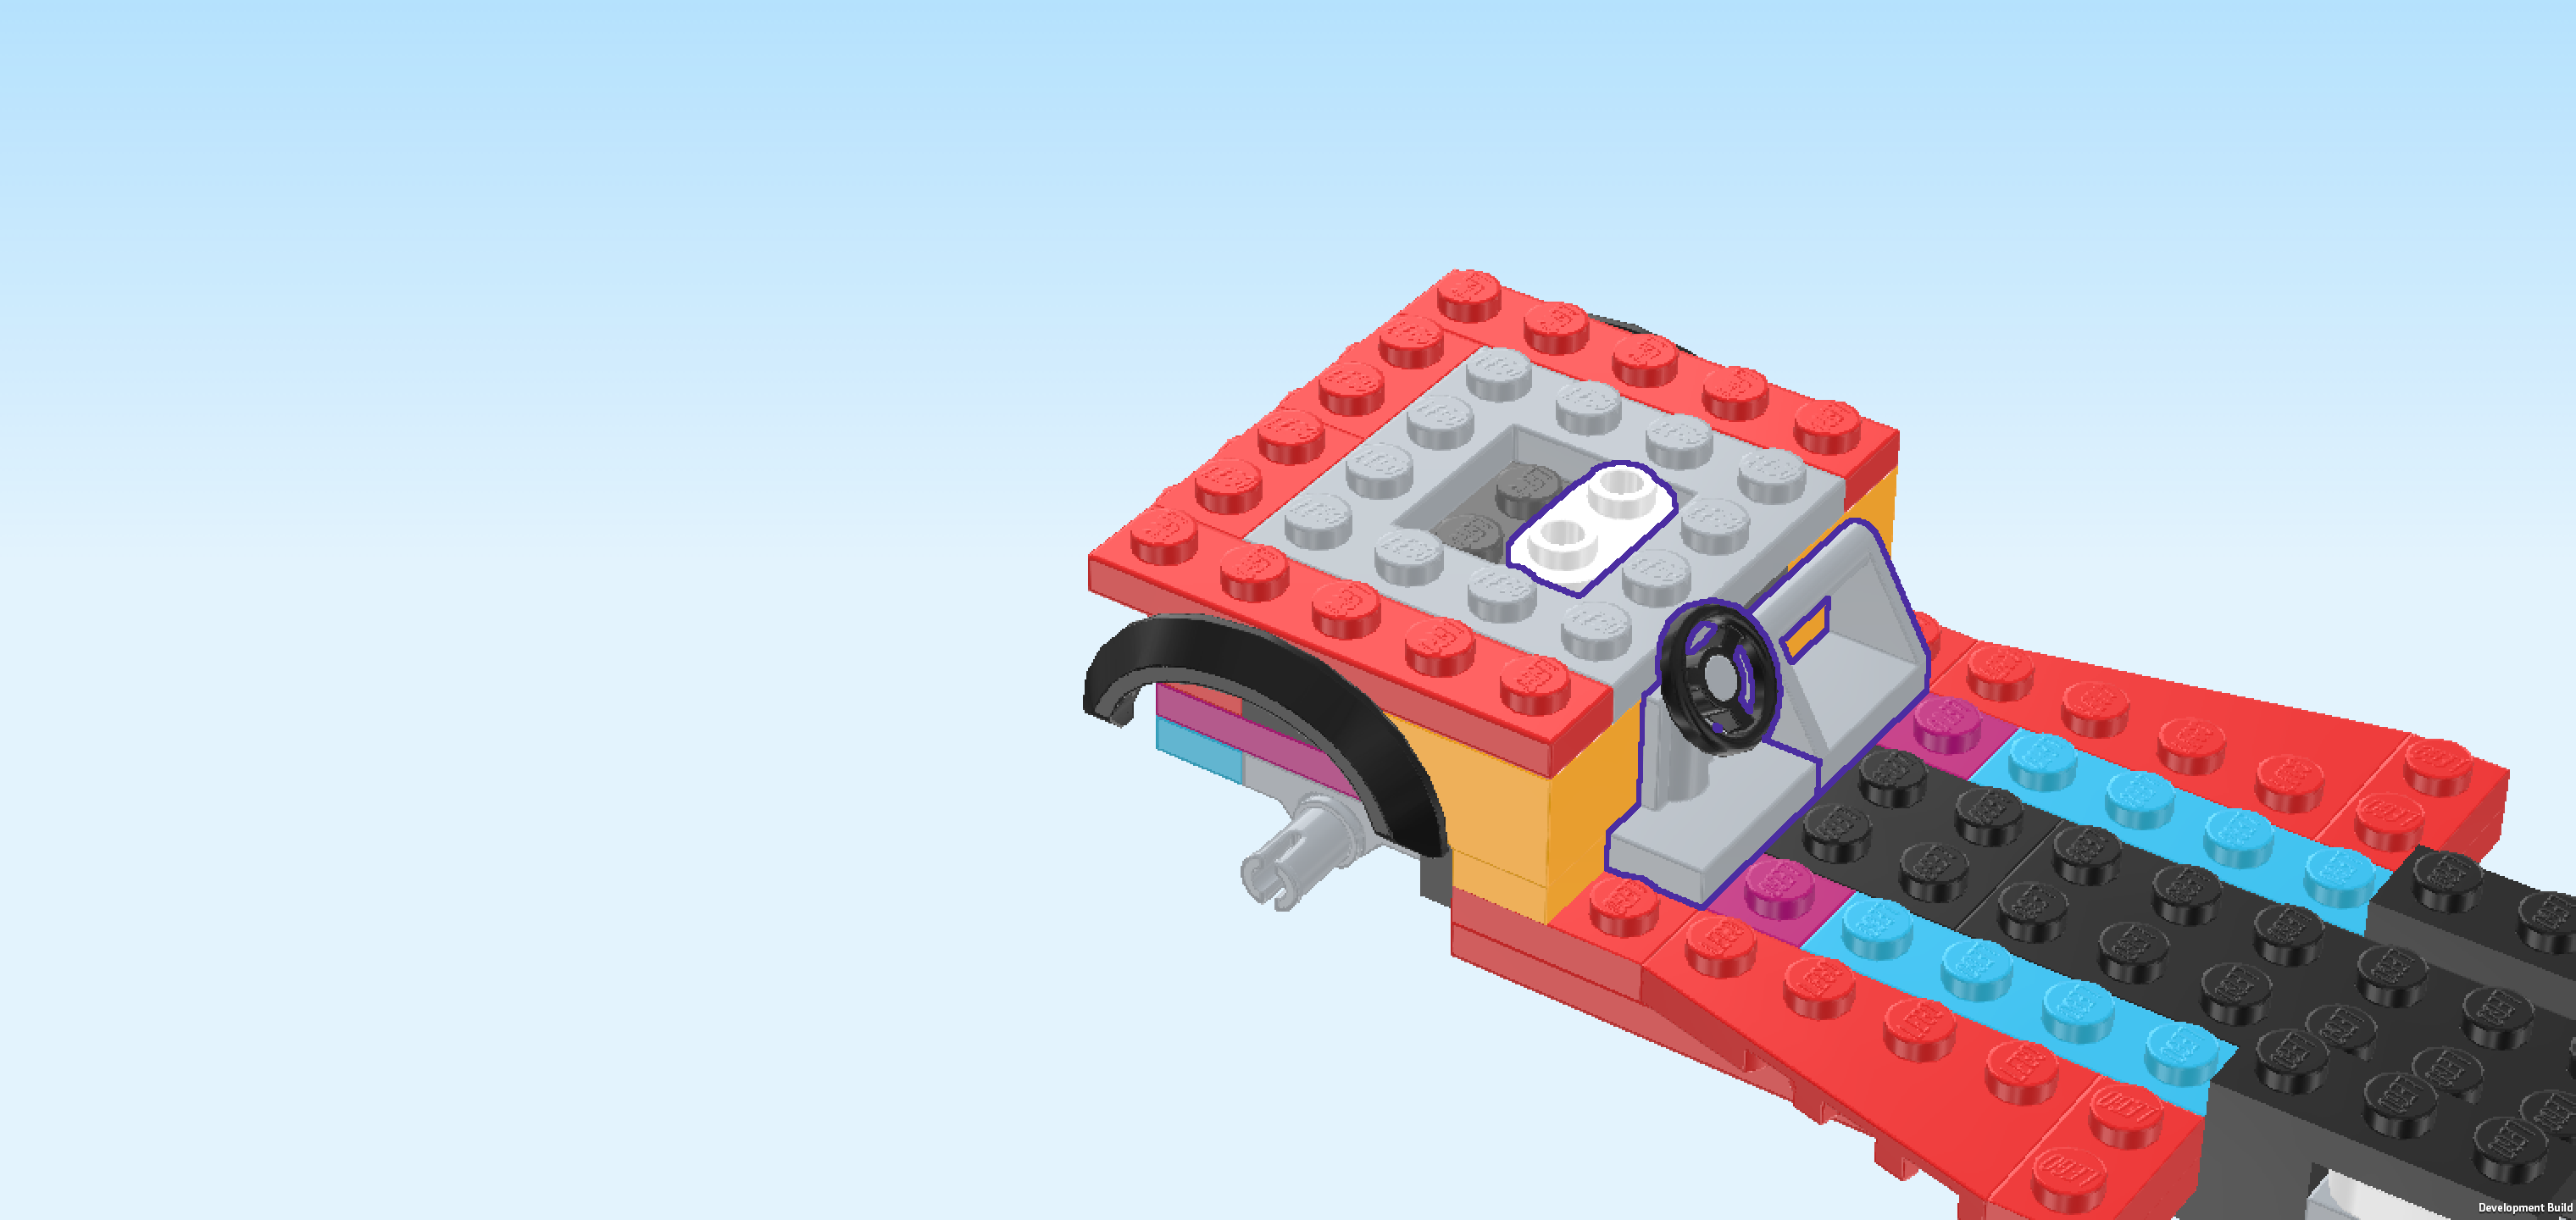
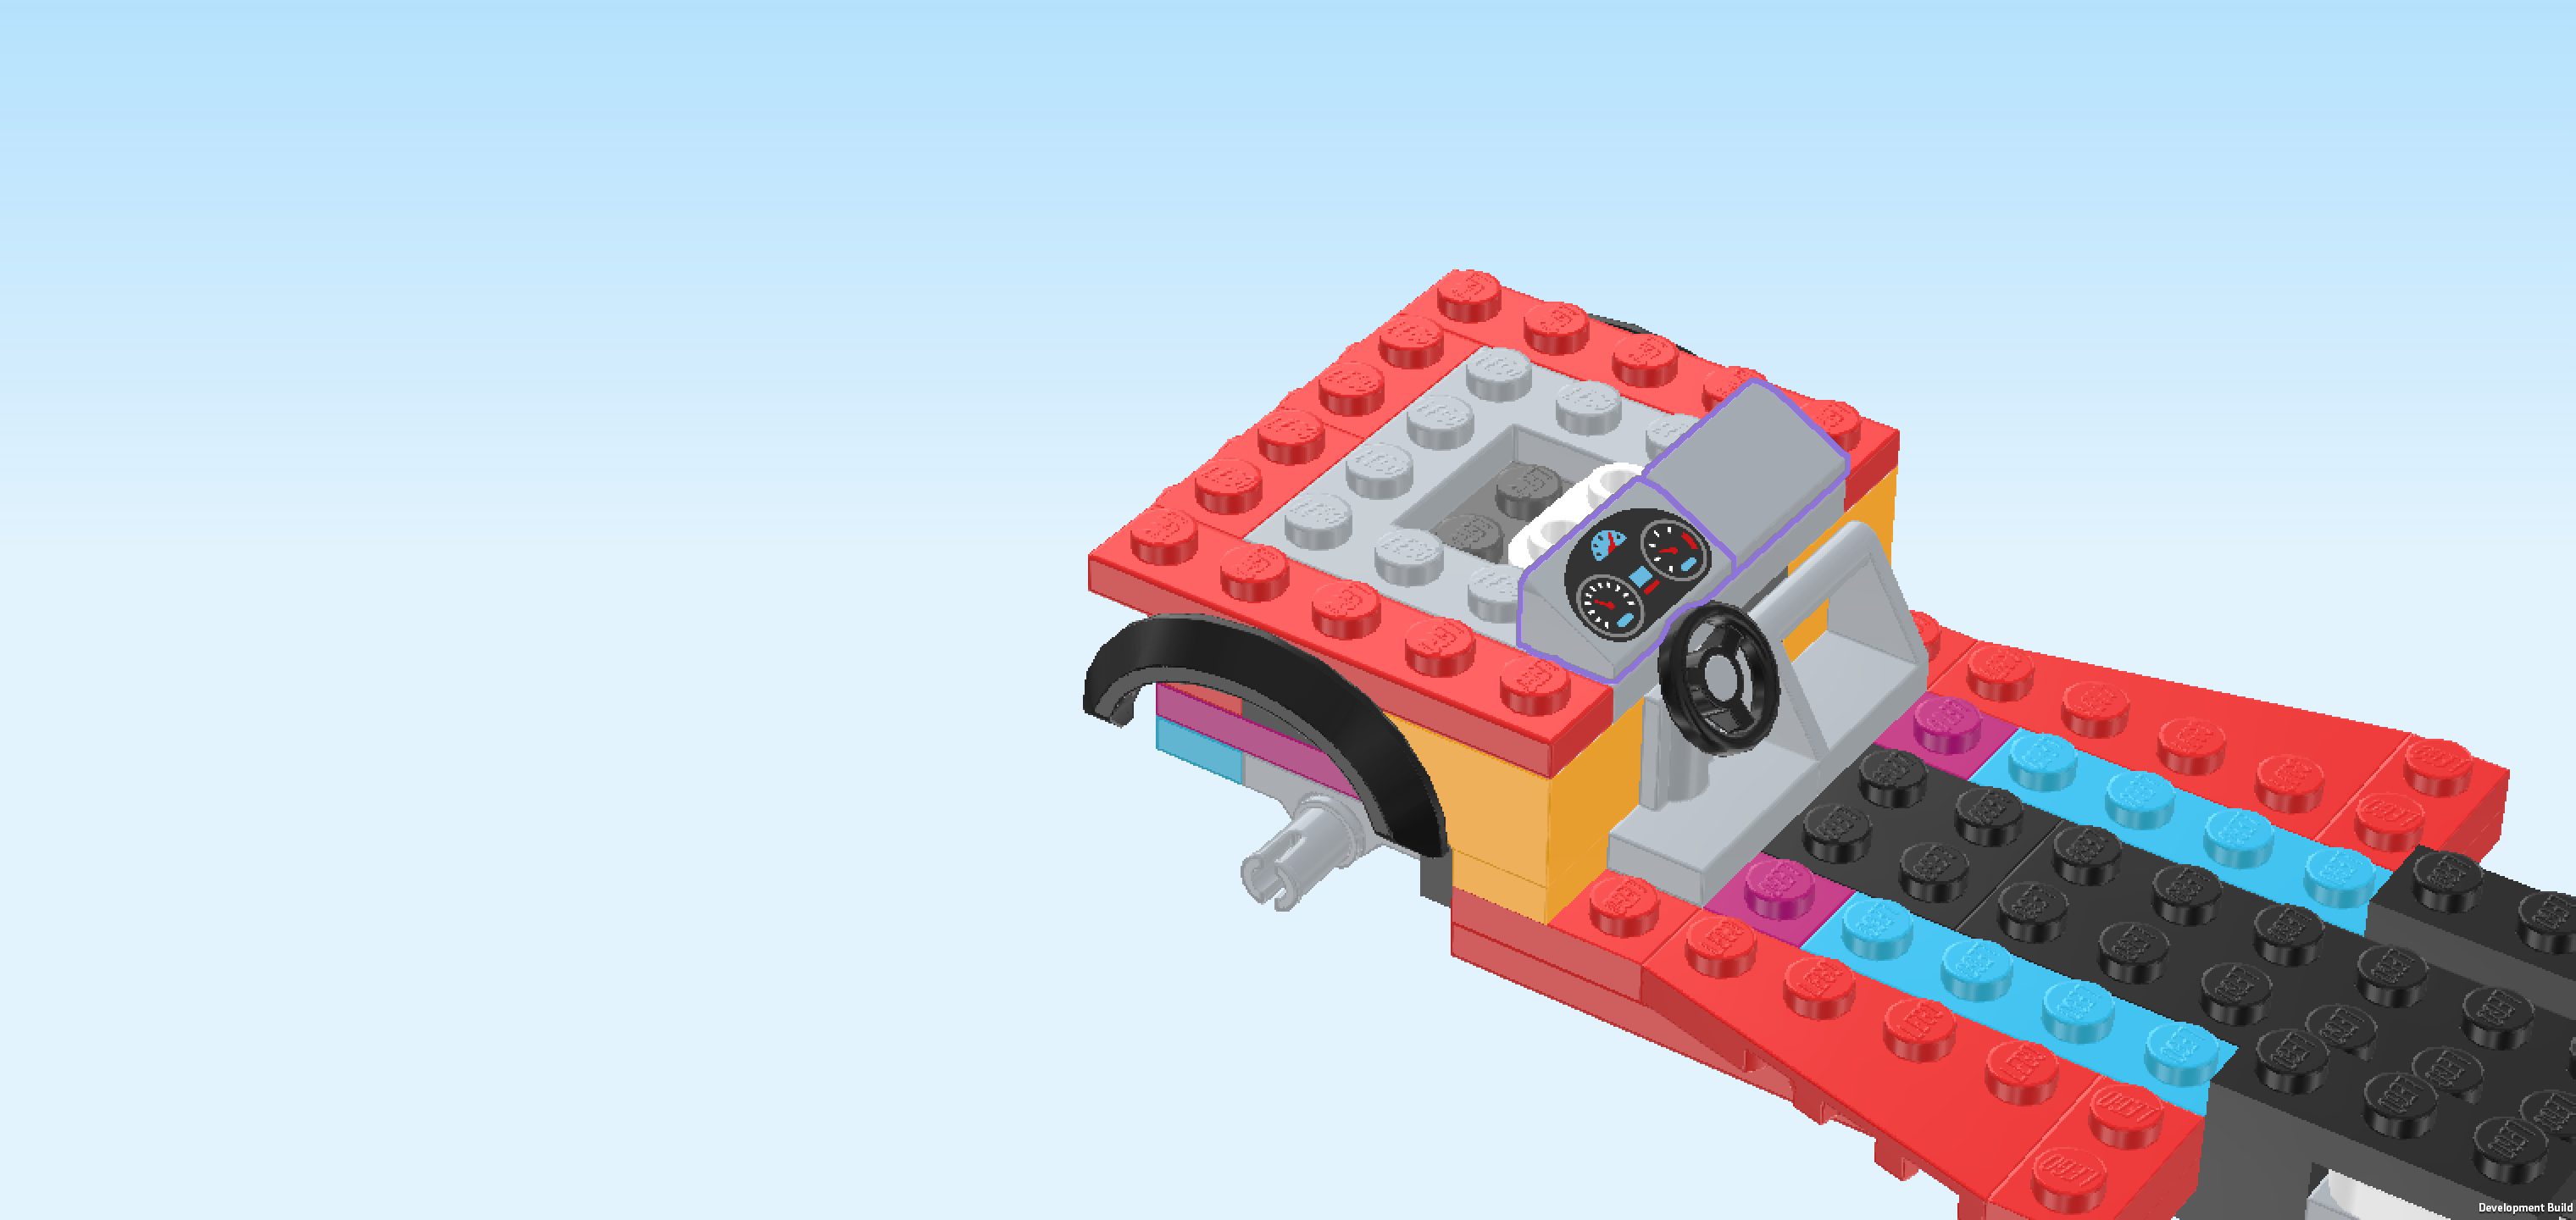
| Collect the following 3 pieces: |
| 1 medium stone grey tile 1x2 with angled top handle, |
| 1 black and medium stone grey small steering wheel with plate 1x2, |
| and 1 white rounded plate 1x2. |
| Put the rounded plate 1x2 vertically in the middle hole of the previous piece in its right half. |
| Put the small steering wheel vertically on the sixth column from the left, leaving the frontmost knob empty, steering wheel to the right. This means it will sit on the column that is located directly to the right of the highest part of the structure that we have just built. |
| Put the tile with angled top handle vertically behind the previous piece, angled edges to the right. |
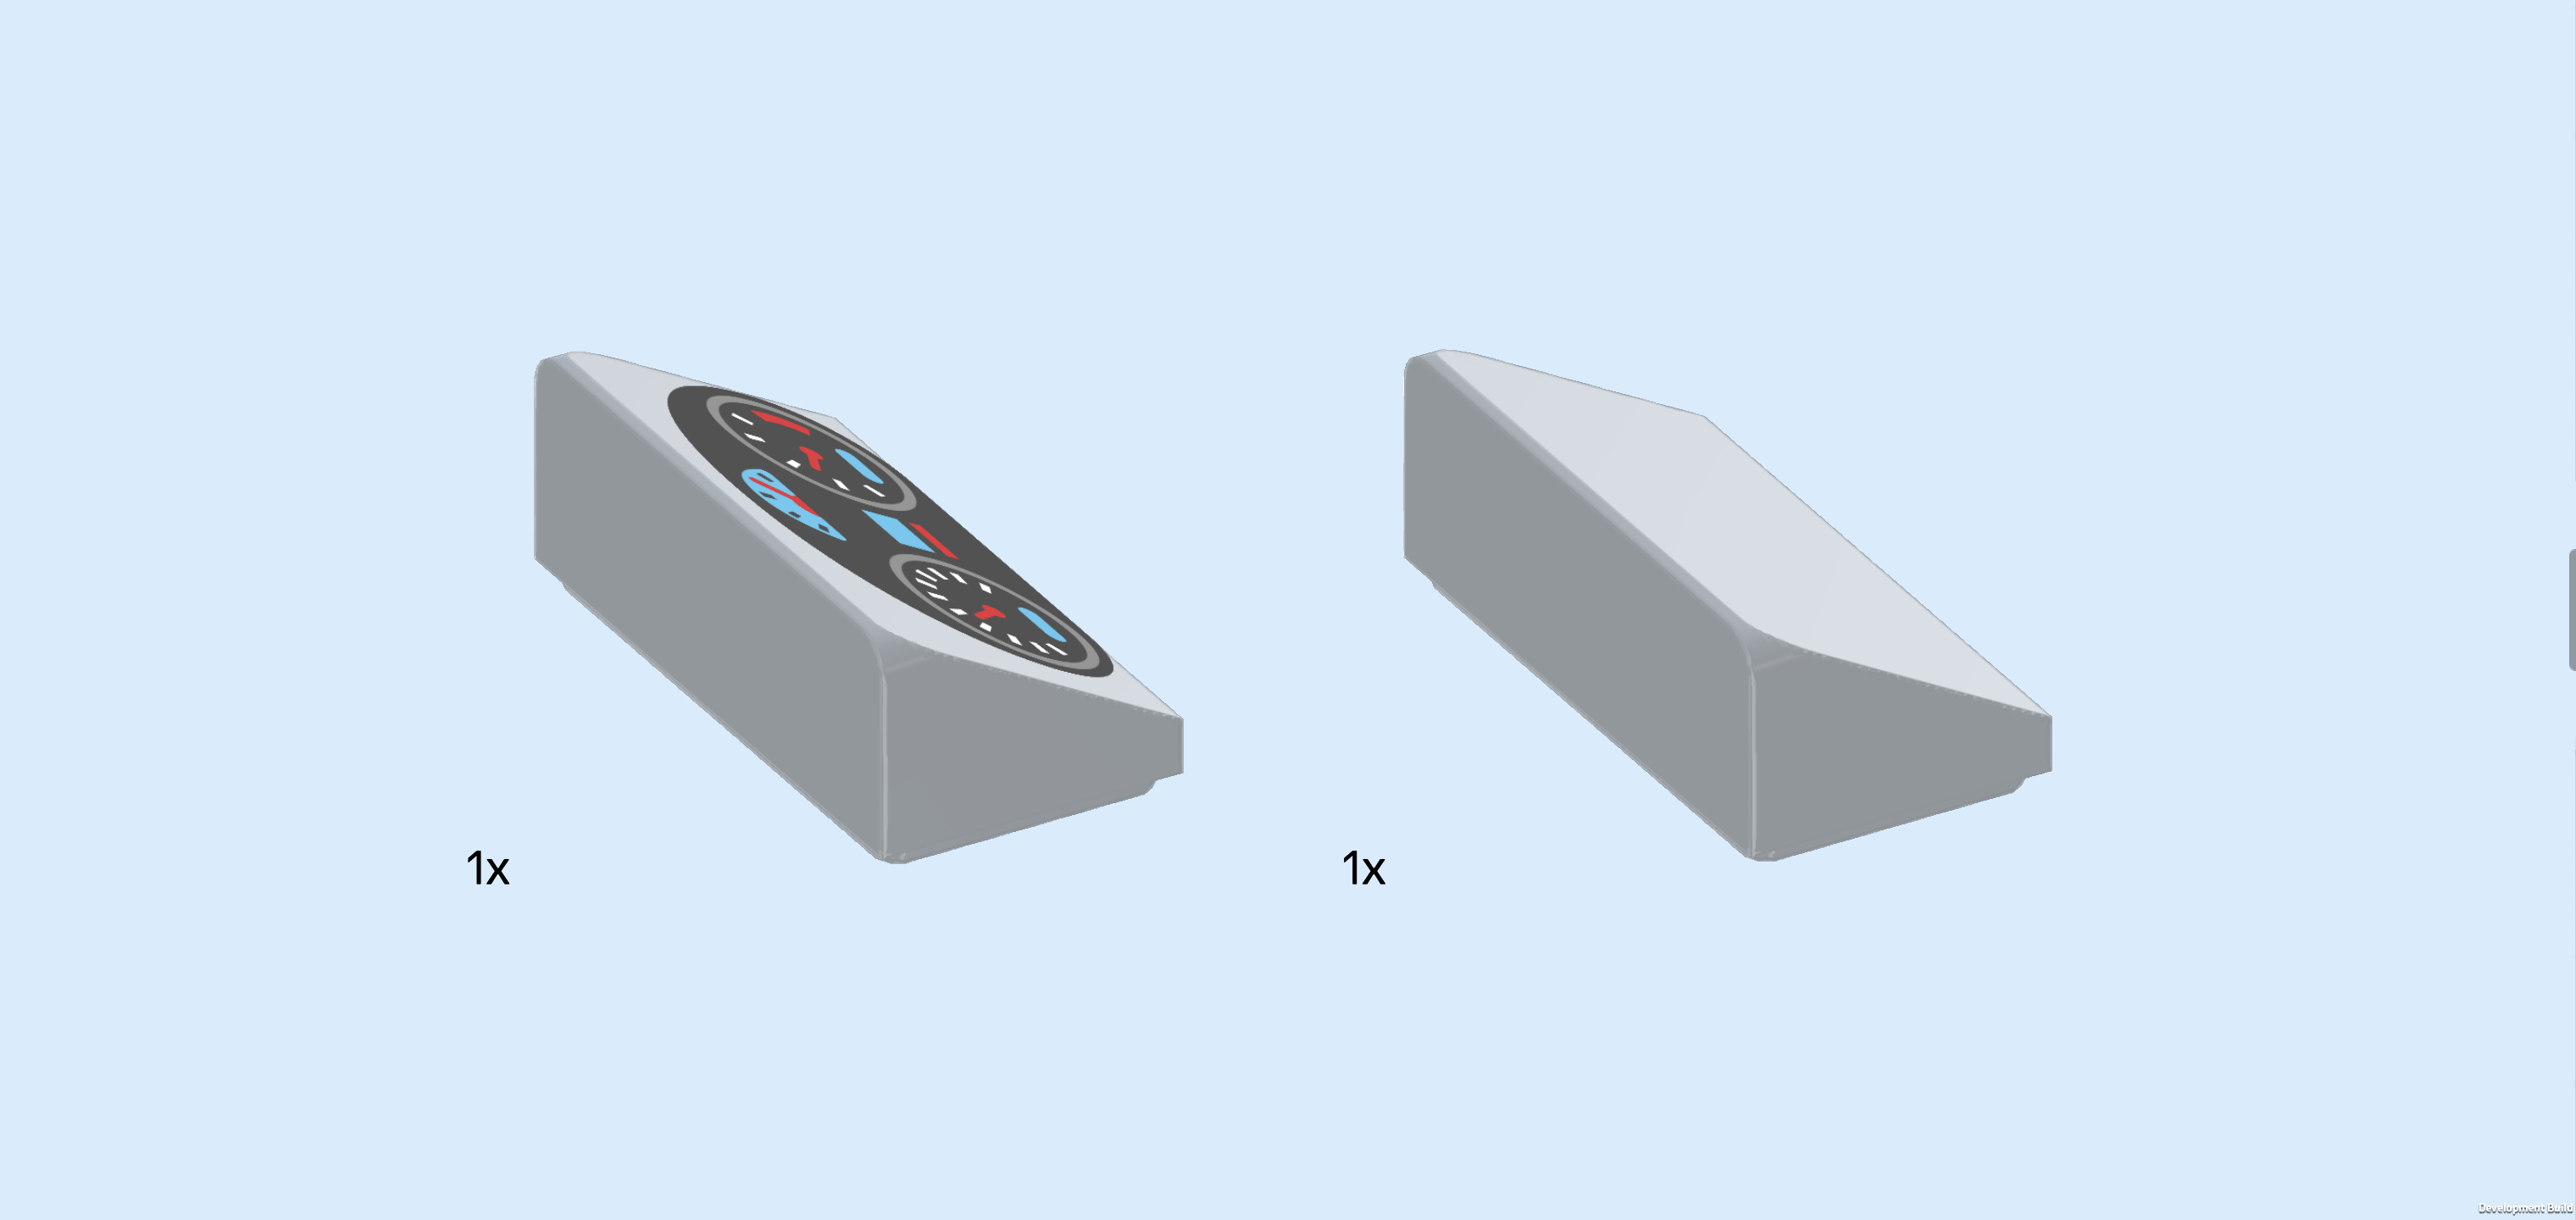
| Find 1 medium stone grey smooth roof tile 1x2x⅔ with print and another 1 without print. |
| Put the printed smooth roof tile 1x2 vertically to the left of the steering wheel, slope to the right. This means it will sit on a higher level than the steering wheel. |
| Put the other one vertically behind the previous piece, slope to the right. |
| The print of the first roof tile is the dashboard: the instrument cluster has an oval shape, its background color is black. At the center top there is a blue fuel gauge with a red needle. The fuel tank is three quarters full. Directly below the fuel gauge there is a small blue display, this is probably the odometer showing the distance traveled. To its right is the revolution meter, and on the left there is the tachometer. The vehicle is driving with medium speed at the moment. |
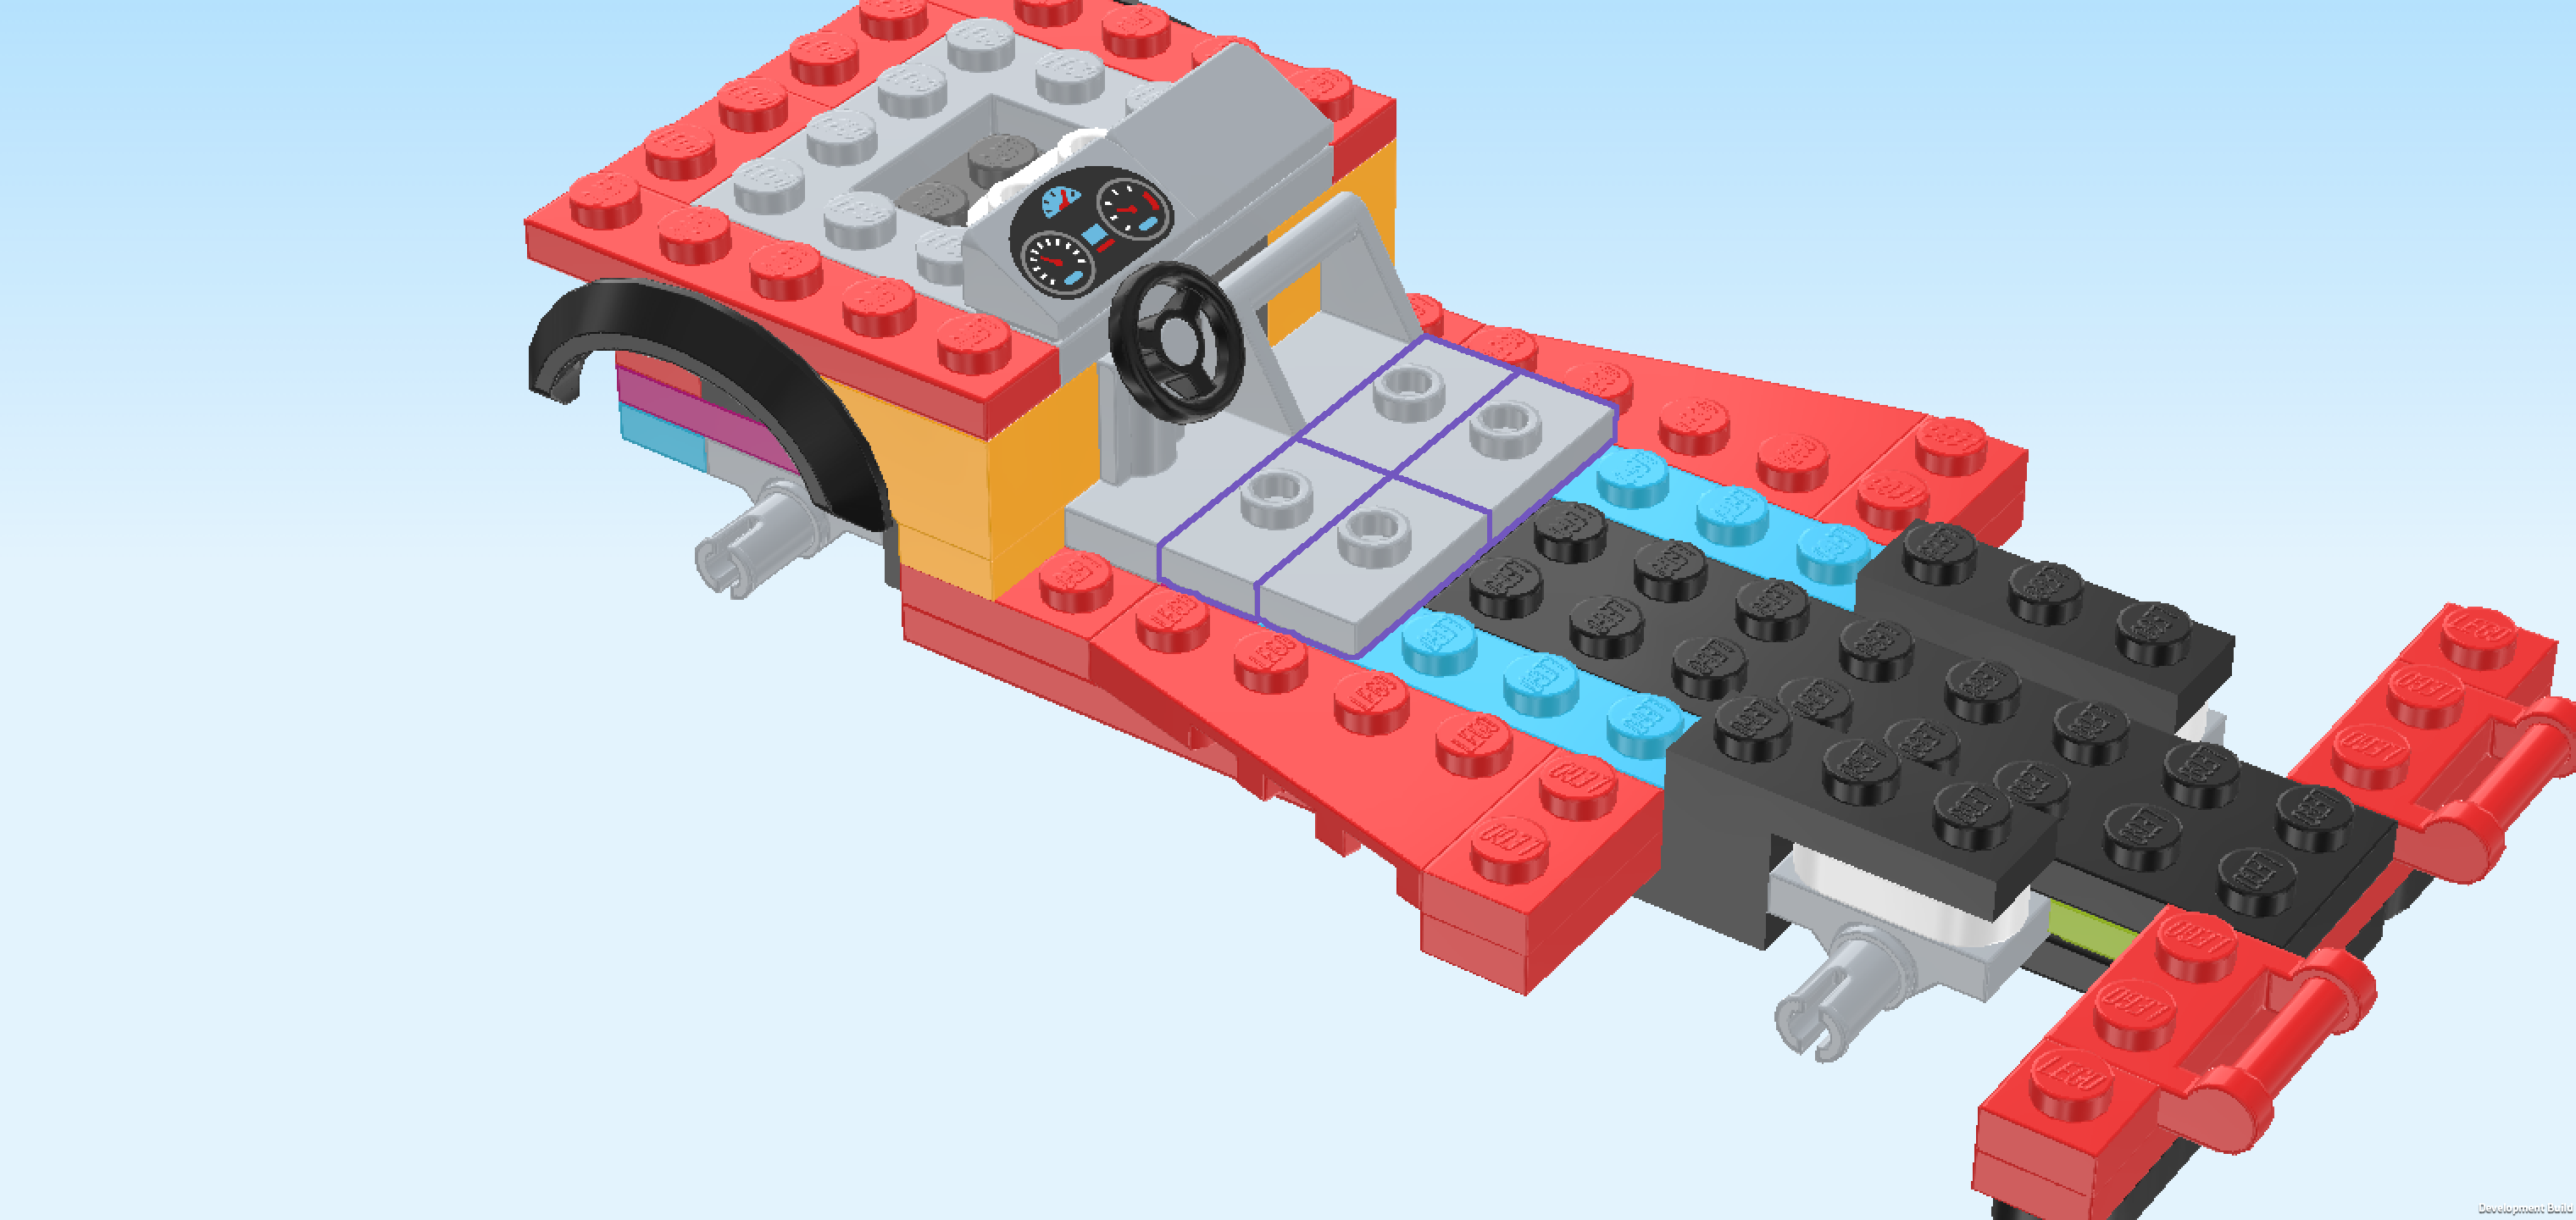
| Find 4 medium stone grey plates 1x2 with 1 knob. |
| Put 1 vertically to the right of the steering wheel. |
| Put 1 vertically behind the previous piece. |
| Put 1 vertically to the right of the previous piece. |
| Put the last one vertically in front of the previous piece. |
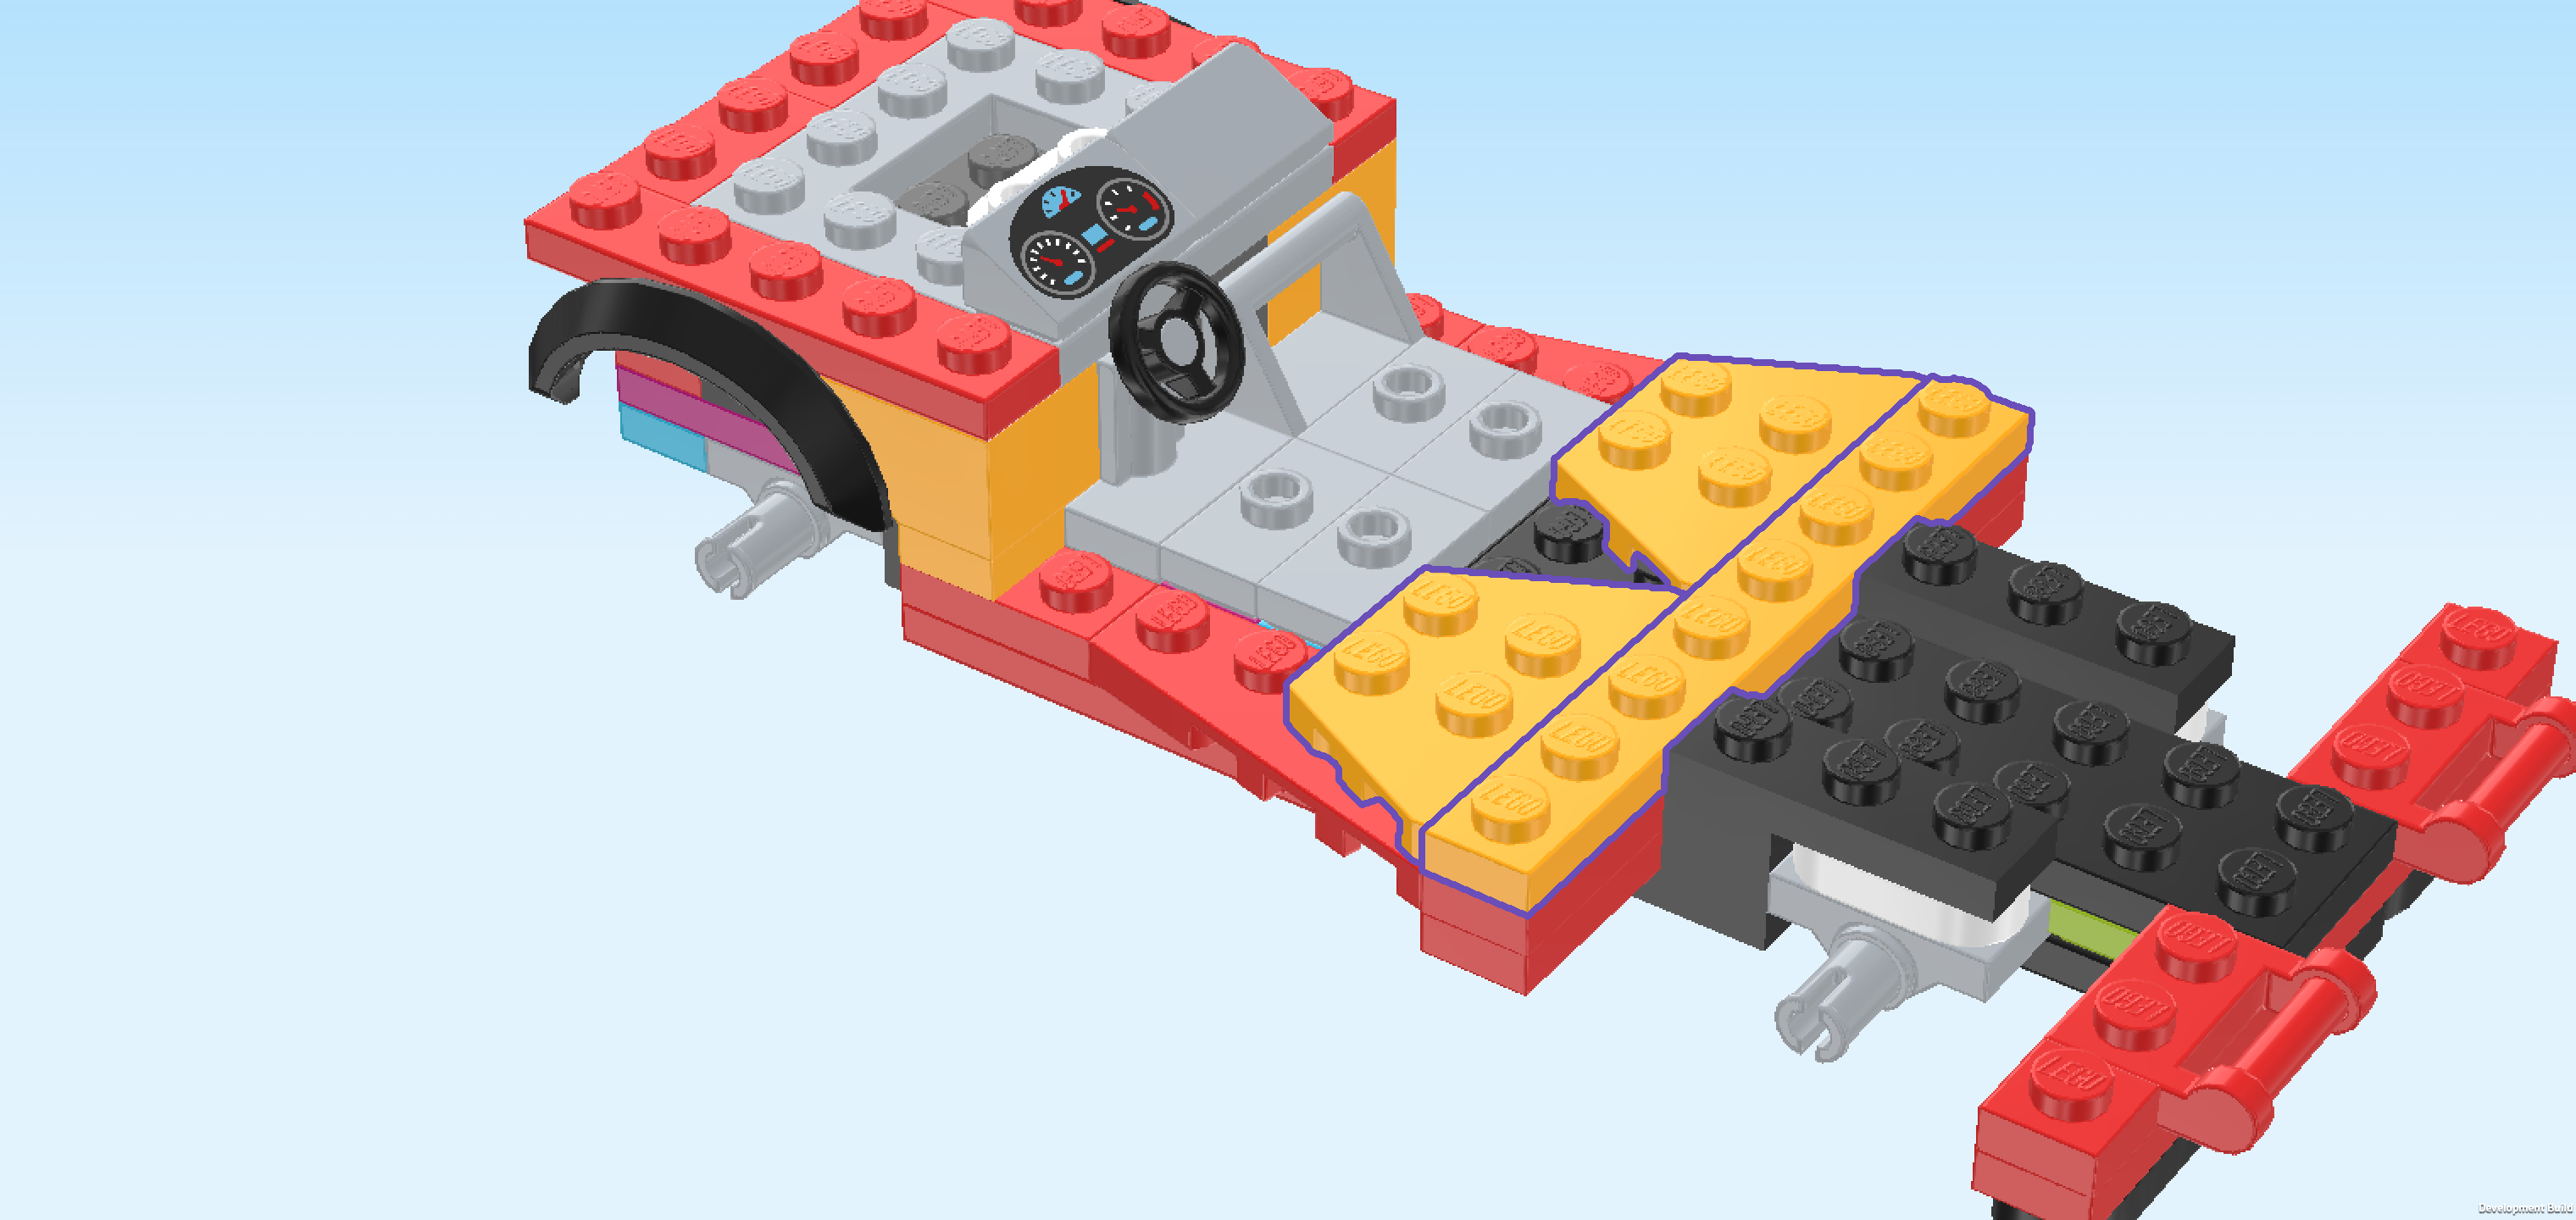
| Collect the following 3 pieces: |
| 2 flame yellowish orange trapezoid plates 2x4, |
| and 1 flame yellowish orange plate 1x8. |
| Put 1 trapezoid plate 2x4 vertically to the front right of the previous piece, its longest edge on the right. Make sure that its frontmost tip is aligned with the frontmost narrow tip of the wedge plate 2x4 below. |
| Put the other trapezoid plate 2x4 vertically behind the previous piece in the same orientation. |
| Put the plate 1x8 vertically to the right of the 2 previous pieces. |
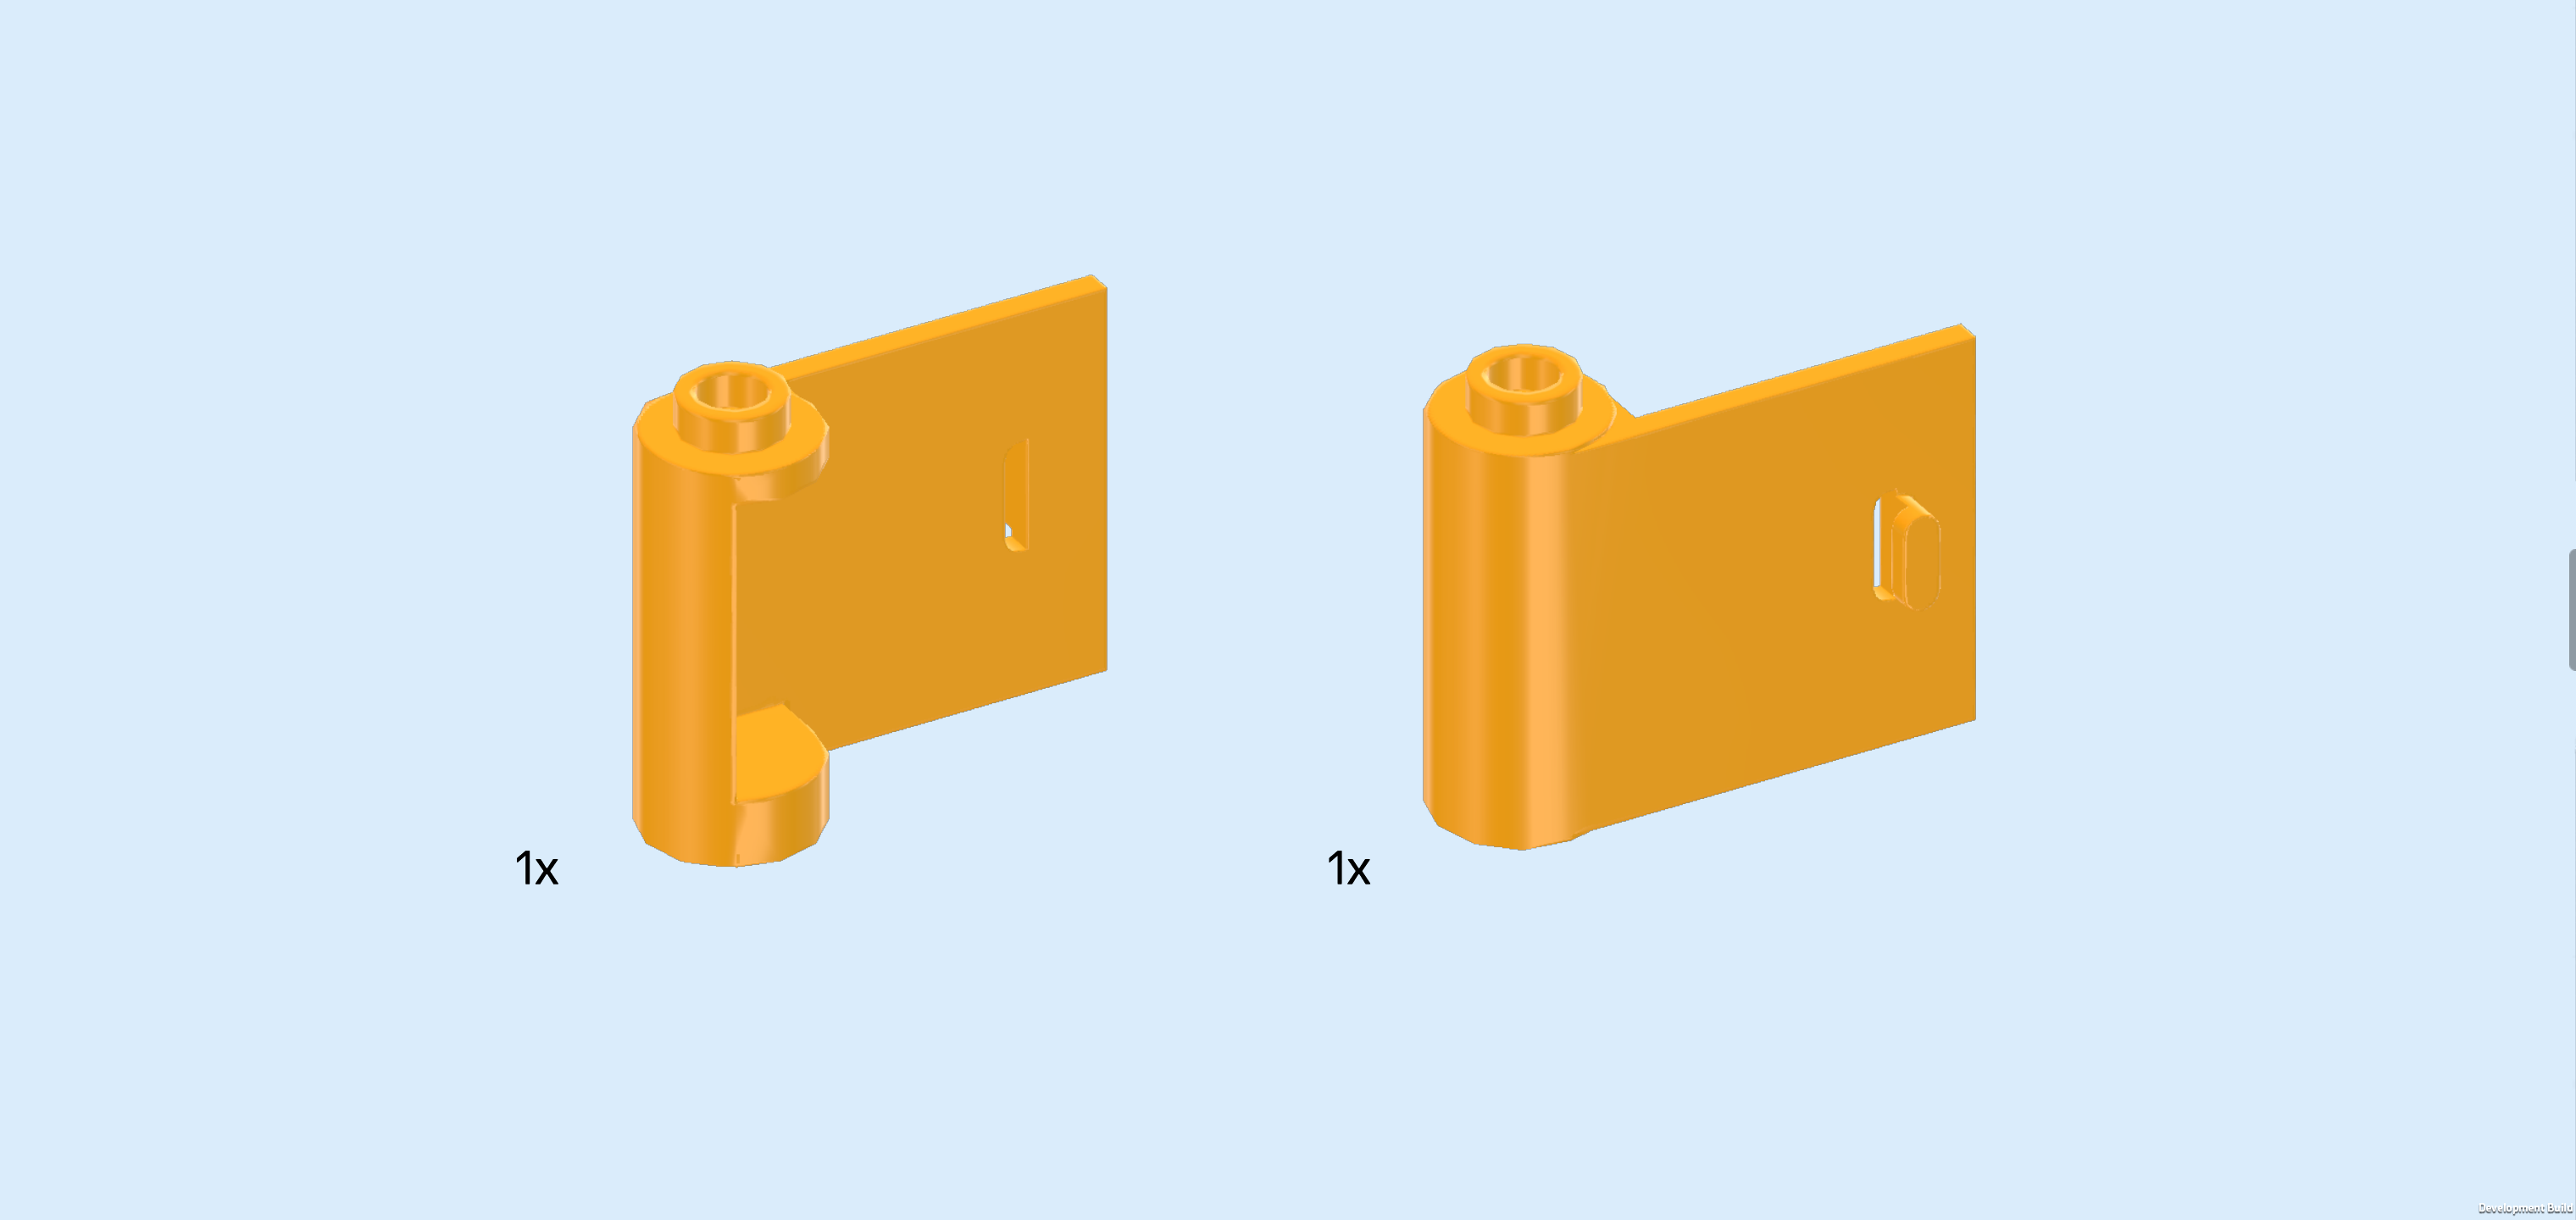
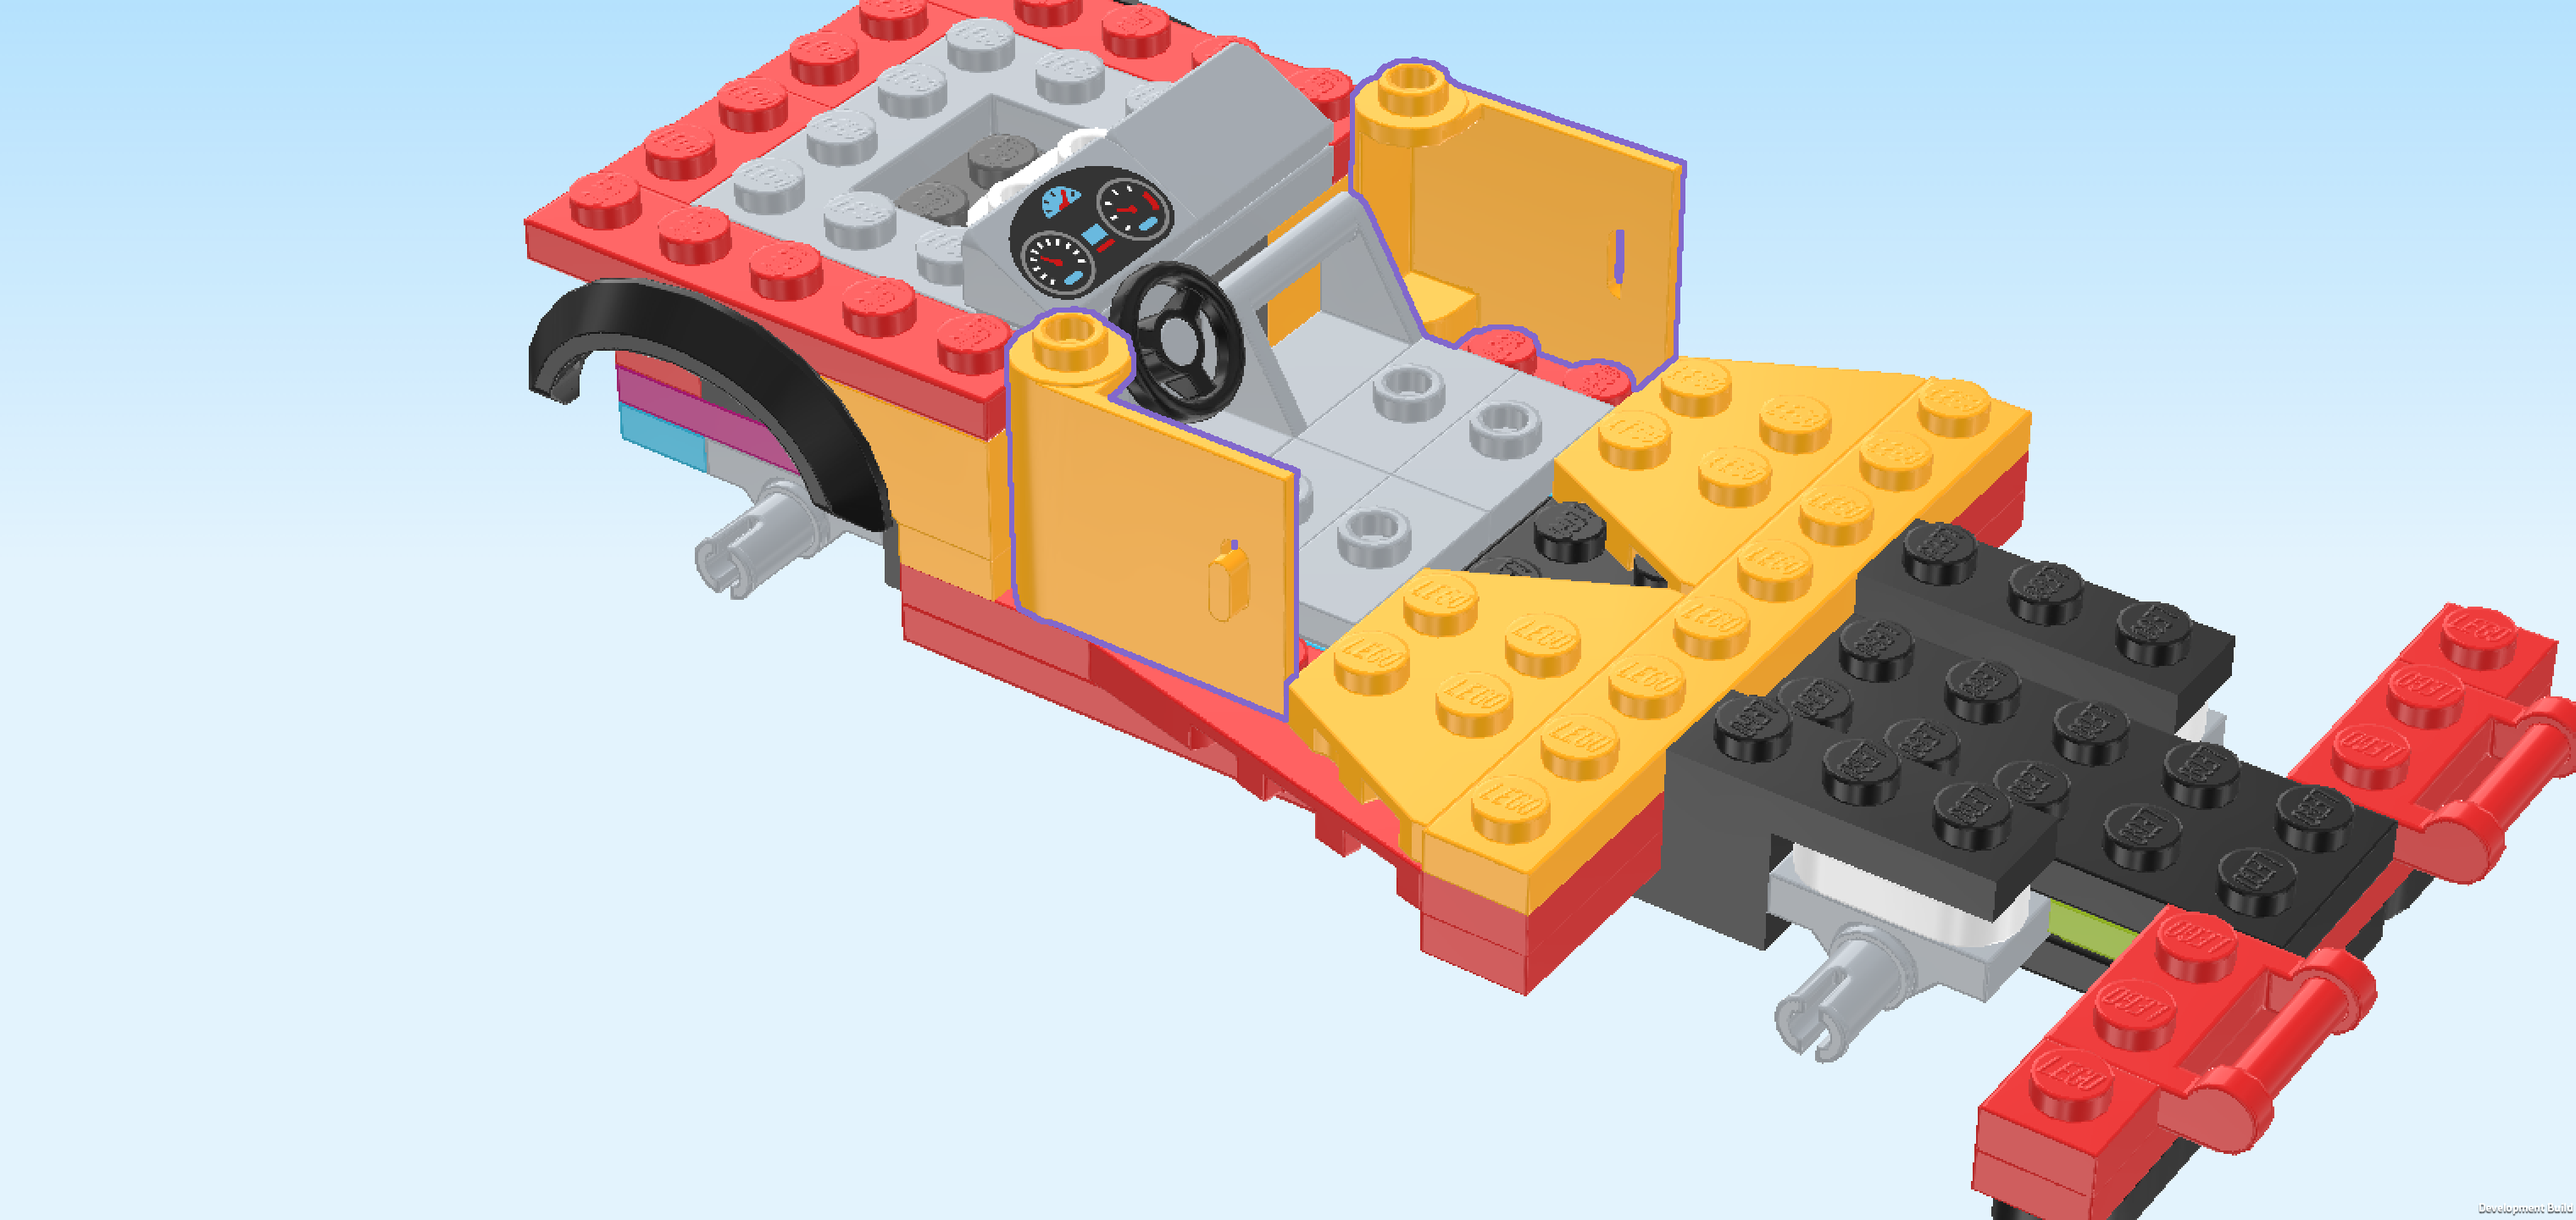
| Collect the following 2 pieces: |
| 1 flame yellowish orange right door 1x3x2, |
| and 1 flame yellowish orange left door 1x3x2. |
| Put the right door 1x3x2 horizontally on the back row directly to the right of the high part of the structure, round pillar with knob on the left, panel with handle towards the back. |
| Repeat symmetrically at the front with the left door. |
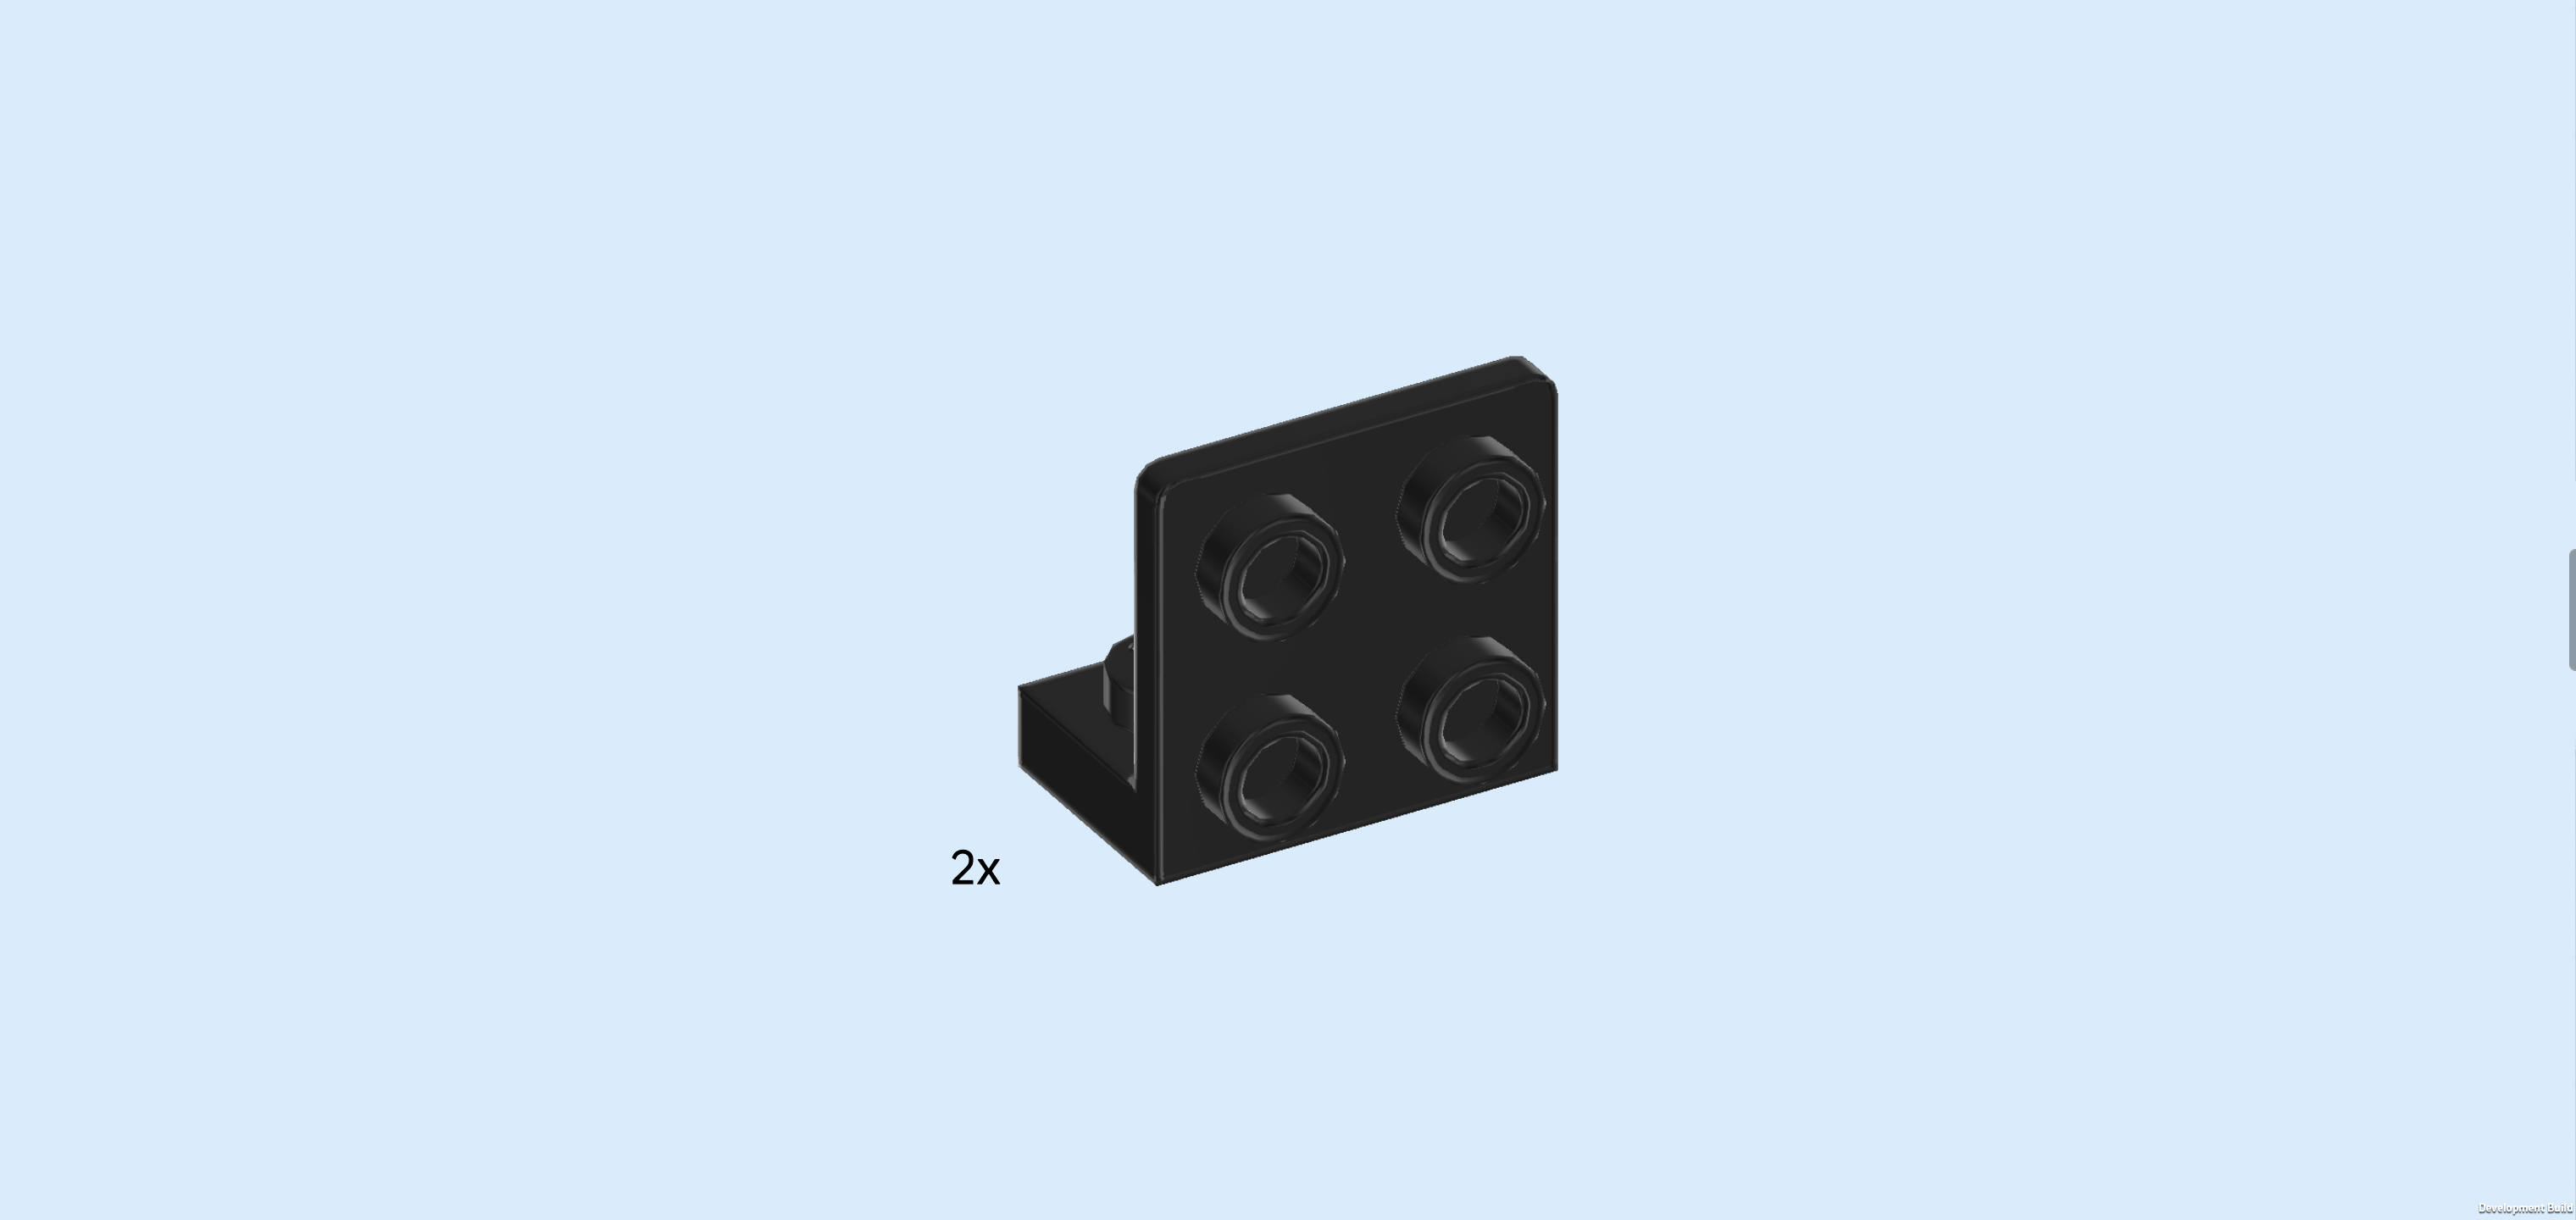
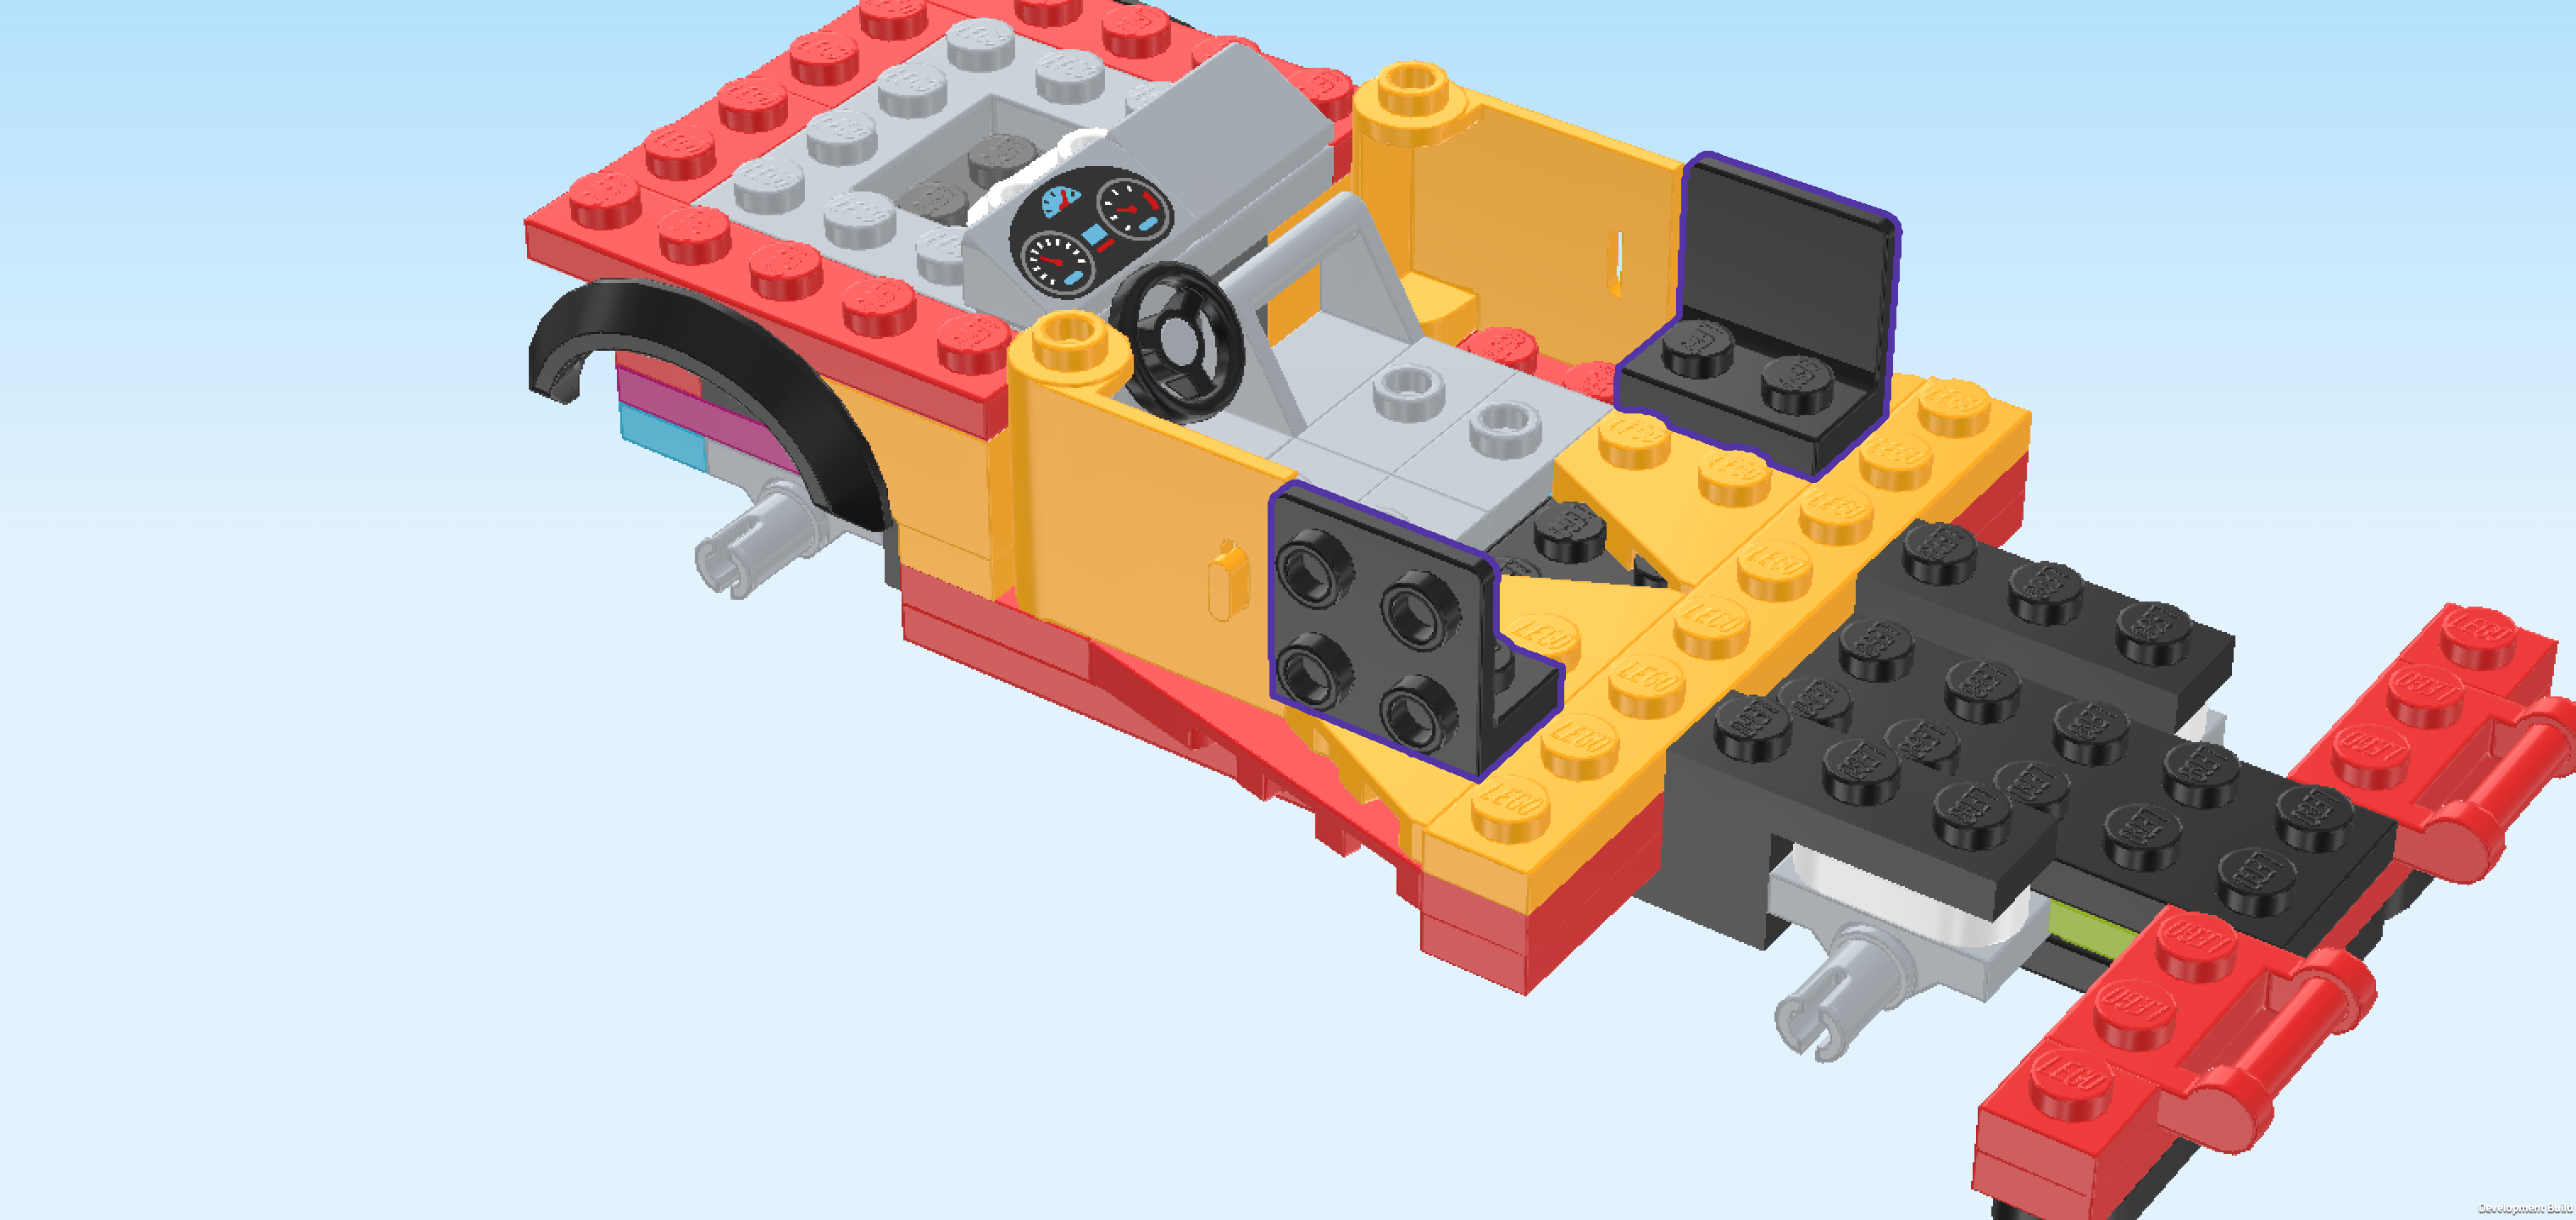
| Find 2 black bottom angle plates 1x2 - 2x2 with 4 side knobs. |
| Put 1 horizontally to the right of the previous piece, 4 side knobs to the front. |
| Repeat symmetrically at the back, side knobs to the back. |
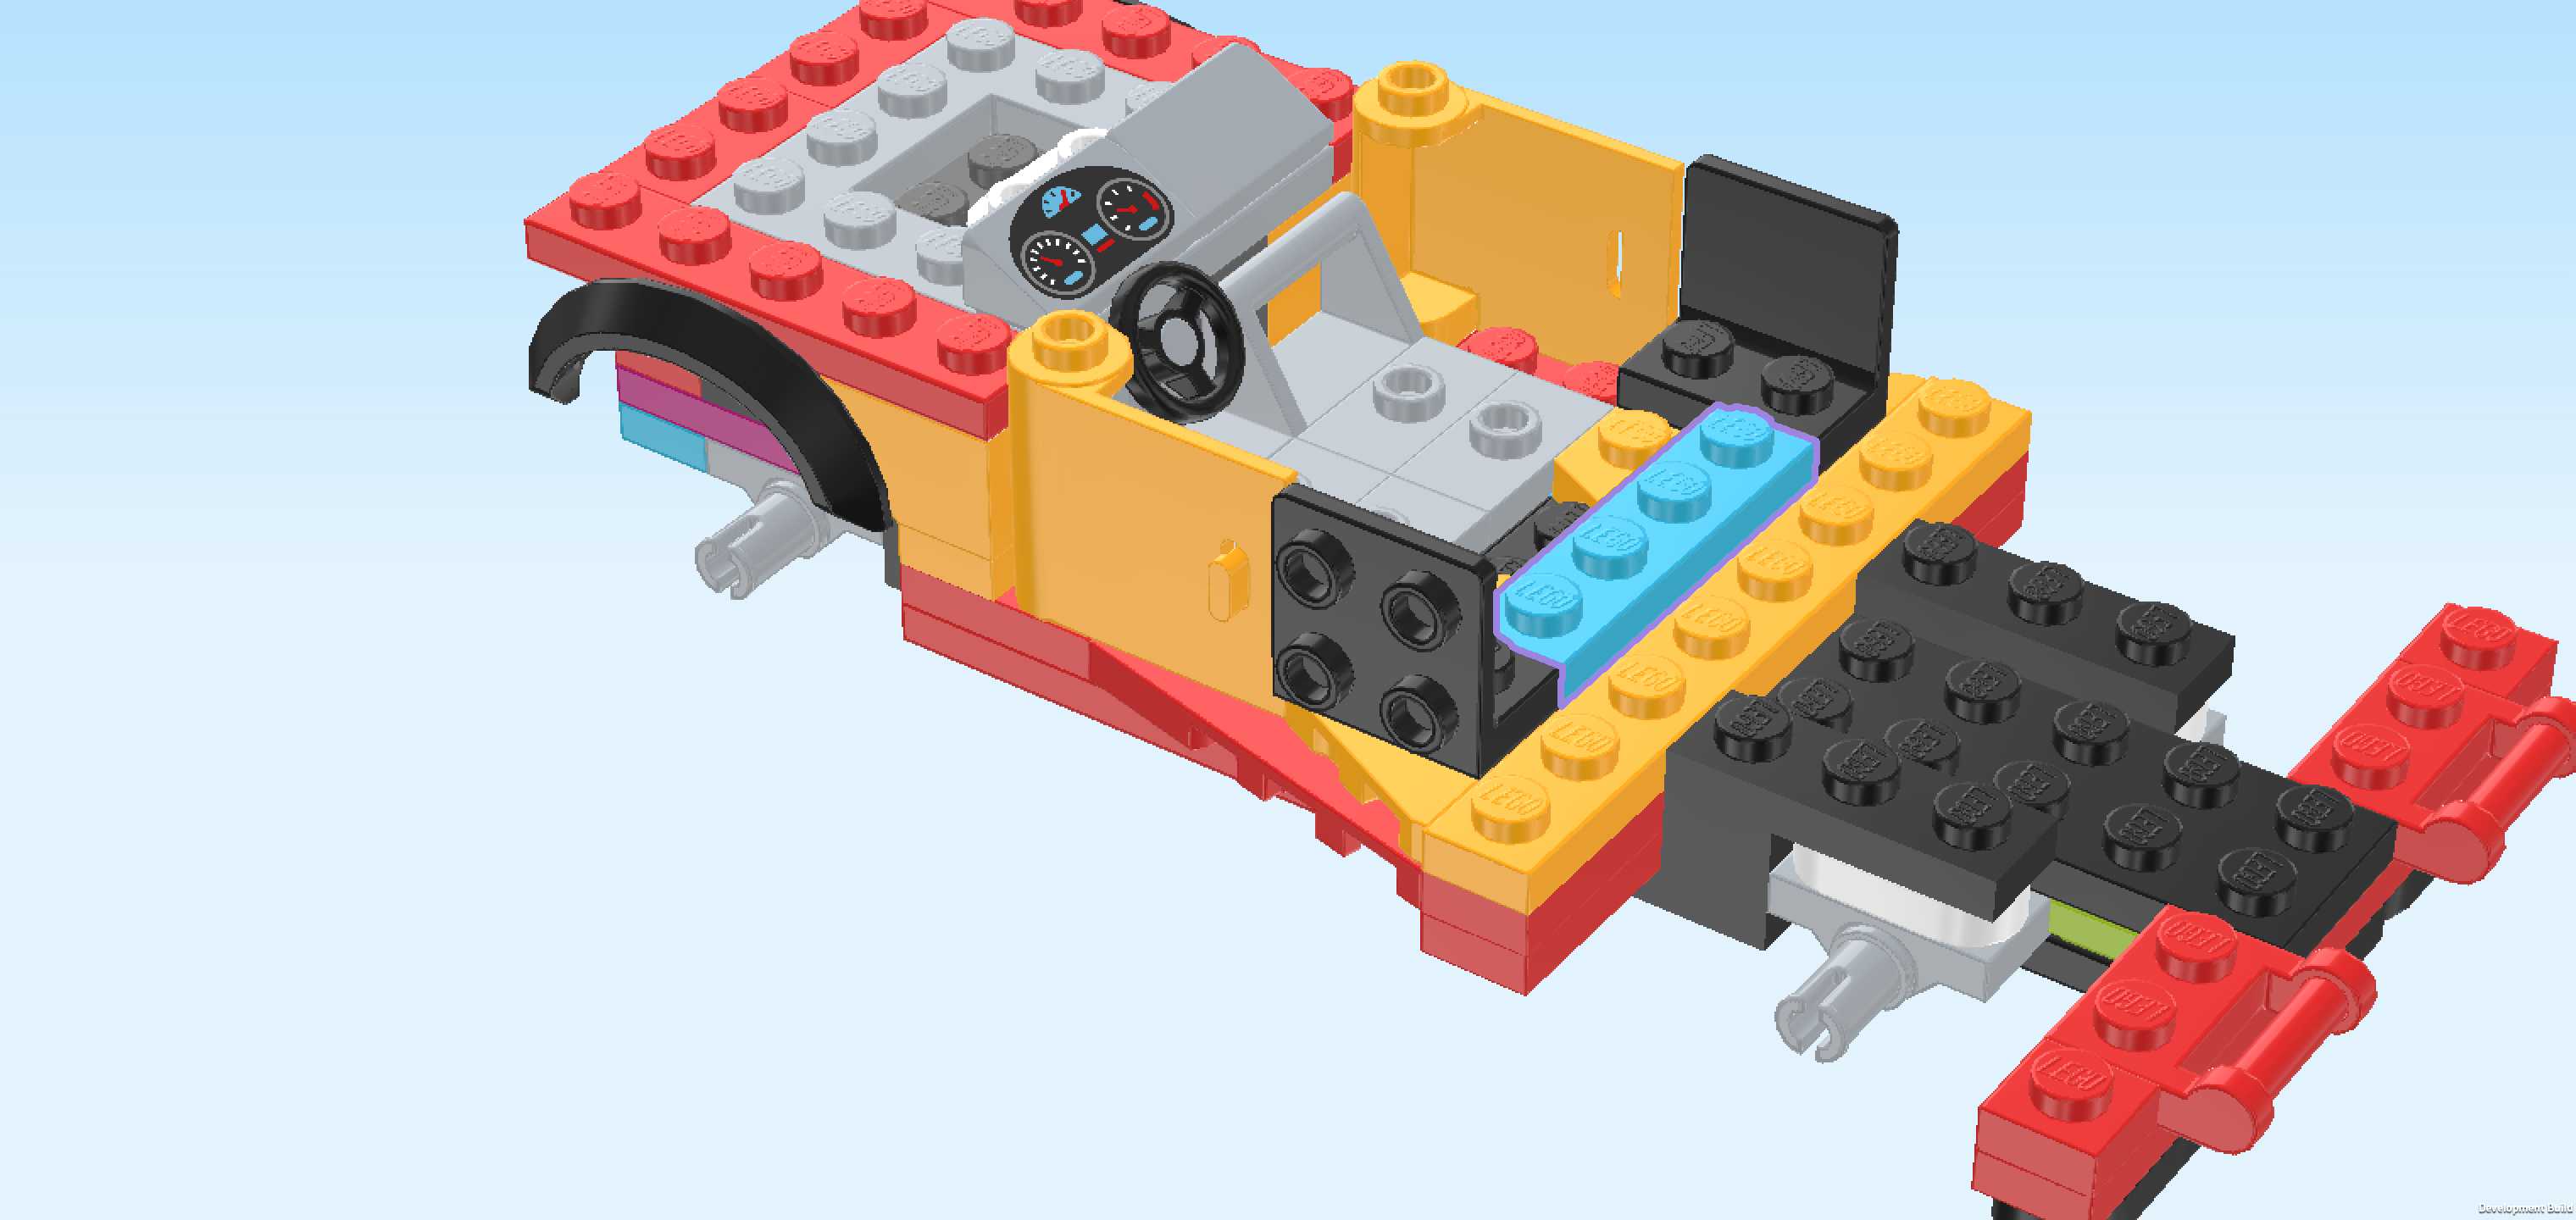
| Find 1 medium azure blue plate 1x4. |
| Put it vertically between the right halves of the 2 previous pieces. |
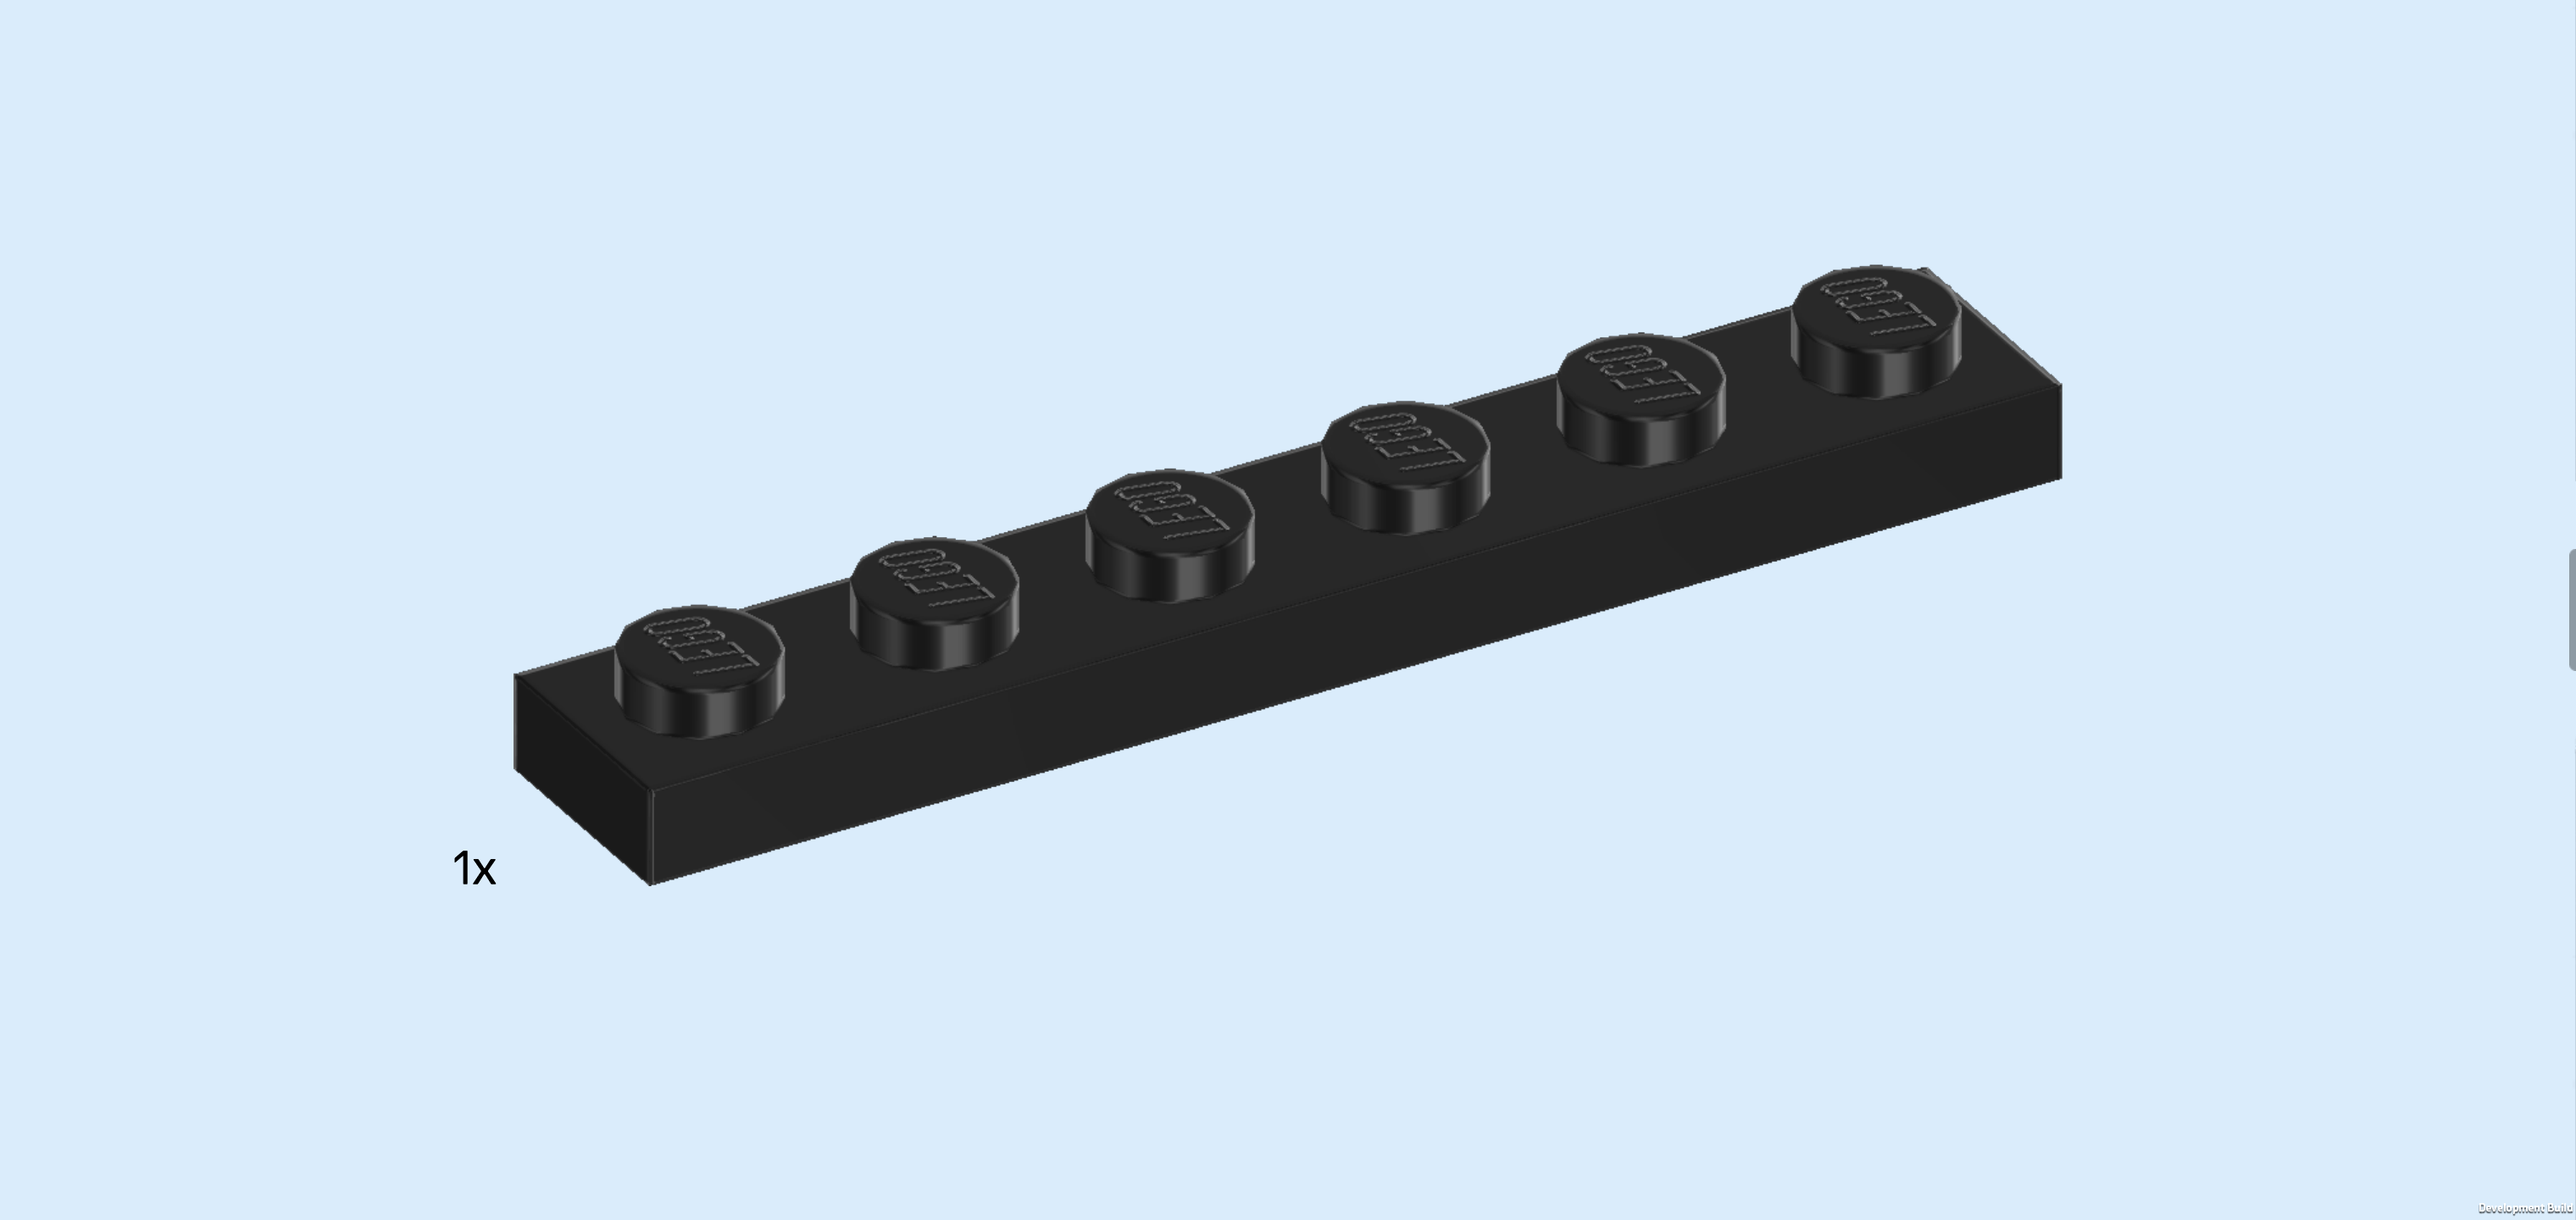
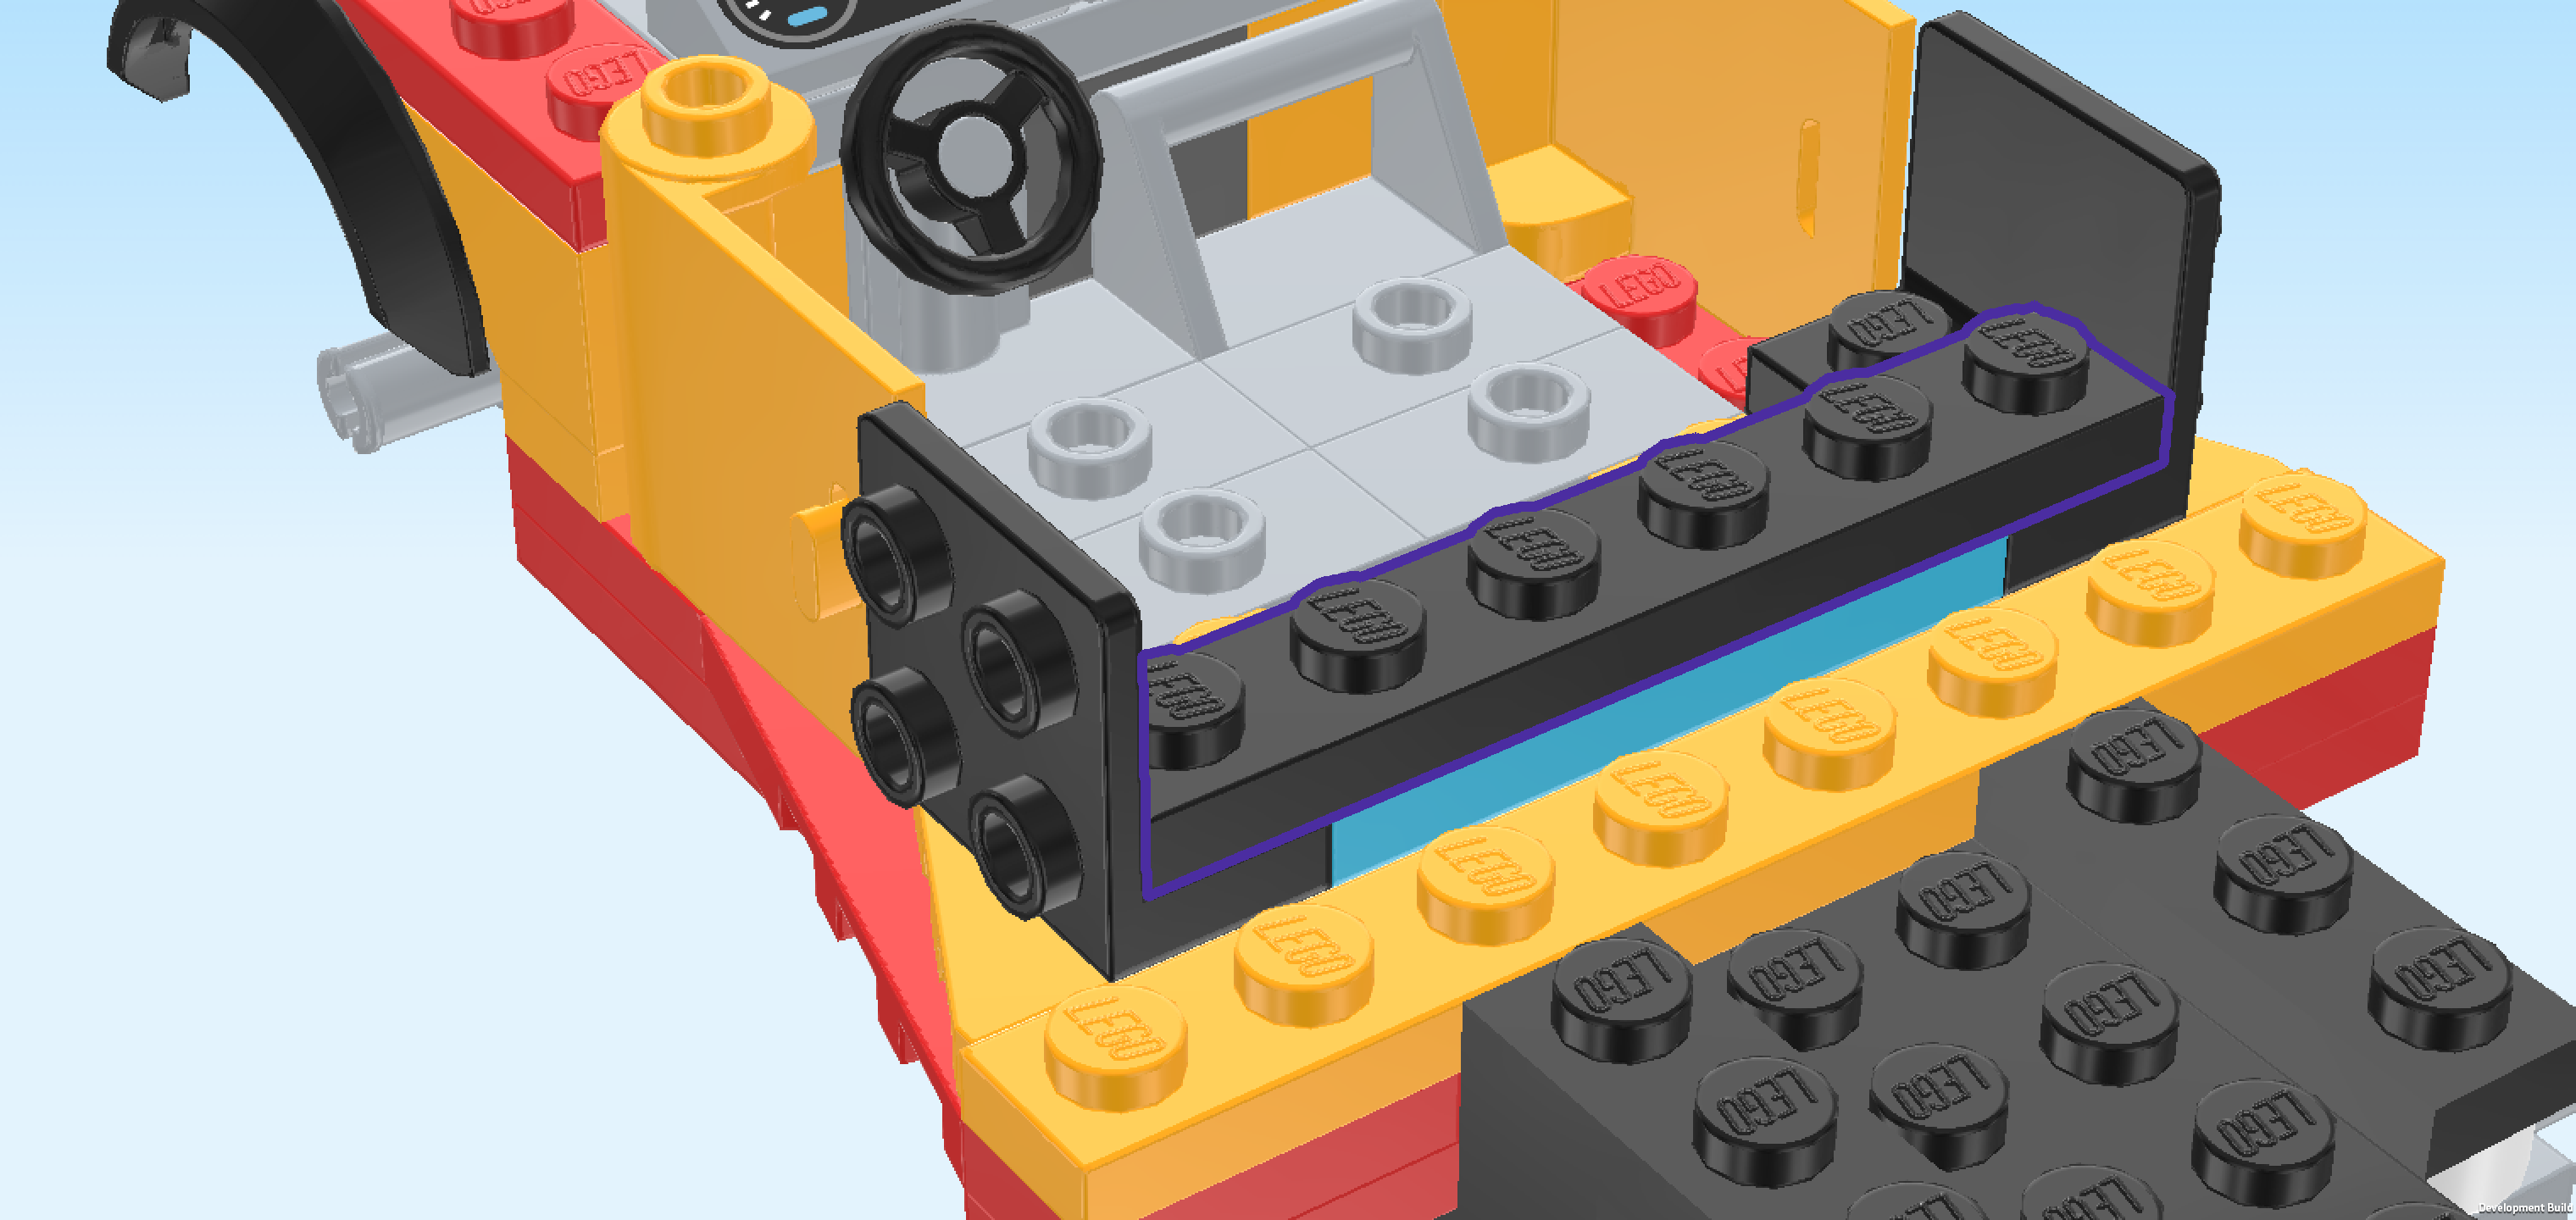
| Find 1 black plate 1x6. |
| Put it vertically centered on top of the previous piece, which means that it will also connect the 2 bottom angle plates with each other. |
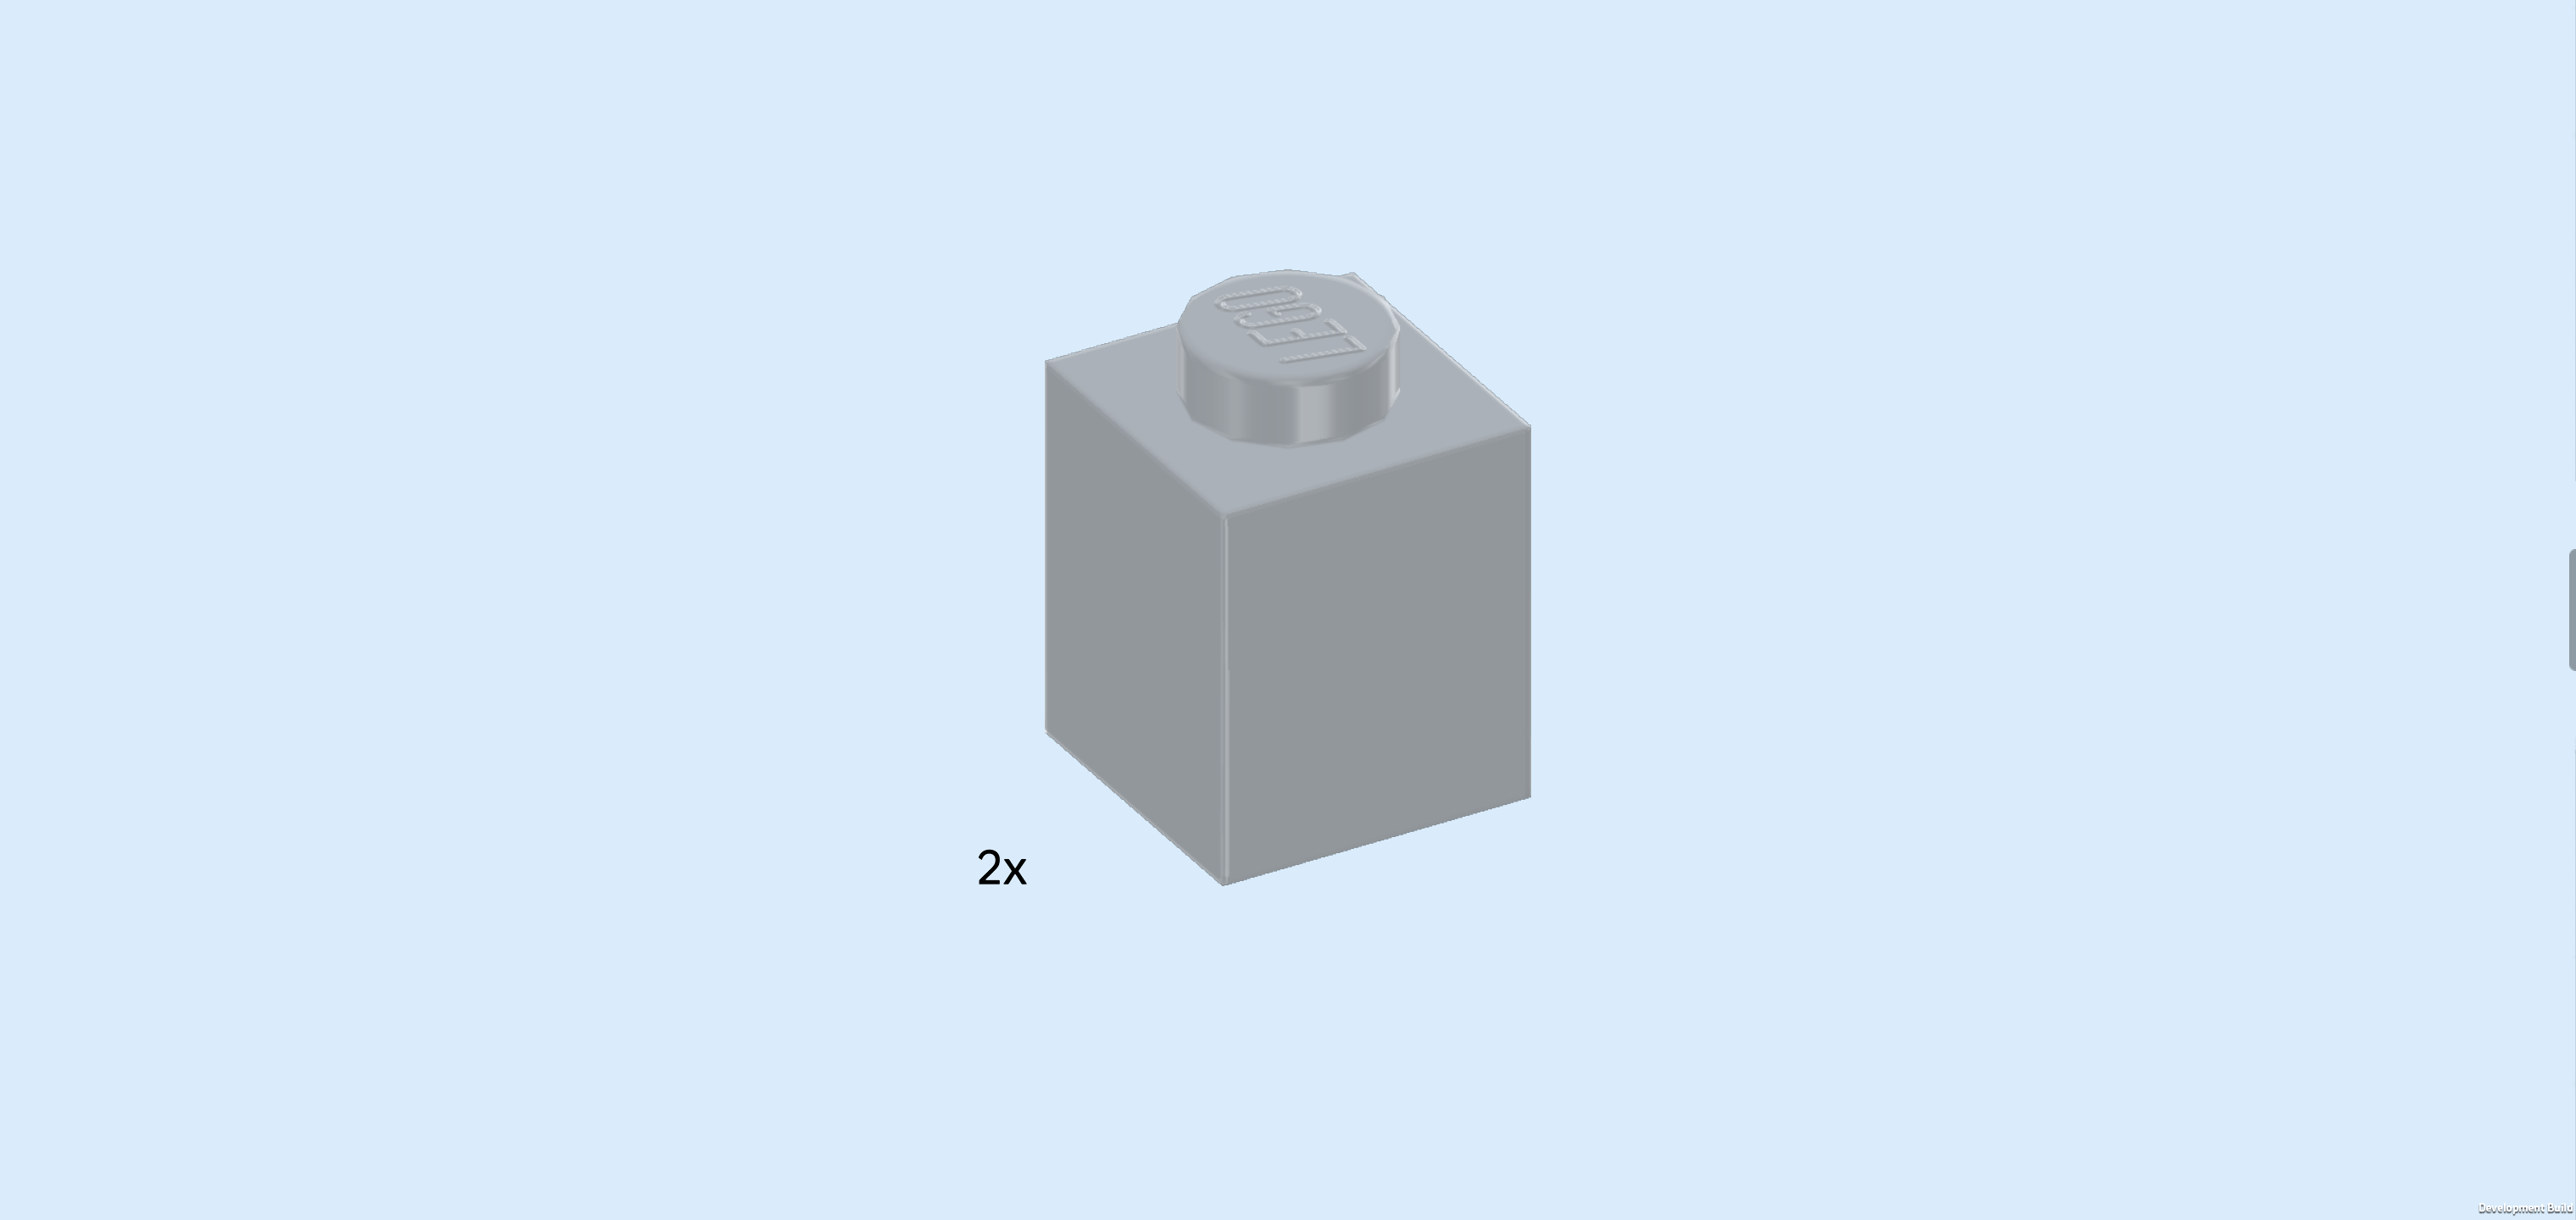
| Find 2 medium stone grey bricks 1x1. |
| Put 1 to the left of the previous piece's backmost knob. |
| Repeat symmetrically at the front. |
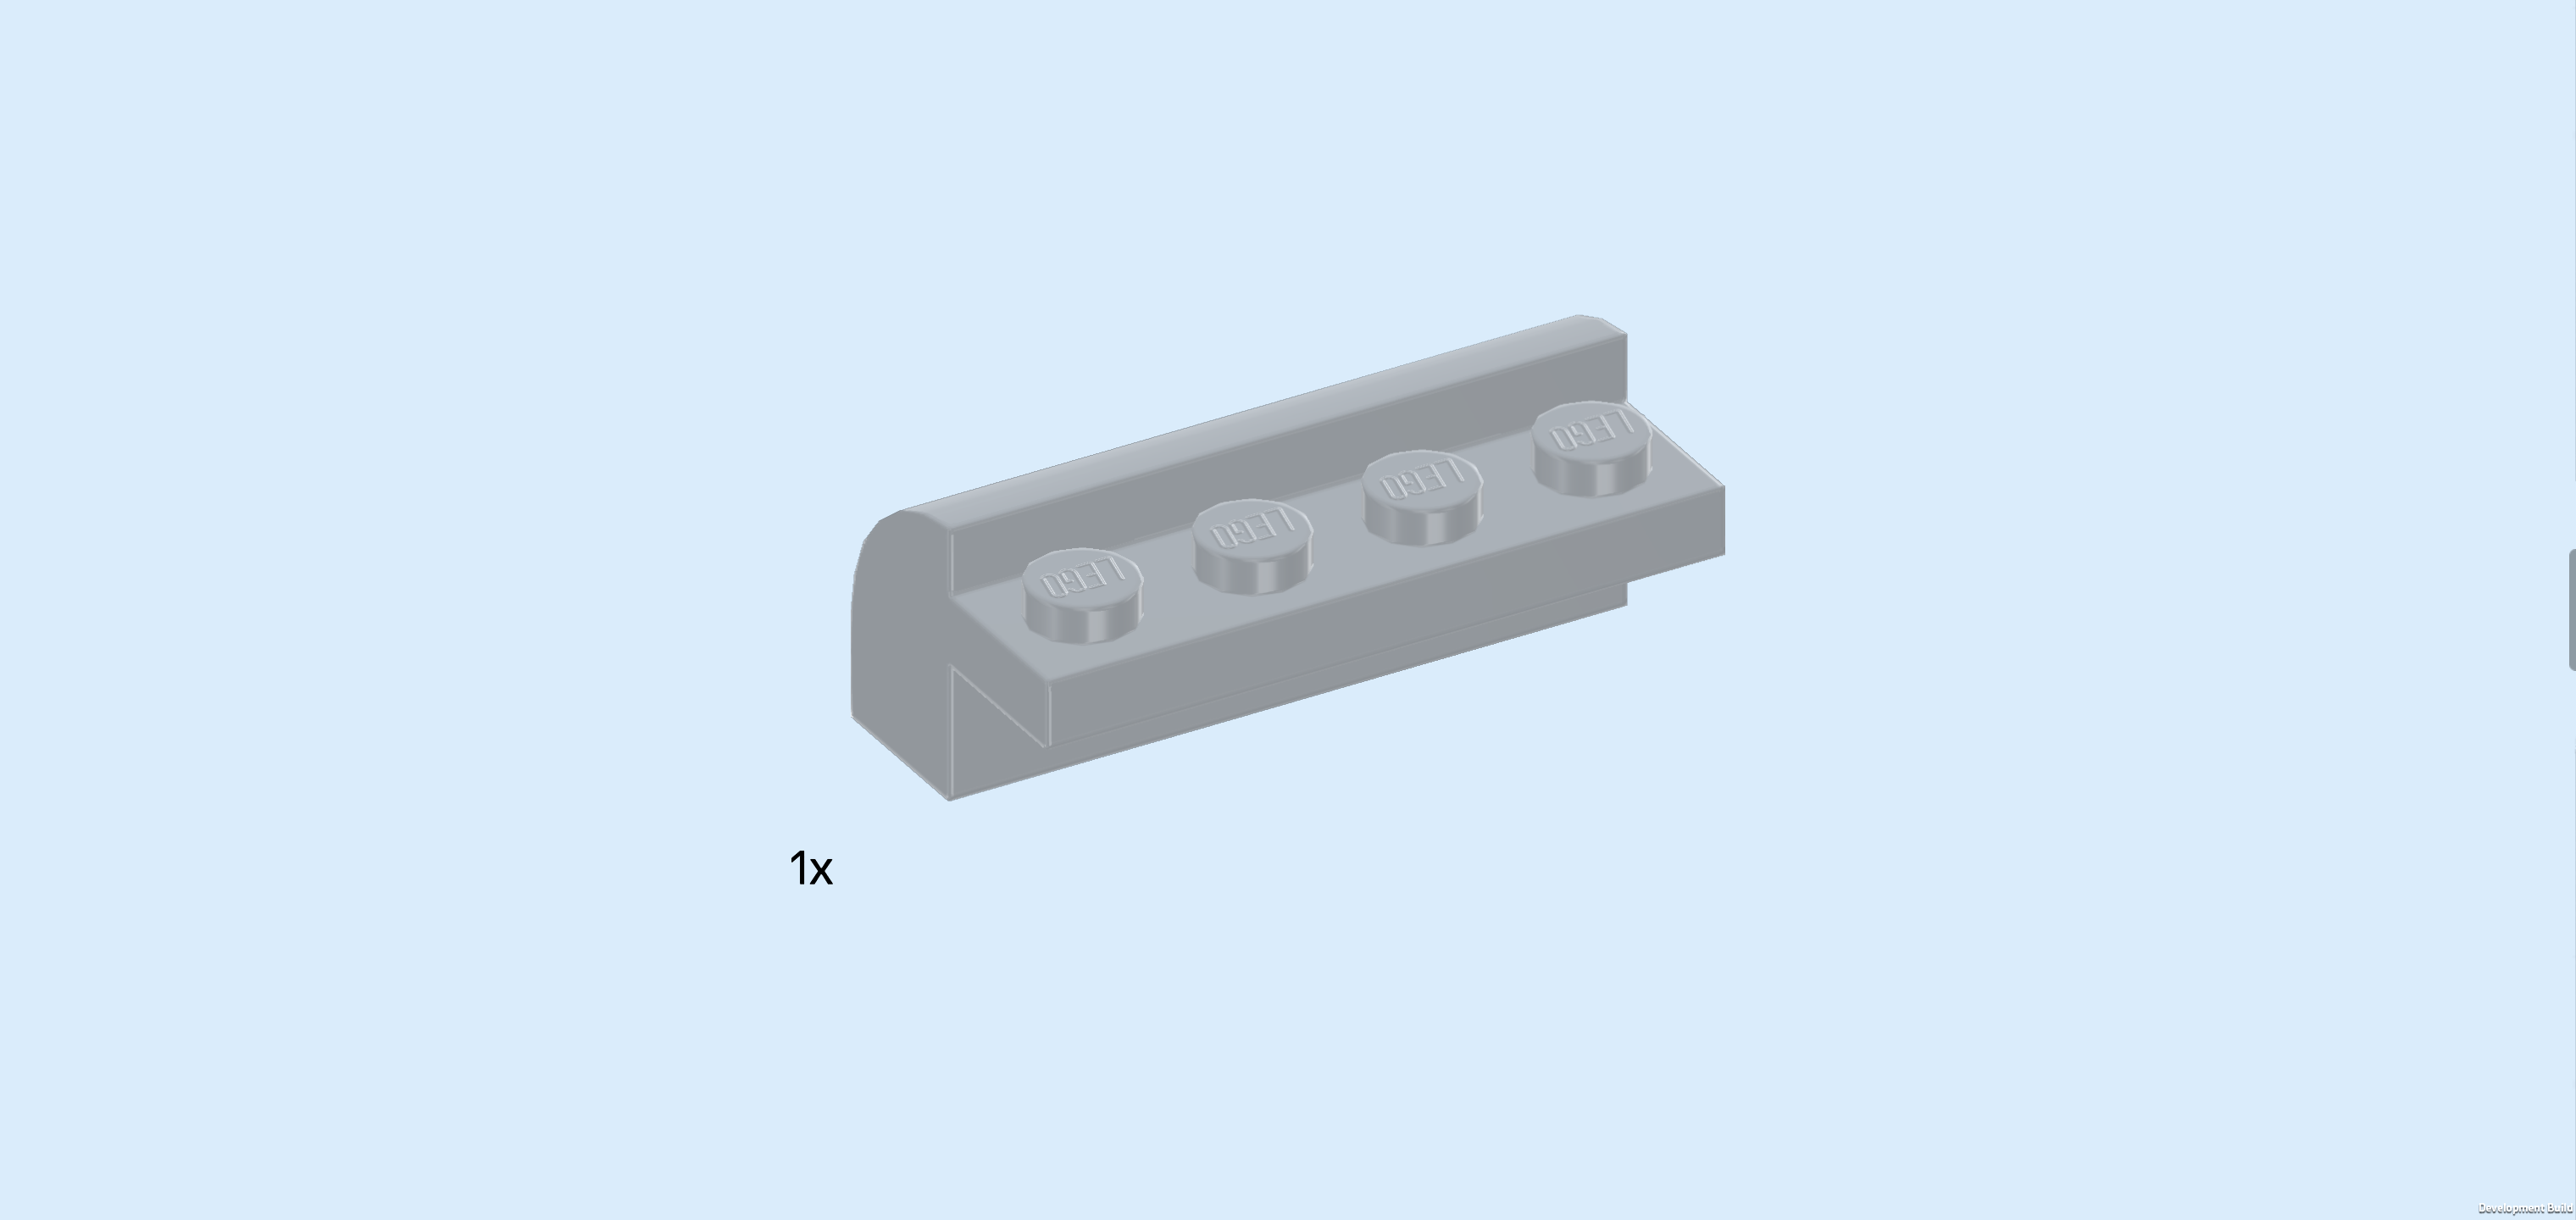
| Find 1 medium stone grey curve brick 1x4 with protruding plate 1x4. |
| Put it vertically between the 2 previous pieces, protruding plate to the right. |
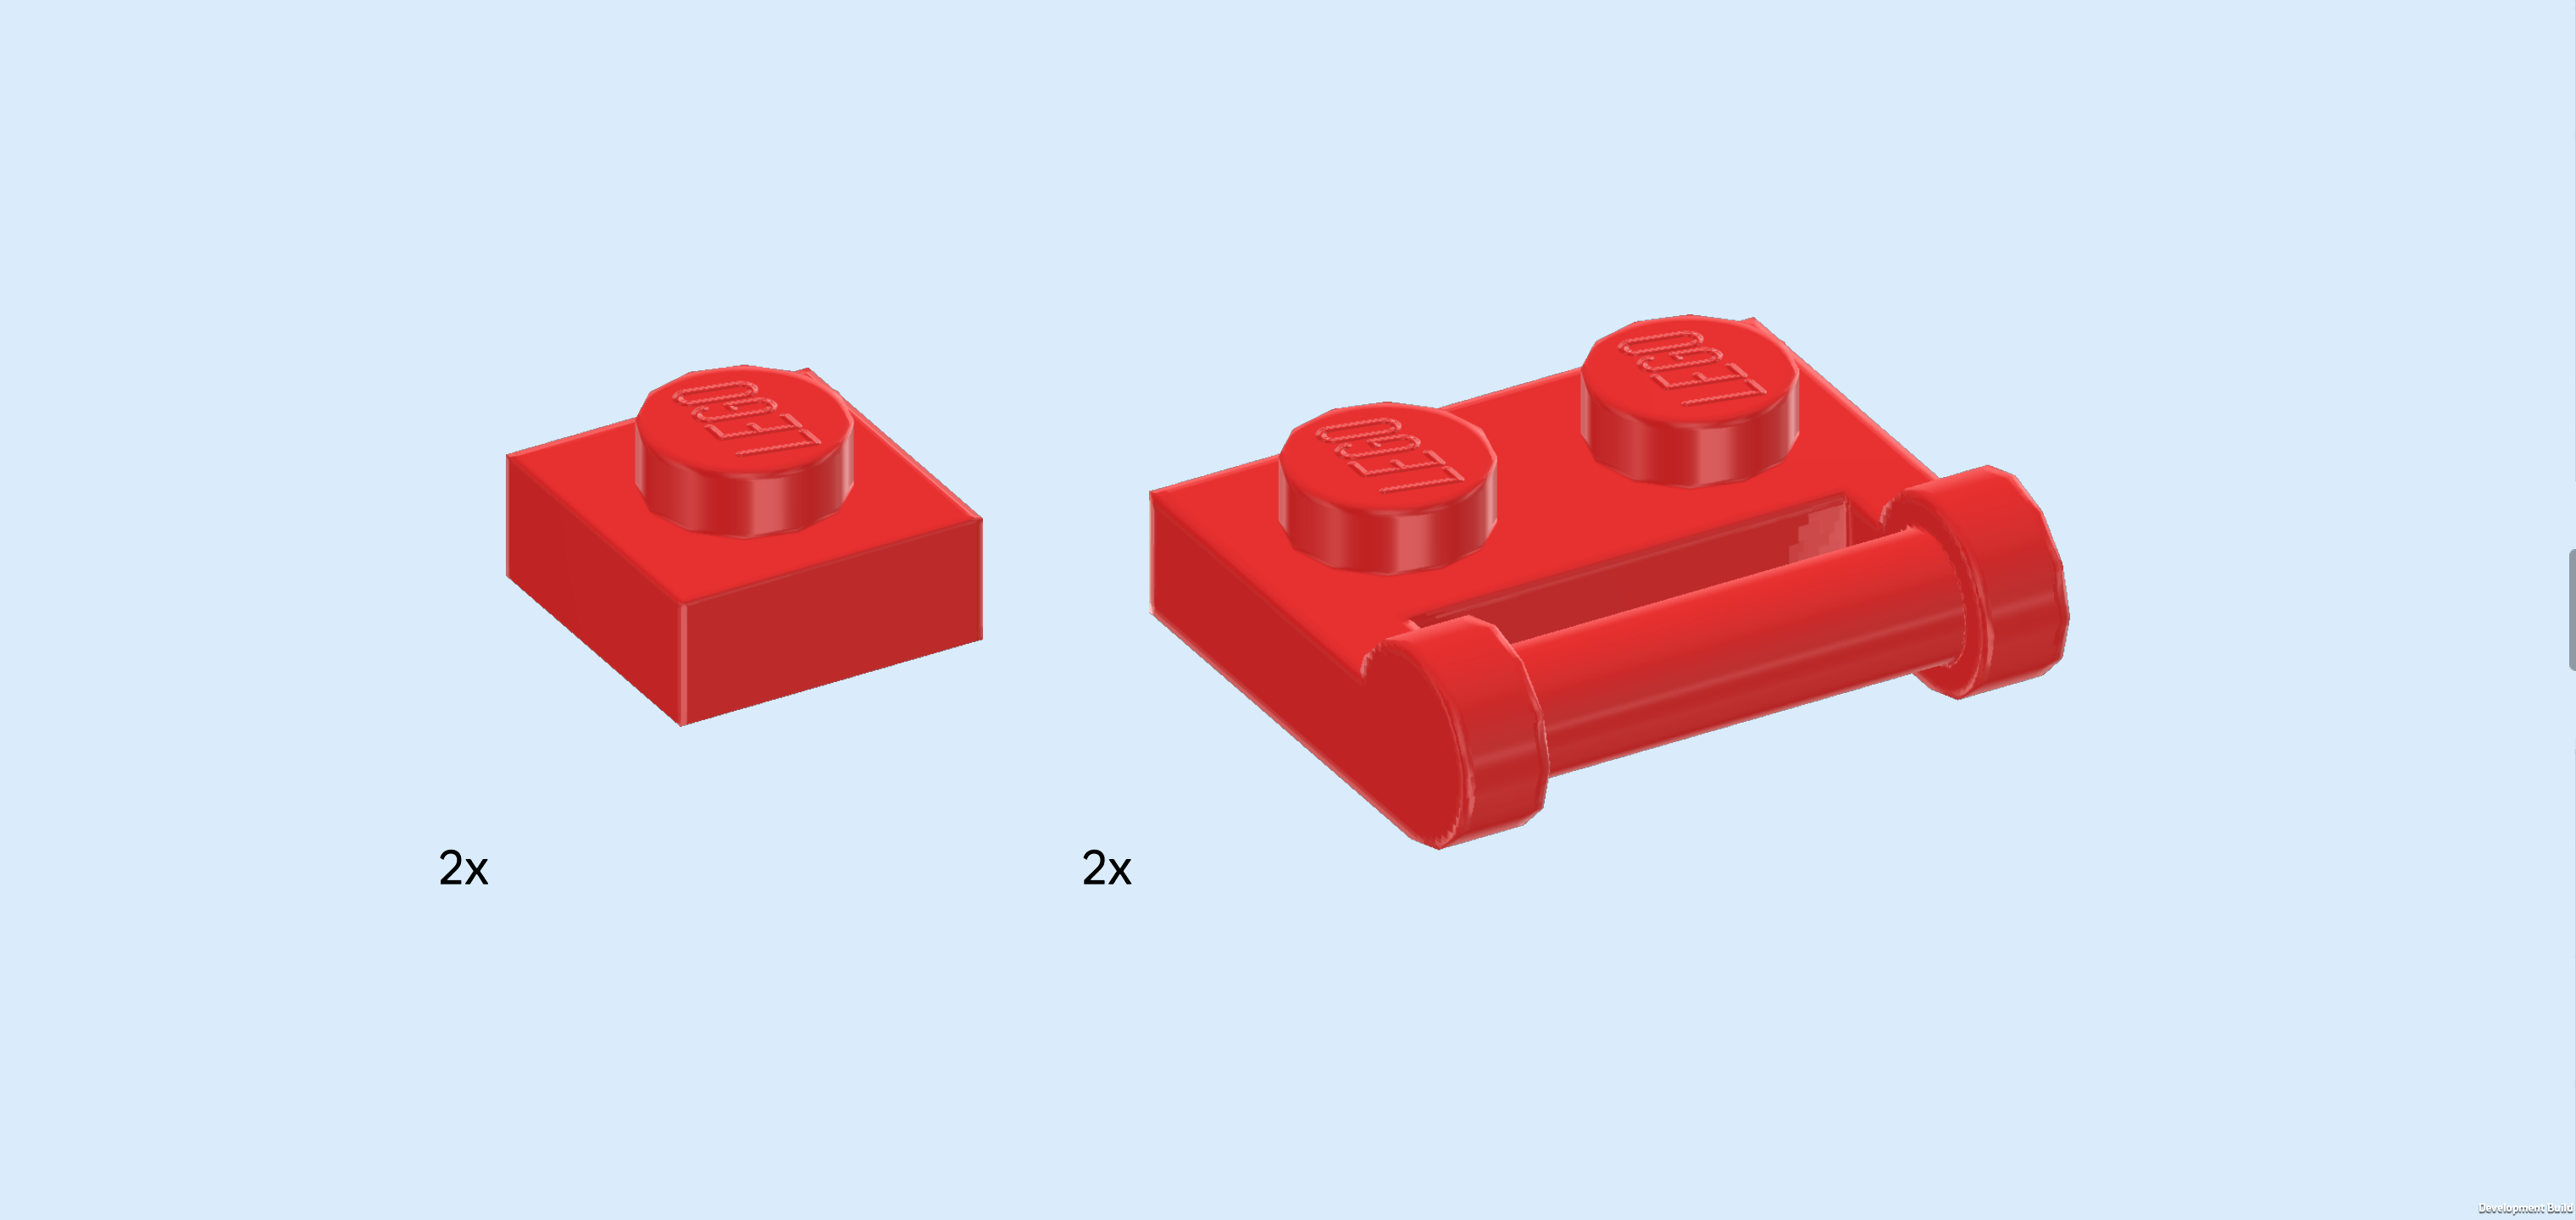
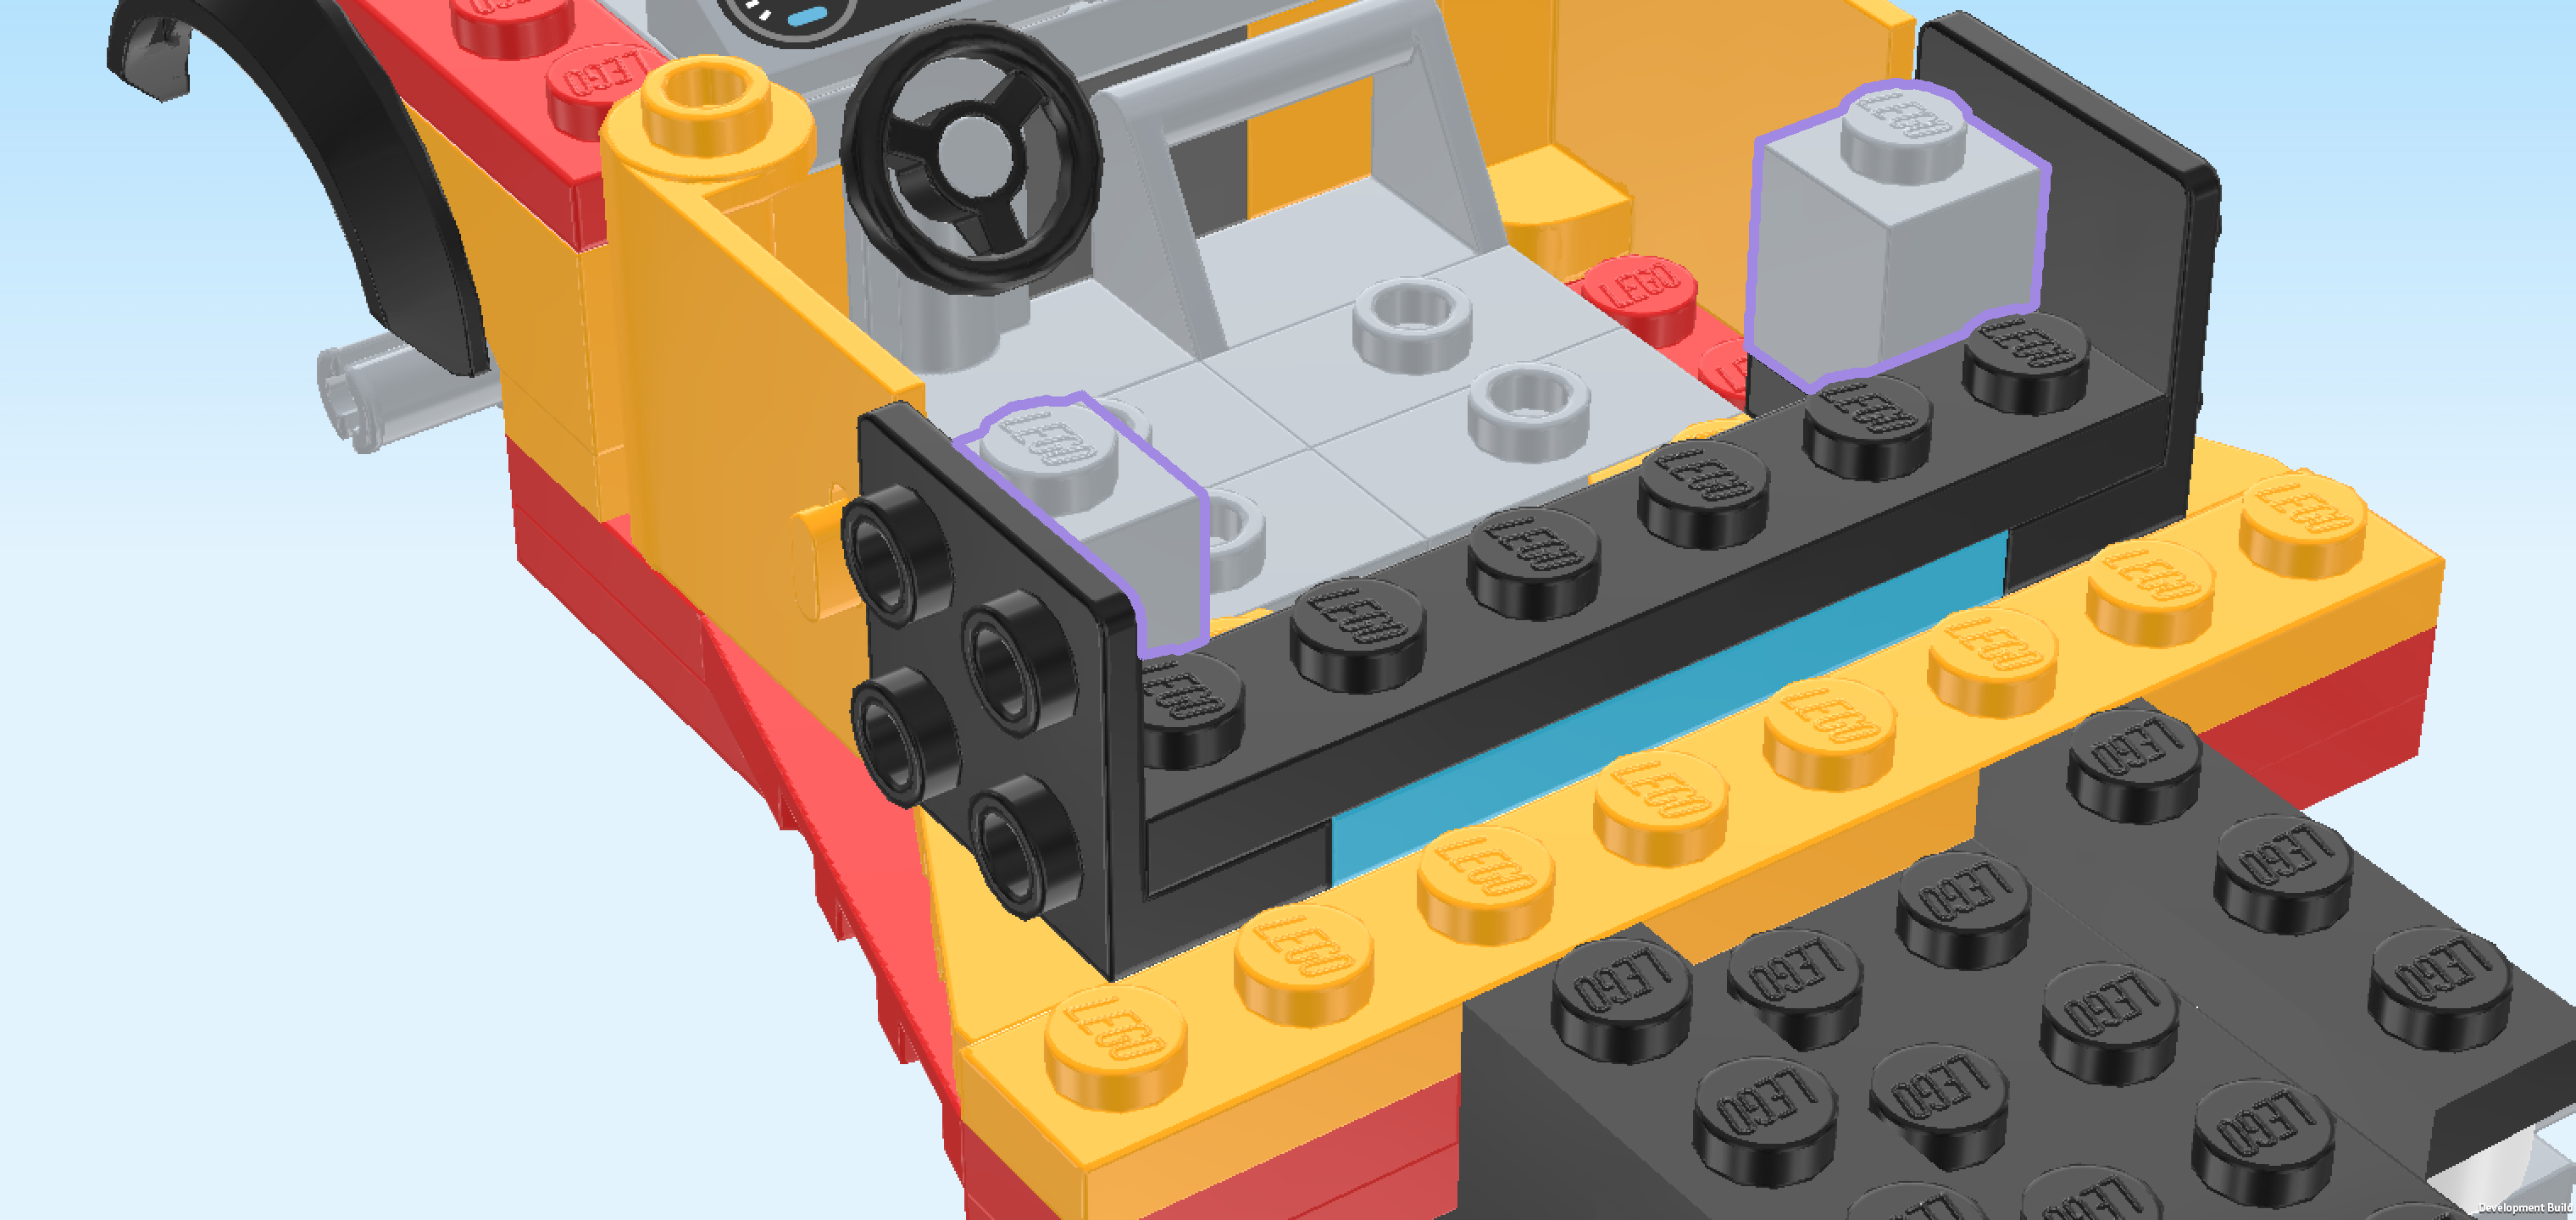
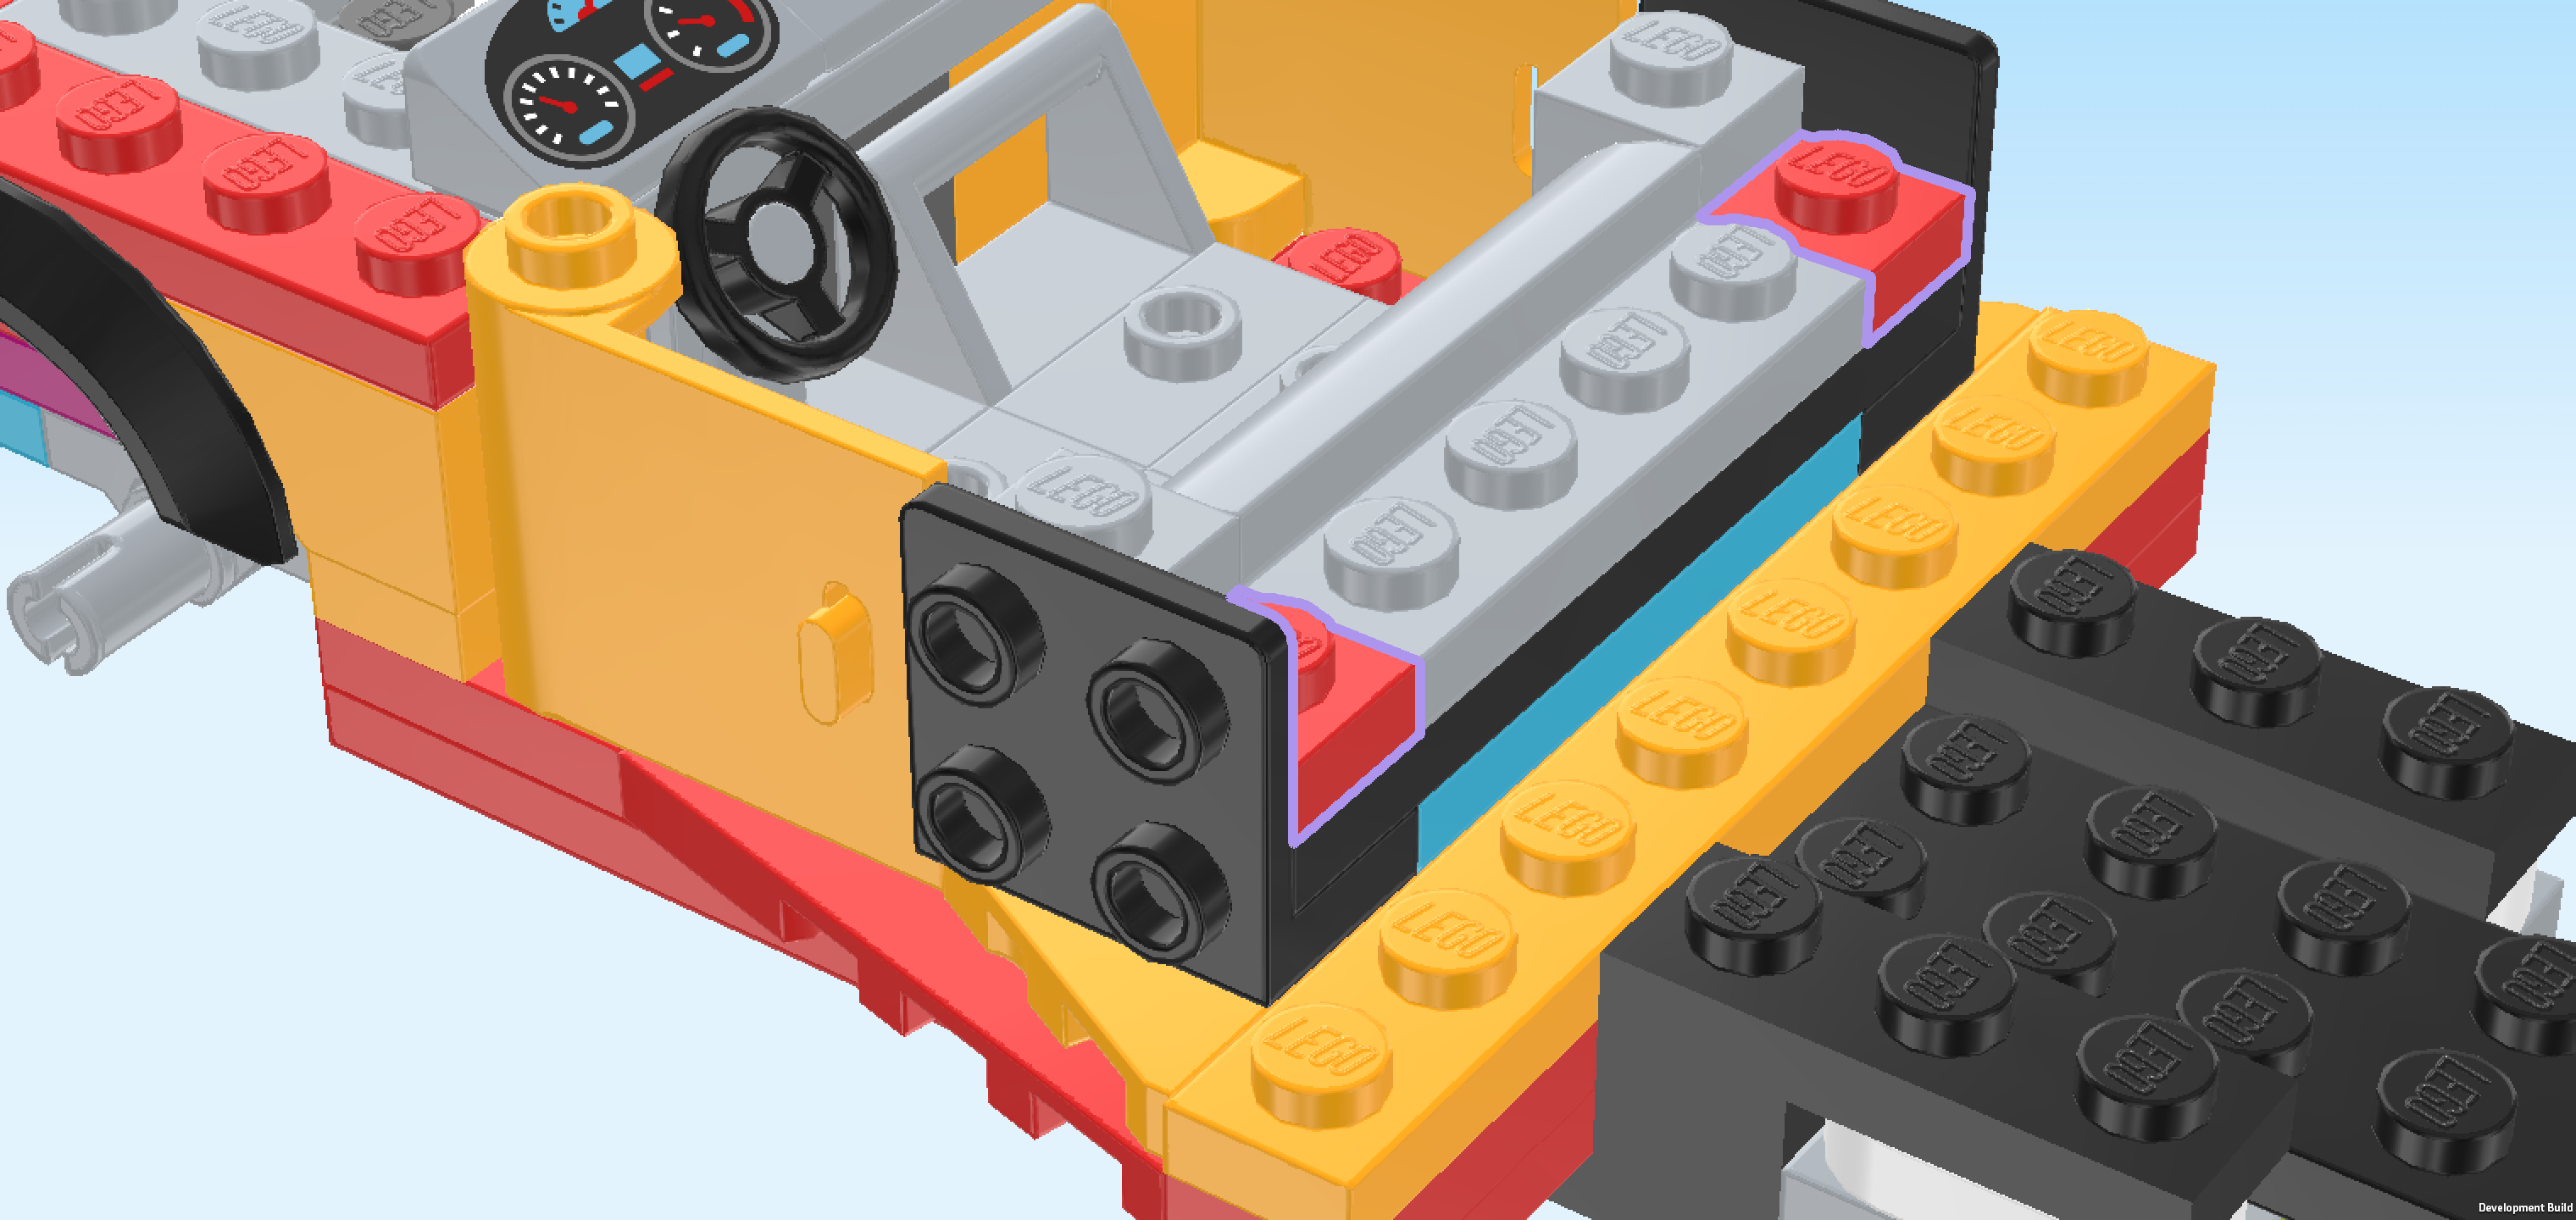
| Find 2 bright red plates 1x1. |
| Put 1 on the knob behind the protruding plate of the previous piece. |
| Repeat symmetrically at the front. |
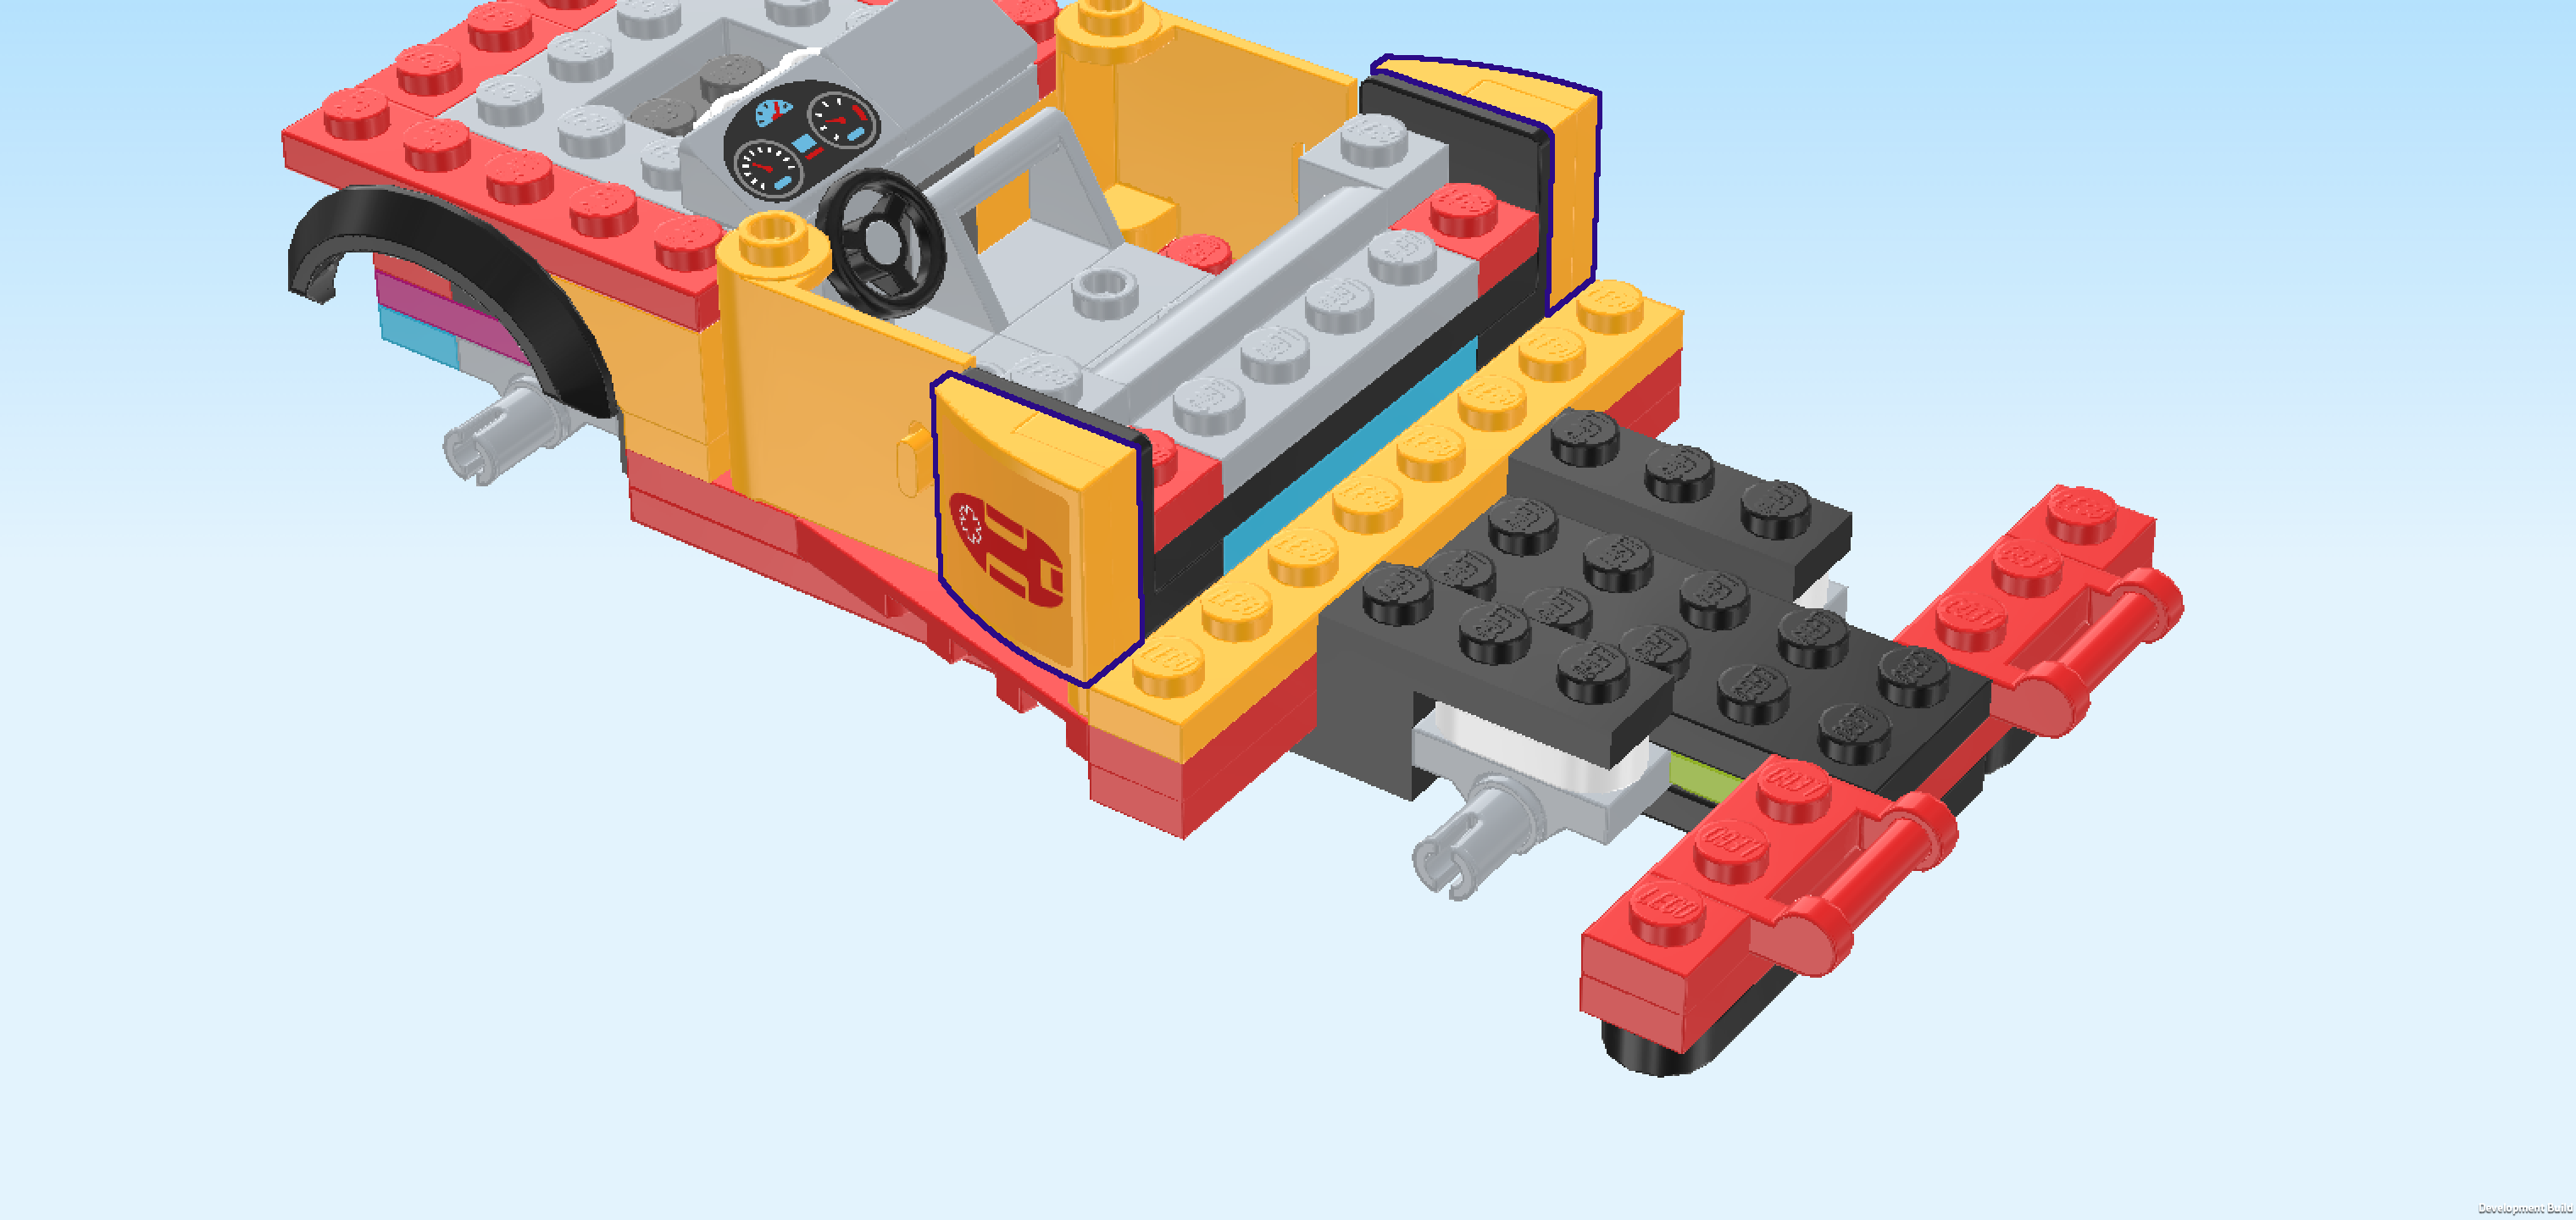
| Next, we will build 2 side panels. |
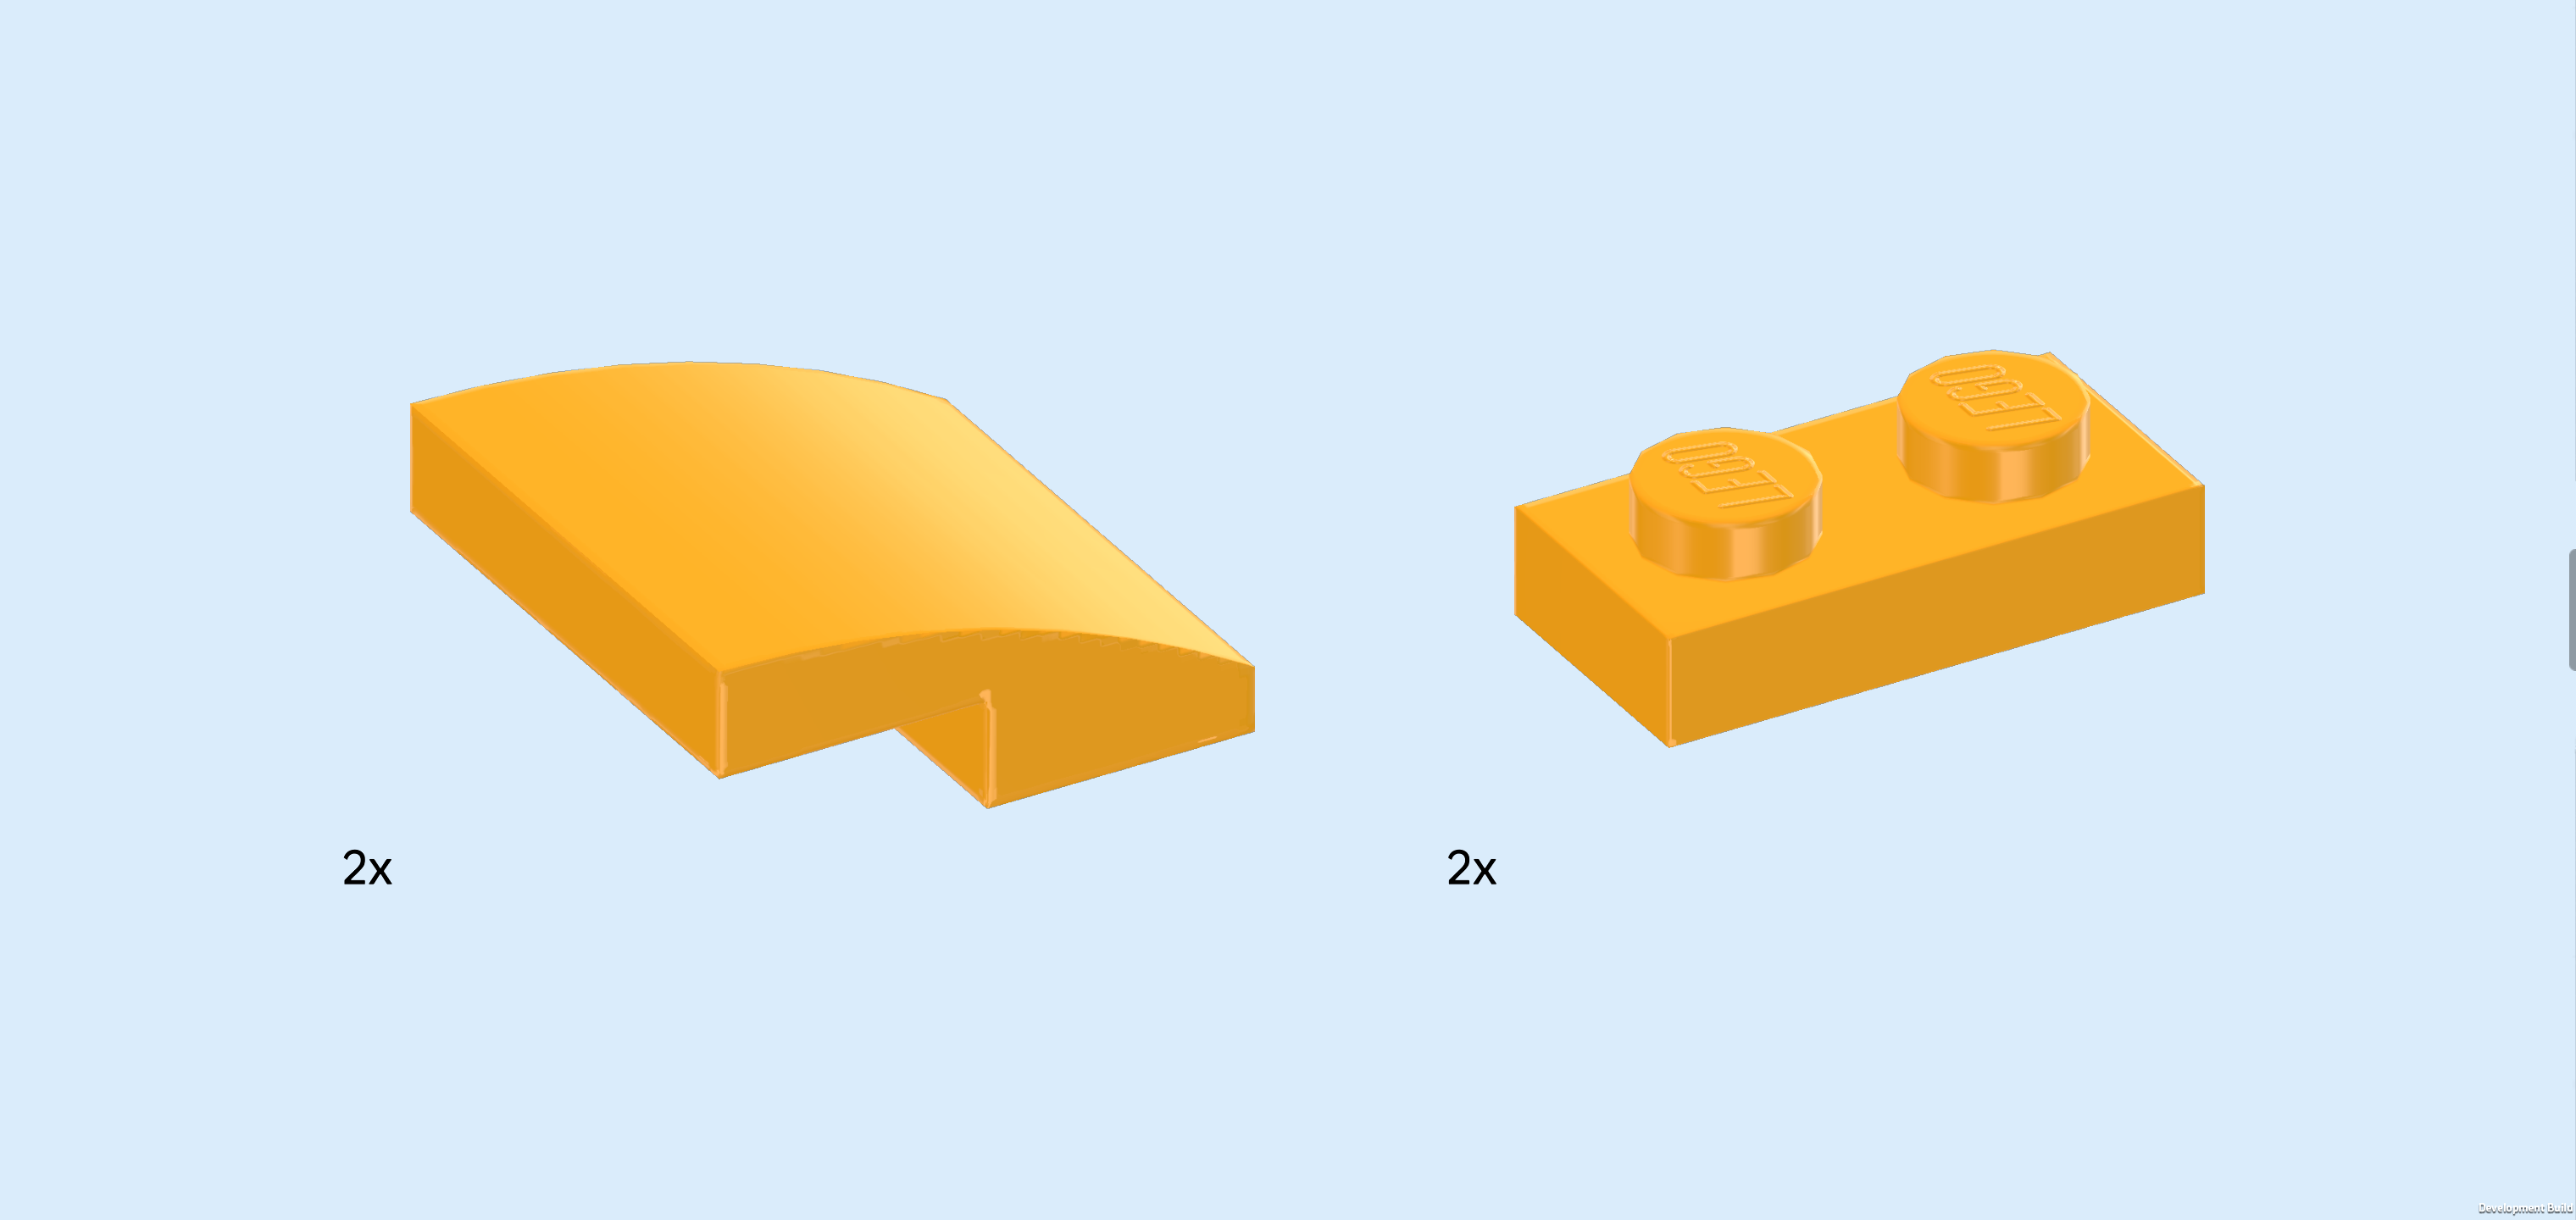
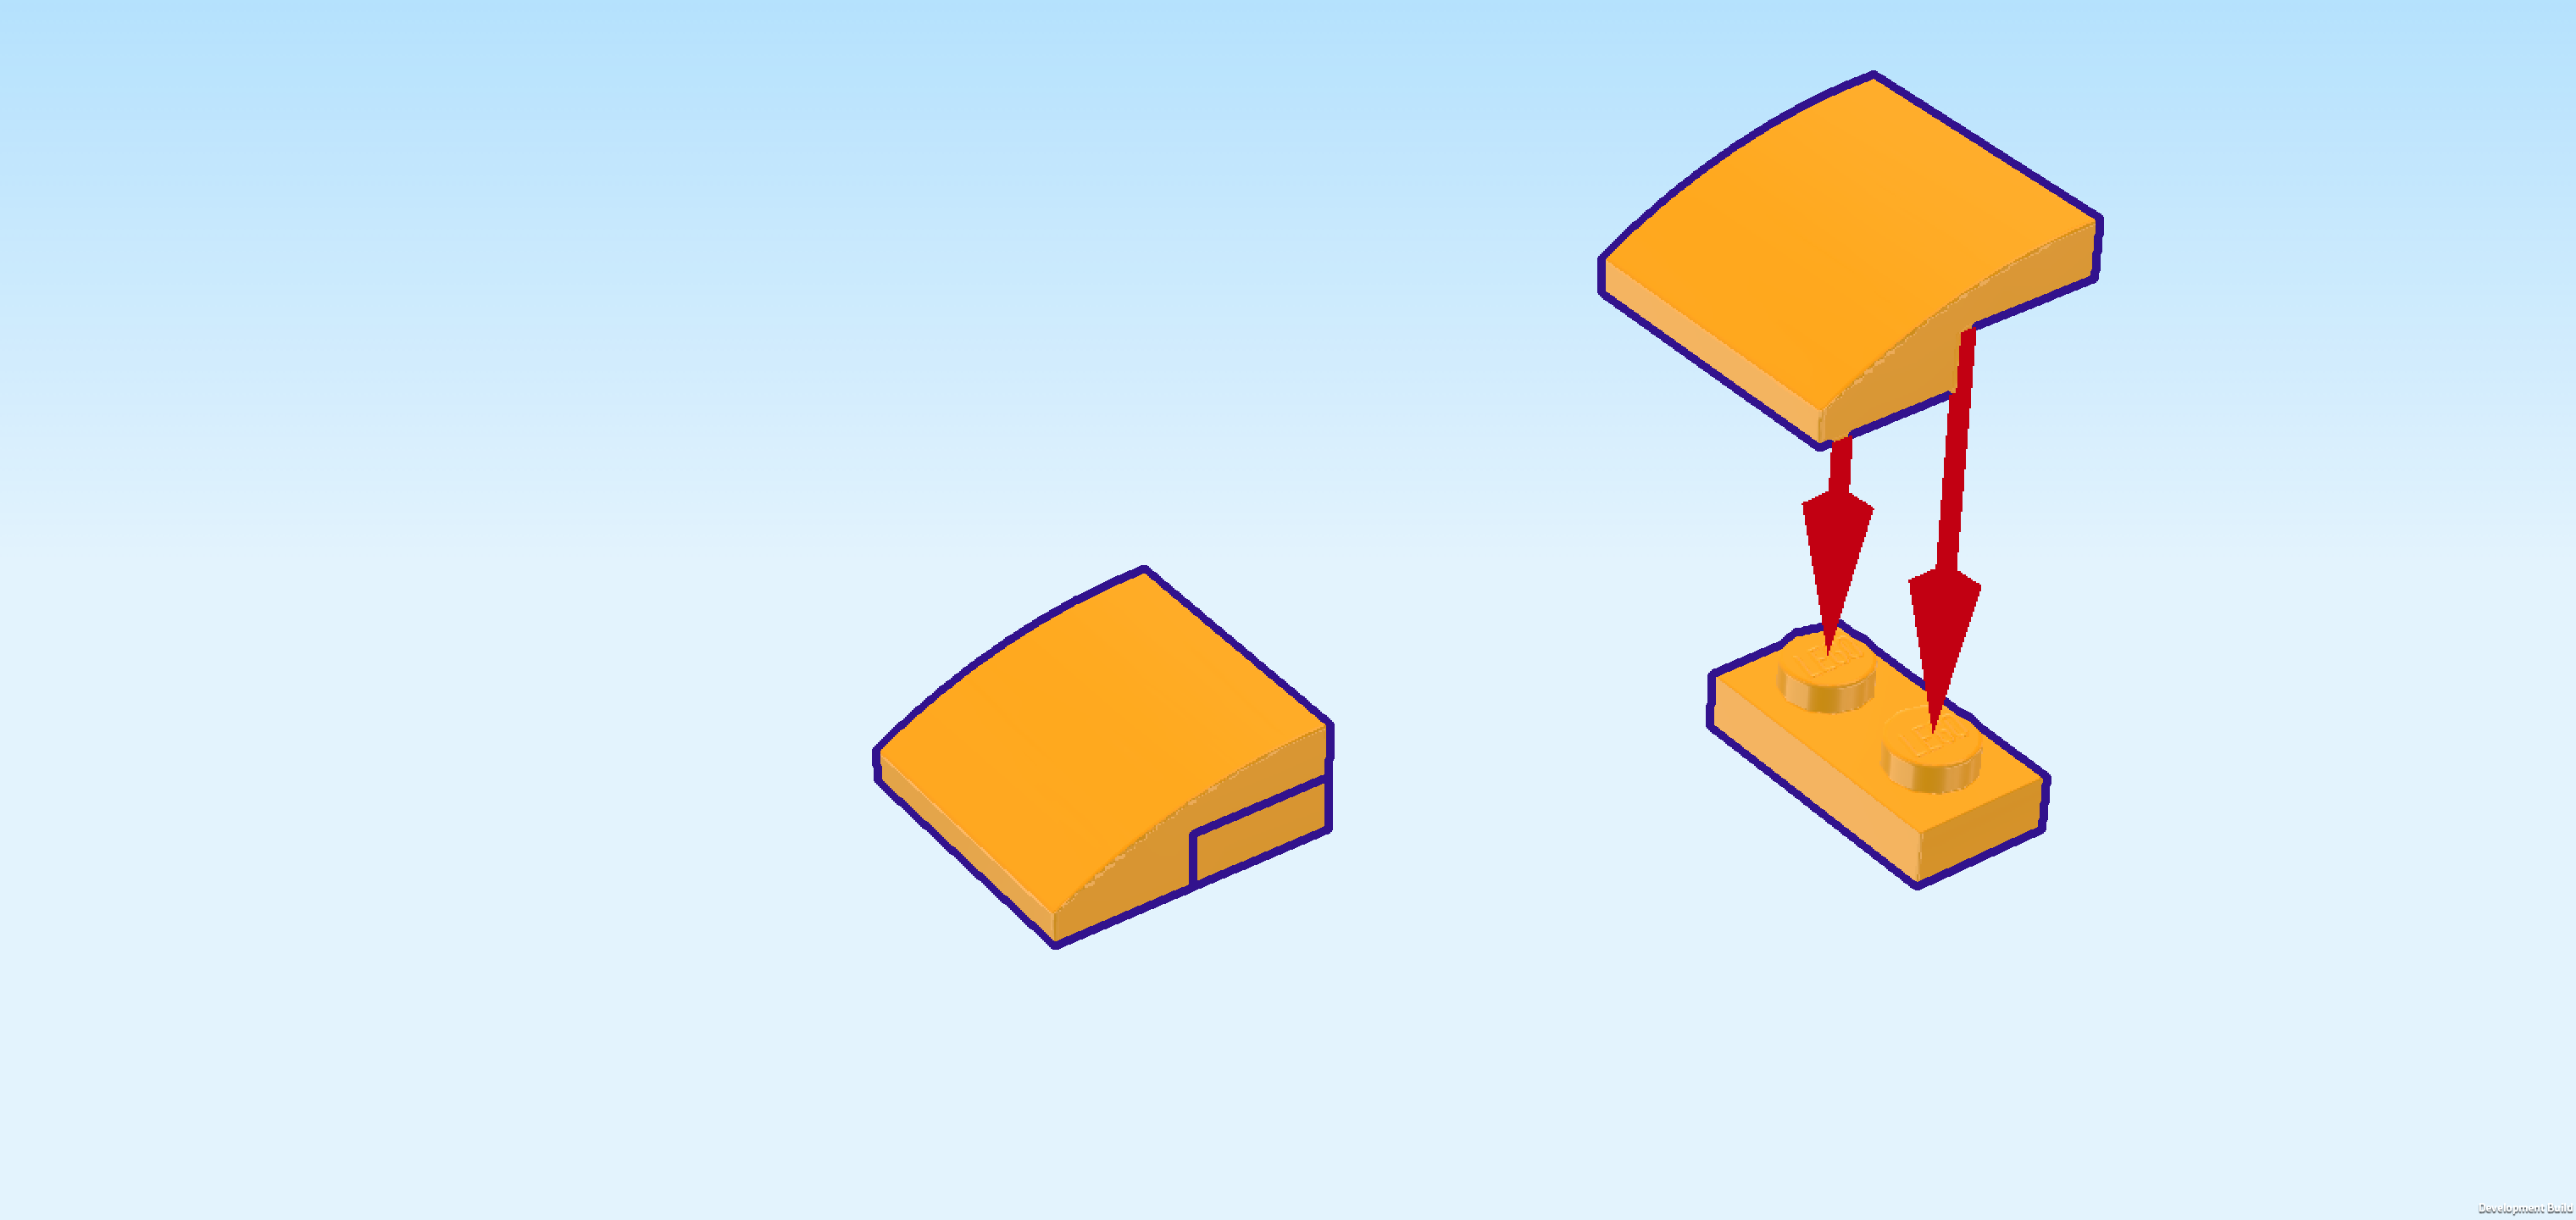
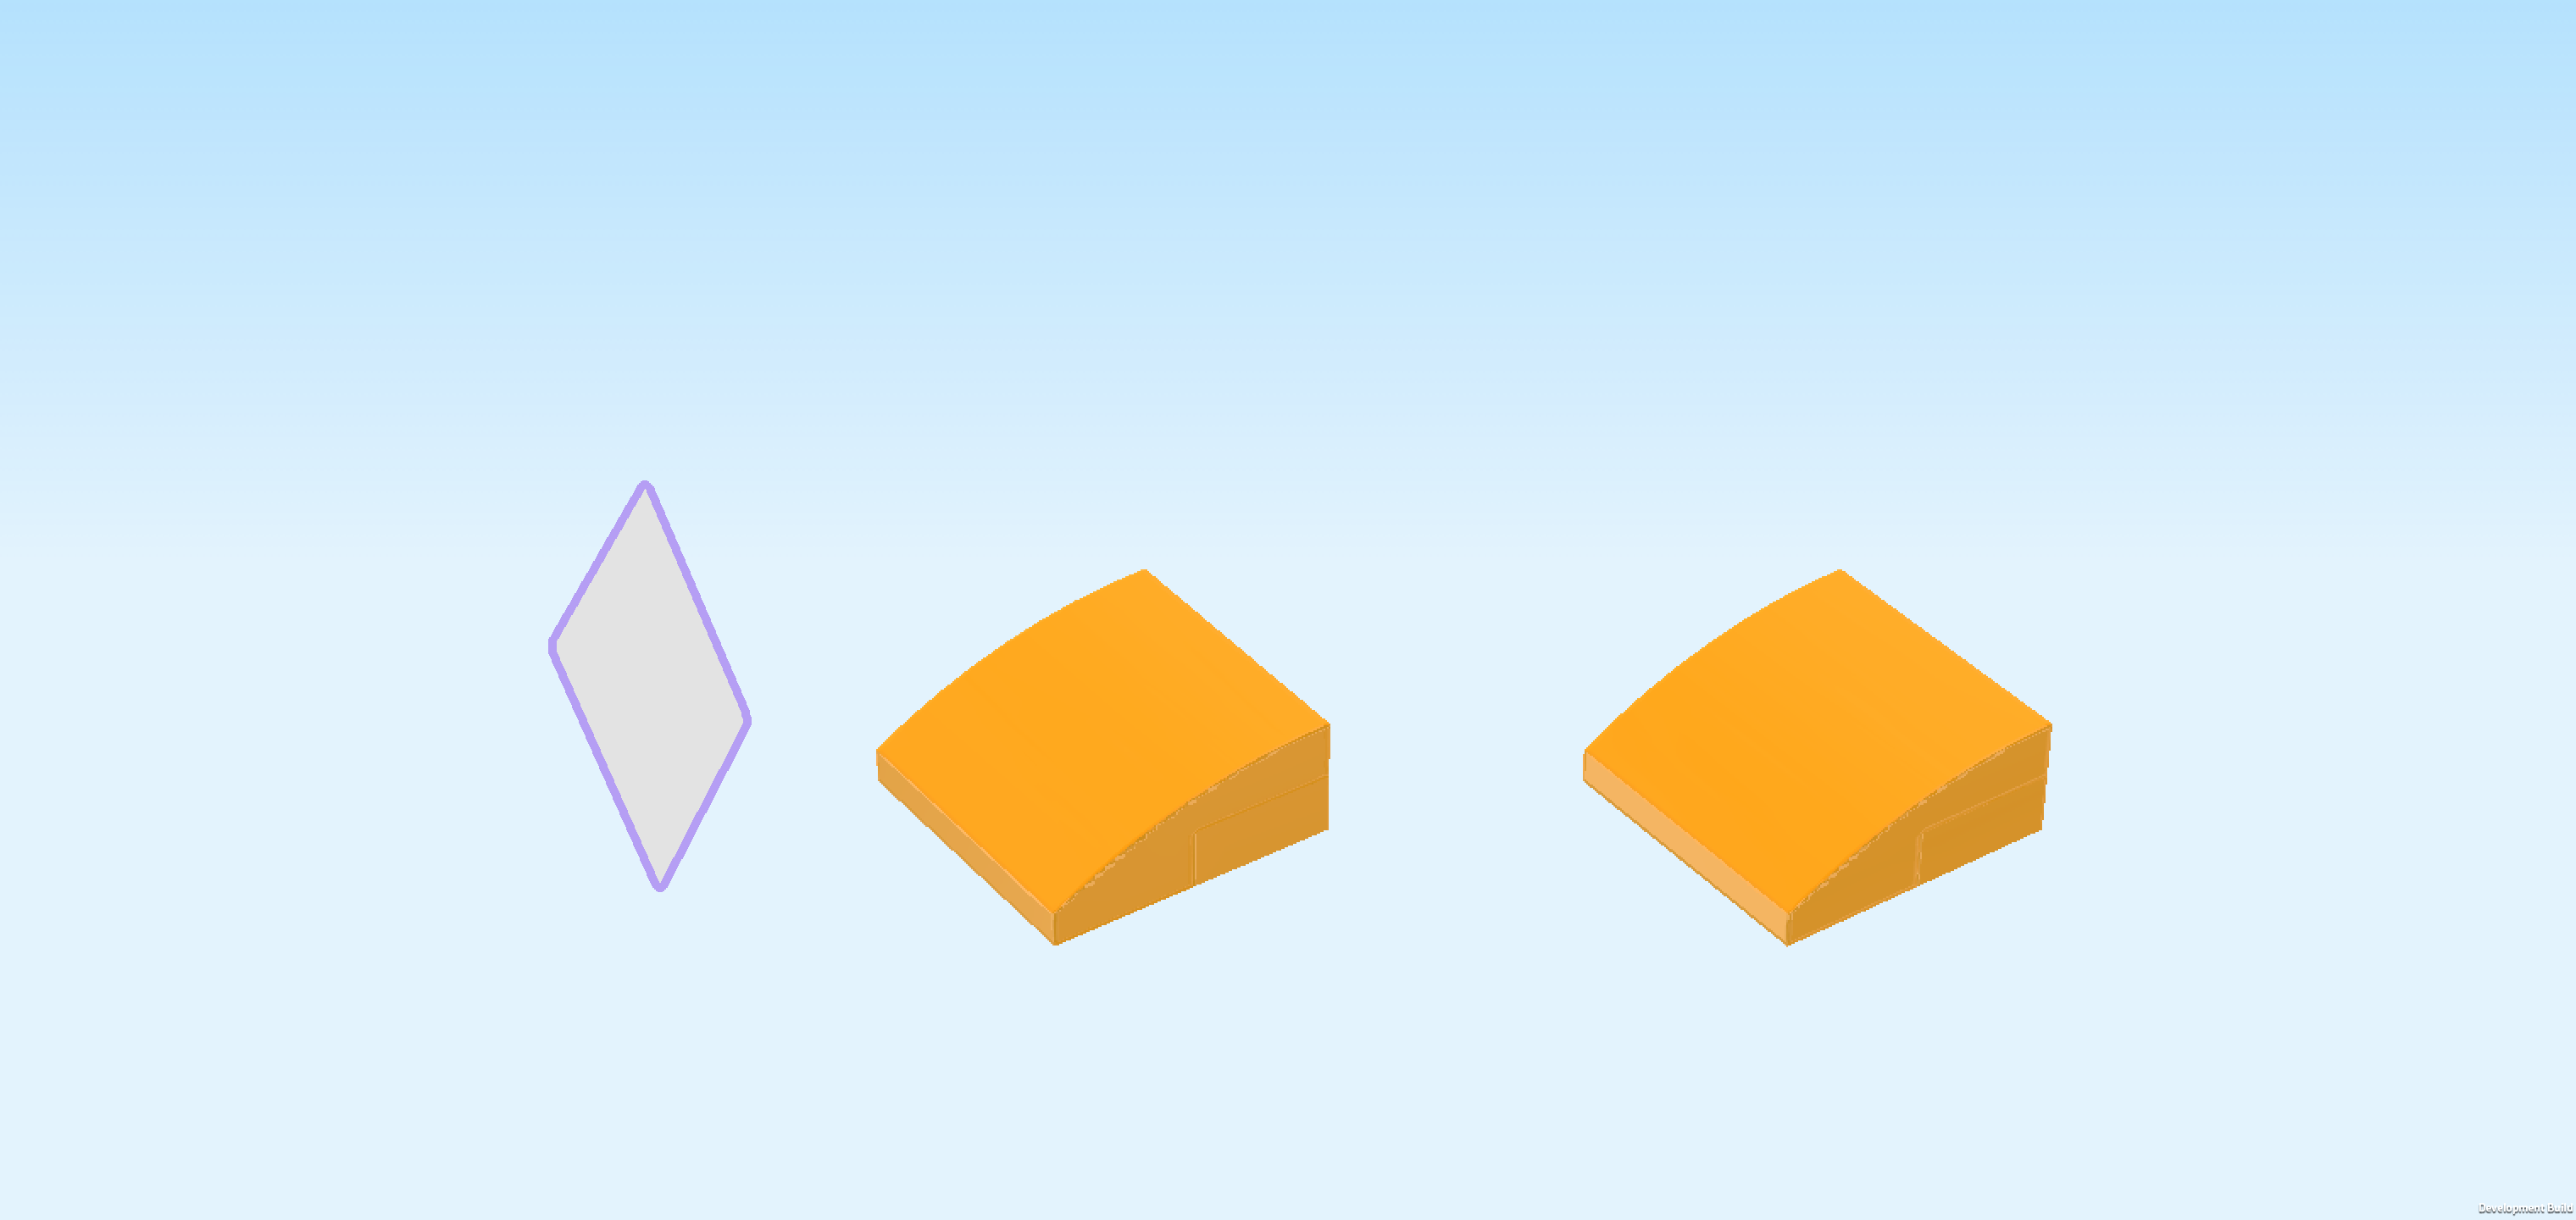
| Collect the following 4 pieces: |
| 2 flame yellowish orange one-stepped curve tiles 2x2, |
| and 2 flame yellowish orange plates 1x2. |
| Put 1 plate 1x2 vertically on the table. |
| Put 1 curve tile 2x2 on top, 1/2 overhanging to the left, curve to the left. |
| Repeat with the 2 remaining pieces. |
| Continue if you want to decorate these pieces with stickers now. If not, skip the next 3 sentences. |
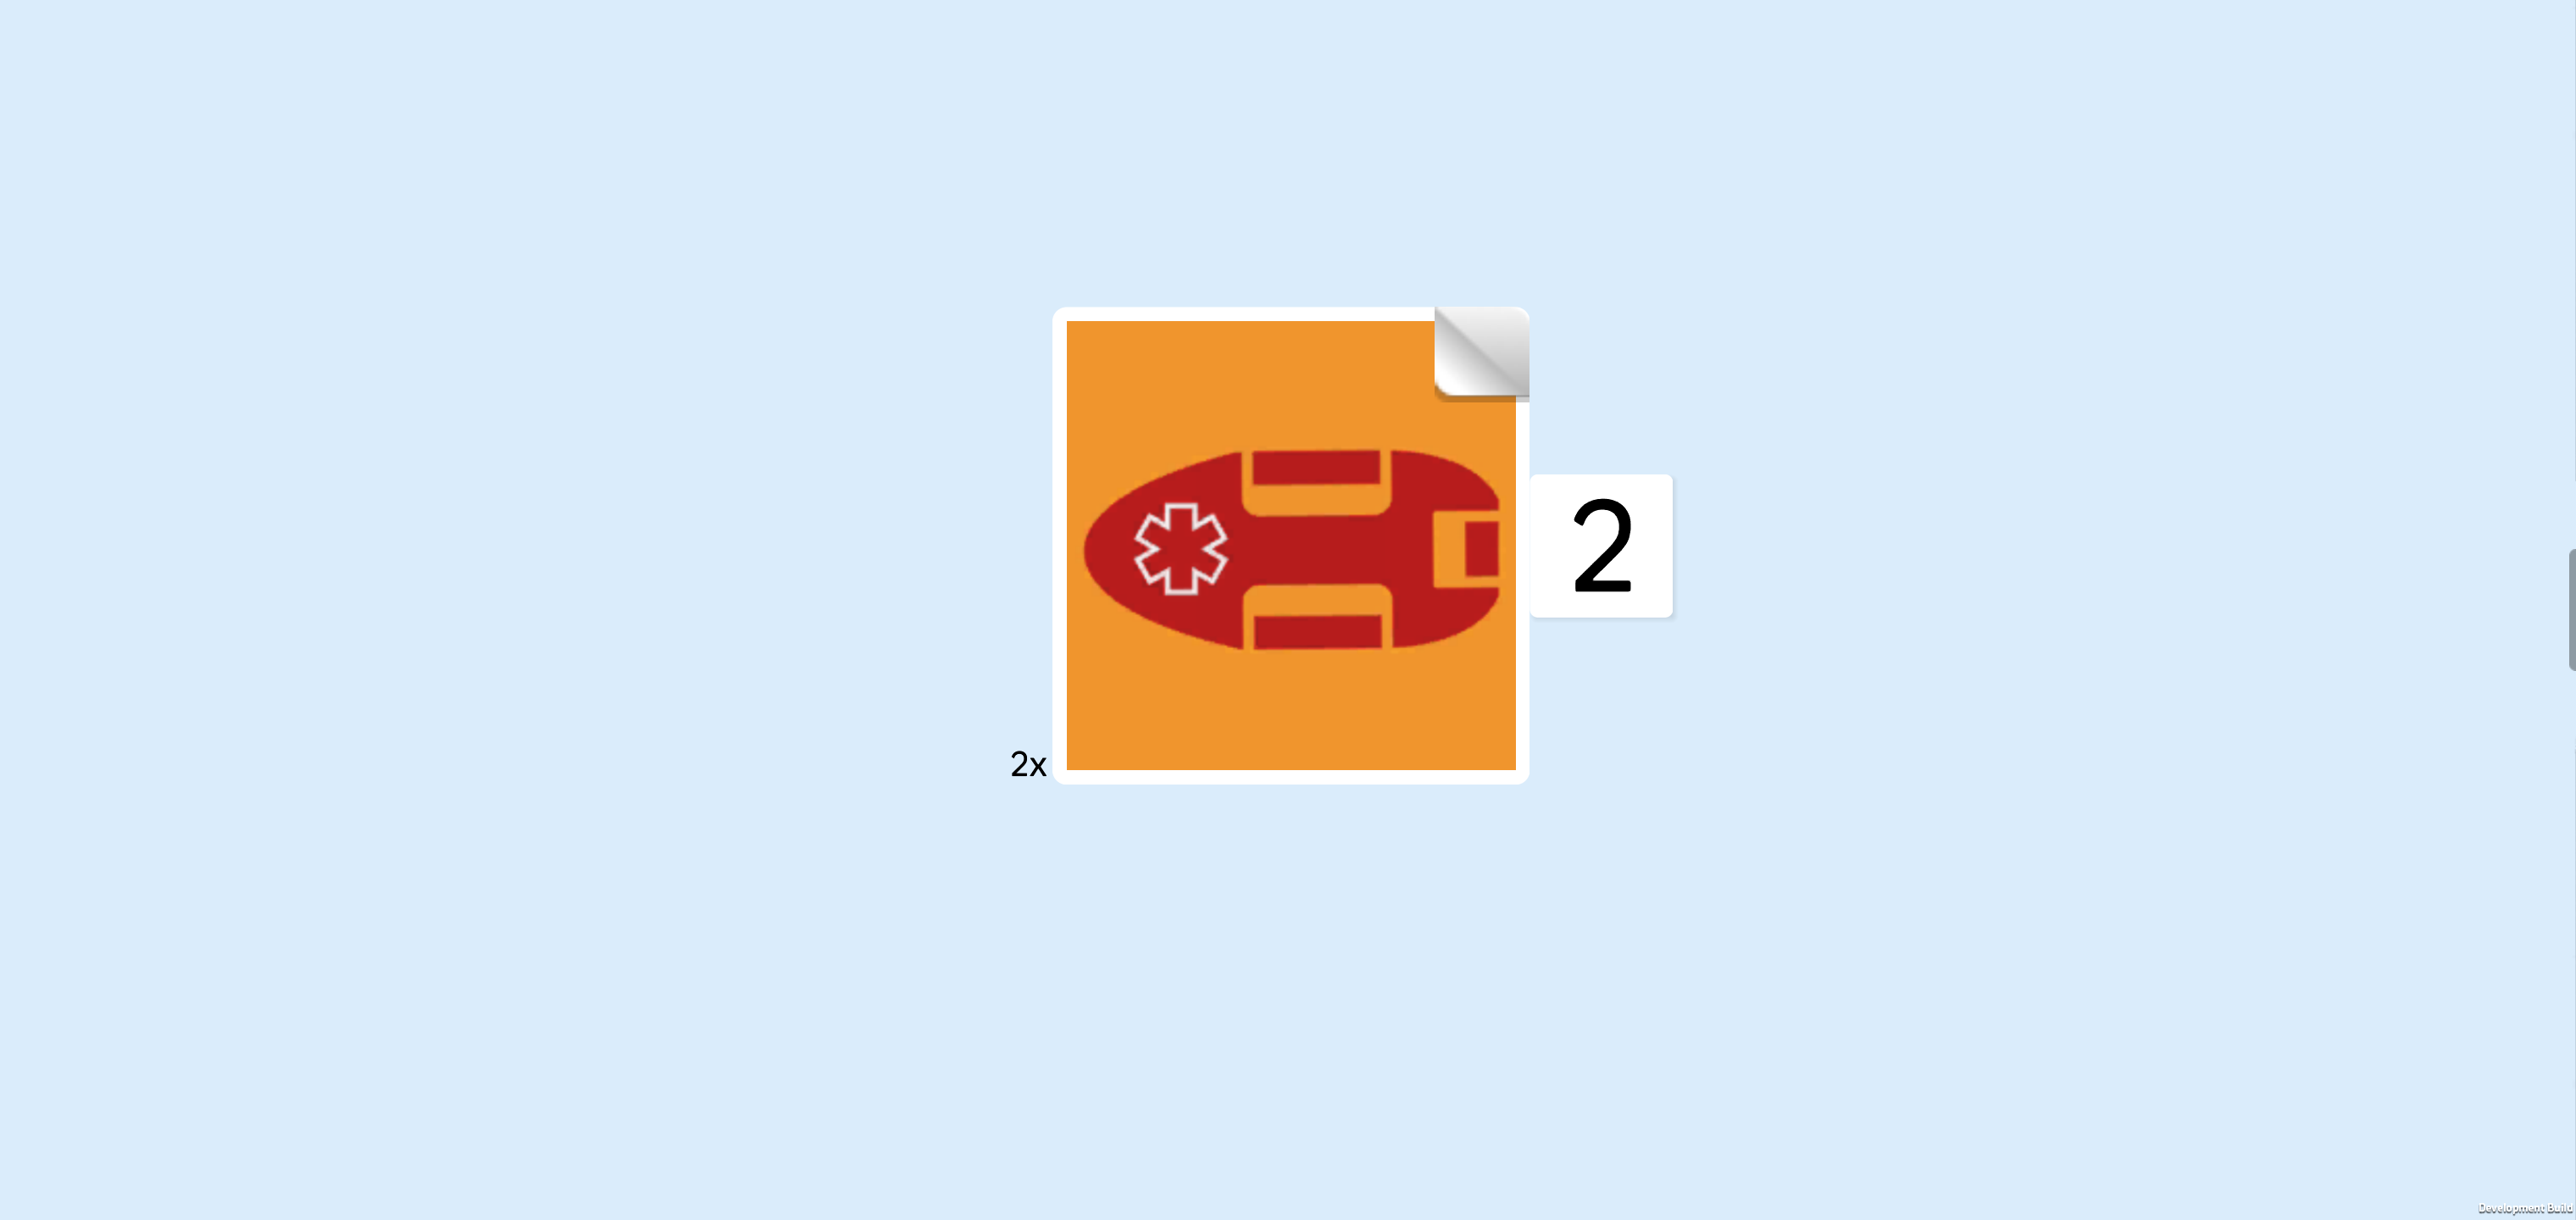
| Find 2 square stickers 2x2 with rescue buoy. |
| Put 1 sticker on each of the 2 curve tiles from the previous step. |
| The stickers are yellow and have a red rescue buoy printed on them. The buoy itself is printed with the white outline of a Star of Life just like the lifeguard's shirt. Rescue buoys are floating devices usually made from hollow plastic. A buoy has an oval shape, with one end being a bit pointier and the other end being a bit flatter. It has 2 handles on its long sides and another one on the flat short end so the lifeguard can grab it easily. |
| The 2 side panels are finished! Well done! Flip 1 towards you so that the smooth curved surface is facing you and the curve is still running towards the left. Mount it on the 4 side knobs pointing to the front. |
| Repeat symmetrically at the back. Make sure that the curve is towards the left. |
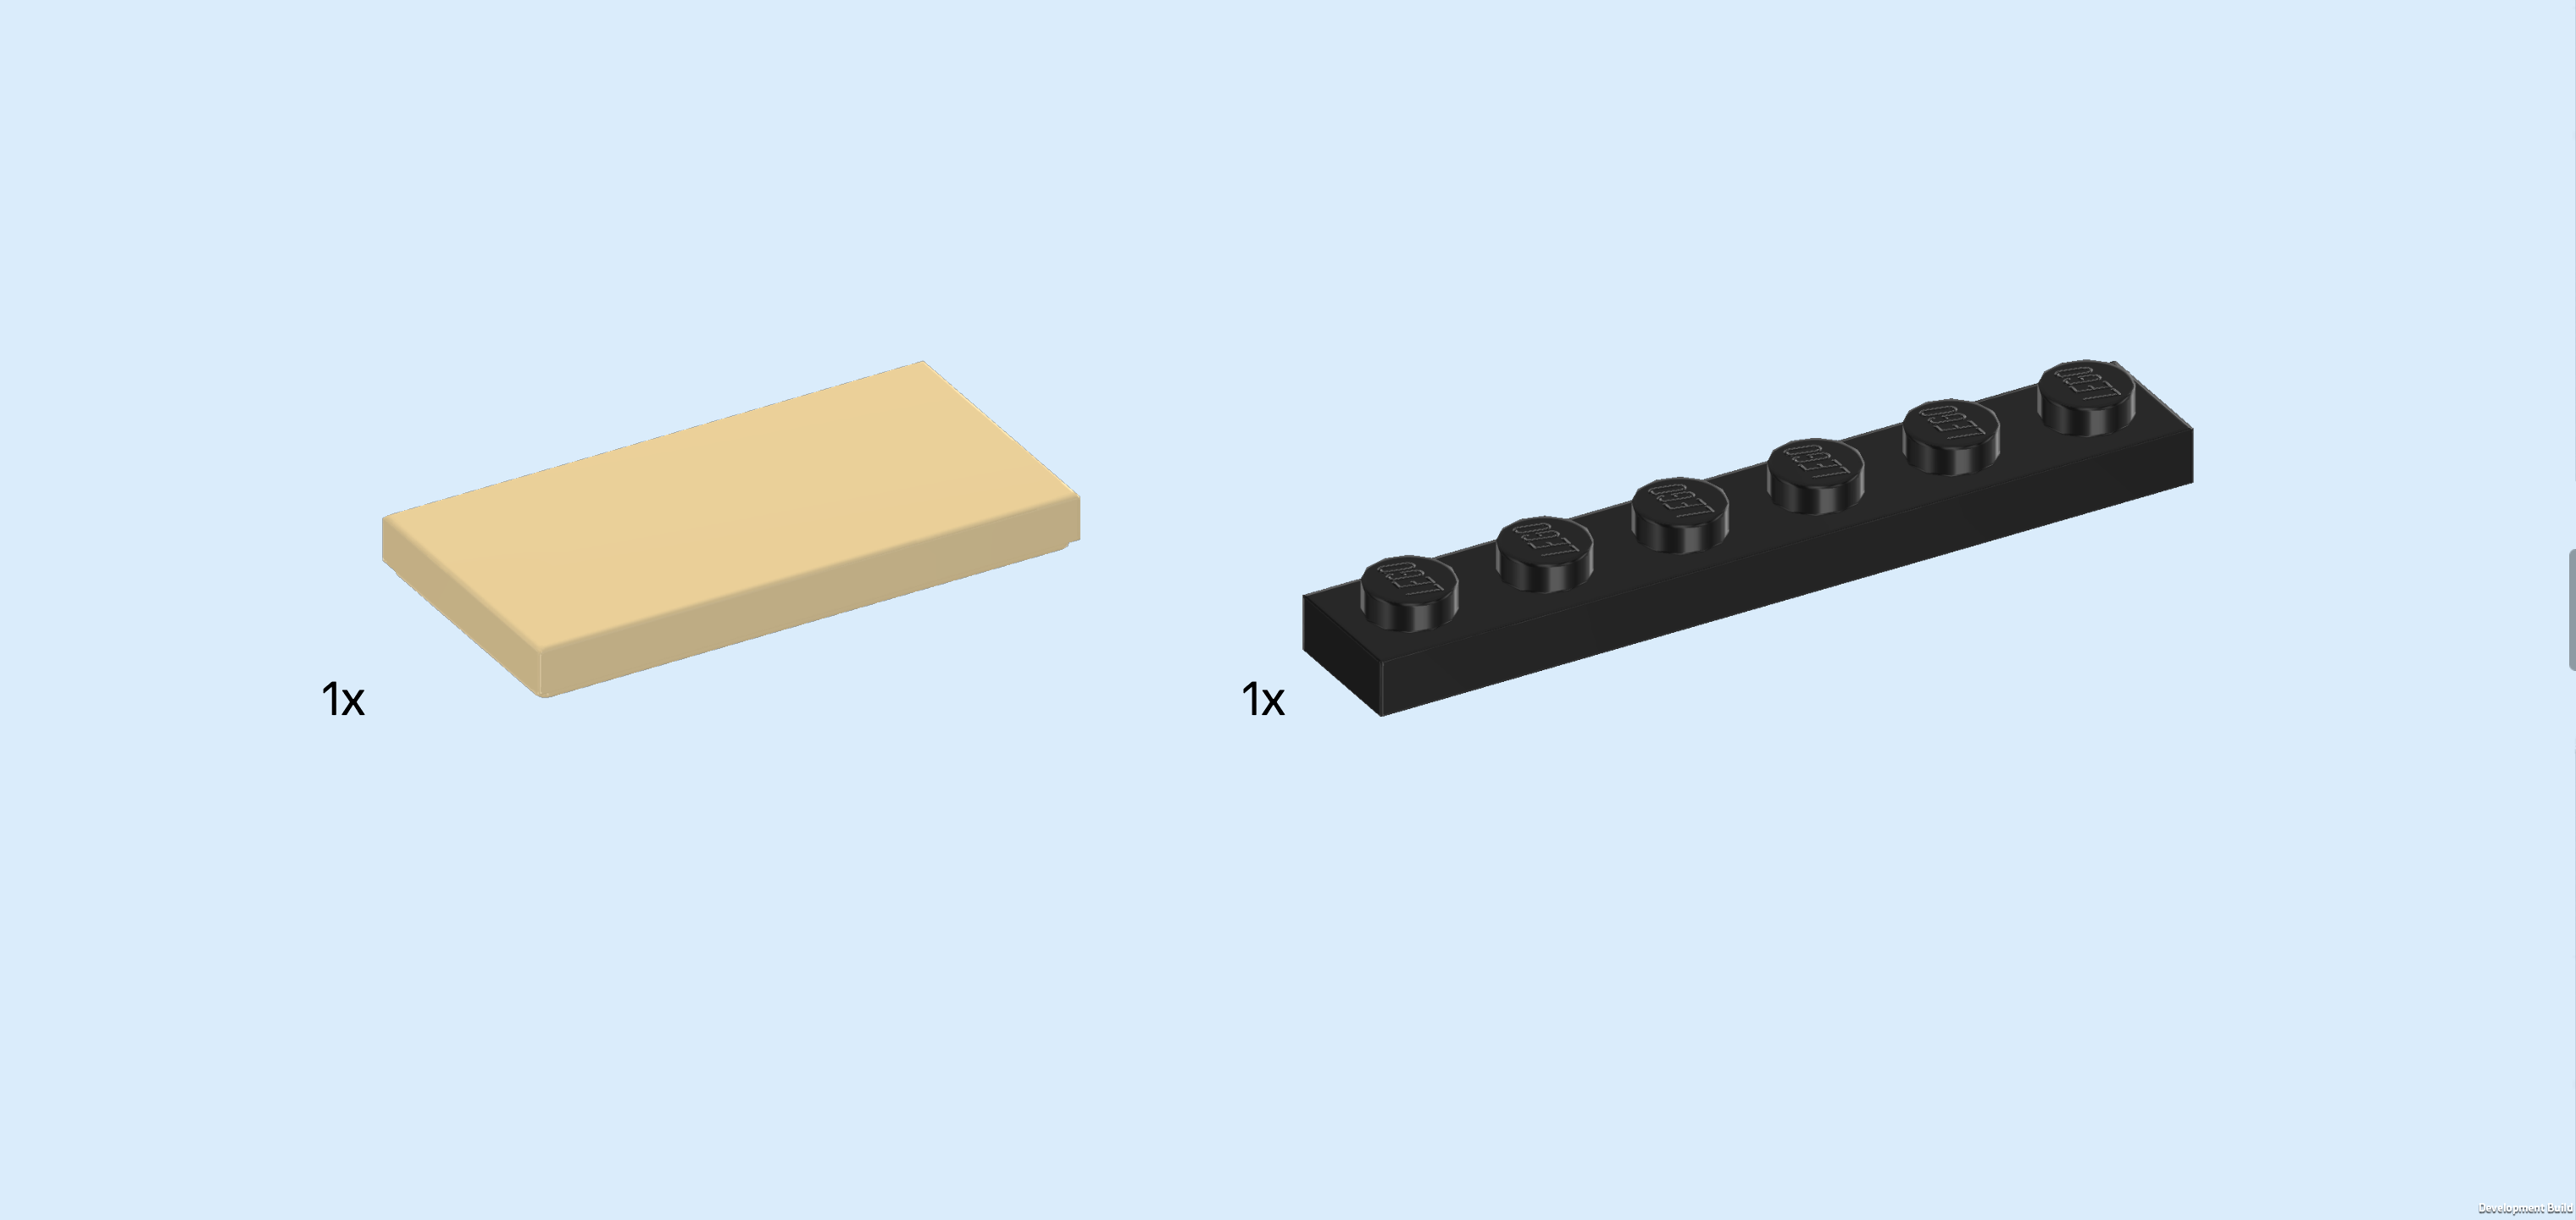
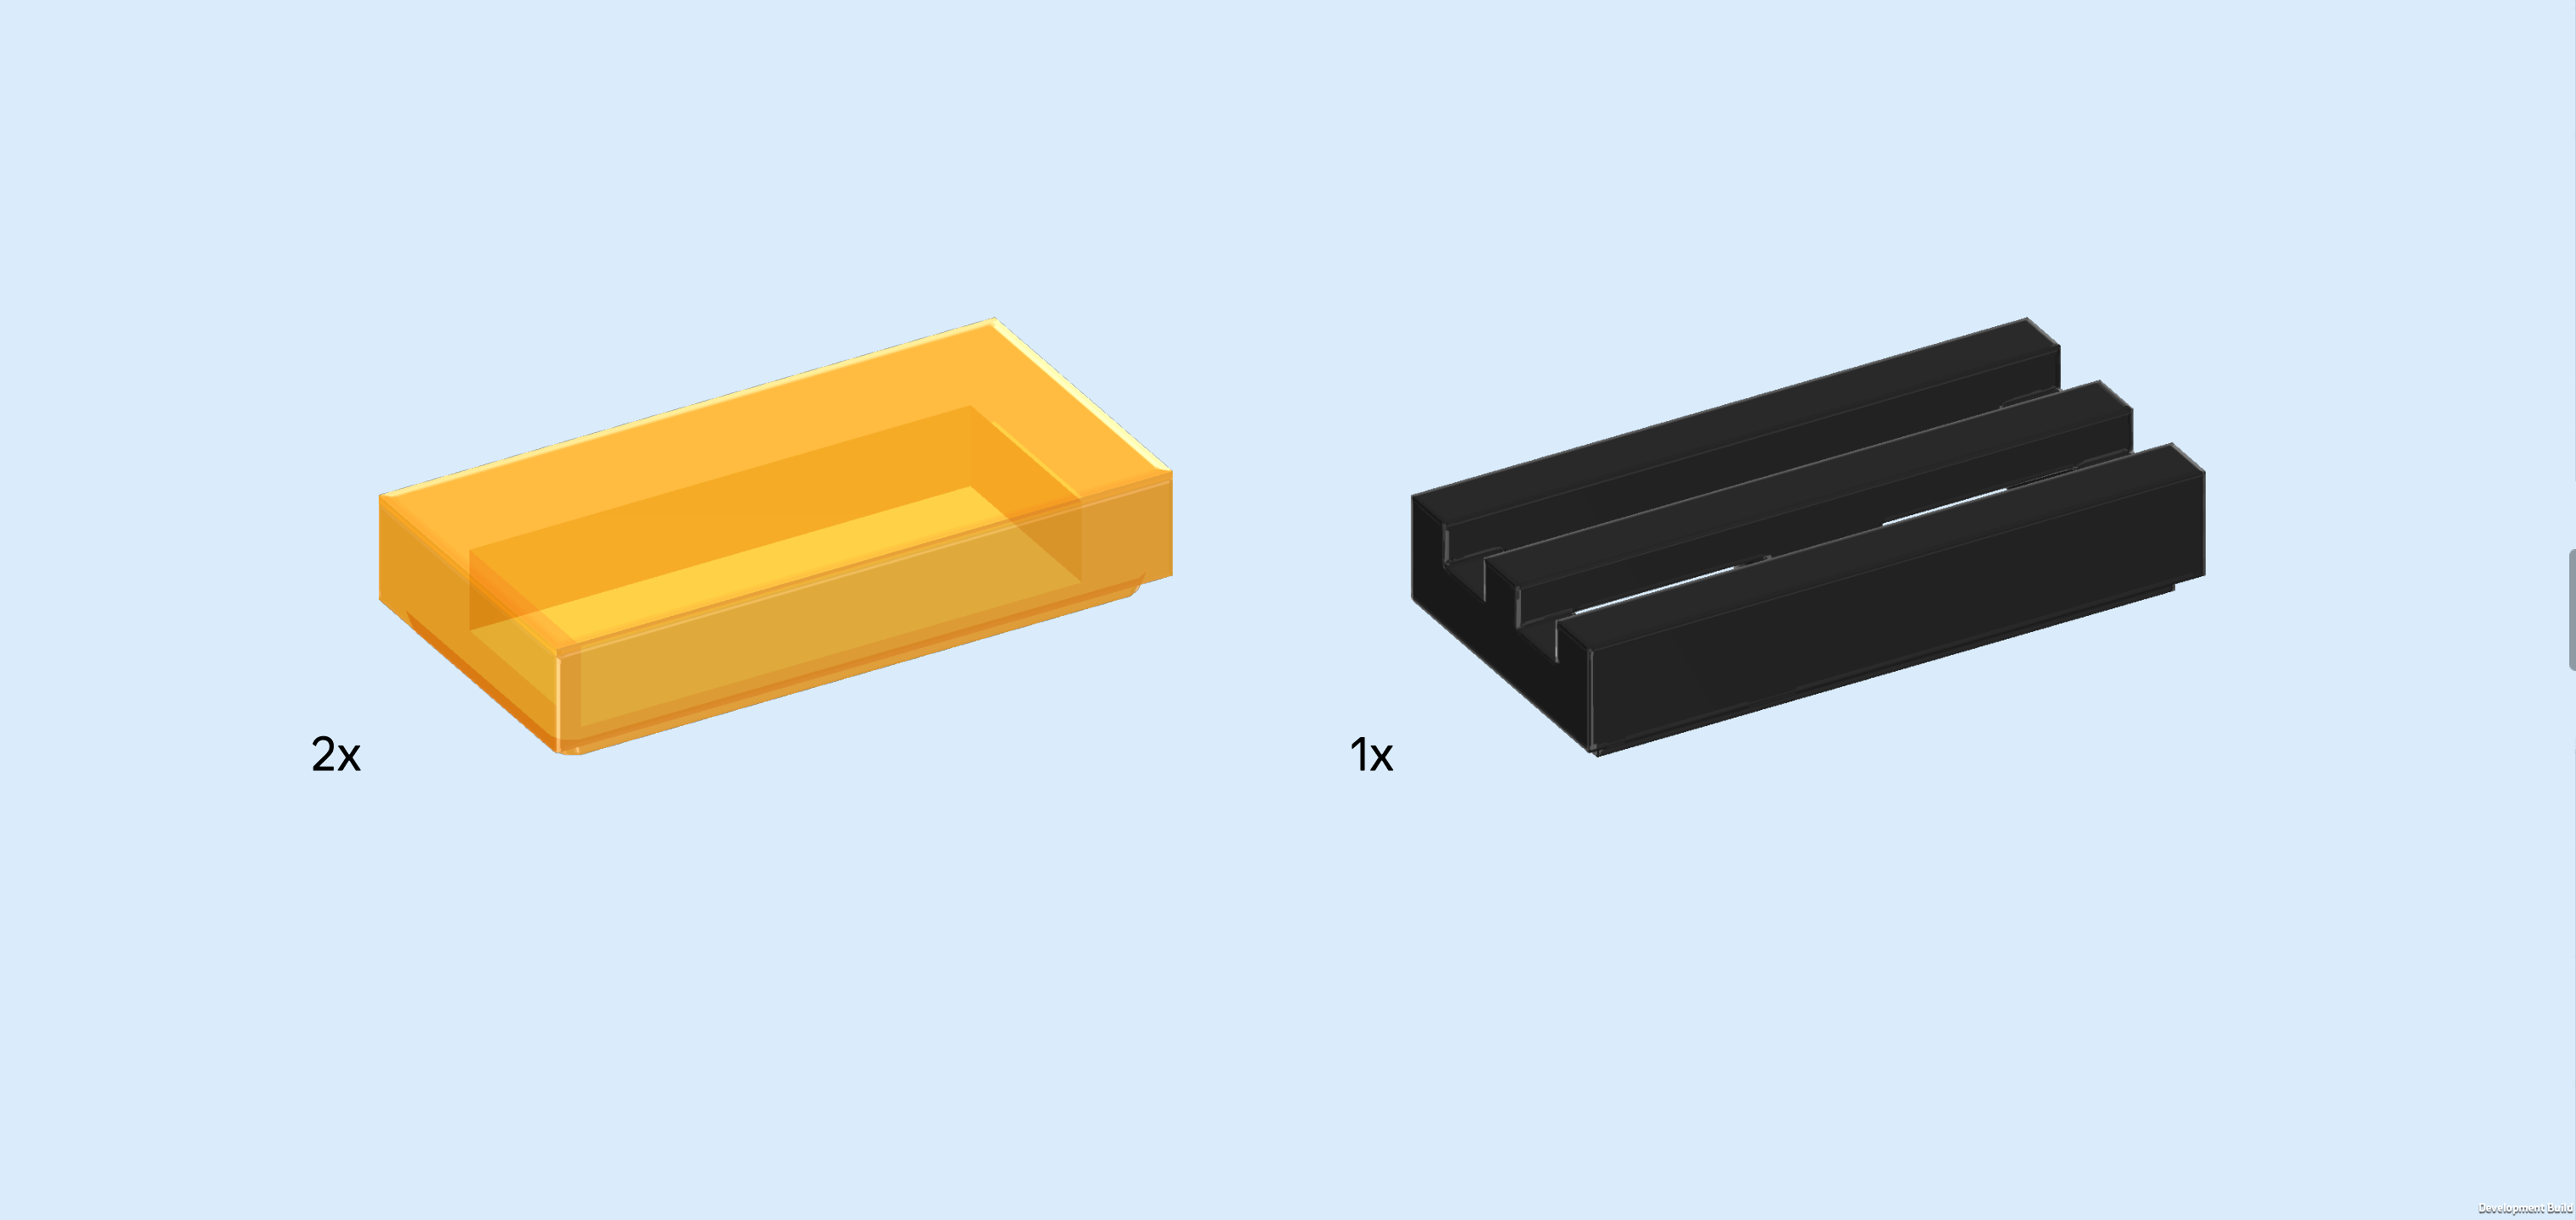
| Collect the following 2 pieces: |
| 1 beige flat tile 2x4, |
| and 1 black plate 1x6. |
| Put the plate 1x6 vertically centered on the rightmost column of the structure. |
| Put the flat tile 2x4 horizontally centered to the left of the previous piece. This means it will sit on the 2 middle rows, fitting into the shallow recess of those rows. |
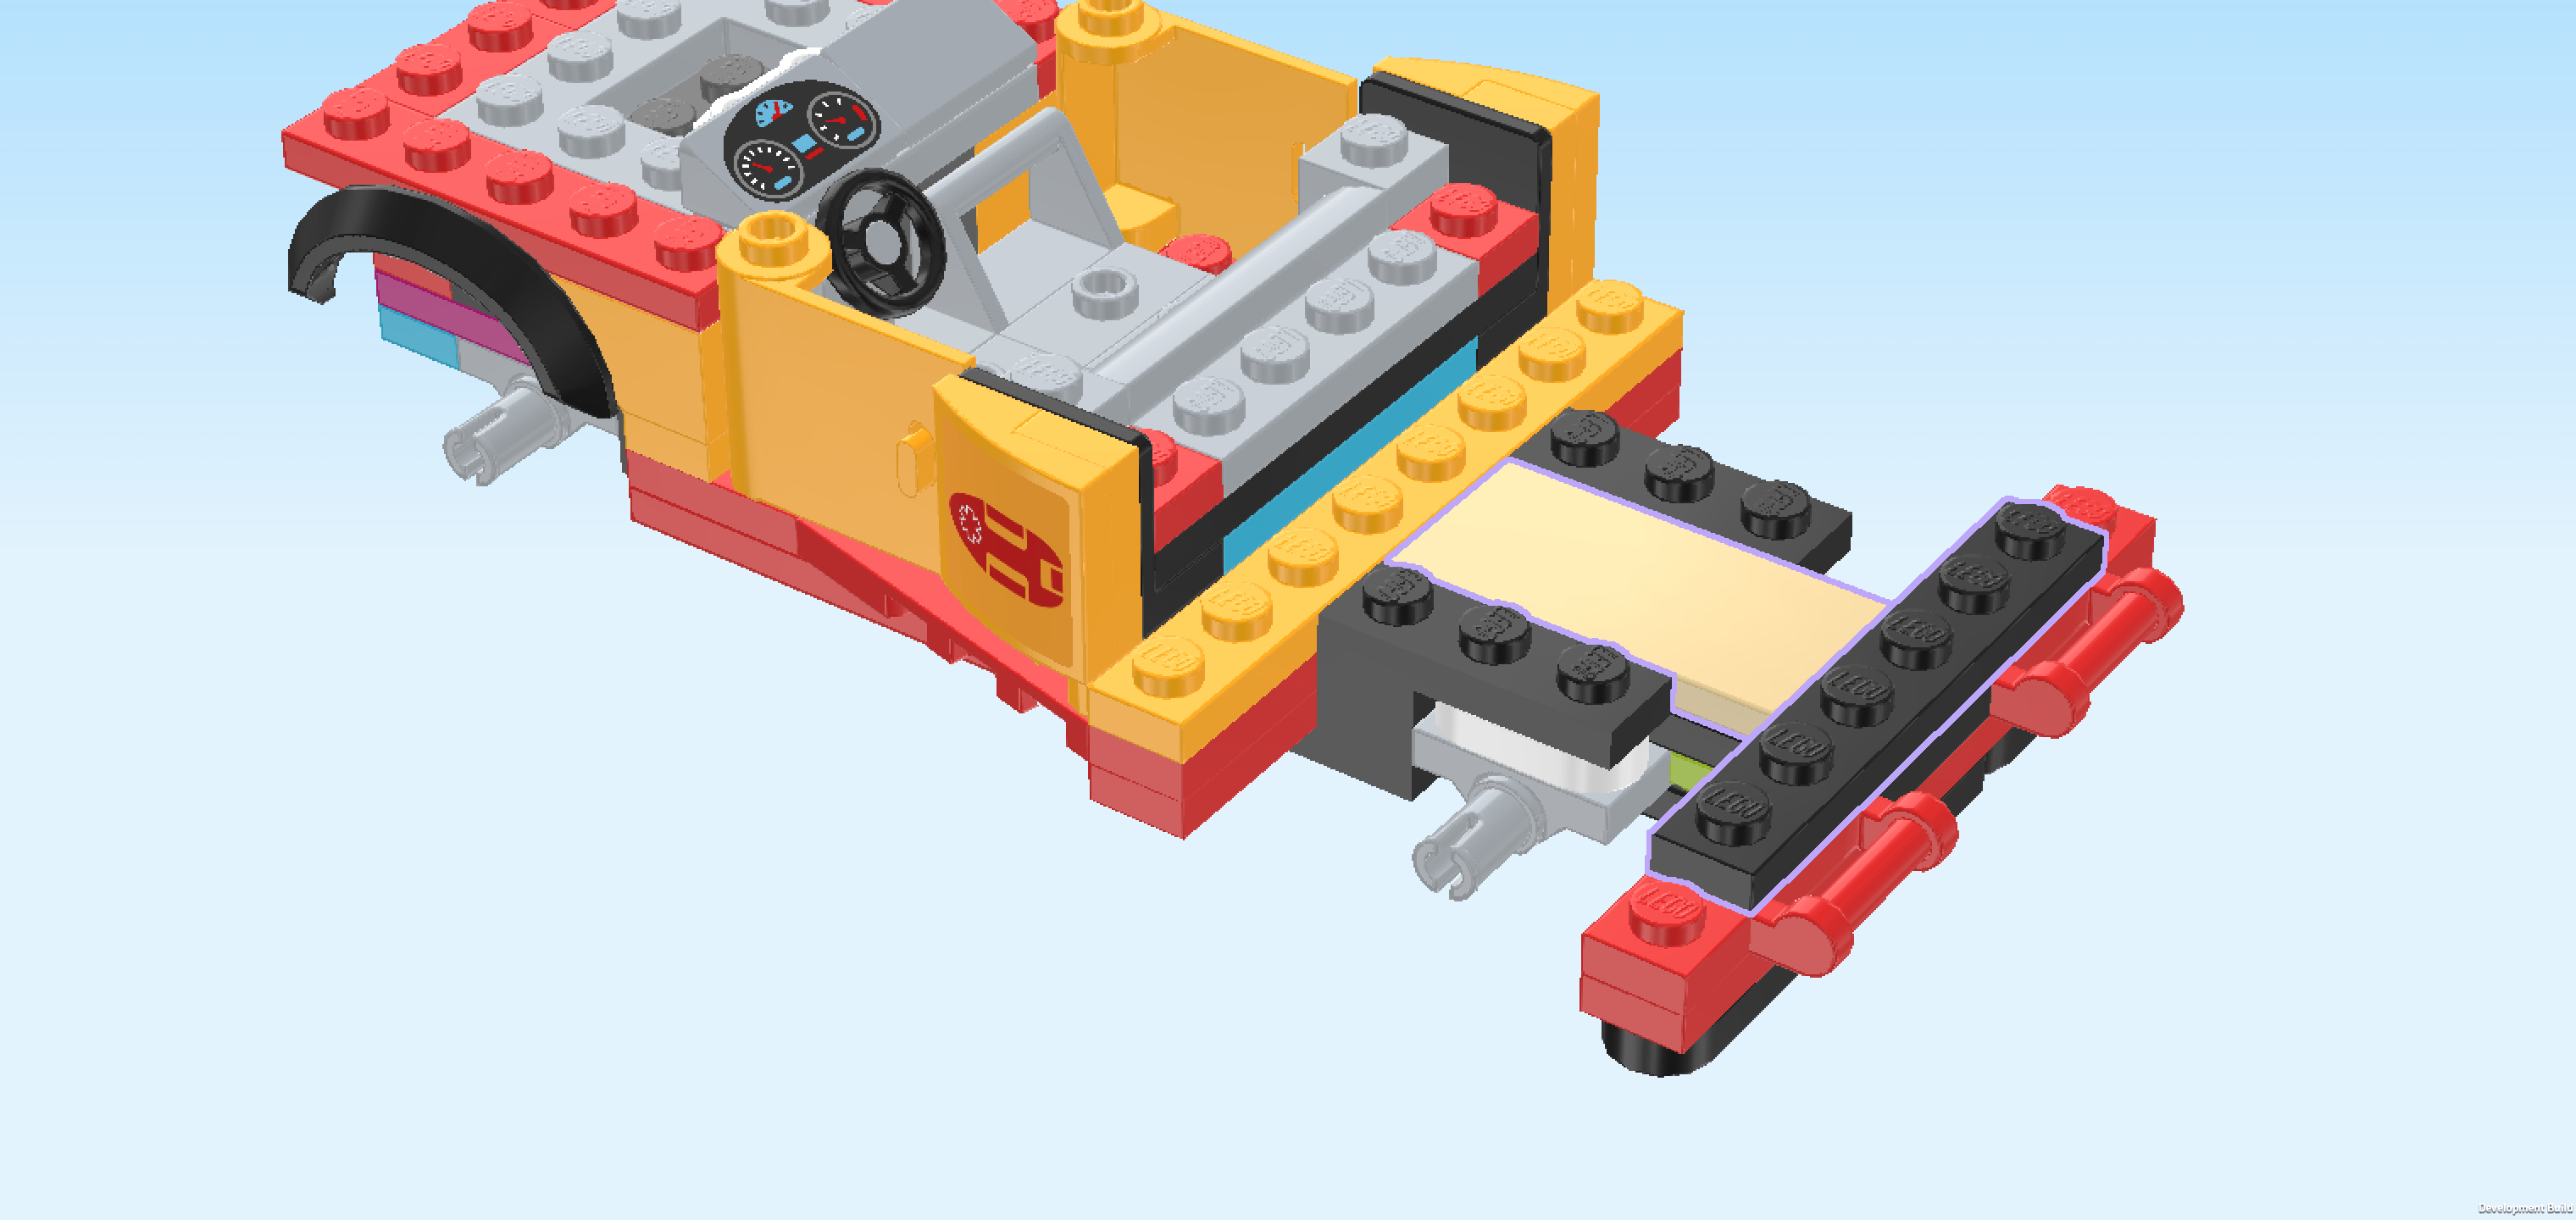
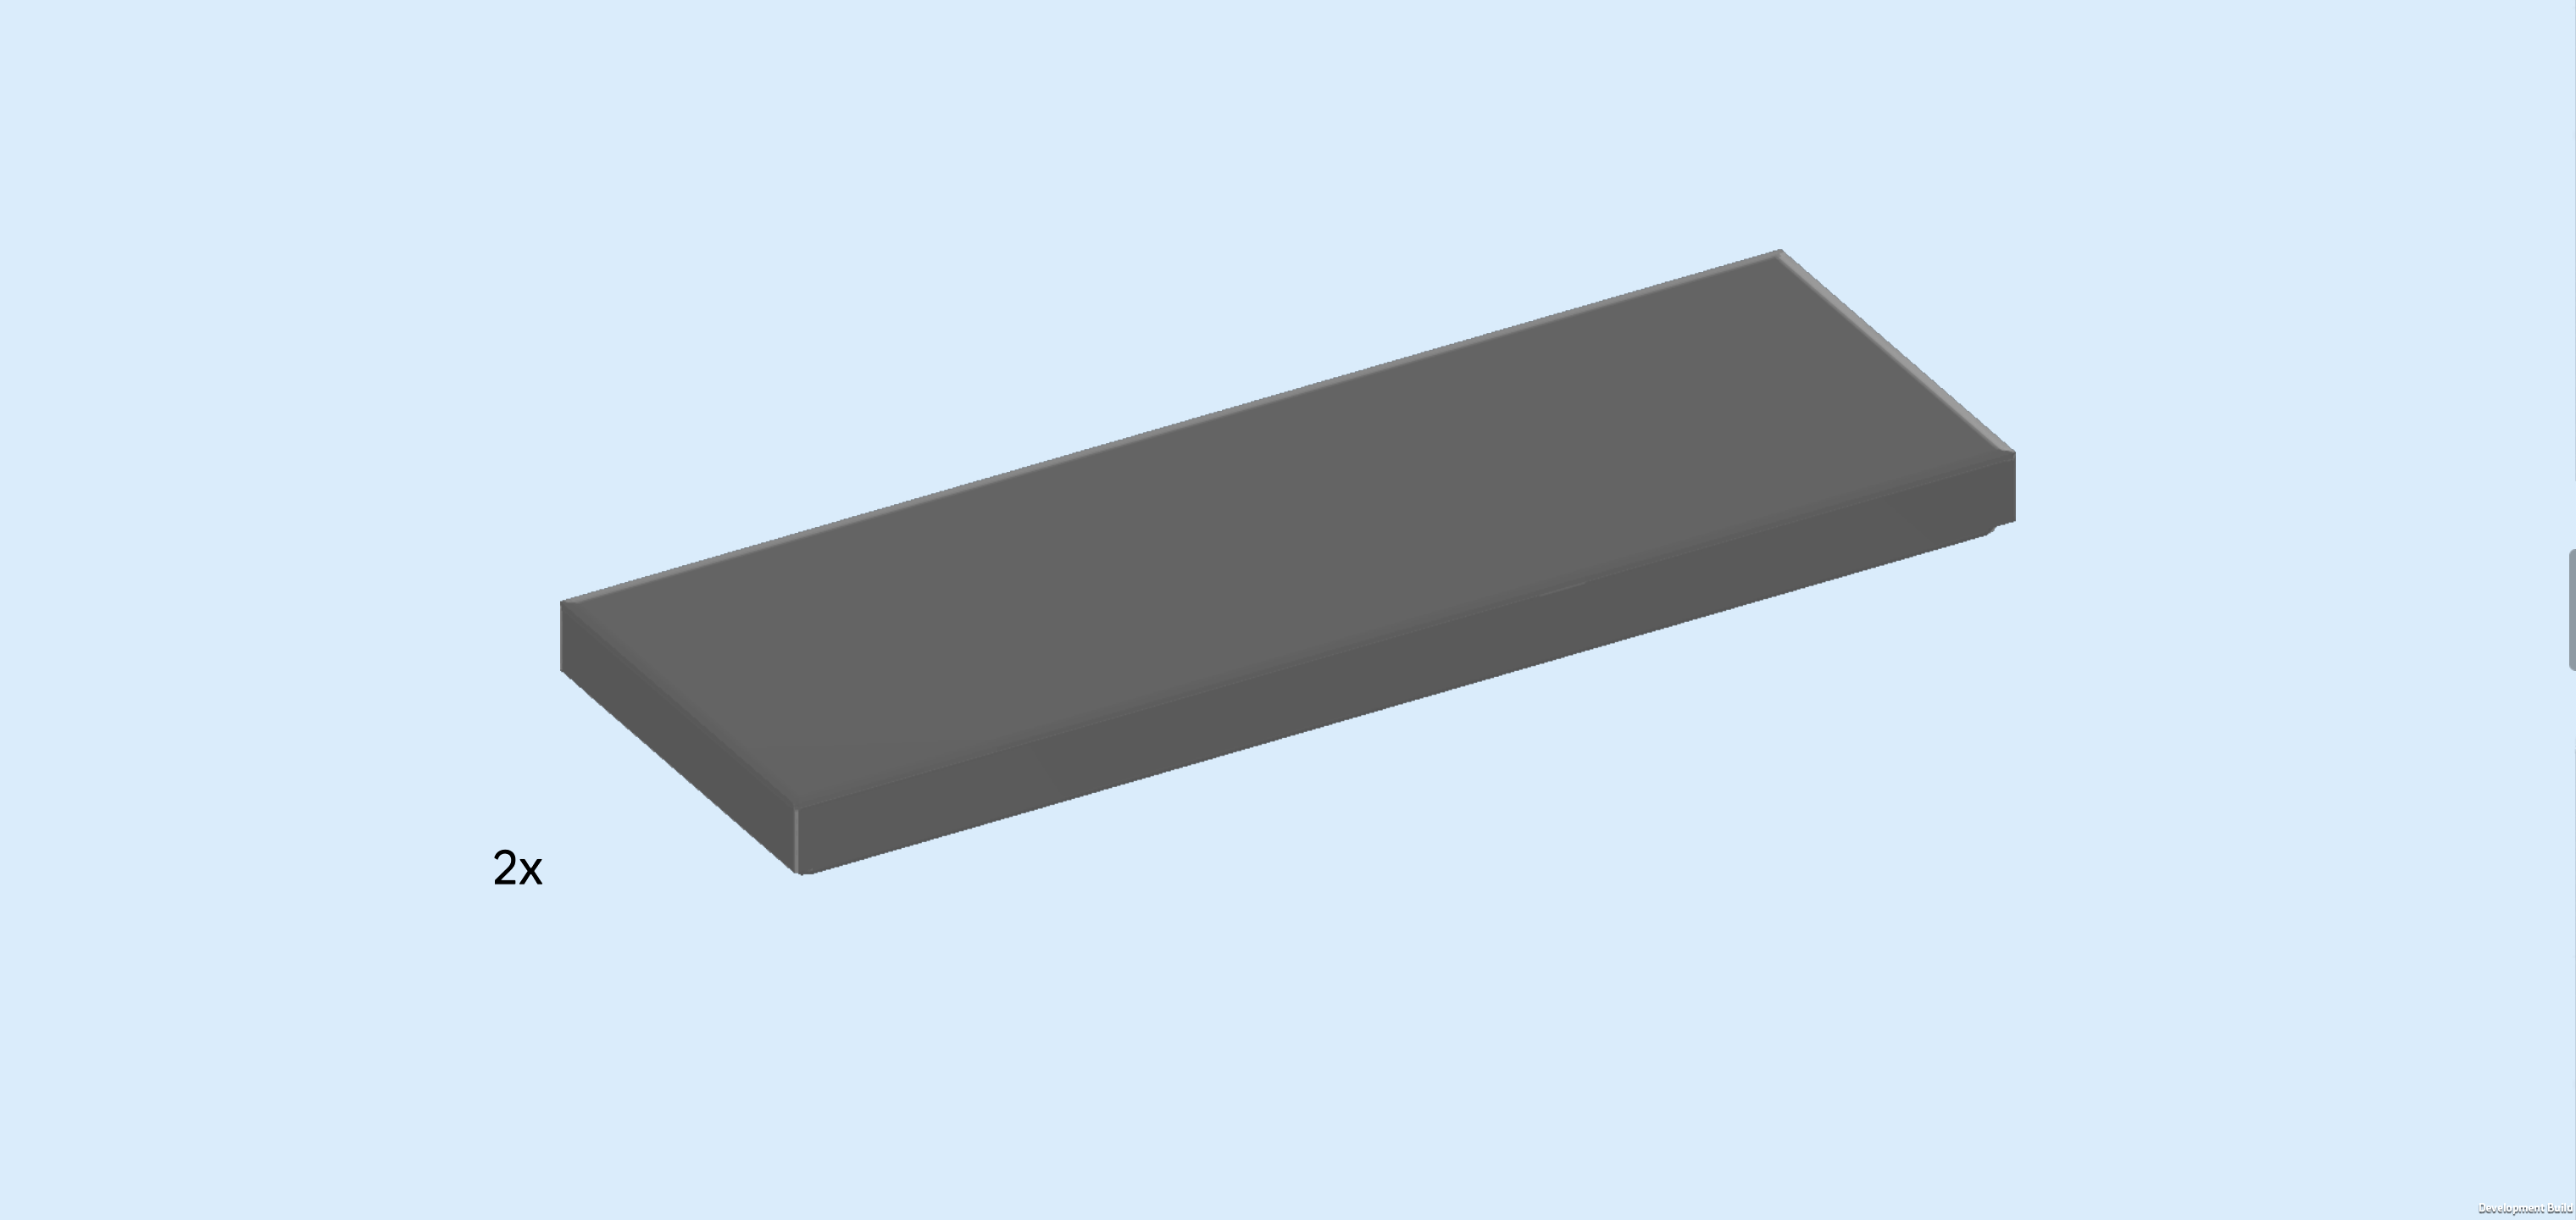
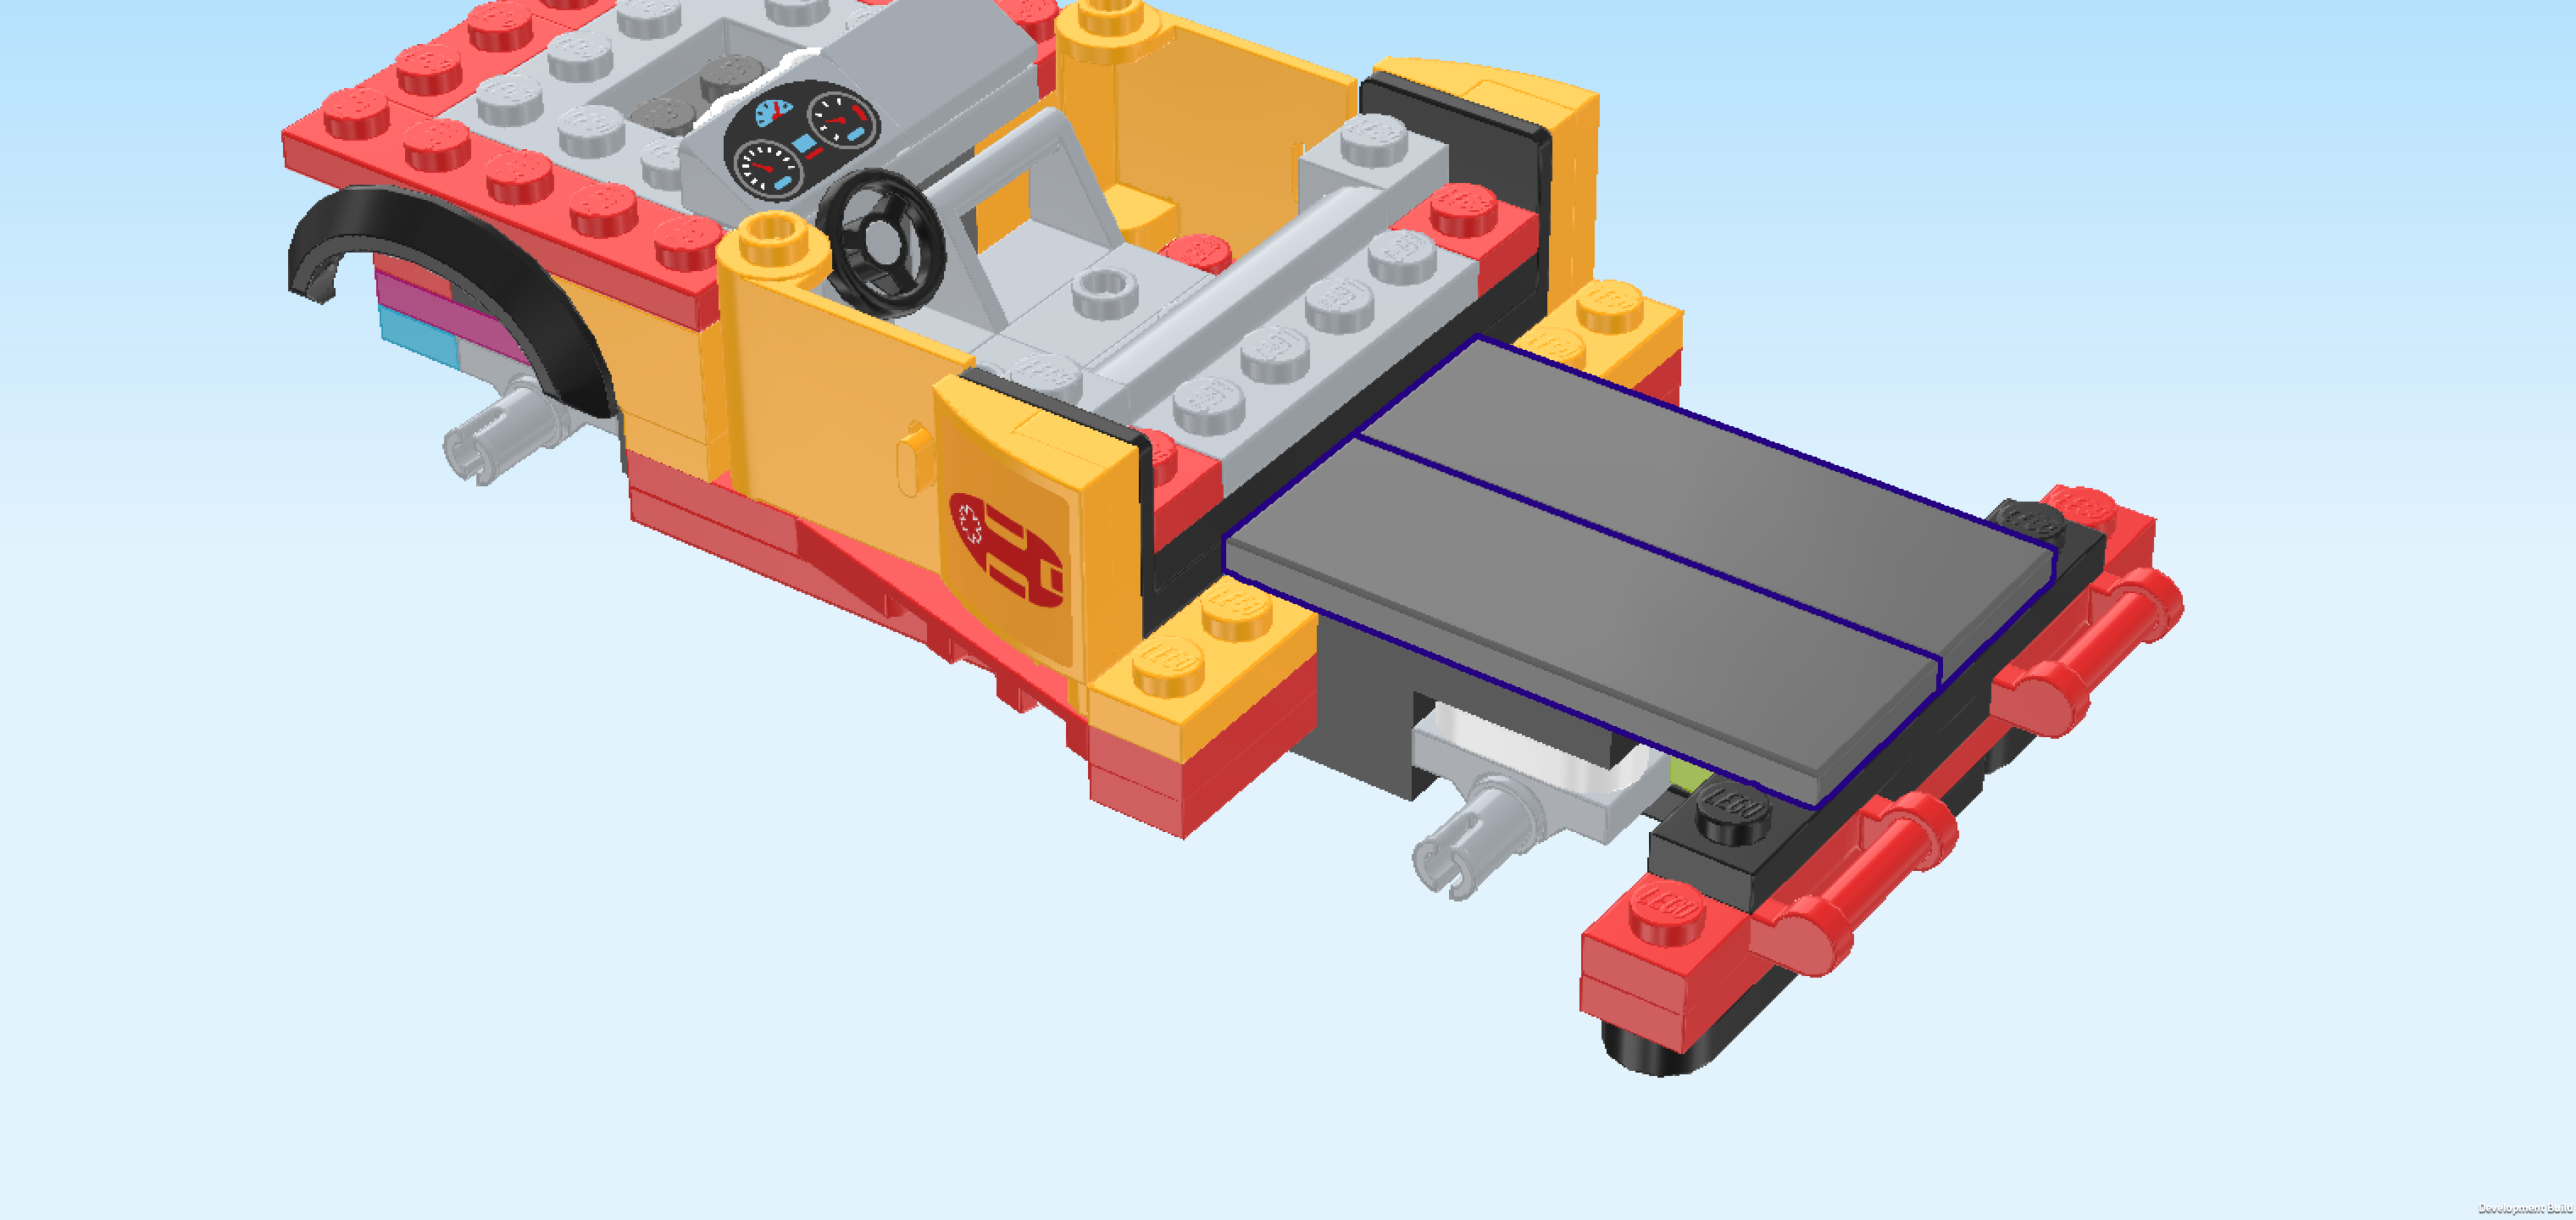
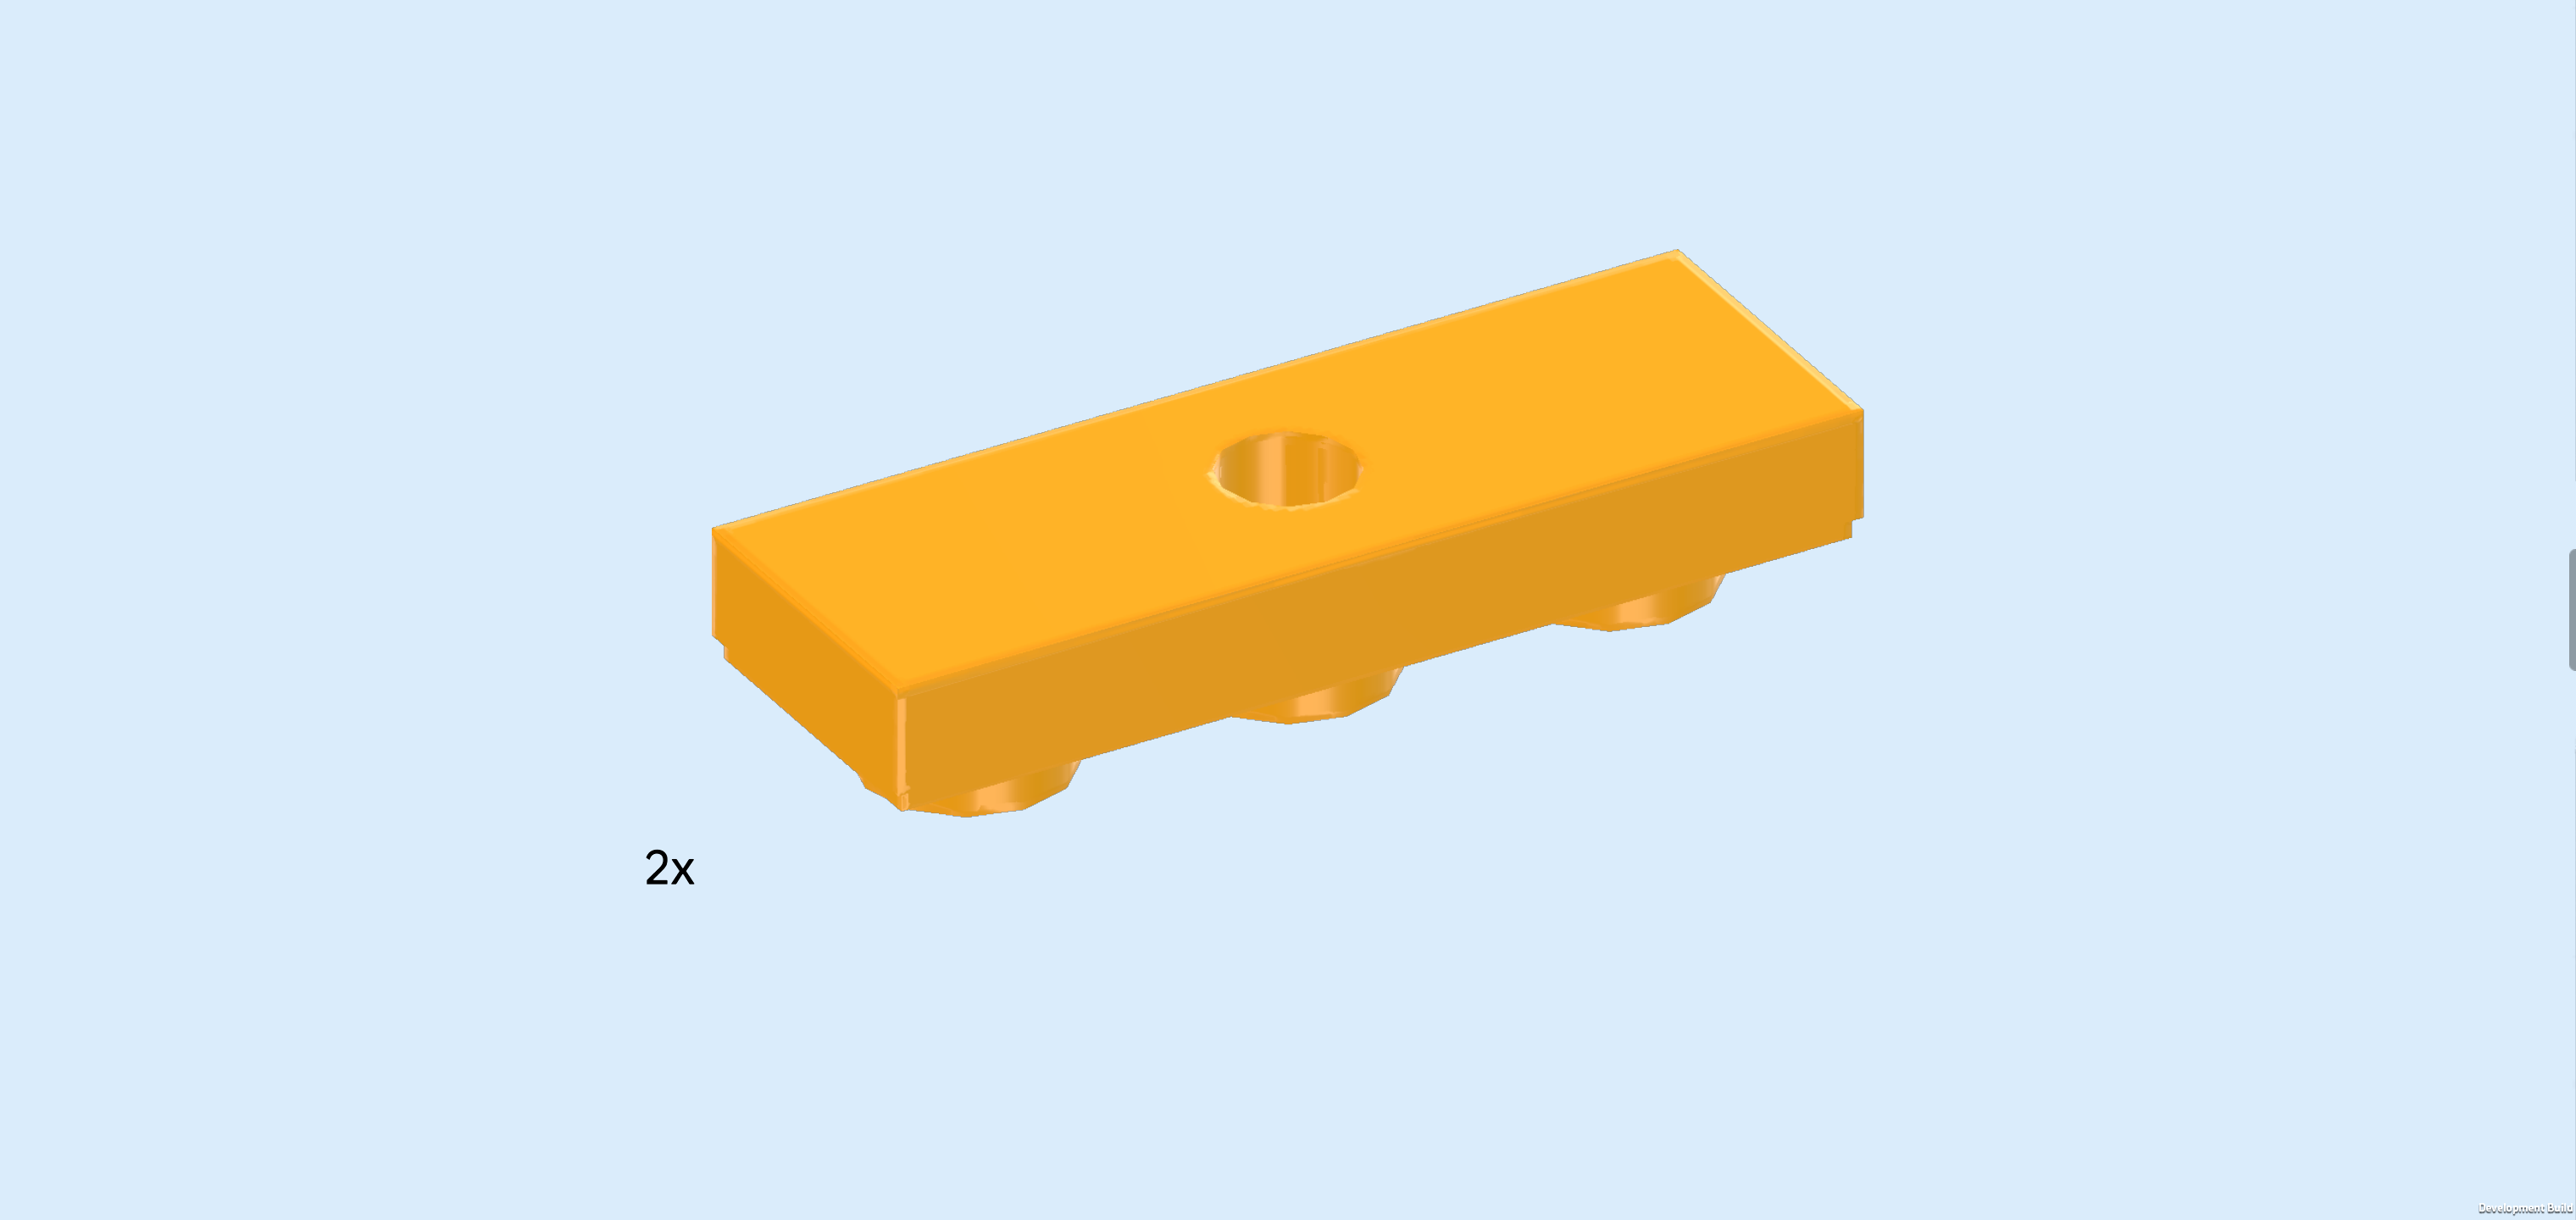
| Find 2 dark stone grey flat tiles 2x6. |
| Identify the 4 middle rows of the current build. Put 1 horizontally on the 2 back rows of the 4 middle rows, starting from the right edge. |
| Put the other one horizontally in front of the previous piece. |
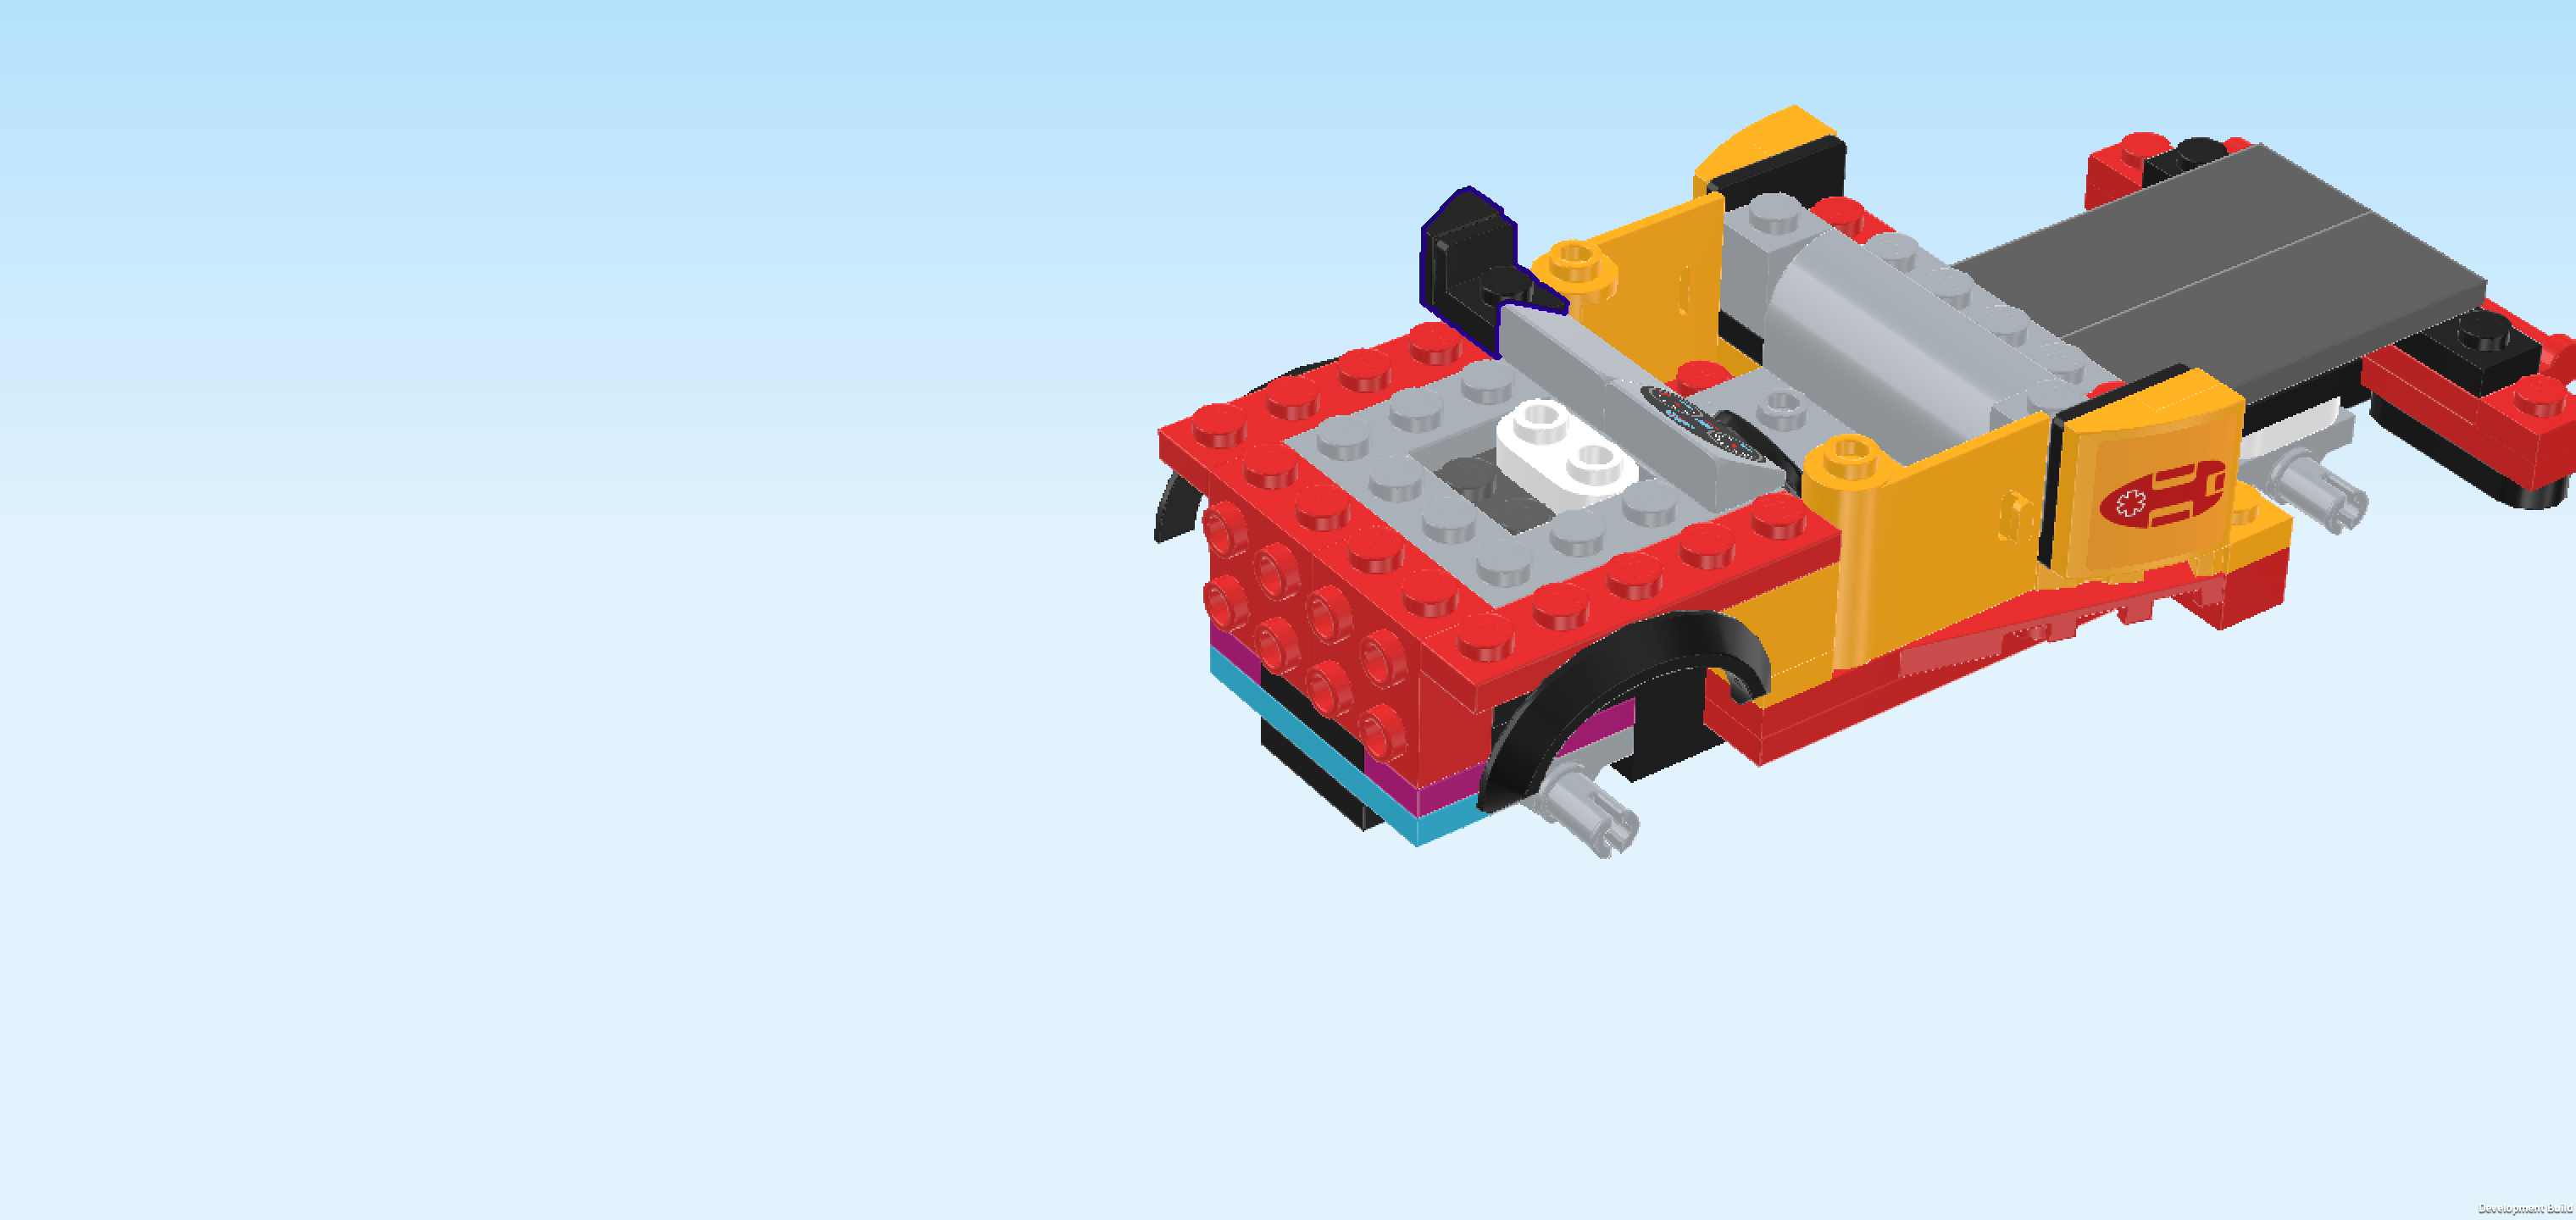
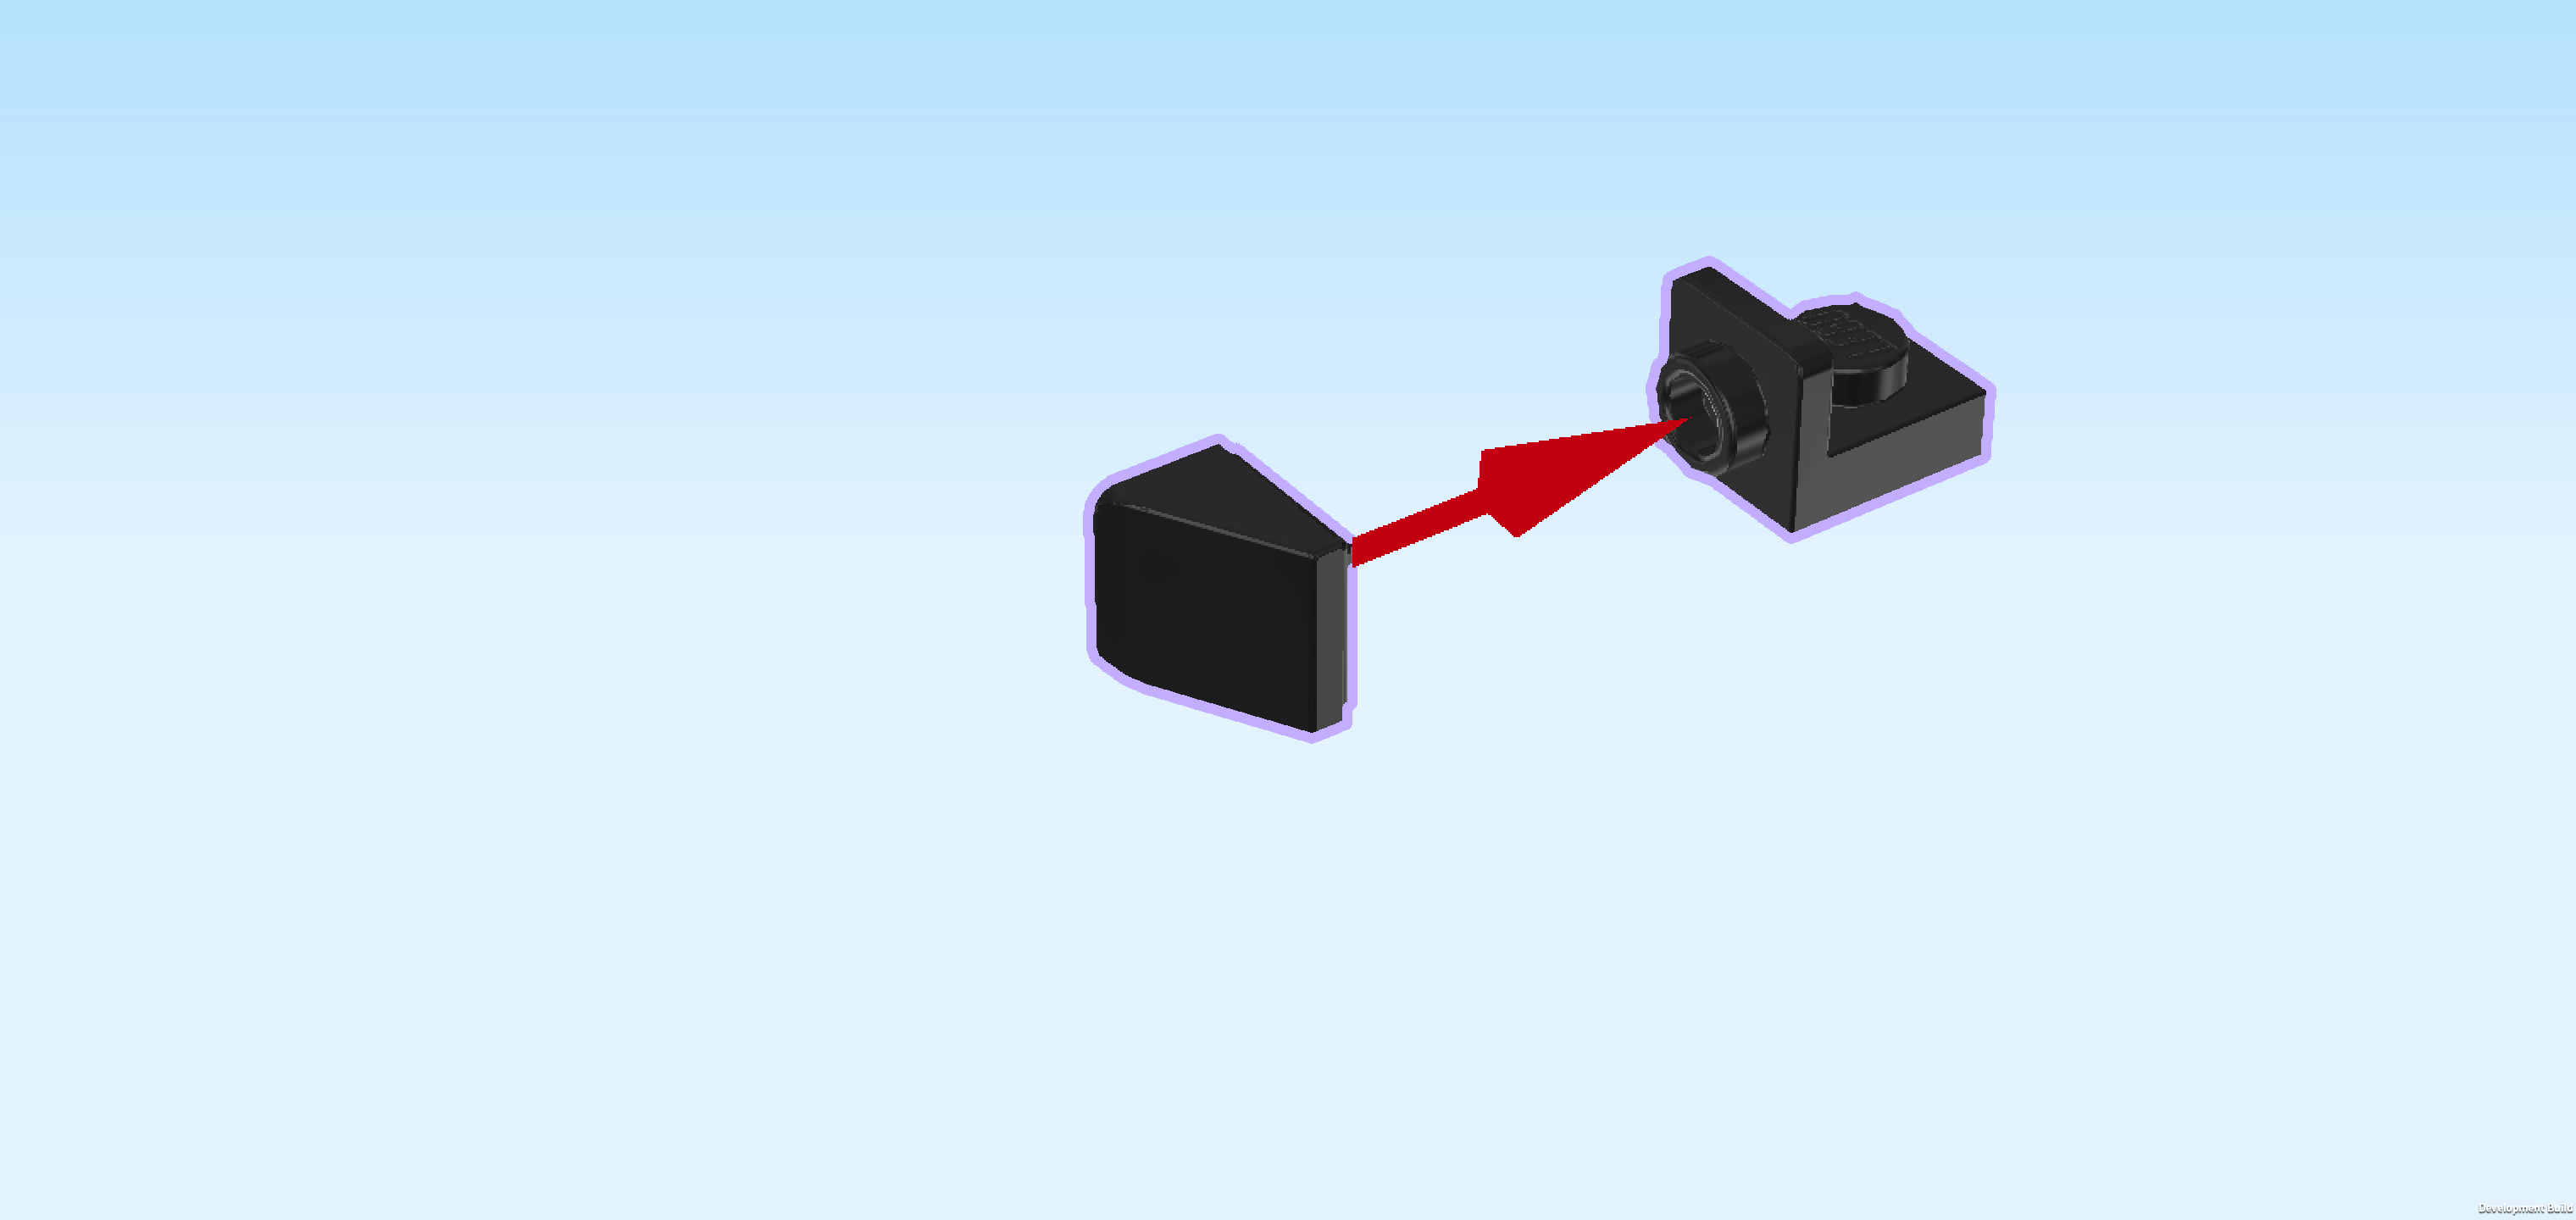
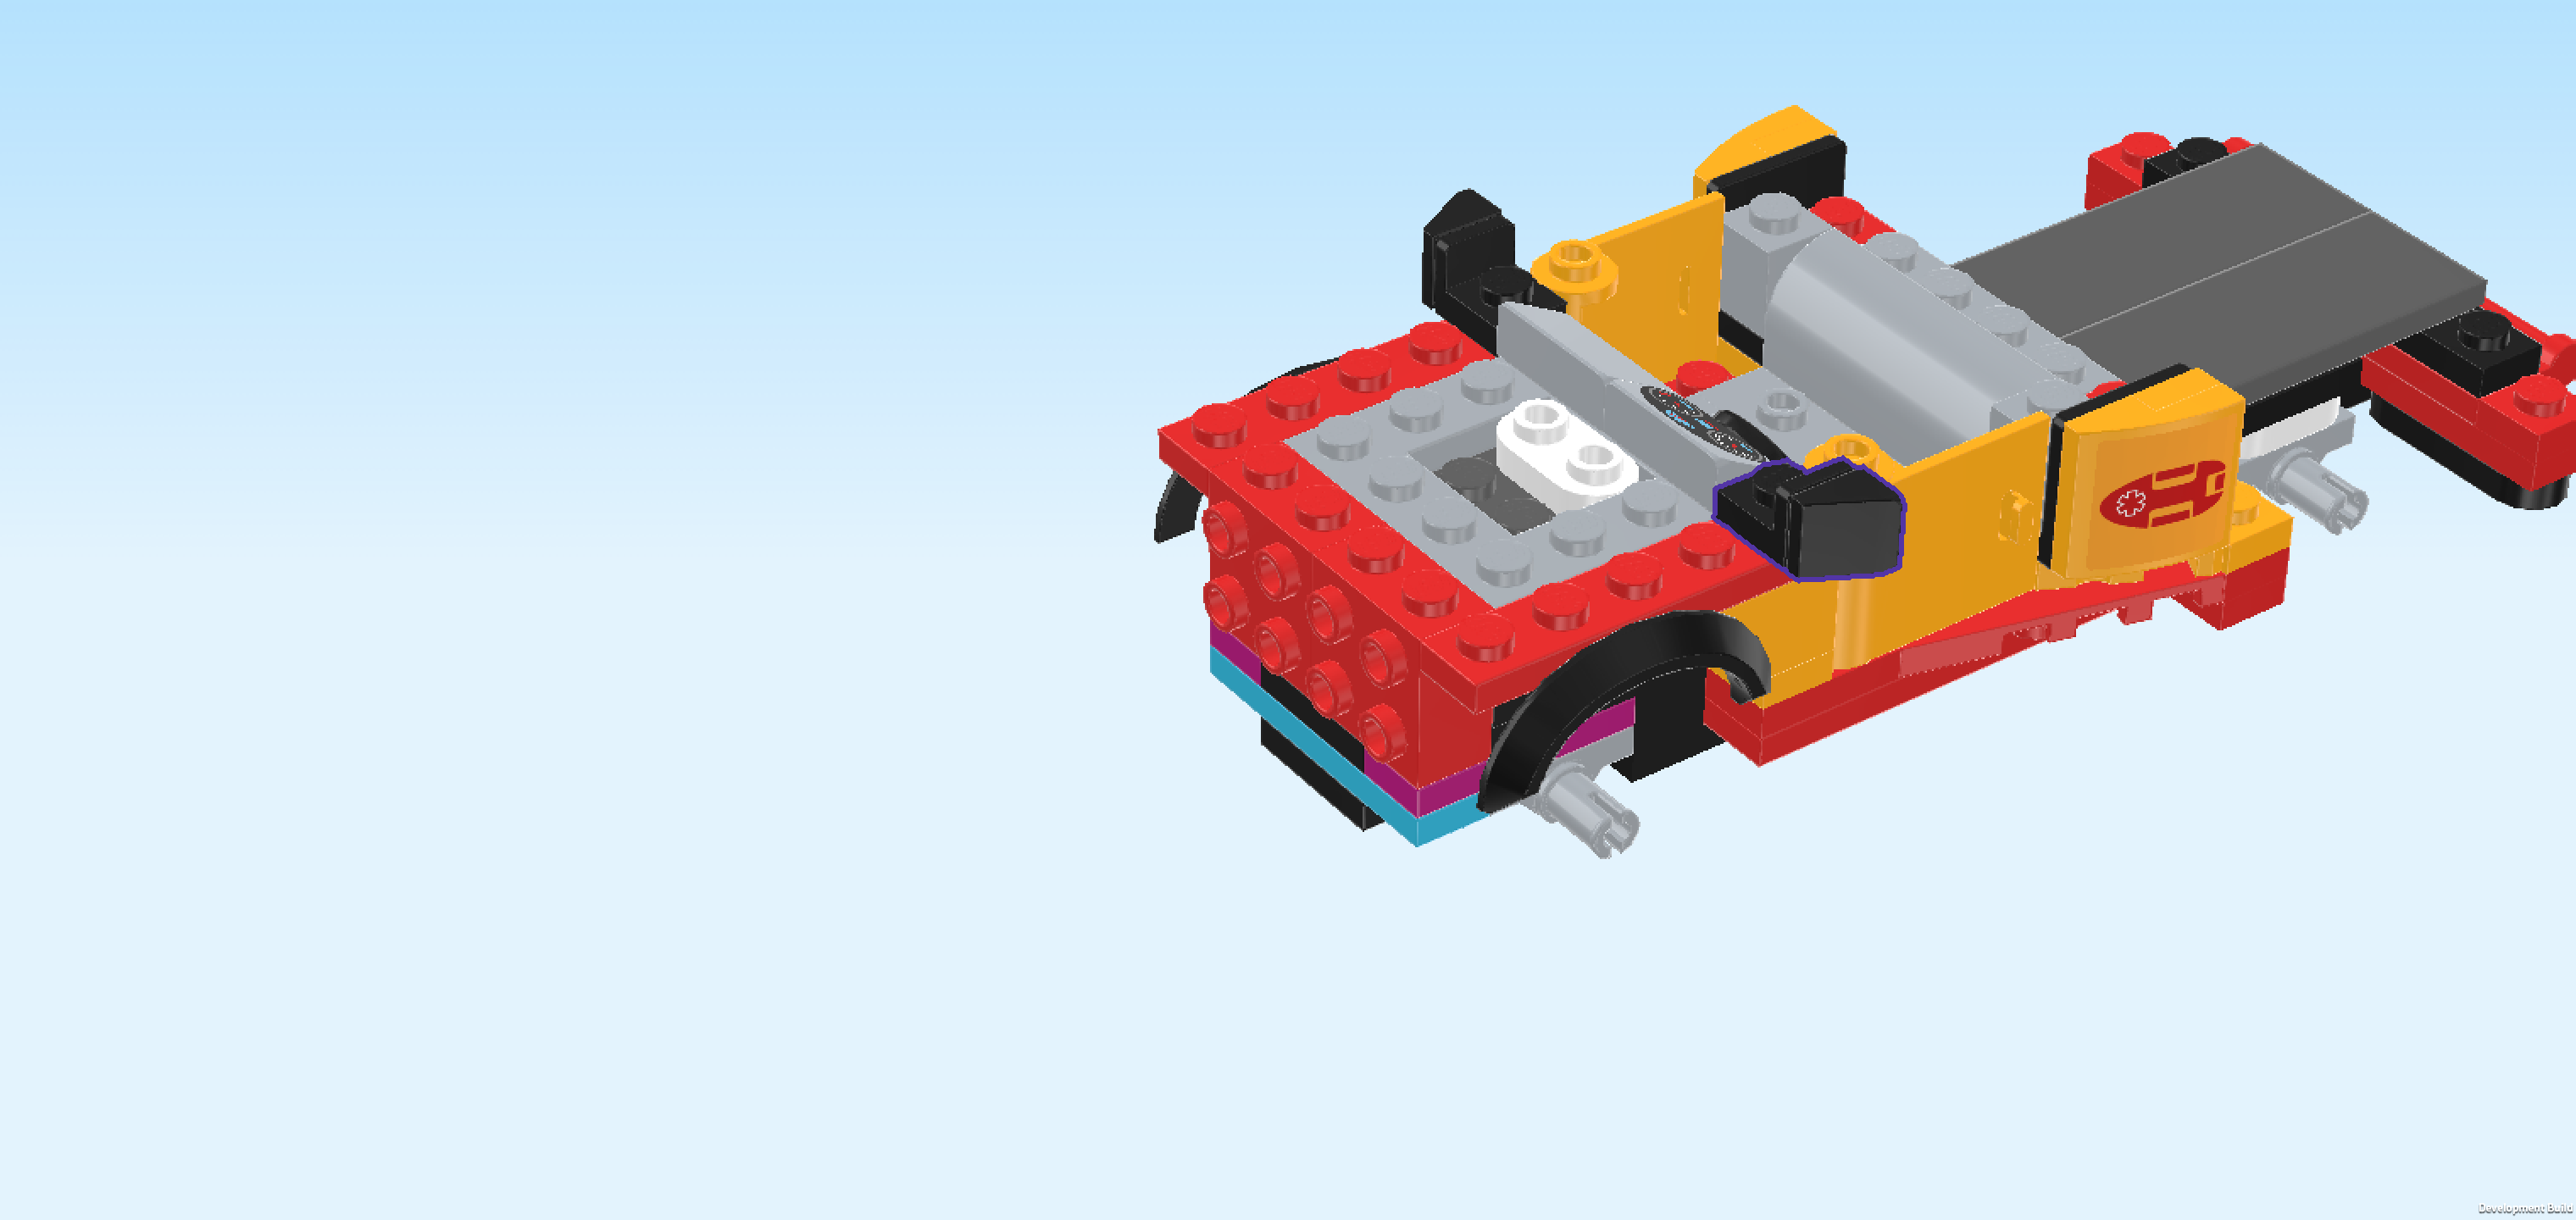
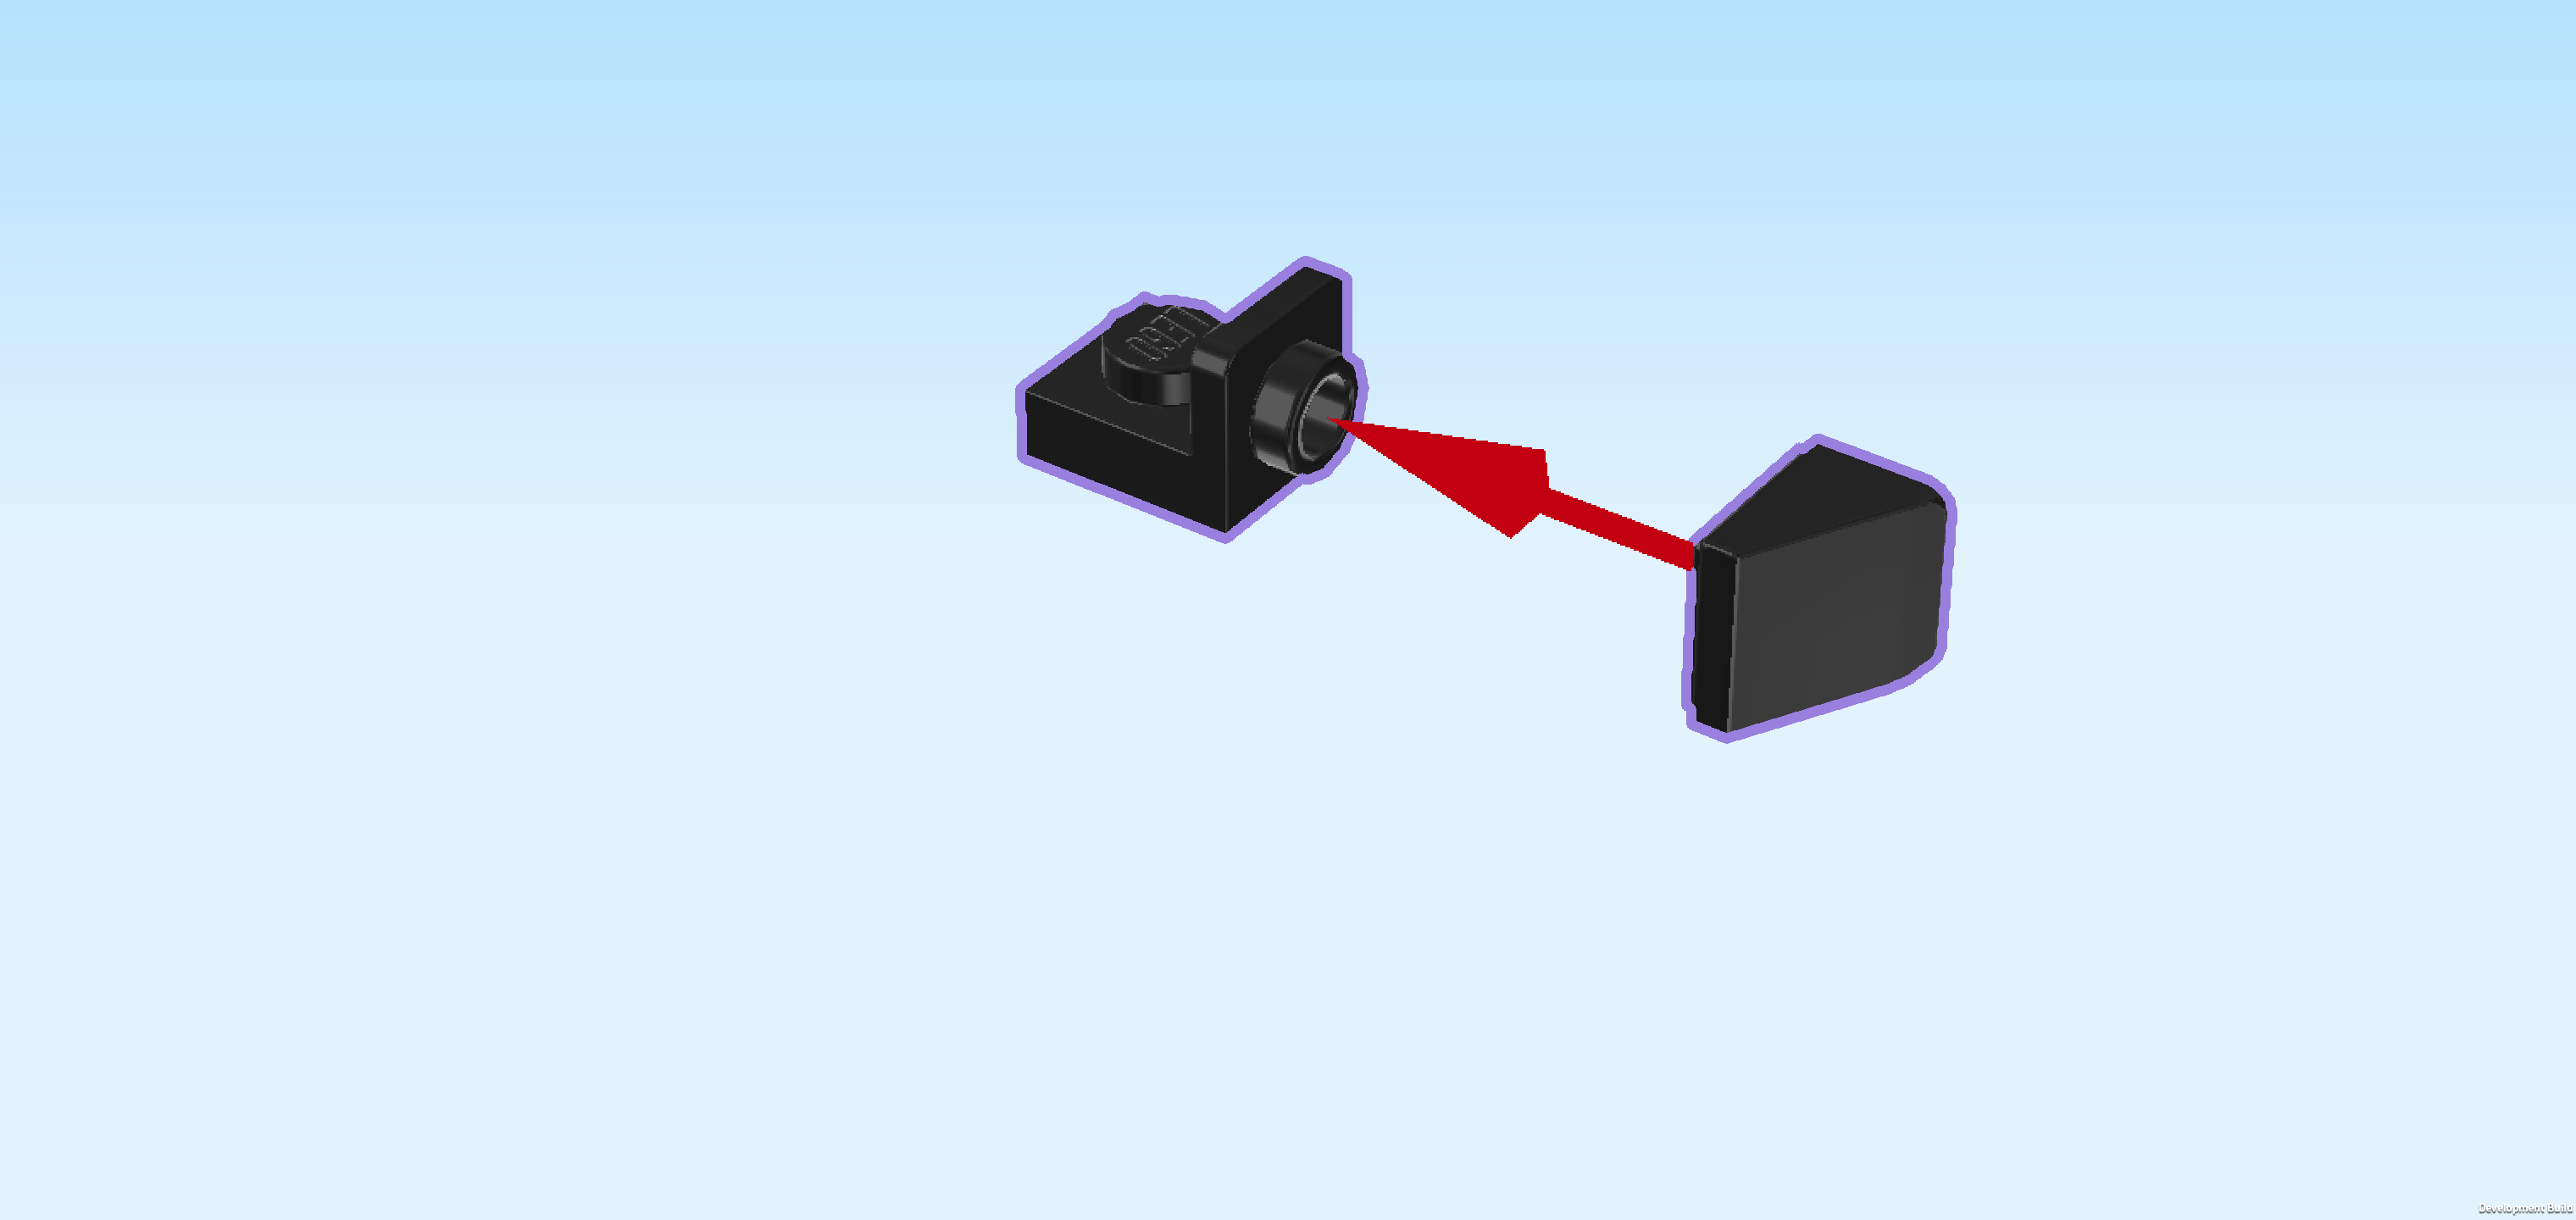
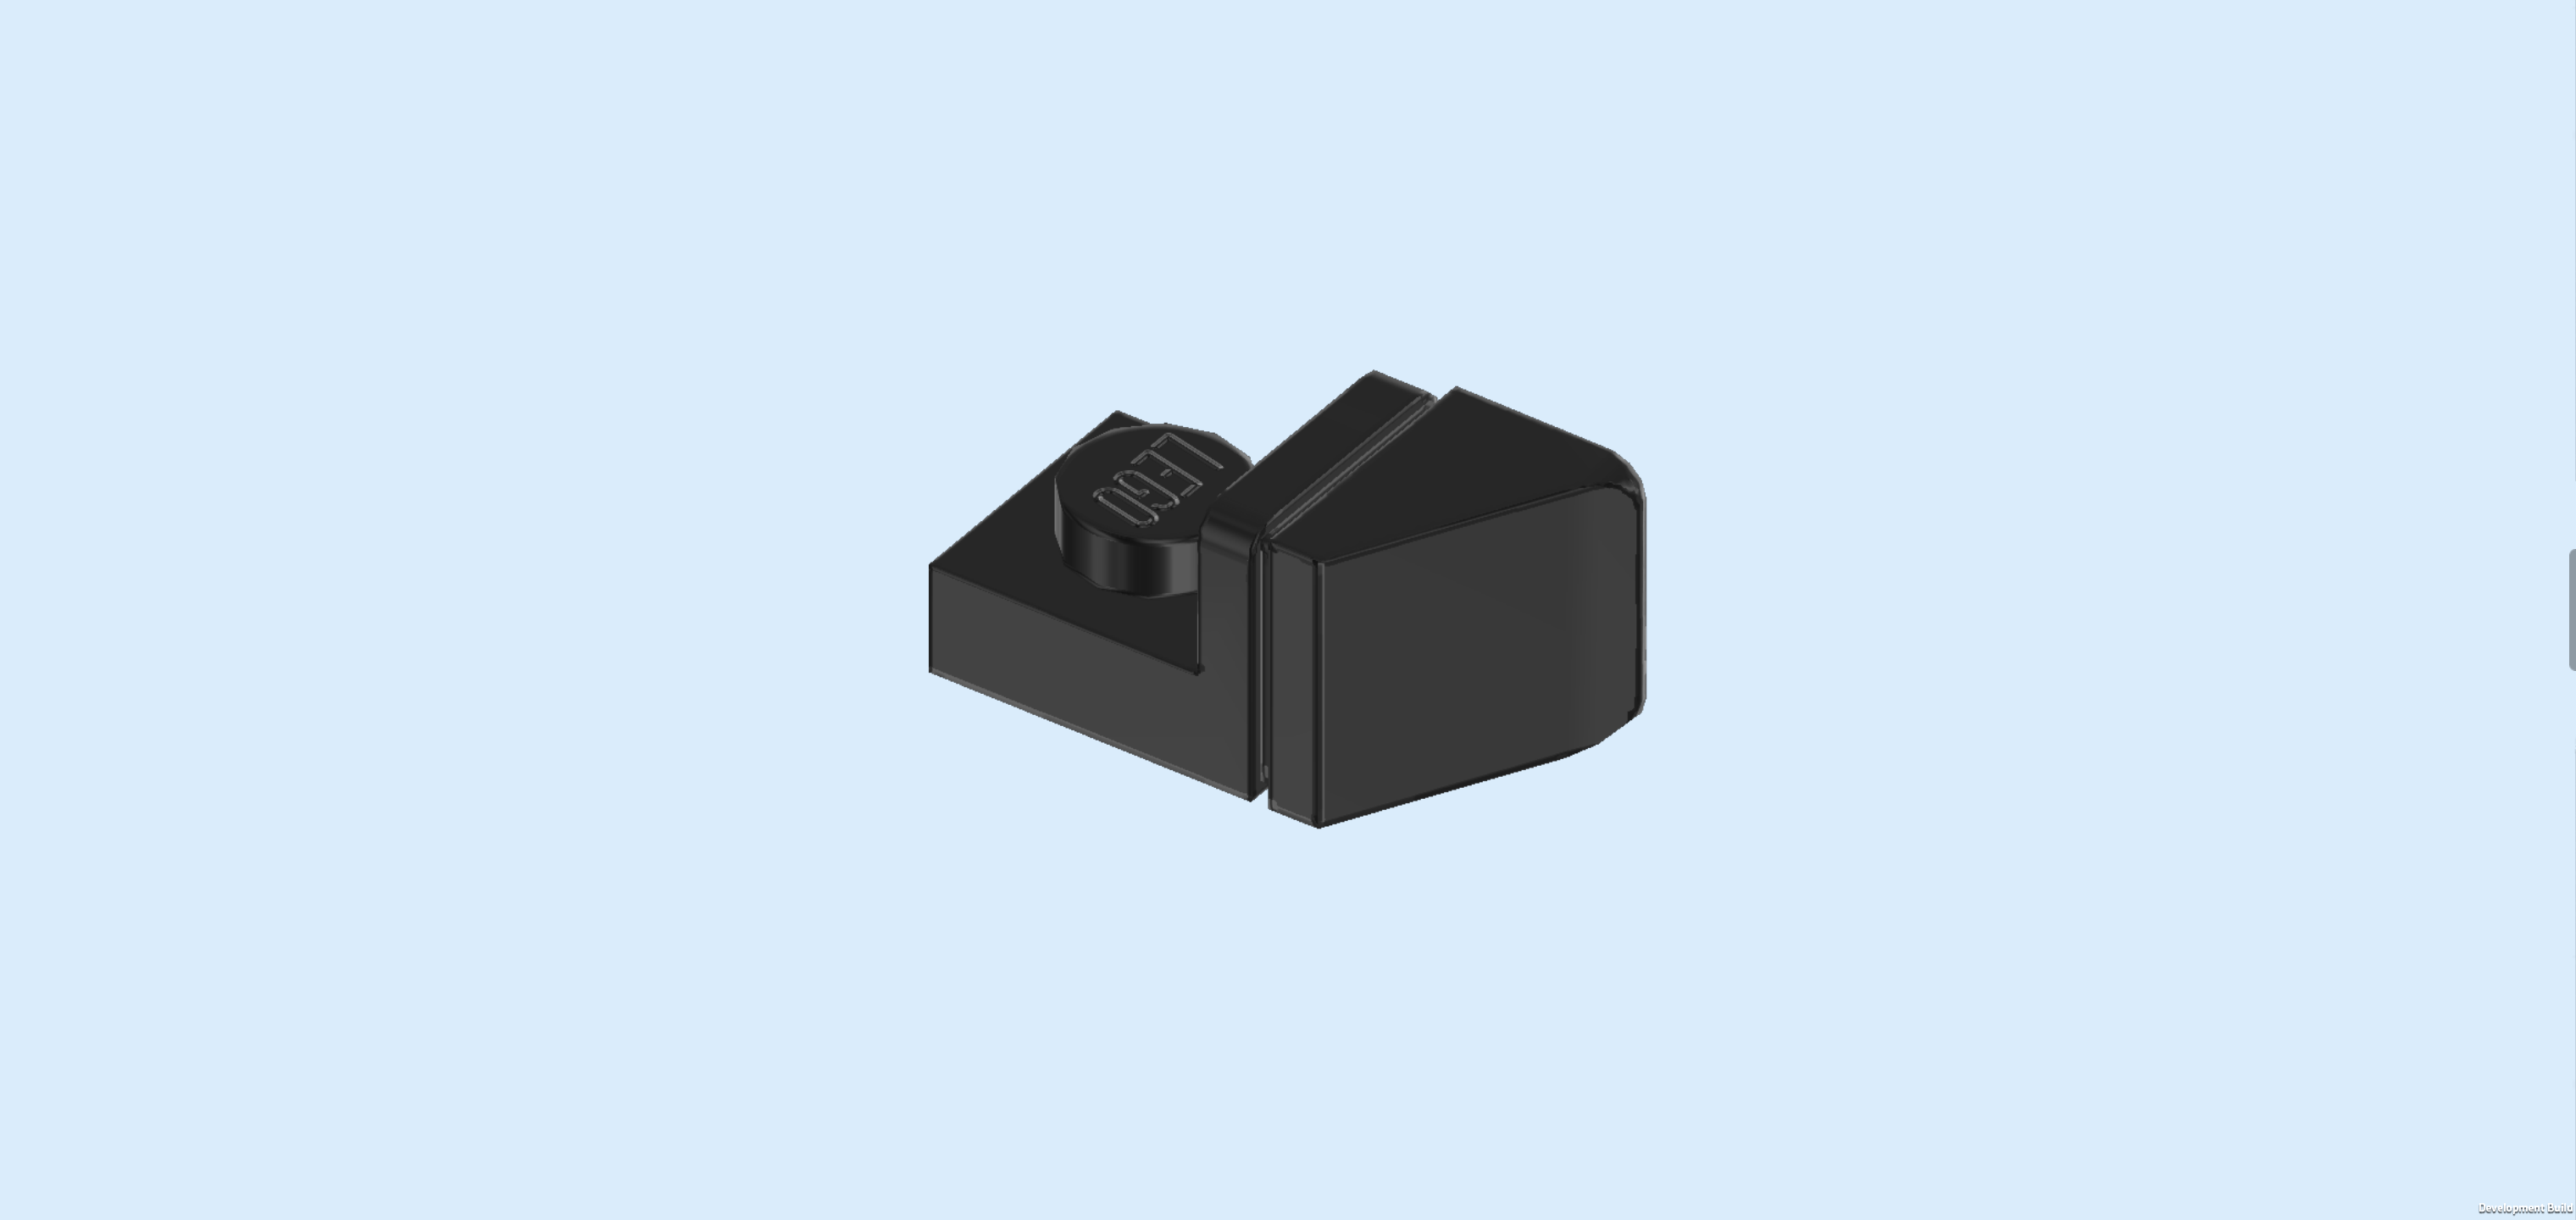
| Next up, we will build the first rearview mirror. |
| Collect the following 2 pieces: |
| 1 black smooth roof tile 1x1, |
| and 1 black bottom angle plate 1x1 - 1x1 with 1 side knob. |
| Put the bottom angle plate 1x1 on the table, side knob pointing to the left. |
| Put the smooth roof tile upright on the side knob, slope running towards you. This means that its highest edge is at the left back and the narrow edge is at the right front. |
| The first rearview mirror is finished! Turn it so that the roof tile 1x1 is towards the back, and then mount the rearview mirror to the left of the vehicle door at the back edge. This means it will sit on the fifth knob from the left of that row. Make sure the roof tile is protruding to the back. |
| Now, we will build the second rearview mirror. |
| Collect the following 2 pieces: |
| 1 black smooth roof tile 1x1, |
| and 1 black bottom angle plate 1x1 - 1x1 with 1 side knob. |
| Put the bottom angle plate 1x1 on the table, side knob pointing to the right. |
| Put the smooth roof tile 1x1 on the side knob, slope running towards you. This means that its highest edge is at the right back and the narrow edge is at the left front. |
| The second rearview mirror is finished! Turn it so that the roof tile is pointing to the front, and then mount it to the left of the front door, roof tile protruding to the front. |
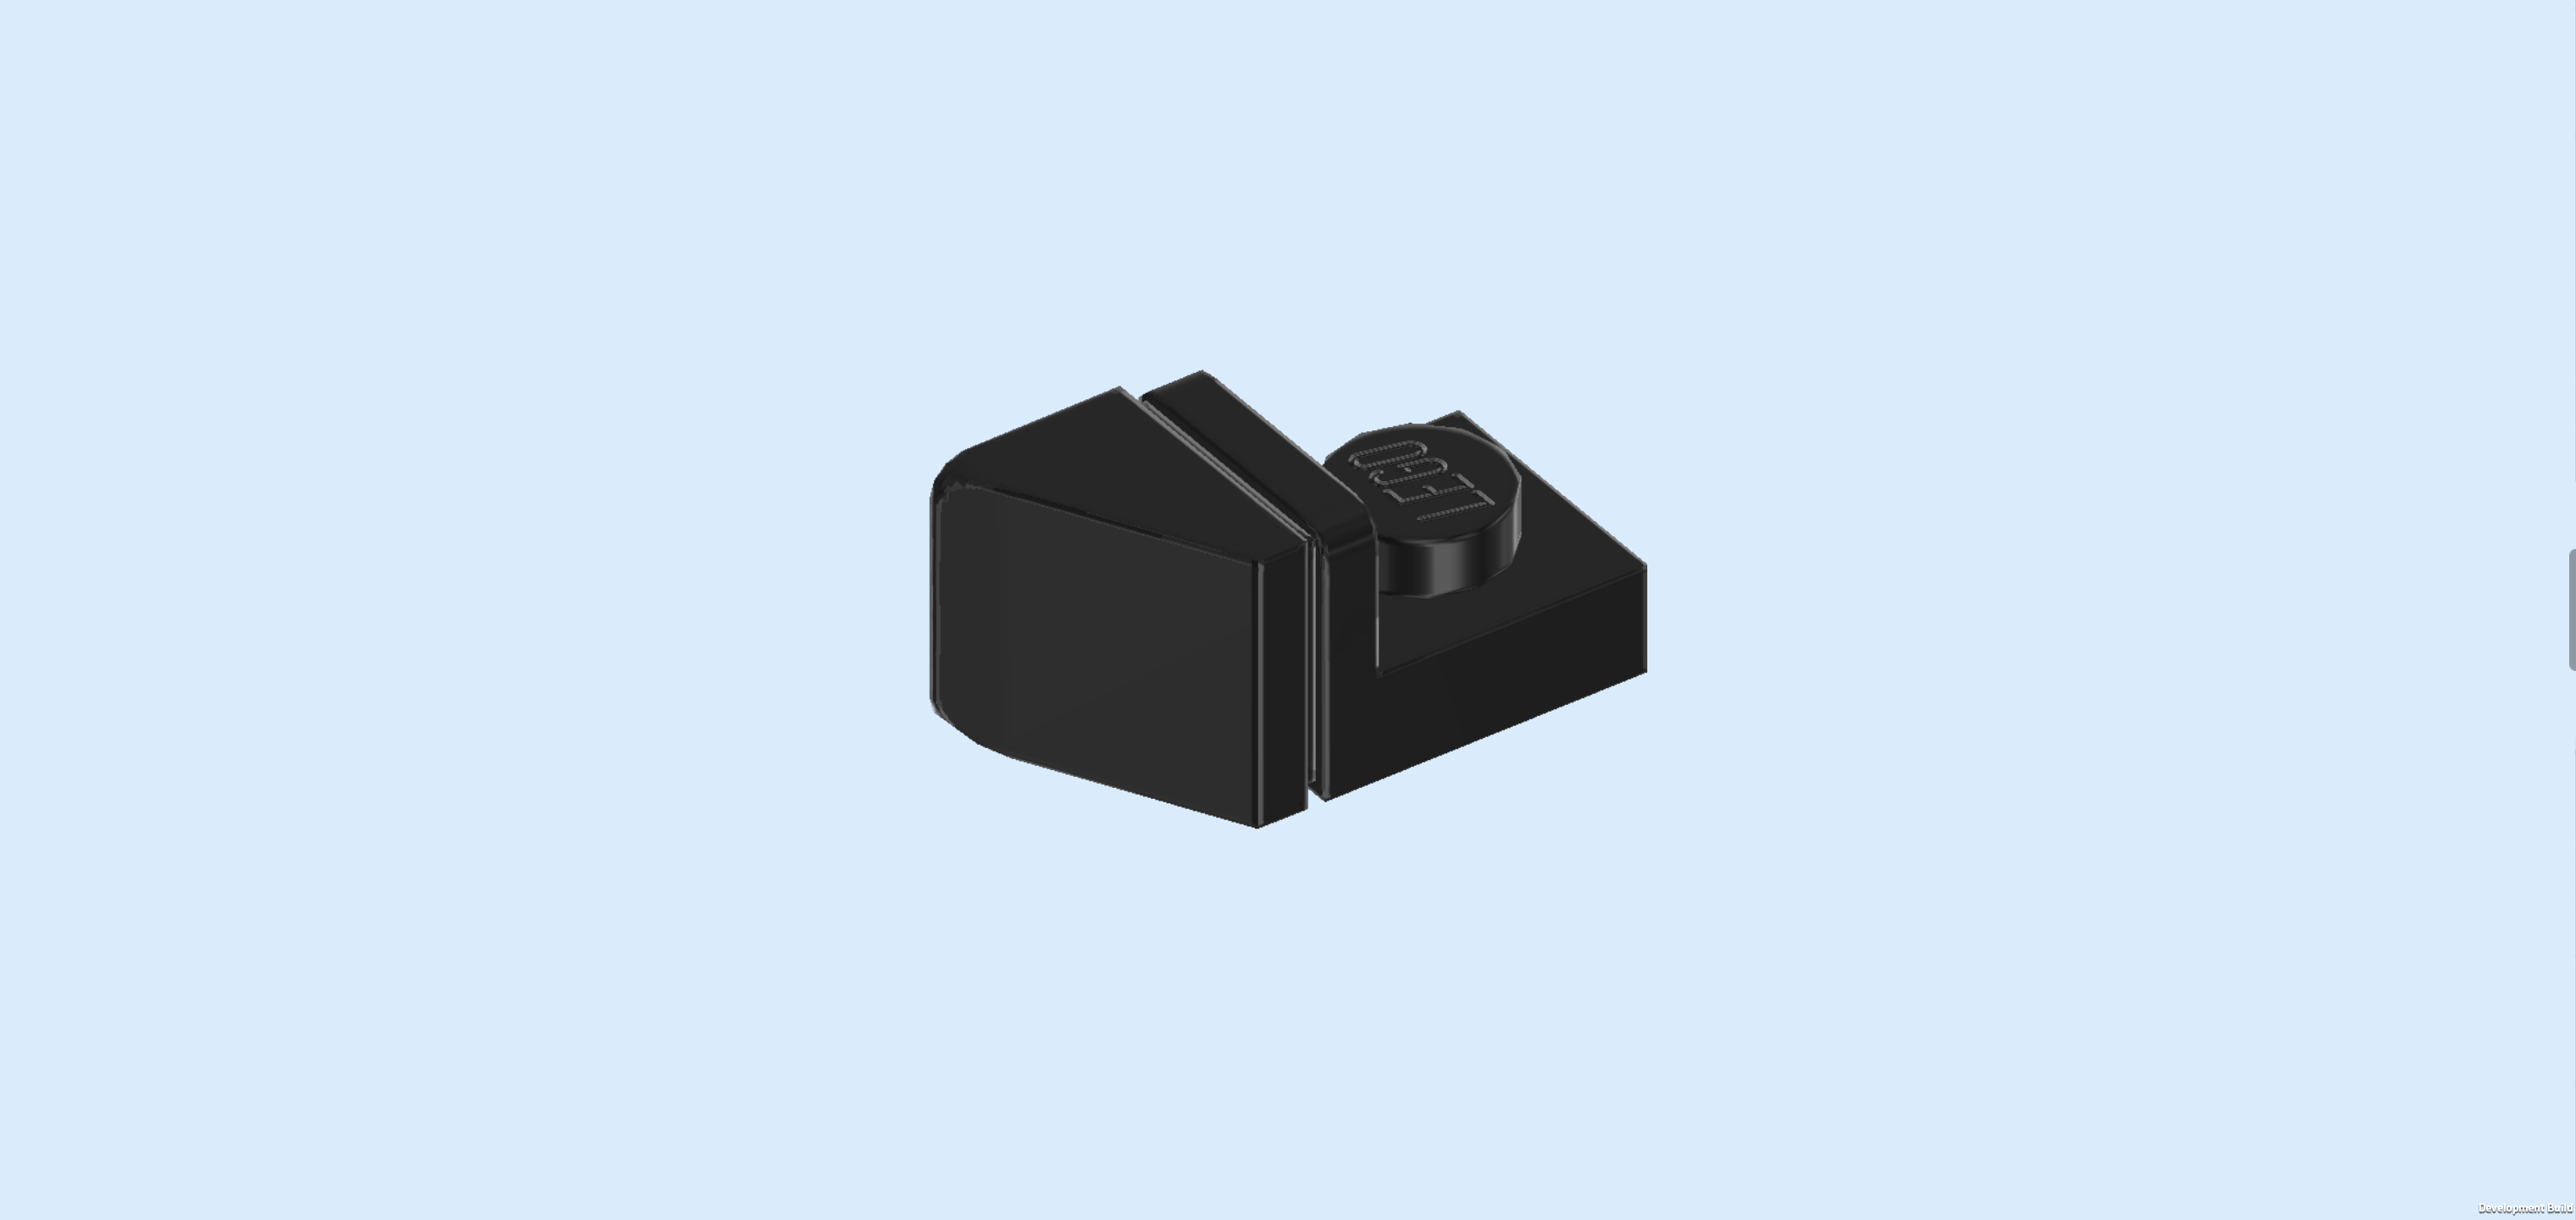
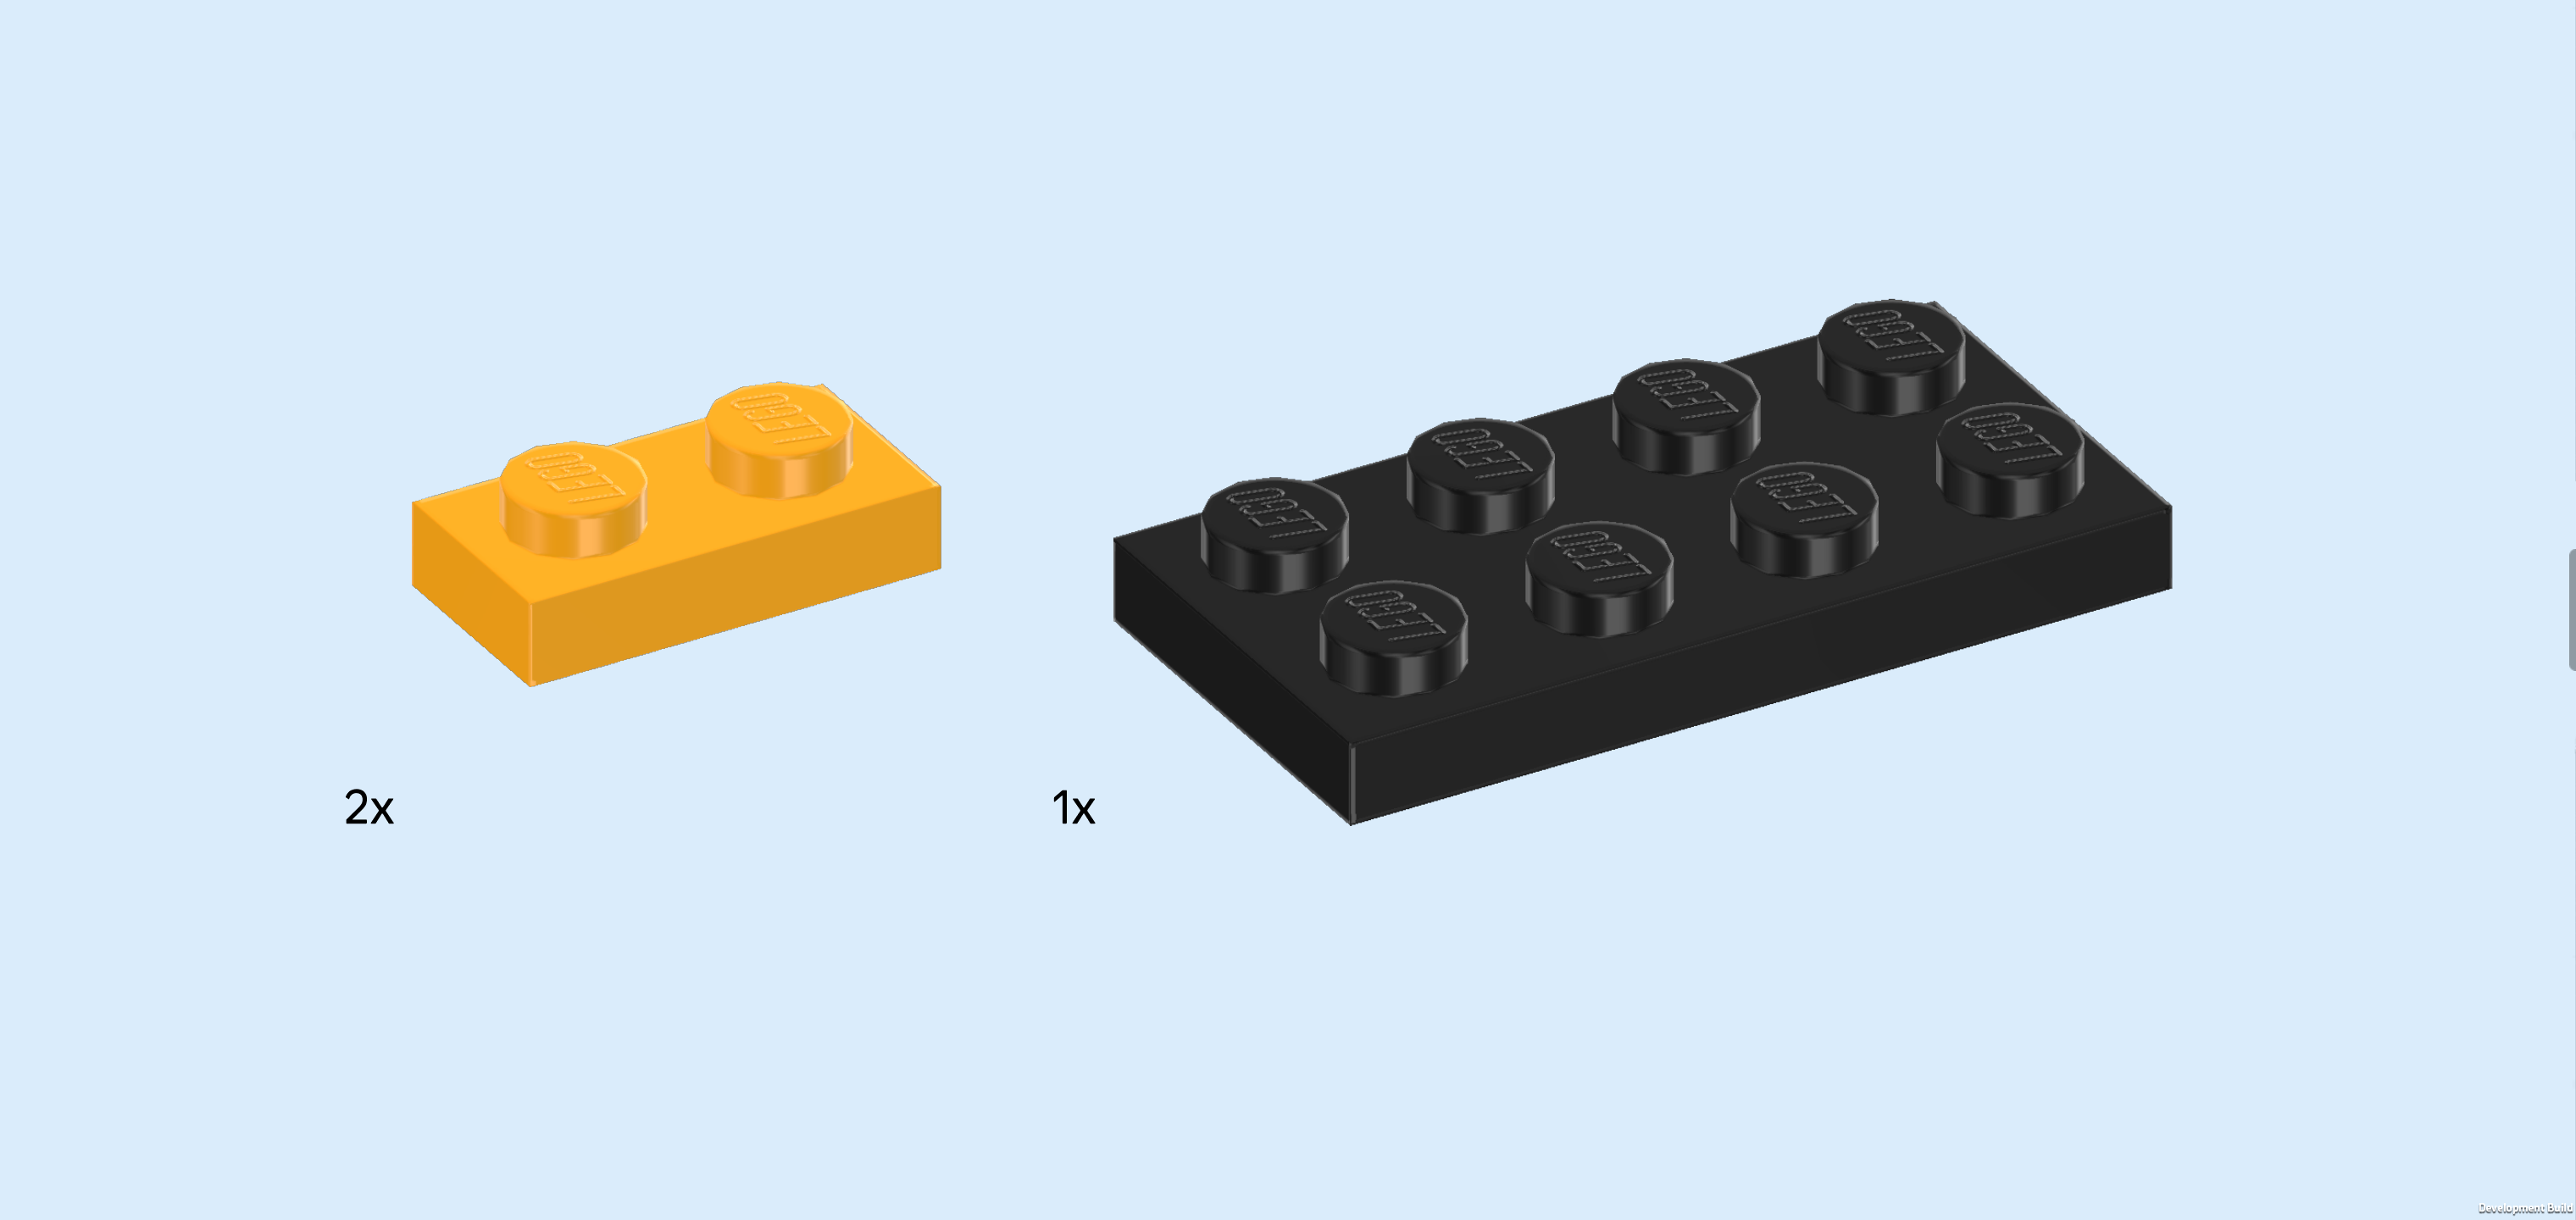
| Collect the following 3 pieces: |
| 2 flame yellowish orange plates 1x2, |
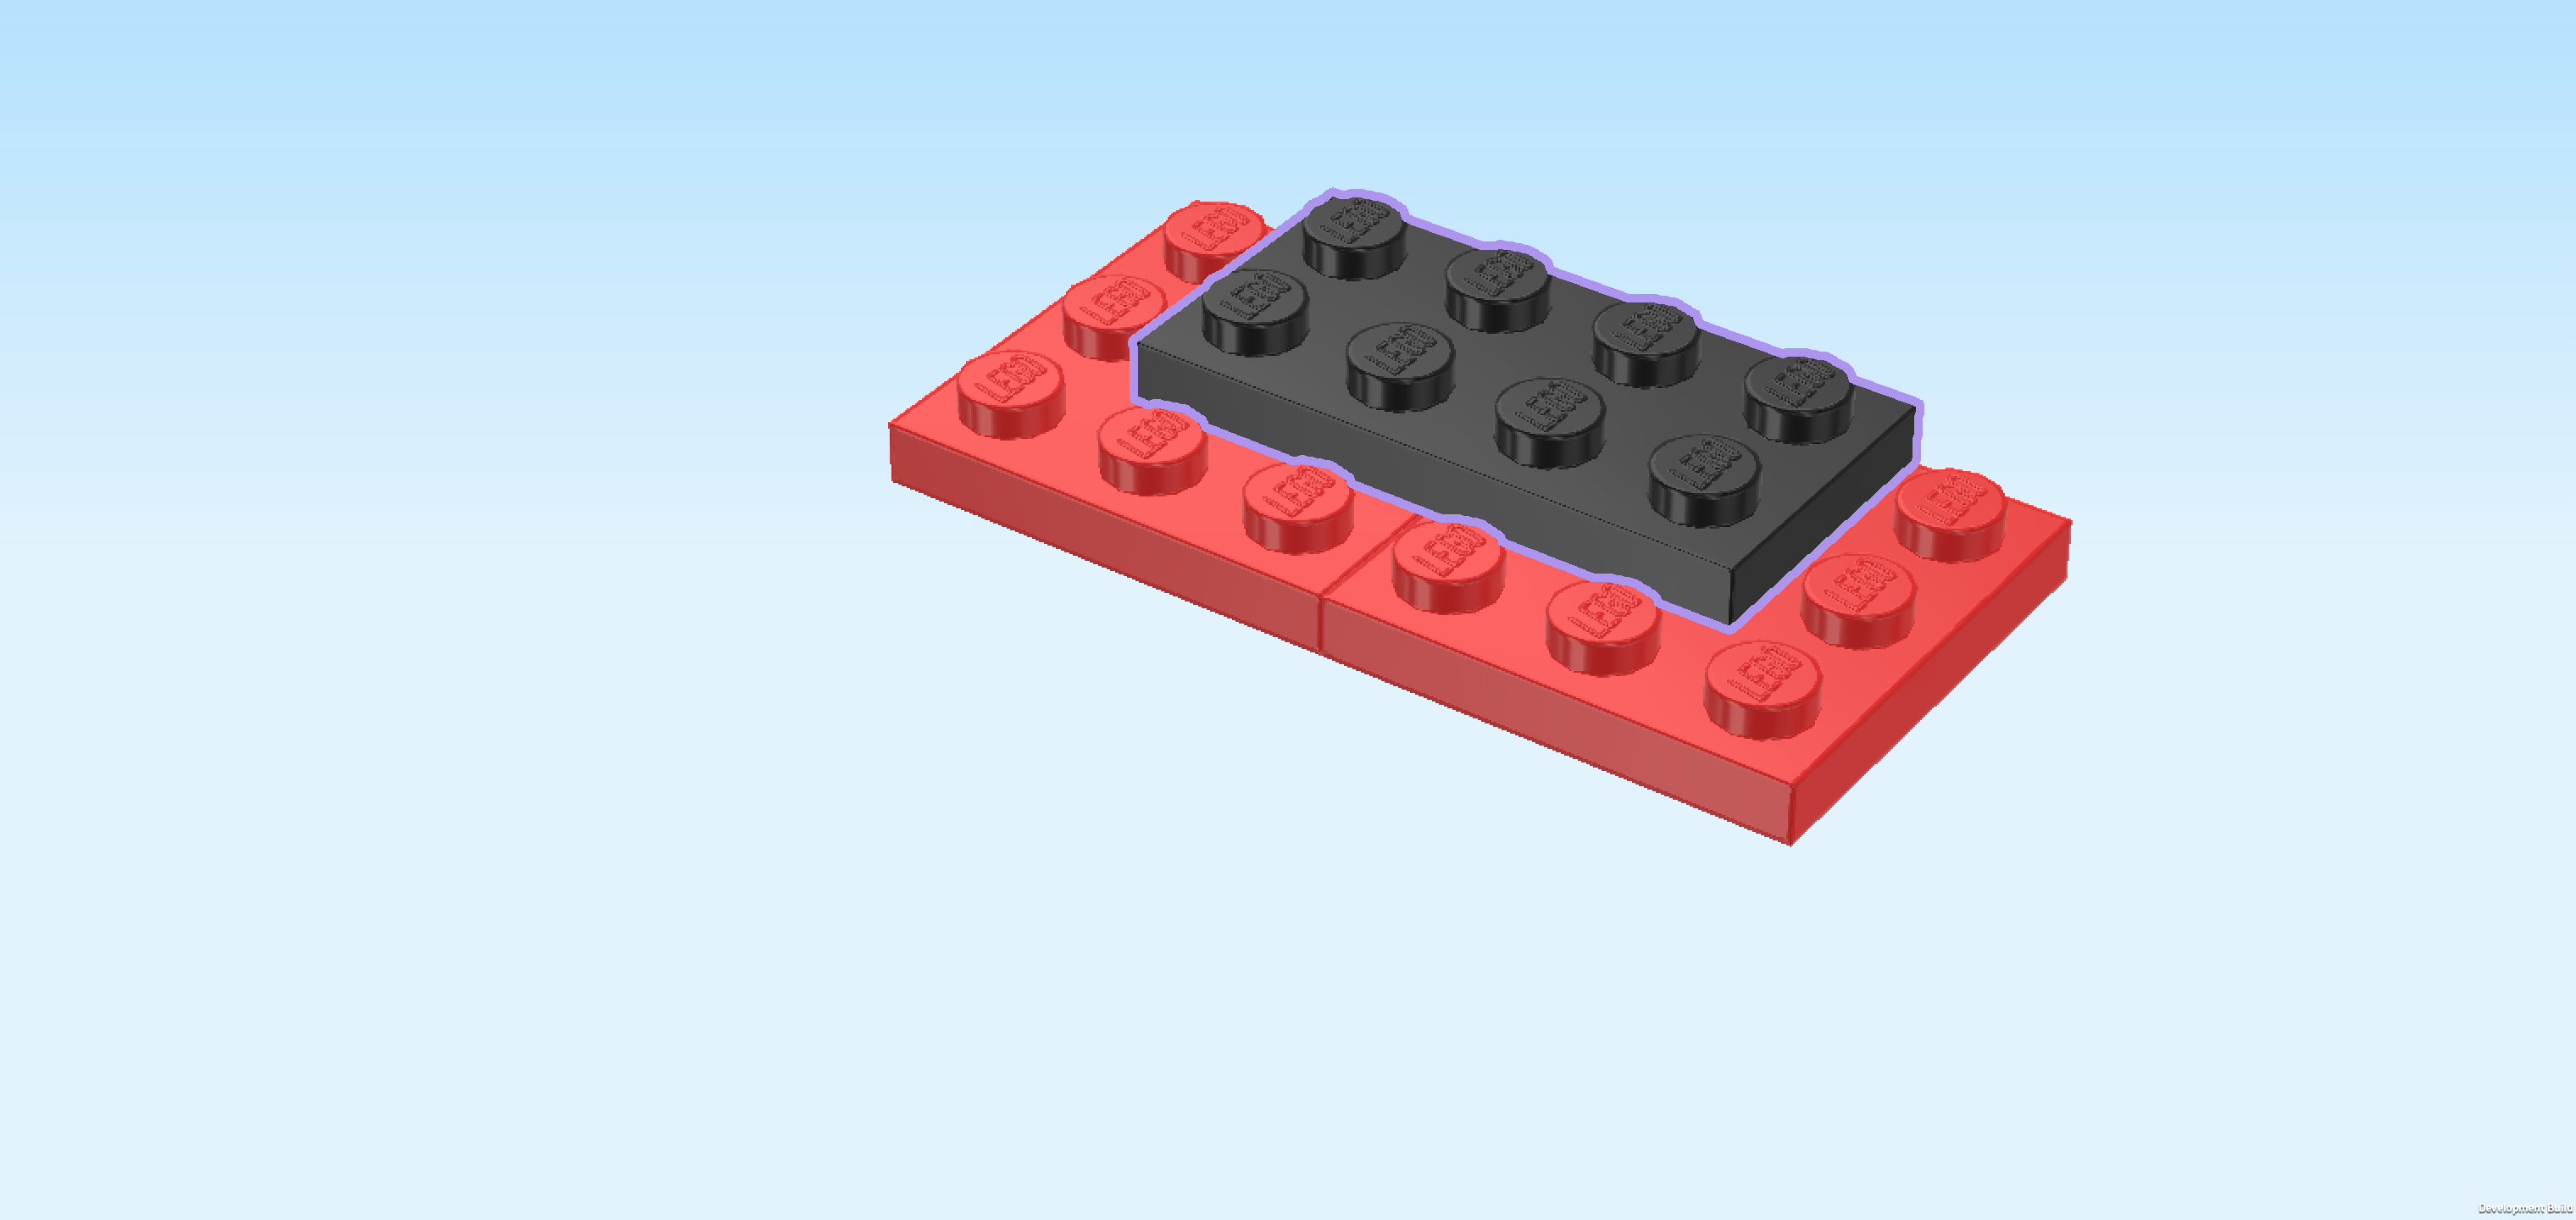
| and 1 black plate 2x4. |
| Put the plate 2x4 horizontally on the 2 middle rows of the structure, starting from the left edge. |
| Put 1 plate 1x2 vertically behind the previous piece's rightmost column. |
| Repeat symmetrically at the front. |
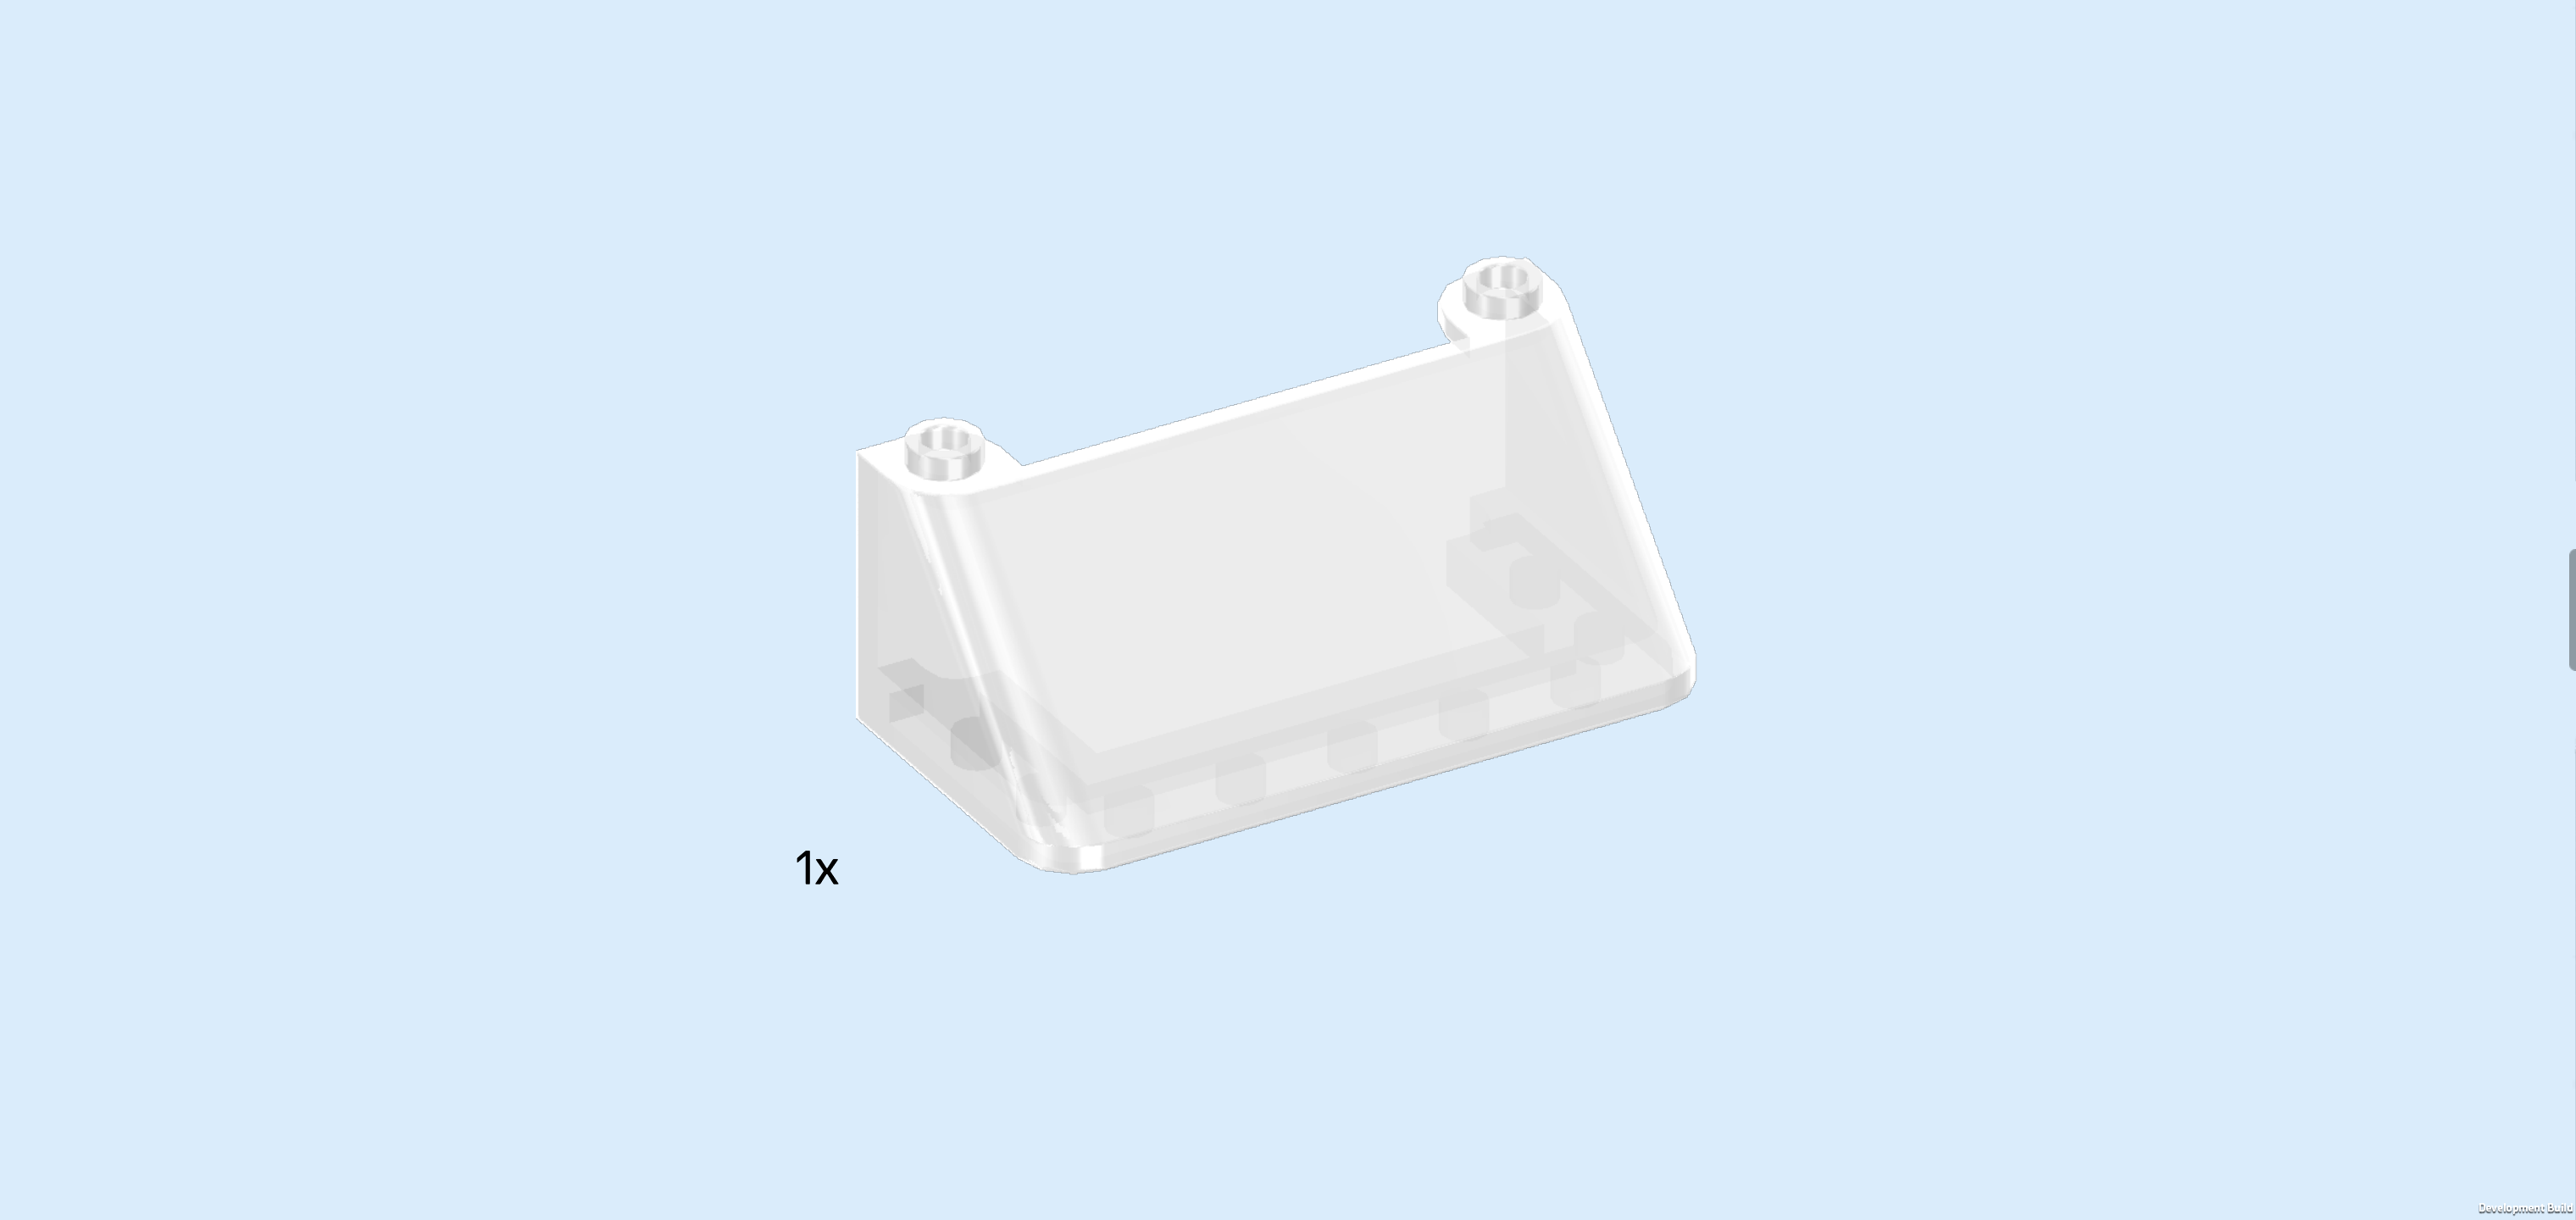
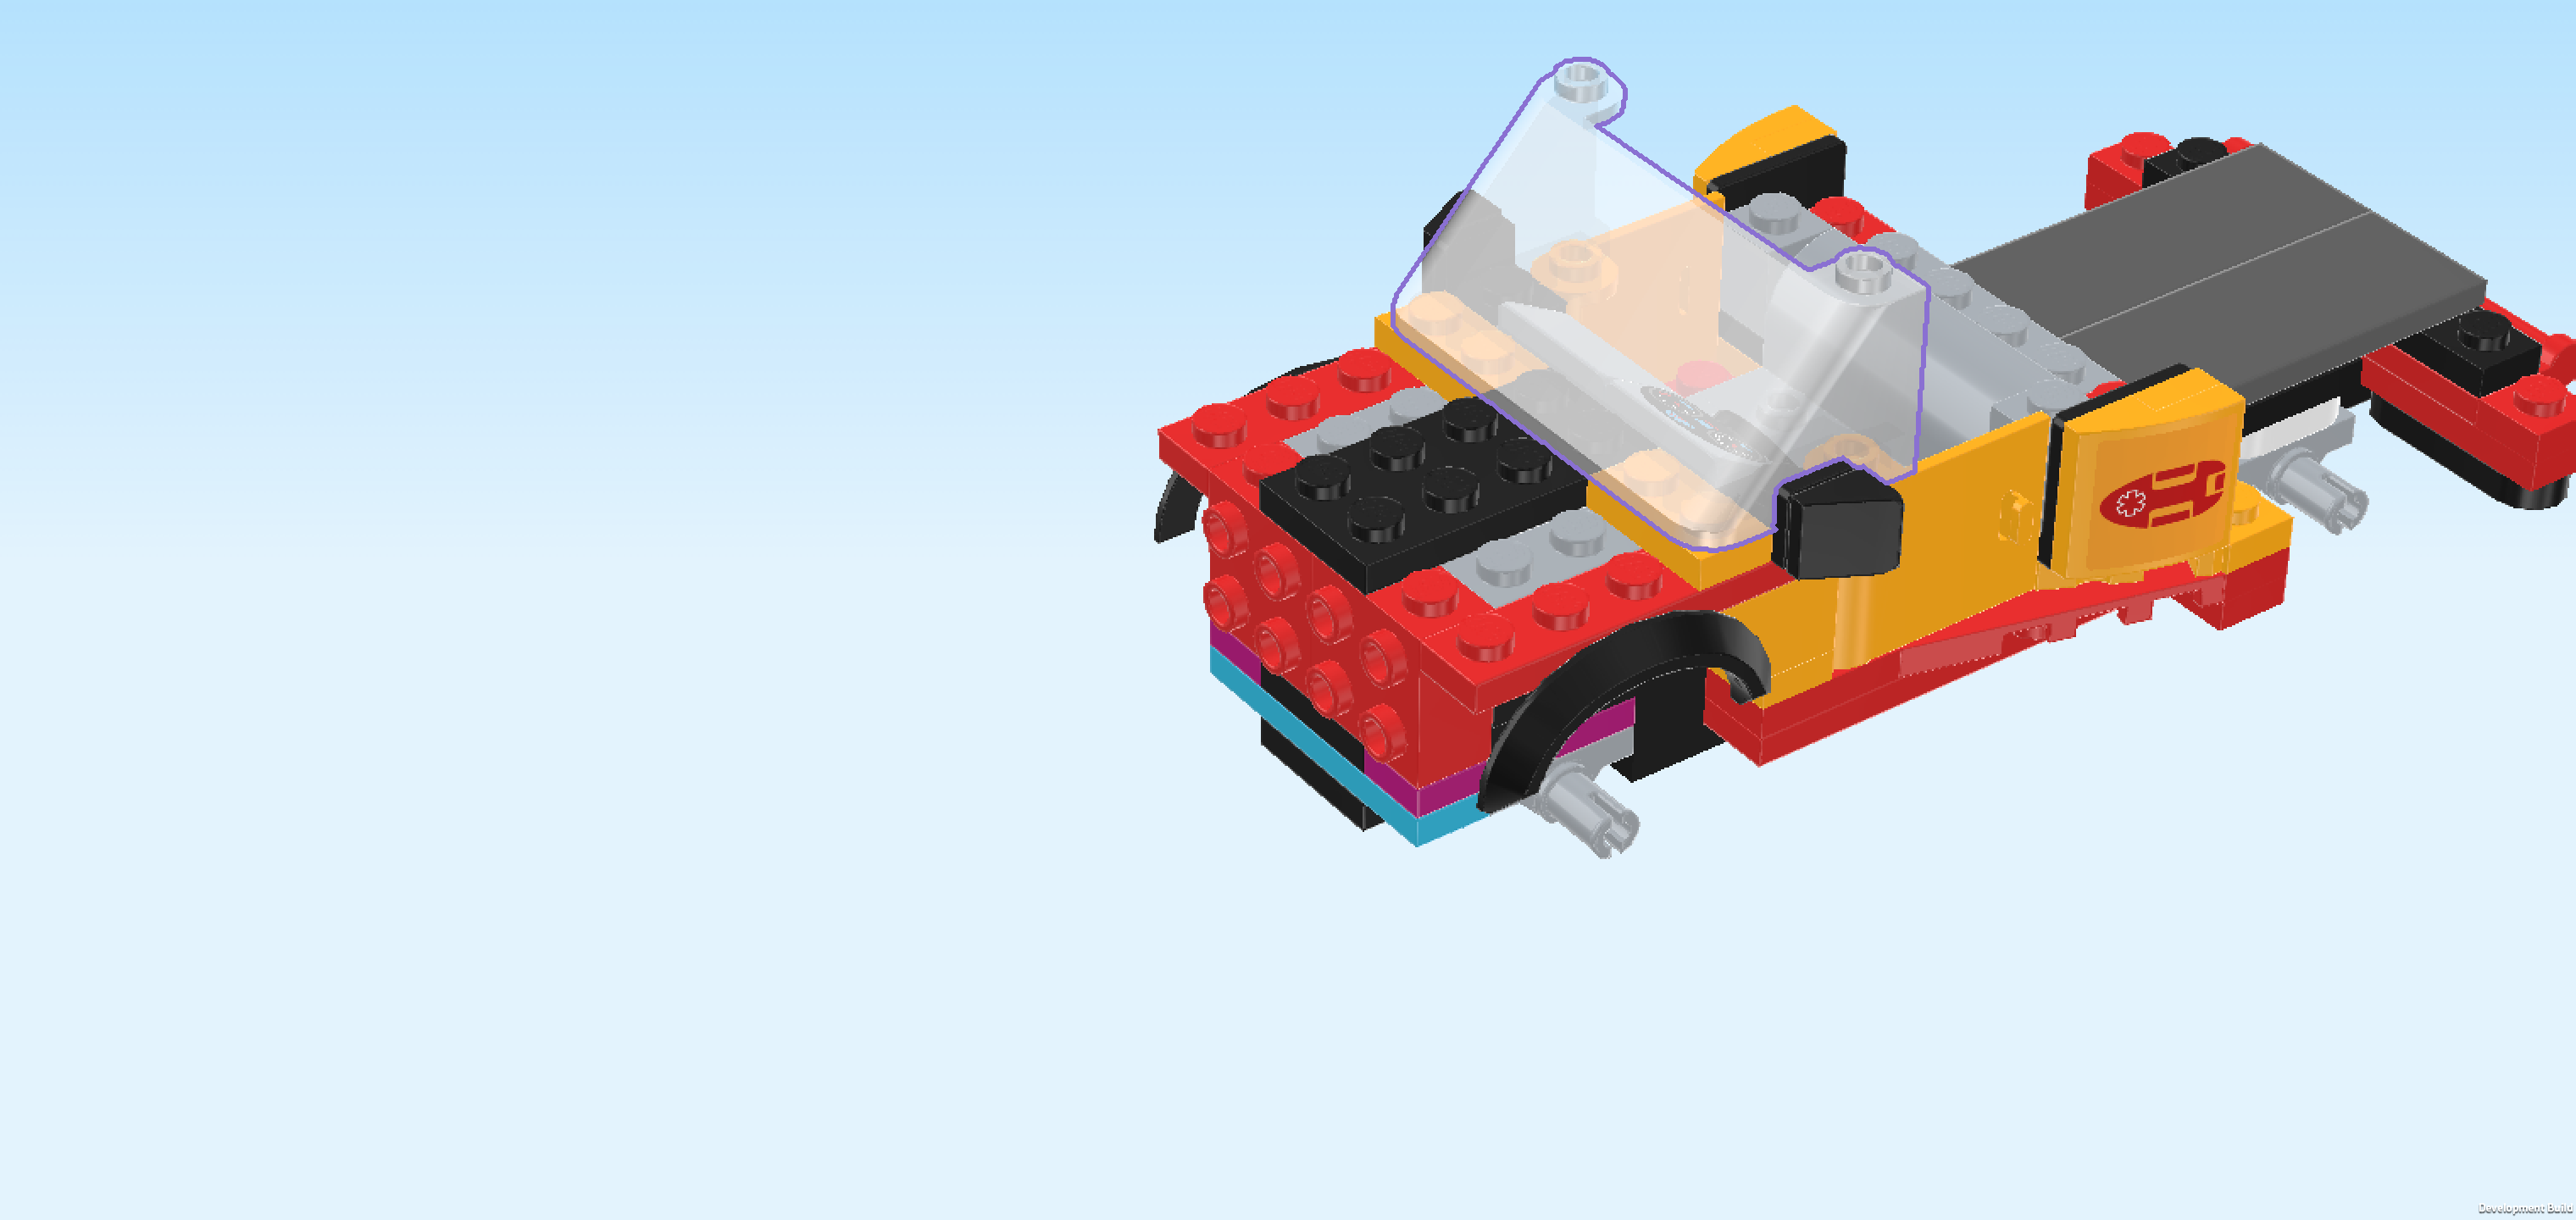
| Find 1 transparent windscreen 6x3x2. |
| Turn it vertically, slope to the left, and put its leftmost edge on the 2 previous pieces, the rightmost edge connecting to the knobs of the 2 doors. |
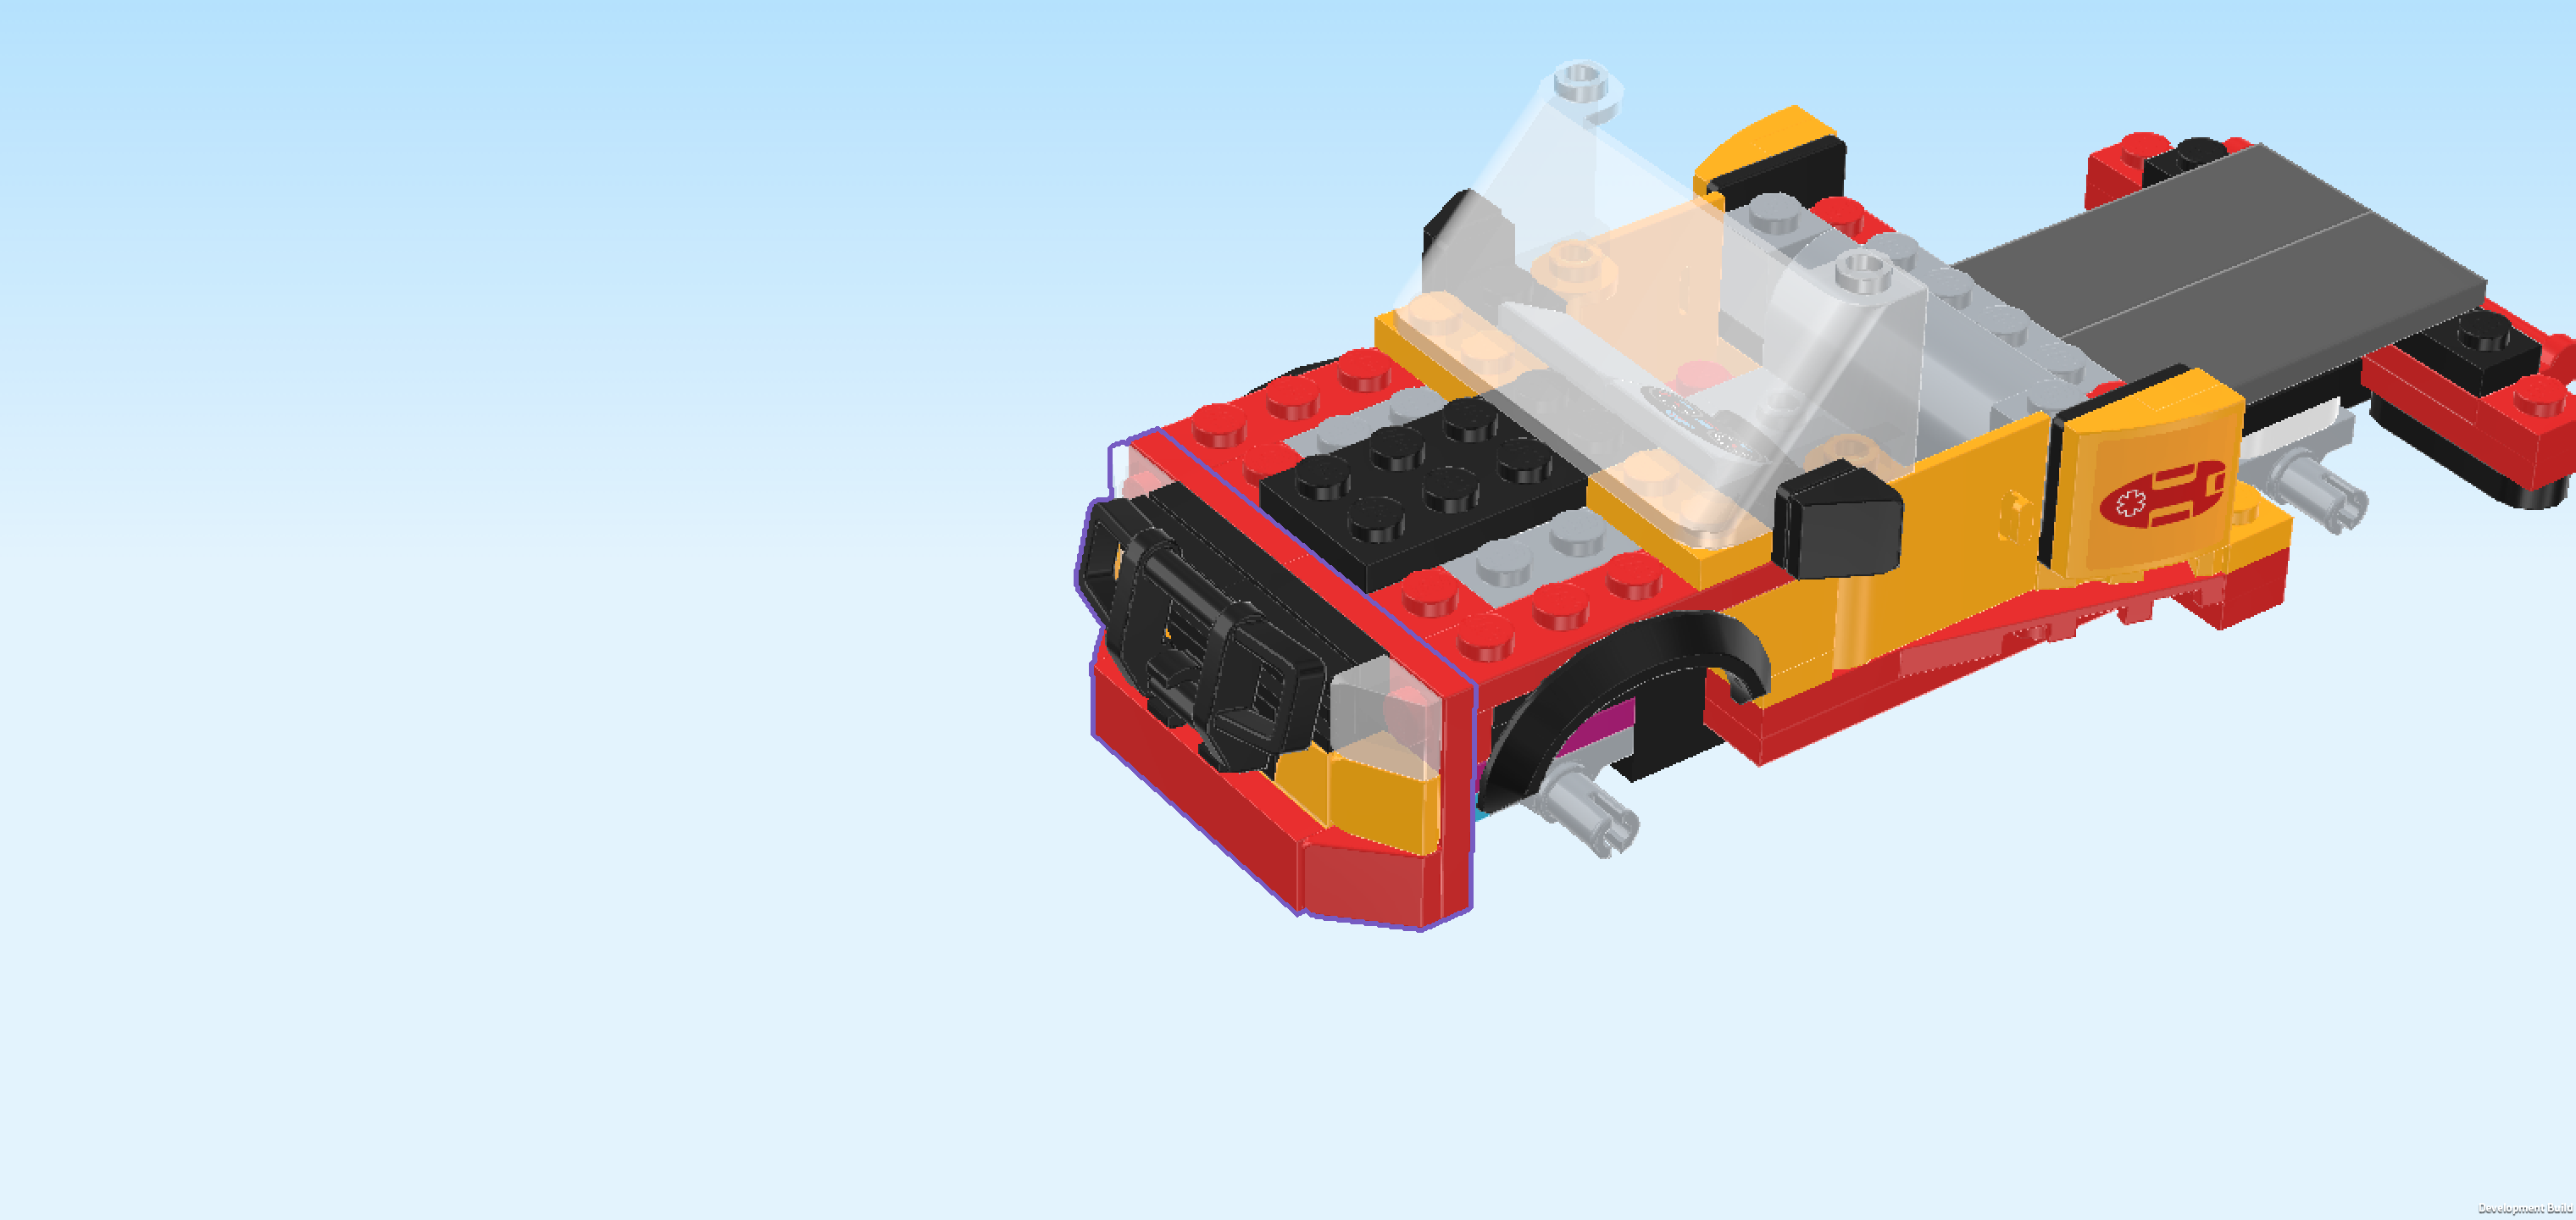
| Now, we will build the front grille and bumper. |
| Find 2 bright red plates 3x3. |
| Put them next to each other on the table so that they form a horizontally oriented base of 3x6 knobs. |
| Find 1 black plate 2x4. |
| Put it horizontally centered on the 2 back rows of the 3x6 base. |
| If done correctly, there is 1 empty column to the right, 1 empty column to the left and 1 empty column in front of the current piece. |
| Find 1 white rounded plate 1x2. |
| Put it horizontally centered in front of the previous piece. |
| Find 2 black grille tiles 1x2. |
| Put 1 horizontally on the left half of the plate 2x4's back row. |
| Put the other one to the right of the previous piece. |
| Collect the following 4 pieces: |
| 2 transparent smooth roof tiles 1x1x⅔, |
| and 2 flame yellowish orange smooth roof tiles 1x1x⅔. |
| Put 1 transparent roof tile to the right of the previous piece, slope to the right. This means it sits in the back right corner of the current structure. |
| Put 1 flame yellowish orange roof tile in front of the previous piece, slope to the right. |
| Repeat symmetrically on the left, slopes to the left. |
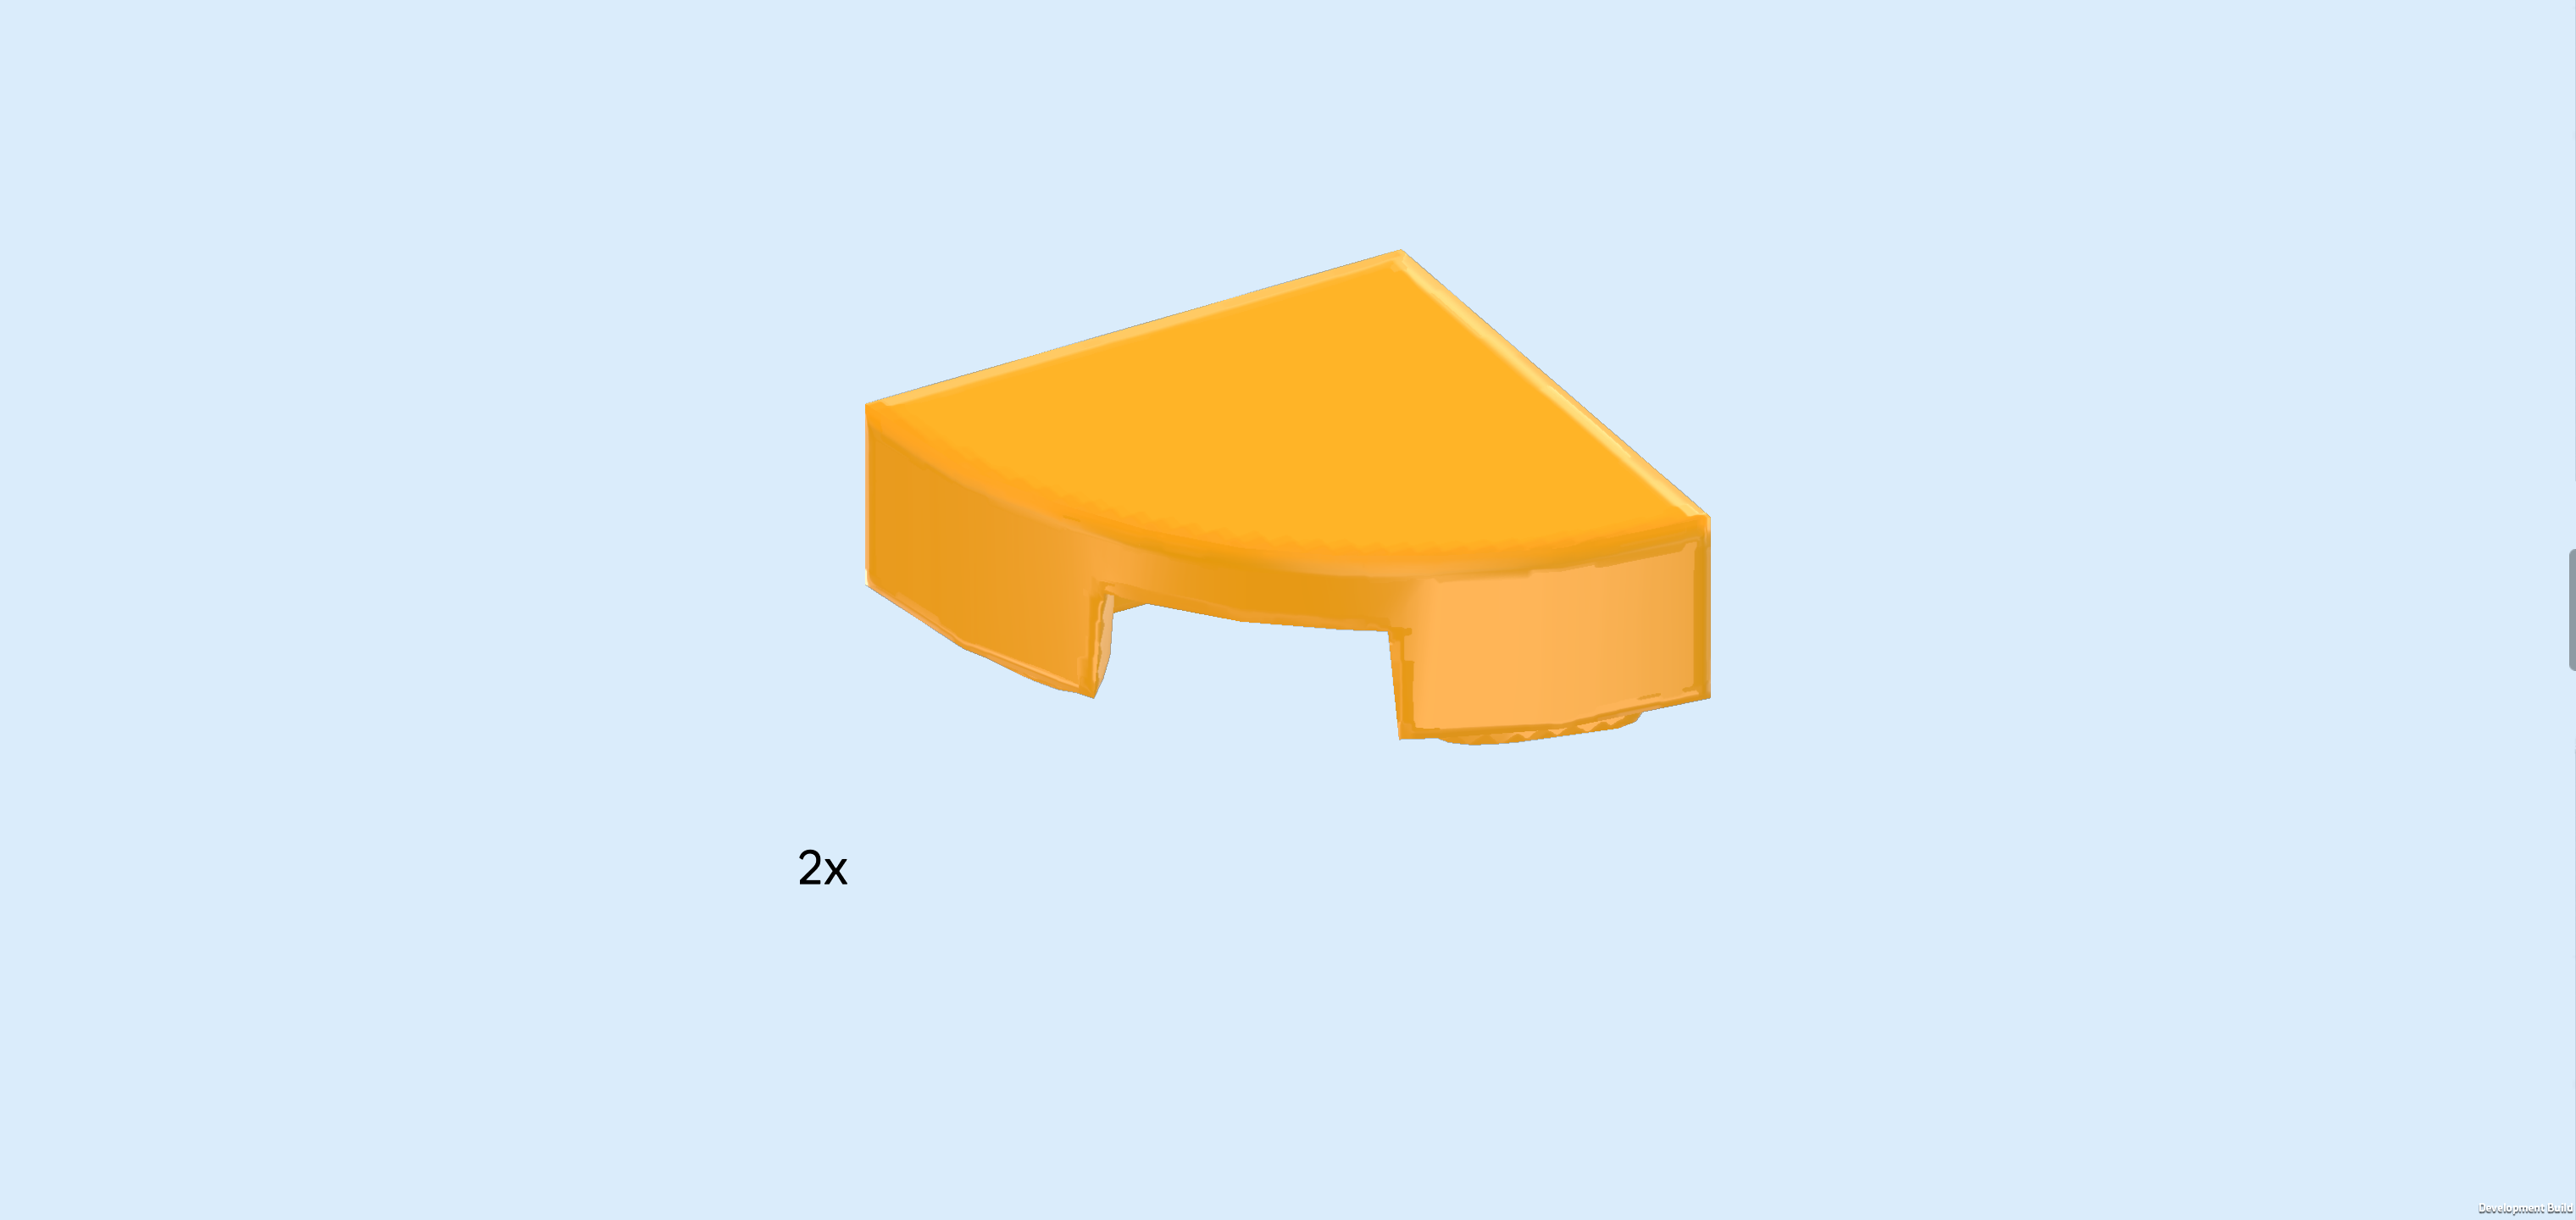
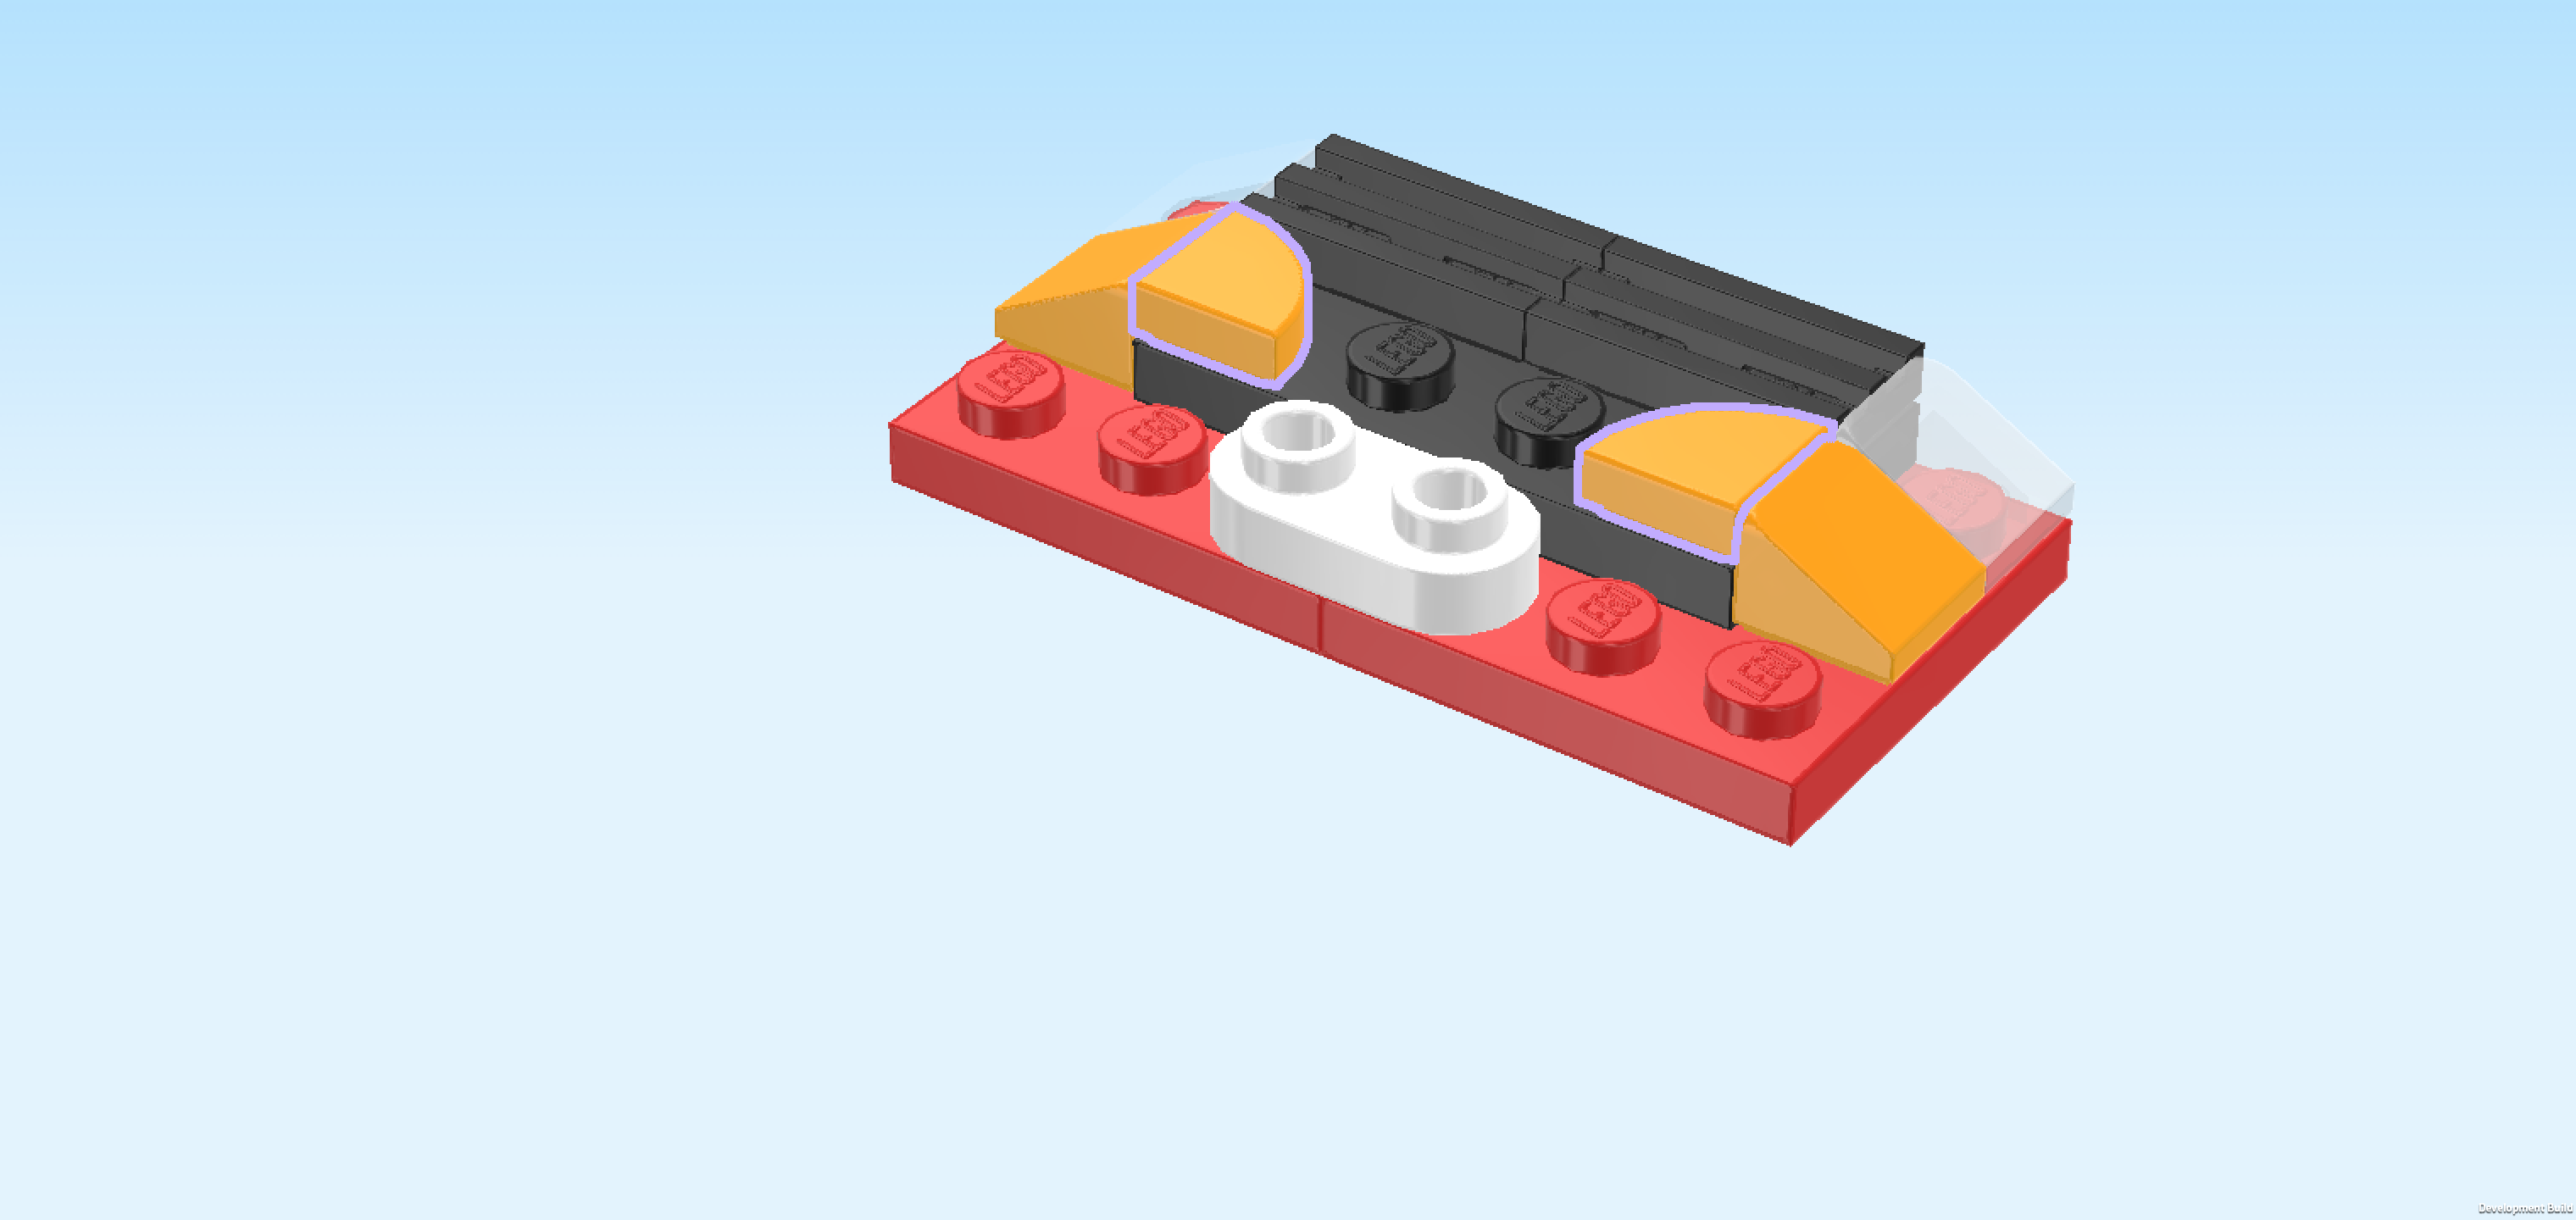
| Find 2 flame yellowish orange quarter-circle tiles 1x1. |
| Put 1 to the right of the flame yellowish orange roof tile you have just mounted on the left edge, quarter circle to the back right. |
| Repeat symmetrically on the right, quarter circle to the back left. |
| Find 2 black plates 1x1 with top clasp. |
| Put them on the 2 knobs between the 2 previous pieces. Make sure that the clasp tips are to the front and back, not to the left and right. |
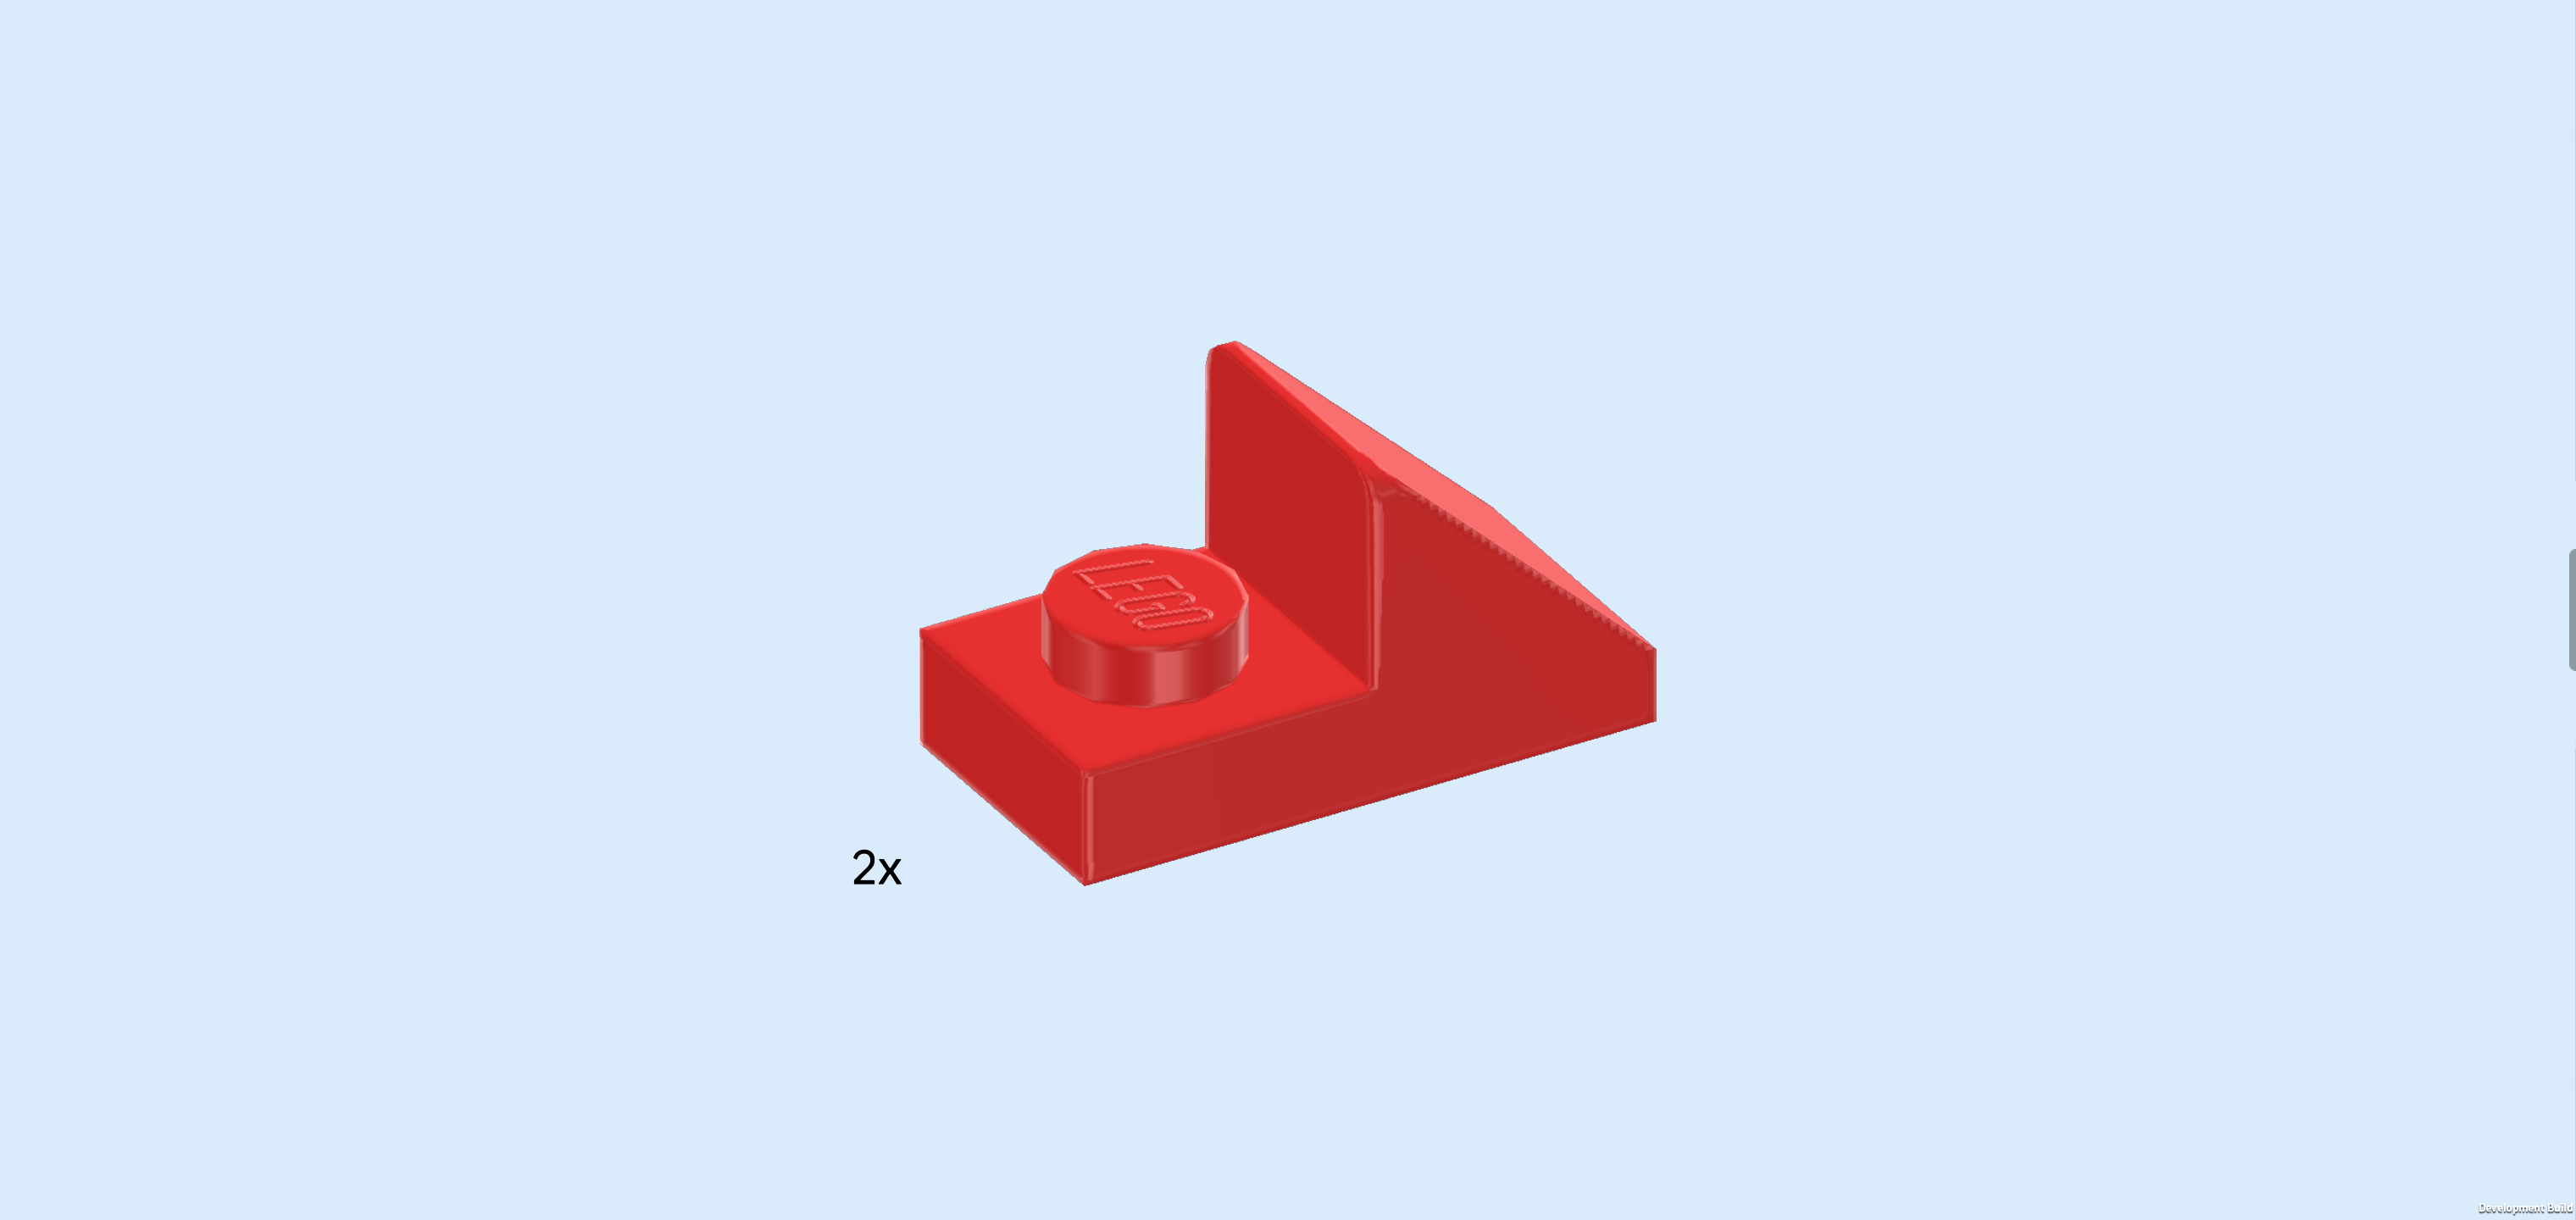
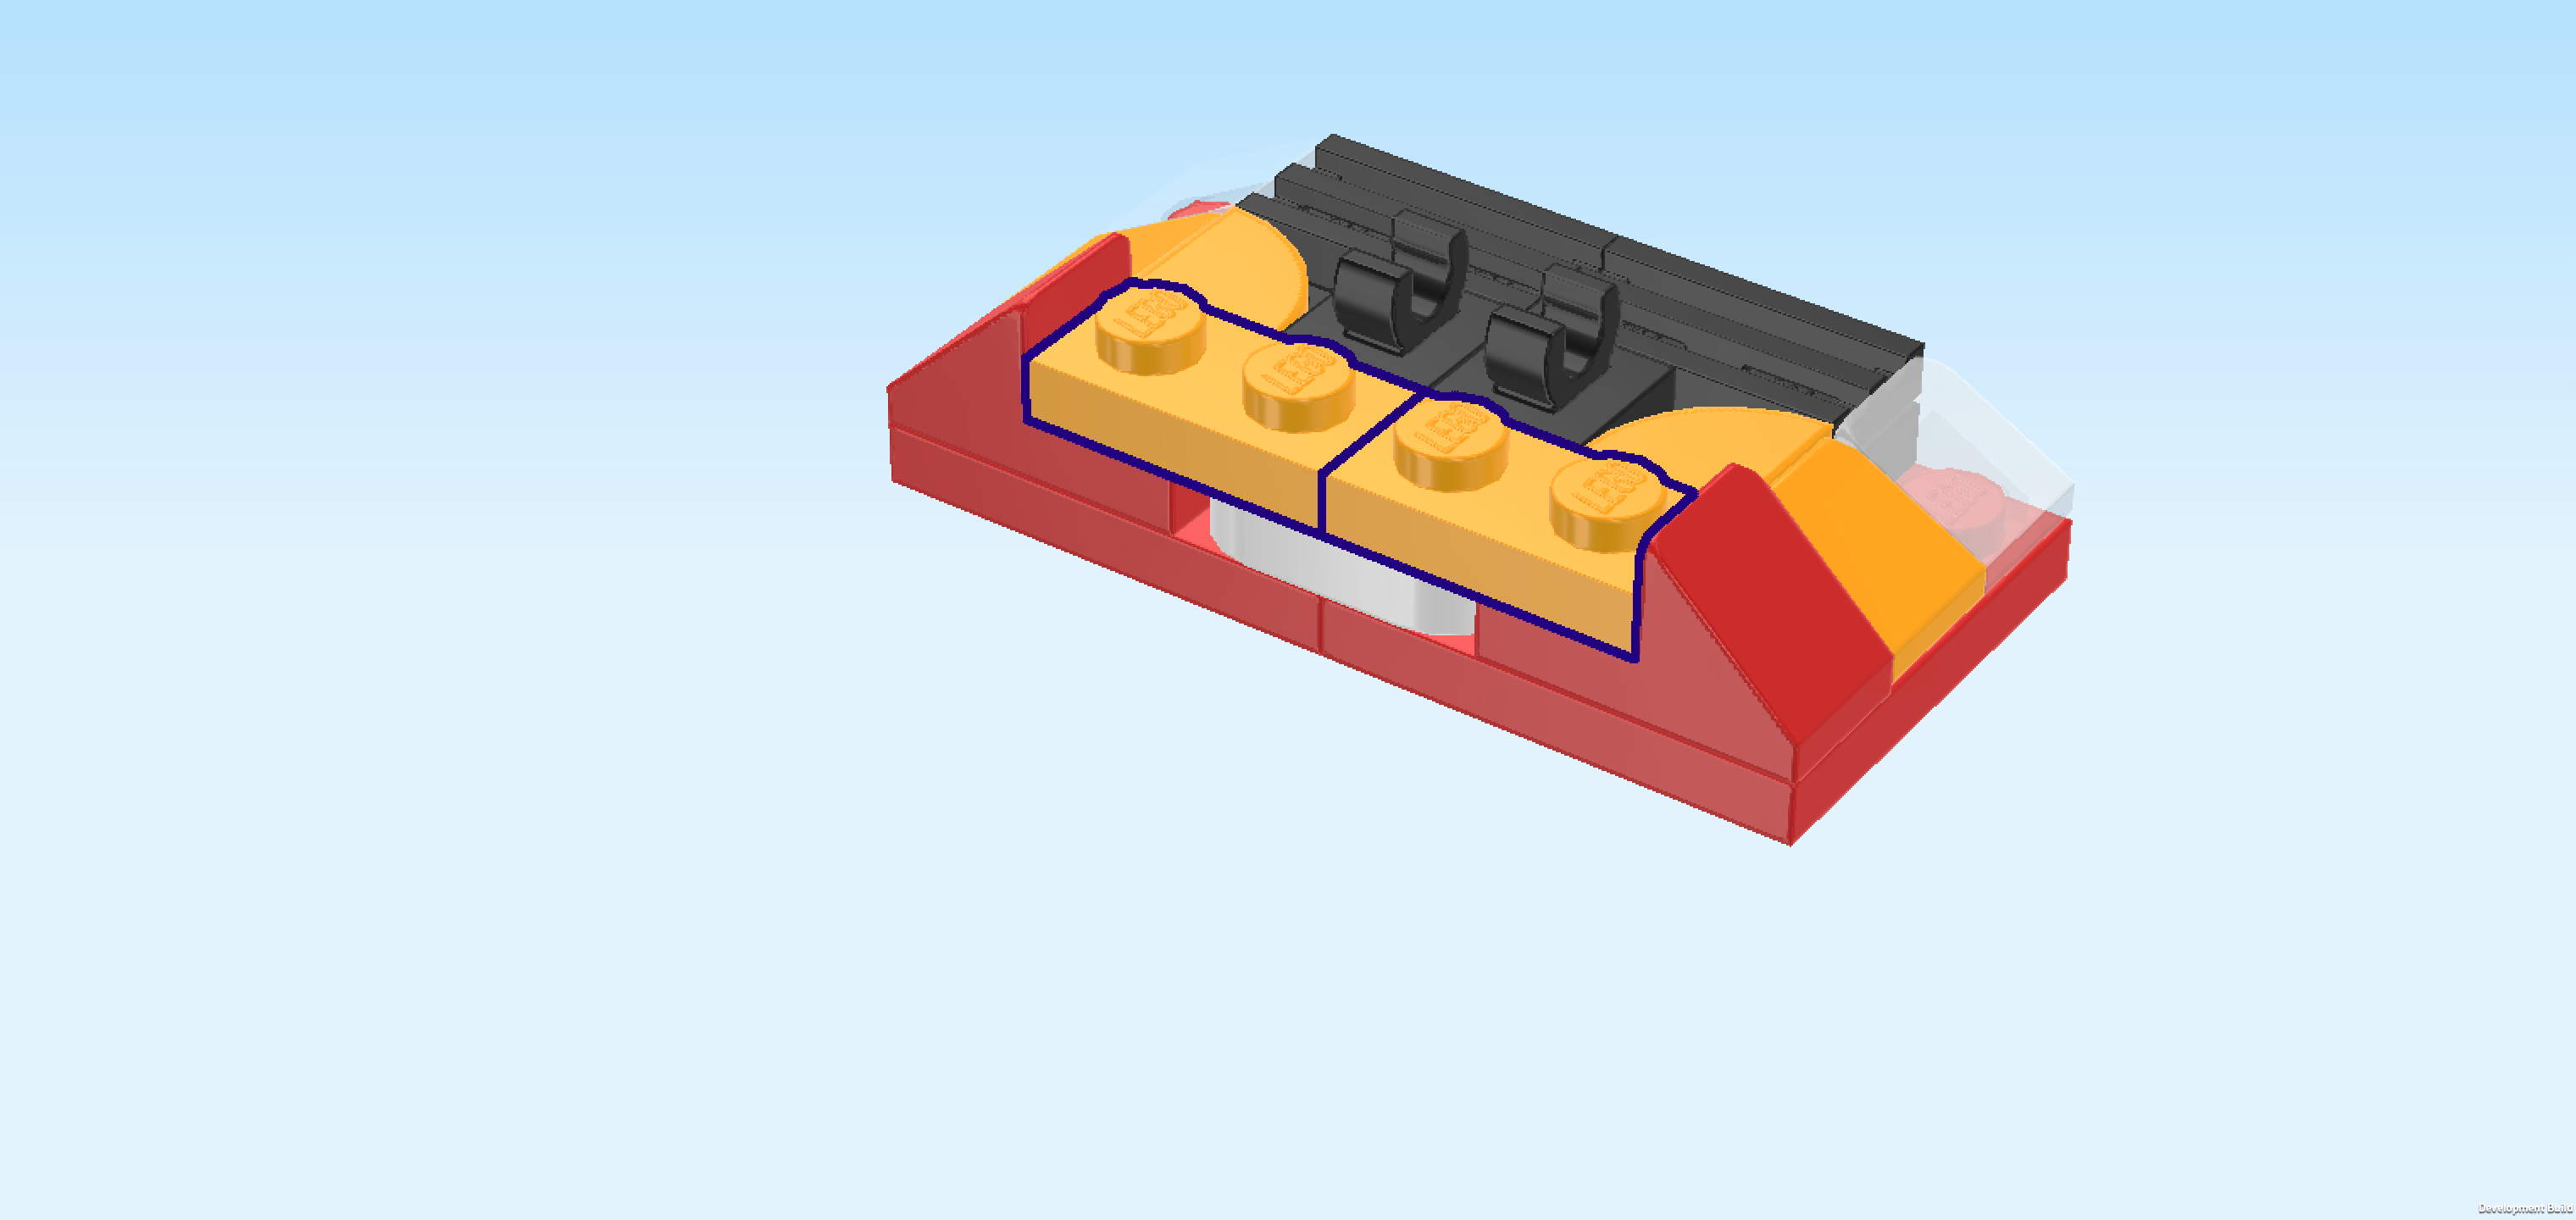
| Find 2 bright red plates 1x2 with smooth roof tile 1x1 on top. |
| Put 1 horizontally on the frontmost row, starting from the left edge, roof tile to the left. |
| Repeat symmetrically on the right, roof tile to the right. |
| Find 2 flame yellowish orange plates 1x2. |
| Put them horizontally next to each other on the front row. If done correctly, they cover the 4 remaining knobs of the front row. |
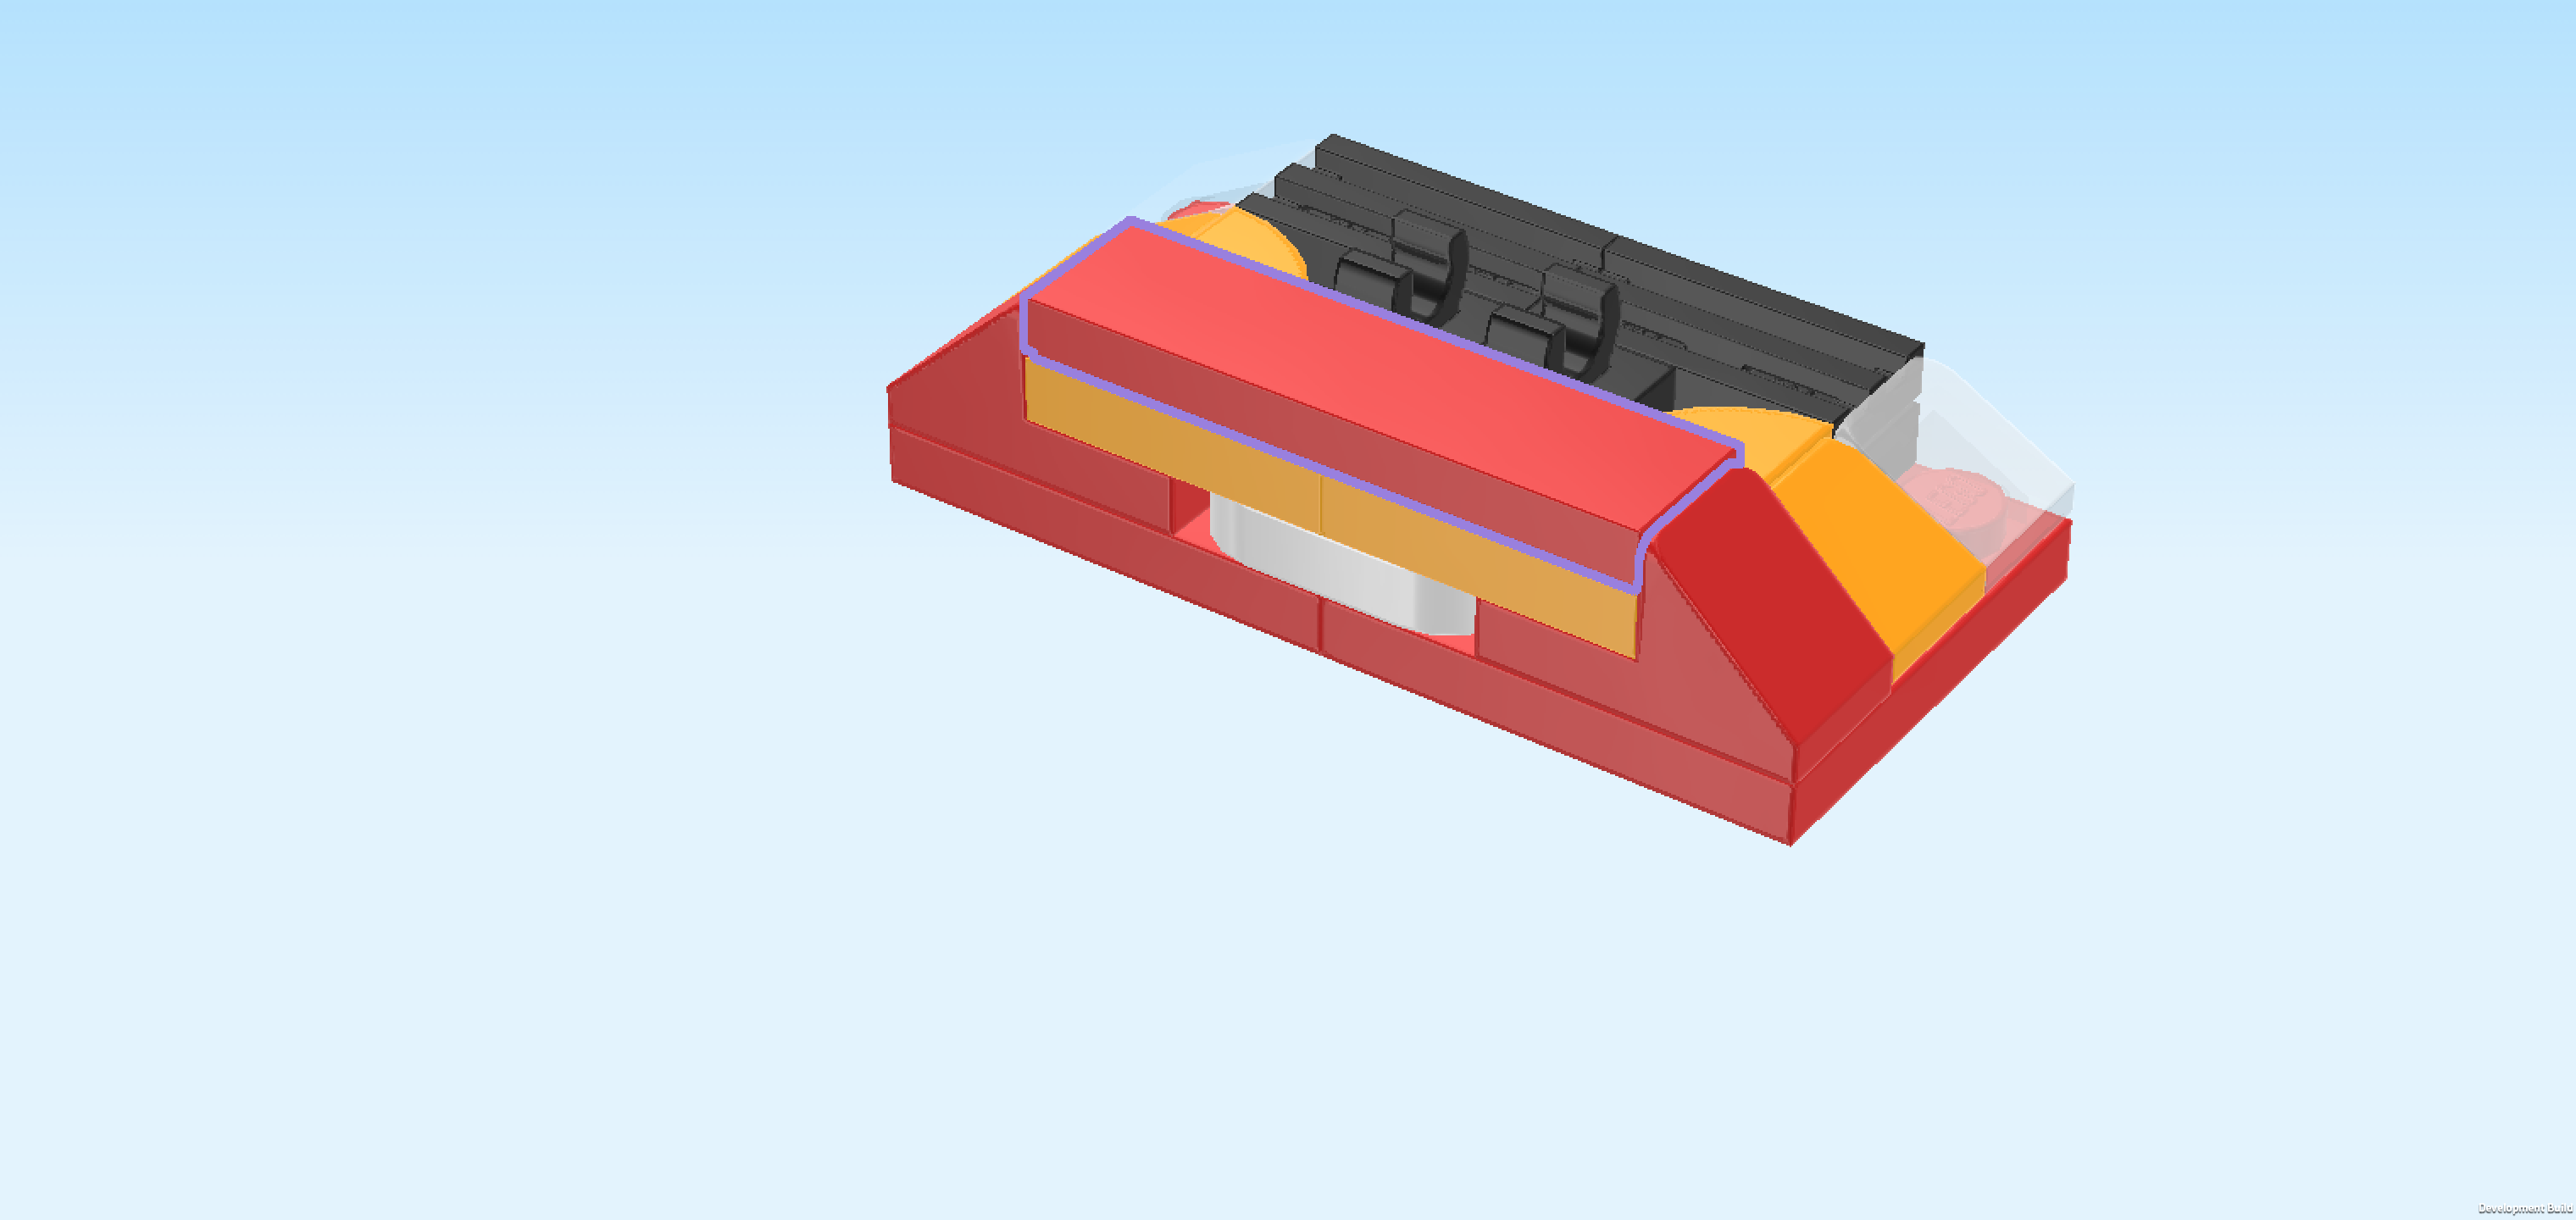
| Find 1 bright red flat tile 1x4. |
| Put it horizontally on top of the 2 previous pieces. |
| Find 1 black front grille guard. |
| Hold it horizontally in front of you, making sure that its long edge that is rather straight is at the top, the short, protruding edge towards the bottom. |
| Snap the bottom edge into the 2 clasps on the structure we have been building and fold it down towards the back. |
| The front grille and bumper are finished! Well done! Flip it upright and then mount it centered on the 8 side knobs that are pointing to the left. Make sure that its top edge is flush with the top edge of the structure's left edge. The front grille guard should be in the top half of the sub-part, the flat tile 1x4 at the bottom edge. |
| Collect the following 2 pieces: |
| 1 sticker 3x5 with slanted sides, |
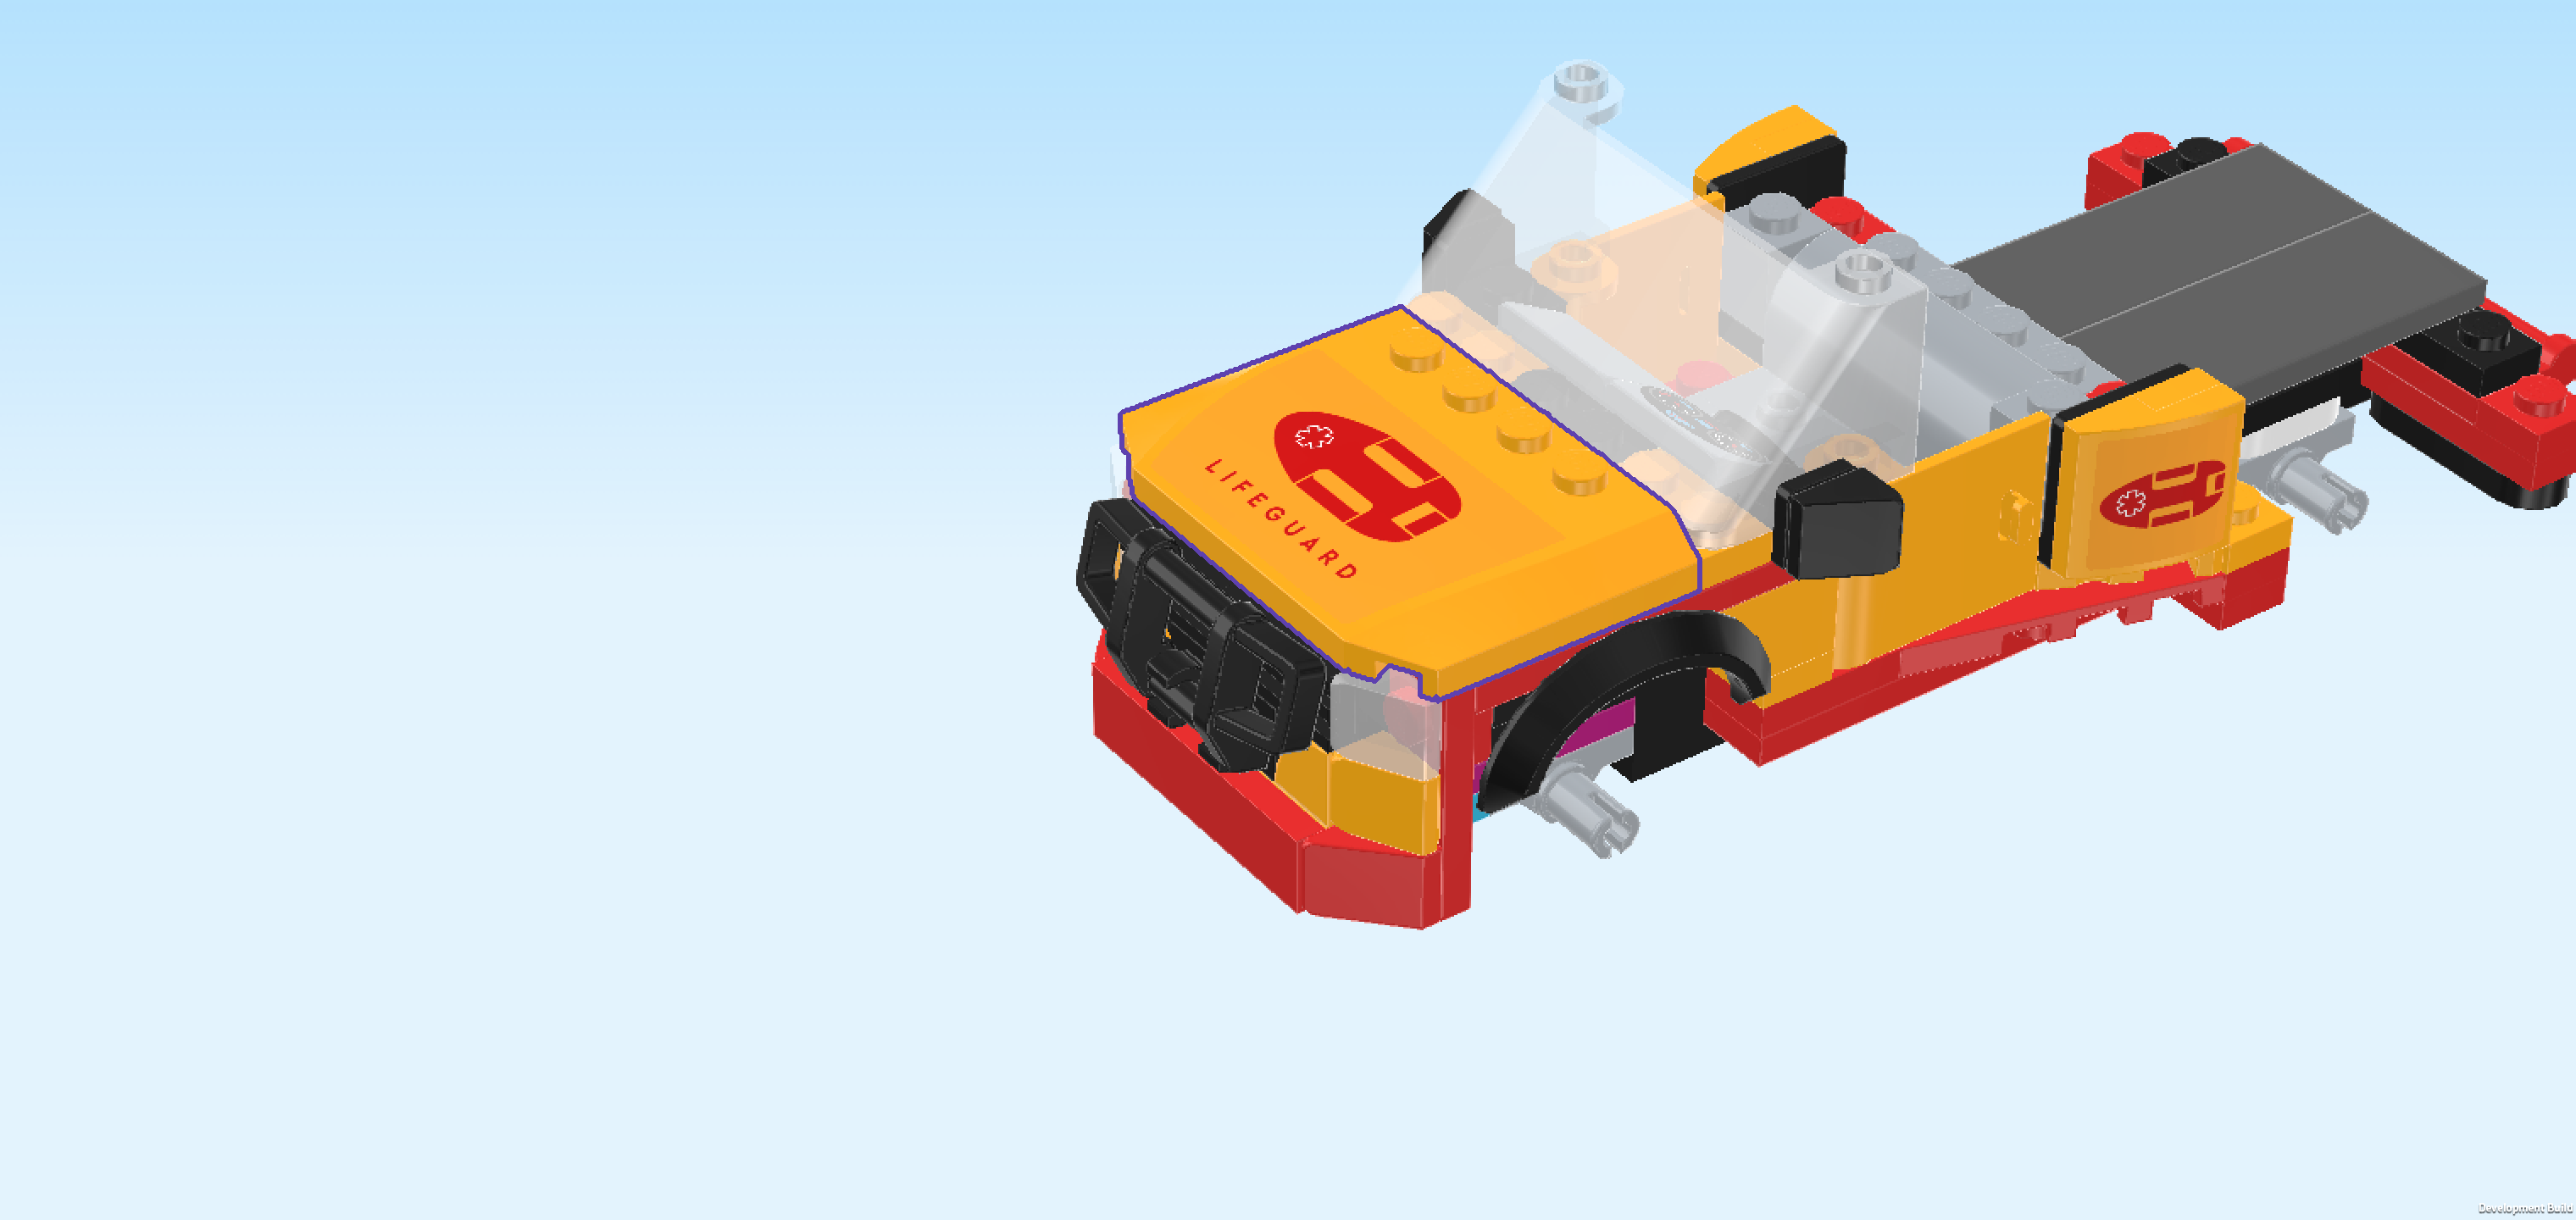
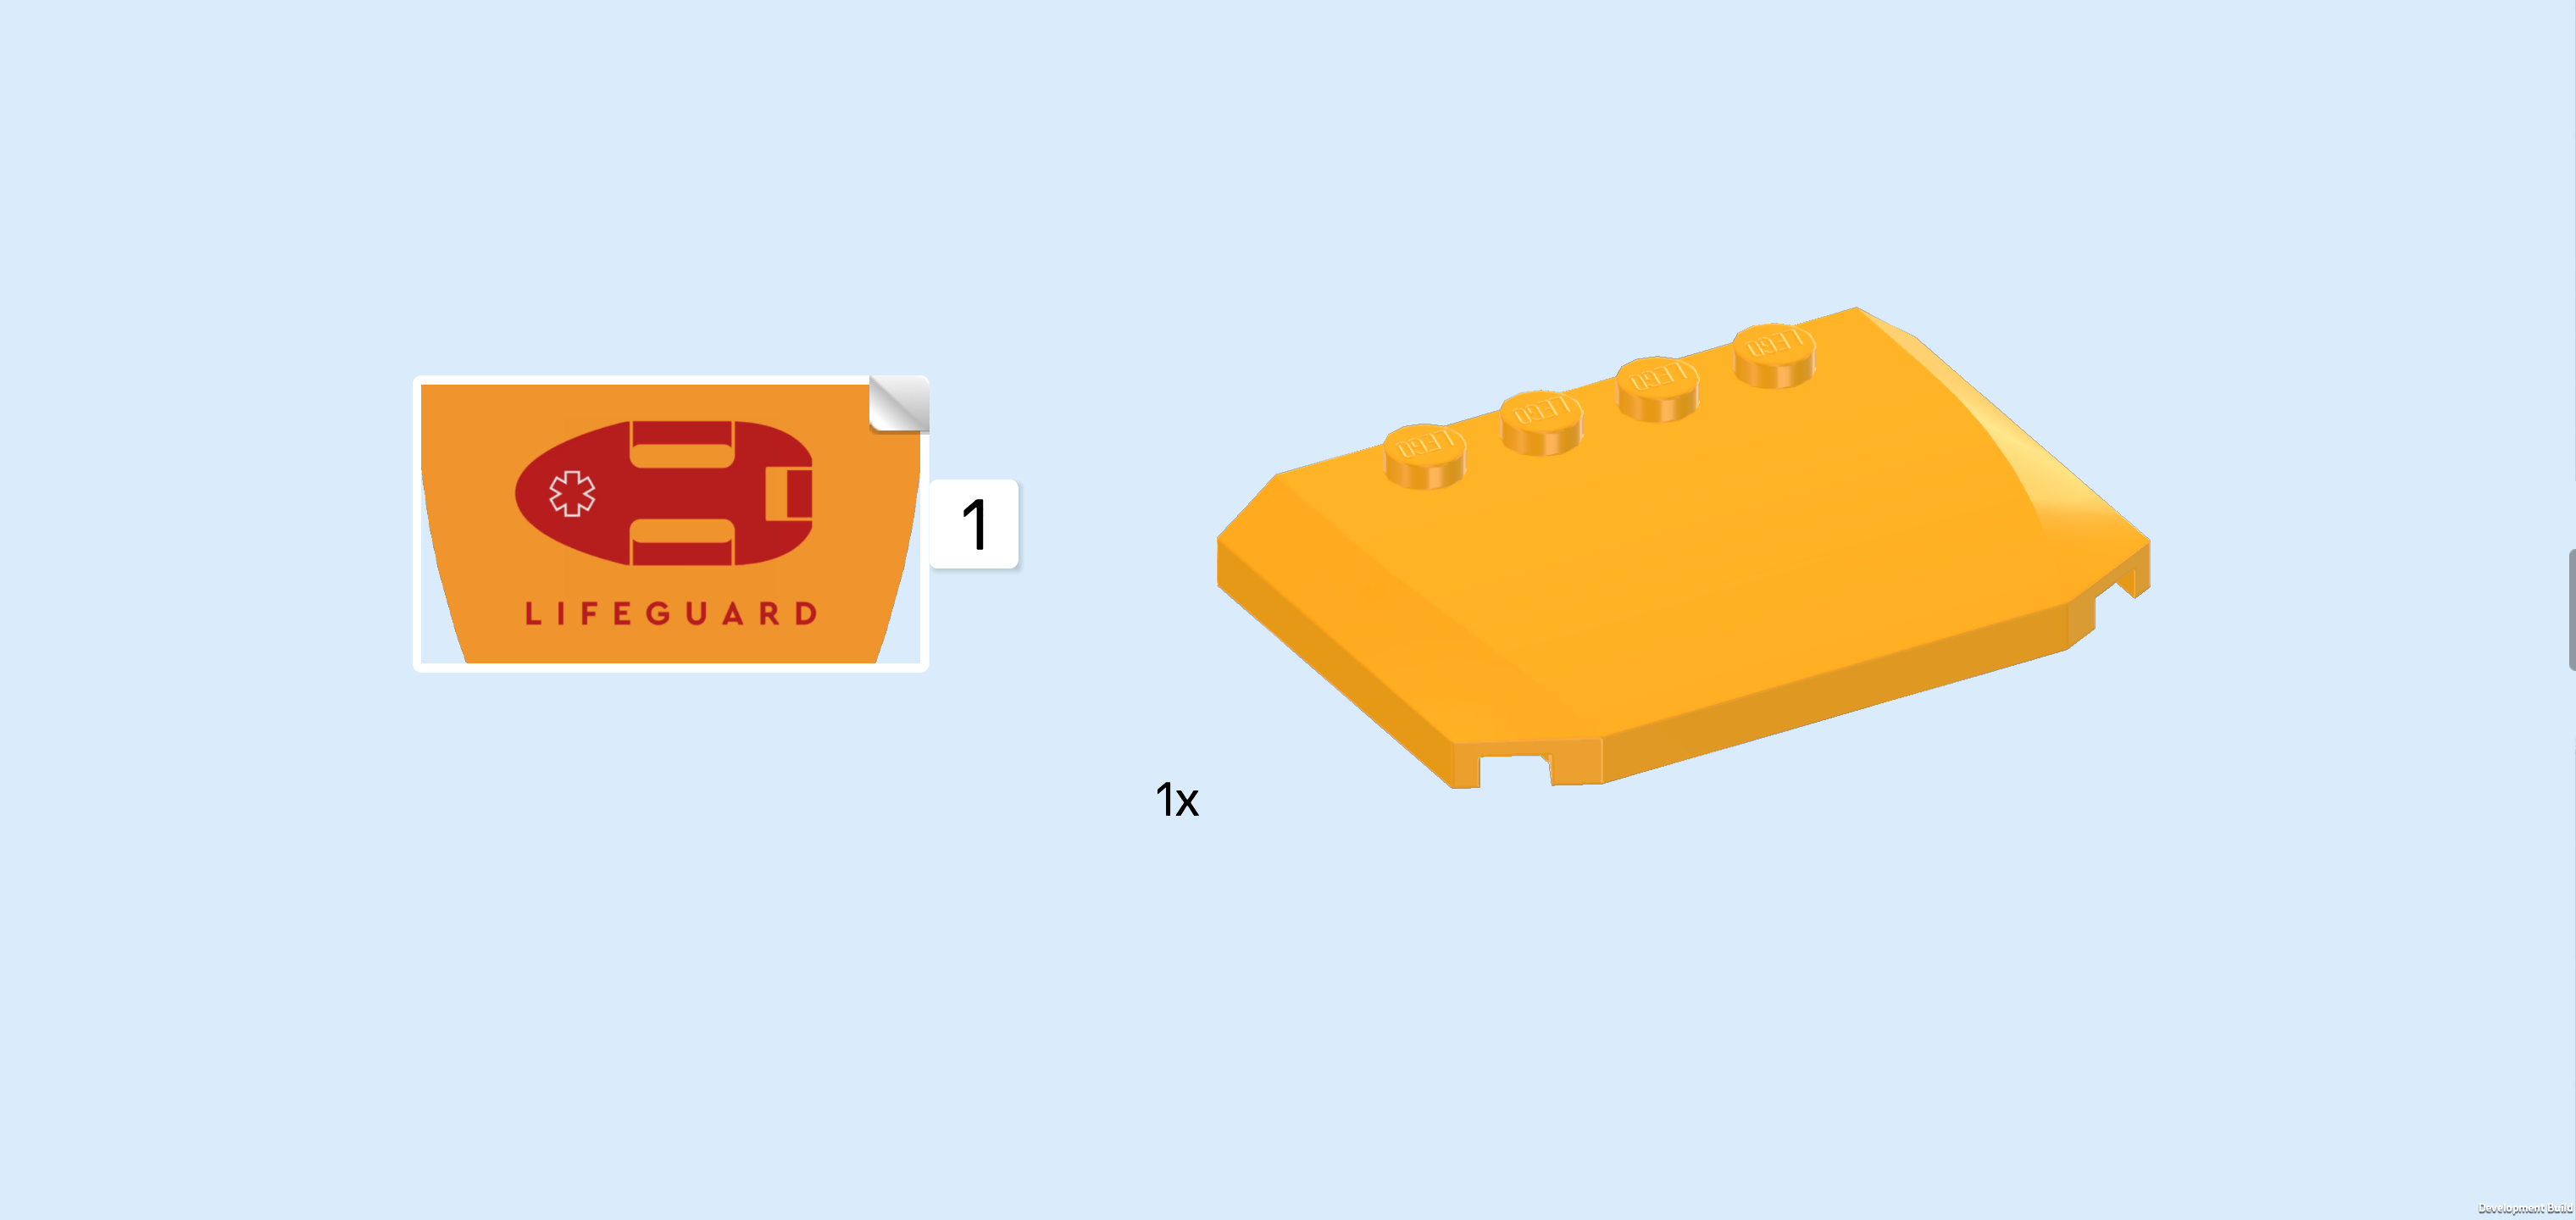
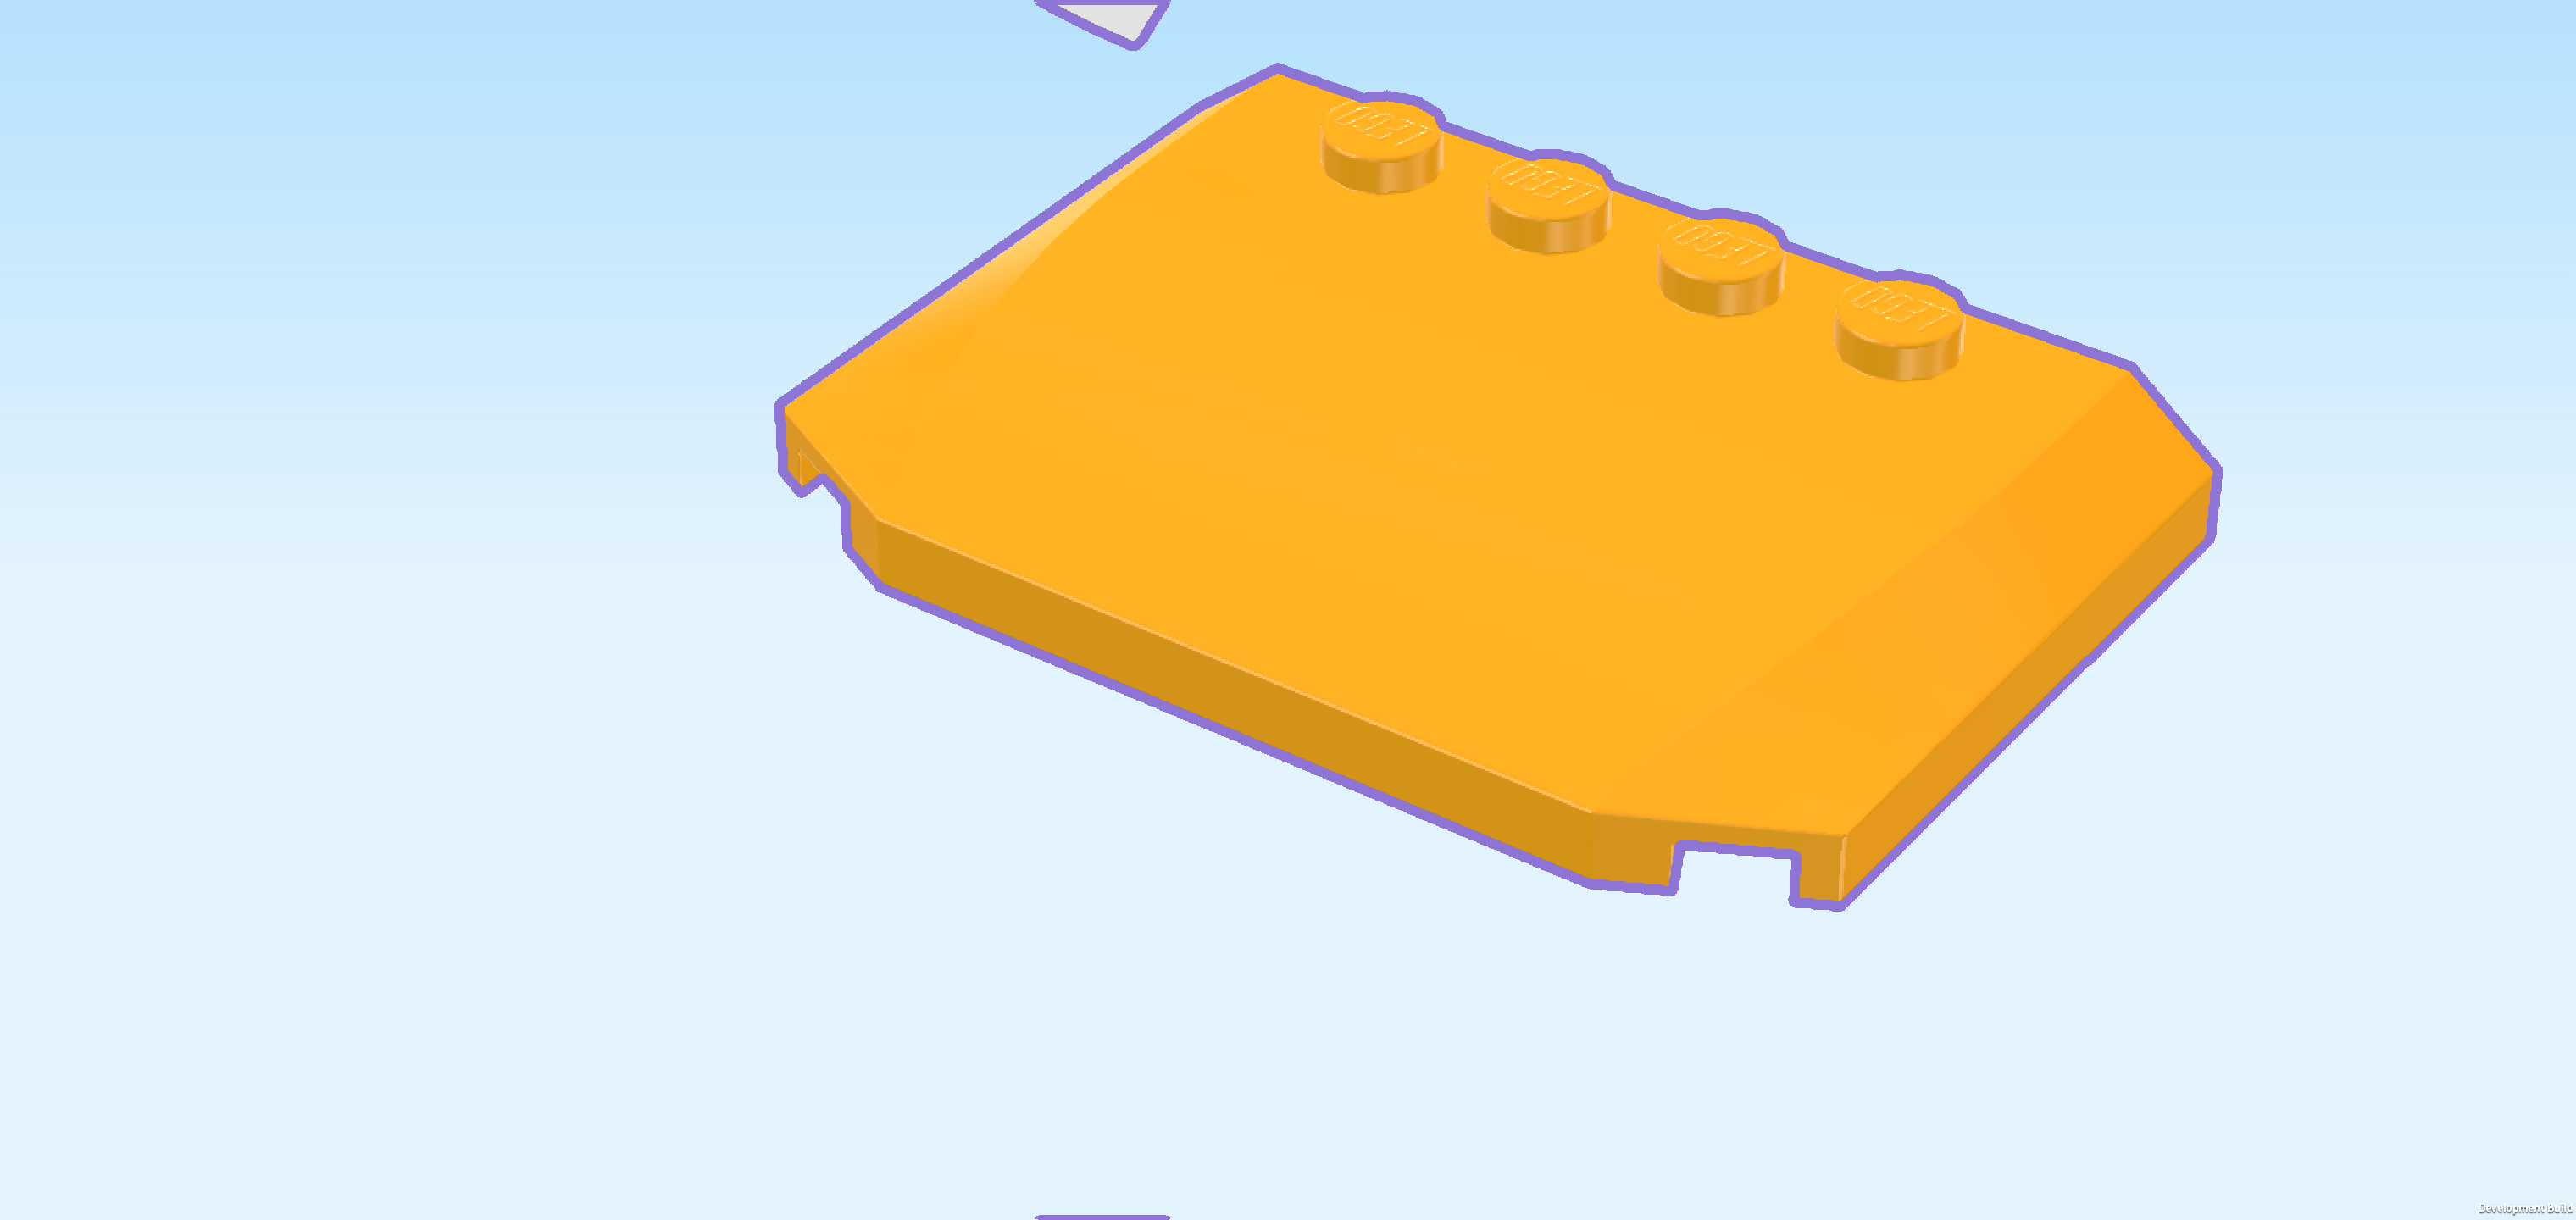
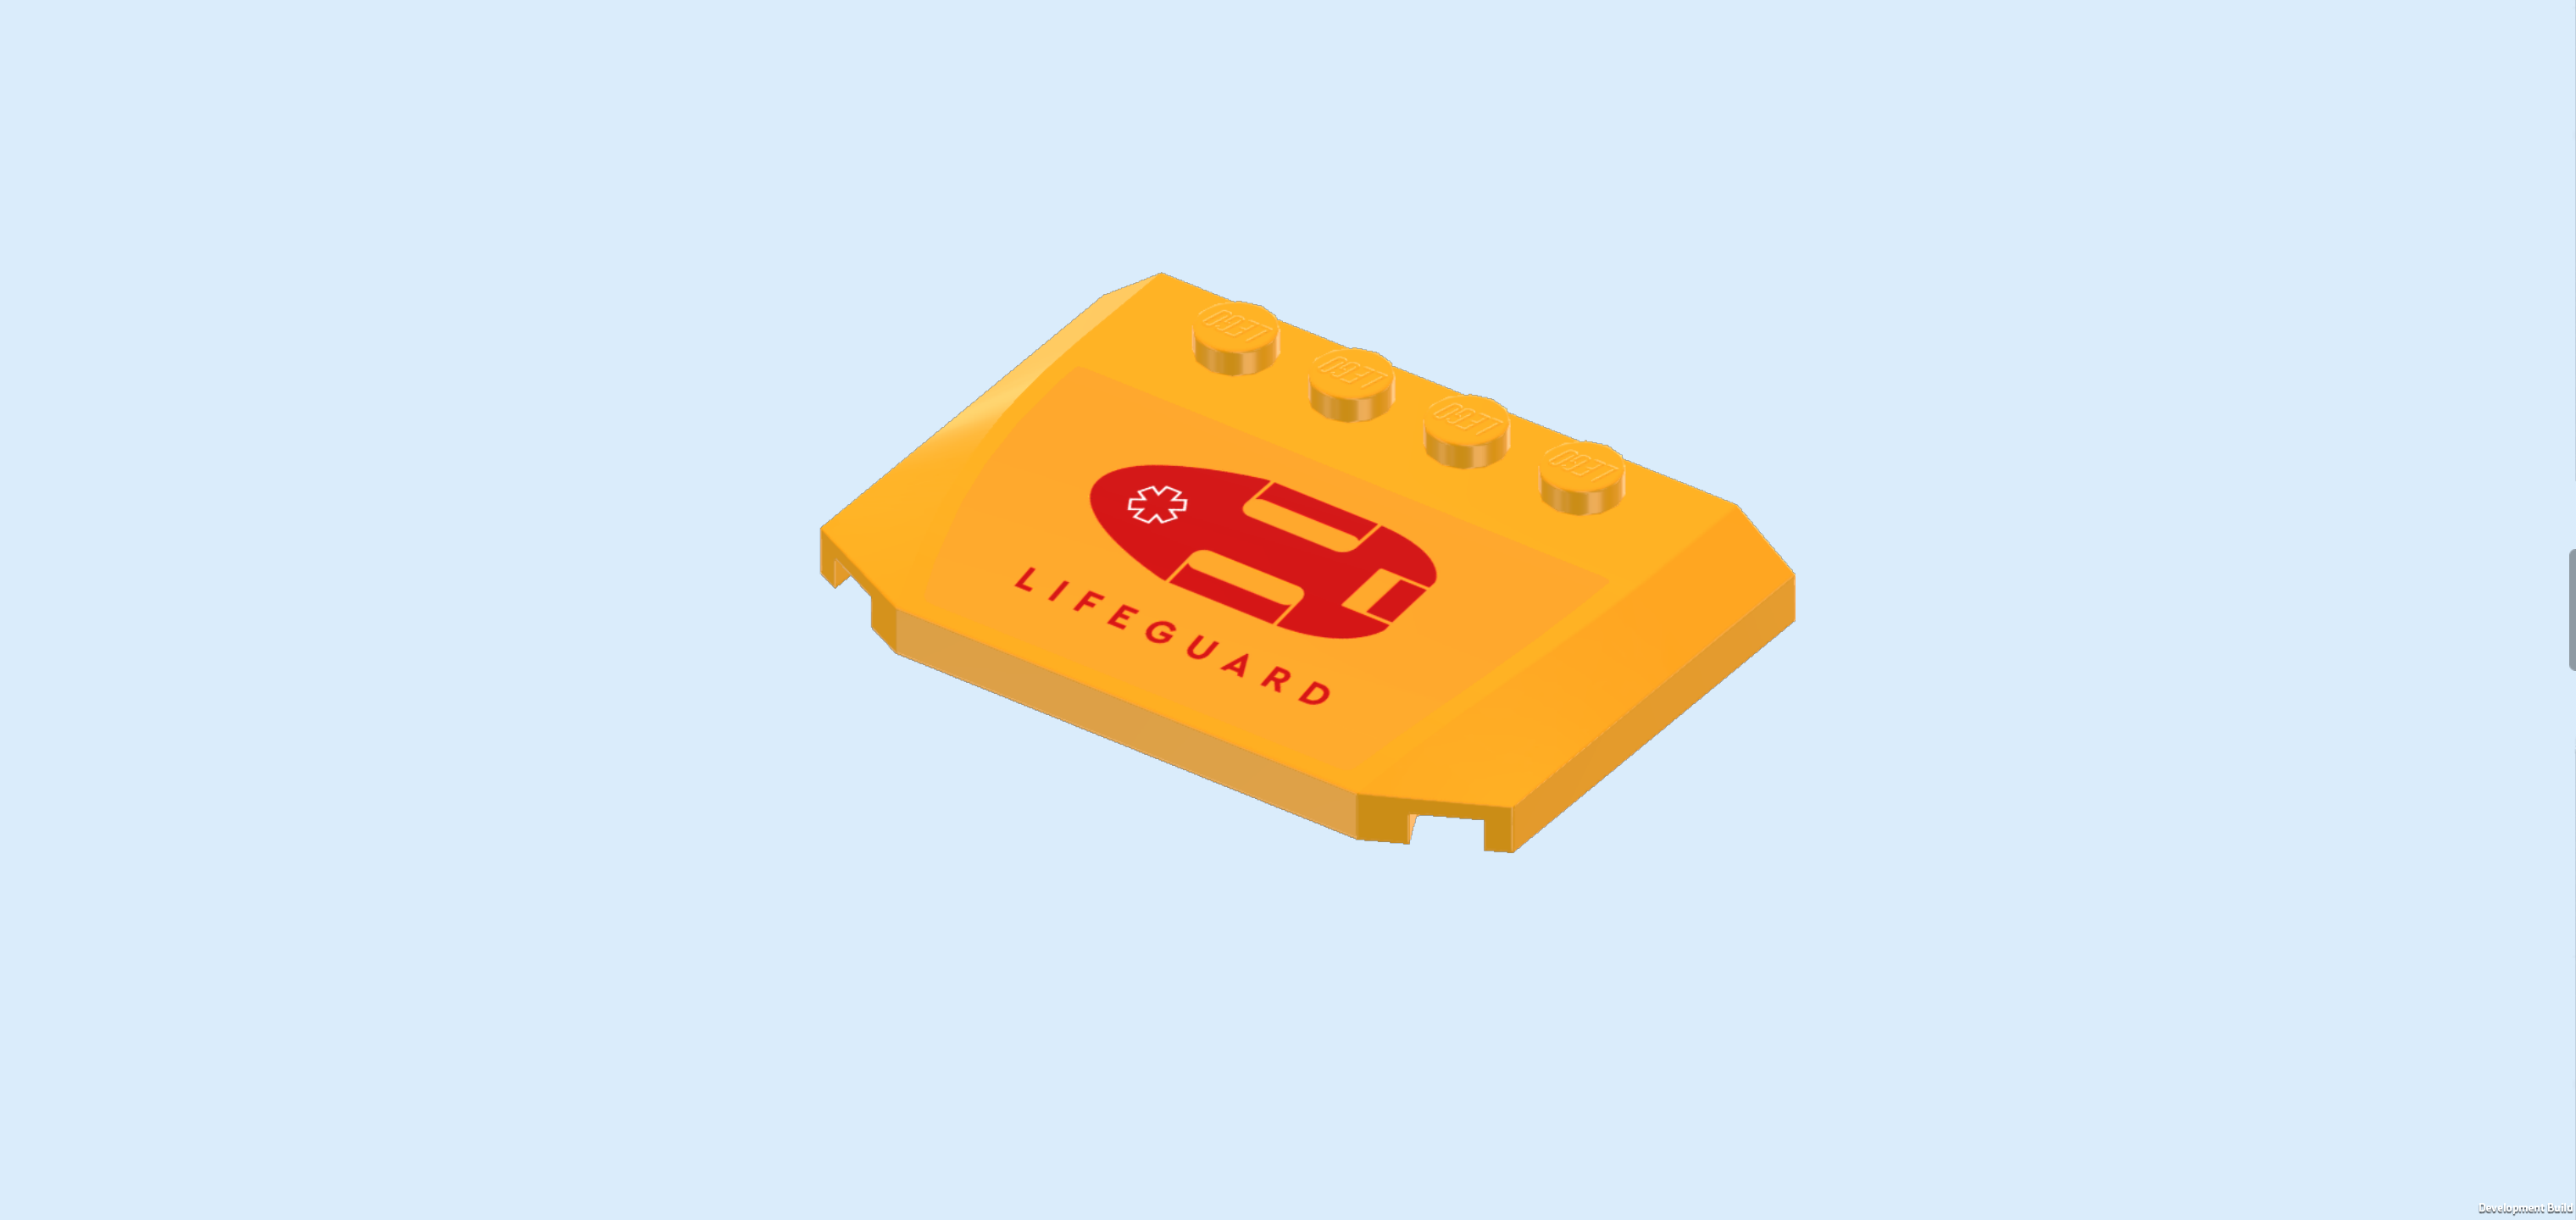
| and 1 flame yellowish orange hood plate 4x6x⅔ with 2 angled corners and 4 knobs. |
| Put the hood plate vertically on the table. Make sure its 4 knobs form a column on the right edge. |
| Put the sticker vertically on top, making sure that its longest edge is on the right. |
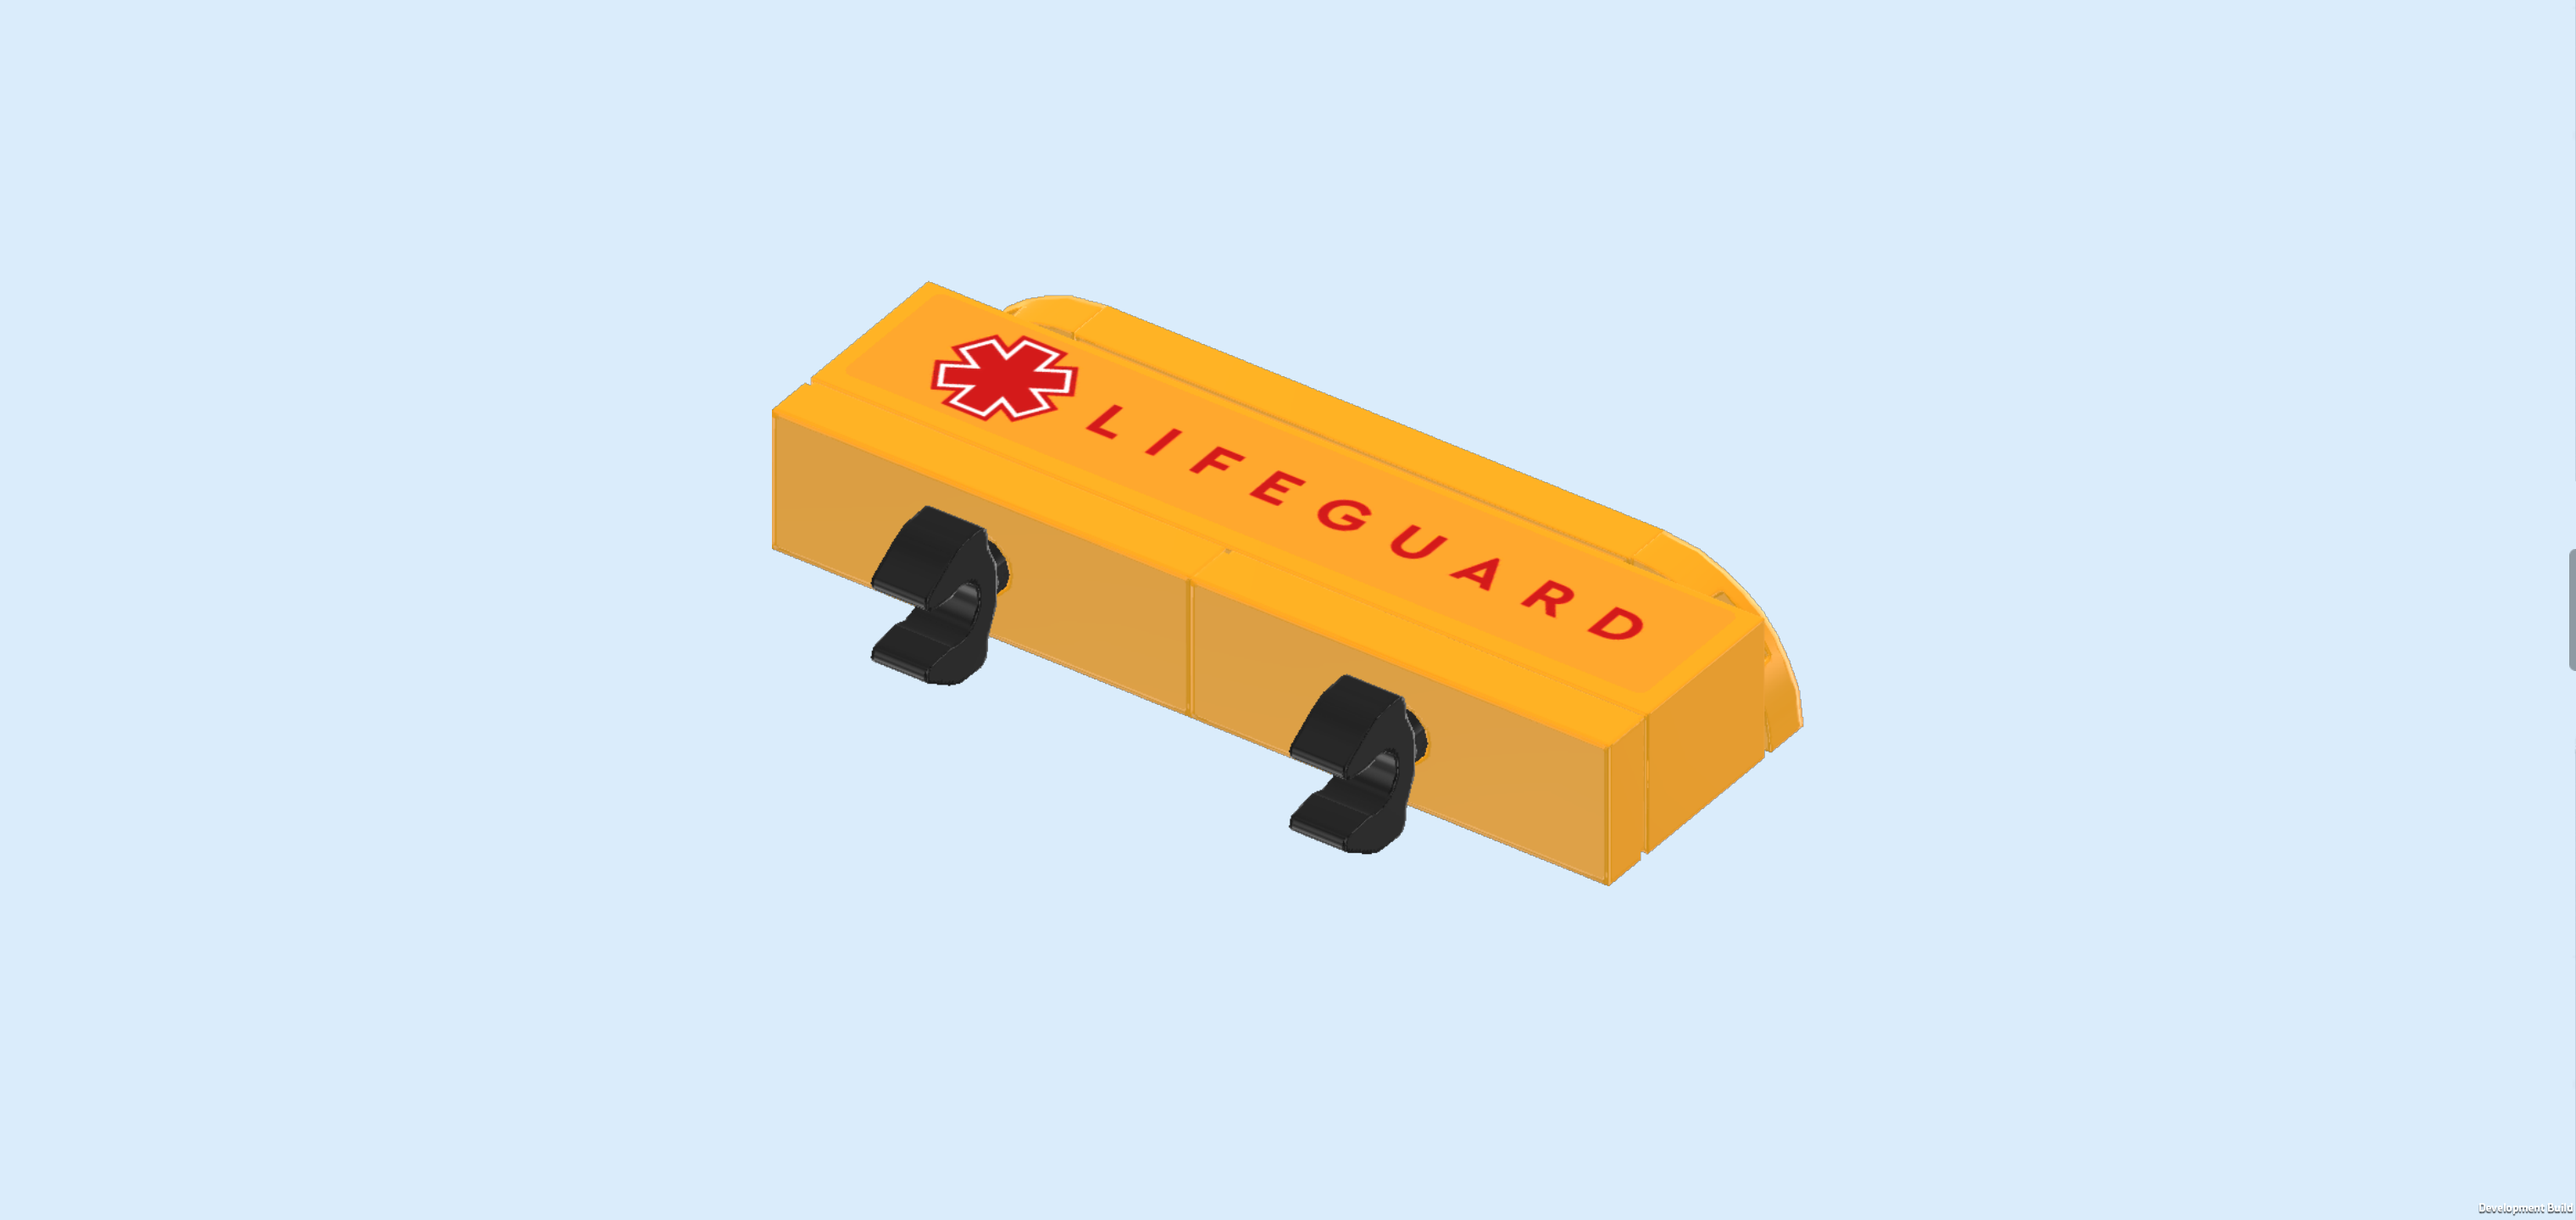
| The sticker is yellow, just like the hood plate, and it is printed with a rescue buoy which is identical to the rescue buoy printed on the side panels. The word "LIFEGUARD" is printed on the leftmost edge of the sticker in red letters. |
| Mount the hood plate vertically to the left of the windscreen. Make sure that the knobs form a straight column on the plate's right edge. |
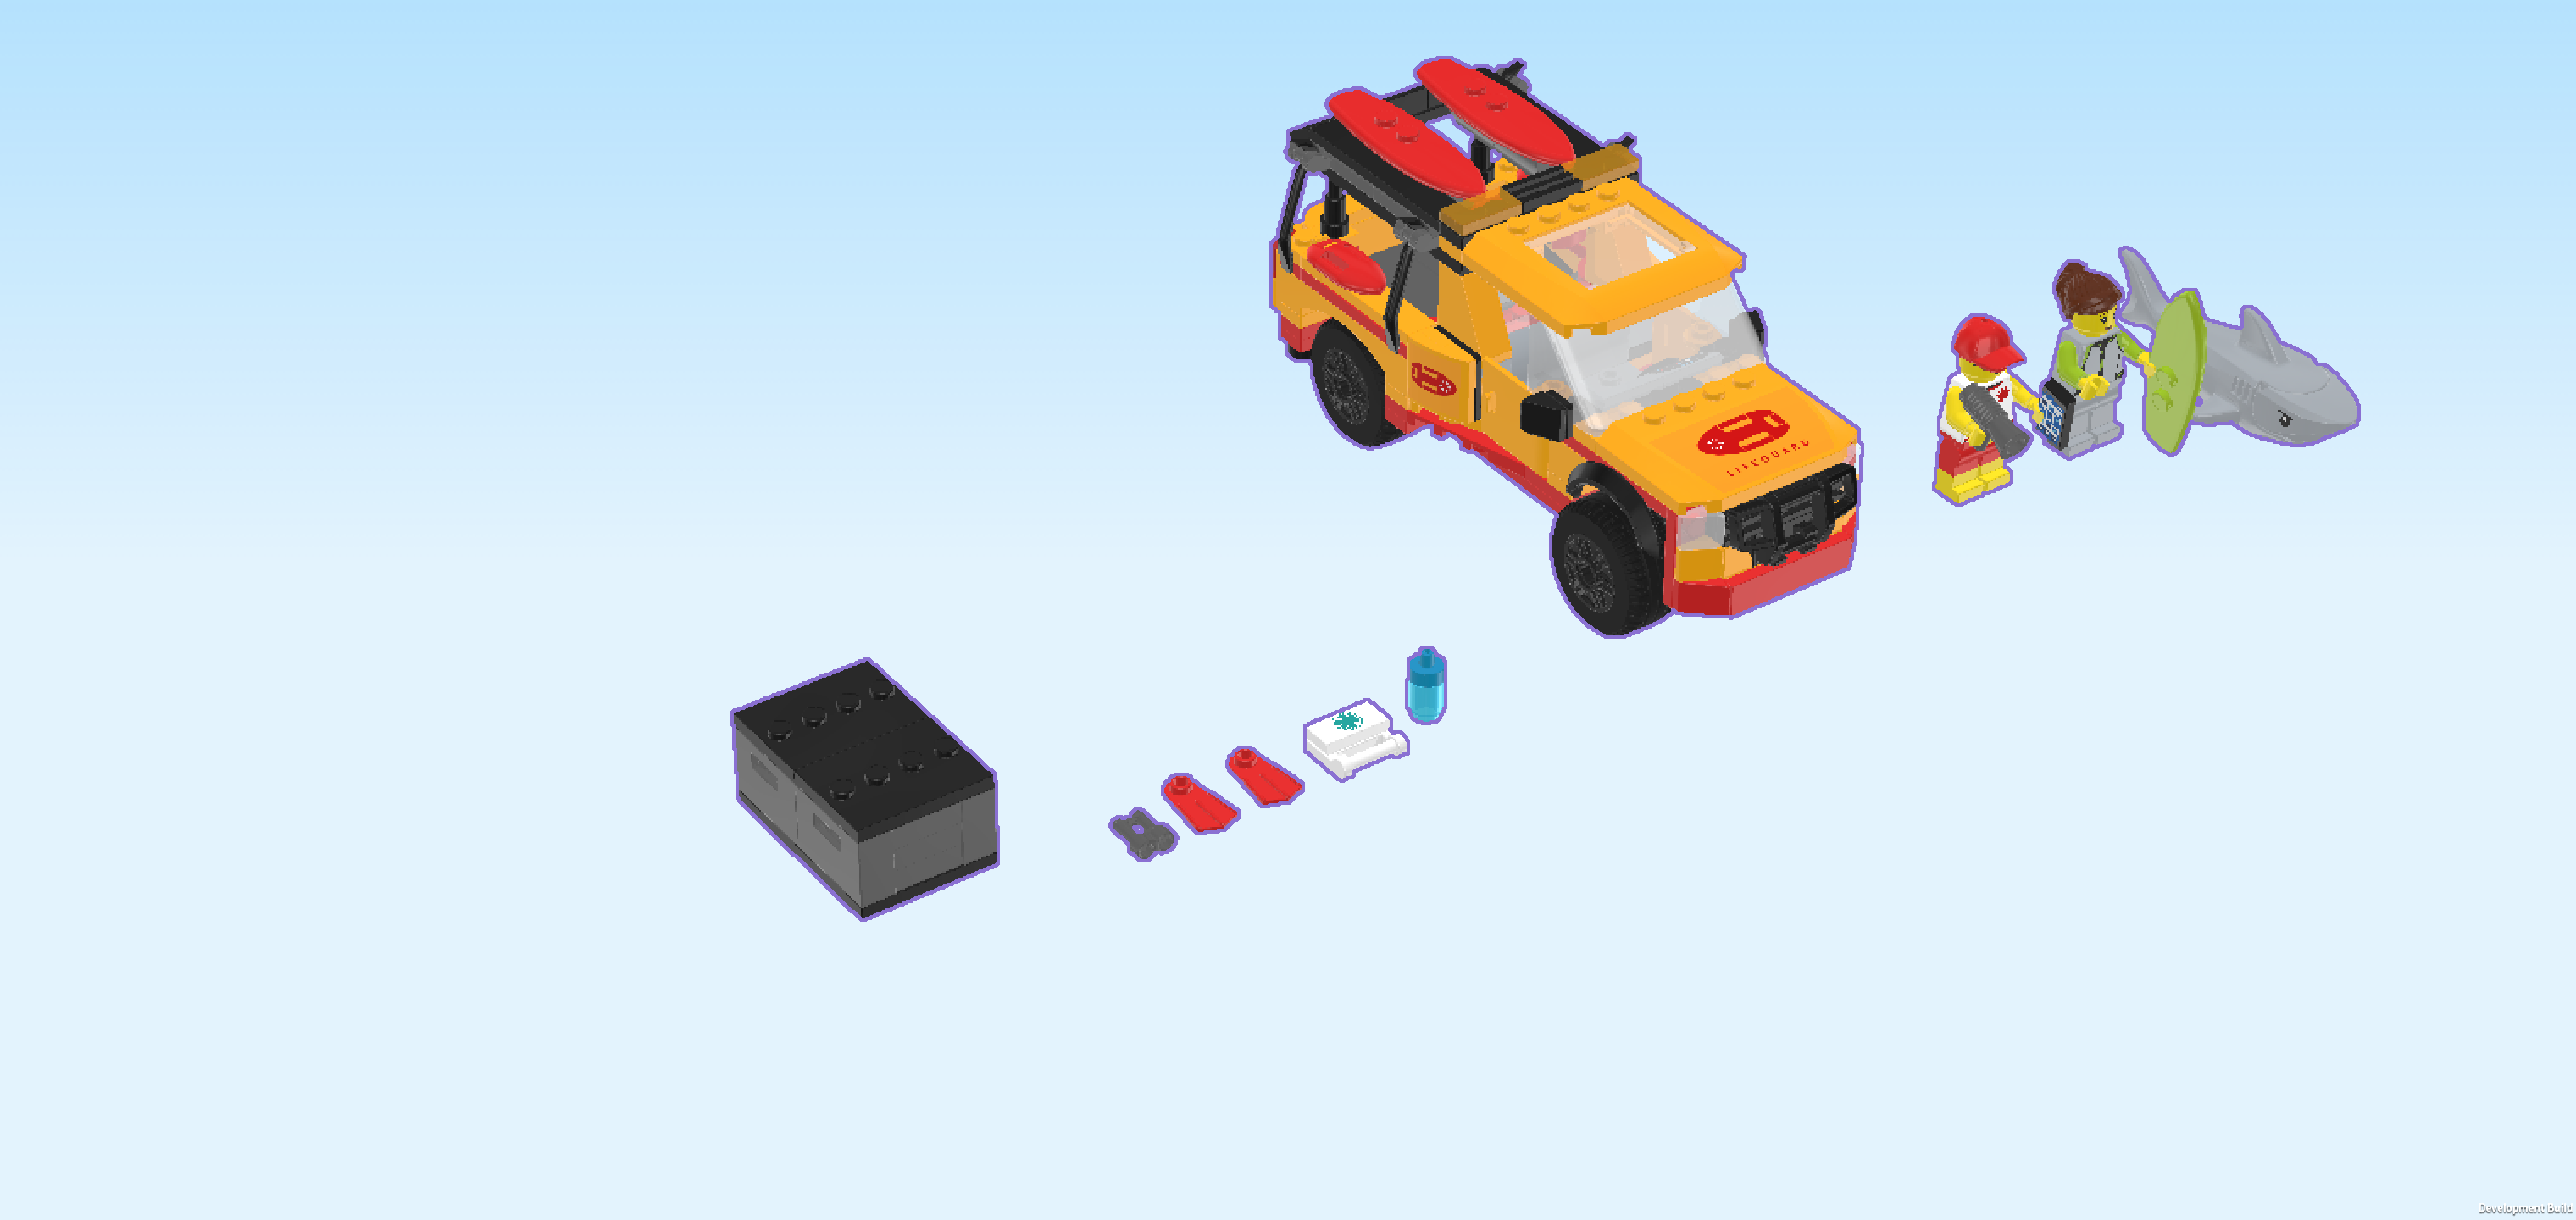
| With this, we have finished building everything from bag 1. Well done! We usually pack a few extra pieces, so if you still have some pieces left there is no need to worry that you forgot something. If you like, you can take a break now and return to the instructions later by skipping to the section introducing bag 2. If you want to continue building right away, simply move on to the next sentence. |
| Open bag number 2. You can choose to have the bricks sorted by color again. This bag contains all bricks and pieces for the Surfer Minifigure, and for the second half of the vehicle. |
| Next up, we will build the Surfer Minifigure. |
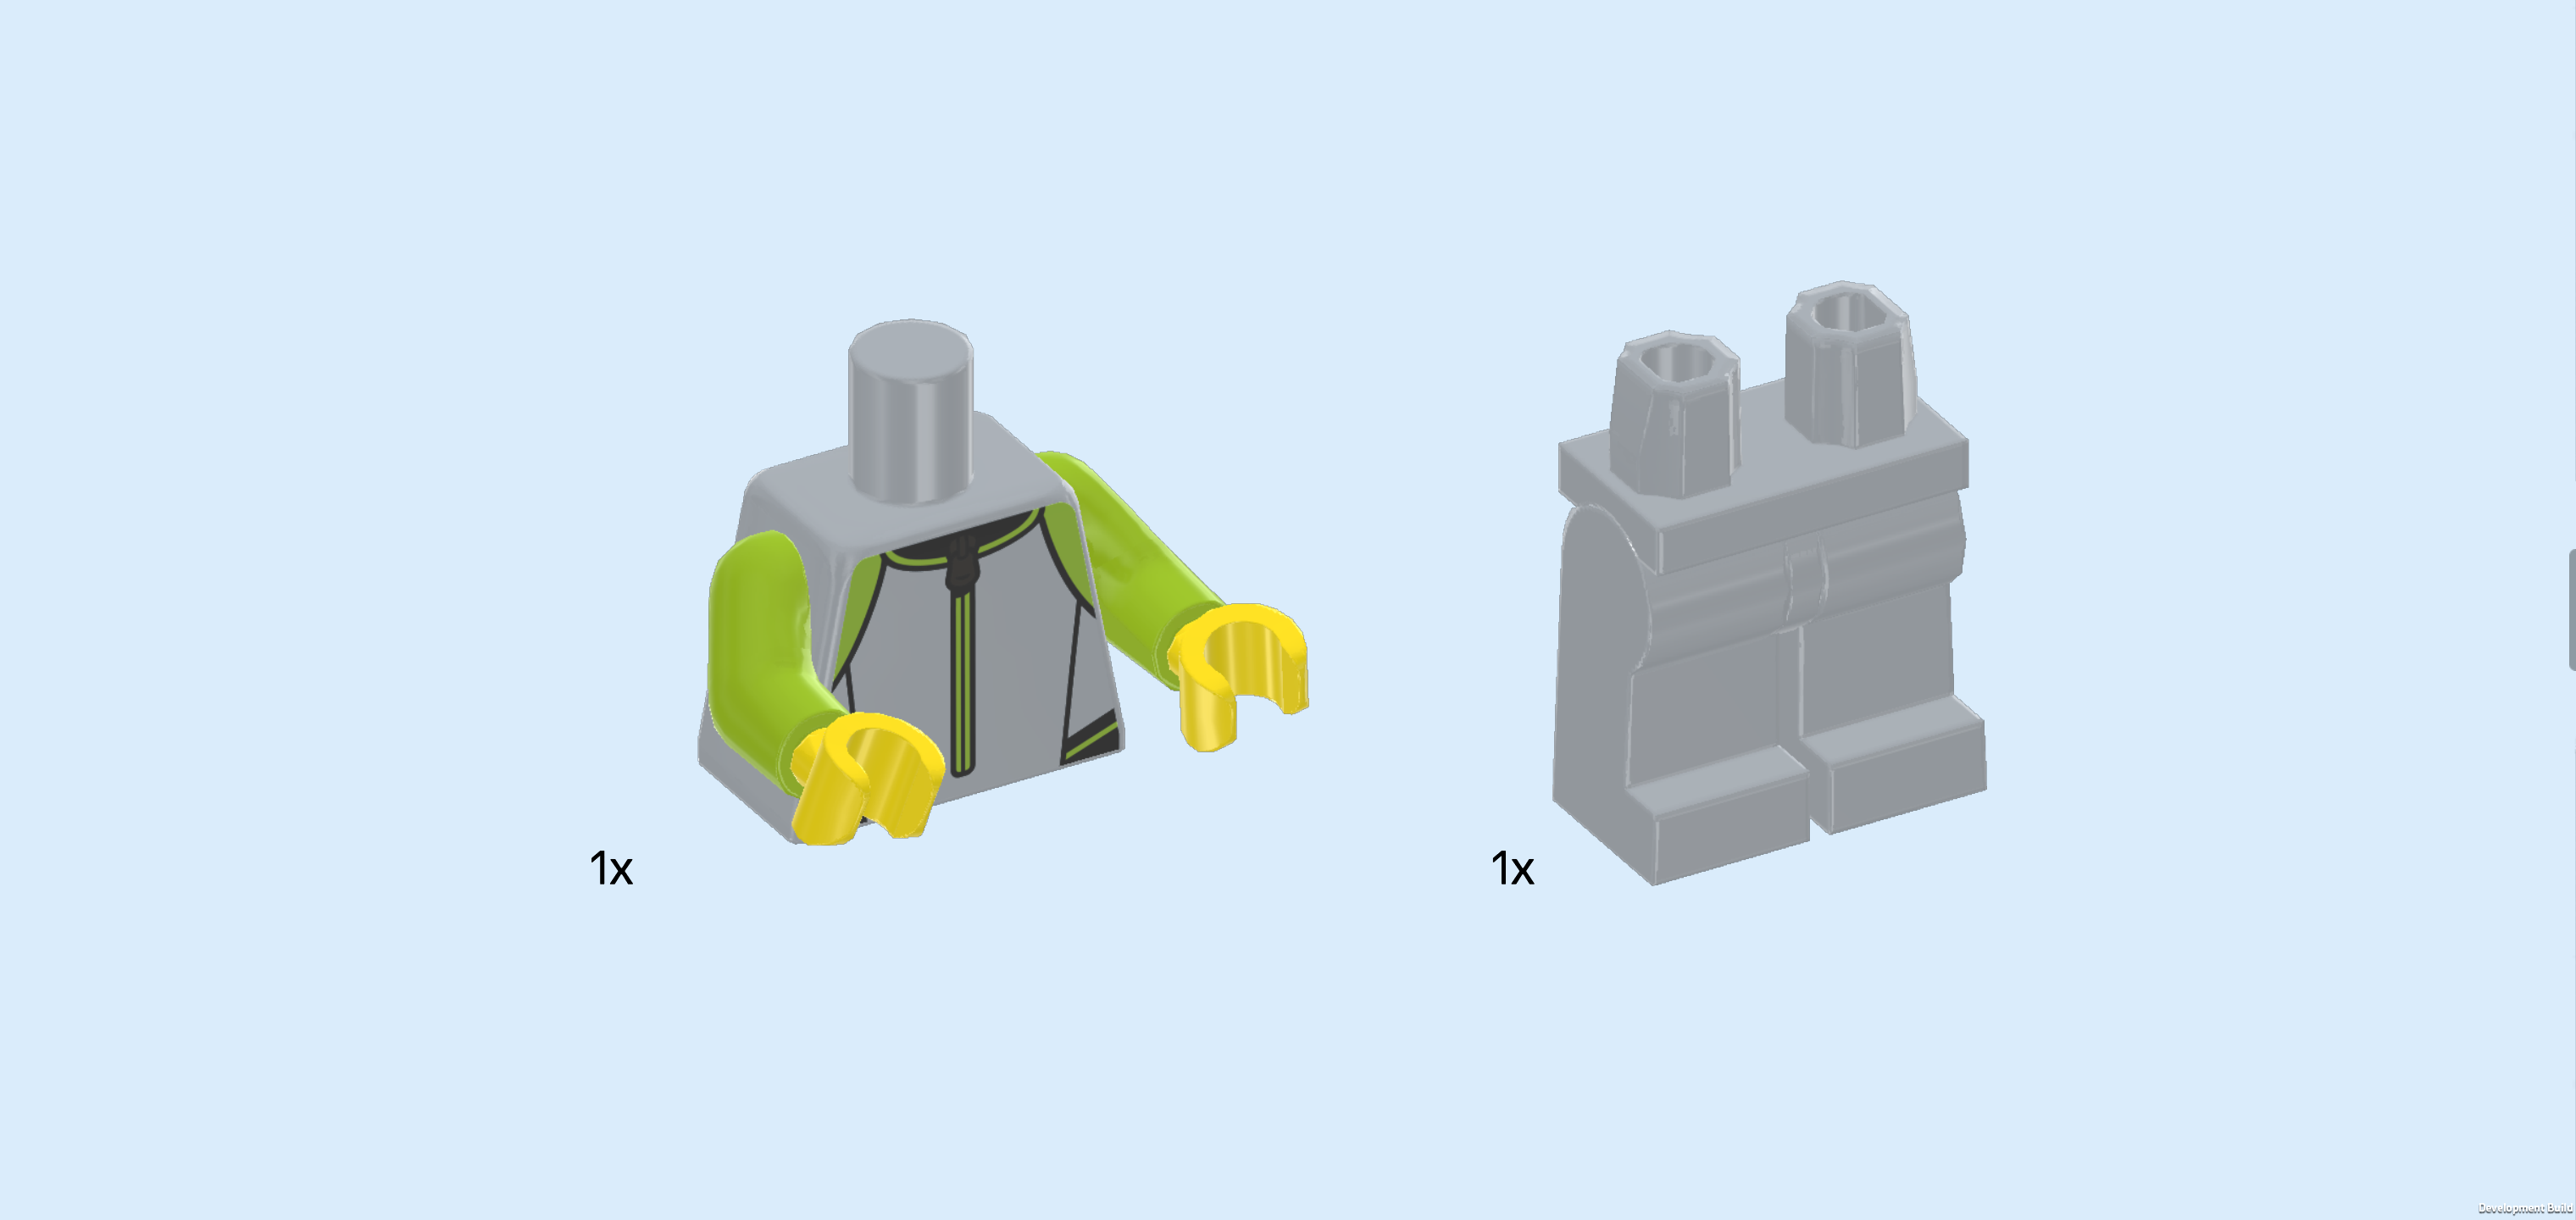
| Collect the following 2 pieces: |
| 1 medium stone grey, bright yellowish green and bright yellow upper part of the body, |
| and 1 medium stone grey pair of legs. |
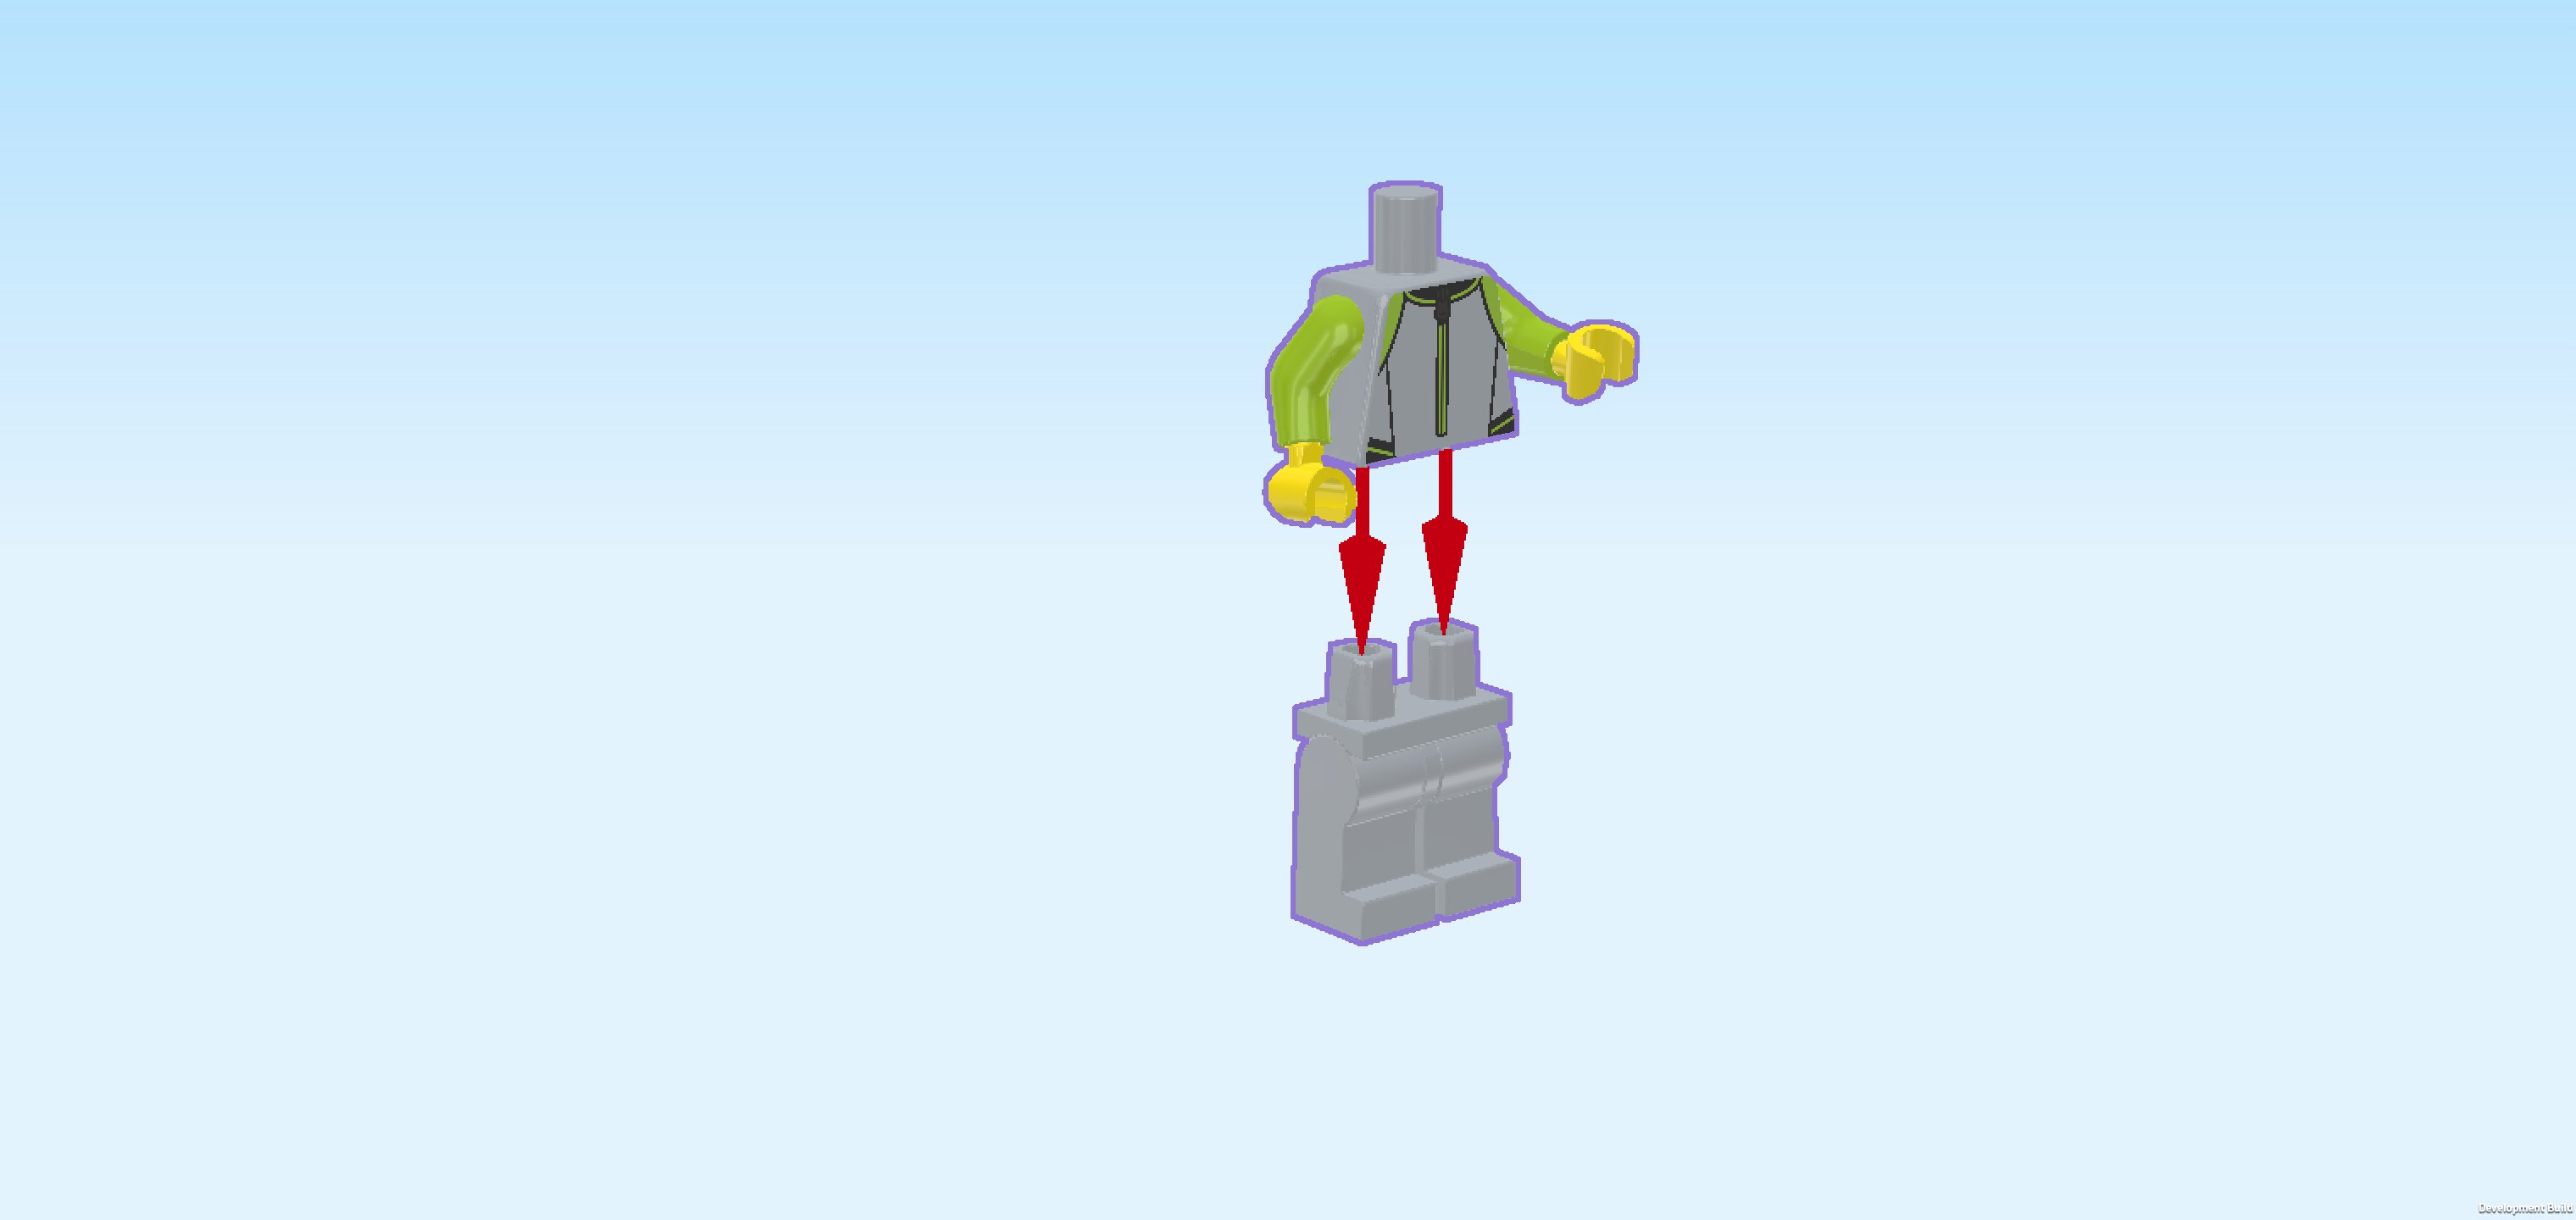
| Put the upper body on the legs. Make sure that the hands and toes are pointing in the same direction. |
| Collect the following 2 pieces: |
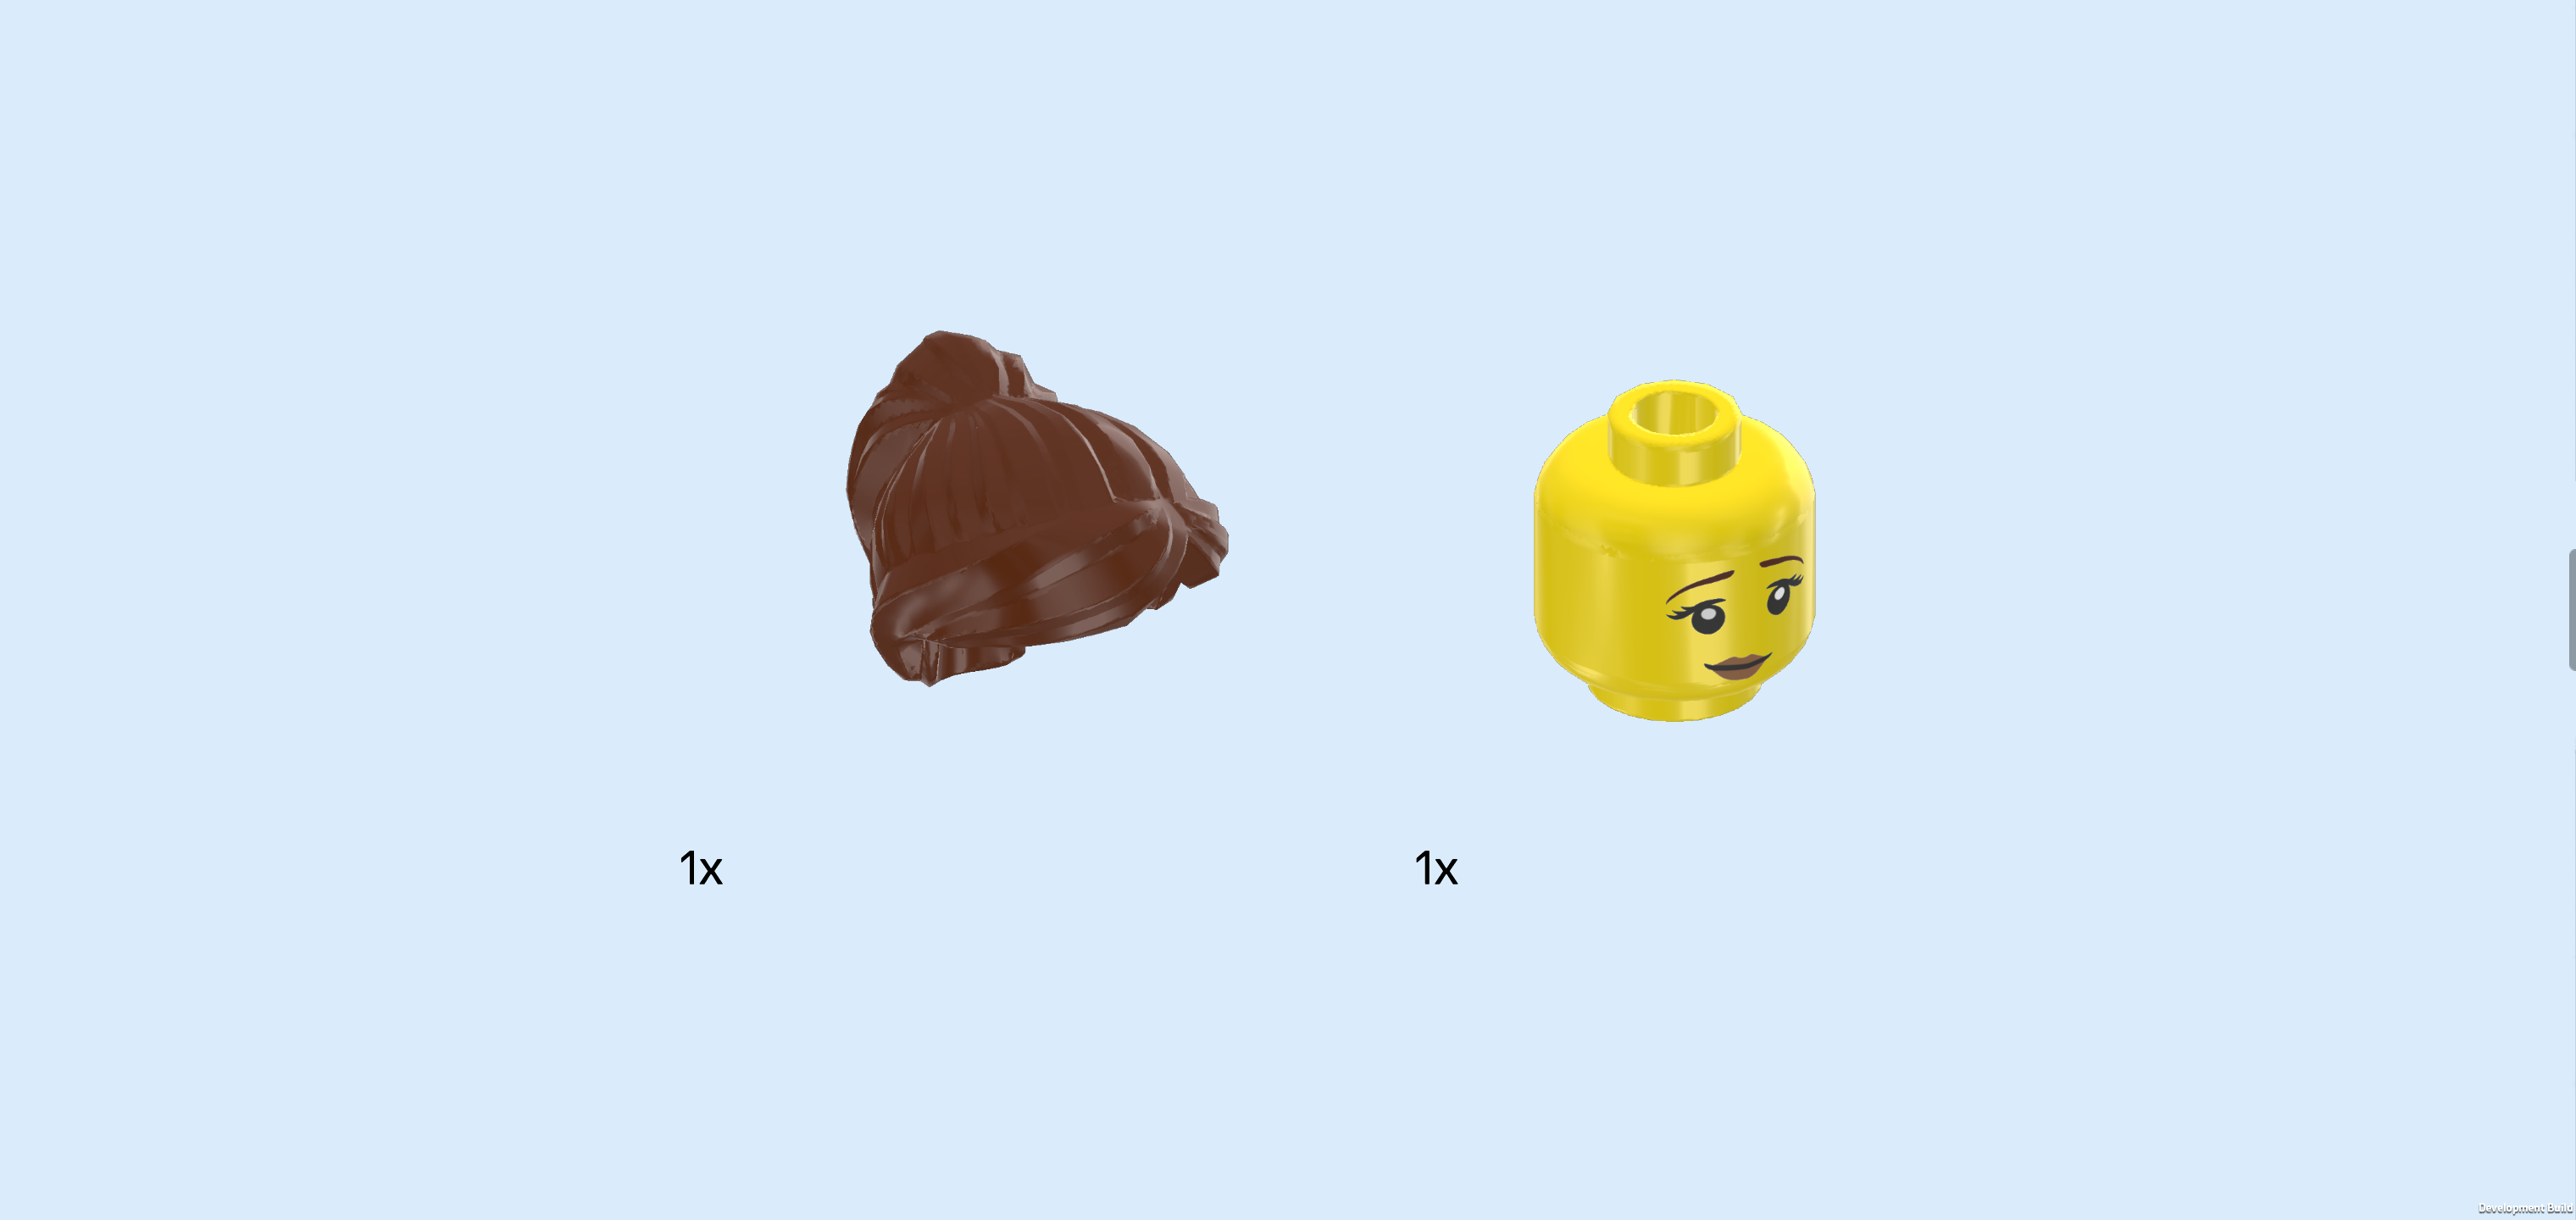
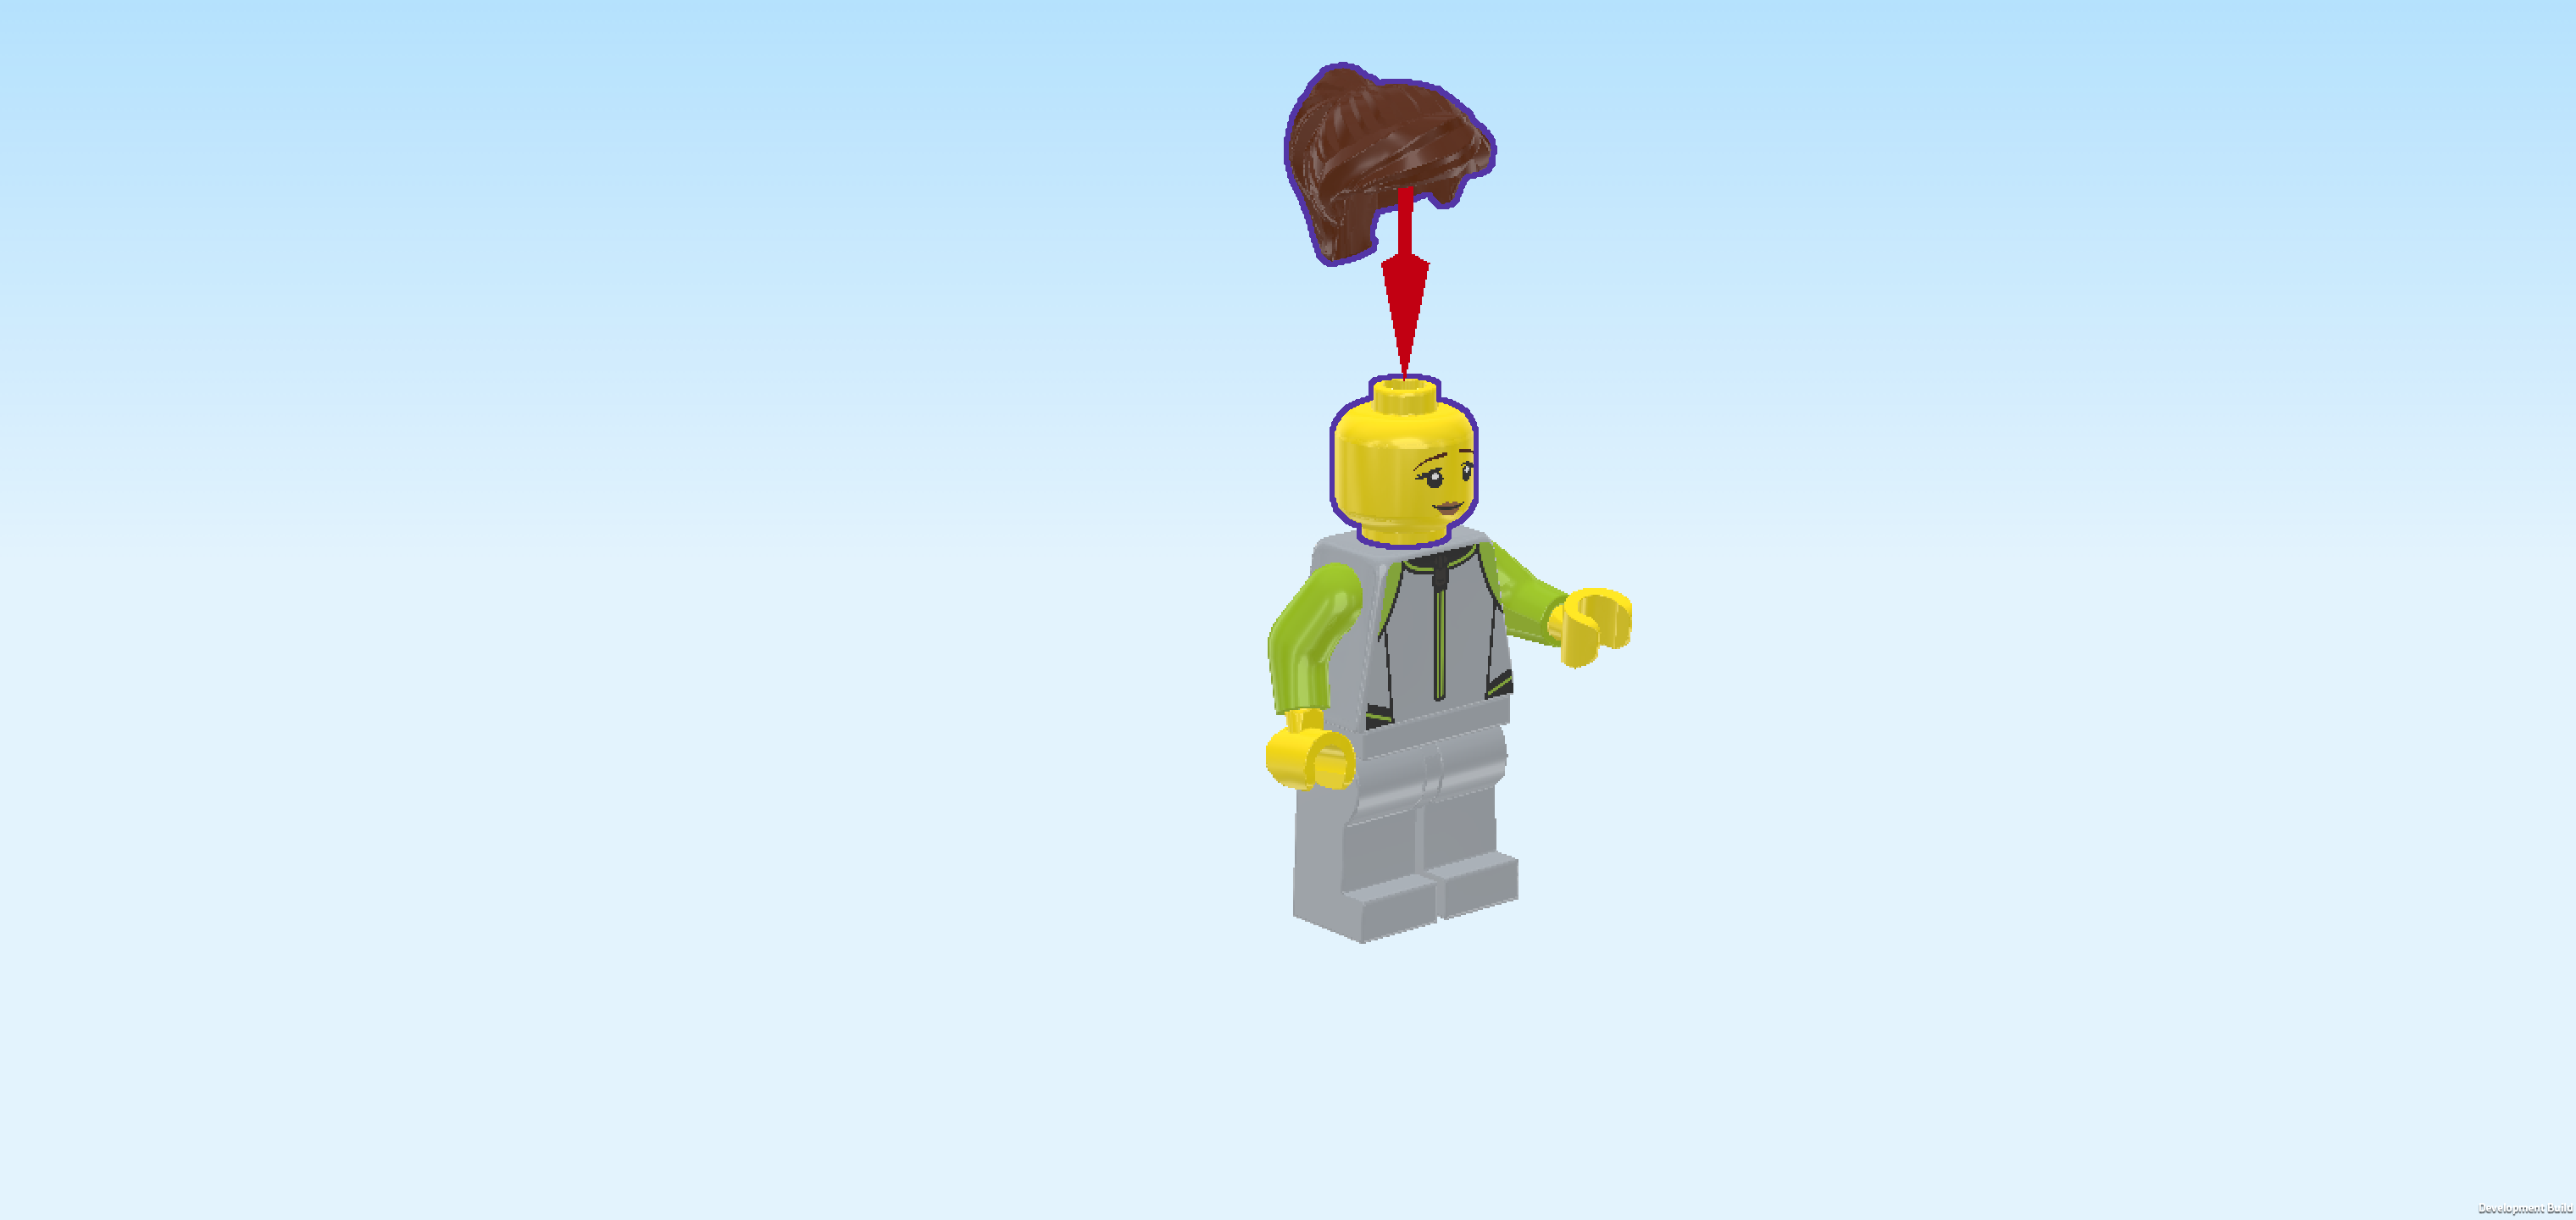
| 1 reddish brown hairpiece with side parting and ponytail, |
| and 1 bright yellow Minifigure head. |
| Put the head on the body and put the hair on the head. |
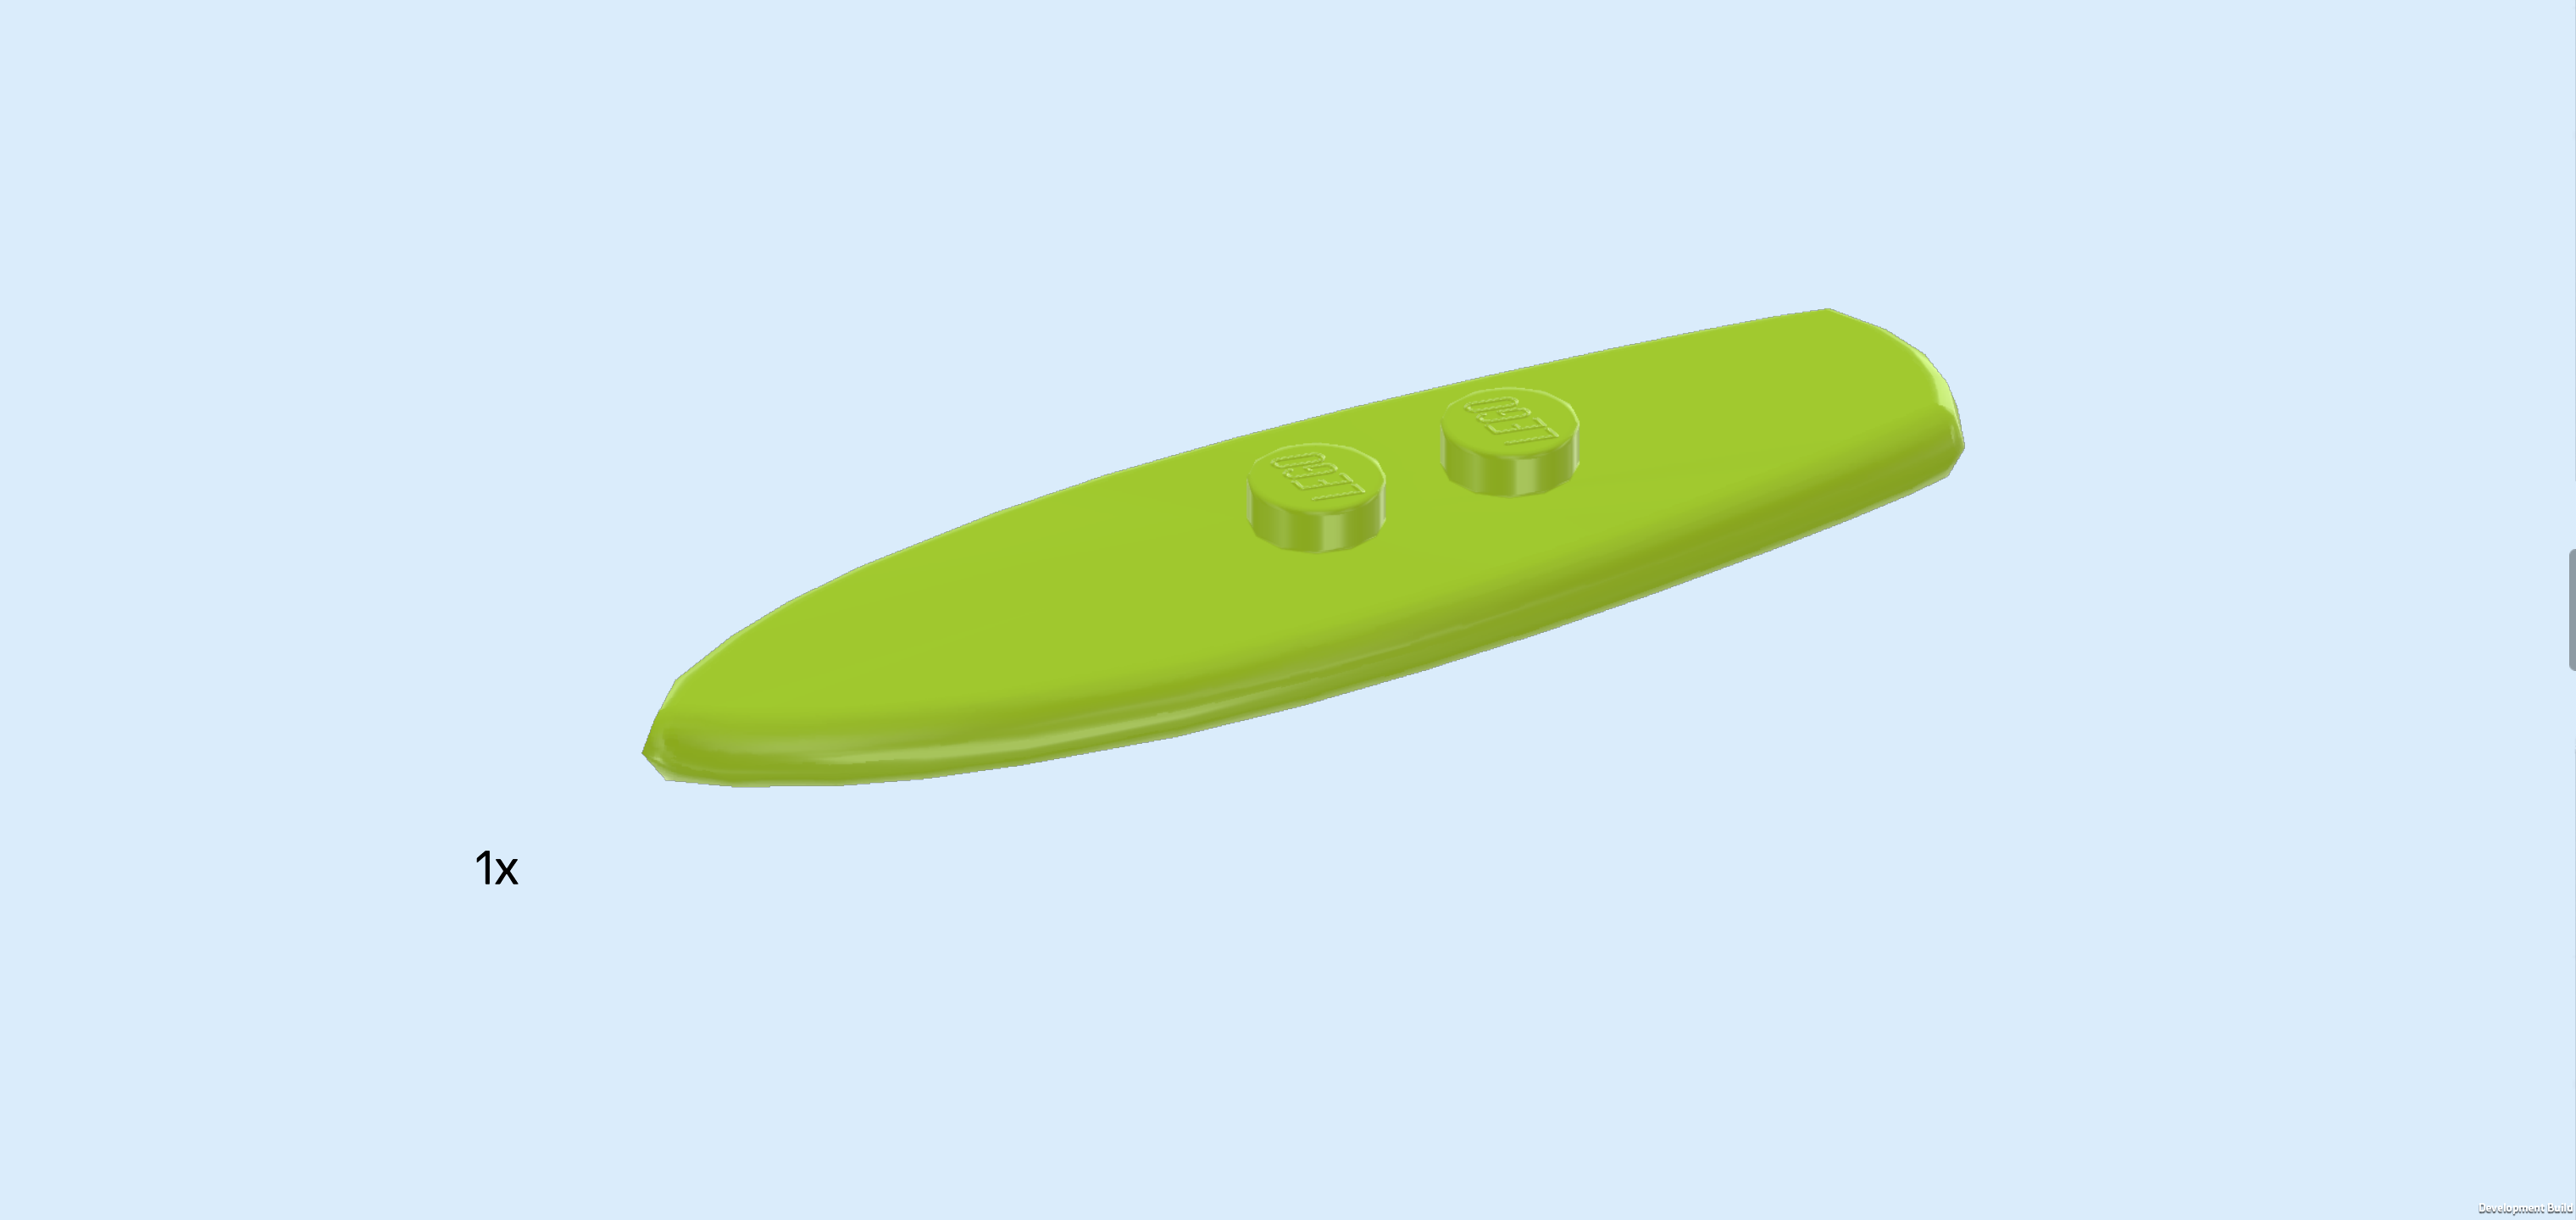
| Find 1 bright yellowish green surfboard with 2 knobs. |
| Flip it upright so that its pointy end is pointing to the top. Then, snap one of the long side edges into the Minifigure's left hand. |
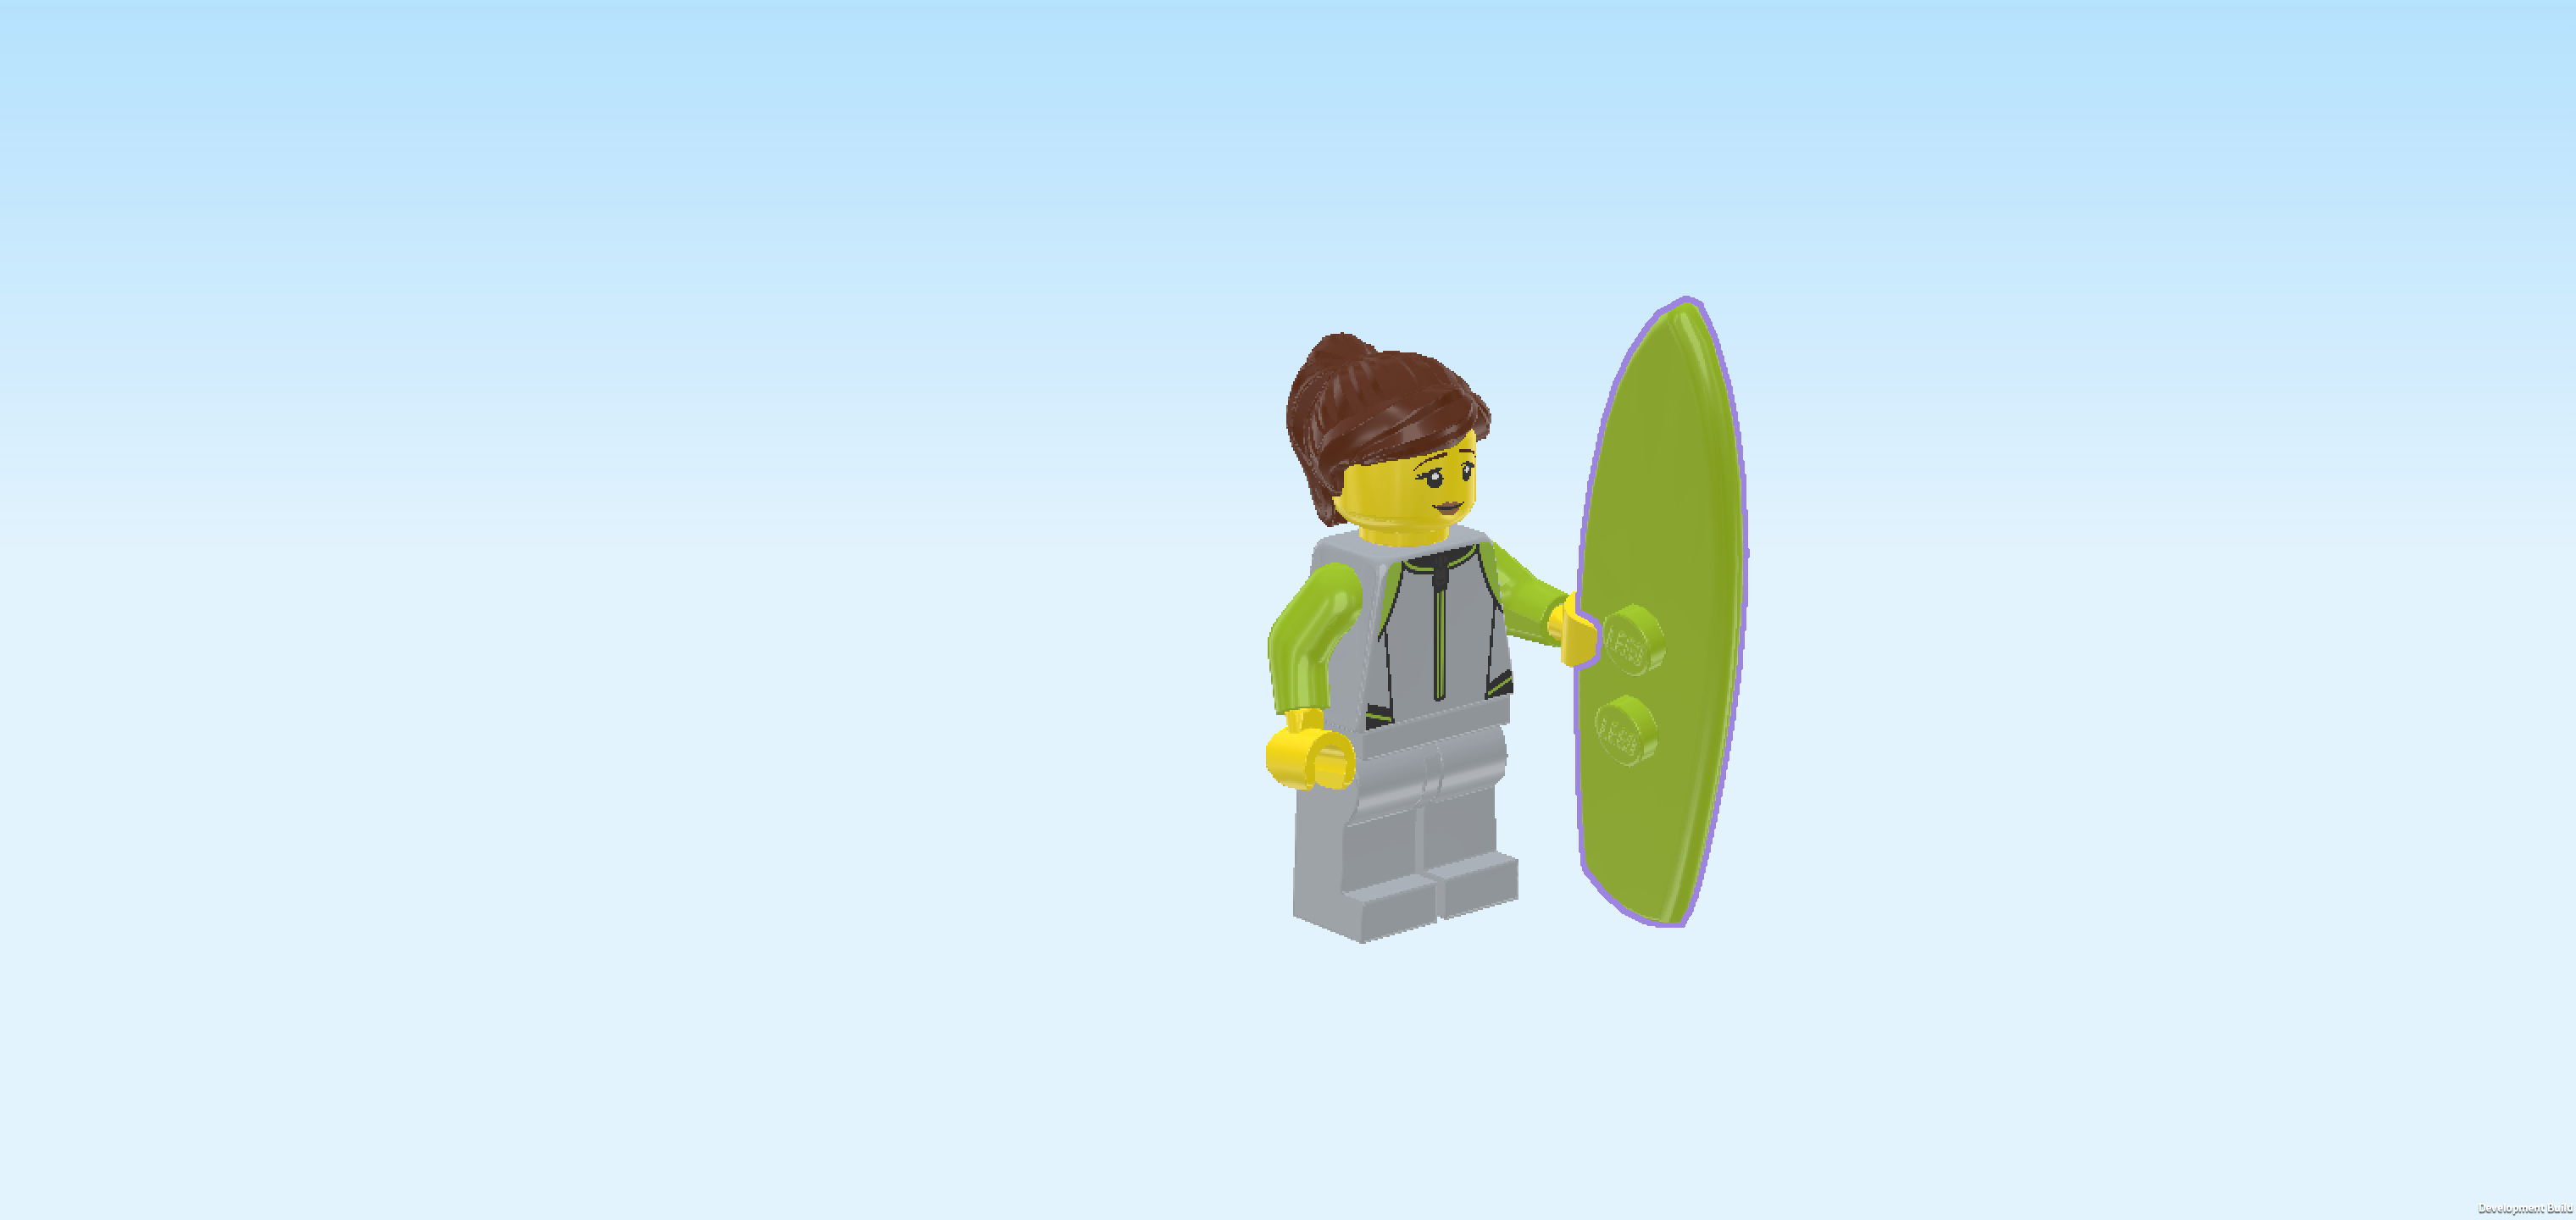
| The Surfer Minifigure is finished! Well done! The surfer is wearing a grey neoprene suit with green sleeves. Neoprene suits are perfect for watersports because most of your skin stays dry and the foamy material keeps you warm. This is important when spending long stretches of time in open water. The suit has a front zipper, a green and black collar, and some decorative stitching in black and green on the sides of the torso and at the back. The brand logo is printed on the back of the suit: it is a green circle with an abstract black symbol made up of jagged lines in its center. The surfer's head is printed with two faces: on one side, she is showing a shy smile. On the other side, however, she is clenching her teeth in distress. It really depends on how well she is doing on that surfboard of hers! Her eyebrows are light brown, and her lips are nude-colored. She is wearing black mascara. |
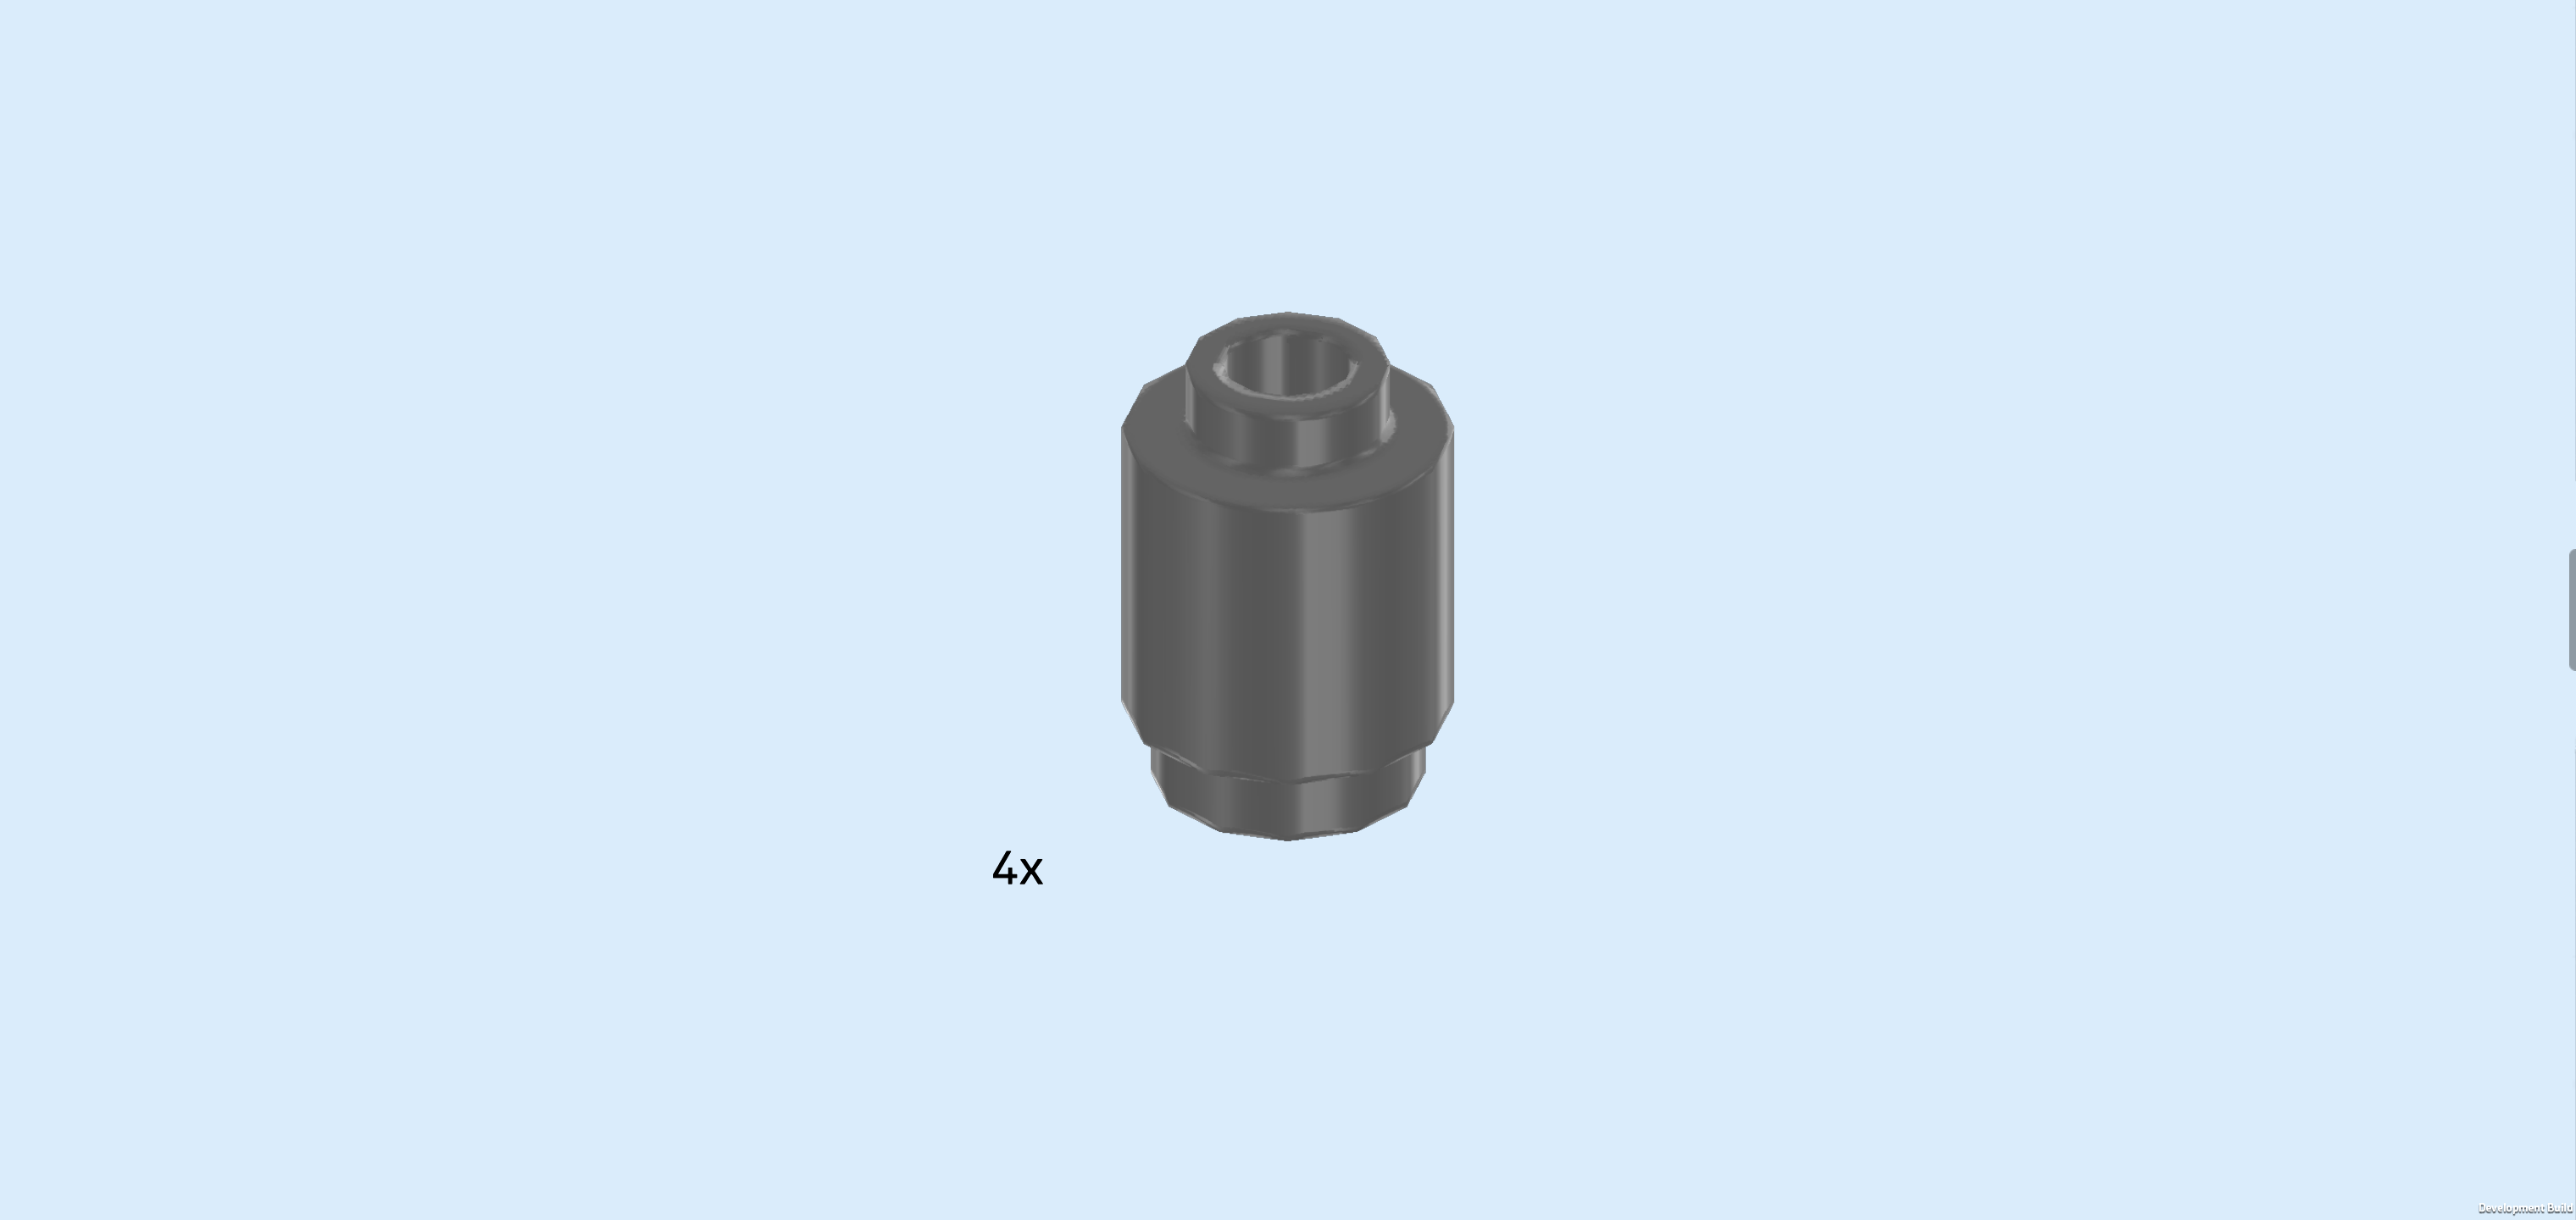
| Find 4 dark stone grey round bricks 1x1. |
| Before you mount them, fetch the car structure that we have built so far. Turn it so that it is still oriented horizontally, but now the front grille and bumper are pointing to the right. |
| We will mount those 4 round bricks next to the 4 corners of the flat tile surface 4x6 in the left half of the structure. Let's start with 1: put it to the left of the stickered side panel that we have mounted at the front surface earlier, but make sure to use the second knob from the front. The frontmost knob stays empty for now. |
| Repeat symmetrically at the back. |
| Put another 1 on the leftmost column of the structure on the second knob from the back. |
| Repeat symmetrically at the front. |
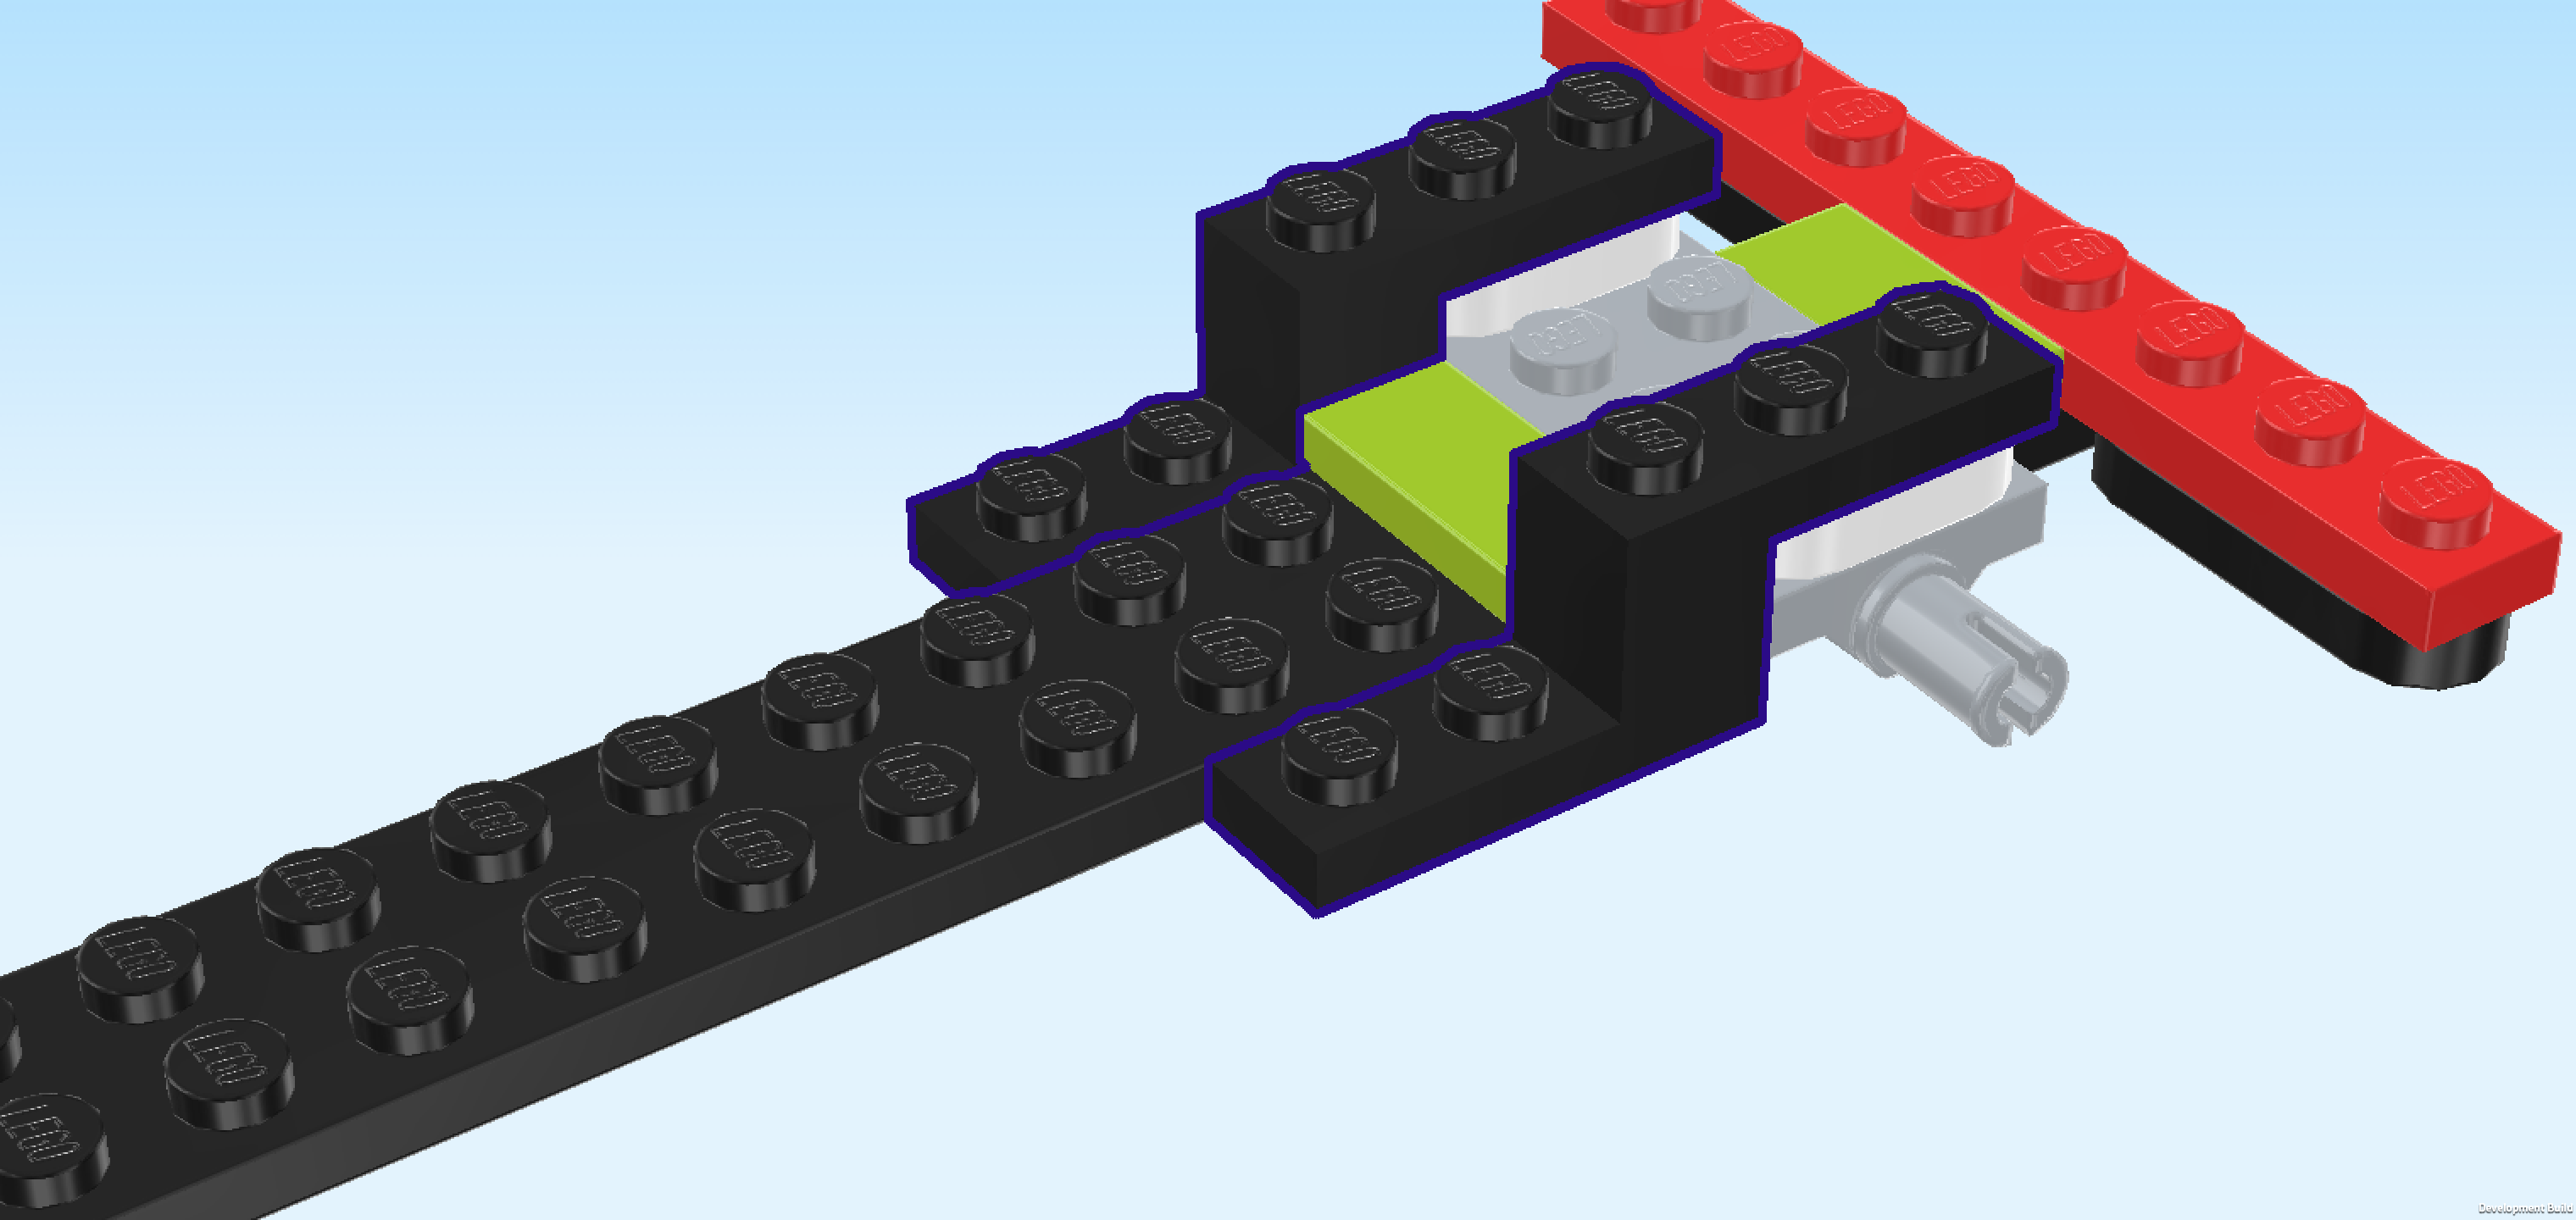
| Find 2 flame yellowish orange bottom angle plates 1x1 - 1x2 with 2 side knobs. |
| Put 1 in front of the previous piece, 2 side knobs to the left. |
| Repeat symmetrically at the back, side knobs to the left. |
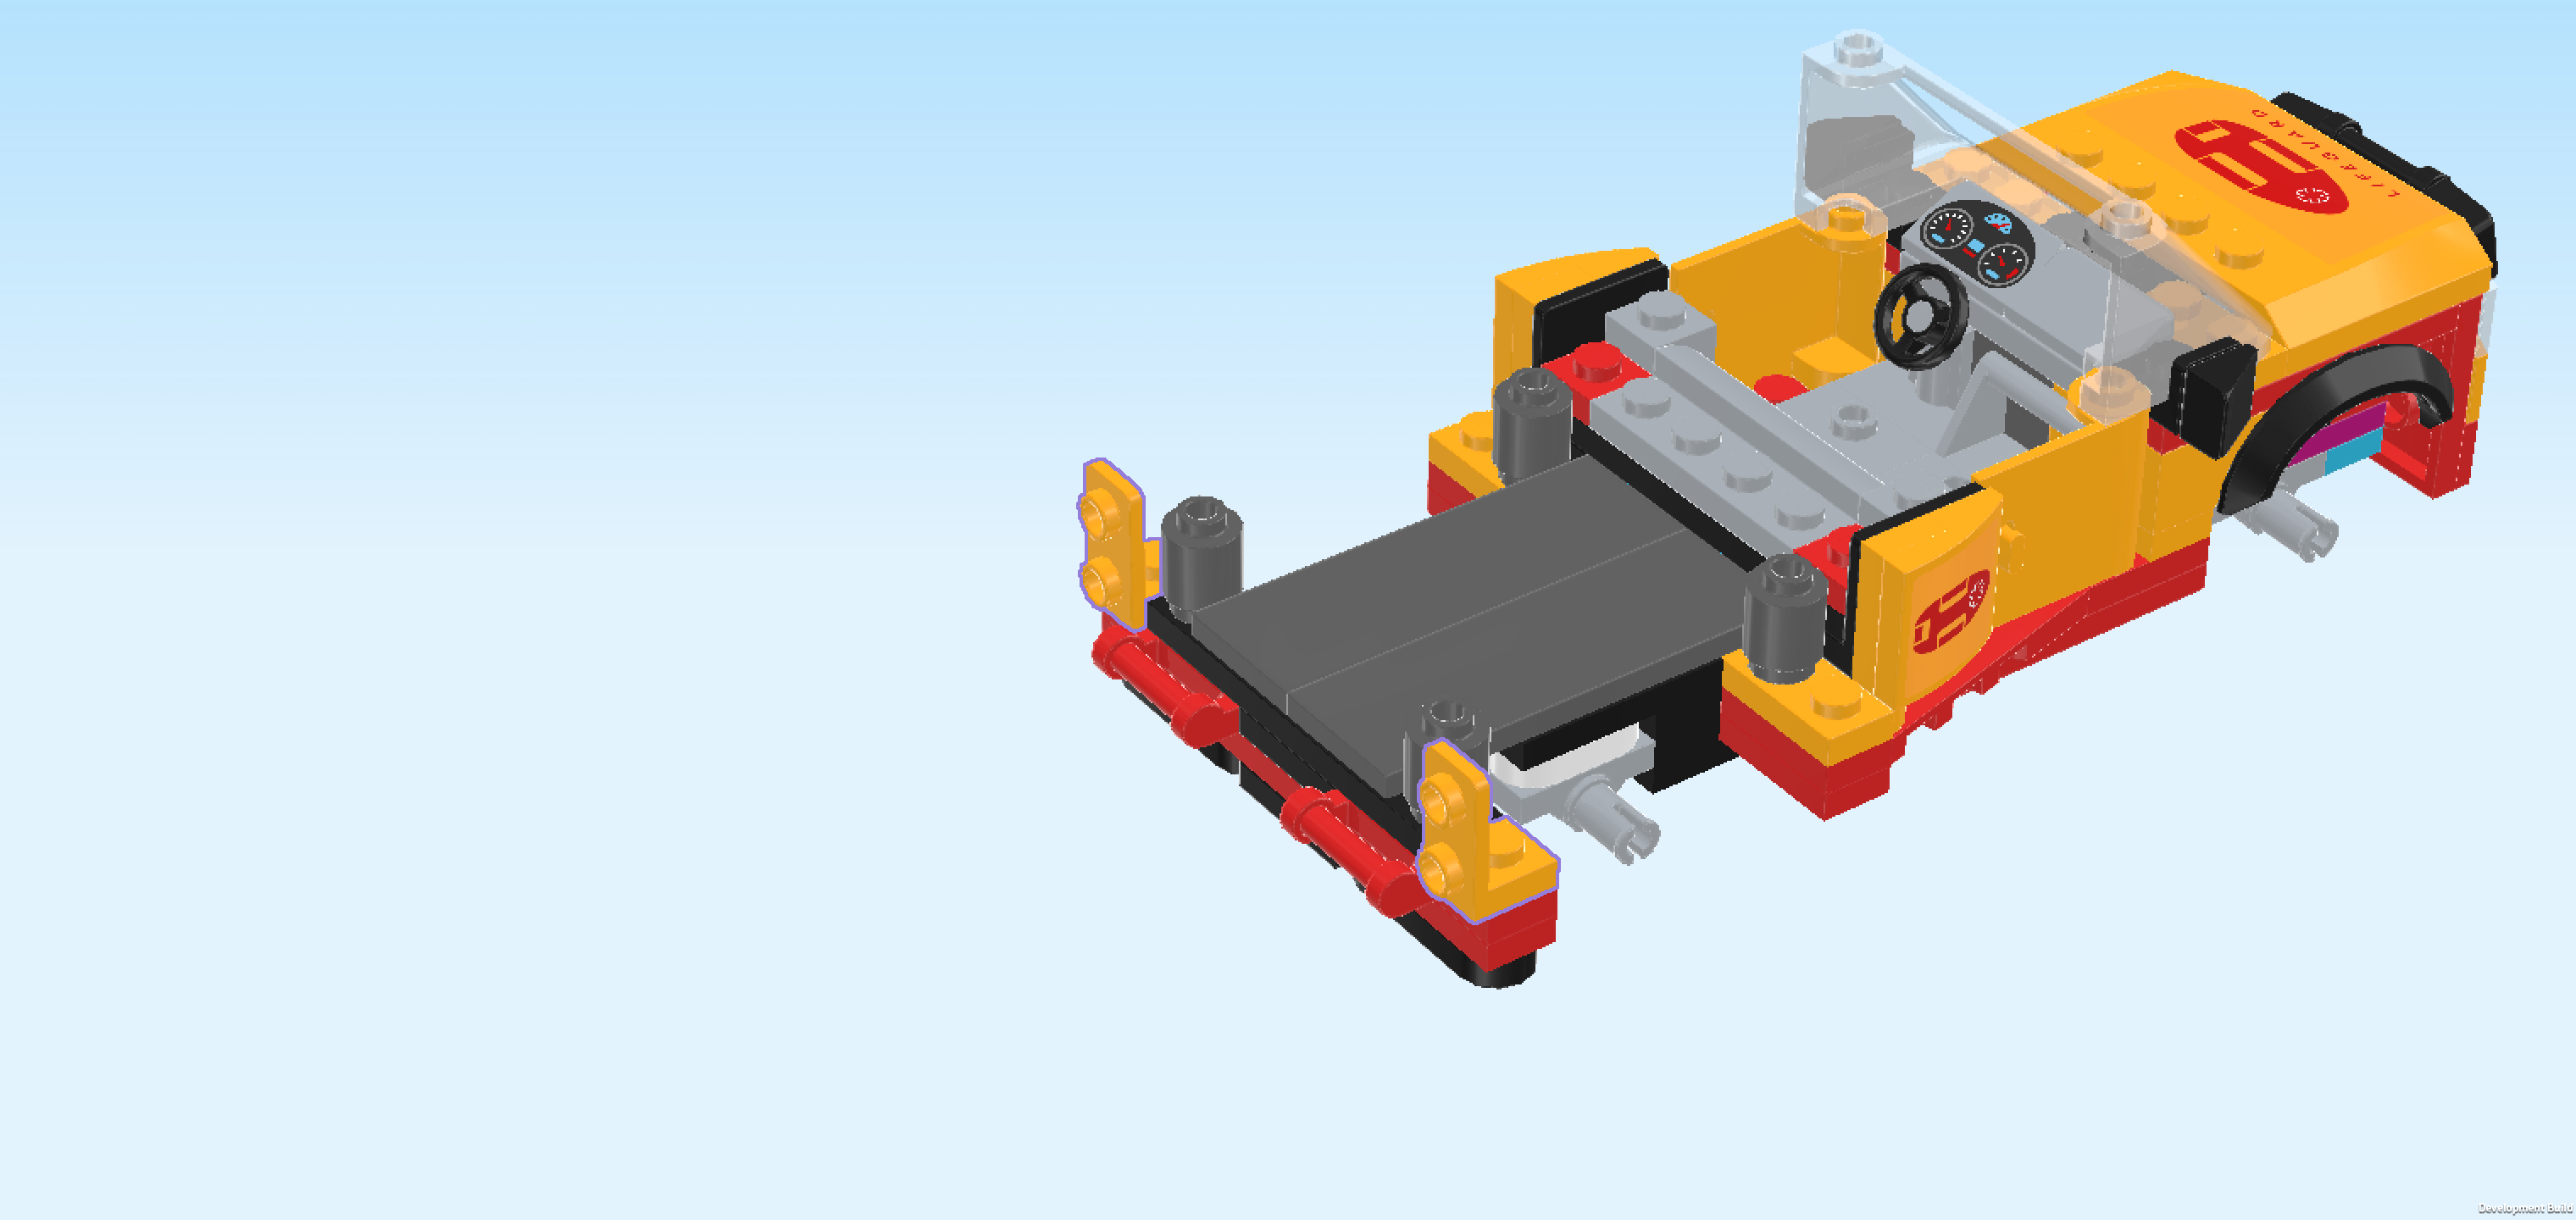
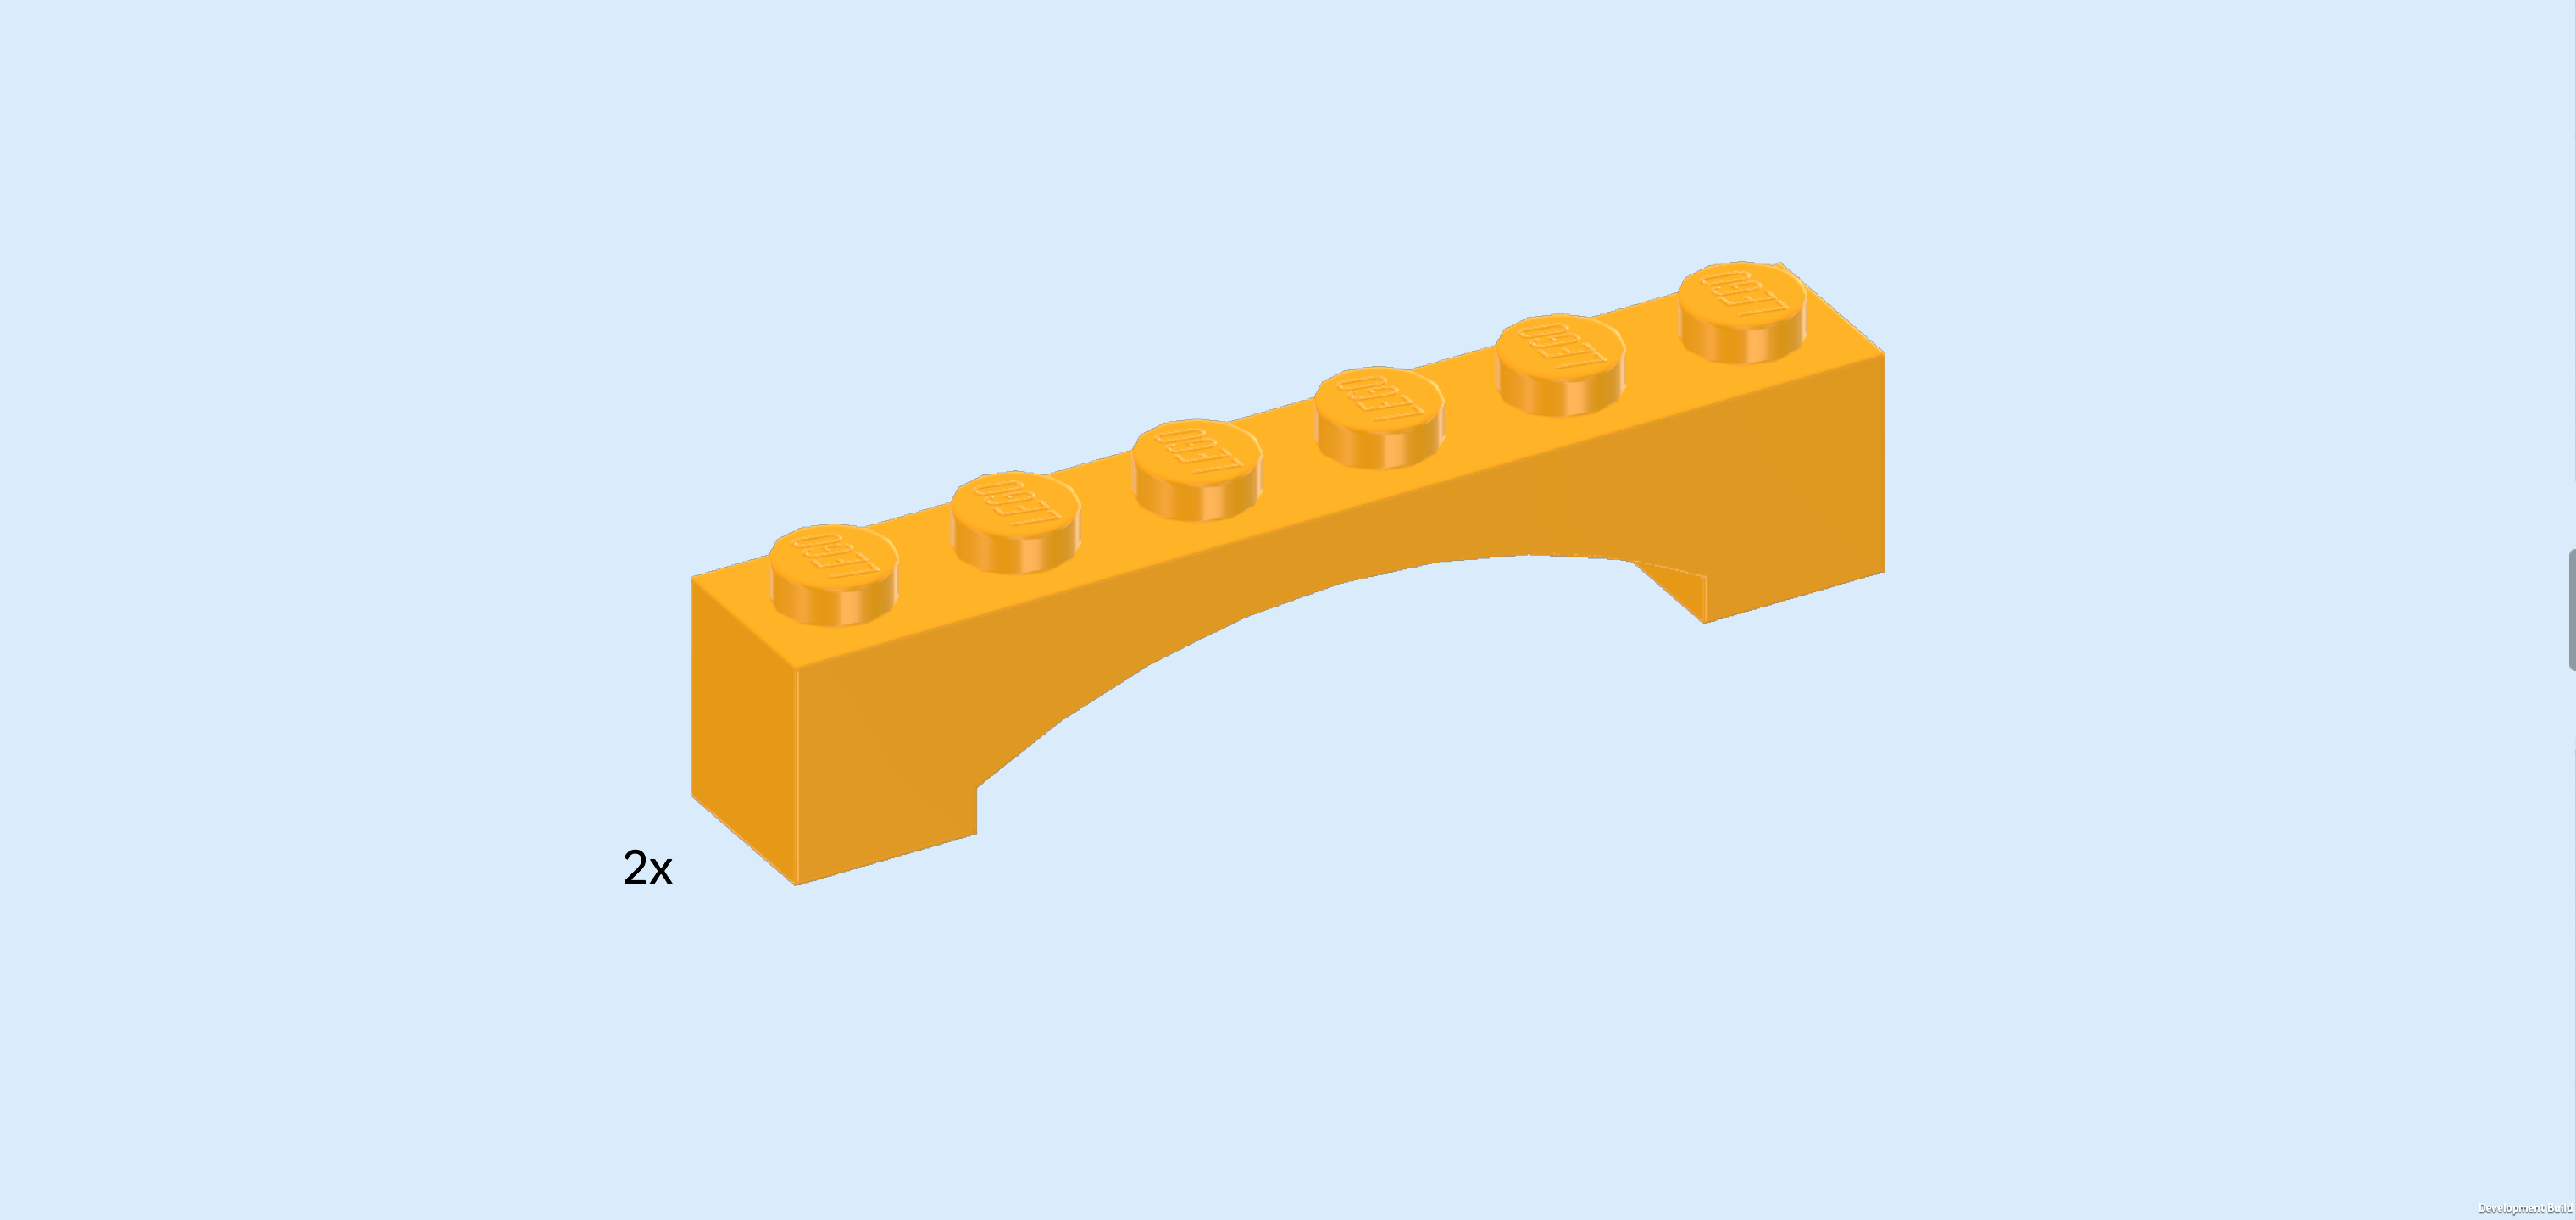
| Find 2 flame yellowish orange bricks 1x6 with inside arch. |
| Put 1 horizontally on the previous piece and the corresponding empty knob on the right. This means it will sit on the backmost edge. |
| Repeat symmetrically at the front. |
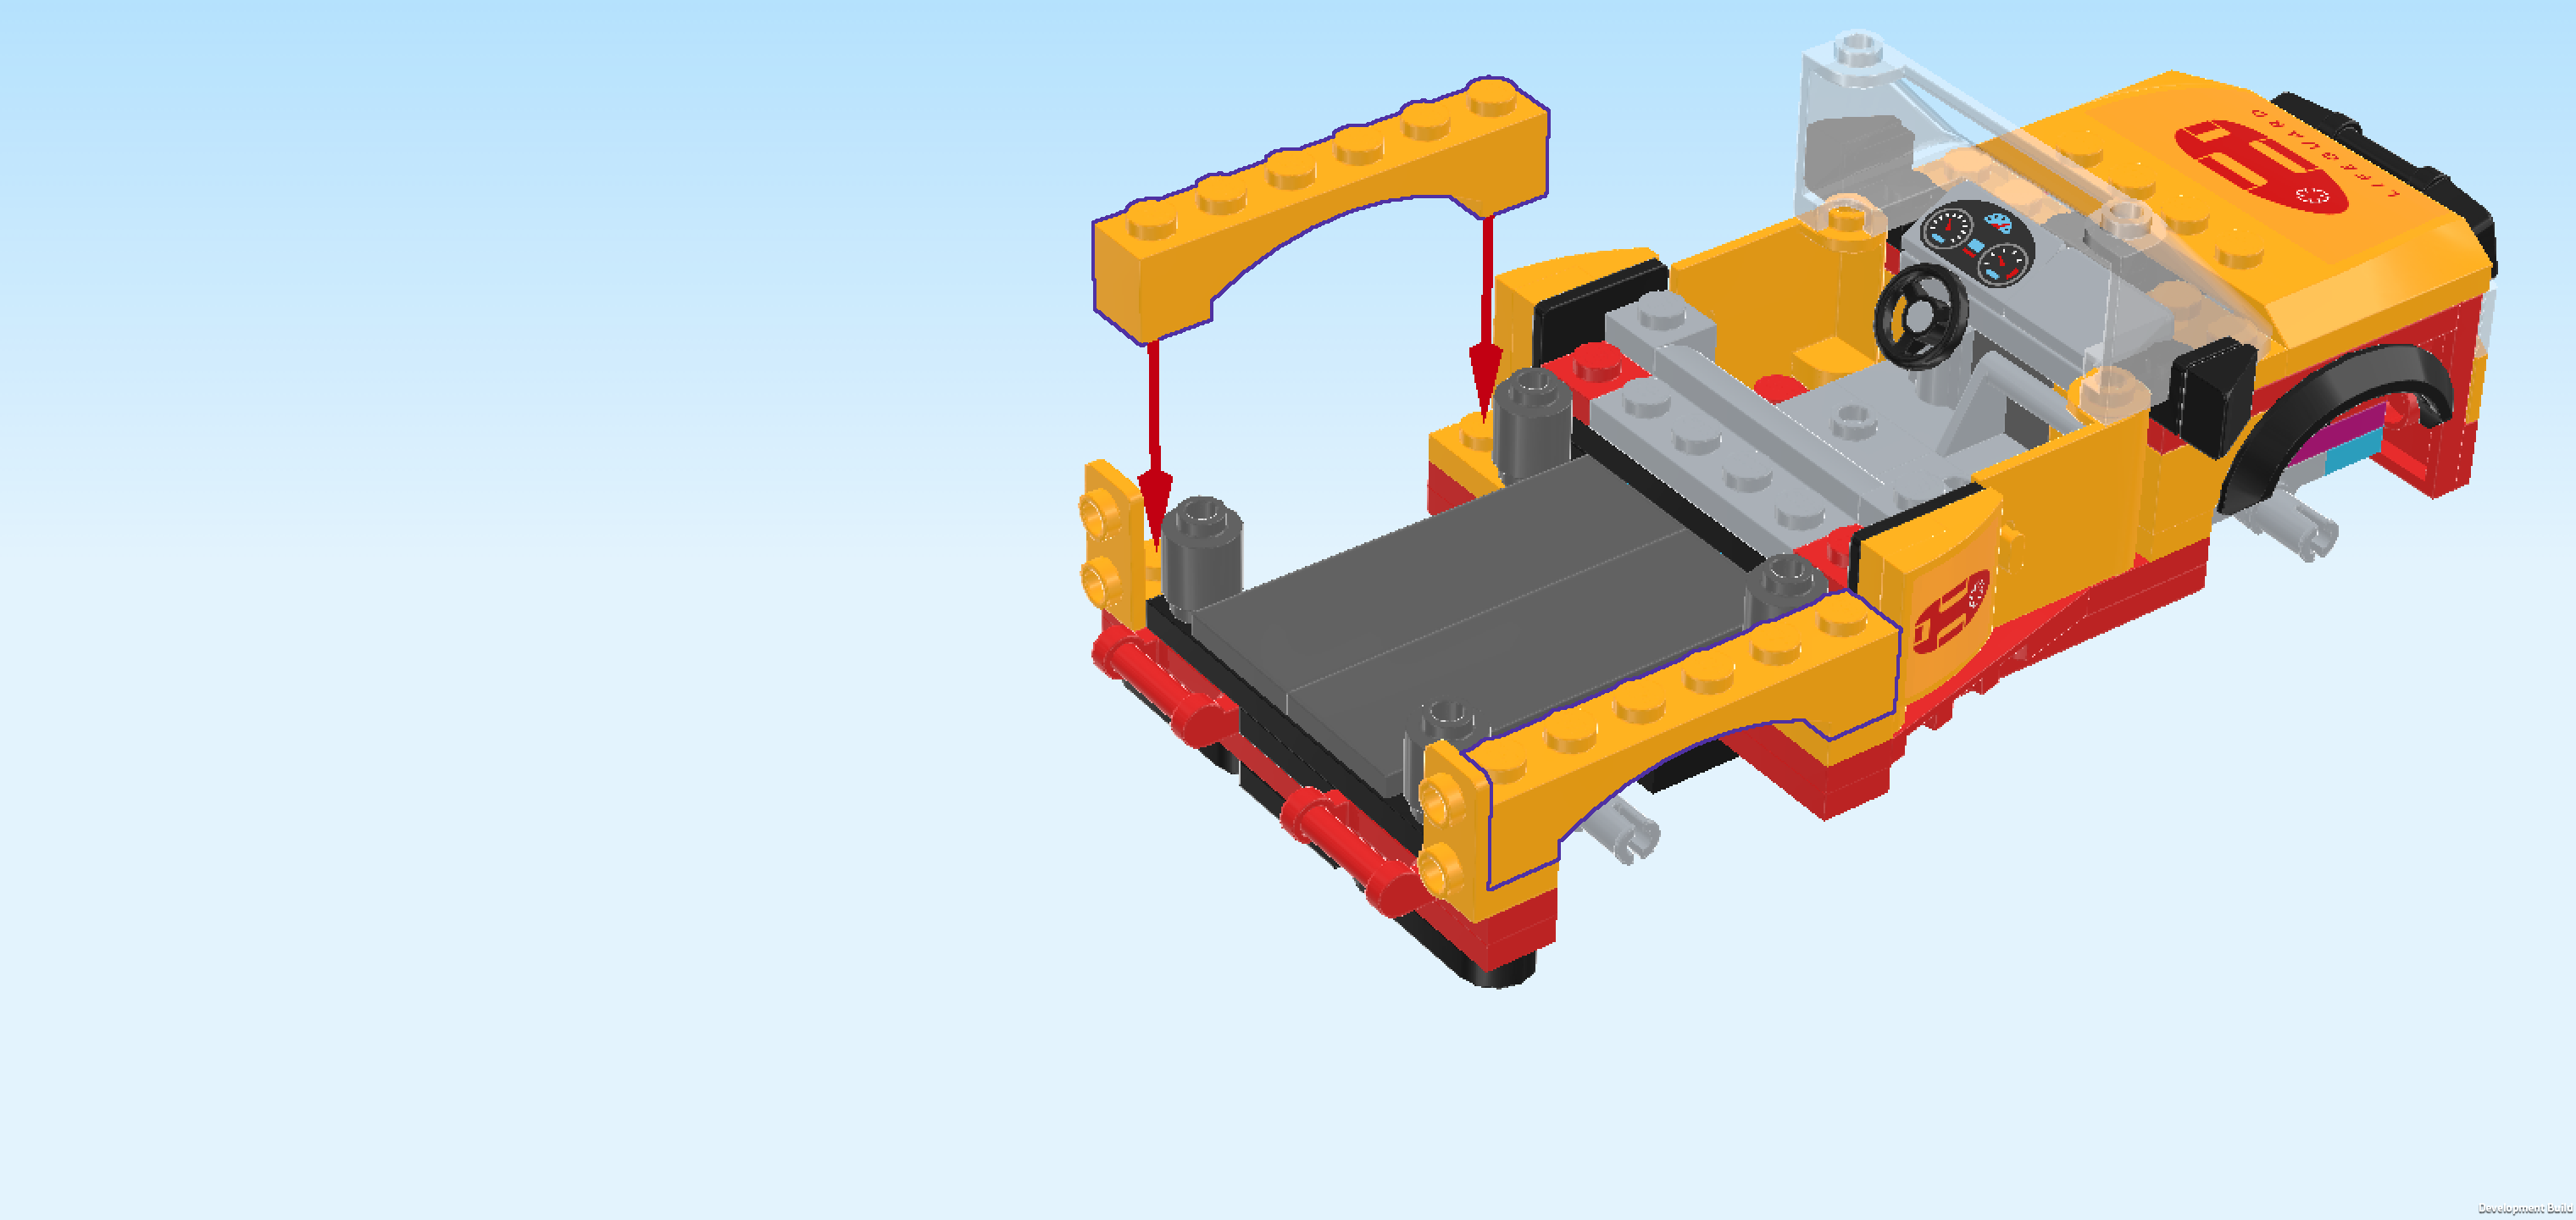
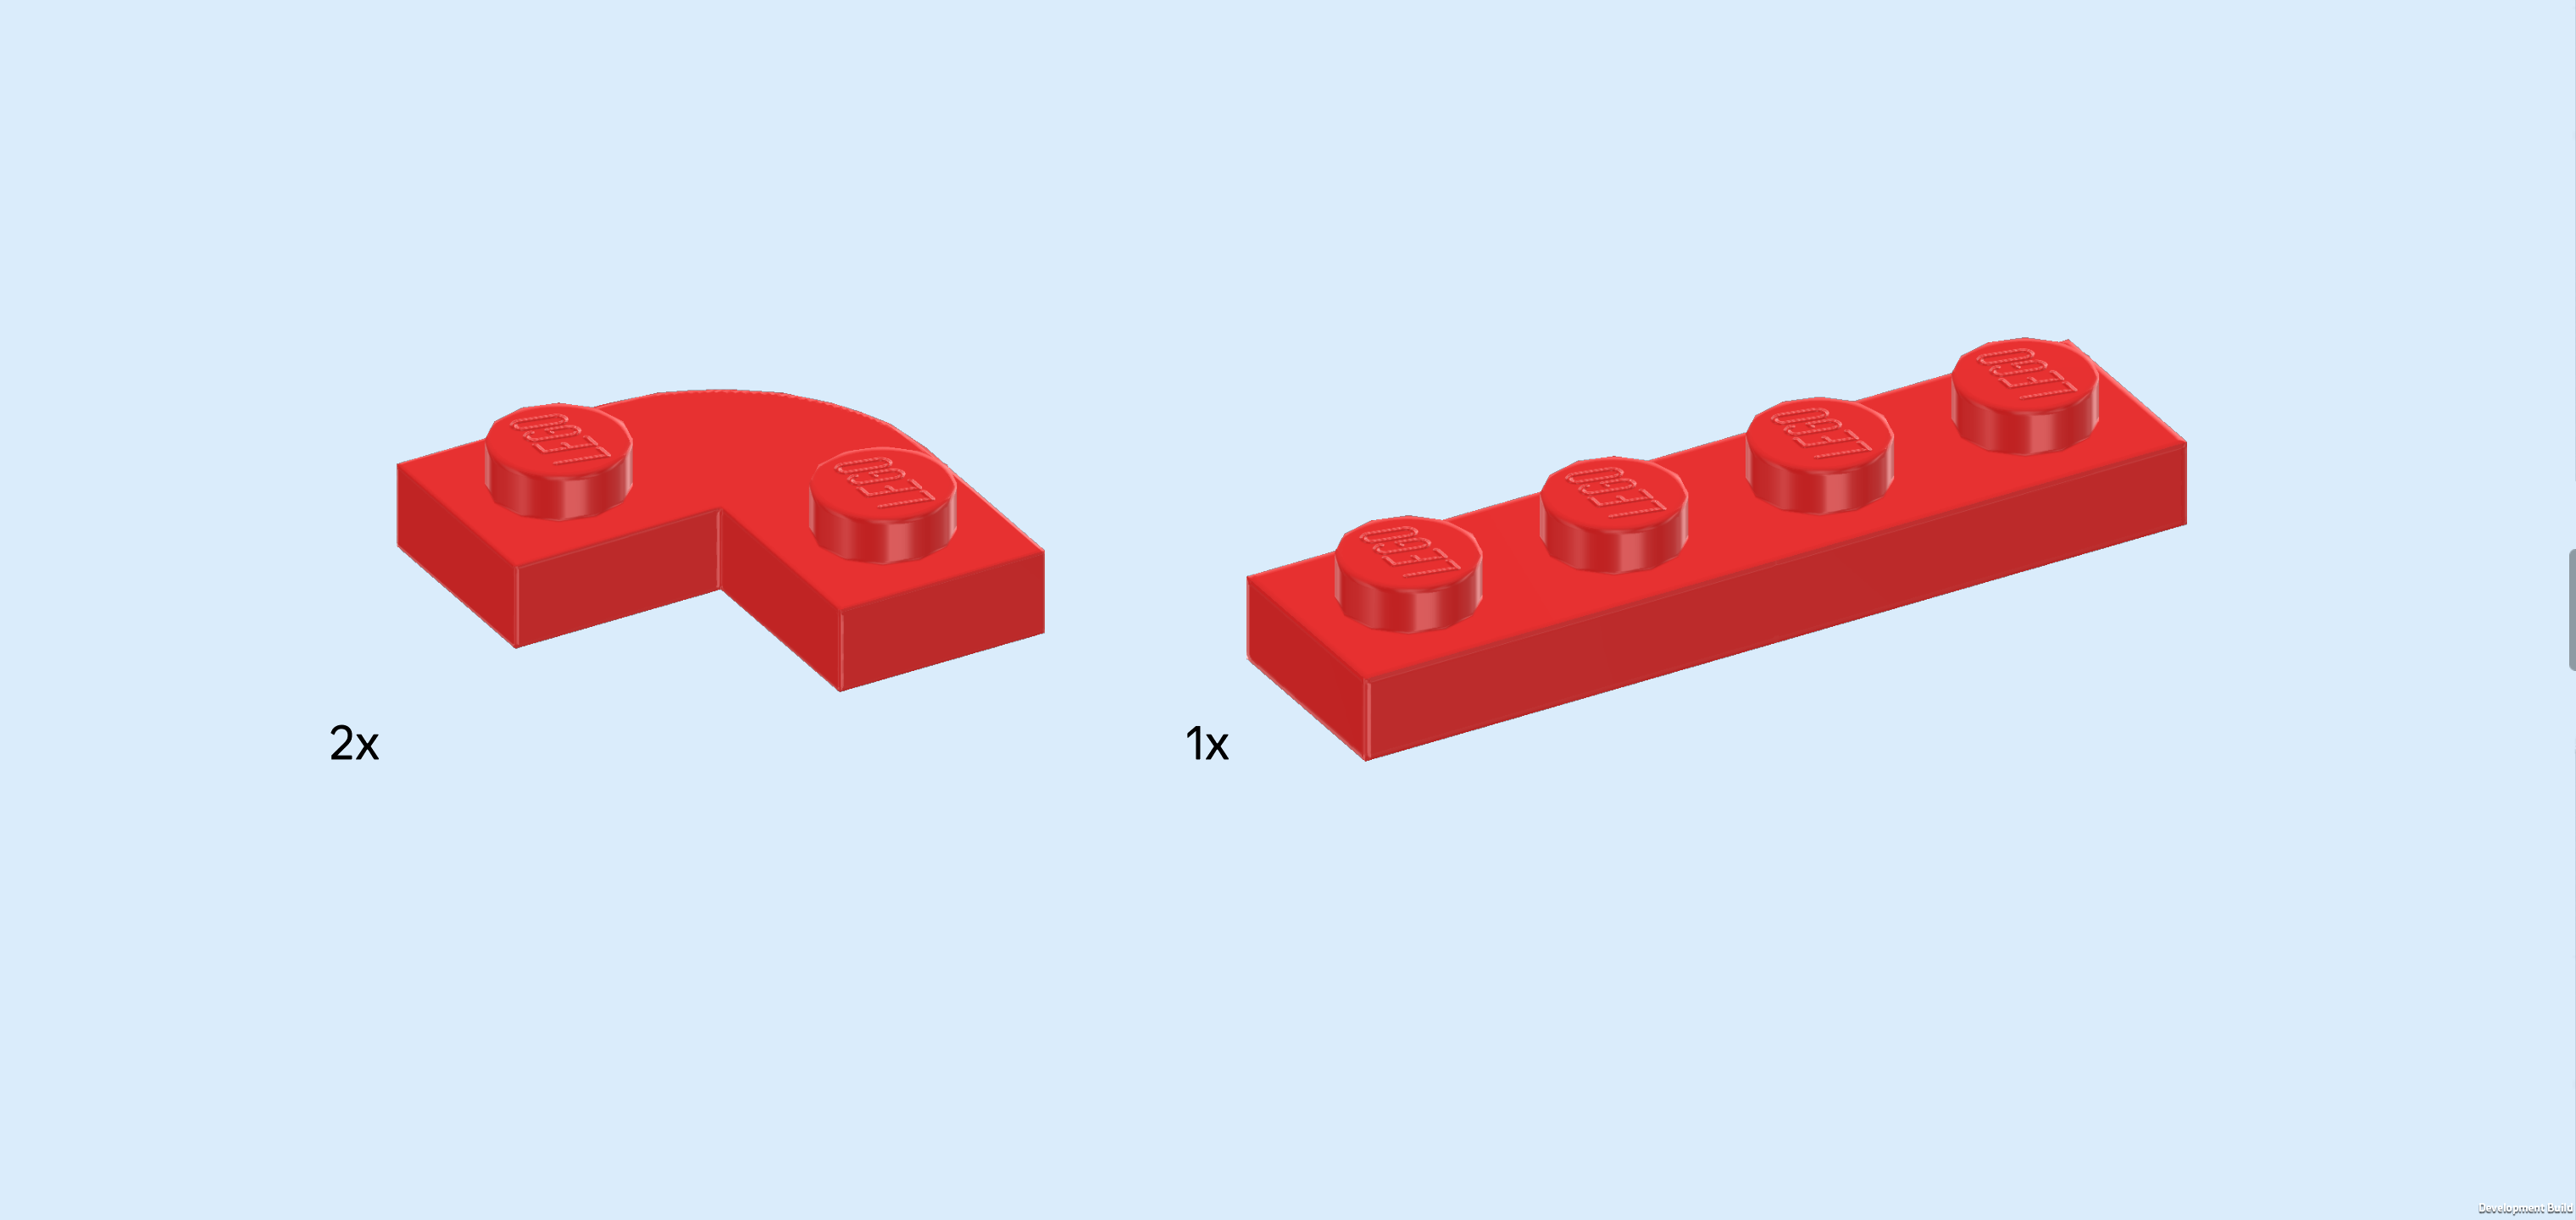
| Collect the following 3 pieces: |
| 2 bright red corner plates 1x2 - 1x2 with rounded outer corner, |
| and 1 bright red plate 1x4. |
| Put 1 corner plate on the previous piece's rightmost knob, making sure that it bends to the back and to the right. This means that part of it will be mounted directly behind the front side panel. |
| Put the plate 1x4 vertically behind the previous piece's right half. This means it sits directly to the right of the large flat tile surface 4x6. |
| Put the other corner plate behind the previous piece, mirroring the first corner plate. |
| Collect the following 4 pieces: |
| 2 bright red plates 1x2, |
| and 2 bright red plates 1x4. |
| Put 1 plate 1x2 vertically on the leftmost column on the 2 knobs at the back. |
| Put 1 plate 1x4 horizontally to the right of the previous piece on the backmost edge. |
| Repeat symmetrically at the front with the 2 remaining pieces. |
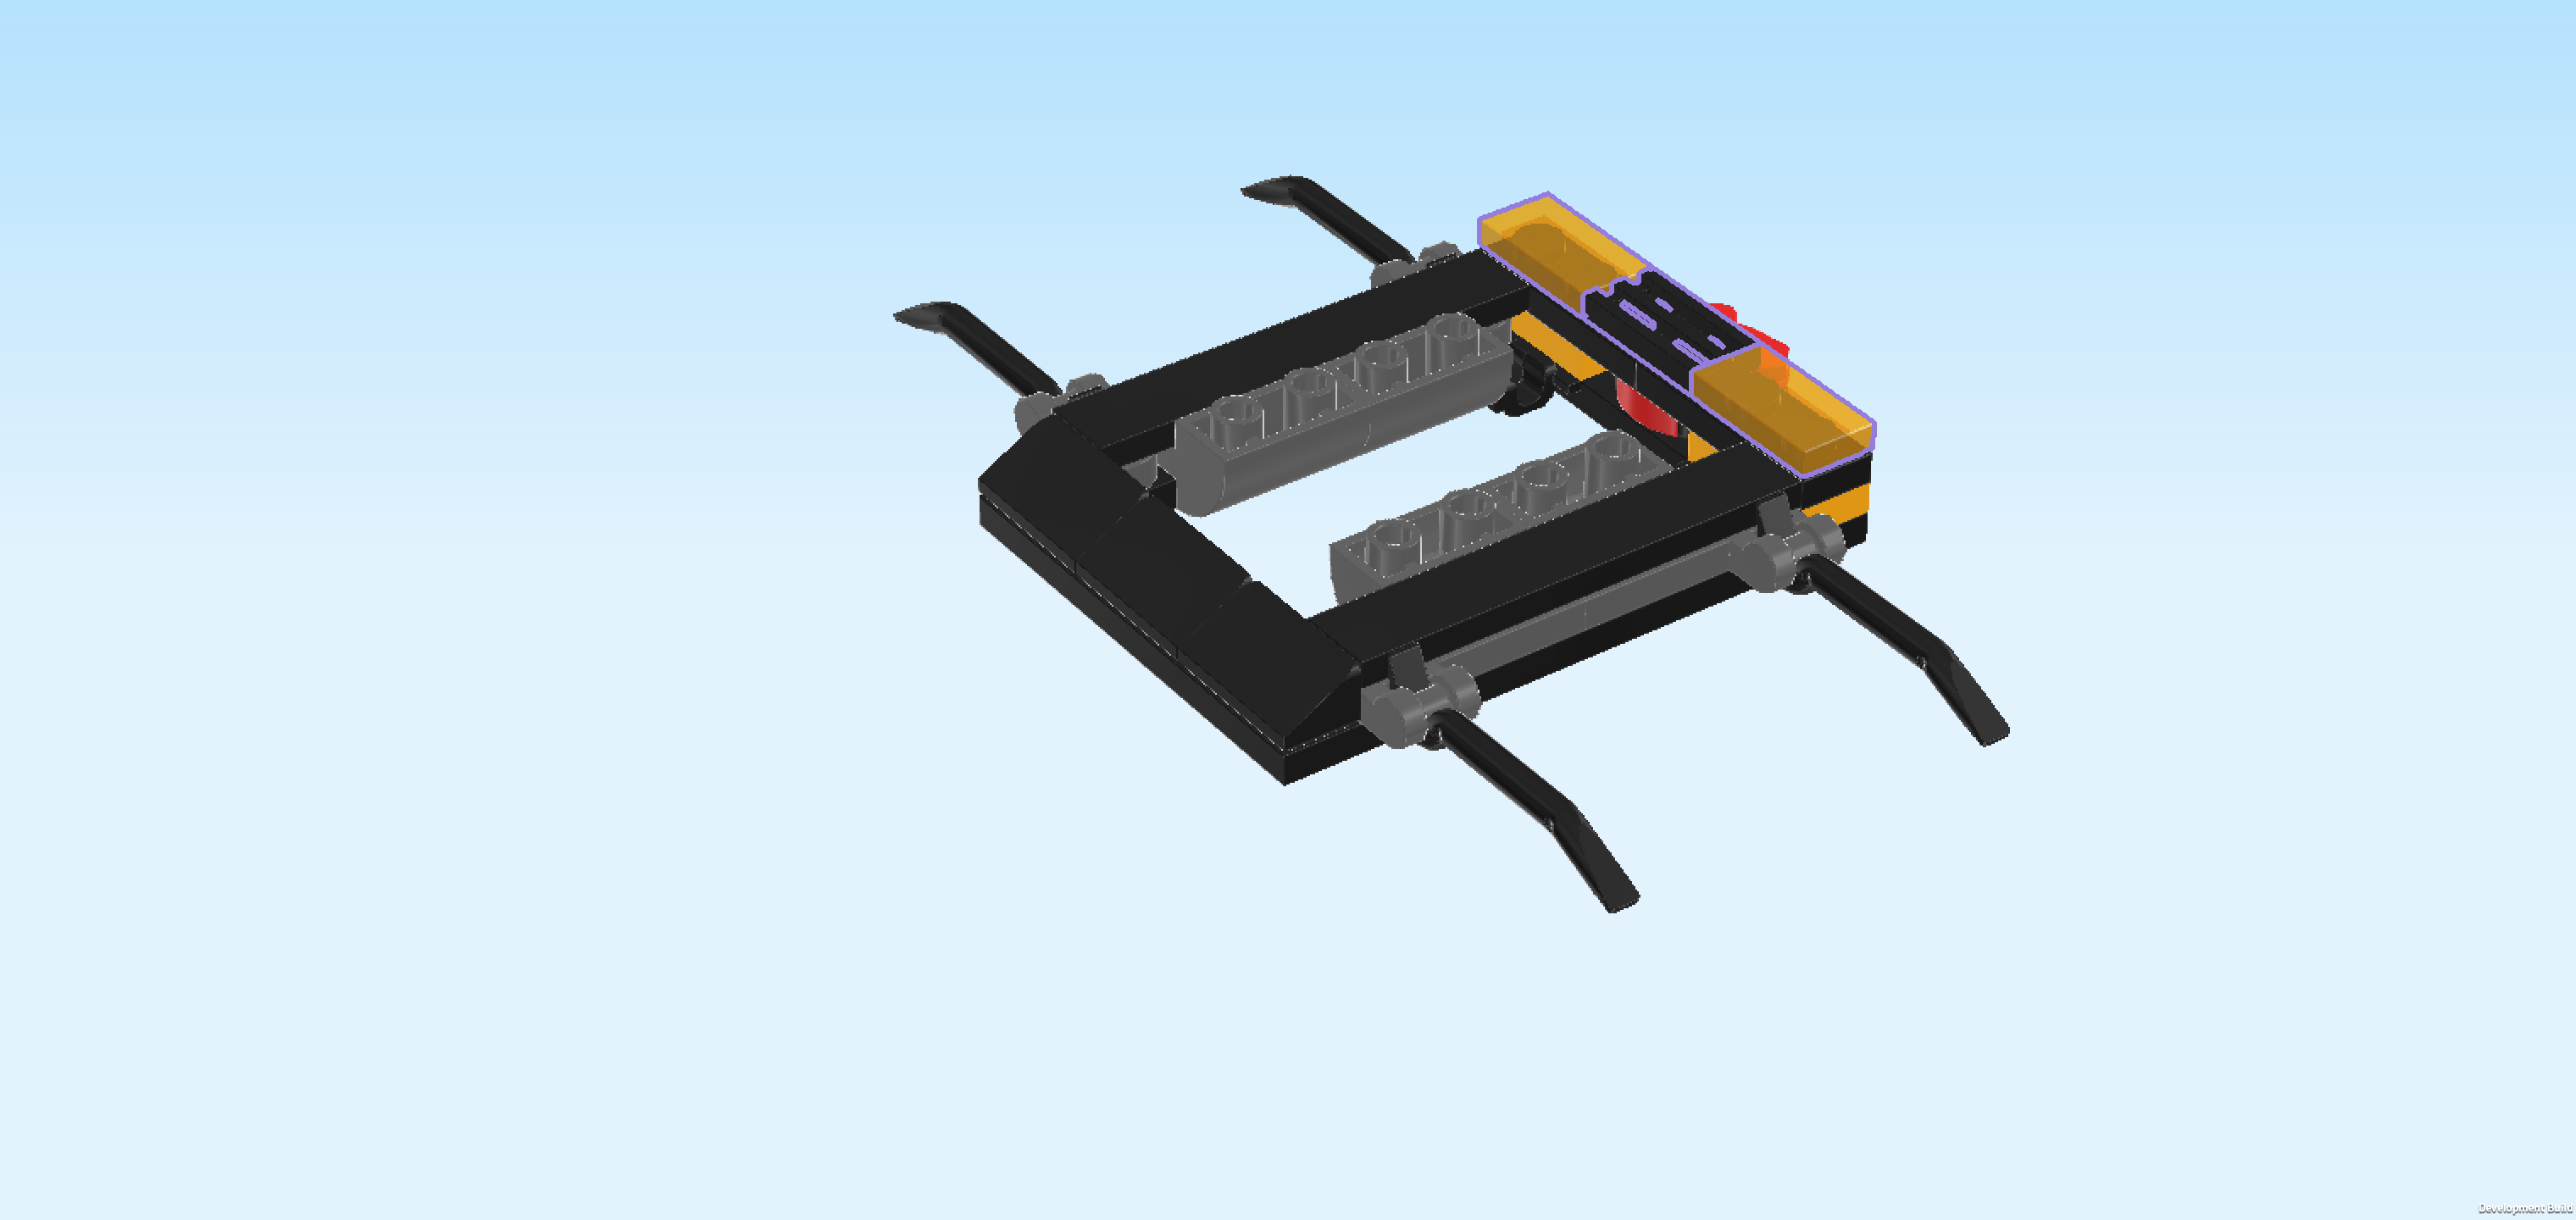
| Find 2 flame yellowish orange flat tiles 1x4. |
| Put 1 horizontally on the frontmost edge, directly to the left of the side panel 2x2 with sticker that we have mounted earlier. |
| Repeat symmetrically at the back. |
| Collect the following 4 pieces: |
| 2 flame yellowish orange plates 1x2, |
| and 2 flame yellowish orange plates 1x1 with top clasp. |
| Put 1 plate 1x1 to the left of the previous piece, clasp tips to the left and right. |
| Put 1 plate 1x2 vertically to the left of the previous piece. |
| Repeat symmetrically at the front with the 2 remaining pieces. Again, make sure that the clasp tips are to the left and right, not to the front and back. |
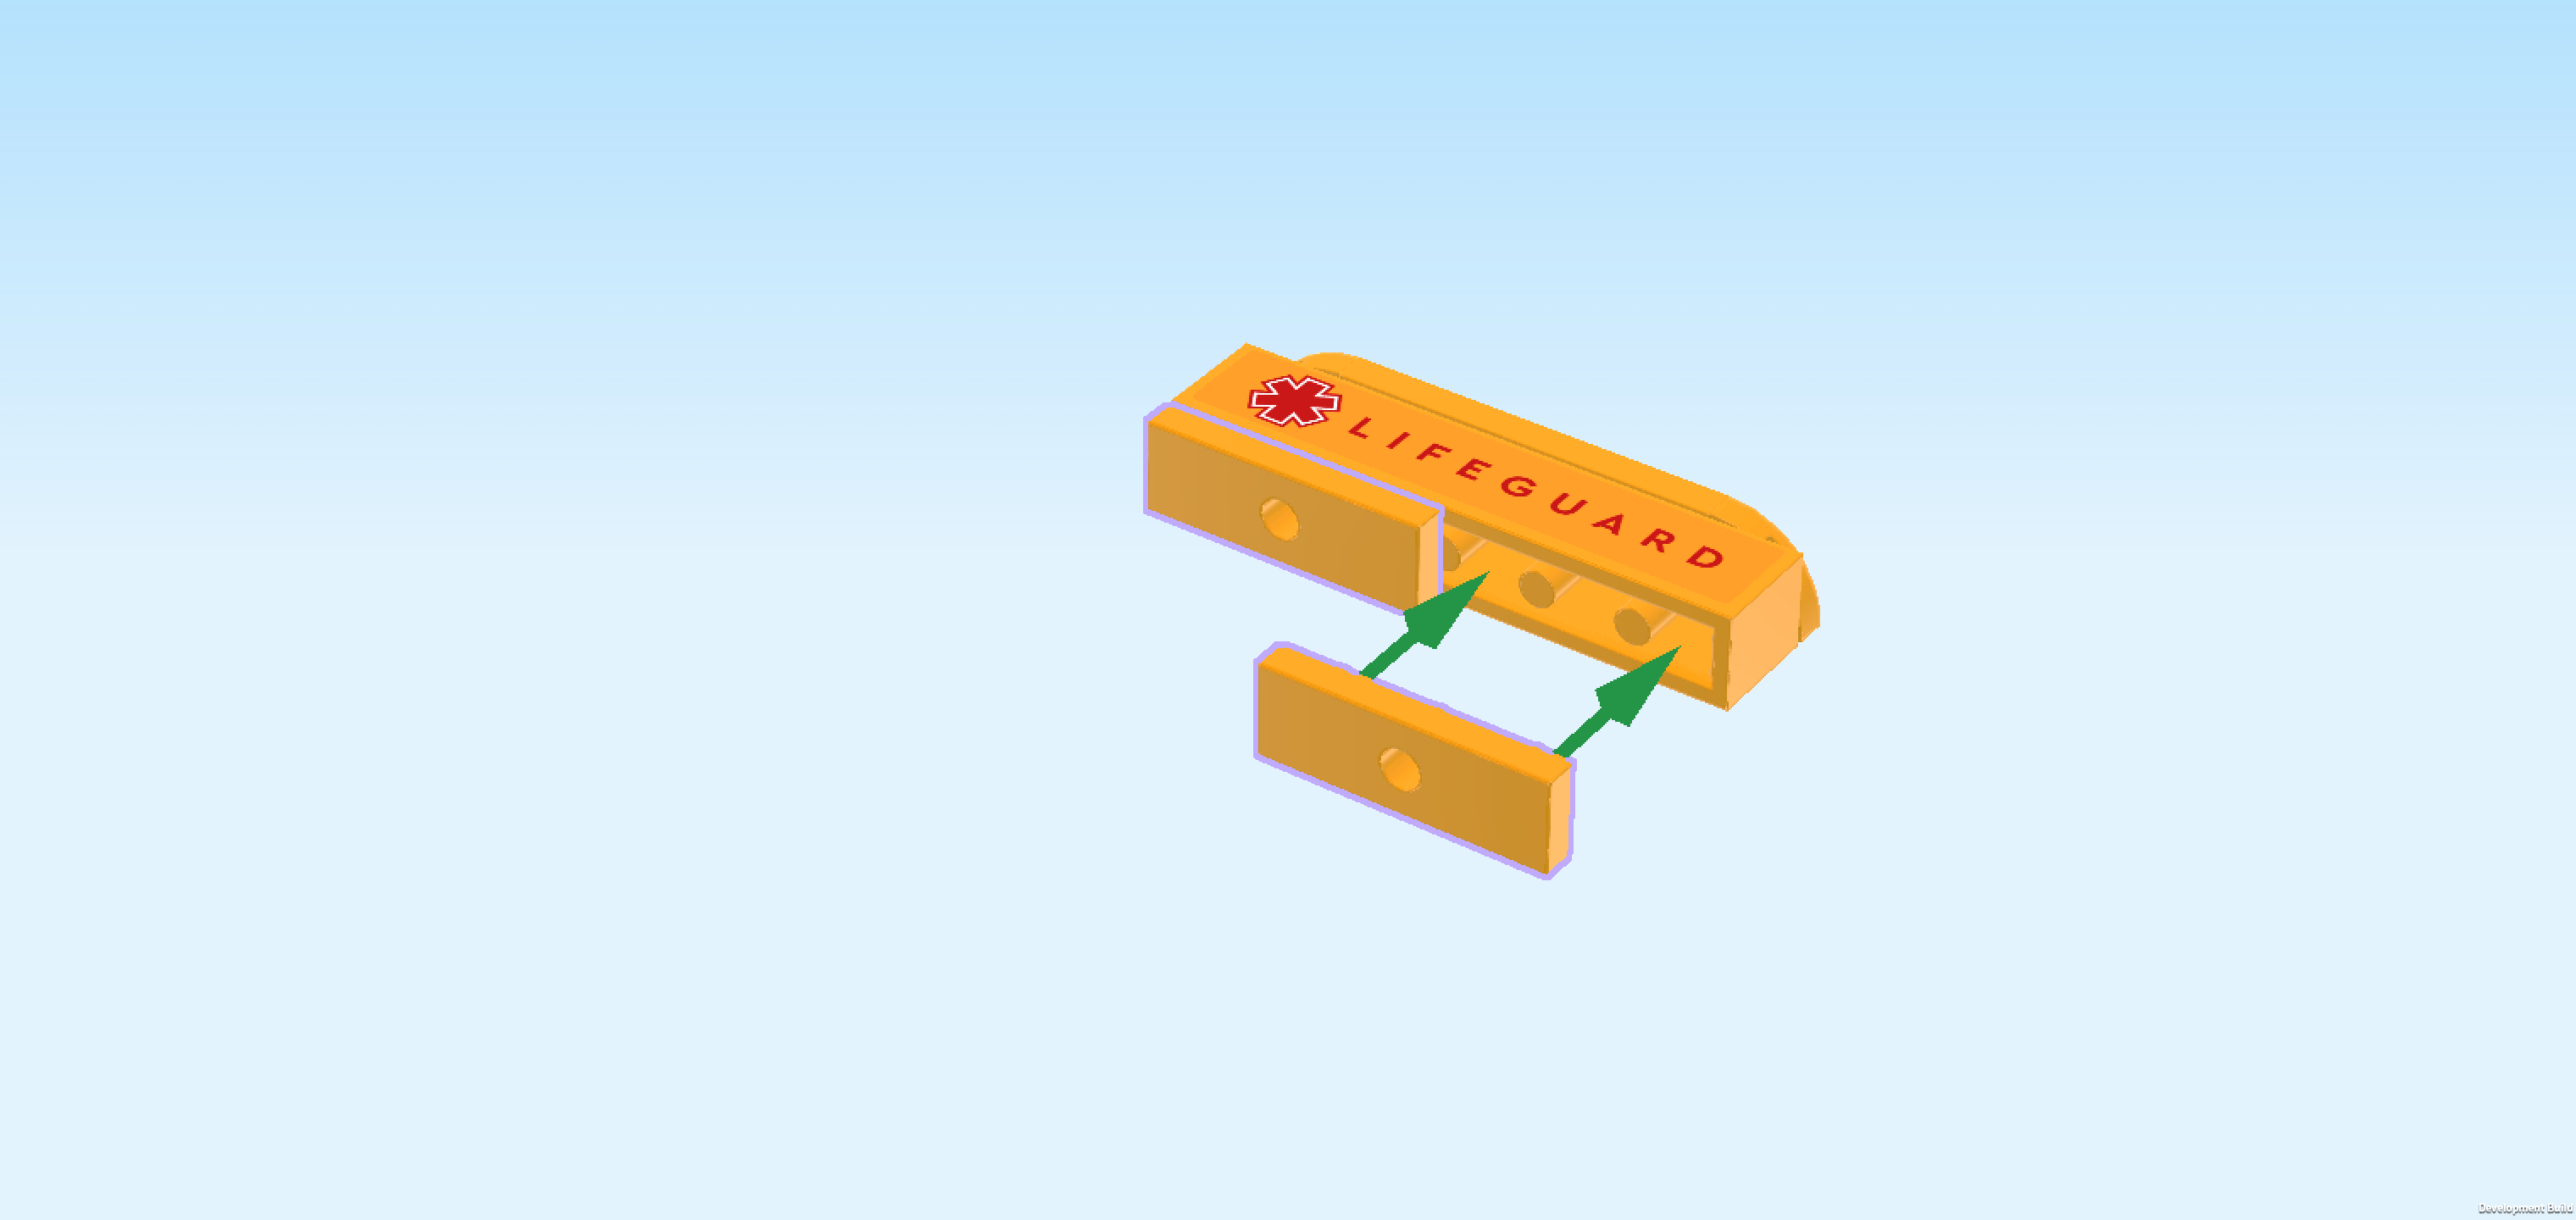
| Next, we will build the tailgate. |
| Collect the following 2 pieces: |
| 1 rectangular sticker 1x6, |
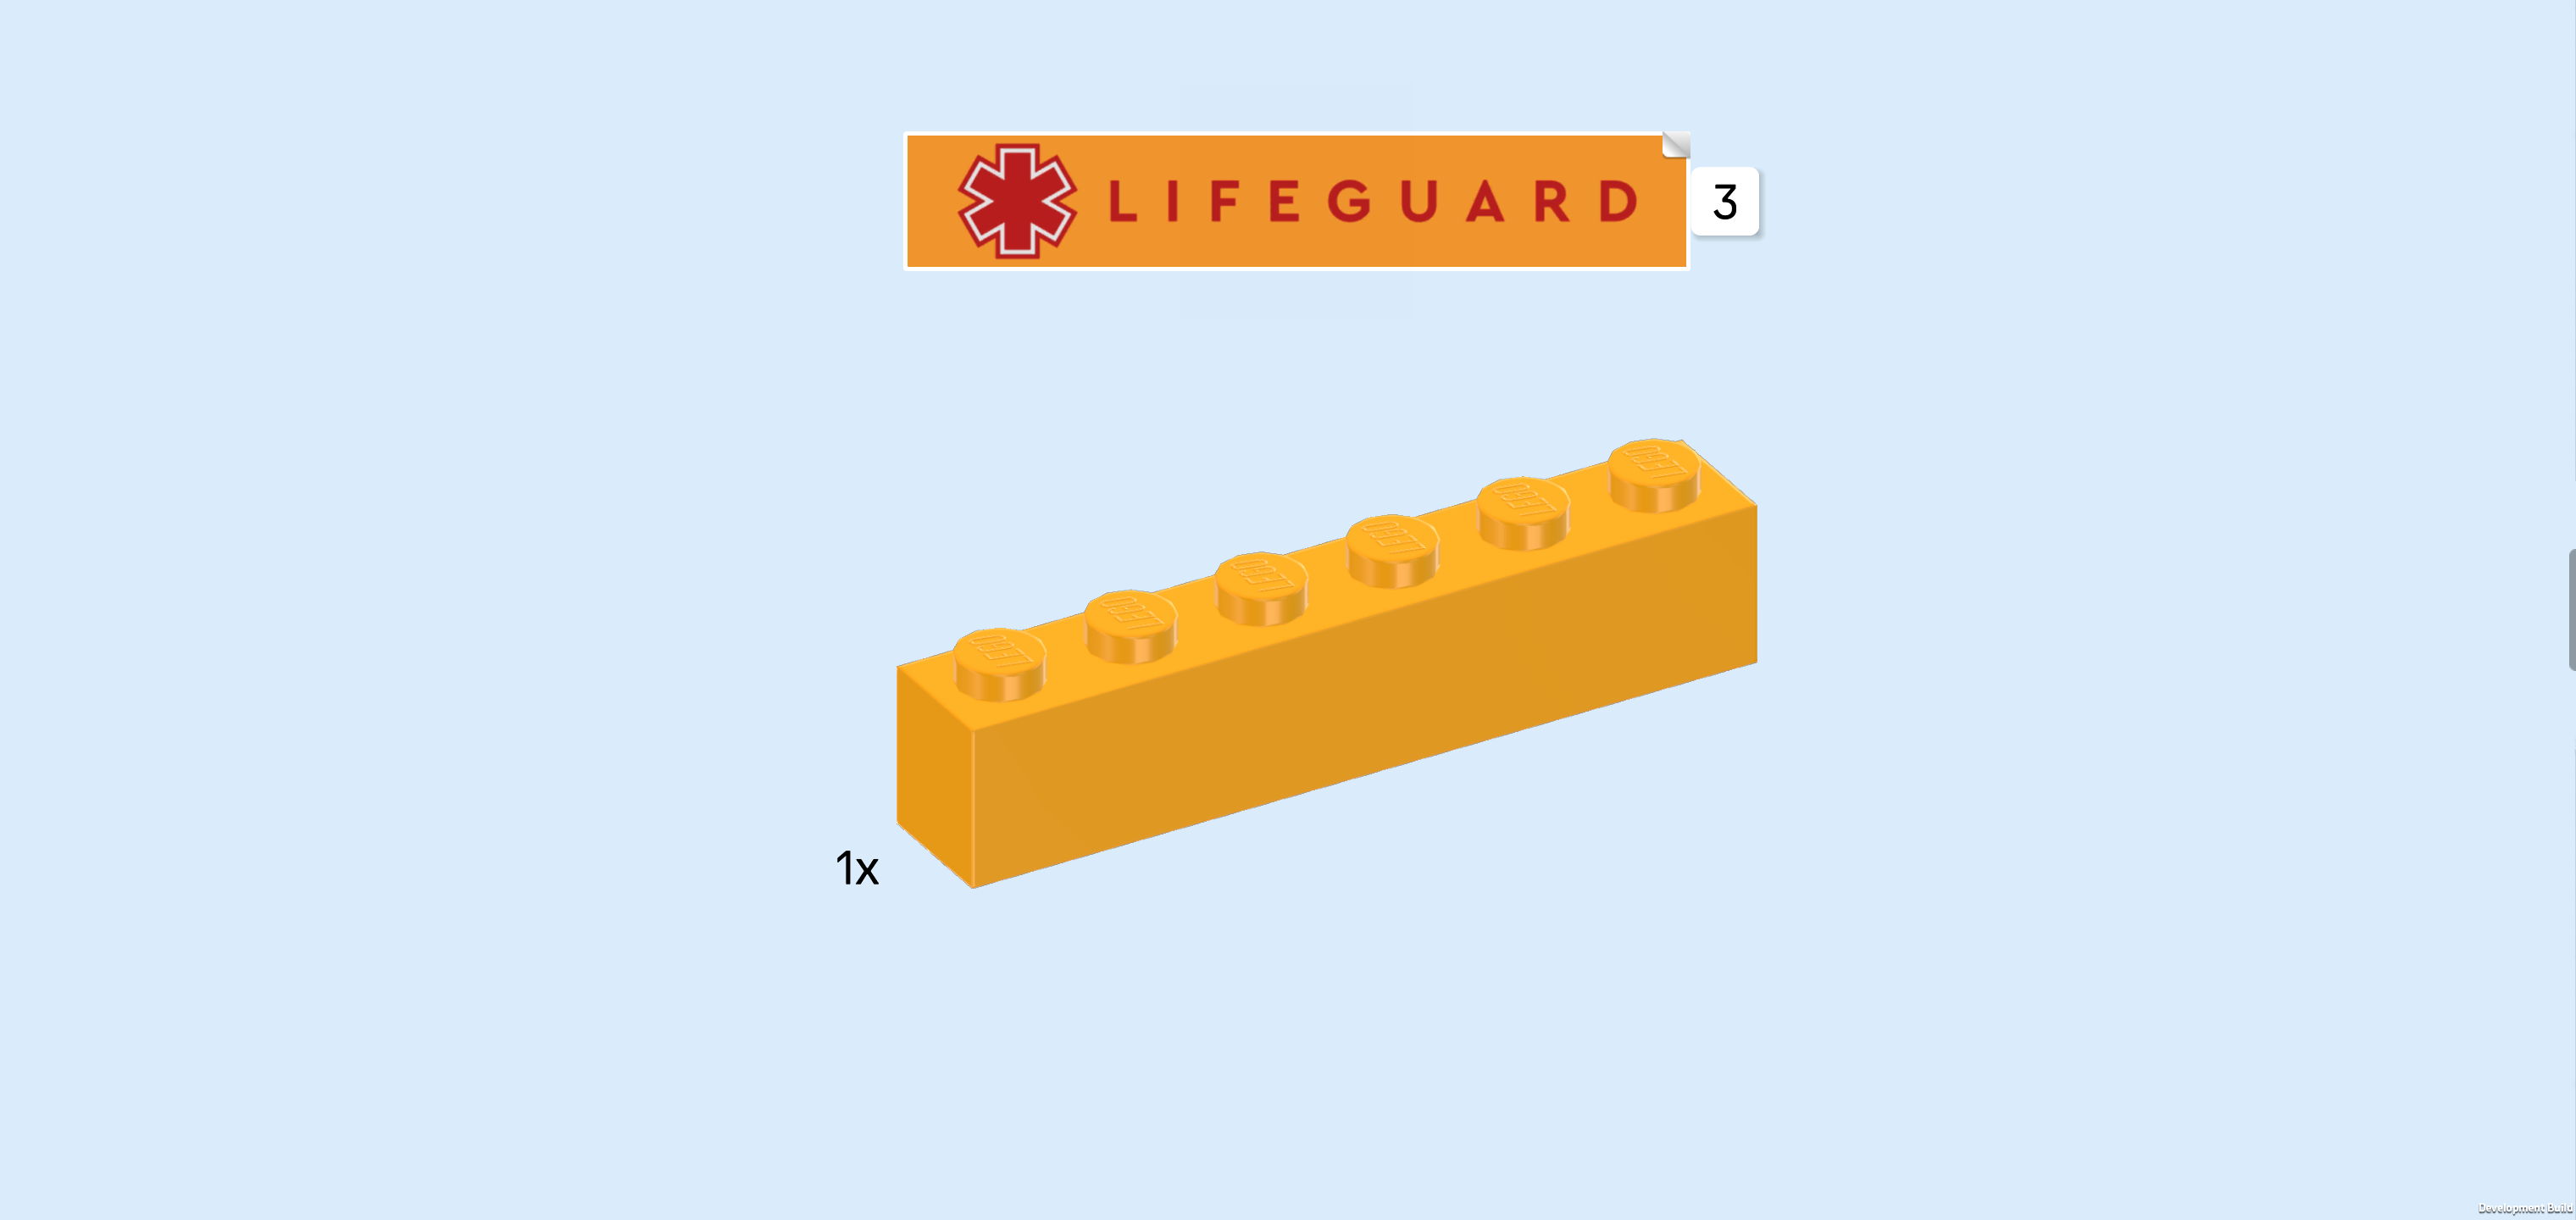
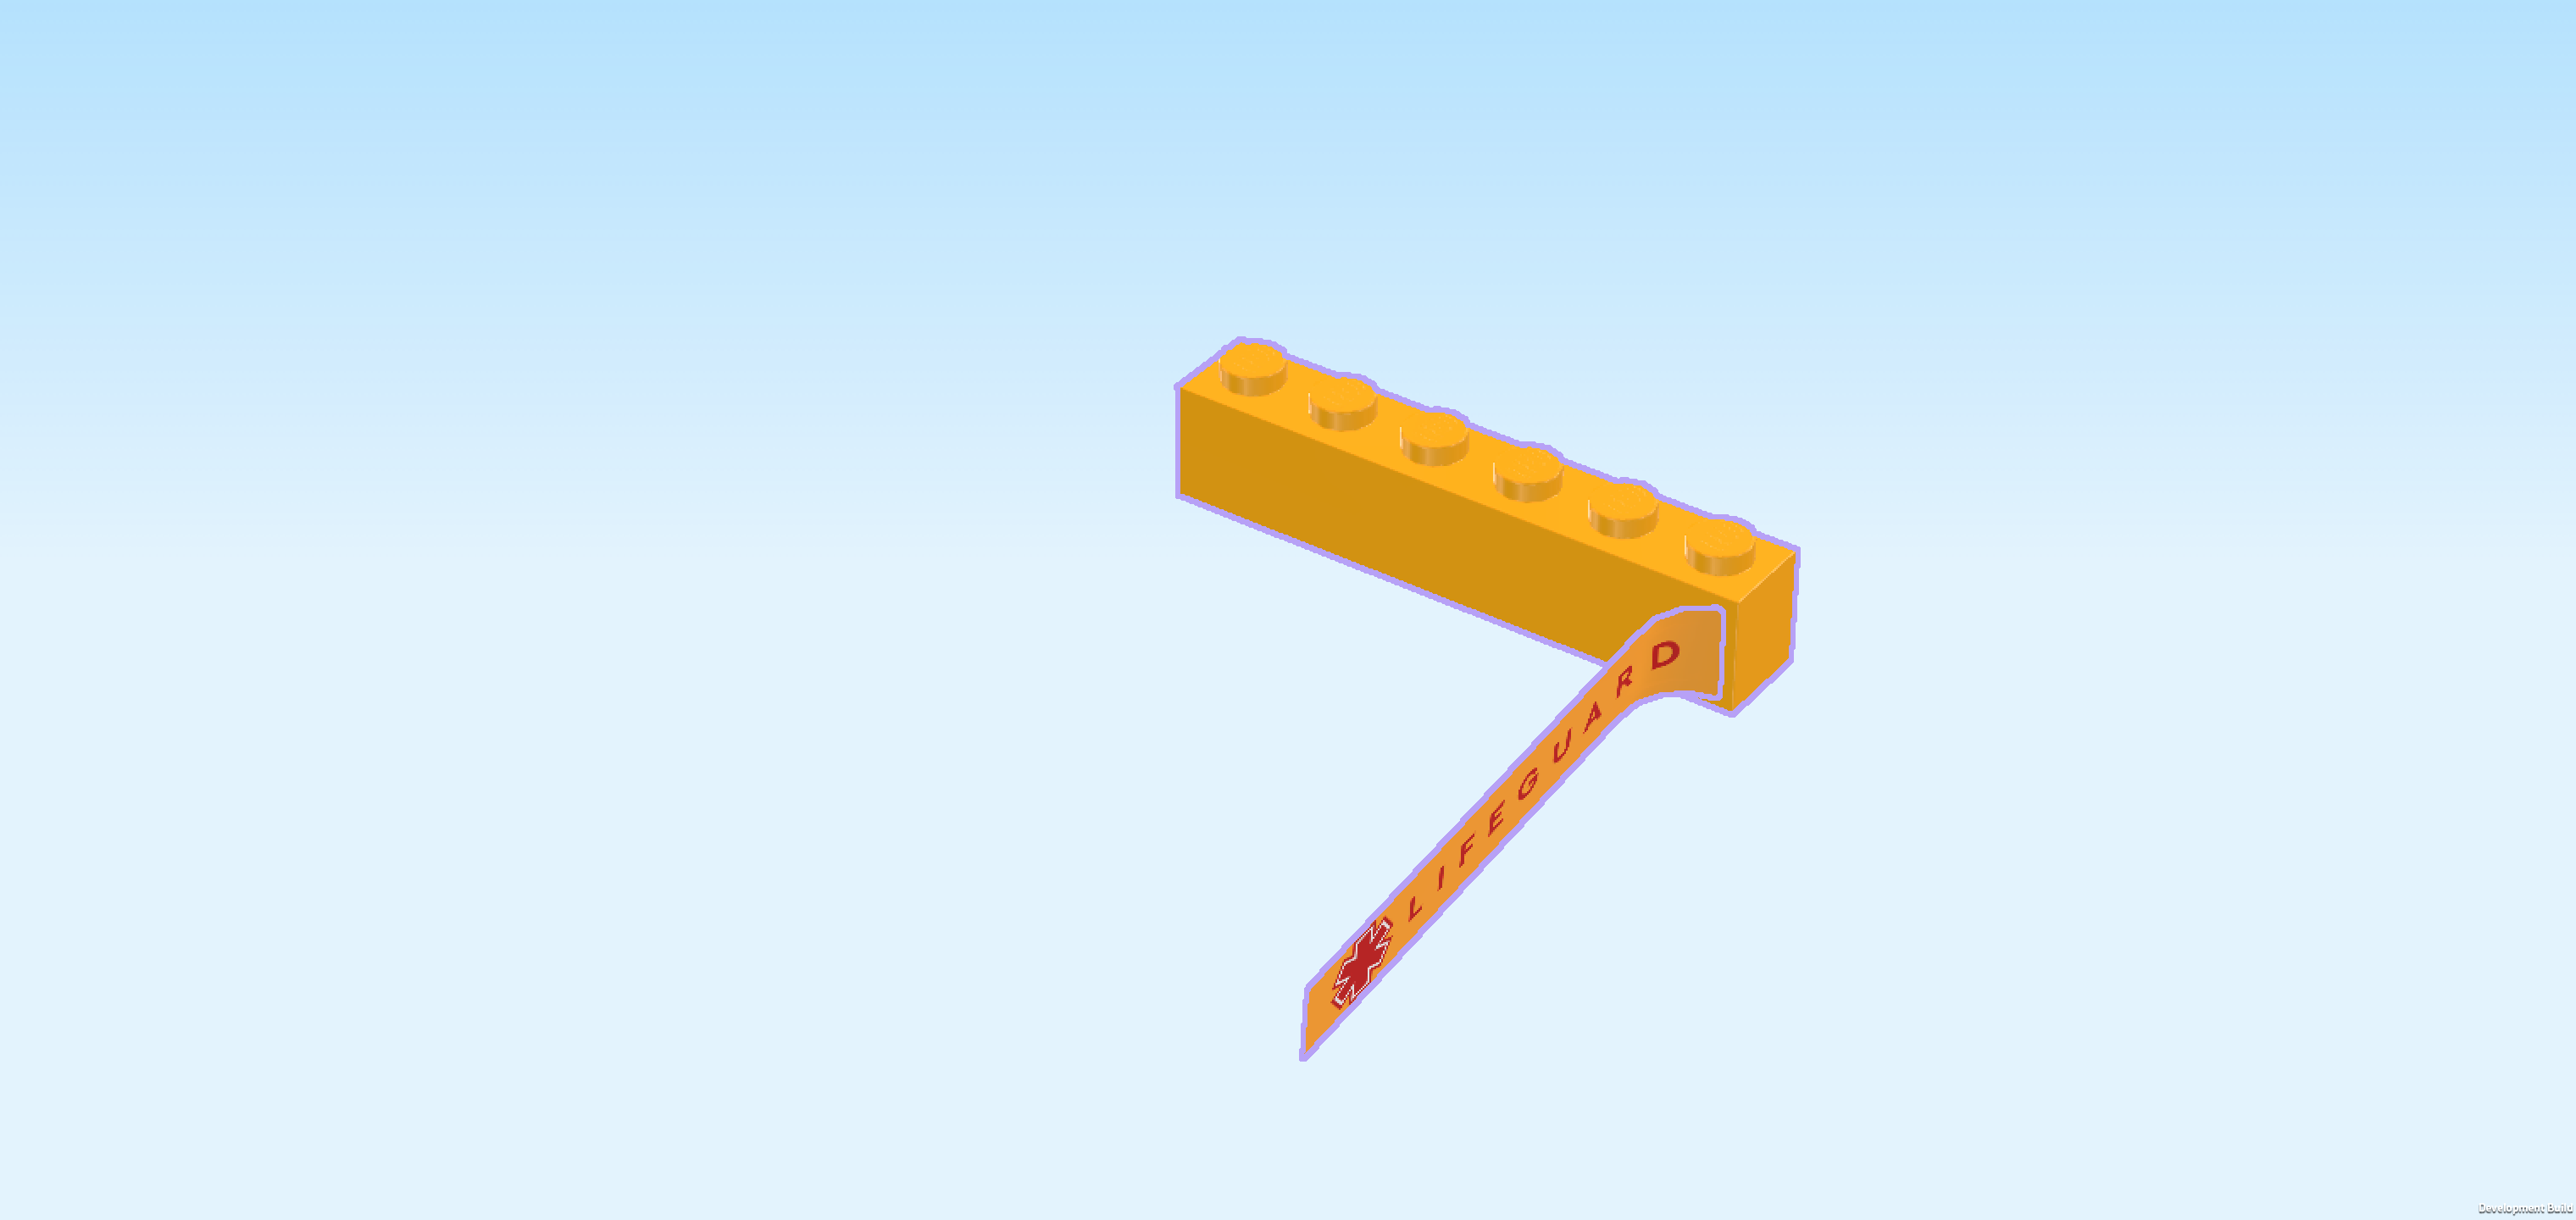
| and 1 flame yellowish orange brick 1x6. |
| Put the brick 1x6 horizontally on the table. |
| Put the sticker on the long side surface at the front, matching its shape. Since the sticker has writing on it, you can ask a sighted person to help you with the correct orientation if you like. If you have the sticker sheet in the suggested orientation in front of you, it should already be in the correct orientation. |
| The sticker is yellow again. It is printed with a red Star of Life symbol on the left edge, and next to it, the word "LIFEGUARD" is printed in red letters. |
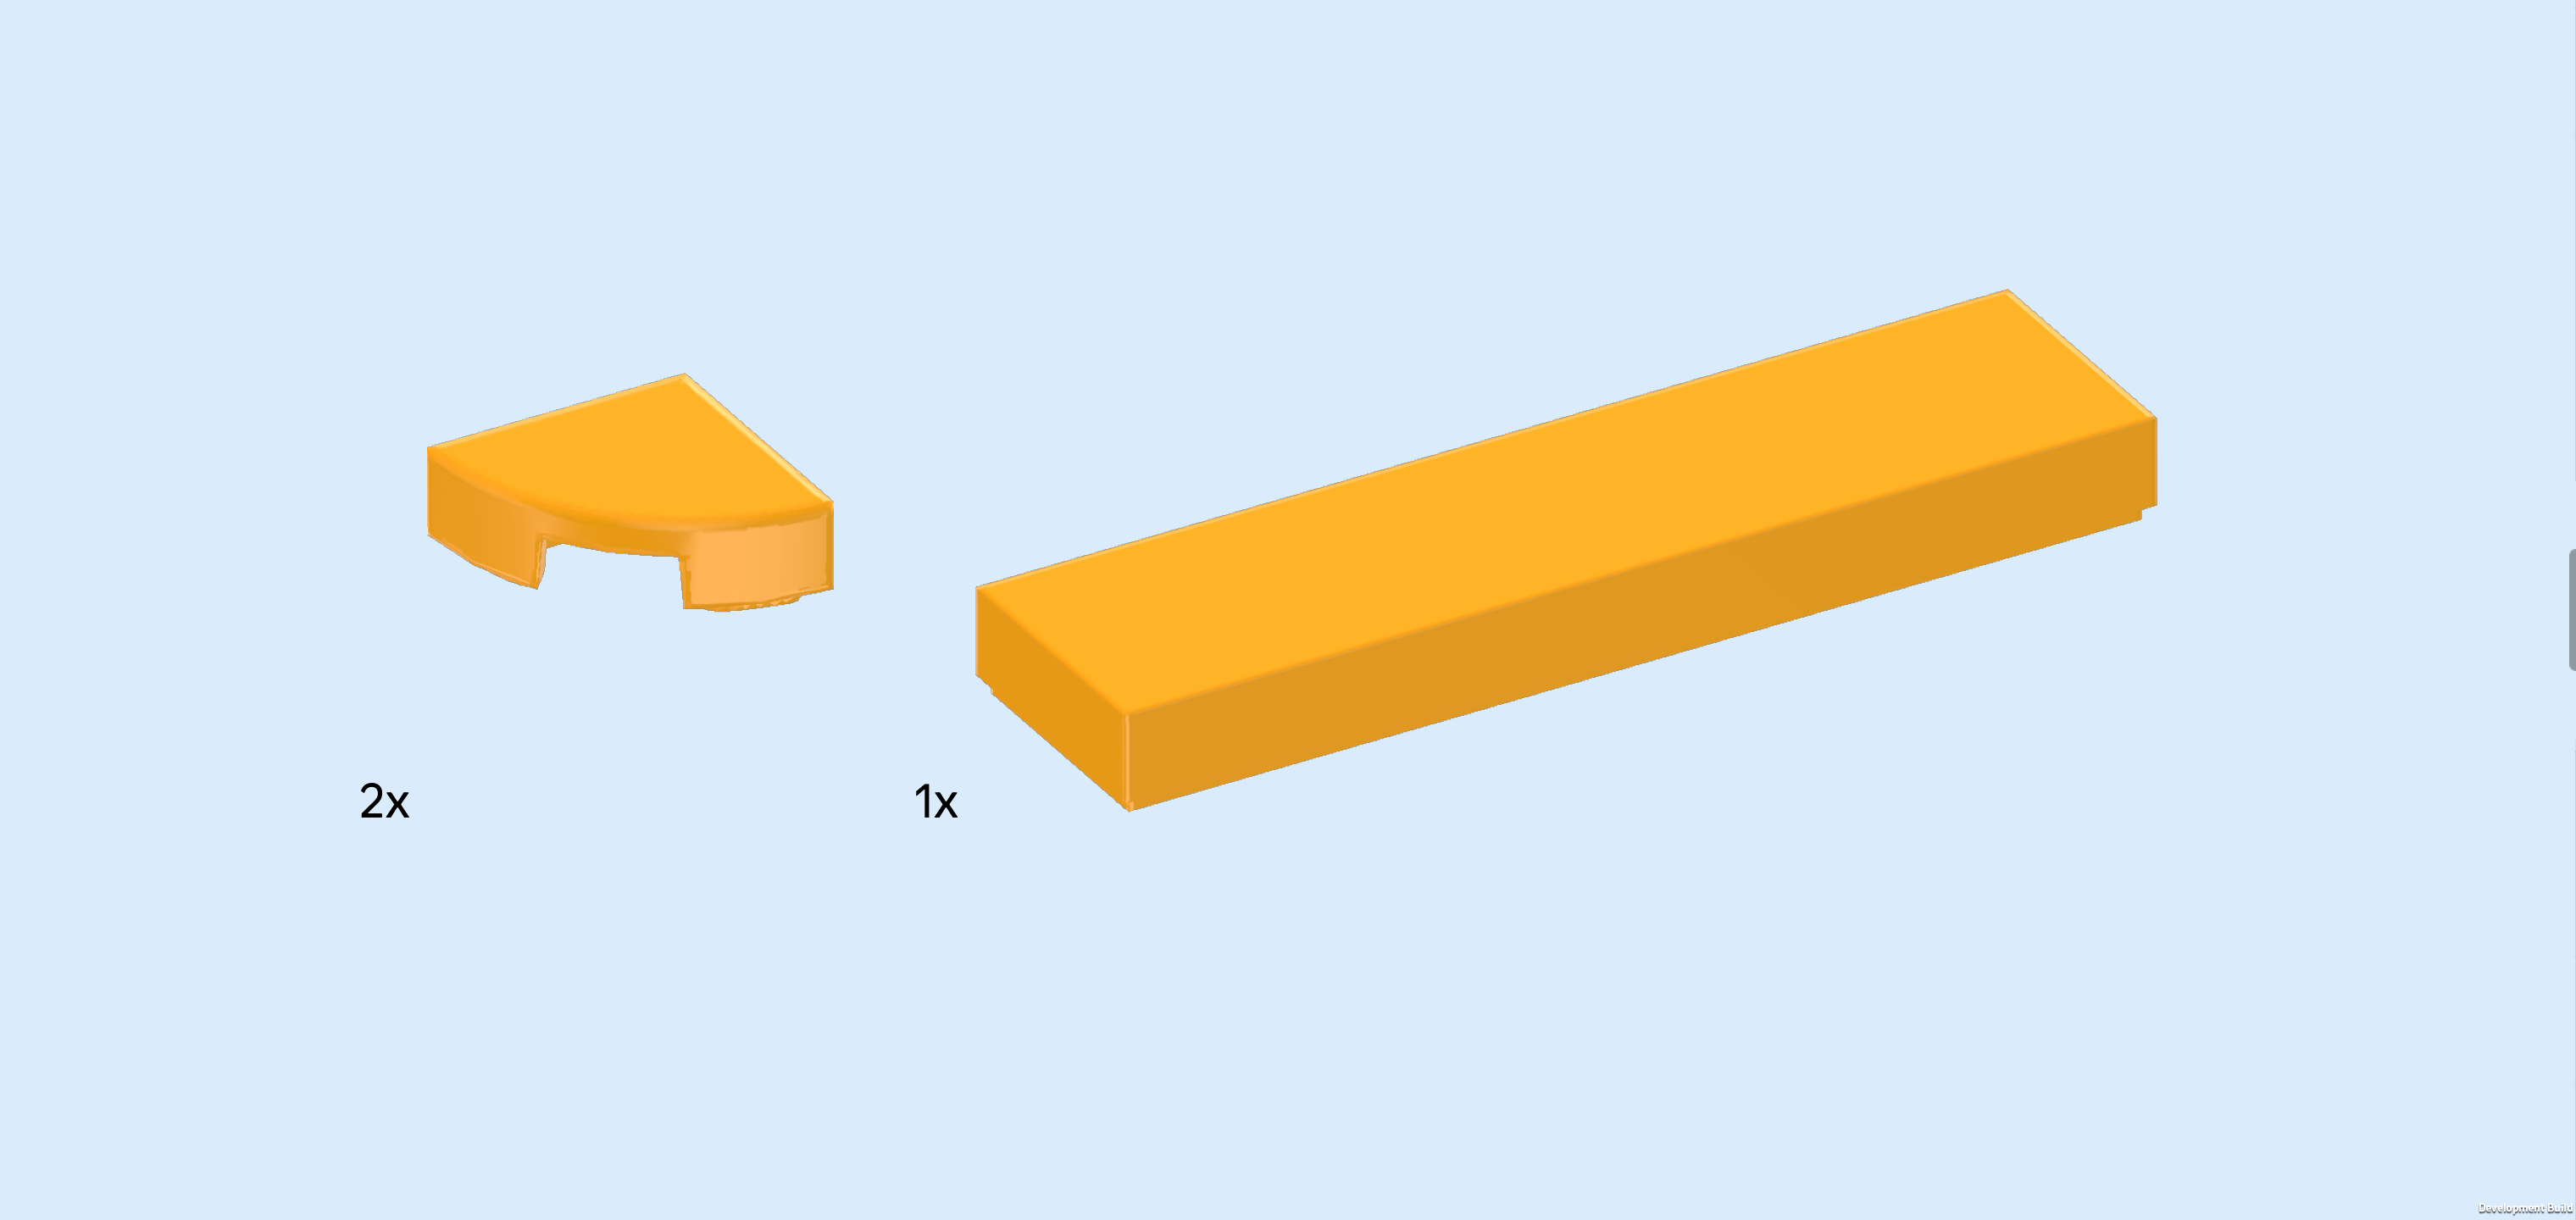
| Collect the following 3 pieces: |
| 2 flame yellowish orange quarter-circle tiles 1x1, |
| and 1 flame yellowish orange flat tile 1x4. |
| Put 1 quarter-circle tile 1x1 on the leftmost knob, quarter circle to the front left. |
| Put the flat tile 1x4 horizontally to the right of the previous piece. |
| Put the other quarter-circle tile 1x1 to the right of the previous piece, quarter circle to the front right. |
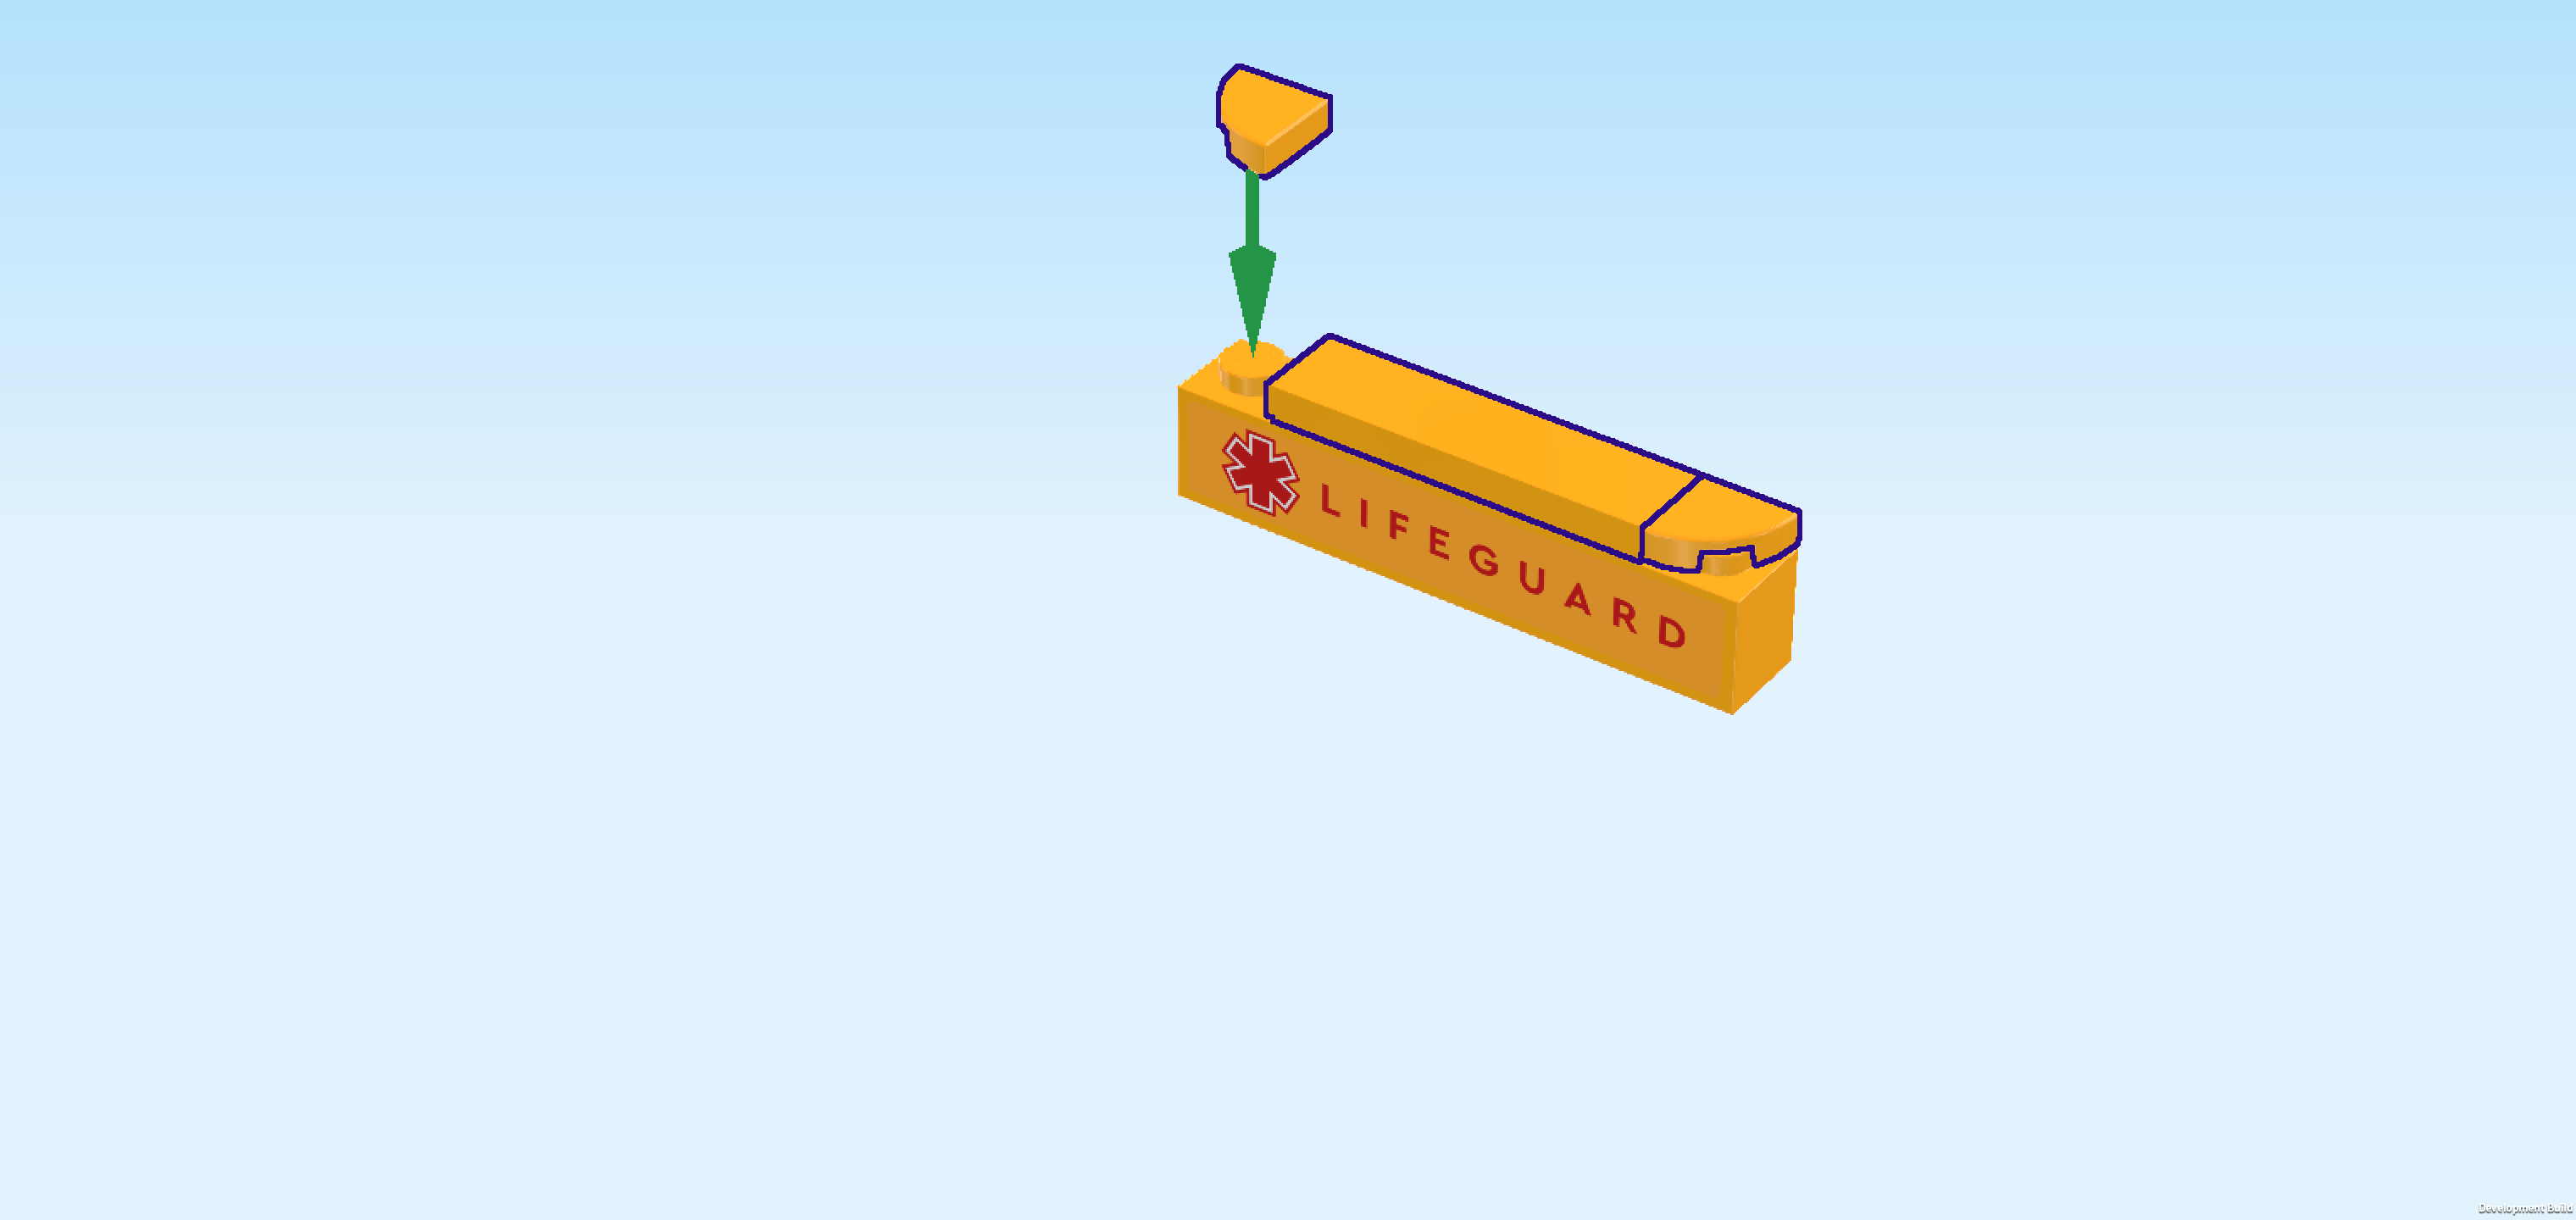
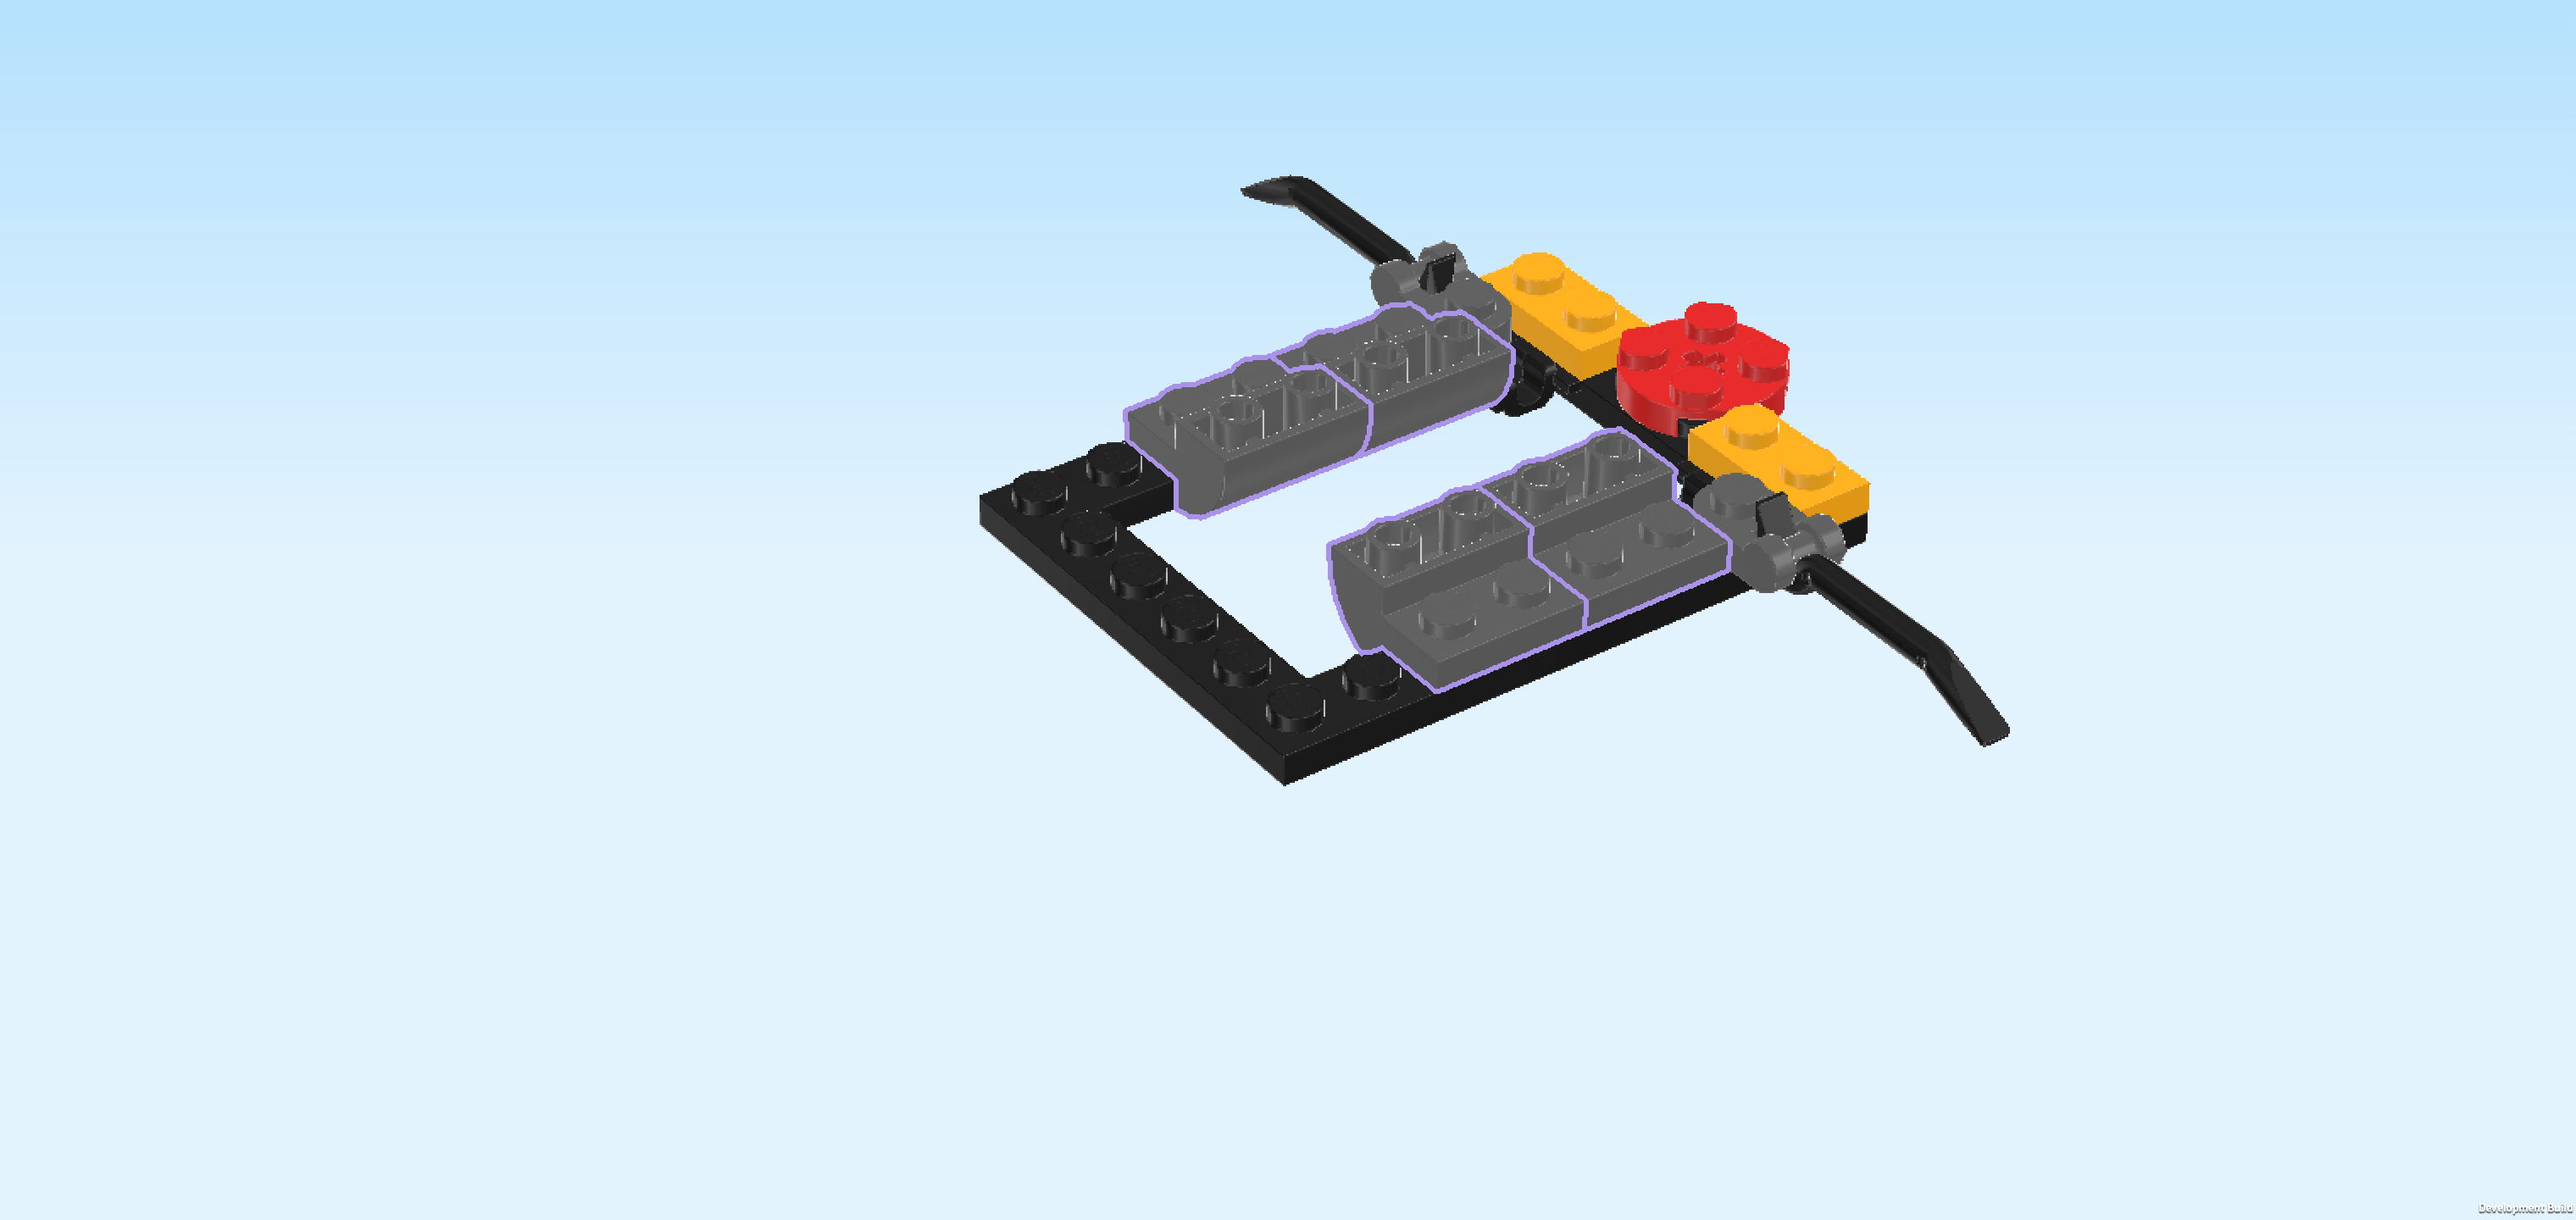
| Find 2 flame yellowish orange inverted tiles 1x3 with round hole. |
| Before you mount them, tilt the tailgate structure we have built so far to the back so that the side with bottom holes is now towards you, and the stickered side is towards the top. |
| Flip 1 inverted tile towards you so that its smooth side is facing you, and mount it upright horizontally on the left half of the brick's bottom side. |
| Put the other one upright horizontally to the right of the previous piece. |
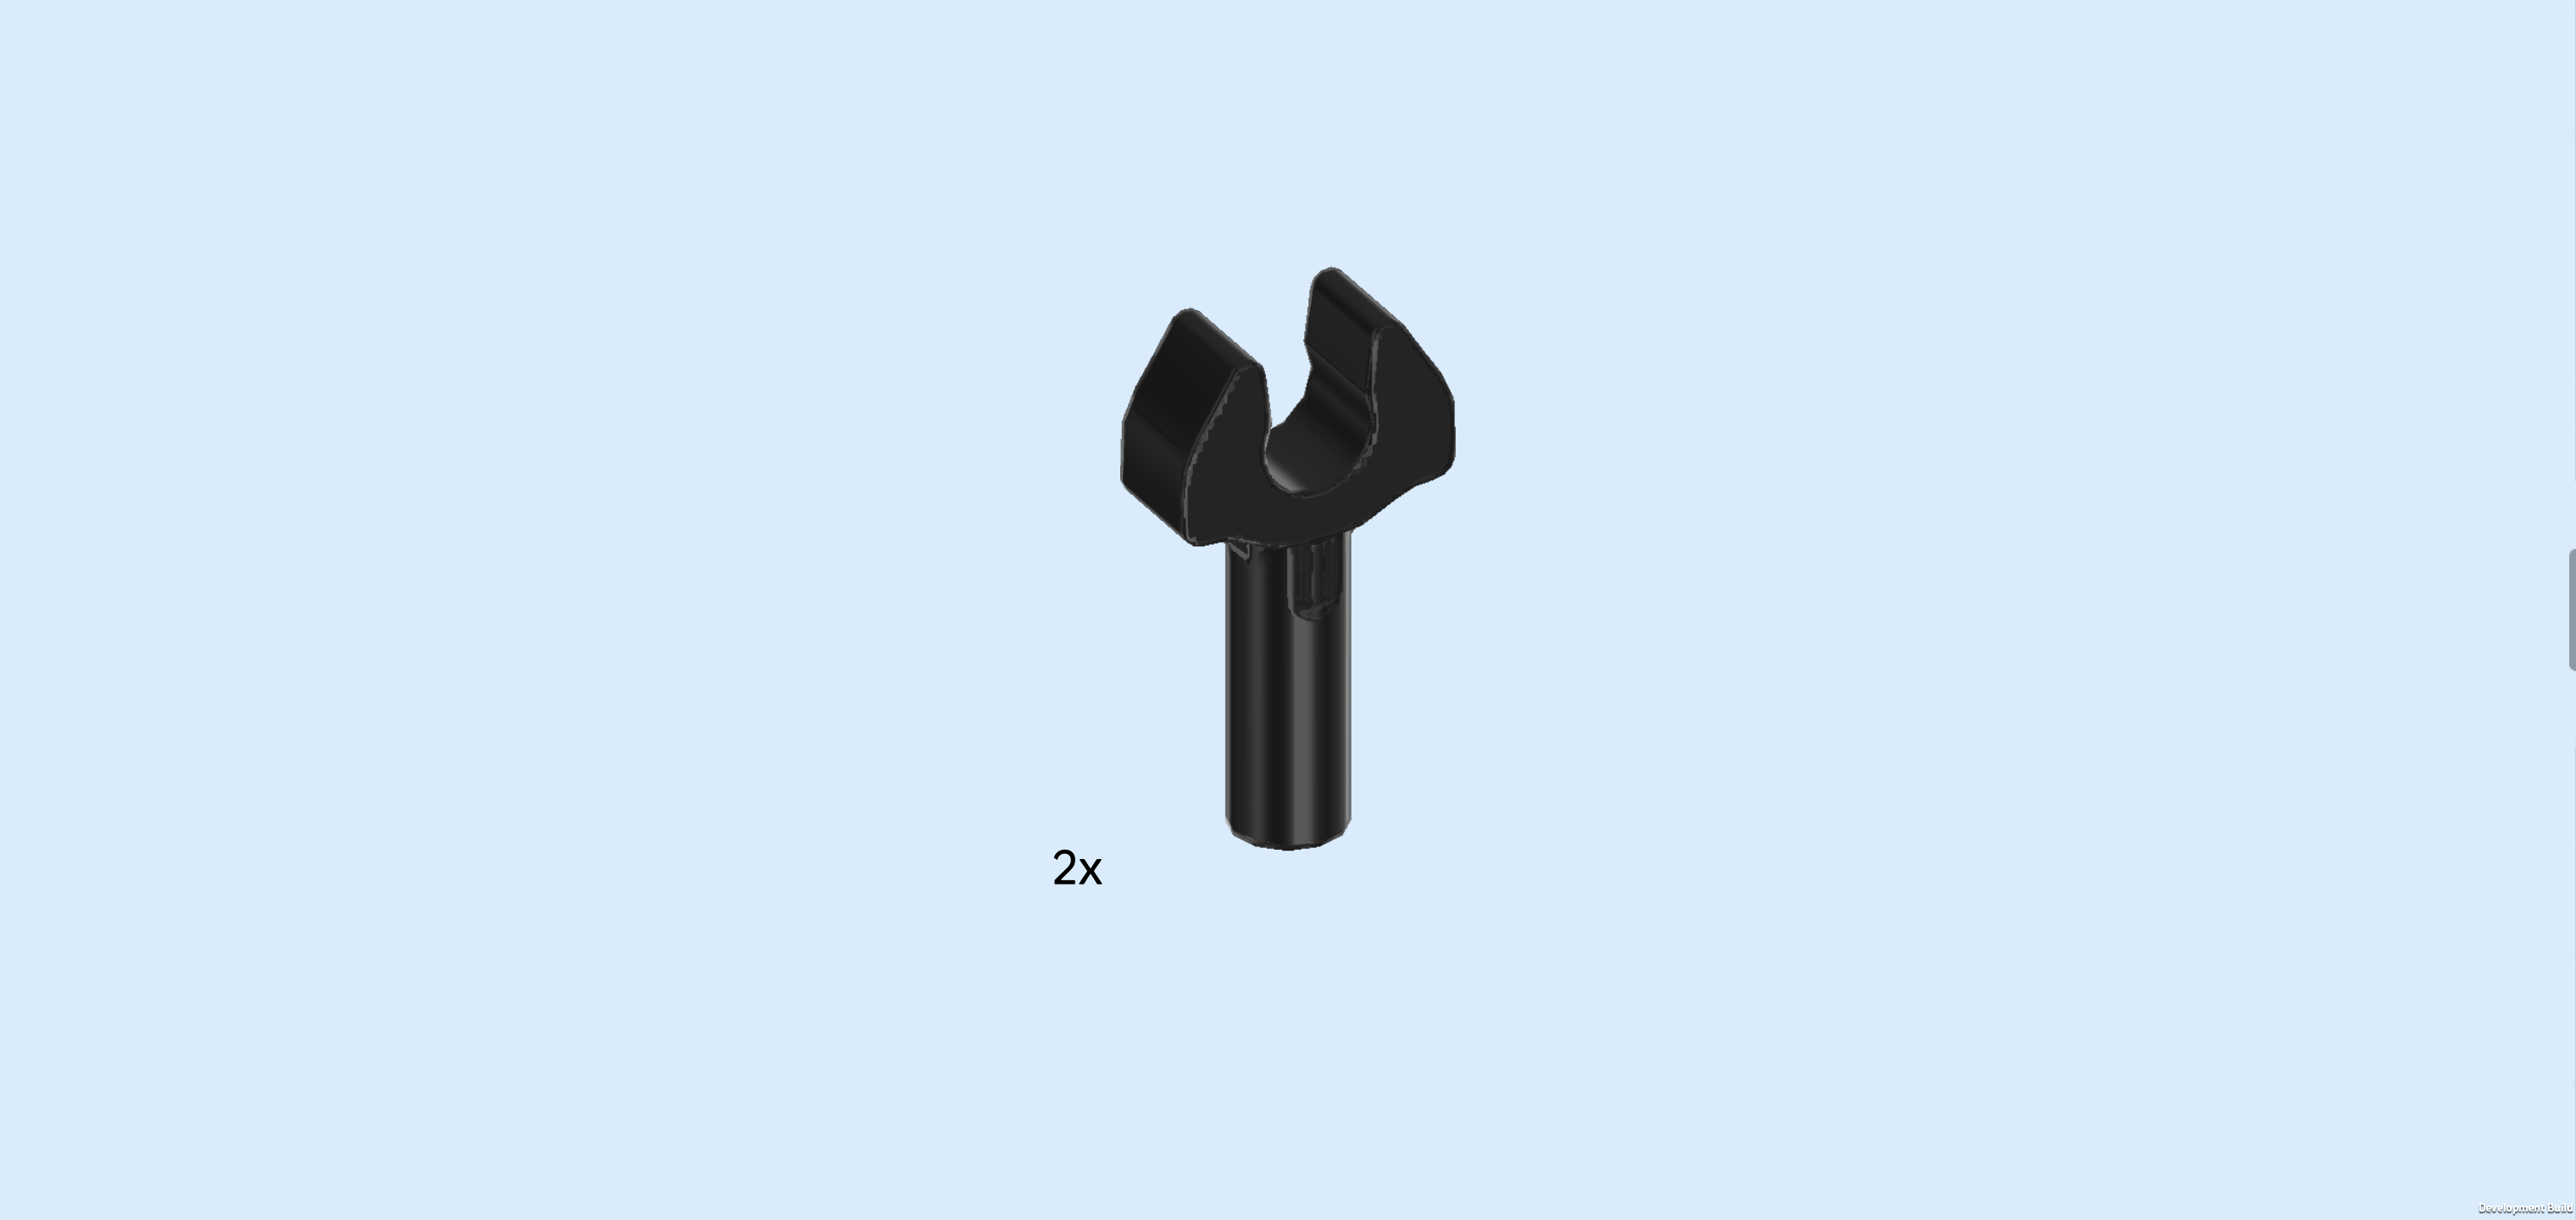
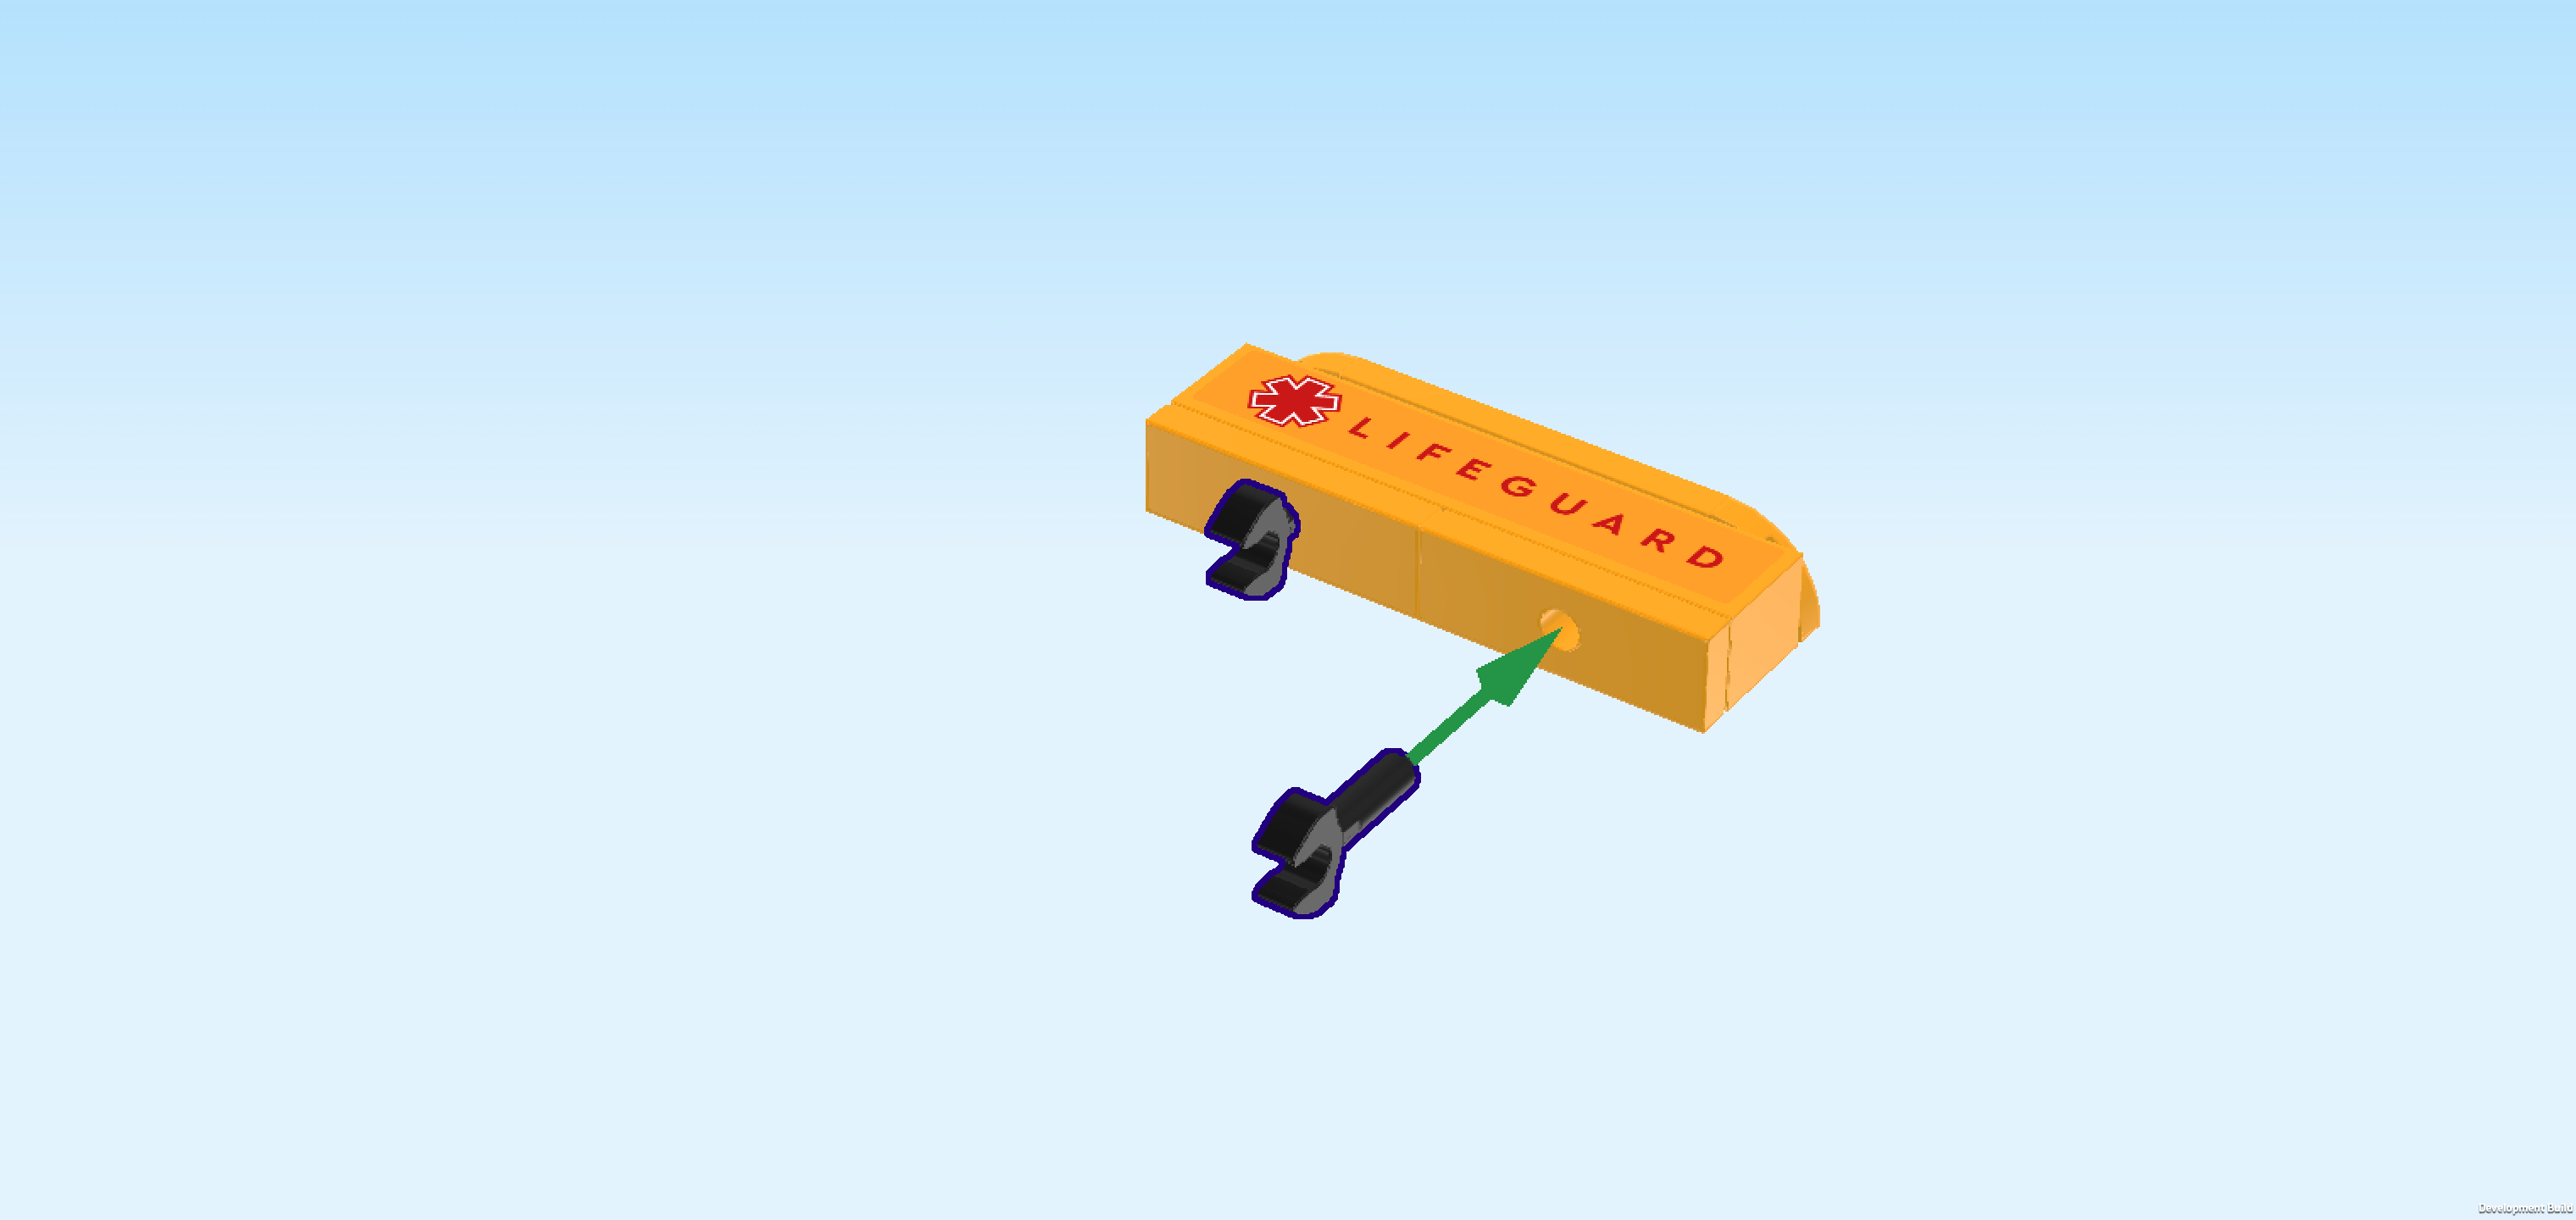
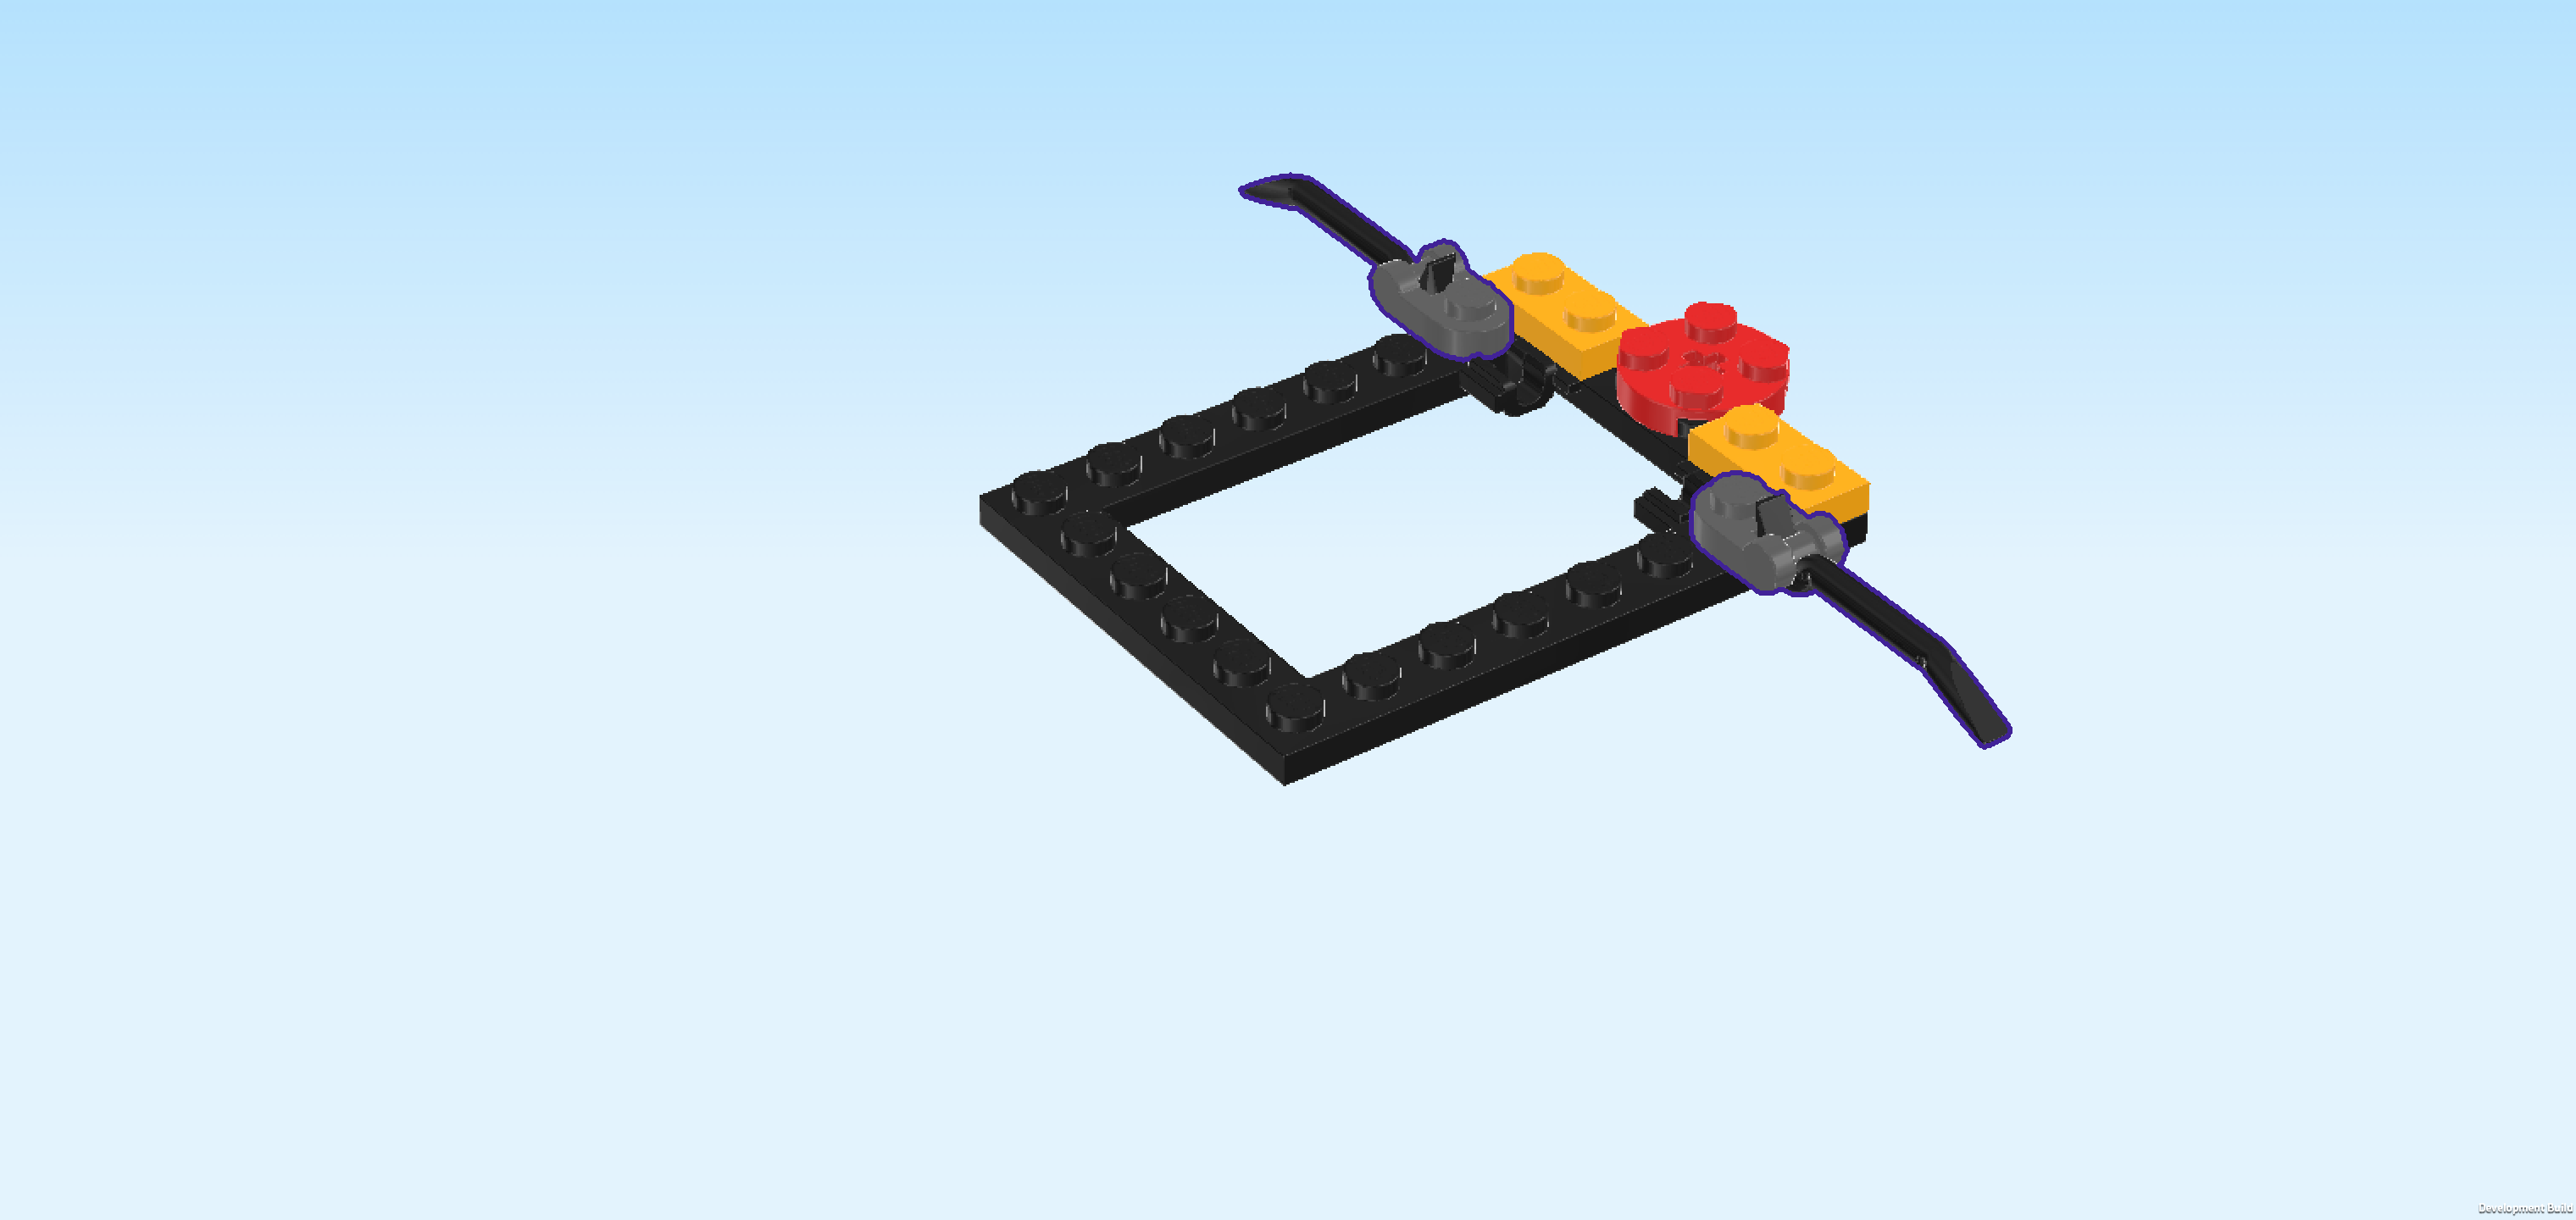
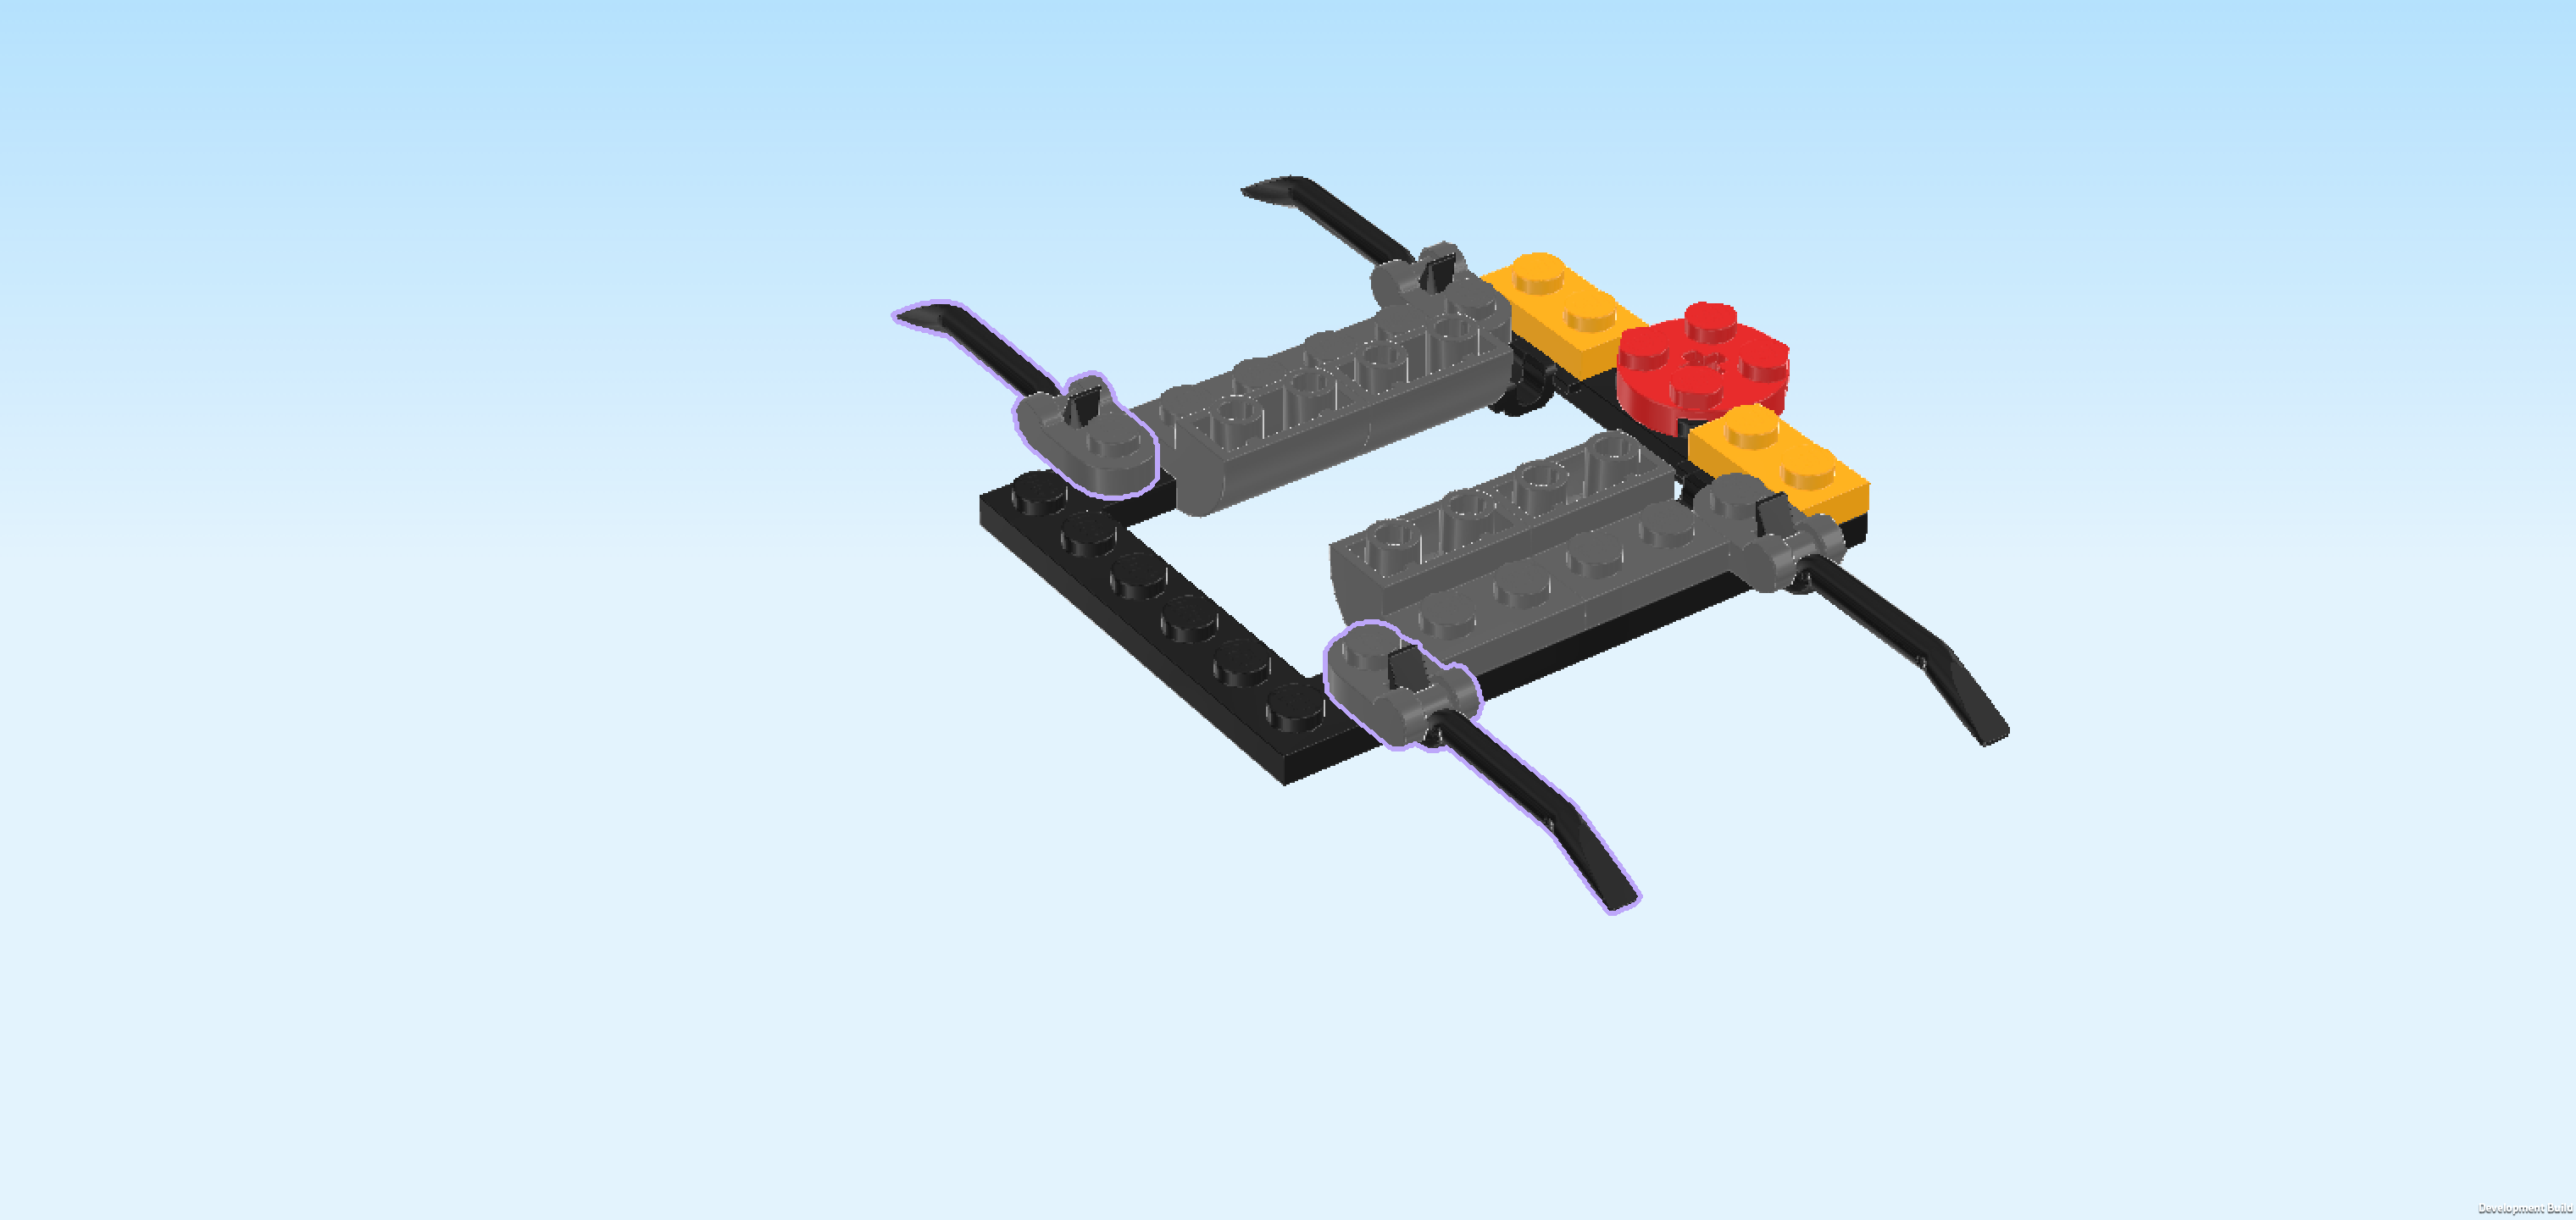
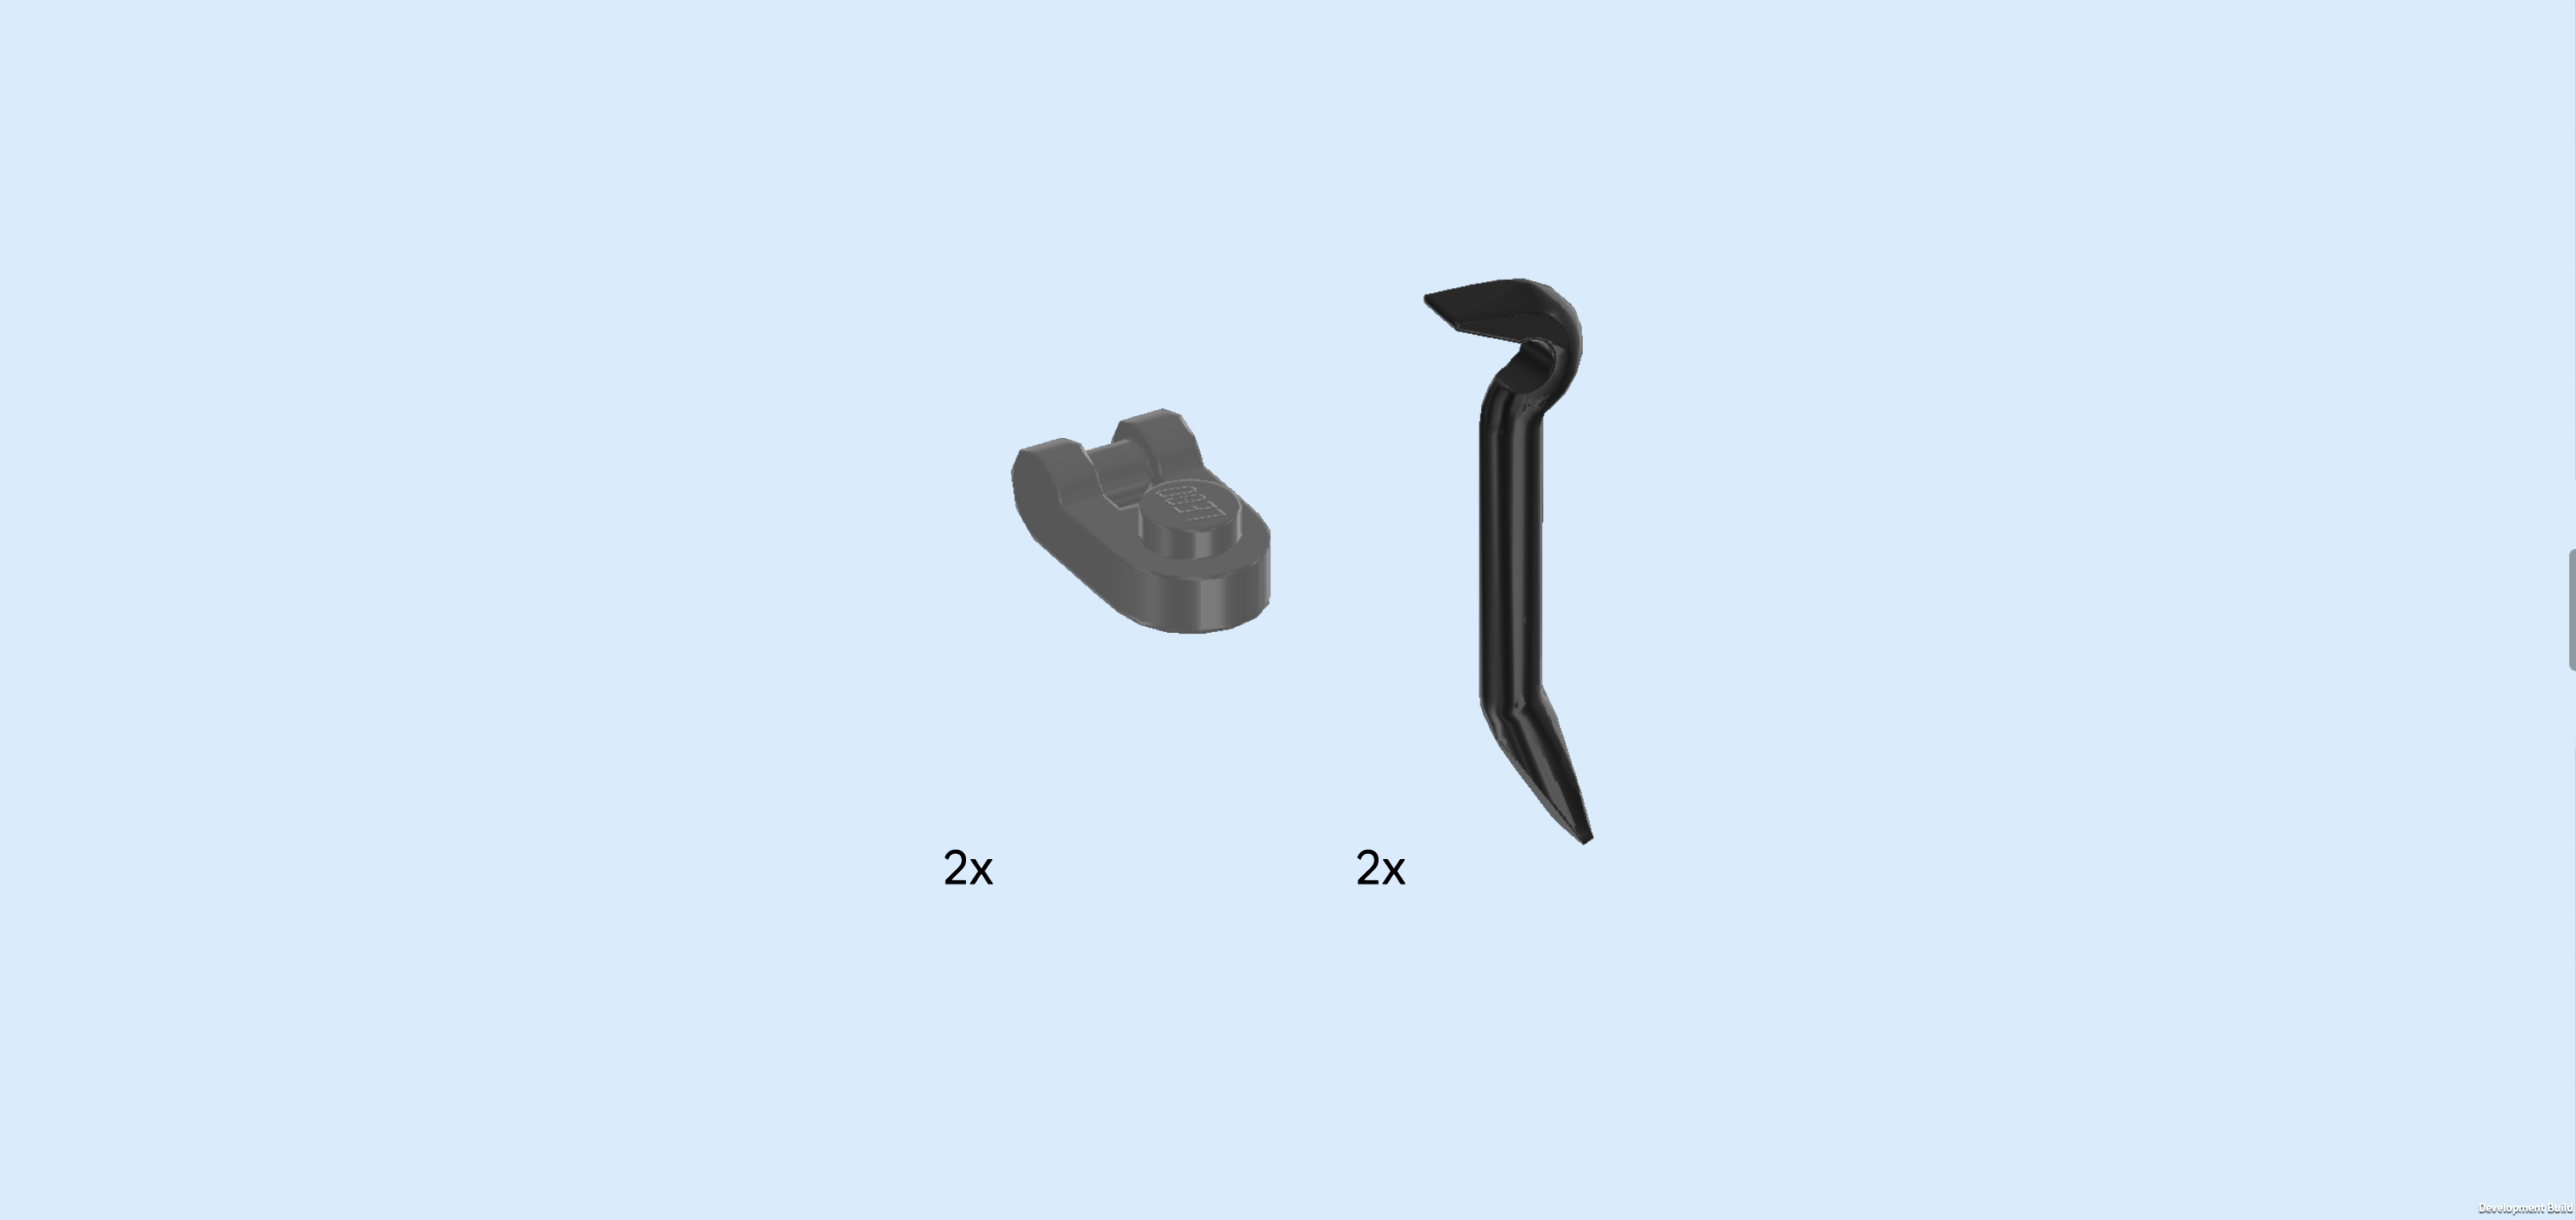
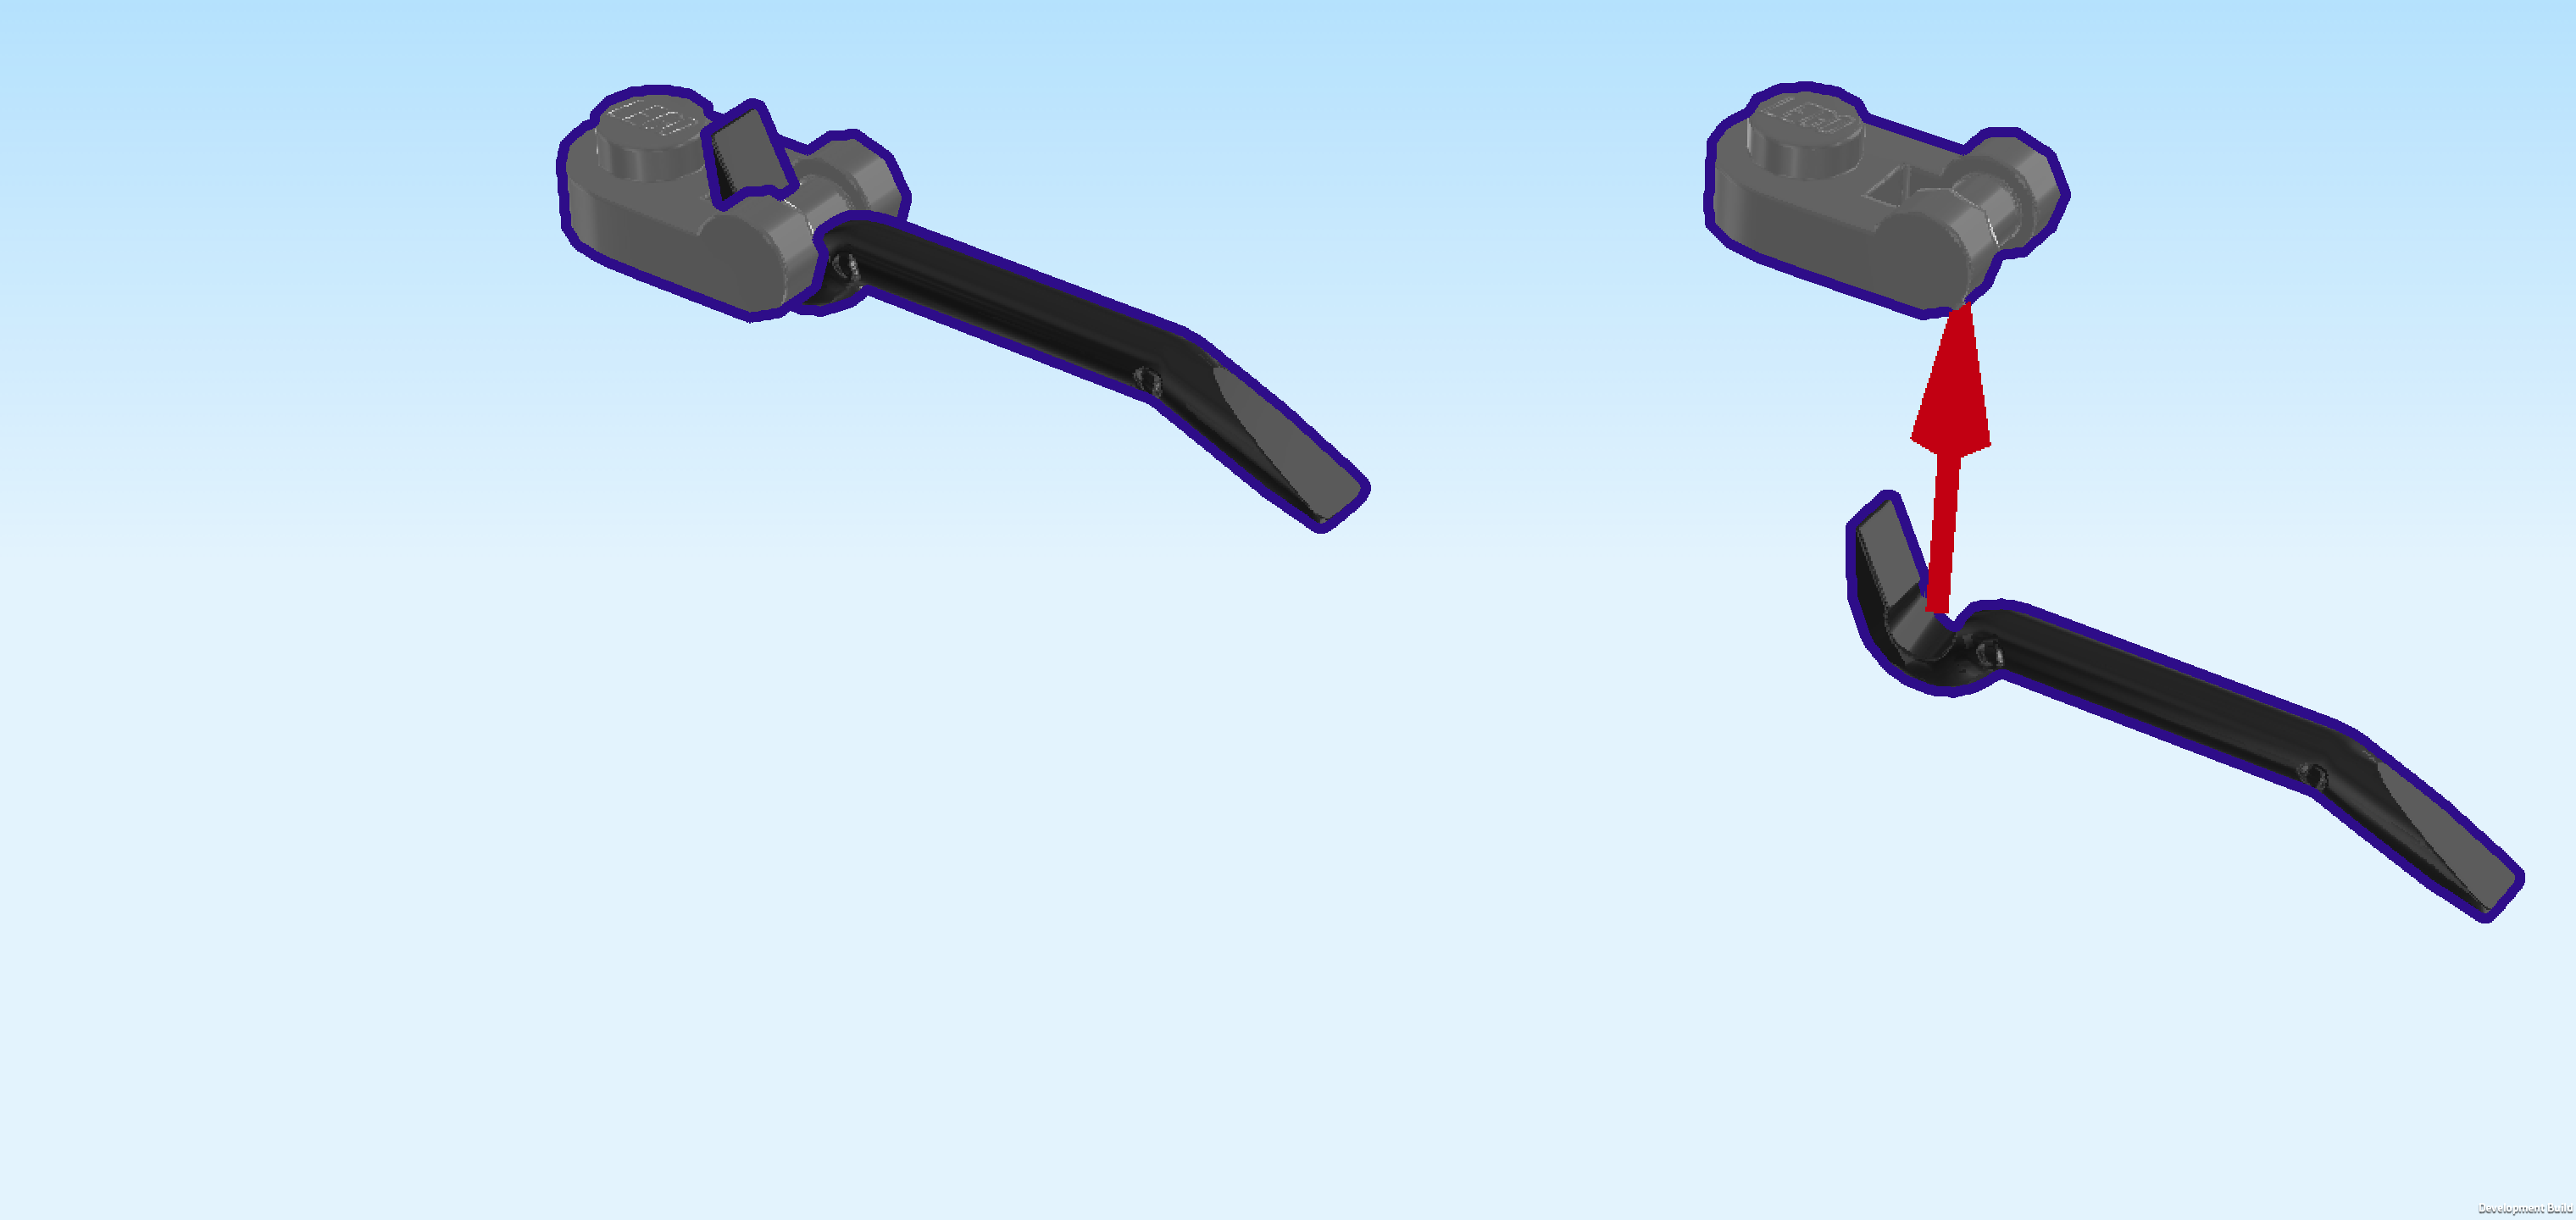
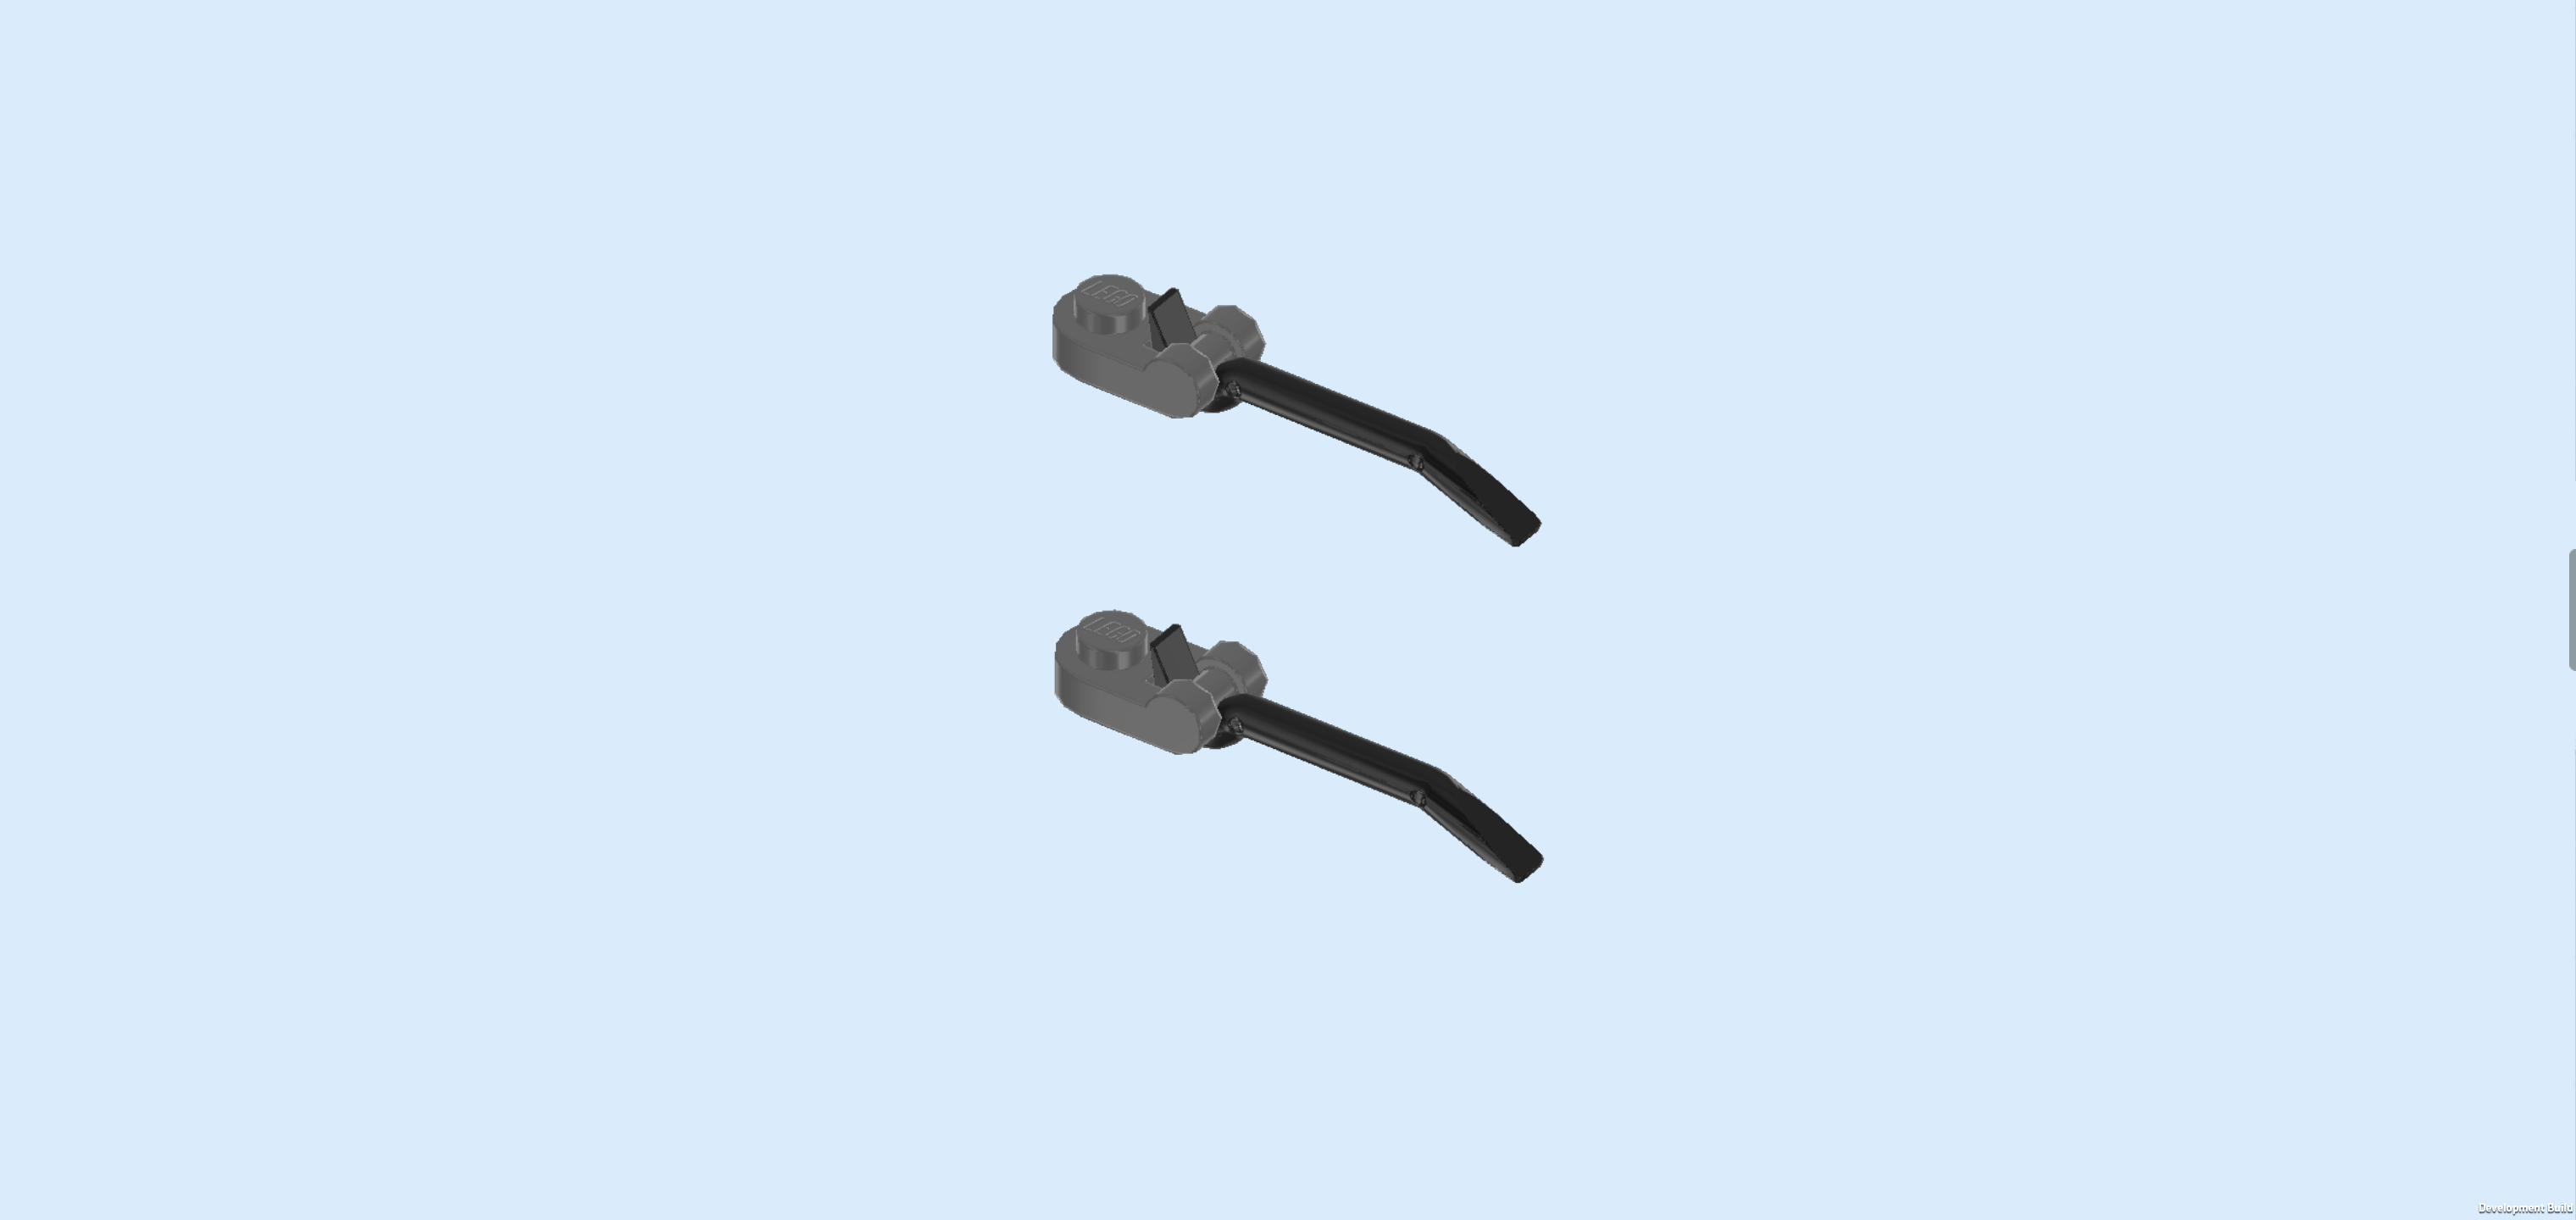
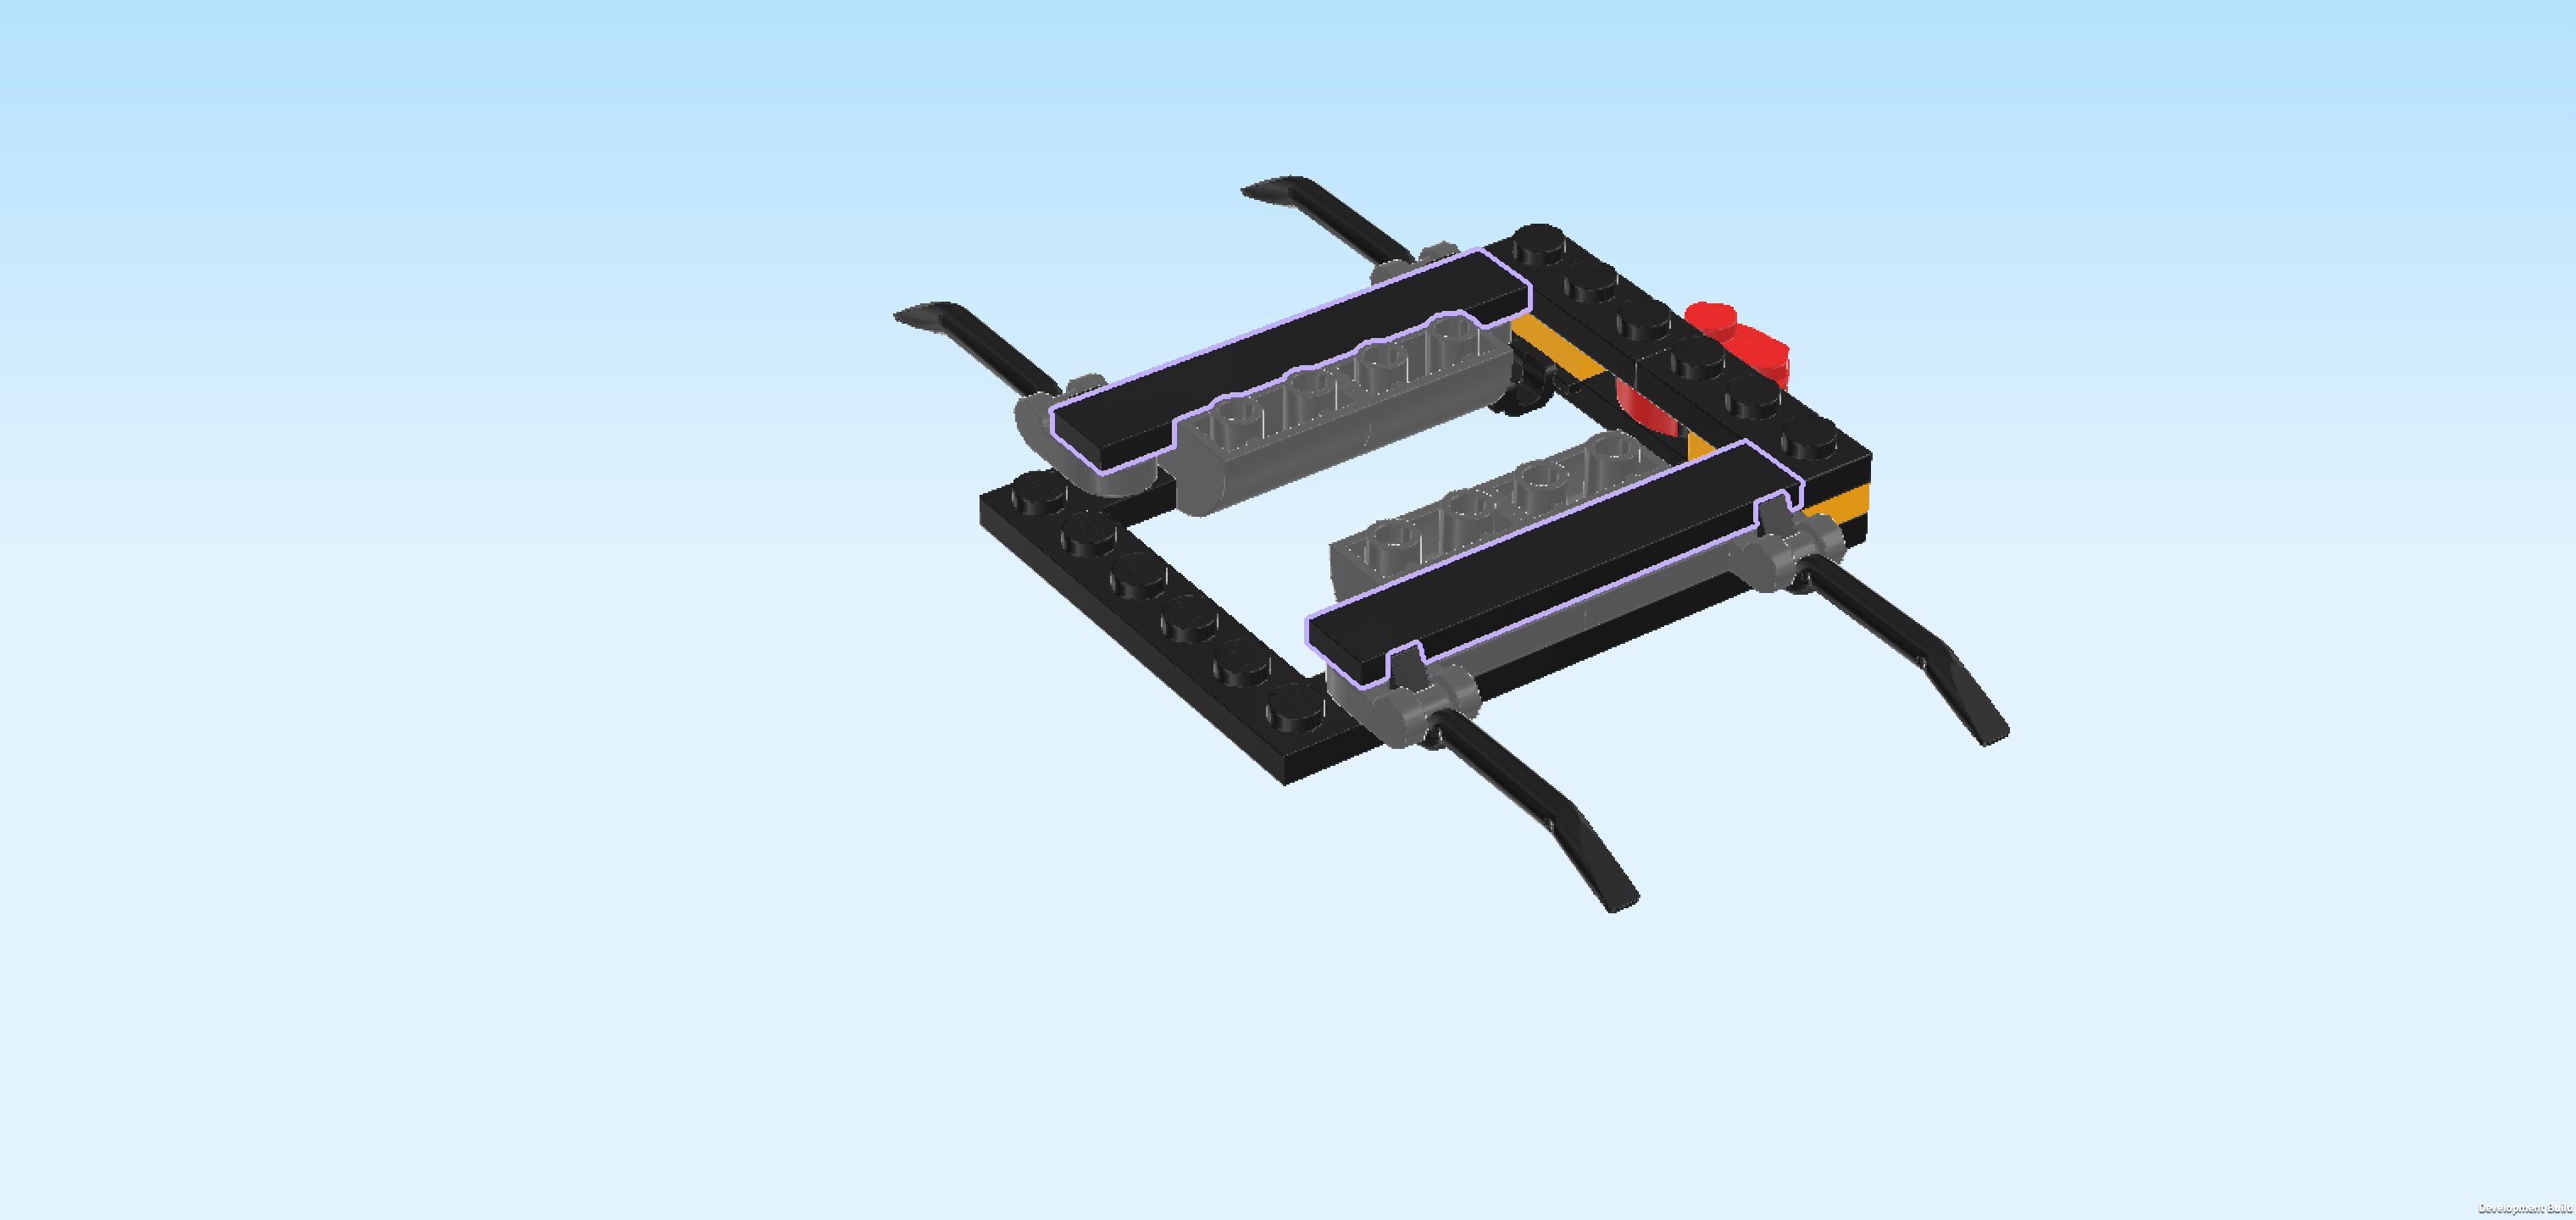
| Find 2 black Minifigure wrenches. |
| Insert the handle of 1 wrench into the previous piece's hole so that only the wrench head is sticking out towards the front. |
| Repeat symmetrically on the left. |
| Turn the wrench heads so that their tips are at the top and bottom, not to the left and right. |
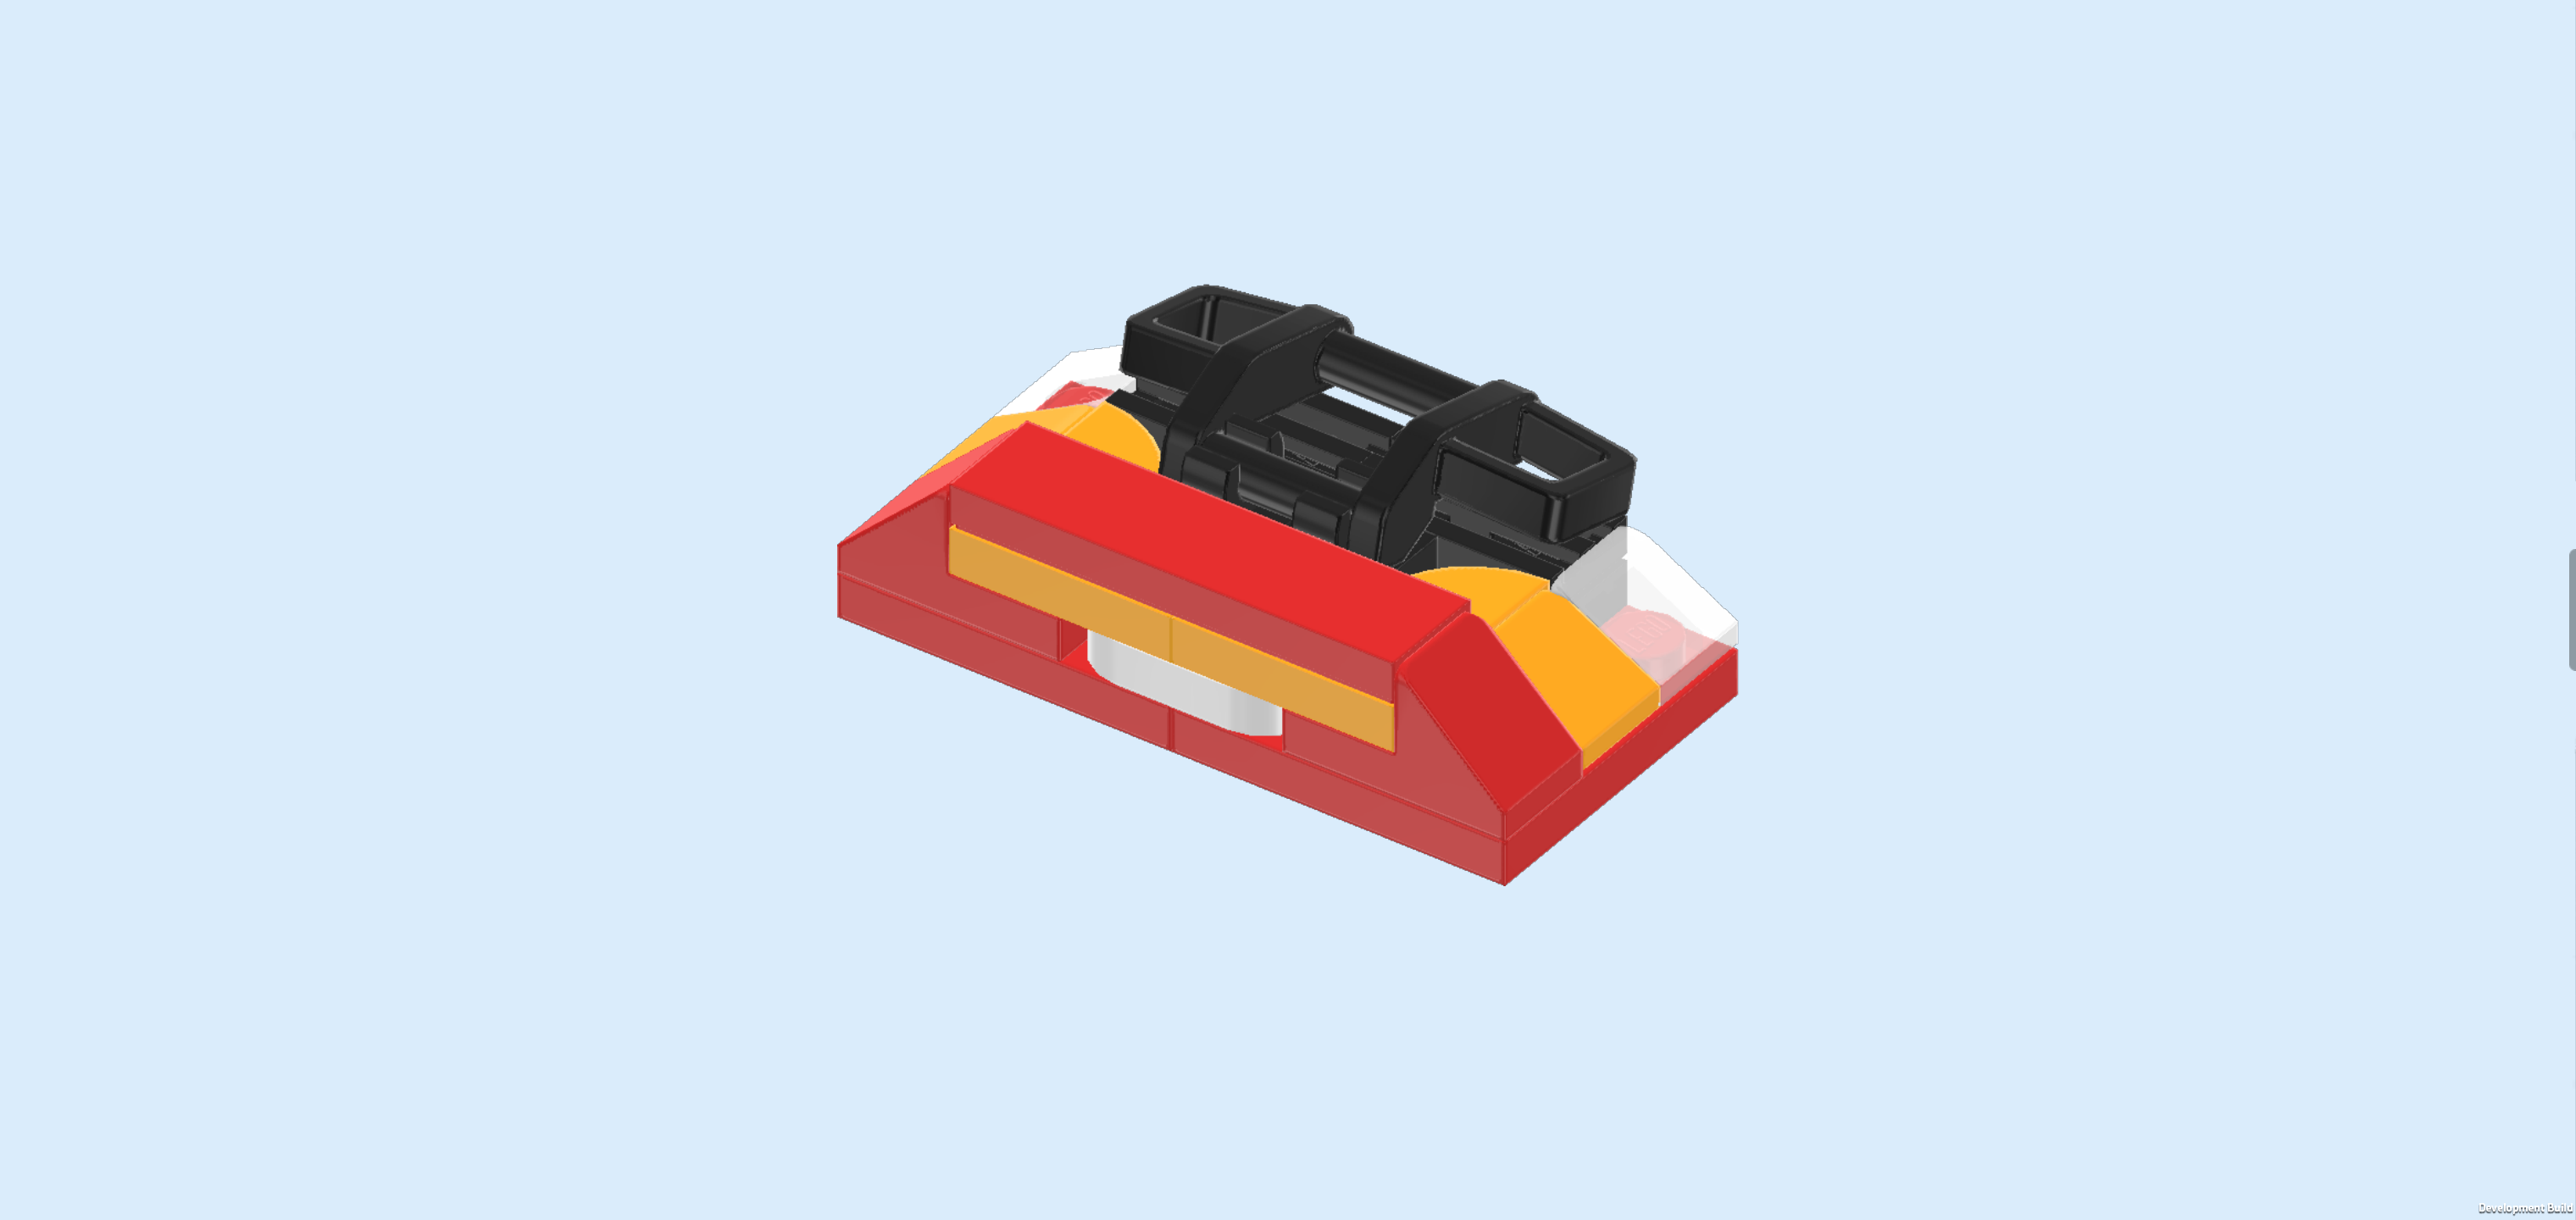
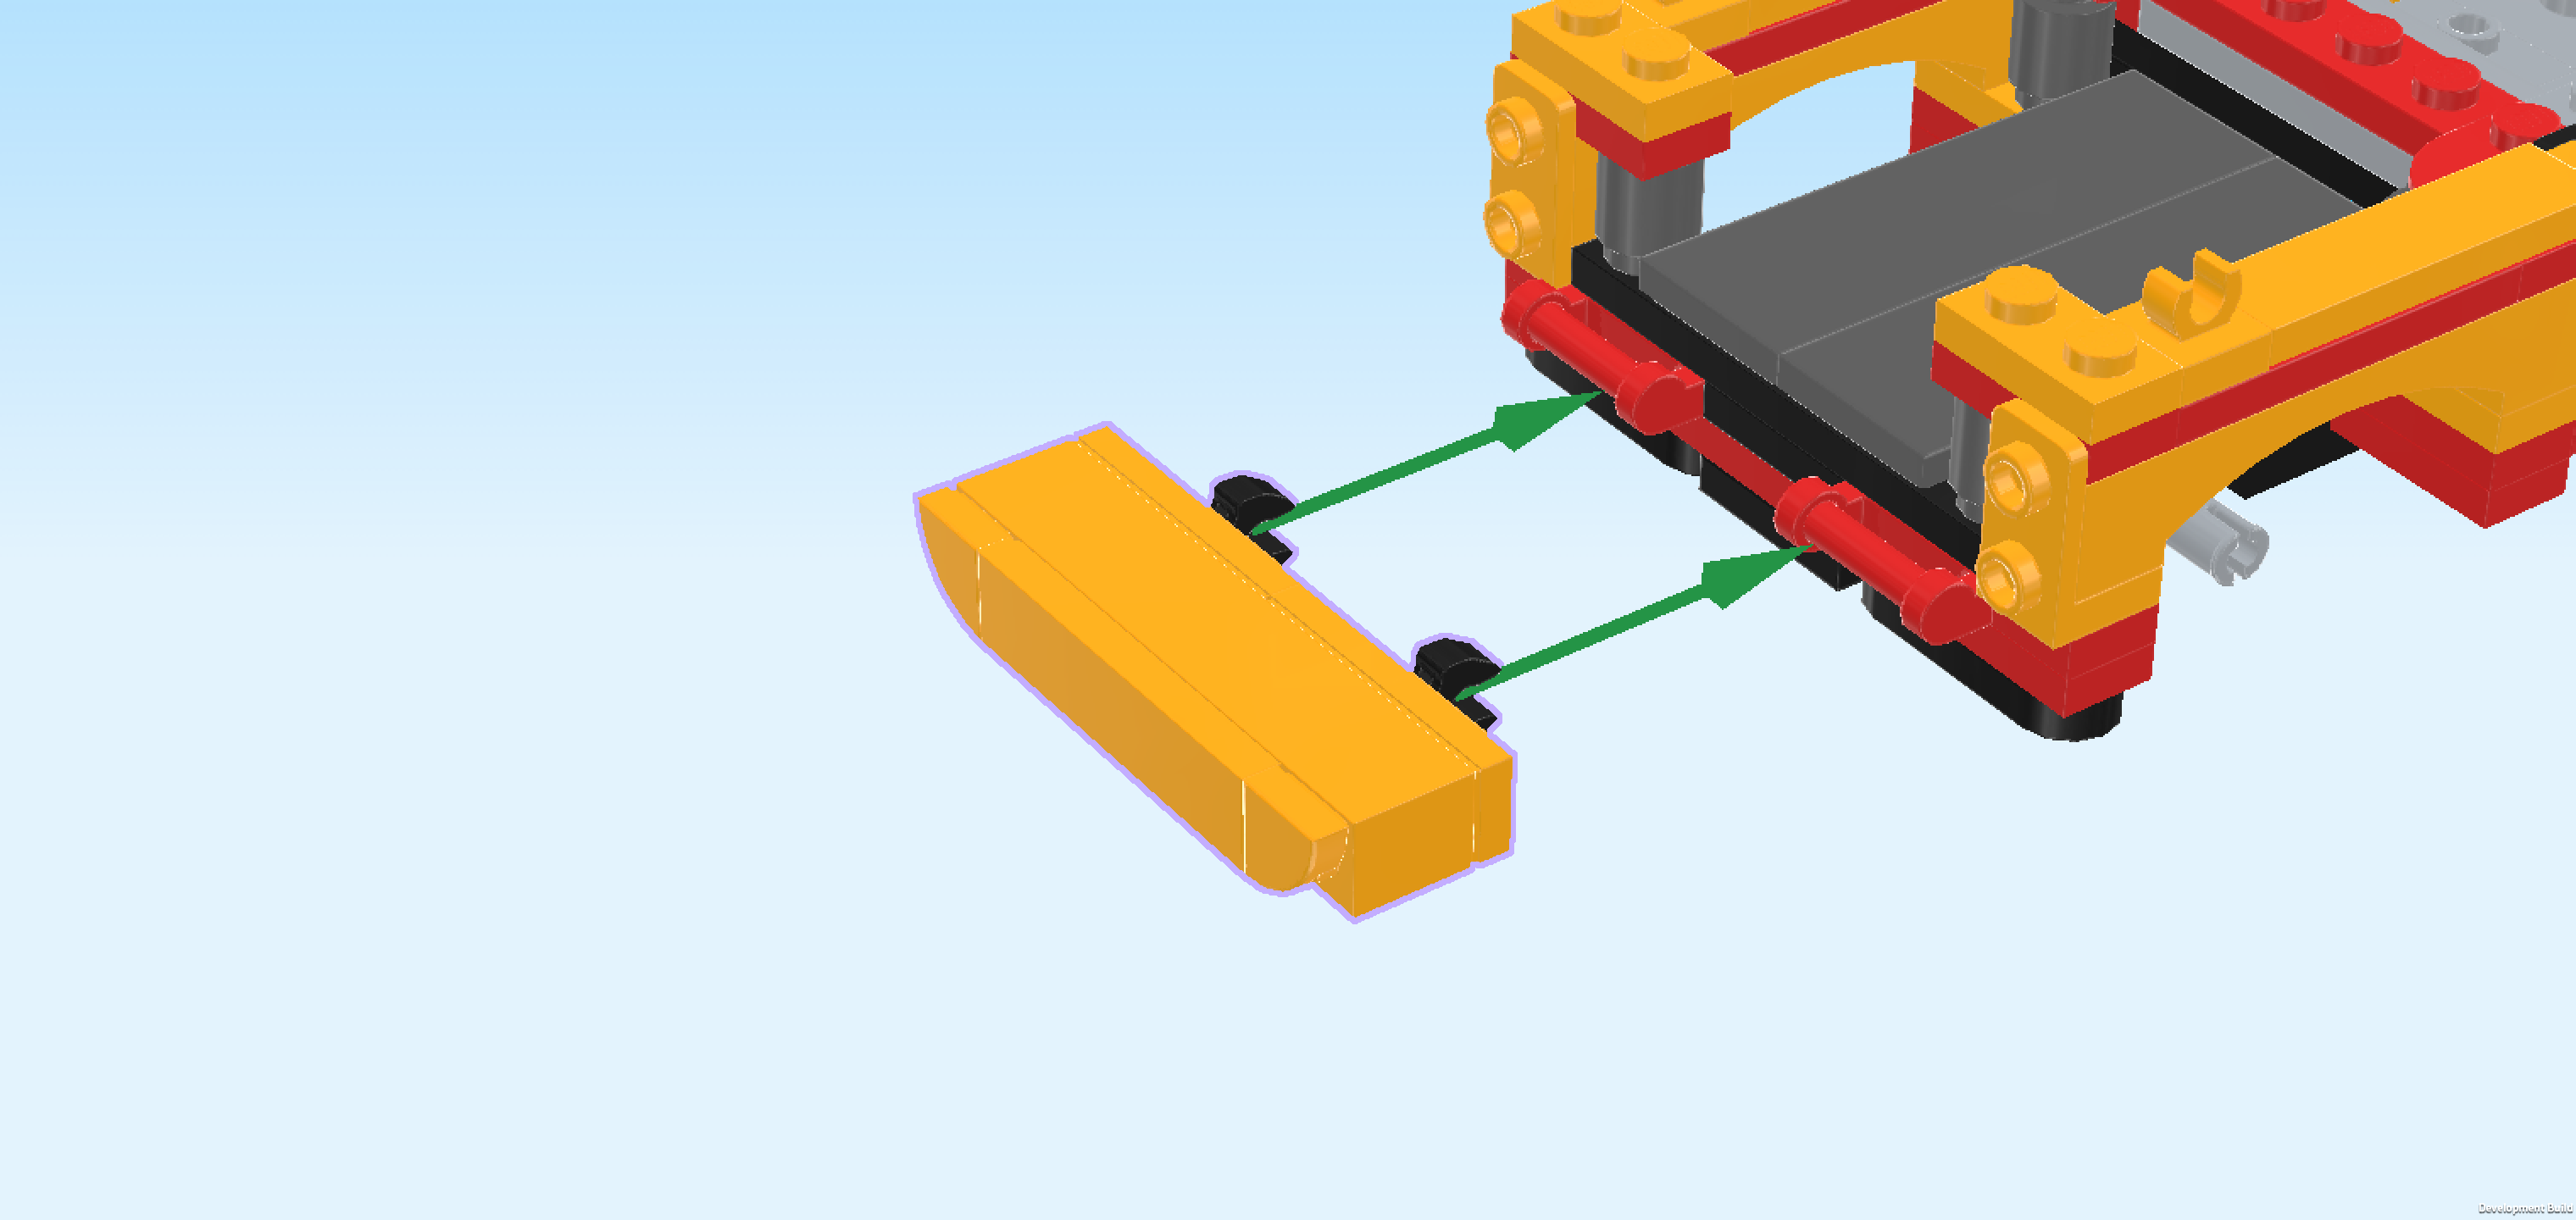
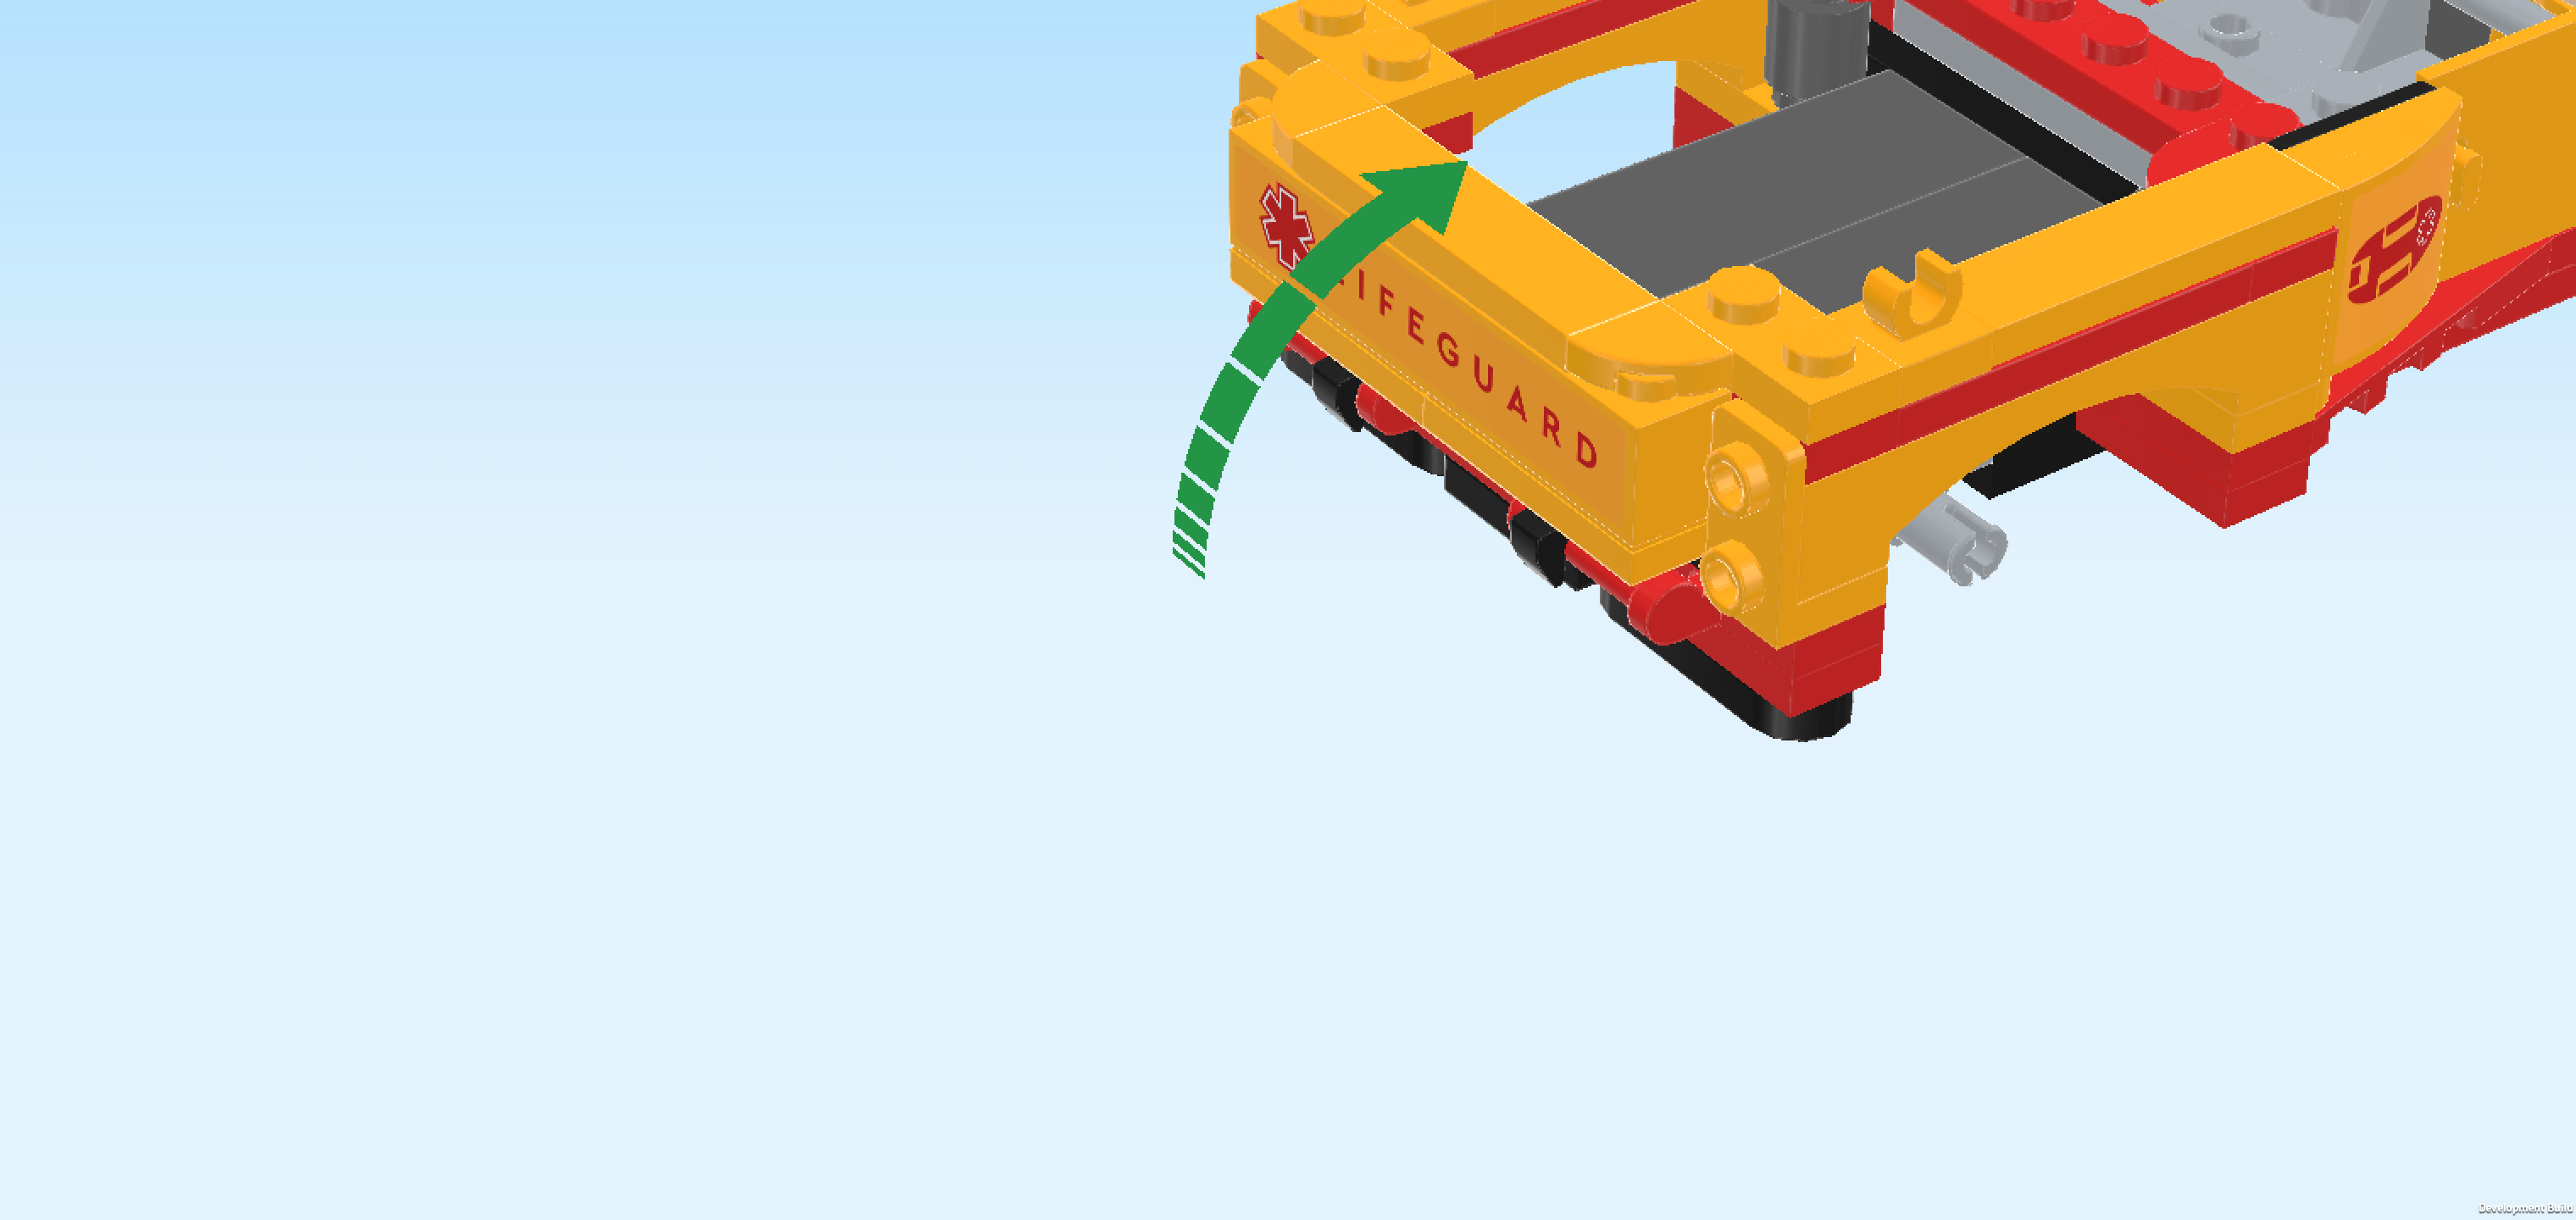
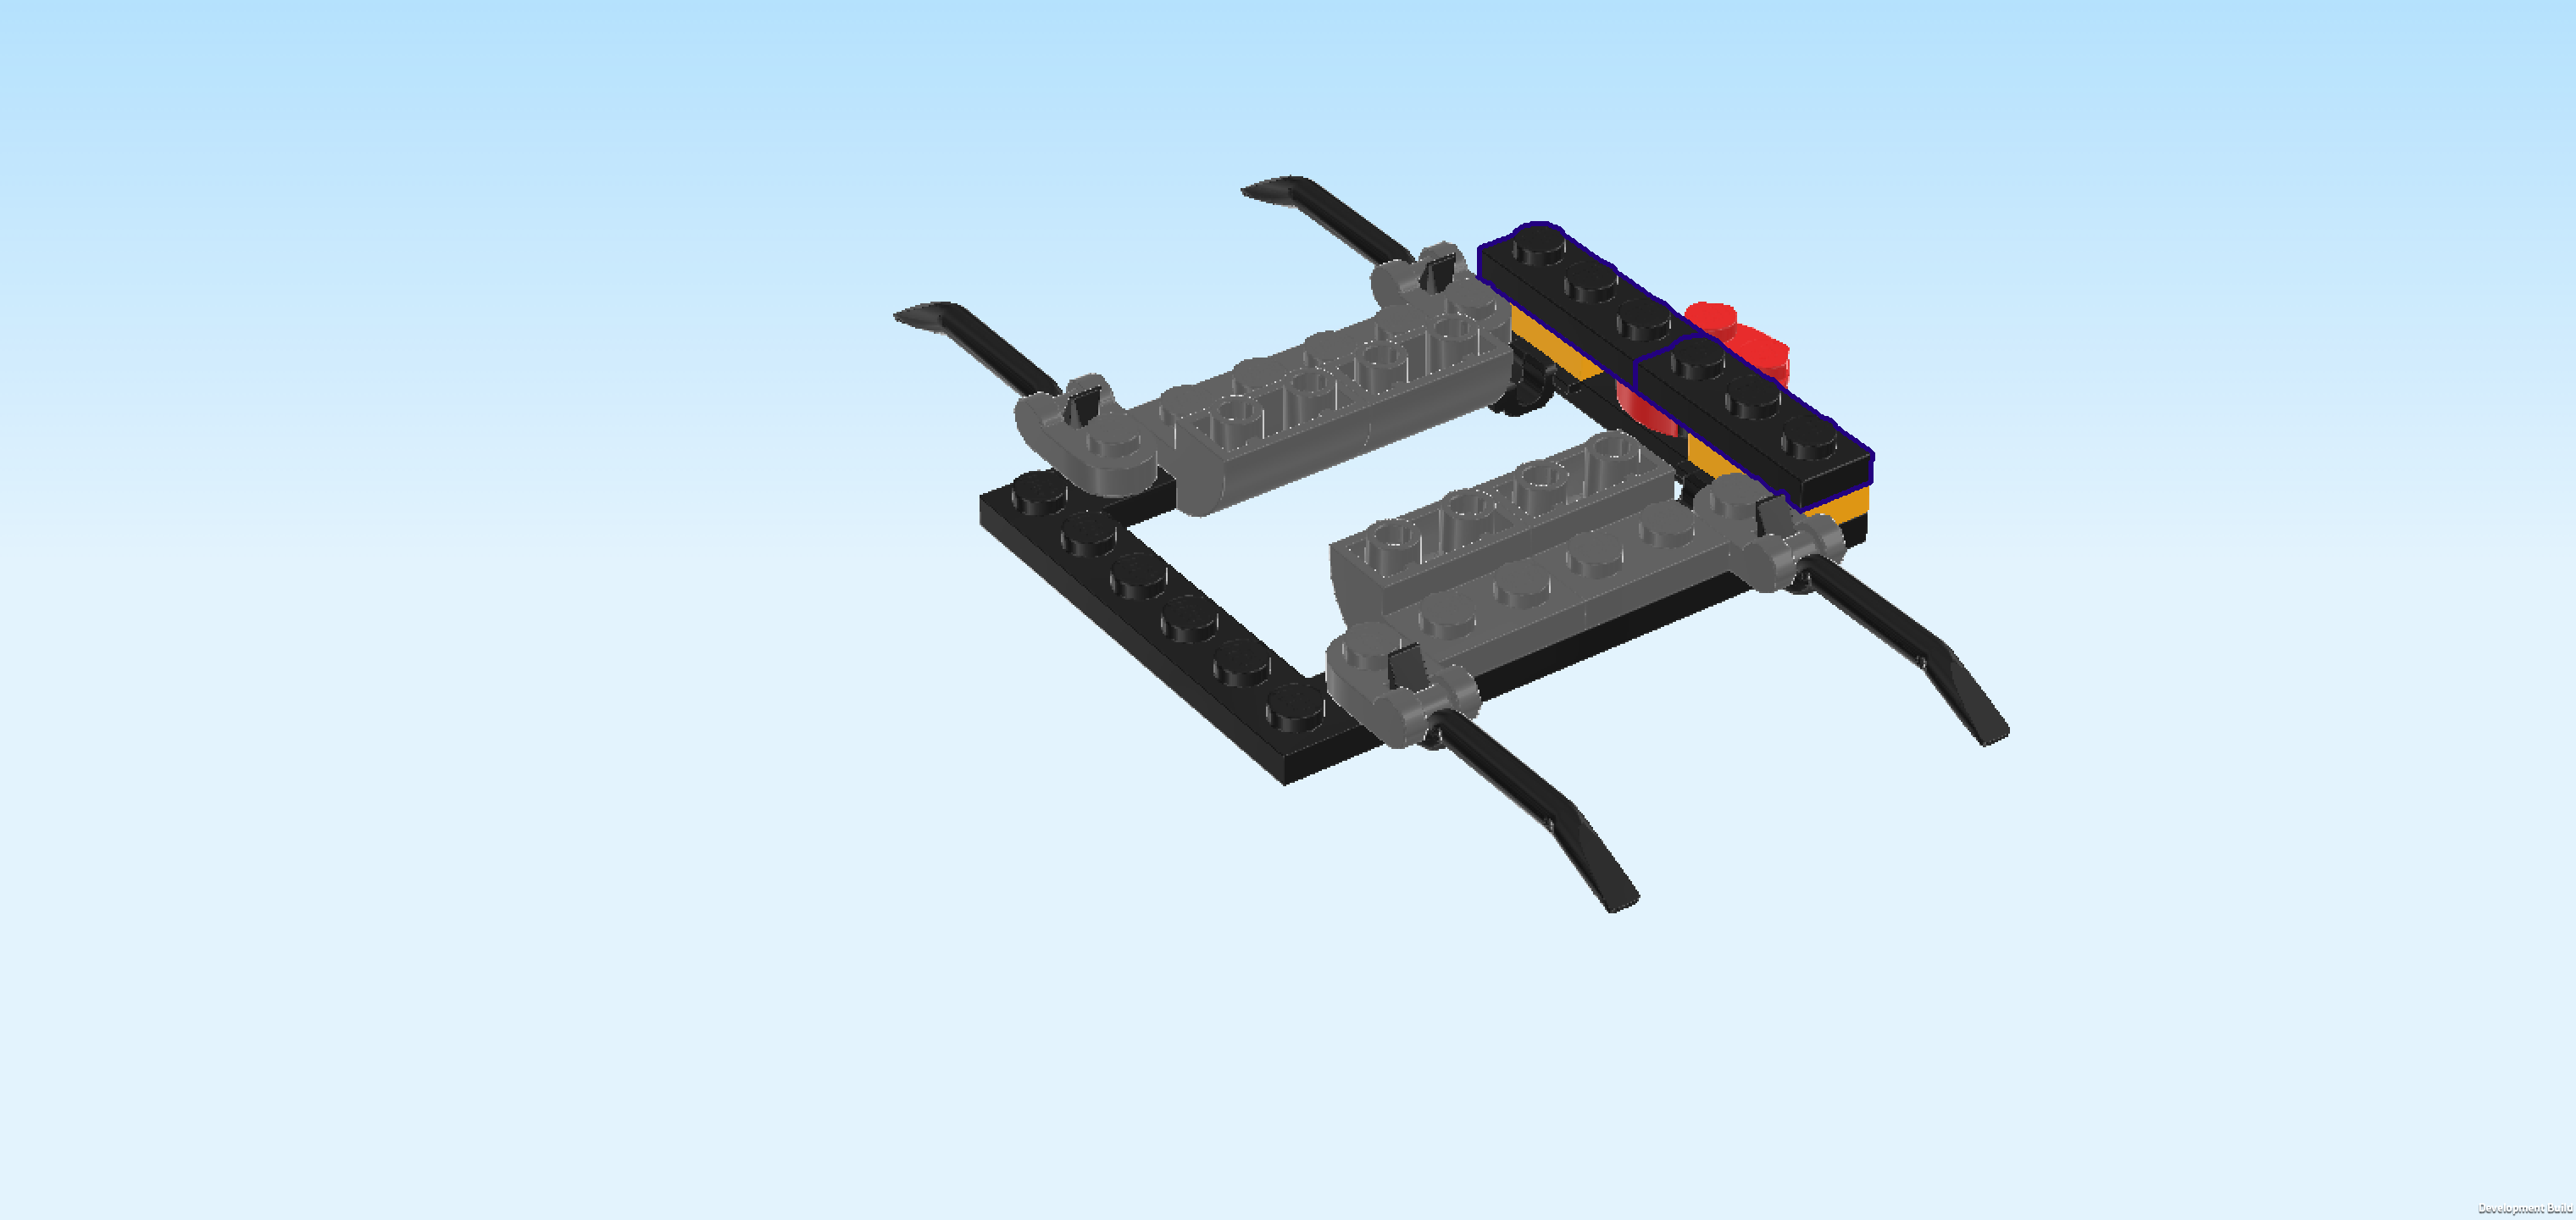
| The tailgate is finished! Well done! Before you mount it, flip it upside down so that its stickered side is touching the table. Then, turn it vertically, making sure that the wrench heads are pointing to the right. |
| Snap the 2 wrench heads on the 2 side handles protruding to the left on the car structure. |
| Once the tailgate is securely attached to the side handles, fold it up to close the vehicle rear. The sticker should now be towards the left. |
| Well done, that was tricky! The lifeguard truck is really taking shape! |
| Collect the following 4 pieces: |
| 2 flame yellowish orange smooth roof tiles 1x1x⅔, |
| and 2 transparent red smooth roof tiles 1x1x⅔. |
| Put 1 flame yellowish orange roof tile on the bottom side knob in front of the tailgate, slope towards the front. |
| Put 1 transparent red roof tile on the side knob above the previous piece, slope again to the front. |
| Repeat symmetrically at the back, slopes to the back. |
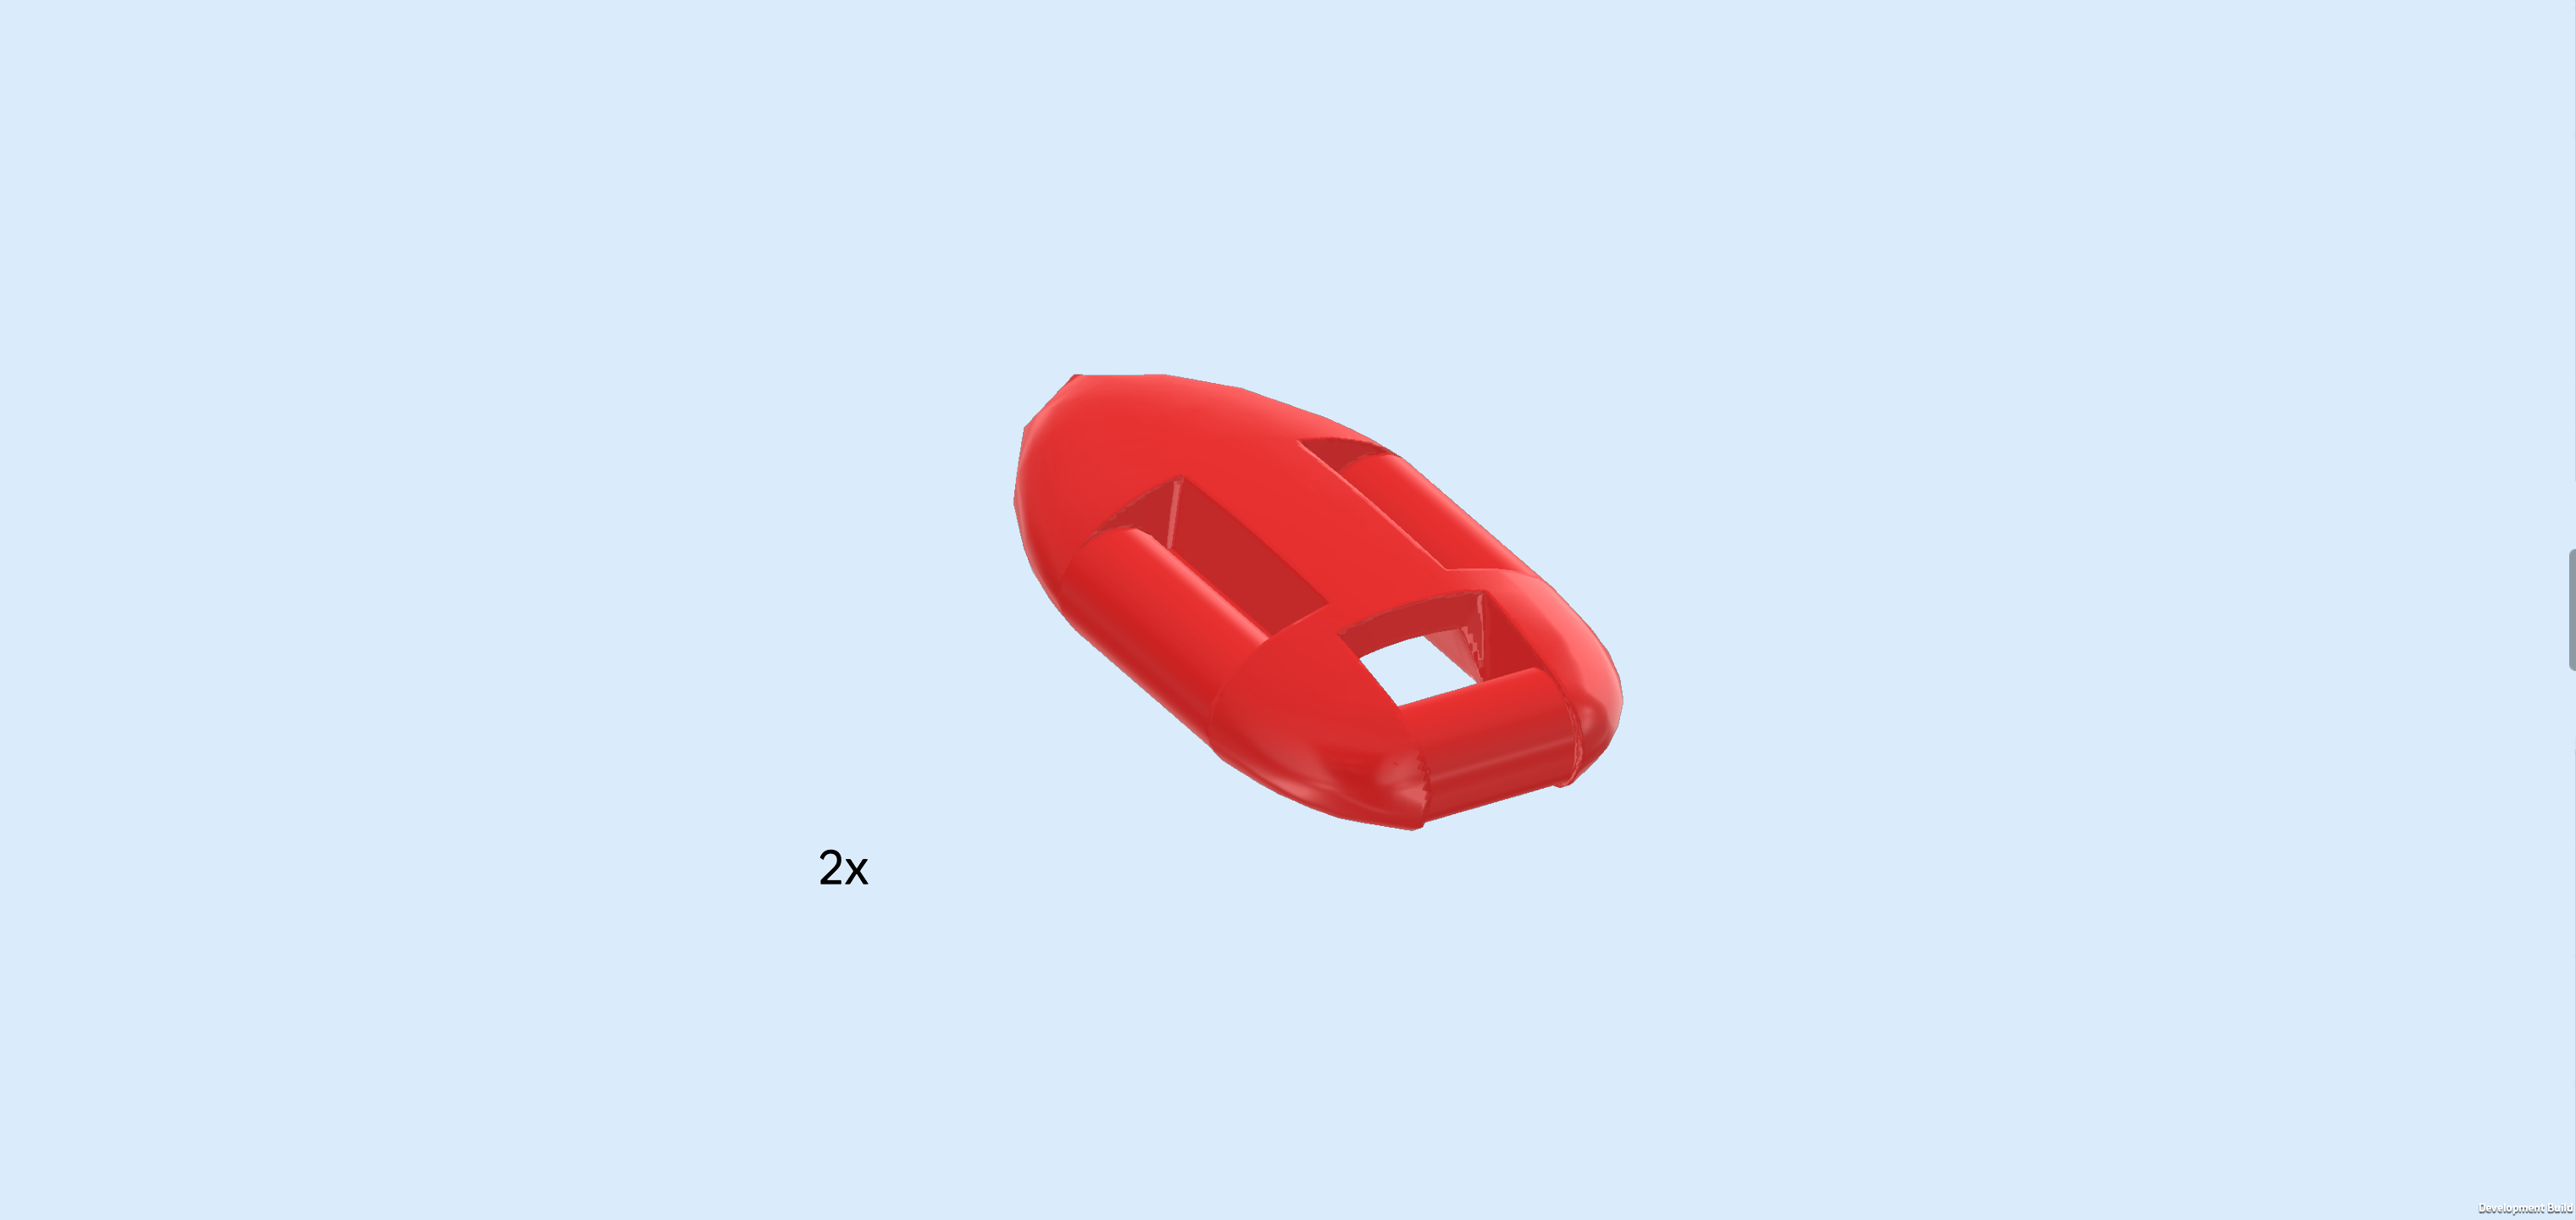
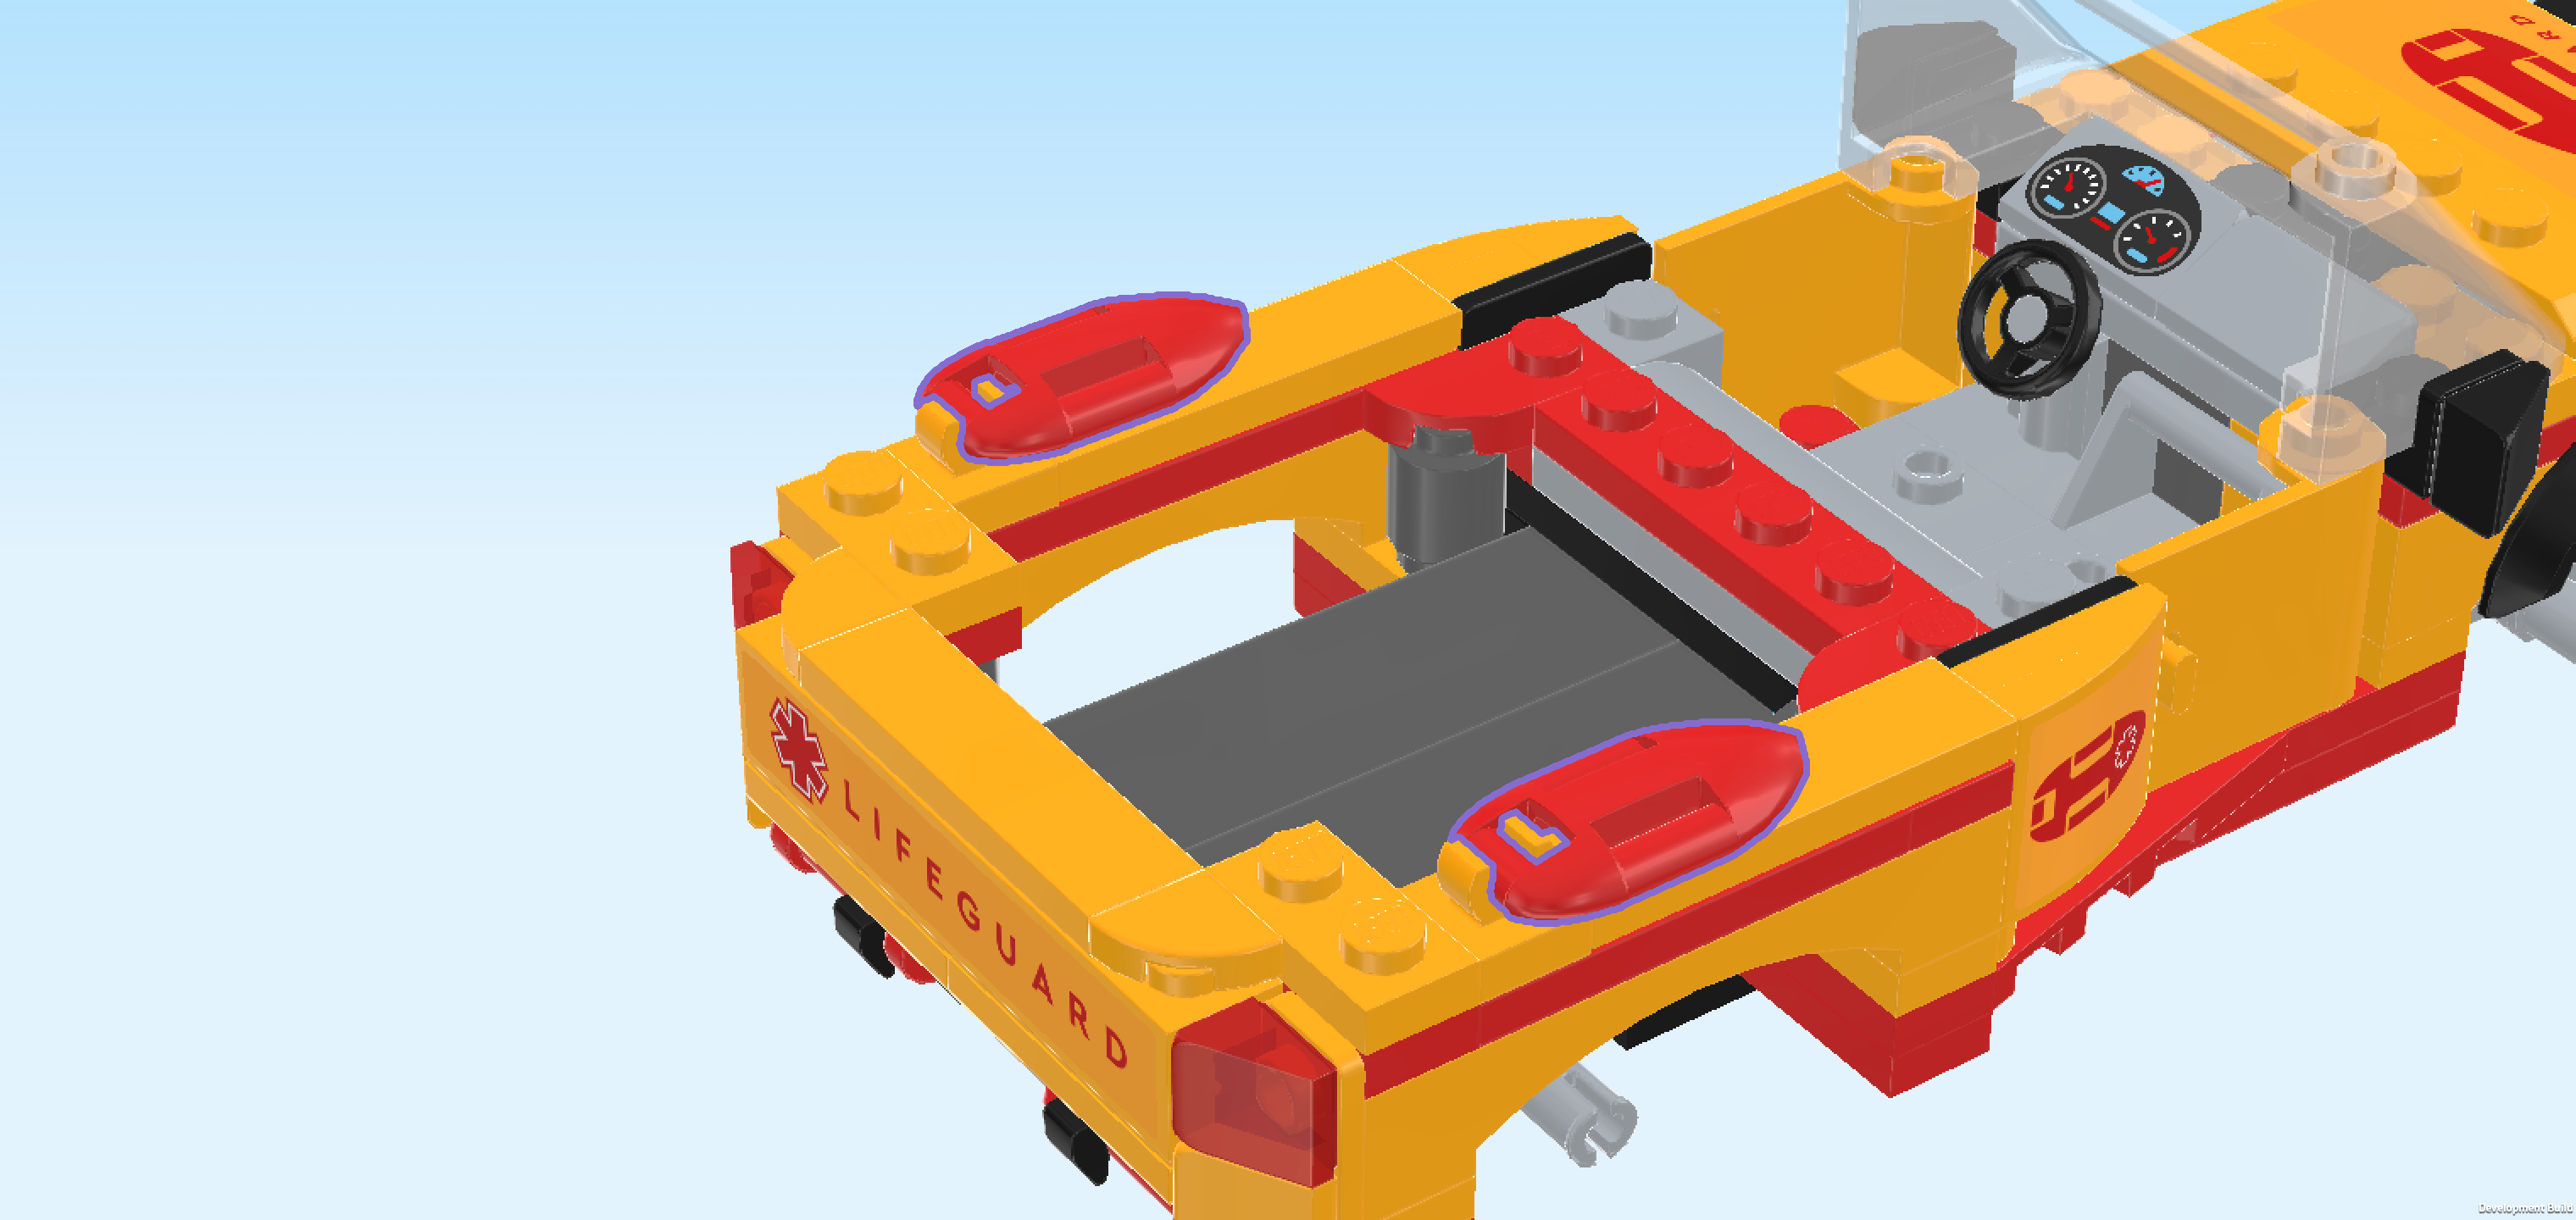
| Find 2 bright red Minifigure rescue buoys. |
| Hold 1 flat and horizontally in front of you, pointy end pointing to the right. |
| Snap the handle on the left edge into the clasp on the vehicle's backmost row that is located near the leftmost edge. Do not use the 2 longer handles on the long sides of the buoy. |
| Repeat symmetrically at the front. |
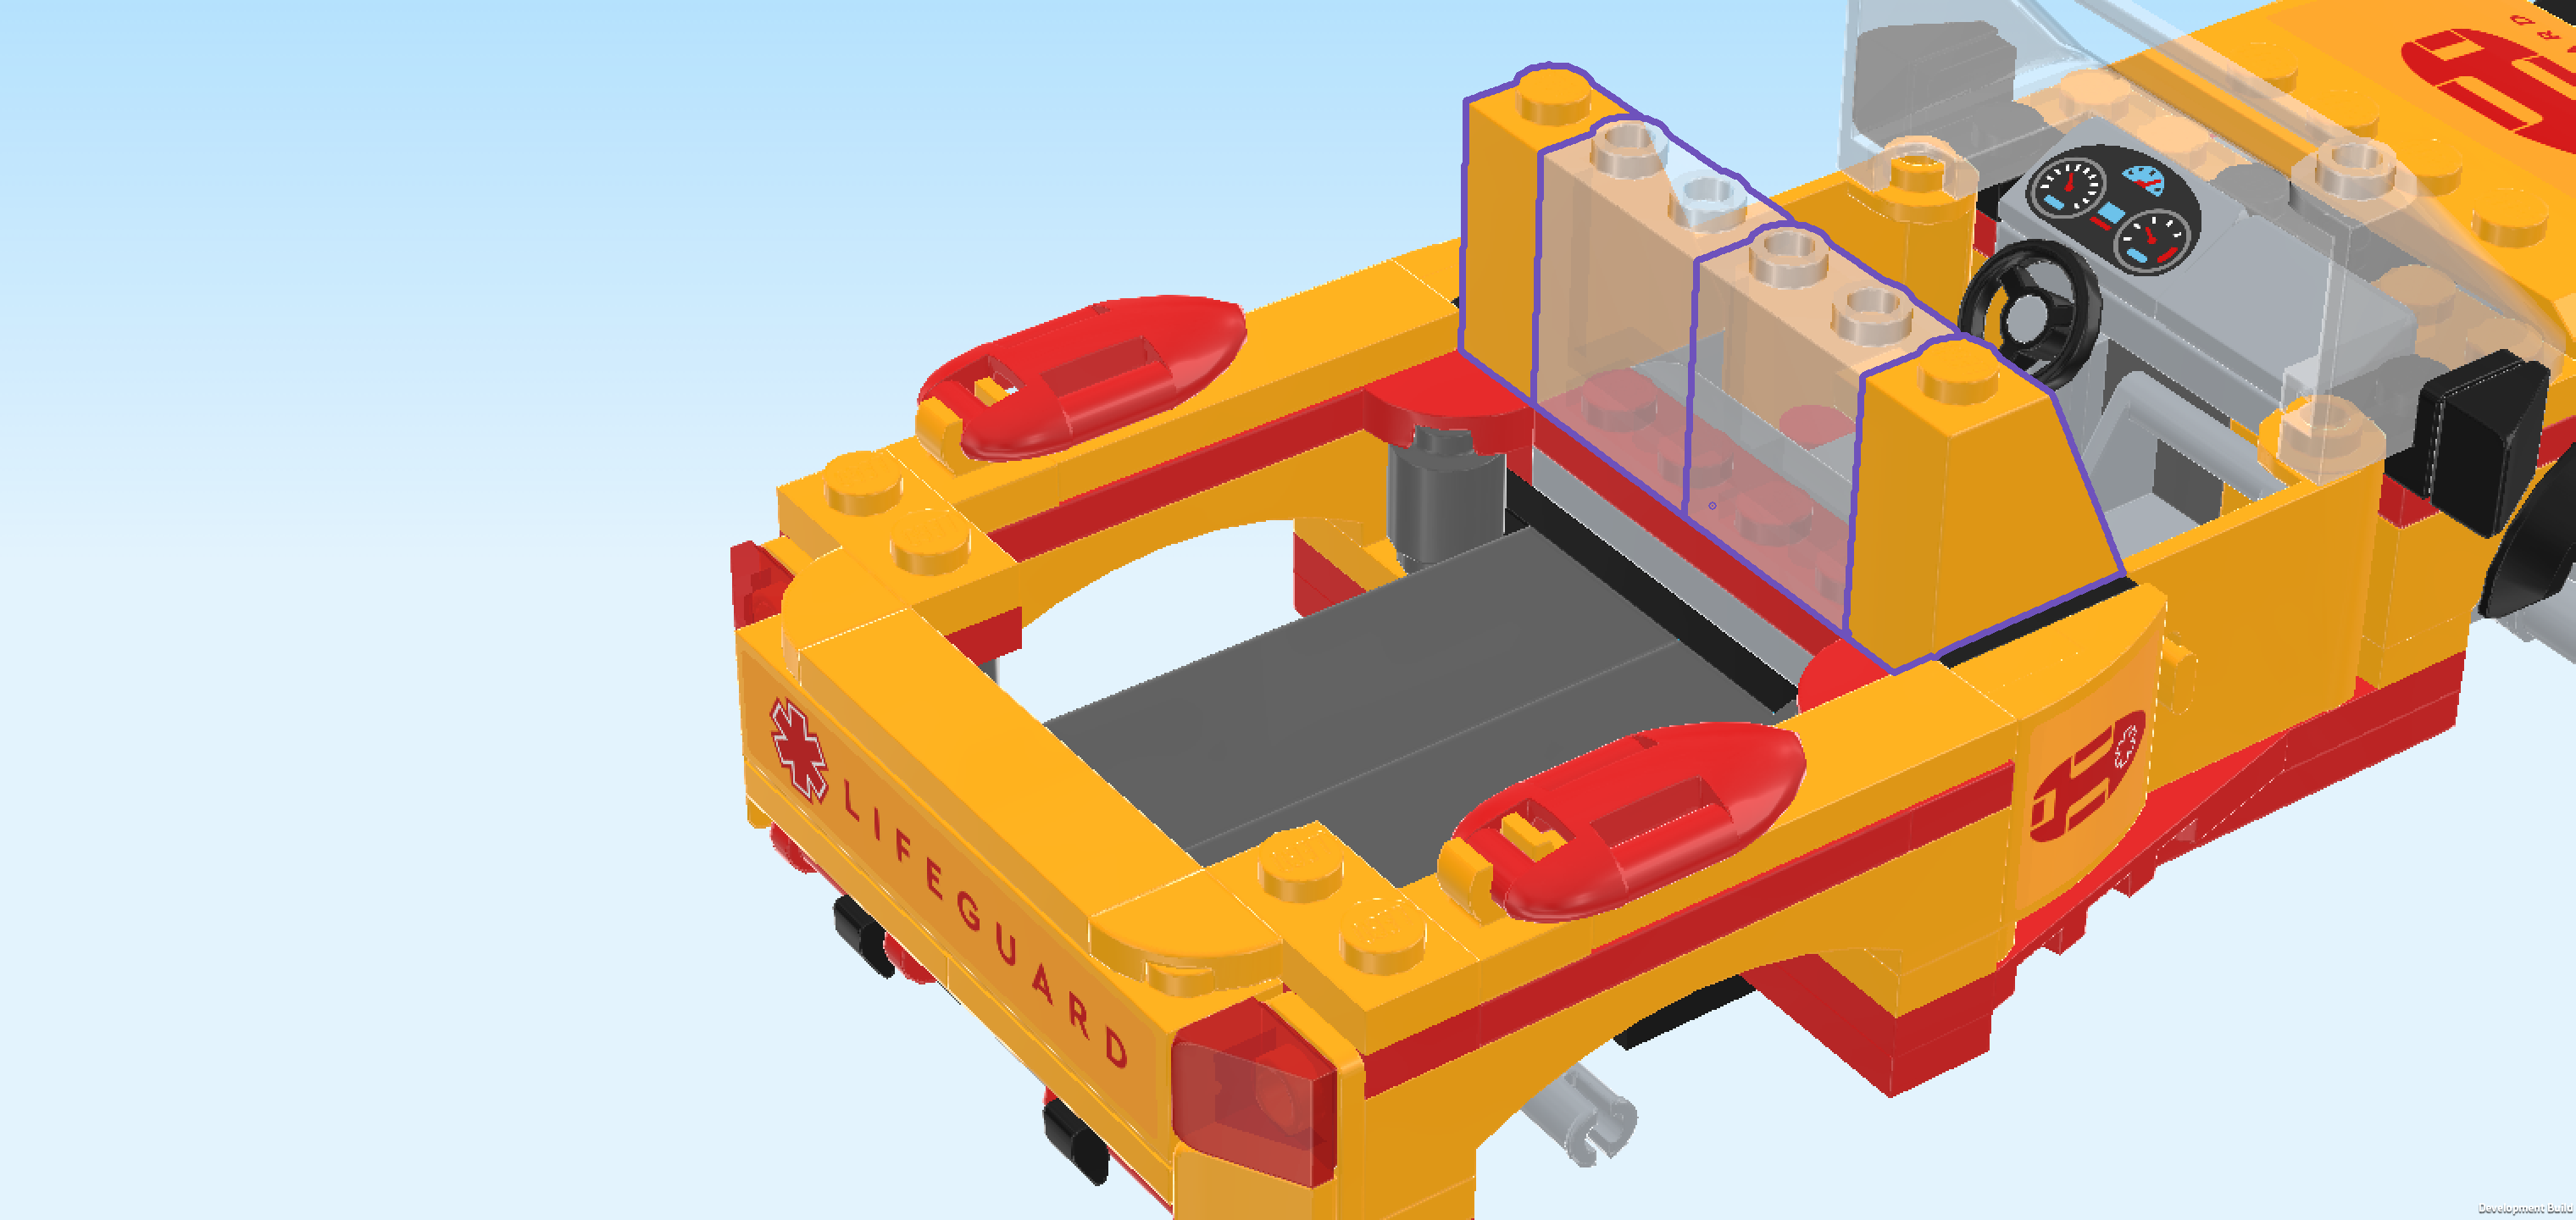
| Collect the following 4 pieces: |
| 2 transparent wall elements 1x2x2 with 2 top knobs, |
| and 2 flame yellowish orange roof tiles 1x2x2, 65°. |
| Put 1 roof tile 1x2x2 horizontally on the 2 knobs directly in front of the back side panel with sticker, slope to the right. |
| Put 1 wall element 1x2x2 vertically in front of the previous piece's left half, panel side to the left. |
| Put the other wall element vertically in front of the previous piece, panel side to the left. |
| Put the other roof tile 1x2x2 horizontally in front of the previous piece, slope to the right, mirroring the first roof tile. |
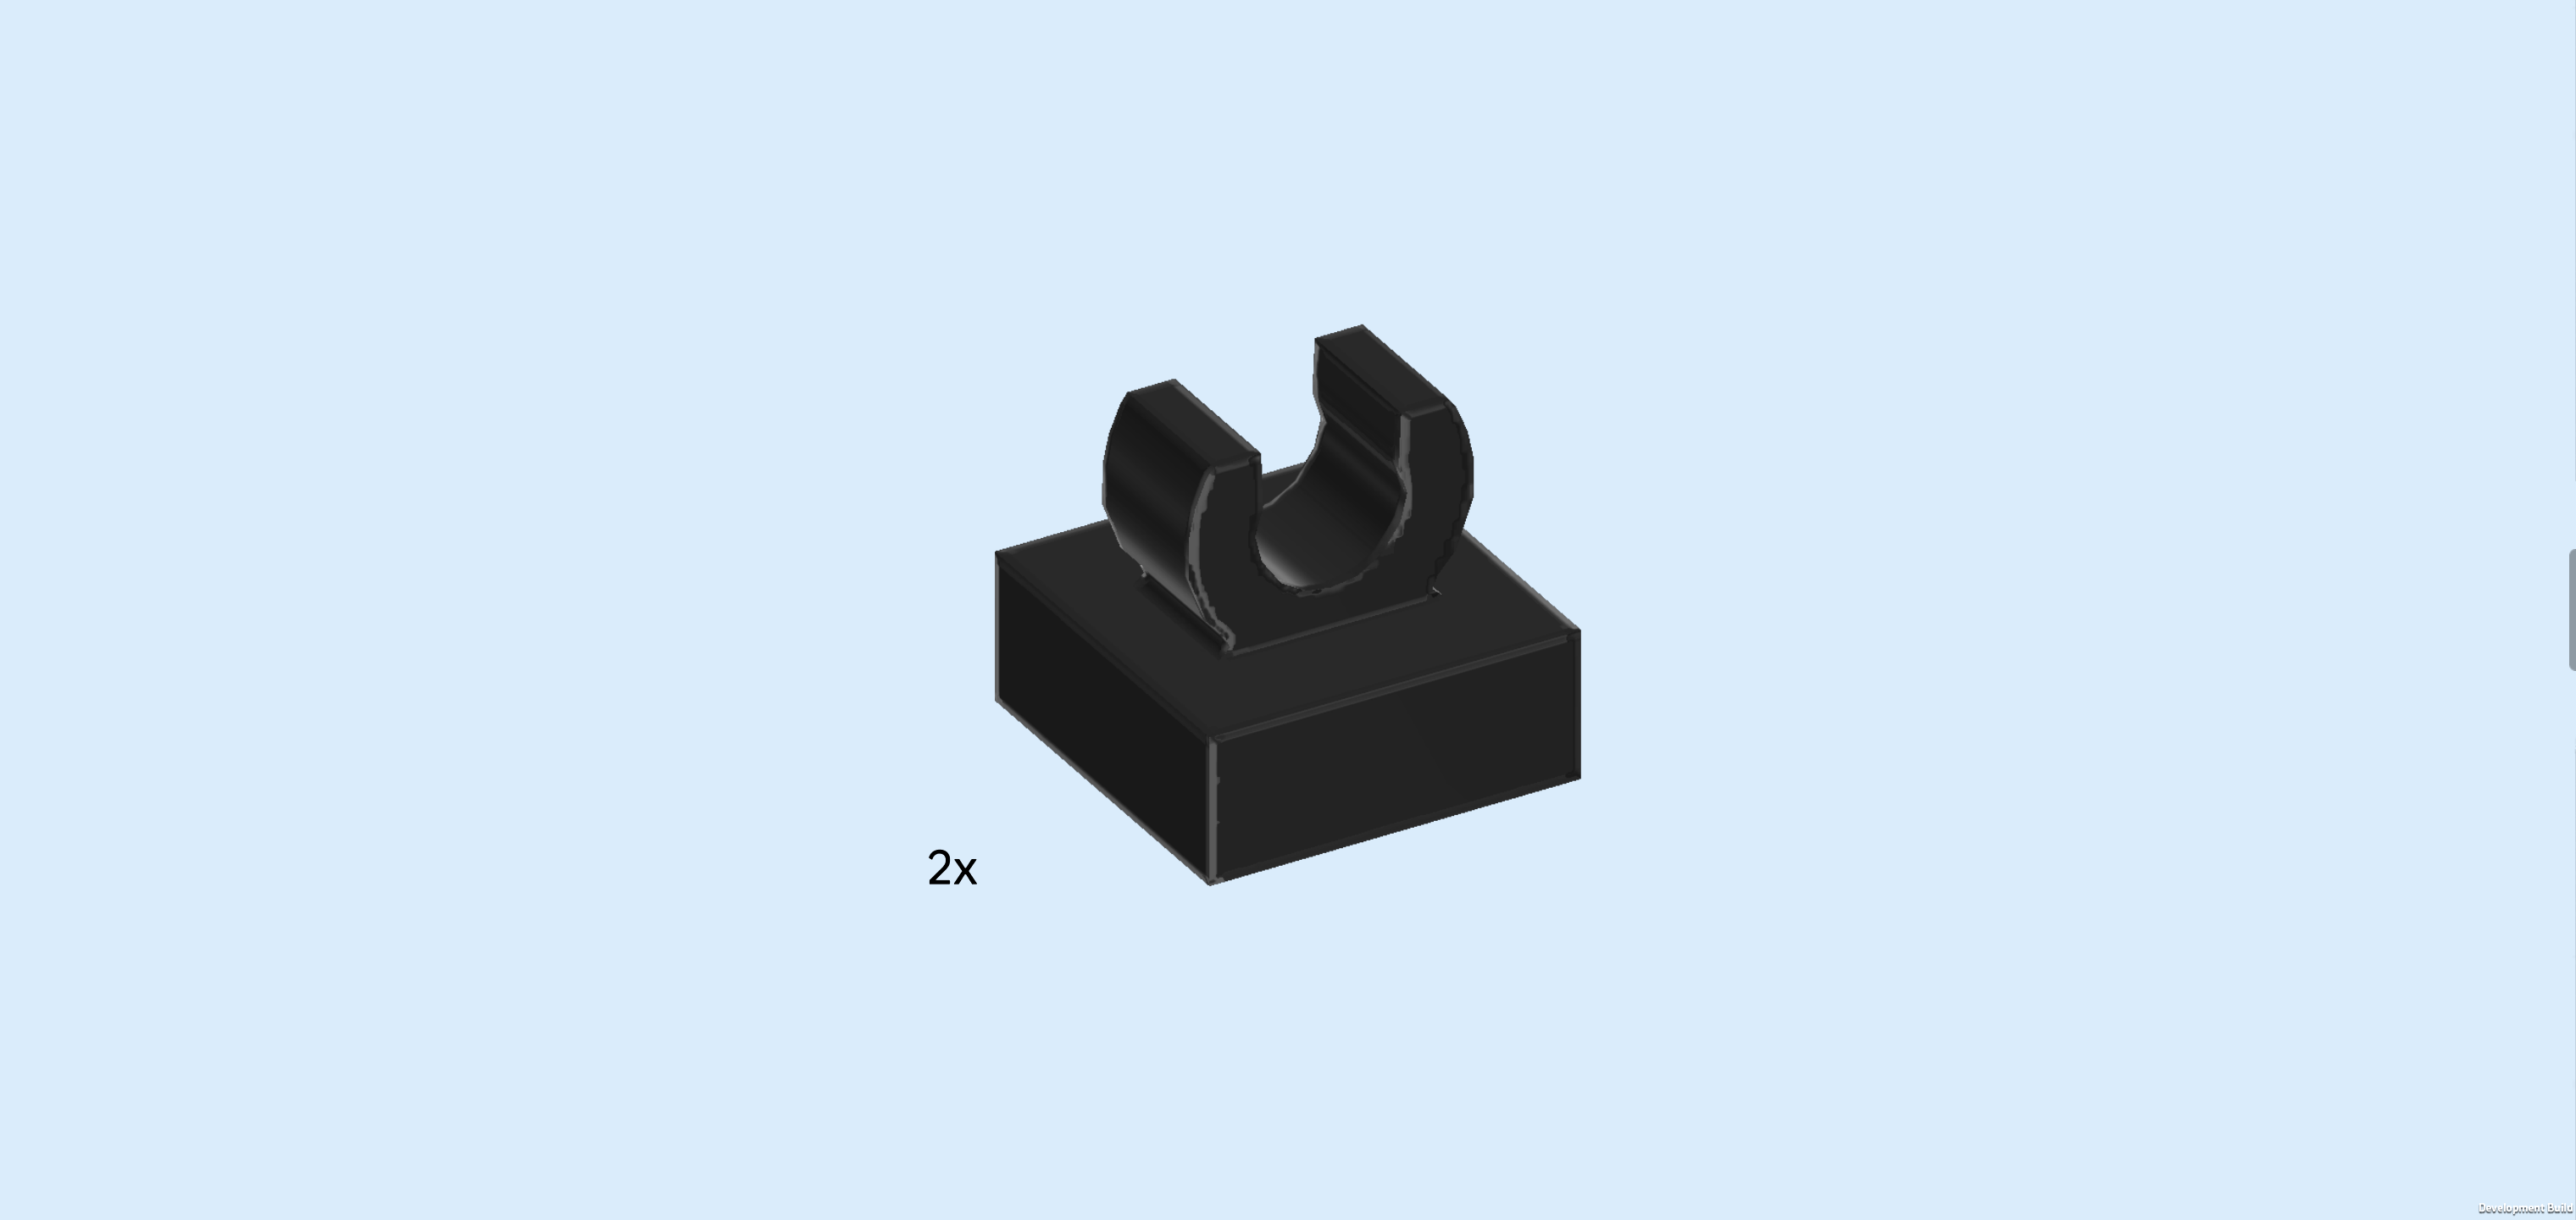
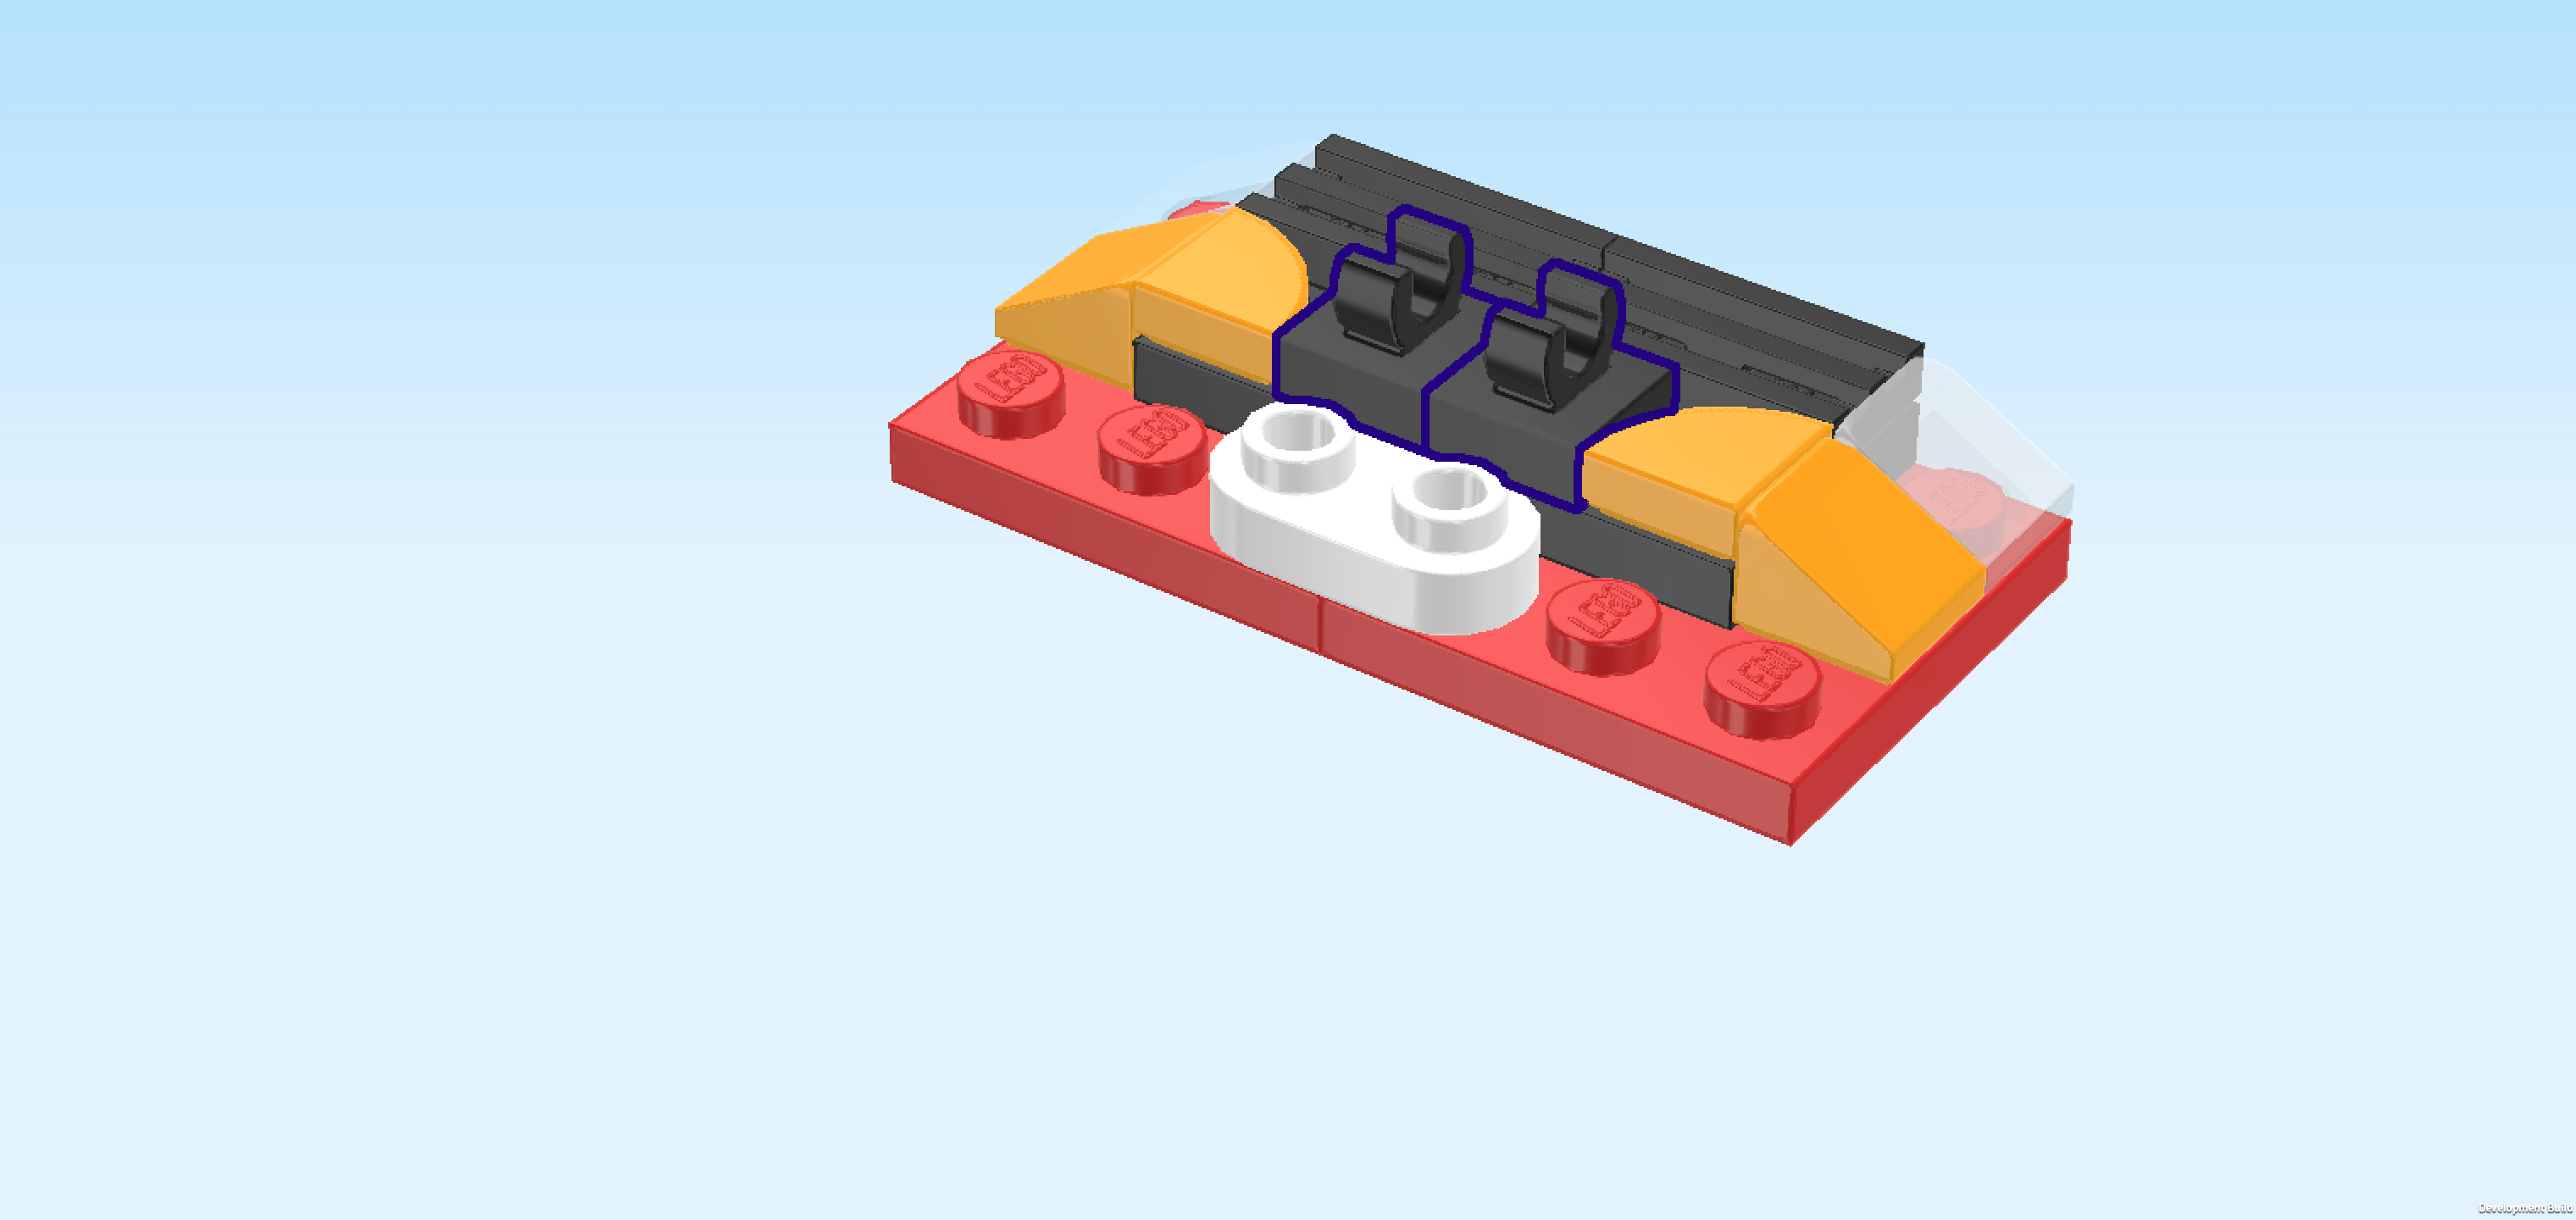
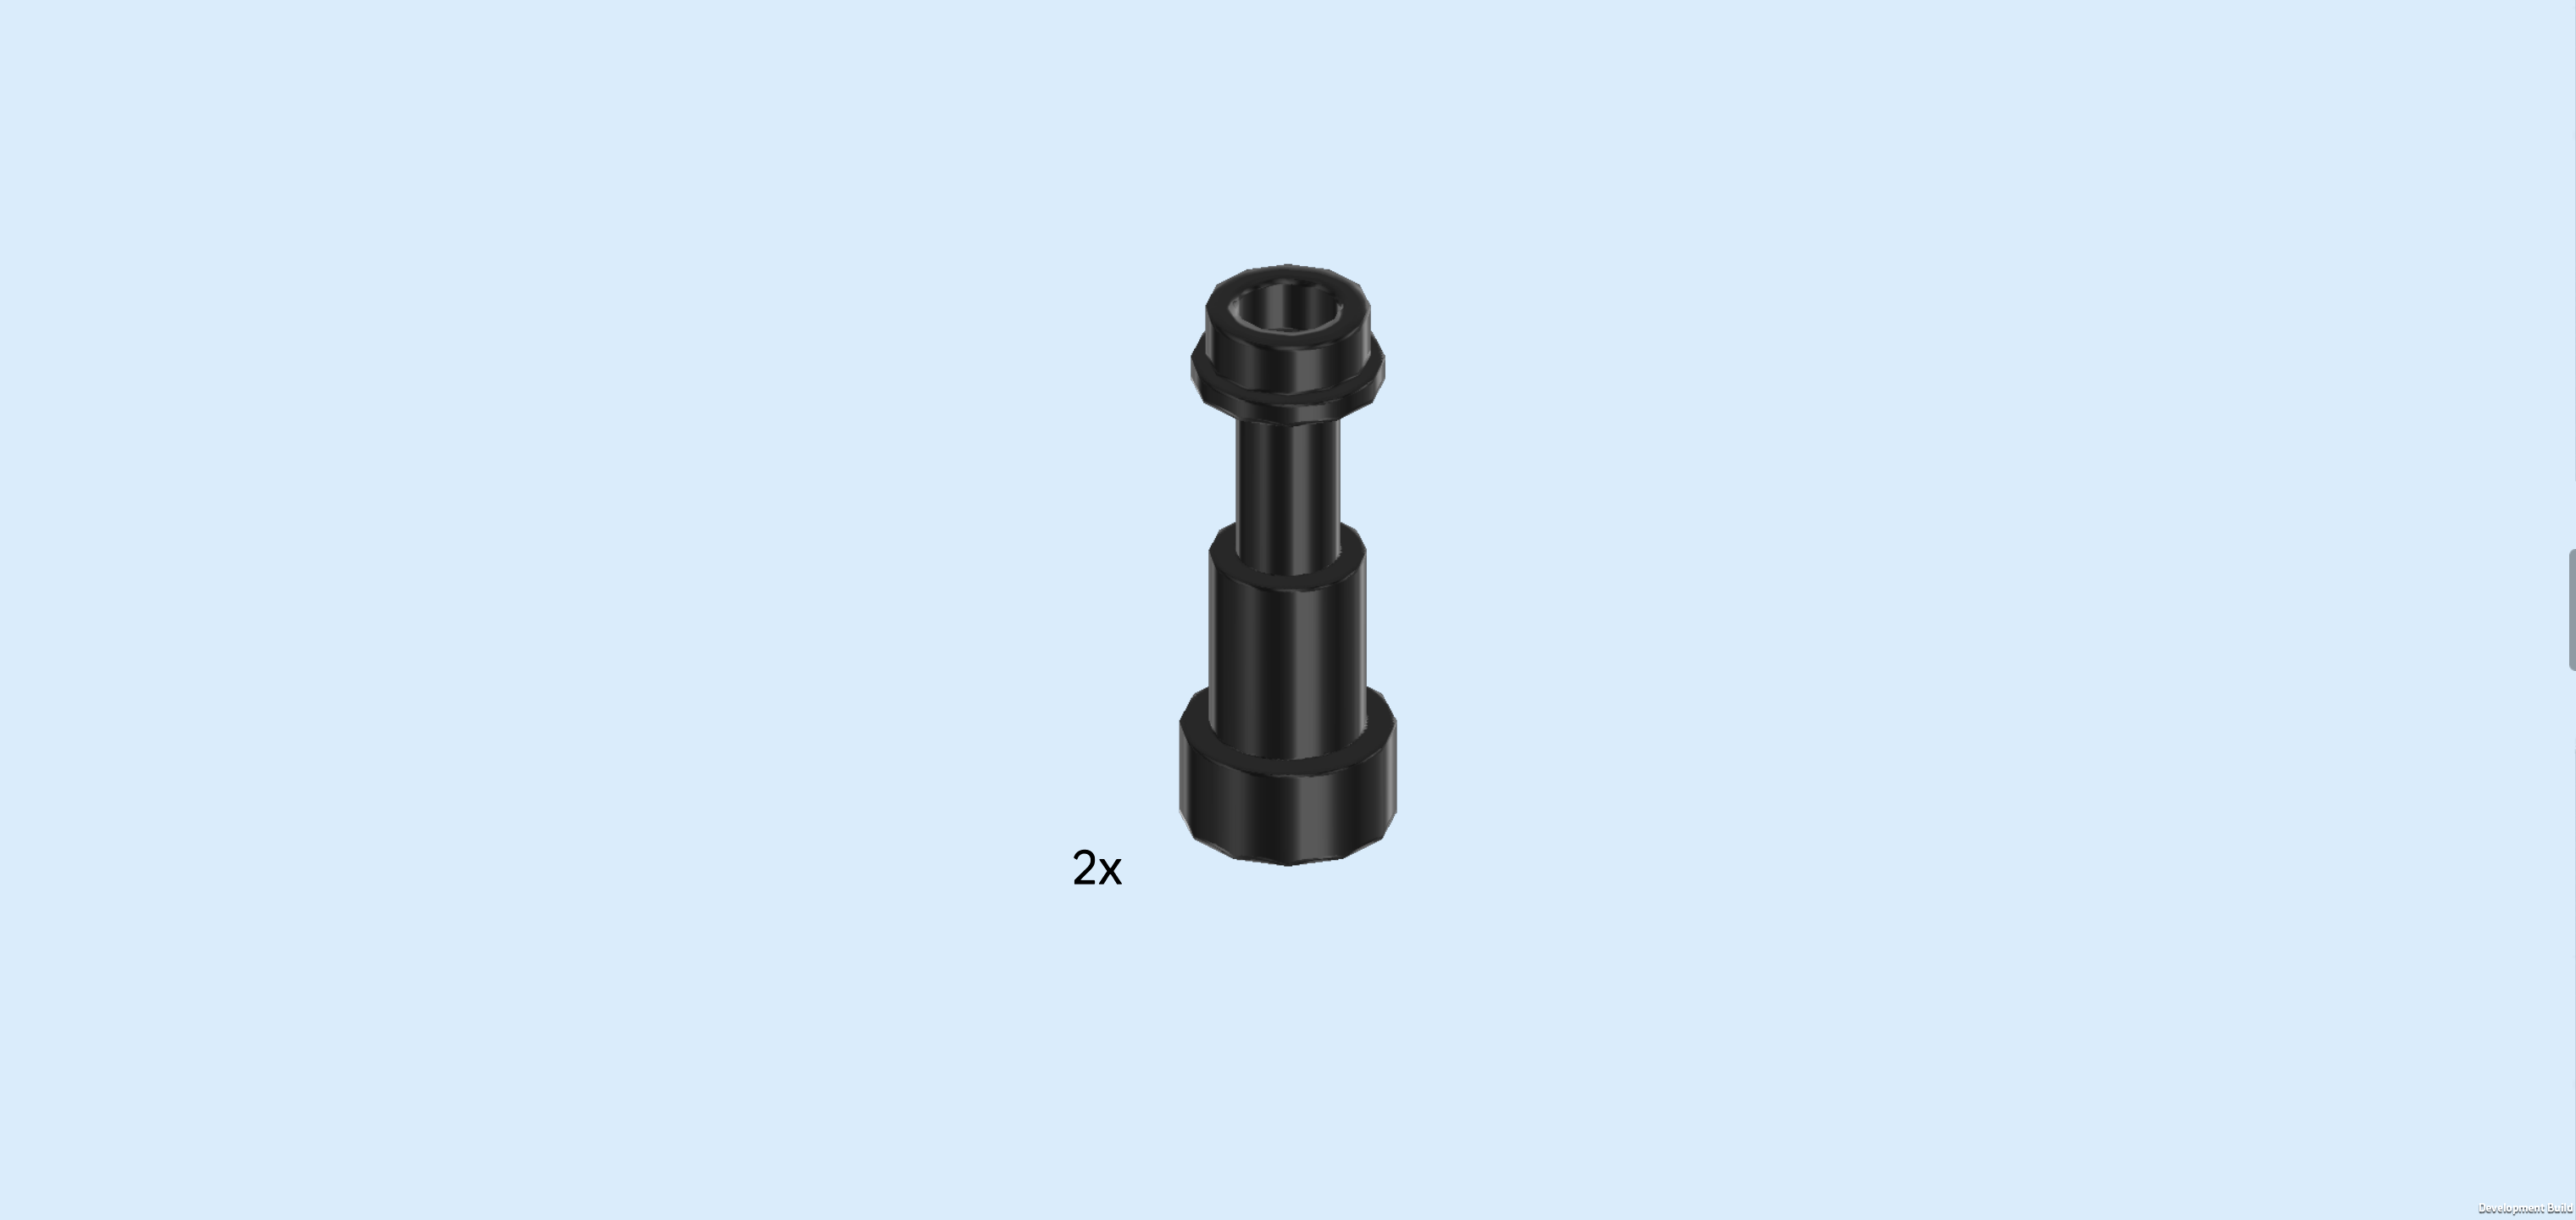
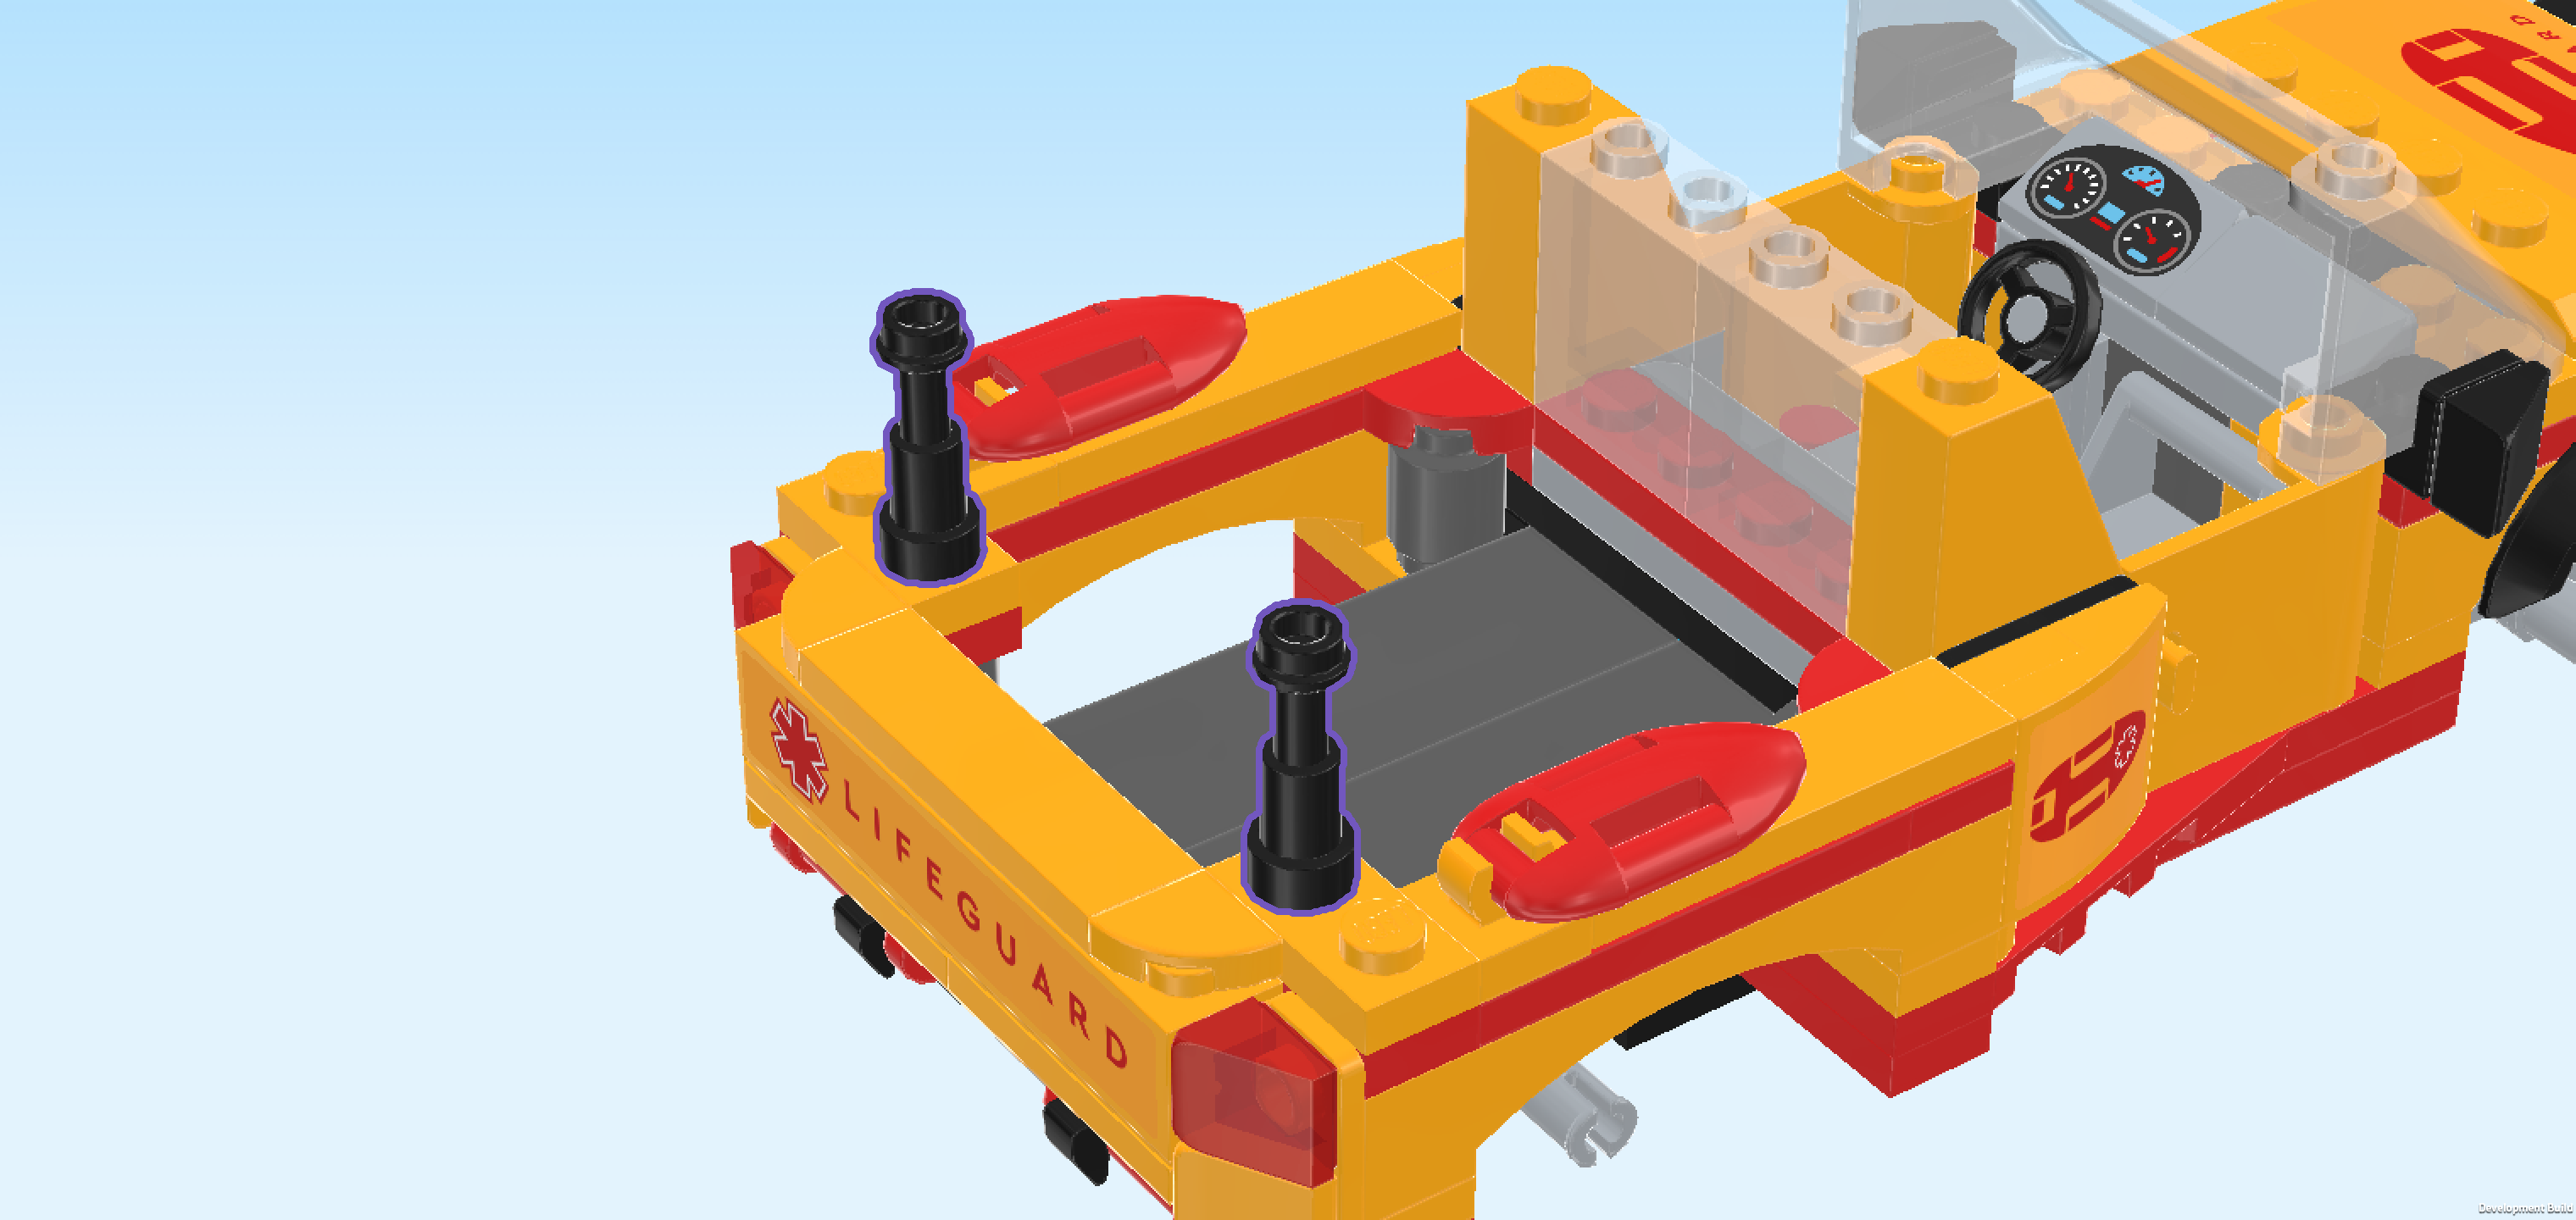
| Find 2 black Minifigure telescopes 1x1x1½ with knob. |
| Put the wide end of 1 telescope on the second knob from the back on the left edge of the vehicle. If done correctly, the singular knob behind this piece, located directly next to the buoy, remains empty for now. |
| Repeat symmetrically at the front. |
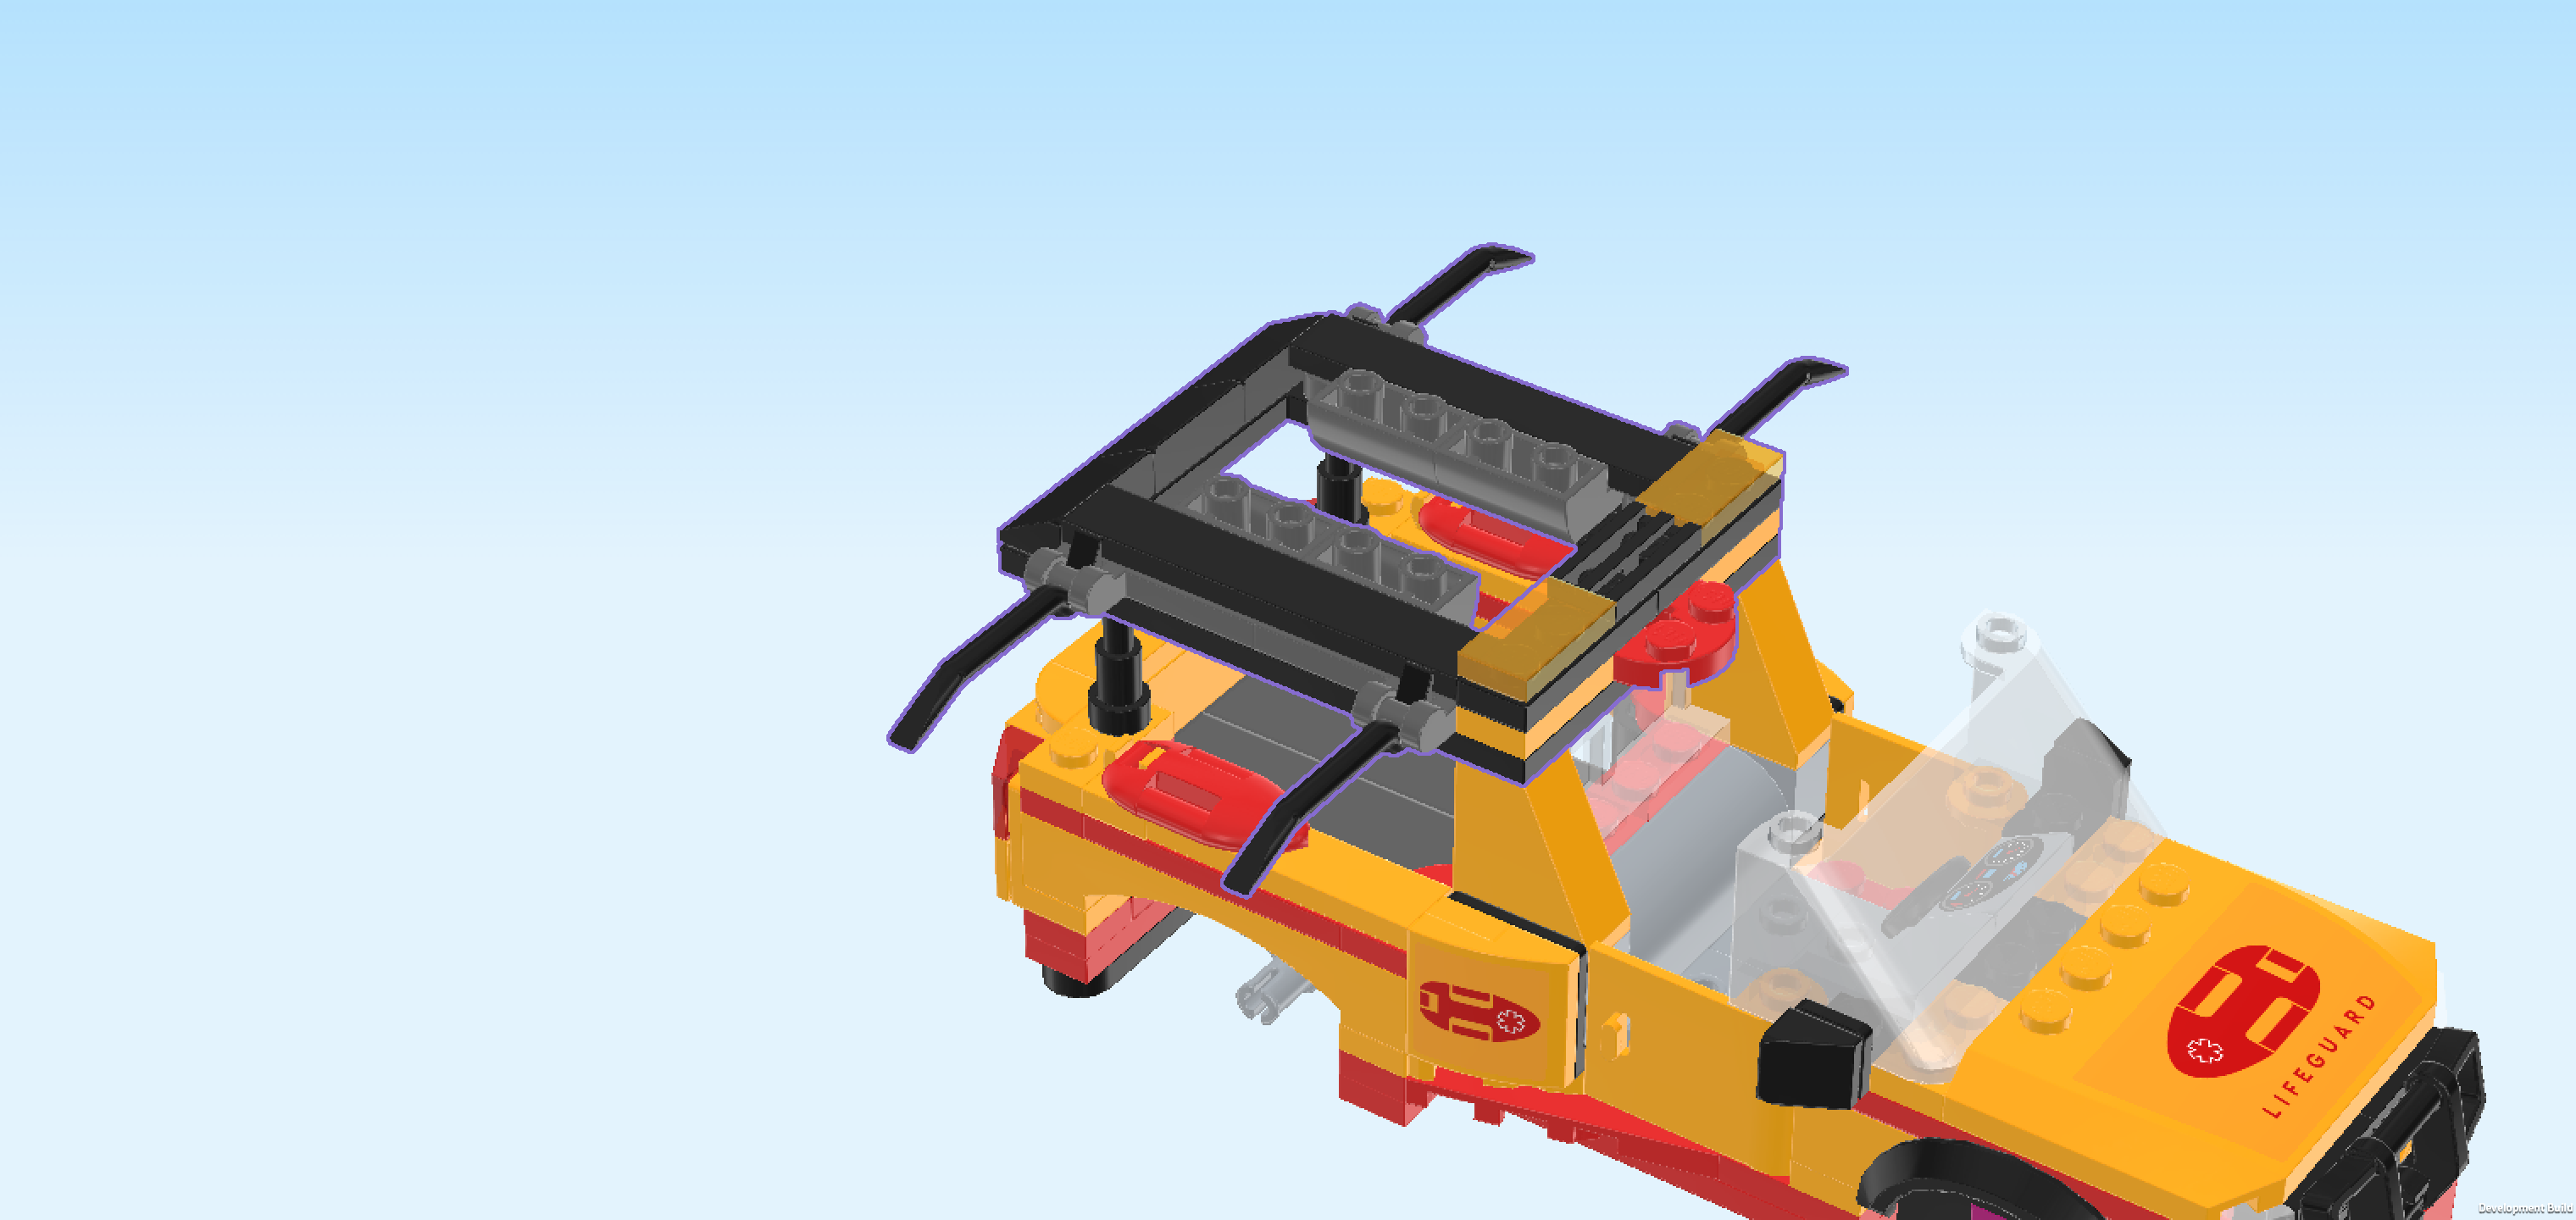
| Now, we will build the roof frame. |
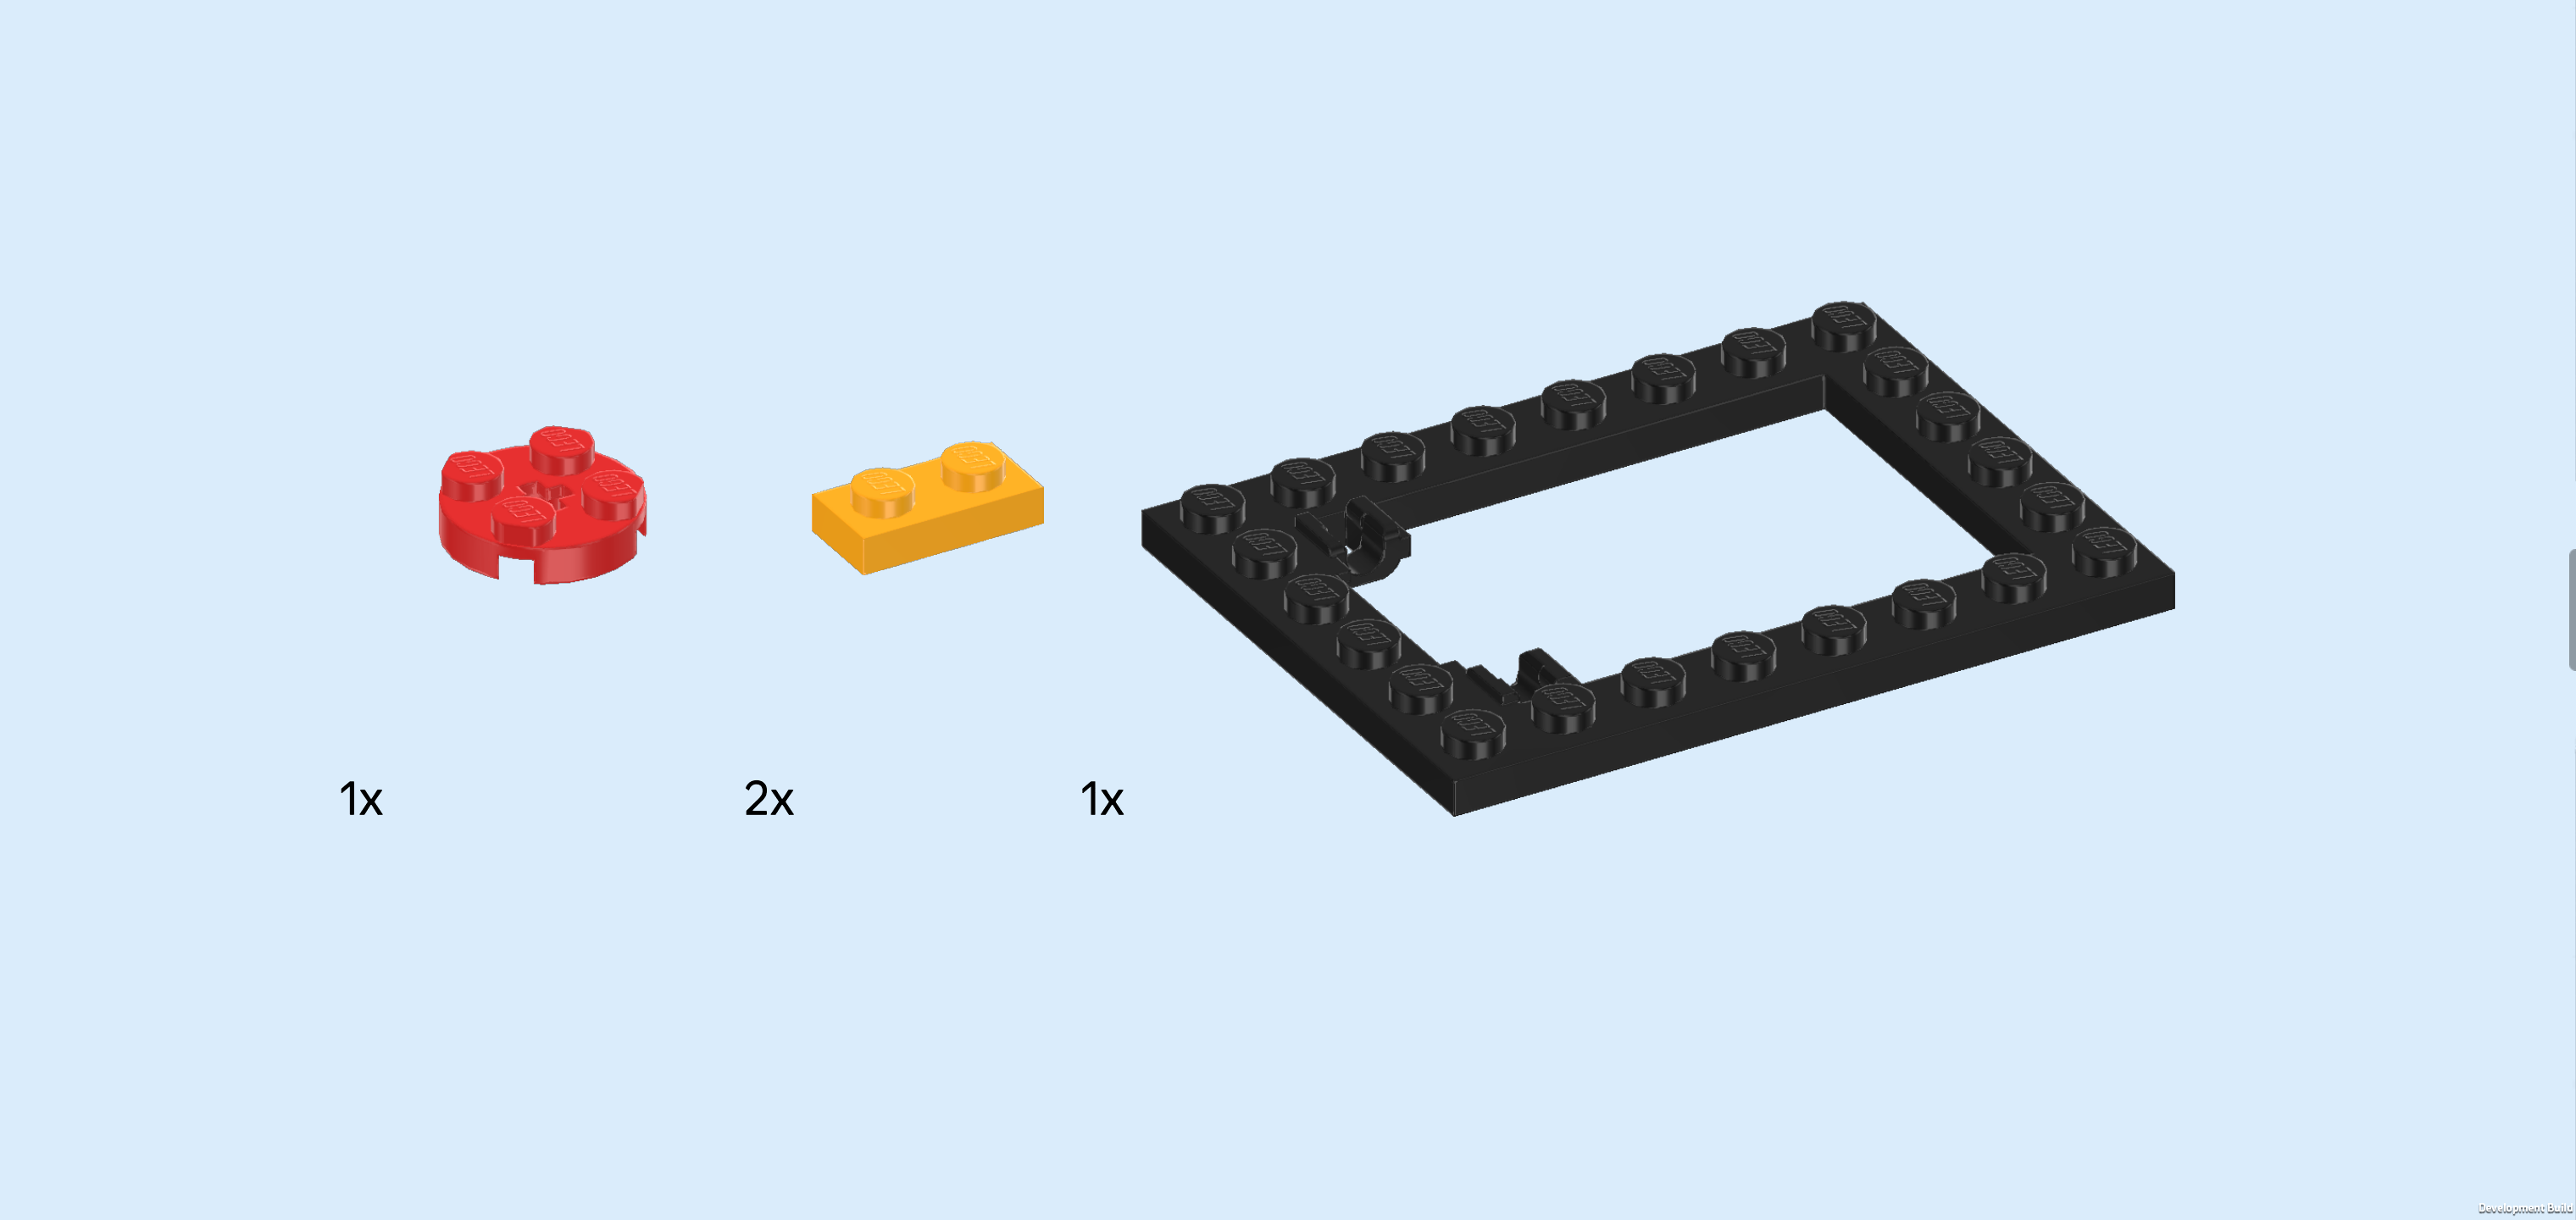
| Collect the following 4 pieces: |
| 1 bright red round plate 2x2, |
| 2 flame yellowish orange plates 1x2, |
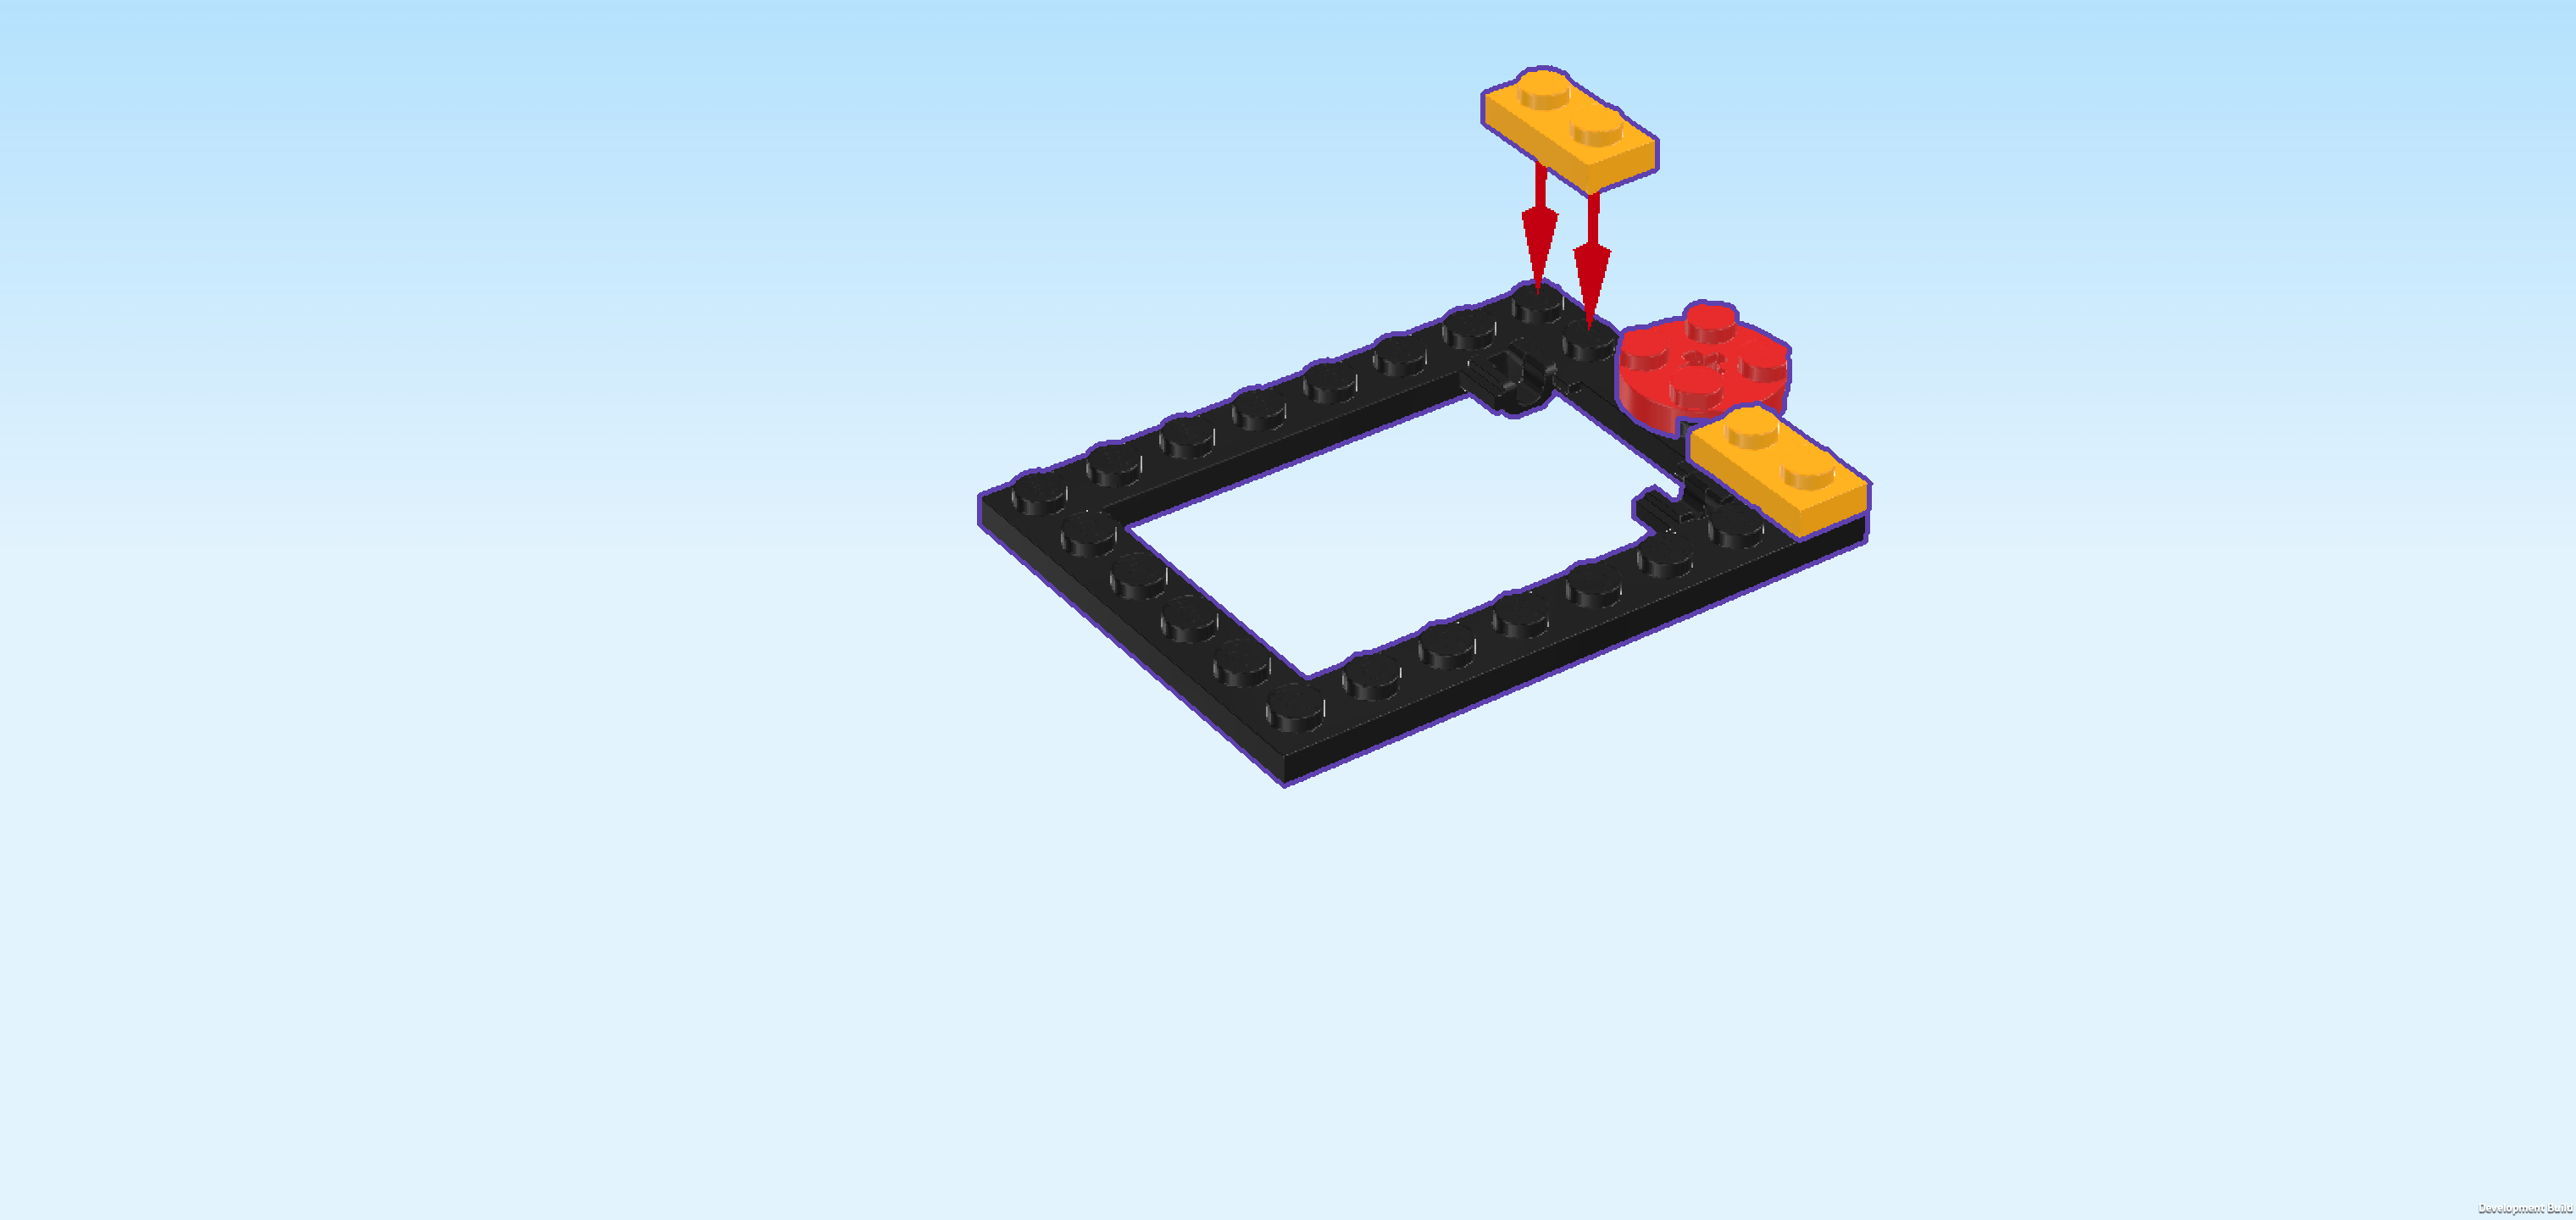
| and 1 black frame plate 6x8 with 2 shaft holders. |
| Put the frame plate 6x8 horizontally on the table, shaft holders on the right edge. |
| Put 1 plate 1x2 vertically on the rightmost column, starting from the back edge. |
| Put the round plate 2x2 in front of the previous piece, 1/2 overhanging to the right. |
| Put the other plate 1x2 vertically in front of the previous piece. |
| Next, we will assemble 2 roof bars. |
| Collect the following 4 pieces: |
| 2 dark stone grey round plates 1x1 with side shaft, |
| and 2 black Minifigure crowbars. |
| Hold 1 rounded plate 1x1 horizontally in front of you, shaft on the right. |
| Hold 1 crowbar horizontally in your other hand, hook on the left, making sure that the hook is bending to the top. Snap the hook from the bottom into the shaft of the round plate, crowbar extending towards the right. |
| Repeat with the 2 remaining pieces. |
| The 2 roof bars are finished! Mount 1 vertically on the front row of the frame plate directly to the left of the plate 1x2 that we have mounted last, crowbar overhanging to the front. |
| Repeat symmetrically at the back, crowbar overhanging to the back. |
| Find 4 dark stone grey inverted curve bricks 1x2 with protruding plate 1x2. |
| Put 1 to the left of the previous piece, curve brick part towards the front, side plate connecting to the back row. If done correctly, the curve brick part is located on the inside of the frame plate. |
| Put 1 to the left of the previous piece in the same orientation. |
| Repeat symmetrically at the front, making sure that the curve brick parts are on the inside of the frame plate again. |
| Now, we will build another 2 roof bars. |
| Collect the following 4 pieces: |
| 2 dark stone grey round plates 1x1 with side shaft, |
| and 2 black Minifigure crowbars. |
| Like before, hold the round plate horizontally in your hand, shaft to the right, and snap the hook of the crowbar from the bottom on the shaft, crowbar extending to the right. |
| Repeat with the 2 remaining pieces. |
| Mount 1 roof bar vertically on the frontmost row directly to the left of the curve brick side plates, crowbar overhanging to the front. |
| Repeat symmetrically at the back. |
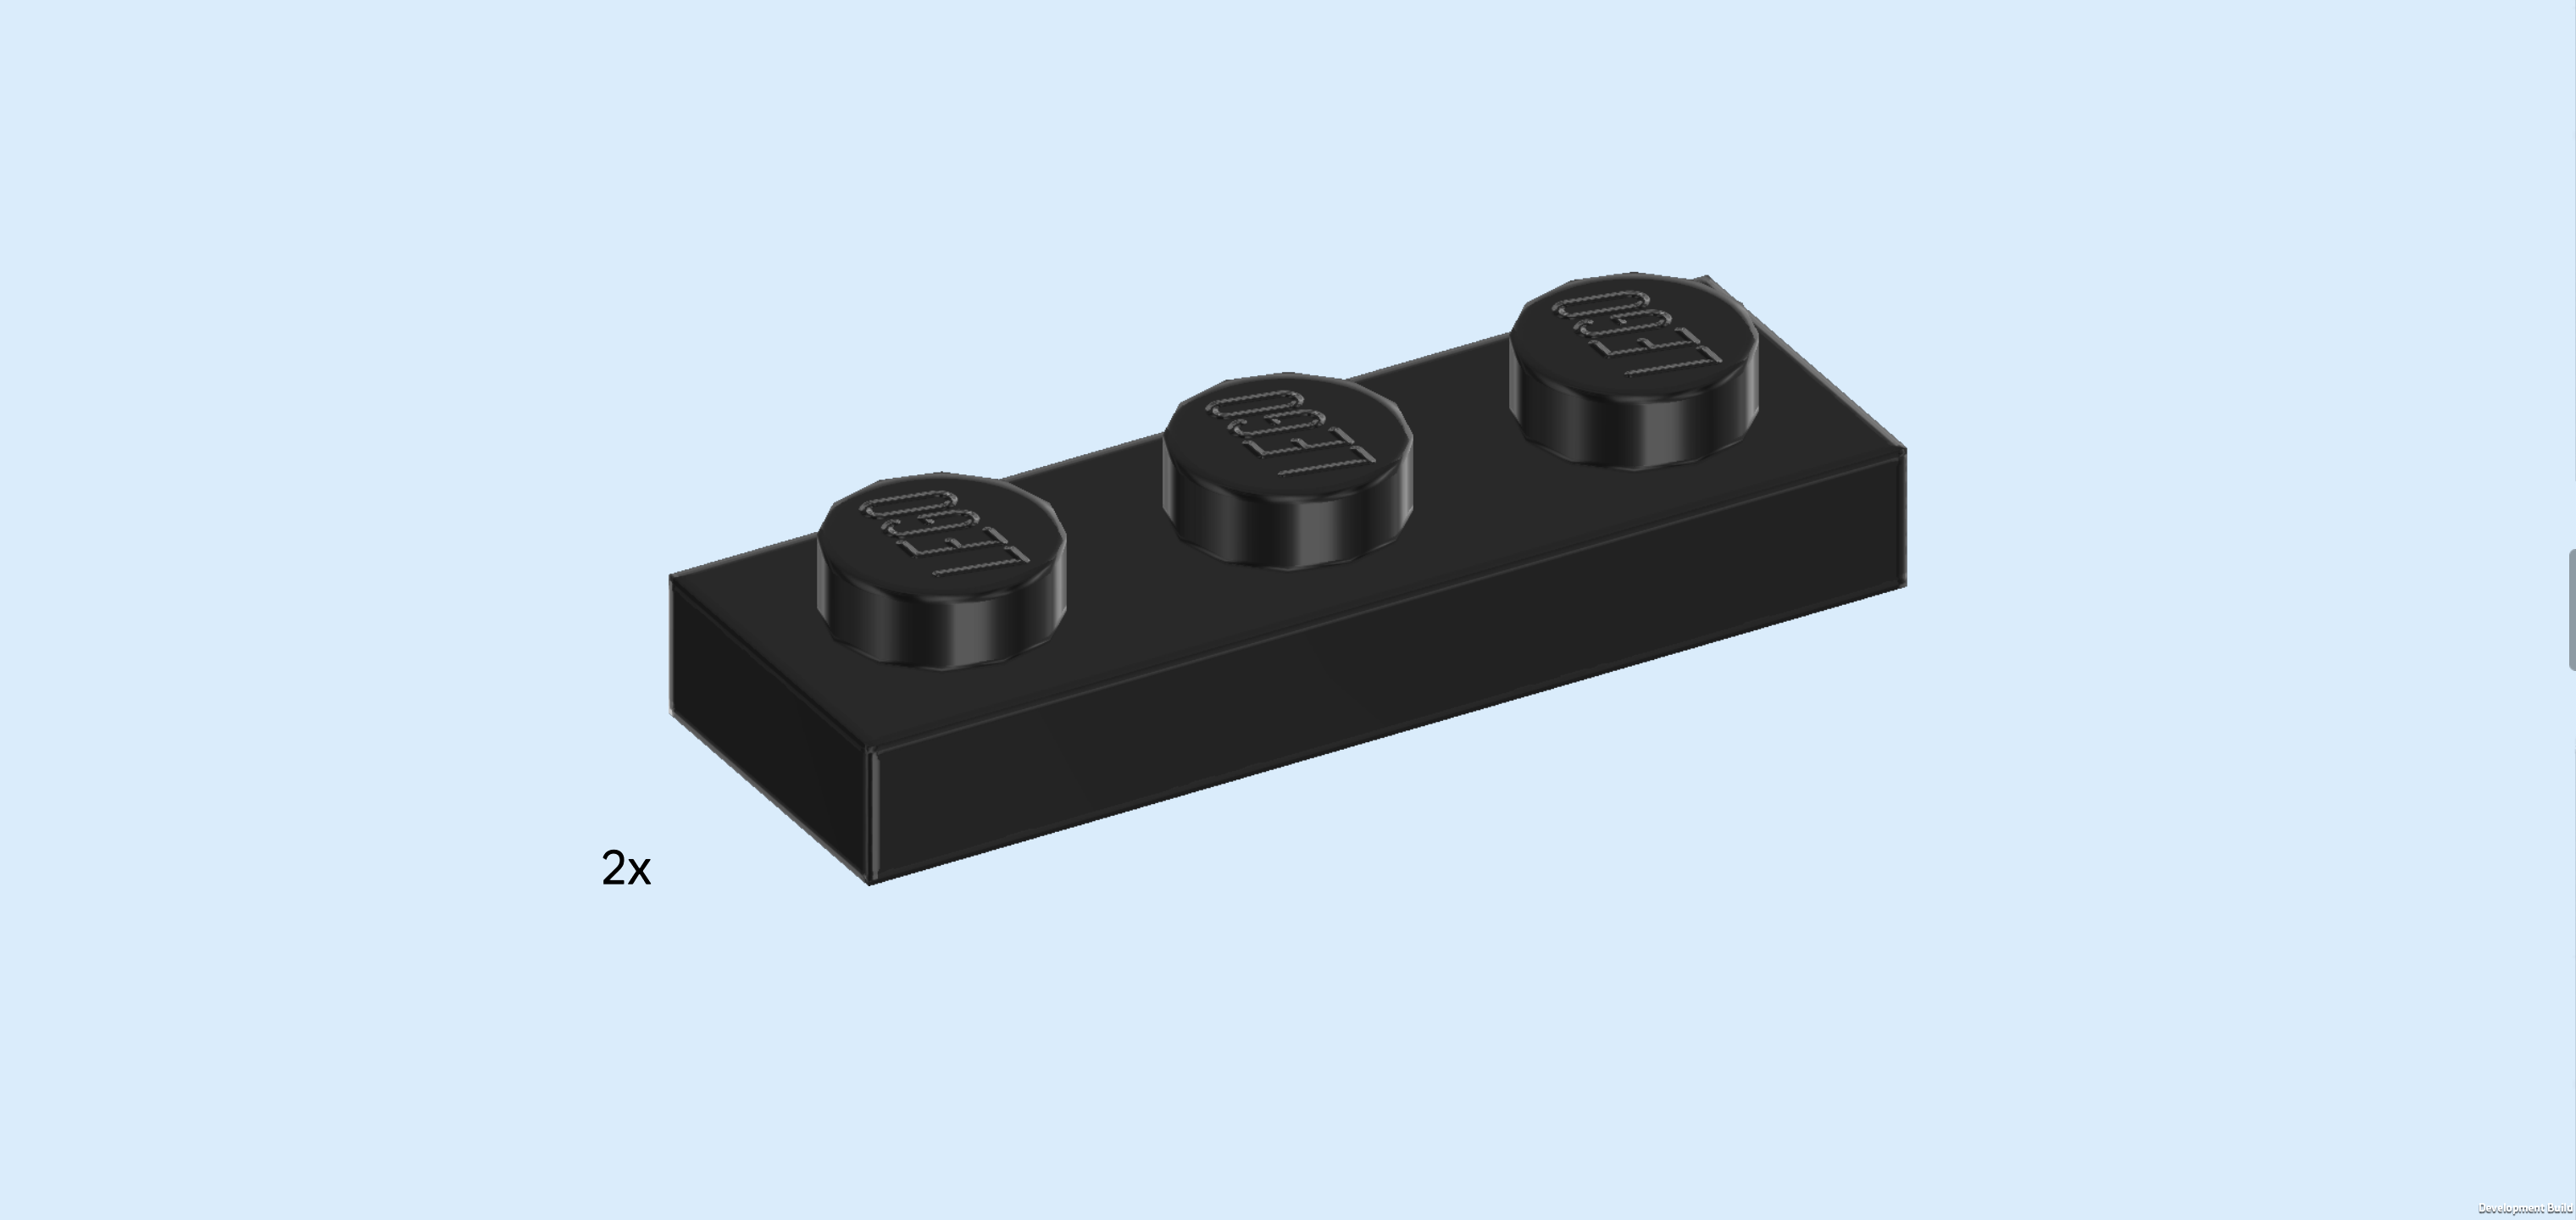
| Find 2 black plates 1x3. |
| Put them vertically next to each other on the rightmost column of the roof structure to fully cover that column. |
| Find 2 black flat tiles 1x6. |
| Put 1 horizontally to the left of the previous pieces on the frontmost row. |
| Repeat symmetrically at the back. |
| Find 3 black smooth roof tiles 1x2x⅔. |
| We will use them to cover the leftmost column: put 1 vertically on the leftmost column, starting from the back, slope to the left. |
| Put 1 vertically in front of the previous piece, slope to the left. |
| Put the last one vertically in front of the previous piece, slope to the left. |
| Collect the following 3 pieces: |
| 2 transparent bright orange flat tiles 1x2, |
| and 1 black grille tile 1x2. |
| Put 1 flat tile 1x2 vertically on the rightmost column, starting from the back. |
| Put the grille tile 1x2 vertically in front of the previous piece. |
| Put the other flat tile 1x2 vertically in front of the previous piece. |
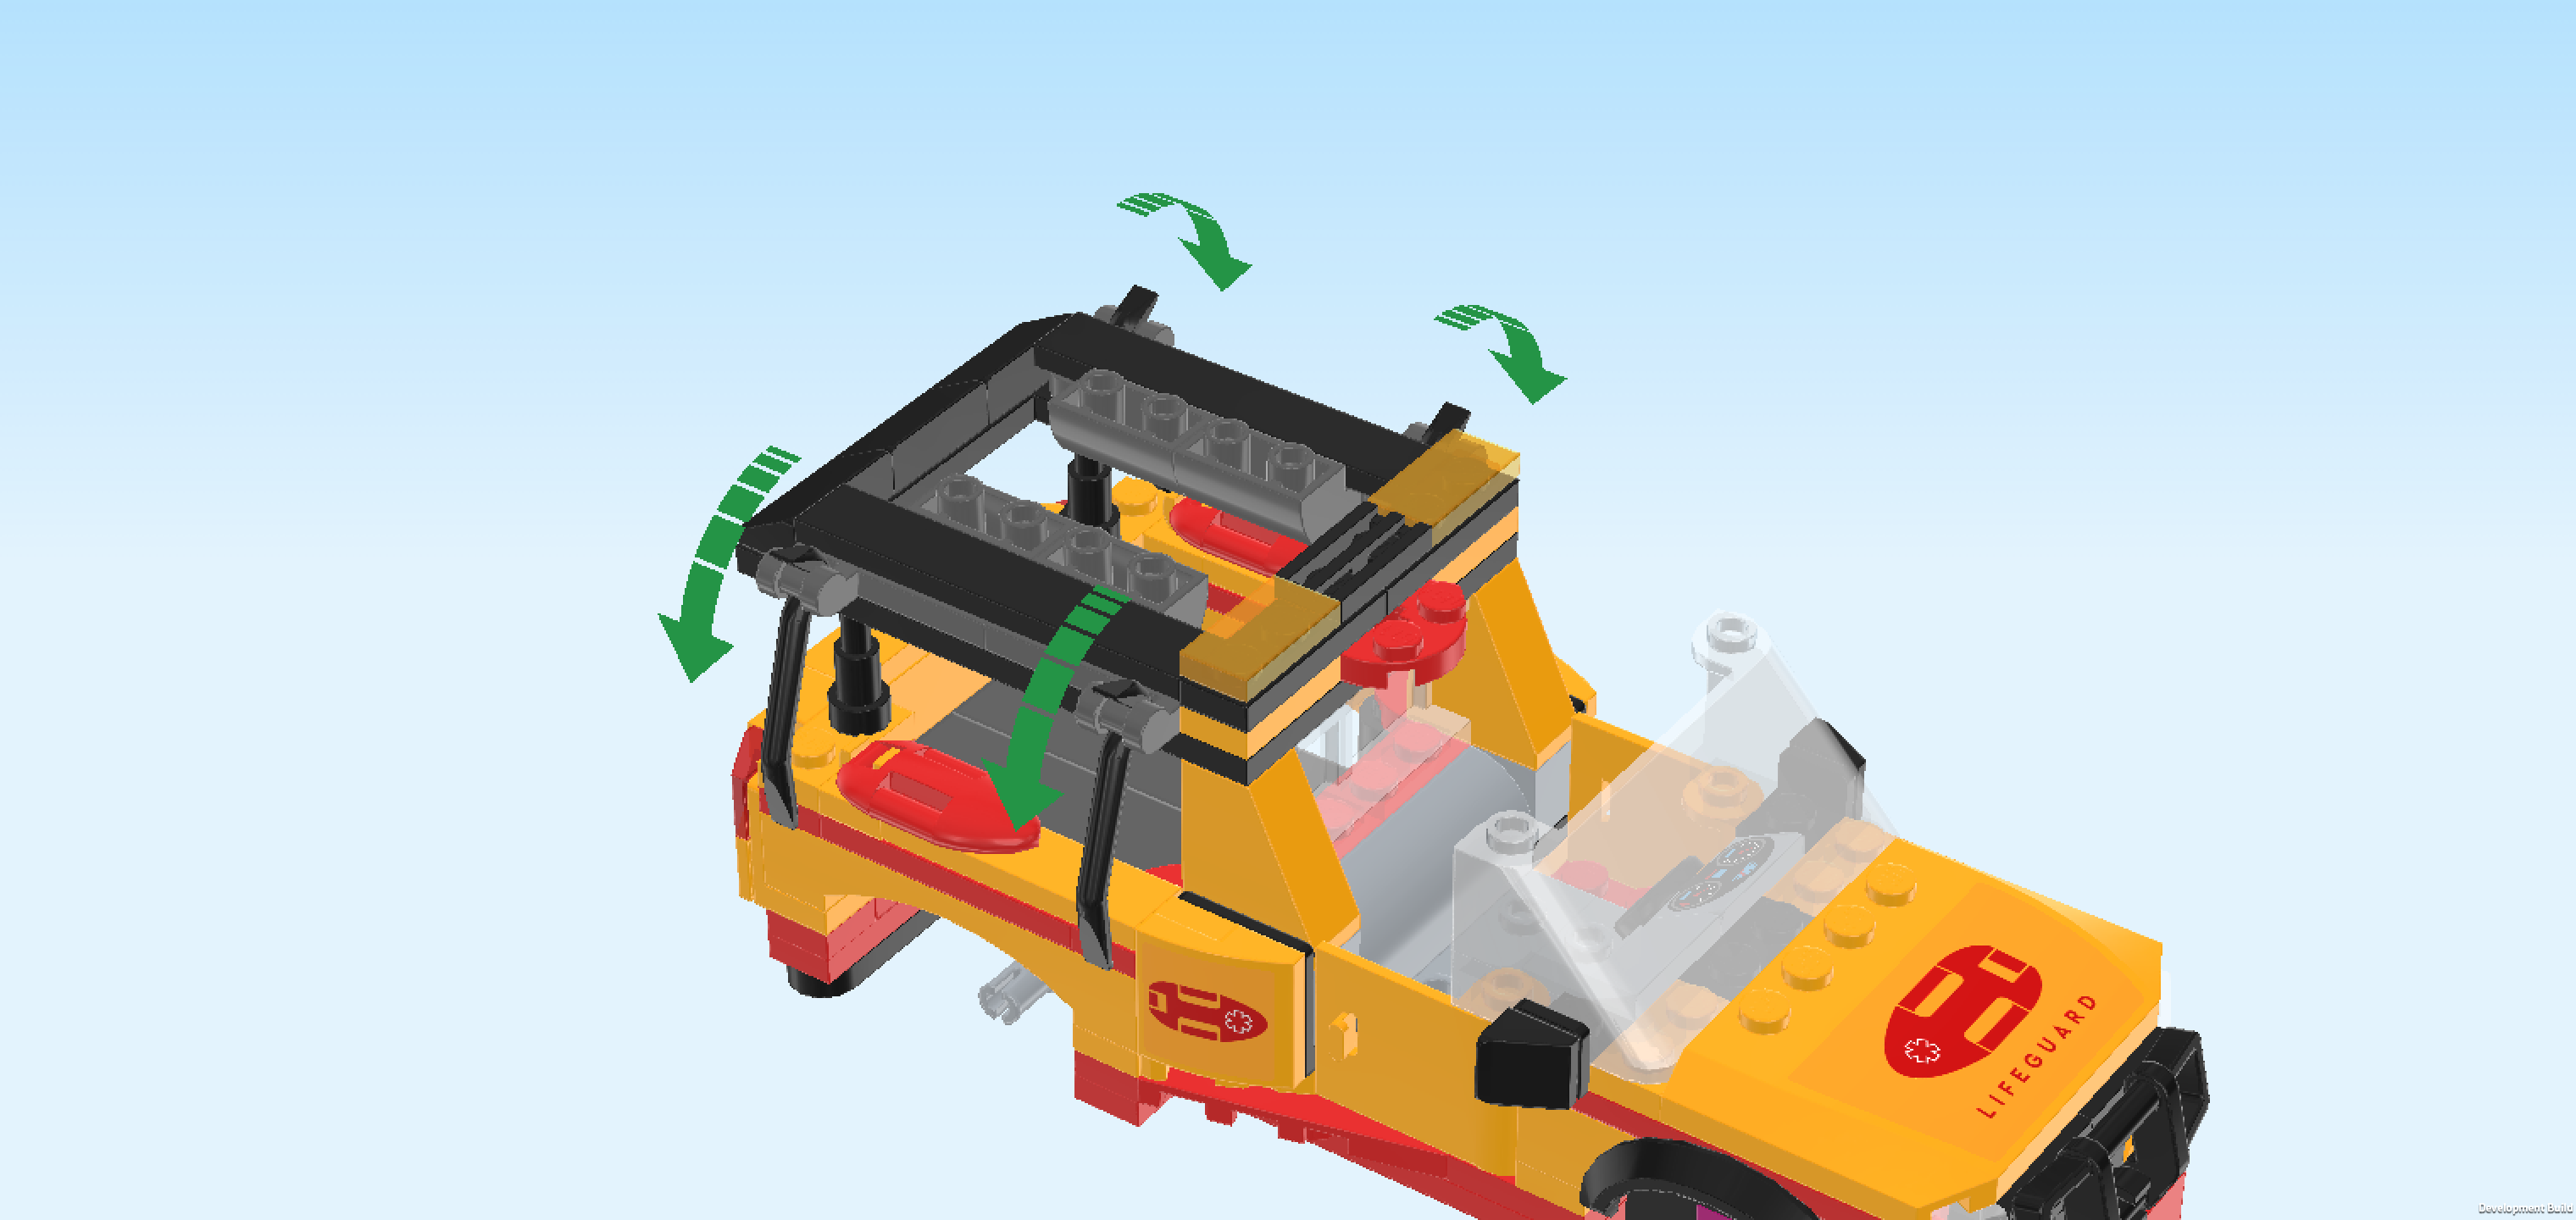
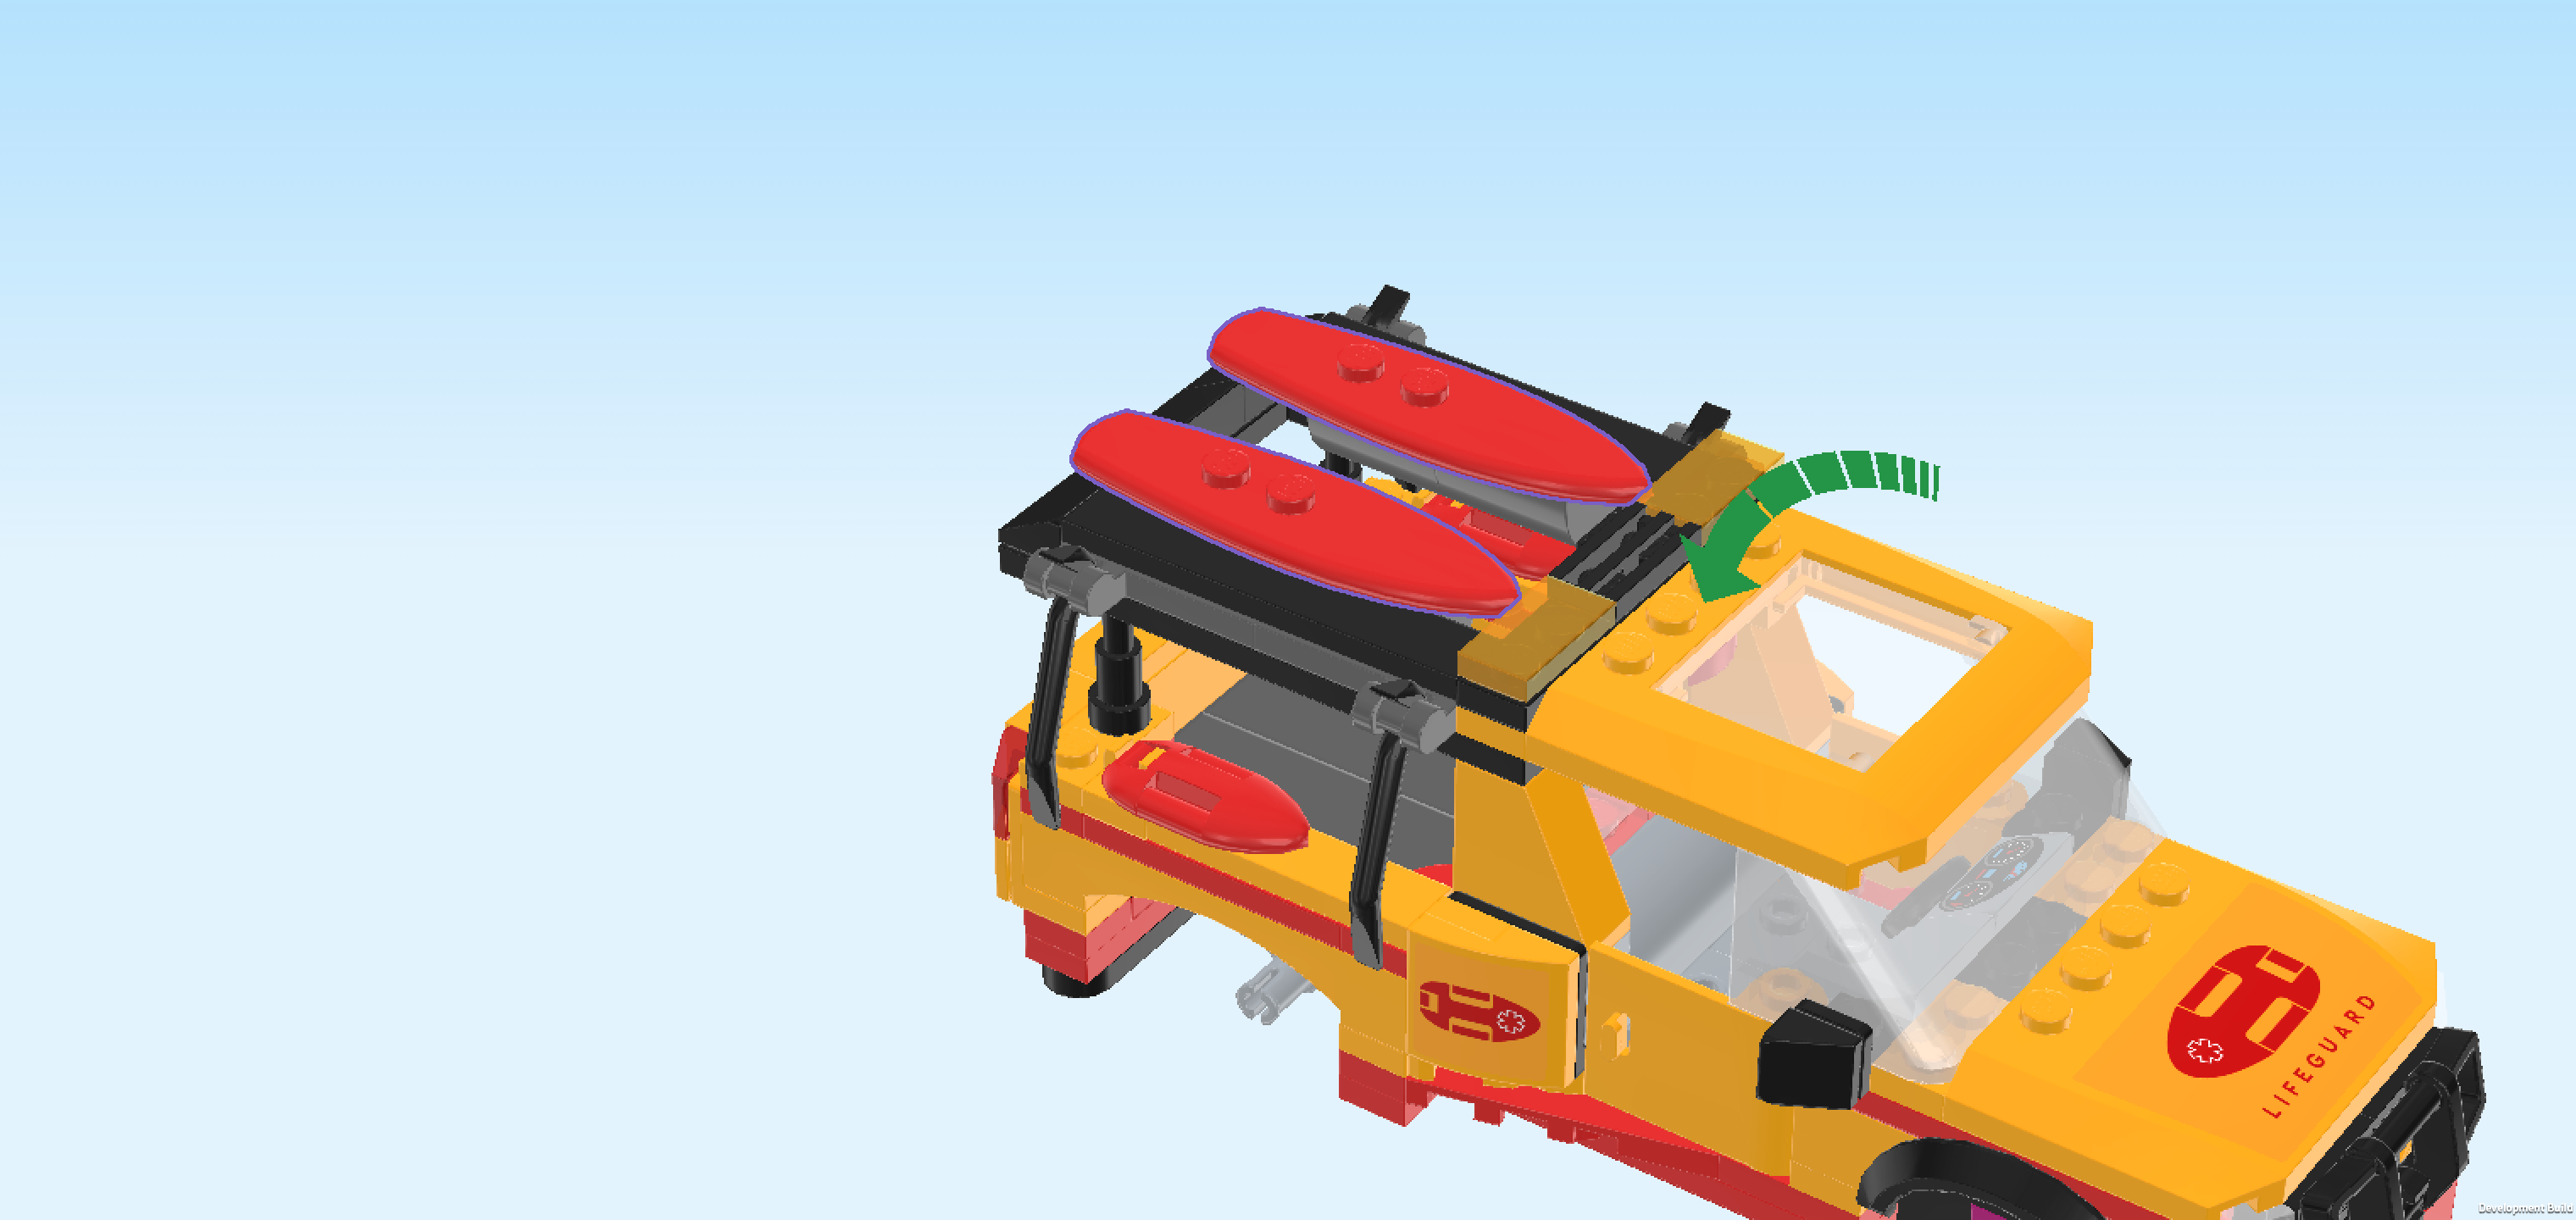
| The roof frame is finished! Great job! Before you mount it, make sure the vehicle is oriented horizontally with the front hood and grille pointing to the right. Then, mount the roof frame in its building orientation on the left half of the vehicle. The 4 connection points are the 2 roof tiles 1x2x2 on the right edge and the 2 telescope pieces on the left. Make sure that the roof frame is flush with the structure on the right edge. Only its round plate 2x2 is sticking out. The roof frame's left edge will protrude to the left with 1 column. |
| Once the roof frame is securely attached, fold all 4 roof bars down until they touch the vehicle body. |
| Collect the following 2 pieces: |
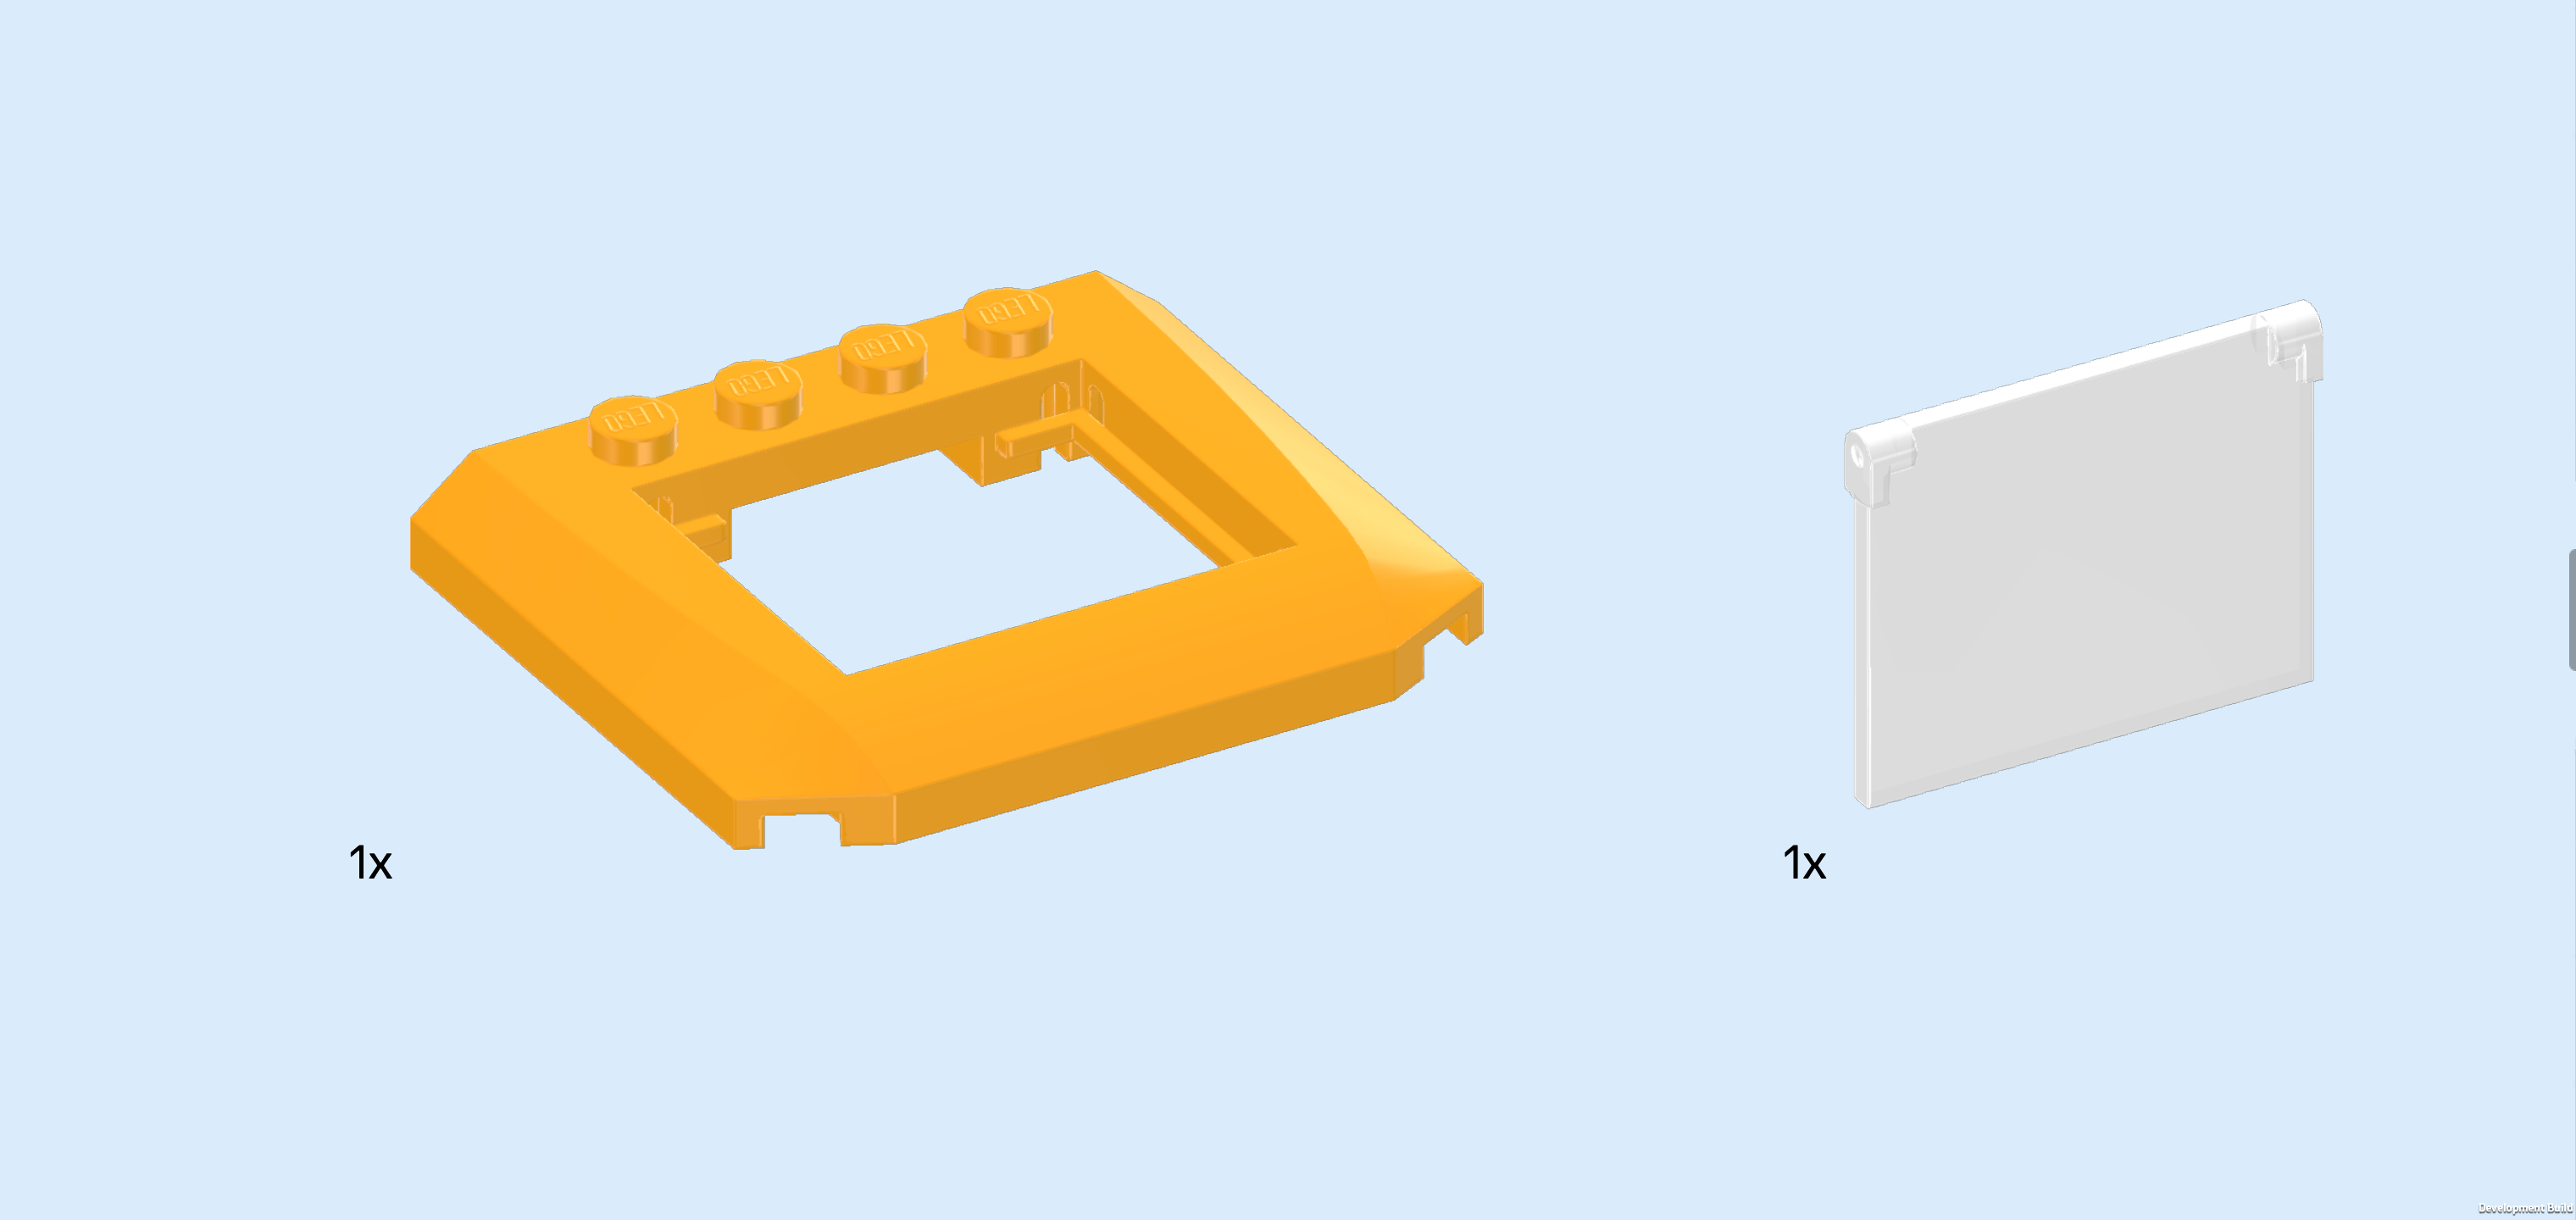
| 1 flame yellowish orange car sunroof 5x6x⅔ with window, |
| and 1 transparent glass 1x4x3 for window frame. |
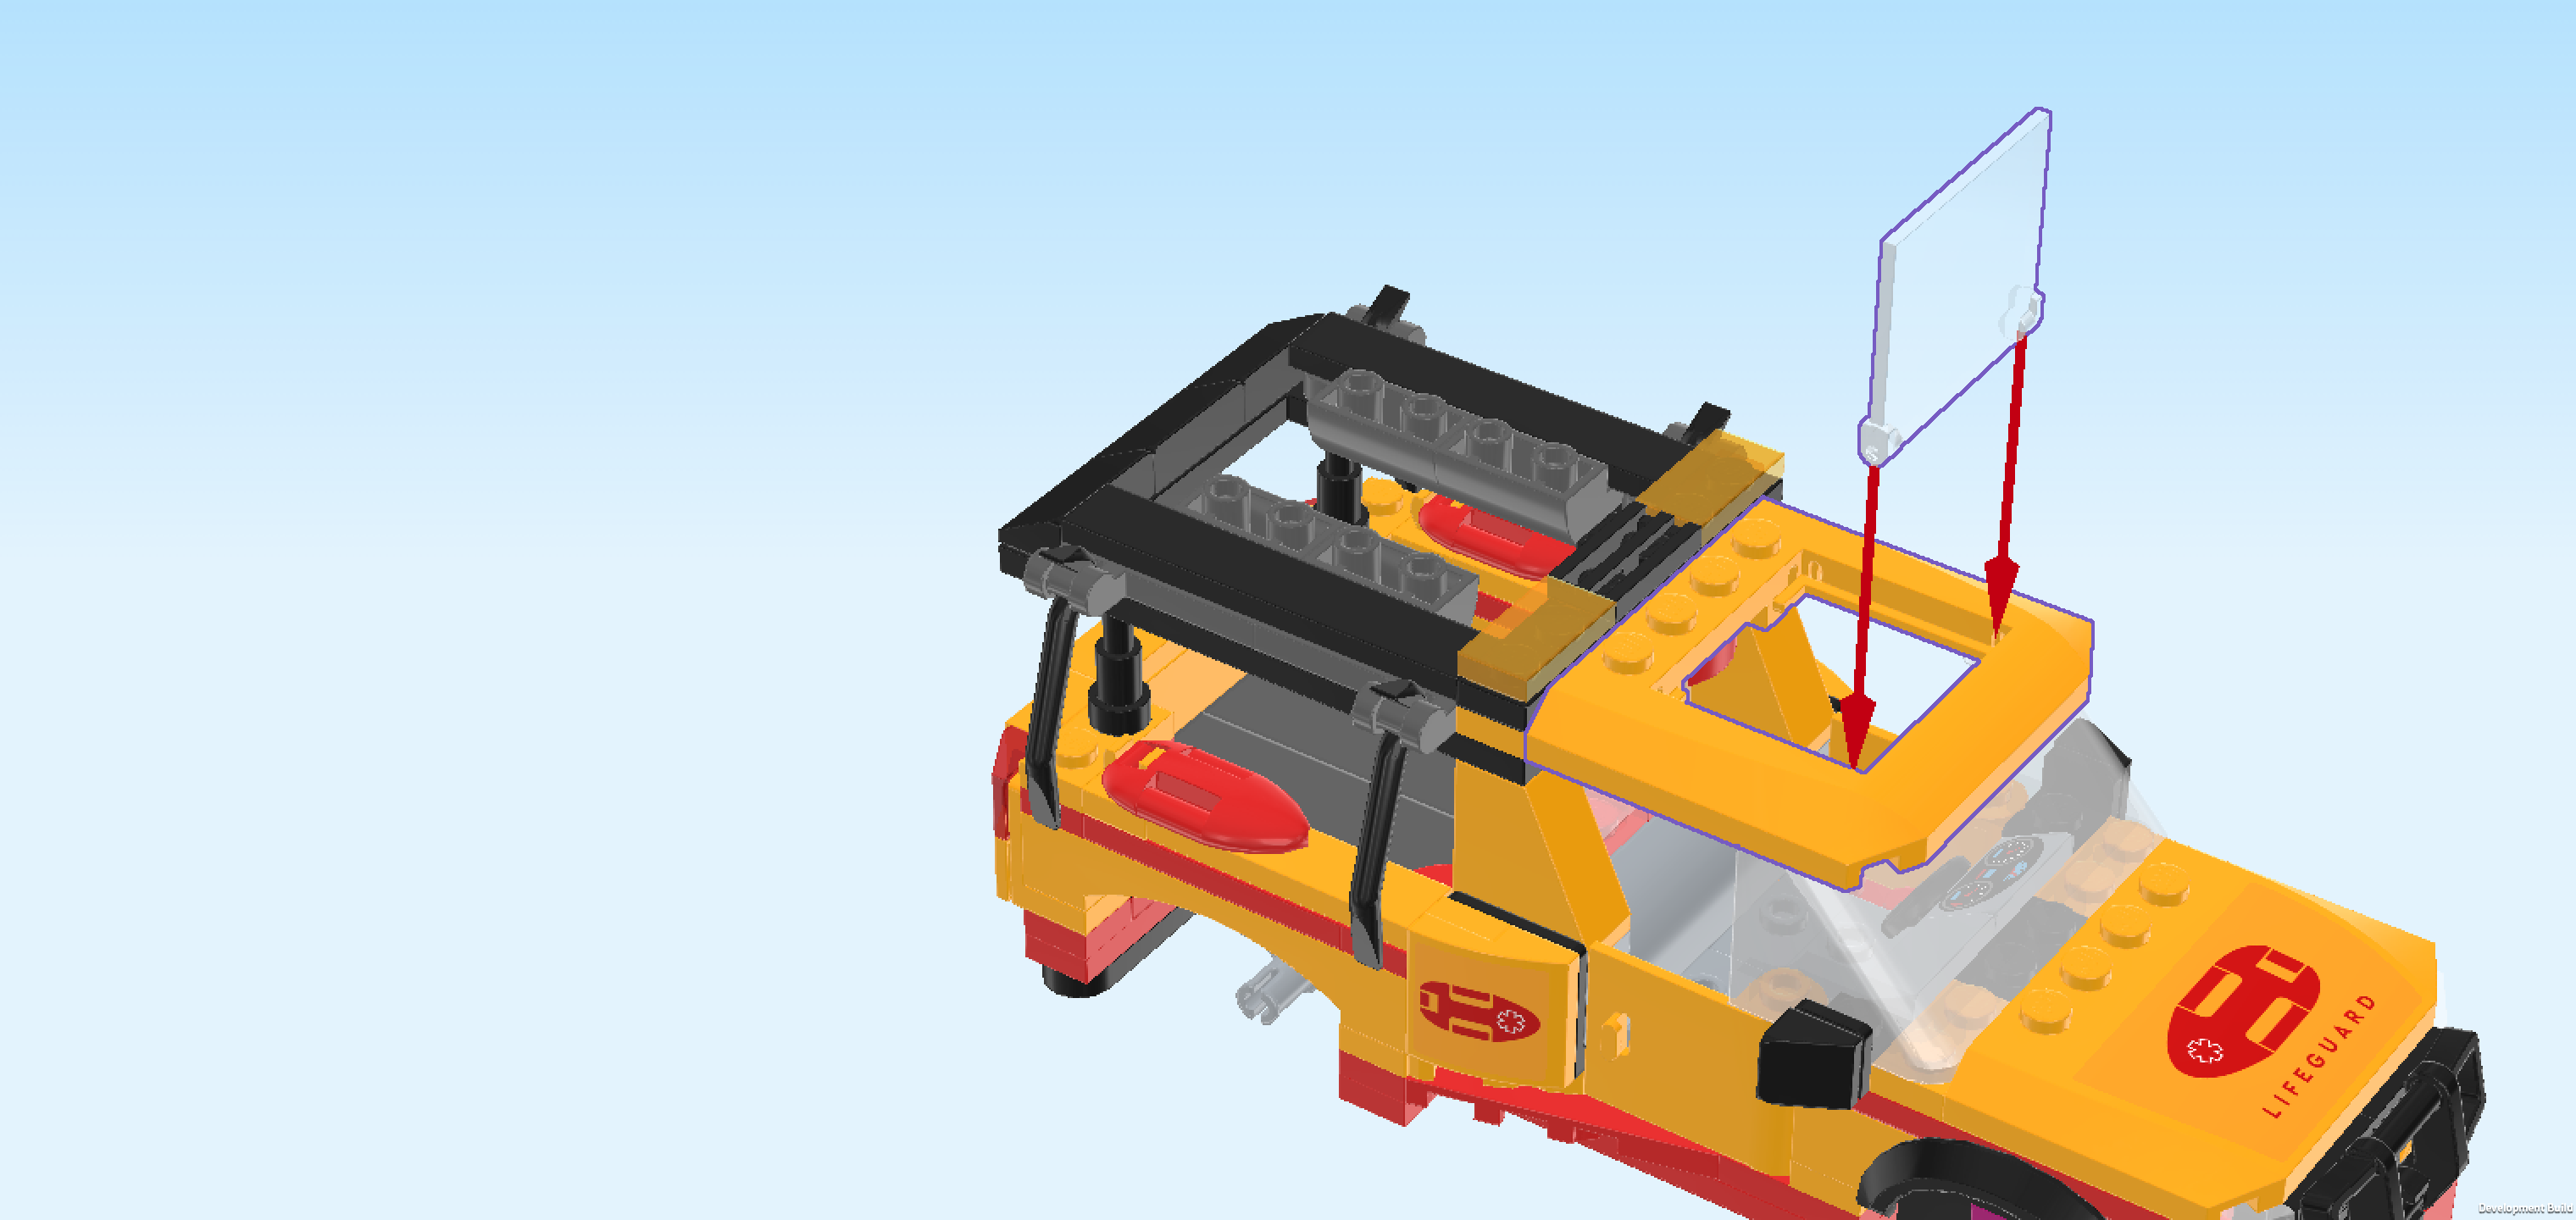
| Put the car sunroof on top of the driver's cabin, its 4 knobs forming a column on the left edge. Its left edge will only connect to the protruding round tile 2x2, its right edge will sit on the windshield. |
| Snap the glass into the sunroof window, using the little nubs on one of its long edges that fit perfectly into corresponding grooves in the window frame. |
| You can fold the sunroof window up or down as needed. |
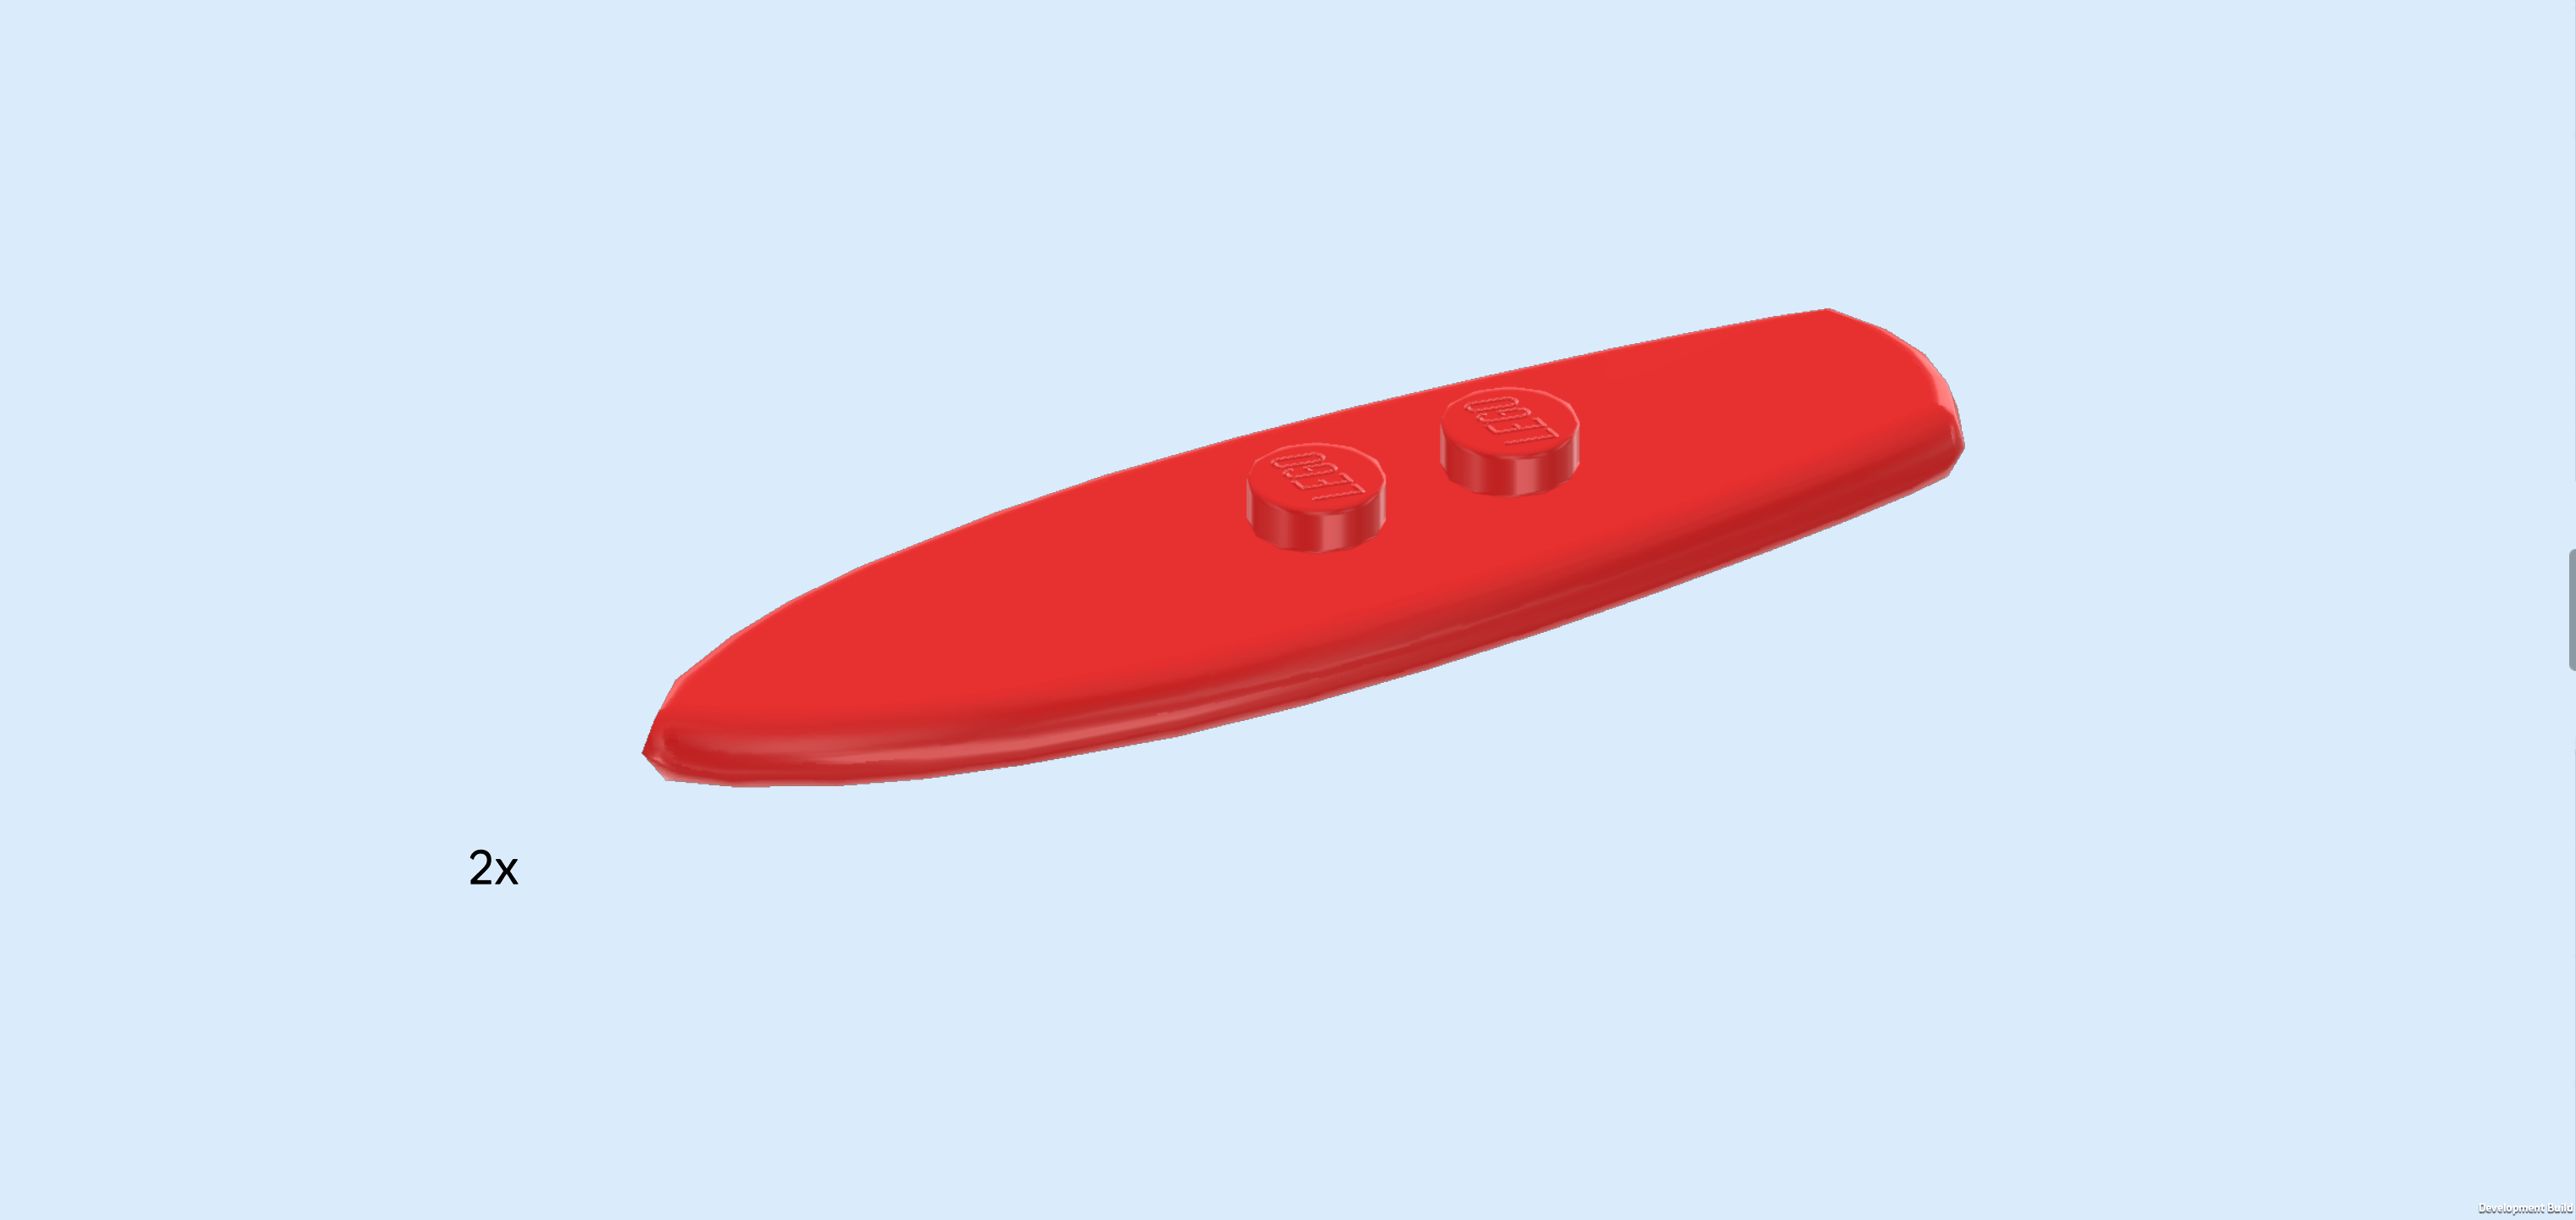
| Find 2 bright red surfboards with 2 knobs. |
| Put 1 horizontally centered on the back row of the inverted curve bricks on the left half of the vehicle, pointy end pointing to the right. |
| Repeat symmetrically at the front. |
| Next, we will build the utility box. |
| Collect the following 2 pieces: |
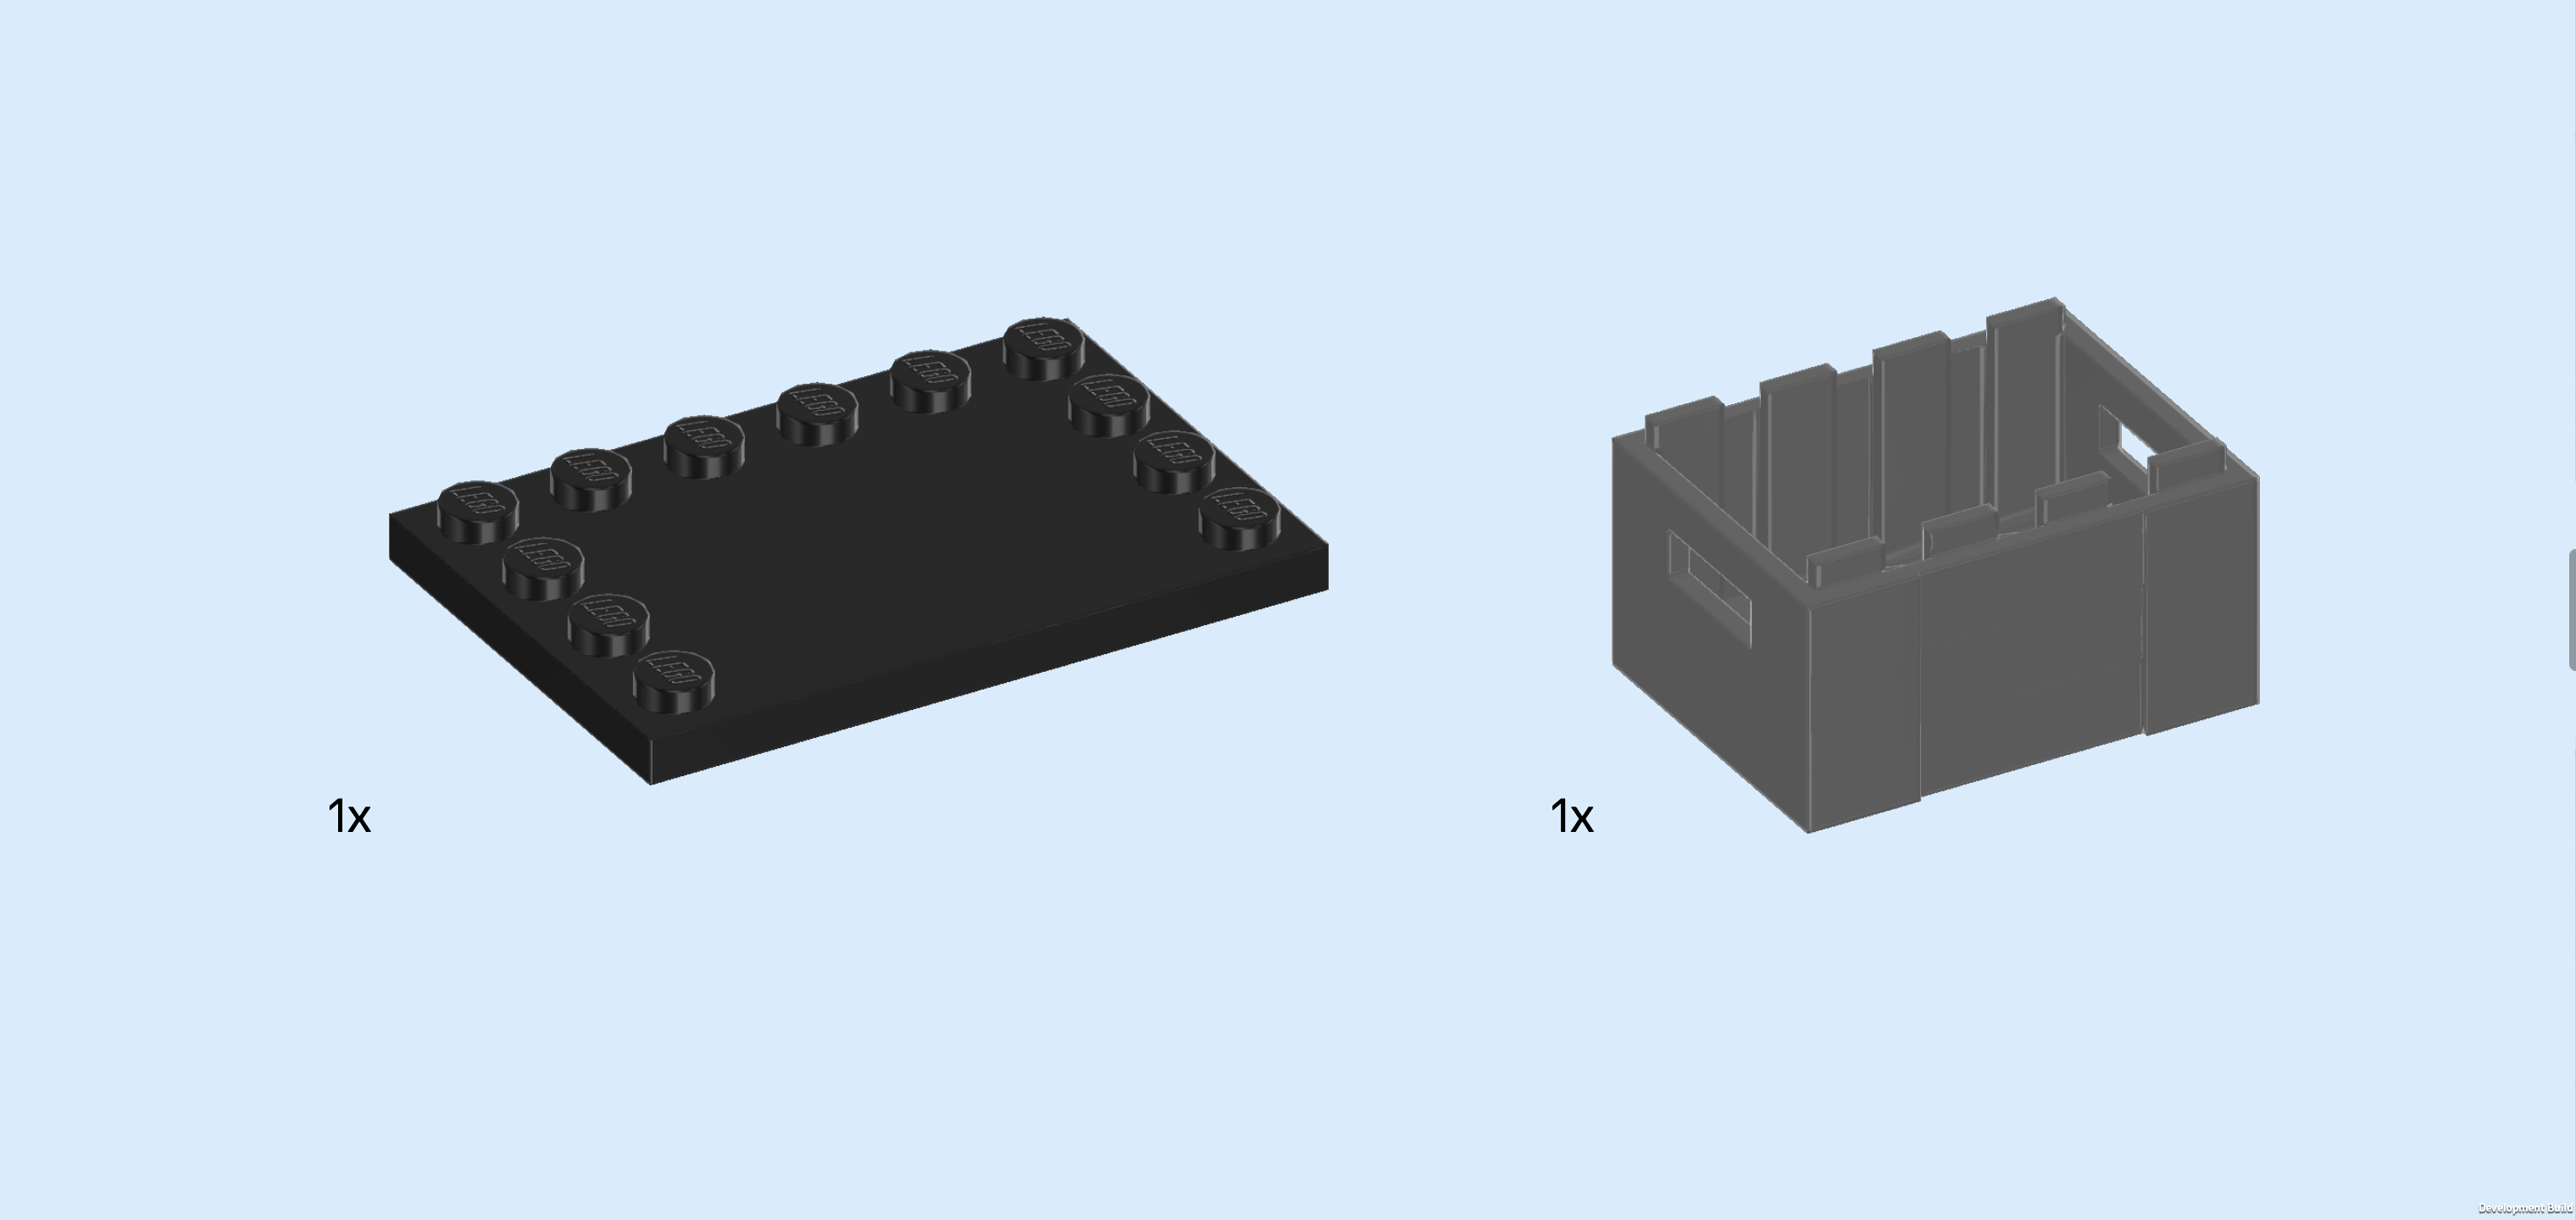
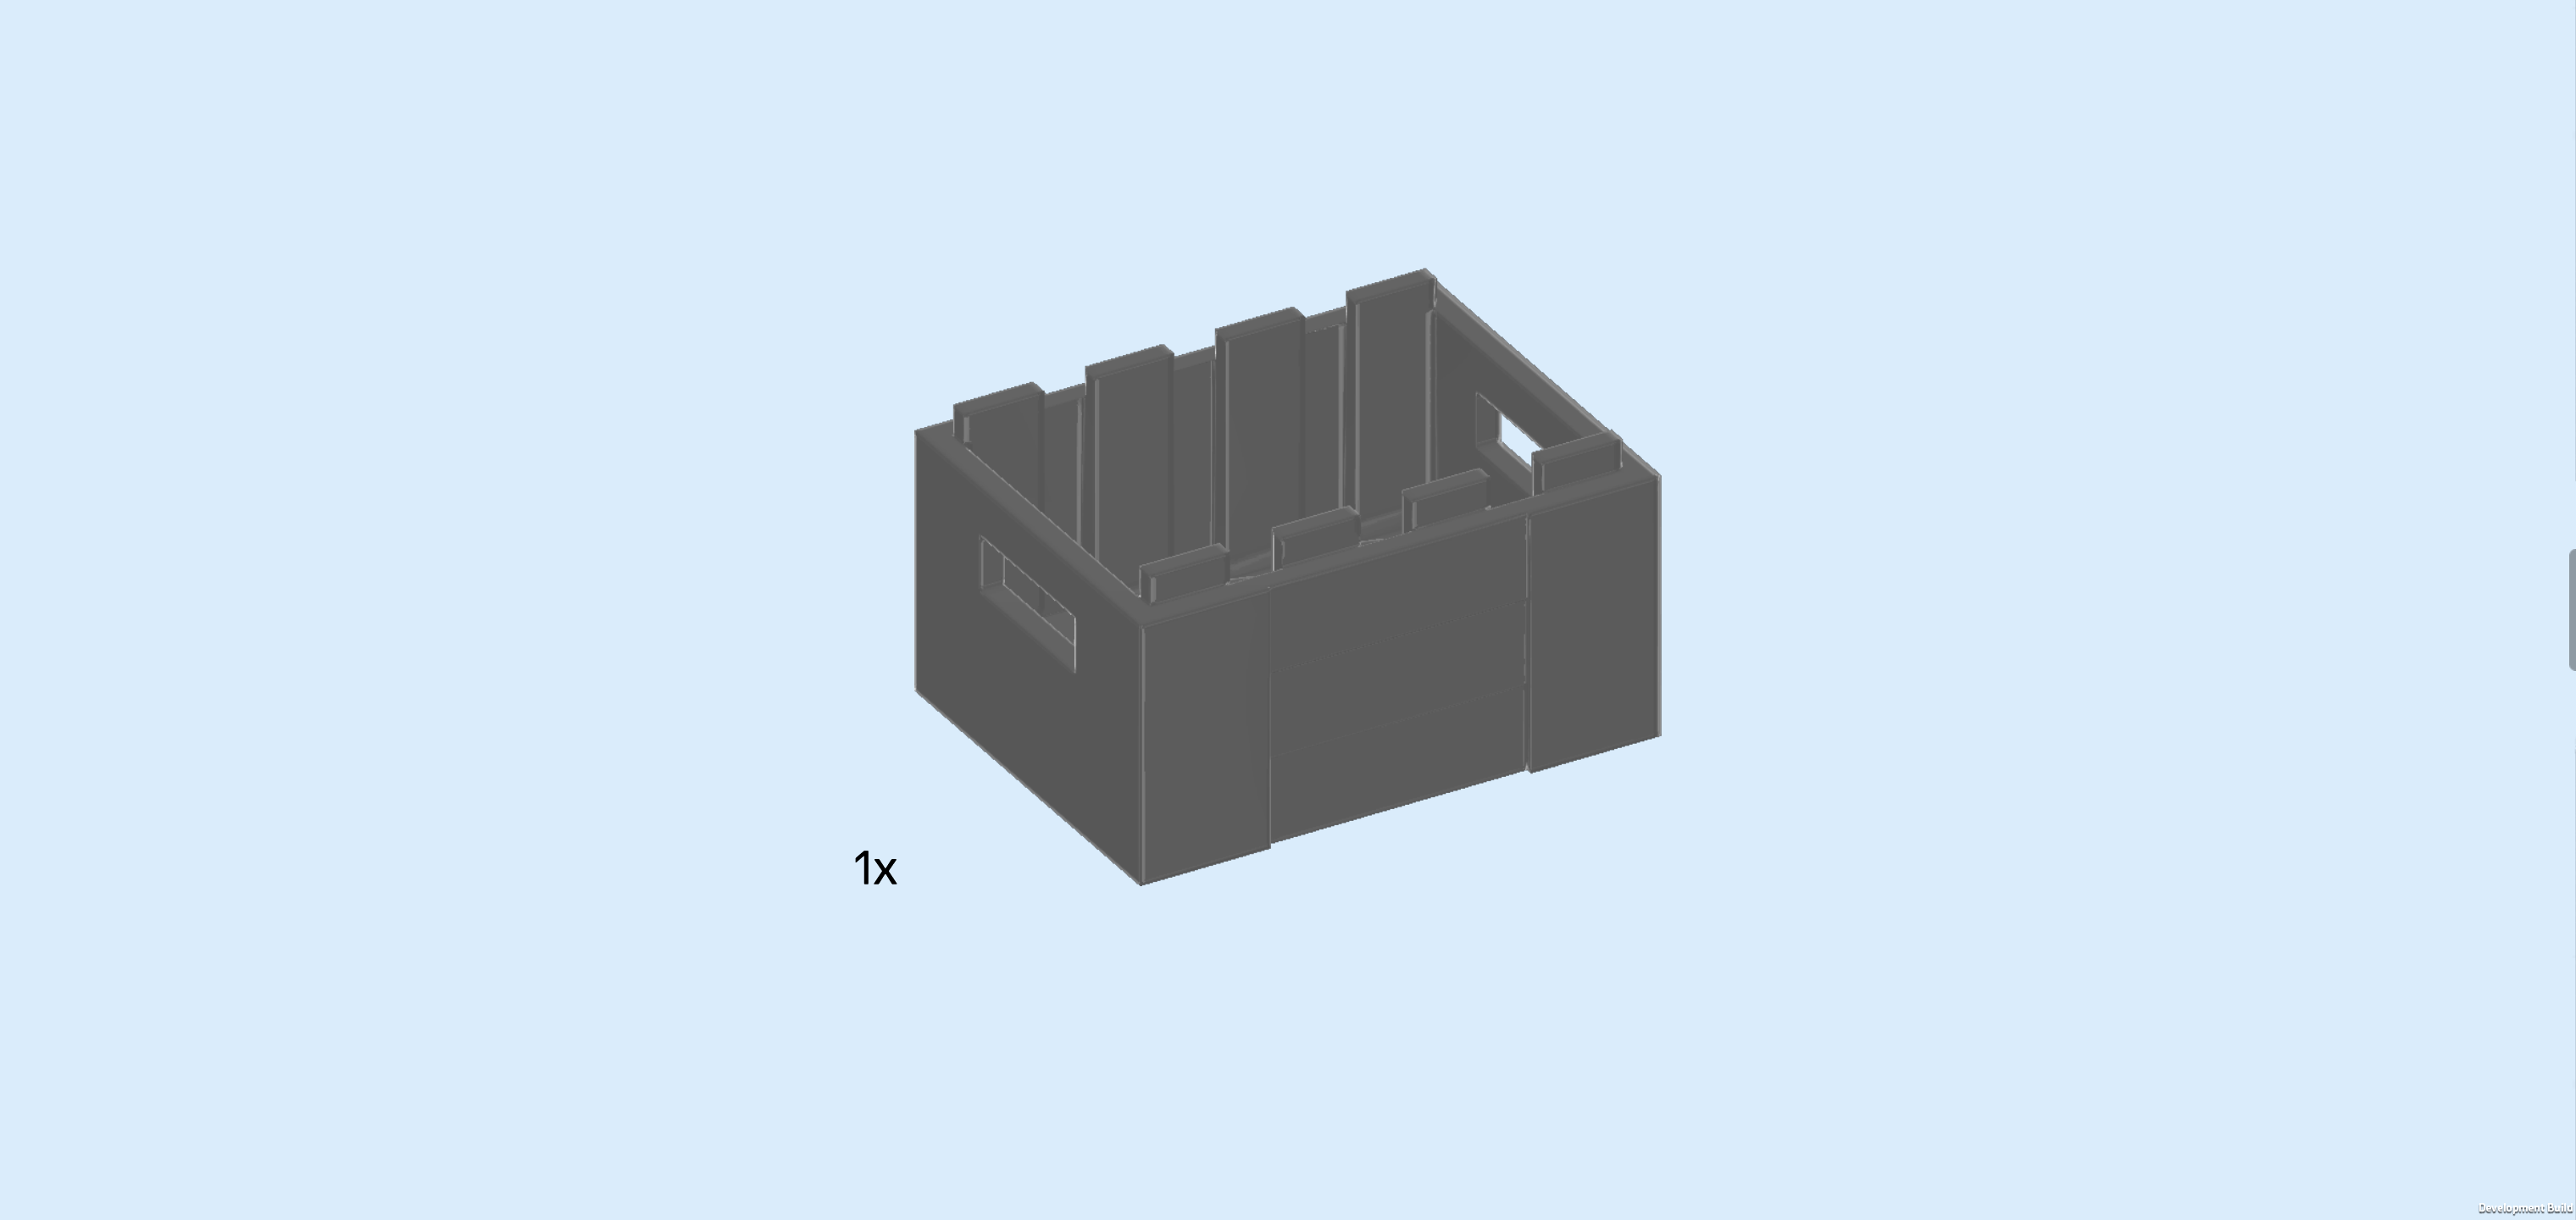
| 1 black plate 4x6 with 12 knobs on 3 edges, |
| and 1 dark stone grey crate 3x4 with handholds. |
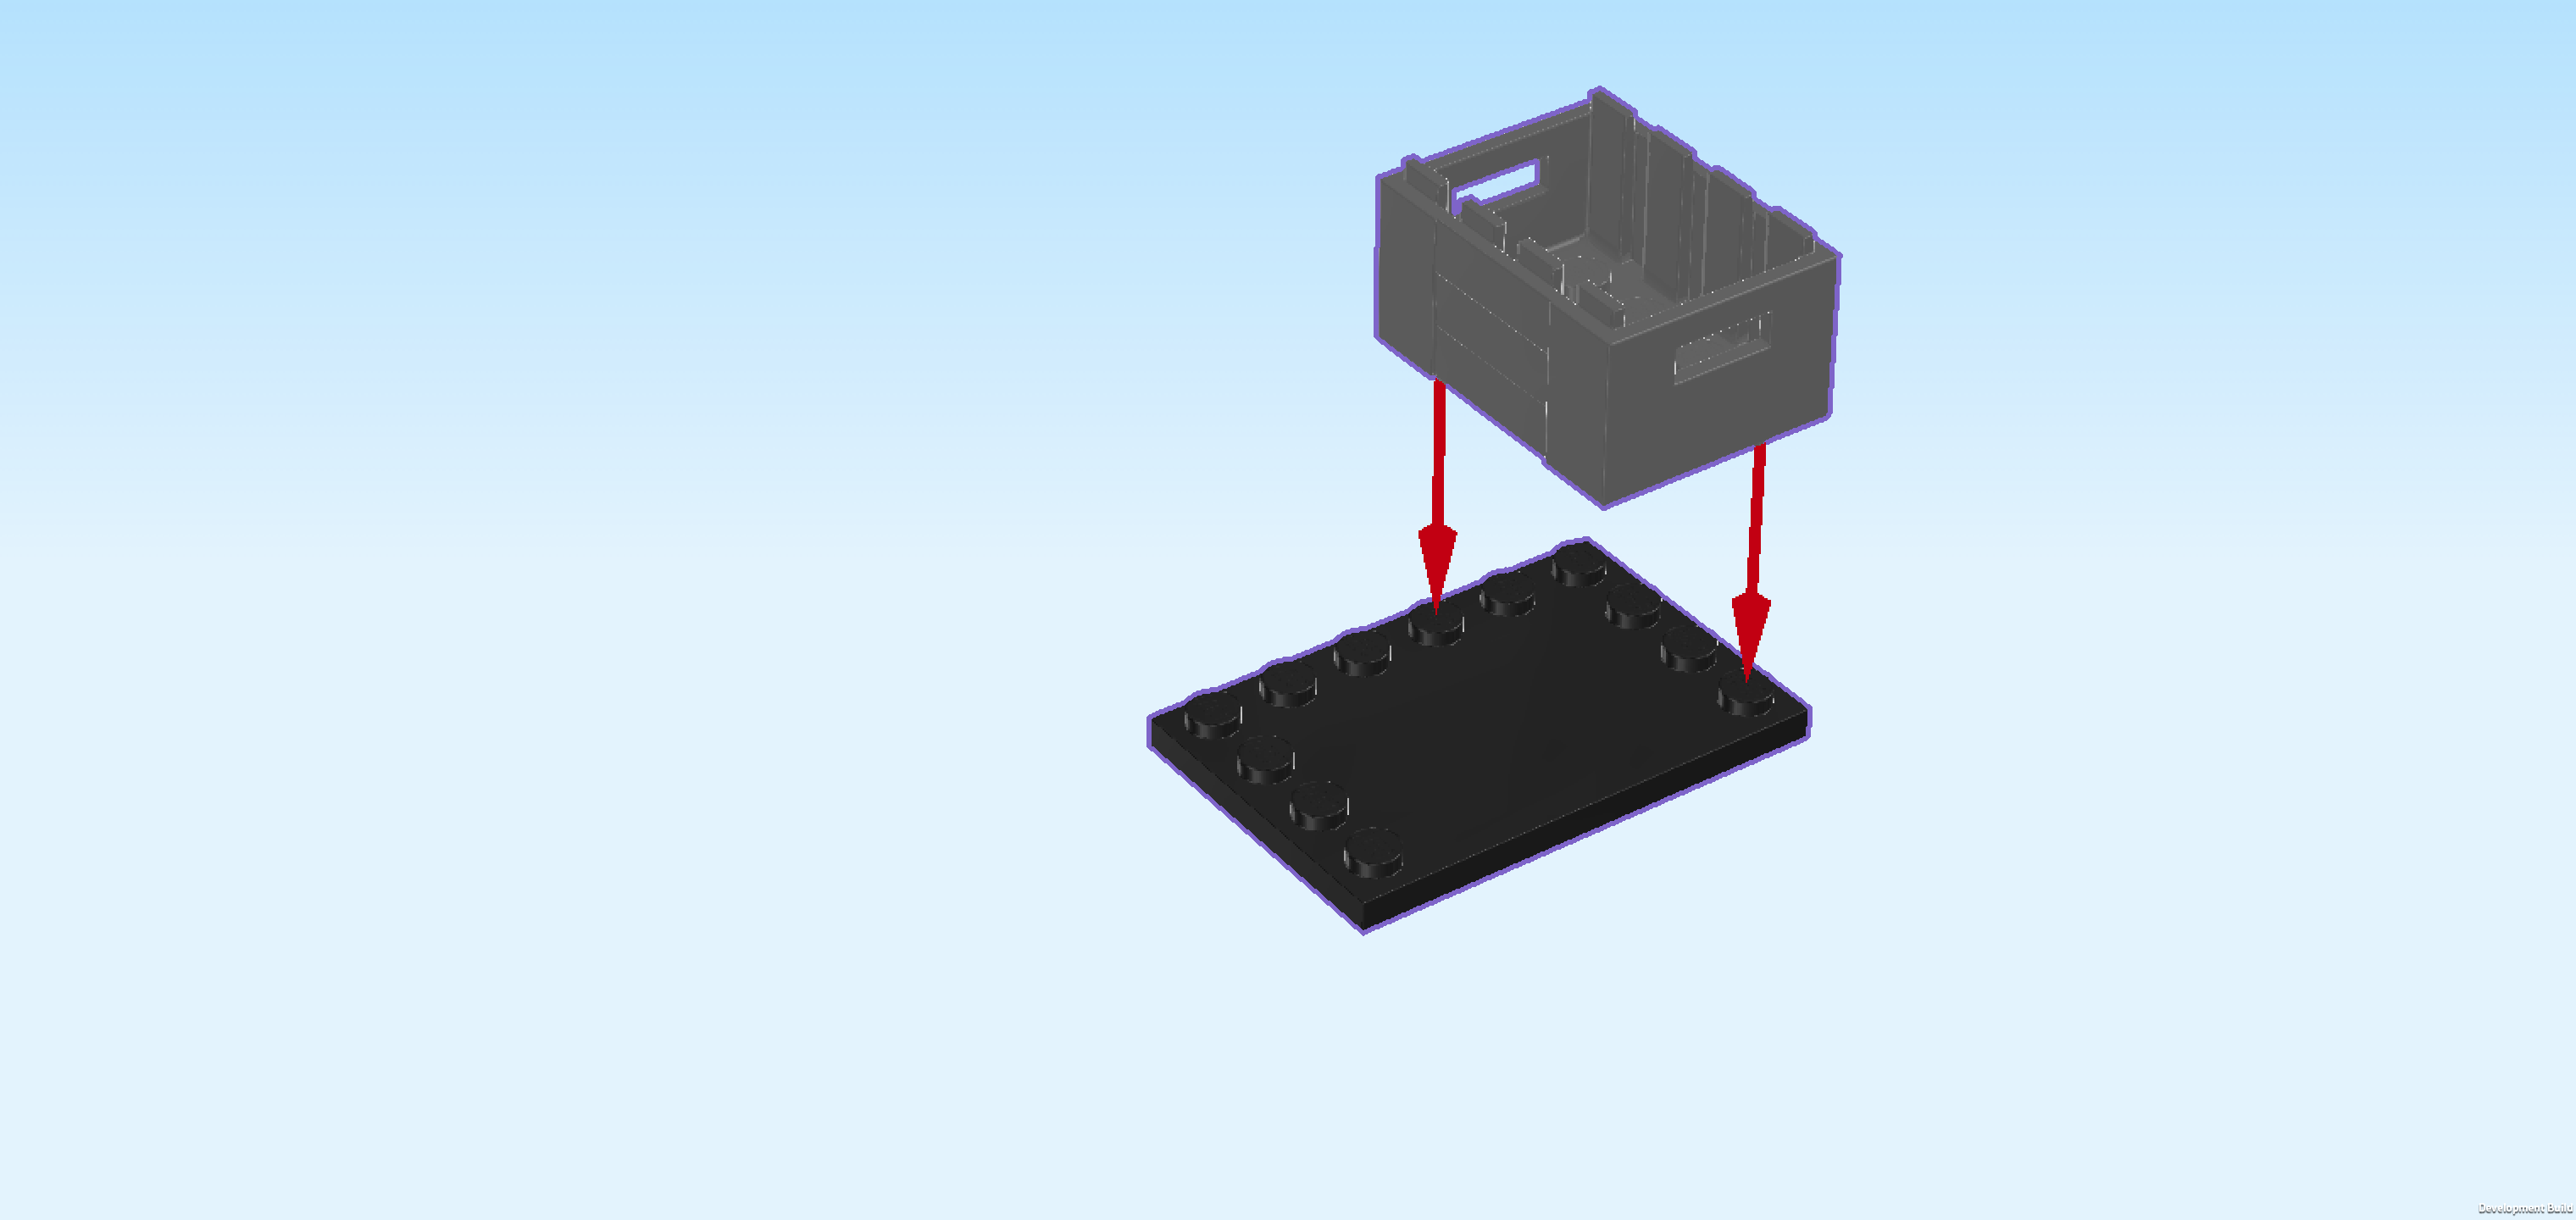
| Put the plate 4x6 horizontally on the table, smooth edge without knobs to the front. |
| Put the crate 3x4 vertically on the right half of the plate. |
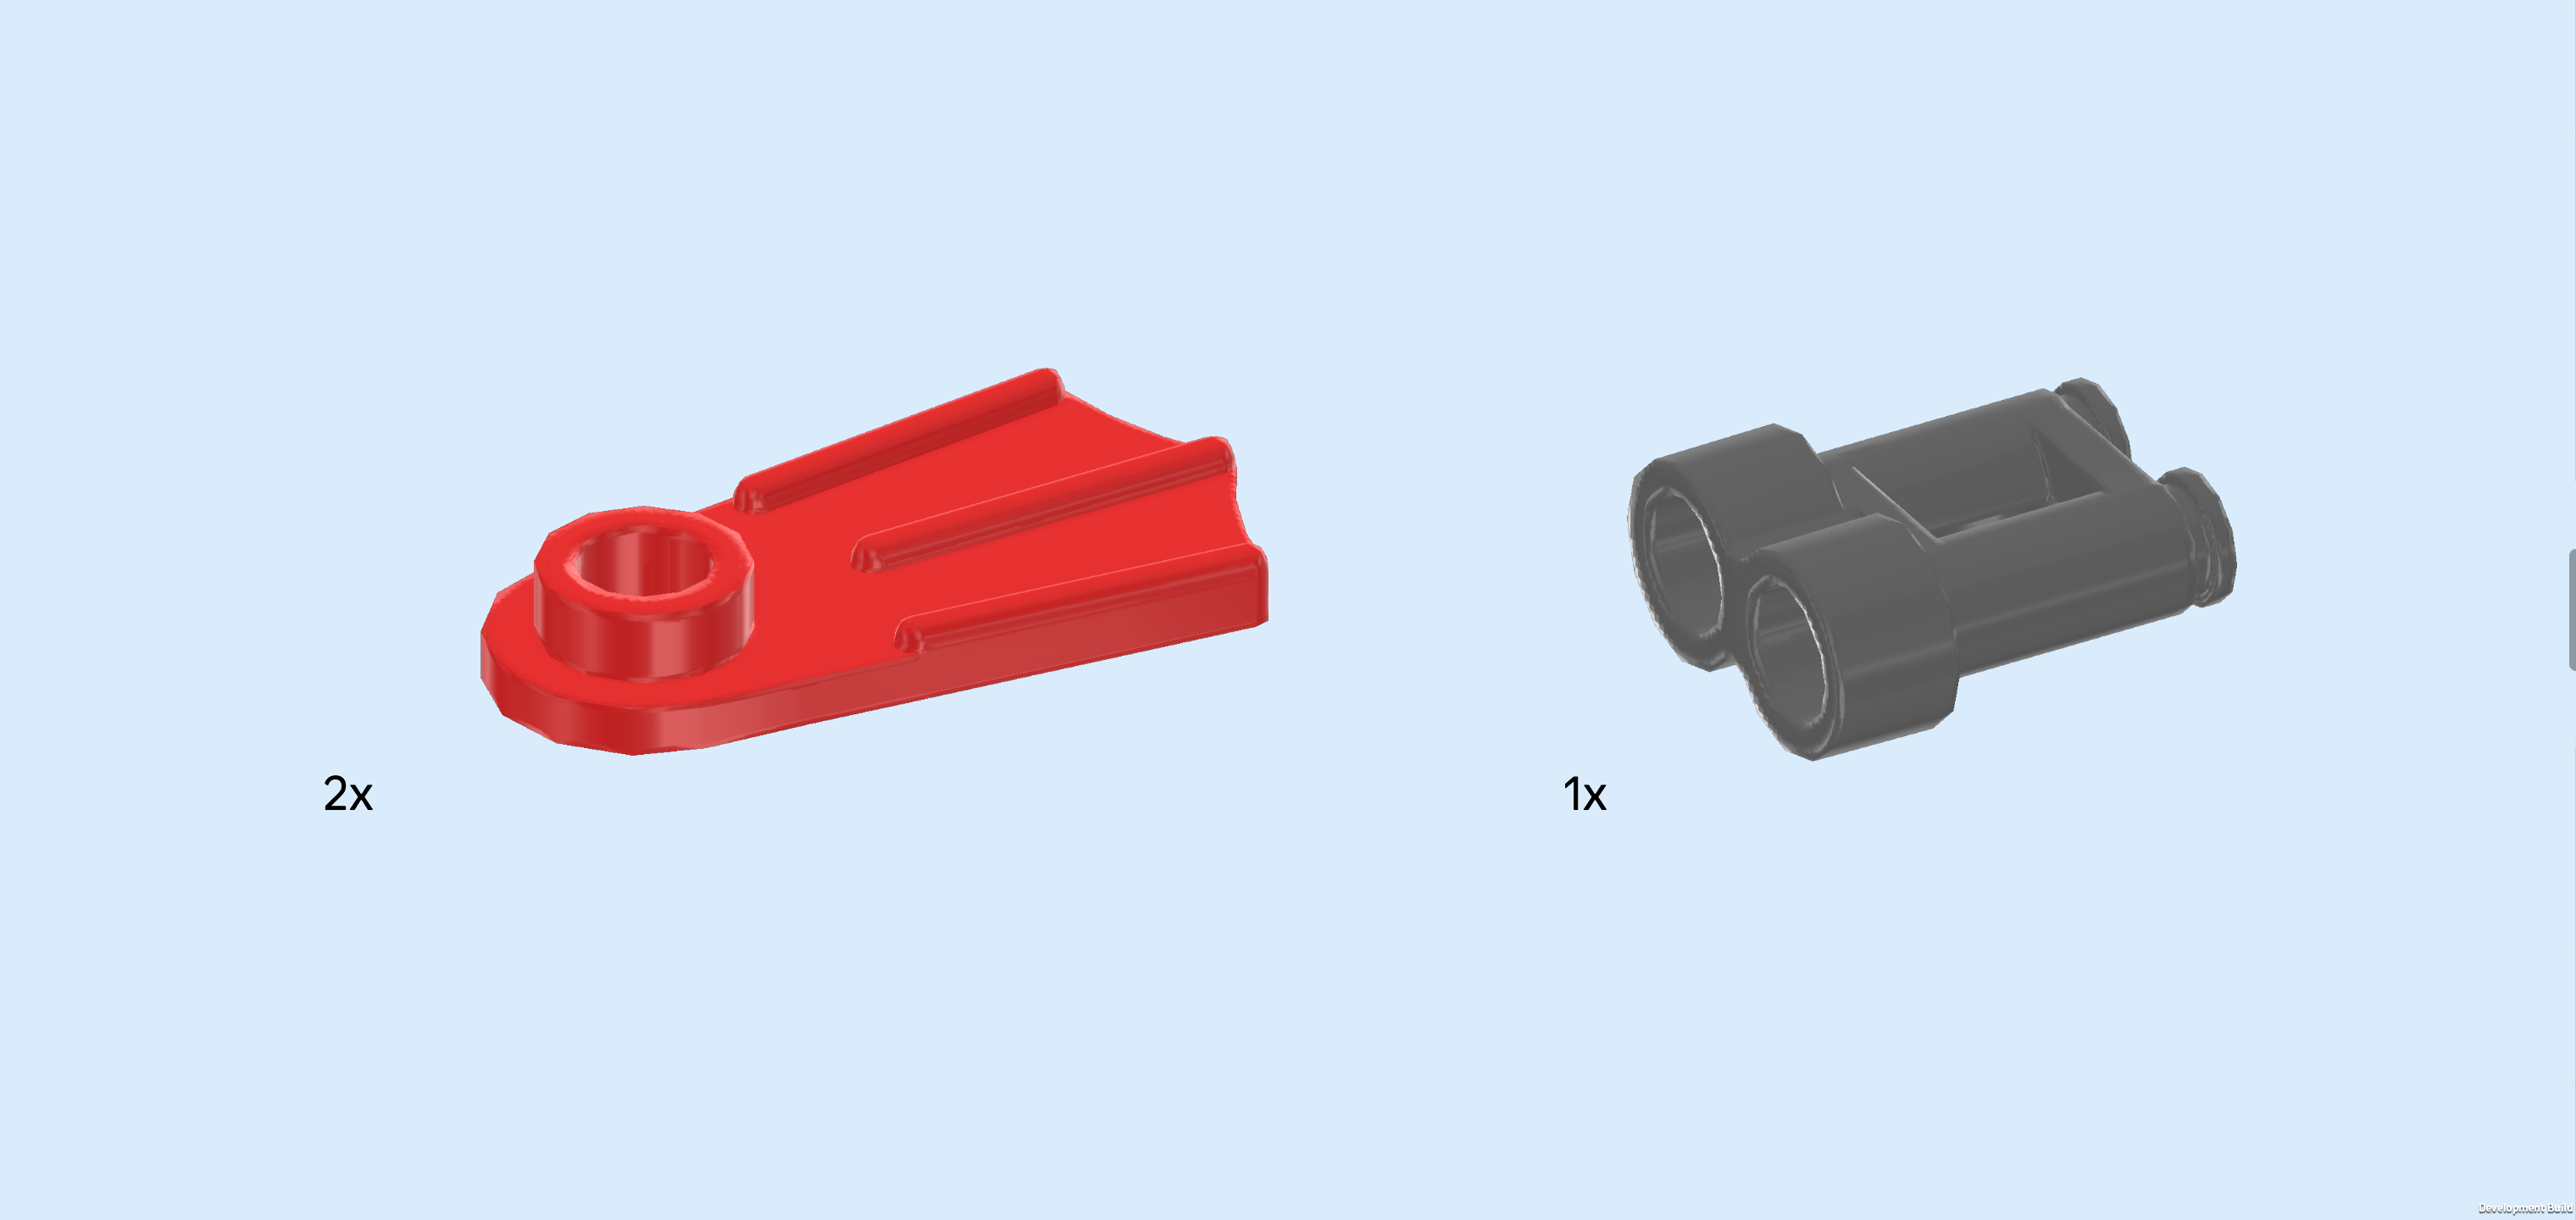
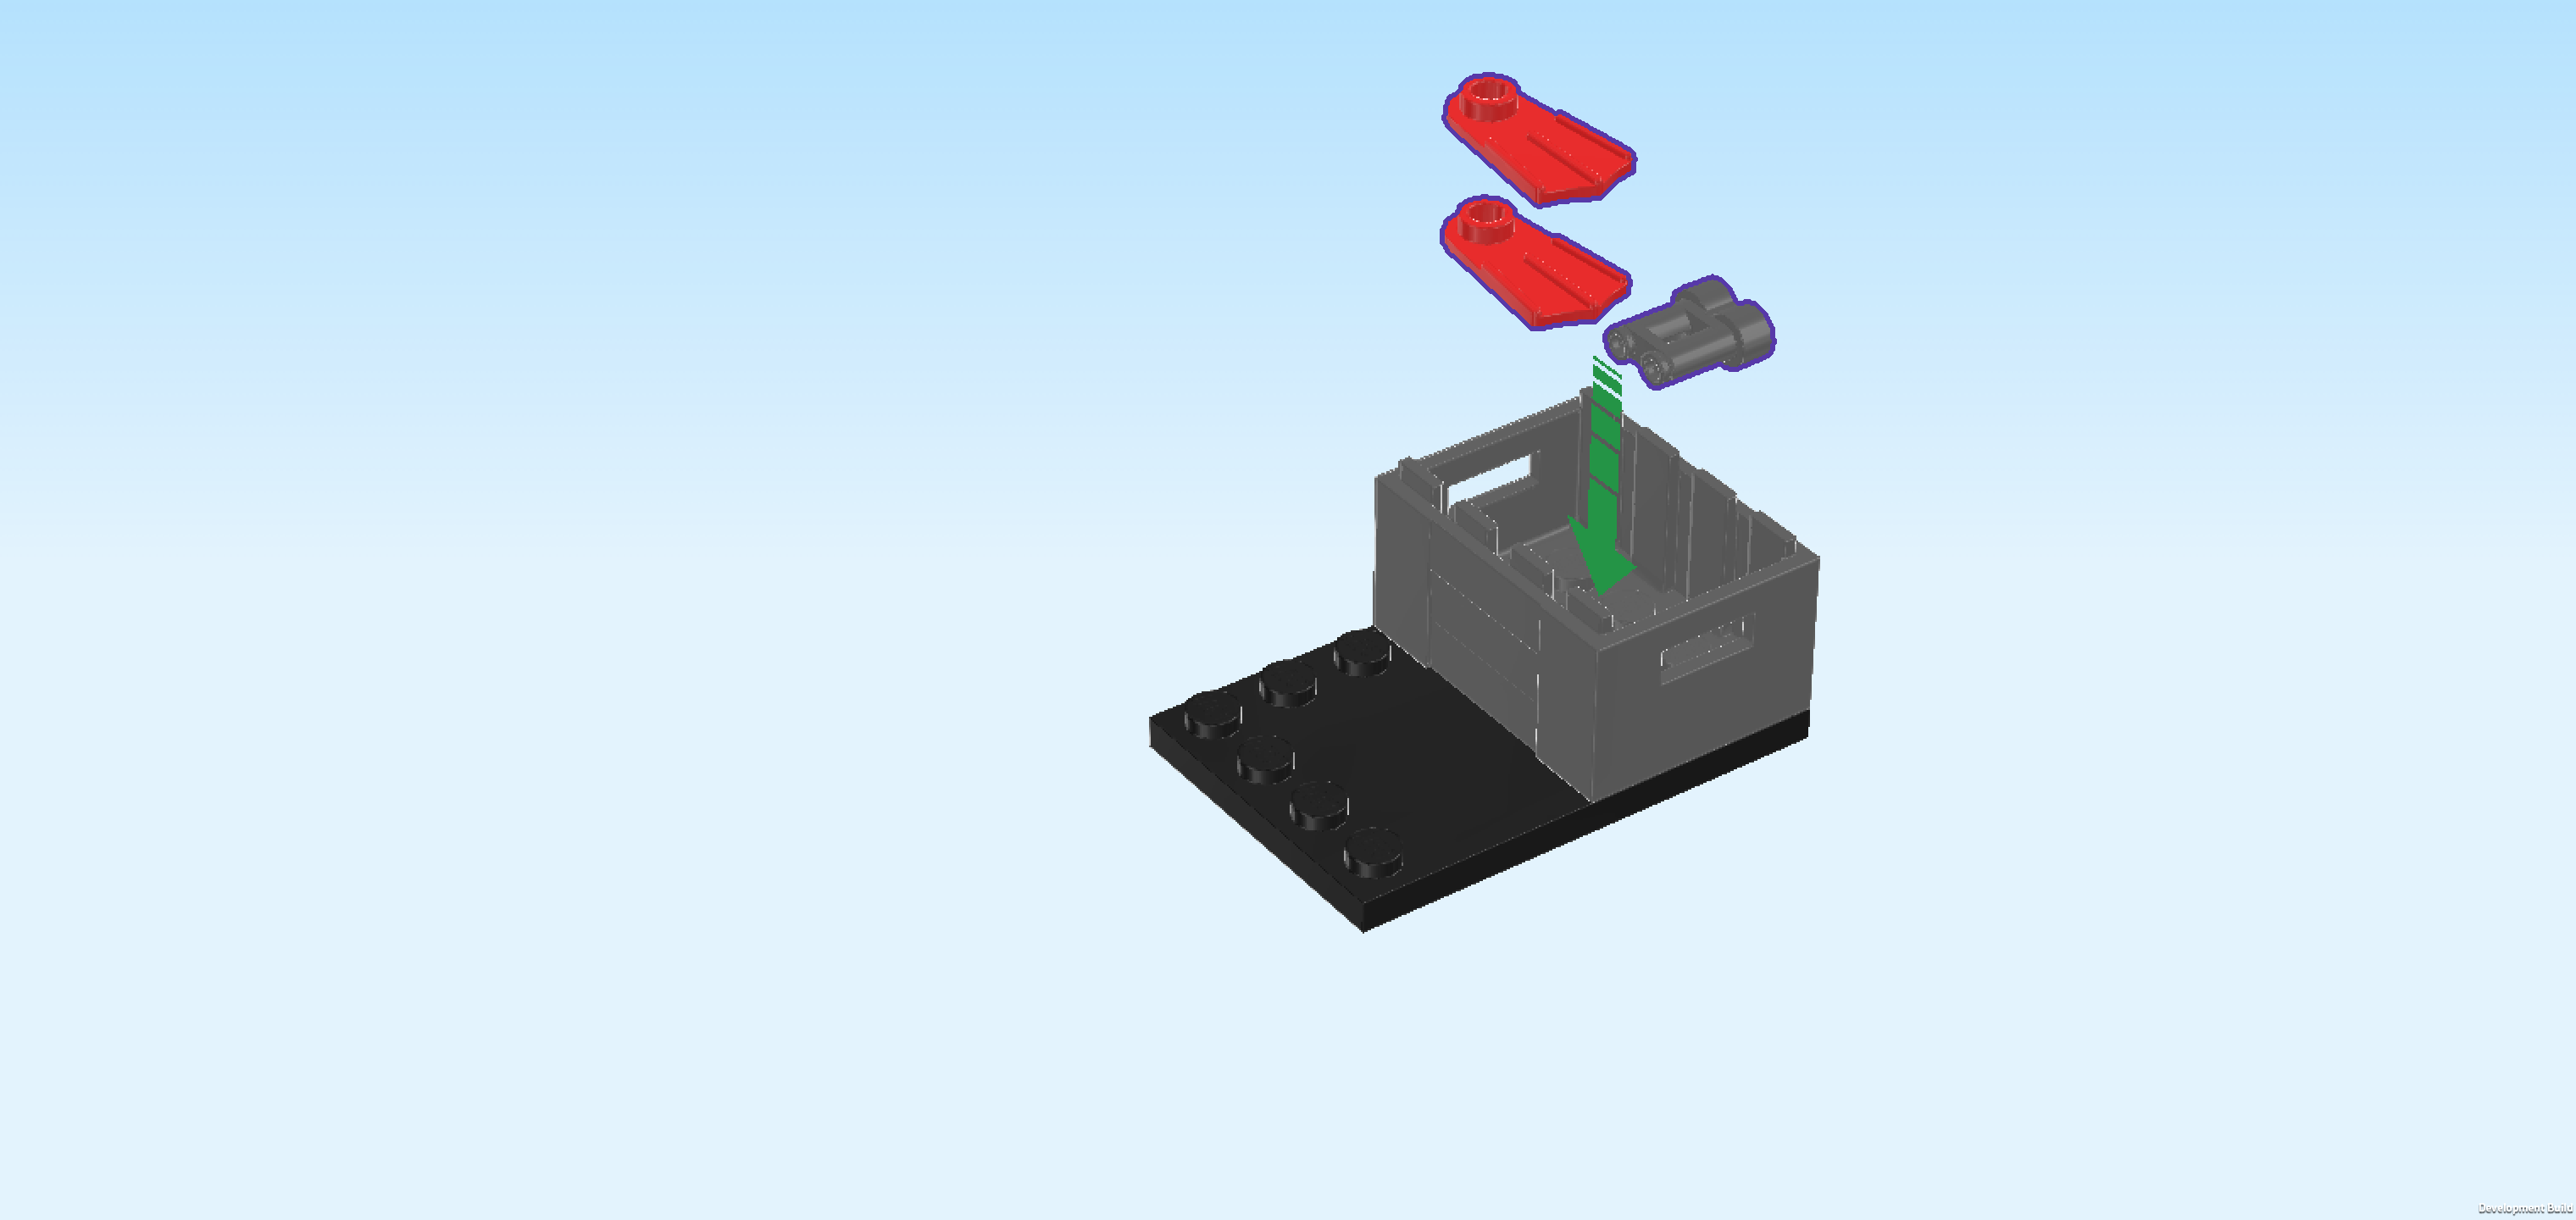
| Collect the following 3 pieces: |
| 2 bright red flippers, |
| and 1 dark stone grey pair of Minifigure binoculars. |
| Place these objects in the crate. |
| Find another dark stone grey crate 3x4 with handholds. |
| Put it vertically on the left half of the utility box structure. |
| Now, we will assemble a water bottle. |
| Collect the following 2 pieces: |
| 1 dark azure blue round tile 1x1 with small top shaft, |
| and 1 transparent light blue round brick 1x1. |
| Put the round tile on top of the round brick. The top shaft is the drinking nozzle. |
| The water bottle is finished! Put it aside for now. |
| Next, we will assemble the first-aid kit. |
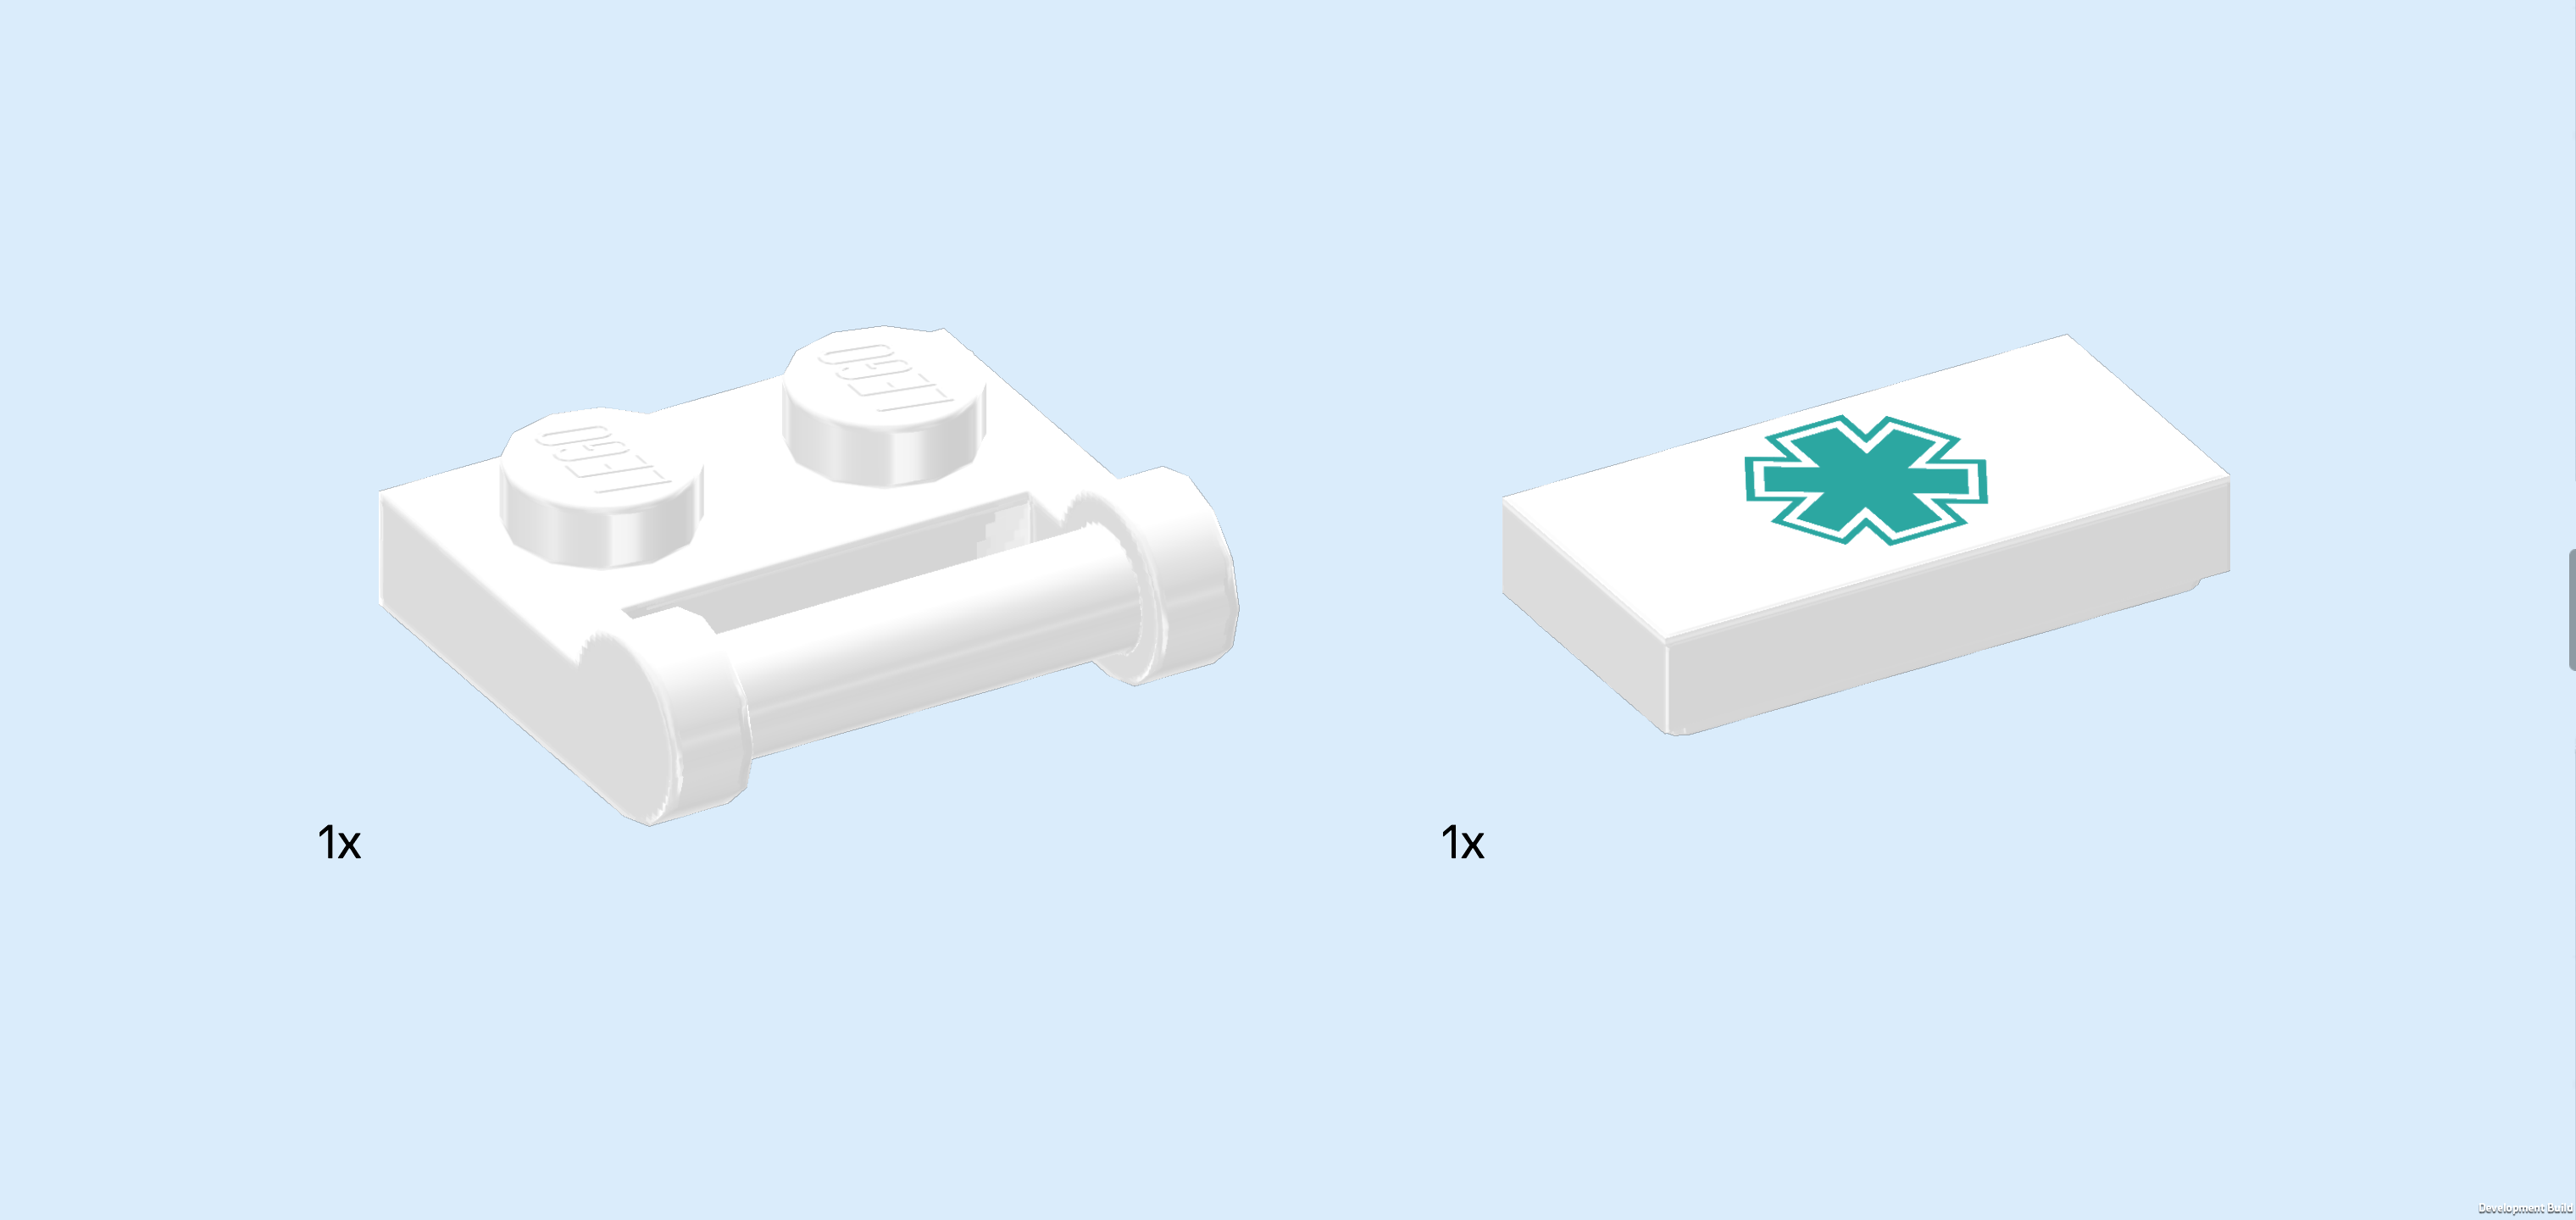
| Collect the following 2 pieces: |
| 1 white plate 1x2 with handle on long side, |
| and 1 white flat tile 1x2. |
| Put the plate with handle vertically on the table, handle to the right. |
| Put the flat tile 1x2 on top. It is printed with a turquoise version of the Star of Life symbol. |
| The first-aid kit is finished! Great job! Place it in the left crate together with the water bottle. |
| Find 2 black plates 3x4 with 4 knobs in a horizontal middle line. |
| Put 1 vertically on the left crate and the other one vertically on the right crate. |
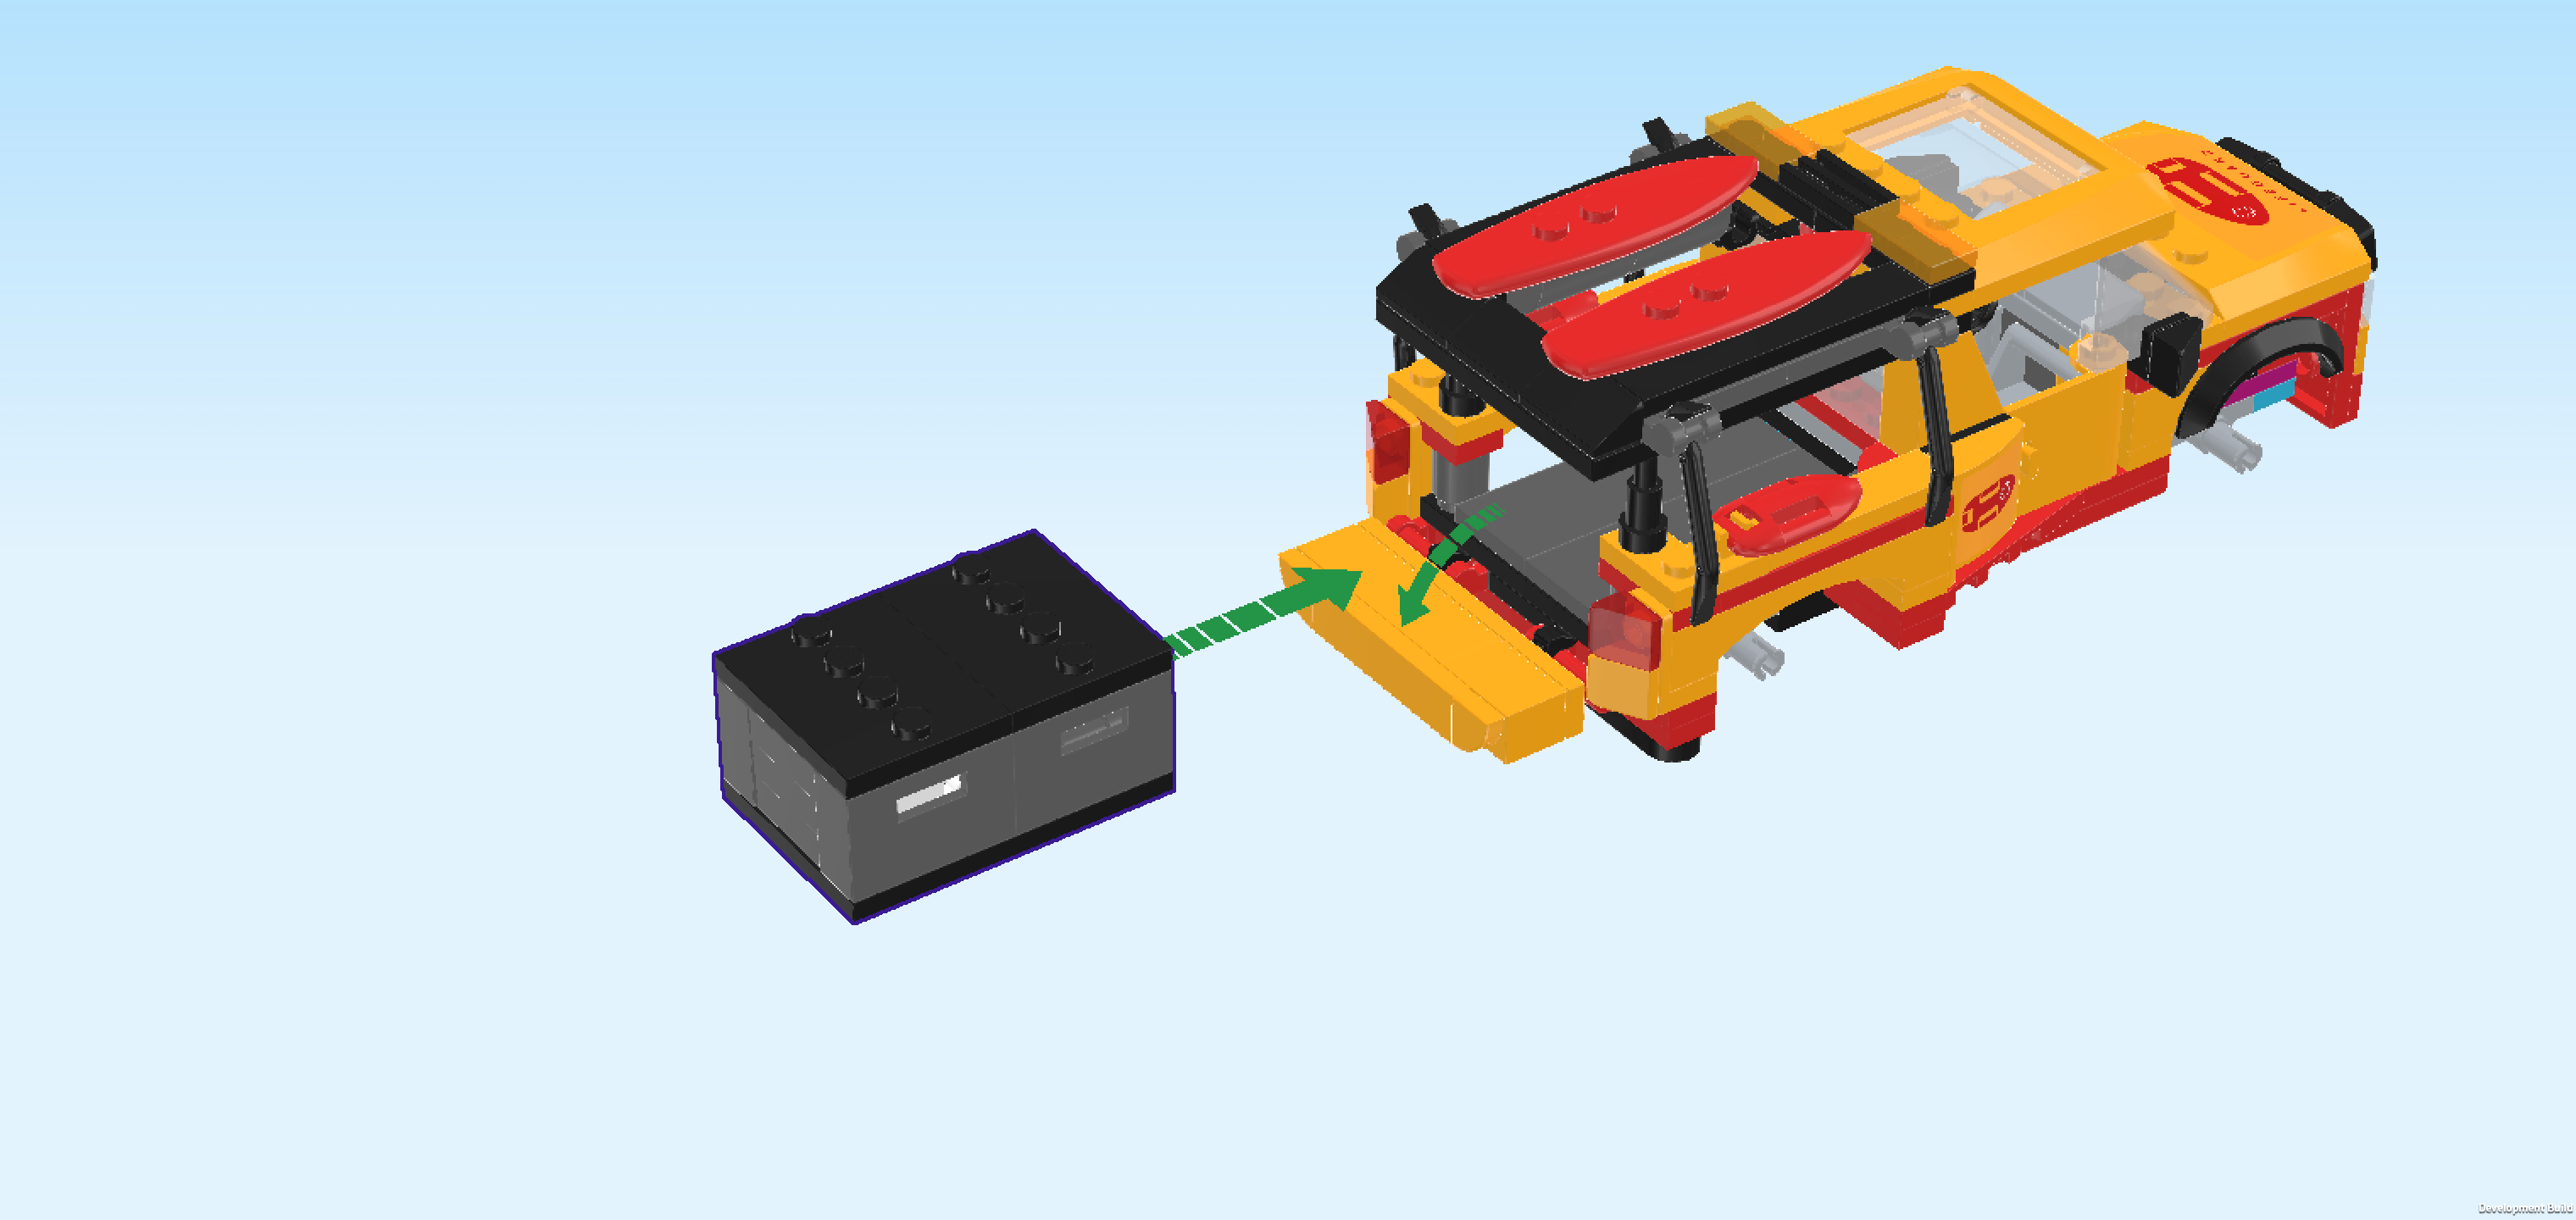
| The utility box is finished! Well done! Open the vehicle's tailgate and slide the utility box into the truck's loading space. Afterwards, close the tailgate again to prevent the utility box from falling out. |
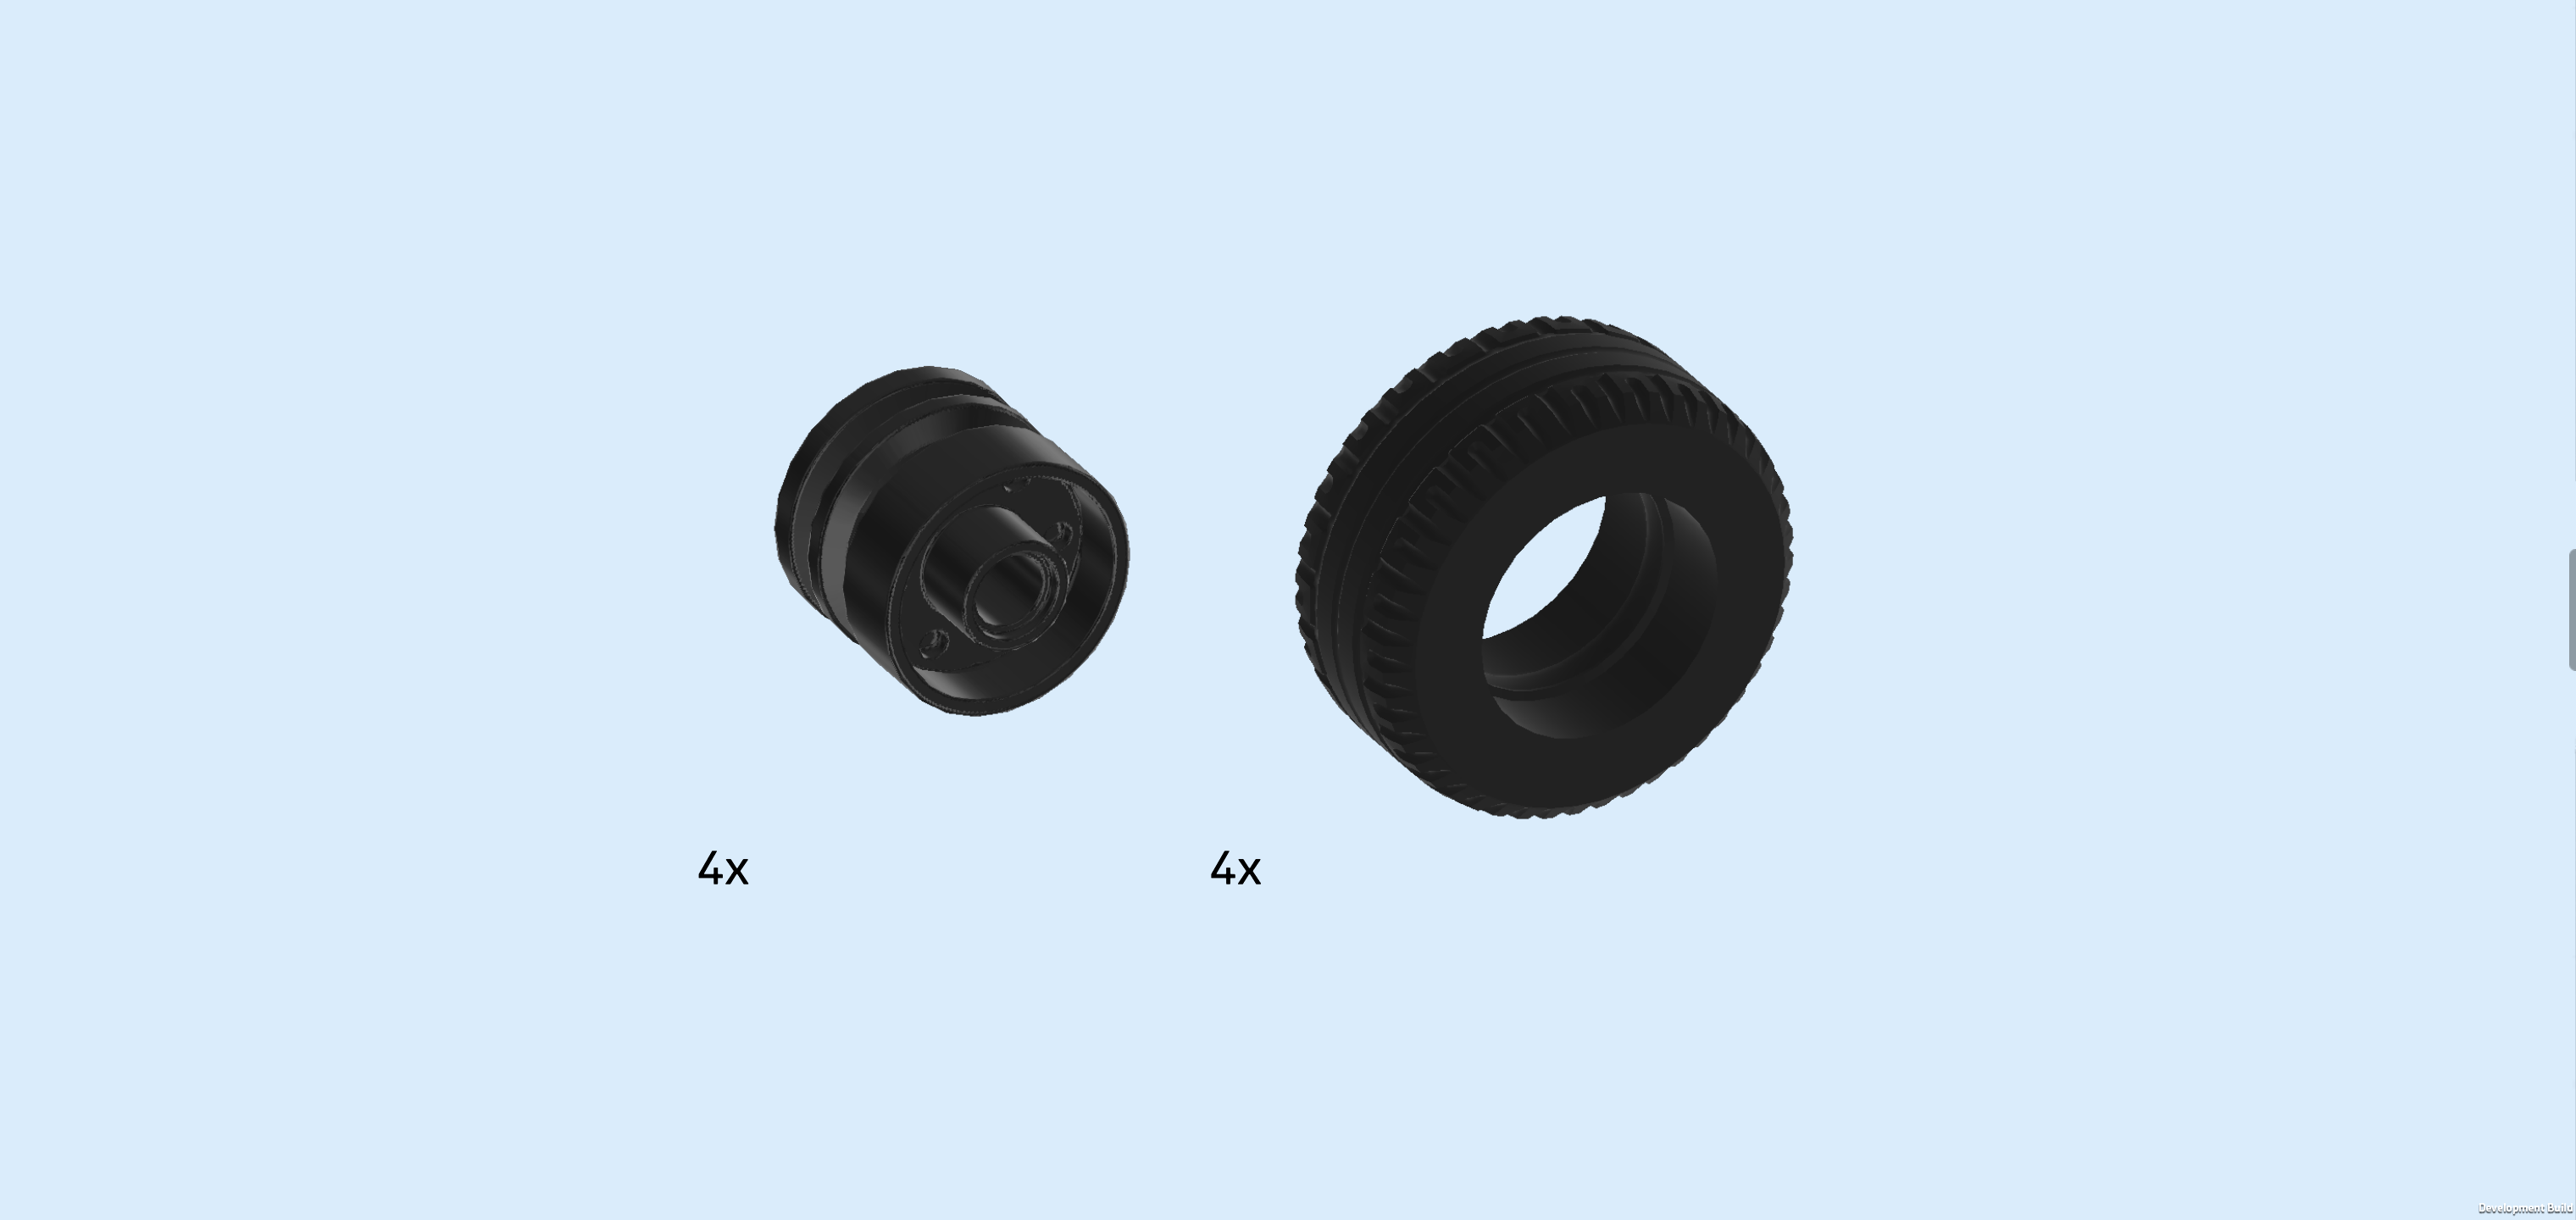
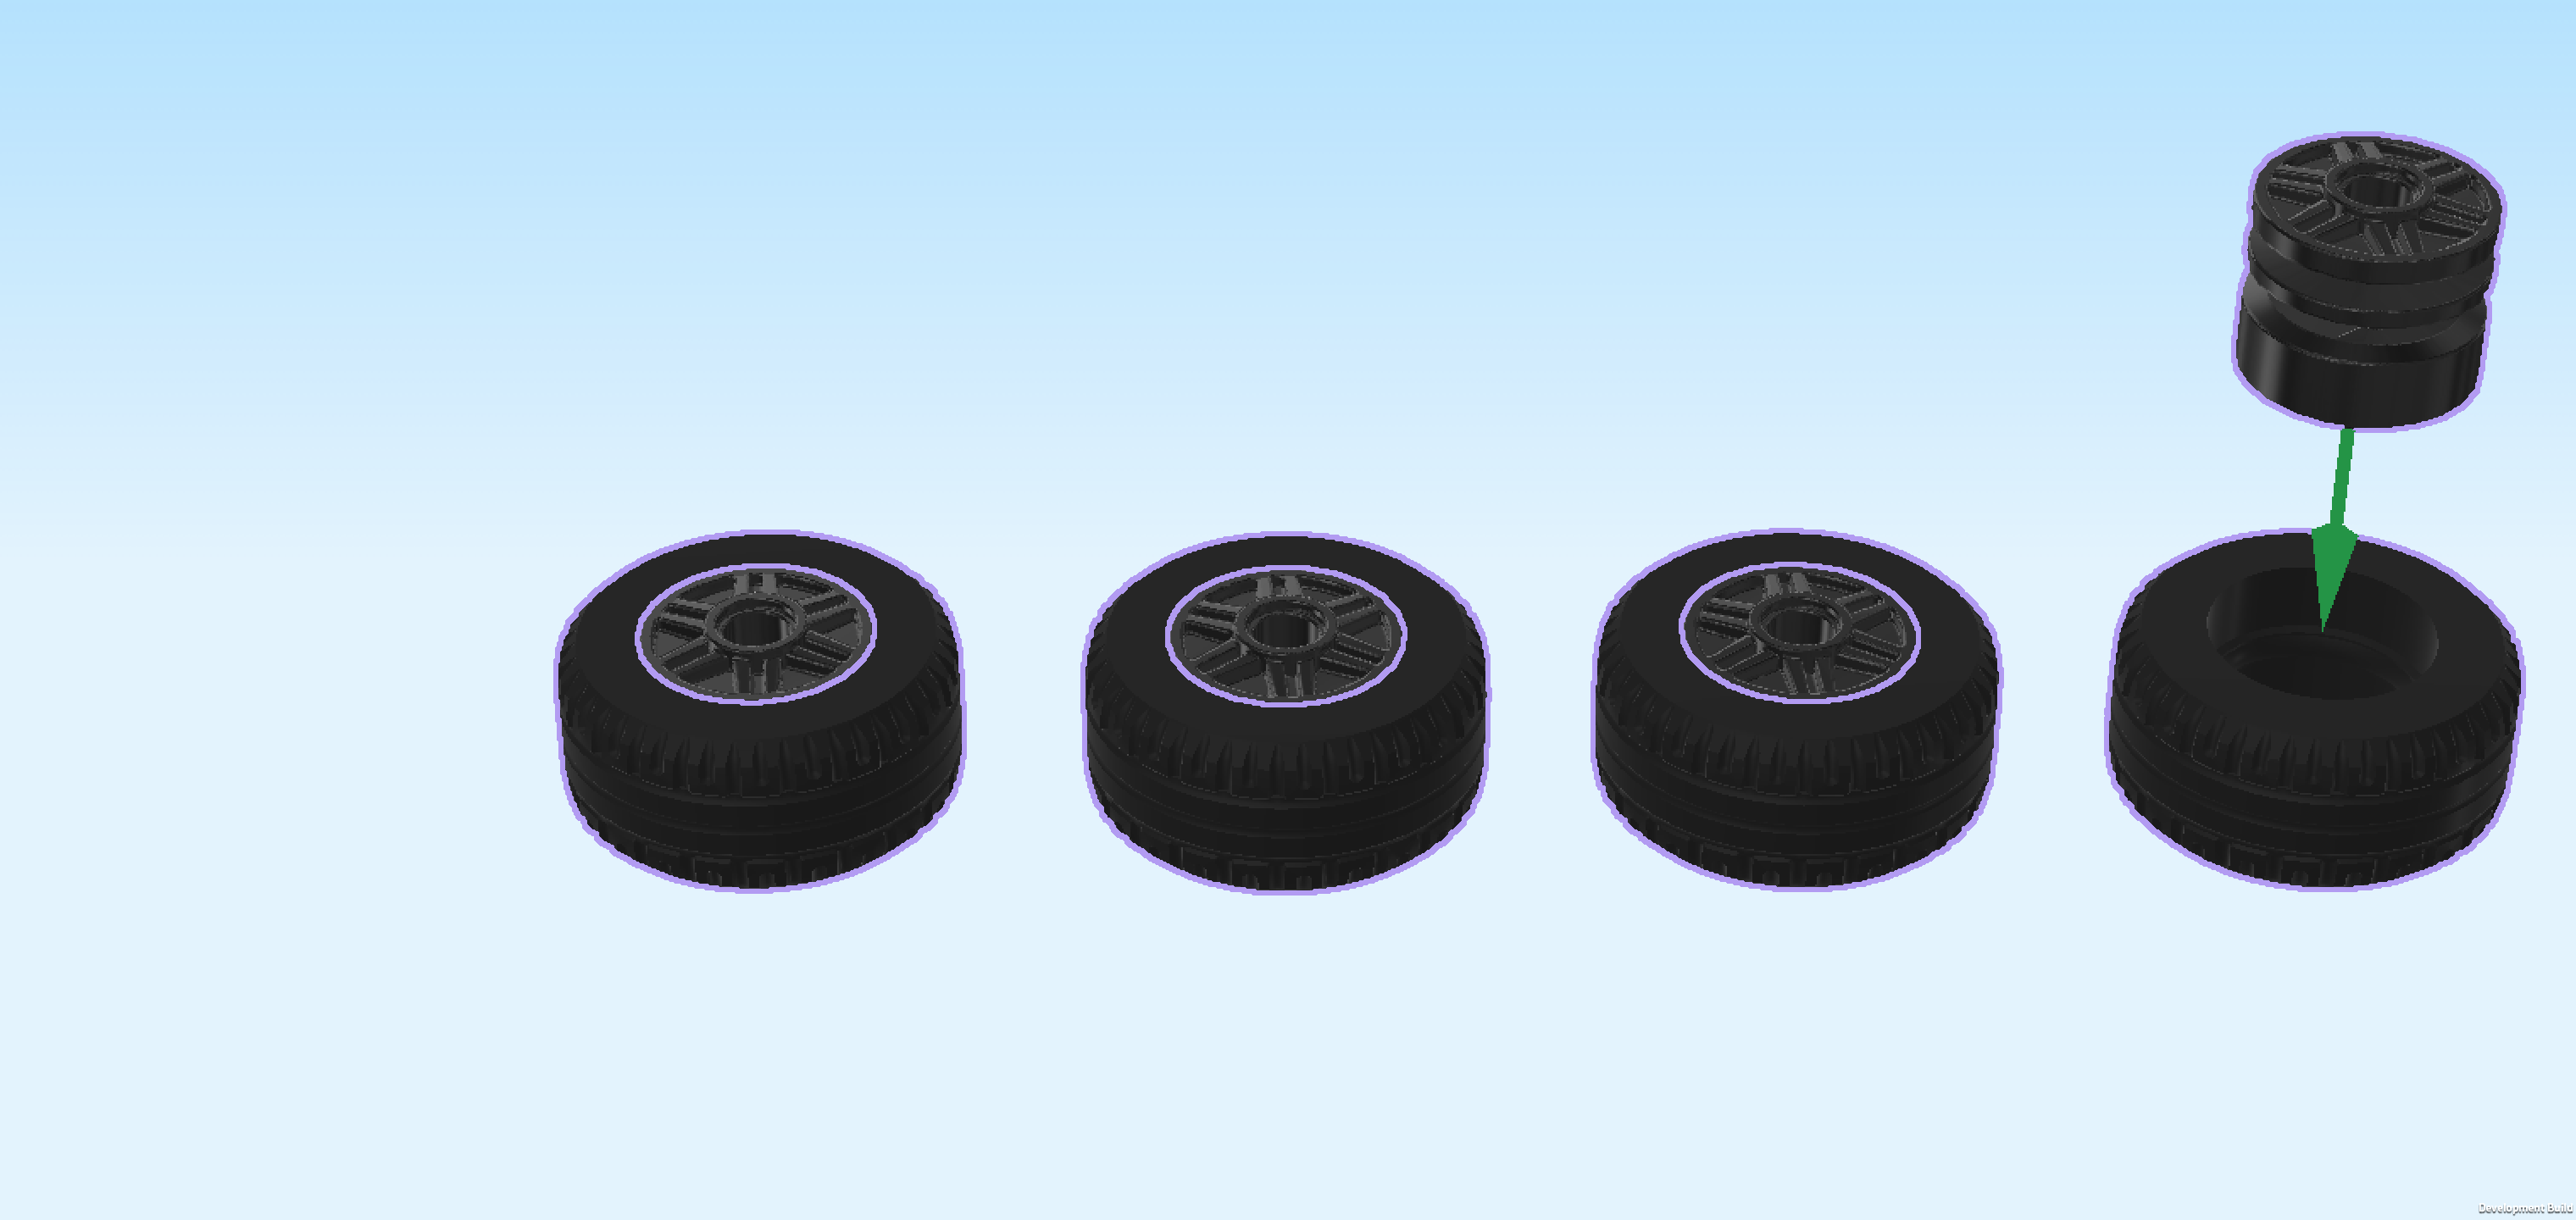
| Next, we will assemble the 4 wheels. |
| Collect the following 8 pieces: |
| 4 black wide rims with hole and spokes, |
| and 4 black thick rubber tires with low lateral profile. |
| Put the rims into the tires. |
| Snap the 4 wheels on the 4 connectors at the vehicle bottom, making sure that the rim sides with spokes are facing outwards. |
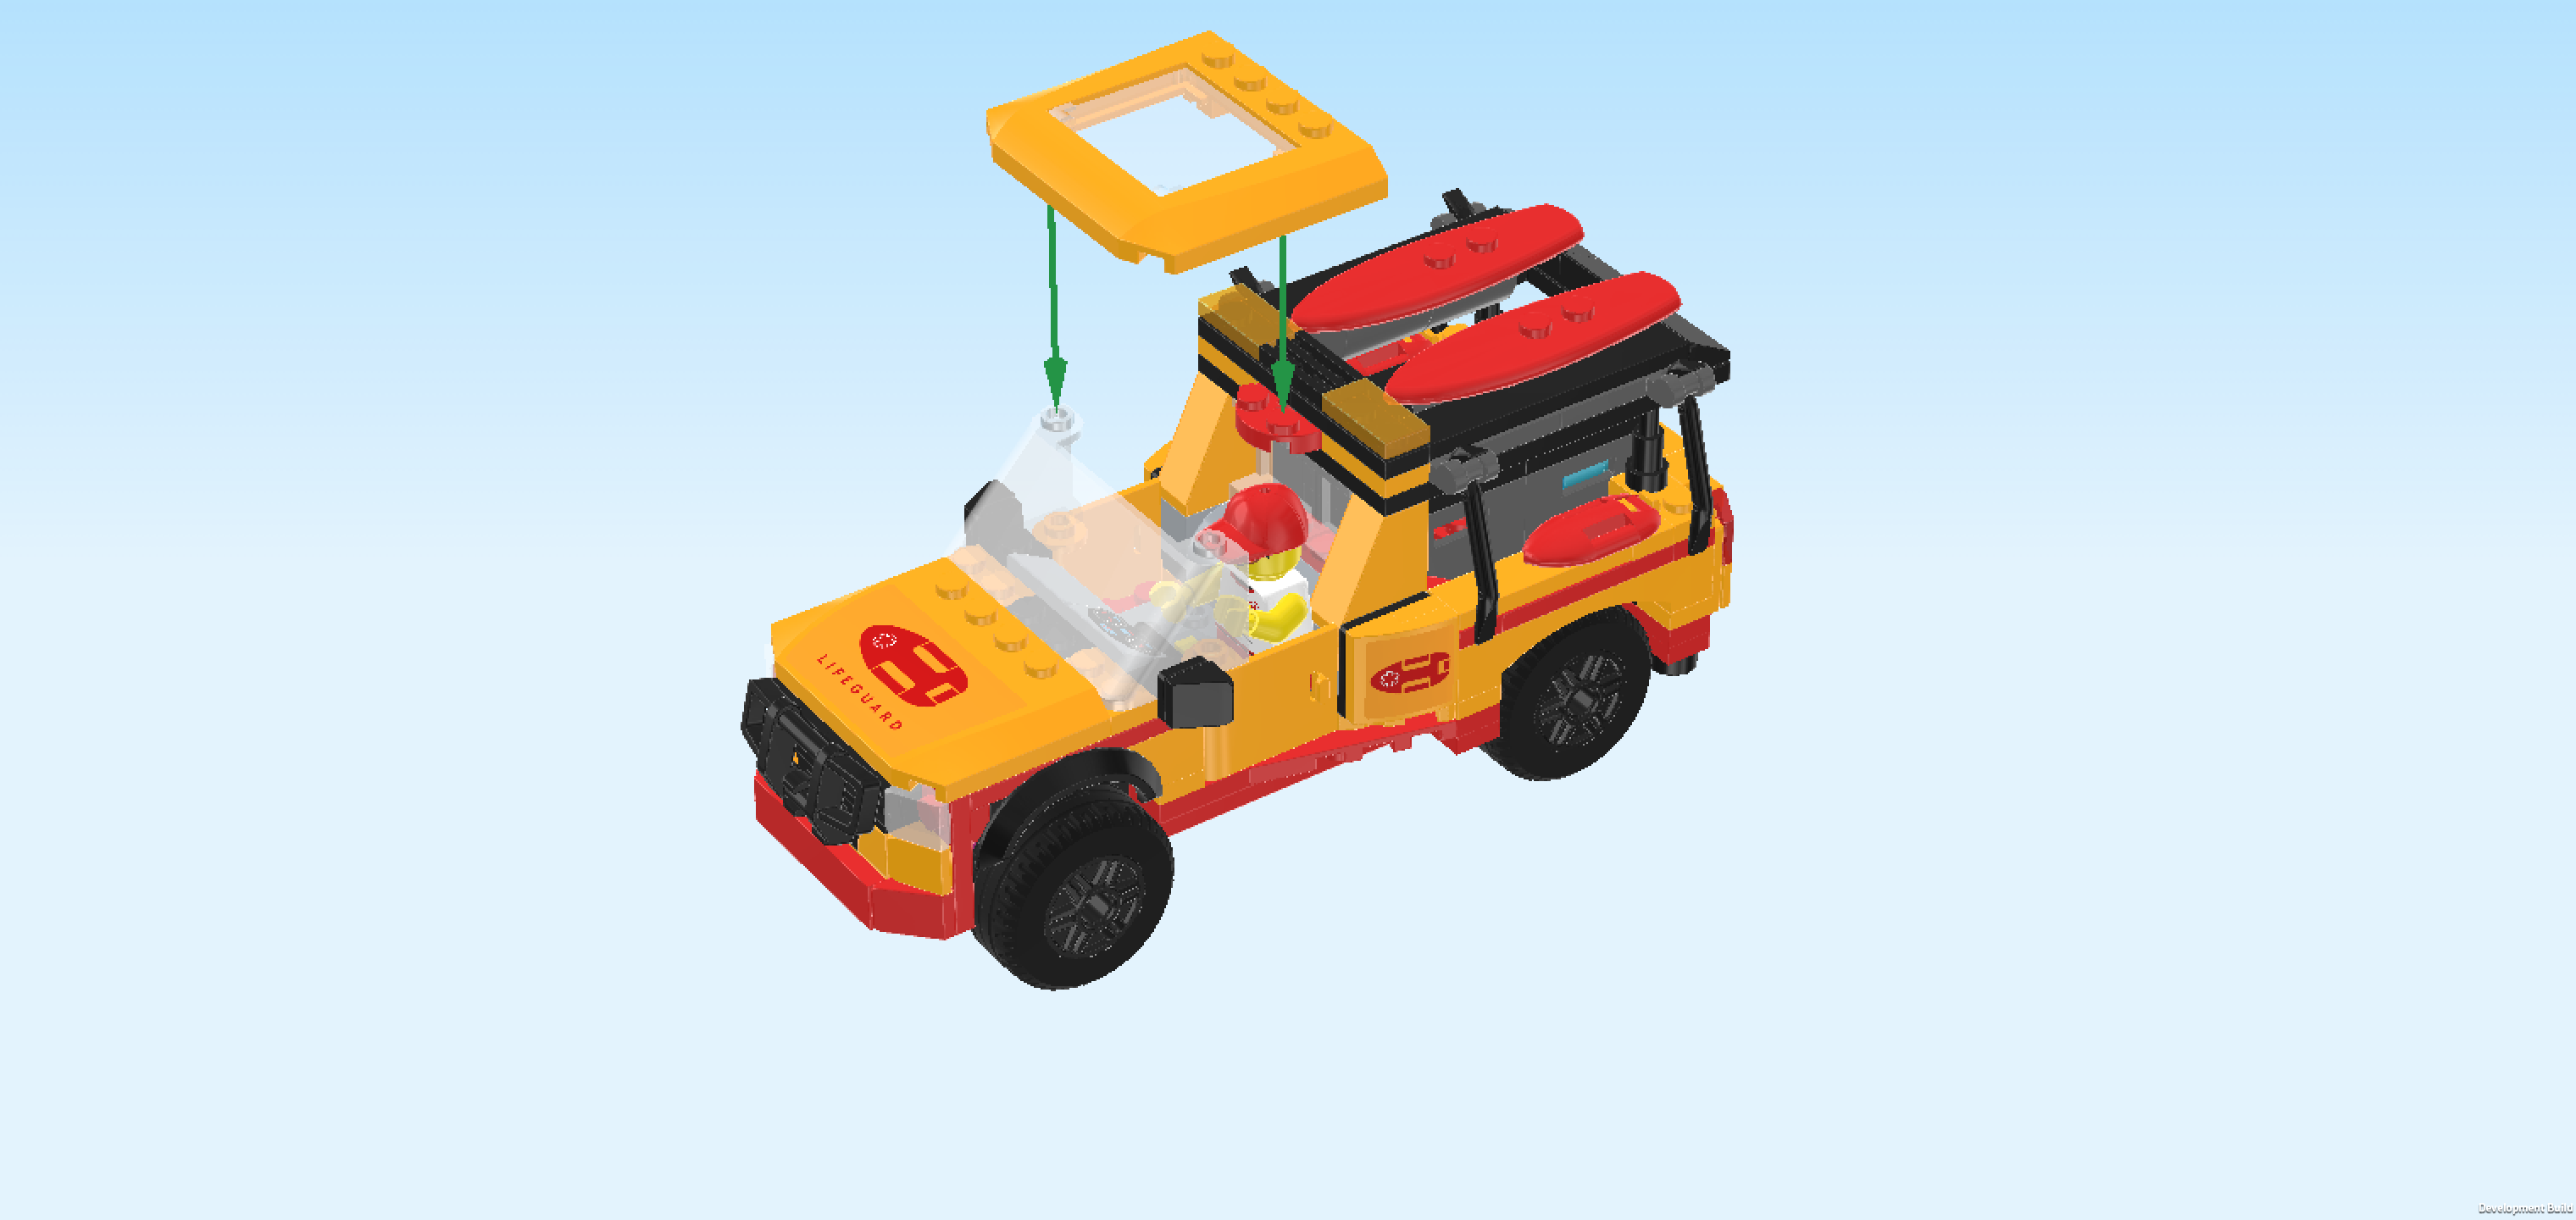
| The Lifeguard Beach Rescue Truck is finished! Fantastic job, that was an intricate vehicle to build! To seat the lifeguard in the driver's seat, take off the sunroof, fold the Minifigure into a seated position and put him behind the wheel. Don't forget to reattach the sunroof afterwards! Are you ready for a test drive? |
| You have finished building the entire set! Very well done! Now, everything is ready for some splashy beach adventures. It's the lifeguard's job to watch both the sea and the beach and look out for safety hazards or dangerous situations. Watch out for the shark, dangerous currents, dehydration, sunburn and other risks to have a great time at the beach. And if something goes wrong, the lifeguard is at the ready! |
| Enjoy! |