| LEGO Audio & Braille Building Instructions for the LEGO City set "Donut Truck". |
| If you would like to access the help menu to find out how to use and navigate these instructions, tap with two fingers or press key "H". |
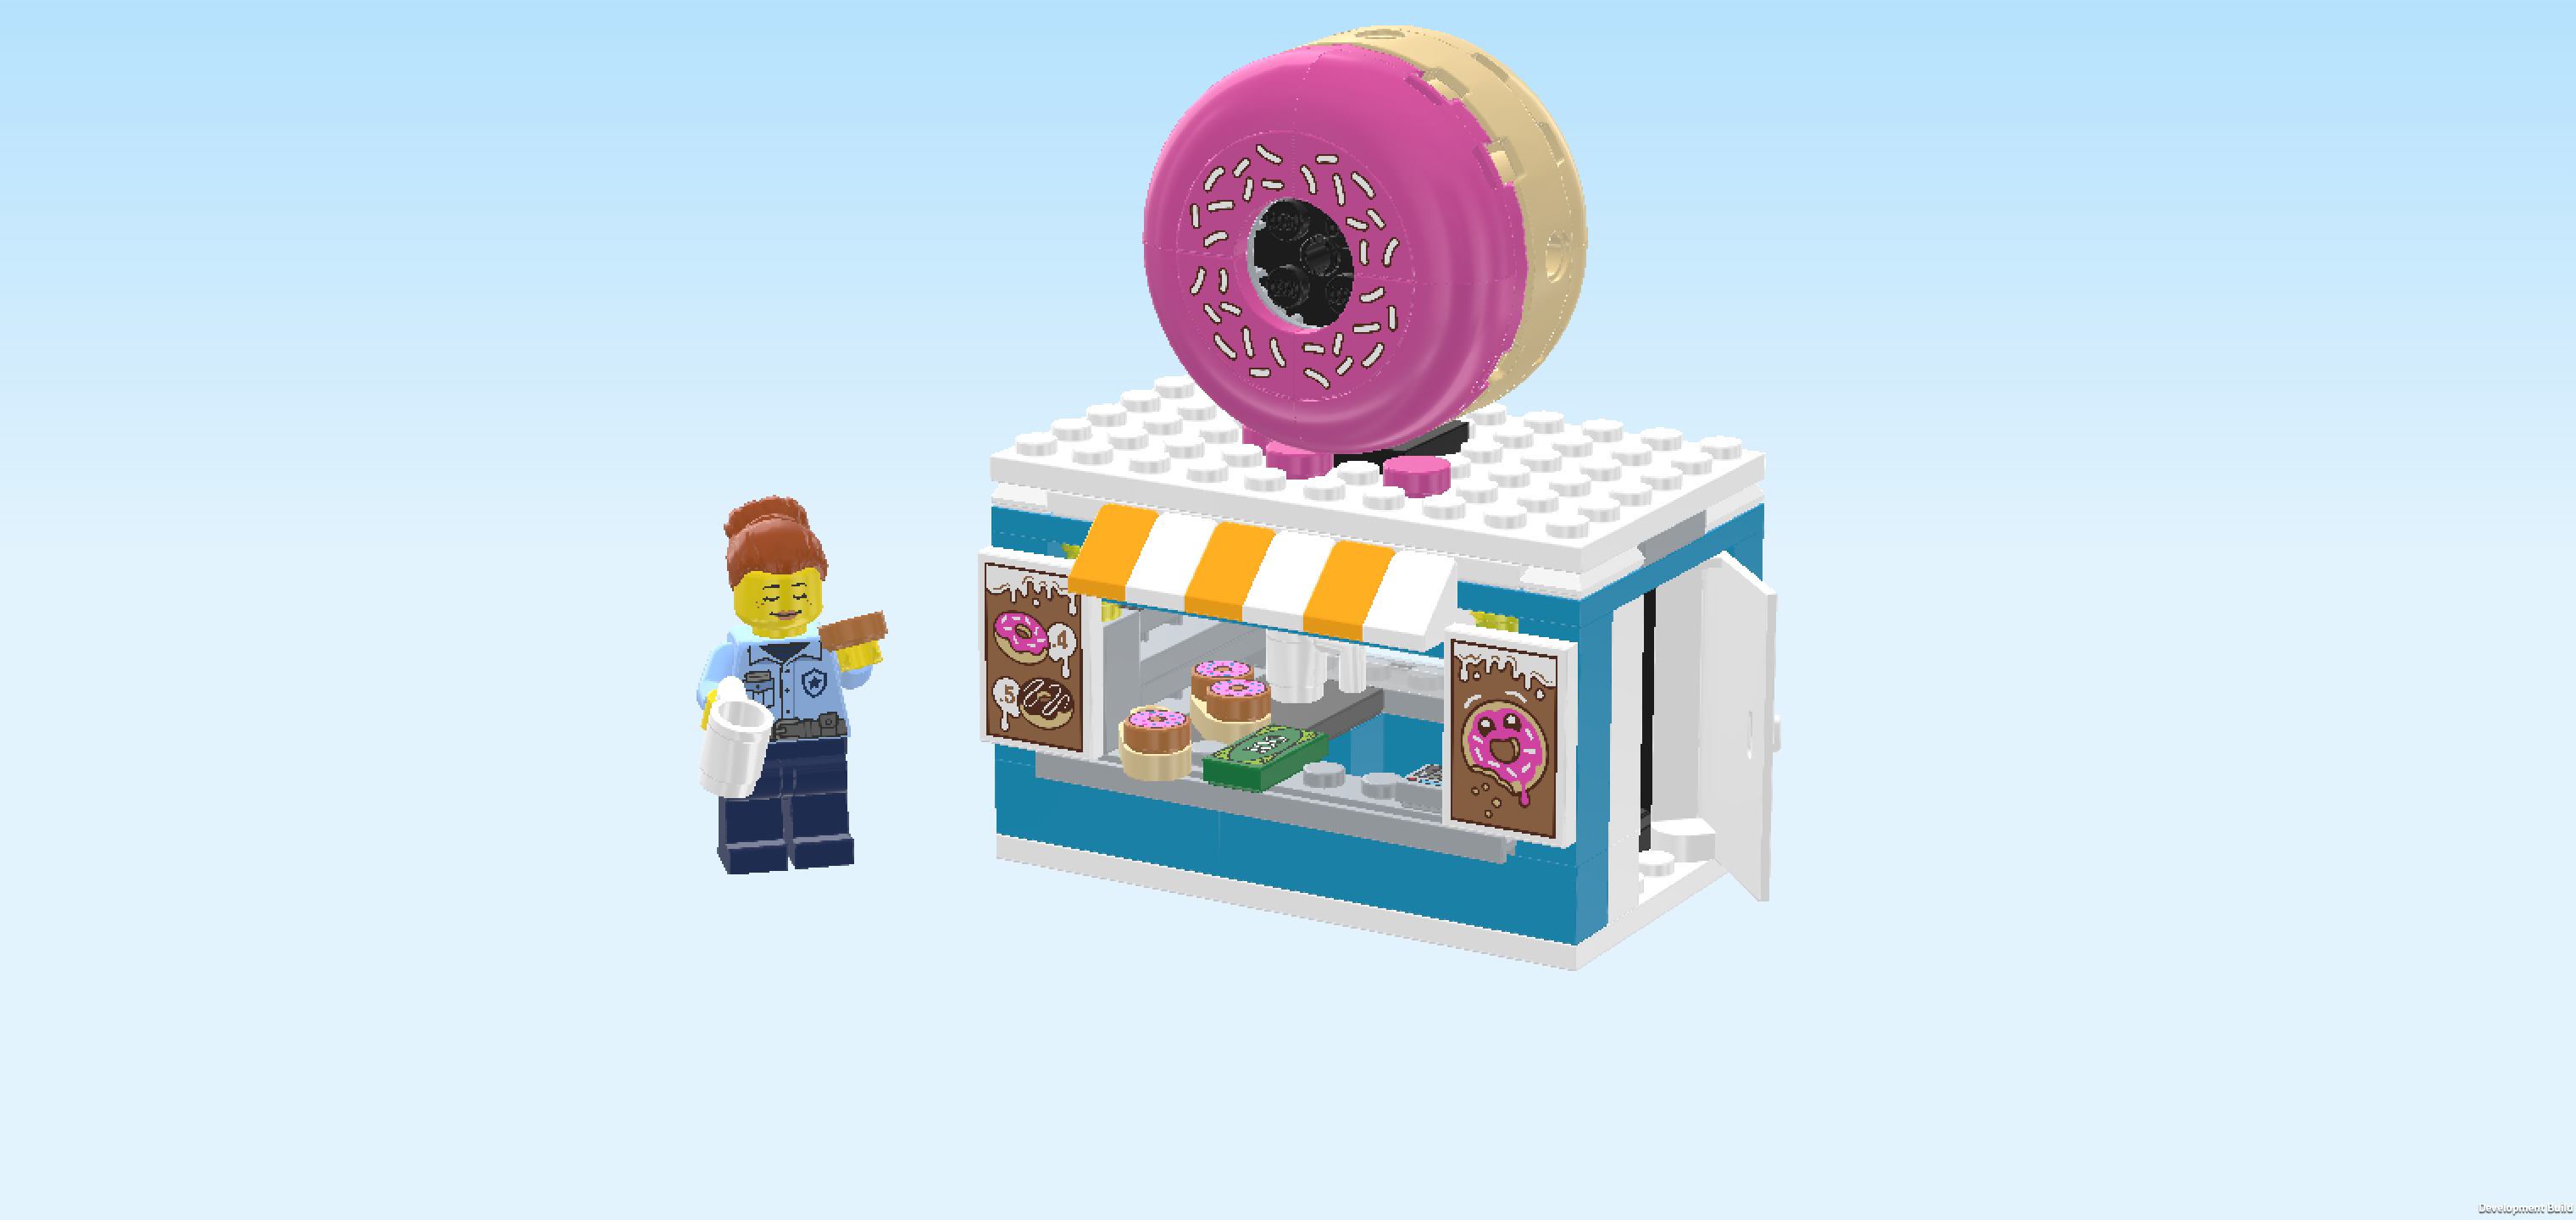
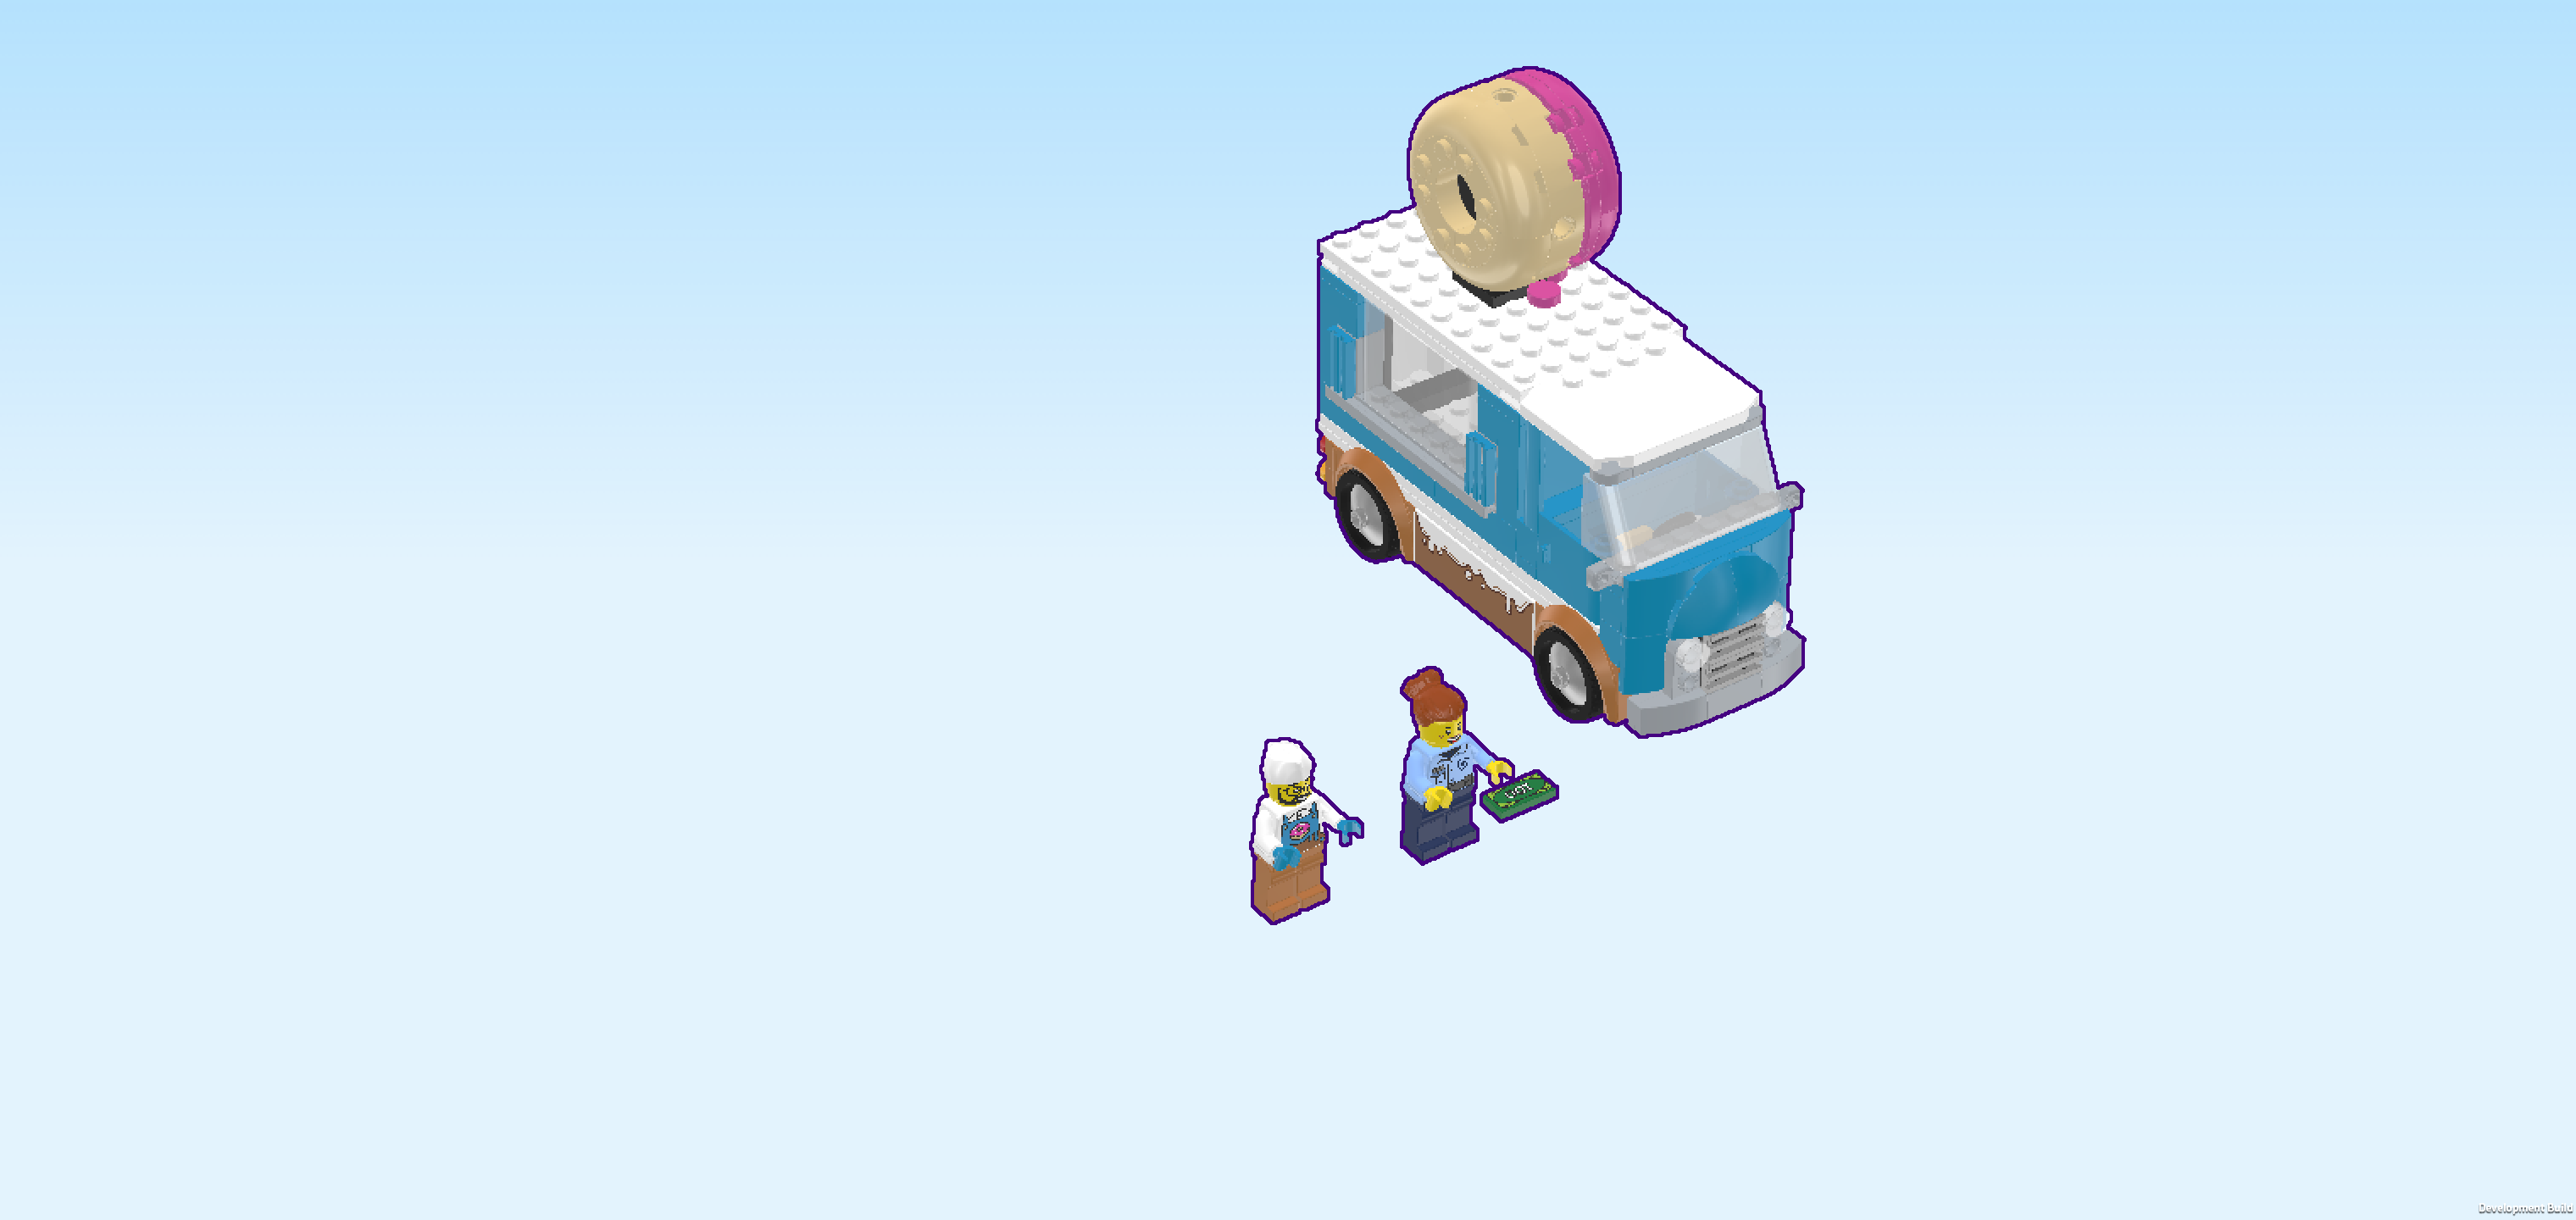
| Roll out the Donut Truck and head for LEGO City! This van and its detachable kiosk are awesome! Check out the icing decoration and huge roof donut. Rustle up tasty recipes in the prep room and serve freshly made donuts and delicious hot drinks to hungry customers. When you’re ready to move on, hop behind the steering wheel and drive your cool mobile café to its next destination! |
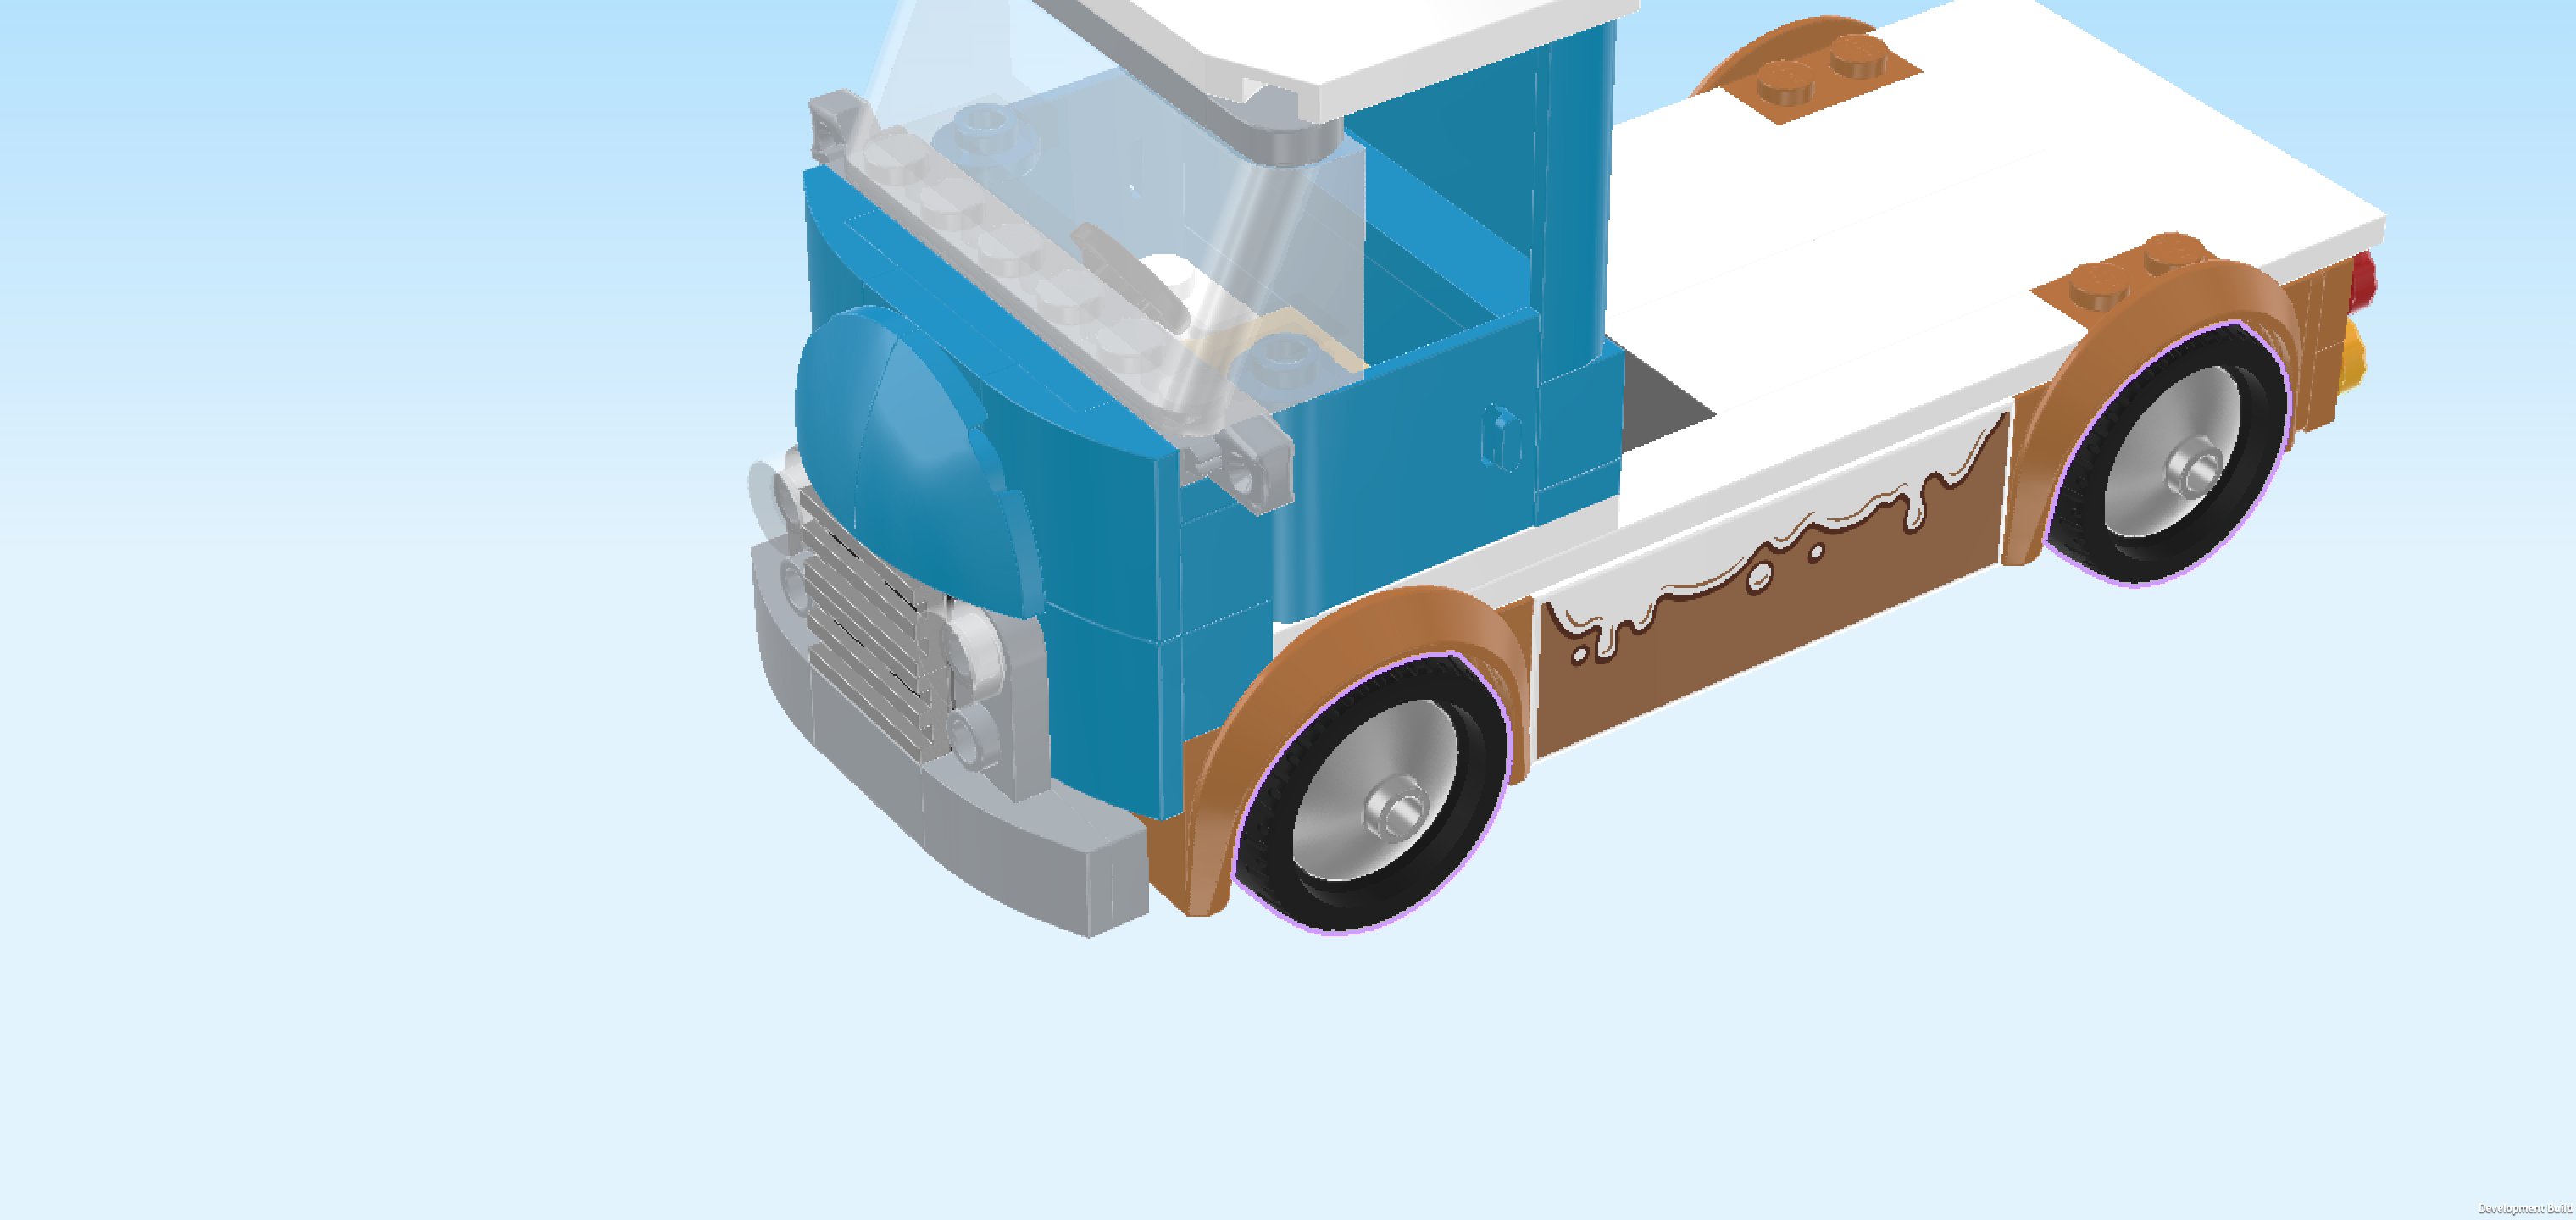
| On the box cover, the LEGO donut truck is driving along a sunny street near the beach of LEGO City. On its roof, the giant pink donut with sprinkles is spinning from the driving motion, making the truck easy to spot. It seems like the truck has just made a customer happy: a lady is walking away from the truck, her hands full with a tray of donuts and a cup of coffee. She is positively beaming and looking forward to enjoying her treat! The vendor is behind the steering wheel and smiling back at his customer. It seems like he really loves his job and making people happy! The truck has a blue body and a white roof with whimsical icing patterns in white and brown along the sides and a striped yellow-and-white awning above the serving window which is a big opening on the vehicle's side. In the background, there are palm trees, skyscrapers and the sea with a strip of beach. It seems to be a windy day today, there are surfers in the water and one of them is currently in midair! Plenty of details to discover still, so let's start building! |
| Open the box. It contains visual building instructions, 2 numbered bags and 1 loose piece: 1 car underbody 4x14x1. We will refer to the bag numbers to guide you through the building process. Please ask a sighted person to help you identify the correct bags! |
| Carefully open bag number 1 and any small sub-bags in it. This bag contains all bricks and pieces for the Vendor Minifigure and the Truck driver's cabin with truck bed. |
| If you like, you can ask a sighted person to help you sort the pieces by color before you start building. We recommend using trays or bowls. This can make finding the correct pieces easier! However, if you would like to build without brick colors entirely, you can also ignore them or turn them off. There are different ways to sort and organize the bricks and your building process. It is up to you! |
| First, we will build the Donut Vendor Minifigure. |
| Collect the following 2 pieces: |
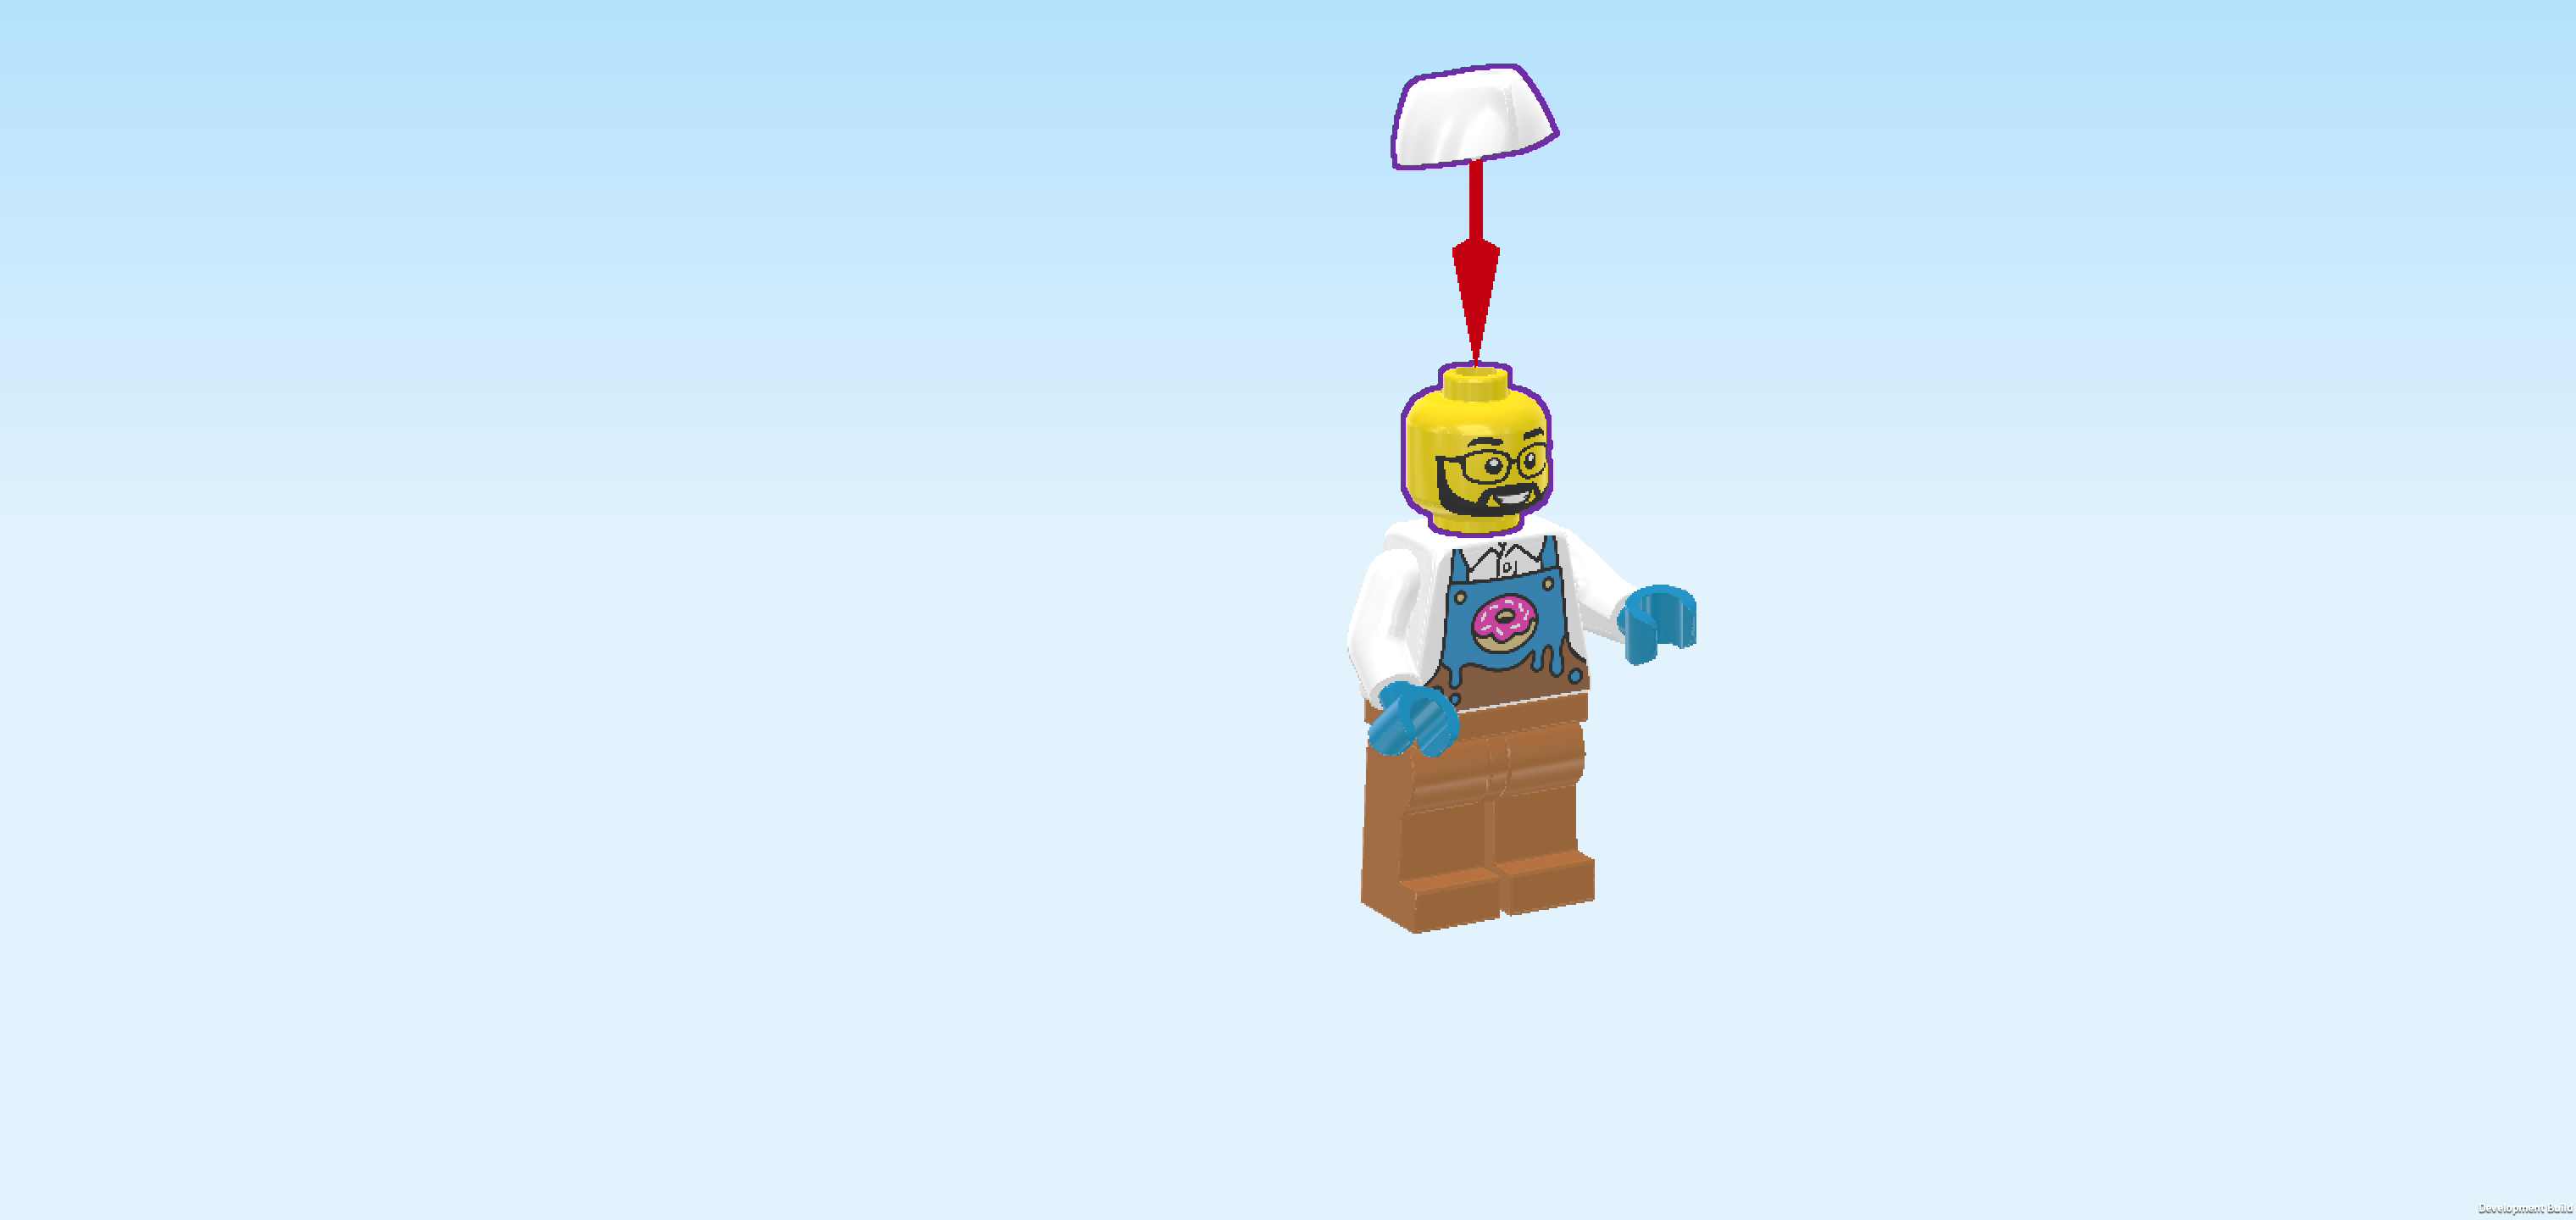
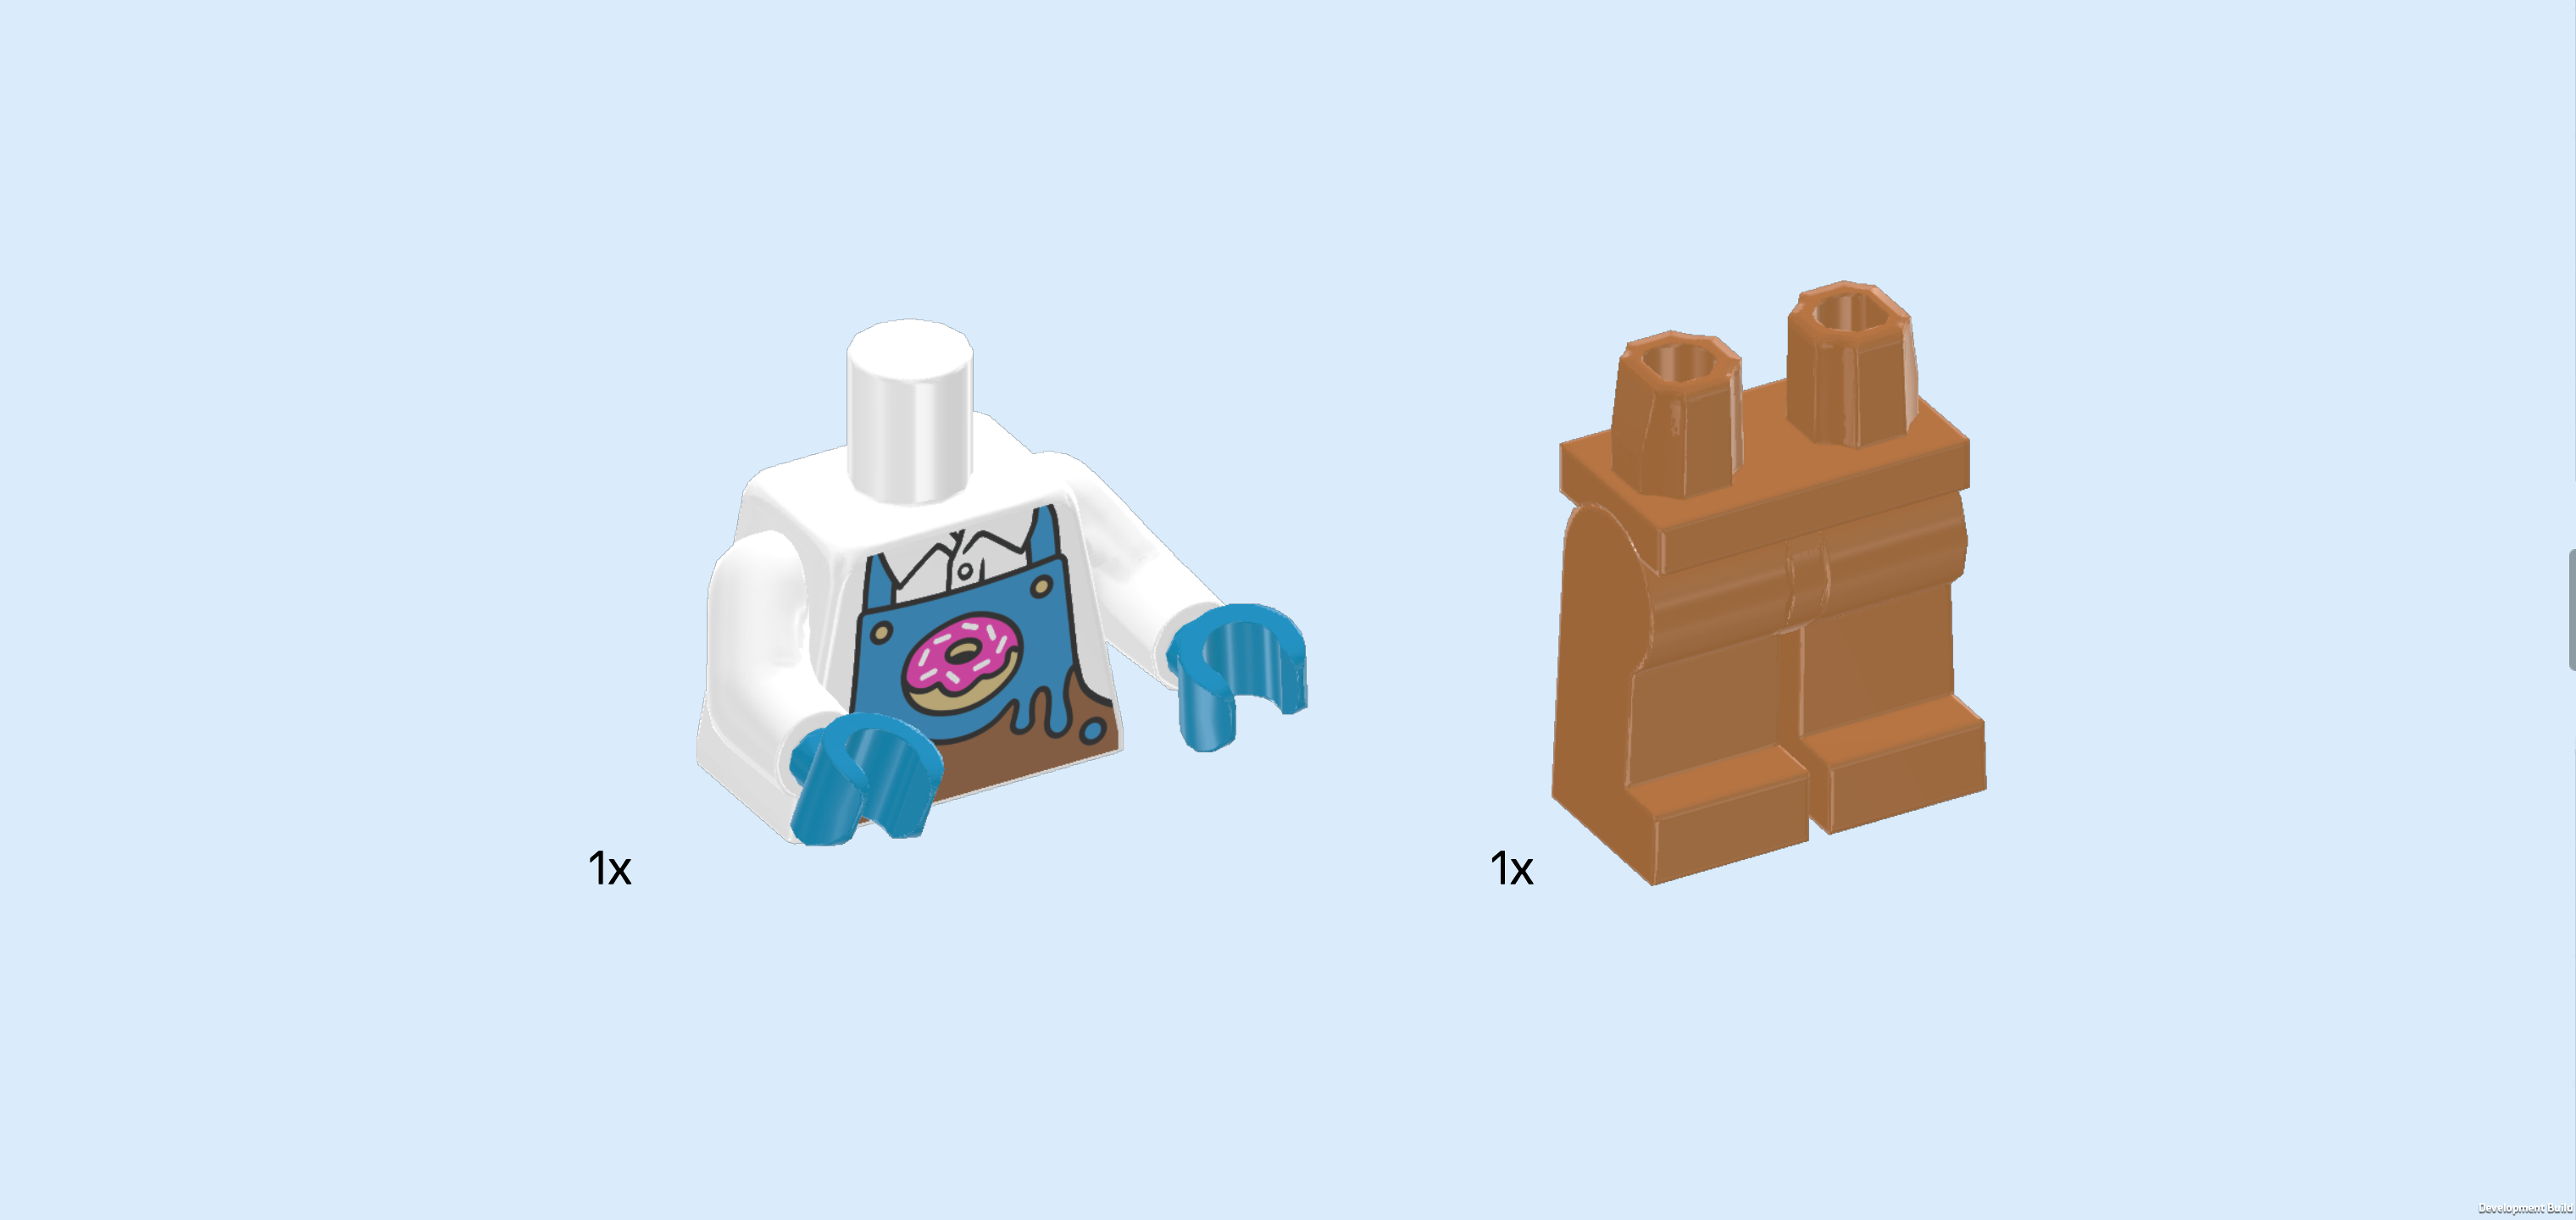
| 1 white and dark azure blue upper part of the body, |
| and 1 medium nougat brown pair of legs. |
| Put the upper body on the legs. Make sure that the hands and toes are pointing in the same direction. |
| Collect the following 2 pieces: |
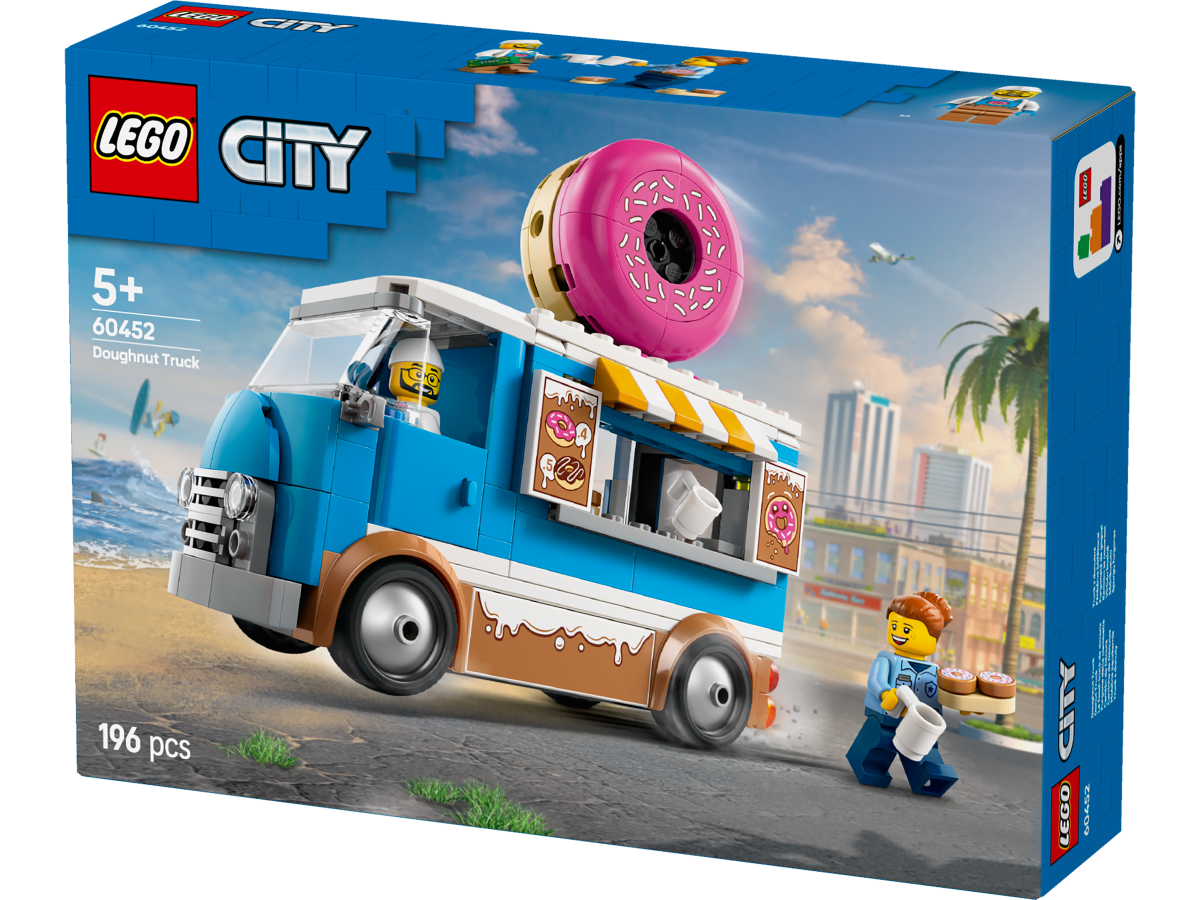
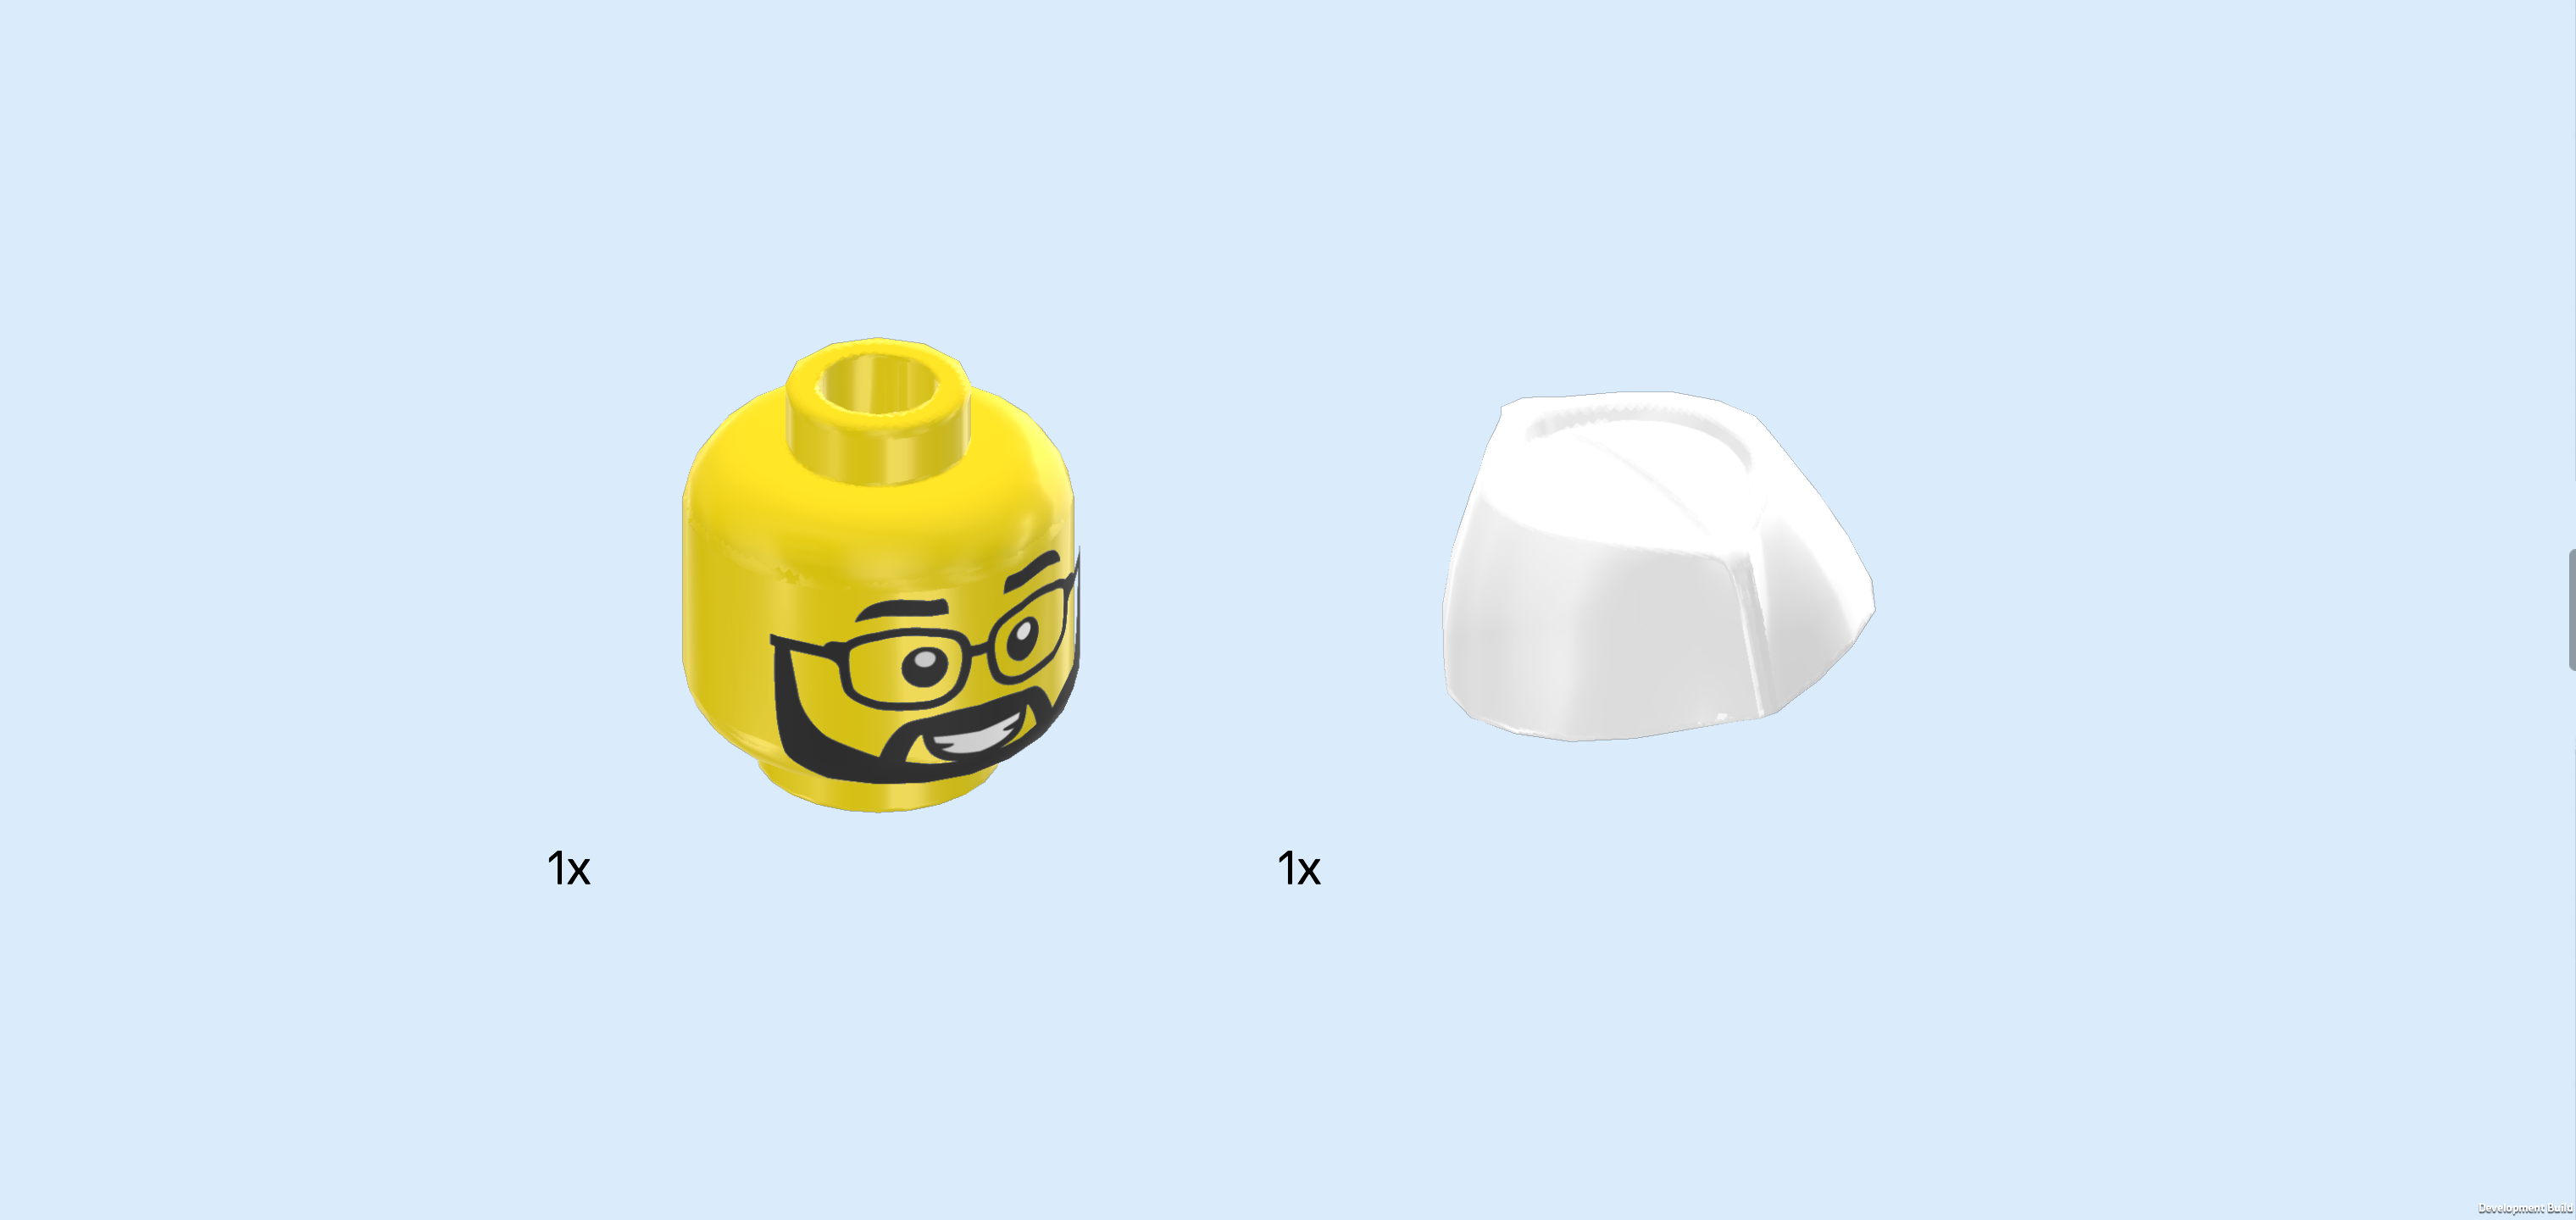
| 1 bright yellow Minifigure head, |
| and 1 white paper hat. |
| Put the head on the body. |
| Put the hat on the head. |
| The Donut Vendor Minifigure is finished! Great job! The vendor wears a white paper hat often worn by food vendors. He has a friendly face with a short black beard in the shape of a boxed beard, glasses, and a big smile. His shirt is a white button-up shirt with collar and long sleeves, and over it he wears brown overalls with a chest print: bright blue icing is dripping down all across the chest and back part as well as the straps of the overalls, and the print features a pink donut with sprinkles front and center. He is also wearing blue gloves, probably for food safety. With his friendly demeanor and tasty snacks, he must be a beloved member of the LEGO City community! |
| Next, we will build the truck driver's cabin with truck bed. |
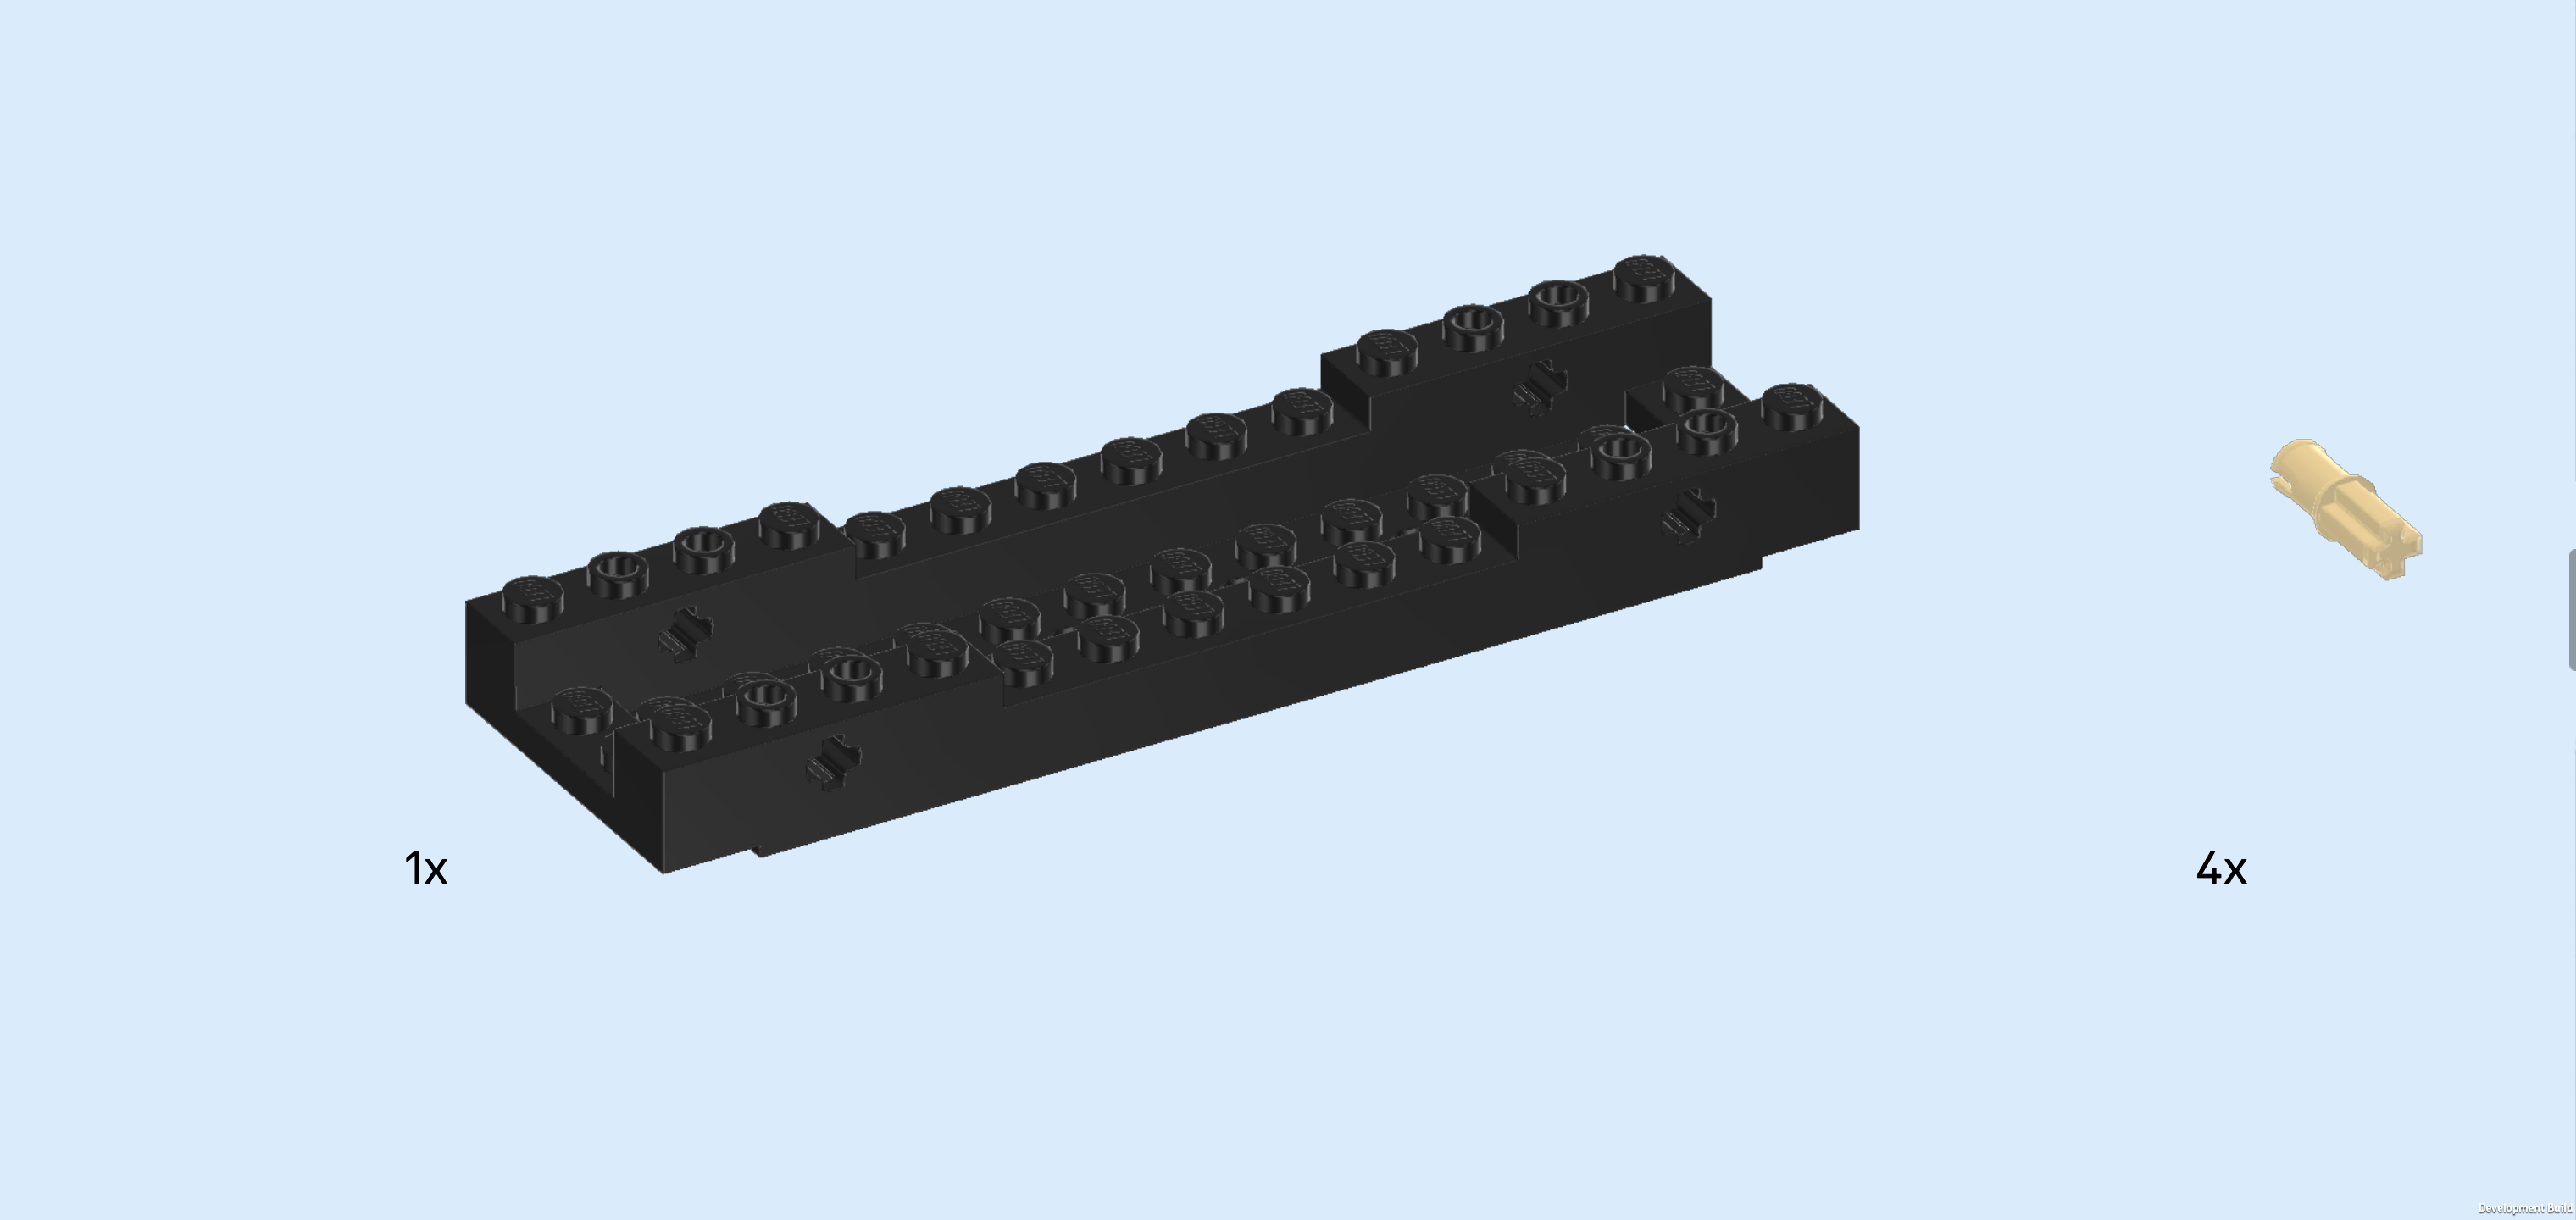
| Collect the following 5 pieces: |
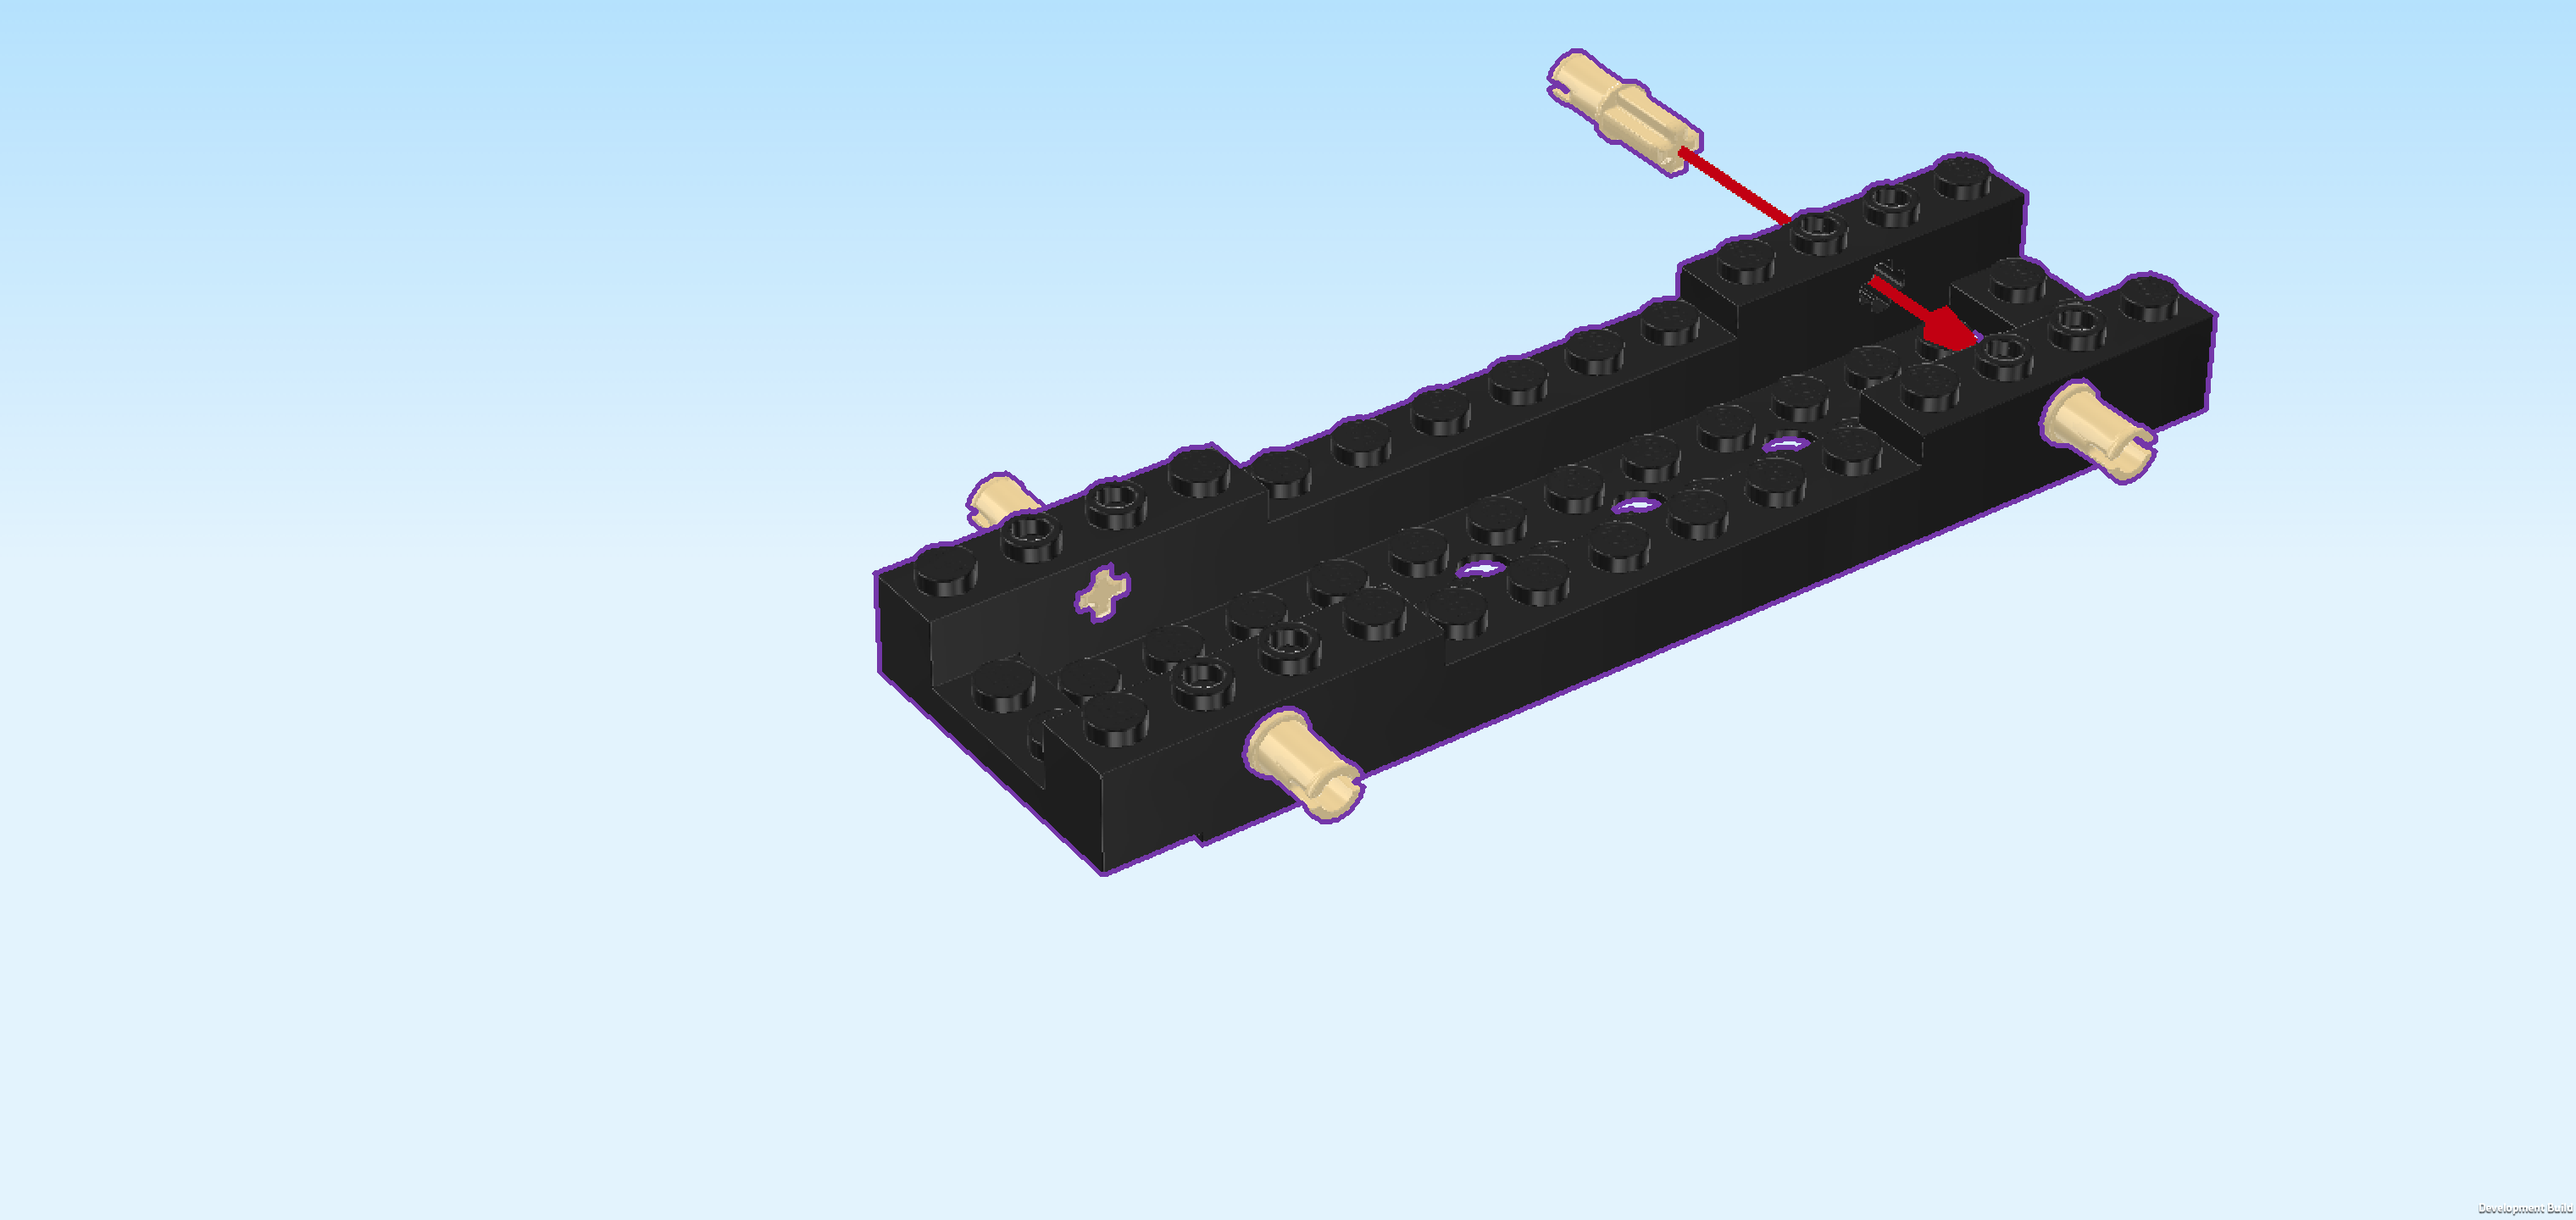
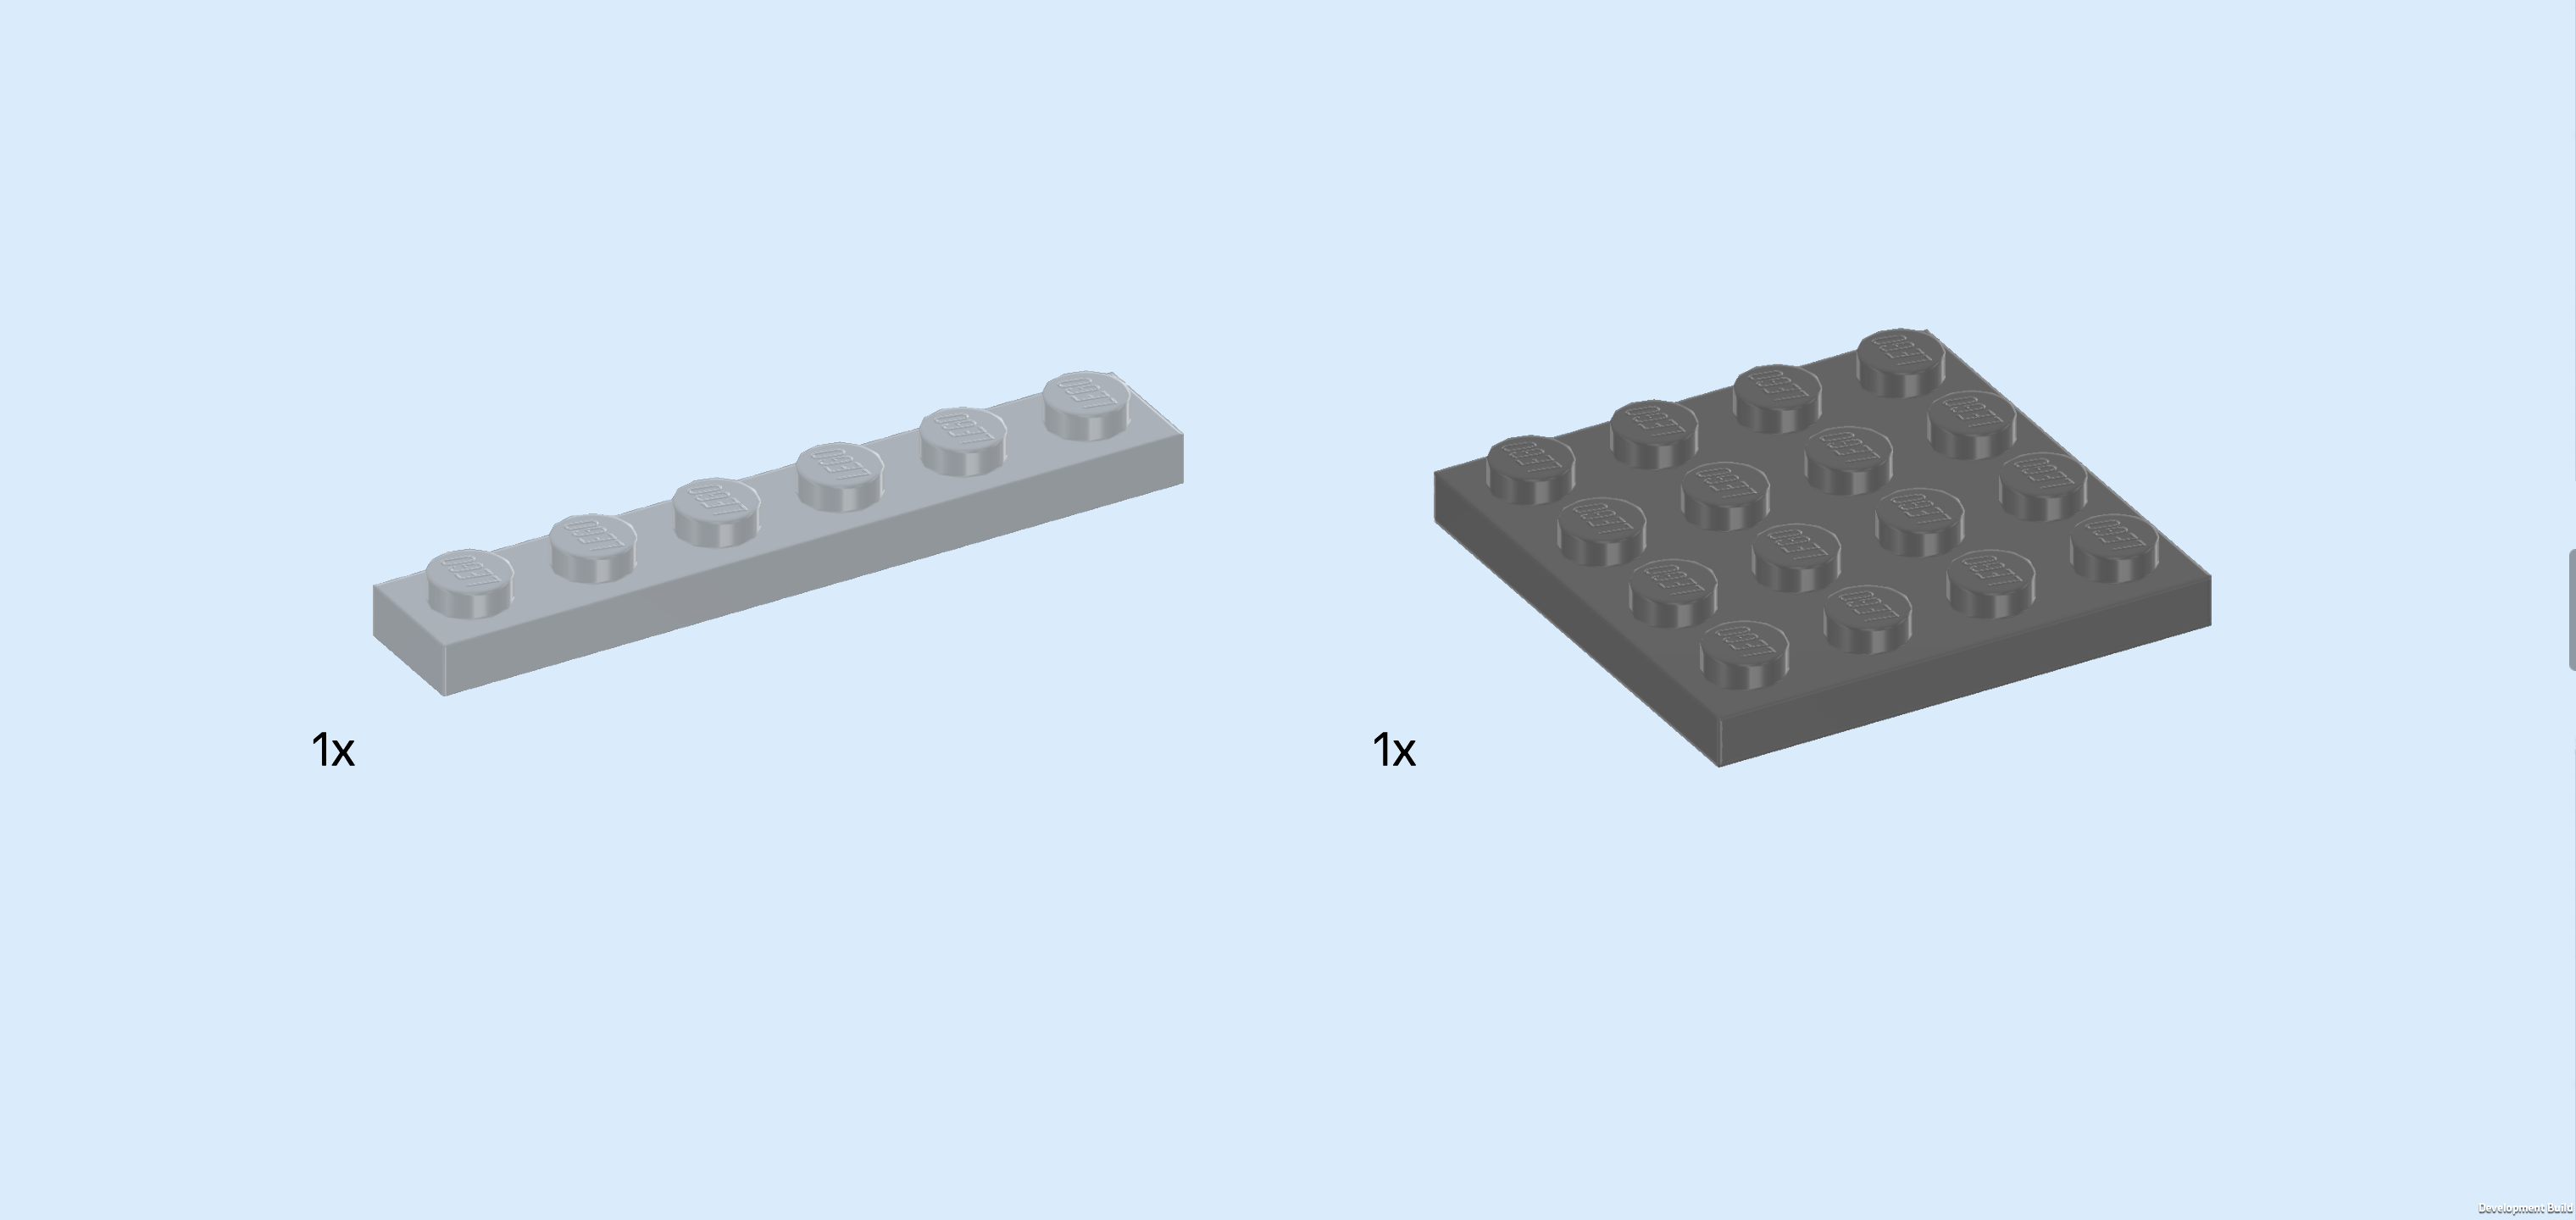
| 1 black car underbody 4x14x1, |
| and 4 beige connector pegs 2m with cross axle pin. |
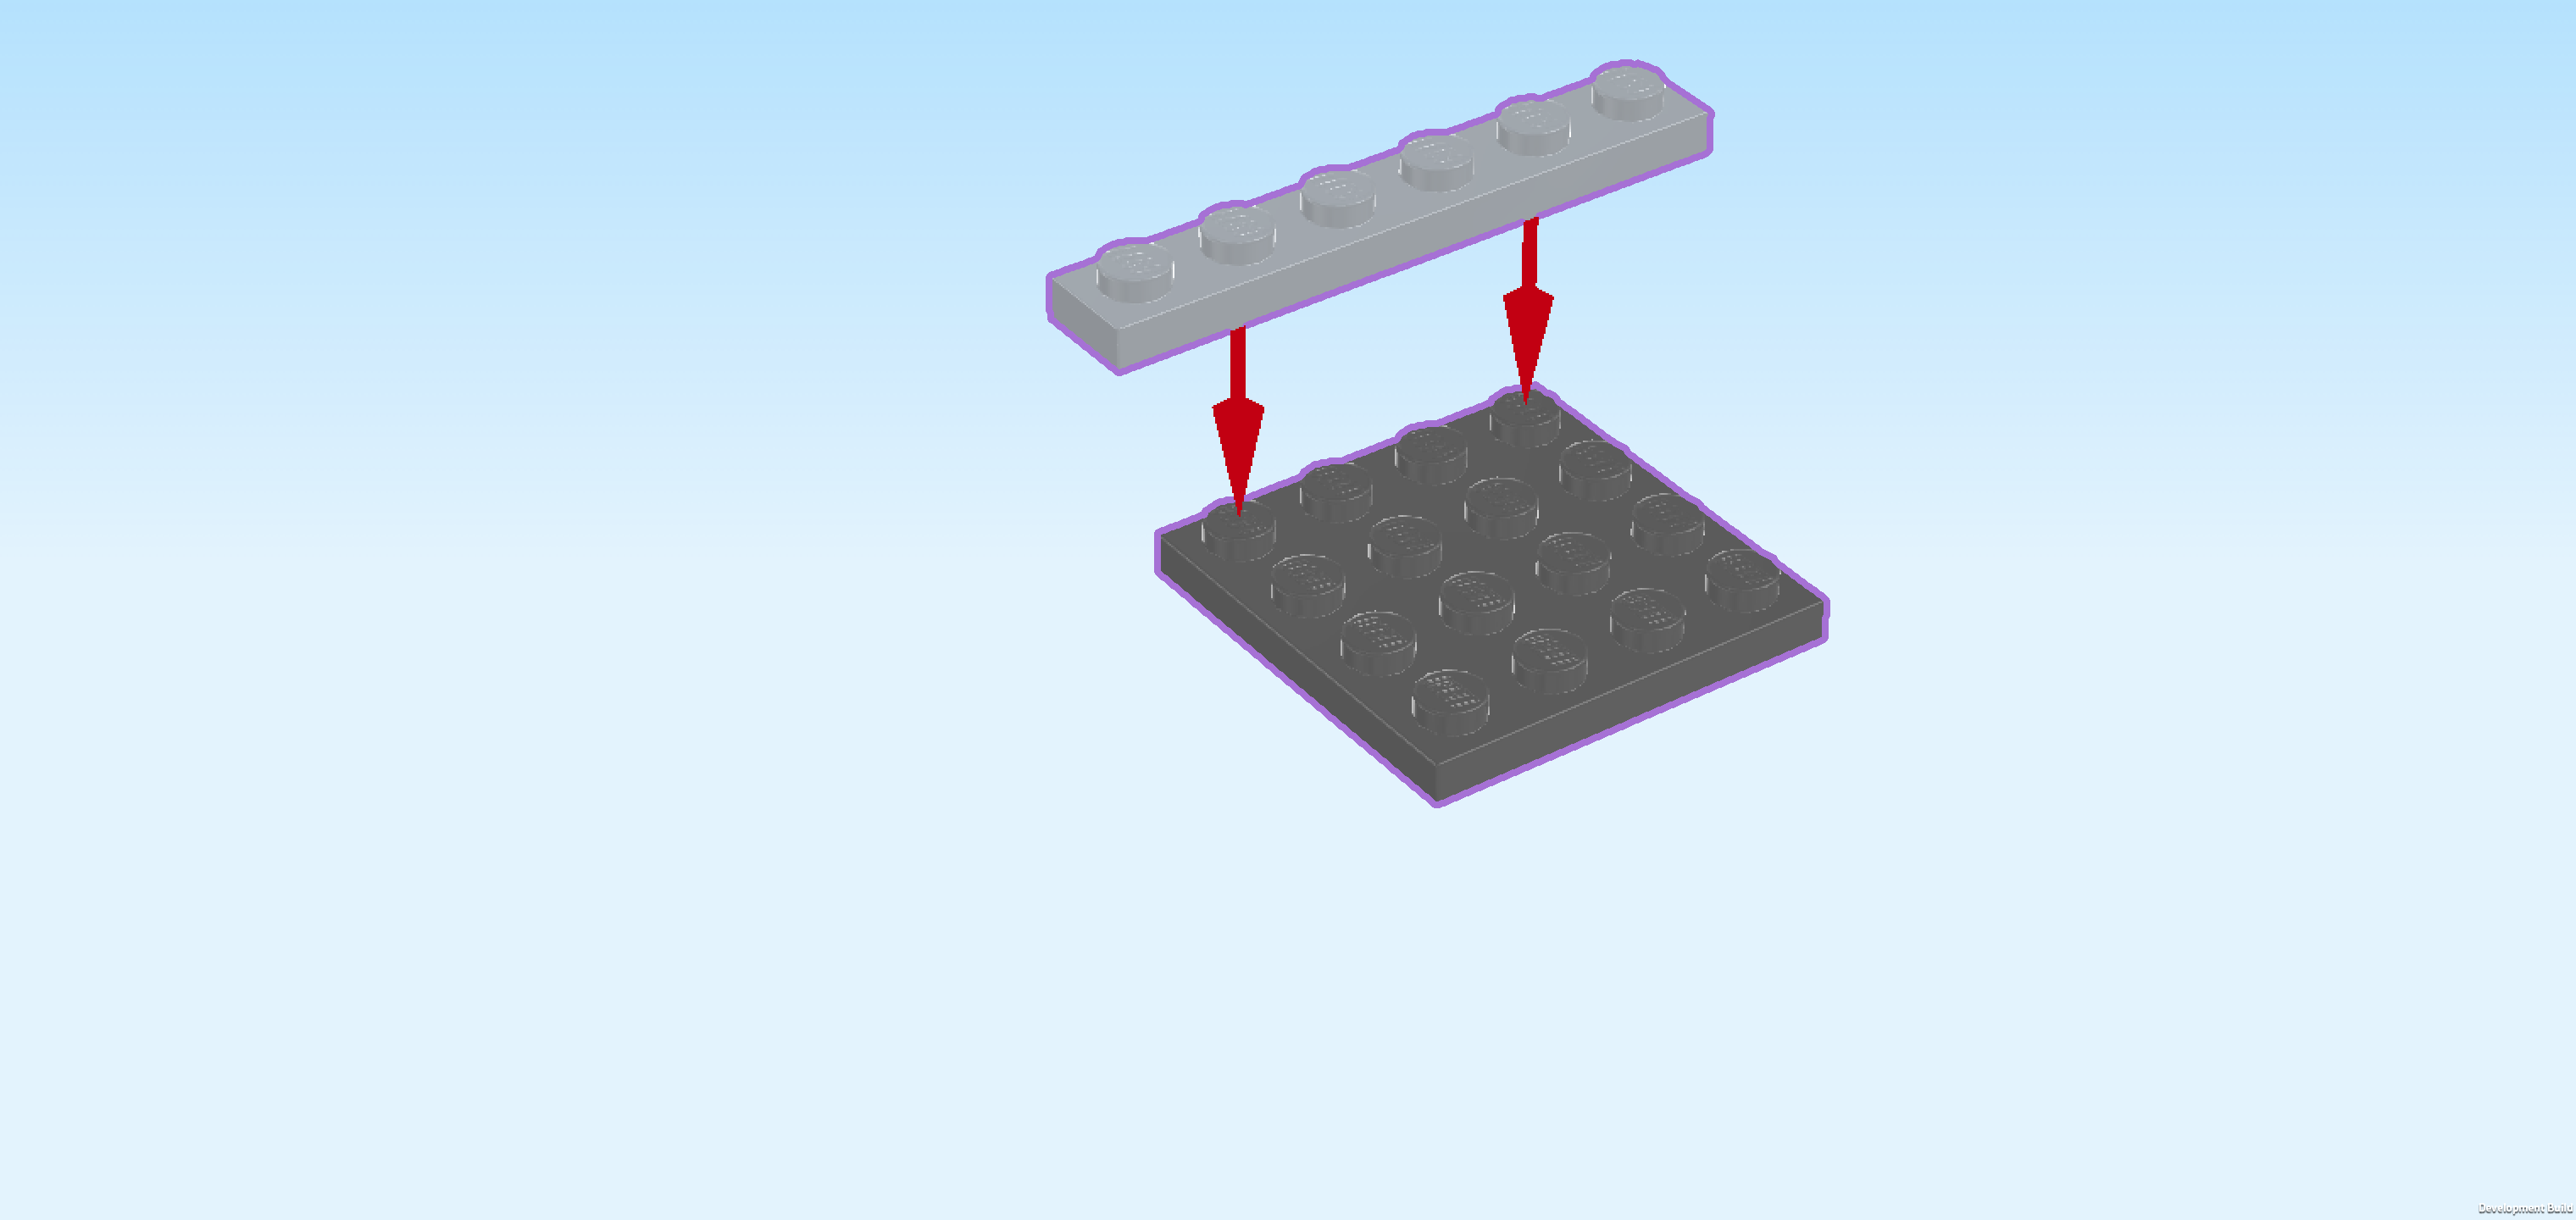
| Put the car underbody horizontally on the table. Make sure its knobs form straight rows and columns in front of you. |
| Find the 2 cross holes at the front surface of the car underbody and insert one cross axle pin into each one of them, 1/2 protruding to the front. |
| Repeat symmetrically at the back. |
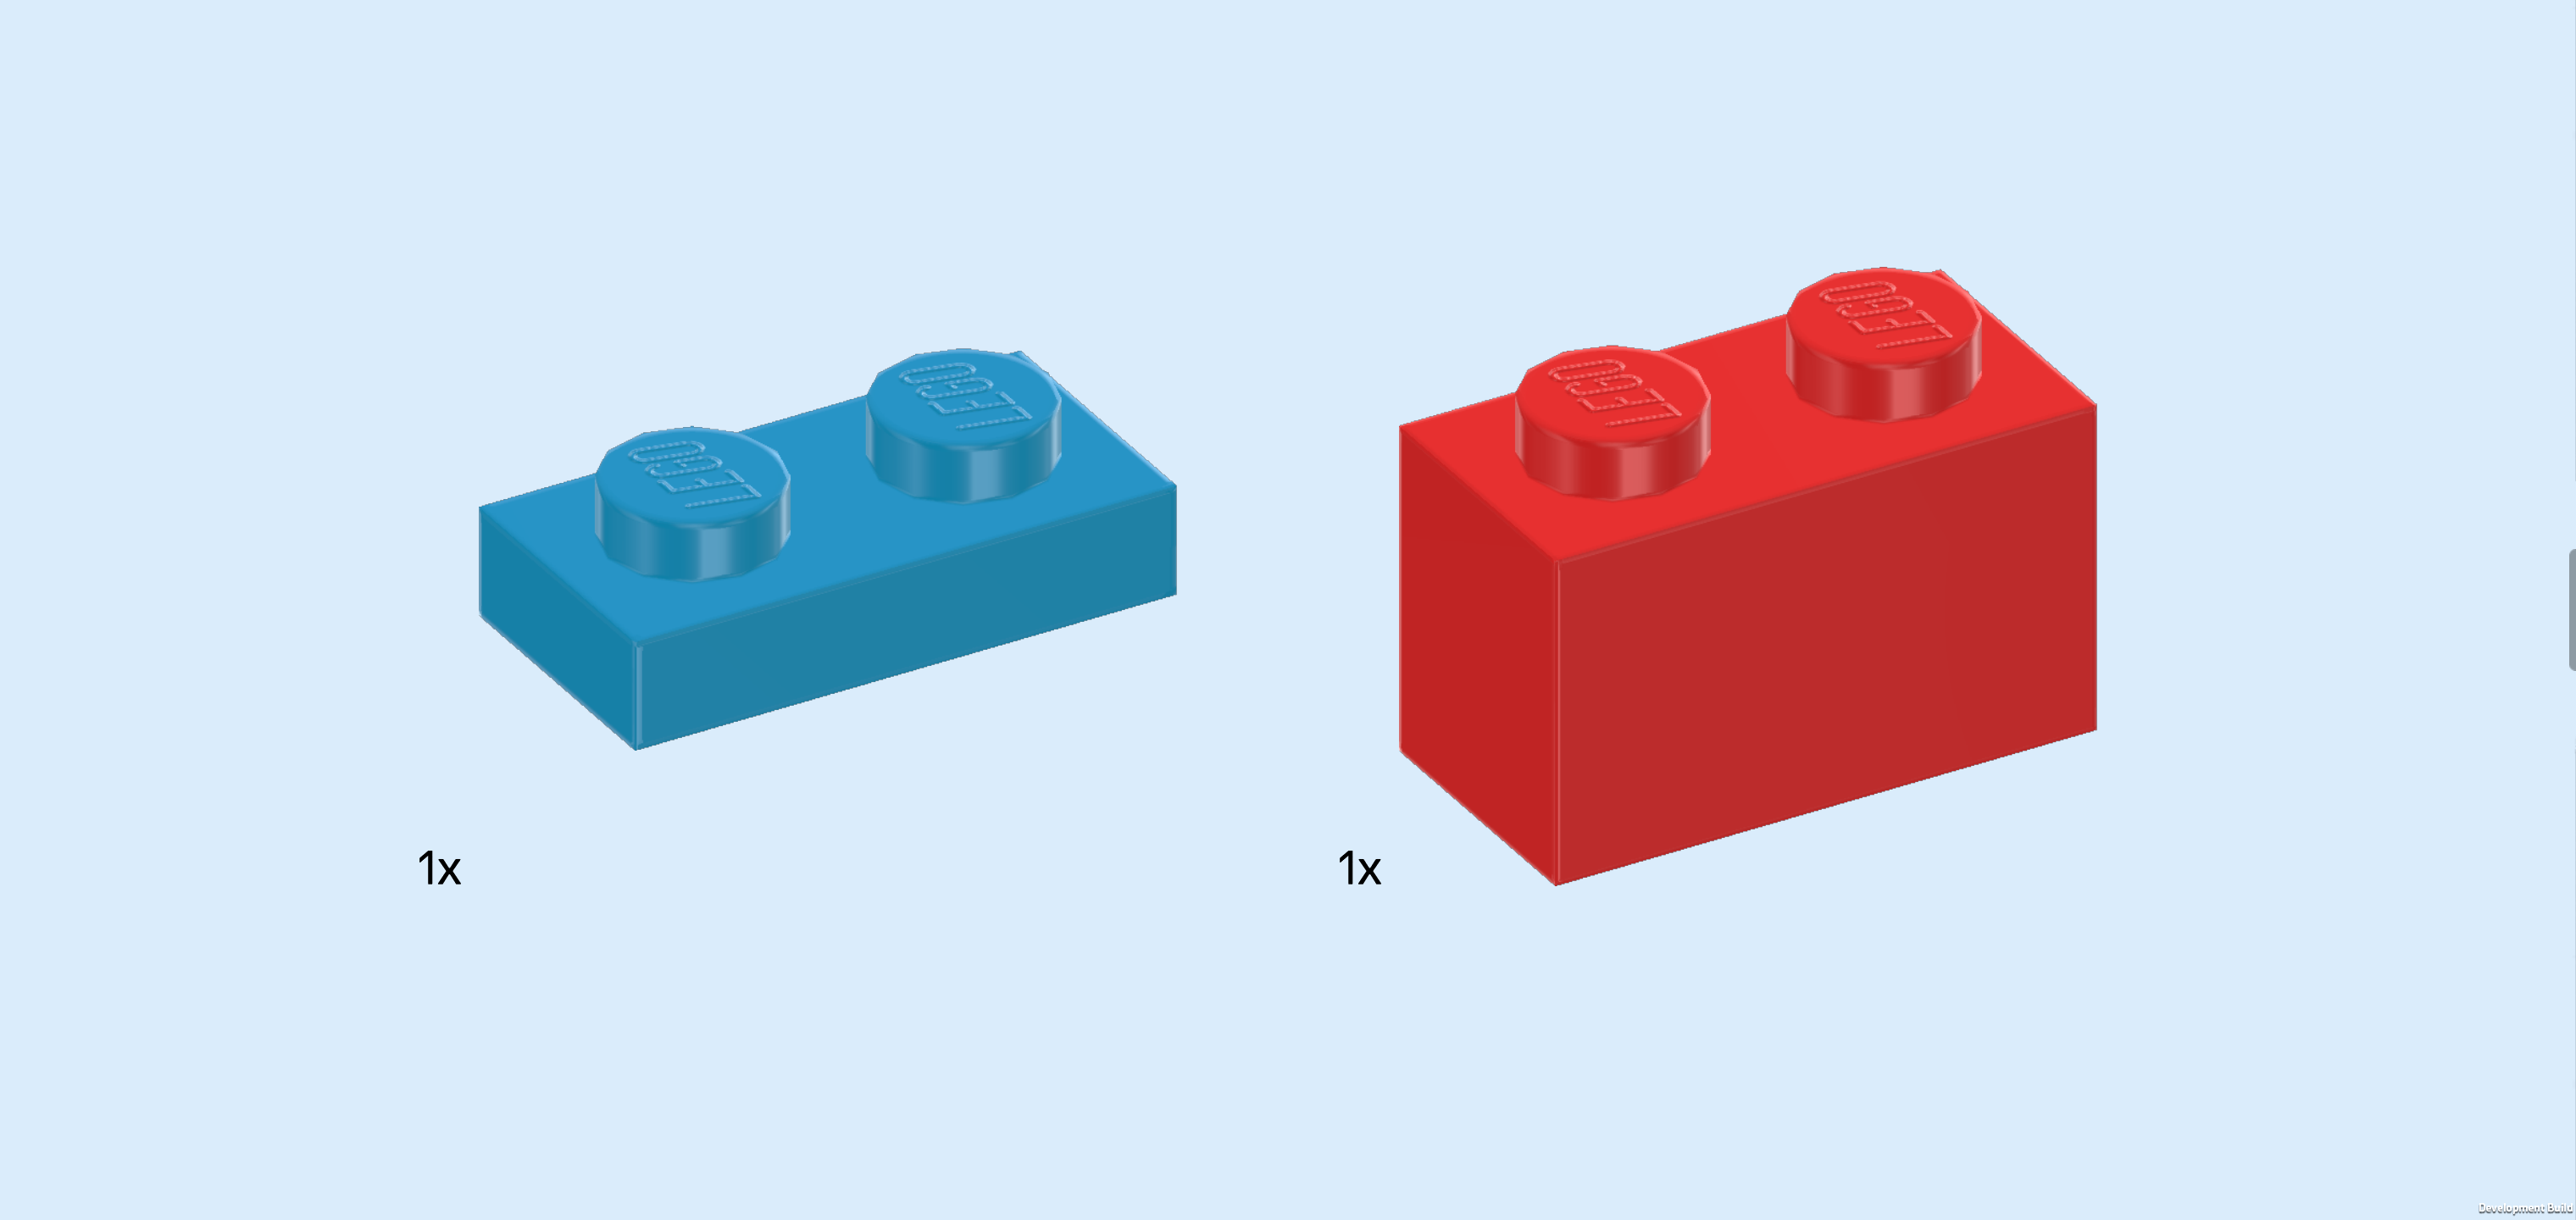
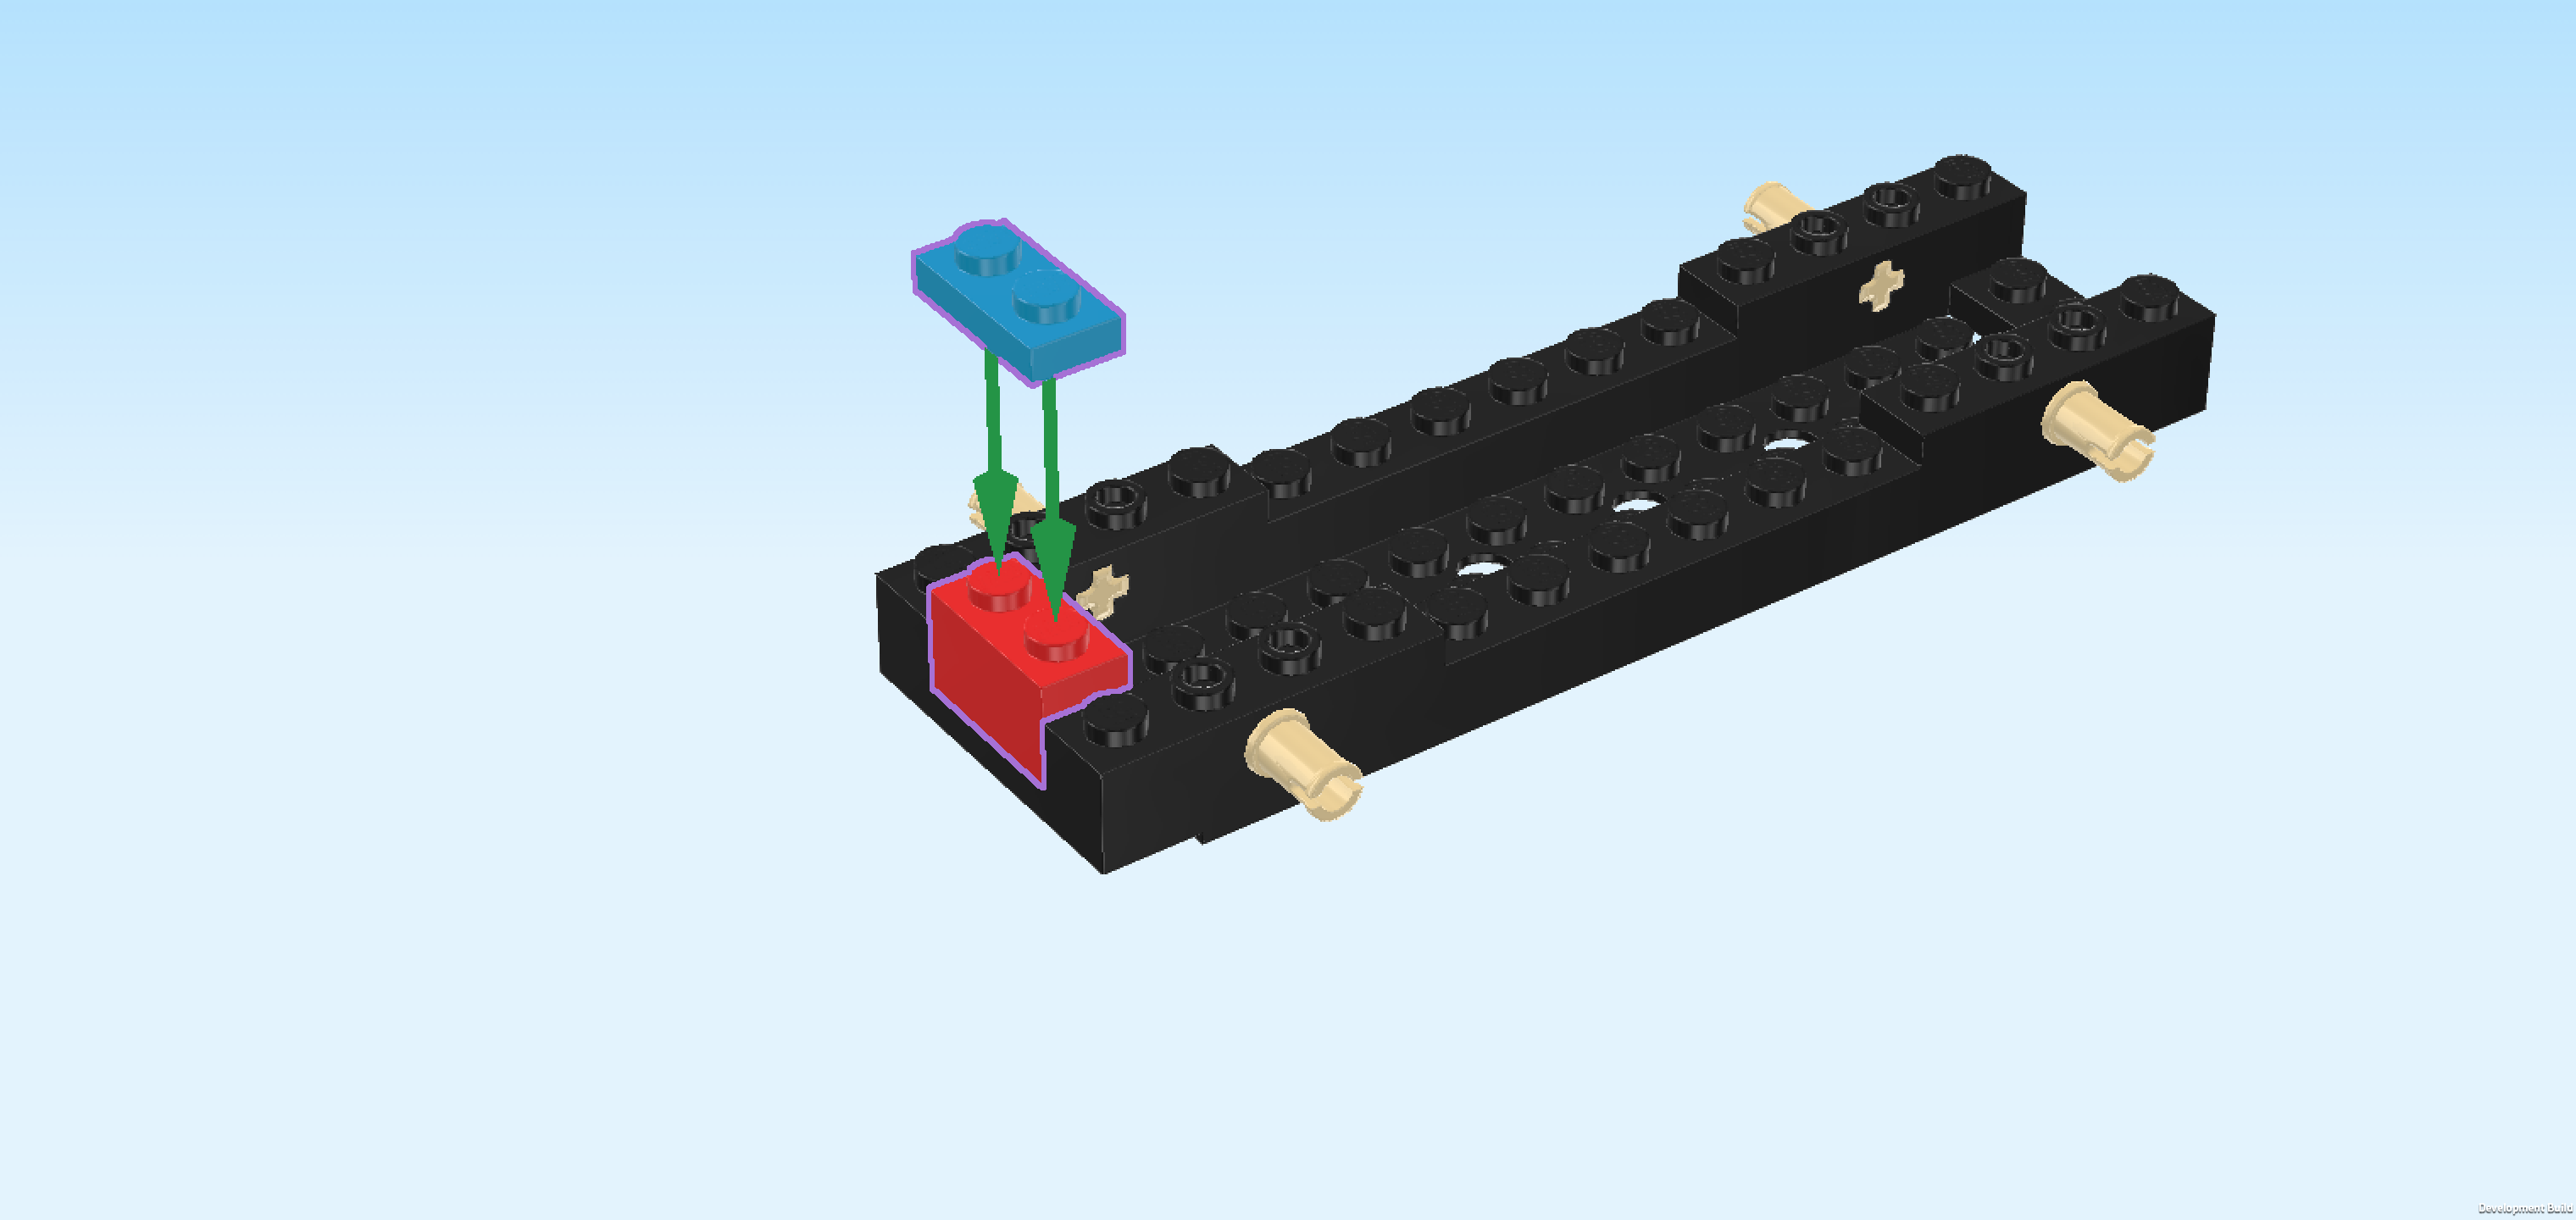
| Collect the following 2 pieces: |
| 1 dark azure blue plate 1x2, |
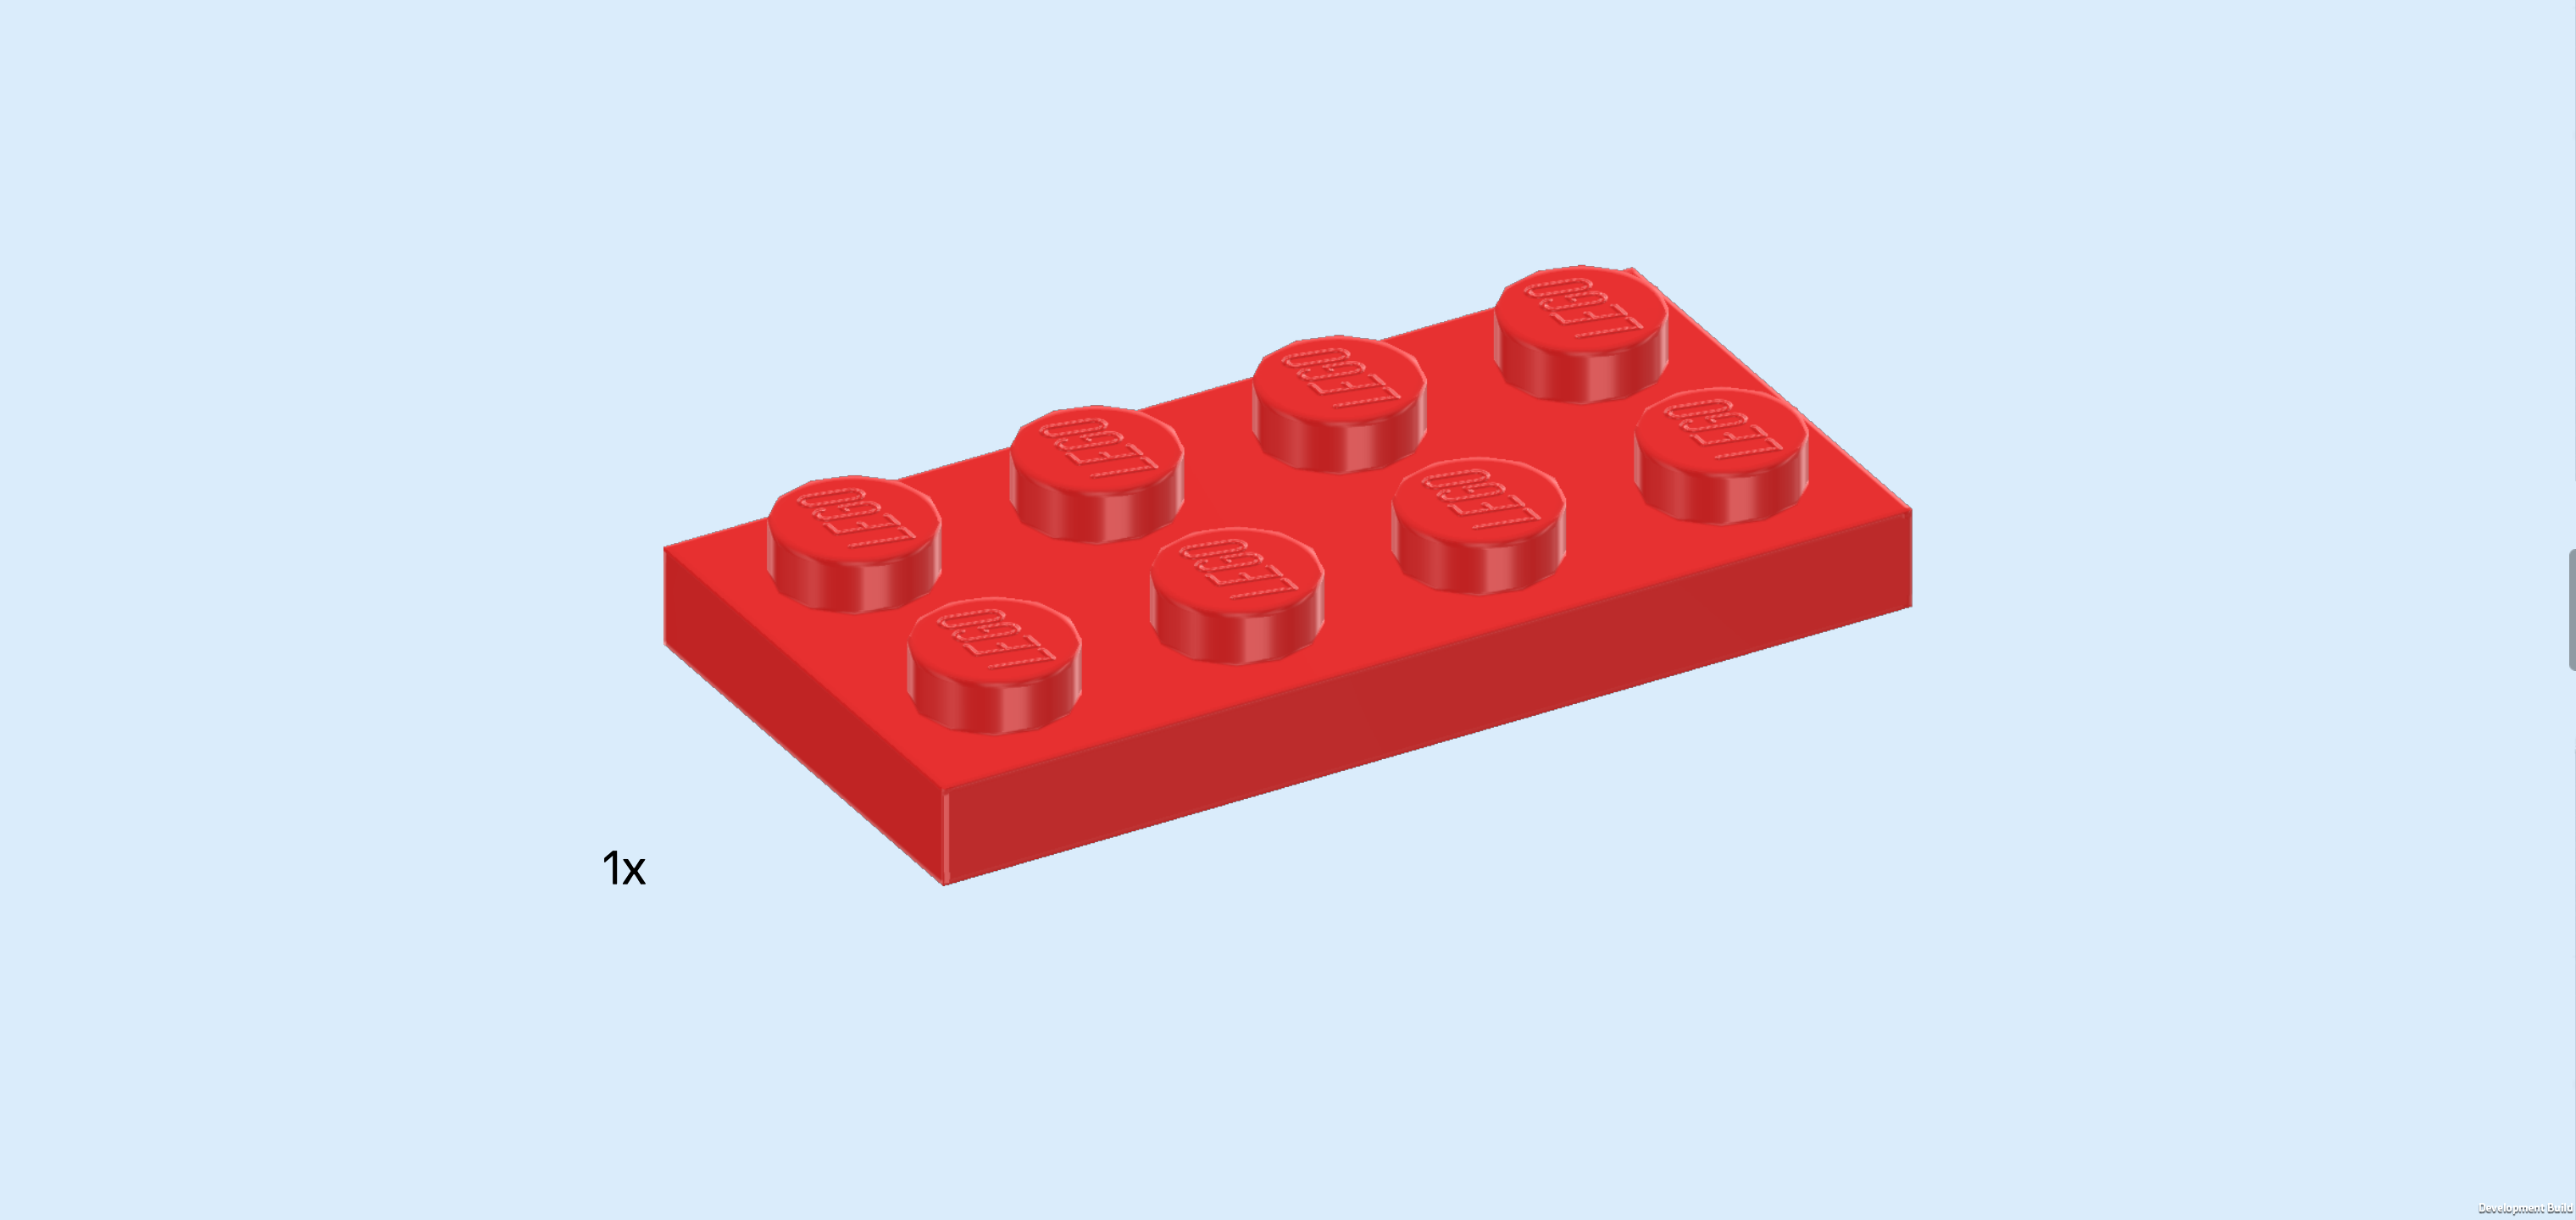
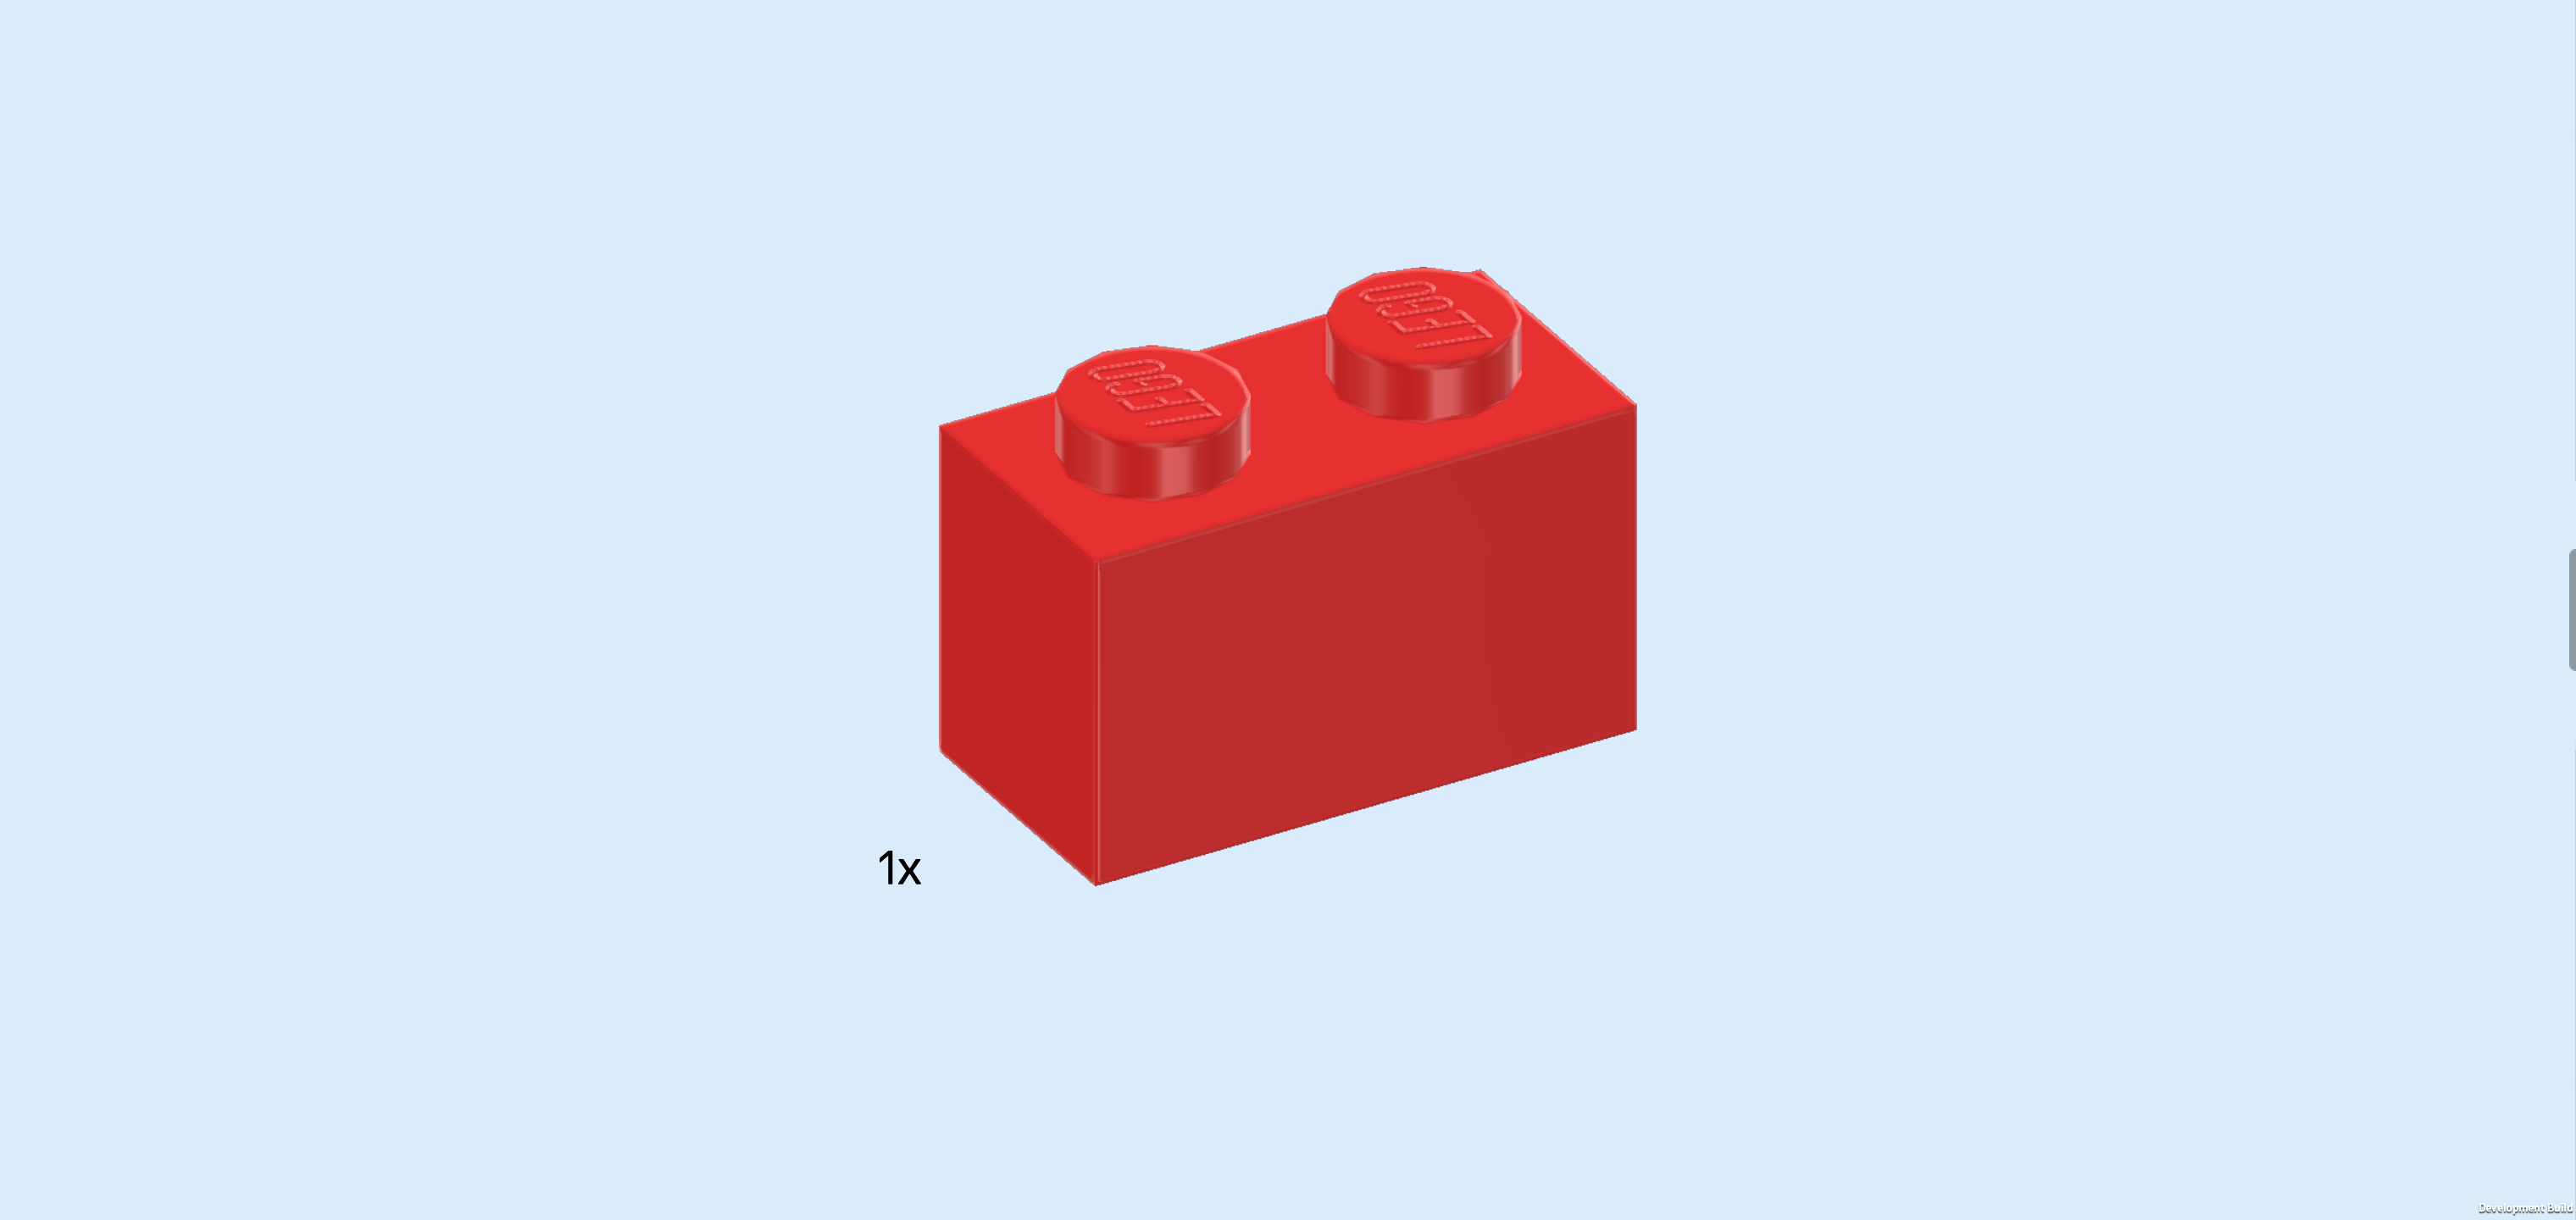
| and 1 bright red brick 1x2. |
| Put the brick 1x2 vertically centered on the leftmost column. This means it will sit in the cutout on the left edge. |
| Put the plate 1x2 vertically on top of the previous piece. |
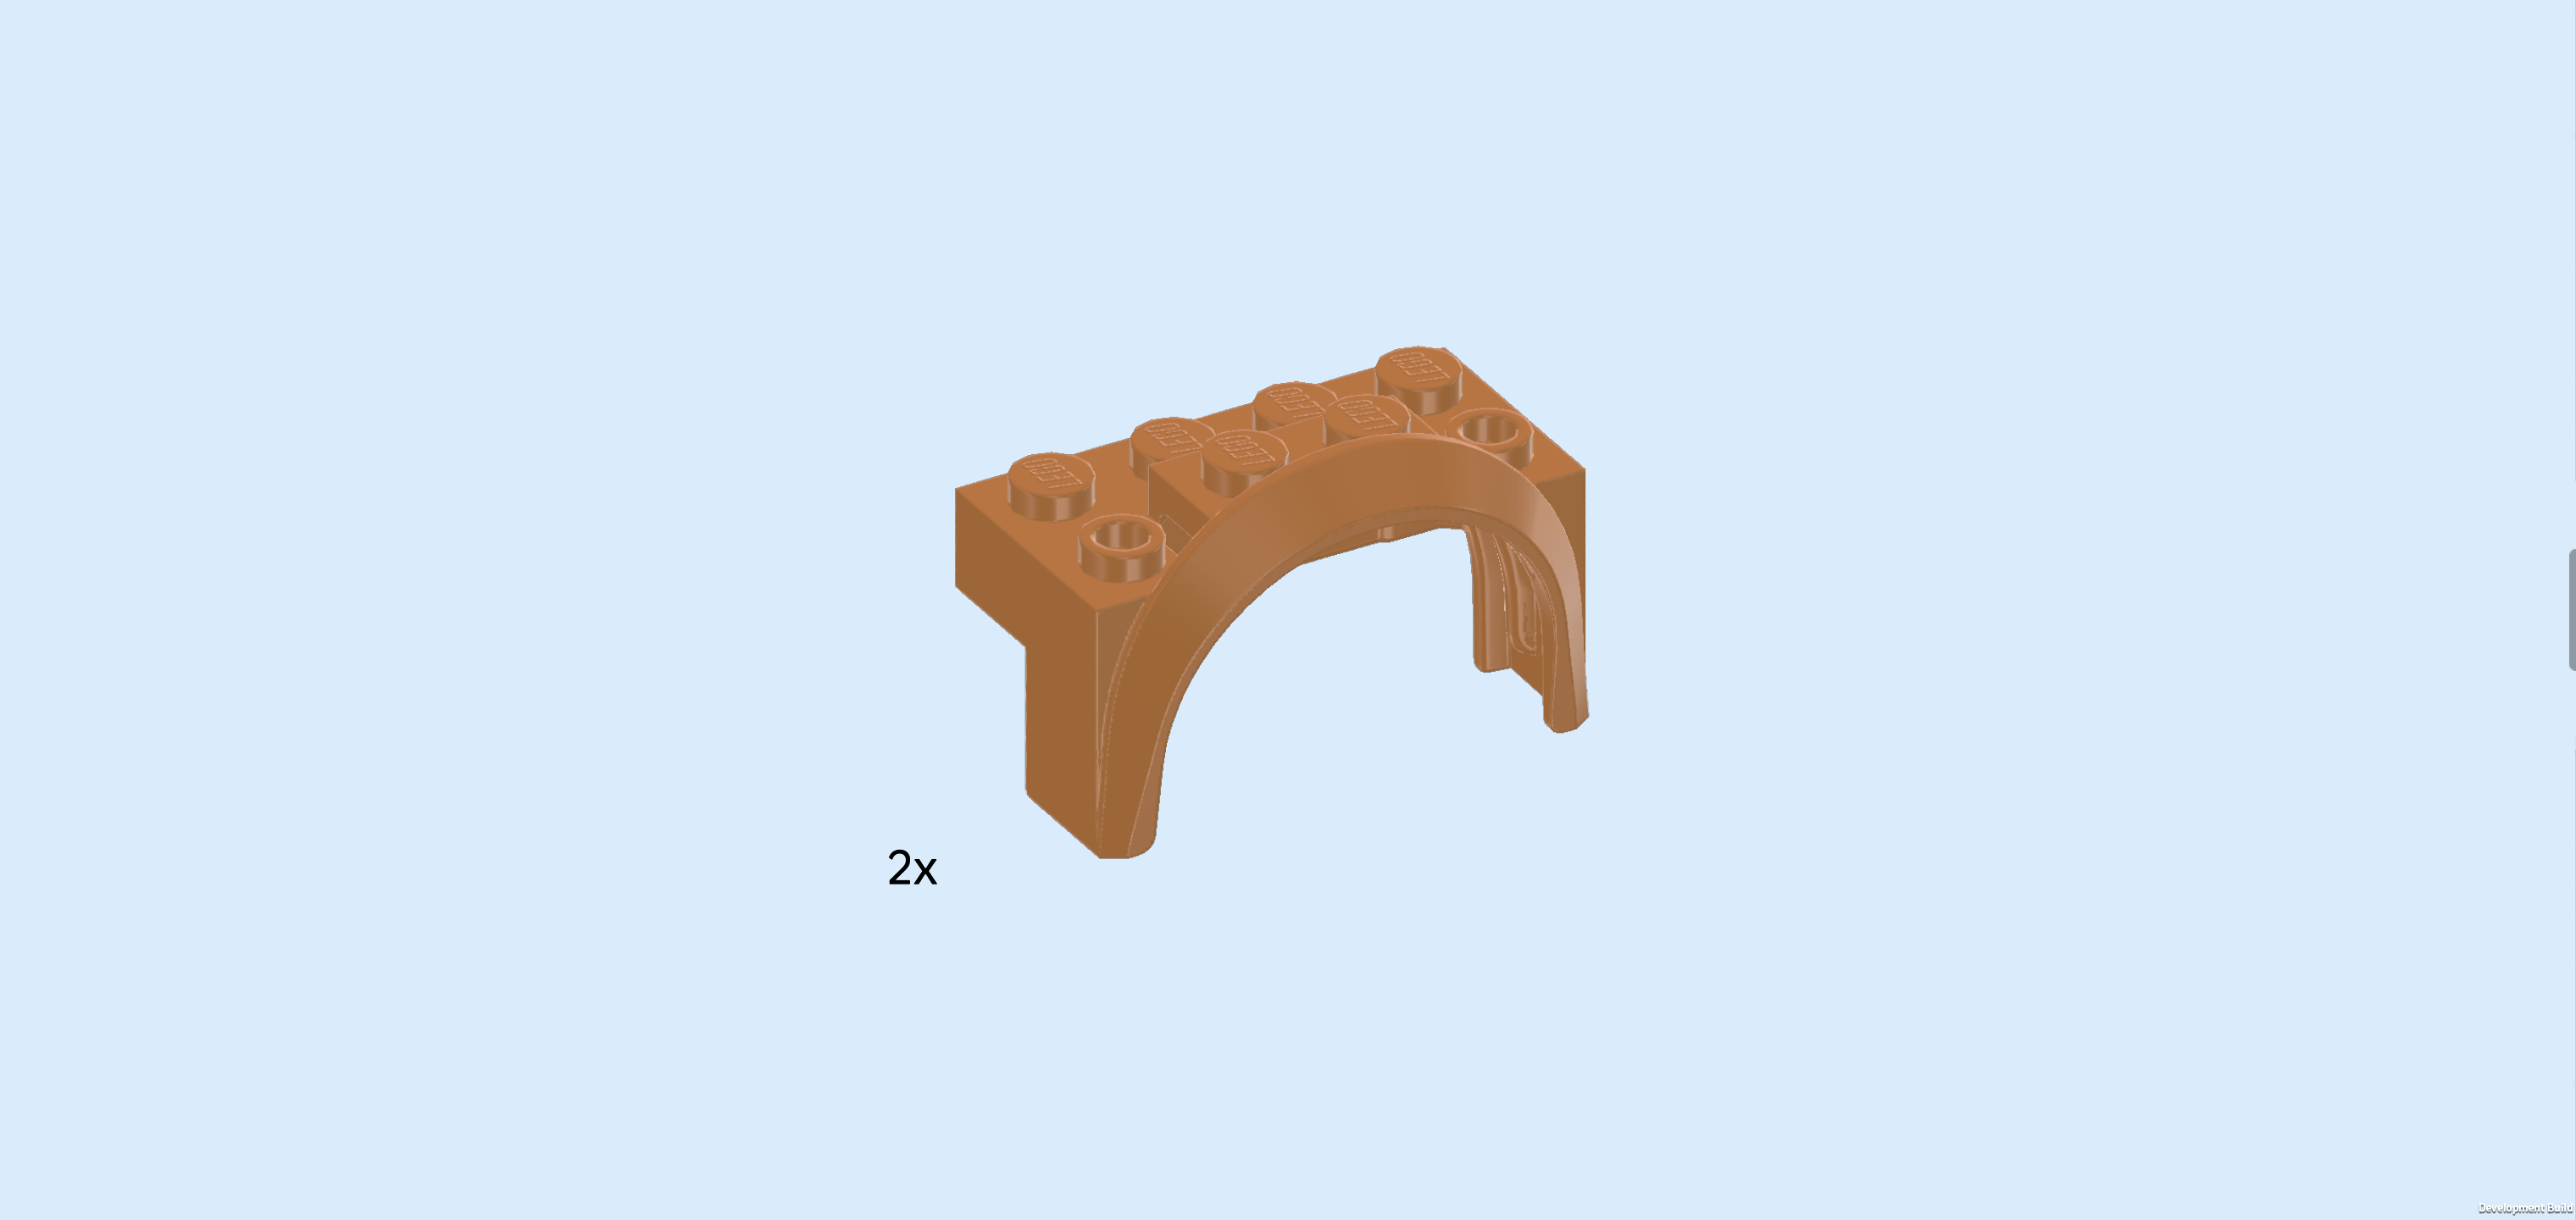
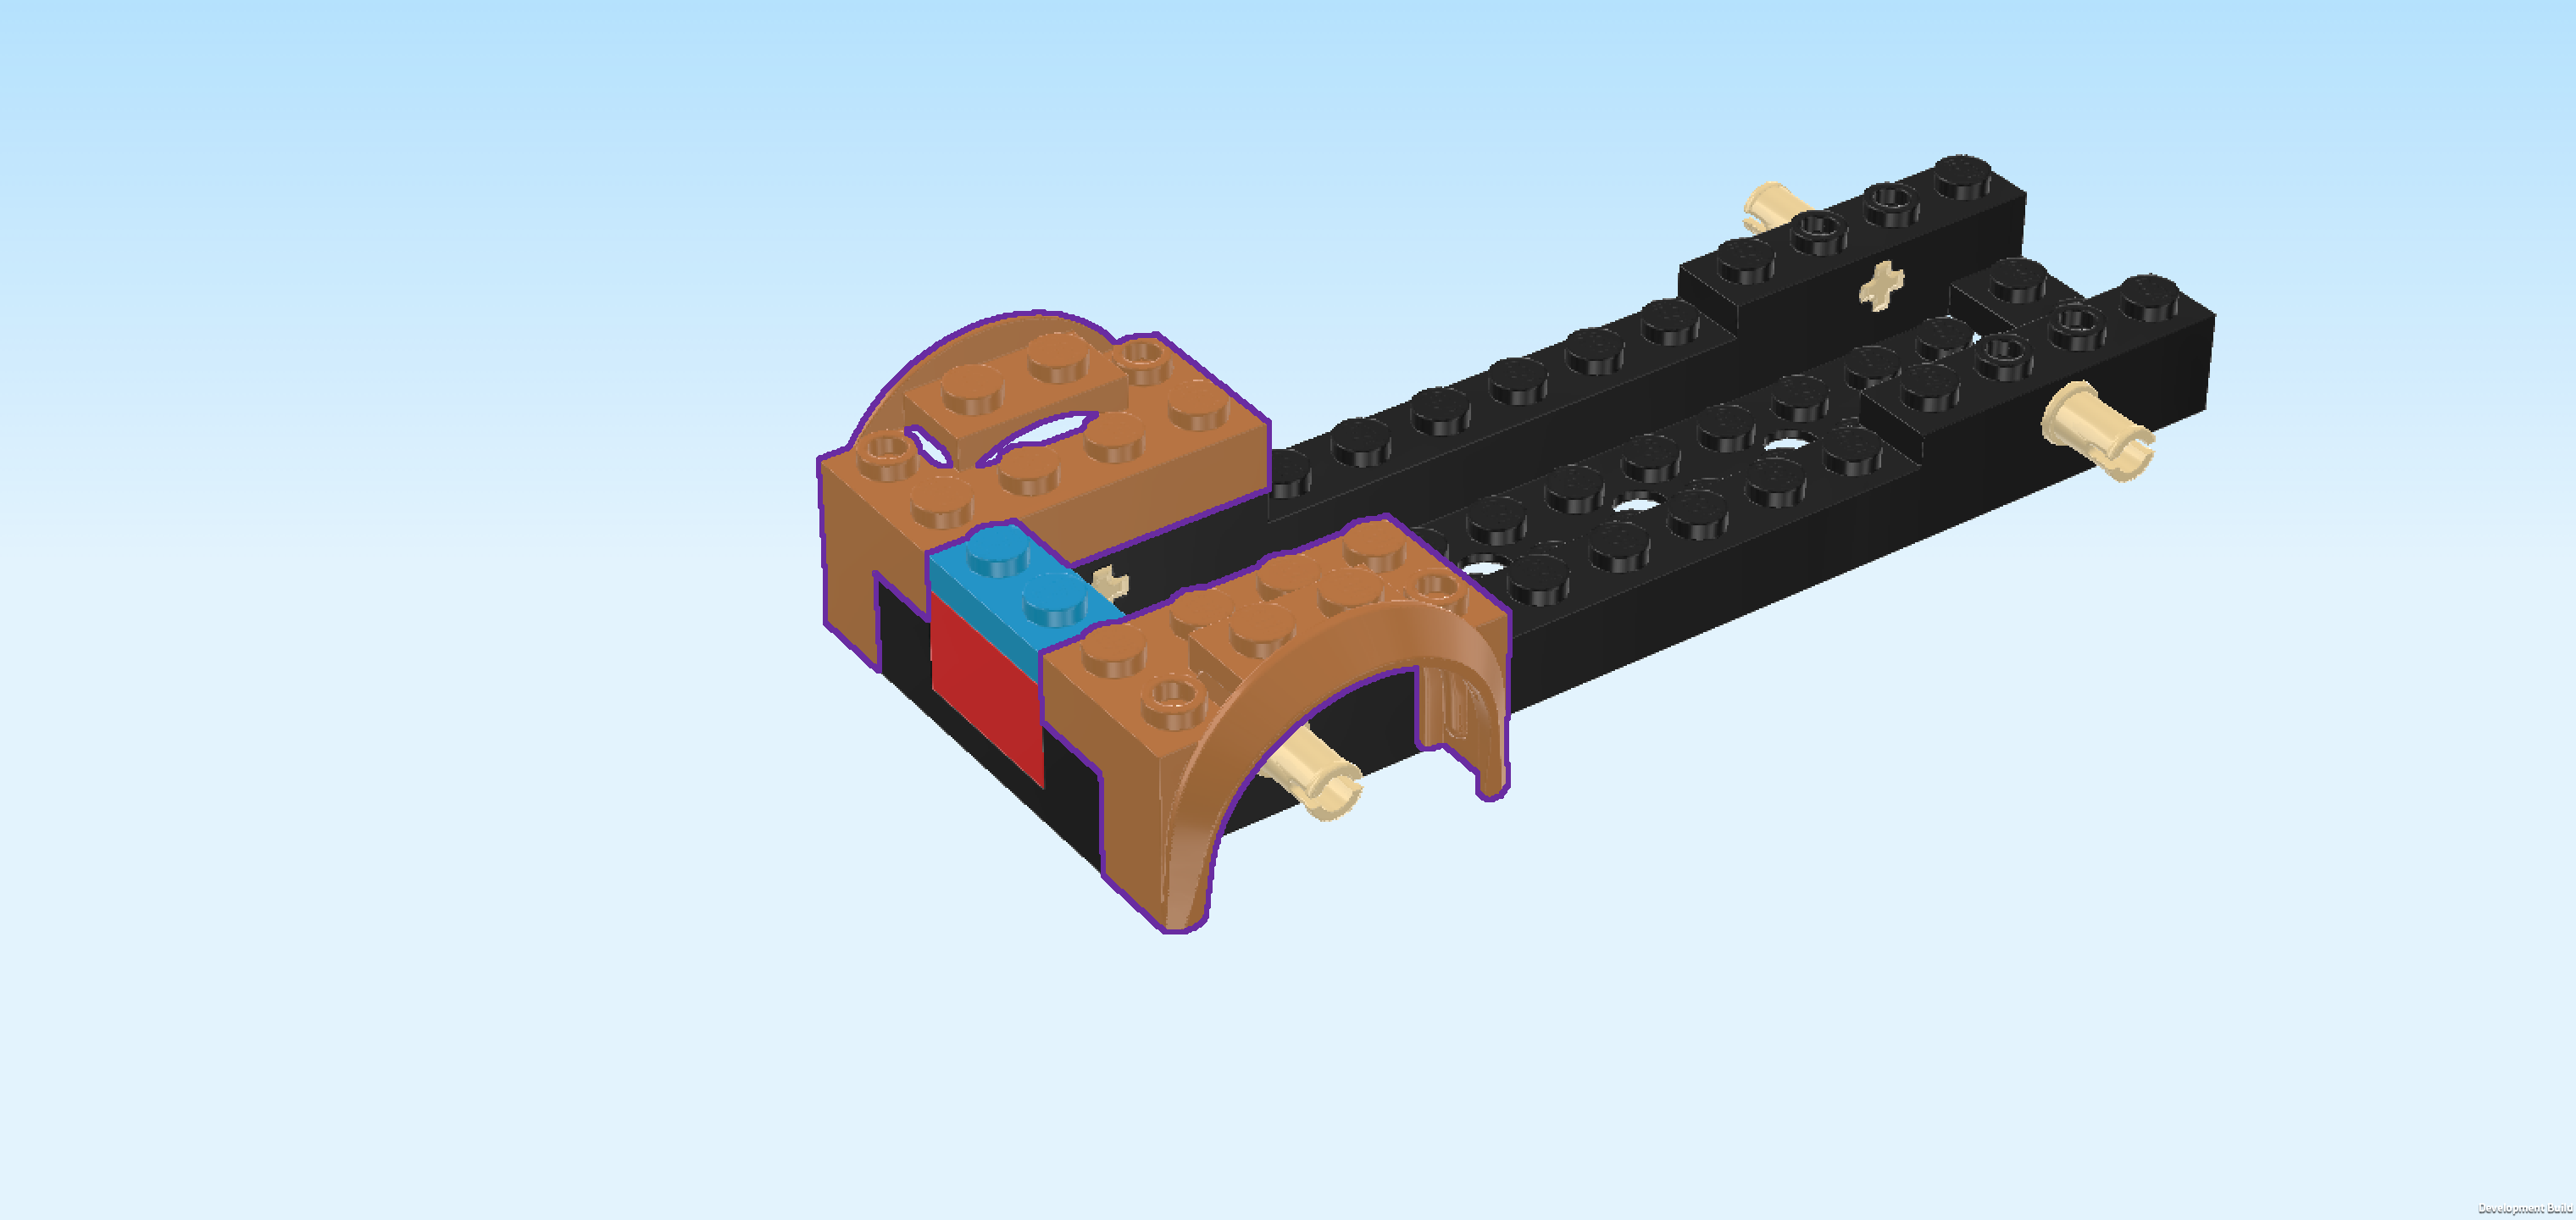
| Find 2 medium nougat brown mudguard elements 2x4x2. |
| Put 1 horizontally on the frontmost row, starting from the left edge, front row with mudguard overhanging to the front. |
| Repeat symmetrically at the back. |
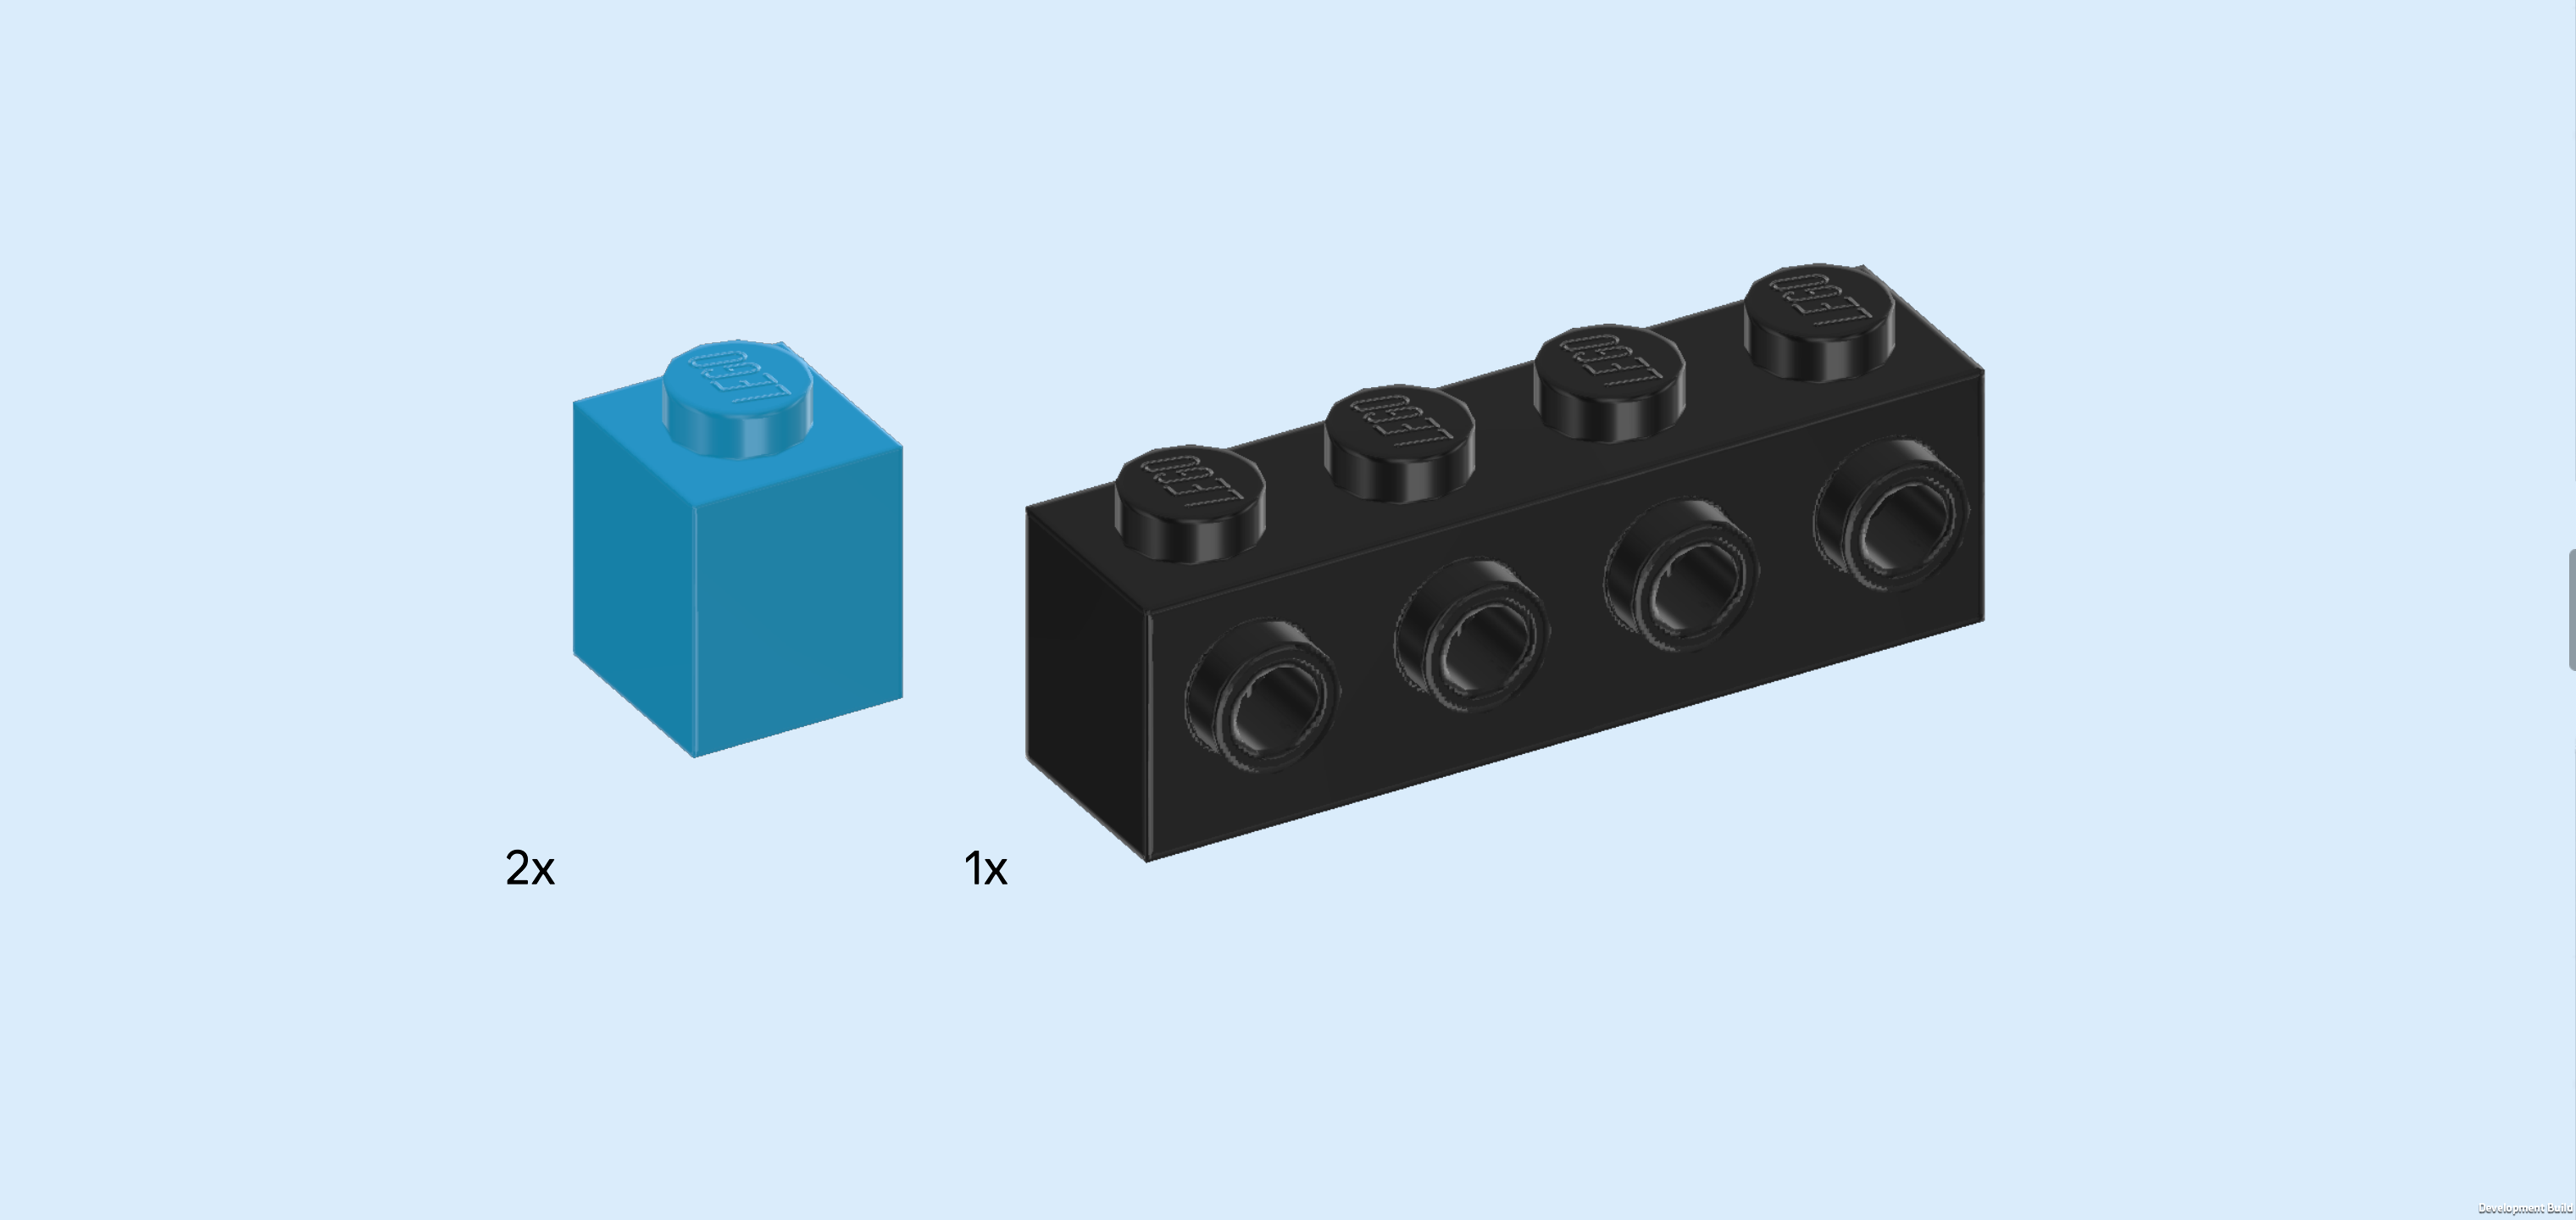
| Collect the following 3 pieces: |
| 2 dark azure blue bricks 1x1, |
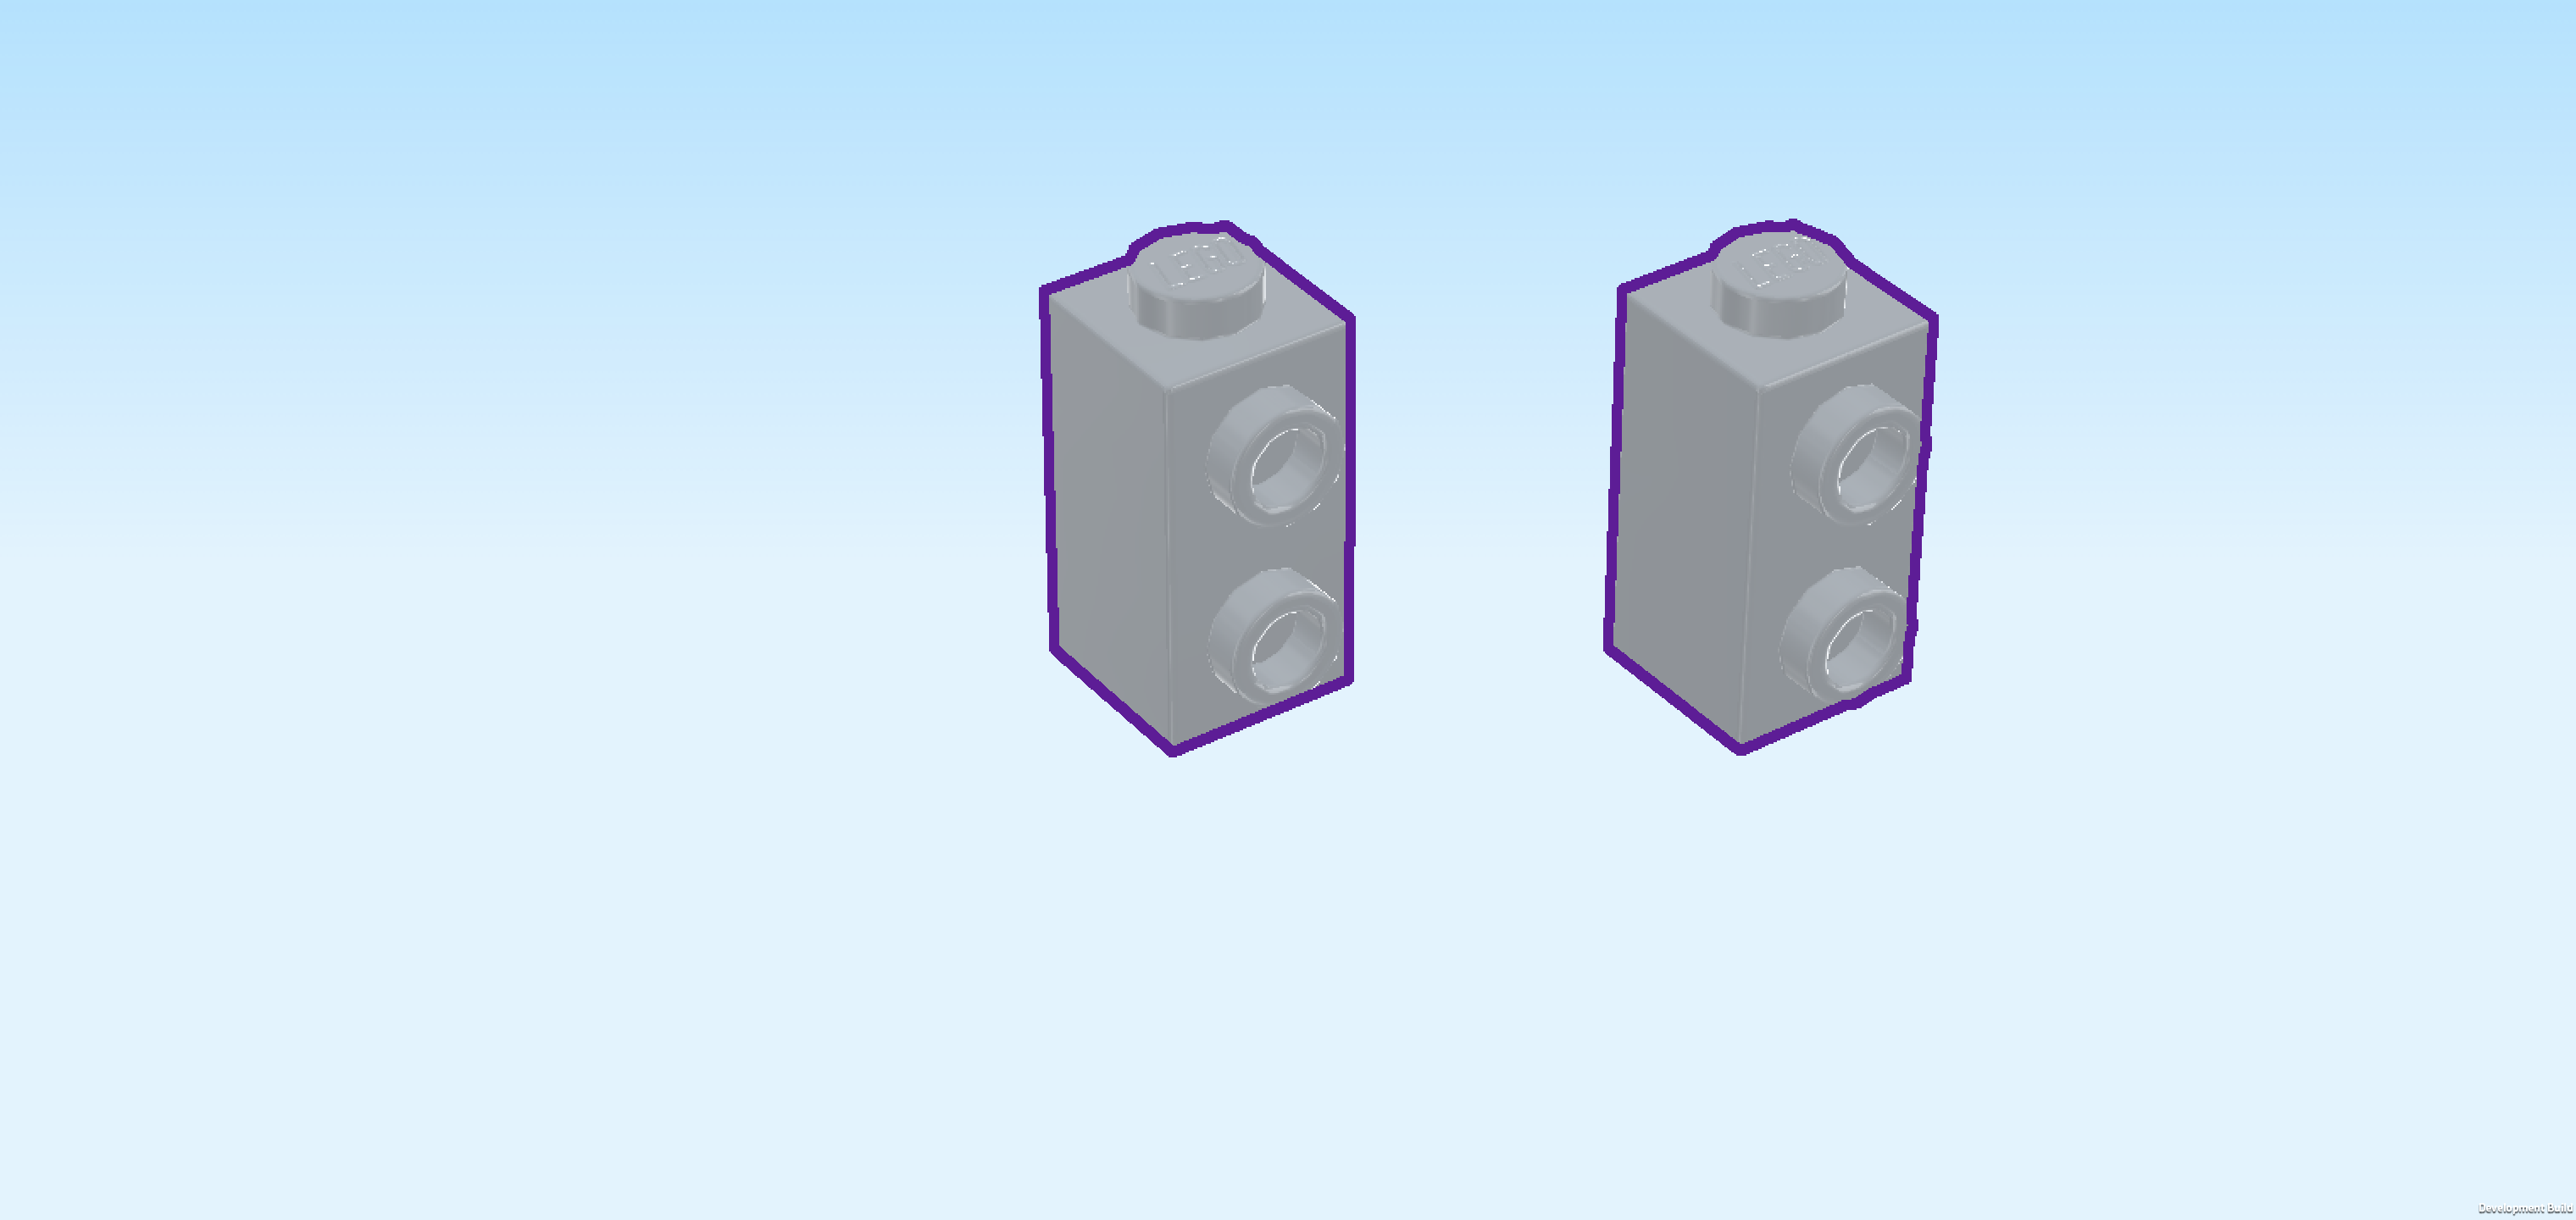
| and 1 black brick 1x4 with 4 side knobs. |
| Put 1 brick 1x1 on the backmost knob of the leftmost column. |
| Put the brick 1x4 vertically in front of the previous piece, side knobs to the left. |
| Put the other brick 1x1 in front of the previous piece. |
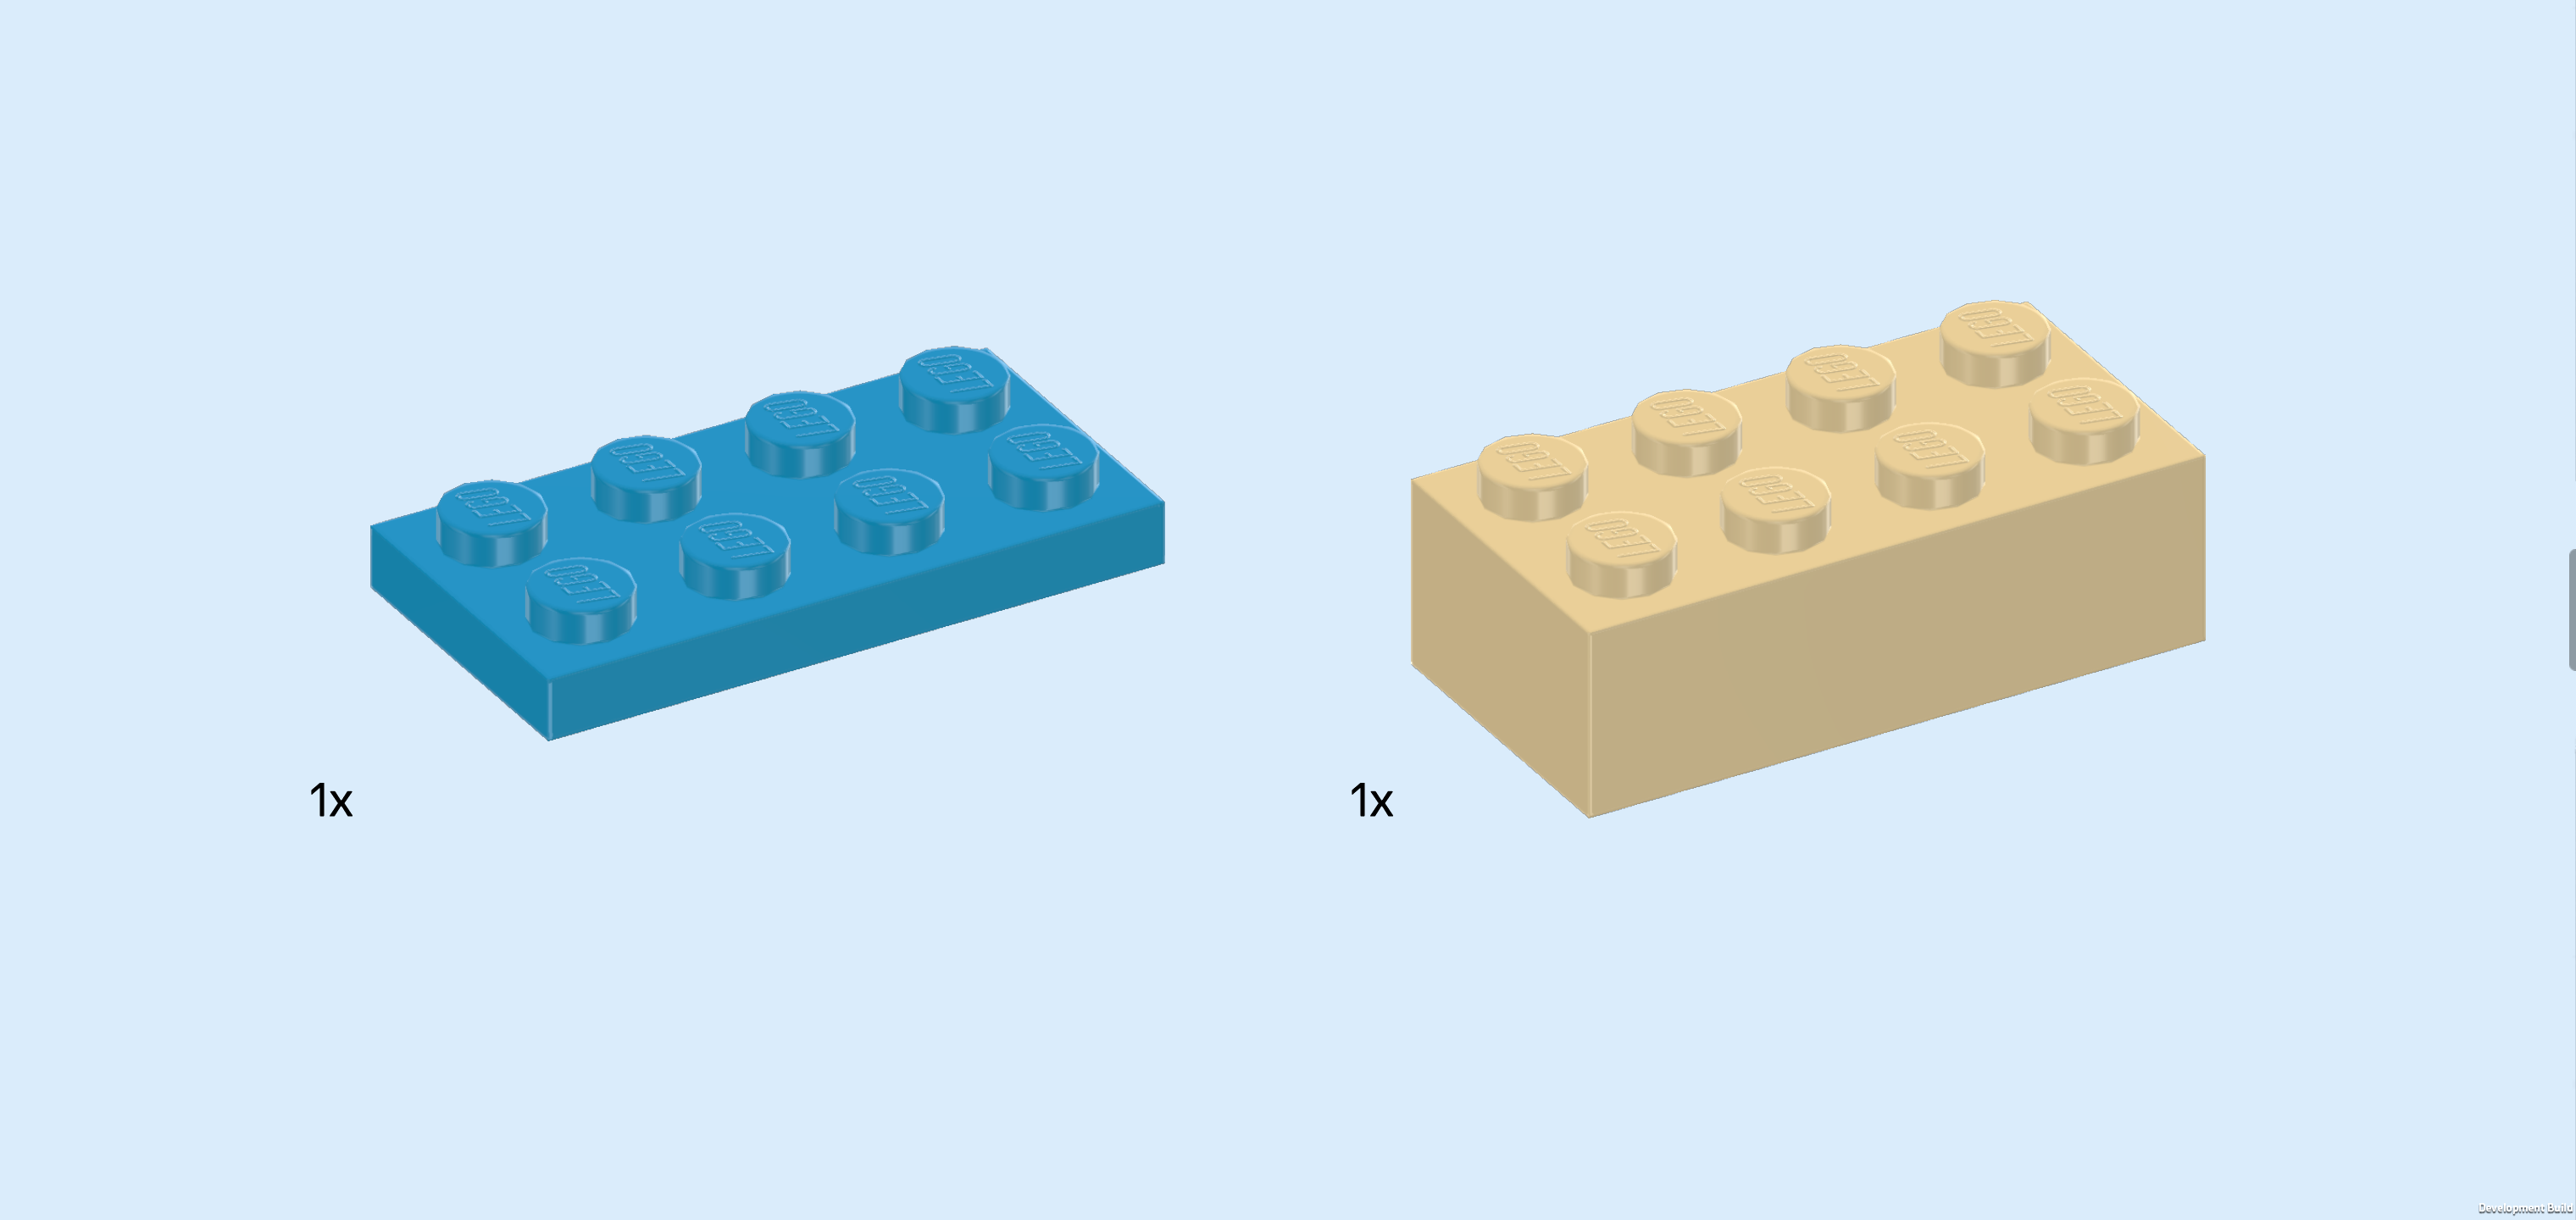
| Collect the following 2 pieces: |
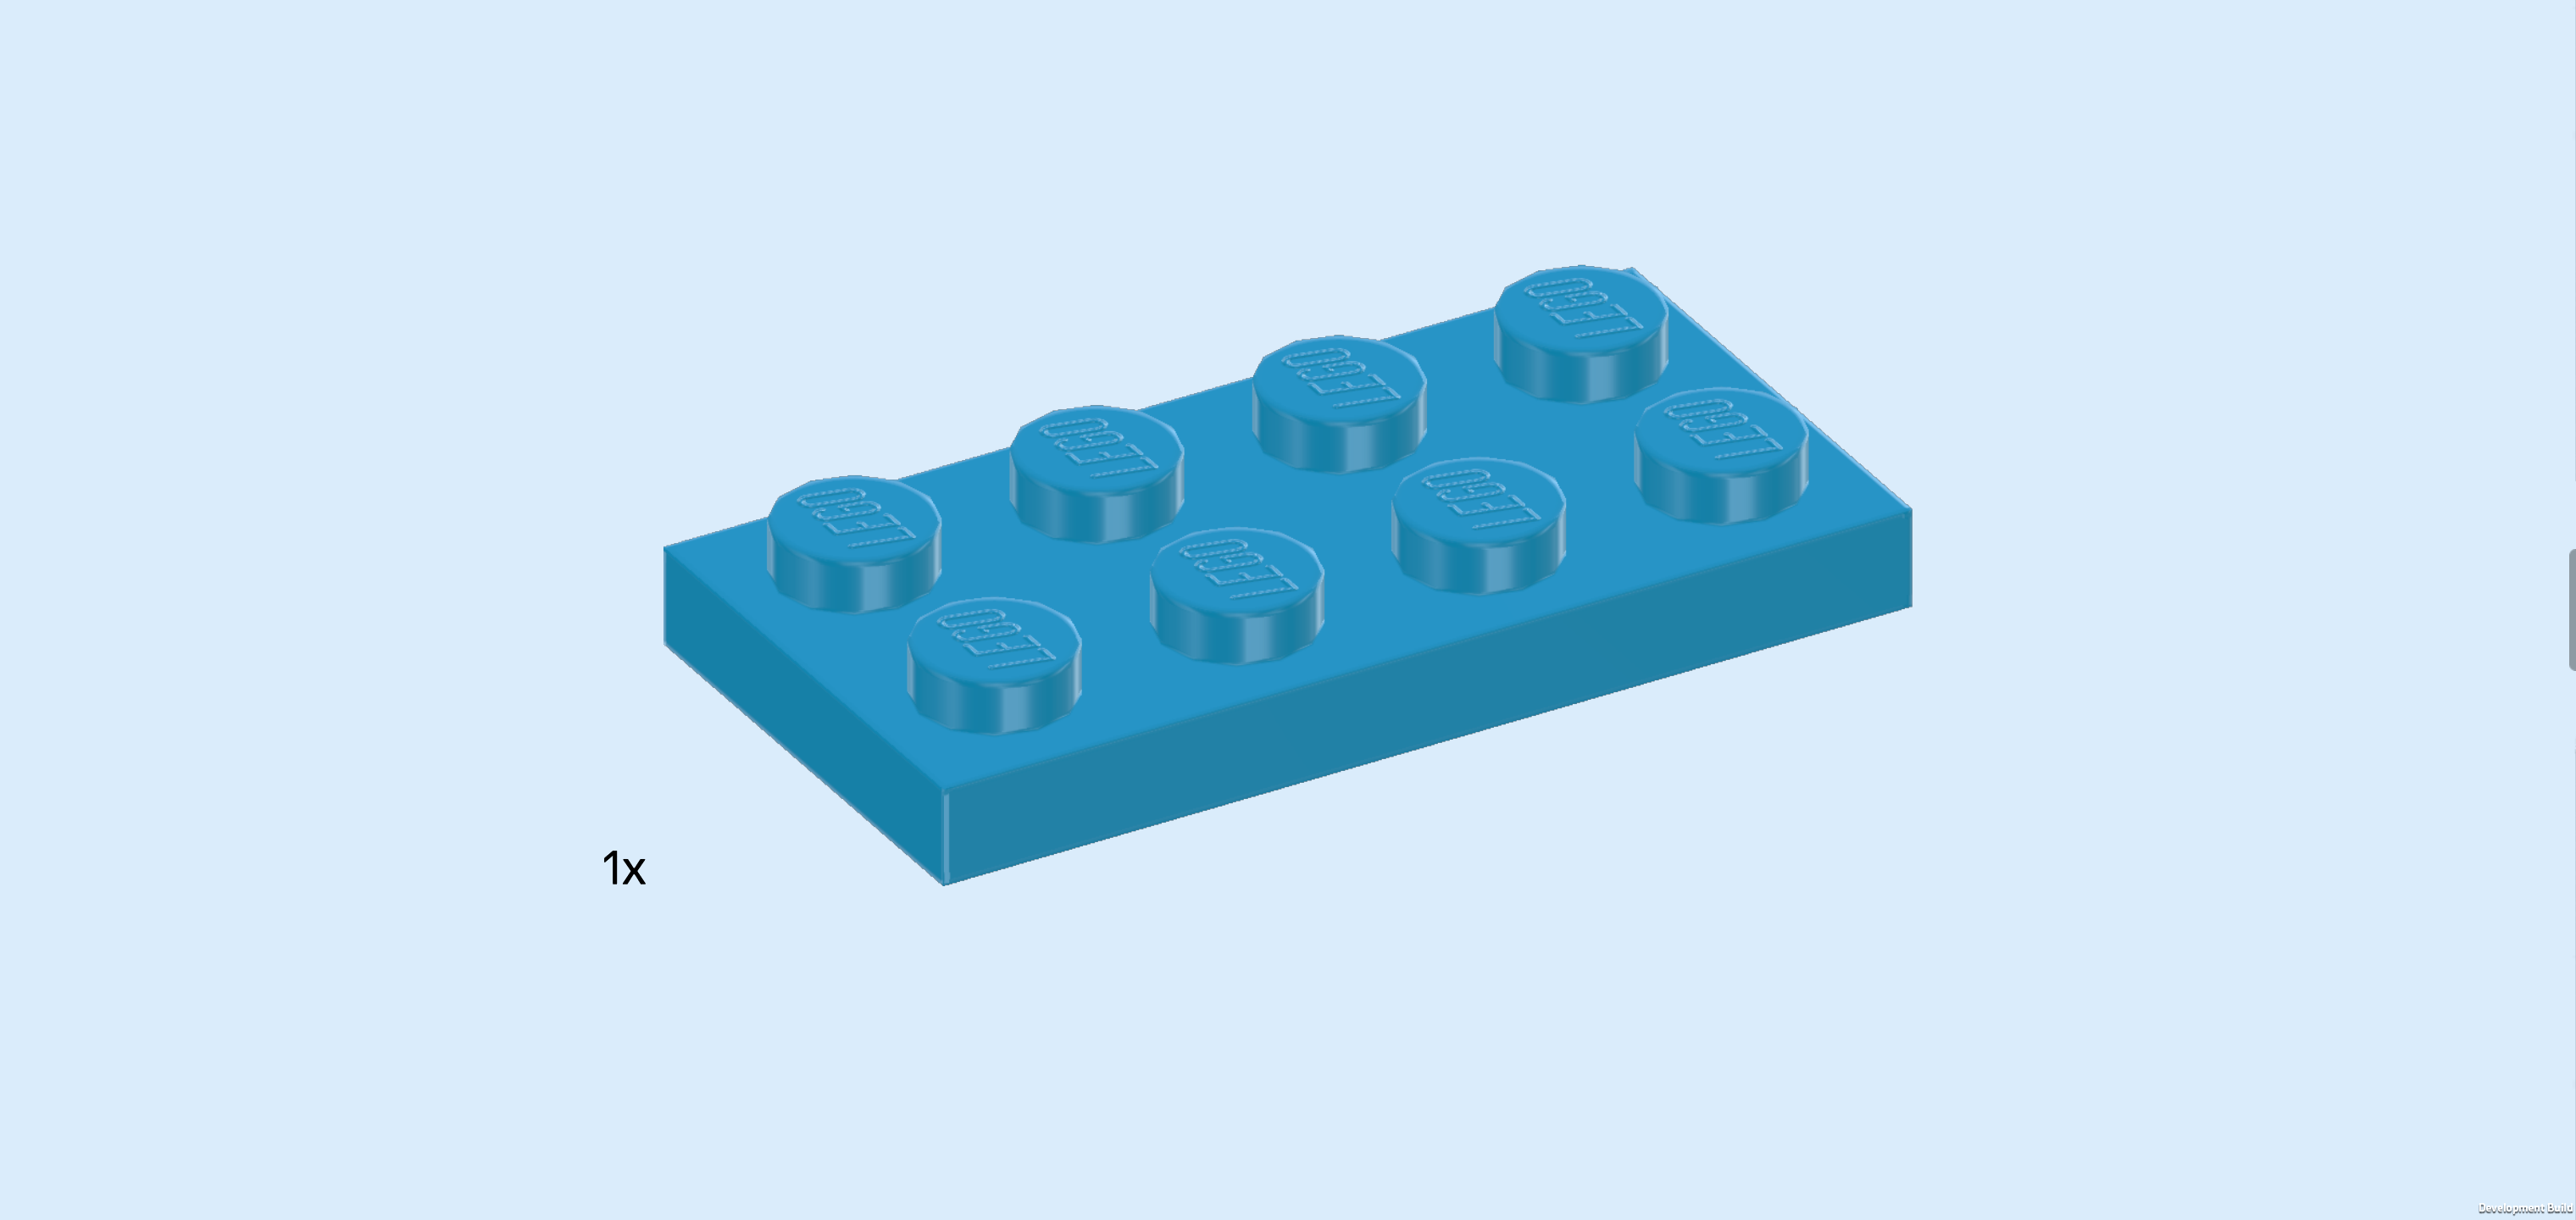
| 1 dark azure blue plate 2x4, |
| and 1 beige brick 2x4. |
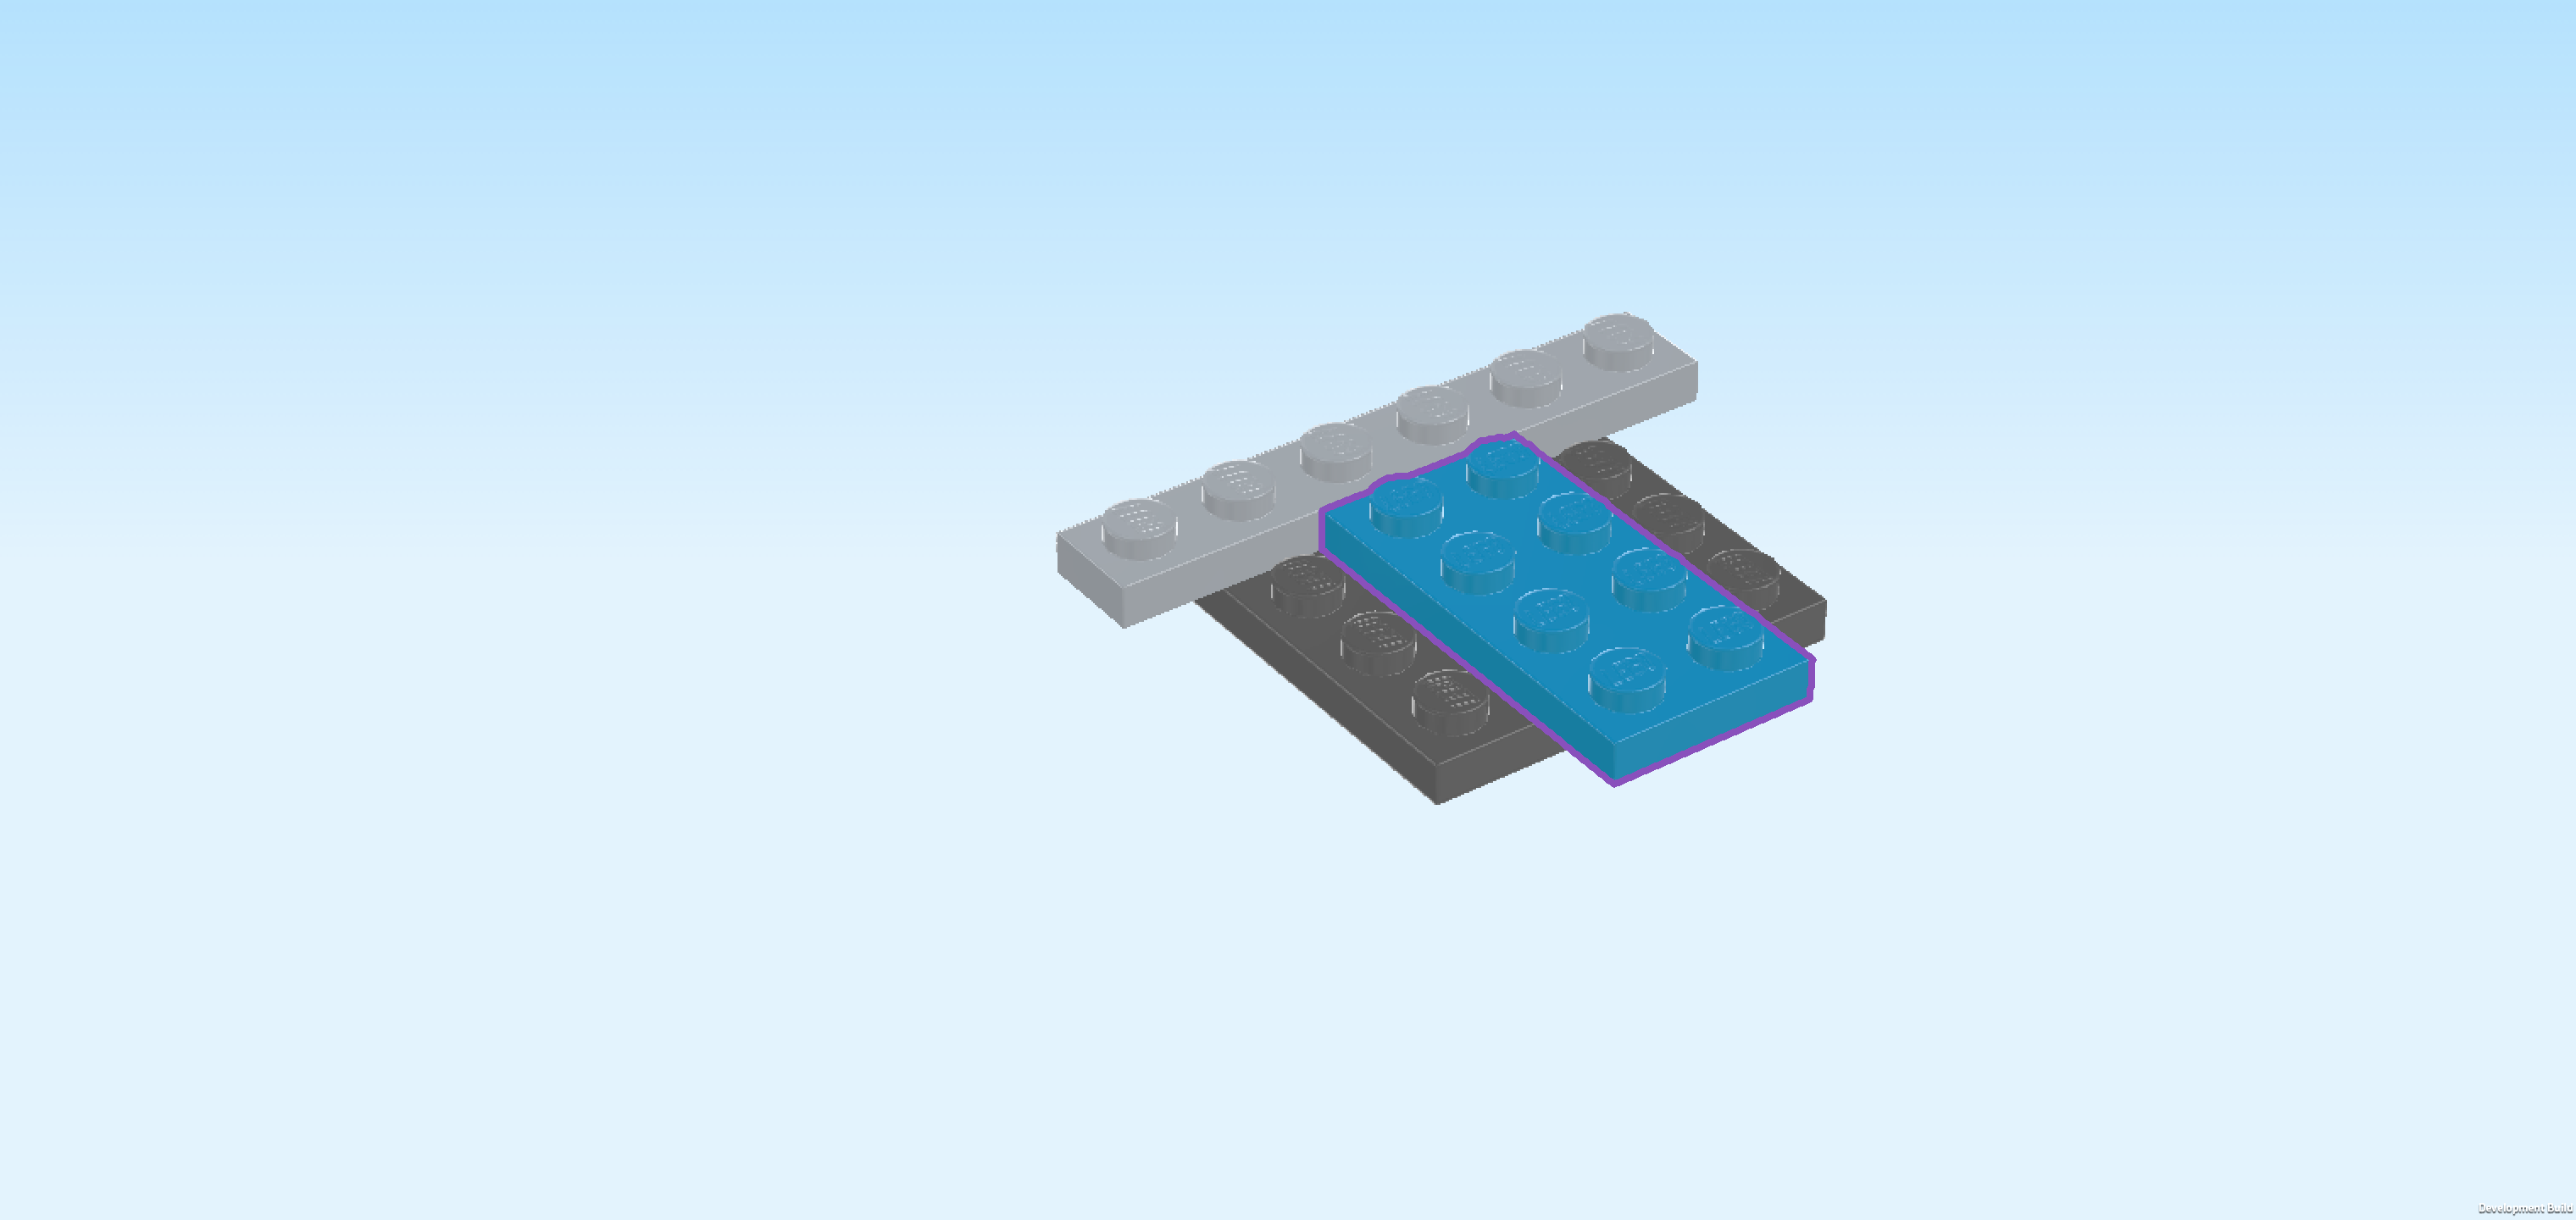
| Put the brick 2x4 vertically centered to the right of the 2 mudguard pieces. |
| Put the plate 2x4 vertically to the right of the previous piece. |
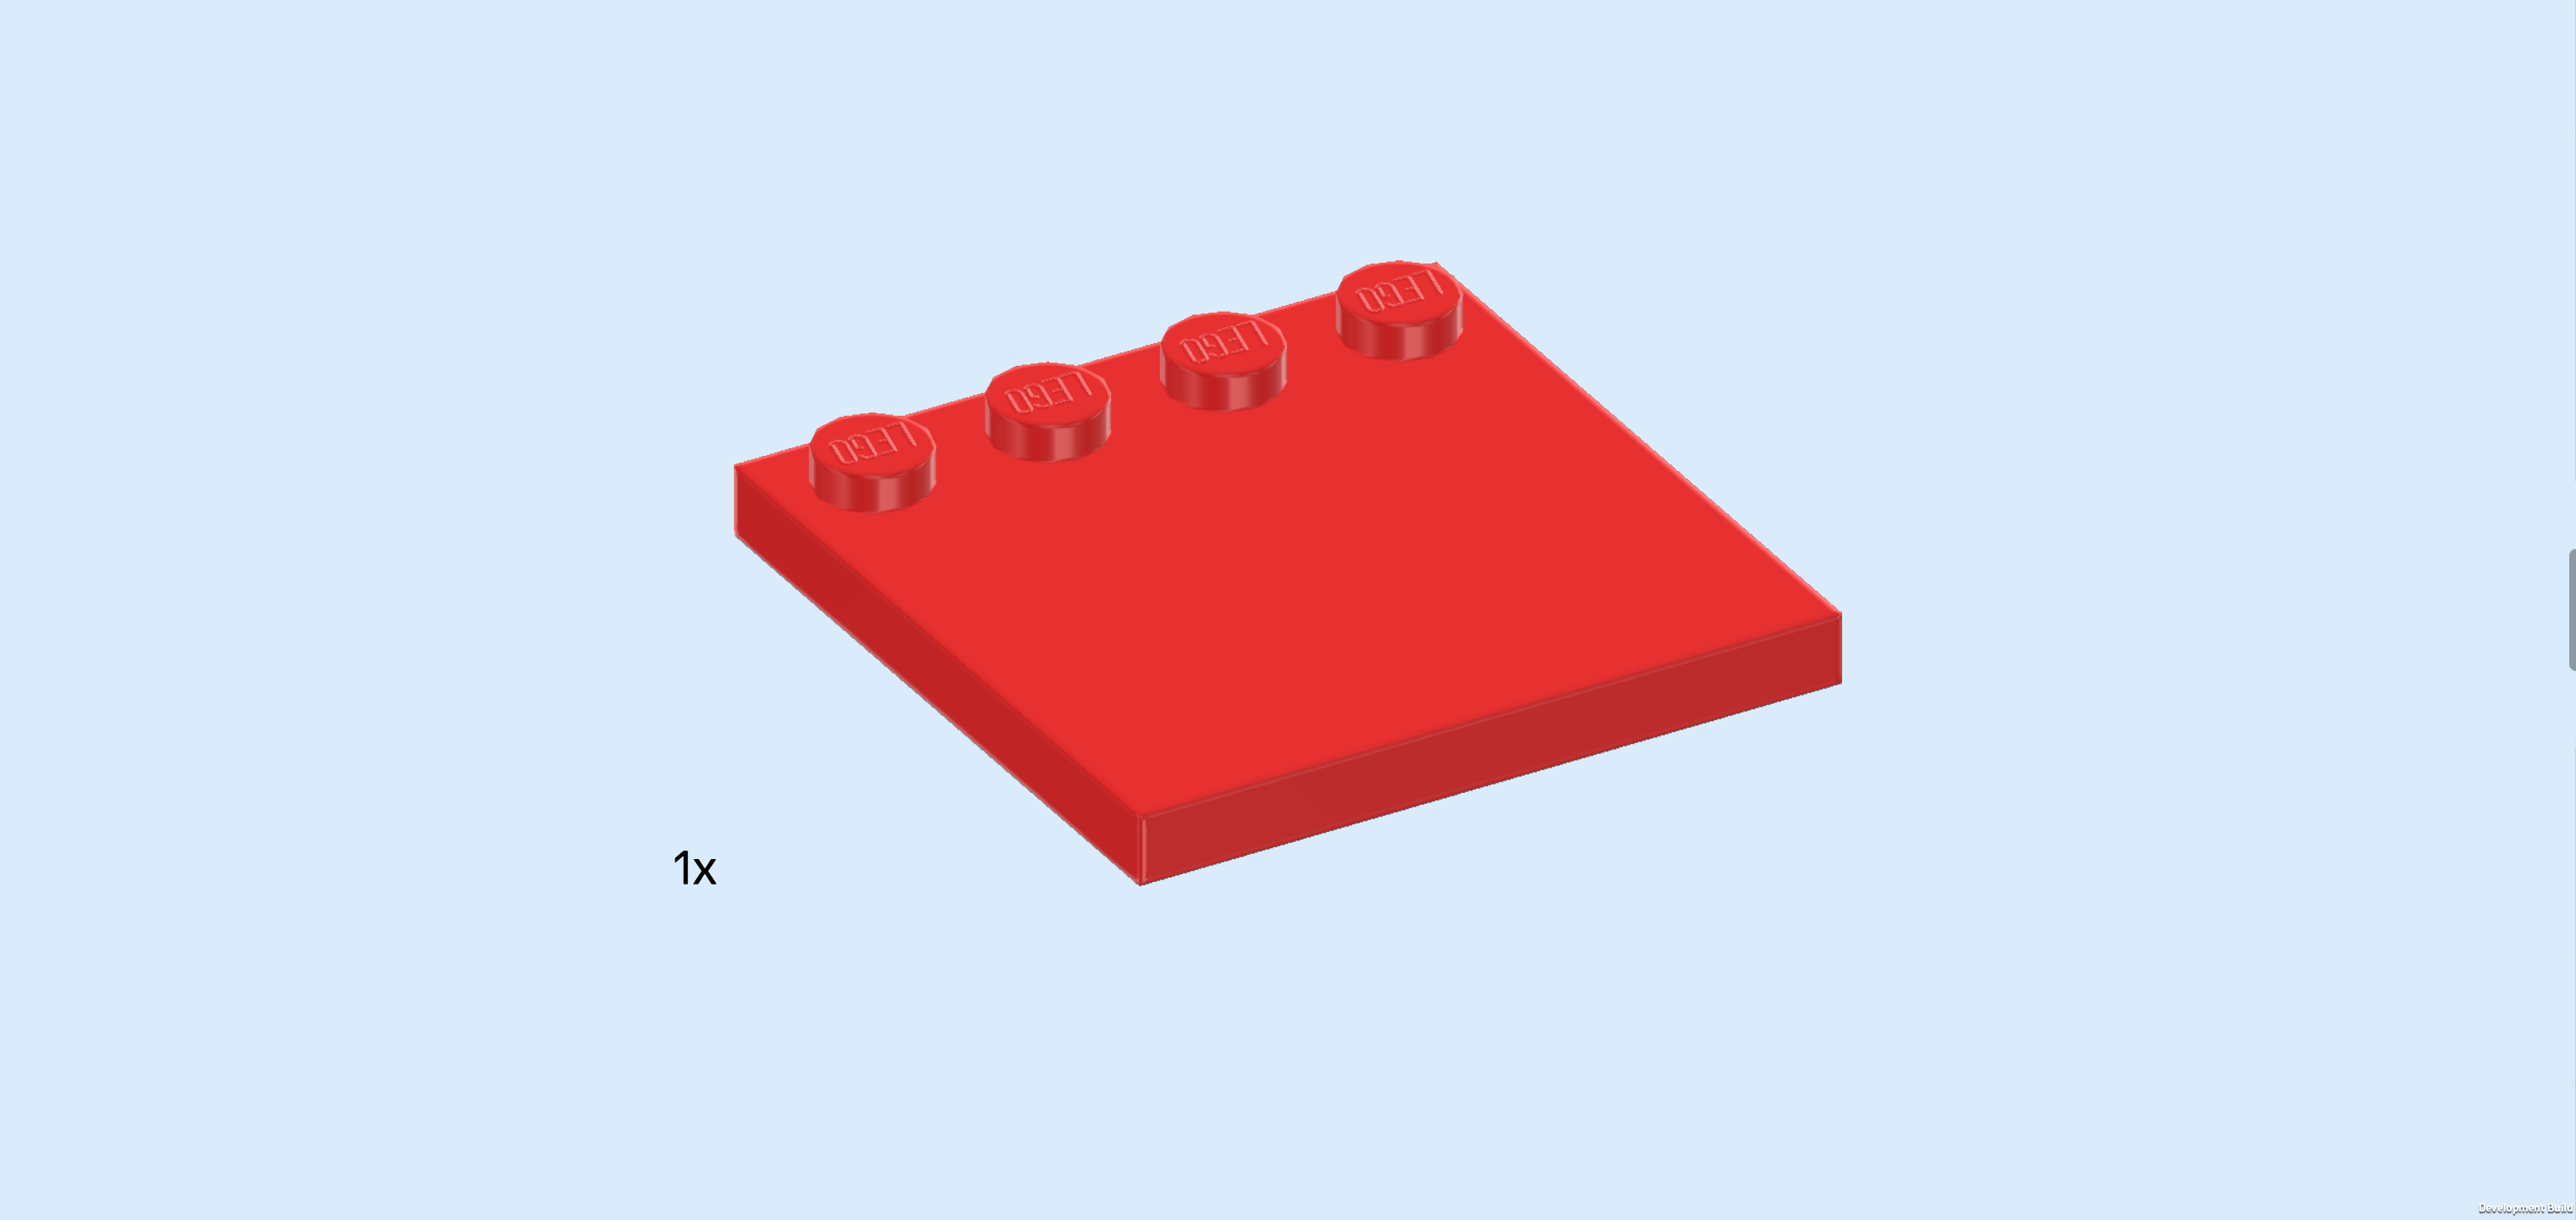
| Find 1 bright red plate 2x4. |
| Put it vertically on top of the previous piece. |
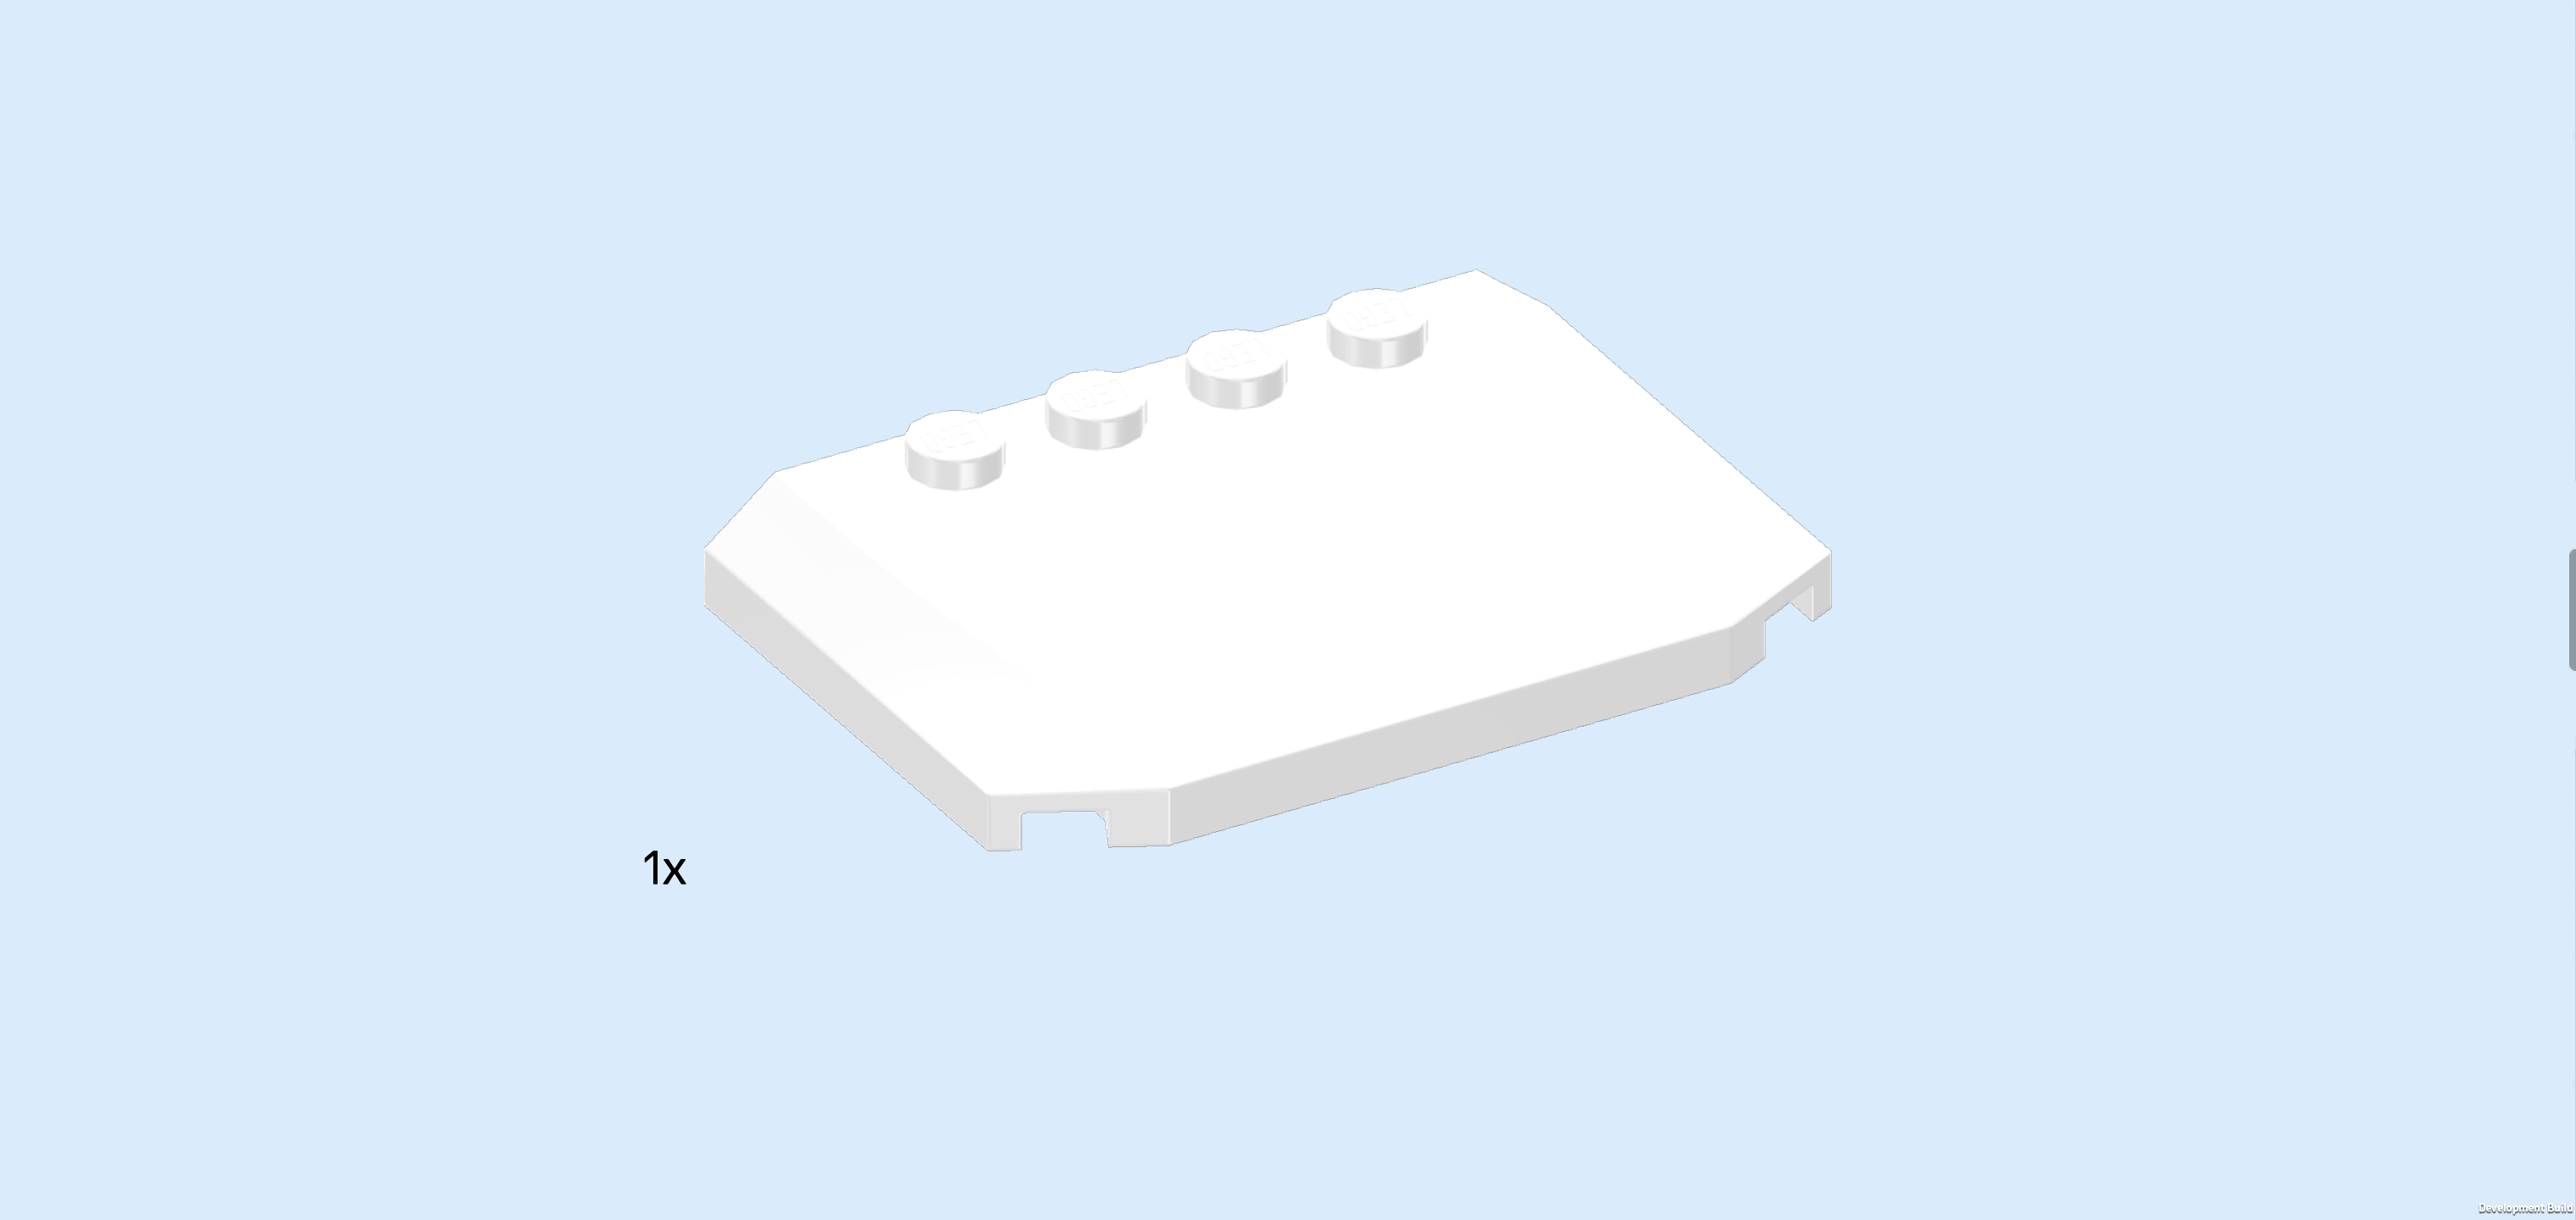
| Find 2 white top angle plates 1x2 - 2x4 with 8 side knobs. |
| Put 1 horizontally on the previous piece's frontmost row, side knobs overhanging to the front. |
| Repeat symmetrically at the back. |
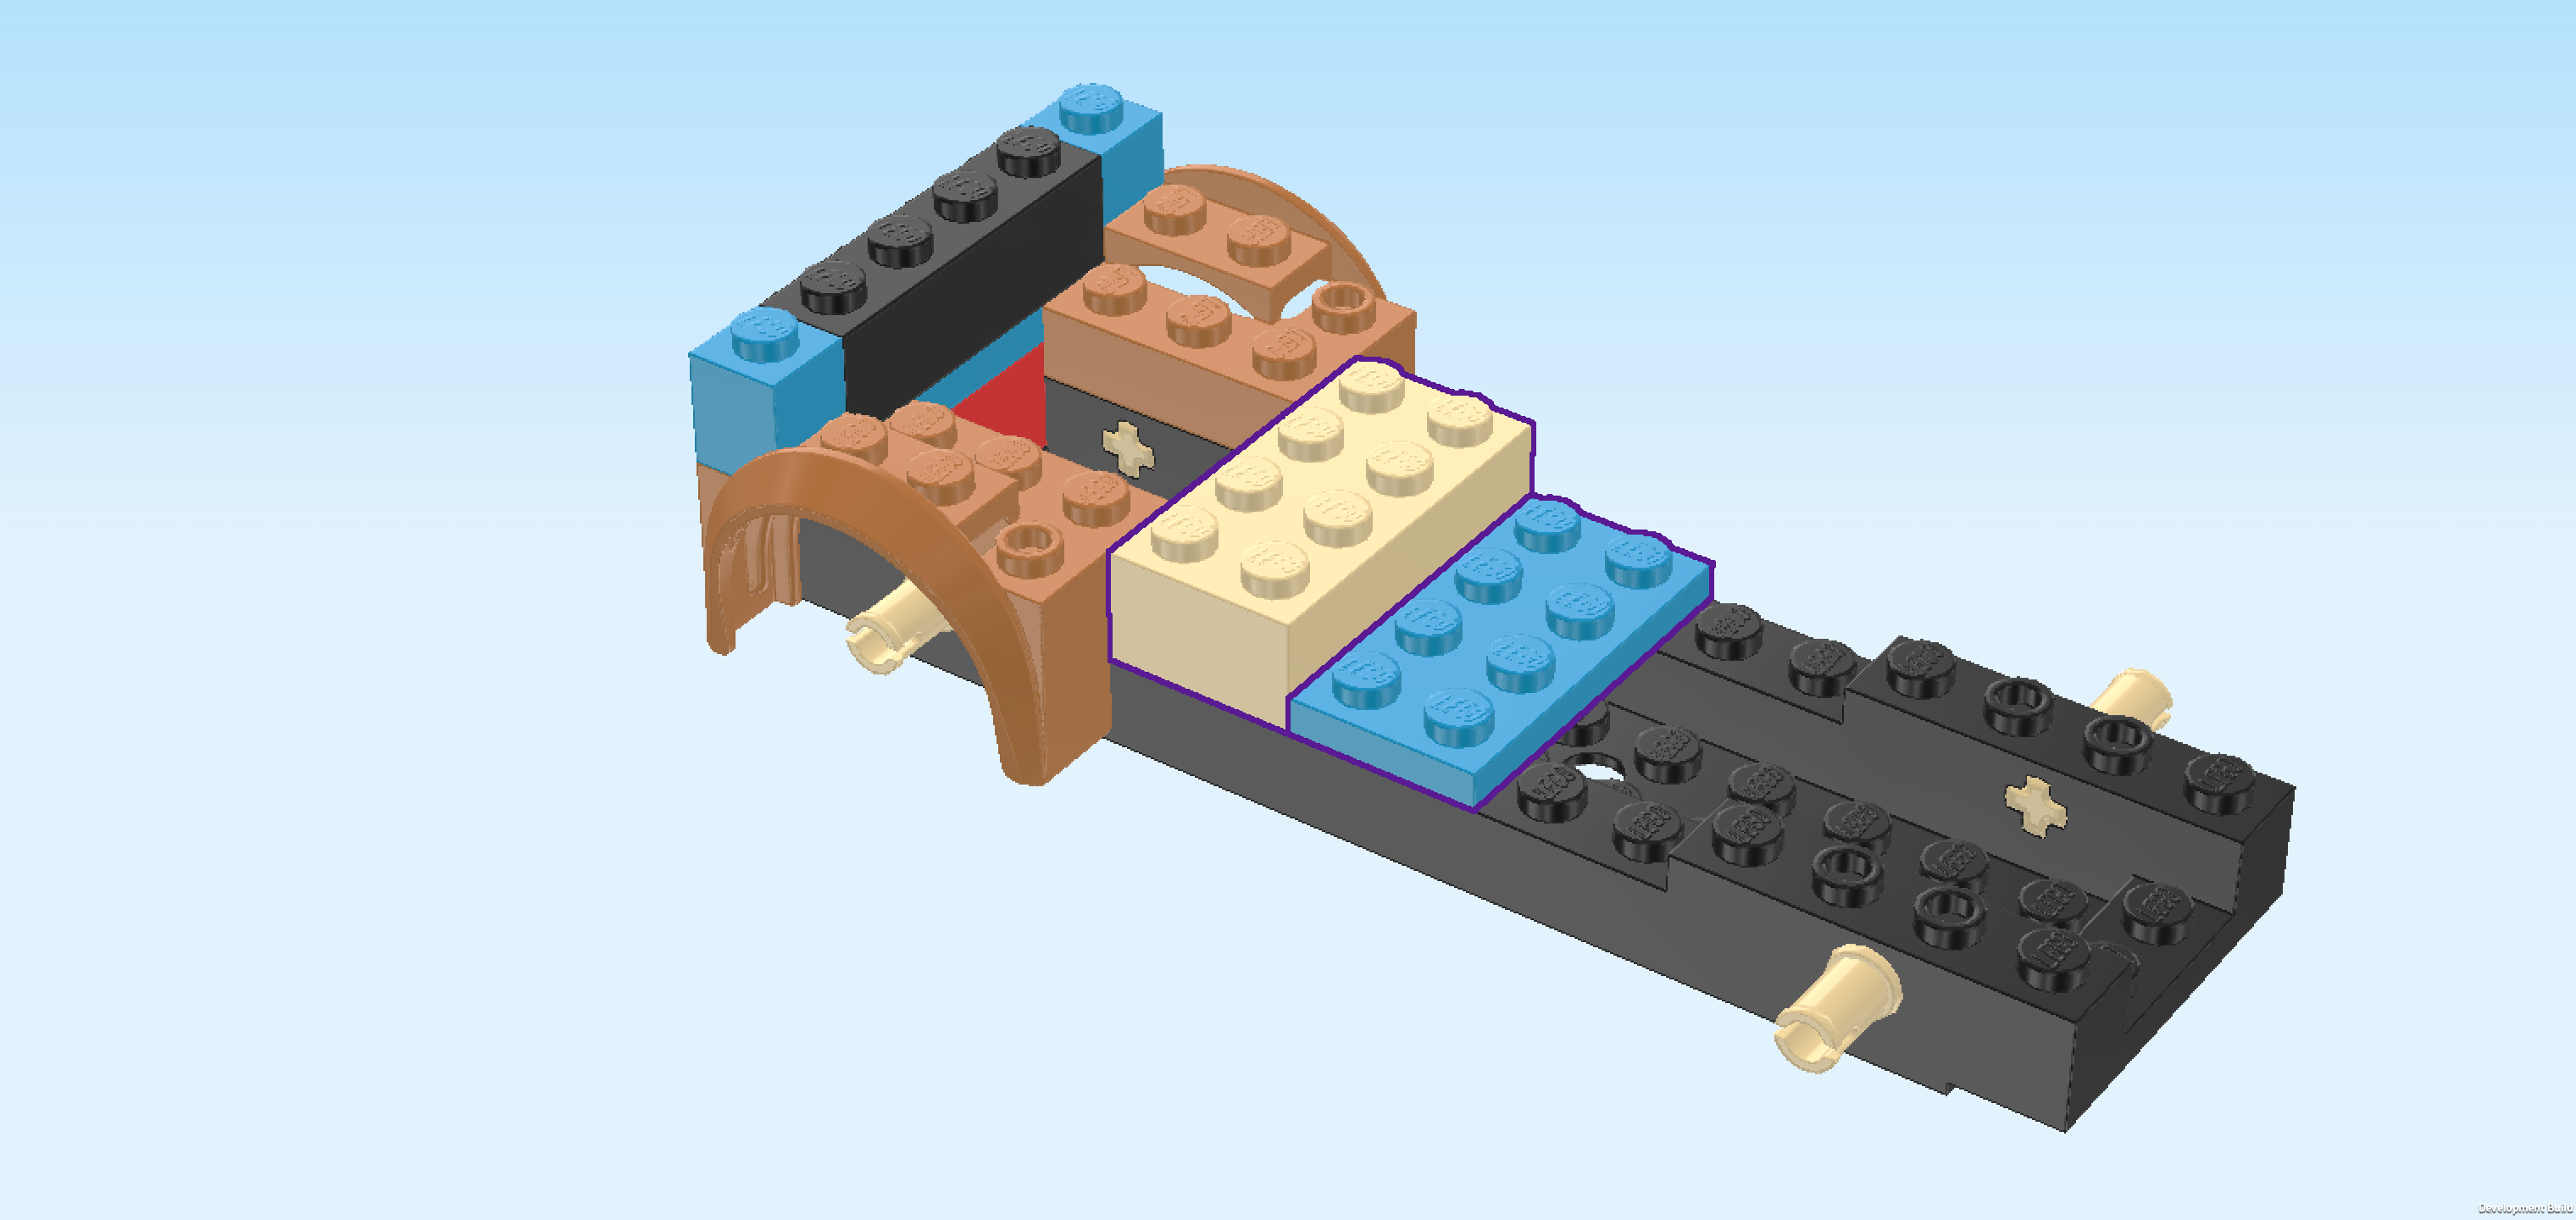
| Find another beige brick 2x4. |
| Put it vertically to the right of the previous pieces, meaning that it will sit directly next to the 2 stacked plates 2x4 with attached angle plates. |
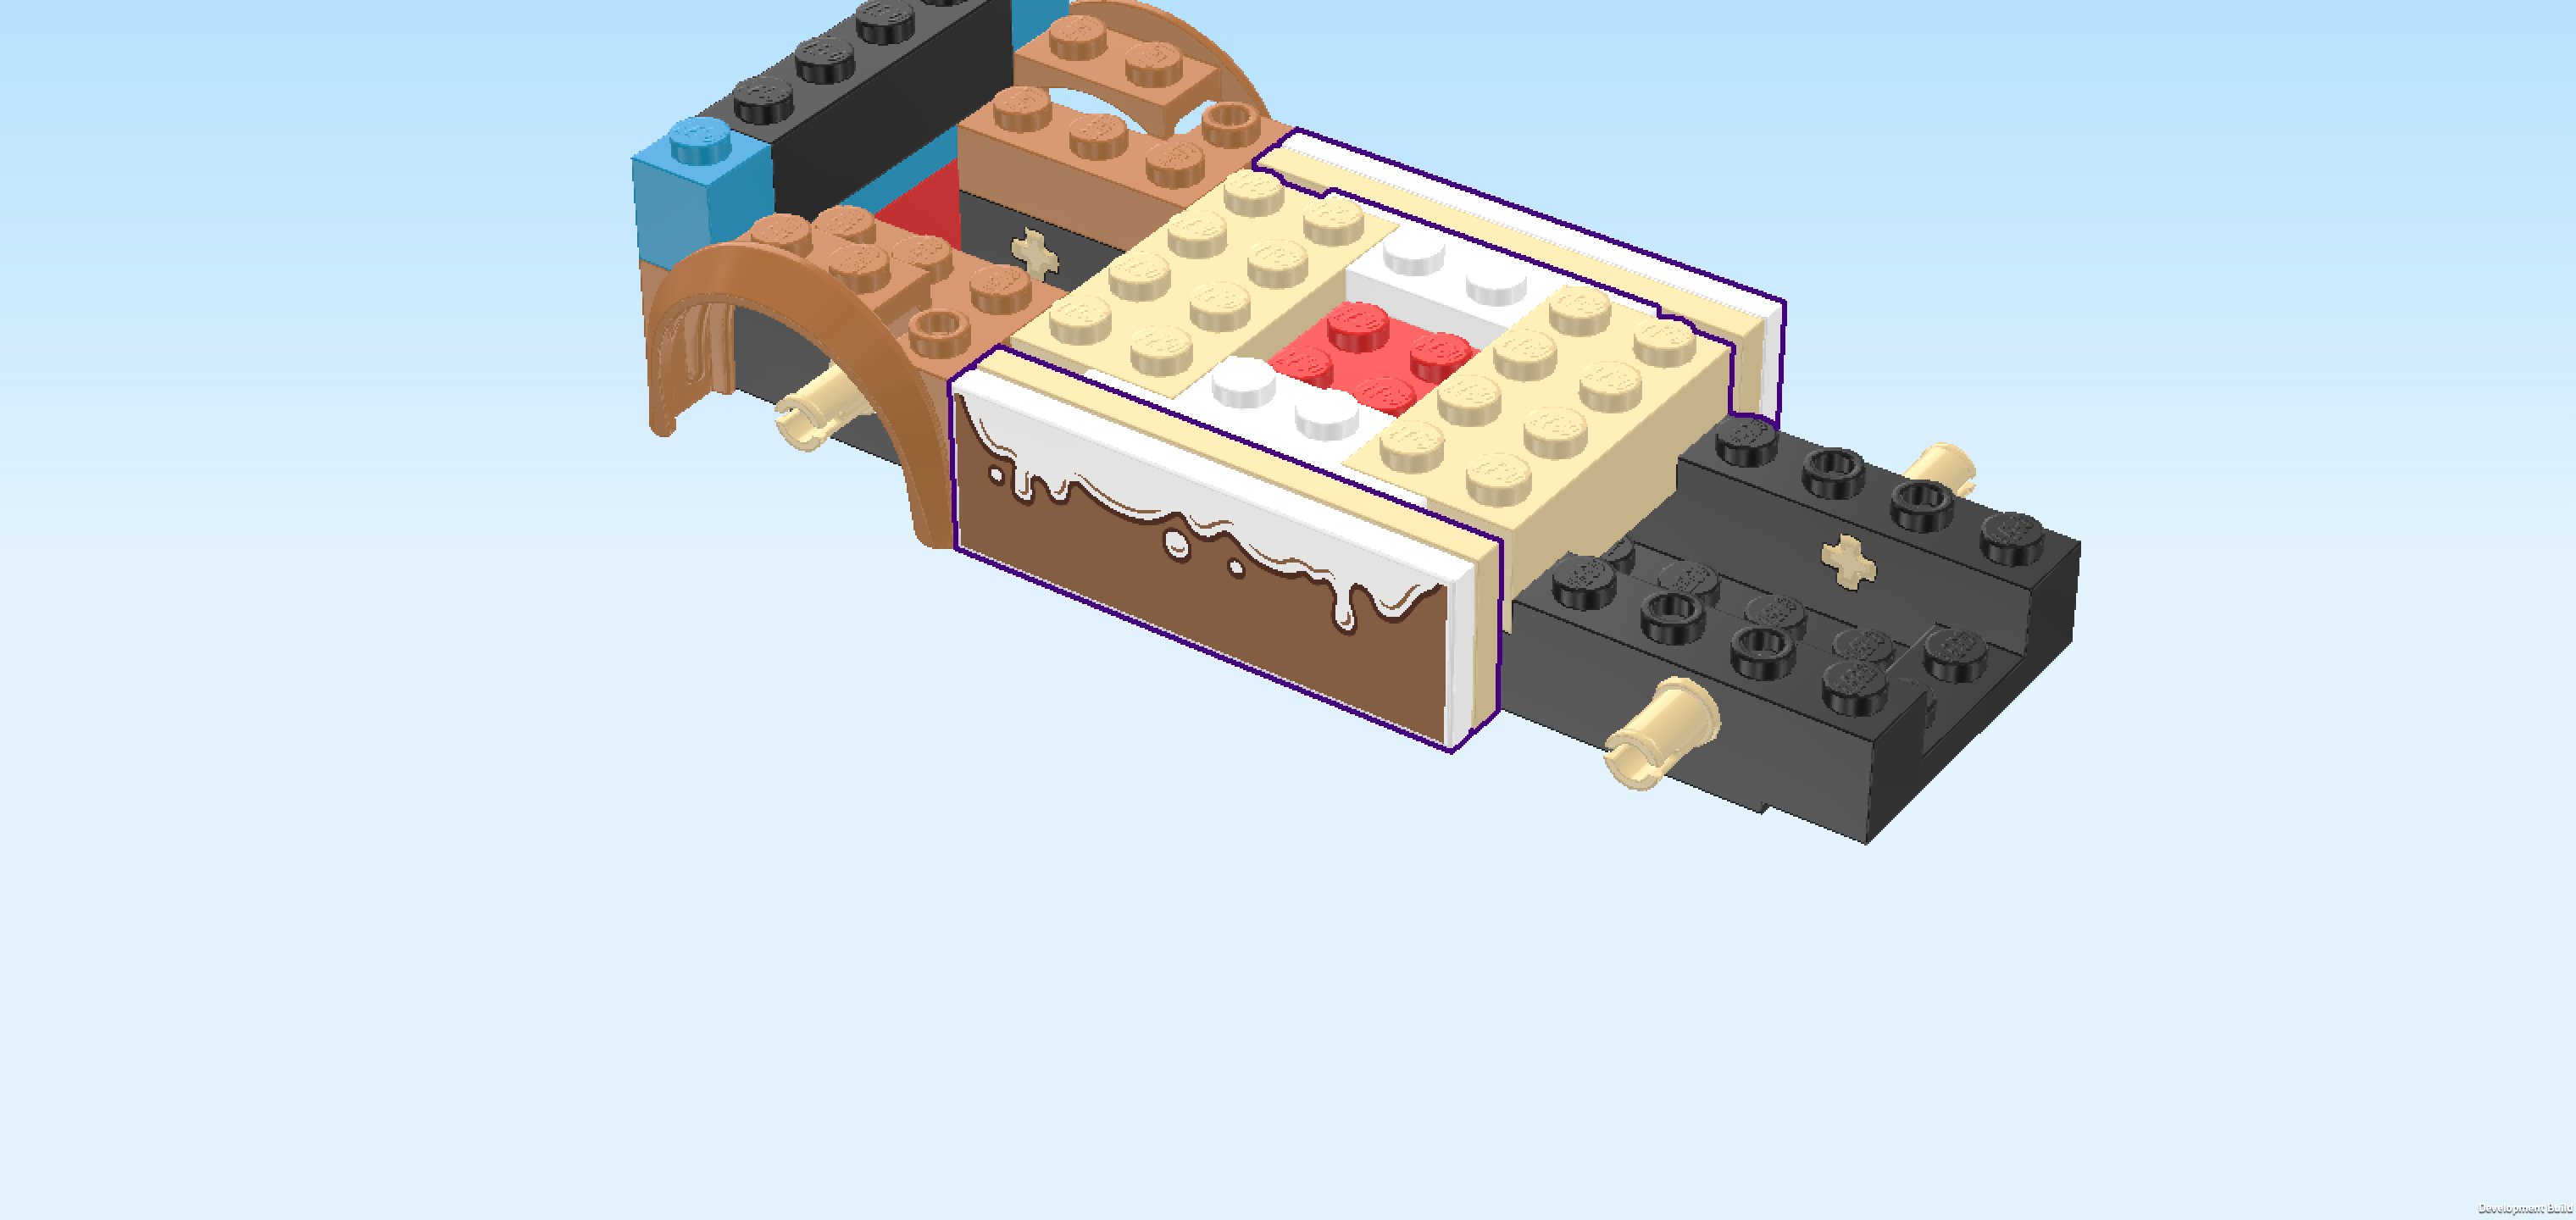
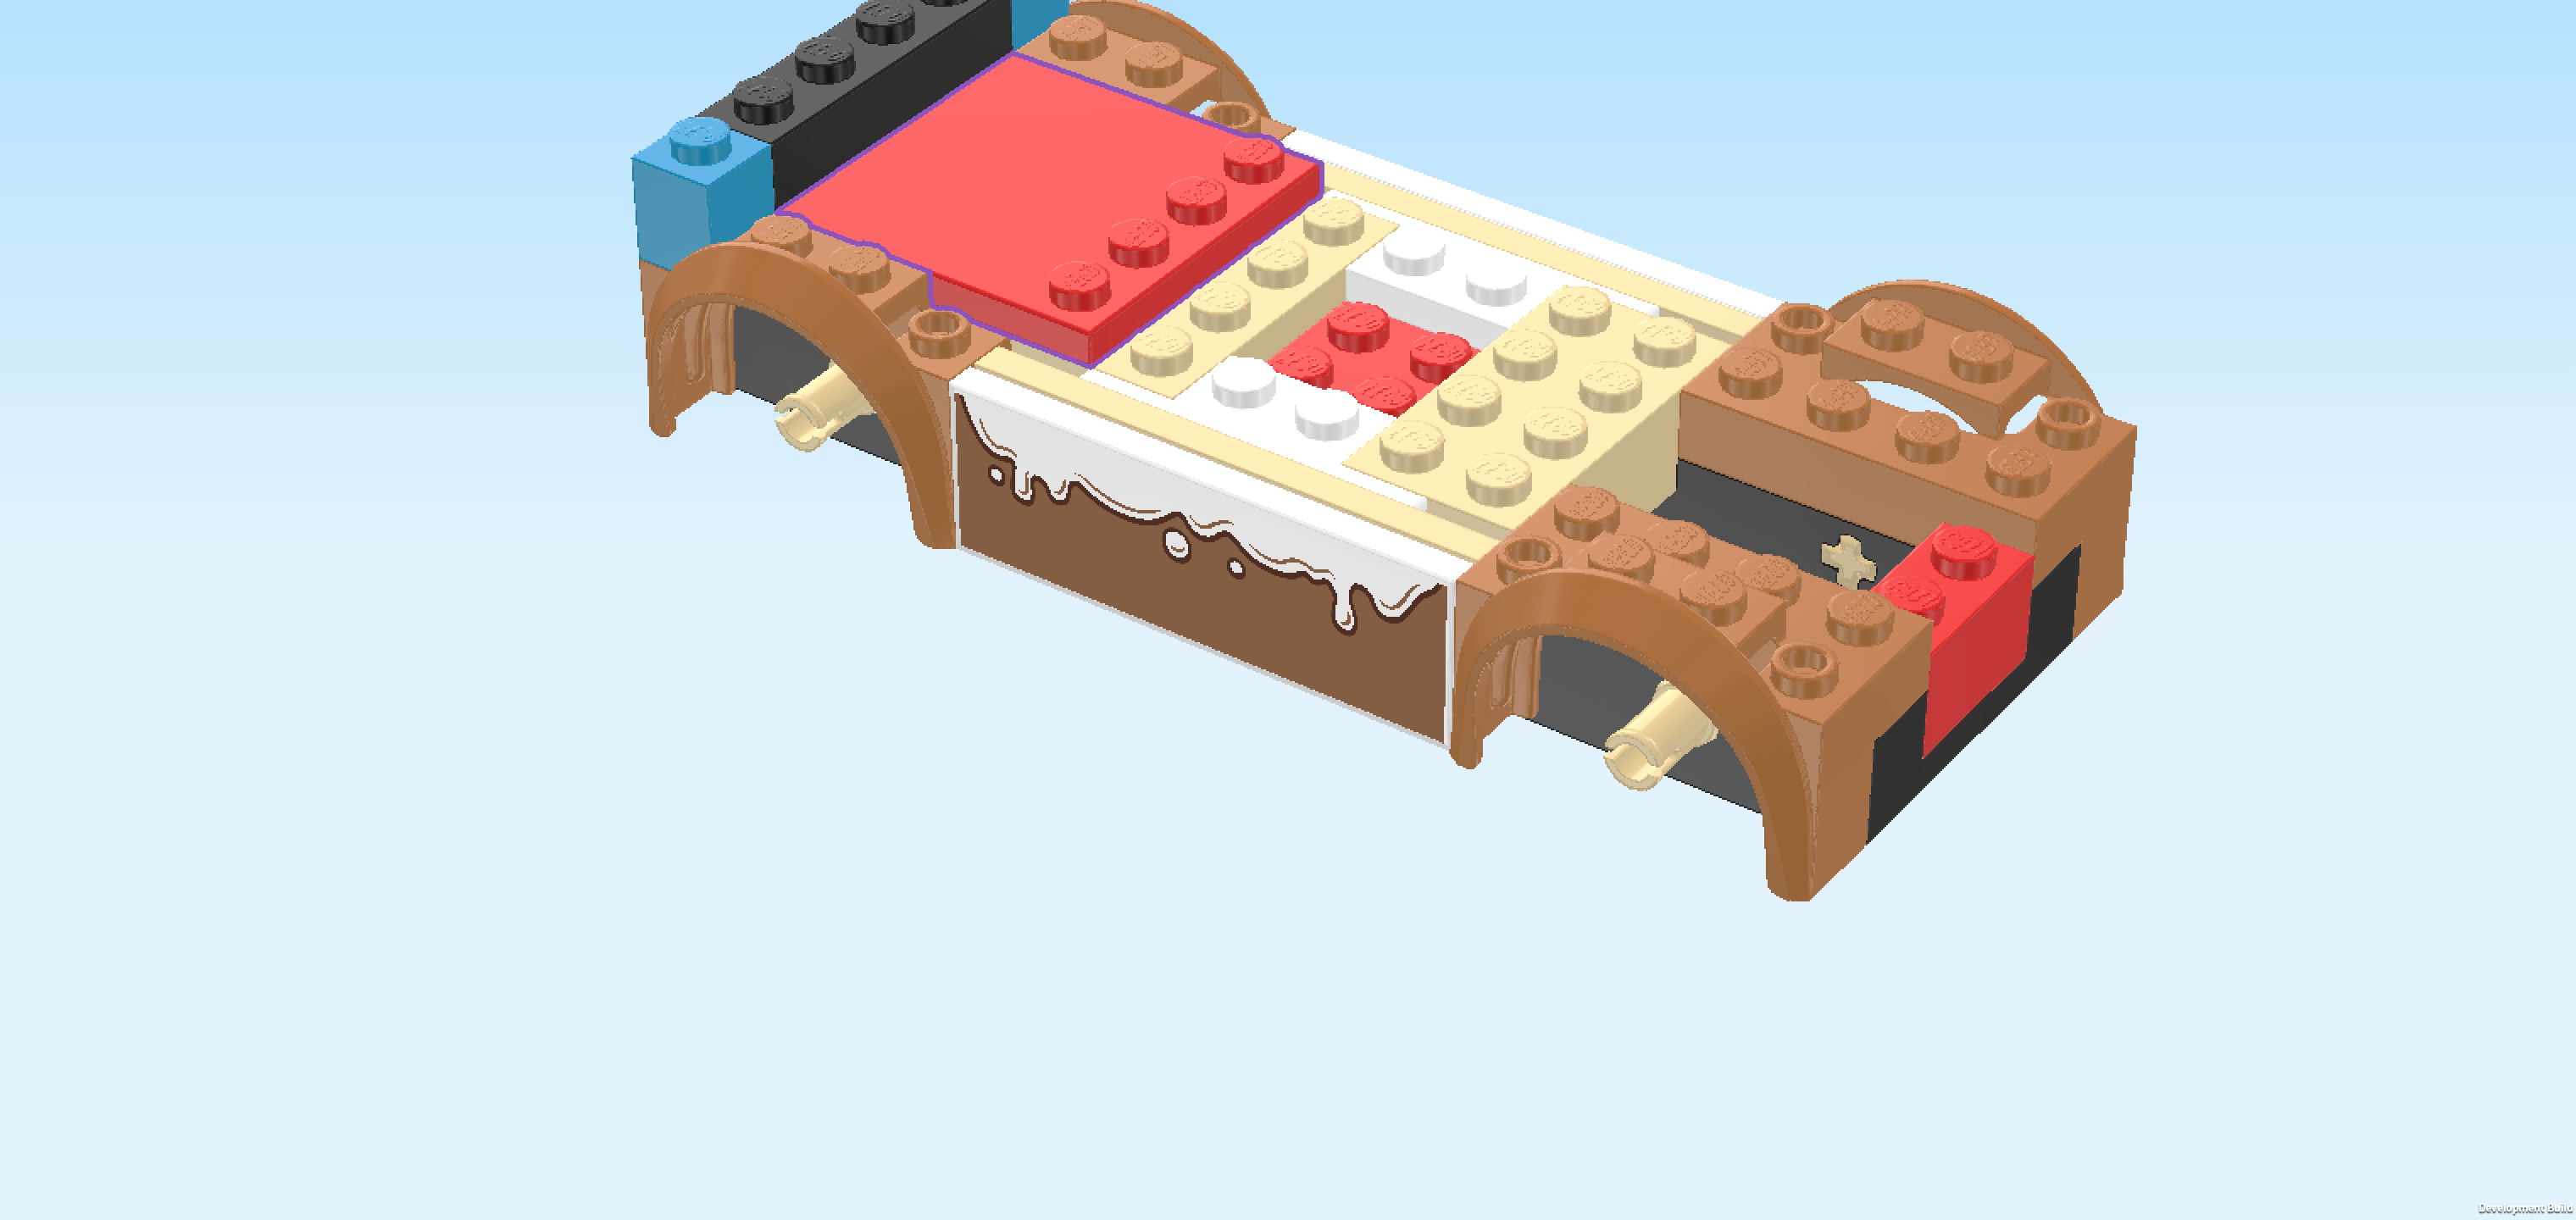
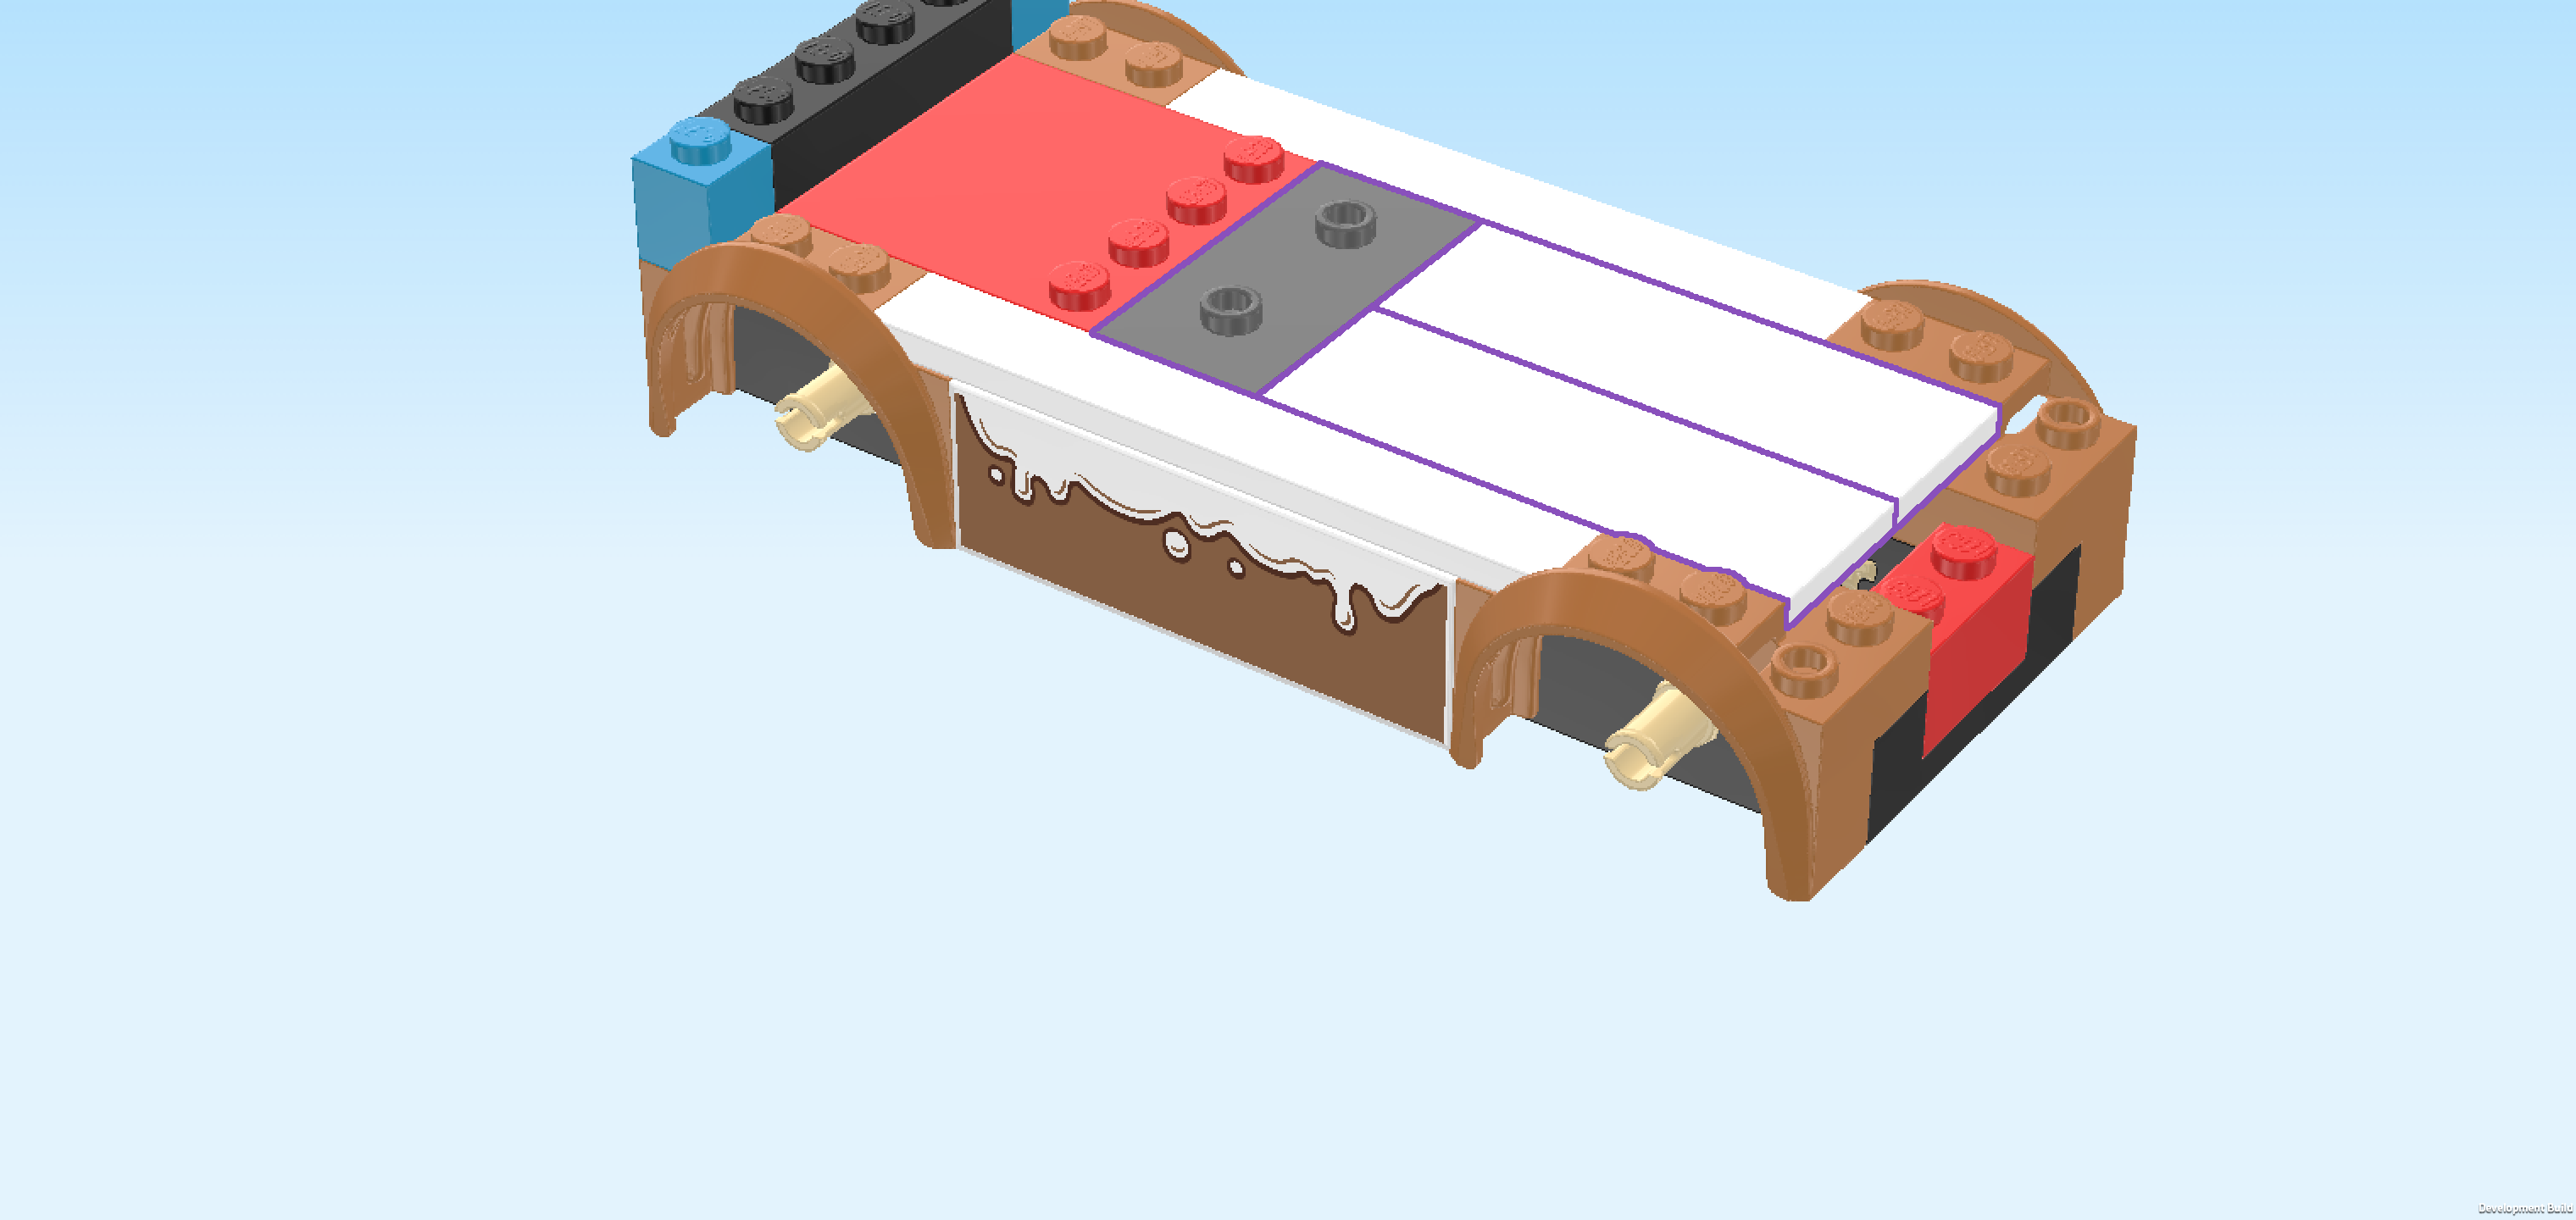
| Next, we will build 2 side panels. |
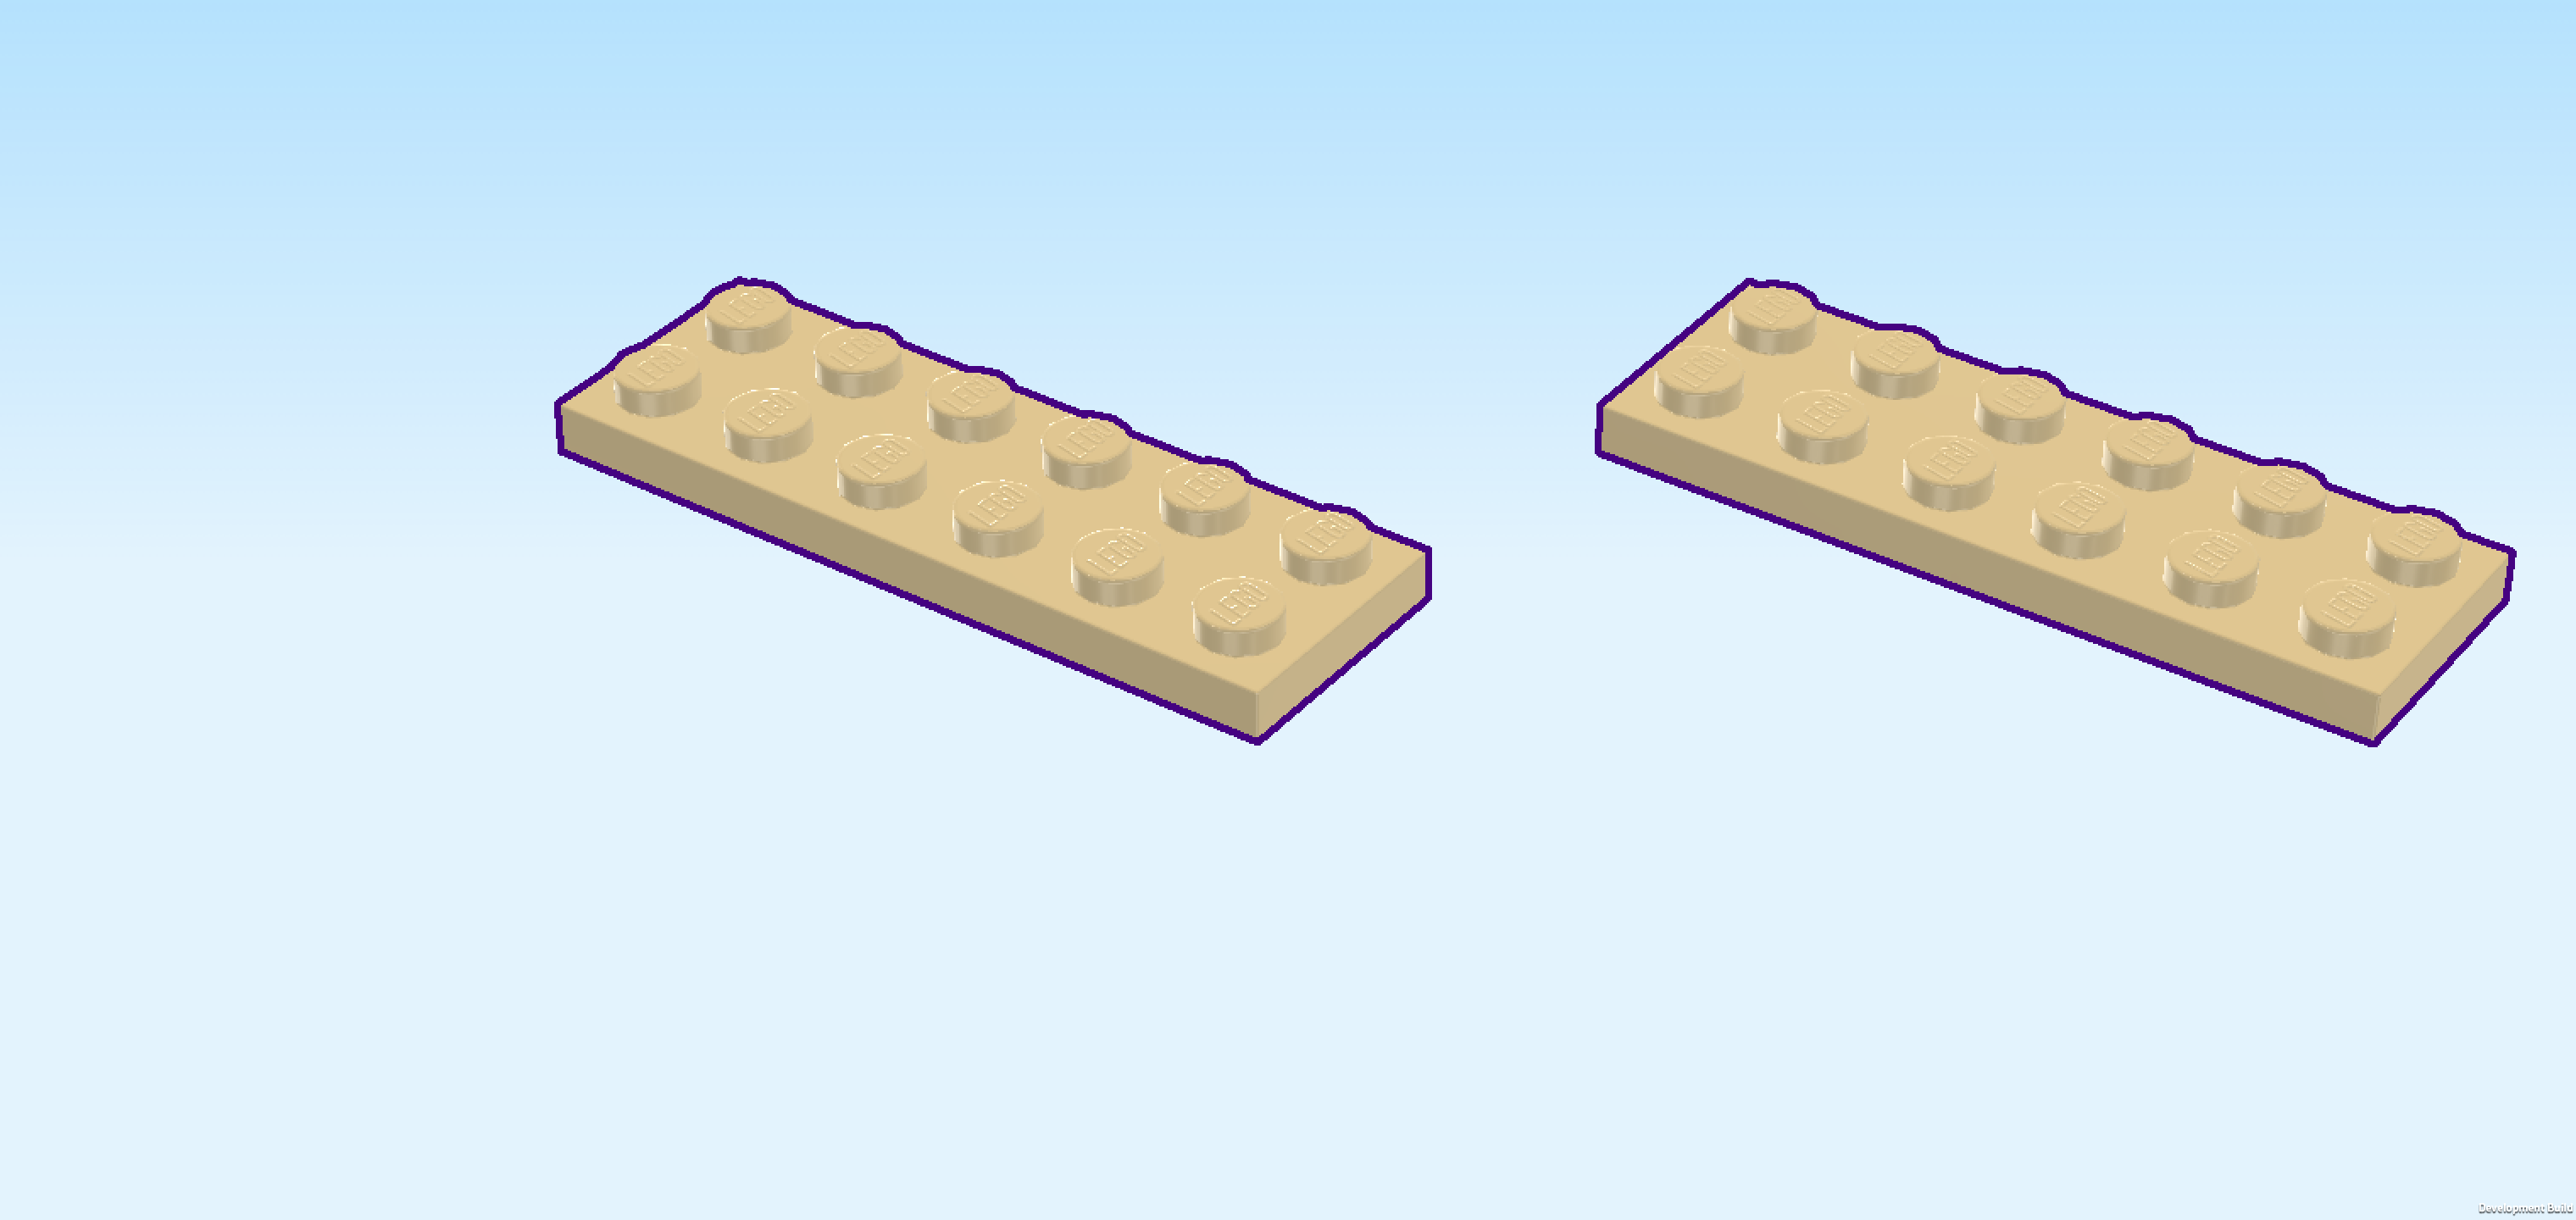
| Find 2 beige plates 2x6. |
| Put them horizontally next to each other on the table. |
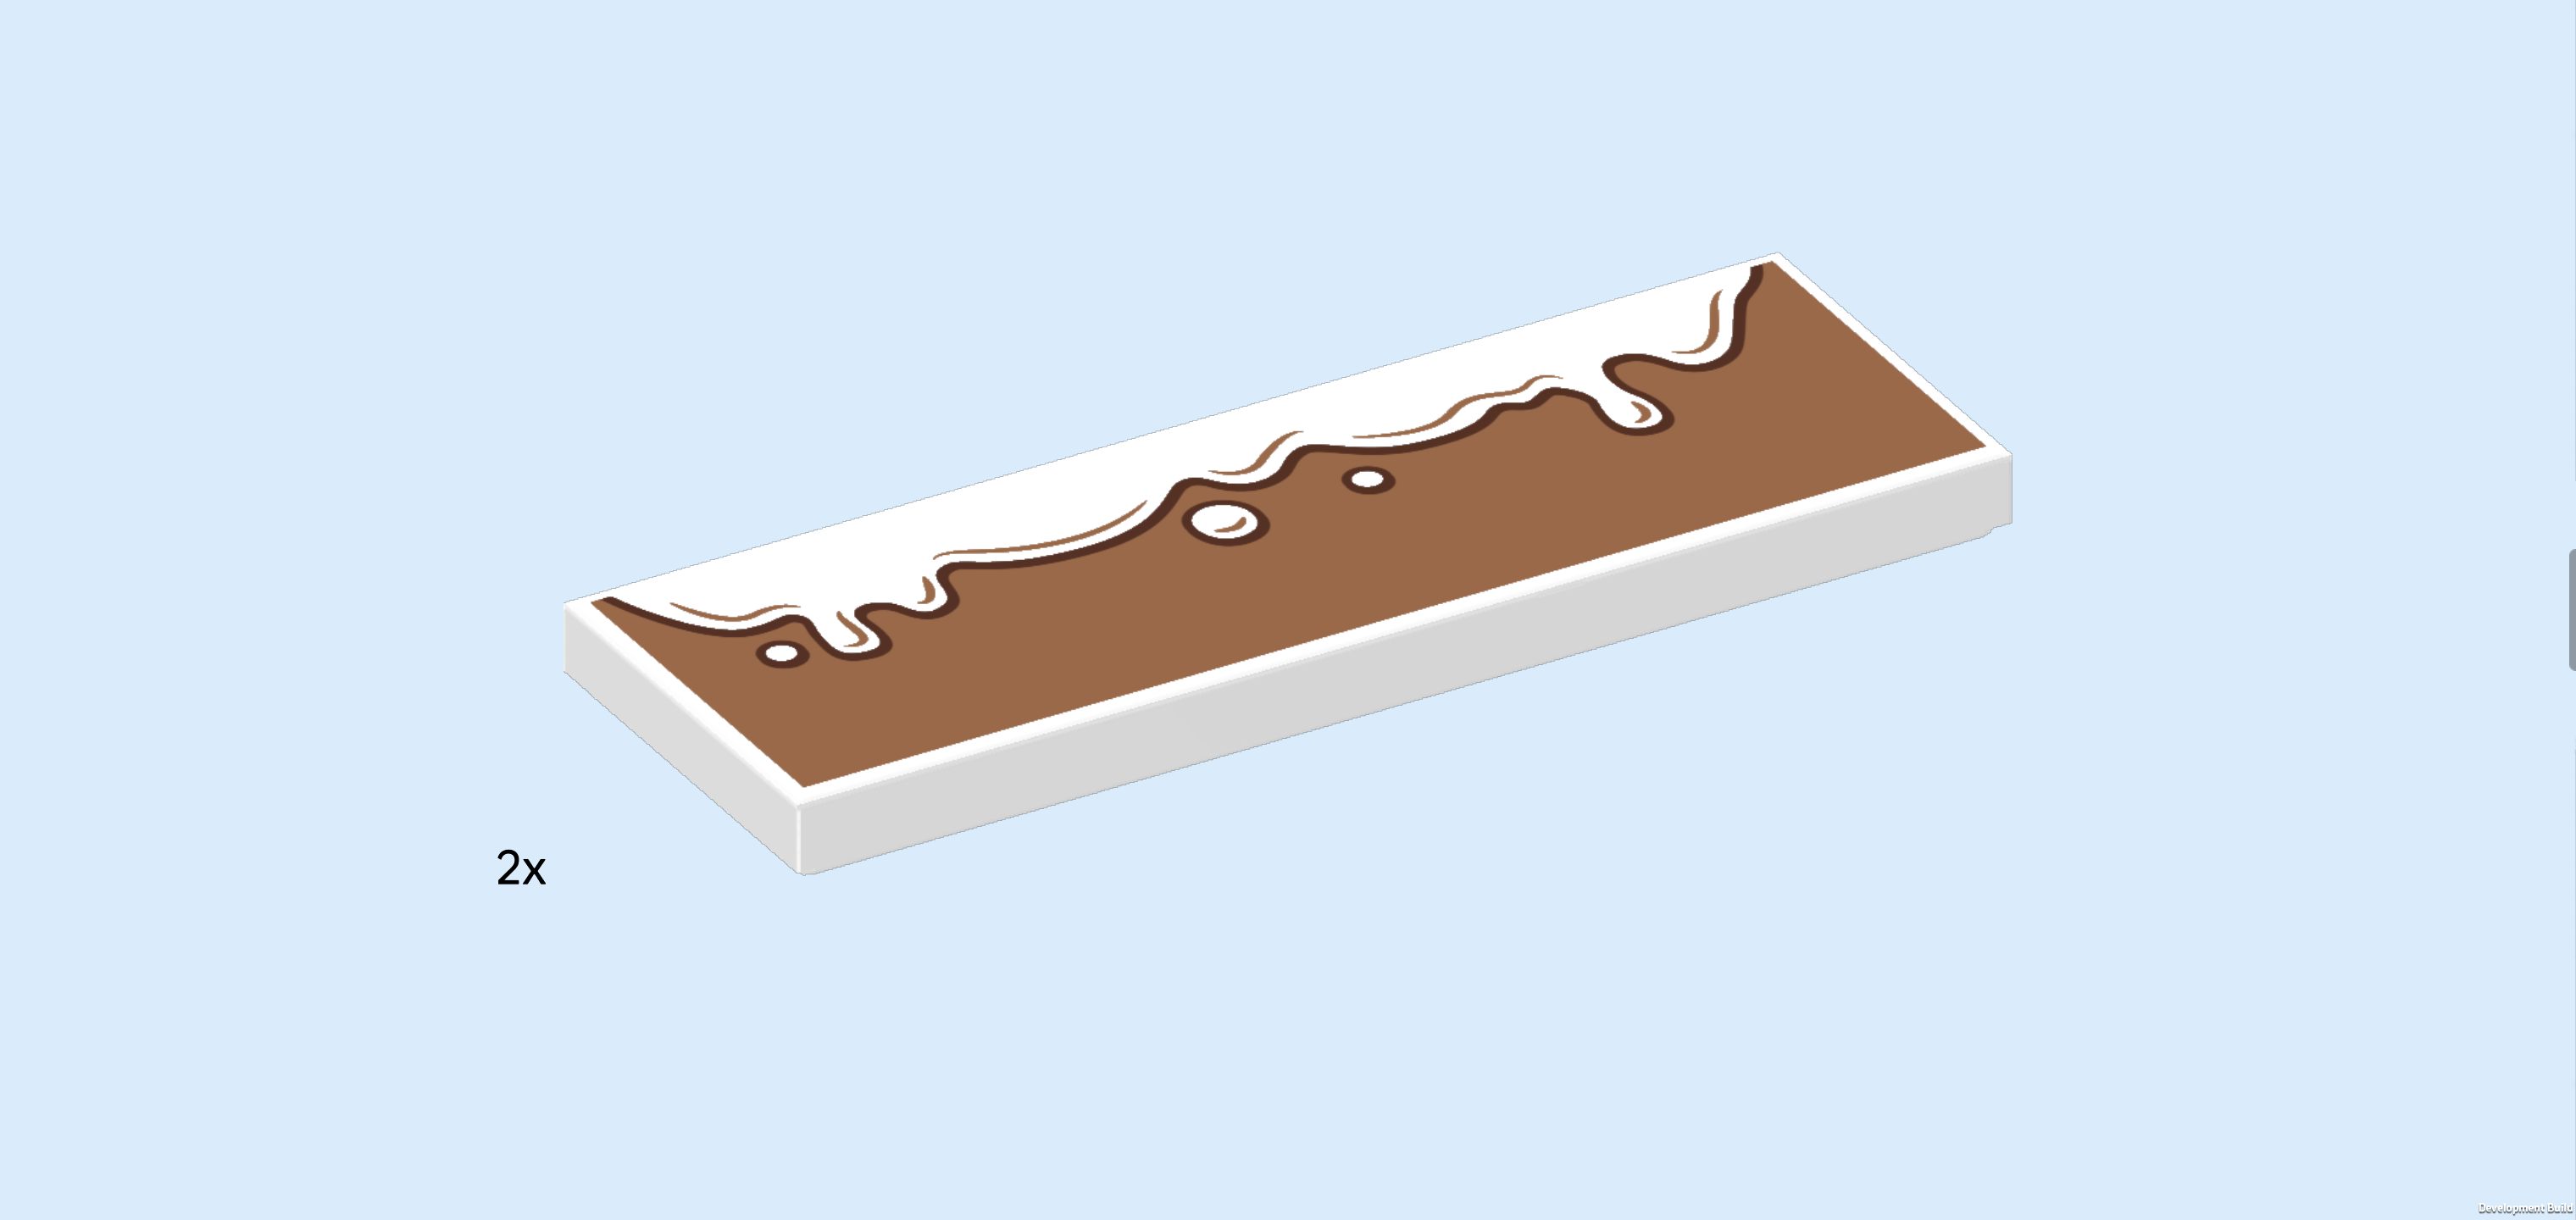
| Find 2 white flat tiles 2x6. |
| Put them on the 2 previous pieces, matching their shapes. |
| The base color of these tiles is nougat brown and white icing is dripping down from the top half. It looks like icing on a brown type of cake or donut, probably chocolate! If you would like to attach the prints in the correct orientation, which means the white icing is dripping down from the top, ask a sighted person to help you with the upcoming step. But don't worry about it too much, the panels will look great either way. |
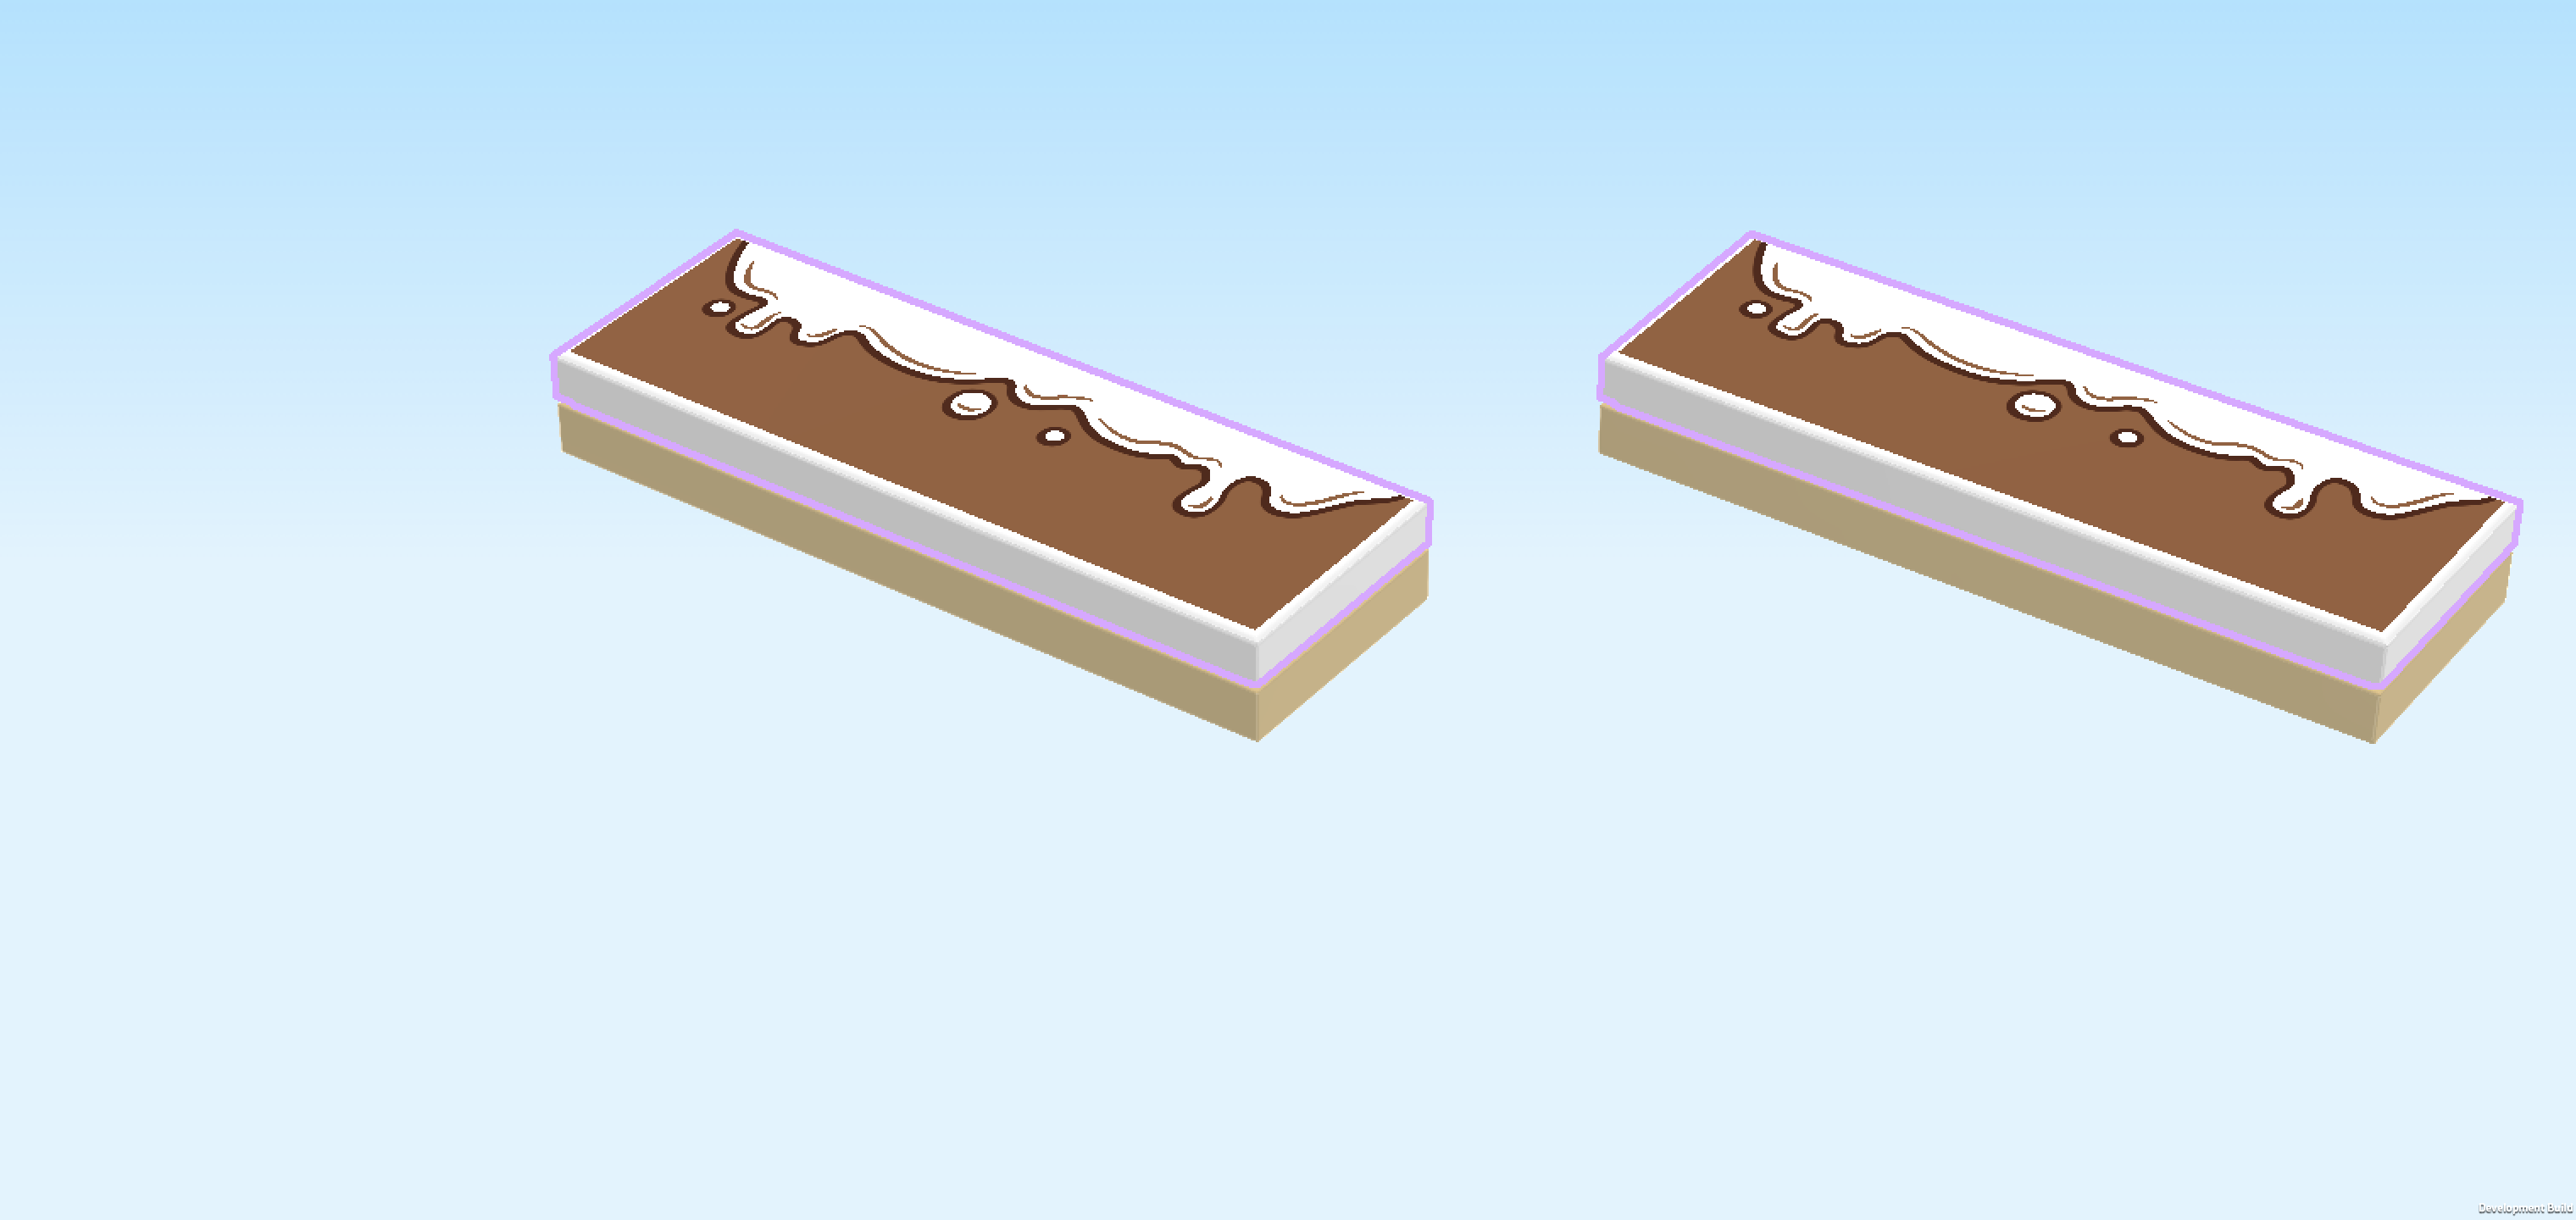
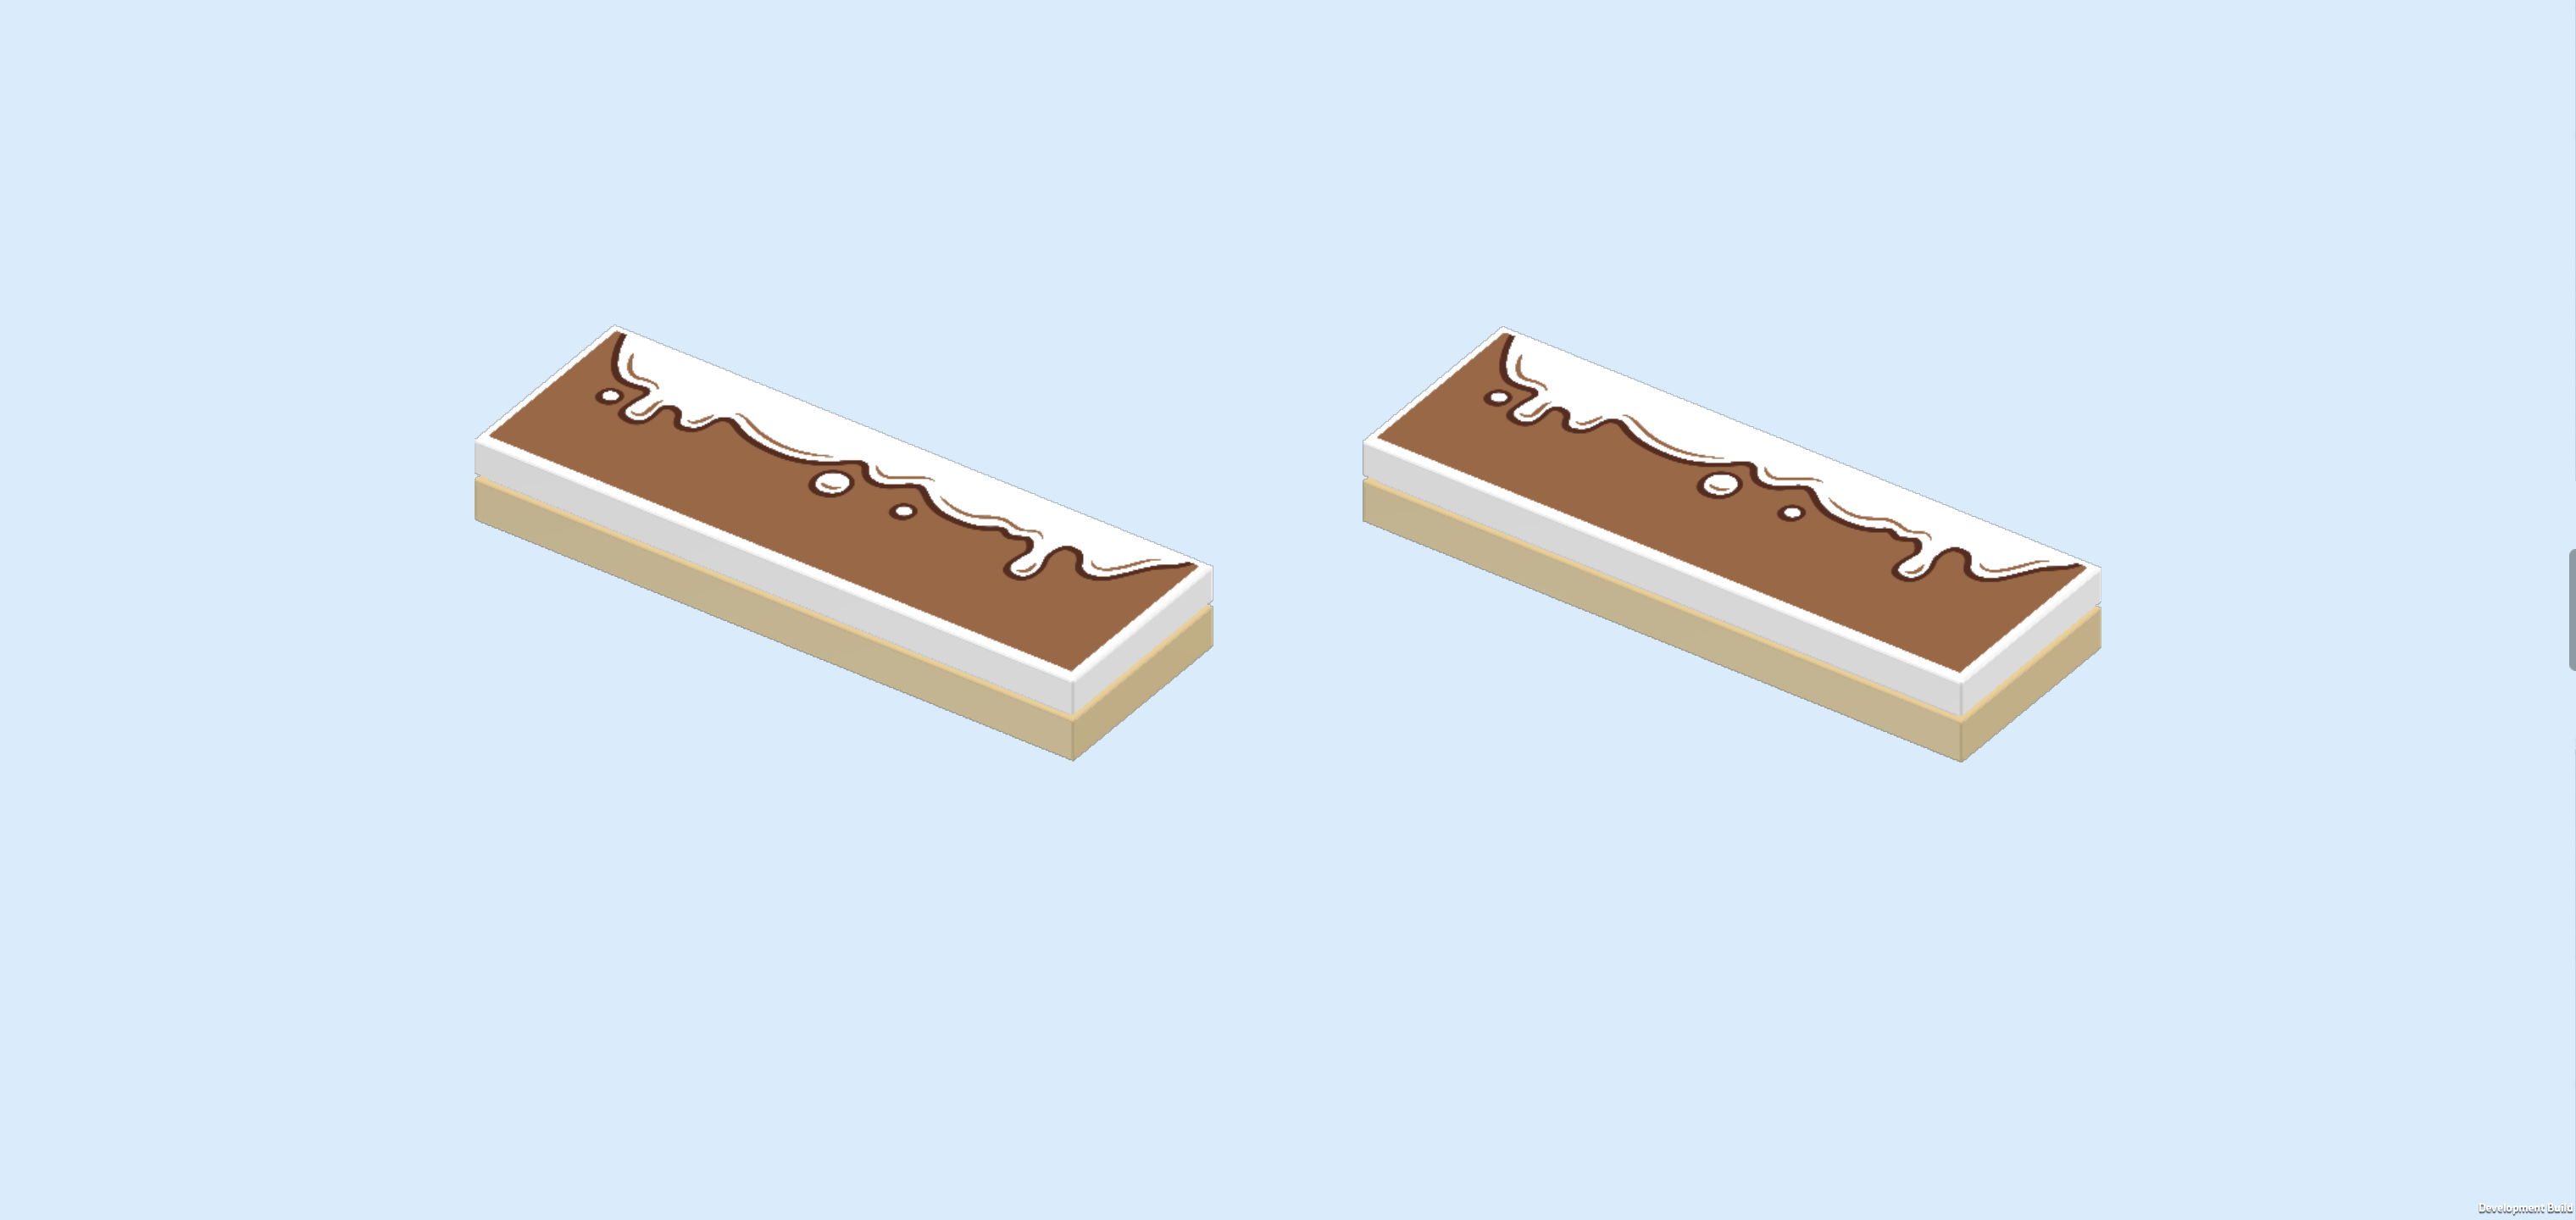
| Flip 1 side panel upright and mount it horizontally centered on the 8 side knobs pointing to the front. Make sure that its left edge touches the mudguard piece. |
| Repeat symmetrically at the back. |
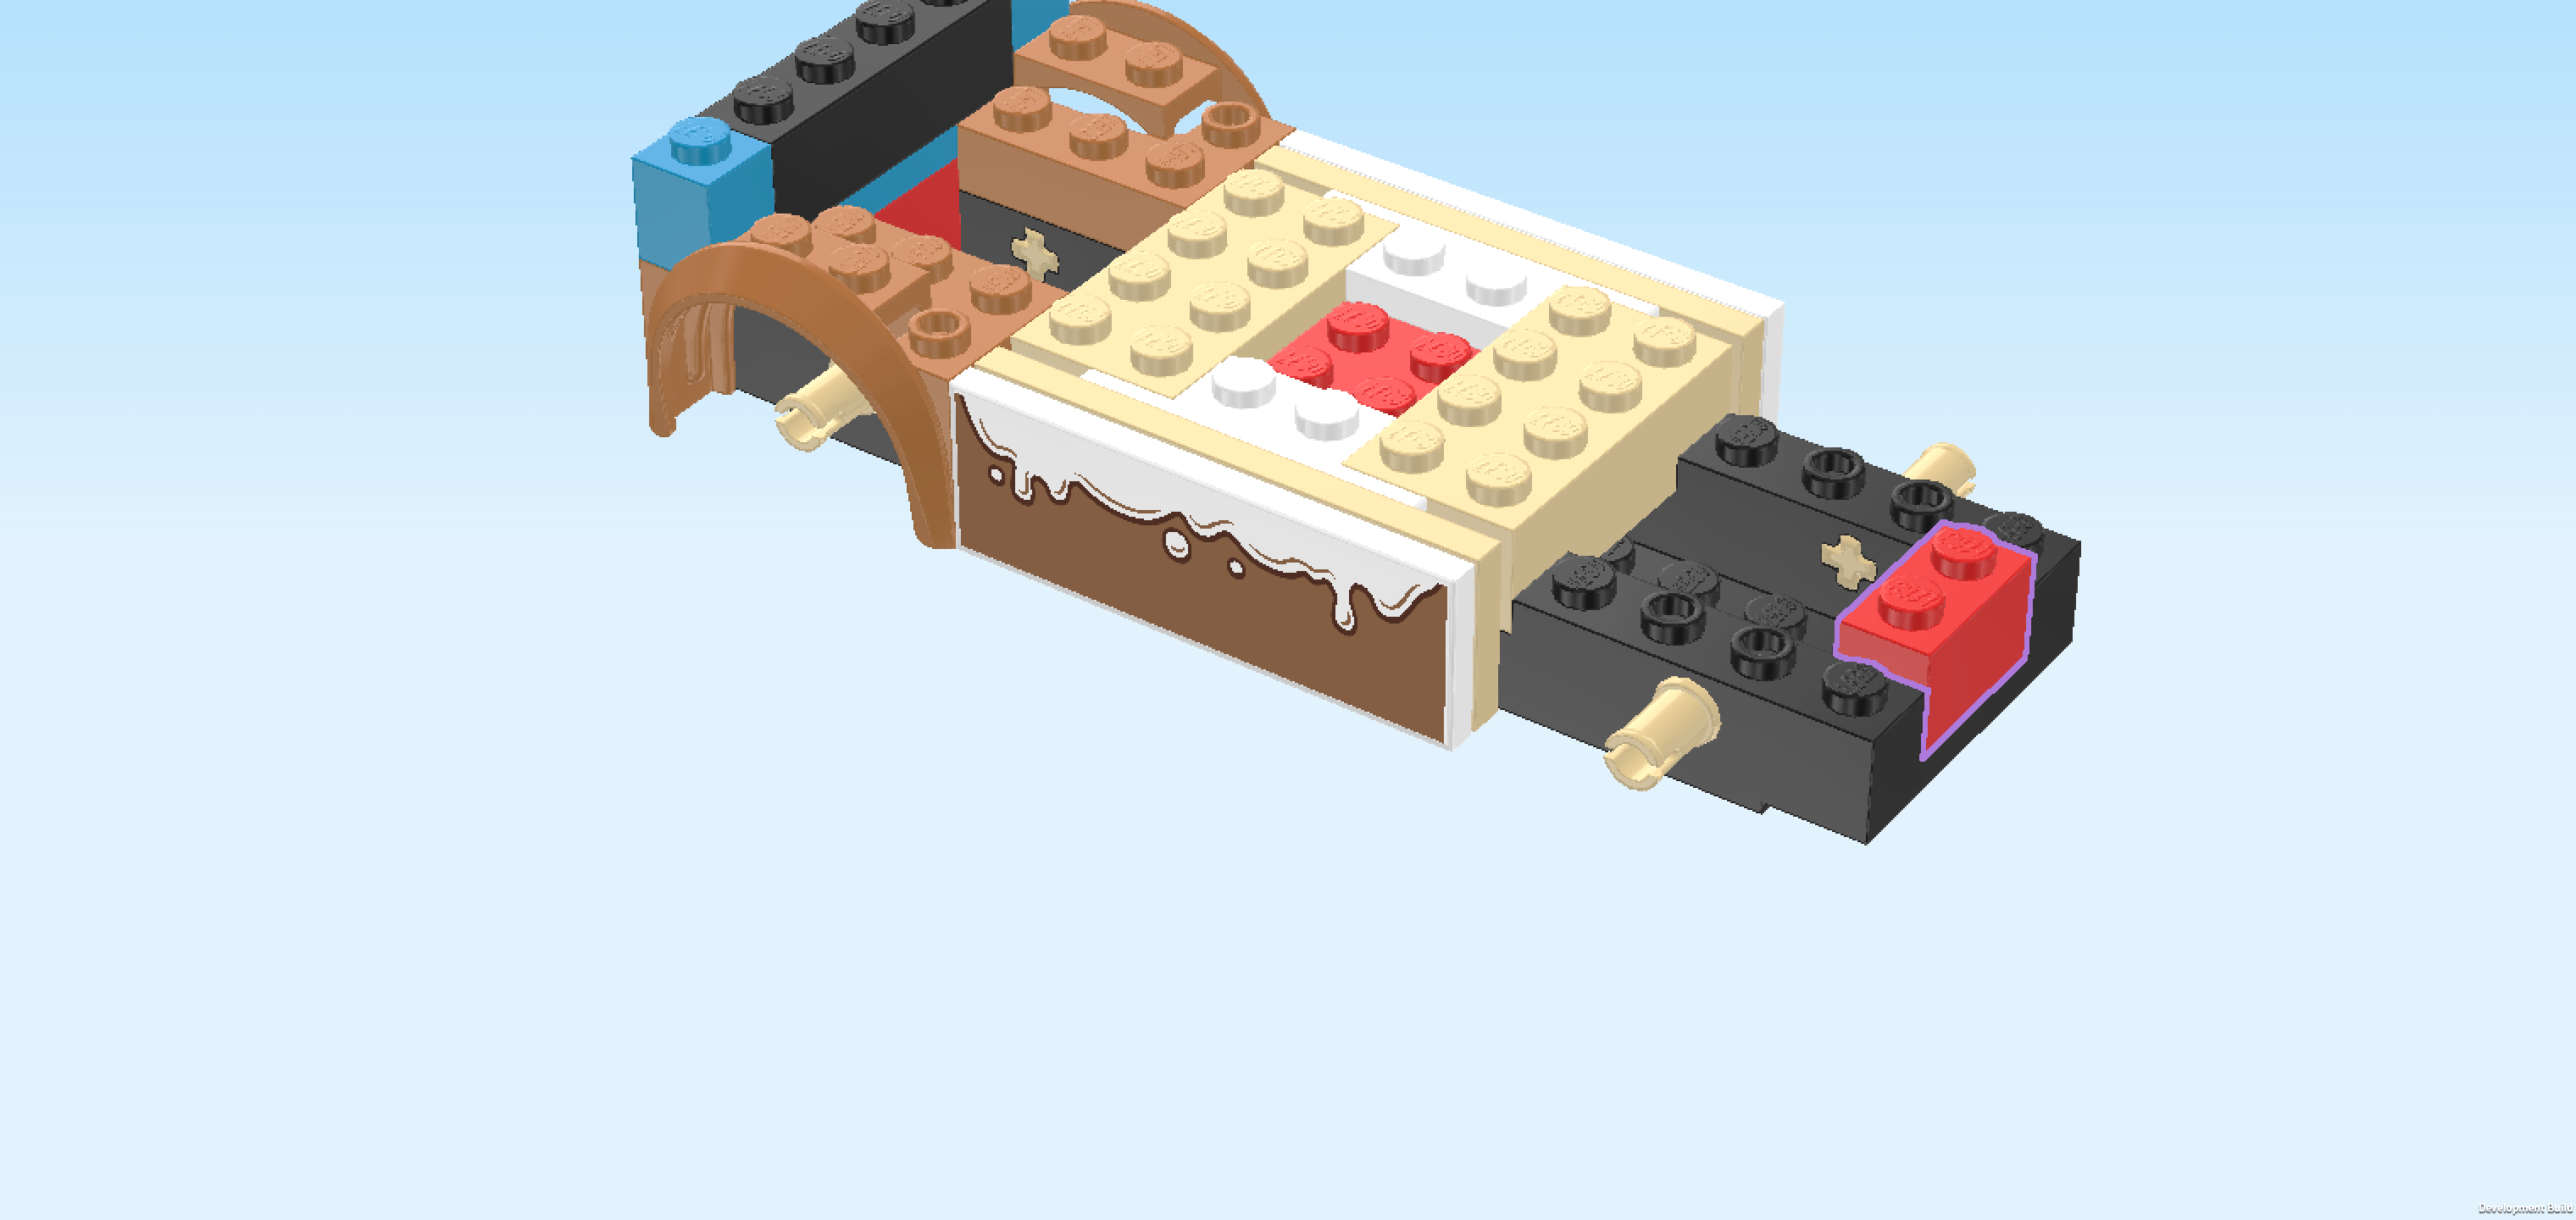
| Find 1 bright red brick 1x2. |
| Put it vertically centered on the rightmost column of the structure. |
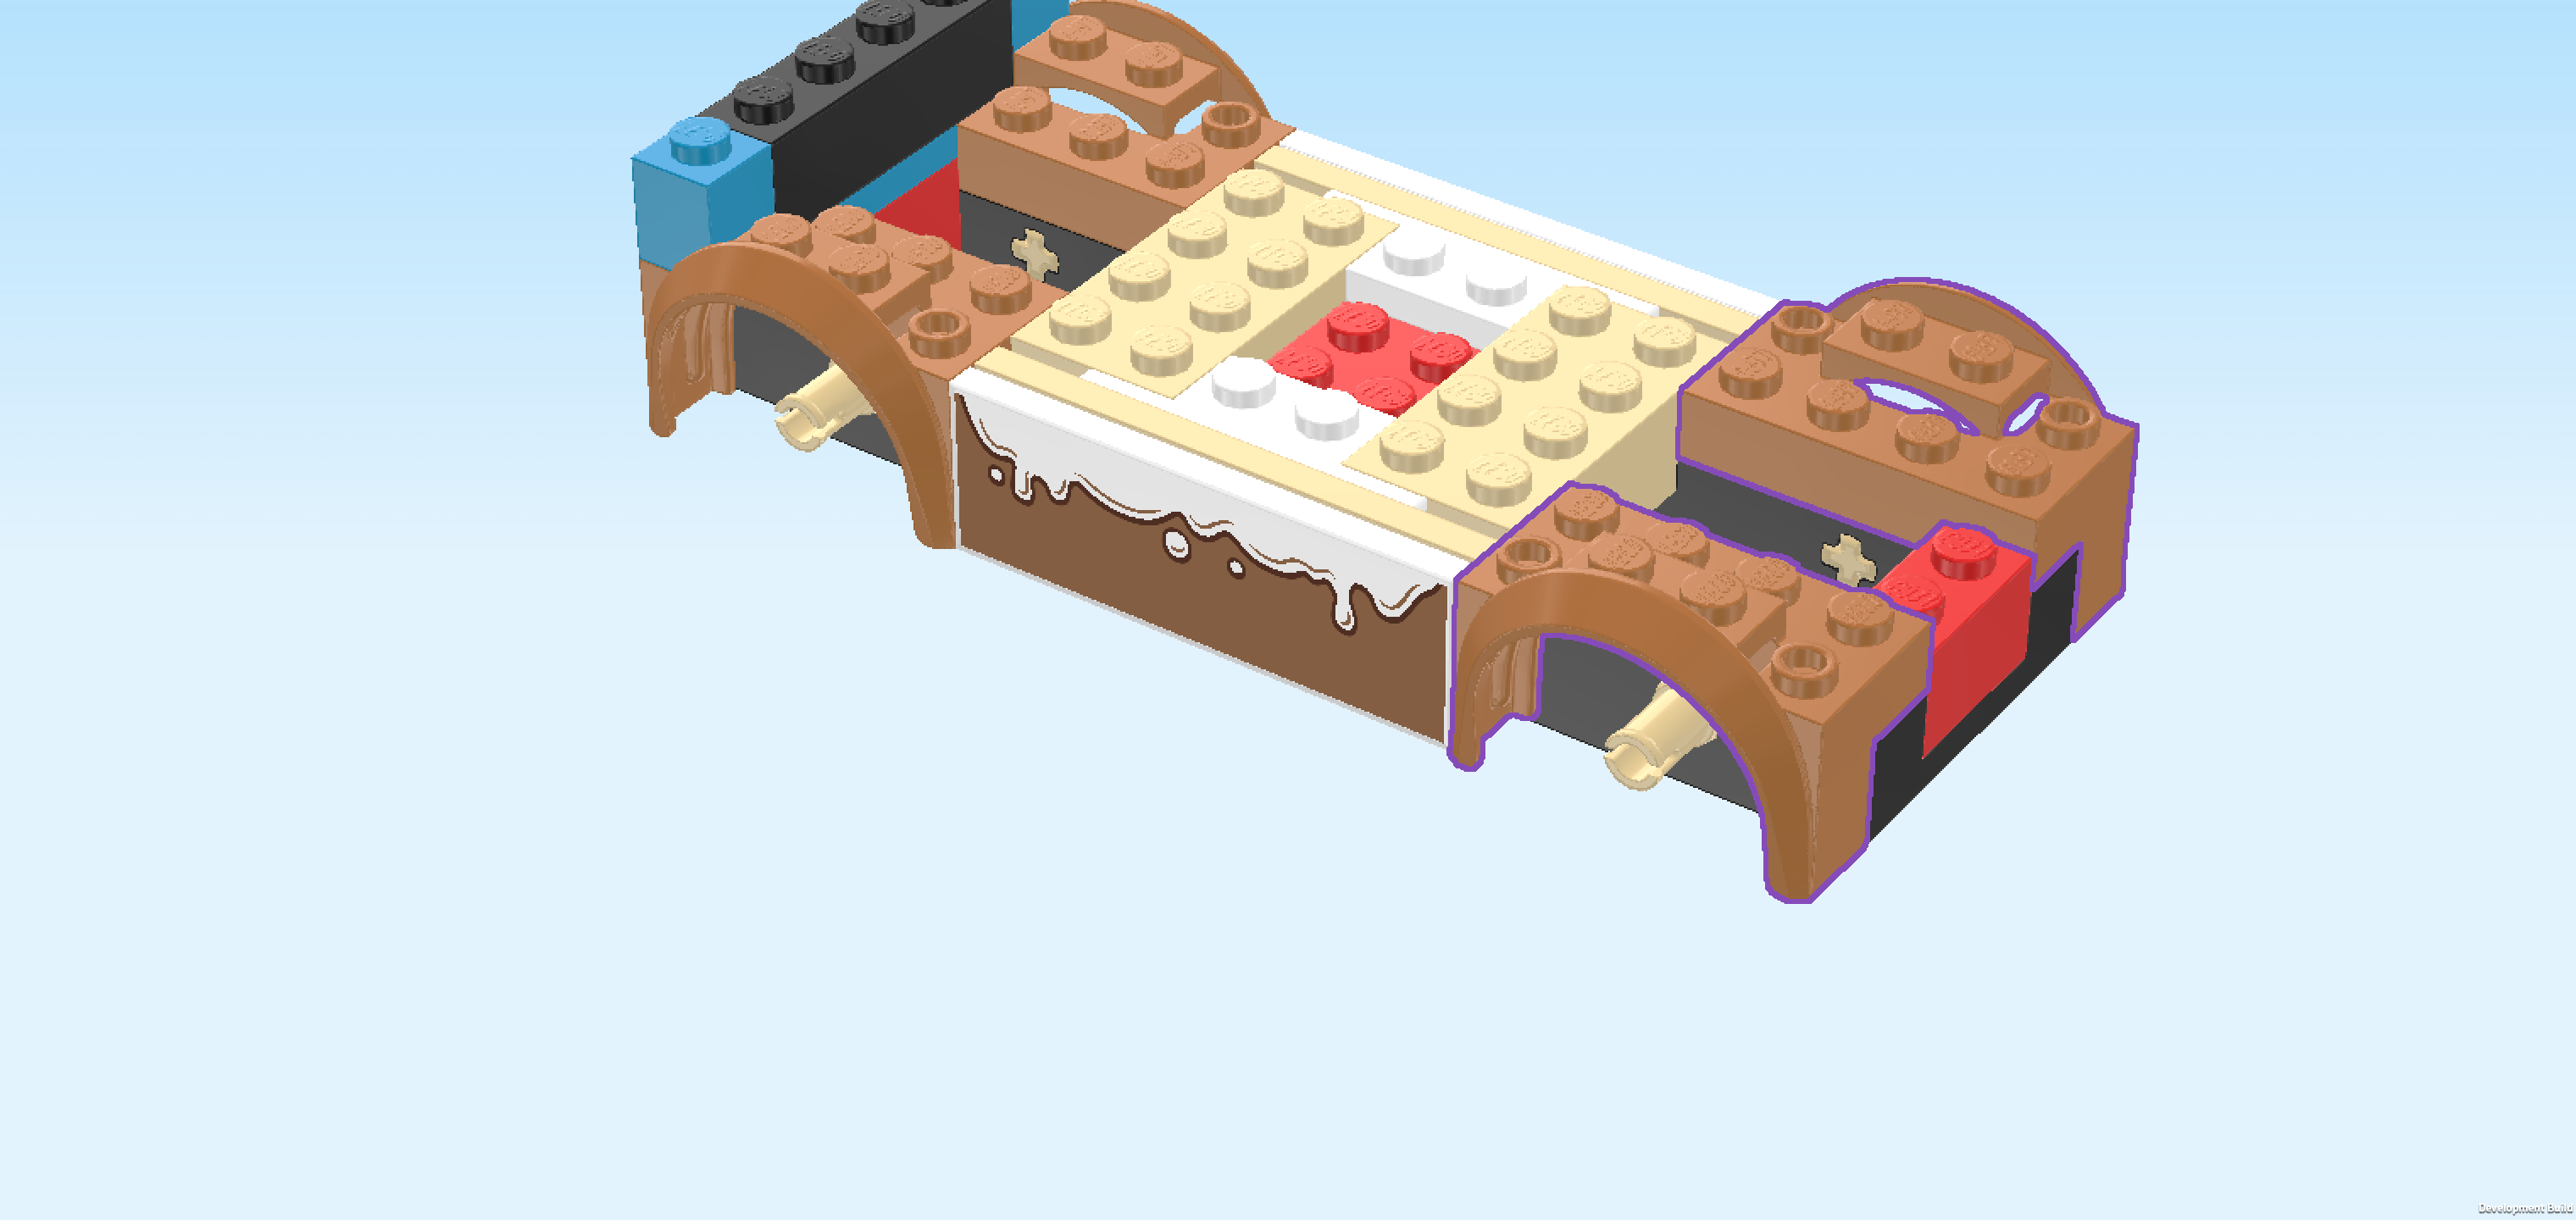
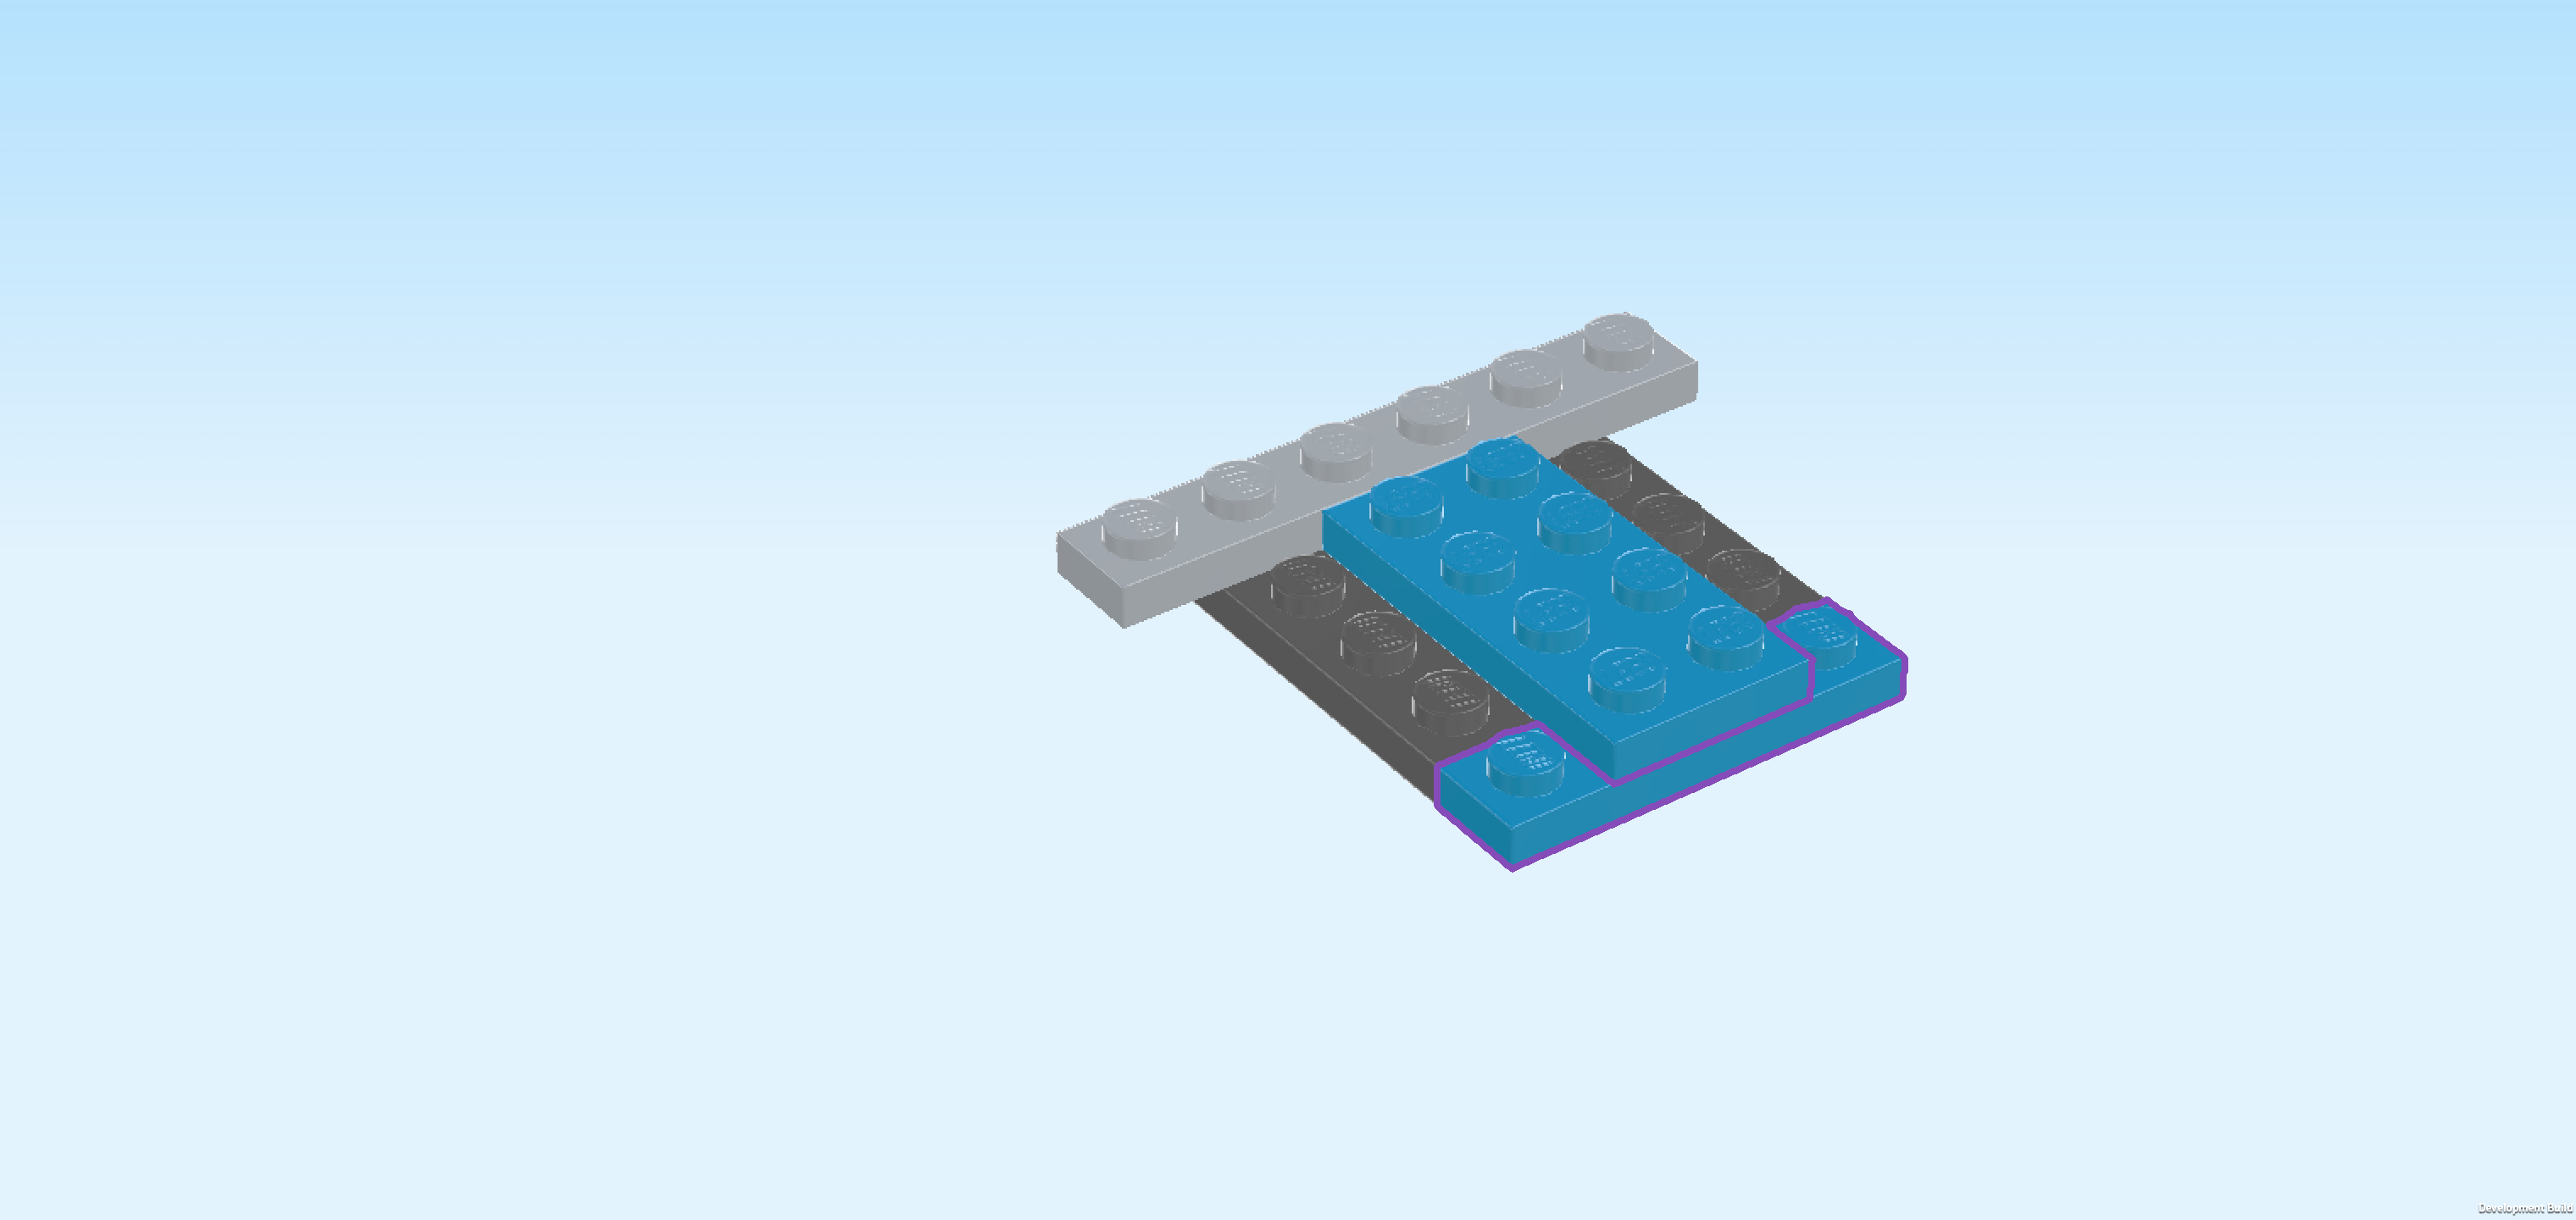
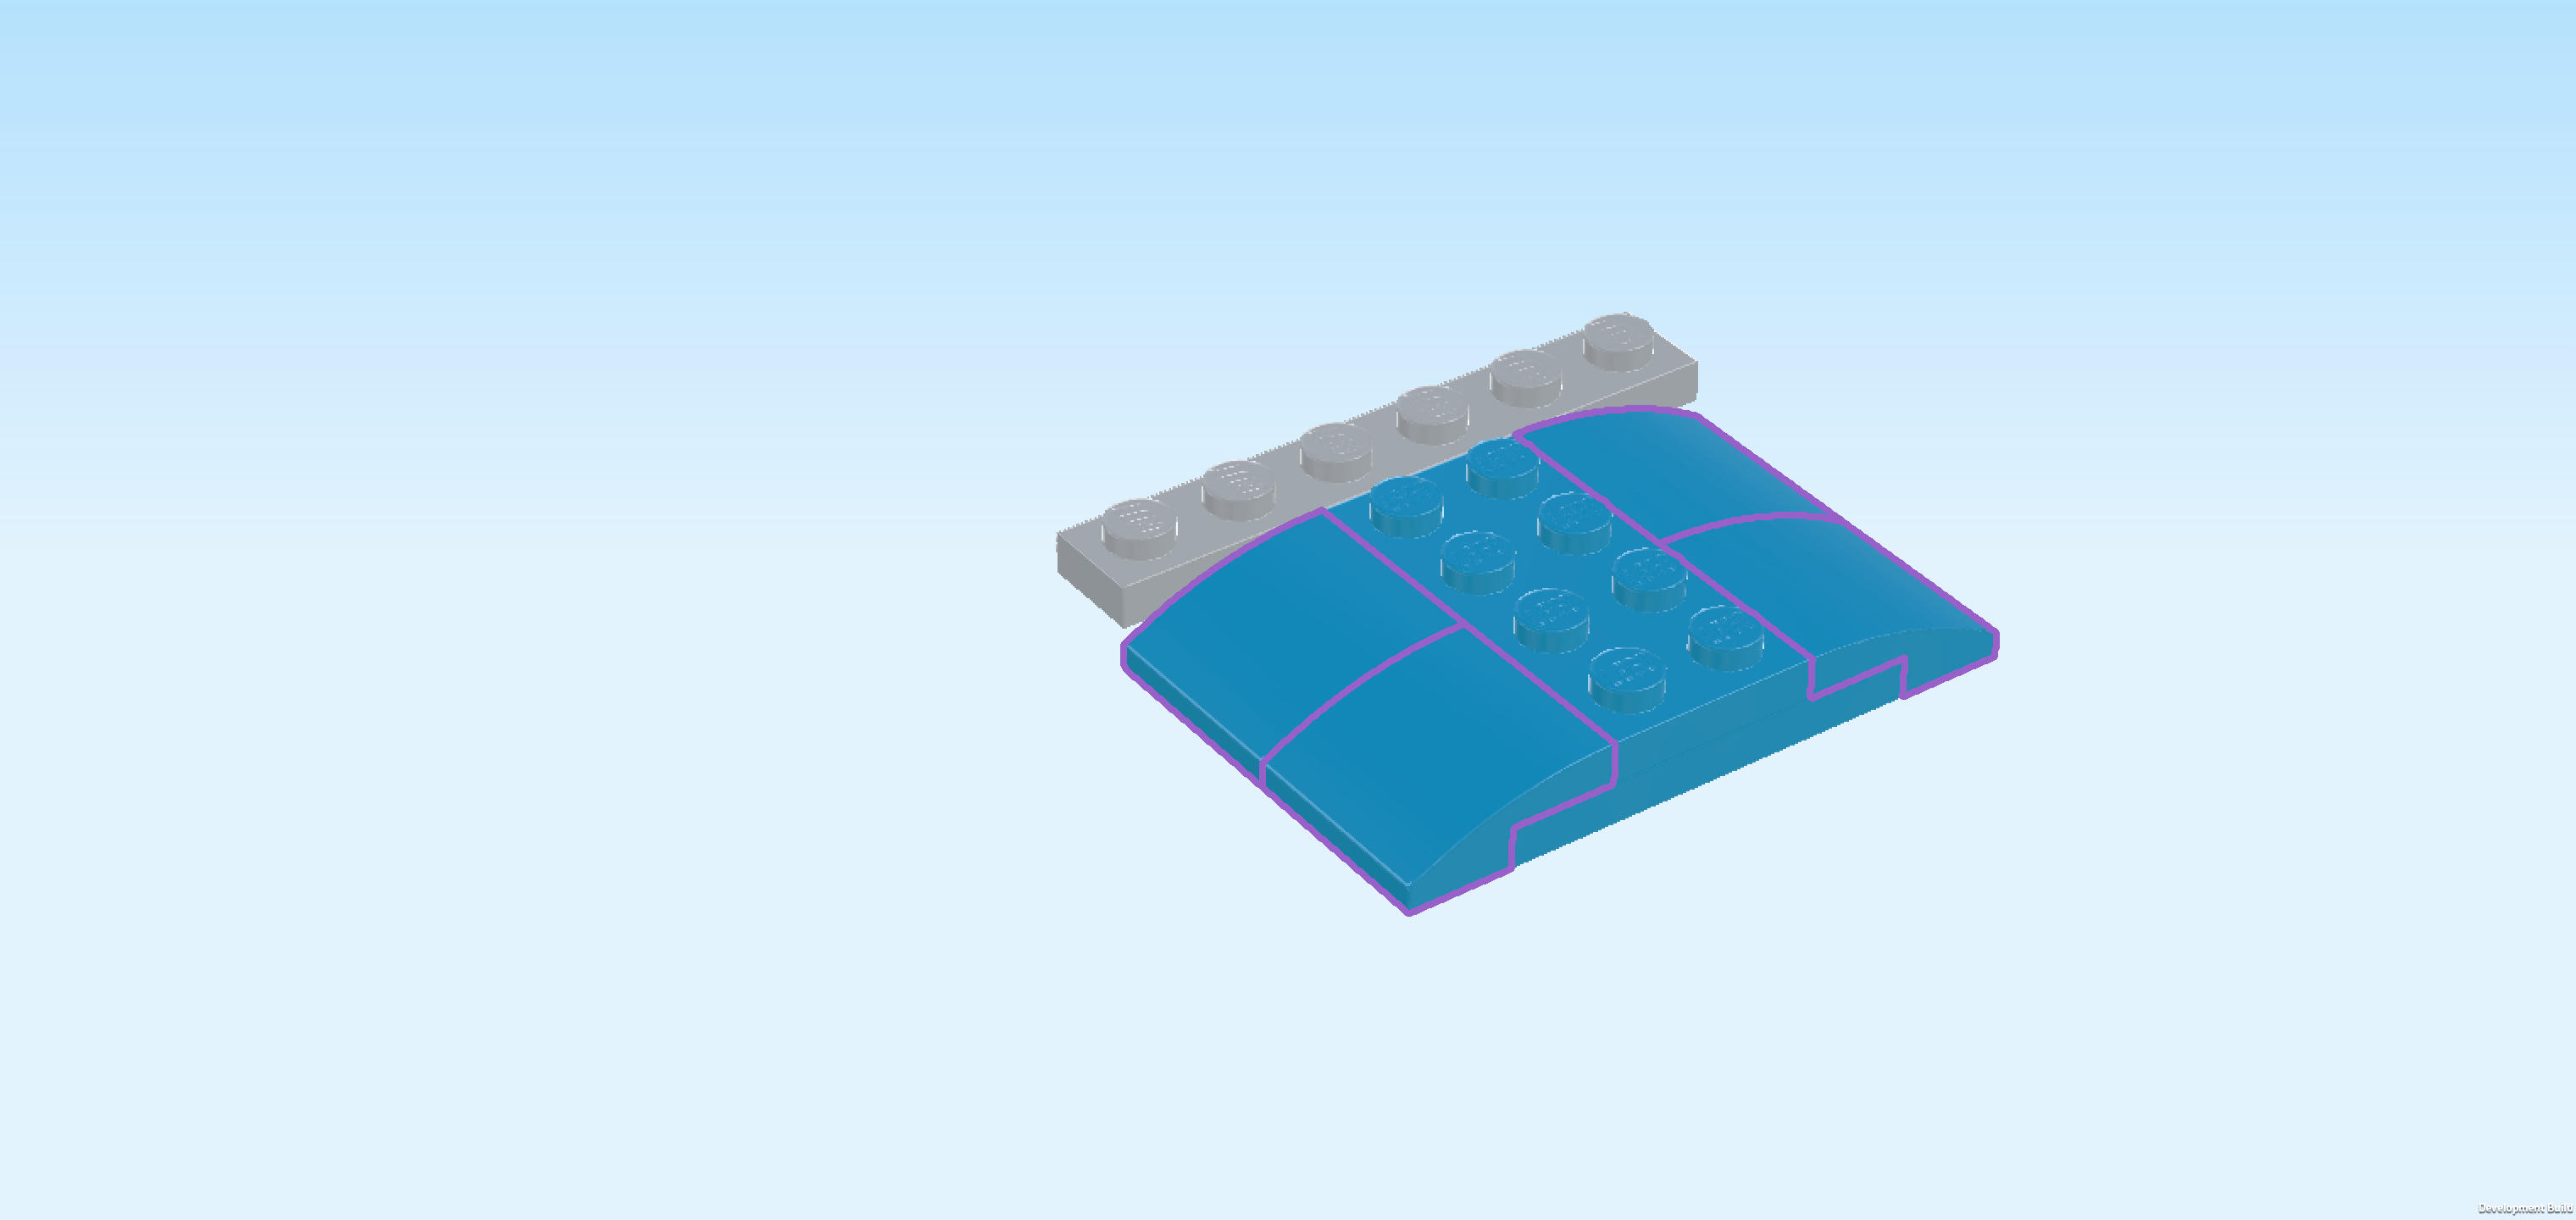
| Find 2 medium nougat brown mudguard elements 2x4x2. |
| Put 1 on the frontmost row, starting from the right edge, 1 row with mudguard overhanging to the front. |
| Repeat symmetrically at the back. |
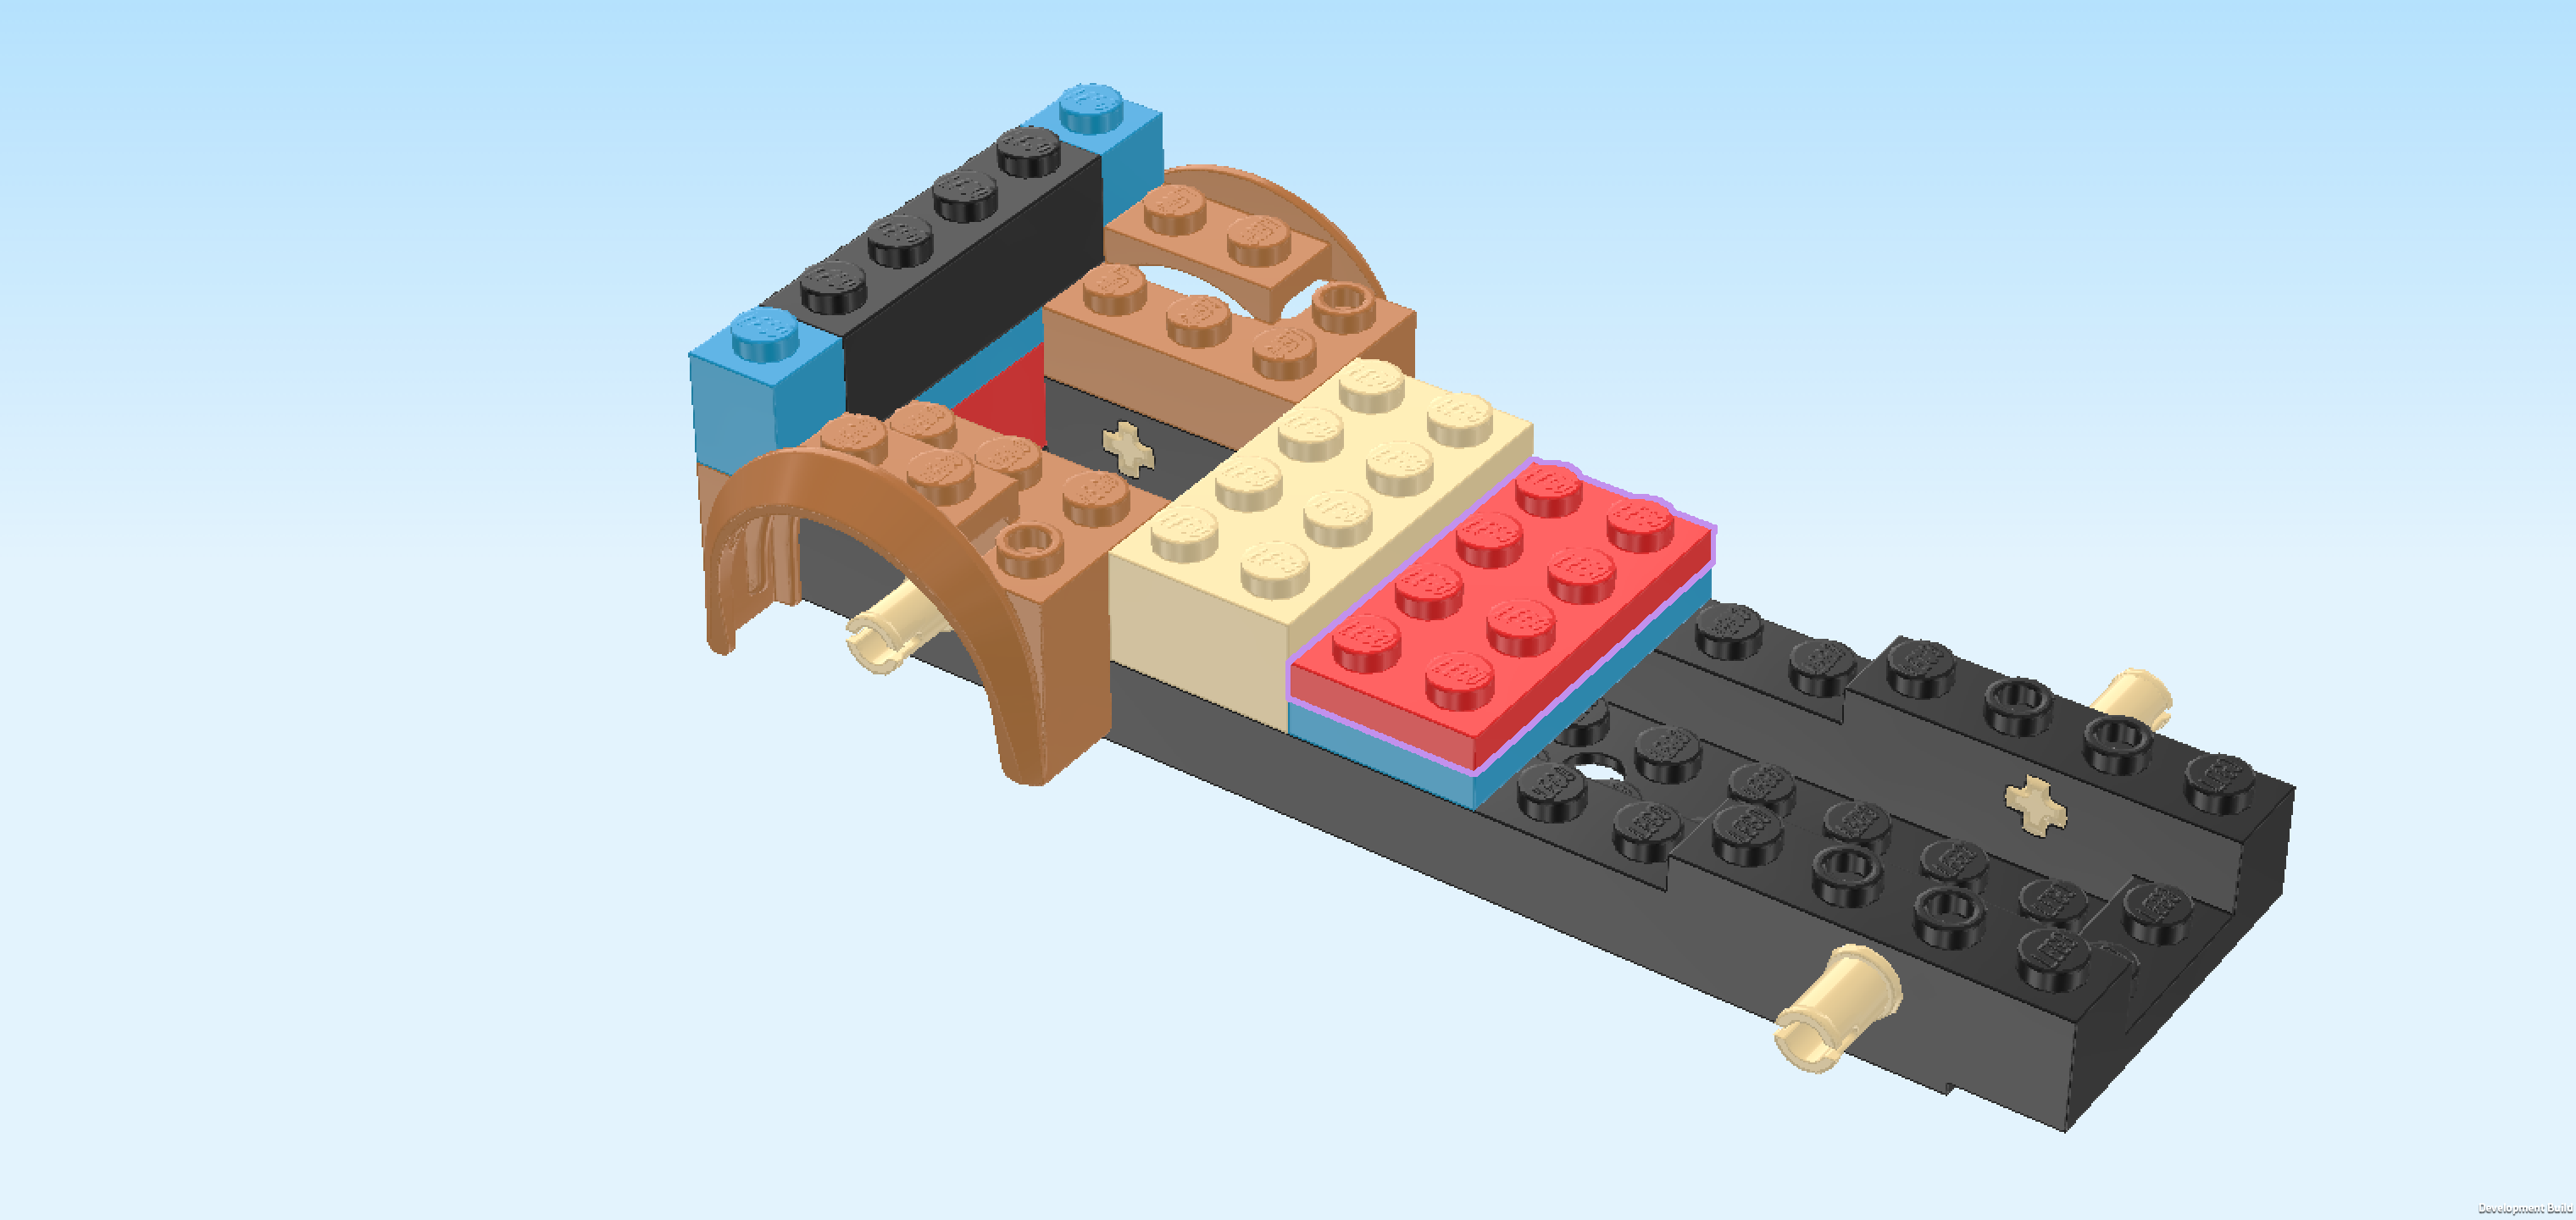
| Find 1 bright red plate 4x4 with 4 knobs on one edge. |
| Put it centered directly to the right of the leftmost column which is currently a bit higher than the rest. Make sure that its knobs form a straight column on the right. |
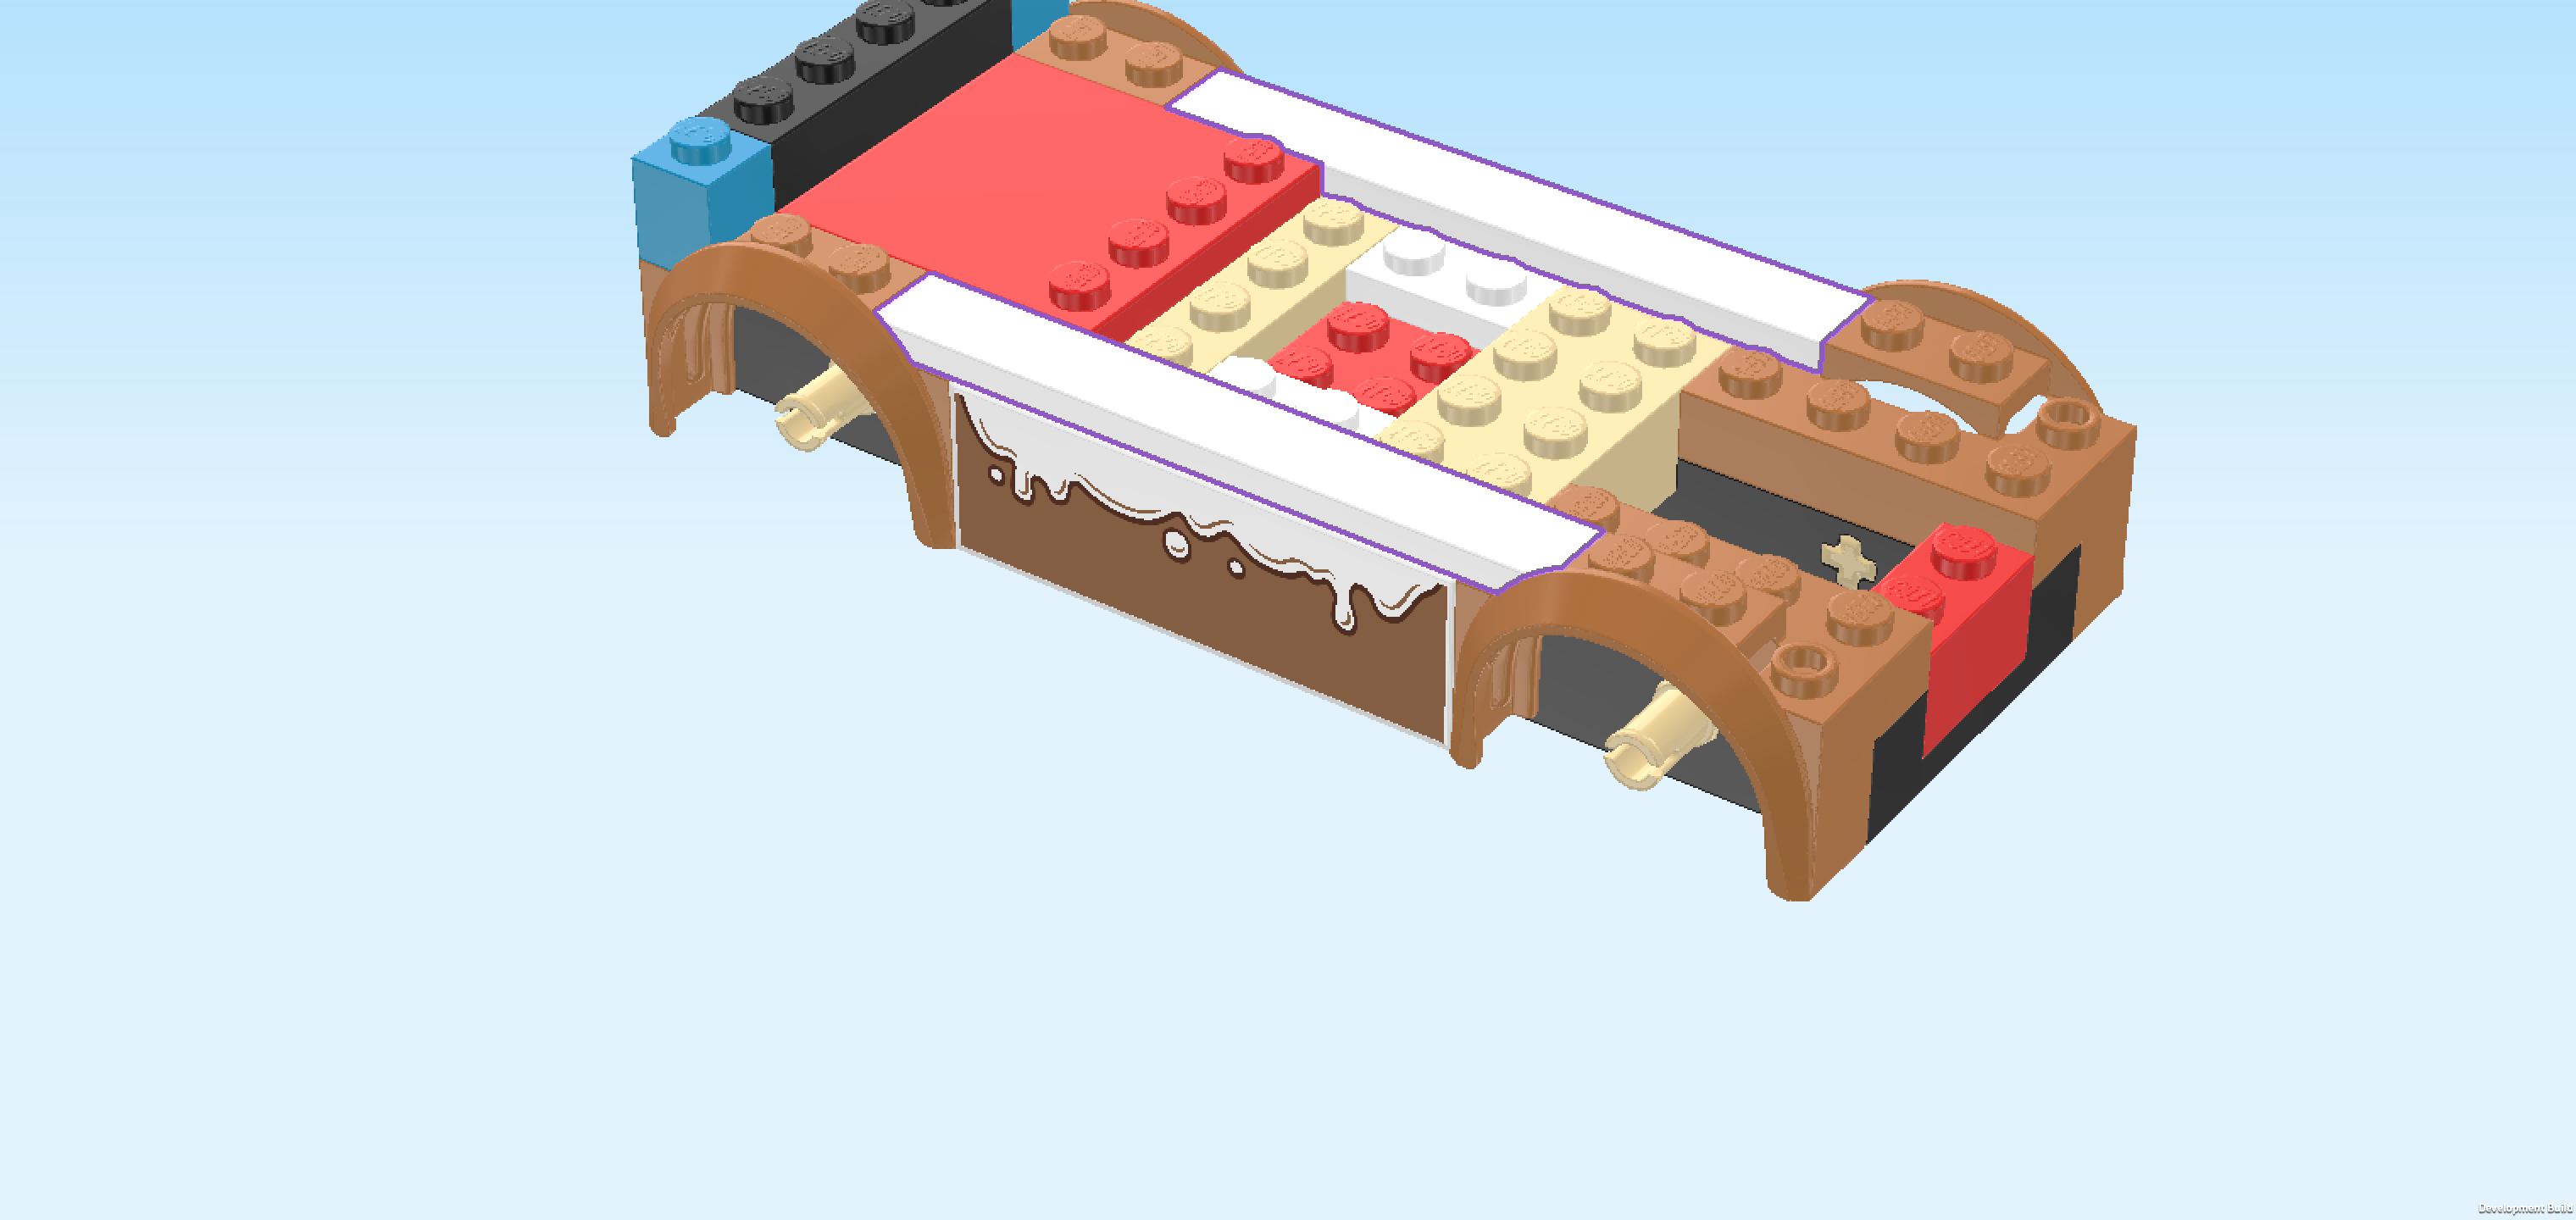
| Find 2 white flat tiles 1x8. |
| Put 1 horizontally centered on the front row. This piece should fit exactly between the 2 slightly heightened 1x2 portions of the two mudguard pieces at the front. |
| Repeat symmetrically at the back. |
| Collect the following 3 pieces: |
| 1 dark stone grey plate 2x4 with 2 knobs, |
| and 2 white flat tiles 2x6. |
| Put the plate 2x4 vertically centered to the right of the plate 4x4 with 4 knobs on one edge. |
| Put 1 flat tile 2x6 horizontally to the right of the previous piece's back half. |
| Put the other flat tile 2x6 horizontally in front of the previous piece. If done correctly, there will only be 1 empty column of knobs remaining to the right of those 2 tiles. |
| Find 1 medium nougat brown top angle plate 1x2 - 2x6 with 12 side knobs. |
| Put it vertically centered on the rightmost column, side plate with 12 side knobs overhanging to the right. |
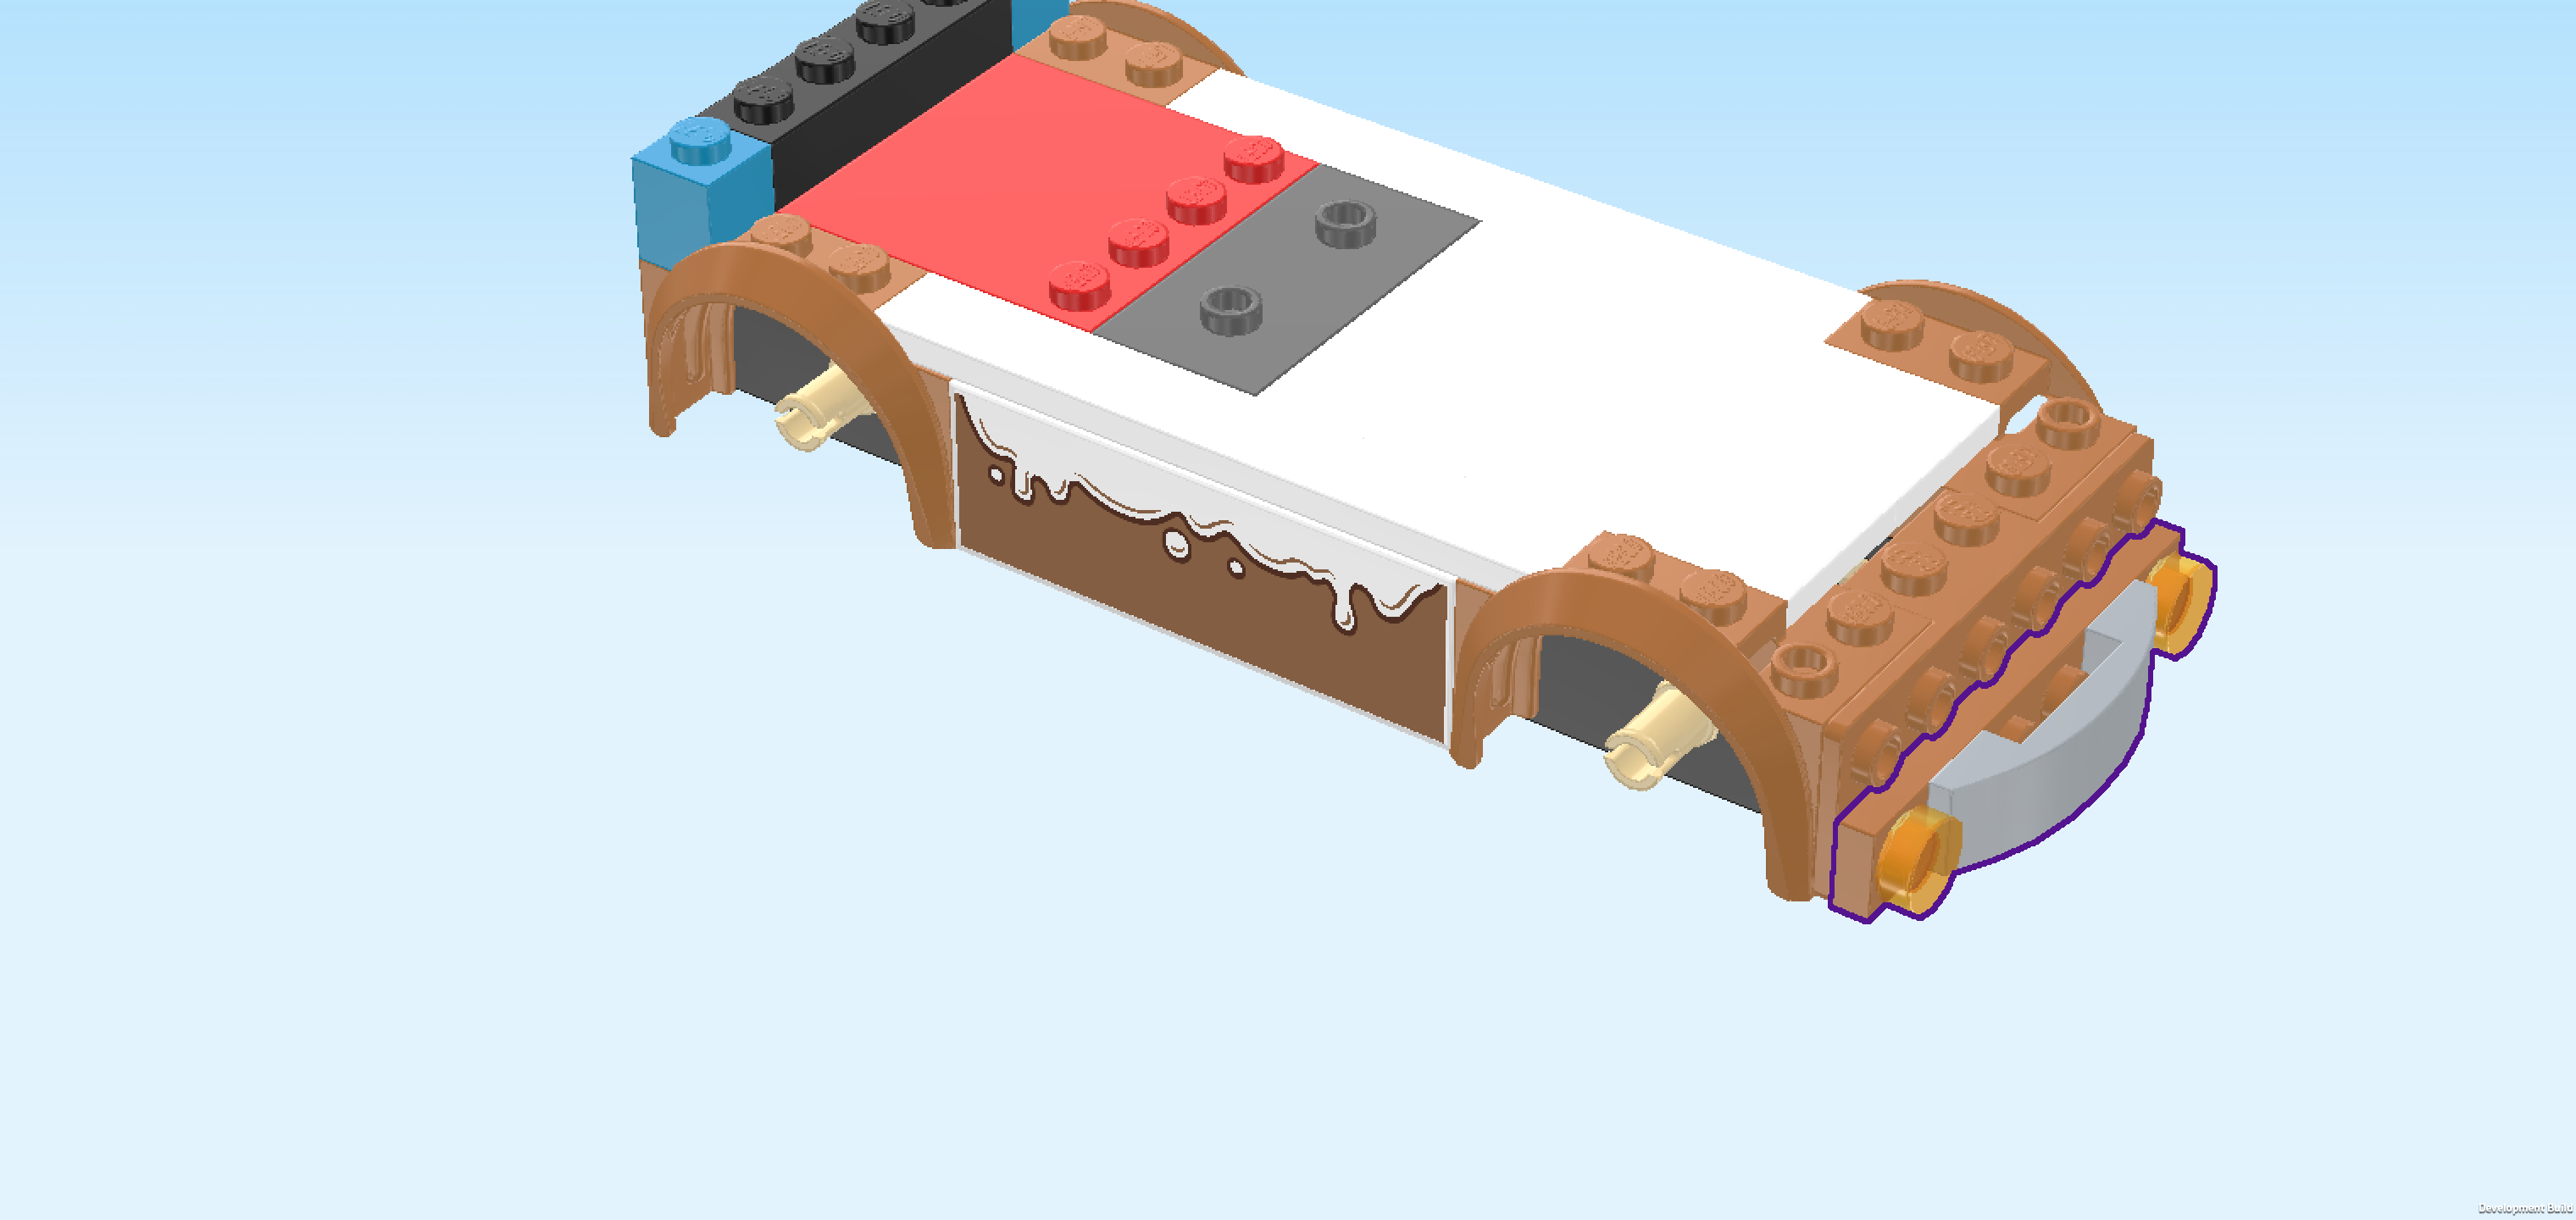
| Next, we will build the rear bumper with taillights. |
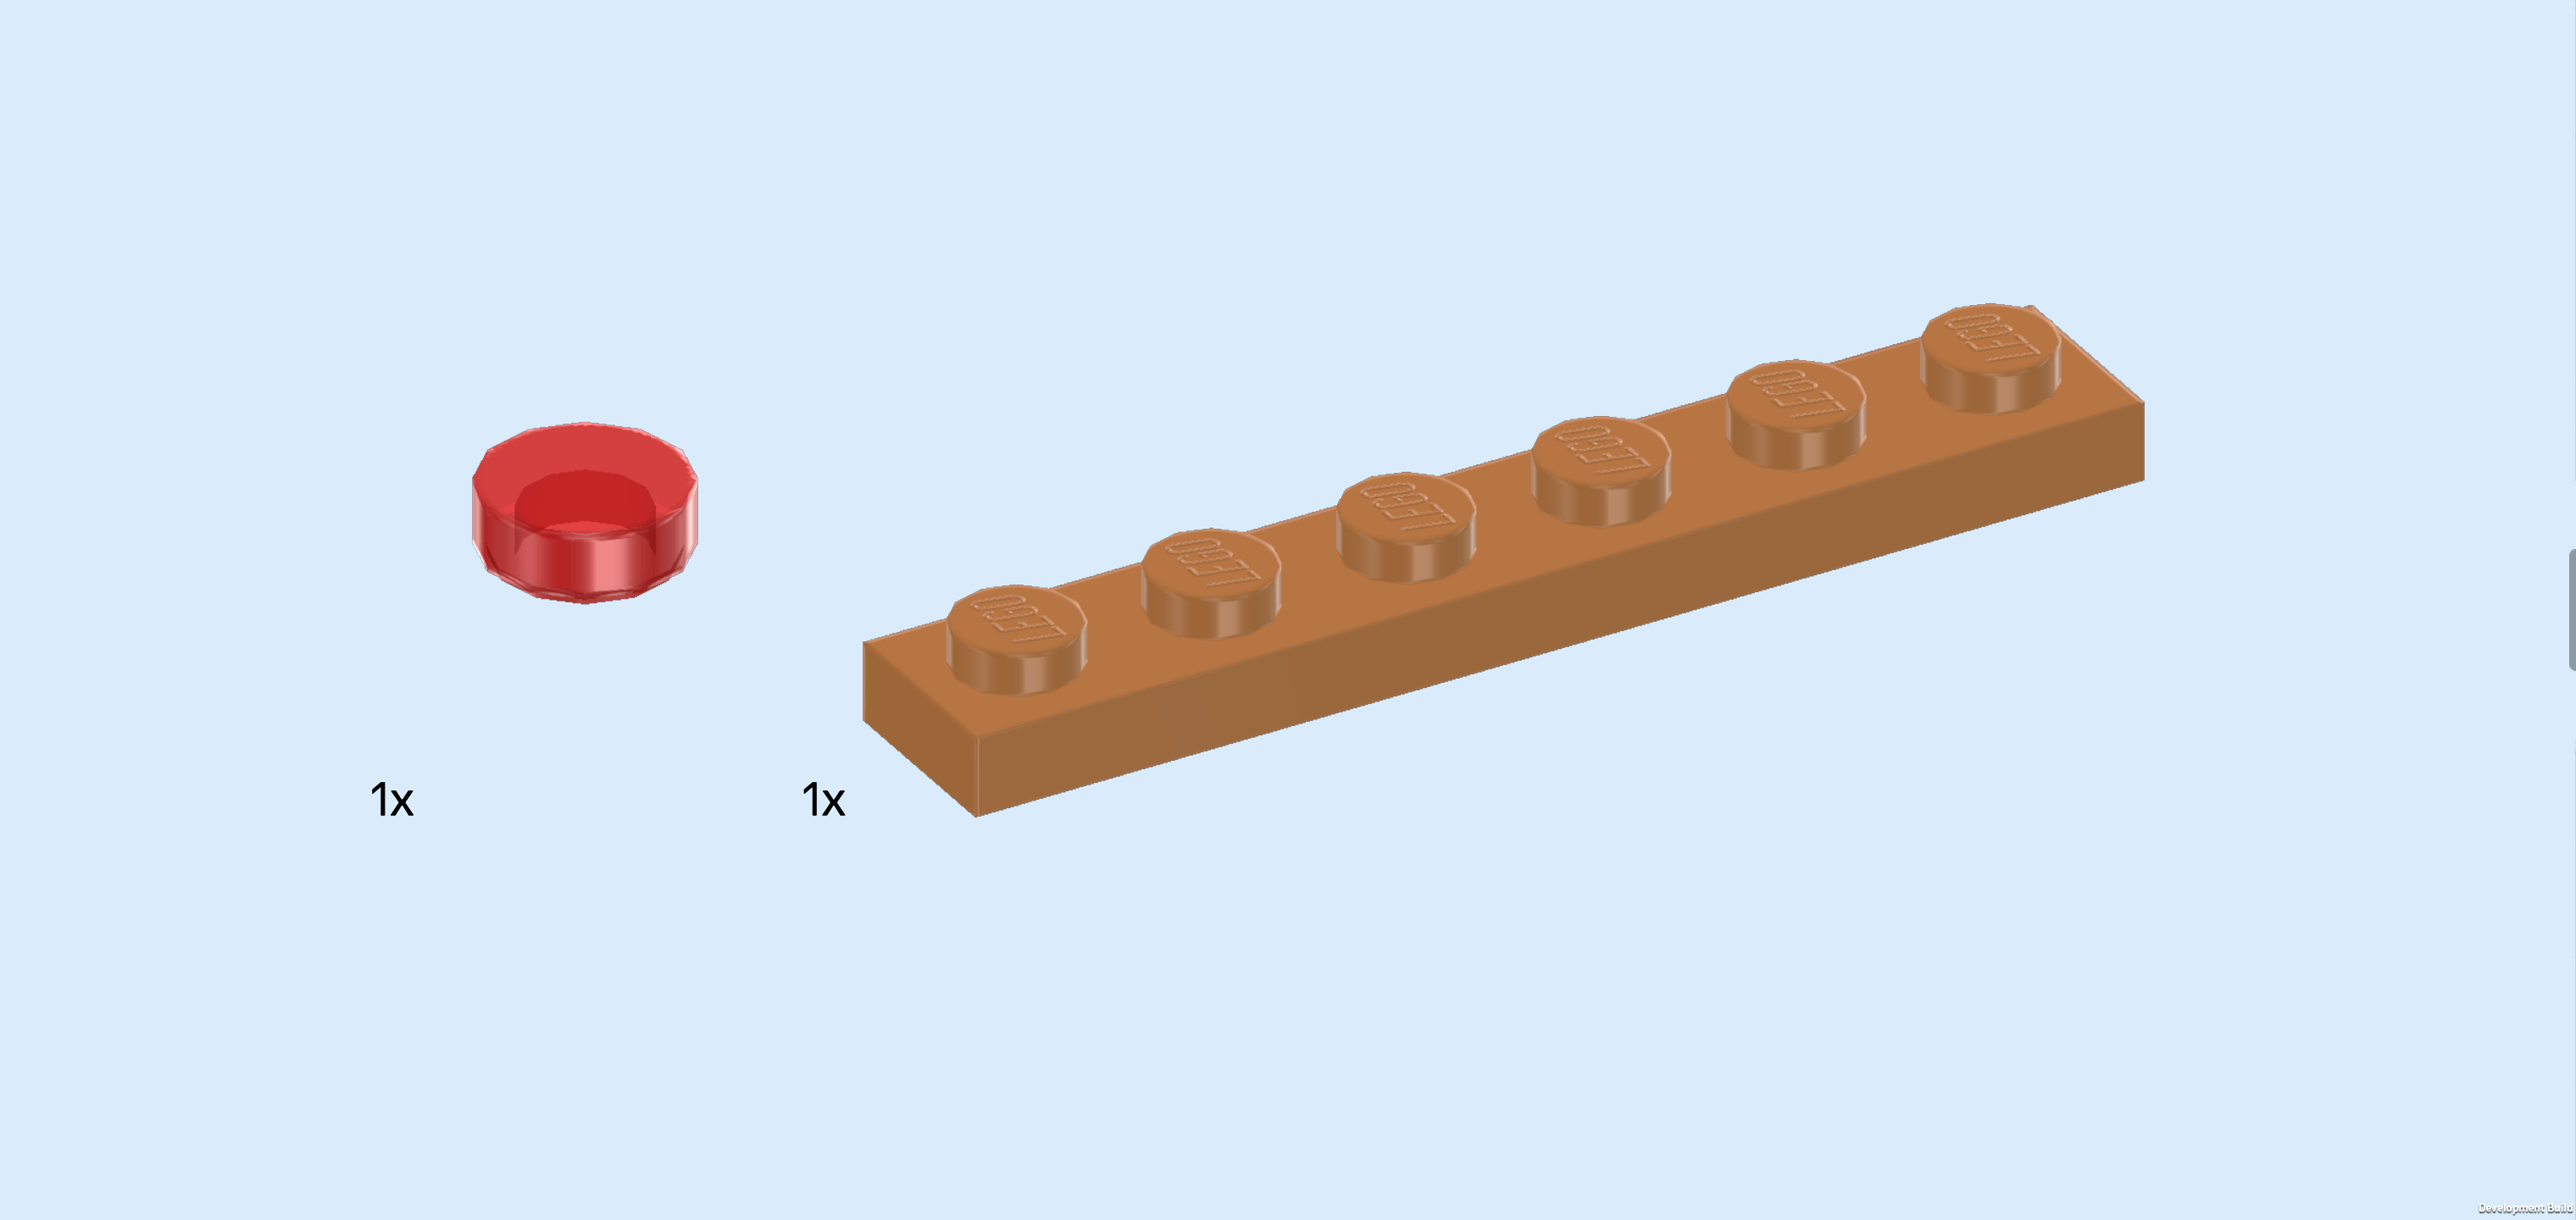
| Collect the following 2 pieces: |
| 1 transparent bright orange round tile 1x1, |
| and 1 medium nougat brown plate 1x6. |
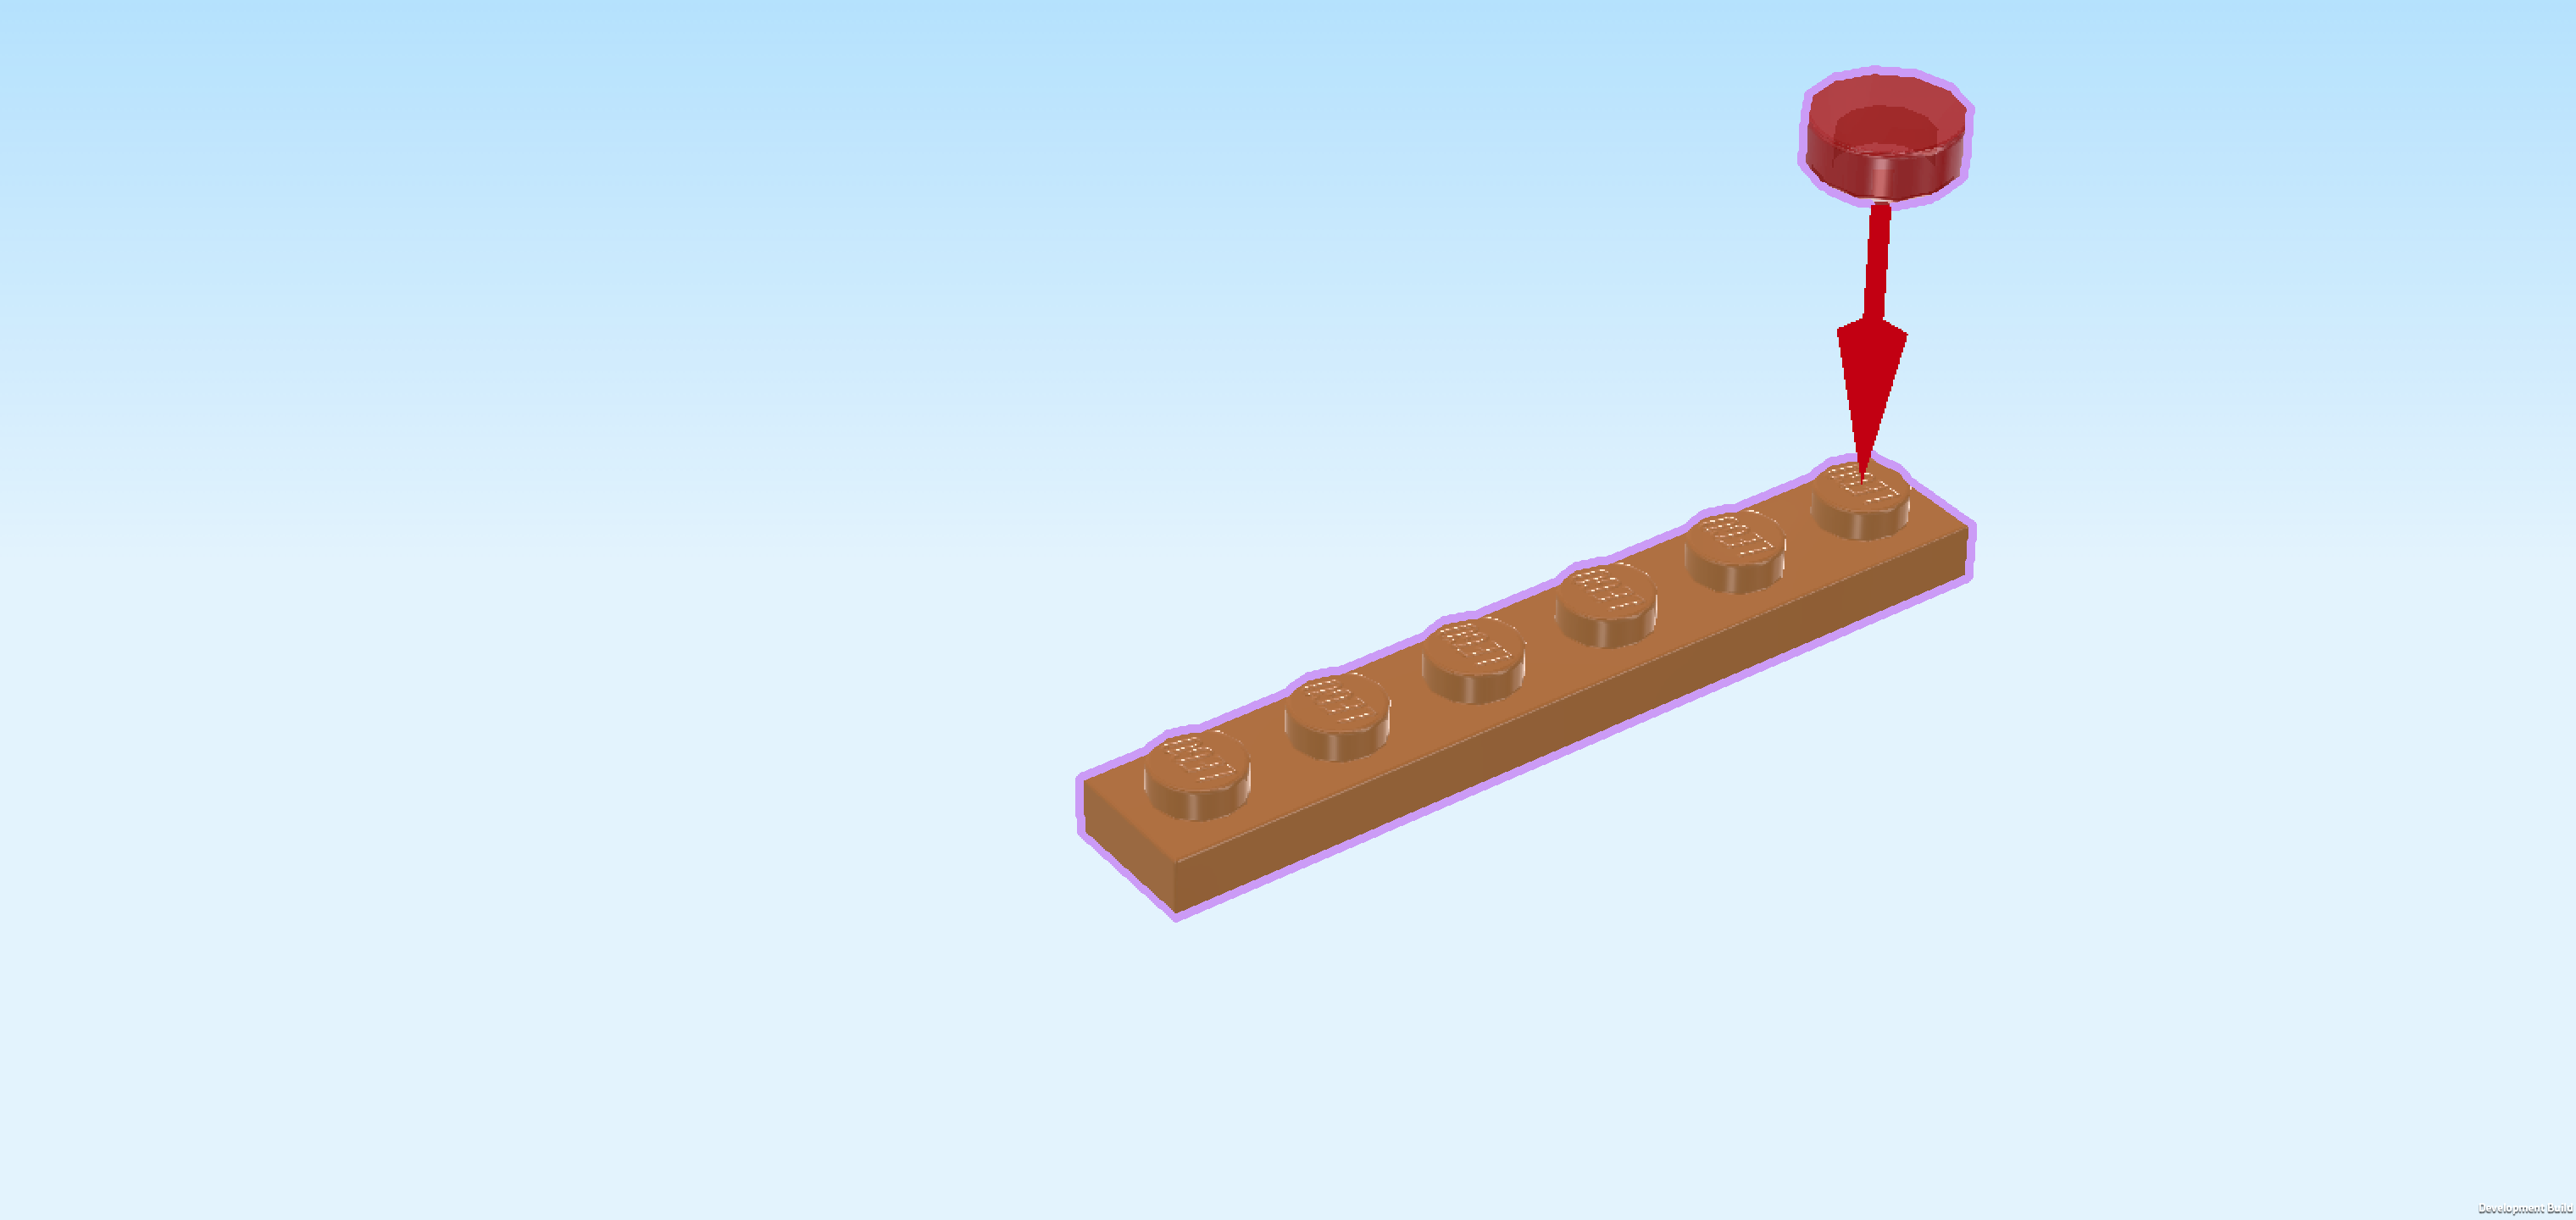
| Put the plate 1x6 horizontally on the table. |
| Put the round tile 1x1 on the rightmost knob. |
| Collect the following 2 pieces: |
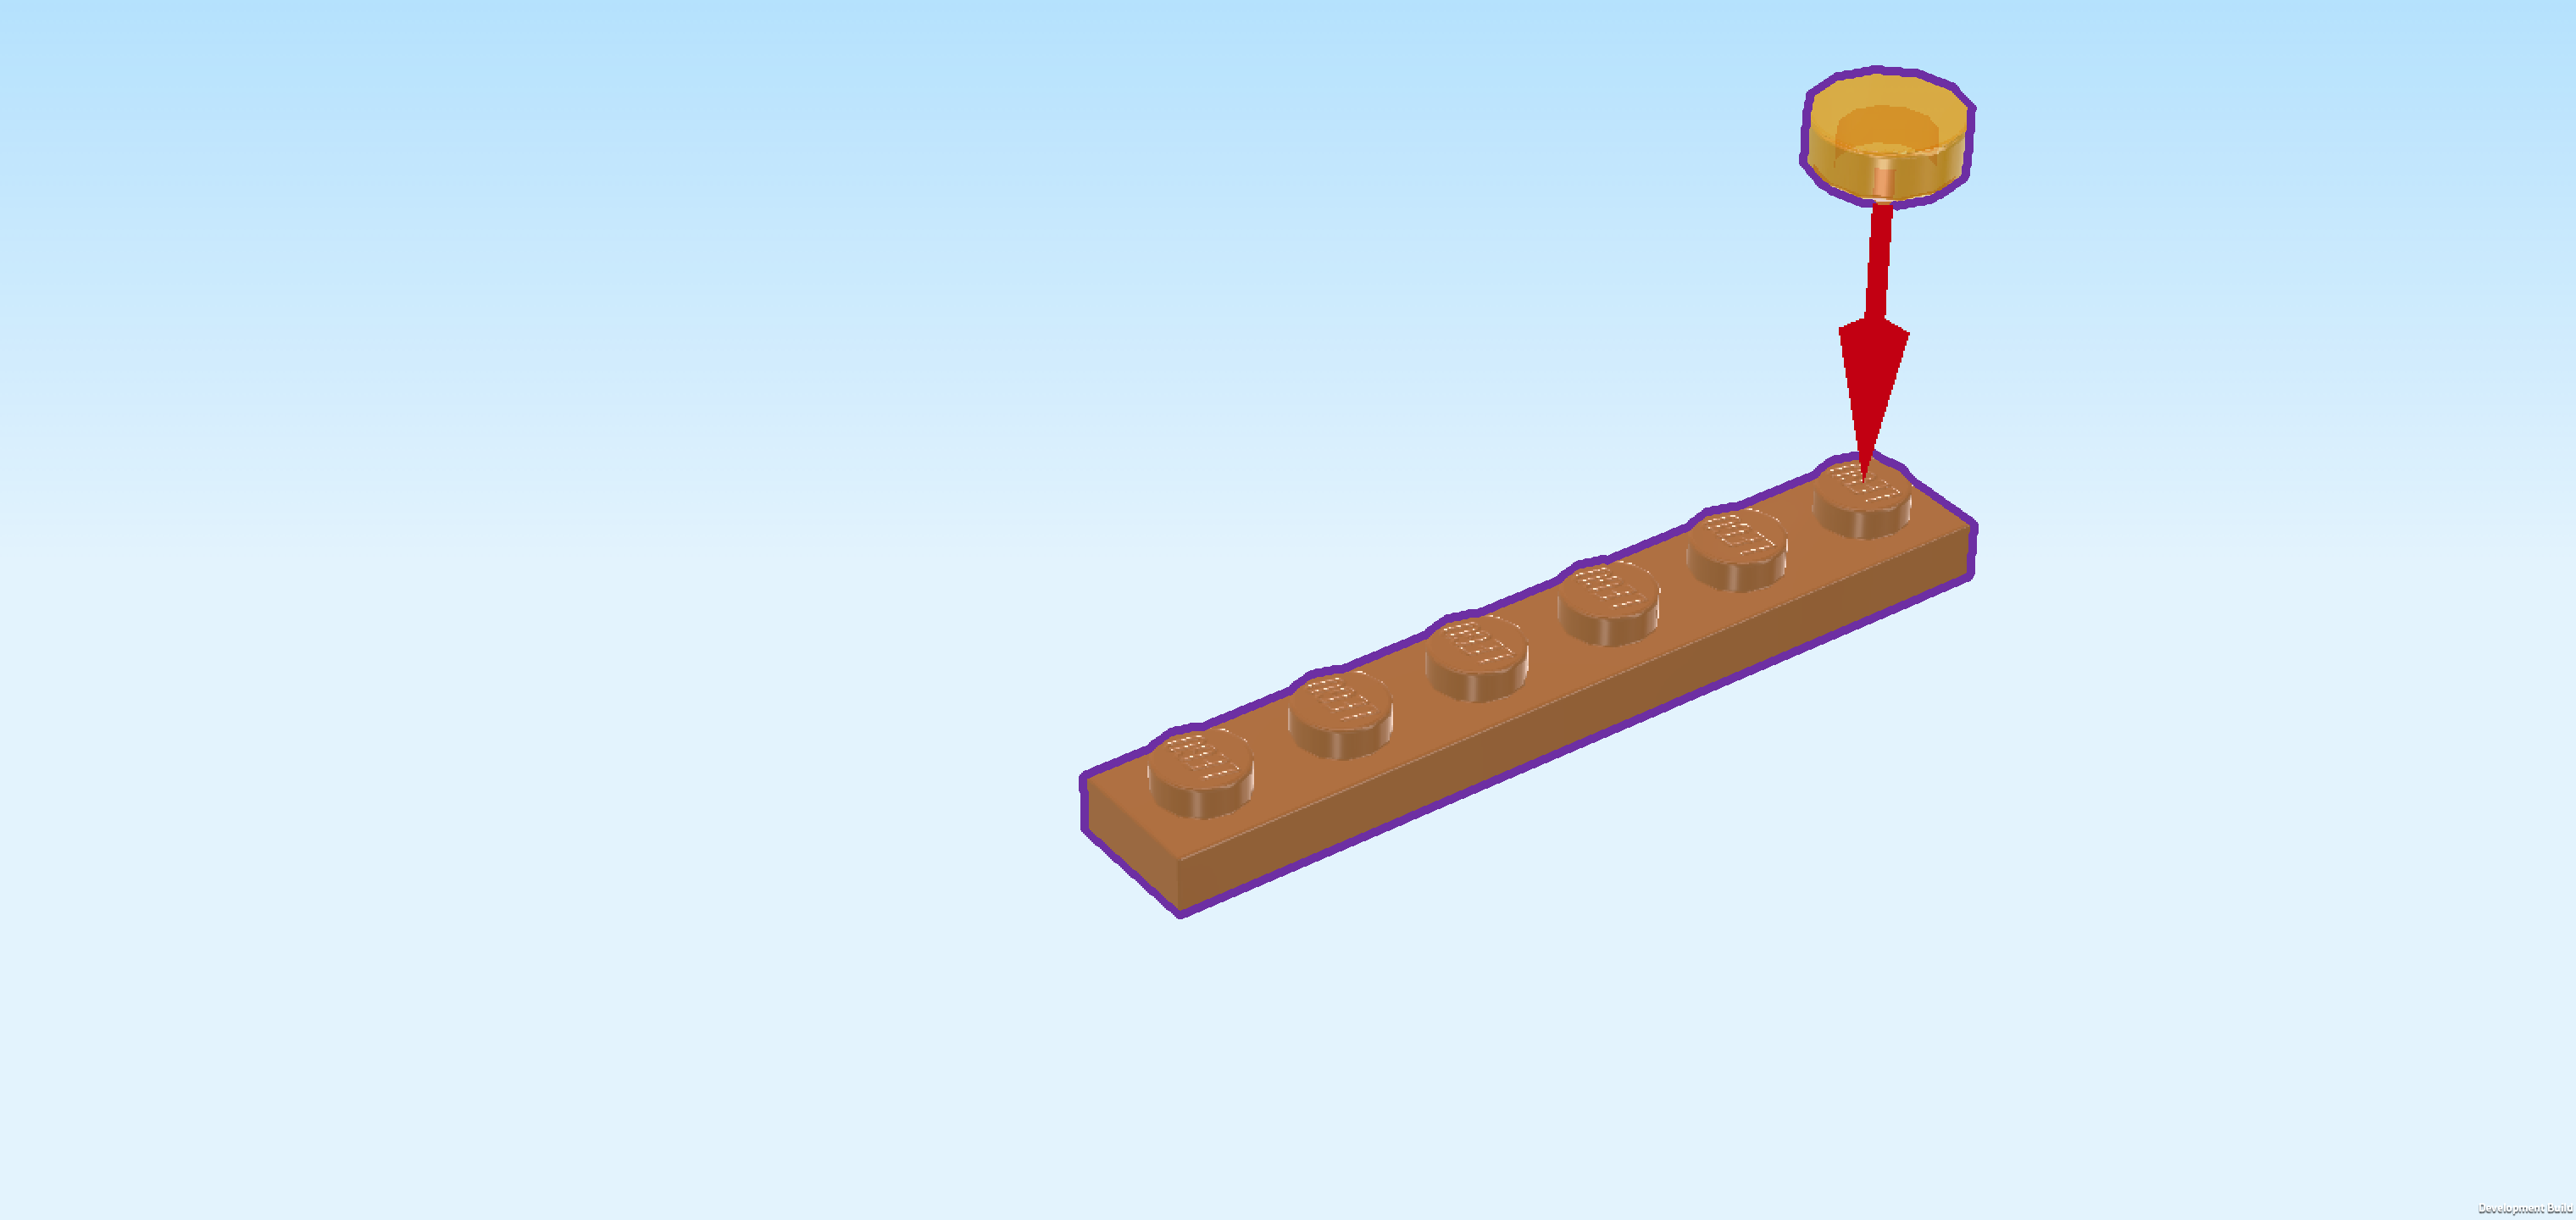
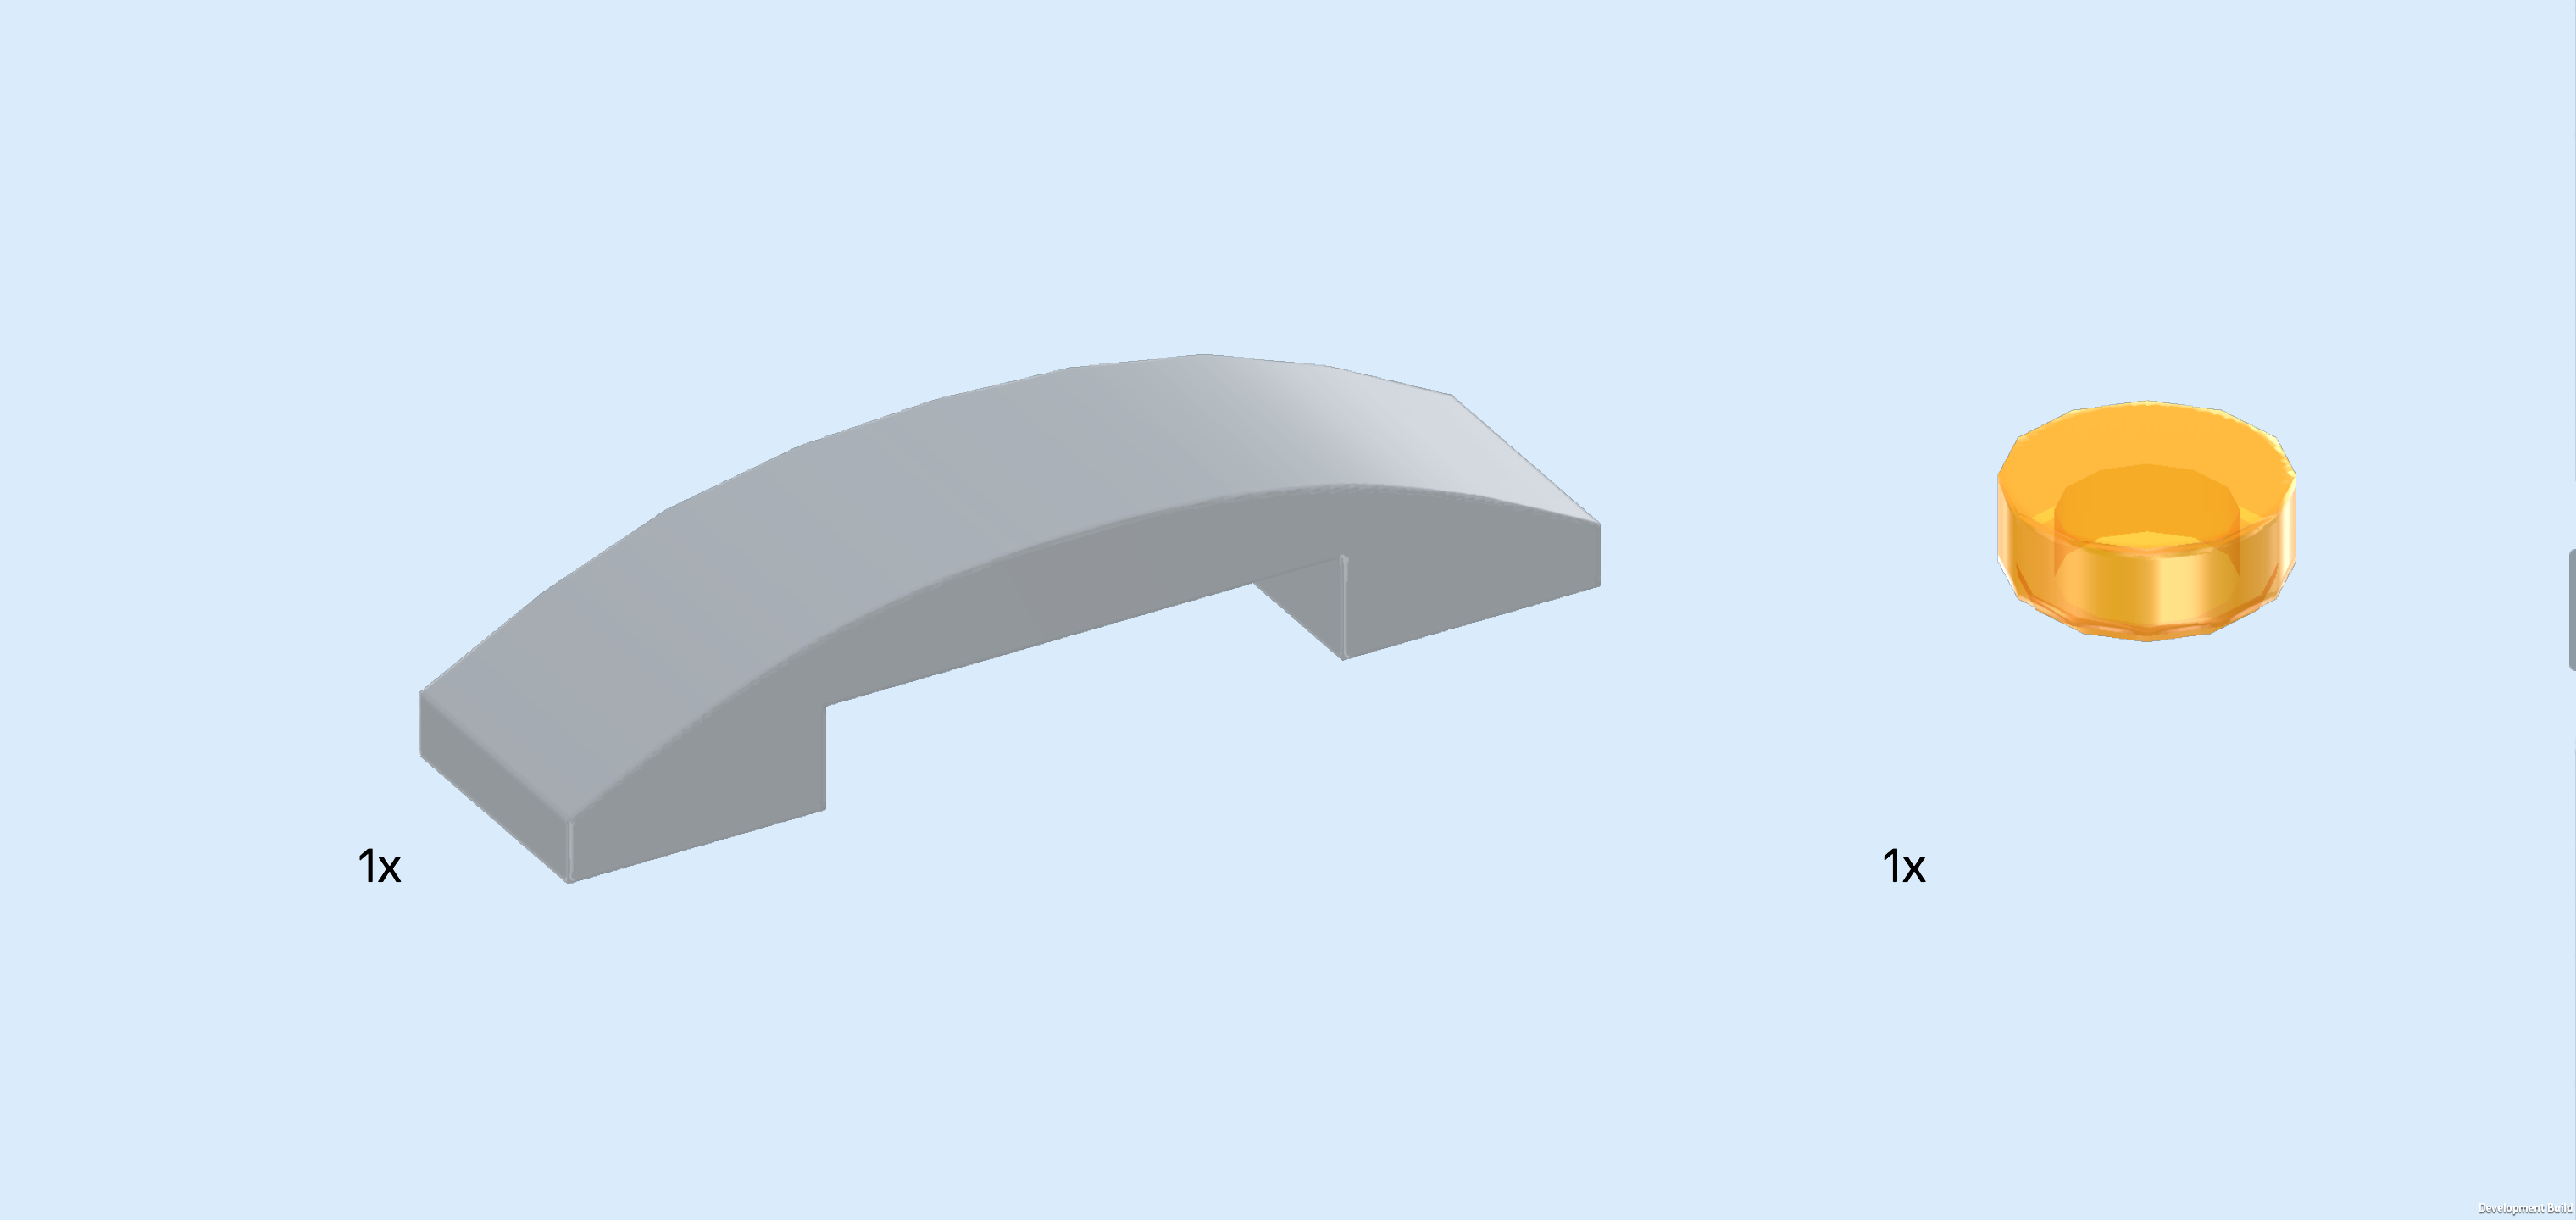
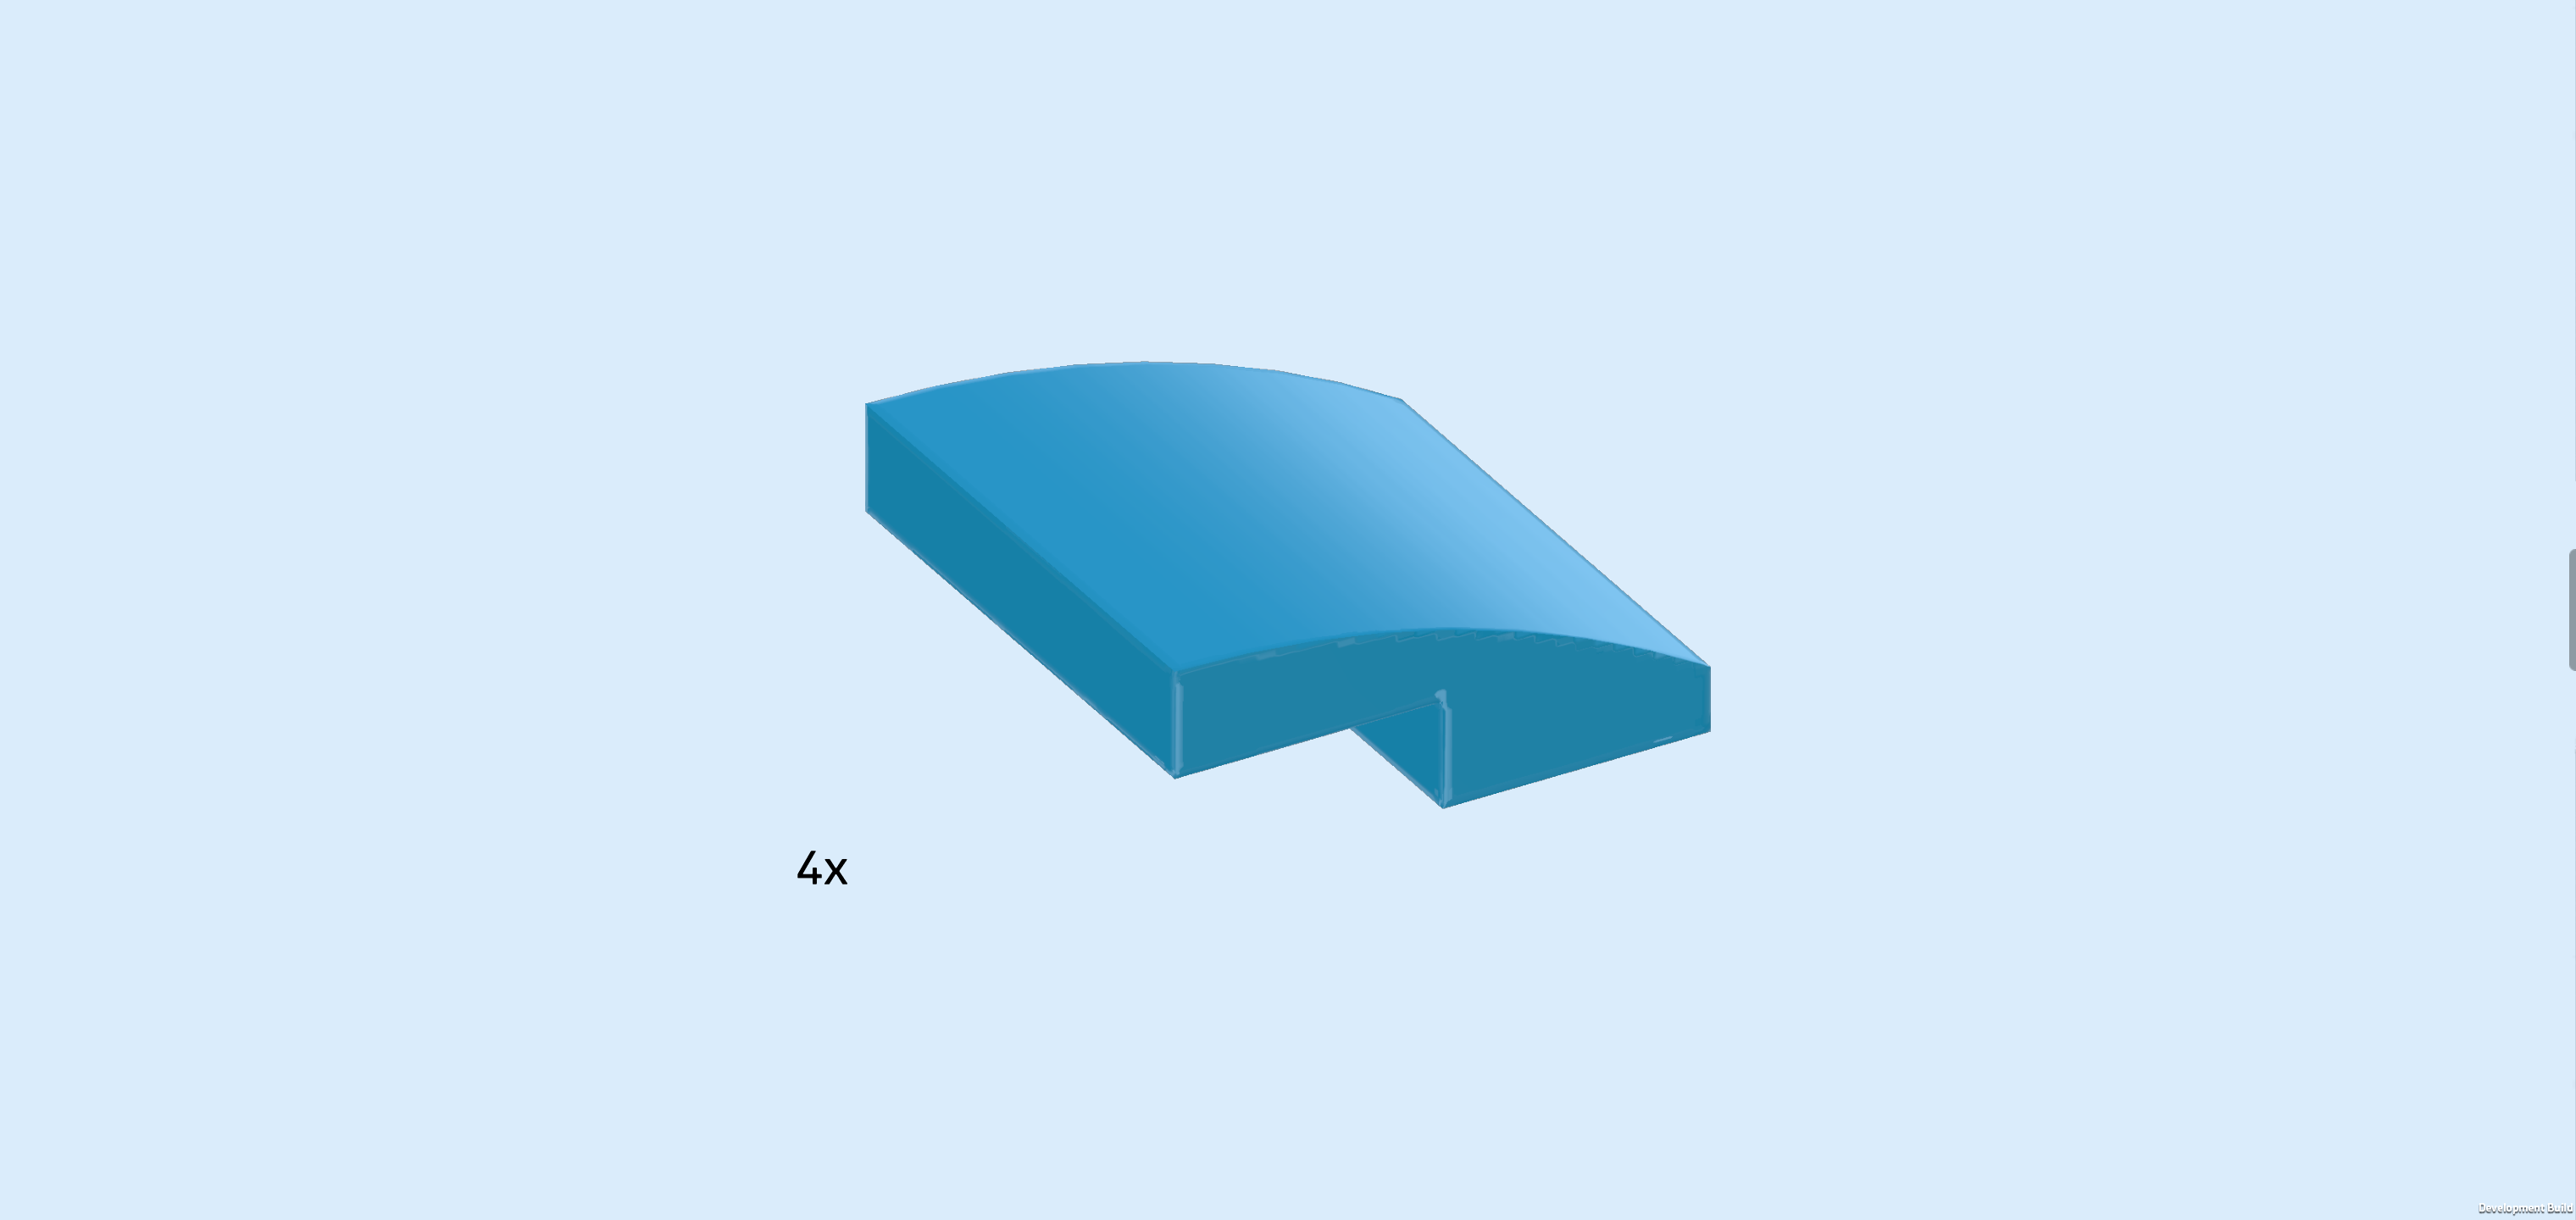
| 1 medium stone grey curve tile 1x4, |
| and another transparent bright orange round tile 1x1. |
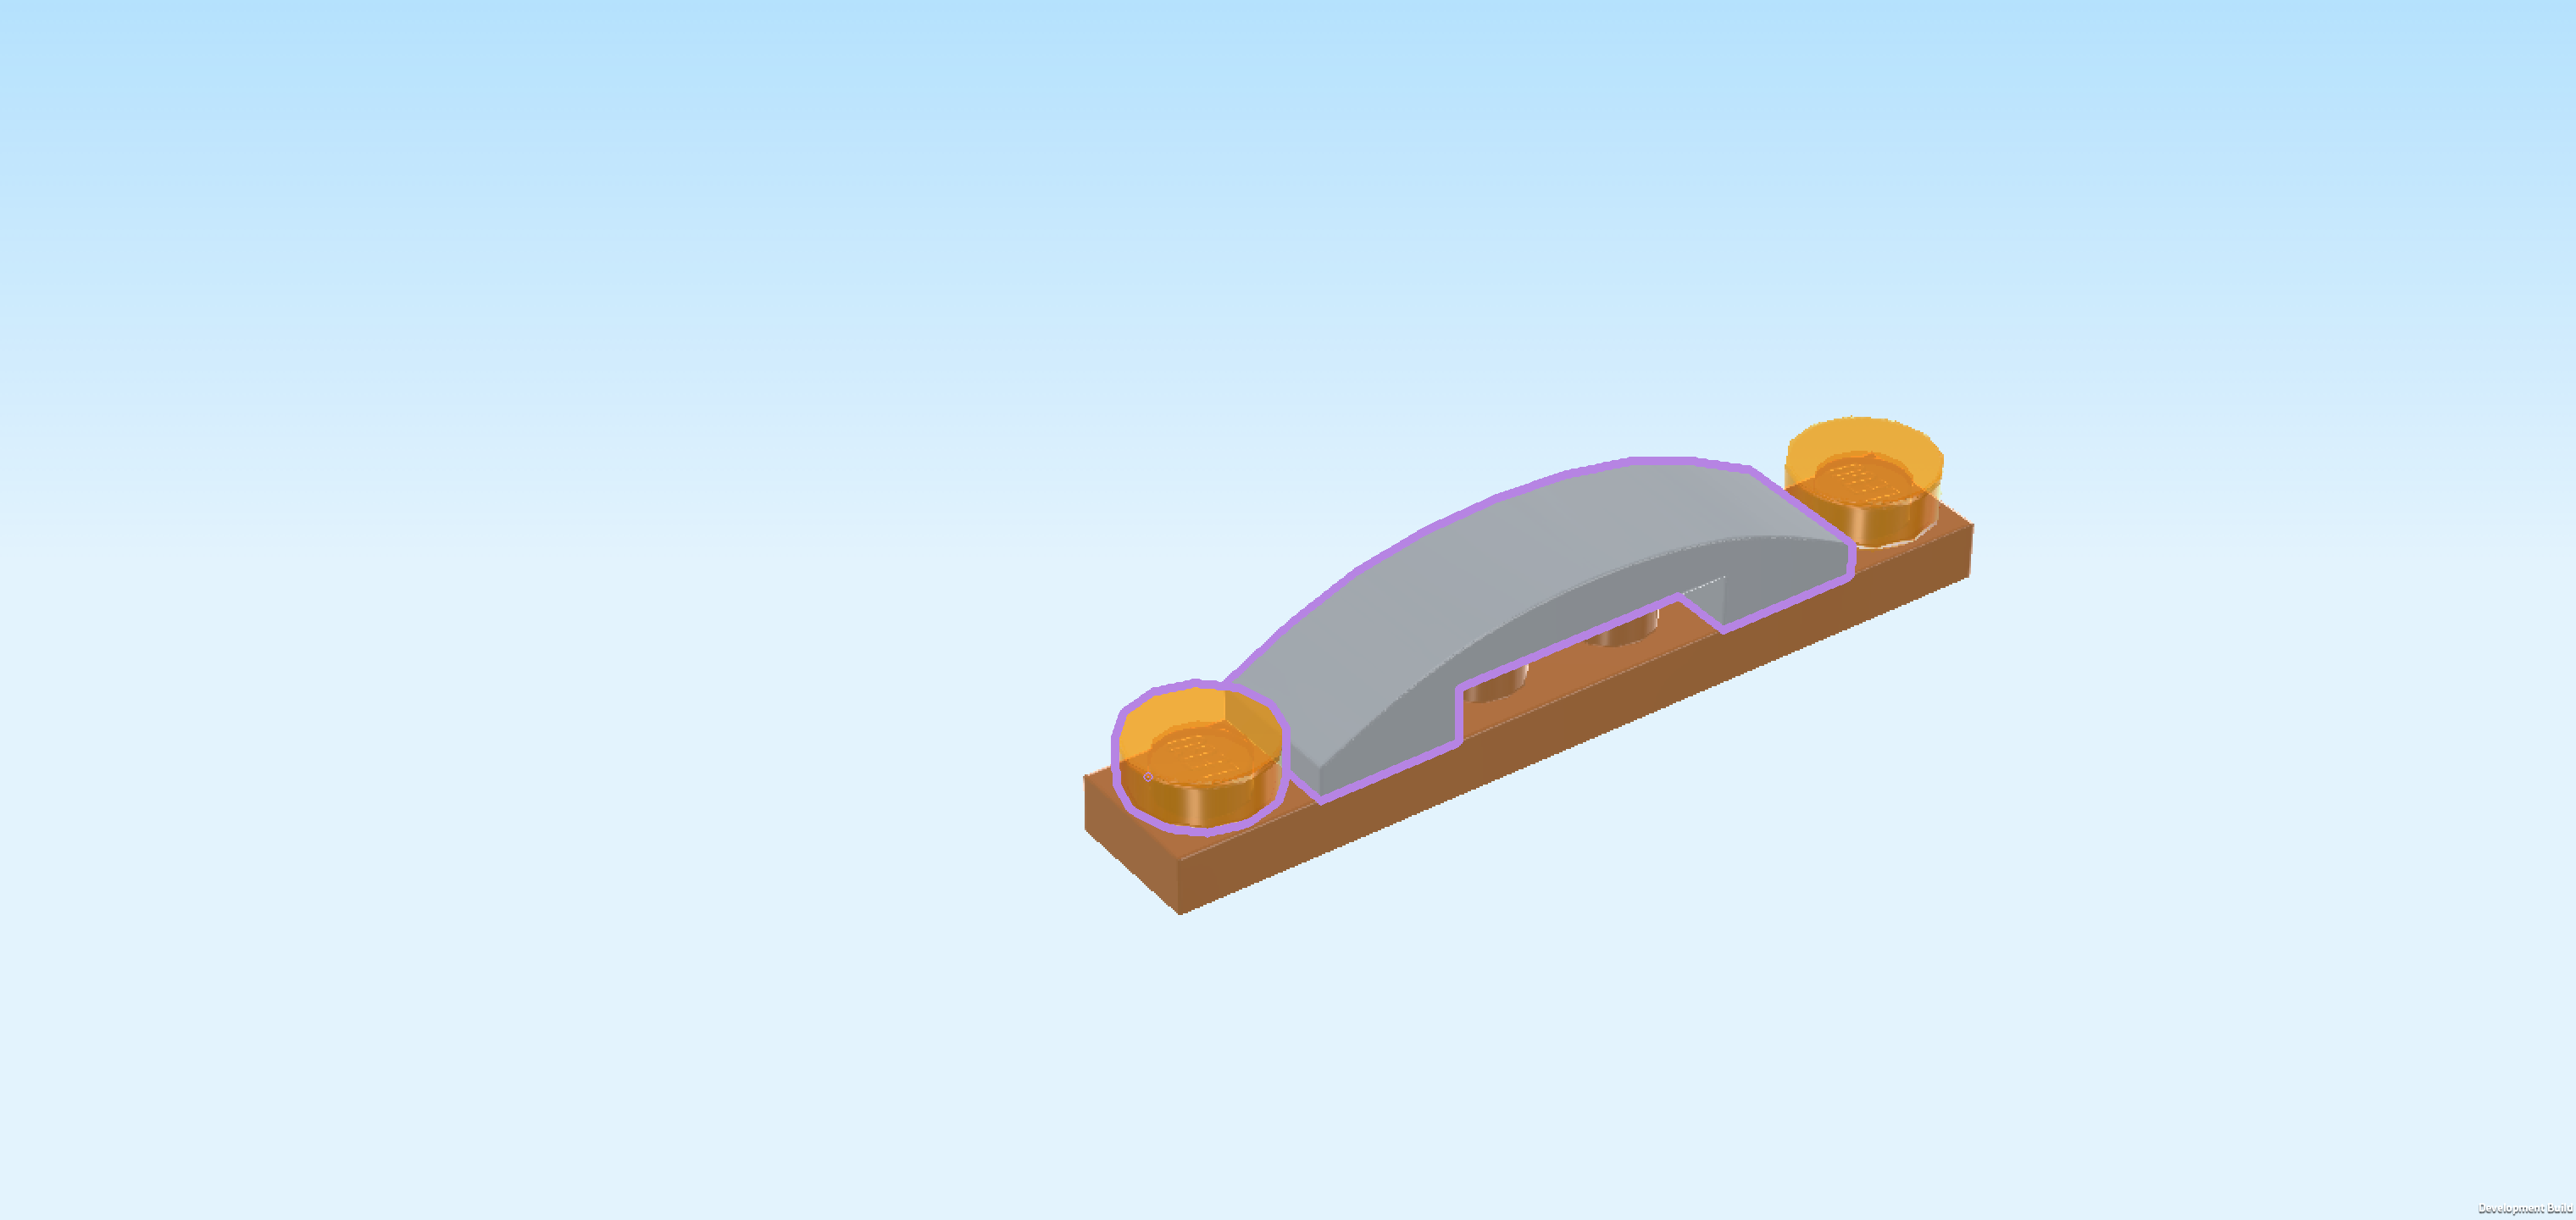
| Put the curve tile 1x4 horizontally to the left of the previous piece. |
| Put the round tile 1x1 to the left of the previous piece. |
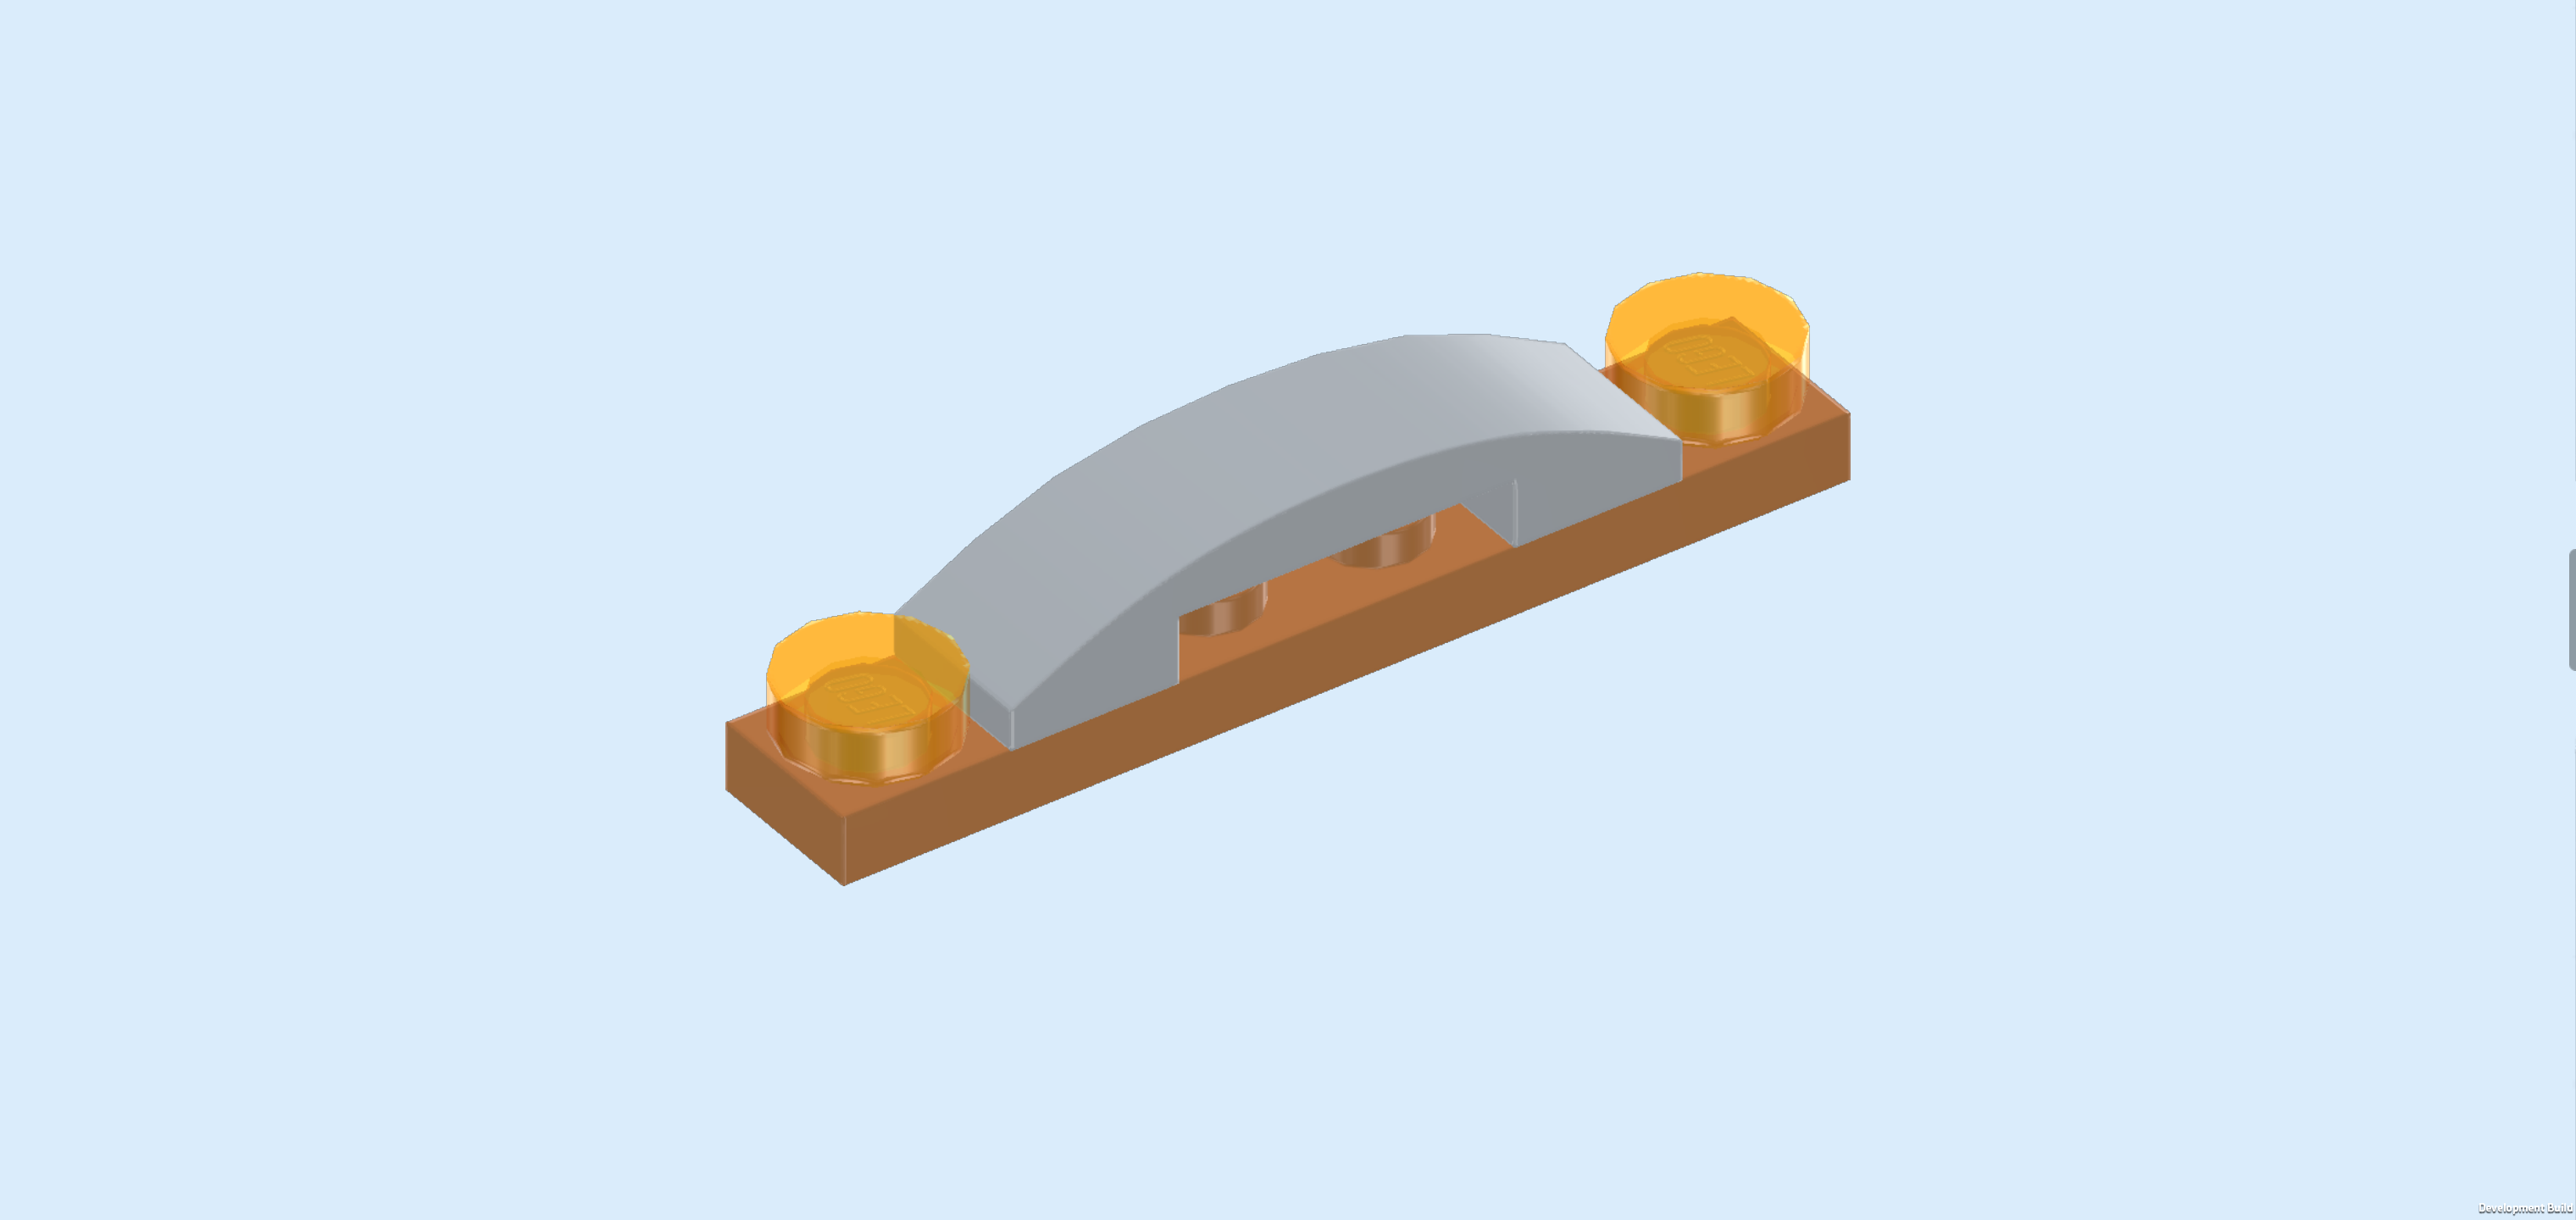
| The rear bumper with taillights is finished! Mount it upright horizontally on the lower row of side knobs that are pointing to the right. |
| Next, we will build the rear step with brake lights. |
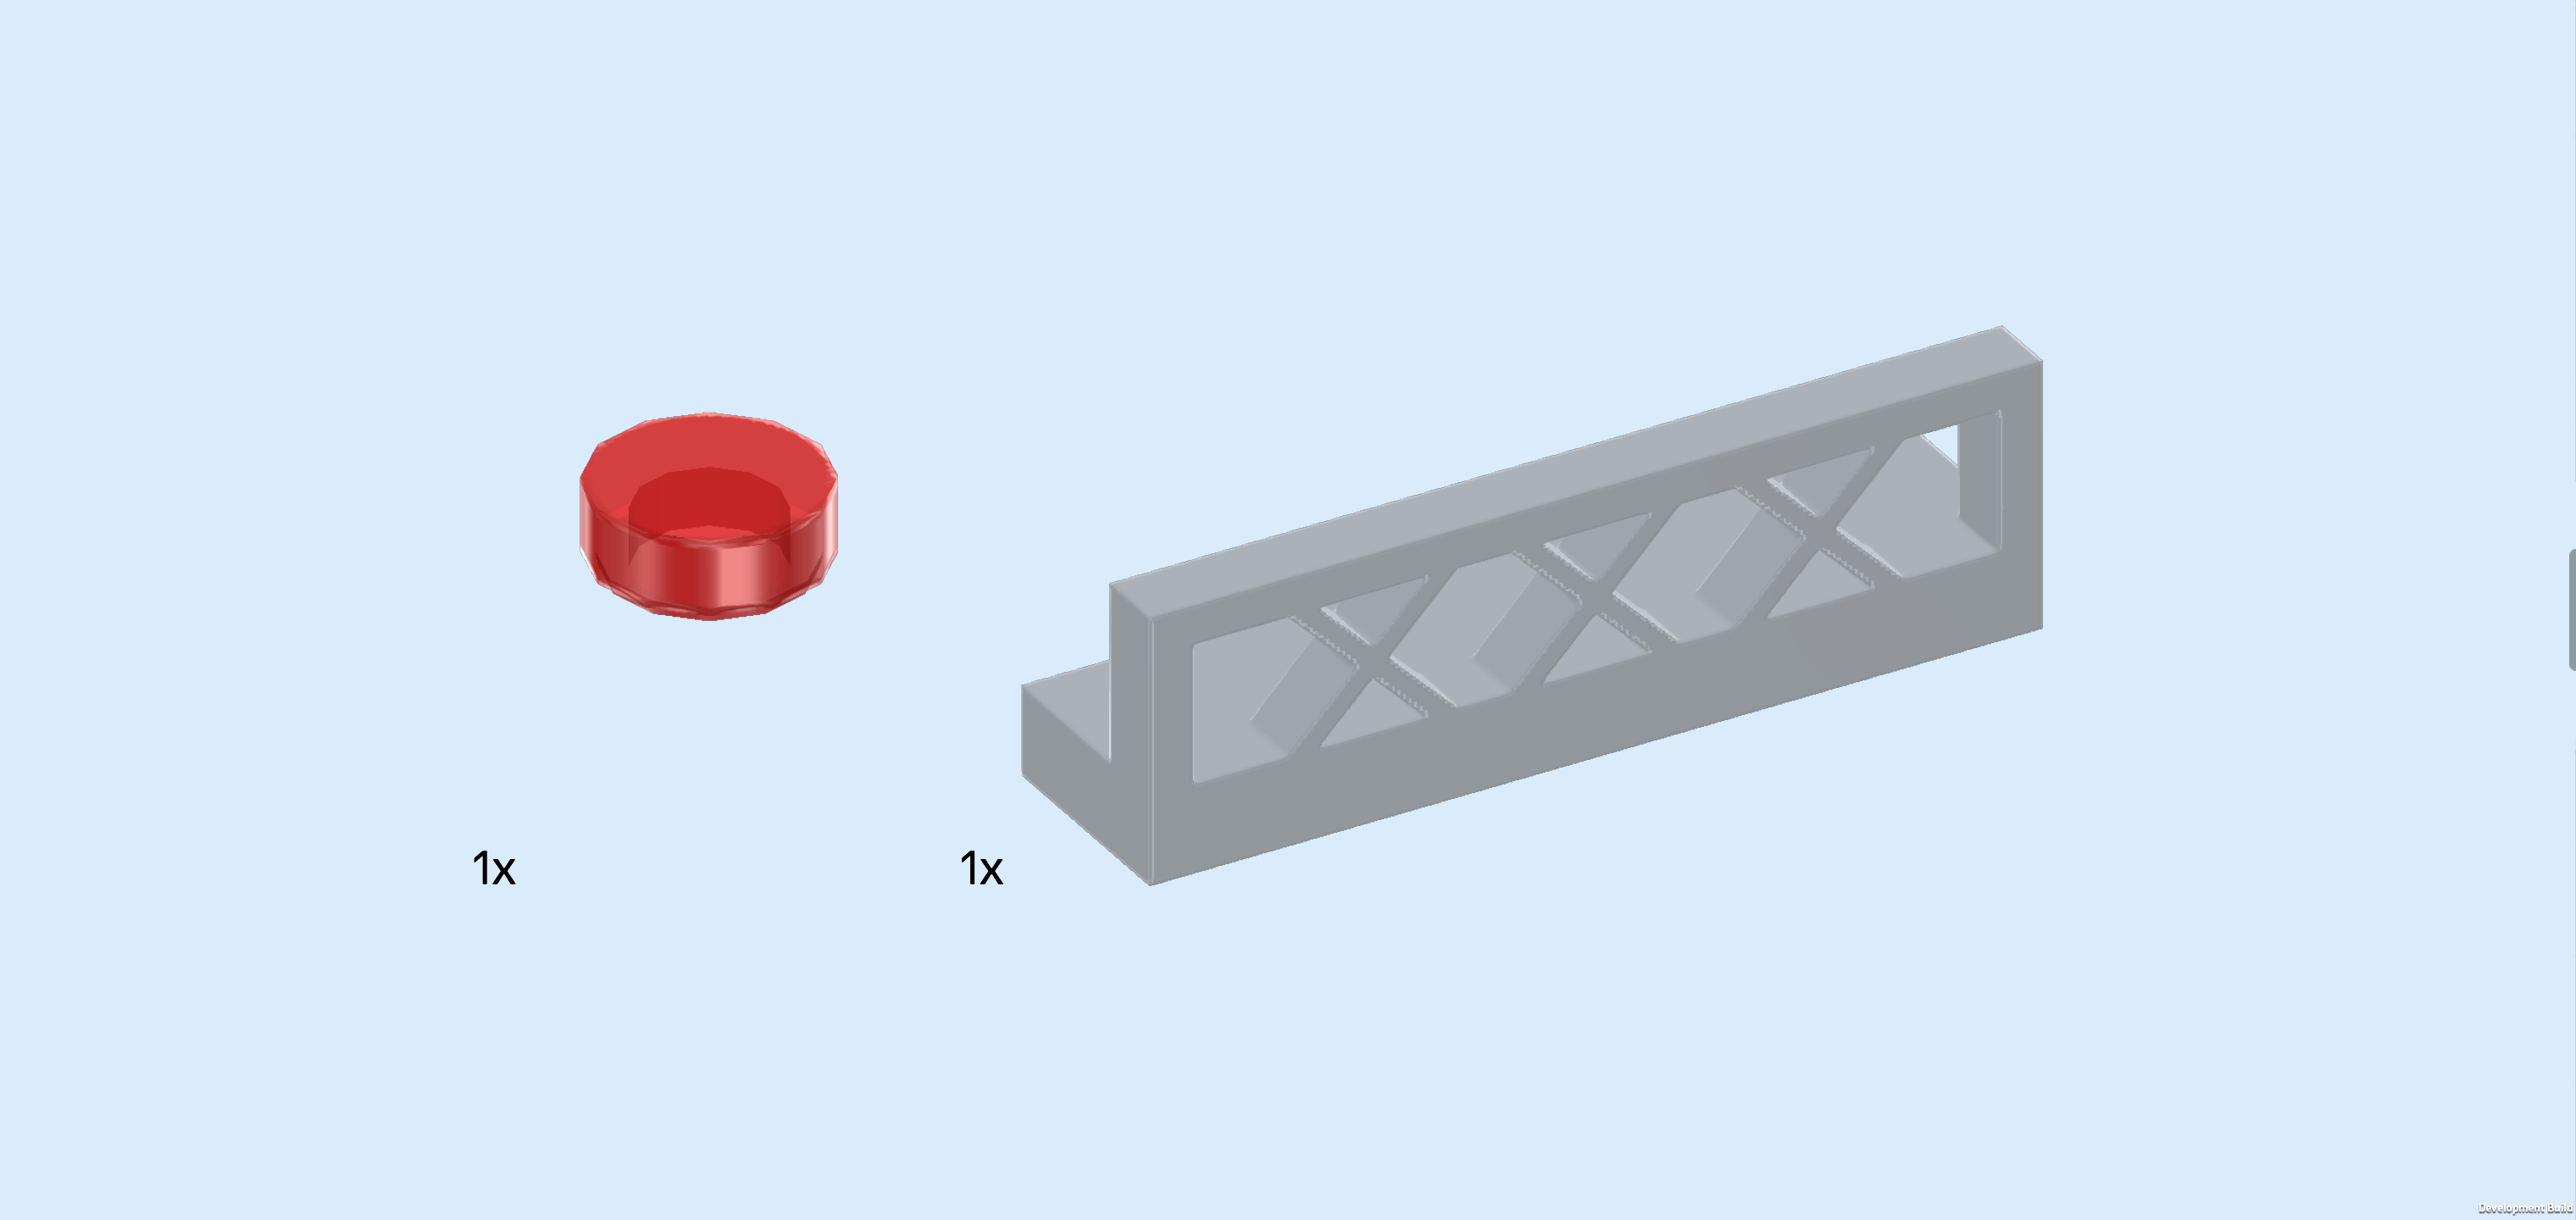
| Collect the following 2 pieces: |
| 1 transparent red round tile 1x1, |
| and 1 medium nougat brown plate 1x6. |
| Put the plate 1x6 horizontally on the table. |
| Put the round tile 1x1 on the rightmost knob. |
| Collect the following 2 pieces: |
| another transparent red round tile 1x1, |
| and 1 medium stone grey fence element 1x4x1. |
| Put the fence element horizontally to the left of the previous piece, making sure that the fence panel is facing you. |
| Put the round tile 1x1 to the left of the previous piece. |
| The rear step with brake lights is finished! Flip it towards you so that the top edge of the fence is pointing at you and the fence panel is at the bottom edge. Now, mount it horizontally on the side knobs above the rear bumper we have just mounted. |
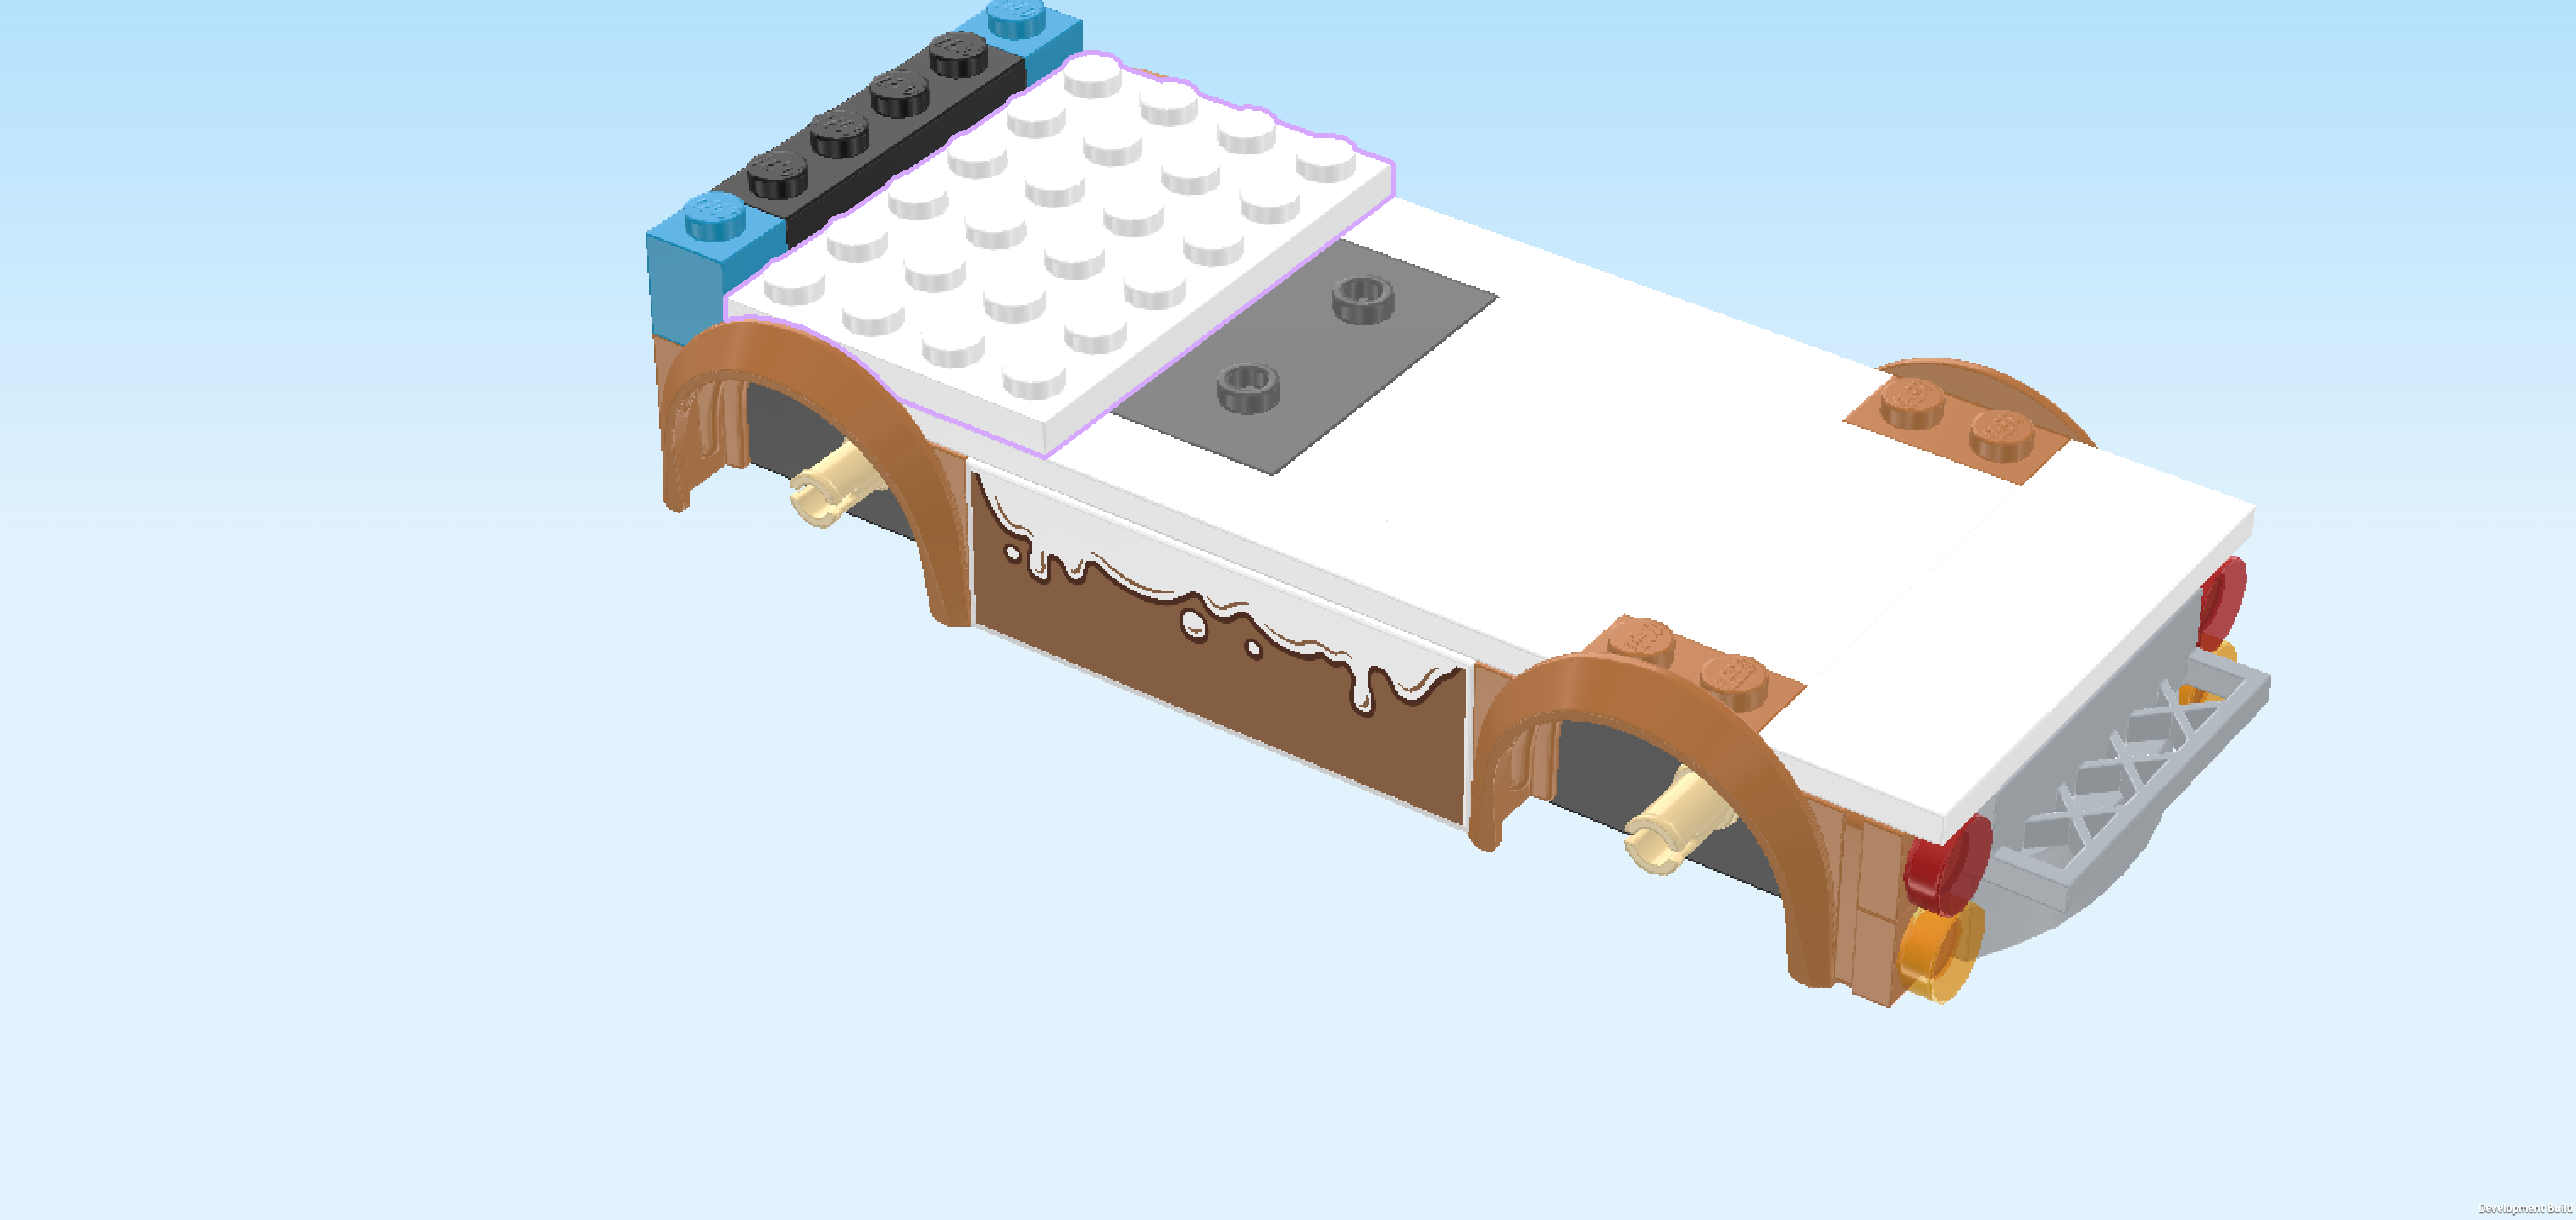
| Find 1 white flat tile 2x6. |
| Put it vertically centered on the rightmost column of knobs. Its right half will sit on a smooth surface and slightly protrude to the right. |
| Find 1 white plate 4x6. |
| Put it vertically directly to the right of the leftmost column which is still a bit higher than the rest. |
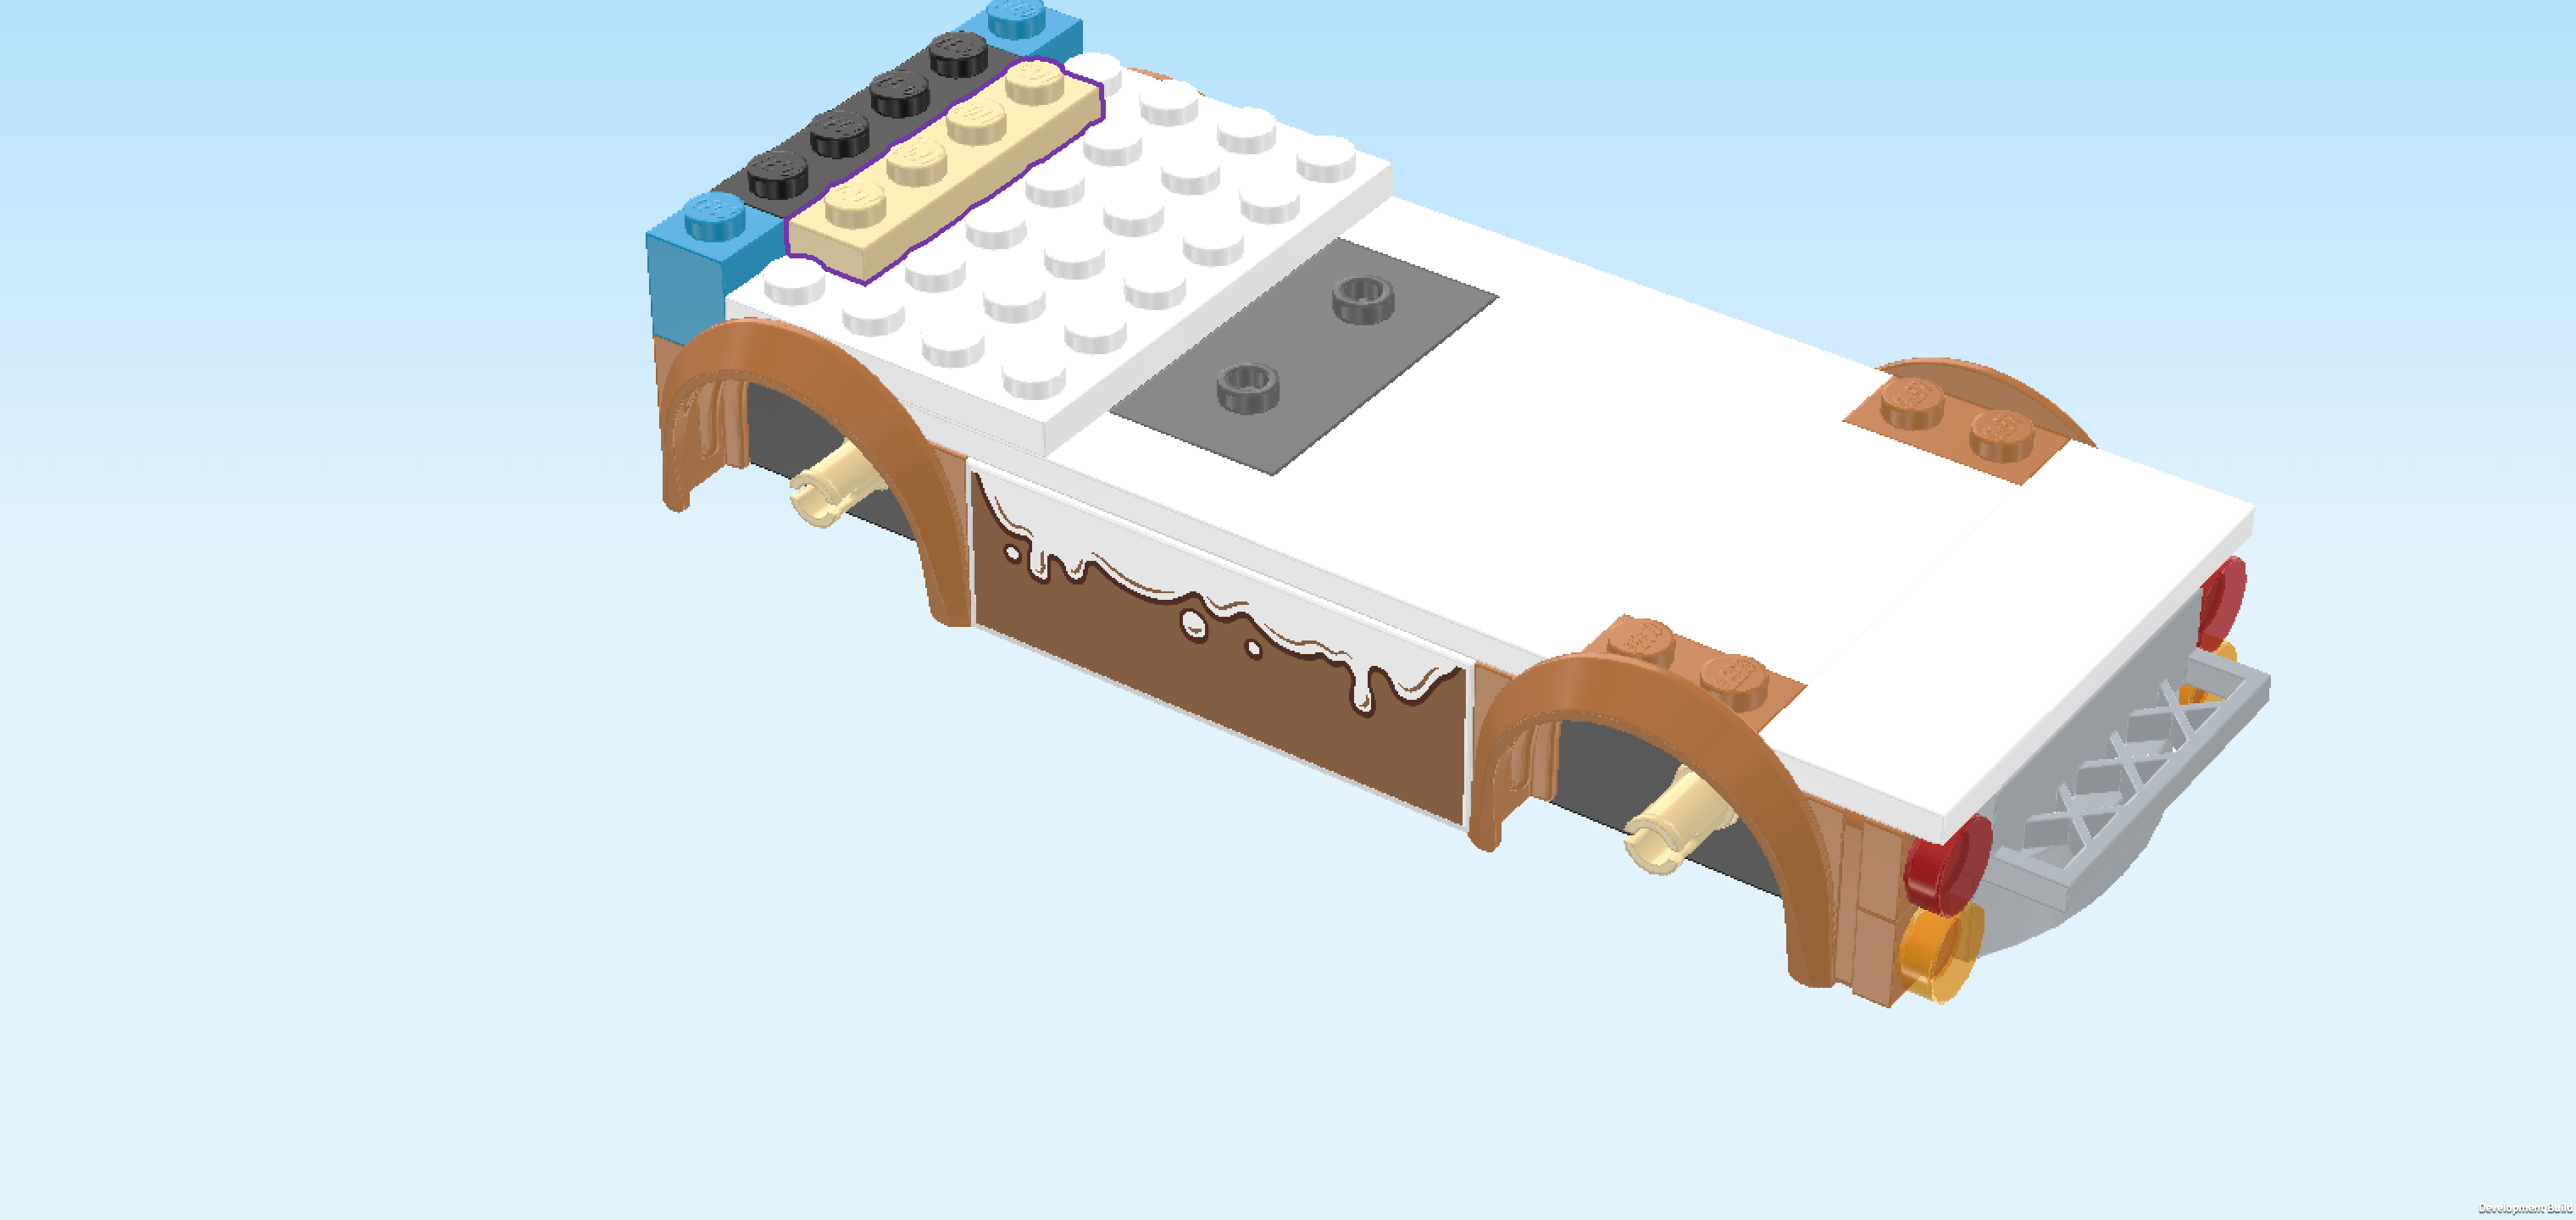
| Find 1 beige plate 1x4. |
| Put it vertically centered on the previous piece's leftmost column. This means it will sit on the second column from the left of the whole structure. |
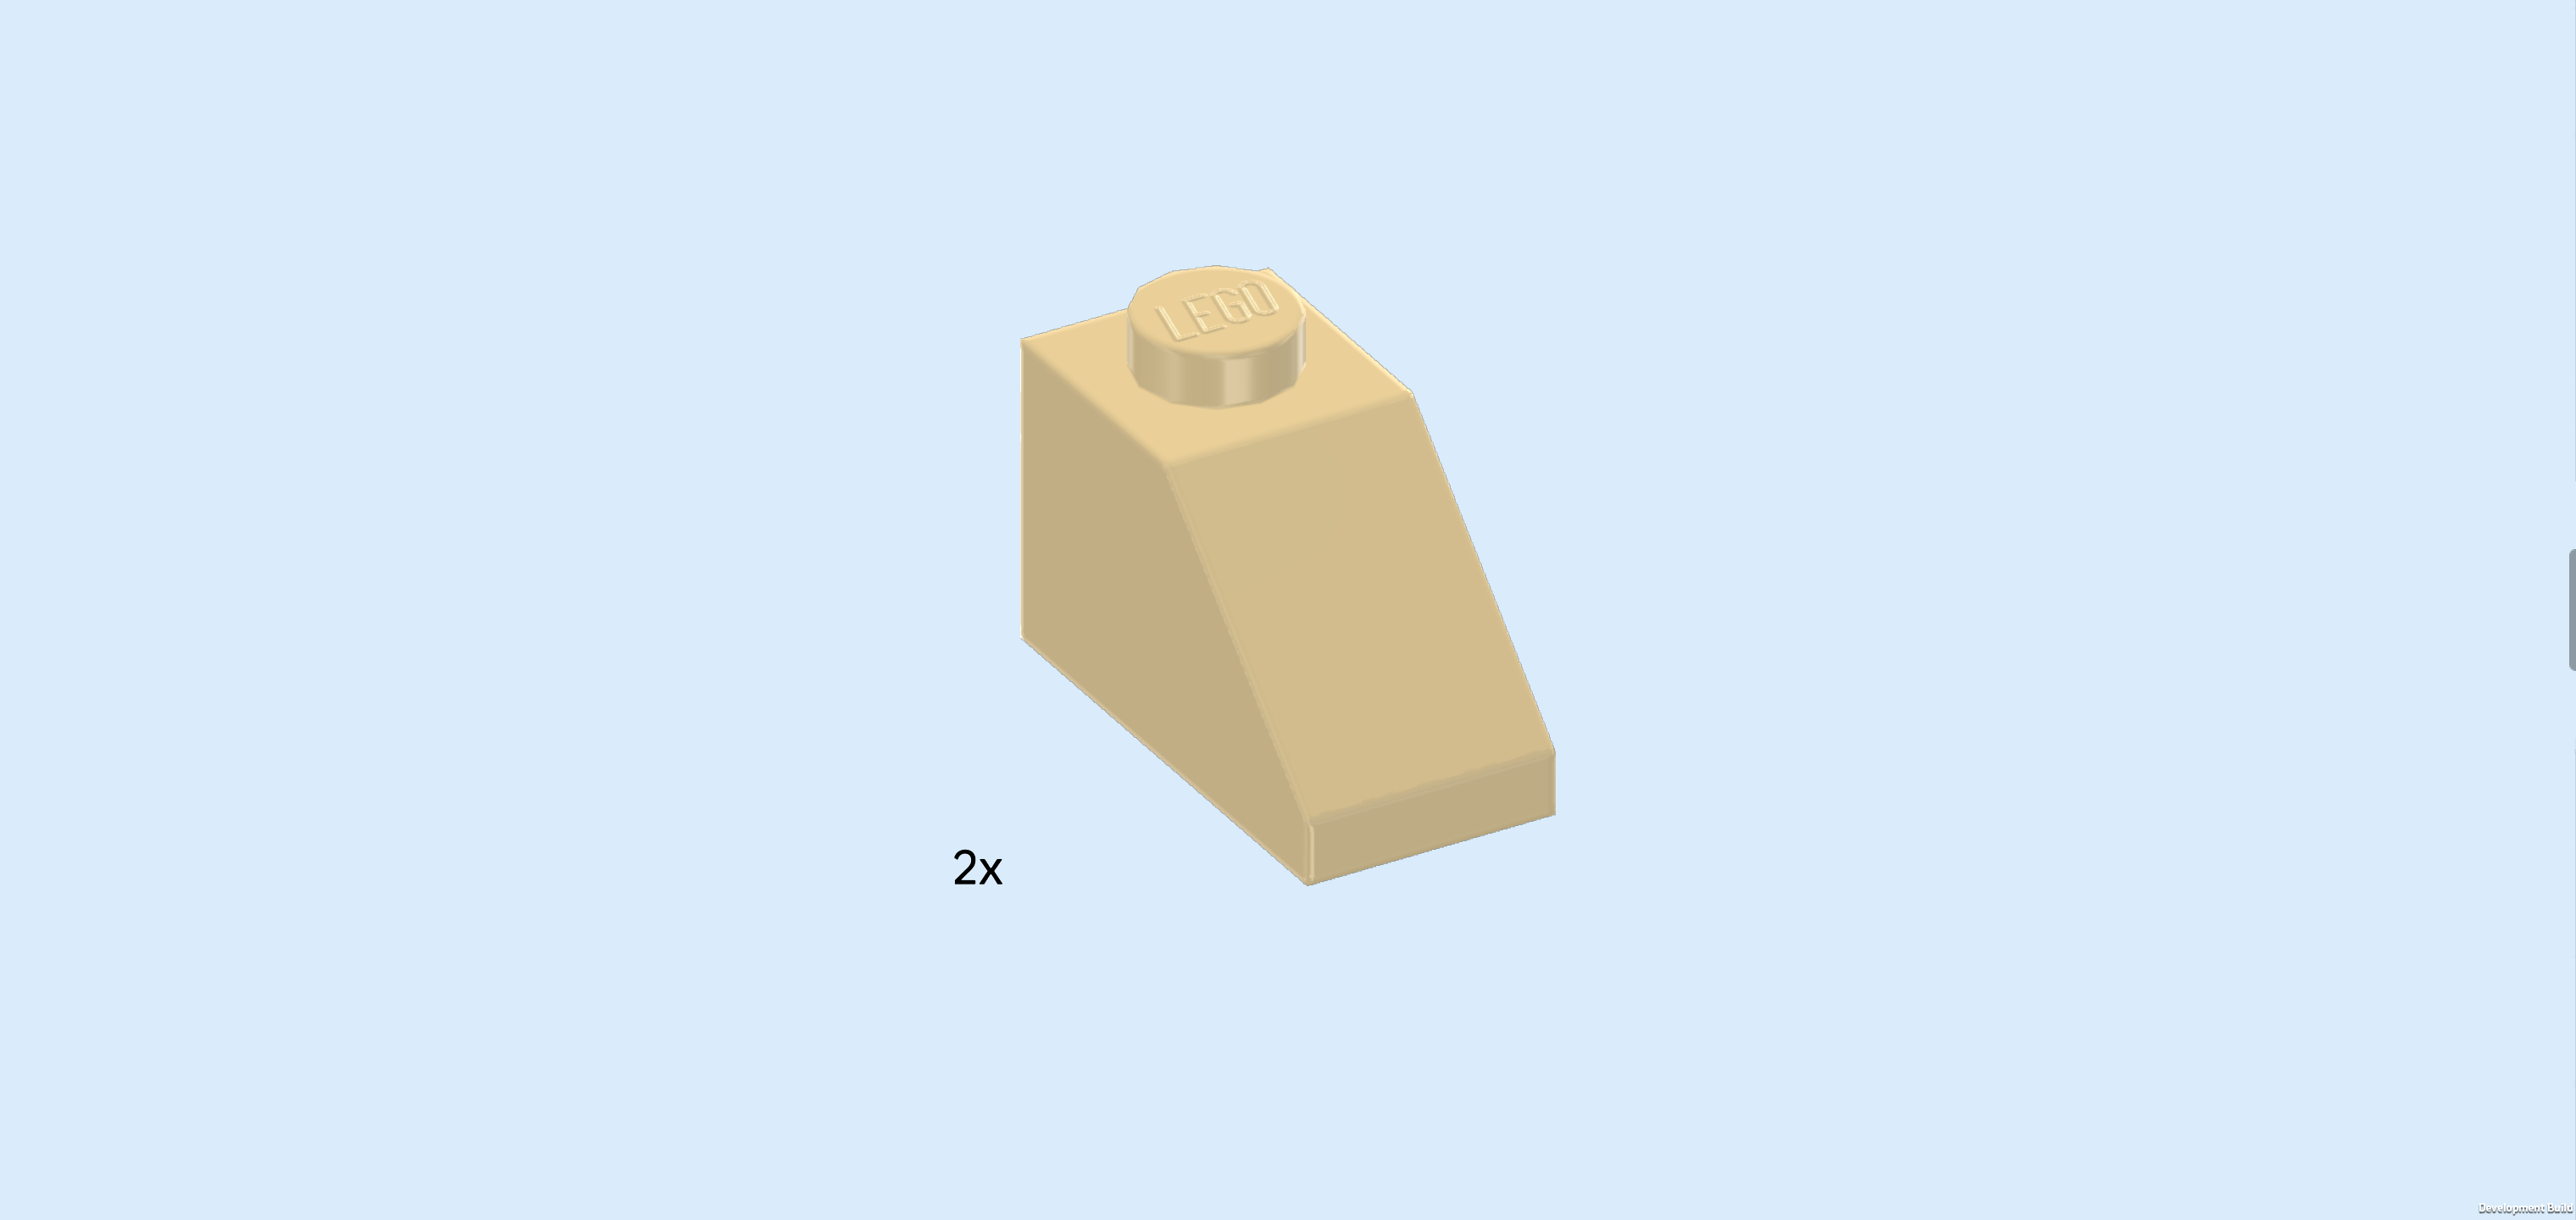
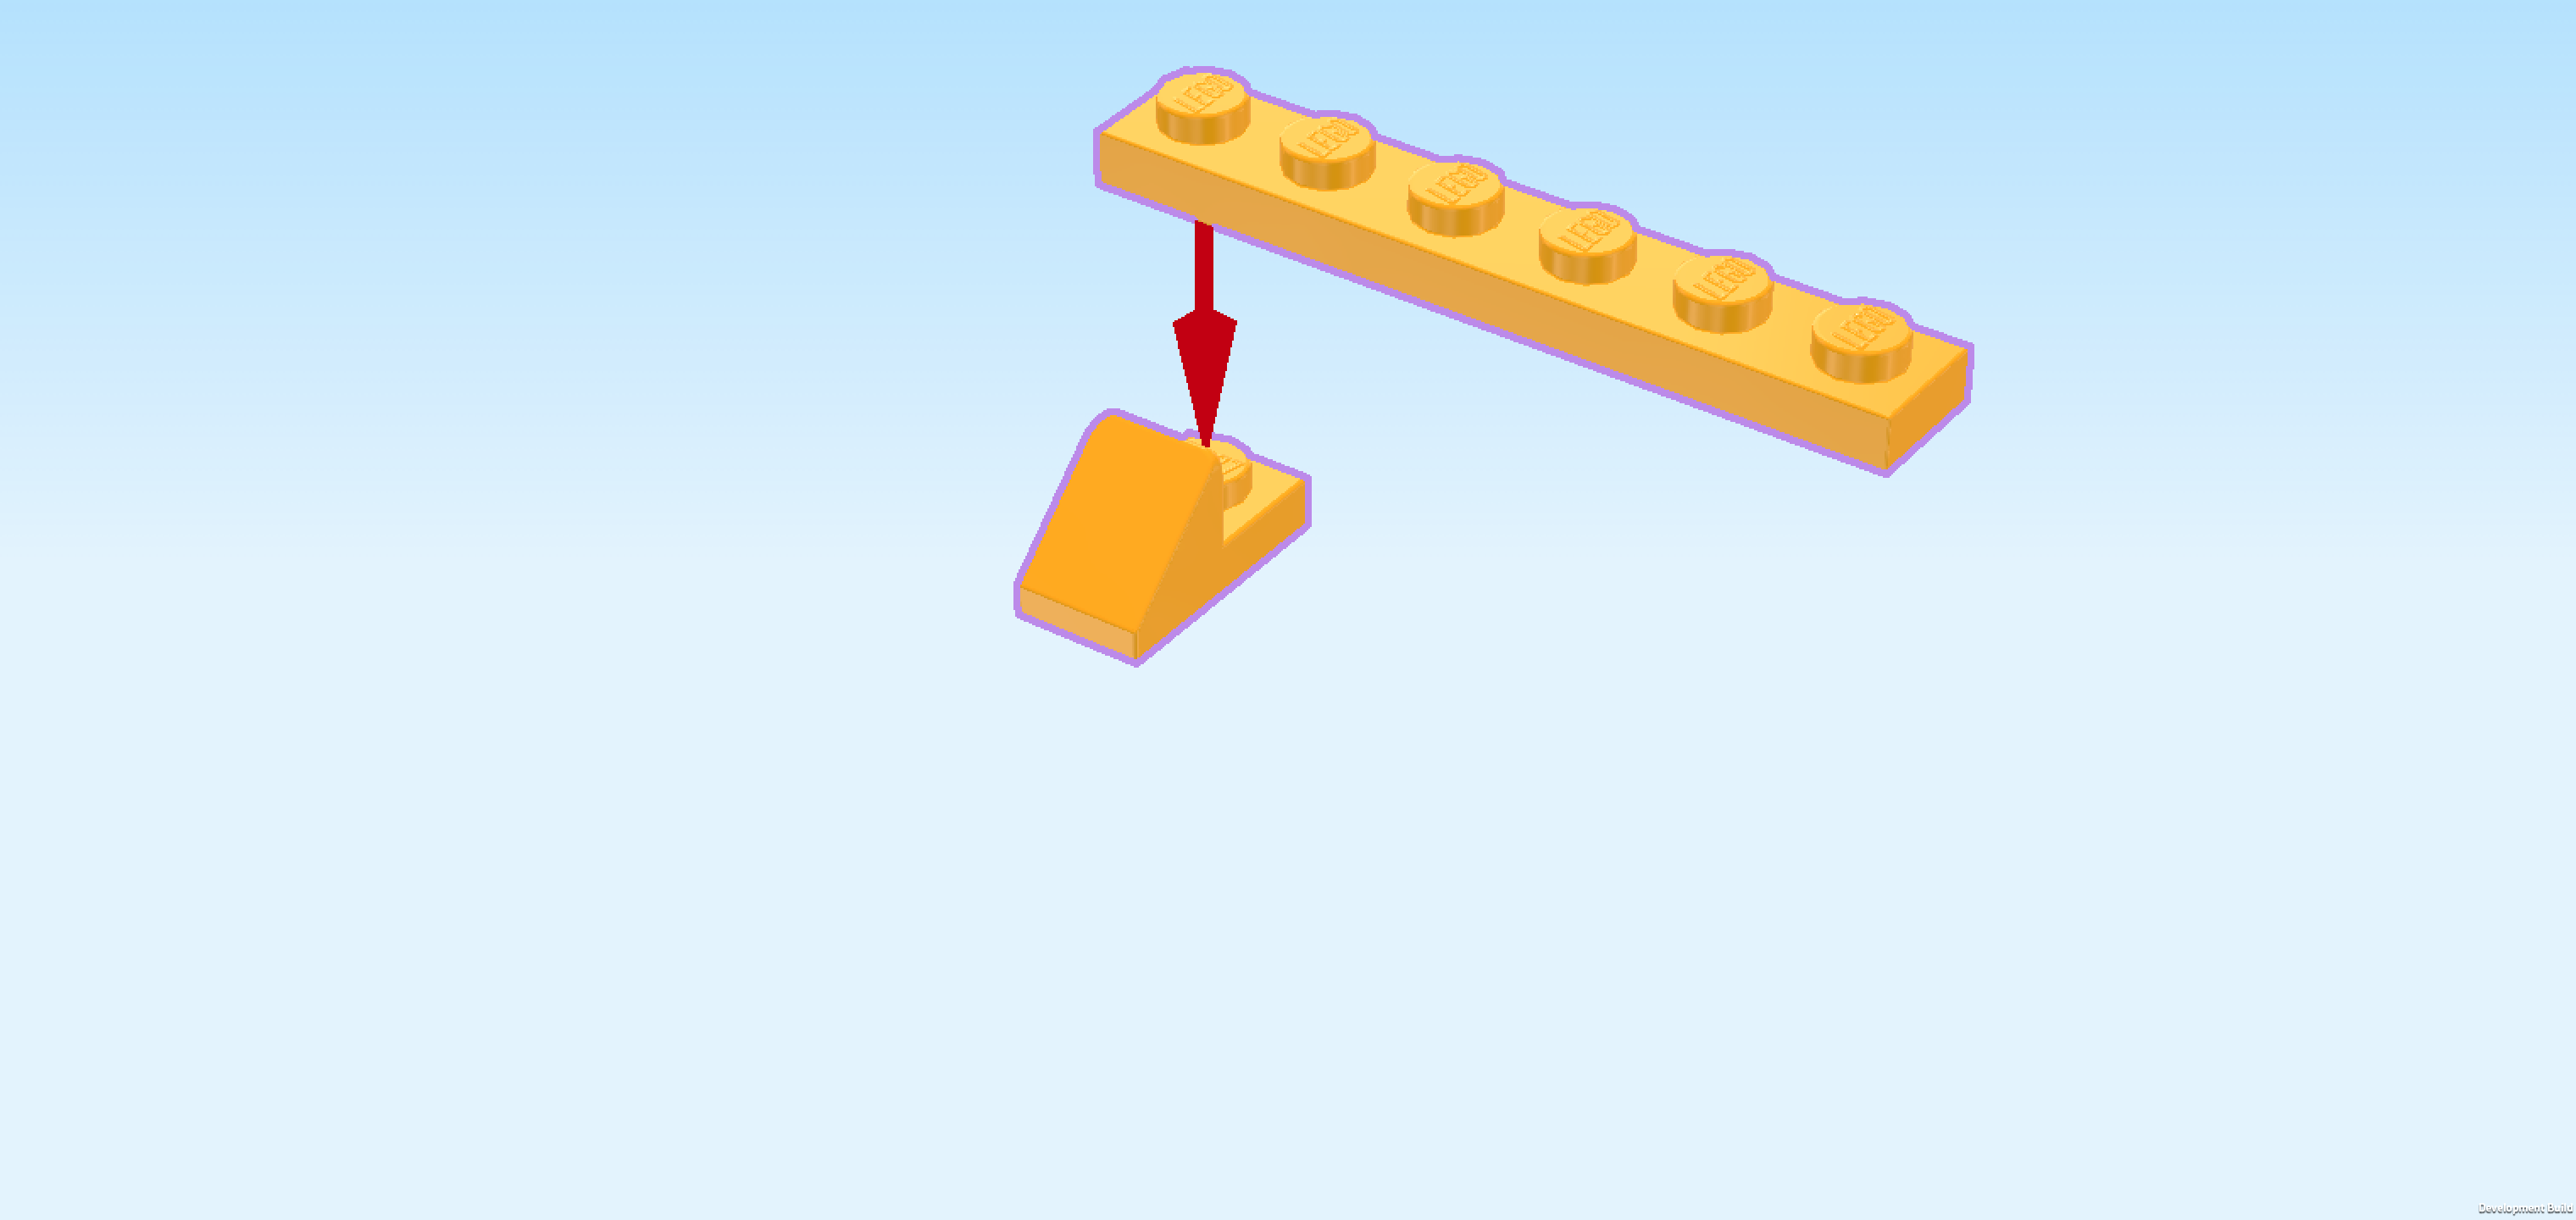
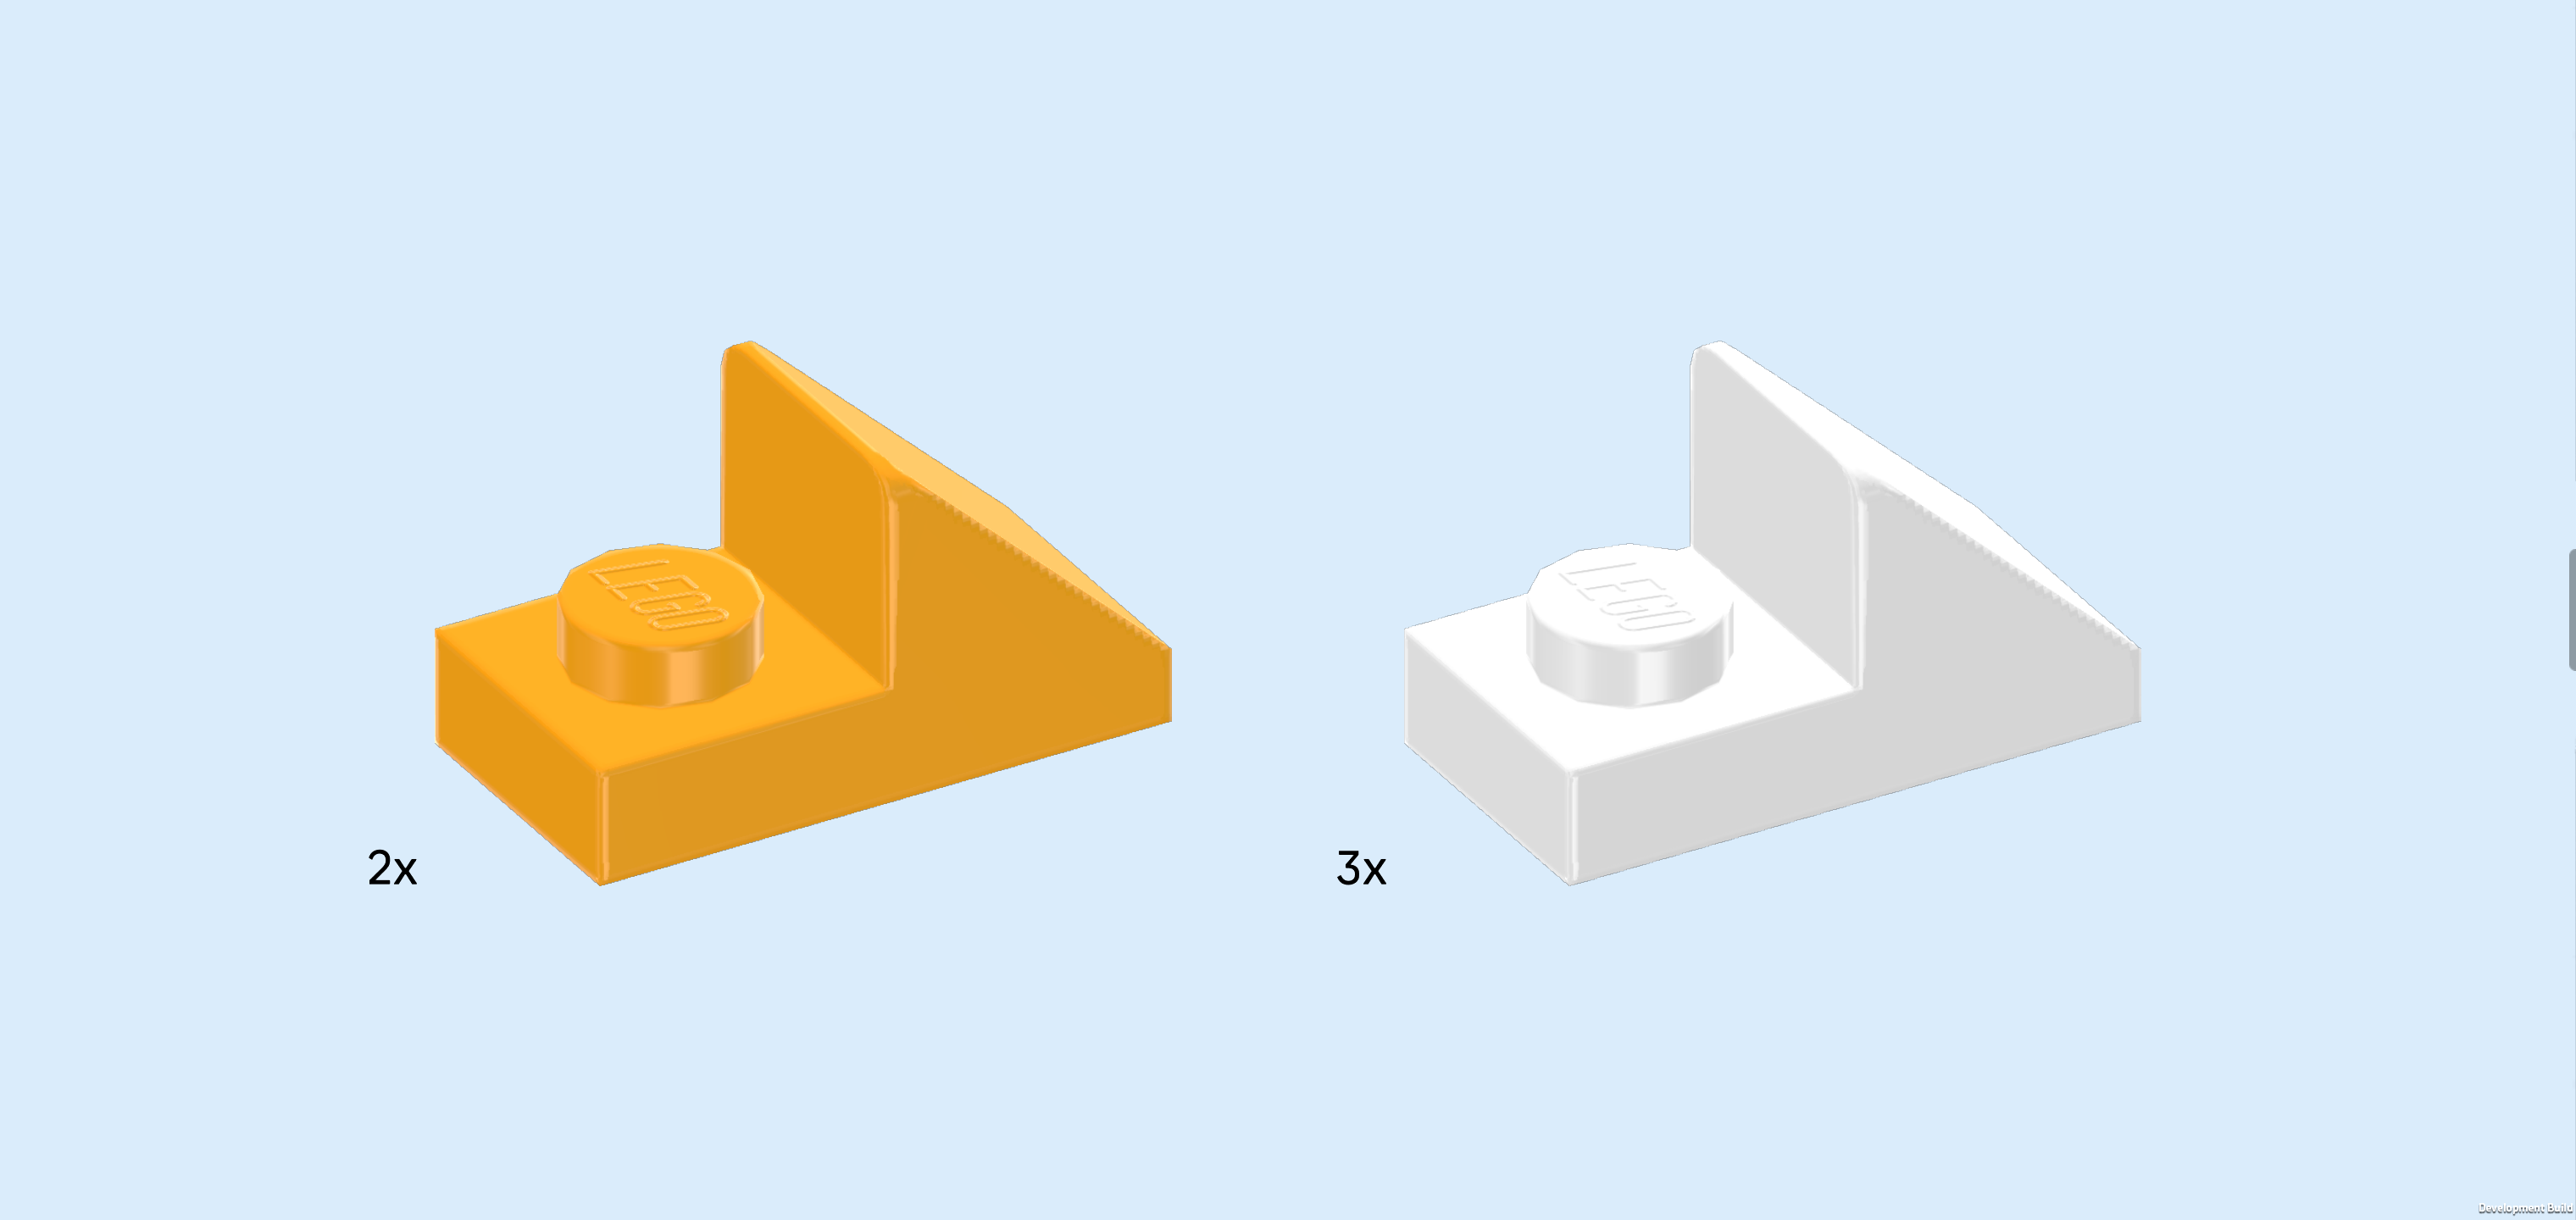
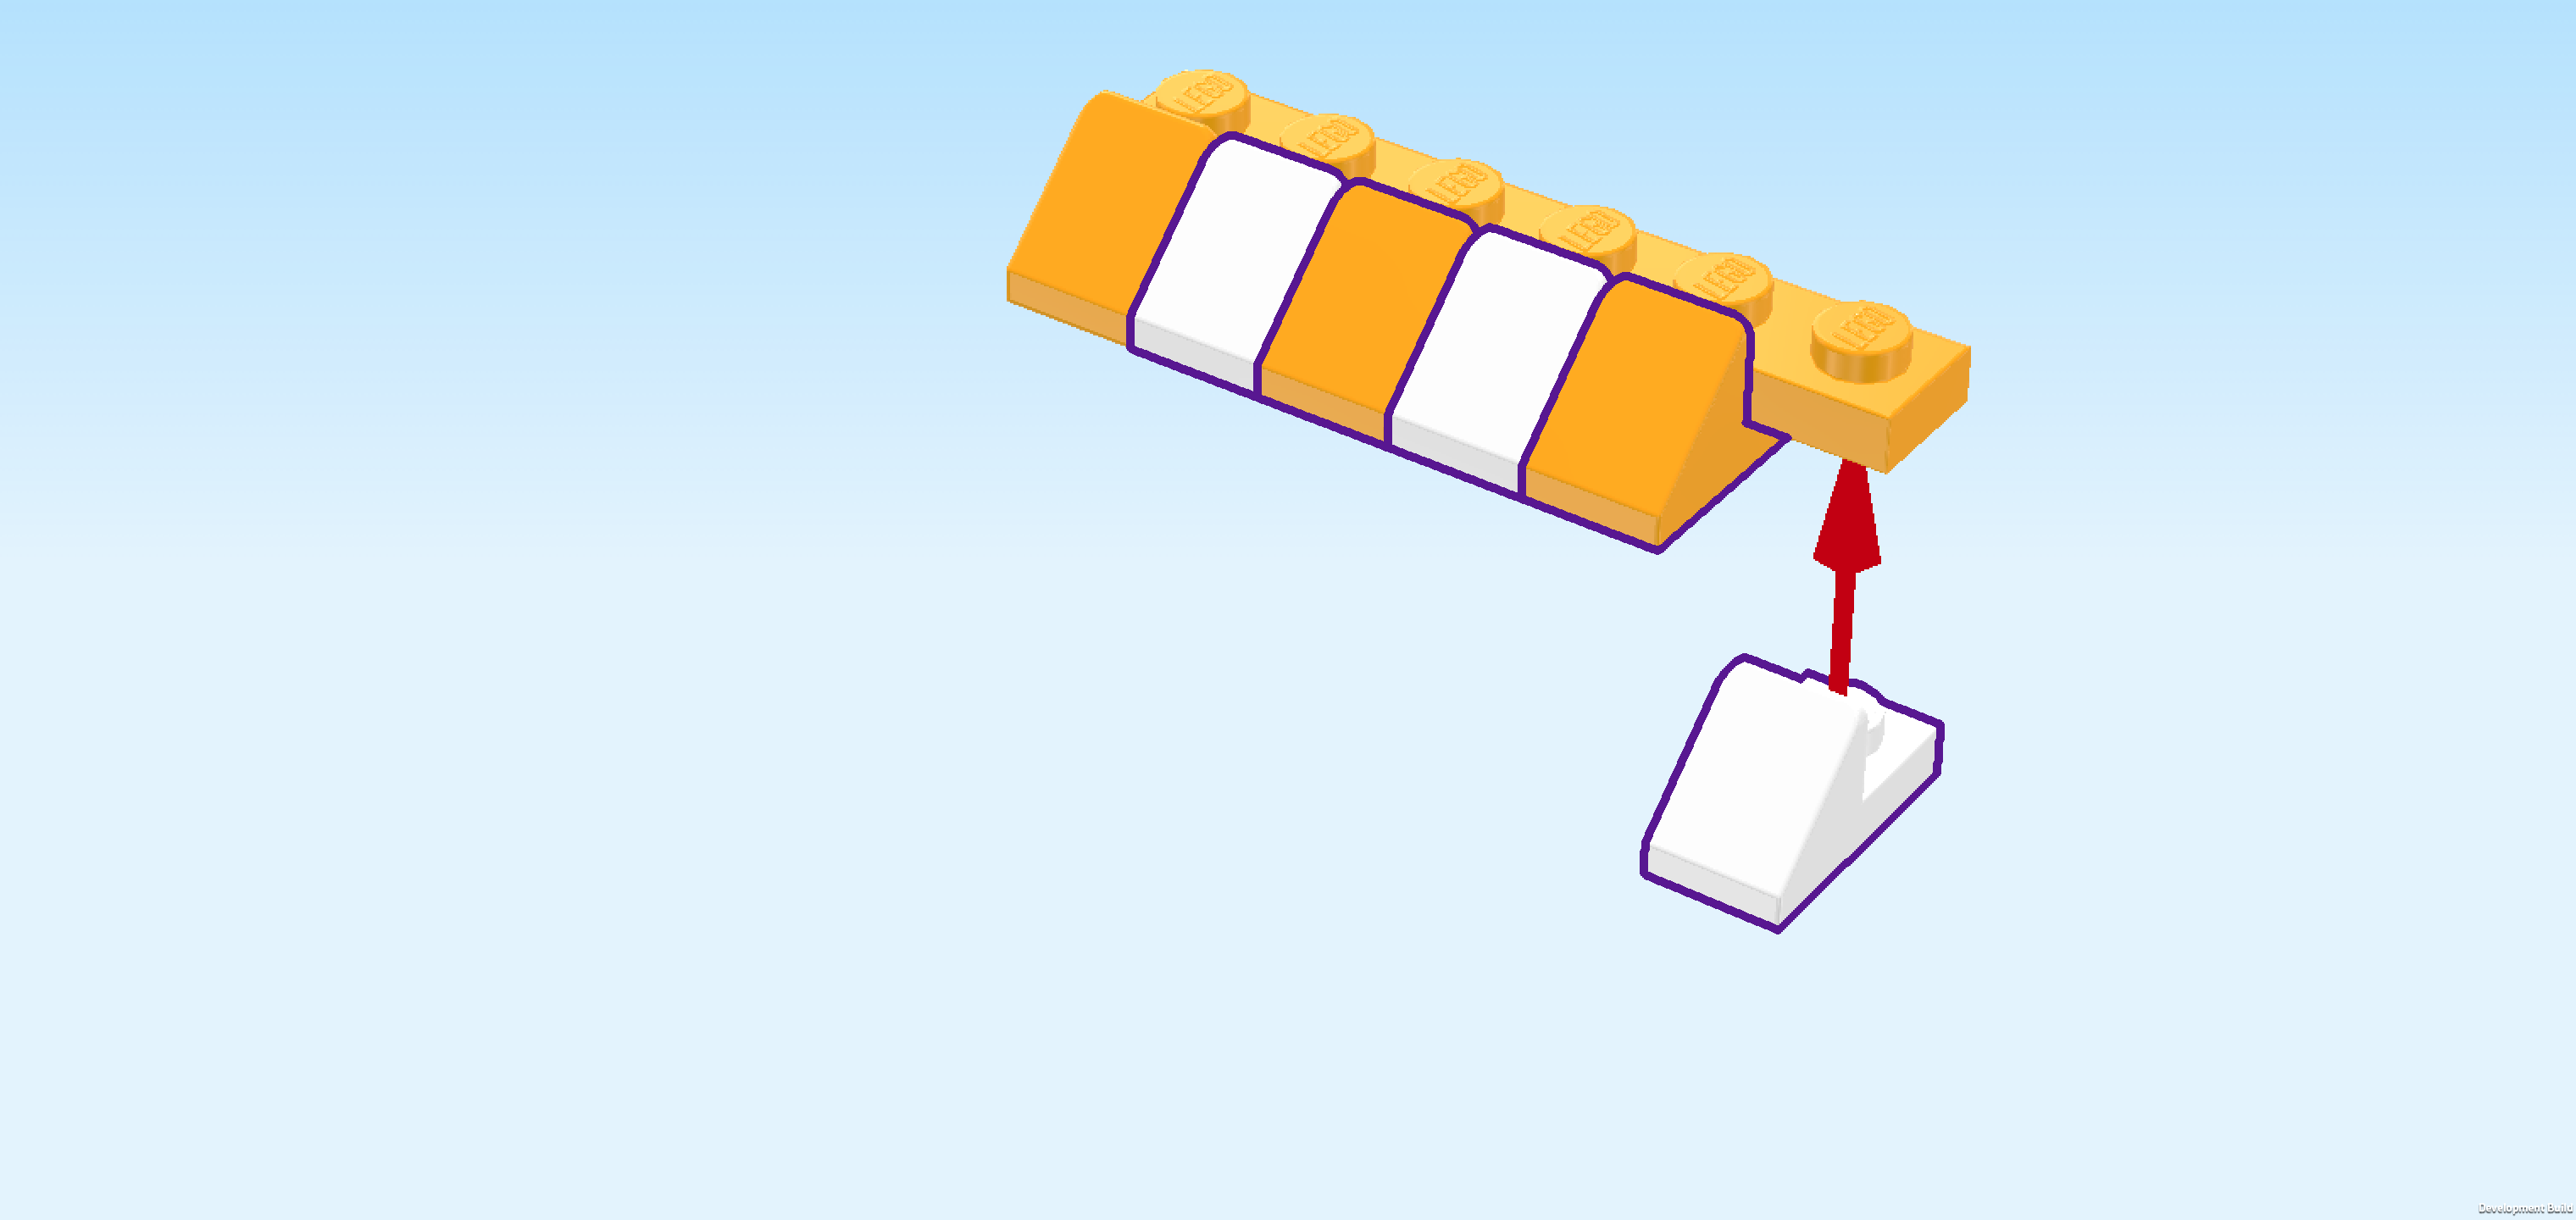
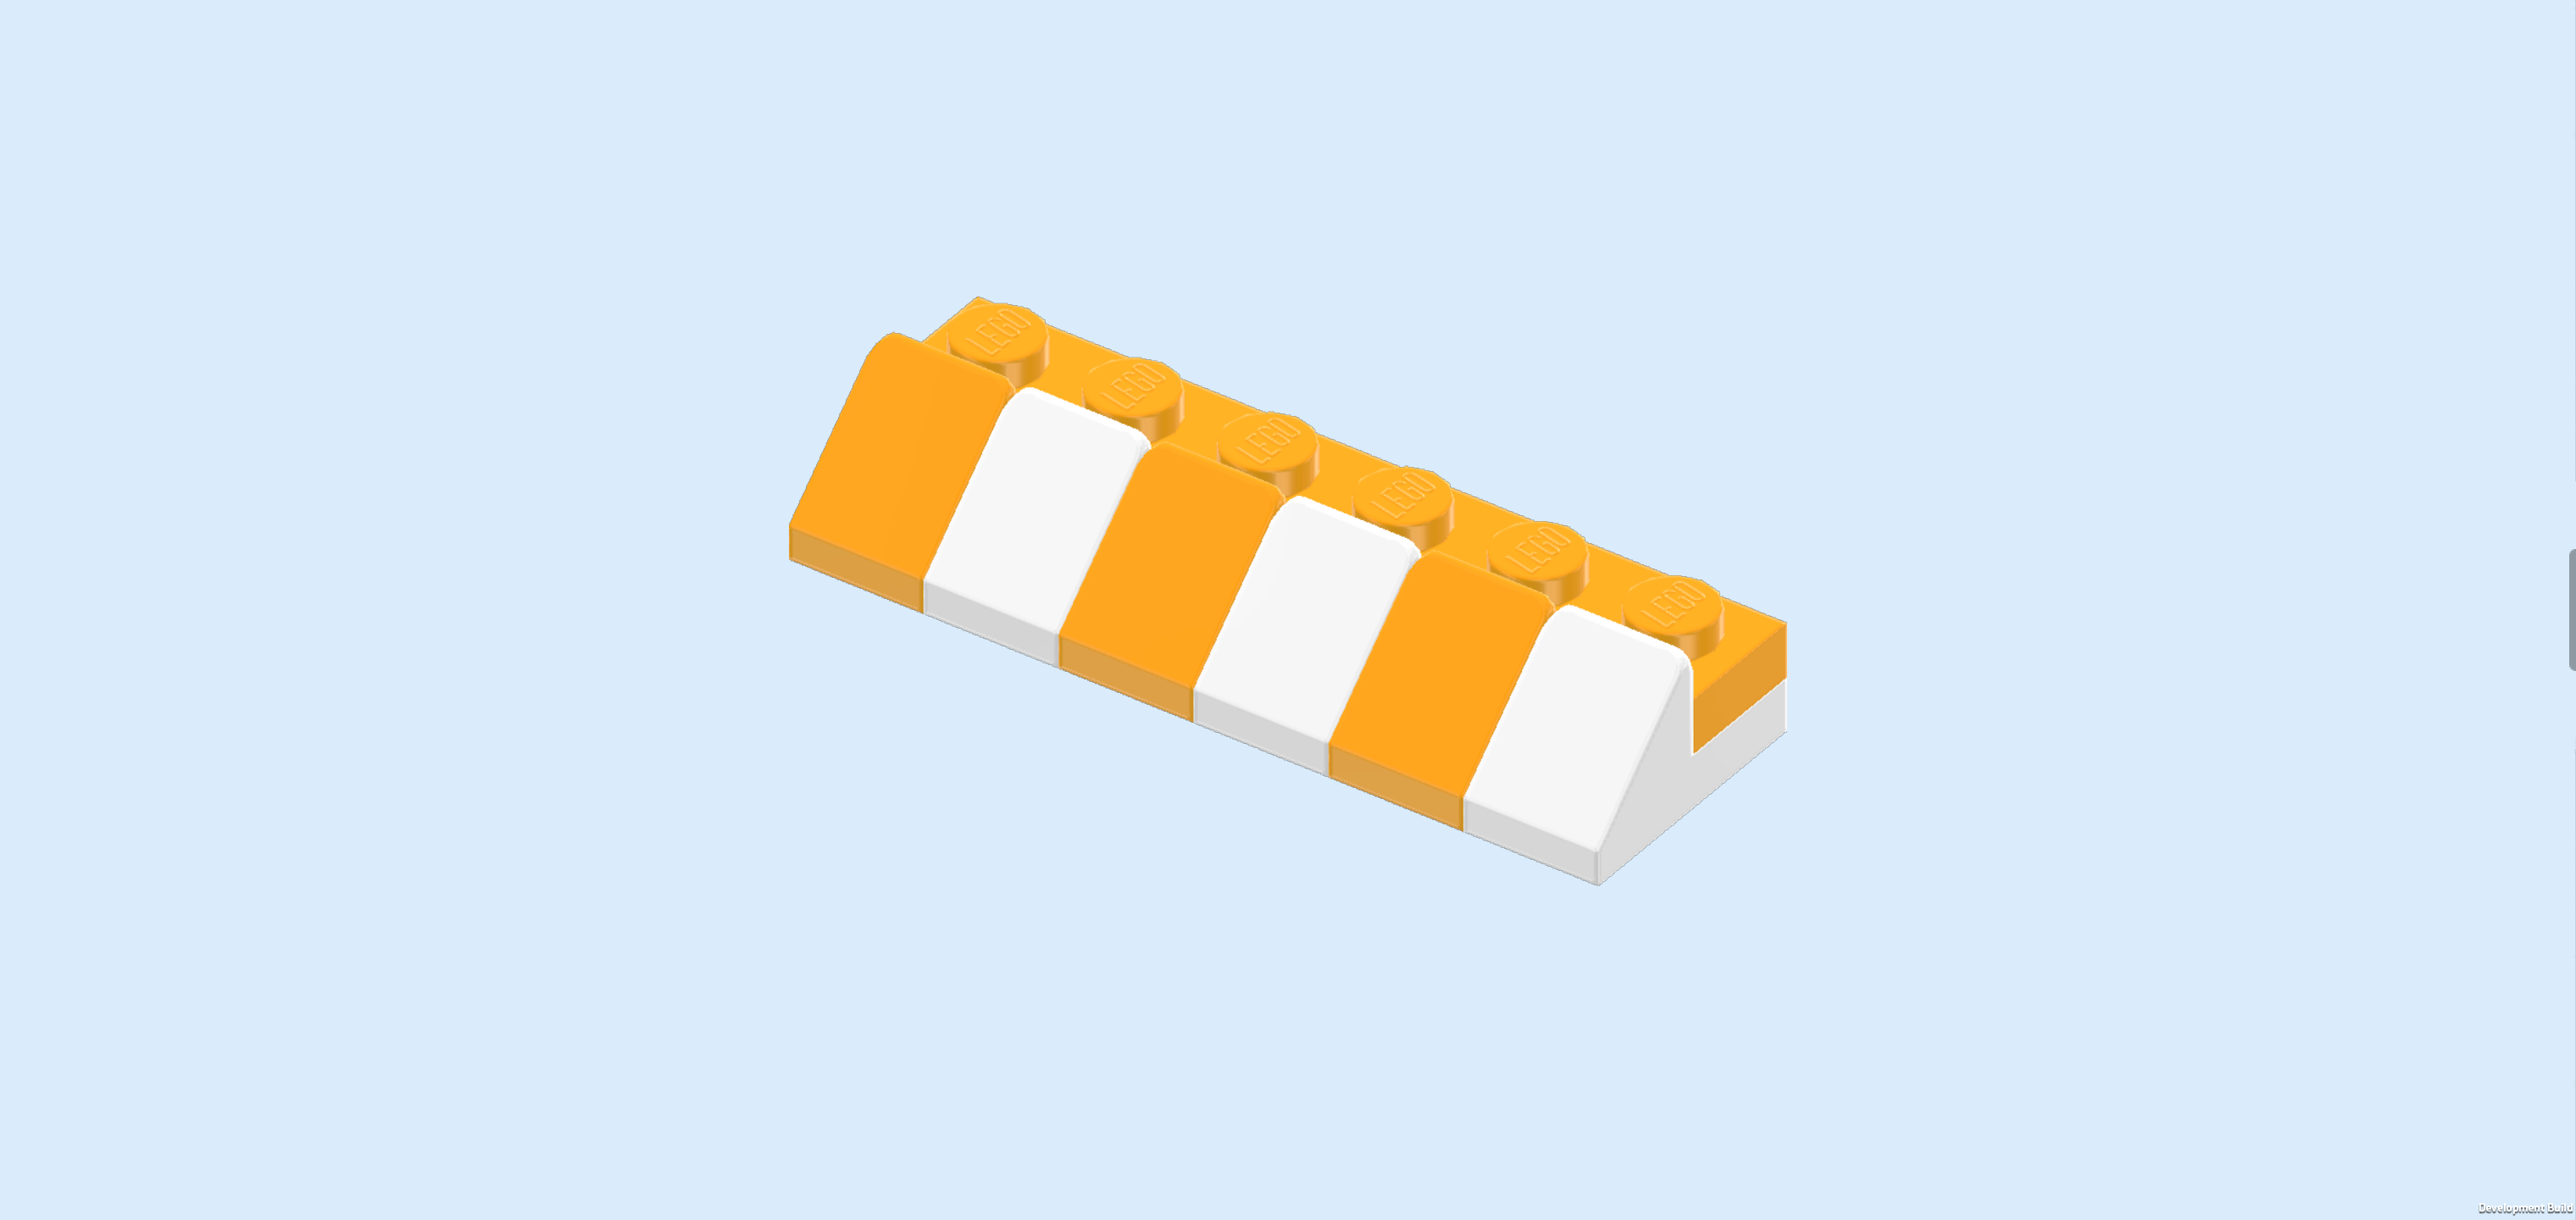
| Find 2 beige roof tiles 1x2, 45°. |
| Put 1 horizontally on the previous piece's backmost knob and the knob to its left, slope to the right. |
| Repeat symmetrically at the front, slope to the right. This means that this piece will sit on the frontmost knob of the plate 1x4 and the knob to its left. |
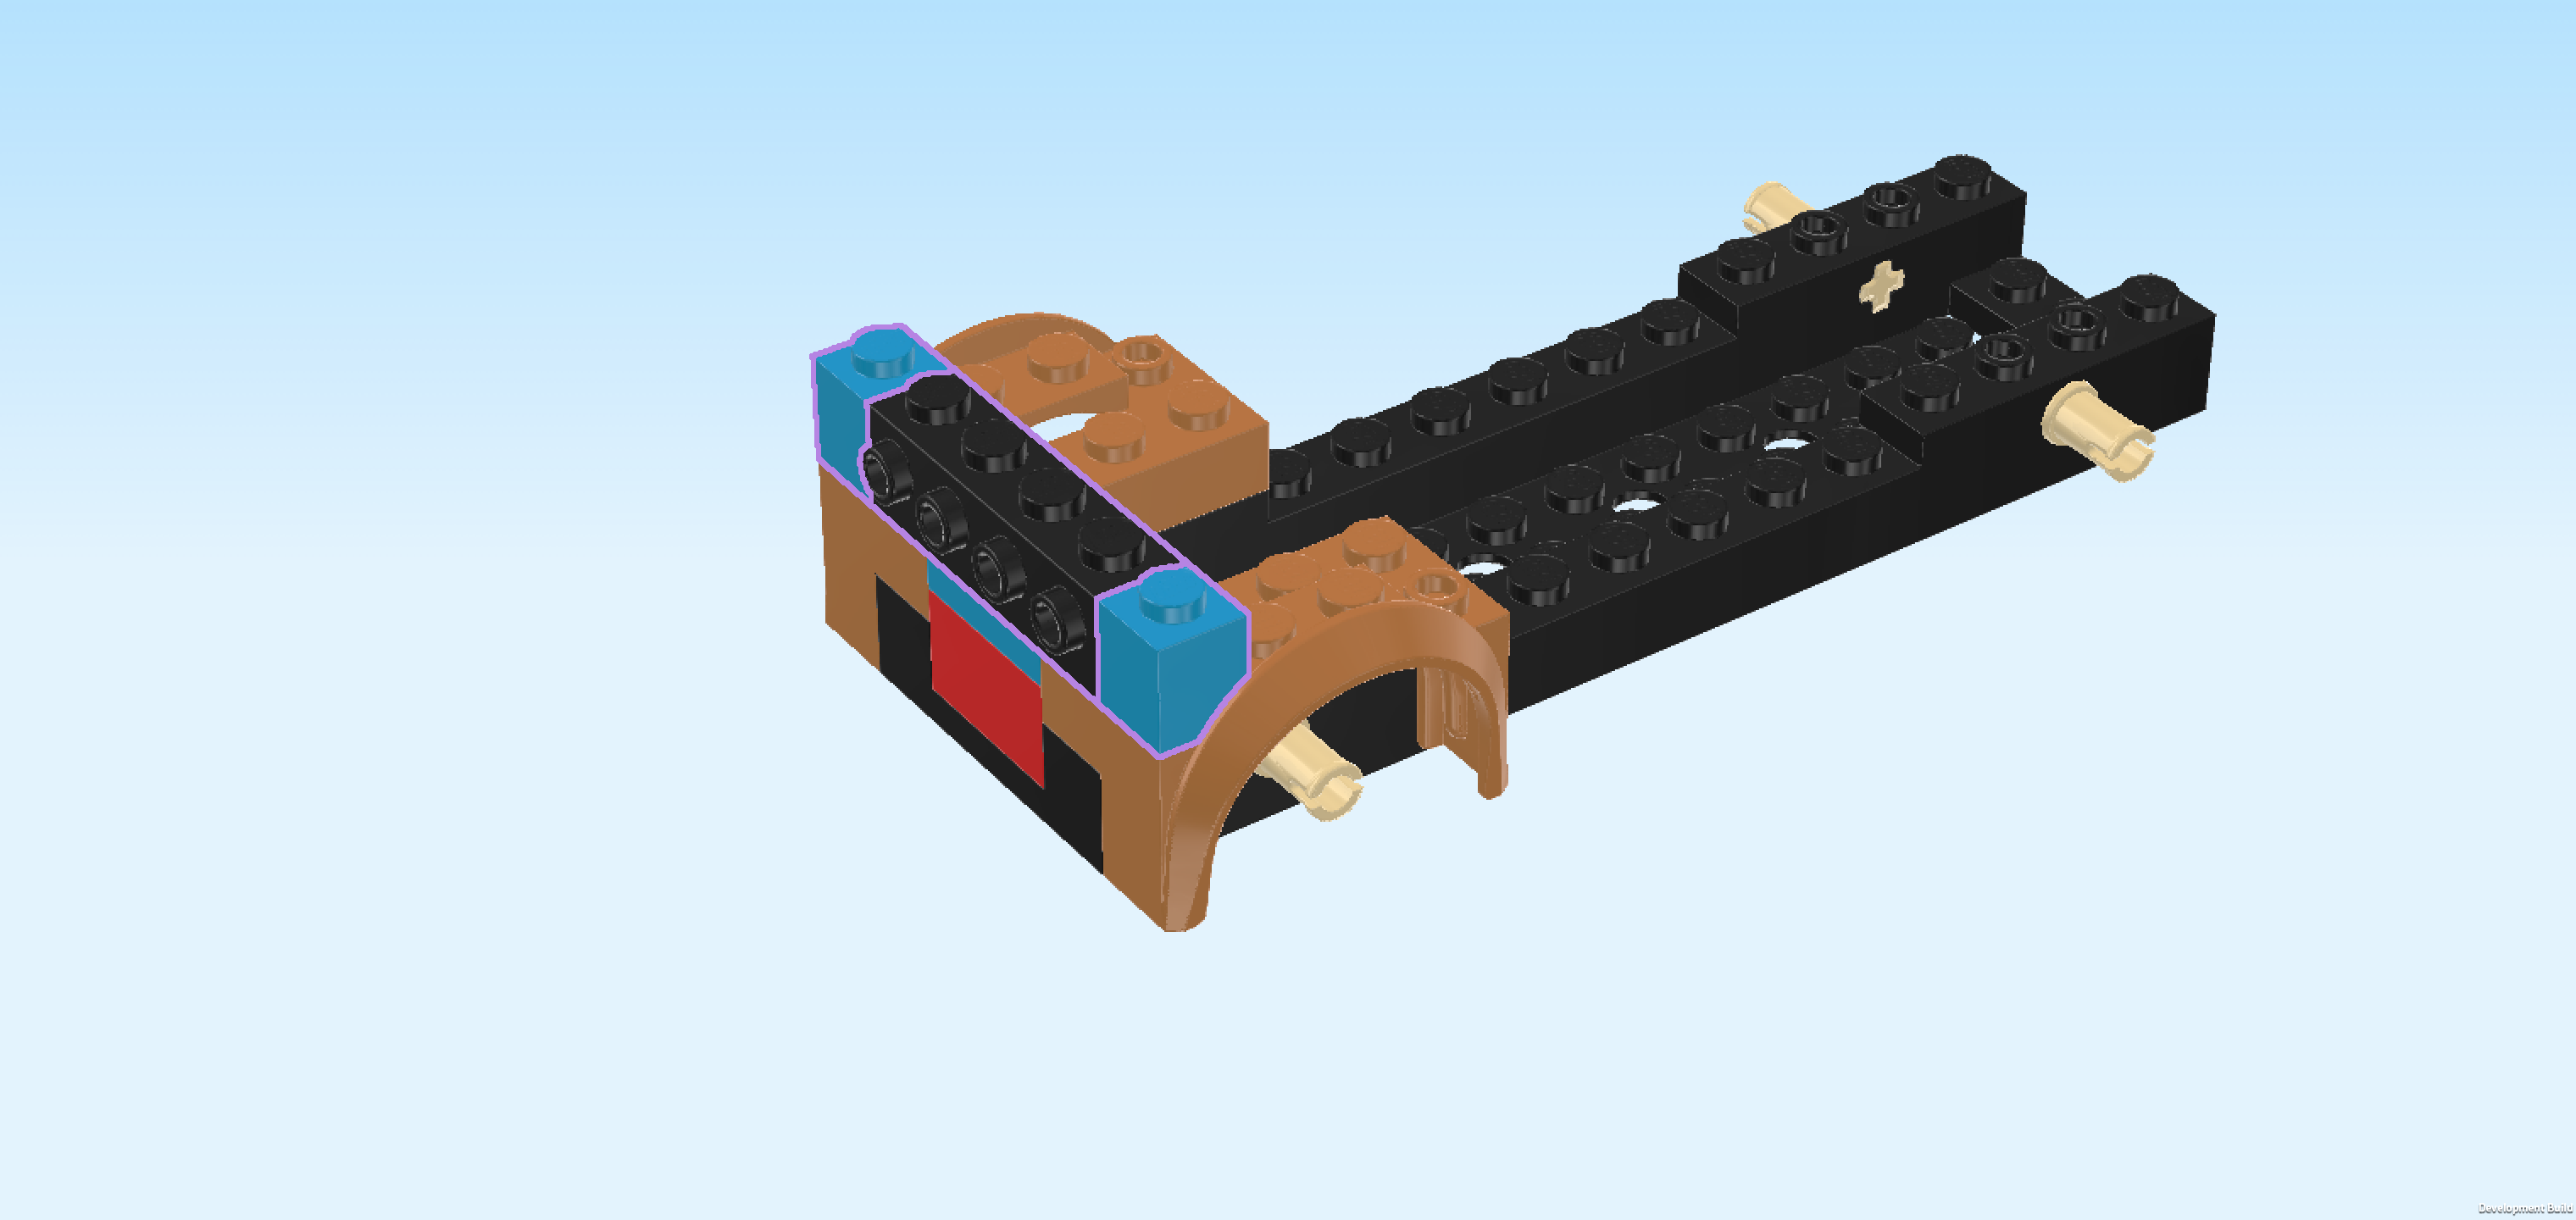
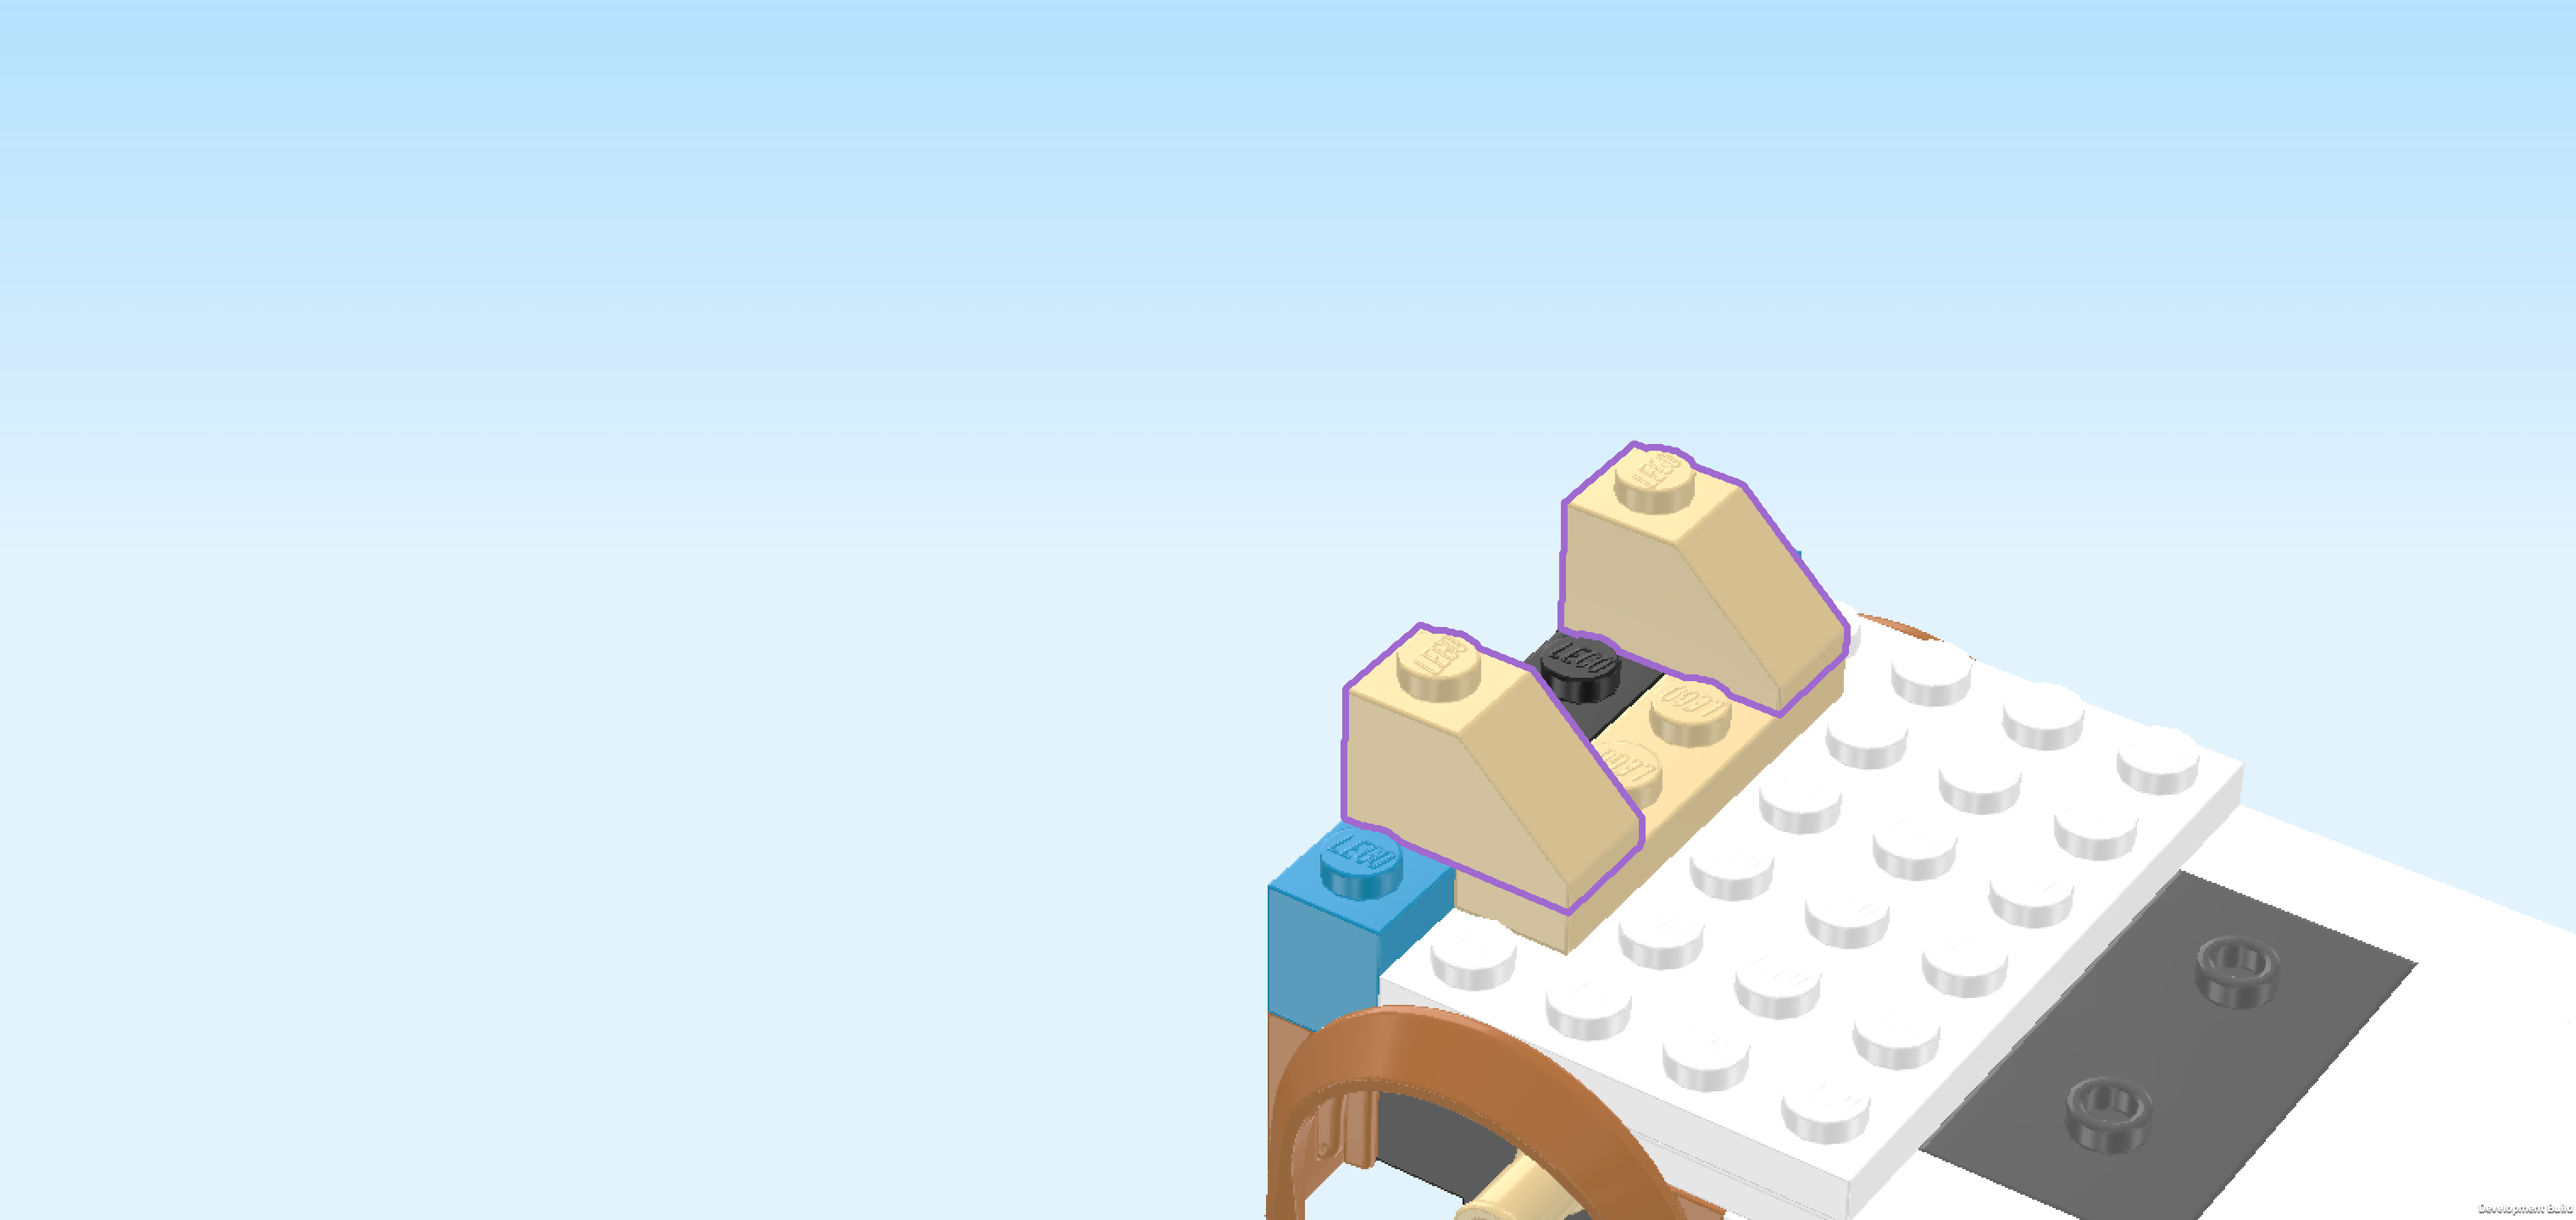
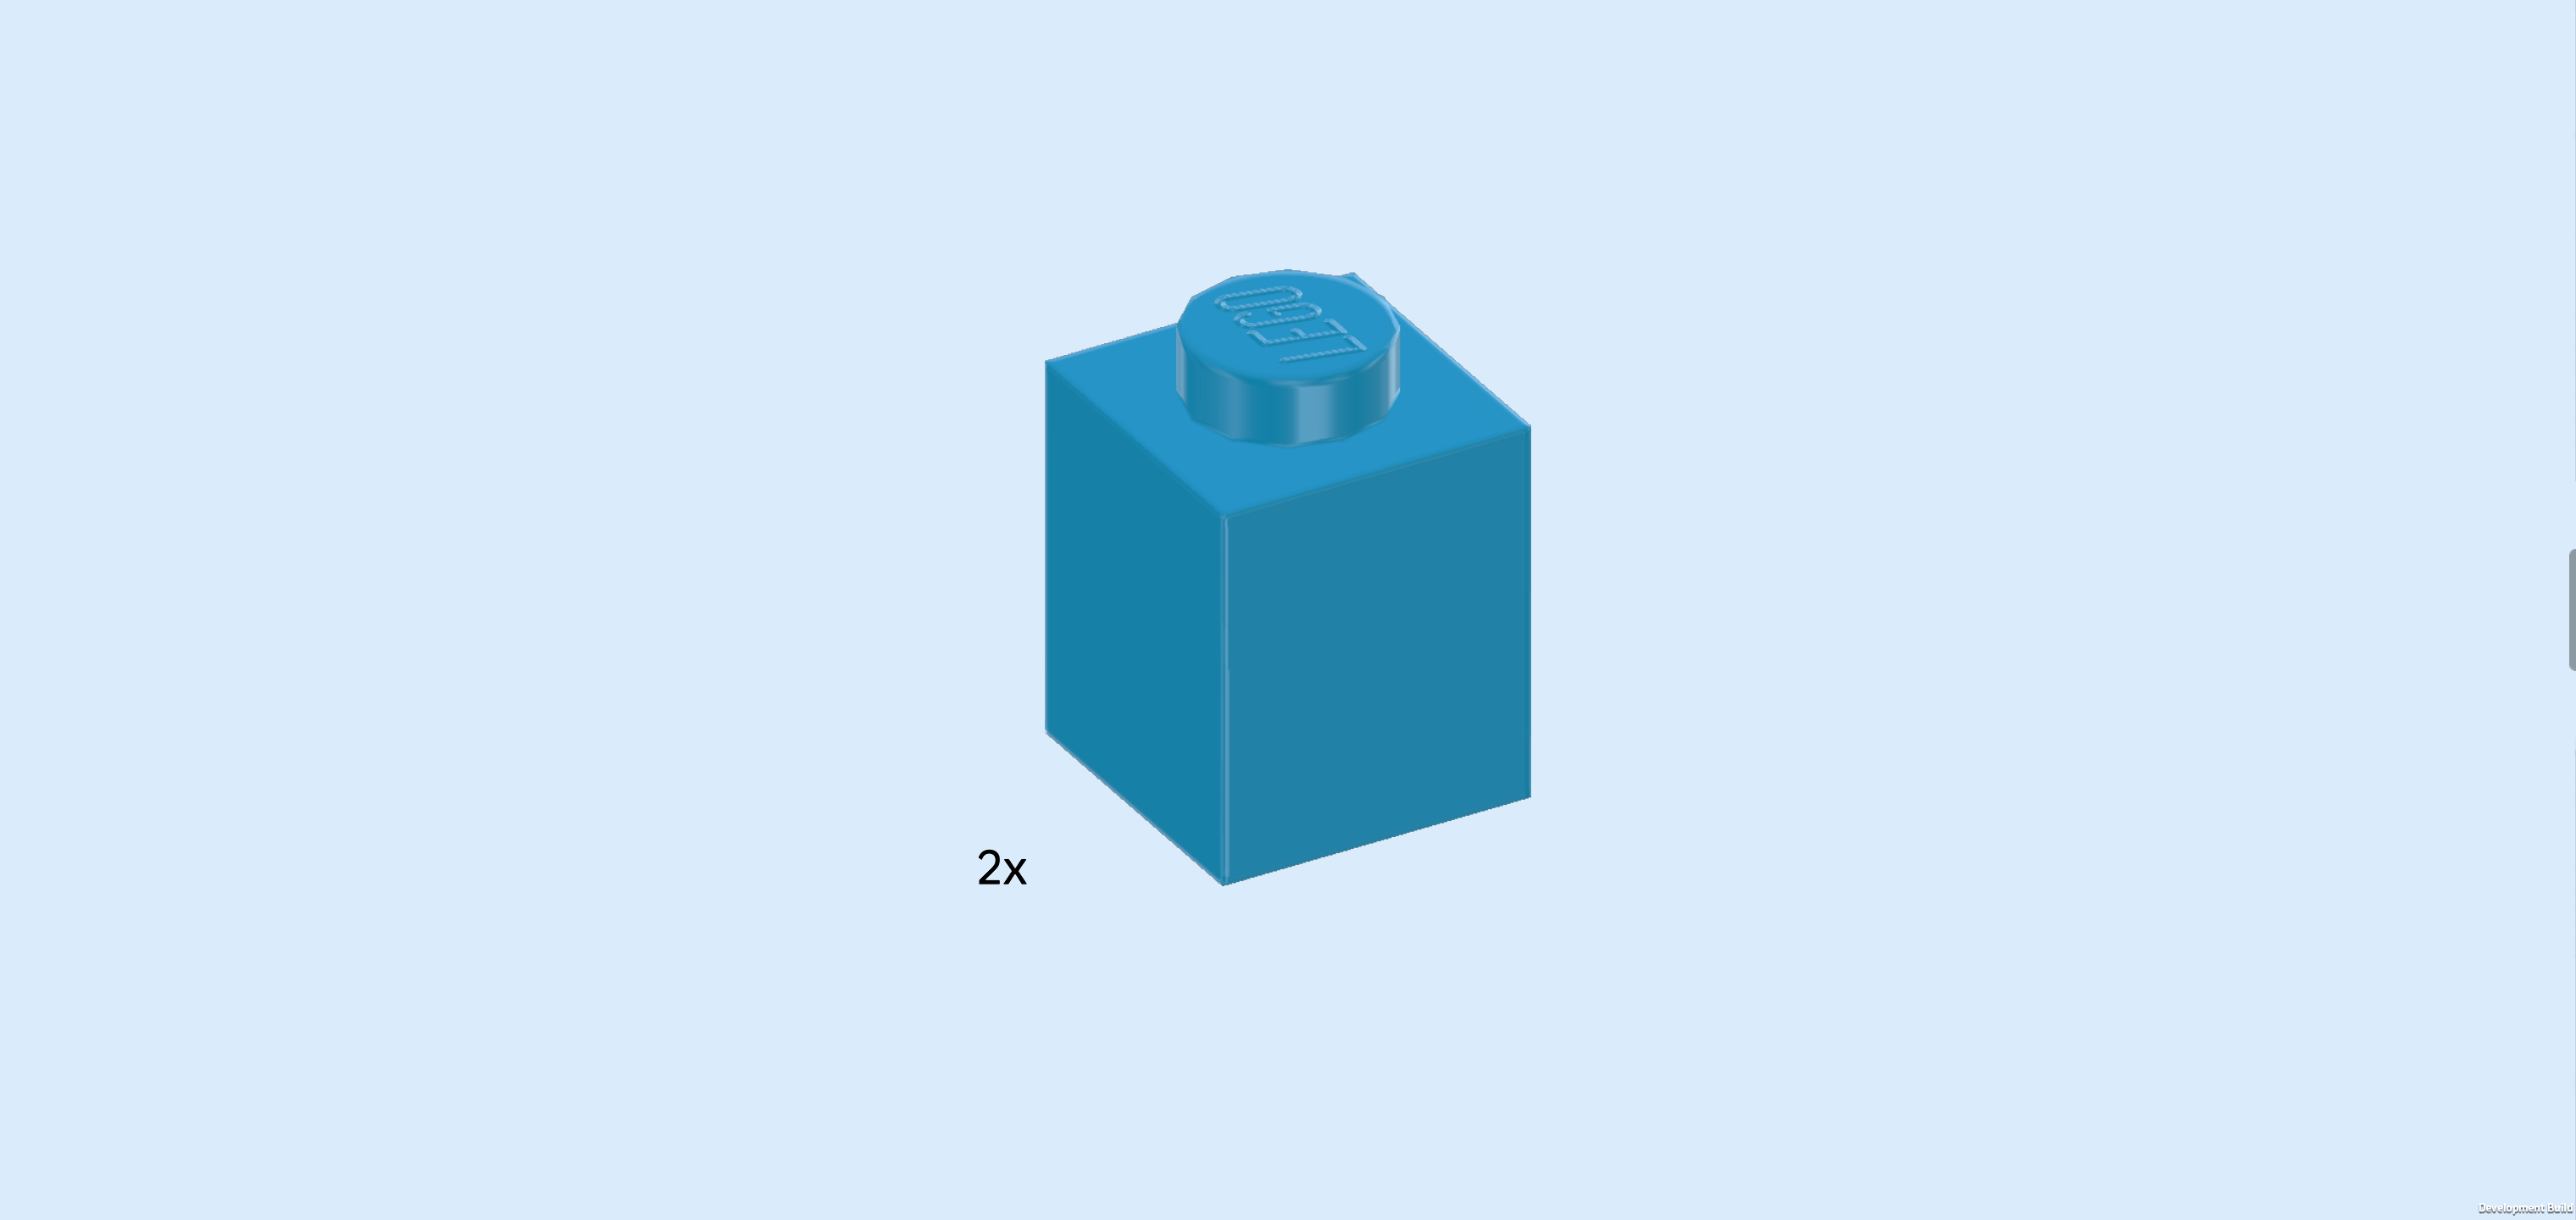
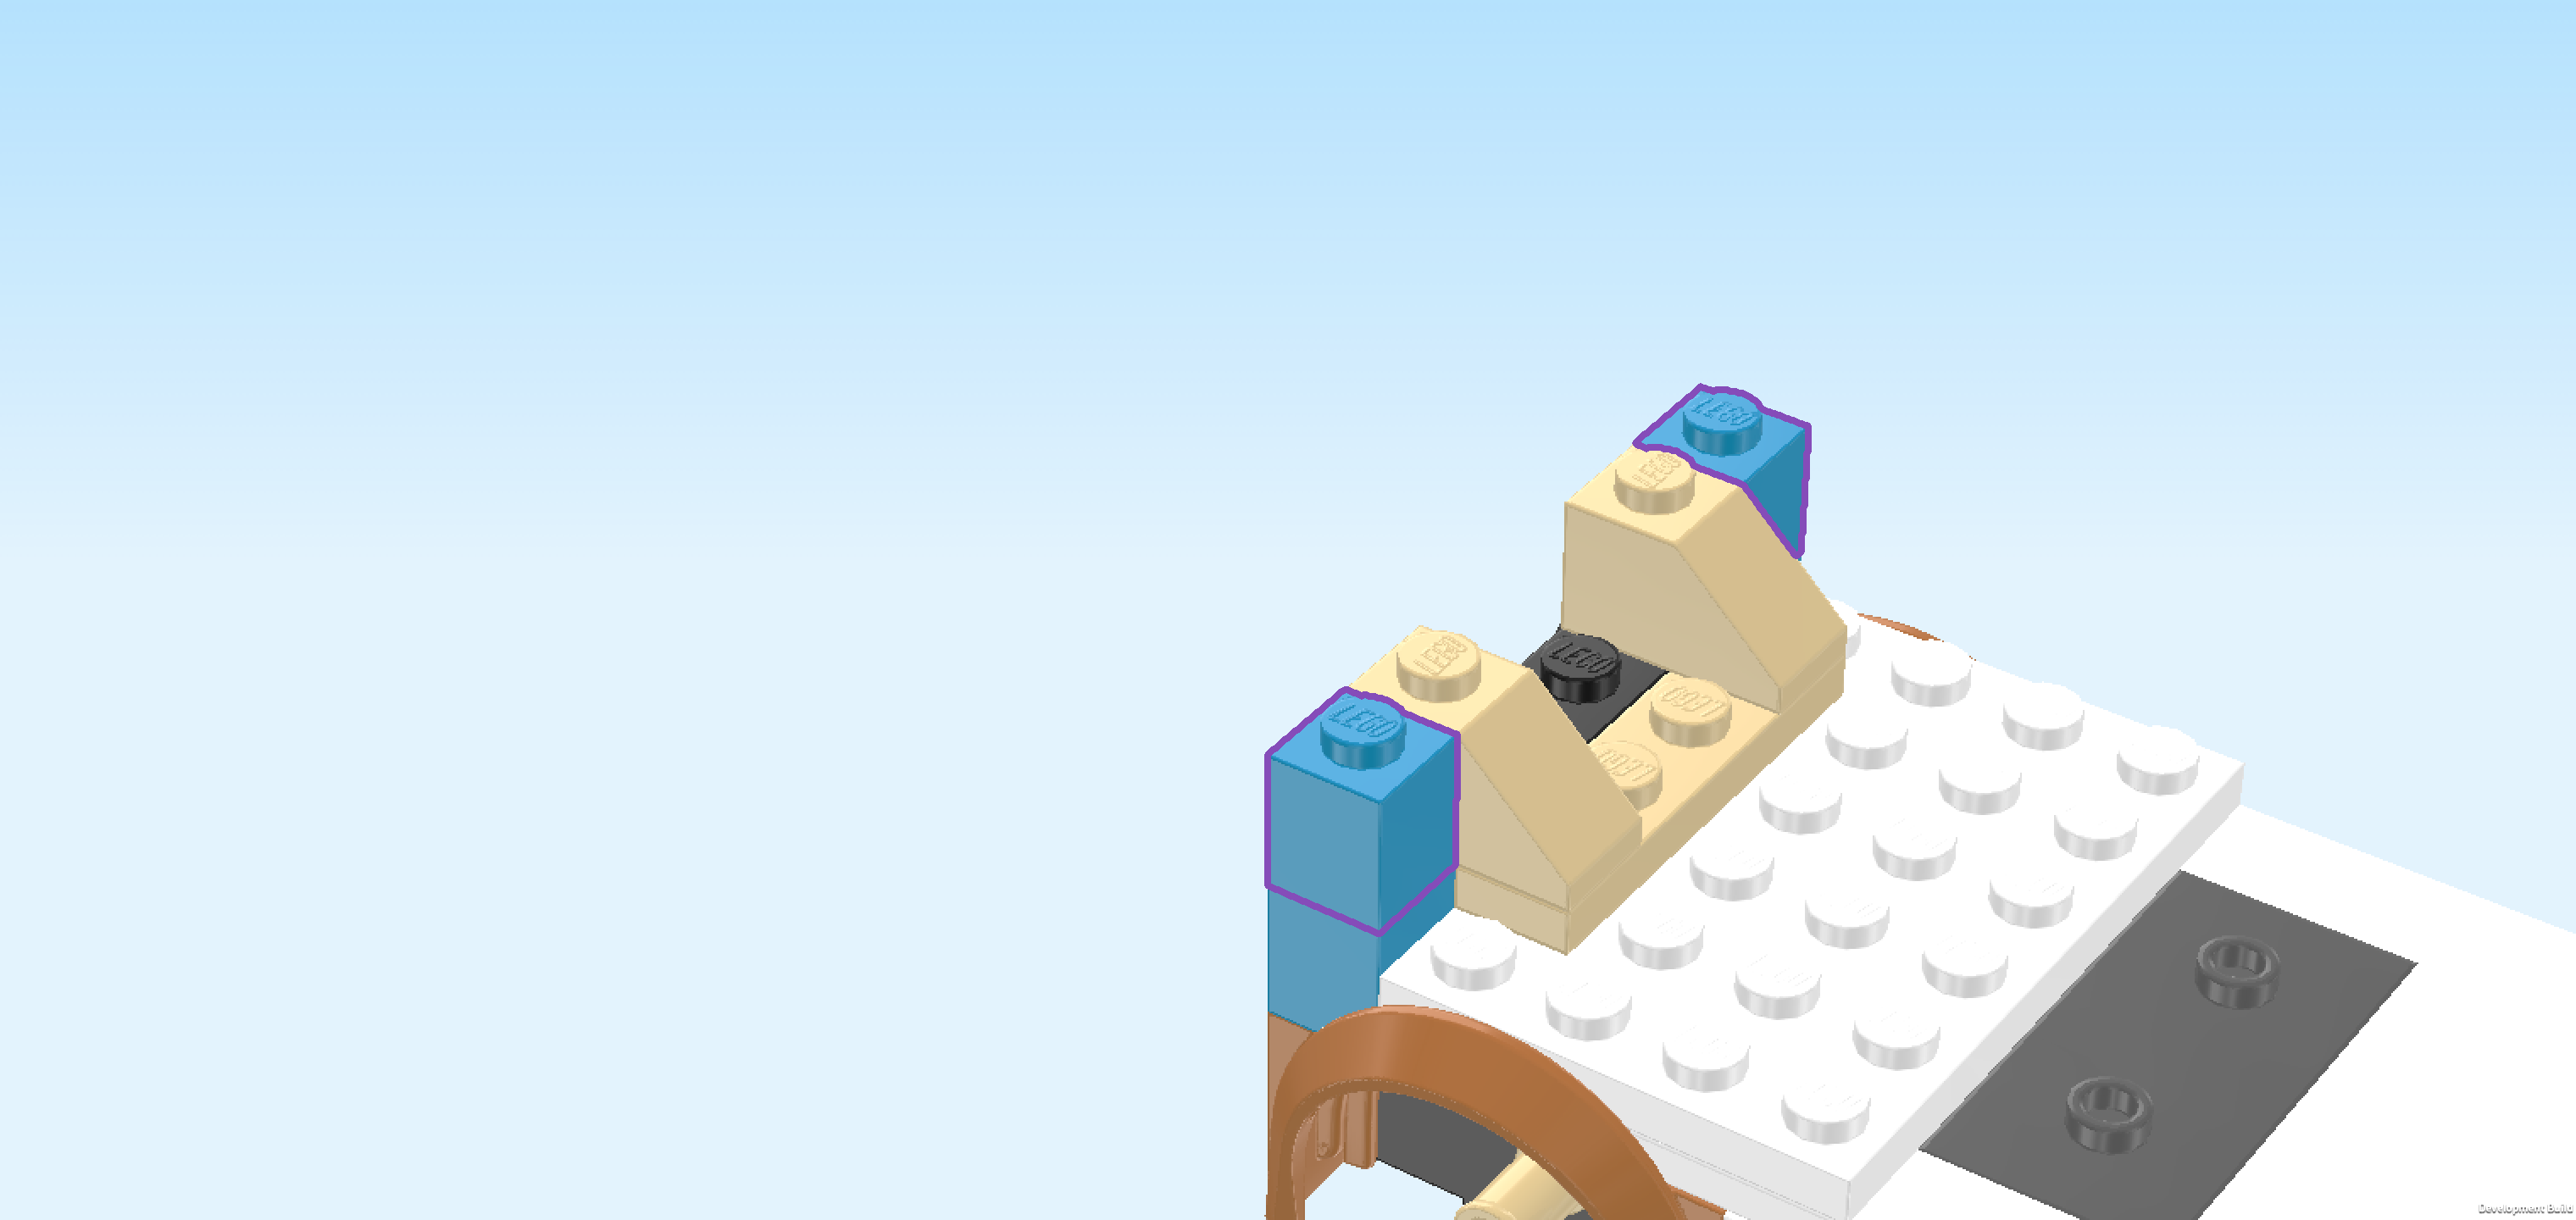
| Find 2 dark azure blue bricks 1x1. |
| Put 1 in front of the previous piece on the leftmost column. |
| Repeat symmetrically at the back. |
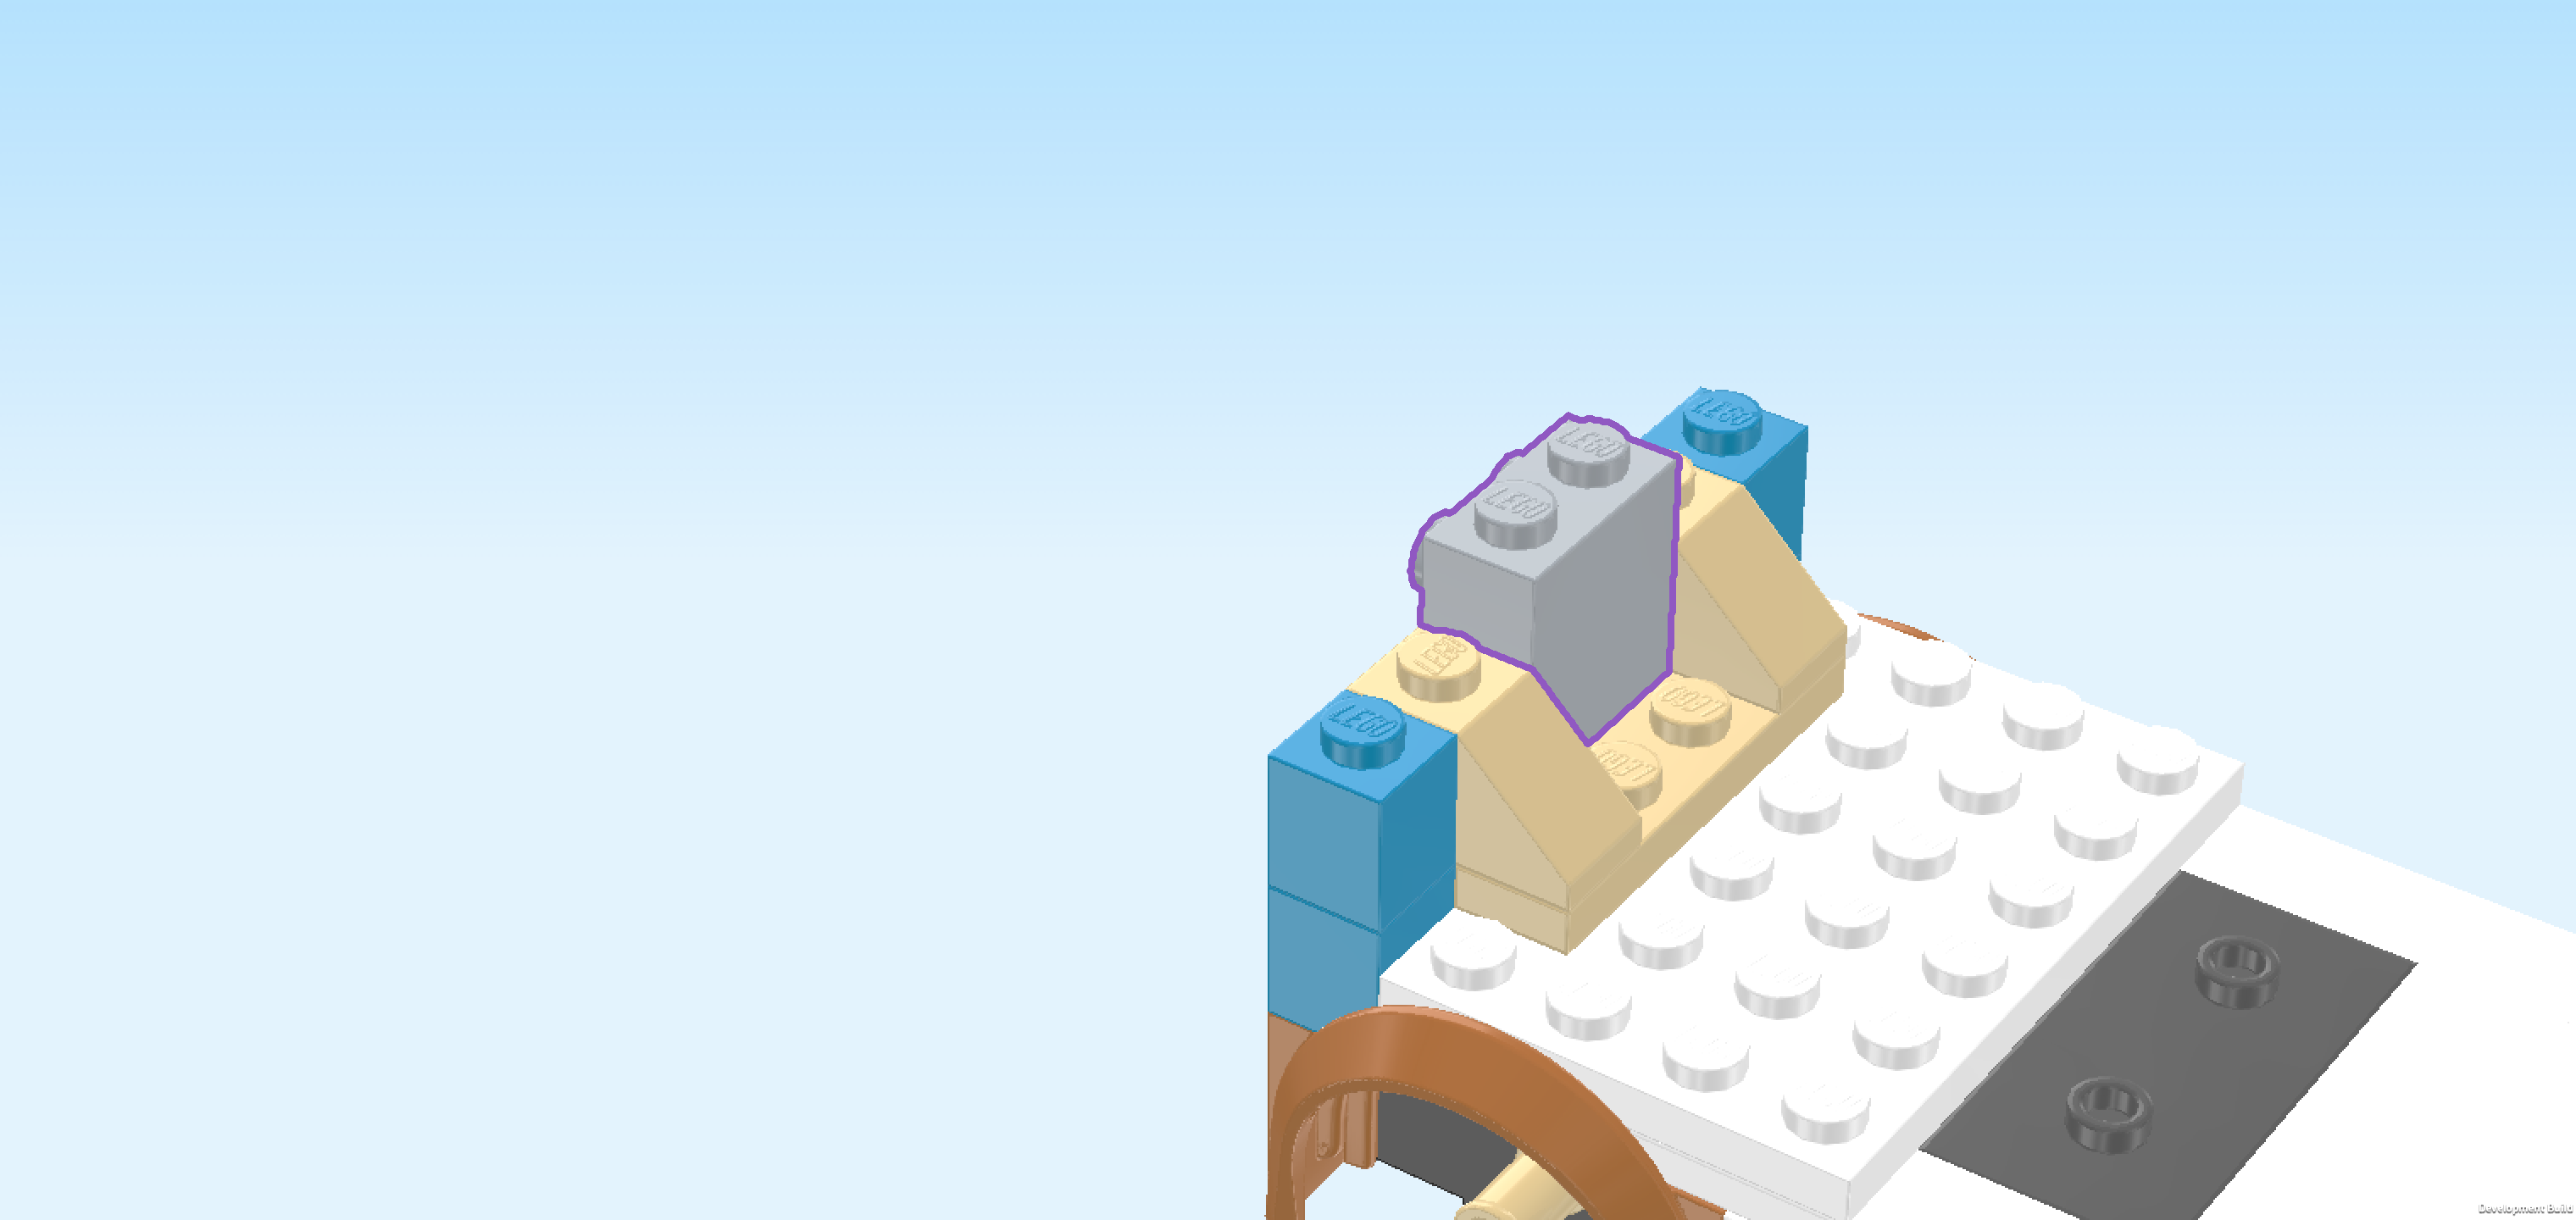
| Find 1 medium stone grey brick 1x2x1⅔ with 4 side knobs. |
| Put it vertically centered on the leftmost column of the structure, side knobs to the left. |
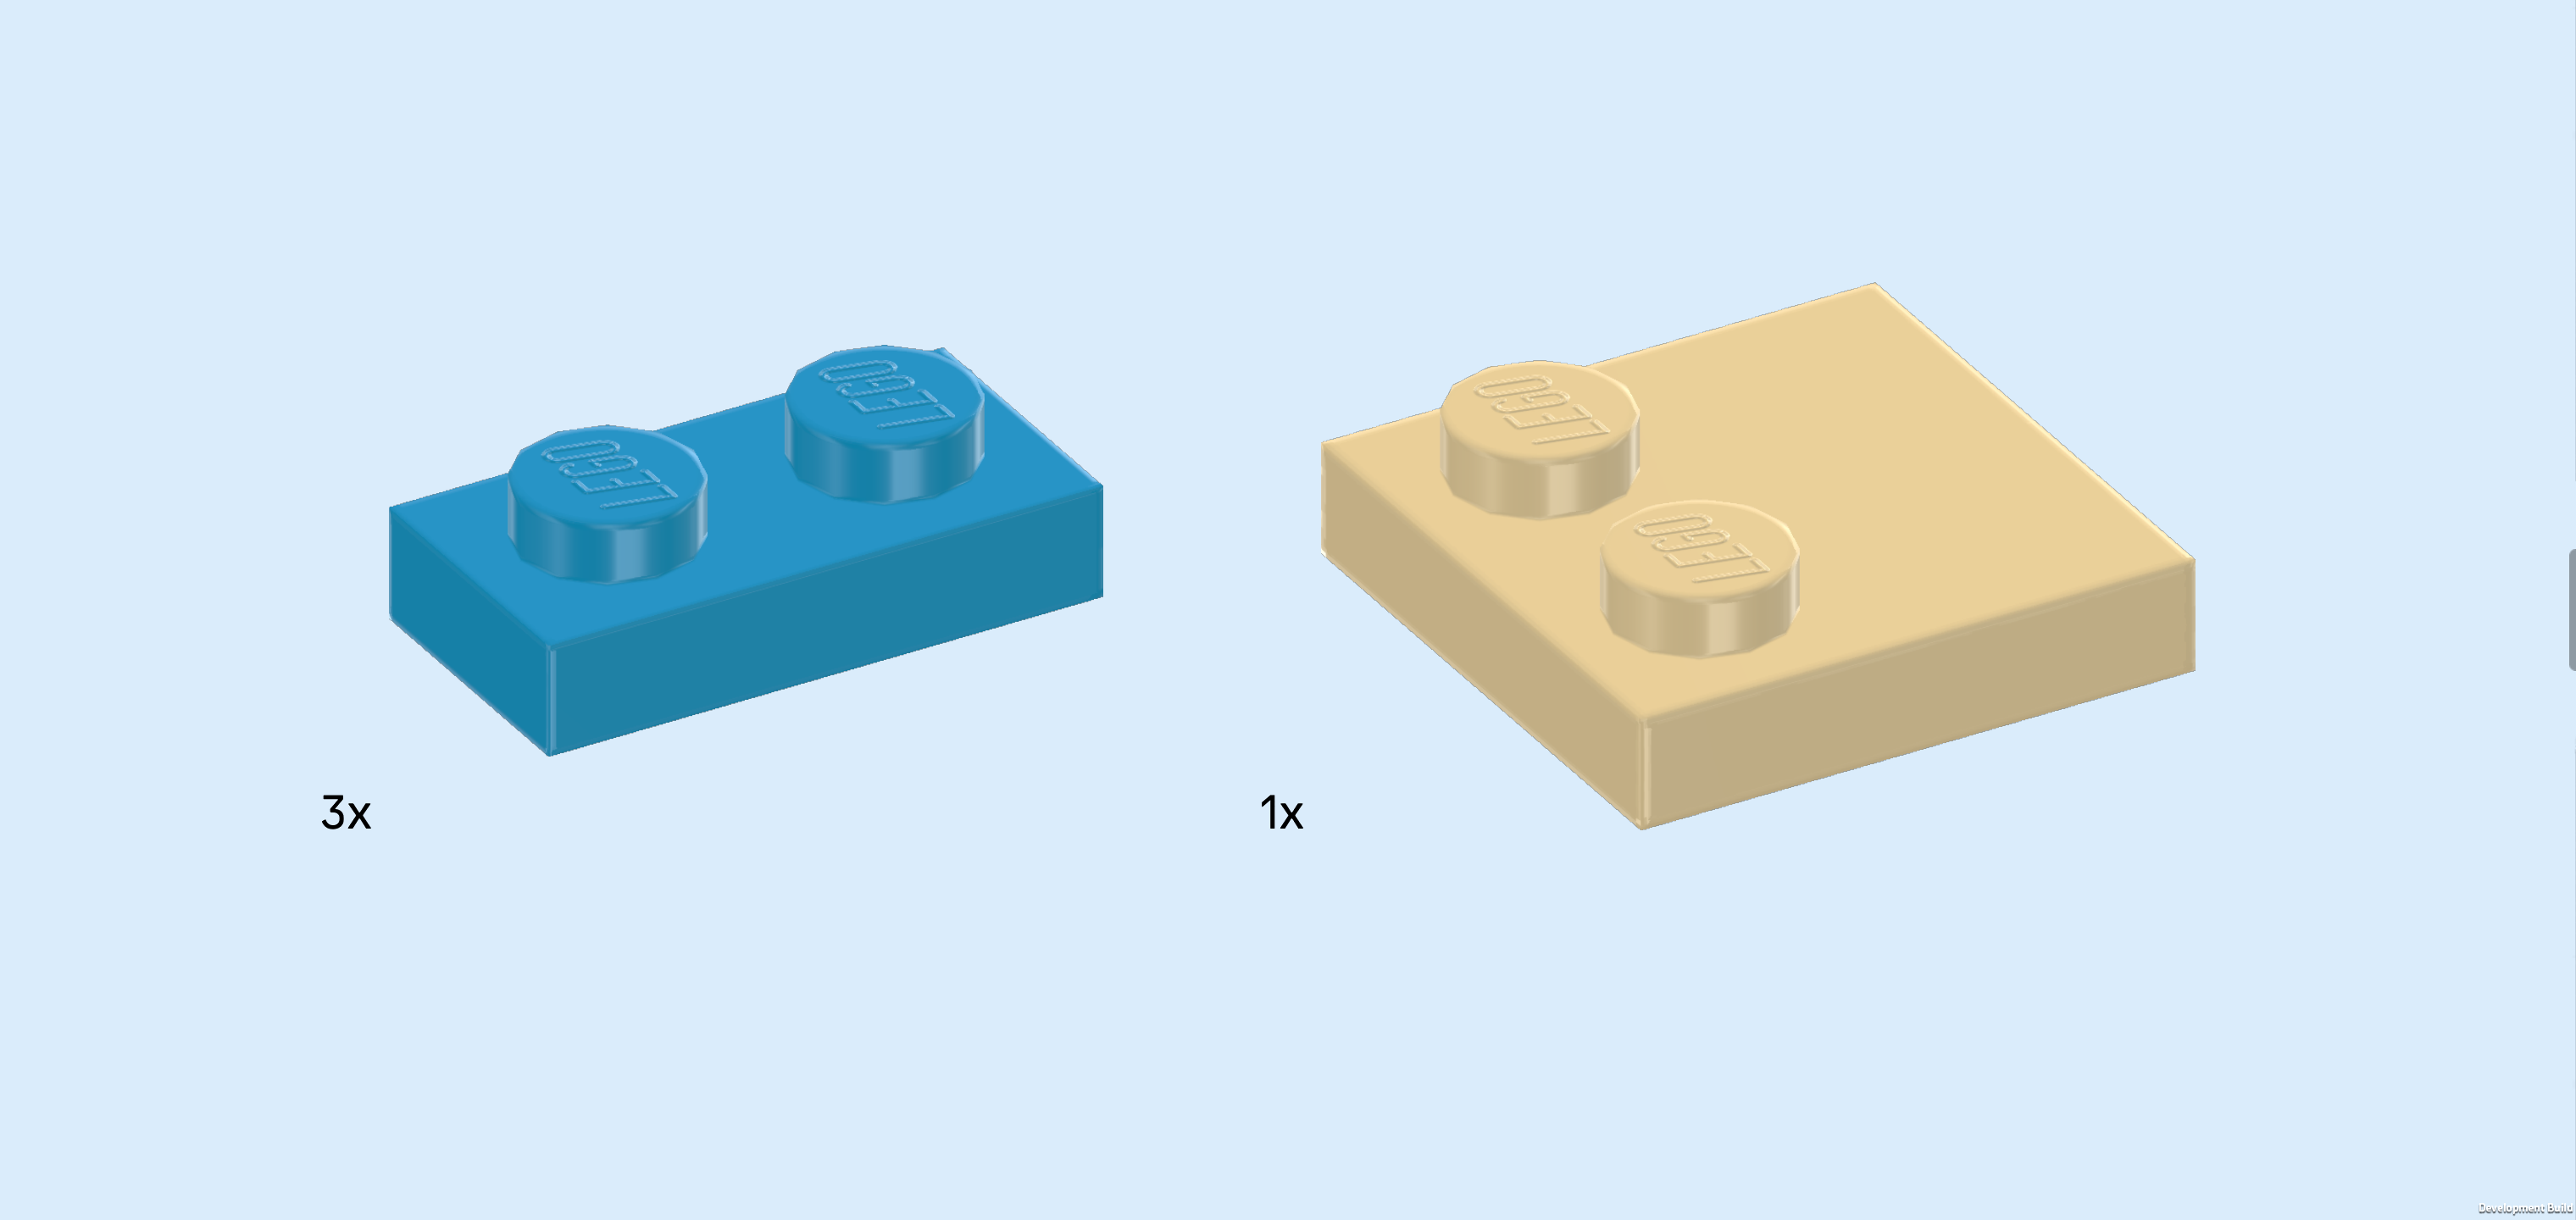
| Find 2 dark azure blue plates 1x2. |
| Put 1 vertically in front of the previous piece, and the other one vertically behind it. |
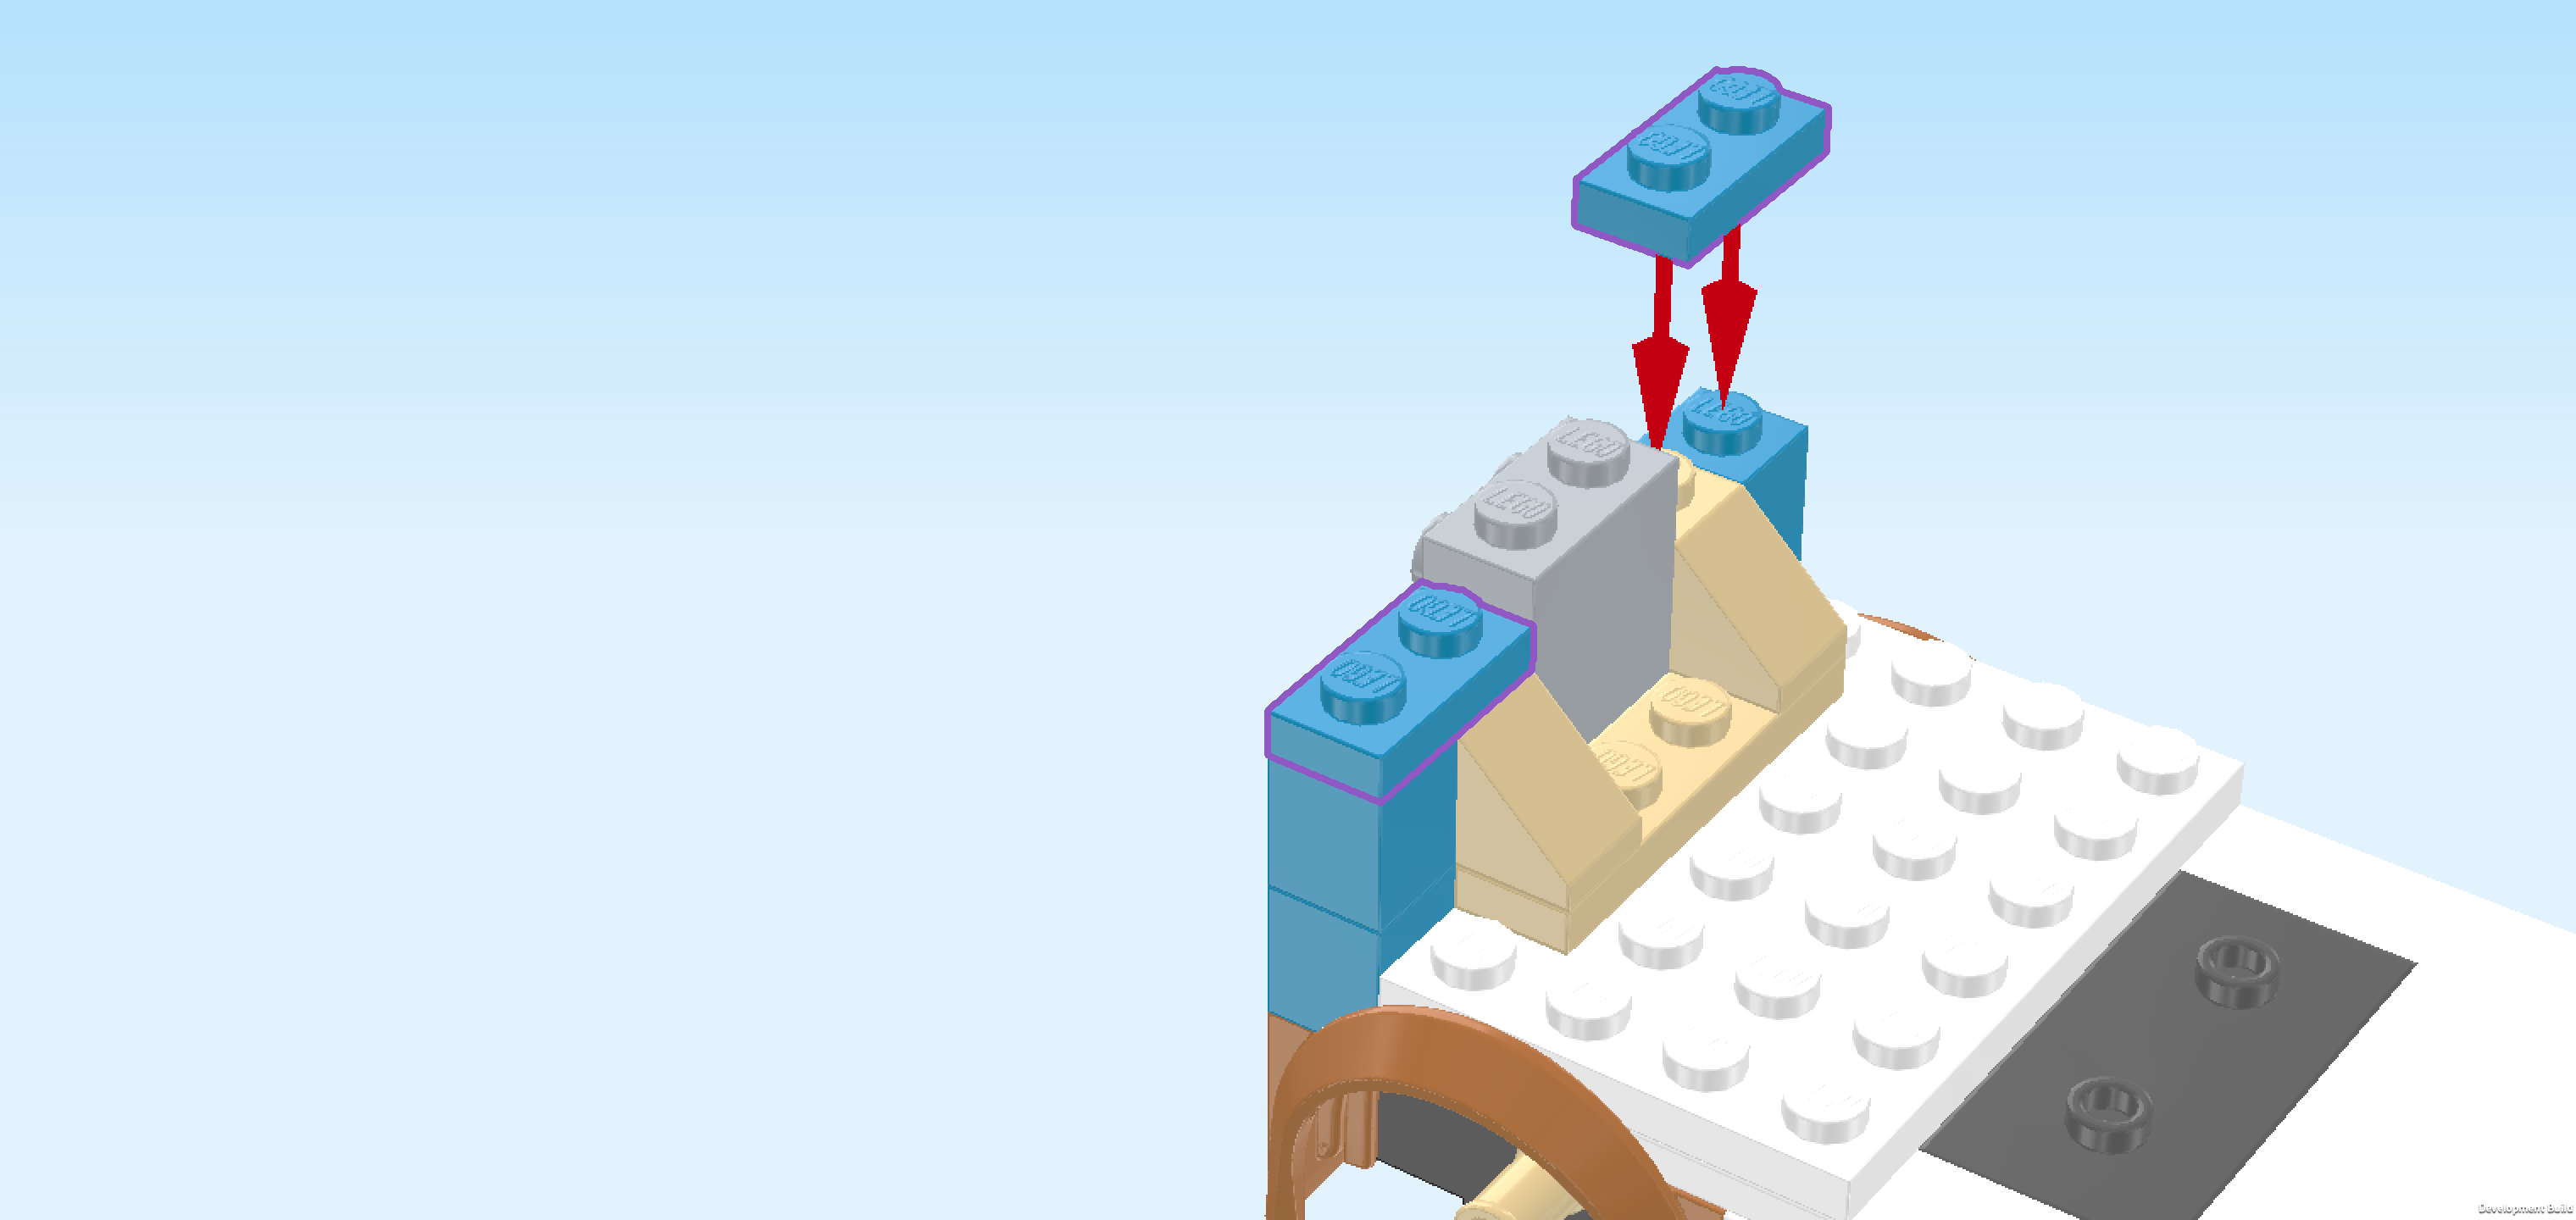
| Find 2 medium stone grey plates 1x2 with hinge stub on short side. |
| Put 1 vertically on top of the previous piece, hinge stub to the back. |
| Repeat symmetrically at the front, hinge stub to the front. |
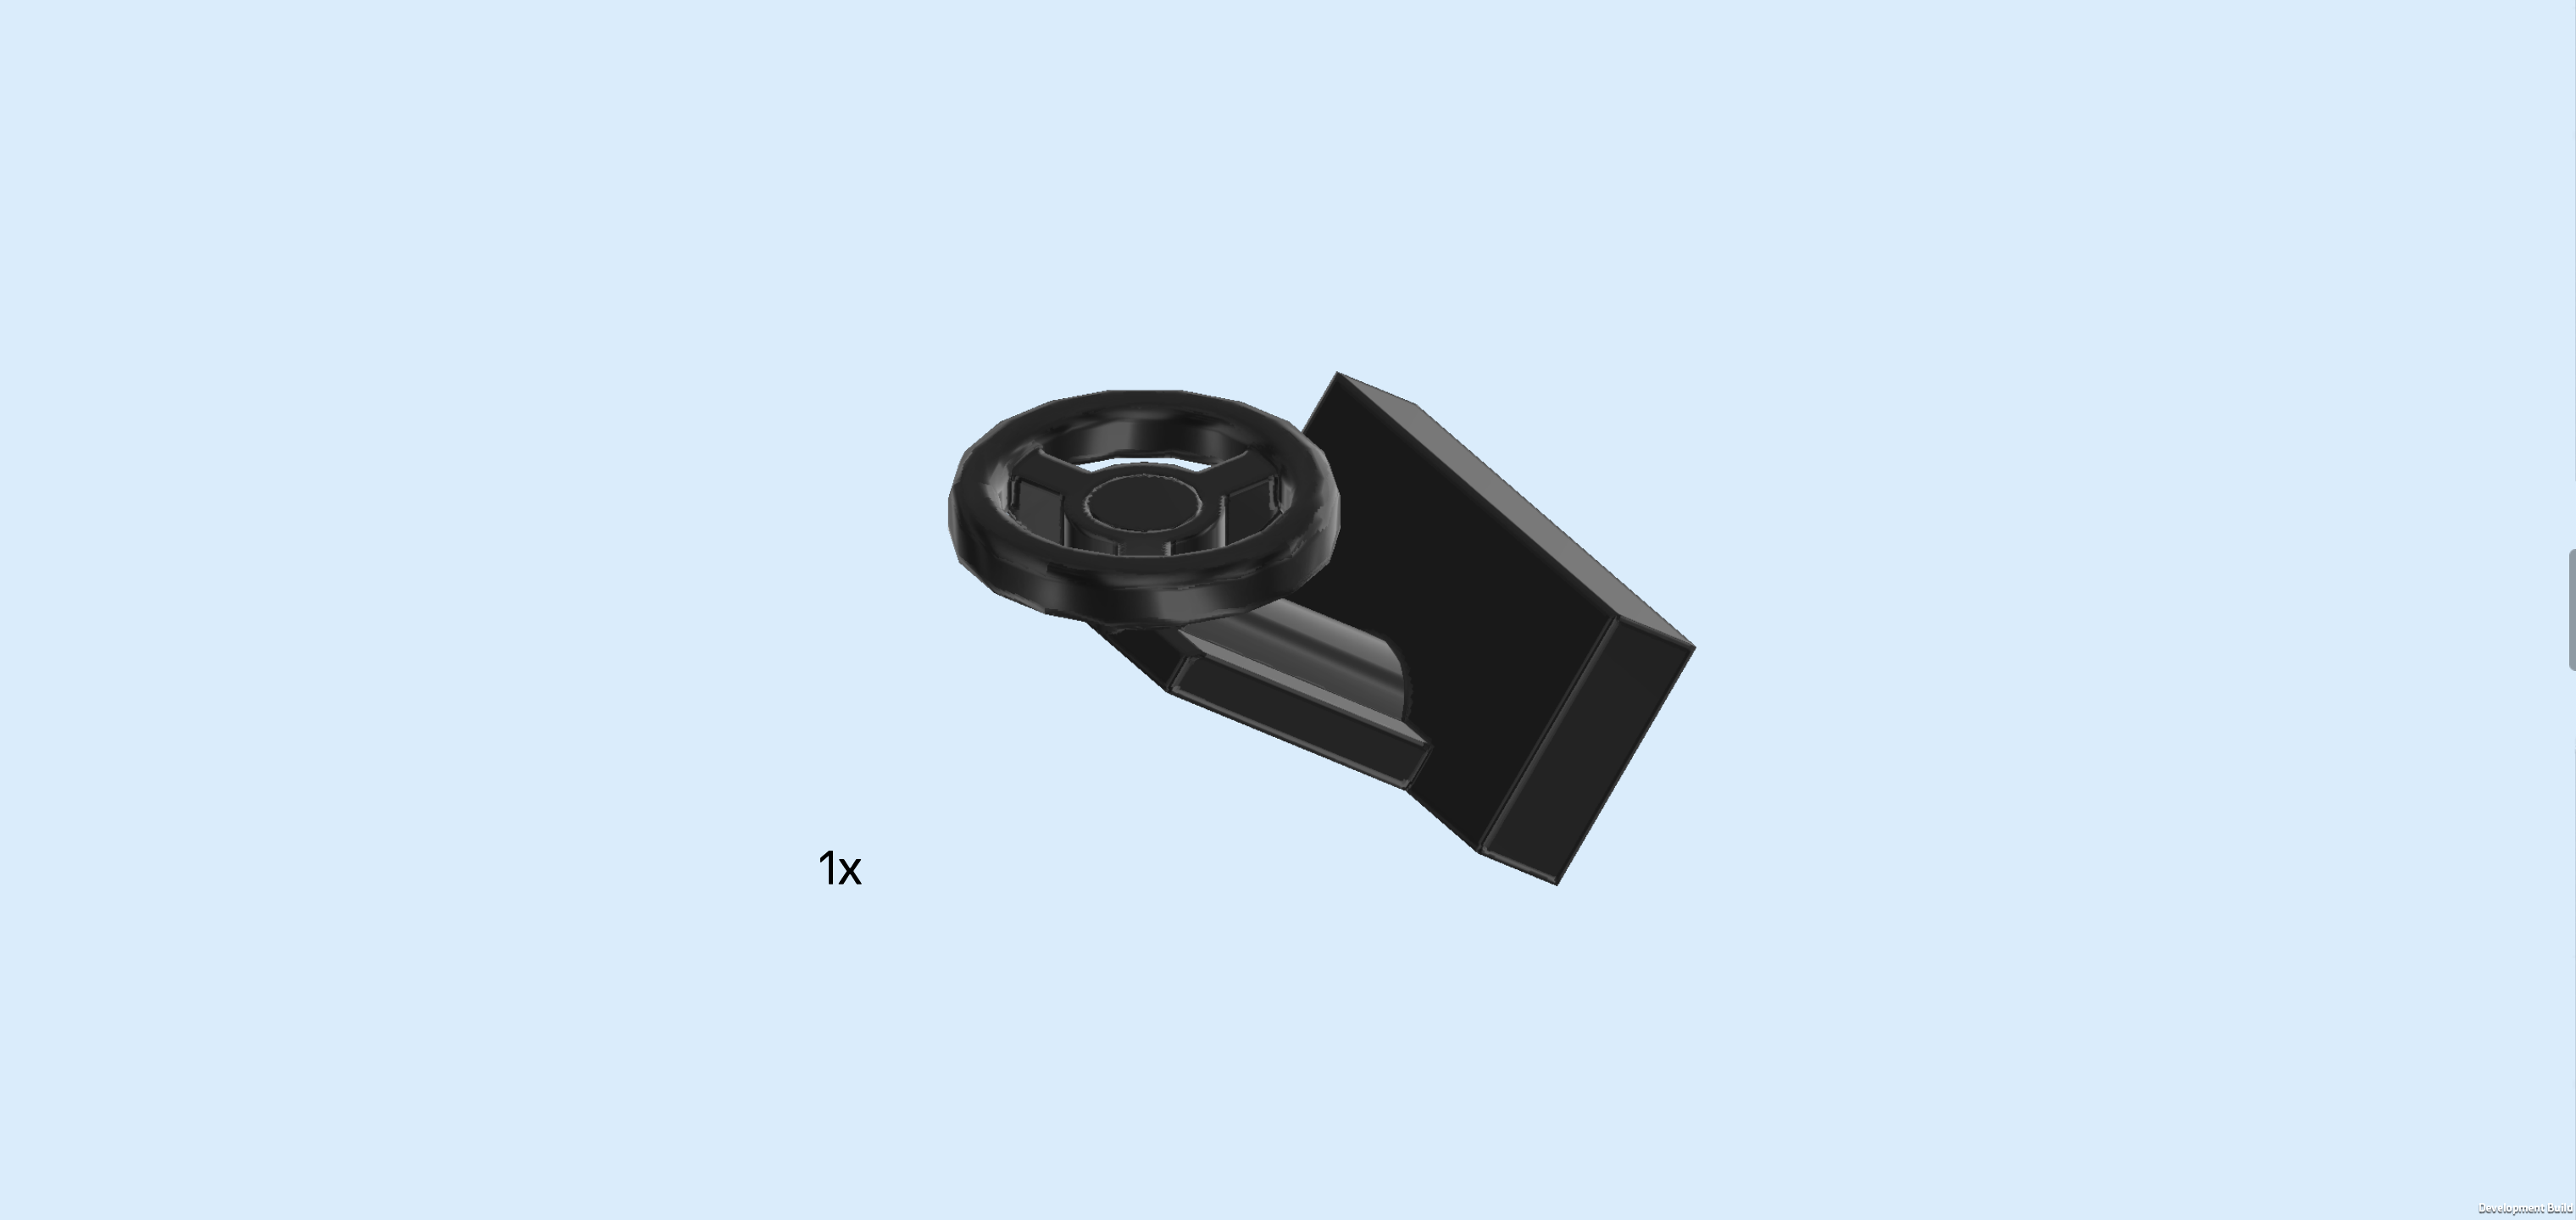
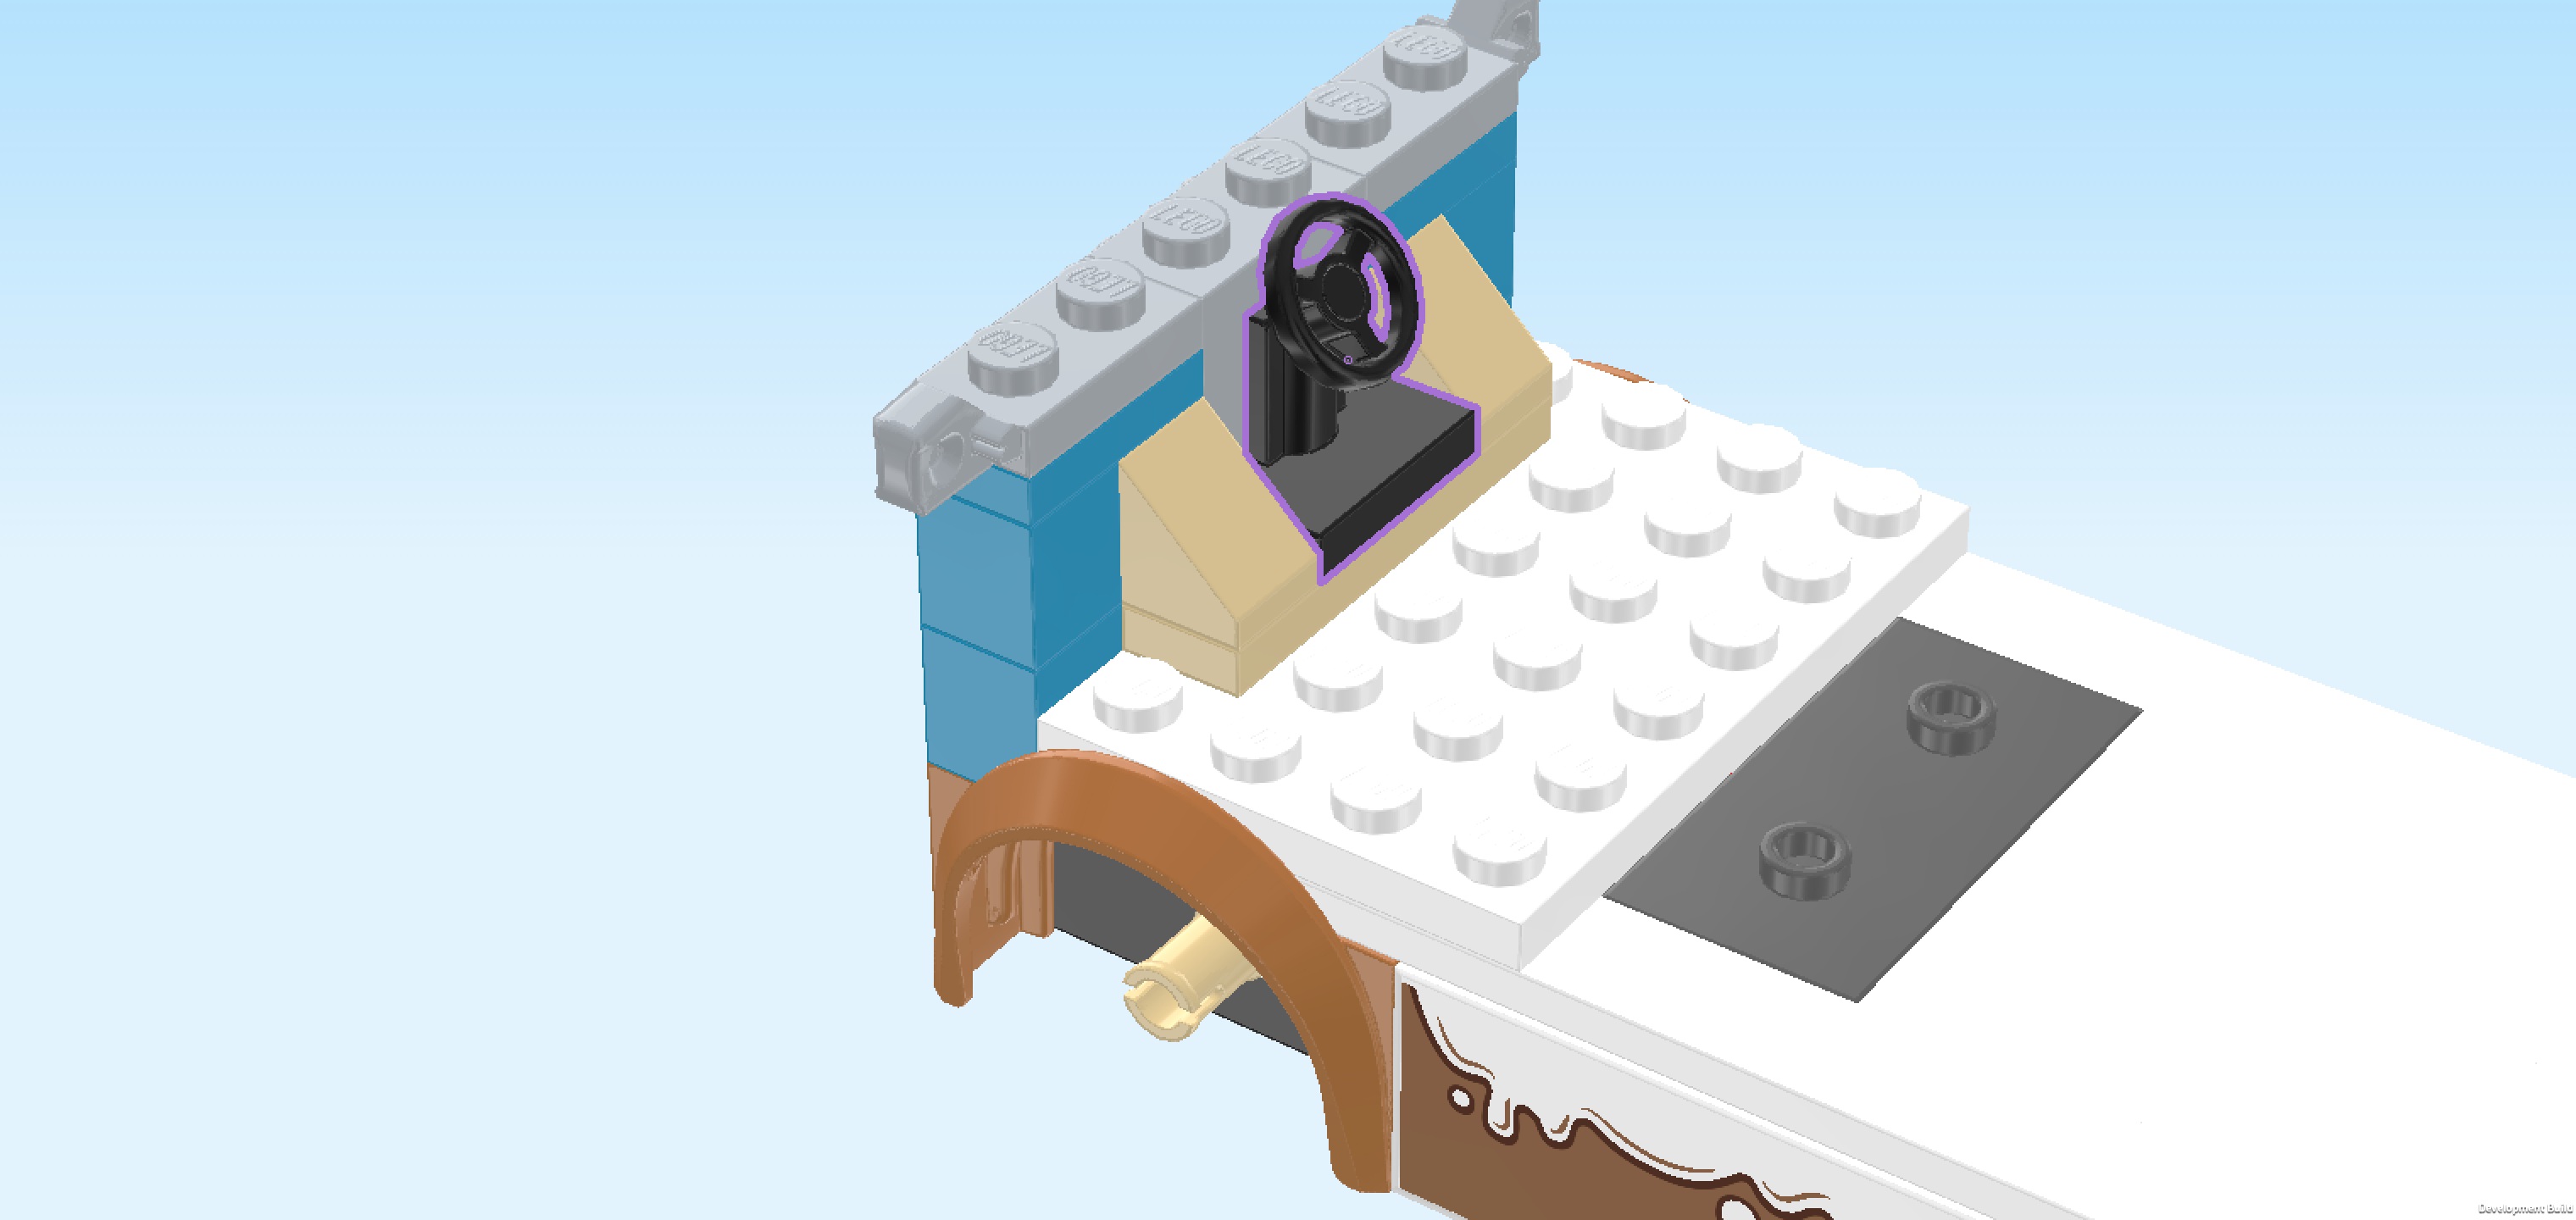
| Find 1 black small steering wheel with plate 1x2. |
| Put it vertically centered to the right of the wall we have just built, steering wheel to the right. This means it will sit between the 2 slopes of the roof tiles. |
| Collect the following 4 pieces: |
| 3 dark azure blue plates 1x2, |
| and 1 beige plate 2x2 with 2 knobs. |
| Put the plate 2x2 to the right of the previous piece, its 2 knobs forming a column on the left. |
| Put 1 plate 1x2 vertically to the right of the previous piece. |
| Put 1 plate 1x2 vertically behind the previous piece and the last one vertically in front of it. |
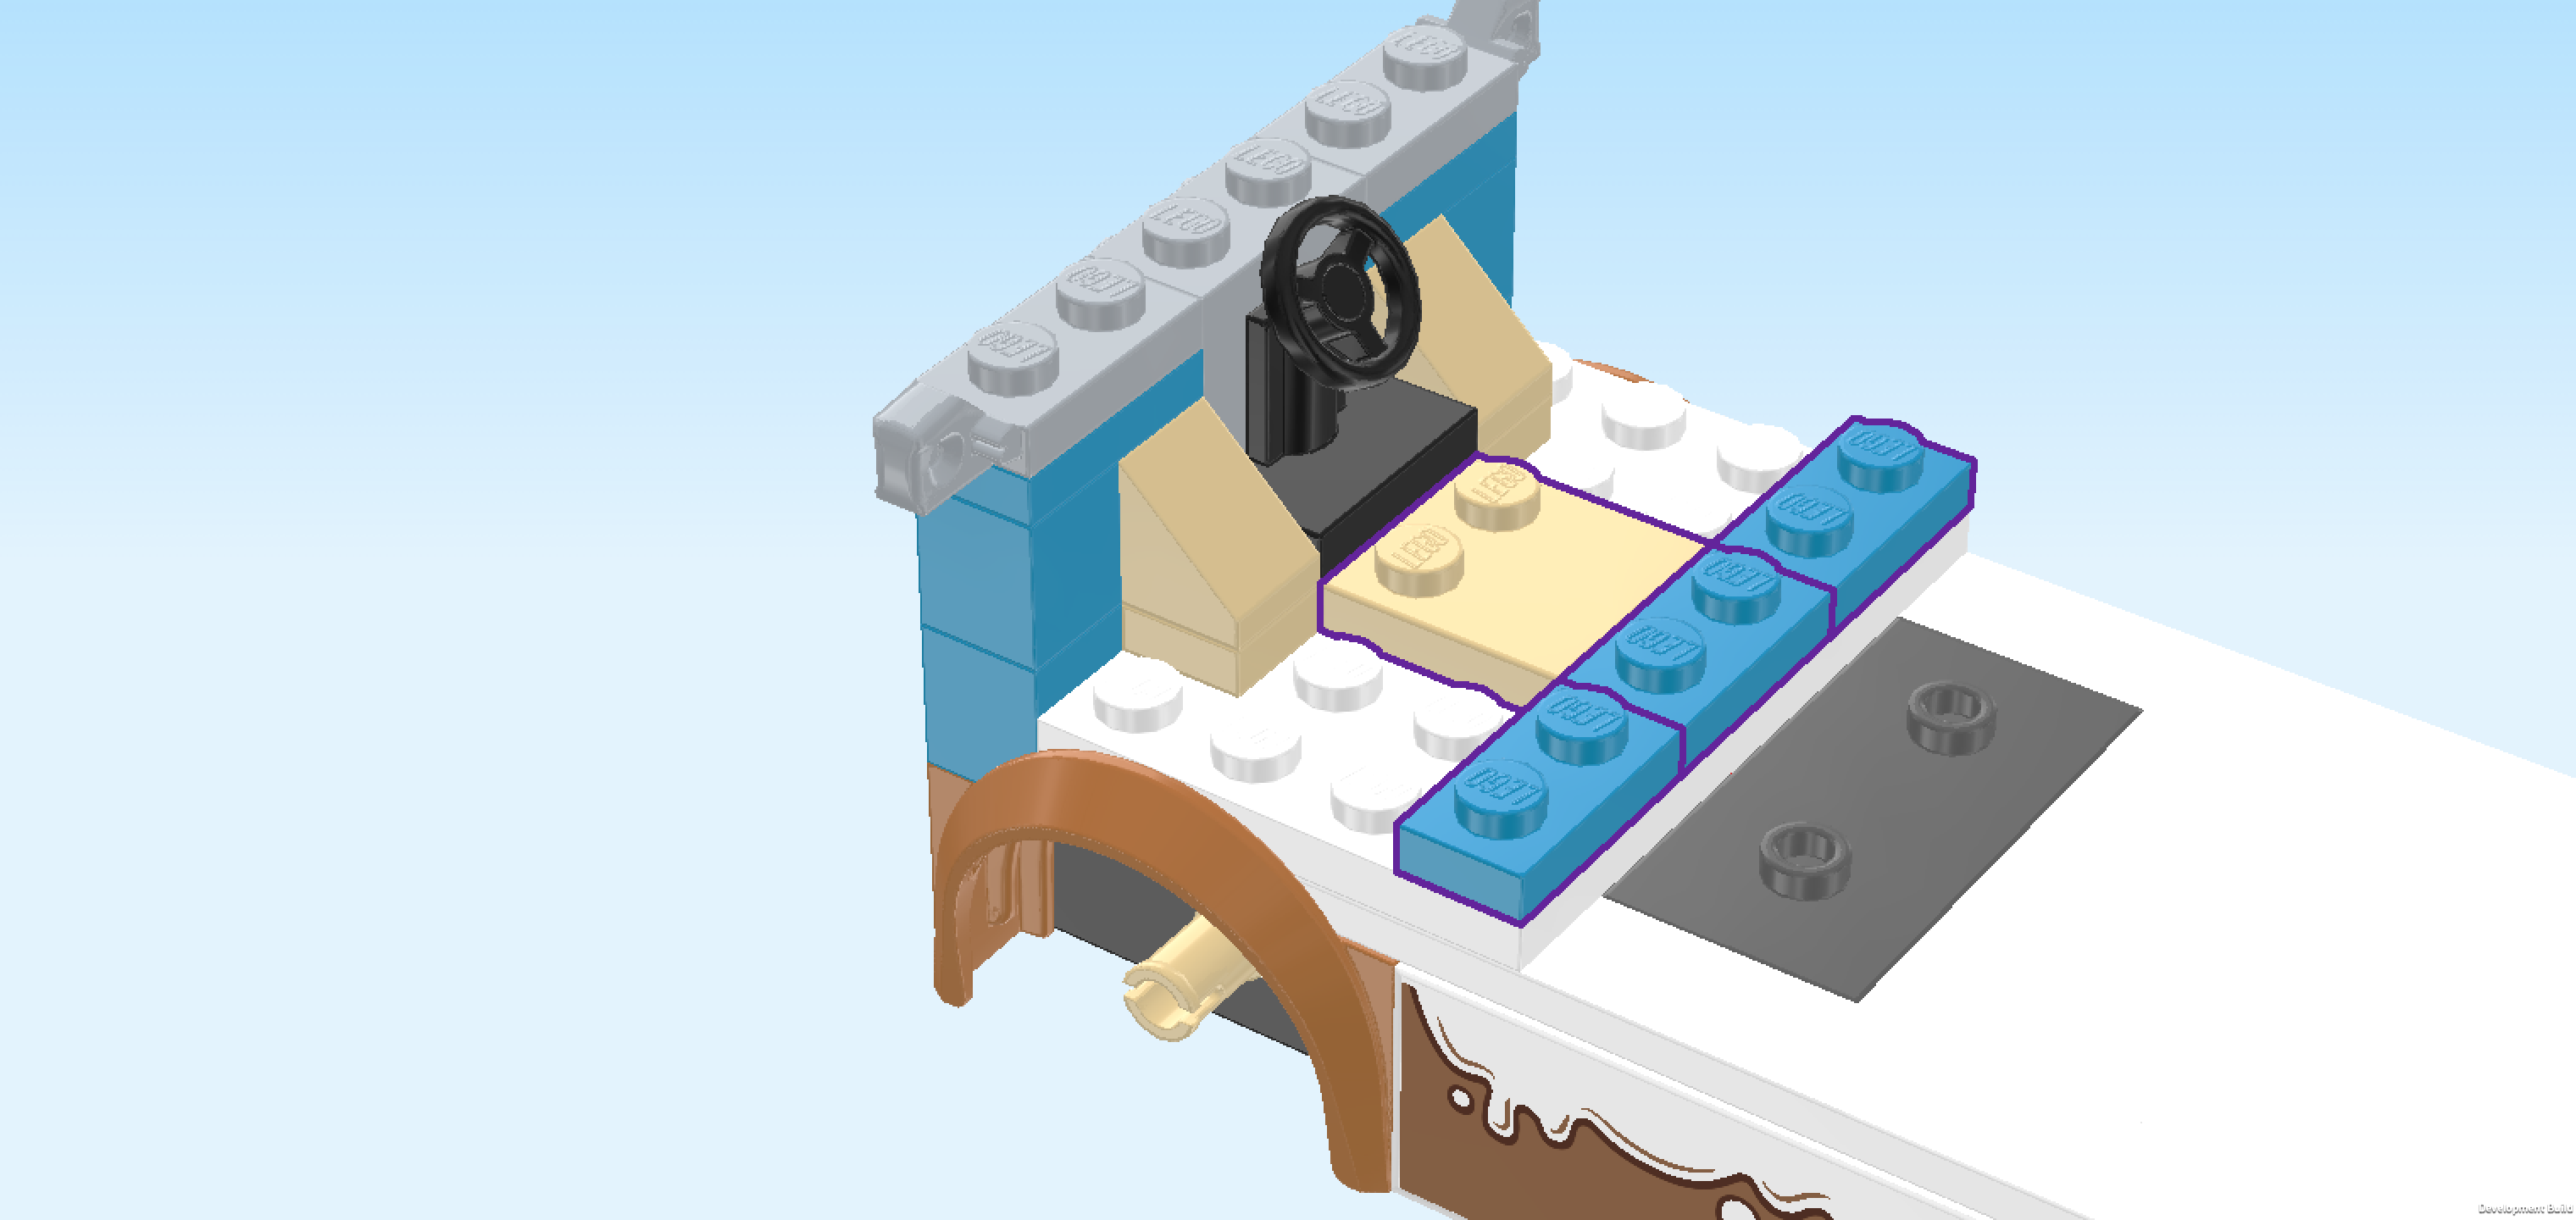
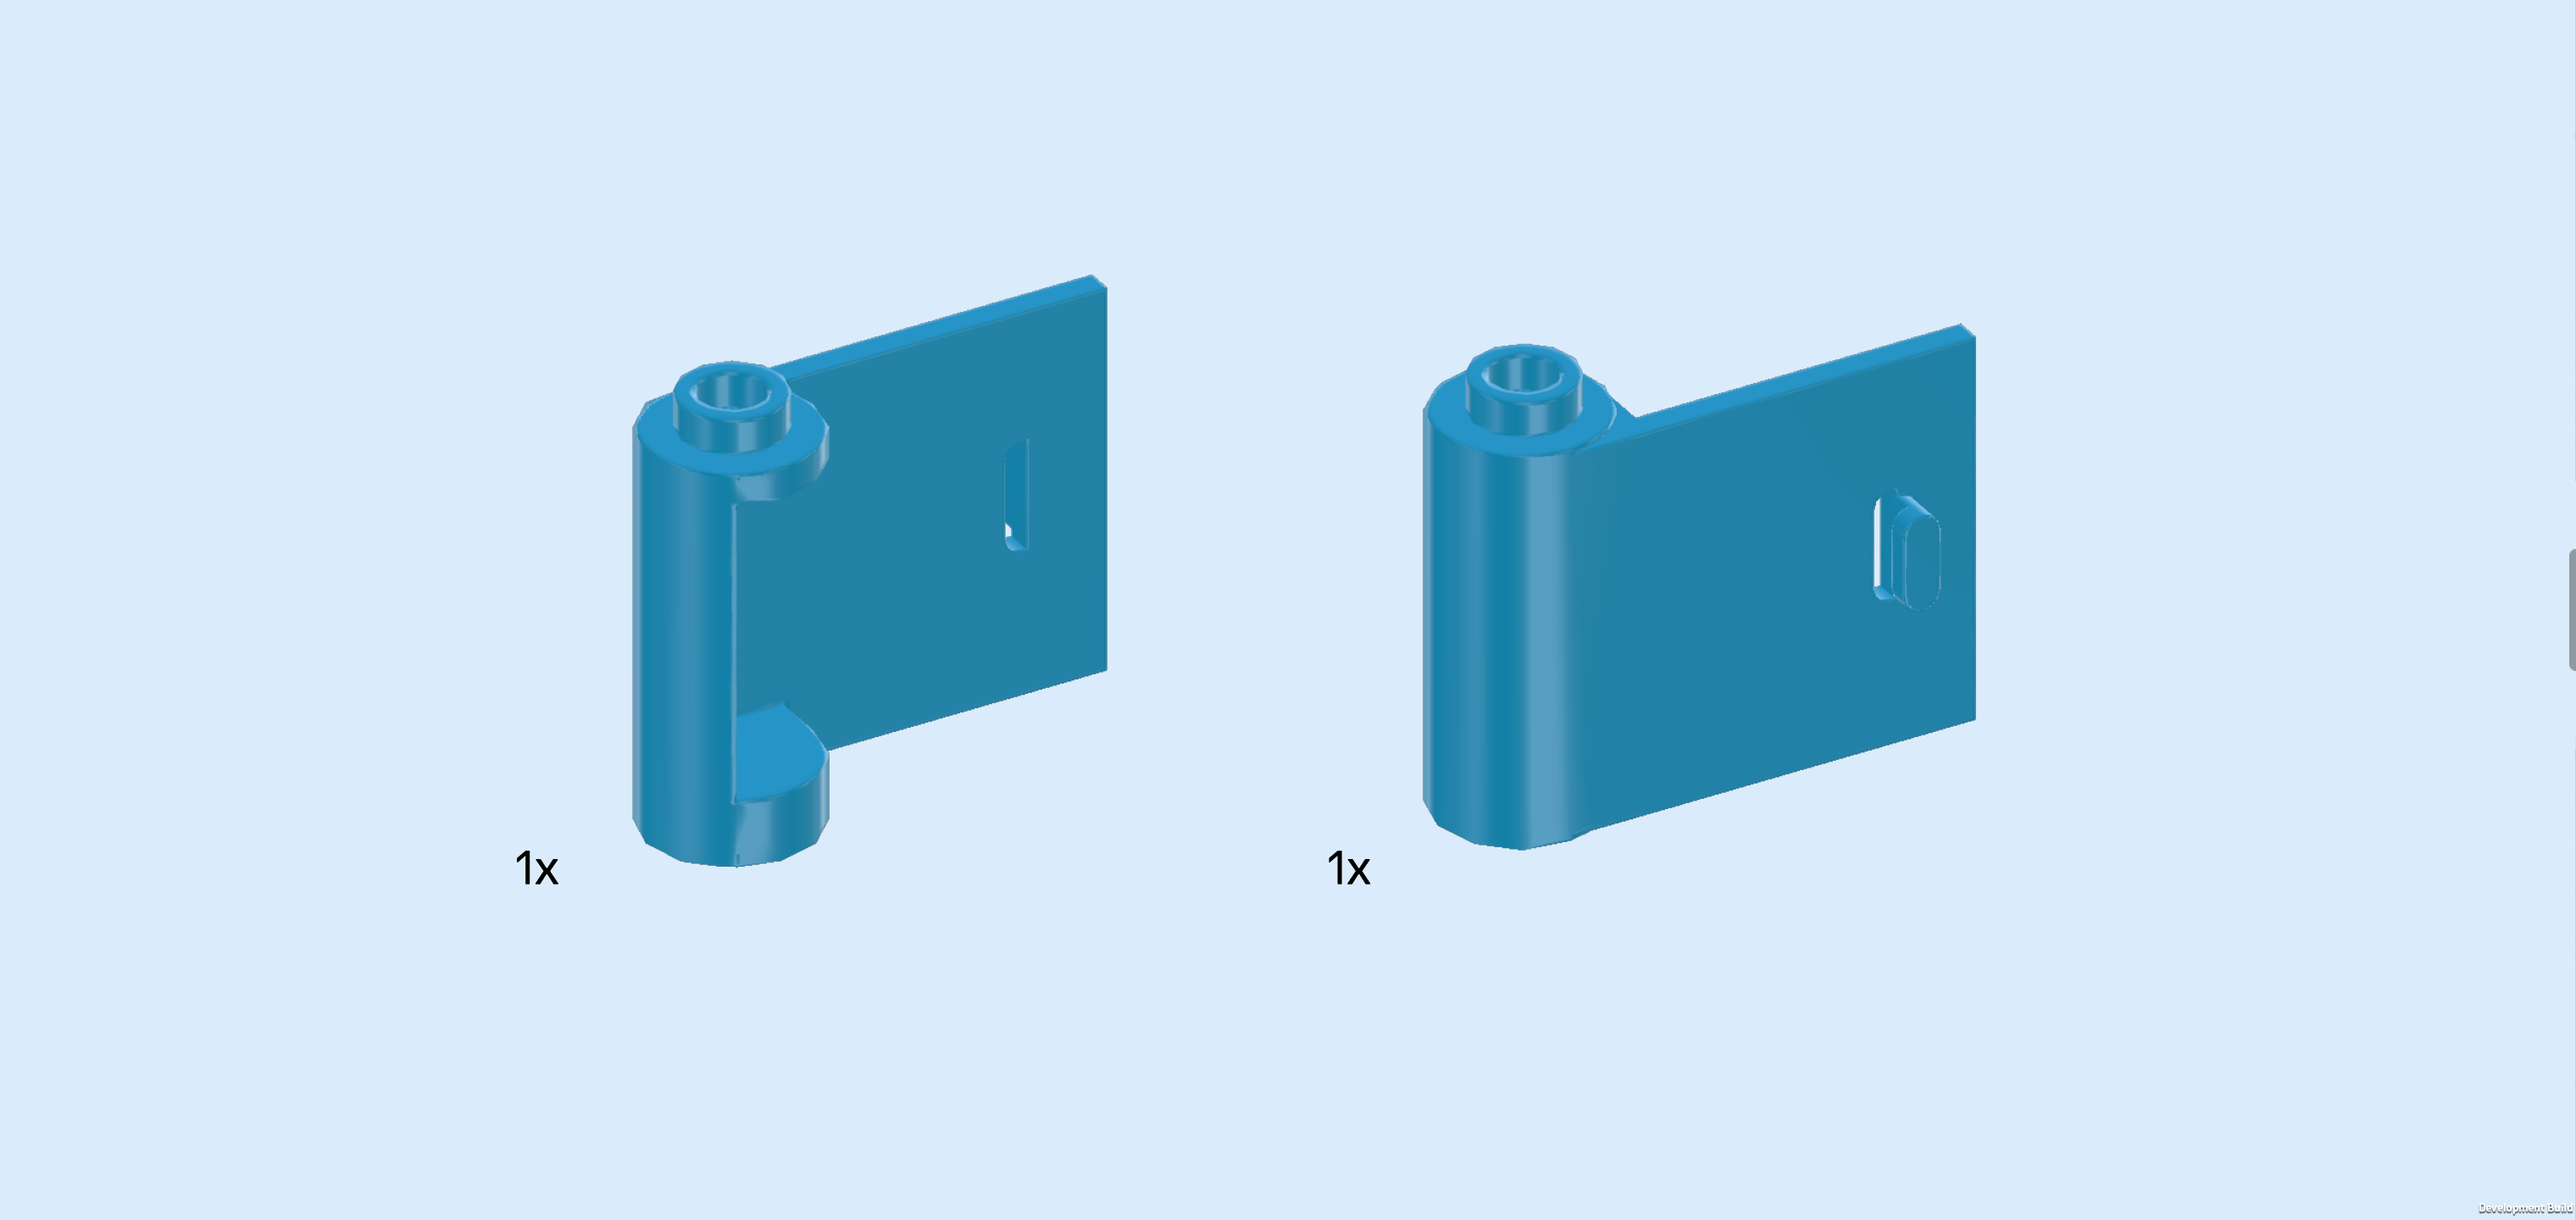
| Collect the following 2 pieces: |
| 1 dark azure blue right door 1x3x2, |
| and 1 dark azure blue left door 1x3x2. |
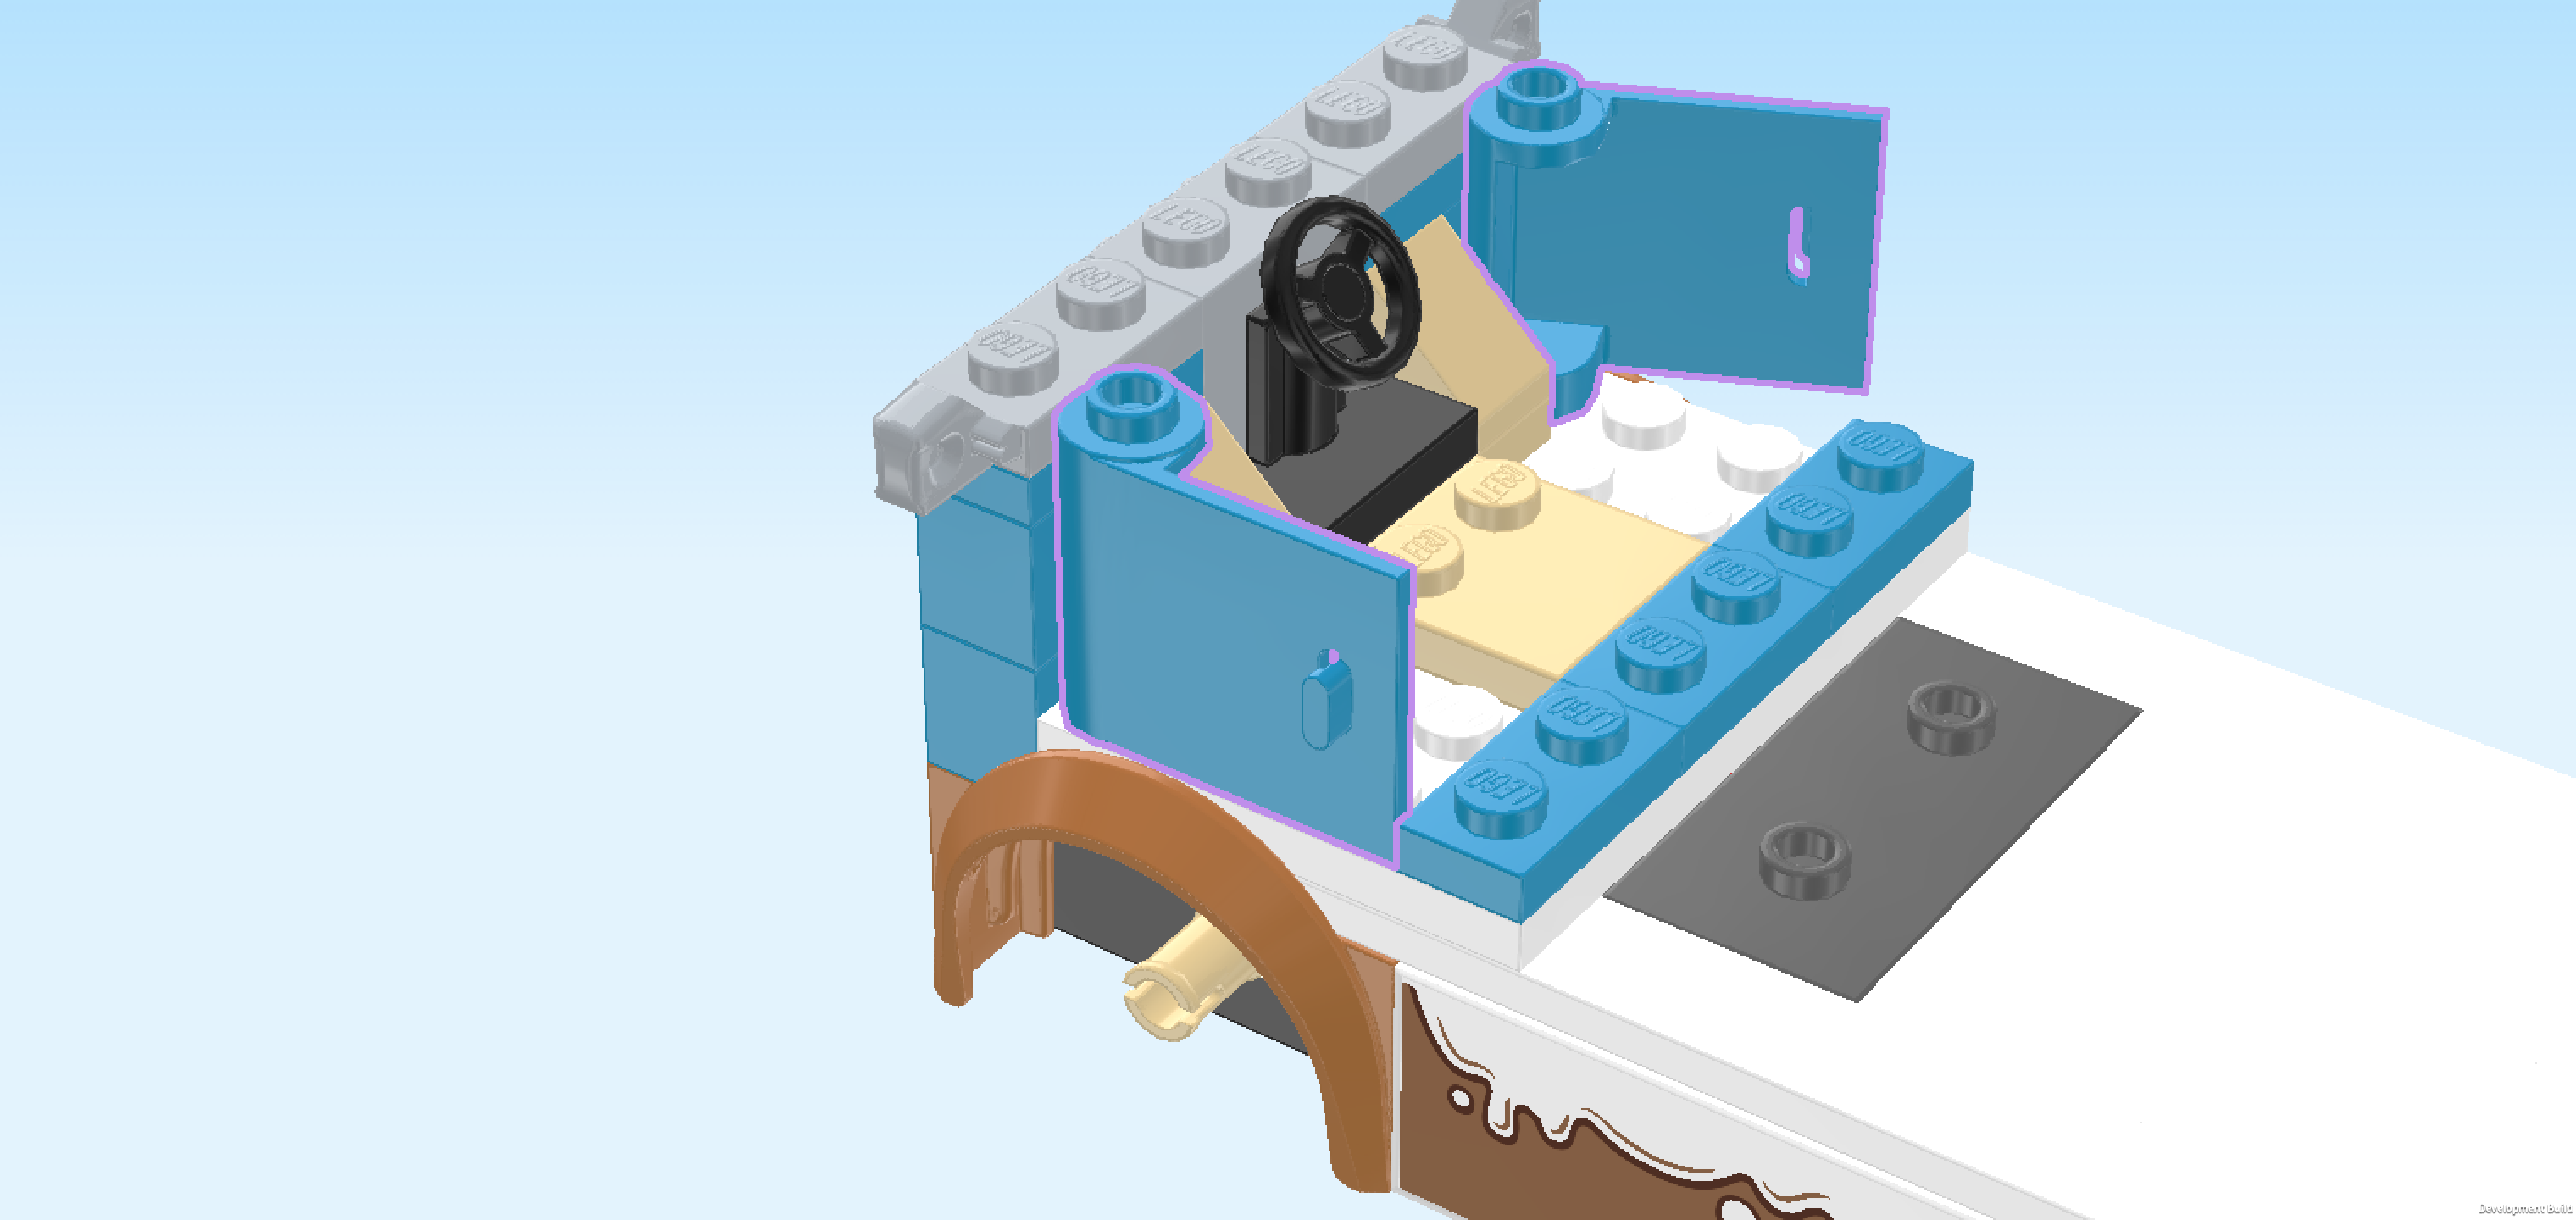
| Put the right door horizontally on the backmost row directly to the right of the leftmost wall. Its knob should connect on the left and the door panel should be at the back edge and swing out towards the back when mounted. |
| Repeat symmetrically at the front with the left door, making sure its mounting point is on the left edge and the door panel can swing out towards the front when mounted. |
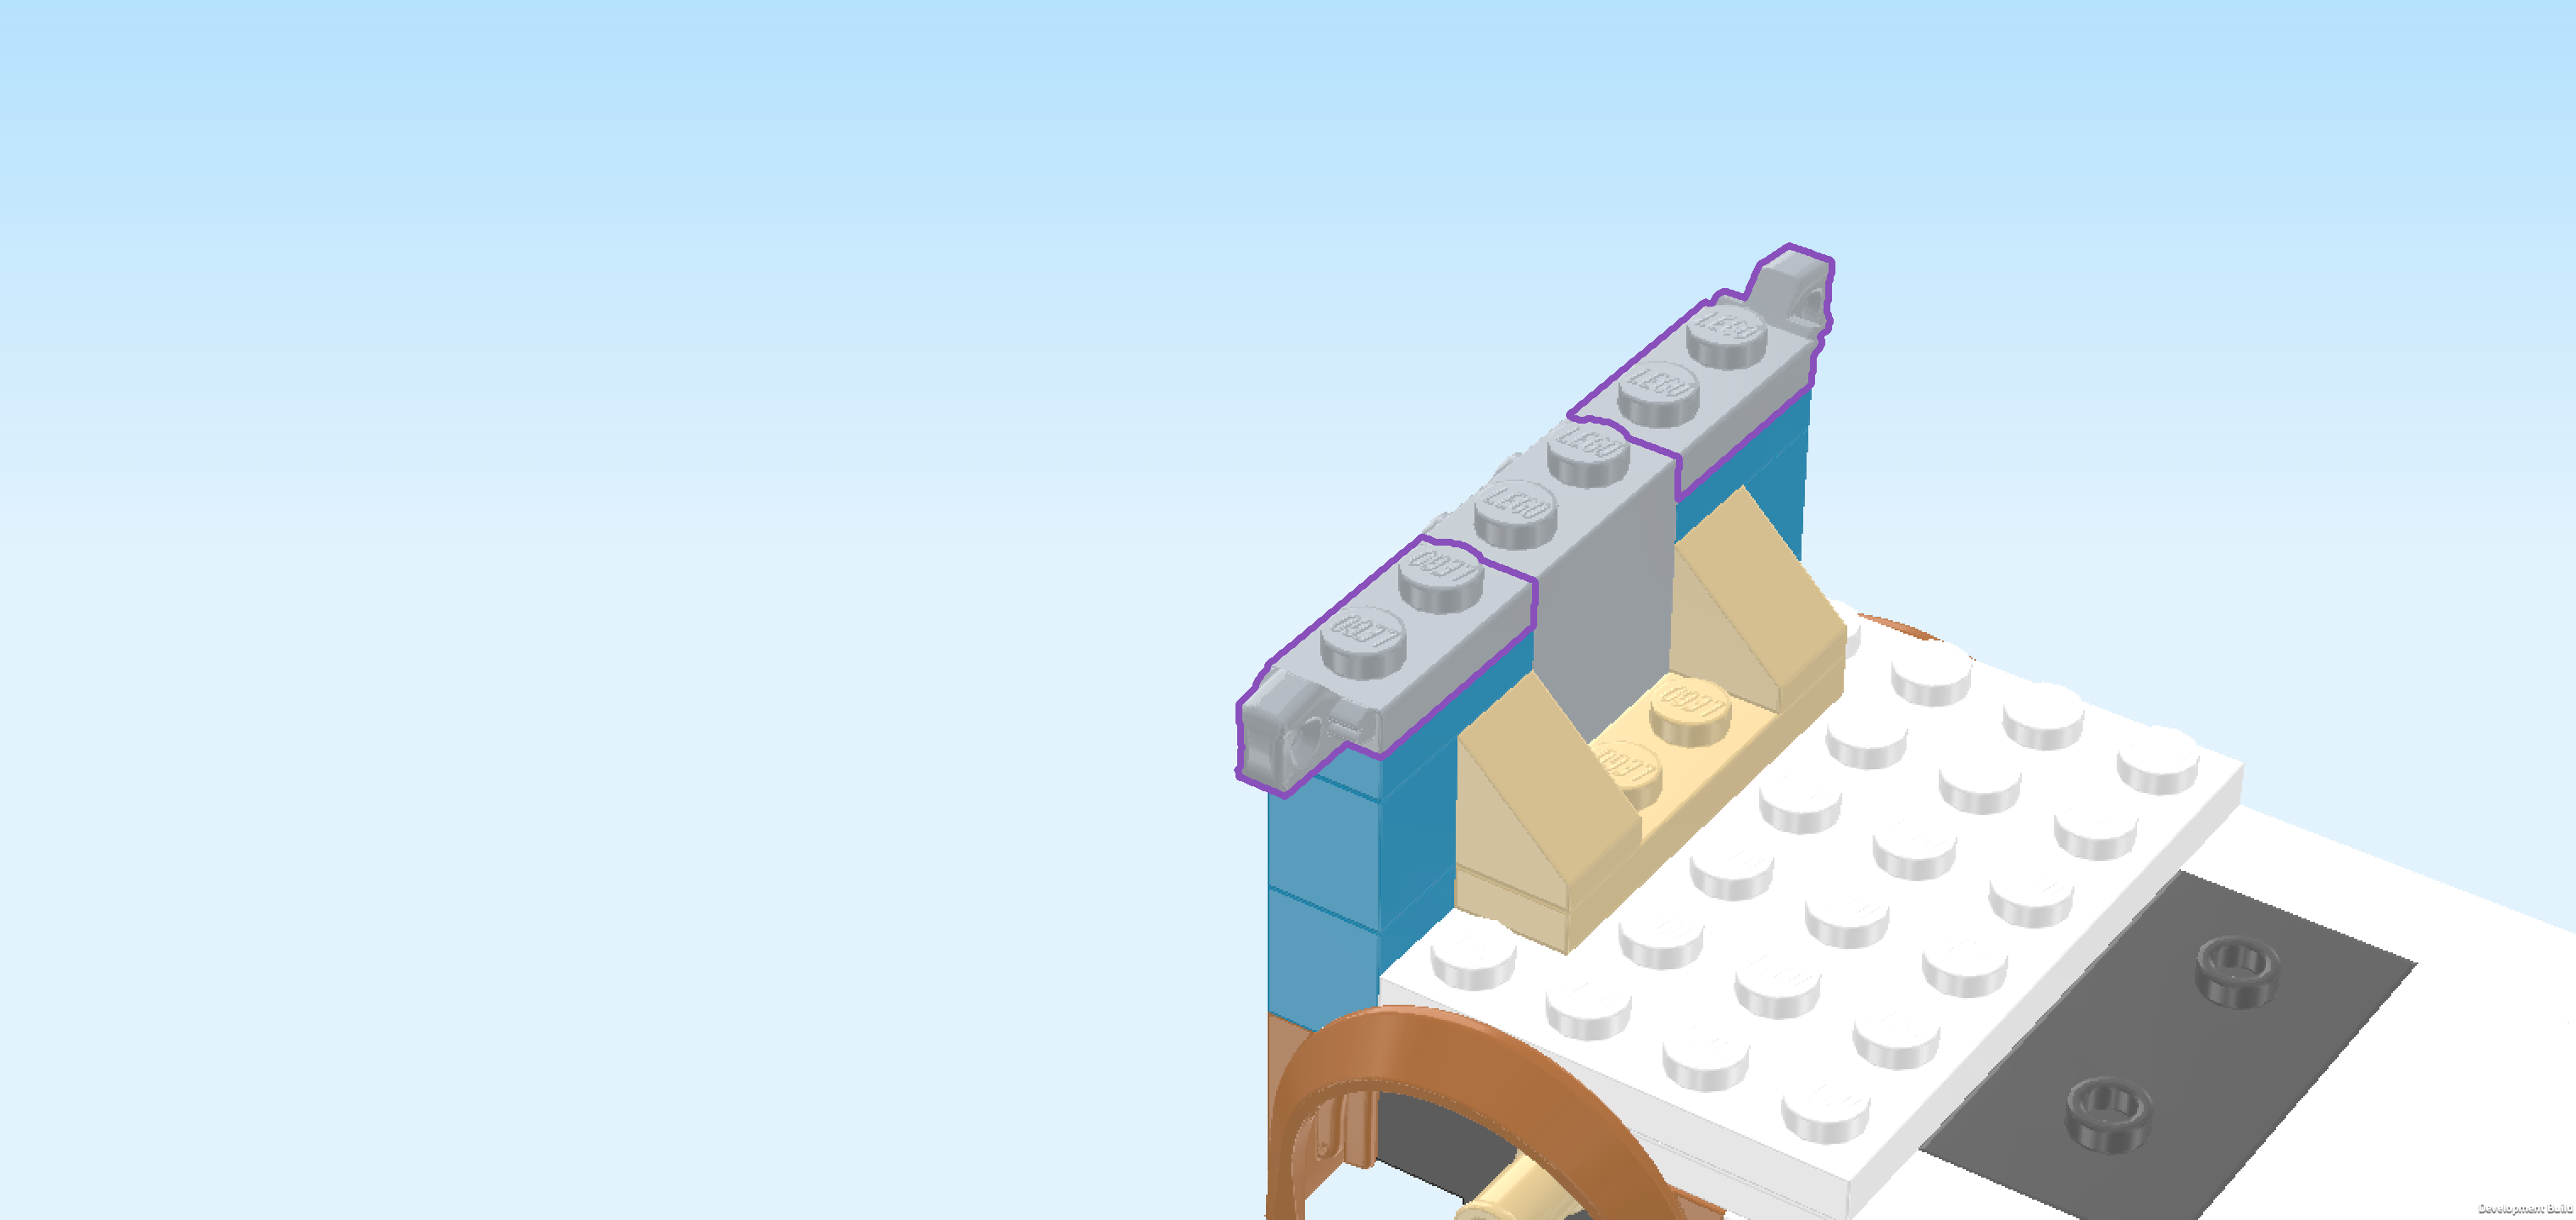
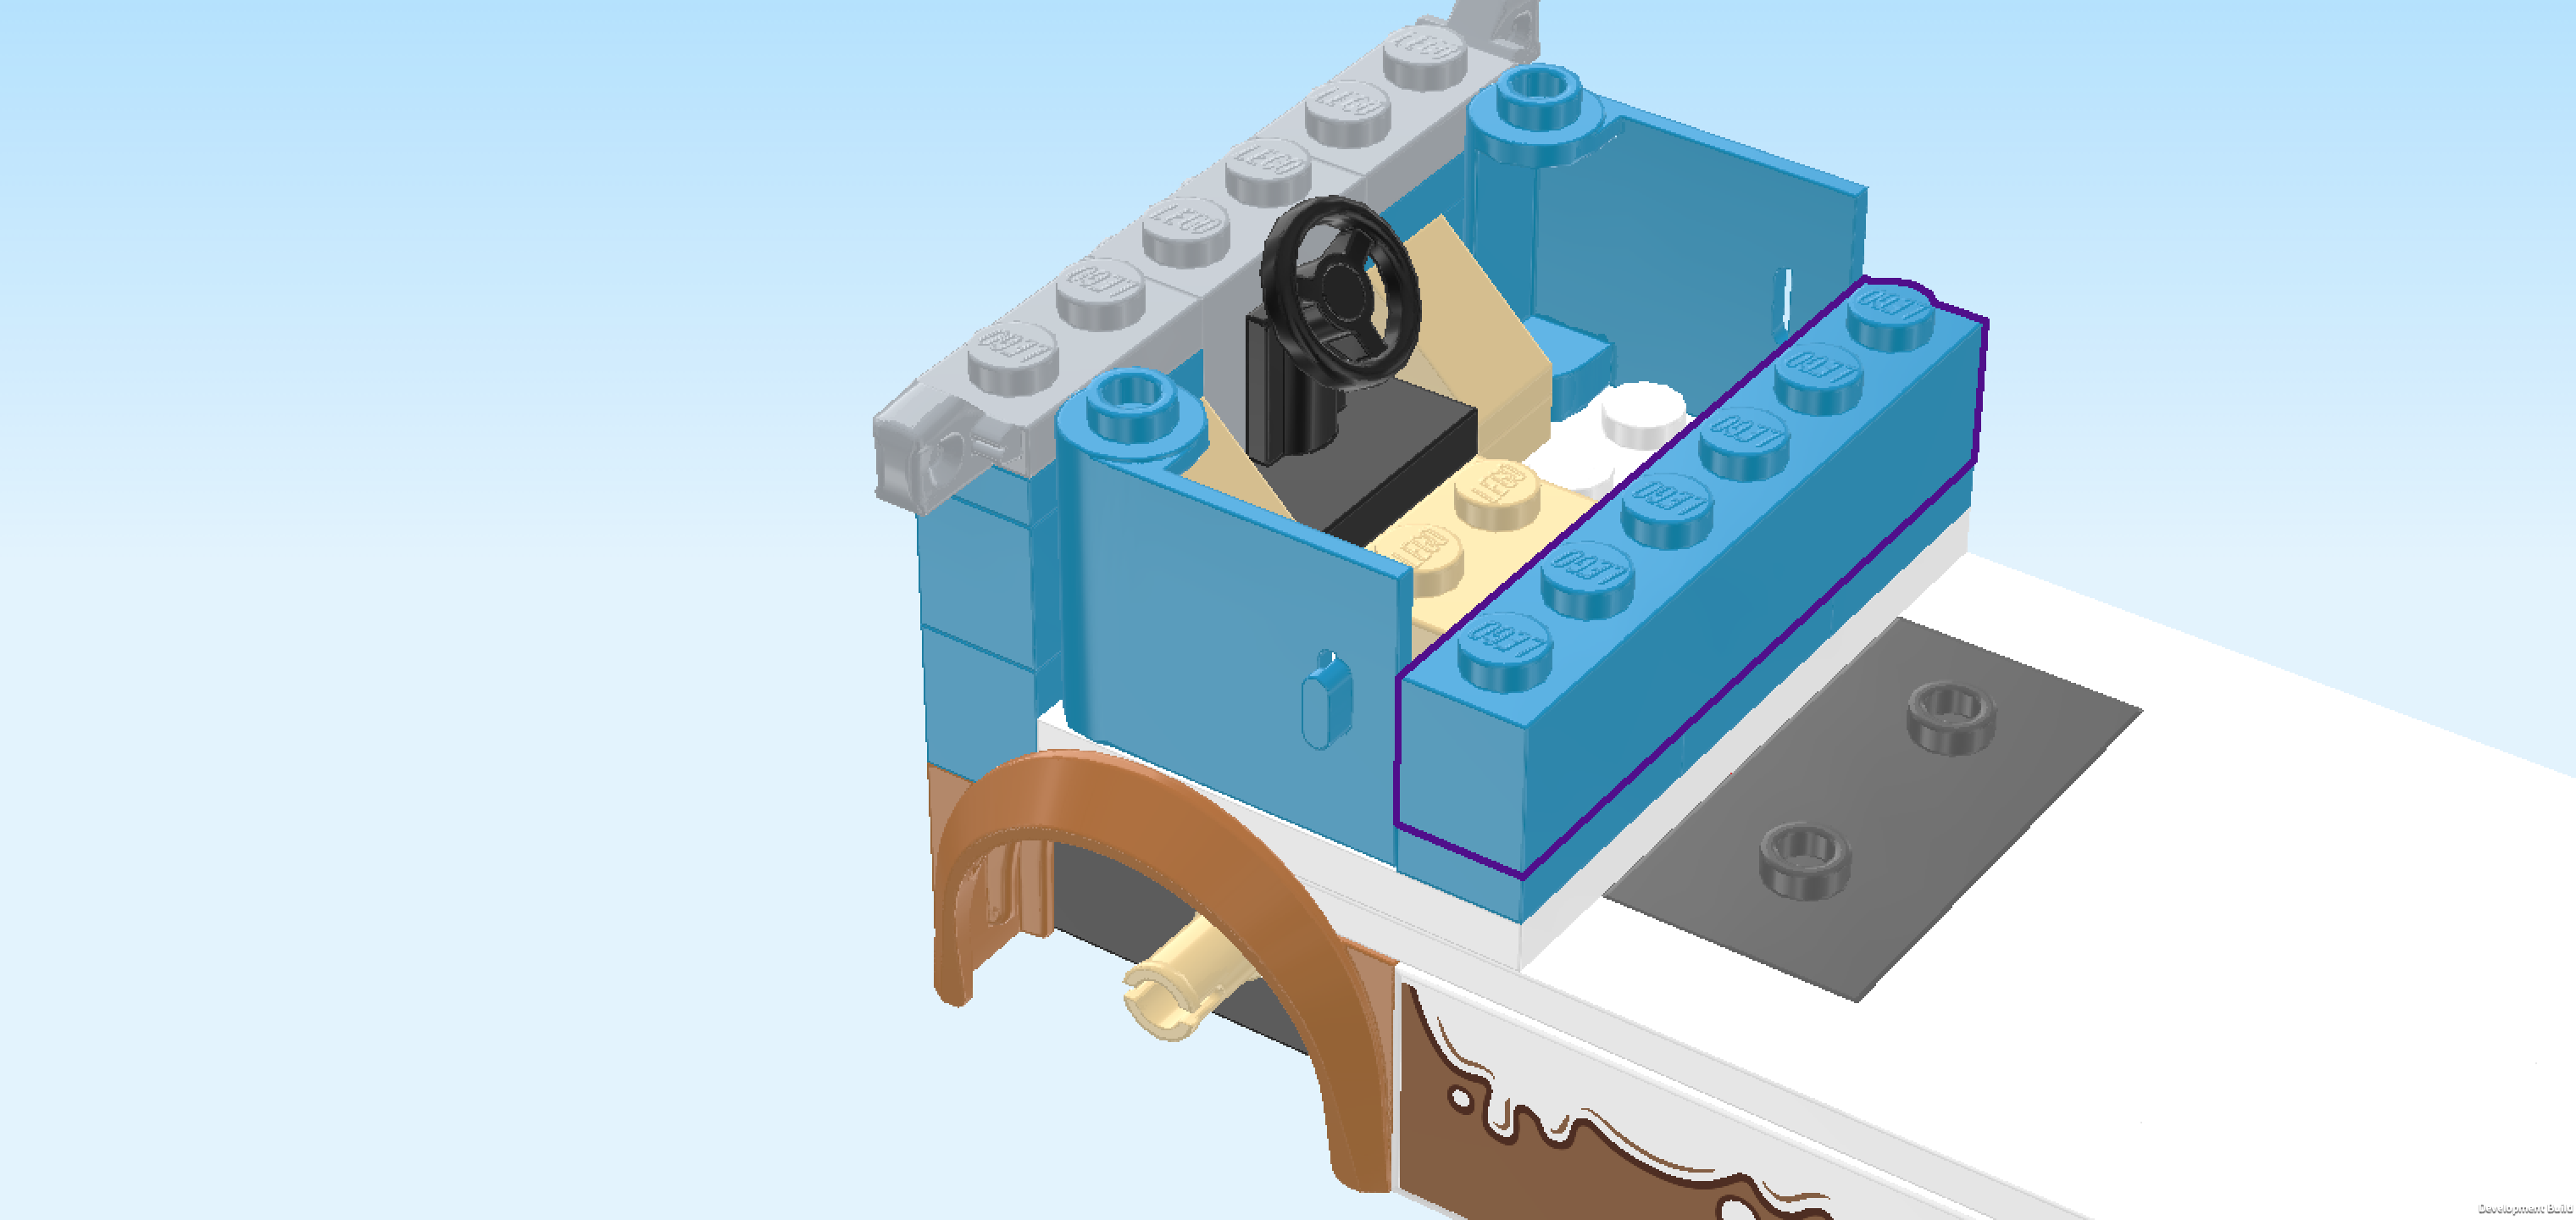
| Find 1 dark azure blue brick 1x6. |
| Make sure the 2 doors are closed and put it vertically to the right of the 2 door pieces. |
| Collect the following 2 pieces: |
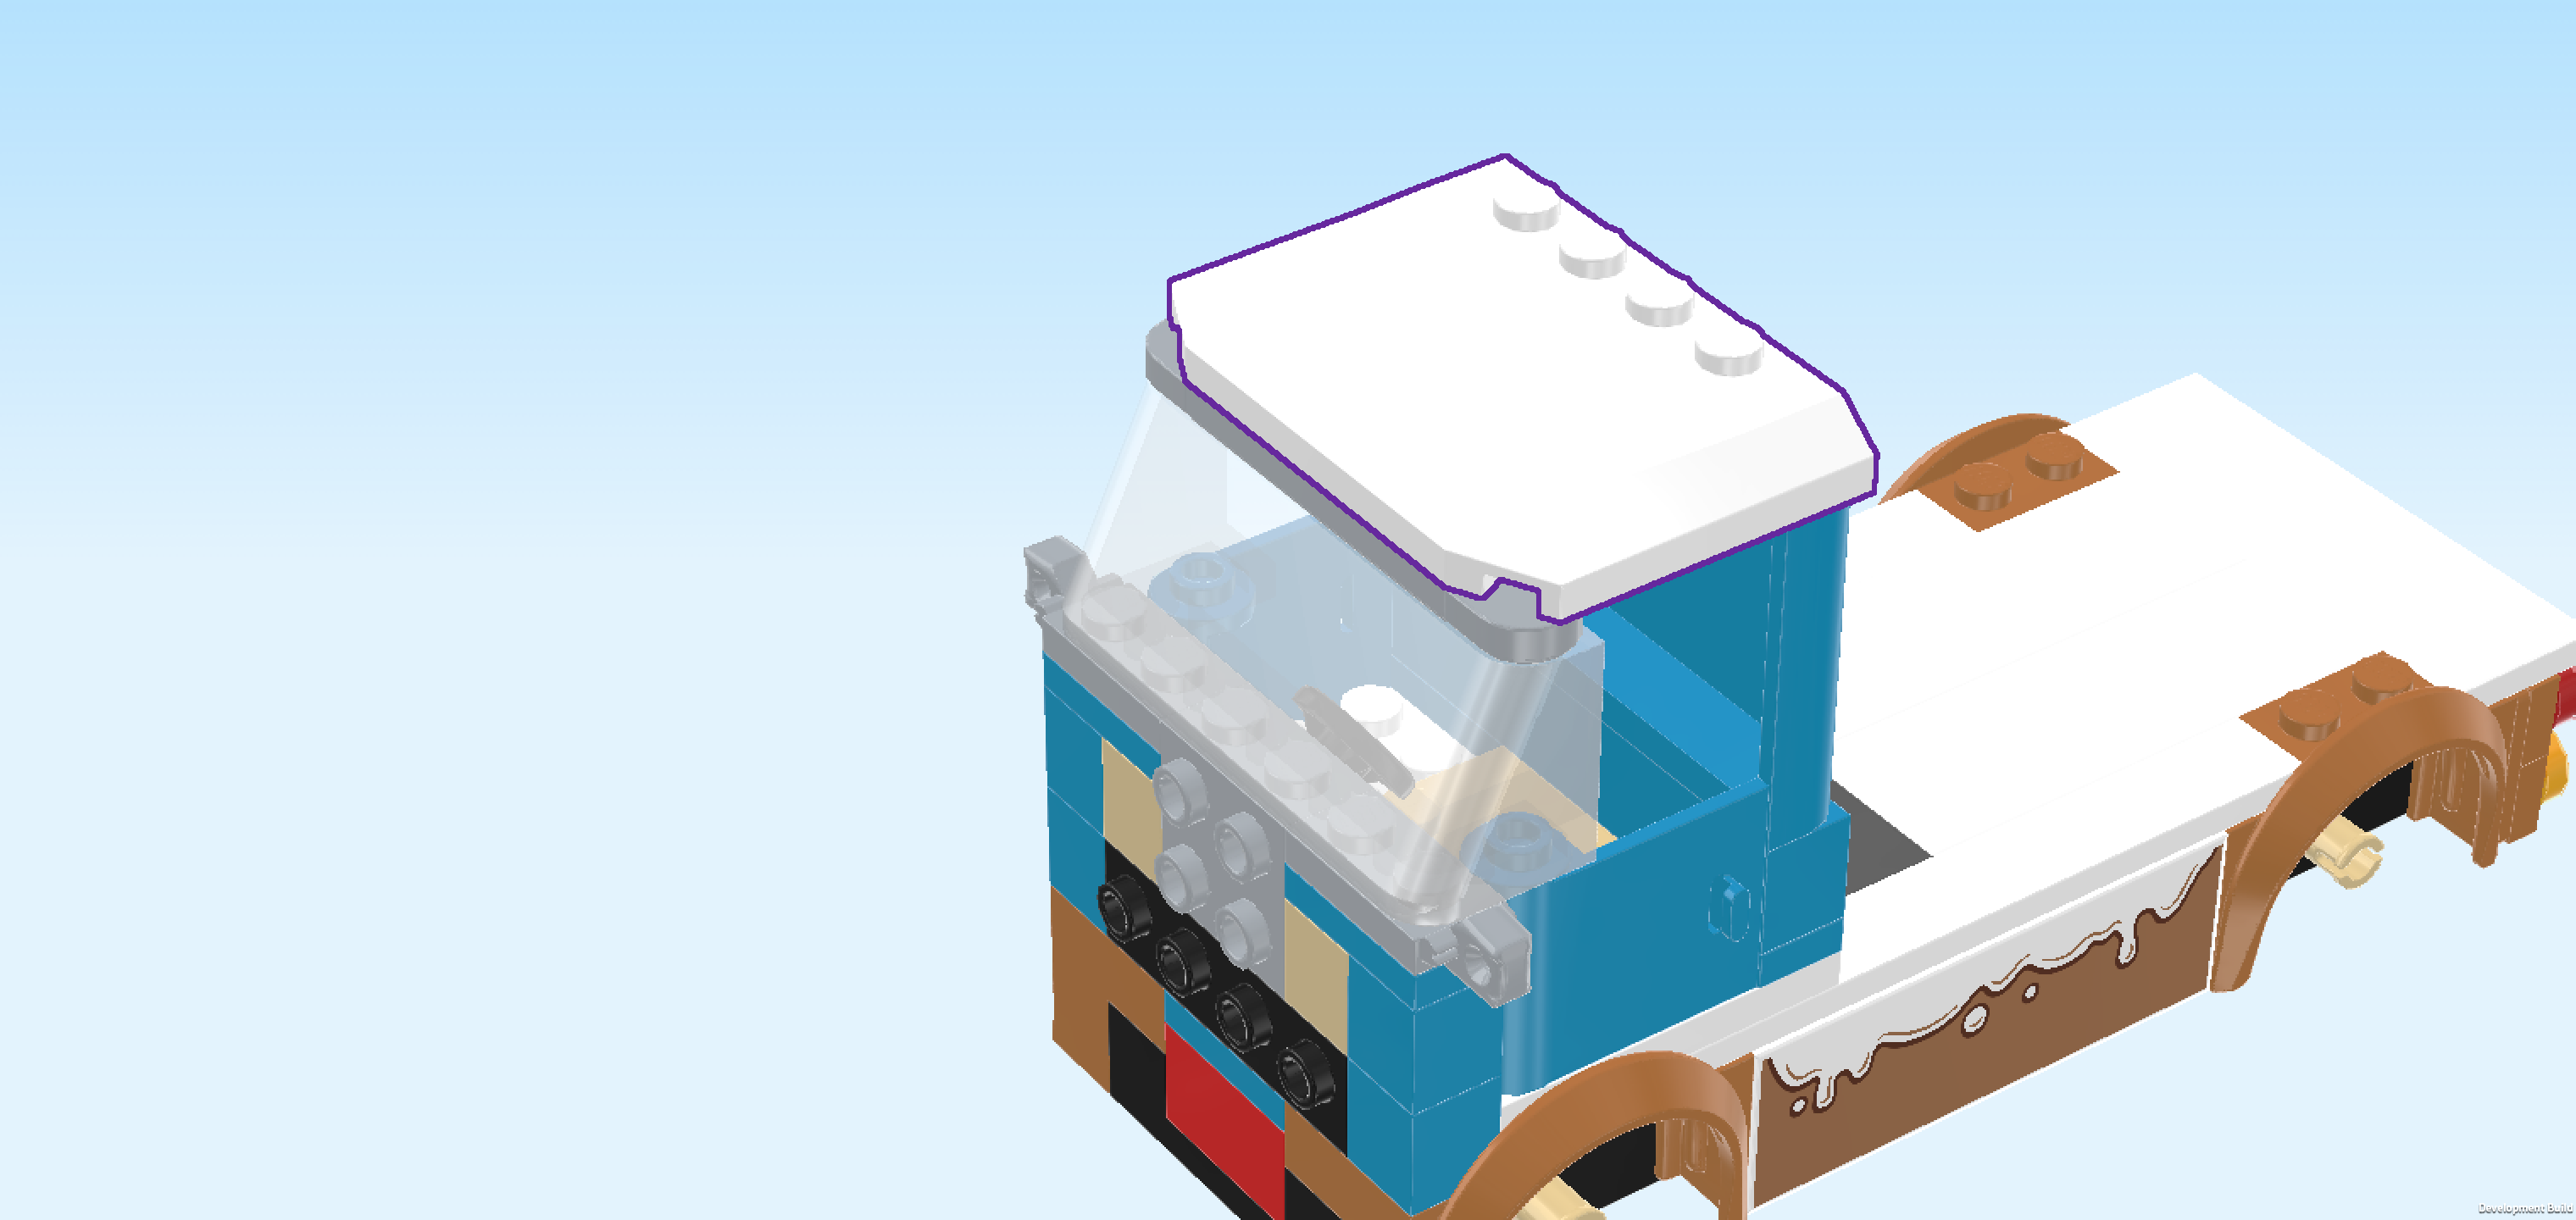
| 1 transparent windscreen 2x6x2, |
| and 1 dark azure blue wall element 1x6x3 with 2 top knobs. |
| Put the wall element 1x6x3 vertically on the previous piece, hollow side to the left. |
| Put the windscreen vertically on the leftmost column, slope to the left. |
| Find 1 medium stone grey plate 1x4 with 2 knobs. |
| Put it vertically centered on top of the windscreen. |
| Find 2 medium stone grey half-circle tiles 1x1. |
| Put 1 behind the previous piece, half circle to the back, and the other one in front of it, half circle to the front. |
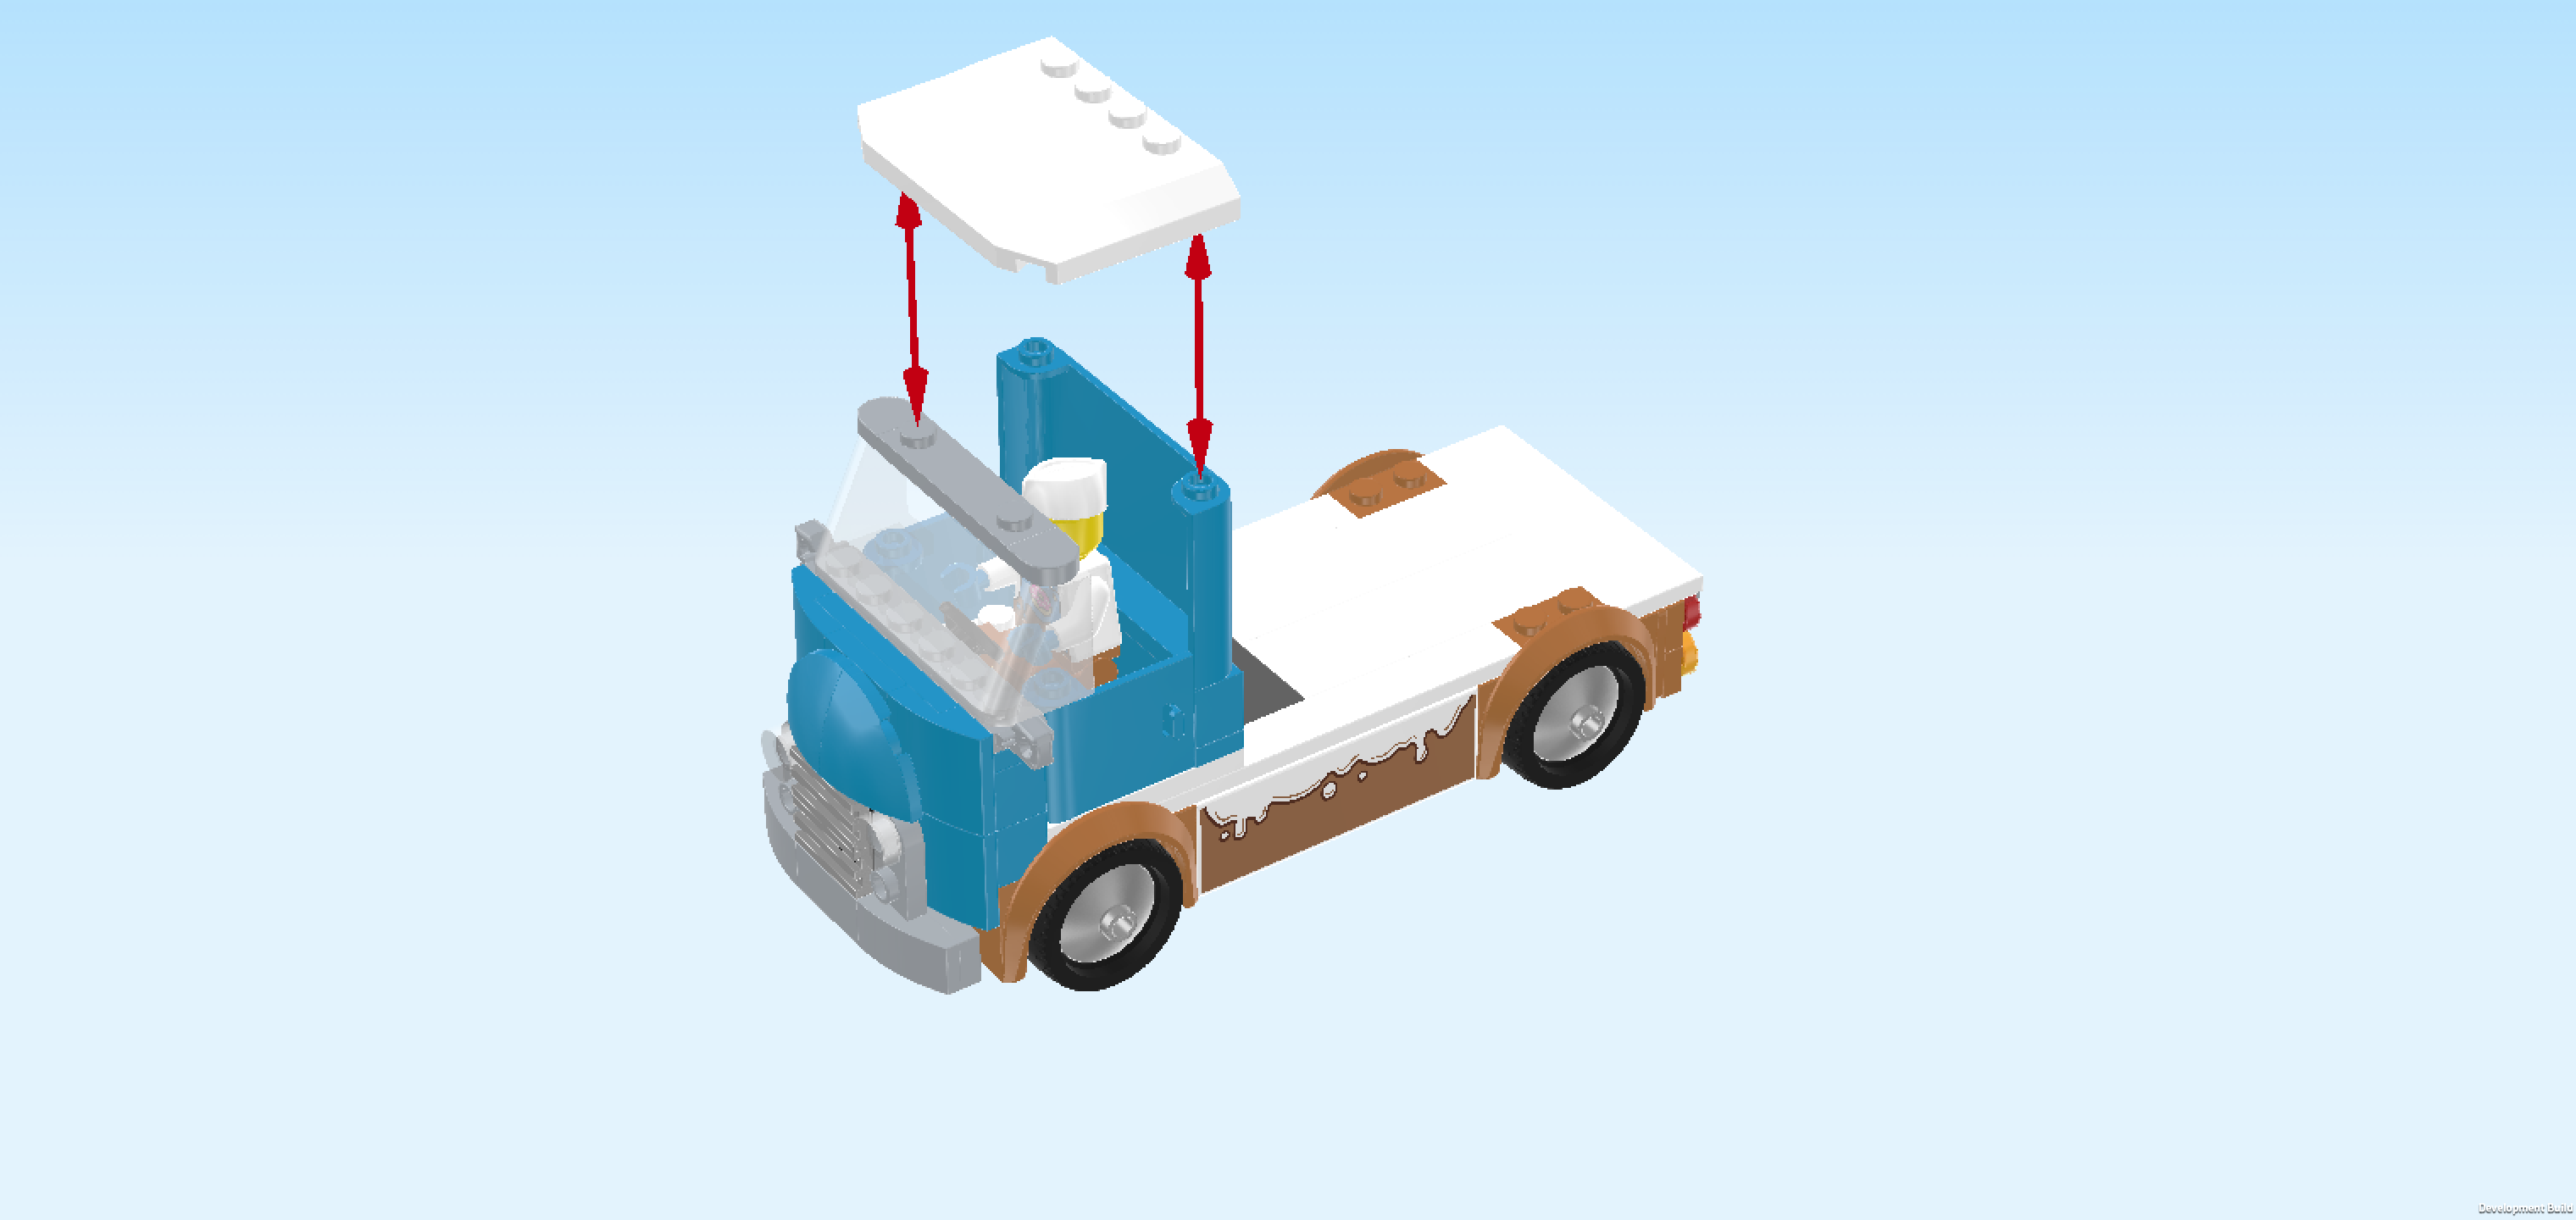
| Find 1 white hood plate 4x6x⅔ with 2 angled corners and 4 knobs. |
| Put it vertically on top of the windscreen and wall element, rounded corners to the left, its 4 knobs forming a column on the right. |
| Next up, we will build the front hood with grille. |
| Collect the following 2 pieces: |
| 1 medium stone grey plate 1x6, |
| and 1 dark stone grey plate 4x4. |
| Put the plate 4x4 on the table. Make sure its knobs form straight rows and columns in front of you. |
| Put the plate 1x6 horizontally centered on the backmost row, symmetrically overhanging to the left and right. |
| Find 1 dark azure blue plate 2x4. |
| Put it vertically centered in front of the previous piece, 1 row overhanging to the front. |
| Find 1 dark azure blue plate 1x4. |
| Put it horizontally centered underneath the previous piece's overhang. Align it with the front edge of the plate 4x4. |
| Find 4 dark azure blue one-stepped curve tiles 2x2. |
| Put 1 on the rightmost column, starting from the front edge, curve towards the right, 1/2 overhanging to the right. |
| Put 1 behind the previous piece in the same orientation. |
| Repeat symmetrically on the left with the 2 remaining pieces. |
| If done correctly, there are still 2 empty columns in the middle and 1 empty row at the back. |
| Find 1 black plate 2x4. |
| Put it vertically on the 2 middle columns, starting from the back edge. |
| Find 2 medium stone grey rounded plates 1x3. |
| Put 1 vertically to the left of the previous piece, starting from the back edge. |
| Repeat symmetrically on the right. |
| Collect the following 3 pieces: |
| 1 medium stone grey flat tile 1x2, |
| and 2 medium stone grey one-stepped curve tiles 1x2. |
| Put the flat tile 1x2 horizontally centered on the backmost row. |
| Put 1 one-stepped curve tile 1x2 horizontally to the left of the previous piece, curve to the left. |
| Repeat symmetrically on the right. |
| These three smooth pieces will later be the front bumper! |
| Collect the following 4 pieces: |
| 2 dust grey grille tiles 1x2, |
| and 2 transparent round tiles 1x1. |
| Put 1 grille tile 1x2 horizontally in front of the flat tile 1x2 from the previous step. |
| Put the other grille tile 1x2 horizontally in front of the previous piece. |
| Put 1 round tile 1x1 to the left of the previous piece and the other one to its right. |
| Find 2 dark azure blue one-stepped quarter-circle curve tiles 2x2. |
| Turn 1 so that its corner is on the back left and the quarter circle is on the front right. |
| Mount it on the 2 right knobs of the 4 frontmost knobs. This means that only its left half will actually connect to knobs. |
| Put the other one to the left of the previous piece, quarter circle to the front left. |
| The front hood with grille is finished! Well done! Flip it upright and turn it so that the 2 curve tiles we have attached last are towards the top edge while the front bumper structure is at the bottom. Mount it on the vehicle using the side knobs pointing to the left. Make sure that the top edge is aligned with the bottom edge of the windscreen. |
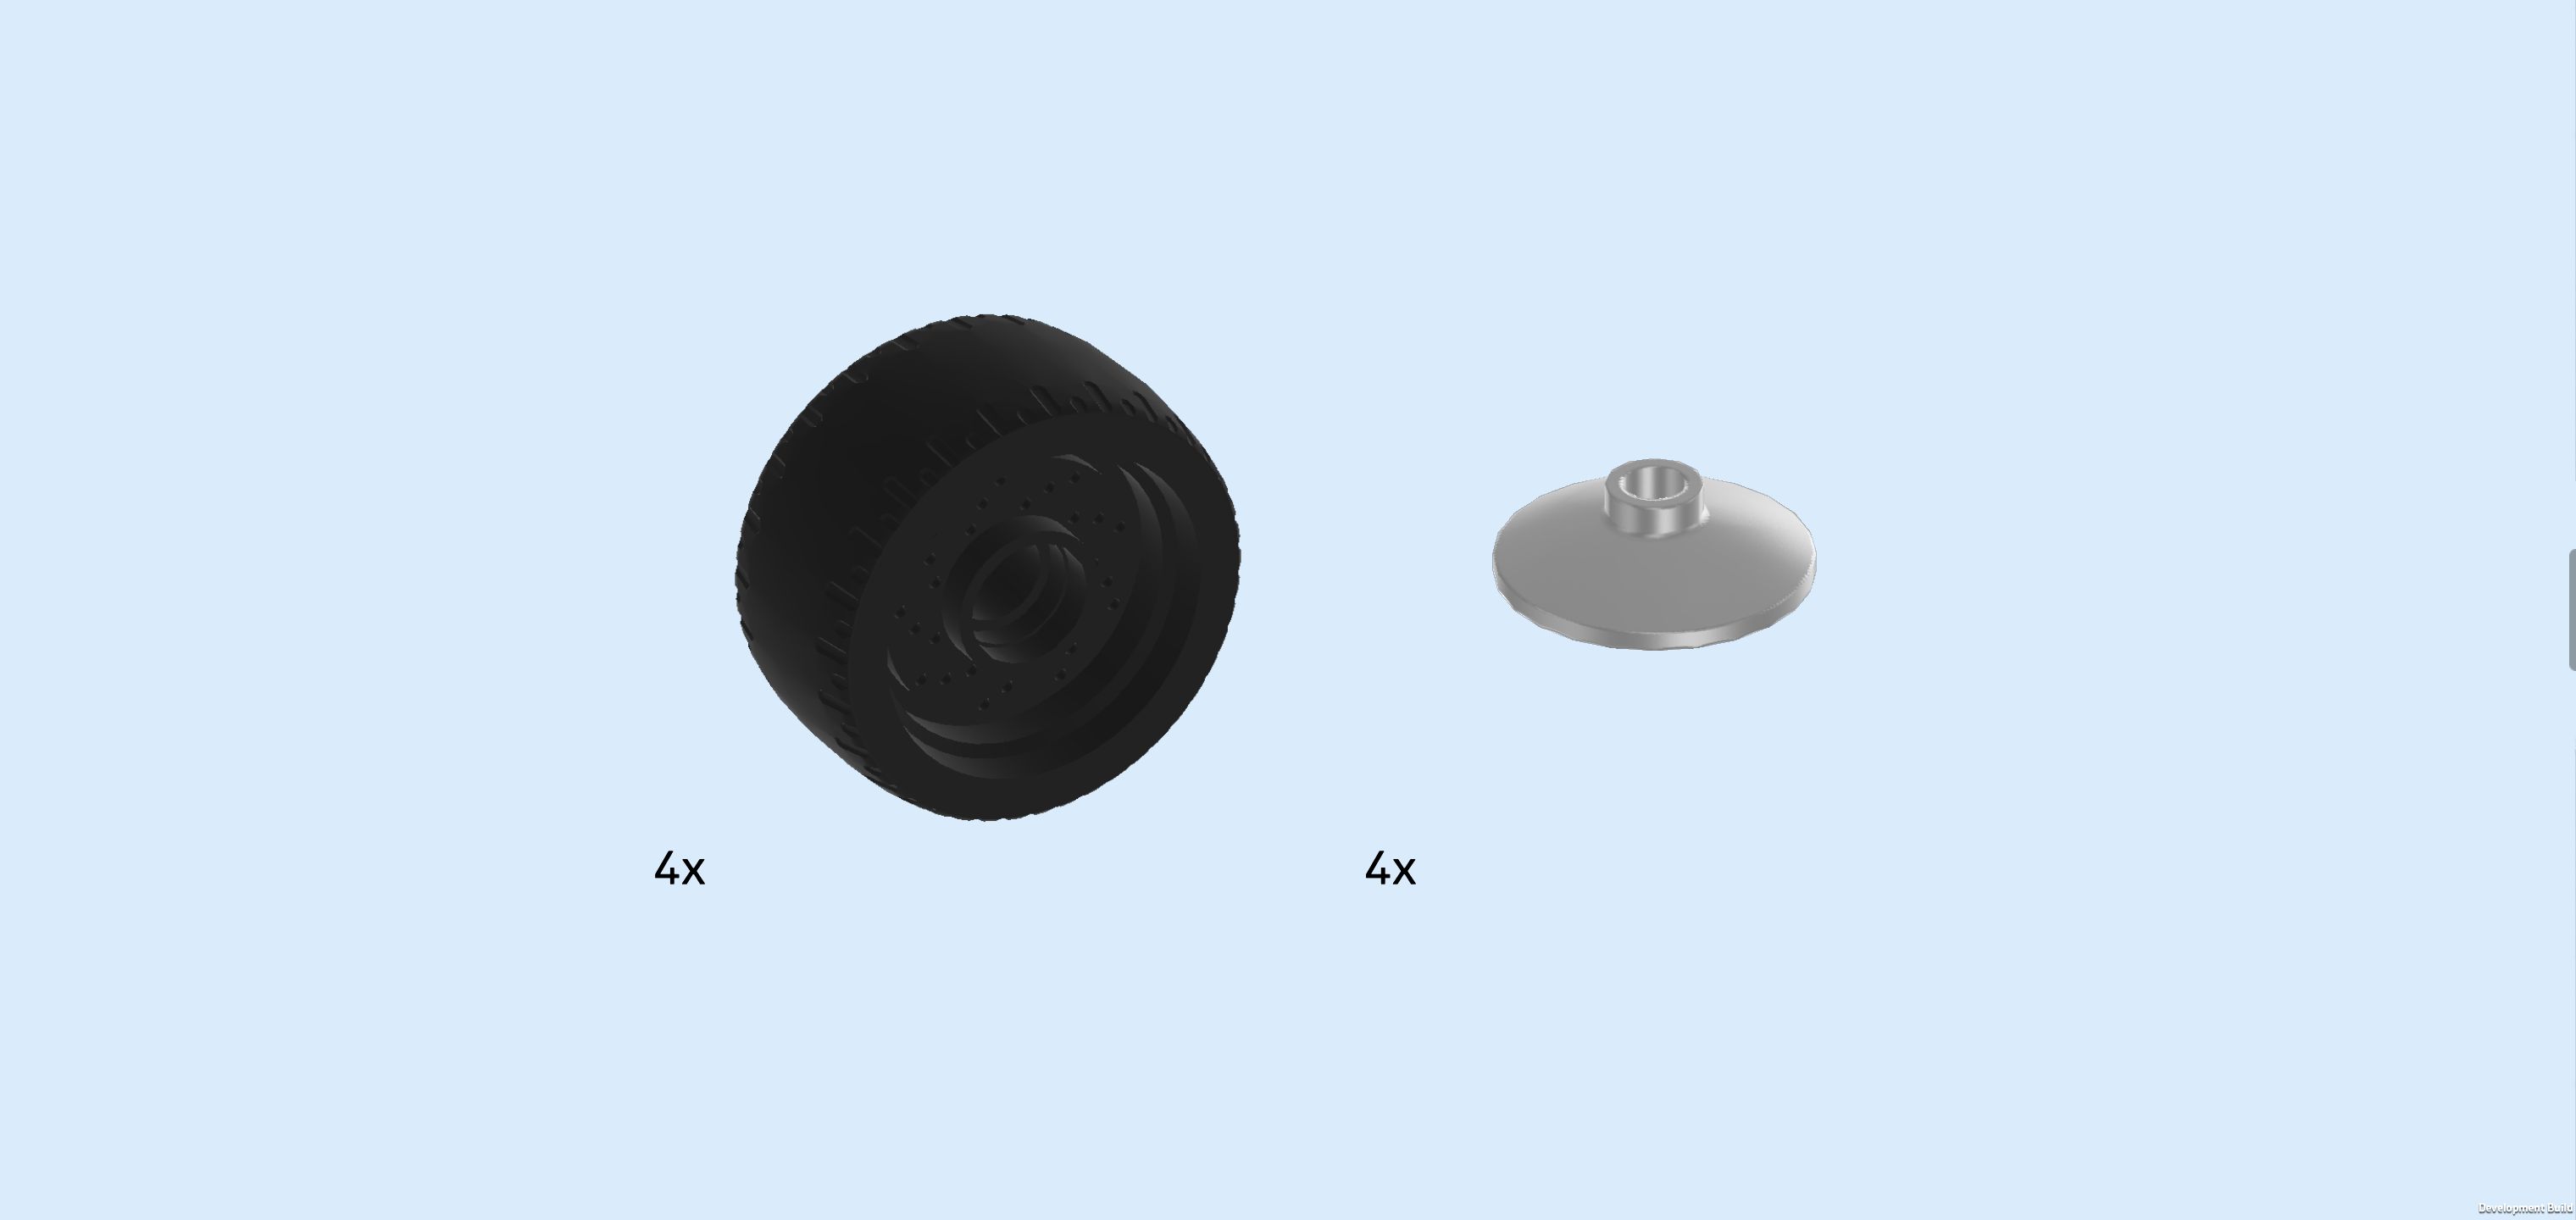
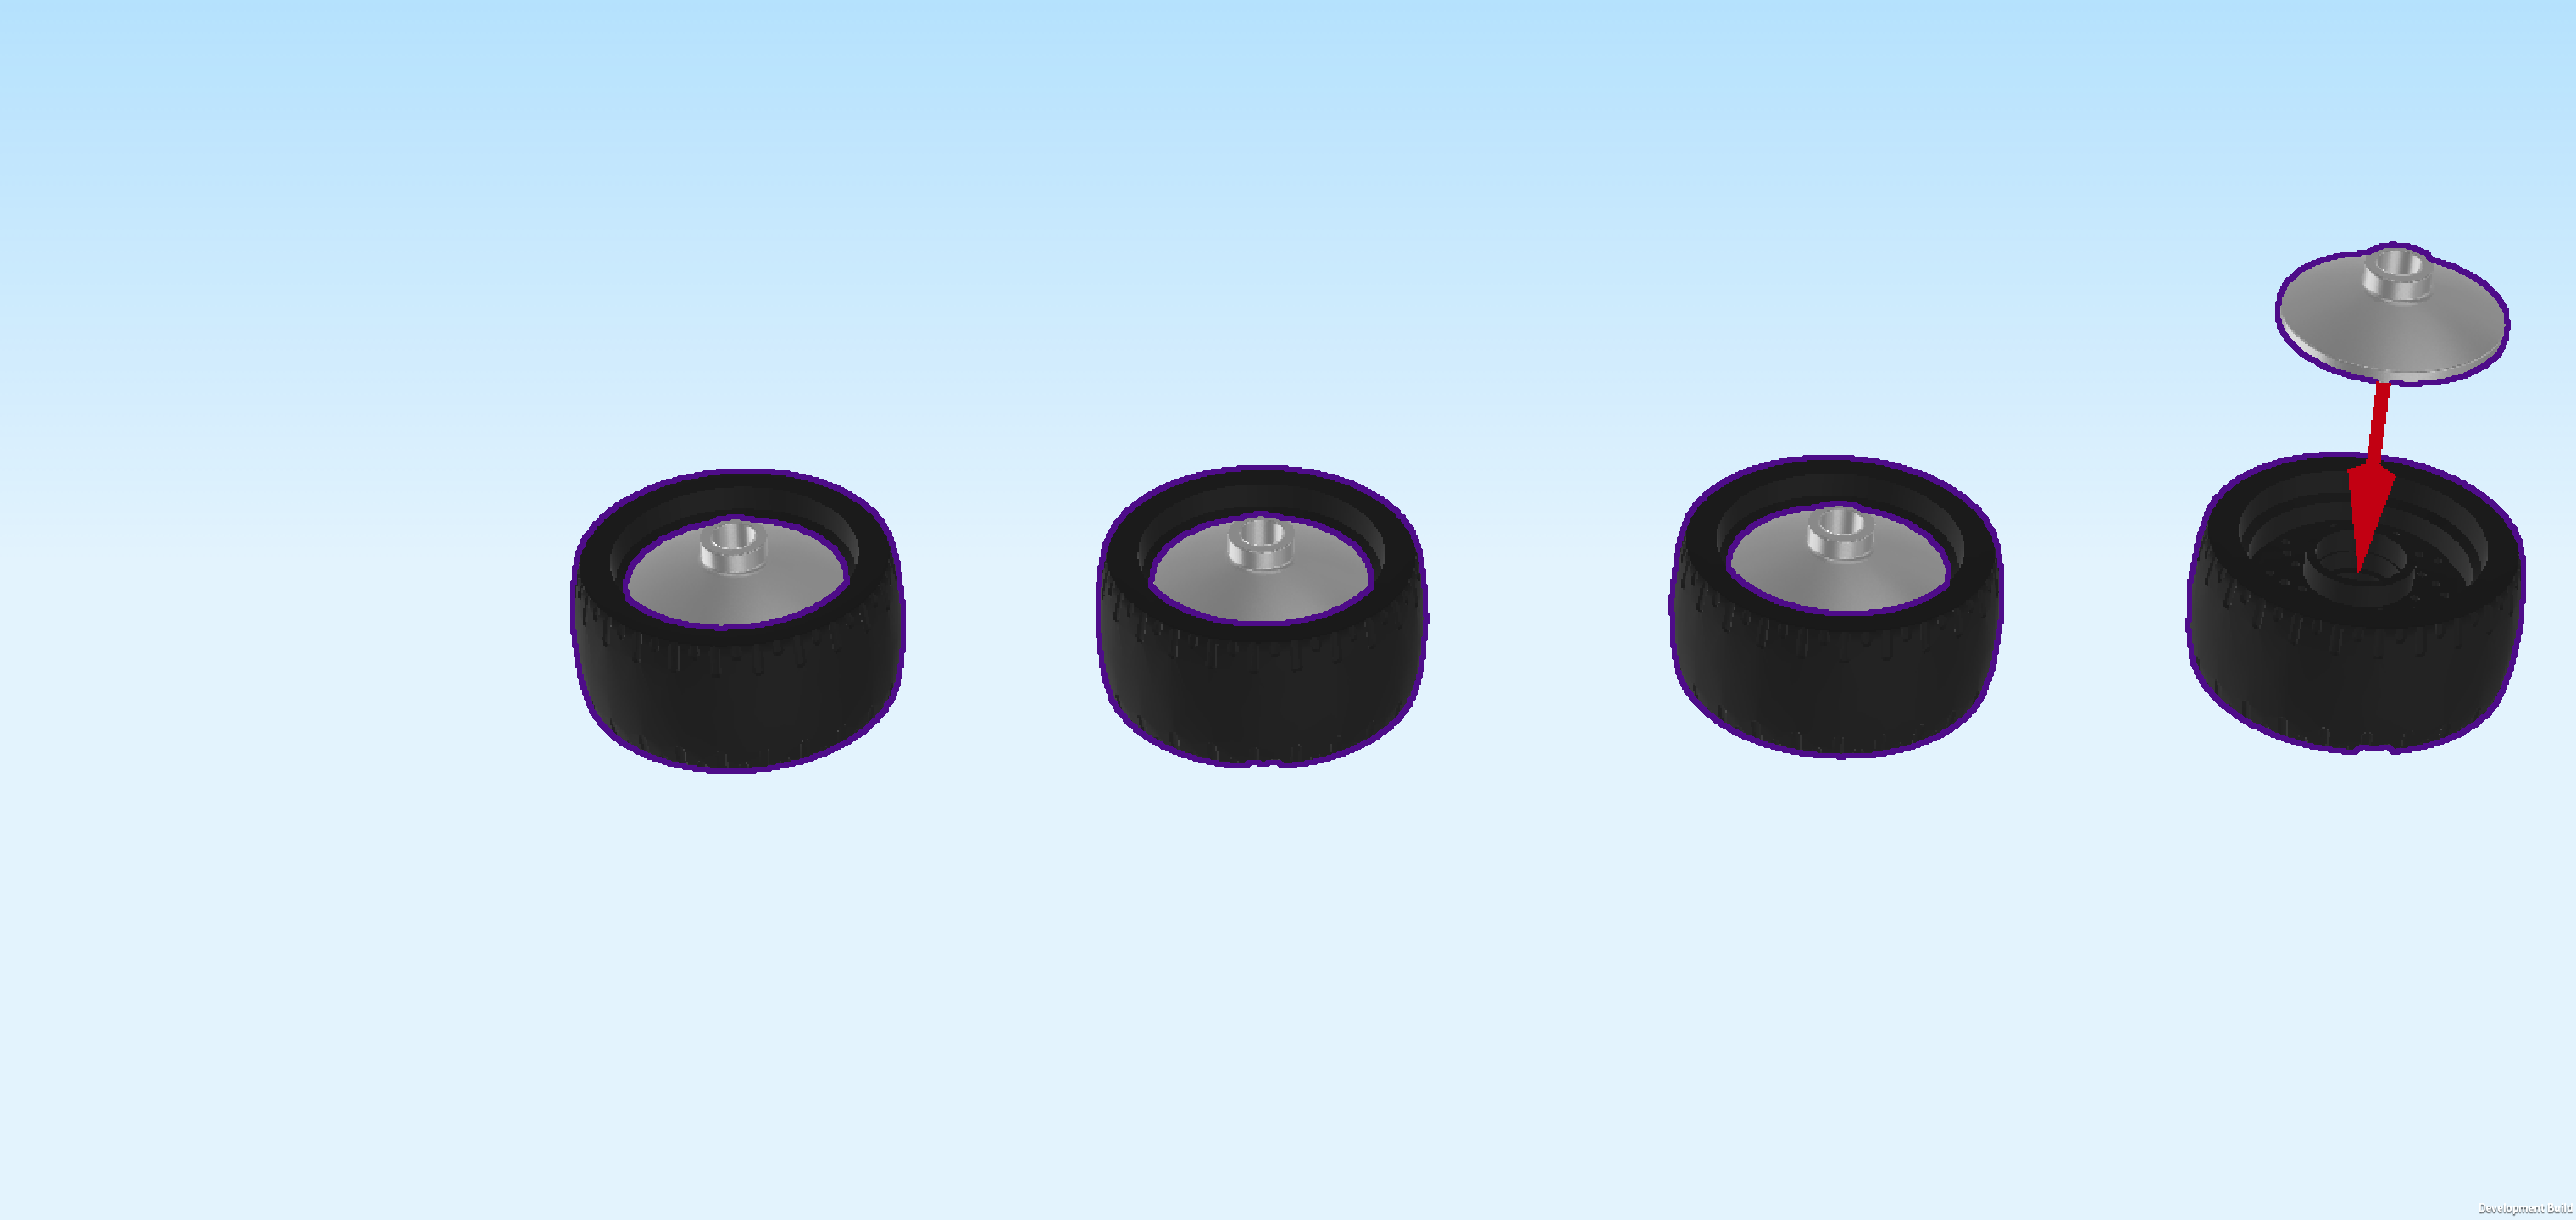
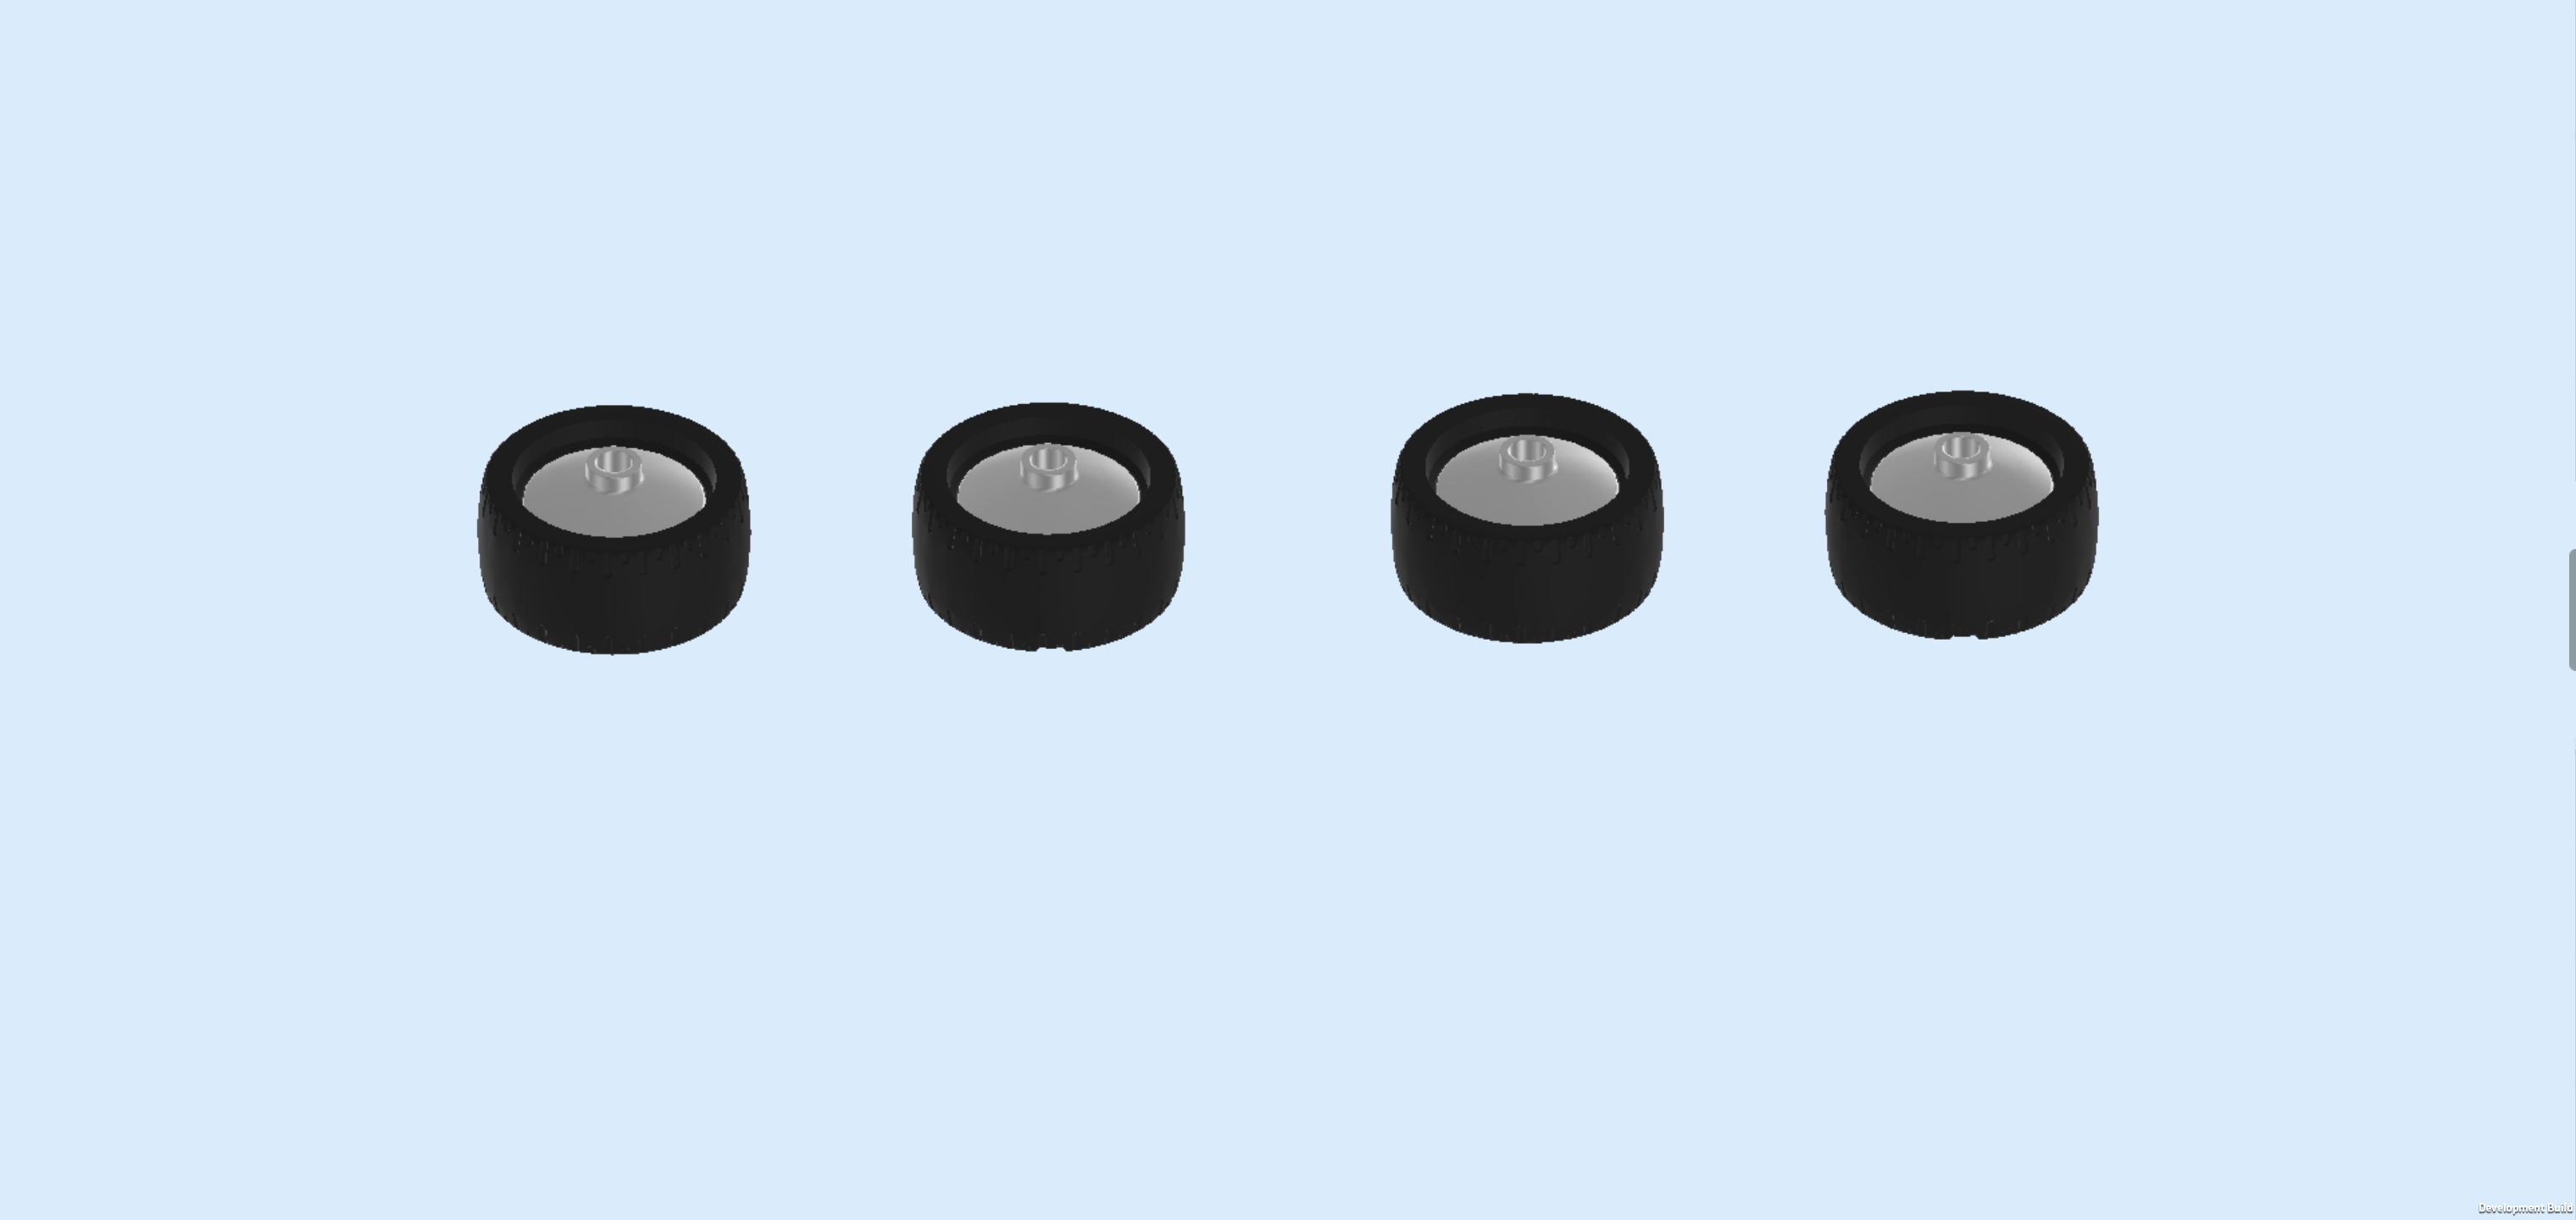
| Next, we will build the 4 wheels. |
| Collect the following 8 pieces: |
| 4 black high-gloss racing tires with low profile, |
| and 4 dust grey curved disks 2x2 with 1 knob. |
| Put the tires flat on the table so that their hollow sides are towards the bottom. |
| Put the 4 disks into the tires, knobs towards the top. |
| Put the 4 wheels on the 4 connectors on the car underbody. |
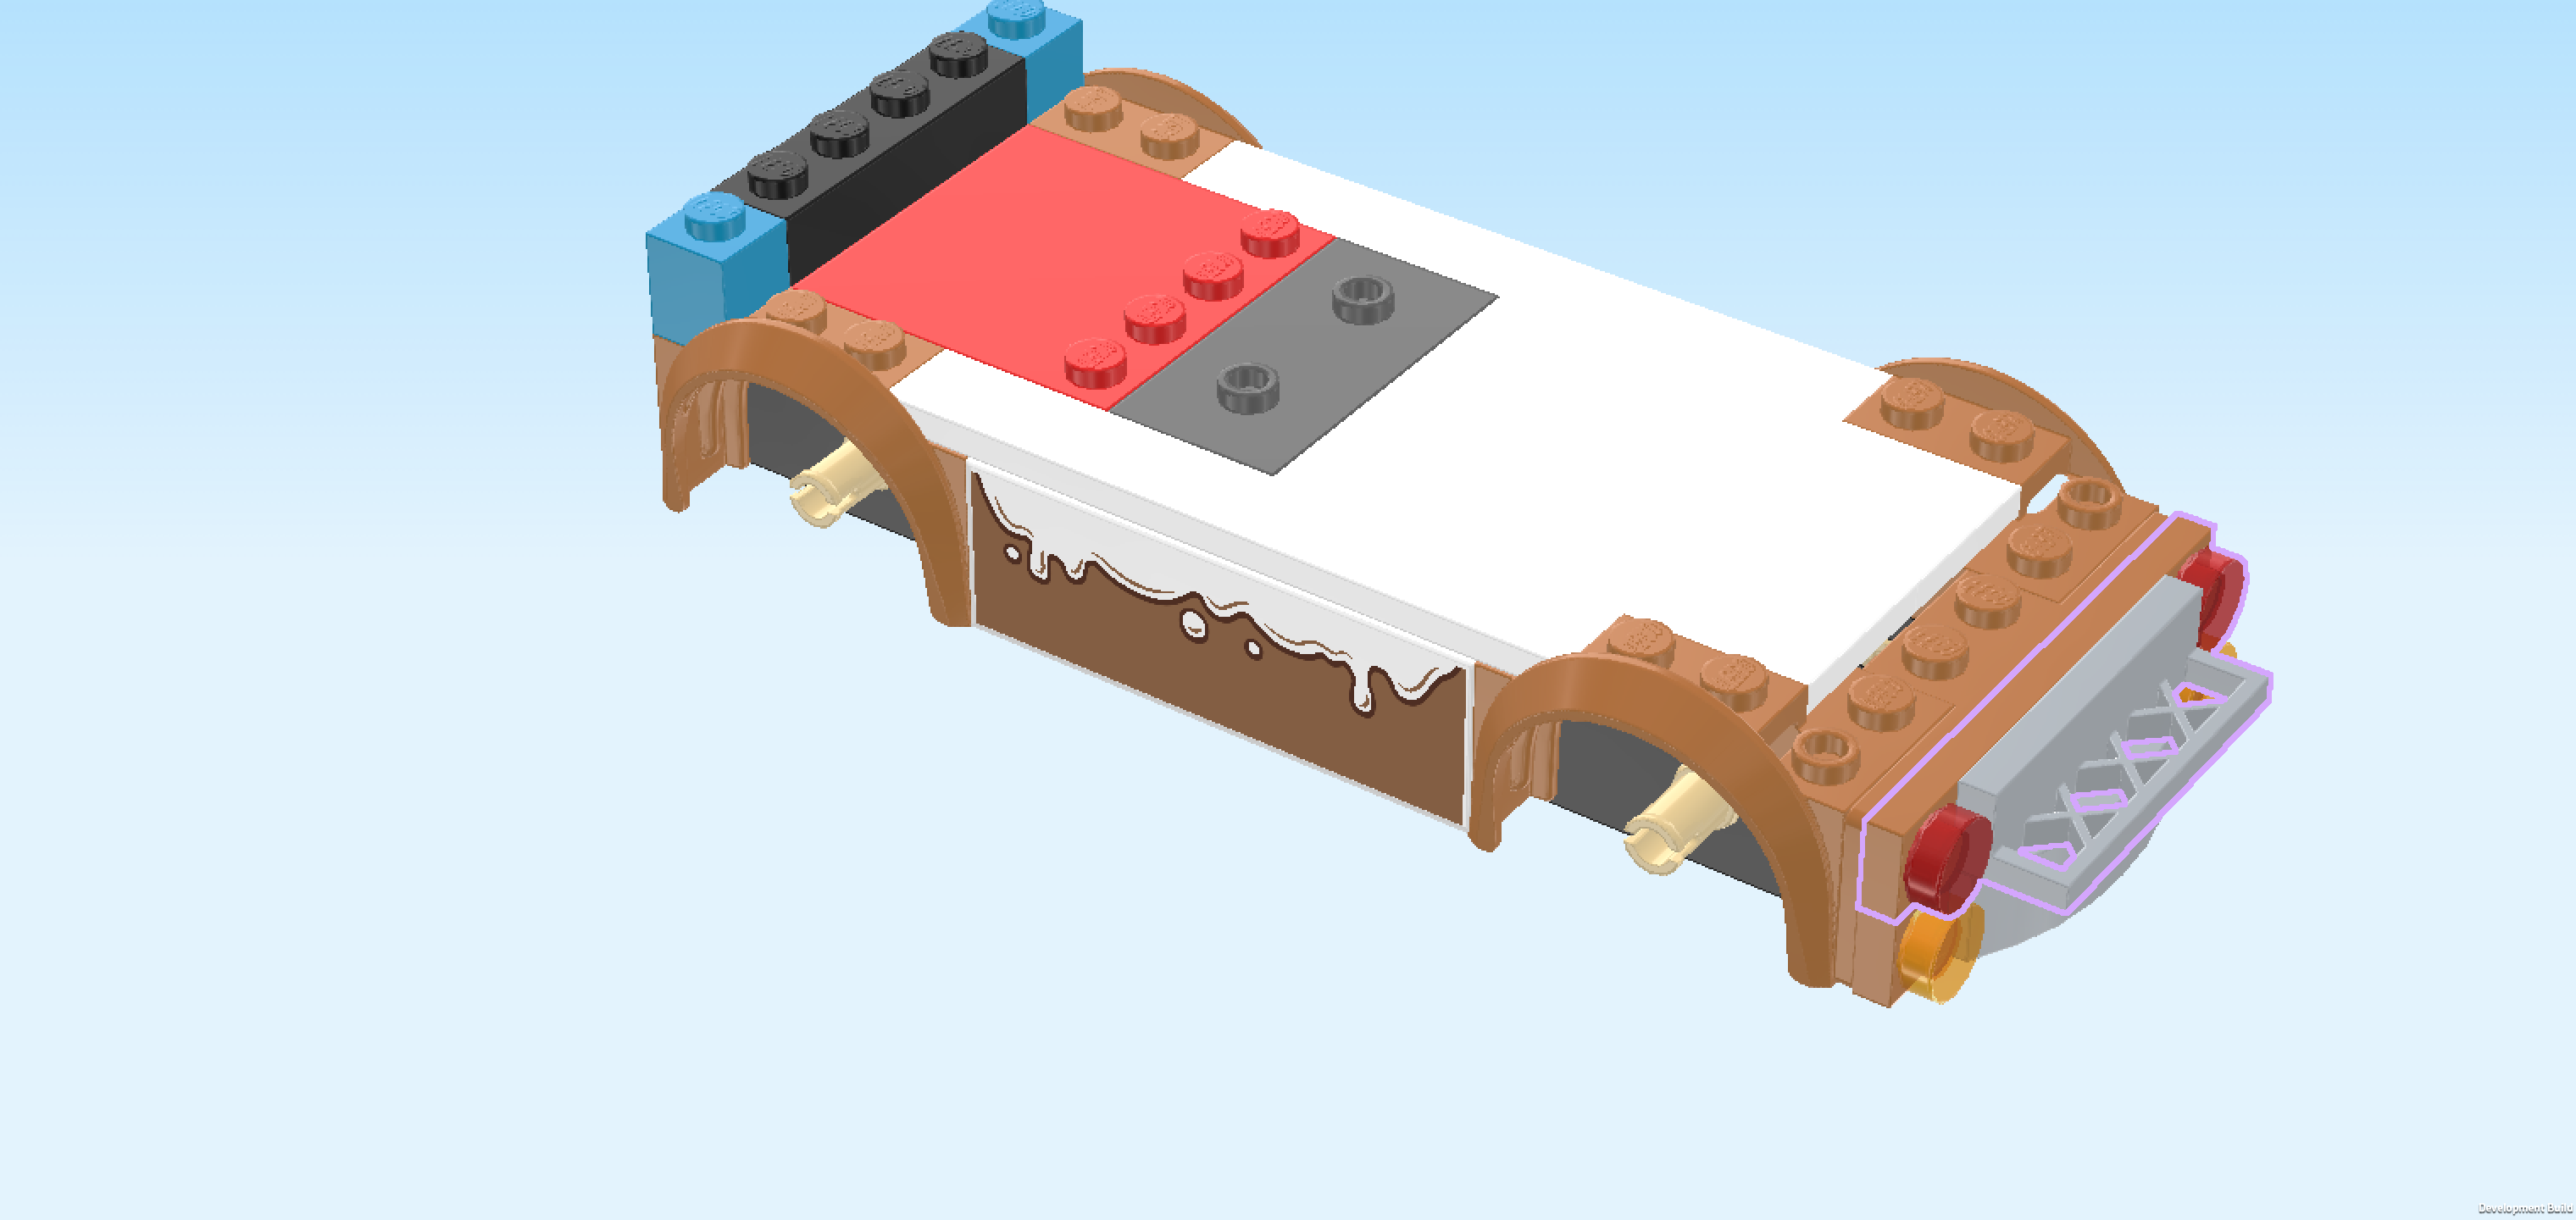
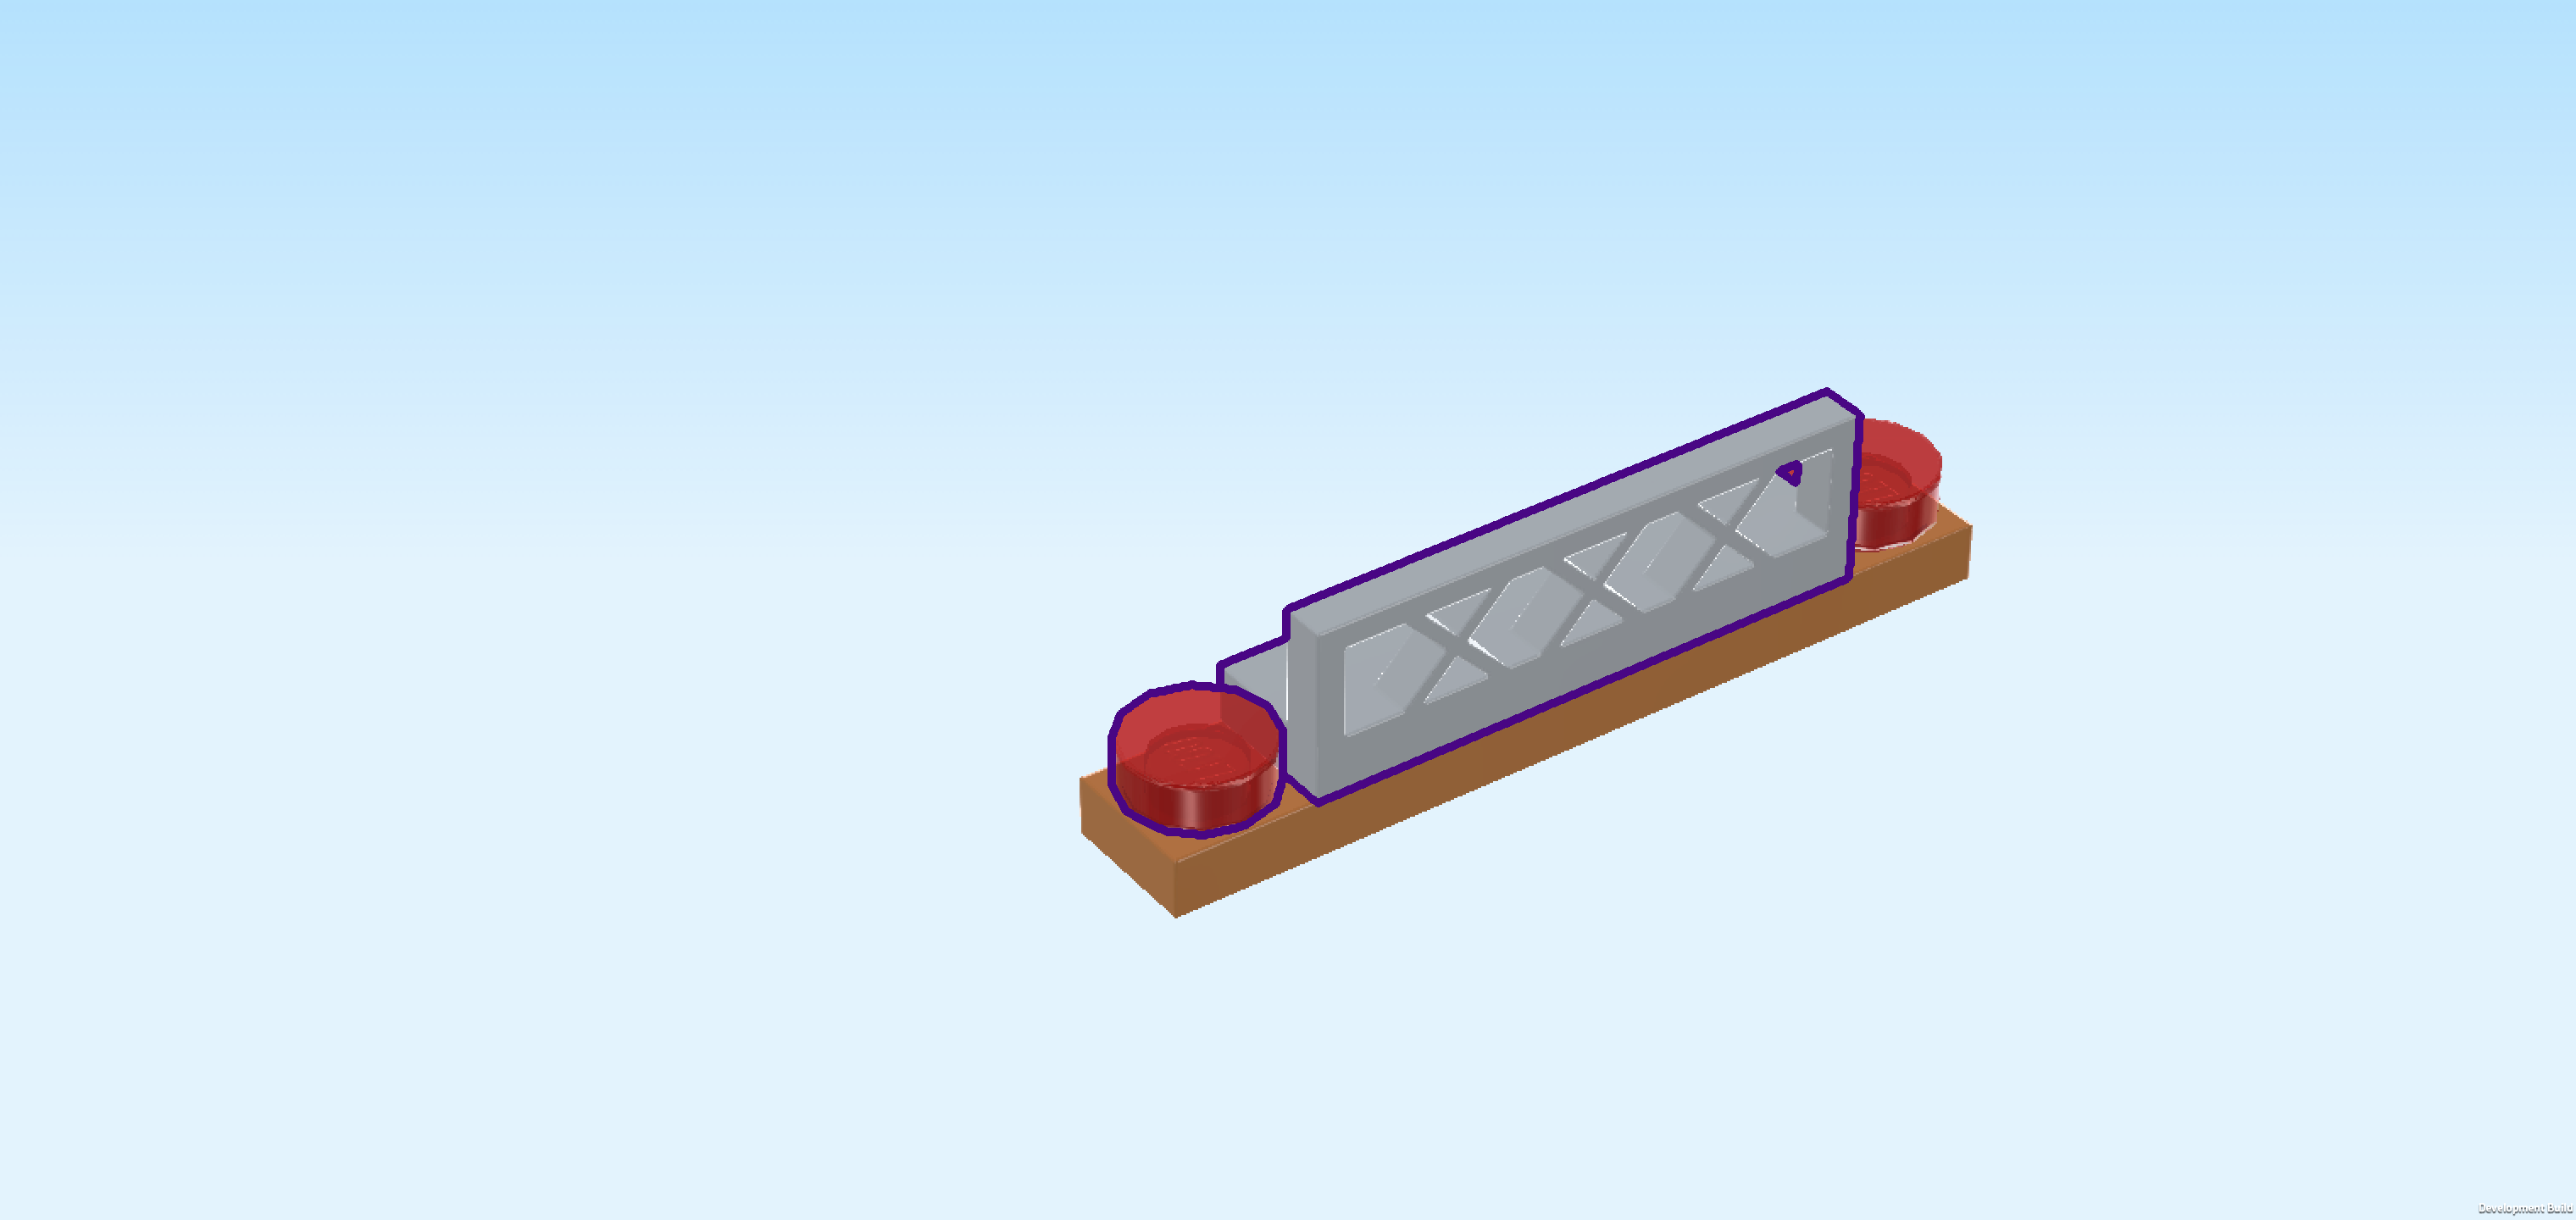
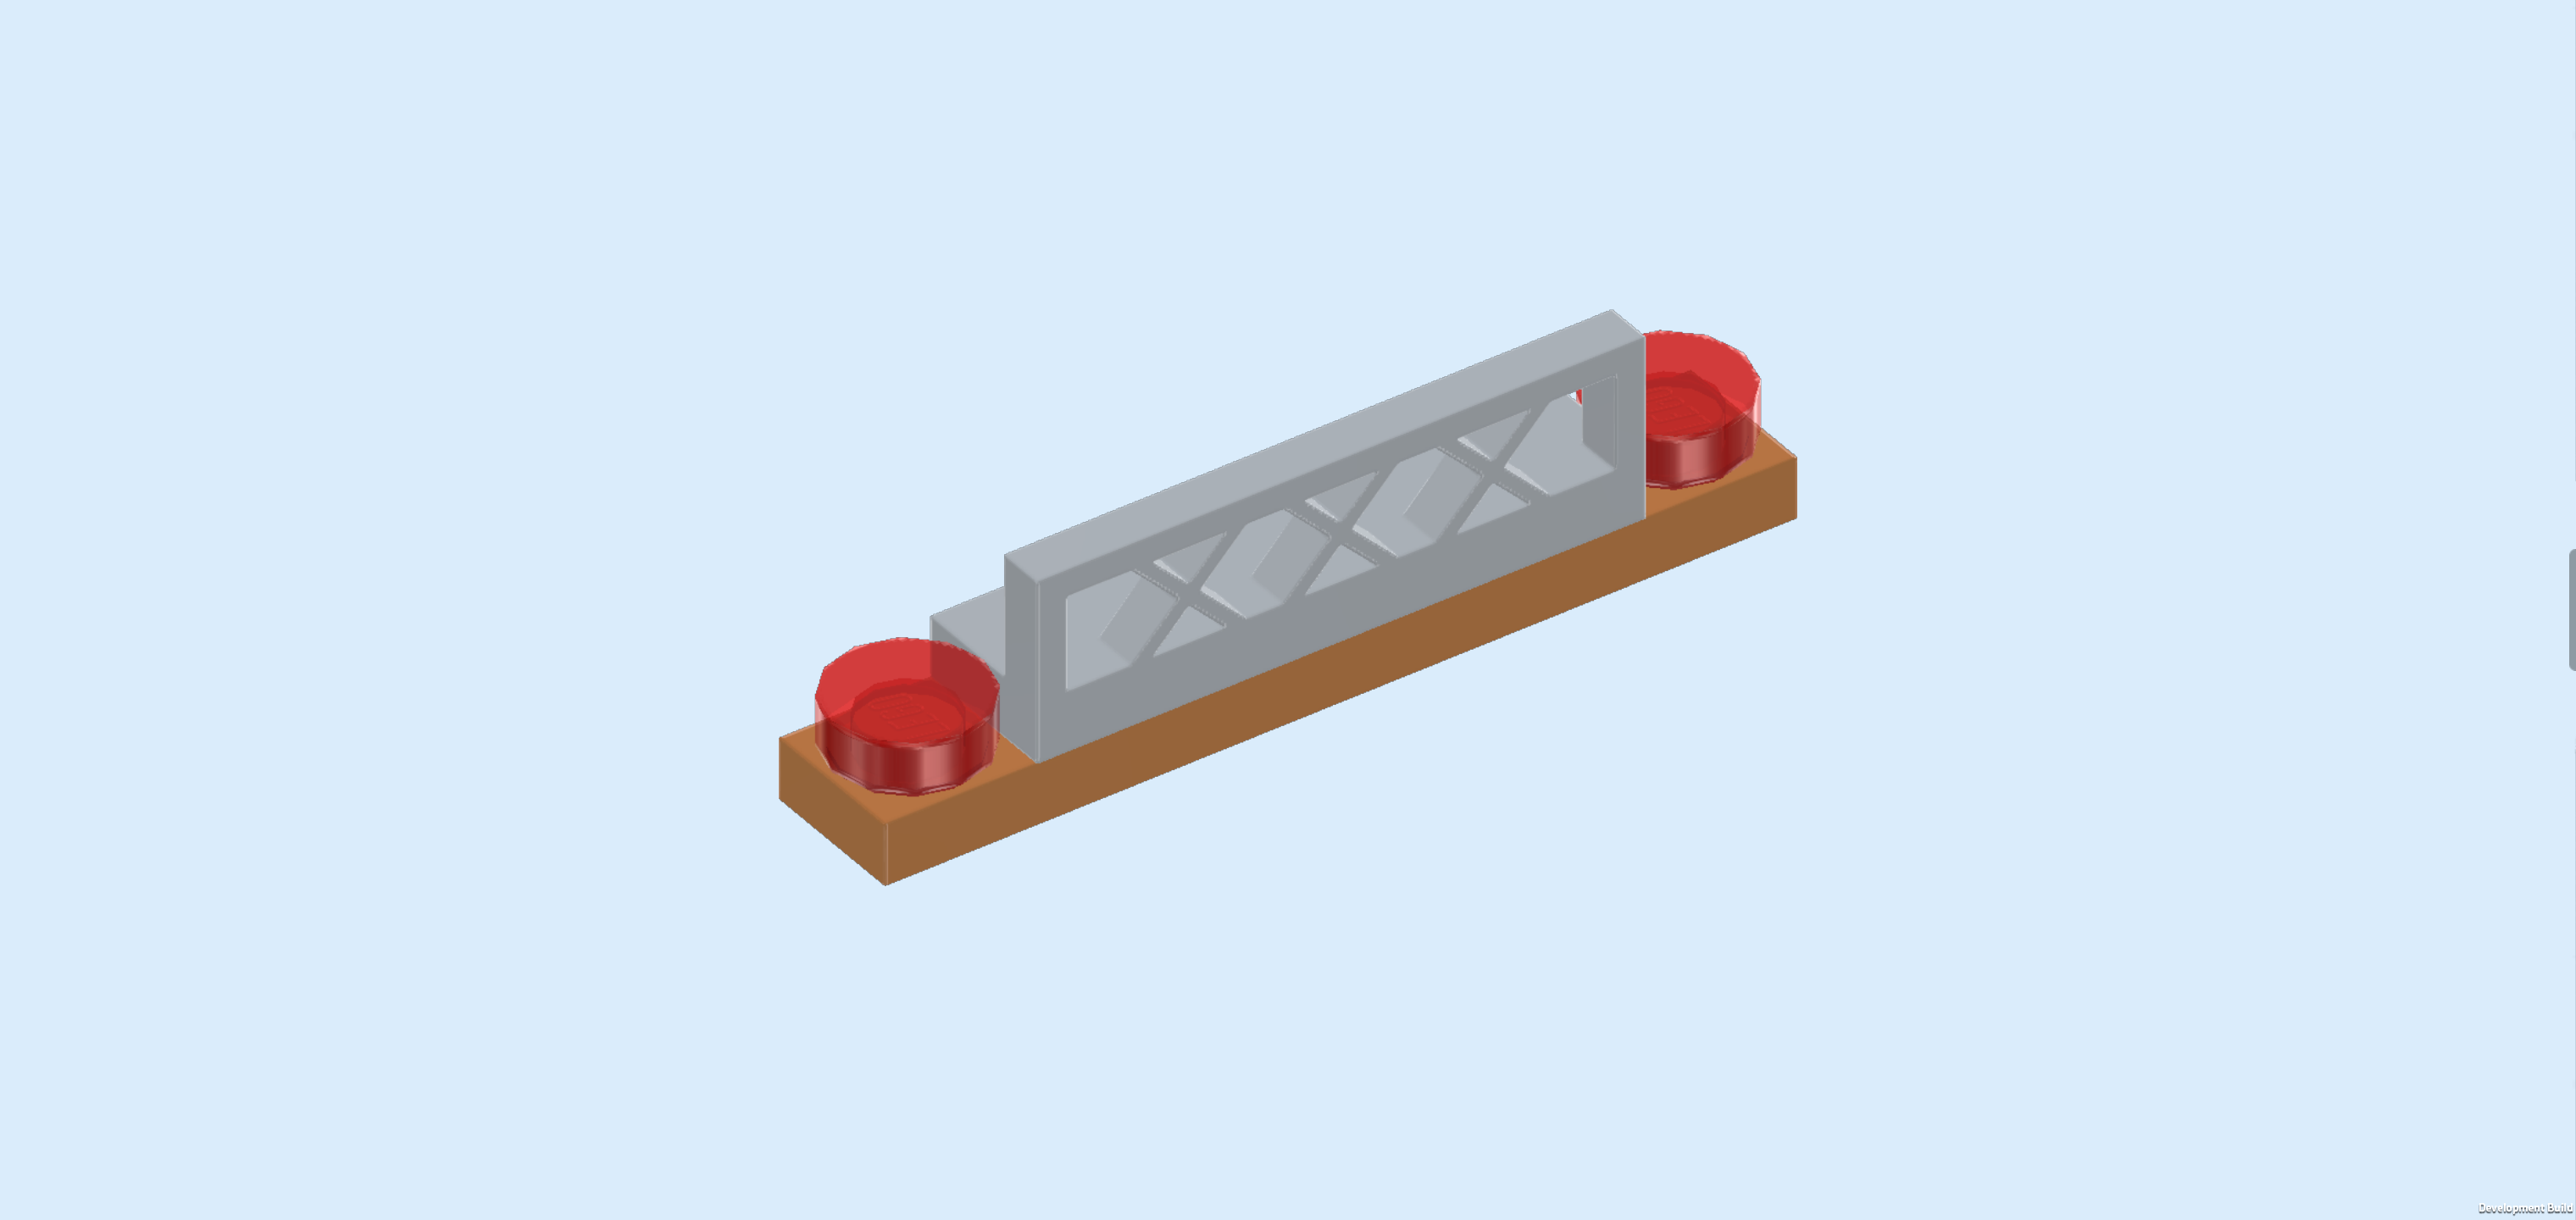
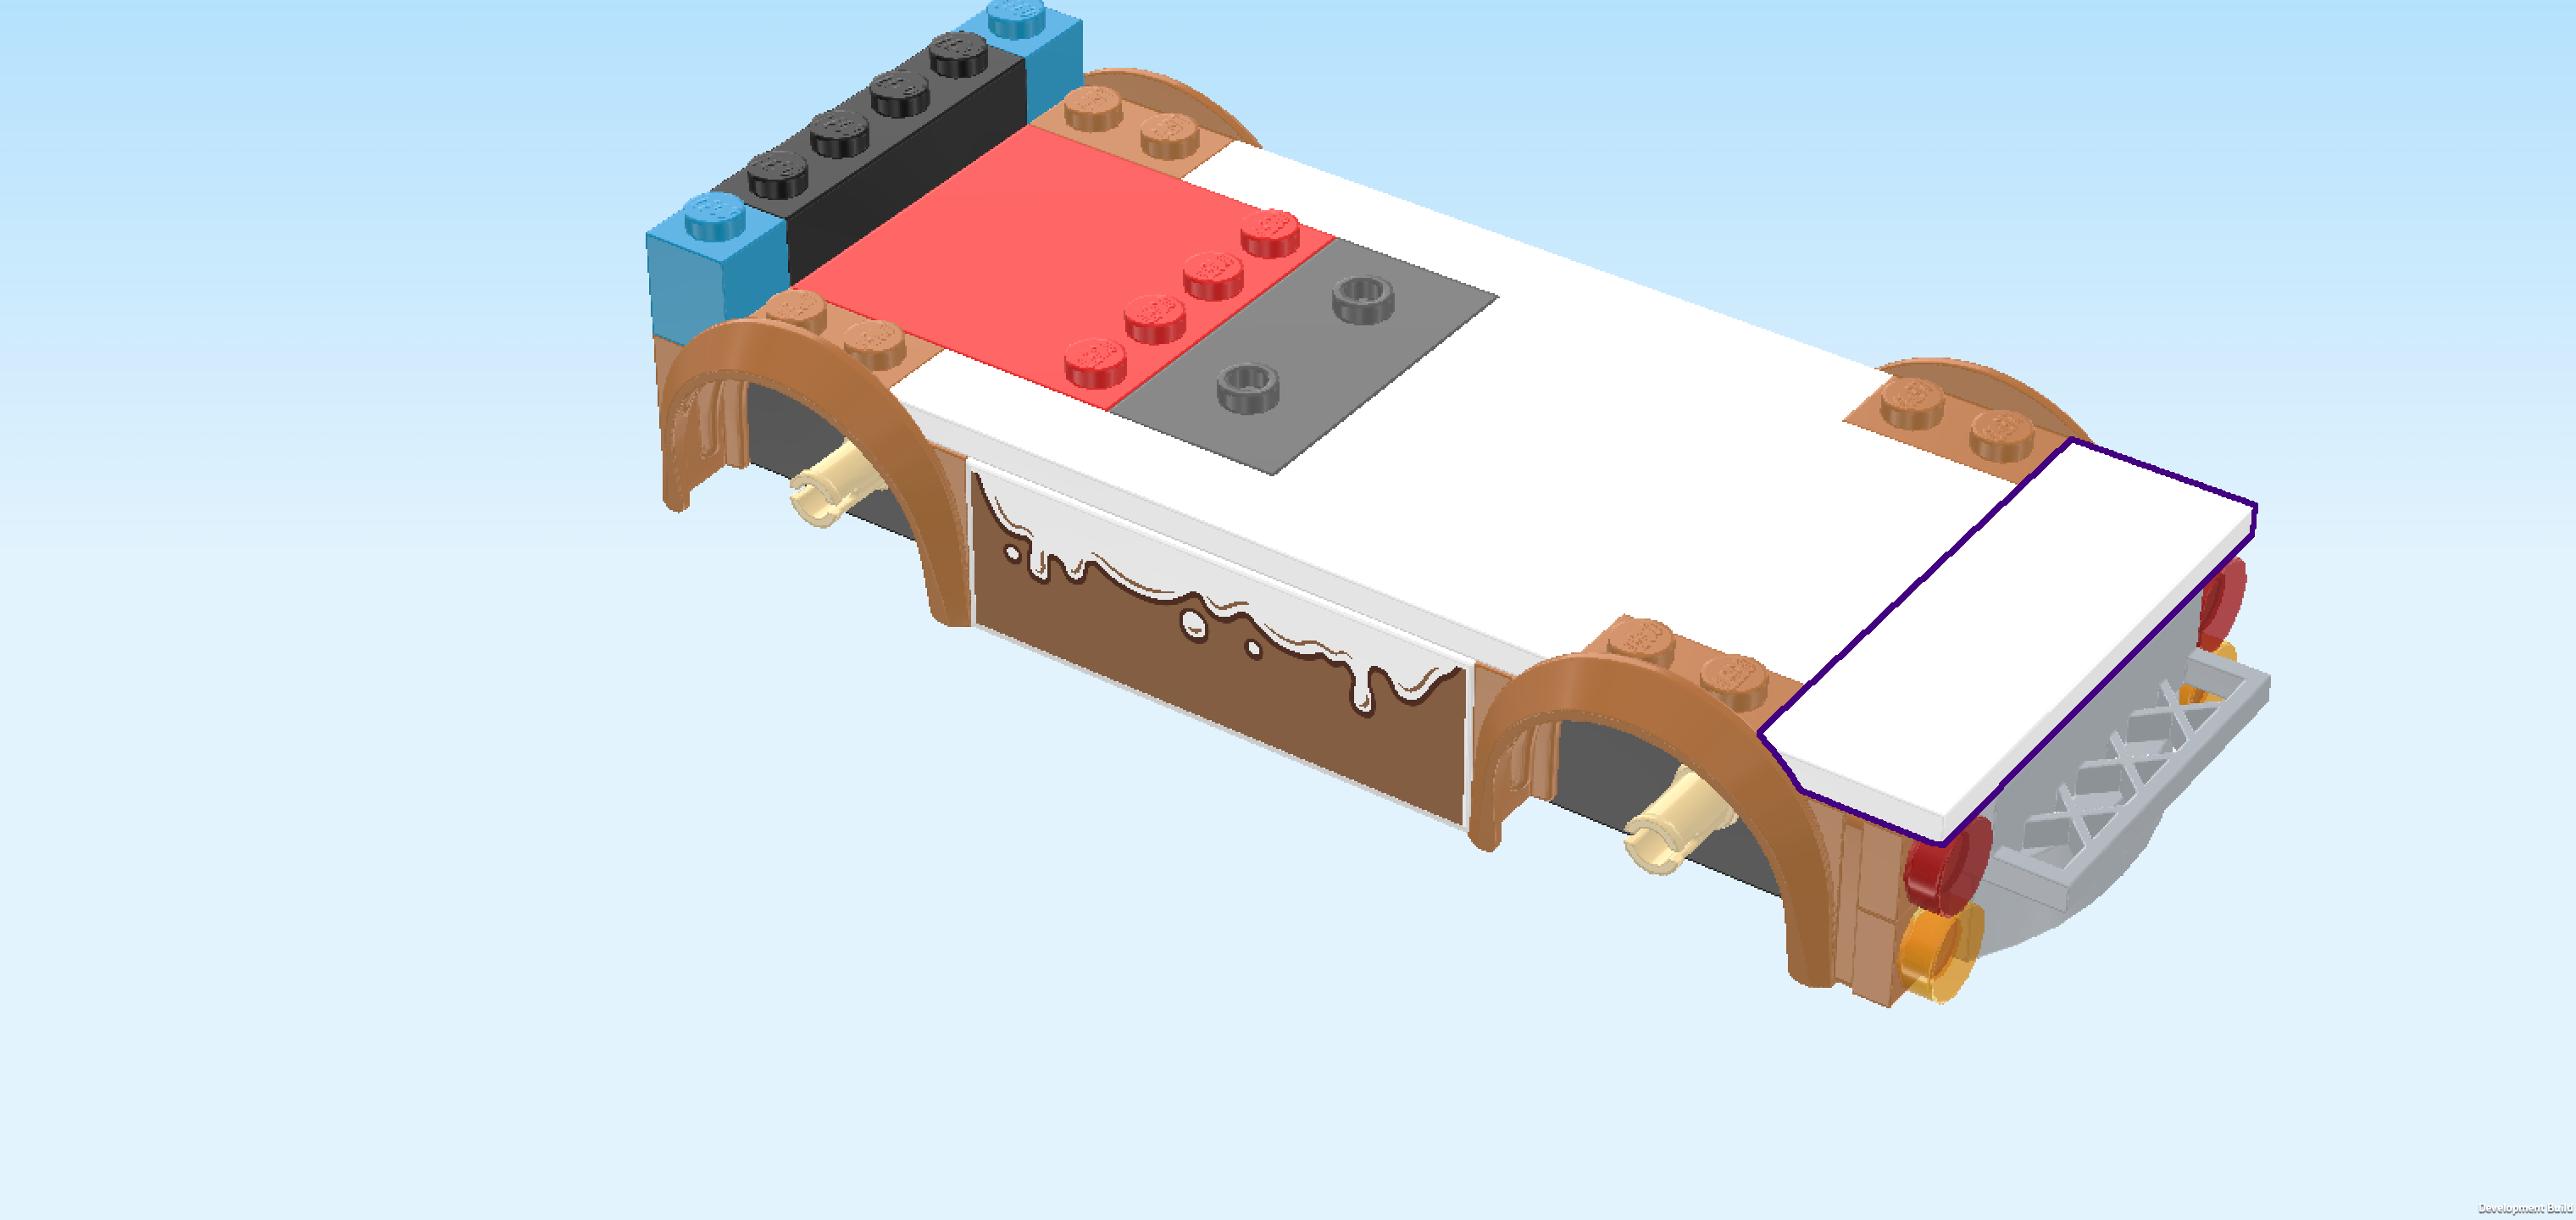
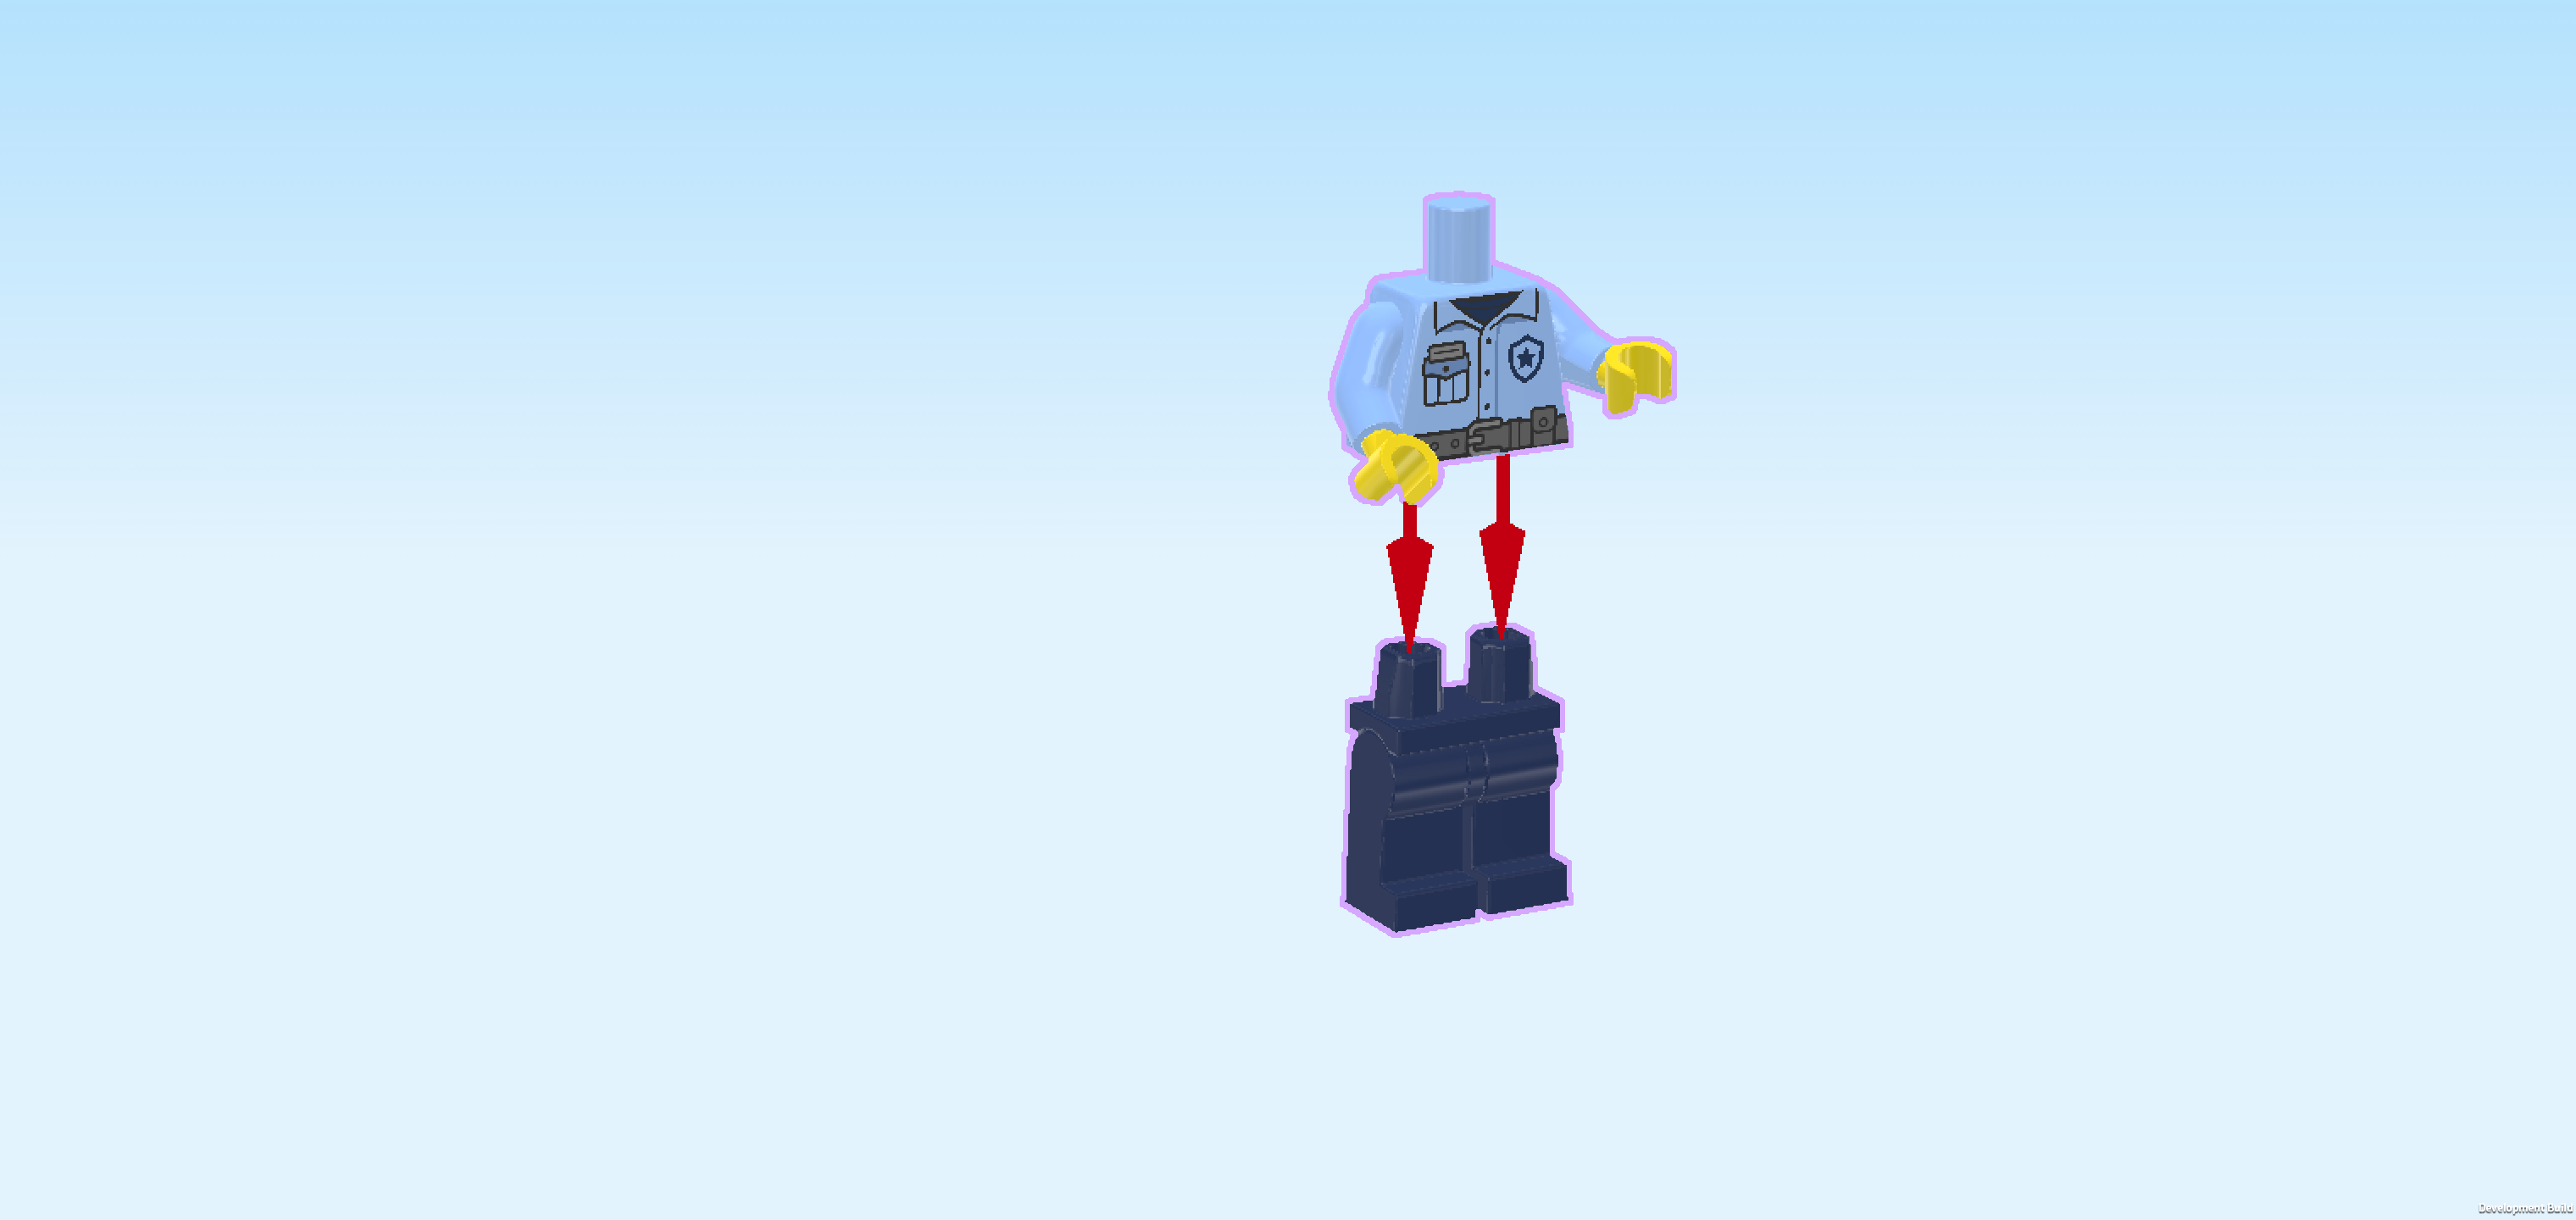
| The Donut Truck driver's cabin with truck bed is finished! Well done! If you like, you can already take your vehicle for a test drive! To put the Vendor Minifigure on the driver's seat, take off the cabin roof, fold the Minifigure's legs into a seated position, put him behind the steering wheel, reattach the roof and step on the gas! |
| With this, we have finished building everything from bag number 1. Well done! We usually pack a few extra bricks and pieces in each bag, so if you still have some pieces left there is no need to worry that you missed something. If you like, you can take a break now and return to the instructions later by skipping to the section introducing bag number 2. If you want to continue building right away, simply move on to the next sentence. |
| Open bag number 2. You can choose to have the bricks sorted by color again if you like. This bag contains all bricks and pieces for the Customer Minifigure and the Donut Kiosk. |
| Now, we will build the Customer Minifigure. |
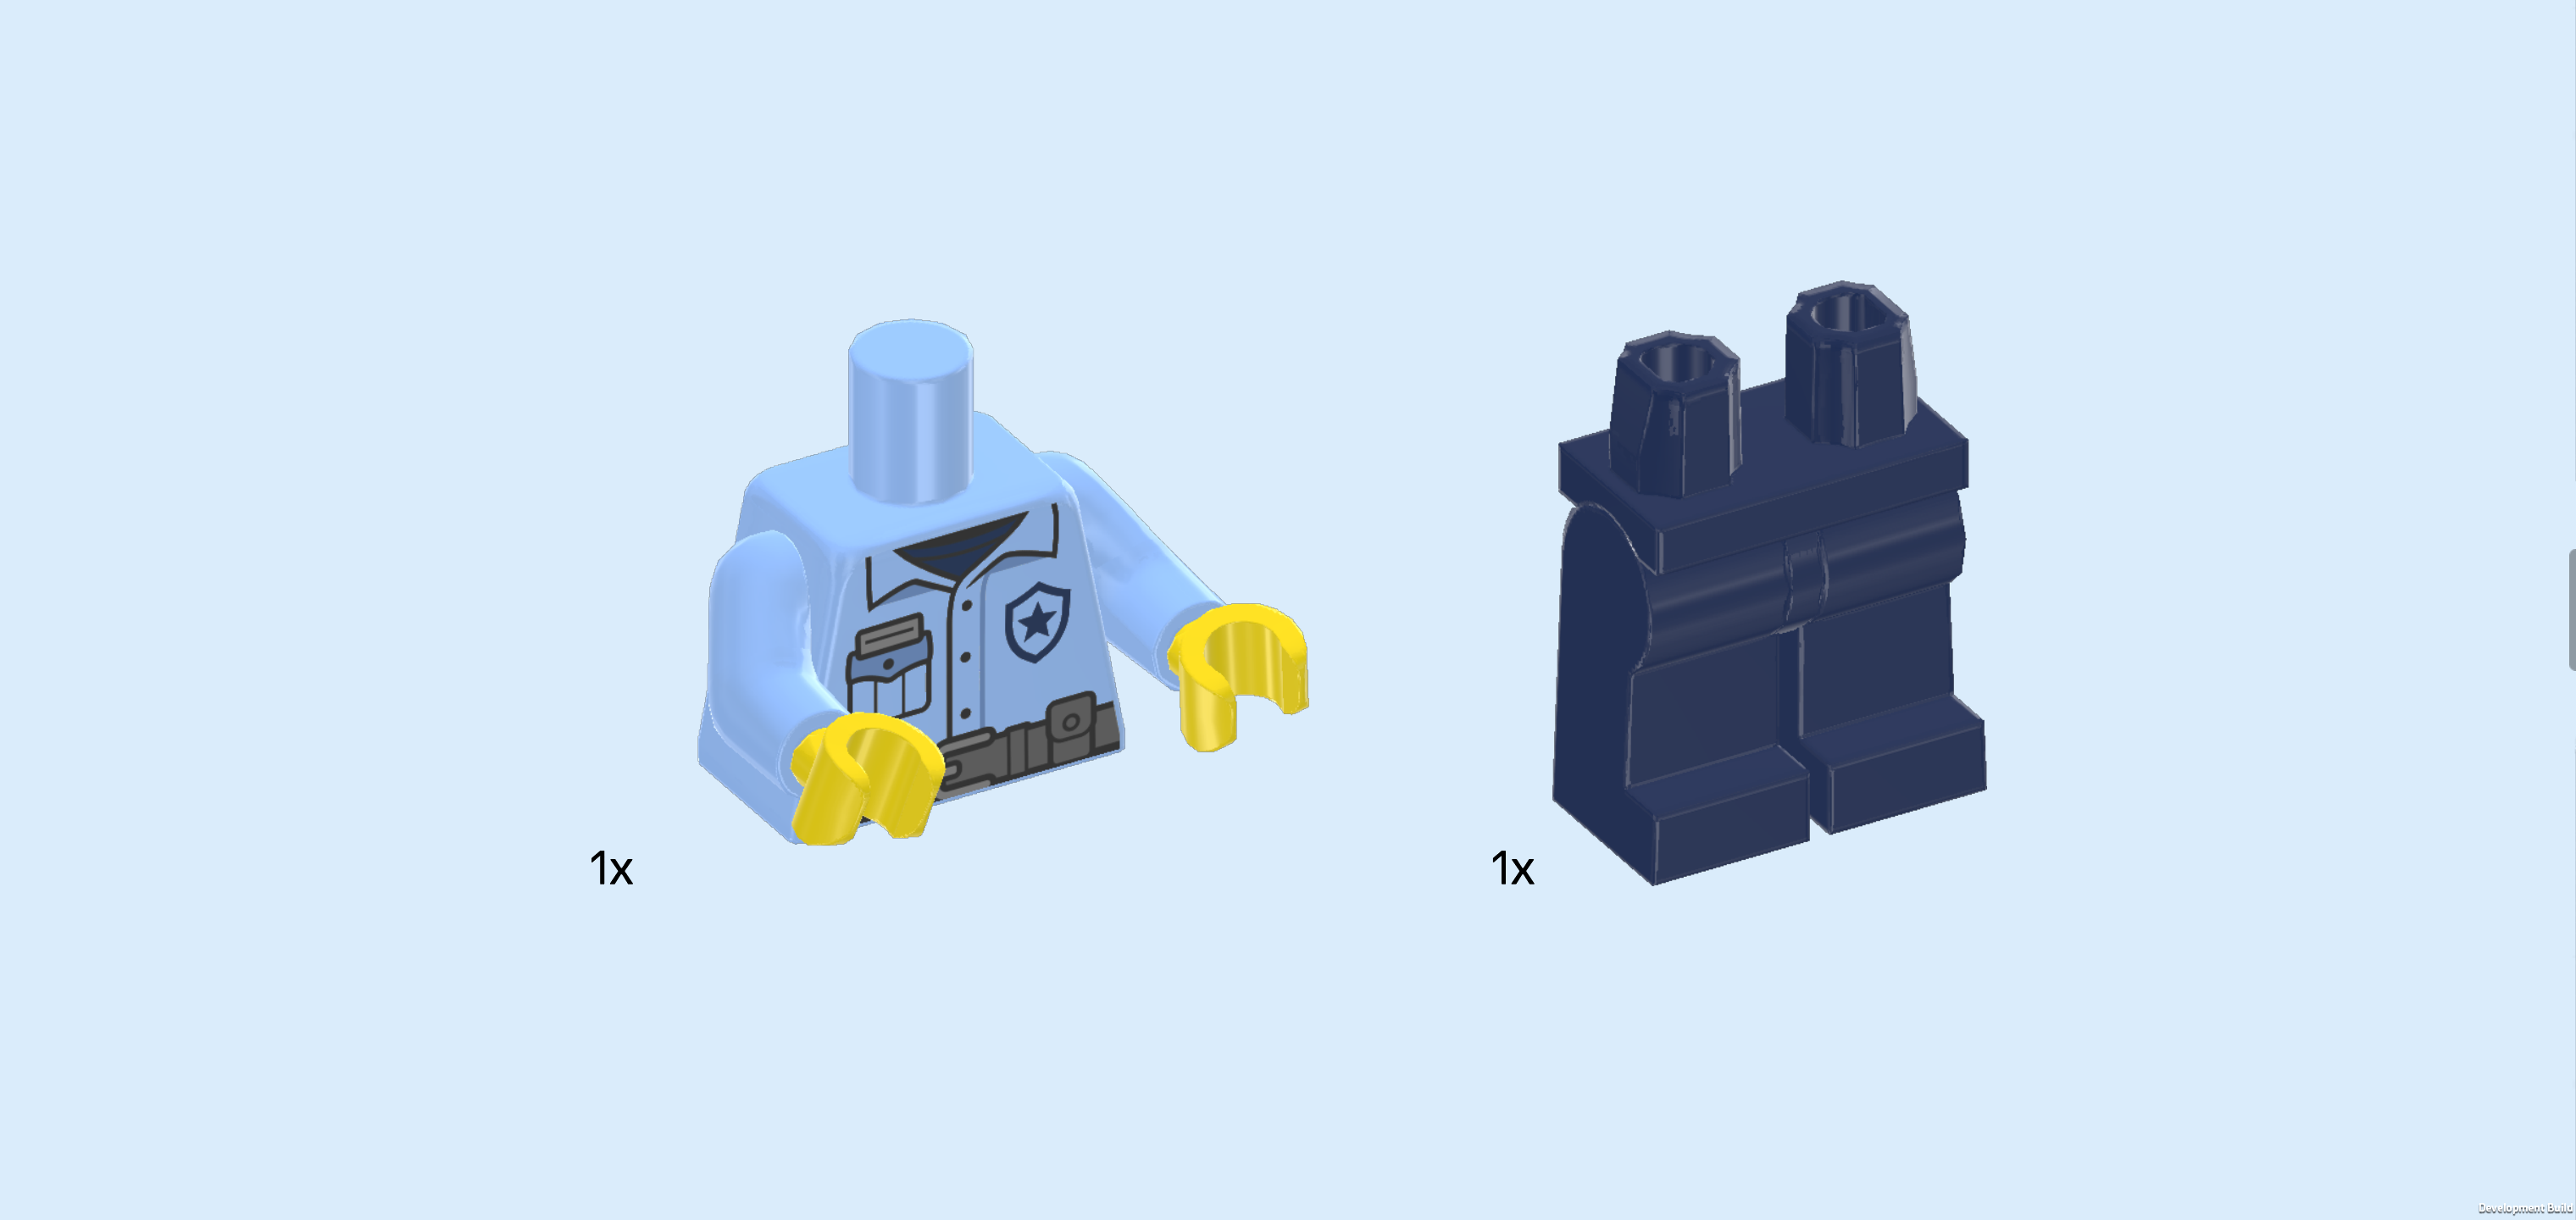
| Collect the following 2 pieces: |
| 1 baby blue and bright yellow upper part of the body, |
| and 1 earth blue pair of legs. |
| Put the upper body on the legs. Make sure that the hands and toes are pointing in the same direction. |
| Collect the following 2 pieces: |
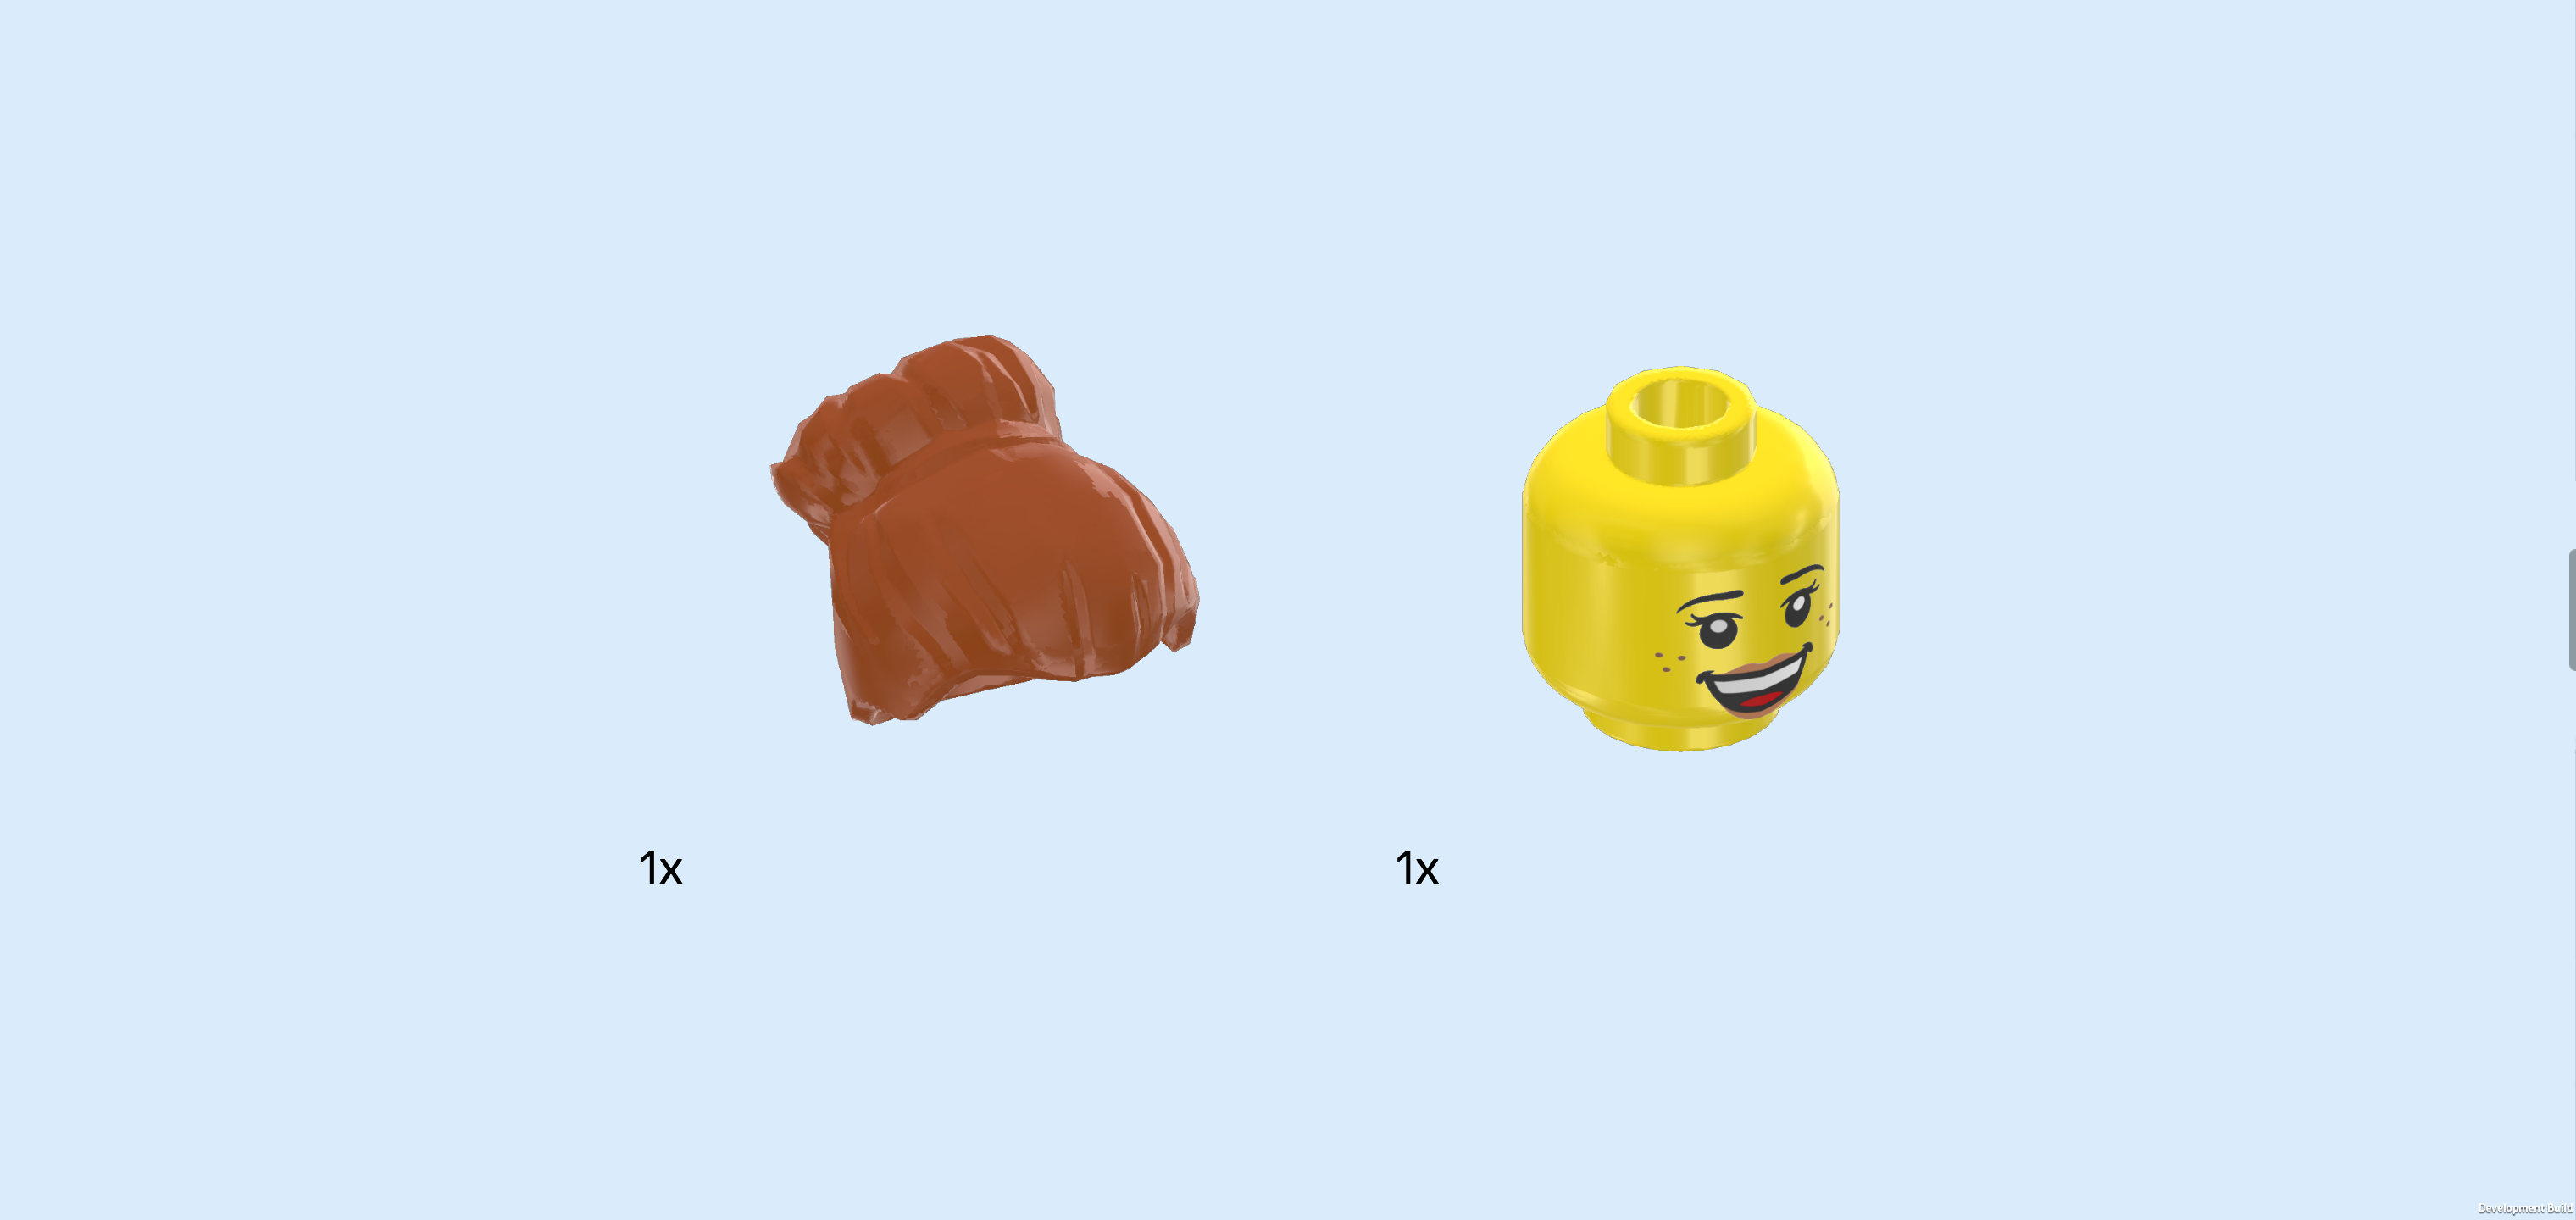
| 1 orange-brown hairpiece with high bun, |
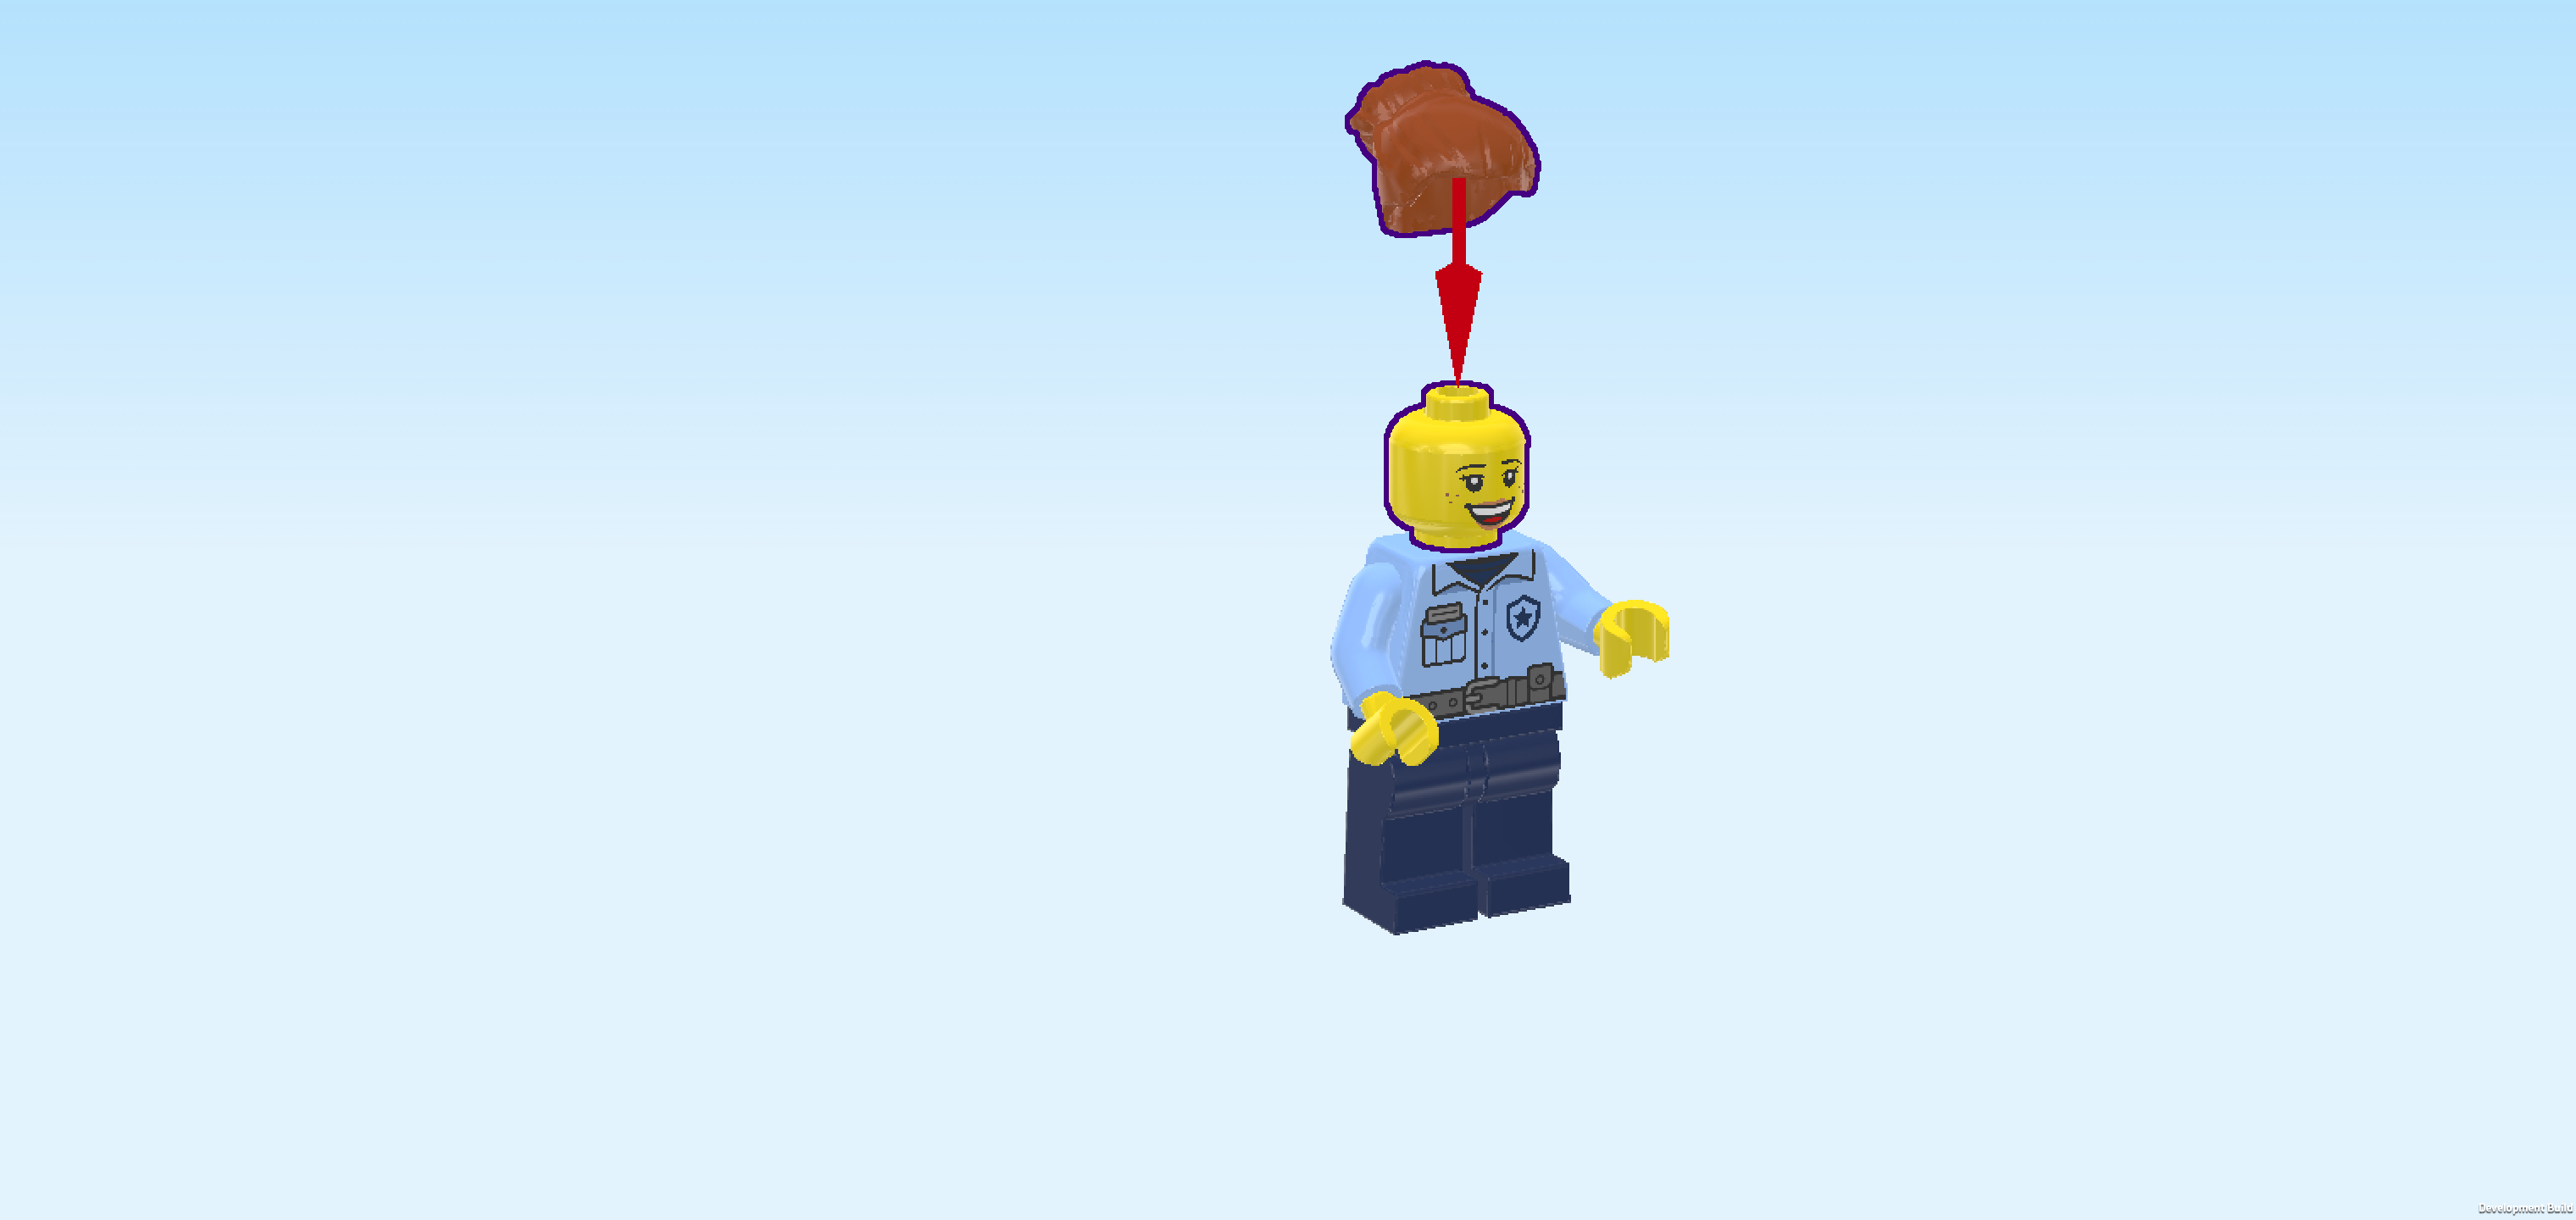
| and 1 bright yellow Minifigure head. |
| Put the head on the body. The head has two different face prints: One side shows a cheerful smile with bright eyes, open mouth, and a hint of teeth. The face has eyelashes, soft pink lips, and a few freckles on each cheek. The other side shows a calm and relaxed expression with closed eyes and a small smile. This is the smile of someone who is enjoying a sweet treat! |
| Put the hair on the head. |
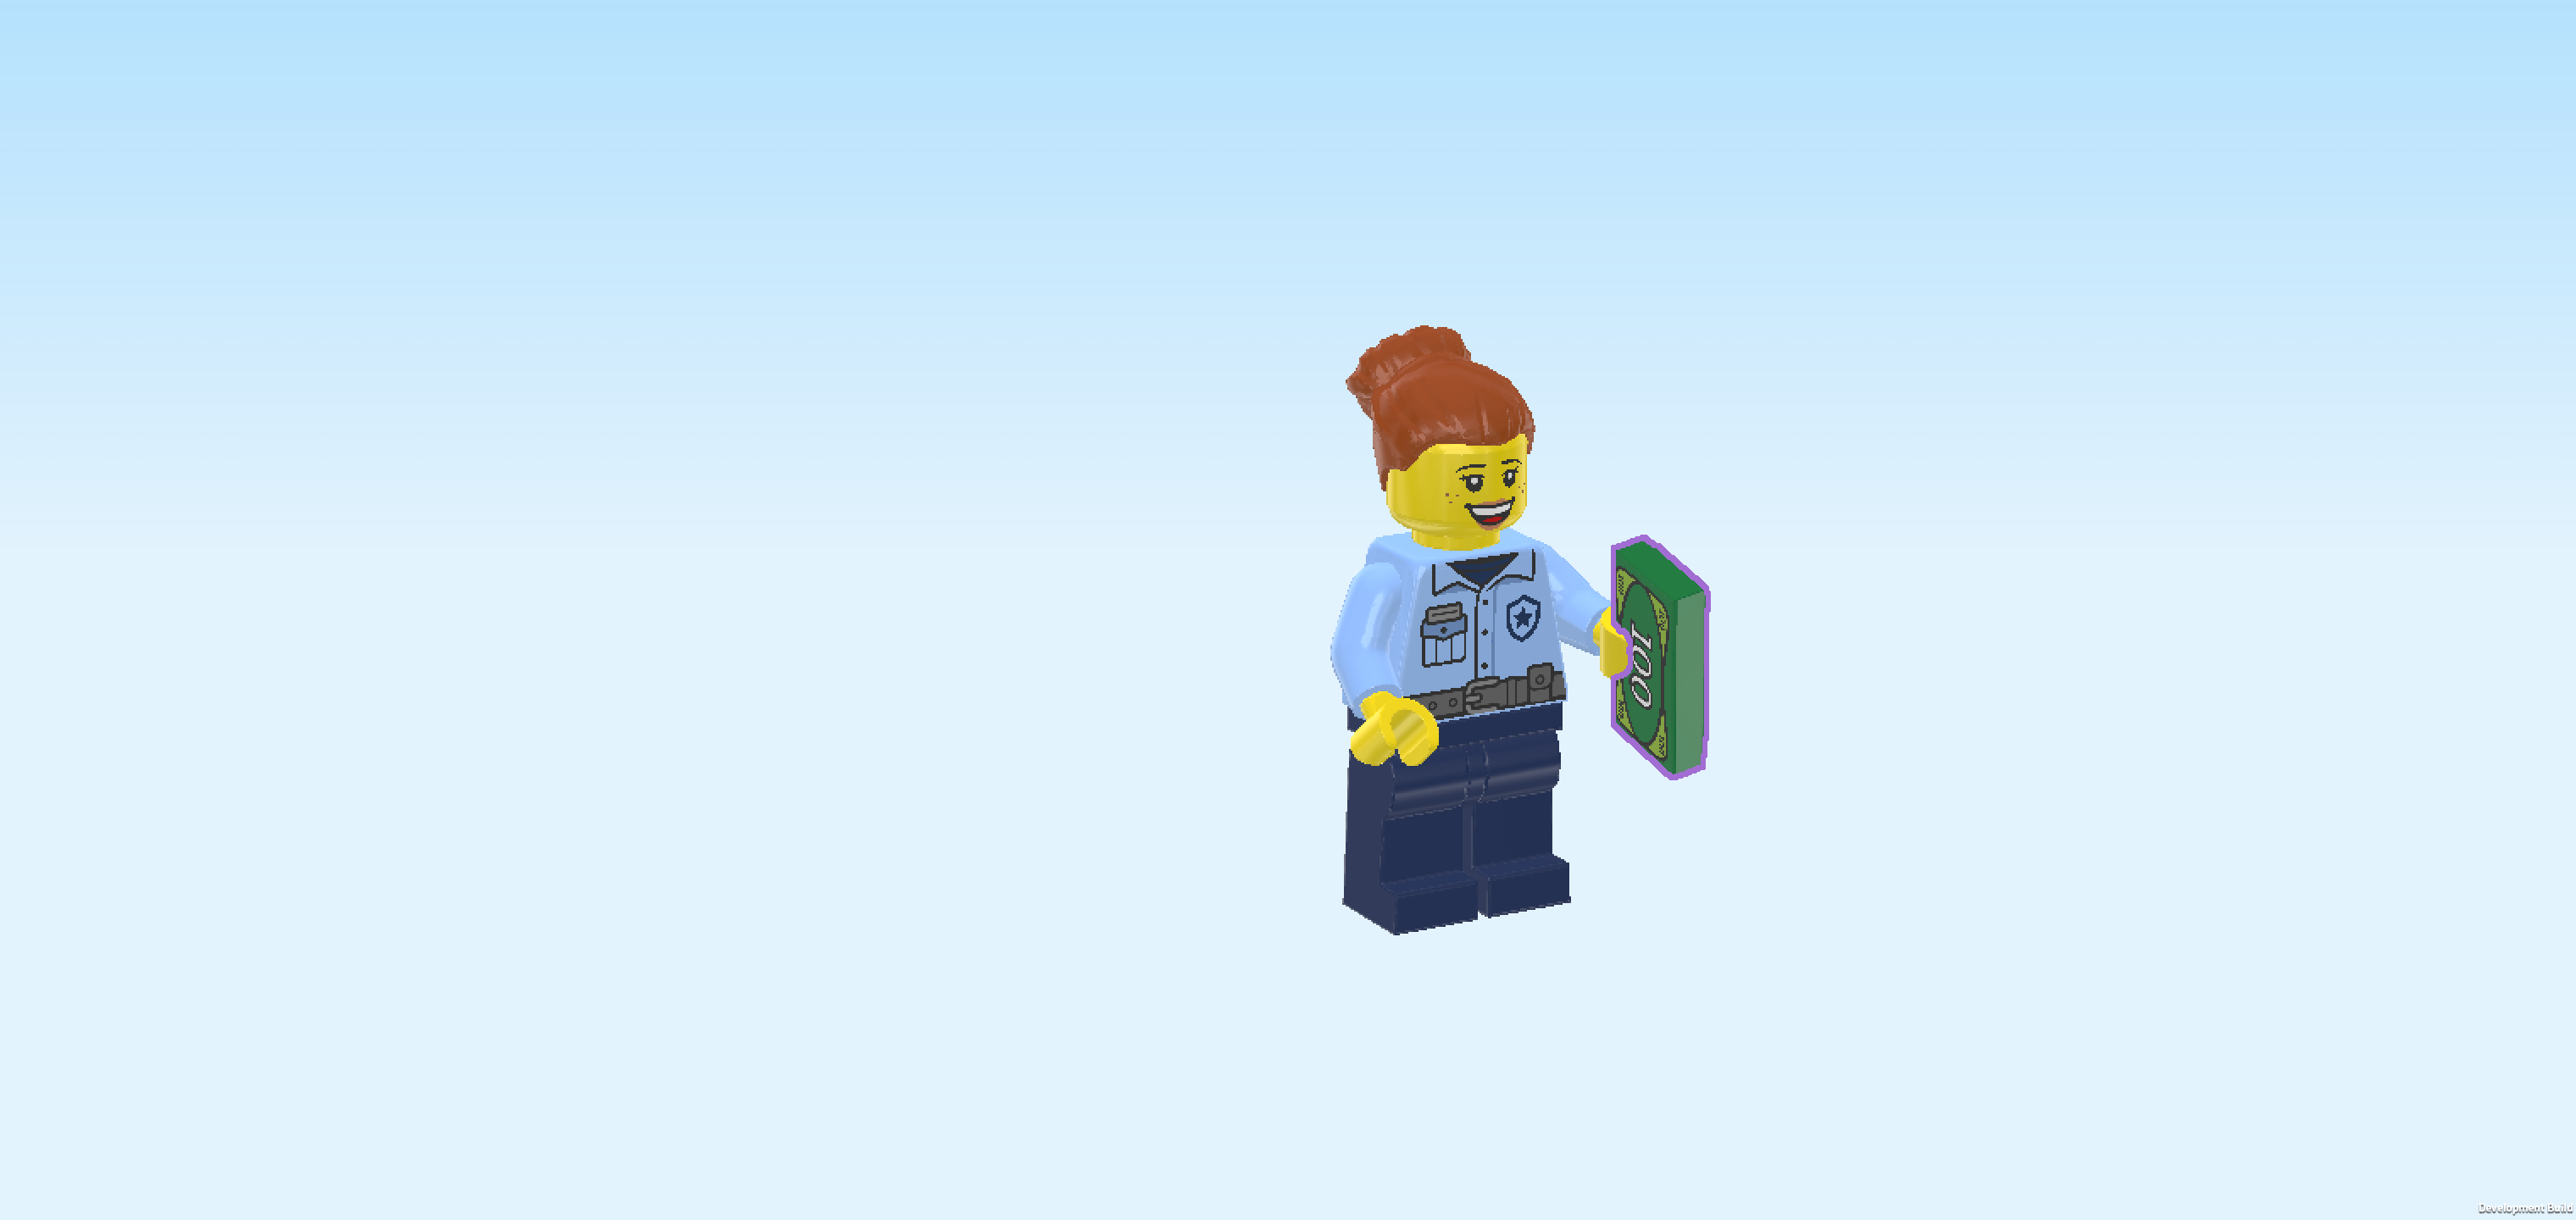
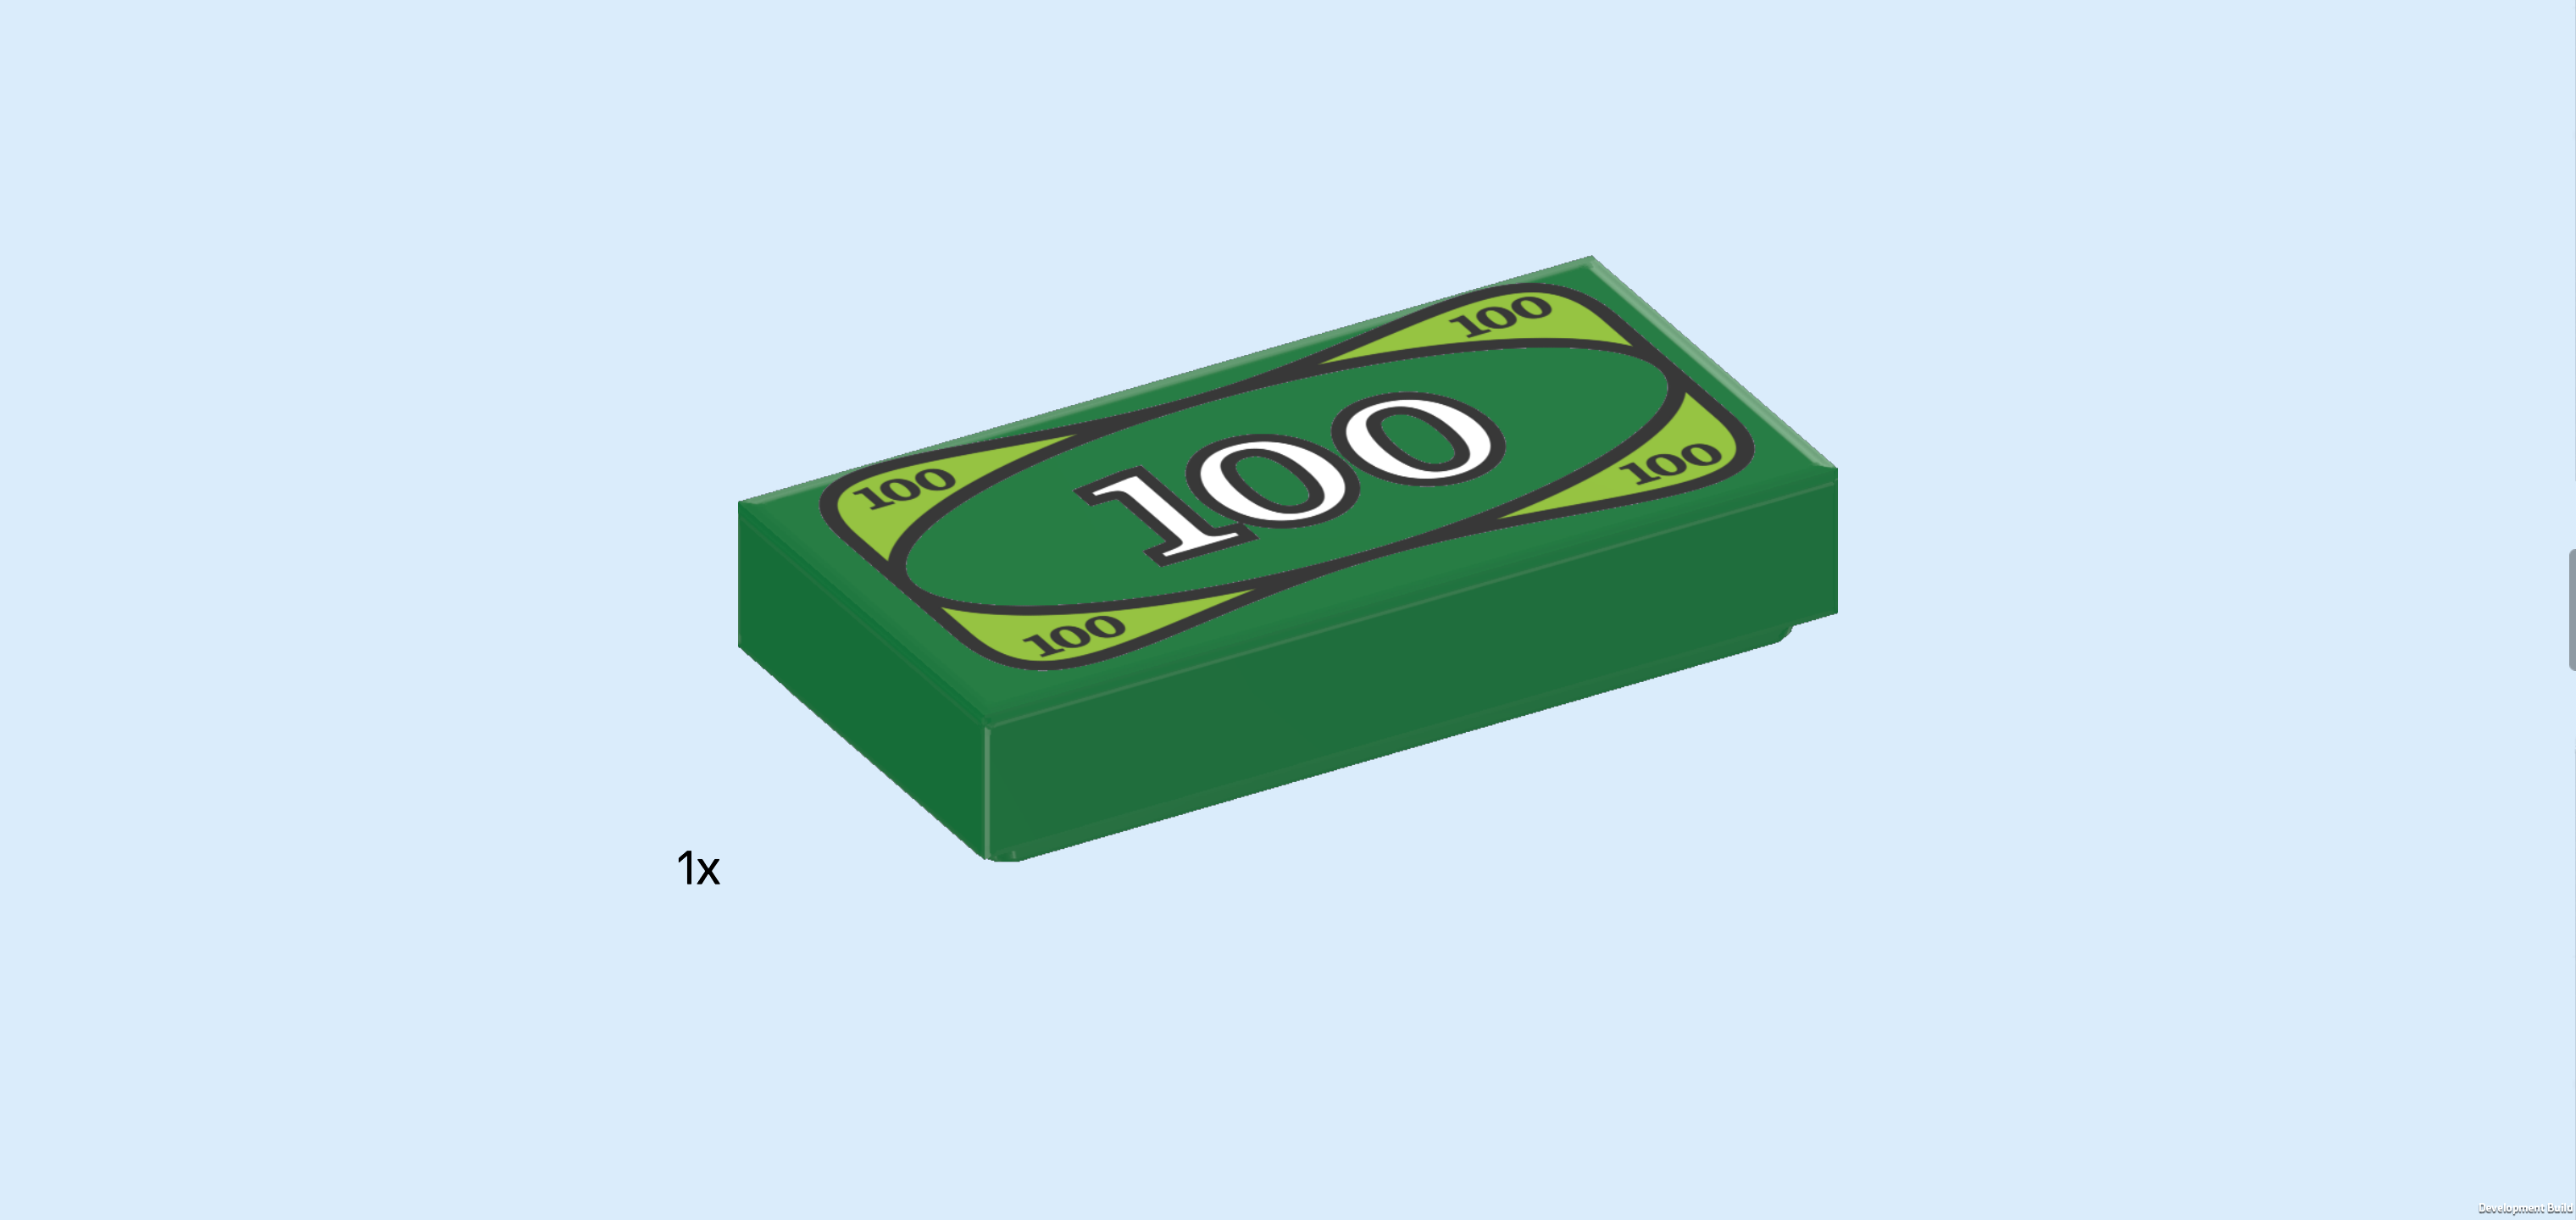
| Find 1 dark green flat tile 1x2. |
| Snap one of its long sides into the Minifigure's hand. This tile is printed with a money bill worth 100. Someone is getting ready to buy some donuts! |
| The Customer Minifigure is finished! Well done! The customer is actually a police officer, wearing a light blue long-sleeved button-up shirt with a chest pocket on the left, and a dark blue star-shaped police emblem is stitched on the left side of the chest. The back of the shirt also shows the police badge in light blue. She wears dark blue pants and a dark silver belt with a silver buckle and pouches. Her face has freckles, dark eyelashes, and a wide smile. She has reddish brown hair tied up in a high bun. |
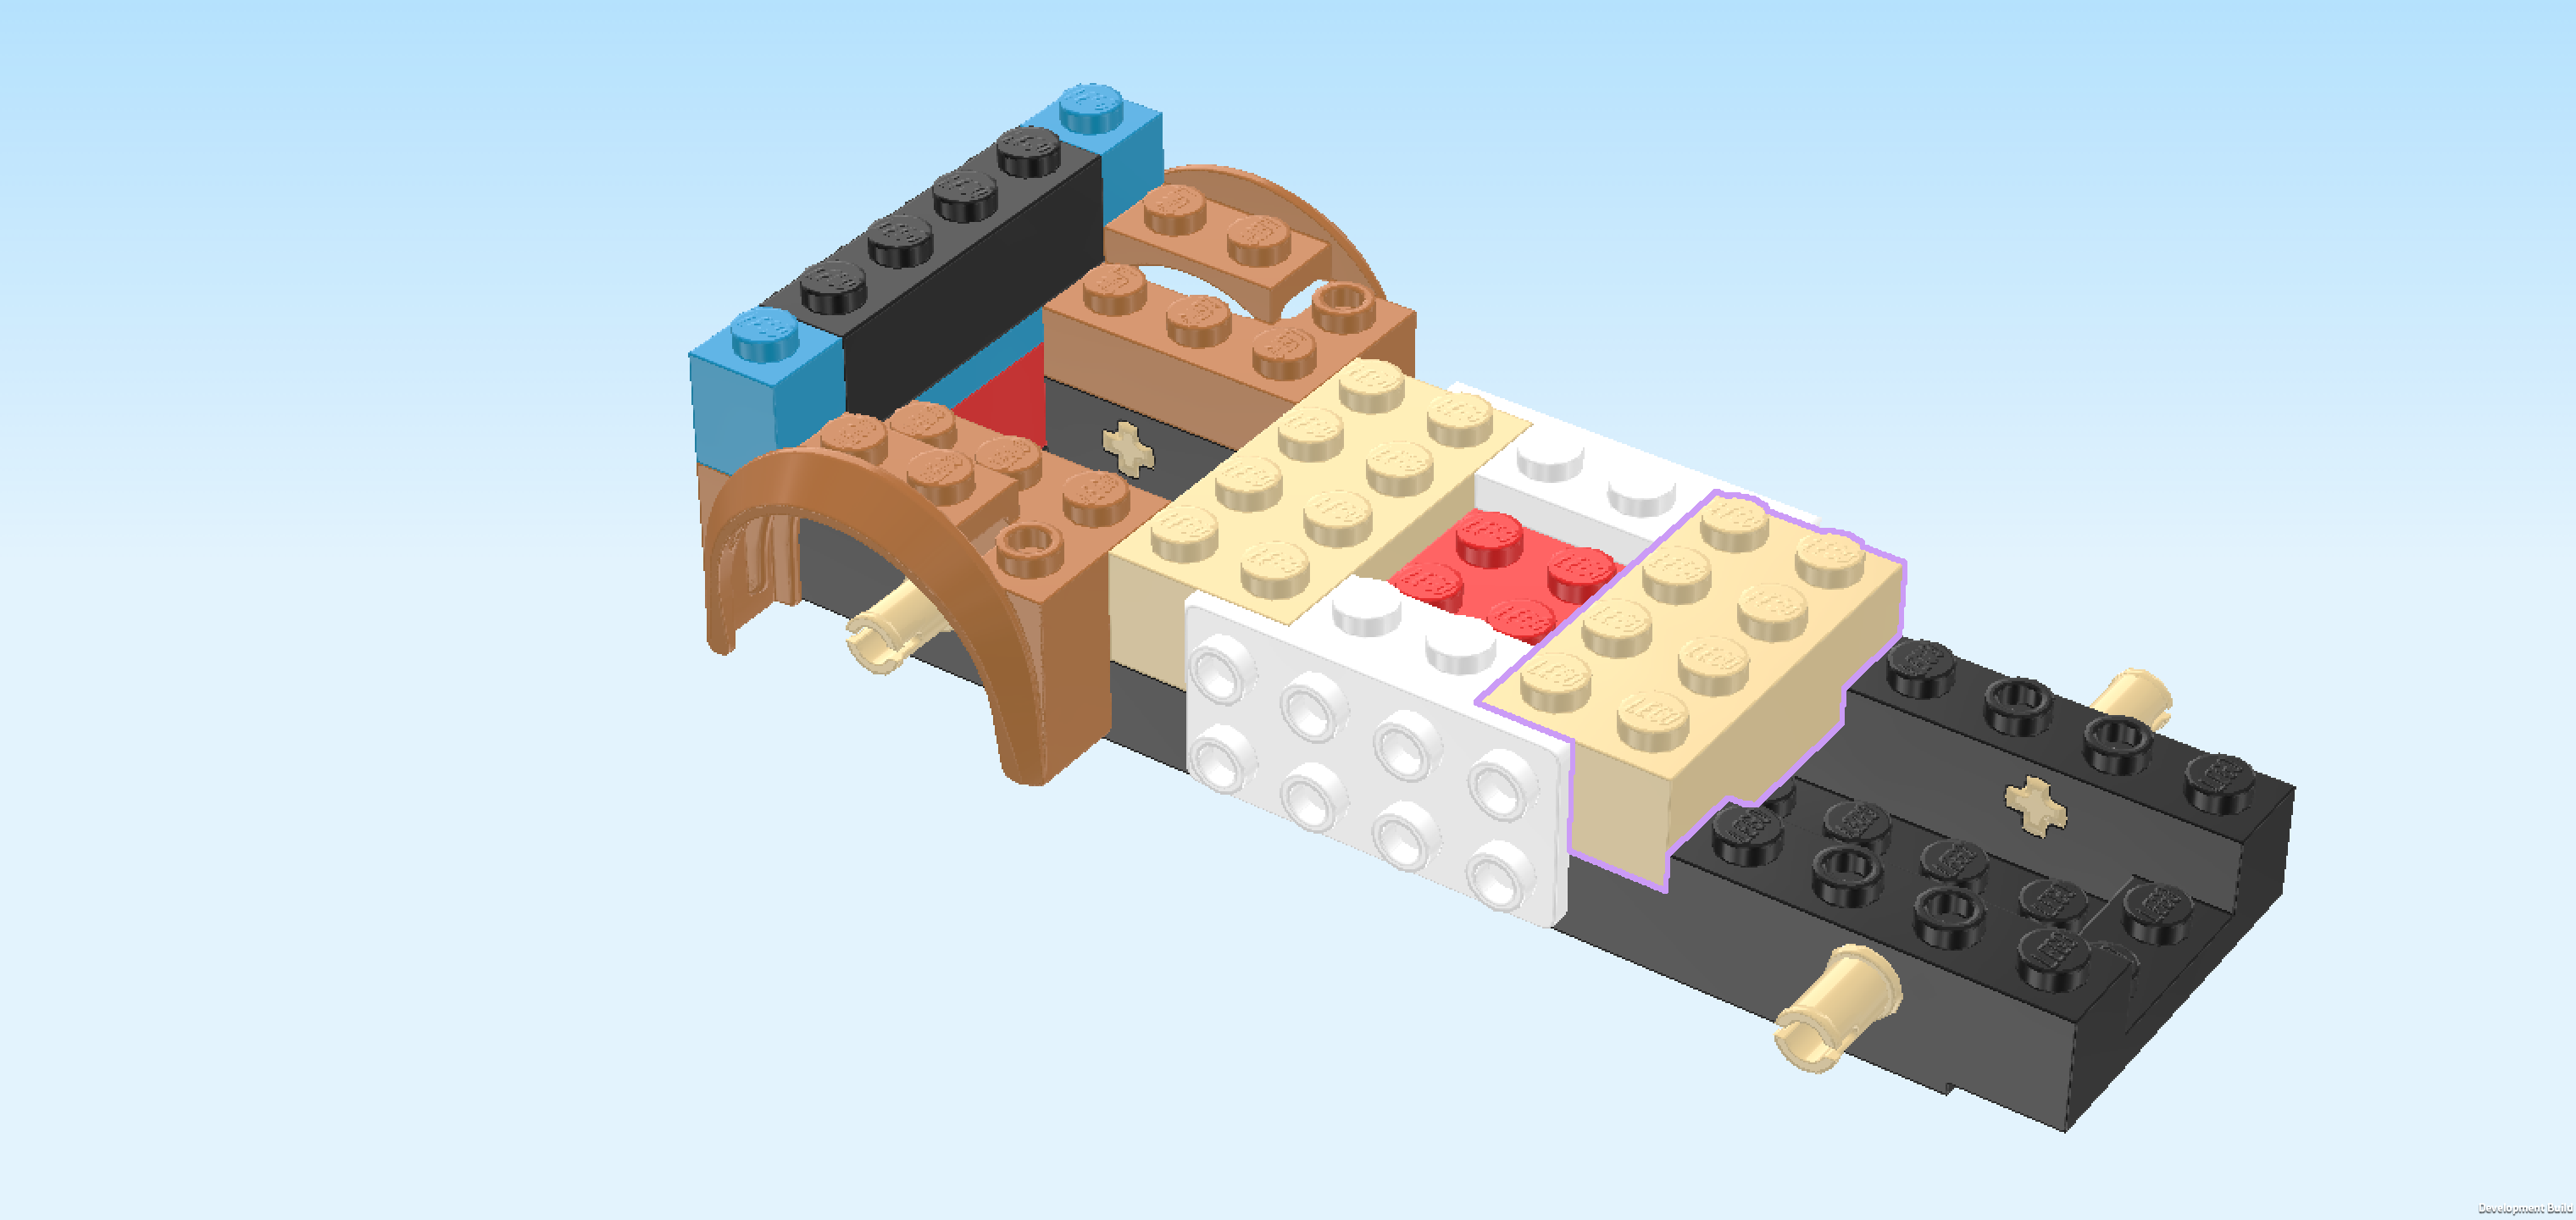
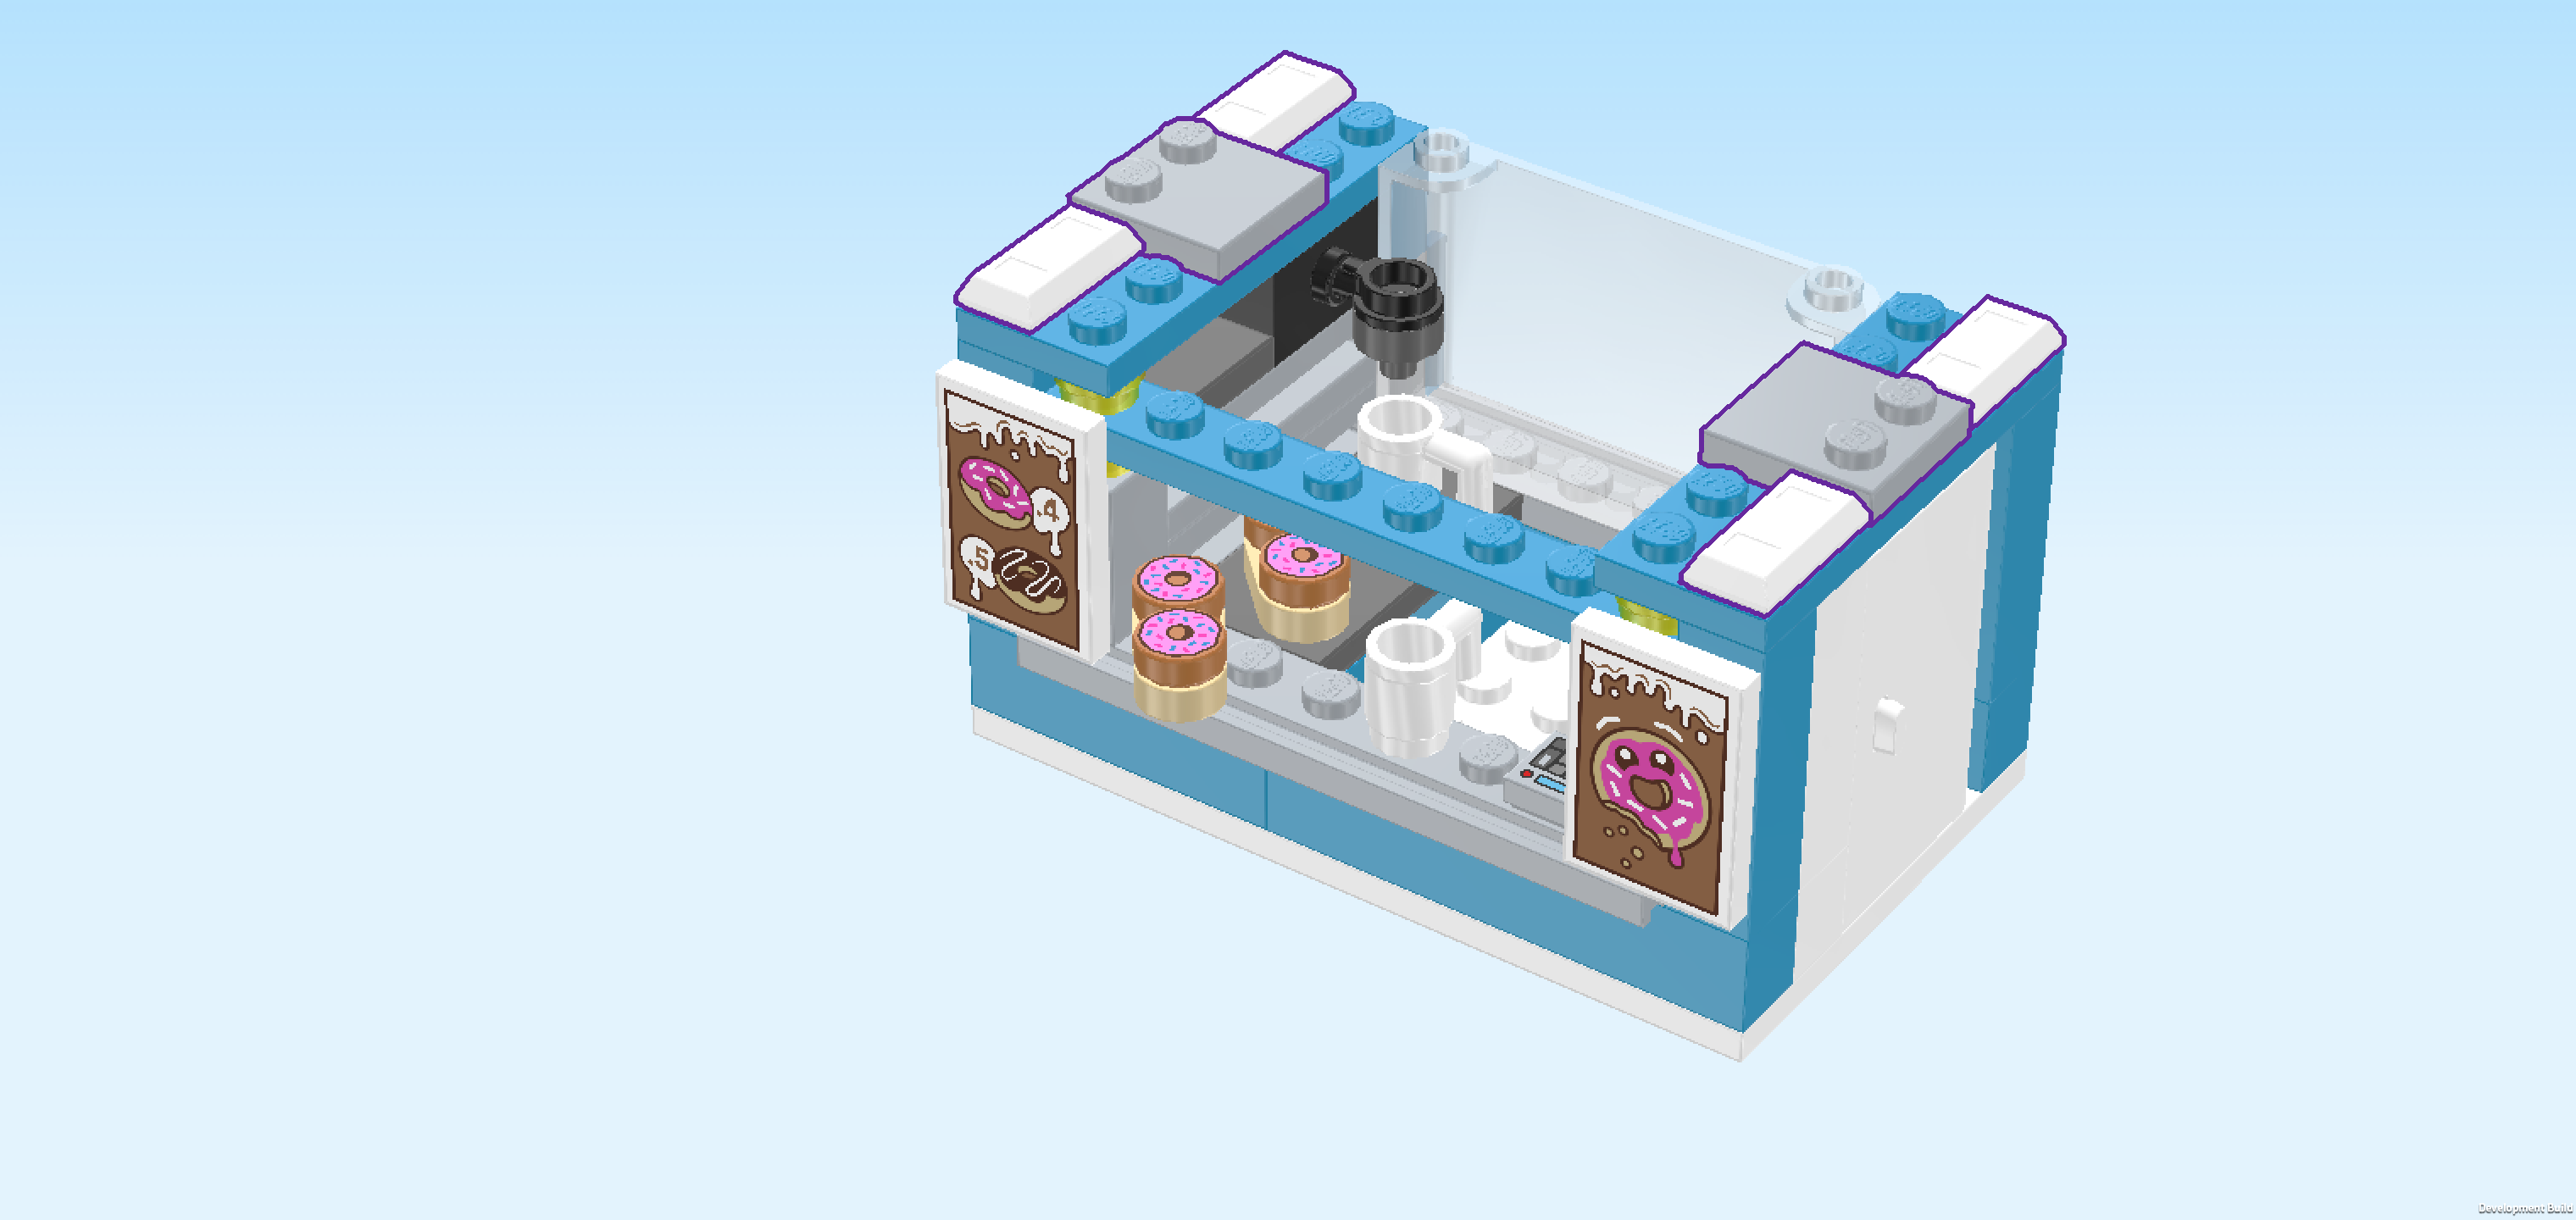
| Now, we will build the detachable Donut Kiosk. |
| Collect the following 2 pieces: |
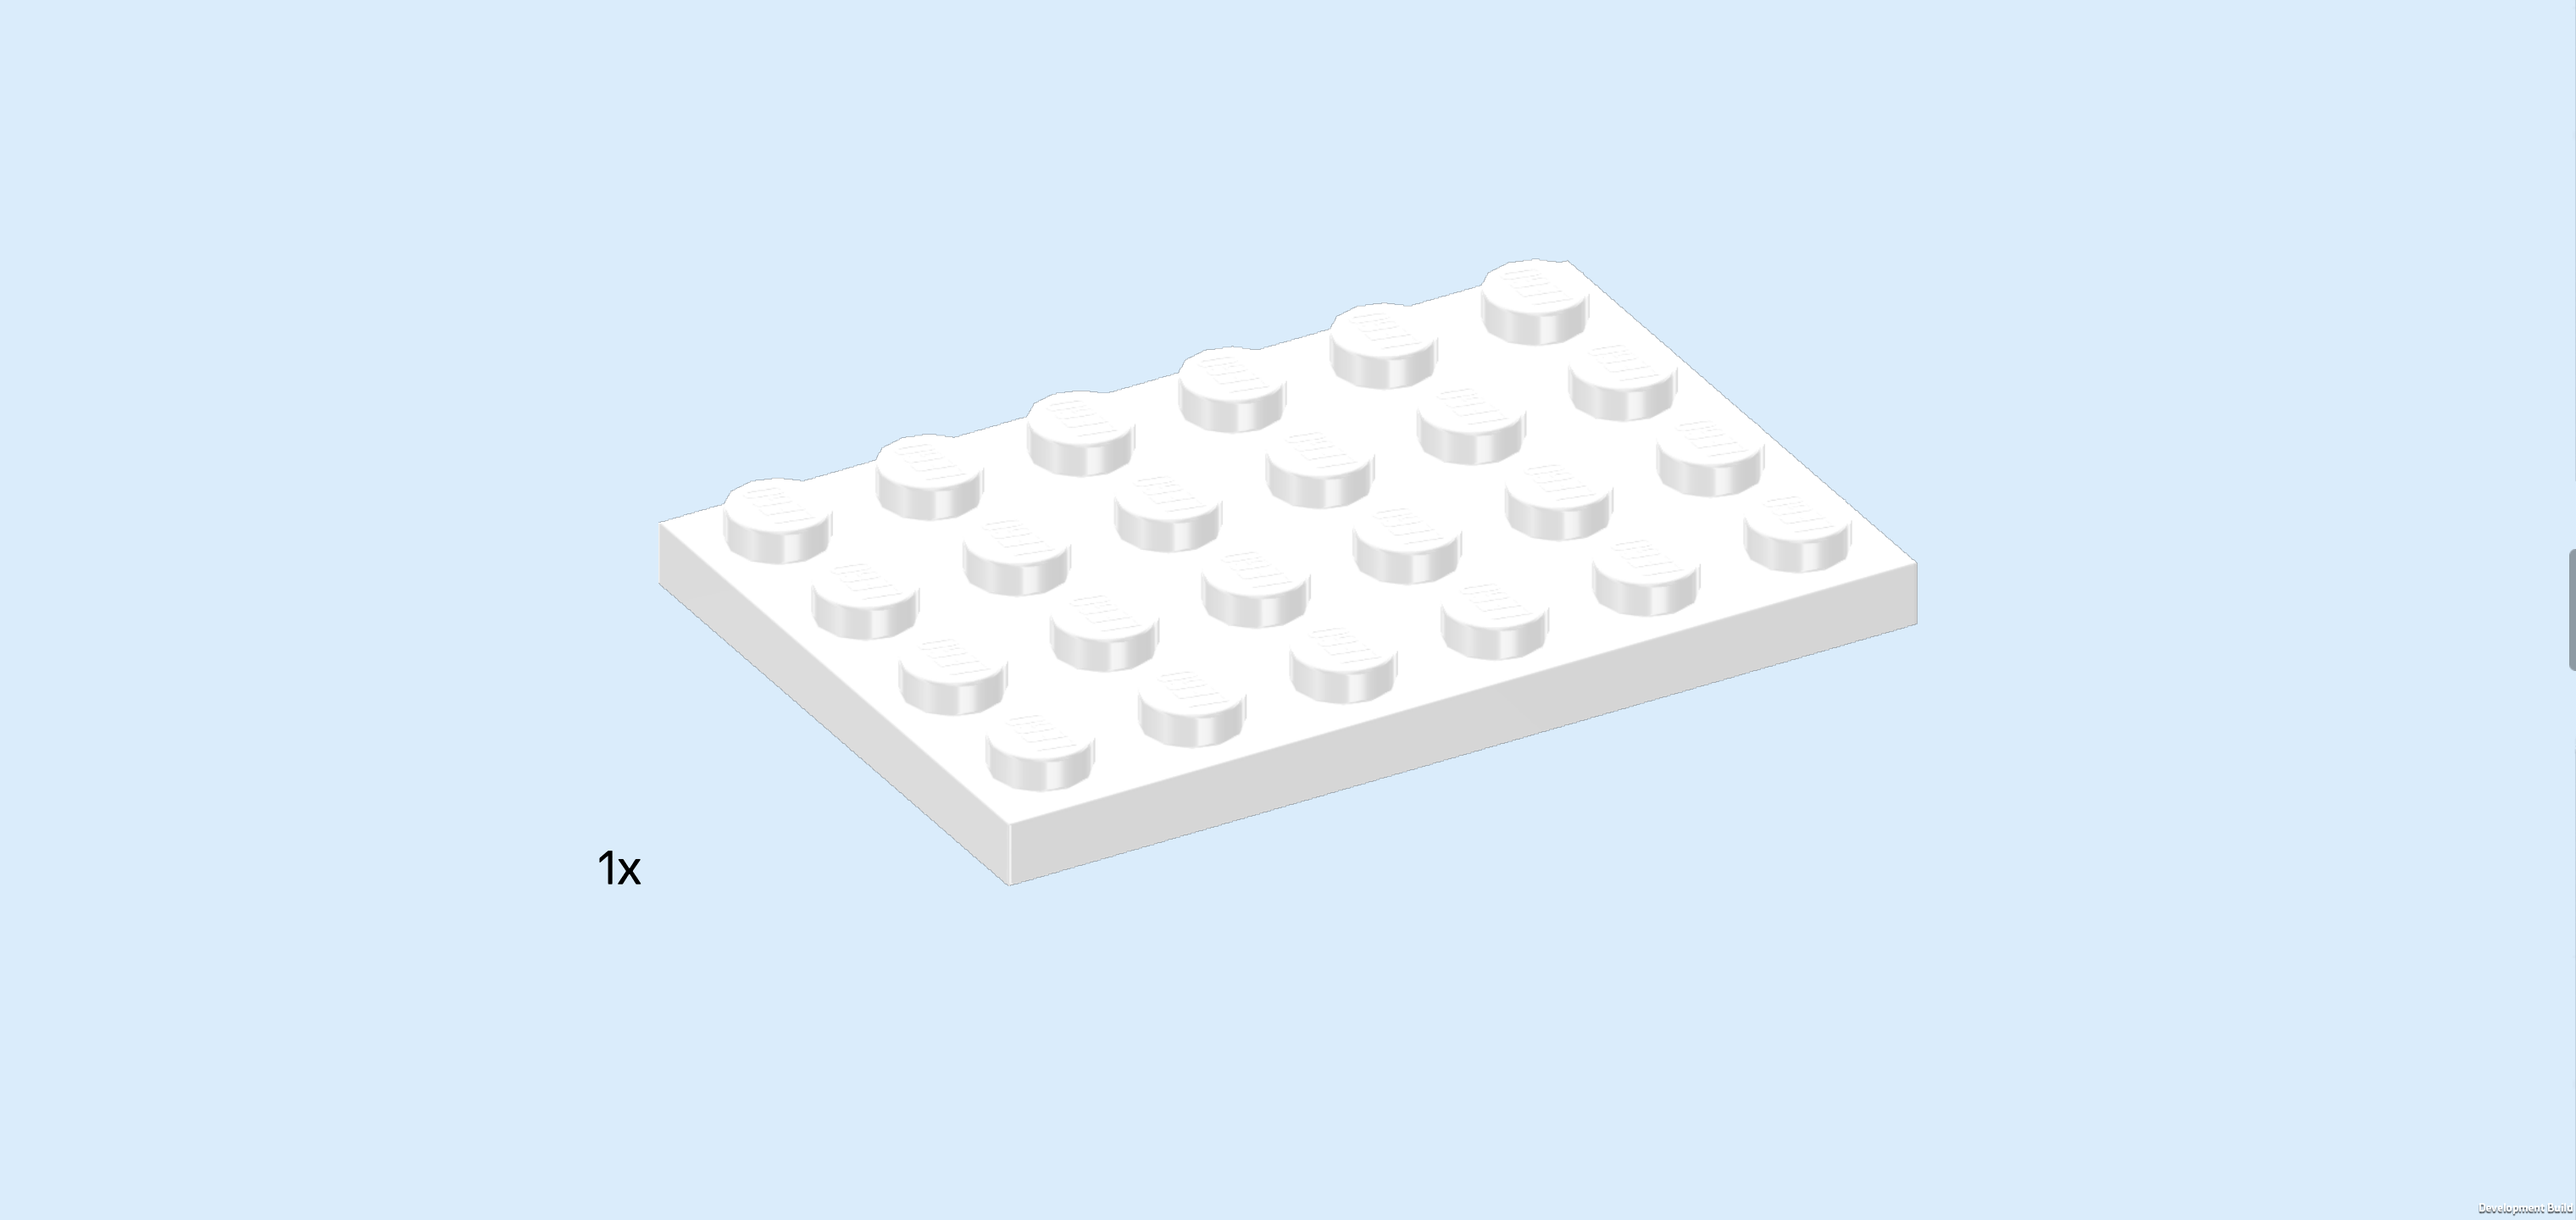
| 1 white plate 6x10, |
| and 1 dark azure blue brick 2x4. |
| Put the plate 6x10 horizontally on the table. Make sure its knobs form straight rows and columns in front of you. |
| Put the brick 2x4 horizontally on the 2 backmost rows, starting from the right edge. |
| Collect the following 2 pieces: |
| 1 medium stone grey brick 2x2, |
| and another dark azure blue brick 2x4. |
| Put the brick 2x2 in front of the previous piece on the 2 rightmost columns. |
| Put the brick 2x4 horizontally in front of the previous piece, starting from the right edge. |
| Find 2 dark azure blue bricks 1x6. |
| Put 1 horizontally to the left of the previous piece on the frontmost row. |
| Repeat symmetrically at the back. |
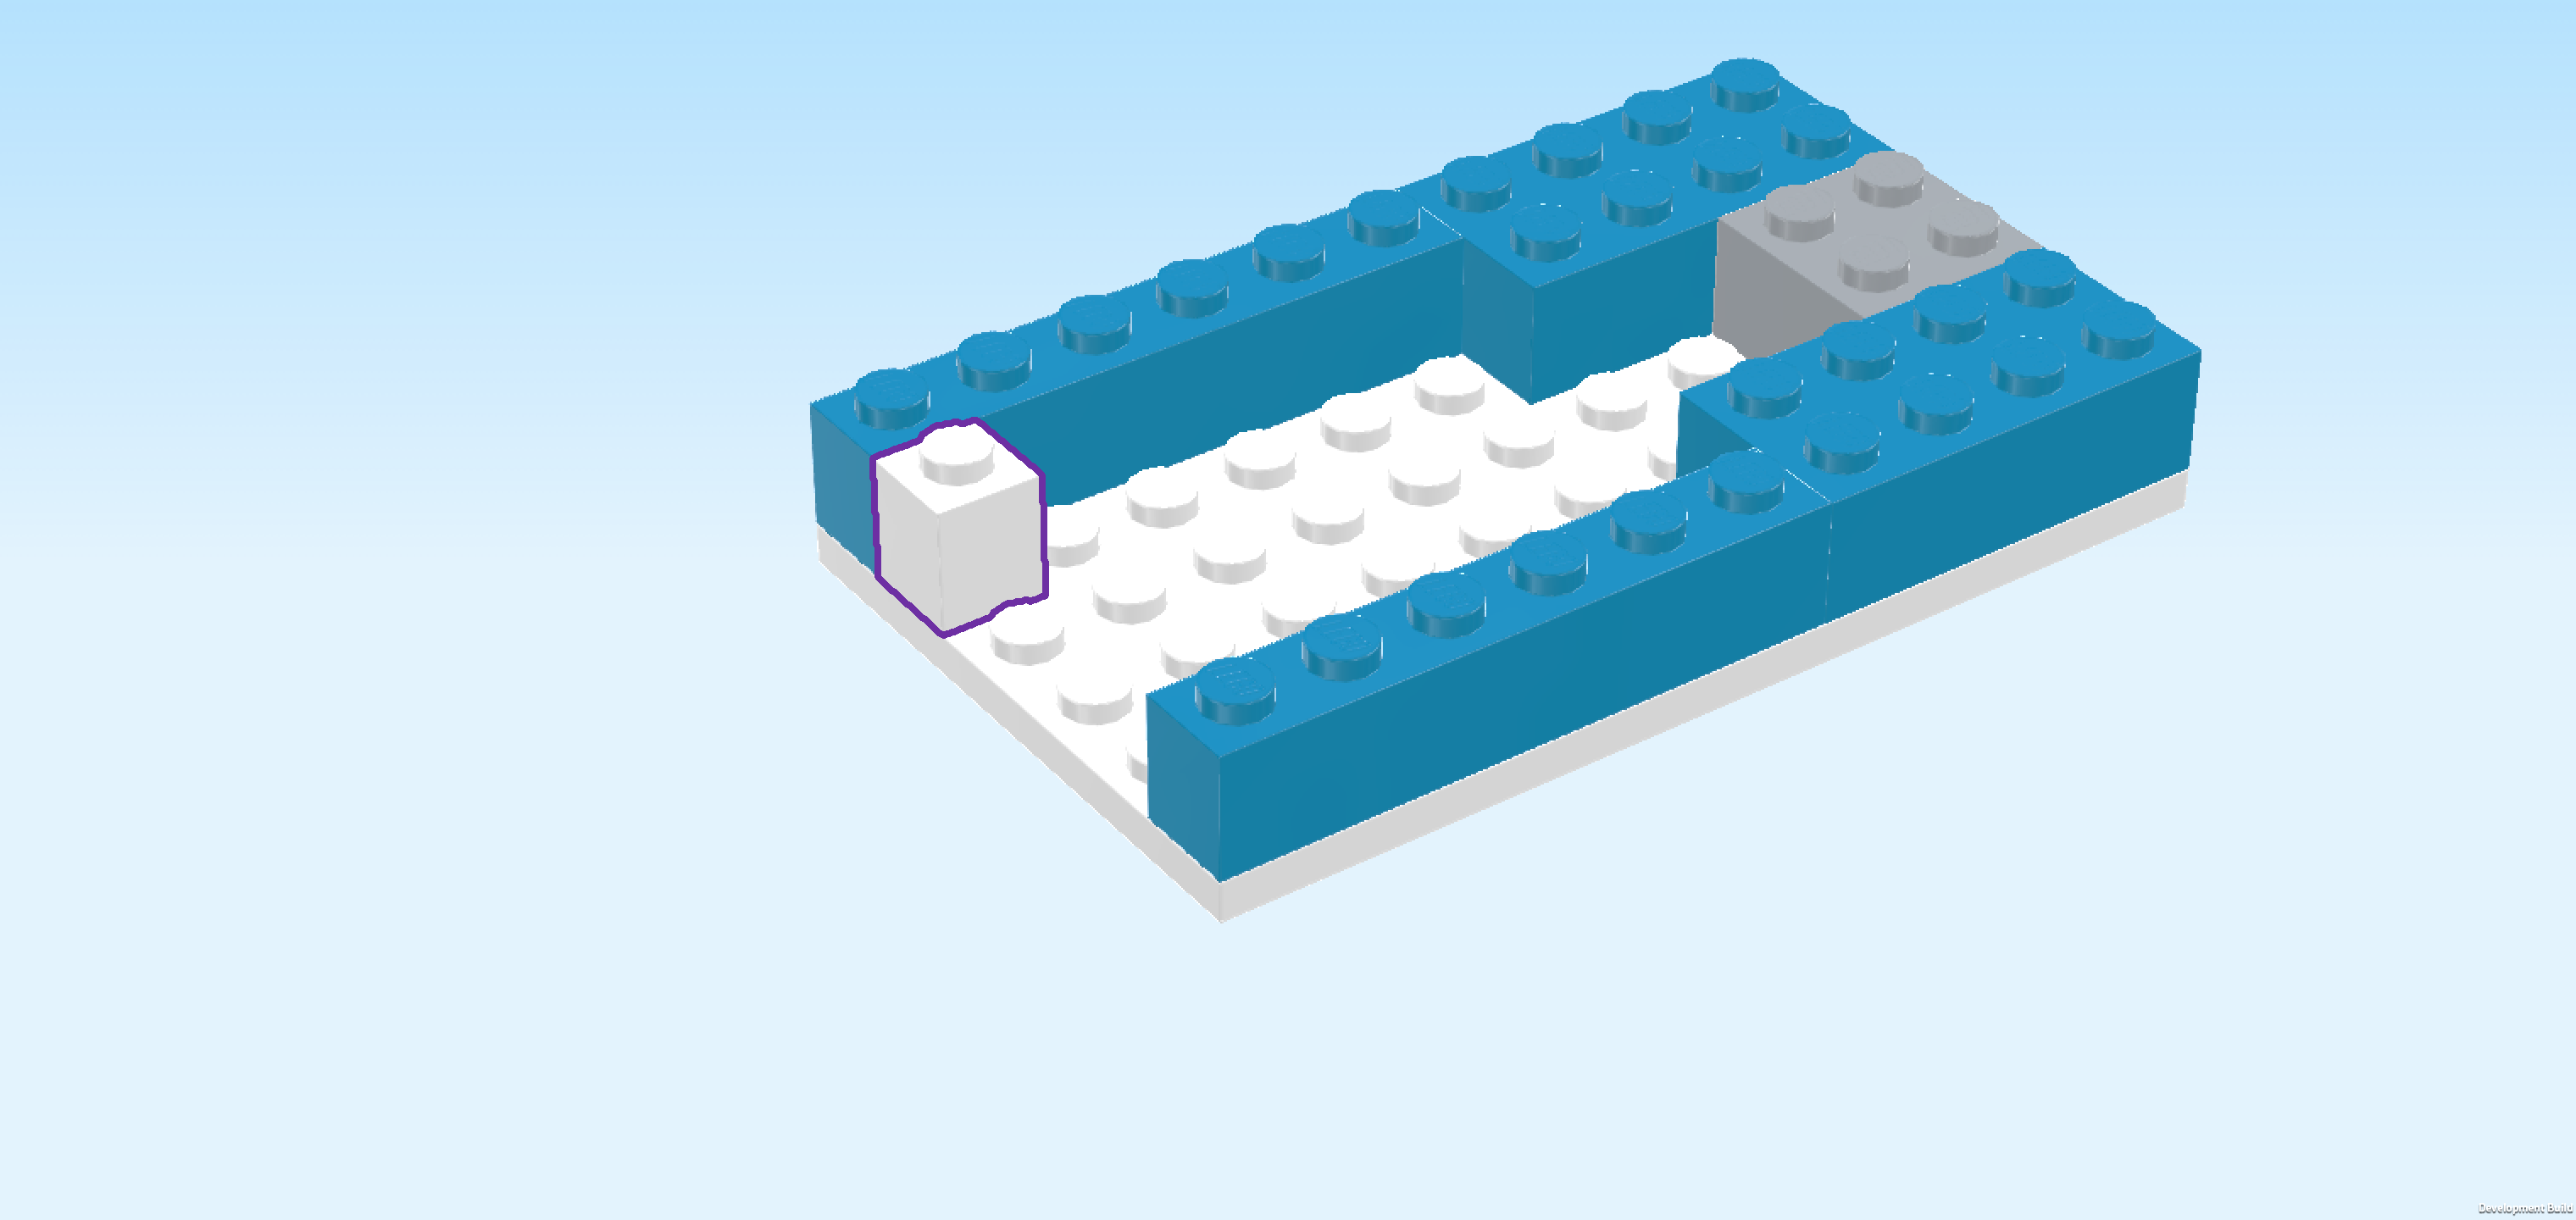
| Find 1 white brick 1x1. |
| Put it in front of the previous piece on the leftmost column. |
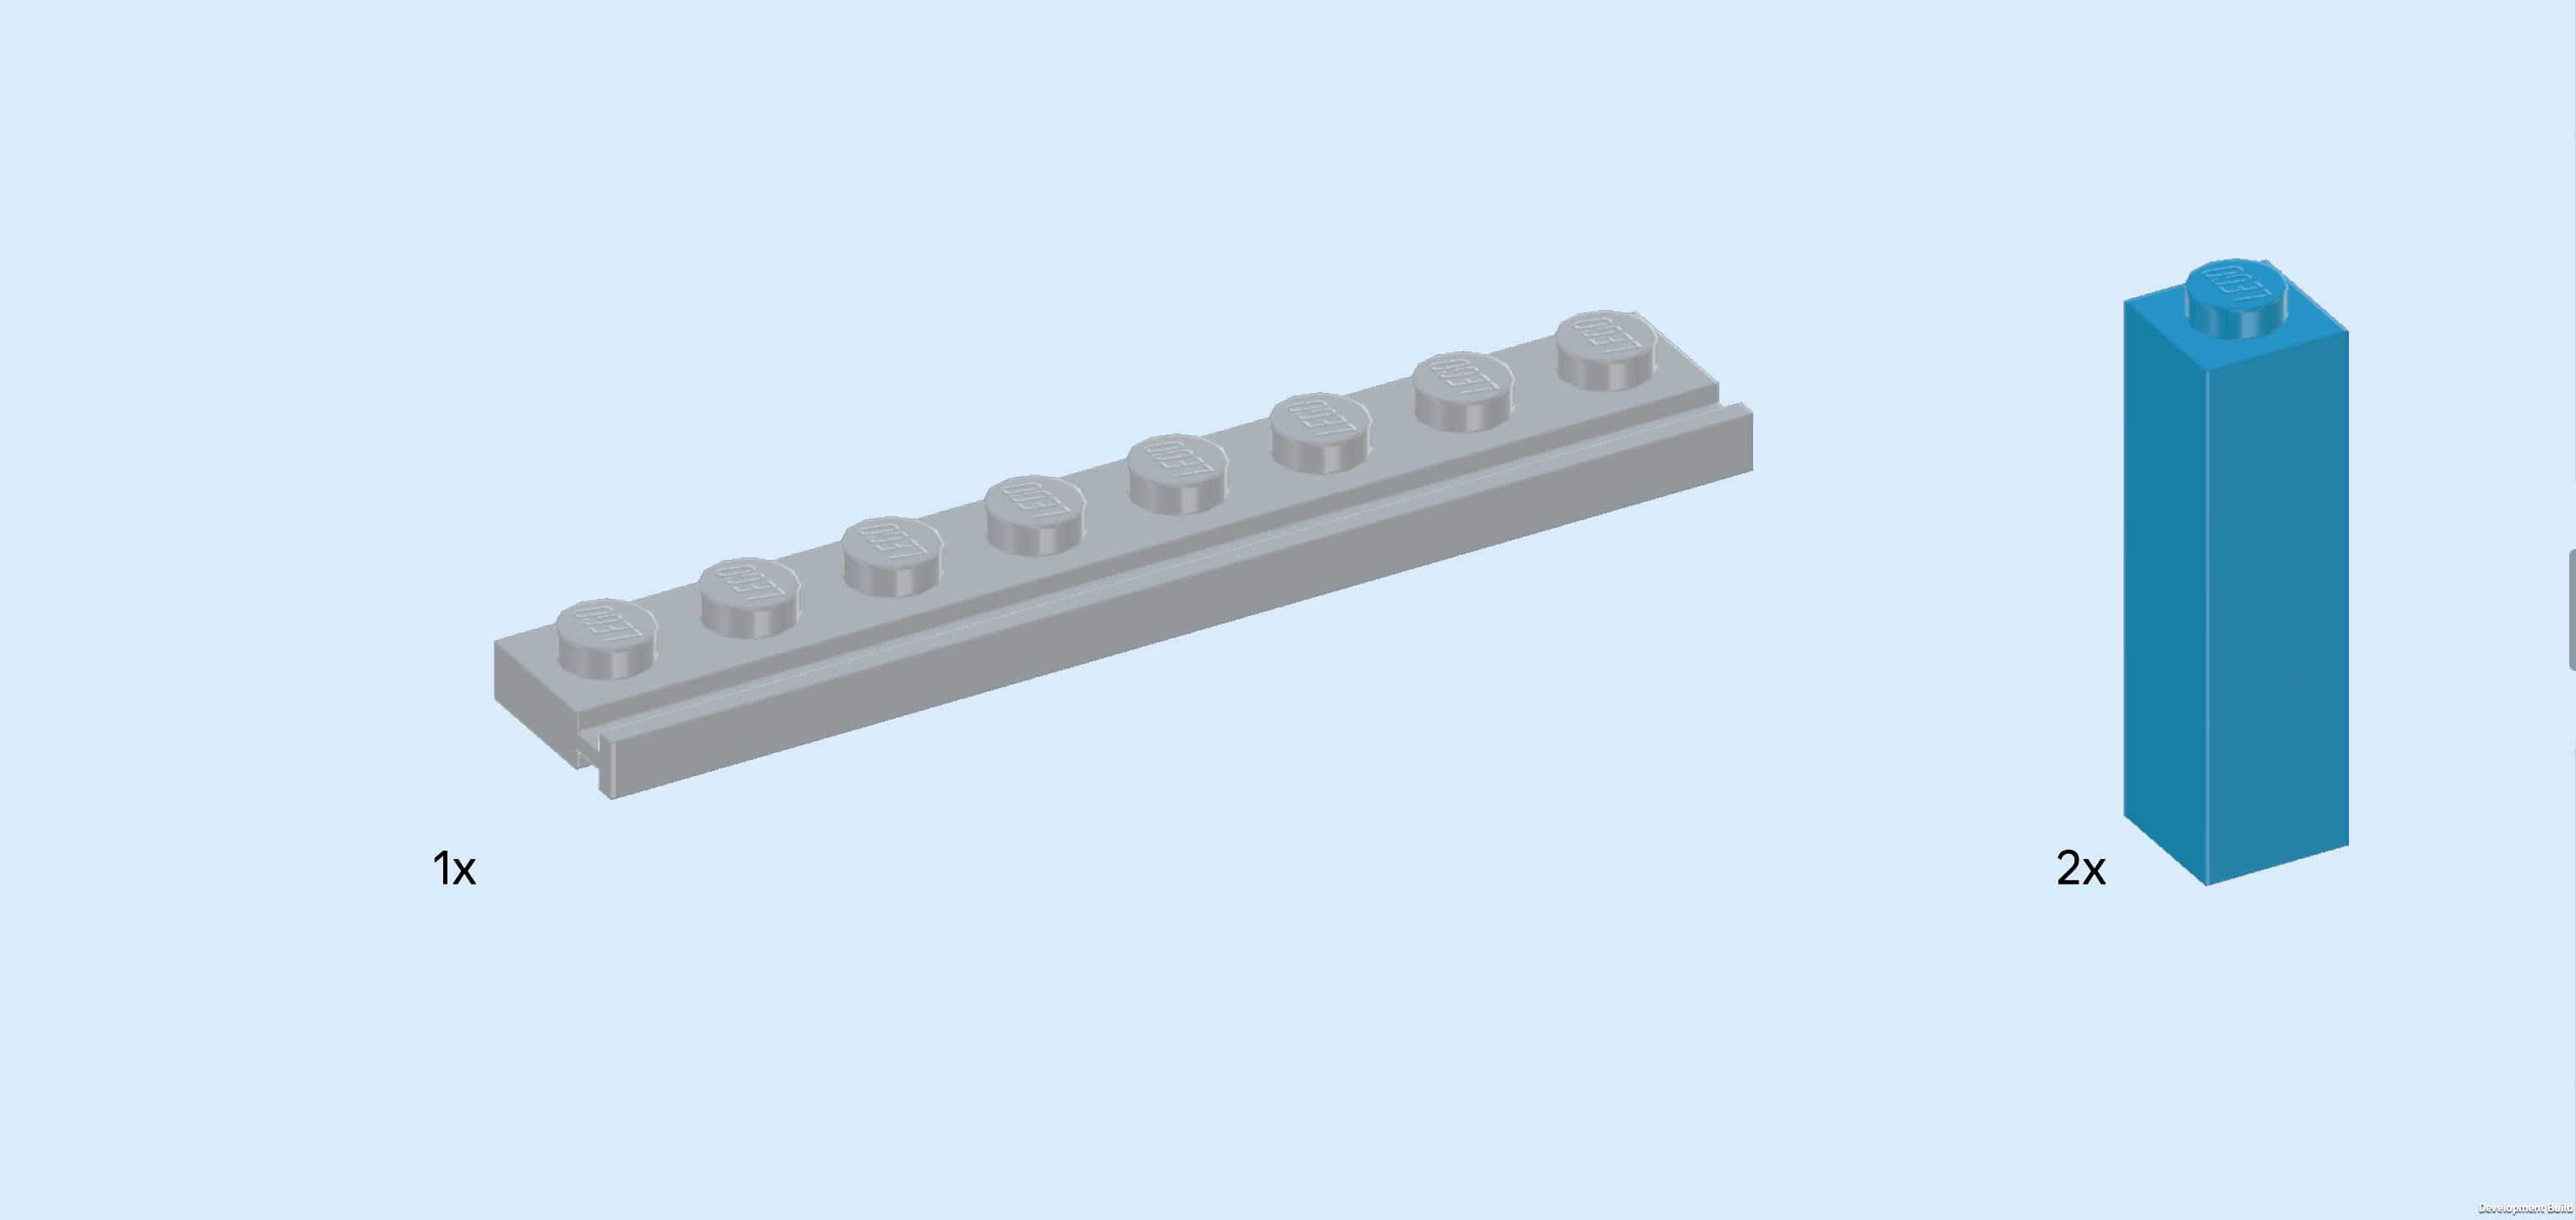
| Collect the following 3 pieces: |
| 1 medium stone grey plate 1x8 with rail, |
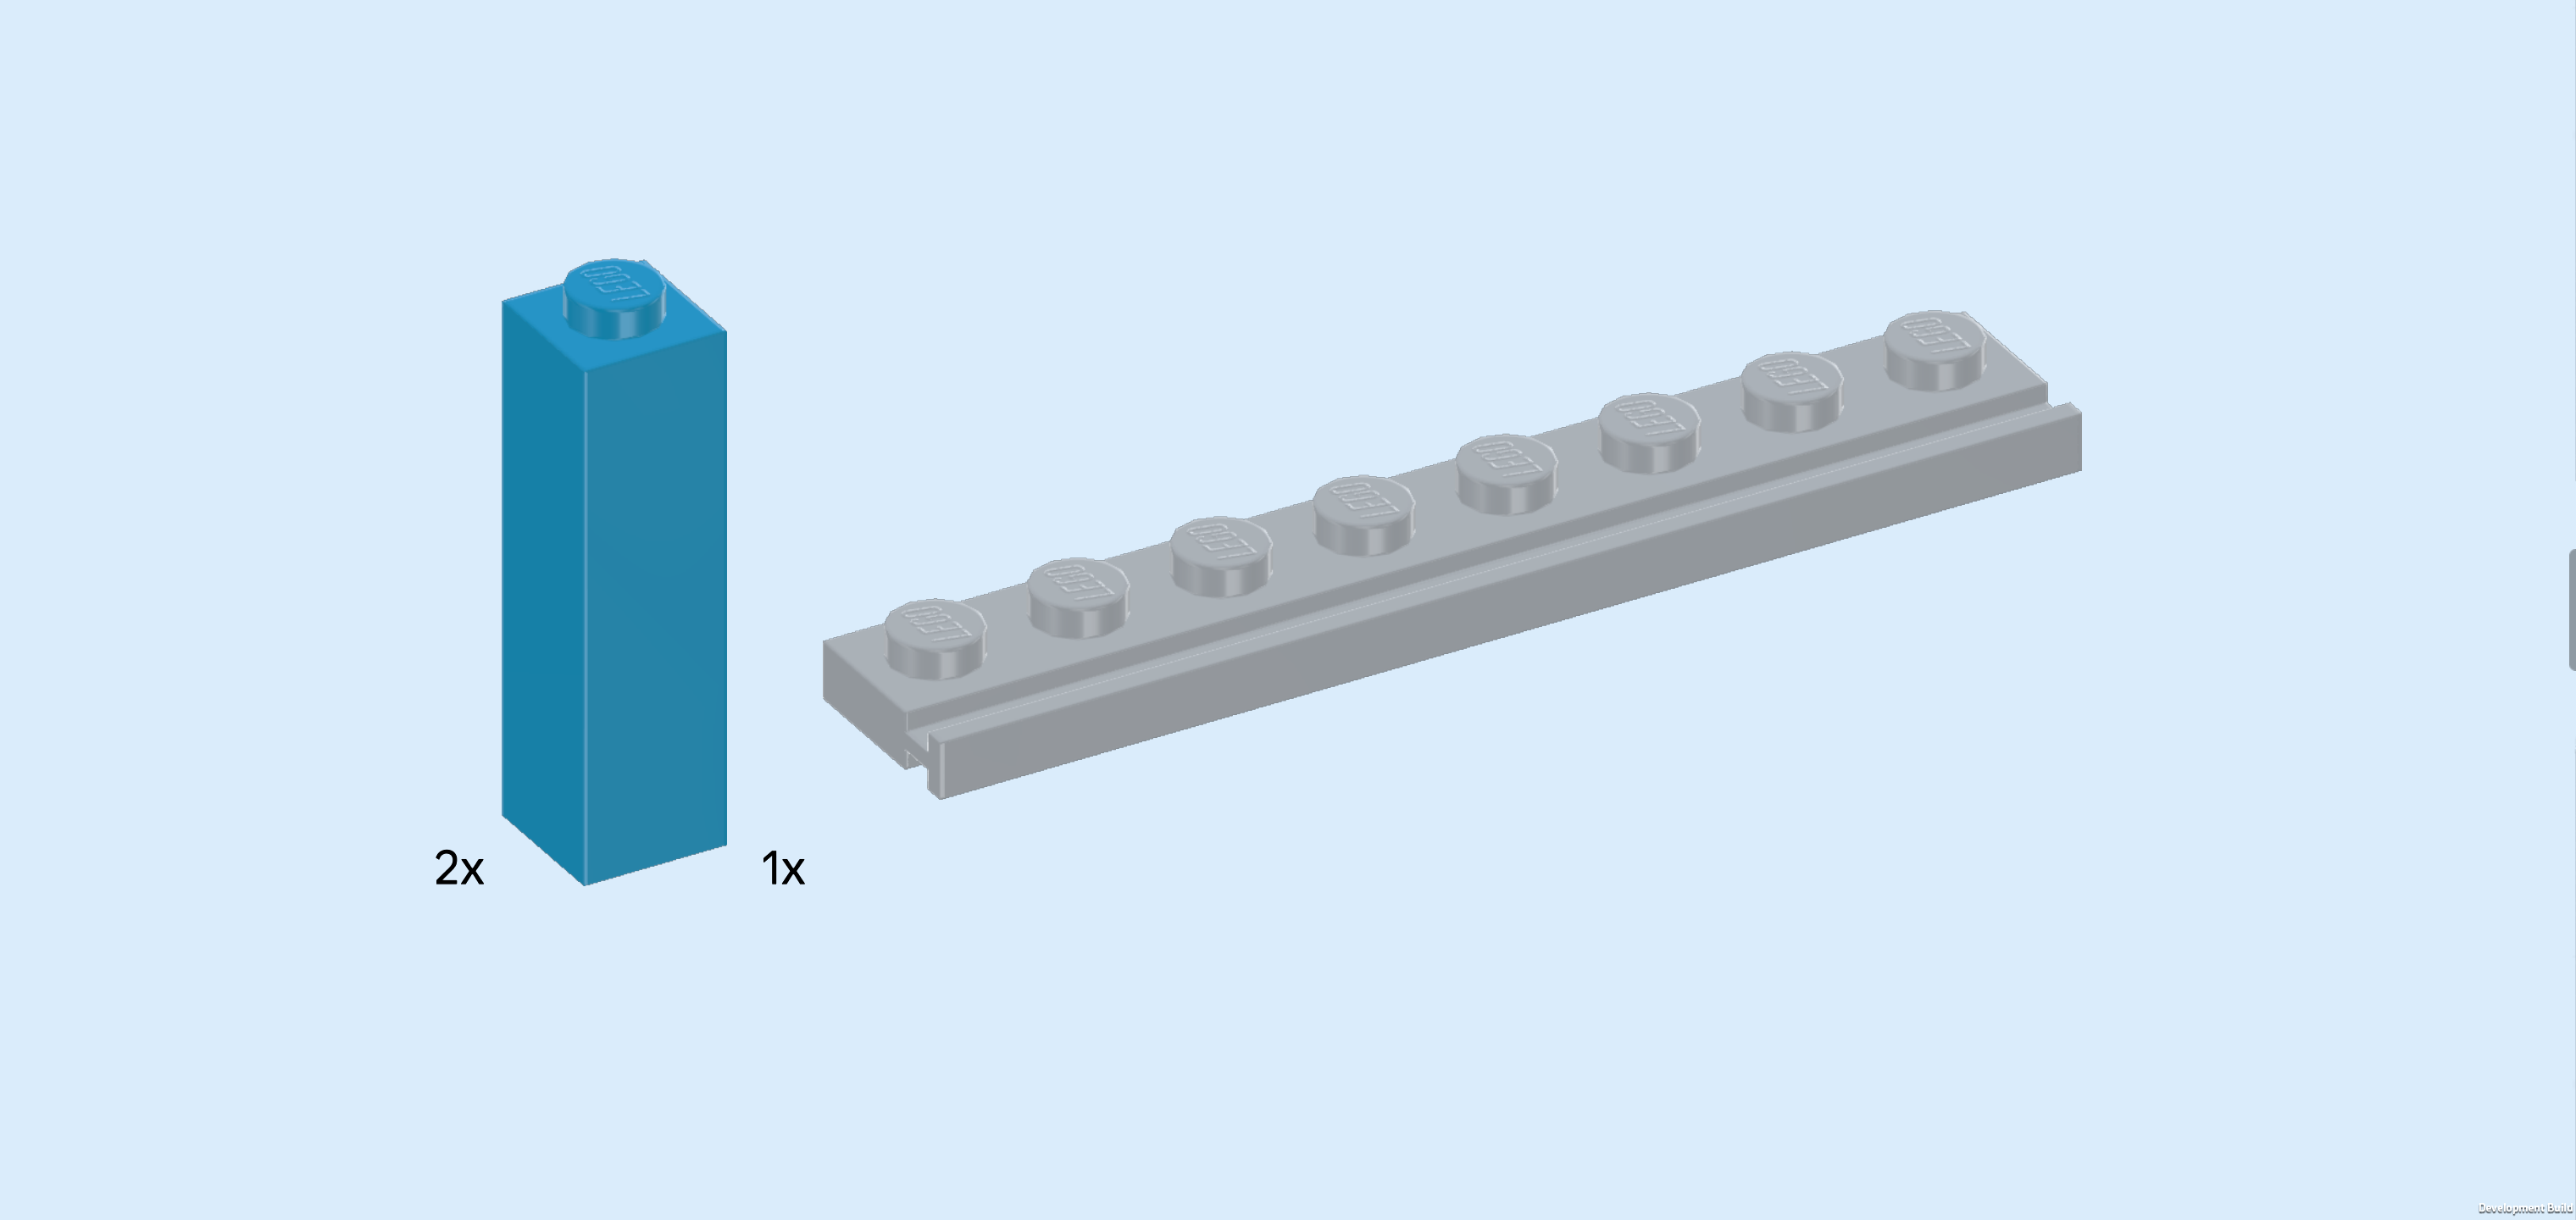
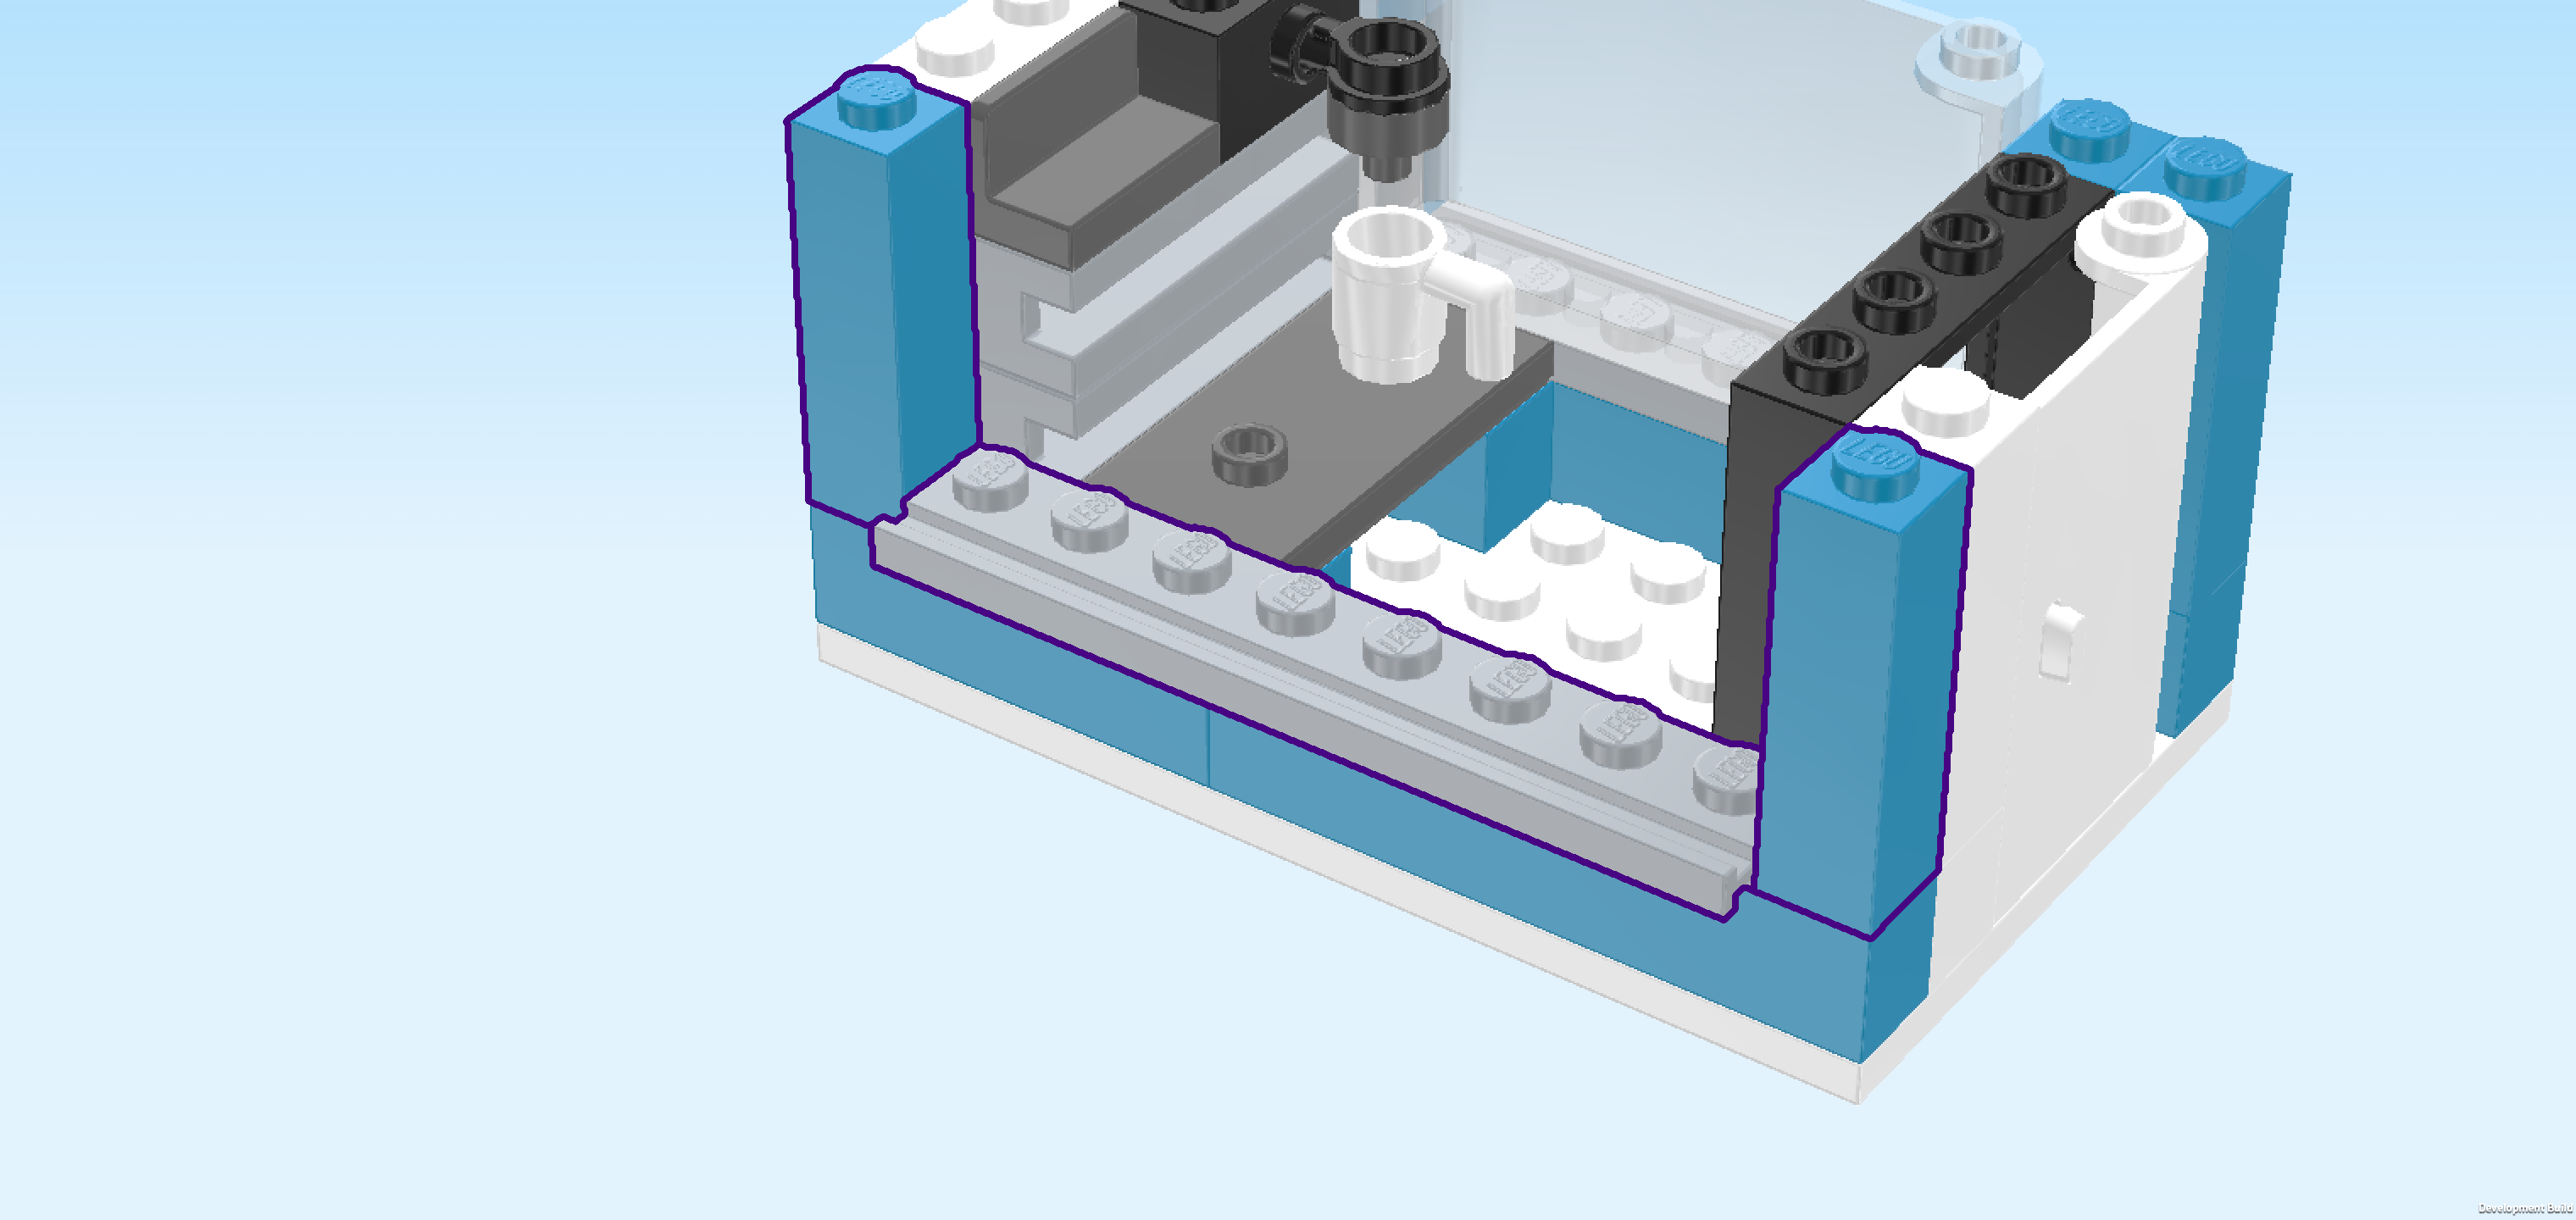
| and 2 dark azure blue bricks 1x1x3. |
| Put 1 brick 1x1x3 on the front left corner of the structure. |
| Put the plate 1x8 horizontally to the right of the previous piece, side rail protruding to the front. |
| Put the other brick 1x1x3 to the right of the previous piece on the front right corner. |
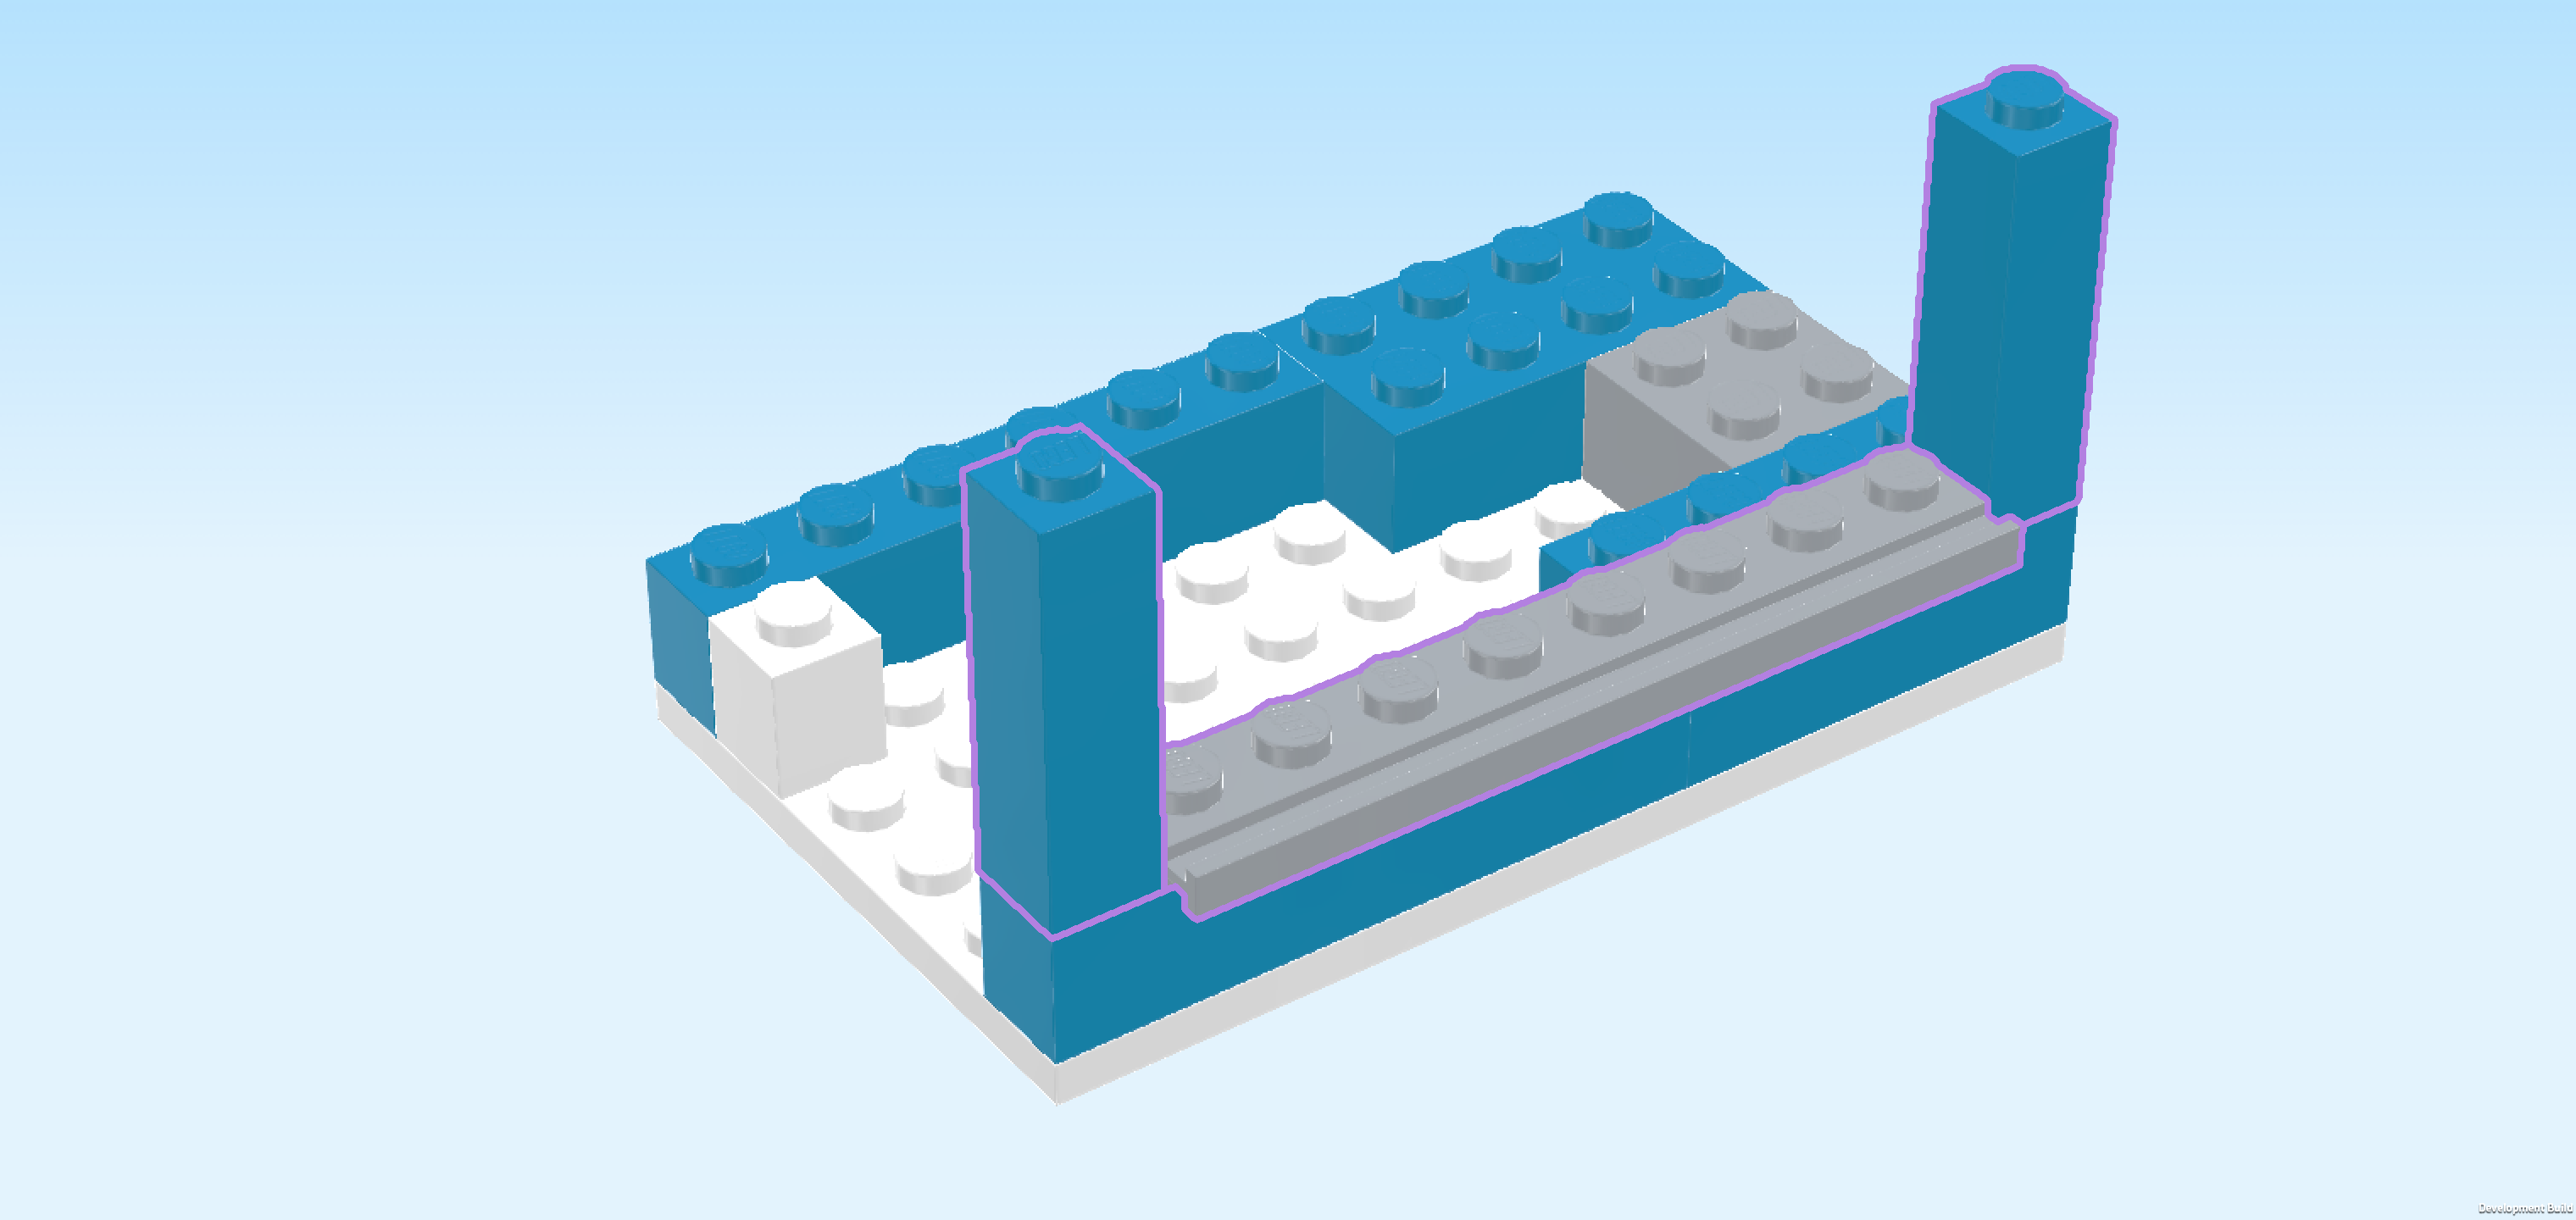
| Next, we will make 2 small sub-parts. |
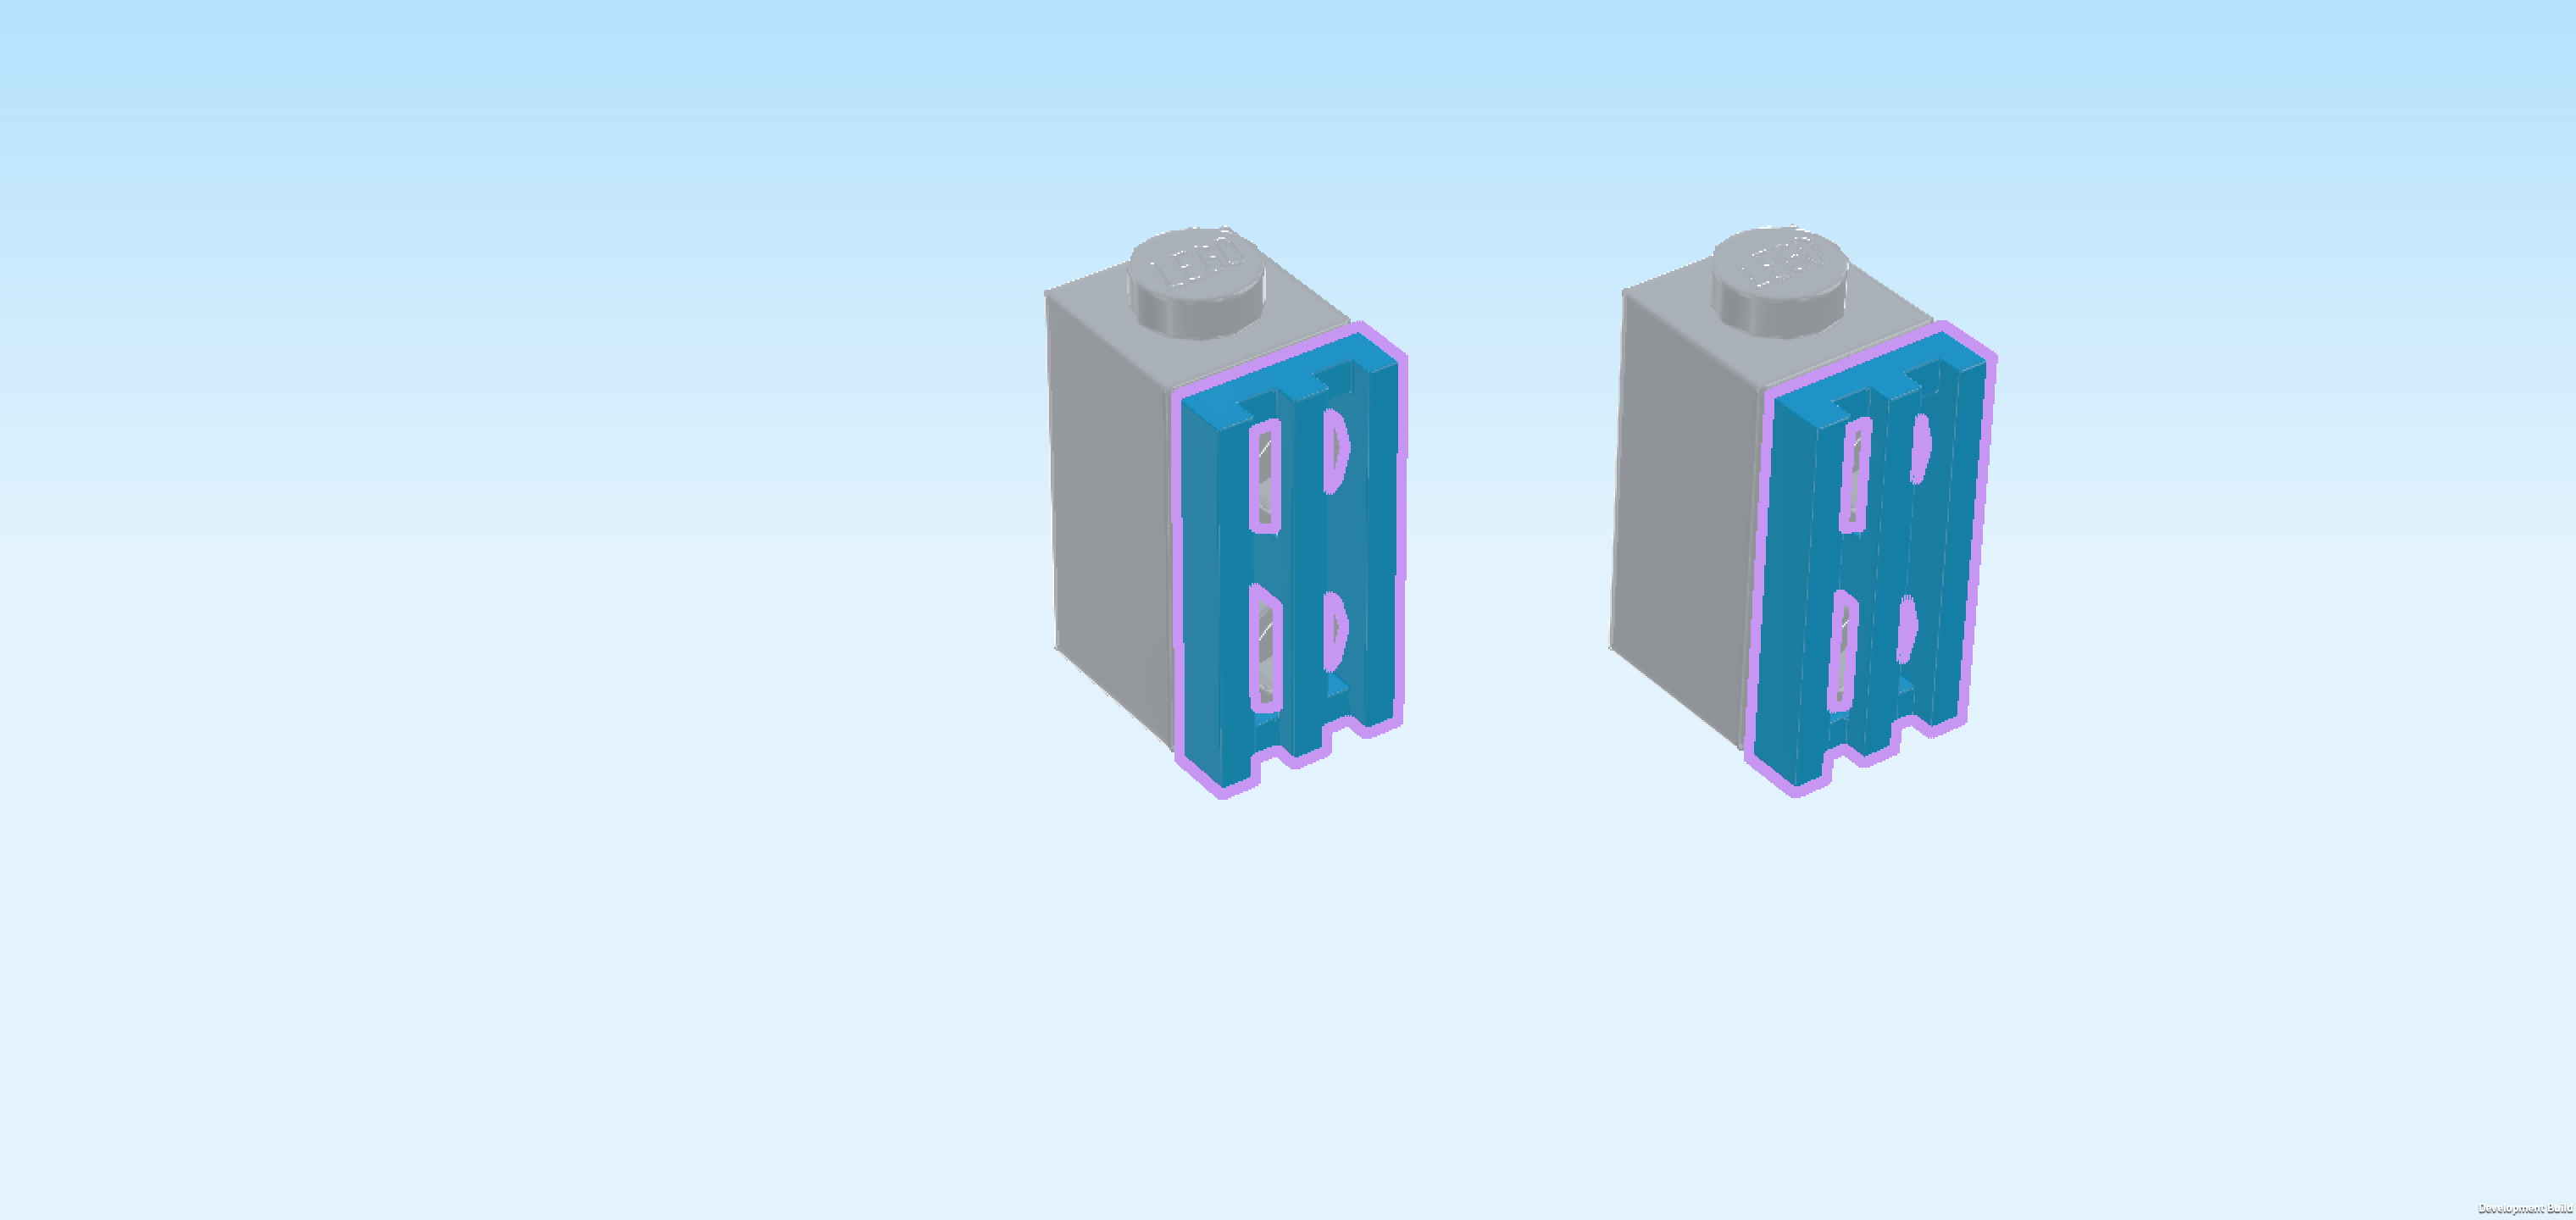
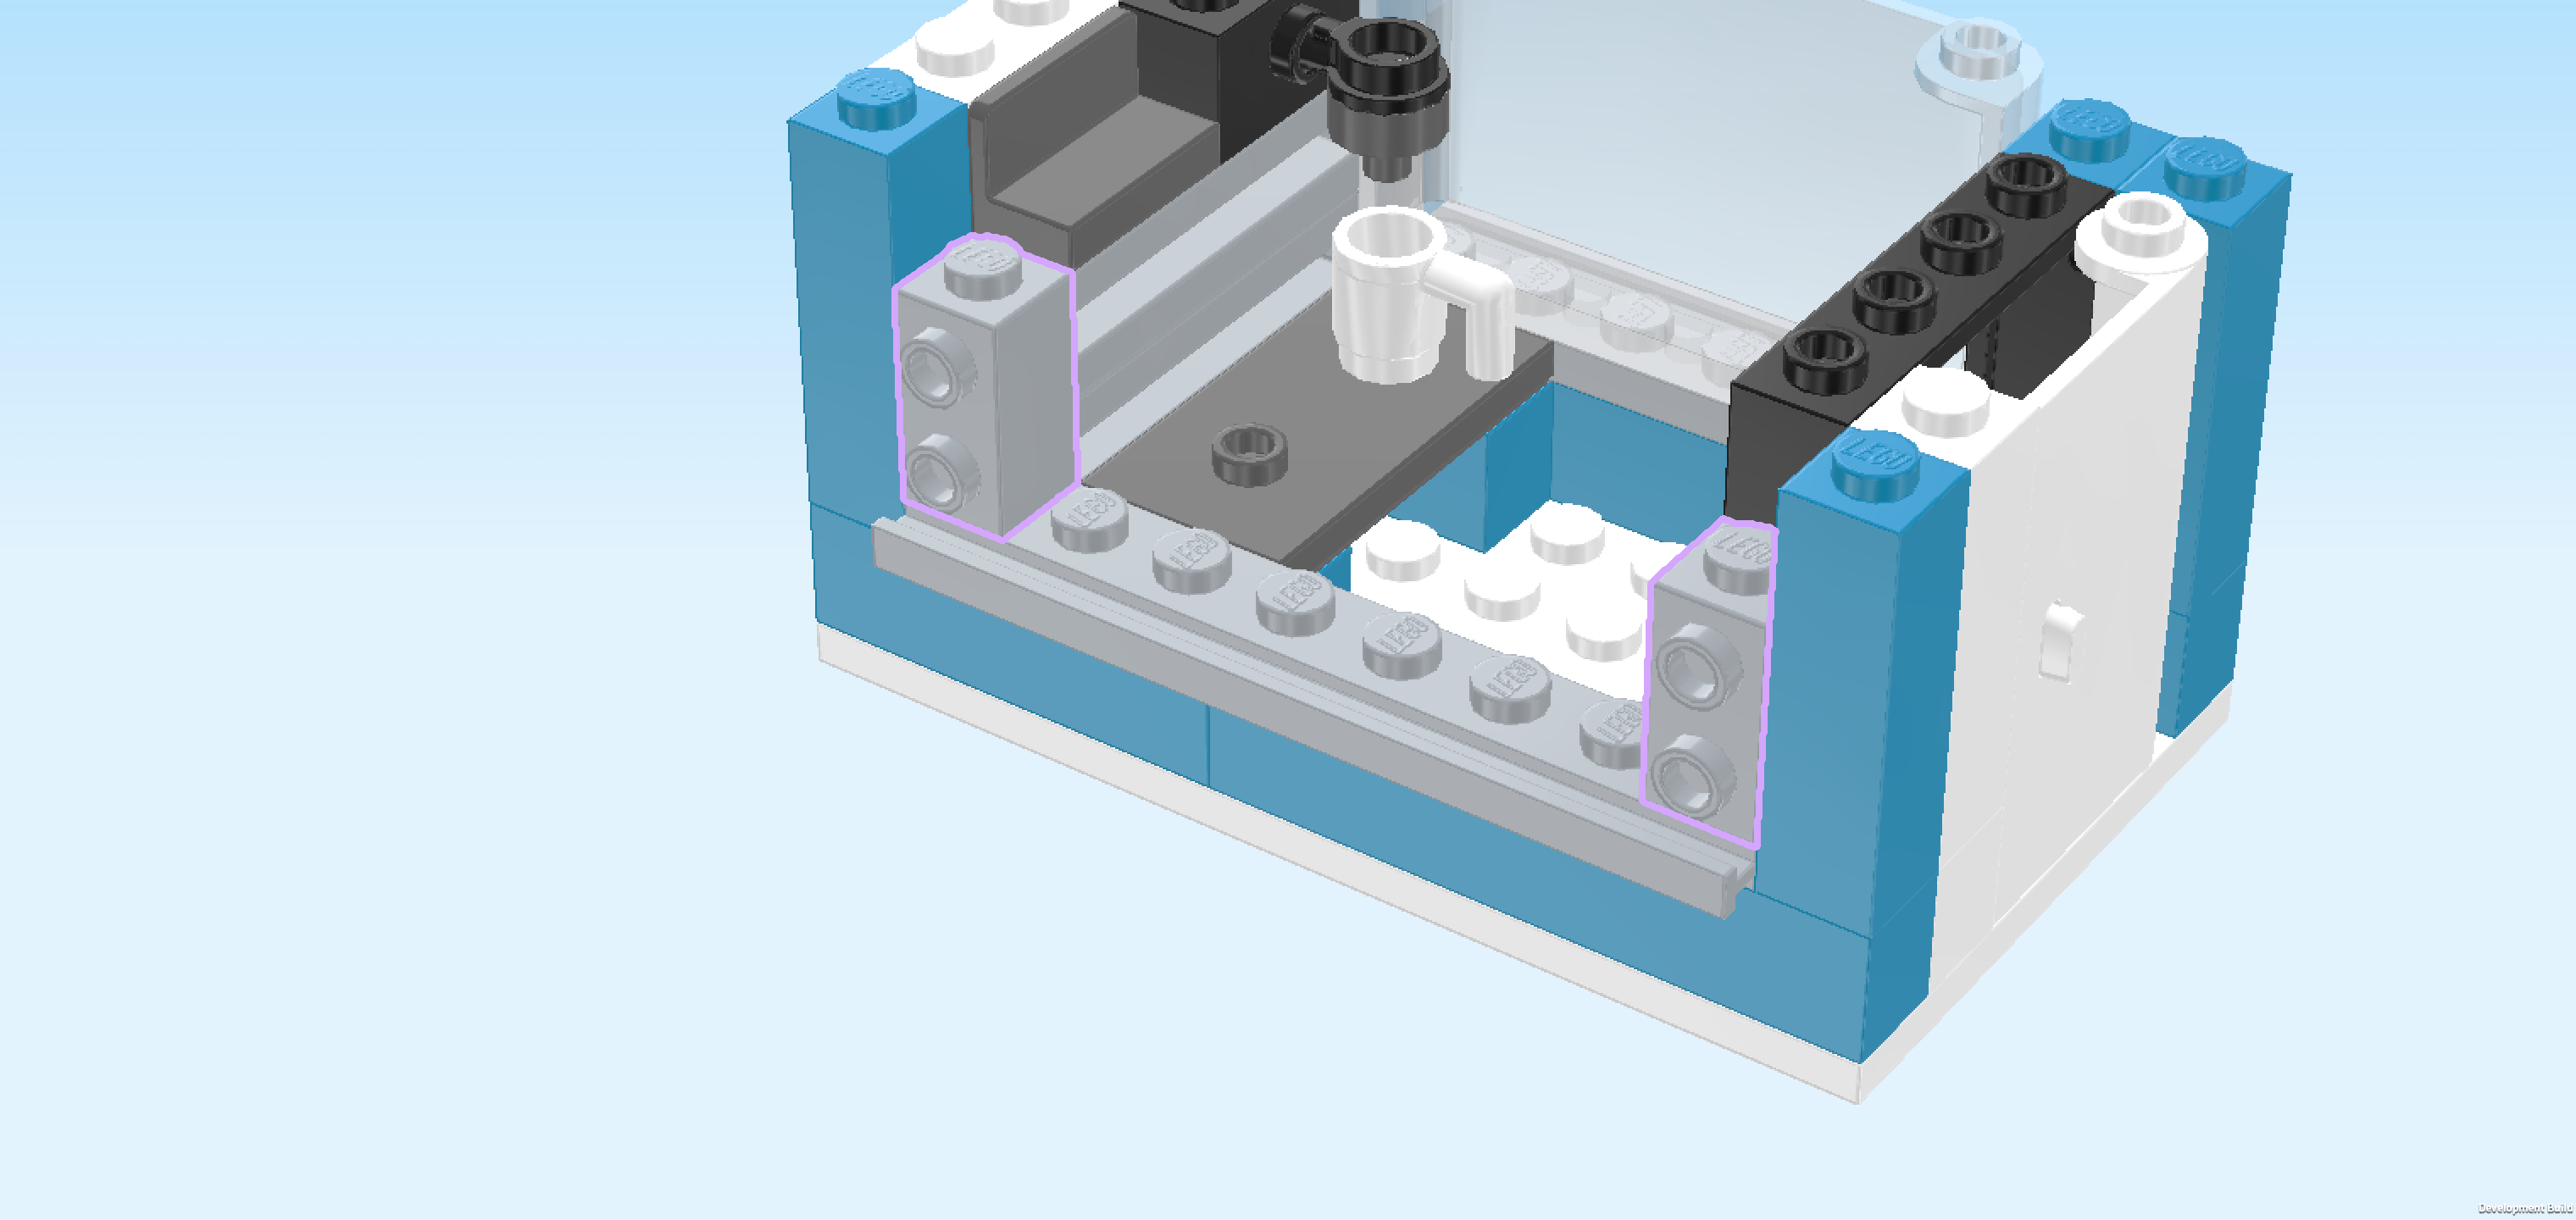
| Find 2 medium stone grey bricks 1x1x1⅔ with 2 side knobs. |
| Put them next to each other on the table, side knobs pointing to the front. |
| Find 2 dark azure blue grille tiles 1x2. |
| Put 1 upright vertically on the side knobs of one of the 2 bricks. |
| Repeat with the other 2 pieces. |
| Mount 1 small sub-part to the left of the last piece we have mounted, grille tile towards the front. The last piece we have mounted was the brick 1x1x3 on the front right corner. |
| Repeat symmetrically on the left. |
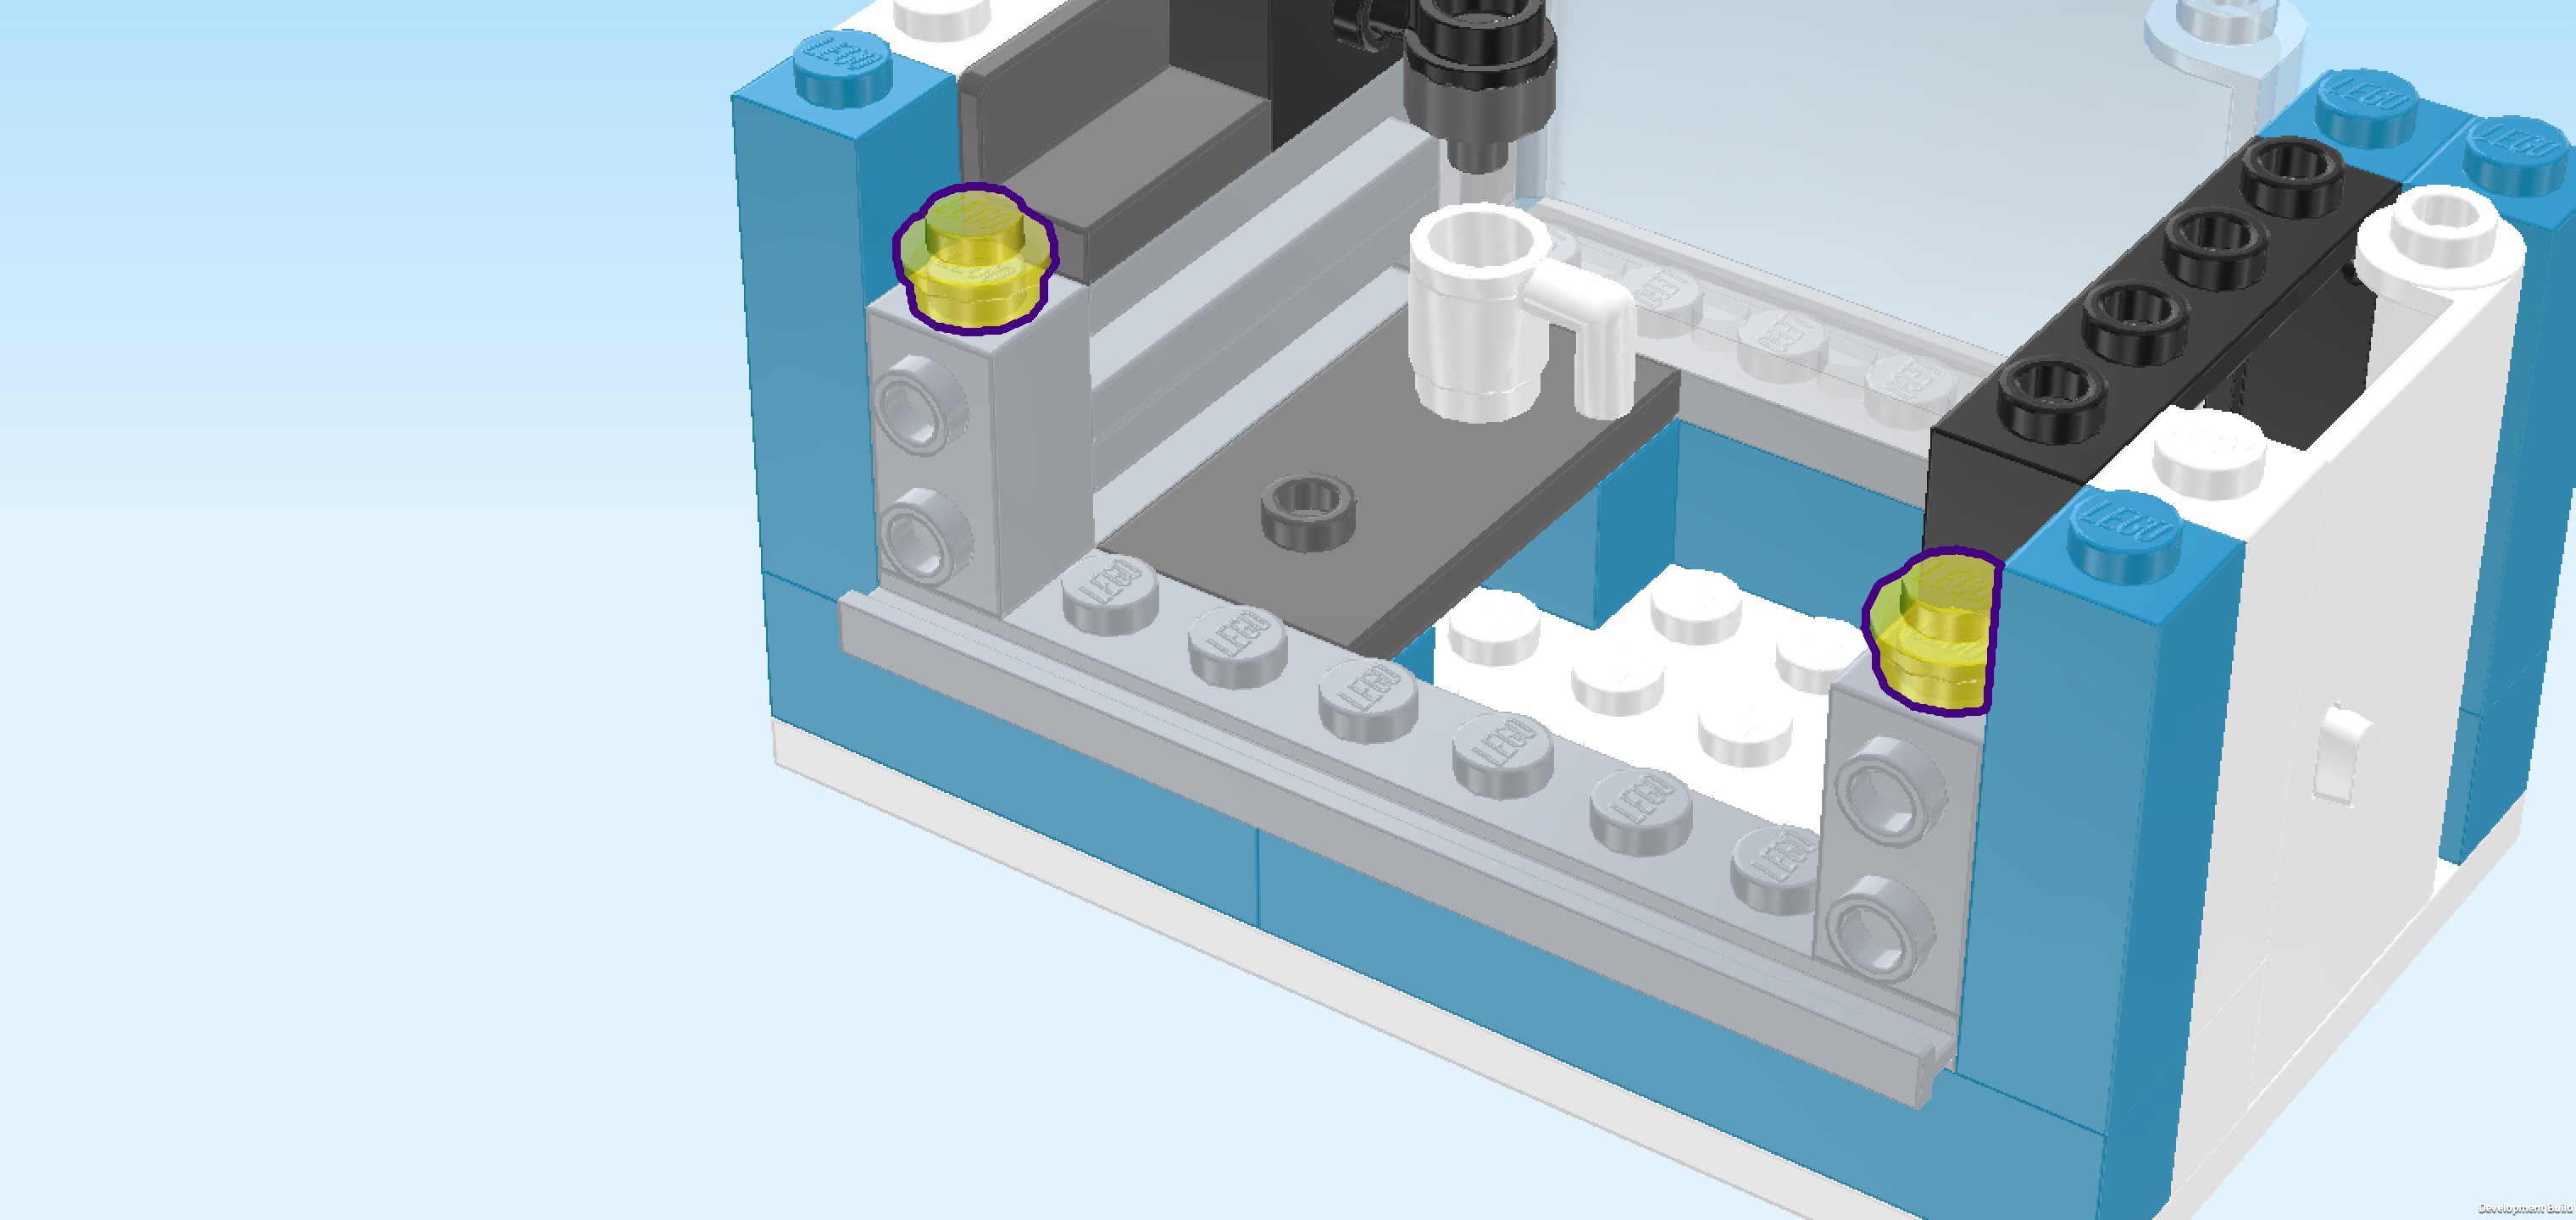
| Find 2 dark azure blue bricks 1x1. |
| Put them on top of the 2 sub-parts we have just mounted. |
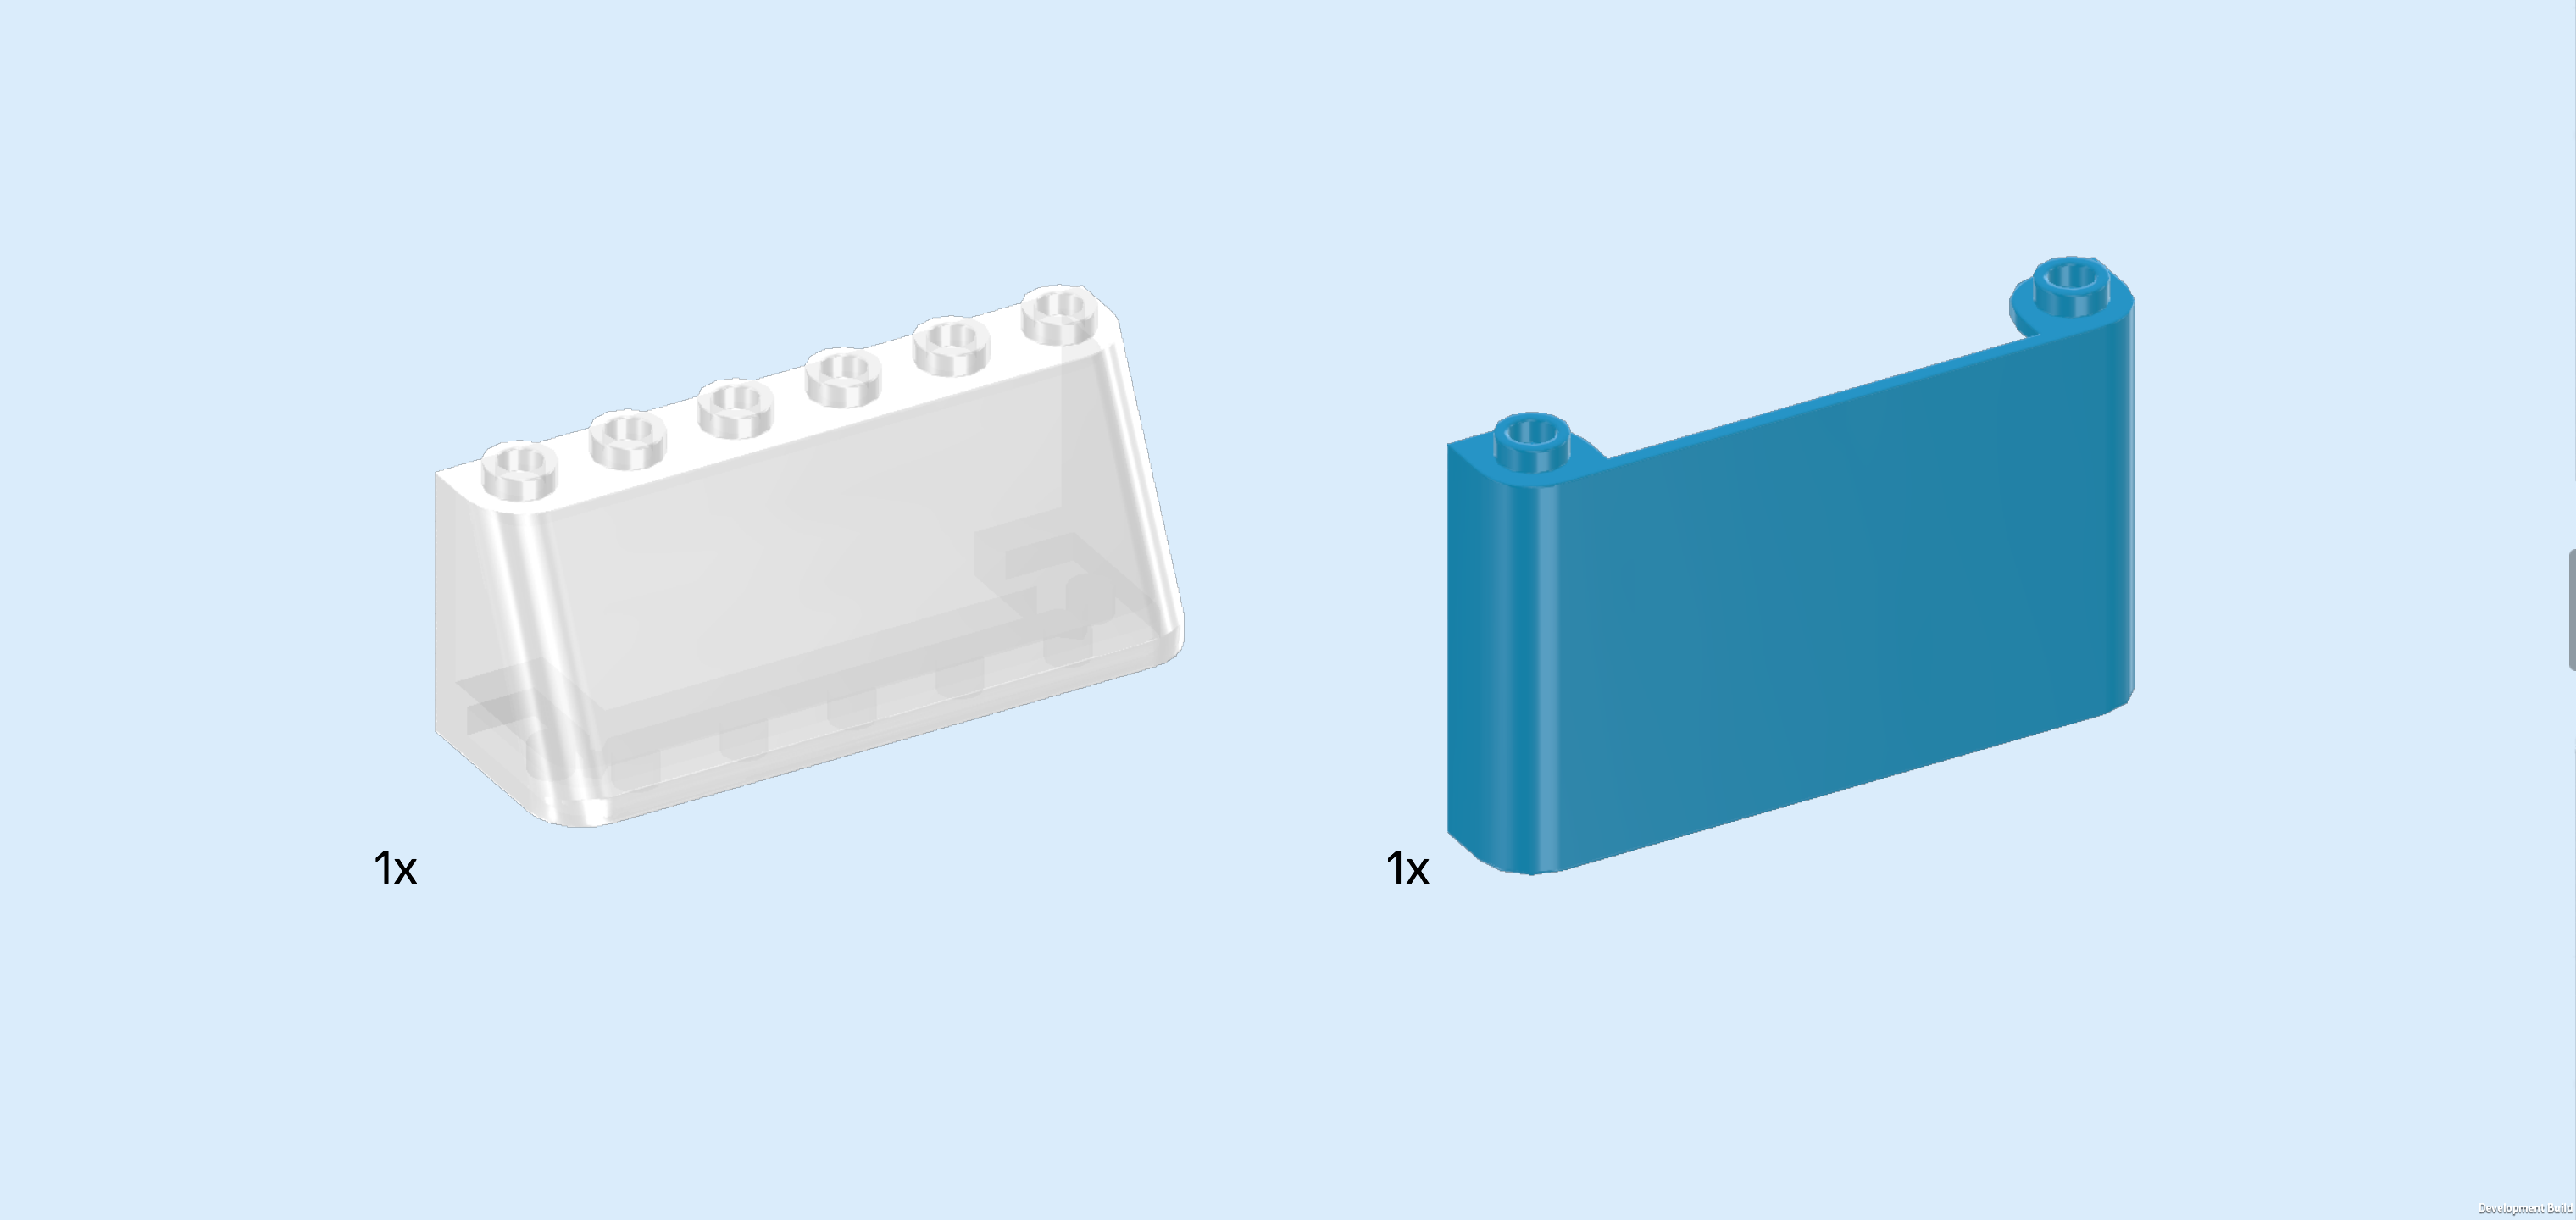
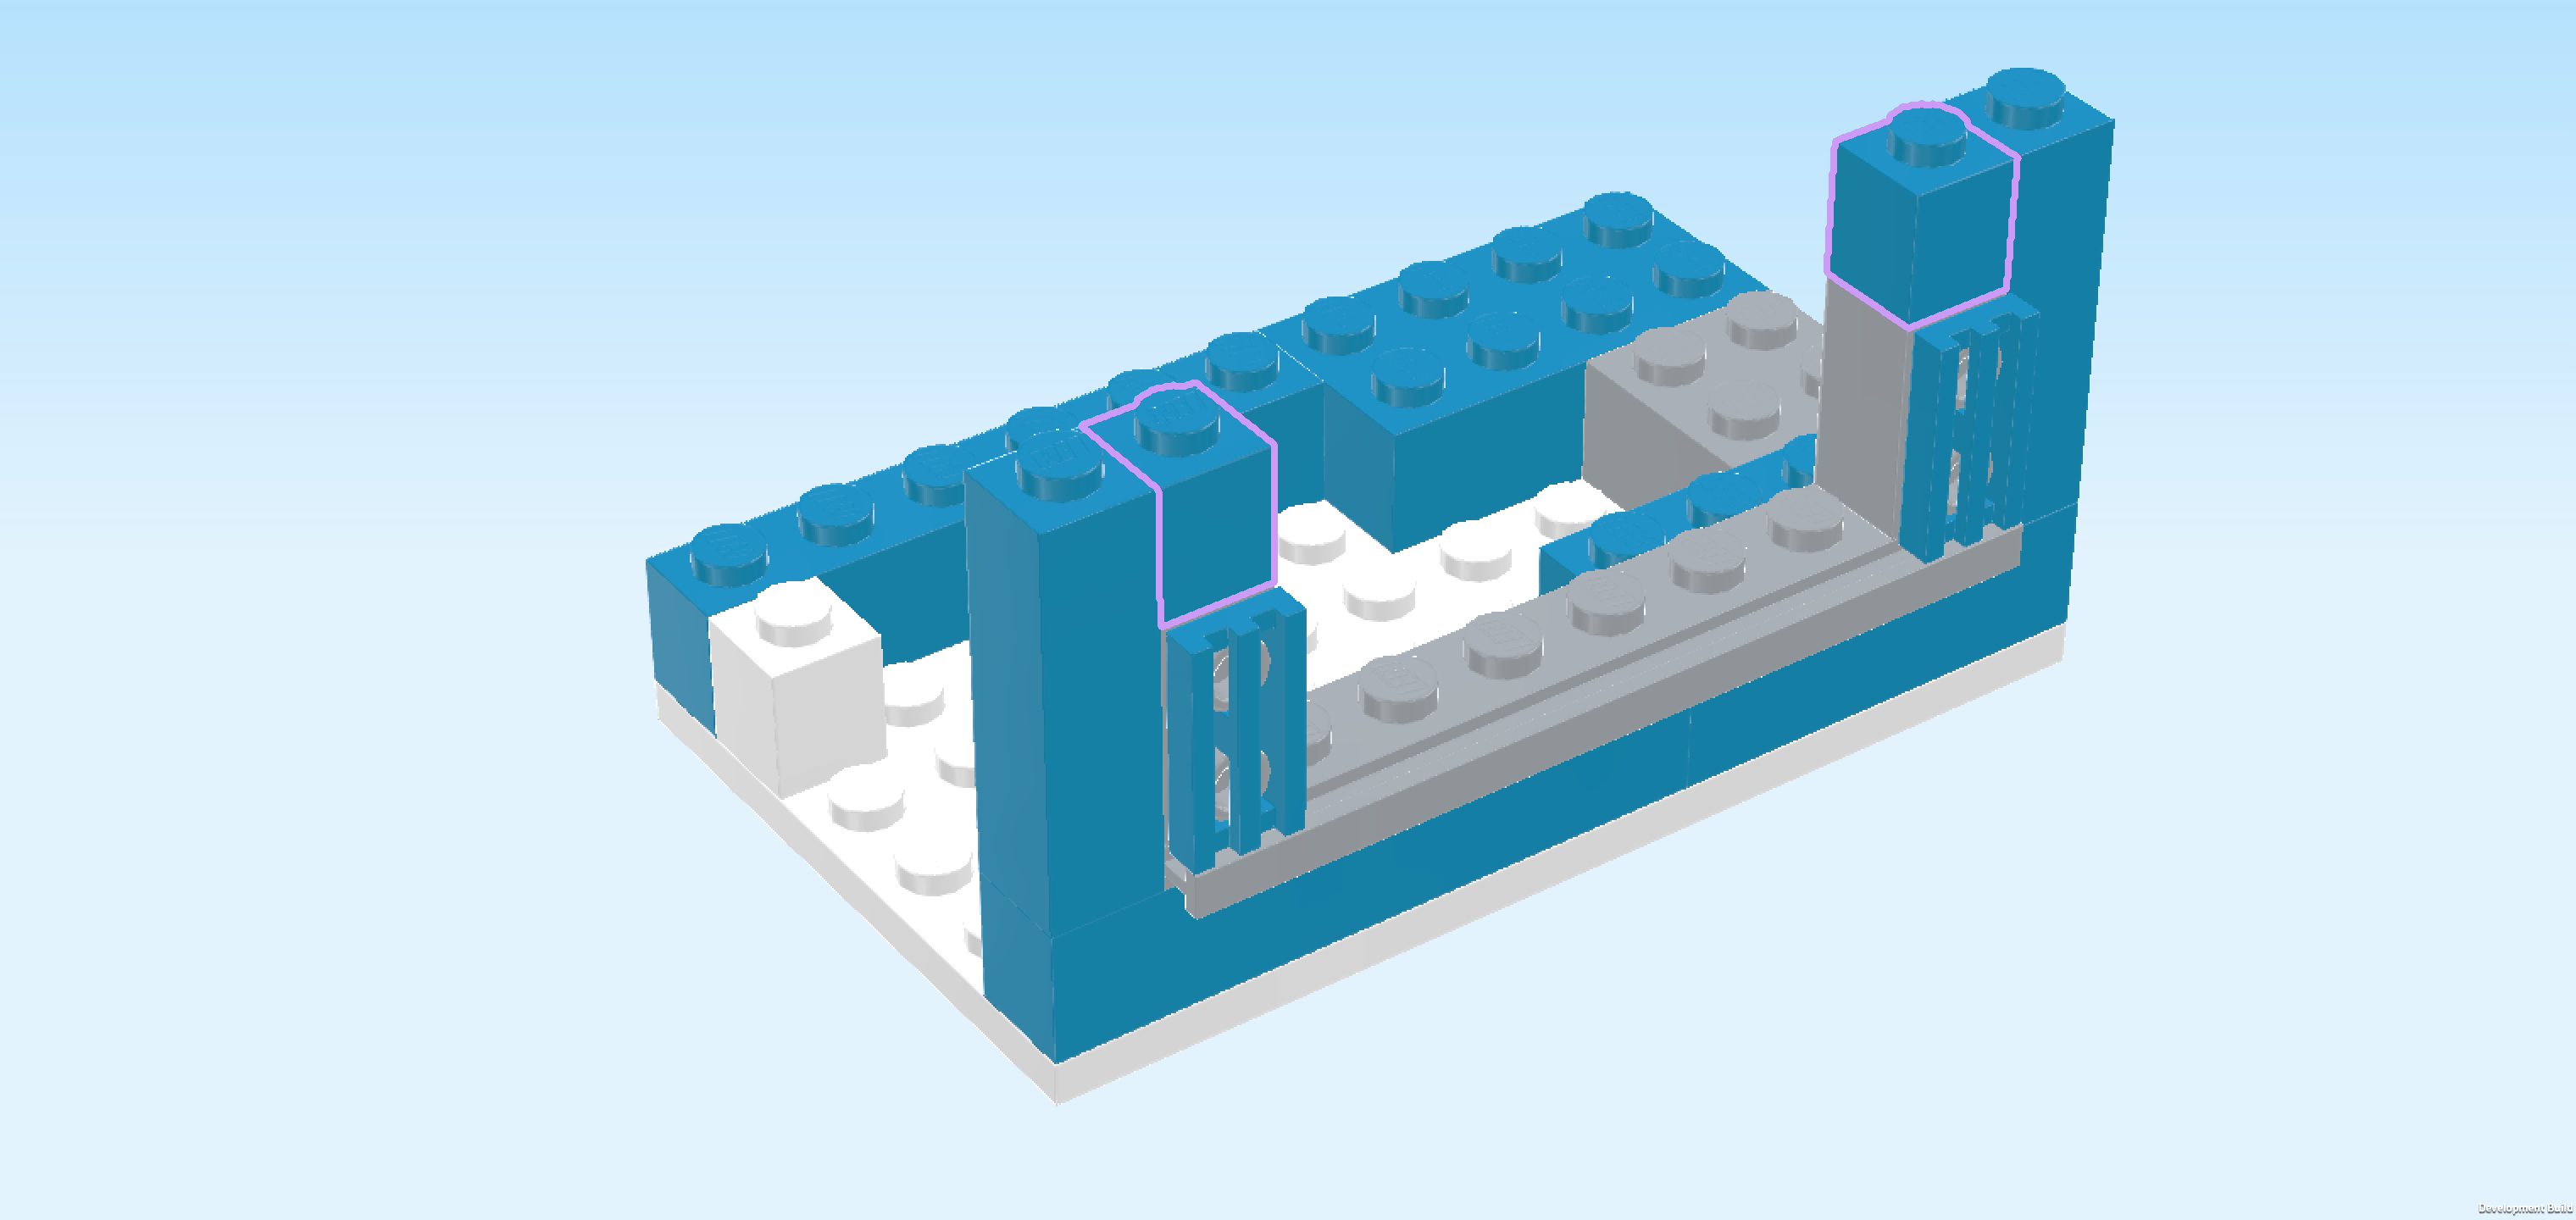
| Find 1 transparent wall element 1x6x3 with 2 top knobs. |
| Put it horizontally centered on the frontmost row, making sure that its hollow part is towards the back. |
| Collect the following 2 pieces: |
| 1 medium stone grey brick 1x4 with sliding groove, |
| and 1 white brick 1x4x3. |
| Before you mount them, turn the structure around so that it is oriented horizontally again but now the long wall with window we have just built is at the back edge. |
| Put the brick 1x4x4 vertically centered on the leftmost column. |
| Put the brick 1x4 with sliding groove vertically to the right of the previous piece, sliding groove towards the right. |
| Find another medium stone grey brick 1x4 with sliding groove. |
| Put it vertically on top of the previous piece, sliding groove to the right. |
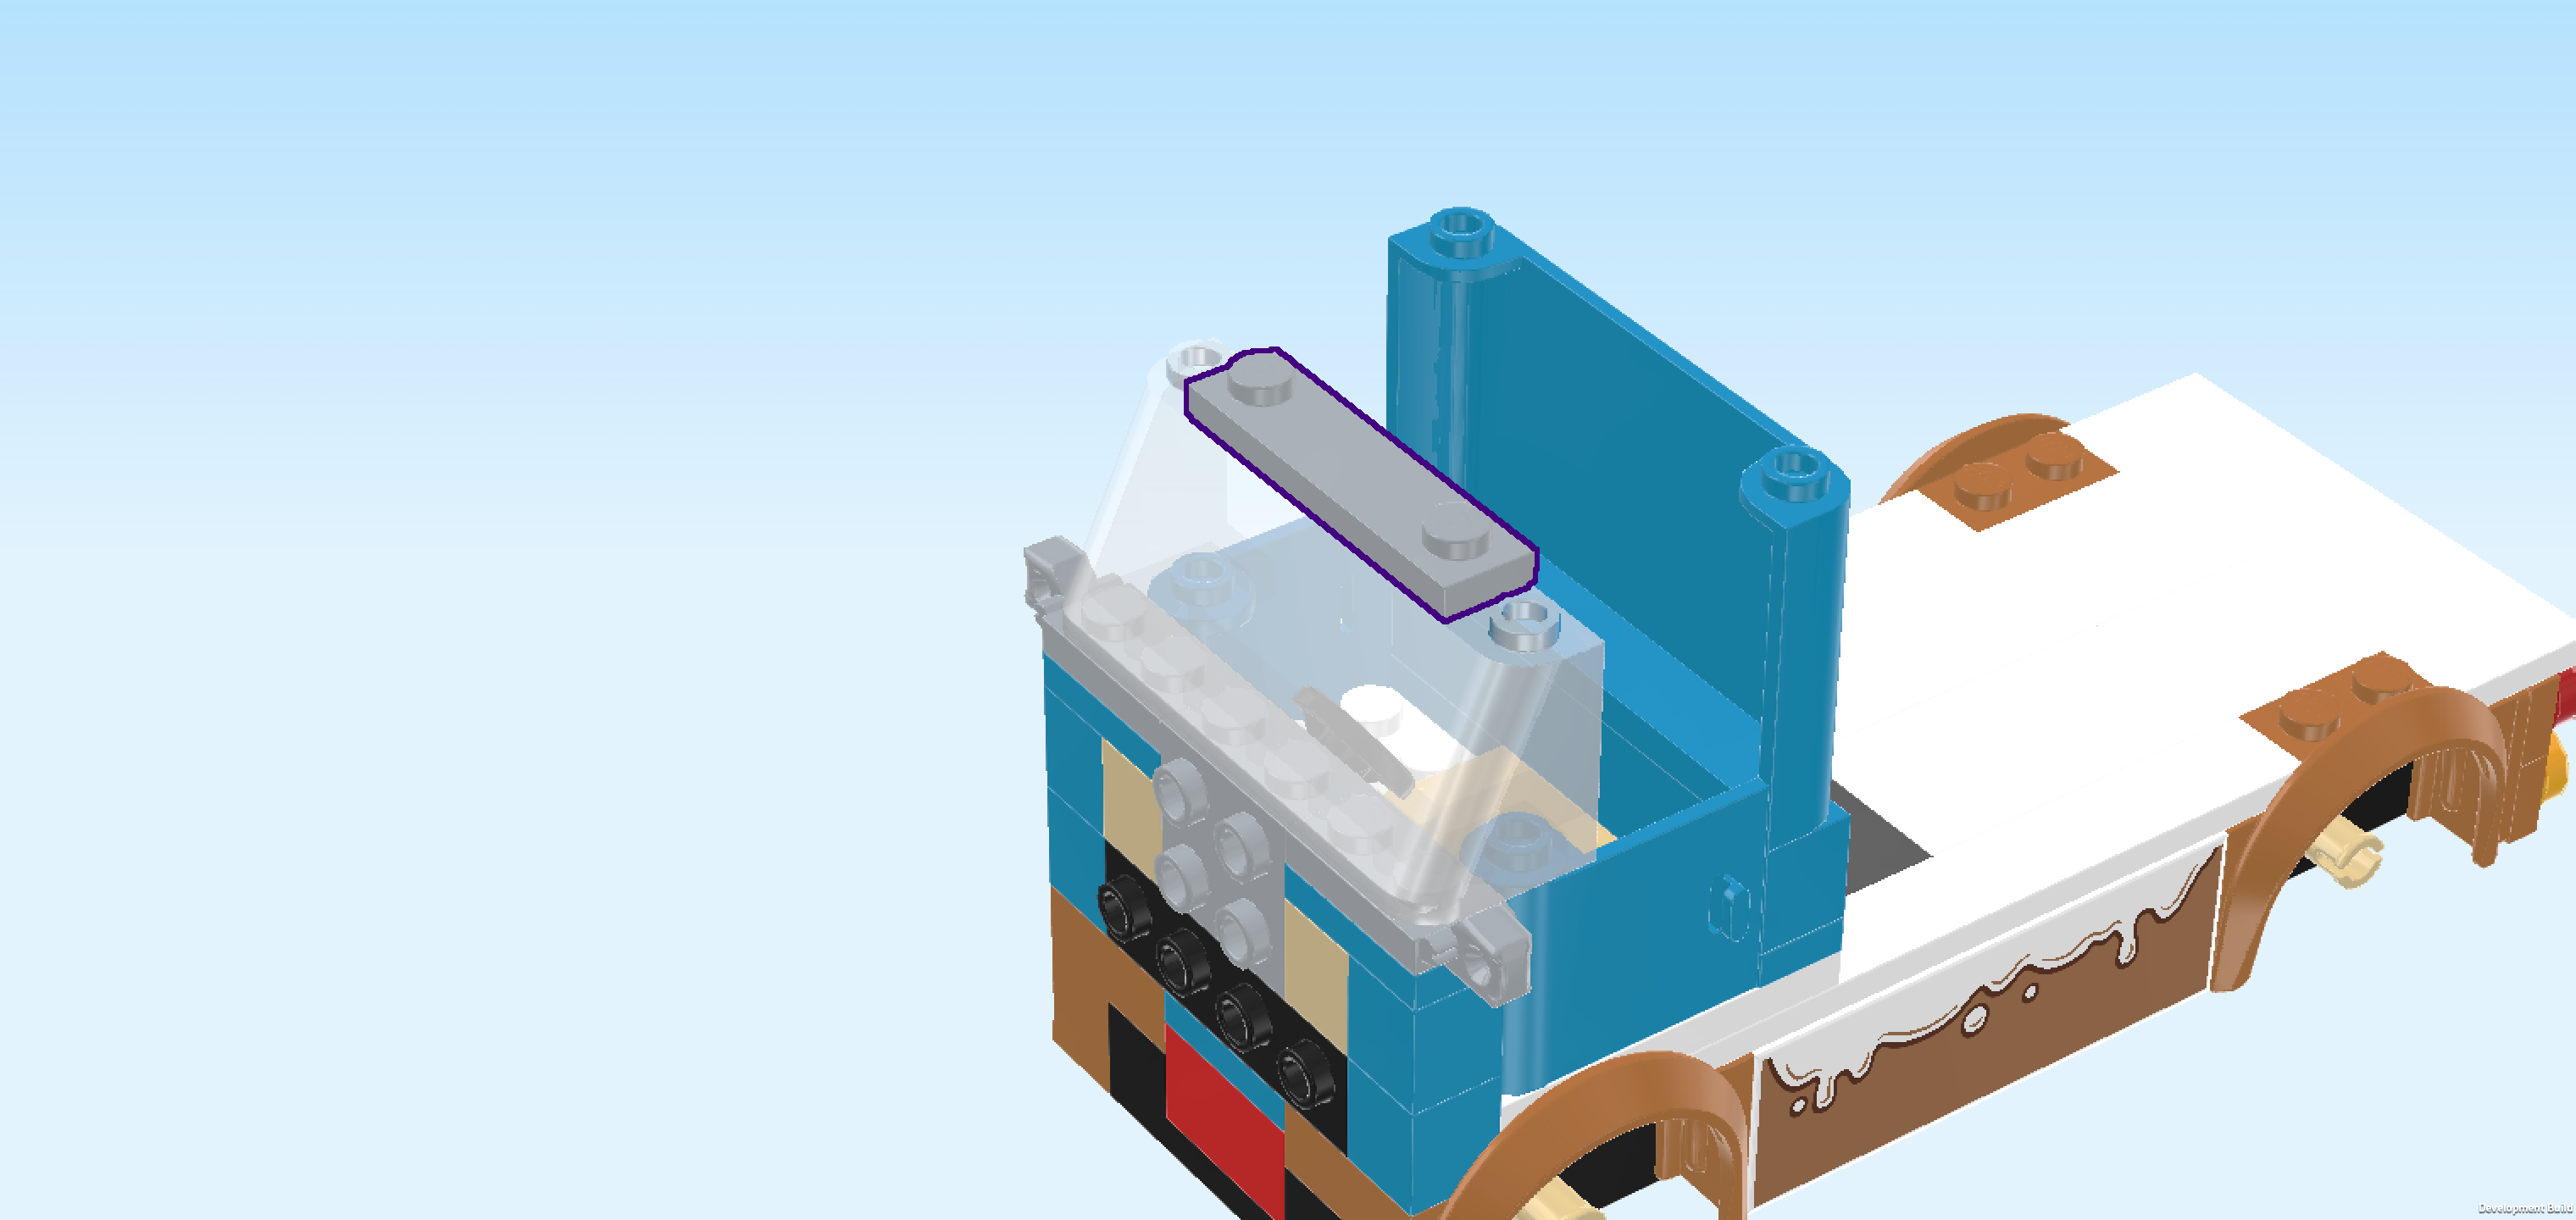
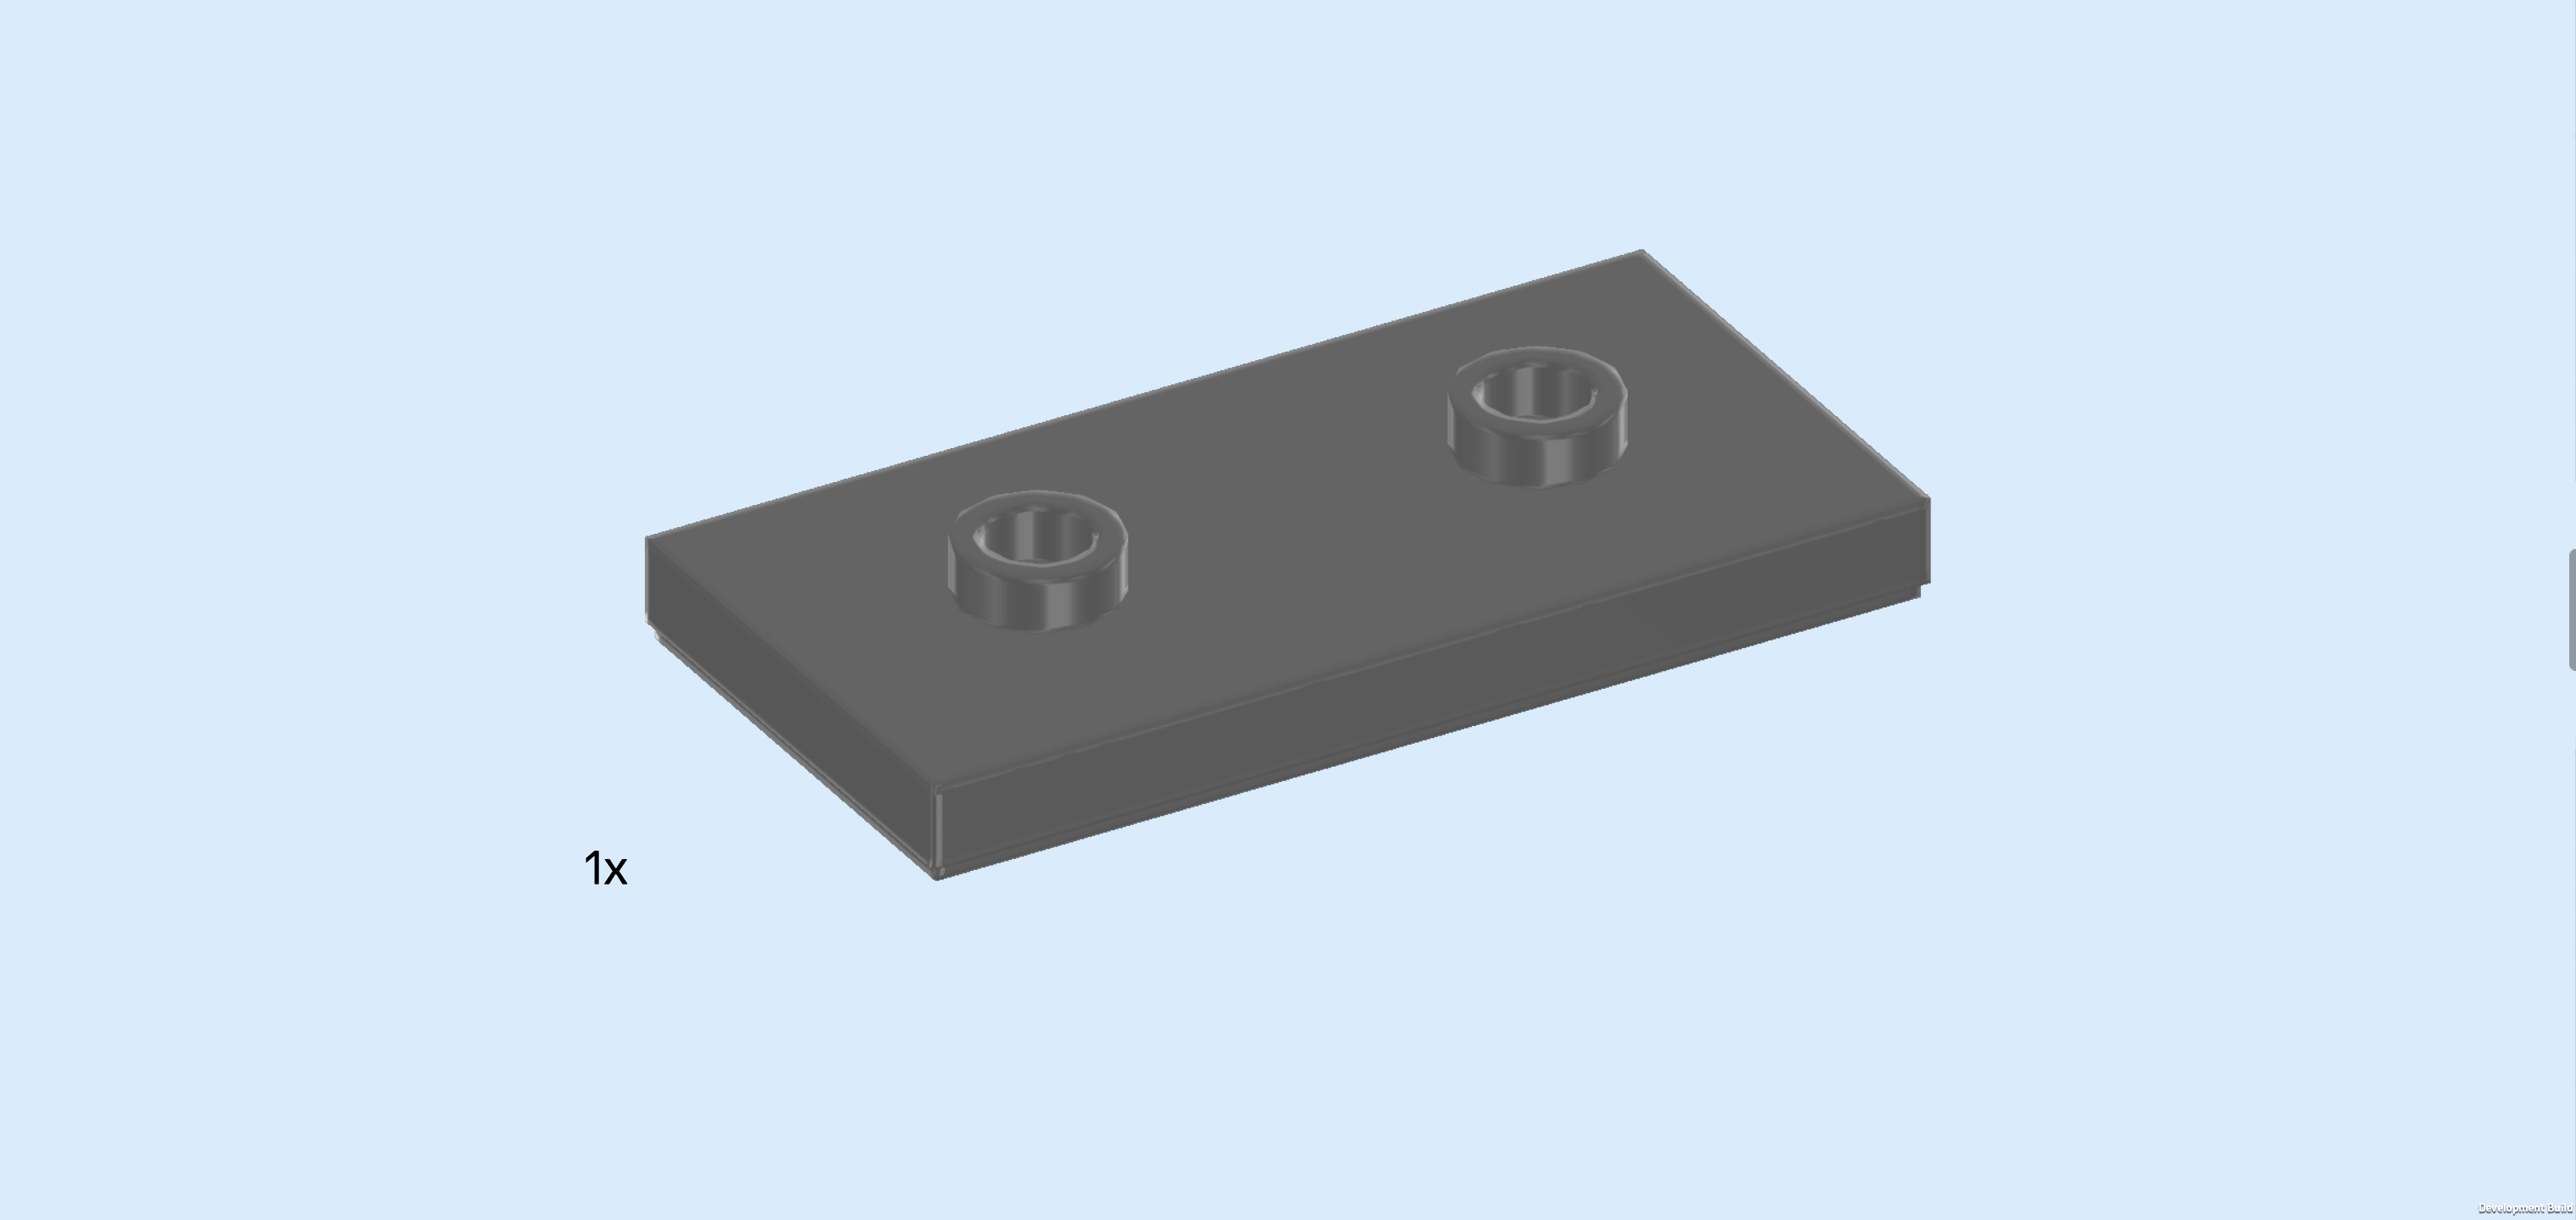
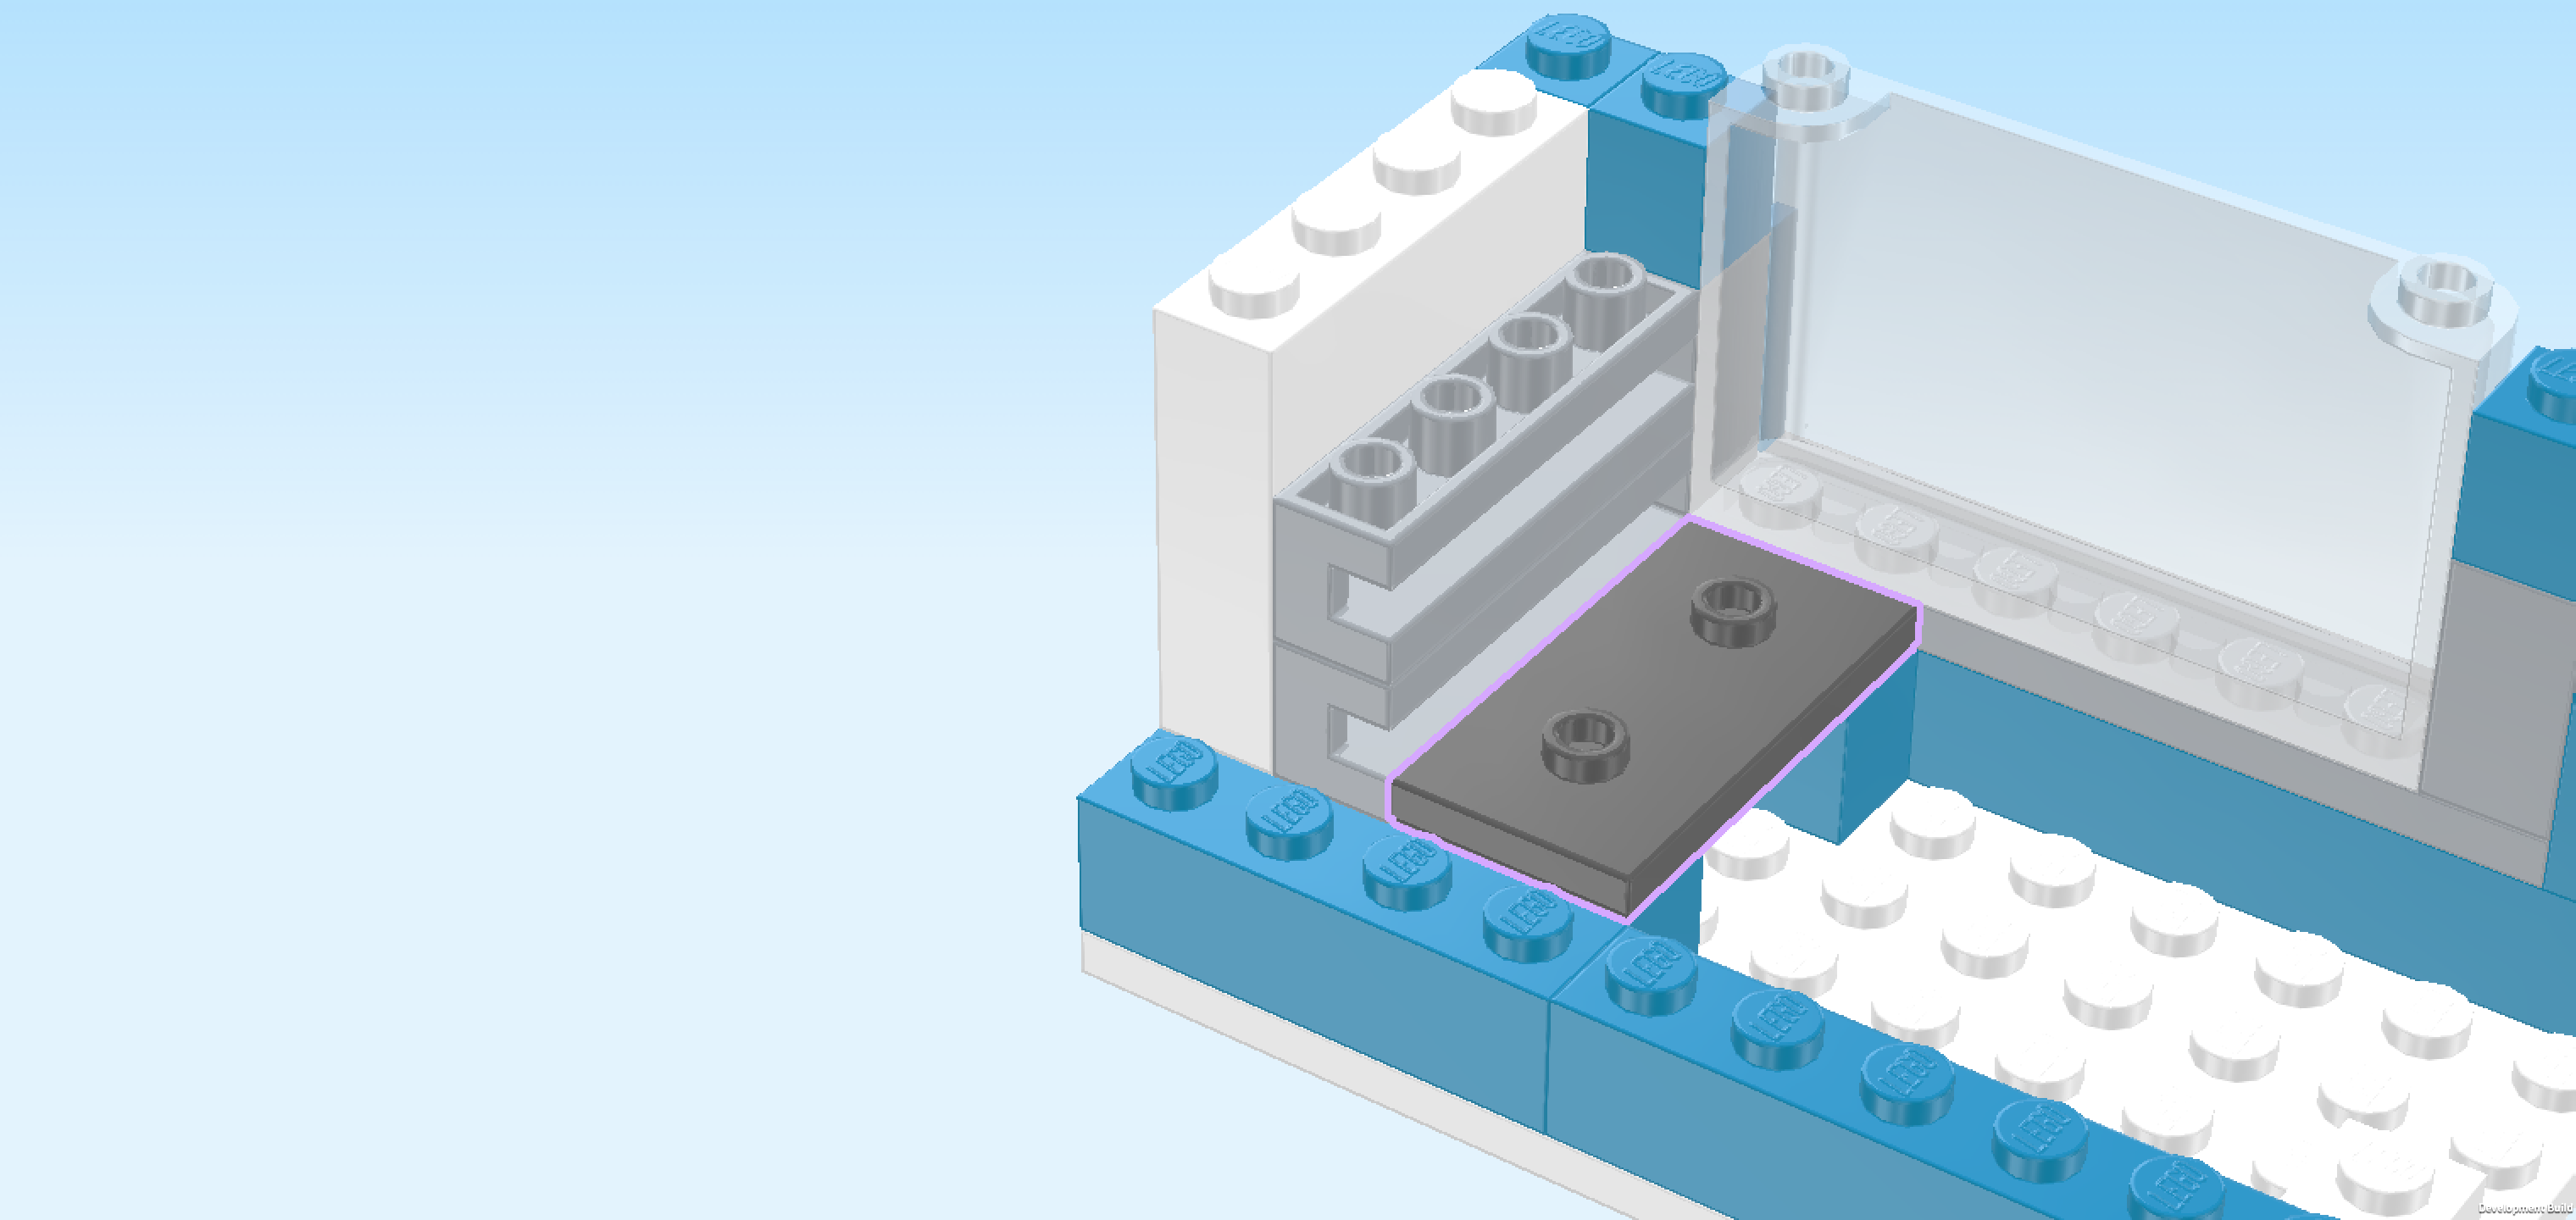
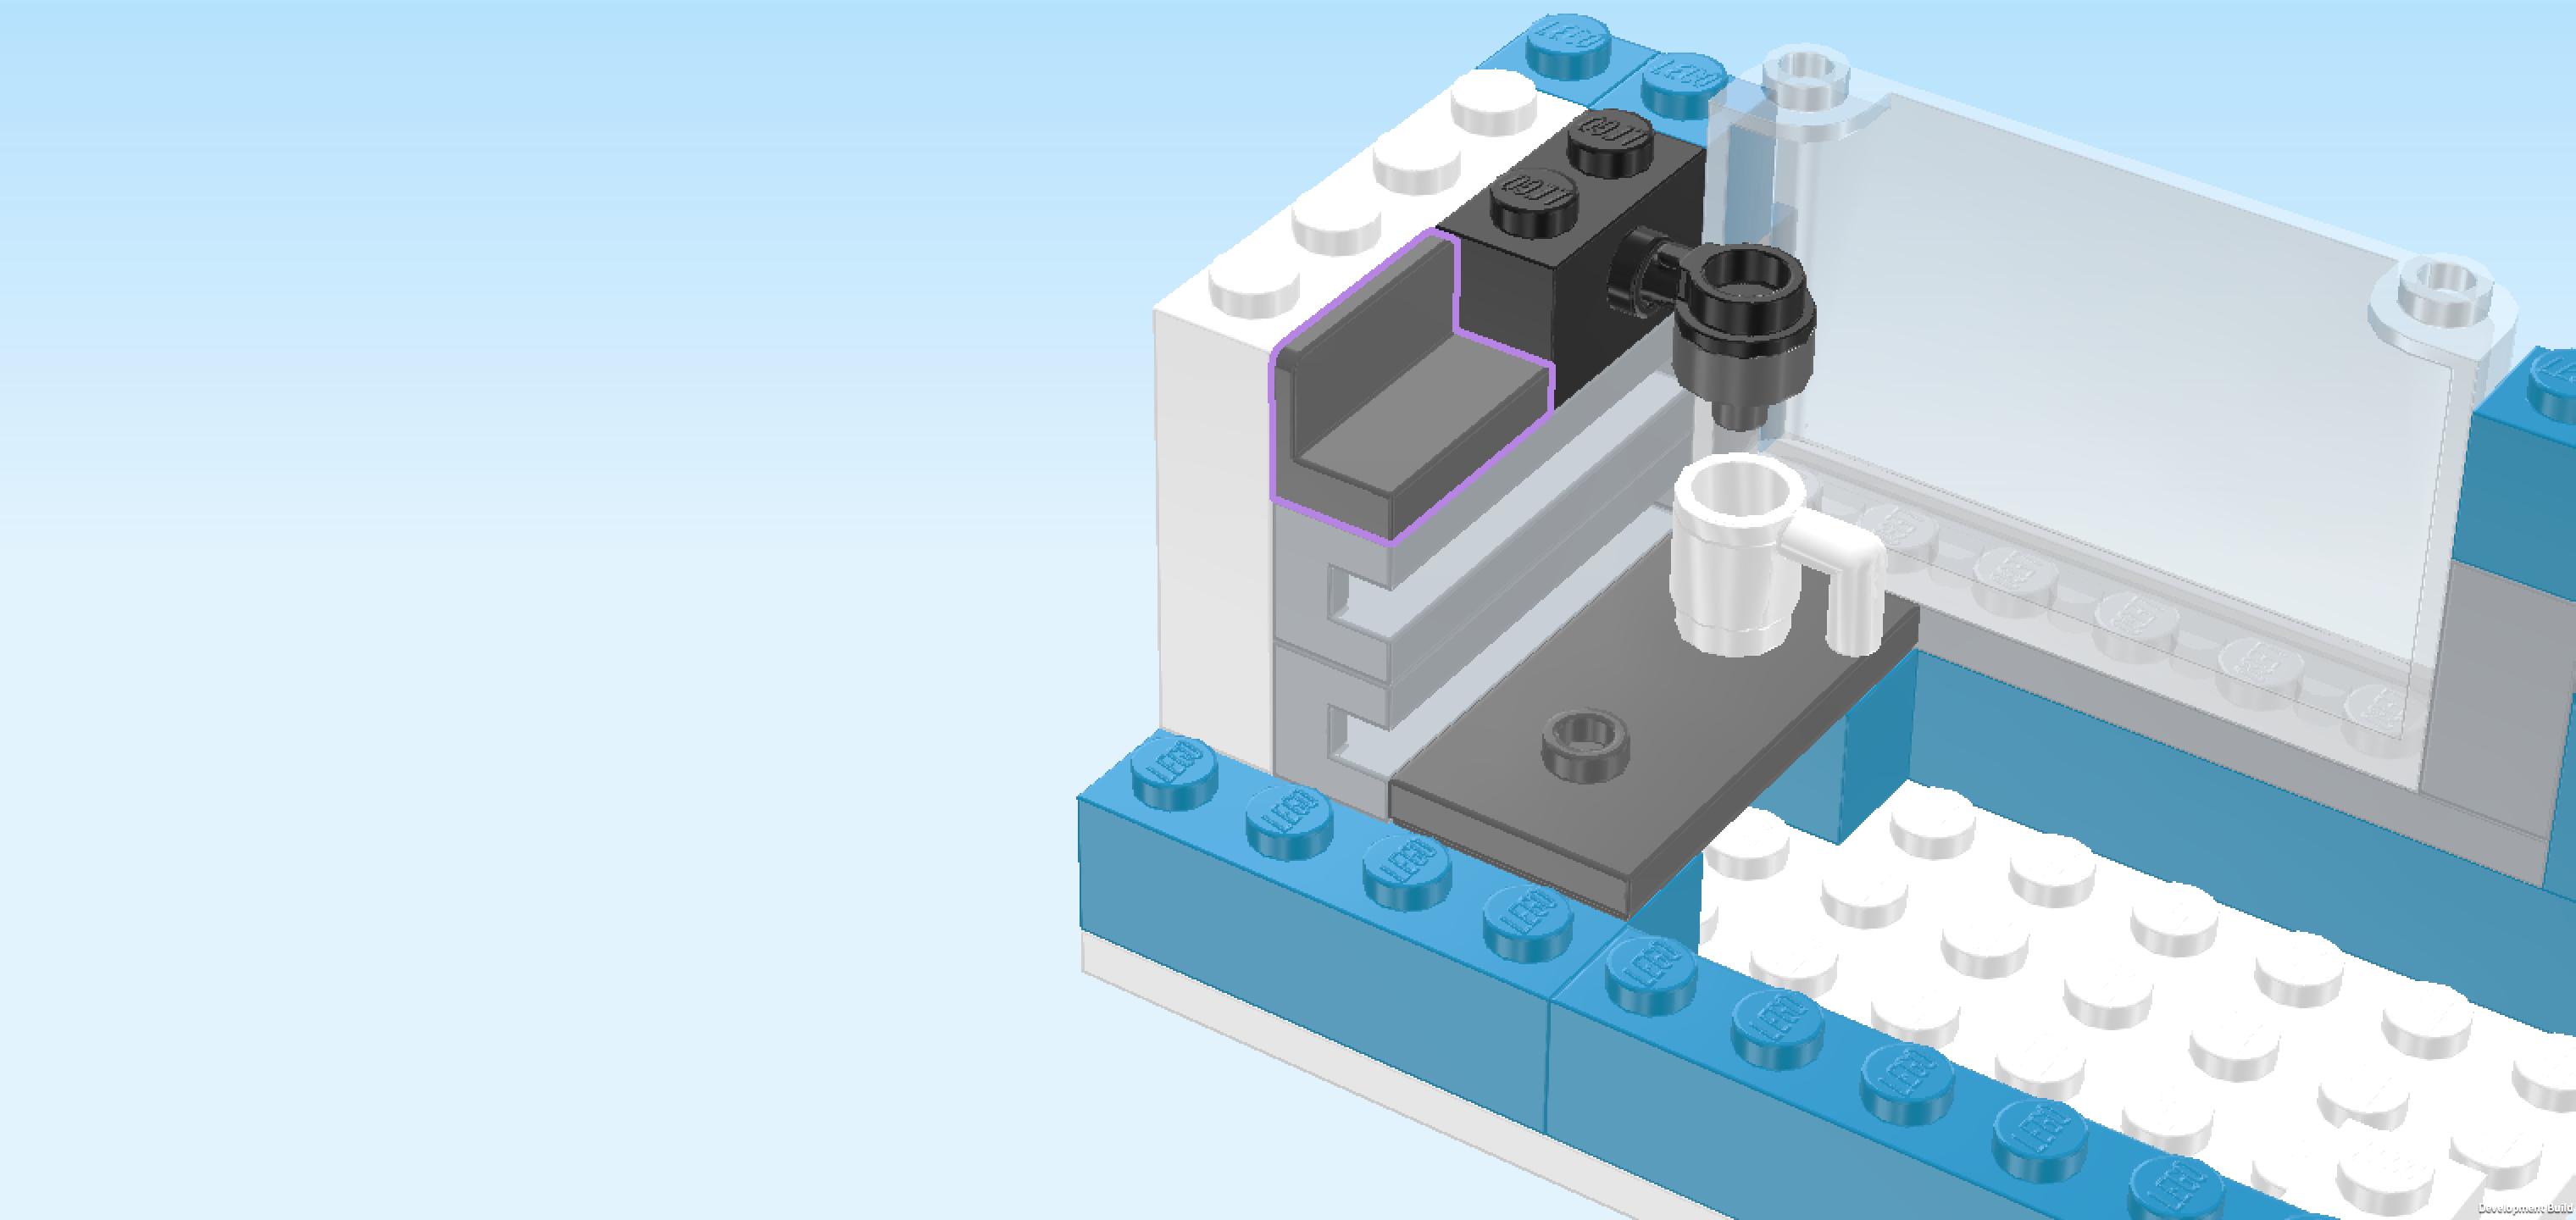
| Find 1 dark stone grey plate 2x4 with 2 knobs. |
| Put it vertically centered to the left of the previous pieces. Together with the bricks underneath, this should create a table-like structure. |
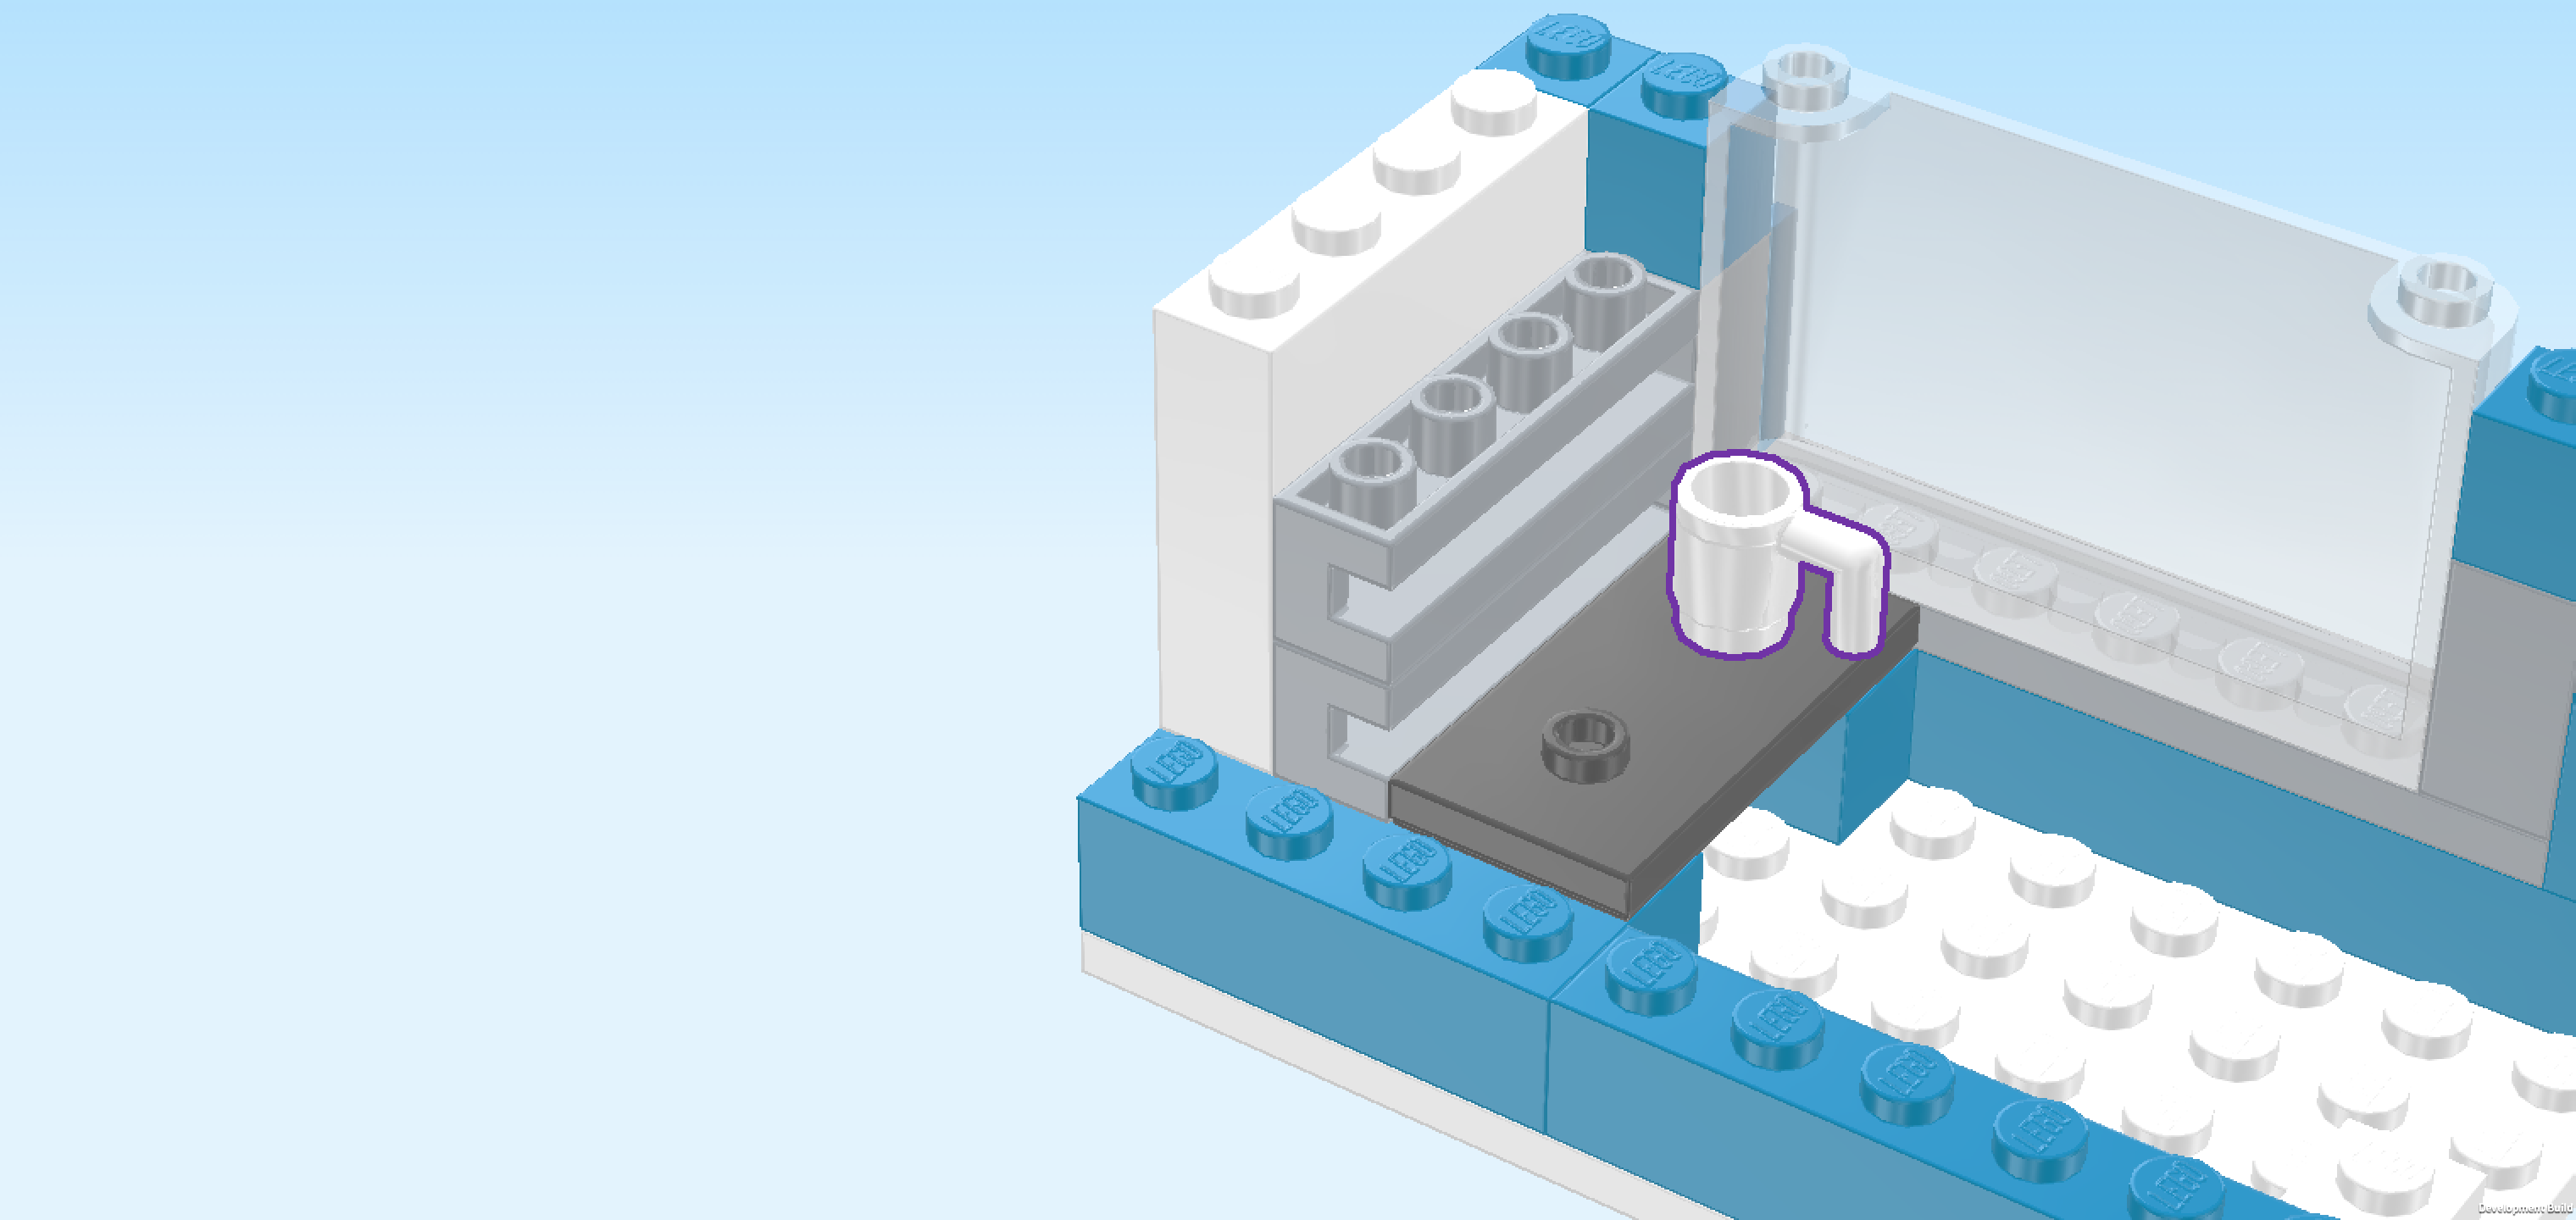
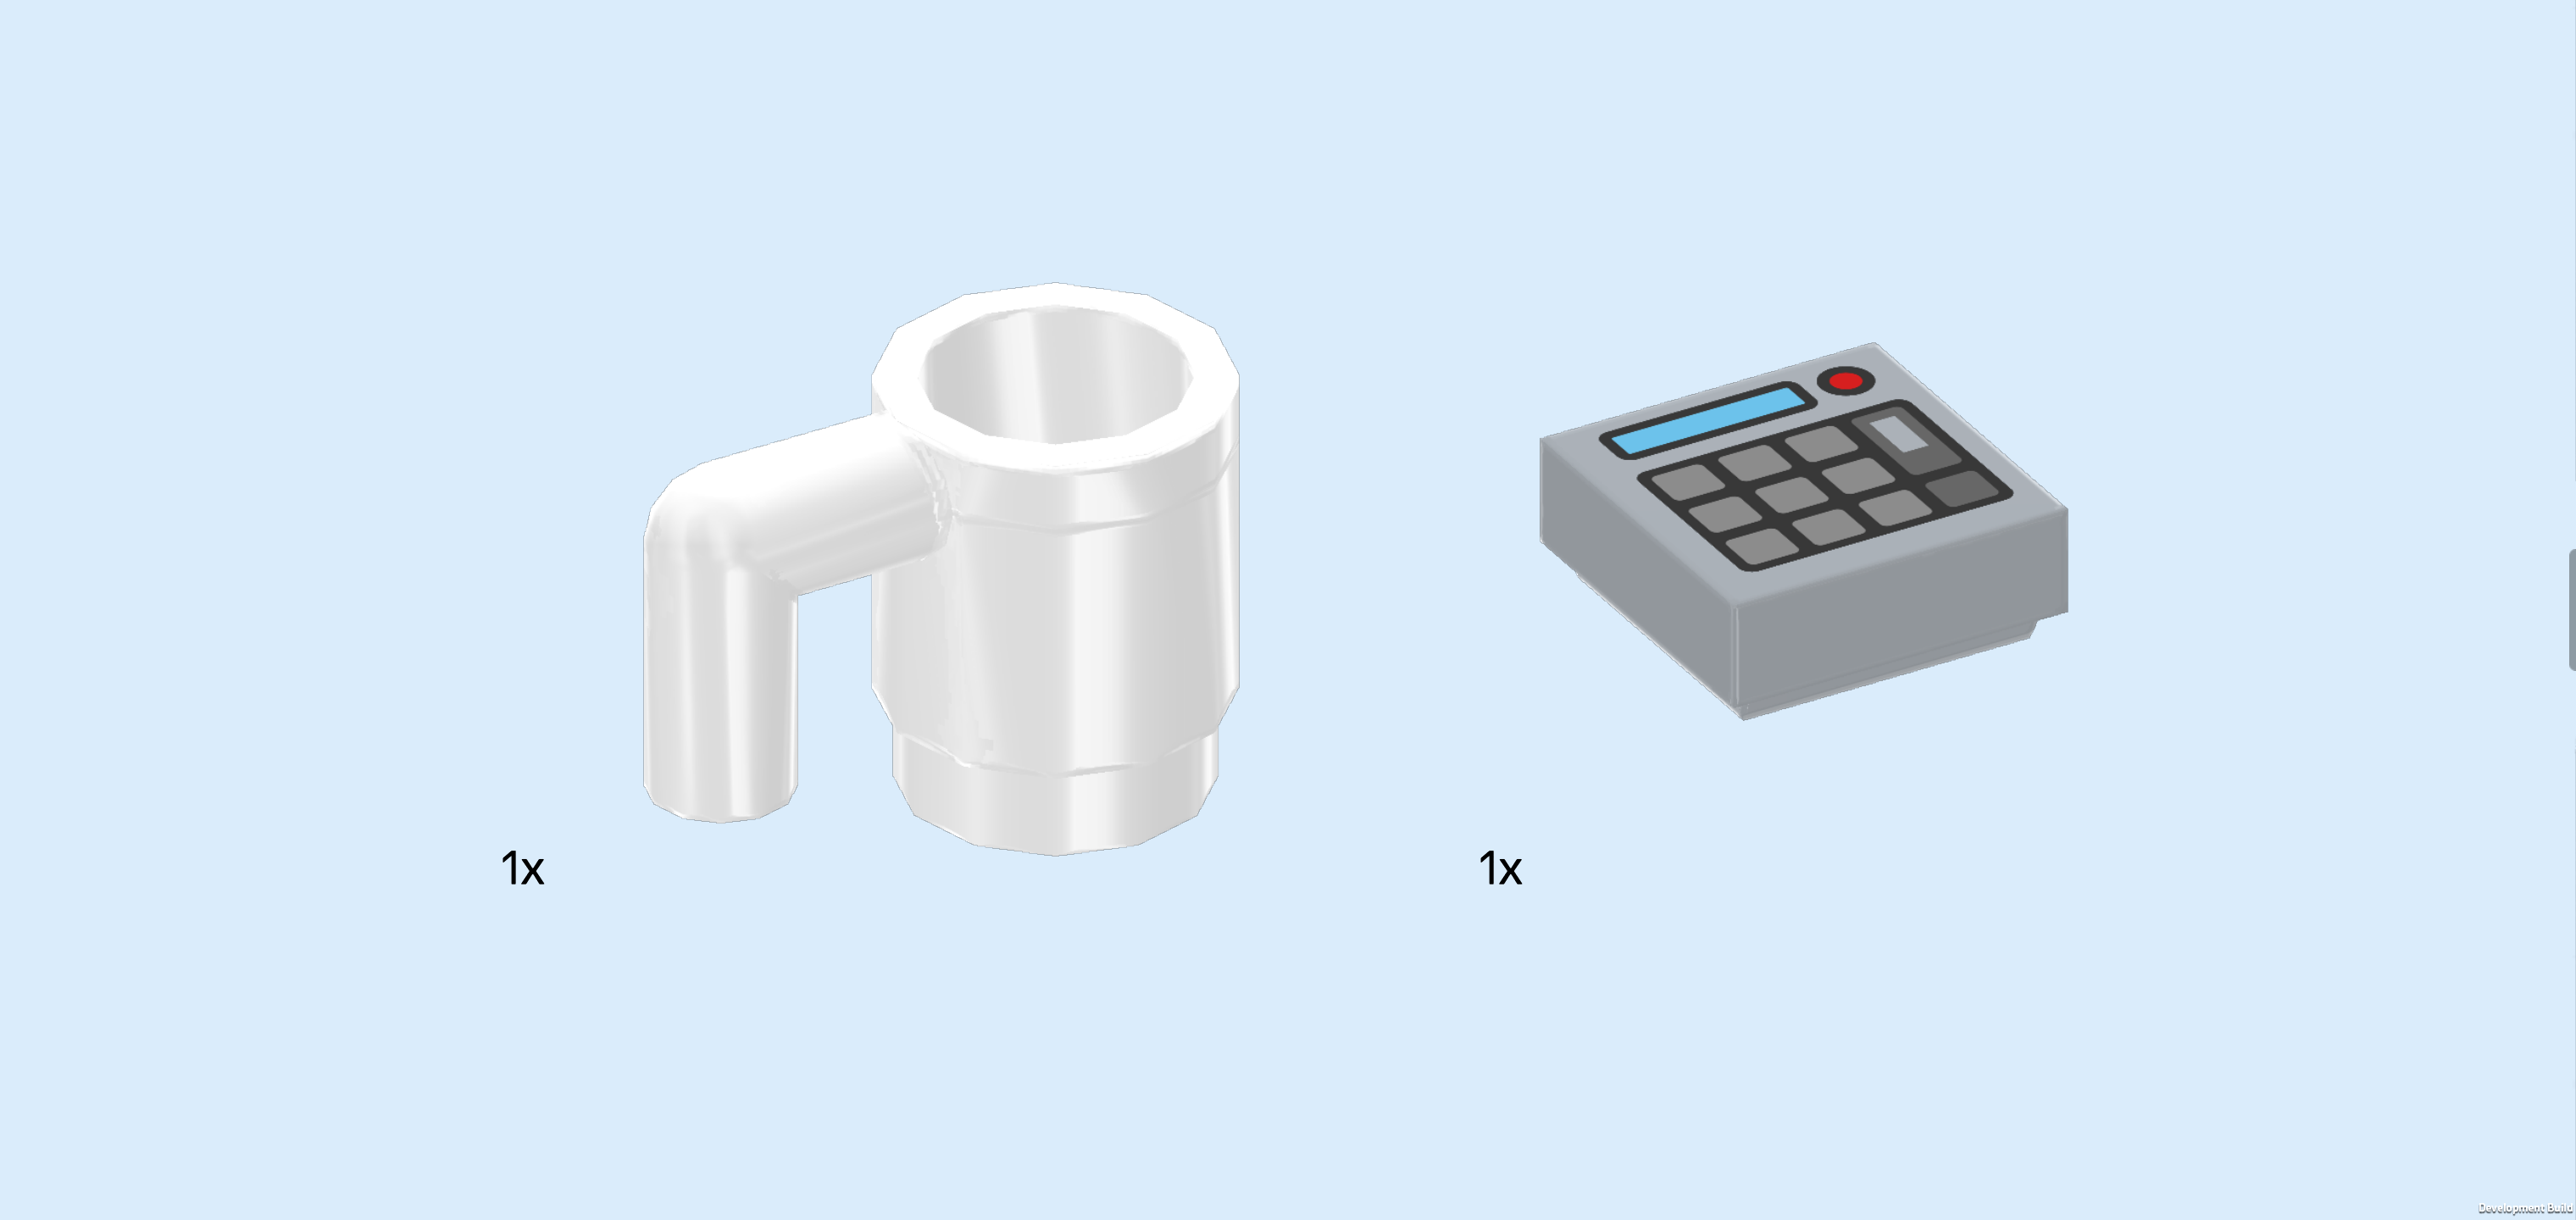
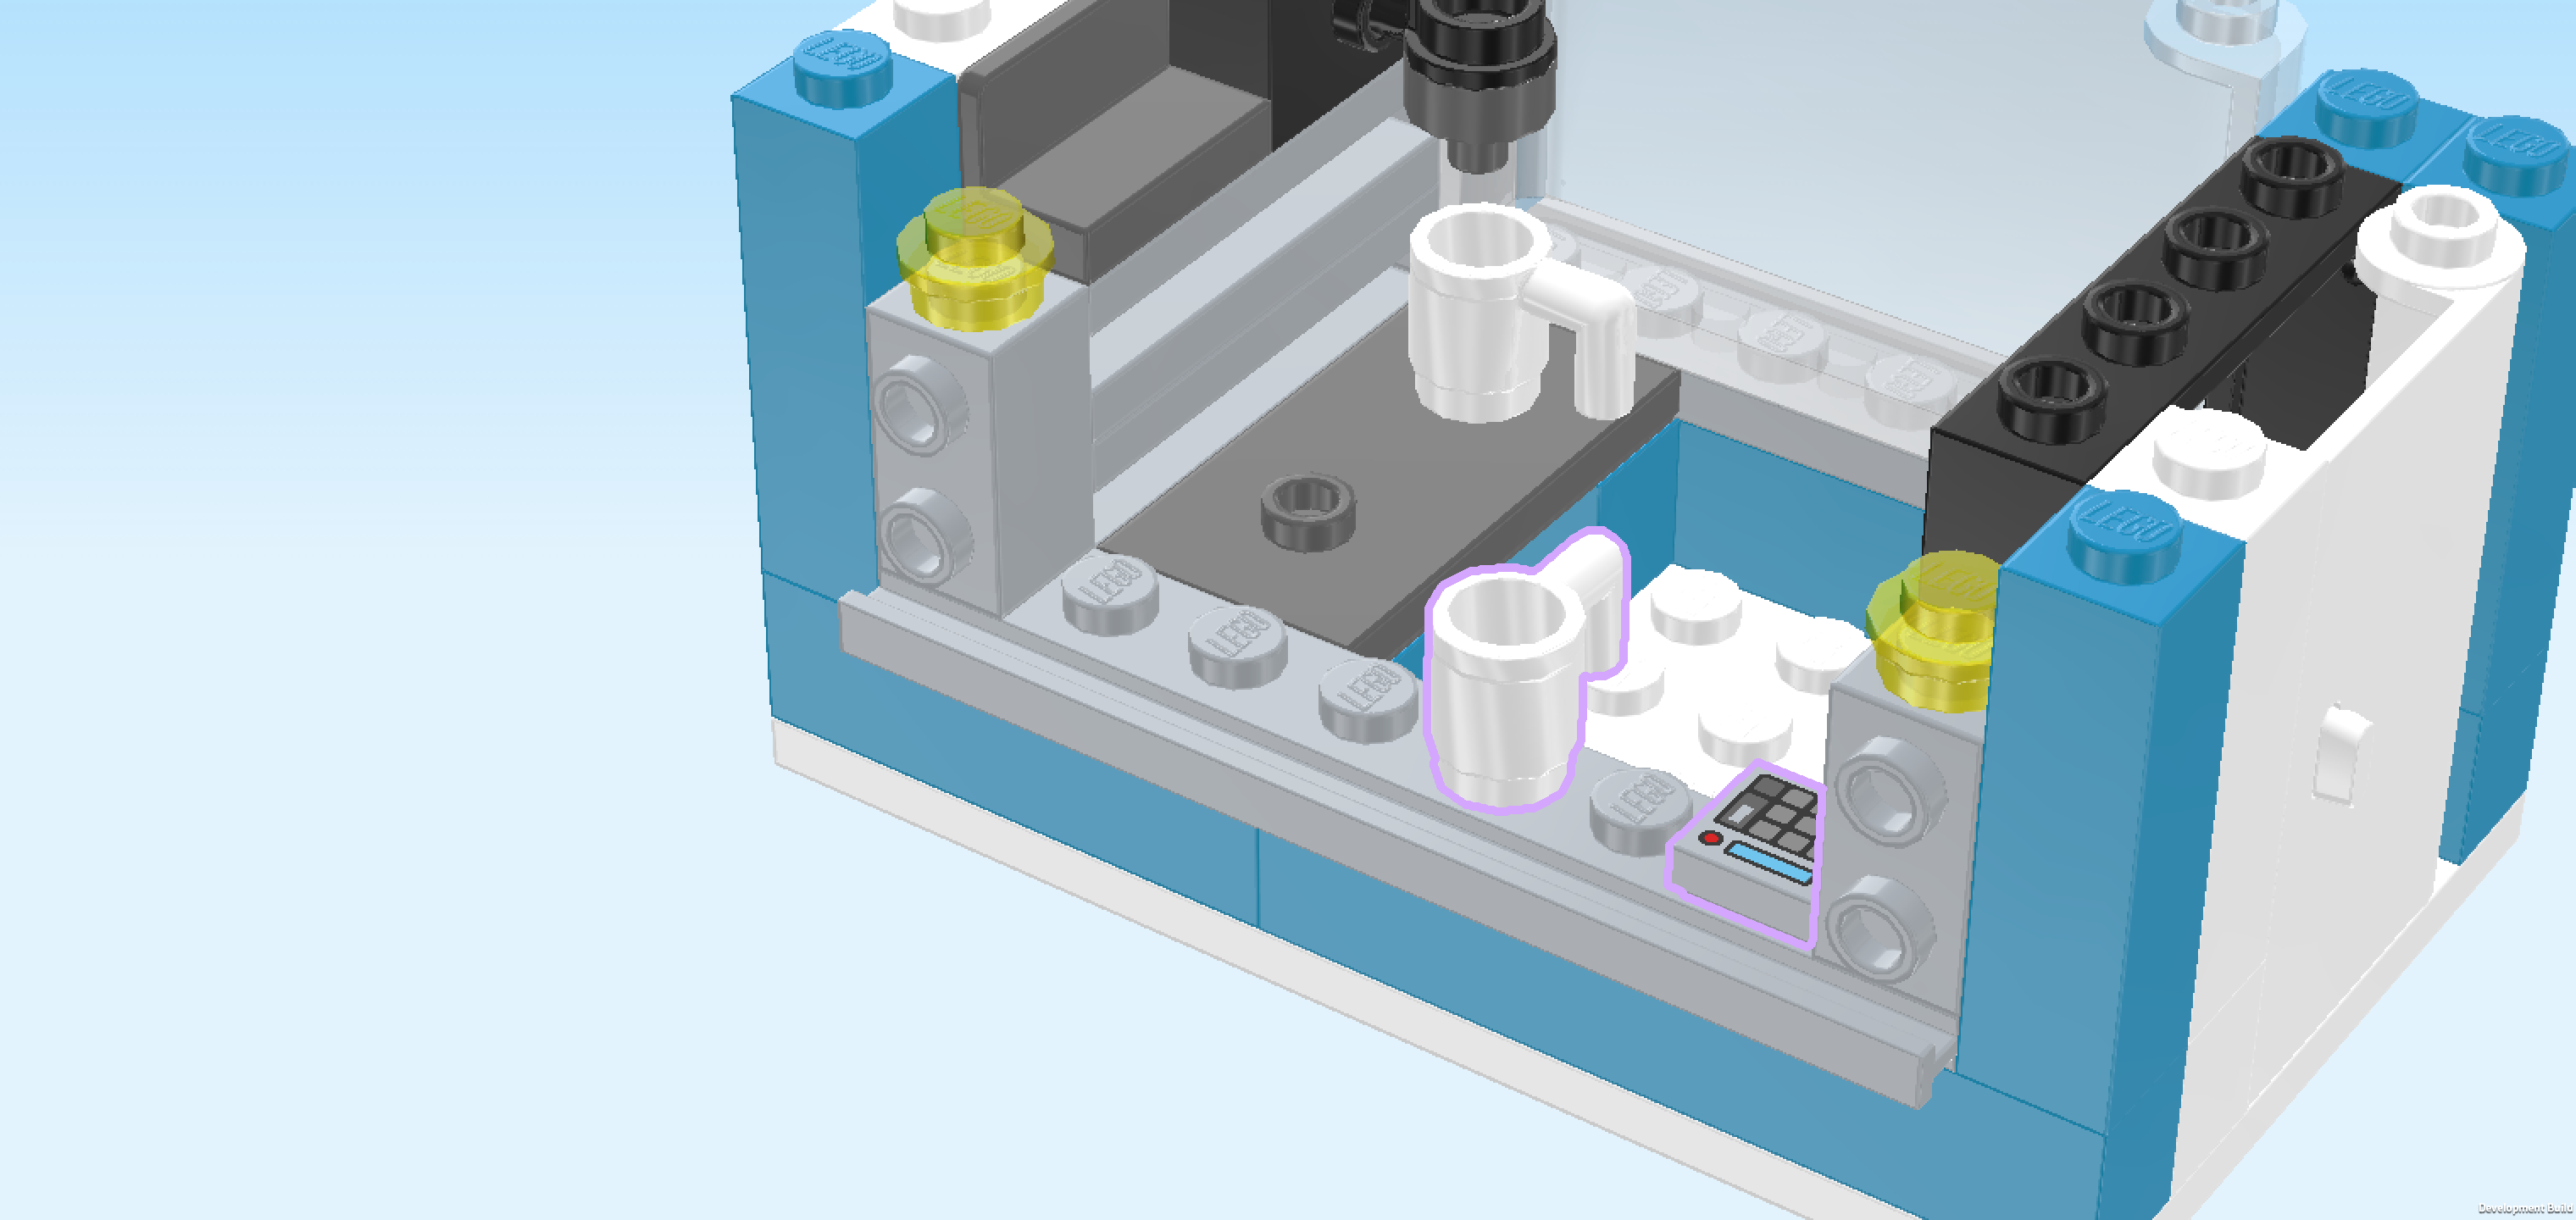
| Find 1 white Minifigure mug. |
| Put it on the previous piece's back knob, handle to the right. |
| Next, we will build the portafilter coffee maker. |
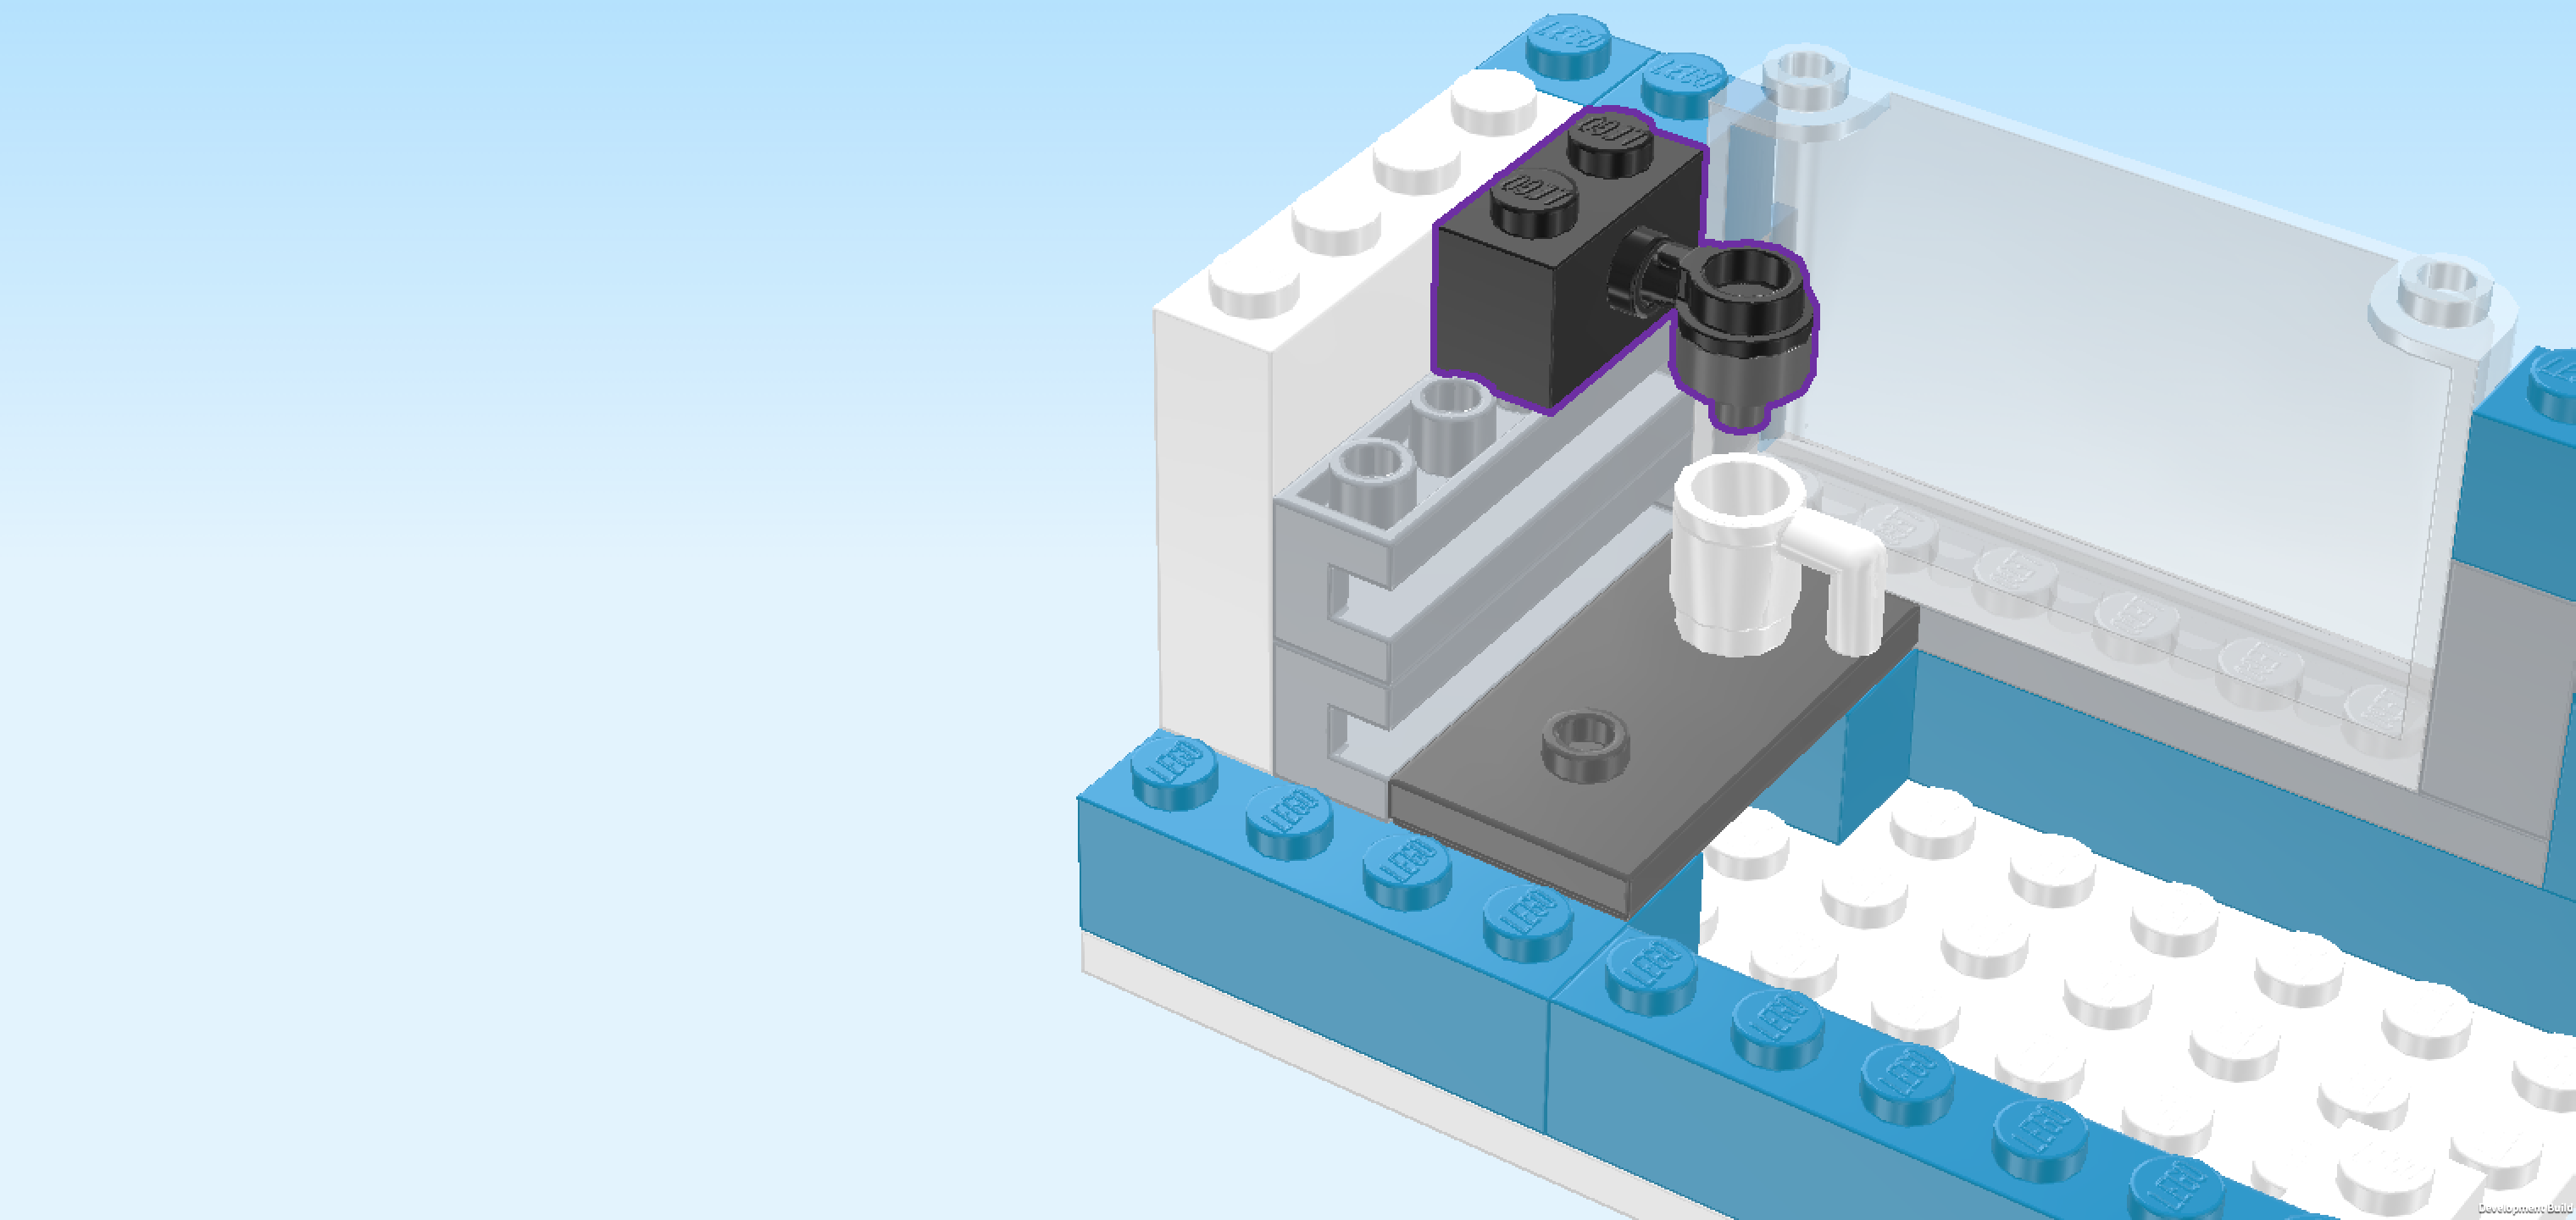
| Collect the following 2 pieces: |
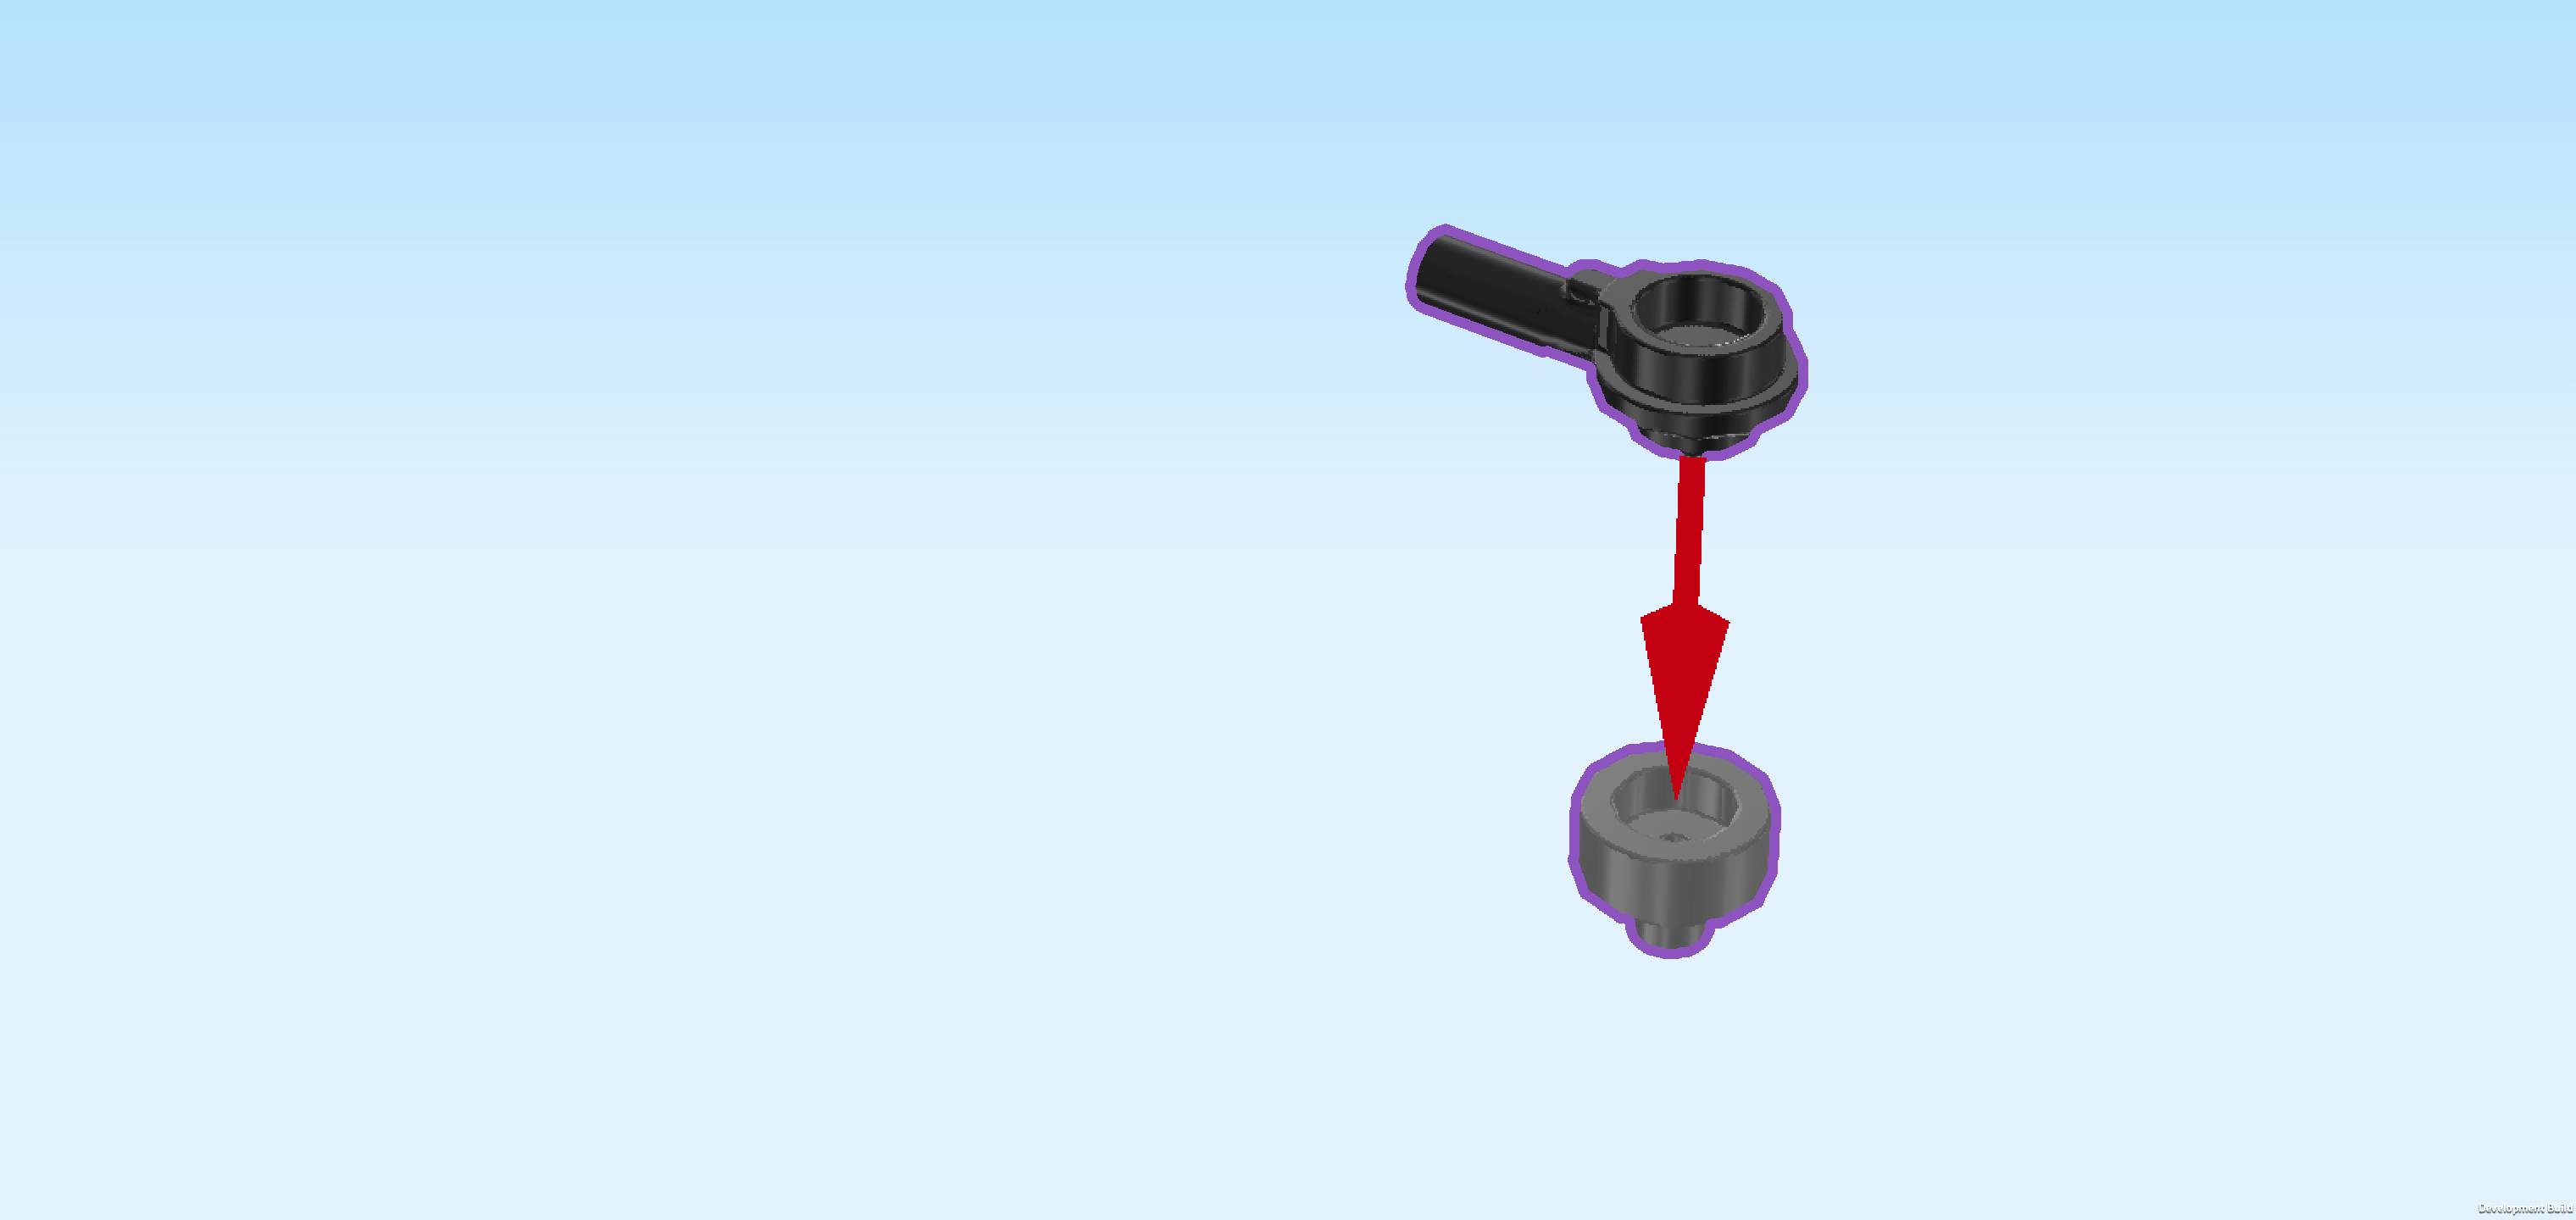
| 1 black round plate 1x1 with through-hole and side handle, |
| and 1 dark stone grey round tile 1x1 with small top shaft. |
| Put the round tile with shaft on the knob of the round plate with handle. We will later turn this upside down. |
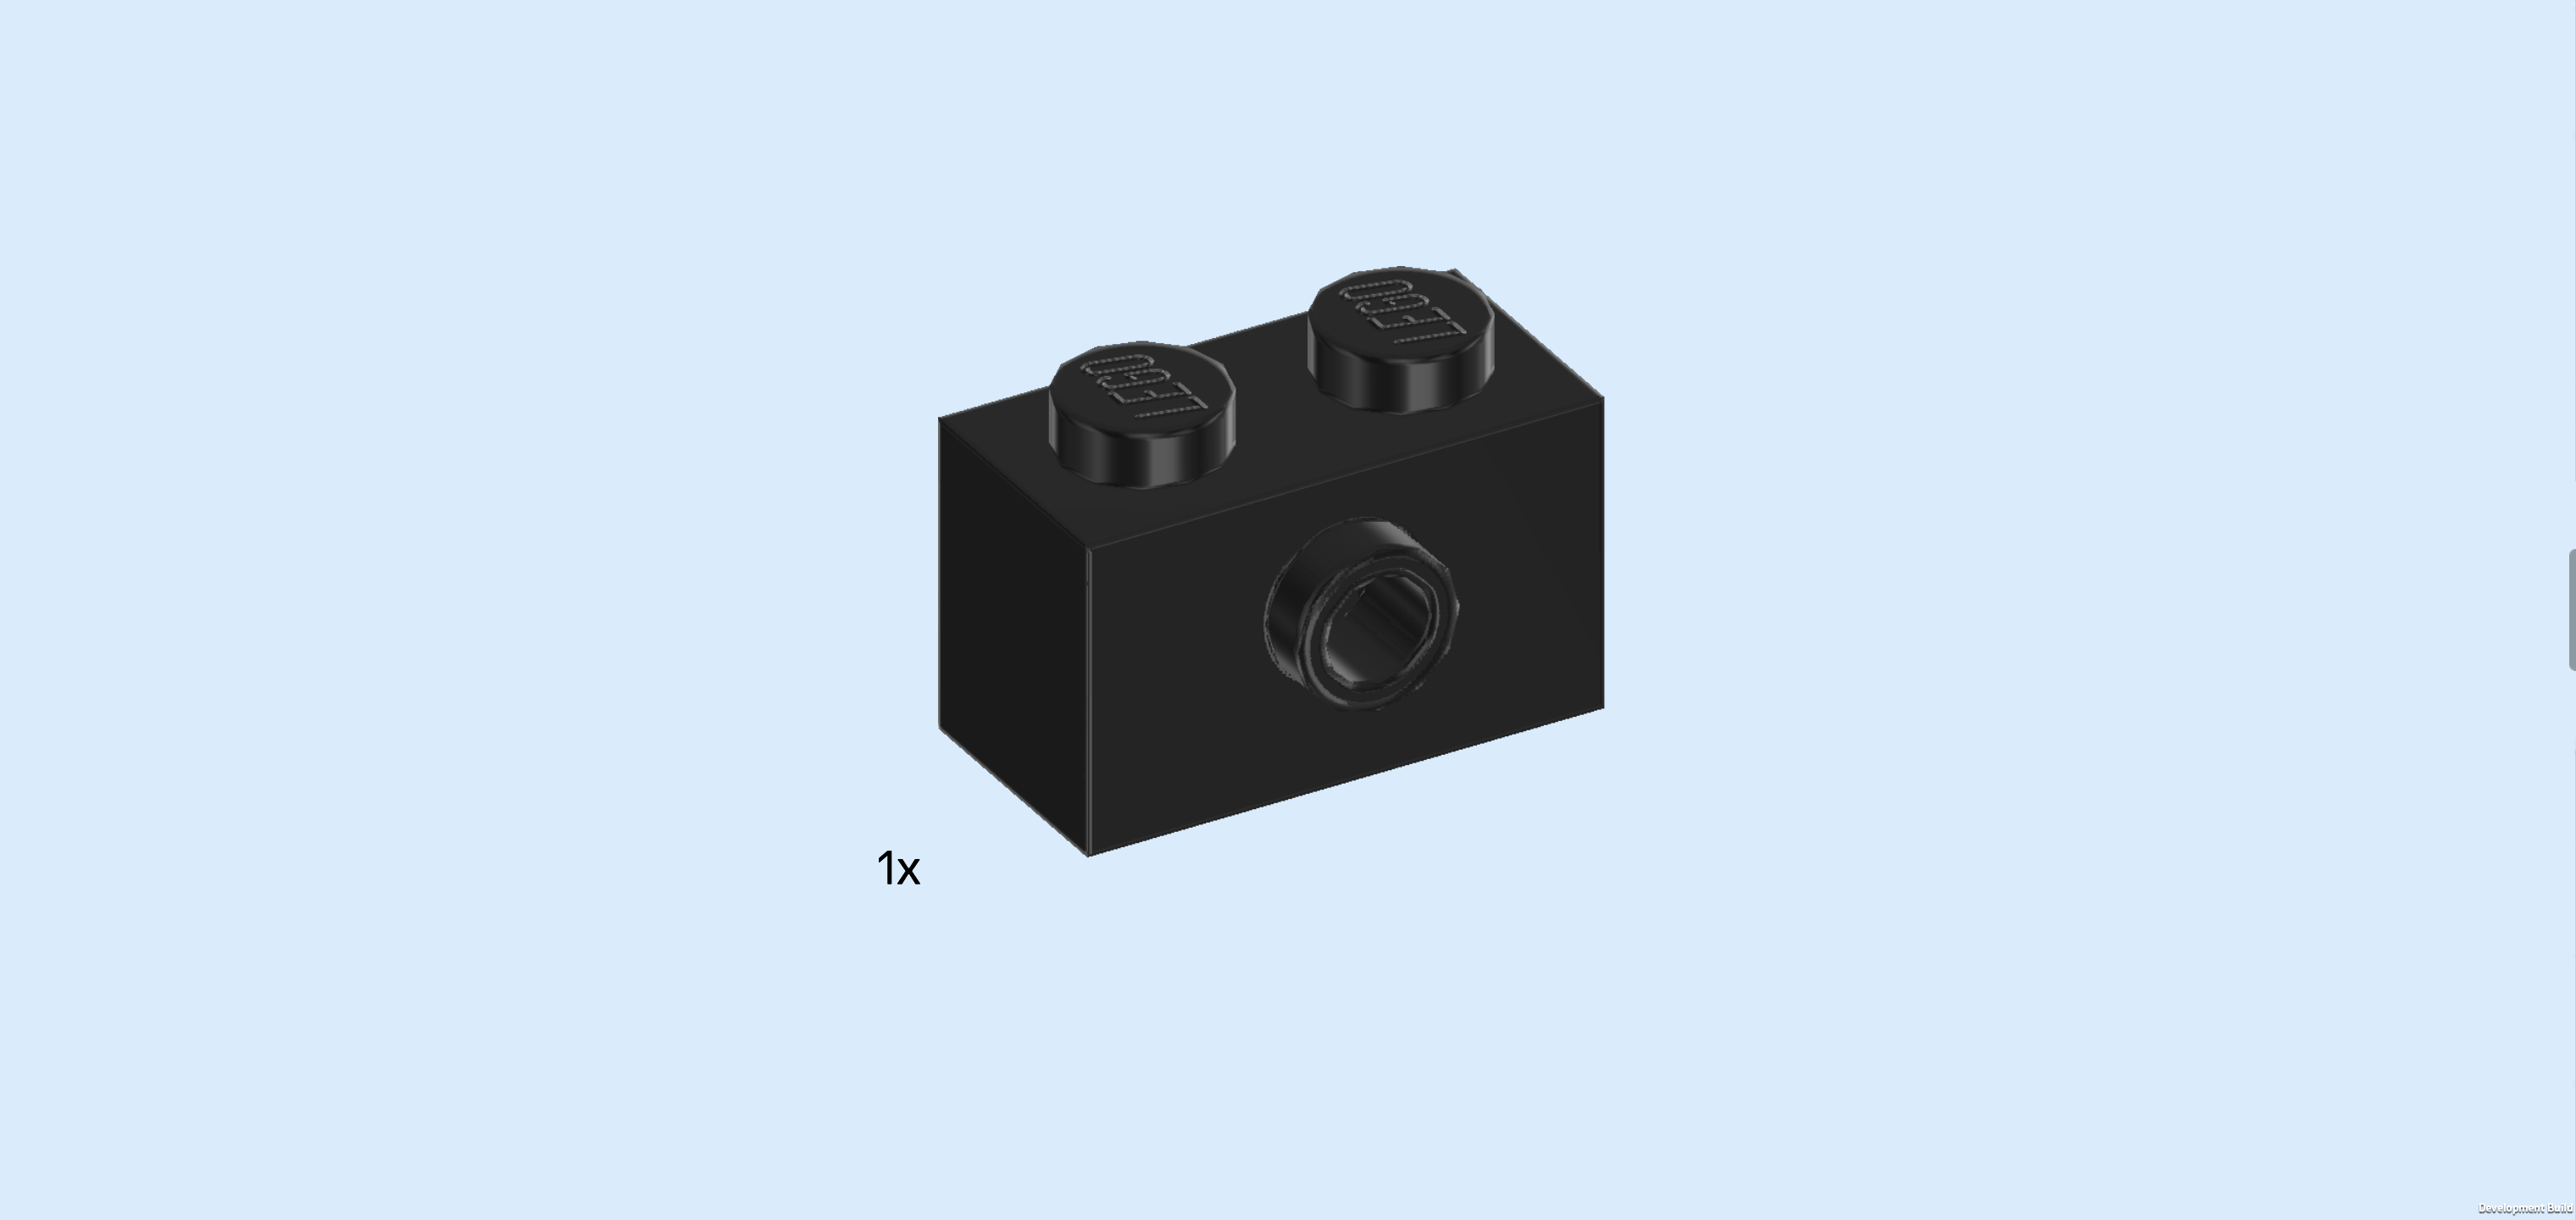
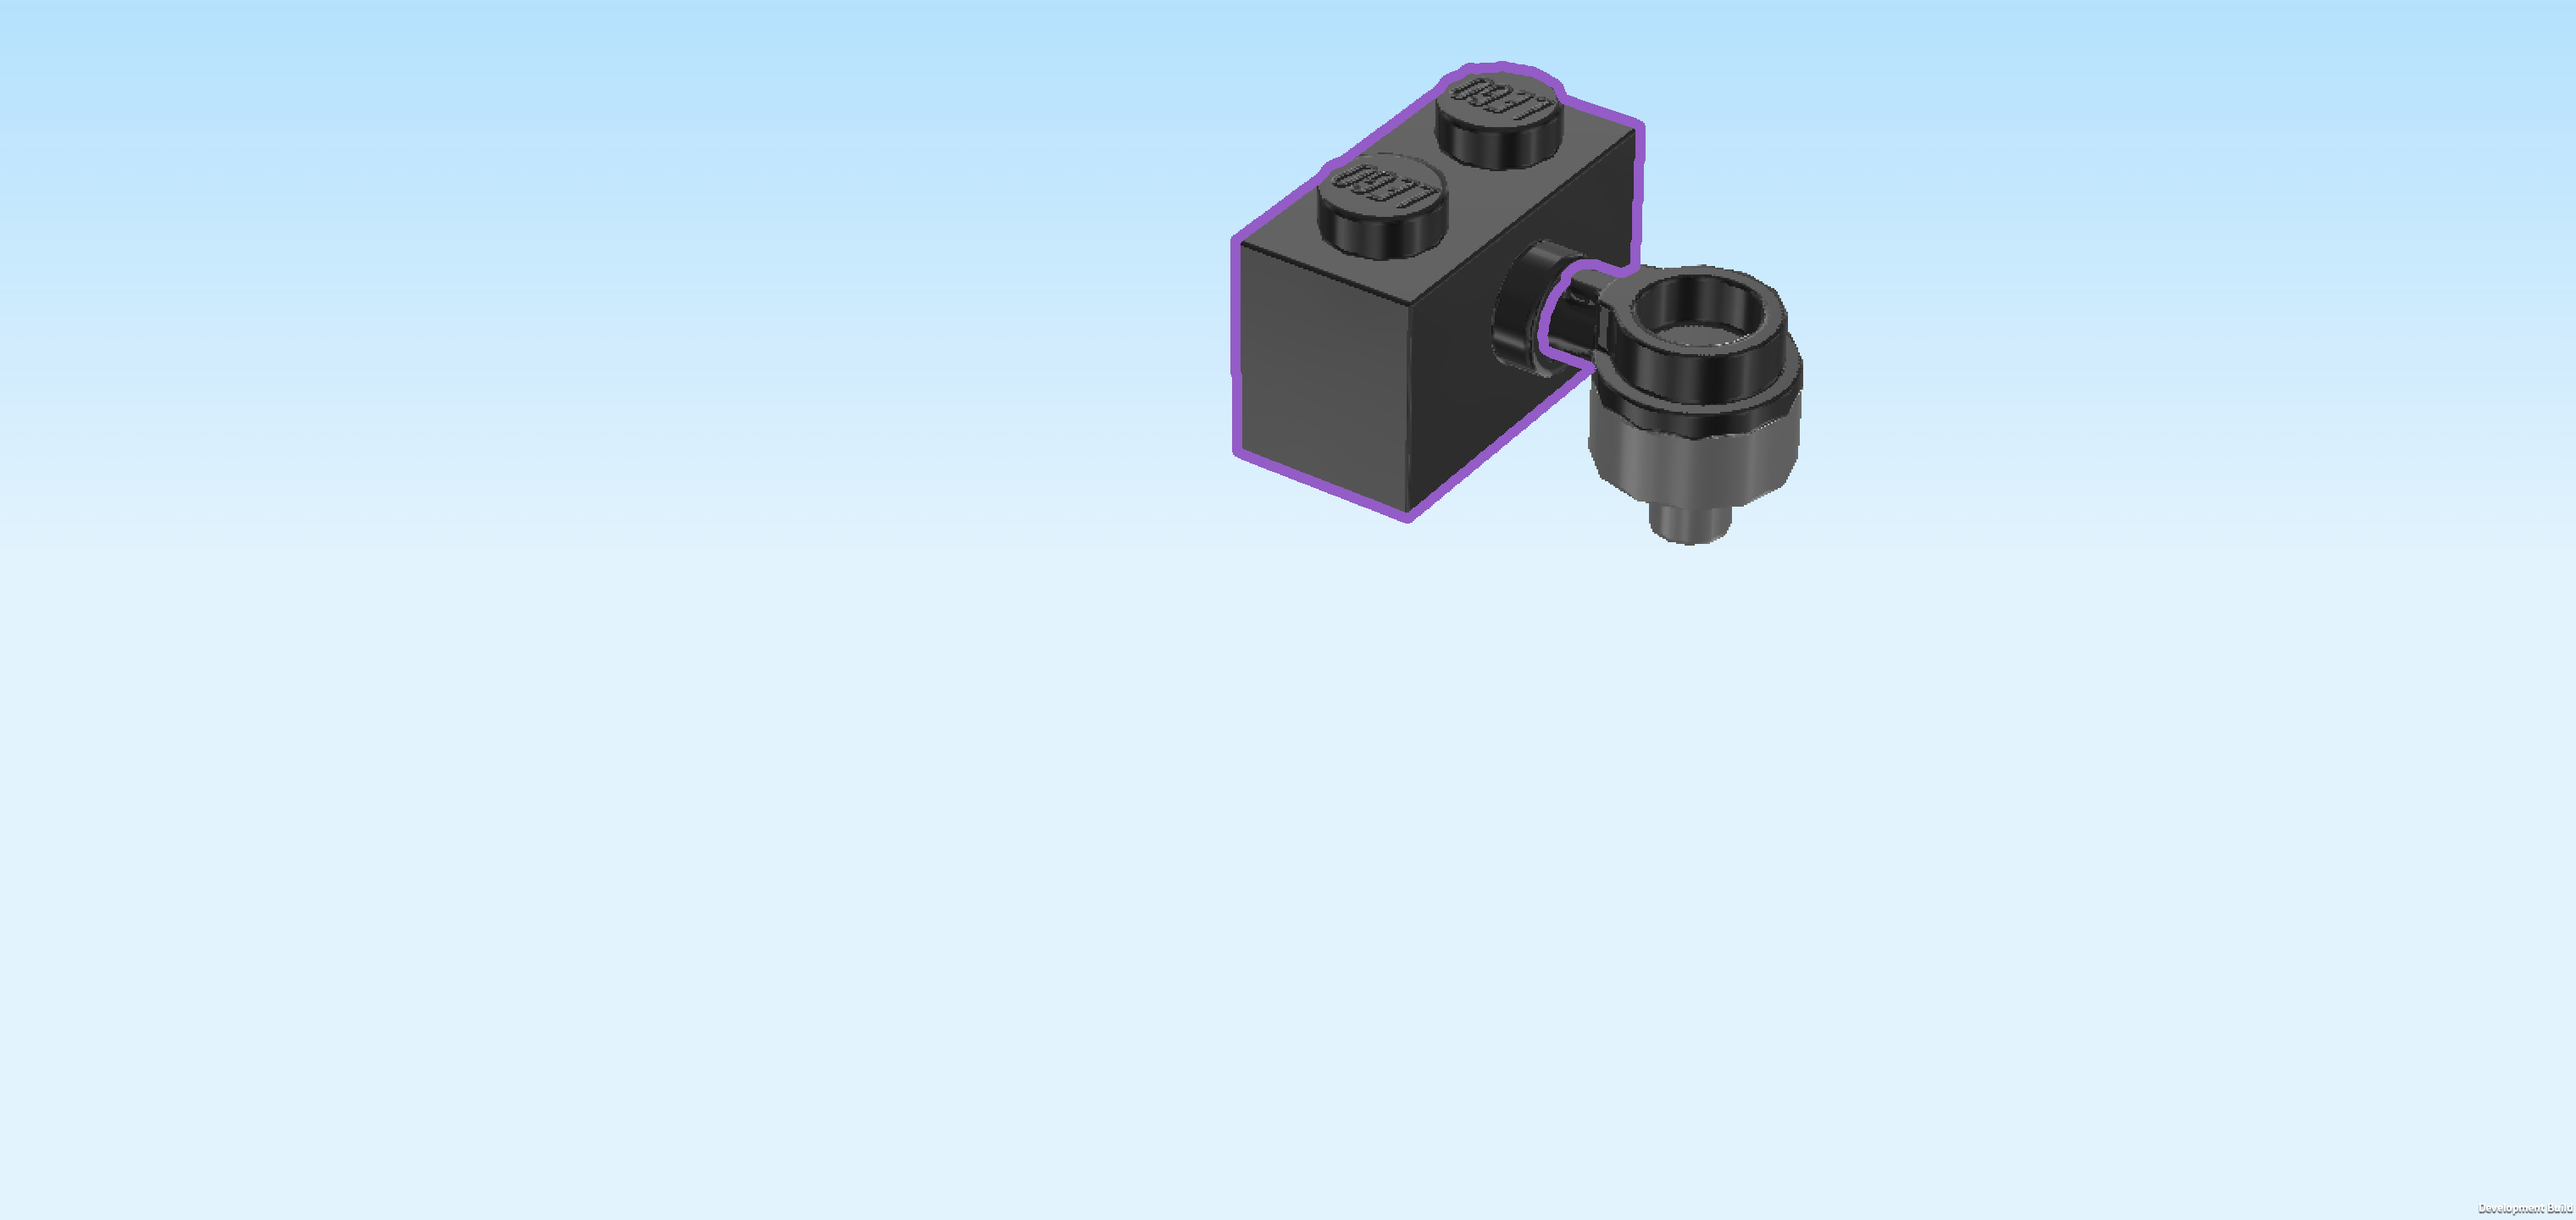
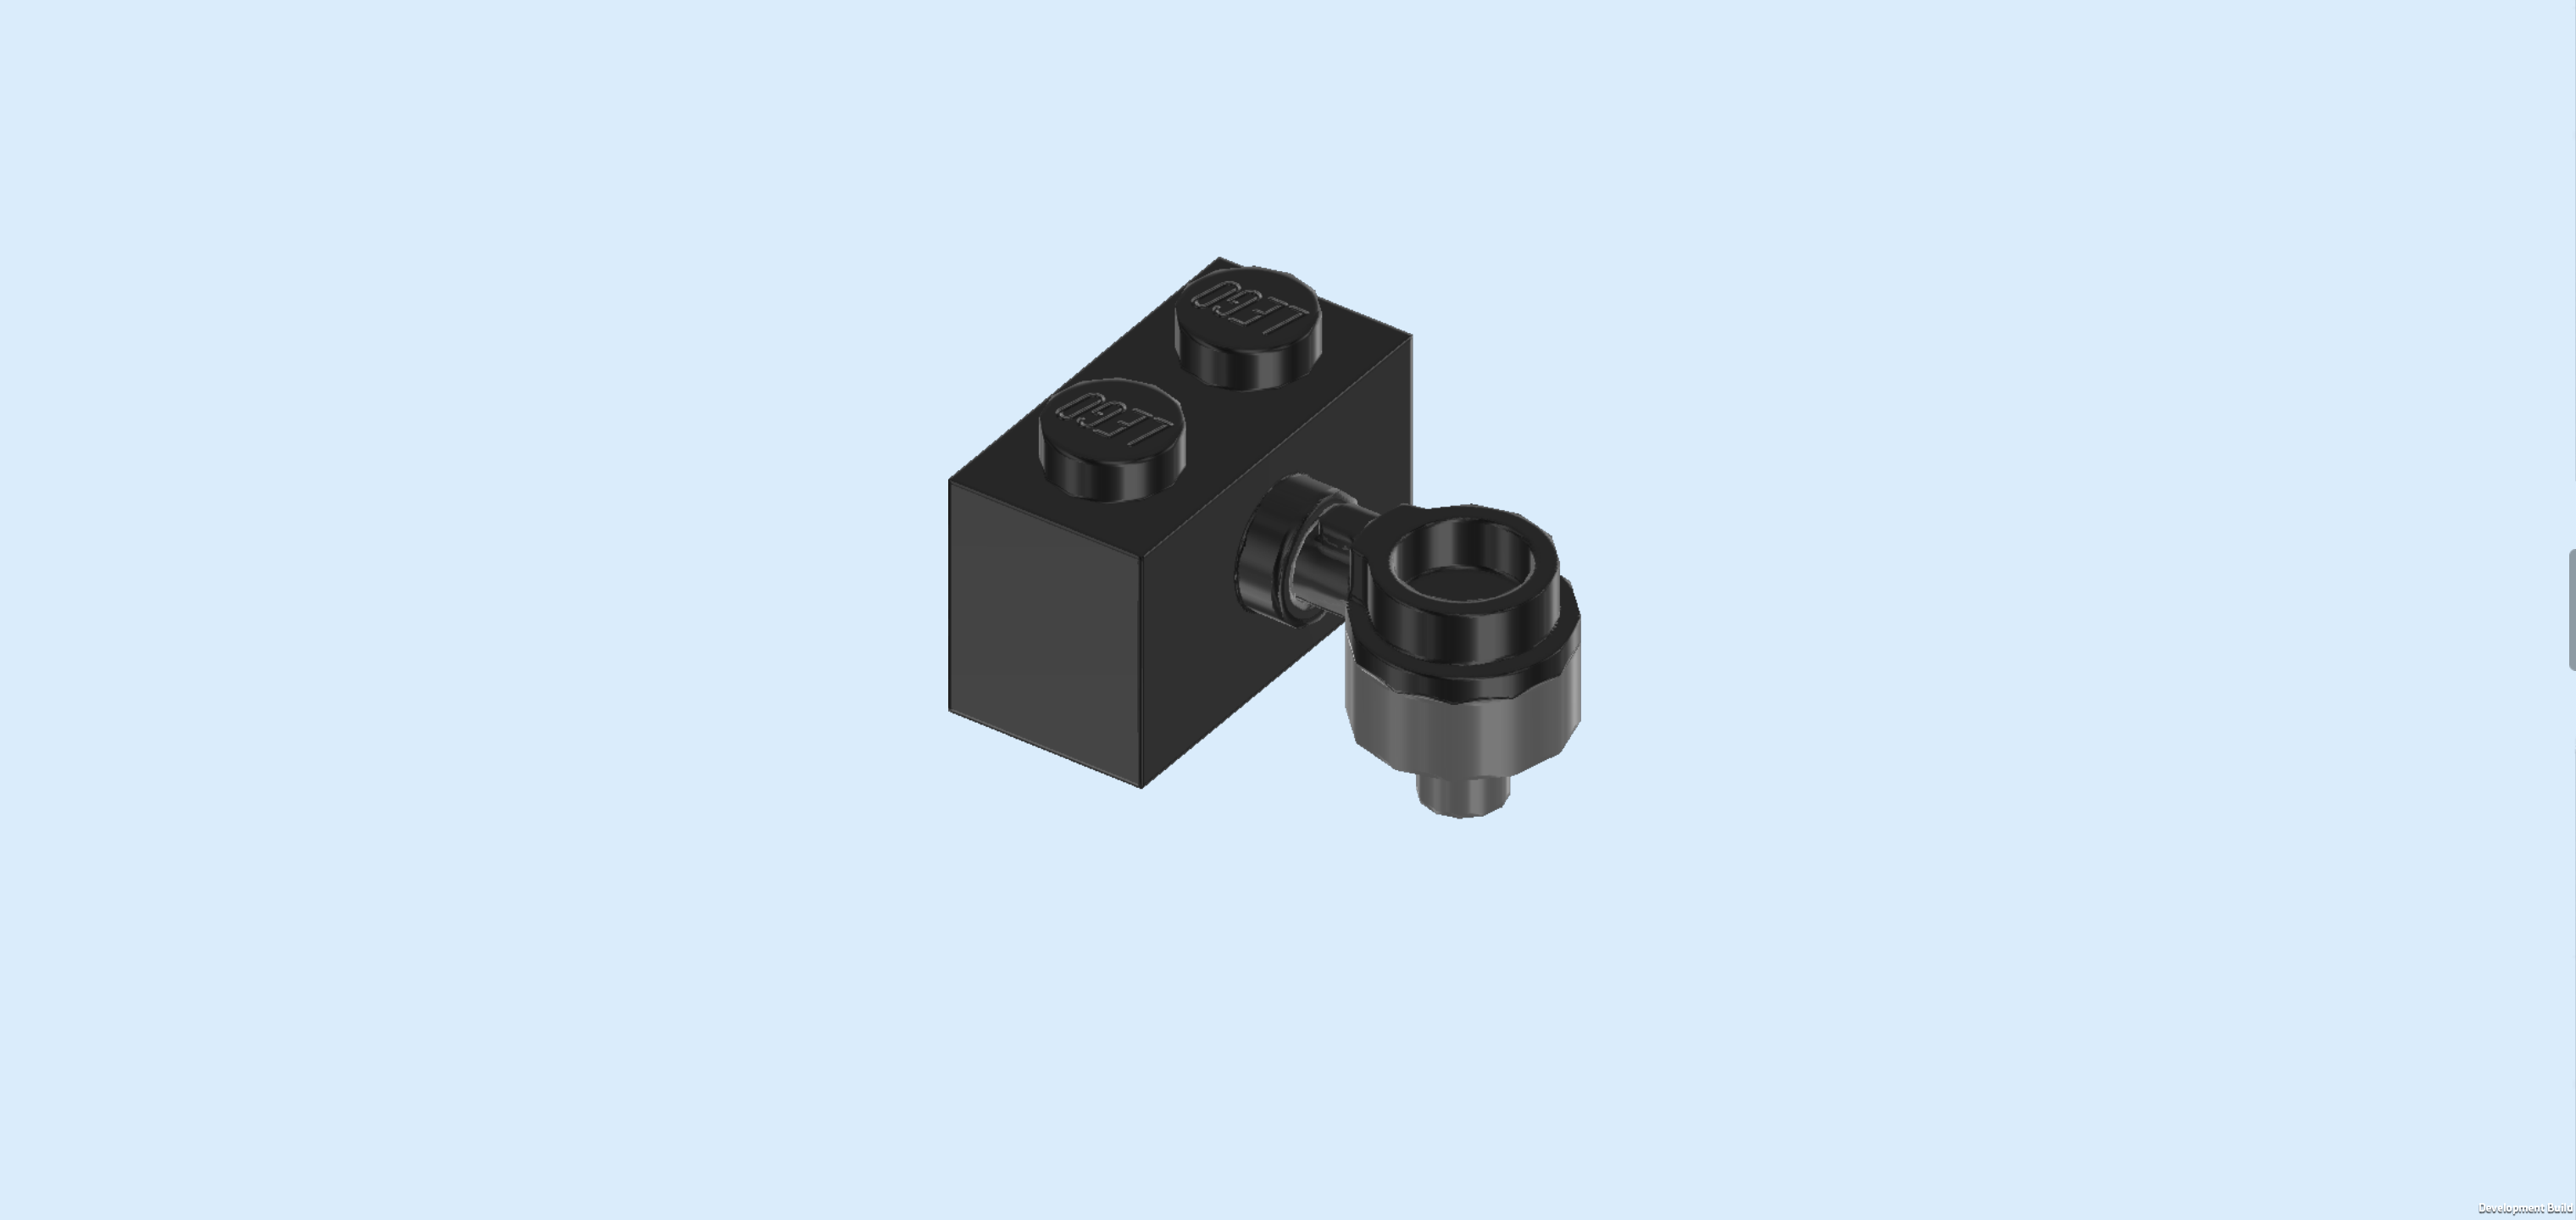
| Find 1 black brick 1x2 with side knob. |
| Insert the handle of the round plate into the hollow side knob and then turn its round part down so that the small shaft is pointing to the bottom. |
| The portafilter coffee maker is finished! Mount it vertically to the left of the Minifigure mug we have mounted earlier, drip nozzle pointing down into the mug. This means the coffee maker will sit nestled in the back left wall corner. |
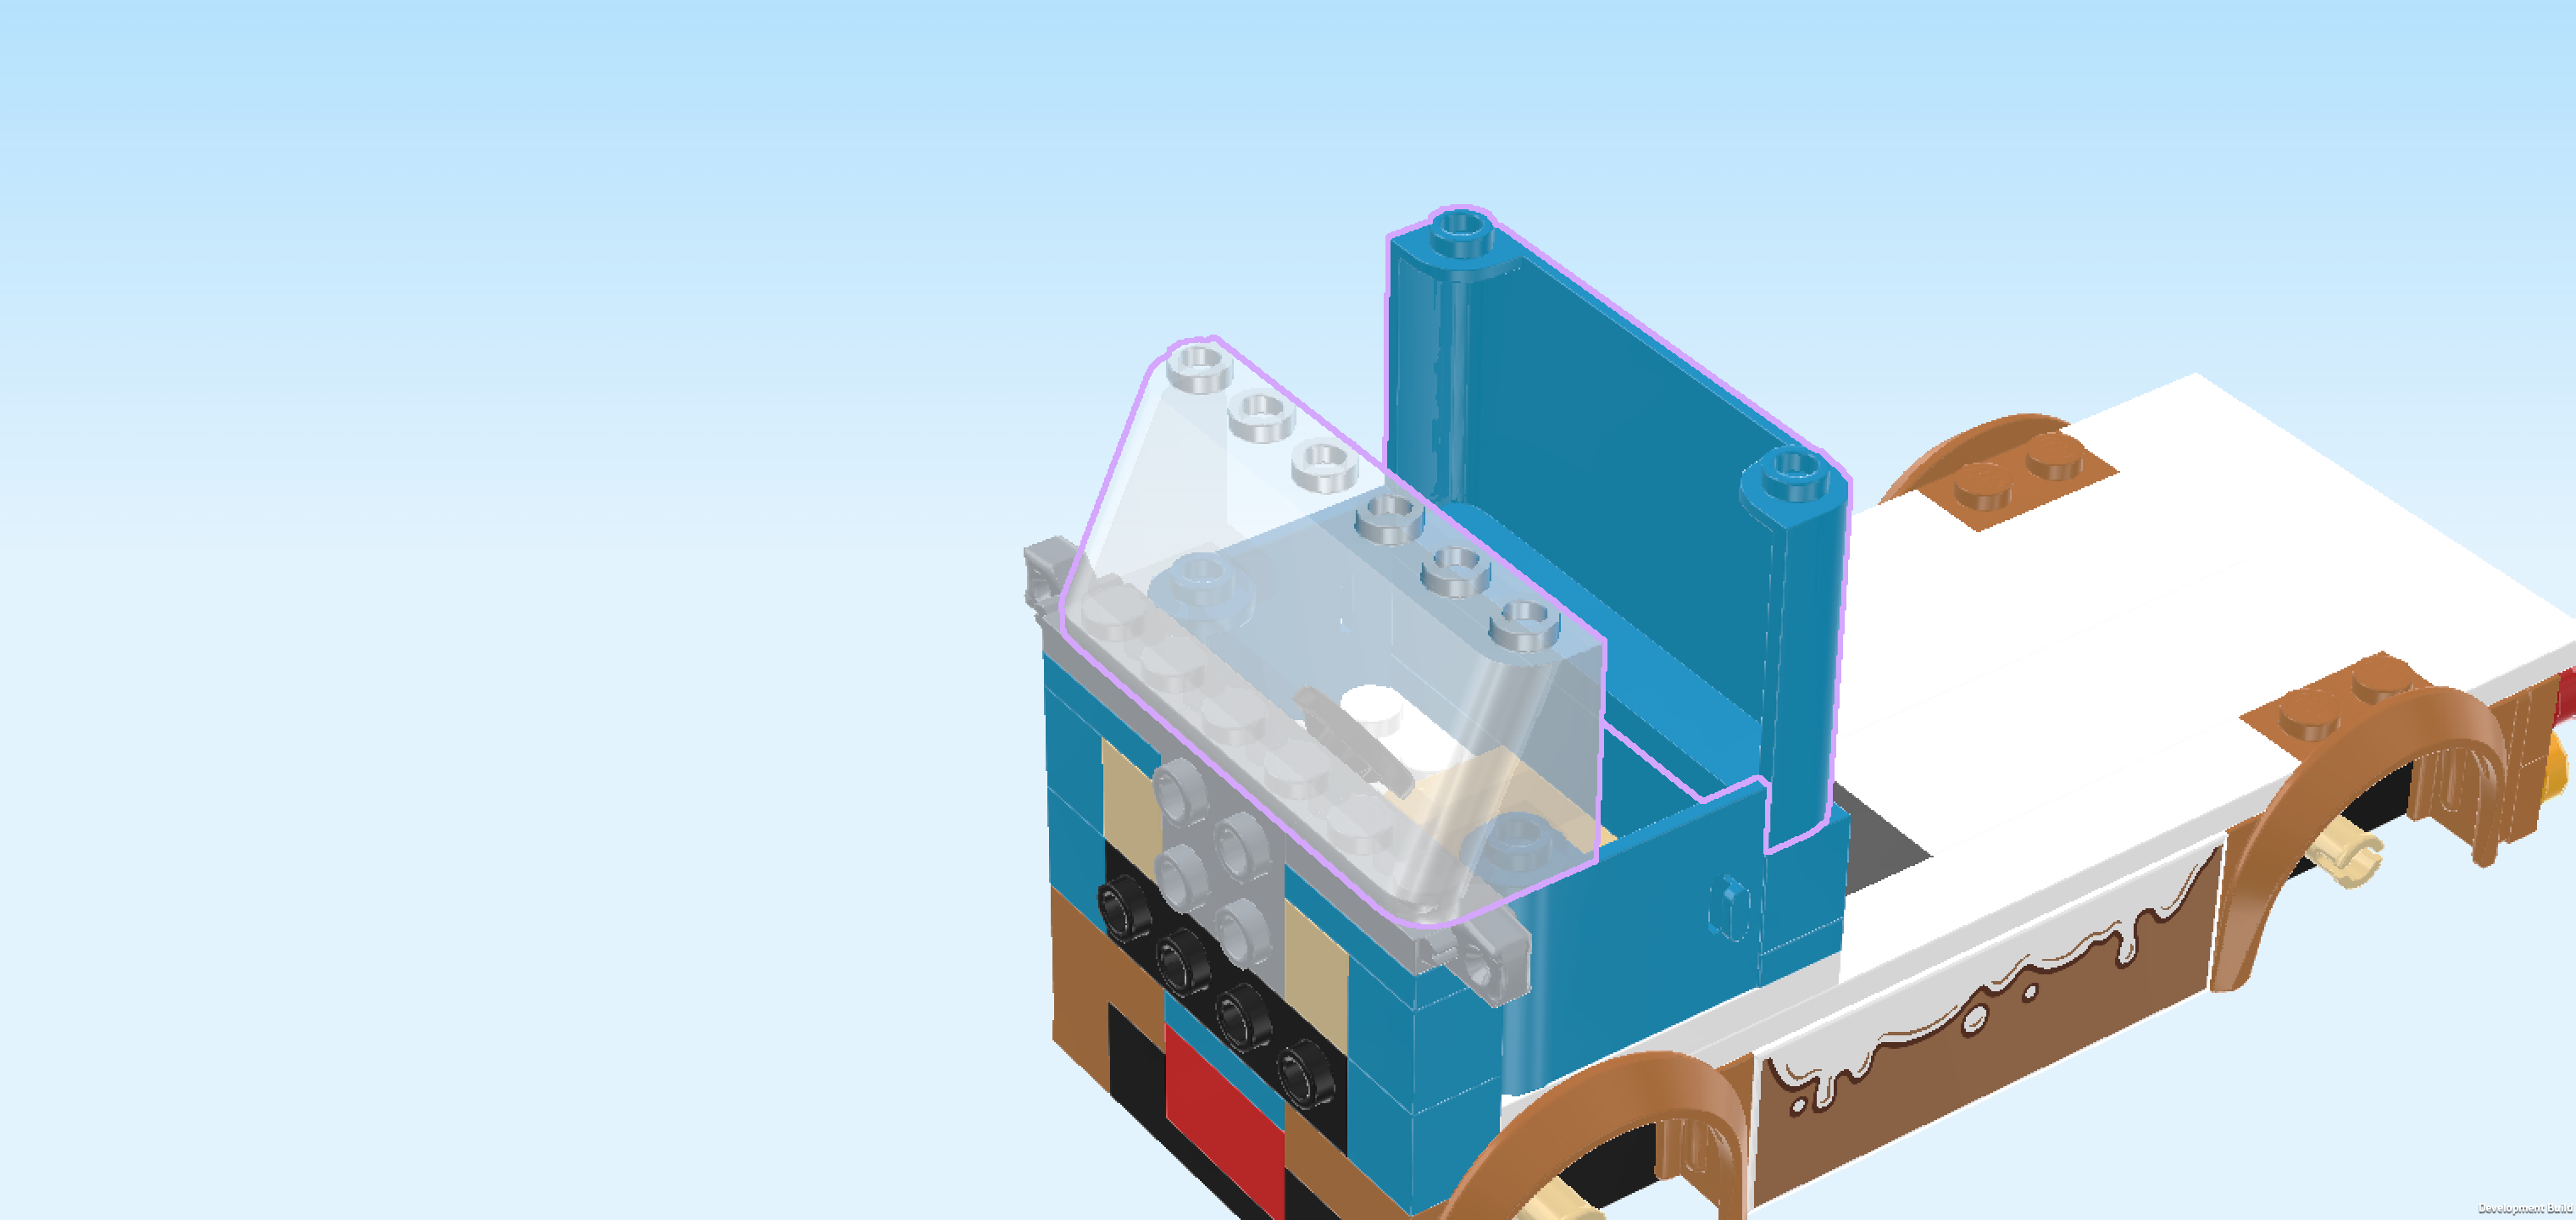
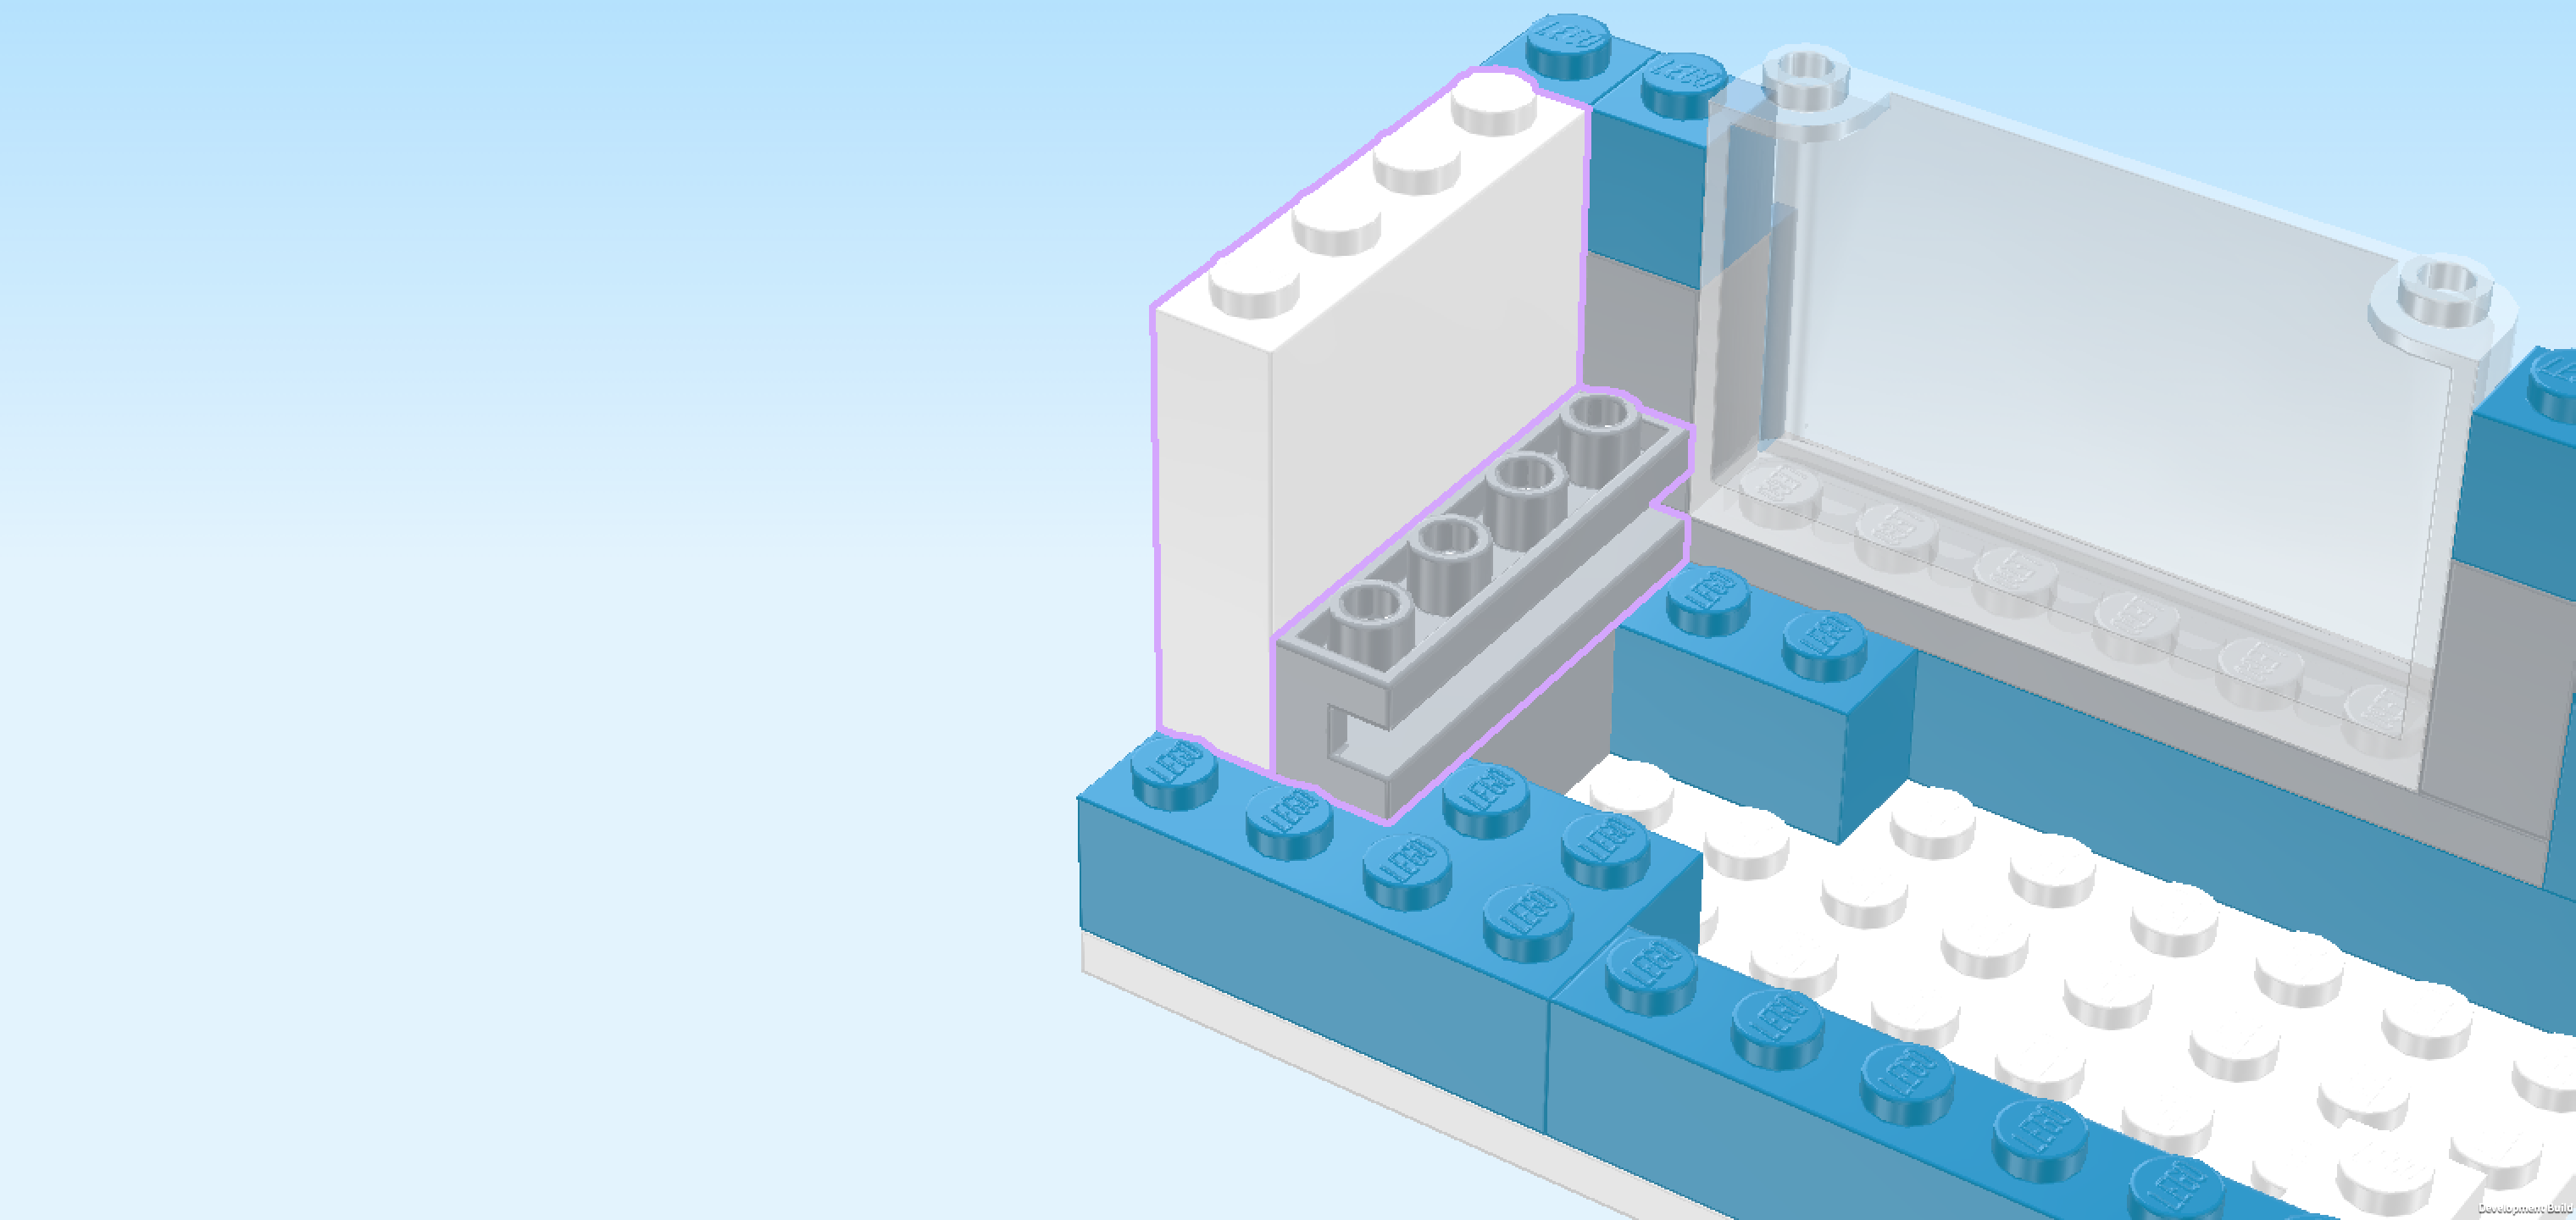
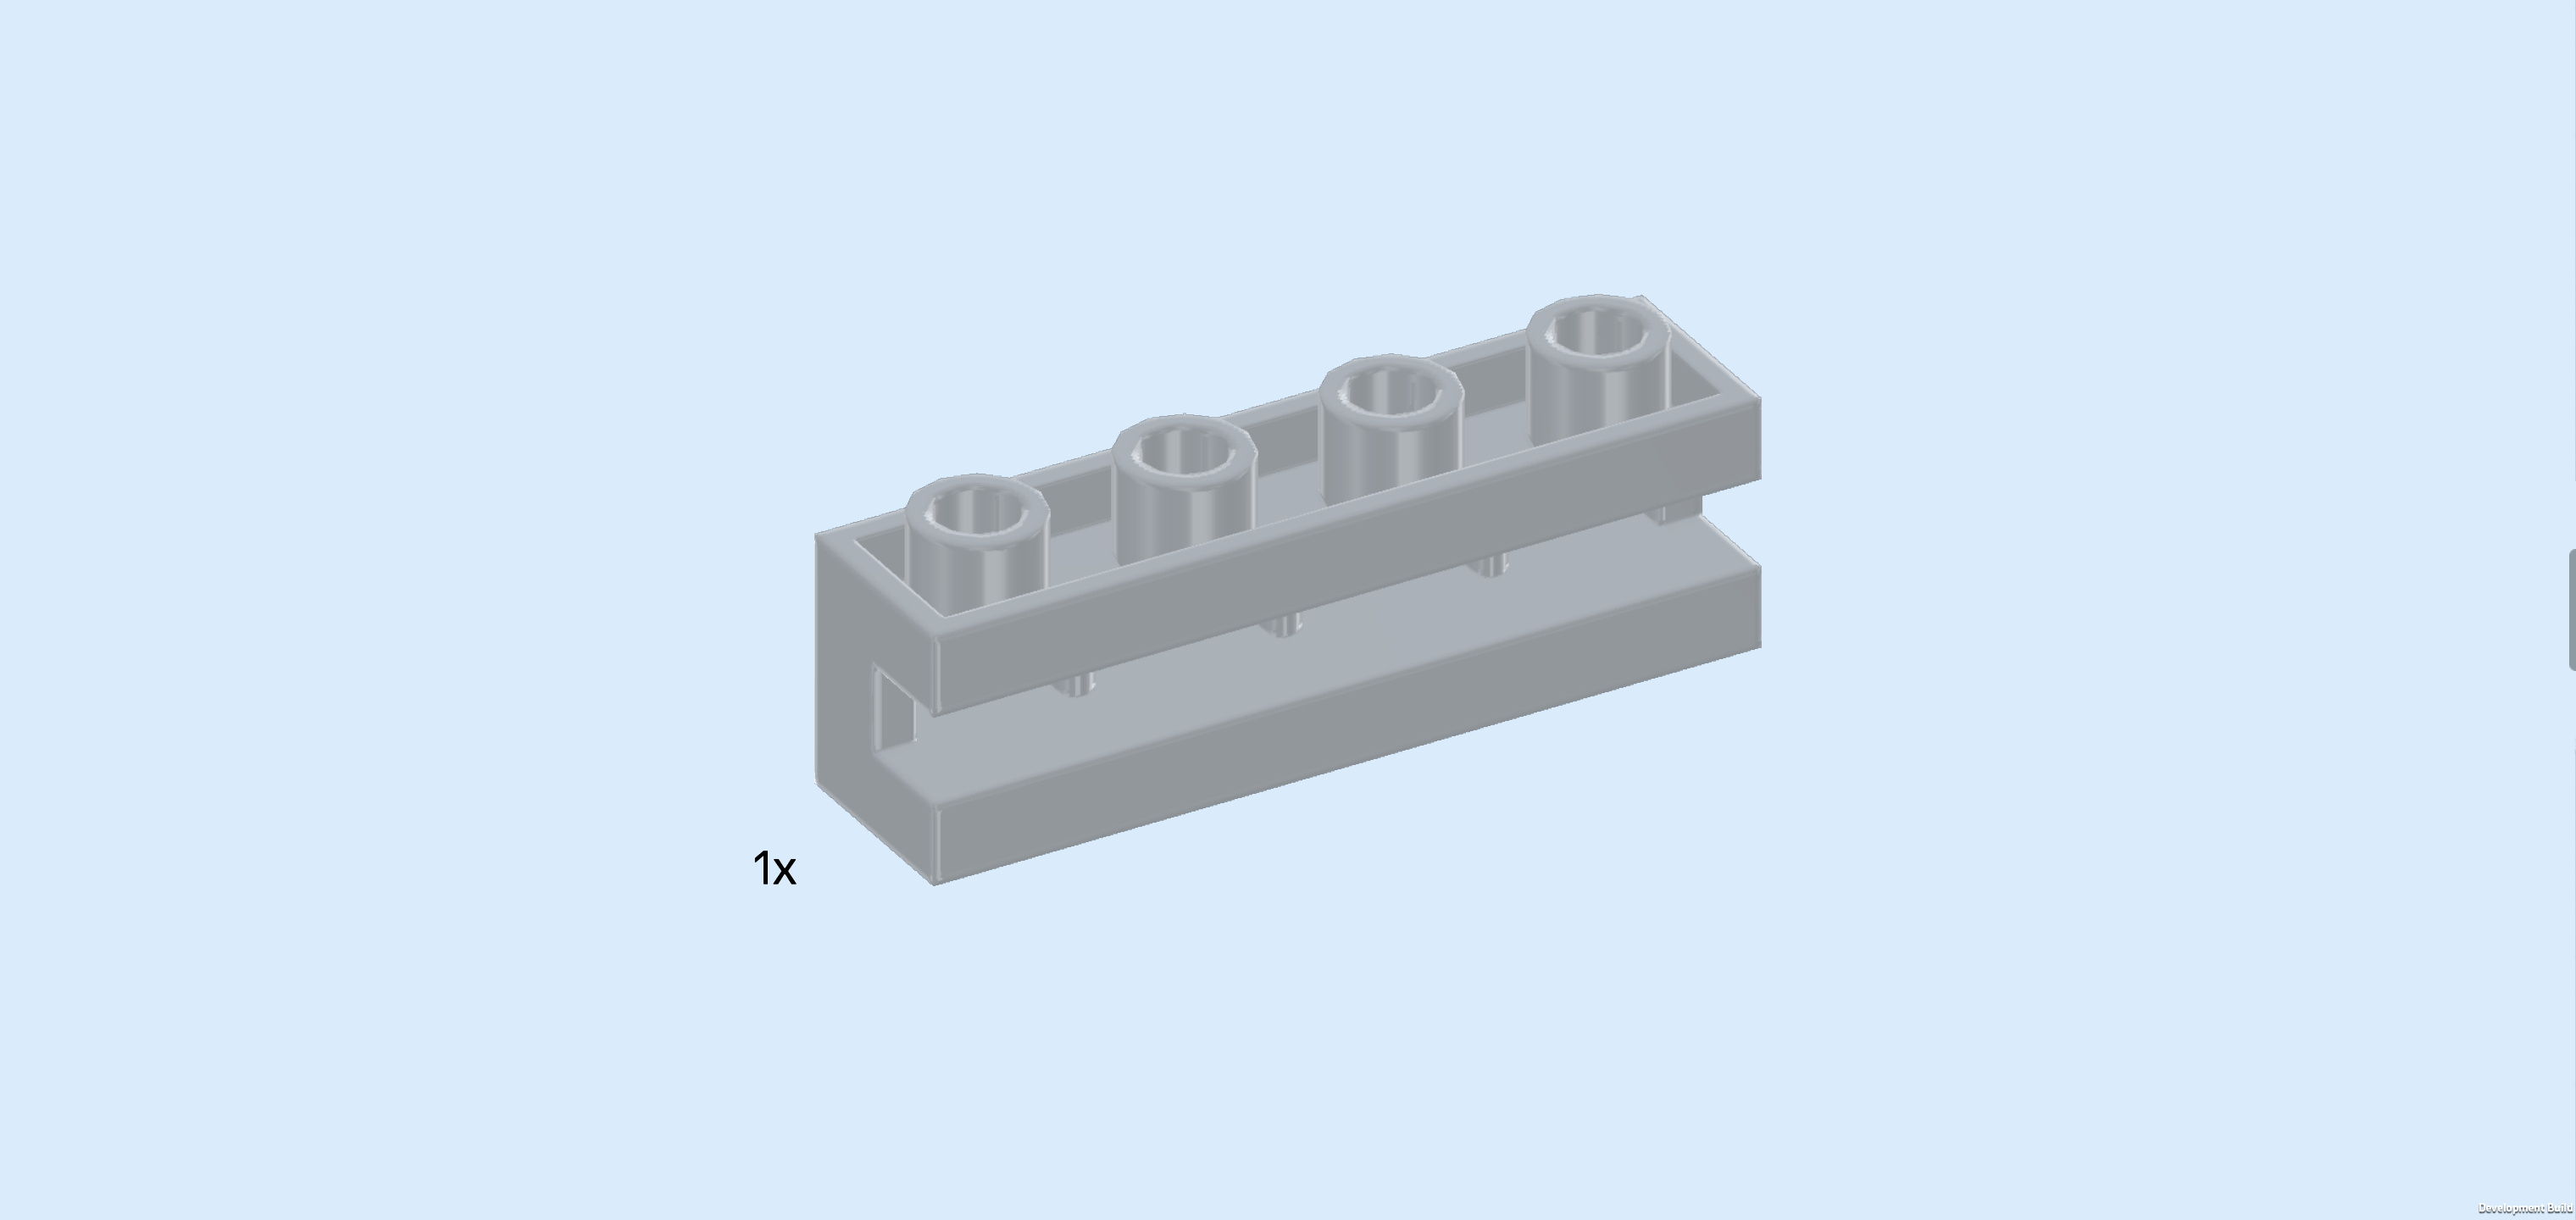
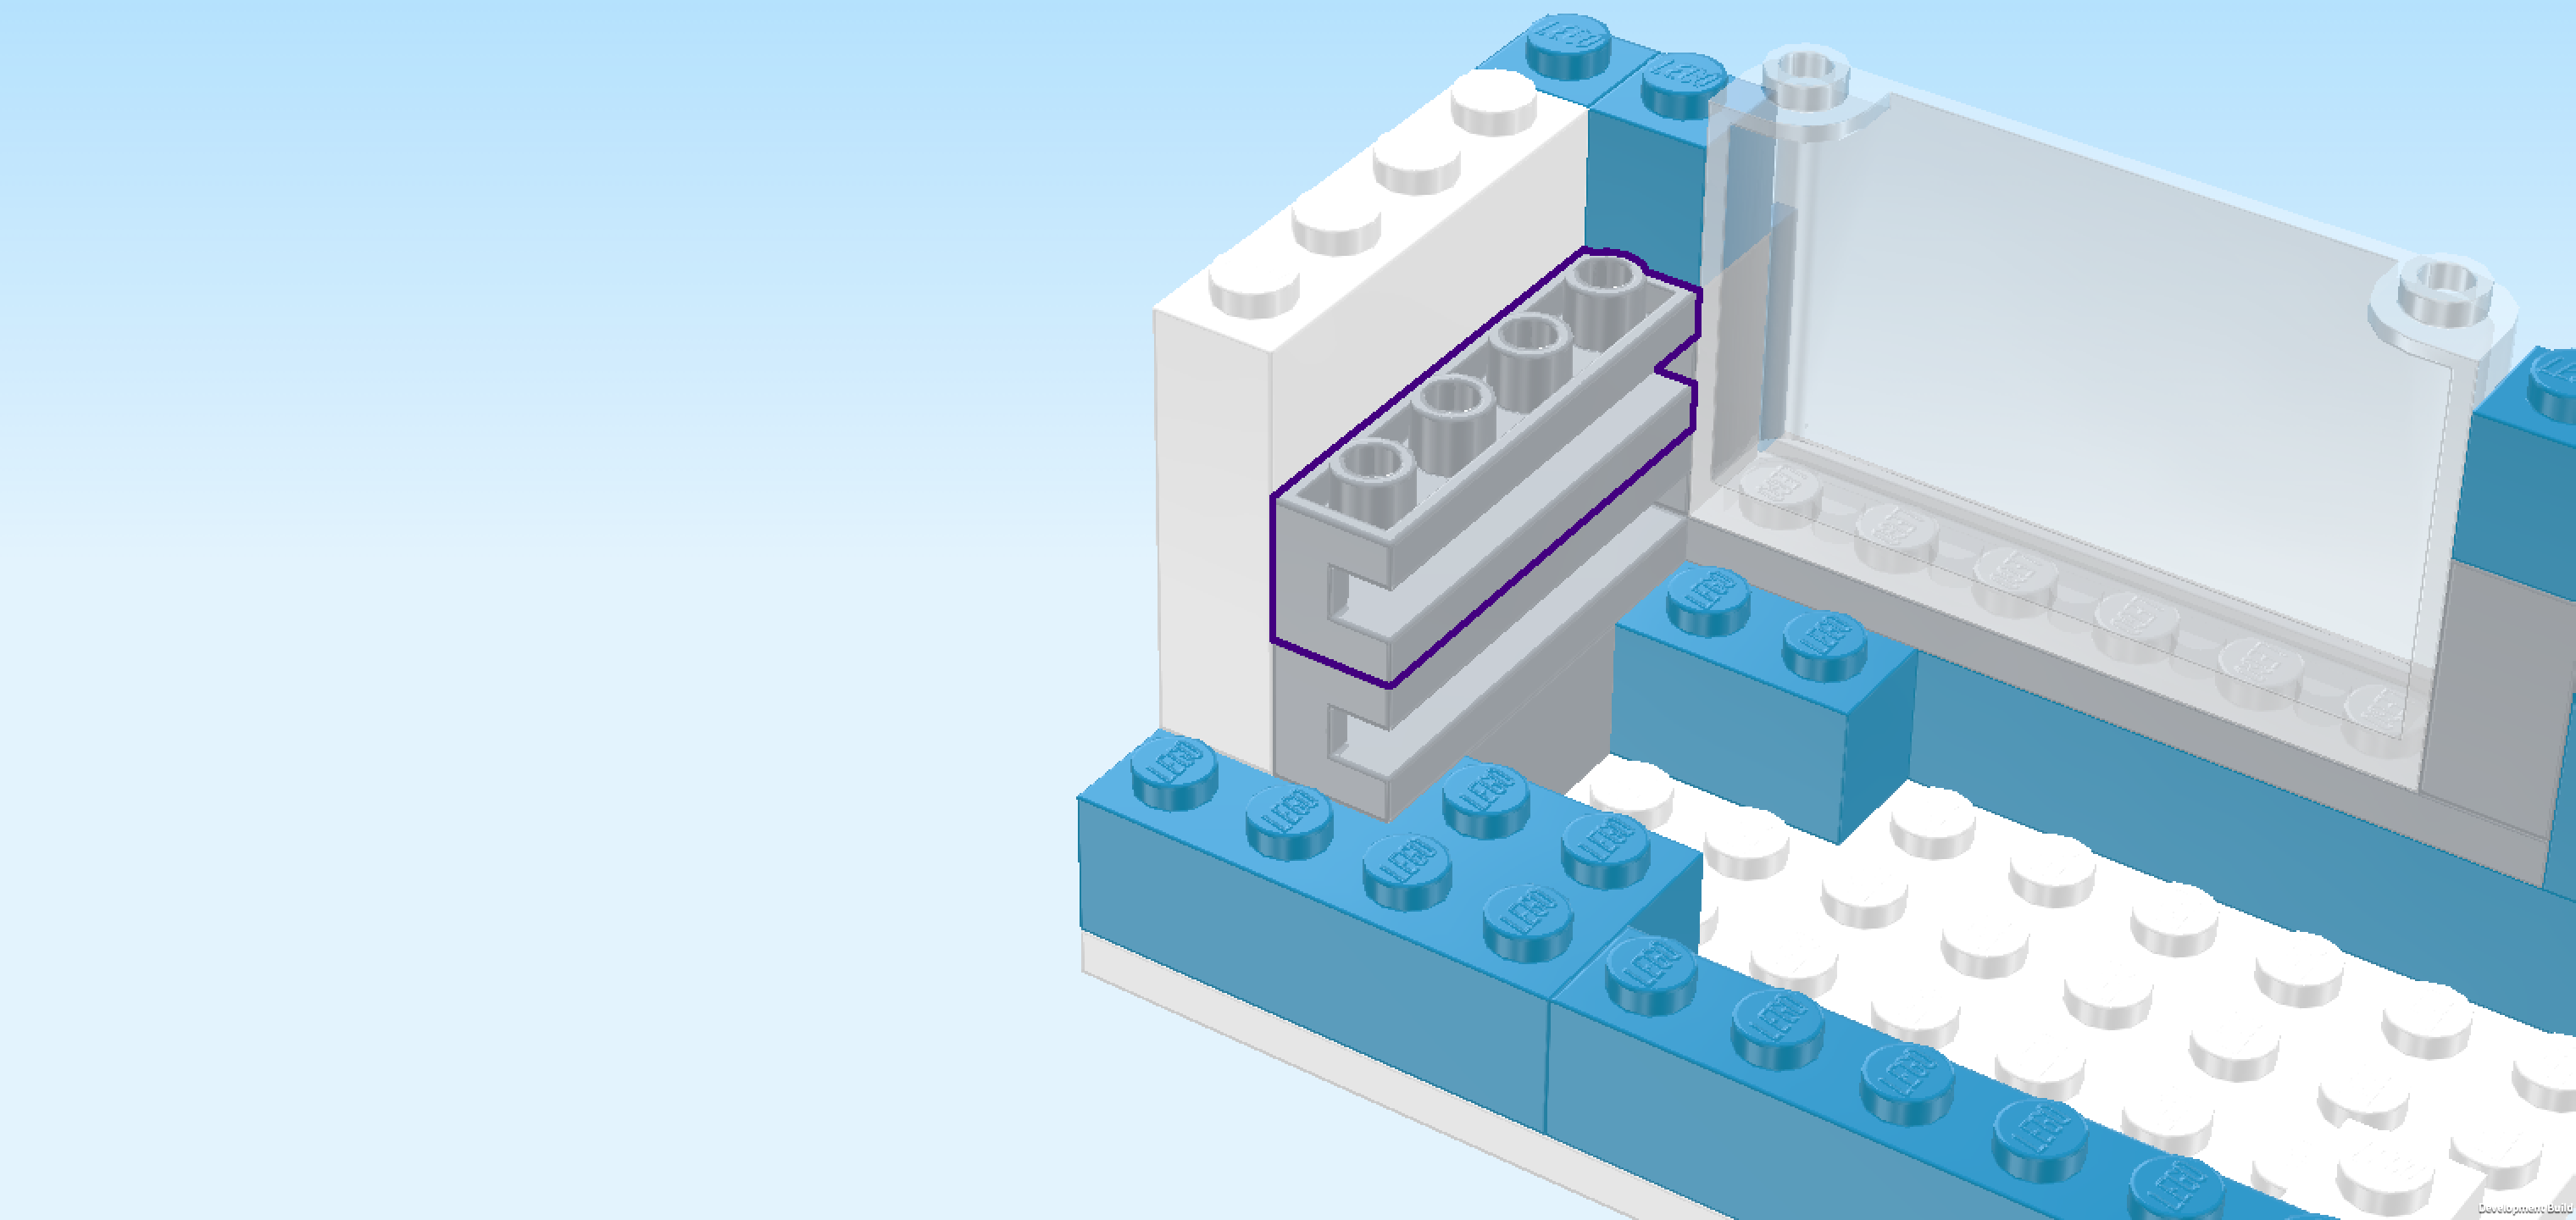
| Find 1 dark stone grey panel element 1x2x1. |
| Put it vertically in front of the coffee maker, panel to the left. |
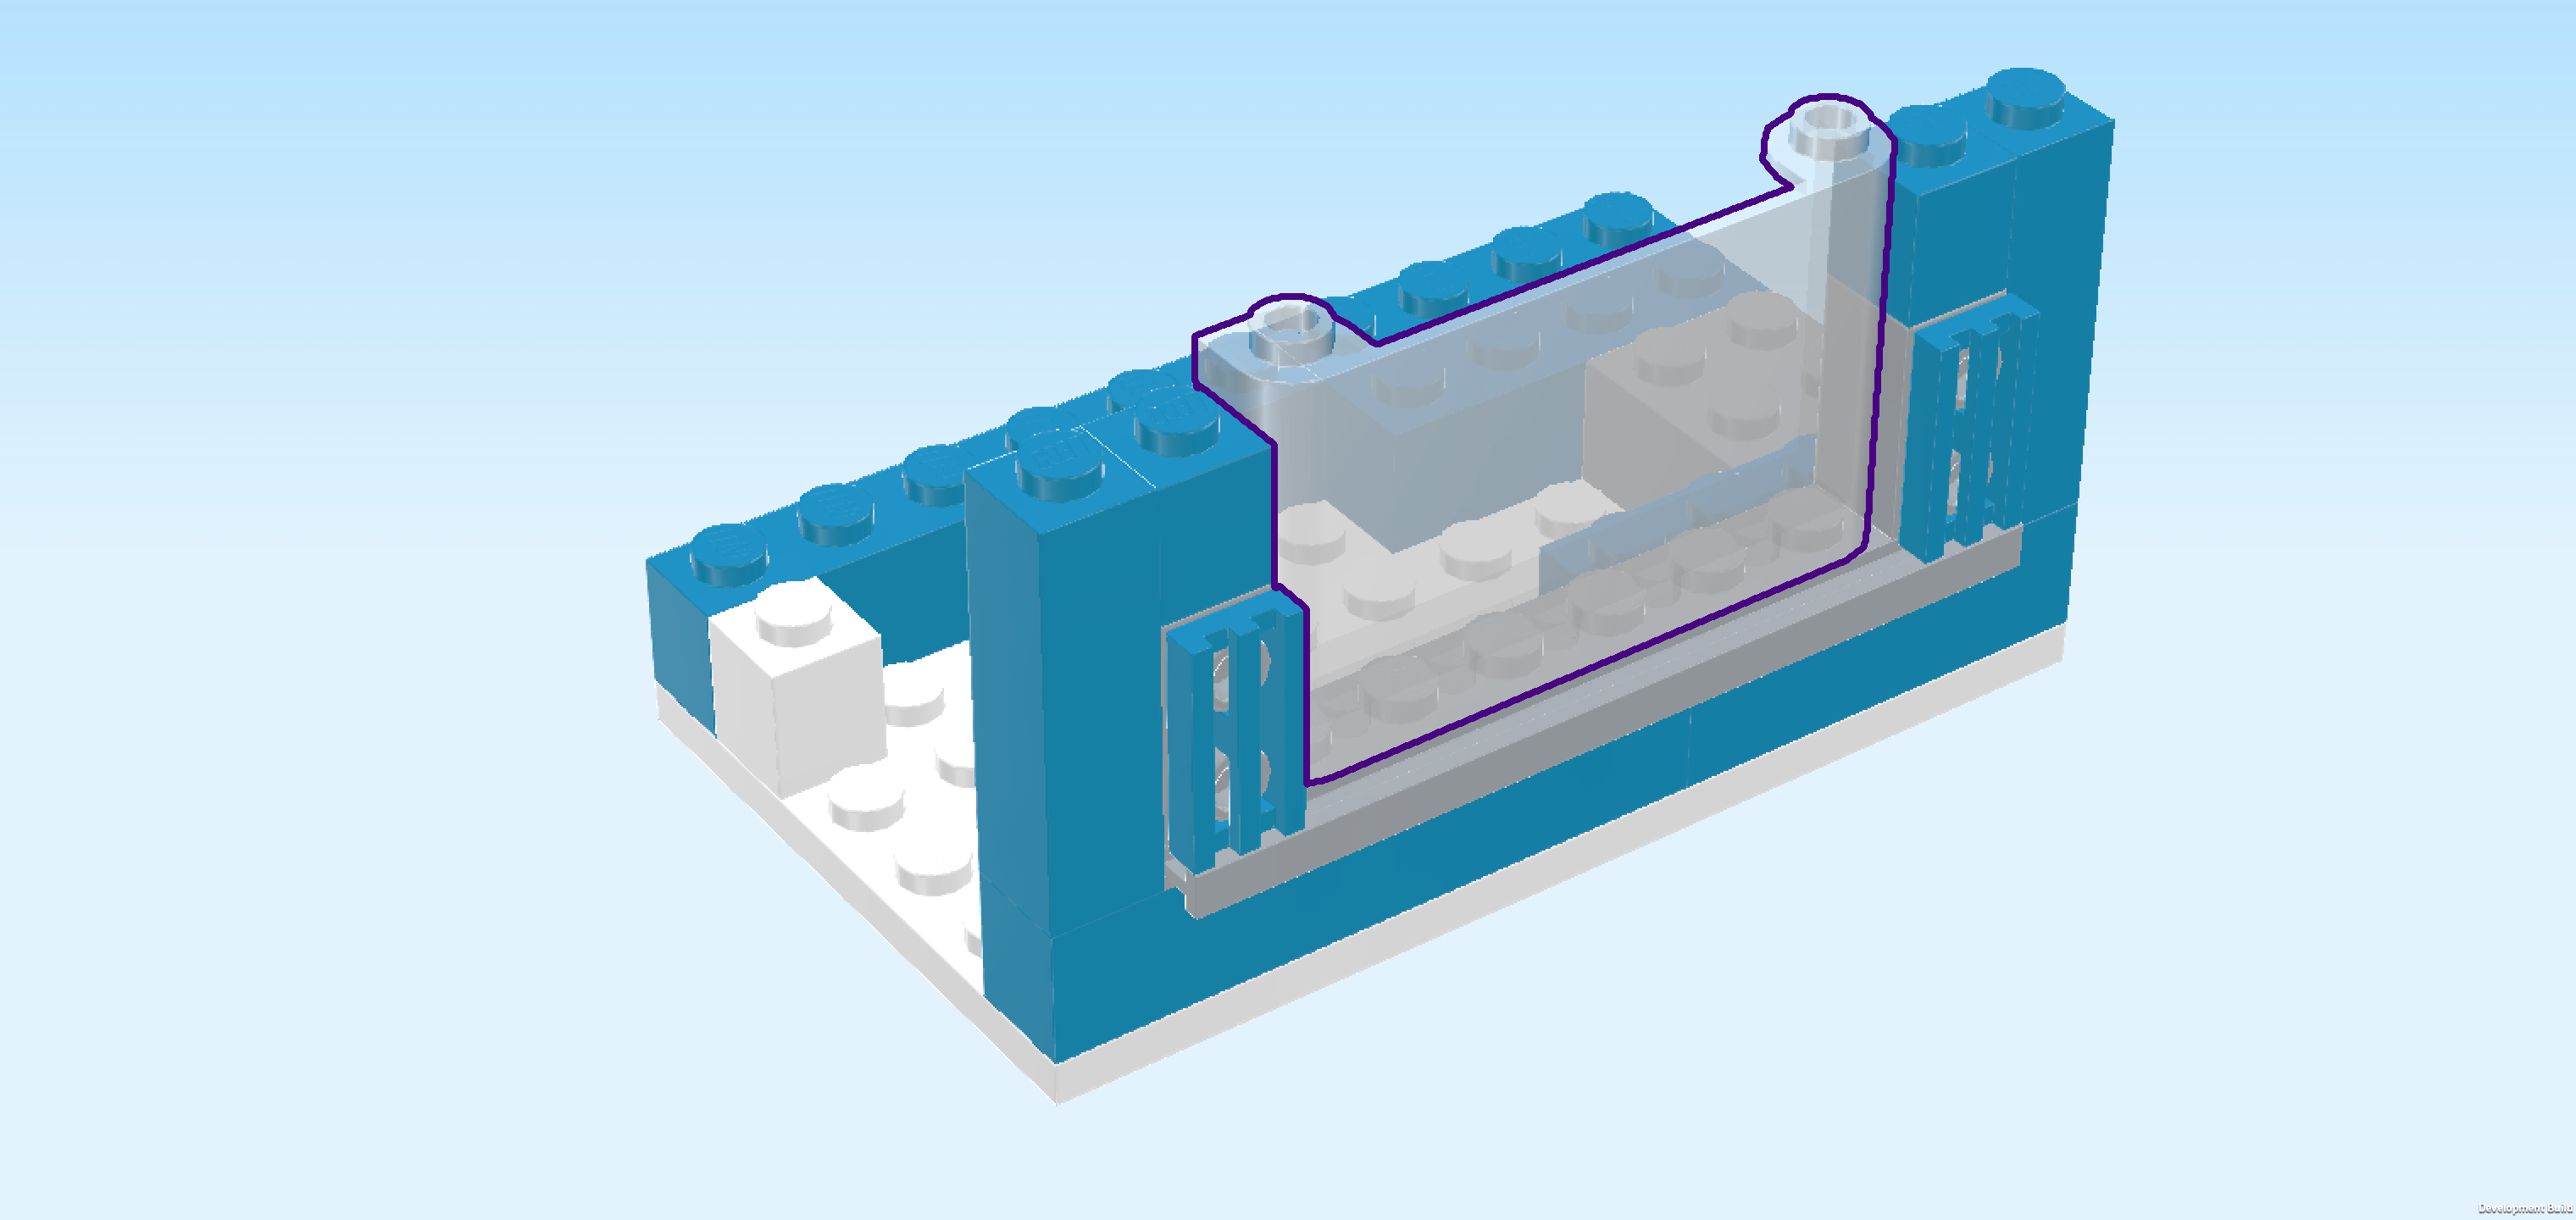
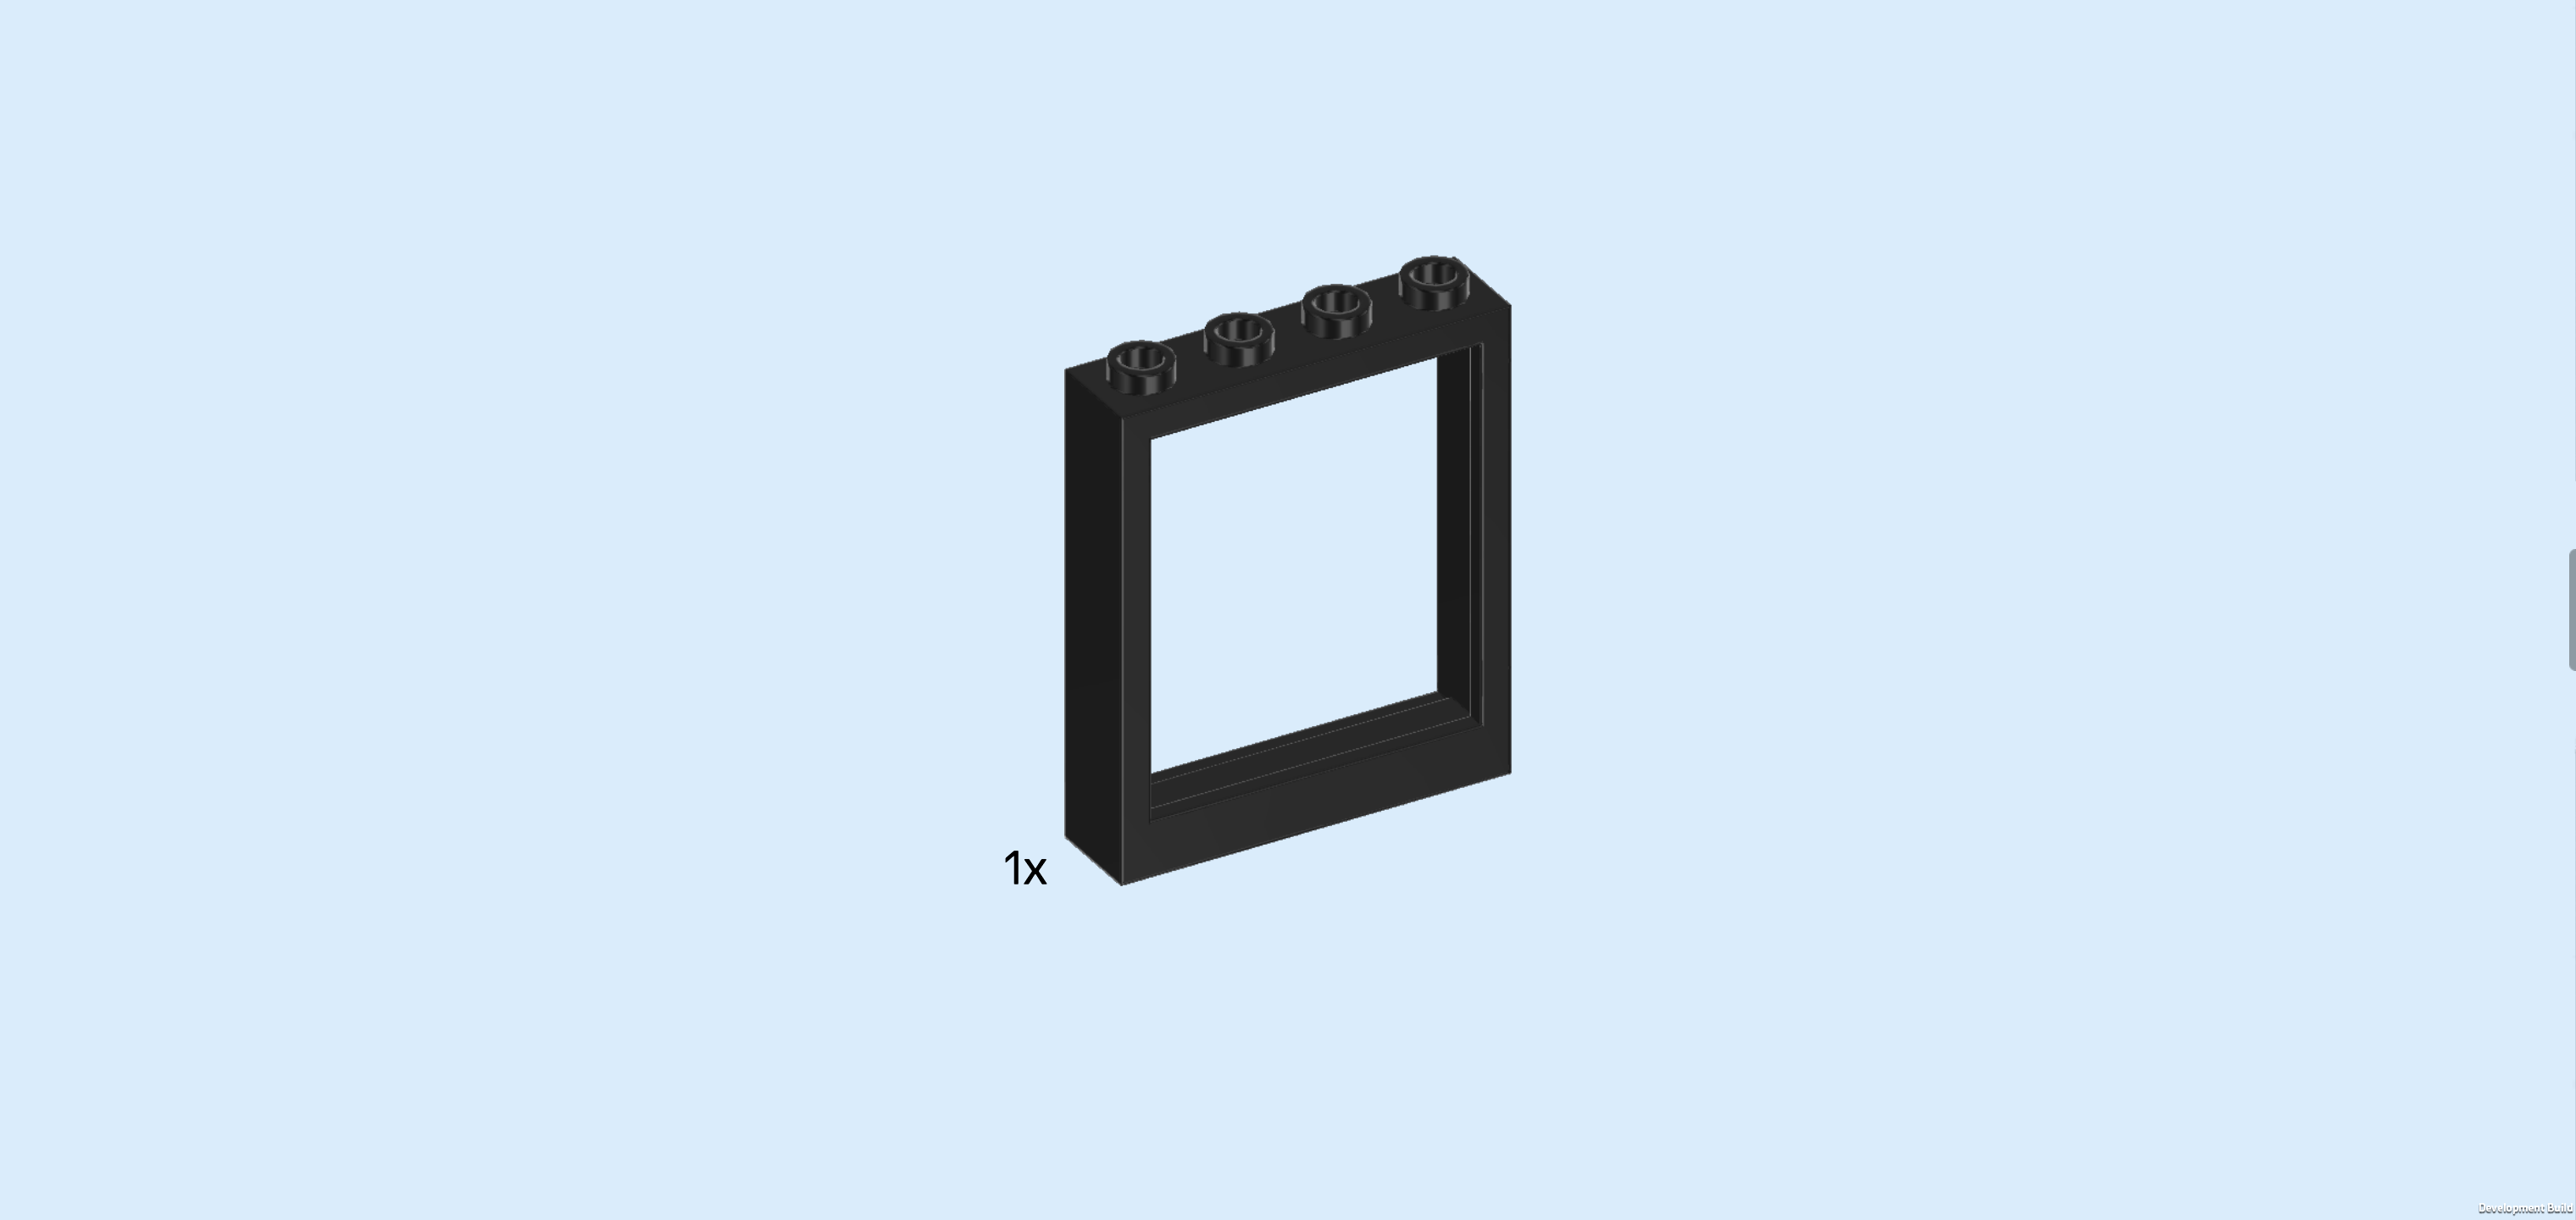
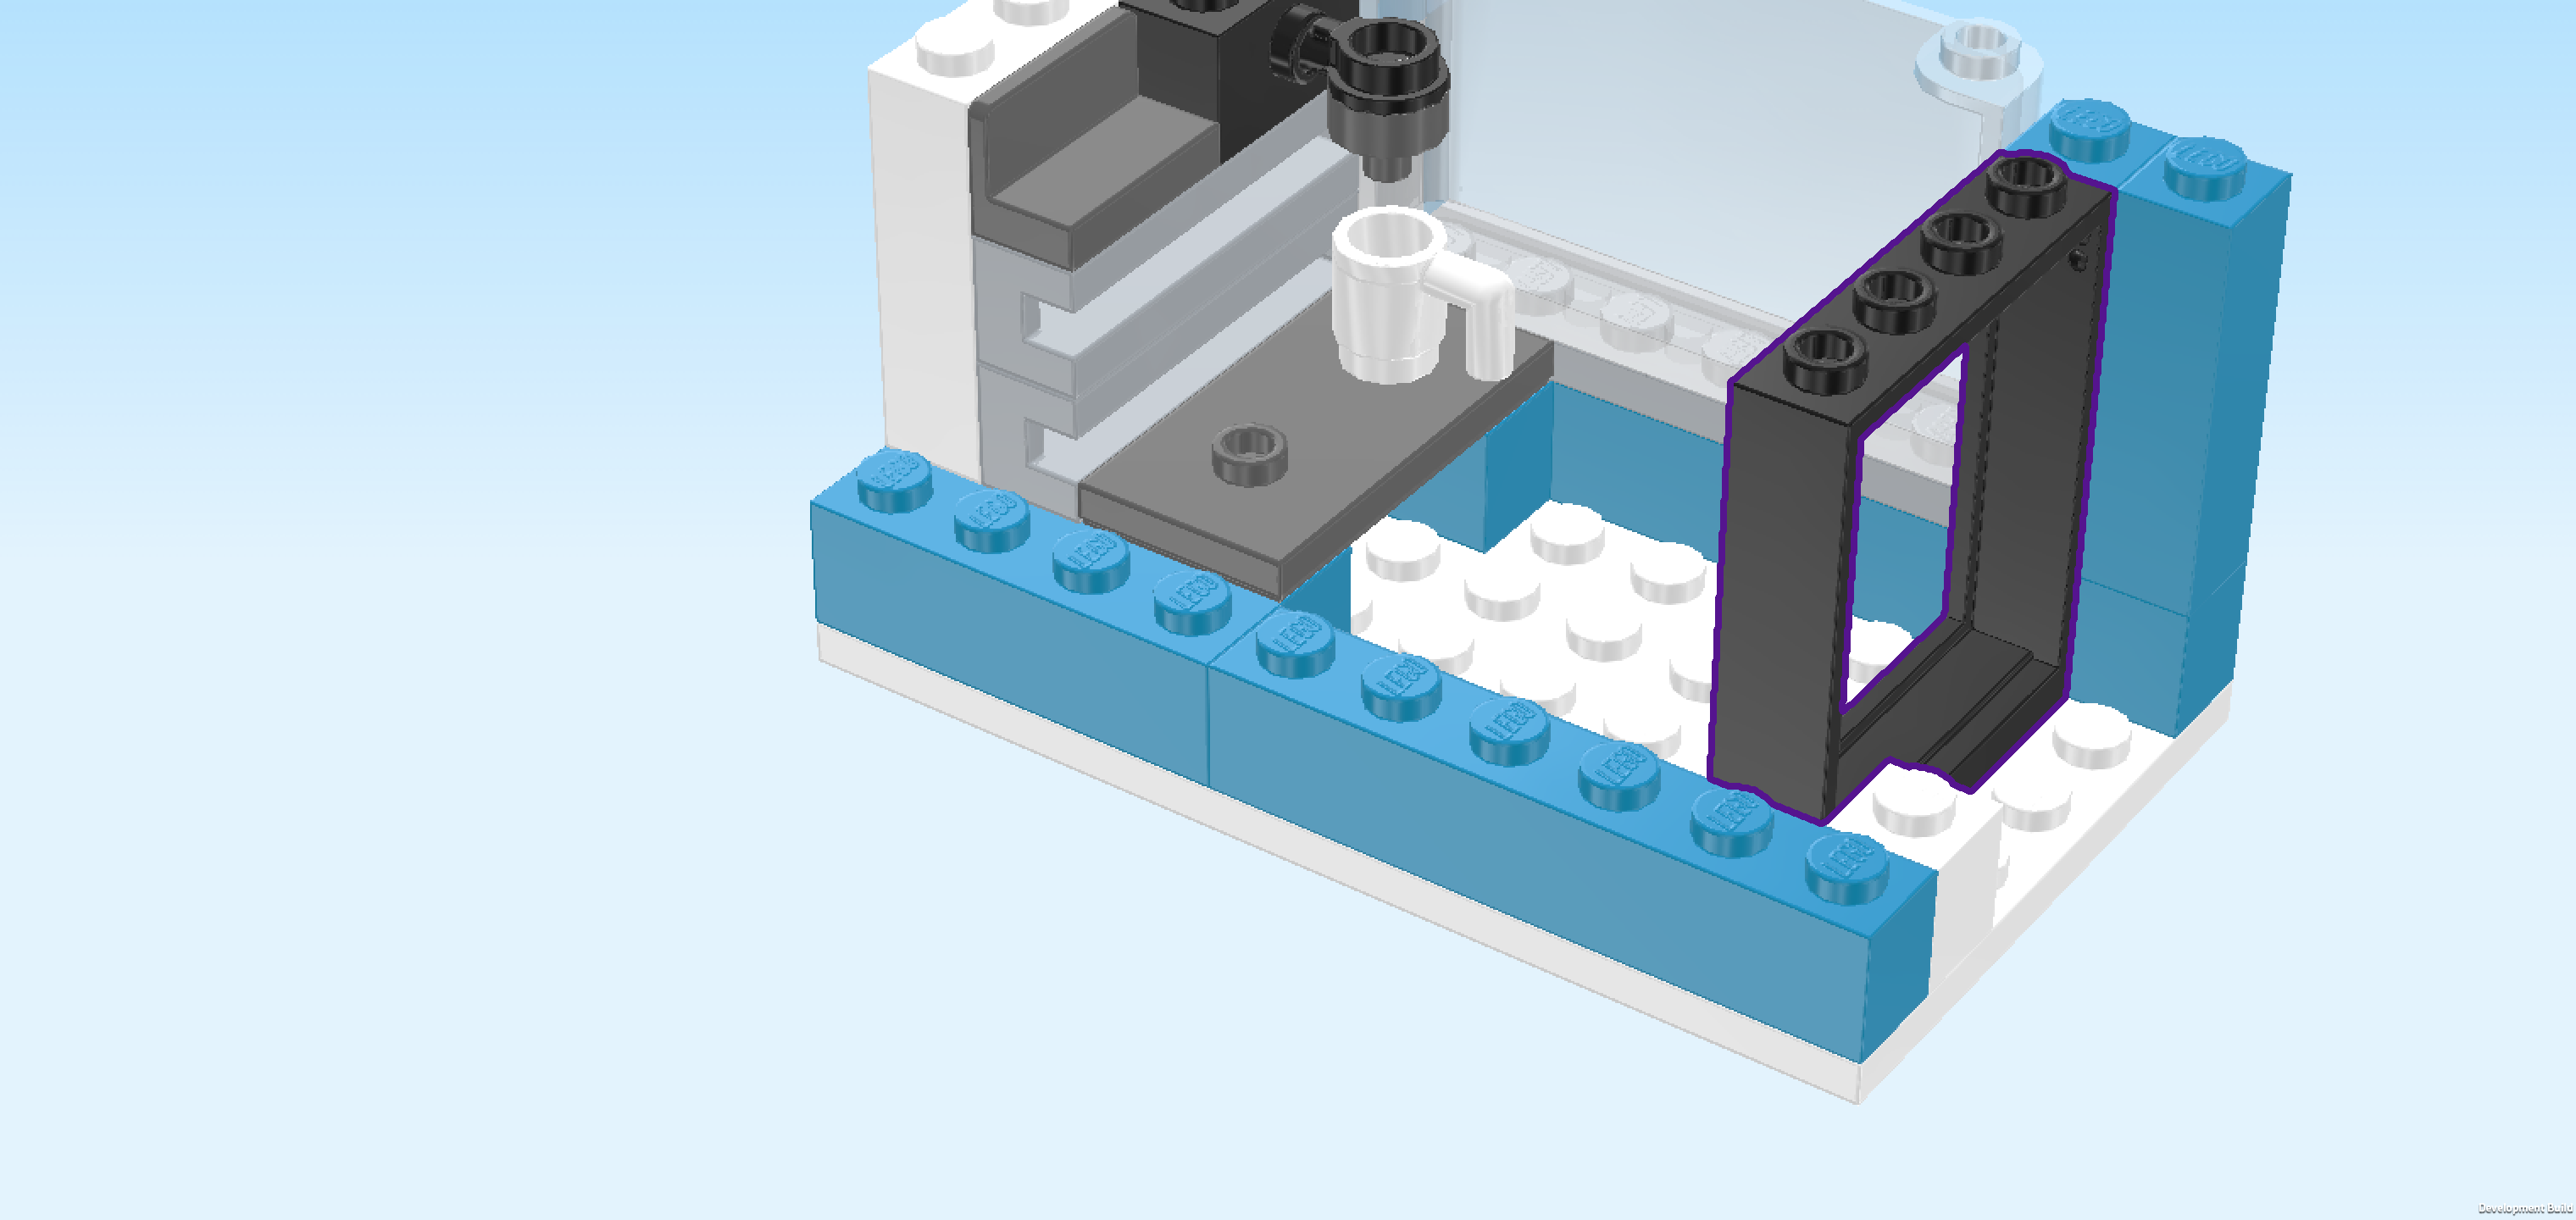
| Find 1 black window frame 1x4x4. |
| Put it vertically centered on the second column from the right. |
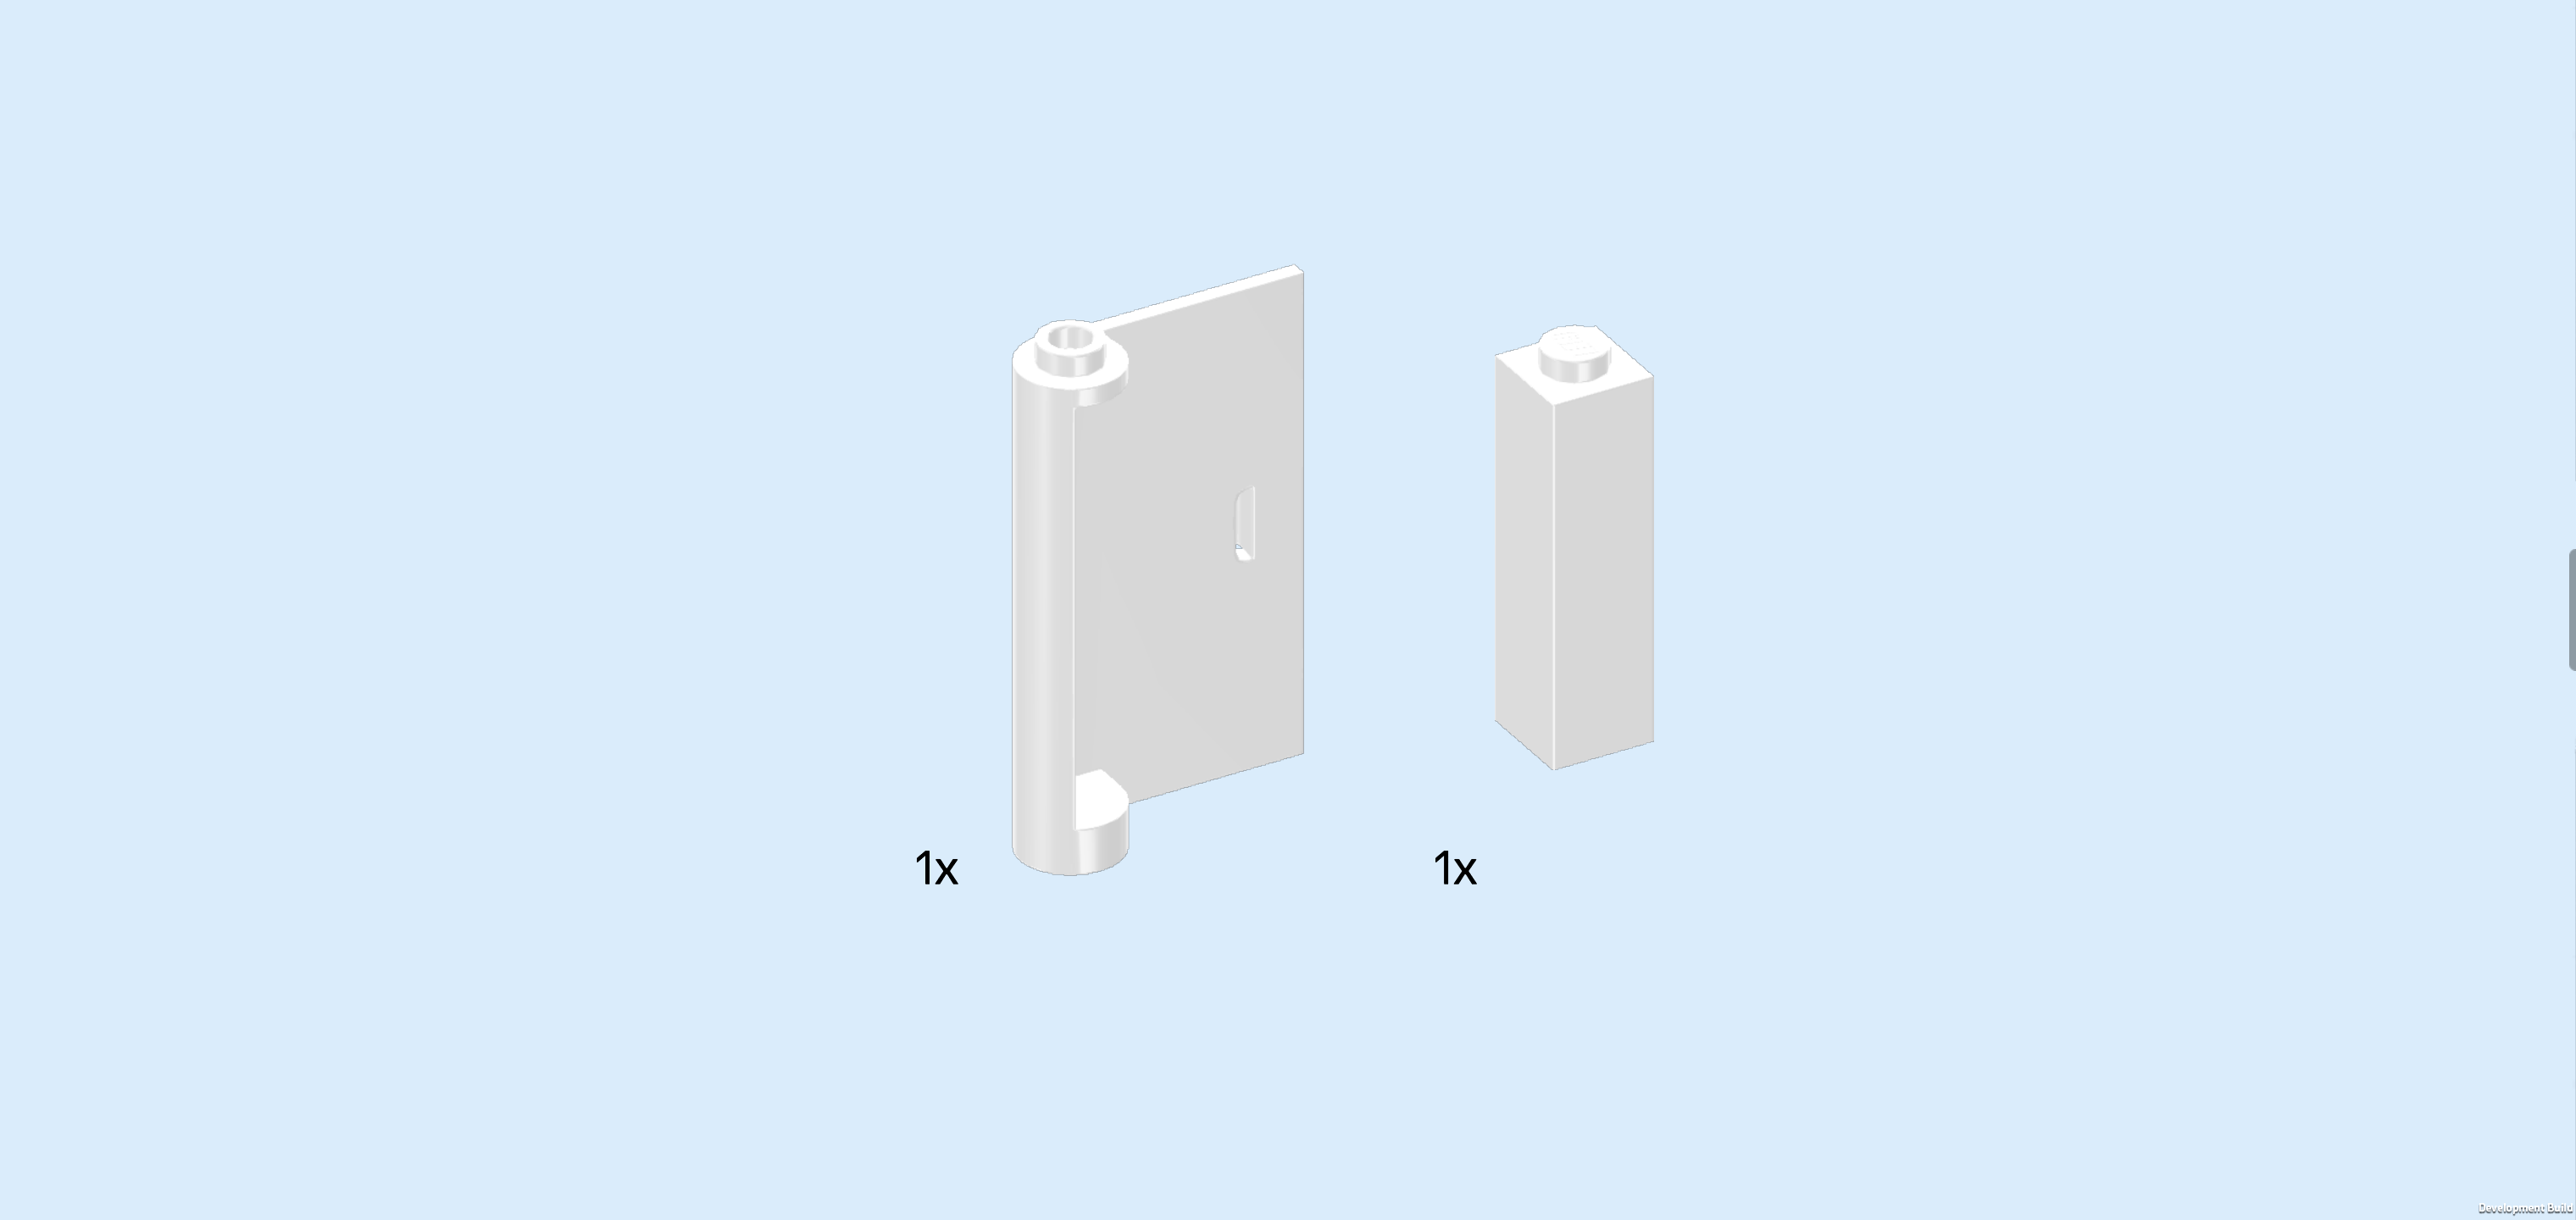
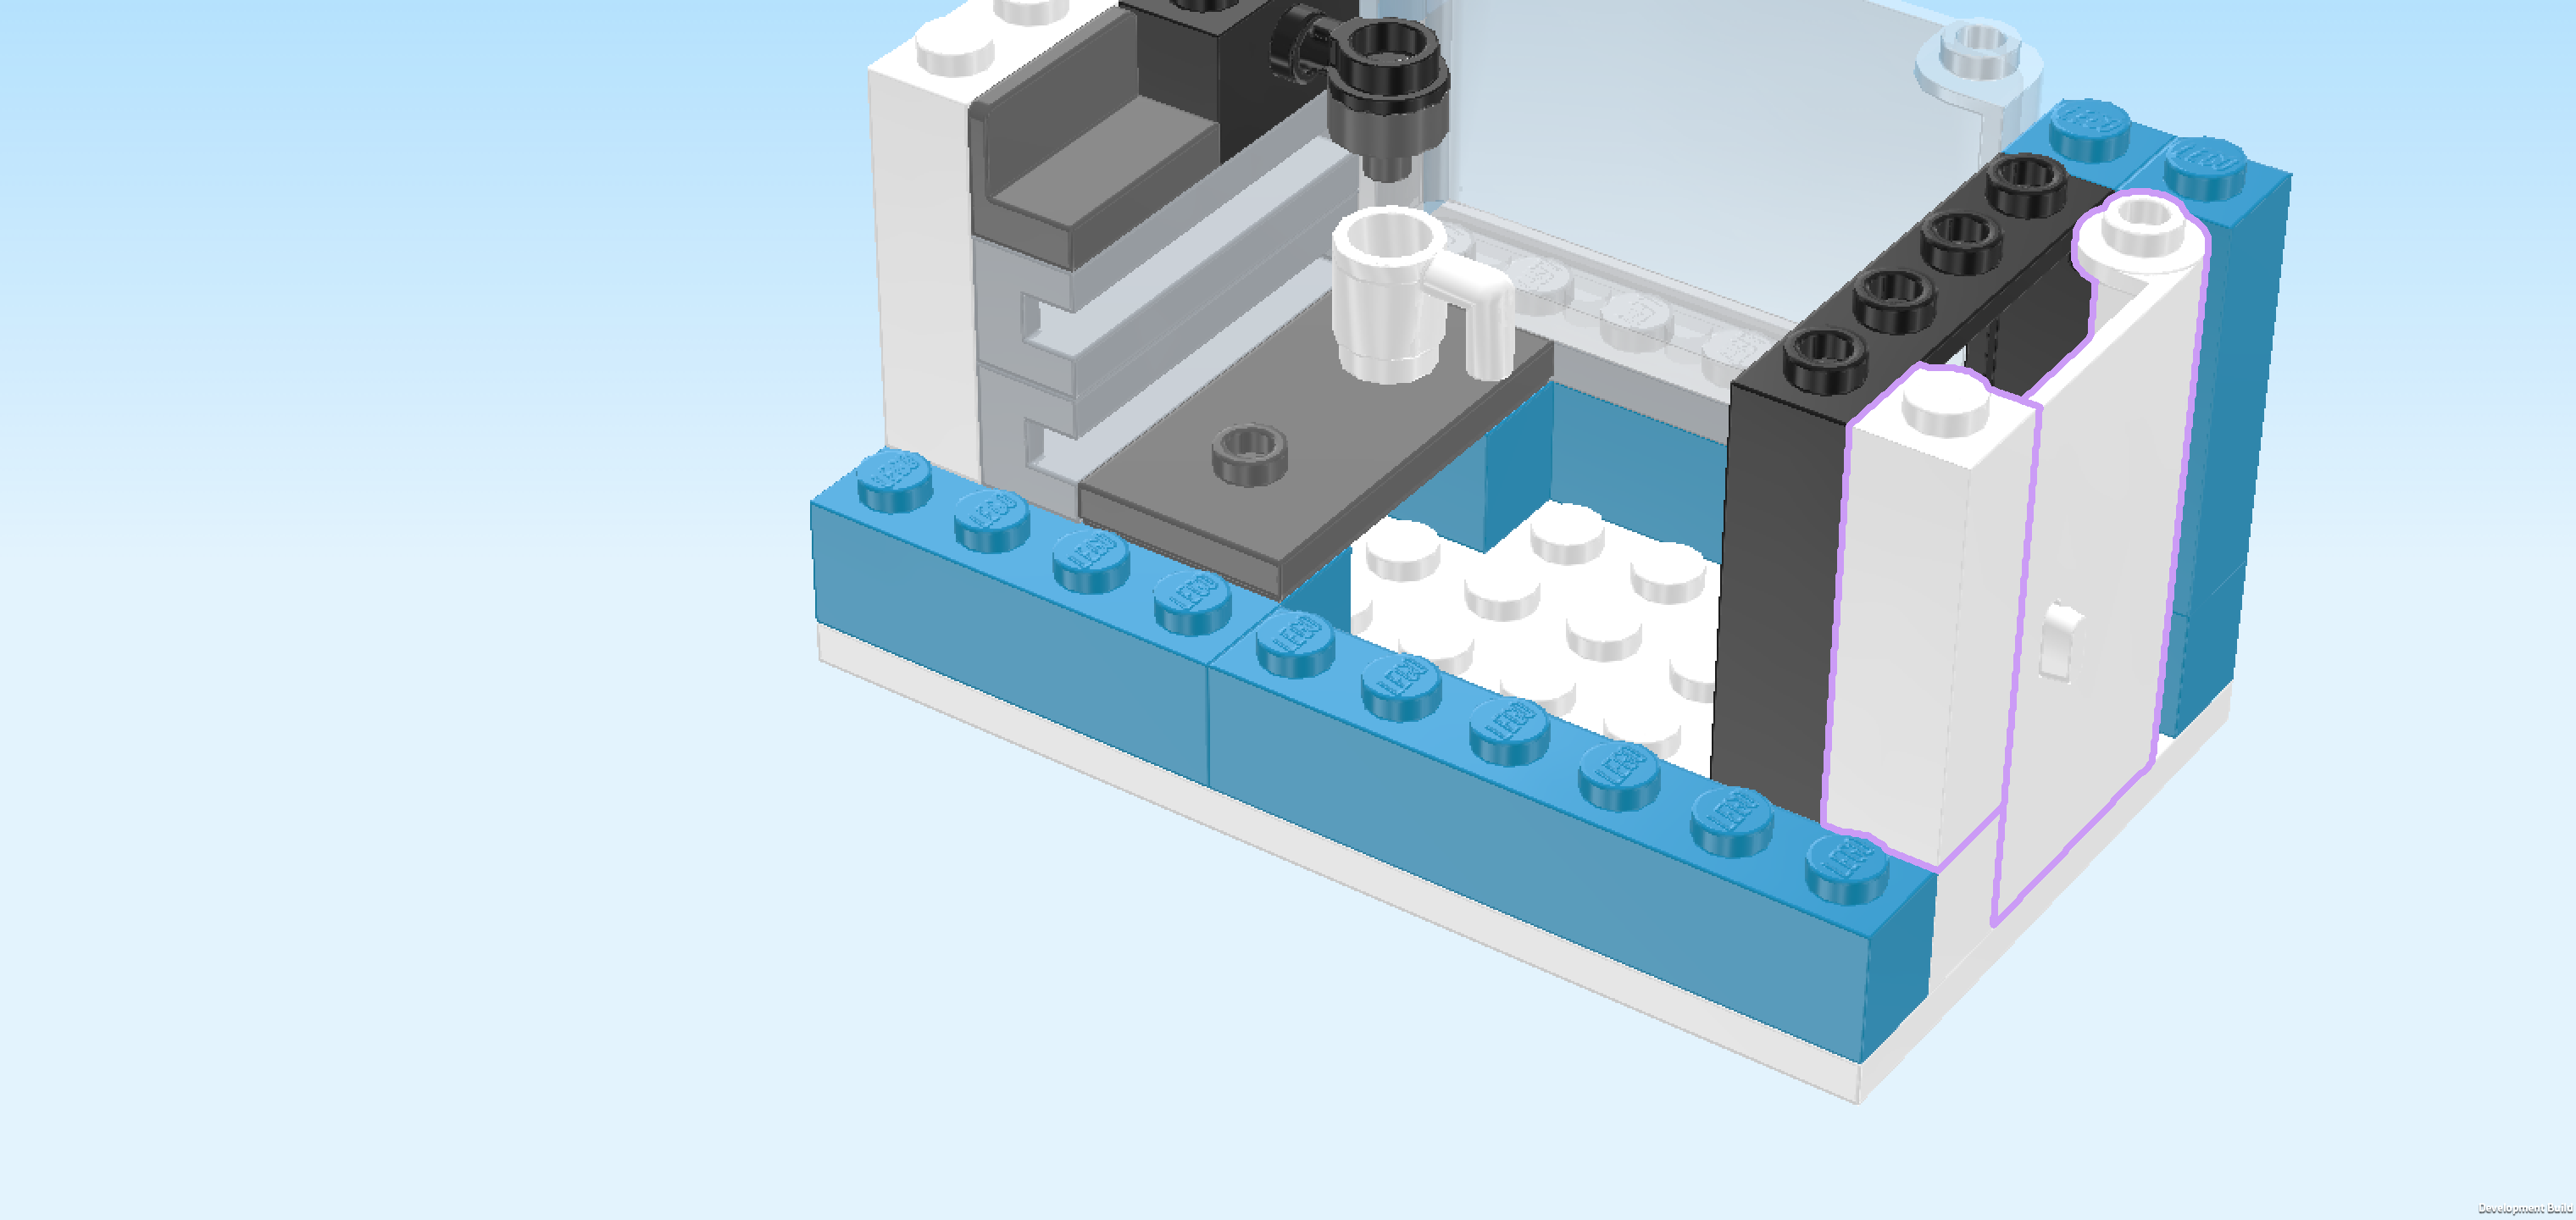
| Collect the following 2 pieces: |
| 1 white right hinge door 1x3x4, |
| and 1 white brick 1x1x3. |
| Put the hinge door vertically on the rightmost column, directly in front of the back wall, mounting point at the back, door panel on the right edge, swinging out towards the right. |
| Put the brick 1x1x3 in front of the previous piece. |
| Collect the following 3 pieces: |
| 2 dark azure blue bricks 1x1x3, |
| and 1 medium stone grey plate 1x8 with side rail. |
| Put 1 brick 1x1x3 in front of the previous piece, so on the front right corner of the structure. |
| Put the plate 1x8 horizontally to the left of the previous piece, side rail protruding to the front. |
| Put the other brick 1x1x3 to the left of the previous piece, so on the front left corner. |
| Find 2 medium stone grey bricks 1x1x1⅔ with 2 side knobs. |
| Put 1 to the right of the previous piece, side knobs to the front. |
| Repeat symmetrically on the right, side knobs to the front. |
| Find 2 transparent yellow round plates 1x1. |
| Put 1 on top of the previous piece. |
| Repeat symmetrically on the left. |
| Collect the following 2 pieces: |
| 1 white Minifigure mug, |
| and 1 medium stone grey flat tile 1x1. |
| Put the flat tile 1x1 on the frontmost row on the third knob from the right. |
| This piece is printed with a payment terminal consisting of a number pad and a small blue display as well as a red LED indicator. |
| Skip one knob to the left and put the mug on the front row too, handle to the back. |
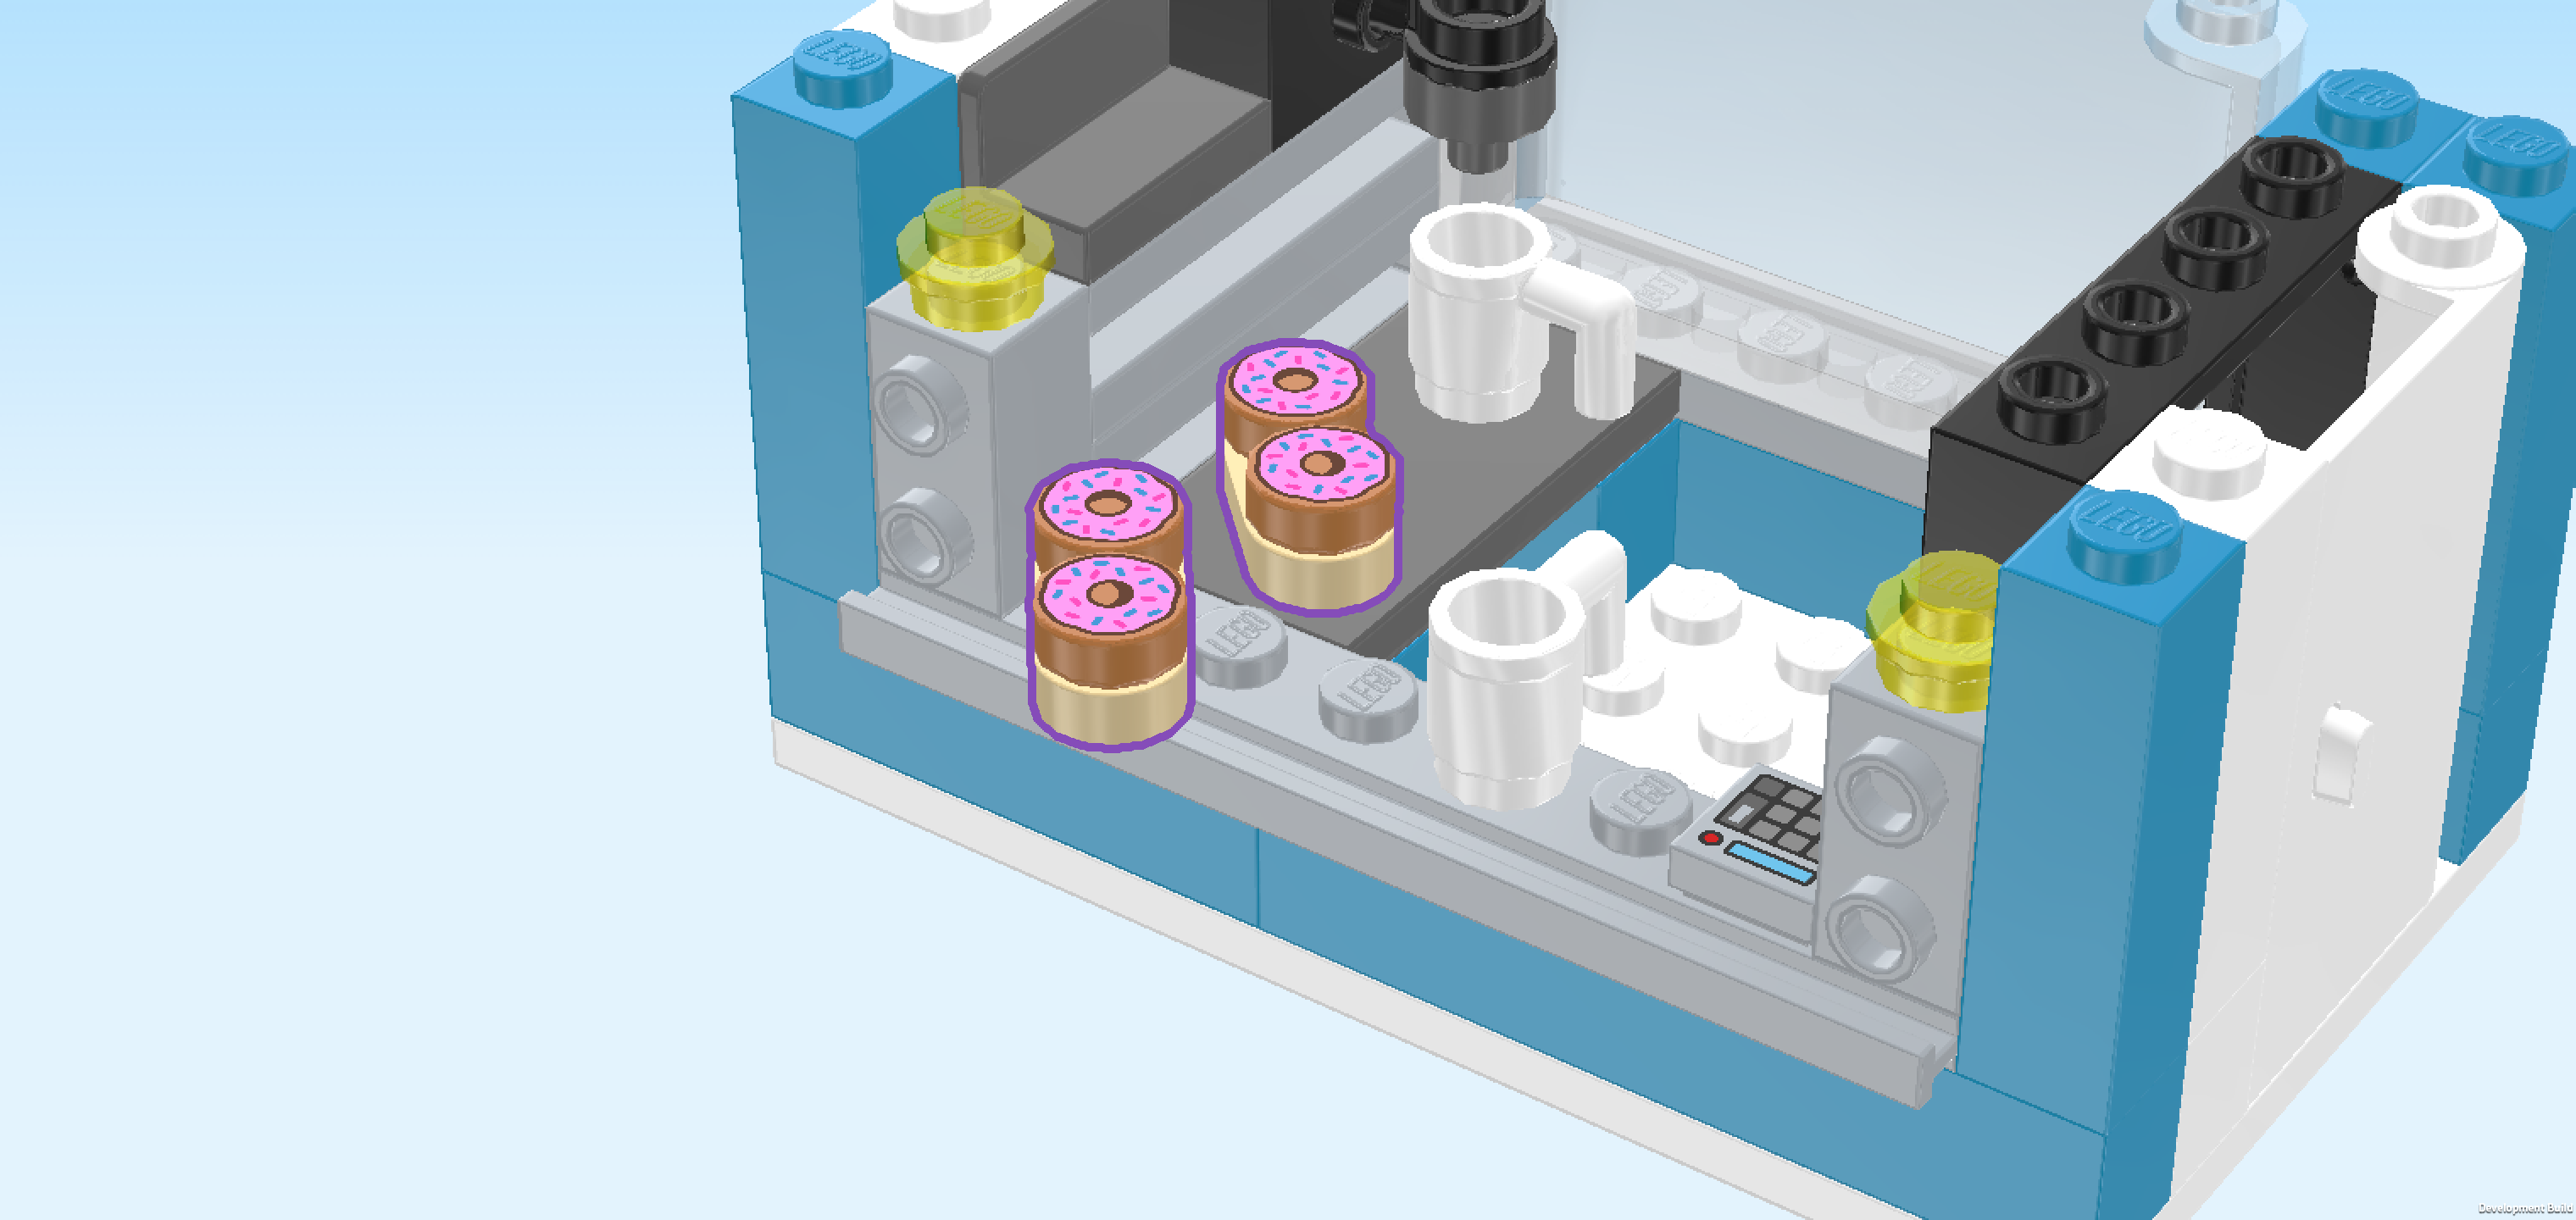
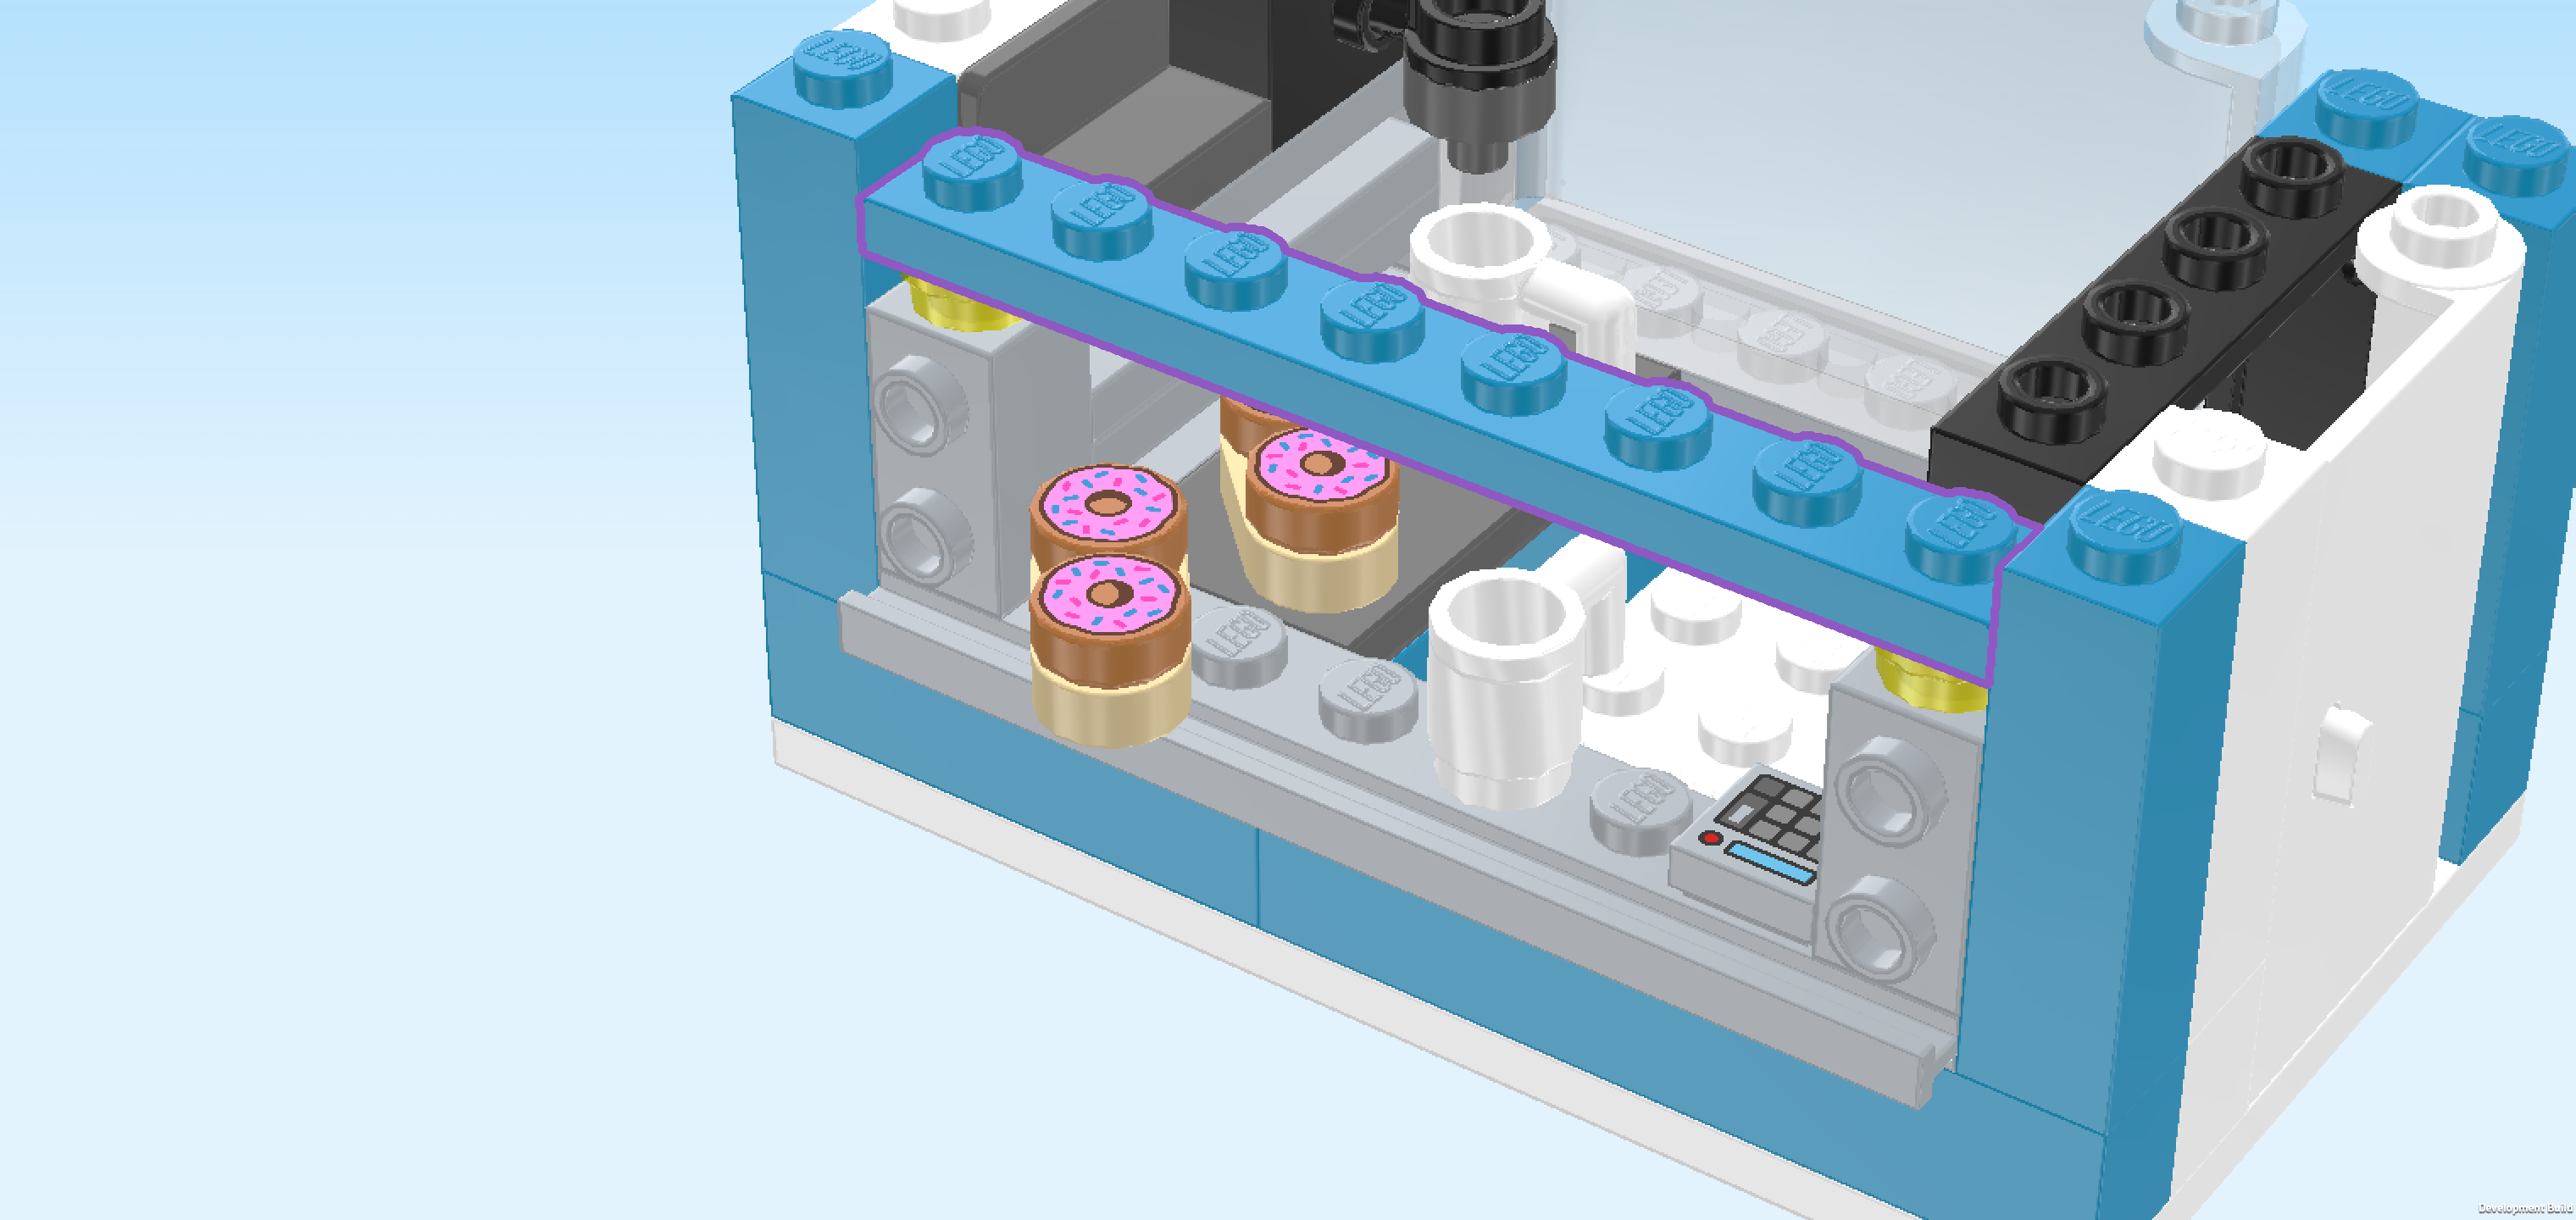
| Next, we will assemble 2 donut trays. |
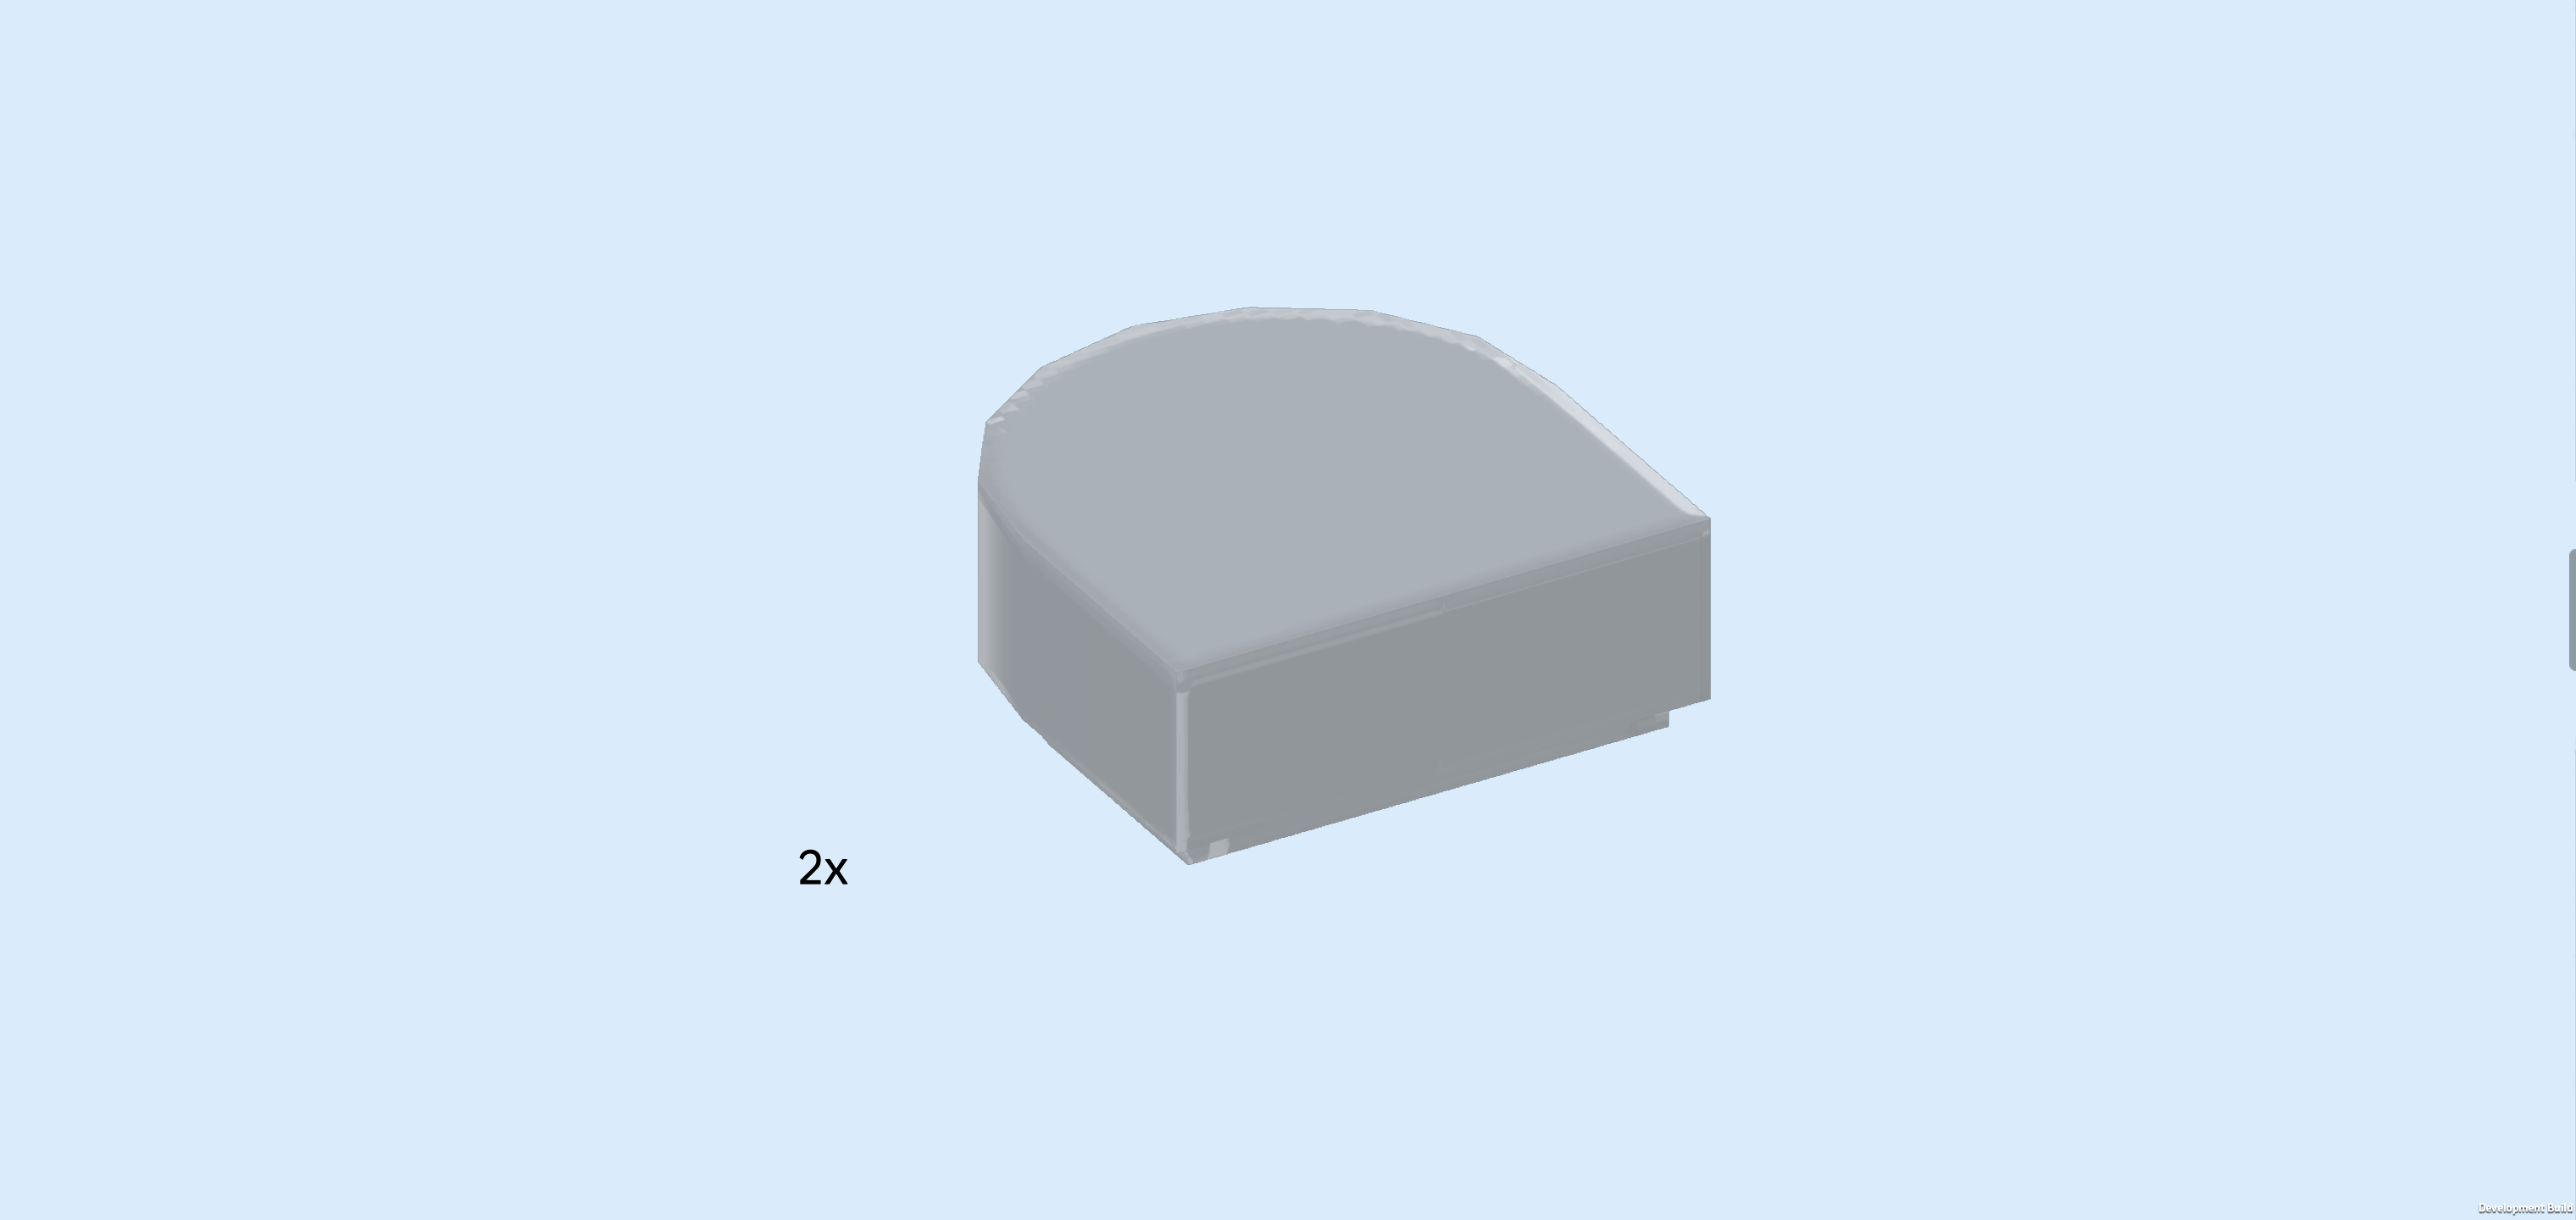
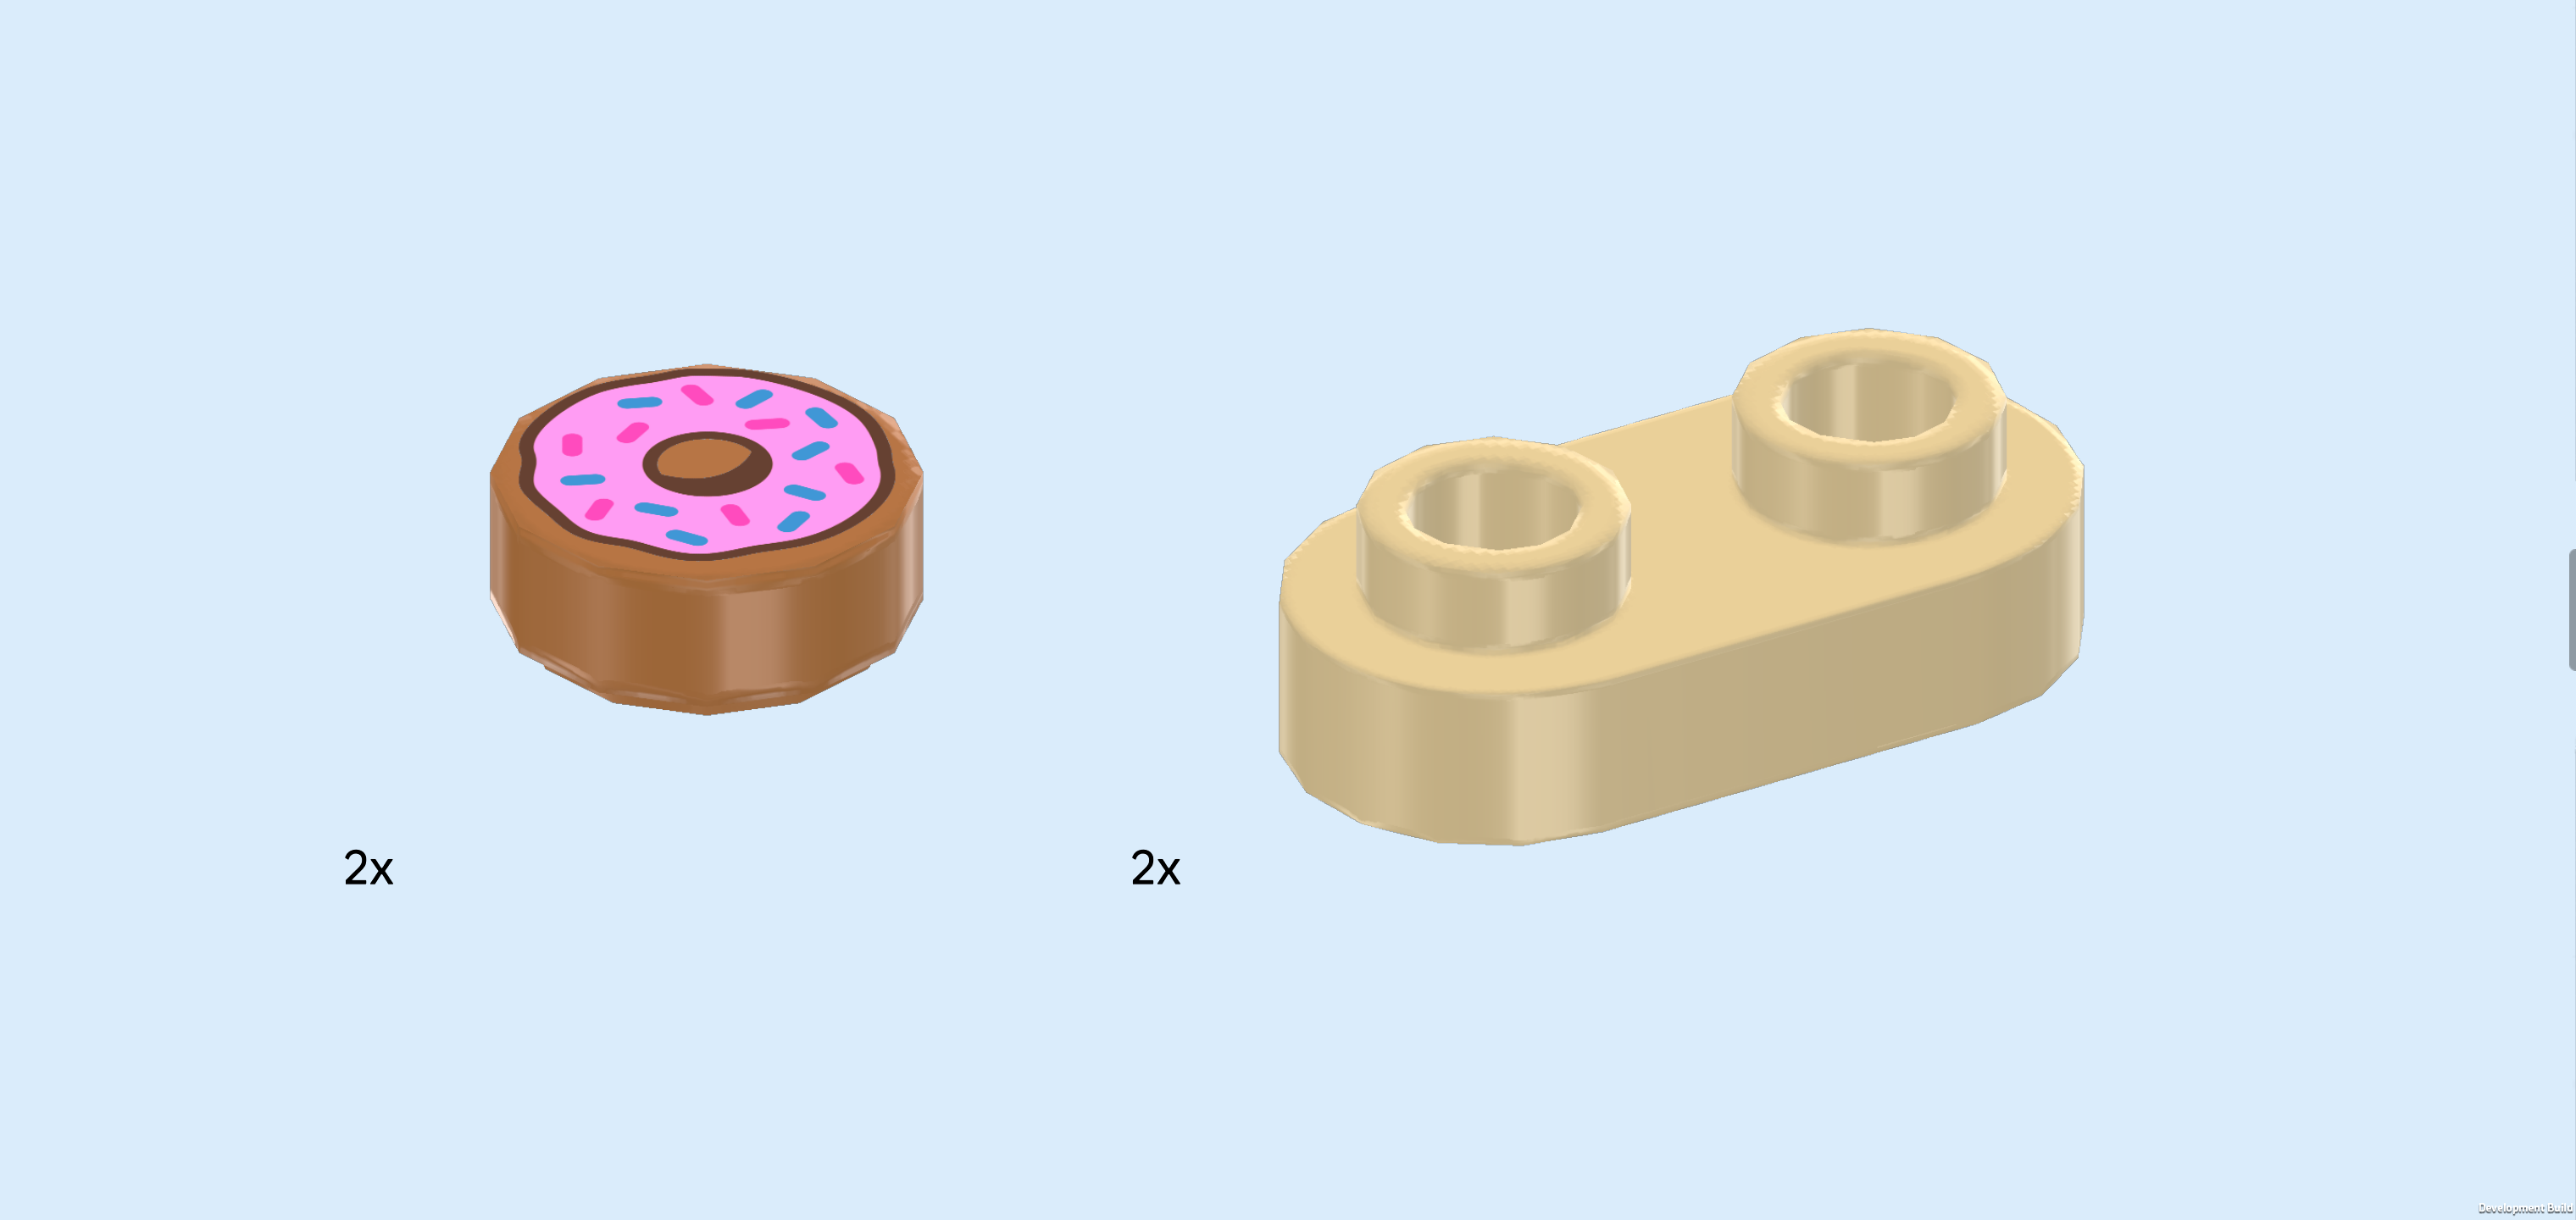
| Collect the following 4 pieces: |
| 2 medium nougat brown round tiles 1x1, |
| and 2 beige rounded plates 1x2. |
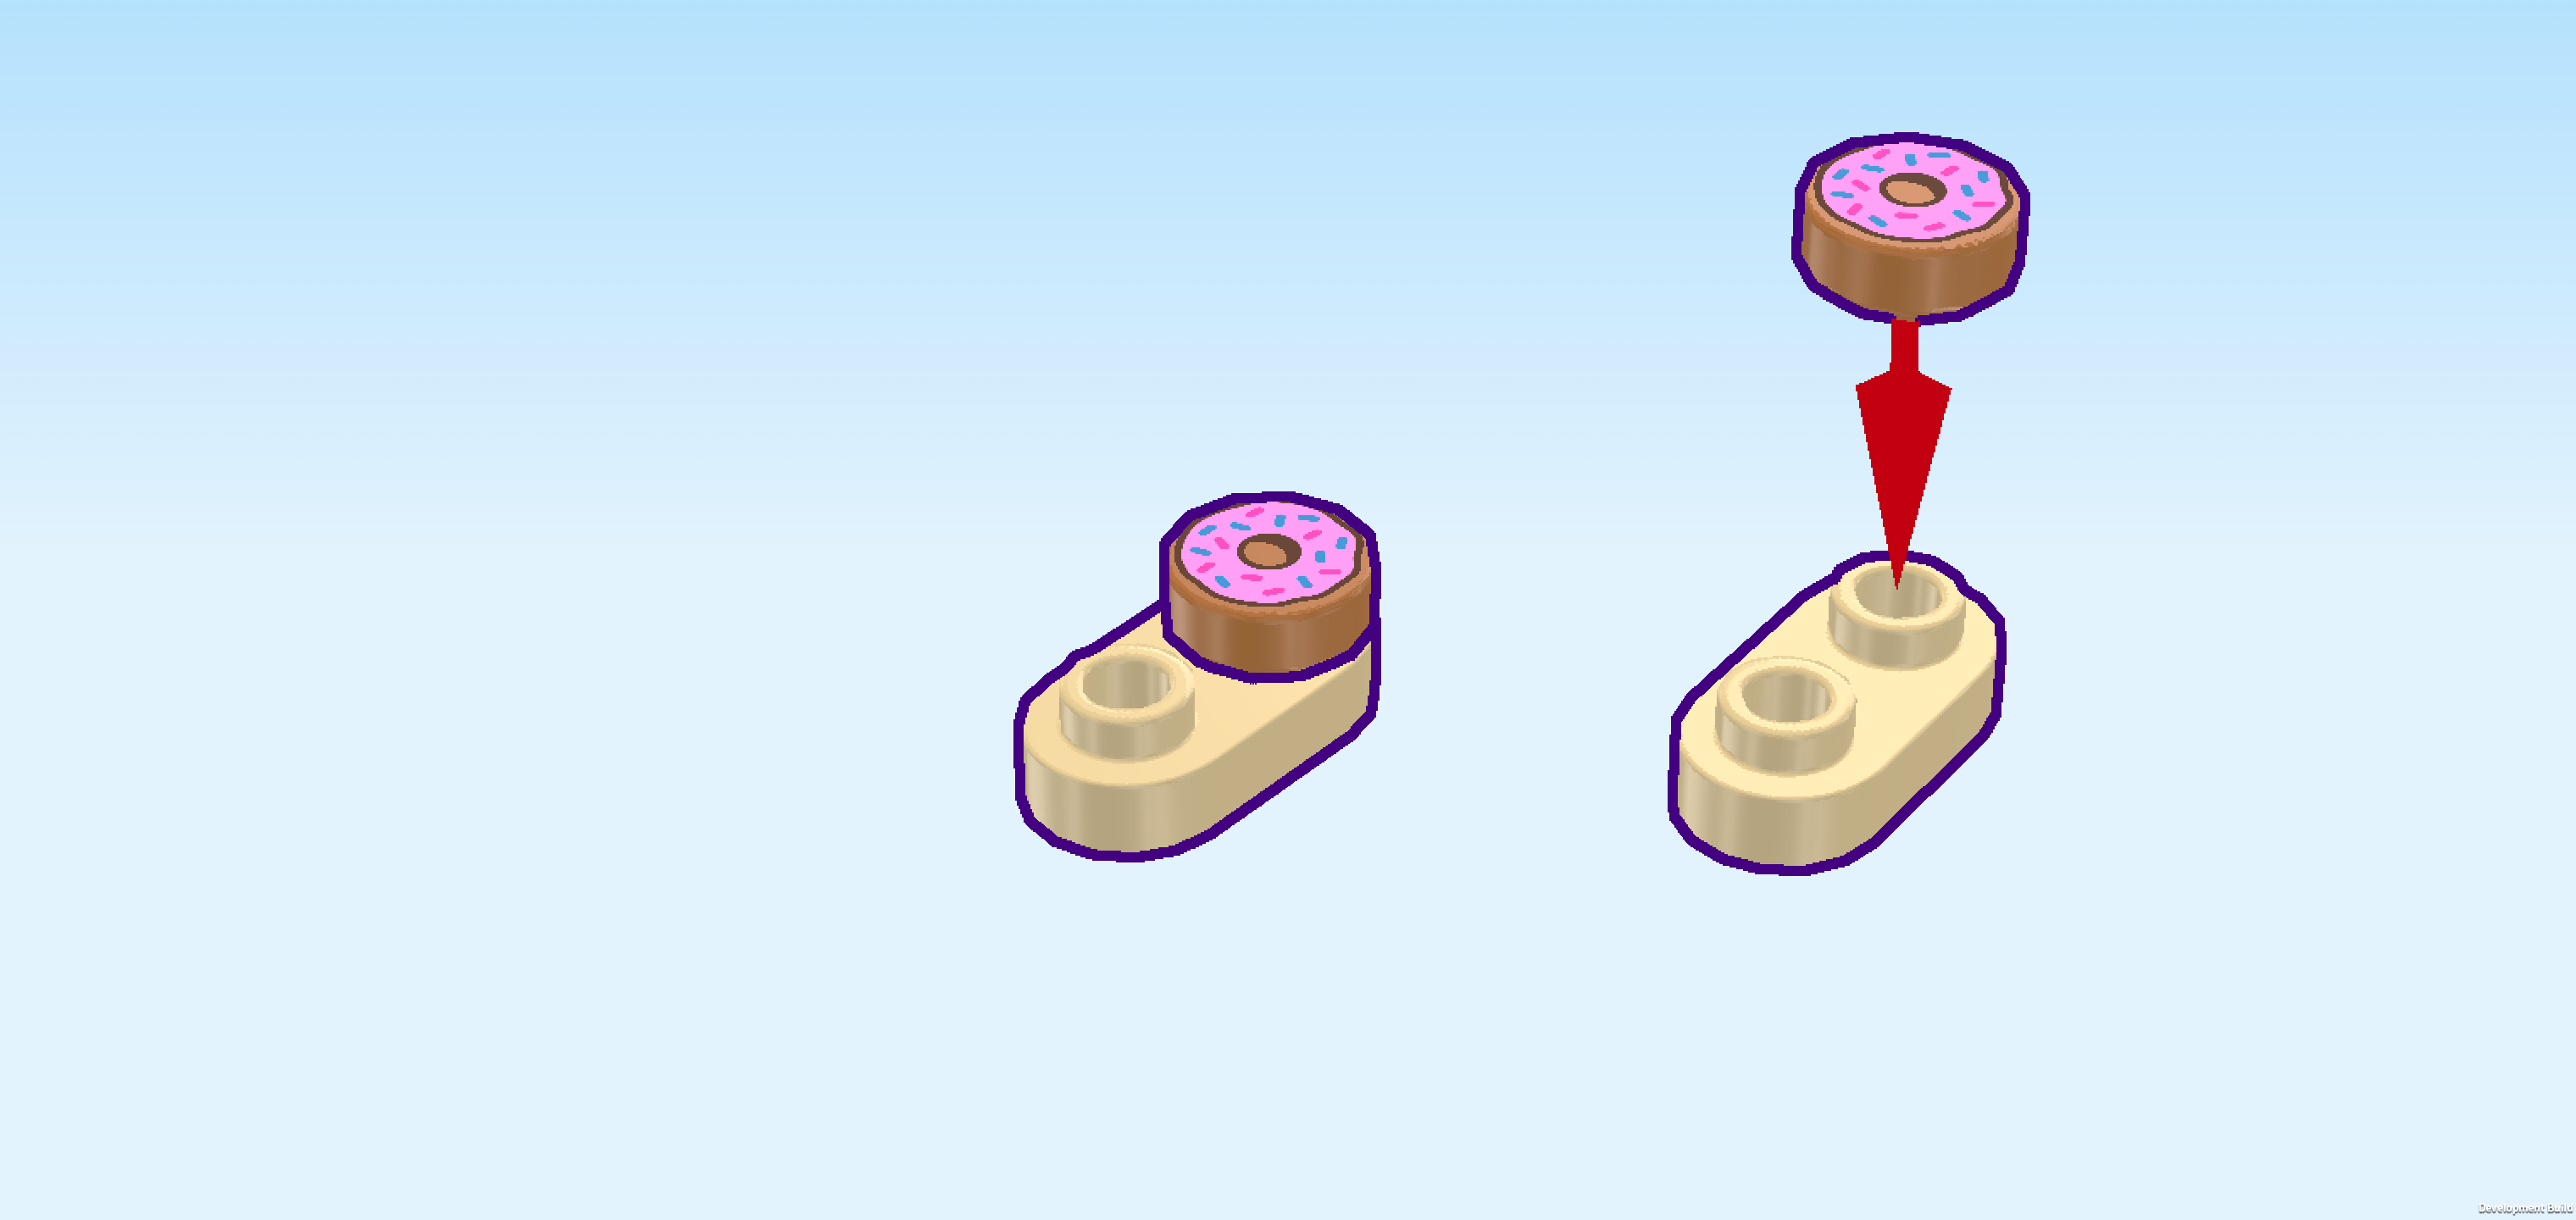
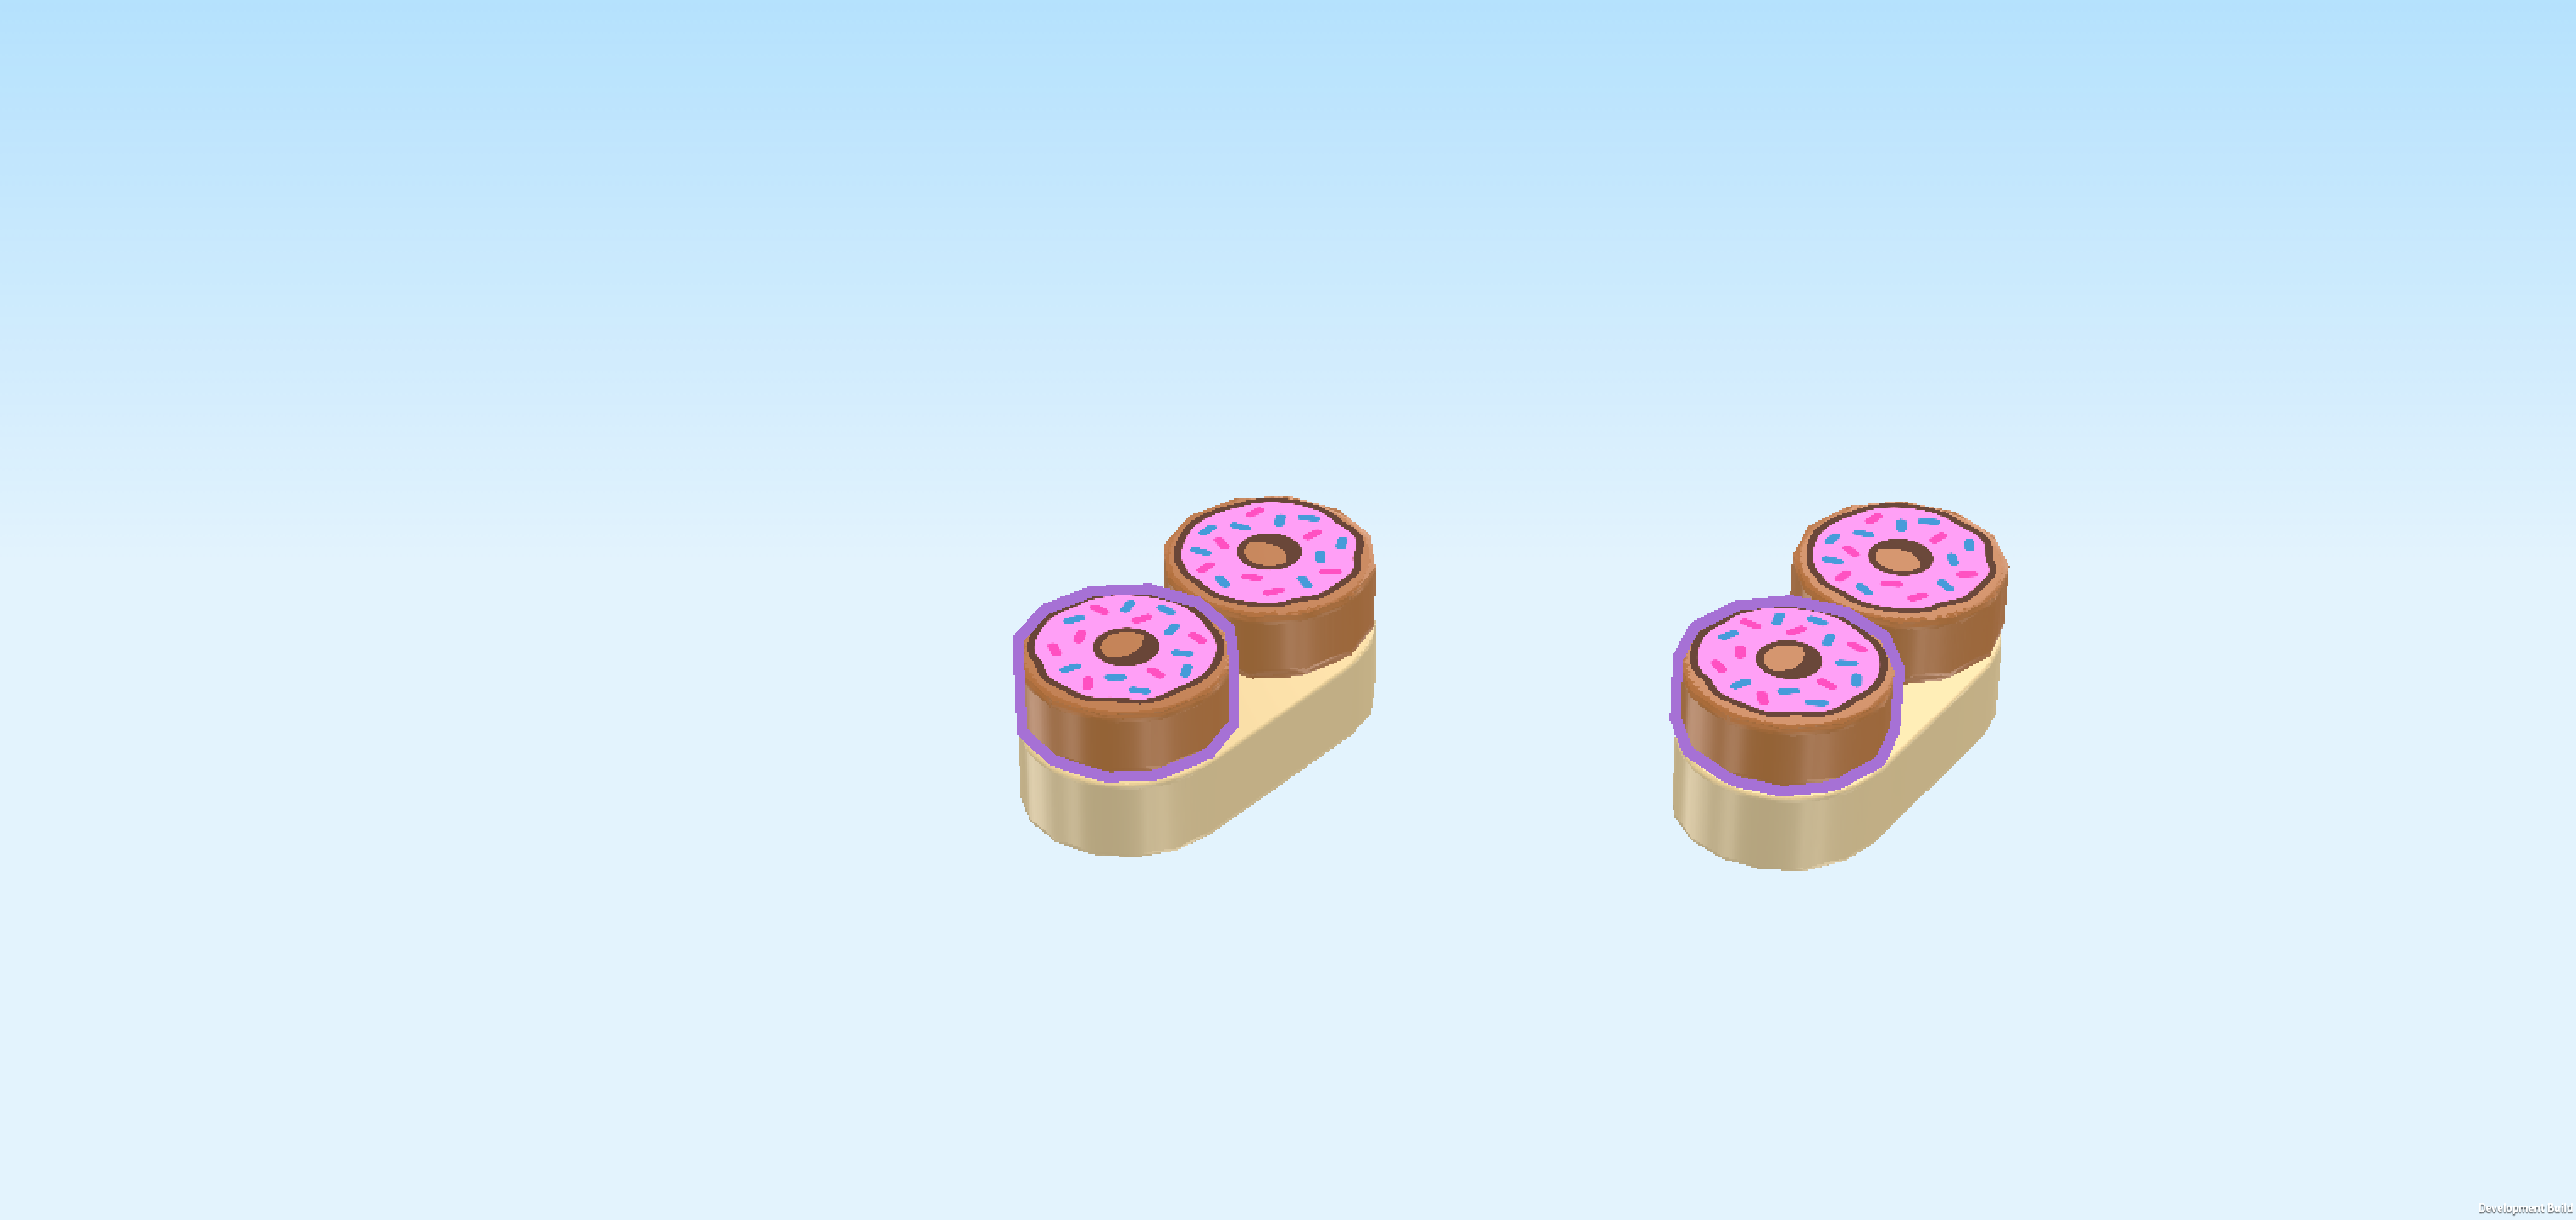
| Put 1 rounded plate 1x2 vertically on the table and put 1 round tile 1x1 on its back knob. |
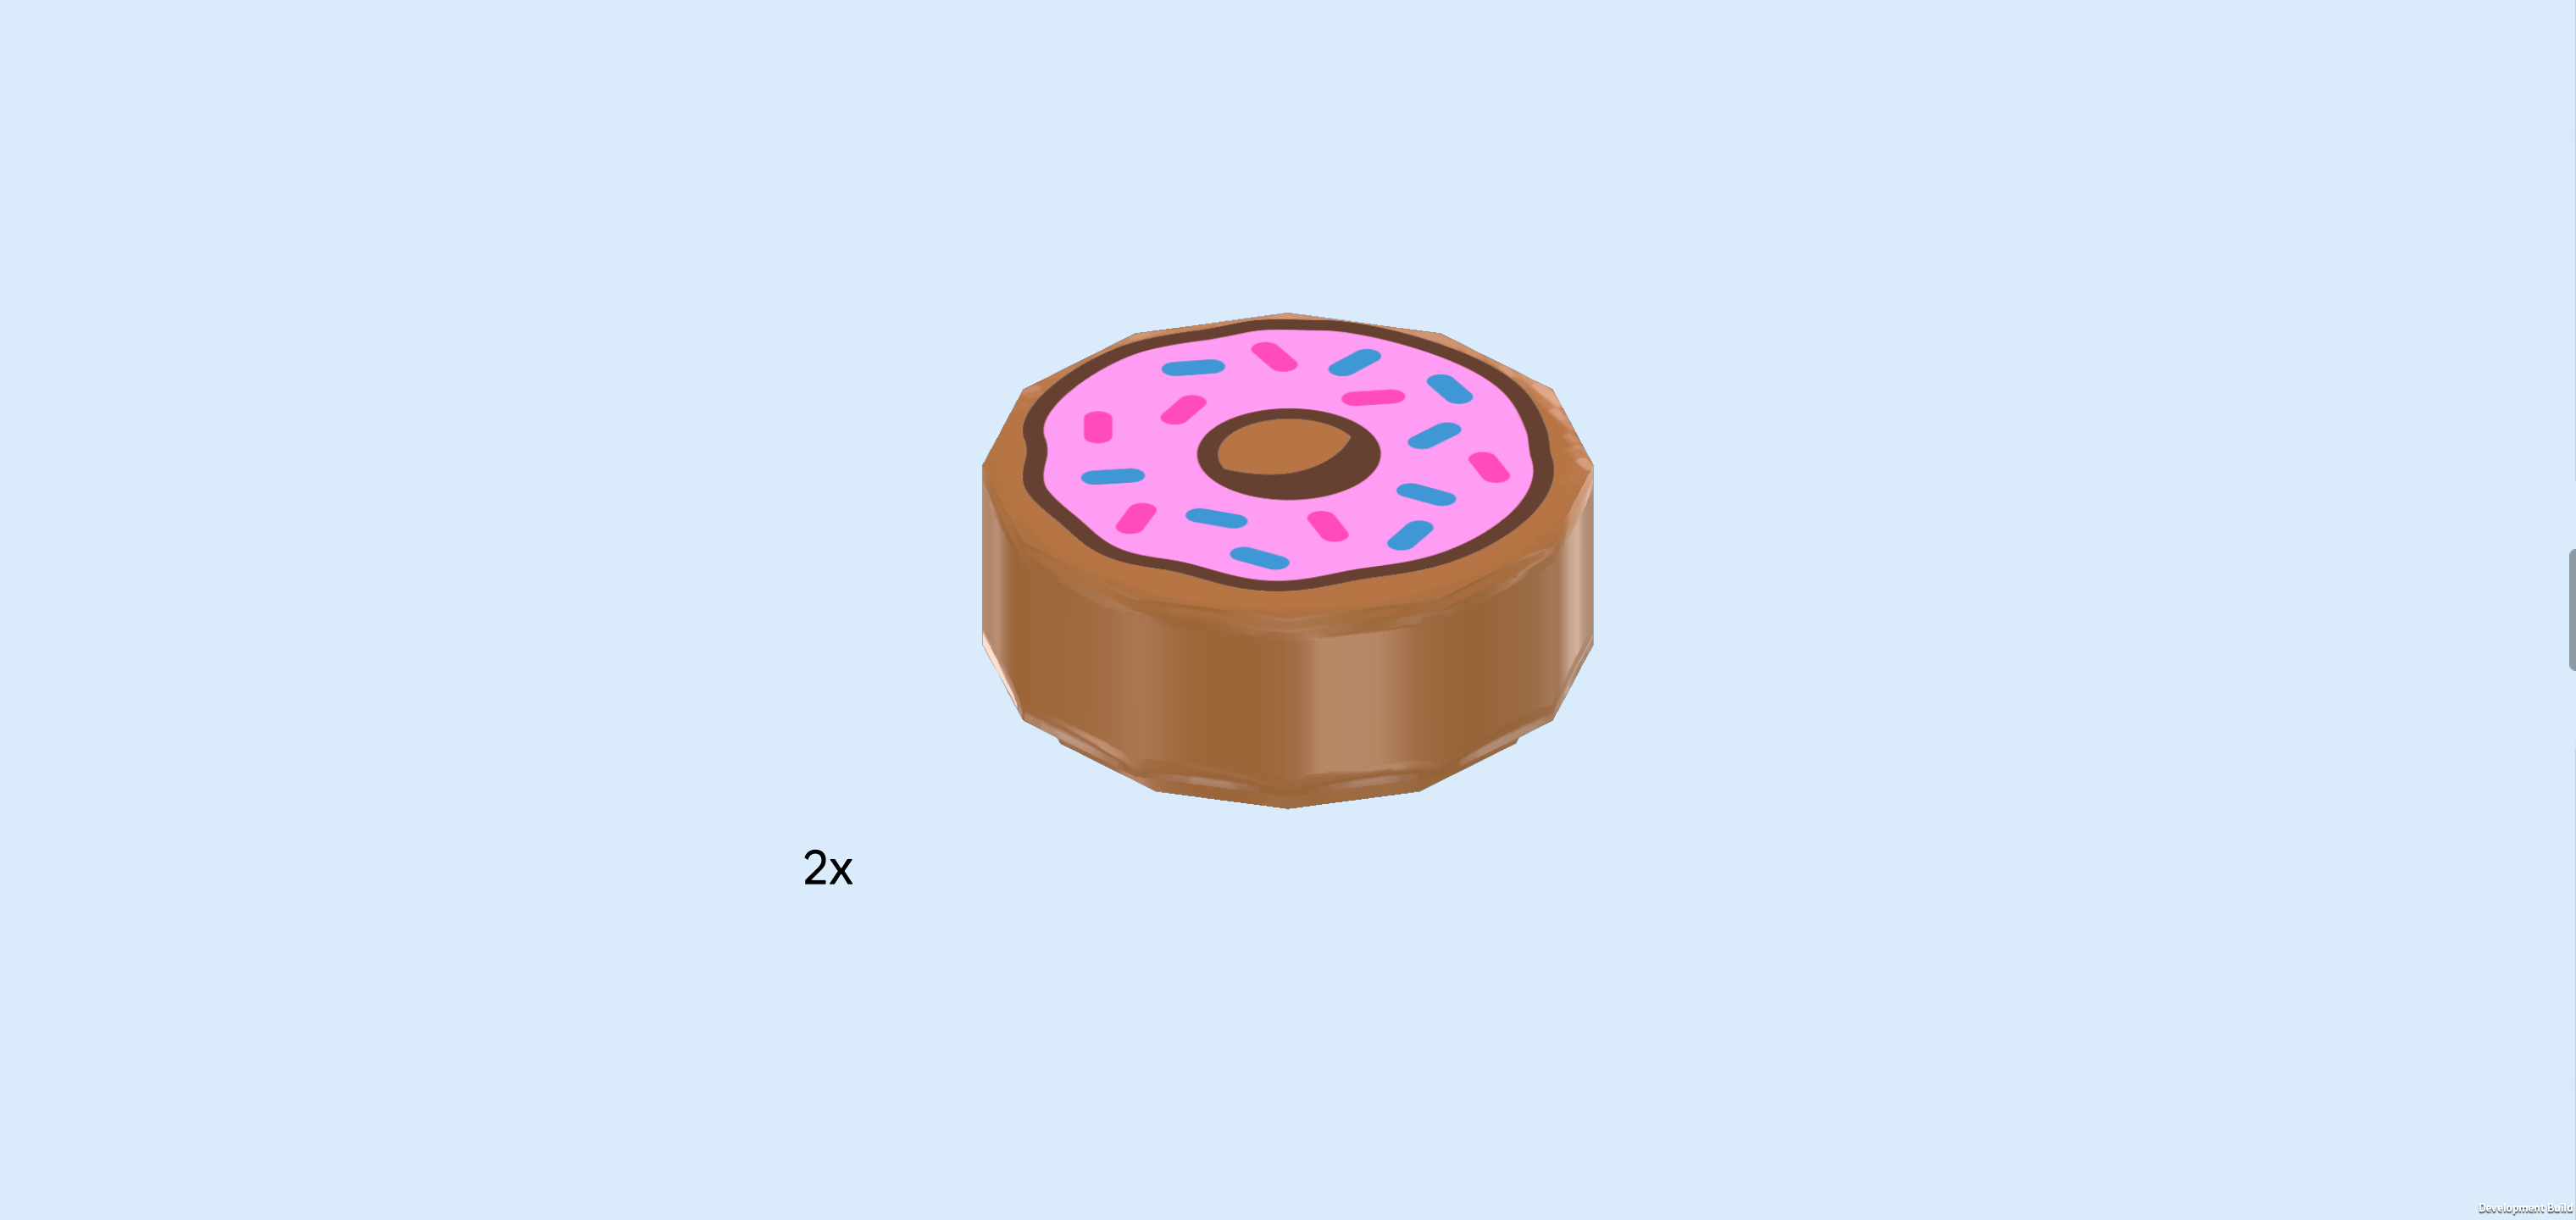
| The round tile is printed with pink donut icing and pink and blue sprinkles. |
| Repeat with the 2 remaining pieces. |
| Find another 2 medium nougat brown round tiles 1x1. |
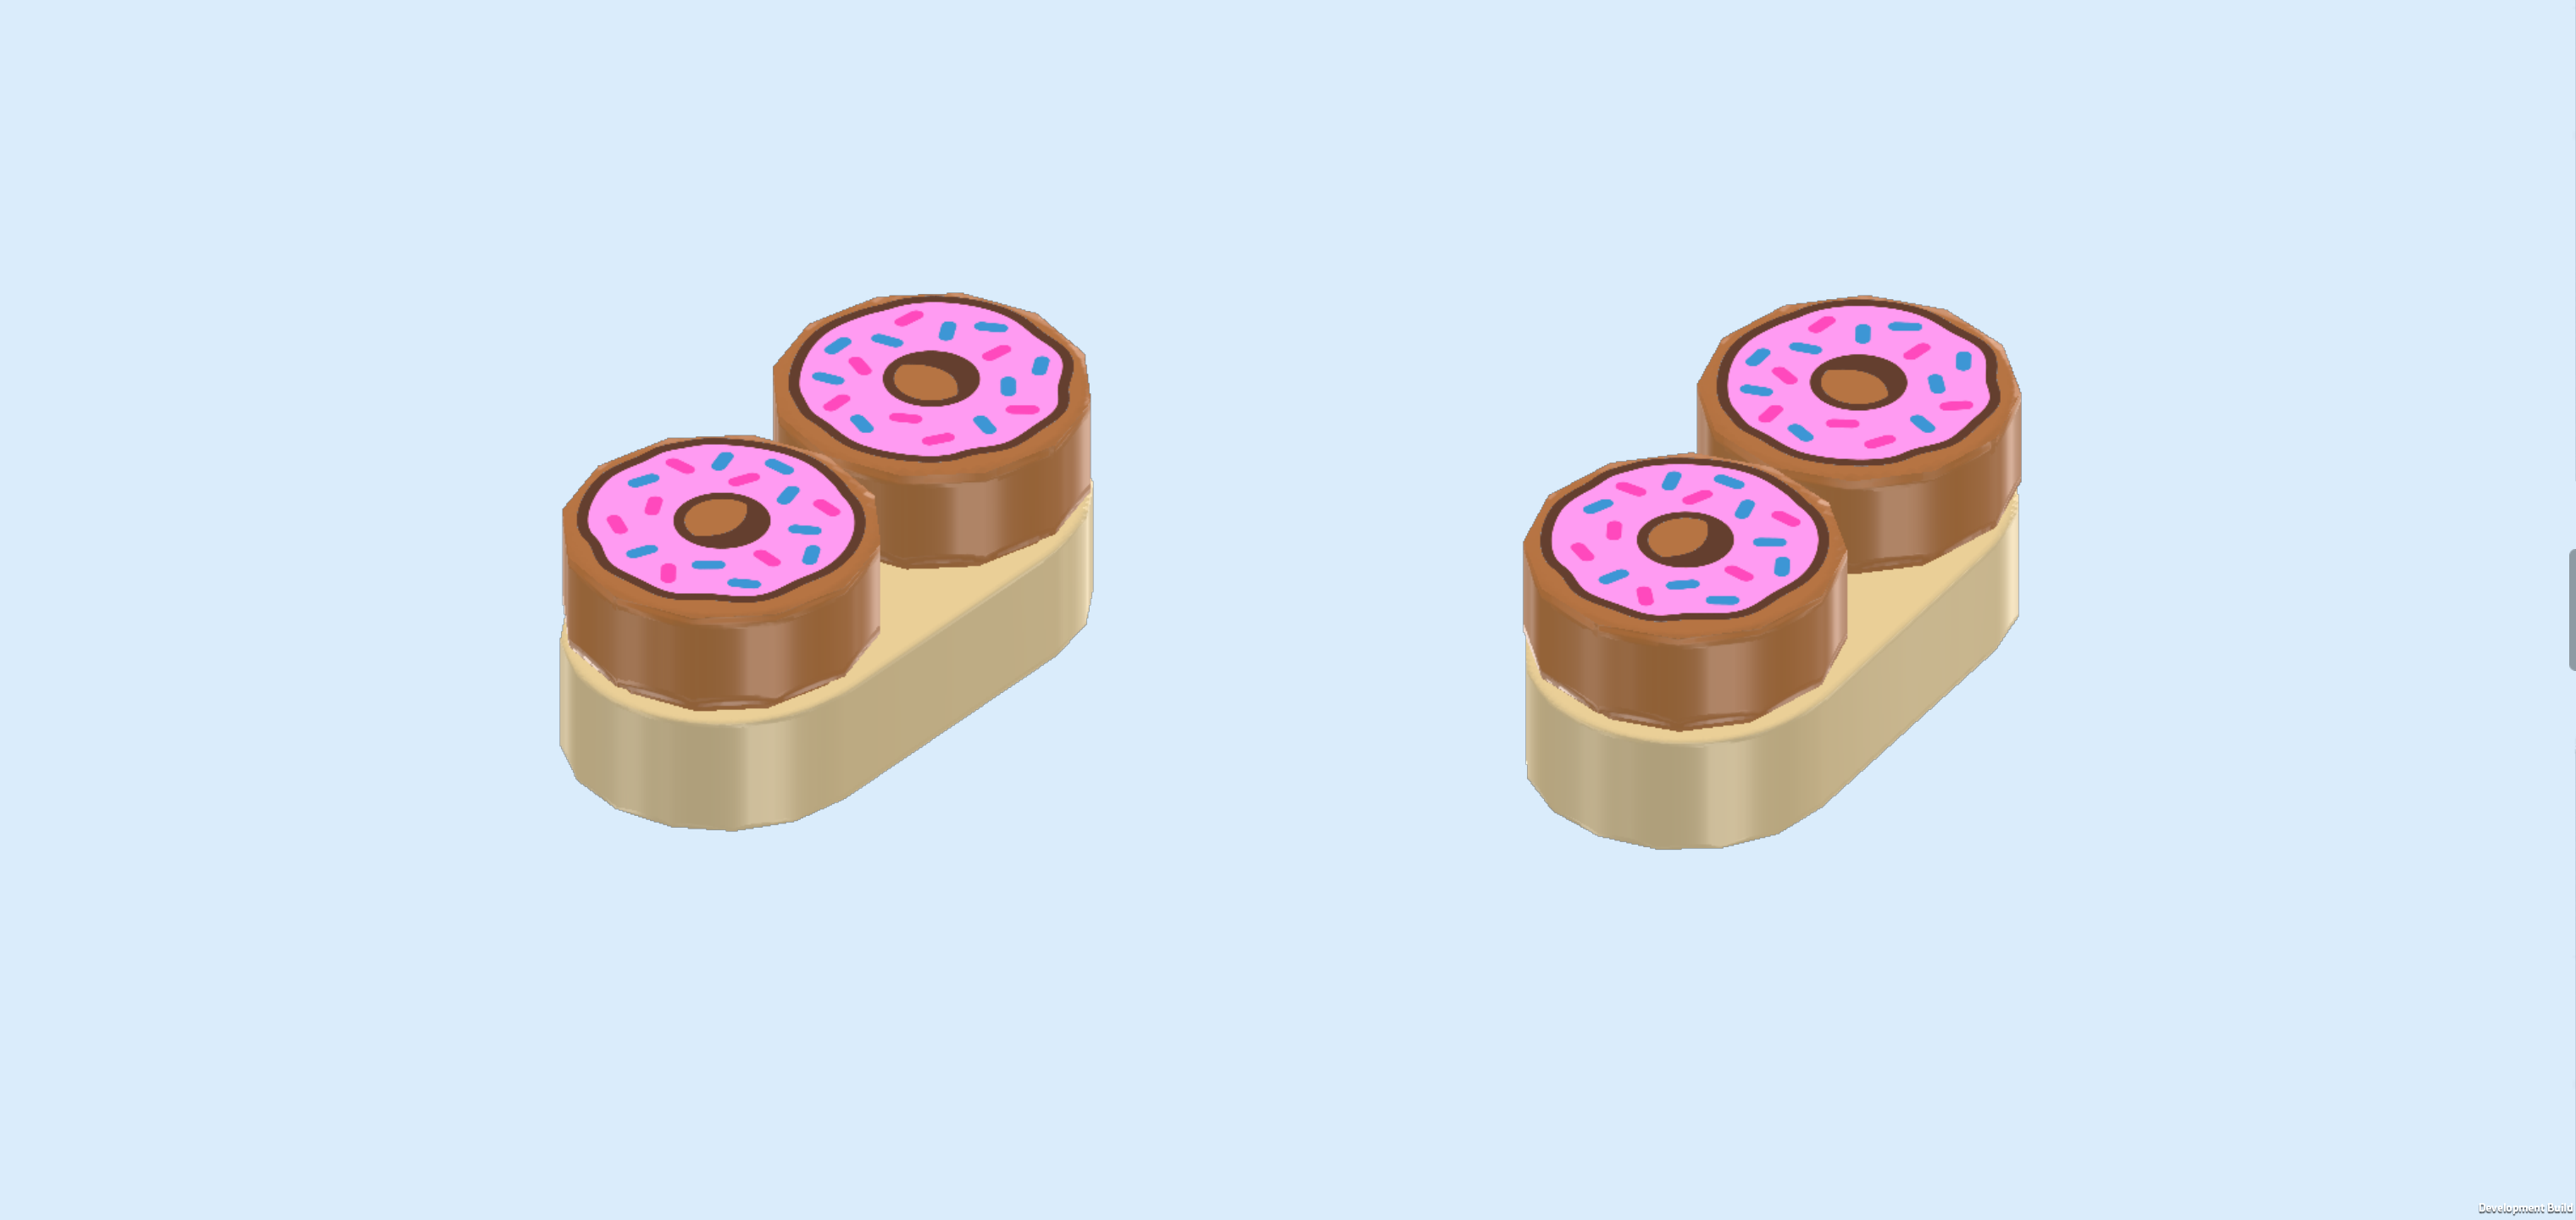
| Put them on the remaining knobs. All four round tiles have the pink donut icing print. |
| The 2 donut trays are finished! Put 1 on the front row on the third knob from the left, 1/2 overhanging to the front, and turn it a bit to the right so that the tray is presented at an angle. |
| Mount the other one in the same angle on the single knob of the table inside the kiosk. This means it will sit in front of the coffee maker and mug. |
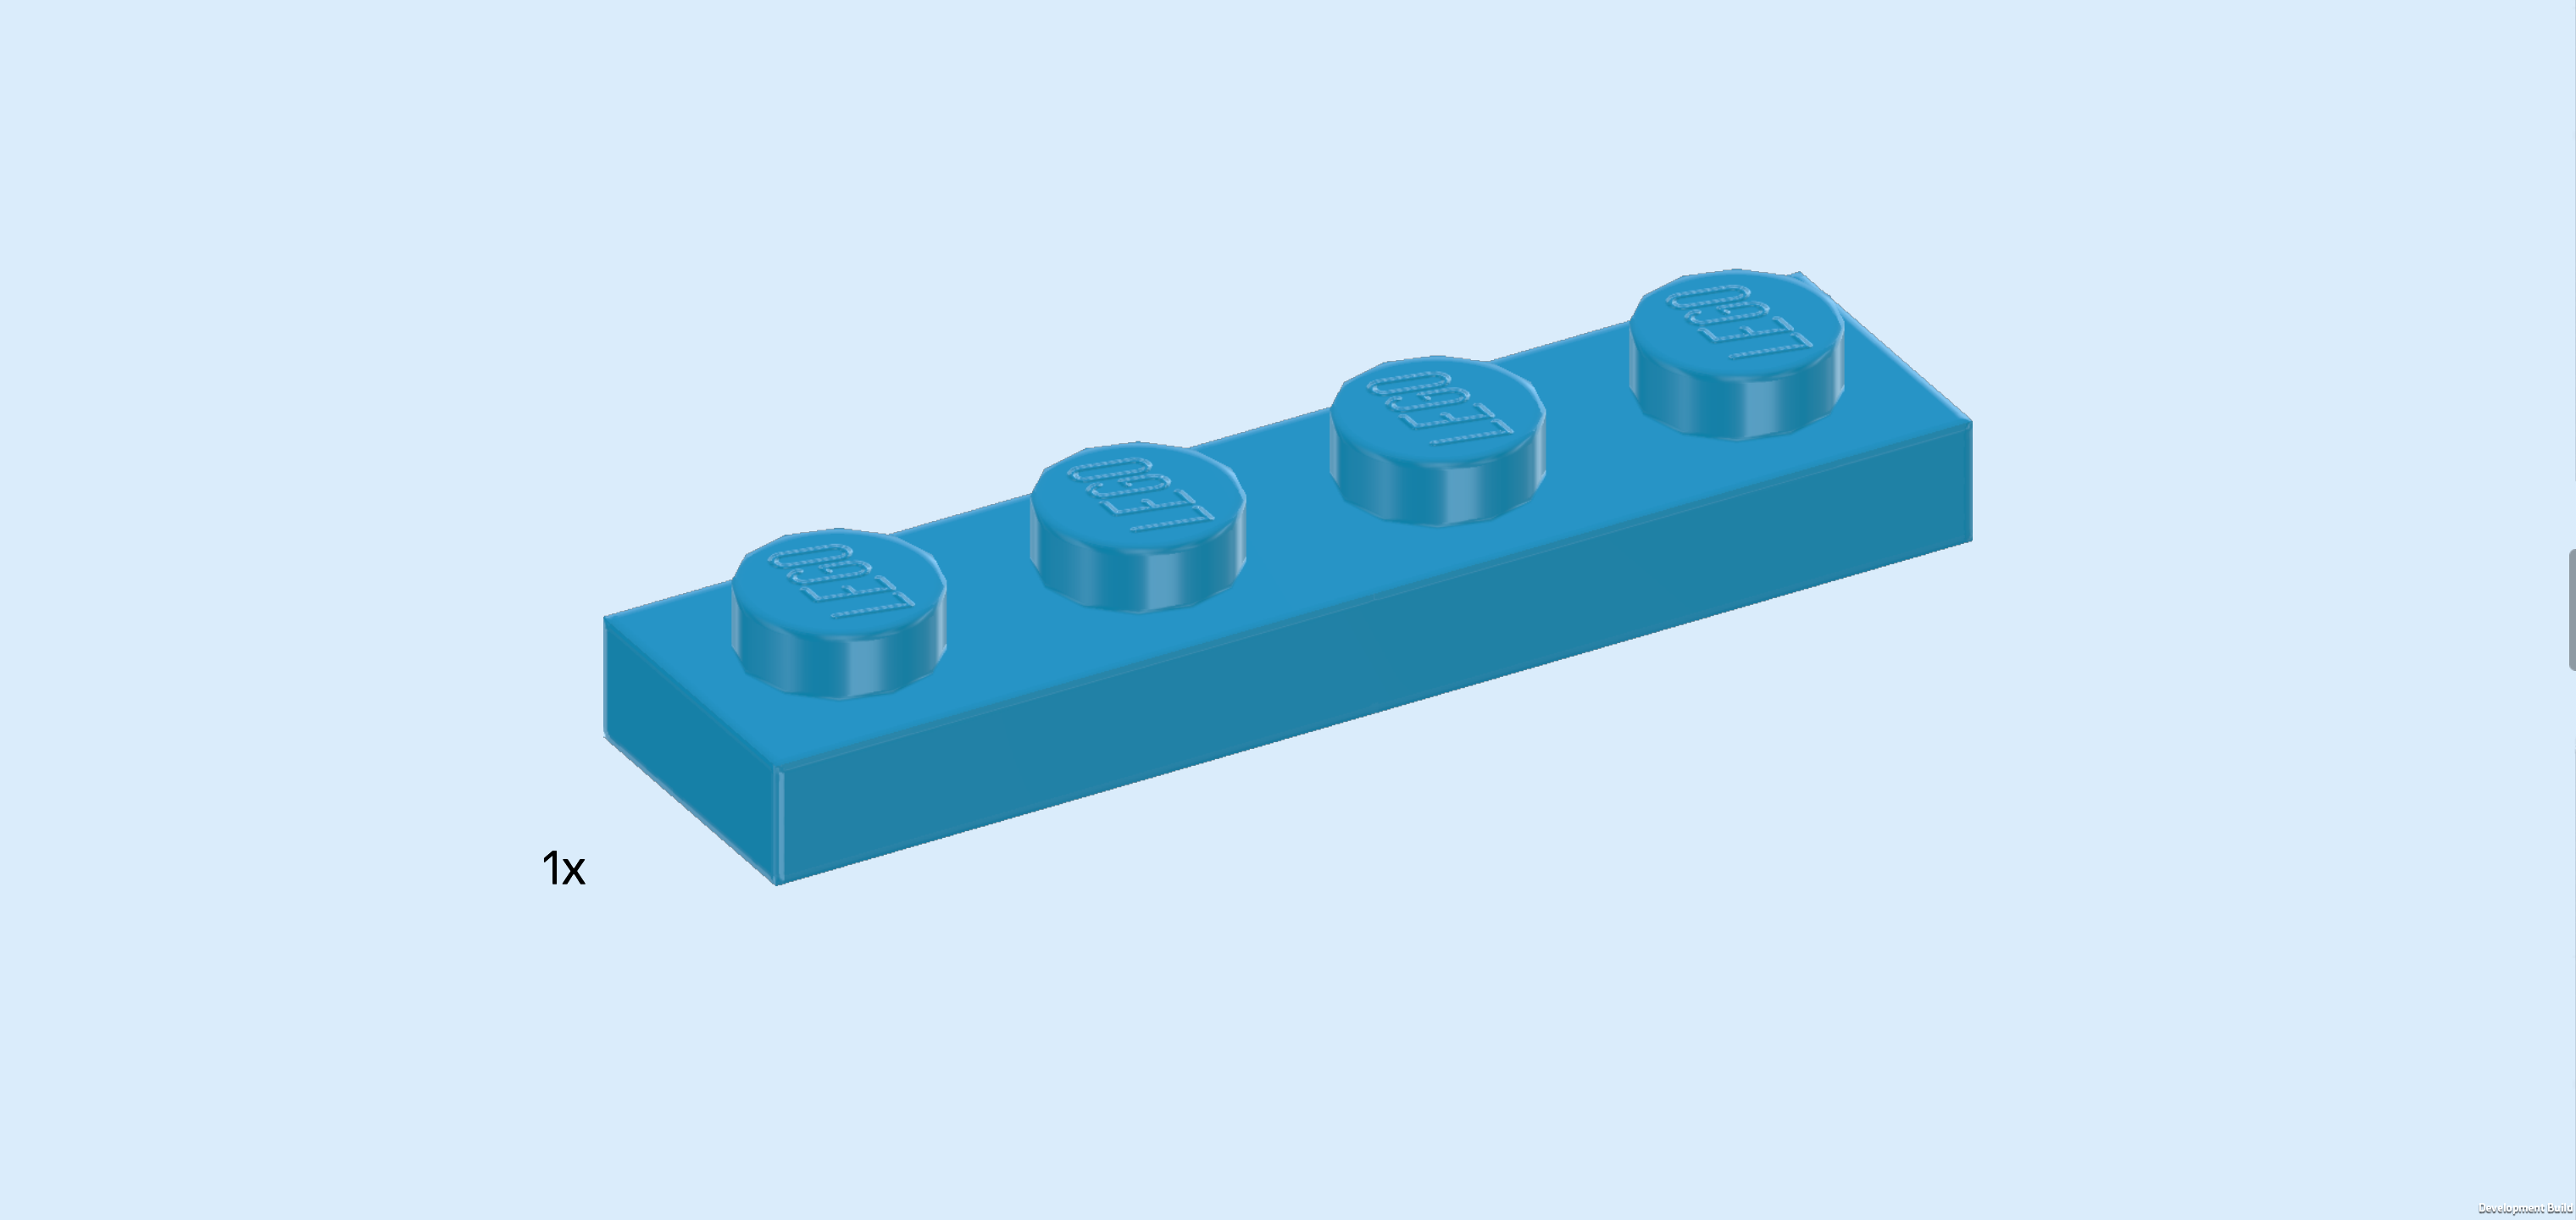
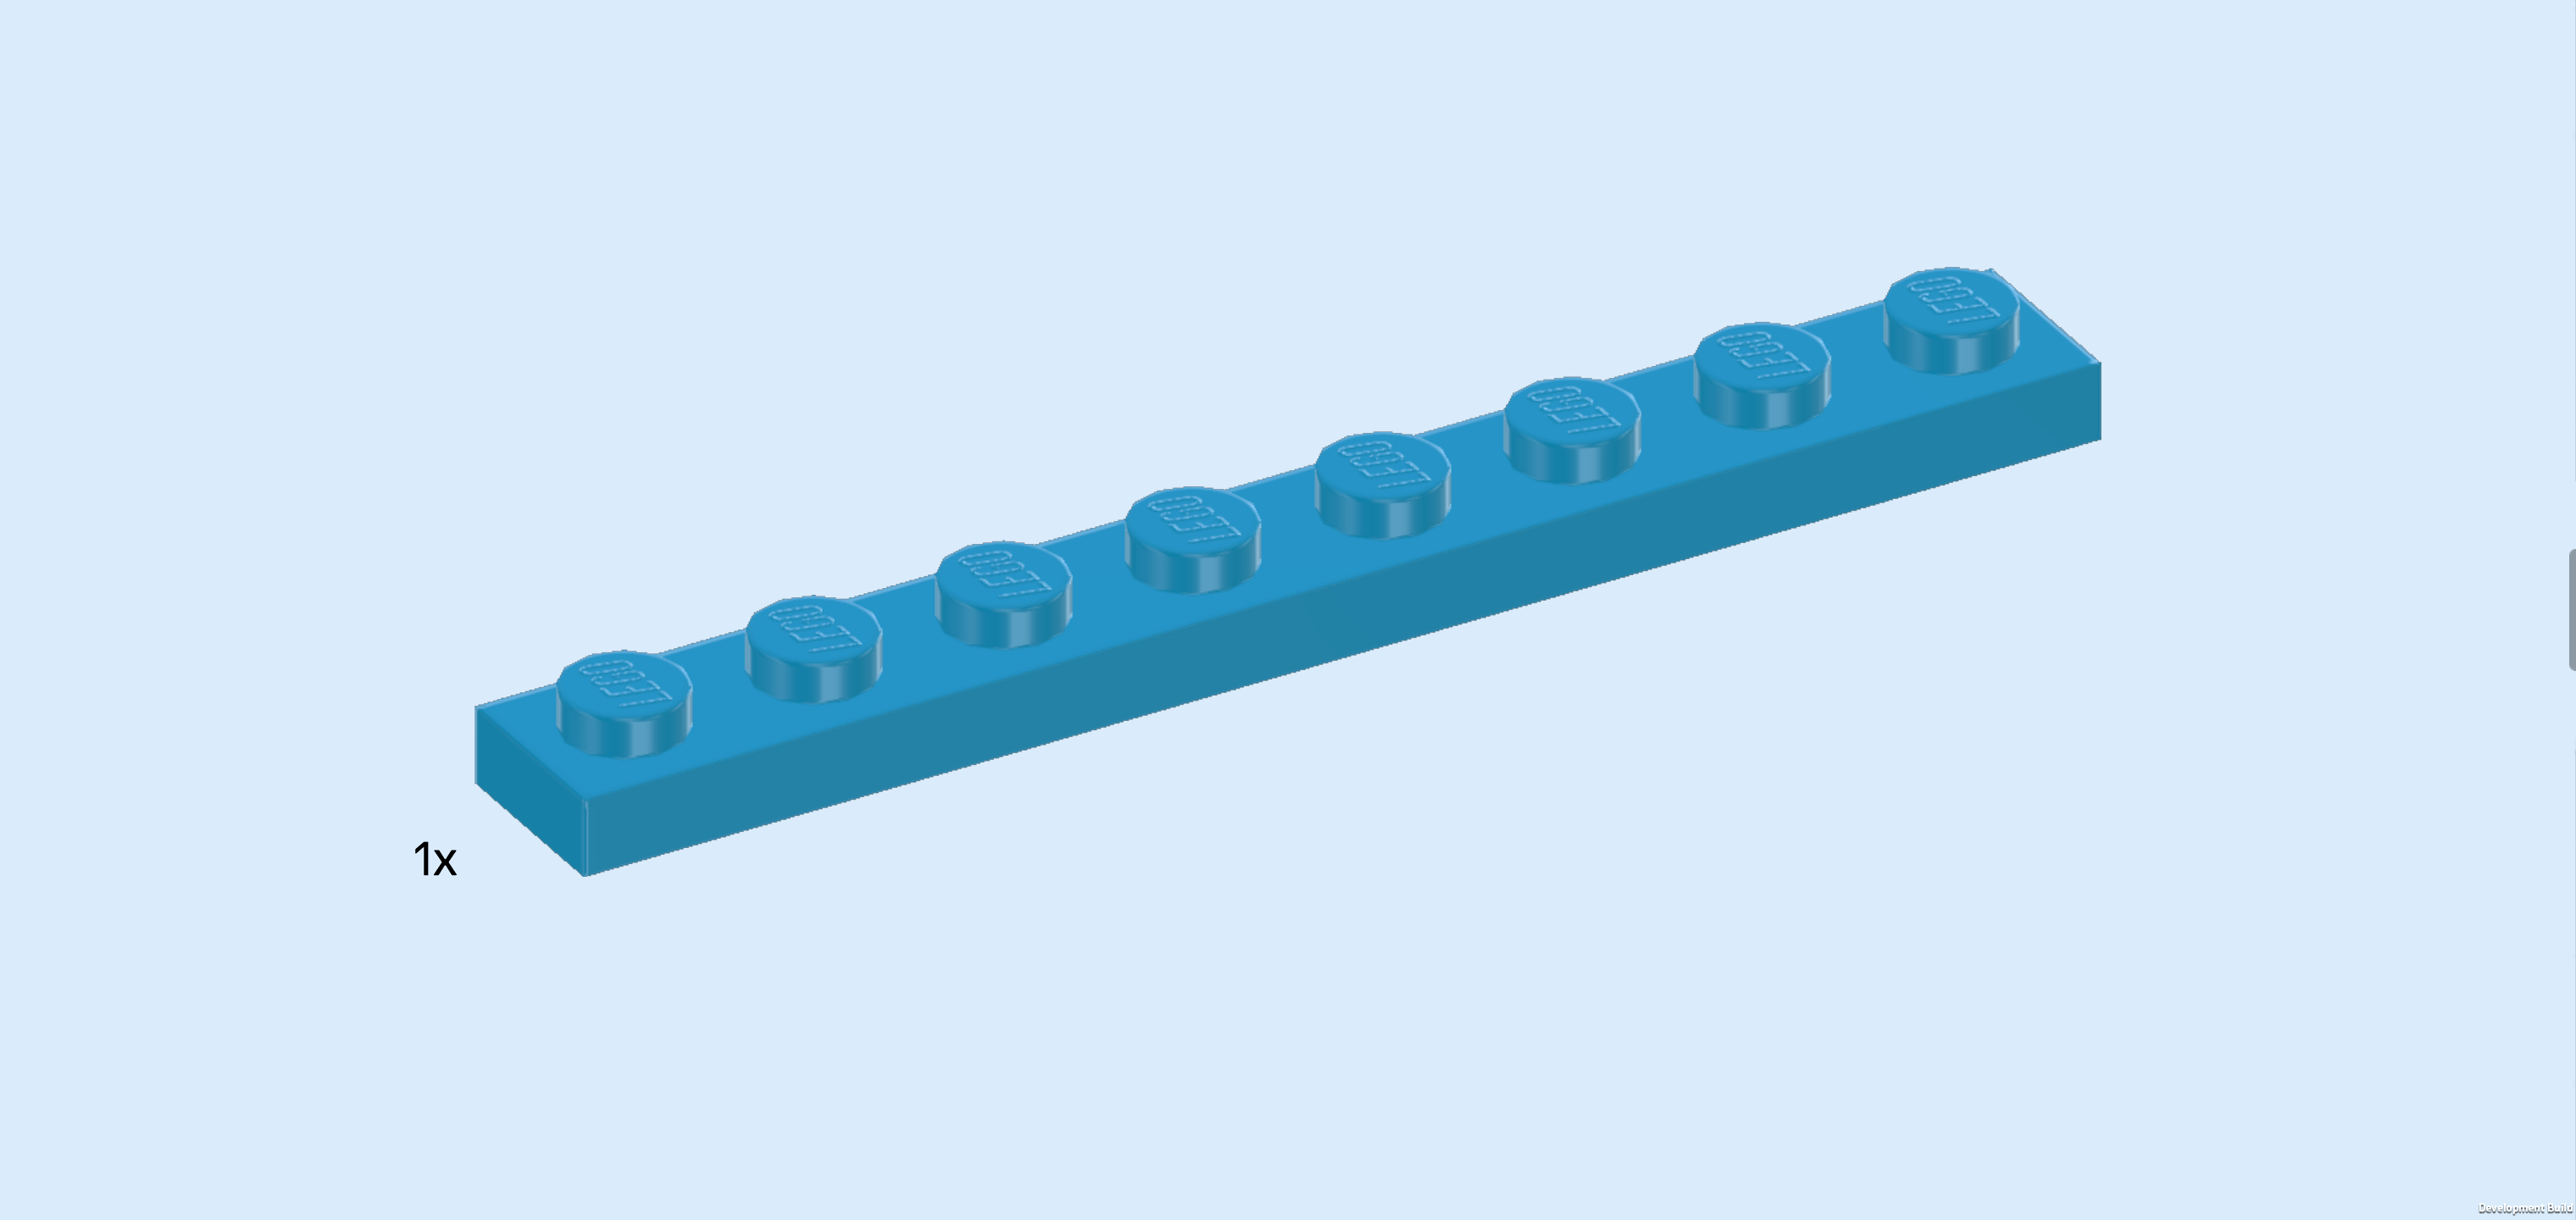
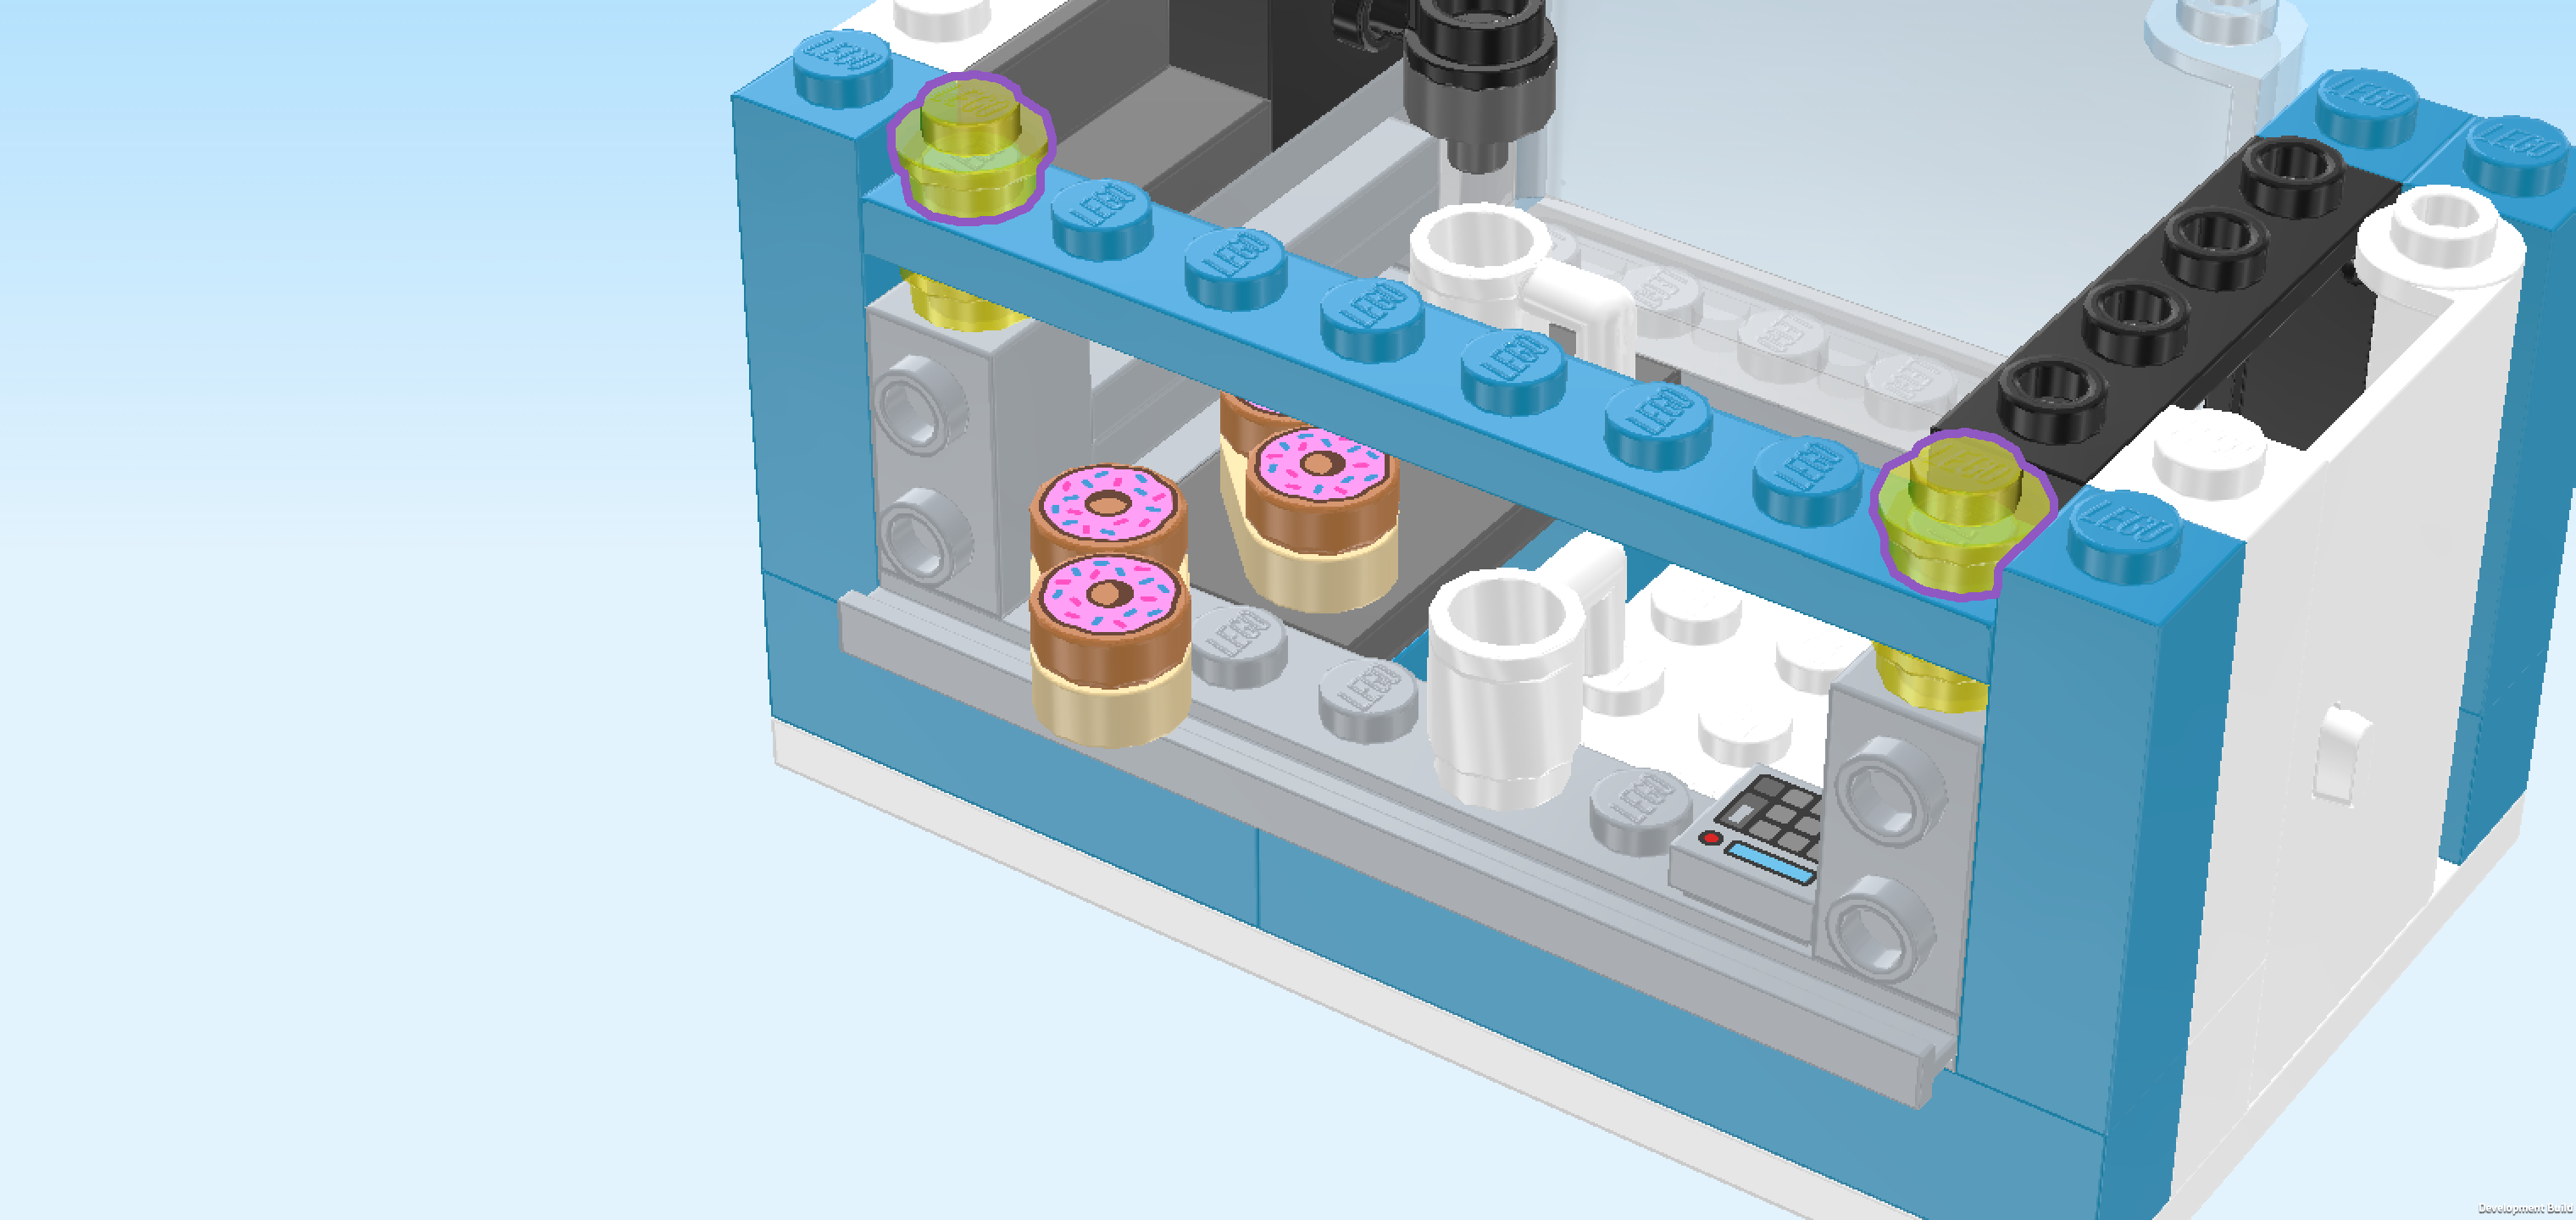
| Find 1 dark azure blue plate 1x8. |
| Put it horizontally centered on the frontmost row. It will be the top beam of the serving window and as such only connects to one knob on the left and one knob on the right. |
| Find 2 transparent yellow round plates 1x1. |
| Put 1 on the previous piece's leftmost knob and the other one on its rightmost knob. This will mirror the 2 identical pieces underneath the plate 1x8. |
| Find 2 dark azure blue plates 2x6. |
| Put 1 vertically on the 2 leftmost columns of the kiosk structure. |
| Repeat symmetrically on the right. |
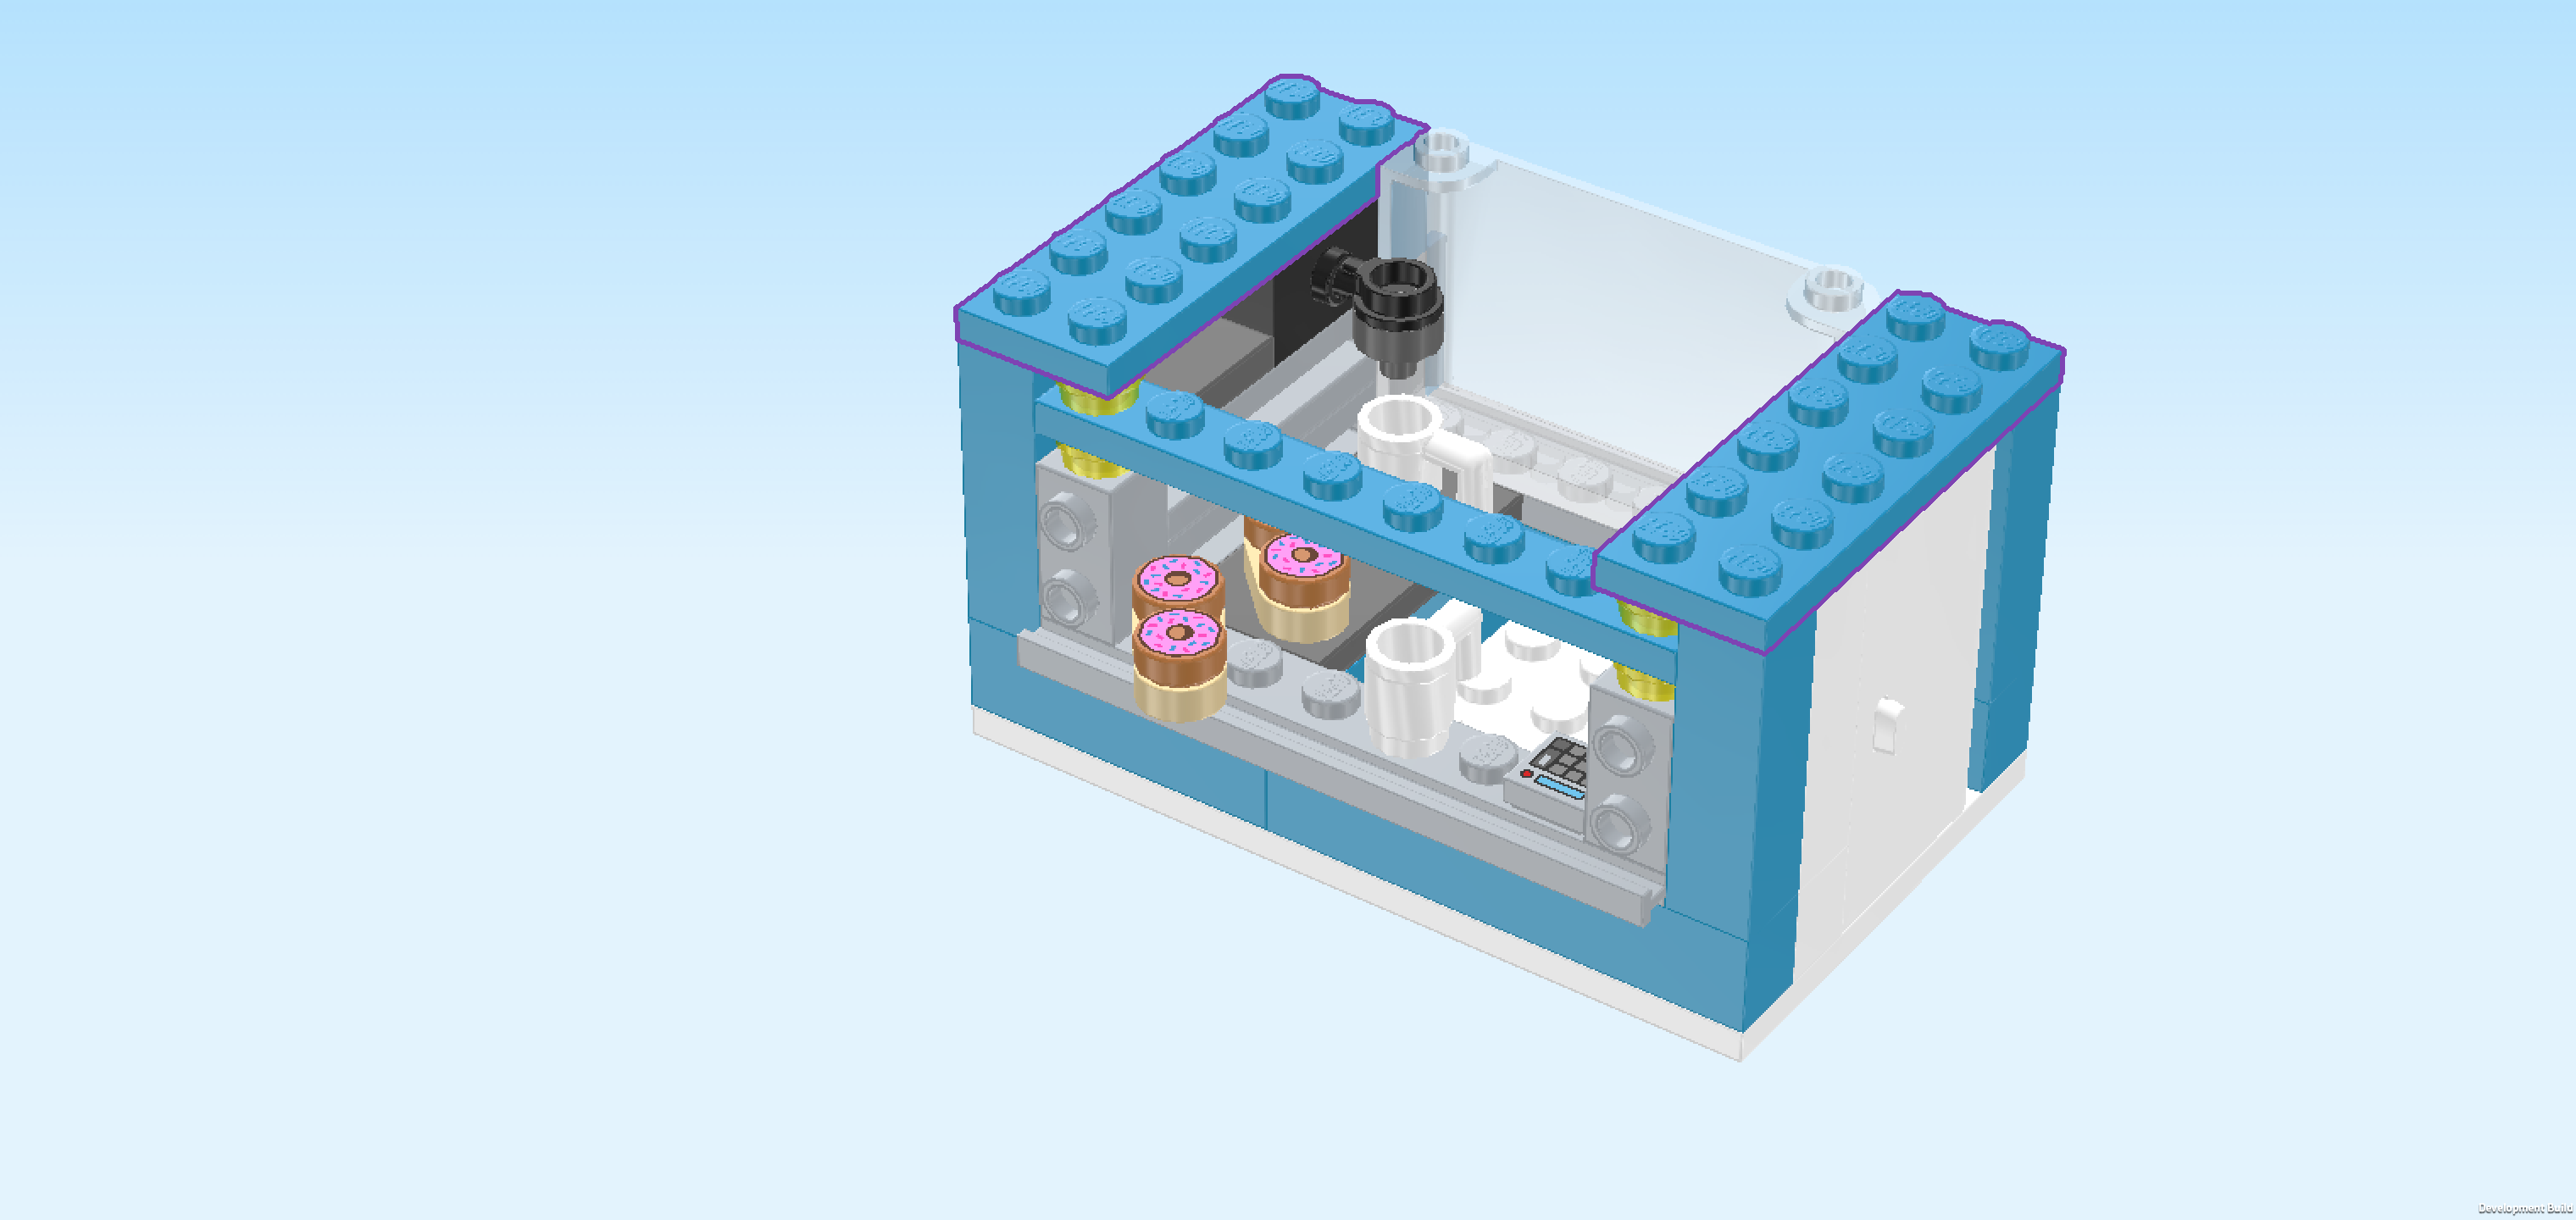
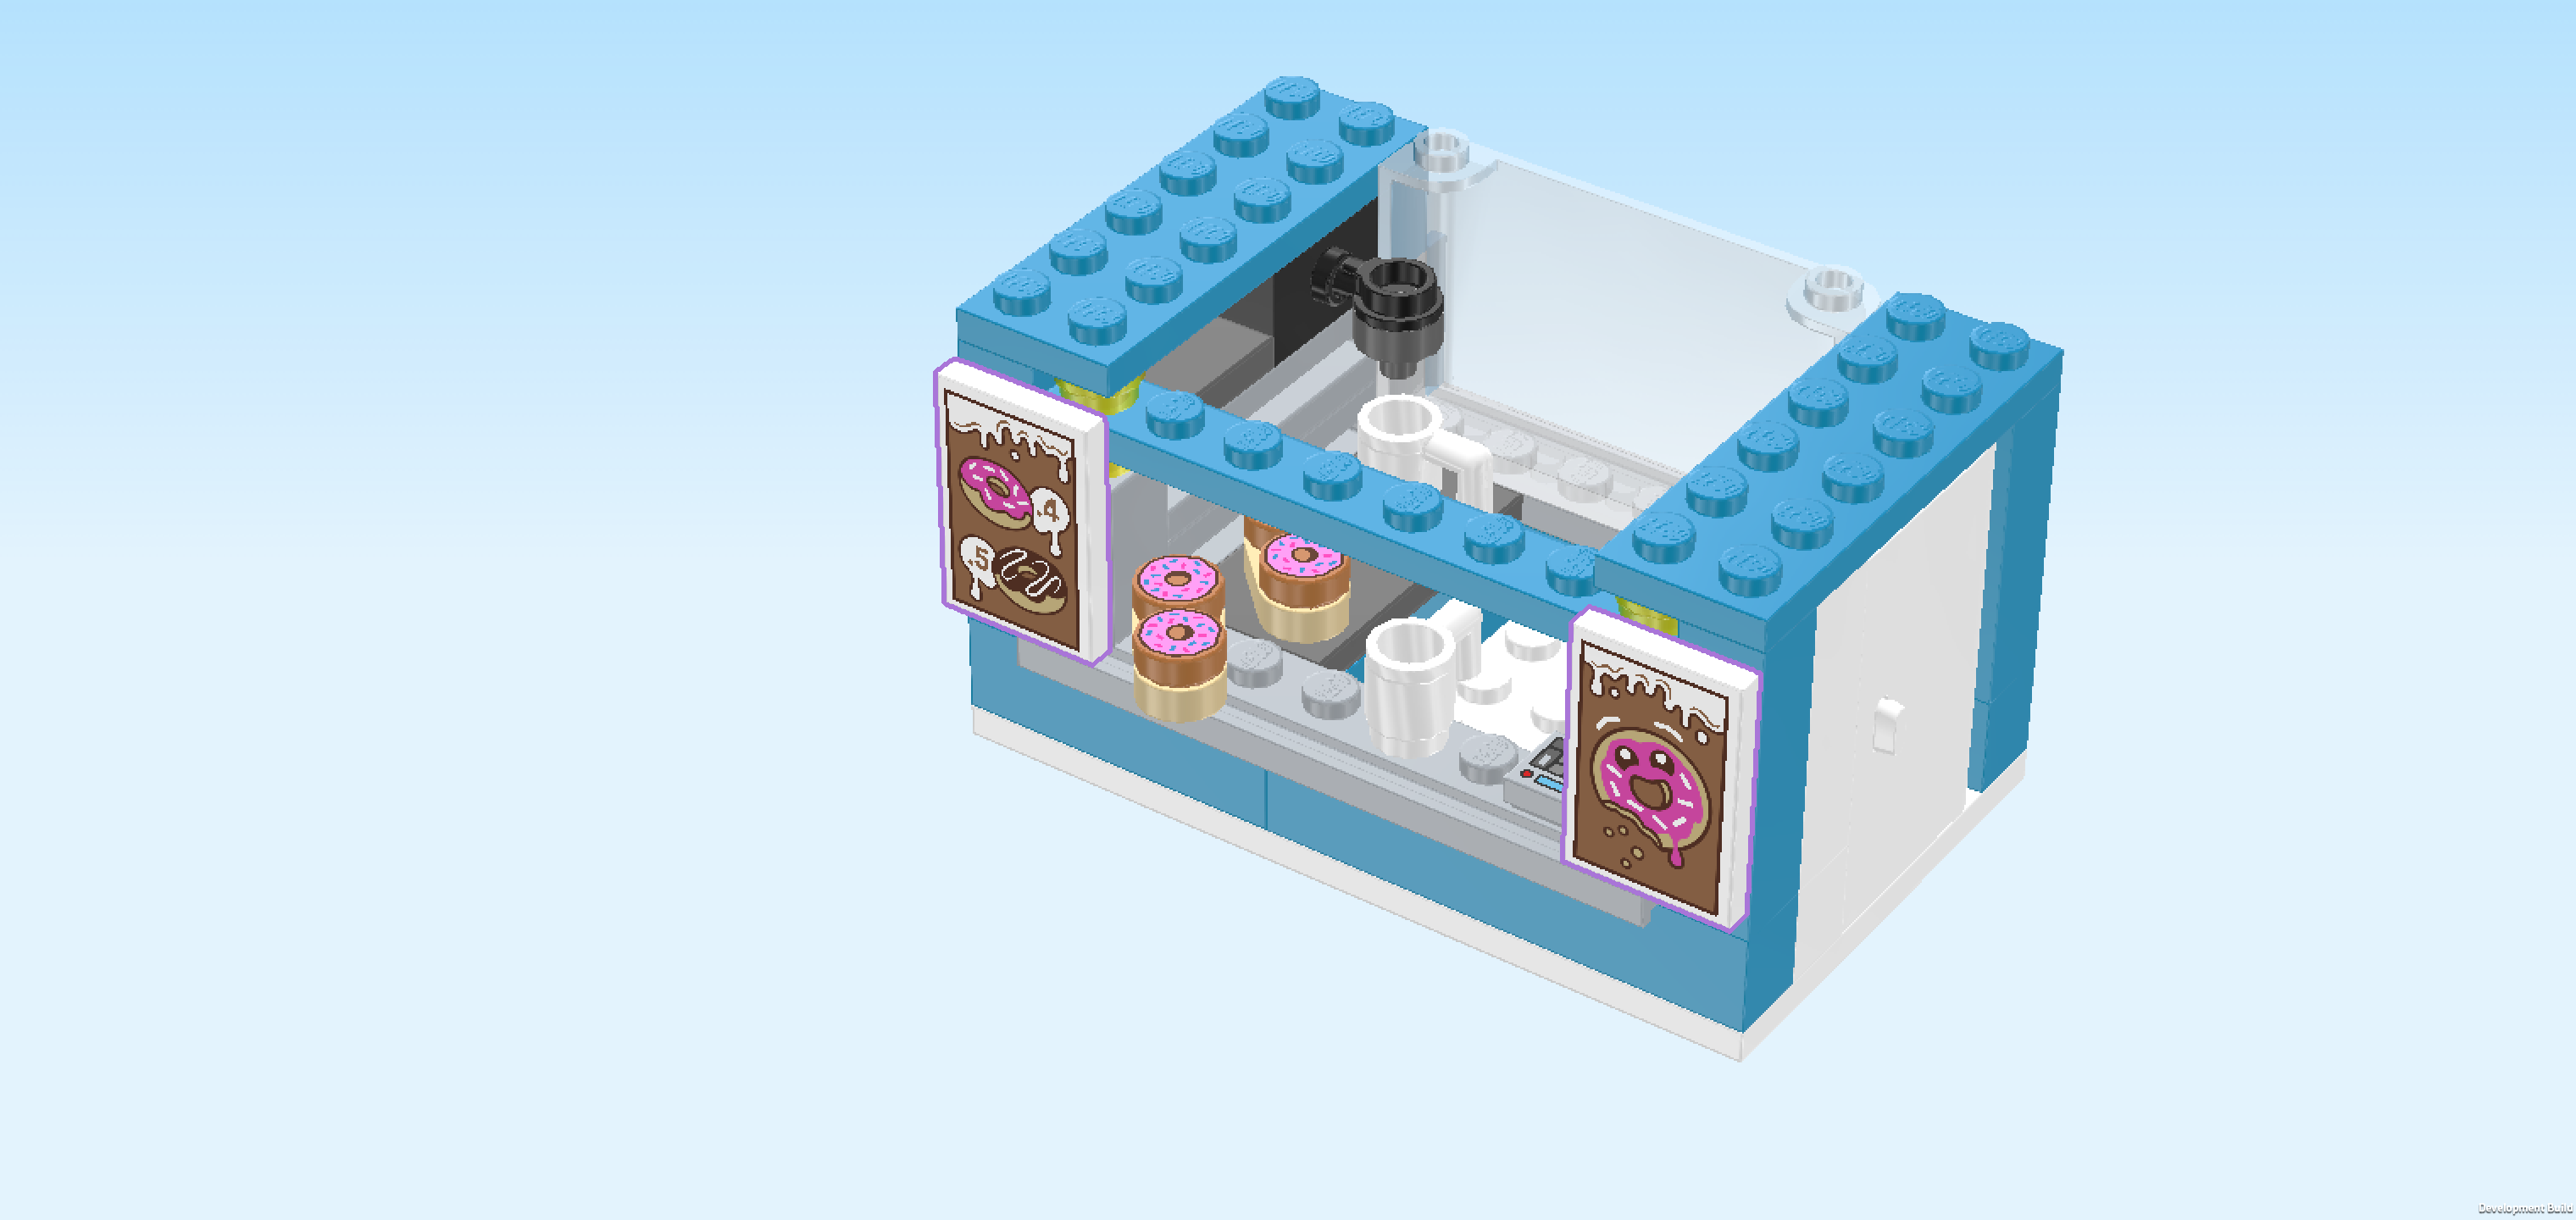
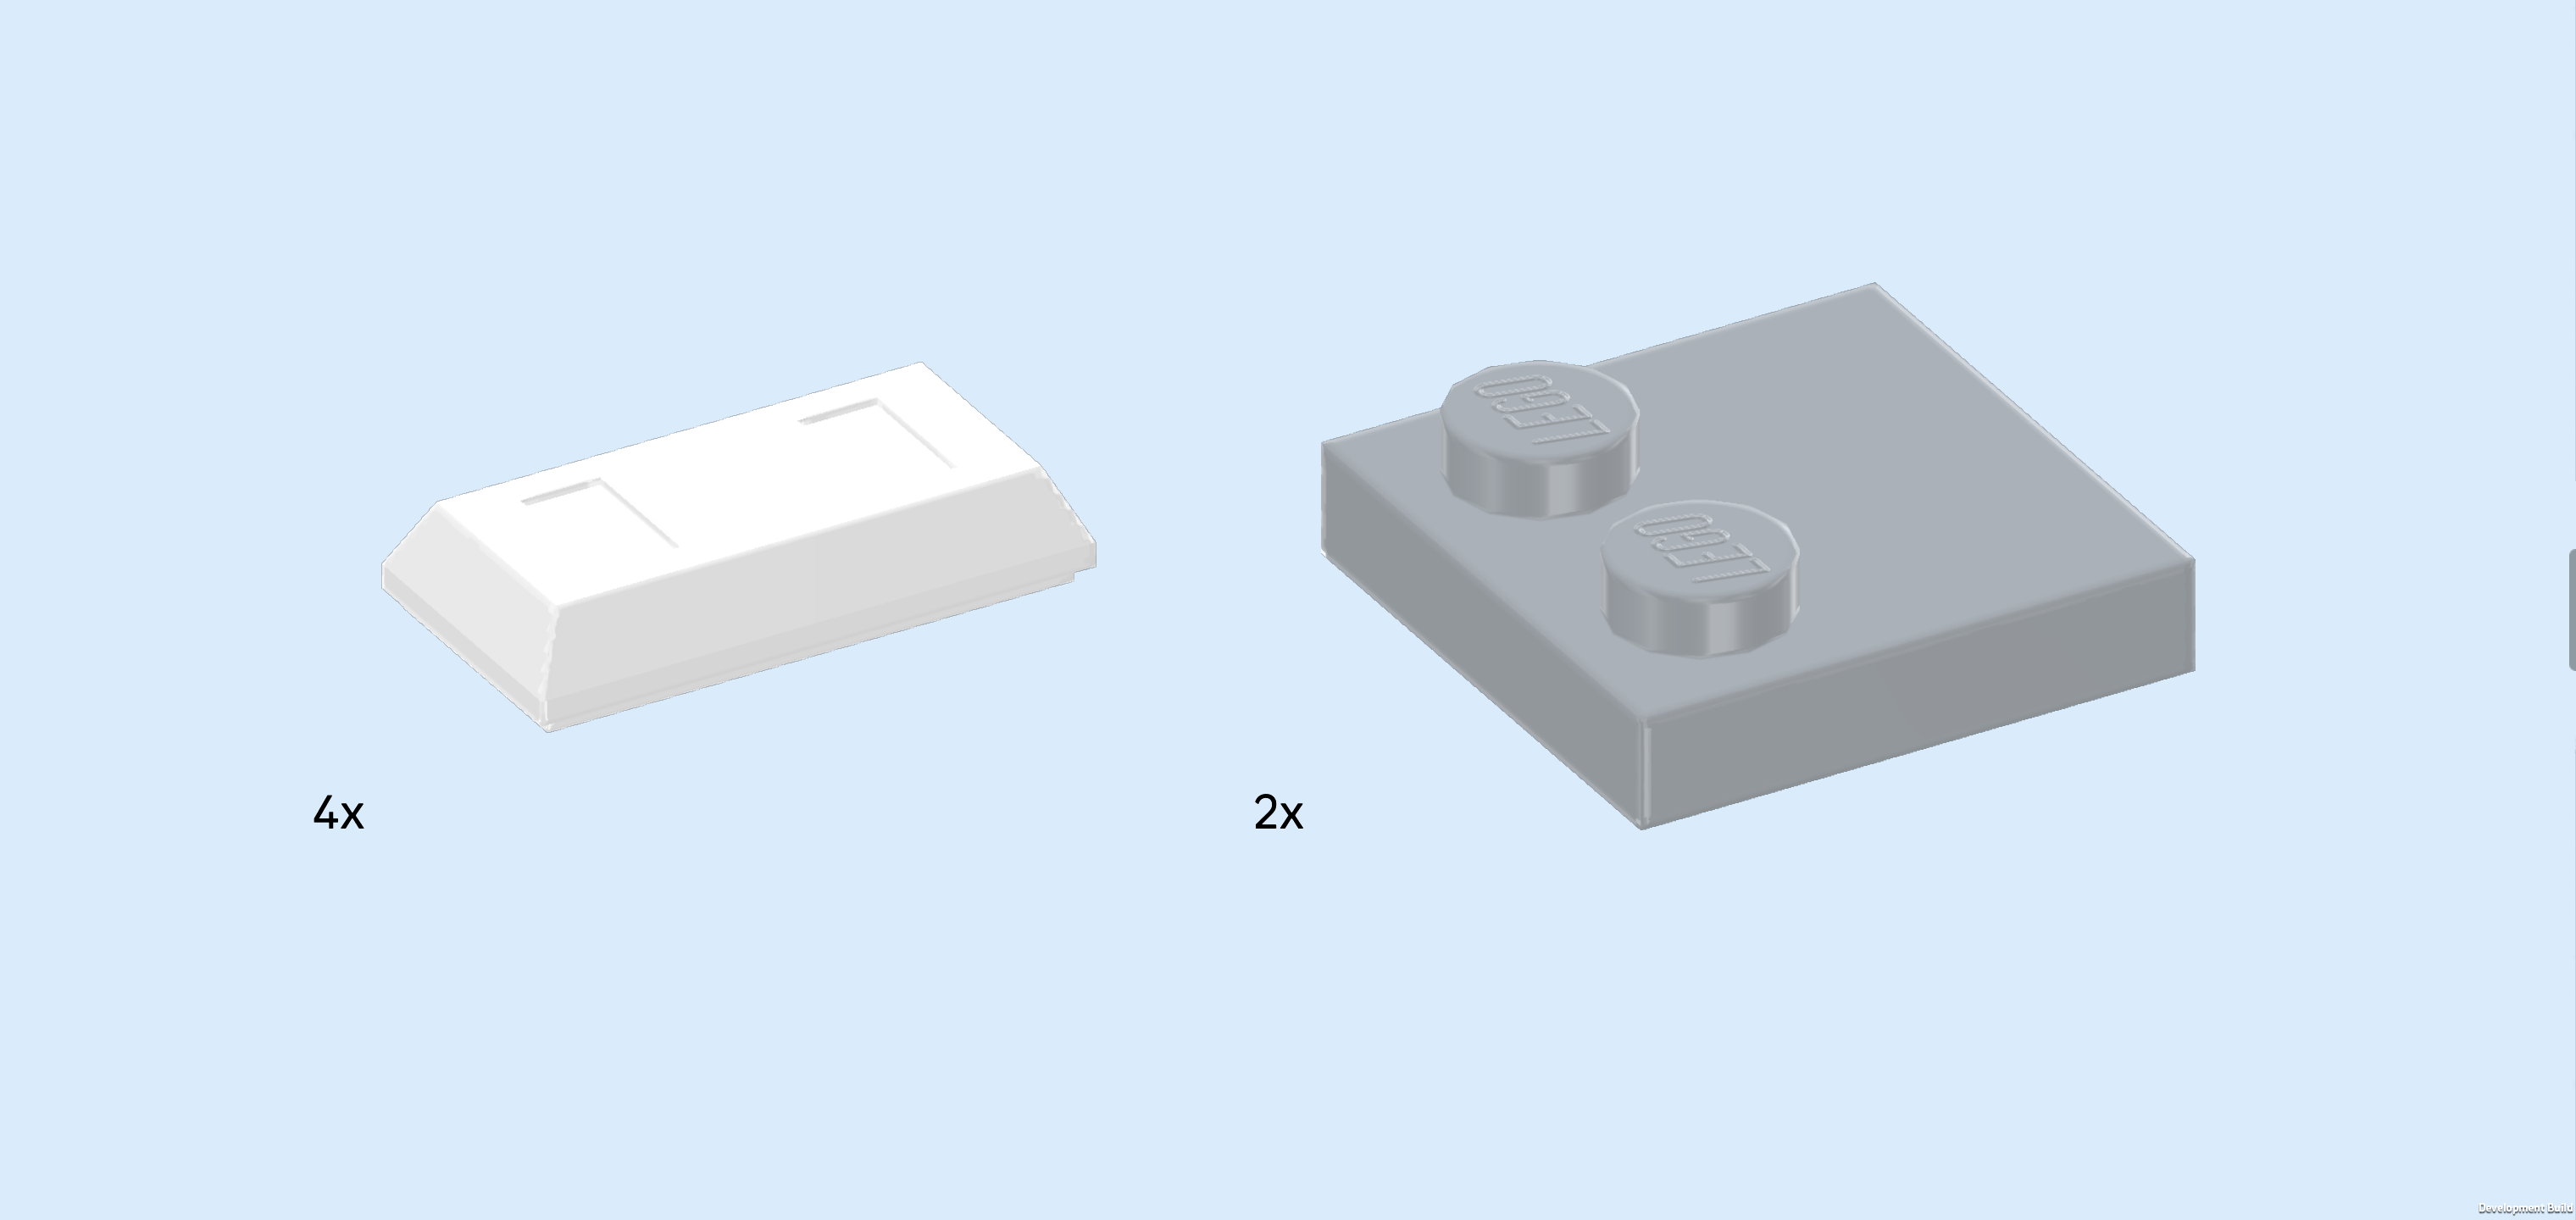
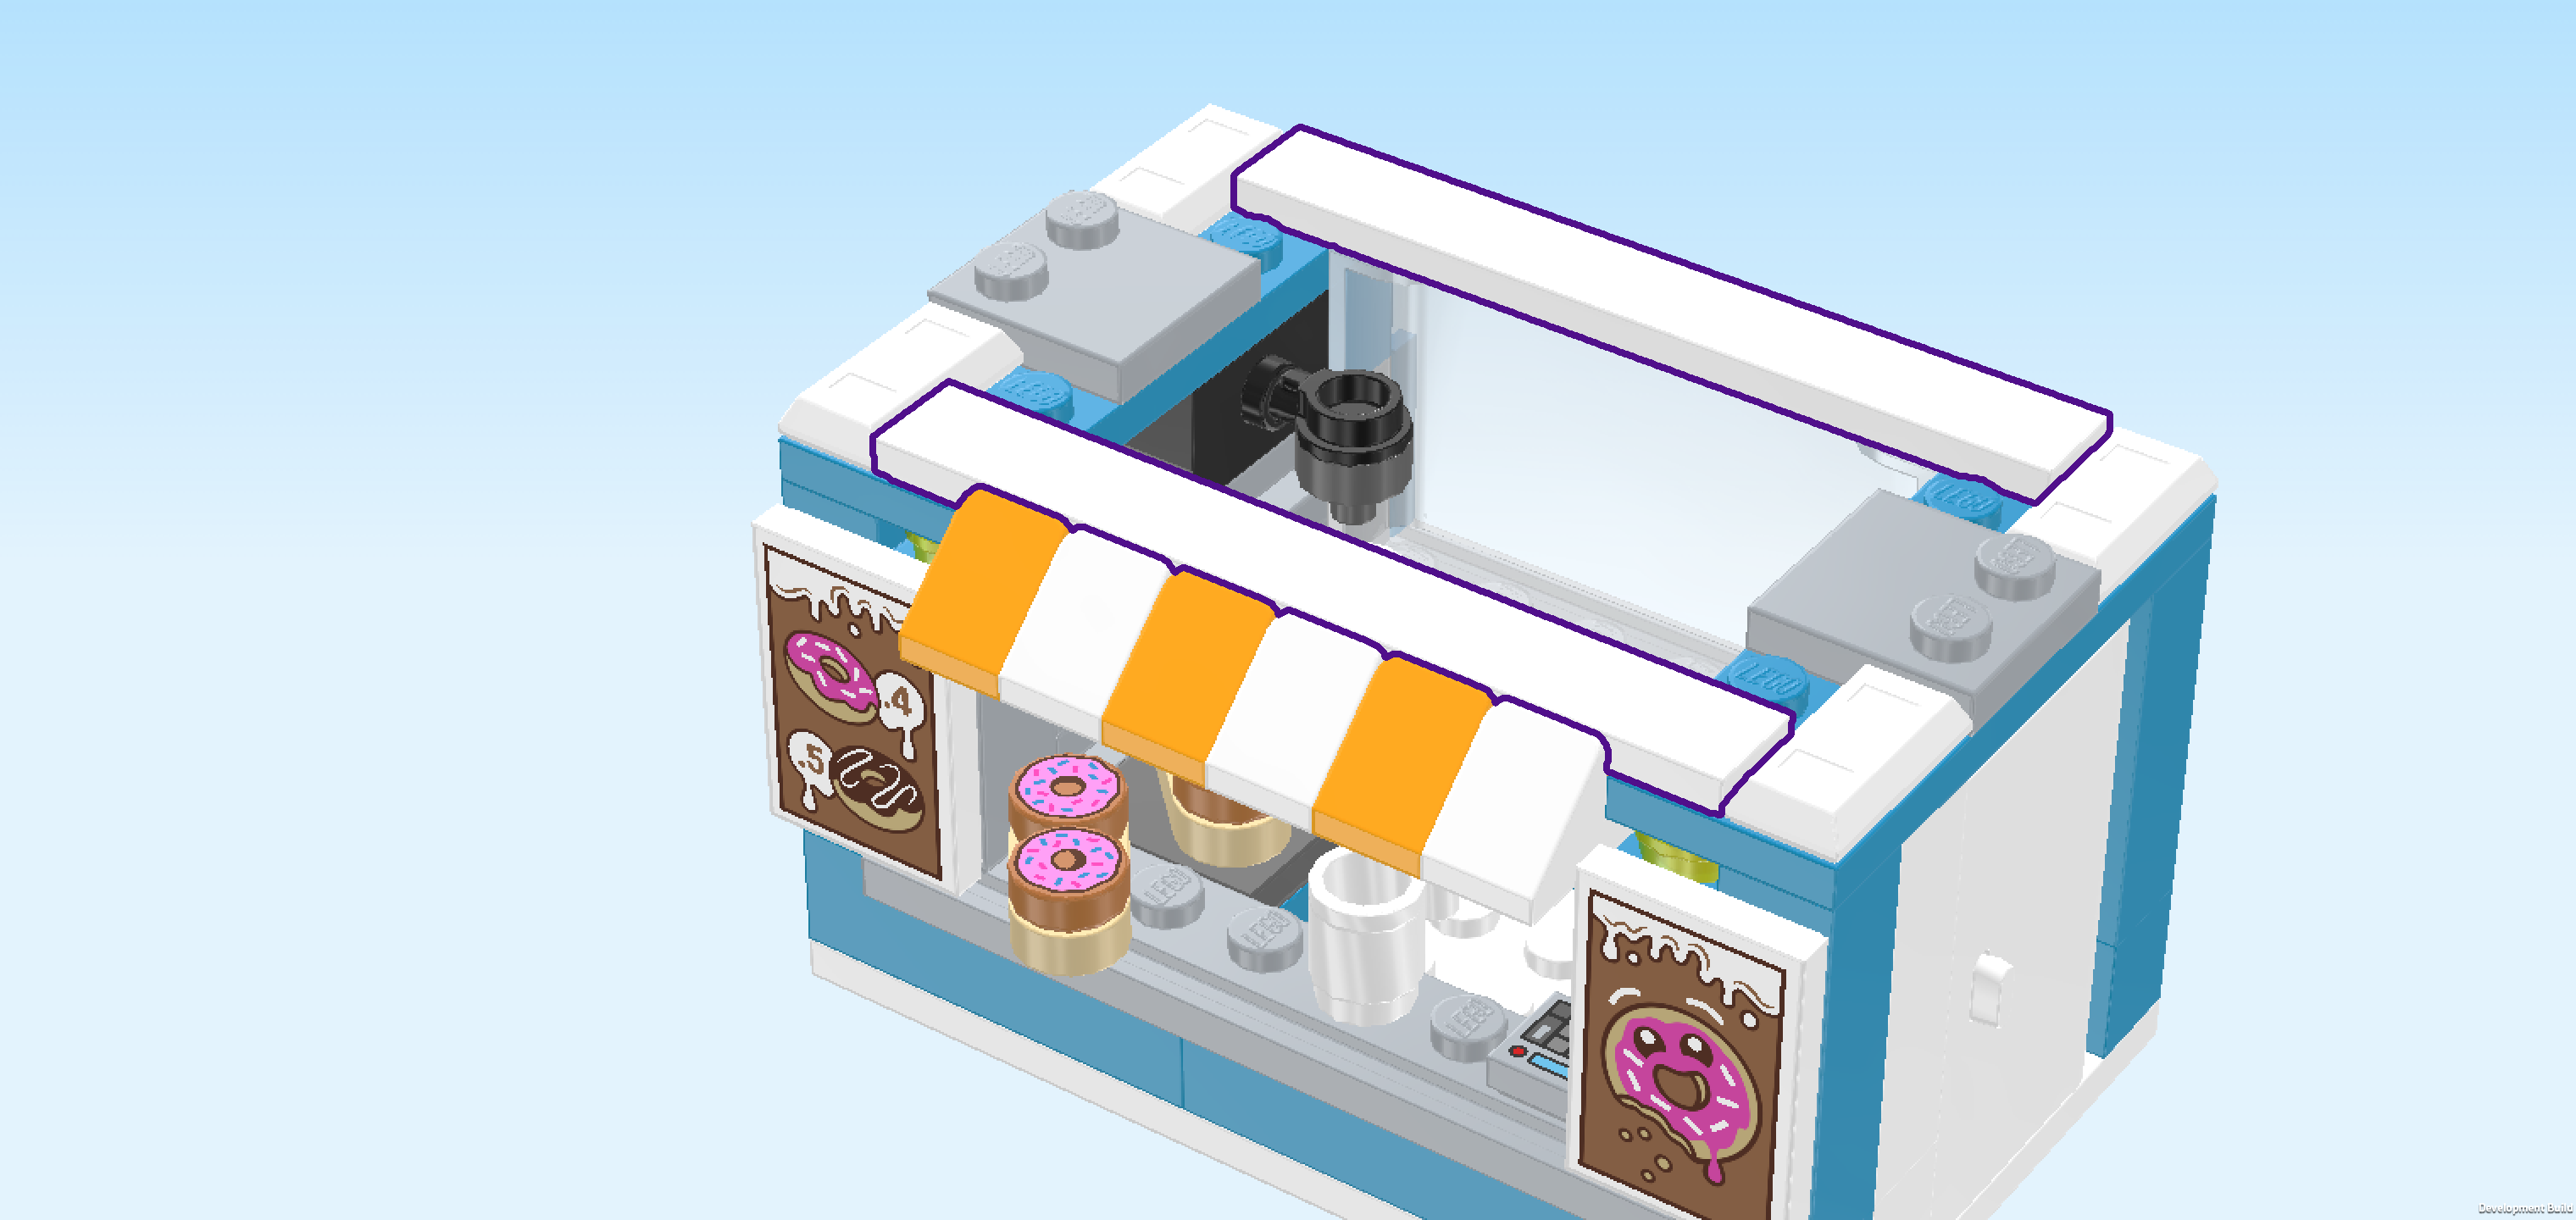
| Find 2 white flat tiles 2x3. |
| Note that the prints of these pieces are menu posters. If you want to make absolutely sure that their orientation is correct, you can ask a sighted person for help. However, this is also something that could be taken care of later. |
| Put 1 upright vertically on the 2 side knobs pointing to the front on the right side. Make sure that only the left edge of the flat tile connects to the knobs and its right edge is flush with the right side wall. |
| Repeat symmetrically on the left. |
| One tile is printed with a chocolaty brown background with white icing dripping down from the top. It shows two donuts: one with pink icing and white sprinkles, and one with chocolate icing and curved white stripes. The pink donut is labeled “.4 ” and the chocolate donut “.5 ”, written in white circles next to each donut that are also stylized as white icing dripping down. The overall look is playful and tasty, like a simple menu board. |
| The other tile is printed with the same background and has a big pink donut with a happy face on it. Someone already took a bite out of that one! It's a fun little way to advertise the tasty donuts that the truck is selling. |
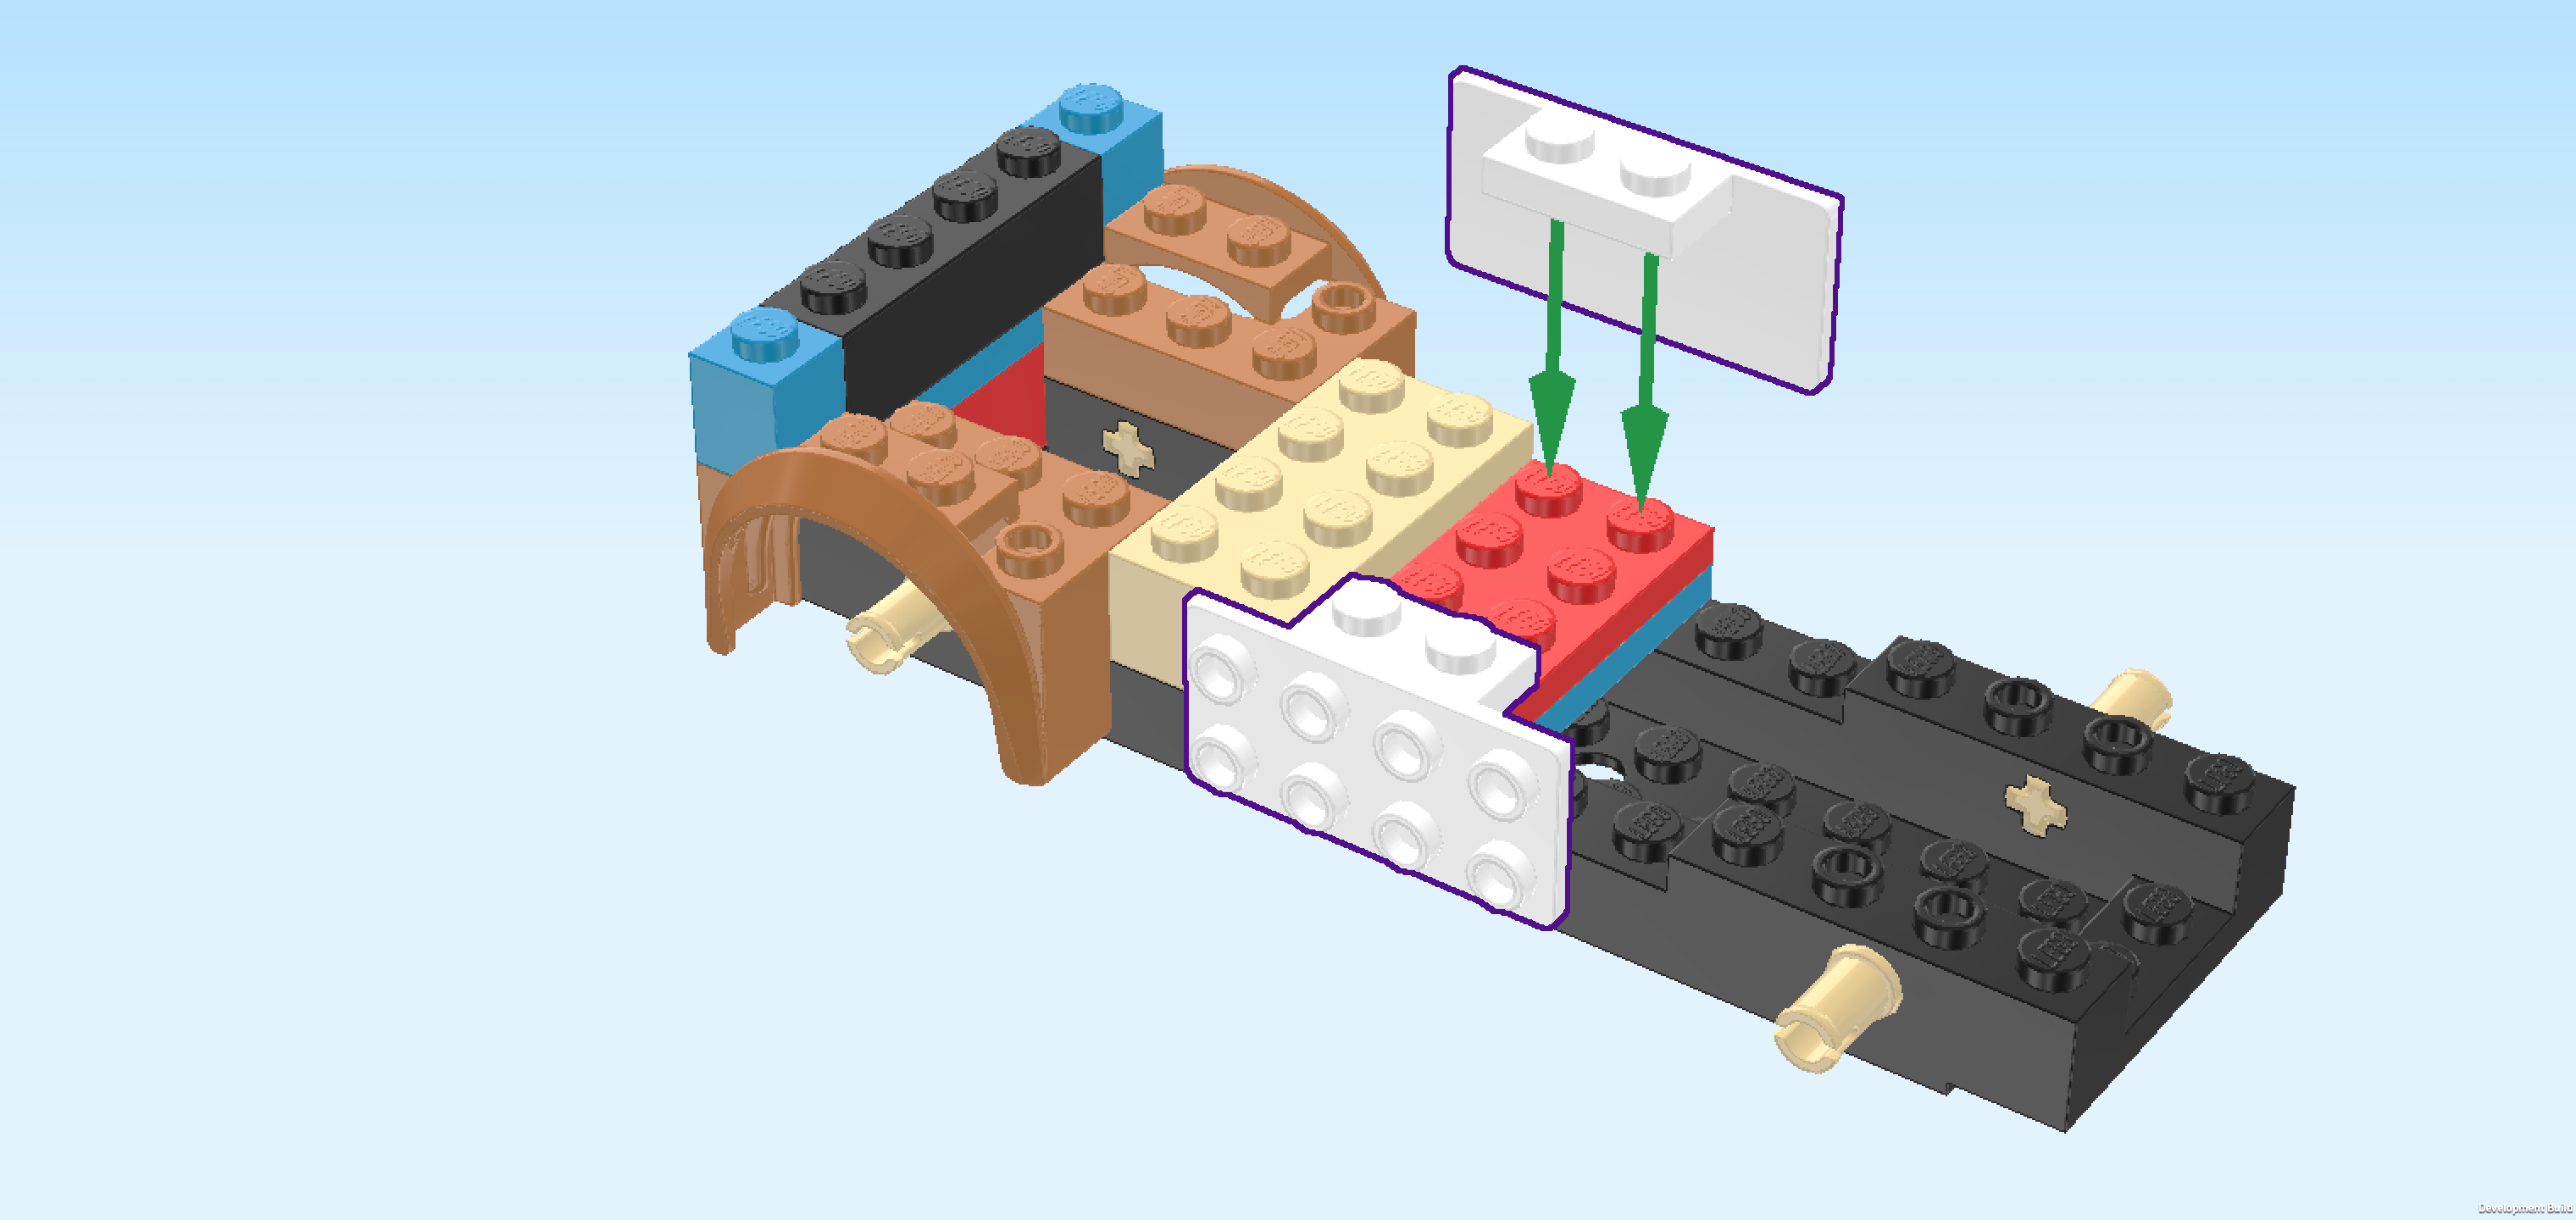
| Collect the following 6 pieces: |
| 4 white ingots 1x2, |
| and 2 medium stone grey plates 2x2 with 2 knobs. |
| Put 1 ingot 1x2 vertically on the rightmost column, starting from the back edge. |
| Put 1 plate 2x2 in front of the previous piece on the 2 rightmost columns, its 2 knobs forming a column on the right. |
| Put 1 ingot 1x2 vertically in front of the previous piece on the rightmost column. |
| Repeat symmetrically on the left with the 3 remaining pieces. |
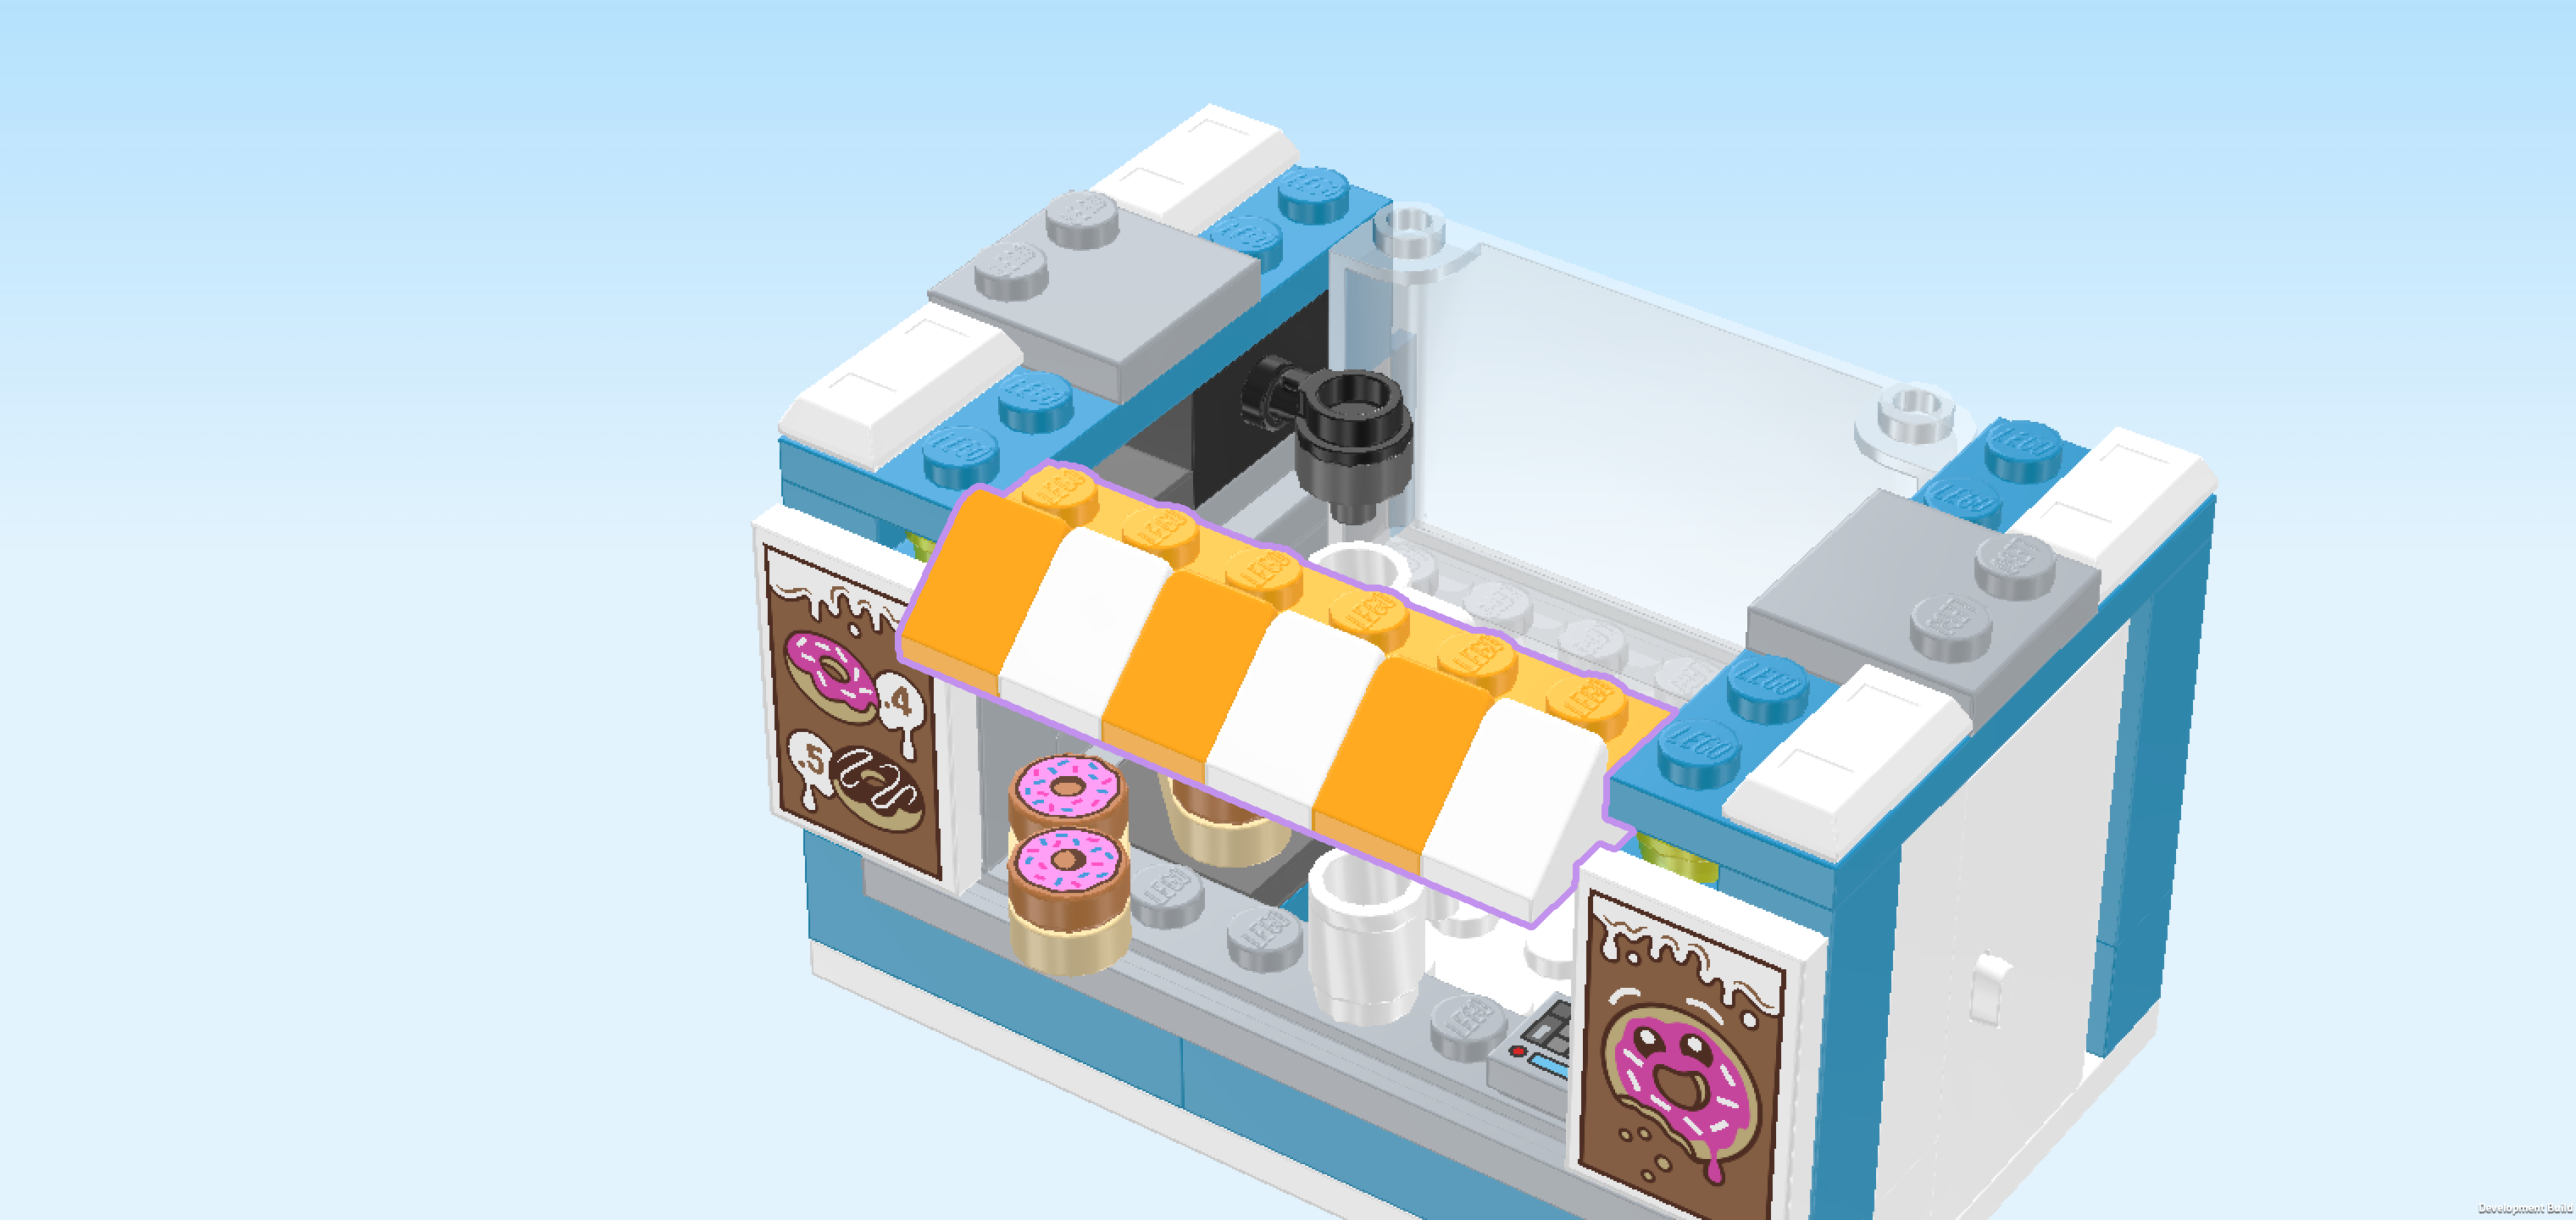
| Now, we will build the awning. |
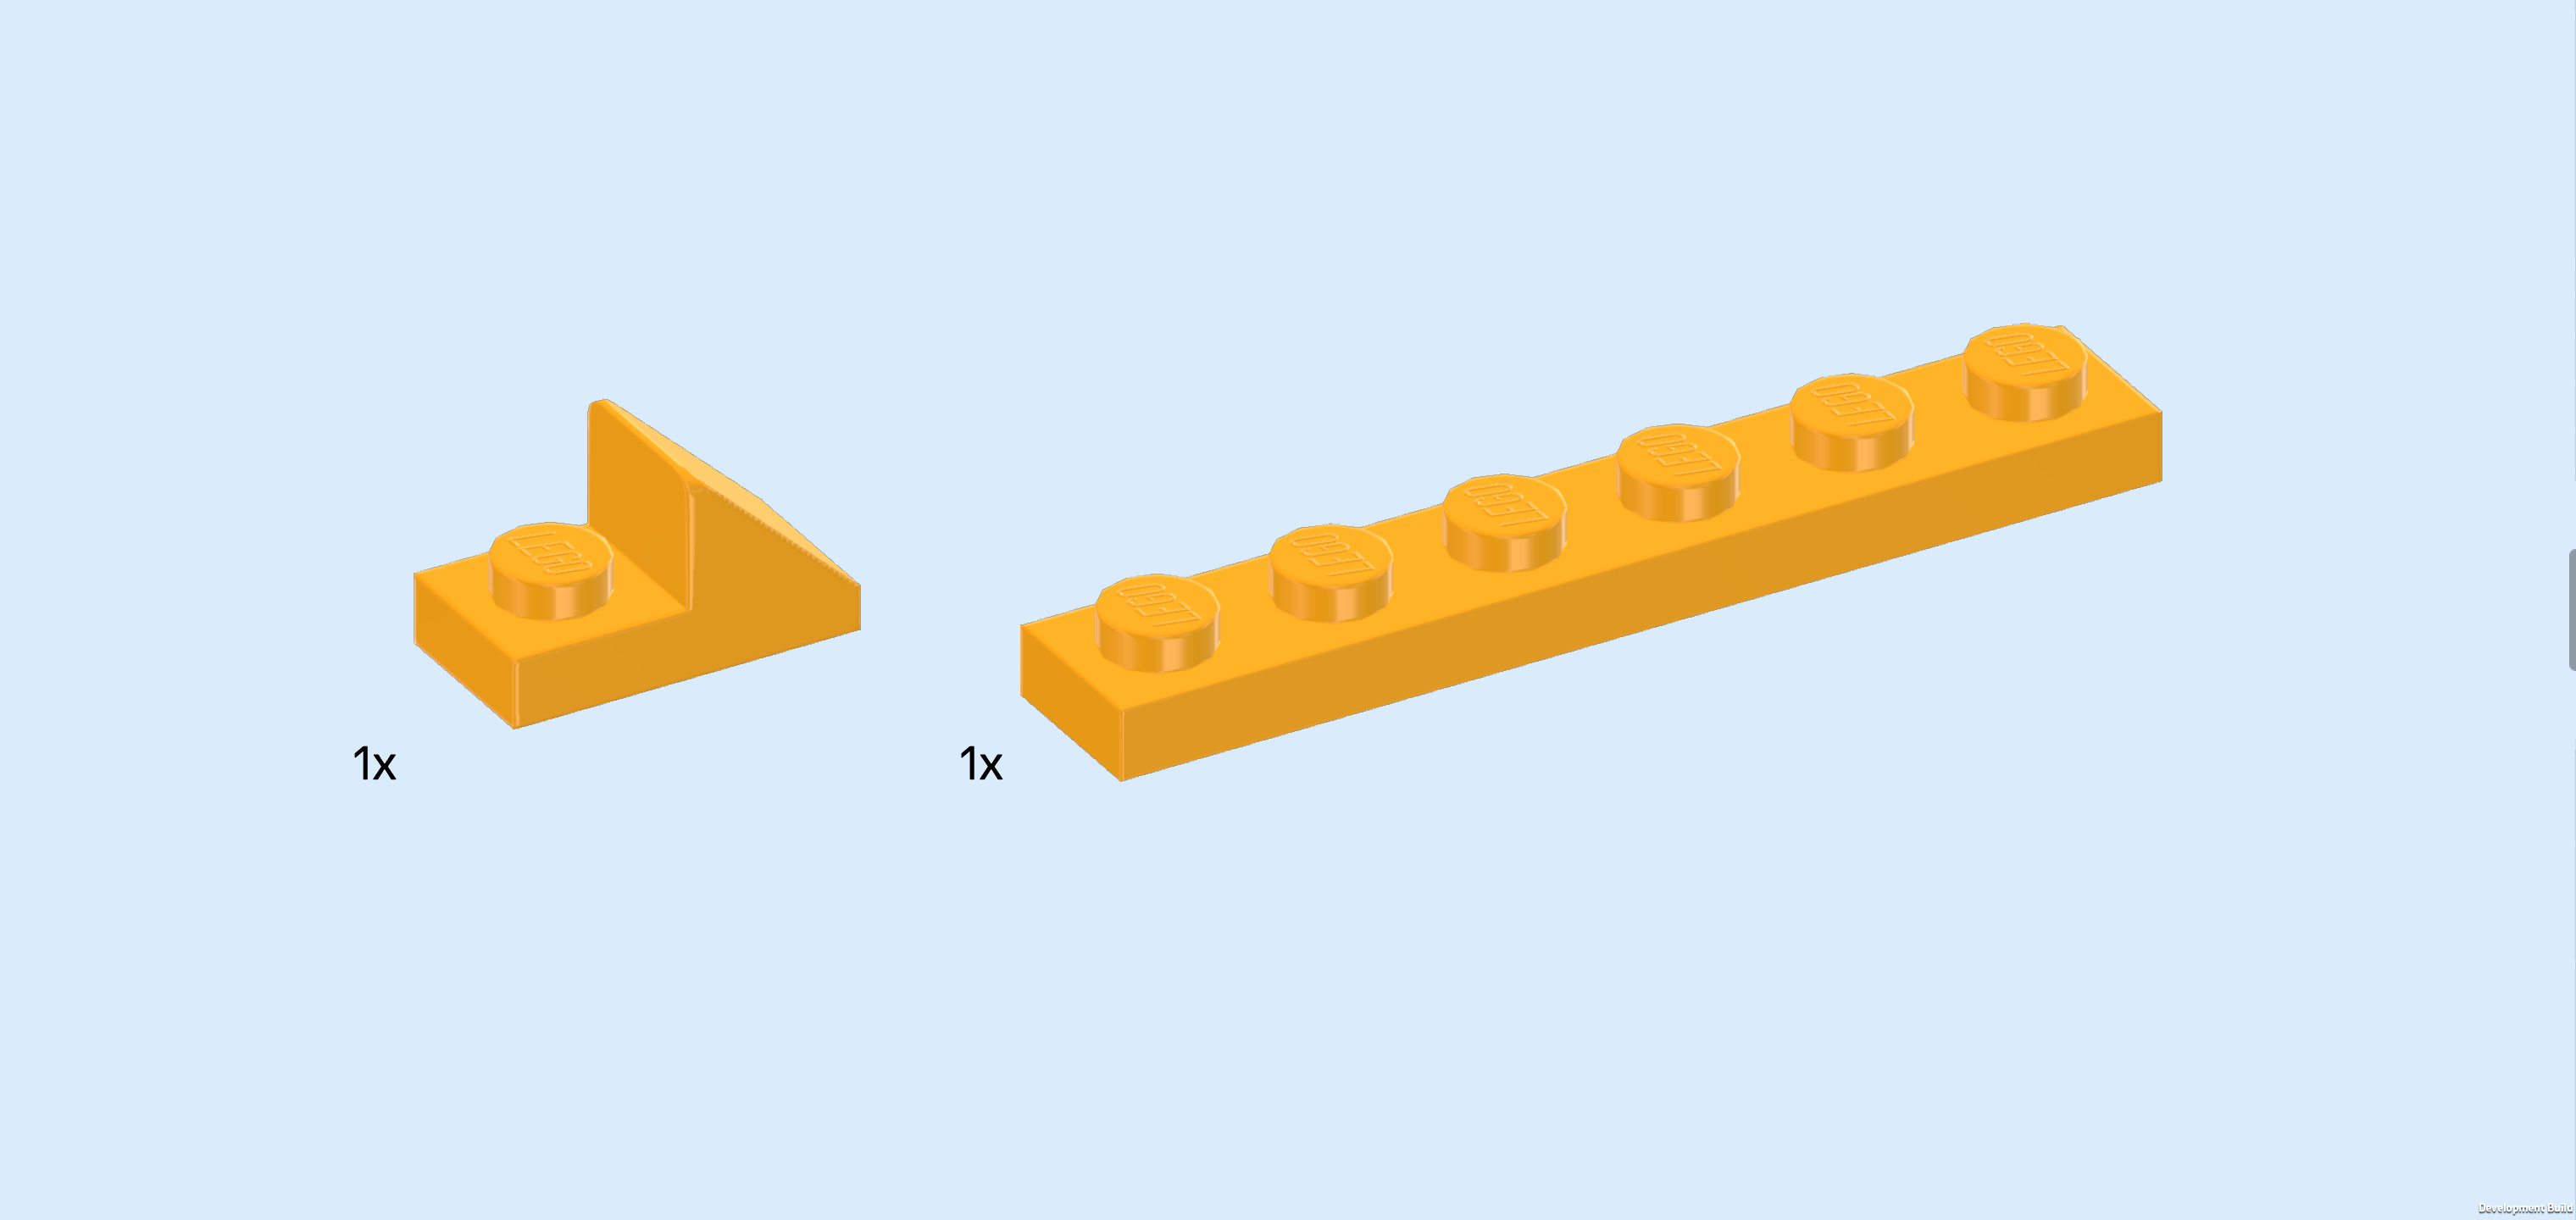
| Collect the following 2 pieces: |
| 1 yellowish orange plate 1x2 with smooth roof tile 1x1 on top, |
| and 1 yellowish orange plate 1x6. |
| Hold the plate 1x6 horizontally in your hand, and put the plate with roof tile vertically underneath its leftmost knob, roof tile portion protruding towards the front. |
| Note that the roof tile should be mounted underneath the plate 1x6, not on top of it! |
| Collect the following 5 pieces: |
| another 2 yellowish orange plates 1x2 with smooth roof tile 1x1 on top, |
| and 3 white plates 1x2 with smooth roof tile 1x1 on top. |
| We will mount them in the same orientation as the identical piece from the previous step, alternating the 2 colors. So now, put 1 white plate with roof tile vertically to the right of the previous piece, again underneath the plate 1x6, roof tile portion protruding to the front. |
| Put 1 yellowish orange plate vertically to the right in the same orientation. |
| Put 1 white plate vertically to the right in the same orientation. |
| Put the remaining yellowish orange plate vertically to the right in the same orientation. |
| Put the remaining white plate vertically to the right in the same orientation. |
| The awning is finished! Great job! Mount it horizontally centered on the frontmost row of the structure, front half with roof tiles overhanging to the front. |
| Find 2 white flat tiles 1x8. |
| Put 1 horizontally centered on the frontmost row, this means the row directly behind the awning roof tiles. |
| Repeat symmetrically at the back. |
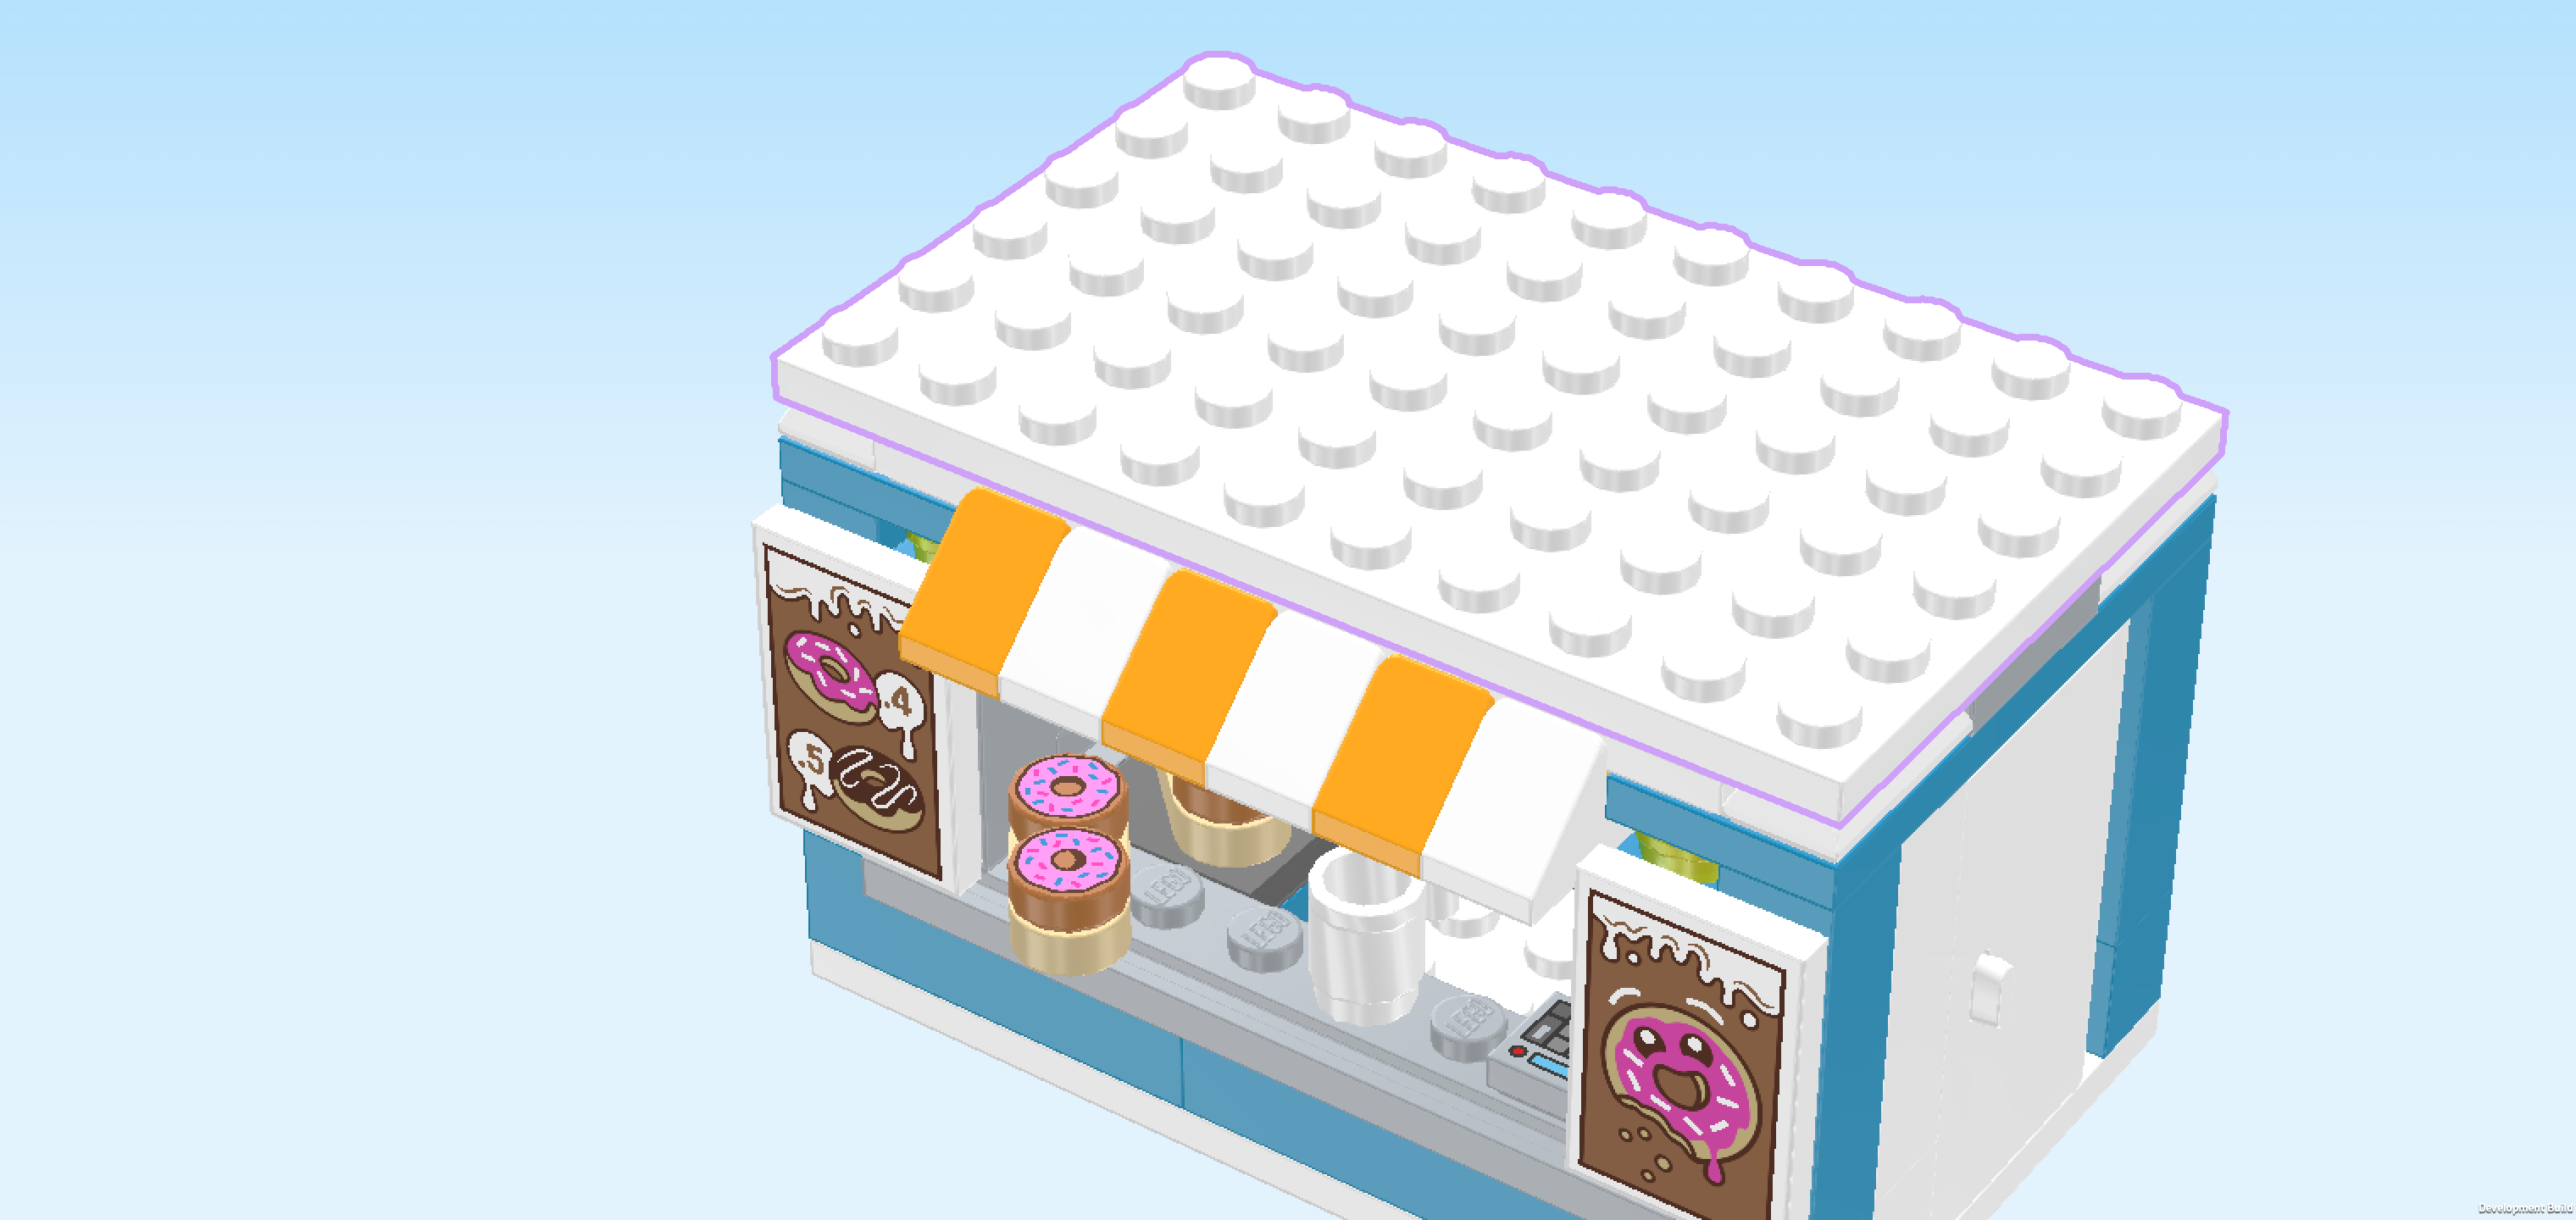
| Find 1 white plate 6x10. |
| Put it horizontally centered on top of the kiosk structure. Since this plate only connects to 4 knobs in total, you will later be able to take it off easily to access the kiosk interior. But for now, leave it on the kiosk as we will continue building here. |
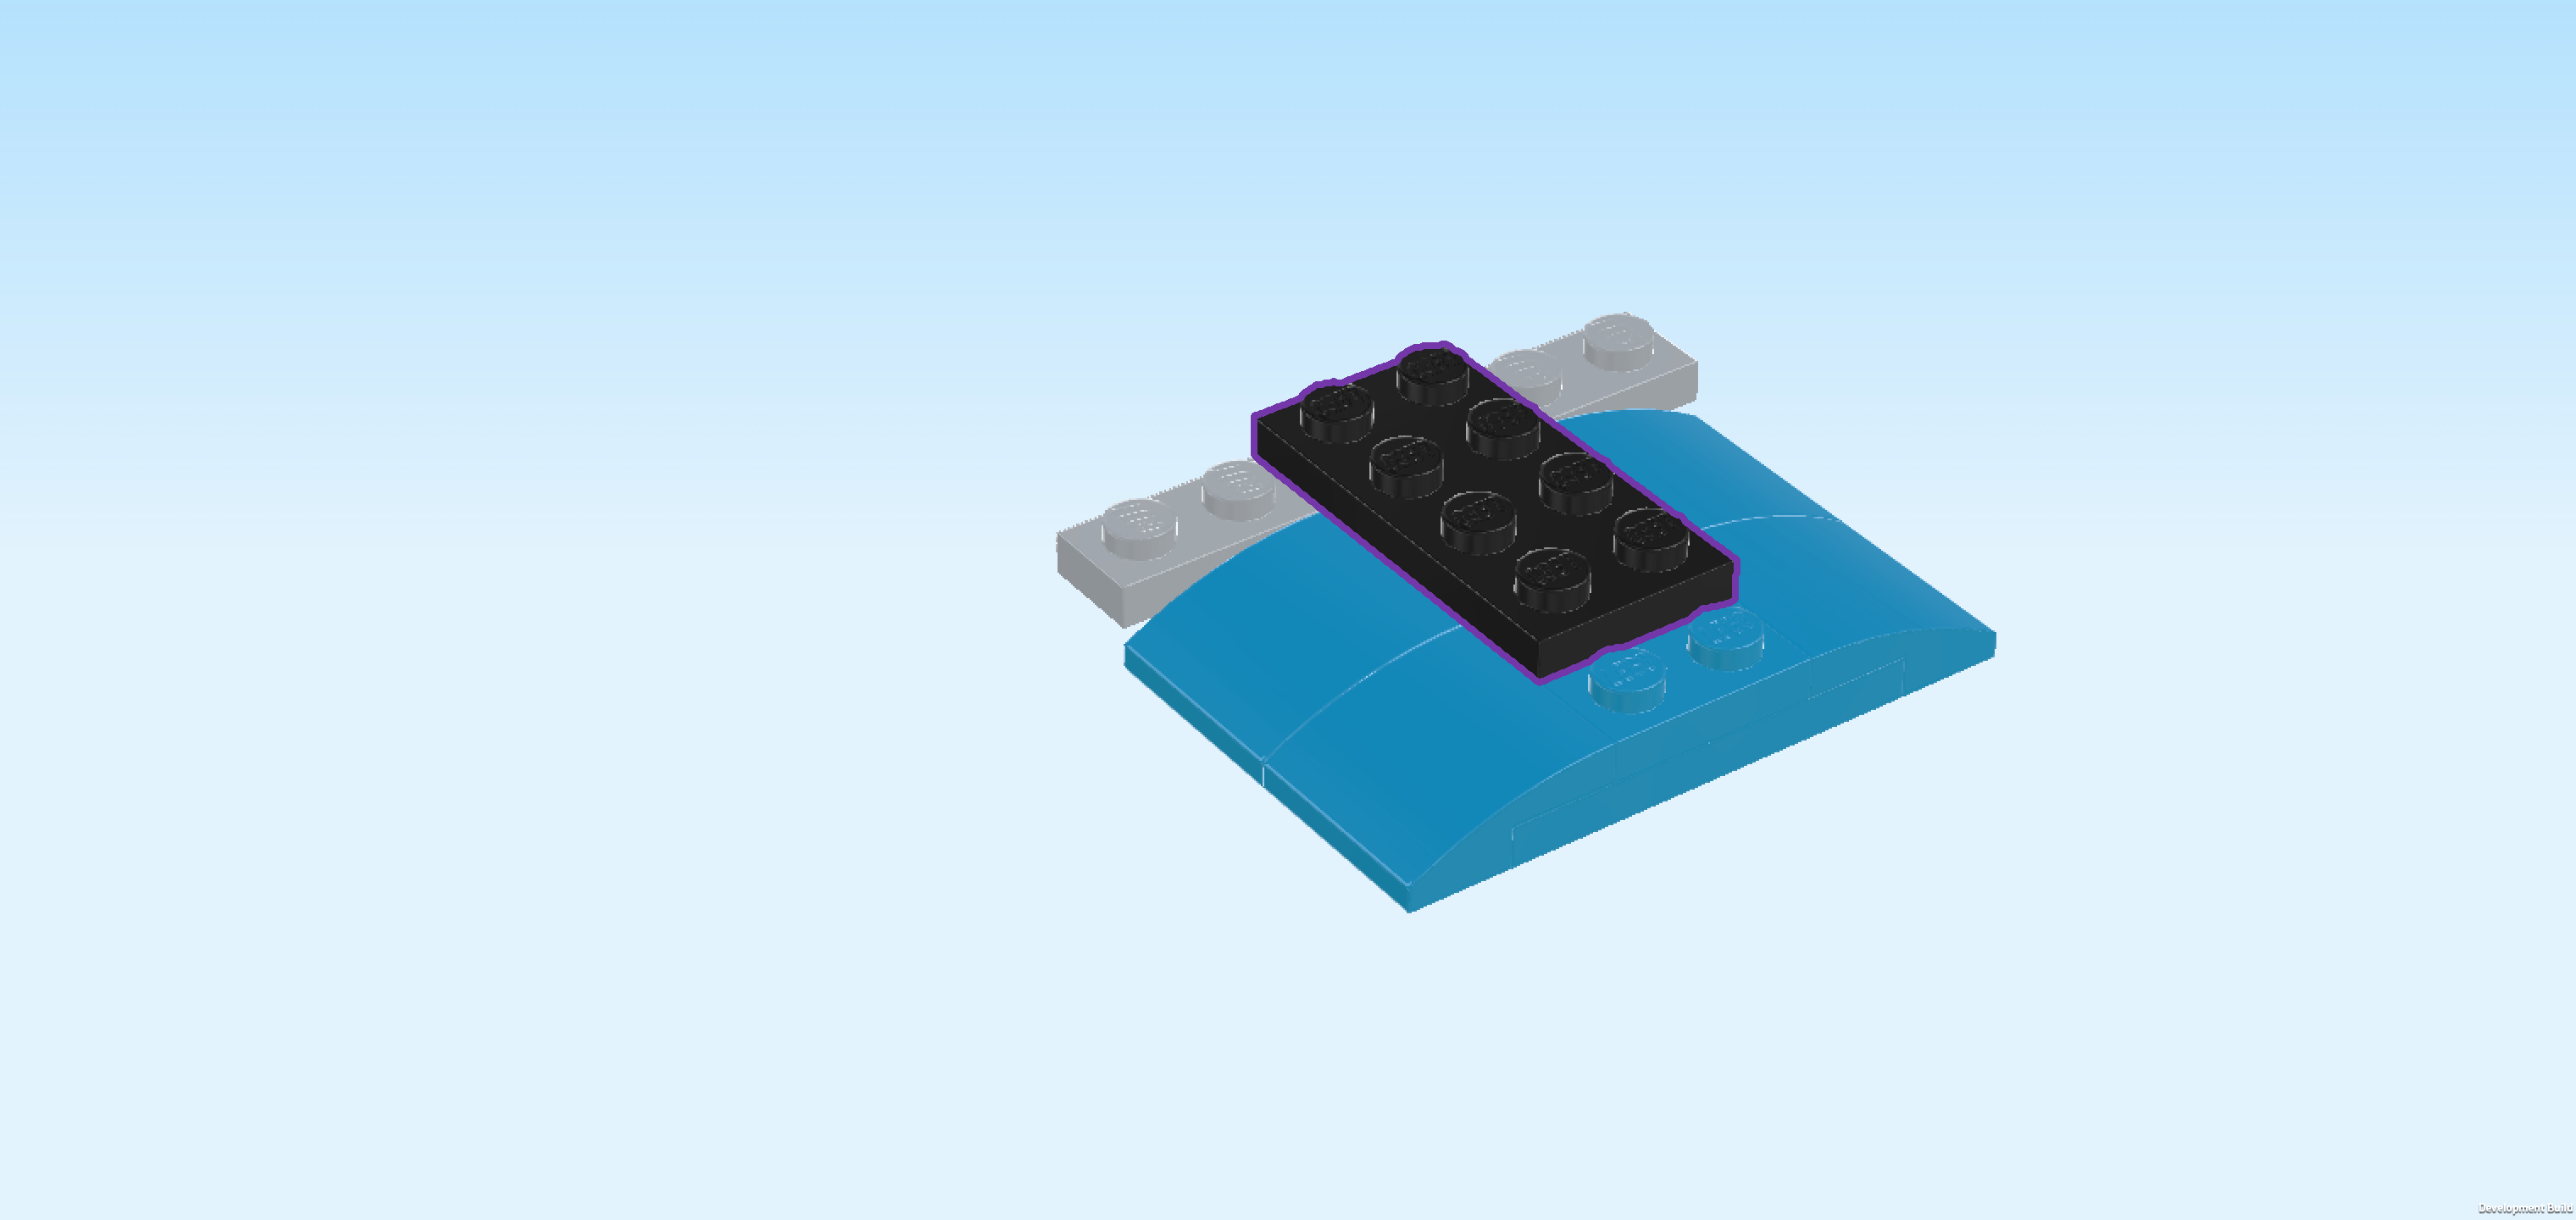
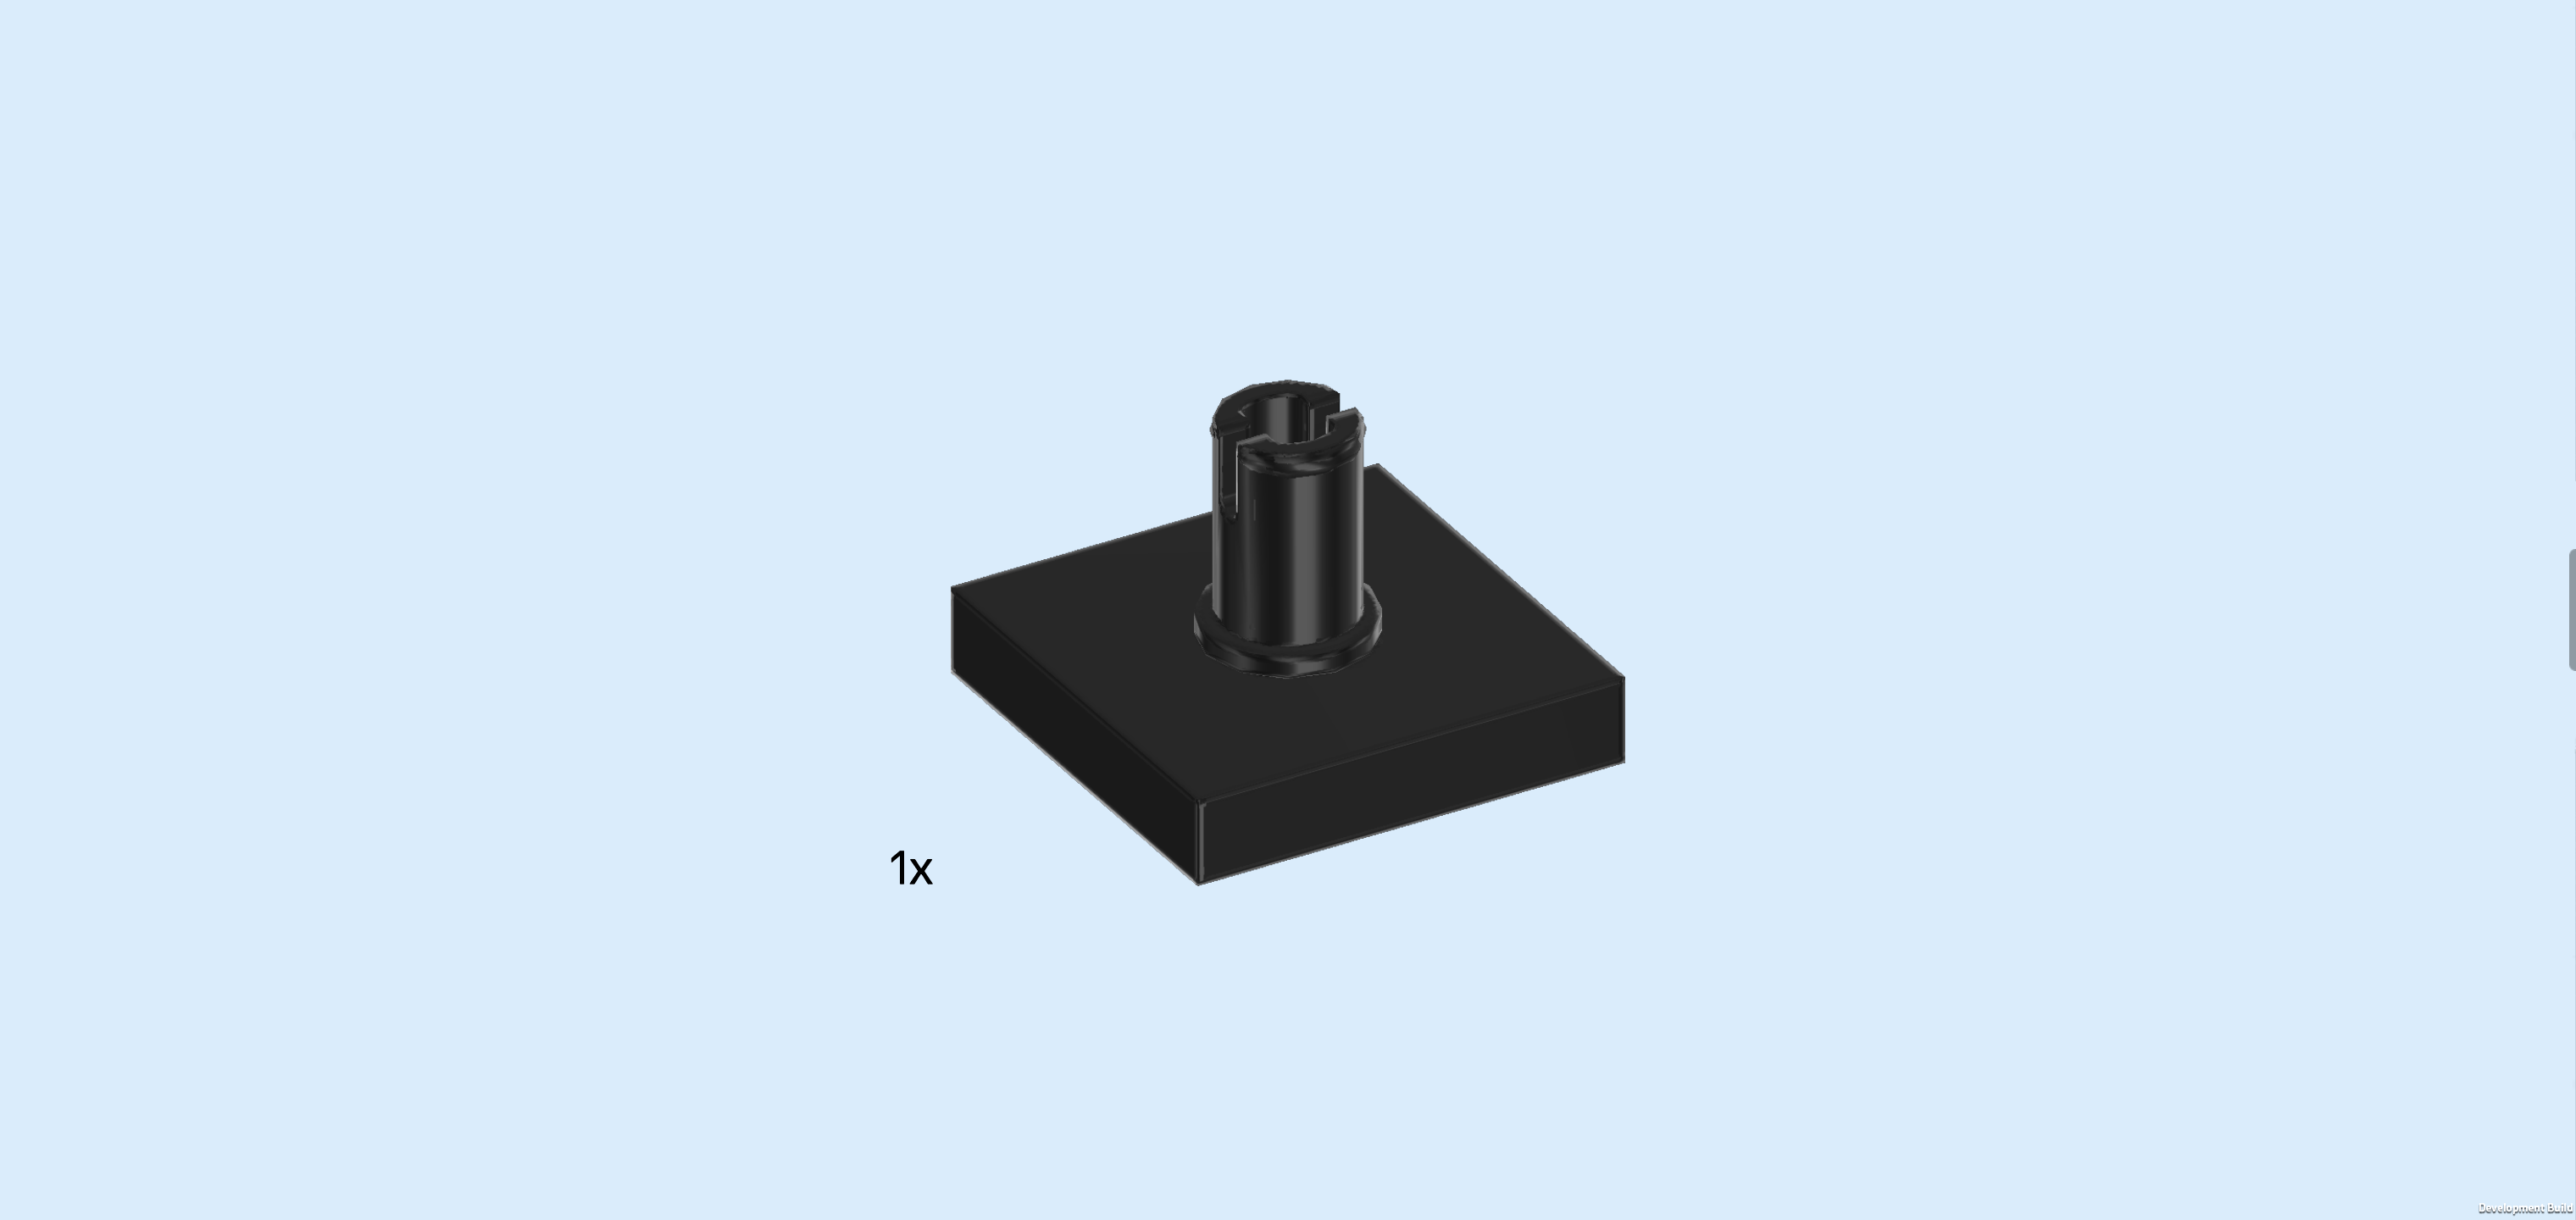
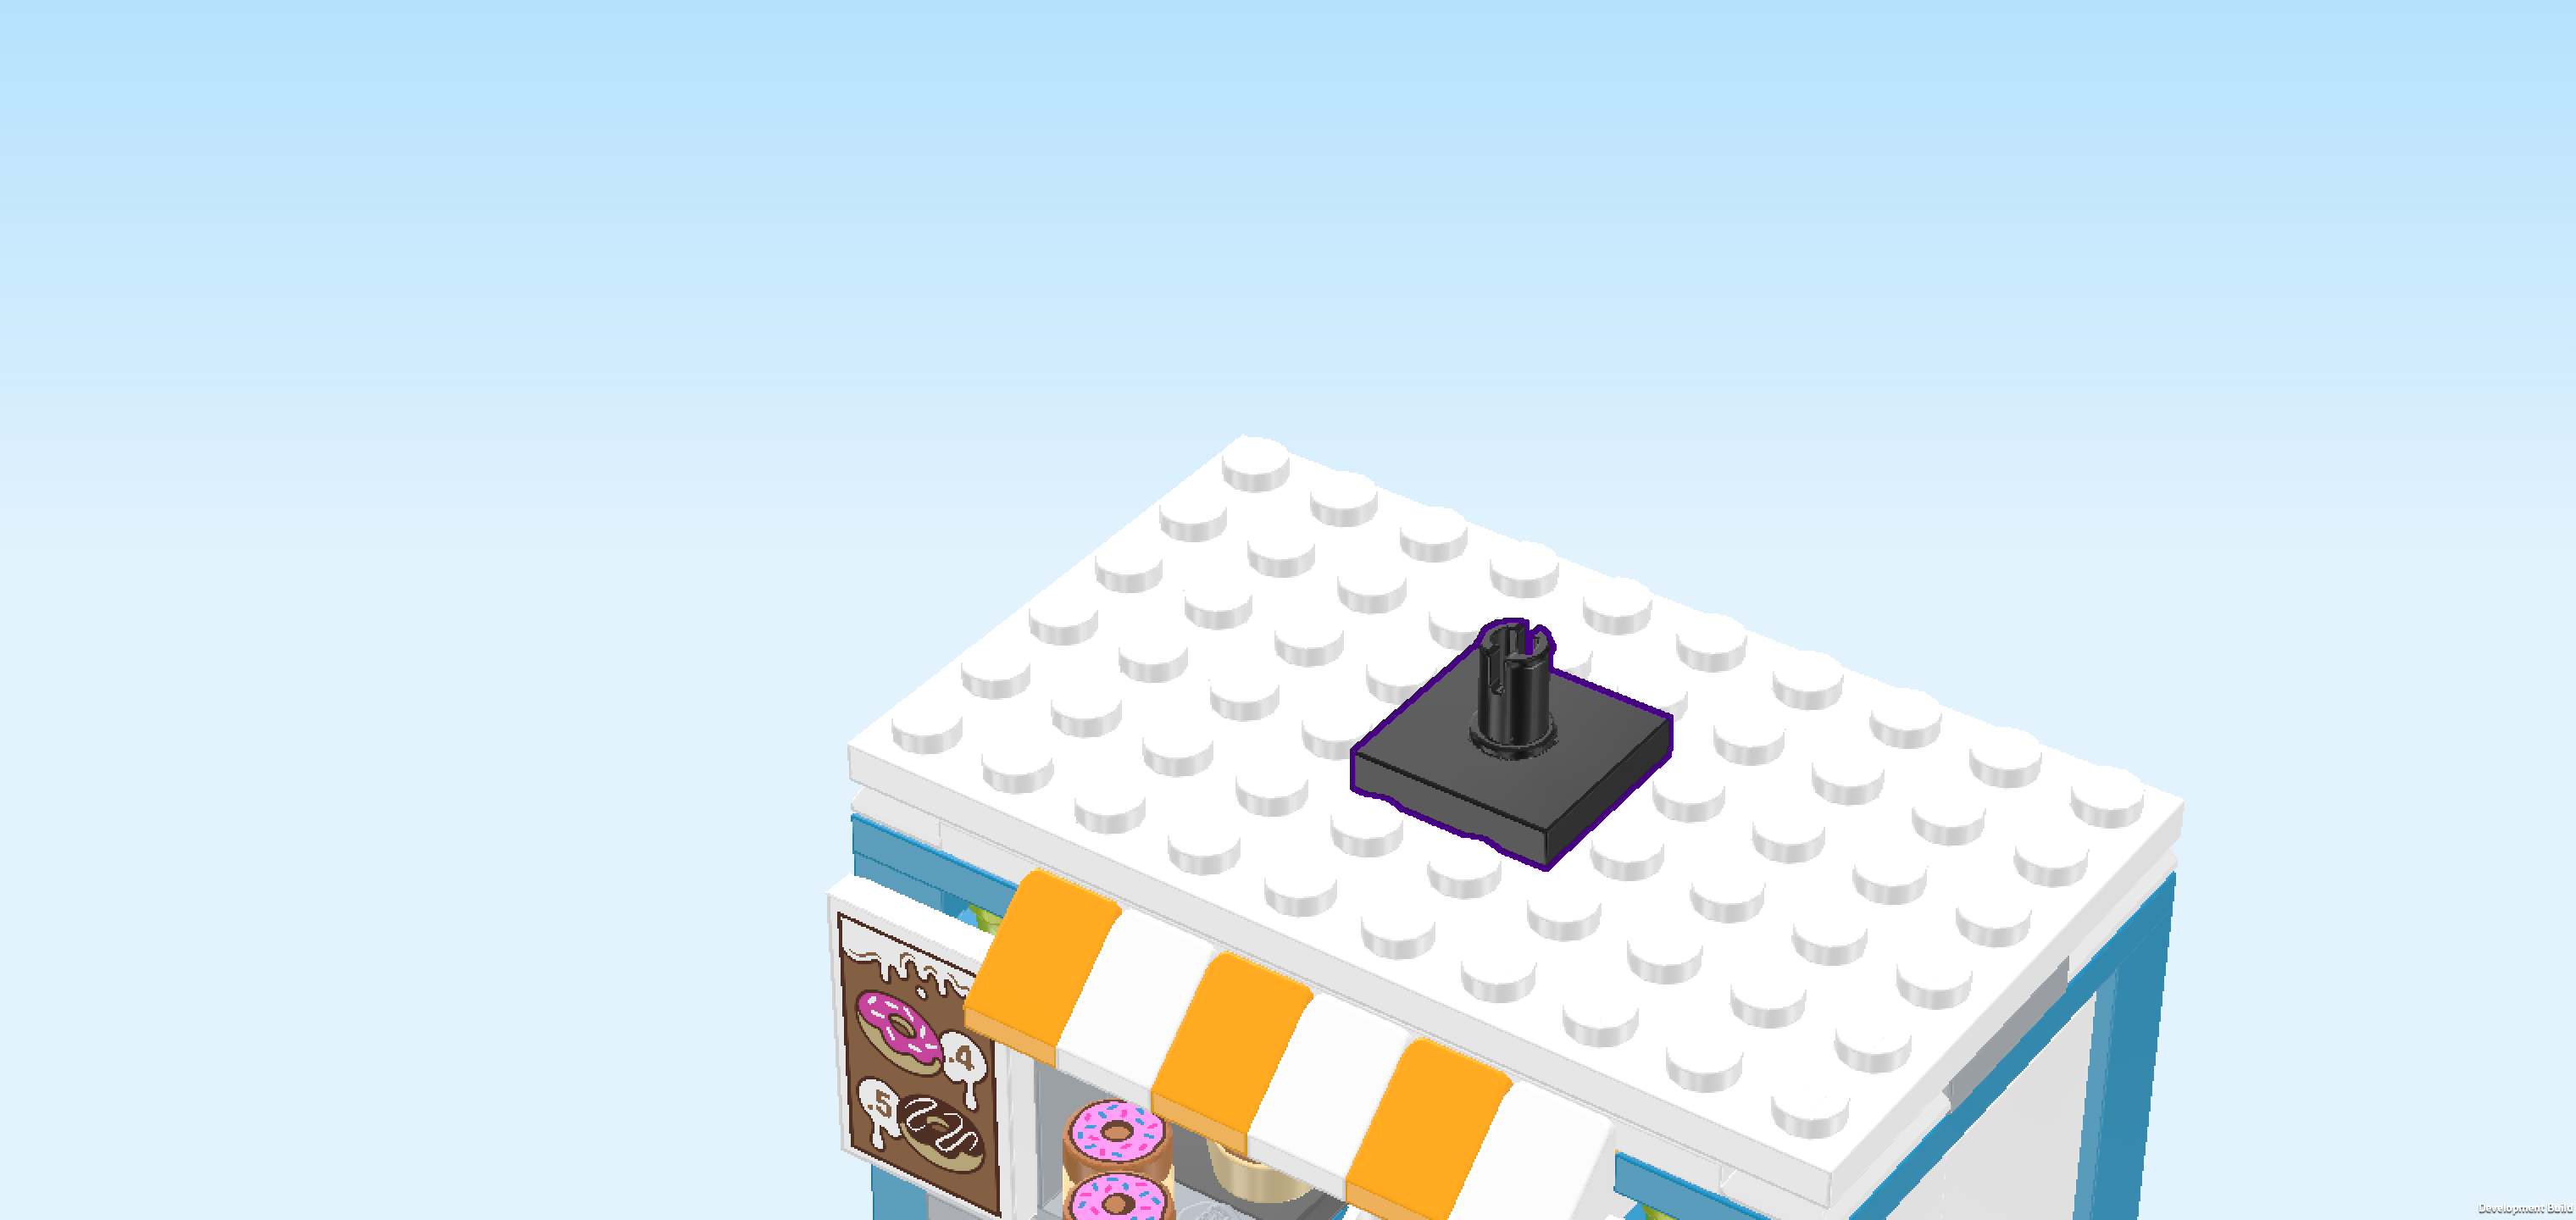
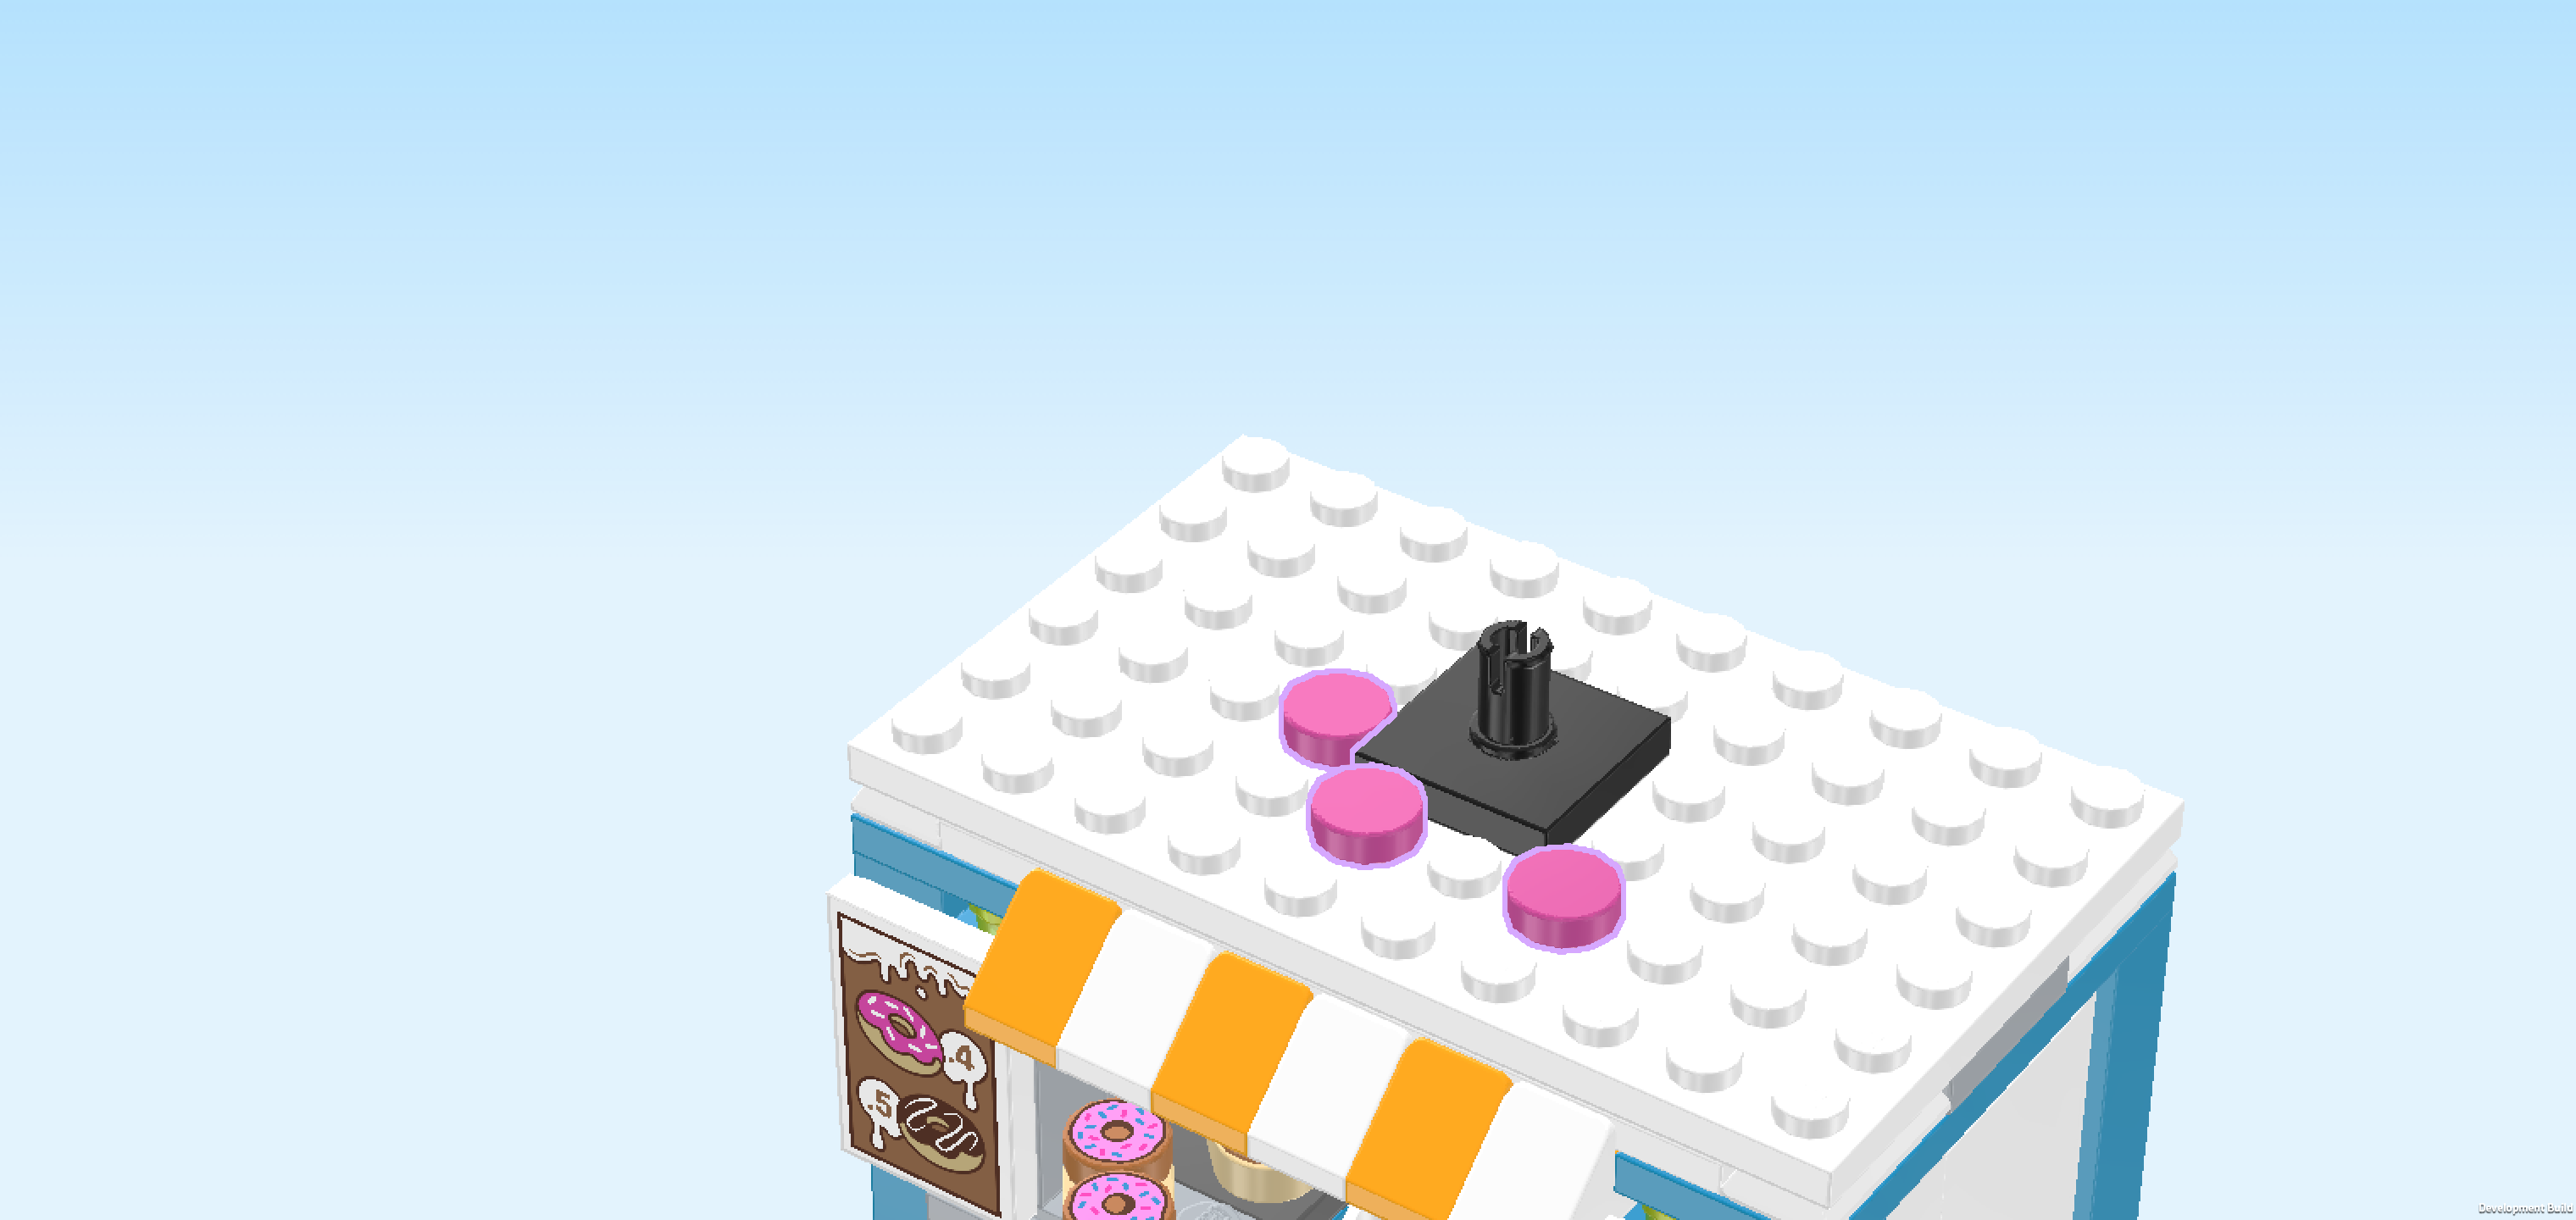
| Find 1 black plate 2x2 with vertical top connector. |
| Put it on the 4 center knobs of the previous piece. This means it will have 2 empty rows in front of it and 2 empty rows behind it, as well as 4 empty columns on the right and left side each. |
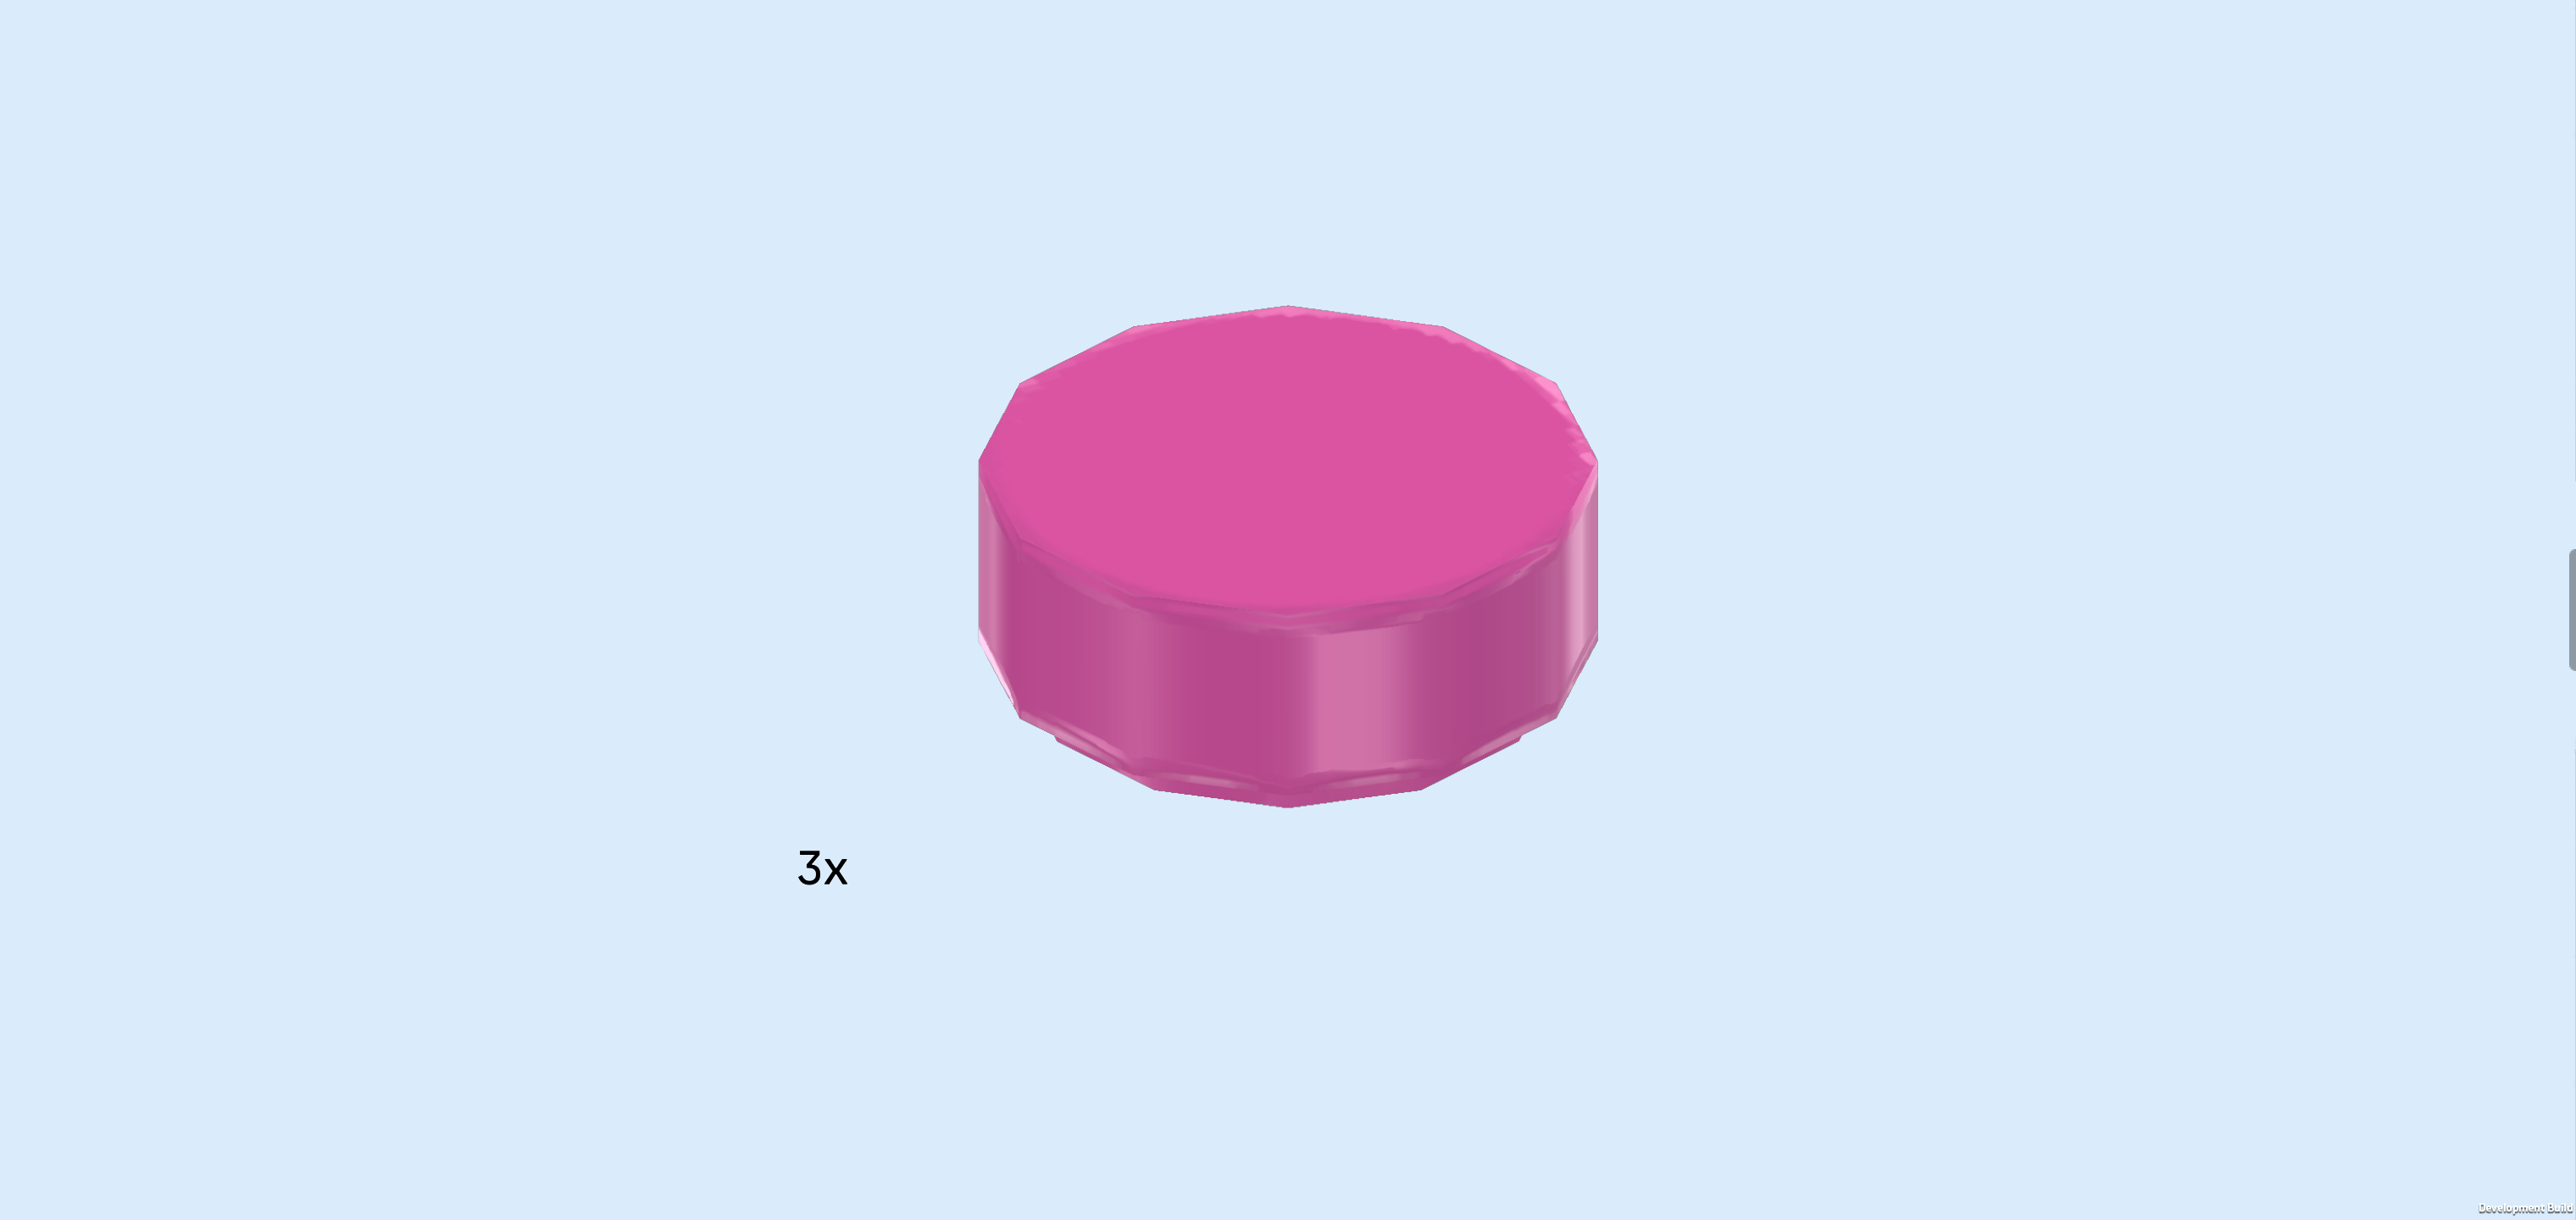
| Find 3 bright purple round tiles 1x1. |
| Put 1 to the left of the previous piece's front half. |
| Put 1 in front of the left half of the plate with top connector. |
| Skip one knob to the right and then mount the third round tile on the same row as the second one. |
| These are little droplets of donut icing! |
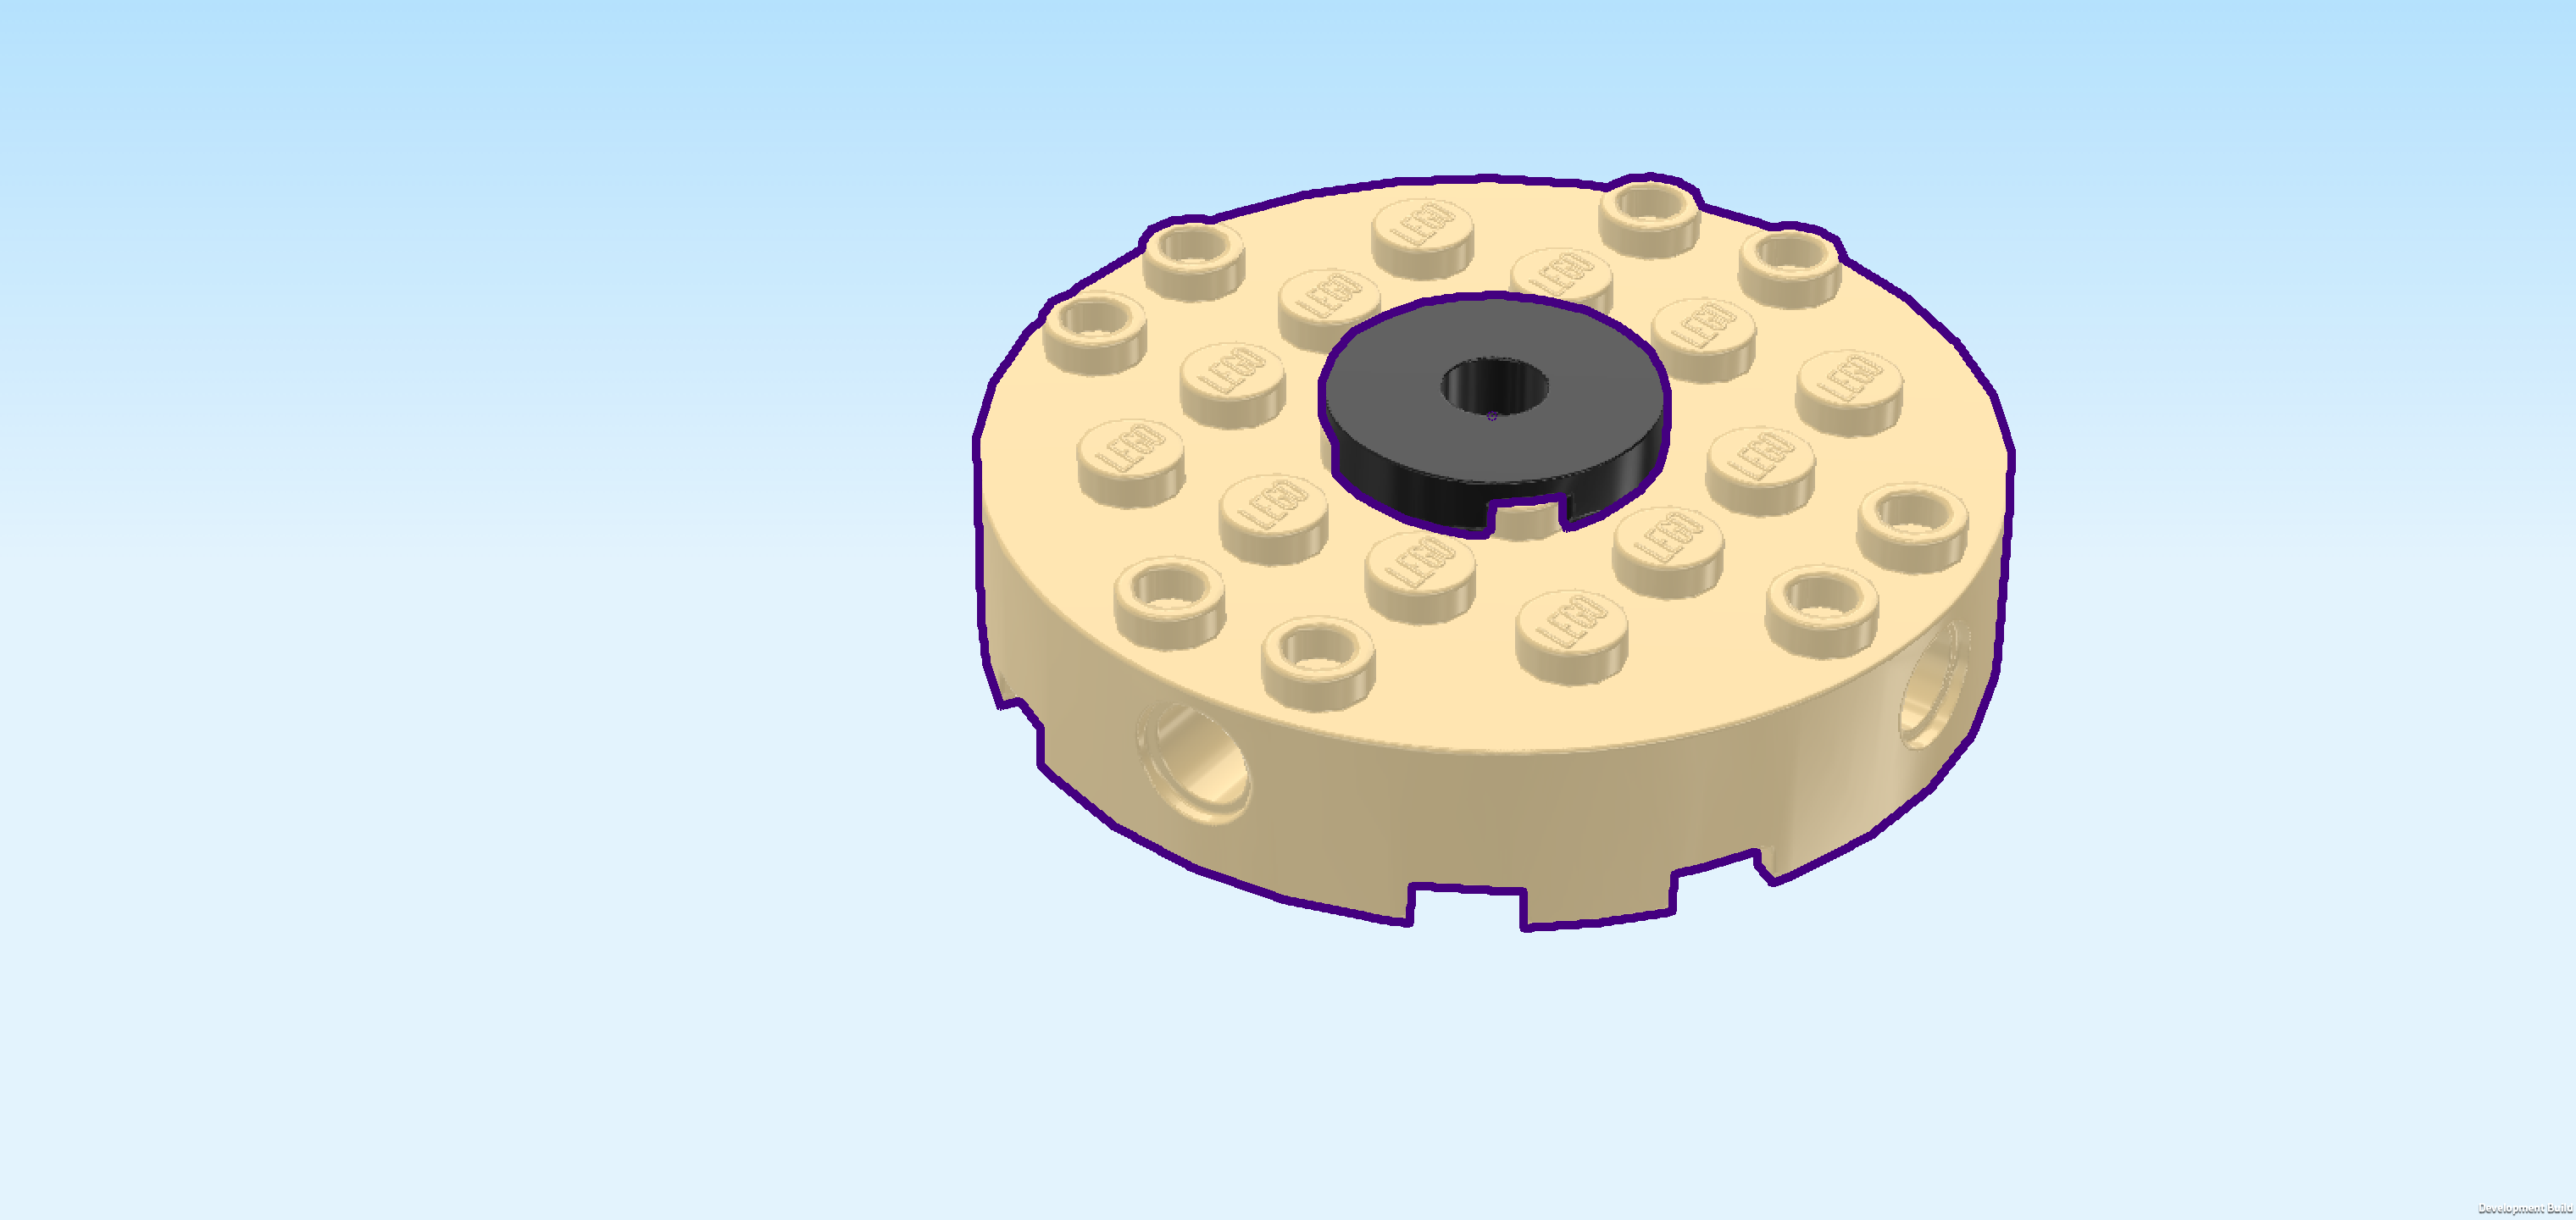
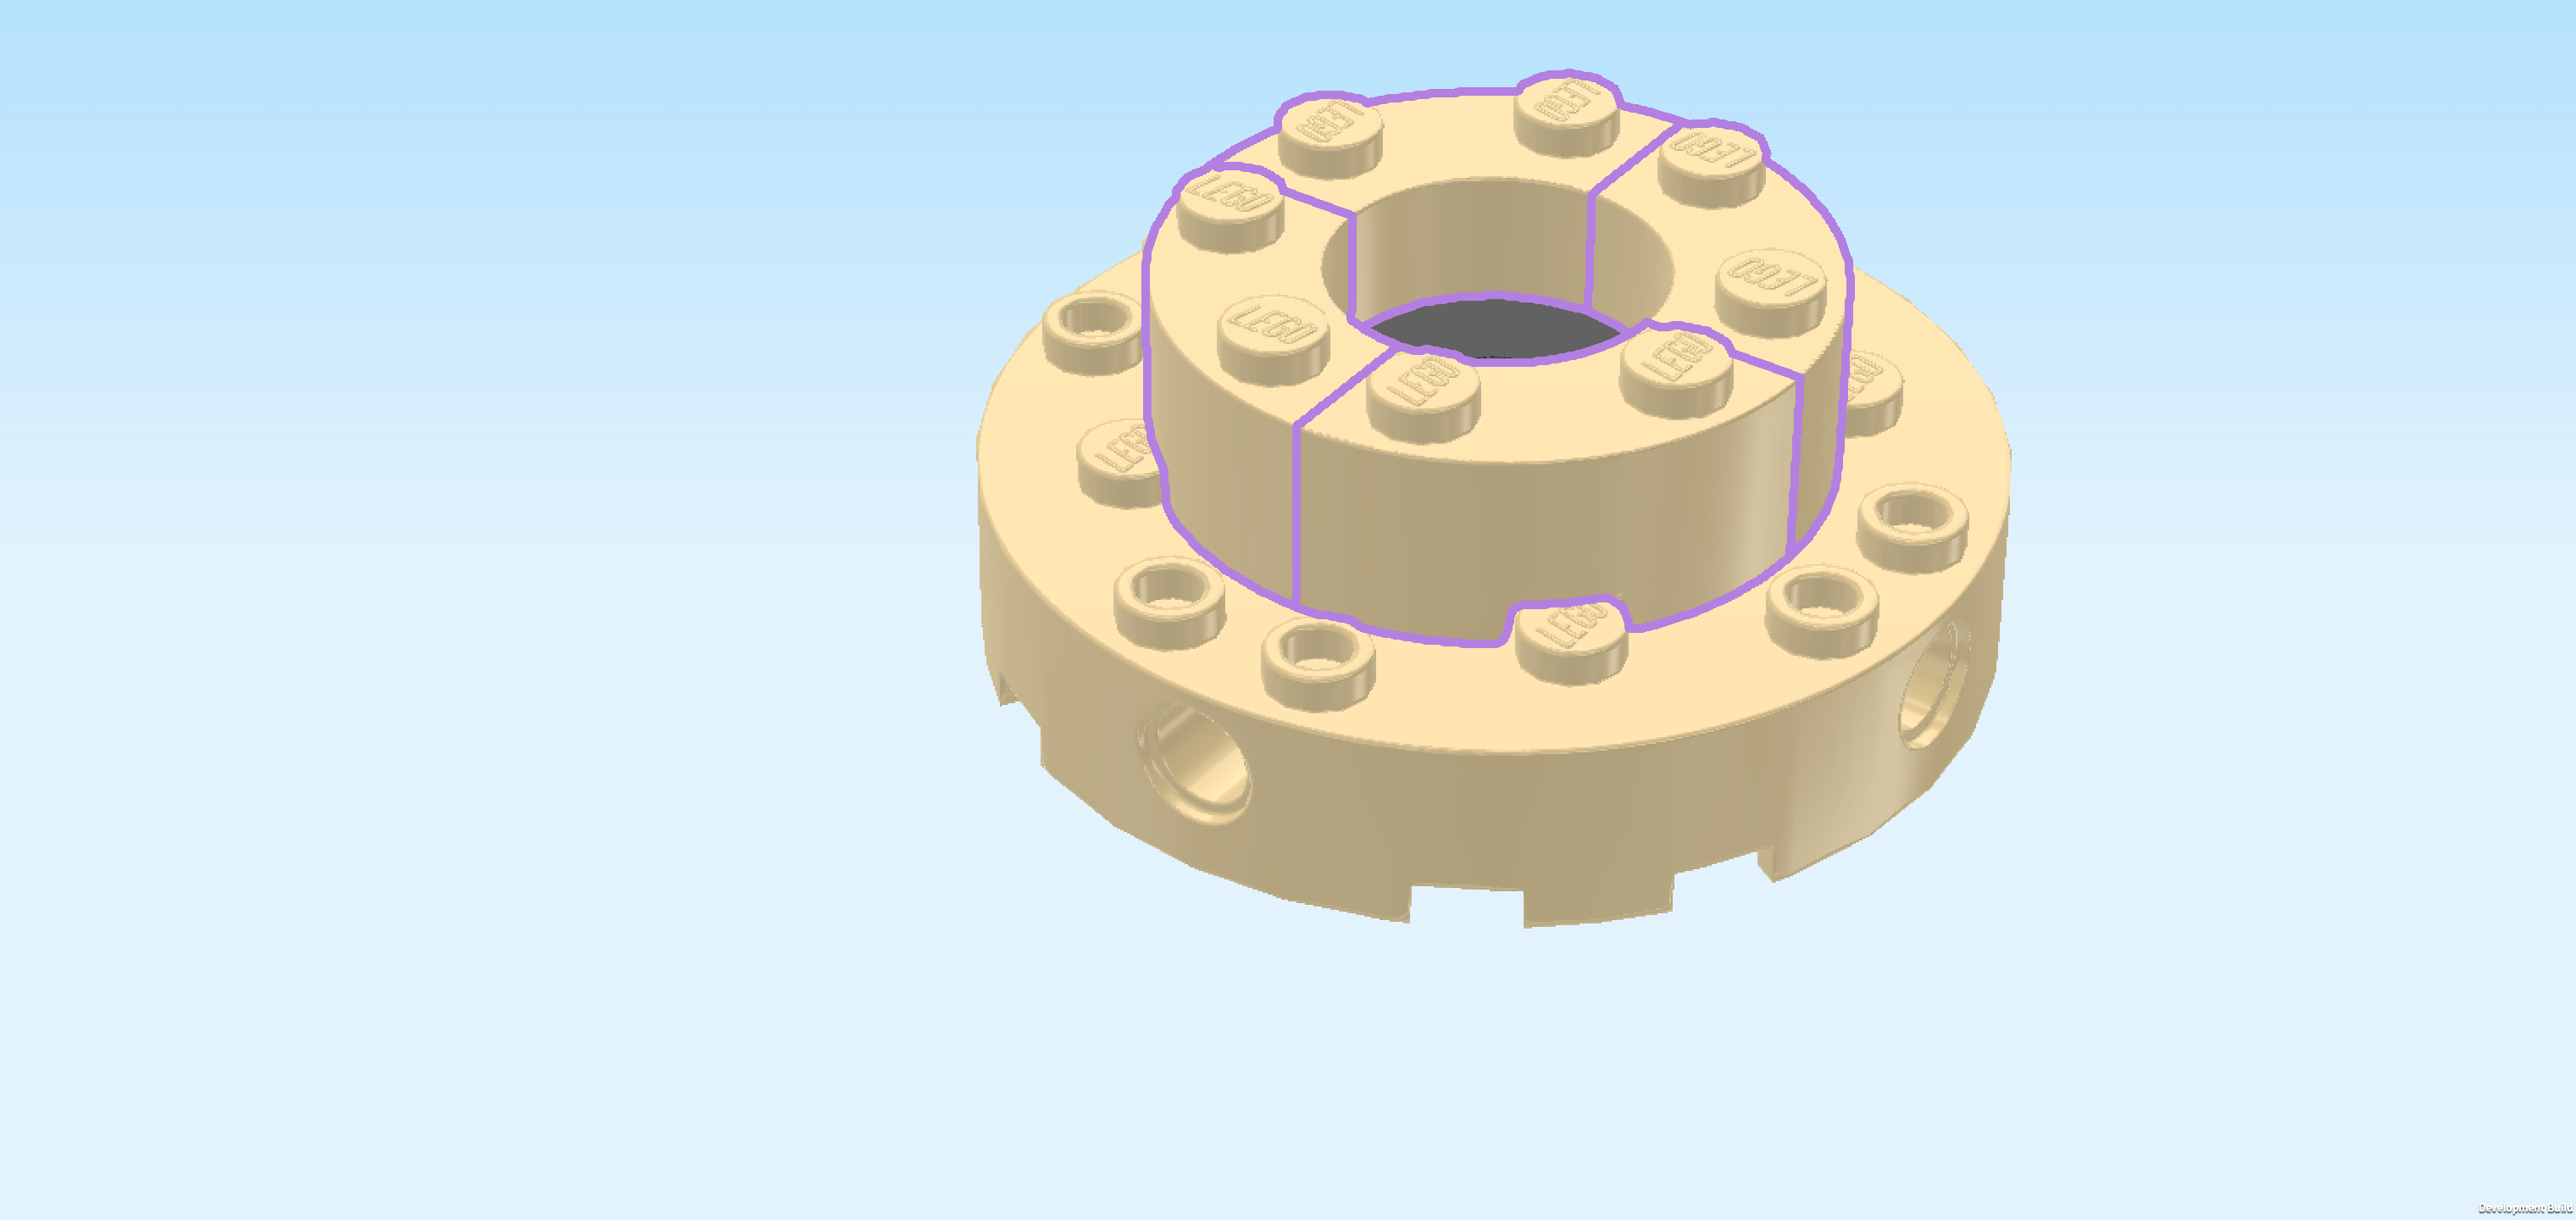
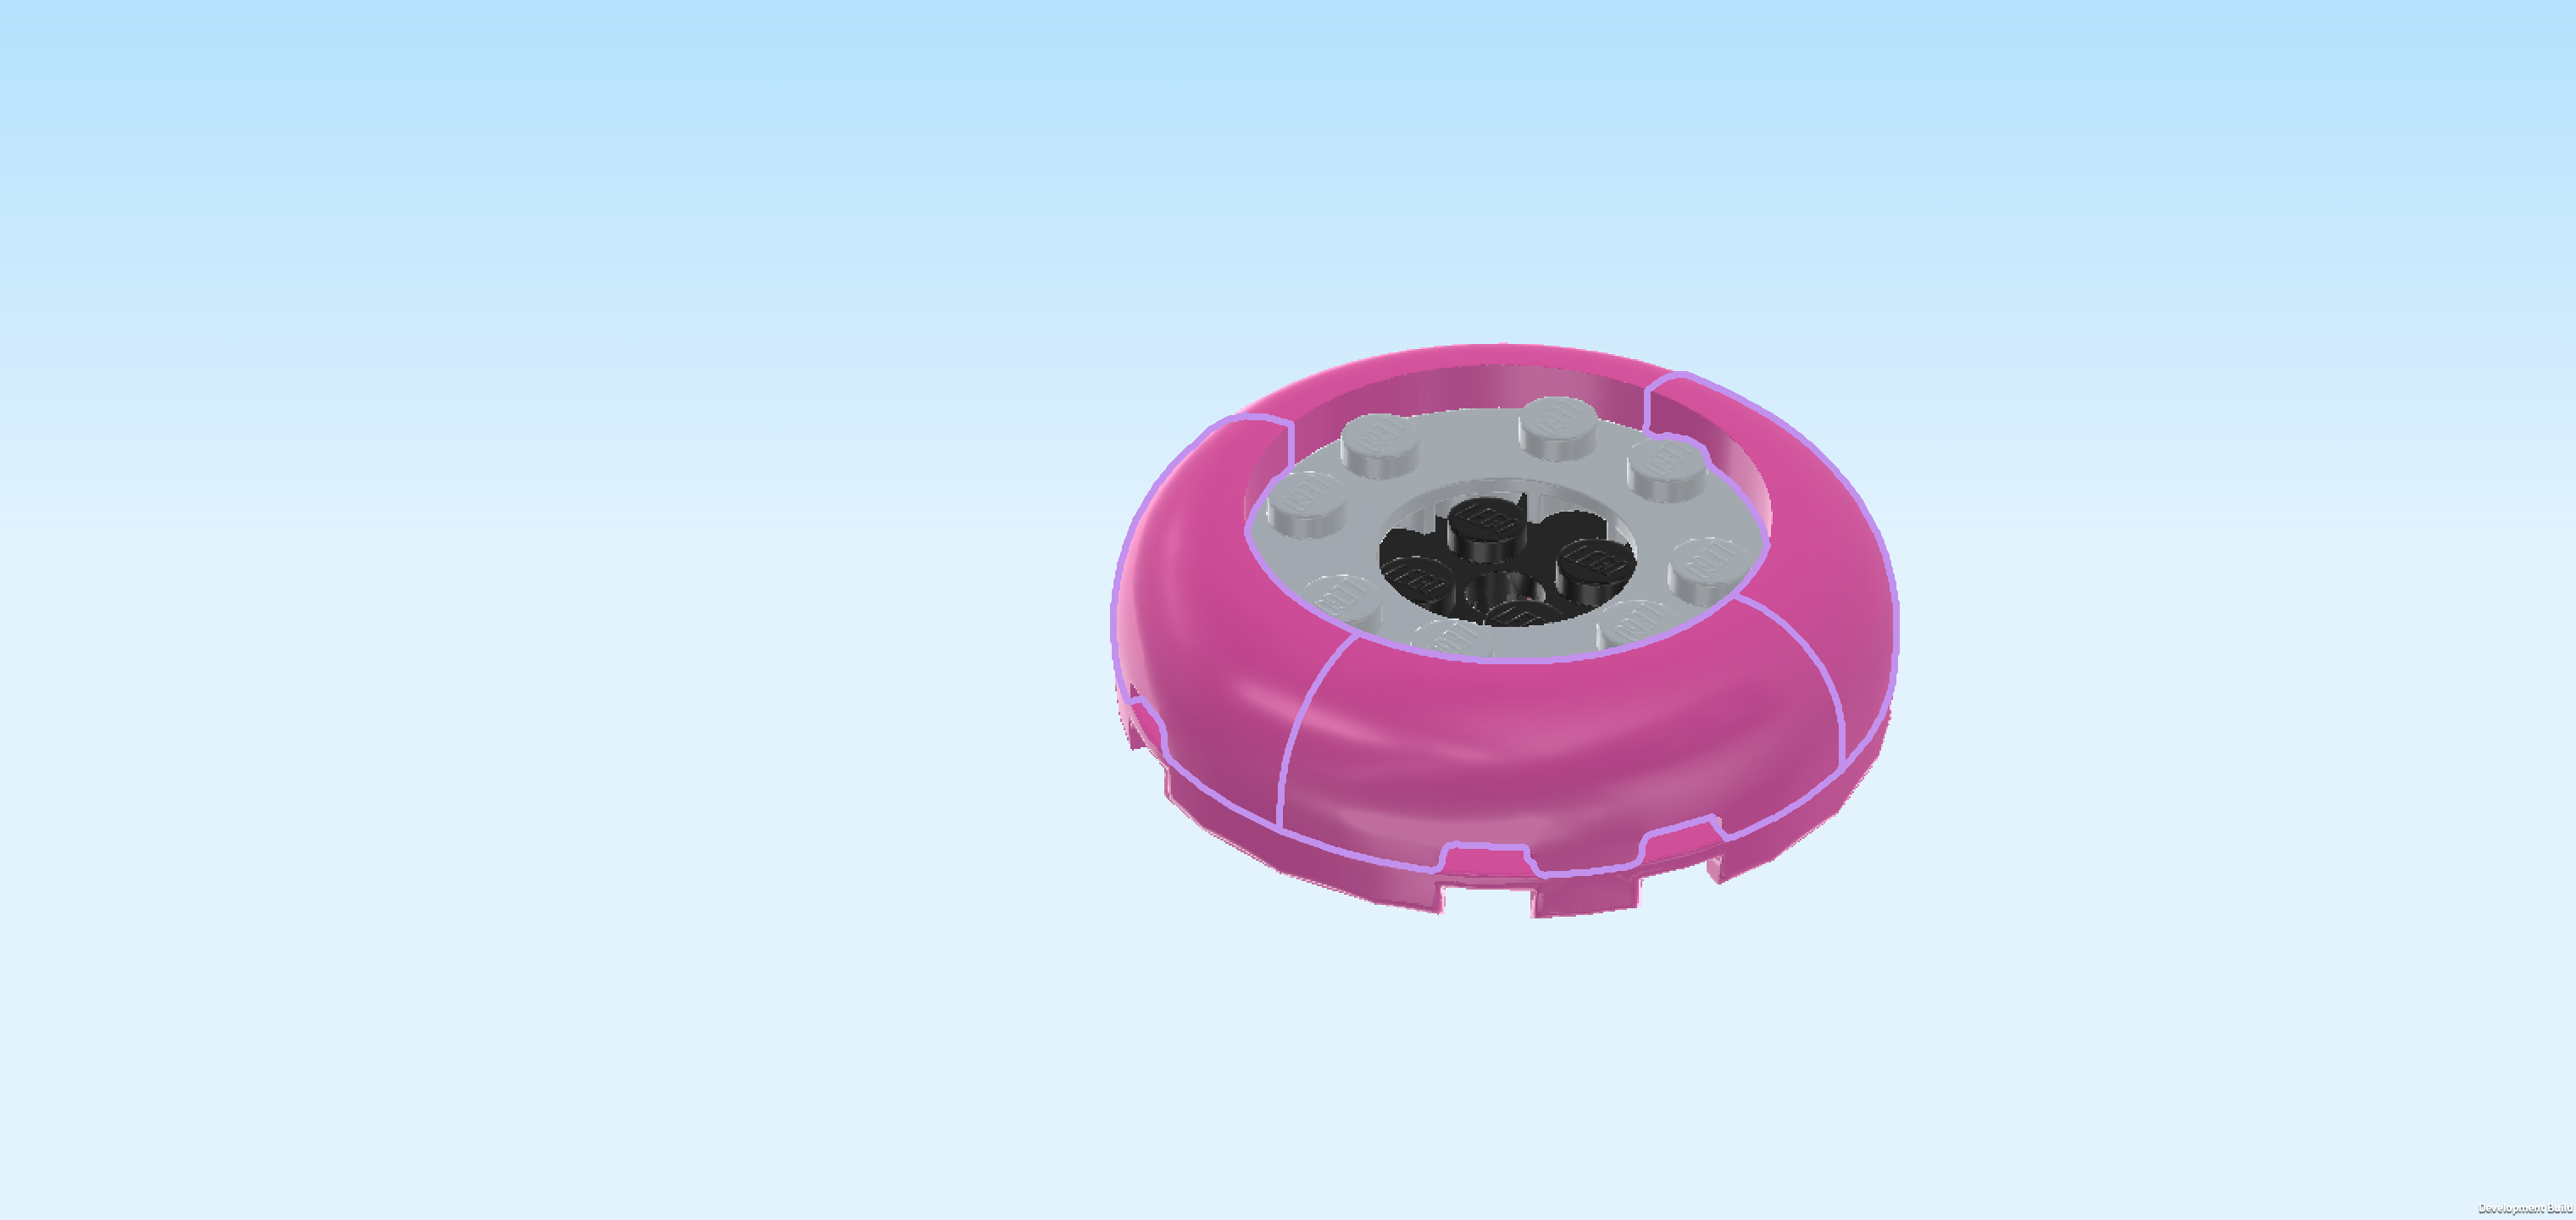
| Next, we will build the base of the spinning roof donut. |
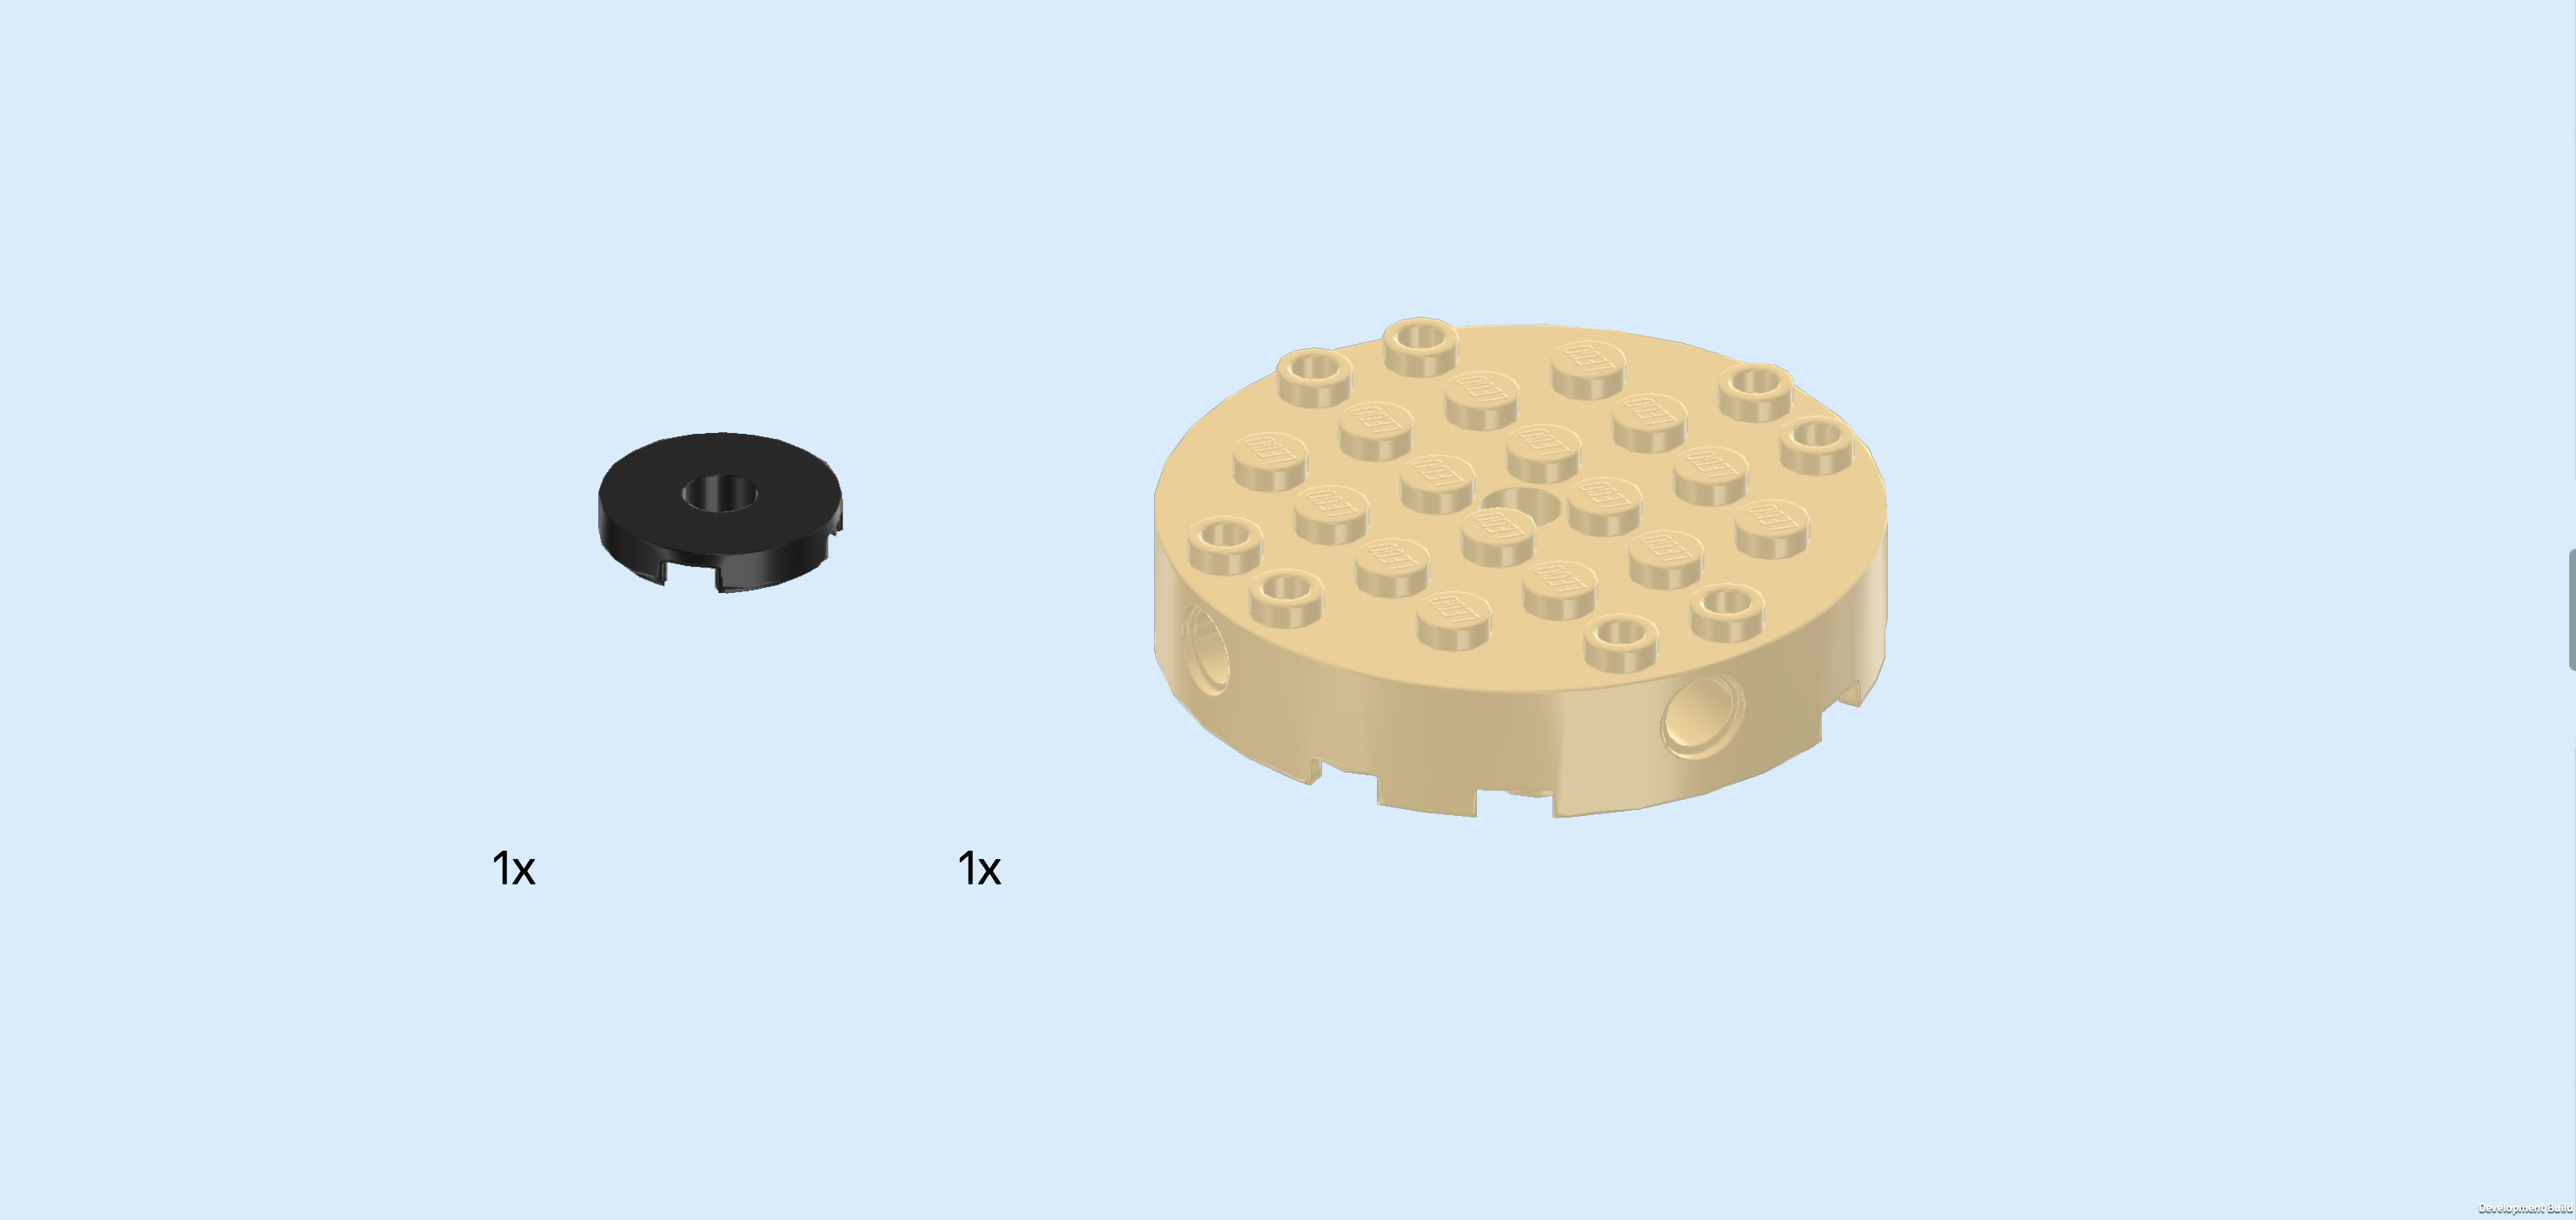
| Collect the following 2 pieces: |
| 1 black round tile 2x2 with middle hole, |
| and 1 beige round brick 6x6 with middle and side holes. |
| Put the round brick 6x6 on the table. Make sure its knobs form straight rows and columns in front of you: the frontmost row should consist of 2 hollow knobs just like the backmost row and the leftmost and rightmost columns. |
| Put the round tile 2x2 in the center of the round brick. |
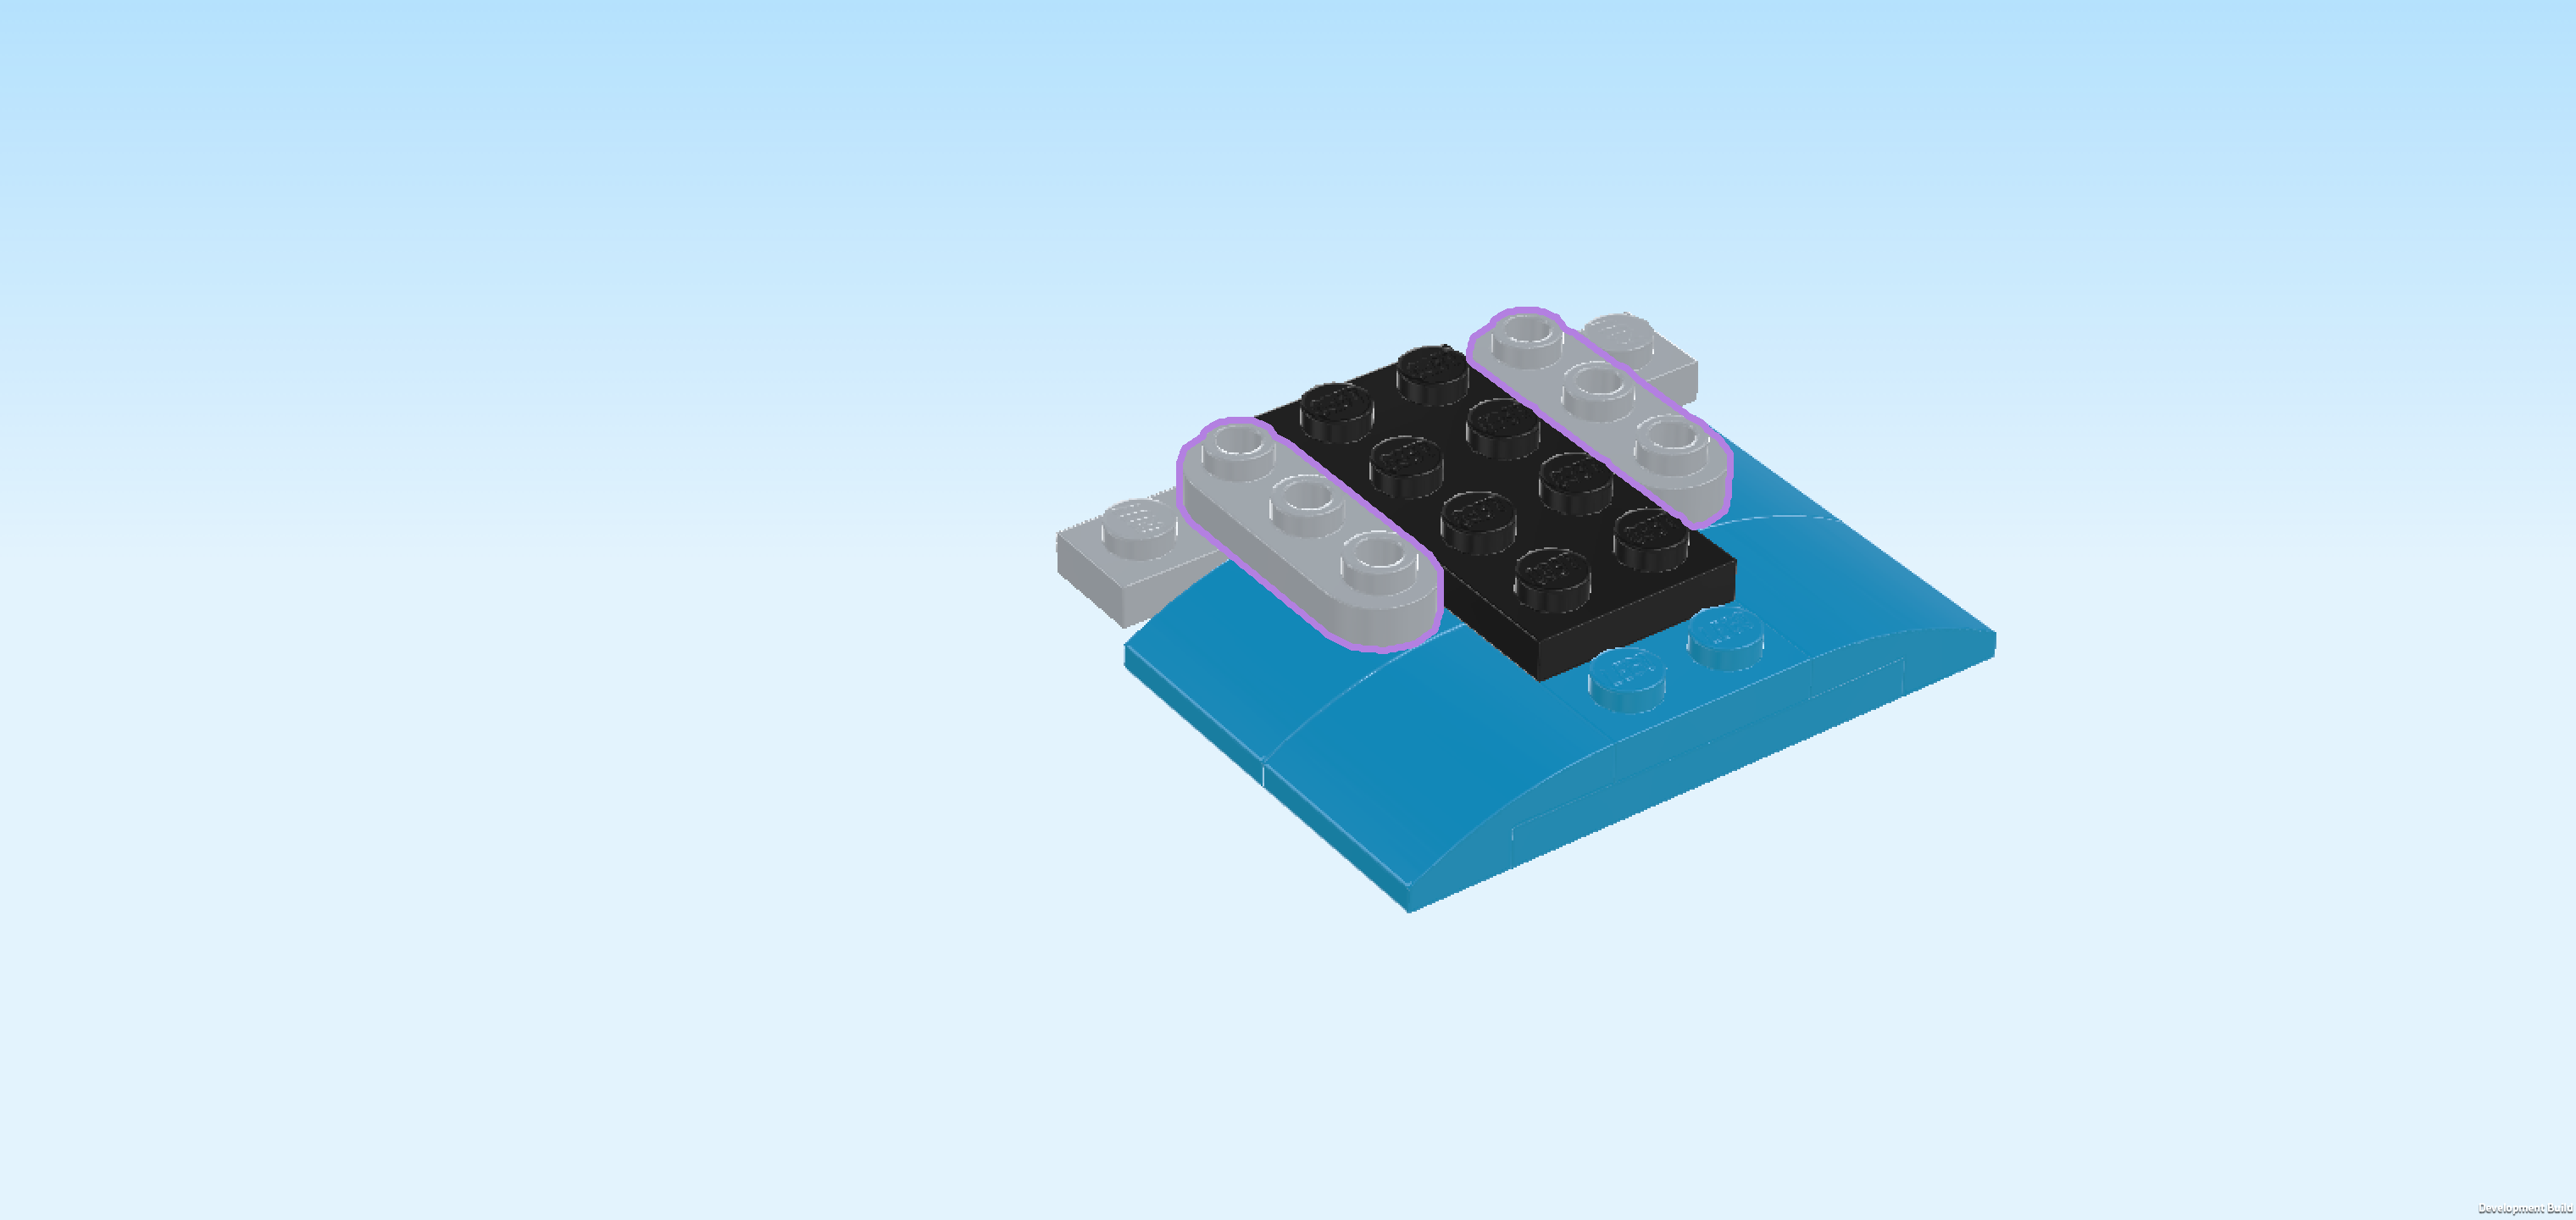
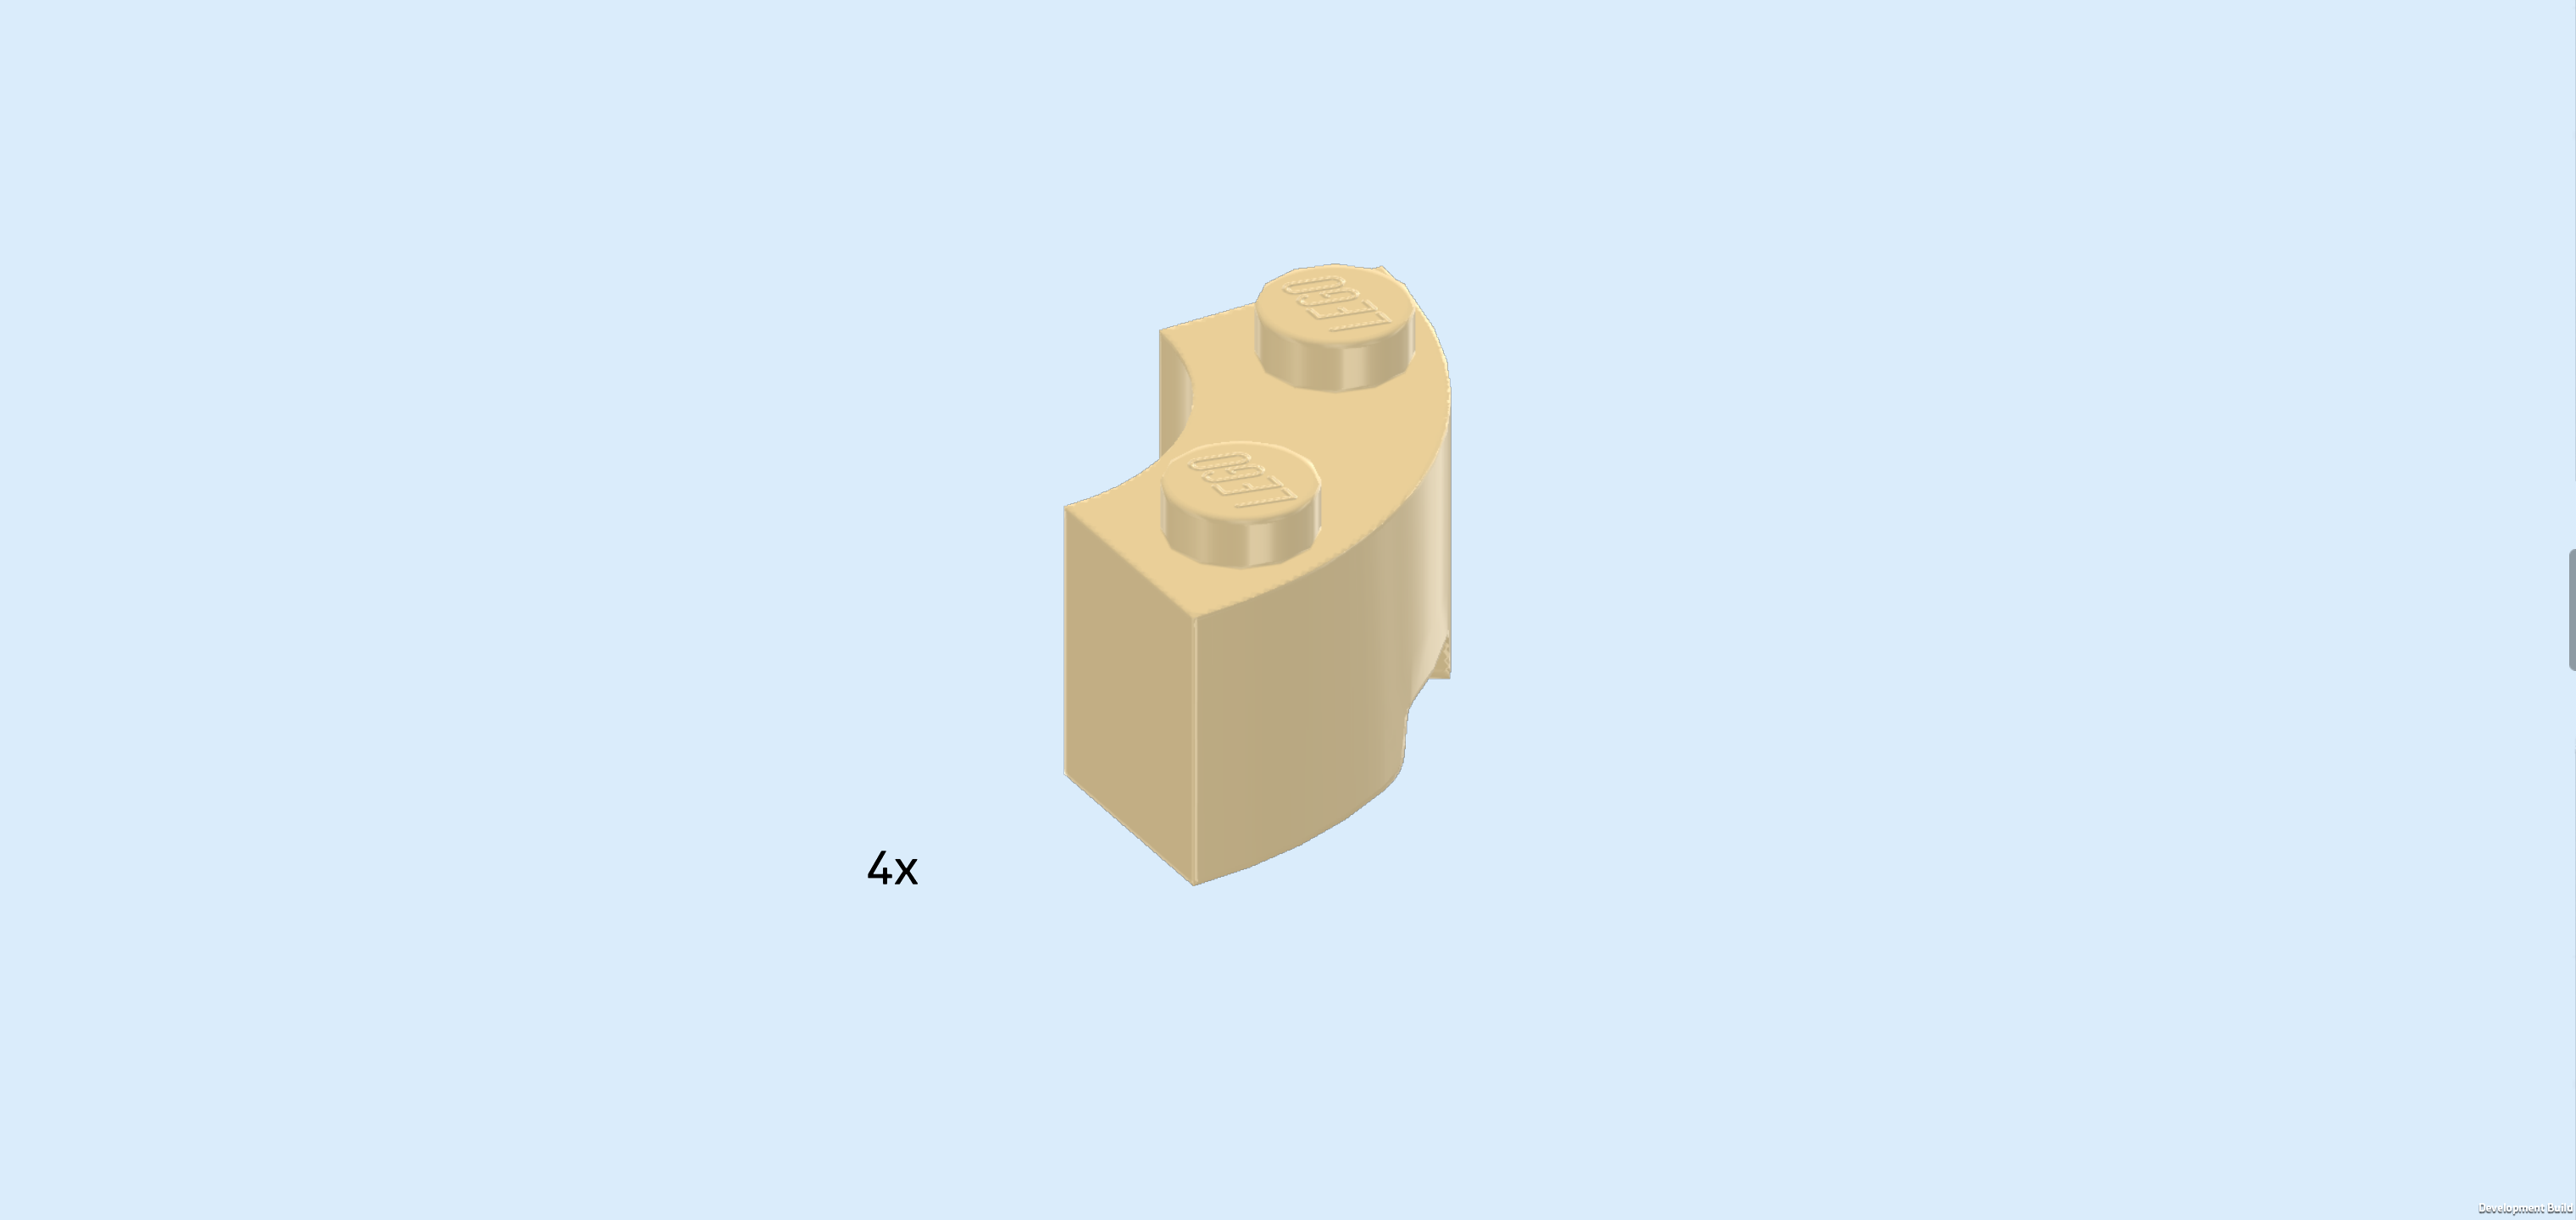
| Find 4 beige quarter-arched bricks 1x2 with 2 knobs. |
| We will use them to build a brick ring around the previous piece, continue for detailed instructions. |
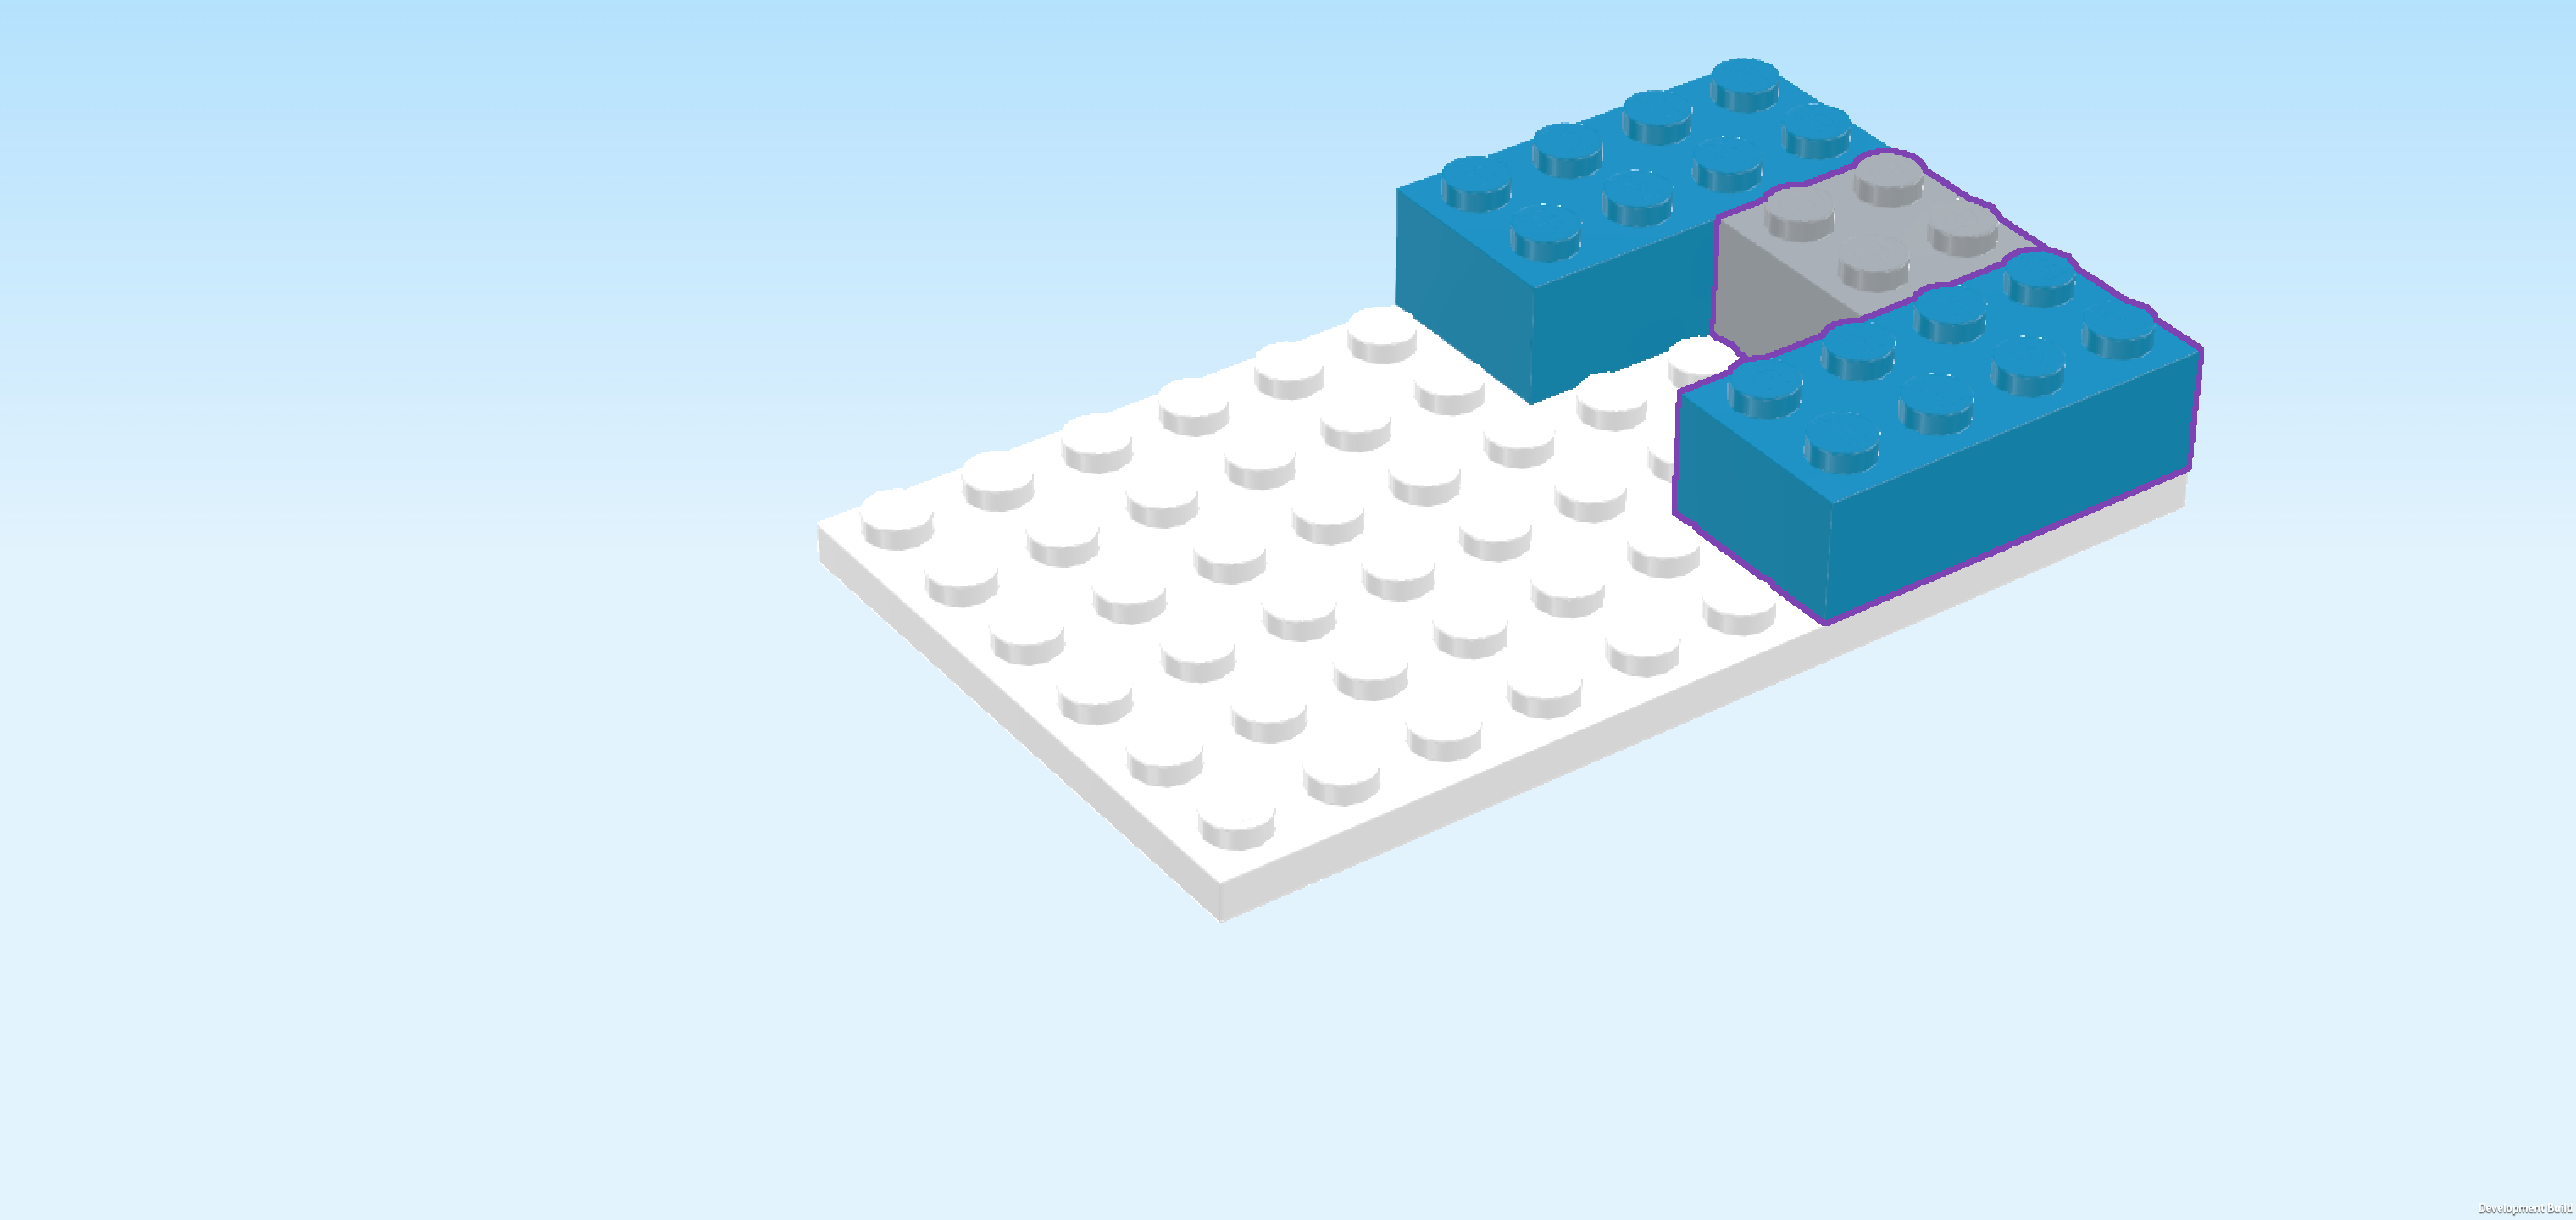
| Put the first one directly next to the round tile 2x2 in the front right section. If done correctly, it should connect to the second row from the front as well as the second column from the right. |
| Put another quarter-arched brick to the left of the previous piece, mirroring the first one. |
| Finish the brick ring with the 2 remaining pieces in the back half of the structure. |
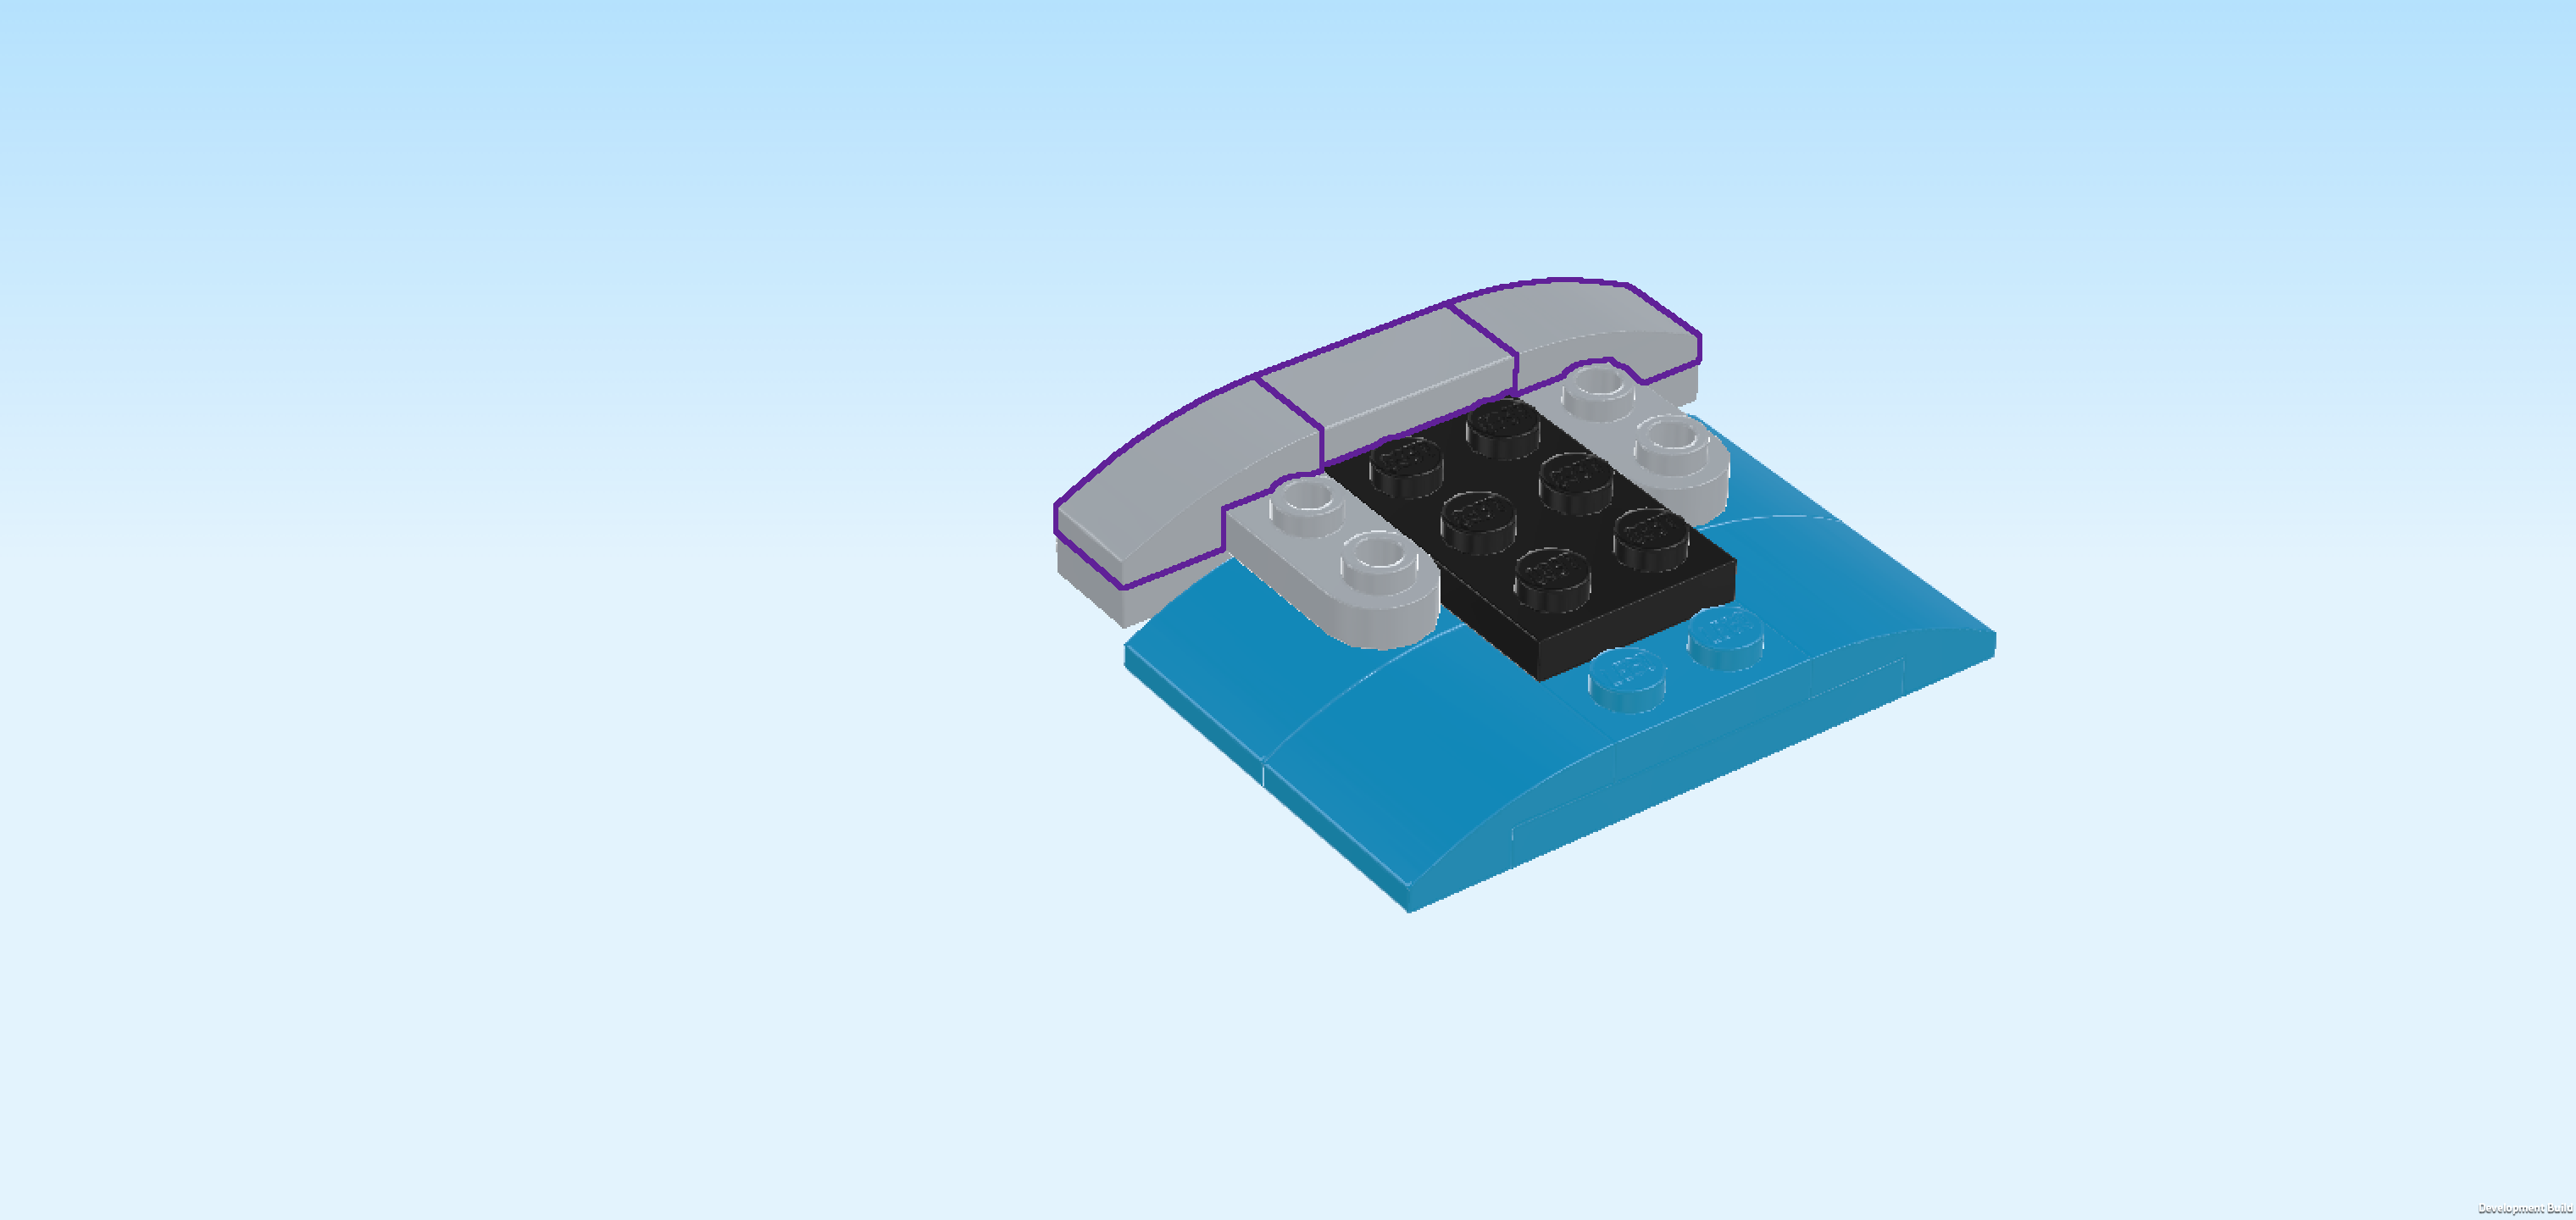
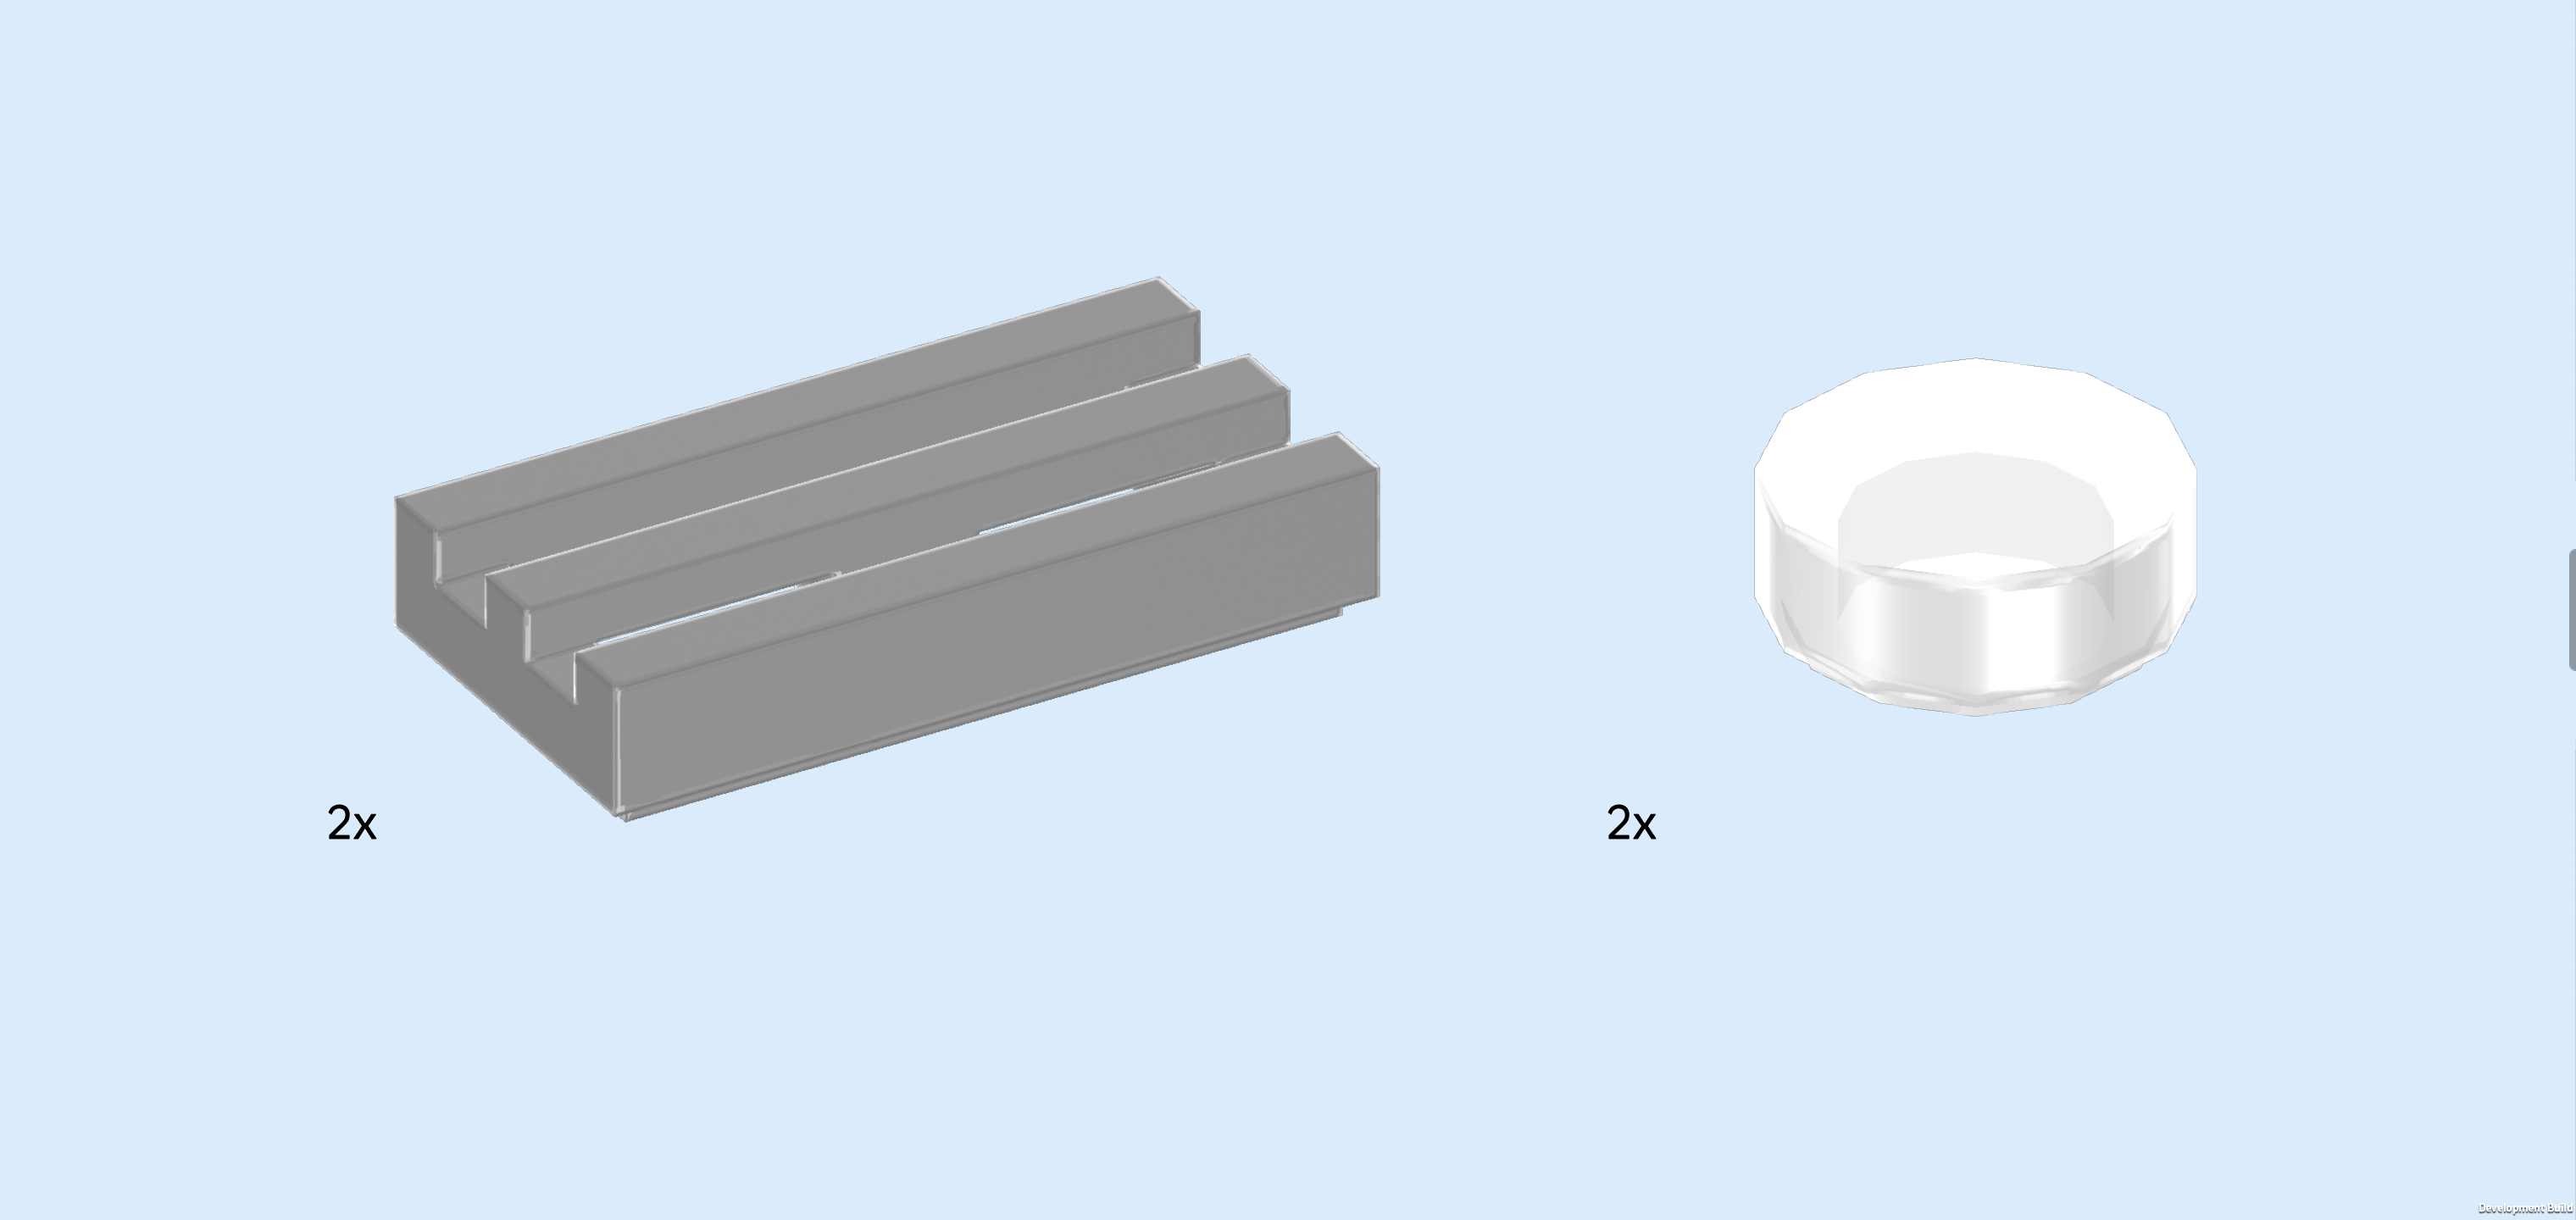
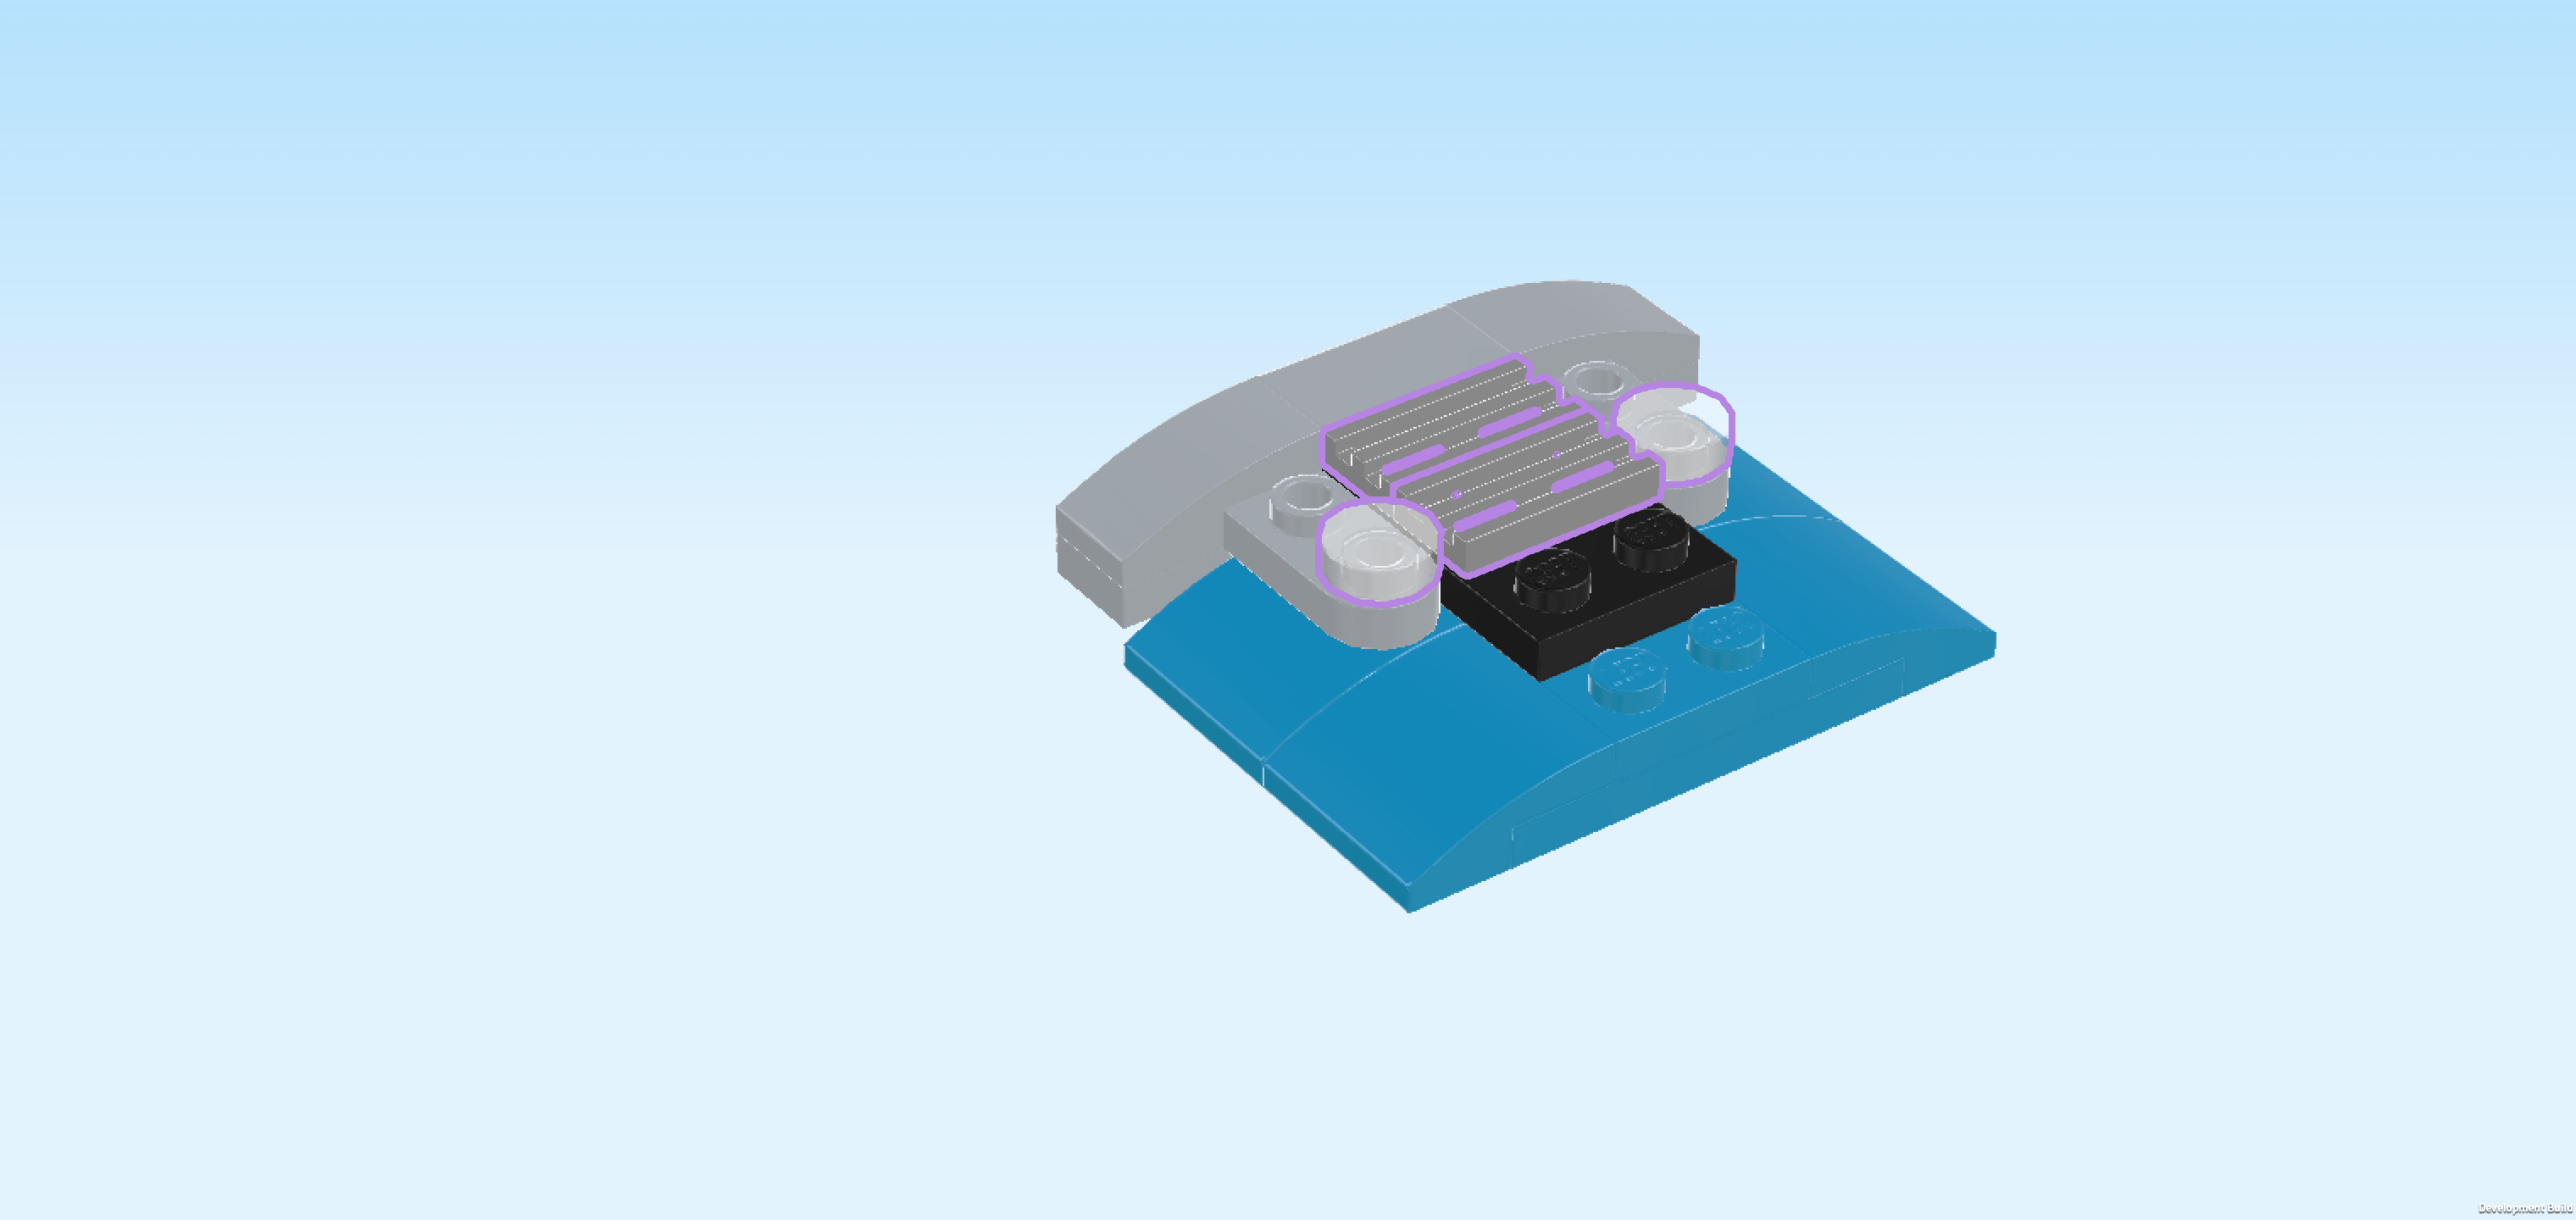
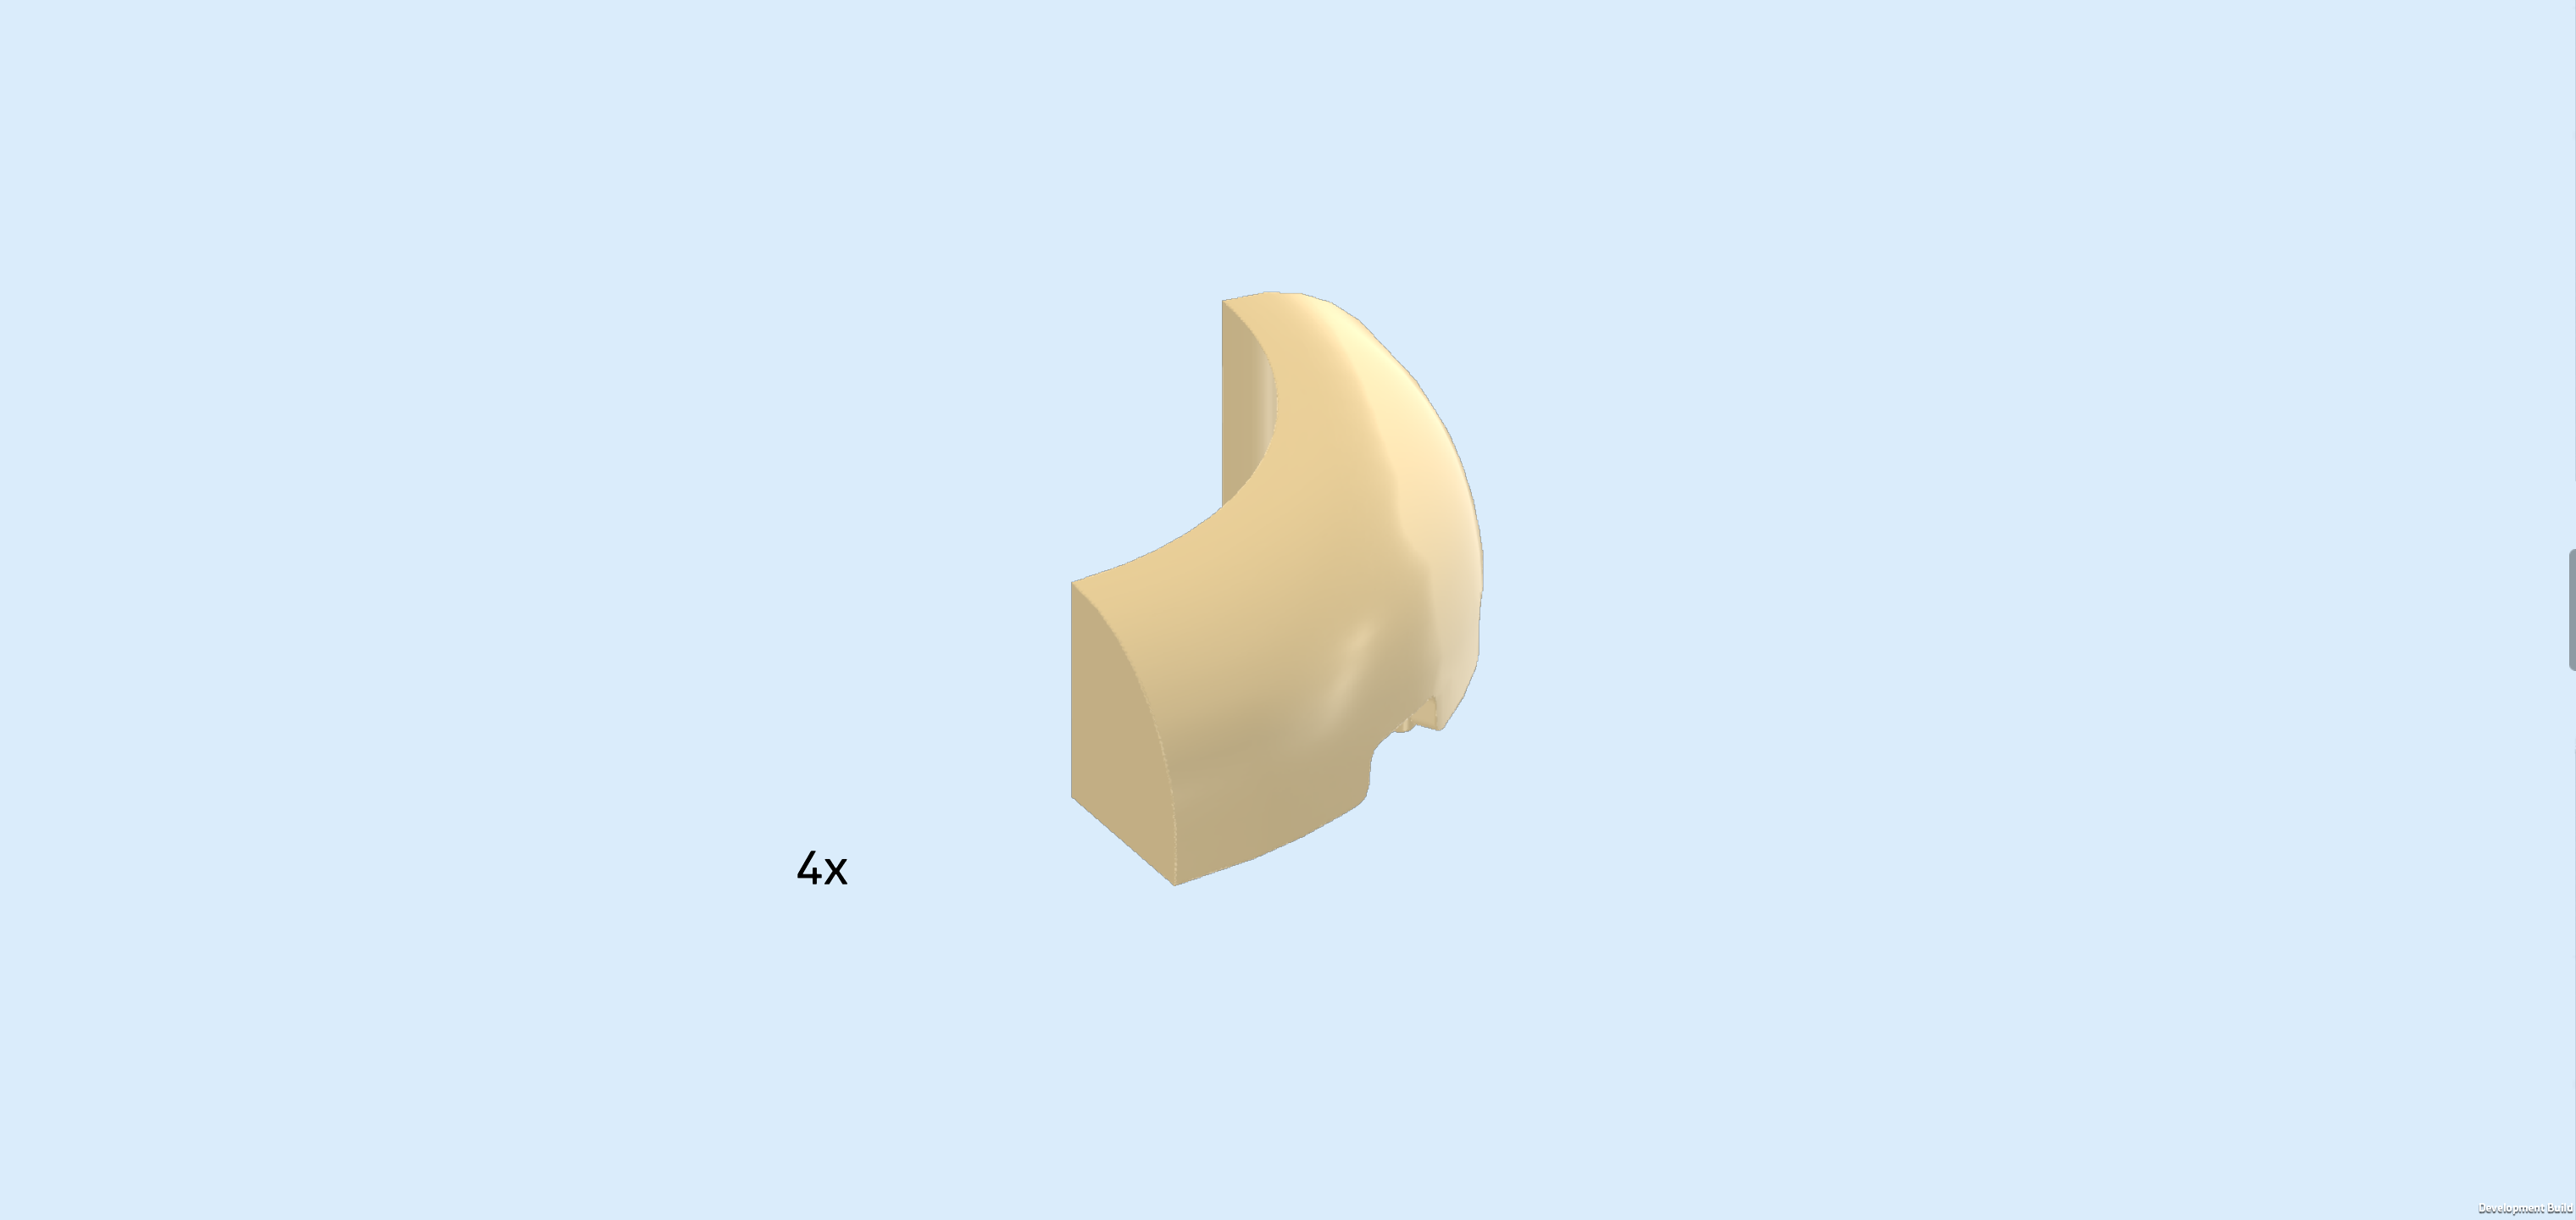
| Find 4 beige smooth quarter-arched bricks 3x3. |
| Put them around the 4 previous pieces like a ring again. Make sure to match the positions of the previous pieces so their contact points are in the same positions as the contact points of the previous pieces. |
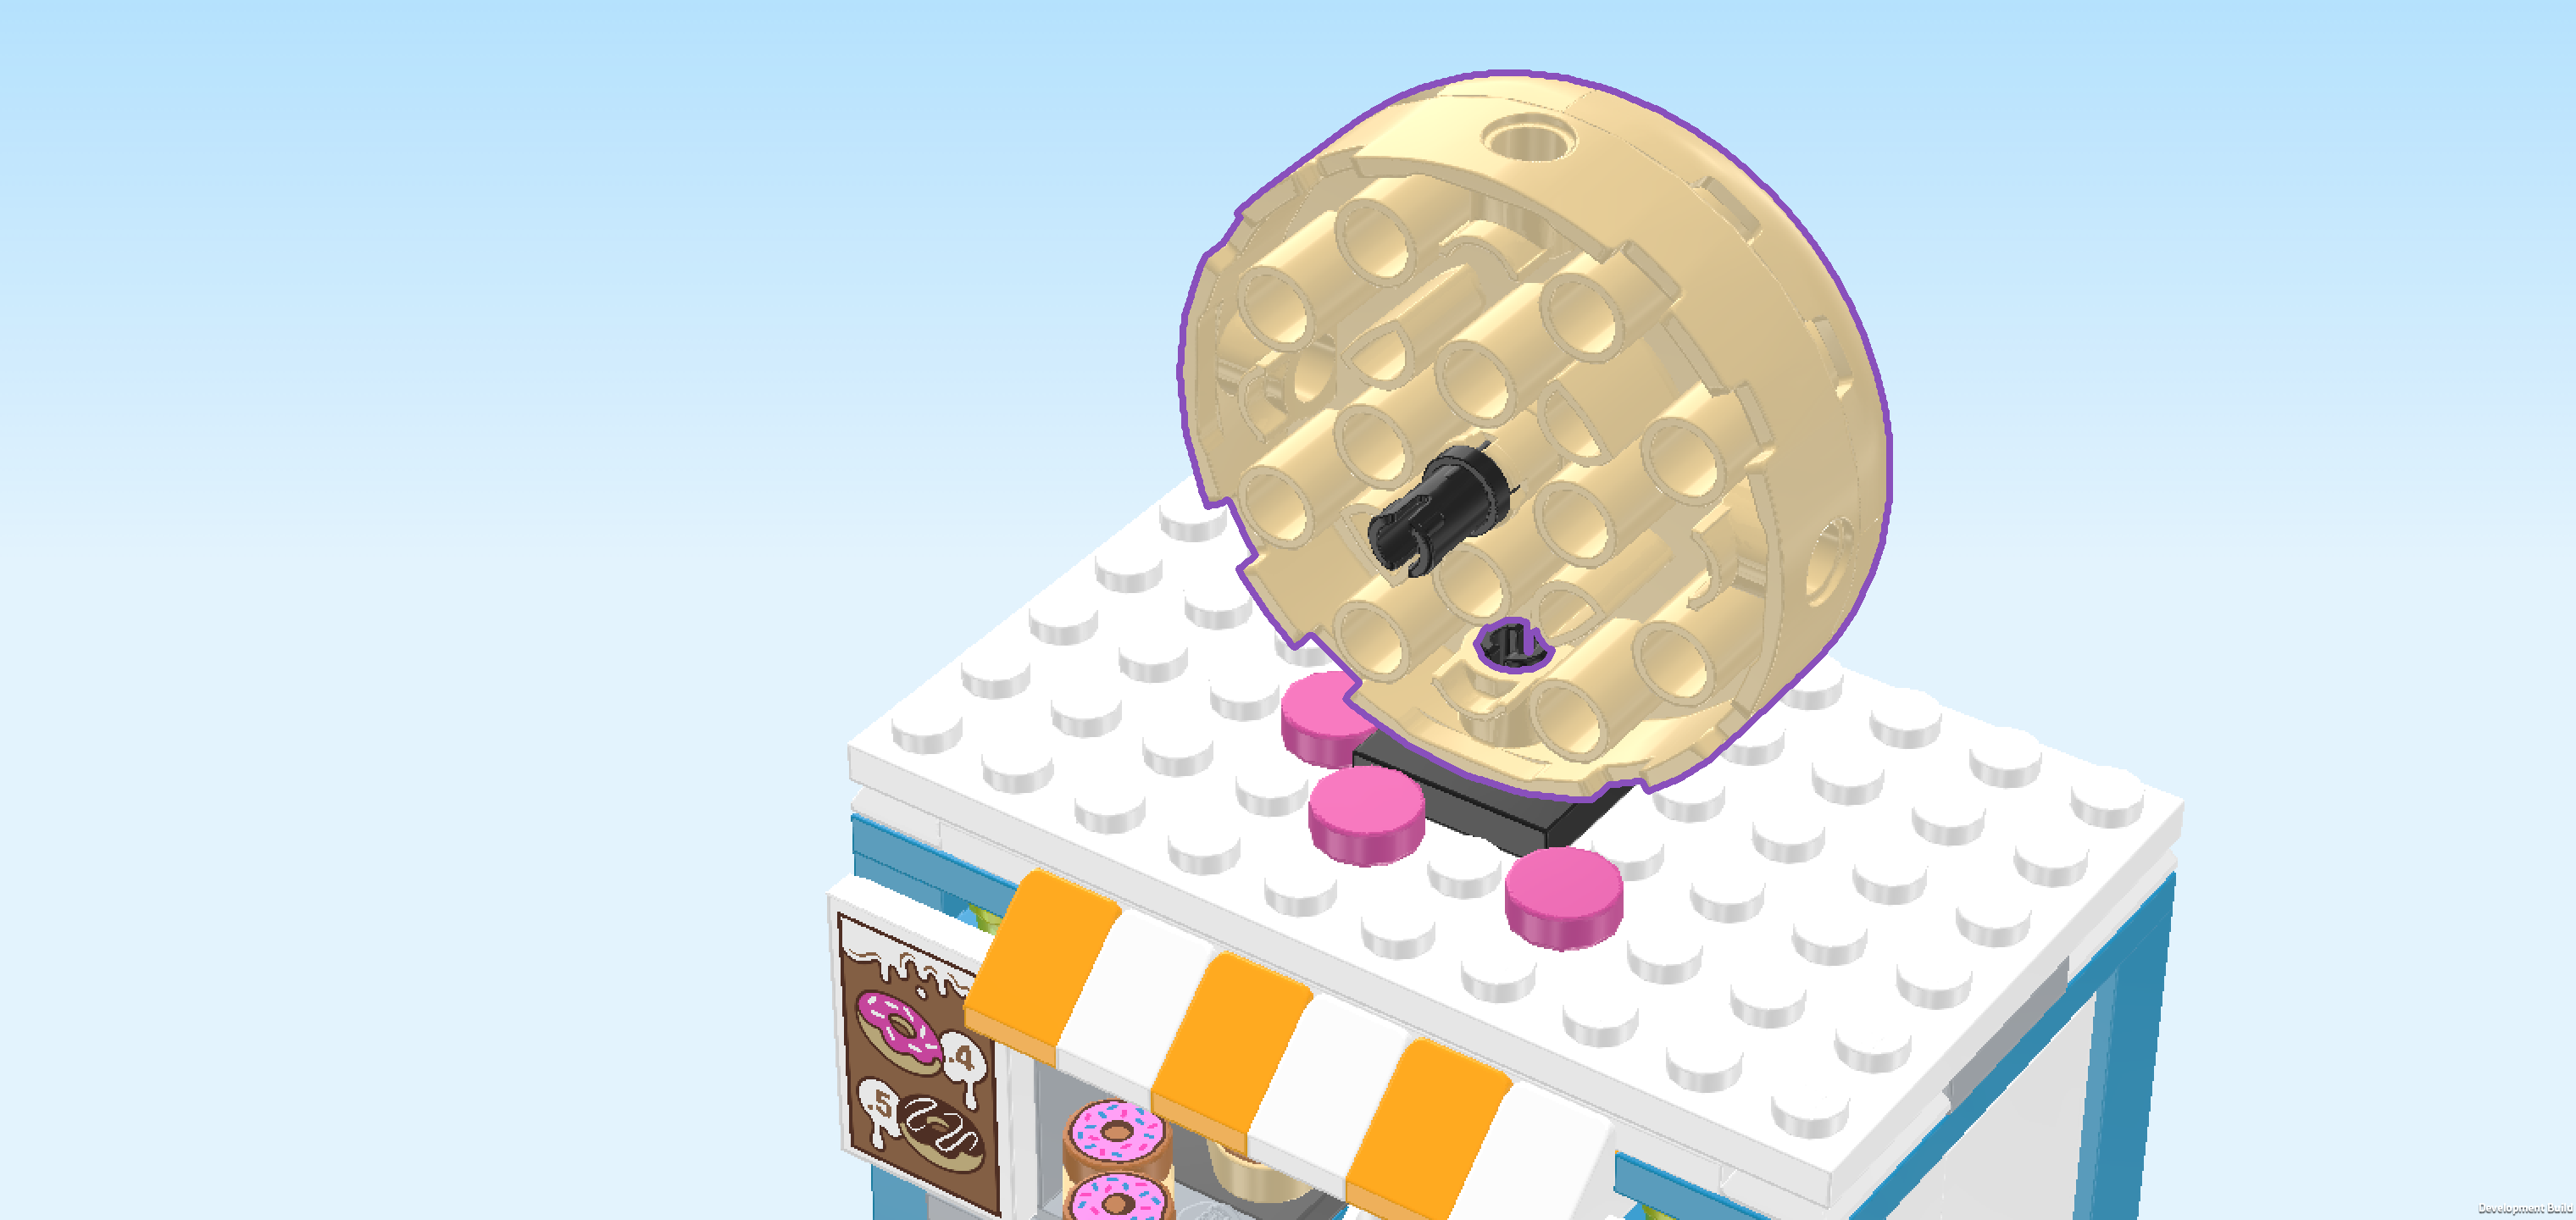
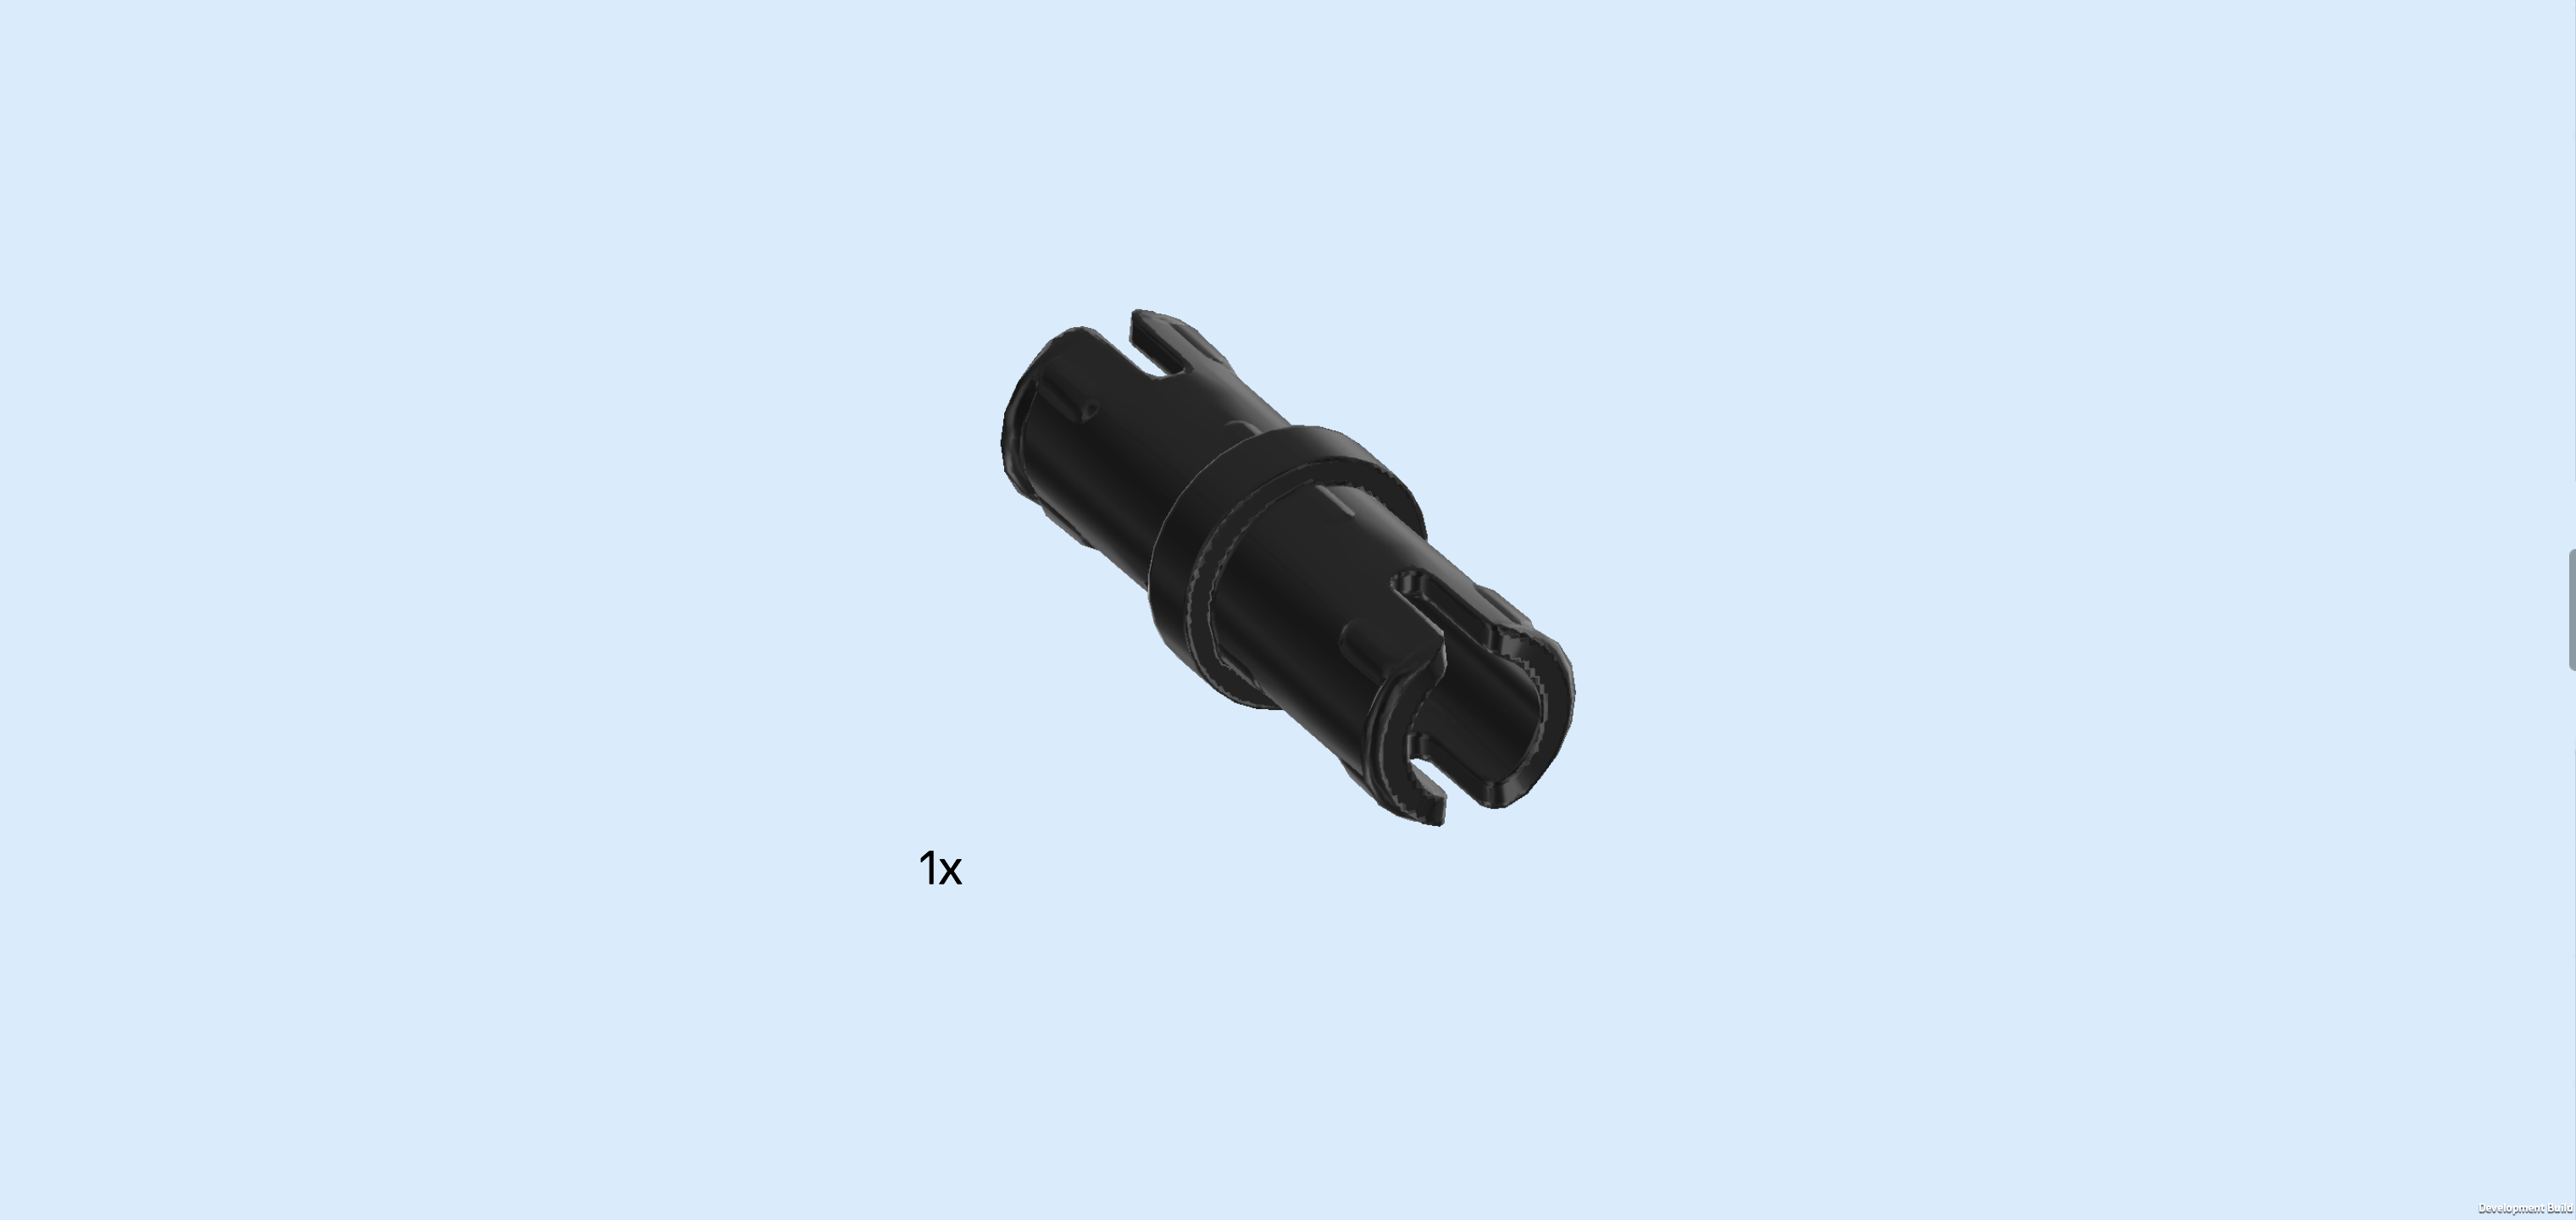
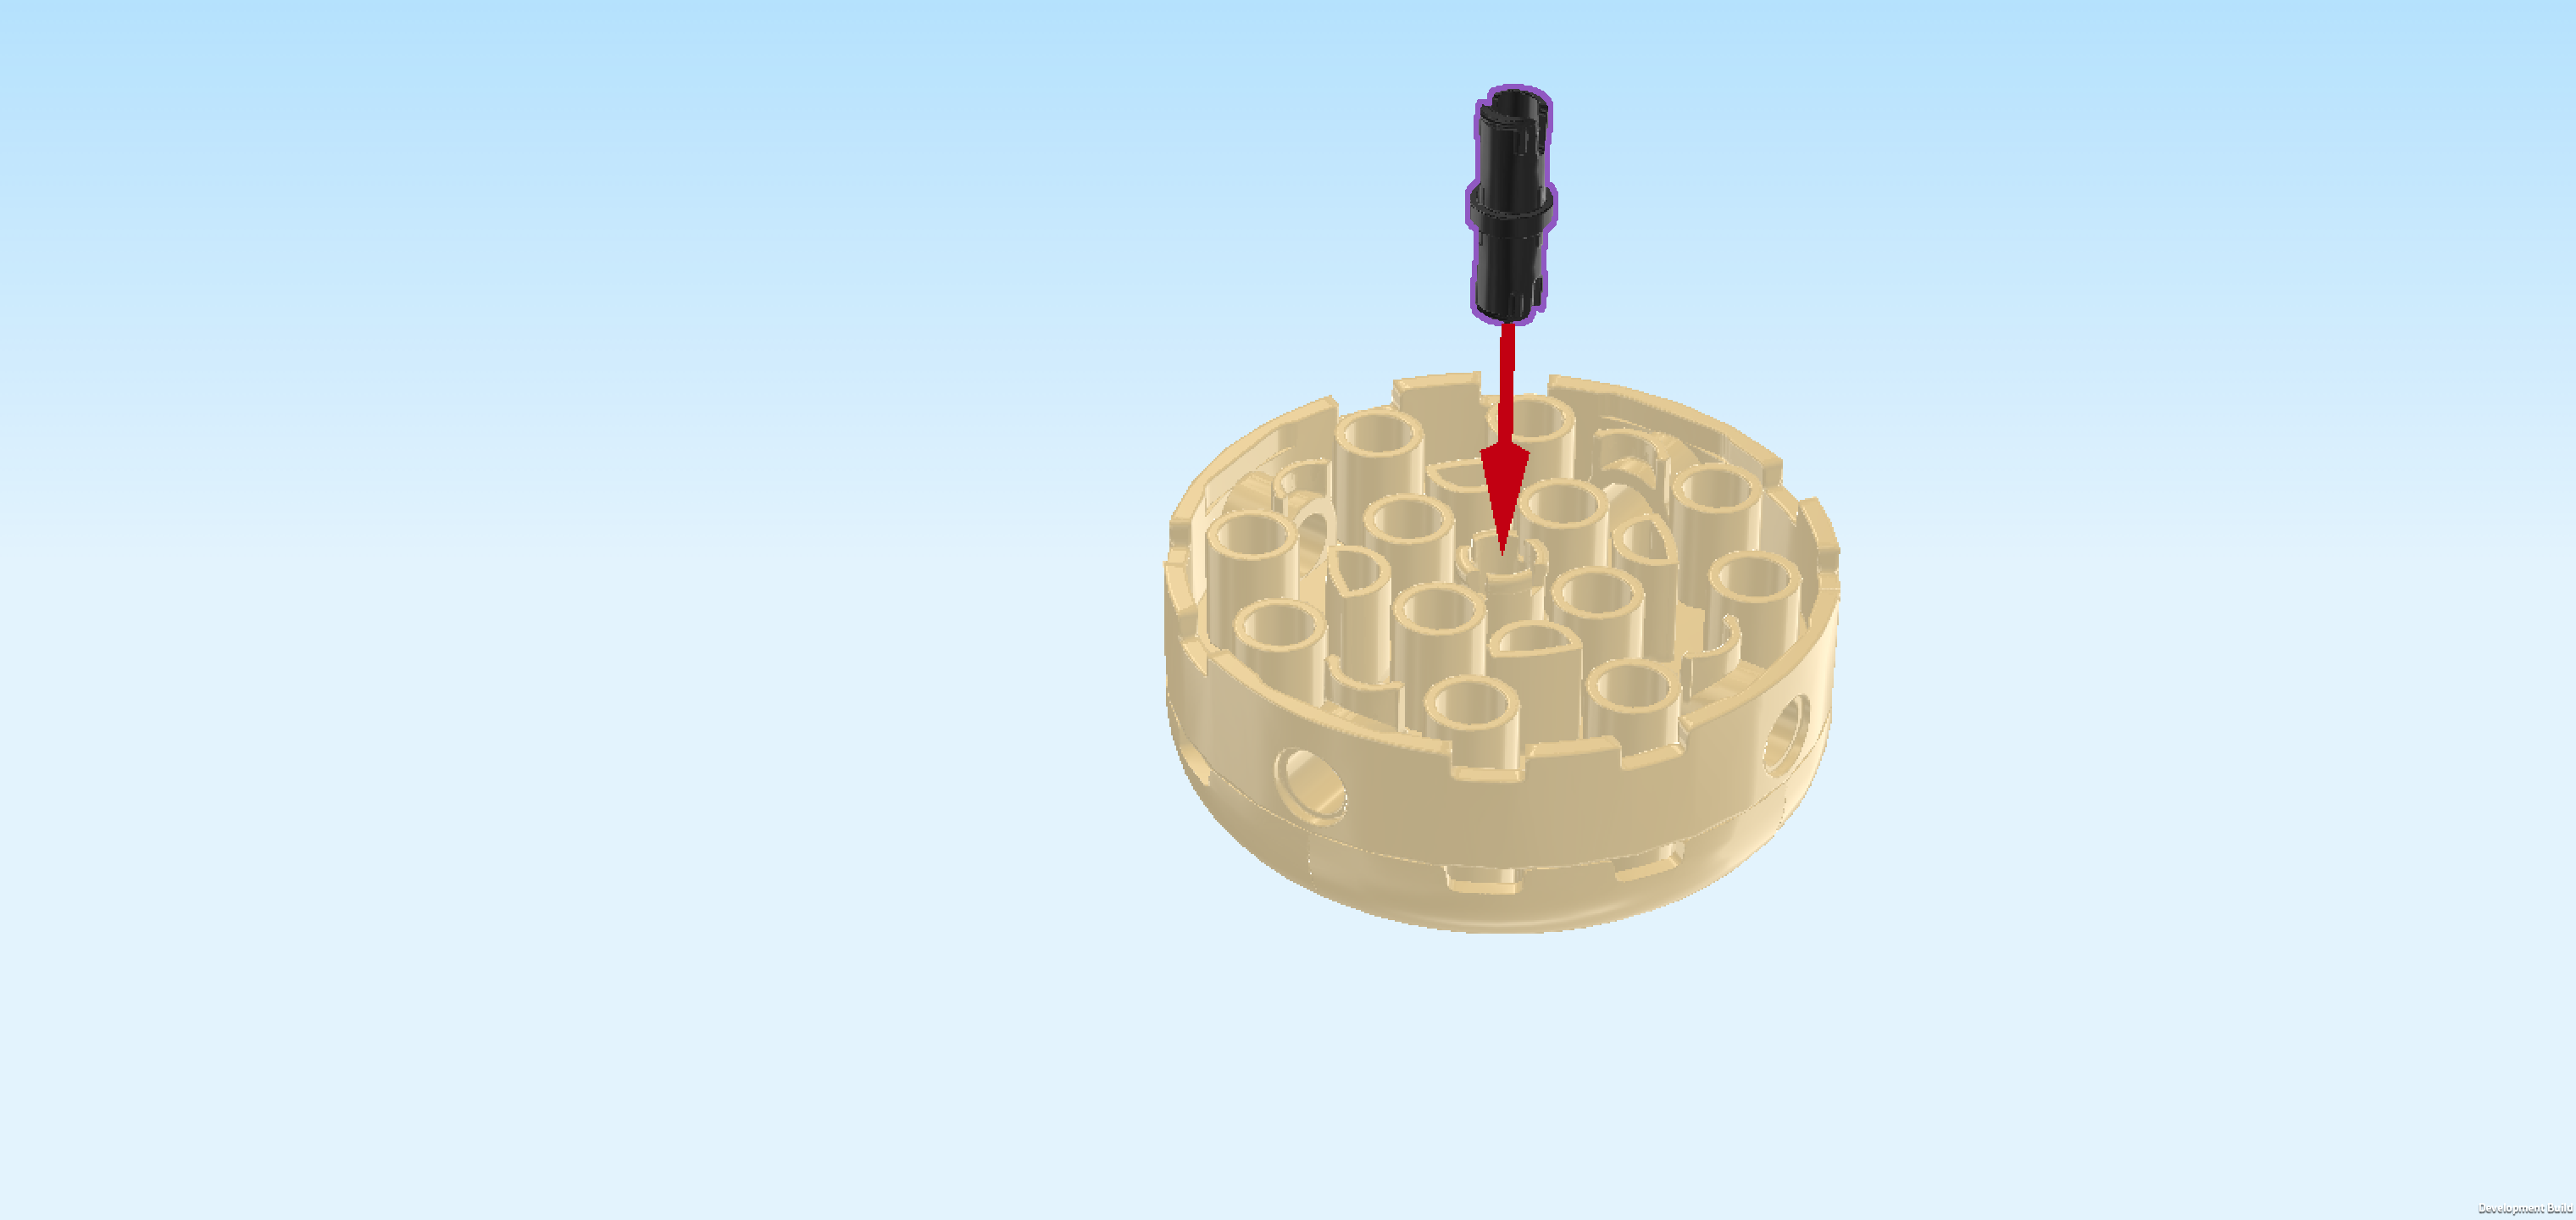
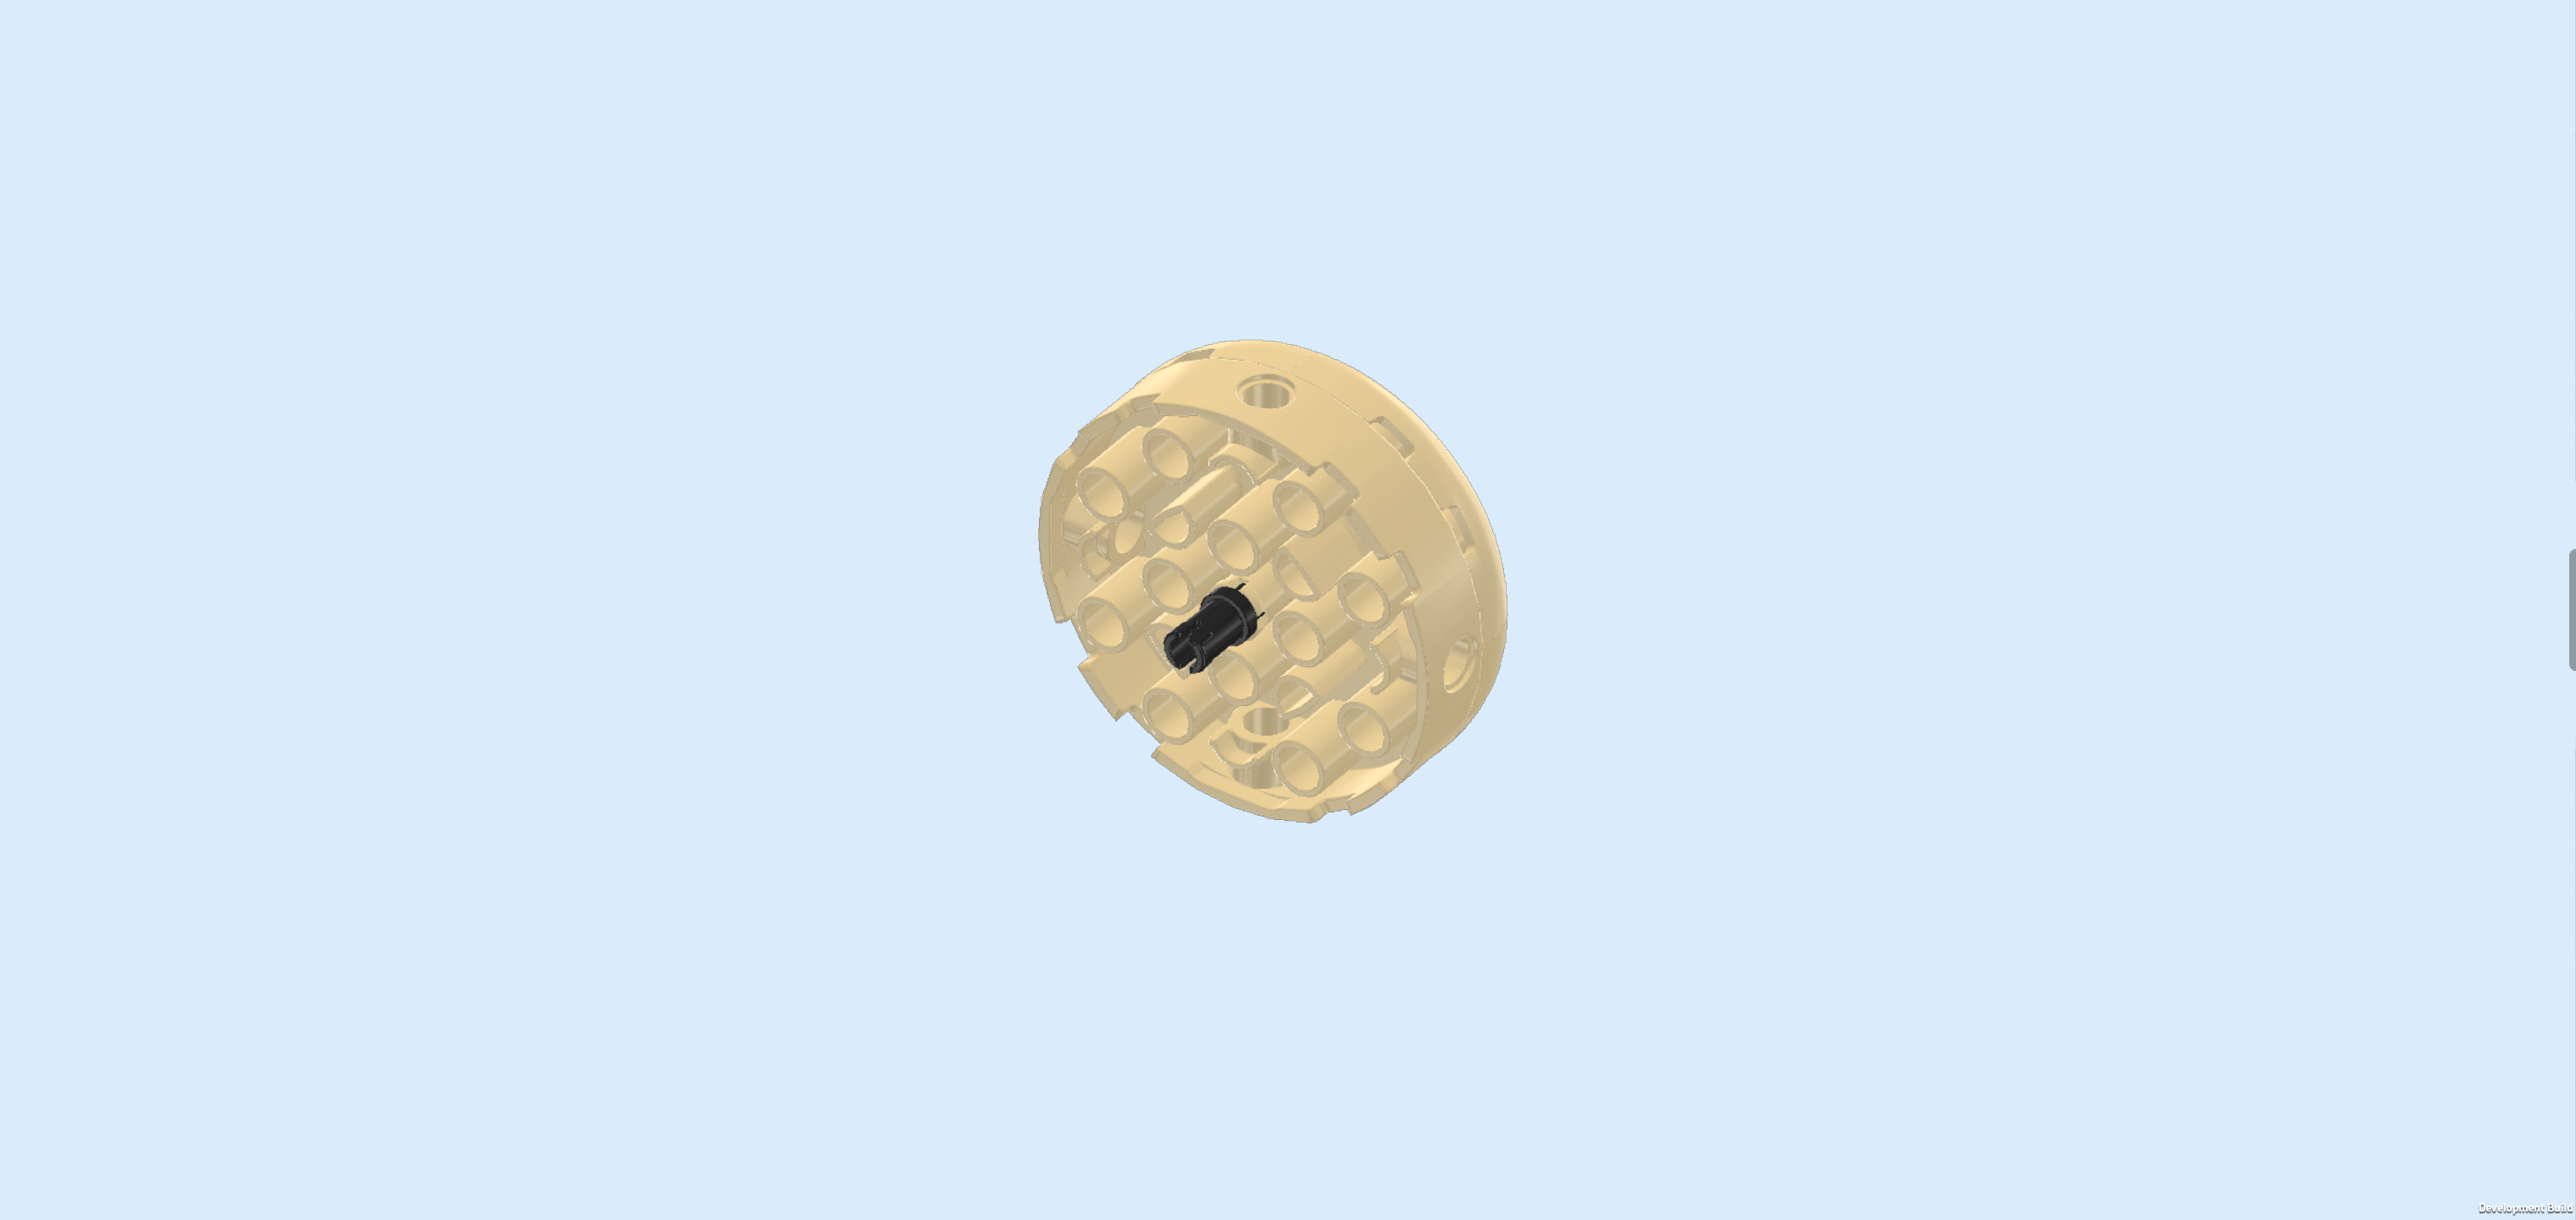
| Find 1 black connector peg 2m with middle ring. |
| Flip the donut base structure upside down so that the quarter arched pieces are touching the table now. |
| Insert the connector peg from the top into the center hole, 1/2 sticking out towards the top. |
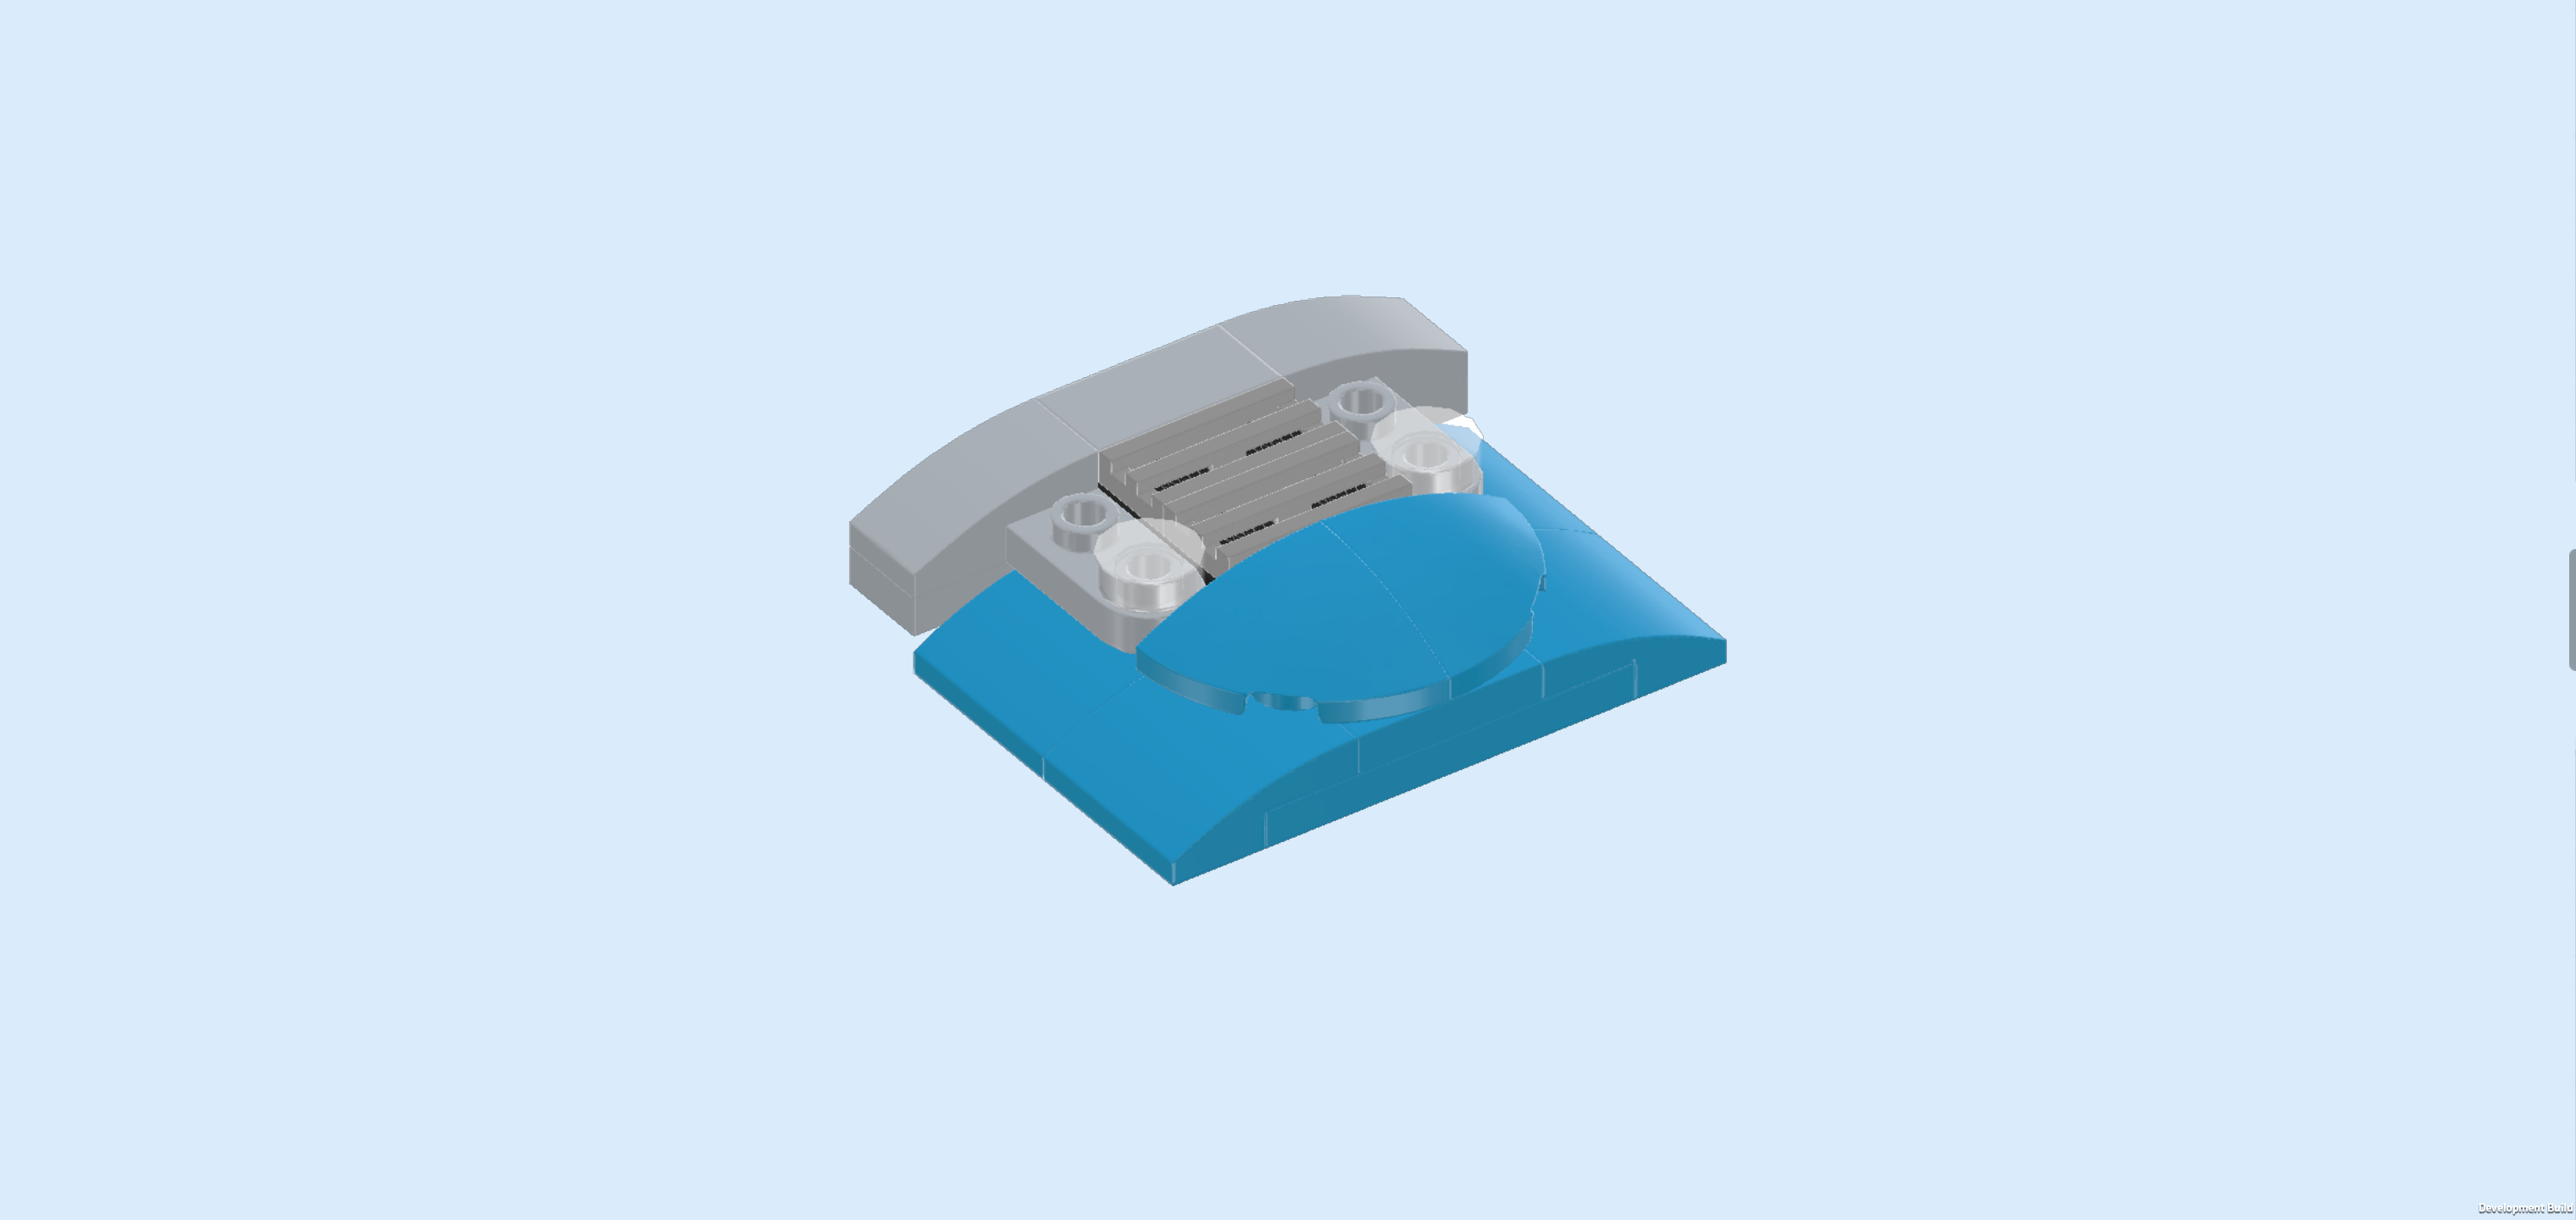
| The base of the spinning roof donut is finished! Flip it upright so that its bottom side with connector peg is facing you. Then, mount it on the kiosk roof on the plate with top connector, using one of the 4 side holes of the base. |
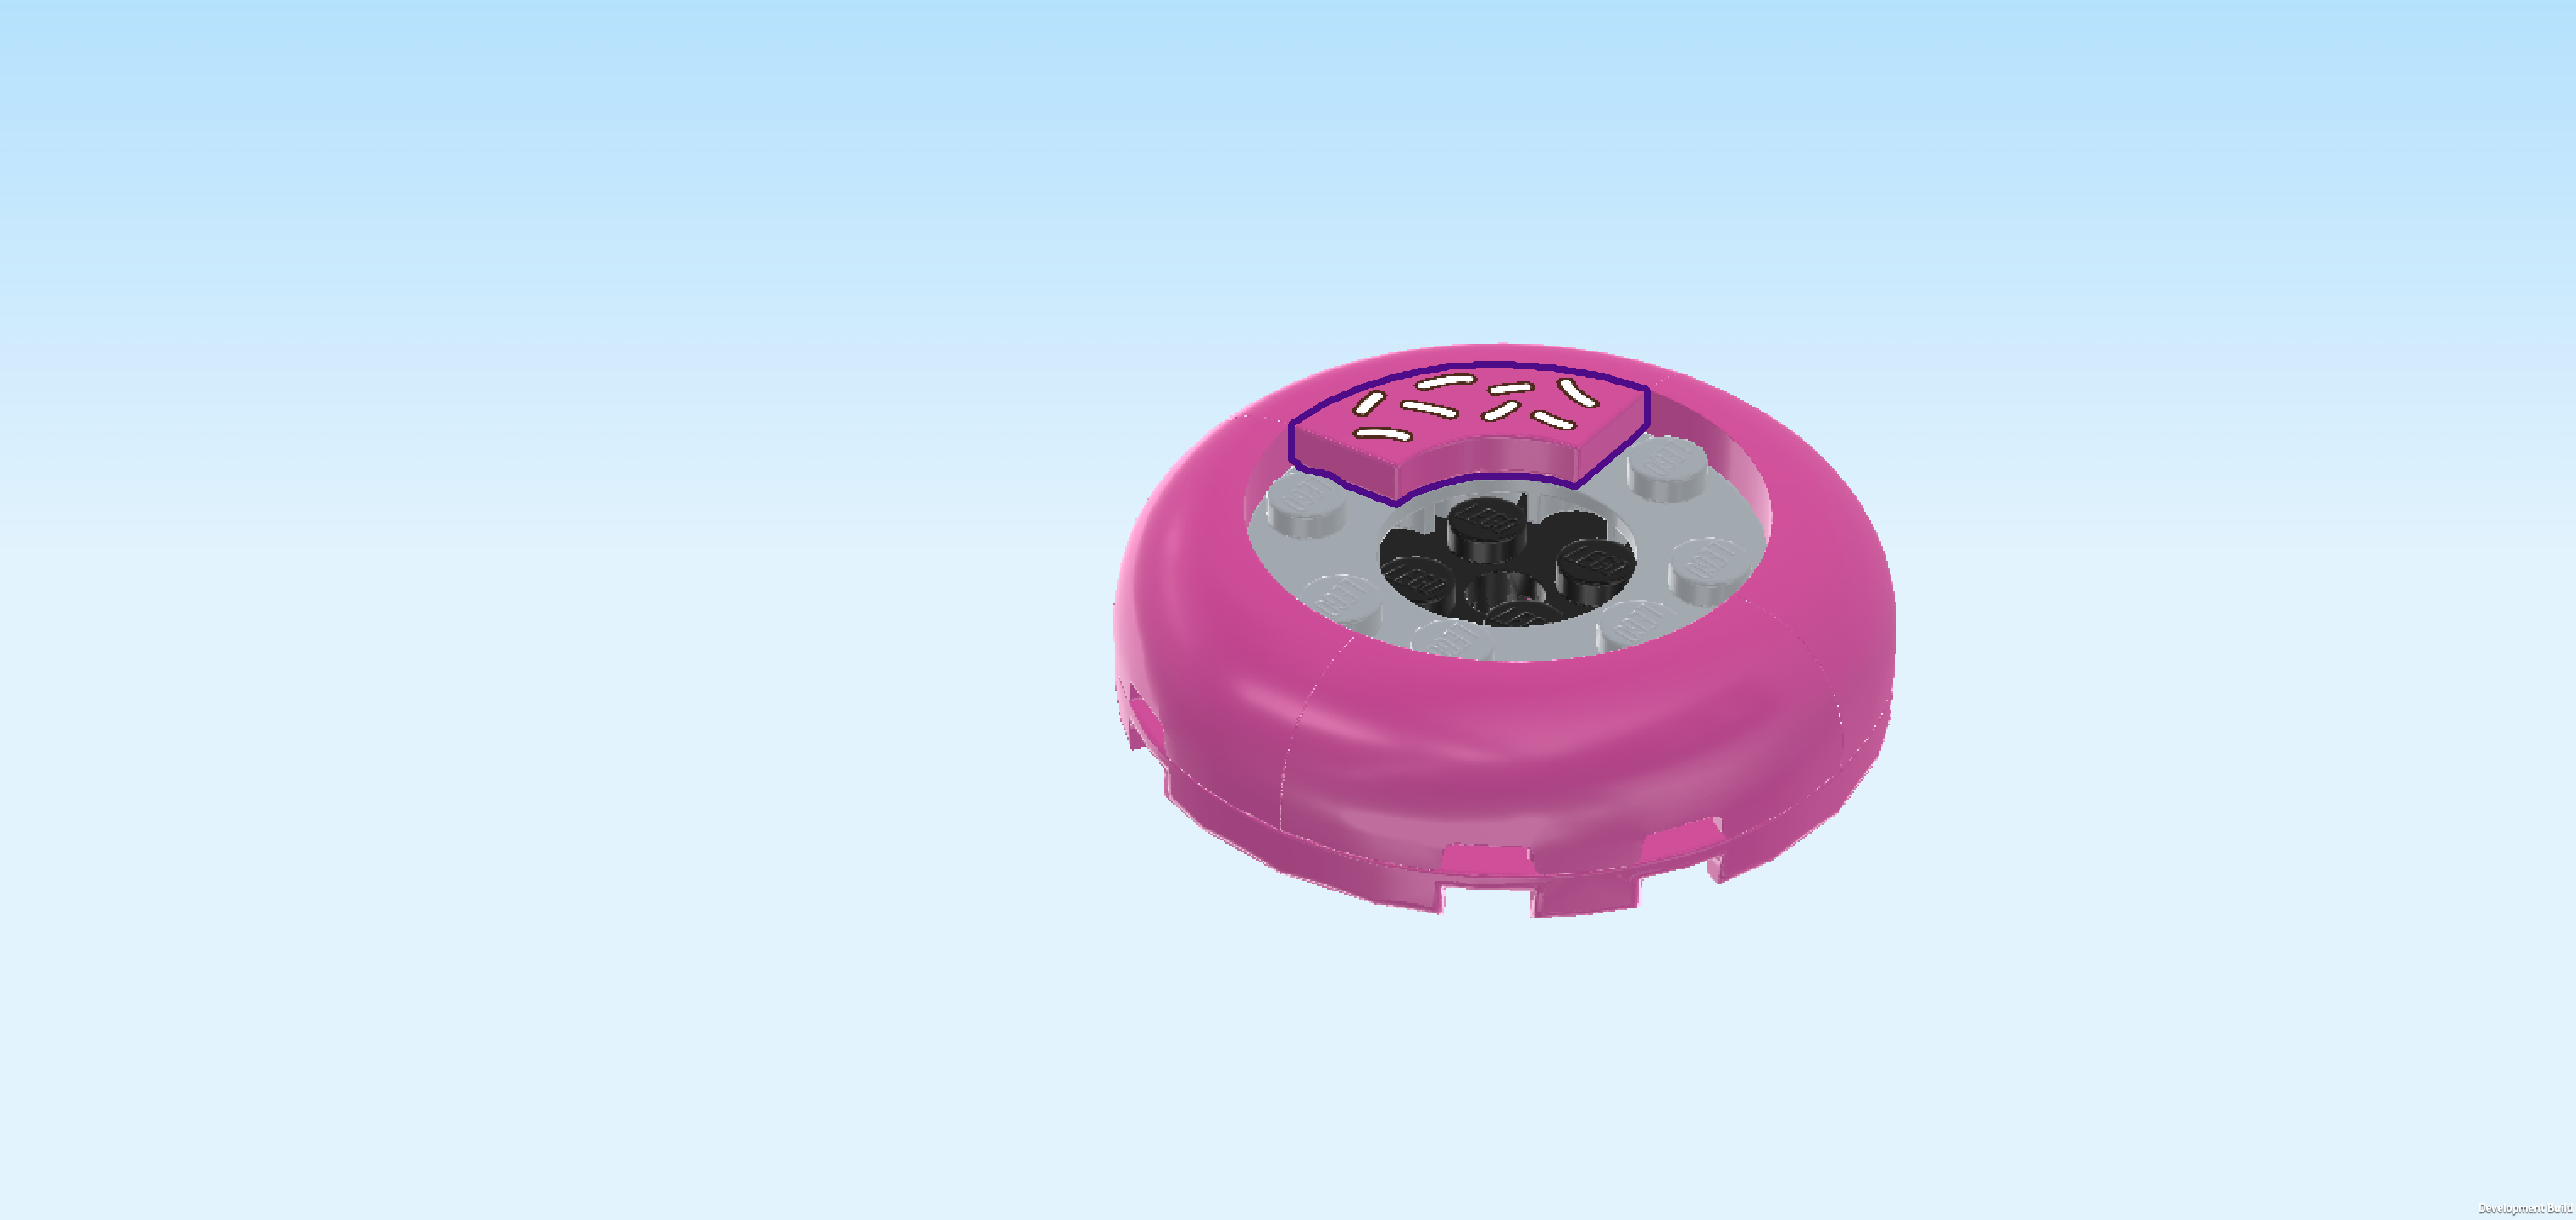
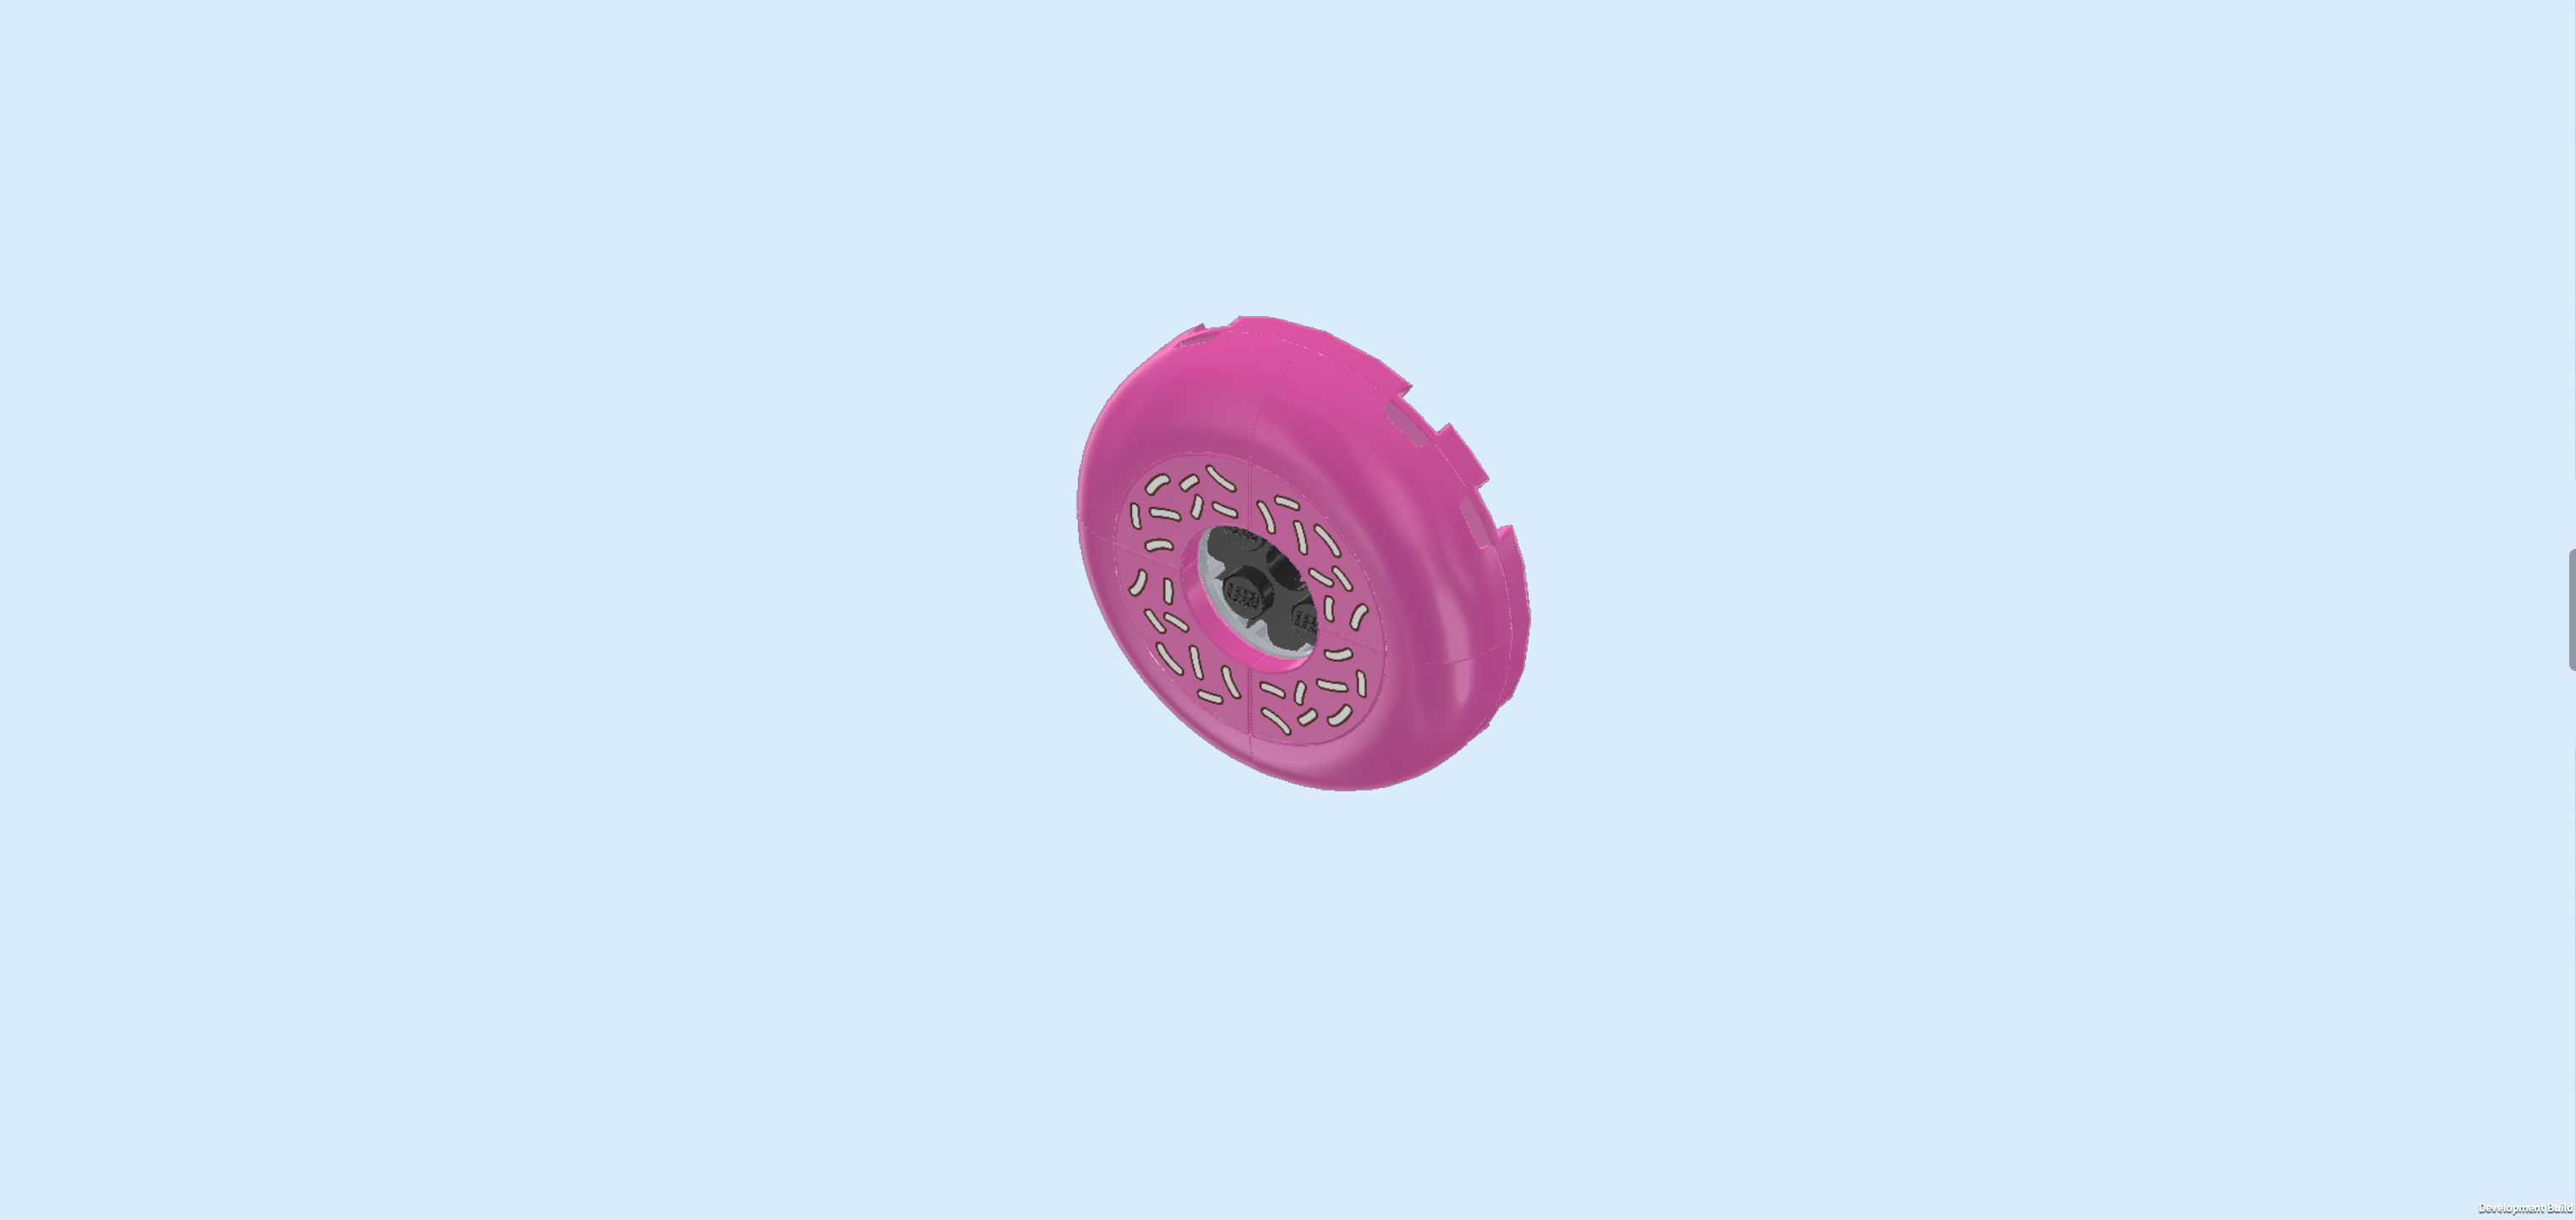
| Next up, we will build the spinning roof donut decoration. |
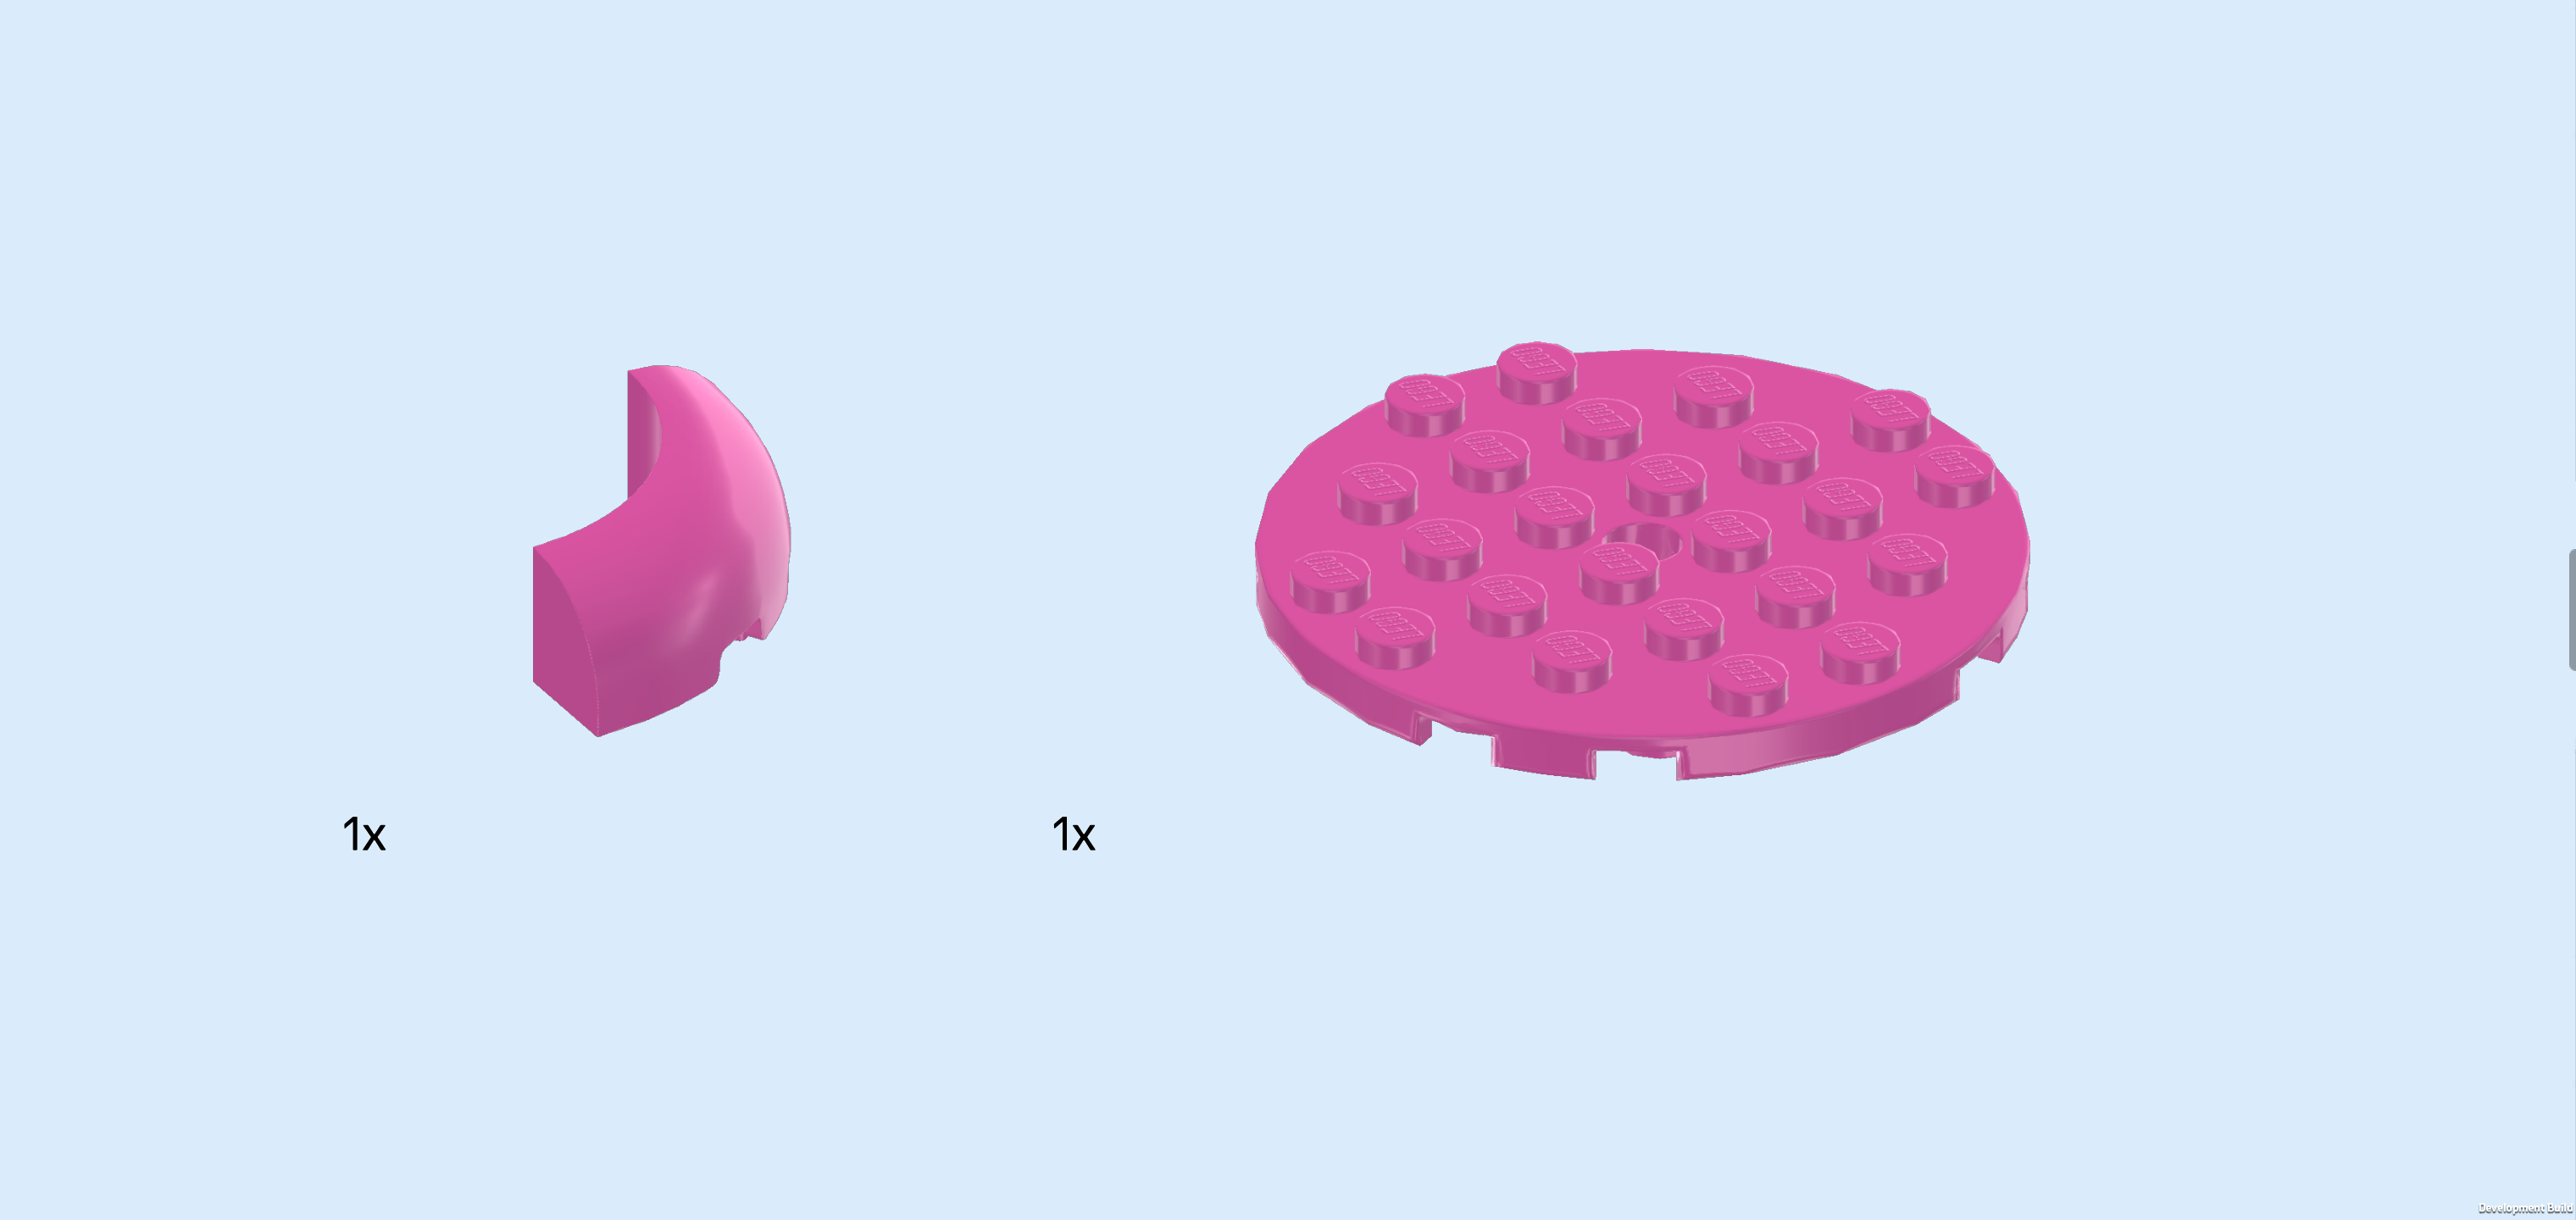
| Collect the following 2 pieces: |
| 1 bright purple smooth quarter-arched brick 3x3, |
| and 1 bright purple round plate 6x6 with middle hole. |
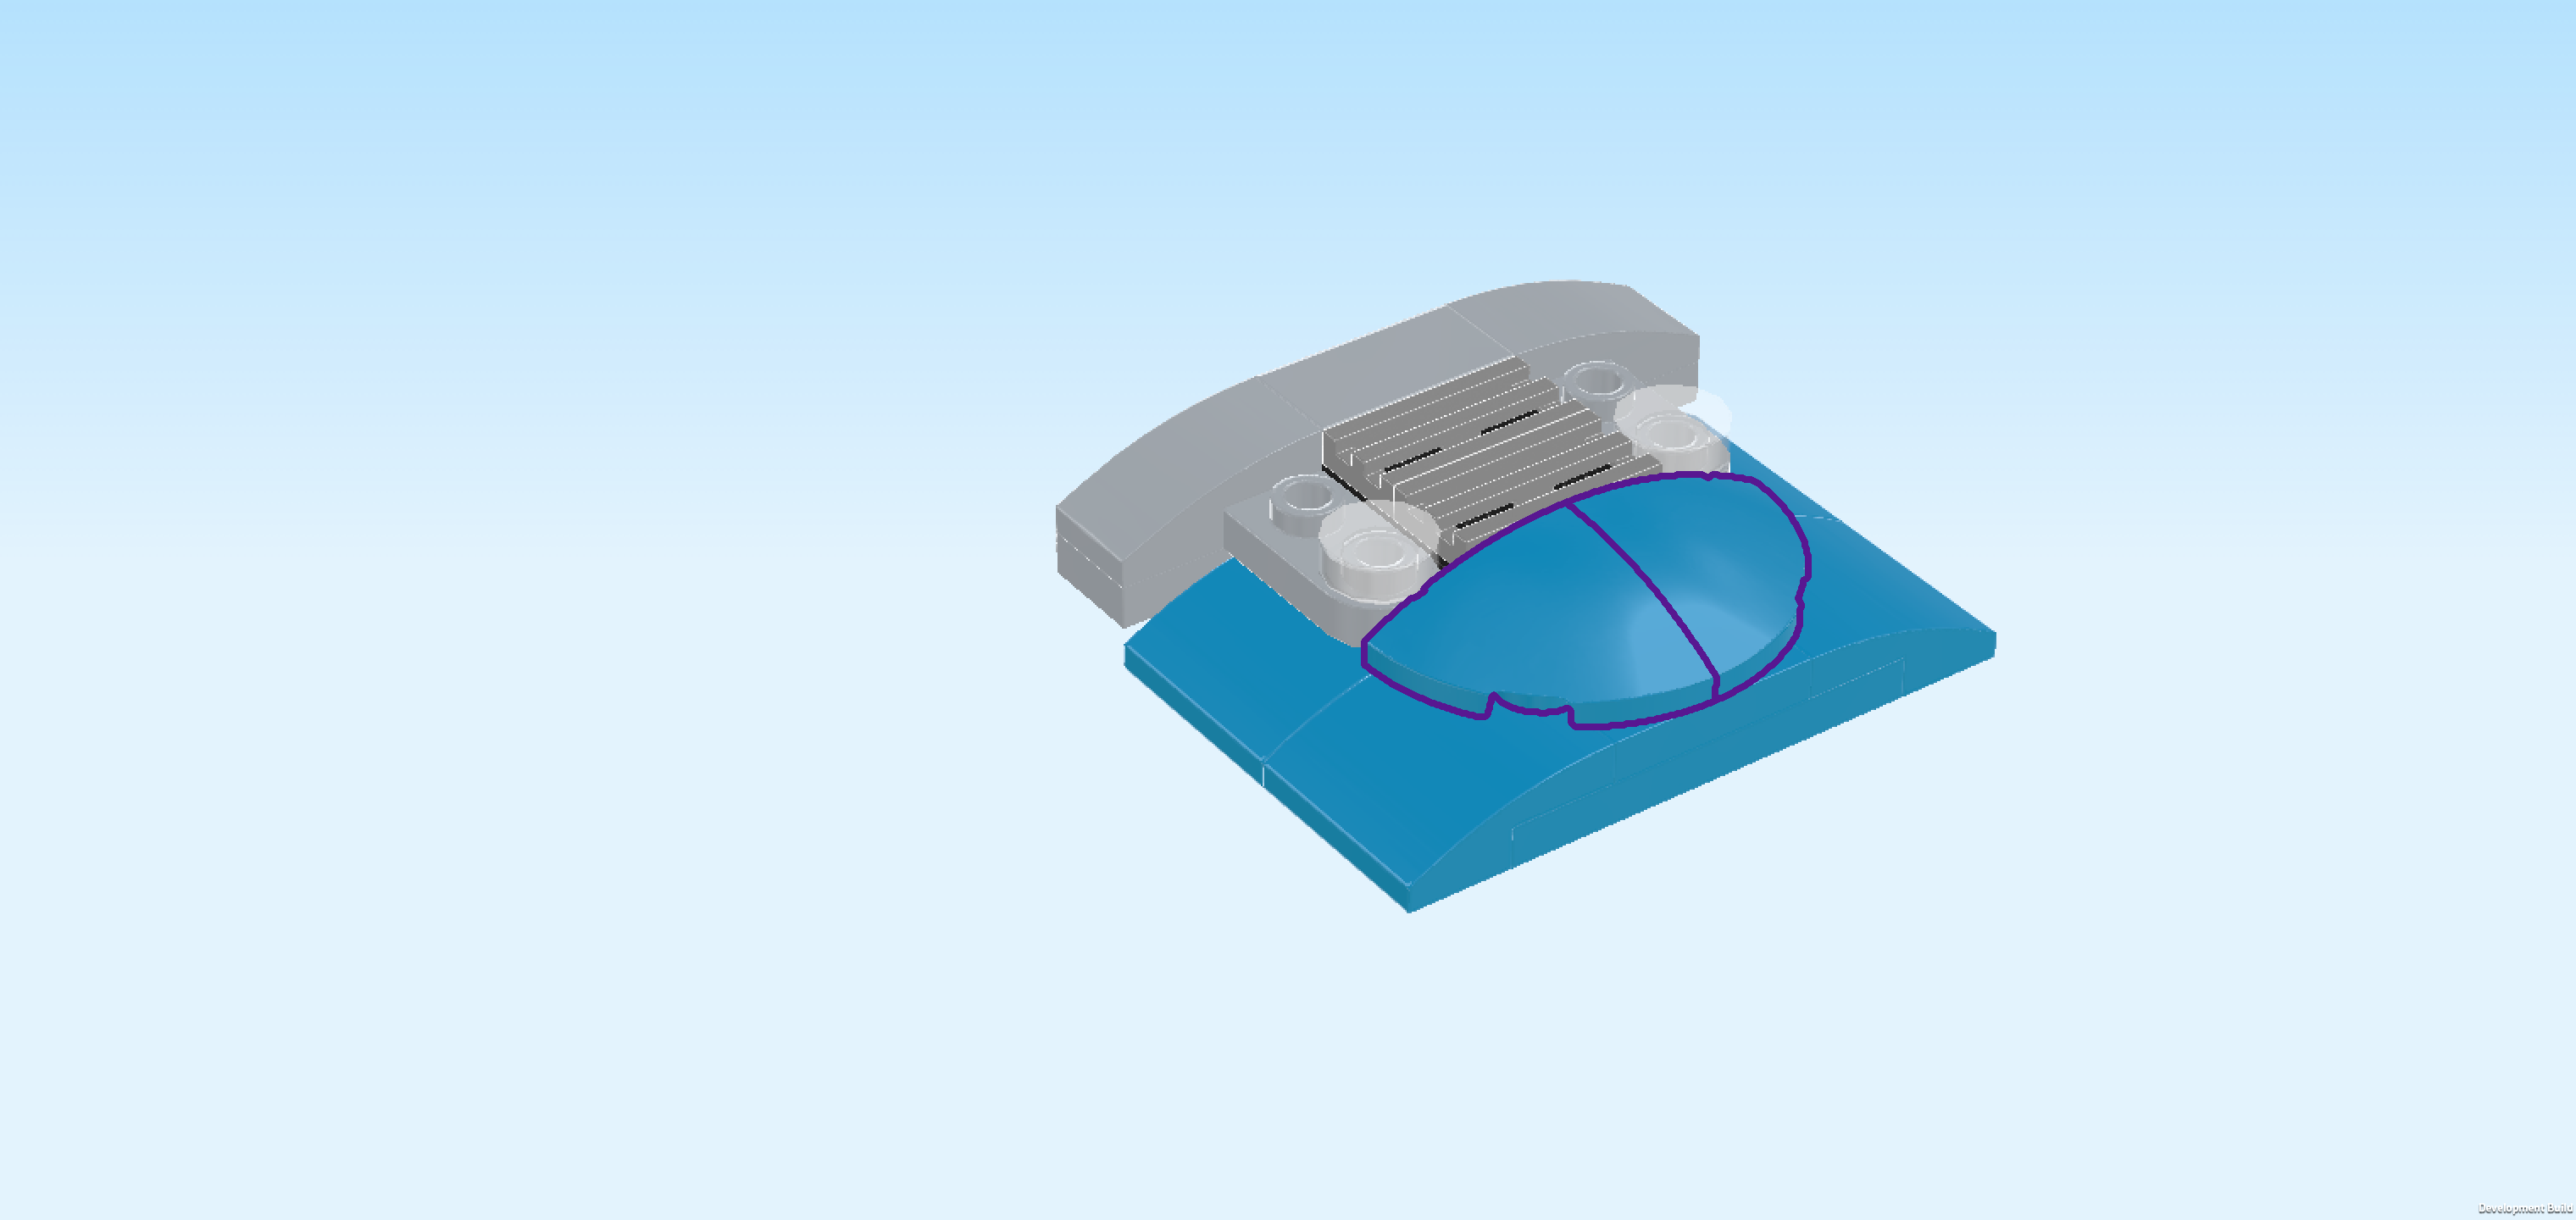
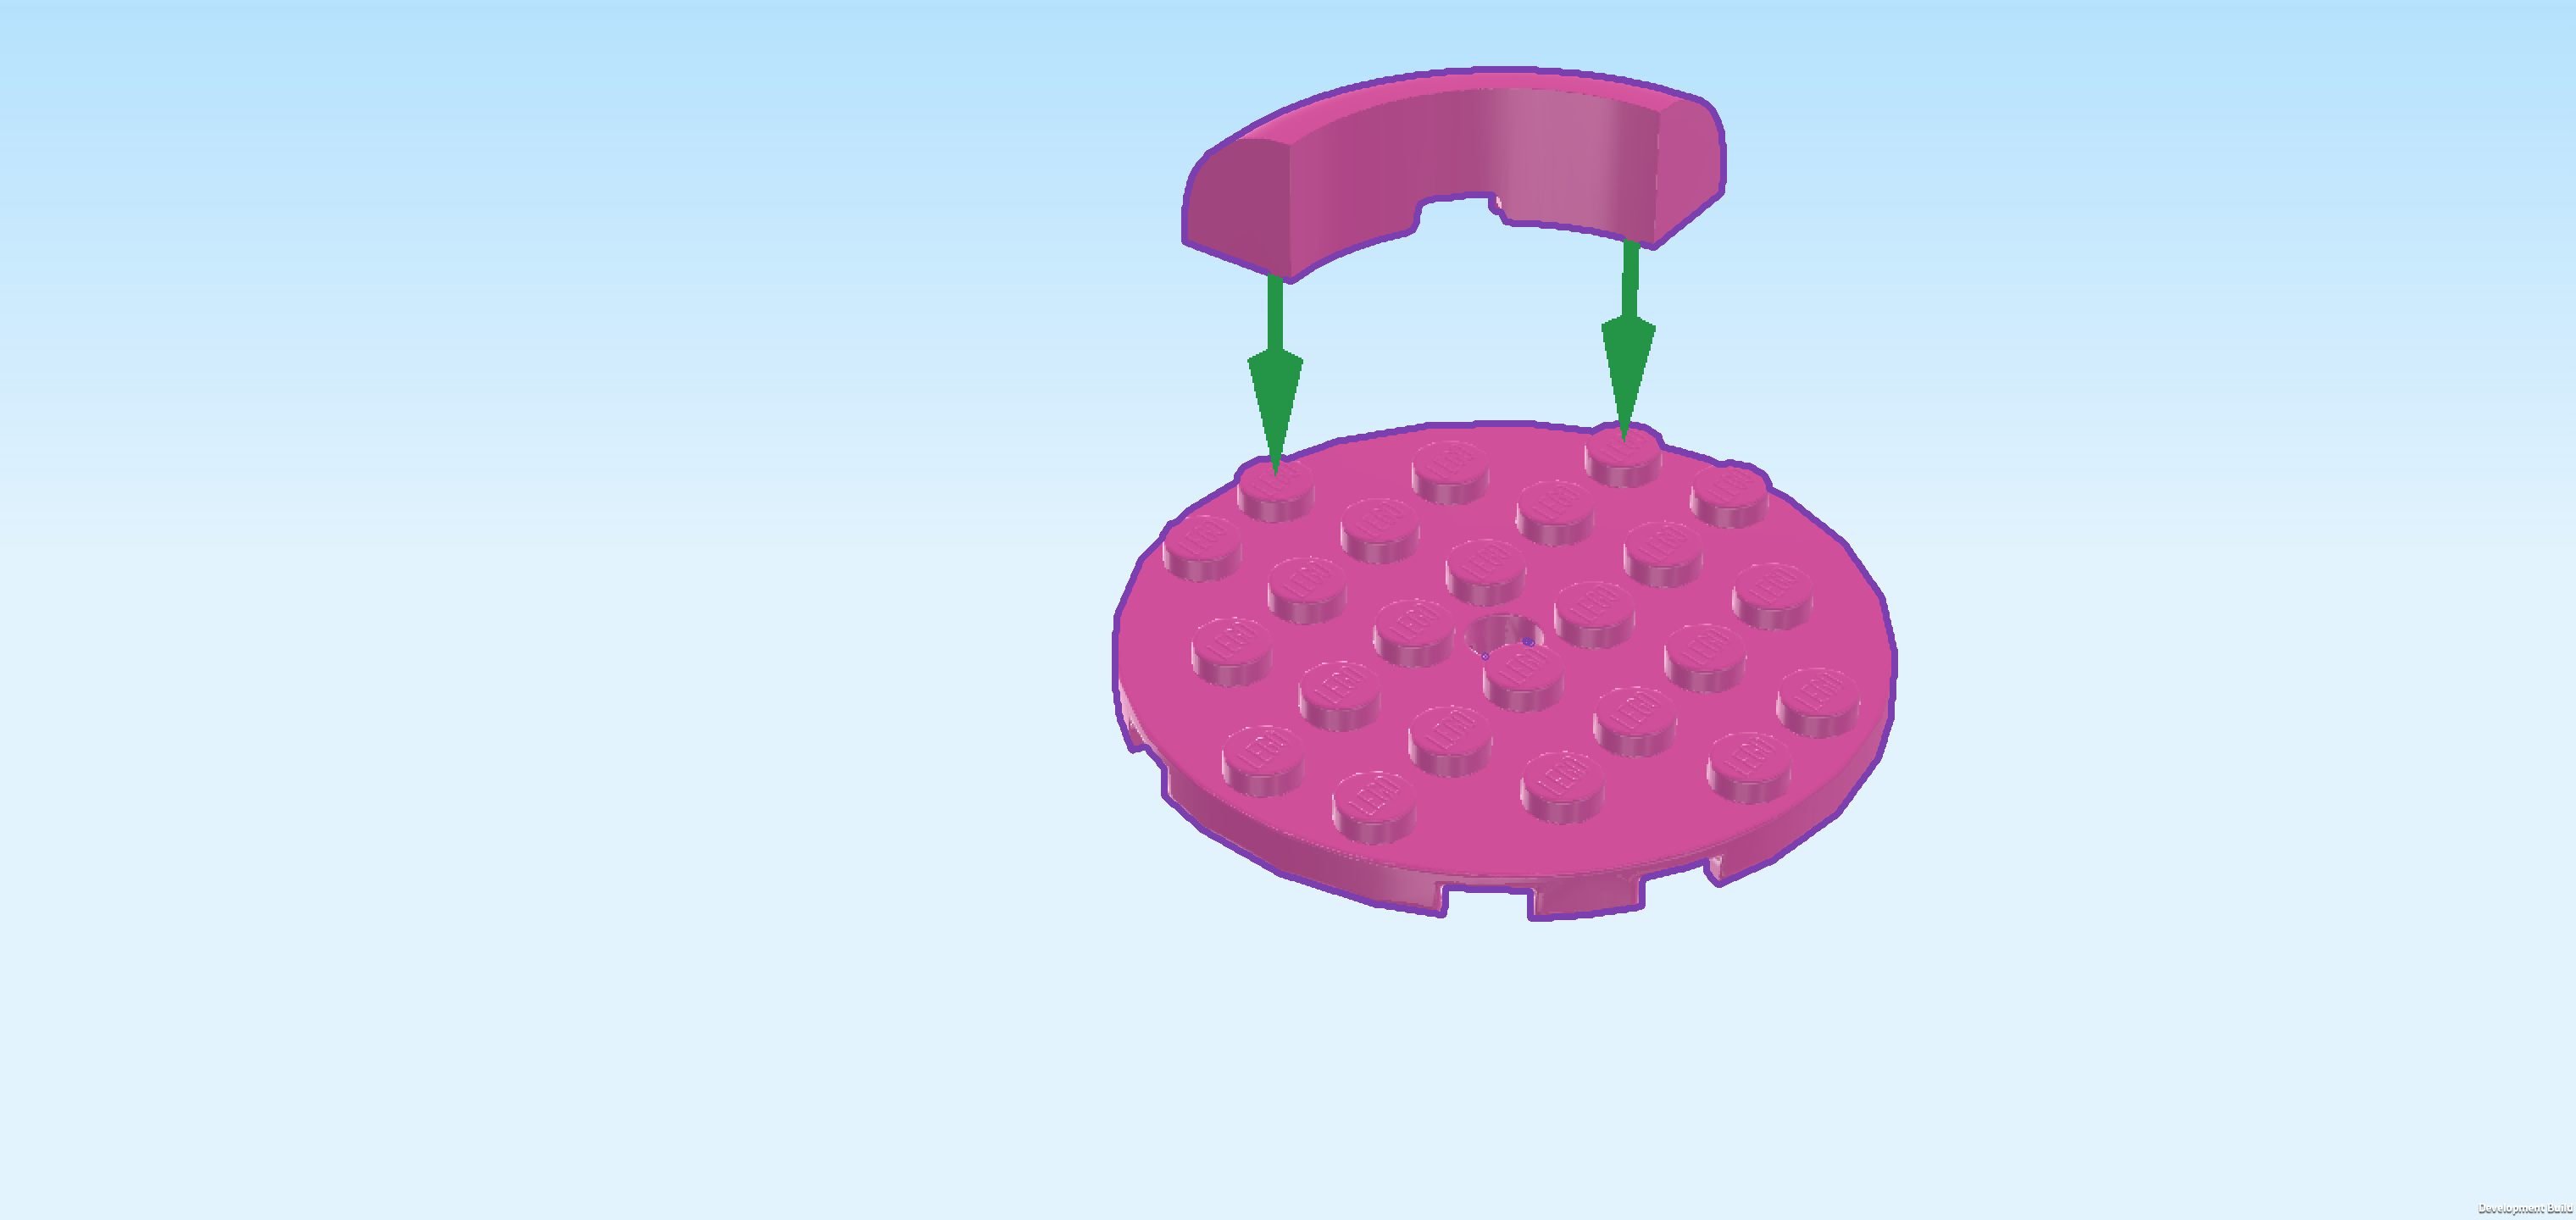
| Put the round plate 6x6 on the table. Make sure its knobs form straight rows and columns in front of you. |
| Put the smooth quarter-arched brick 3x3 on the back left quarter of the round plate, using its outer edge. If done correctly, this piece will only connect to 2 knobs, one on each end, and the rest will sit on a smooth surface. |
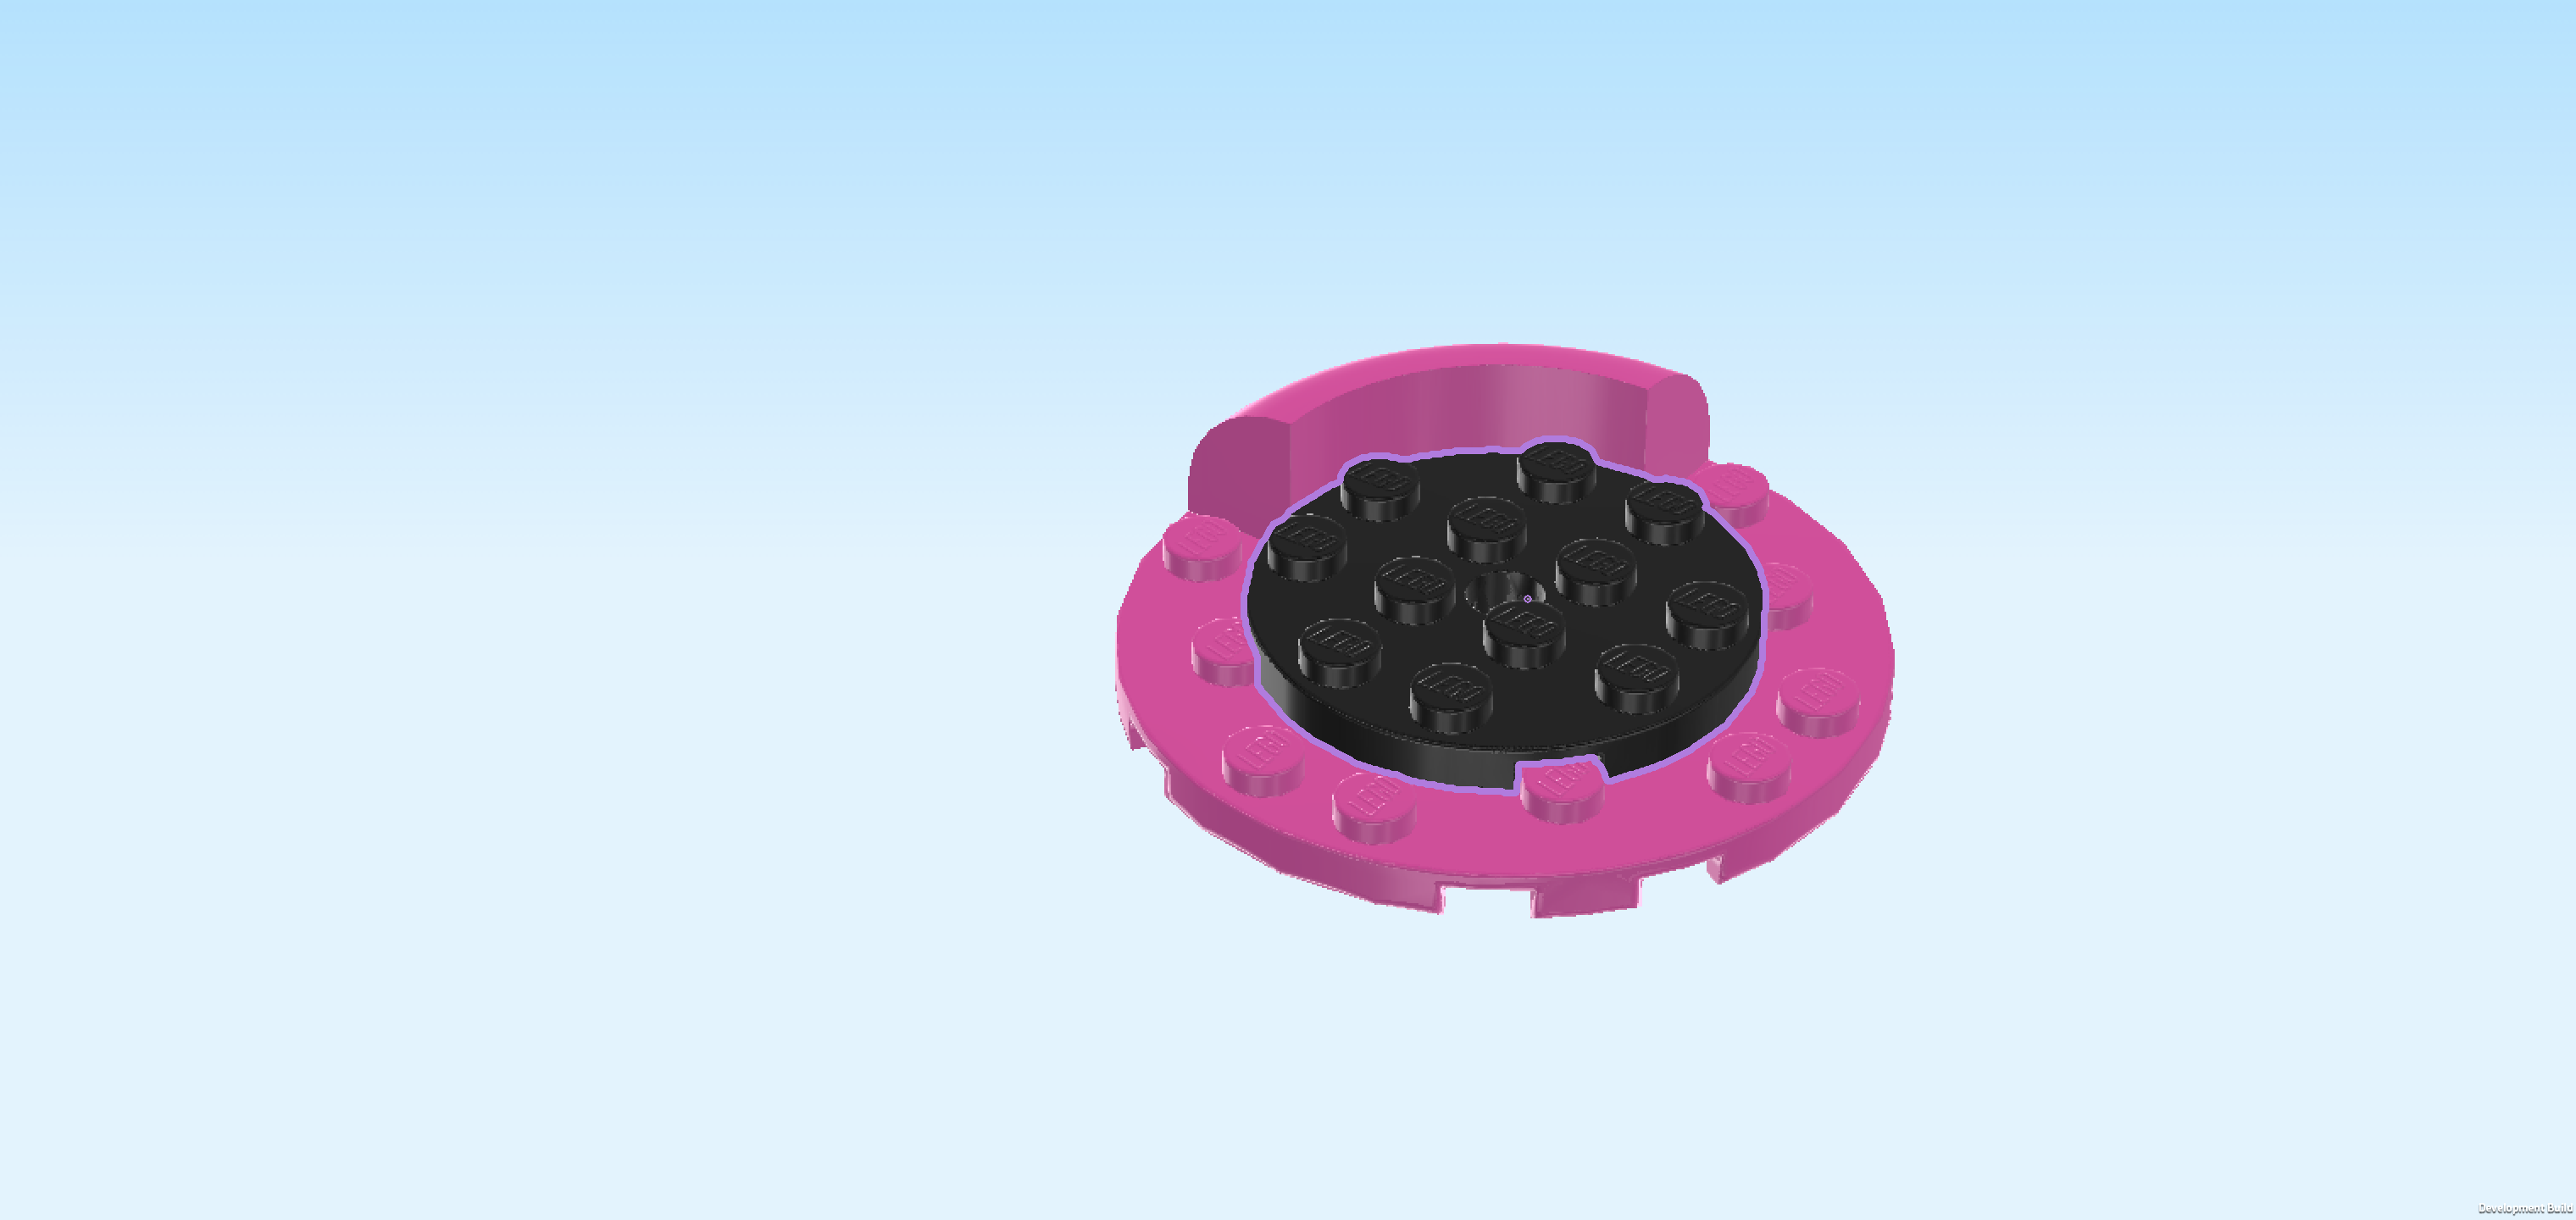
| Find 1 black round plate 4x4 with middle hole. |
| Put it centered on the round plate 6x6. |
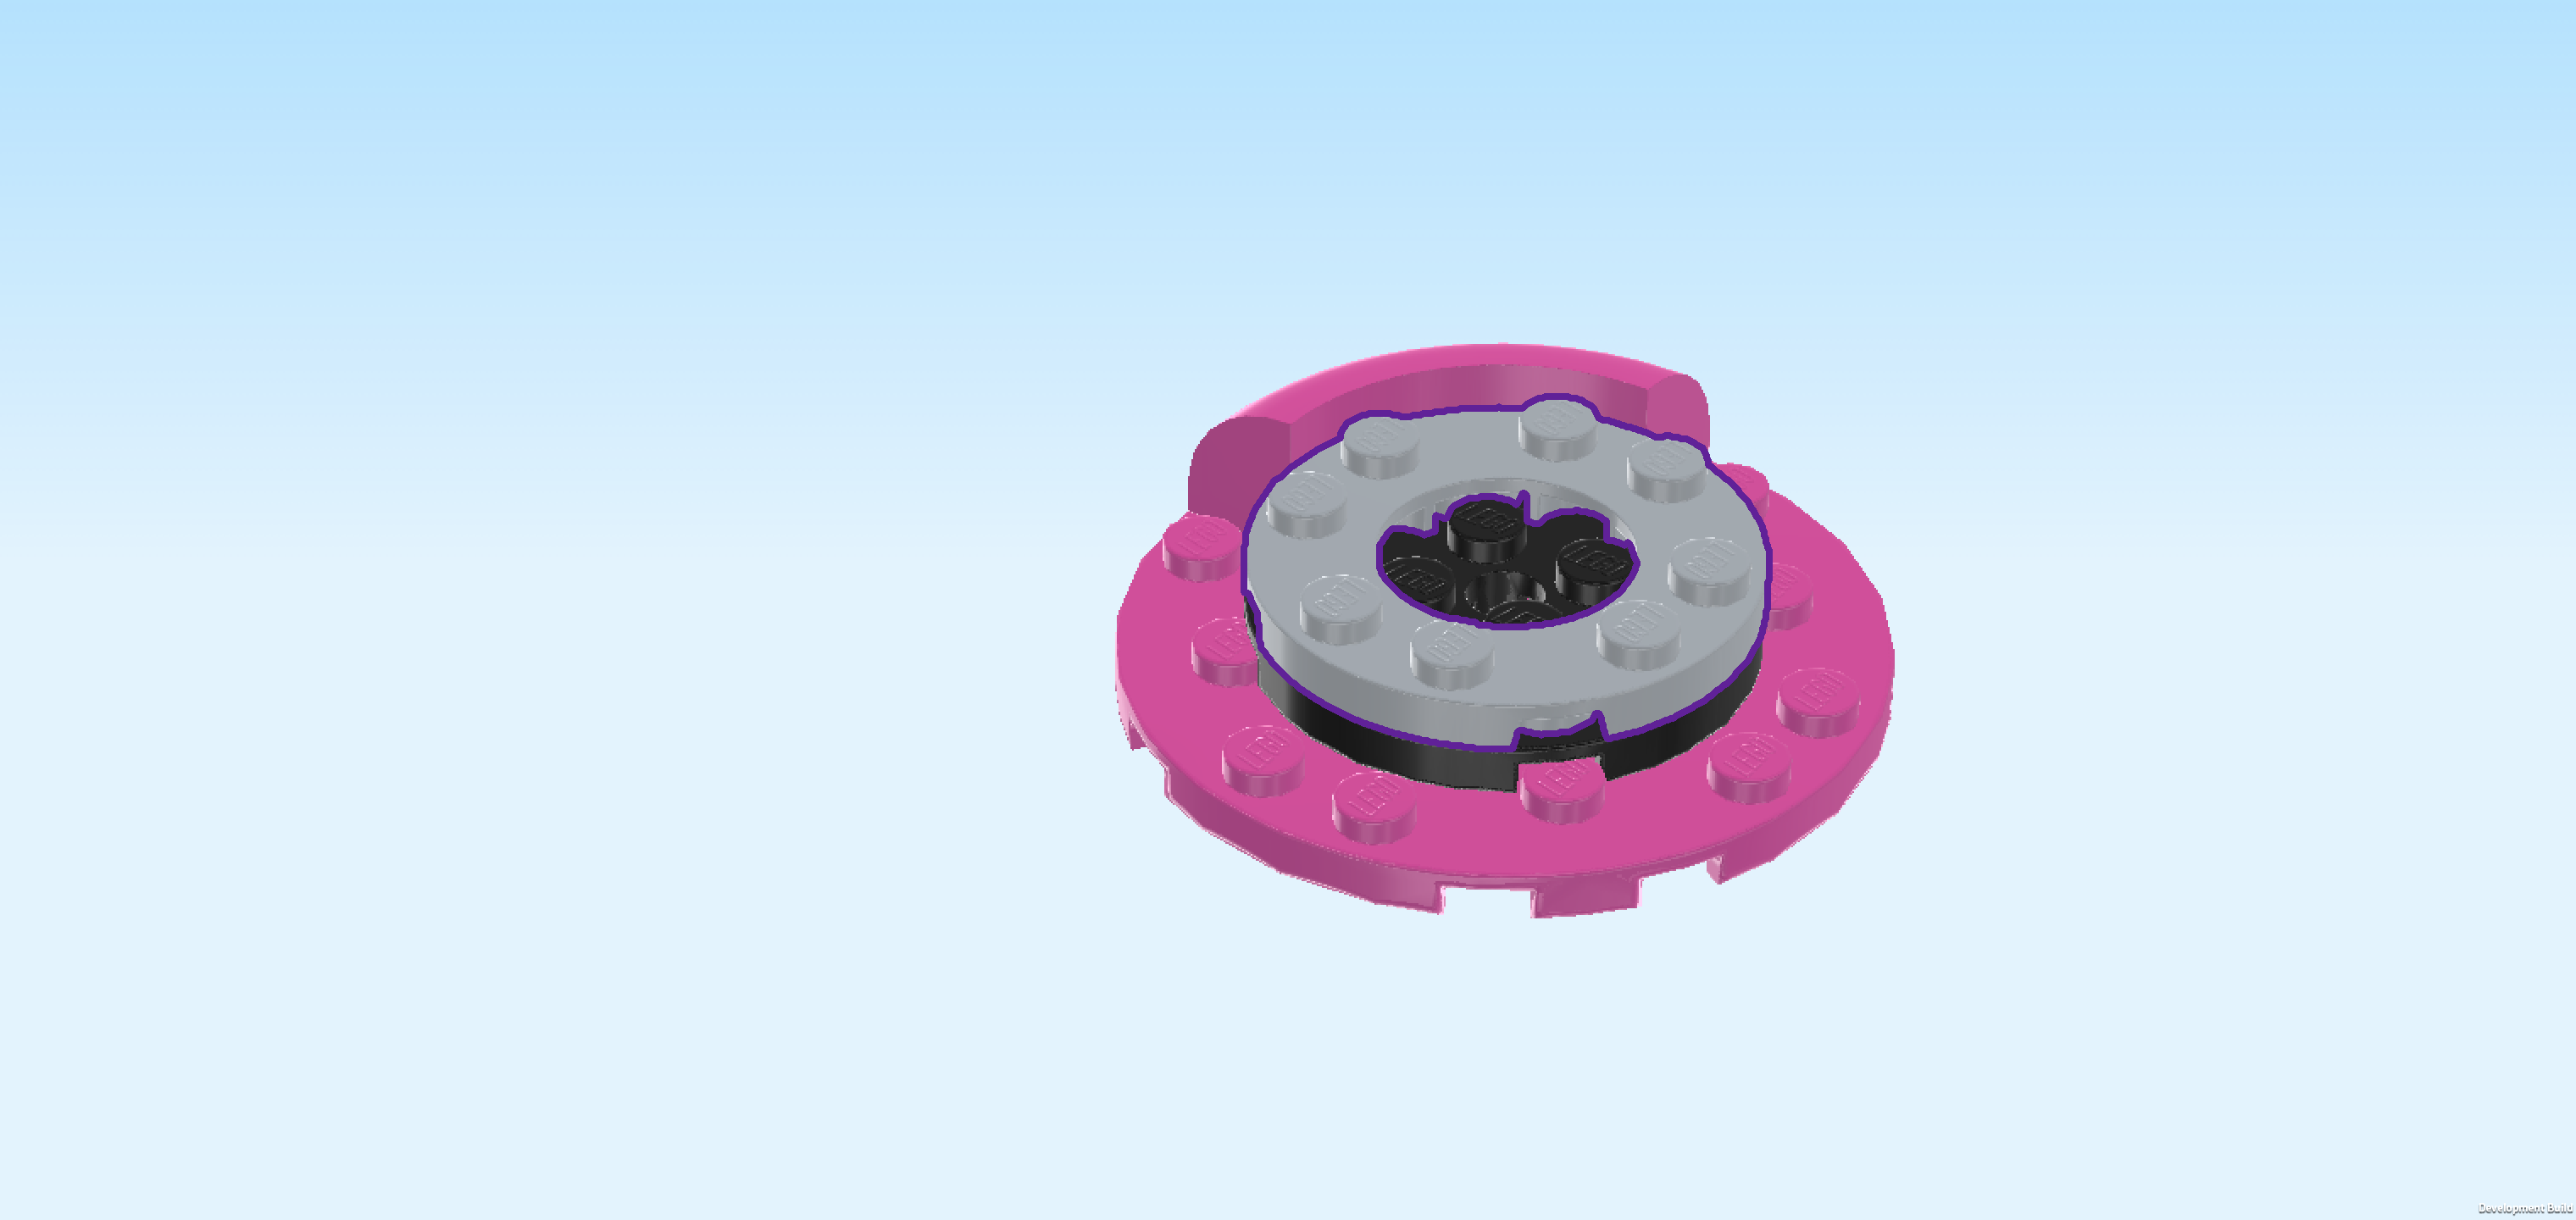
| Find 1 medium stone grey ring plate 4x4. |
| Put it on top of the previous piece, matching its shape. |
| Find another 3 bright purple smooth quarter-arched bricks 3x3. |
| Put them around the 2 center pieces, making a smooth brick ring around them. |
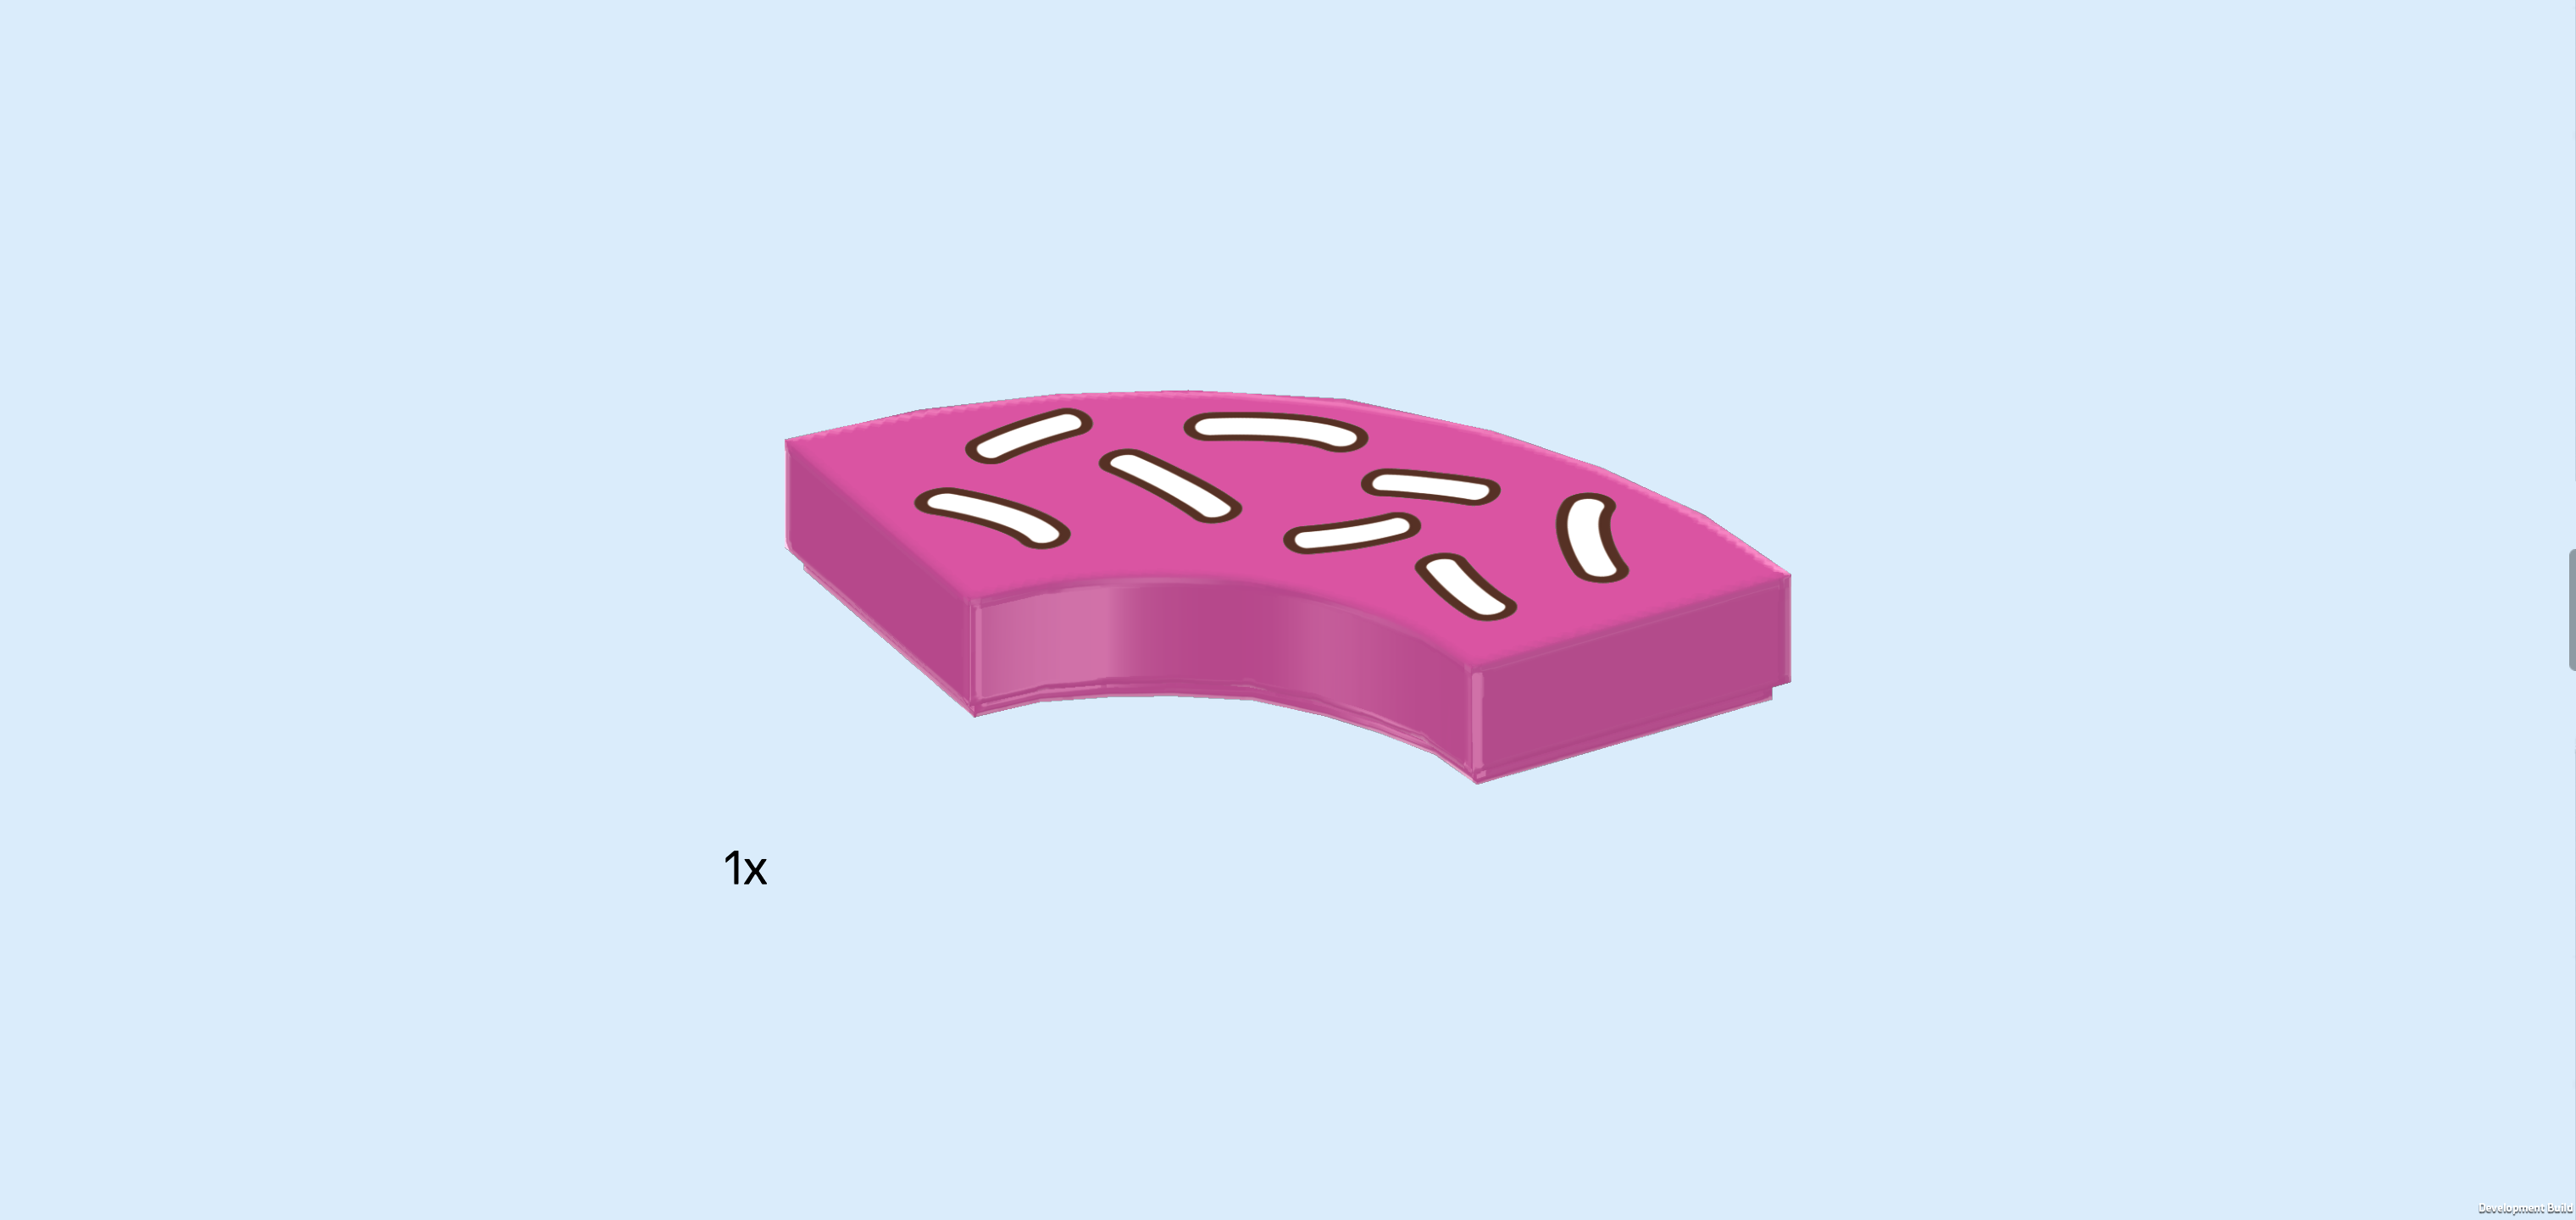
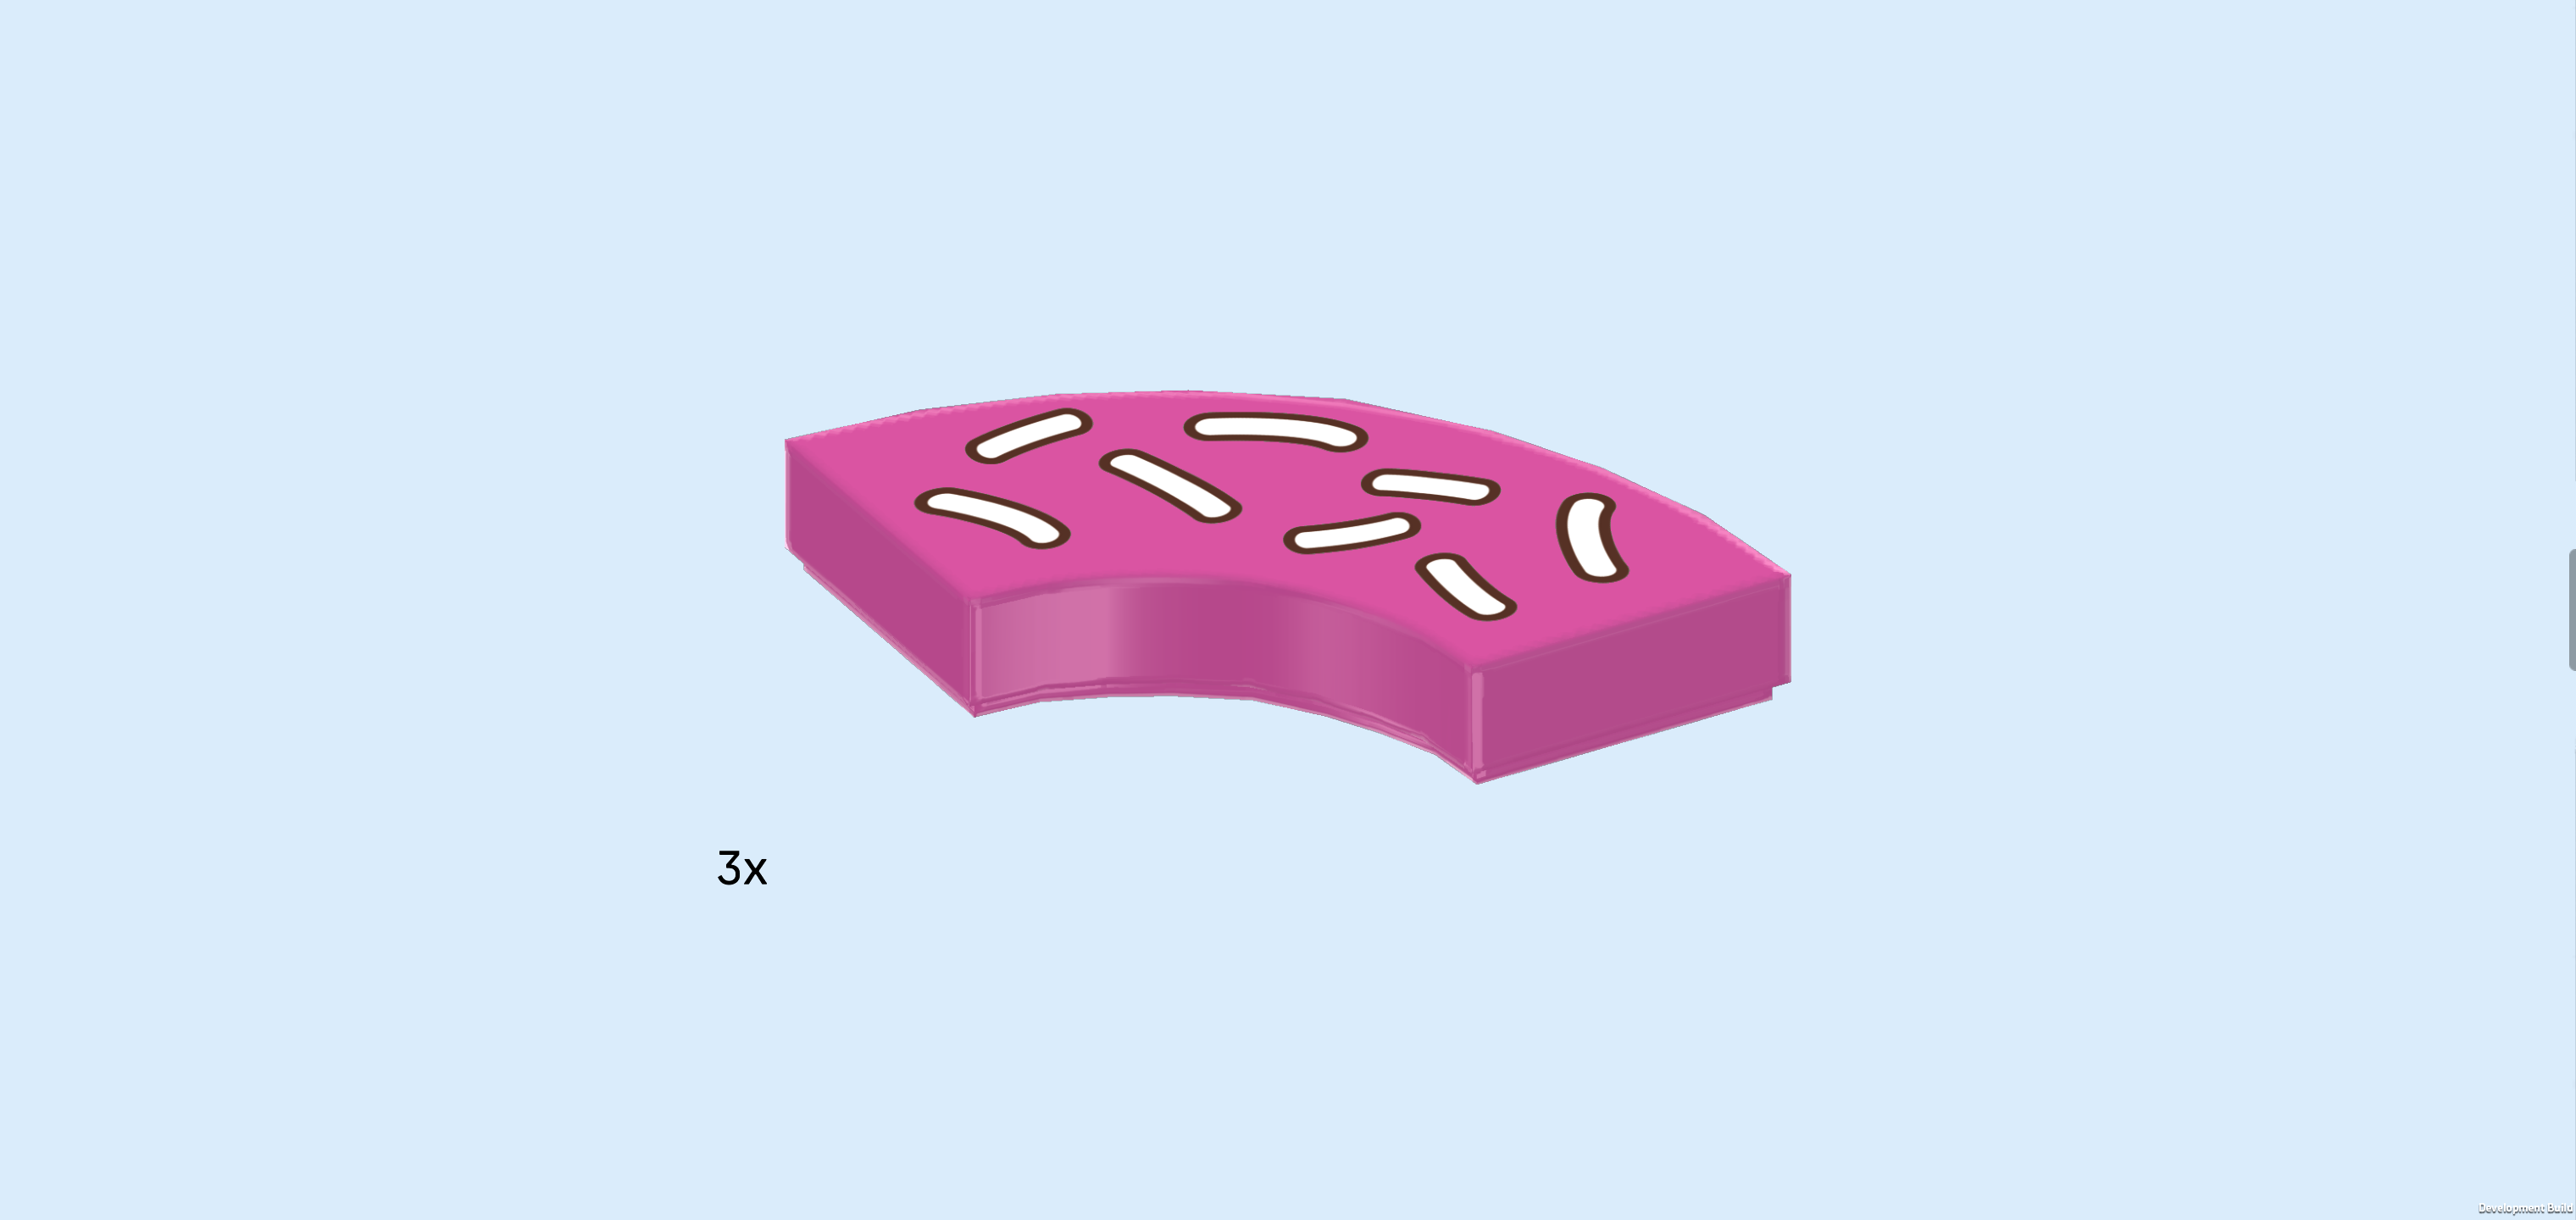
| Find 1 bright purple quarter-arched tile 2x2. |
| Put it on the back left quarter of the ring plate. The purple tile is printed with white sprinkles! |
| Find another 3 bright purple quarter-arched tiles 2x2. |
| Use them to cover the rest of the ring plate. |
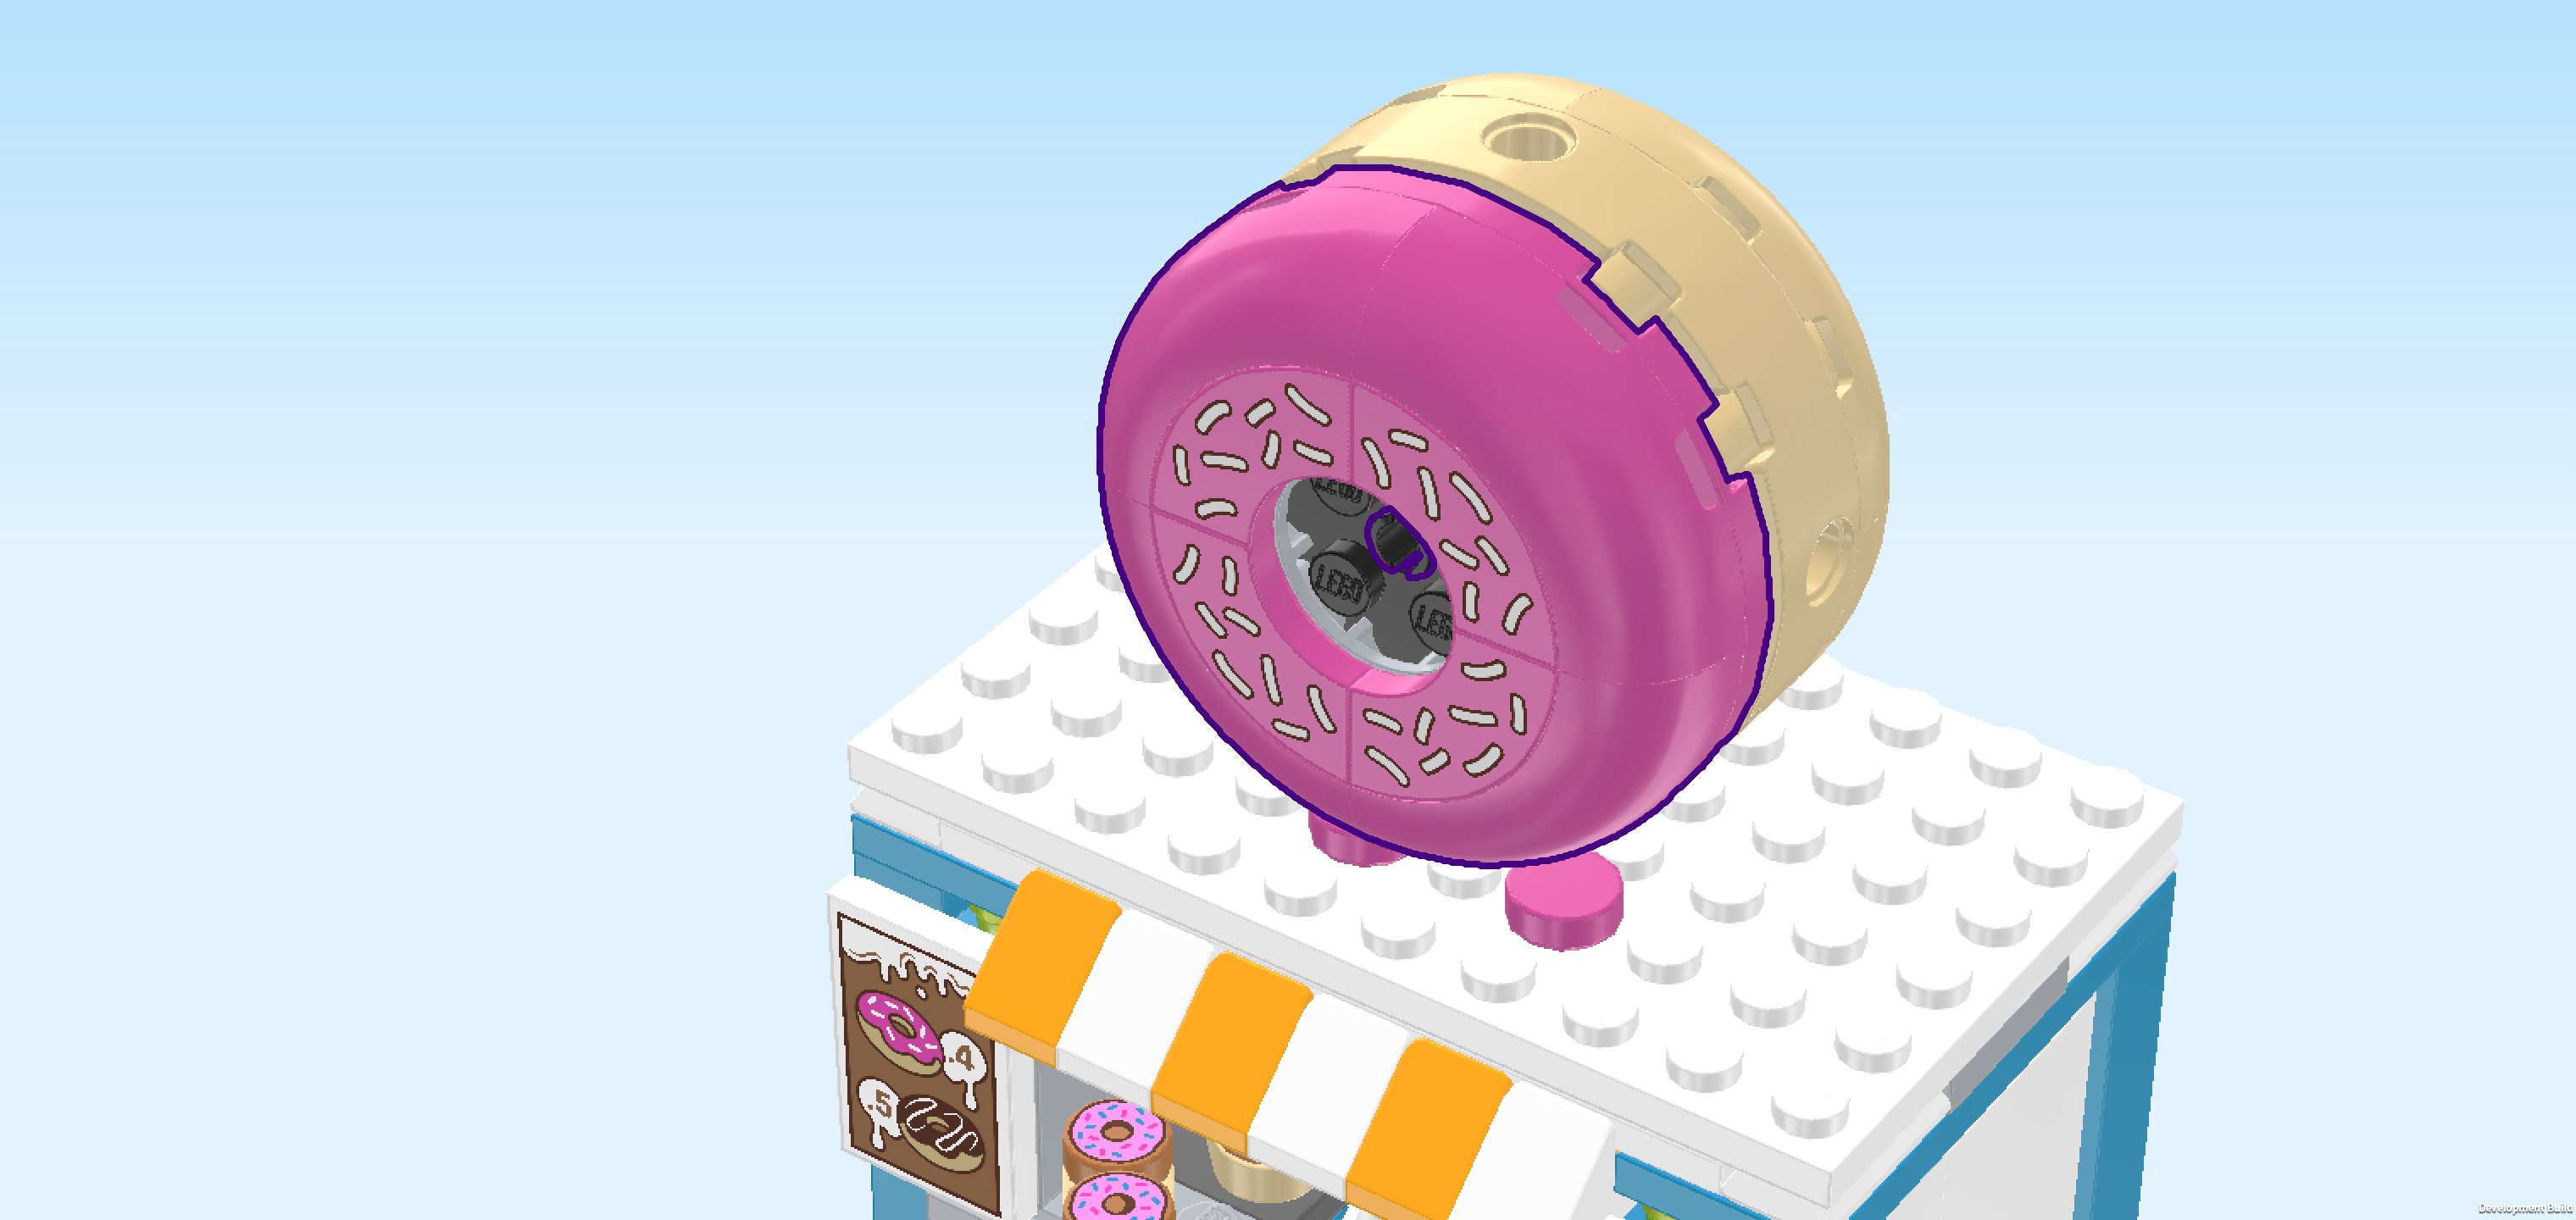
| The spinning roof donut decoration is finished! Great job! Flip it upright so that the smooth surfaces are facing you. Put it on the donut base by inserting the connector sticking out from the base into the middle hole of the decoration from the back. |
| Once it's firmly mounted, you should be able to spin the decoration. Give it a try! |
| The detachable Donut Kiosk is finished! Fantastic work! If you would like to set up your kiosk at a fixed location, you can use it as it is right now. However, if you would like to place it somewhere else or drive around selling your treats, you can mount the kiosk on the Donut Truck bed and hit the road. |
| You have finished building the entire set! Very well done! Now it's time to start selling your tasty donuts to hungry customers. No doubt that your sweet treats will put a smile on lots of people's faces and with your iconic spinning donut, they can spot you from afar! |
| Enjoy! |