| LEGO Audio & Braille Building Instructions for the LEGO City Police set "Police Car and Muscle Car Chase". |
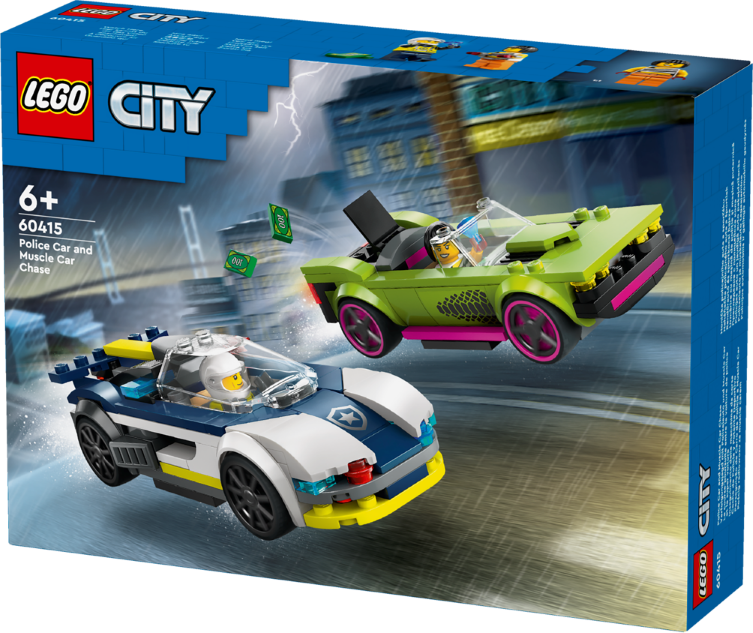
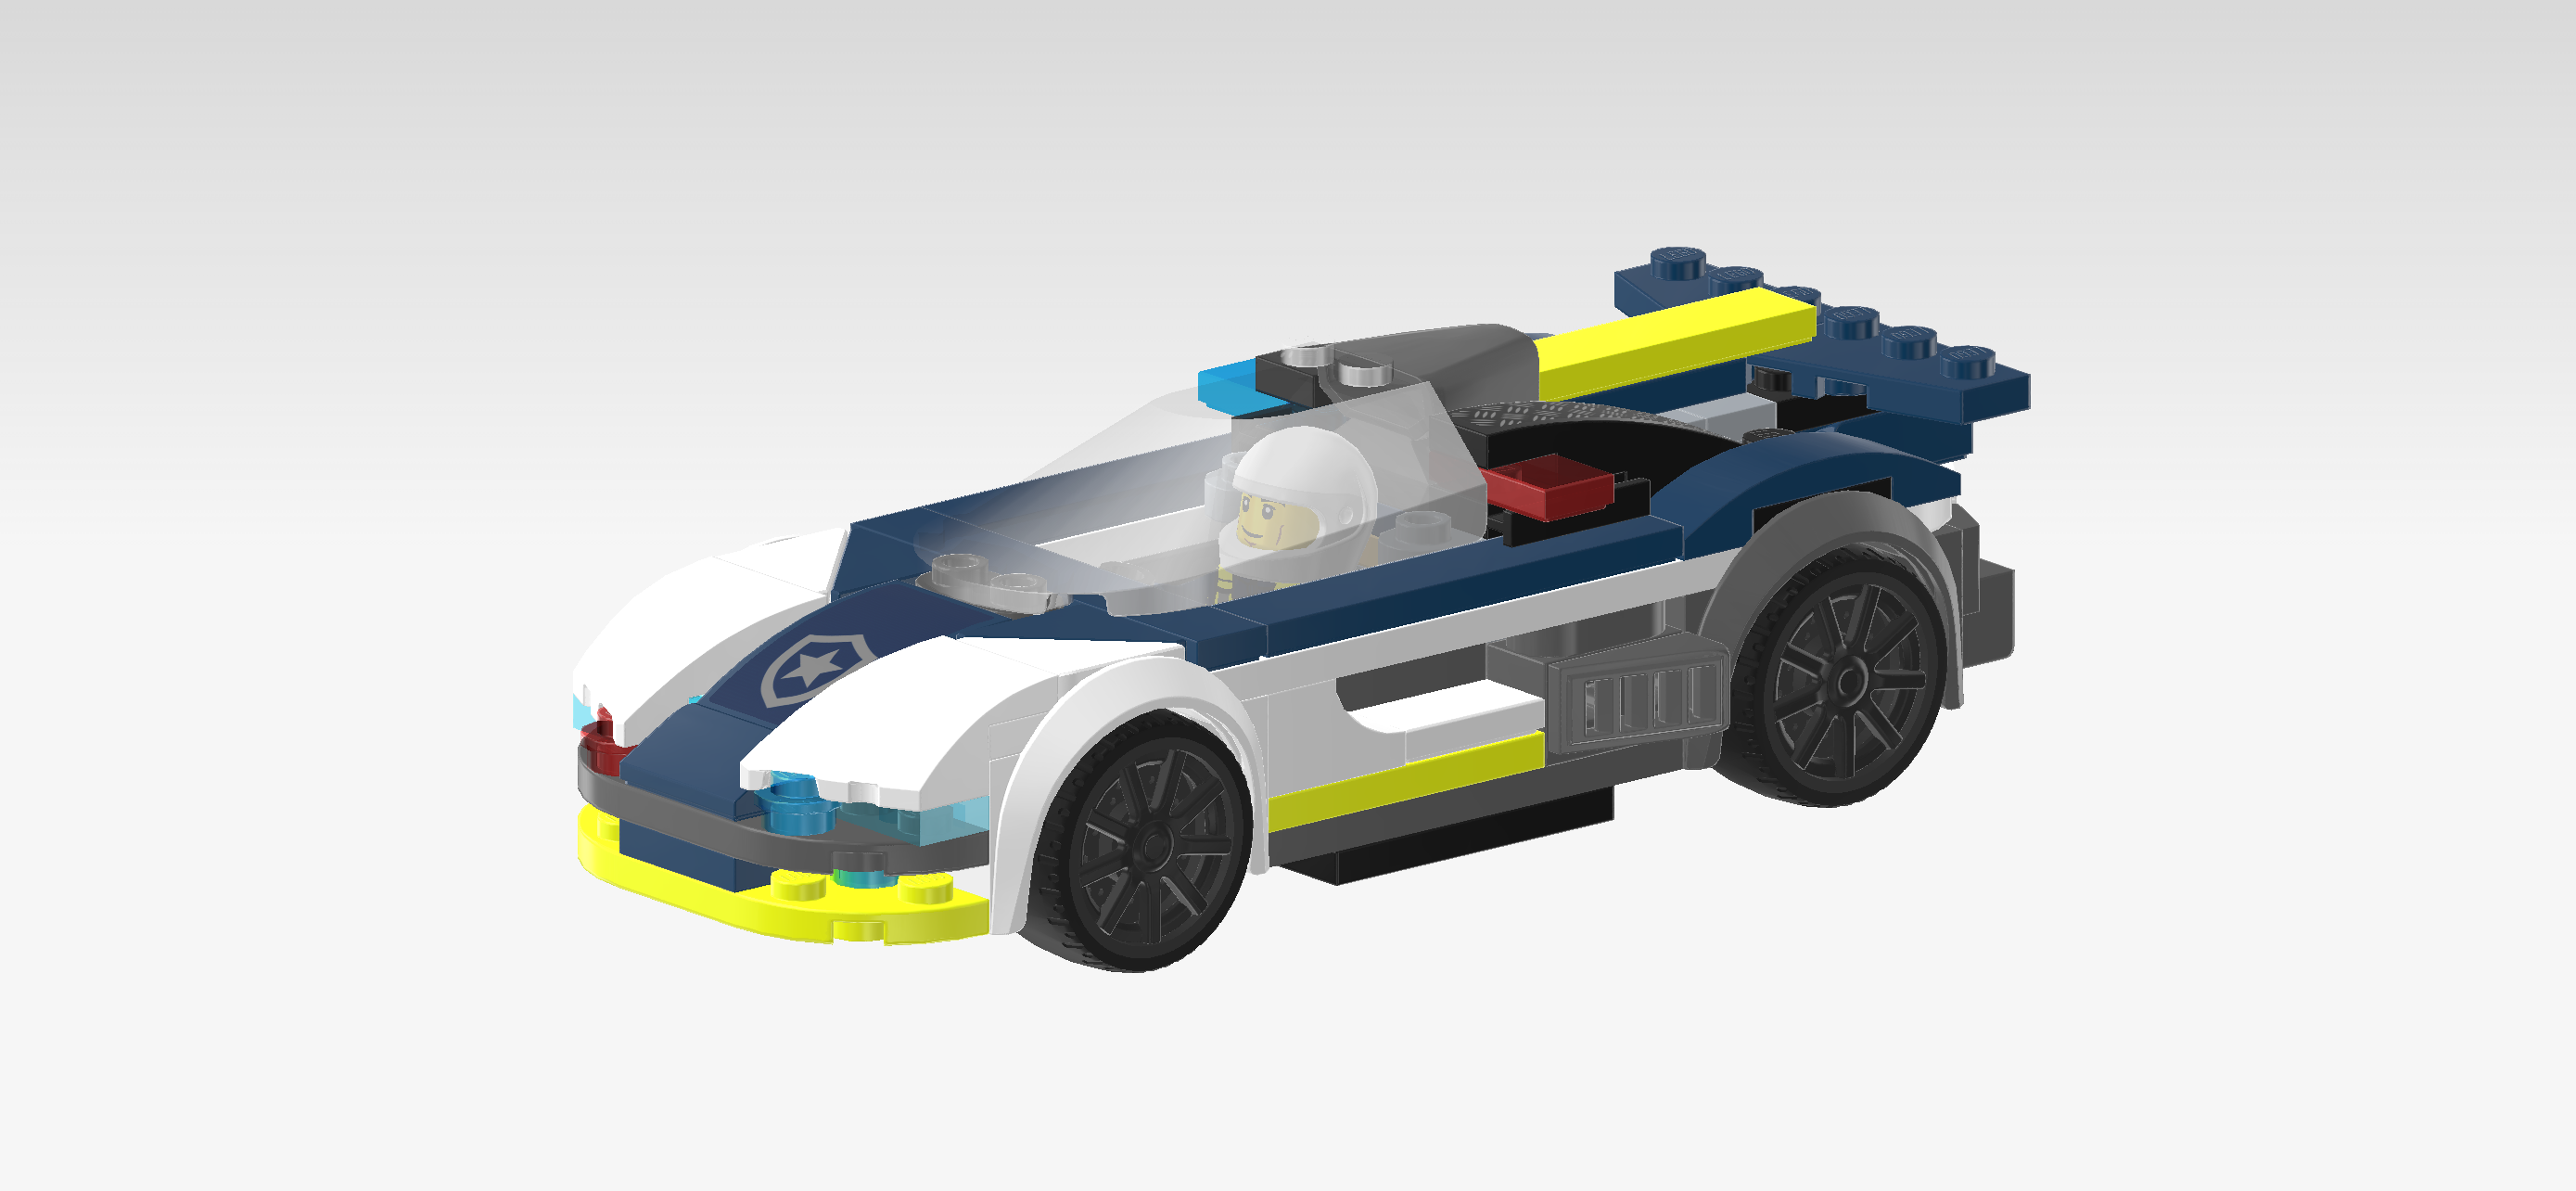
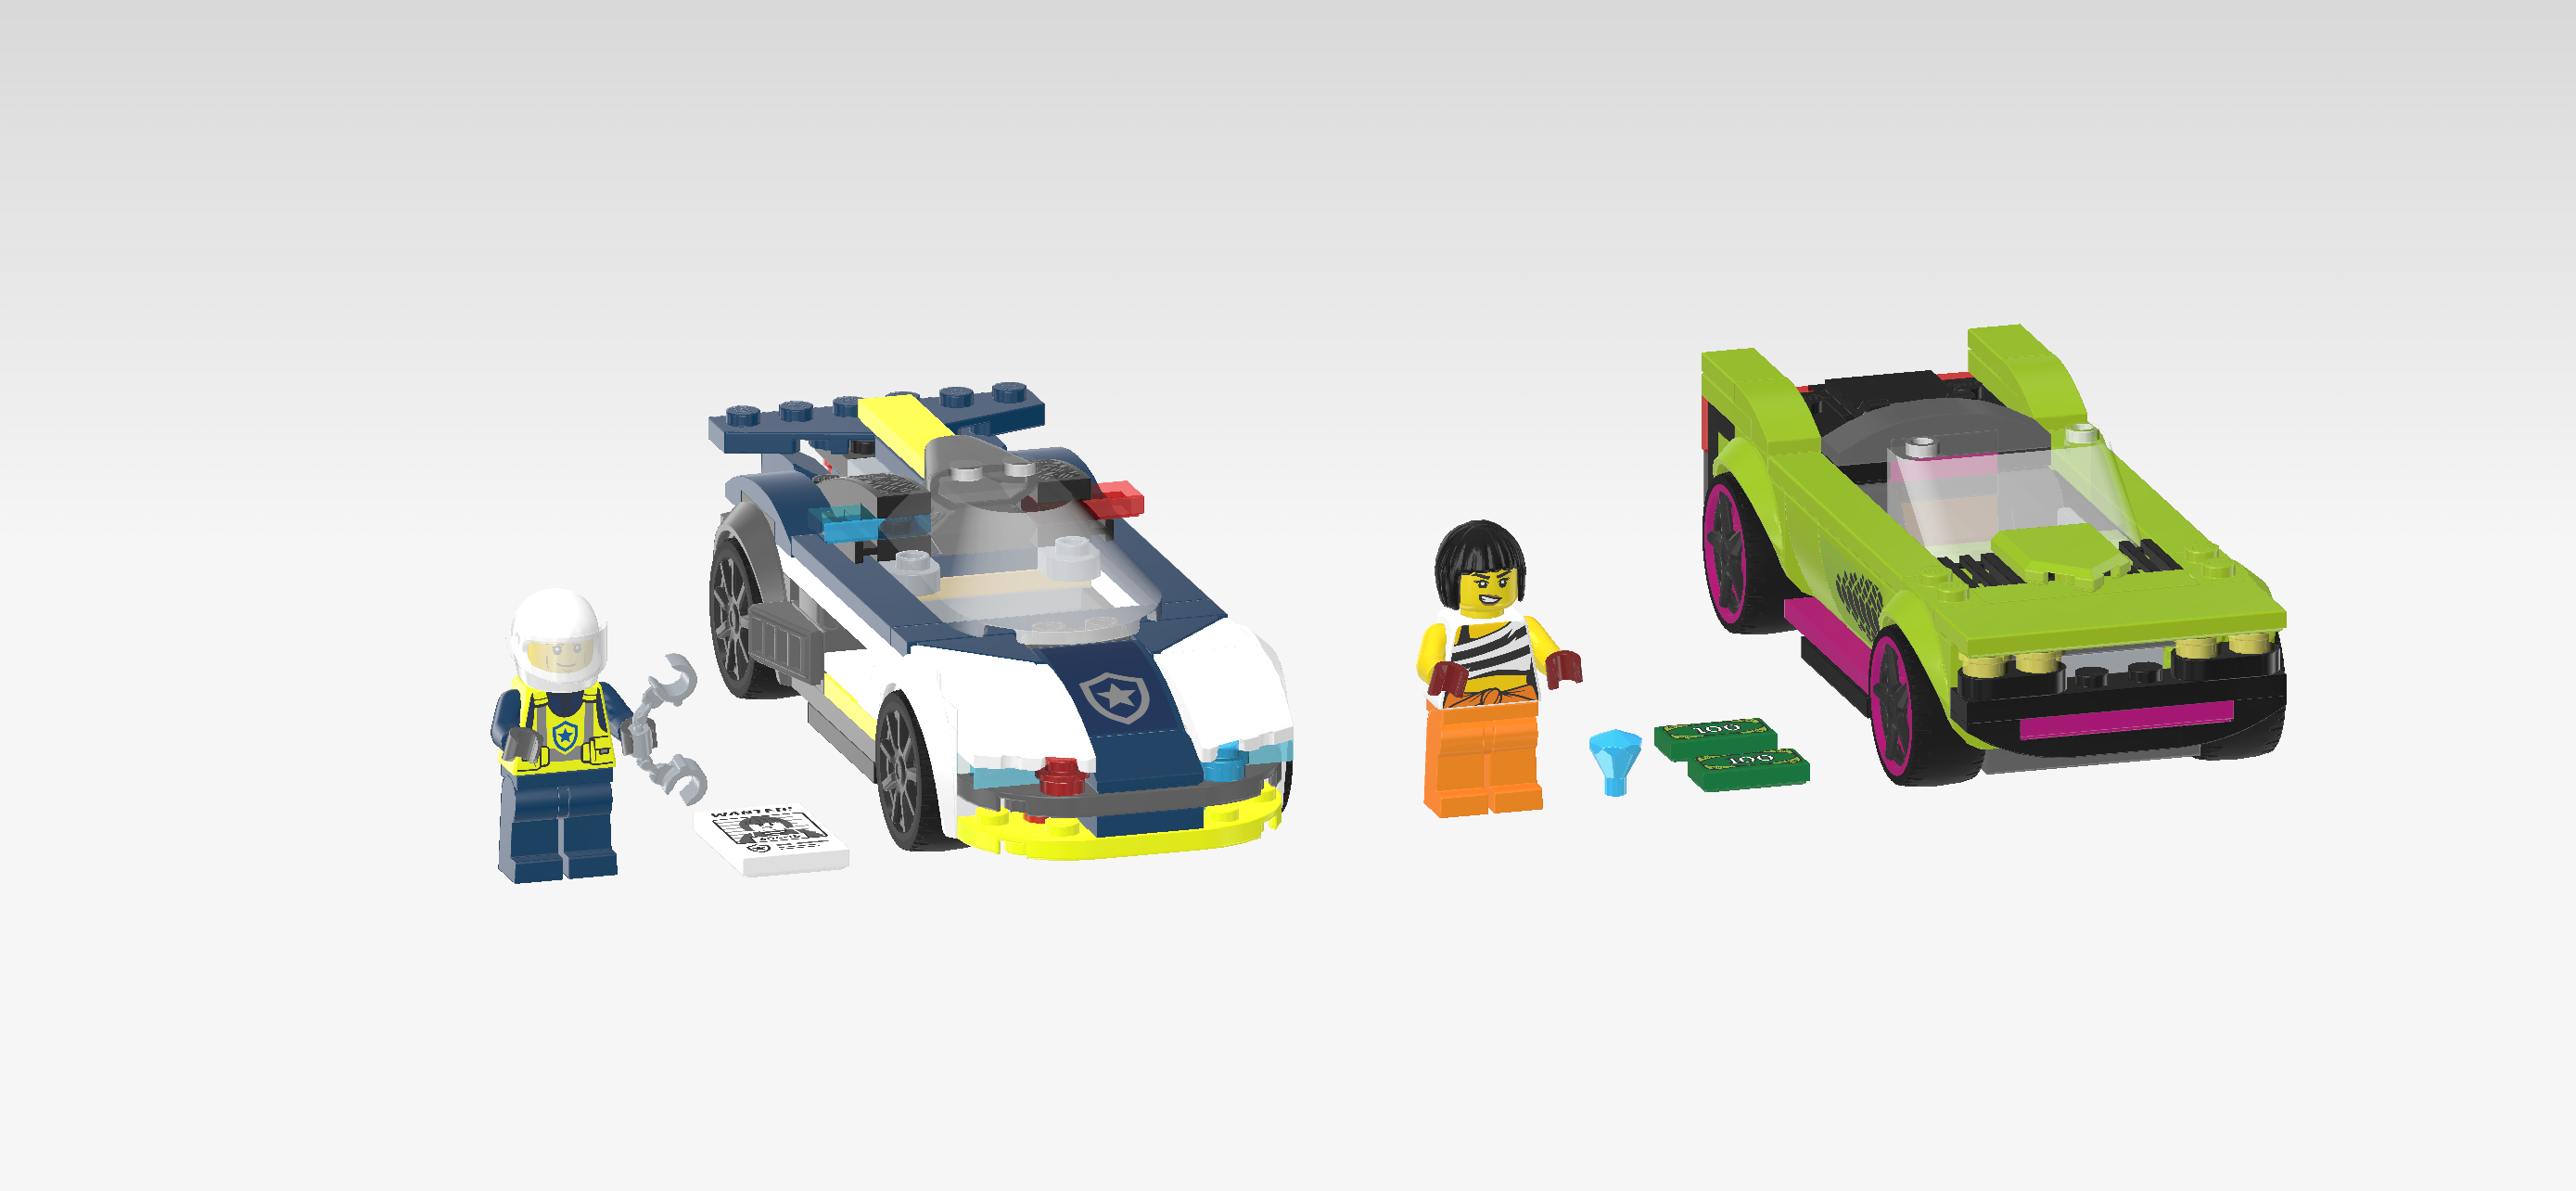
| There's been a jailbreak! Slide into the cockpit of the cool police interceptor and hit the road in pursuit of one of LEGO City's most wanted crooks. This machine is equipped with a large rear spoiler, cool rims and slick low-profile tires for extra speed and grip. Screech around bends and perform cool drifts to outrun the crook in her high-speed muscle car! Awesome action awaits in LEGO City! |
| On the box cover, the car chase is in full swing. Both cars are flying in mid-air, chasing down the road alongside each other in heavy rain. In the background of the scene, lightning is striking! Meanwhile, the police officer is speeding in his police interceptor, a white and navy blue vehicle with a neon yellow underbody, boasting a large rear spoiler and cool rims. It even has side spoilers for ideal aerodynamics. The crafty crook is behind the wheel of her muscle car with low-profile tires that are made for speed and a cool air scoop. The muscle car is bilious green with black airbrushing and neon pink design elements. It has a hatch at the back that has sprung open from the wild car chase; a few banknotes are flying out of the trunk. What an action-packed scene! It's time to catch up and start building. Let's go! |
| Open the box. This can be tricky; ask someone to help you! |
| The box contains 1 booklet with visual building instructions, 2 bags with numbers printed on them, and 1 sheet with 5 stickers. Ask a sighted person to help you identify bags and stickers! |
| Carefully open bag number 1 and any small sub-bags in it. This bag contains all bricks and pieces for the Police Officer Minifigure, and the Police Interceptor Car. |
| Before you start building, ask a sighted person to help you sort the pieces by color. This makes finding the correct pieces even easier! |
| First, we will build the Police Officer Minifigure. |
| Collect the following 2 pieces: |
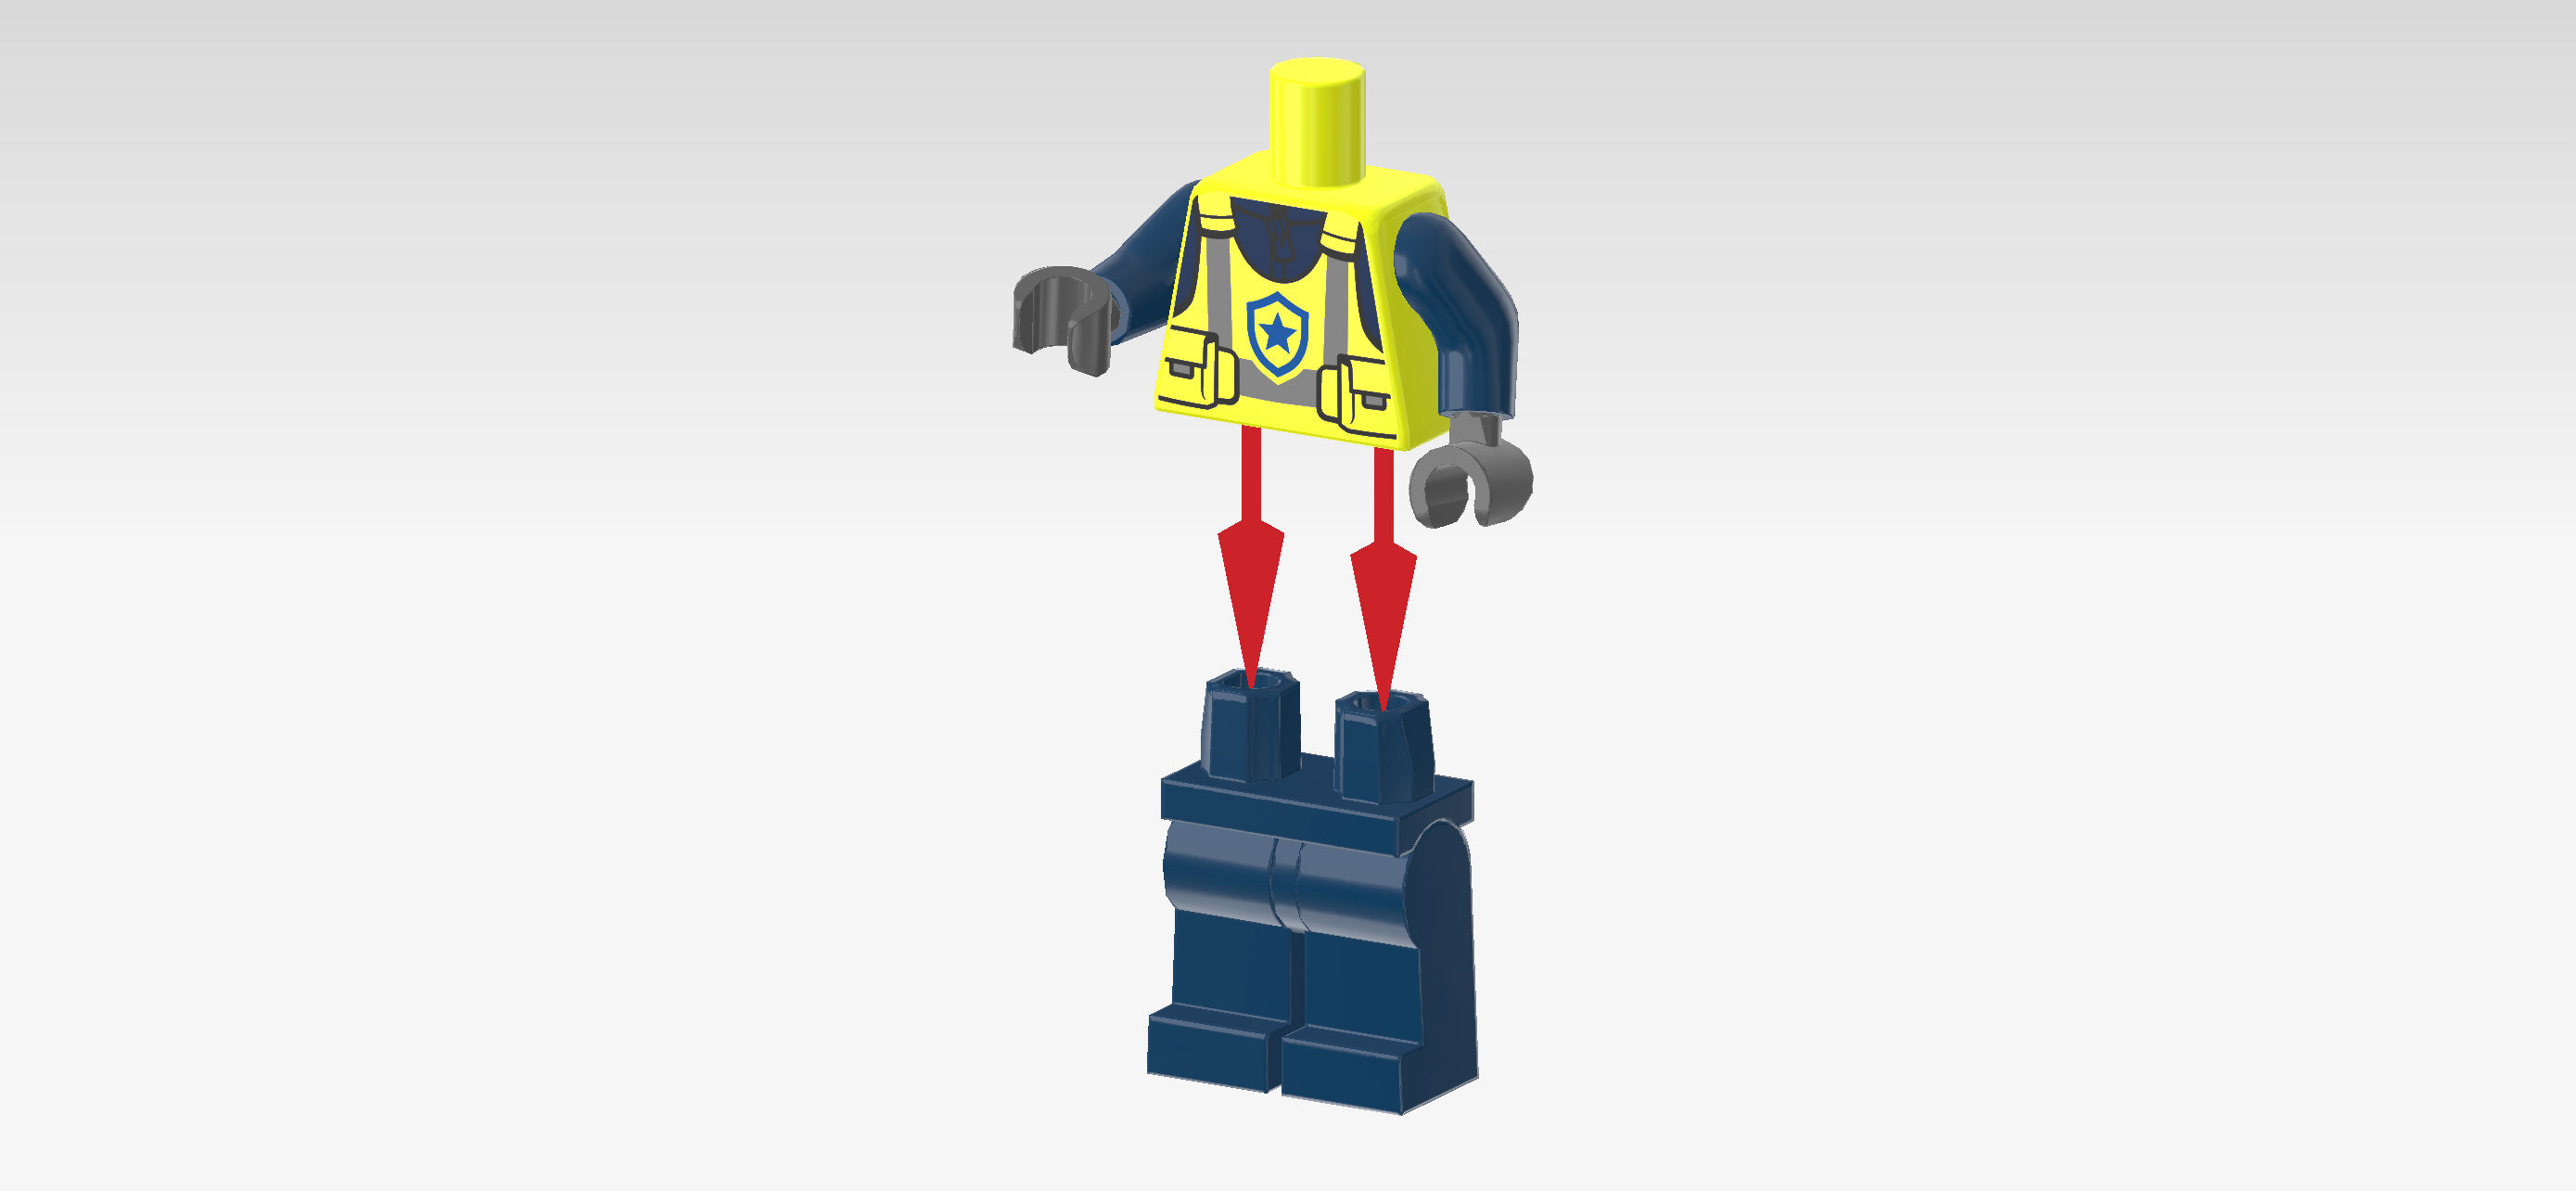
| 1 vibrant yellow, earth blue and dark stone grey upper part of the body, |
| and 1 earth blue pair of legs. |
| Put the upper body on the legs. Make sure the hands and toes are pointing in the same direction. |
| Find 1 bright yellow Minifigure head. |
| Put it on the body. |
| Collect the following 2 pieces: |
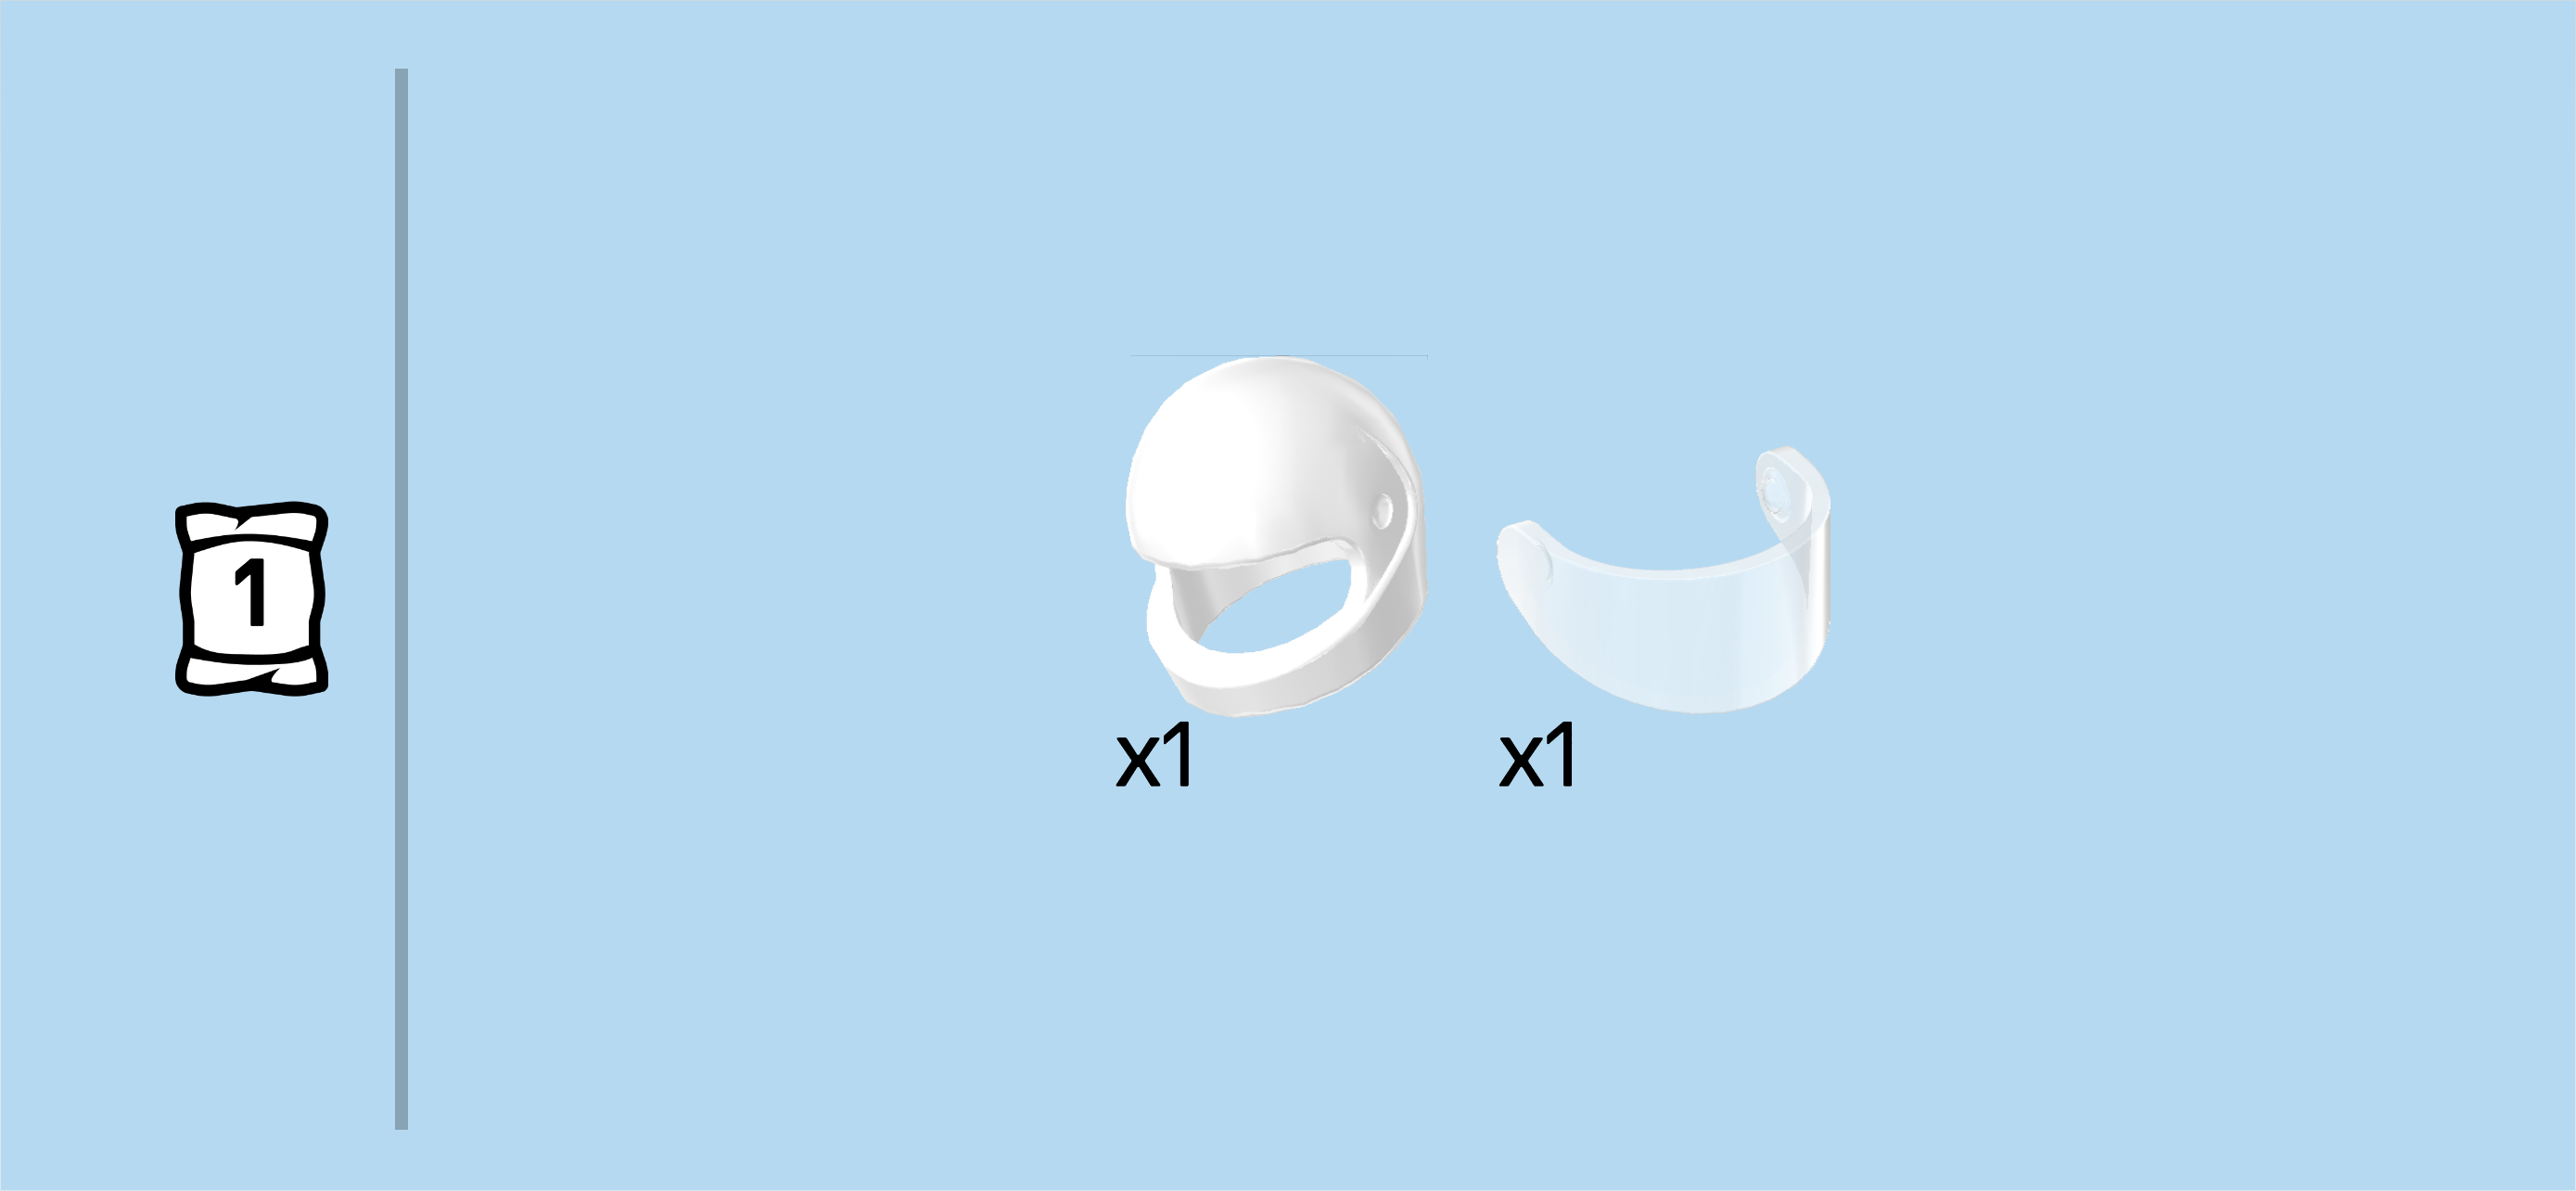
| 1 transparent helmet visor, |
| and 1 white safety helmet. |
| Snap the visor into the opening of the helmet. |
| Put the helmet on the head. |
| Collect the following 2 pieces: |
| 1 medium stone grey pair of handcuffs, |
| and 1 white flat tile 2x3. |
| Snap the handcuffs into the Minifigure's left hand. |
| Snap the flat tile into the Minifigure's right hand. This piece is printed with the wanted notice for the crook. The print is black. The headline is "WANTED!" in all caps, followed by the mugshot of the crook; she is holding a sign with her registration number which is 6 0 4 1 5. At the bottom of the wanted notice, there is some illegible text describing the crook's misdemeanors, and the police badge. |
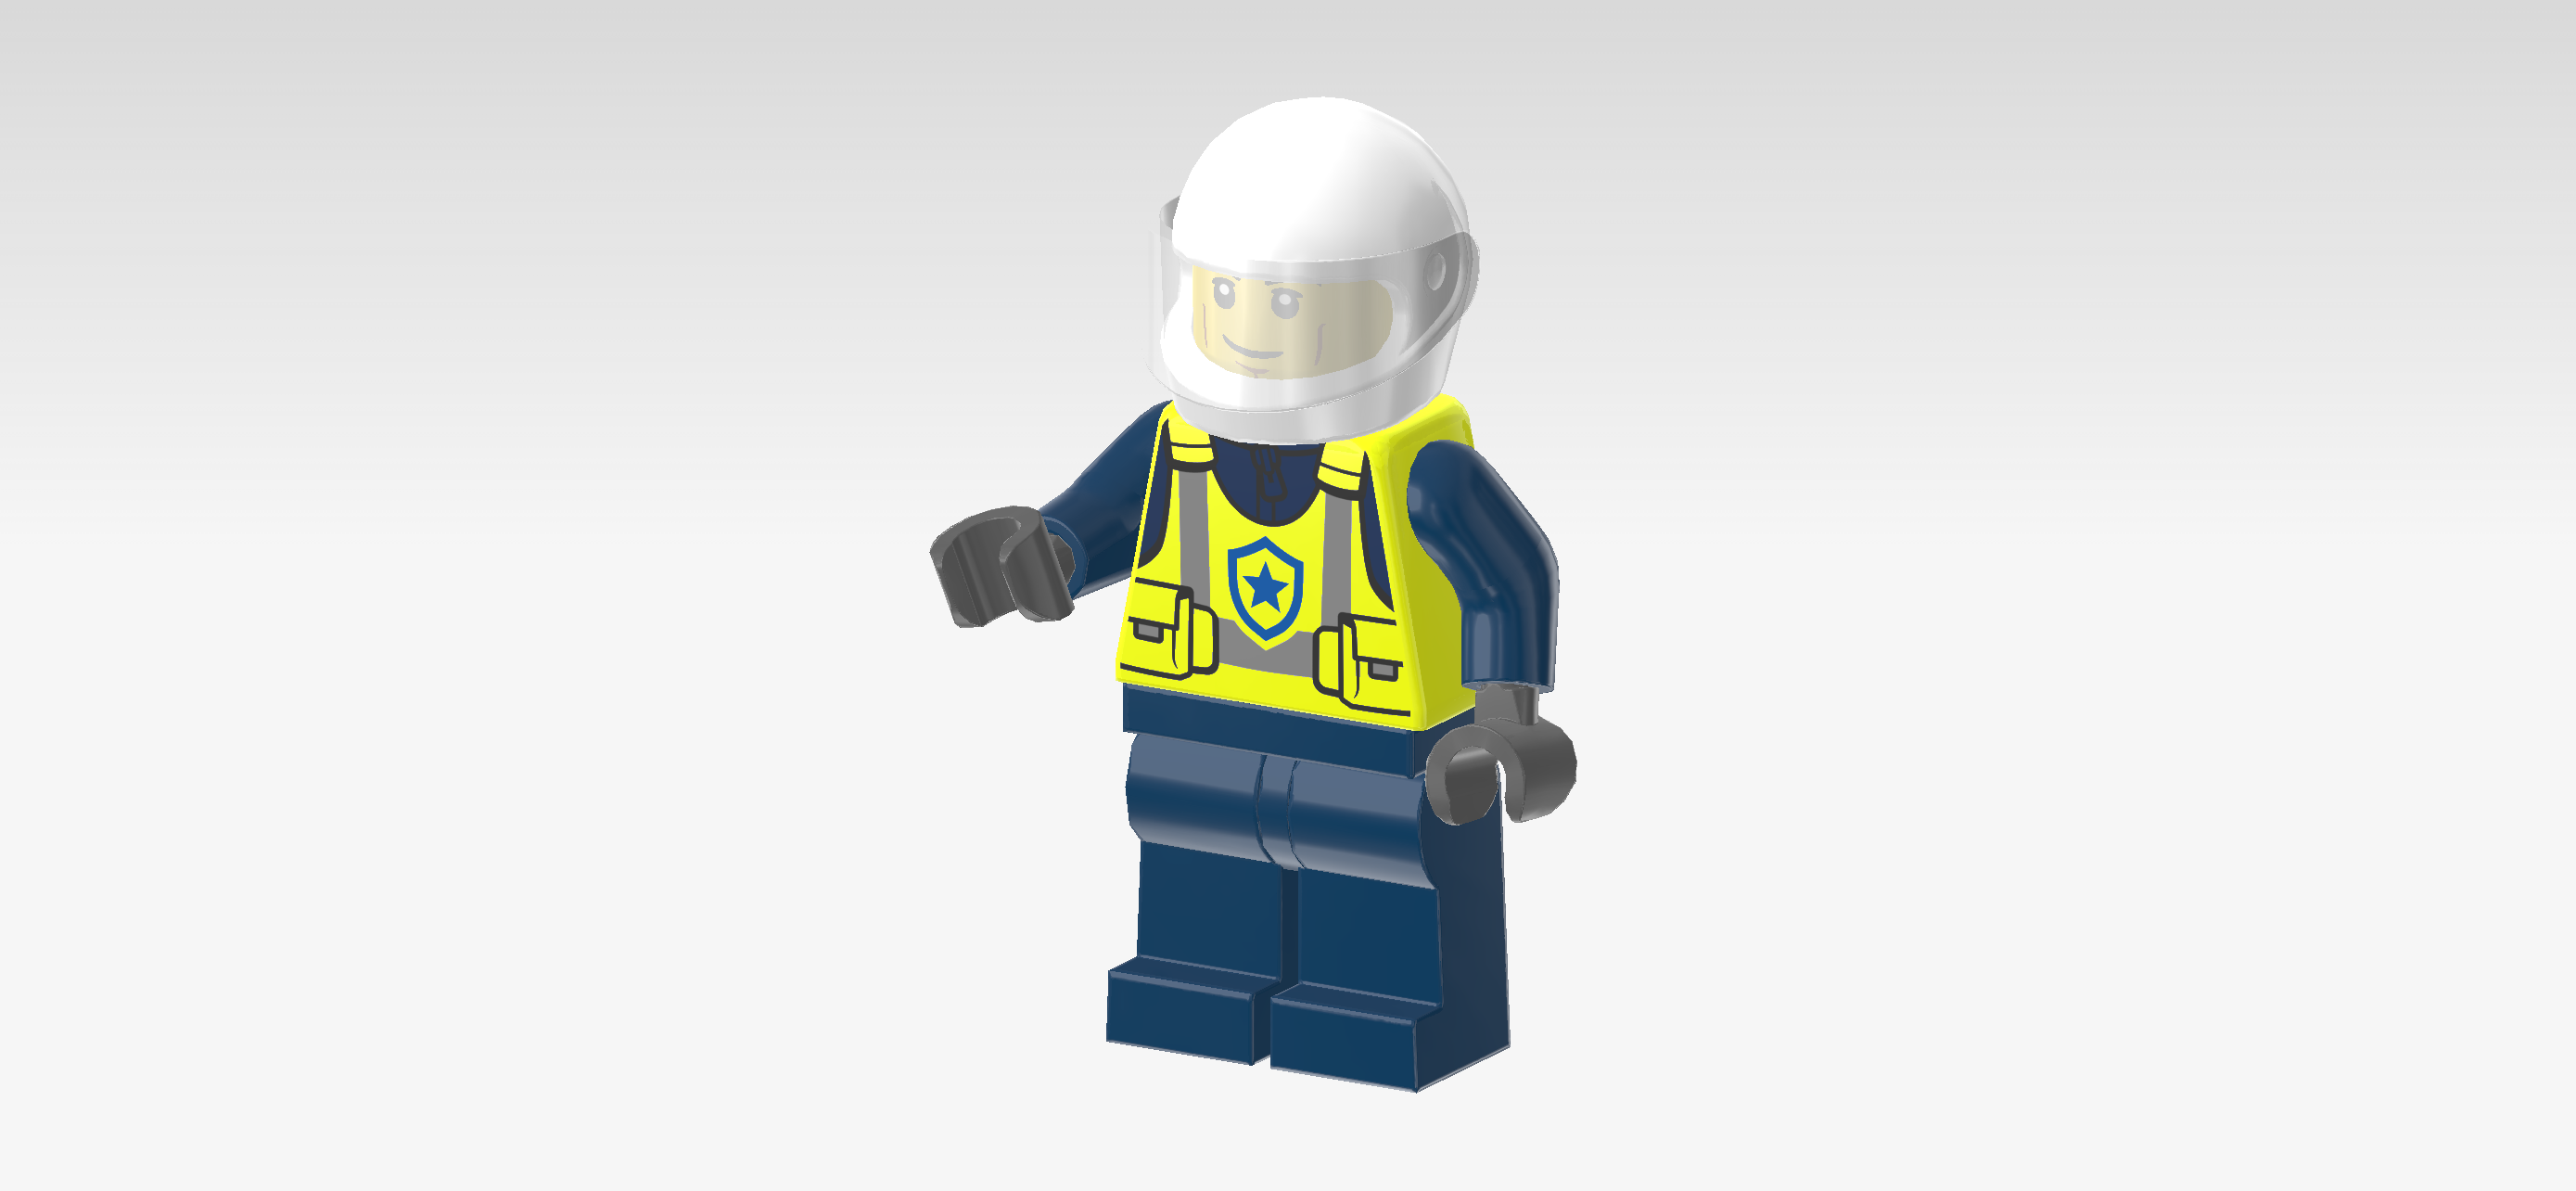
| The Police Officer Minifigure is finished! Well done! The police officer has a friendly but resolute look on his face. He has visible dimples on his cheeks and below his mouth. The base color of his uniform is dark blue, and he is wearing a bright yellow security vest on top of his jacket. The security vest has a waist belt with 2 utility pockets and a shoulder harness. The belt and the harness both have reflective stripes. In the center of the jacket front, there is a blue version of the police badge: The outline of a shield with a blue star in the middle. At the back, the jacket has a broad stripe with a checkered pattern of dark blue and reflective elements. It's time to provide the police officer with a vehicle. Let's continue! |
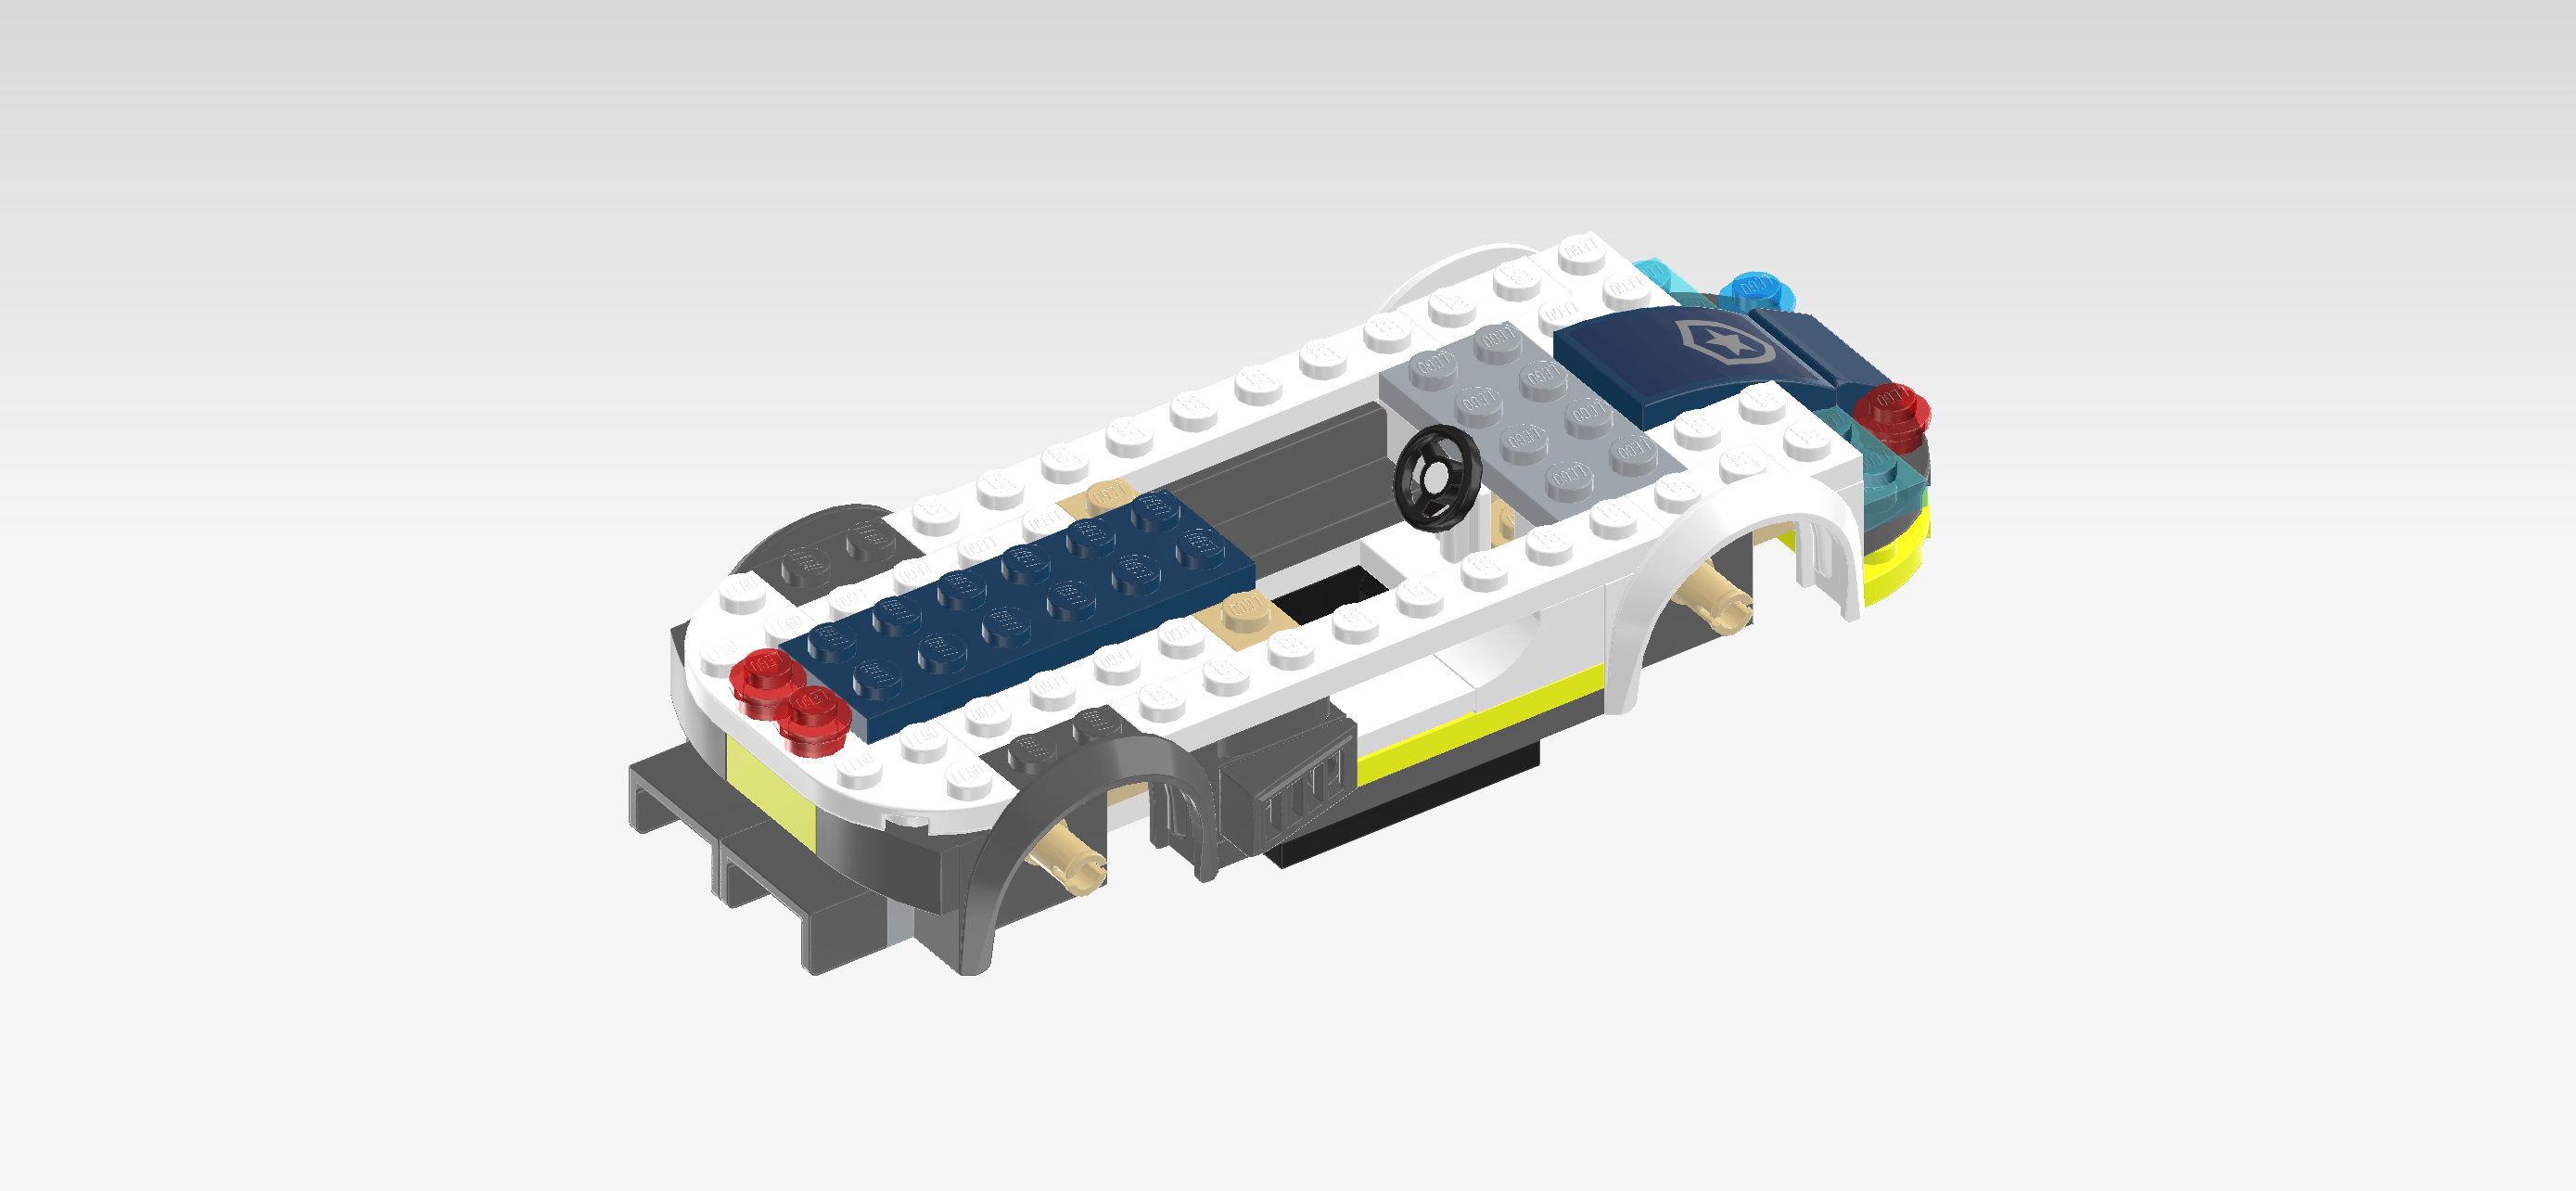
| Next up, we will build the Police Interceptor Car. |
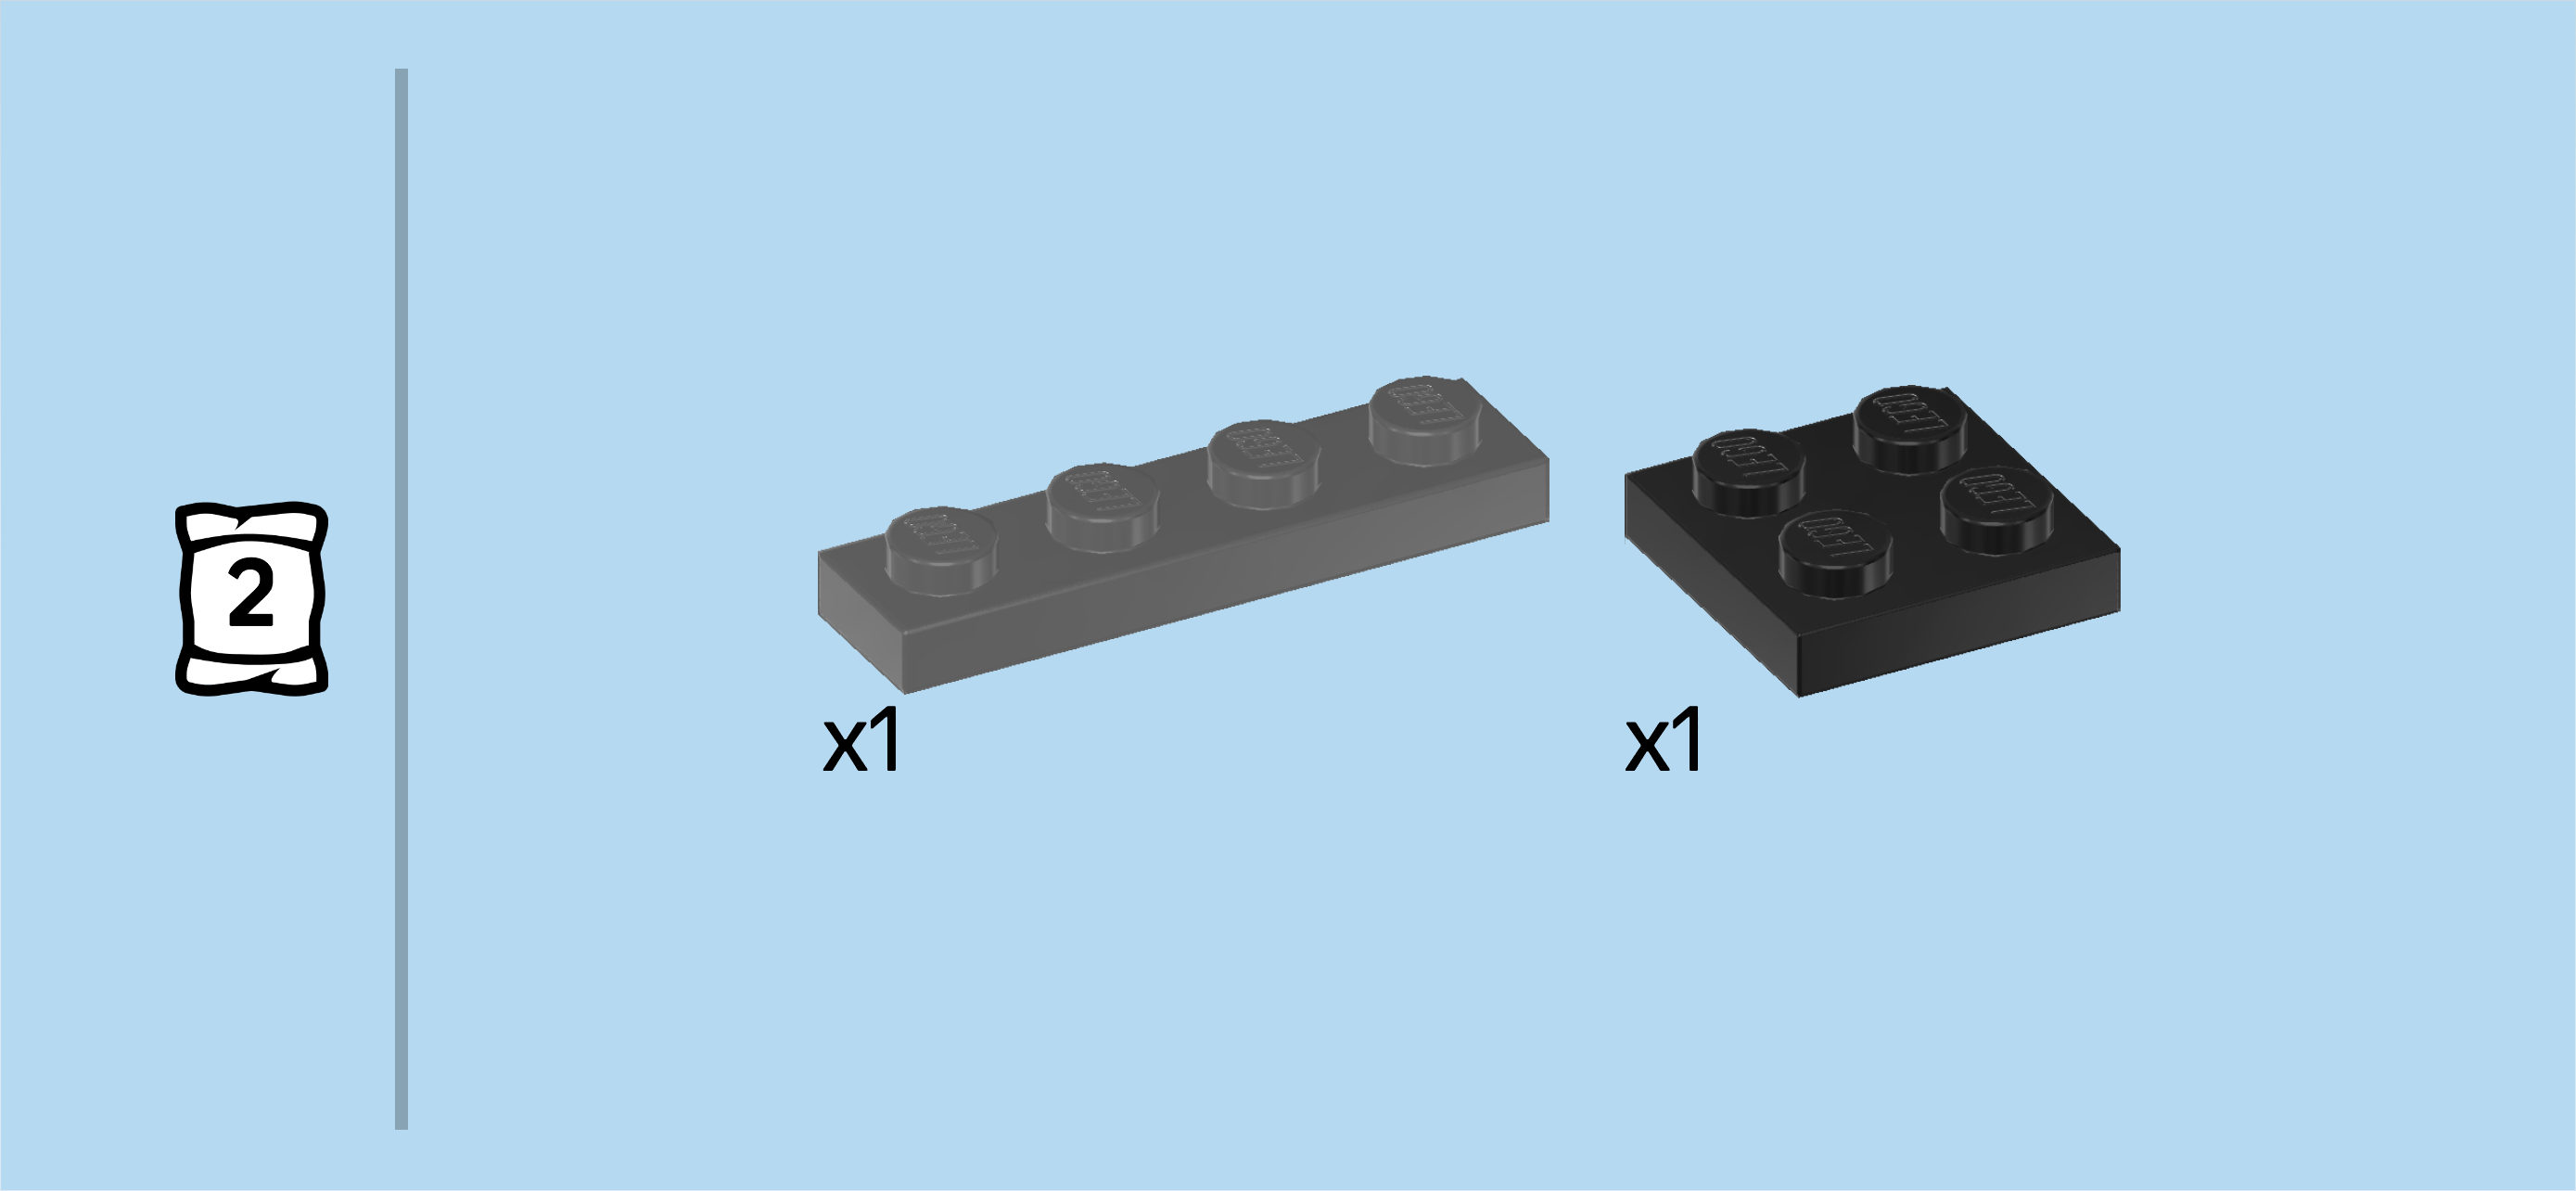
| Collect the following 2 pieces: |
| 1 black vehicle underbody 6x12, |
| and 1 dark stone grey bearing plate 2x4x1⅓ with cross holes. |
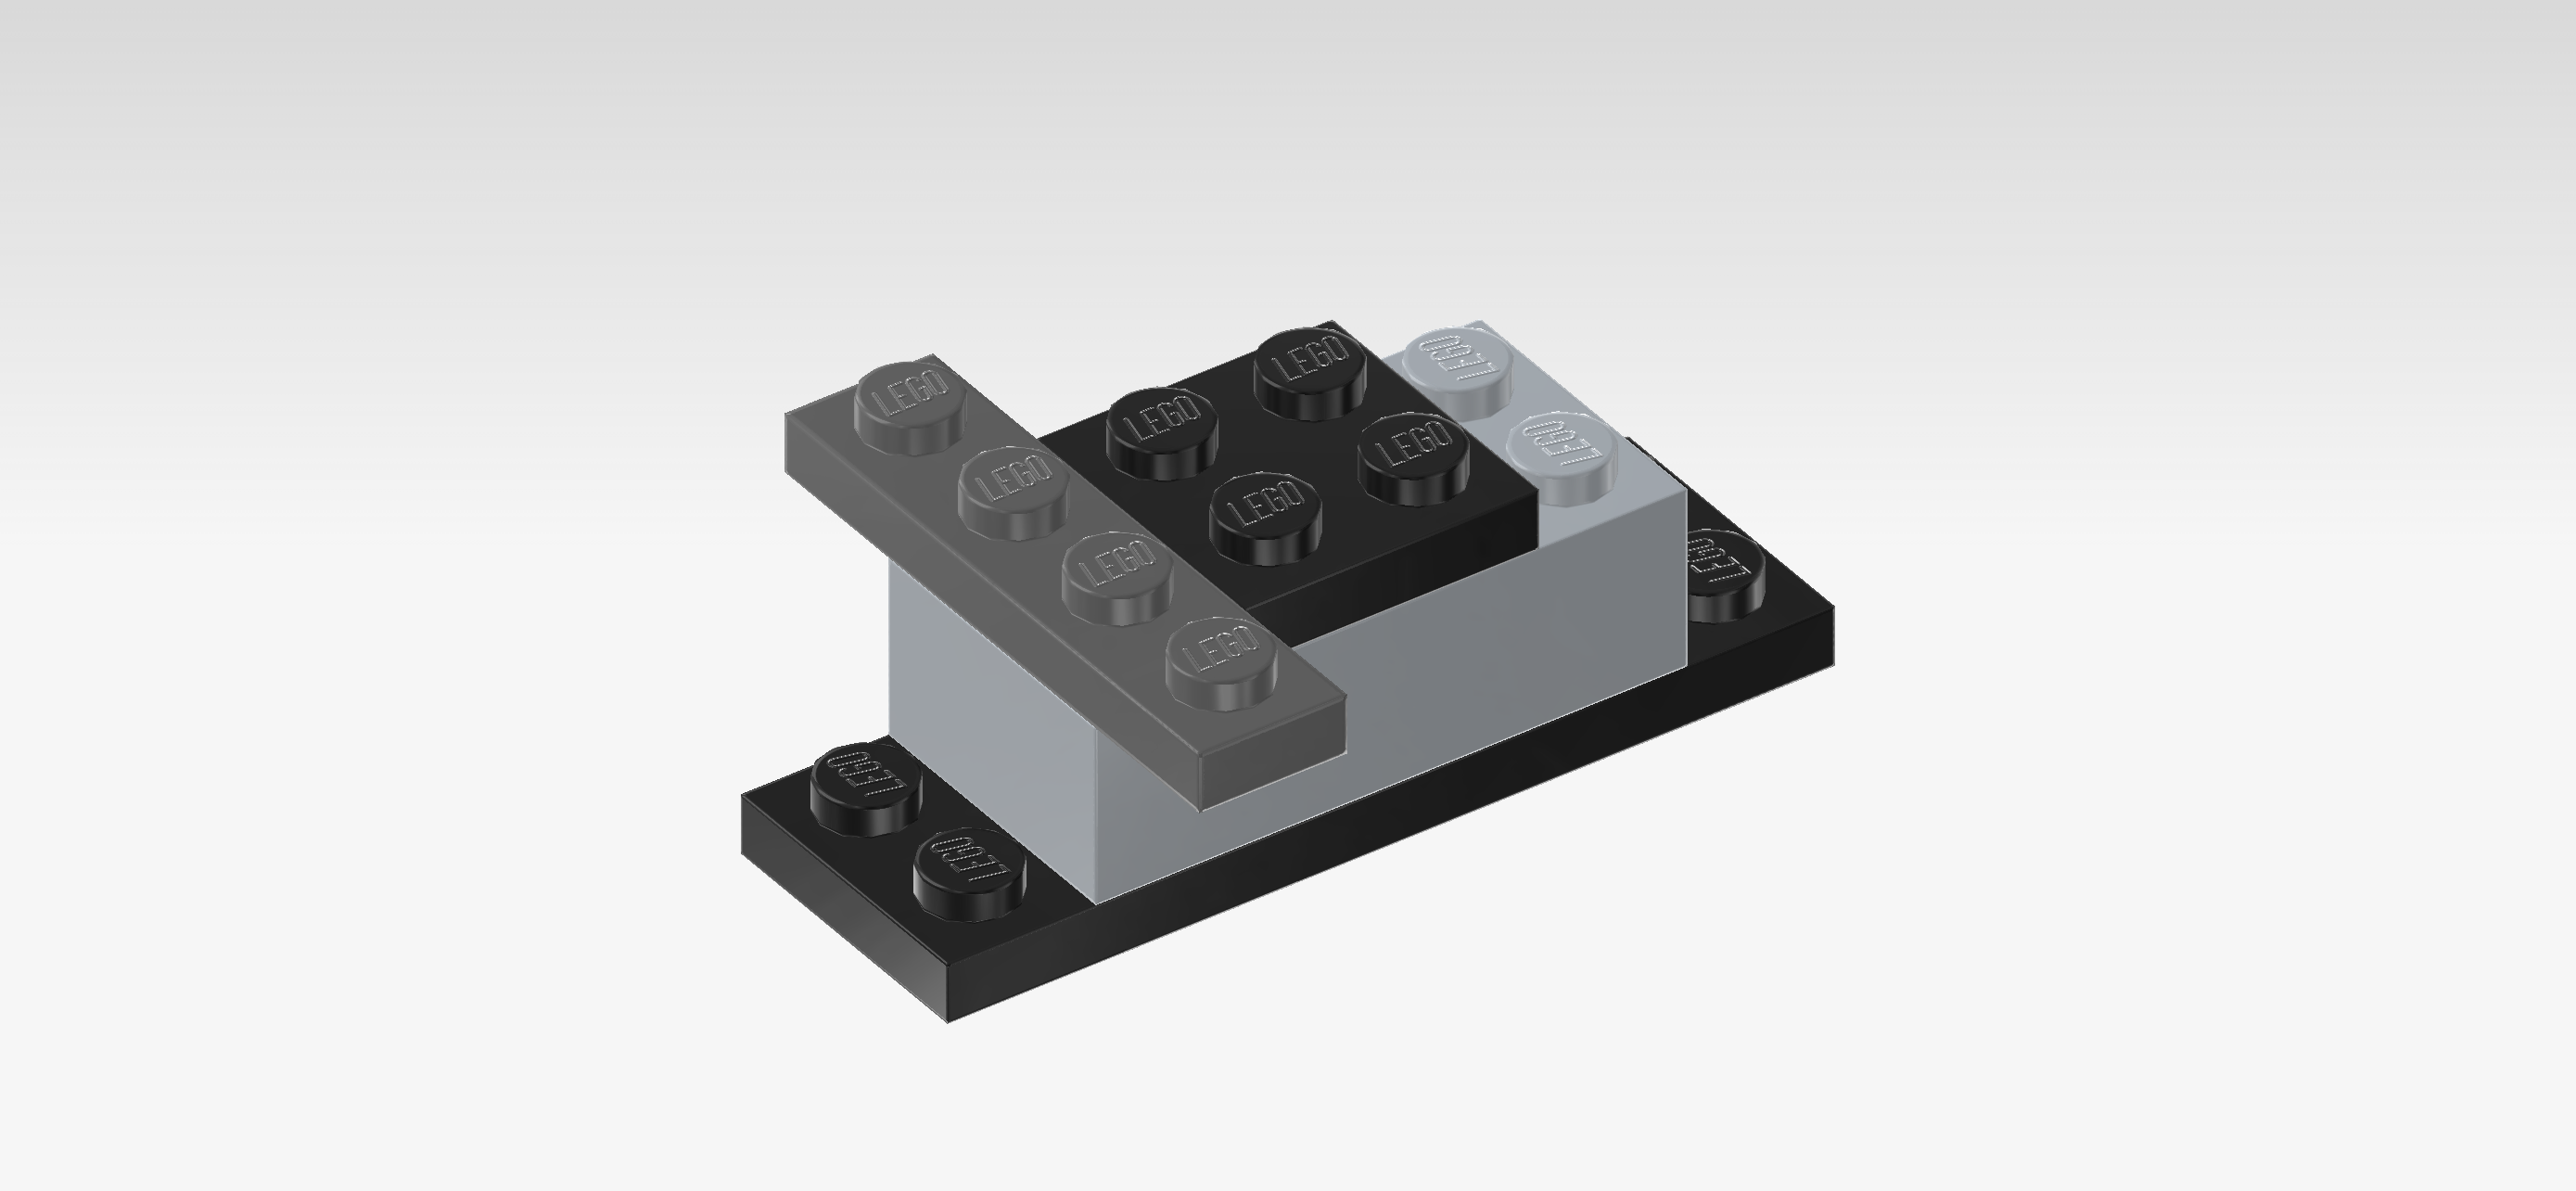
| Put the vehicle underbody horizontally on the table. This means its 2 narrow ends will be pointing to the left and right. |
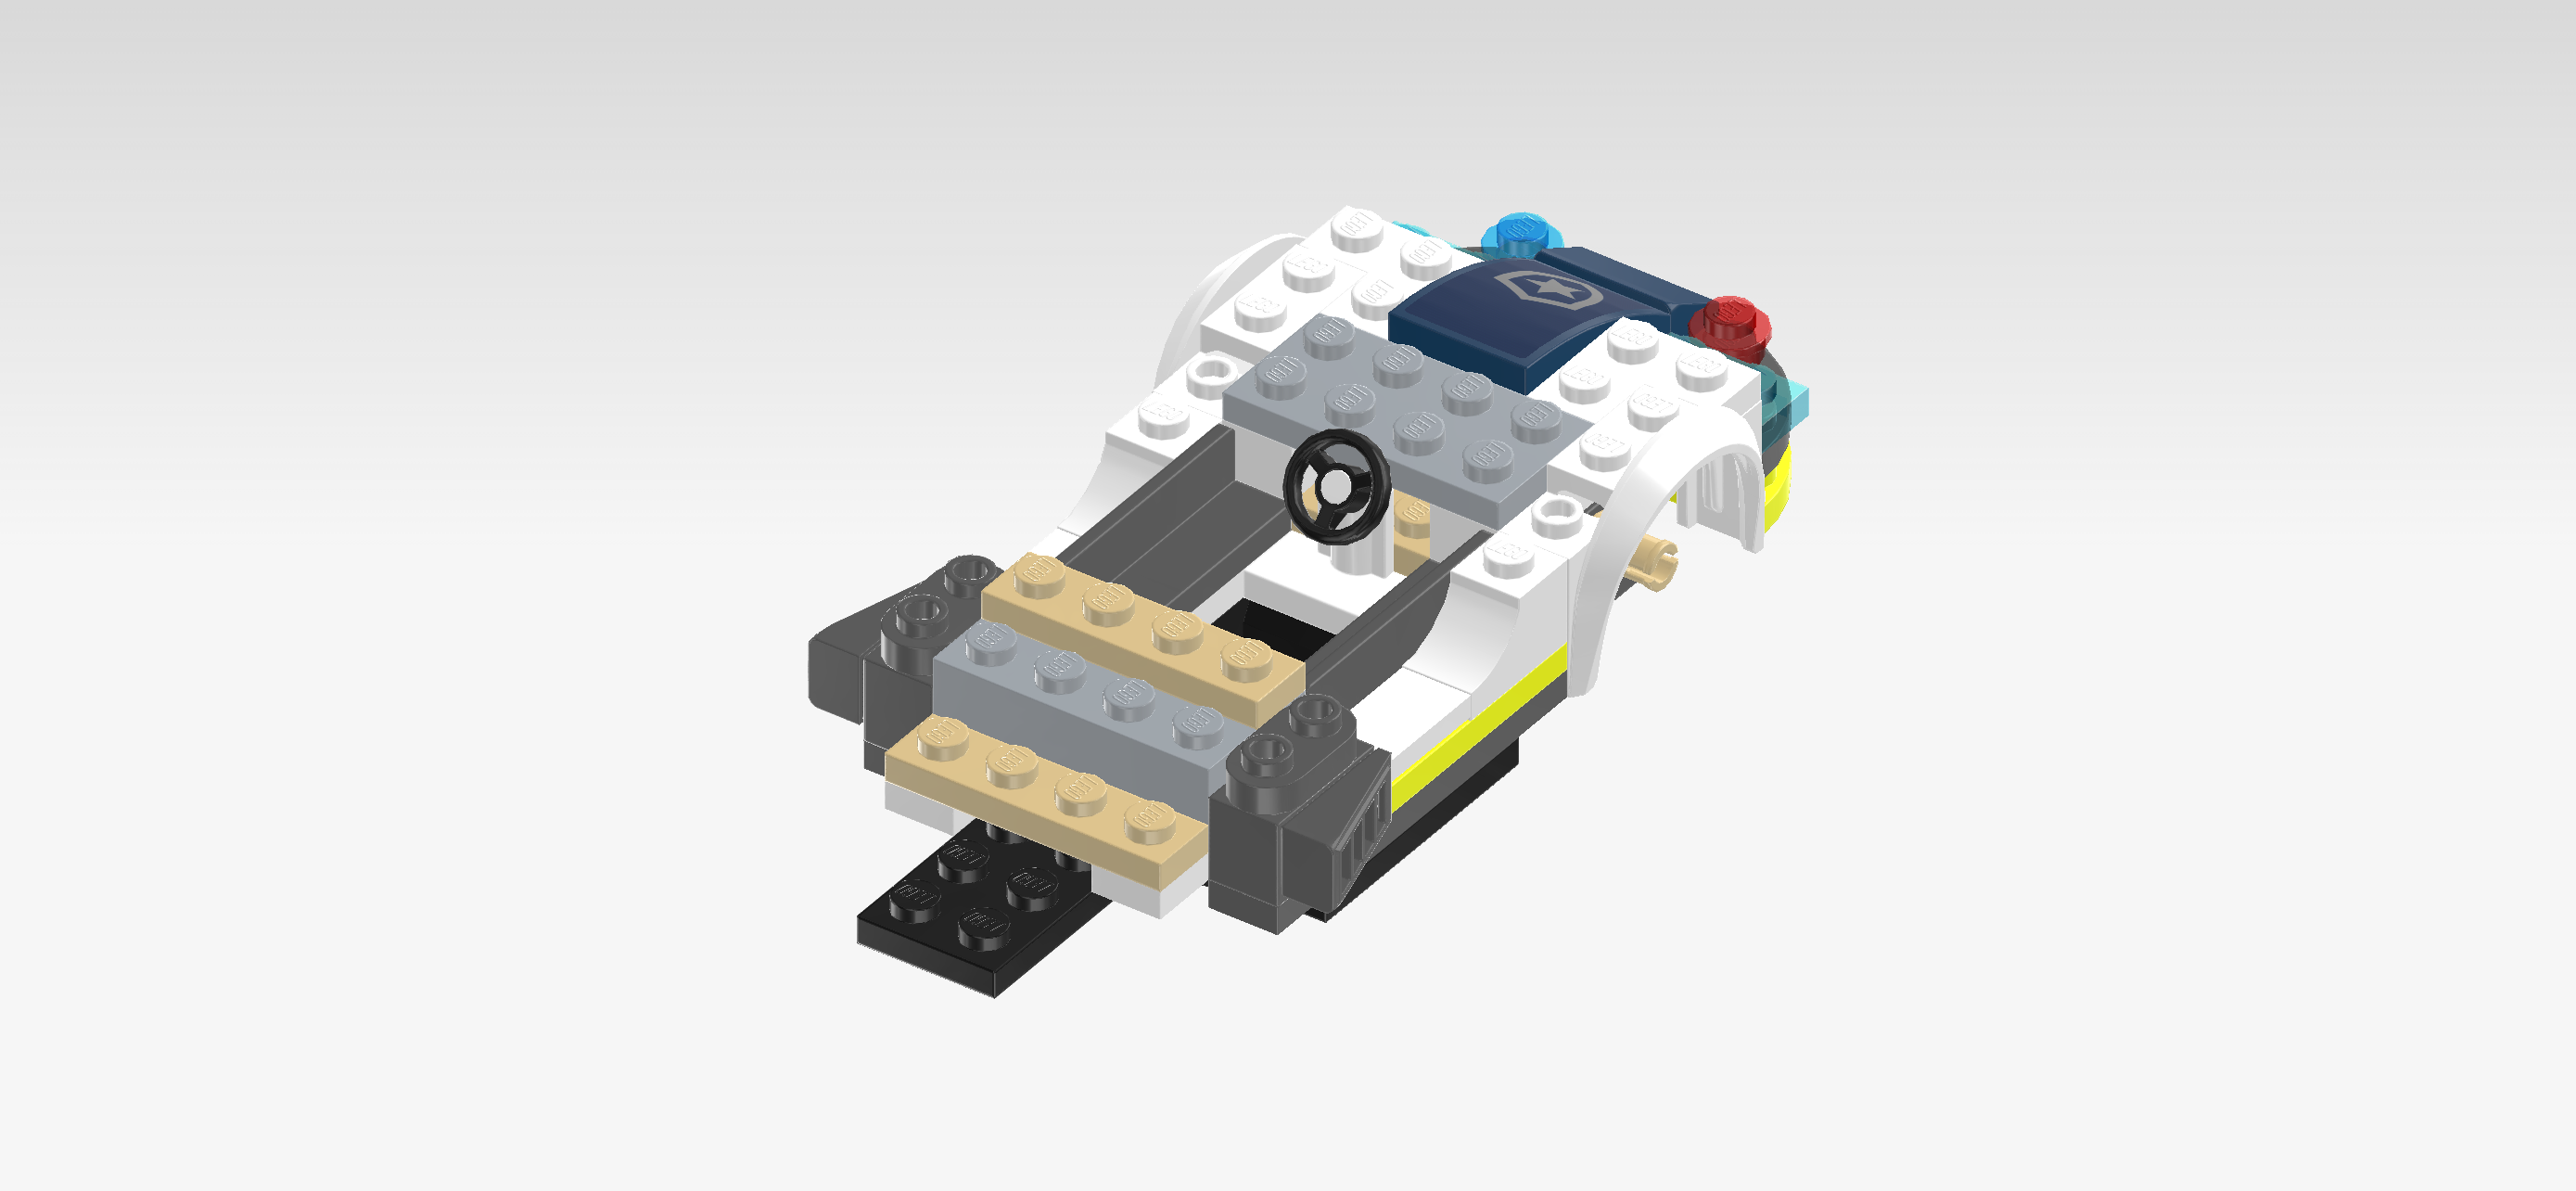
| Put the bearing plate 2x4 vertically centered underneath the 2 leftmost columns of the underbody, its 2 bricks protruding at the front and back. |
| This means that the structure will be a bit lopsided for the next few steps. This is correct. |
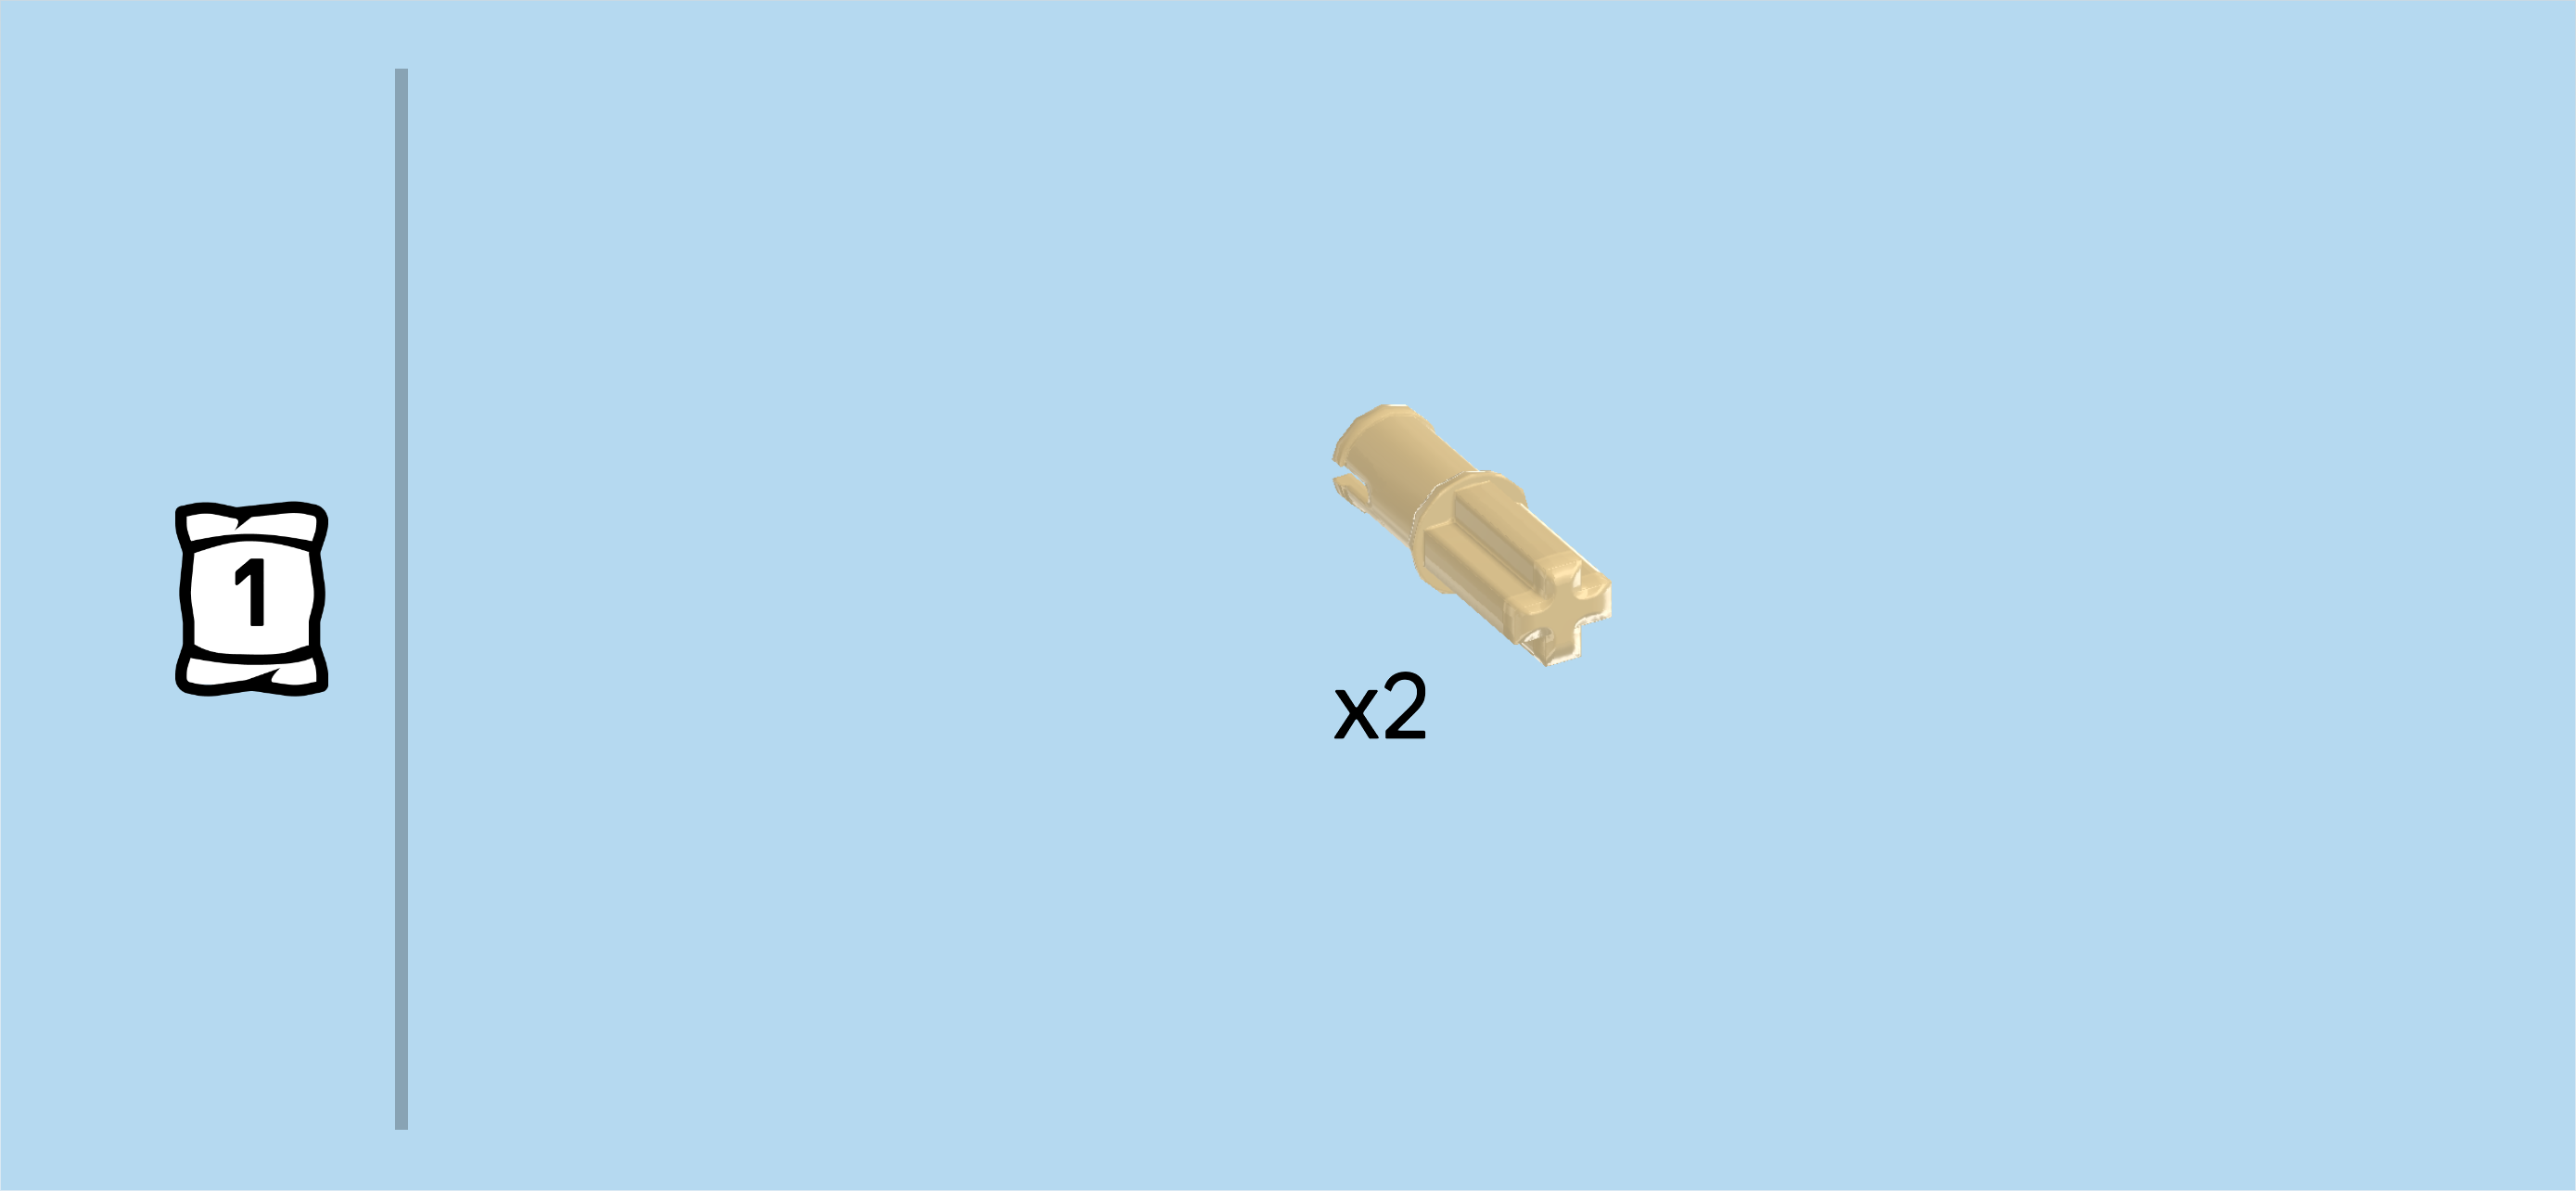
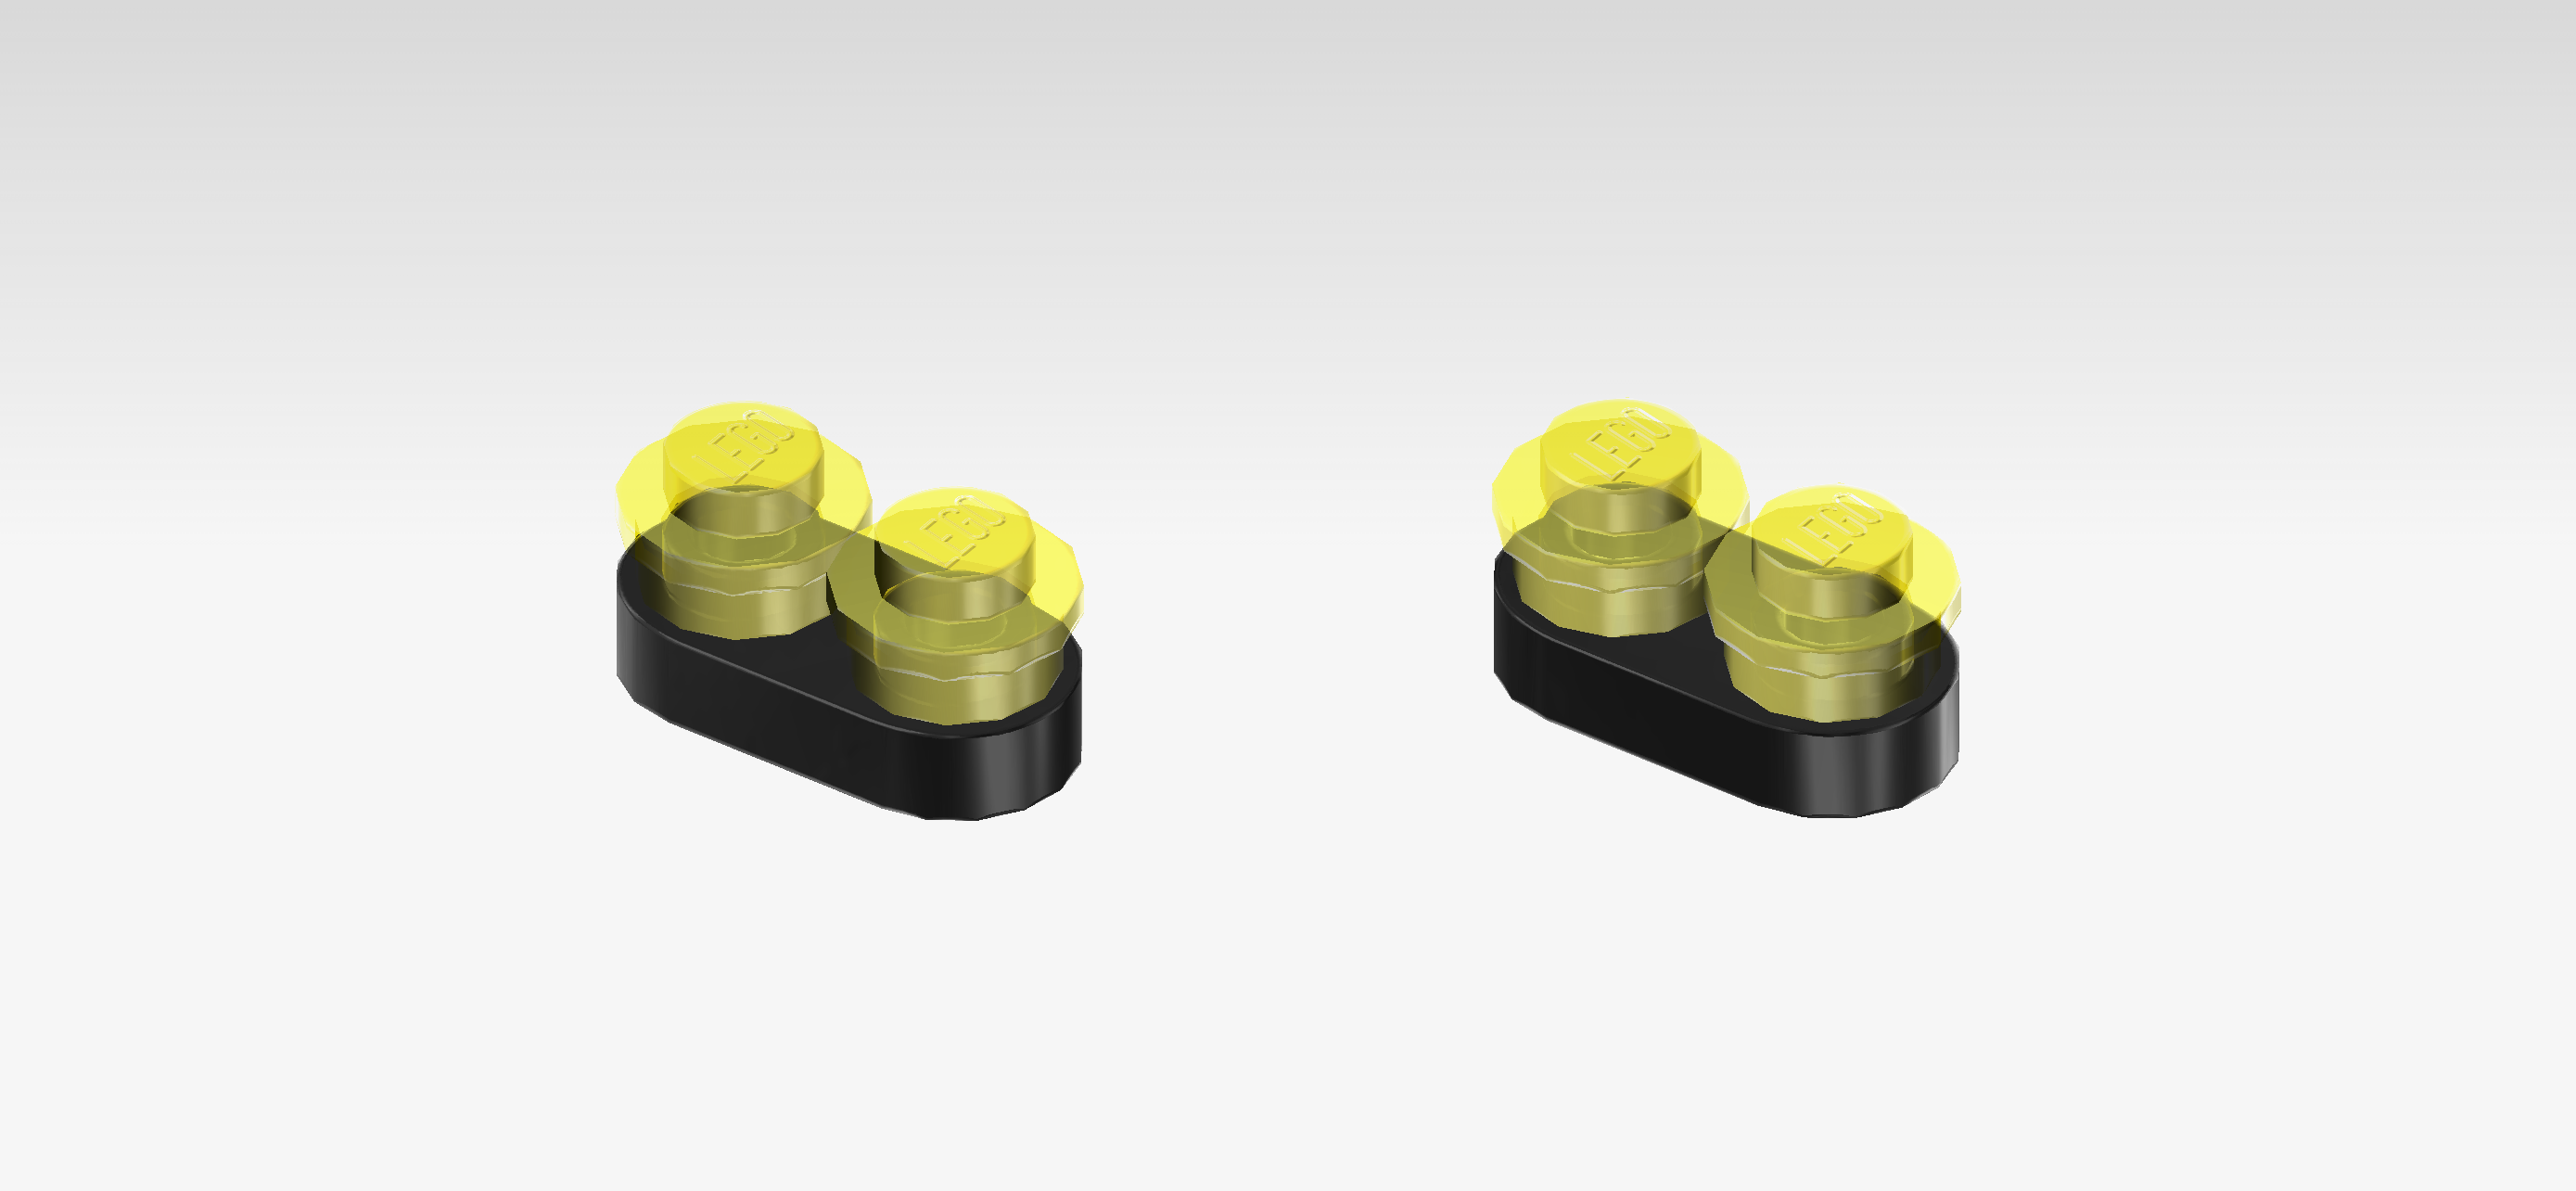
| Find 2 pale ocher yellow connector pegs 2m with cross axle pin. |
| Insert the cross axle pin of 1 into the previous piece's front cross hole, 1/2 sticking out towards the front. |
| Repeat symmetrically at the back, 1/2 sticking out to the back. |
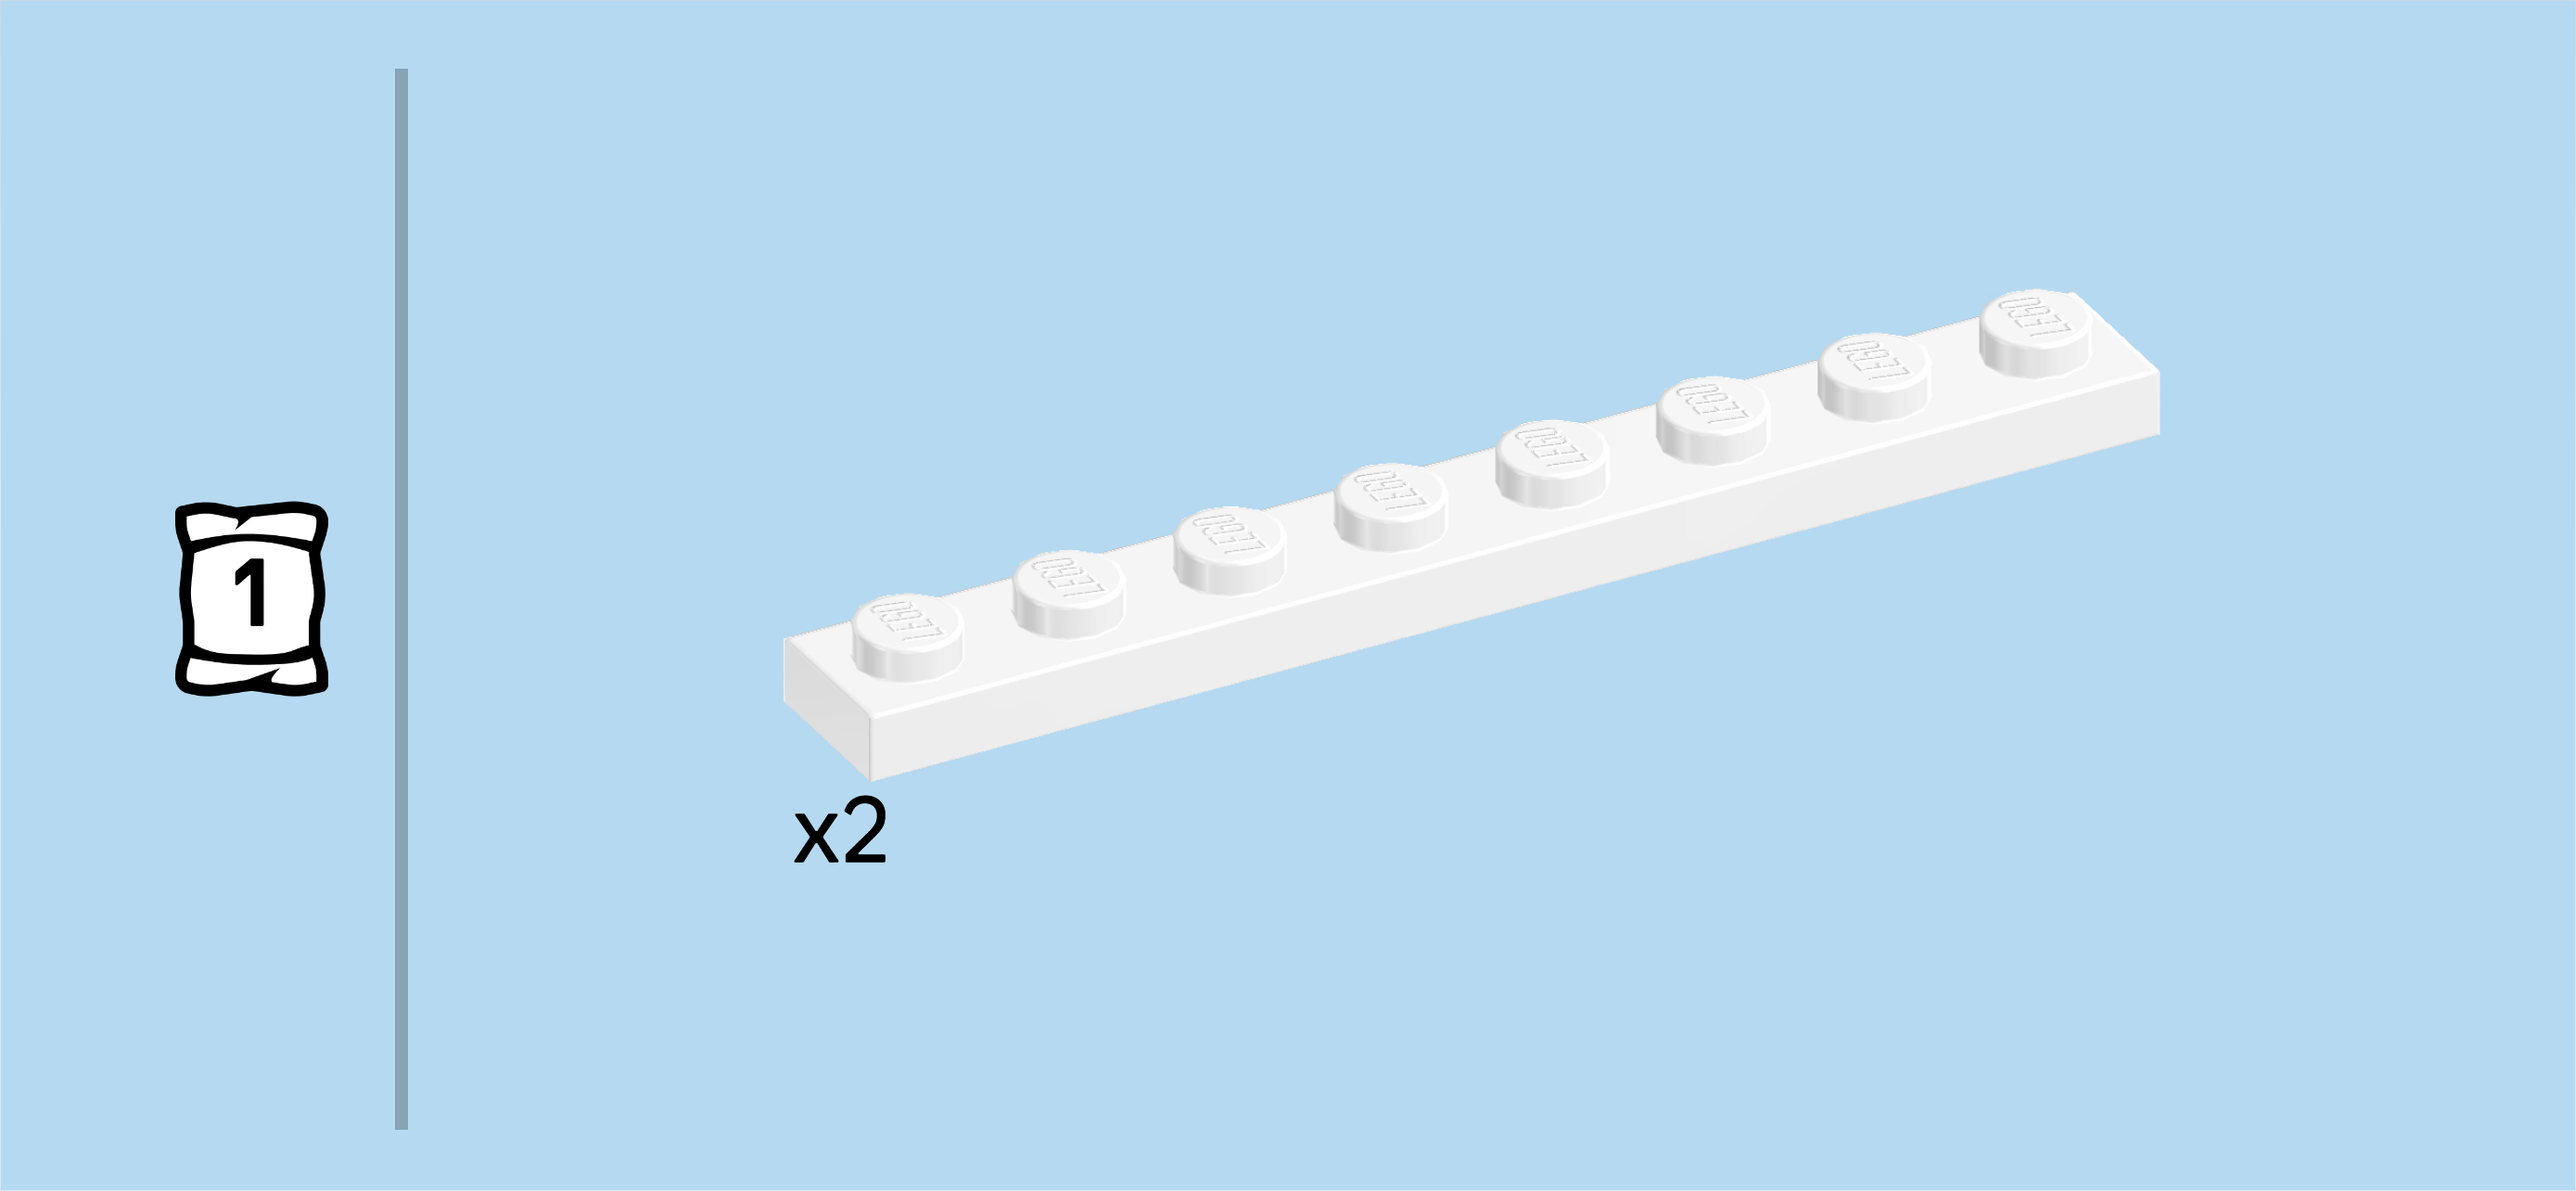
| Find 2 white plates 1x8. |
| Put 1 horizontally directly to the right of the bearing plate brick at the back. If done correctly, the backmost row remains empty for now, and the plate only connects to 4 knobs. |
| Repeat symmetrically at the front. |
| Find 1 black and white small steering wheel with plate 1x2. |
| Put it vertically between the 2 previous pieces' second knobs from the left, steering wheel to the right. |
| If done correctly, this piece sits centered on the fourth column from the left, directly next to the middle recess. |
| Next, we will build the front bumper. |
| Collect the following 2 pieces: |
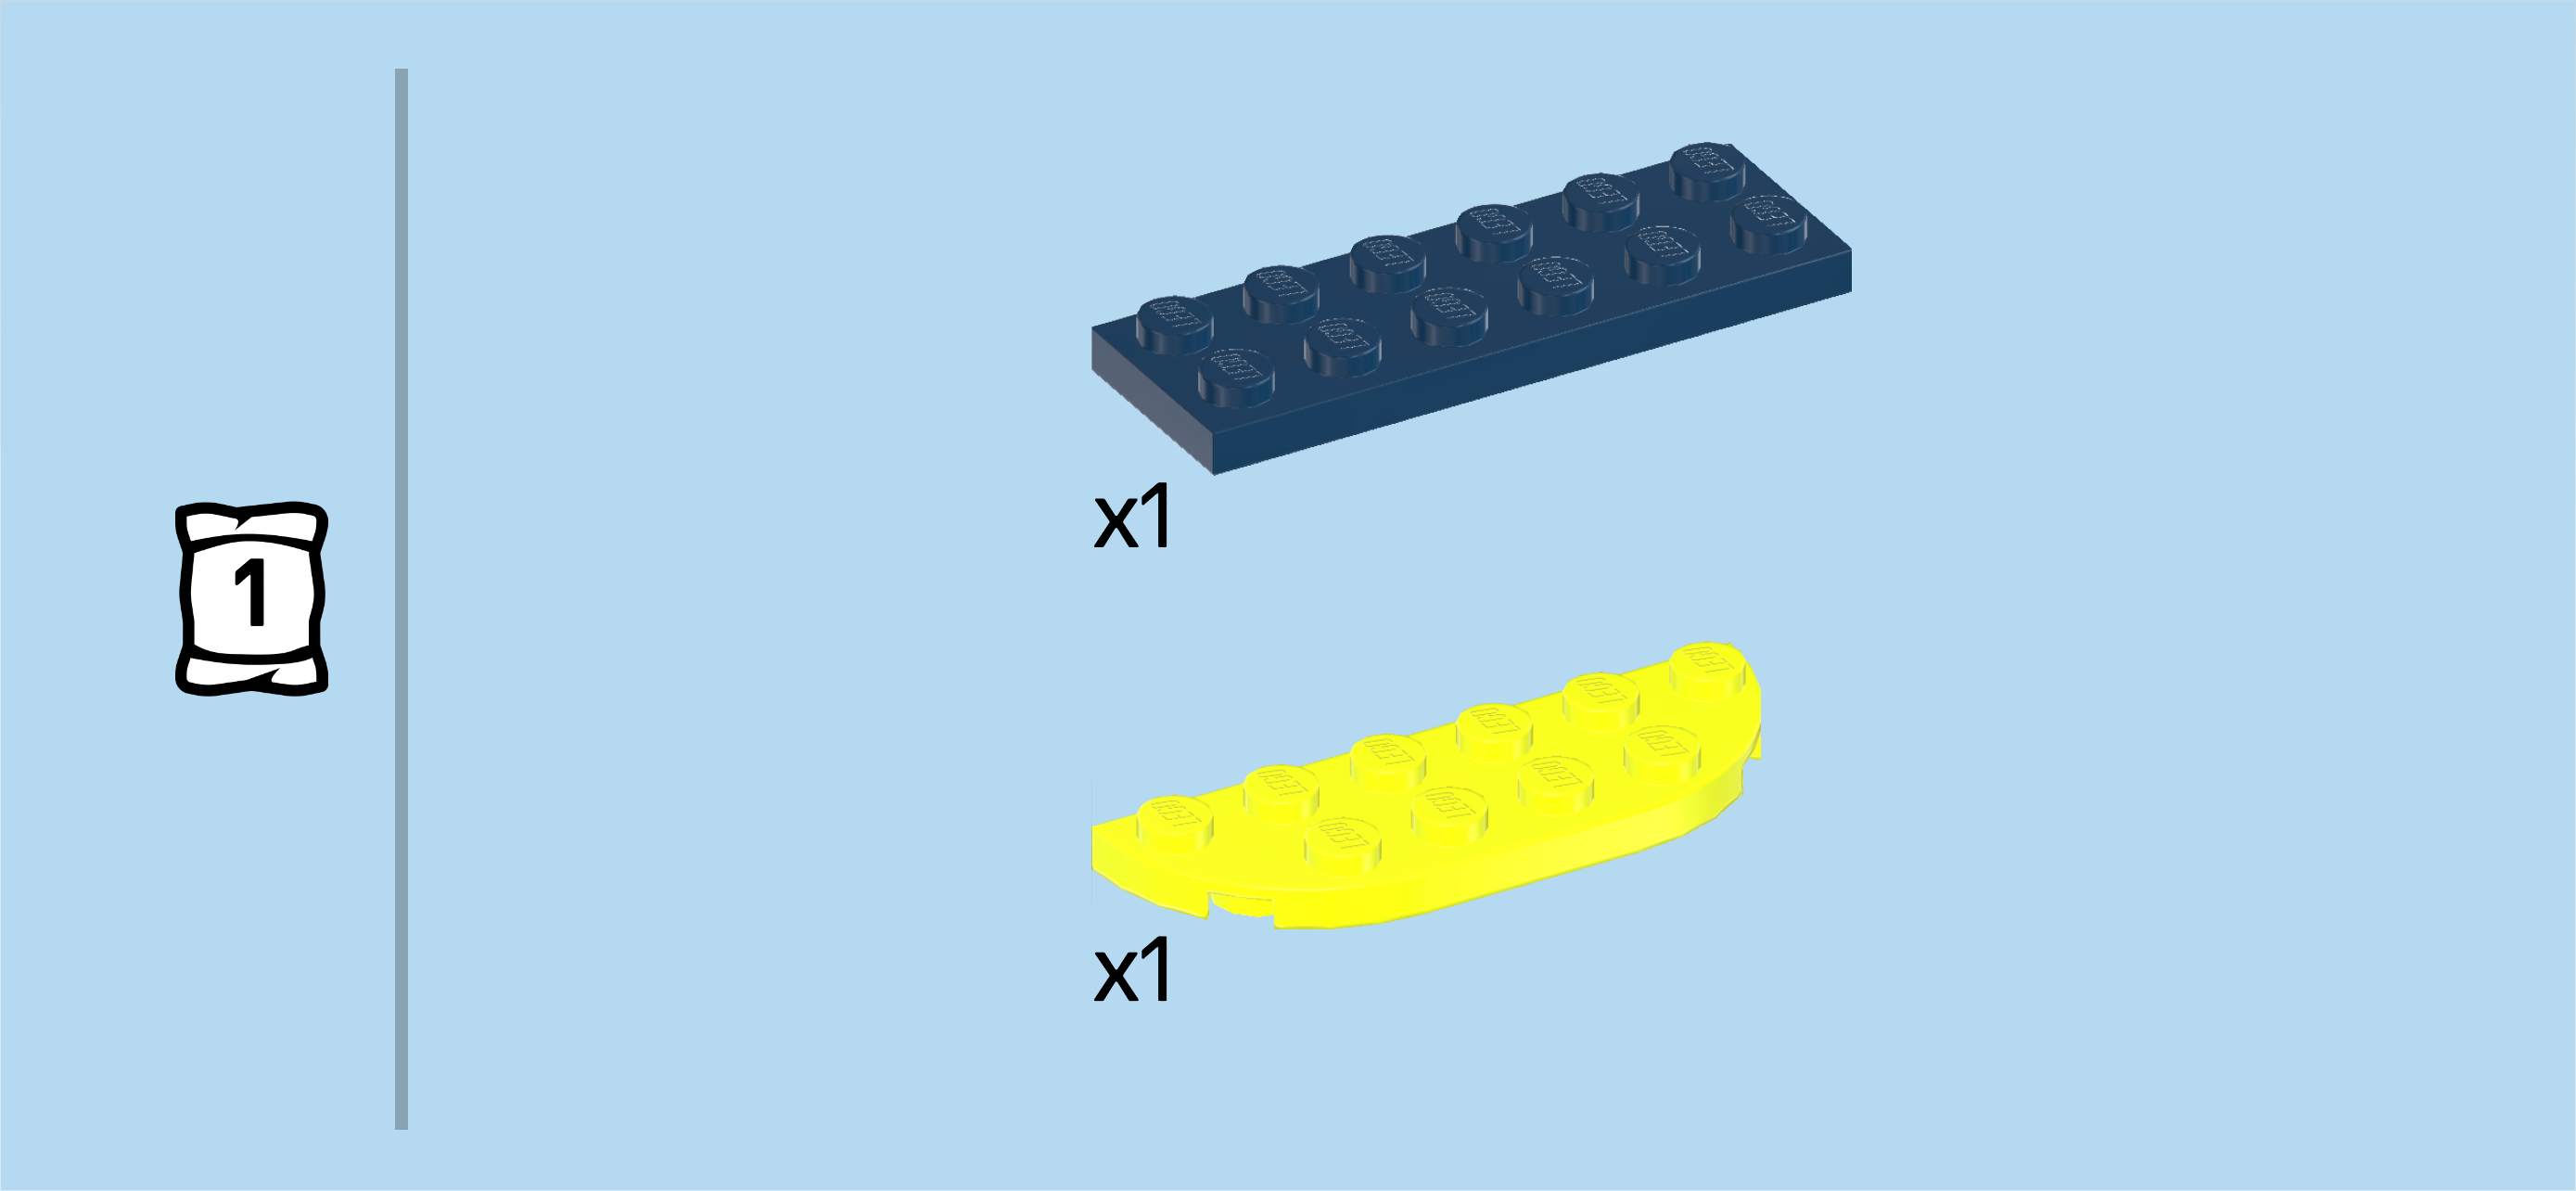
| 1 vibrant yellow plate 2x6 with 2 rounded corners, |
| and 1 earth blue plate 2x6. |
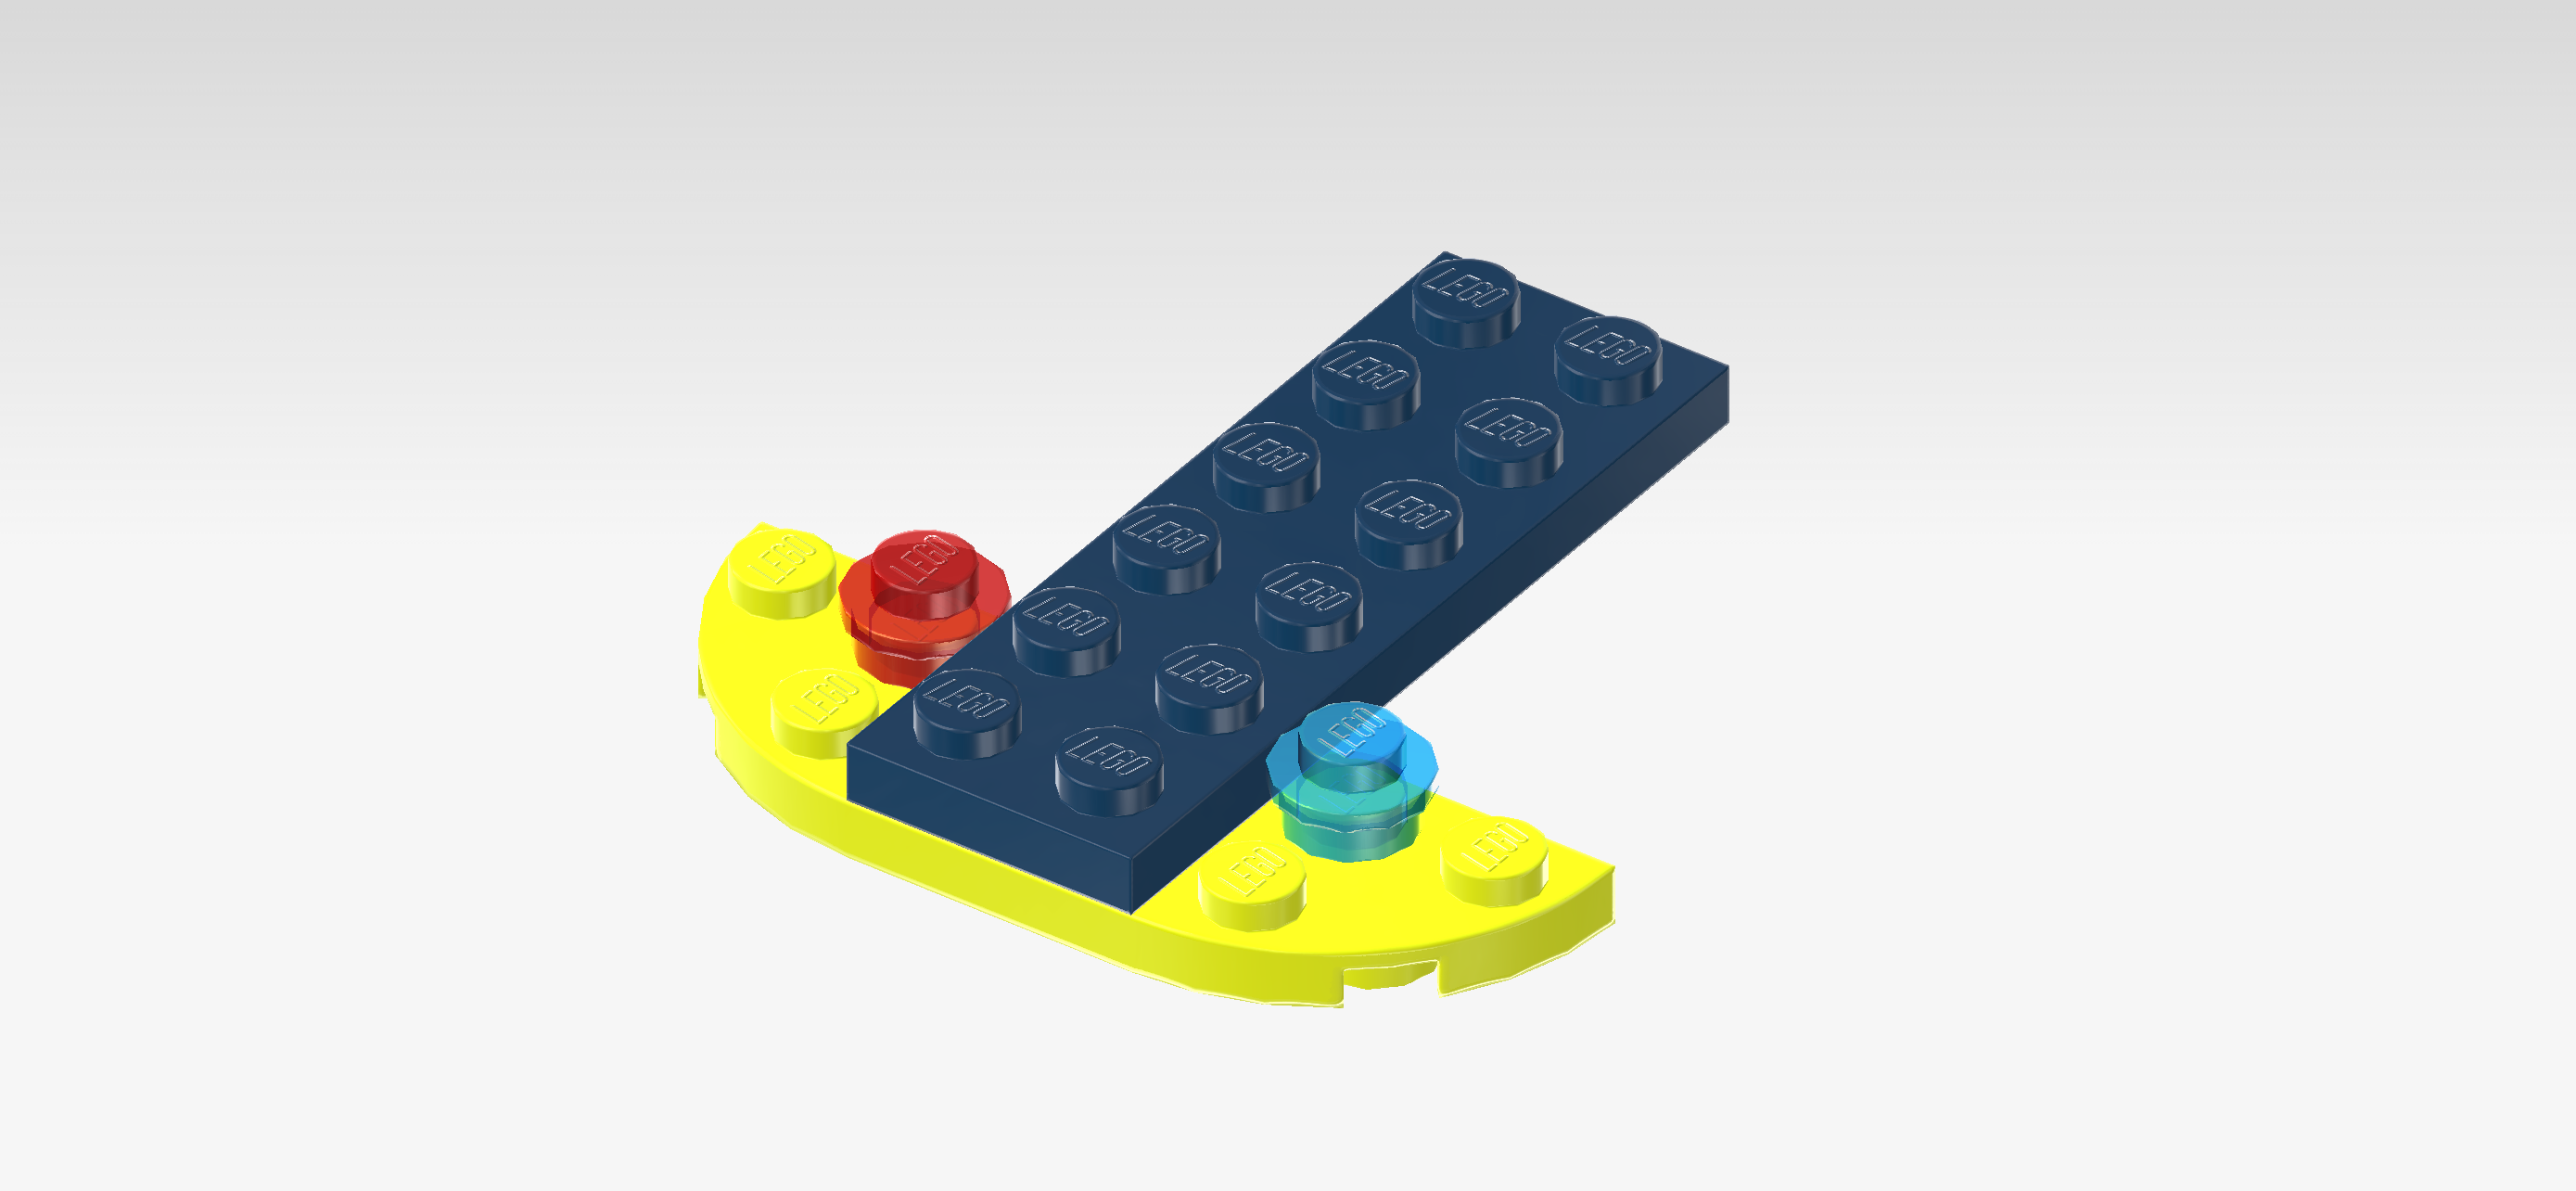
| Put the plate 2x6 with 2 round corners vertically on the table, rounded corners to the left. |
| Put the plate 2x6 horizontally on the 2 middle rows, 4 columns overhanging to the right. |
| Collect the following 2 pieces: |
| 1 transparent blue round plate 1x1, |
| and 1 transparent red round plate 1x1. |
| Put the transparent blue round plate in front of the previous piece on the right knob of that row. |
| Repeat symmetrically at the back with the transparent red round plate. |
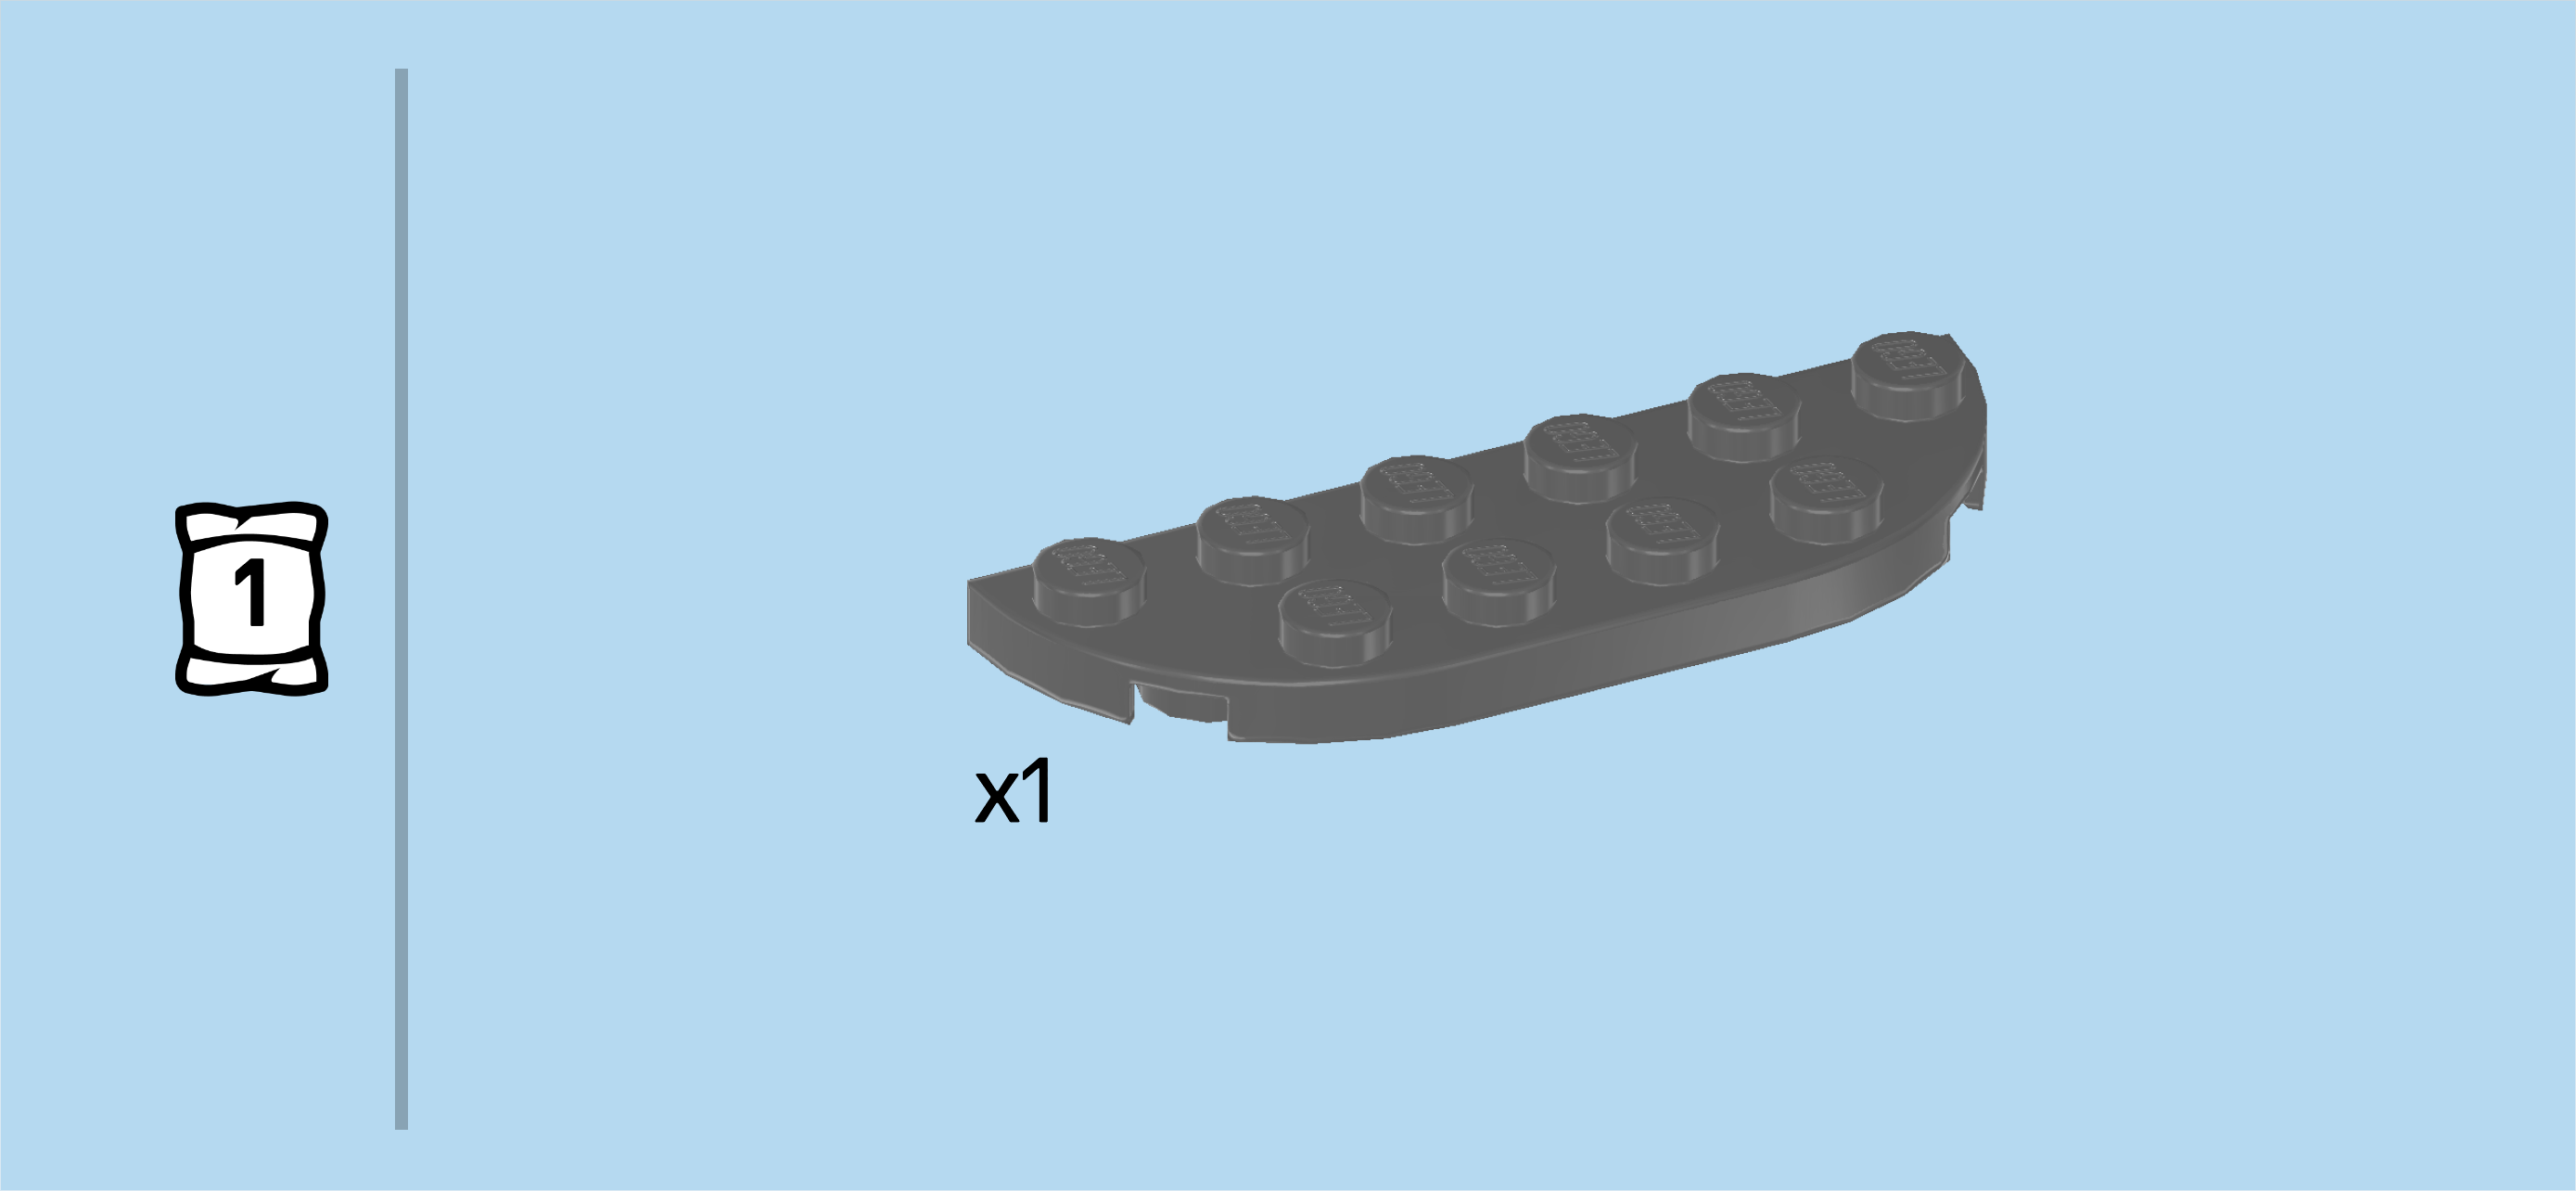
| Find 1 dark stone grey plate 2x6 with 2 rounded corners. |
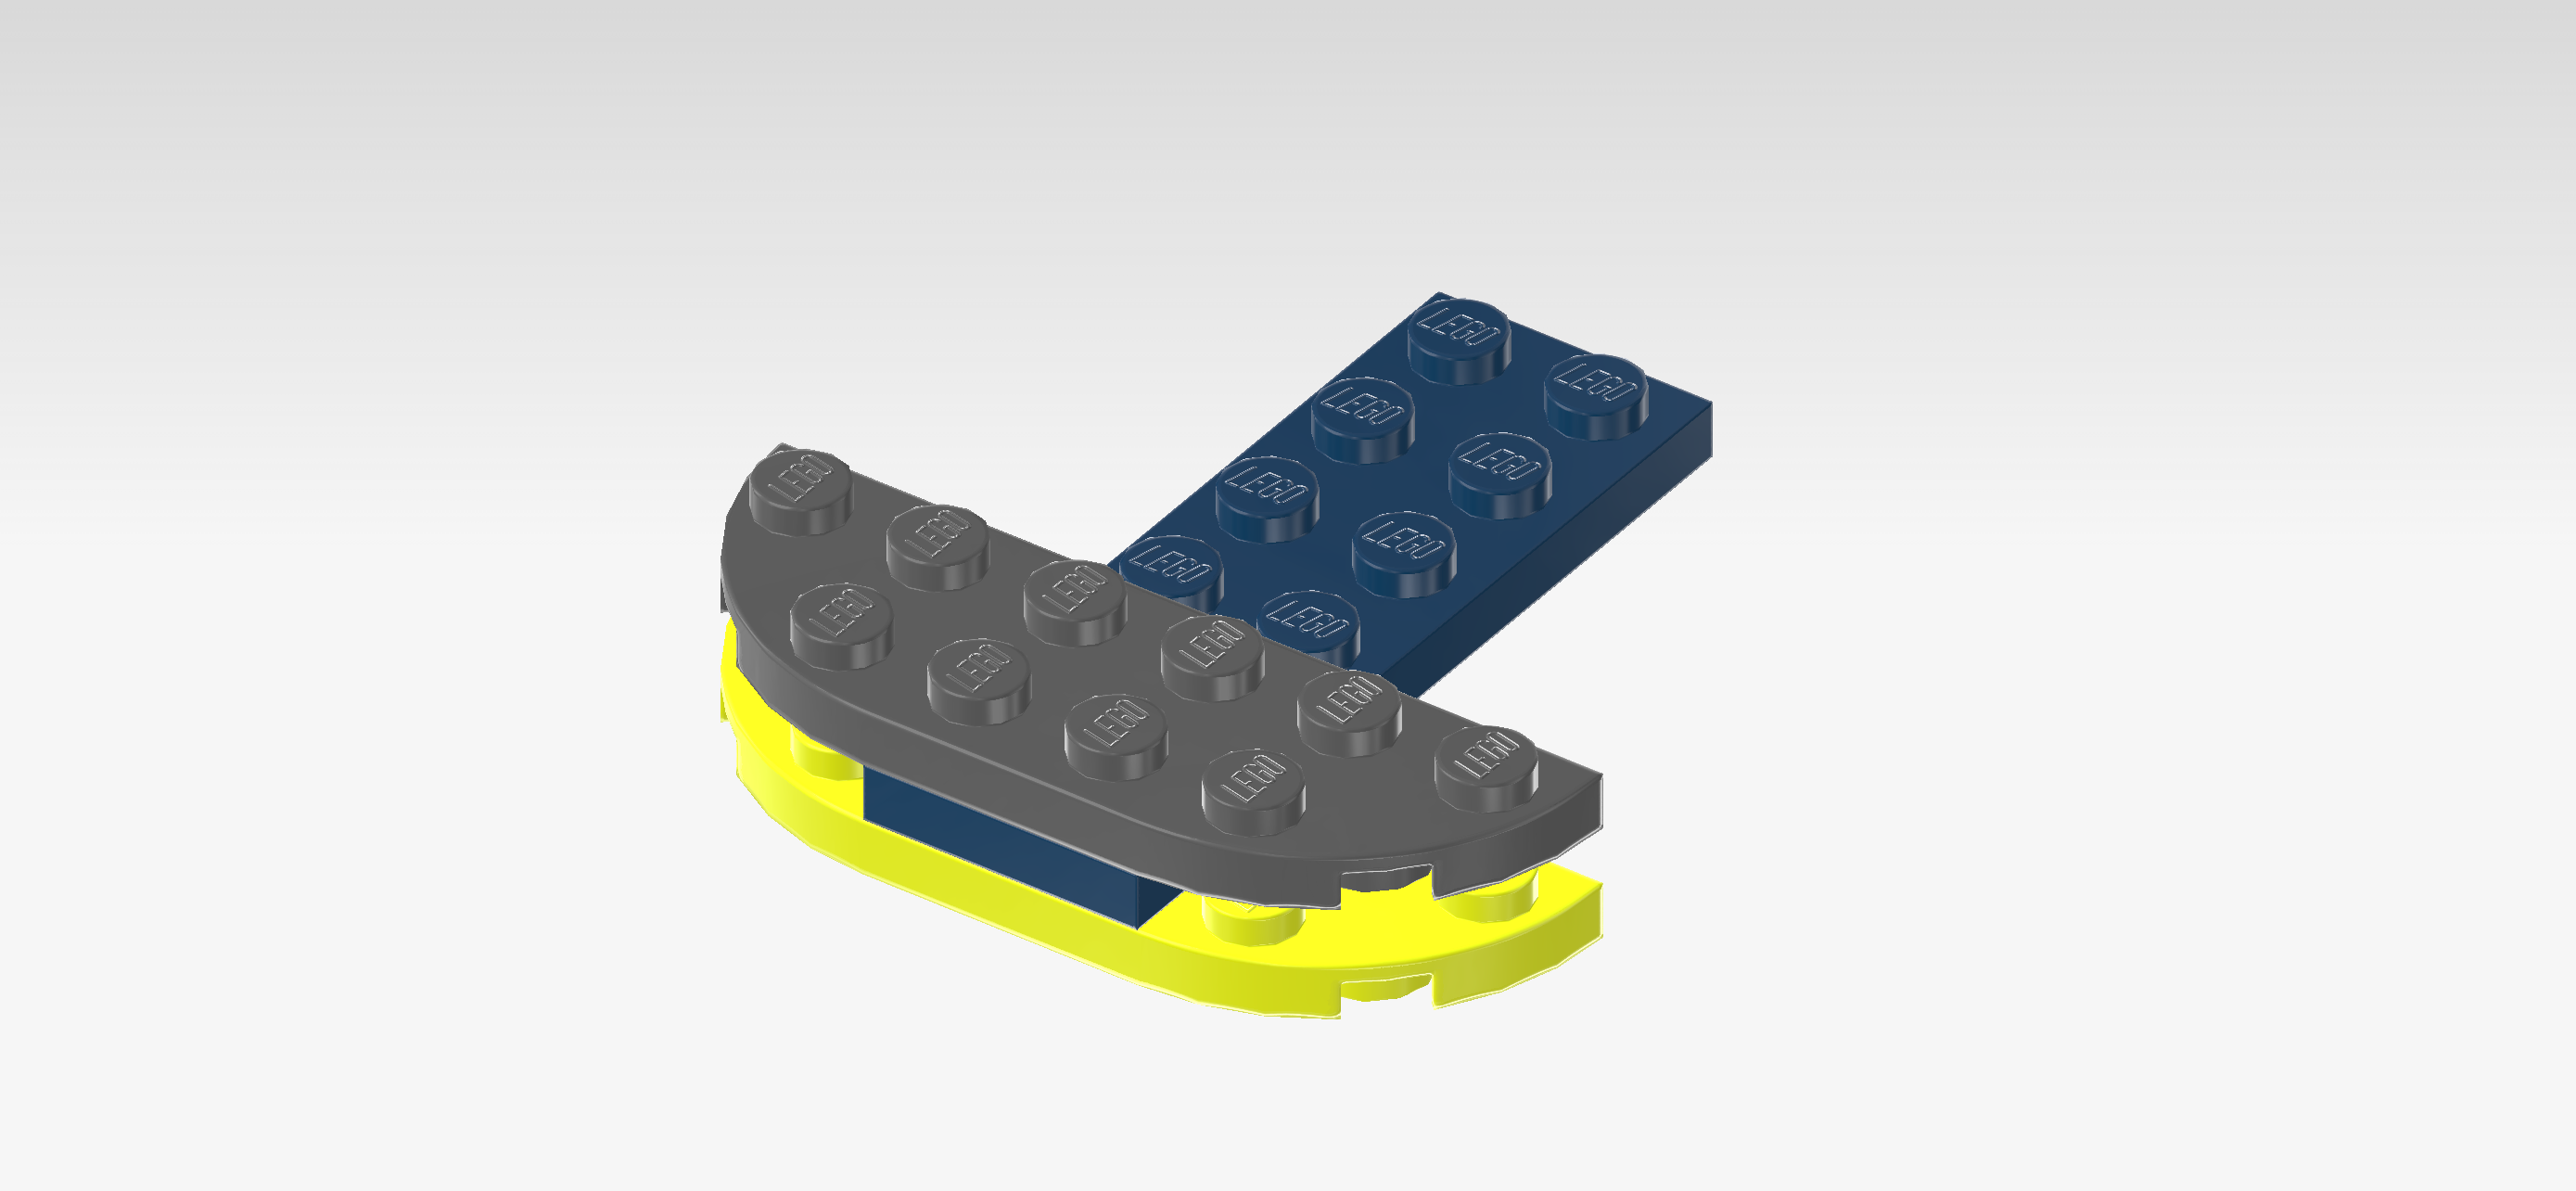
| Put it vertically on top of the structure, perfectly matching the shape of the plate with rounded corners at the base. |
| Collect the following 4 pieces: |
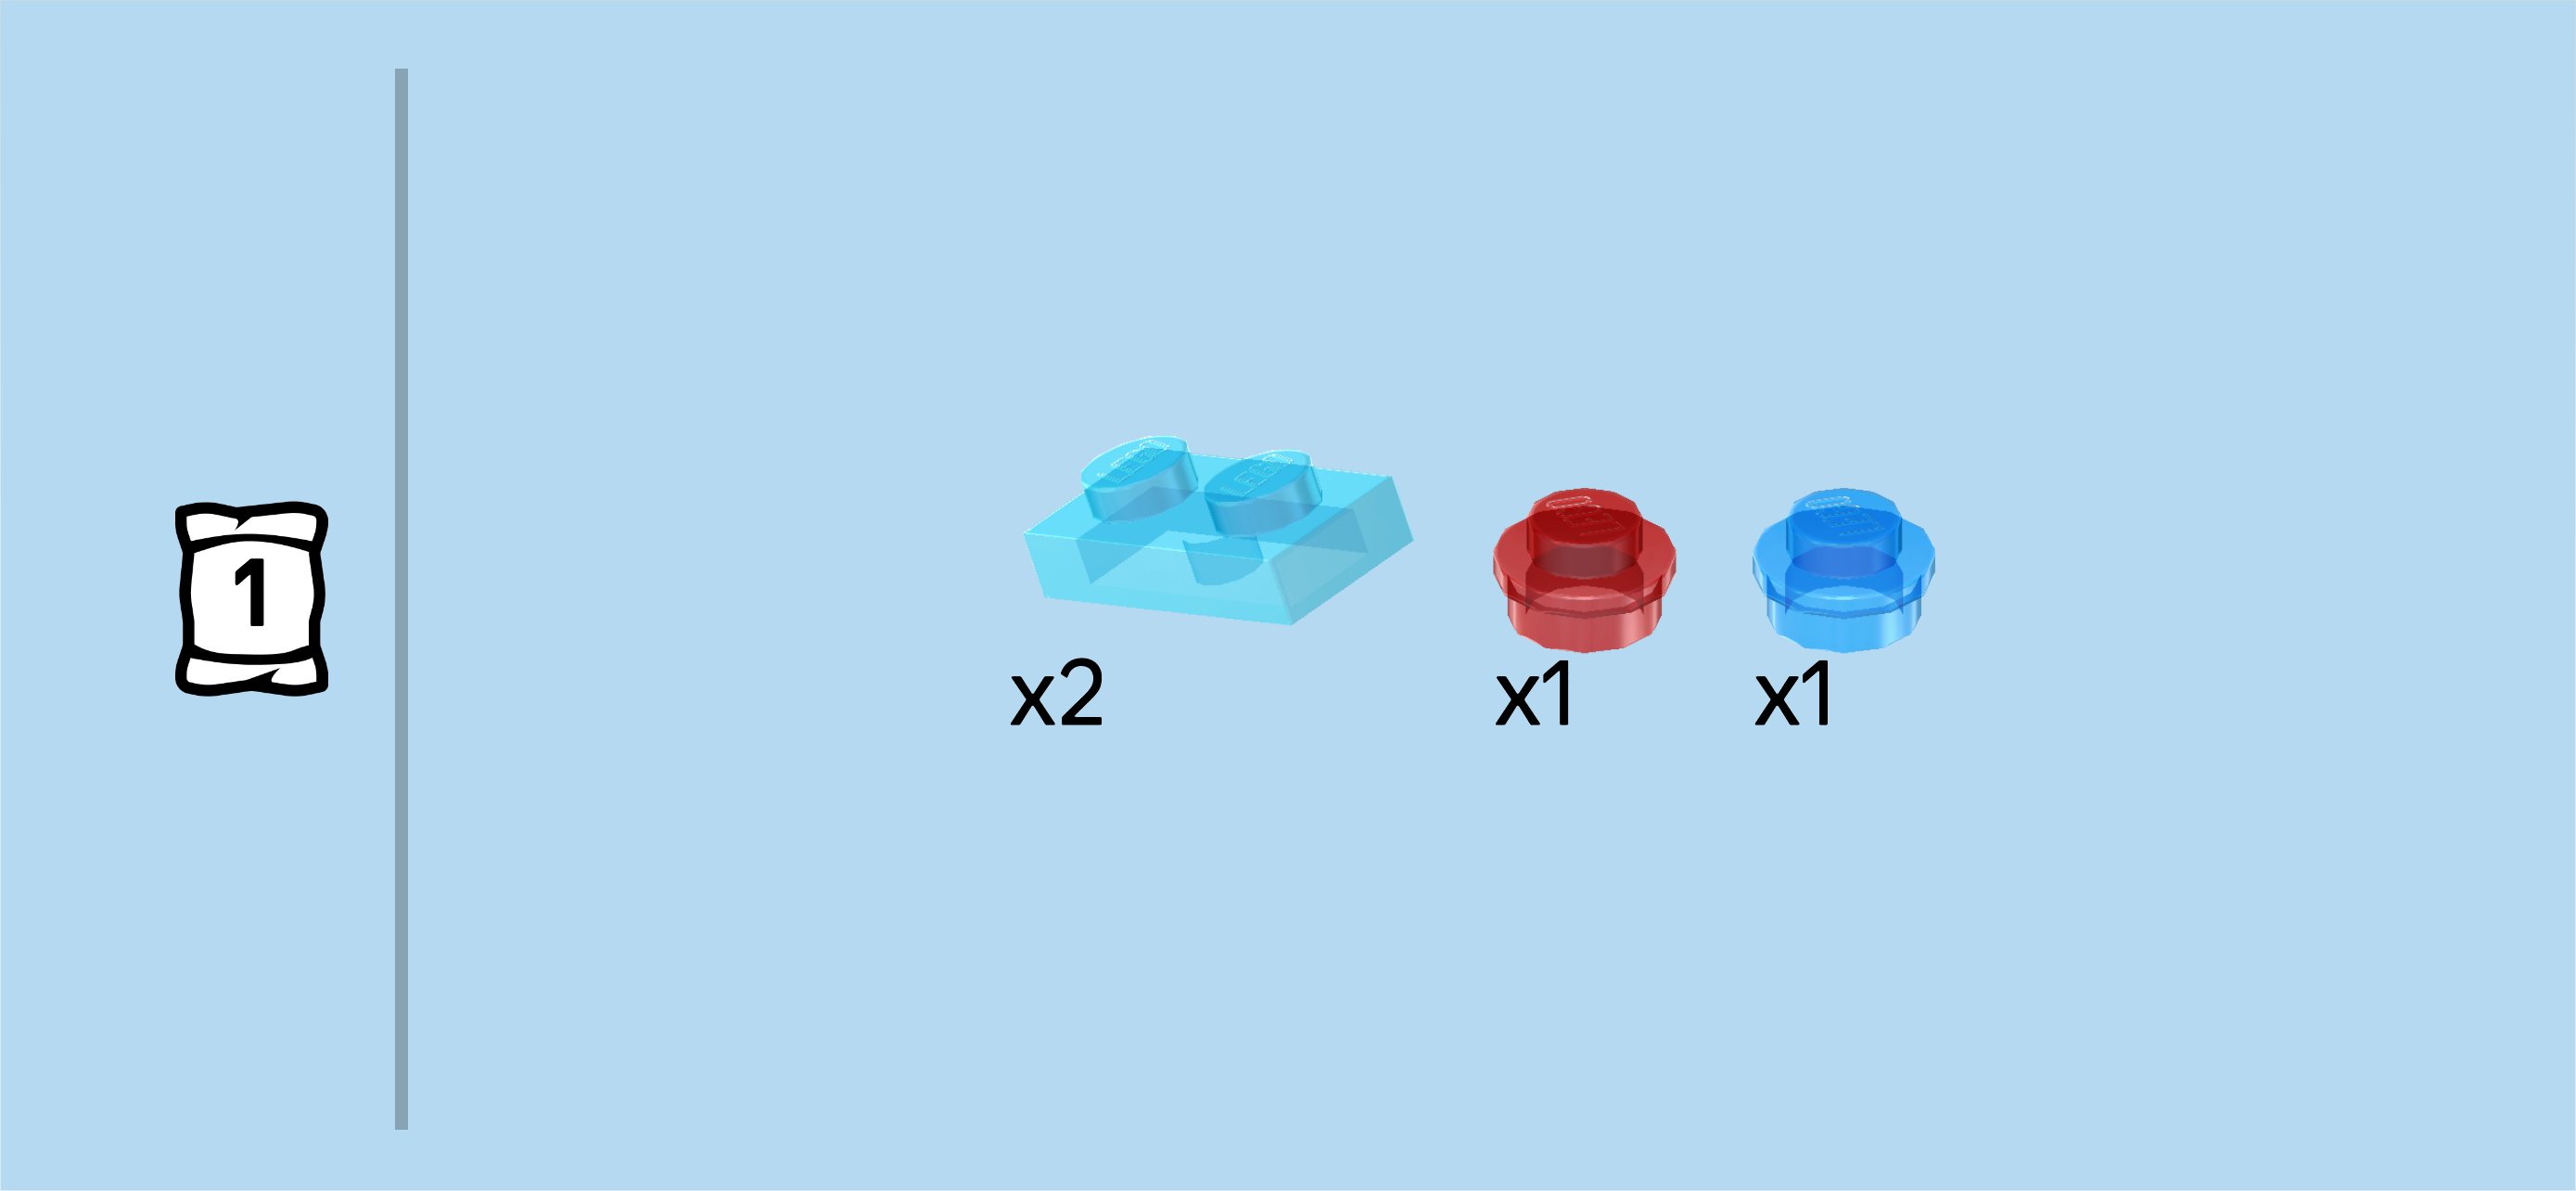
| 2 transparent light blue plates 1x2, |
| 1 transparent blue round plate 1x1, |
| and 1 transparent red round plate 1x1. |
| Put 1 plate 1x2 vertically on the previous piece's right column, starting from the back. |
| Put the transparent red round plate to the left of the previous piece. |
| Repeat symmetrically at the front: put the other plate 1x2 vertically on the right column of the plate with rounded corners, starting from the front, and put the transparent blue round plate to its left. |
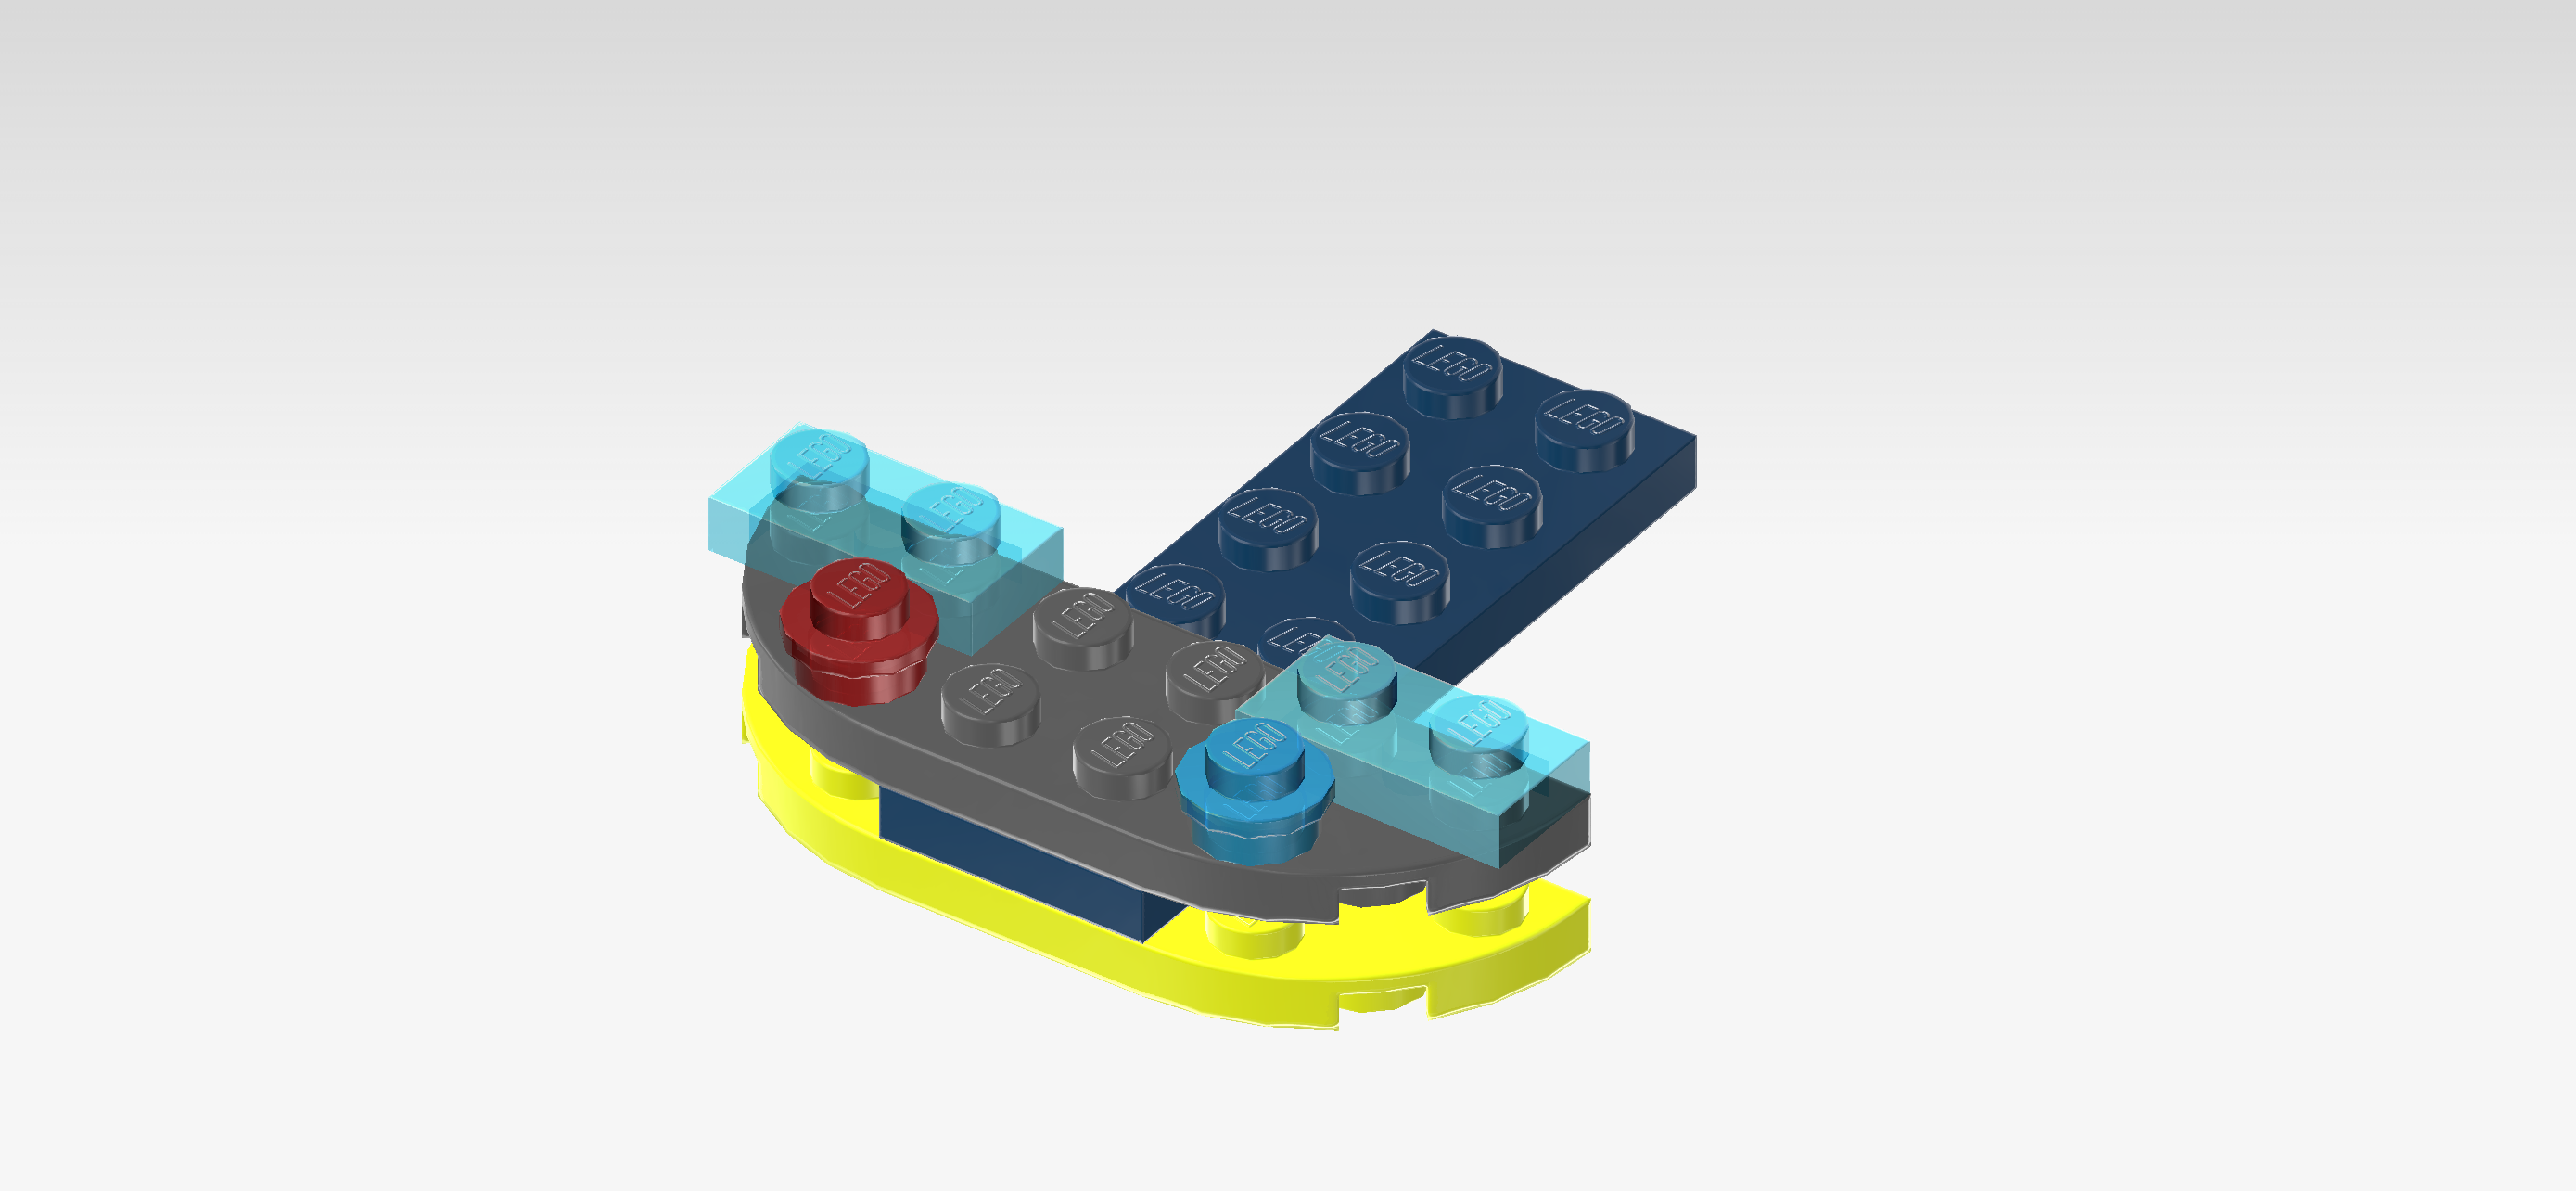
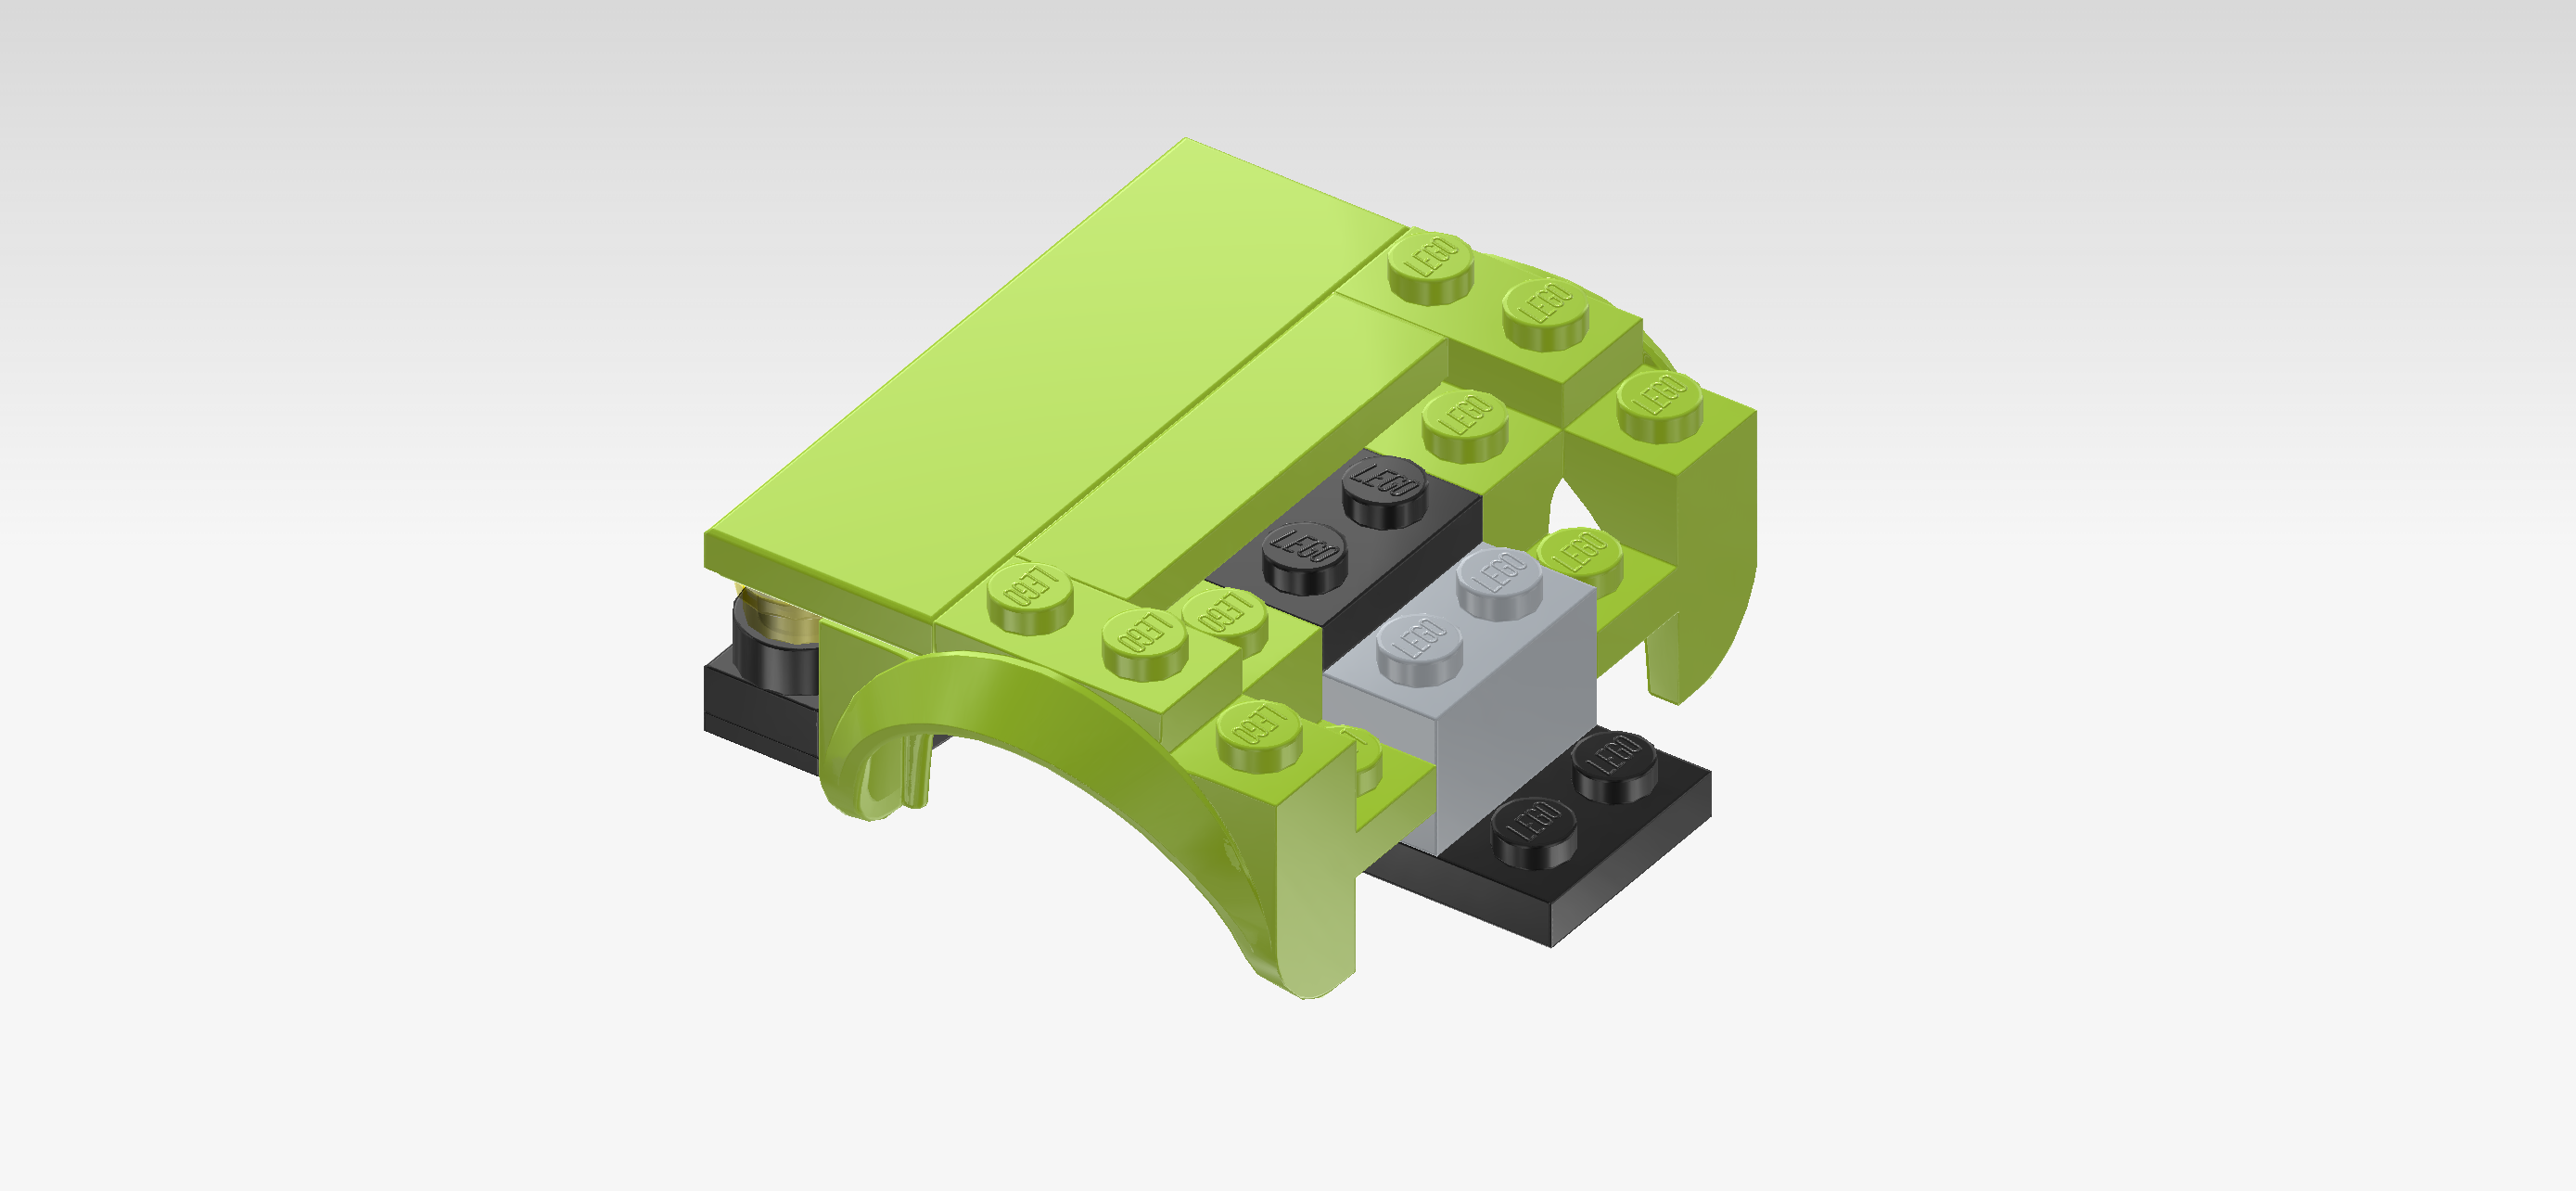
| The front bumper is finished! Well done! To mount it, insert its plate that is overhanging to the right into the structure coming from the left. Make sure its right edge is touching the steering wheel plate. 3 of the overhanging columns will connect to the vehicle underbody, the rest will be overhanging to the left. |
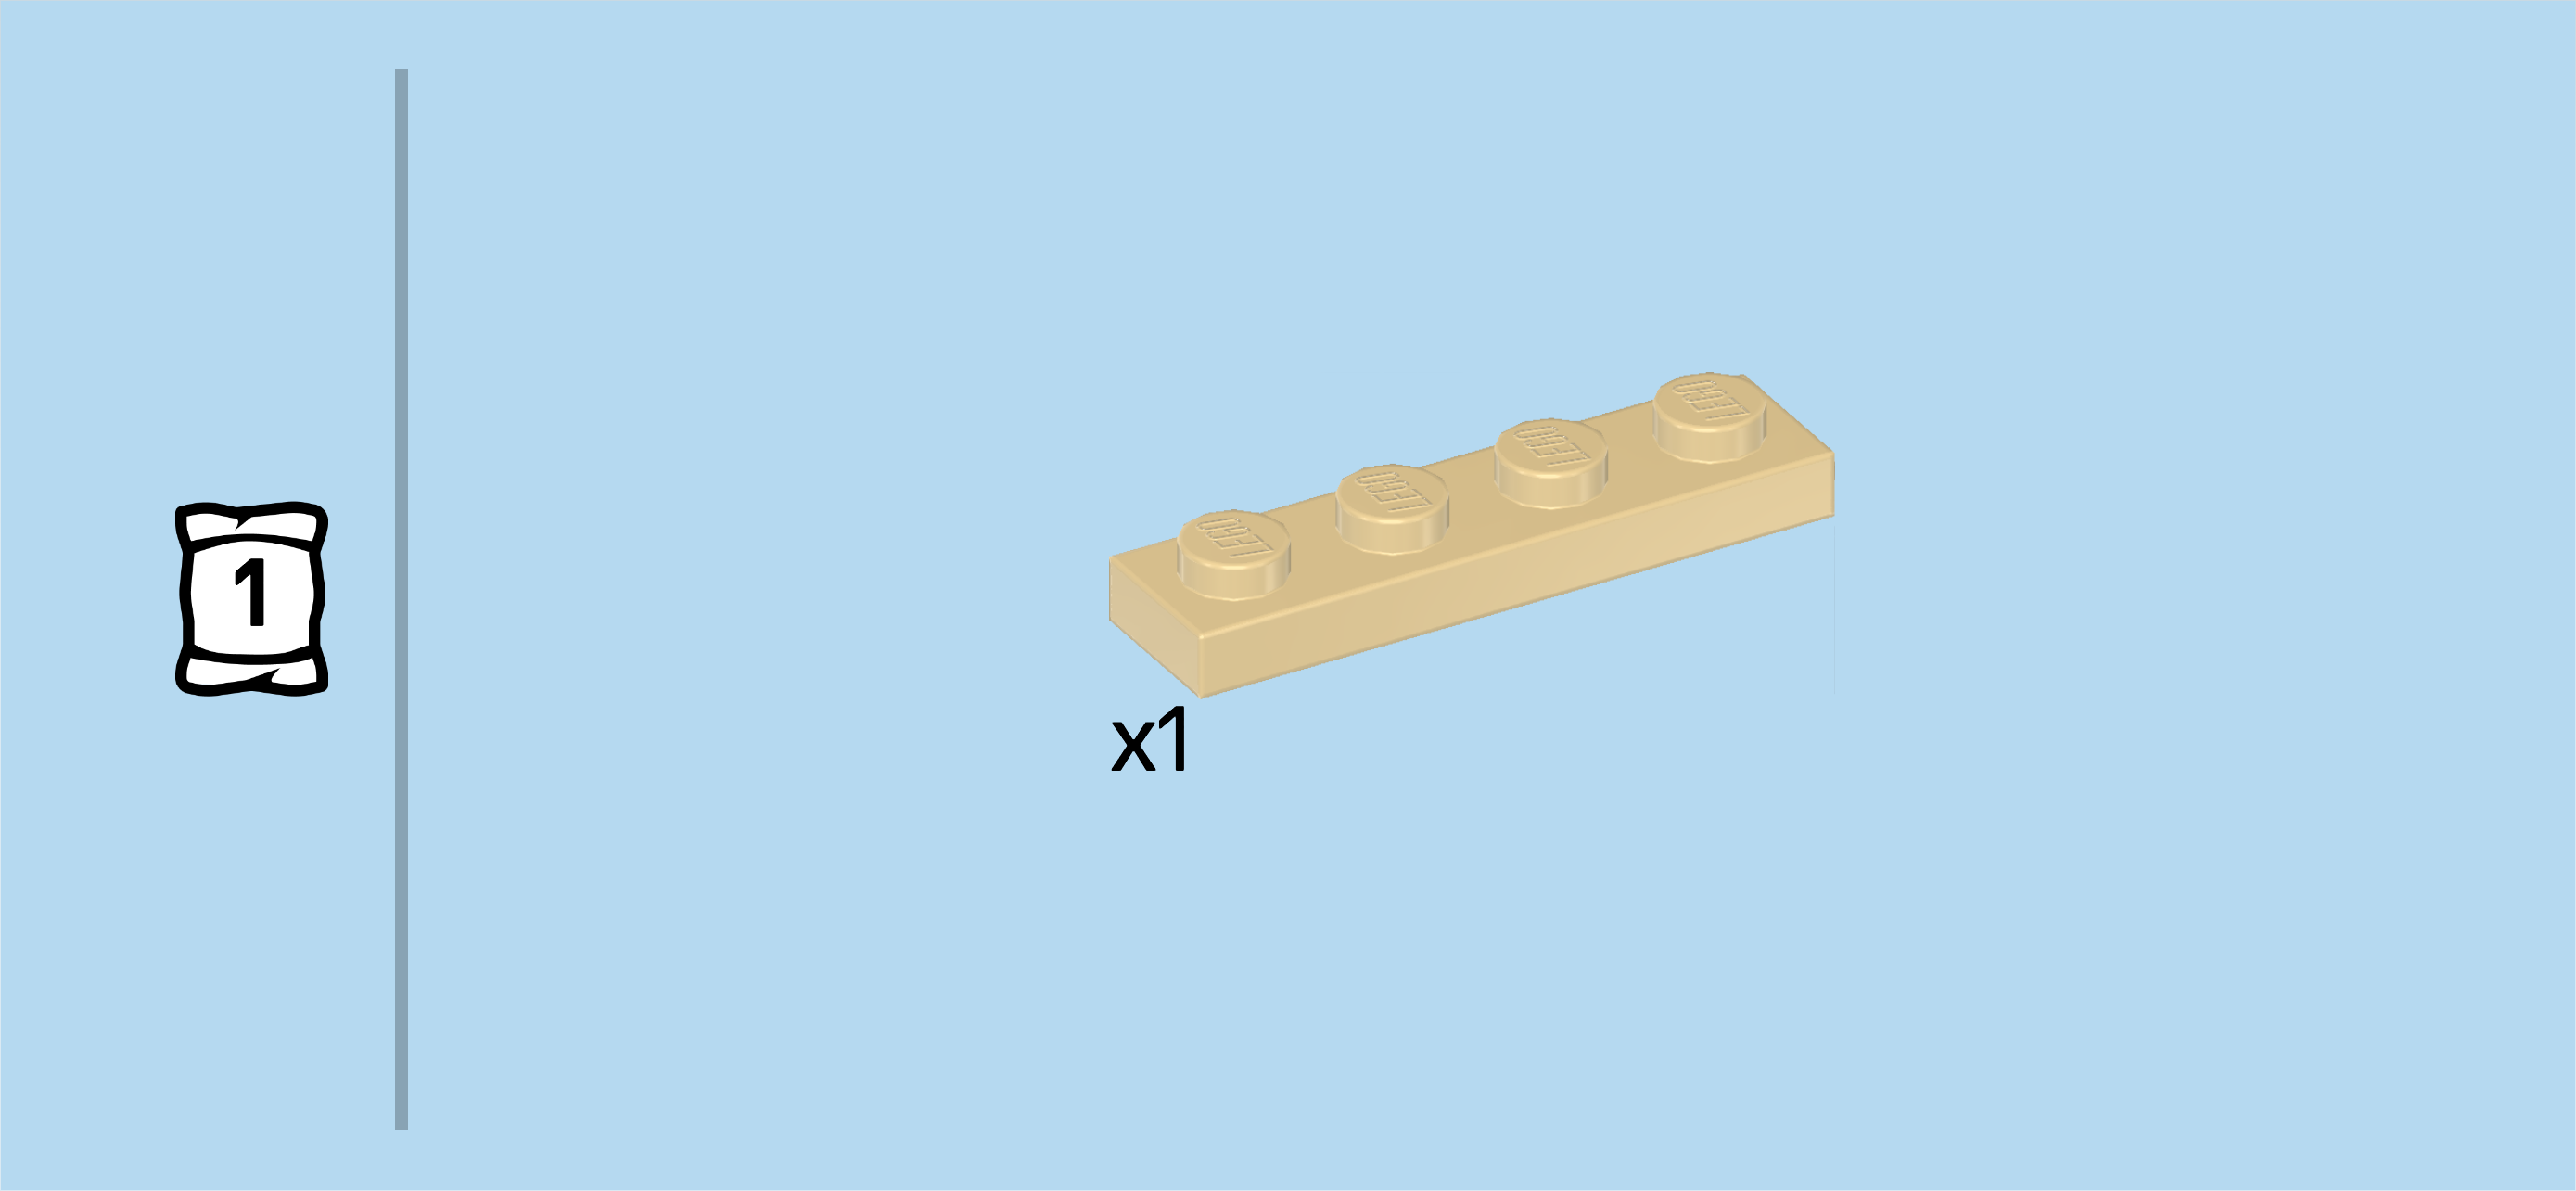
| Find 2 pale ocher yellow plates 1x4. |
| Put 1 vertically centered to the right of the 2 plates 2x6 with rounded corners. This means it will sit on the third column from the leftmost edge. |
| Skip 2 columns towards the right, and mount the other one vertically centered. This means it will sit on the sixth column from the left. |
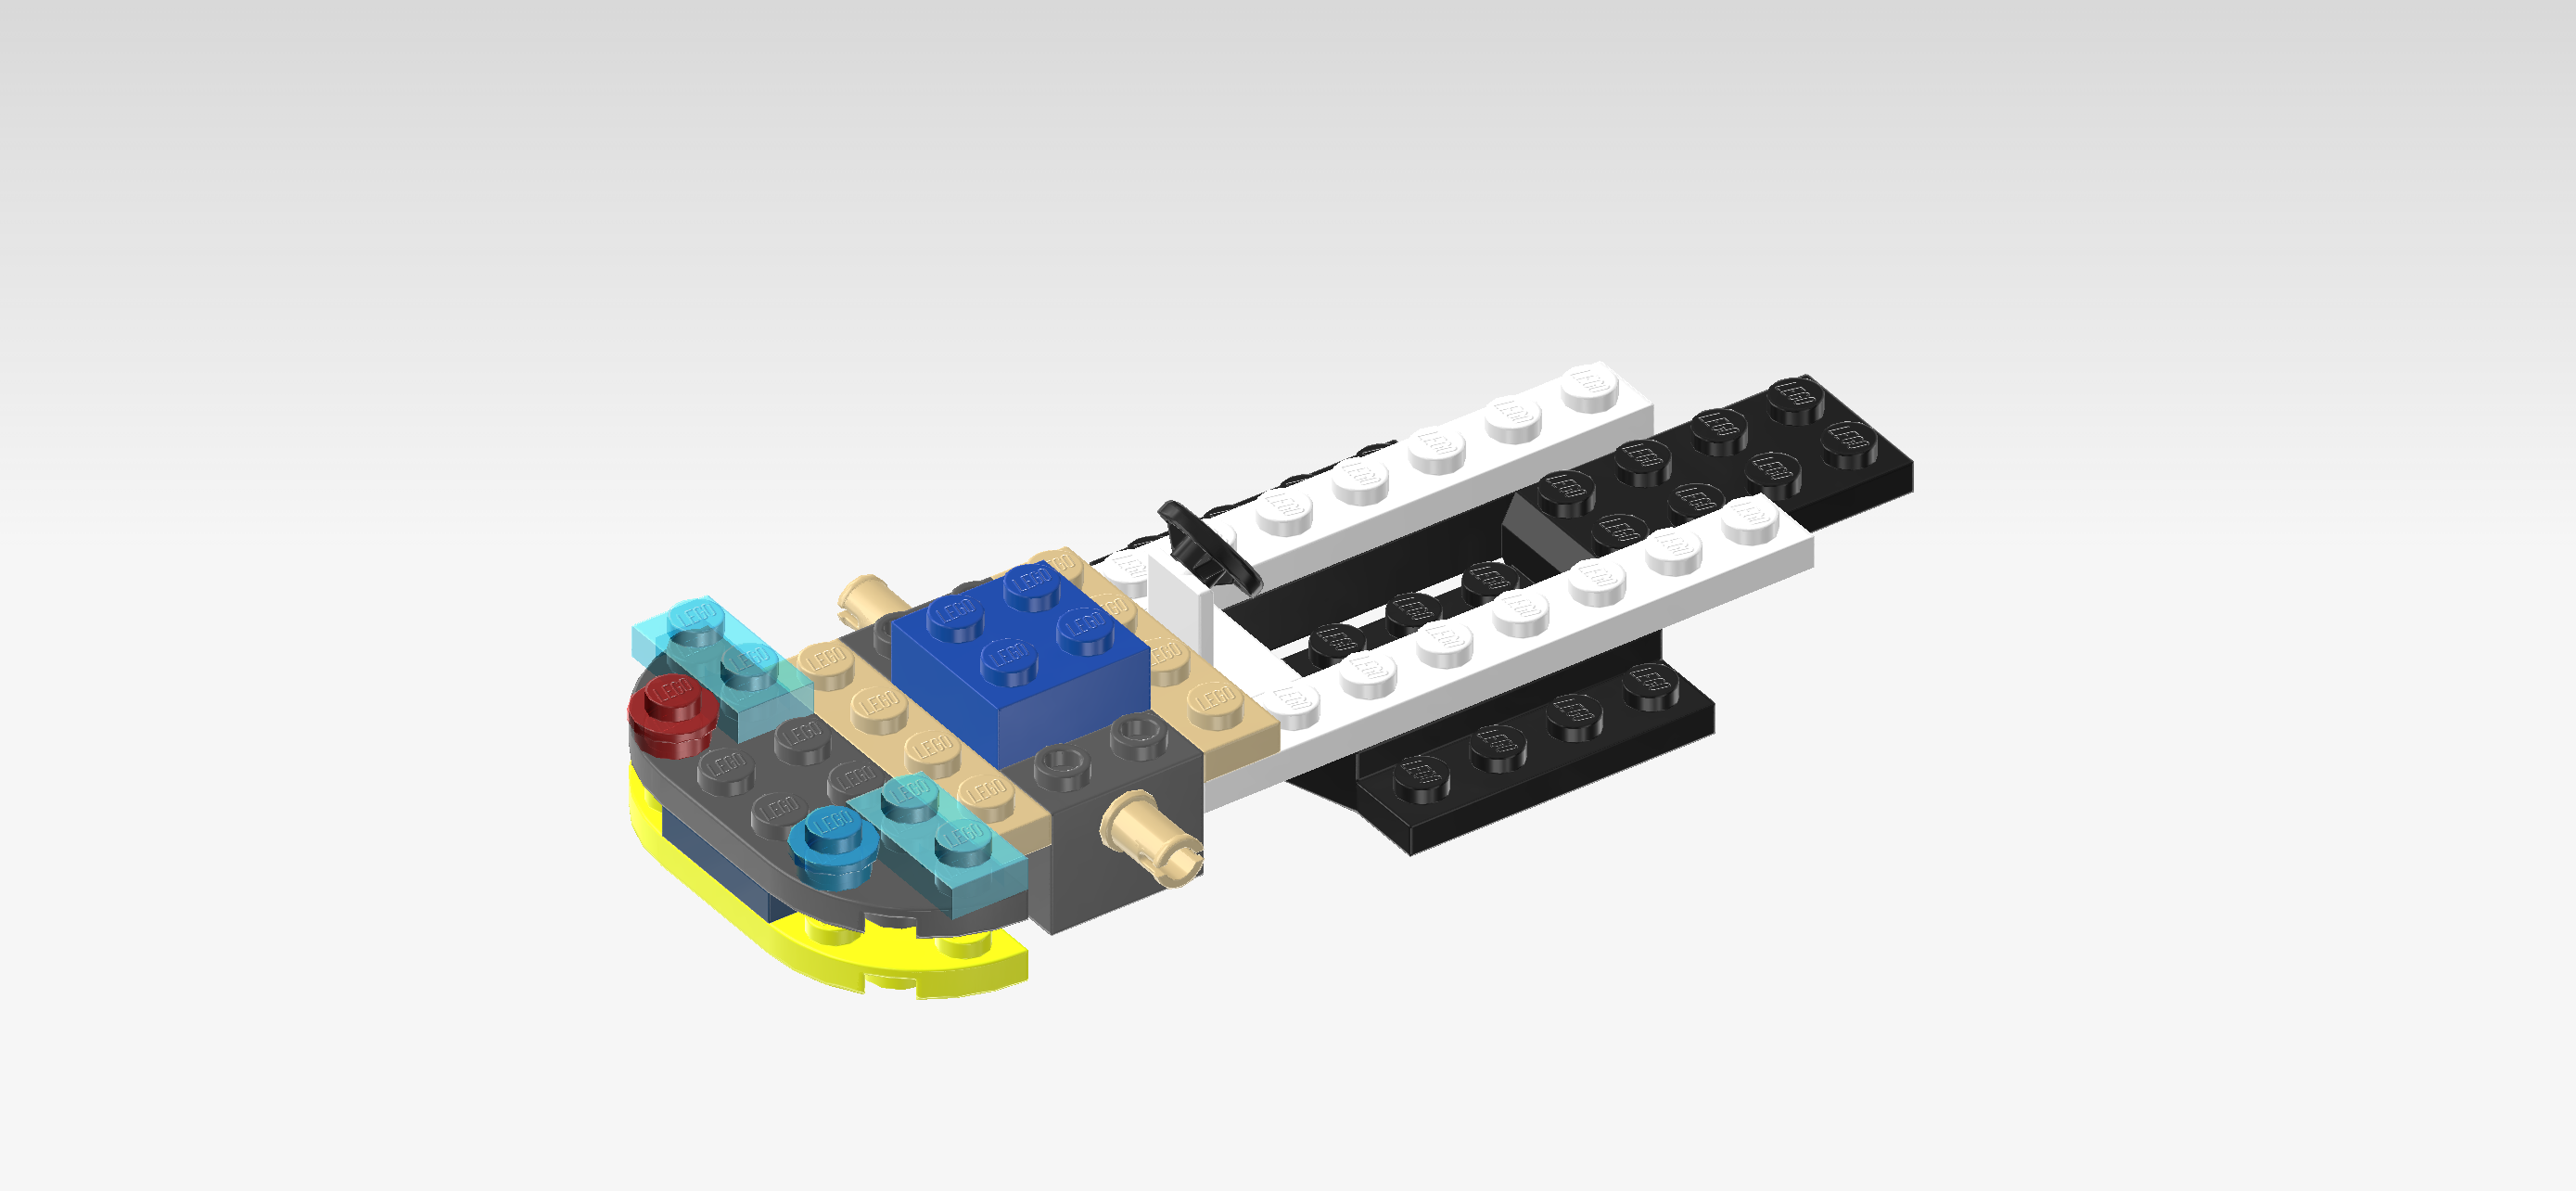
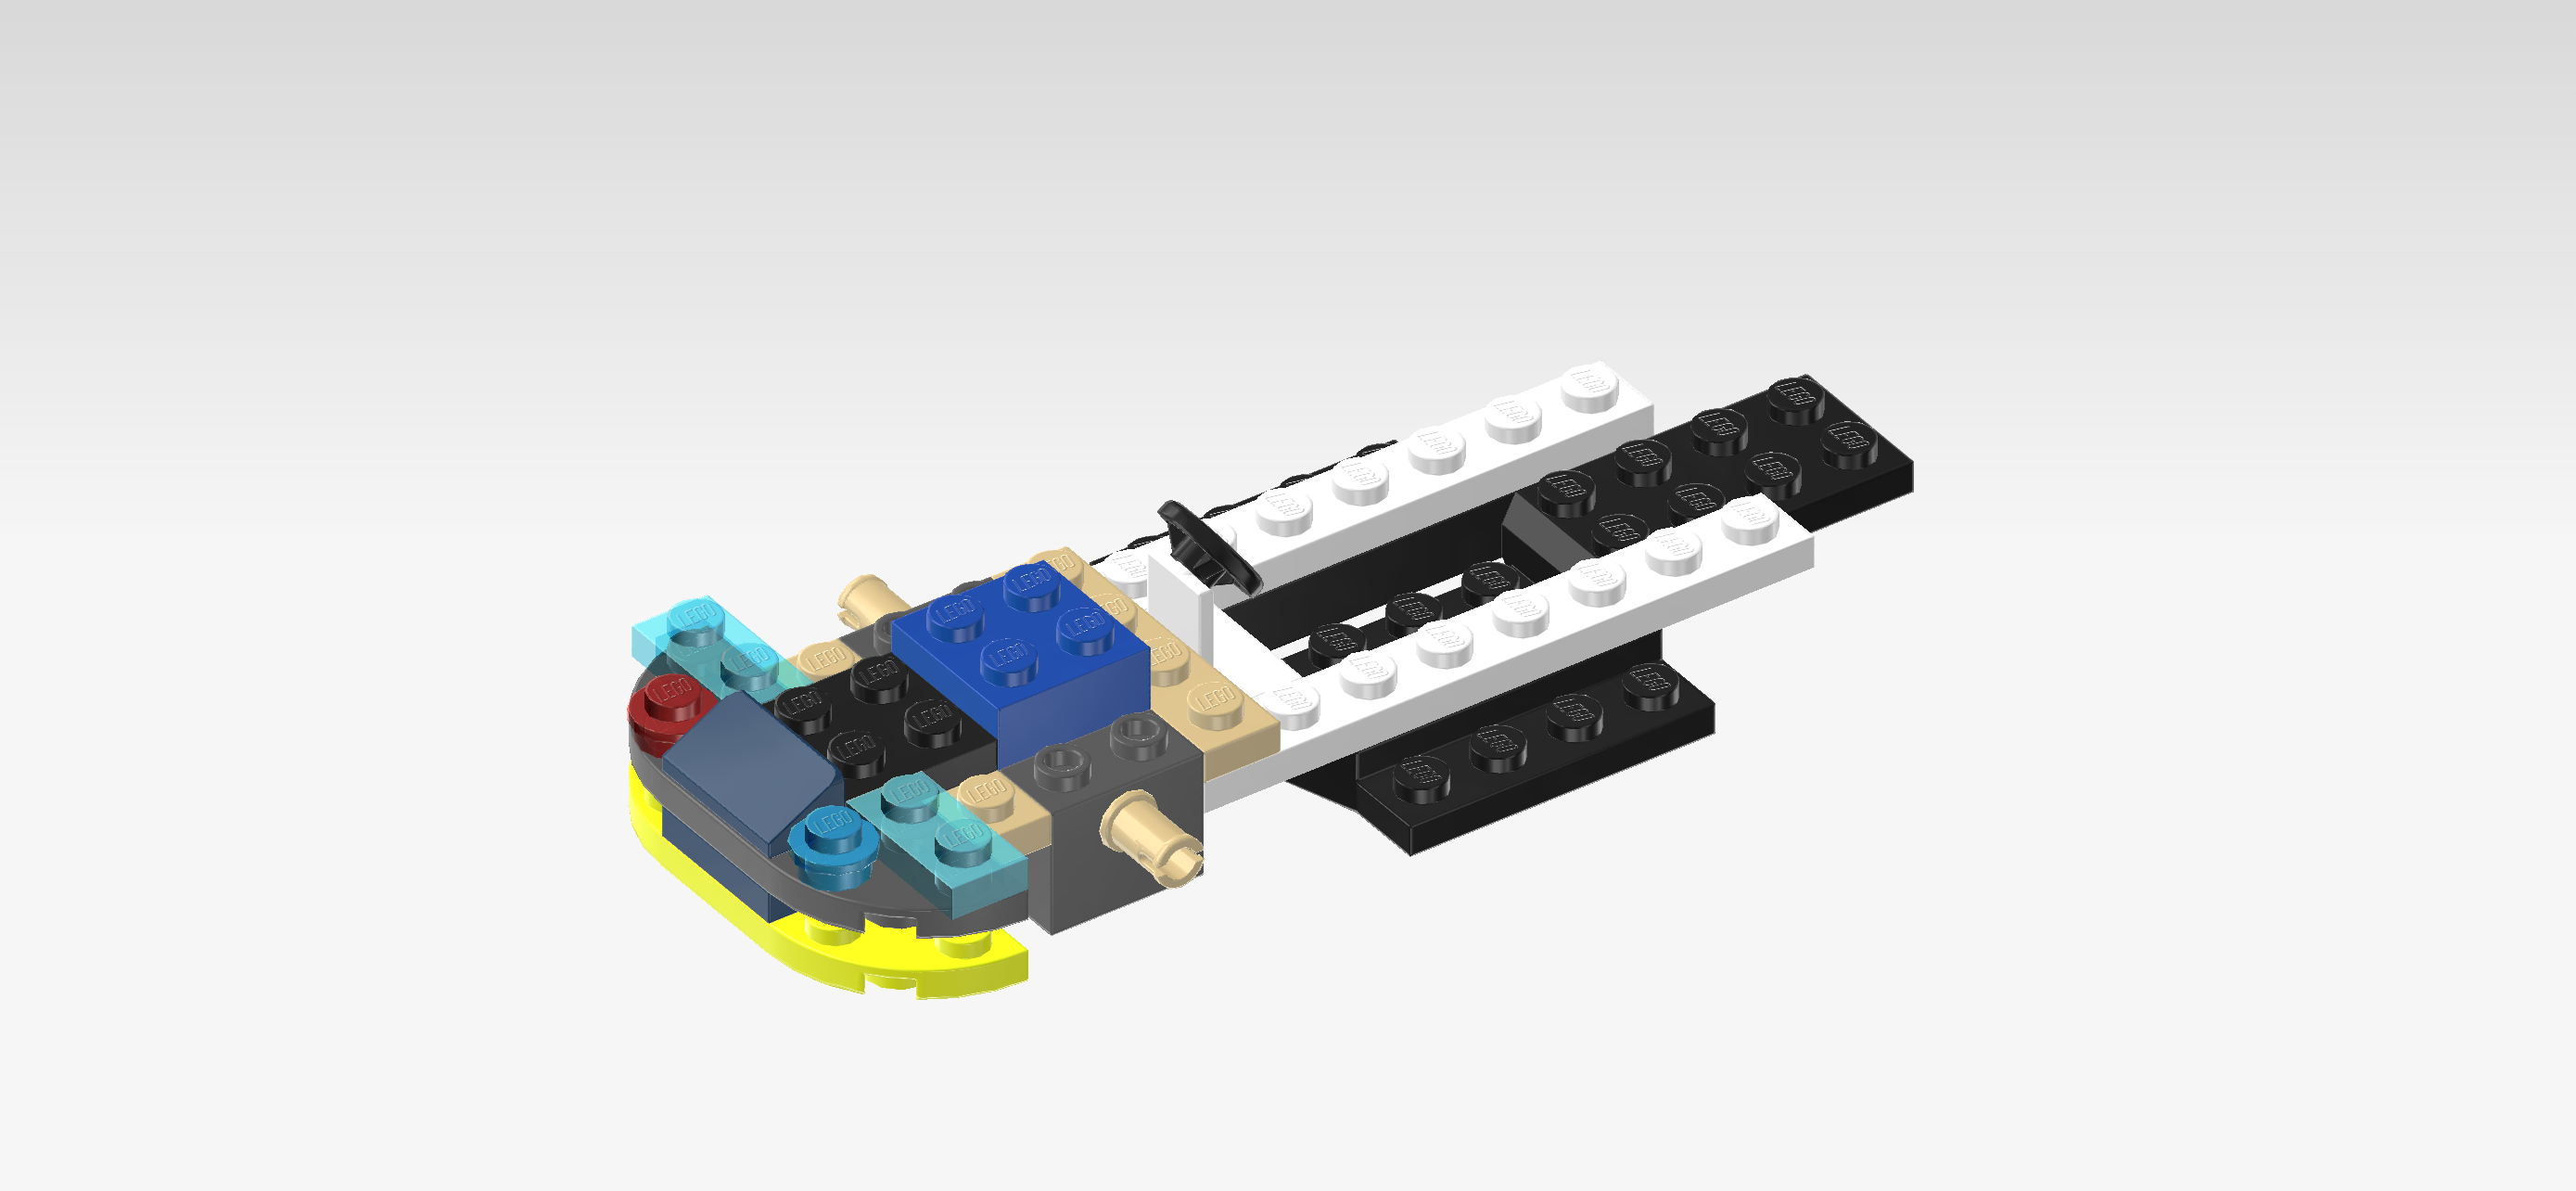
| Find 1 bright blue brick 2x2. |
| Put it centered between the 2 previous pieces. |
| Collect the following 2 pieces: |
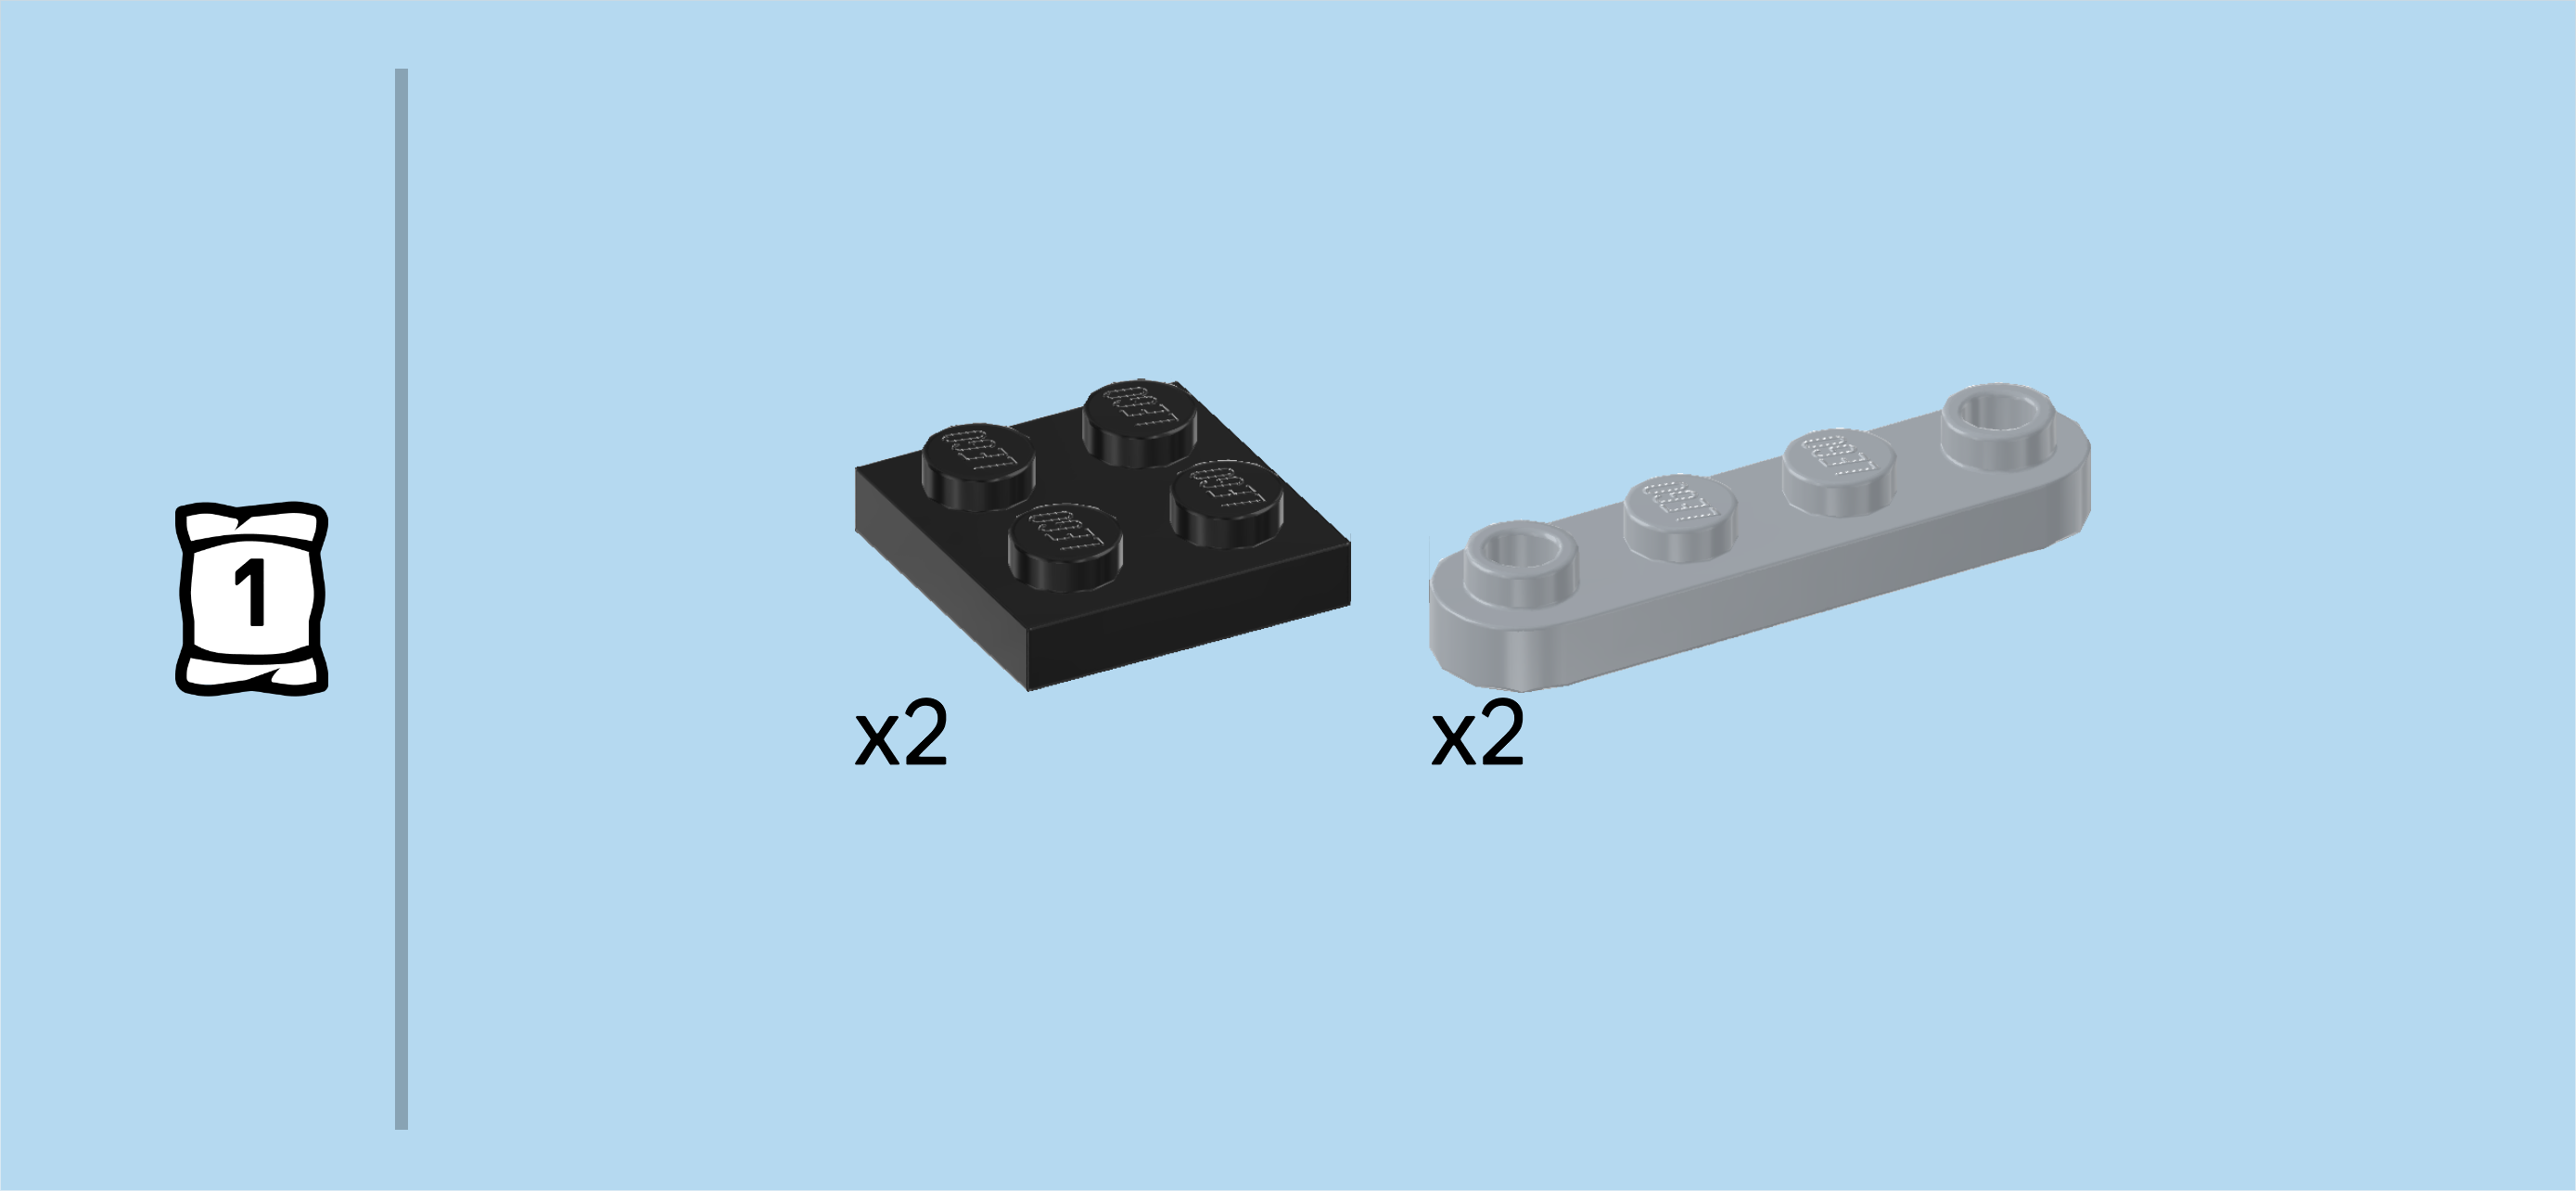
| 1 black plate 2x2, |
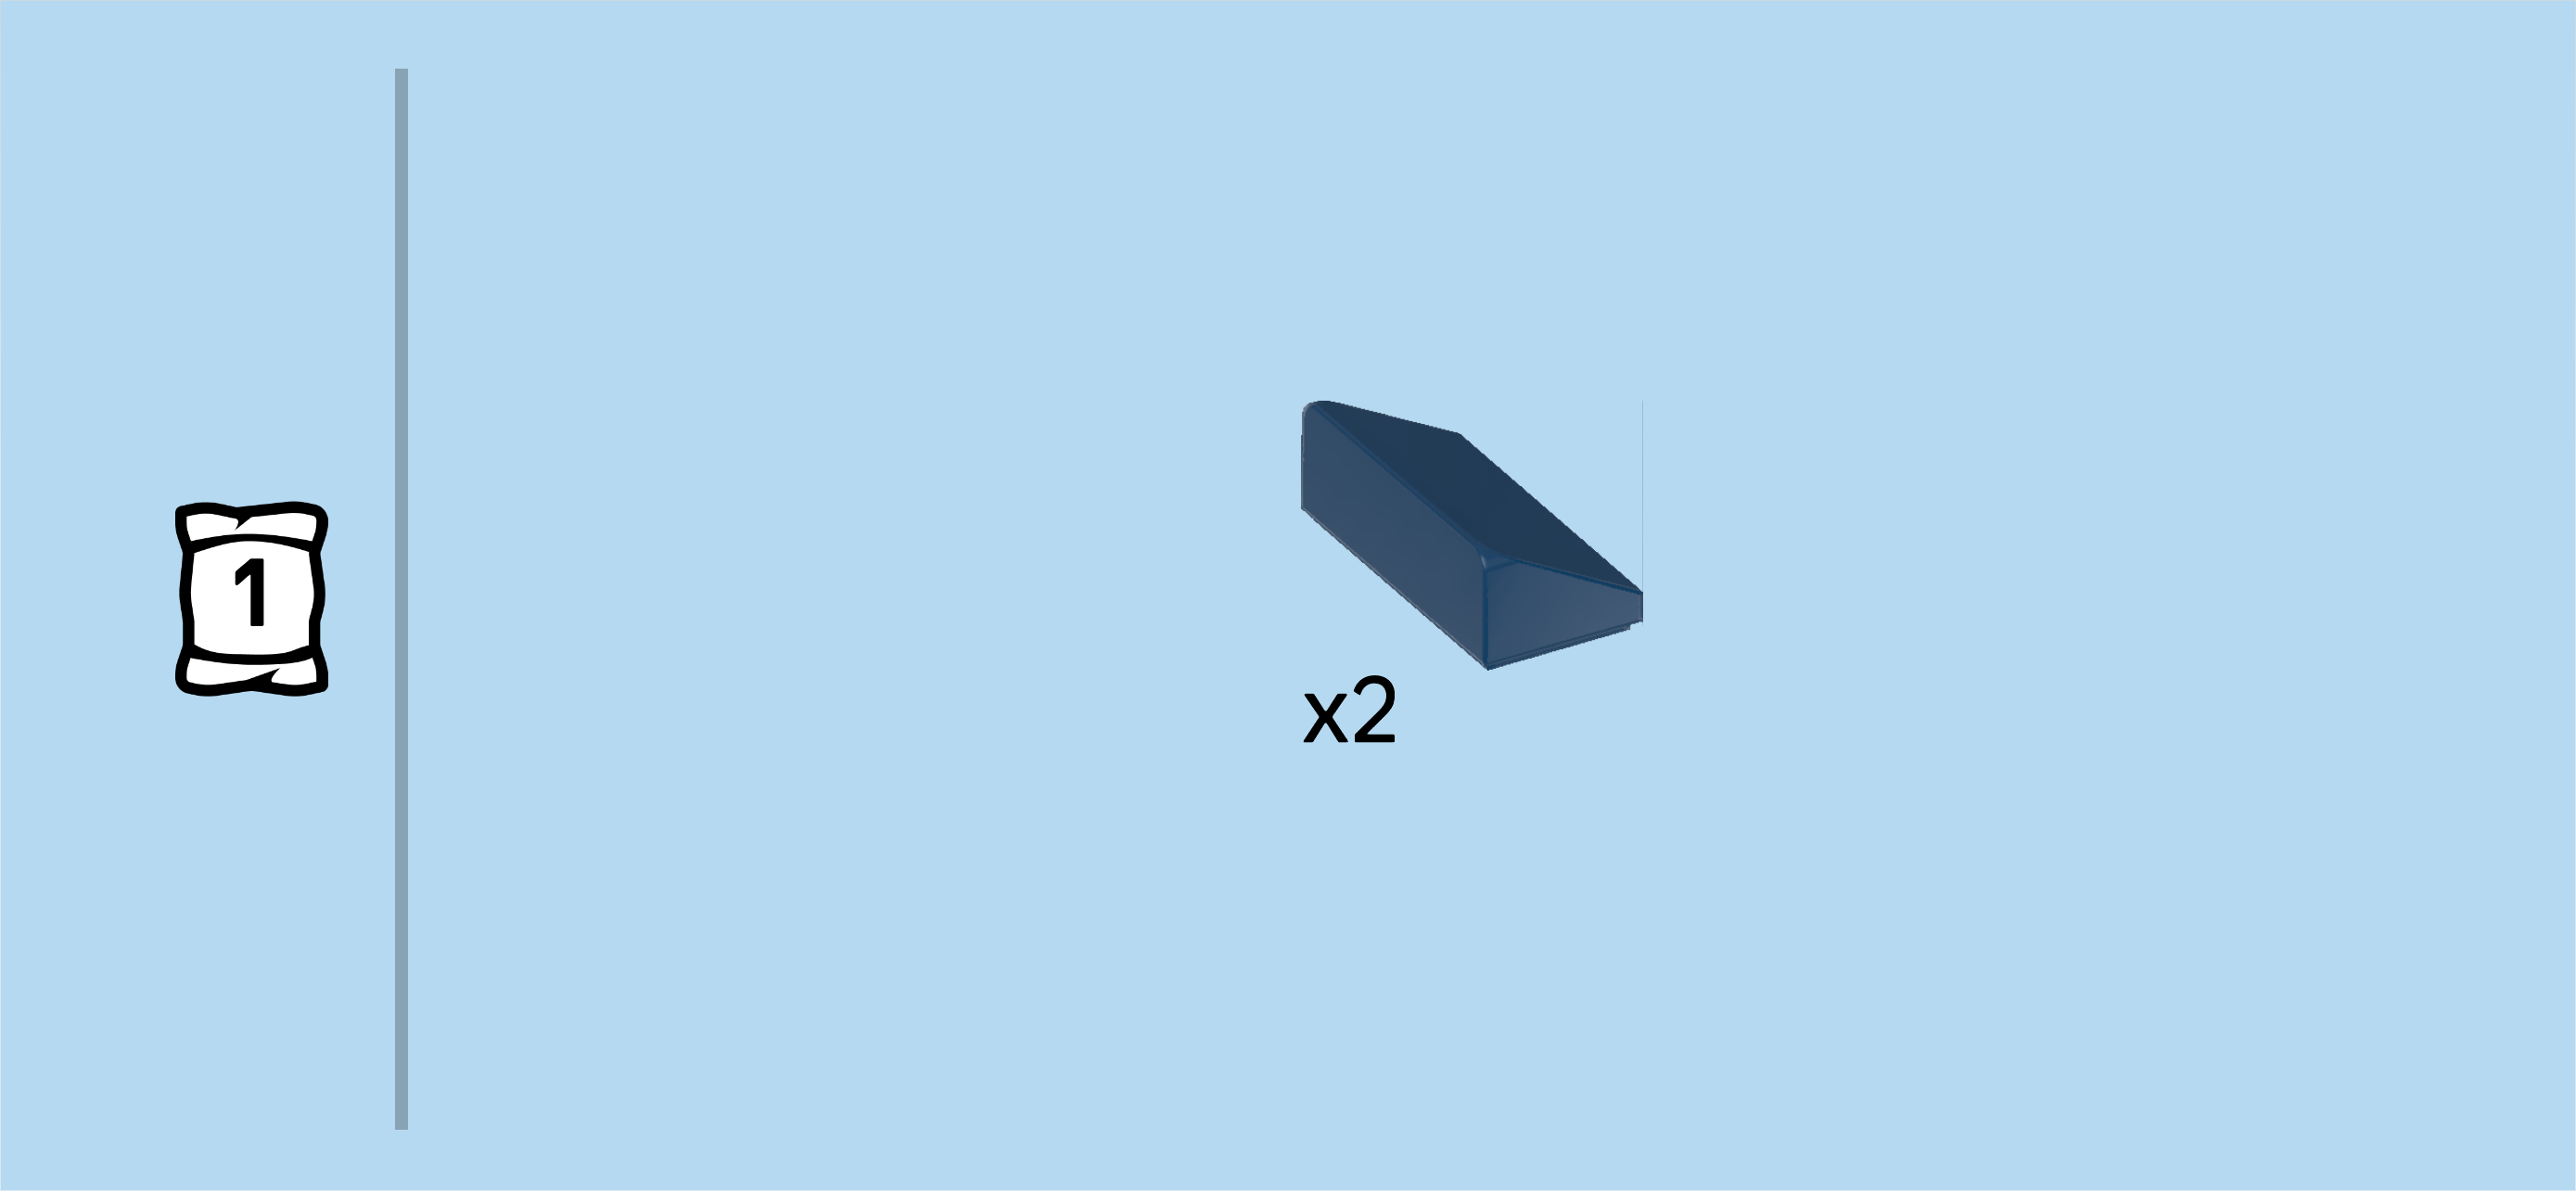
| and 1 earth blue smooth roof tile 1x2x⅔. |
| Put the plate 2x2 to the left of the previous piece. |
| Put the smooth roof tile 1x2 vertically to the left of the previous piece, slope to the left. |
| If done correctly, the smooth roof tile 1x2 sits centered on the leftmost column of the structure. |
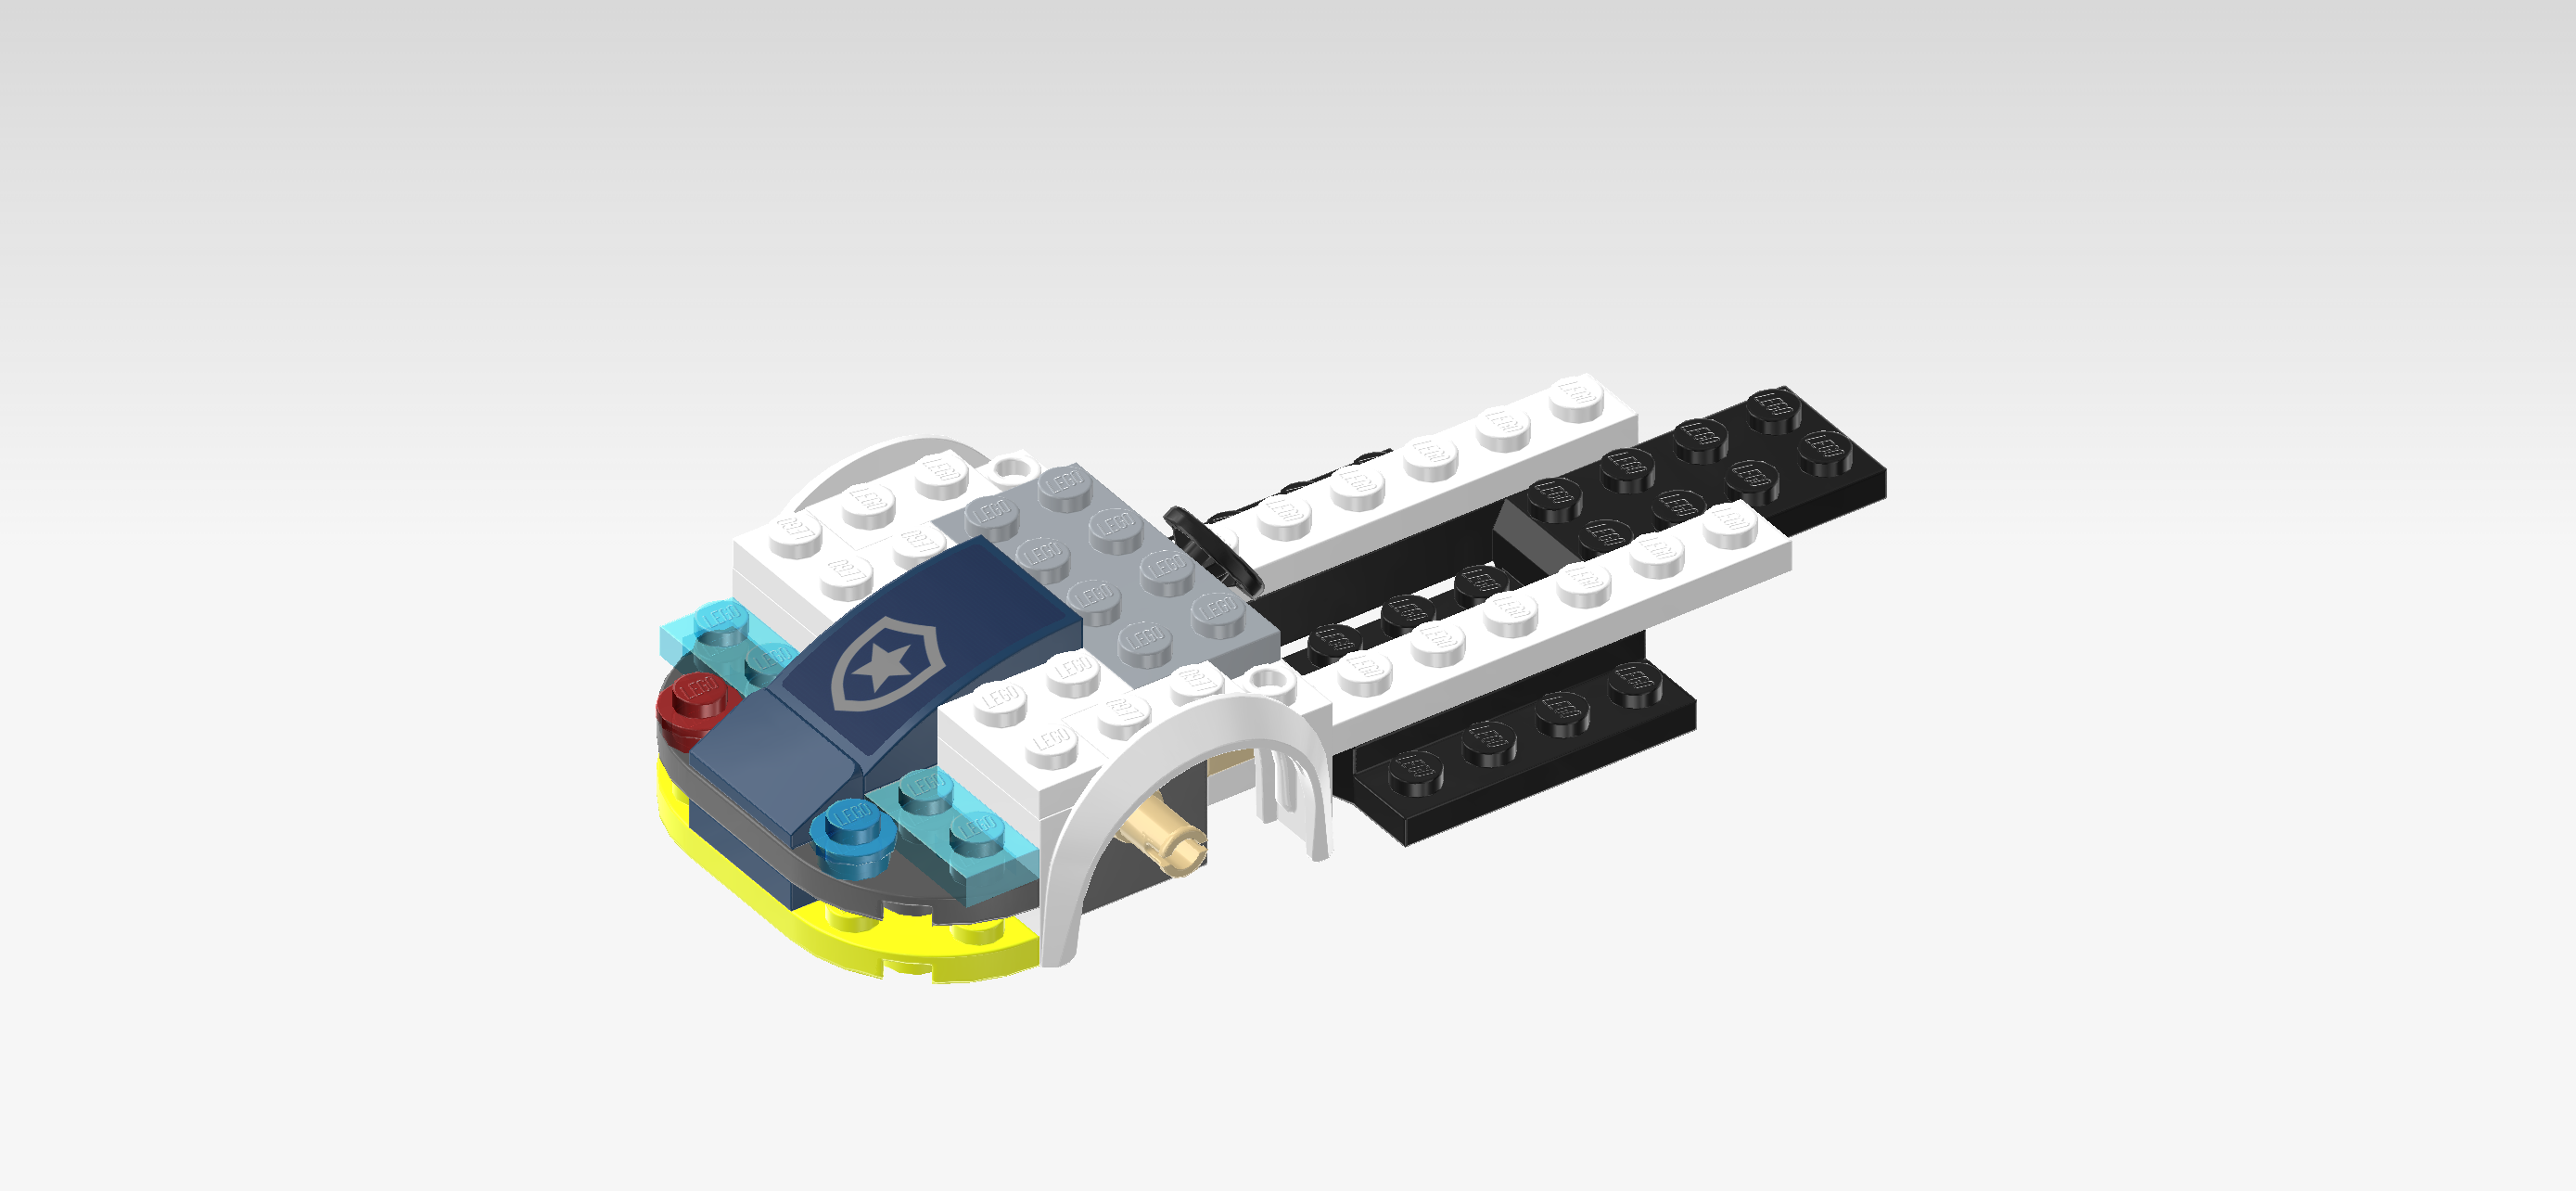
| Collect the following 2 pieces: |
| 1 rectangular sticker 2x3, |
| and 1 earth blue one-stepped curve tile 2x3. |
| Put the sticker on the top surface of the curve tile. The sticker is blue and has a silver police badge on it which consists of the outline of a shield and a star in the middle. The police badge should be on the lower half of the curve tile. |
| Mount the curve tile 2x3 horizontally centered to the left of the smooth roof tile 1x2 from the previous step, slope to the left. |
| Find 2 white mudguard elements 2x4x2. |
| Put 1 horizontally on the row in front of the previous piece, directly to the right of the 2 leftmost columns, 1 row and mudguard overhanging to the front. |
| The mudguard should be hovering symmetrically above the connector pin at the bottom. |
| Repeat symmetrically at the back. |
| Find 1 medium stone grey plate 2x4. |
| Put it vertically centered to the left of the curve tile 2x3. This means it will sit on the fifth and sixth column from the left edge. |
| Find 2 white corner plates 1x2 - 1x2. |
| Turn 1 so that its outer corner is to the front left. |
| Mount it on the front left corner of the mudguard element located at the back, evening out the height difference of the mudguard element's top surface. |
| Repeat symmetrically at the front. |
| Next, we will assemble 2 side panels. |
| Collect the following 4 pieces: |
| 2 vibrant yellow plates 1x4, |
| and 2 dark stone grey plates 1x6. |
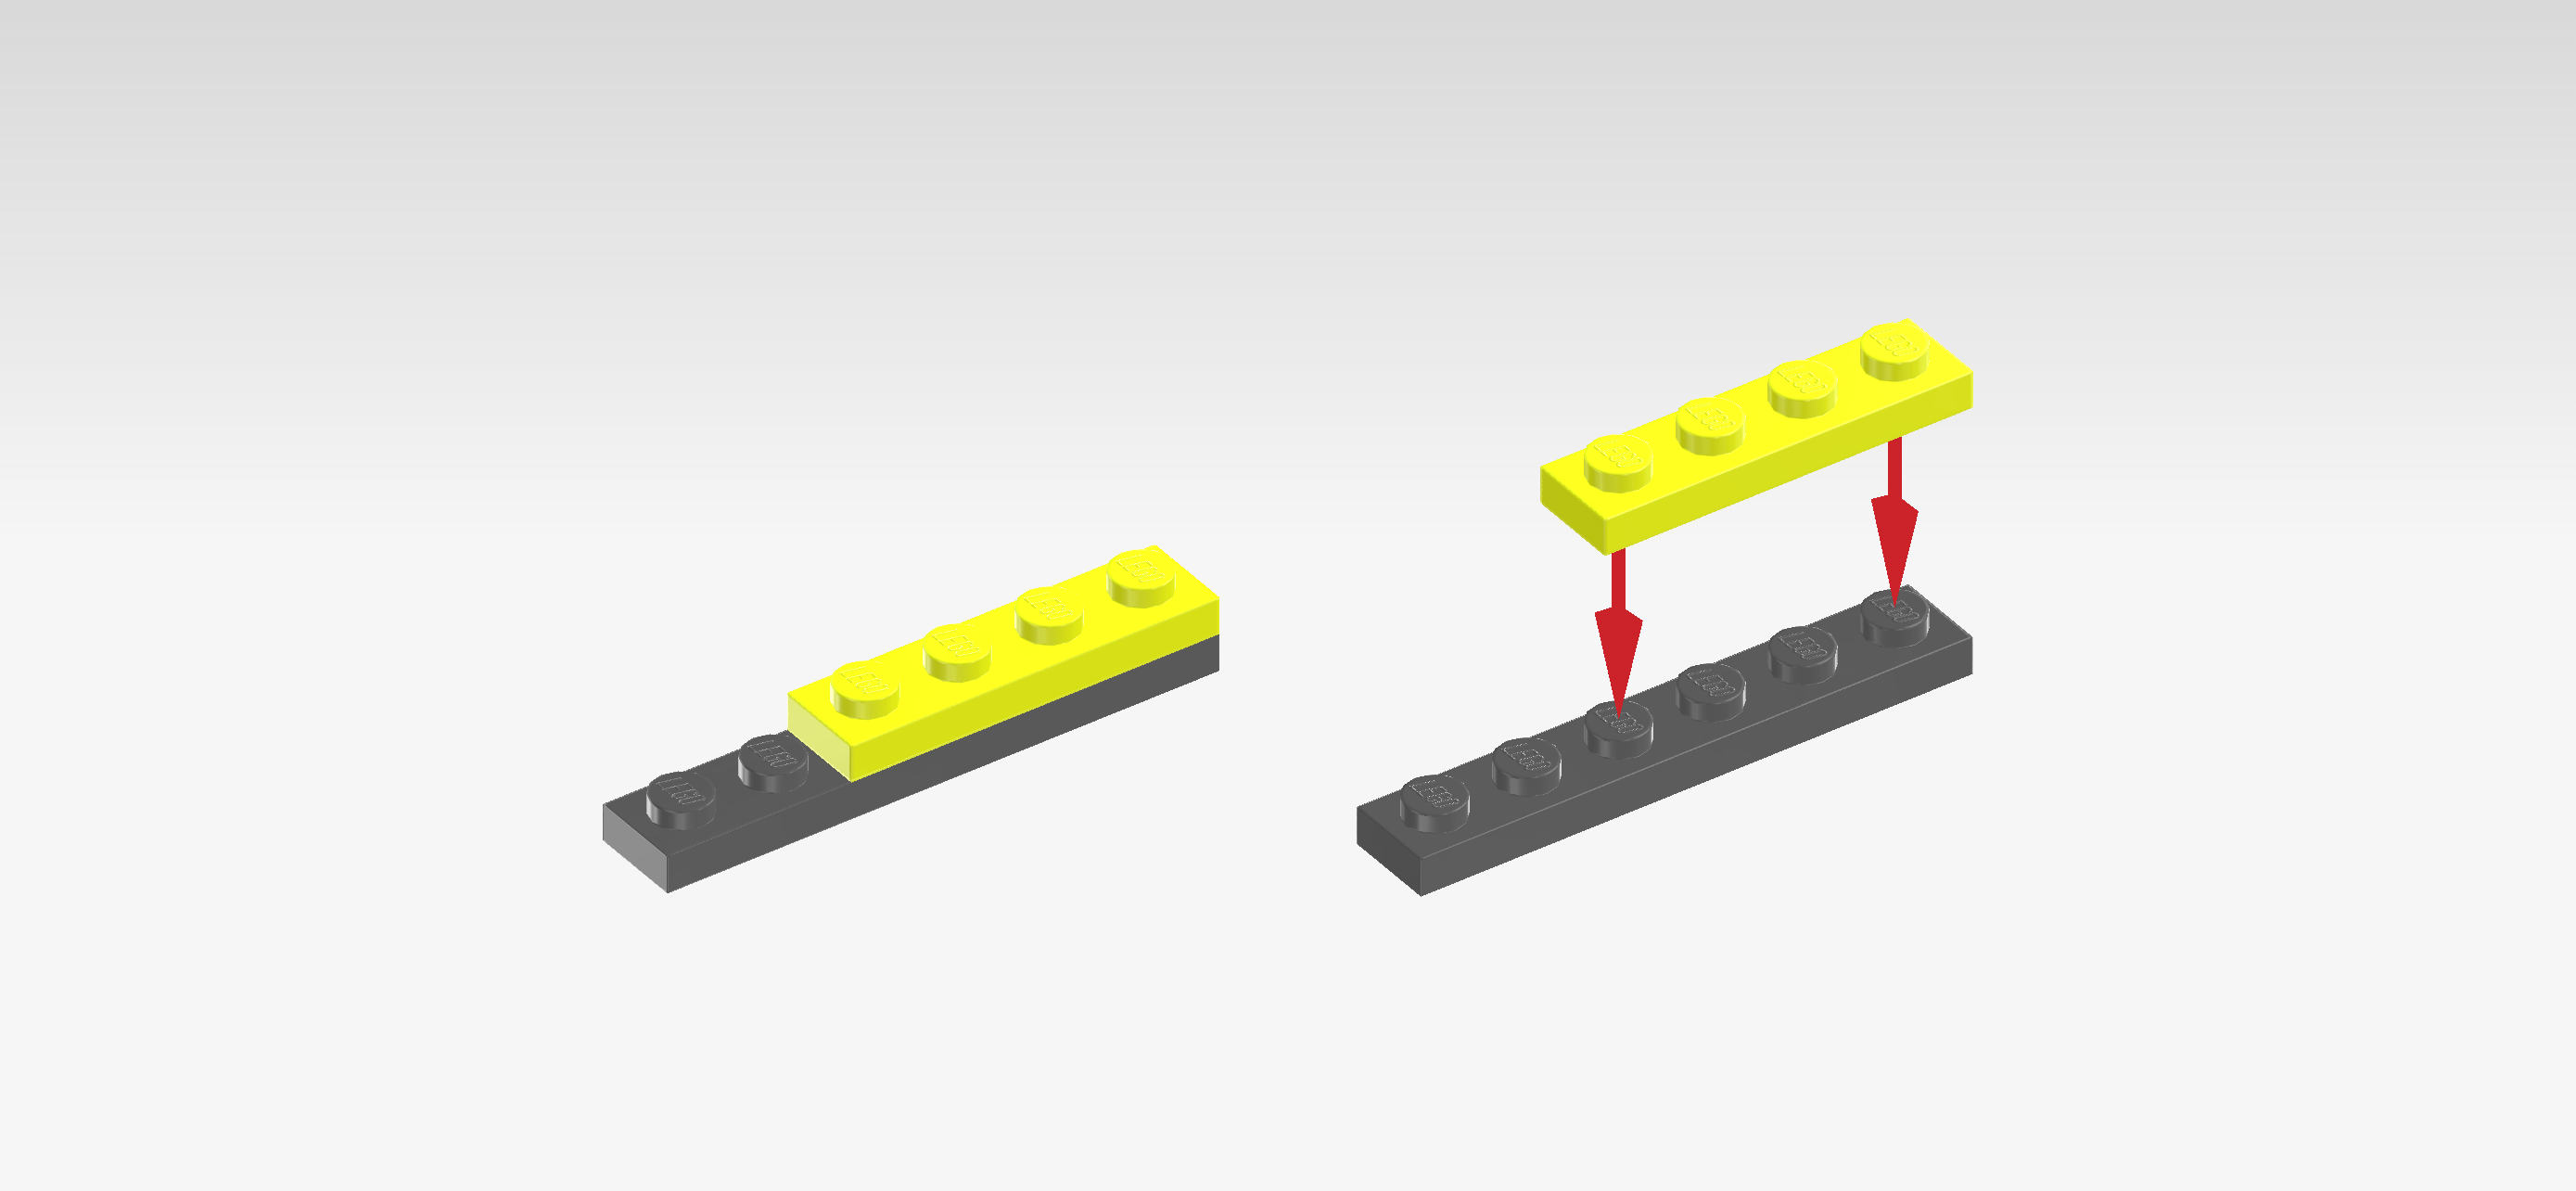
| Put 1 plate 1x6 horizontally on the table. |
| Put 1 plate 1x4 horizontally on top, starting from the right edge. |
| Repeat with the 2 remaining pieces. |
| Collect the following 4 pieces: |
| 2 white bricks 1x2 with downward half arch, |
| and 2 white flat tiles 1x2. |
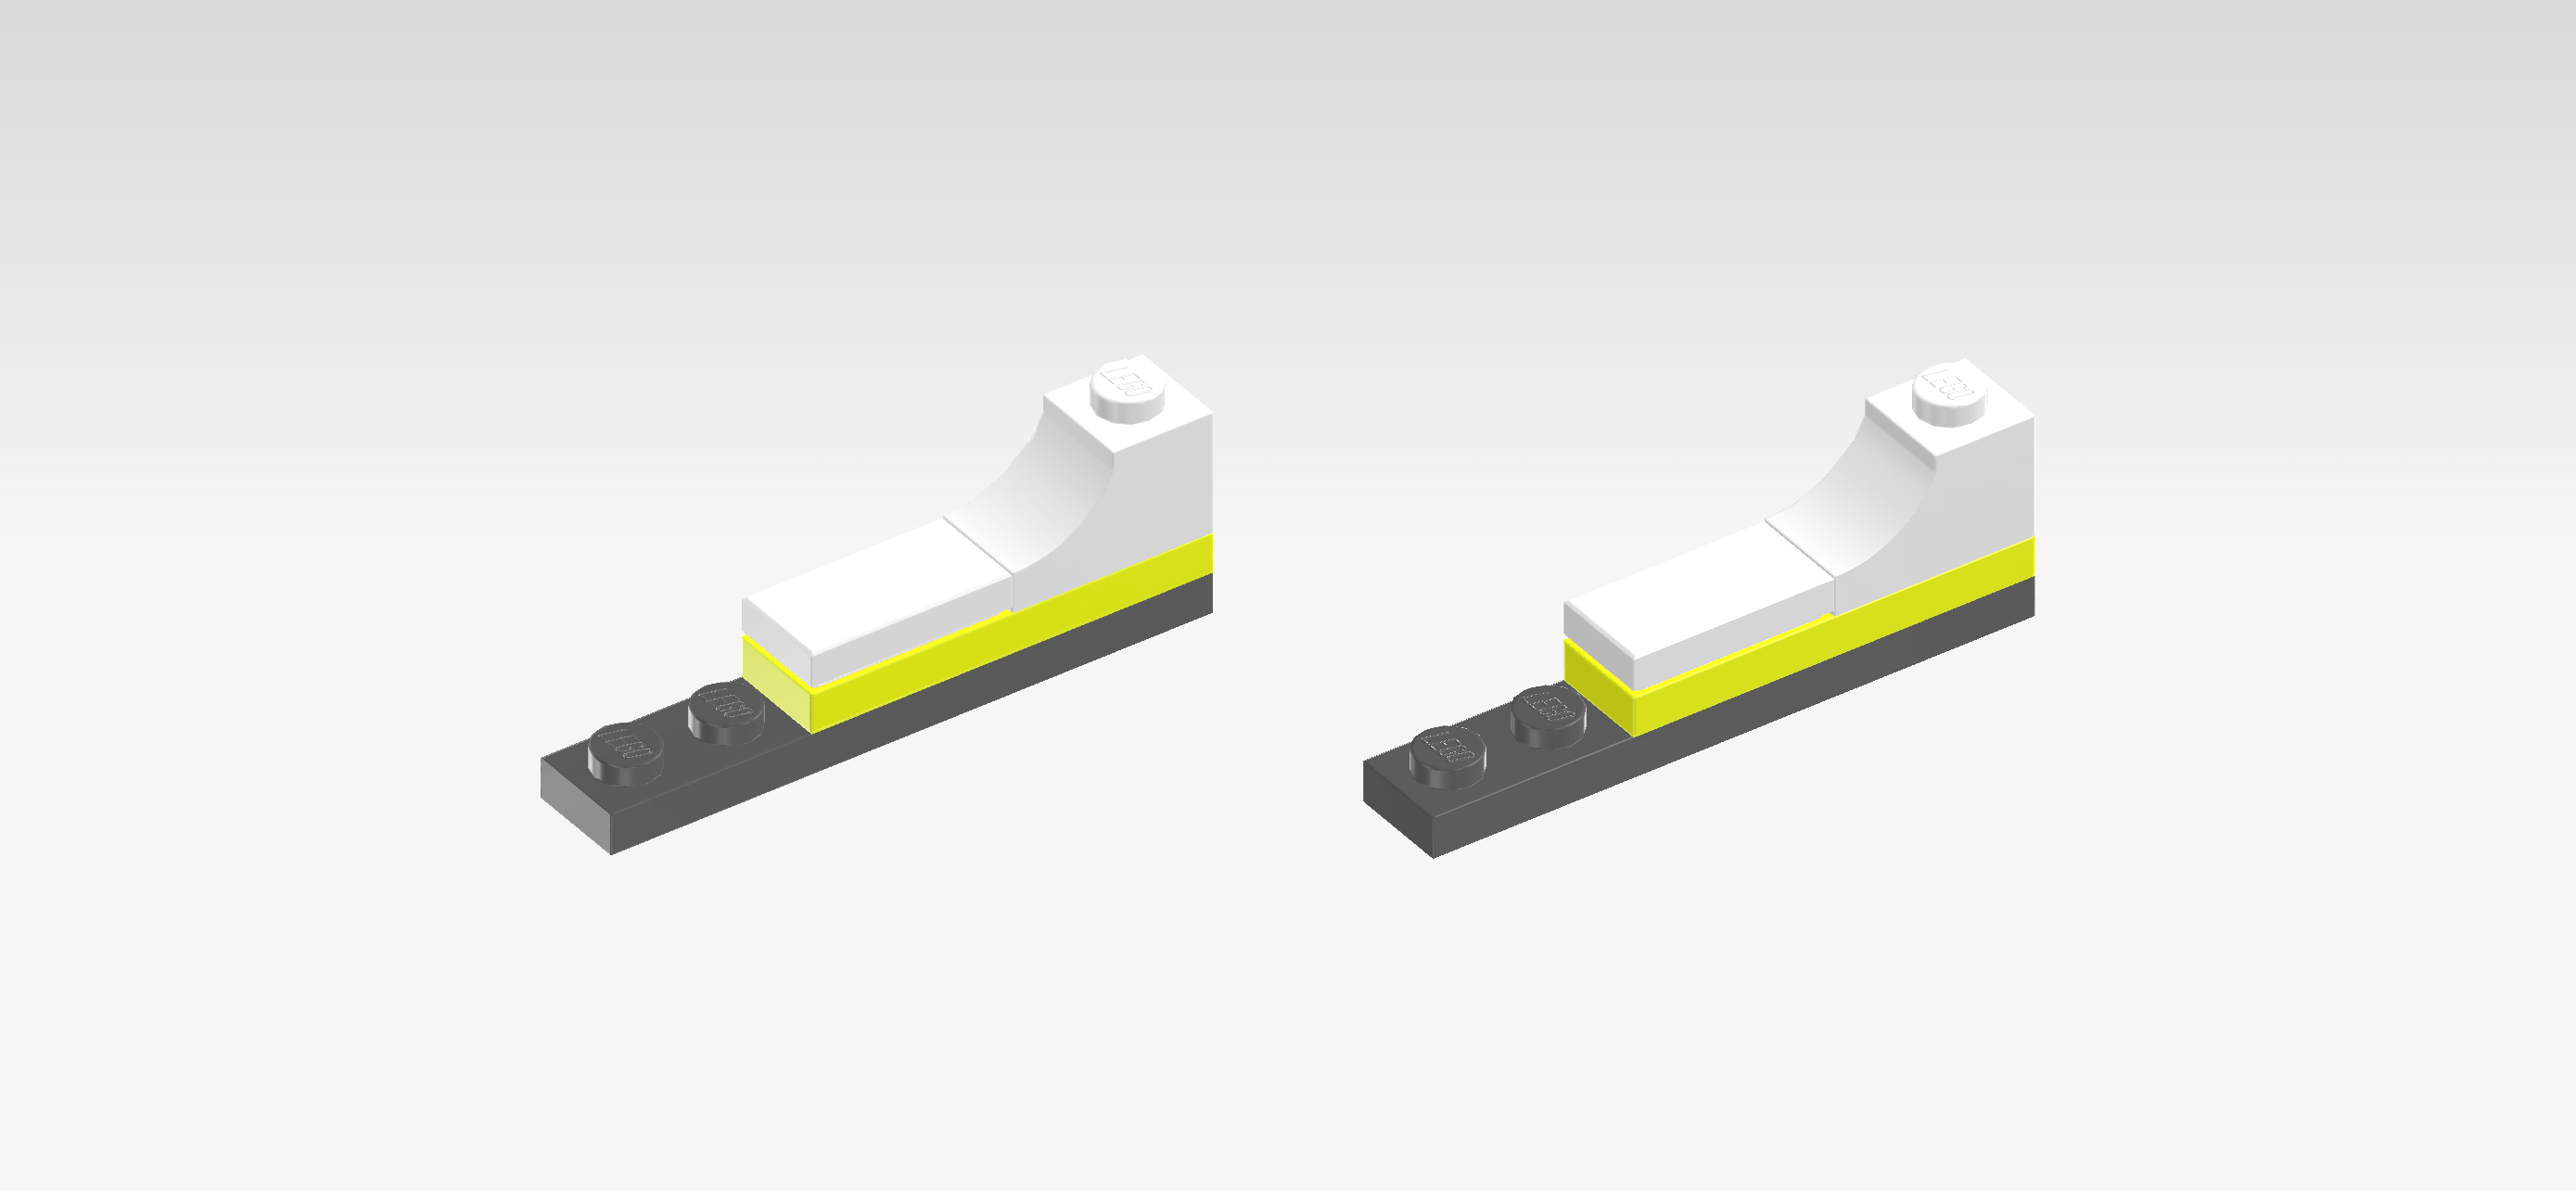
| Put 1 brick with half arch horizontally on the rightmost edge of one side panel structure, half arch to the left. |
| Put 1 flat tile 1x2 horizontally to the left of the previous piece. |
| Repeat with the 2 remaining pieces on the other side panel structure. |
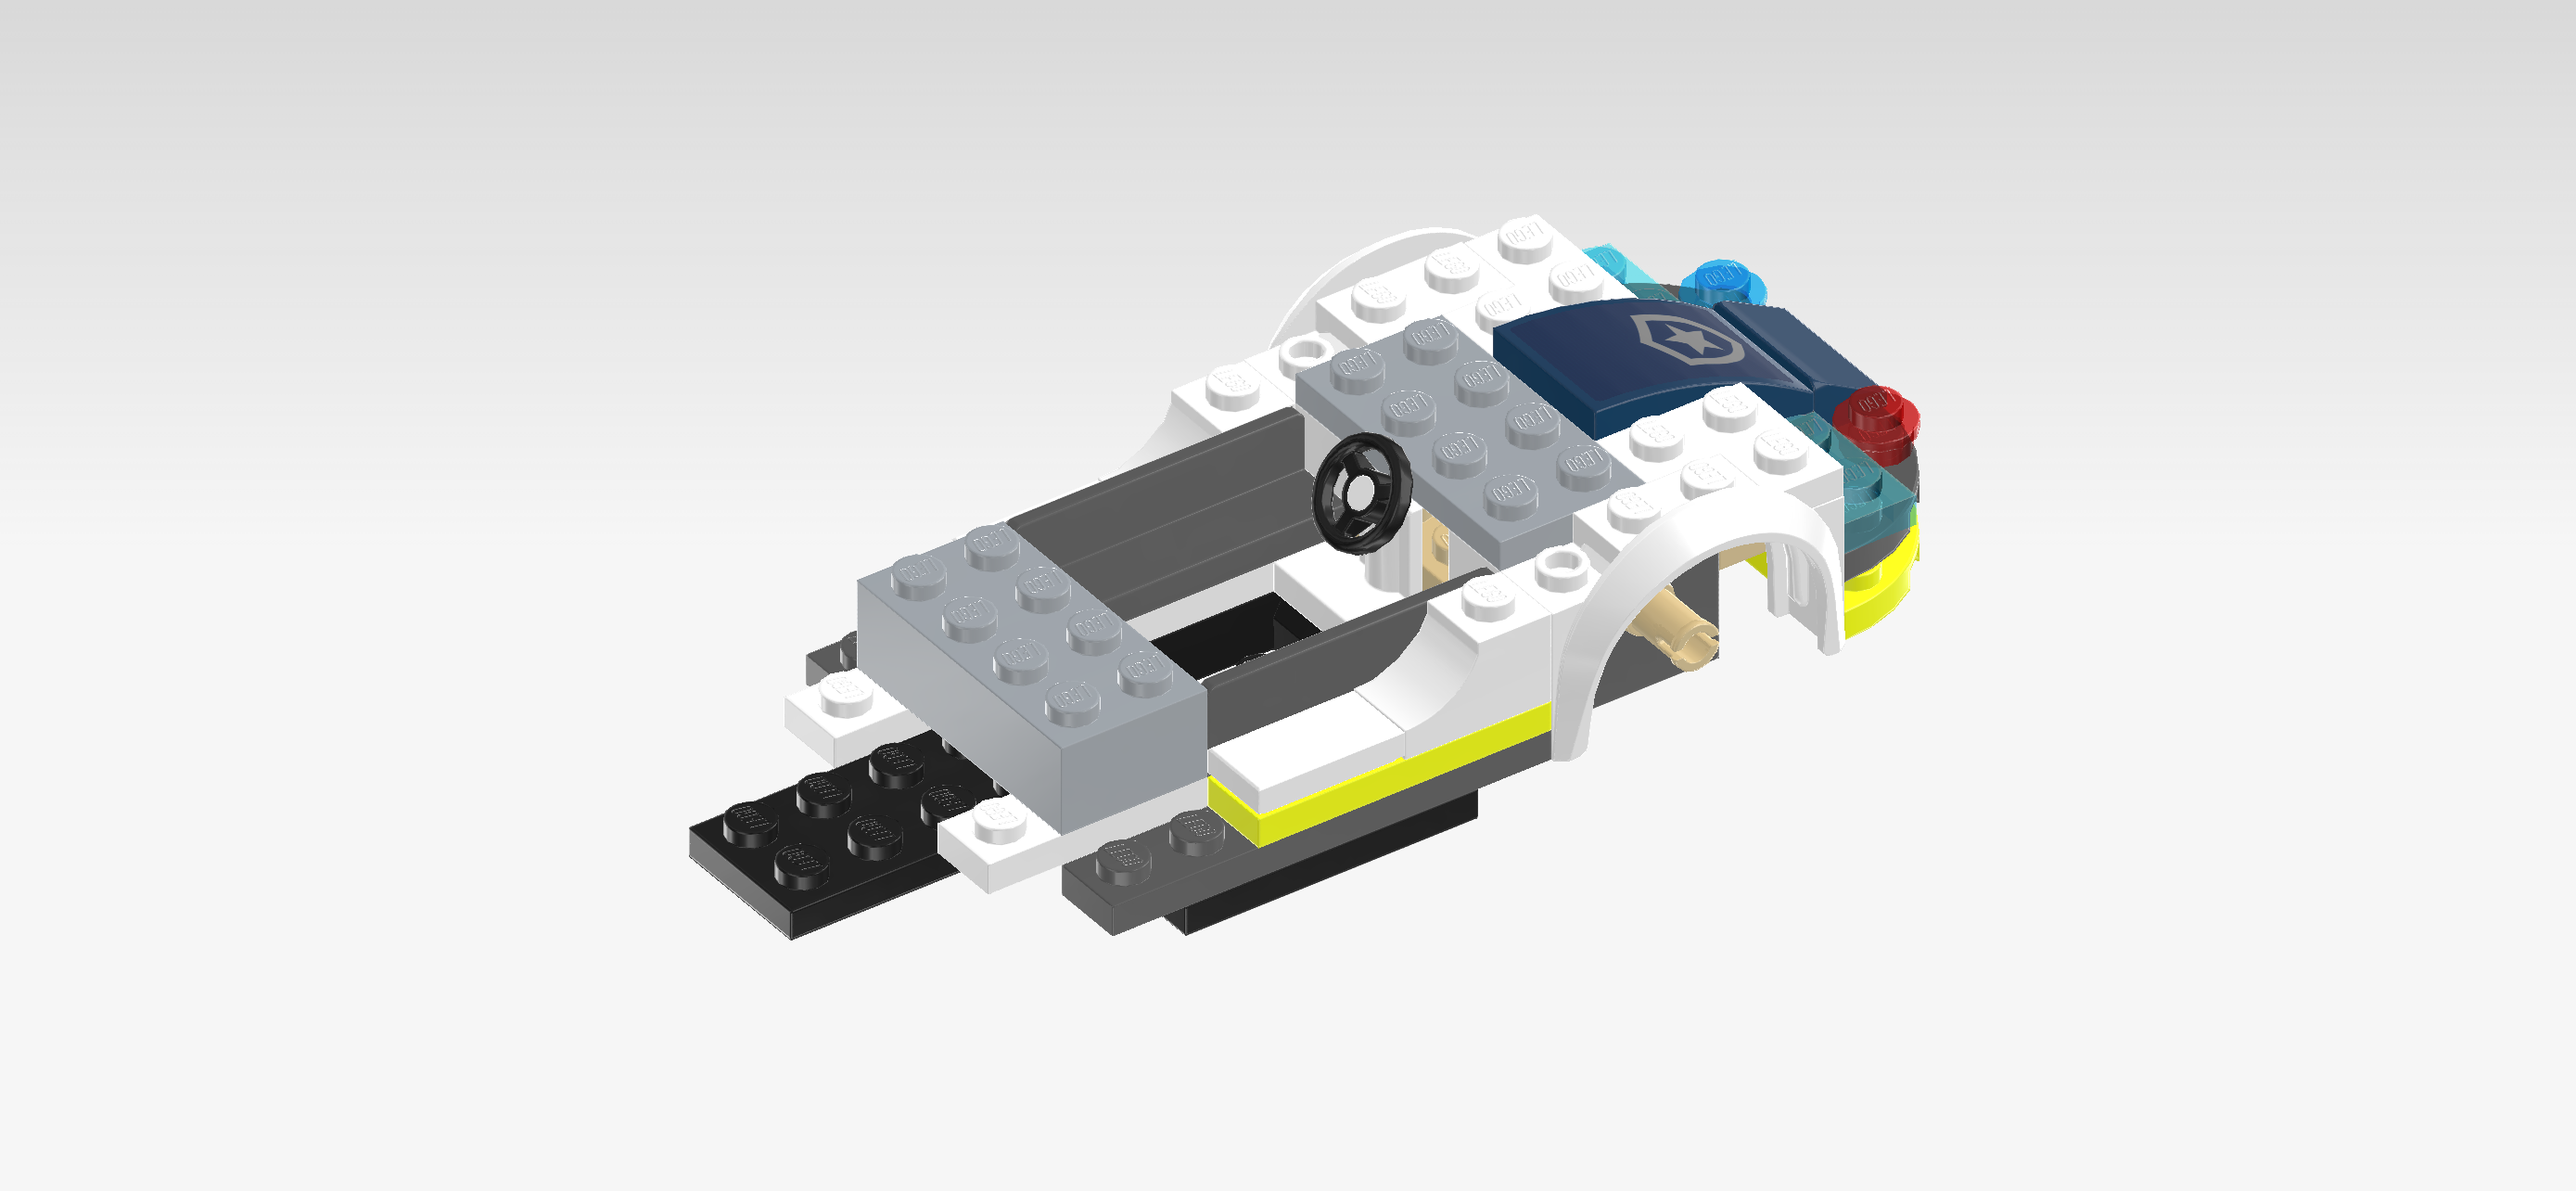
| The 2 side panels are finished! Well done! Before you mount them, turn the vehicle structure from left to right. This means that now, the front bumper is on the right side. |
| Mount 1 side panel structure horizontally on the backmost row directly to the left of the back mudguard. The highest point of the side panel is on the right. |
| Repeat symmetrically at the front. |
| Collect the following 3 pieces: |
| 2 dark stone grey panel elements 1x4x1 with panel on long side, |
| and 1 medium stone grey brick 2x4. |
| Put 1 panel element 1x4x1 horizontally behind the previous piece, panel to the front. |
| Repeat symmetrically at the back. |
| Put the brick 2x4 vertically centered to the left of the 2 previous pieces. |
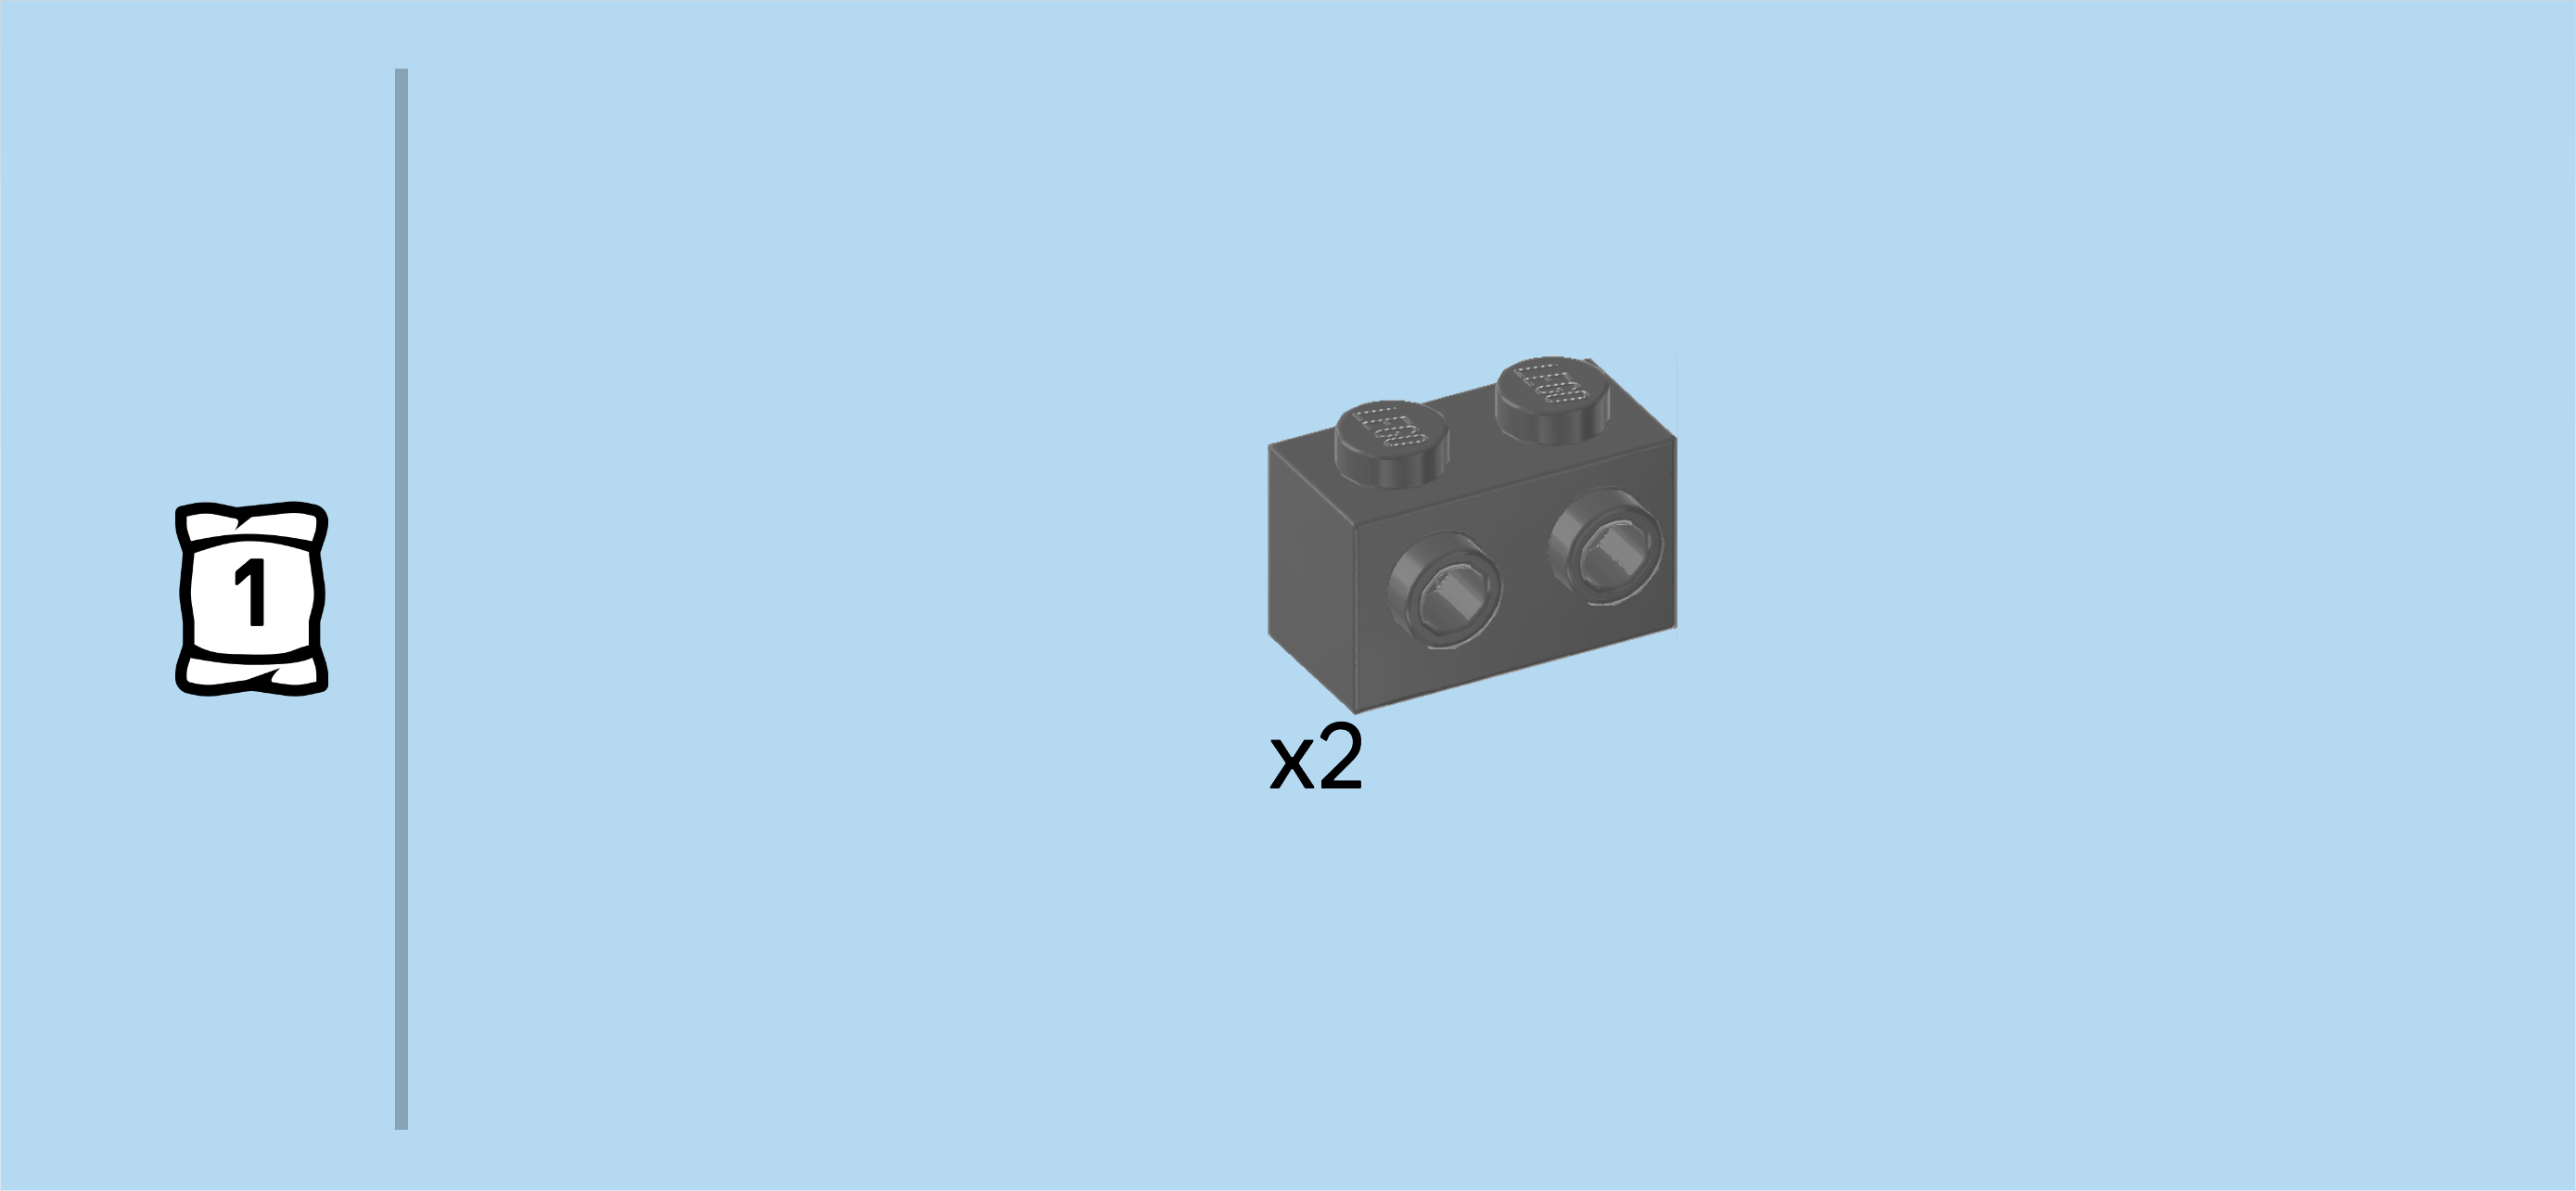
| Find 2 dark stone grey bricks 1x2 with 2 side knobs on long side. |
| Put 1 horizontally on the backmost row using its 2 leftmost knobs, side knobs to the back. |
| Repeat symmetrically at the front, side knobs to the front. |
| Find 2 dark stone grey roof tiles with lattice 1x2x⅔. |
| Put 1 upright horizontally on the side knobs of the previous piece, slope to the right. |
| Repeat symmetrically at the back, slope to the right. |
| Collect the following 3 pieces: |
| 2 dark stone grey rounded plates 1x2, |
| and 1 pale ocher yellow plate 1x4. |
| Put 1 rounded plate 1x2 horizontally on the backmost row on its 2 leftmost knobs. This means it will sit on the top knobs of the brick where you mounted the previous piece. |
| Repeat symmetrically at the front. |
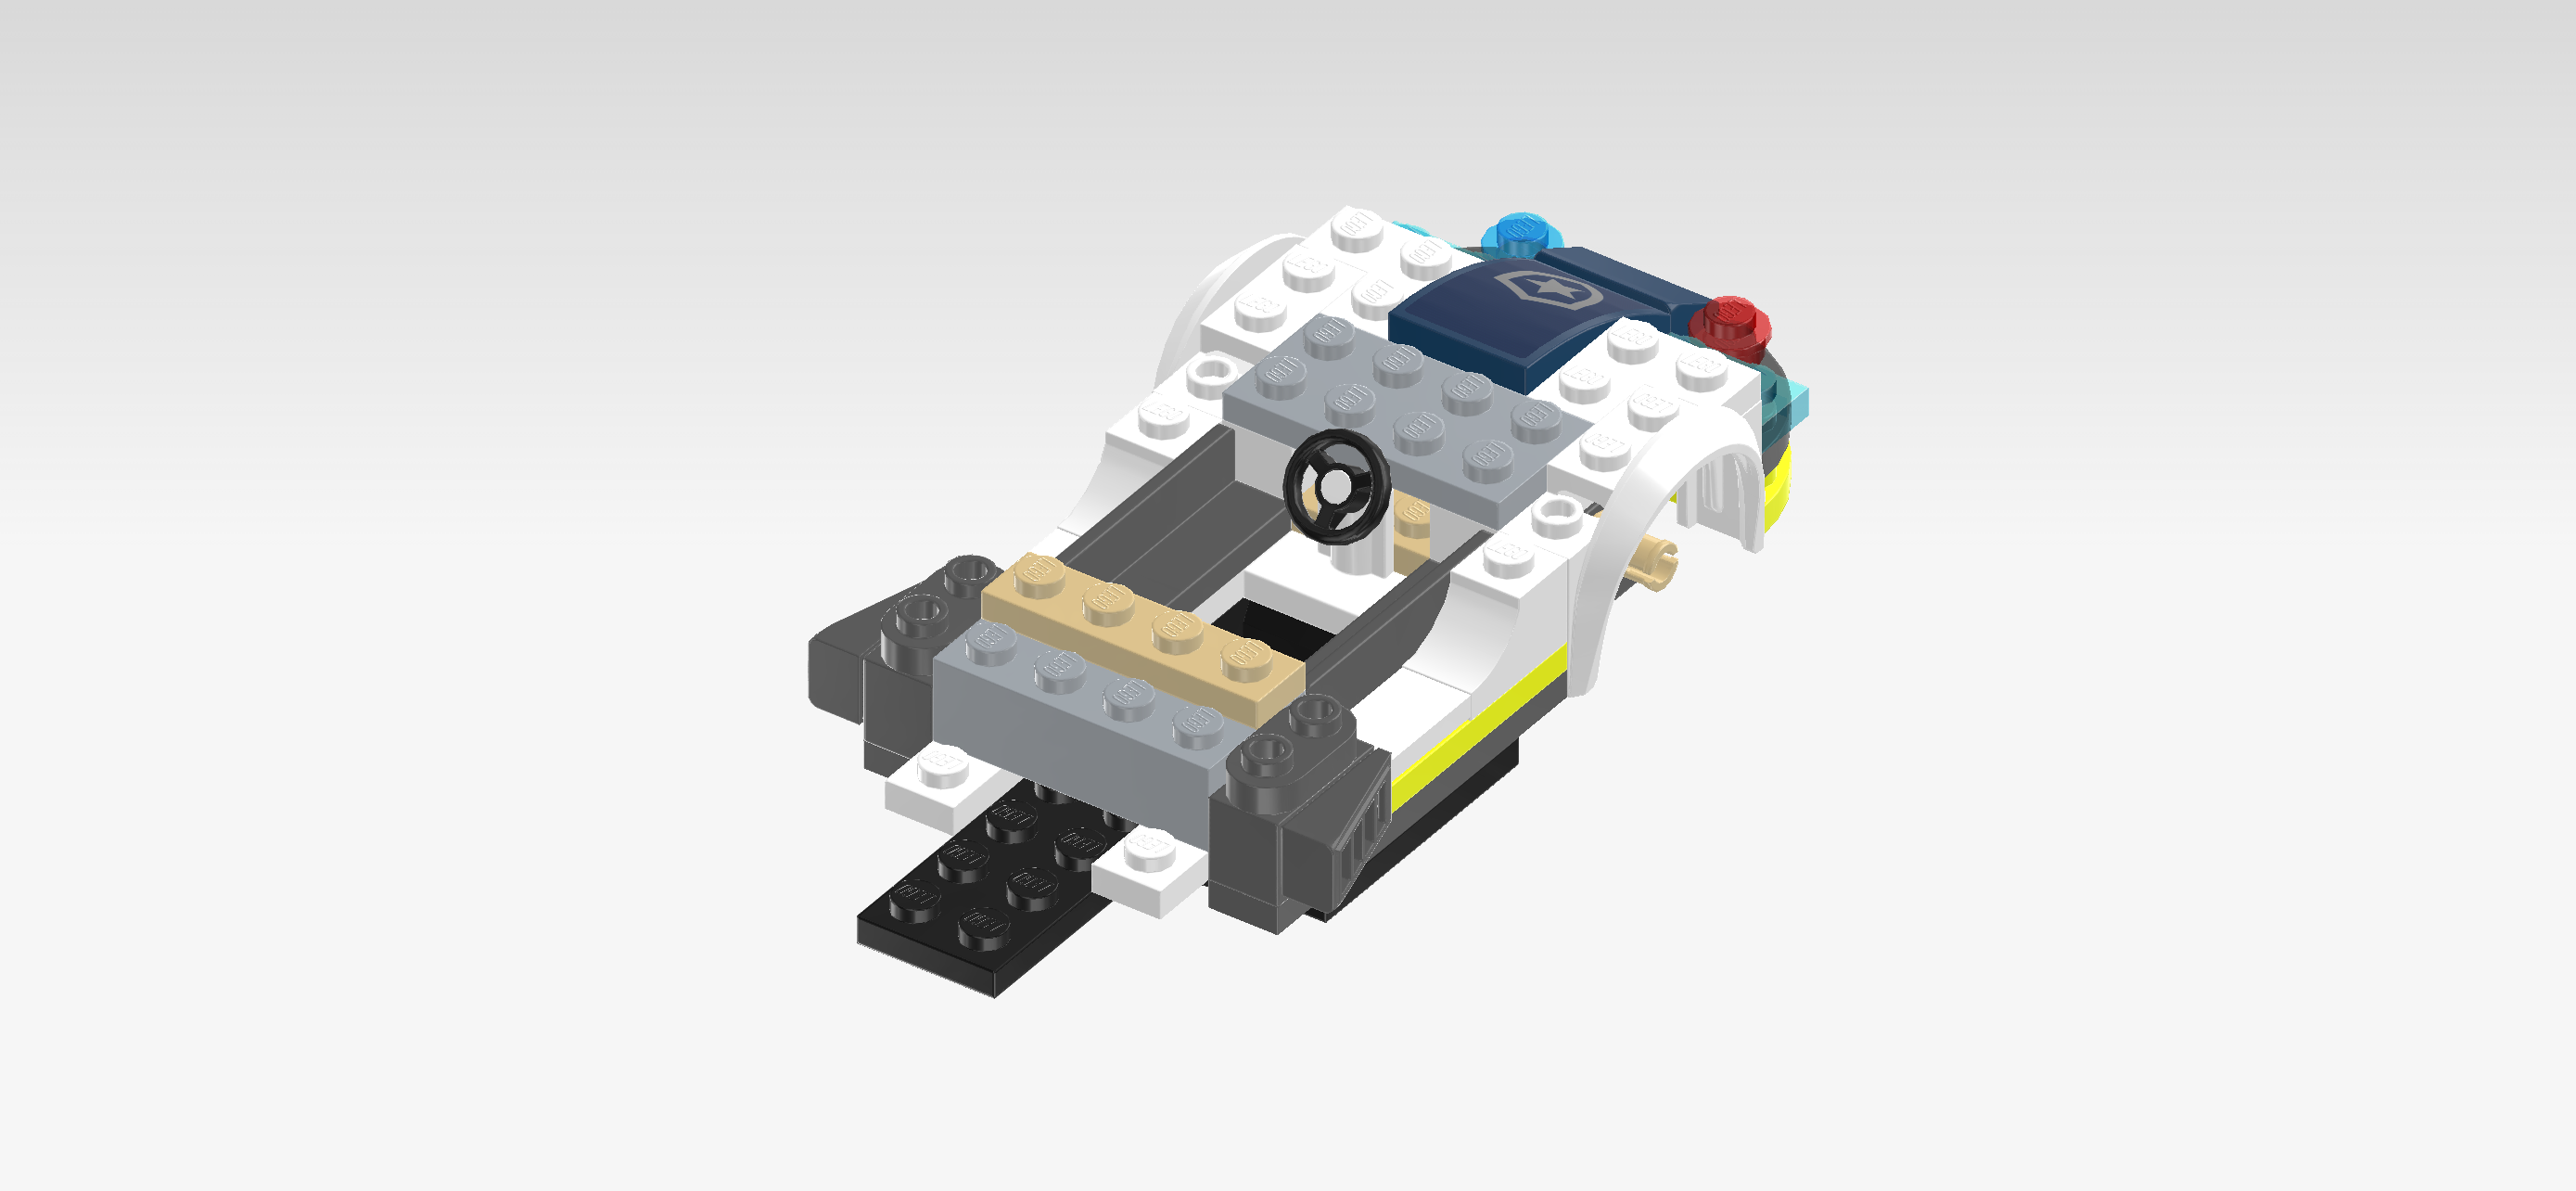
| Put the plate 1x4 vertically between the right knobs of the 2 previous pieces. |
| Find another pale ocher yellow plate 1x4. |
| Put it vertically centered on the third column from the left. |
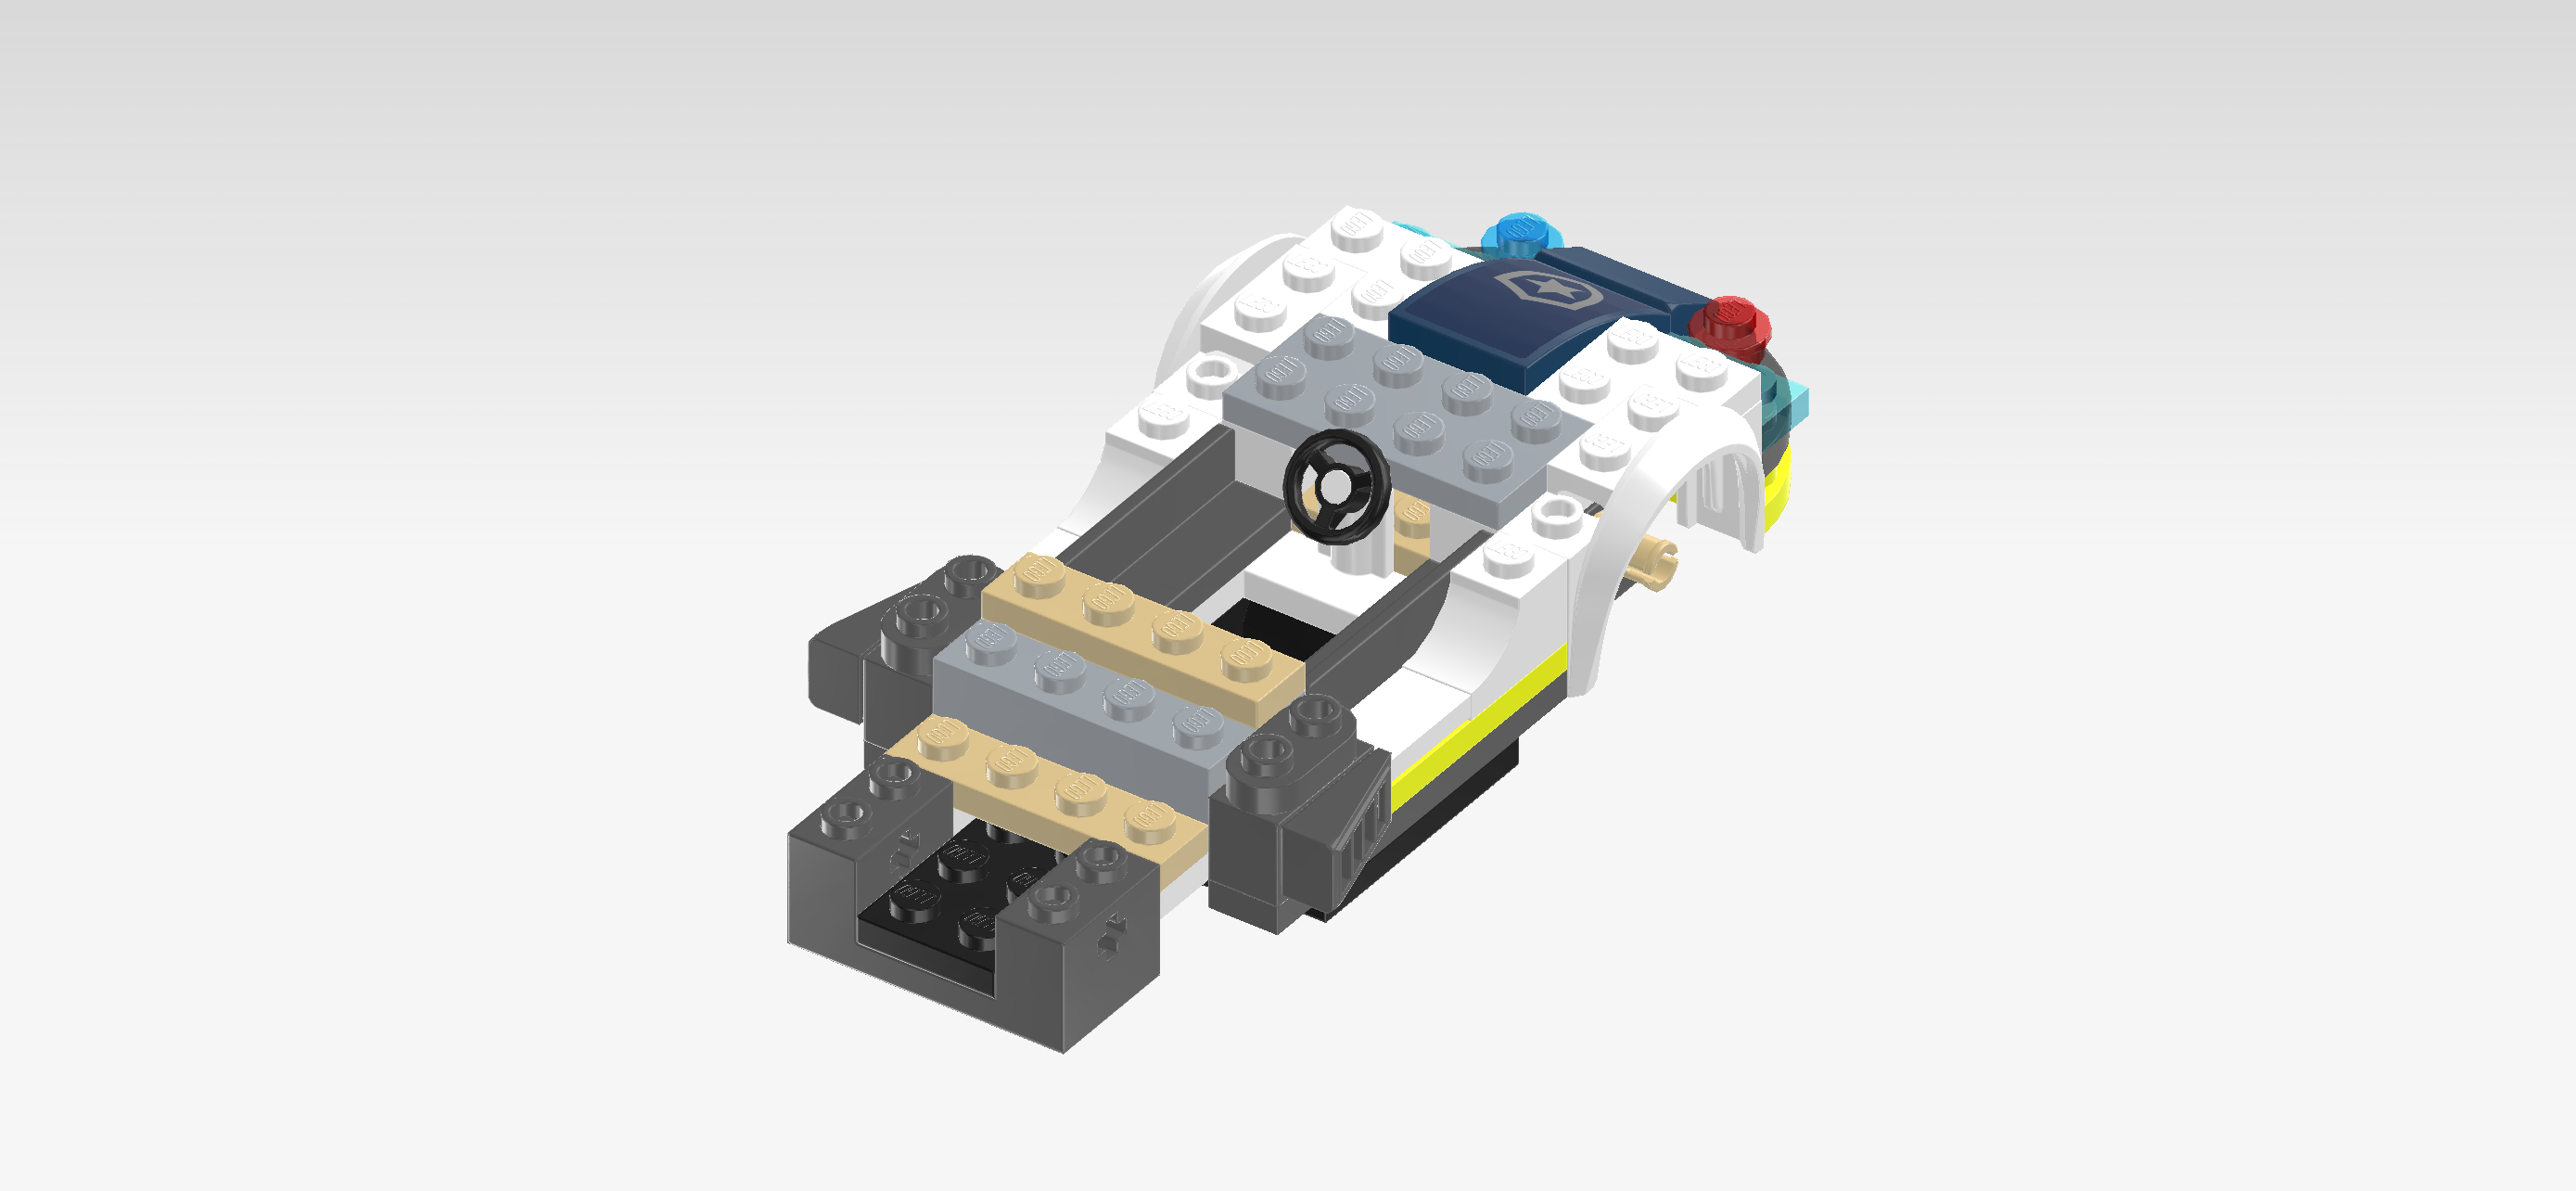
| Find 1 dark stone grey bearing plate 2x4x1⅓ with cross holes. |
| Put it vertically underneath the 2 leftmost columns. Since those columns only consist of 2 knobs each, they will fit perfectly into the recess of the bearing plate. |
| Find 1 bright blue brick 2x2. |
| Put it centered on the 2 leftmost columns, which means that it will sit in the recess mentioned in the previous step. |
| Find 2 pale ocher yellow connector pegs 2m with cross axle pin. |
| Insert the cross axle pin of 1 into the front cross hole of the bearing plate, 1/2 sticking out towards the front. |
| Repeat symmetrically at the back. |
| Next, we will make a small sub-part of the vehicle rear. |
| Collect the following 2 pieces: |
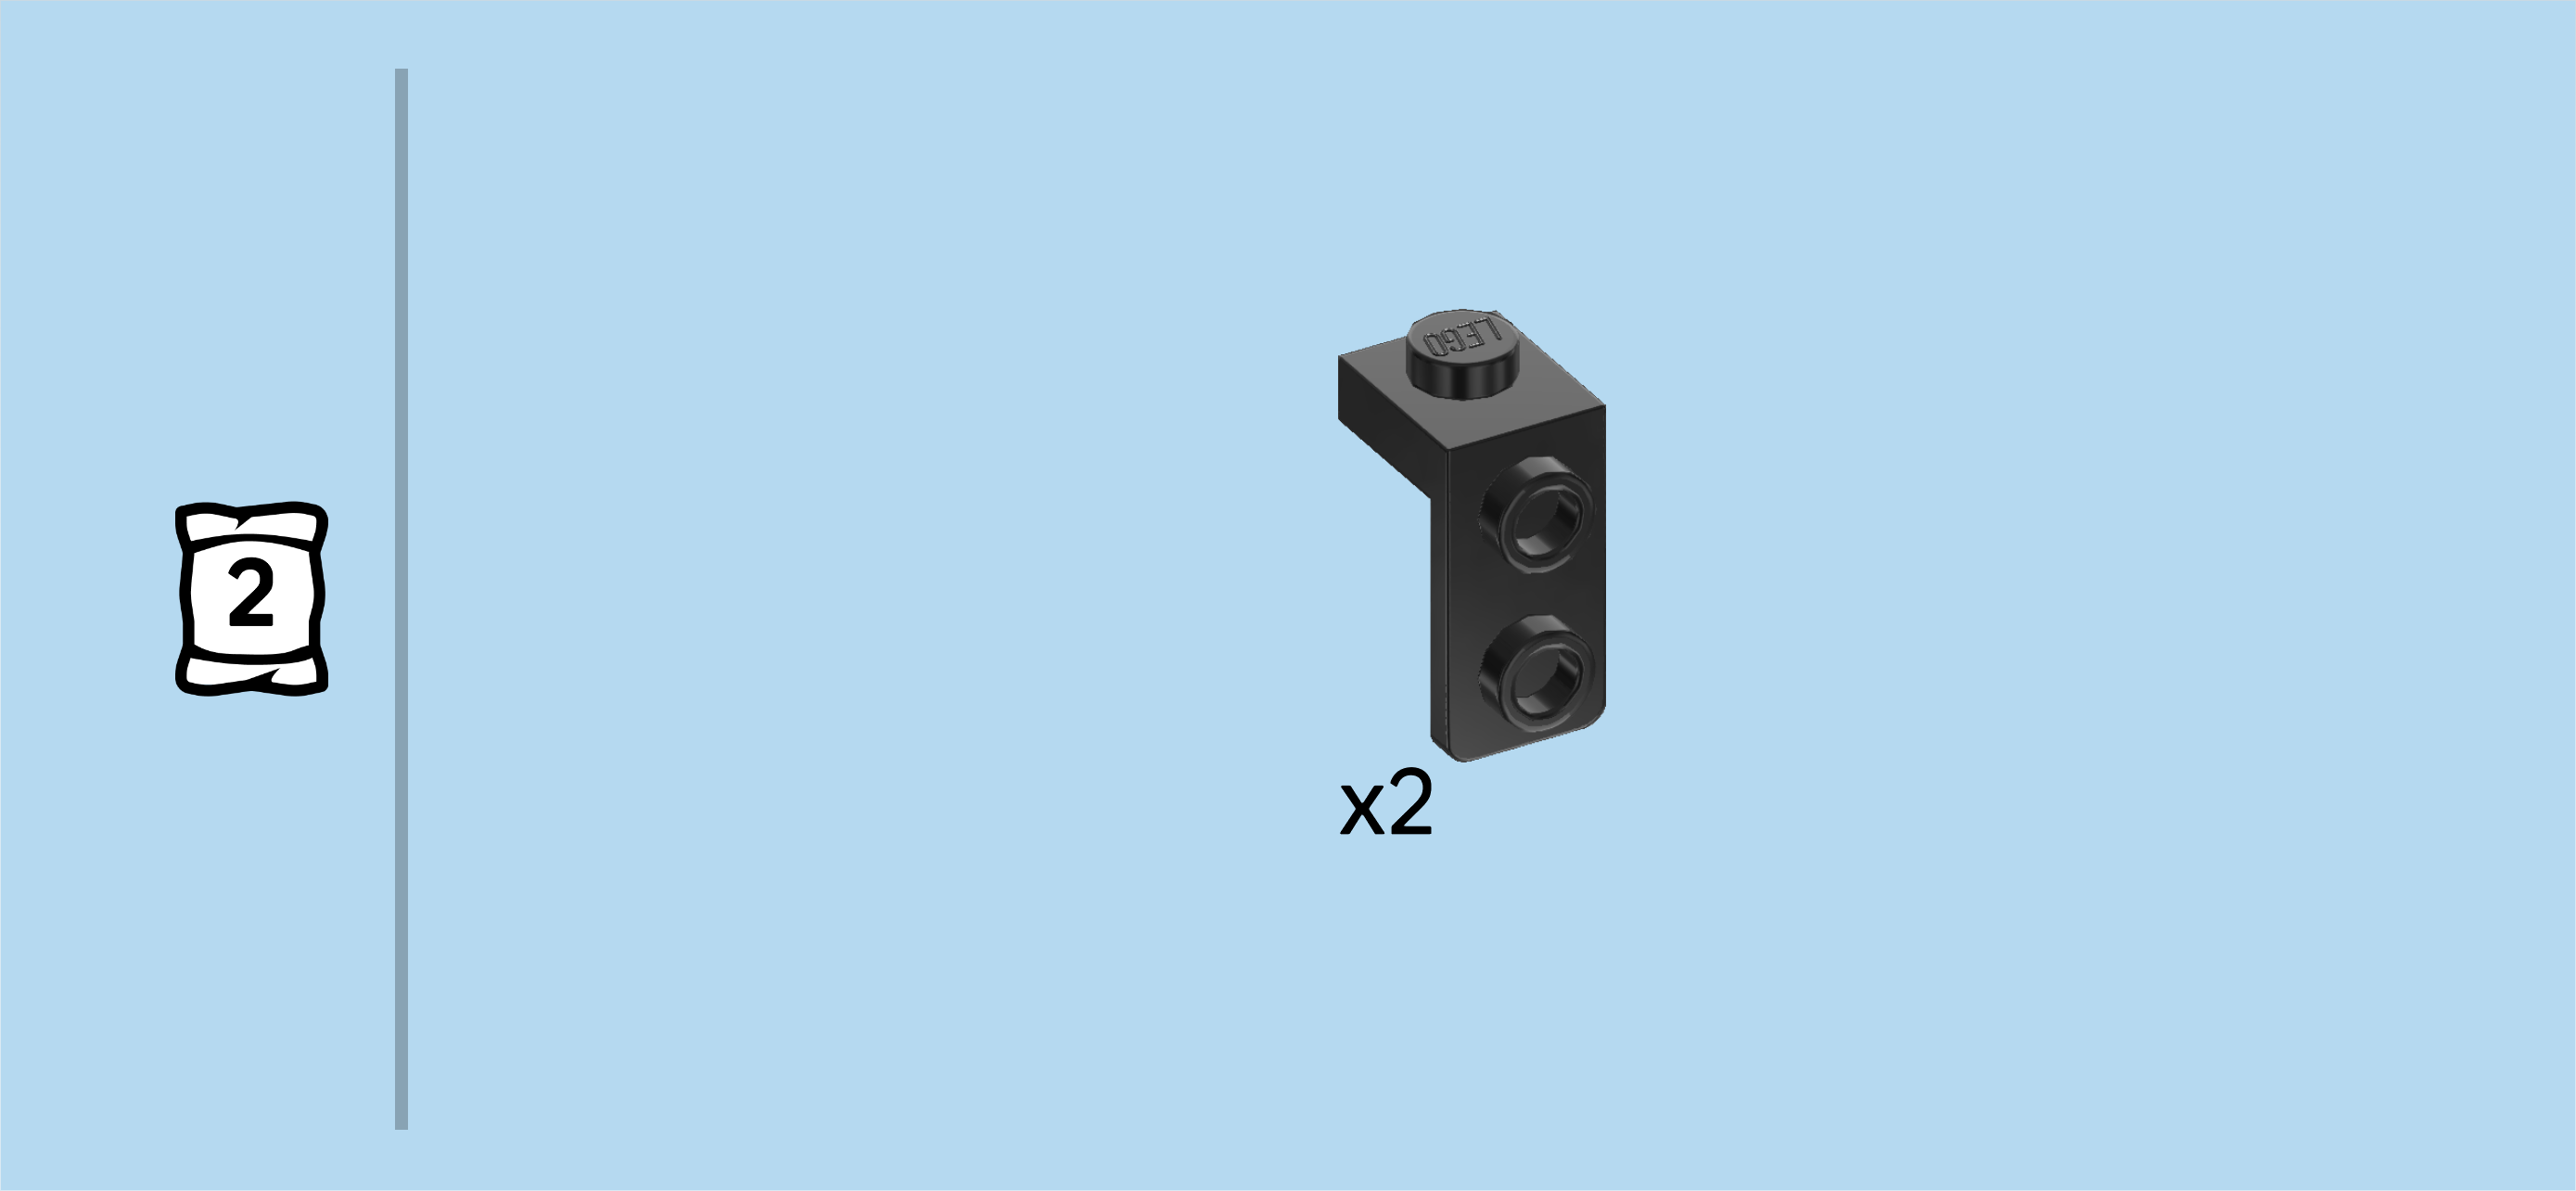
| 1 bright red top angle plate 1x2 - 2x2 with 4 side knobs, |
| and 1 pale ocher yellow low profile brick 2x2x⅔. |
| Hold the top angle plate 1x2 vertically, 4 side knobs pointing to the left. |
| Put the low profile brick 2x2x⅔ upright on the 4 side knobs. |
| Mount this sub-part vertically centered on the leftmost column, 4 side knobs pointing to the left. |
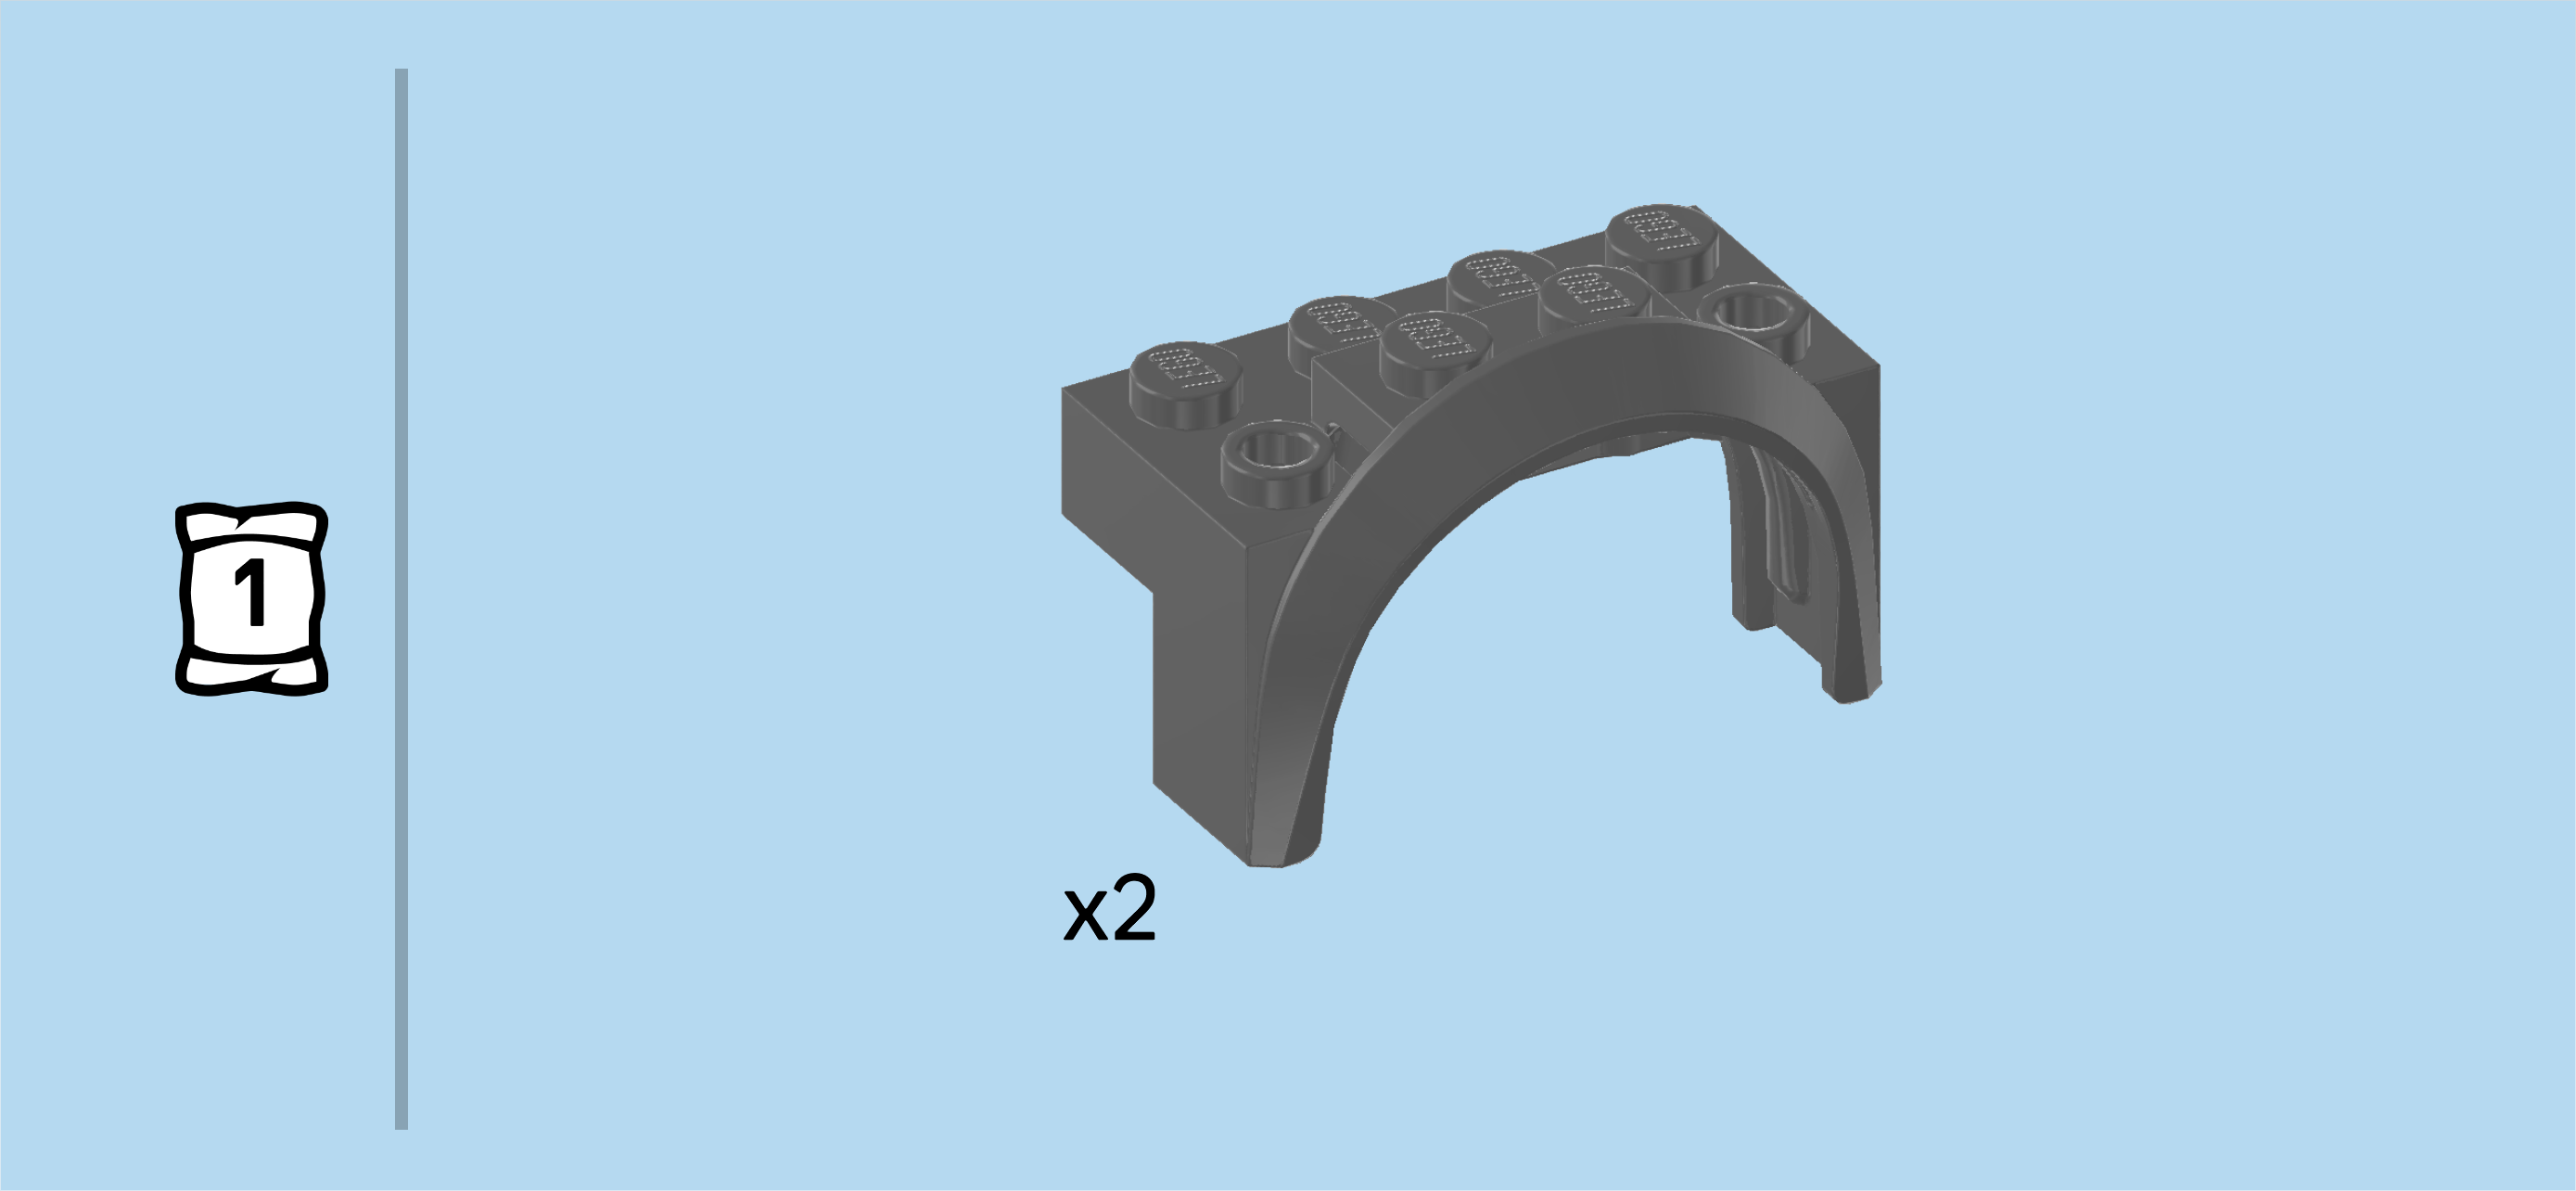
| Find 2 dark stone grey mudguard elements 2x4x2. |
| Put 1 horizontally on the backmost row, starting from the left edge, 1 row and mudguard overhanging to the back. Make sure that the mudguard is symmetrically hovering above the right connector peg at the back. |
| Repeat symmetrically at the front. |
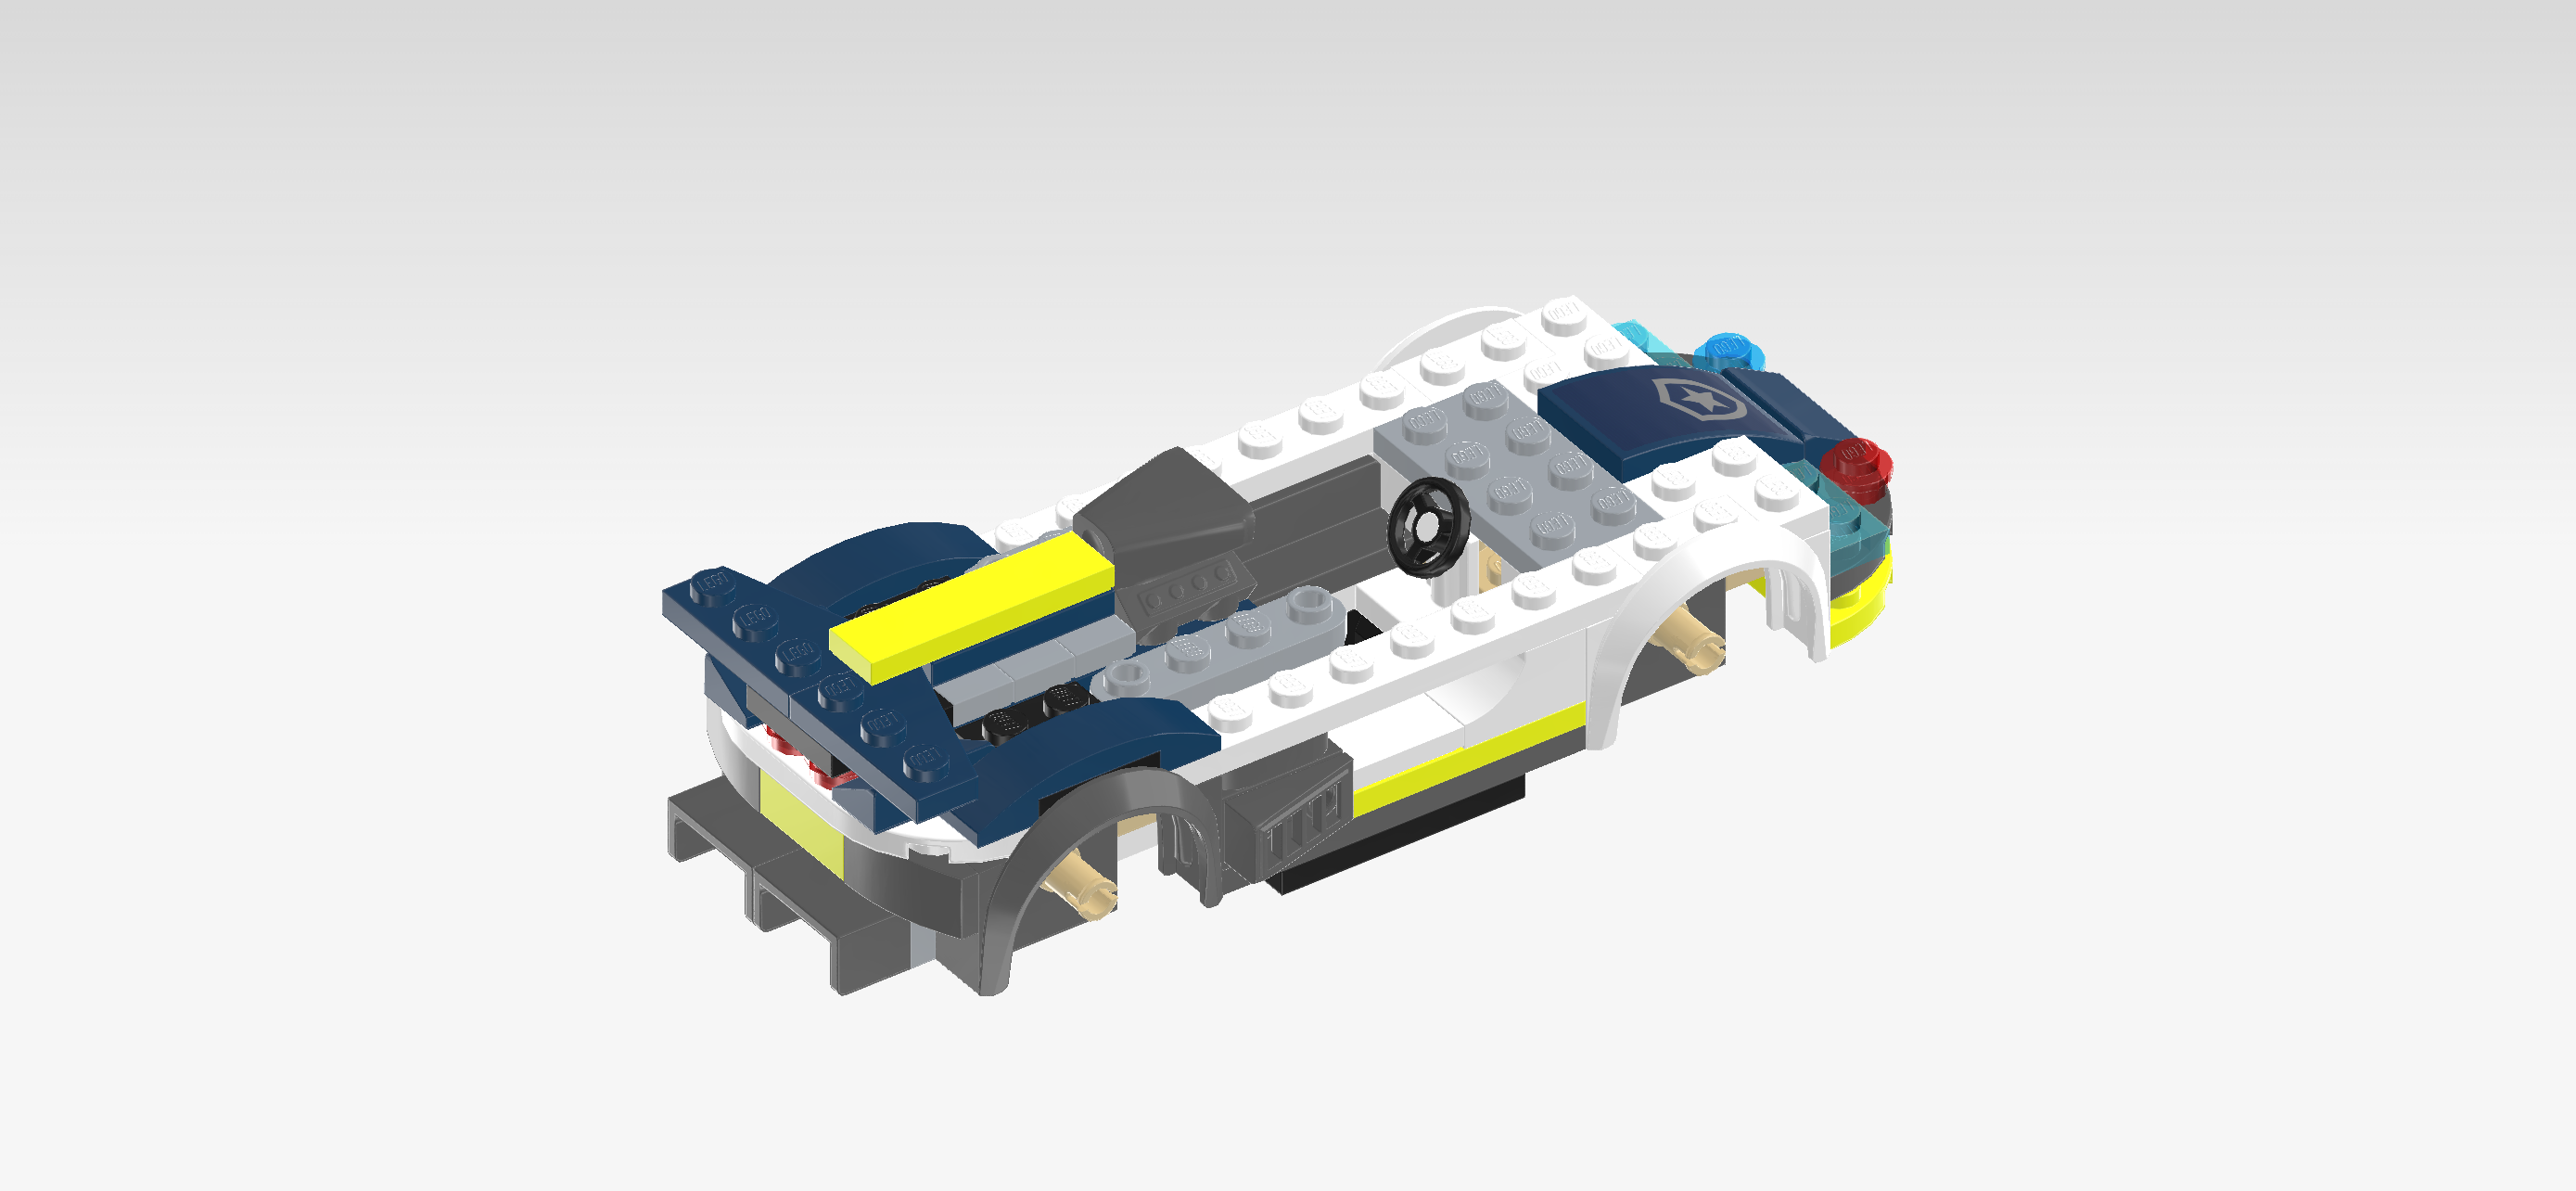
| Find 1 white plate 4x4. |
| Skip the leftmost column of the structure and mount the plate centered on the top surface. If done correctly, its right edge will touch the vertically mounted plate 1x4. |
| Find 2 white plates 1x8. |
| Put 1 horizontally centered on the backmost row. It will fit neatly on the slightly lower surface of that row. |
| Repeat symmetrically at the front. |
| Now, we will build the rear bumper. |
| Collect the following 2 pieces: |
| 1 vibrant yellow flat tile 1x2, |
| and 1 medium stone grey plate 2x4. |
| Put the plate 2x4 vertically on the table. |
| Put the flat tile 1x2 vertically centered on the right column. |
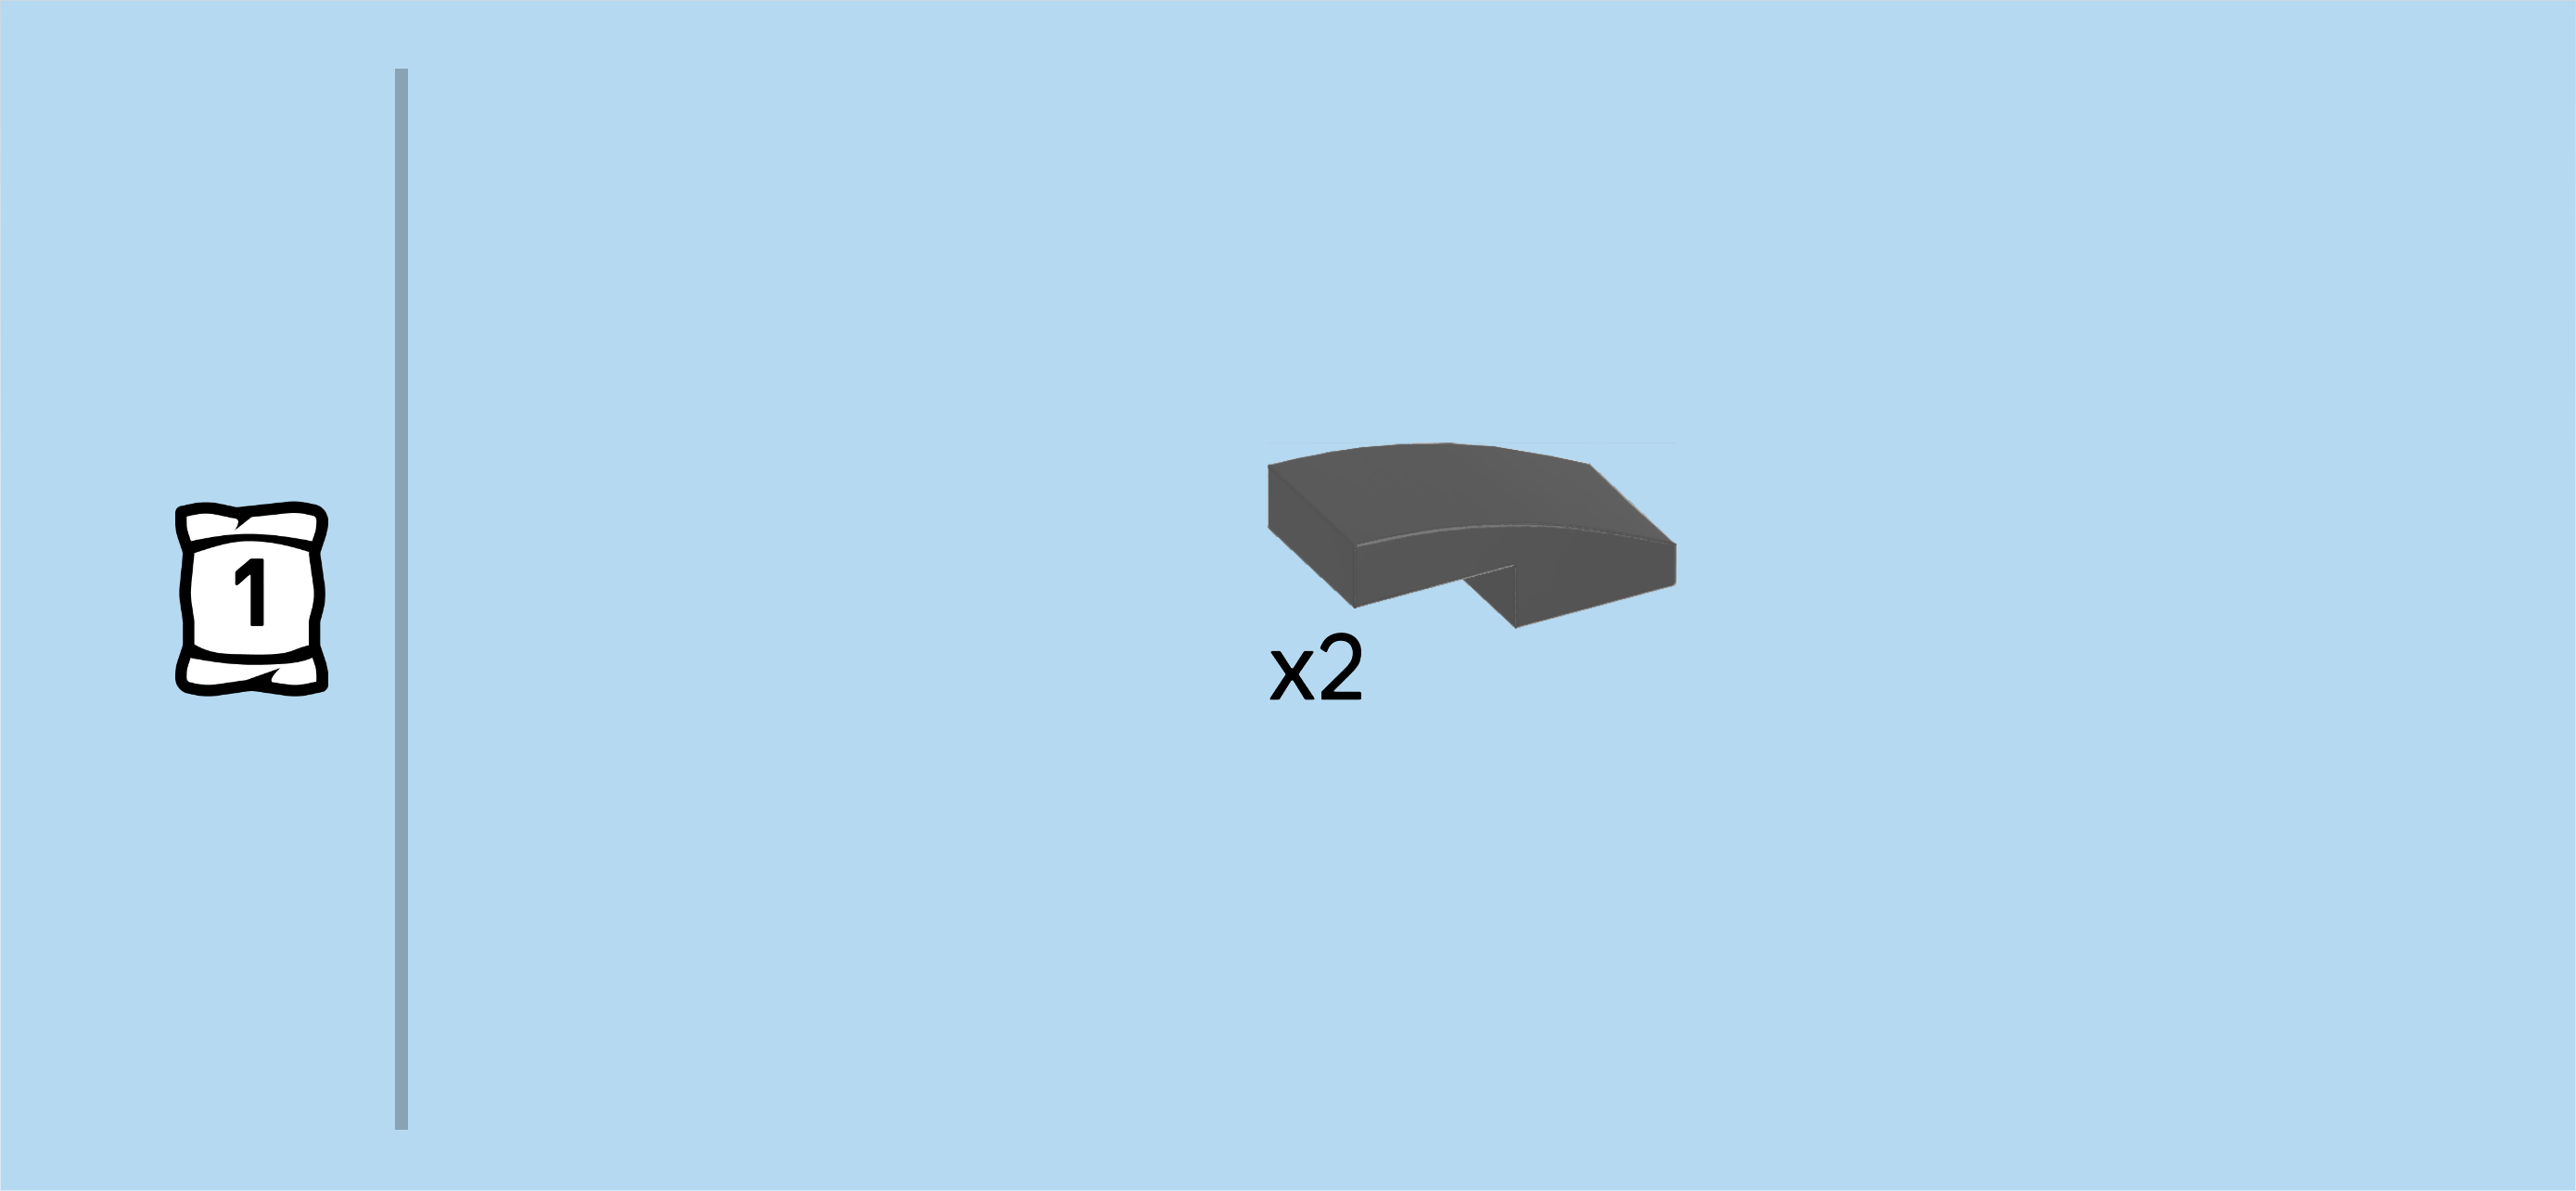
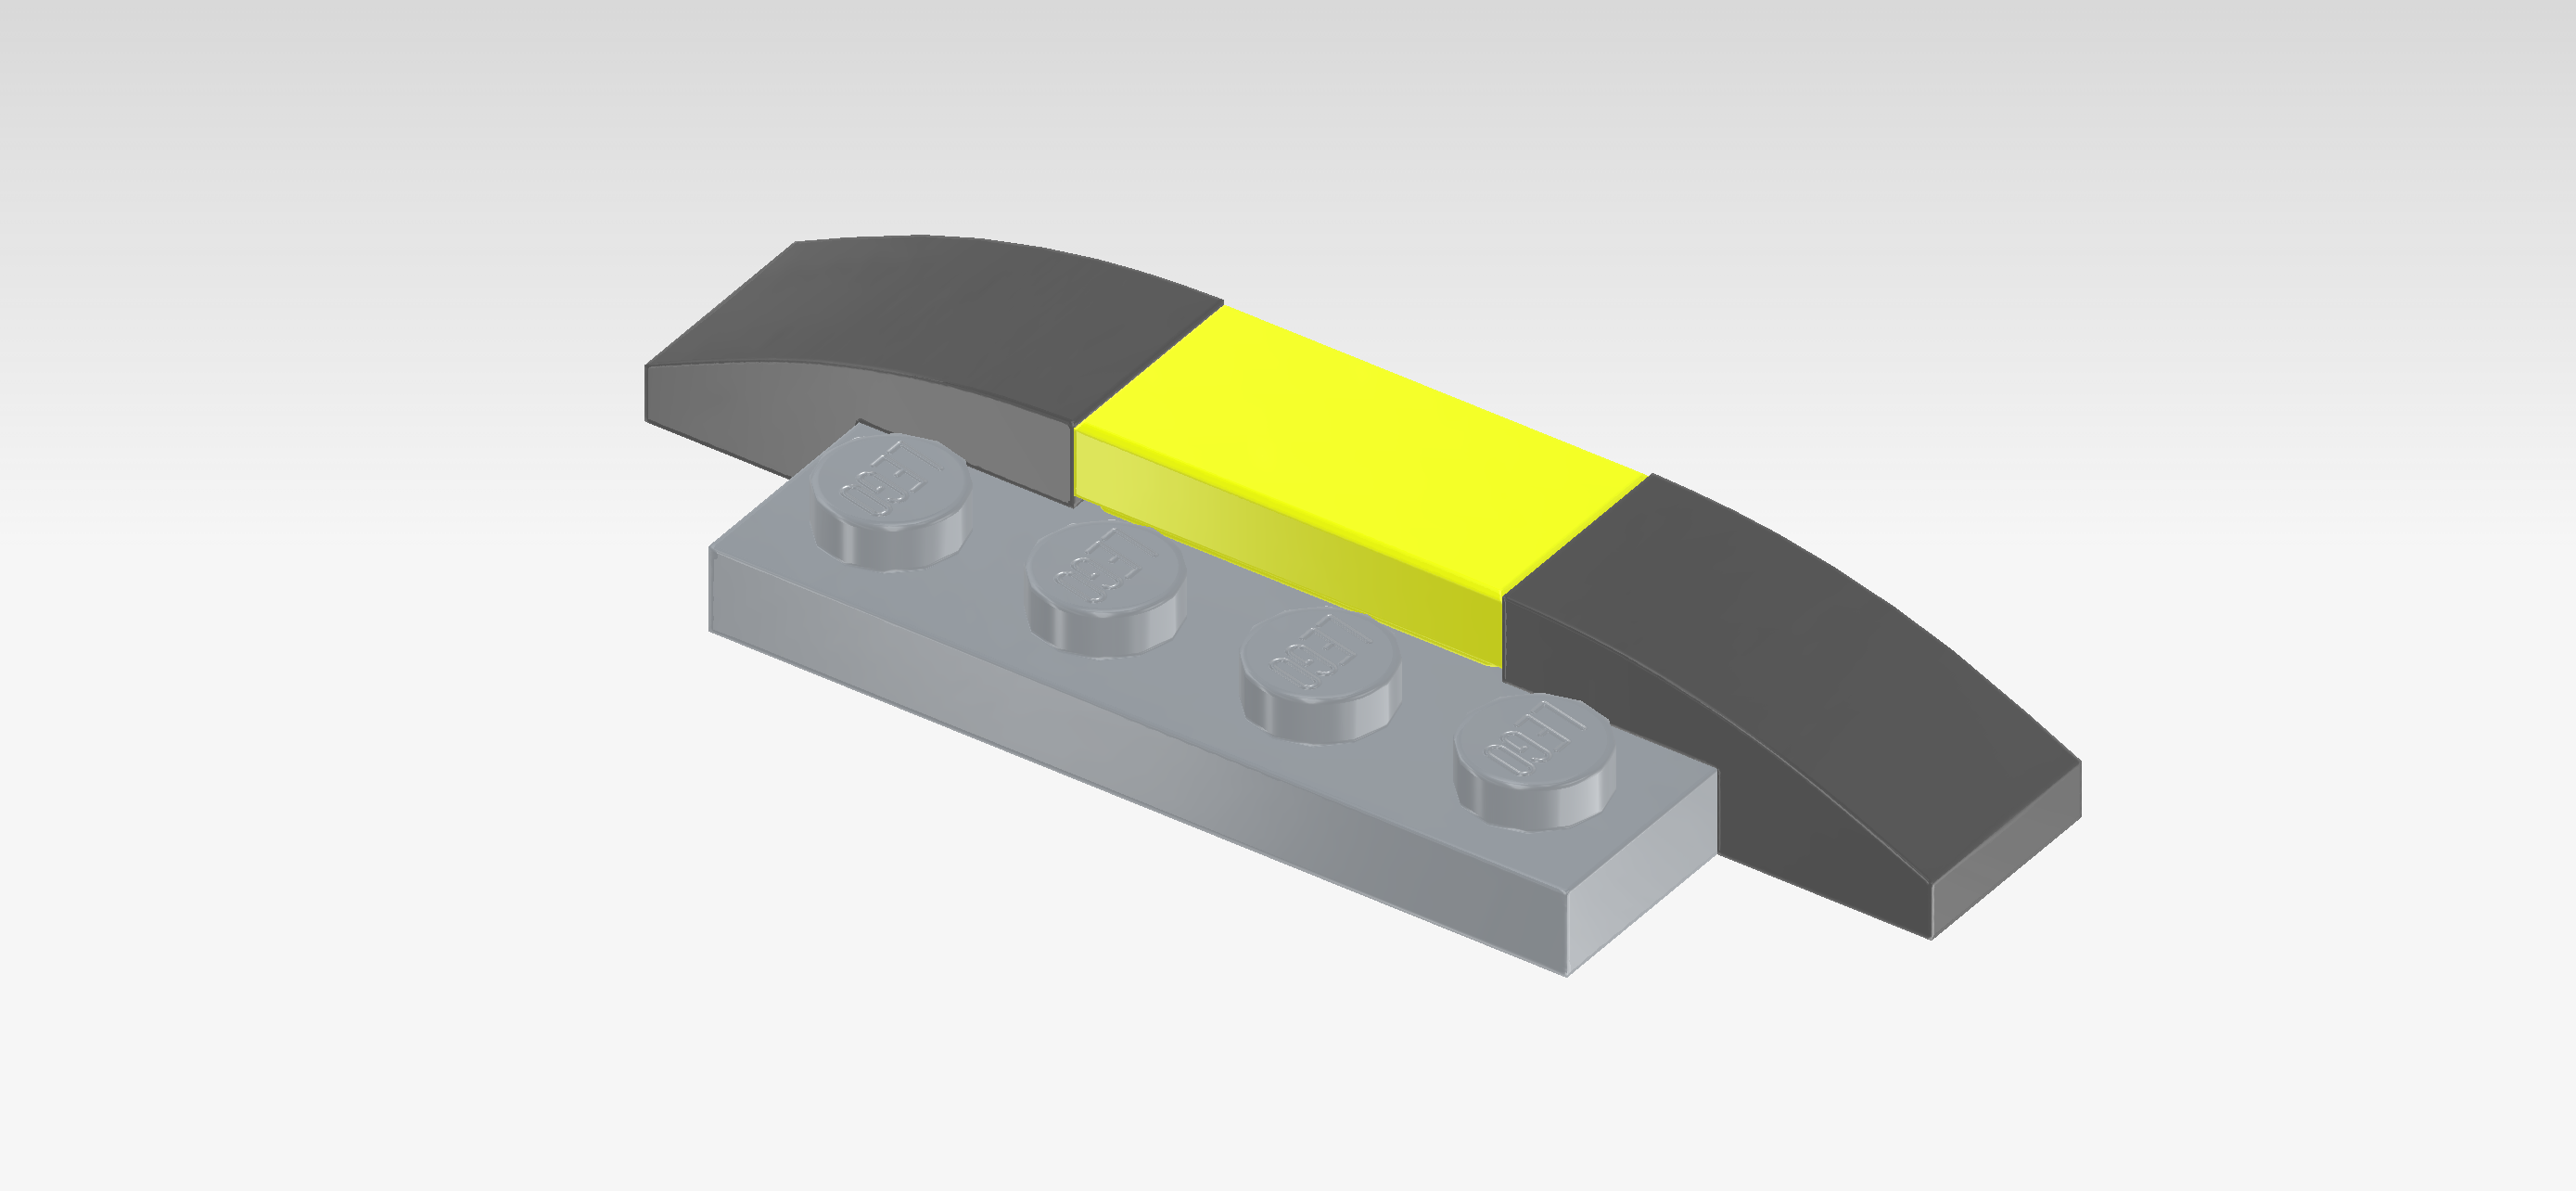
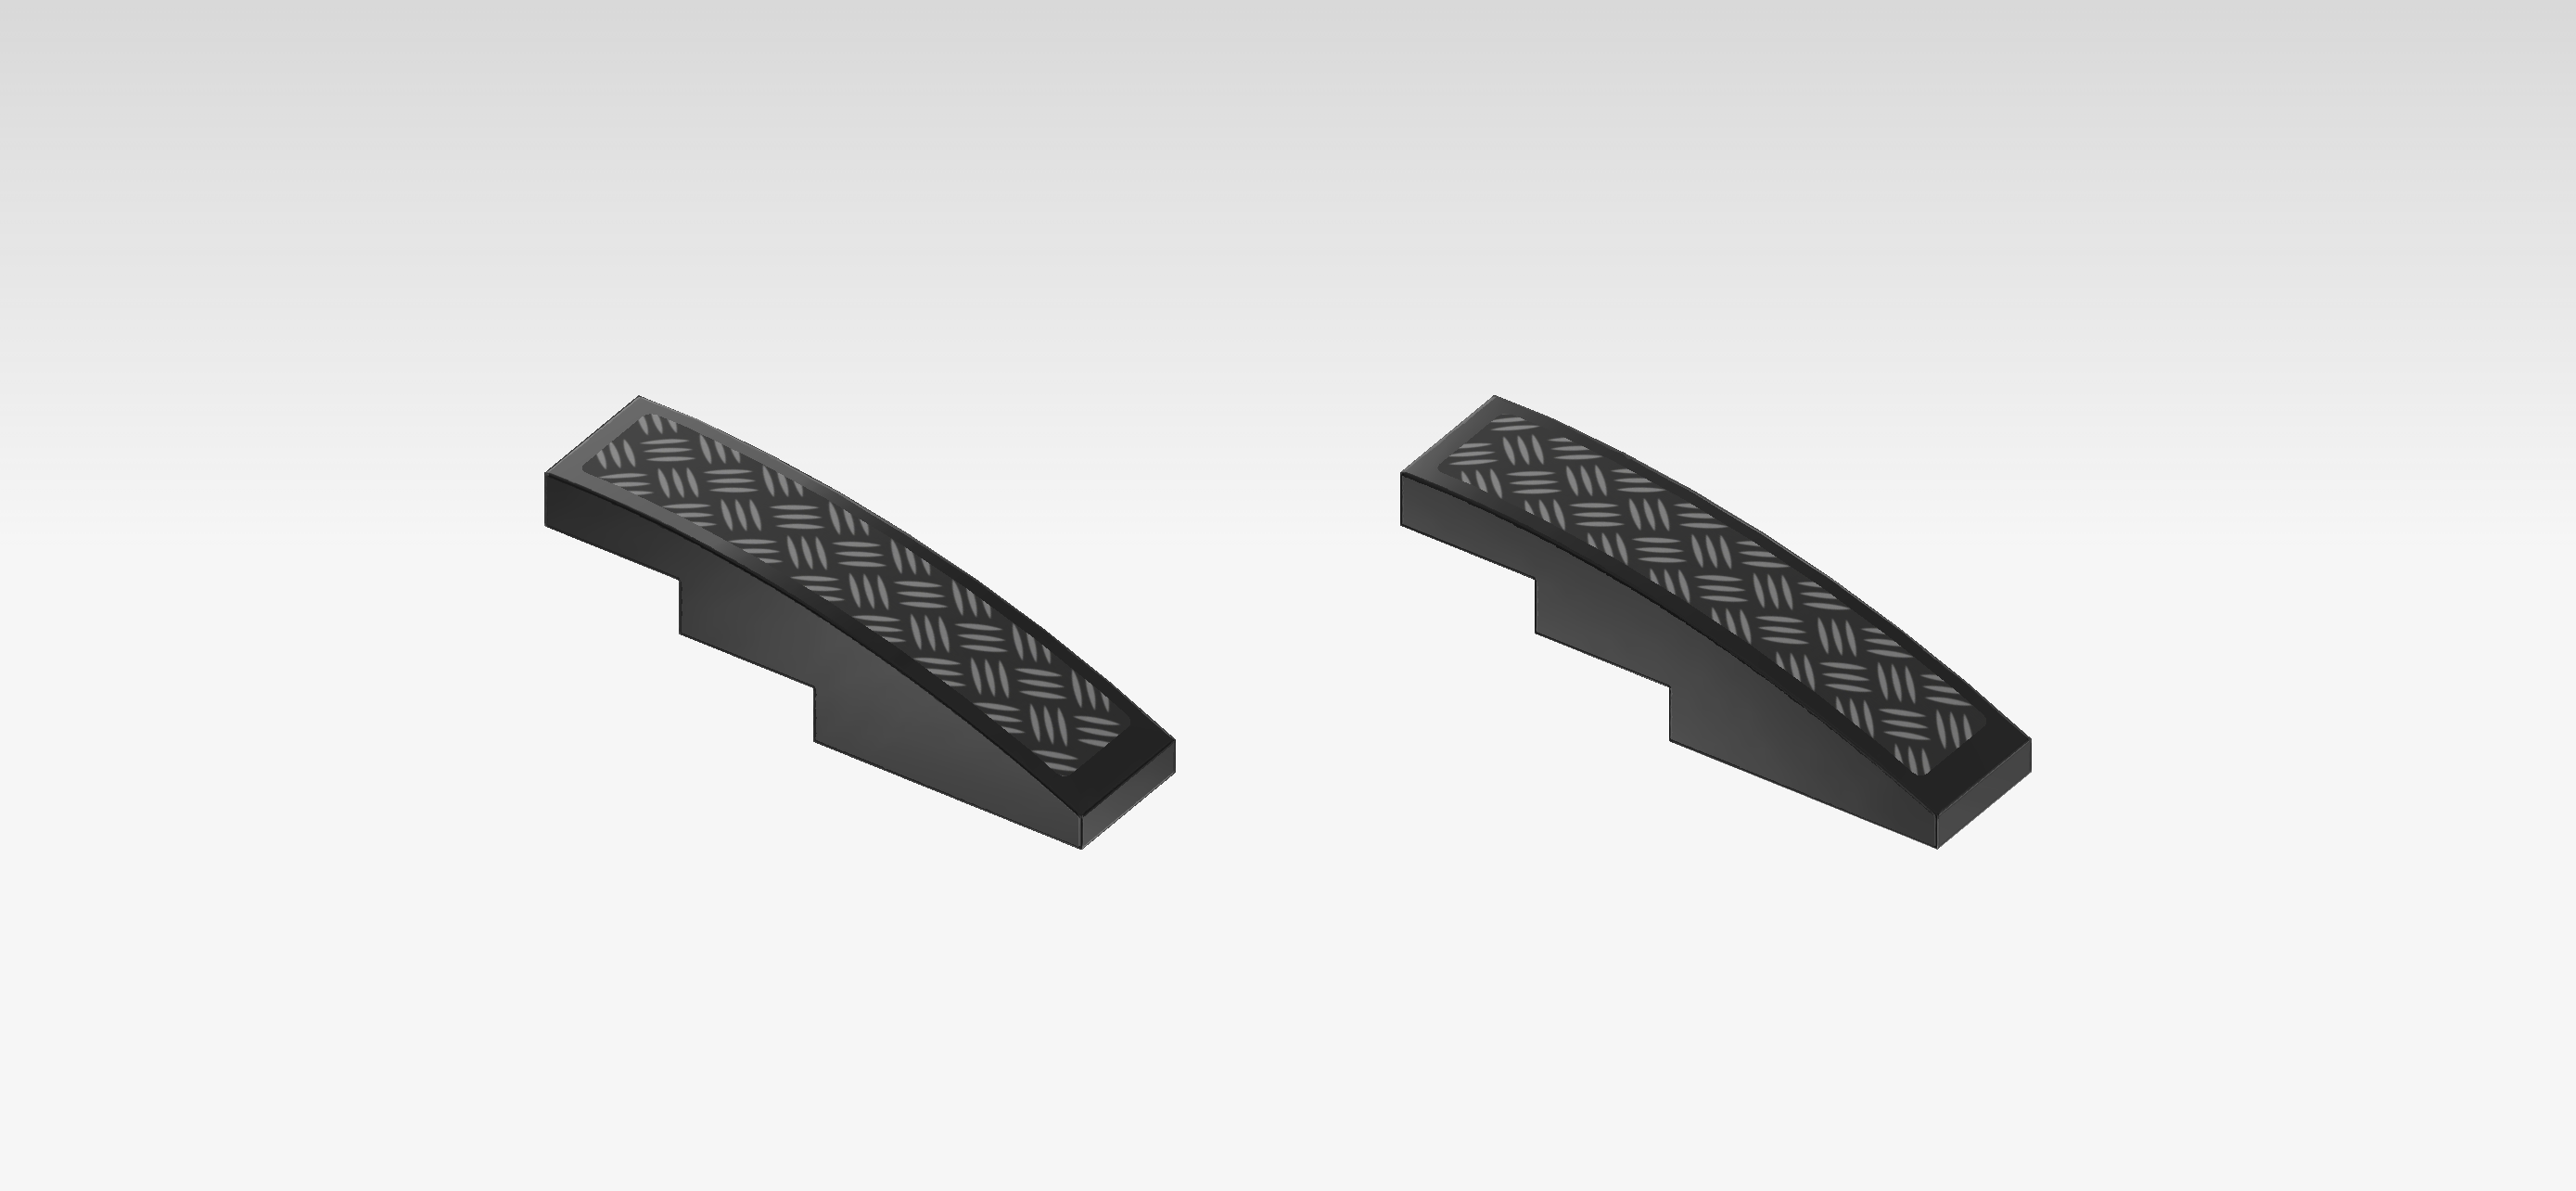
| Find 2 dark stone grey one-stepped curve tiles 1x2. |
| Put 1 vertically behind the previous piece, slope to the back, 1/2 overhanging to the back. |
| Repeat symmetrically at the front. |
| Find 2 dark stone grey panel elements 1x2x1 with back and side panels. |
| Put 1 vertically on the left row's back half, opening to the left. |
| Put the other one vertically in front of the previous piece, opening to the left. |
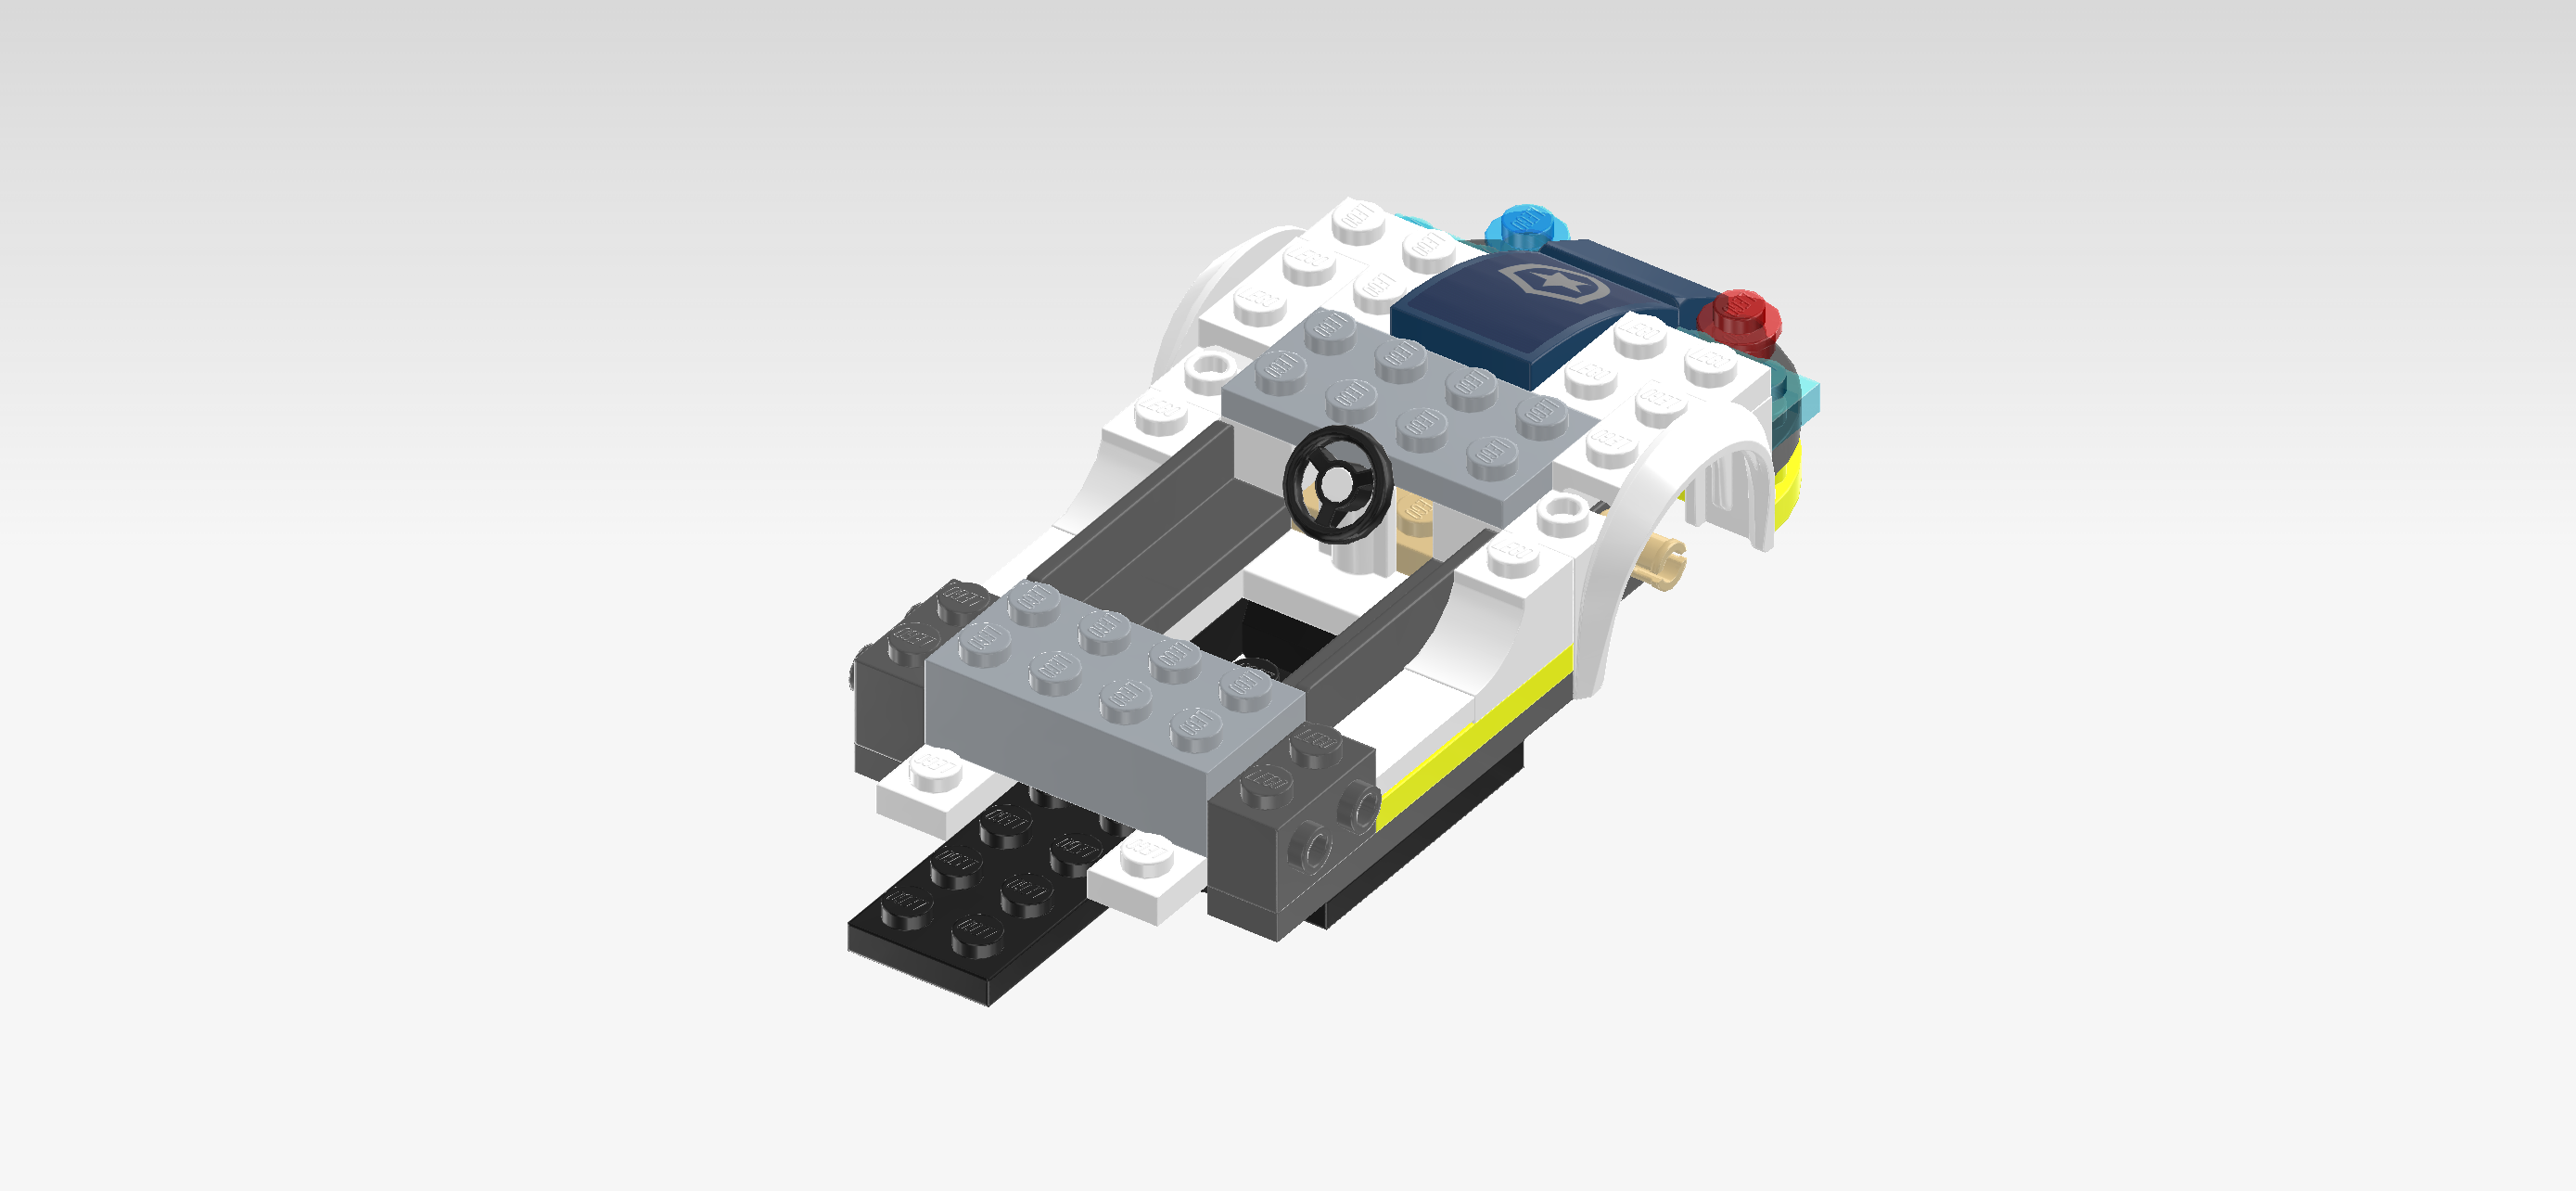
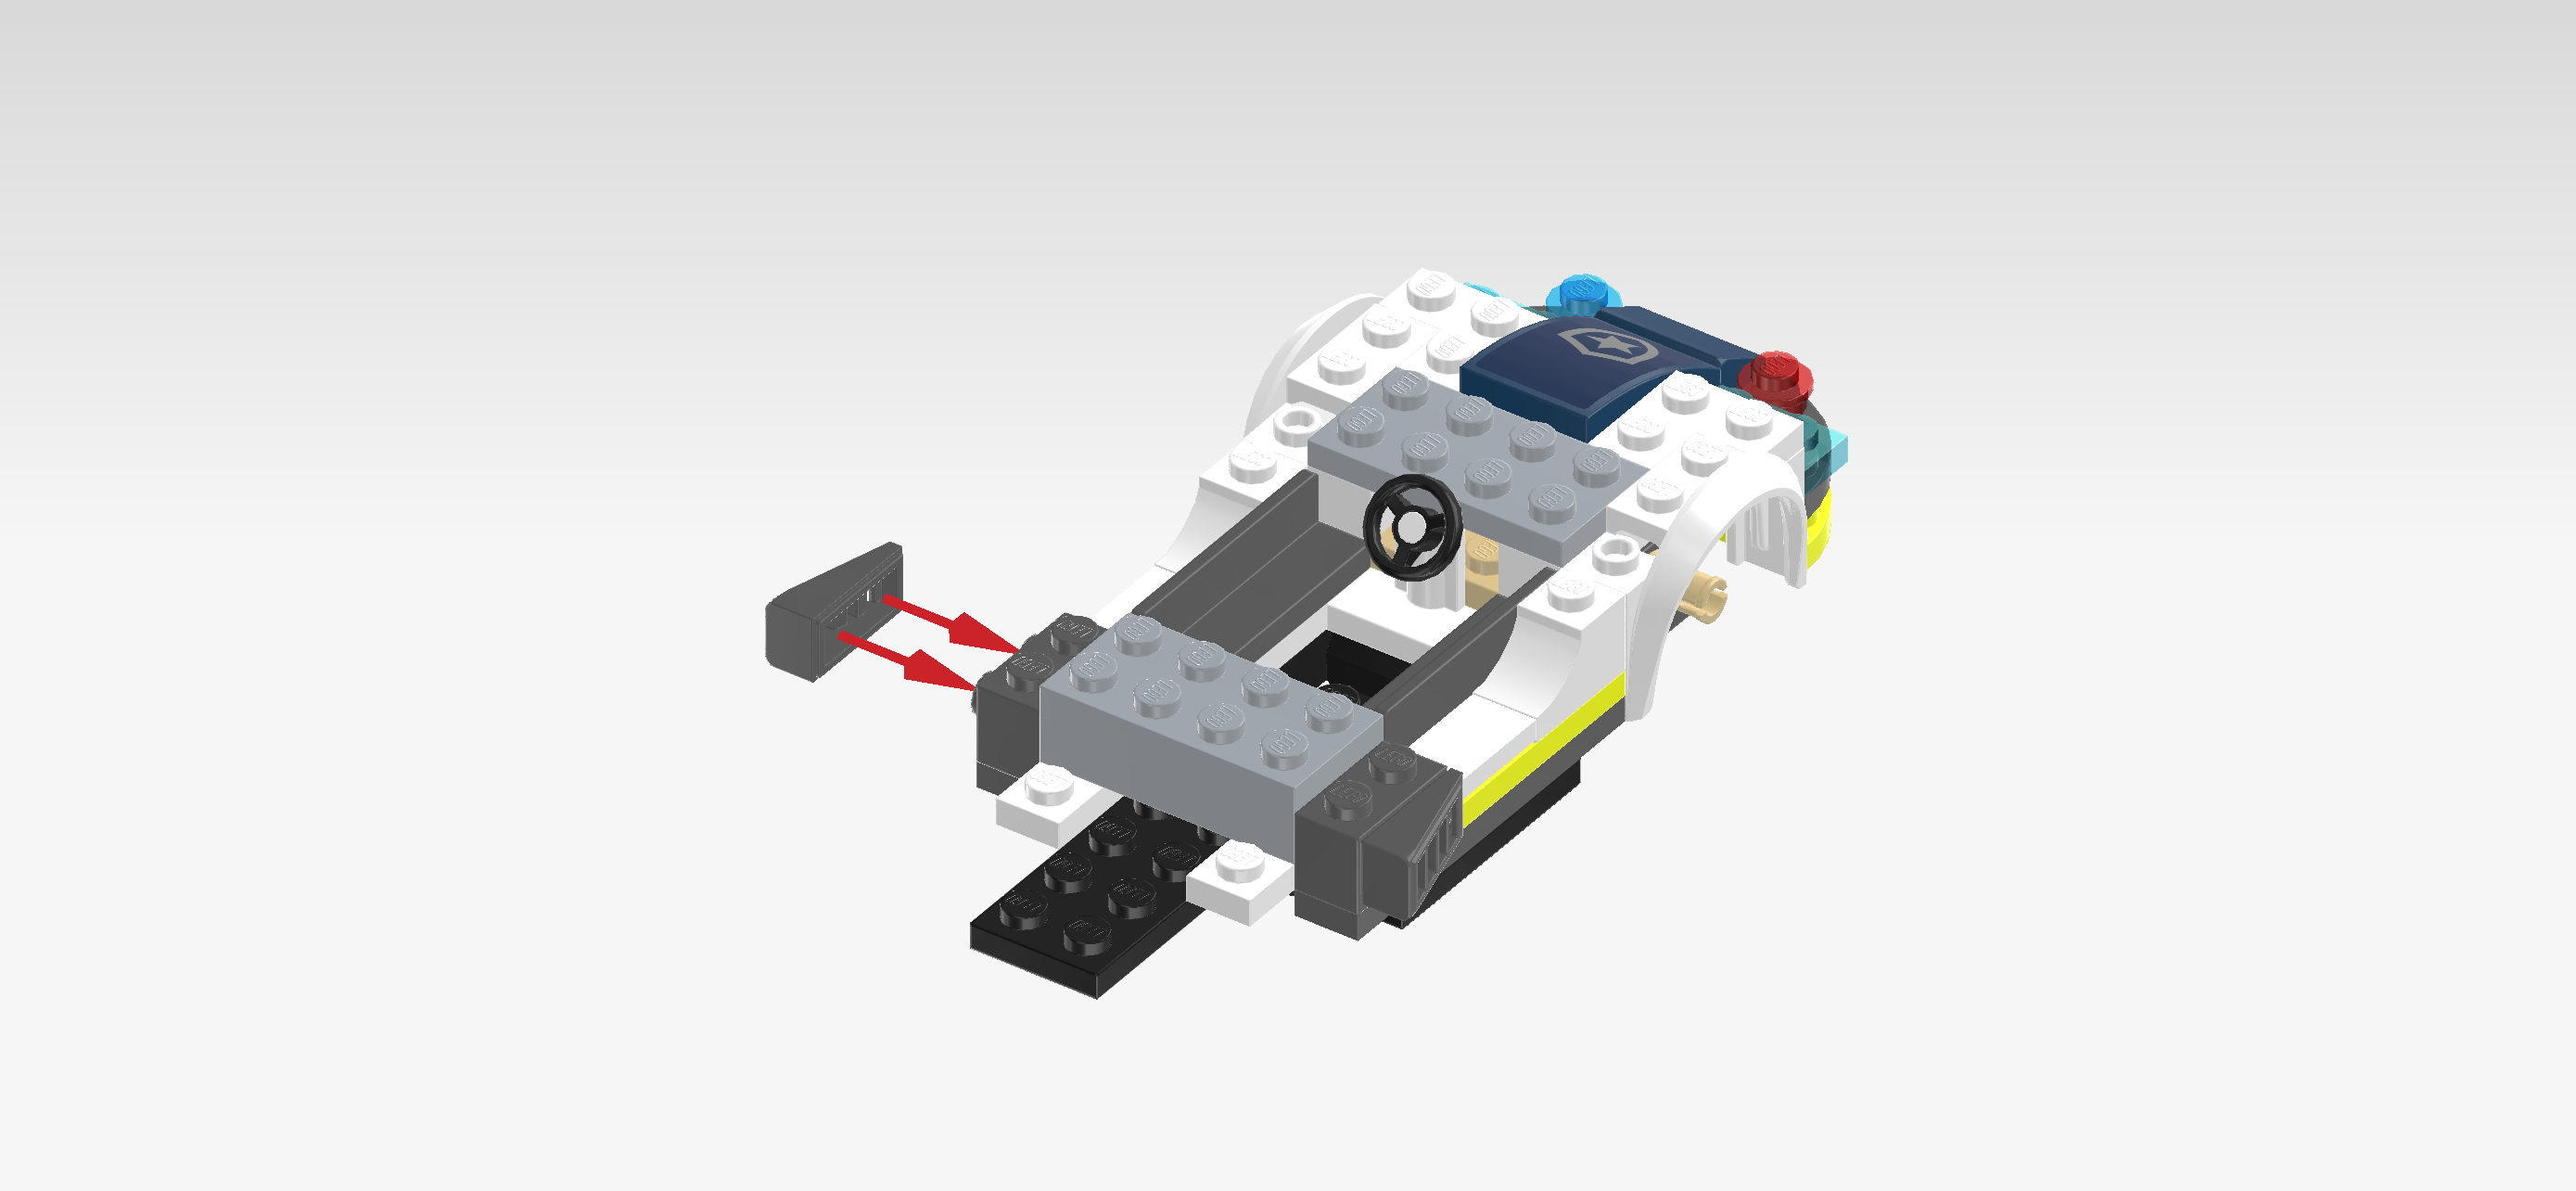
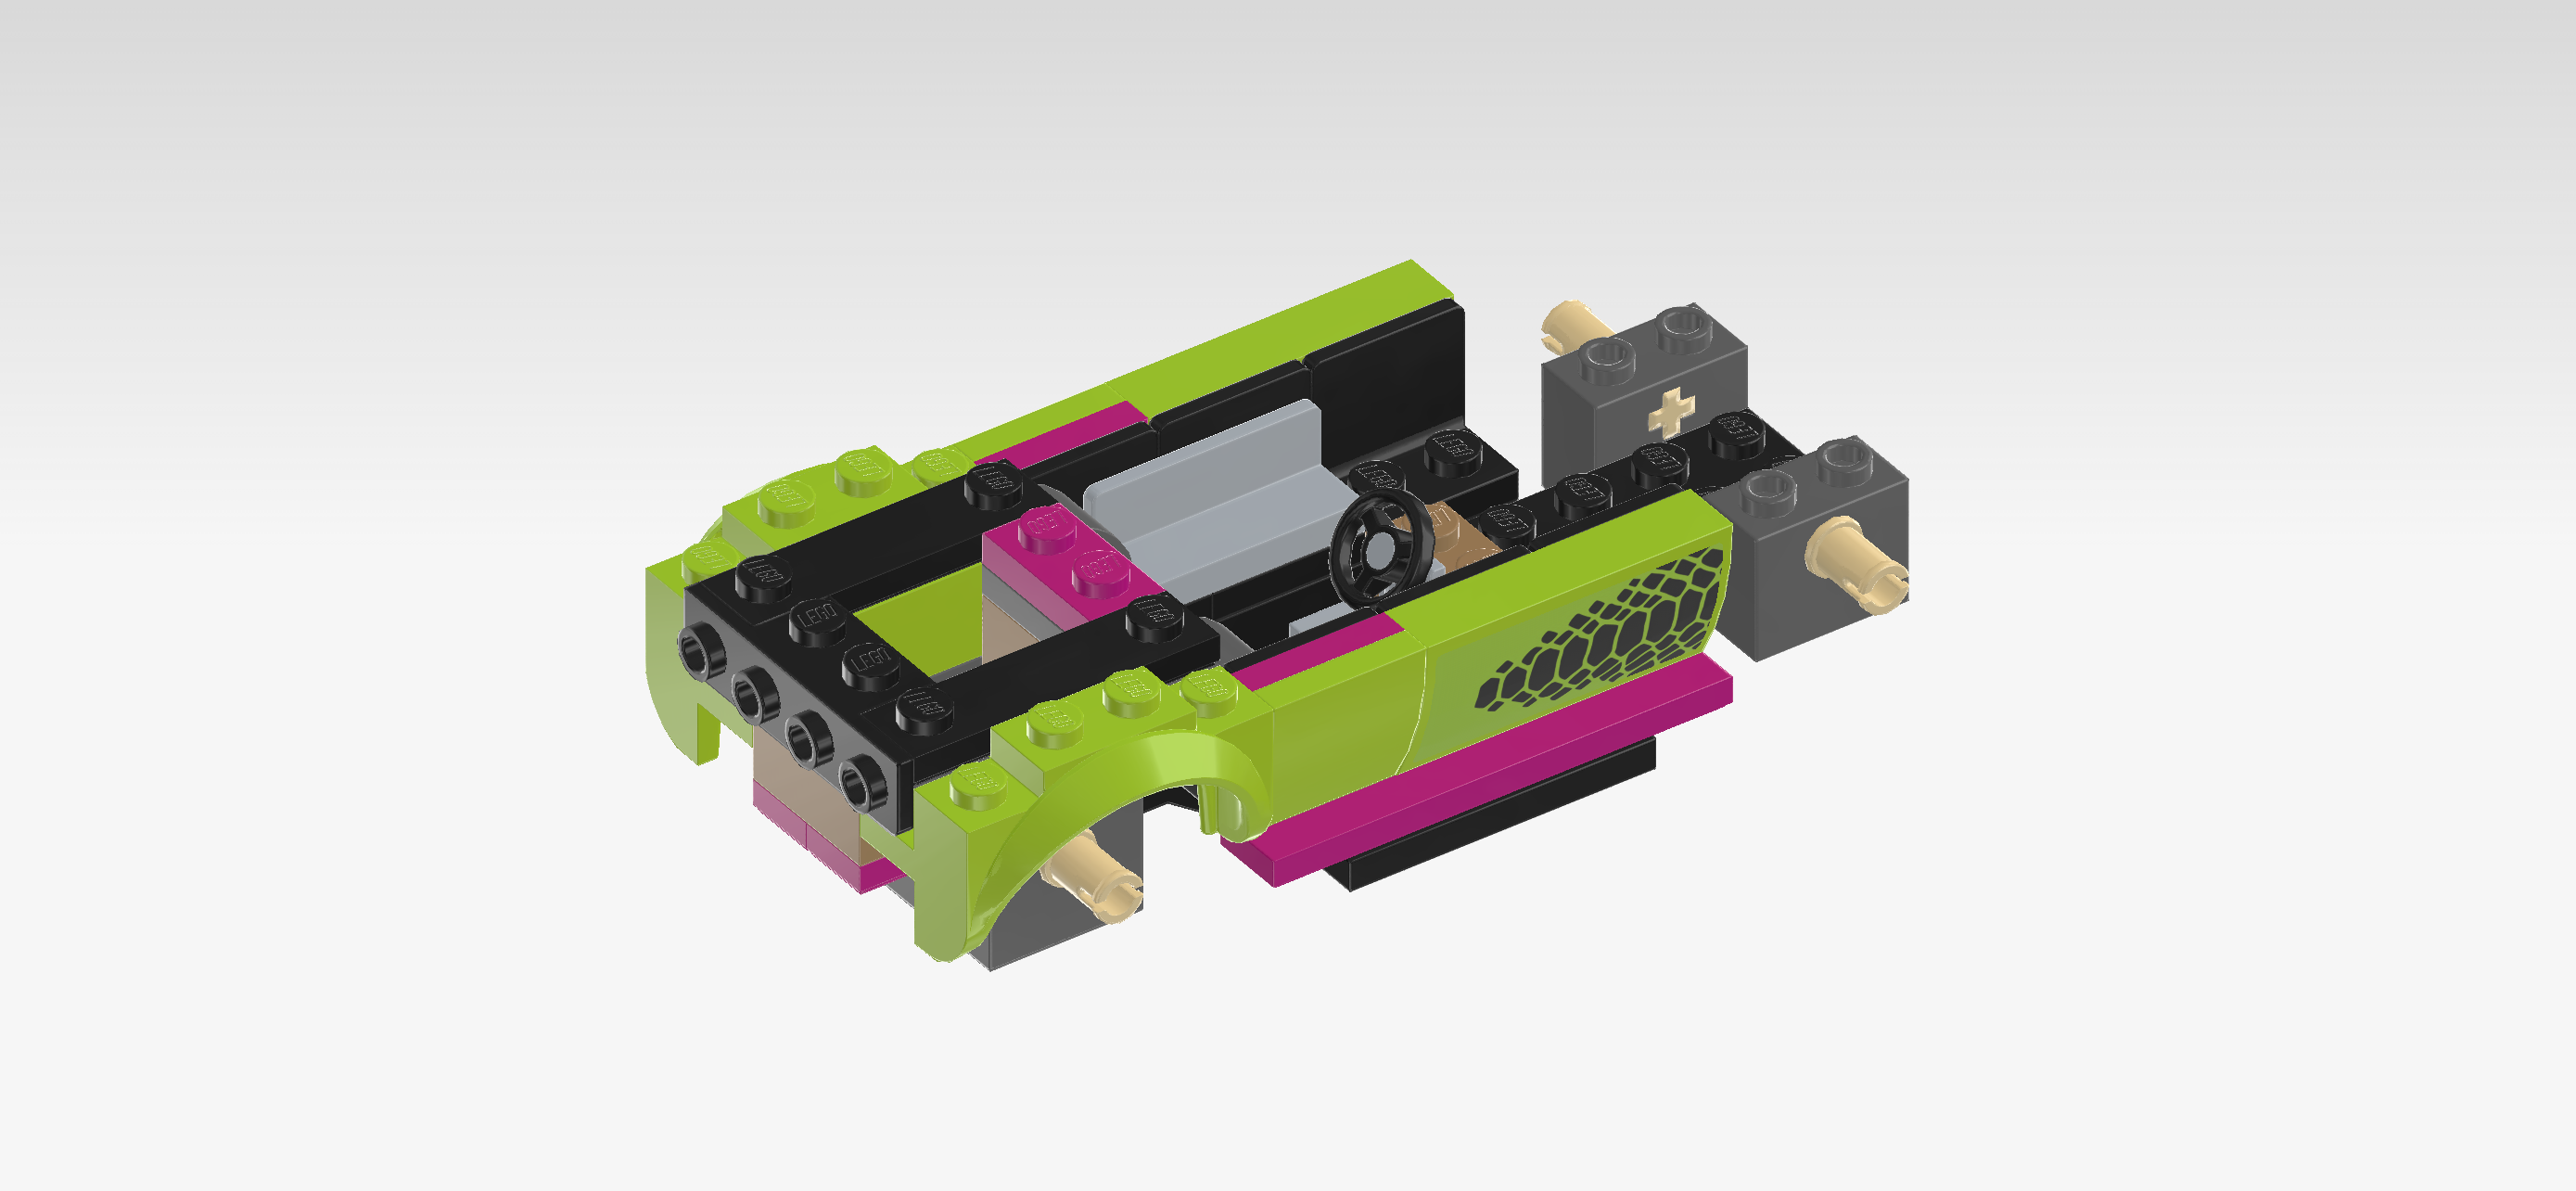
| The rear bumper is finished! Well done! Flip it upright so that the smooth surfaces are to the left, and mount it centered on the 4 side knobs pointing to the left. Make sure that the top edges of bumper and vehicle are flush. |
| Find 1 white plate 2x6 with 2 rounded corners. |
| Put it vertically centered on the leftmost edge, rounded corners to the left. Only its right half will actually connect to knobs, the left half will sit on a smooth surface. |
| Collect the following 3 pieces: |
| 1 earth blue plate 2x6, |
| and 2 transparent red round plates 1x1. |
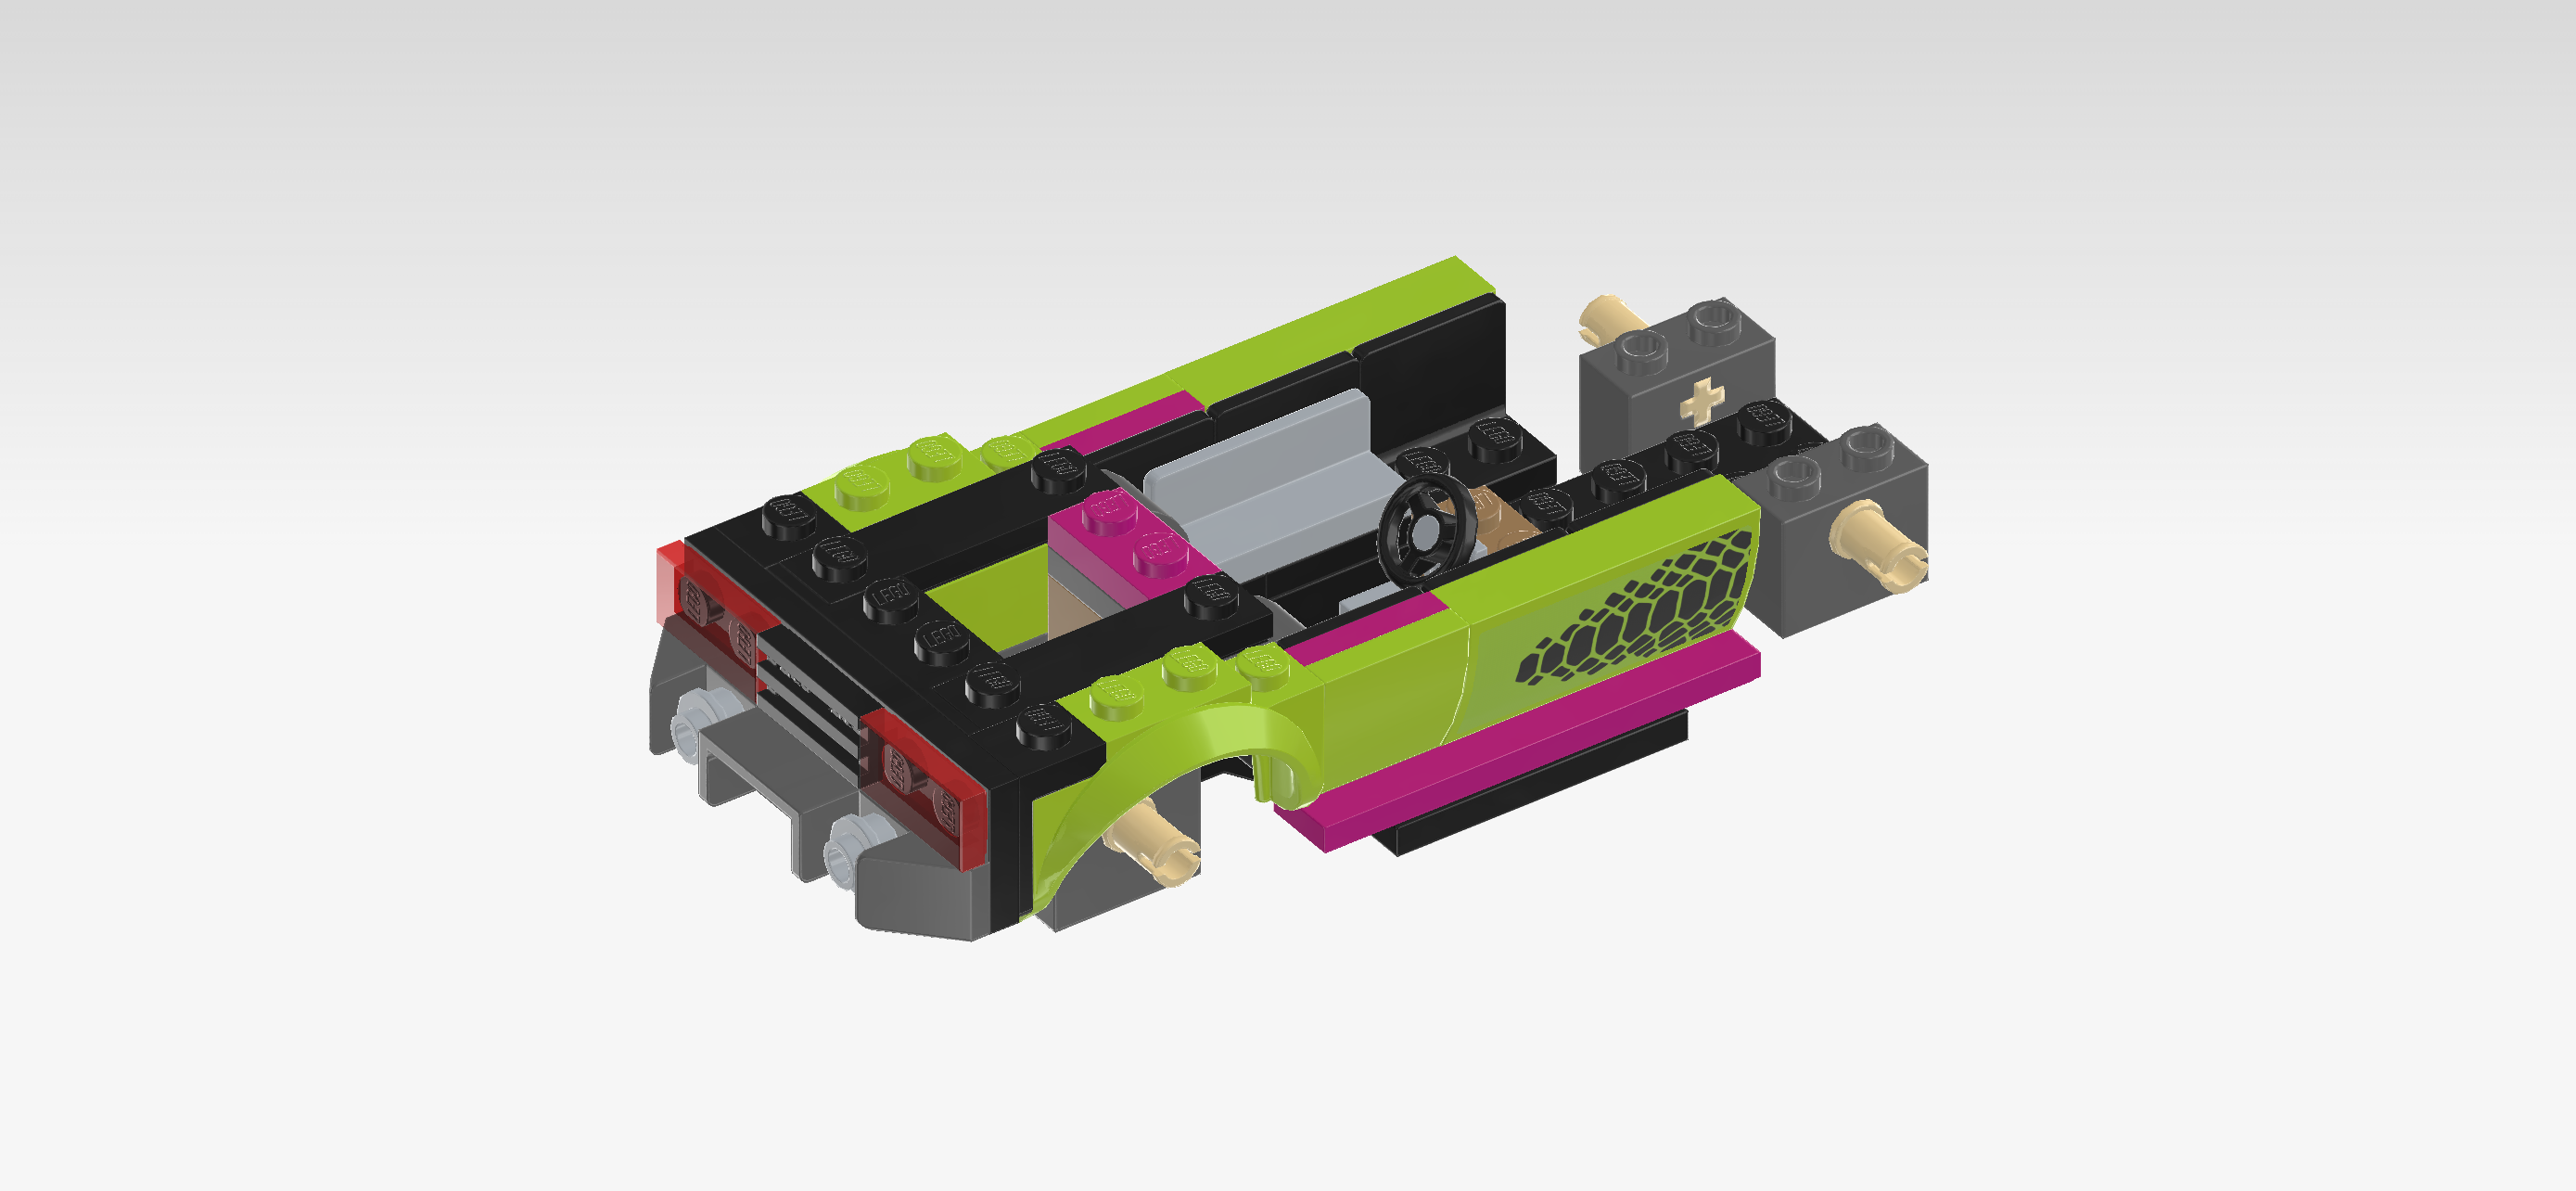
| Put the 2 round plates 1x1 on the 2 middle knobs of the leftmost column. |
| Put the plate 2x6 horizontally to the right of the 2 previous pieces. |
| Find 2 earth blue smooth roof tiles 1x2x⅔. |
| Put 1 horizontally behind the 3 previous pieces, starting from the leftmost edge, slope to the front. |
| Repeat symmetrically at the front, slope to the back. |
| Collect the following 4 pieces: |
| 2 medium stone grey rounded plates 1x4, |
| and 2 black plates 2x2. |
| Put 1 plate 2x2 to the right of the previous piece, this means it will sit on the 2 frontmost rows. |
| Put 1 rounded plate 1x4 horizontally to the right of the previous piece's back row. This means it will sit on the second row from the front. |
| Repeat symmetrically at the back. |
| Find 2 earth blue curve tiles 1x4. |
| Put 1 horizontally on the backmost row, starting with its leftmost knob. If done correctly, this piece locks in the back row of the plate 2x2 from the previous step. |
| Repeat symmetrically at the front. |
| Collect the following 5 pieces: |
| 1 black plate 2x2, |
| 3 medium stone grey plates 1x2 with 1 knob, |
| and 1 dark stone grey engine 2x2x1⅓. |
| Put the engine 2x2 centered to the left of the cockpit recess, narrow end to the left. This means it will sit on the 2 middle rows on their 7th and 8th knobs. |
| Put 1 plate 1x2 vertically to the left of the previous piece. |
| Put another plate 1x2 vertically to the left of the previous piece. |
| Put the last plate 1x2 vertically to the left of the previous piece. |
| Put the plate 2x2 to the left of the previous piece. If done correctly, it will sit centered on the leftmost edge. |
| Collect the following 3 pieces: |
| 1 earth blue plate 1x3, |
| 1 earth blue right wedge plate 2x3 with 3 knobs, |
| and 1 earth blue left wedge plate 2x3 with 3 knobs. |
| Turn the left wedge plate 2x3 vertically so that the narrow end is pointing towards you and the angled edge is on the right. If this does not add up, use the other wedge plate. |
| Mount its backmost row (the wider end of the plate) on the front row of the previous piece. |
| Put the right wedge plate 2x3 vertically behind the previous piece, narrow end pointing to the back. |
| Put the plate 1x3 horizontally centered to the right of the splice where the 2 previous pieces meet. |
| Find 1 vibrant yellow flat tile 1x4. |
| Put it horizontally on top of the previous piece, its leftmost quarter resting on the smooth part of the 2 wedge plates. |
| Find 3 earth blue flat tiles 1x6. |
| First, turn the vehicle from left to right again. This means that now the front bumper with front hood is on the left side again. |
| Put 1 horizontally on the backmost row, directly to the left of the curve tile 1x4. |
| Repeat symmetrically at the front. |
| Put the last one vertically to the left of the 2 previous pieces. |
| Collect the following 3 pieces: |
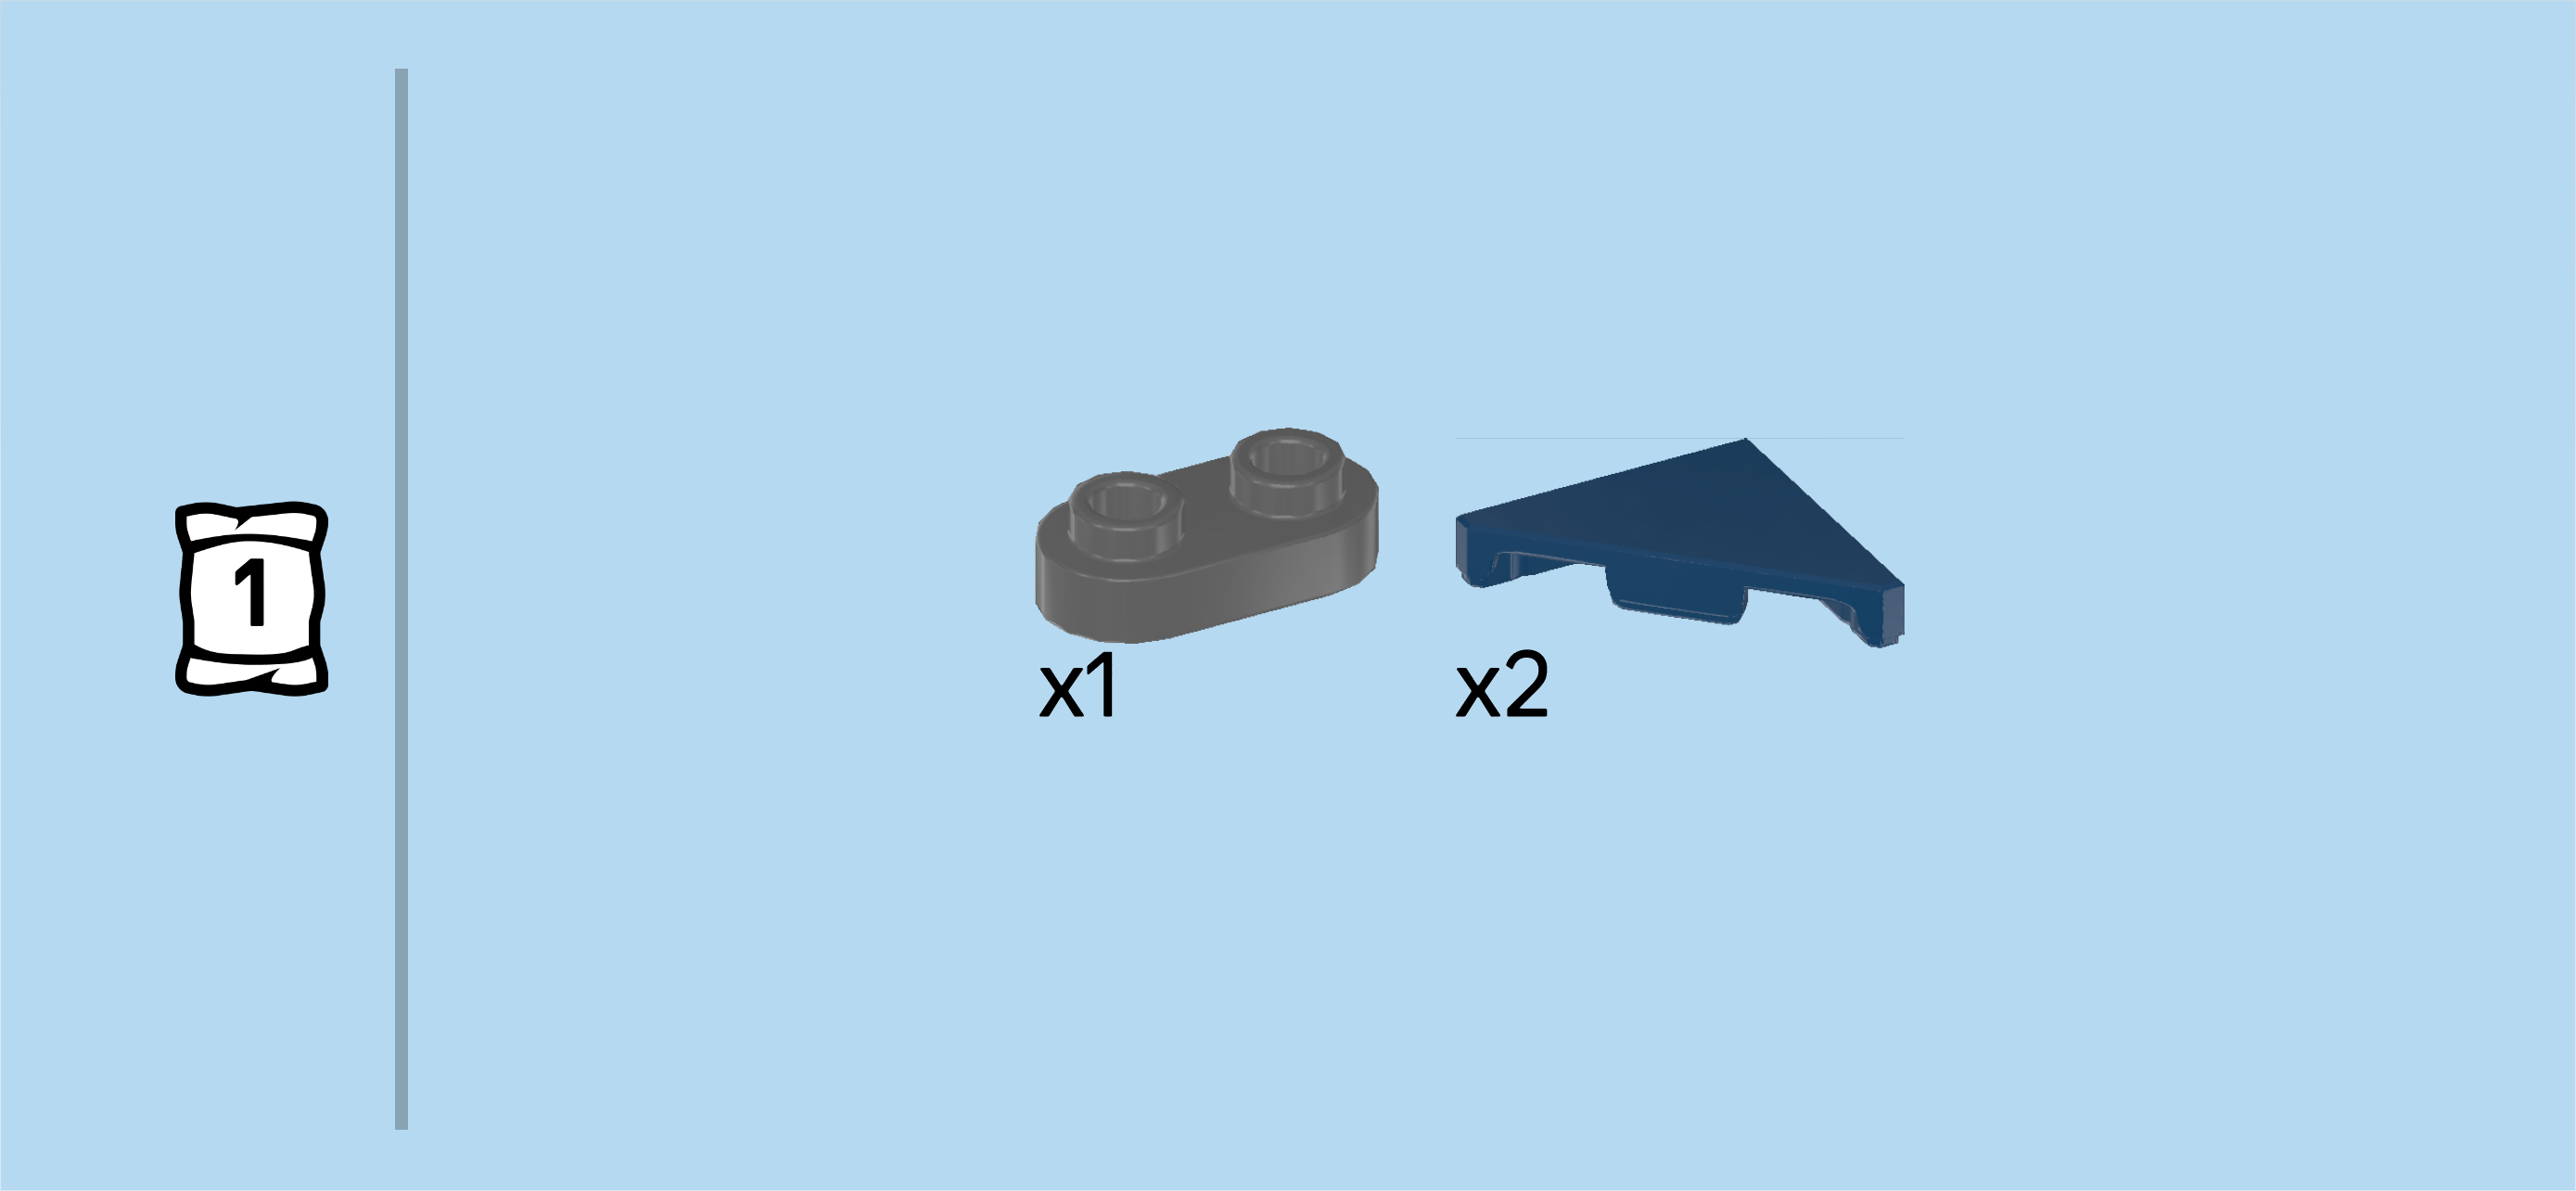
| 2 earth blue triangular flat tiles 1x2 - 1x2, |
| and 1 dark stone grey rounded plate 1x2. |
| Turn 1 triangular flat tile so that its right-angled corner is pointing to the front right. |
| Mount it to the left of the previous piece on the 2 backmost rows. |
| Put the rounded plate 1x2 vertically in front of the previous piece. |
| Turn the other triangular flat tile so that its right-angled corner is to the back right, and mount it in front of the previous piece. |
| Collect the following 4 pieces: |
| 1 white two-stepped curve tile 2x3 with angled cut to the right, (To identify the correct piece, put it vertically in front of you, longest edge on the left. Now the cut should run from the left front towards the right back. If this doesn't add up, try the other curve tile with cut), |
| 1 white two-stepped curve tile 2x3 with angled cut to the left (this is the mirrored version of the piece mentioned above). |
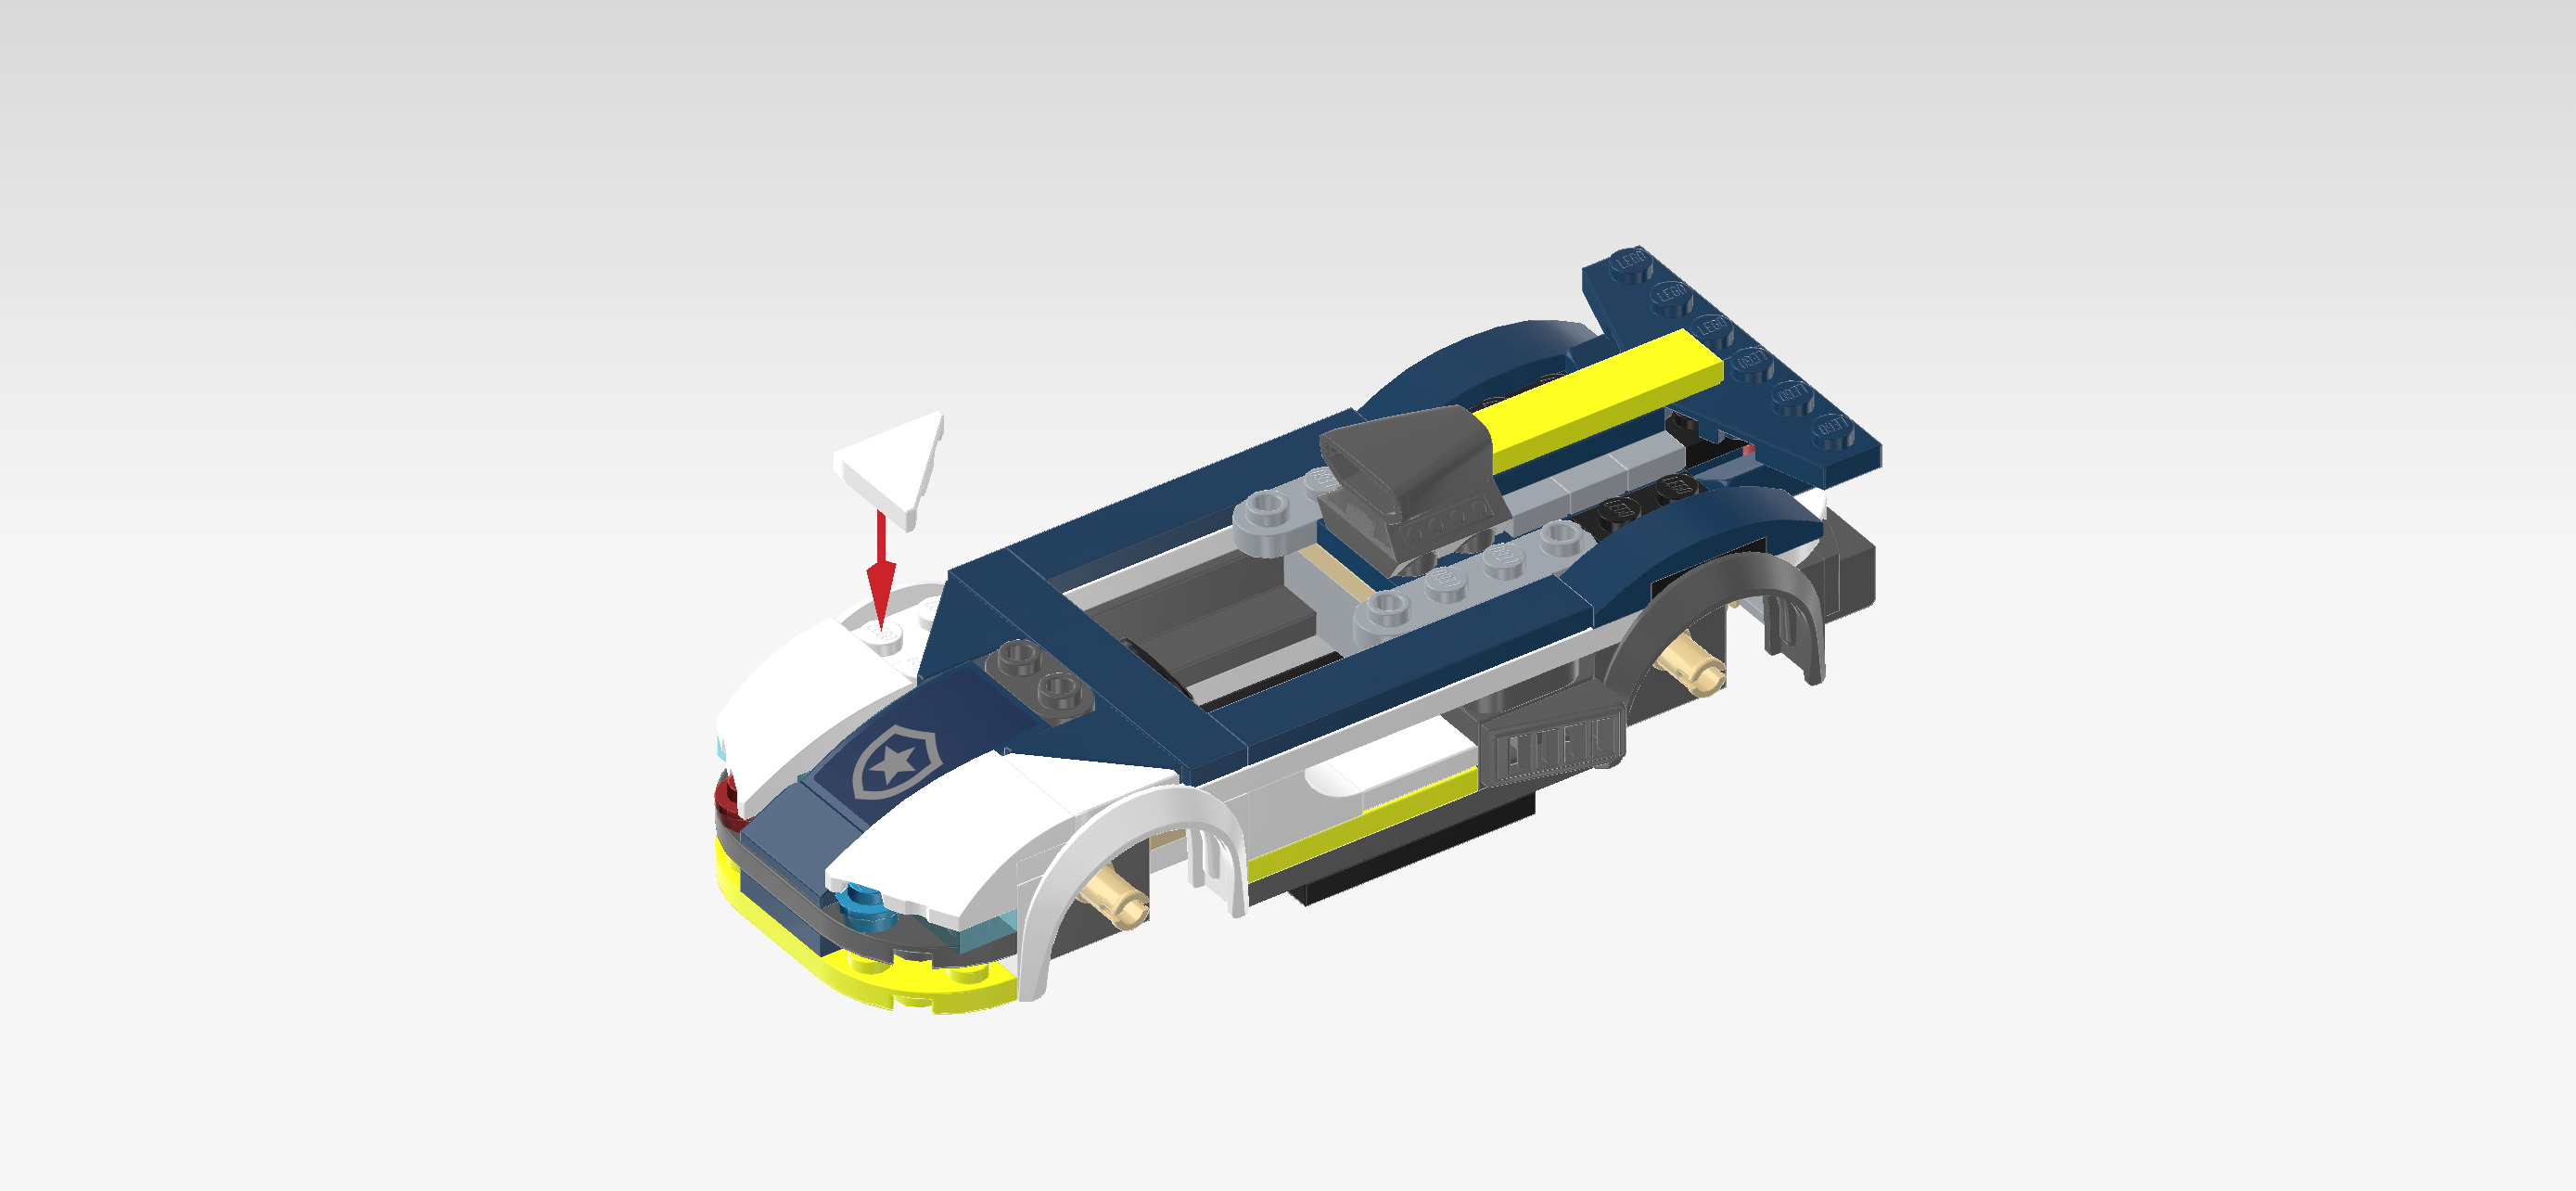
| and 2 white triangular flat tiles 1x2 - 1x2. |
| Turn 1 triangular flat tile so that its right-angled corner is pointing to the front left. |
| Mount it to the left of the previous piece. These two triangular flat tiles together form a 2x2 square on the 2 frontmost rows. |
| Repeat symmetrically at the back with the other white triangular flat tile. |
| Put the curve tile 2x3 with cut to the left horizontally to the left of the previous piece, longest edge at the front, angled edge on the left. |
| Repeat symmetrically at the front with the curve tile 2x3 with cut to the right, longest edge to the back. |
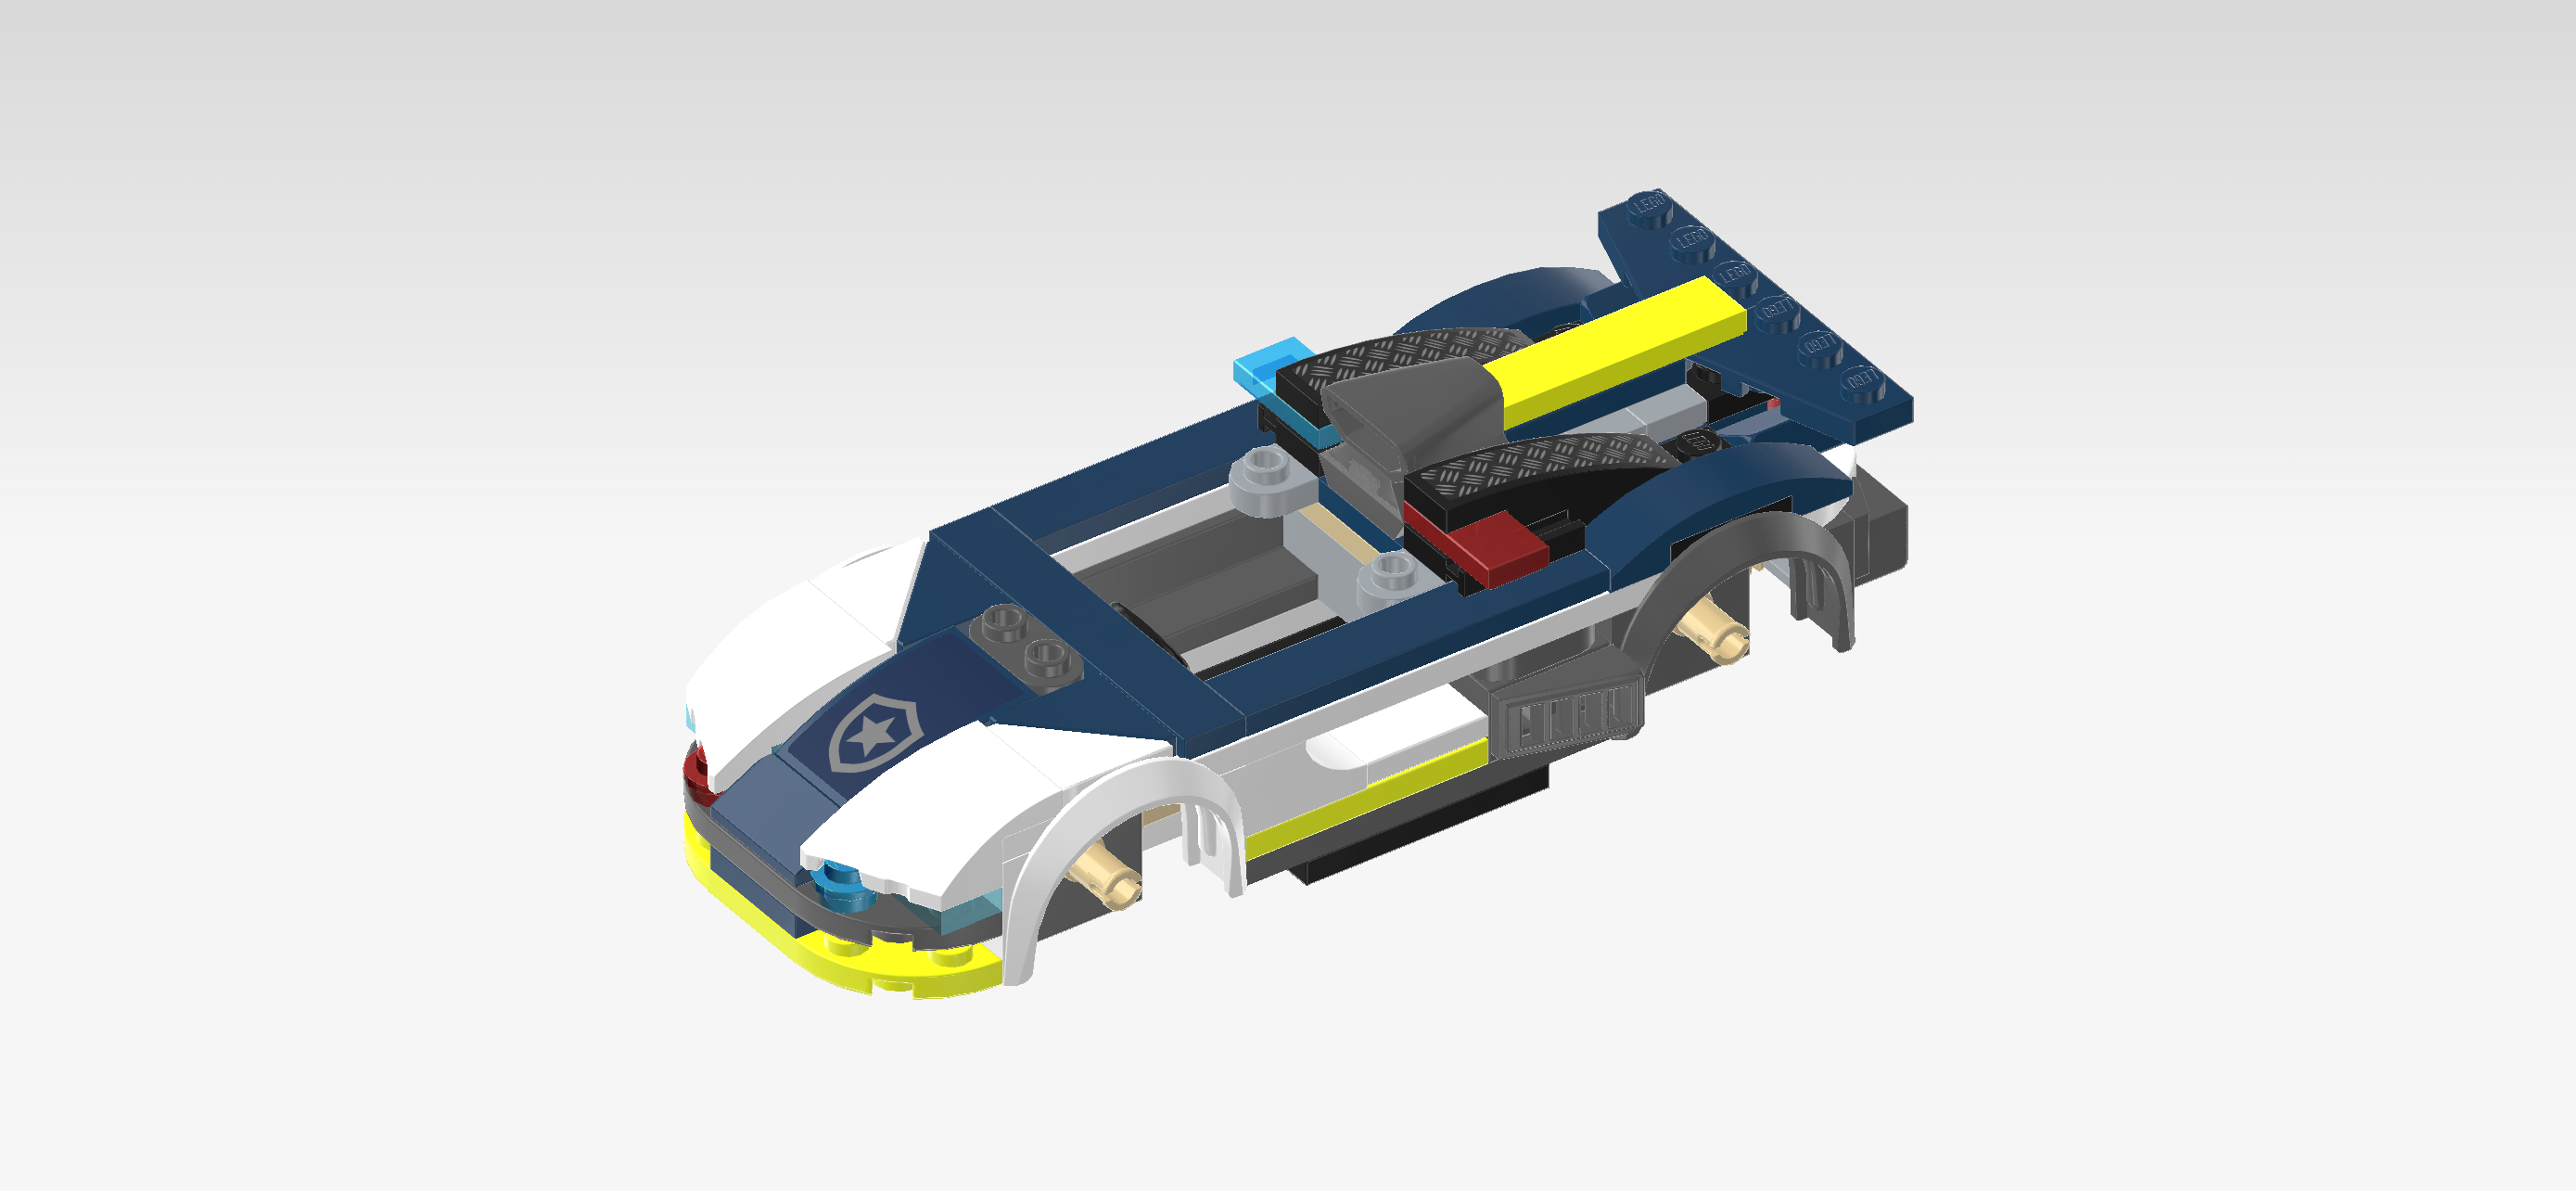
| Find 2 black plates 1x2 with side rail. |
| Put 1 horizontally behind the engine, side rail to the back. |
| Repeat symmetrically at the front, side rail to the front. |
| Collect the following 2 pieces: |
| 1 transparent blue flat tile 1x2, |
| and 1 transparent red flat tile 1x2. |
| Put the transparent red flat tile vertically on the left knob of the previous piece, making sure its back edge is touching the engine. Its front half will not connect to anything but hover above the smooth tile below. |
| Repeat symmetrically at the back with the transparent blue flat tile. |
| Next, we will build 2 engine hood panels. |
| Collect the following 4 pieces: |
| 2 black two-stepped curve tiles 1x4, |
| and 2 rectangular stickers 1x4. |
| Put the stickers on the 2 curve tiles, matching the 1x4 shapes. They are printed with a symmetrical checker plate pattern, therefore you can attach them in either orientation. |
| Turn 1 horizontally so that the slope is towards the right. Mount it on the row behind the engine, its leftmost third resting on the previous piece. |
| Repeat symmetrically at the front. |
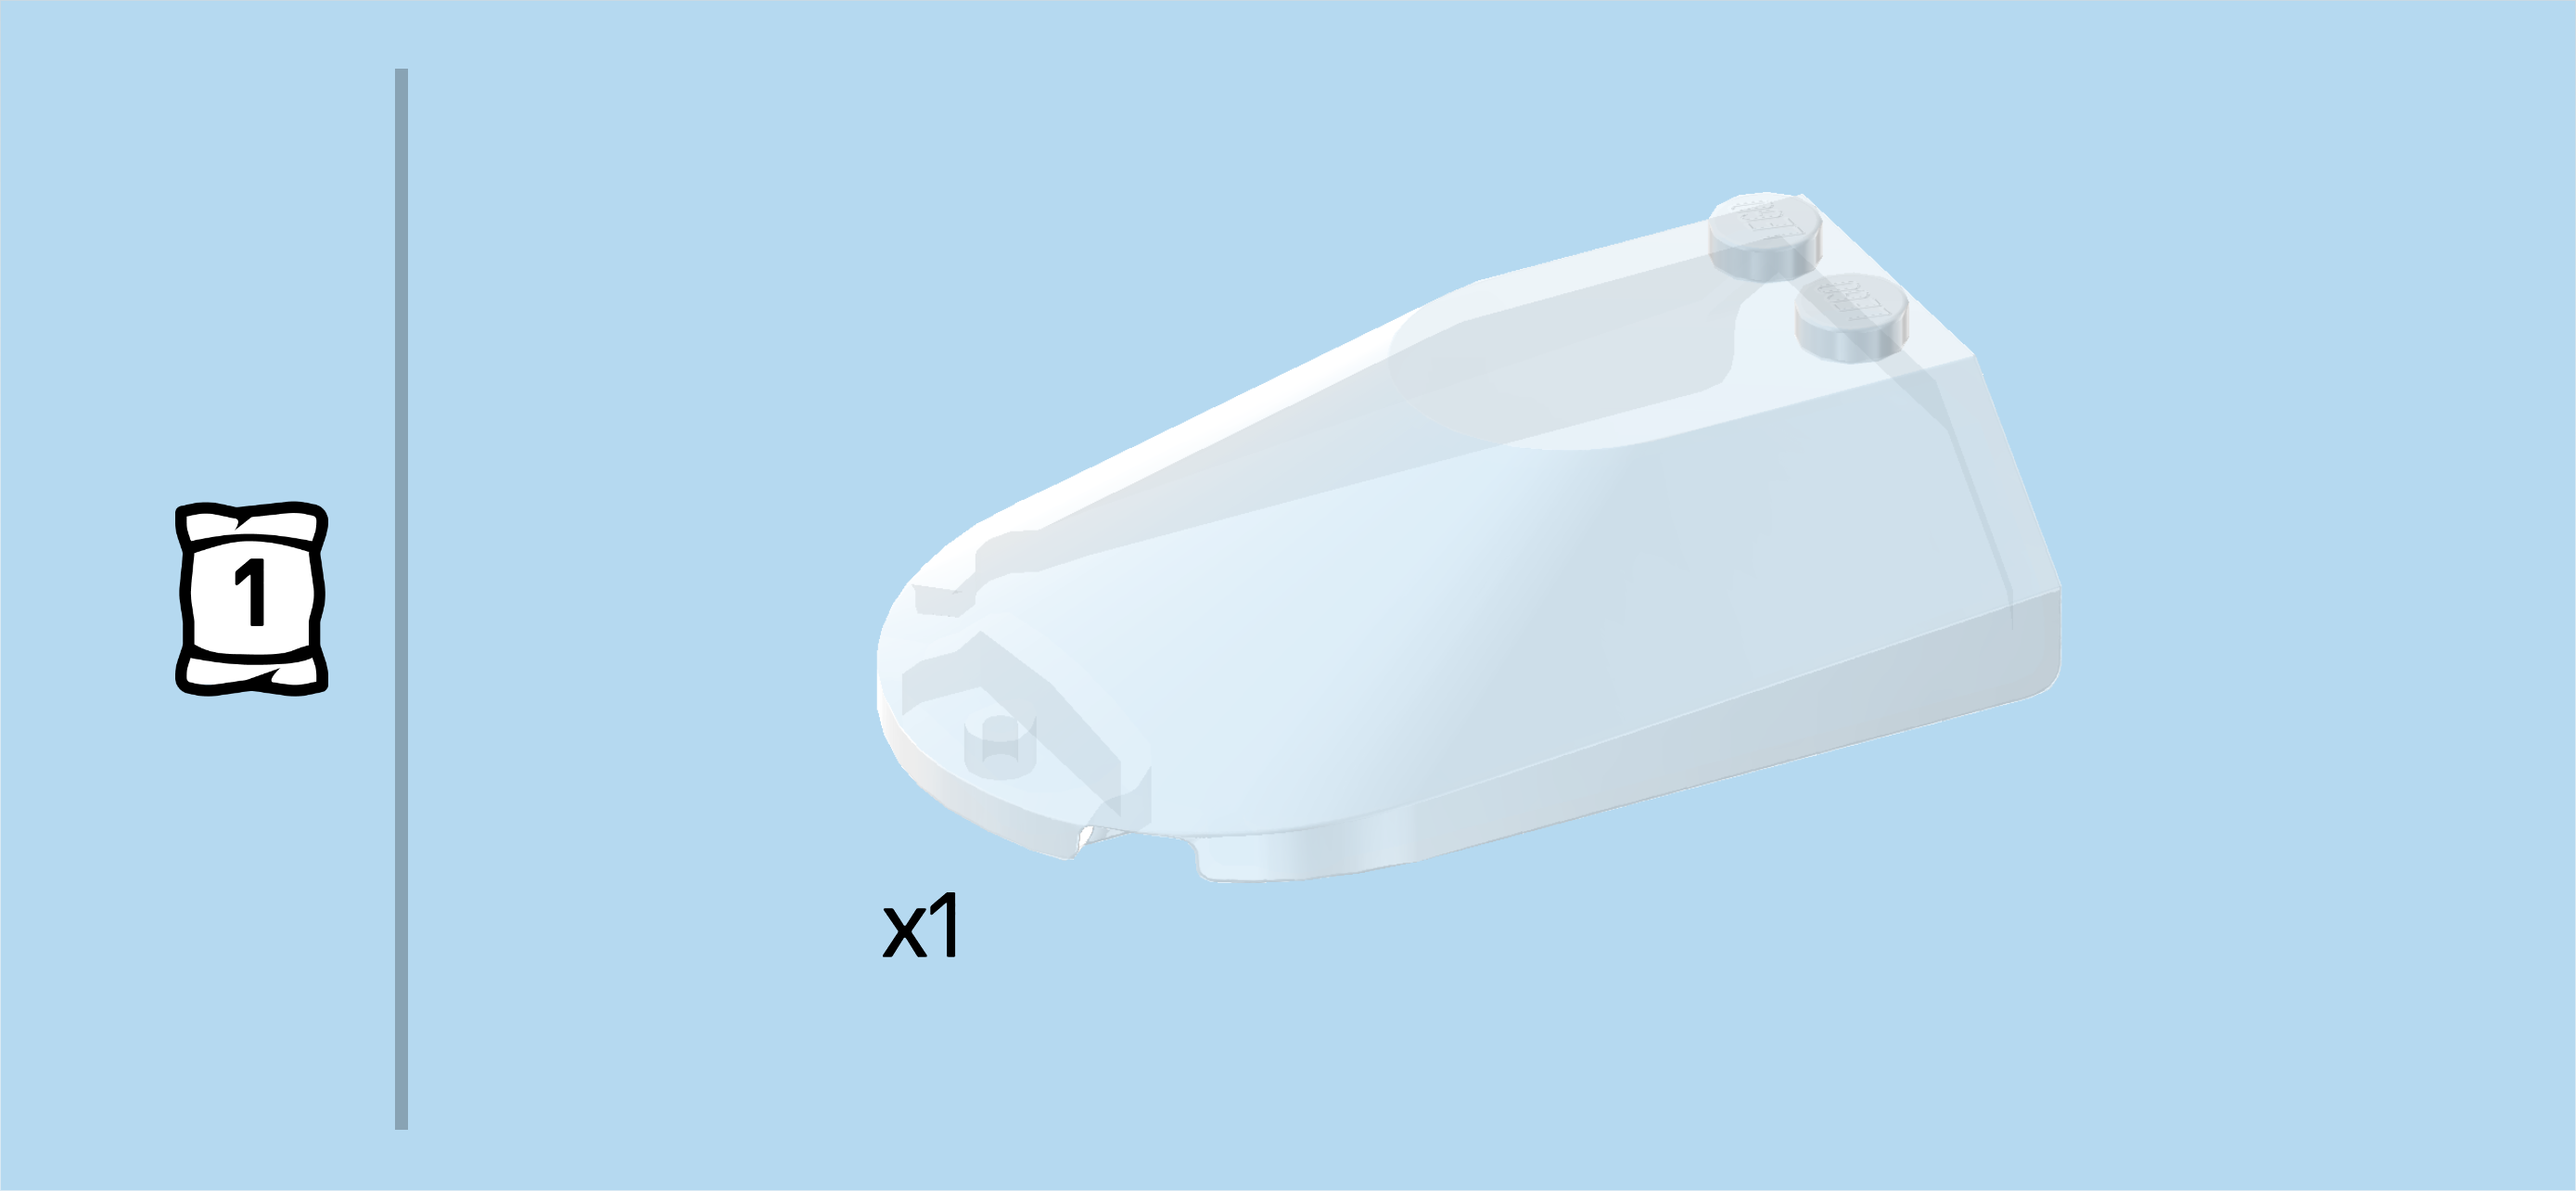
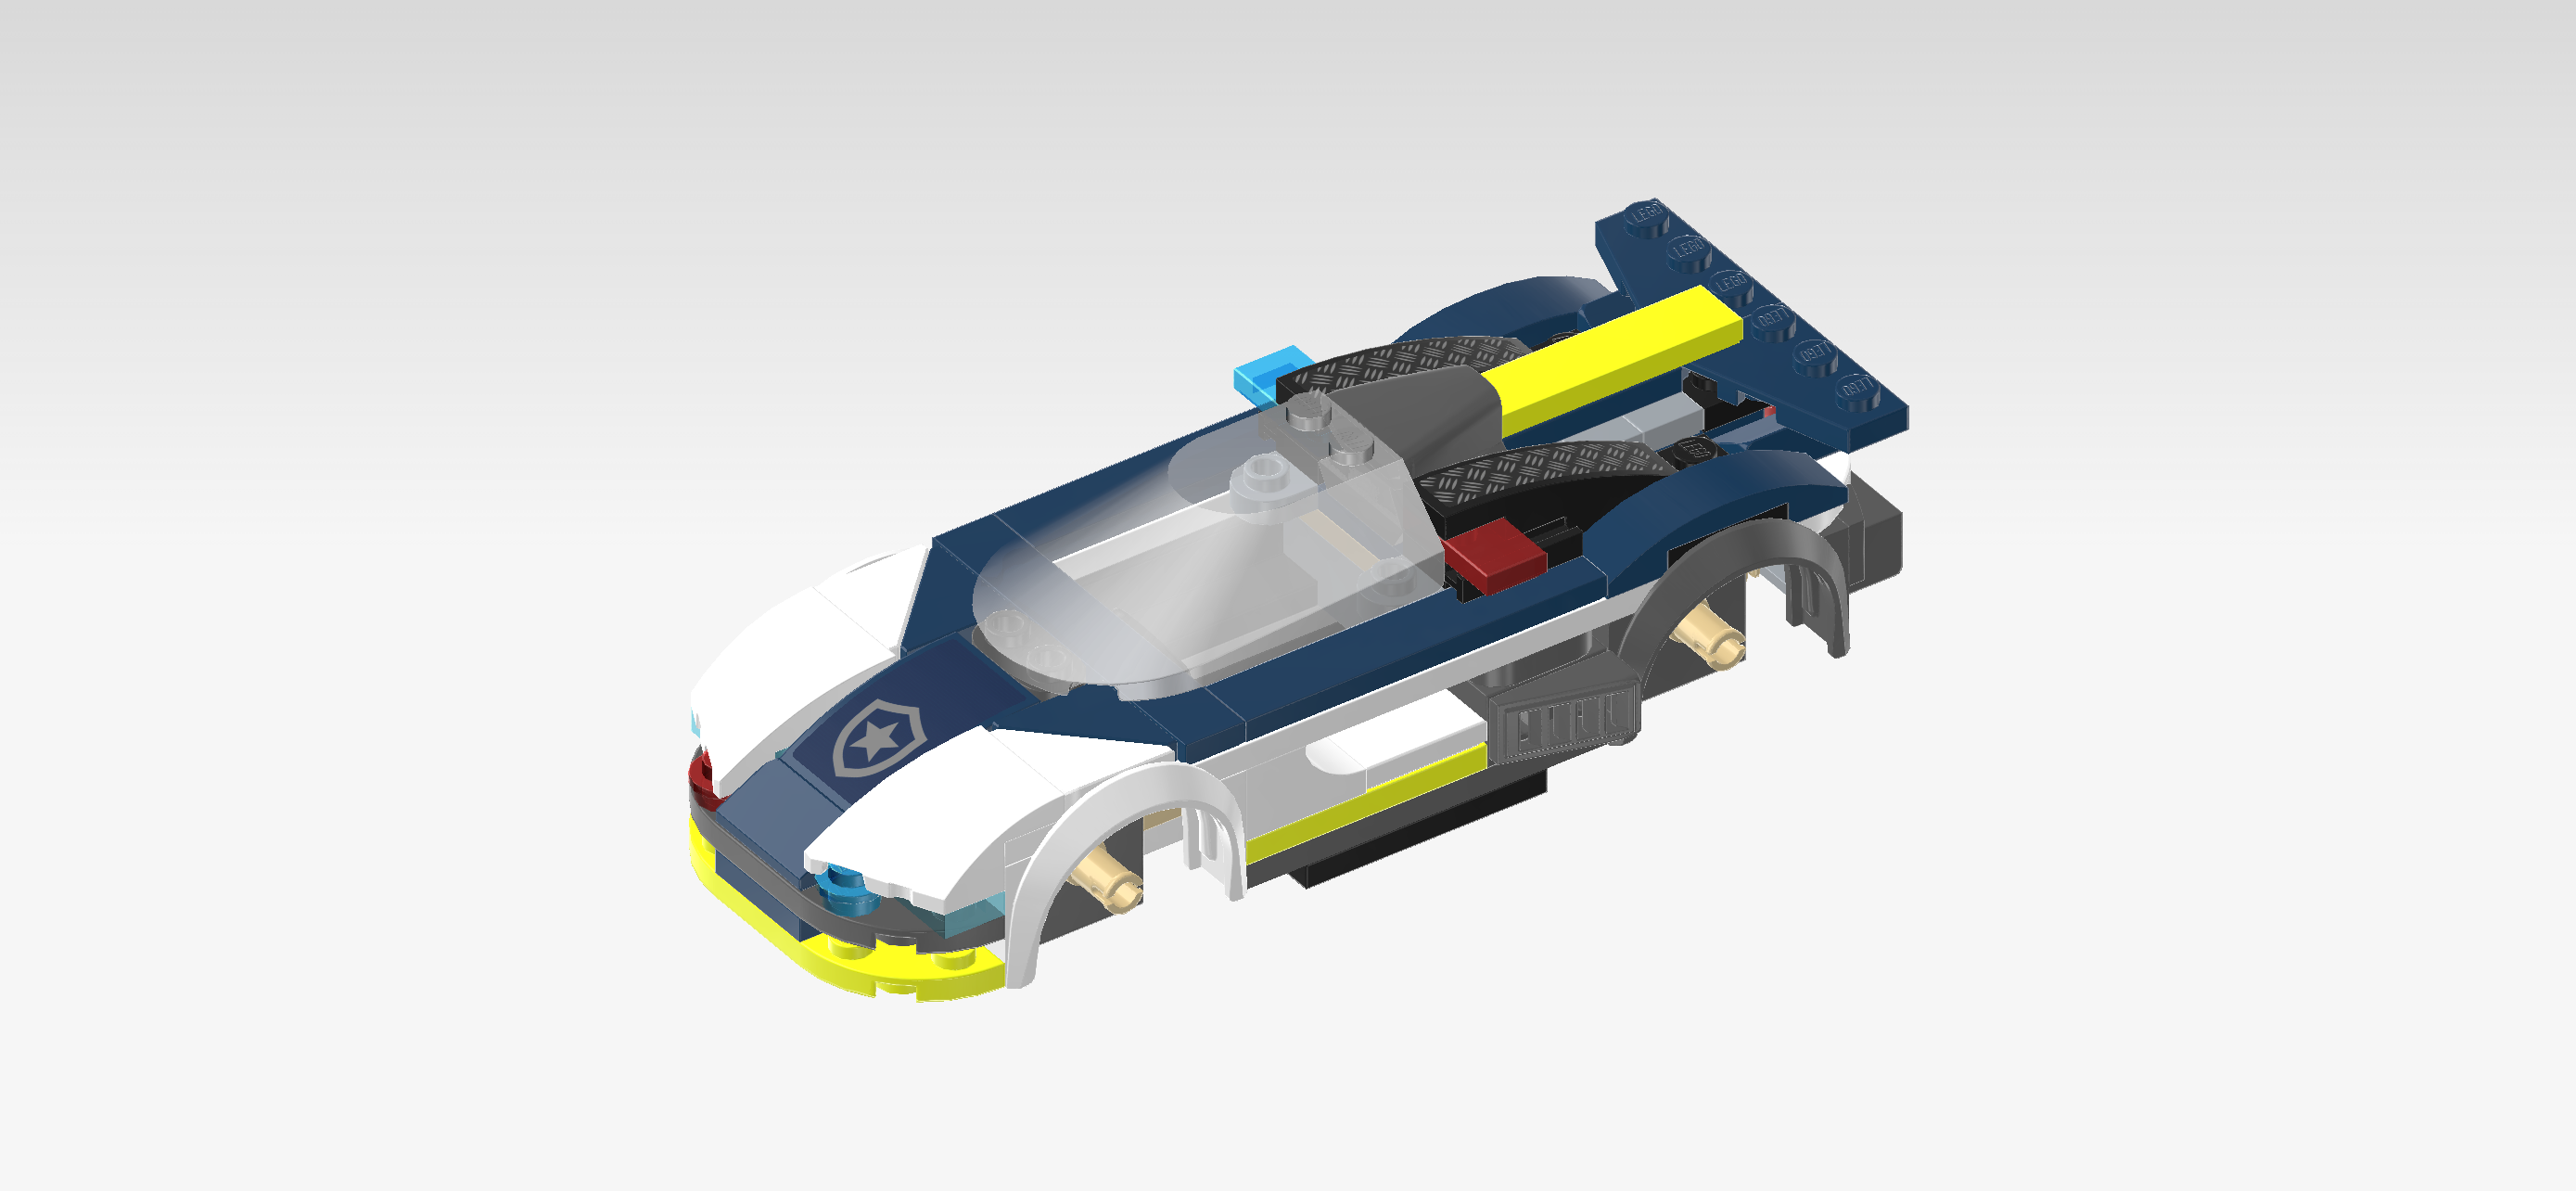
| Find 1 transparent windscreen 4x6x1⅓. |
| Put it horizontally to the left of the engine, slope to the left, 2 knobs on the right. |
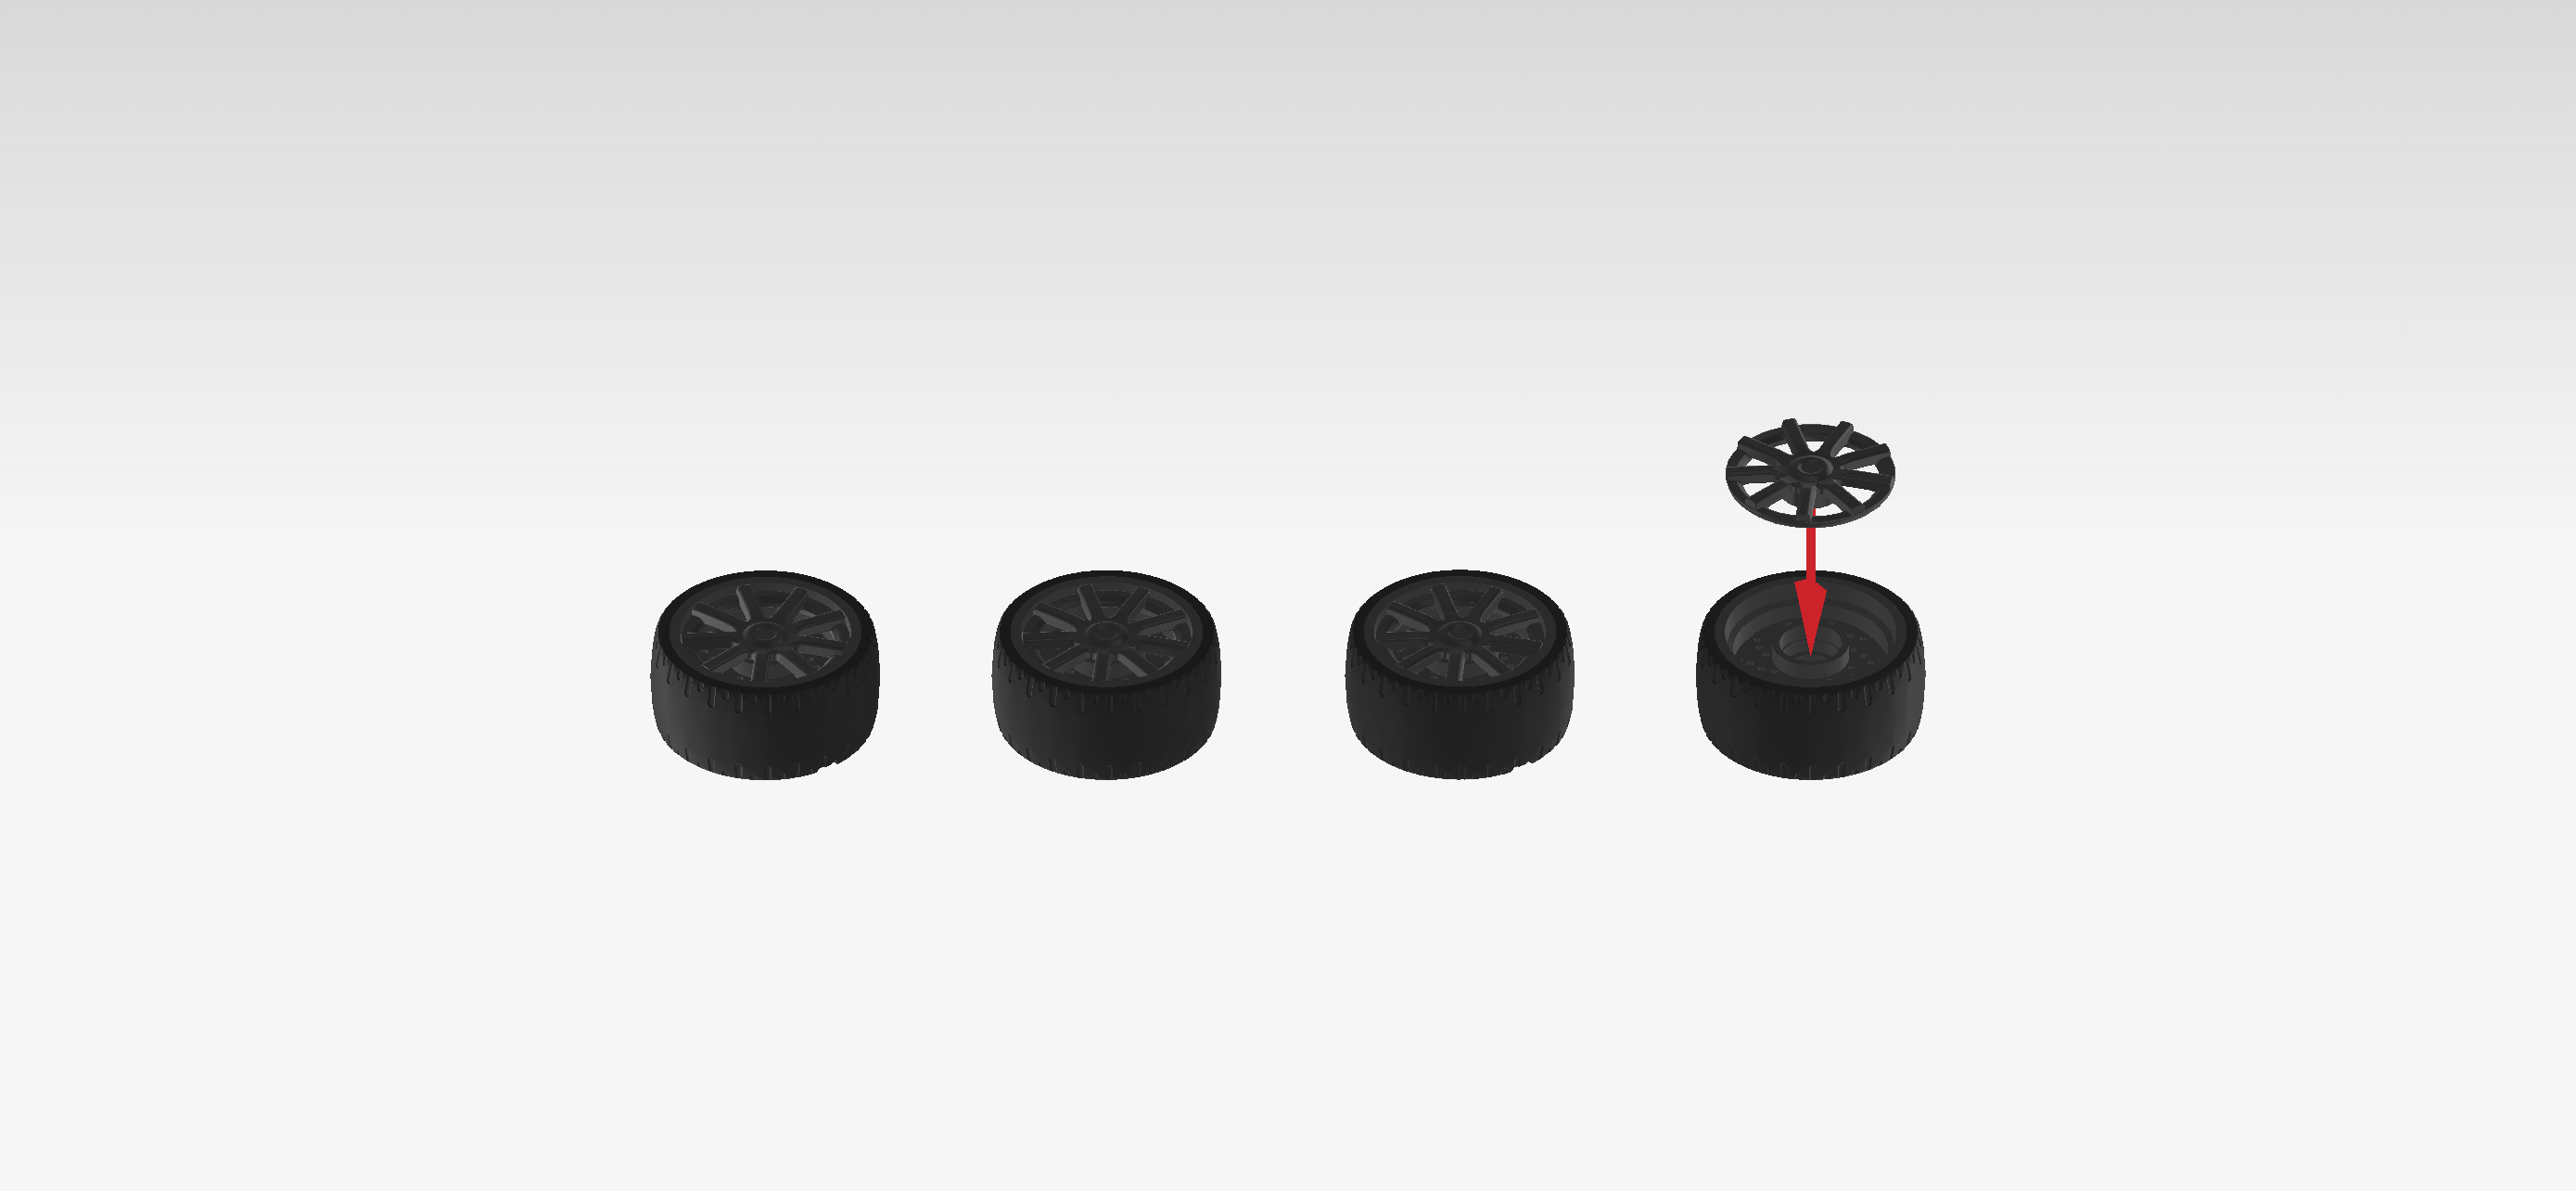
| Next, we will assemble the 4 wheels with wheel caps. |
| Collect the following 8 pieces: |
| 4 titanium metallic wheel caps with 8 spokes, |
| and 4 titanium metallic and black high-gloss racing tires with low profile. |
| Put the wheels flat on the table, and put 1 wheel cap on each wheel. |
| Snap the 4 wheels on the 4 connectors on the vehicle underbody. Make sure the wheel caps are facing outwards. |
| To put the police officer in the driver's seat, take off the windscreen and seat him behind the steering wheel. Do not push down on the Minifigure too hard; otherwise, when taking him out again, the legs might get stuck on the 4 knobs of the driver's seat. Once the Minifigure is seated, reattach the windscreen. |
| The Police Interceptor Car is finished! Well done! Time to let your police officer take this state-of-the-art vehicle for a test drive! |
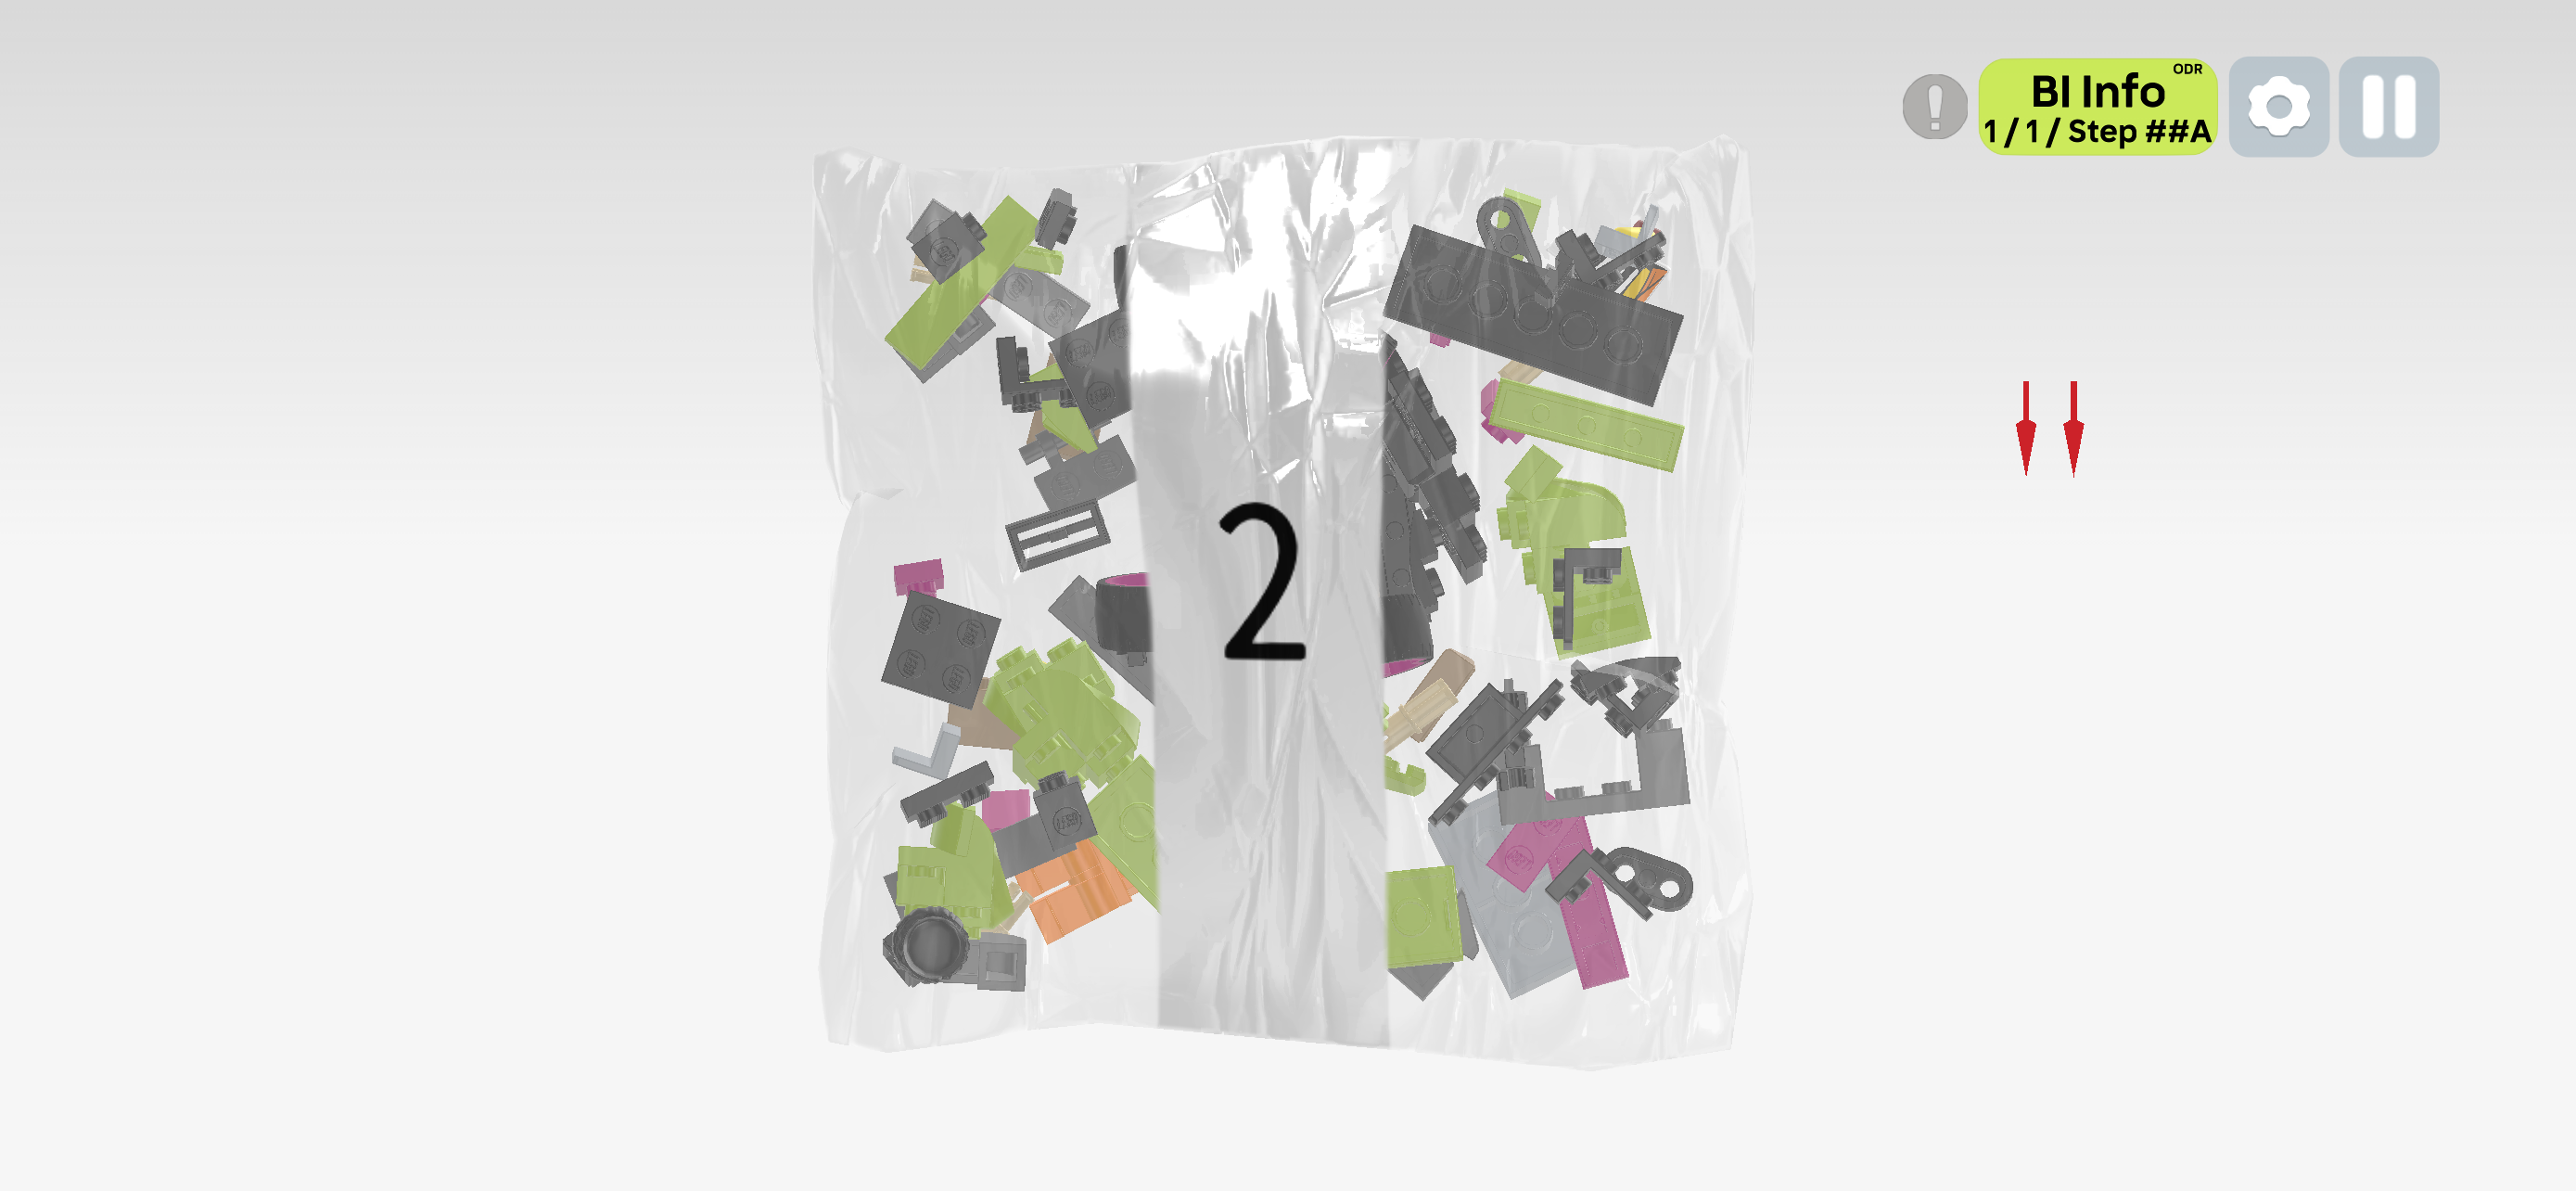
| Open bag number 2. You can choose to have the bricks sorted by color again. This bag contains all bricks and pieces for the Crook Minifigure and the Muscle Car. |
| Next, we will build the Crook Minifigure. |
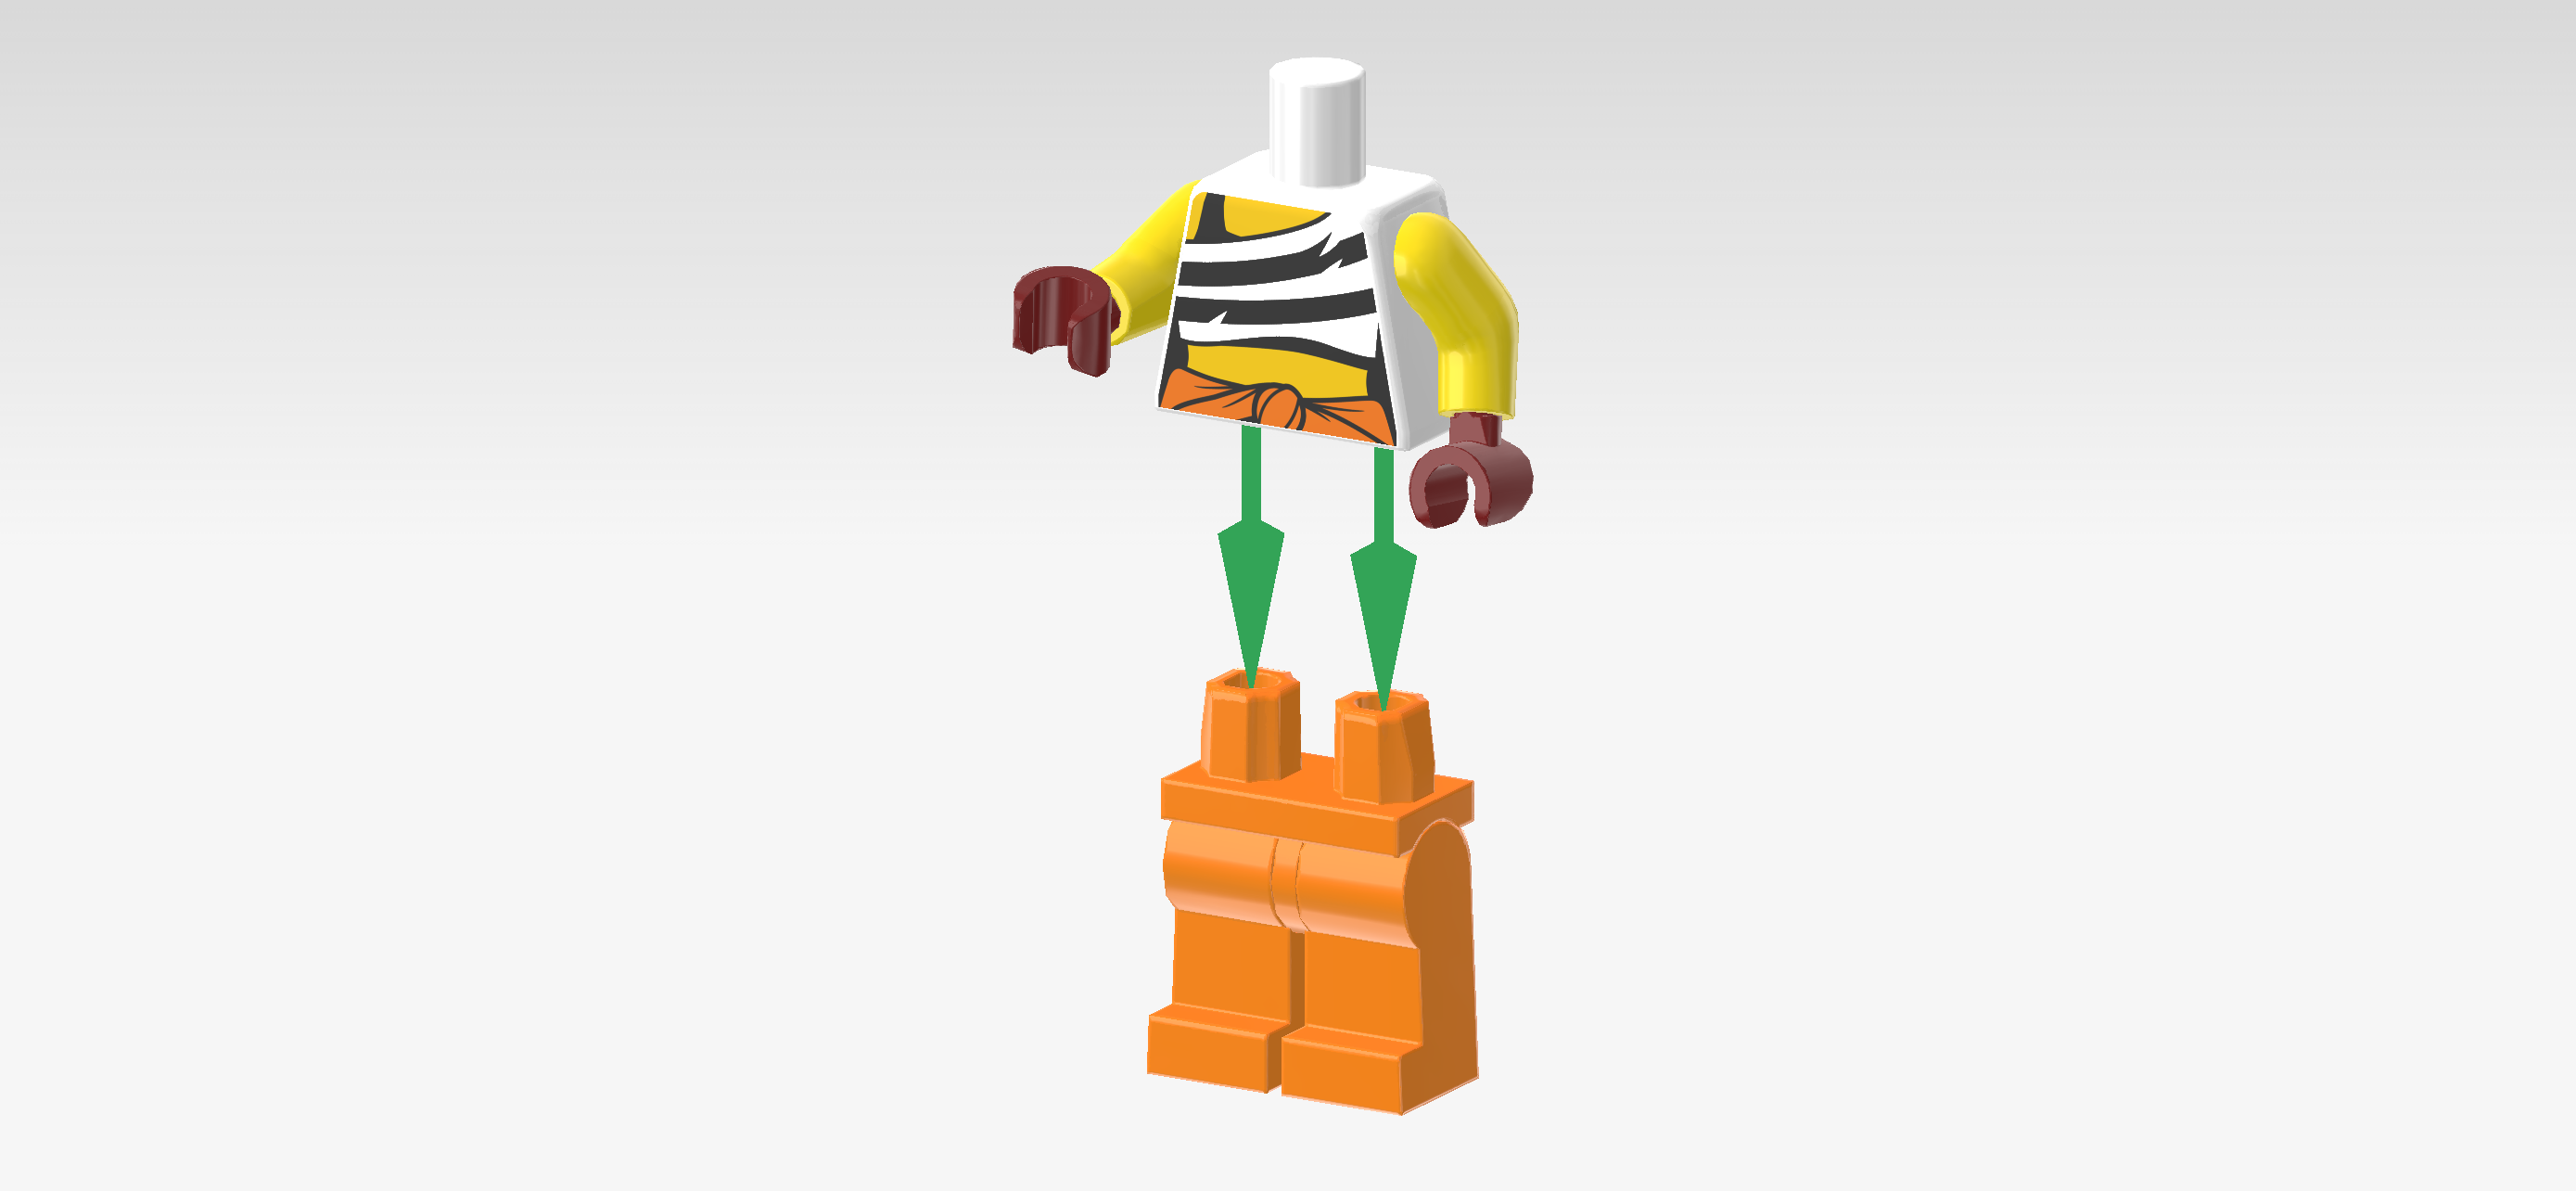
| Collect the following 2 pieces: |
| 1 bright orange pair of legs, |
| and 1 white, bright yellow and maroon red upper part of the body. |
| Put the upper body on top of the legs. Make sure the hands and toes are pointing in the same direction. |
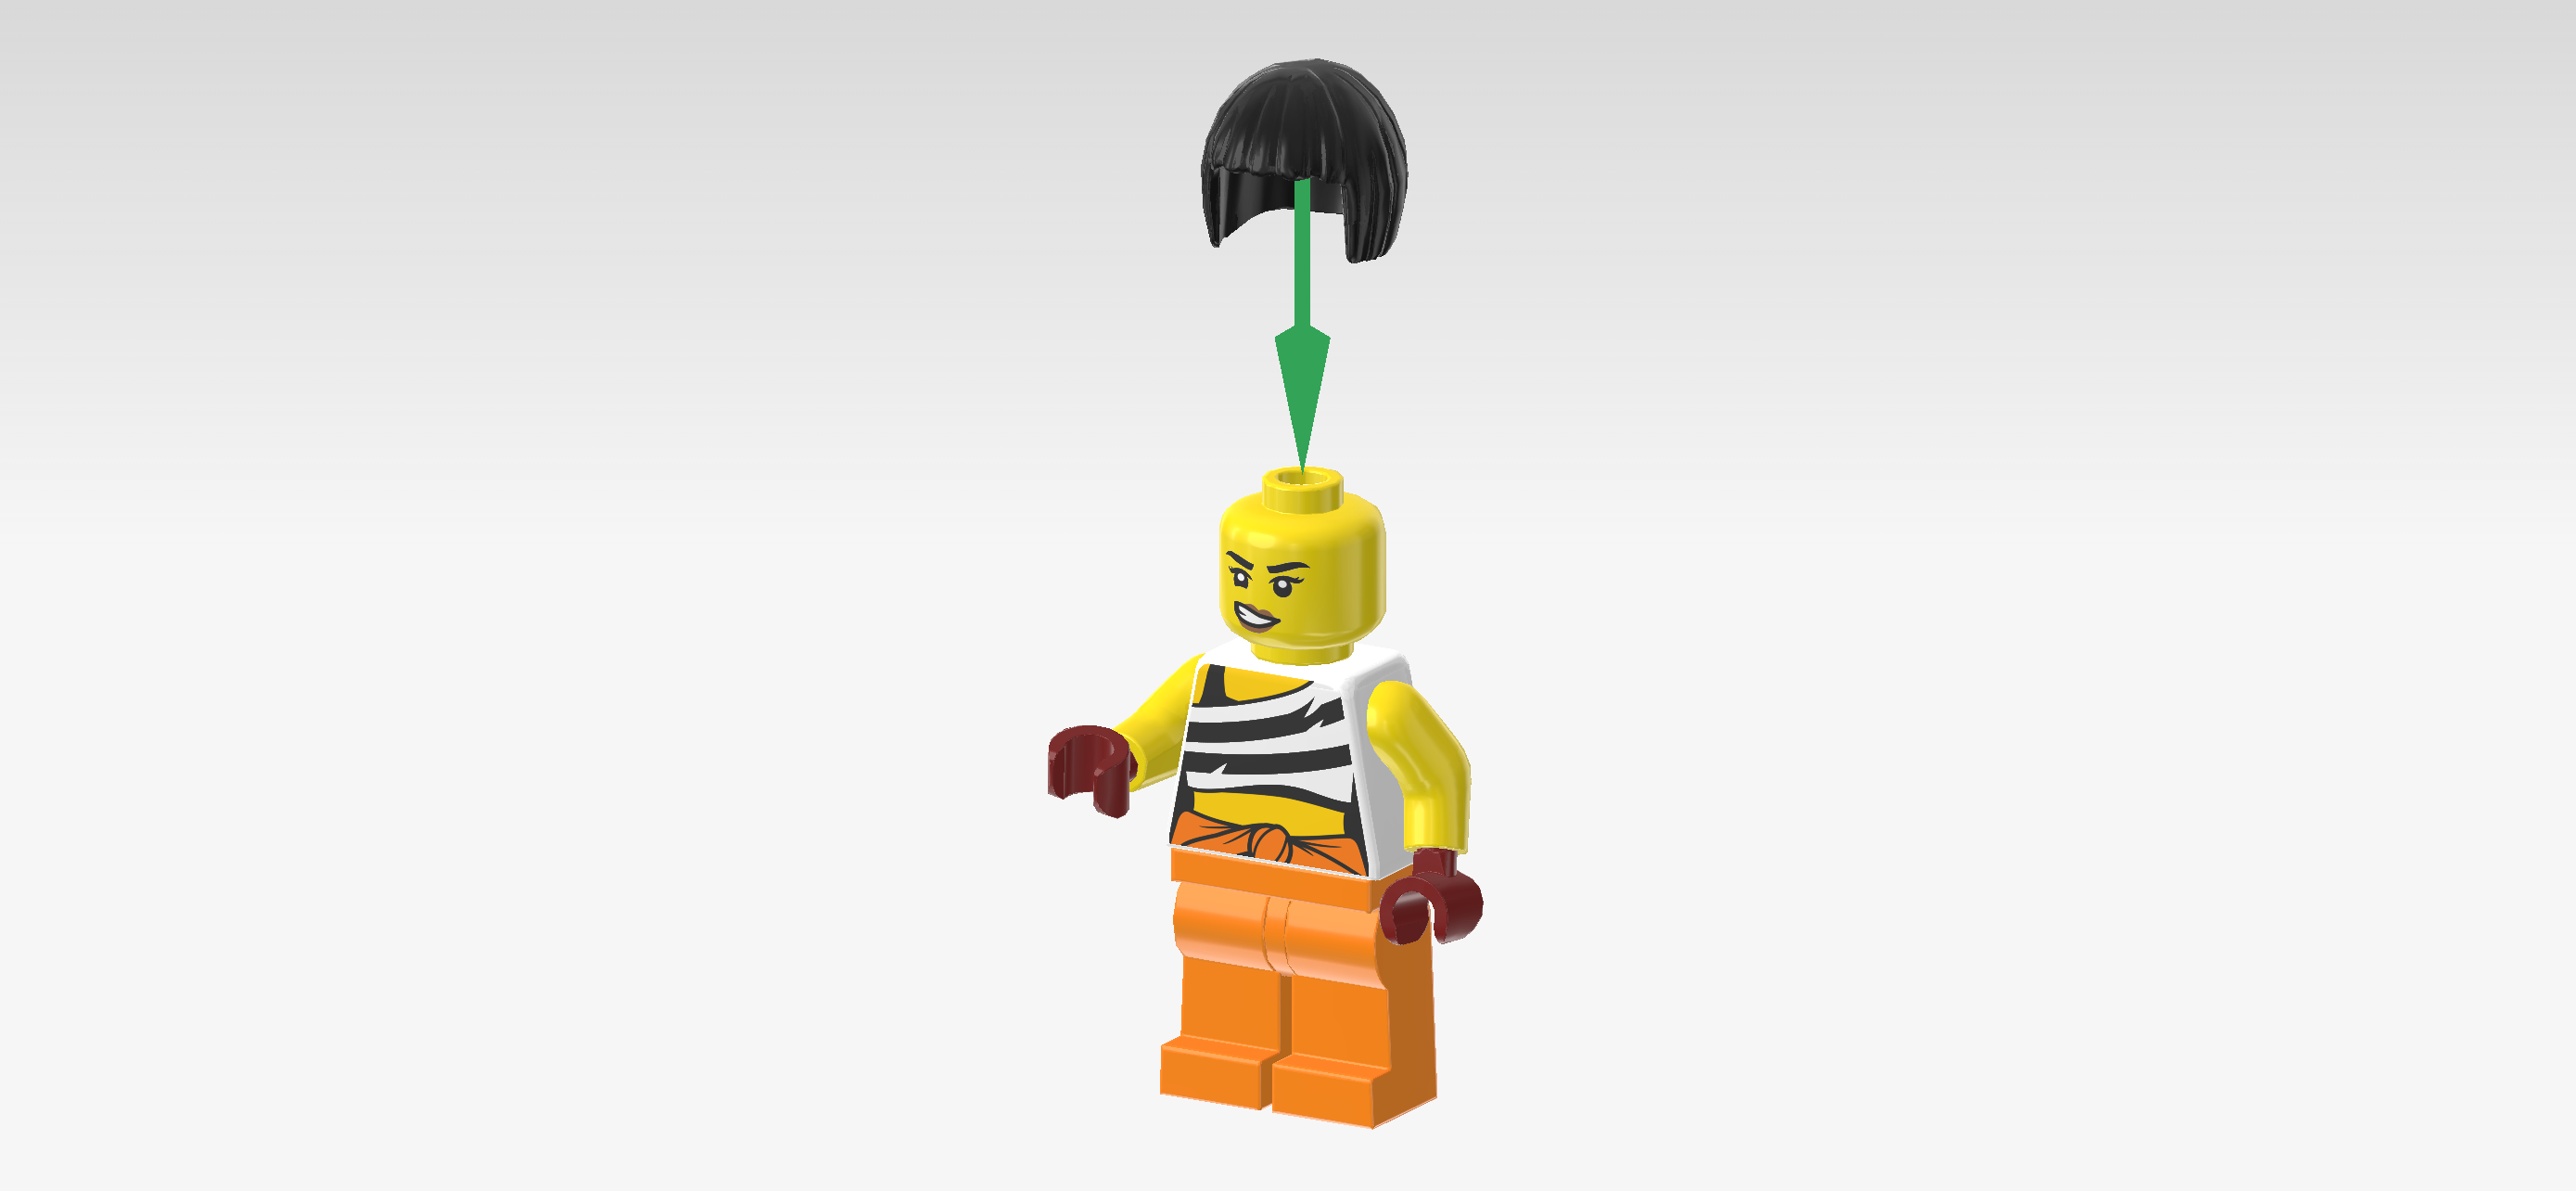
| Collect the following 2 pieces: |
| 1 black hairpiece with a bob hairstyle, |
| and 1 bright yellow Minifigure head. |
| Put the head on the body. |
| Put the hair on top. |
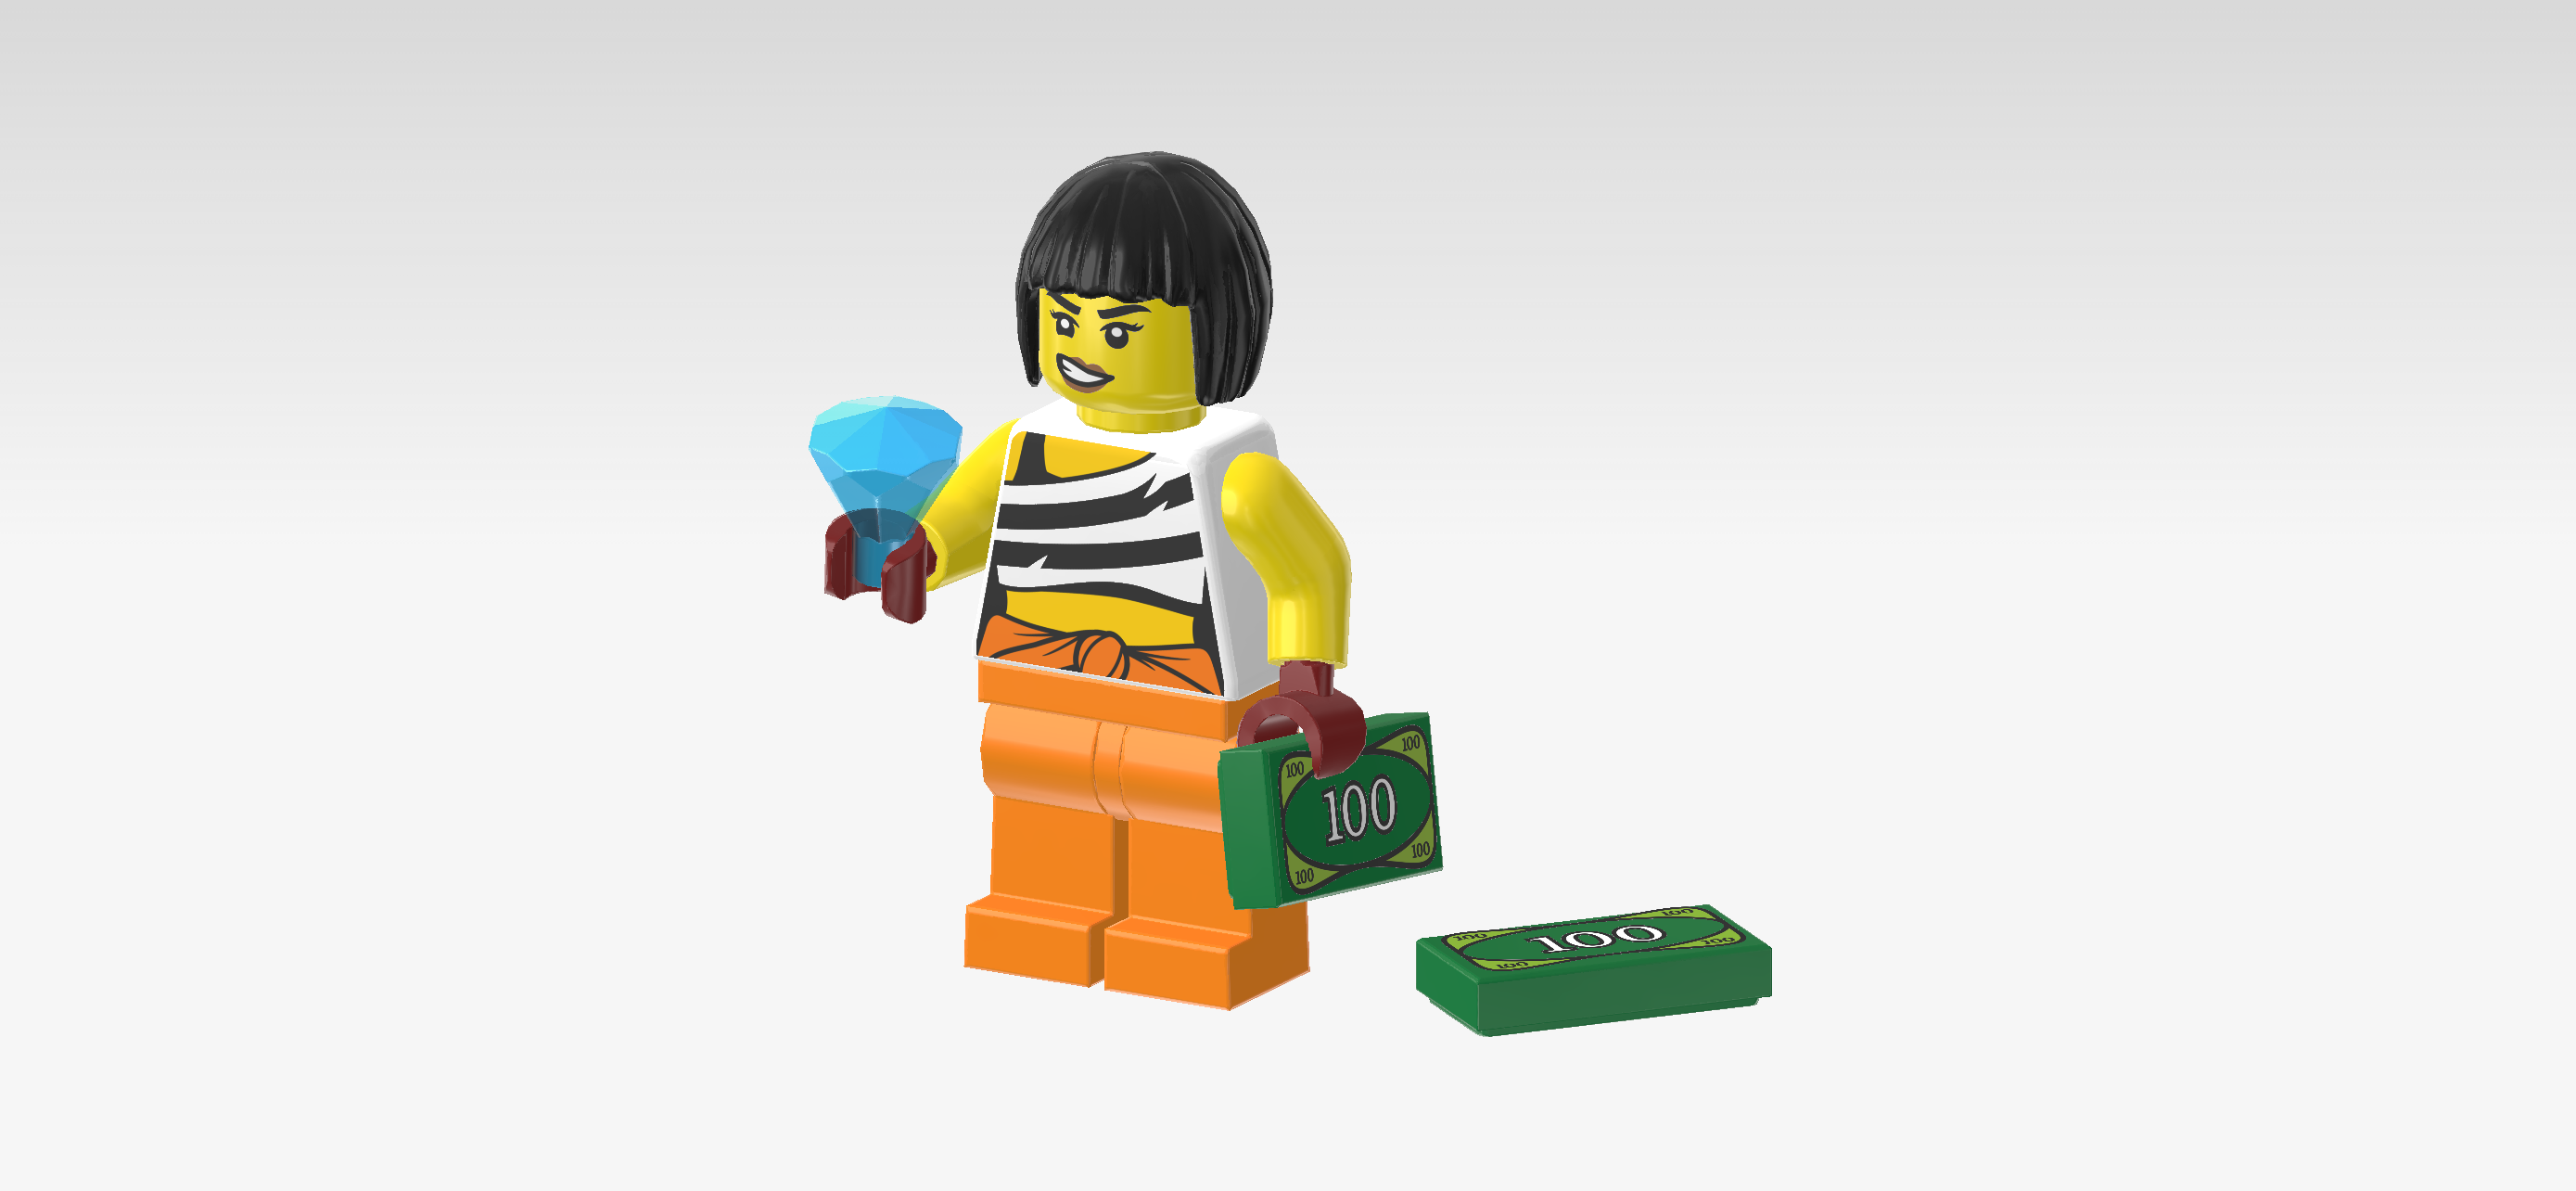
| Collect the following 3 pieces: |
| 1 transparent blue diamond with small bottom shaft, |
| and 2 dark green flat tiles 1x2. |
| Snap the shaft of the diamond into the crook's right hand. |
| Snap one of the printed flat tiles into the left hand. |
| The other flat tile is a spare. These tiles are printed as banknotes! Each is worth 100. |
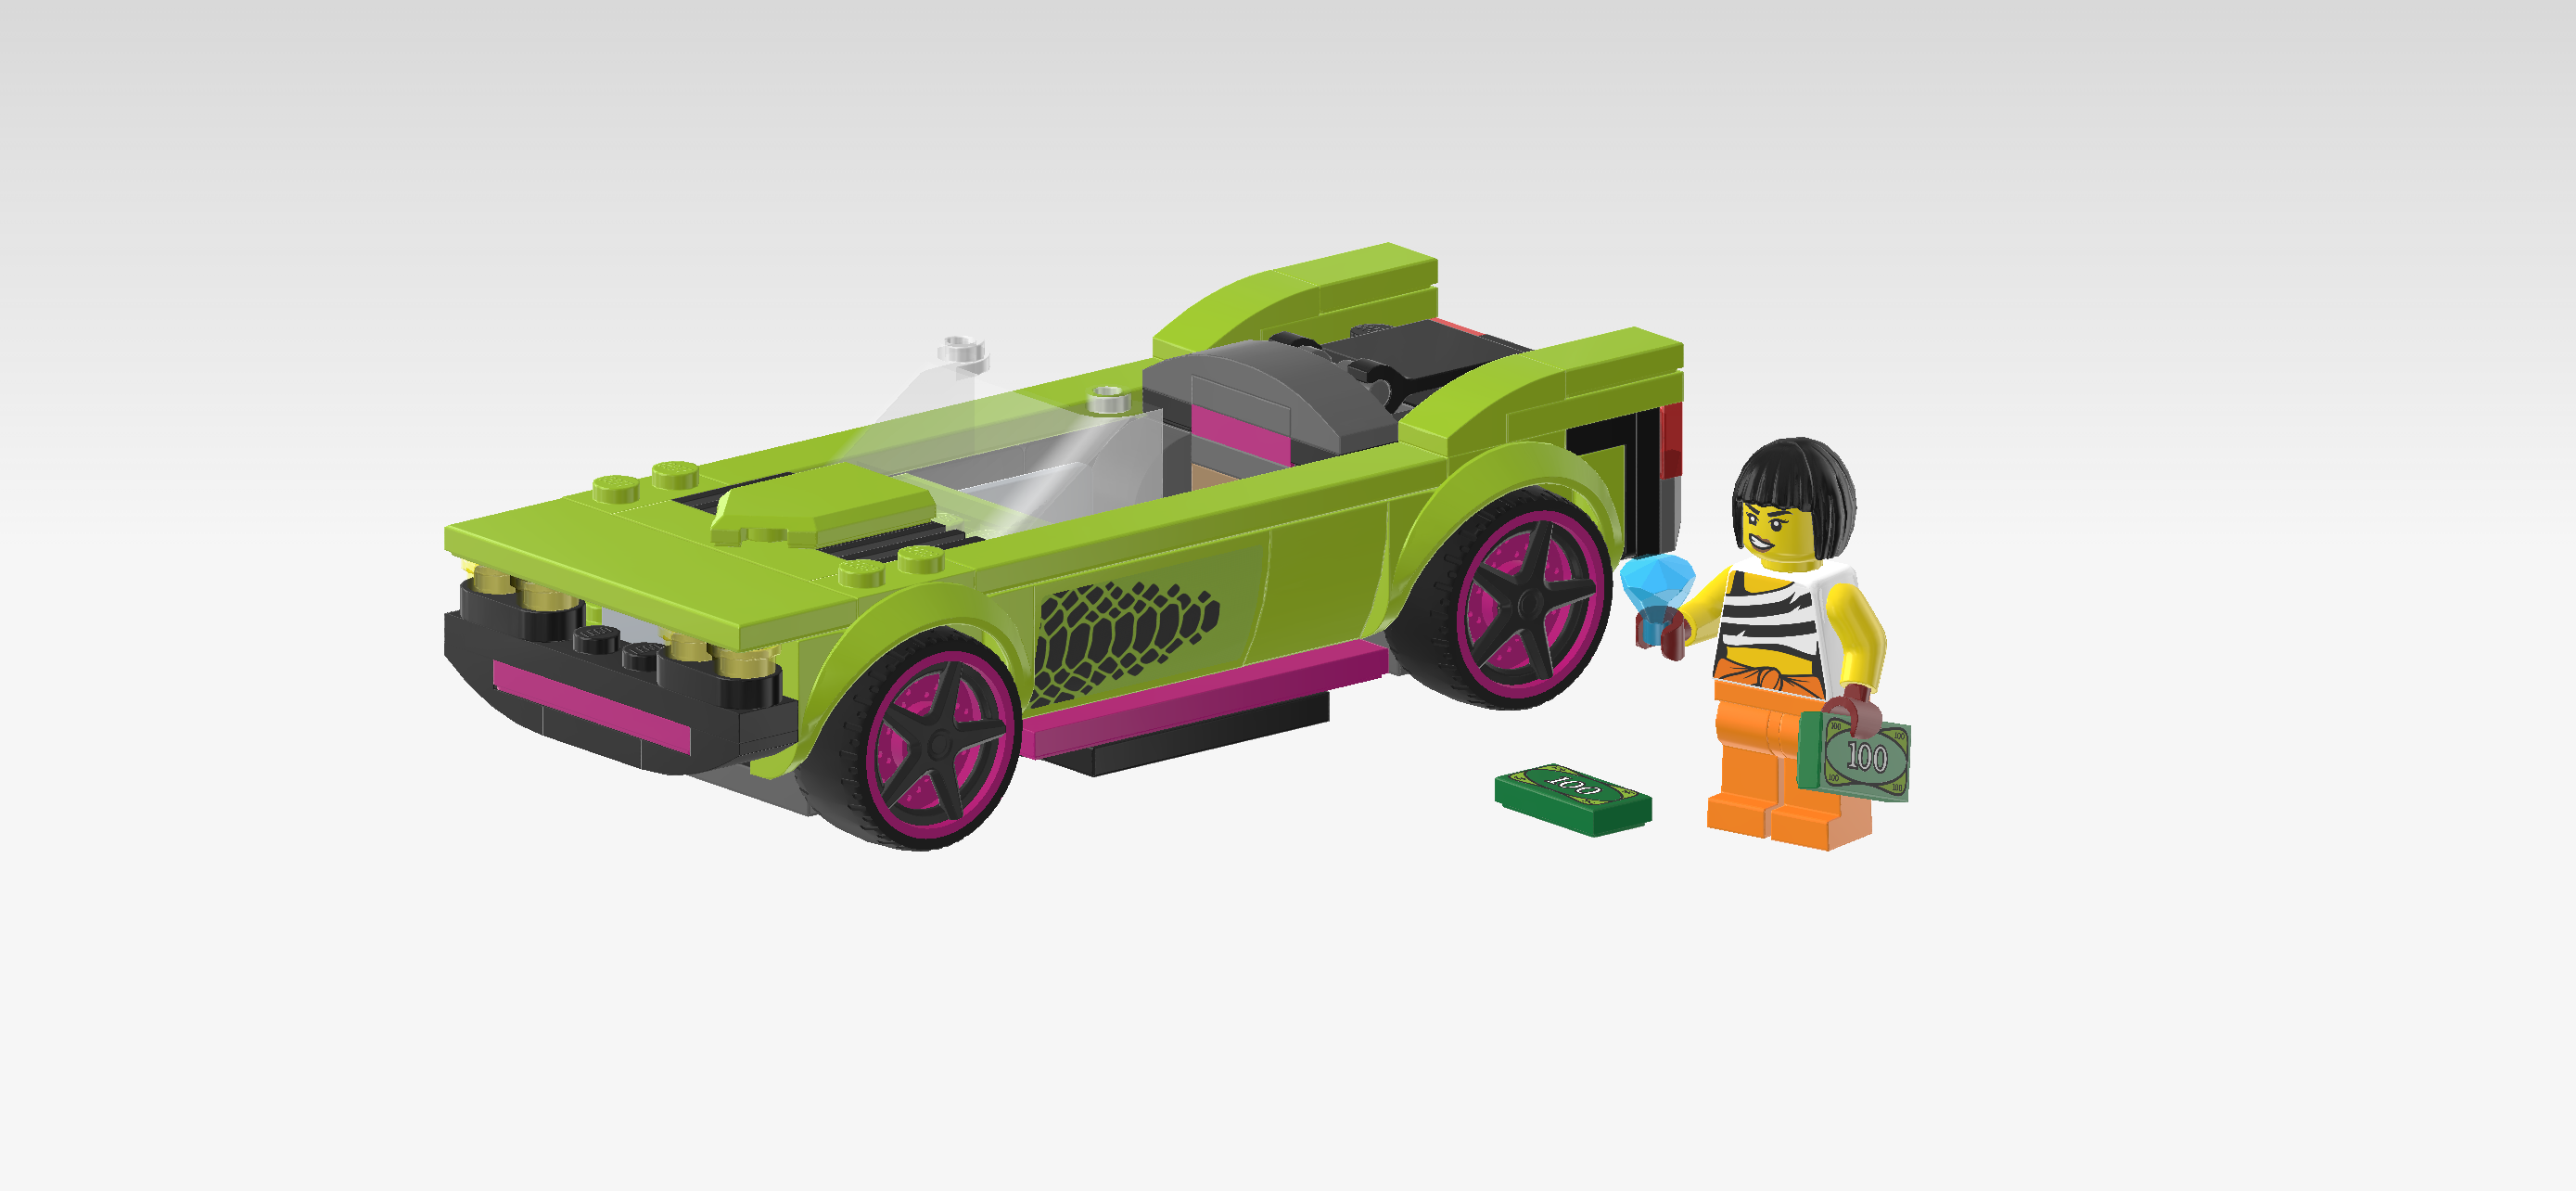
| The Crook Minifigure is finished! Great job! She has a sneering expression on her face: a grimacing smile and raised eyebrows. She is wearing an asymmetrical crop top with black and white horizontal stripes and an orange high-waist pair of trousers. With loot in hand, she will try to escape as soon as possible. So we better start building her muscle car! |
| Next, we will build the Muscle Car. |
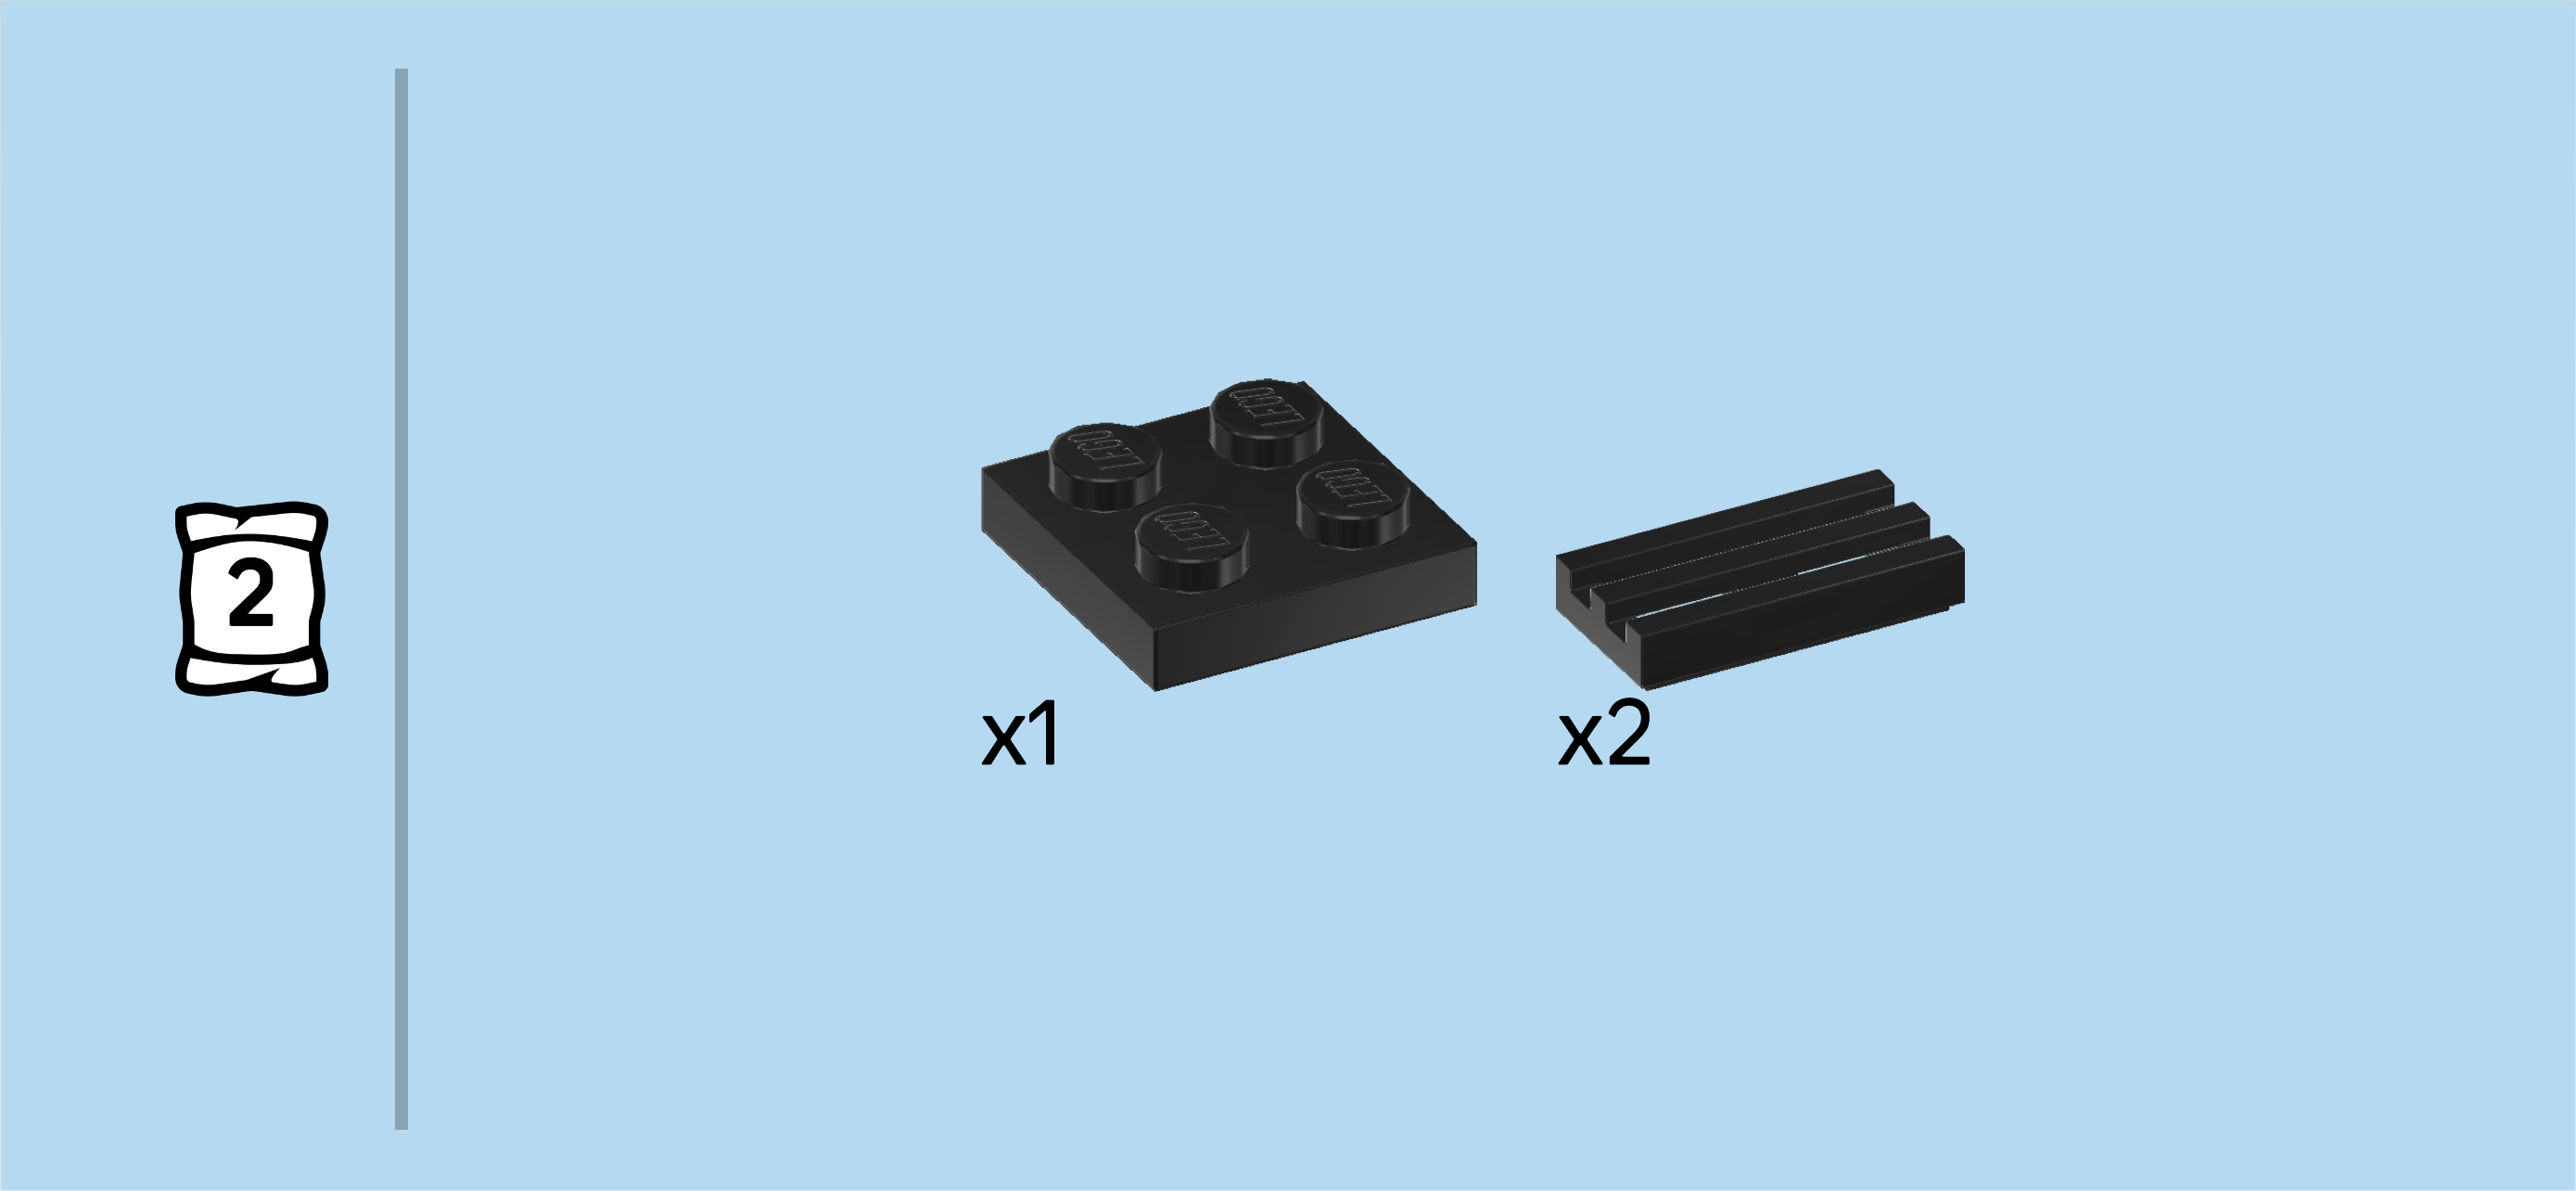
| Collect the following 3 pieces: |
| 1 black vehicle underbody 6x12, |
| and 2 purple violet flat tiles 1x6. |
| Put the vehicle underbody horizontally on the table. |
| Put 1 flat tile 1x6 horizontally centered on the backmost row, symmetrically overhanging to the left and right. |
| Repeat symmetrically at the front. |
| Find 2 dark stone grey bearing plates 2x4x1⅓ with 2 cross holes. |
| Put 1 vertically underneath the 2 leftmost columns, brick parts protruding to the top at the front and back. |
| Repeat symmetrically on the right. |
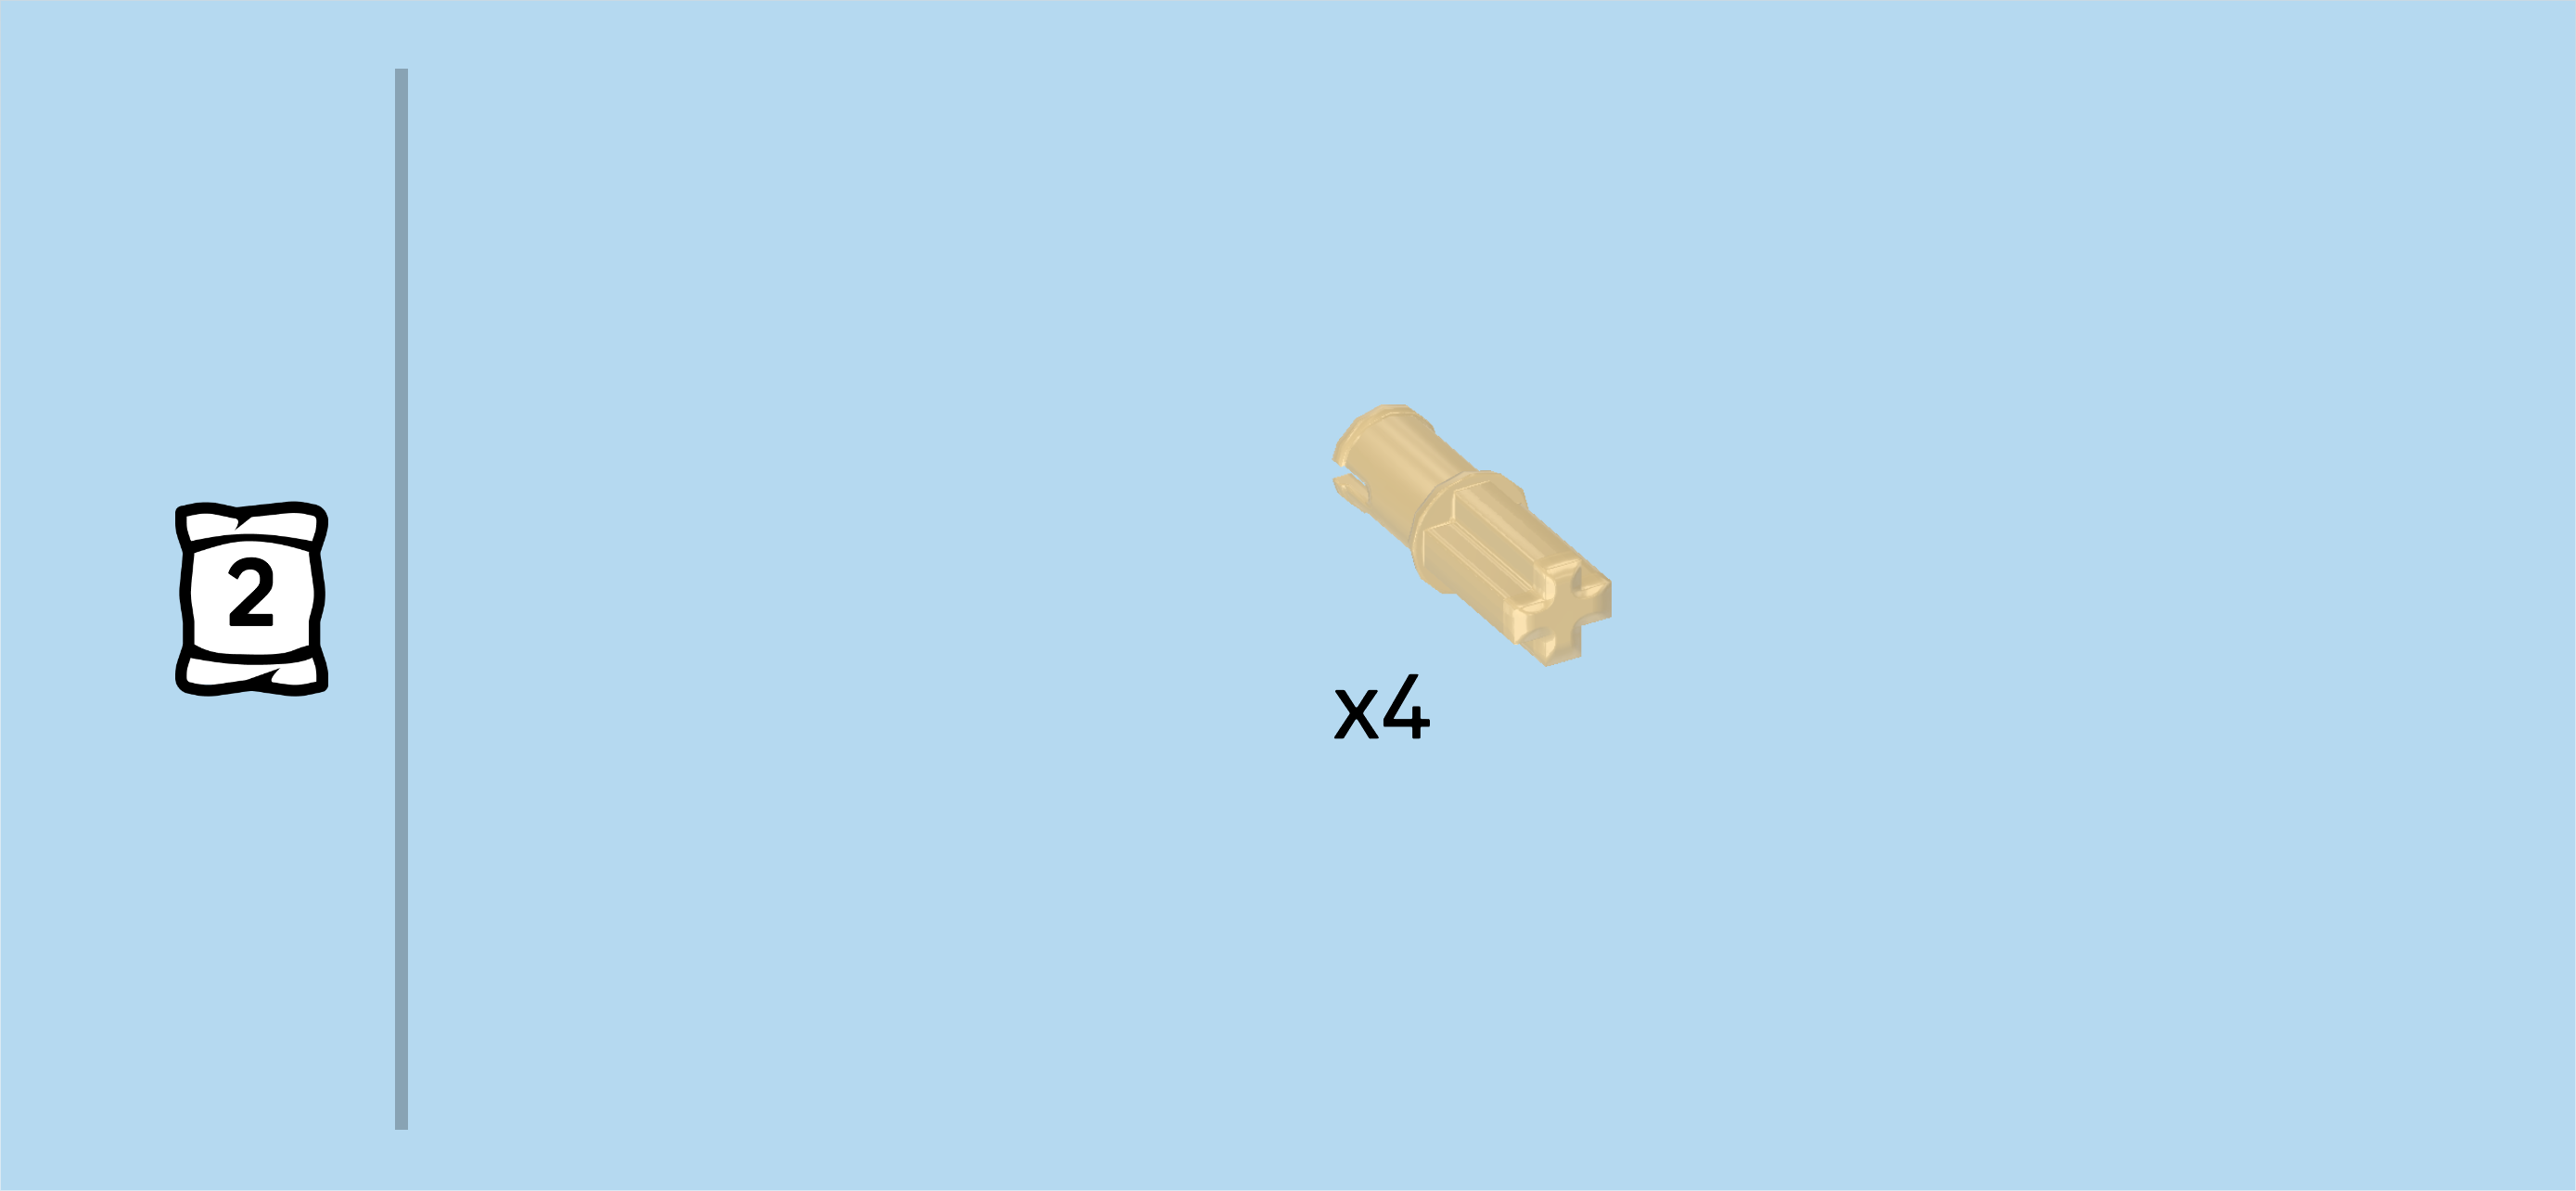
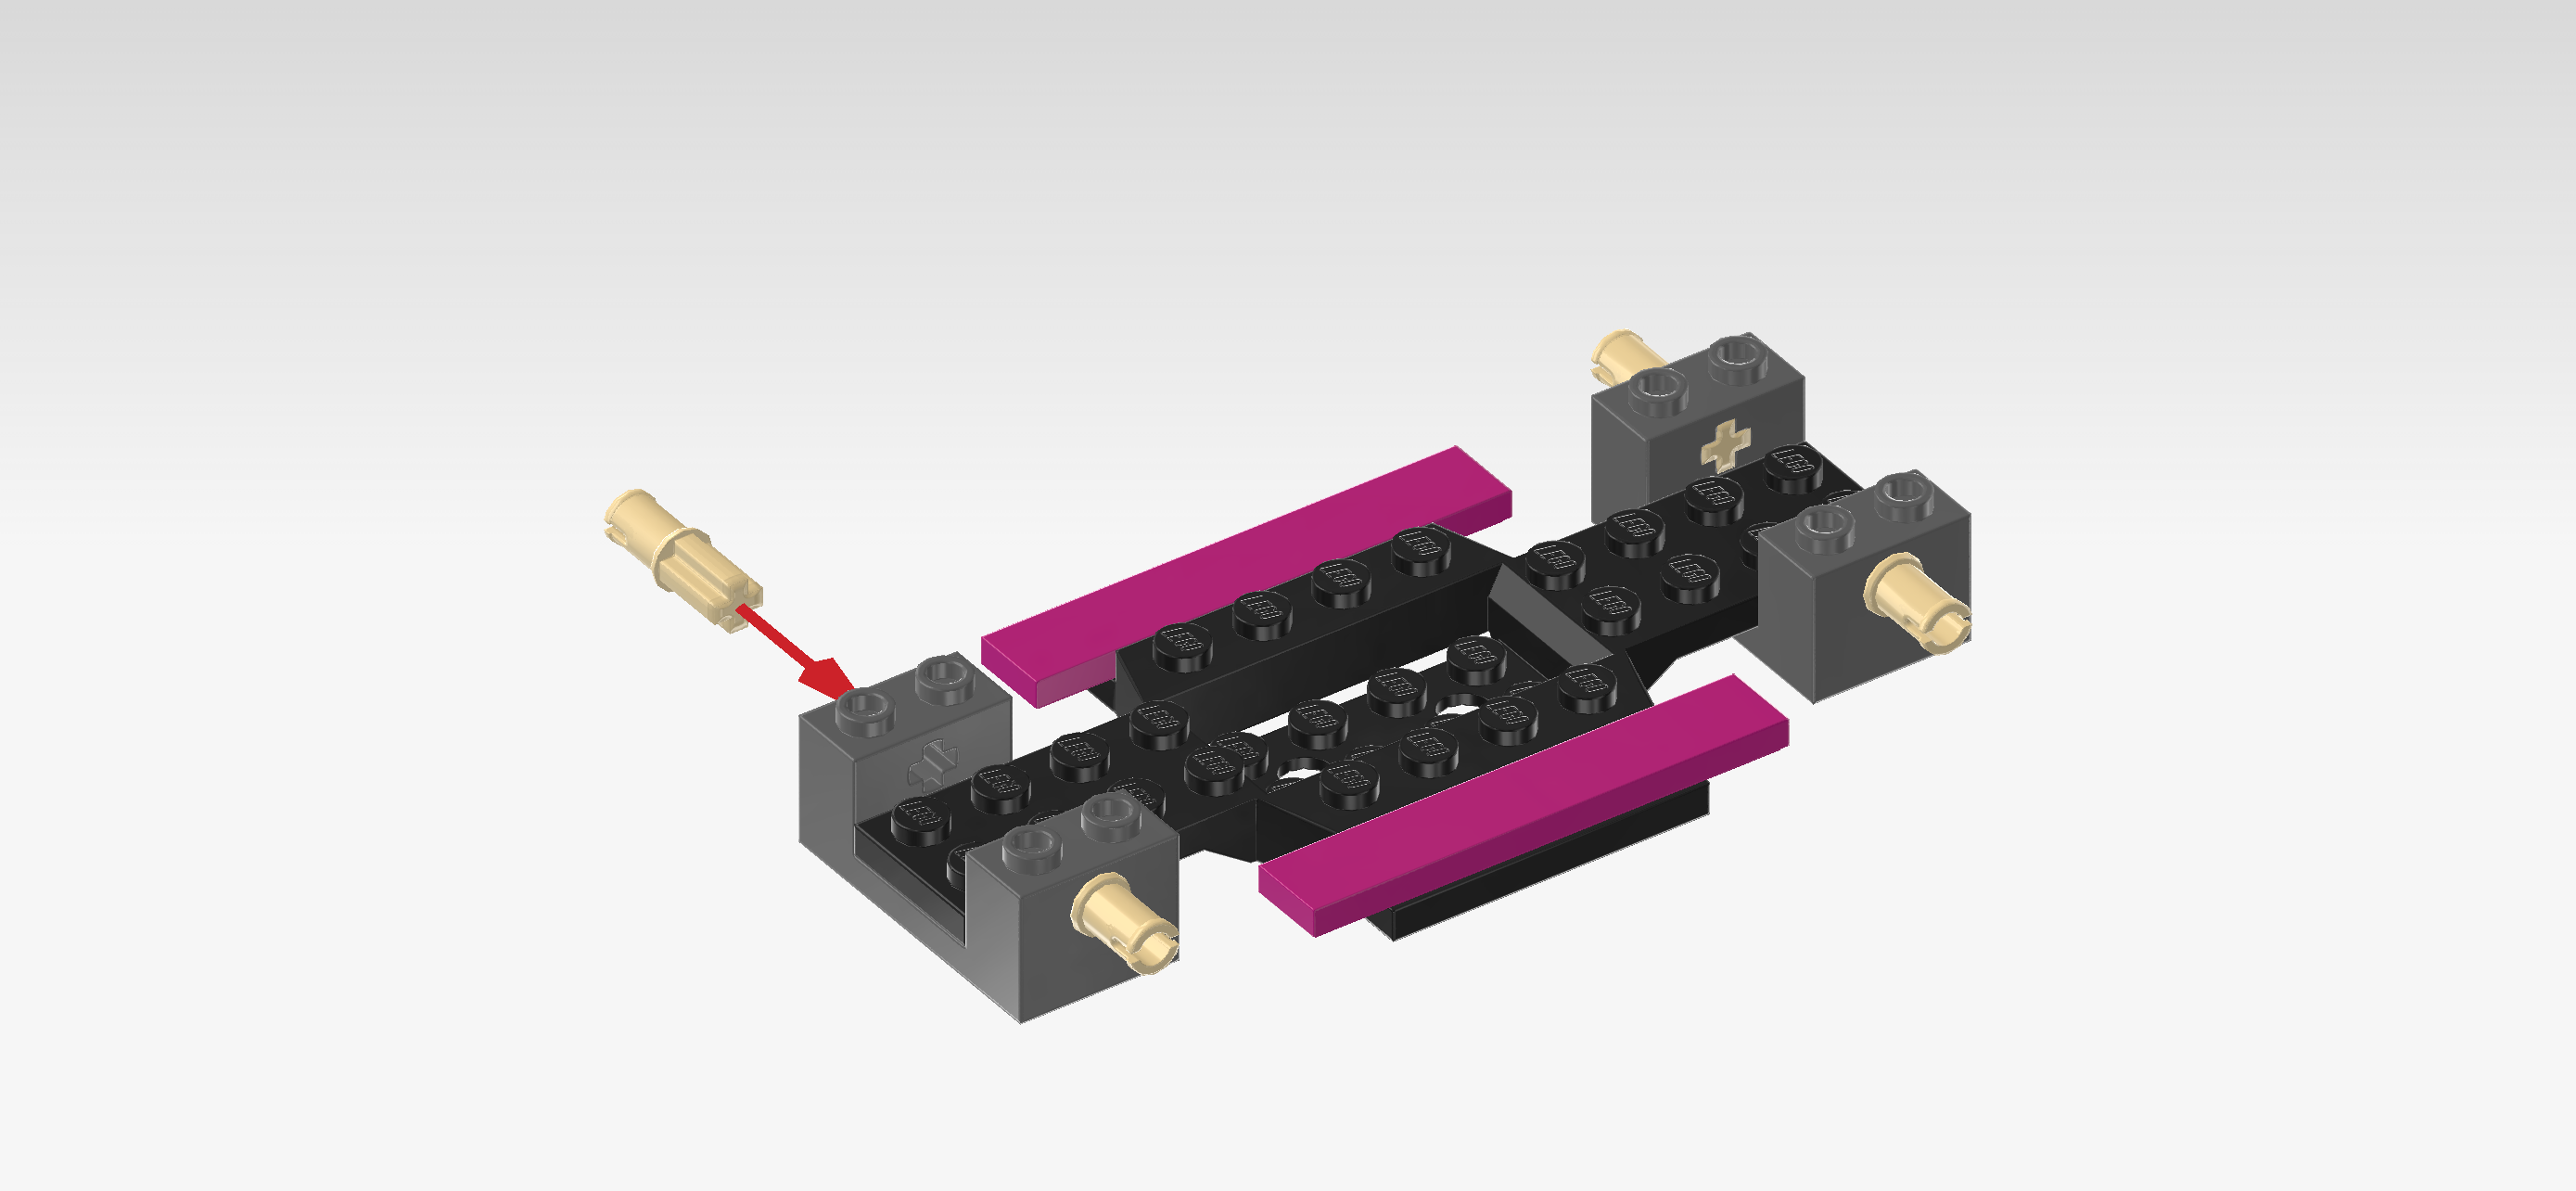
| Find 4 pale ocher yellow connector pegs 2m with cross axle pin. |
| Insert the cross axle pin of 1 into the front cross hole of the previous piece, 1/2 protruding to the front. |
| Repeat symmetrically at the back. |
| Repeat with the 2 remaining pieces on the left. |
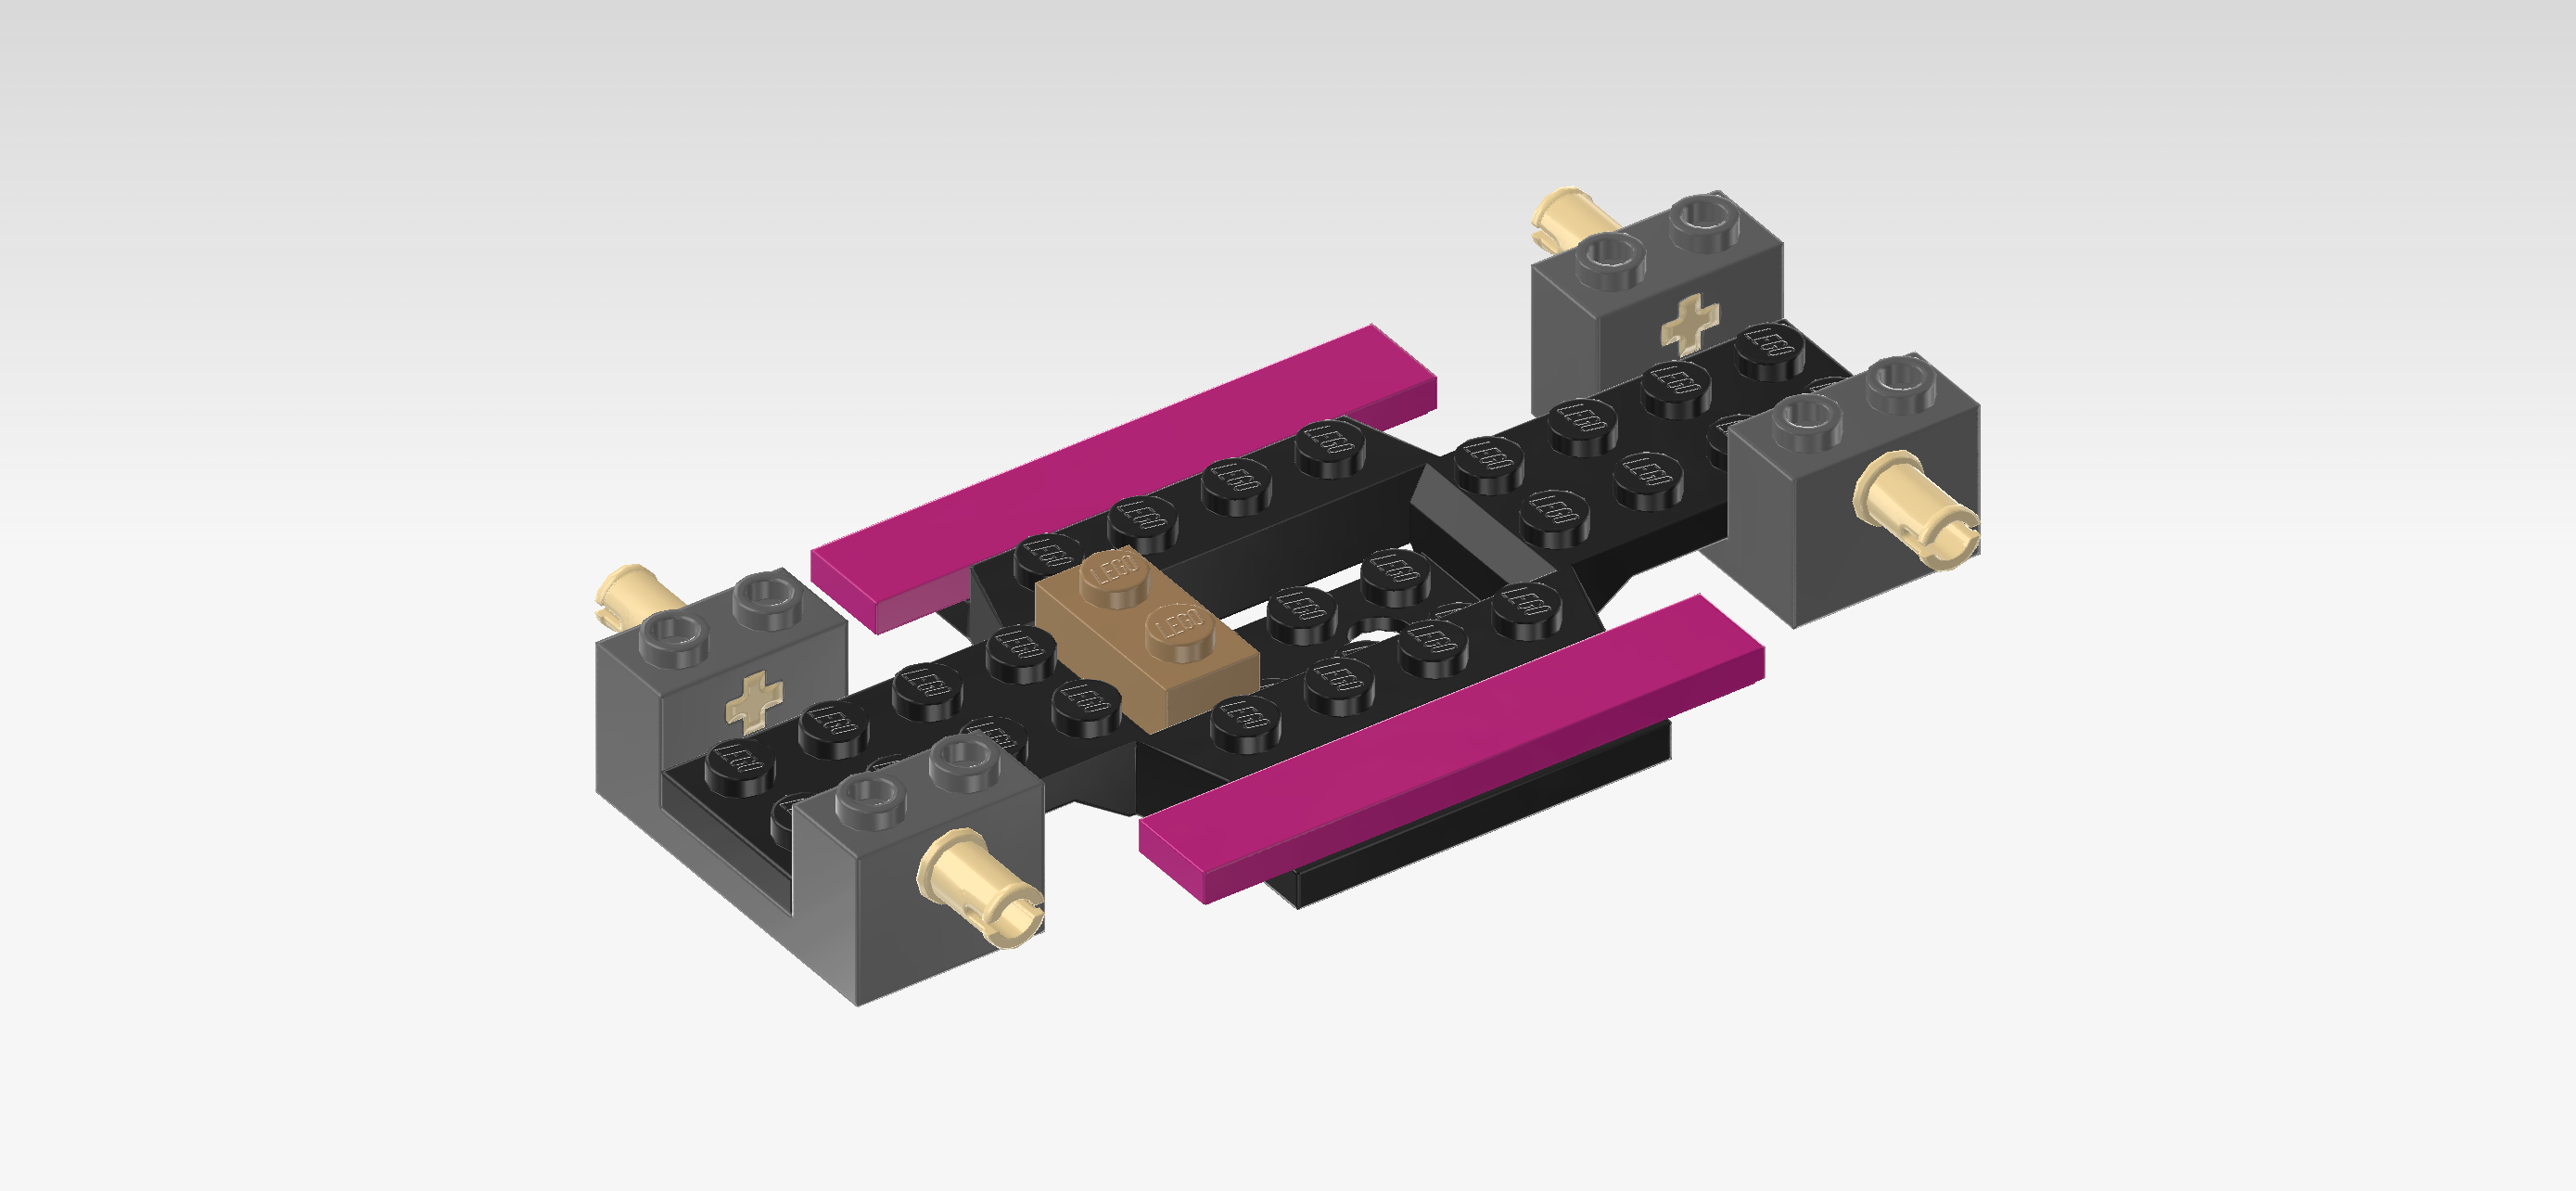
| Find 1 mud grey brick 1x2. |
| Put it vertically on the leftmost column of the recess. This means it will sit on the fifth column counted from the leftmost edge. |
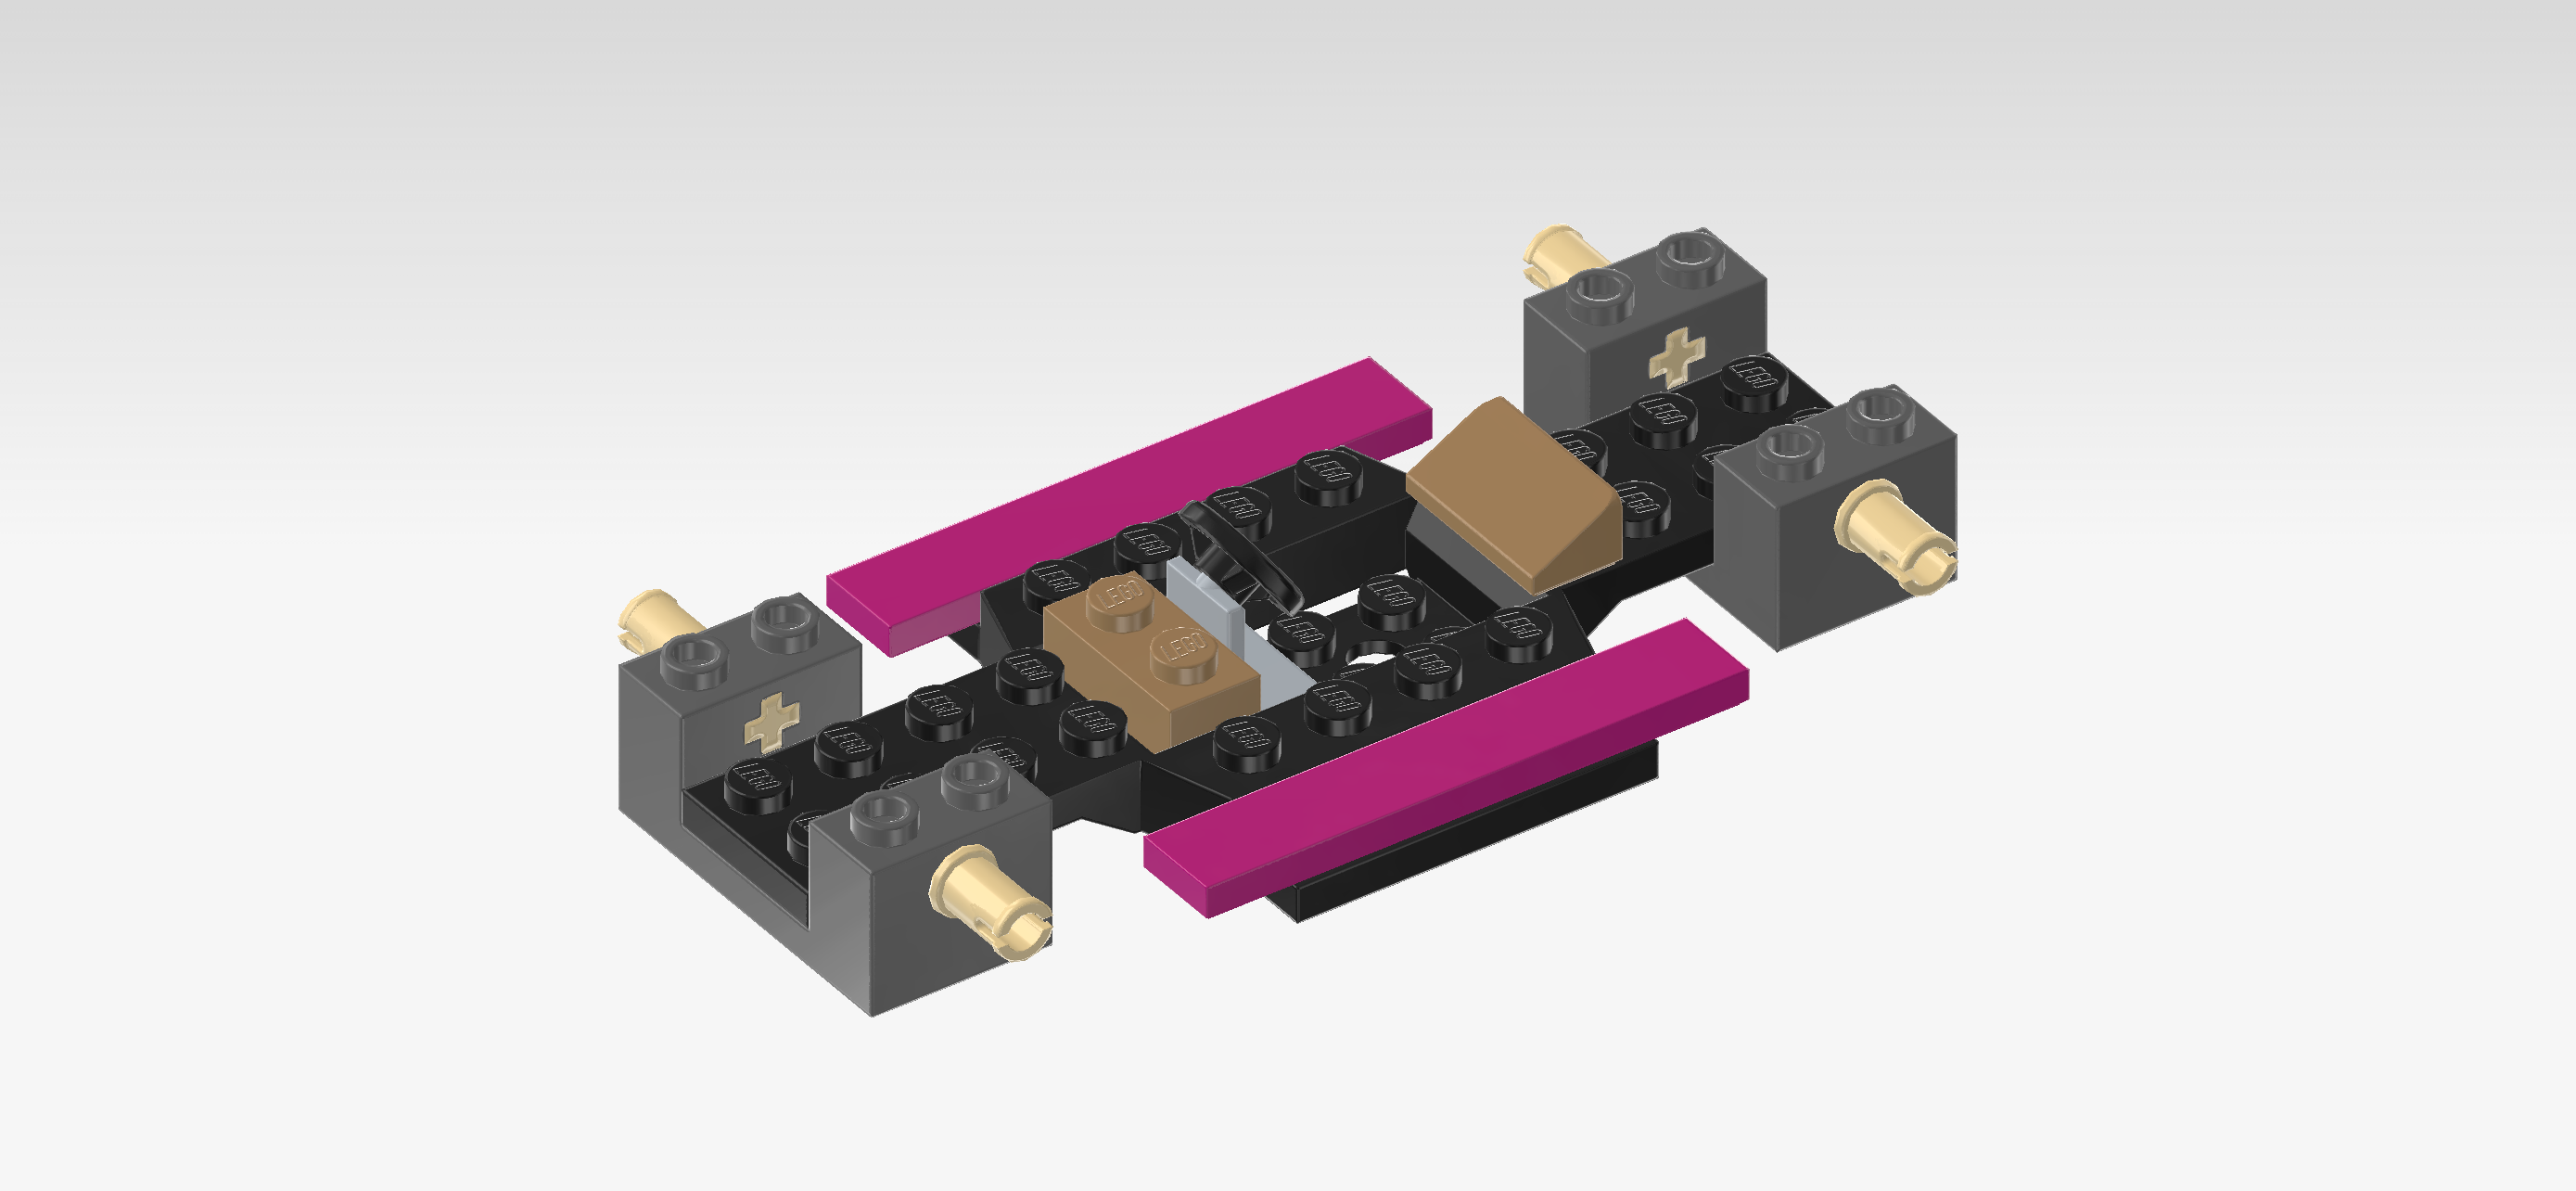
| Collect the following 2 pieces: |
| 1 black and medium stone grey small steering wheel with plate 1x2, |
| and 1 mud grey smooth roof tile 1x2x⅔. |
| Put the small steering wheel vertically to the right of the brick 1x2 in the recess, steering wheel to the right. |
| Put the smooth roof tile 1x2 vertically centered on the fourth column from the right, slope to the left. |
| This will later be the seatback of the driver's seat! So once we are done with the car, the seating area for the driver will be between this roof tile and the steering wheel. |
| Find 2 purple violet plates 1x4 with 2 knobs. |
| Put them horizontally next to each other to the right of the previous piece, 1 column overhanging to the right. This means they will sit on the 2 middle rows. |
| Find 2 mud grey bricks 1x2. |
| Put 1 vertically on the 2 right knobs of the 2 previous pieces. |
| Put the other one vertically on the 2 left knobs of the 2 pieces from the previous step. This means it will sit to the right of the smooth roof tile 1x2. |
| Find 2 black bottom angle plates 1x2 - 2x2 with 4 side knobs. |
| Put 1 horizontally on the row behind the smooth roof tile 1x2, 4 side knobs to the back. Its left knob connects to that row, but the right knob will hover freely without connecting to anything. |
| Repeat symmetrically at the front, side knobs to the front. |
| Next, we will build the trunk with wheelhouses. |
| Collect the following 2 pieces: |
| 1 dark stone grey plate 1x4, |
| and 1 purple violet plate 1x2. |
| Put the plate 1x4 horizontally on the table. |
| Put the plate 1x2 horizontally on the 2 middle knobs. |
| Find 2 black plates 1x4 with 2 knobs. |
| Put 1 vertically on the leftmost knob of the plate 1x4, 3/4 overhanging to the back. |
| Repeat symmetrically on the right. |
| Find 1 dark stone grey plate 1x4. |
| Put it horizontally underneath the backmost edge of the 2 previous pieces. |
| Find 2 dark stone grey curve bricks 1x1 with protruding plate 1x1. |
| Turn 1 vertically so that the protruding plate is pointing to the back. |
| Mount the protruding plate underneath the front left corner of the bracket, curved part protruding to the front. This will create a lopsided structure for now. |
| Mount the protruding plate of the other piece underneath the front right corner, curved part protruding to the front. |
| Find 2 bright yellowish green stepped bricks 2x4 with side mudguard. |
| Flip the trunk bracket upside down so that the knobs touch the table. Make sure that the 2 curve pieces are now both on the left side. |
| Flip 1 mudguard piece upside down and turn it horizontally so that the mudguard is towards you. Mount its back row on the front edge of the bracket, directly to the right of the front curve piece, 1 row and mudguard overhanging to the front. |
| Repeat symmetrically at the back, 1 row and mudguard overhanging to the back. |
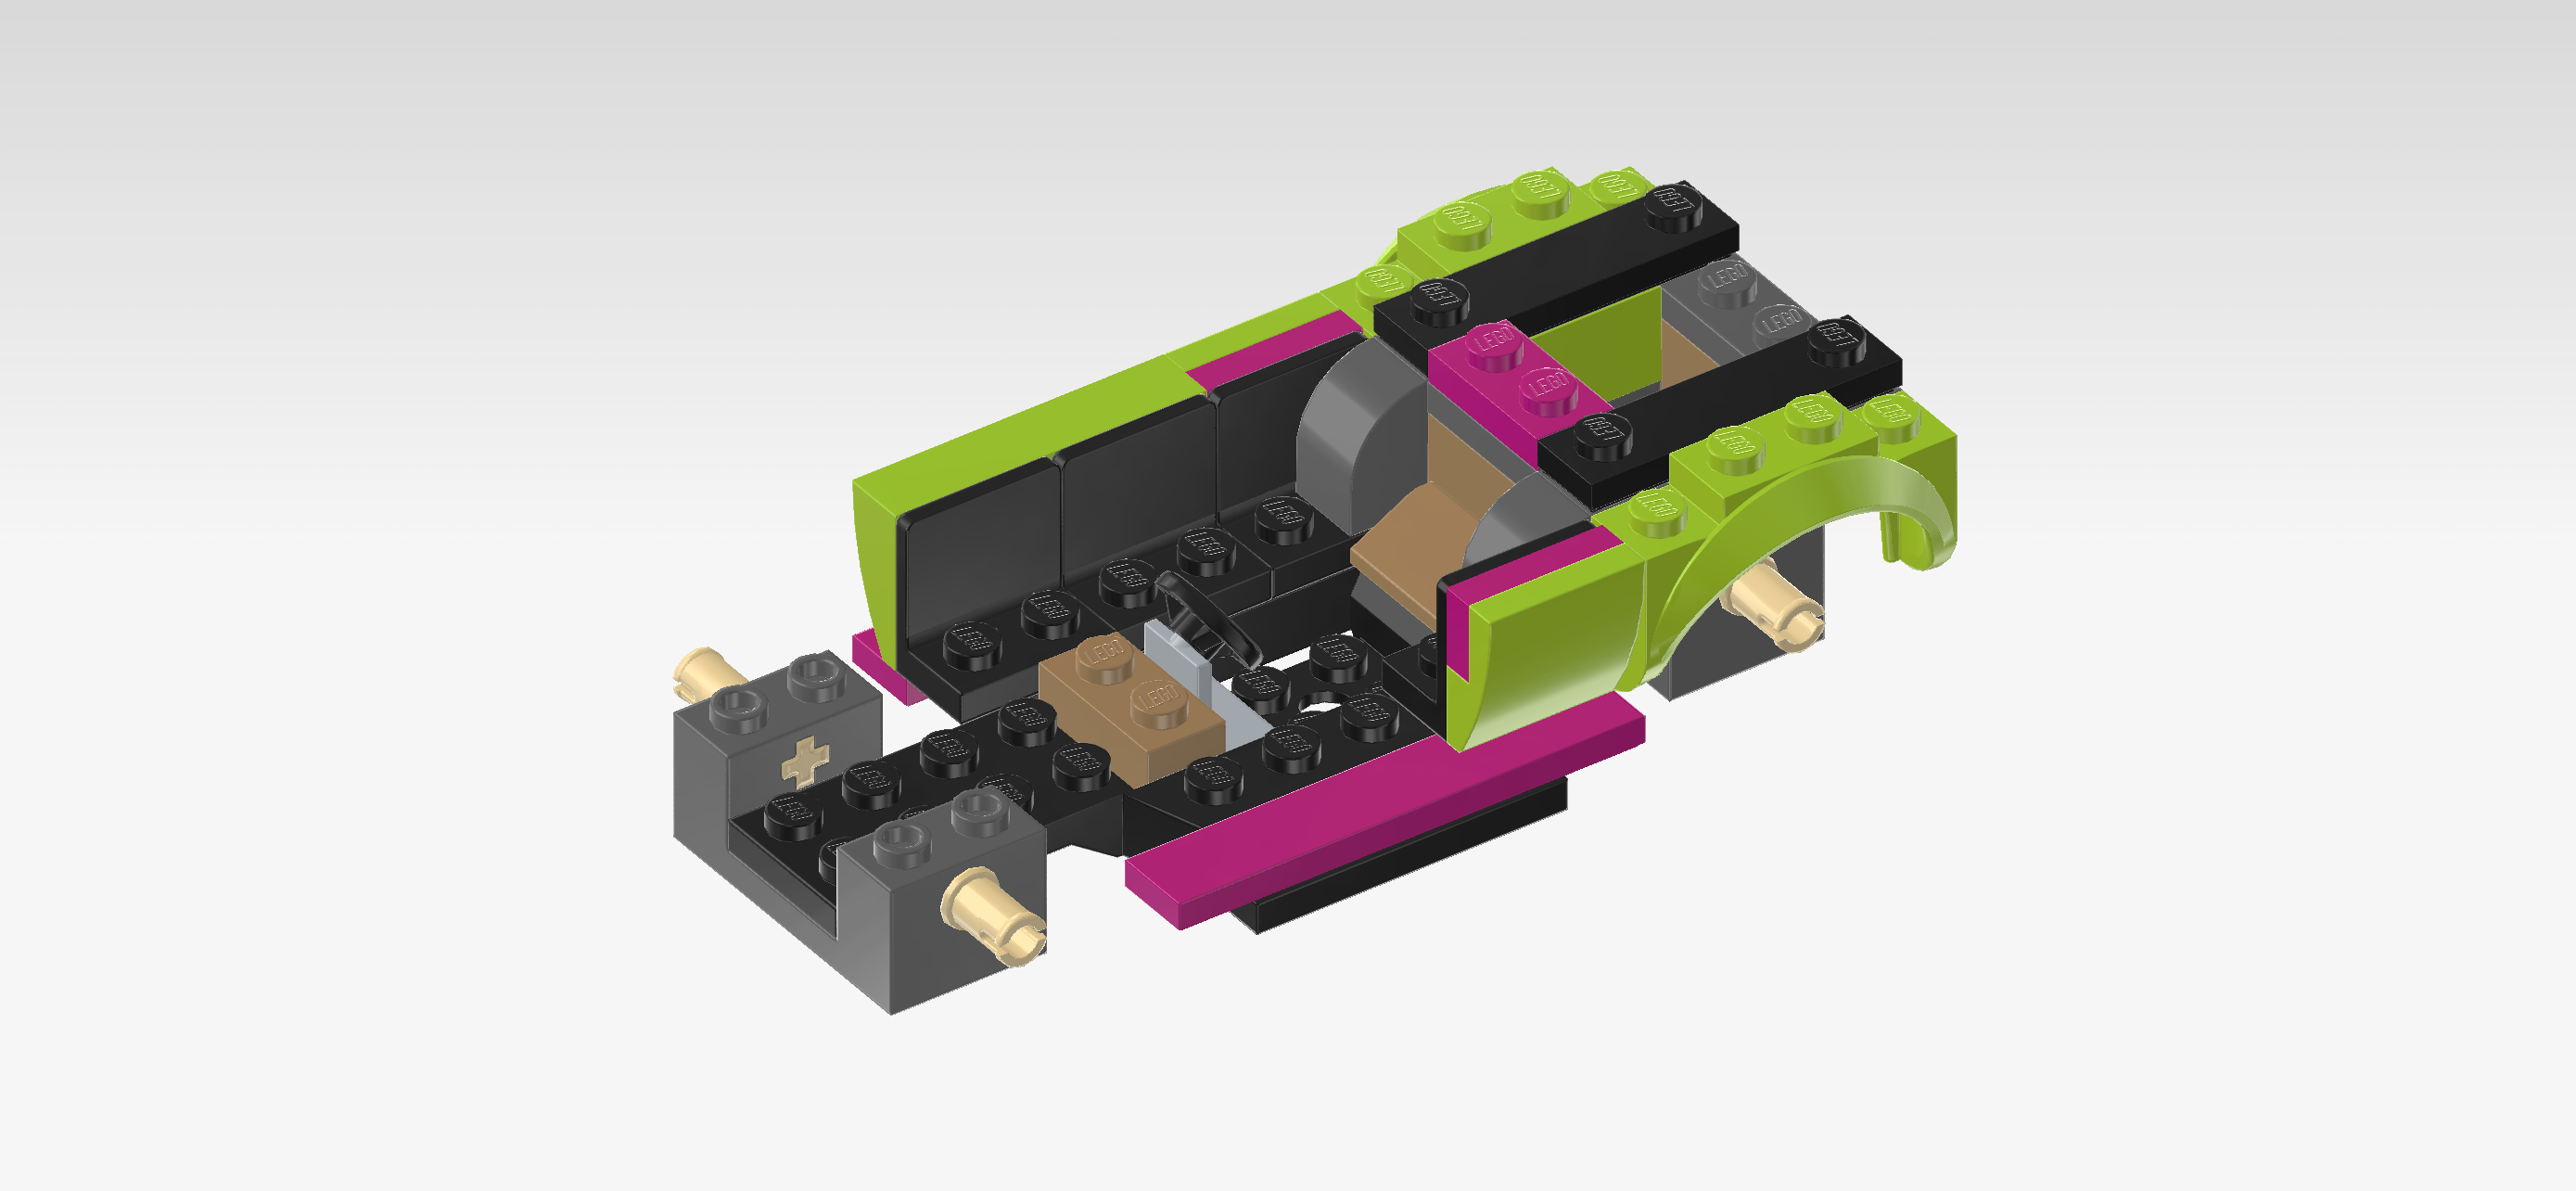
| The trunk with wheelhouses is finished! Well done! Flip it right side up again, the 2 curve bricks 1x1 still on the left edge. Mount it centered on the right edge of the vehicle. The 2 curve pieces should hug the vertically mounted smooth roof tile, and the mudguards should hover symmetrically above the connector pegs. |
| Next, we will build 2 side panels. |
| Collect the following 4 pieces: |
| 2 bright yellowish green one-stepped curve tiles 2x2, |
| and 2 purple violet plates 1x2. |
| Put 1 plate 1x2 vertically on the table. |
| Put the right half of 1 curve tile on top, slope to the left, 1/2 overhanging to the left. |
| Repeat with the 2 remaining pieces. |
| Flip 1 side panel upright so that the smooth surface is facing you, and the slope is towards the bottom. Mount it on the 4 side knobs pointing to the front. |
| Repeat symmetrically at the back. |
| Next up, we will build the airbrushed vehicle door. |
| Collect the following 2 pieces: |
| 1 rectangular sticker 2x4, |
| and 1 bright yellowish green curve tile 2x4x⅔. |
| Before attaching the sticker, put the curve tile horizontally on the table, slope towards the front. |
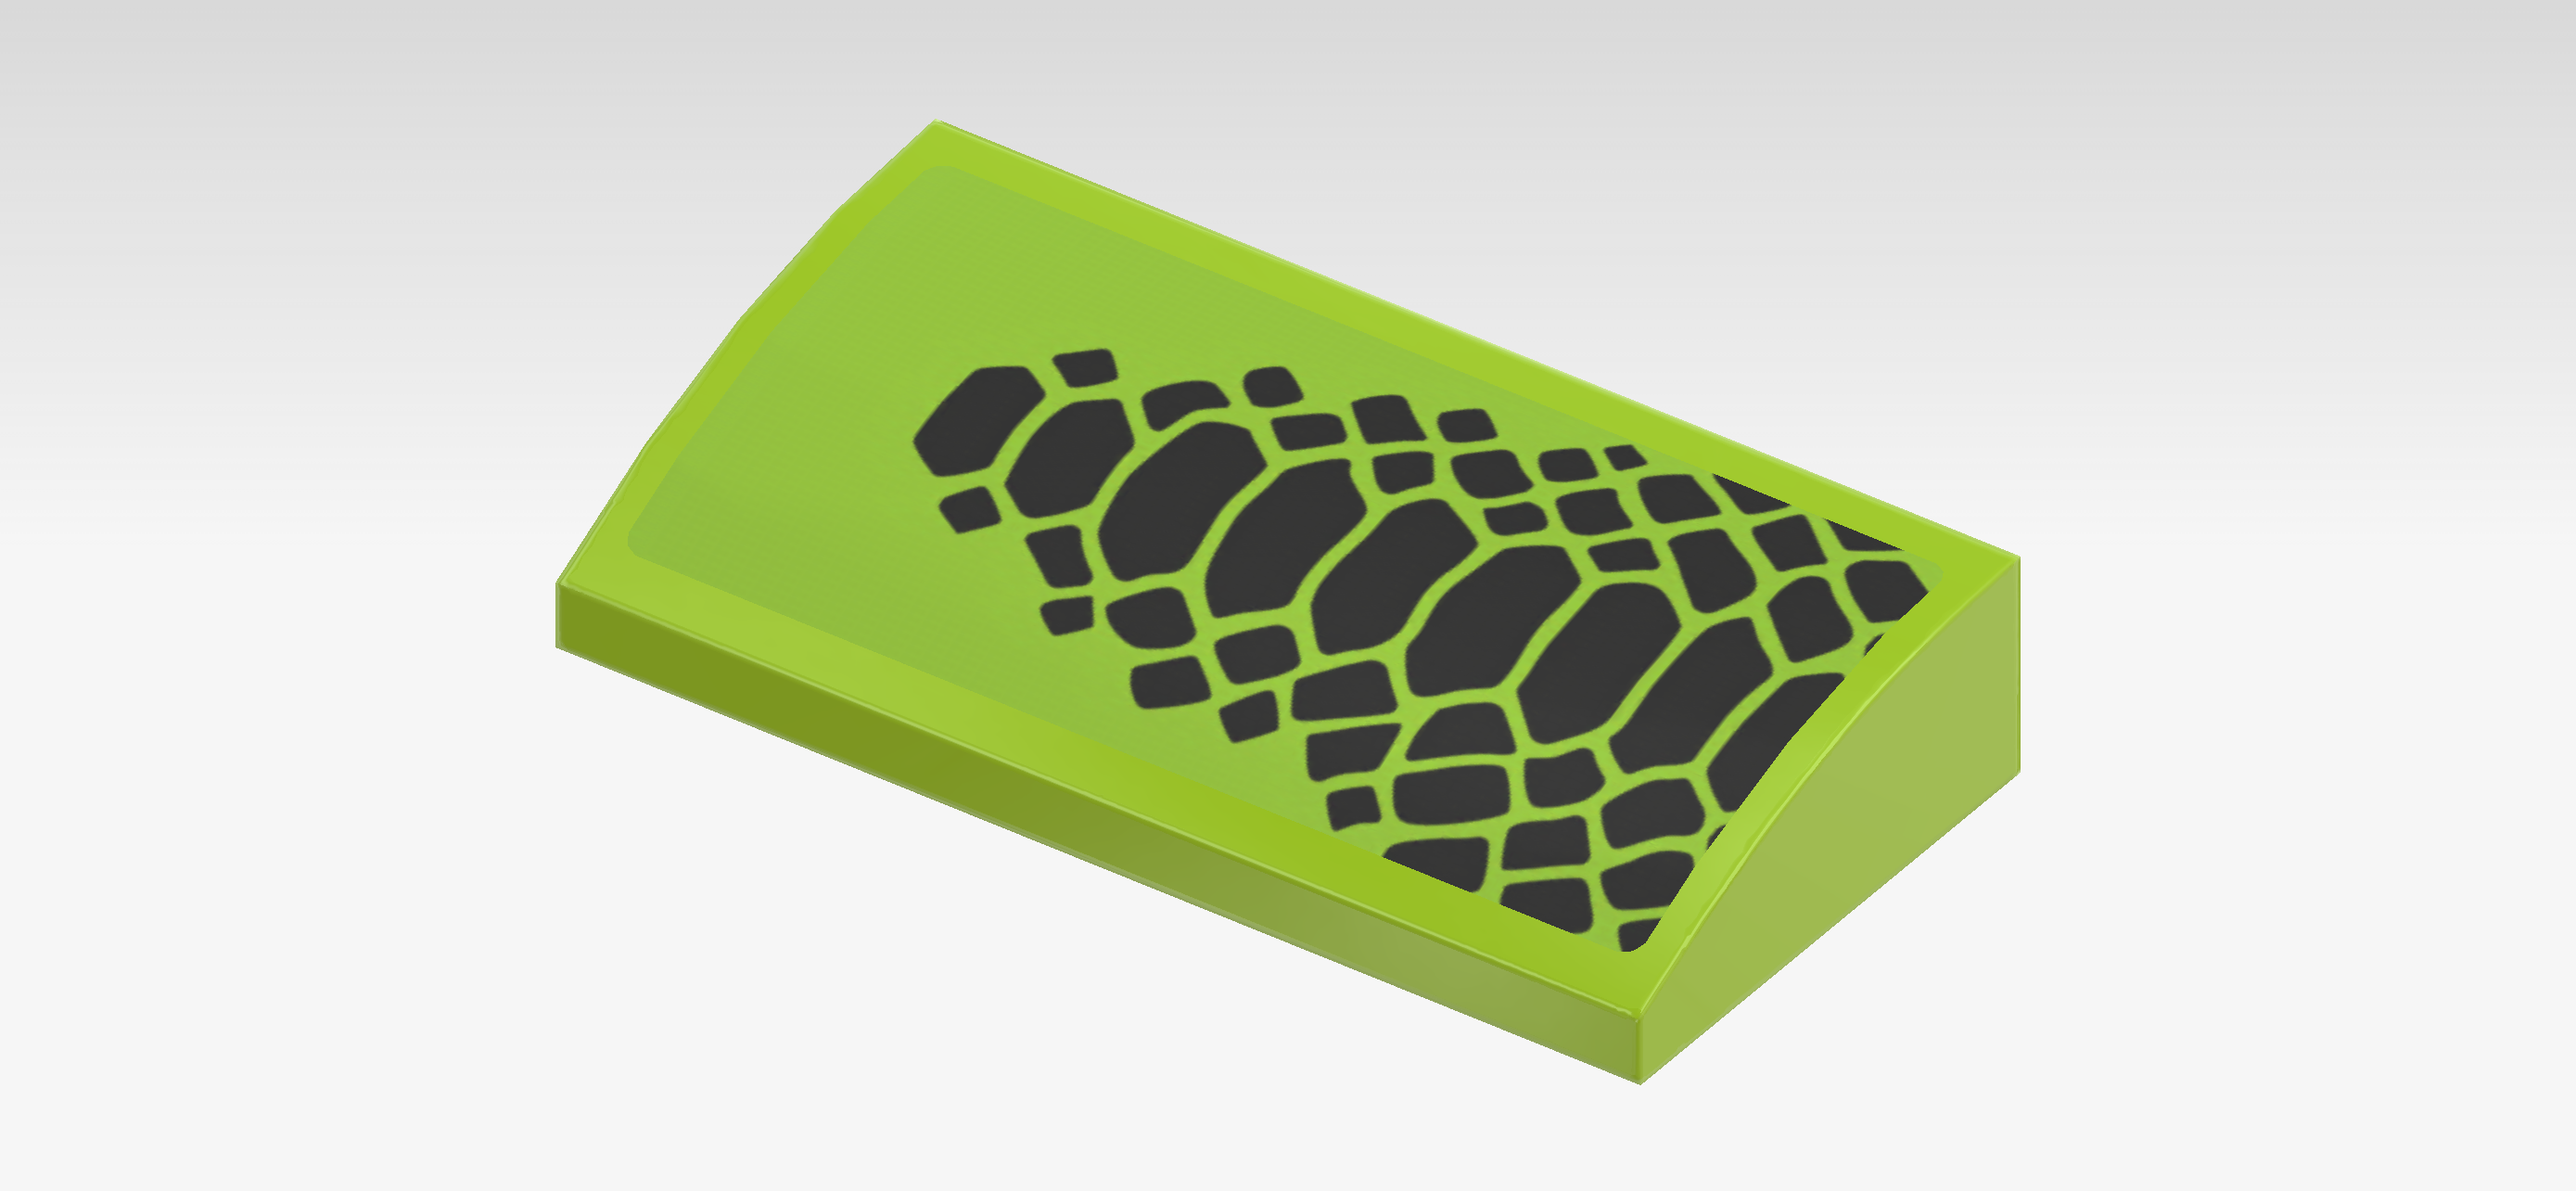
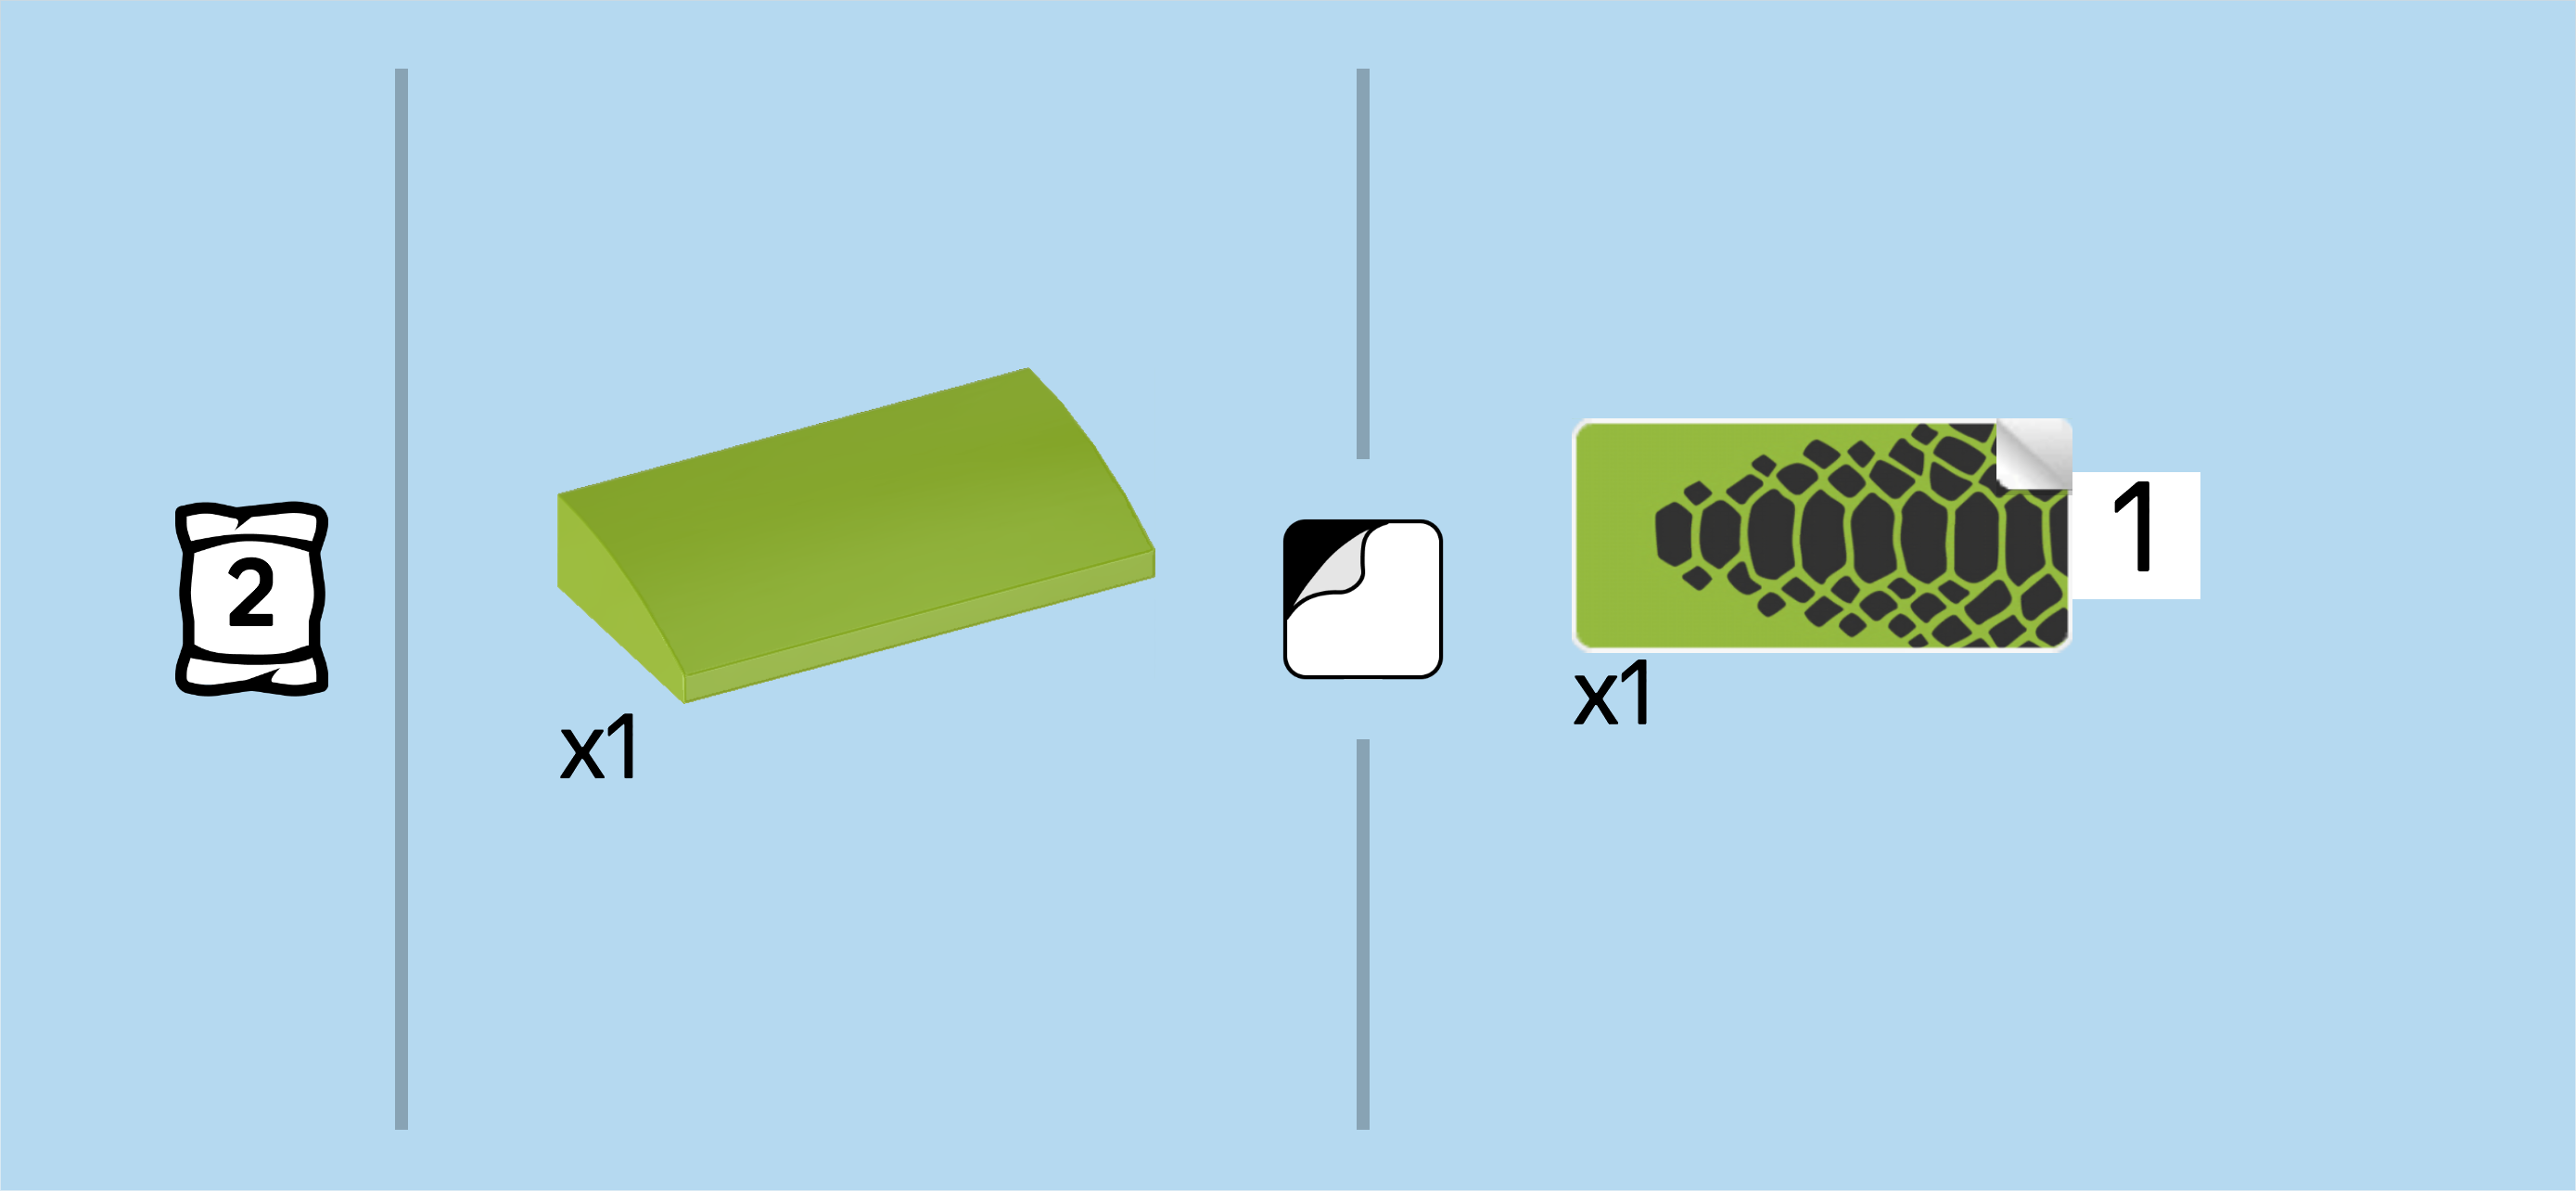
| Put the sticker on the curve tile, matching their shapes. The sticker is bright yellowish green like the curve tile and it is printed with a black snakeskin leather pattern on 2/3 of its surface. The pattern looks like a big airbrushed speed stripe, so it covers the whole width of the sticker on one short edge and is tapered towards the other short edge until the sticker is fully green. Ideally, the sticker side with the full snakeskin pattern is on the right edge of the curve tile and the fully green side is on the left edge. You can ask a sighted person to check if you want. |
| Find 2 black bottom angle plates 1x2 - 2x2 with 4 side knobs. |
| Flip the curve tile from the previous step upright. Make sure it is oriented horizontally and its smooth side (or the side with the sticker) is facing you, slope towards the bottom. |
| Attach the 4 side knobs of 1 angle plate on the left half of the curve tile's back side, making sure the 1x2 base plate is at the bottom. |
| Put the other one horizontally to the right of the previous piece, 4 side knobs connecting to the curve tile, 1x2 base plate at the bottom. |
| The airbrushed vehicle door is finished! Turn it horizontally so that the smooth side (or the side with sticker) is facing the back. Mount it horizontally to the left of the side panel we have mounted earlier on the backmost row of knobs. |
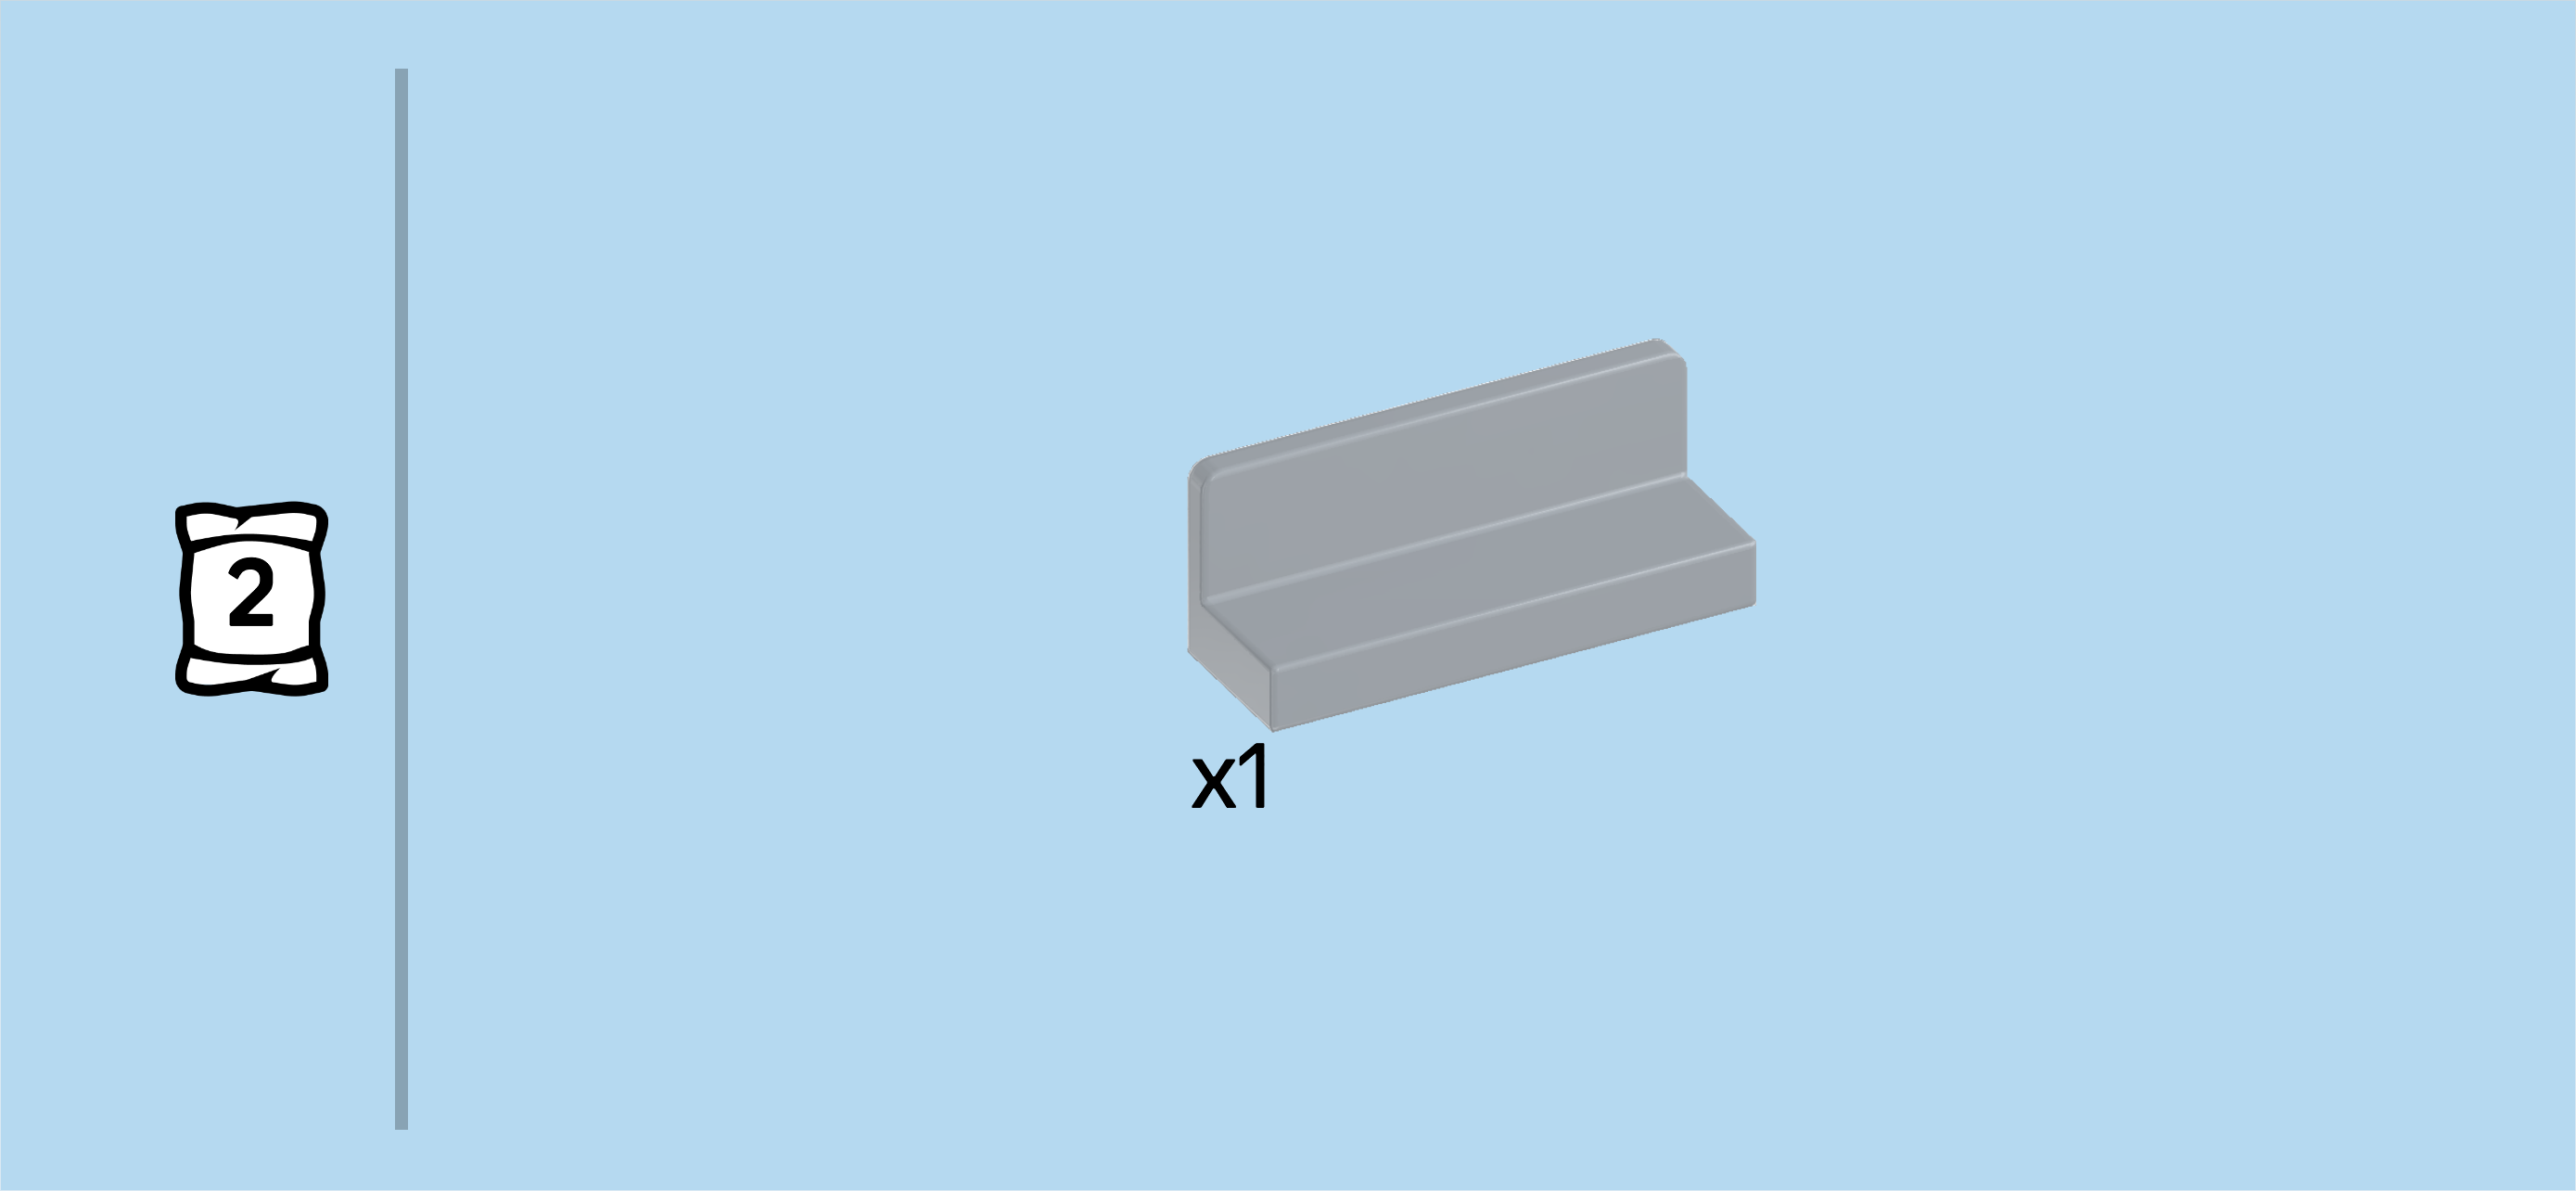
| Find 1 medium stone grey panel element 1x3x1. |
| Put it horizontally in front of the airbrushed vehicle door, directly to the left of the 1x1 curve brick, panel to the back. |
| Next, we will build the second airbrushed vehicle door. |
| Collect the following 2 pieces: |
| 1 rectangular sticker 2x4, |
| and 1 bright yellowish green curve tile 2x4x⅔. |
| Put the curve tile horizontally on the table, curve towards the front. Put the sticker on top, making sure that this time, the short side with full snakeskin pattern is on the left edge and the fully green side is on the right edge. |
| Find 2 black bottom angle plates 1x2 - 2x2 with 4 side knobs. |
| Flip the curve tile upright horizontally so that the smooth or stickered side is facing you and the slope is towards the bottom. |
| Attach the 4 side knobs of 1 angle plate on the left half of the curve tile's back side, 1x2 base plate at the bottom. |
| Put the other angle plate to the right of the previous piece, 1x2 base plate at the bottom. |
| The second airbrushed vehicle door is finished! Mount it horizontally to the left of the 2x2 side panel at the front, smooth or stickered side towards the front. |
| Find 1 medium stone grey panel element 1x3x1. |
| Turn the vehicle from left to right. This means that now, the part of the vehicle with the mudguards is on the left. |
| Put the panel element horizontally in front of the airbrushed vehicle door we have just mounted, directly to the right of the 1x1 curve brick, panel to the back. |
| Find 1 black top angle plate 1x2 - 1x4 with 4 side knobs. |
| Put it vertically centered on the leftmost column, 4 side knobs to the left. |
| Find 2 black top angle plates 1x1 - 1x2 with 2 side knobs. |
| Put 1 behind the previous piece, 2 side knobs overhanging to the left. |
| Put the other one on the frontmost knob of the same column, 2 side knobs to the left. |
| Next, we will build the vehicle rear with rear lights. |
| Collect the following 2 pieces: |
| 1 black plate 2x6, |
| and 1 black grille tile 1x2. |
| Put the plate 2x6 horizontally on the table. |
| Put the grille tile 1x2 horizontally centered on the back row. |
| Find 2 transparent red flat tiles 1x2. |
| Put 1 horizontally to the left of the previous piece and the other one horizontally to the right of the previous piece. |
| Find 2 dark stone grey plates 1x2 with smooth roof tile 1x1 on top. |
| Put 1 horizontally on the front row, starting from the right edge, roof tile 1x1 on the right. |
| Put the other one horizontally on the left edge of the front row, roof tile 1x1 on the left. |
| Find 2 medium stone grey round plates 1x1 with through-hole. |
| Put 1 on the knob of the previous piece. |
| Repeat symmetrically on the right. |
| Find 1 dark stone grey panel element 1x2x1 with back and side panels. |
| Put it horizontally centered on the front row between the 2 previous pieces, back panel to the back. |
| The vehicle rear with rear lights is finished! Great job! Flip it upright and mount it centered on the side knobs pointing to the left, making sure that the top edge is flush with the top of the vehicle's left edge. Make sure the grille tile is at the top and the panel element at the bottom. |
| Next, we will build the trunk lid. |
| Collect the following 2 pieces: |
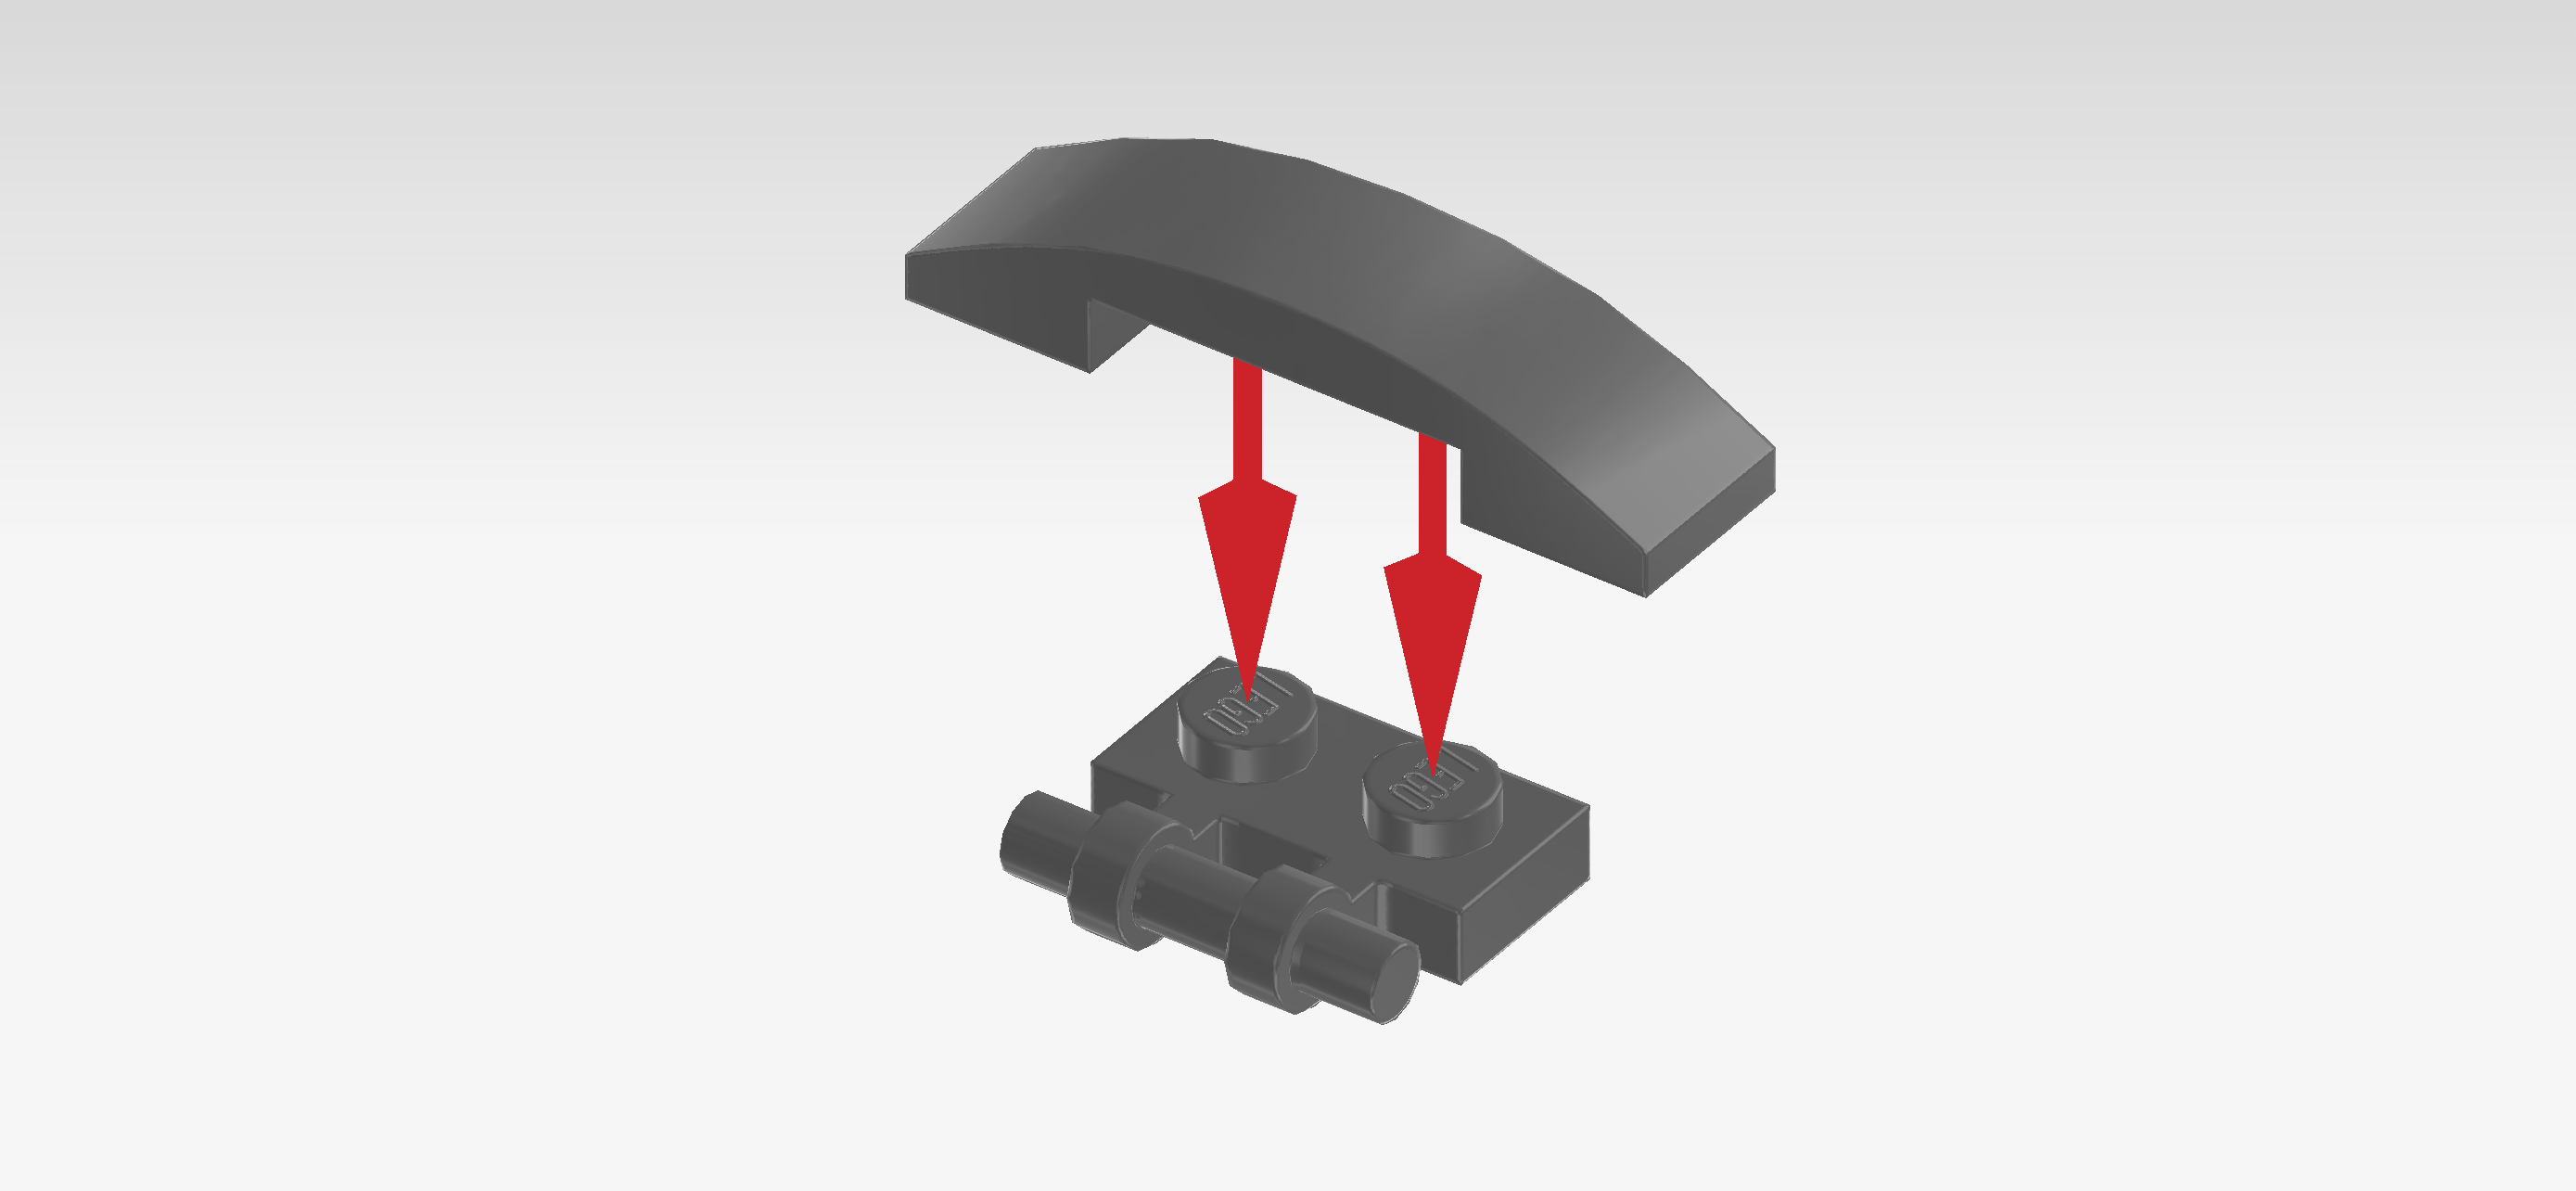
| 1 dark stone grey curve tile 1x4, |
| and 1 dark stone grey plate 1x2 with shaft on long side. |
| Put the plate with shaft vertically on the table, shaft to the left. |
| Put the curve tile 1x4 vertically on top, covering the plate 1x2, only the shaft will stick out to the left. |
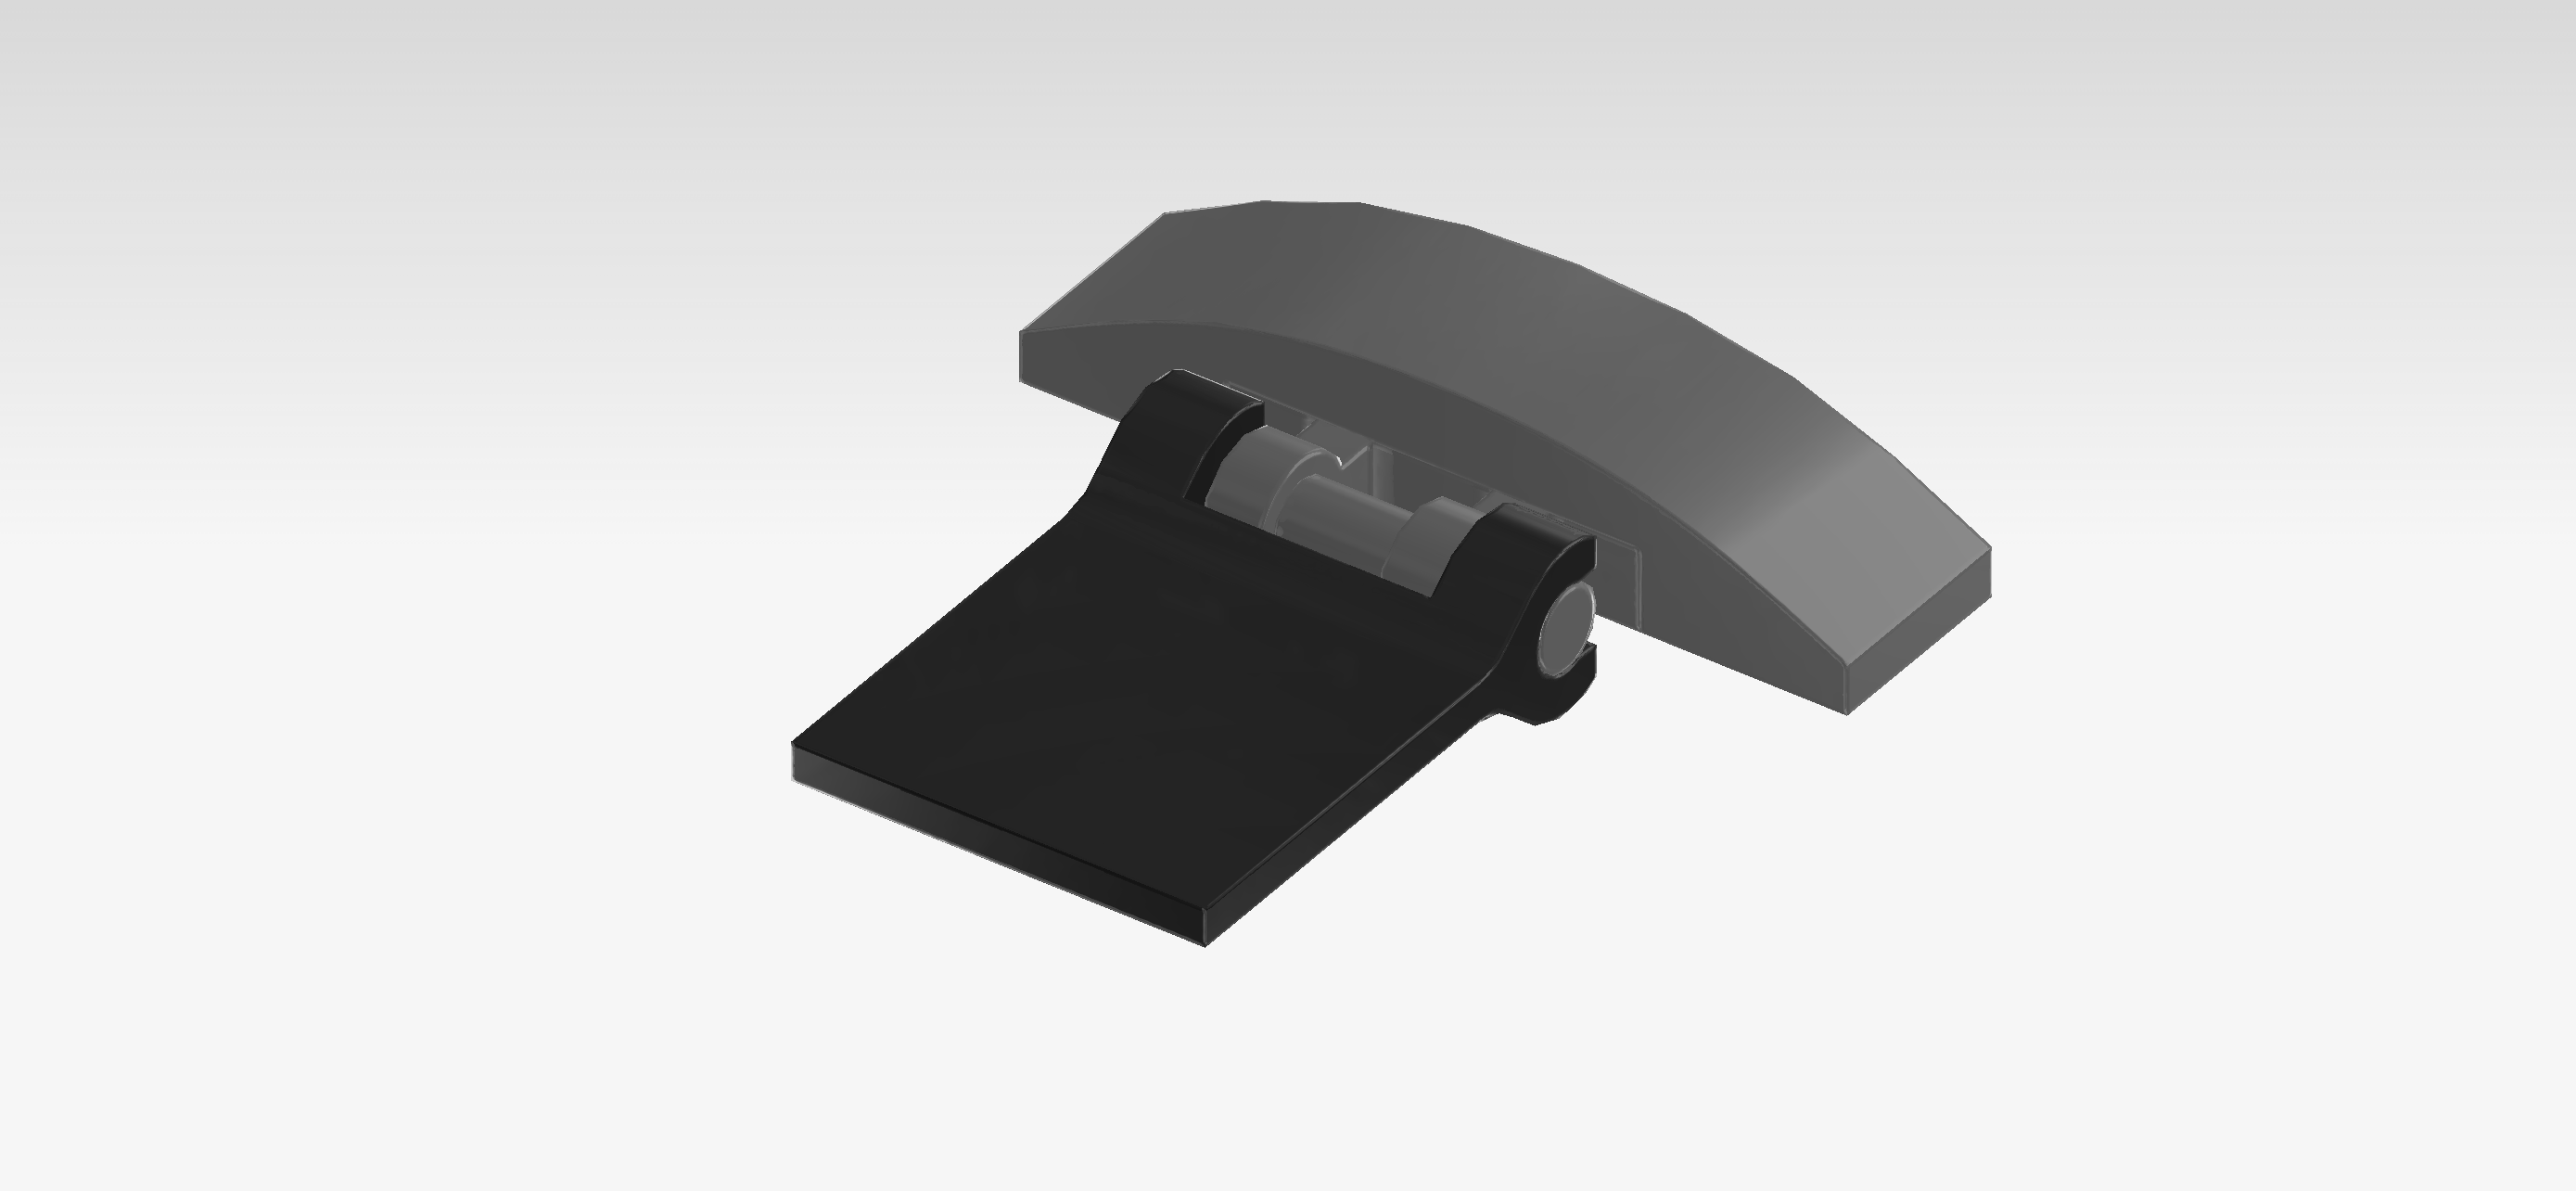
| Find 1 black flag 2x2 with 2 clasps. |
| Snap the 2 clasps on the 2 ends of the shaft, flag 2x2 protruding to the left. |
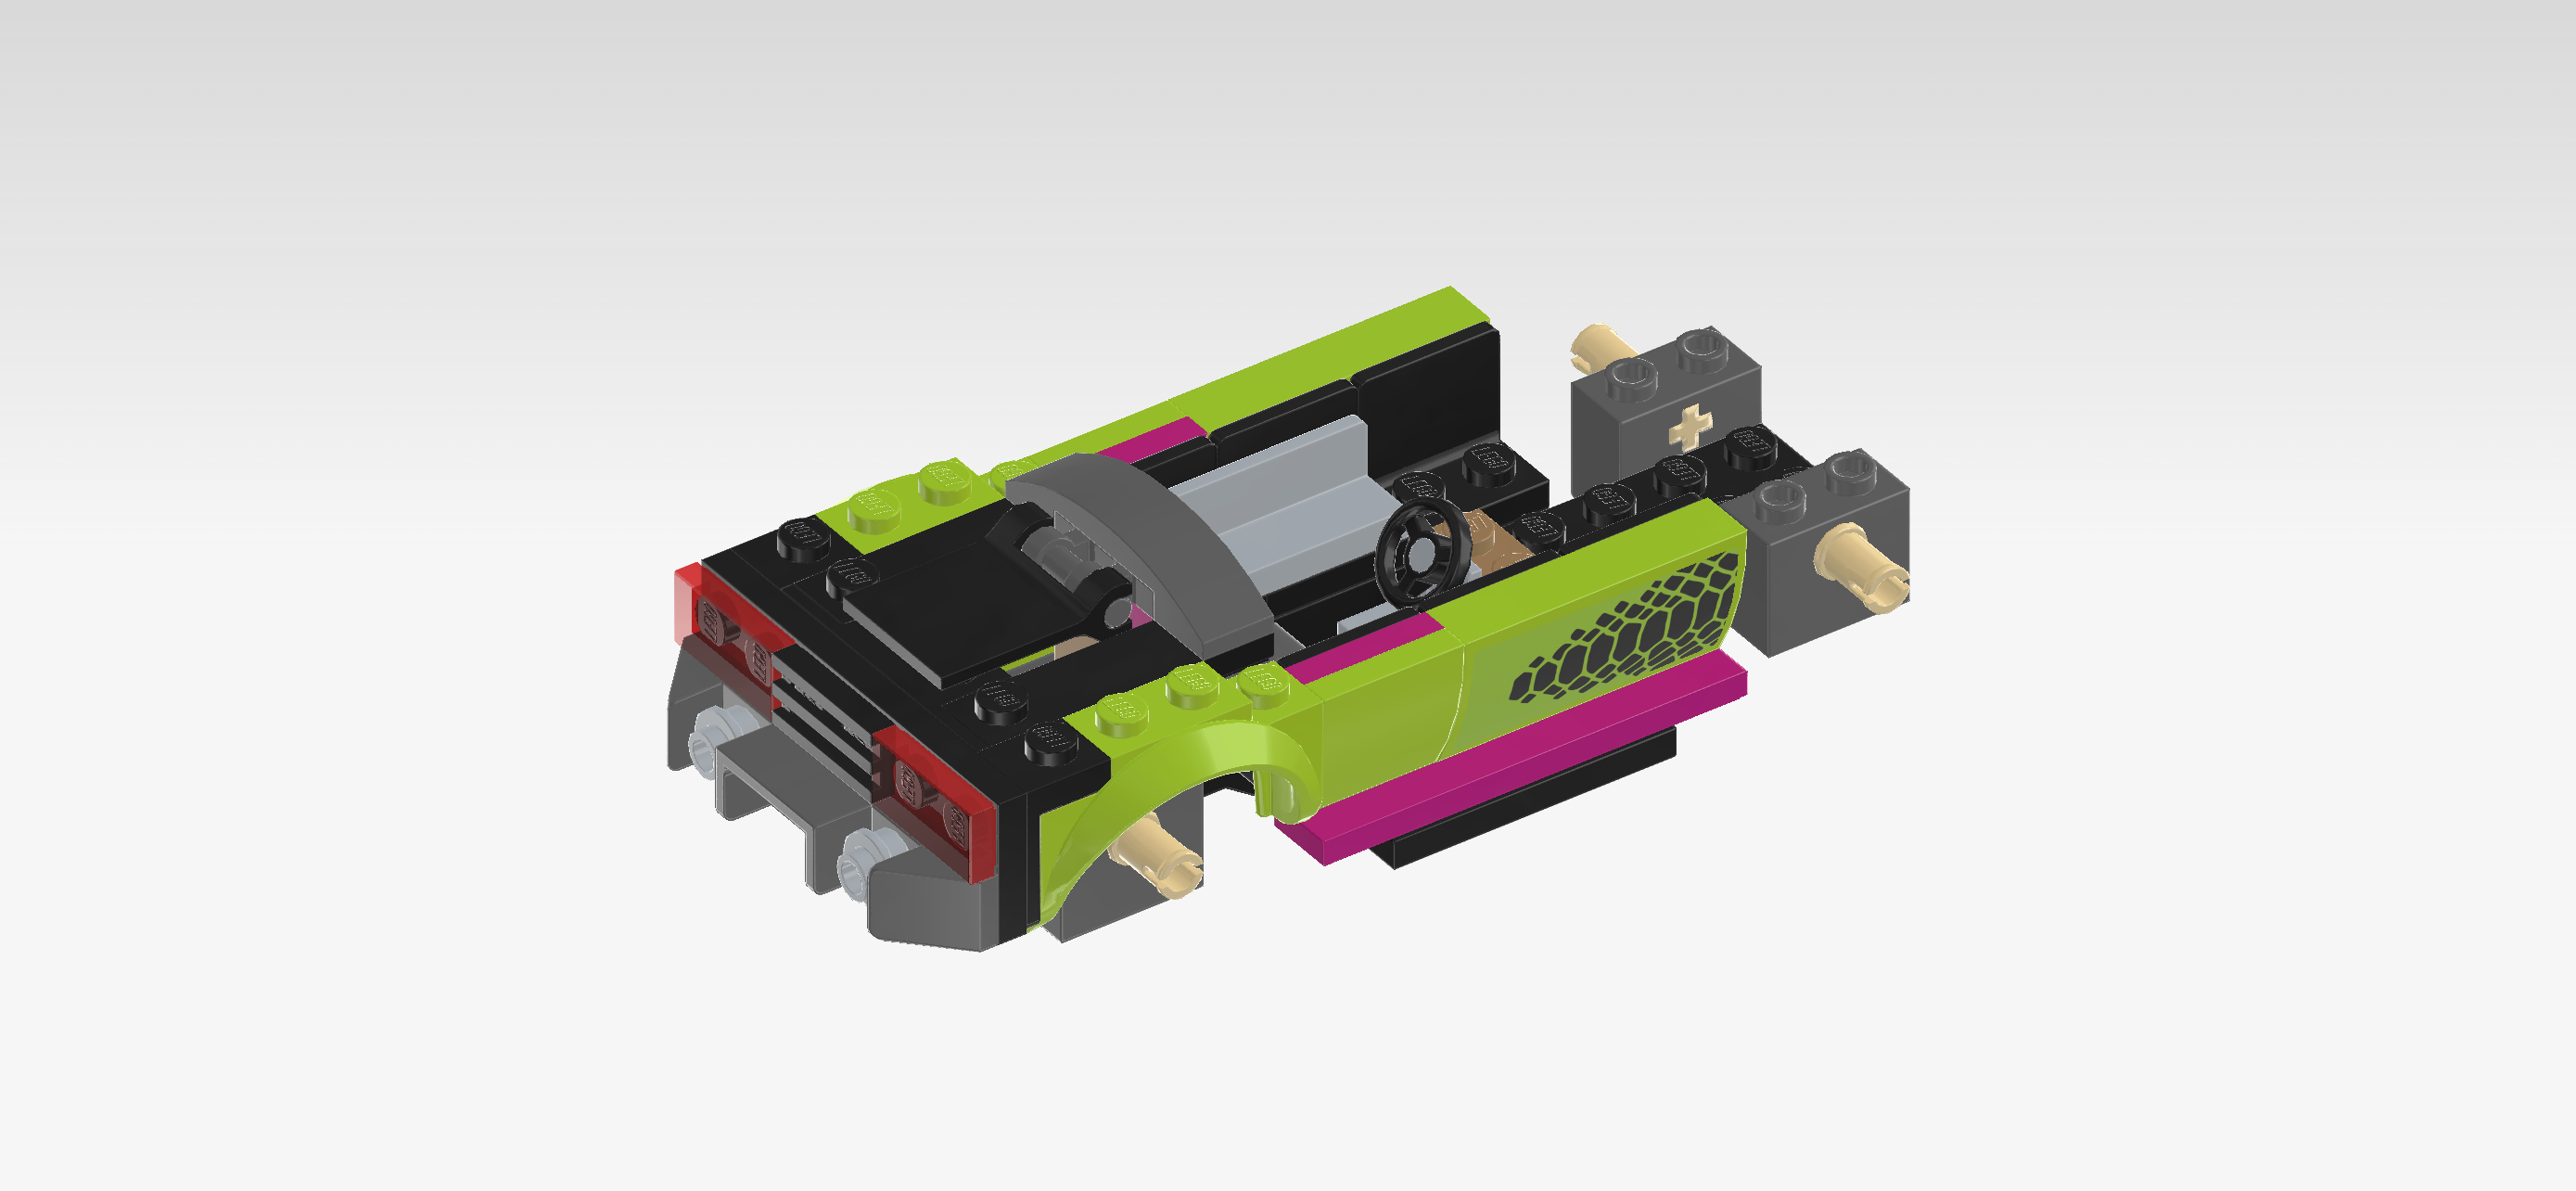
| The trunk lid is finished! Well done! Mount the curve tile part vertically centered on the first high column to the left of the middle recess which is the driver's seating area, flag 2x2 covering the smaller recess on the left. |
| Next, we will build 2 rear body panels. |
| Collect the following 4 pieces: |
| 2 bright yellowish green flat tiles 1x2, |
| and 2 bright yellowish green plates 1x3. |
| Put 1 plate 1x3 horizontally on the table. |
| Put 1 flat tile 1x2 horizontally on the 2 left knobs. |
| Repeat with the 2 remaining pieces. |
| Find 2 bright yellowish green one-stepped curve tiles 1x2. |
| Put 1 horizontally to the right of the previous piece, curve to the right, 1/2 overhanging to the right. |
| Repeat with the remaining piece on the other rear body panel. |
| The 2 rear body panels are finished! Mount 1 horizontally on the backmost row, starting from the left edge, curve to the right. |
| Repeat symmetrically at the front. |
| Now, we will build the vehicle front with lights and bumper. |
| Collect the following 2 pieces: |
| 1 black plate 2x6, |
| and 1 medium stone grey brick 2x4. |
| Put the plate 2x6 horizontally on the table. |
| Put the brick 2x4 horizontally centered on top, leaving the leftmost and rightmost columns empty. |
| Collect the following 2 pieces: |
| 1 dark stone grey plate 1x4, |
| and 1 black plate 2x2. |
| Put the plate 1x4 vertically centered on the leftmost column of the previous piece, symmetrically overhanging to the front and back. |
| Put the plate 2x2 to the right of the previous piece. |
| Next, we will assemble the front bumper. |
| Collect the following 2 pieces: |
| 1 purple violet plate 1x4 with 2 knobs, |
| and 1 black plate 1x6. |
| Put the plate 1x4 horizontally on the table. |
| Put the plate 1x6 horizontally centered on top, symmetrically overhanging to the left and right. |
| Find 2 black one-stepped inverted curve tiles 1x2. |
| Flip the structure from the previous step upside down so that the knobs touch the table. Keep the horizontal orientation. |
| Put 1 inverted curve tile horizontally on the right edge, curve to the right. |
| Repeat symmetrically on the left. |
| The front bumper is finished! Great job! Flip it right side up so the knobs are to the top again, and mount it vertically centered on the leftmost column of the vehicle front, symmetrically overhanging to the front and back. |
| Next, we will build the front lights. |
| Collect the following 4 pieces: |
| 2 black rounded plates 1x2, |
| and 2 transparent yellow round plates 1x1. |
| Put 1 rounded plate 1x2 vertically on the table. |
| Put 1 round plate 1x1 on its back knob. |
| Repeat with the 2 remaining pieces. |
| Find another 2 transparent yellow round plates 1x1. |
| Put them on the front knobs of the 2 plates from the previous step. Now all 4 knobs are covered with transparent yellow round plates 1x1. |
| Mount 1 set of front lights vertically on the 2 backmost knobs of the leftmost column. |
| Repeat symmetrically at the front. |
| Find 1 bright yellowish green flat tile 2x6. |
| Put it vertically on top of the 2 leftmost columns. This means that it will only partly connect to knobs underneath. |
| Find 2 bright yellowish green stepped bricks 2x4 with side mudguard. |
| Turn 1 horizontally so that its mudguard is at the front. |
| Mount its leftmost column underneath the 2 frontmost connection points of the previous piece's right half. This means that for now, the mudguard brick will only connect with 1 knob. |
| Repeat symmetrically at the back, mudguard to the back. |
| Find 1 bright yellowish green flat tile 1x4. |
| Put it vertically between the 2 pieces directly to the right of the flat tile 2x6. This piece will connect the mudguard bricks better with the rest of the structure. |
| Find 1 medium stone grey brick 2x4. |
| Put it vertically centered on the rightmost column, 1 column overhanging to the right, 1 row each overhanging to the front and back. |
| Find 1 bright yellowish green plate 2x4. |
| Put it vertically on the left half of the previous piece and the column to its left. |
| Collect the following 3 pieces: |
| 1 black plate 2x2, |
| and 2 black grille tiles 1x2. |
| Put the plate 2x2 on the 2 middle rows of the structure directly to the right of the smooth surface. |
| Of done correctly, there are 2 empty columns to the right of this piece. |
| Put 1 grille tile 1x2 horizontally behind the previous piece and the other one horizontally in front of the previous piece. |
| The vehicle front with lights and bumper is finished! Well done! Before you mount it, turn the vehicle from left to right. Now, the vehicle rear with already mounted mudguards should be on the right side. |
| Insert the vehicle front in its building orientation from the top into the left side of the vehicle. The rightmost edge of the vehicle front will touch the steering wheel, and the mudguards will hover symmetrically above the connector pegs on the vehicle underbody. |
| Find 1 bright yellowish green flat tile 1x4. |
| Put it vertically centered on the rightmost column of the vehicle front we have just mounted. This means it will sit to the left of the steering wheel. |
| Collect the following 2 pieces: |
| 1 transparent windscreen 4x3x1⅓, |
| and 1 bright yellowish green flat tile 2x3 with arrow-shaped end. |
| Put the windscreen vertically on the row with 4 knobs directly to the right of the 2 grille tiles and plate 2x2, slope to the left. |
| Put the flat tile horizontally centered to the left of the previous piece, arrow-shaped end pointing to the left. |
| Find 2 bright yellowish green flat tiles 1x8. |
| Put 1 horizontally on the backmost row directly to the left of the side panel with curve that is mounted horizontally on the right edge. |
| Repeat symmetrically at the front. |
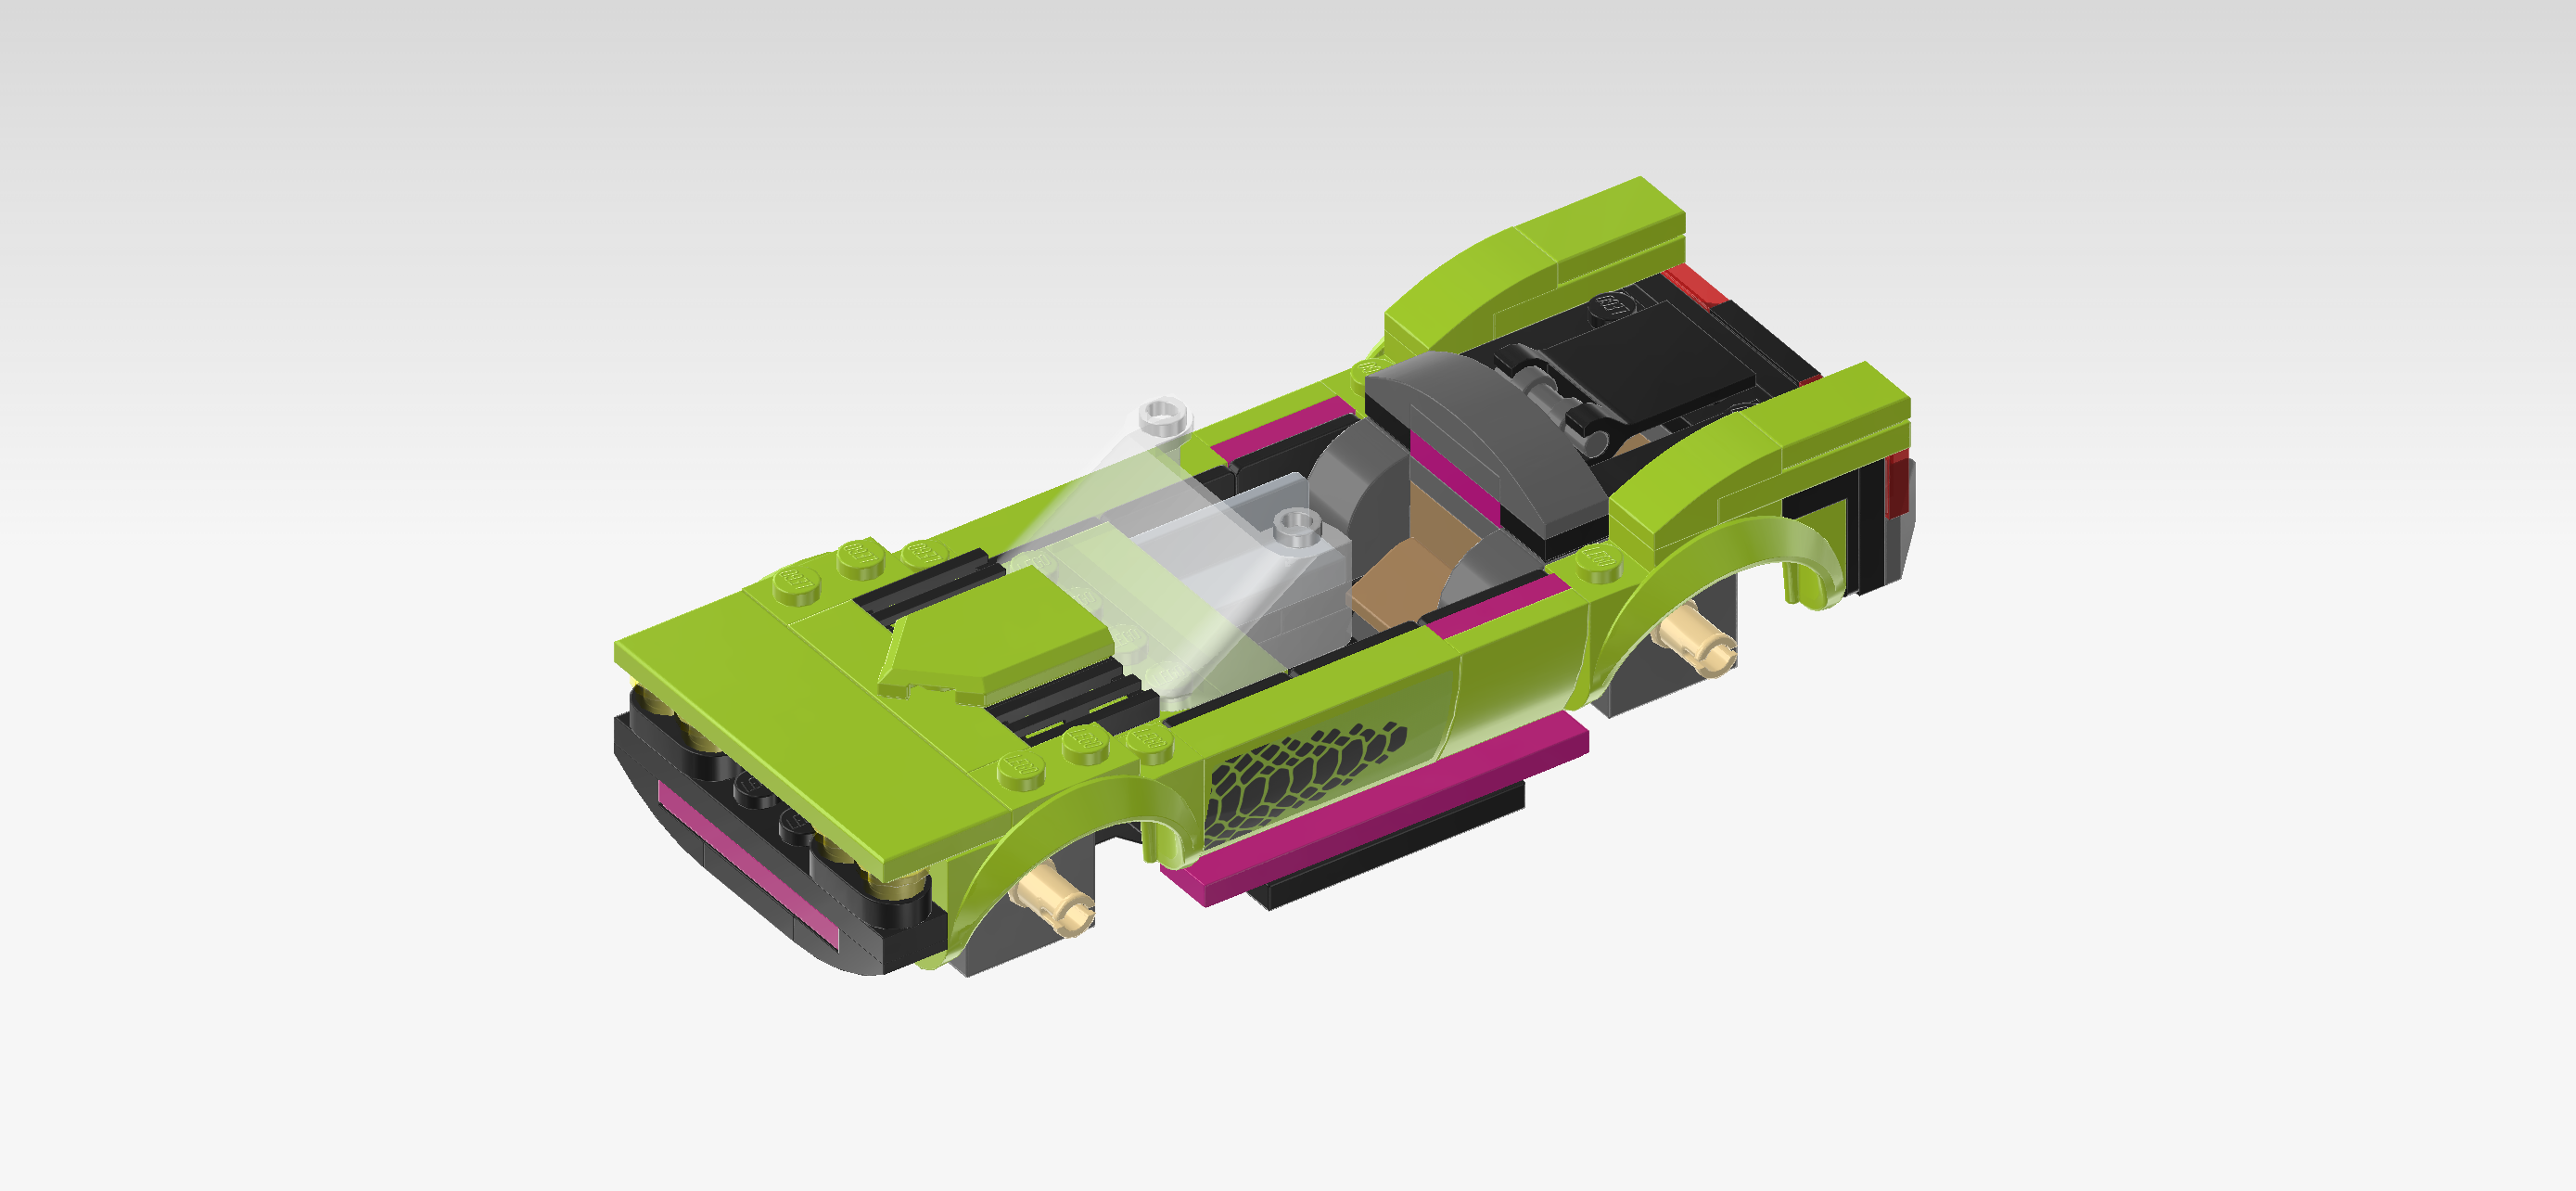
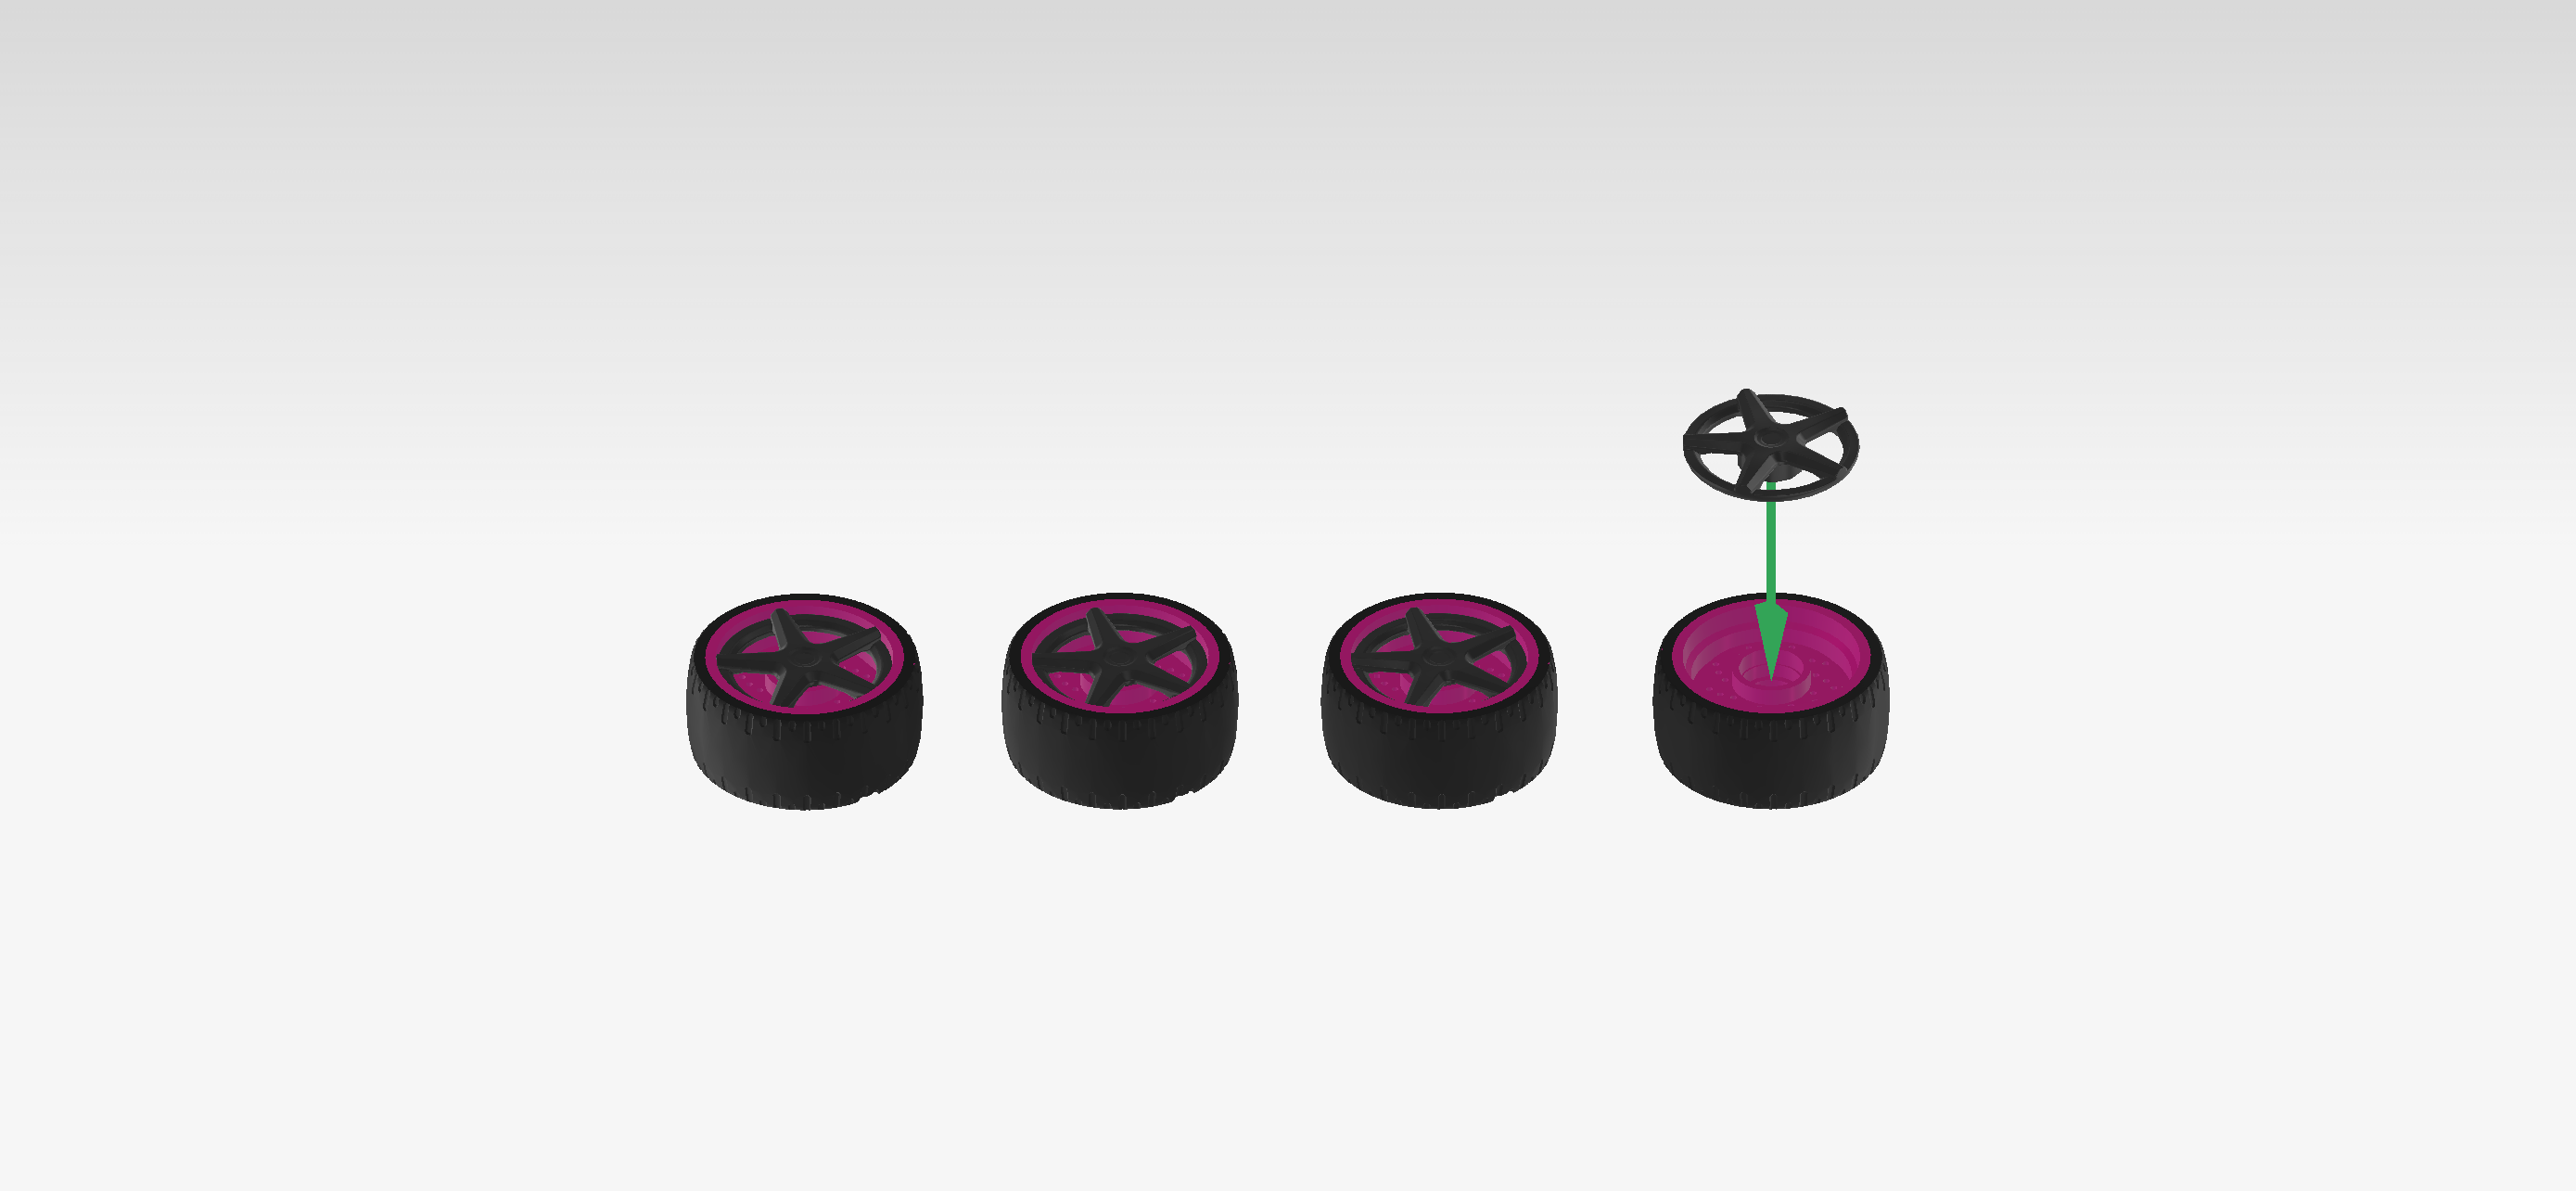
| Next, we will assemble the 4 wheels with wheel caps. |
| Collect the following 8 pieces: |
| 4 purple violet and black high-gloss racing tires with low profile, |
| and 4 titanium metallic wheel caps with 5 spokes. |
| Put the wheels flat on the table. |
| Put the wheel caps on top. |
| Snap the 4 wheels with wheel caps on the 4 connectors on the vehicle underbody. Make sure the wheel caps are facing outwards. |
| The Muscle Car is finished! Fantastic job! The crook is all ready to go: stow your loot in the trunk of the muscle car, get behind the steering wheel and hit the gas! |
| You have finished building the entire set! Congratulations! Now, it's time for the crook to leave the crime scene as quickly as possible because the police are already aware of the crook's newest misdeeds. Who will be faster? The police interceptor or the crook's muscle car? It is for you to find out! |
| Enjoy! |
