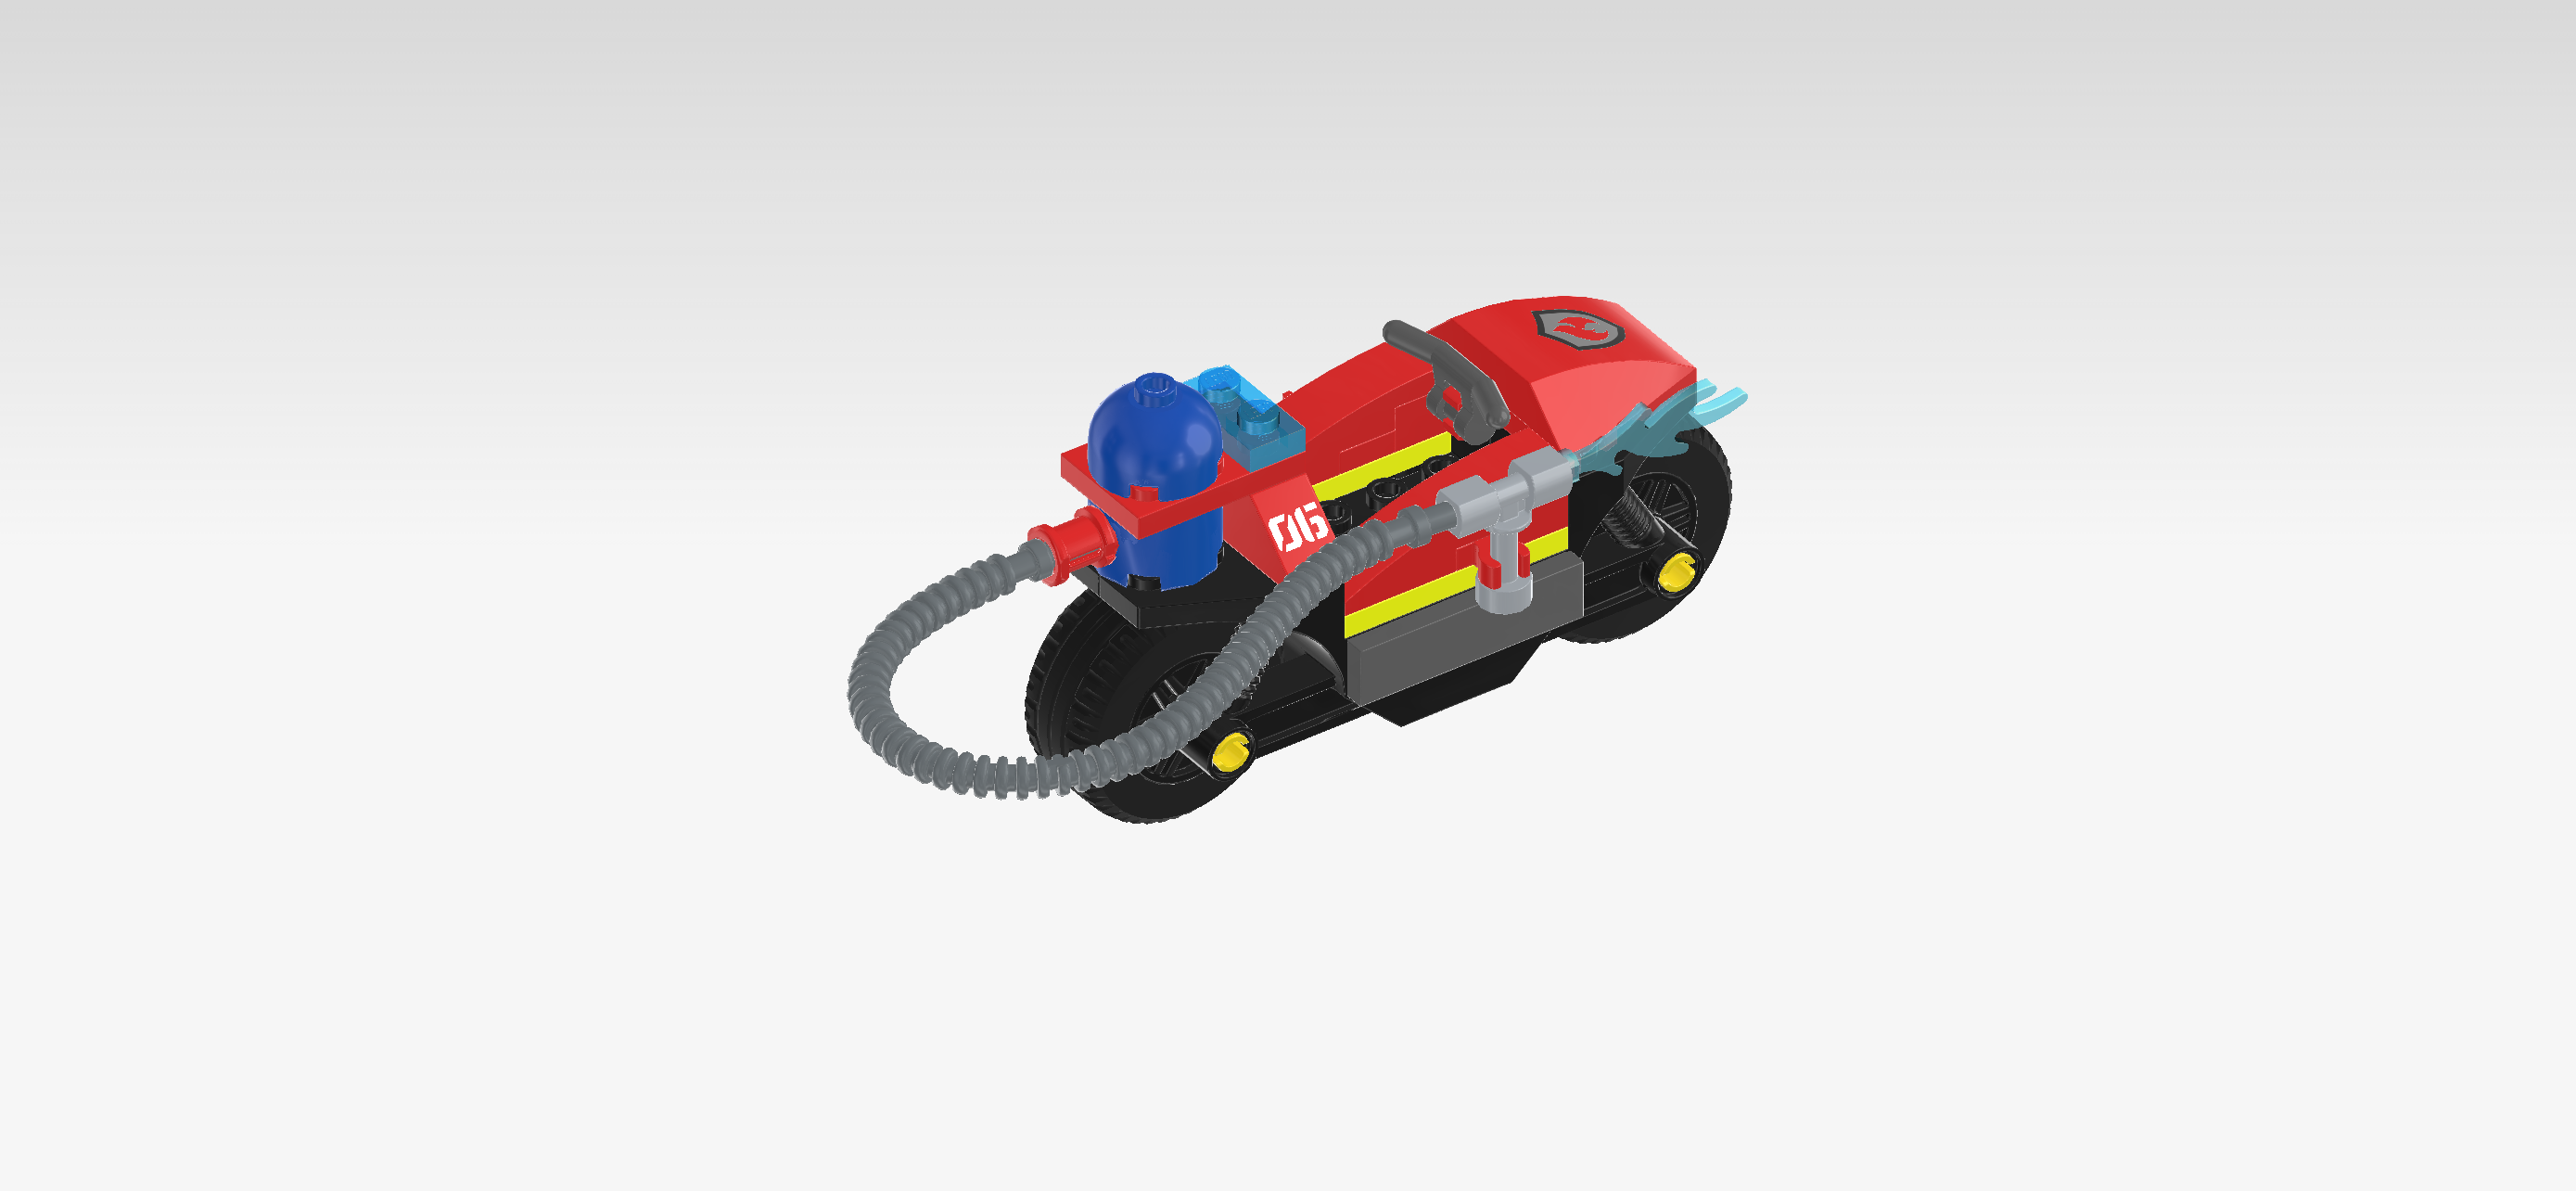
| LEGO Audio & Braille Building Instructions for the LEGO City Fire set "Fire Rescue Motorcycle". |
| Yikes! A citizen's cozy barbecue has turned into a roaring fire! Deploy the fire rescue motorcycle and race to the scene. This machine is ultrafast and ultracool with super-wide tires, an onboard water tank and a hose. Help the firefighter put out the flames to save the day... And the sausage! Fun adventures await in LEGO City. |
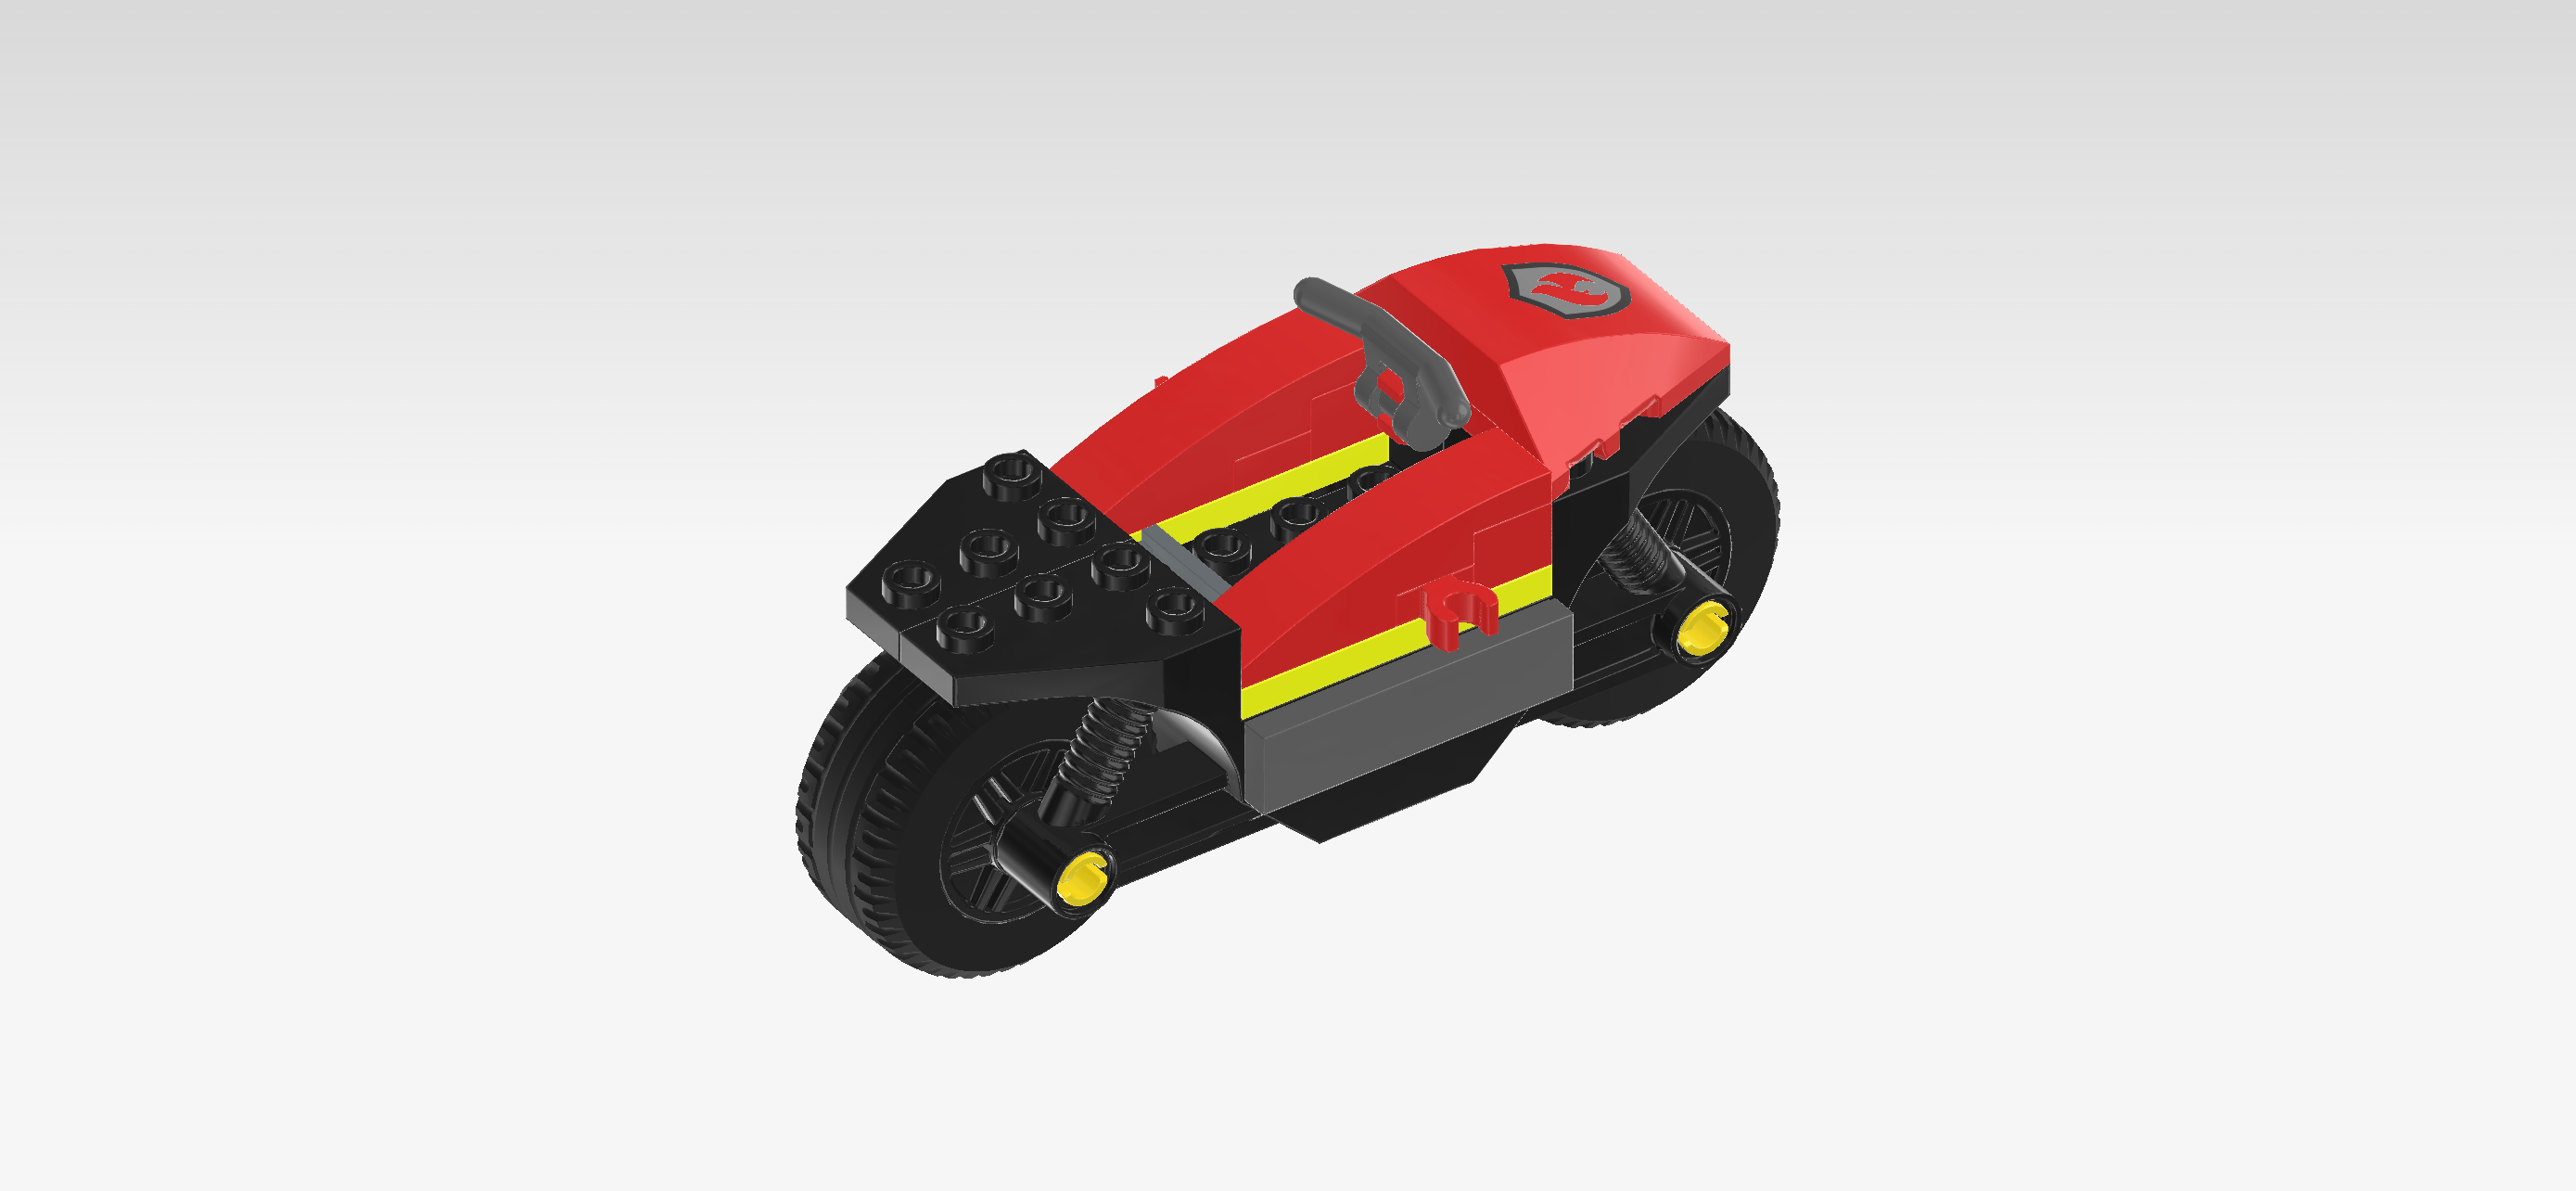
| The box cover shows a full-action scene: The citizen, who was peacefully barbecuing in his driveway just a few minutes ago, is backing away from the jet of flame coming out of his barbecue, his face contorted with fear. He is still clutching a sausage with tongs and a hot dog bun in his hands. Grey smoke is rising from the flame, and a pitch-black burnt sausage still lies in the barbecue. But luckily, the firefighter is arriving at that same moment on her fire rescue motorcycle, the tires smoking from braking. The fire rescue motorcycle is painted in typical fire engine red. It has the fire brigade's logo on the front hood. There is a water tank at the back of the sturdy bike and a long hose for fire extinguishing. The background of this emergency scene, however, is peaceful. There is a garden with a hedge, a few houses in the background, and the sky is bathed in a soft evening light. Let's hope the firefighter gets this fire under control so that peace can be restored in the neighborhood! |
| Open the box. This can be tricky; ask someone to help you! |
| The box contains 1 booklet with visual building instructions, 2 unnumbered bags, and 3 loose pieces: 1 flexible hose 19m, and 2 vehicle frames 2x10 with suspension springs. |
| Carefully open the bags. Before you start building, ask a sighted person to help you sort the pieces by color. This makes finding the correct pieces even easier! |
| First, we will build the Citizen Minifigure. |
| Note that most of the pieces for the 2 Minifigures have identical shapes. They only differ in colors and prints. If you need help with identifying the correct pieces, you can ask a sighted person for help. |
| Collect the following 2 pieces: |
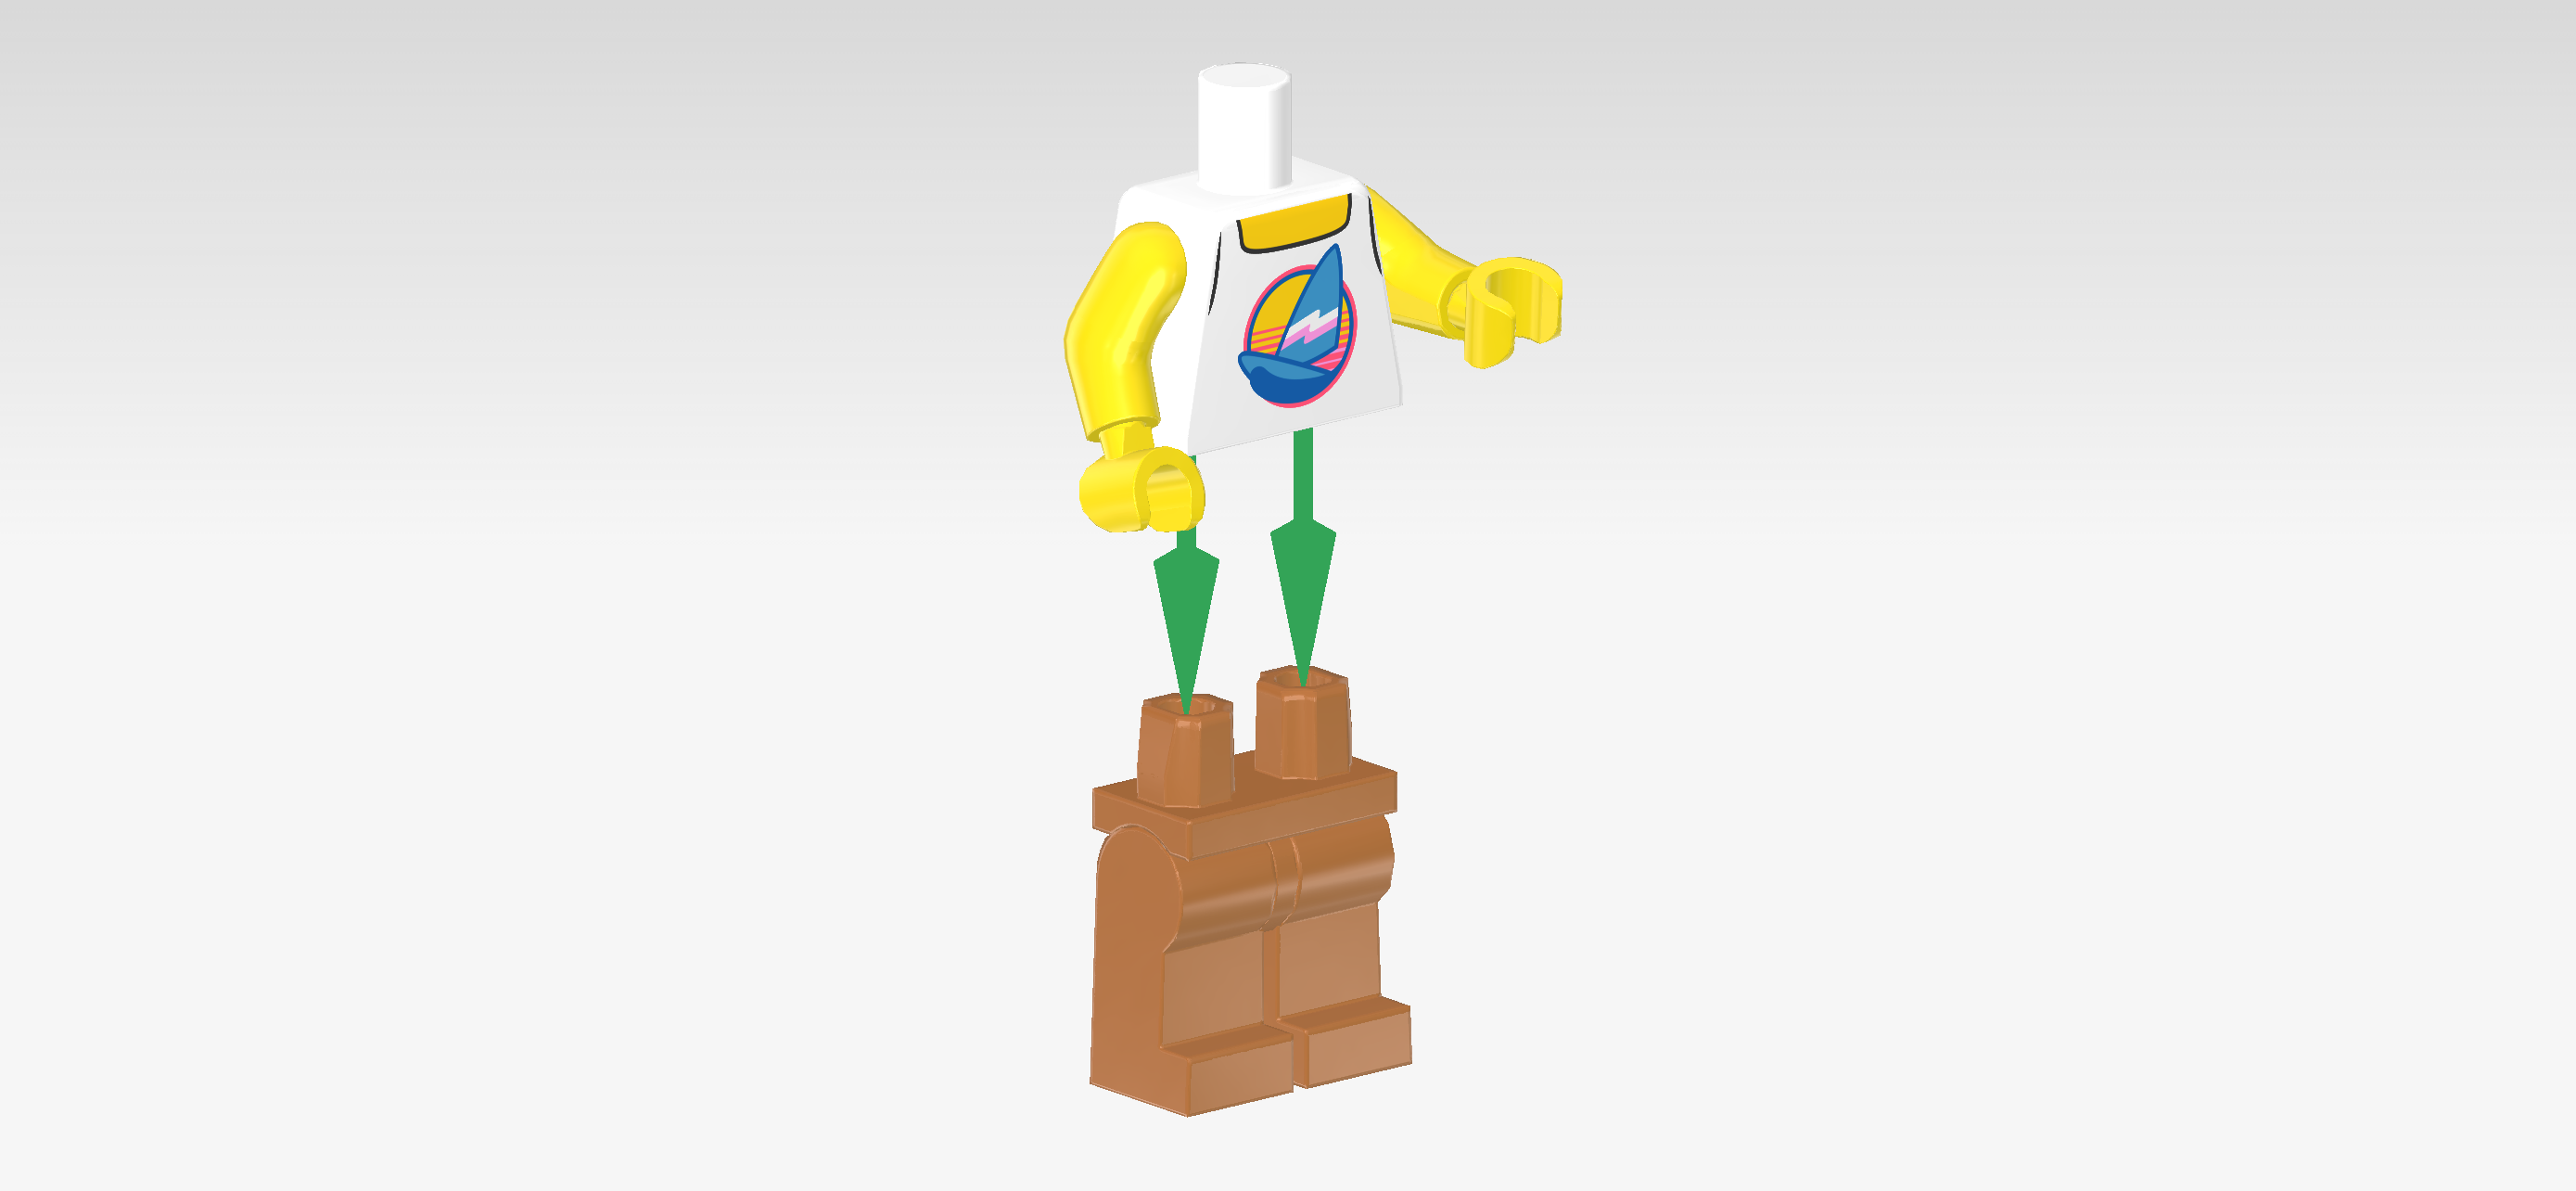
| 1 white and bright yellow upper part of the body, |
| and 1 medium nougat brown pair of legs. |
| Put the upper body on the legs. Make sure that the hands and toes are pointing in the same direction. |
| Collect the following 2 pieces: |
| 1 black hairpiece with short curly hair, |
| and 1 bright yellow Minifigure head. |
| Put the head on the body. |
| Put the hair on top. |
| Collect the following 2 pieces: |
| 1 bright red sausage, |
| and 1 medium stone grey Minifigure wrench. |
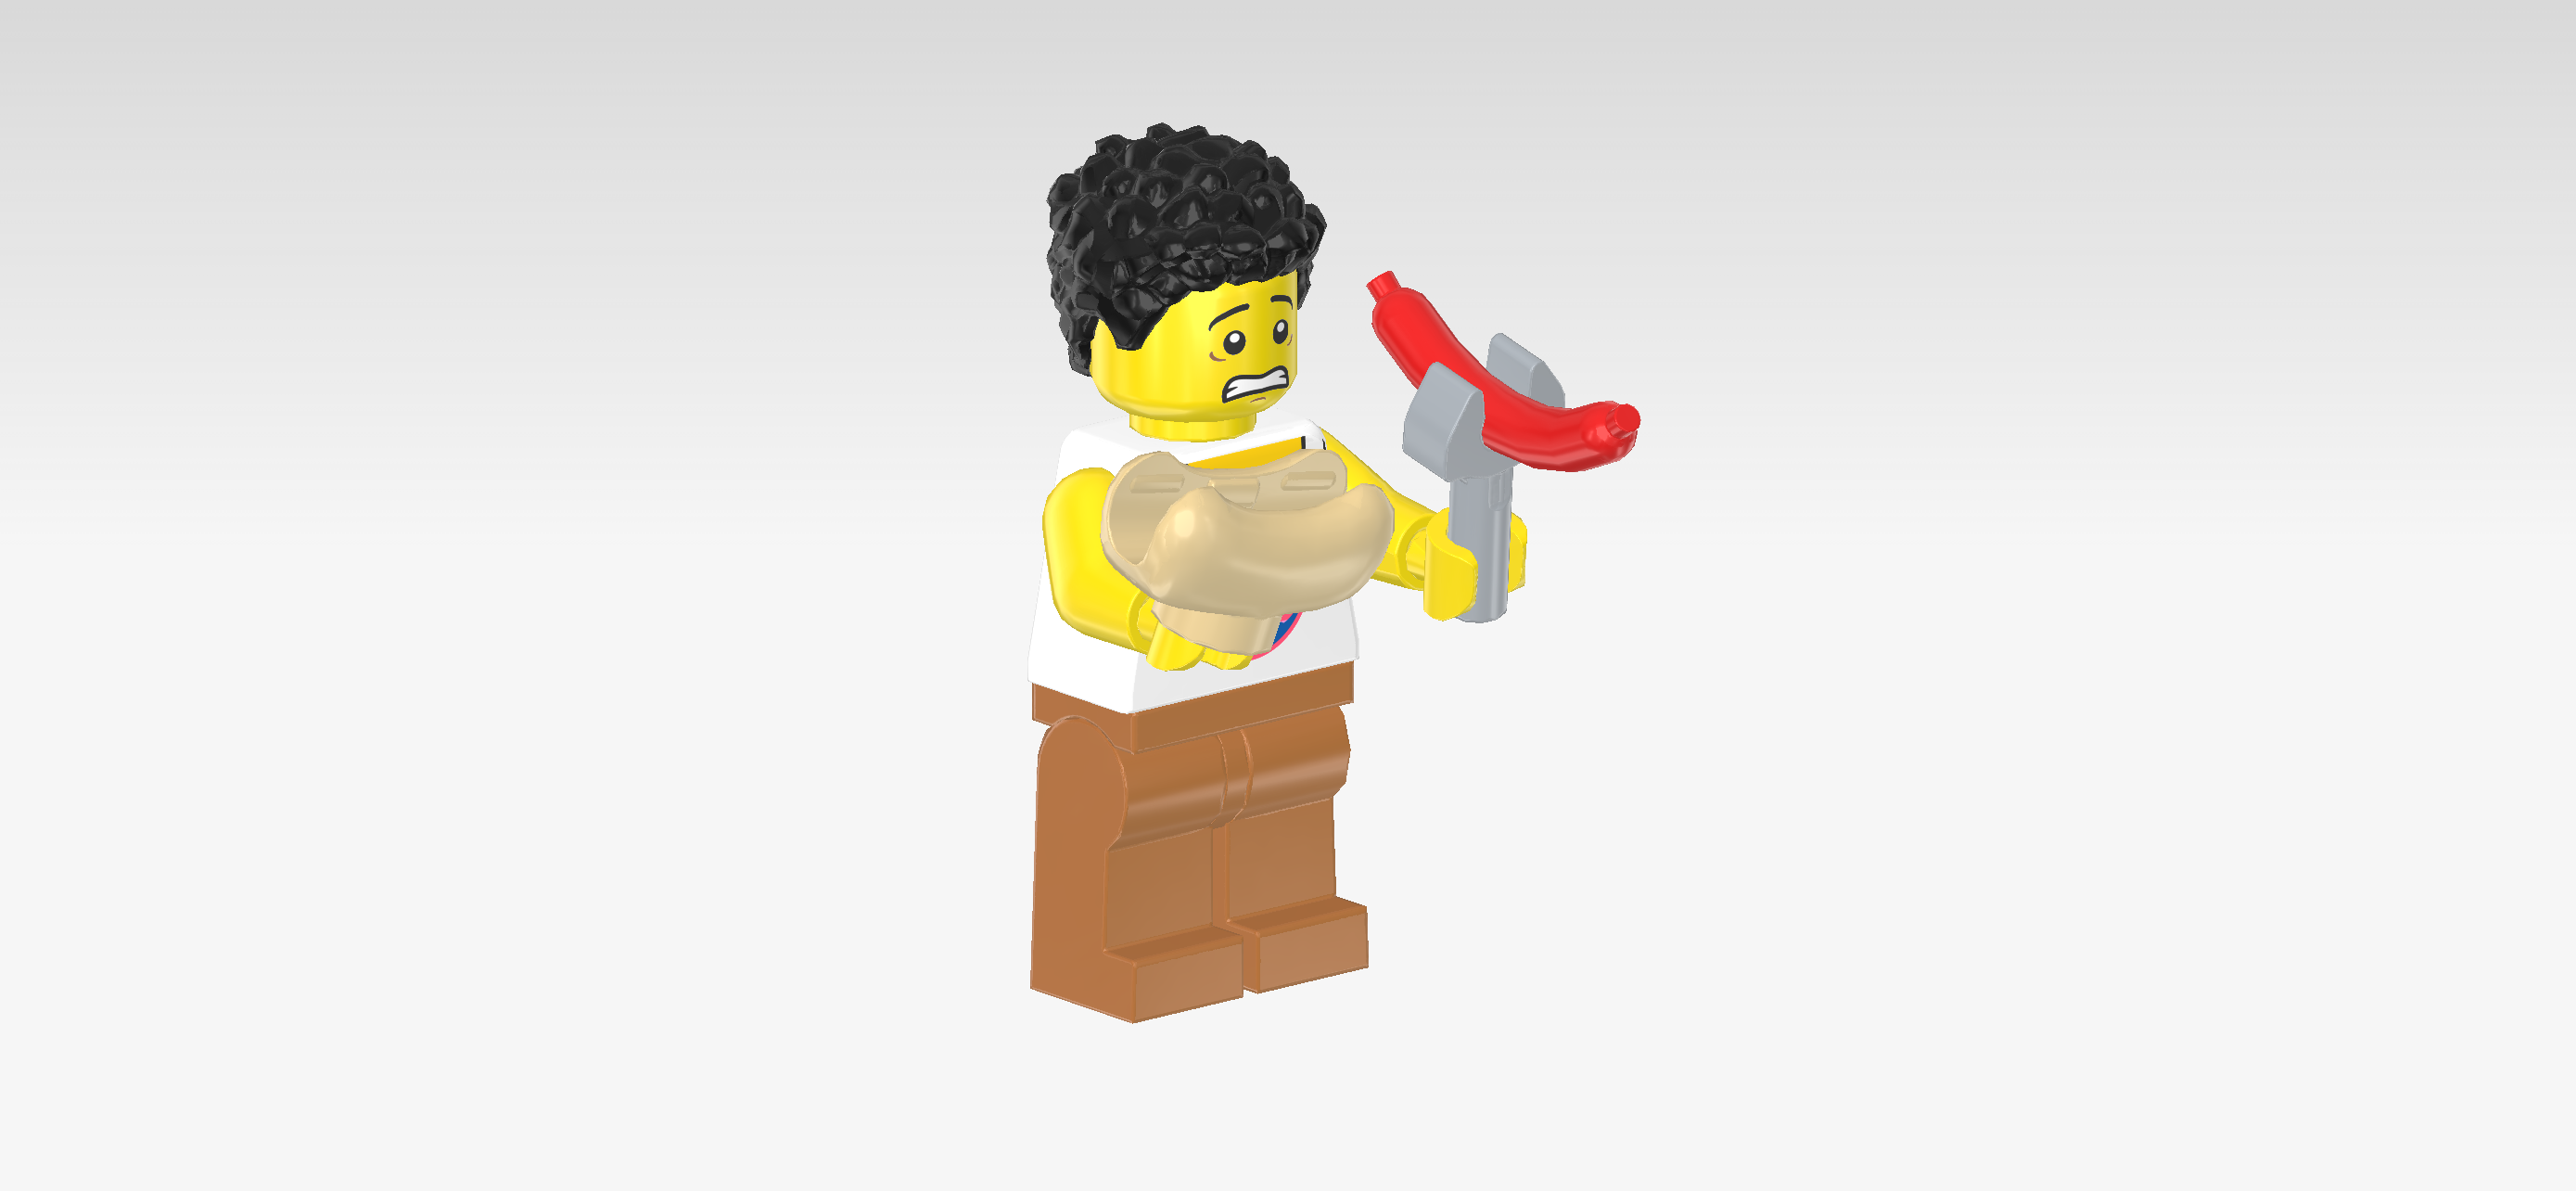
| Snap the sausage into the wrench head. Make sure the sausage ends are pointing to the top. |
| Snap the handle of the wrench into the Minifigure's left hand. |
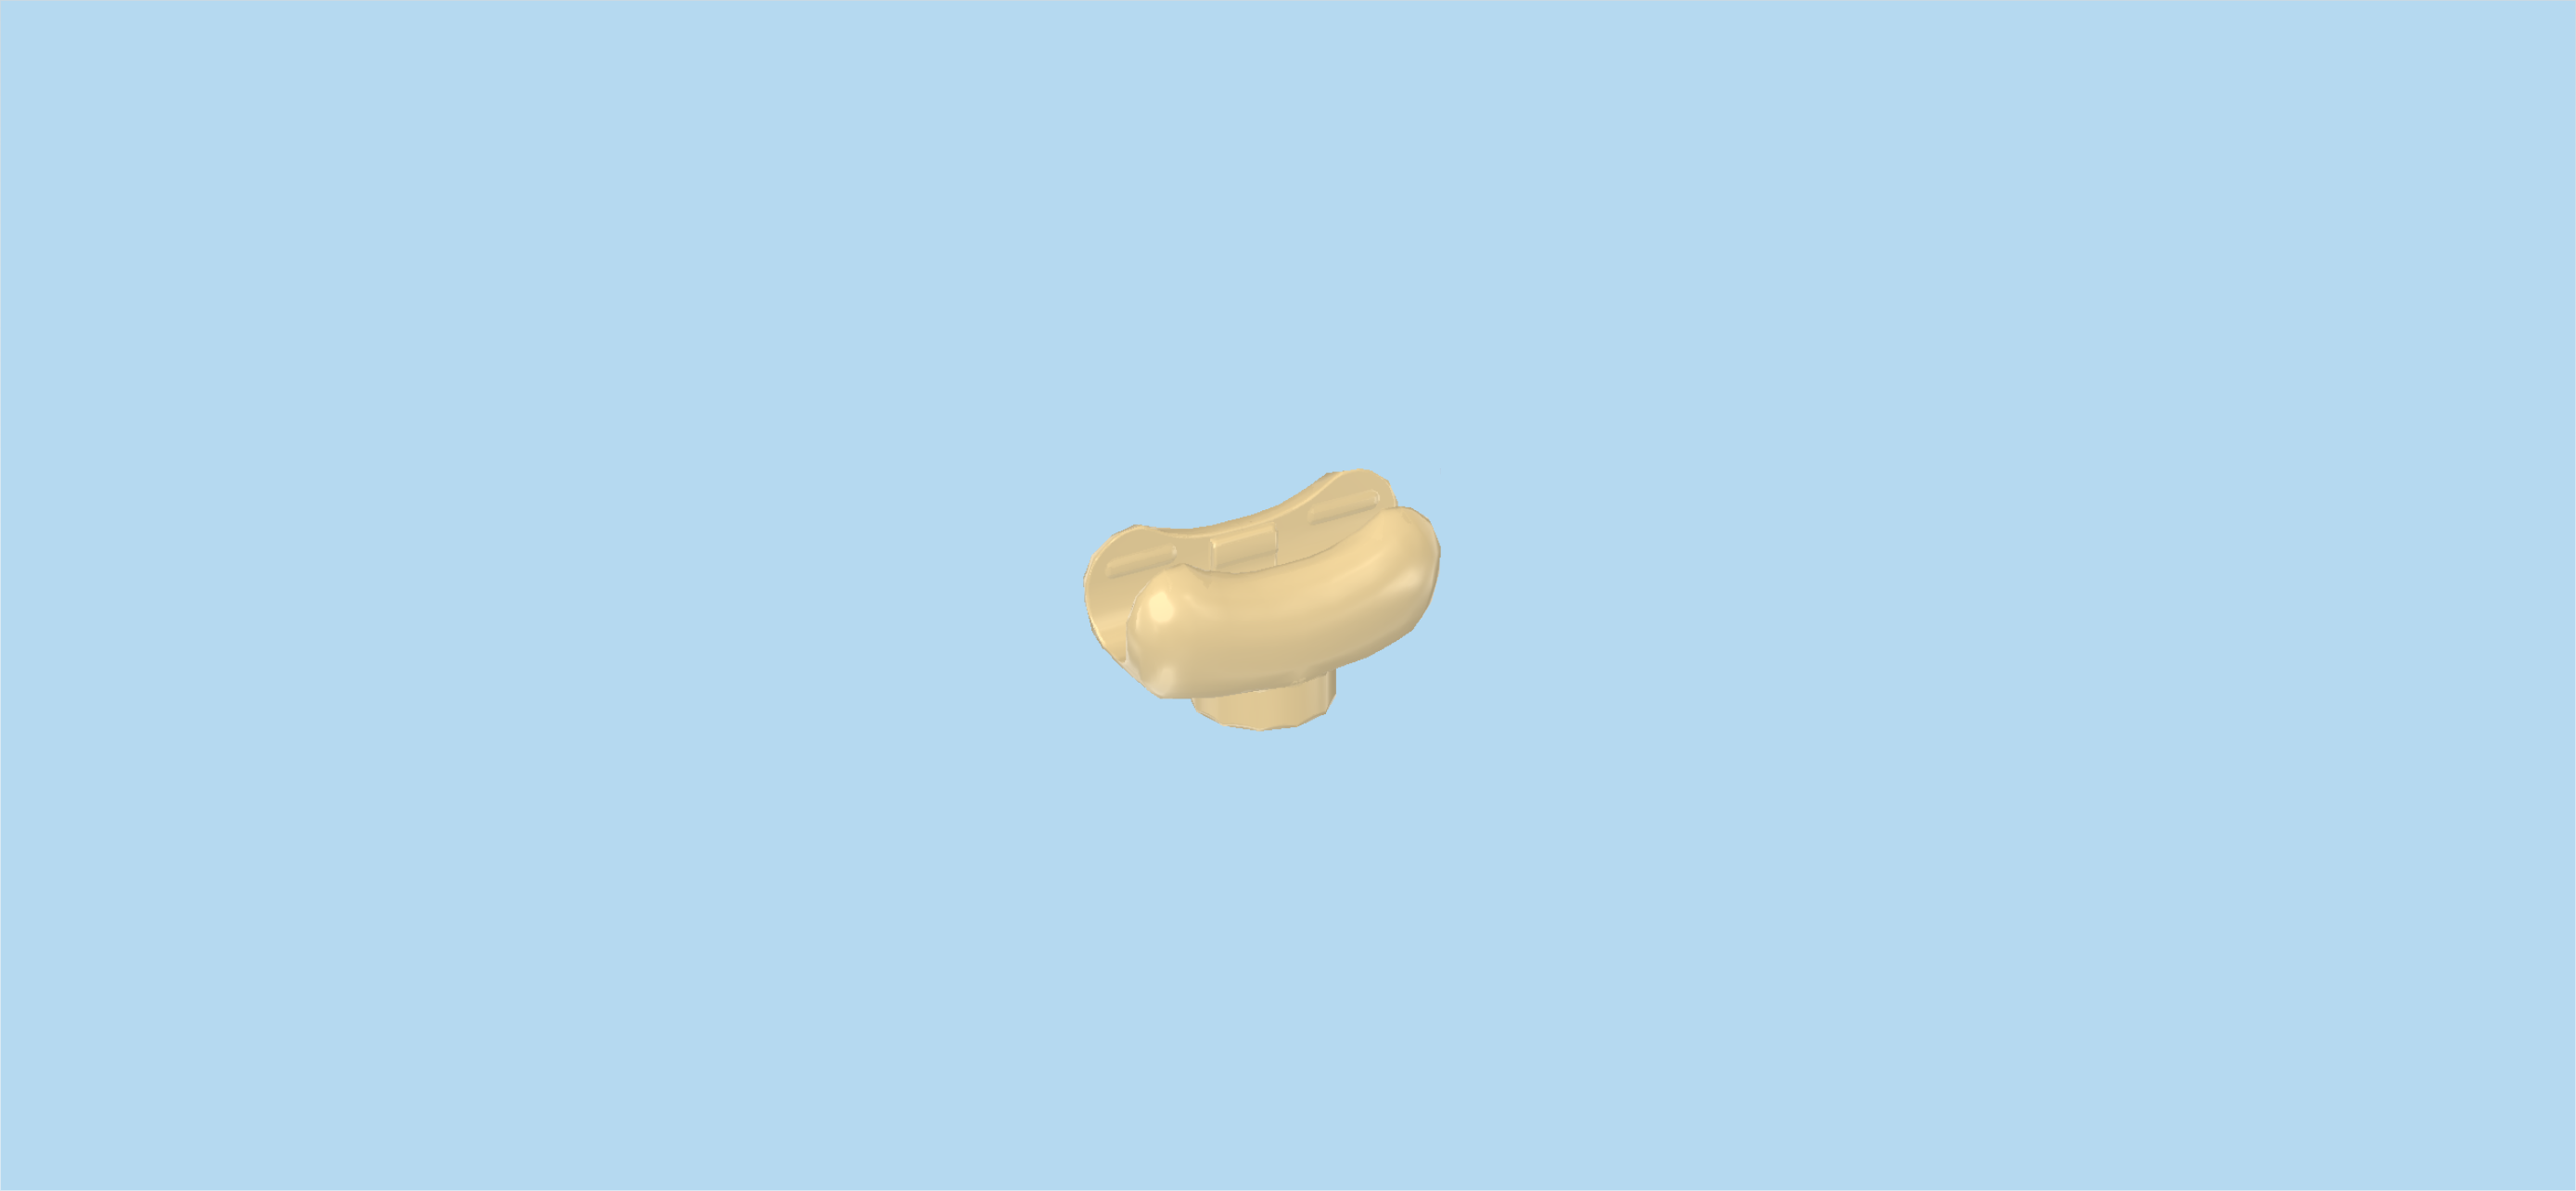
| Find 1 pale ocher yellow bread bun. |
| Put it on the Minifigure's right hand. |
| The Citizen Minifigure is finished! Great job! The citizen's face is contorted with shock and fear: he is clenching his teeth, and his eyebrows are raised. He is wearing a white tank top with a print on it: a blue surfboard surrounded by a circle in sunset colors. His pants are a medium brown. He was able to save himself and one of his sausages from the fire. He was lucky! |
| Next, we will build the barbecue with flame. |
| Collect the following 2 pieces: |
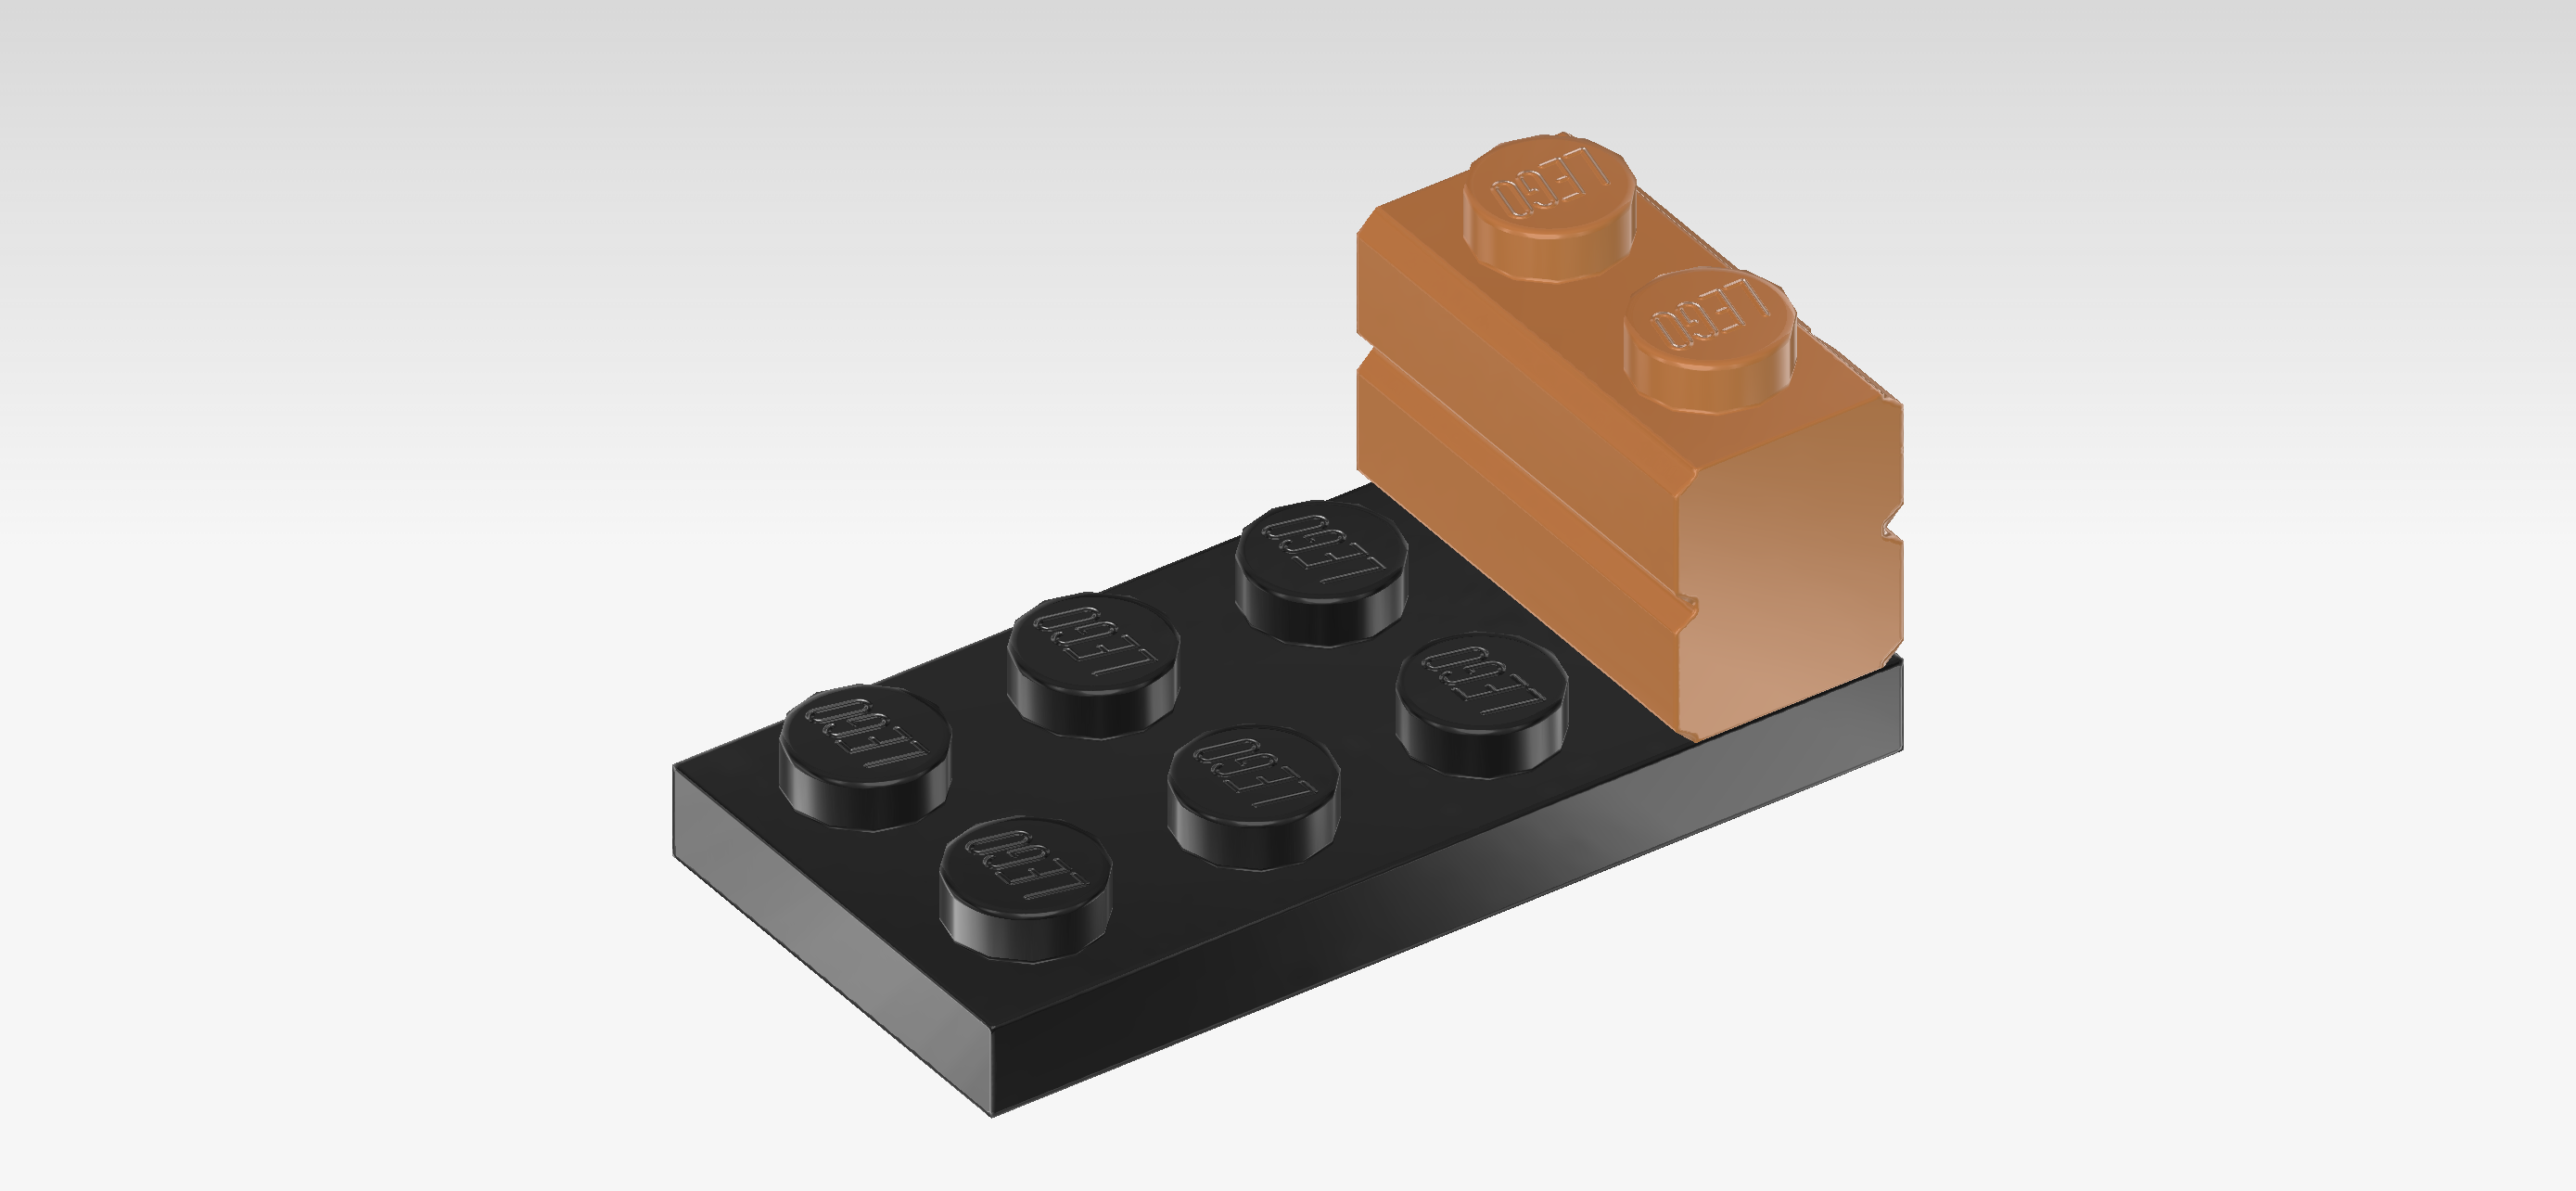
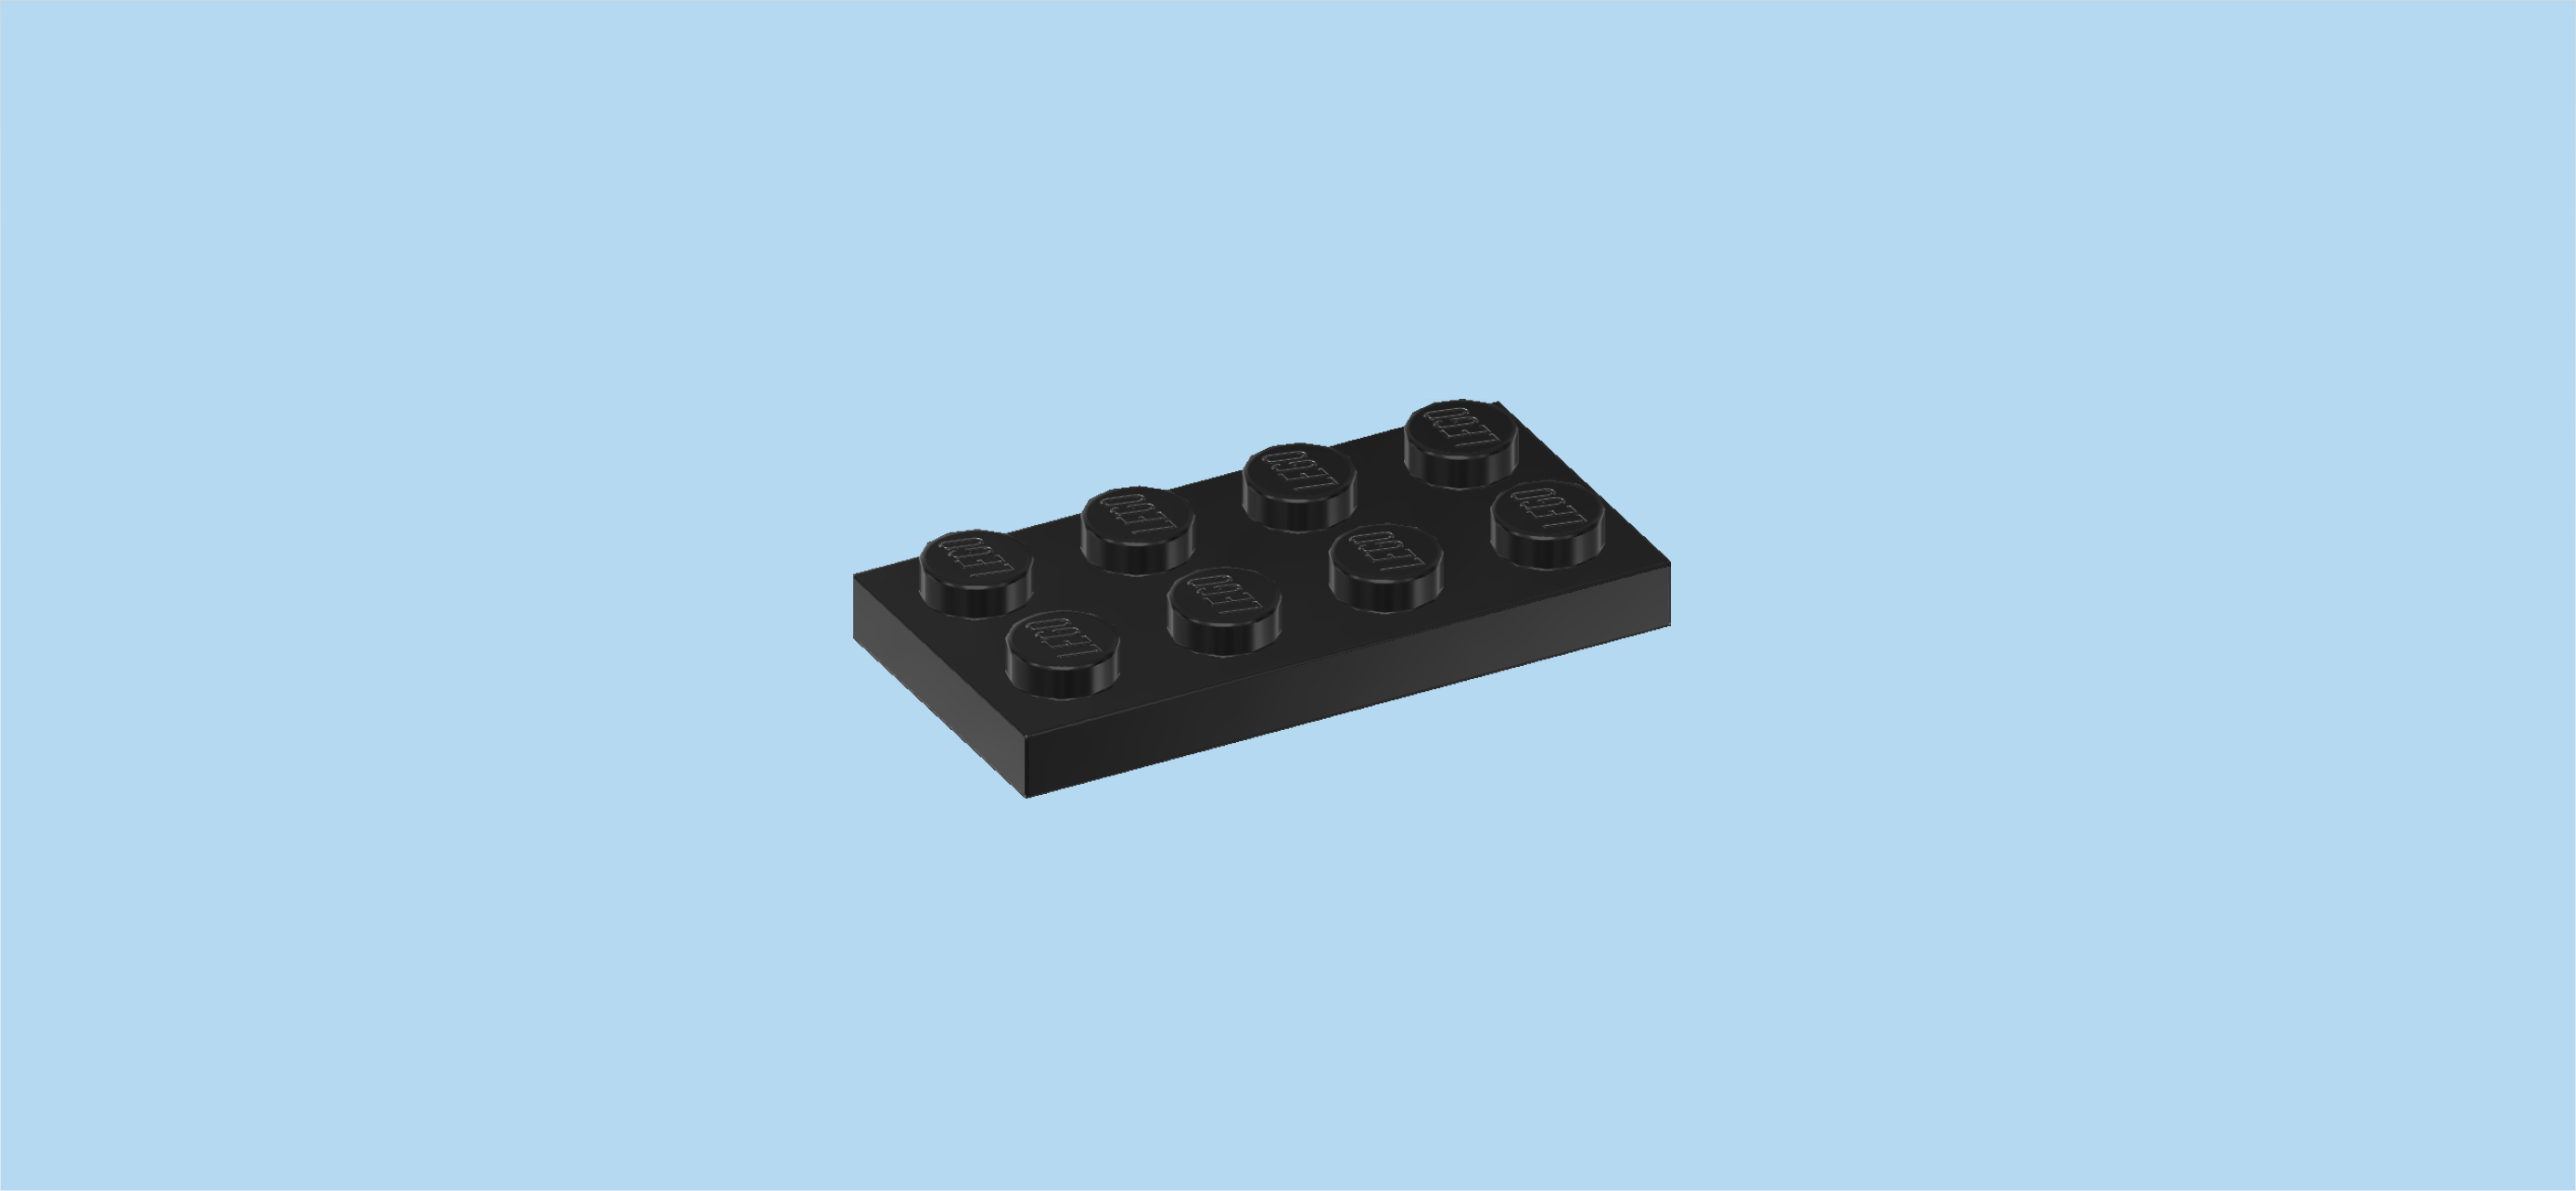
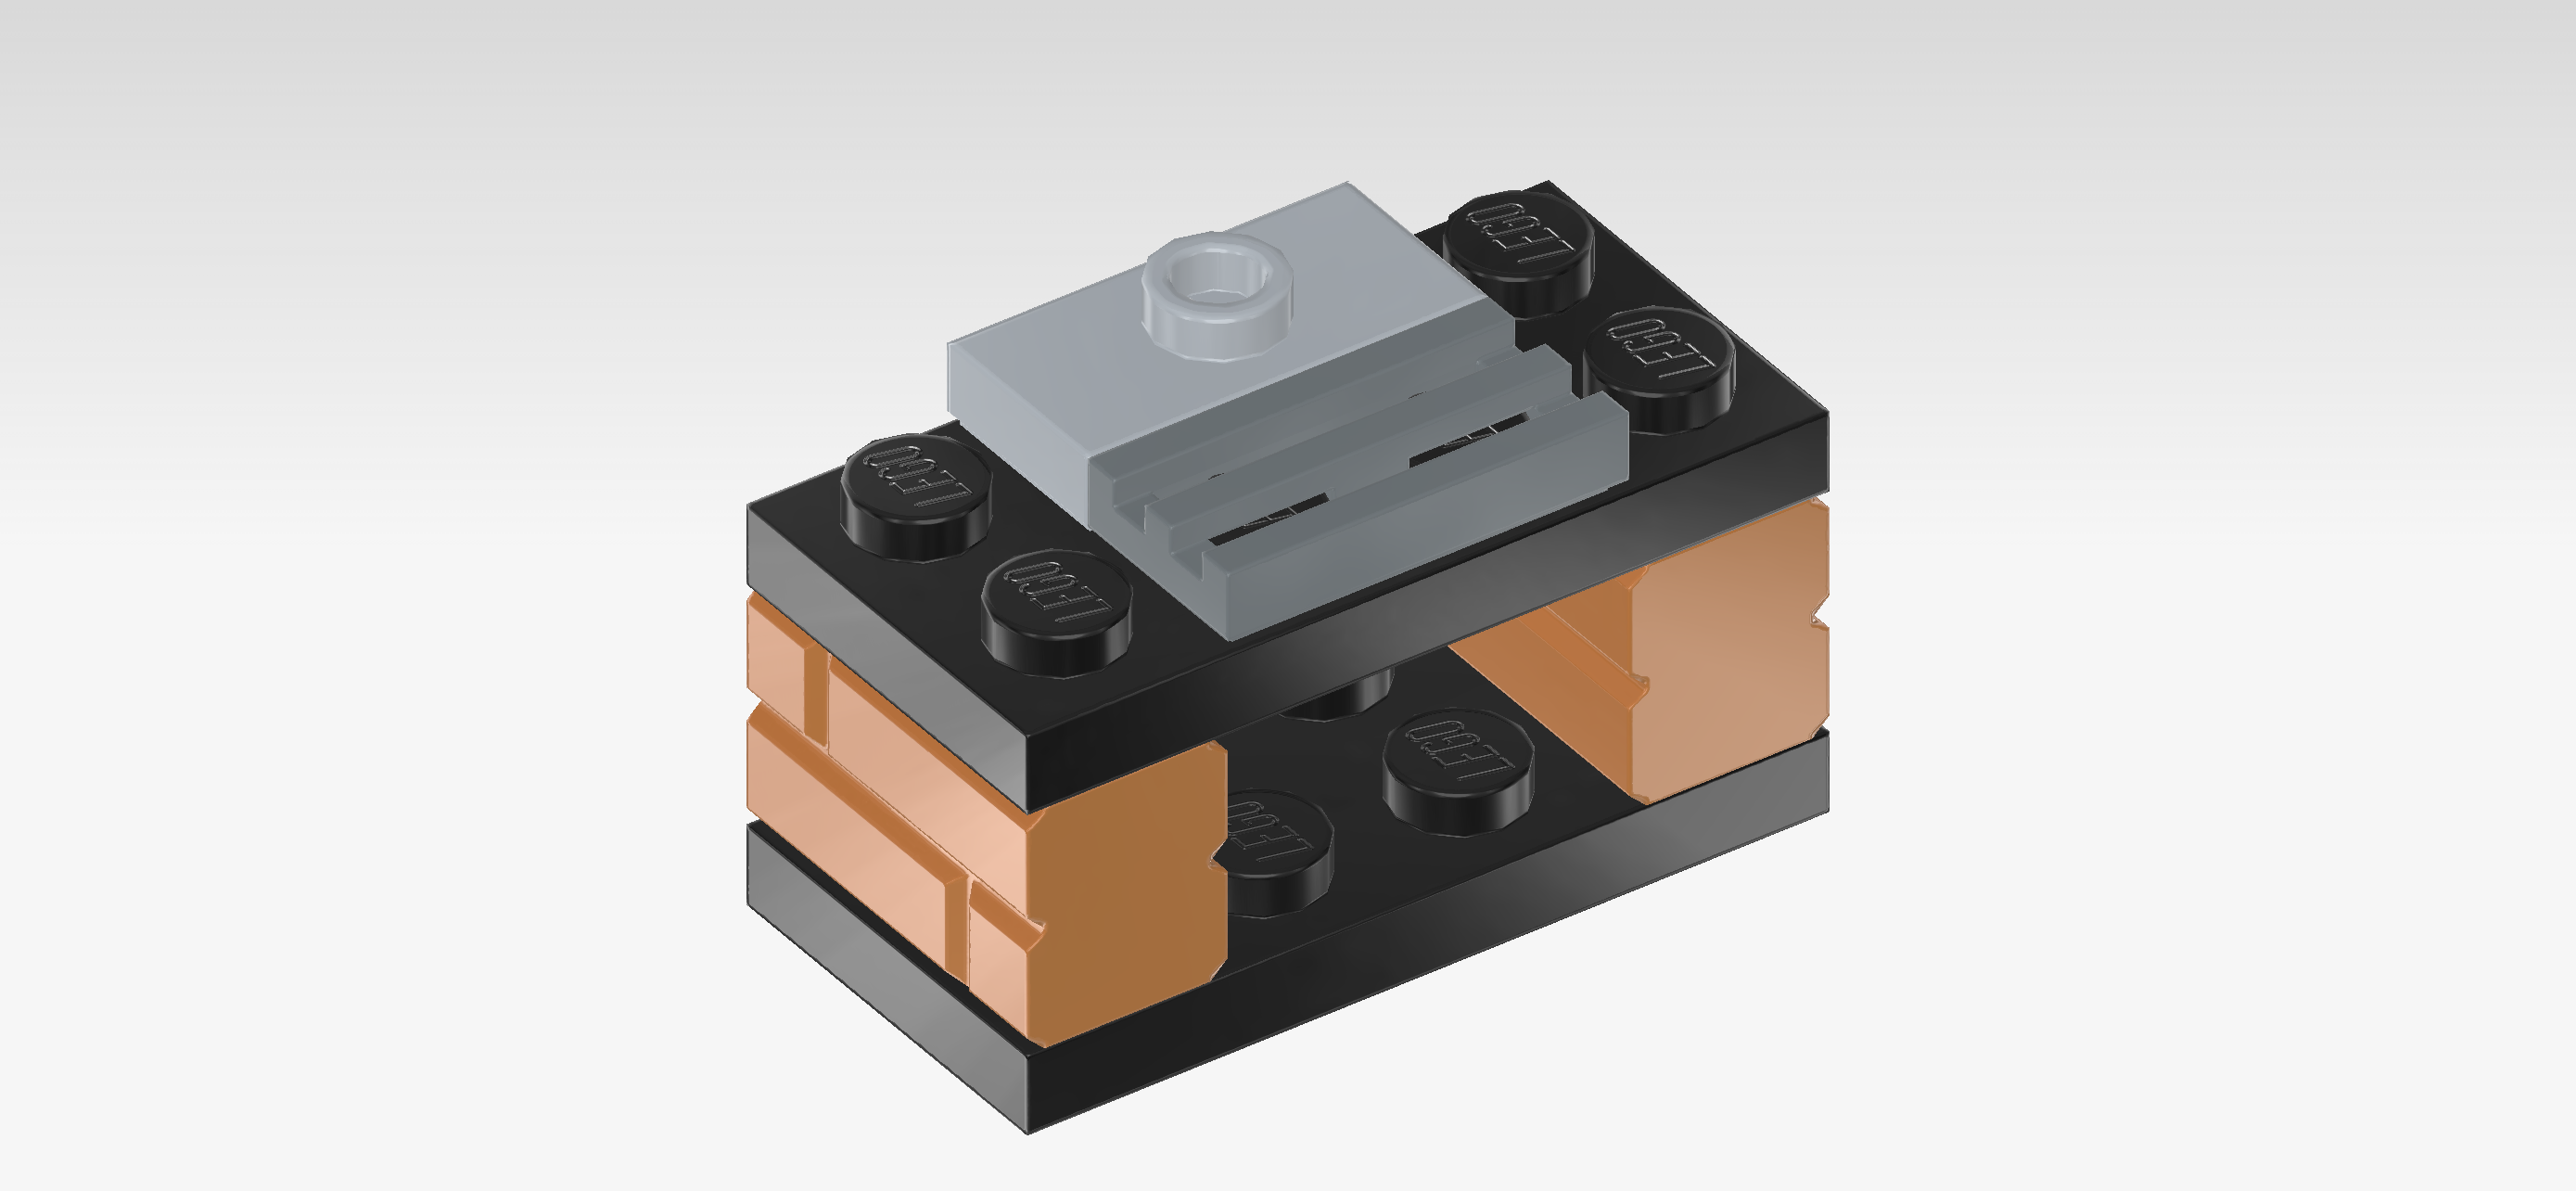
| 1 black plate 2x4, |
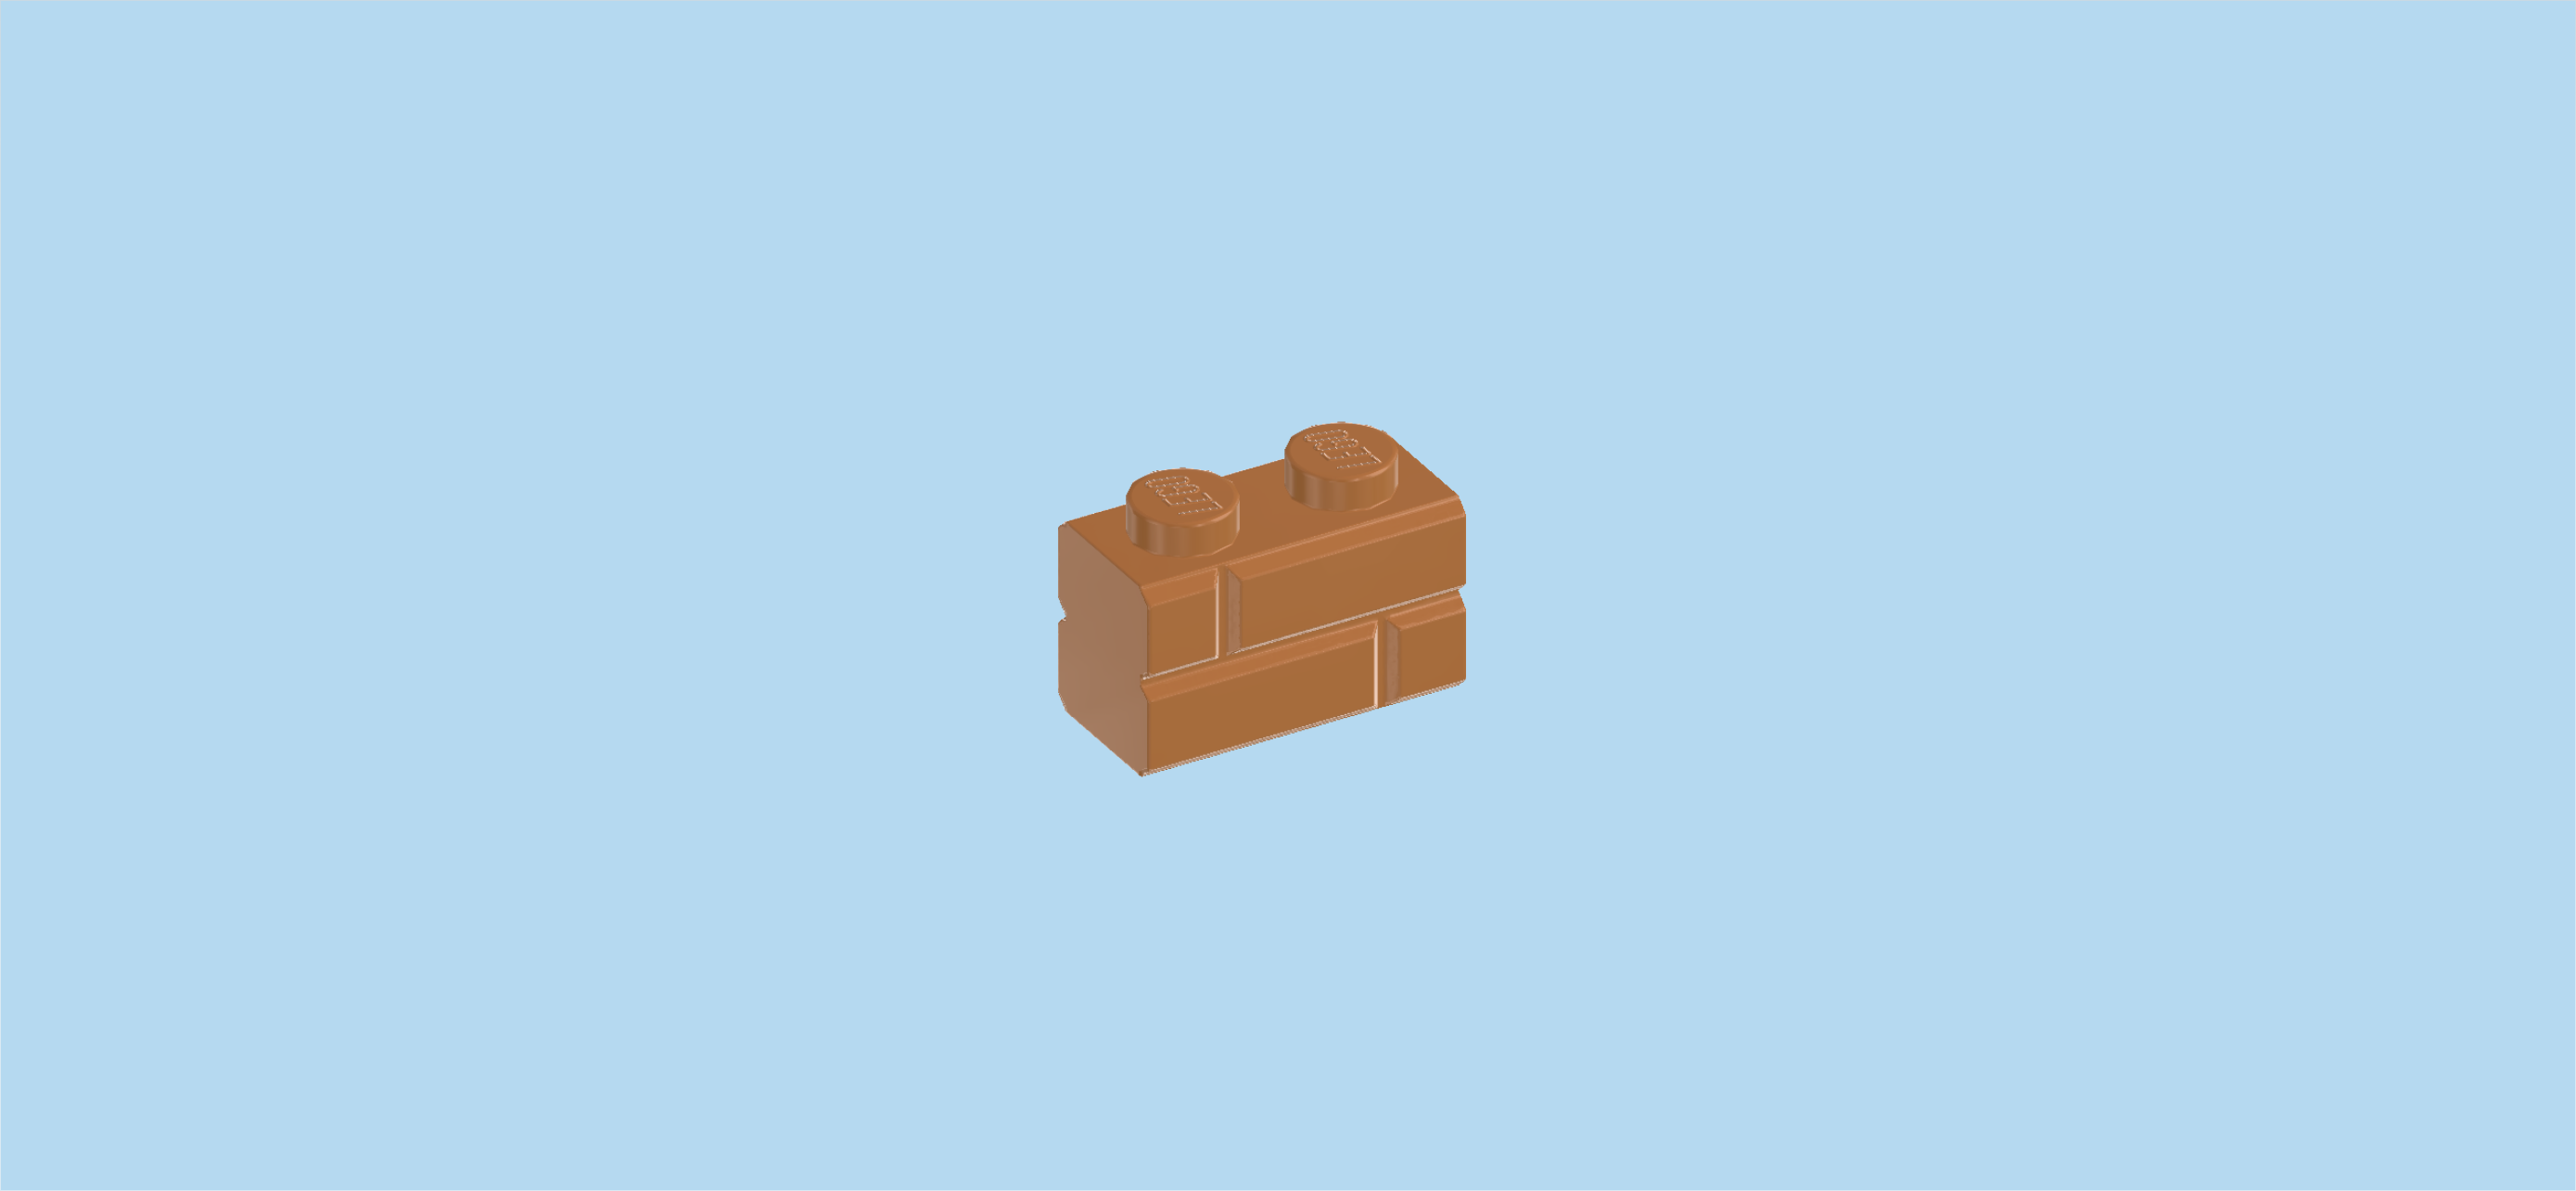
| and 1 medium nougat brown brick 1x2 with brick carvings. |
| Put the plate 2x4 horizontally on the table. |
| Put the brick 1x2 vertically on the rightmost column, brick carvings to the right. |
| Find another medium nougat brown brick 1x2 with brick carvings. |
| Put it vertically on the leftmost column, brick carvings to the left. |
| Find 1 black plate 2x4. |
| Put it horizontally on top. |
| Collect the following 2 pieces: |
| 1 silver metallic grille tile 1x2, |
| and 1 medium stone grey plate 1x2 with 1 knob. |
| Put the plate with 1 knob horizontally centered on the back row. |
| Put the grille tile 1x2 horizontally in front of the previous piece. |
| Find 2 medium stone grey panel elements 1x2x1. |
| Put 1 vertically on the rightmost column, panel to the right. |
| Put the other one vertically on the leftmost column, panel to the left. |
| Find 1 transparent yellow flame 7m with shaft. |
| Insert its bottom shaft into the hollow knob of the plate with 1 knob, flame protruding to the top. |
| Find 1 black sausage. |
| Put it on the grille tile. |
| The barbecue with flame is finished! Great job! The fire is flaring up, so we better start building the firefighter! |
| Next up, we will build the Firefighter Minifigure. |
| Collect the following 2 pieces: |
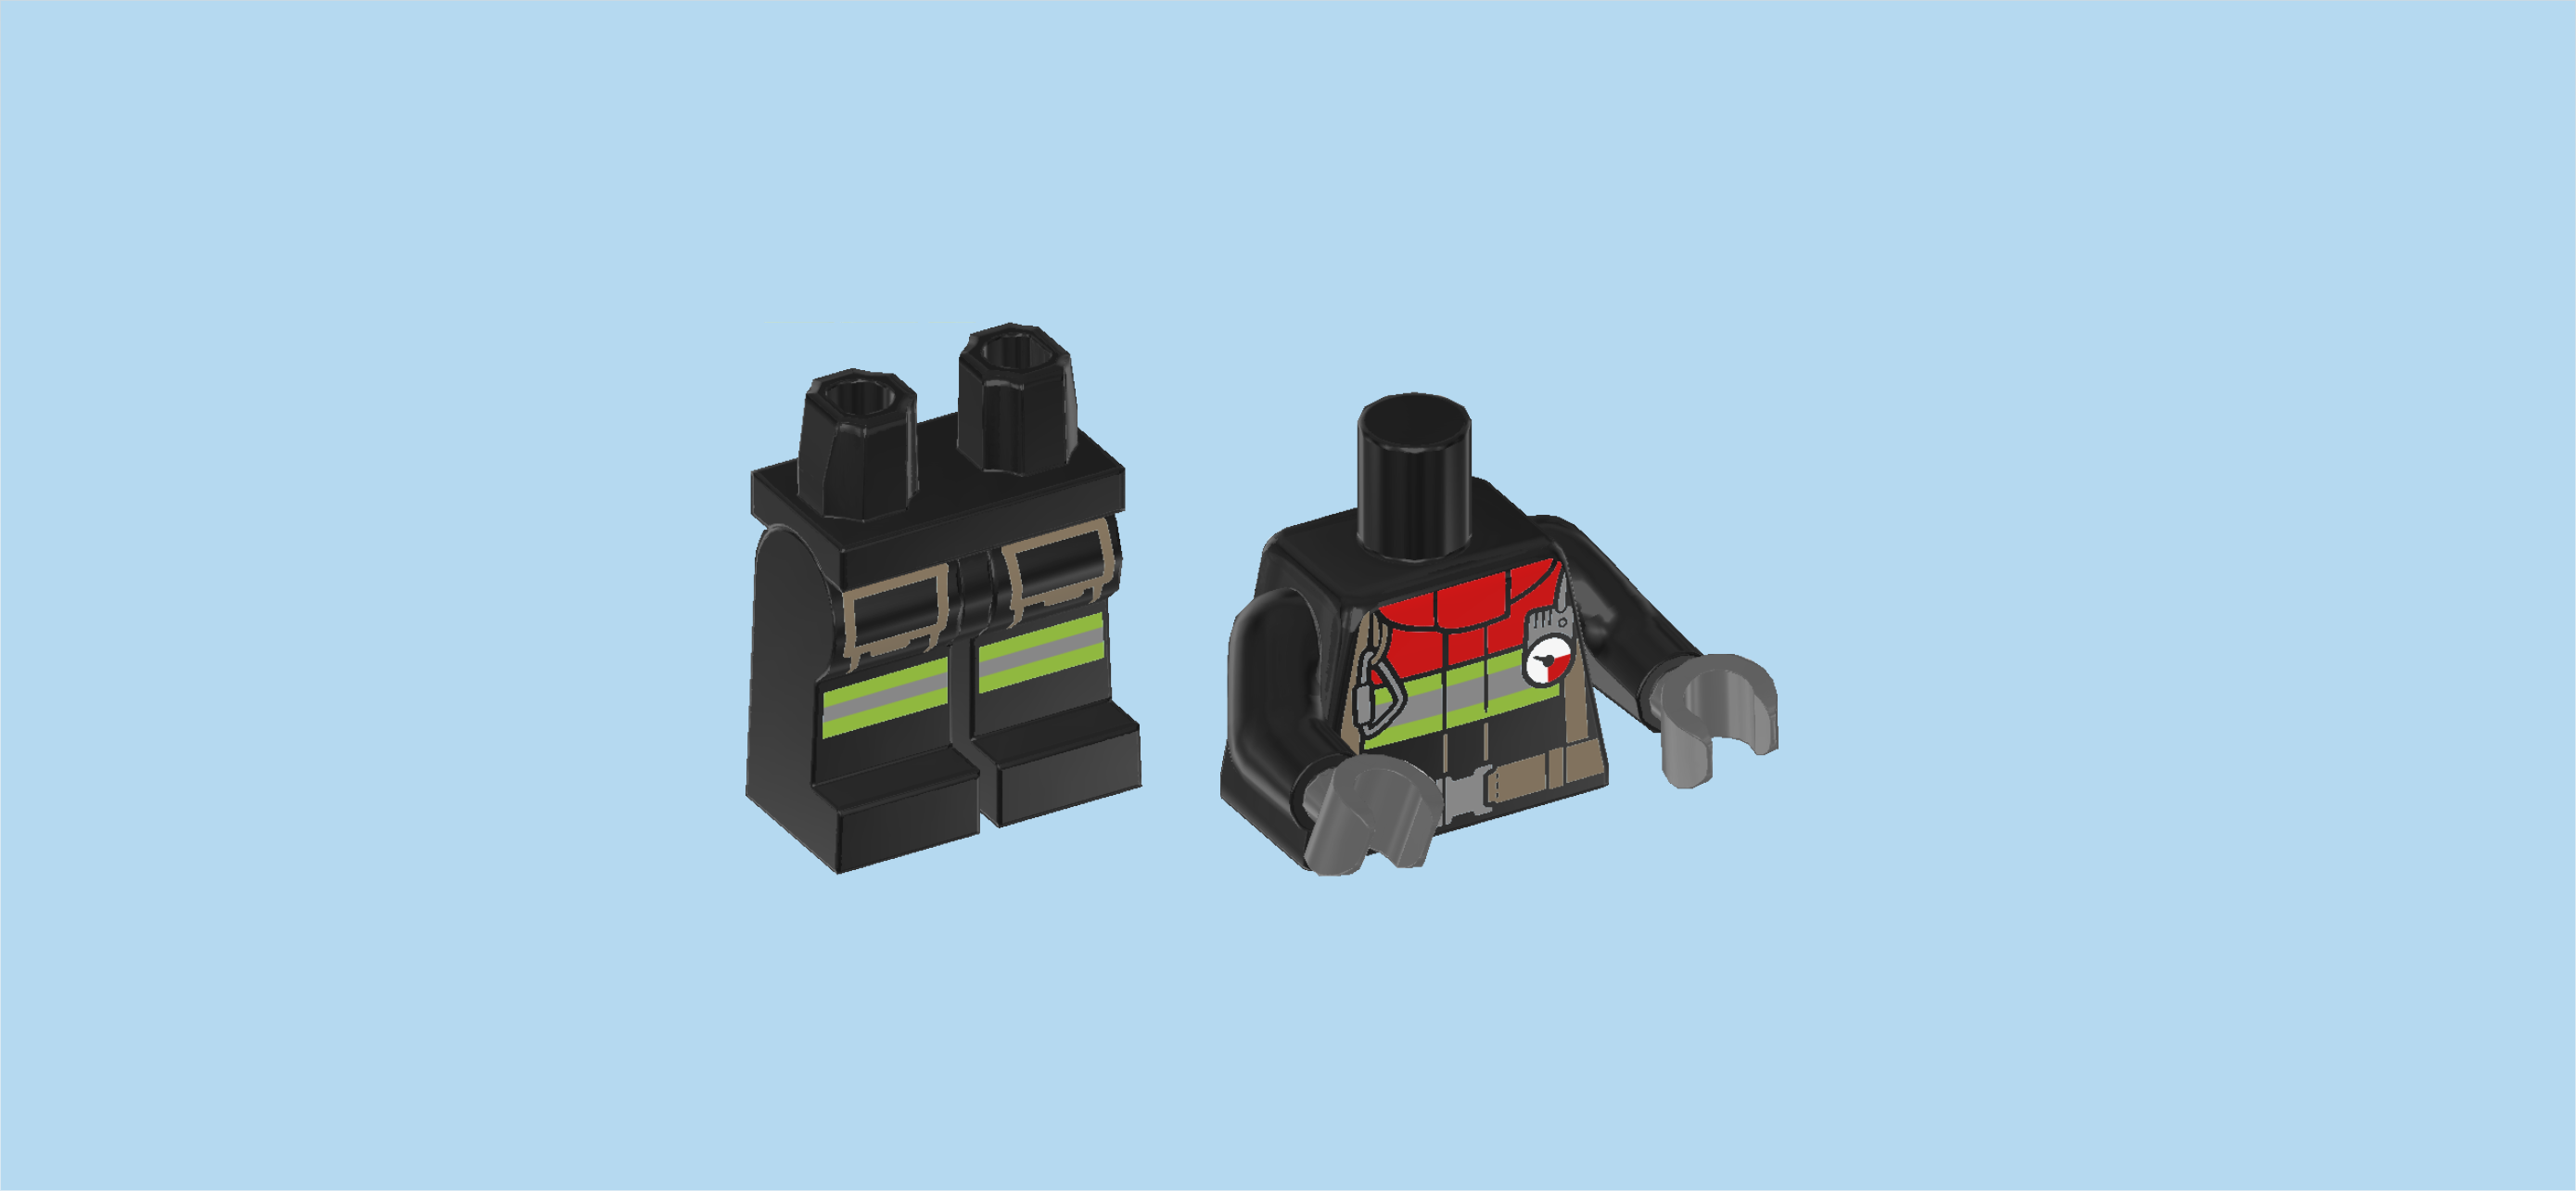
| 1 black pair of legs, |
| and 1 black and dark stone grey upper part of the body. |
| Put the upper body on the legs. Make sure that the hands and toes are pointing in the same direction. |
| Collect the following 2 pieces: |
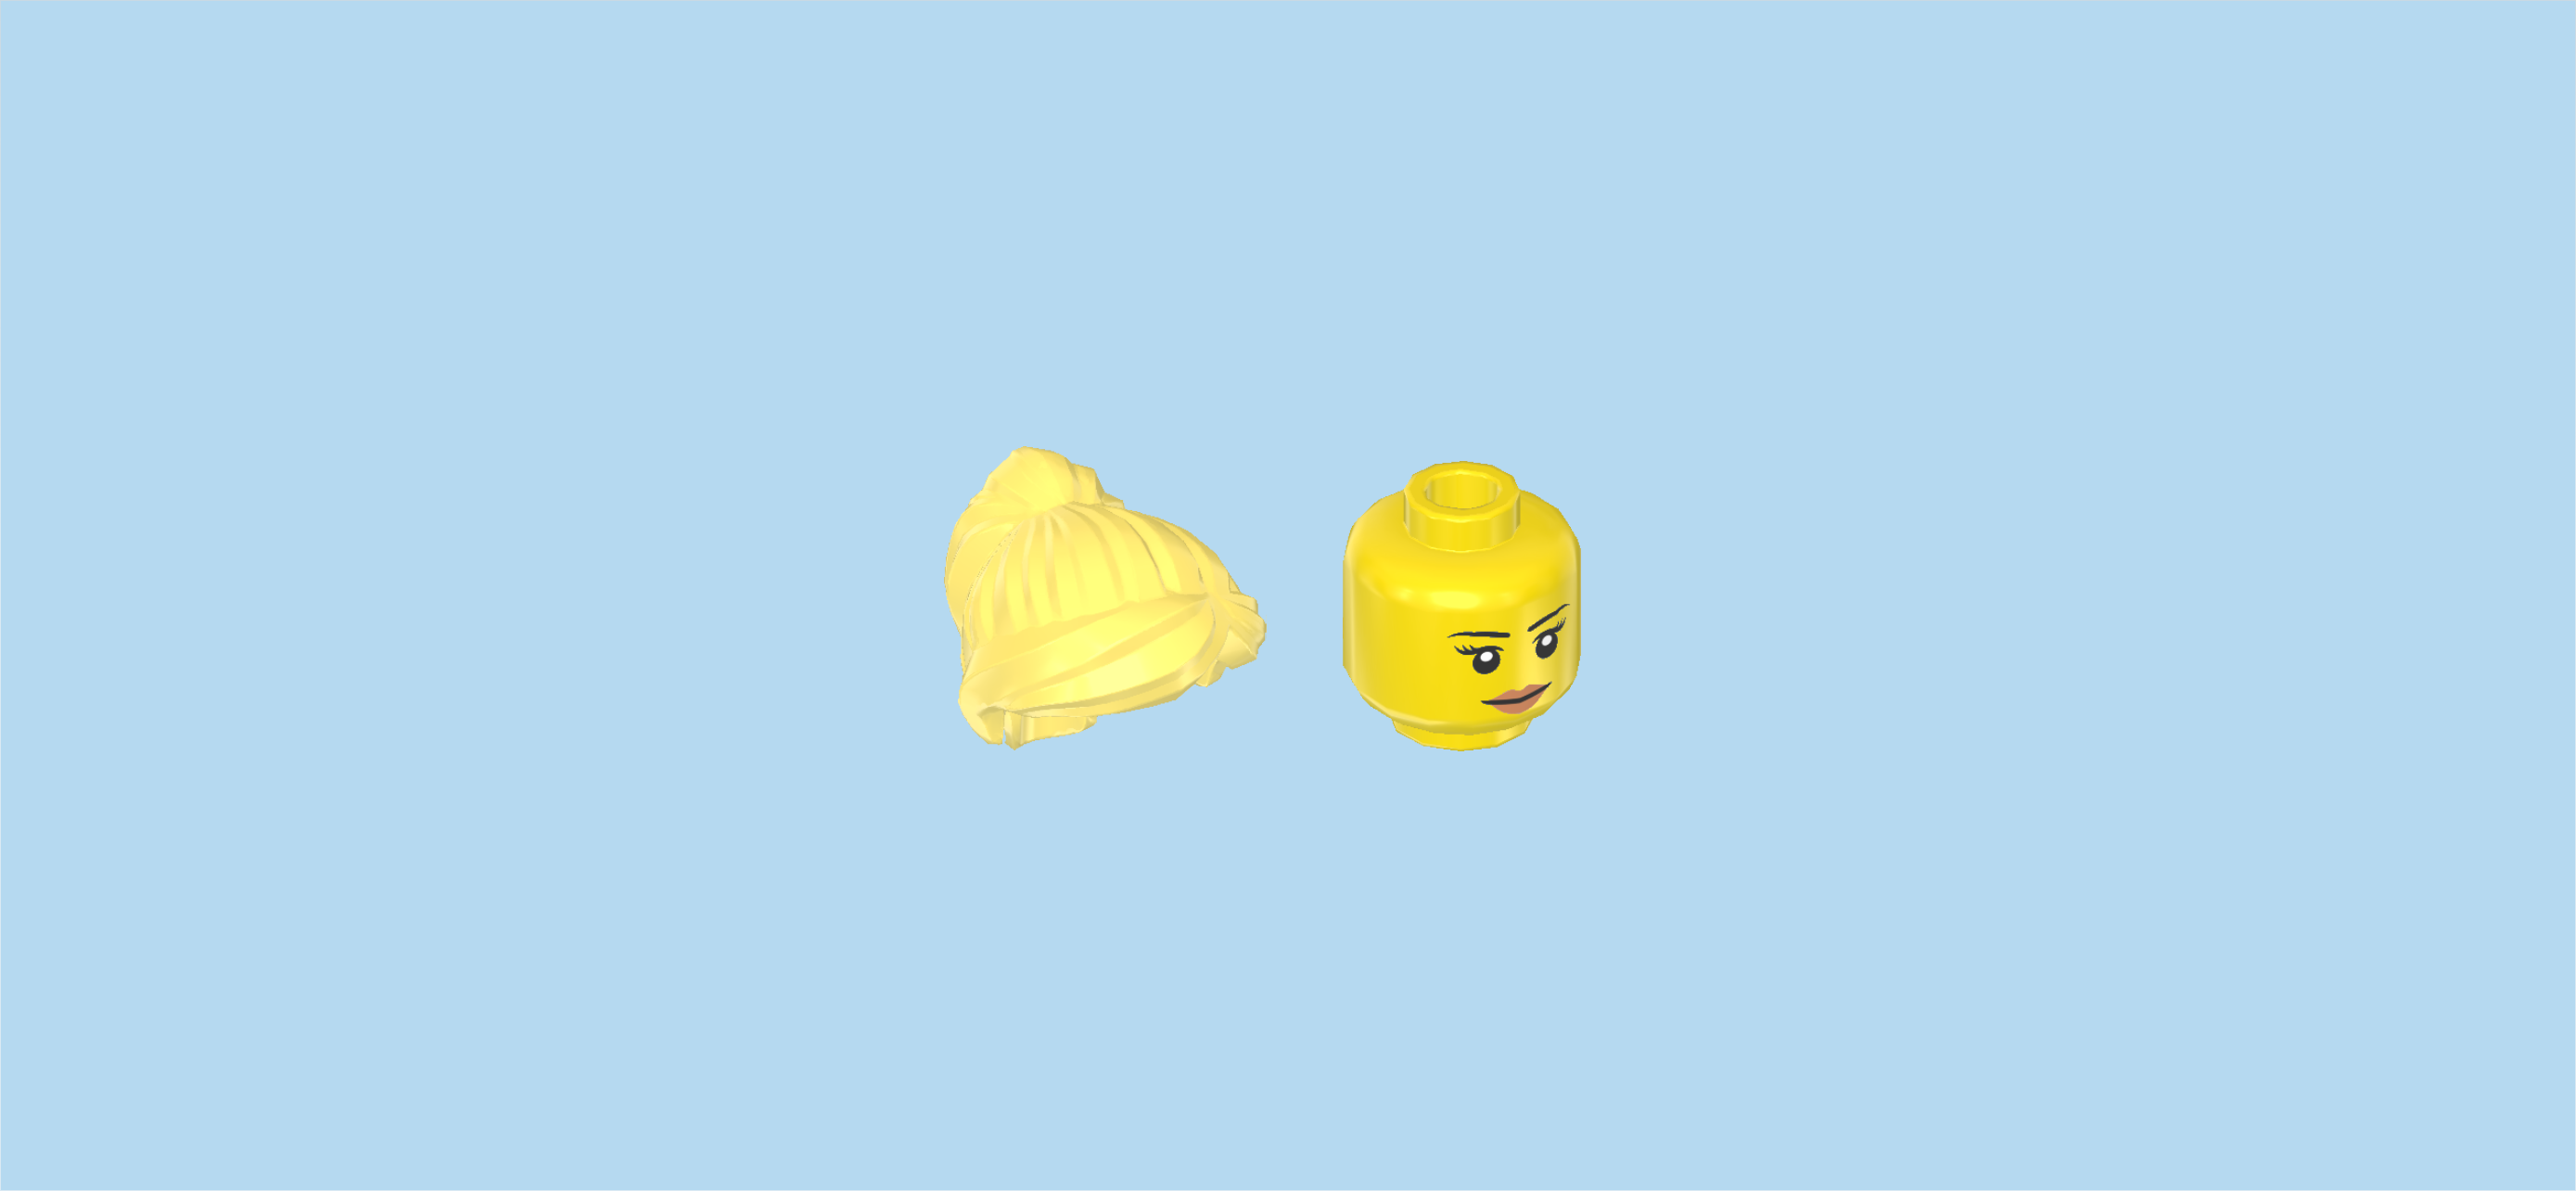
| 1 lemon yellow hairpiece with high ponytail, |
| and 1 bright yellow Minifigure head. |
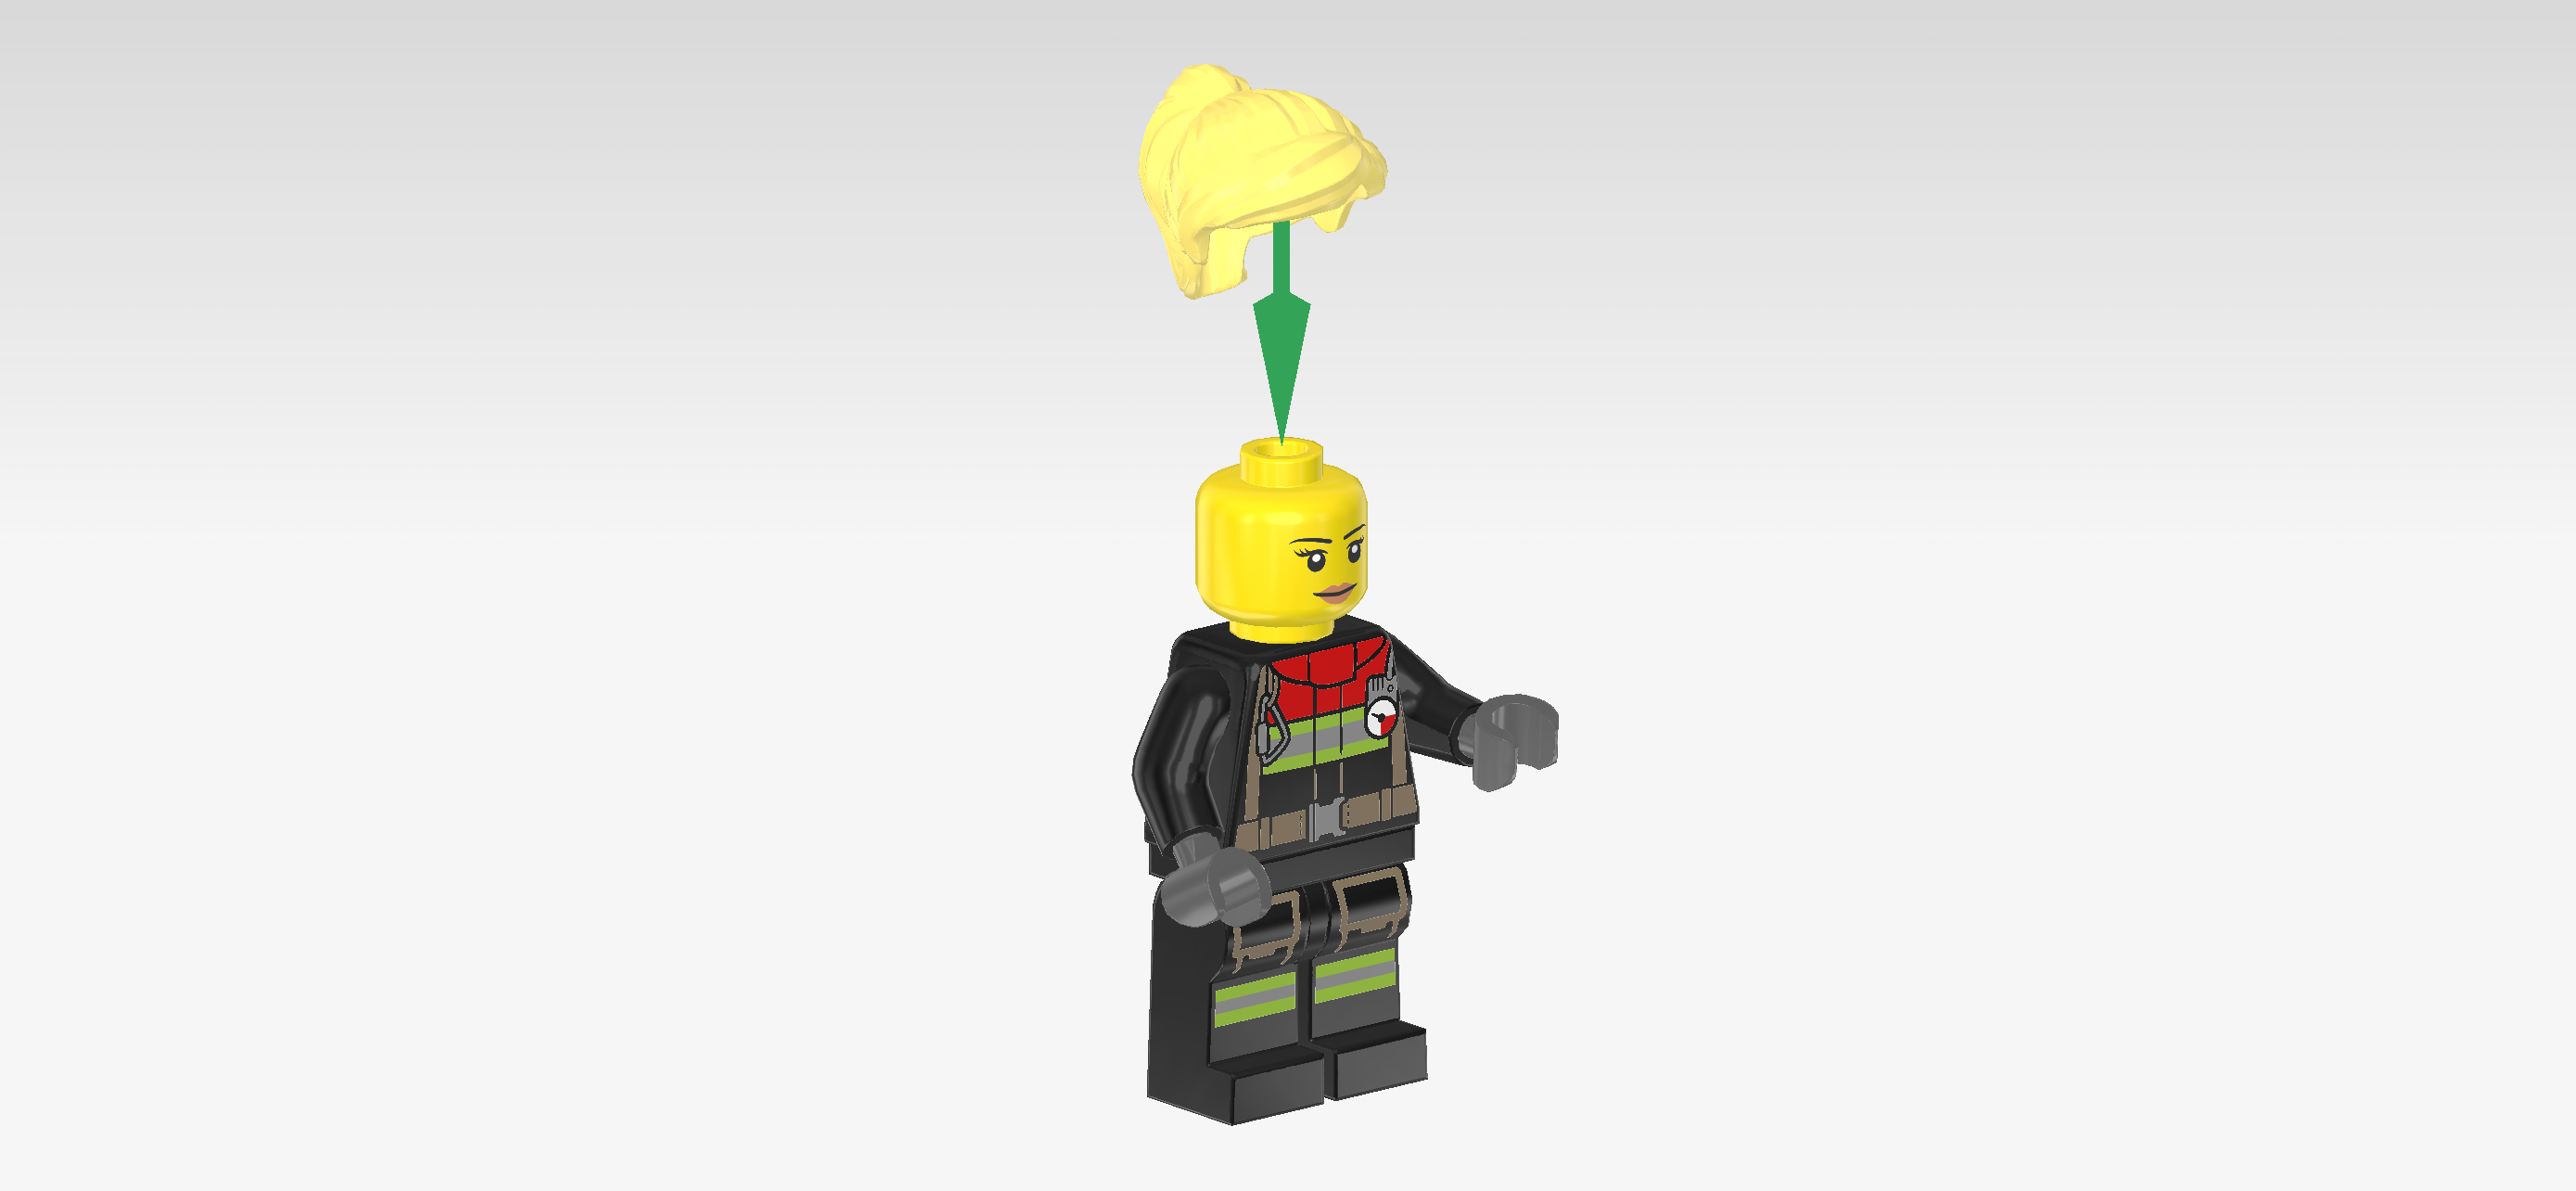
| Put the head on the body. |
| Put the hair on top. |
| Now, let's assemble the helmet. |
| Collect the following 2 pieces: |
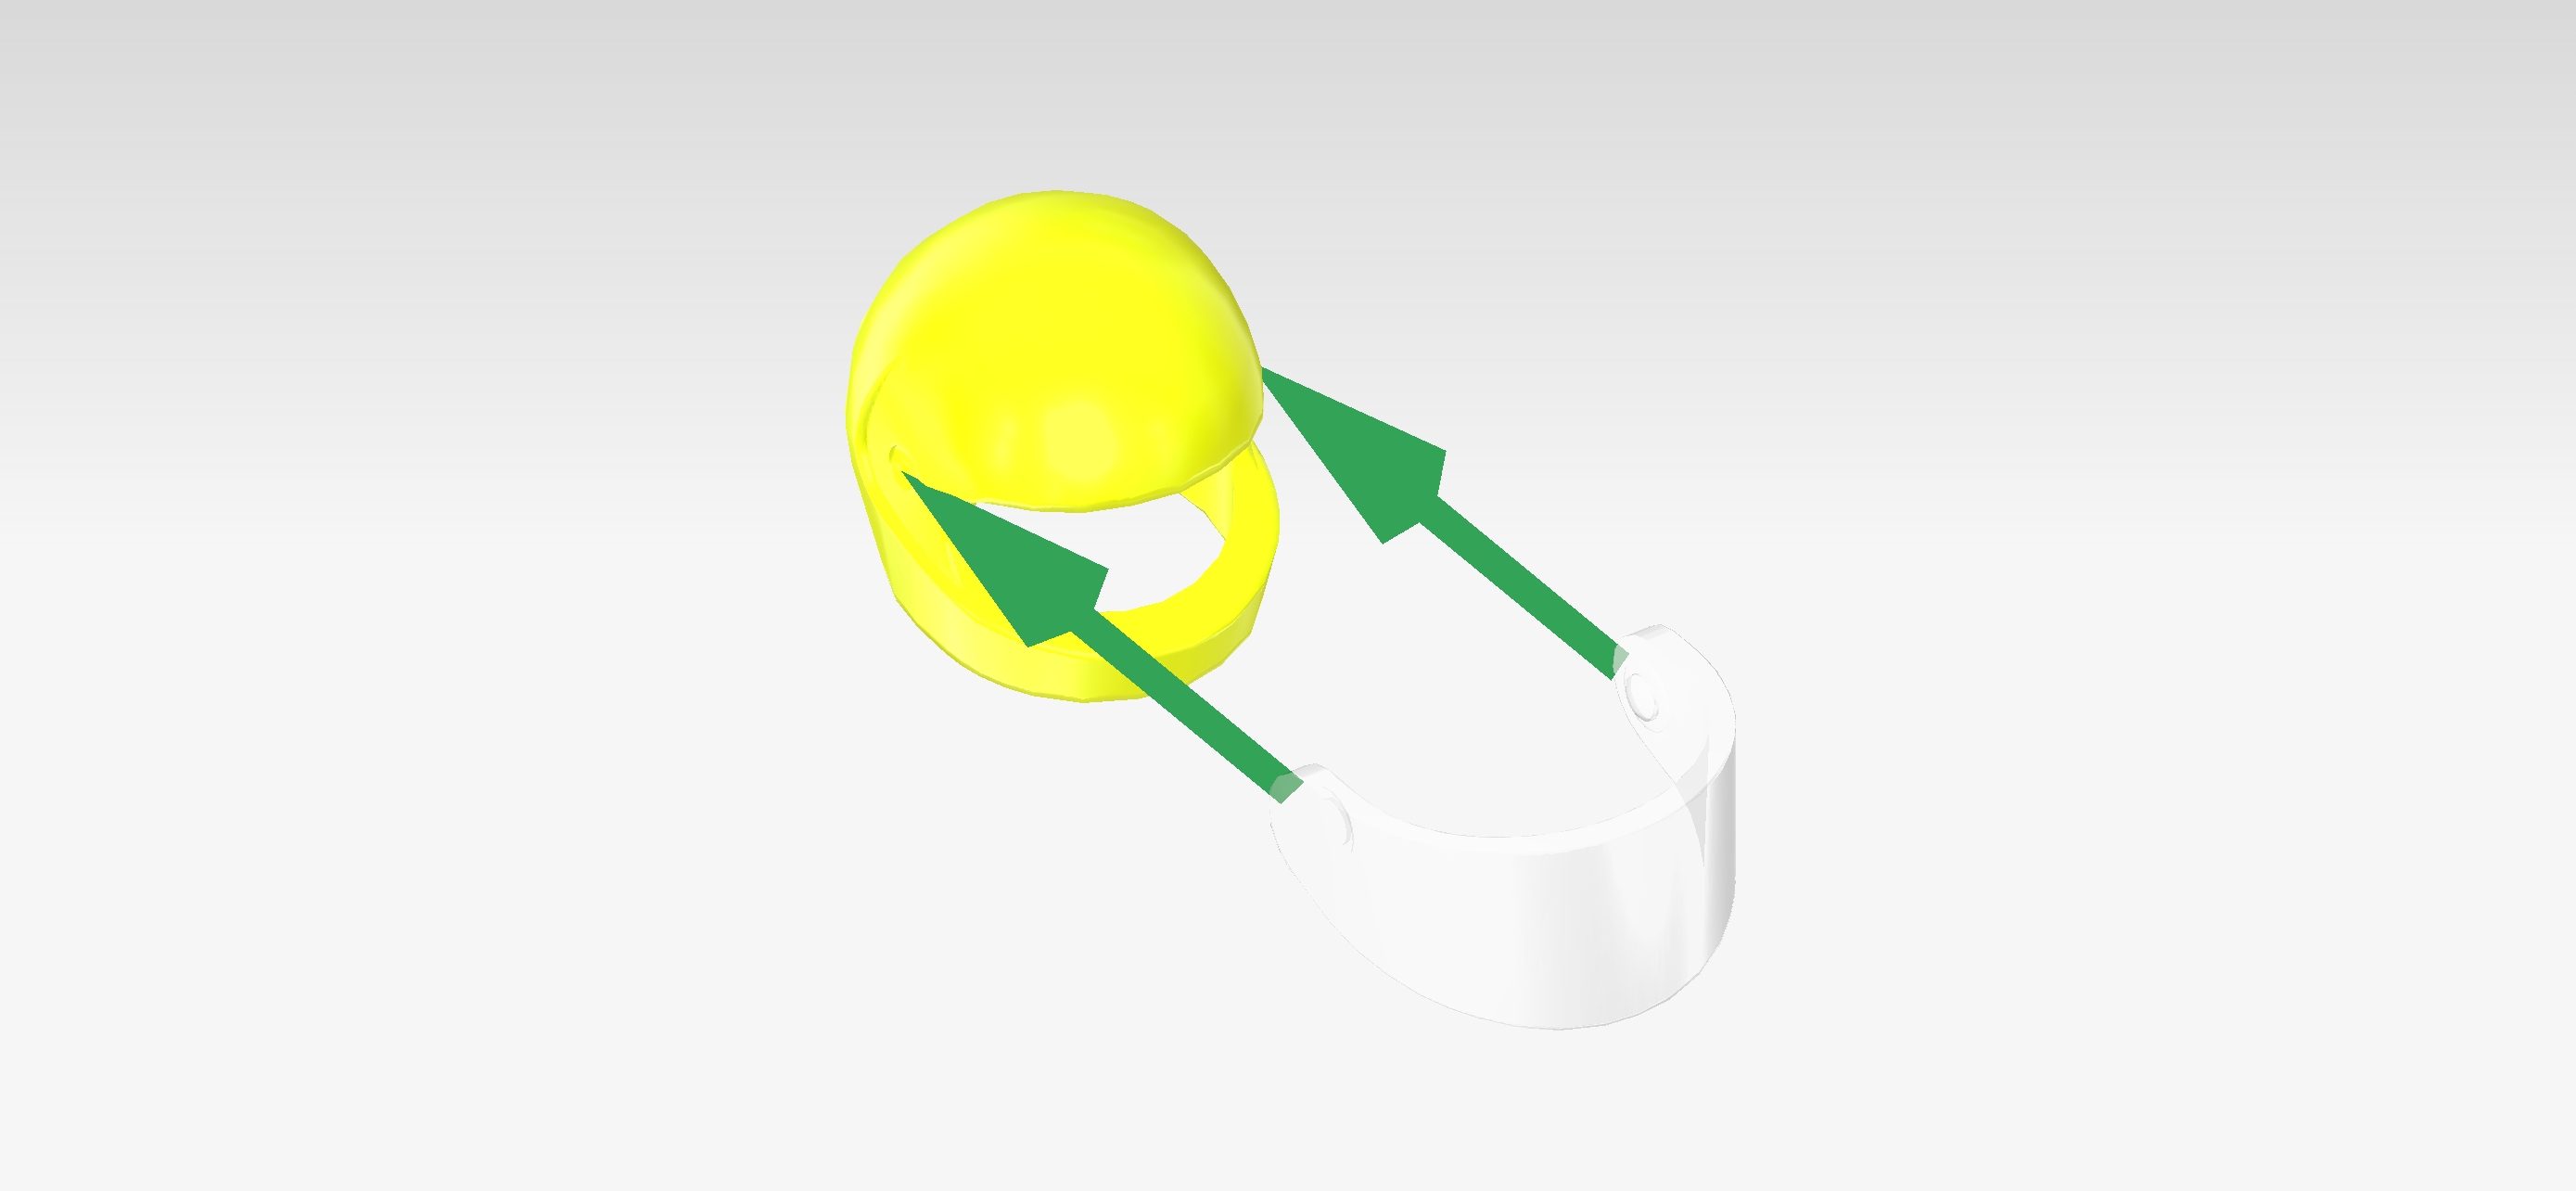
| 1 transparent helmet visor, |
| and 1 vibrant yellow safety helmet with chin strap. |
| Snap the visor into the helmet. |
| Before the firefighter mounts her motorcycle, you need to exchange her hair with the helmet. Safety first! |
| The Firefighter Minifigure is finished! Great job! She is wearing a black firefighter uniform; it has green stripes with reflective elements on the kneecaps and across the chest. She is also wearing a brown harness equipped with a carabiner and a gauge as well as a brown belt with a silver belt buckle. She has long eyelashes and pale pink lips. The firefighter has a fierce look on her face; she is all ready to go! The only thing missing is her motorcycle. Let's continue building! |
| Now, we will build the firefighter motorcycle. |
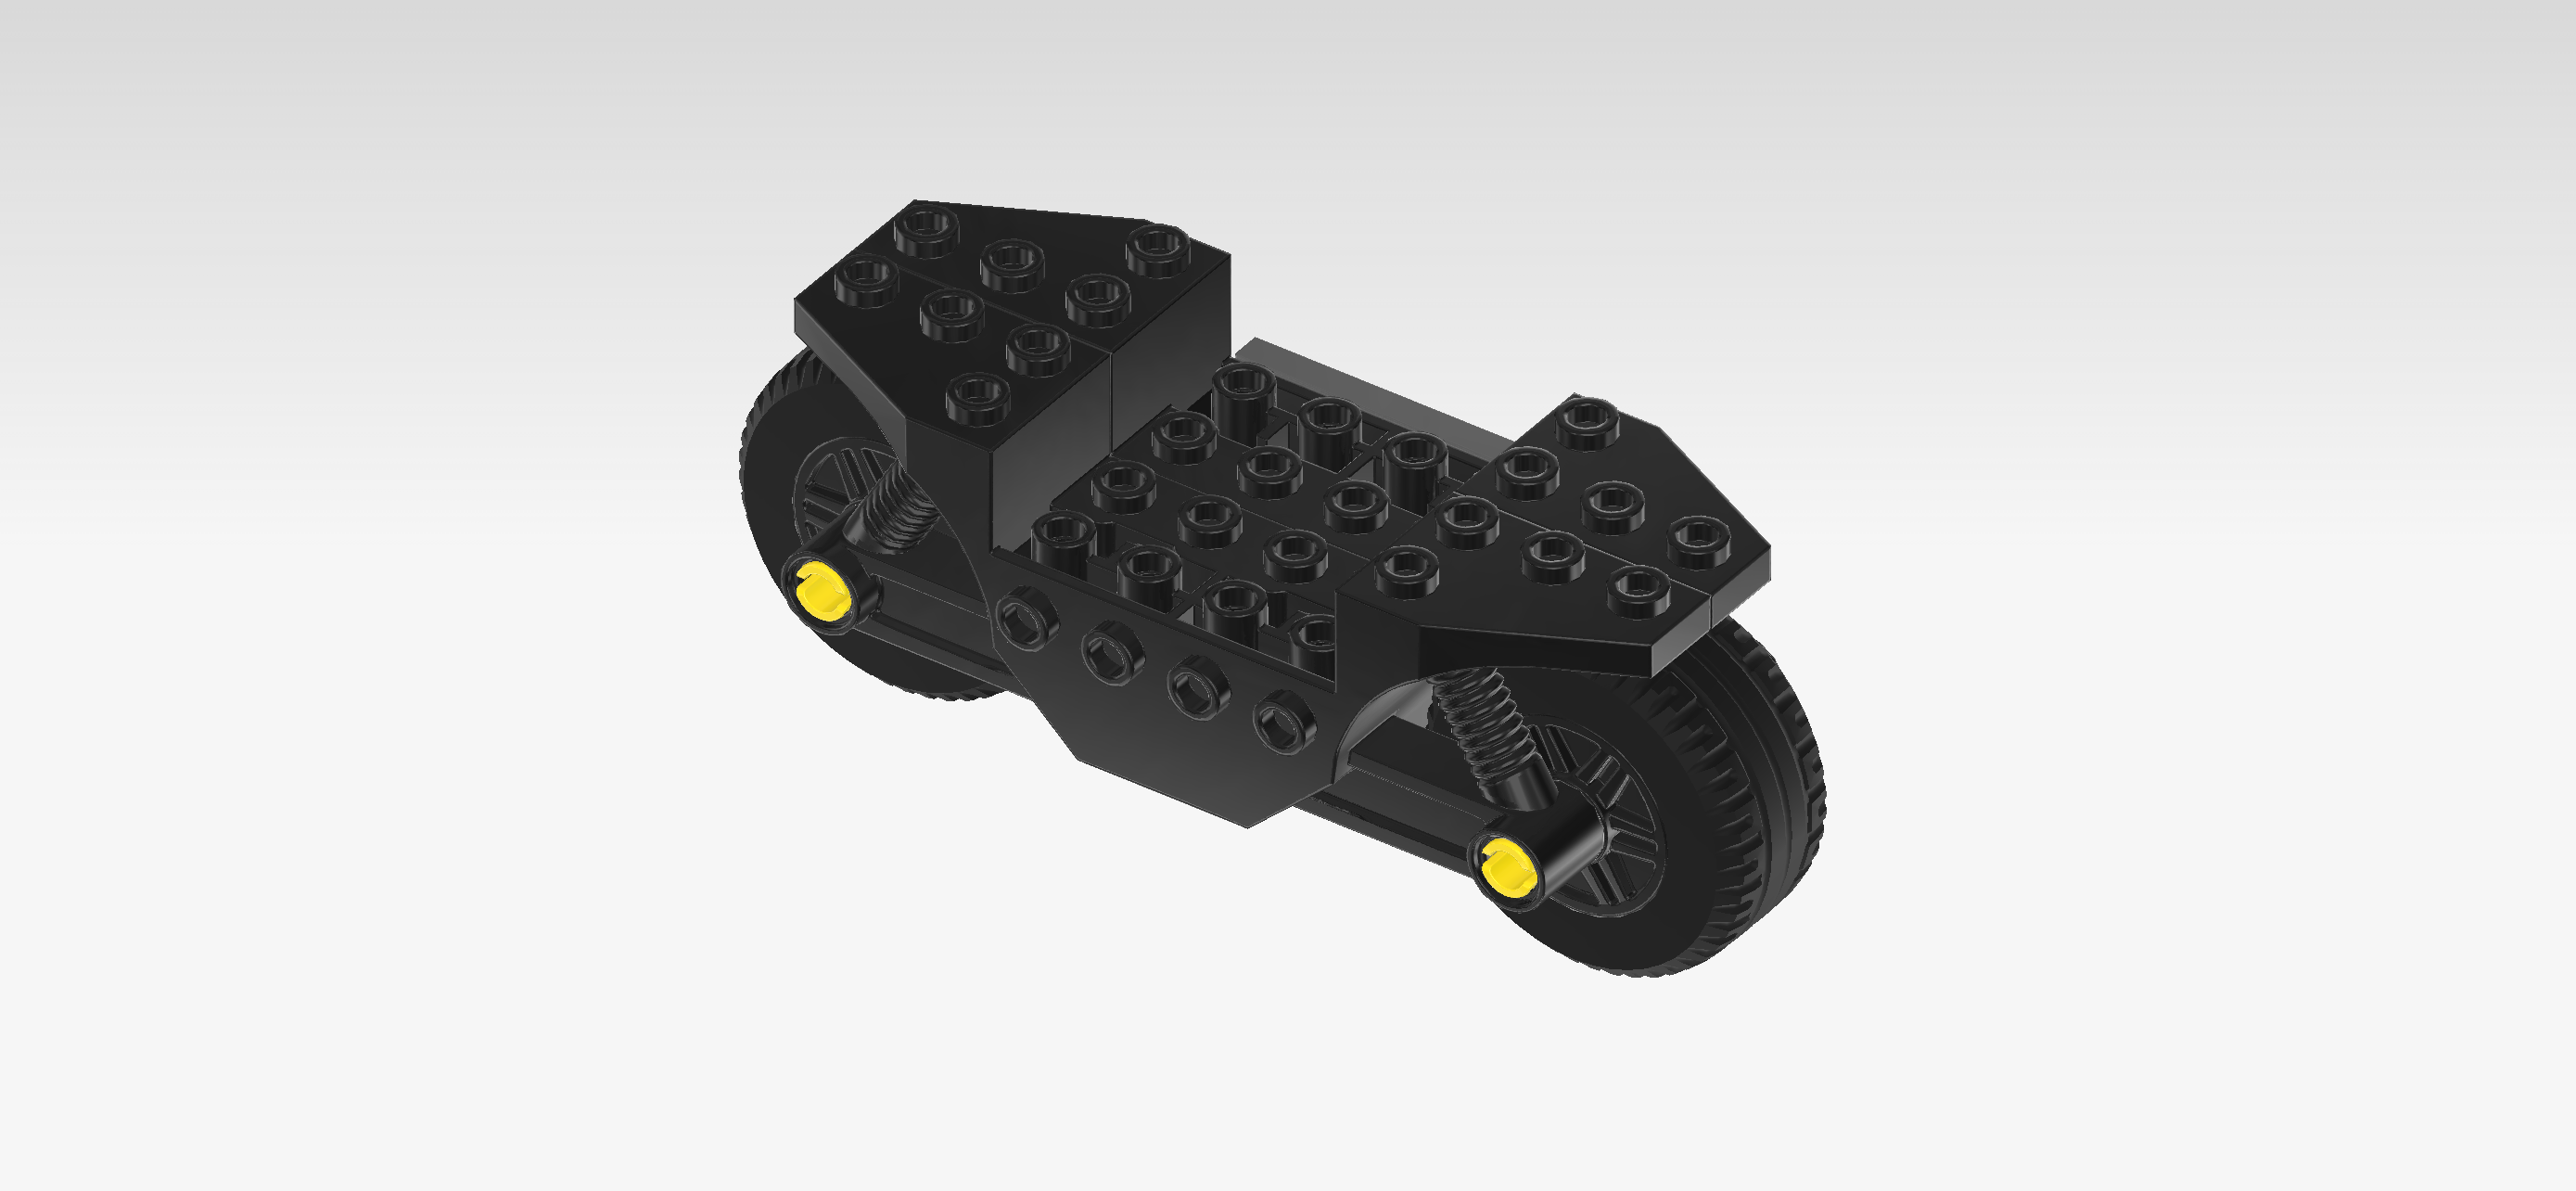
| Collect the following 2 pieces: |
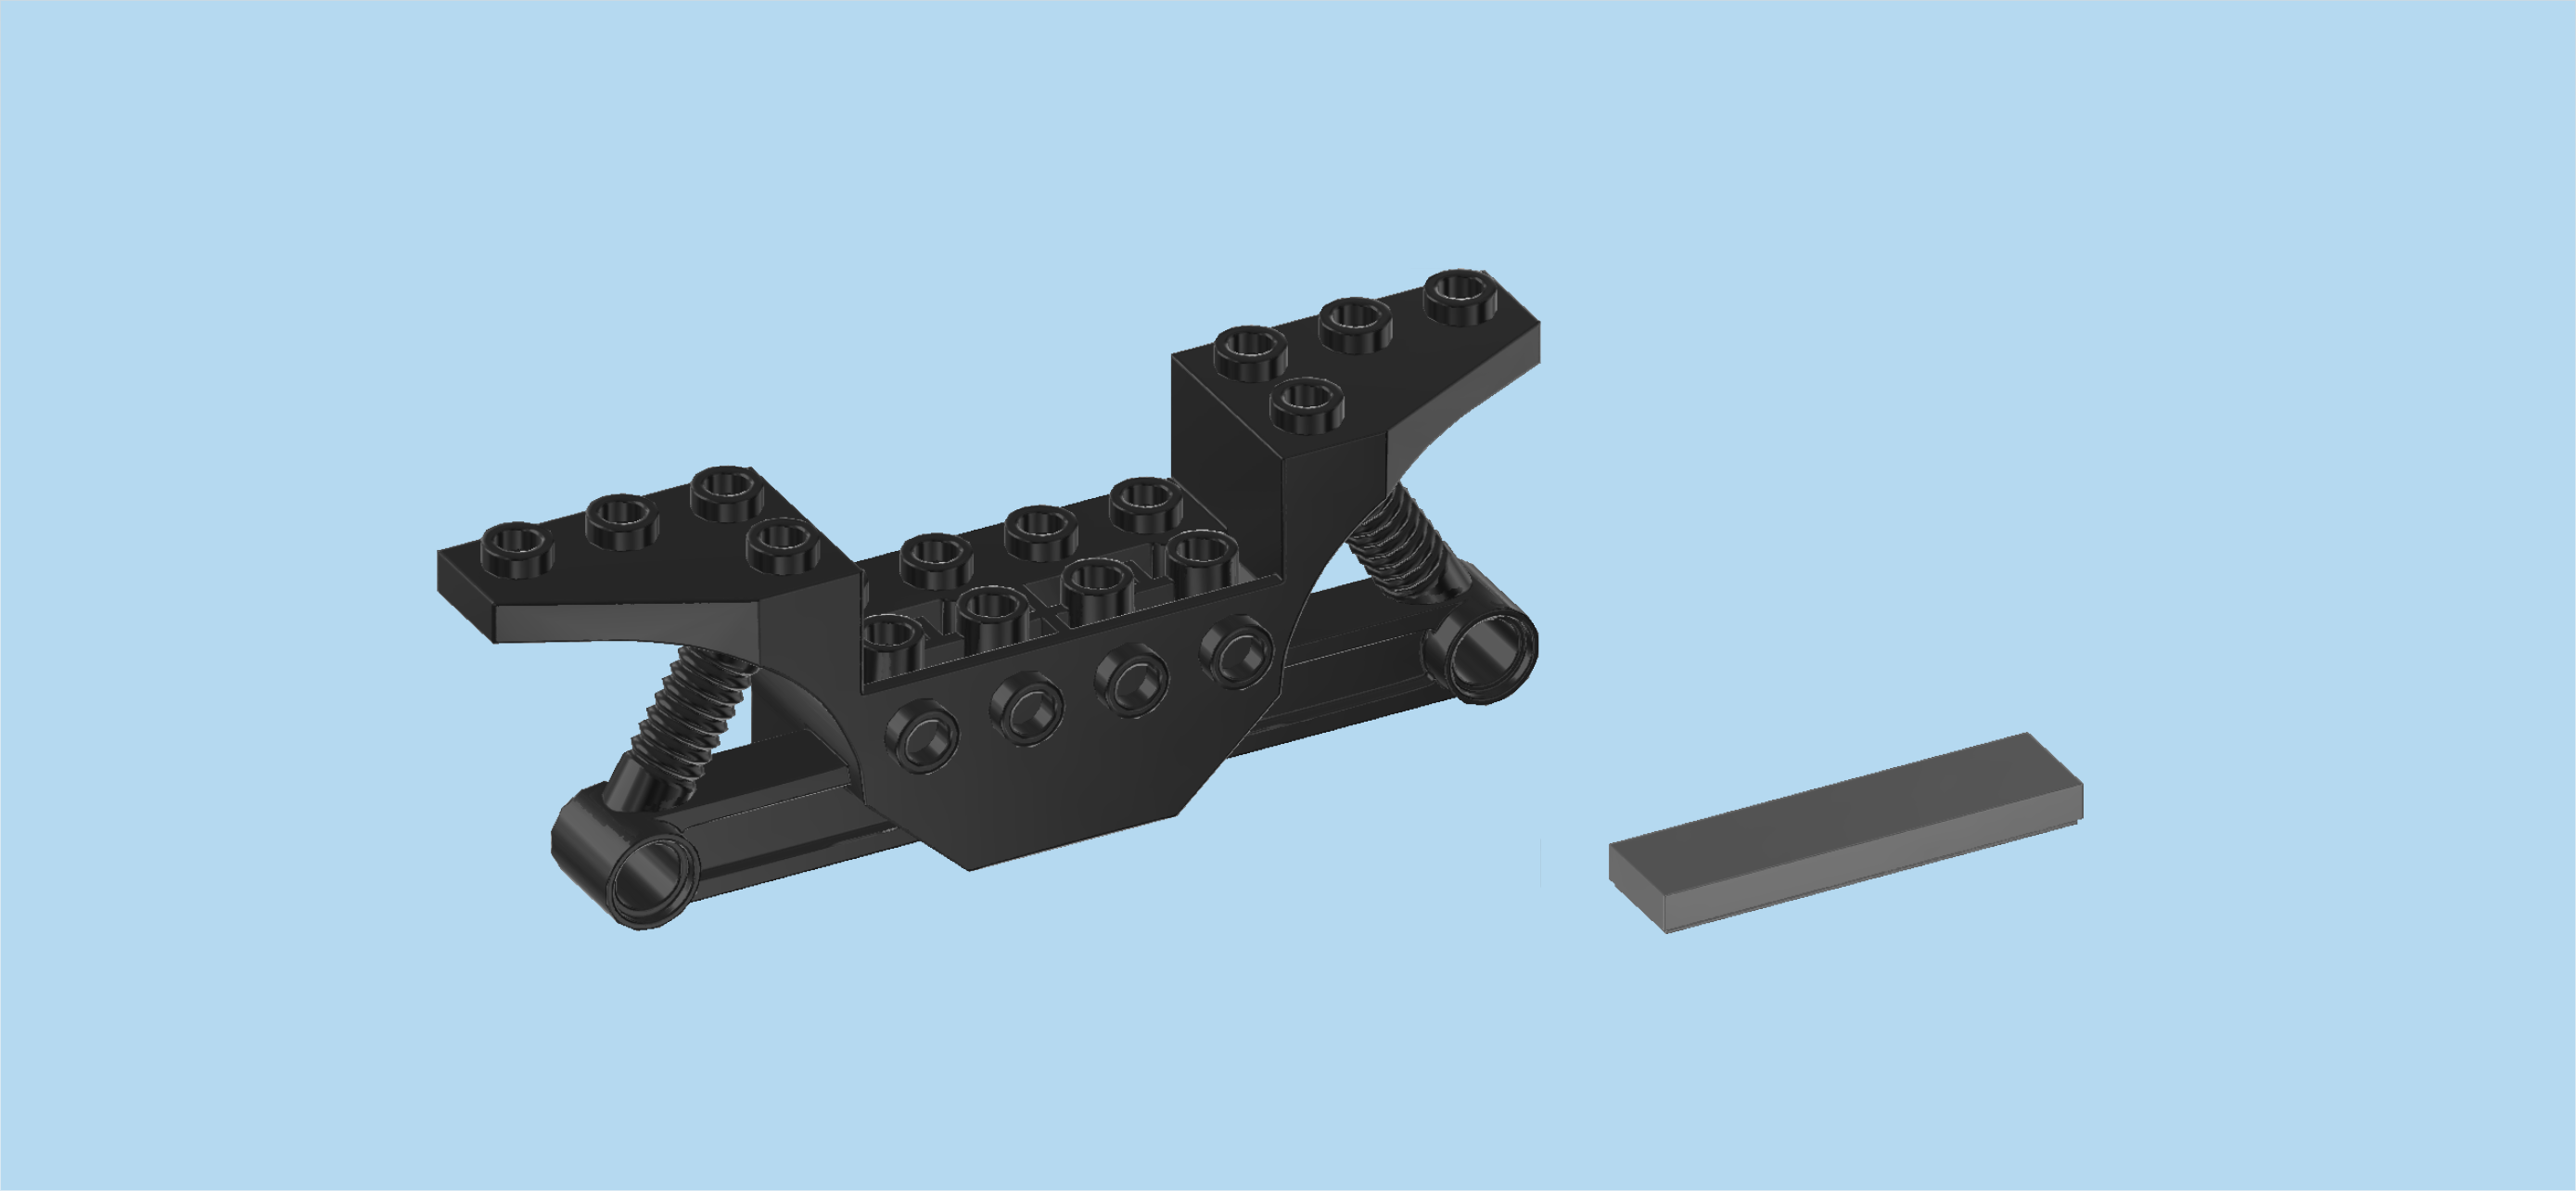
| 1 dark stone grey flat tile 1x4, |
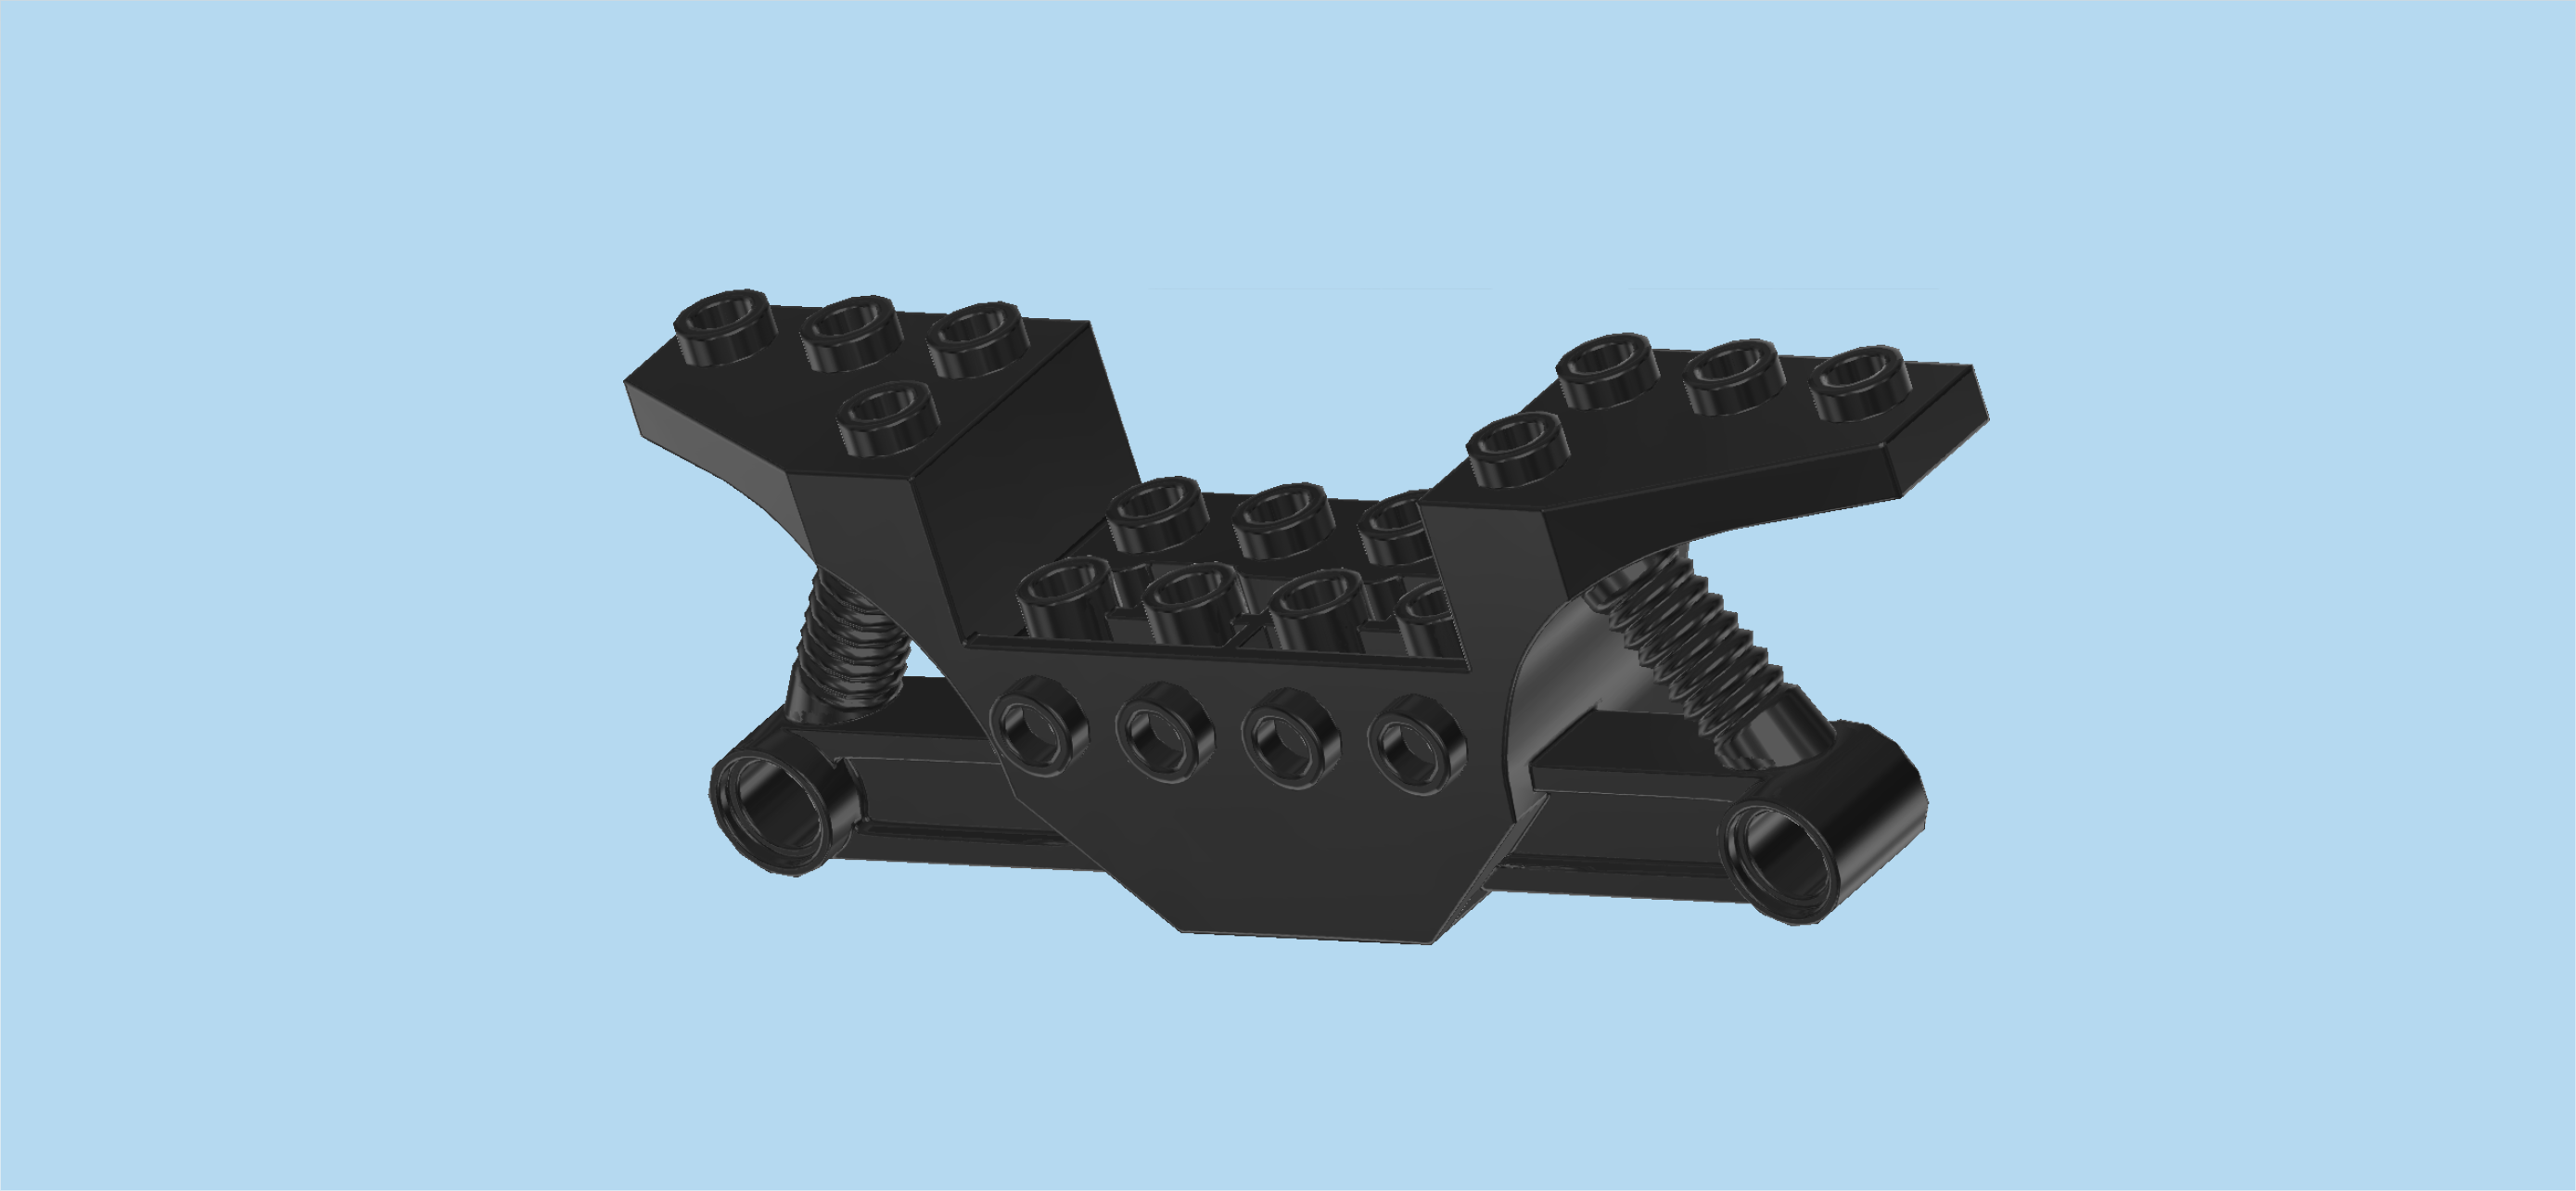
| and 1 black vehicle frame 2x10 with 2 suspension springs. |
| Put the vehicle frame 2x10 horizontally on the table, the long side with 4 side knobs to the front. |
| Put the flat tile 1x4 upright horizontally on the 4 side knobs pointing to the front. |
| Next, we will assemble the 2 wheels. |
| Collect the following 4 pieces: |
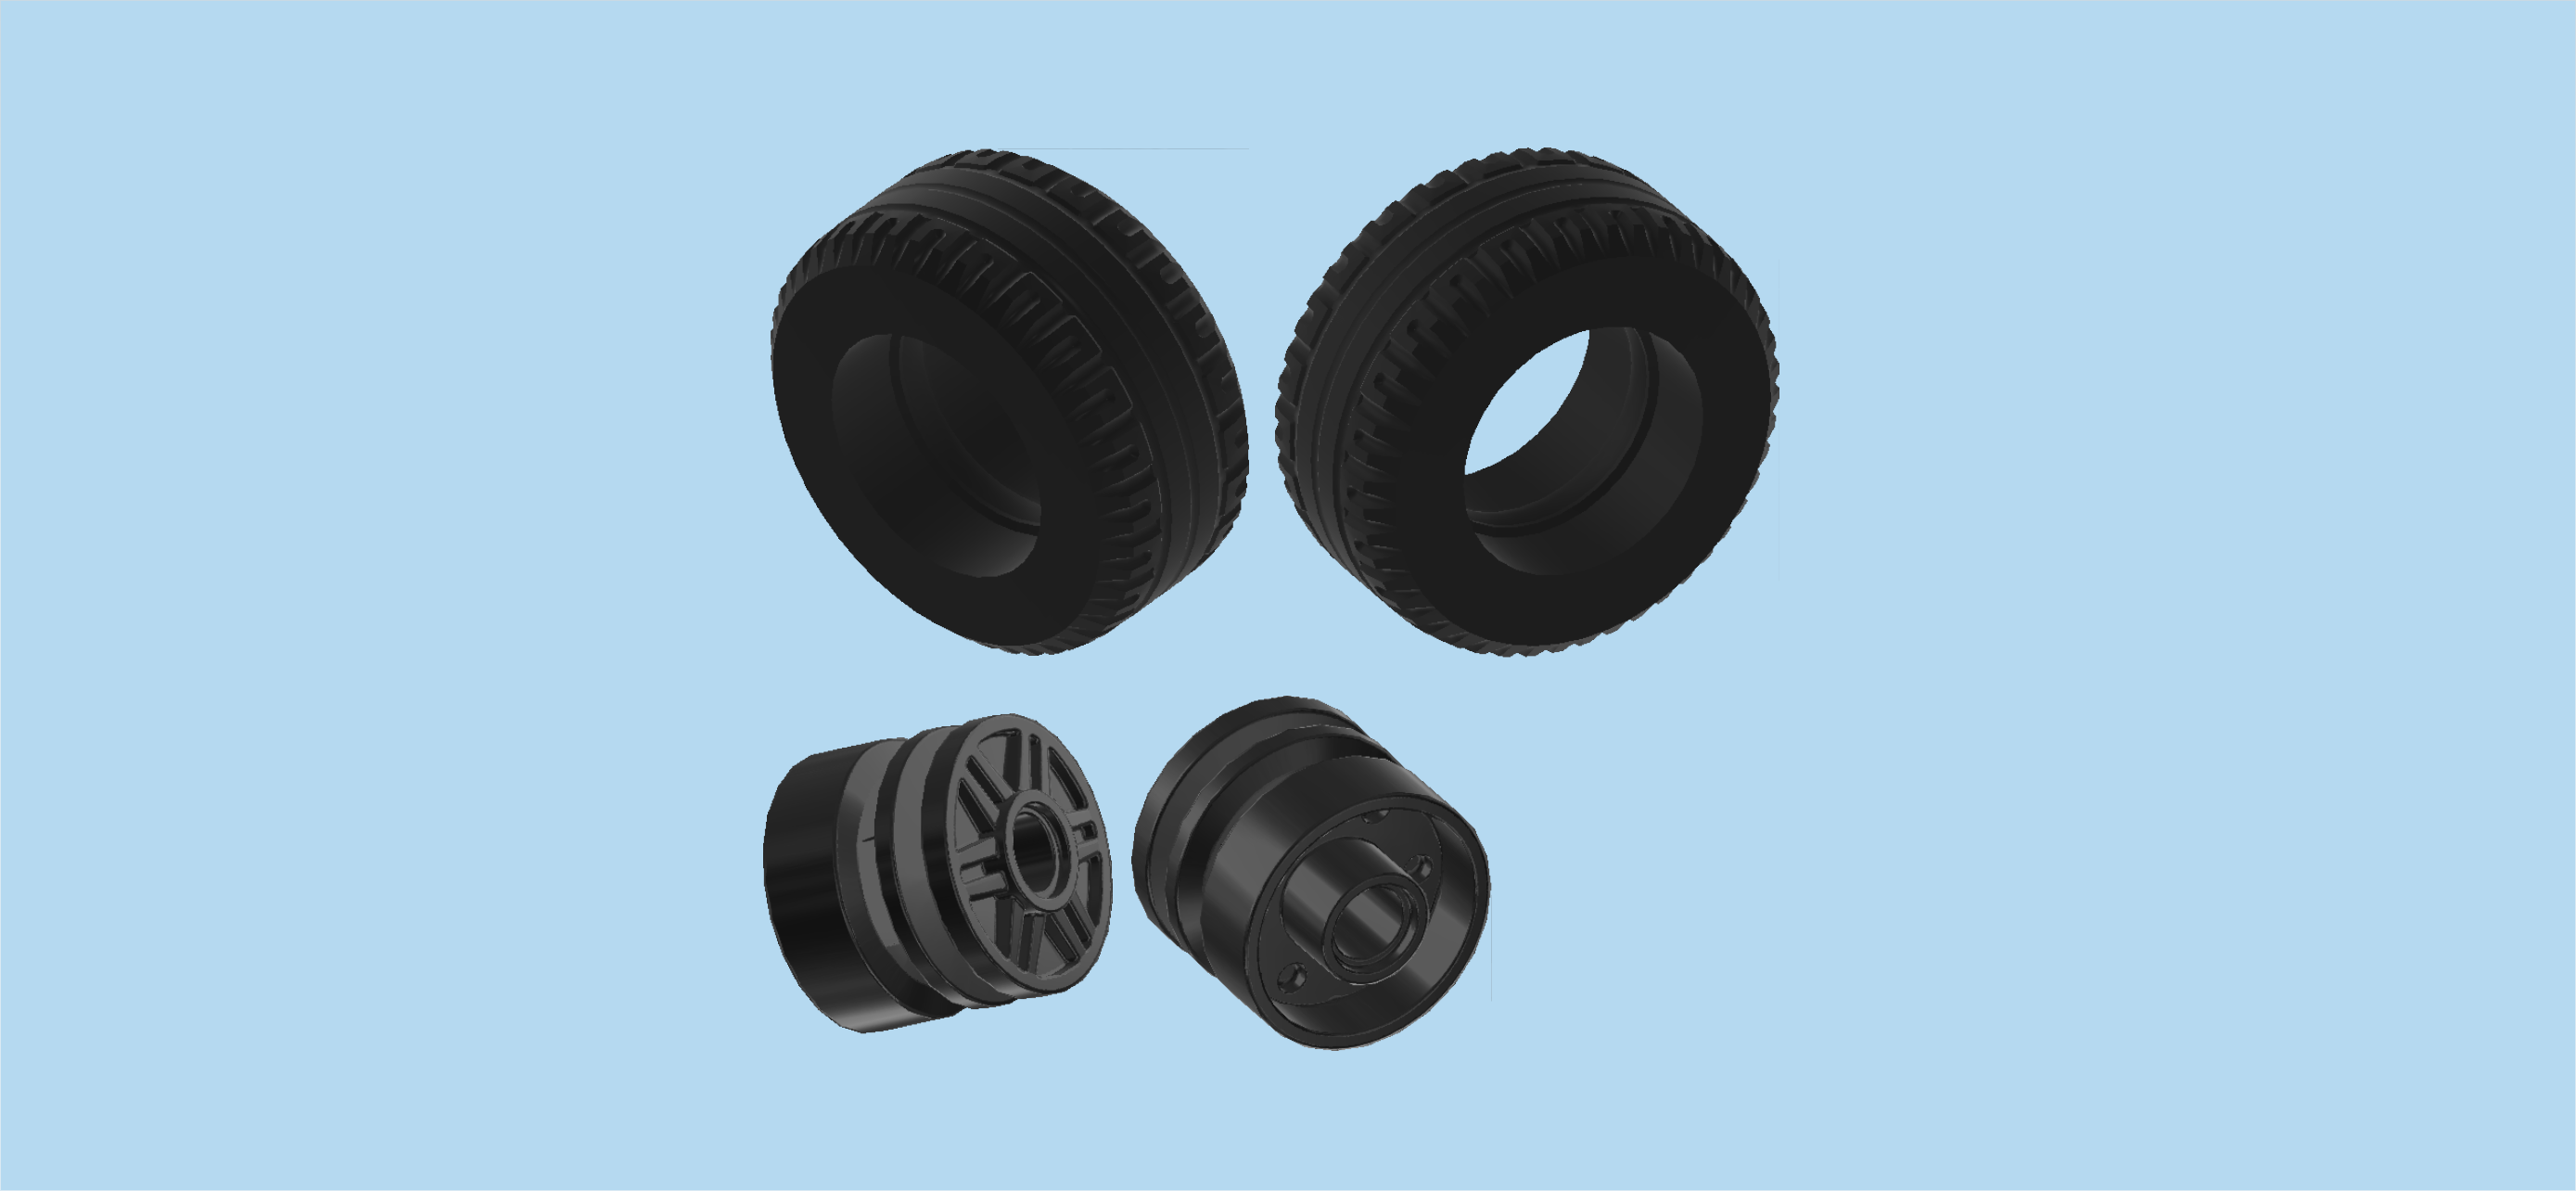
| 2 black thick rubber tires with low lateral profile, |
| and 2 black wide rims with hole and spokes. |
| Put the rims into the tires. |
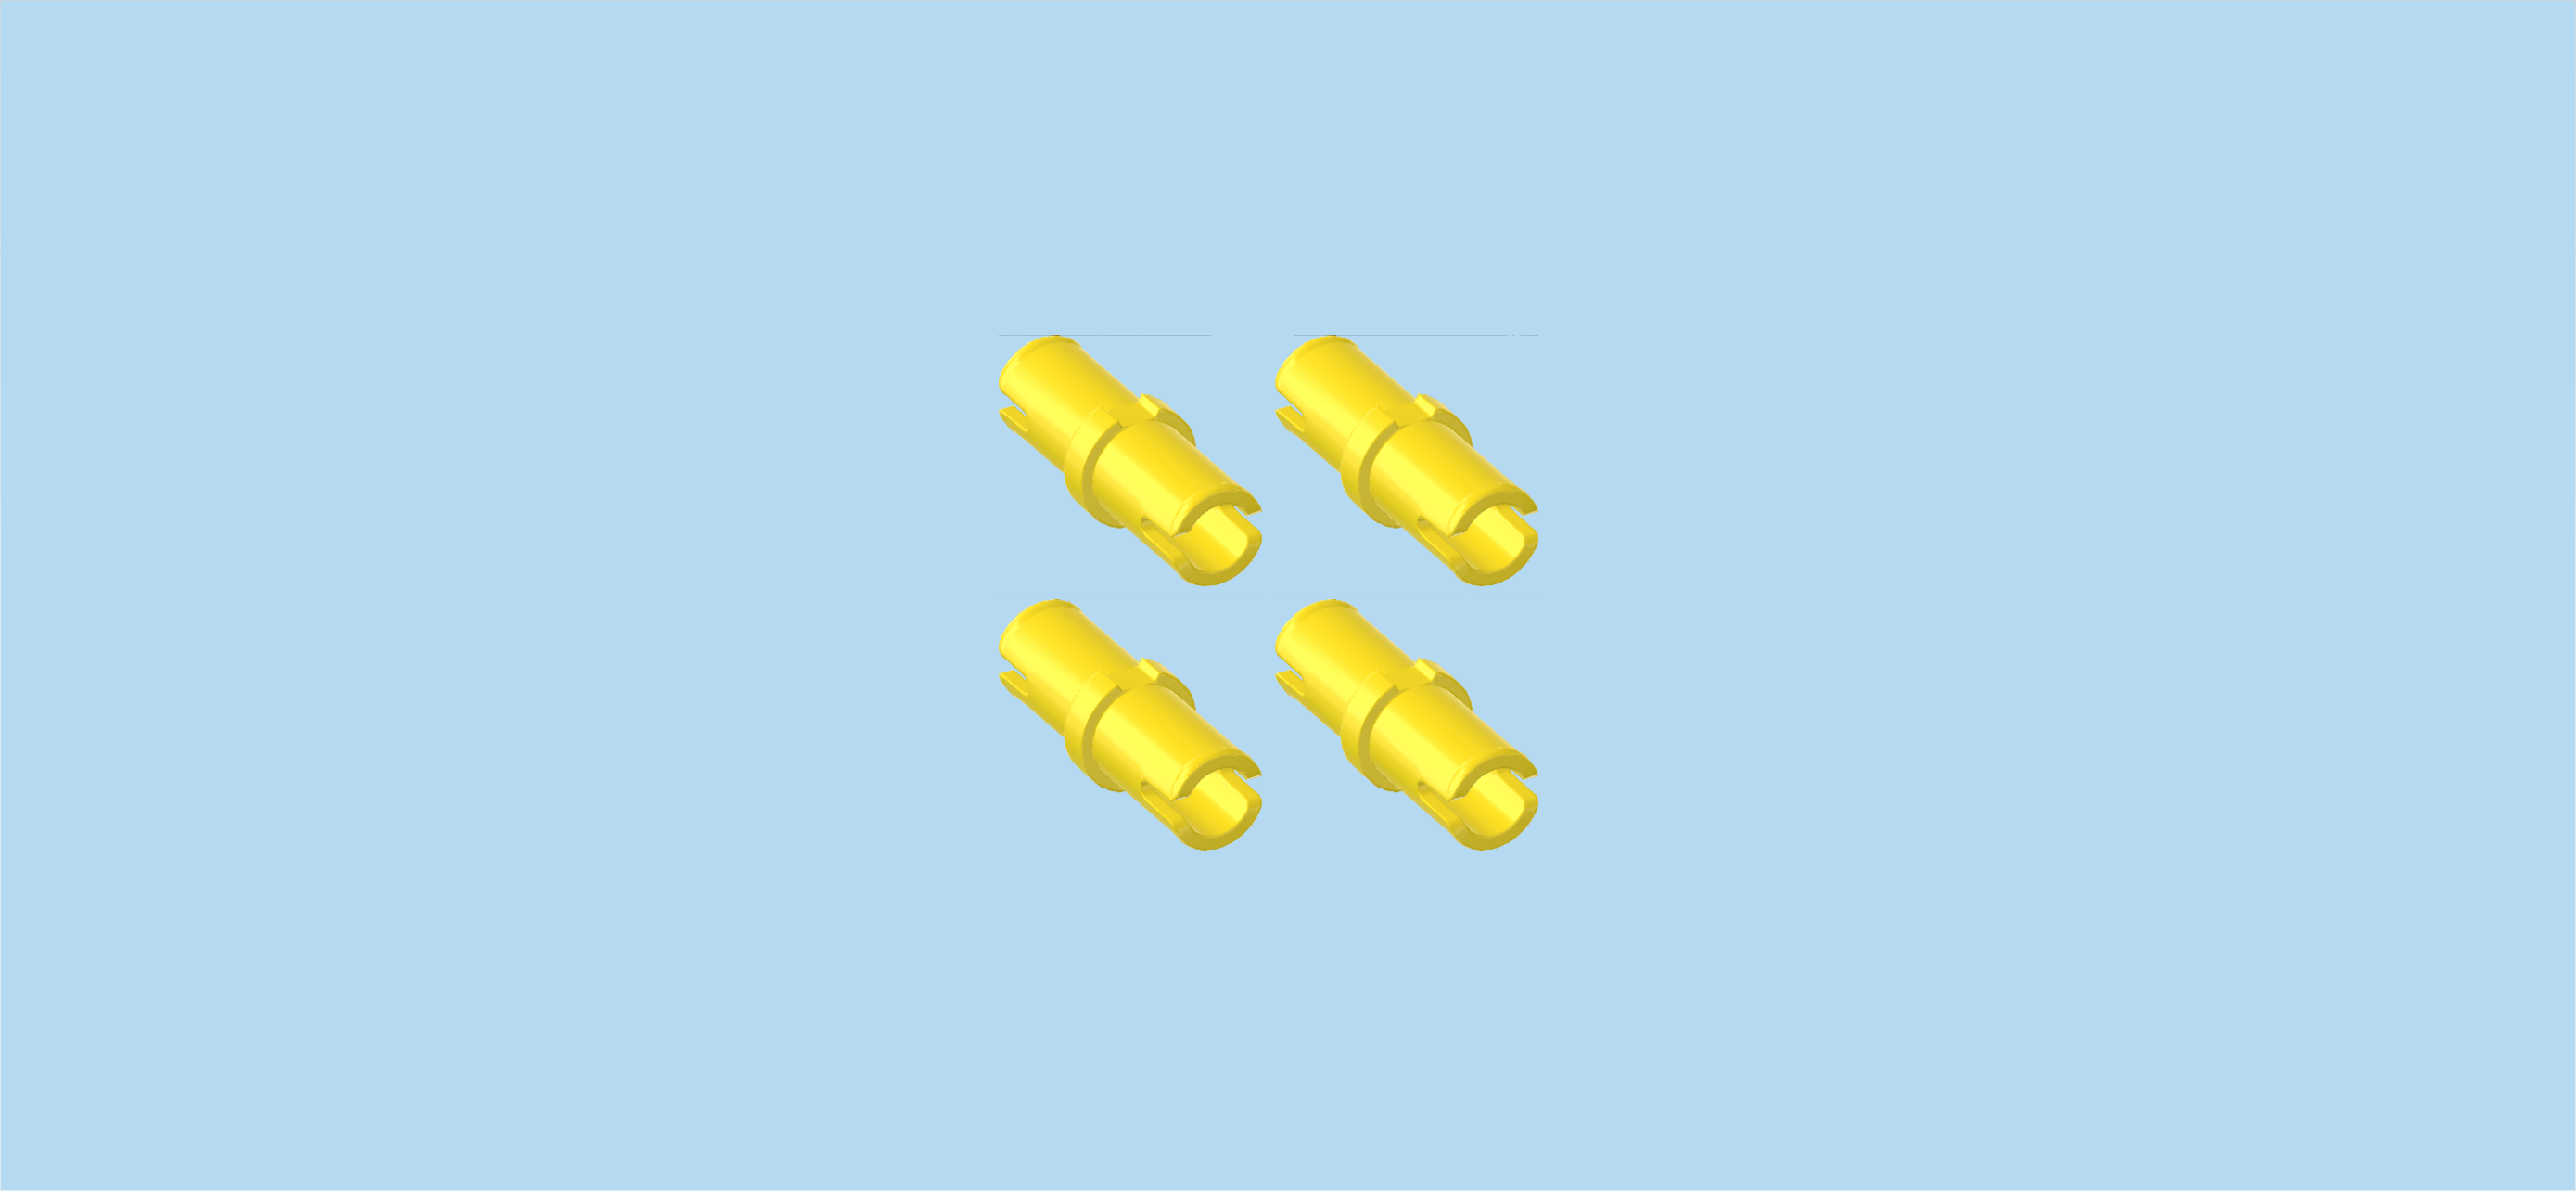
| Find 4 bright yellow connector pegs 2m with middle ring. |
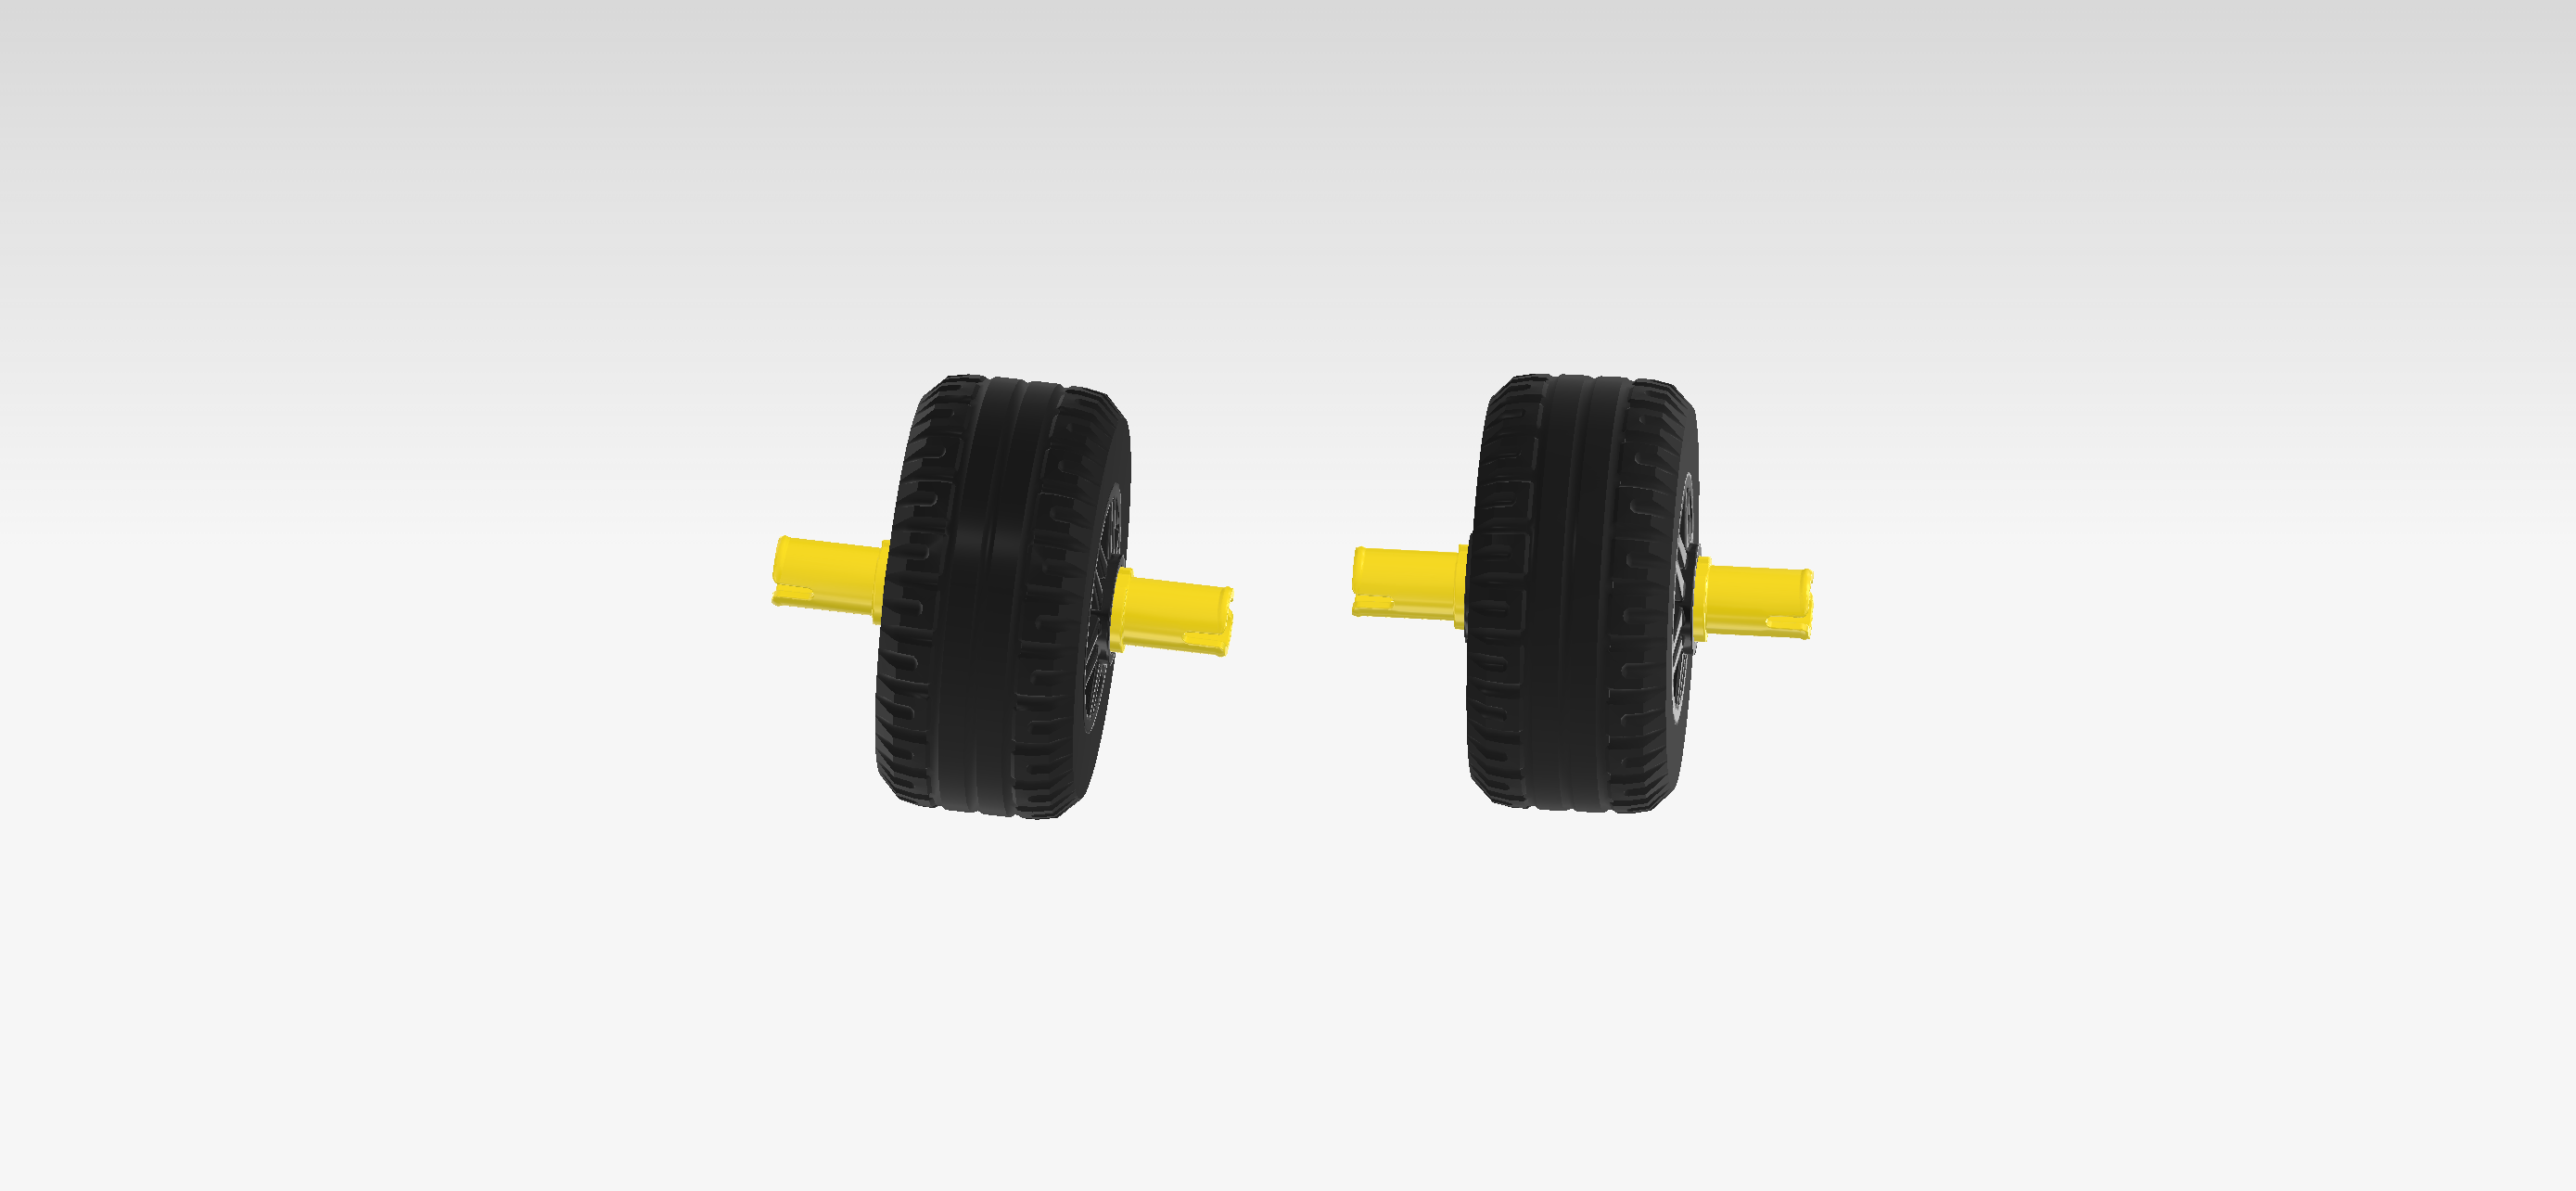
| Flip 1 wheel up, turn it vertically so that the rubber is facing you, and insert 1 connector into the middle hole from the left, 1/2 protruding to the left. |
| Insert another connector peg into the same wheel from the right, 1/2 protruding to the right. |
| Repeat with the second wheel and the 2 remaining connector pegs. |
| Turn the vehicle frame from left to right so that the side with the flat tile 1x4 is towards the back. |
| Mount 1 connector peg of 1 wheel on the round hole at the bottom right of the vehicle frame, wheel and 1 connector protruding to the front. |
| Repeat symmetrically on the left. |
| Find another black vehicle frame 2x10 with 2 suspension springs. |
| Turn it horizontally so that the side with the 4 horizontal side knobs is to the front. |
| Put it on the structure coming from the front by inserting the 2 connector pegs into the holes of the new vehicle frame. |
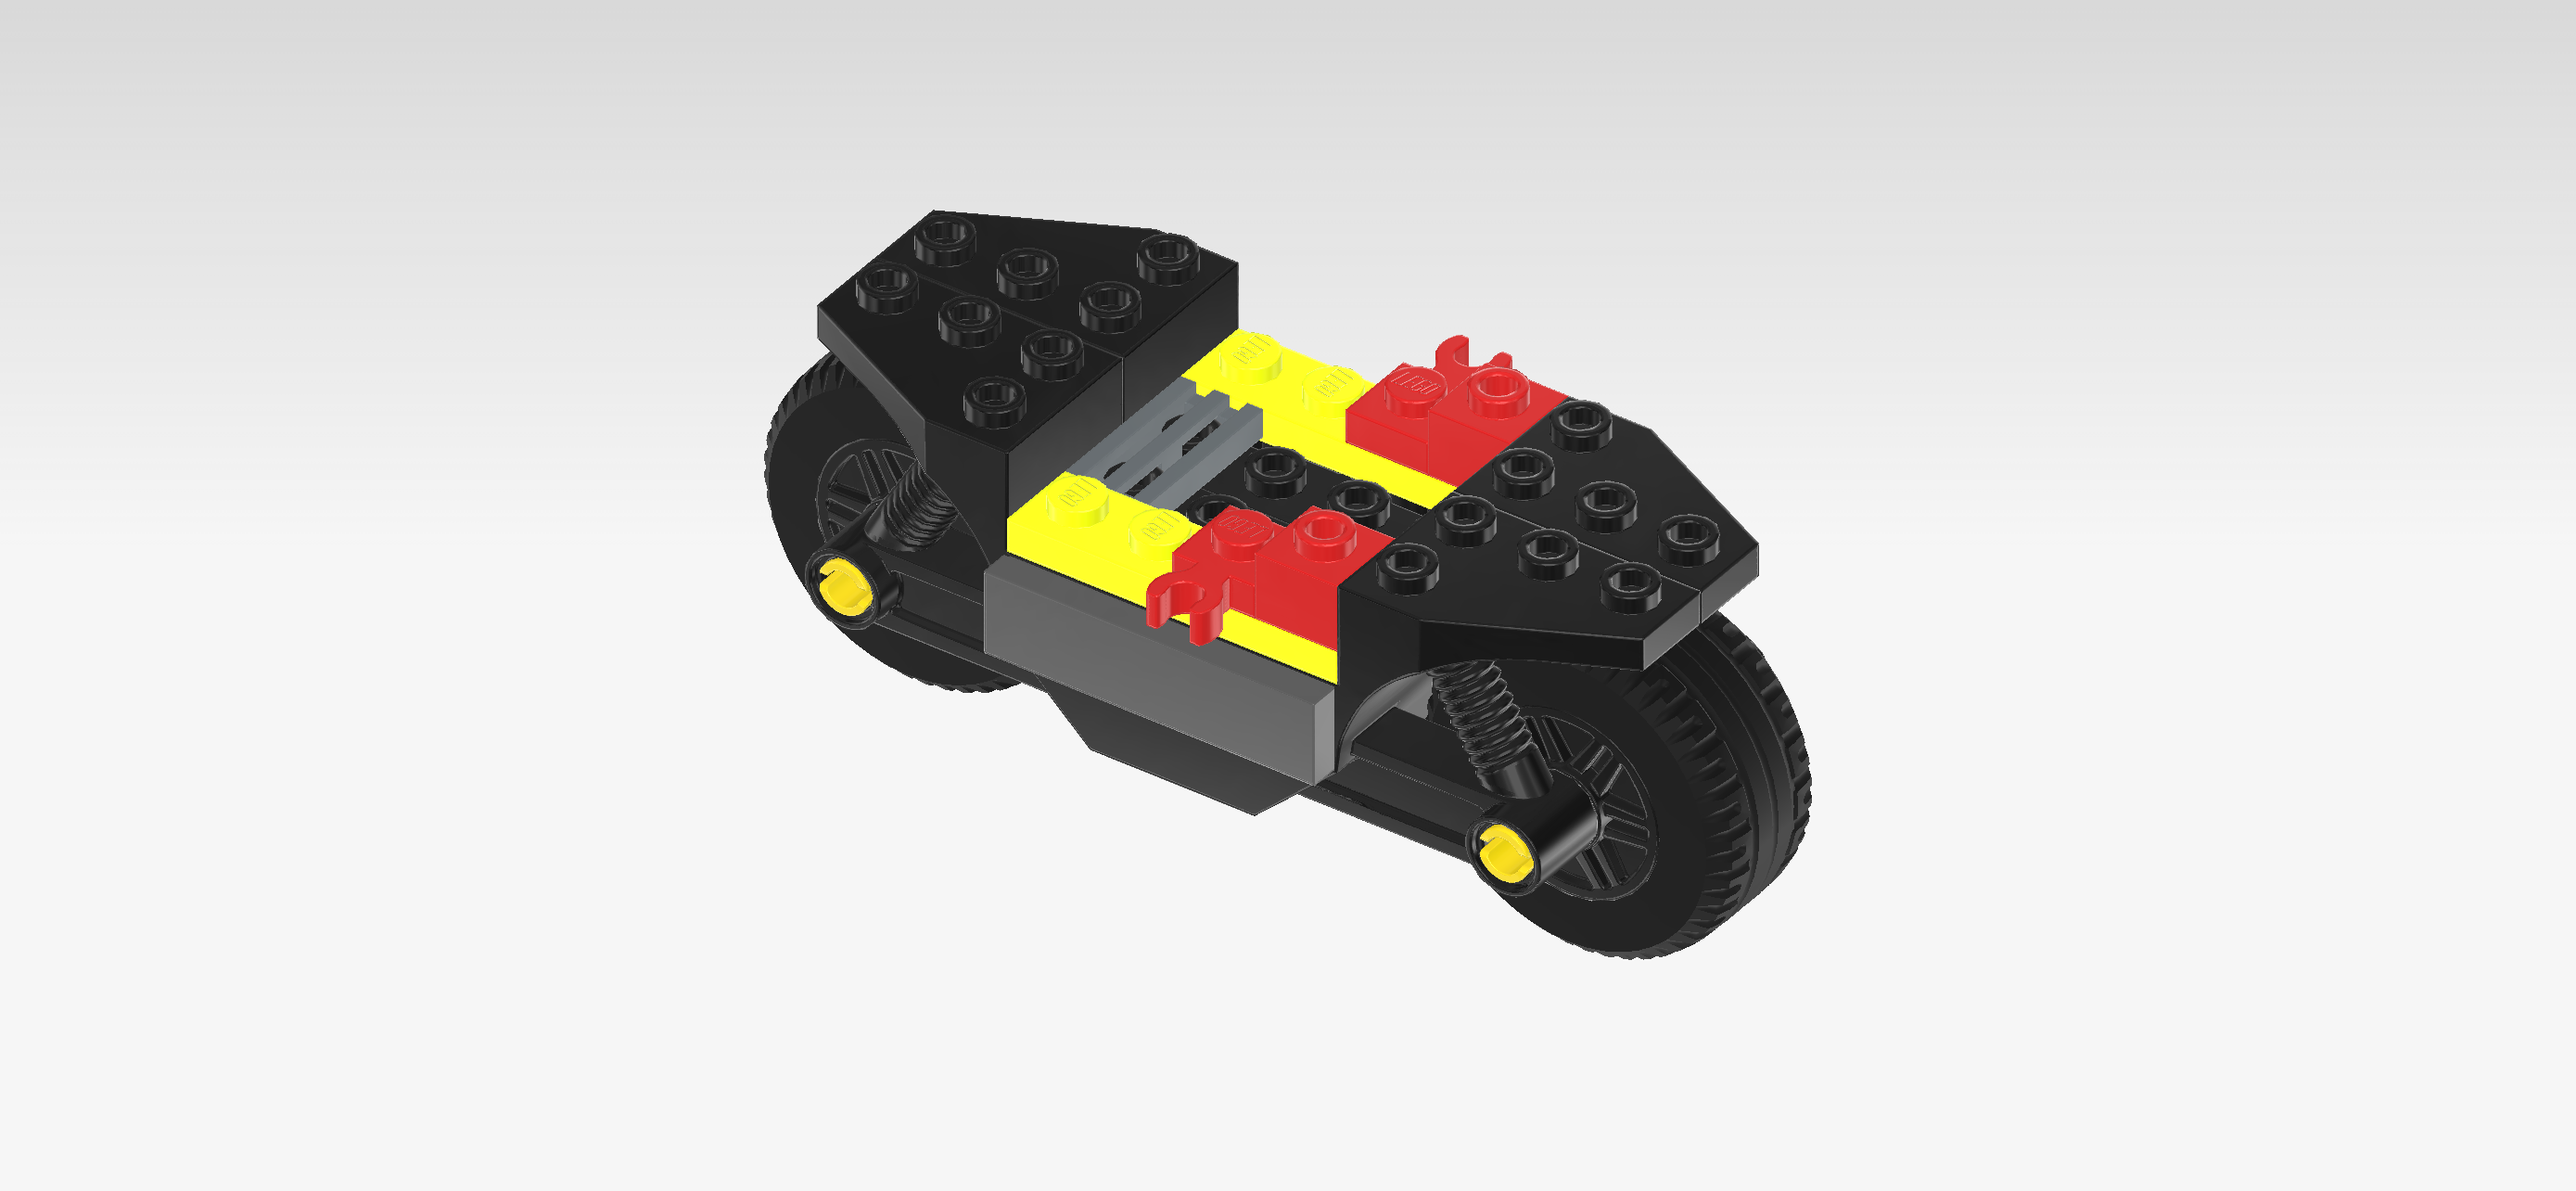
| Find 1 silver metallic grille tile 1x2. |
| Put it vertically centered on the first column from the left of the recess. In other words, this is the fourth column counted from the leftmost edge. |
| Find 2 vibrant yellow plates 1x4. |
| Put 1 horizontally centered on the backmost row. |
| Repeat symmetrically at the front. |
| Find 1 dark stone grey flat tile 1x4. |
| Put it upright horizontally on the 4 side knobs pointing to the front. |
| Find 2 bright red low bricks 1x1x⅔. |
| Put 1 on the rightmost knob of the plate 1x4 on the back row. |
| Repeat symmetrically at the front. |
| Find 2 bright red plates 1x1 with horizontal side clasp. |
| Put 1 to the left of the previous piece, clasp to the front. |
| Repeat symmetrically at the back, clasp to the back. |
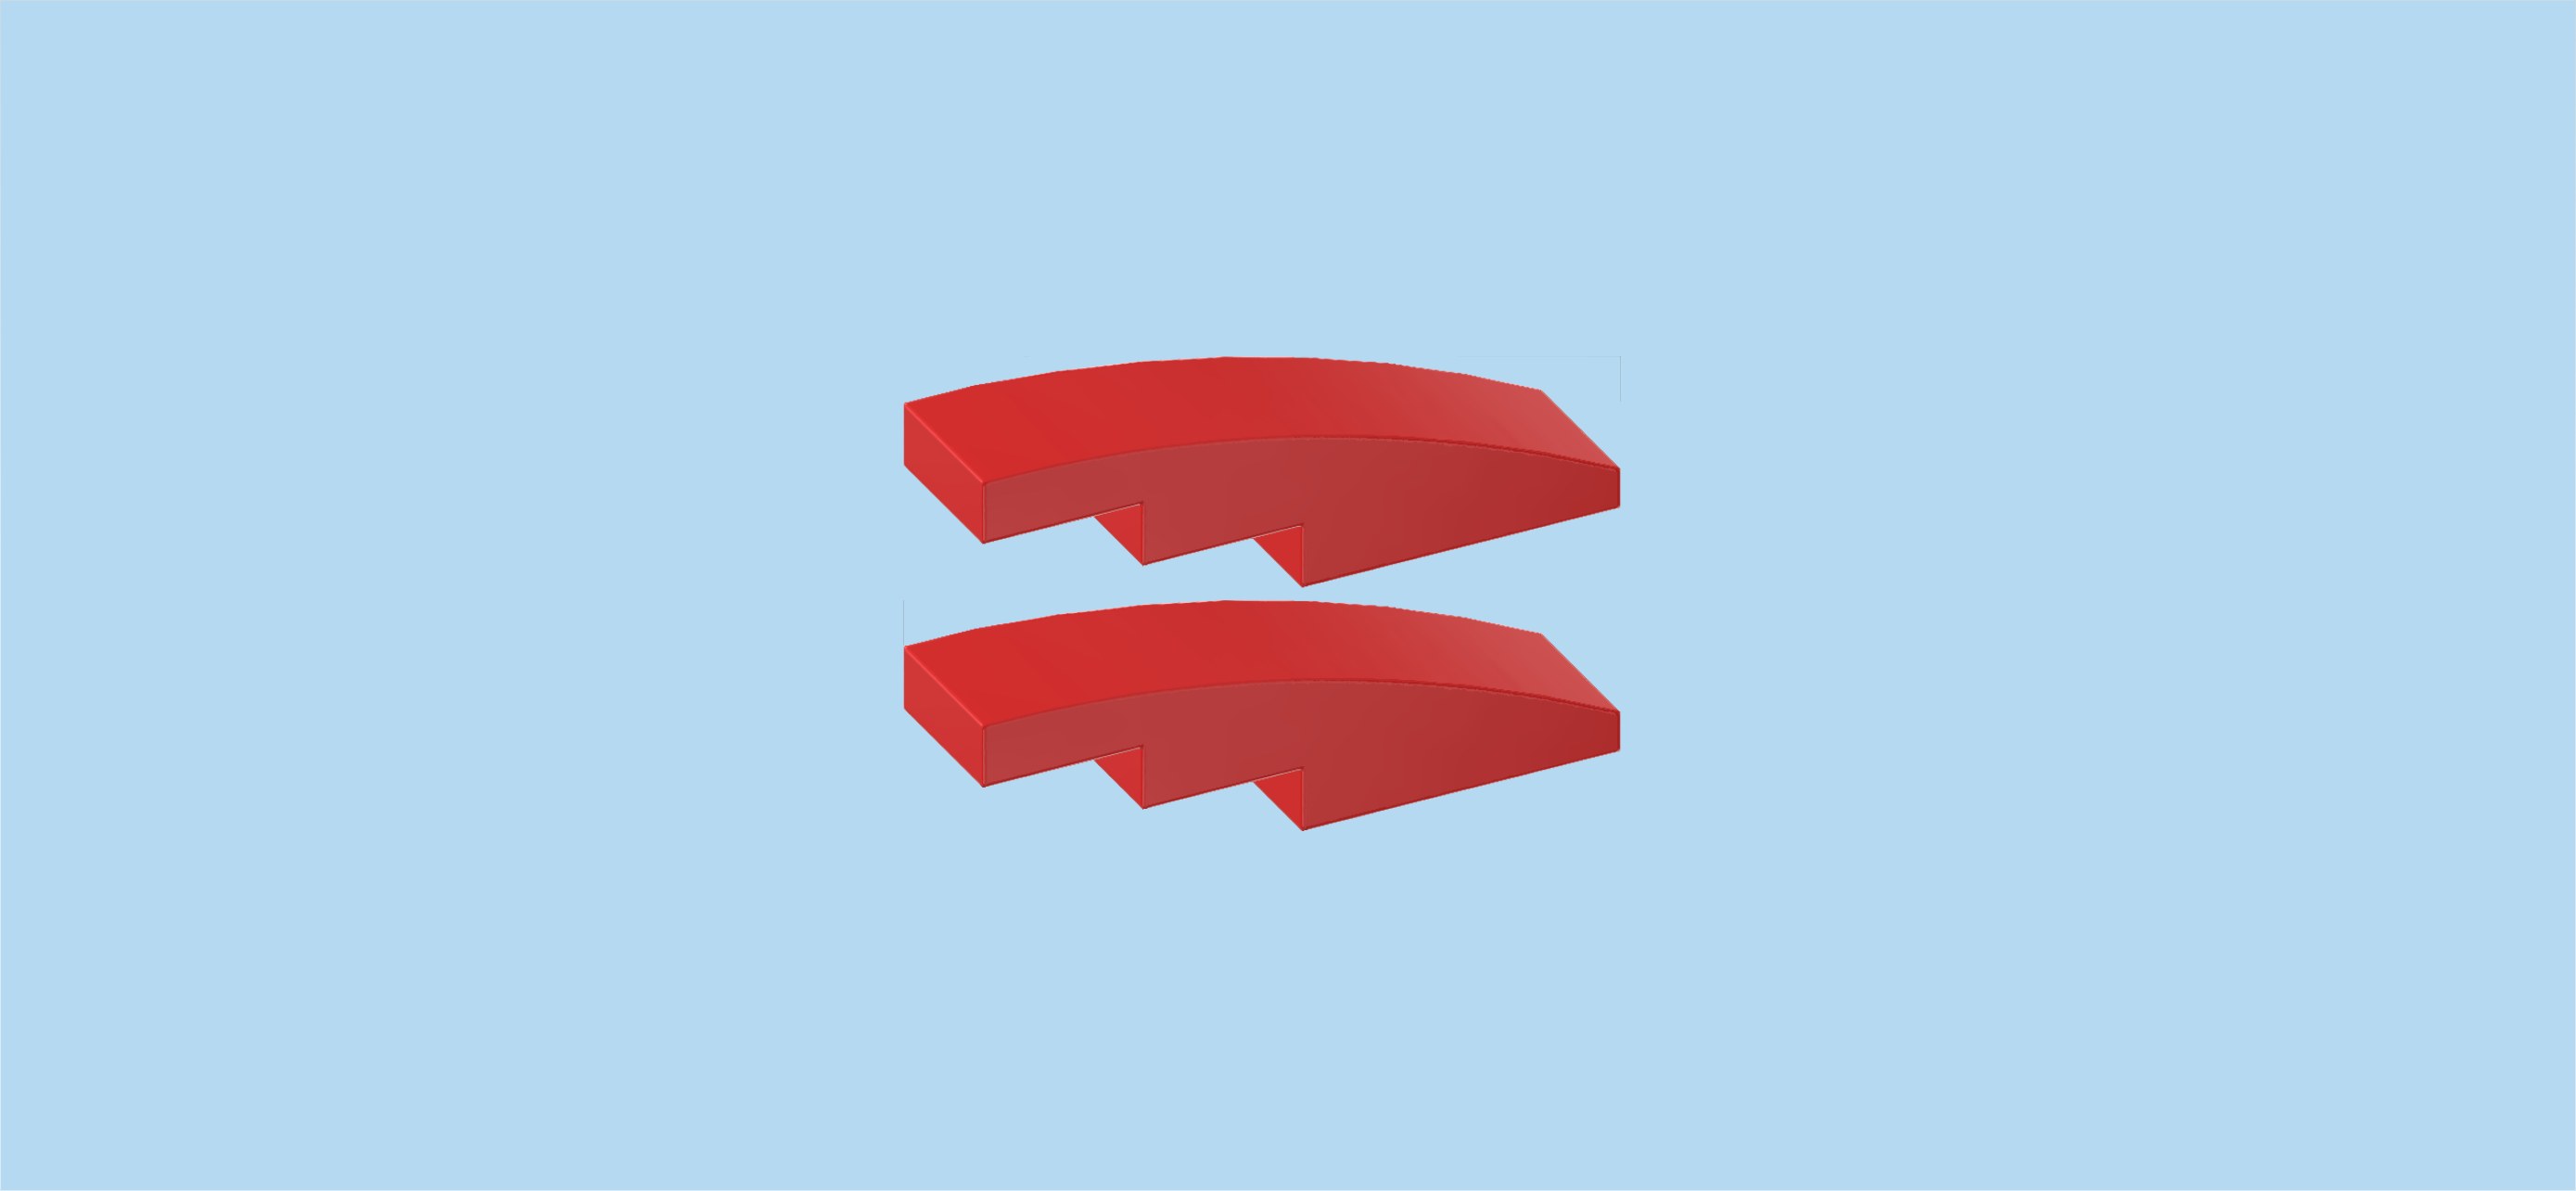
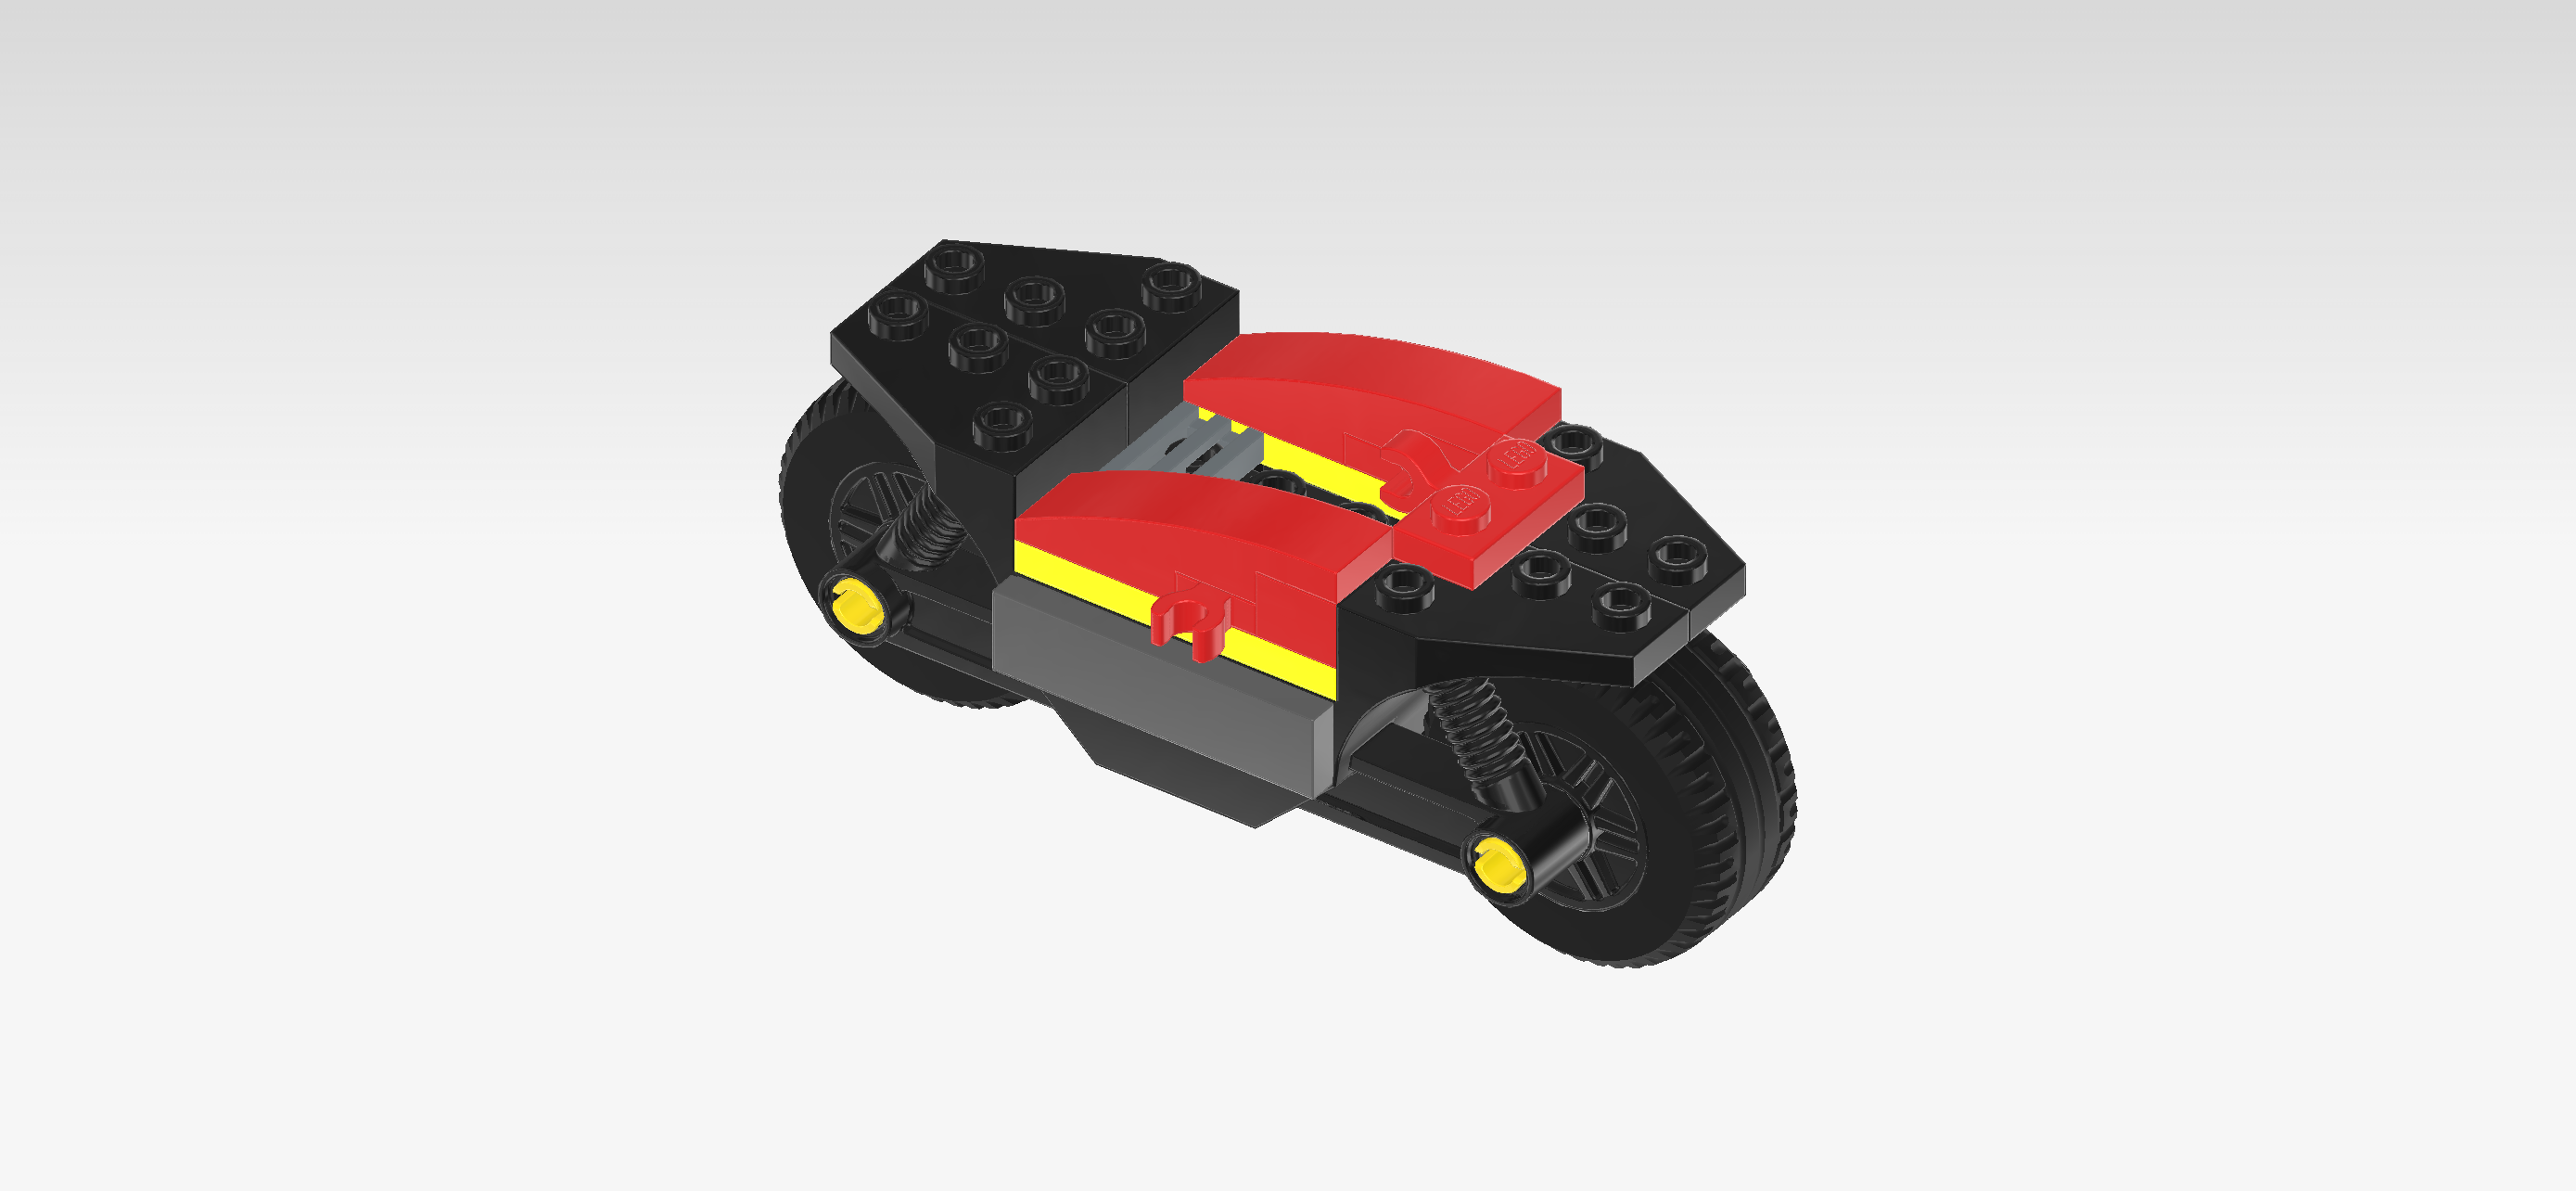
| Find 2 bright red two-stepped curve tiles 1x4. |
| Put 1 horizontally on the low part of the backmost row, curve to the left. |
| Repeat symmetrically at the front, curve to the left. |
| Find 1 bright red plate 1x2 with vertical clasp on long side. |
| Put it vertically centered on the third column from the right, clasp to the left. |
| Find 1 bright red curve piece 3x4 with 3 sloped sides. |
| Put it horizontally on the right edge of the motorcycle, curve to the right. |
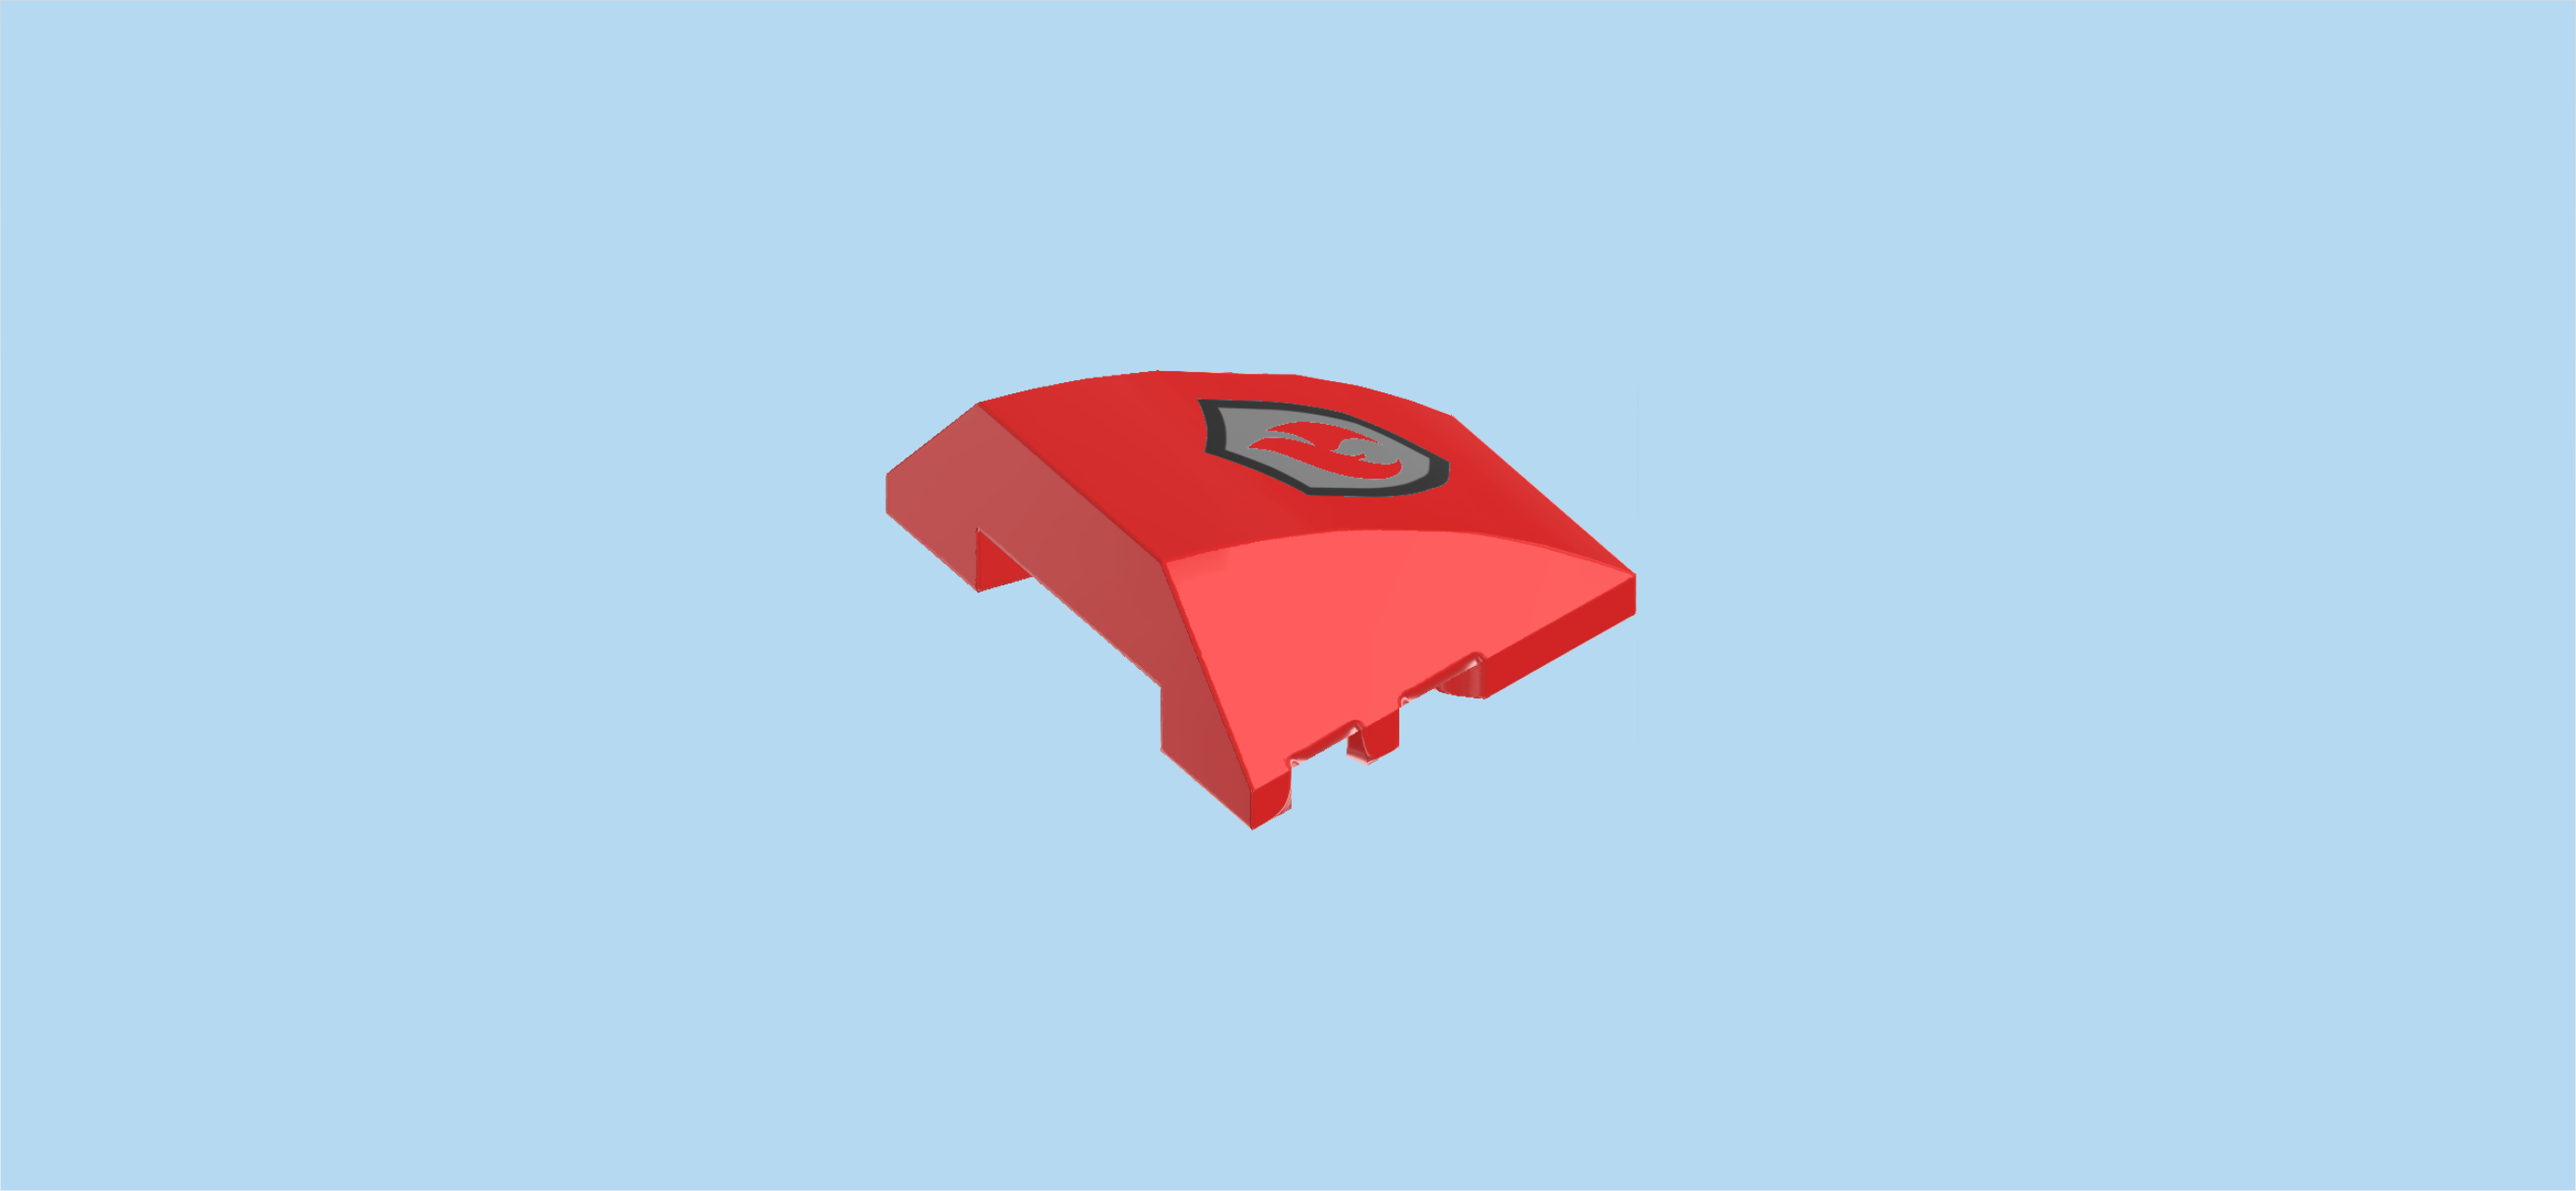
| This is the front hood! It is printed with the fire brigade logo: it is the shape of a shield with a black outline and a silver filling and a red flame in the middle. |
| Find 1 dark stone grey handlebar with bottom shaft. |
| Turn it vertically, shaft to the bottom and 2 handles pointing slightly to the left. |
| Snap the shaft into the clasp directly to the left of the front hood. |
| Find 2 bright red roof tiles 1x2, 45°. |
| Put 1 vertically on the back half of the third column from the left, slope to the back. |
| Put the other one vertically in front of the previous piece, slope to the front. |
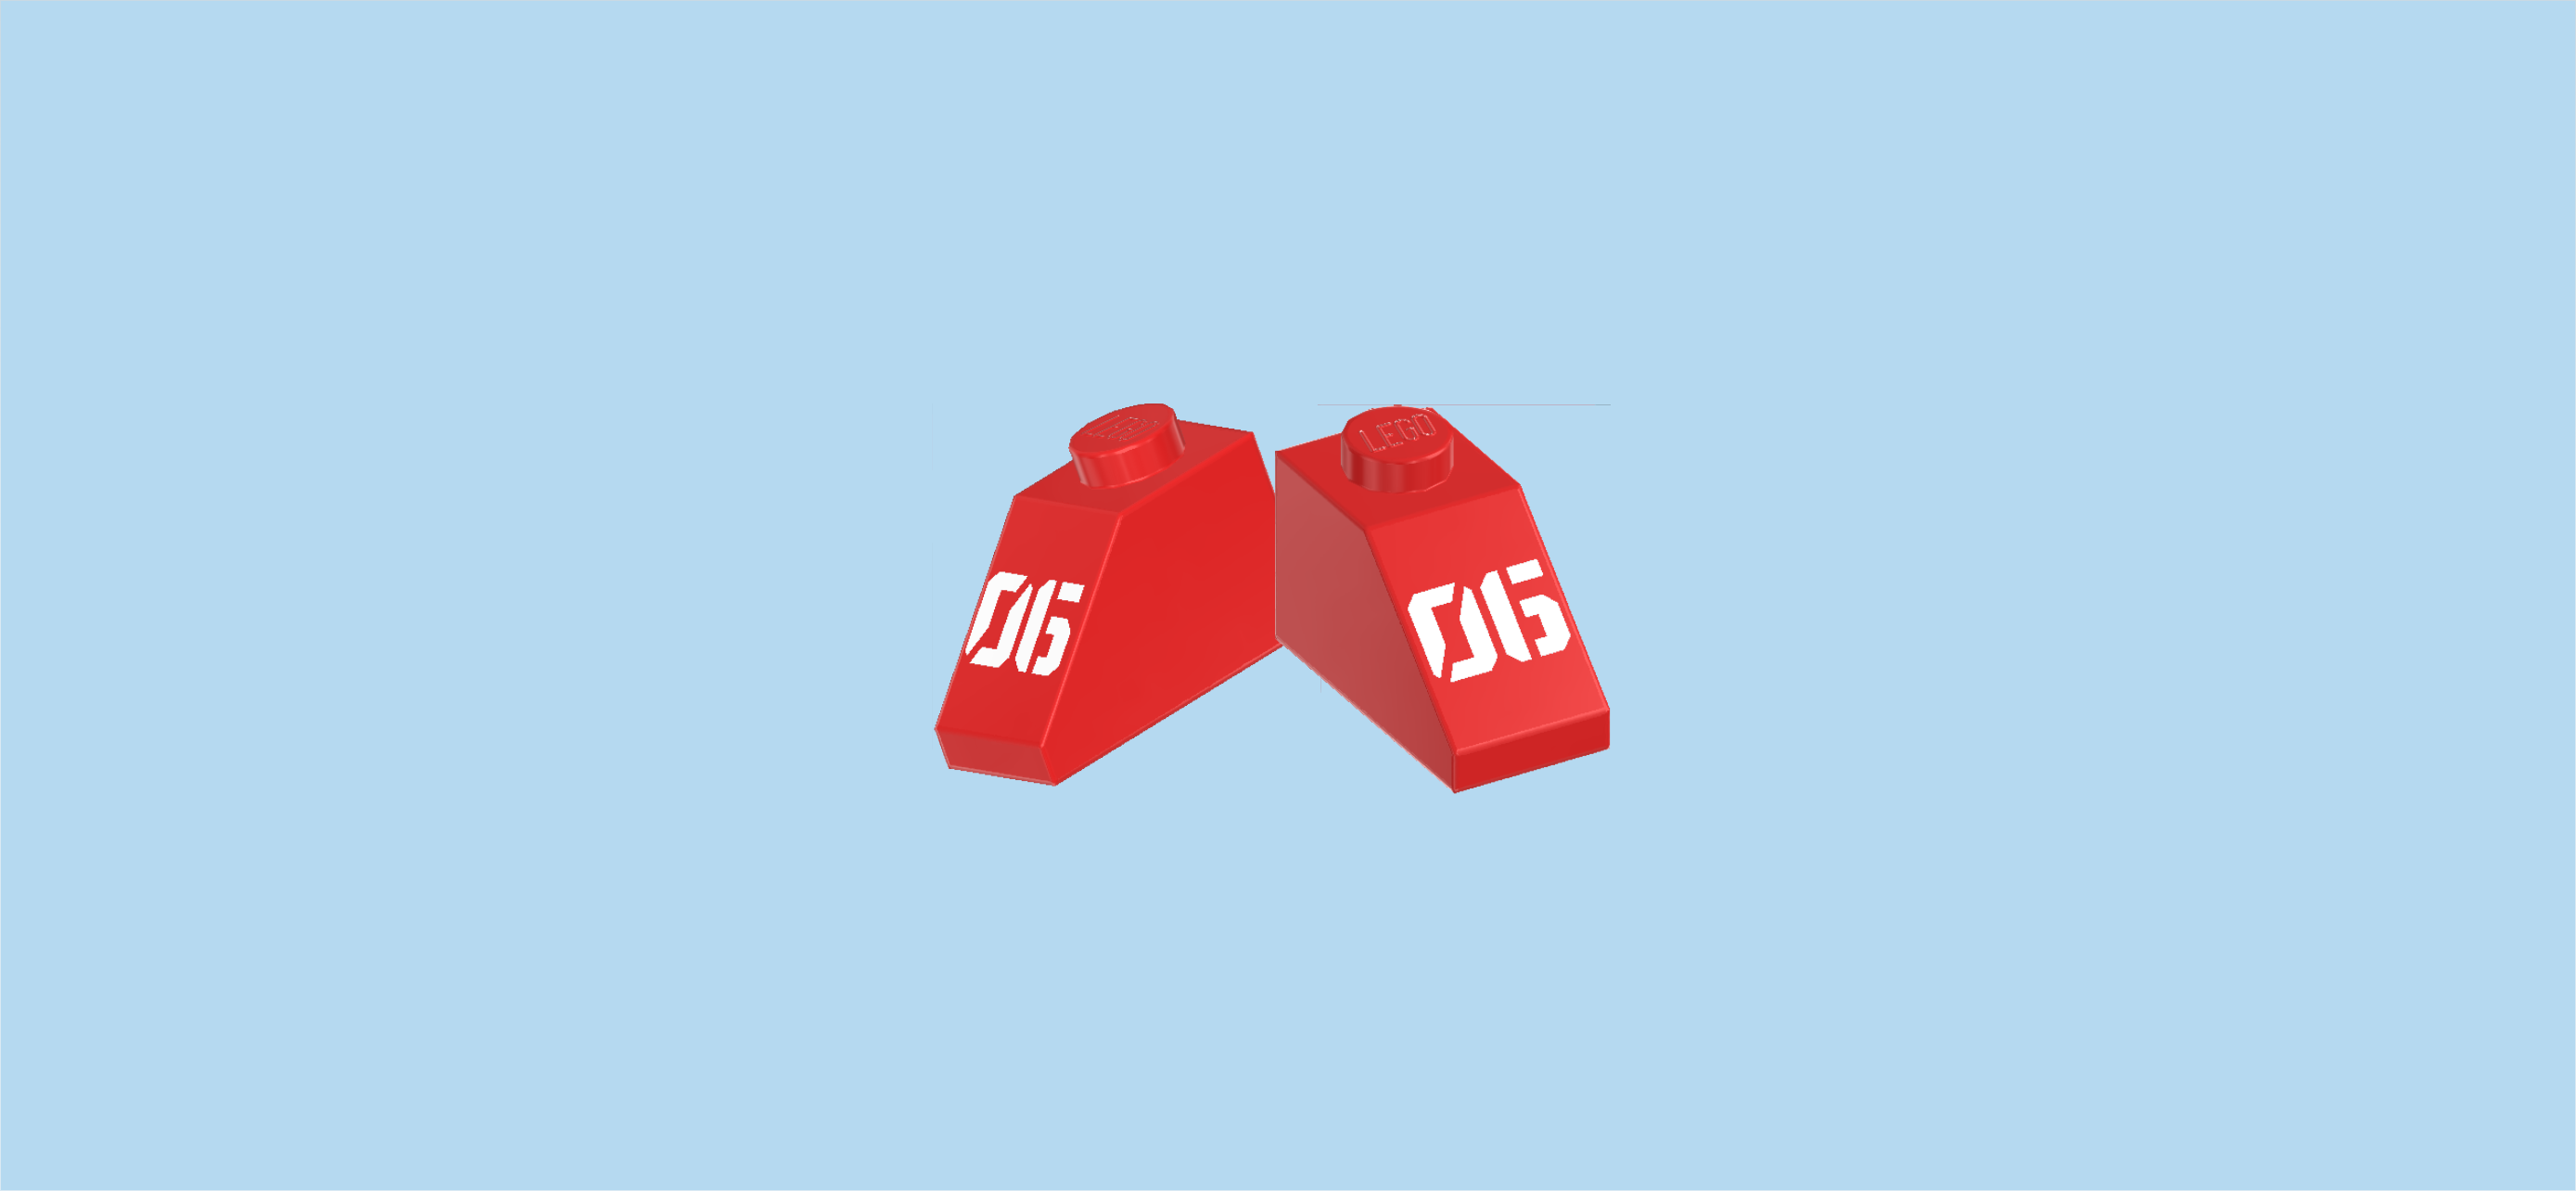
| Both pieces are printed with the digits "06" in a bold white lettering. |
| Next, we will build the water tank. |
| Collect the following 2 pieces: |
| 1 bright blue round brick 2x2 with side hole, |
| and 1 bright red connector peg 3m with 2 friction rings. |
| Put the round brick 2x2 on the table, side hole running from left to right. |
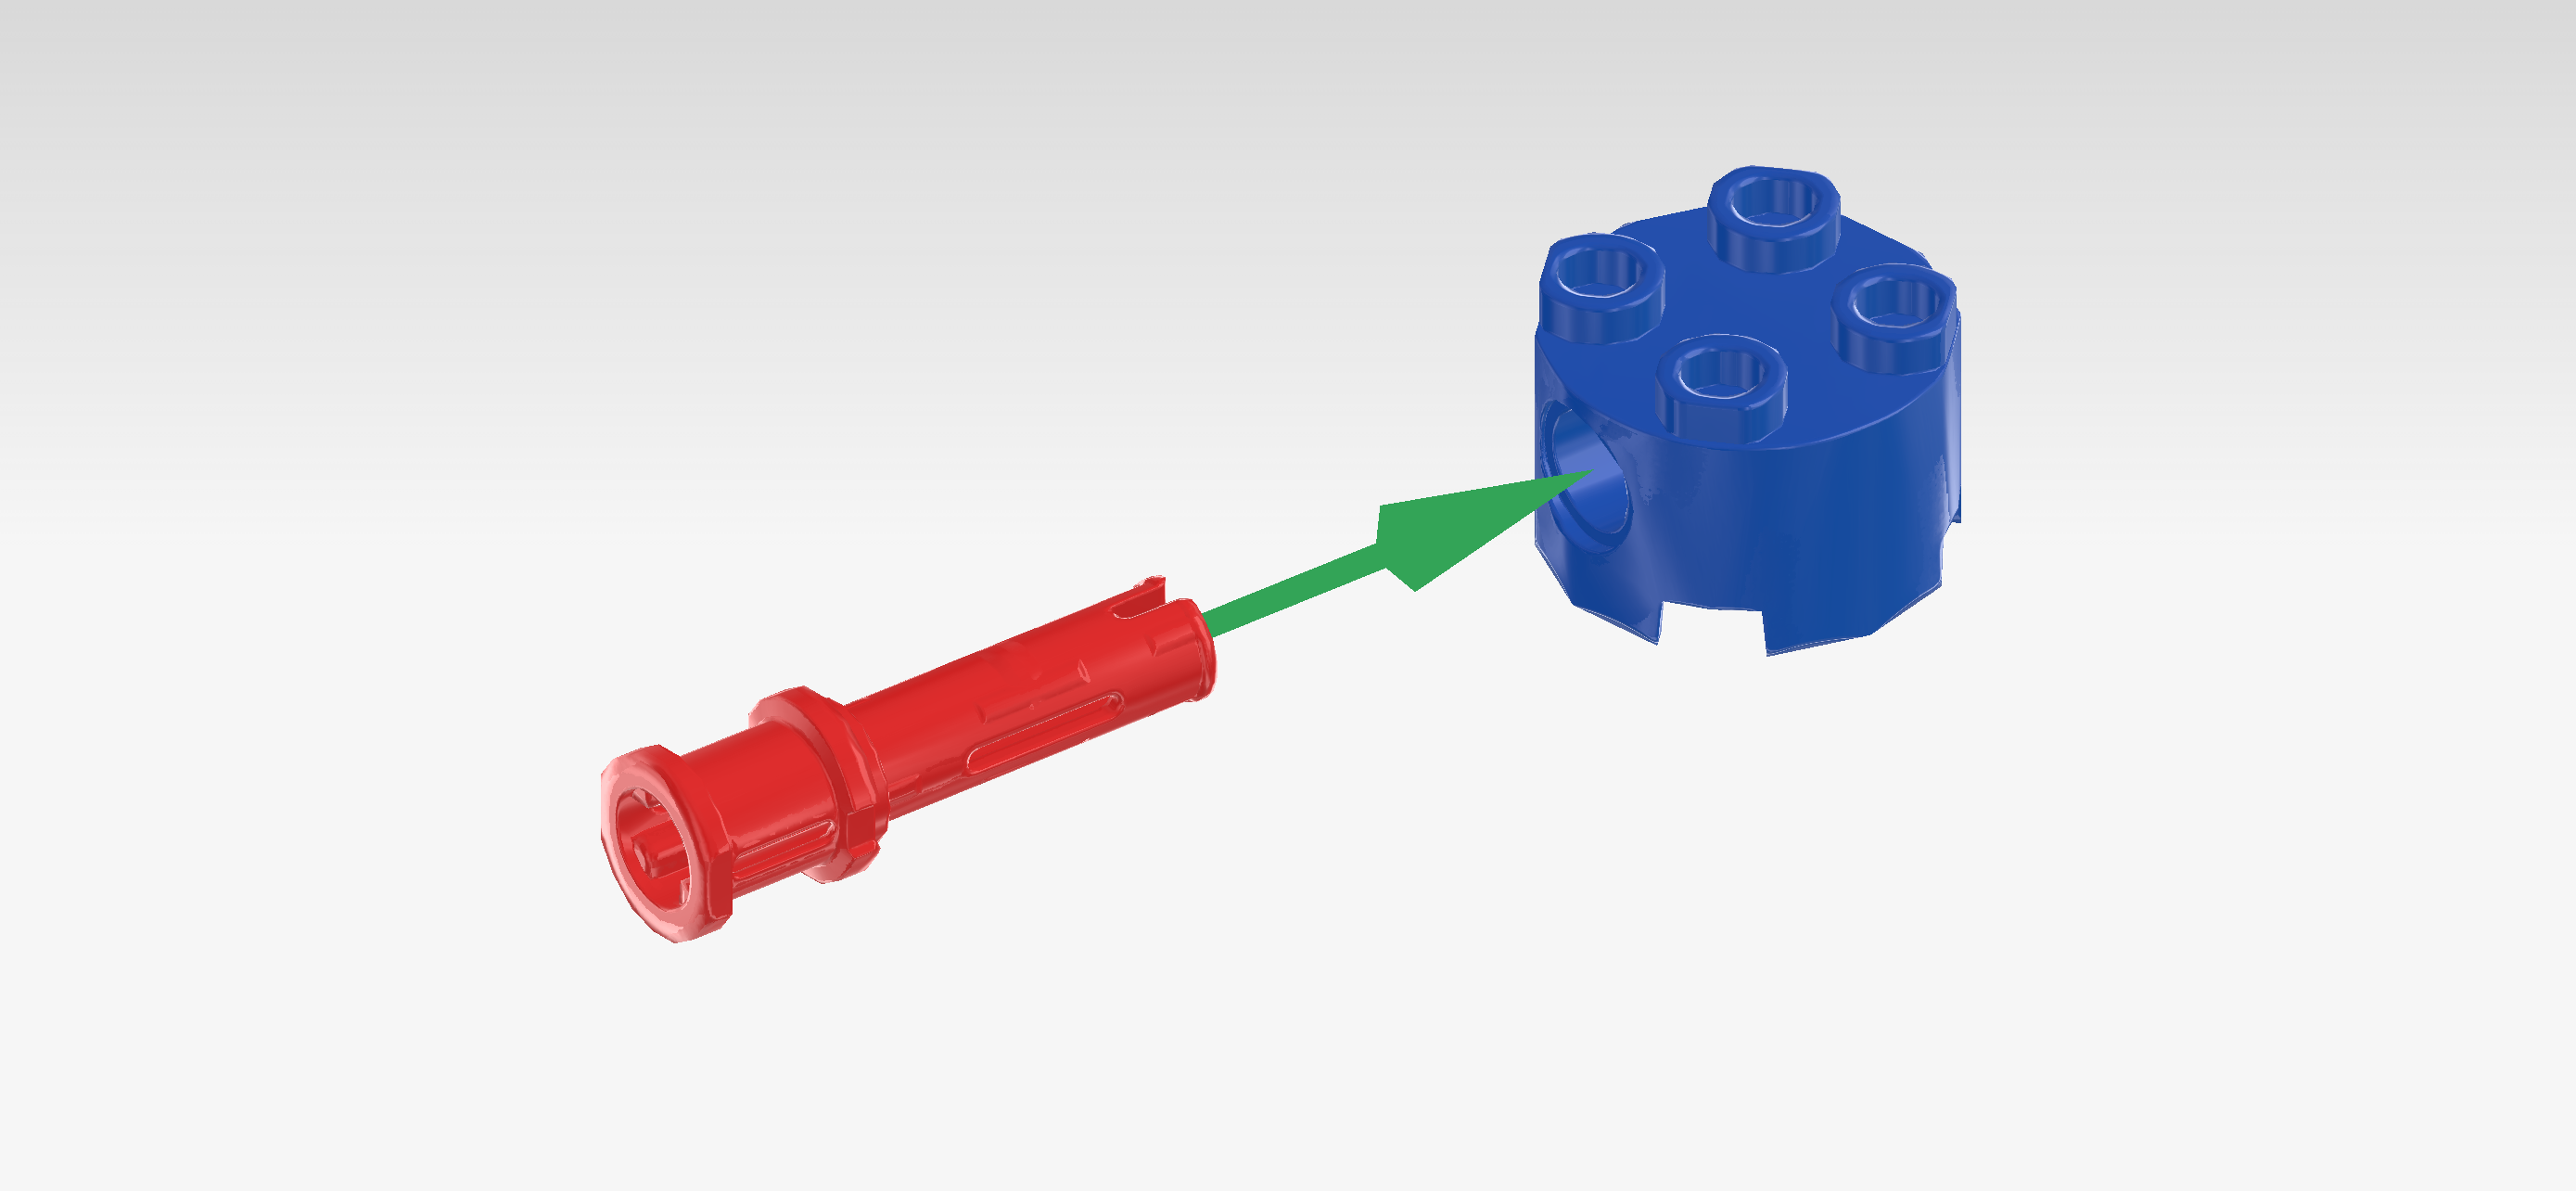
| Insert the long end of the connector peg 3m into the hole coming from the left, 1/3 sticking out towards the left. |
| Mount this part on the 2 leftmost columns of the motorcycle, connector pointing to the left. |
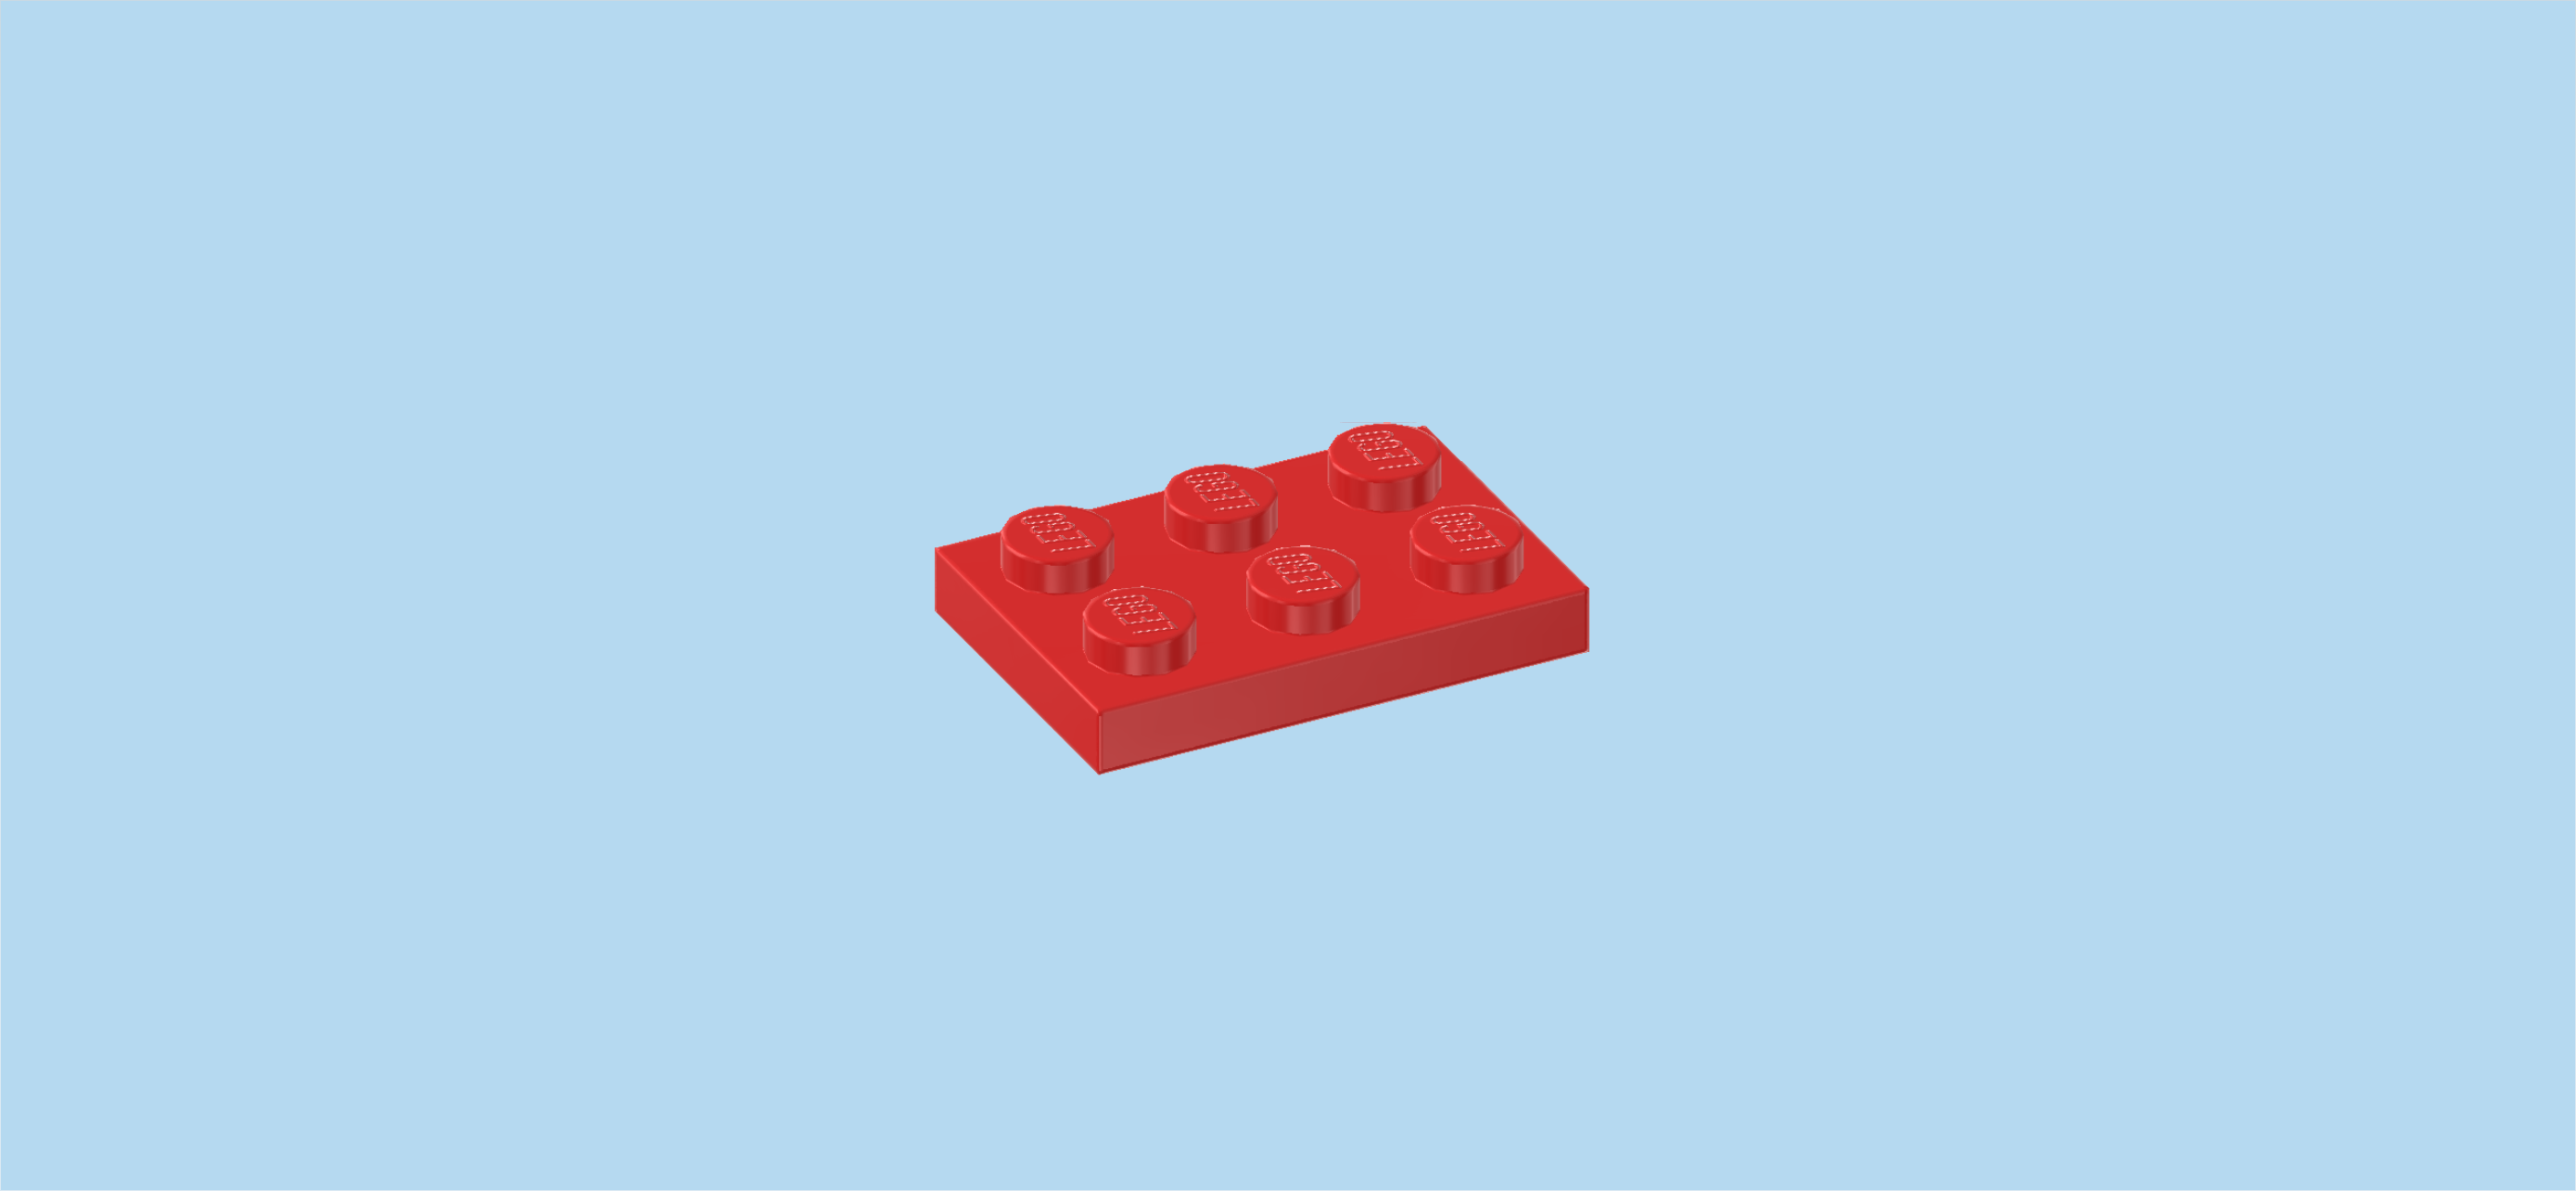
| Find 1 bright red plate 2x3. |
| Put it horizontally on top of the 3 previous pieces. |
| Collect the following 2 pieces: |
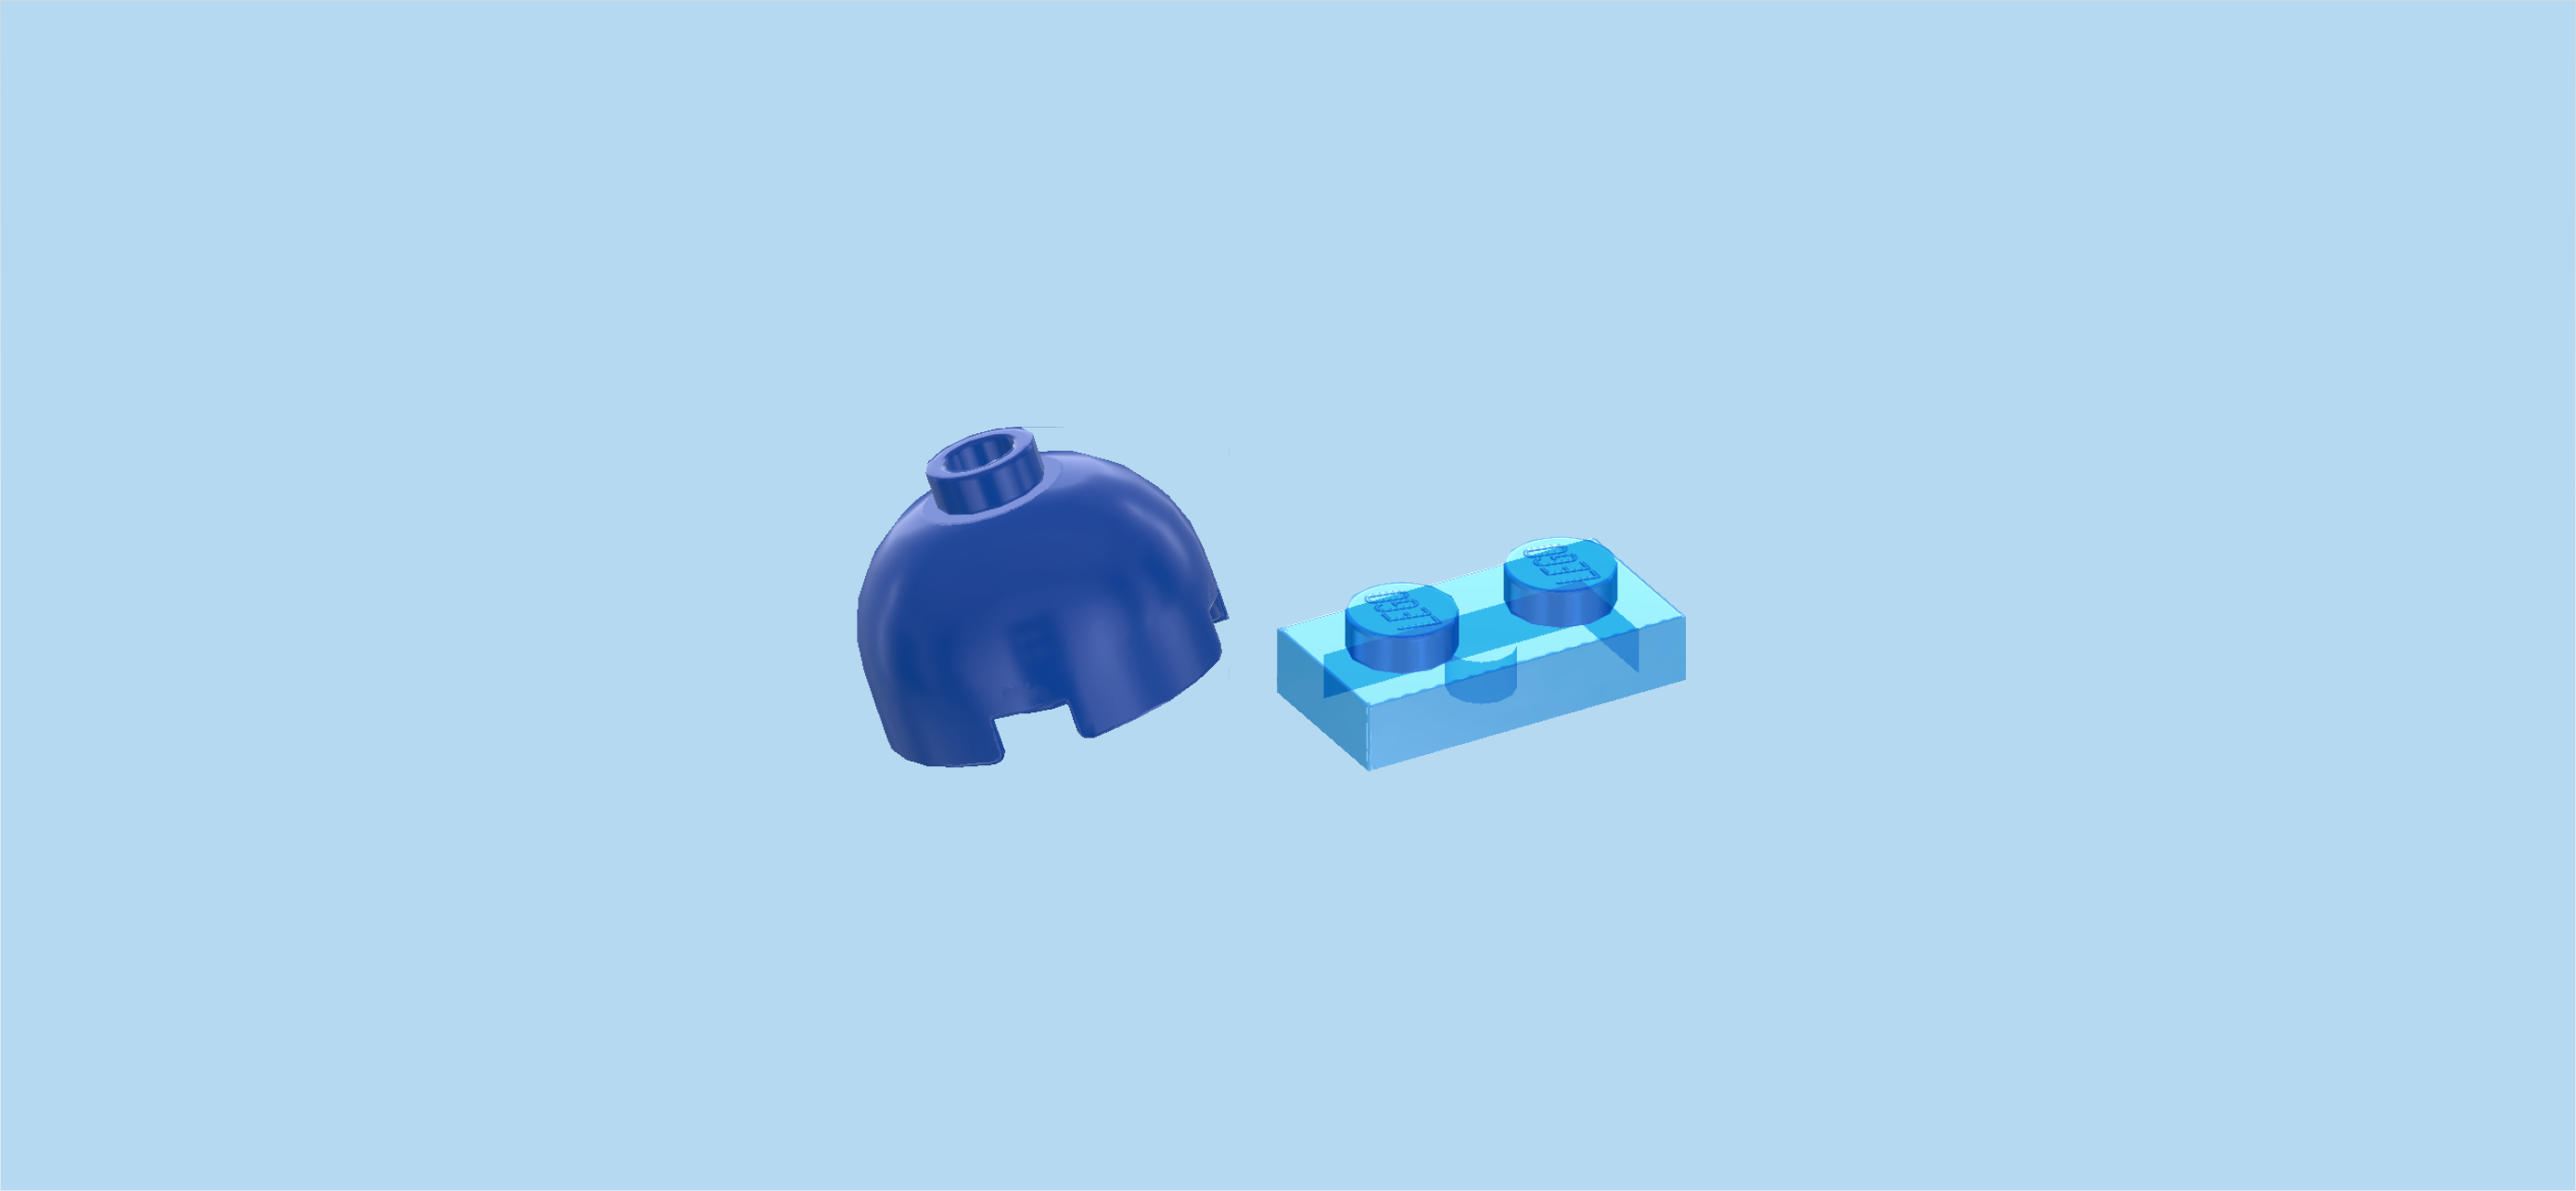
| 1 bright blue dome 2x2 with 1 knob, |
| and 1 transparent blue plate 1x2. |
| Put the dome 2x2 on the 2 leftmost columns of the previous piece. |
| Put the plate 1x2 vertically to the right of the previous piece. |
| Next, we will assemble the firehose. |
| Collect the following 2 pieces: |
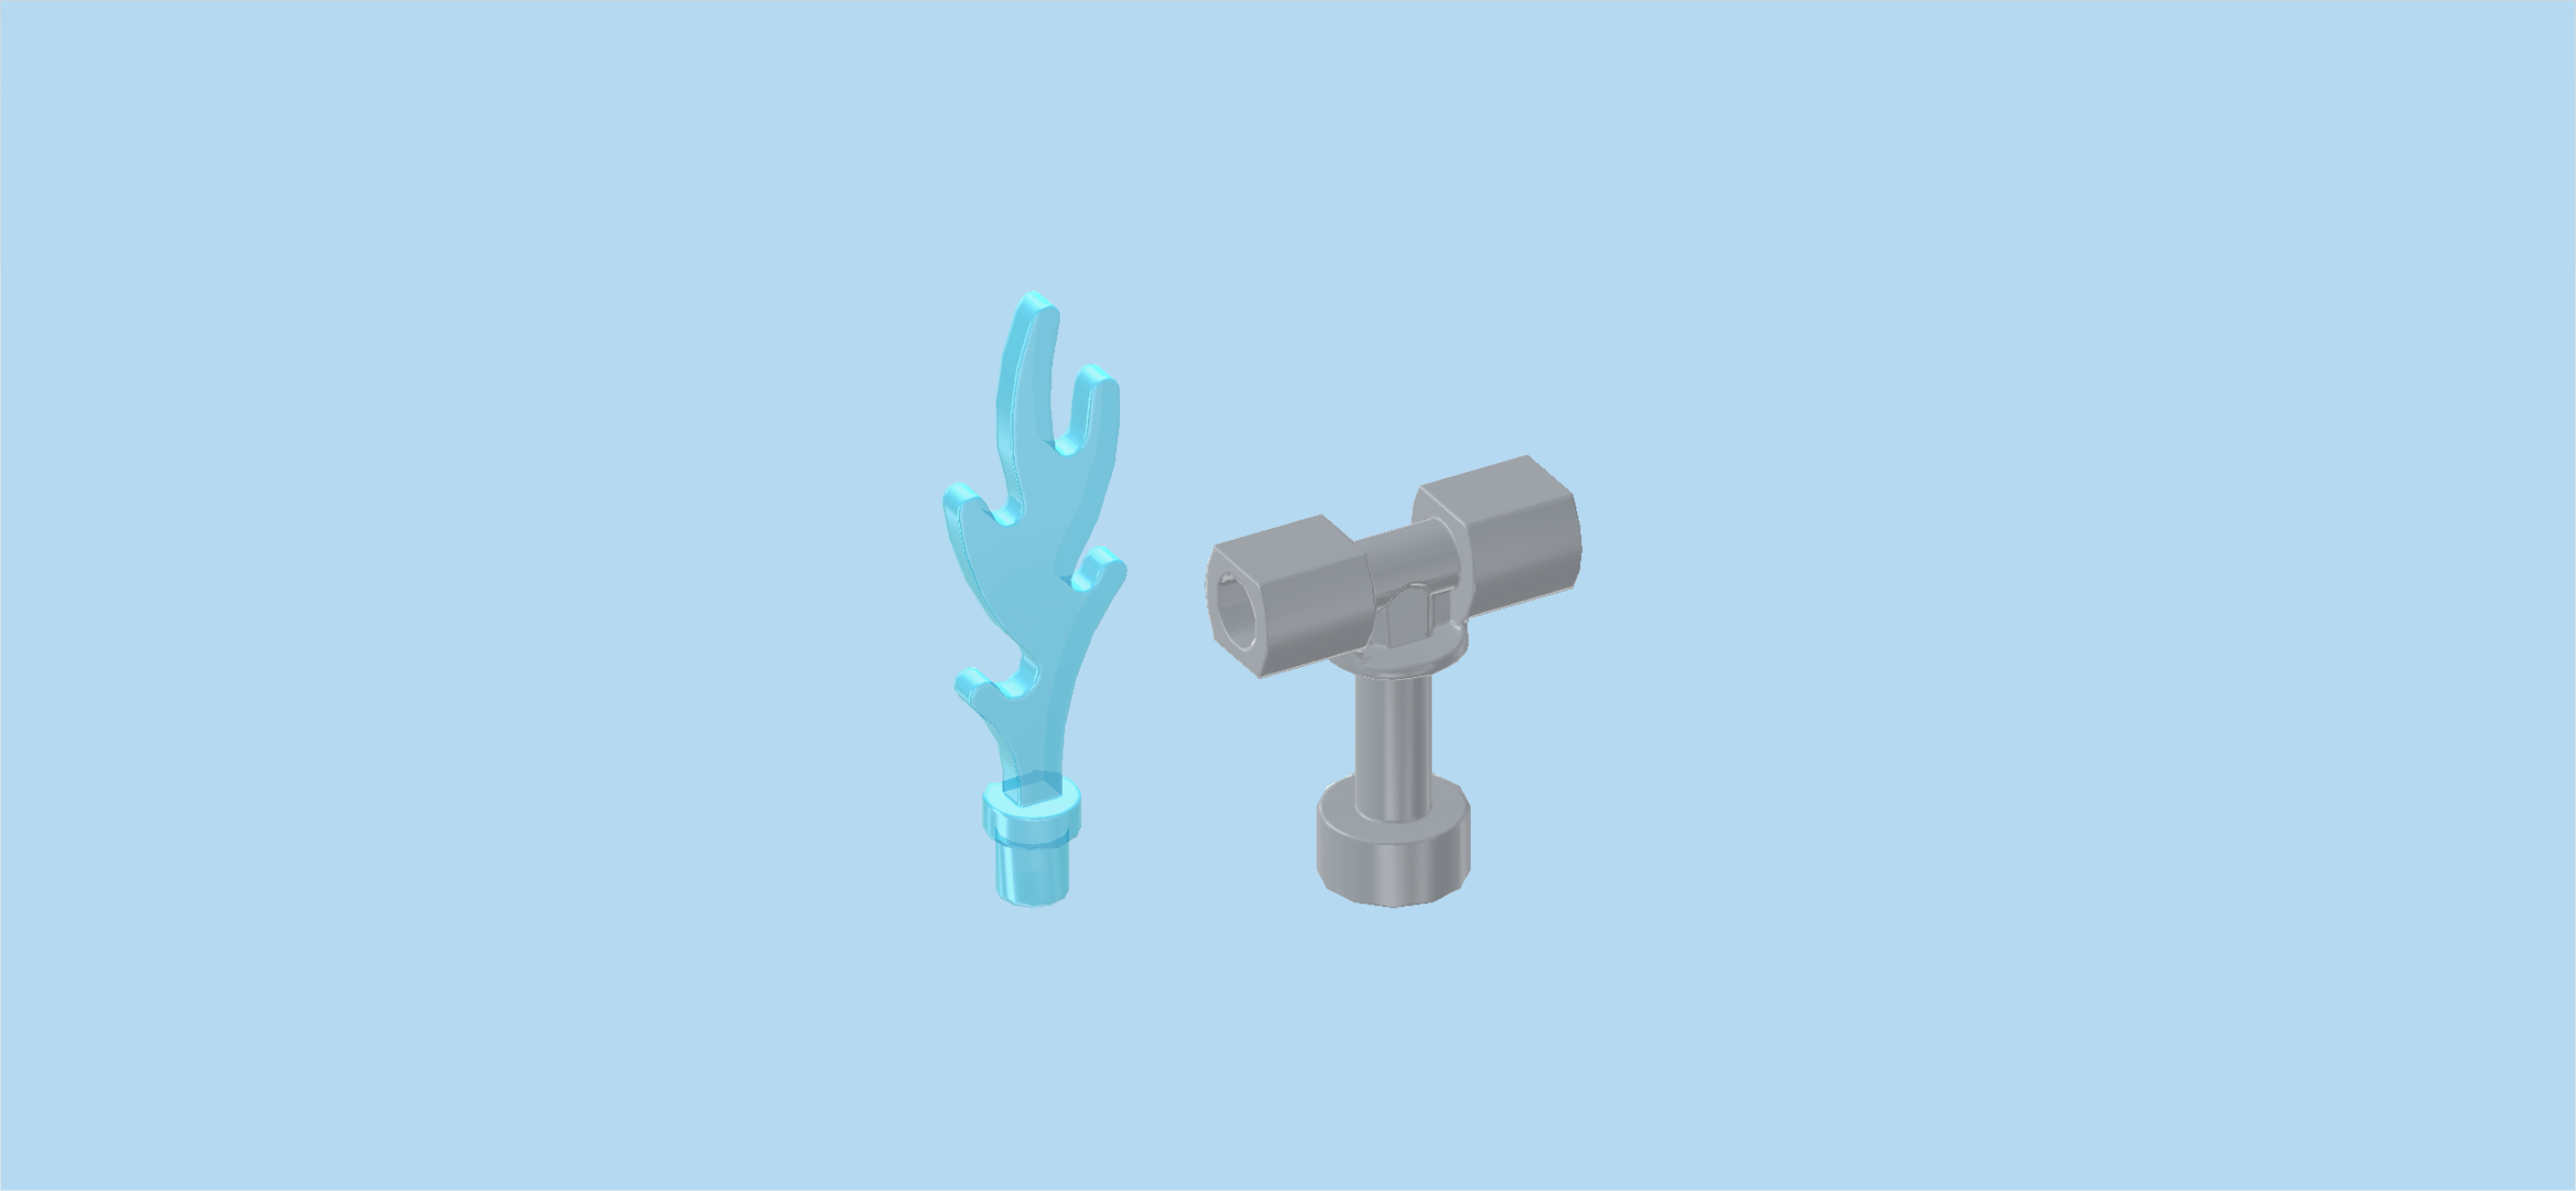
| 1 transparent light blue flame with 5 tongues, |
| and 1 medium stone grey t-shaped shaft with 2 small tubes. |
| Hold the t-shaped shaft so that the single shaft is pointing to the bottom and the 2 small tubes are to the left and right. |
| Hold the flame horizontally, small shaft pointing to the right, and insert it into the small tube on the left, tongues pointing to the left. |
| Find 1 silver metallic flexible hose 19m with shaft ends. |
| Insert 1 shaft end of the hose coming from the right into the right tube of the t-shaped shaft. |
| To mount the fire hose on the motorcycle, insert the other shaft end of the hose into the connector peg protruding to the left. |
| Now, bend the hose to the front and to the right and snap the handle (which is the bottom part of the t-shaped shaft) into the clasp pointing to the front. You can also mount it on the clasp pointing to the back. |
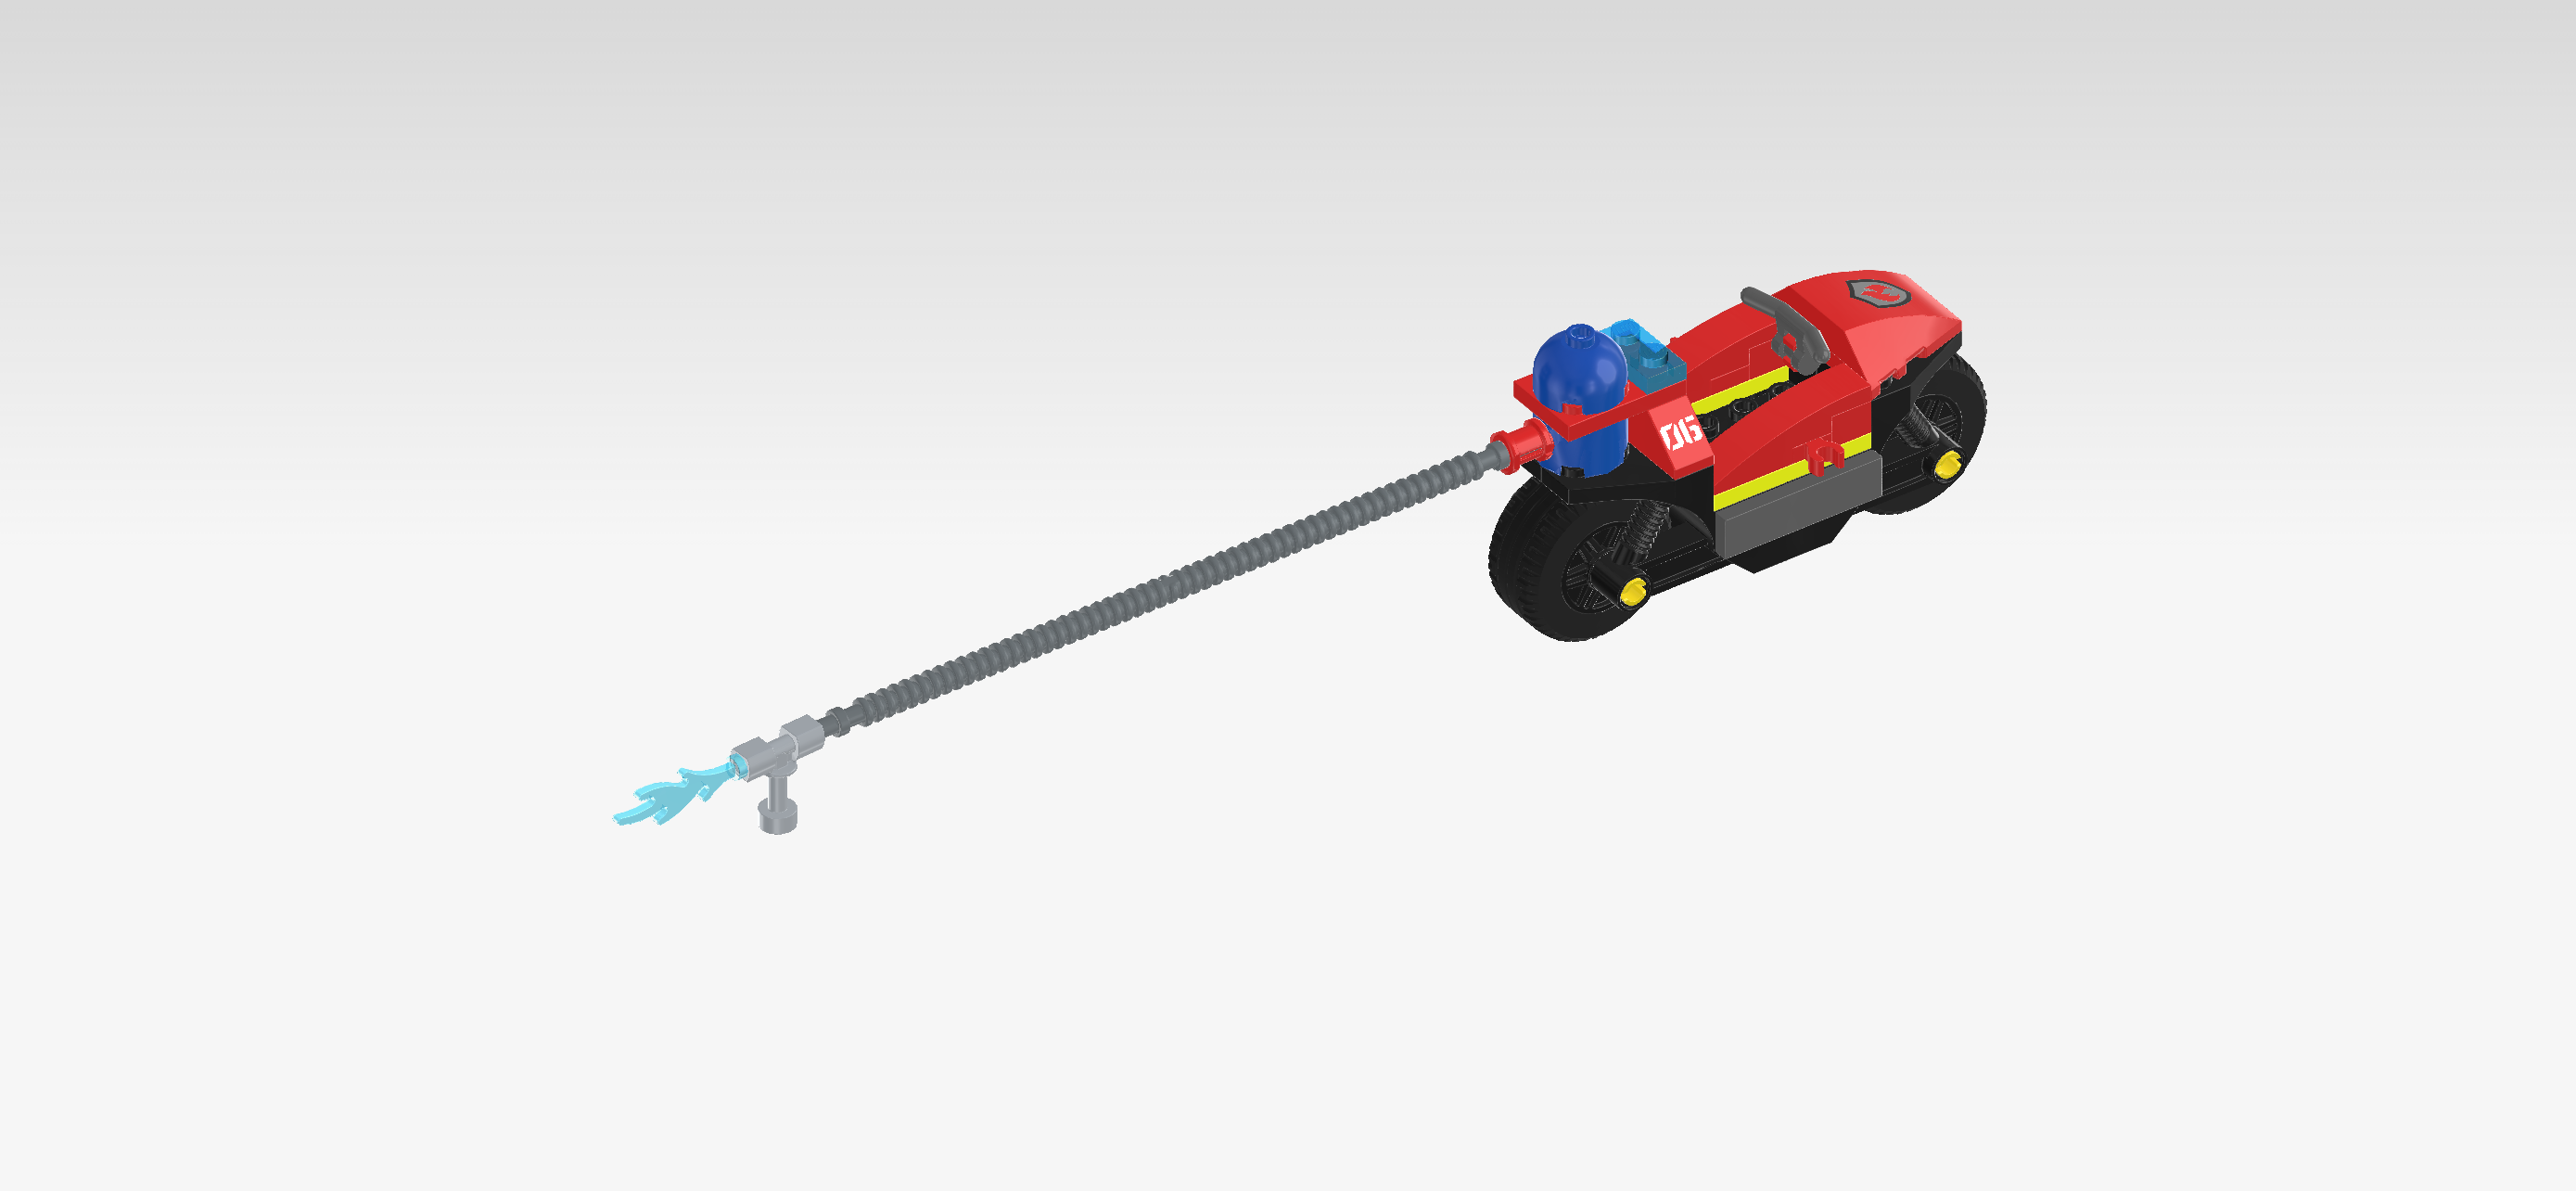
| The firefighter motorcycle is finished! Very well done! Put the helmet on the firefighter's head, put her behind the steering handle and off you go! |
| You have finished building the entire set! Congratulations! Now there is no more time to lose: The firefighter should get on her motorcycle and rush to the fire! The water tank has enough water pressure to keep a safe distance from the fire while extinguishing it. How lucky the citizens of LEGO City are to have a fire department! |
| Enjoy! |

