| LEGO Audio & Braille Building Instructions for the LEGO City Great Vehicles set "Construction Digger". |
| Jump aboard the customizable Construction Digger! Help the LEGO City workers replace an old park bench with a futuristic, phone-charging smart bench. Use the digger's jackhammer and bucket attachments to clear the area. Then attach the forklift to lift the new bench into position. When you're done, load up your broom and equipment and head to the next job! |
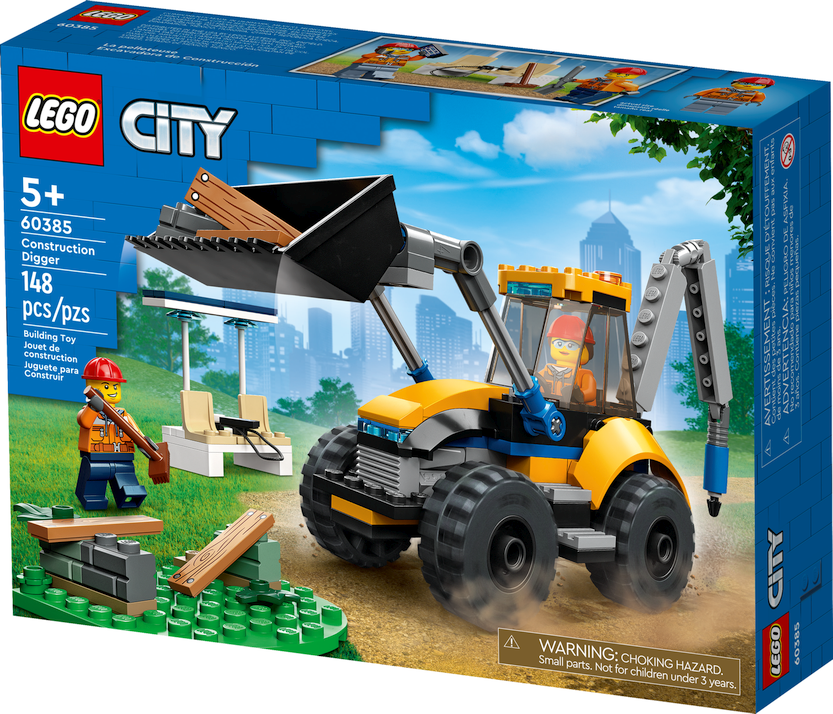
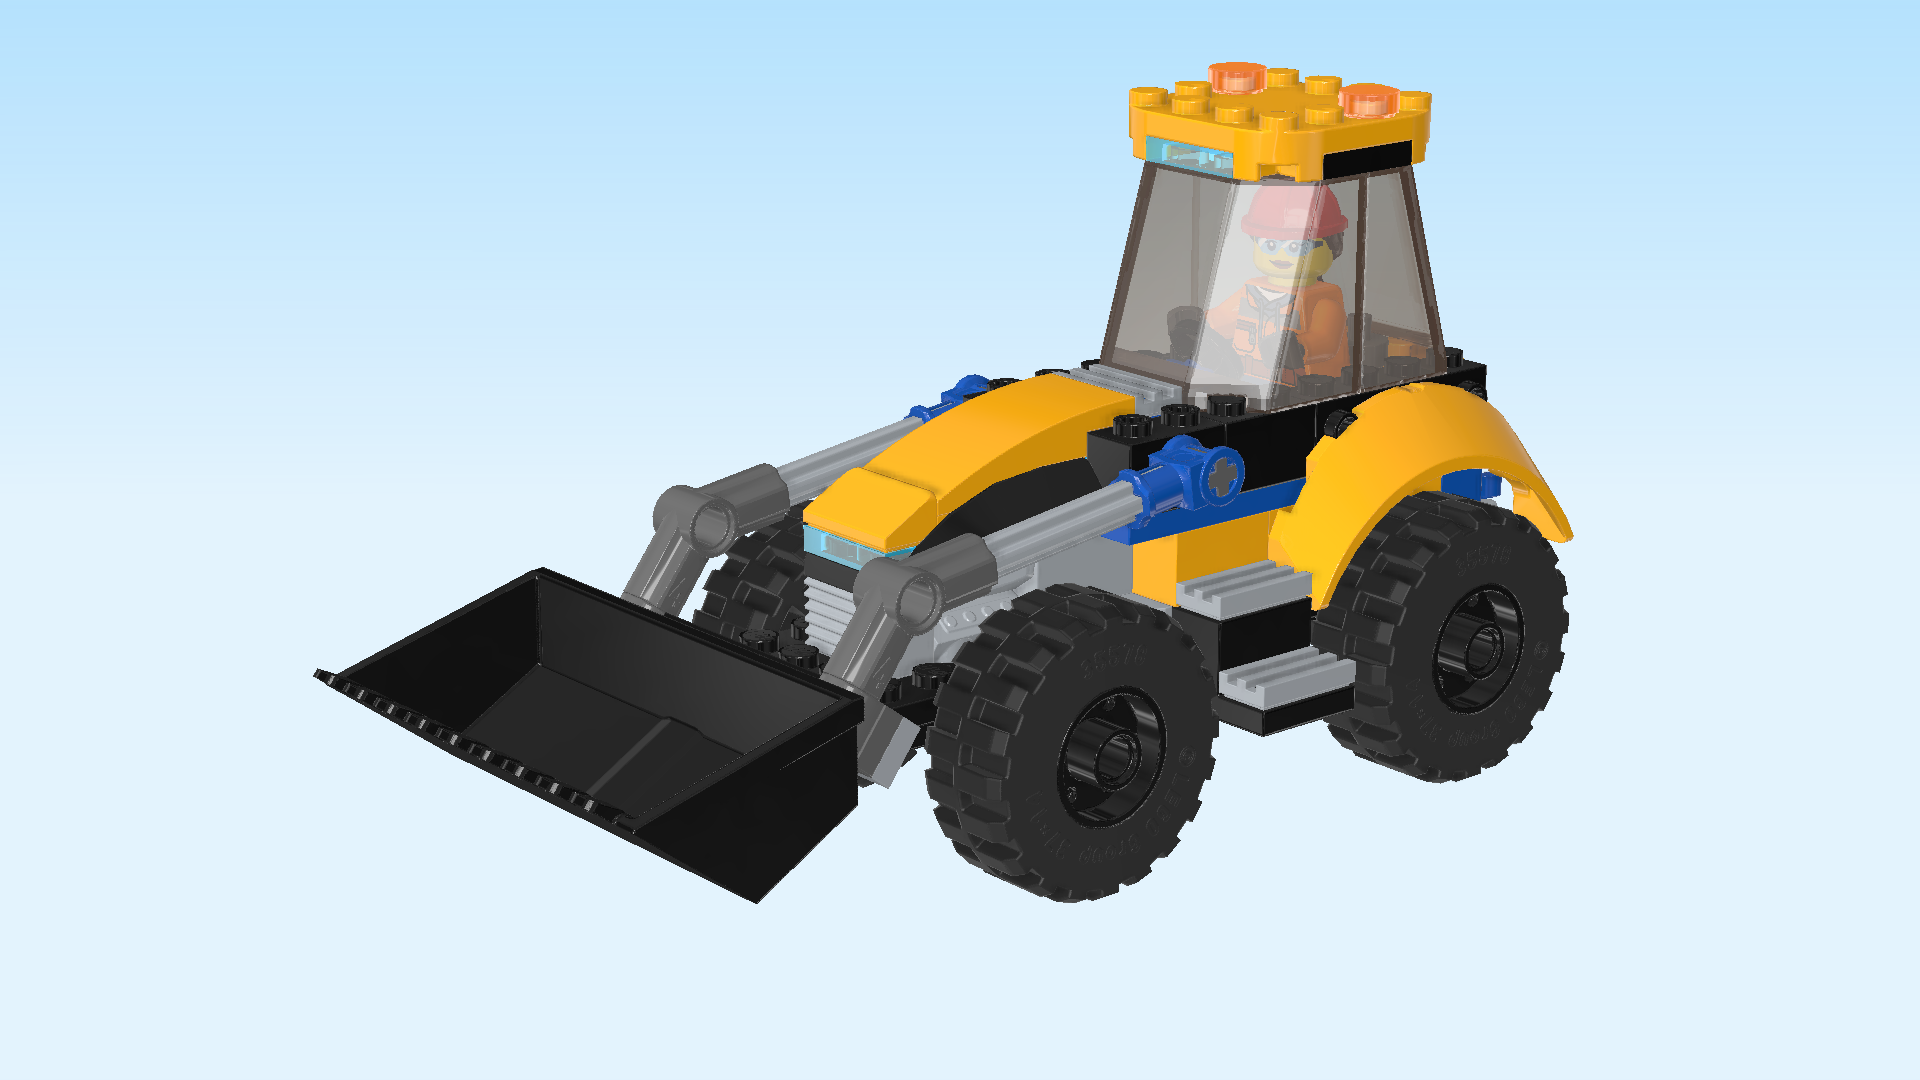
| The box cover shows the construction digger in action. The yellow digger with large off-road tires is standing on a dusty ground. It is a combination of front loader and backhoe: at the digger's front arms, a bucket is attached. It is lifted up and filled with rubble that stems from breaking down the old park bench. There are still some remains of the old bench that are falling apart to the left of the digger; a sad sight. But in the background on the park lawn, the new smart park bench is already waiting to be mounted! The beautiful white bench with 2 beige seats has a solar panel mounted as a roof that not only provides protection against the weather, but also power for charging mobile devices! What a cool invention! The construction worker is standing near the digger in a safe distance. He is holding a broom to remove smaller dirt and rubble once the digger is finished. The jackhammer attachment is installed at the rear end of the digger. In the background of the scene is the LEGO City skyline against a beautiful blue sky with only a few clouds here and there. A serene backdrop for a busy day! Let's get started. |
| Open the box. This can be tricky; ask someone to help you! |
| The box contains 1 booklet with visual building instructions, 2 bags with numbers printed on them, and 1 loose piece: the digger bucket. Ask a sighted person to help you find the correct bag! |
| Carefully open bag number 1 and any small sub-bags in it. This bag contains all bricks and pieces for the digger operator Minifigure, the Construction digger with cockpit, wheels and front arms. |
| Before you start building, ask a sighted person to help you sort the pieces by color. This makes finding the correct pieces even easier! |
| First, we will build the digger operator Minifigure. |
| Collect the following 2 pieces: |
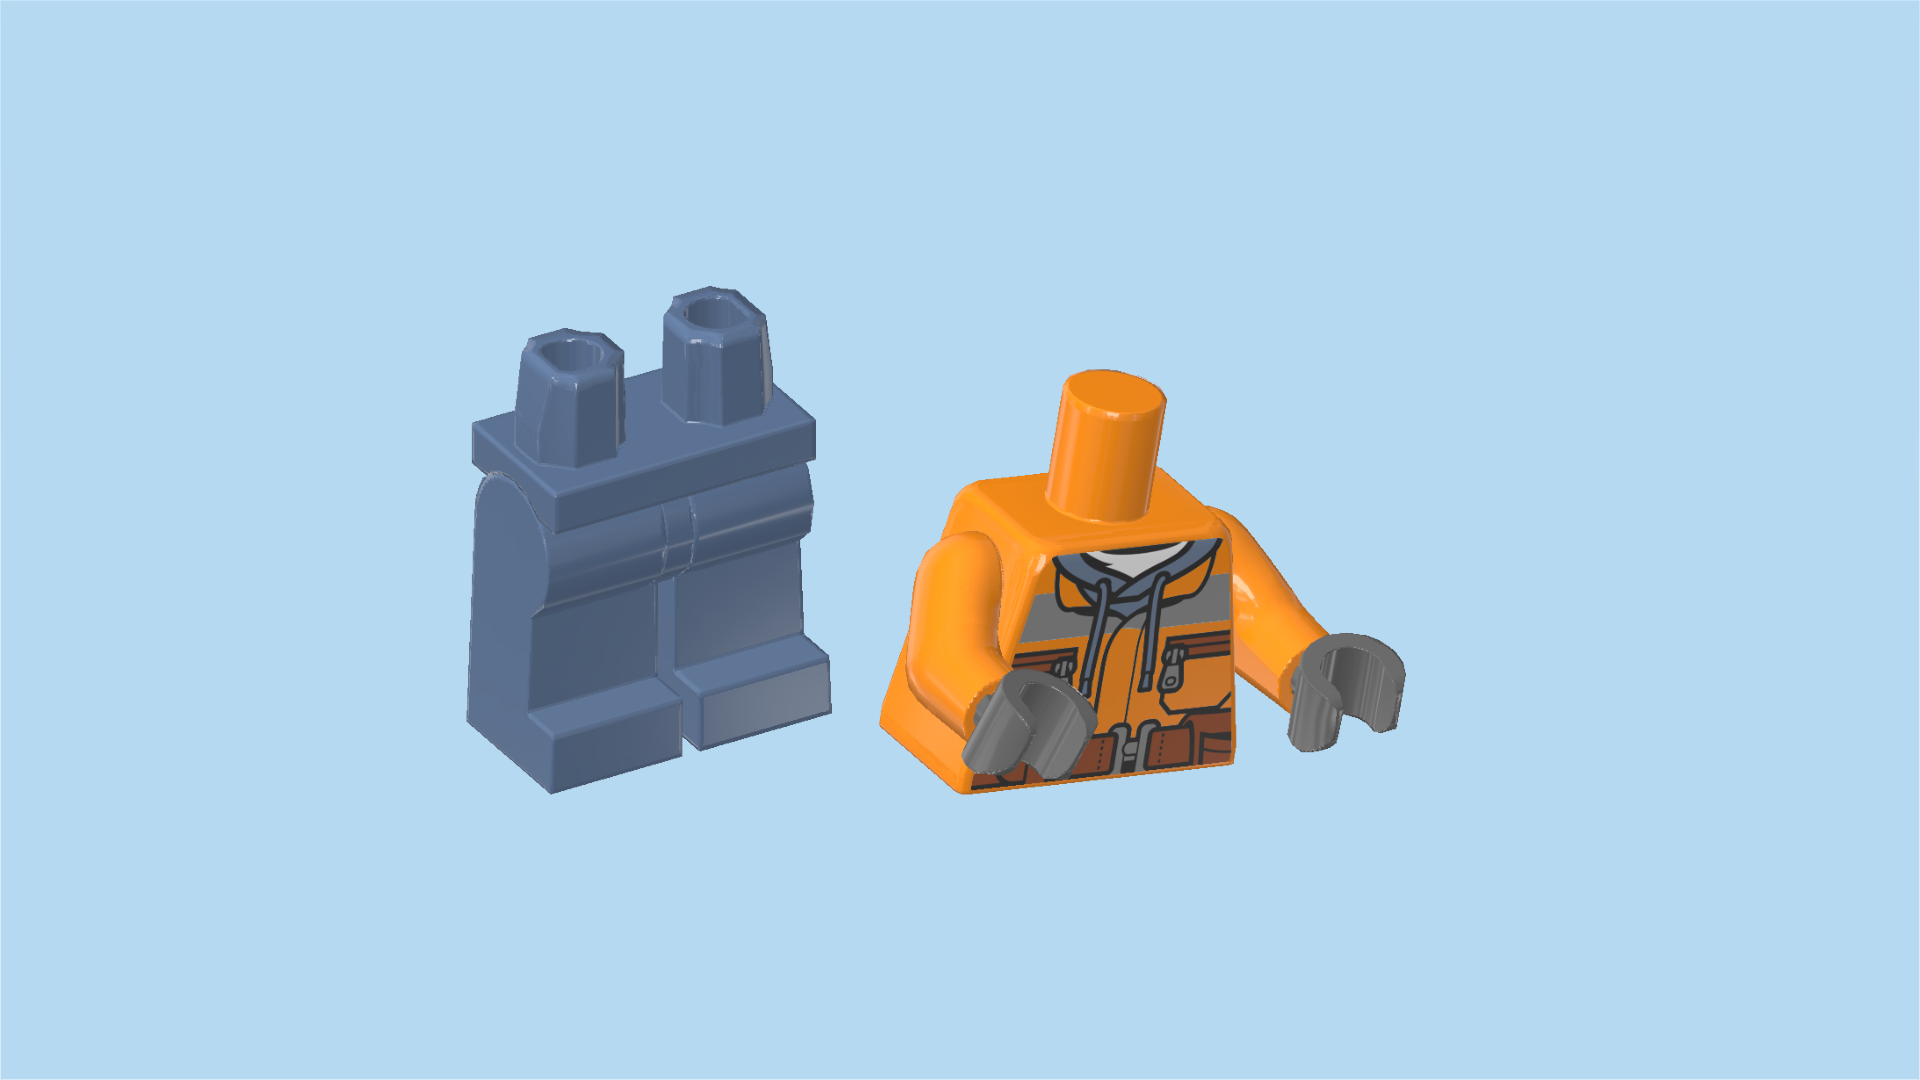
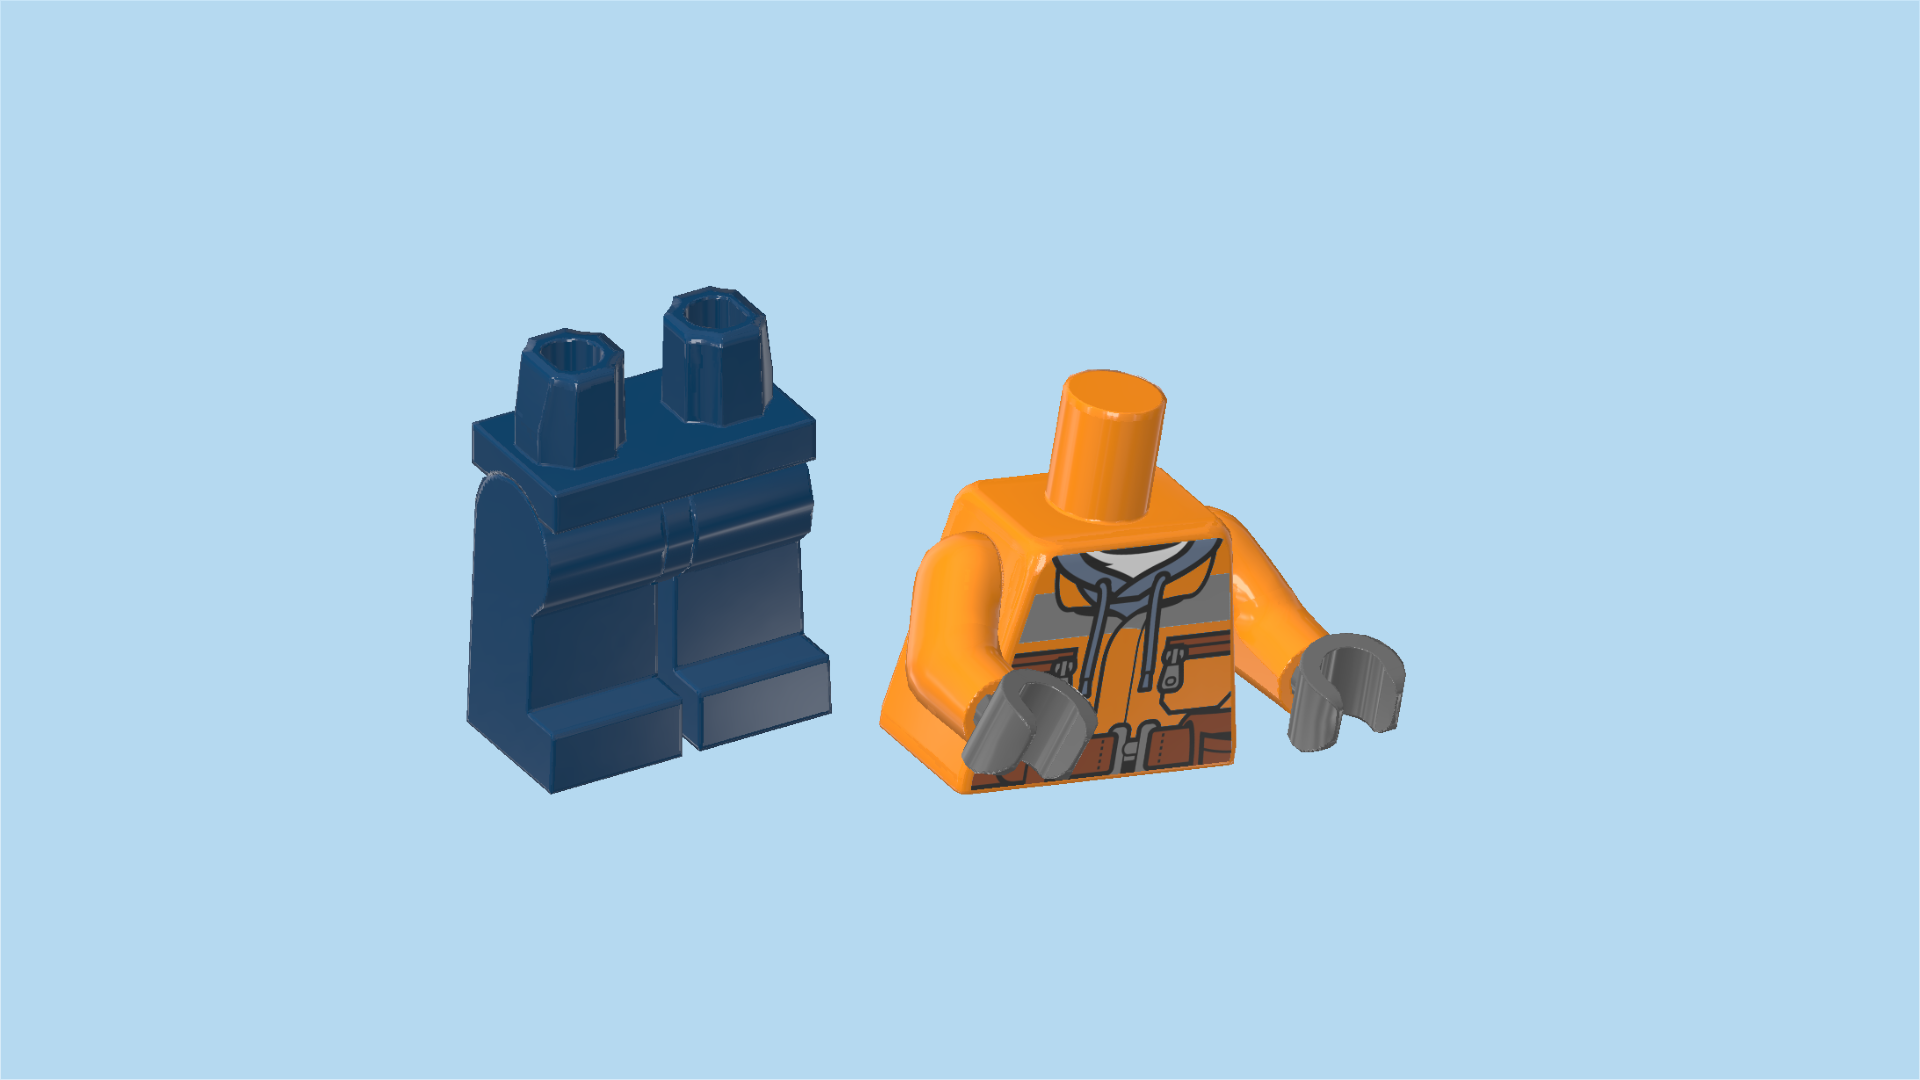
| 1 sand blue pair of legs, |
| and 1 bright orange and dark stone grey upper part of the body. |
| Put the upper body on the legs. |
| Collect the following 2 pieces: |
| 1 bright red and dark brown hard hat with ponytail, |
| and 1 bright yellow Minifigure head. |
| Put the head on the body, and the hard hat with ponytail on top. |
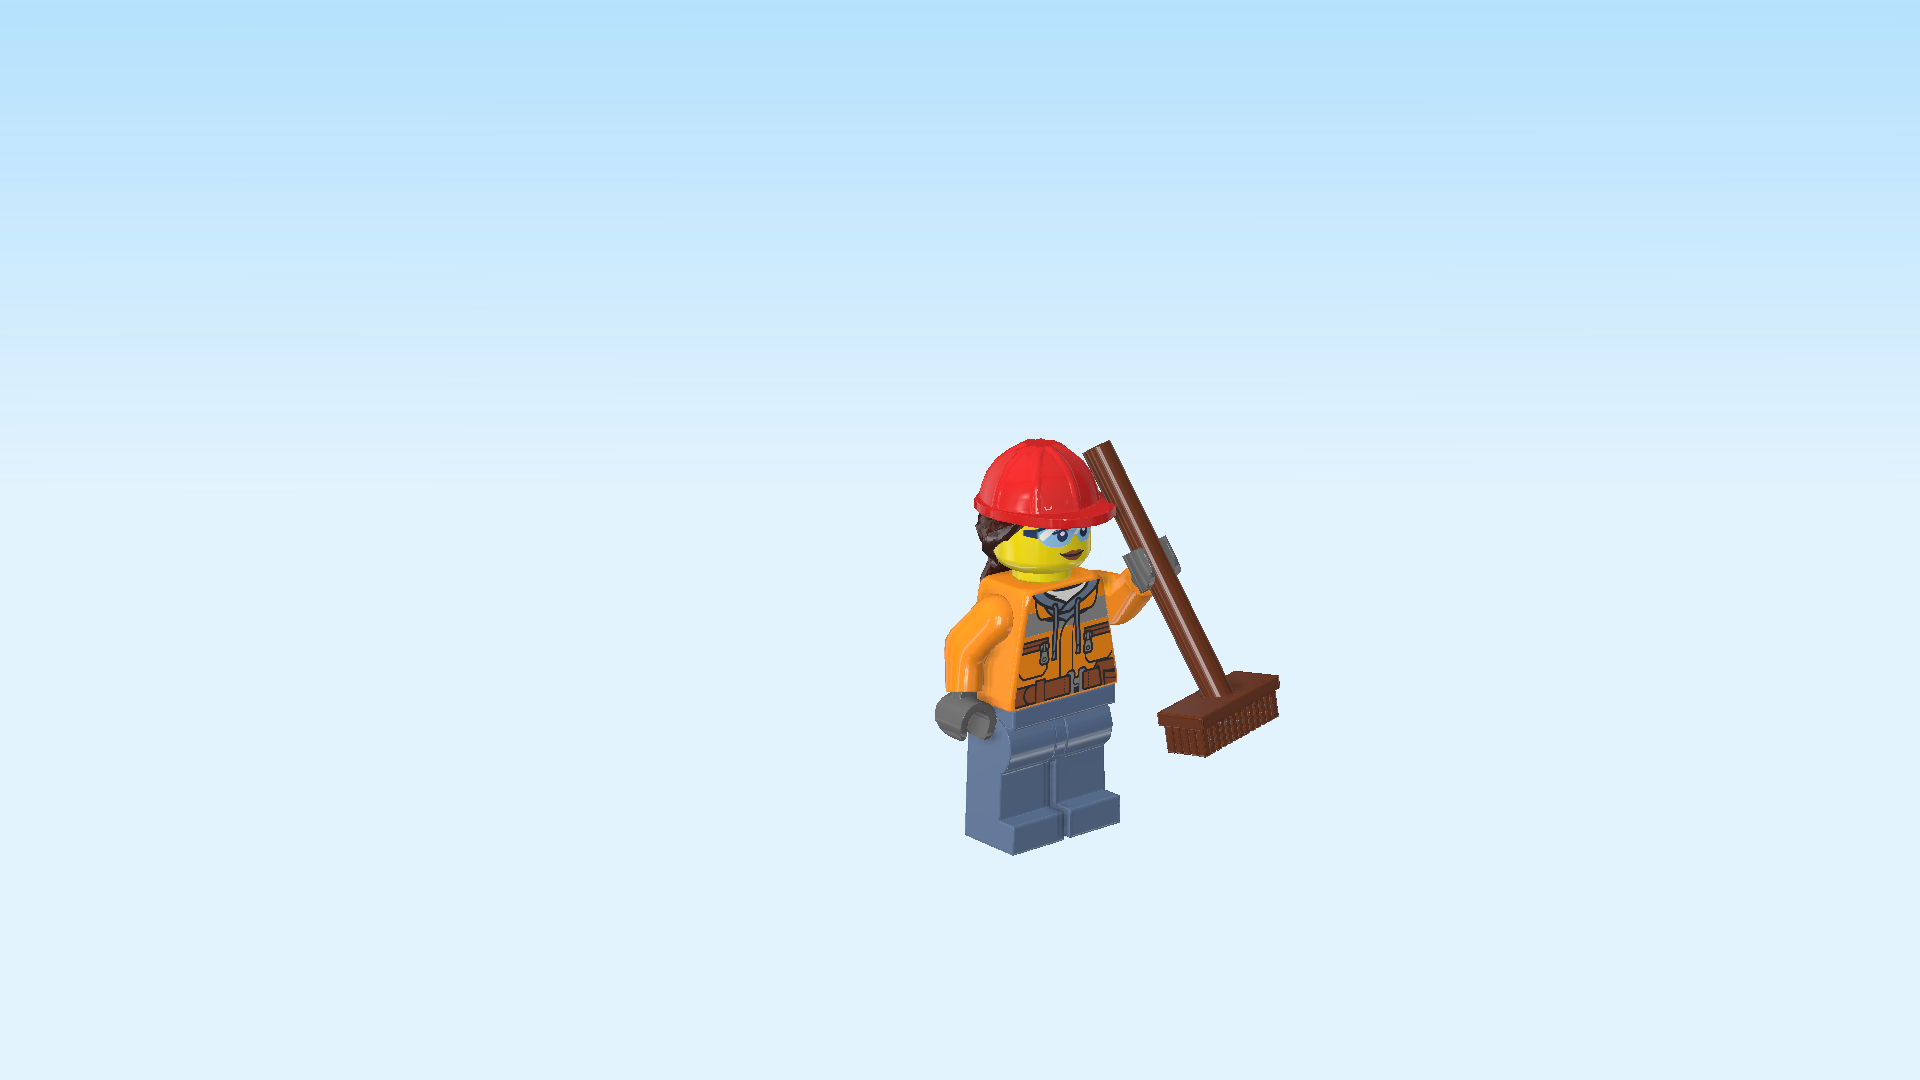
| Find 1 reddish brown Minifigure broom. |
| Snap it into the Minifigure's left hand, broom portion to the bottom. |
| The digger operator Minifigure is finished! Great job! She is wearing pale blue work pants and a bright orange safety jacket with a large reflective stripe across the chest and the back. The jacket has 2 zipper pockets, and the main zipper is protected by a hook-and-loop fastened flap, ensuring that no dust or water can enter the jacket. The neck of the jacket reveals a pale blue hoodie, with its hood hanging out at the back. She is wearing a brown belt with a utility pocket at the front and a walkie-talkie attached at the back. She has a friendly smile on her face and pale red lips. She is wearing a pair of safety googles. |
| Now, we will build the digger. We will start with the underbody and wheel axles. |
| Collect the following 2 pieces: |
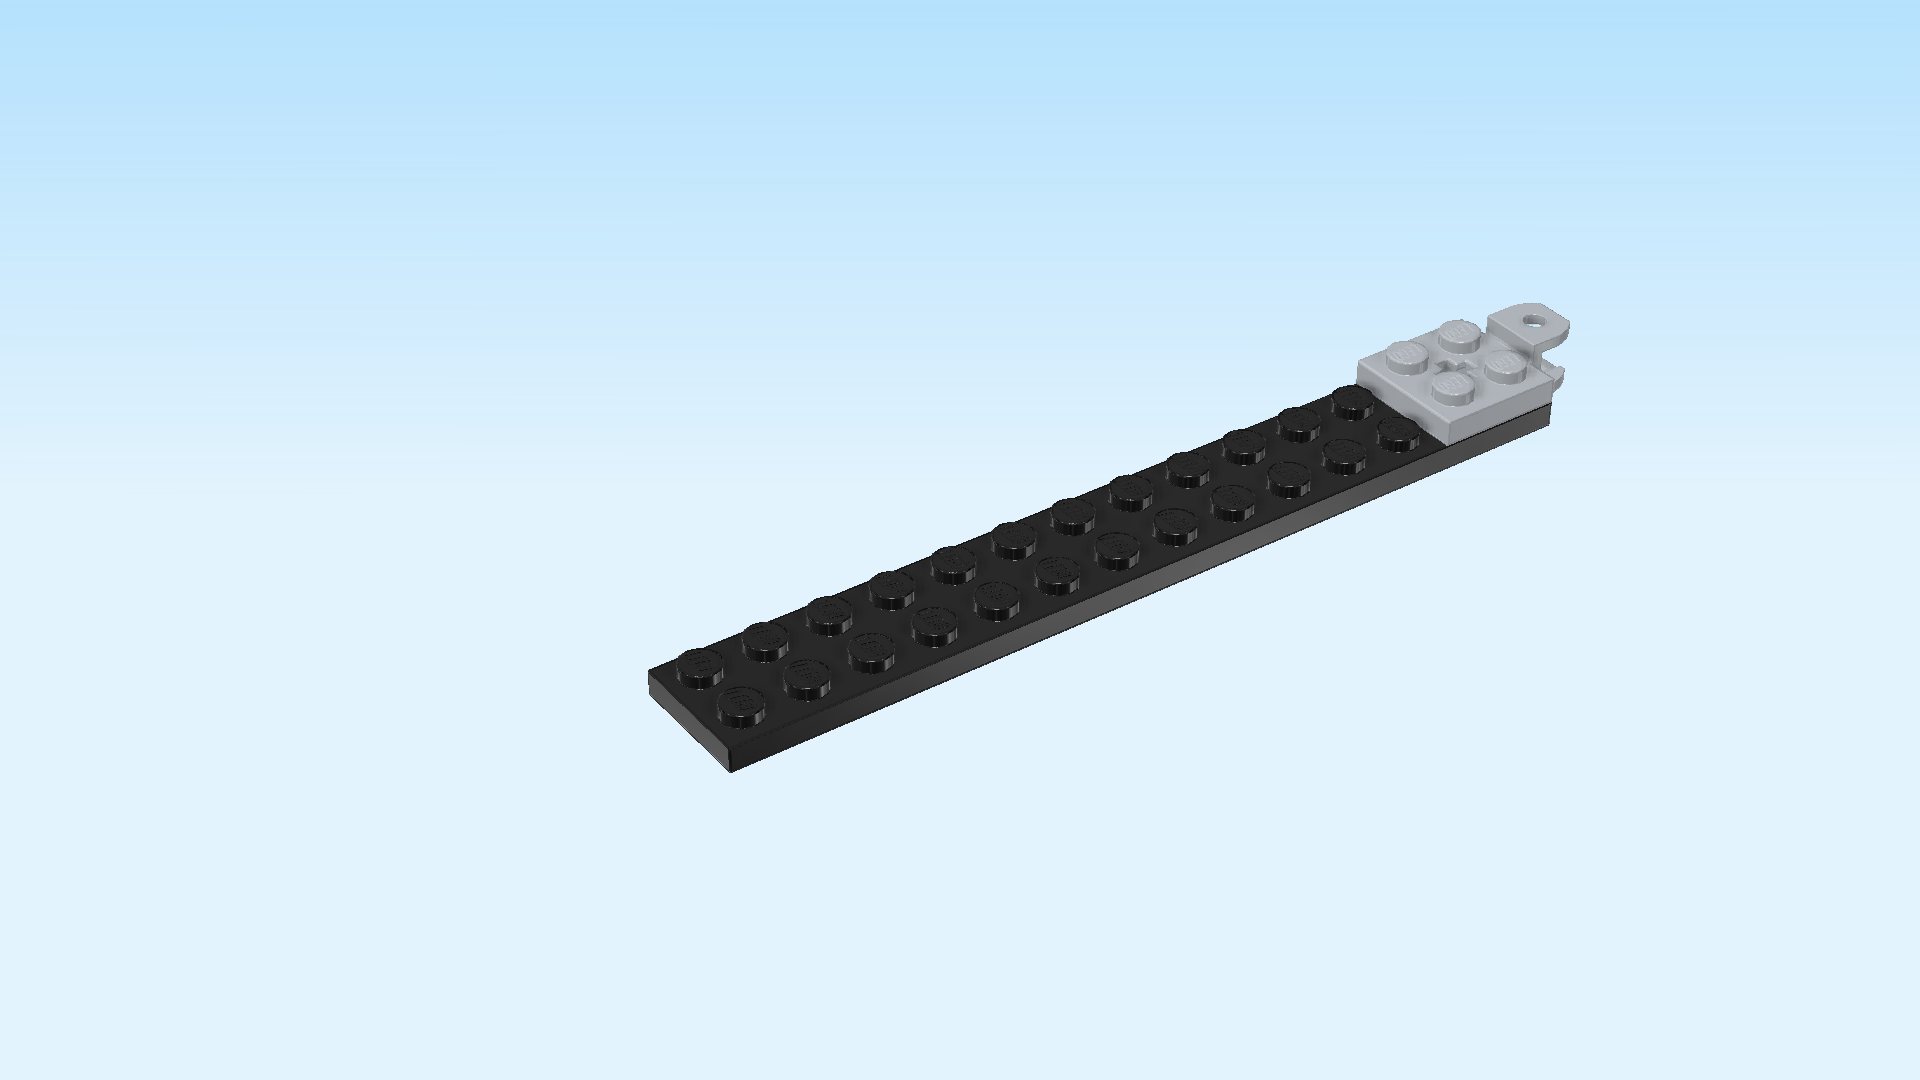
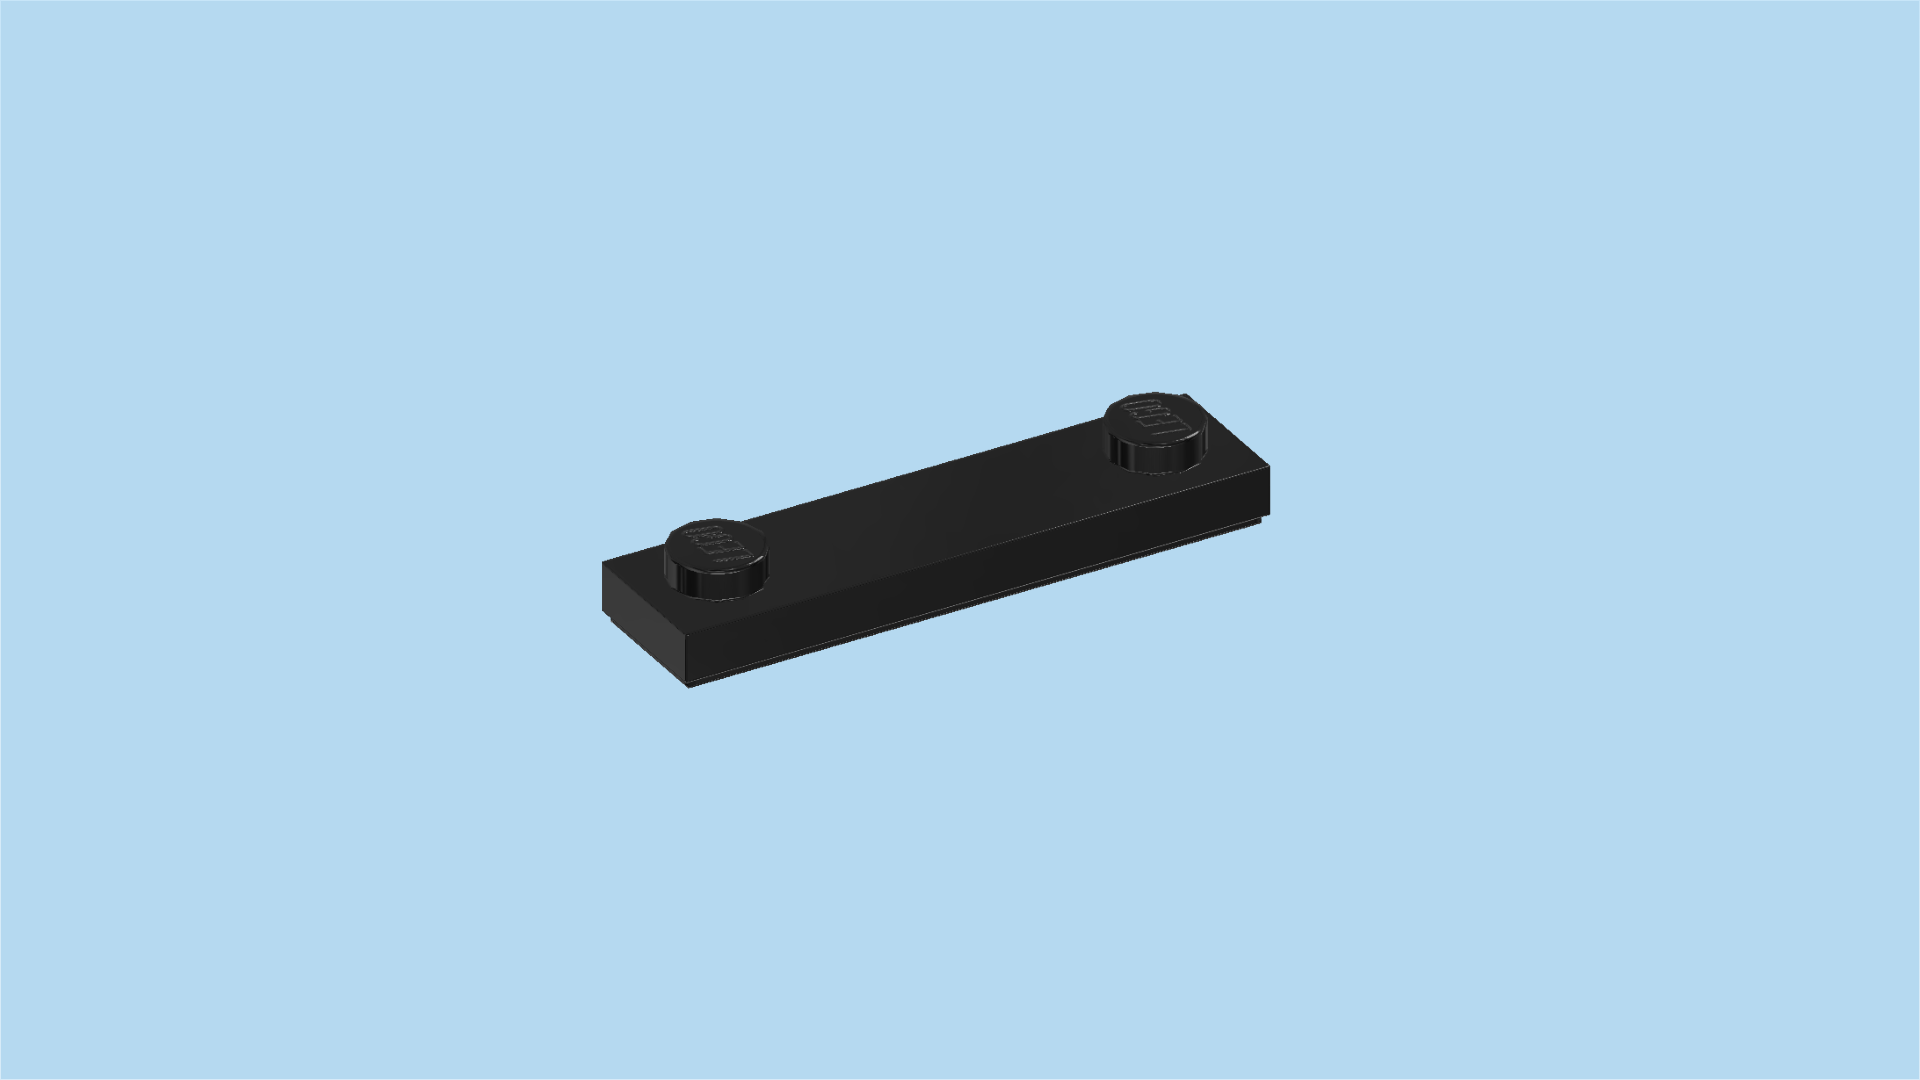
| 1 black plate 2x14, |
| and 1 medium stone grey plate 2x2 with ball socket and cross hole. |
| Put the plate 2x14 horizontally on the table. |
| Put the plate 2x2 on the 4 rightmost knobs, ball socket overhanging to the right. |
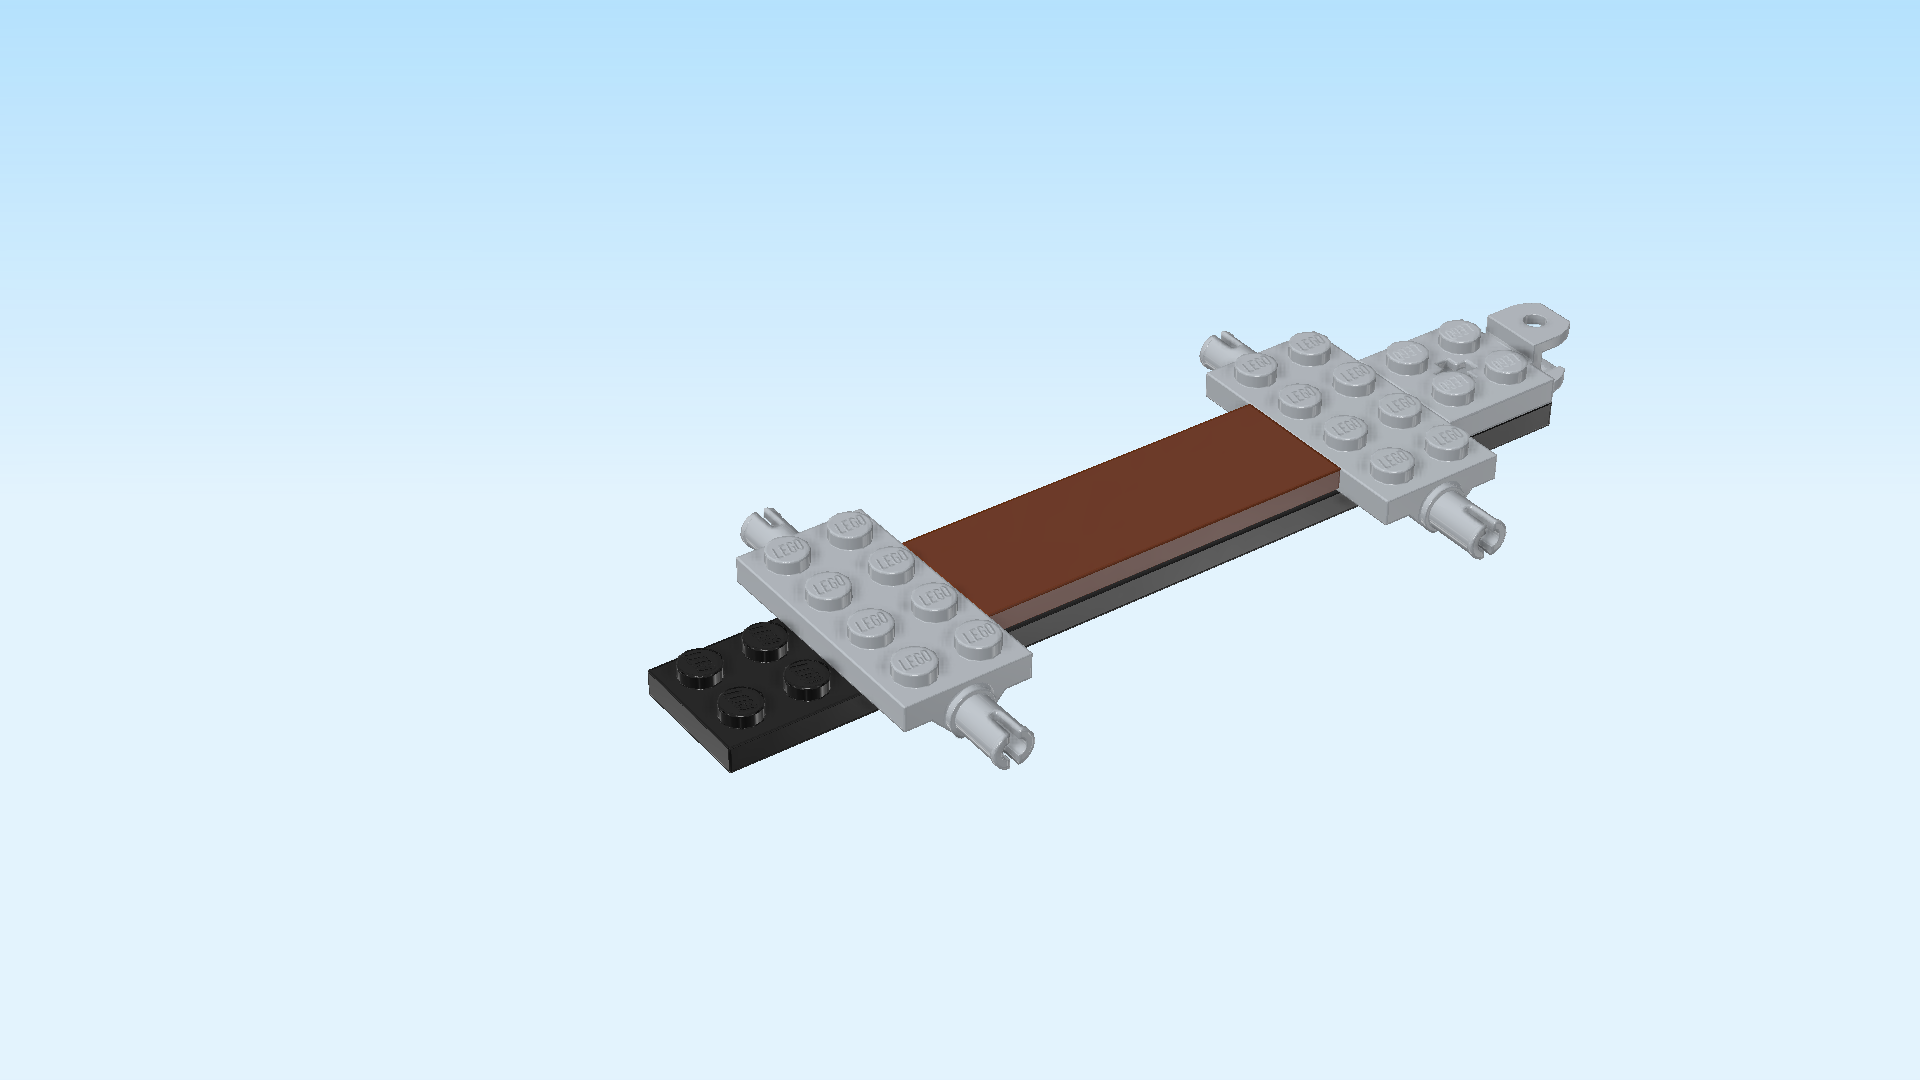
| Collect the following 3 pieces: |
| 2 medium stone grey wheel suspension plates 2x4 with 2 connectors, |
| and 1 reddish brown flat tile 2x6. |
| Put 1 wheel suspension plate vertically centered to the left of the previous piece, symmetrically overhanging to the front and back. |
| Put the flat tile 2x6 horizontally to the left of the previous piece. |
| Put the other wheel suspension plate vertically centered to the left of the previous piece, symmetrically overhanging to the front and back. |
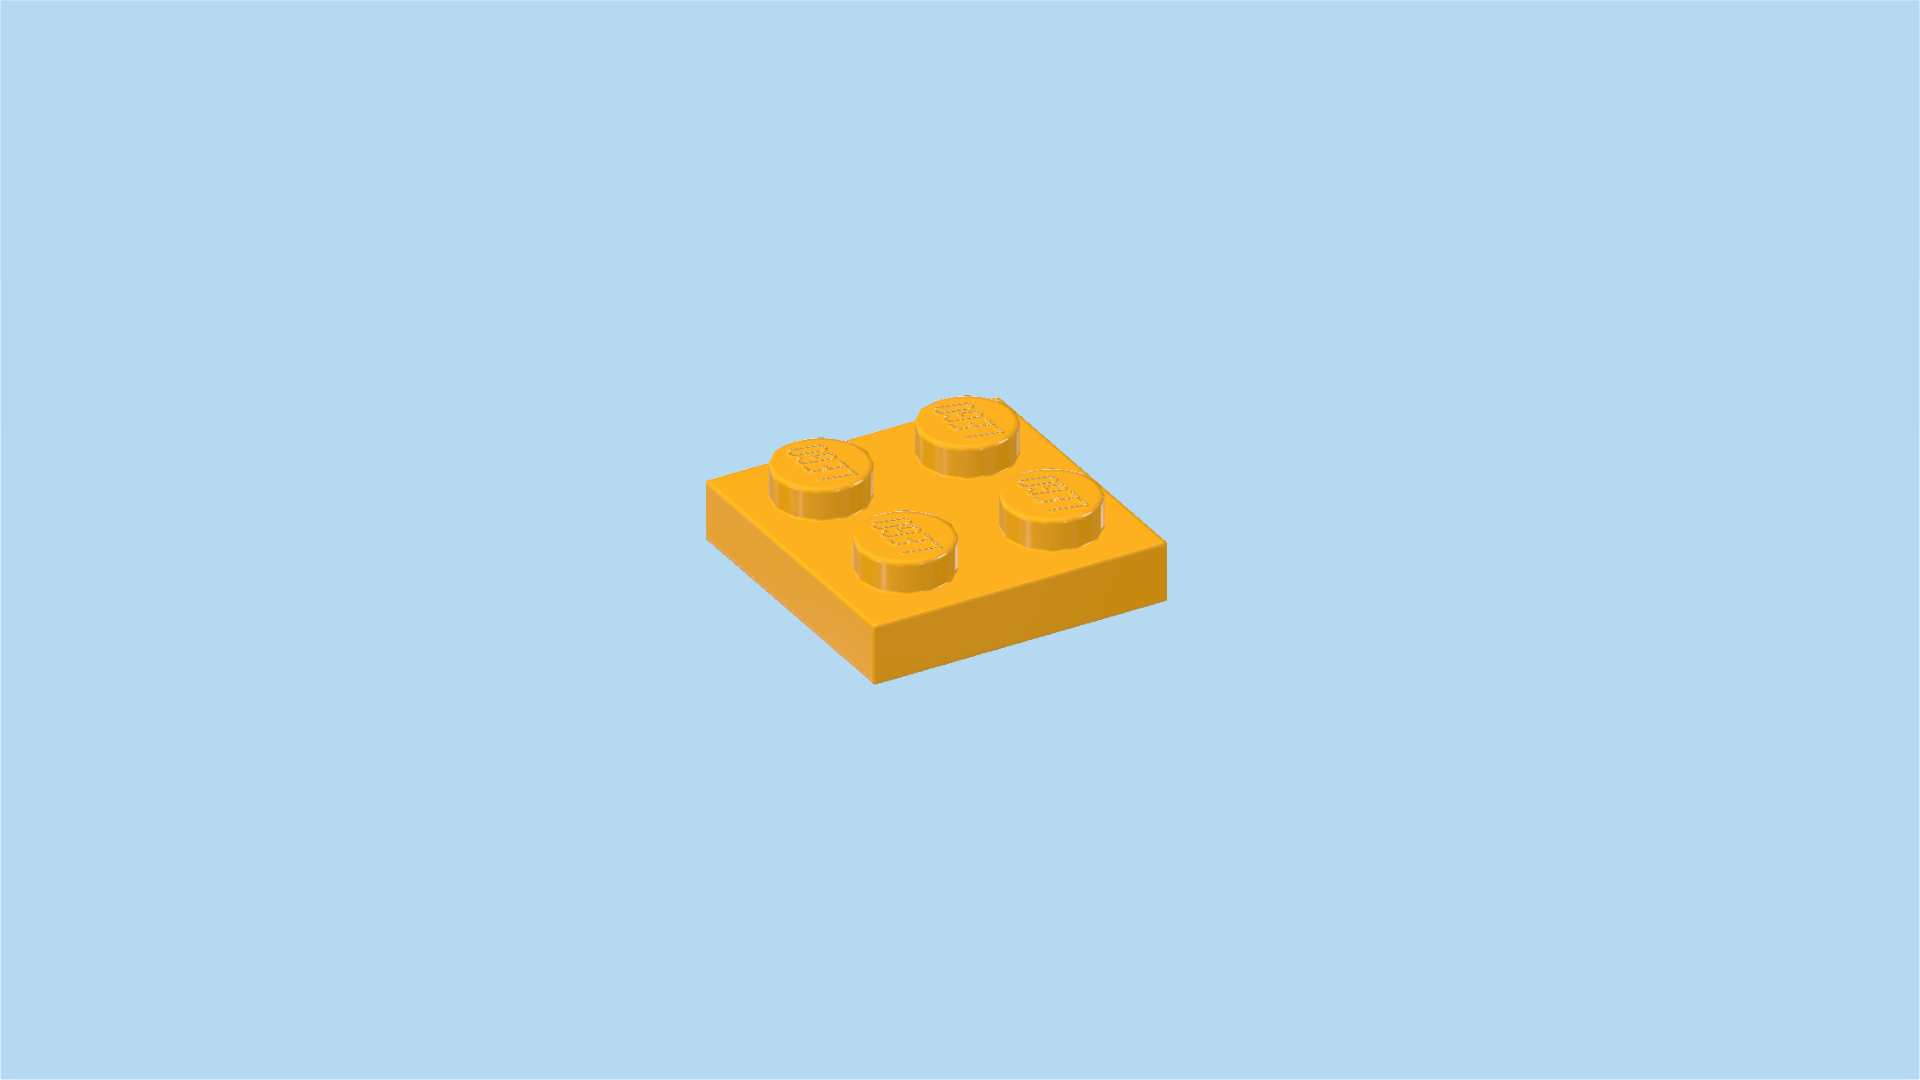
| Find 1 flame yellowish orange plate 2x2. |
| Put it on the 4 leftmost knobs. |
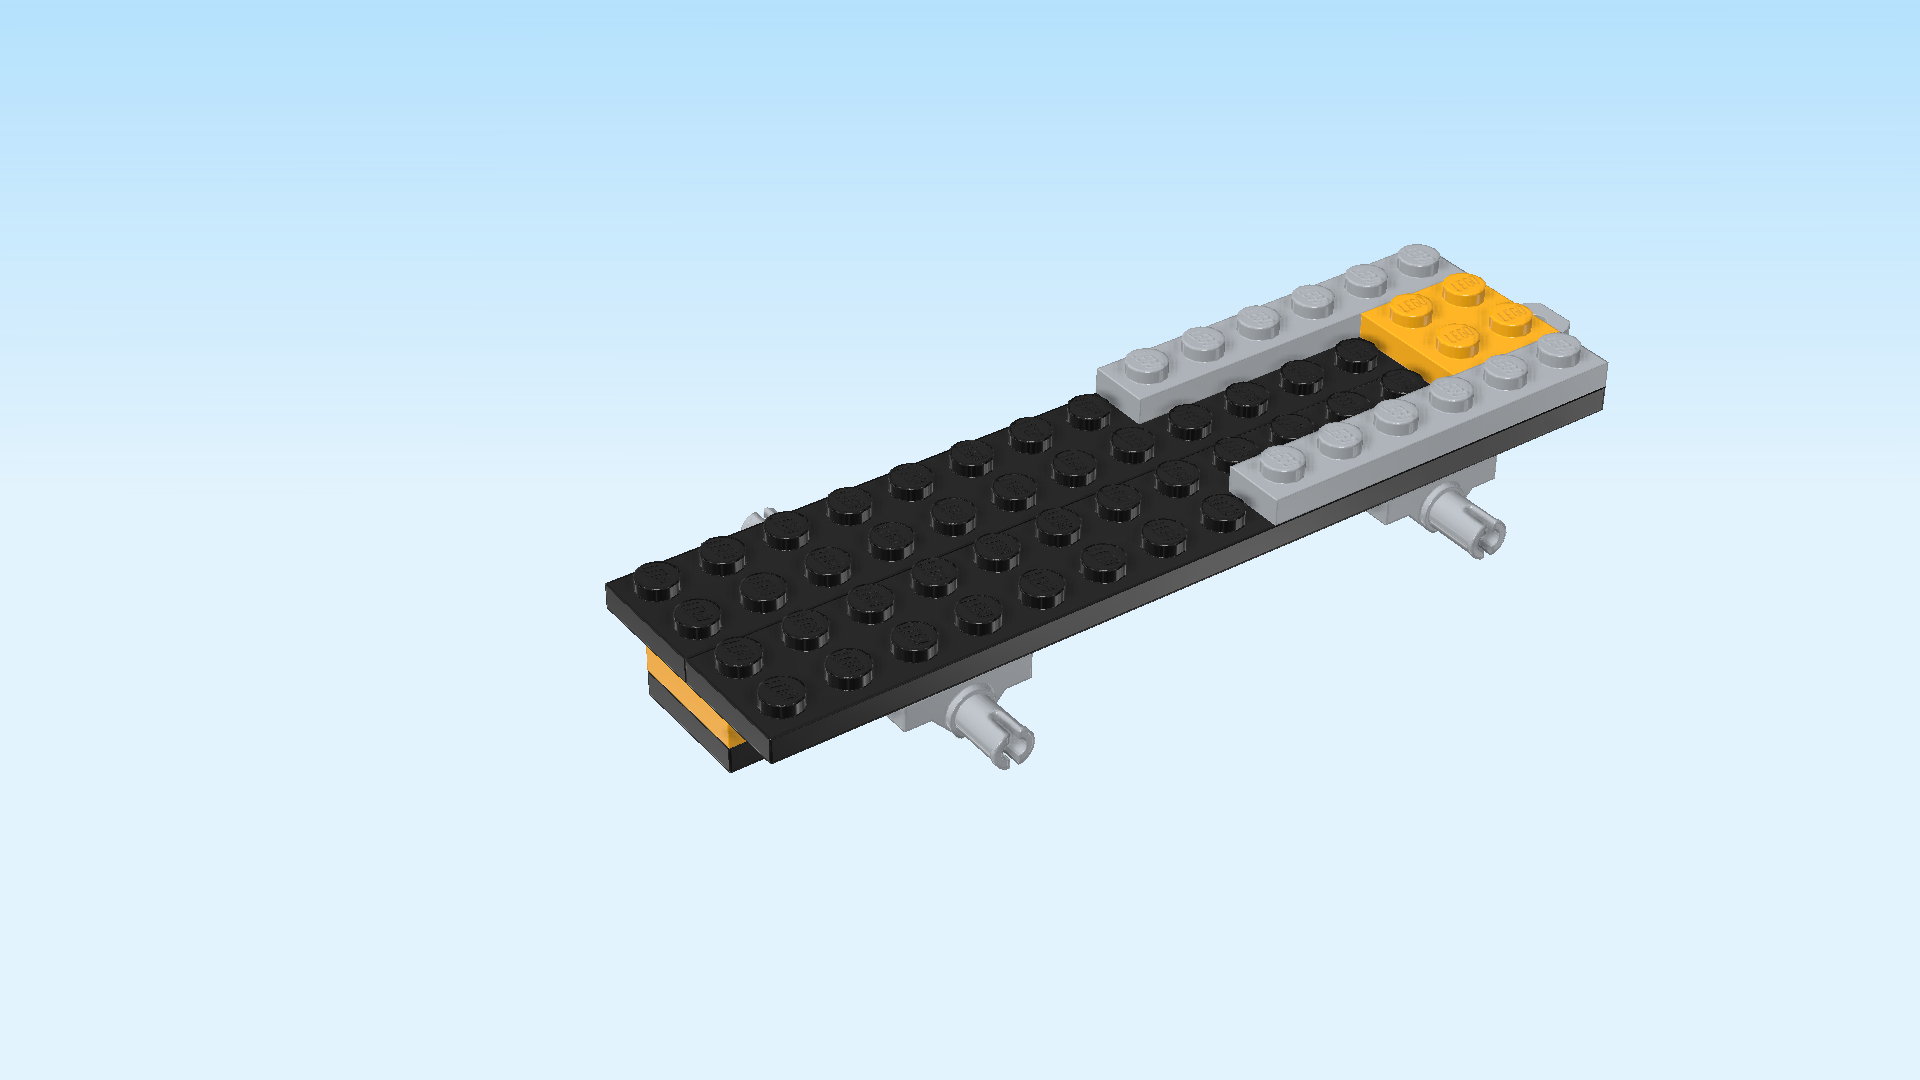
| Find 2 black plates 2x14. |
| Put 1 horizontally on the 2 frontmost rows. Note that the frontmost row currently only consists of 4 knobs. |
| Put the other one horizontally behind the previous piece. Together, these plates should form a symmetrically mounted 4x14 surface. |
| Collect the following 3 pieces: |
| 2 medium stone grey plates 1x6, |
| and 1 flame yellowish orange plate 2x2. |
| Put 1 plate 1x6 horizontally on the backmost row, starting from the right edge. |
| Put the plate 2x2 in front of the previous piece on the 2 rightmost columns. |
| Put the other plate 1x6 horizontally on the frontmost row, again starting from the right edge. |
| Find 2 black stepped bricks 1x2 - 2x2 with top and bottom plate. |
| Turn 1 vertically so that its top plate is pointing to the back. |
| Mount the top plate to the left of the previous piece on the frontmost row, 2/3 of the brick overhanging to the front. |
| Repeat symmetrically at the back. |
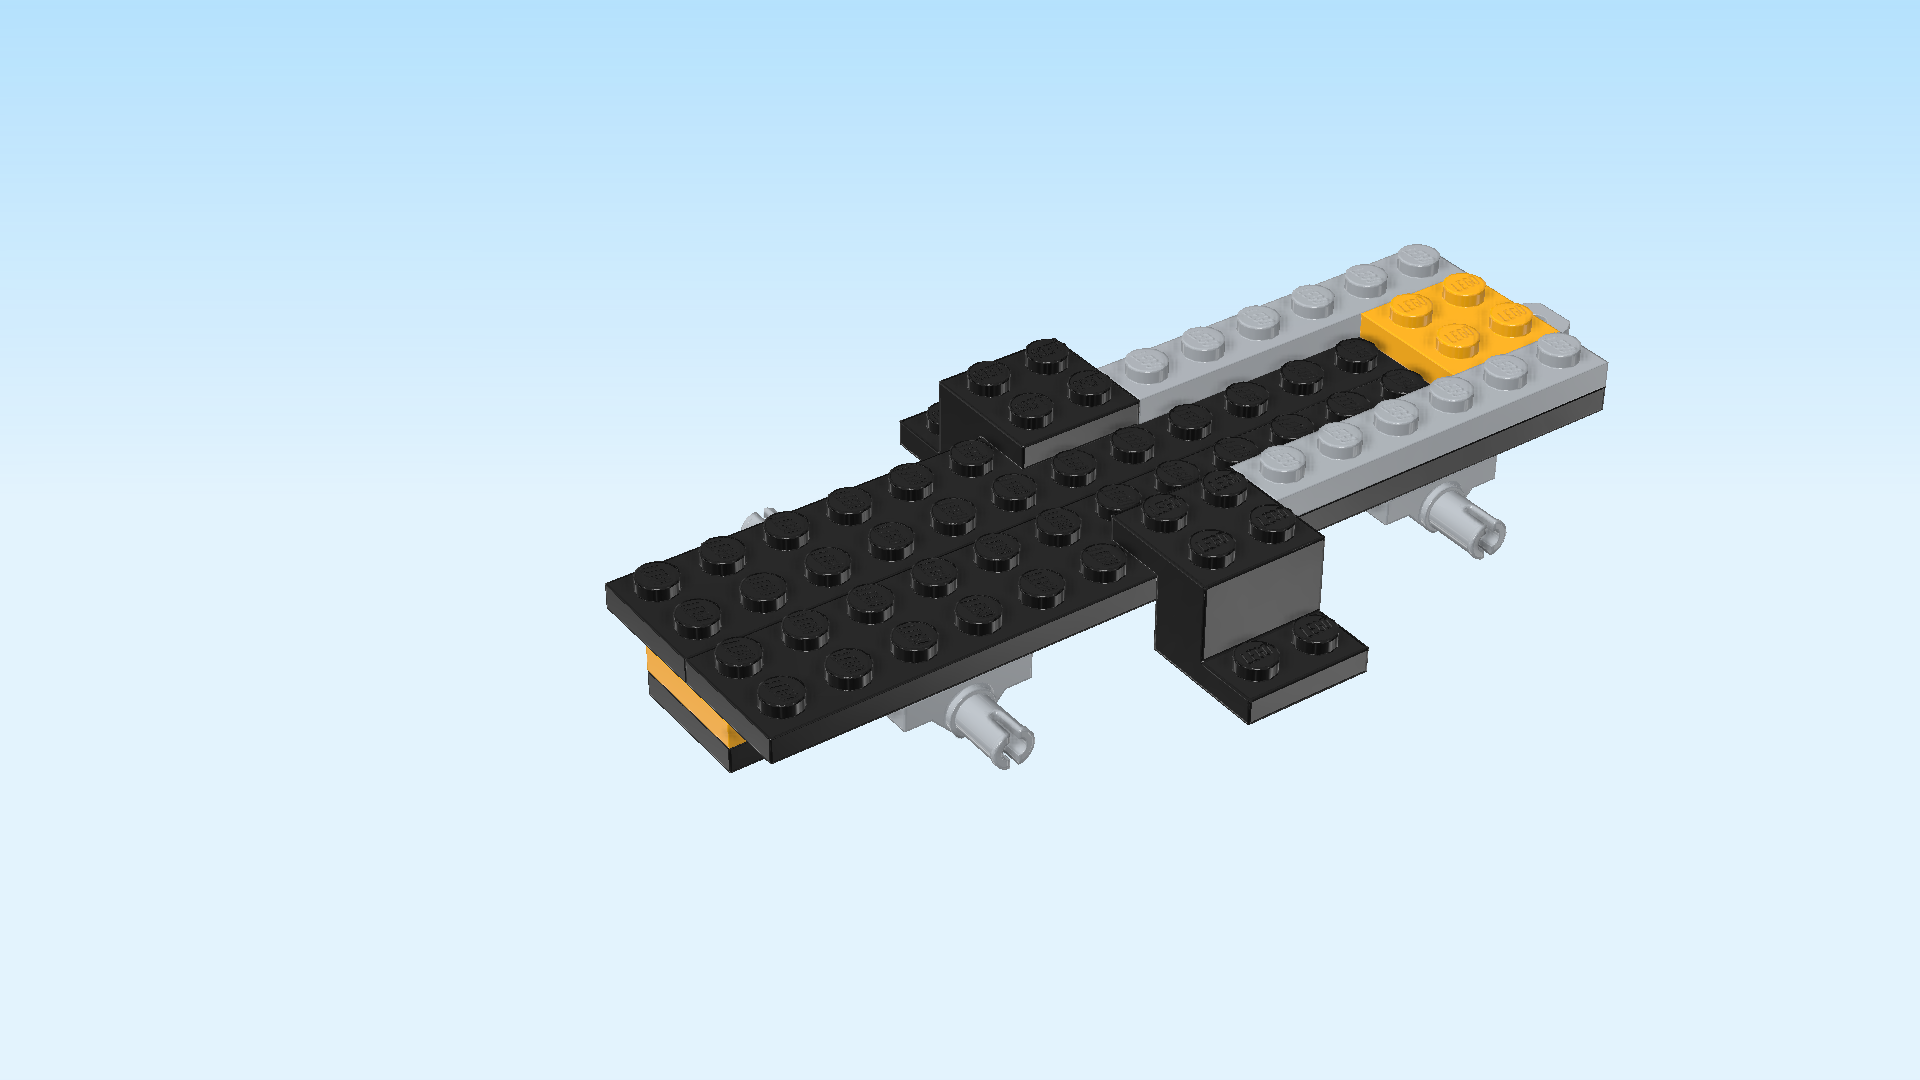
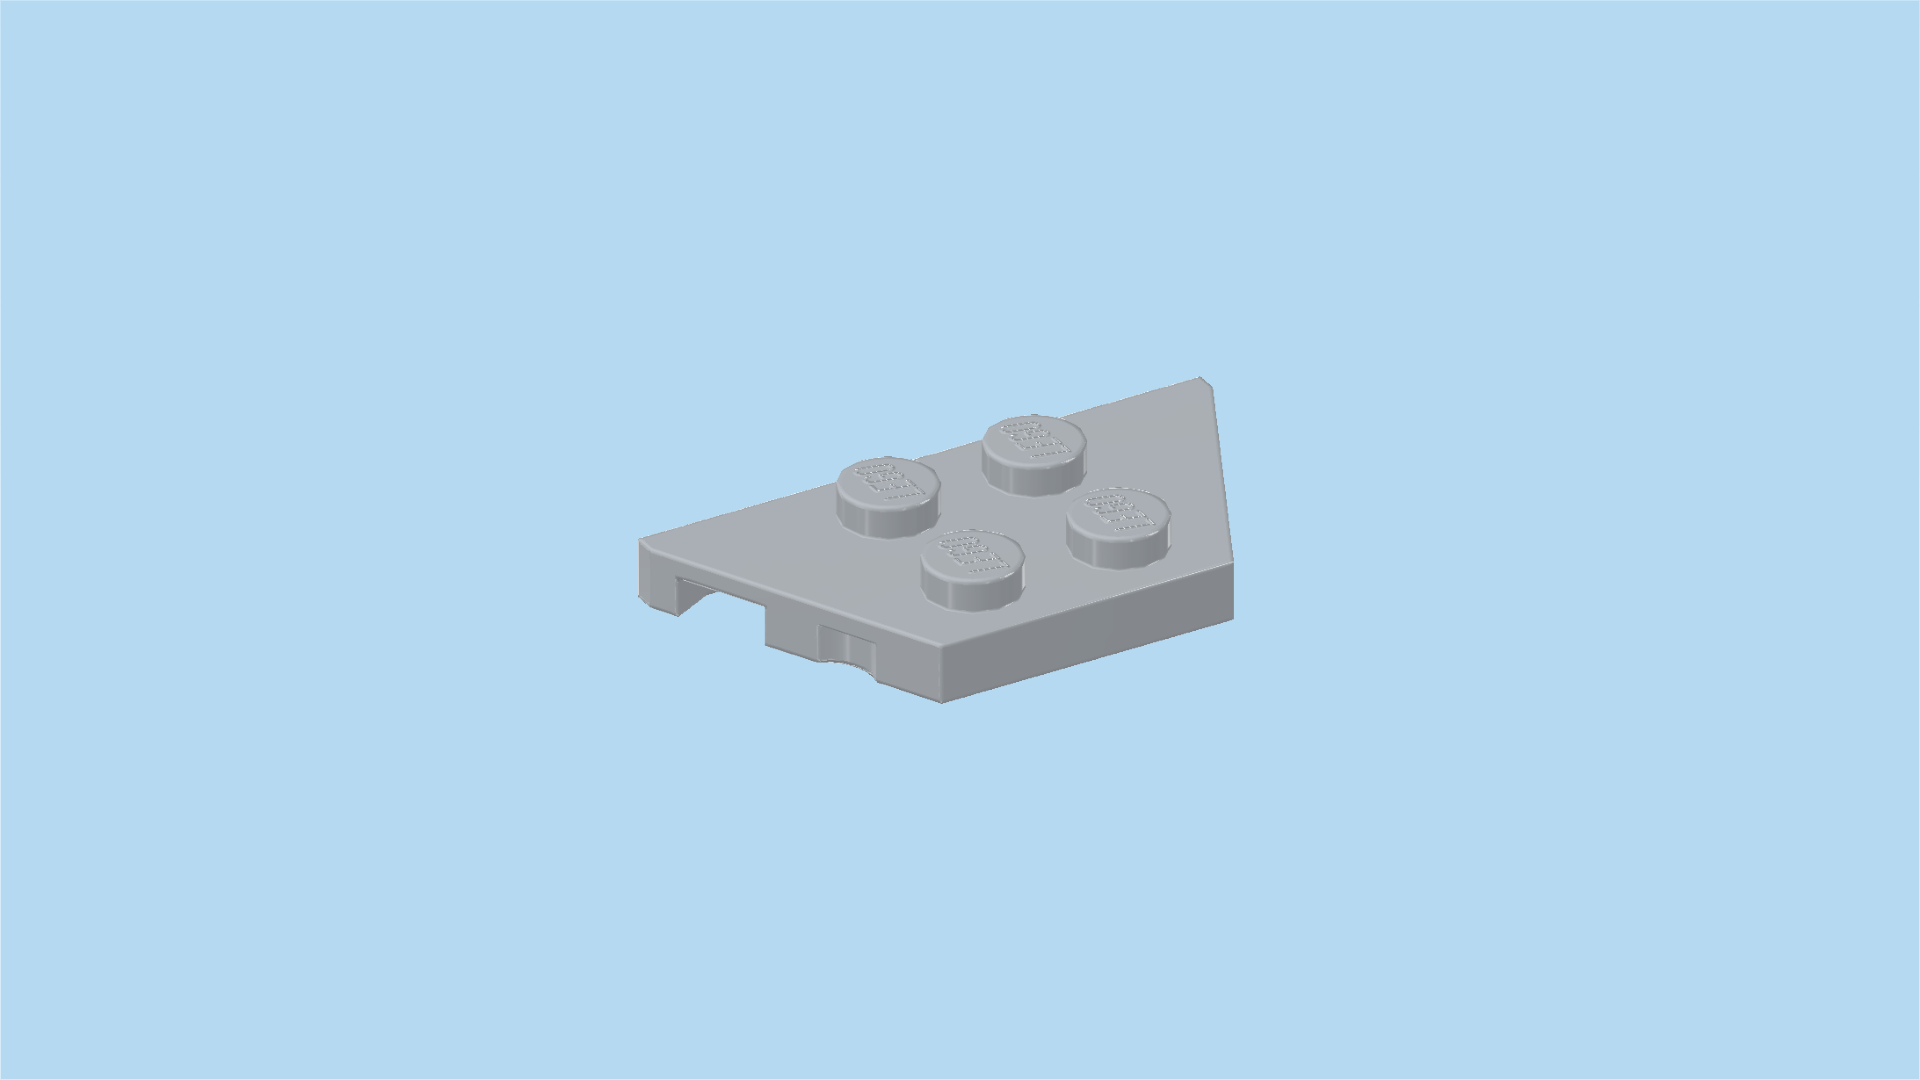
| Find 1 medium stone grey trapezoid plate 2x4. |
| Put it vertically to the left of the 2 previous pieces, narrow end pointing to the left. |
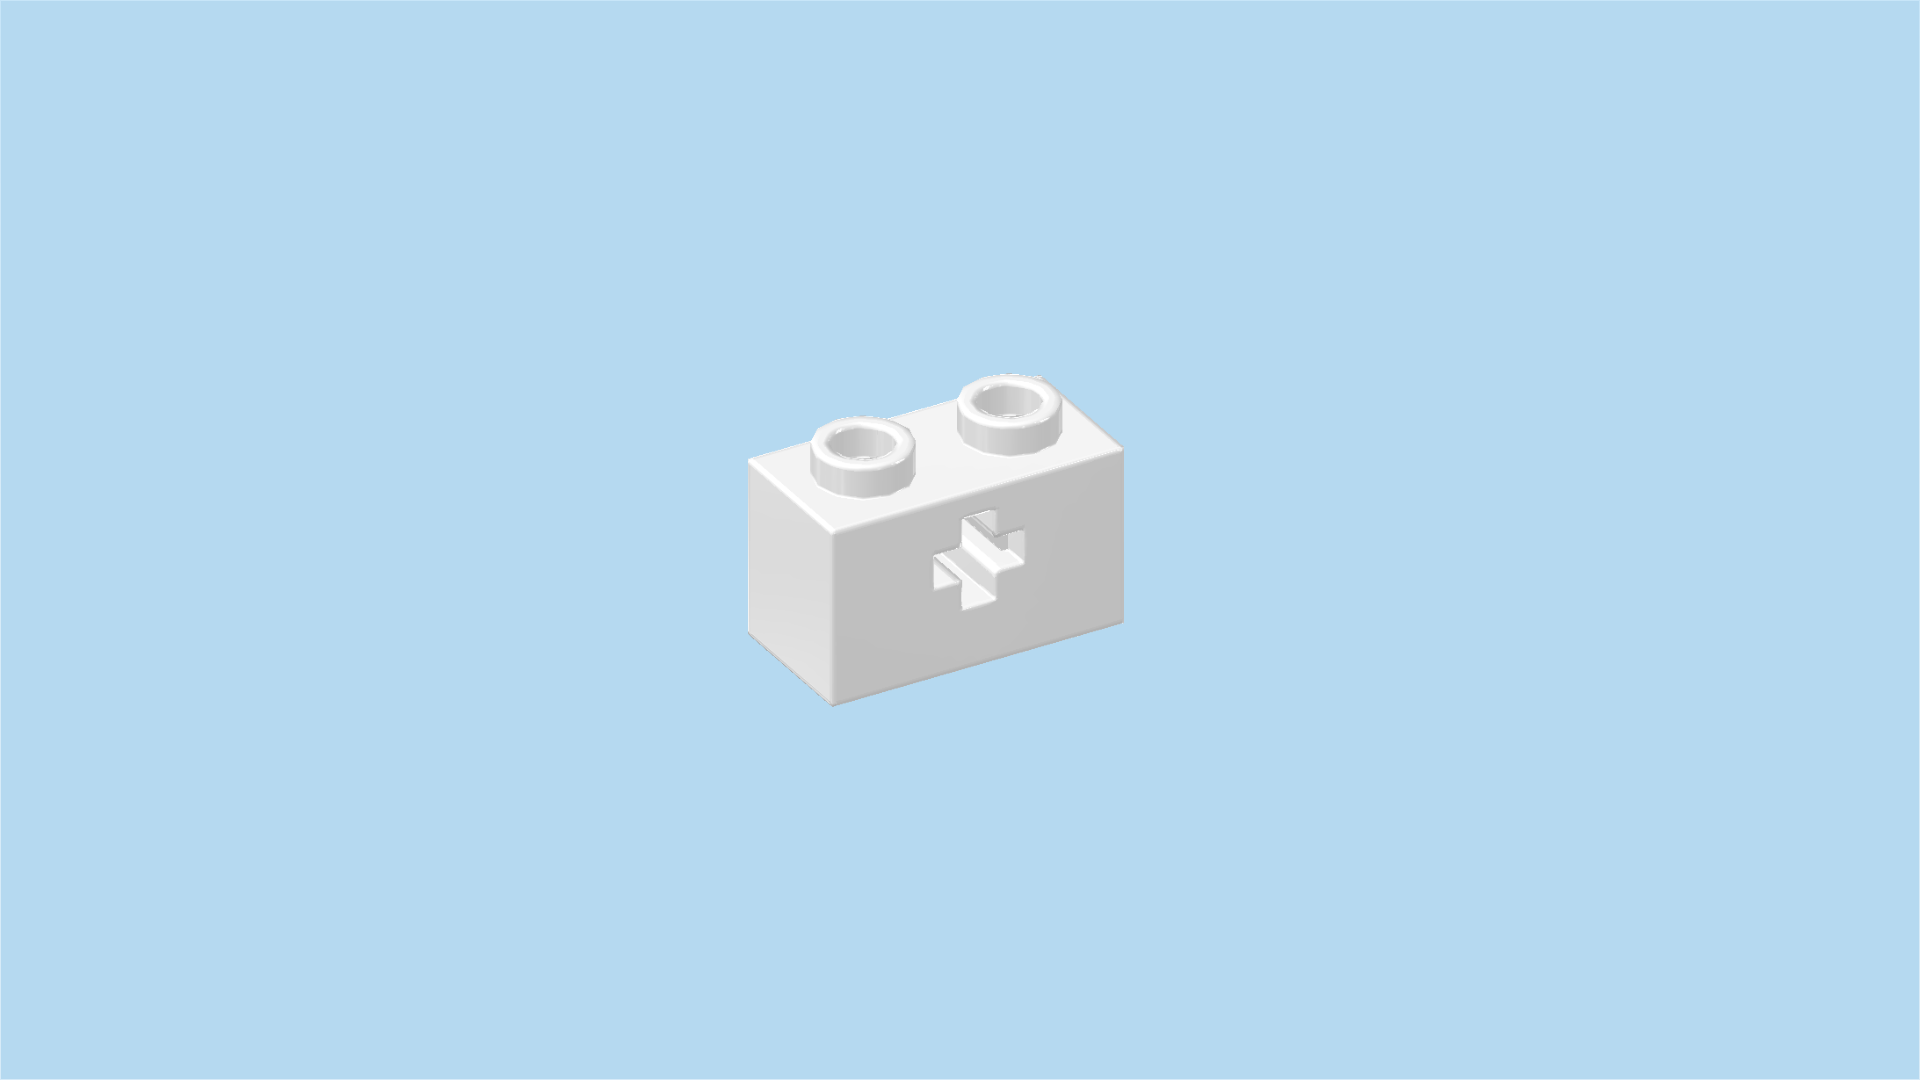
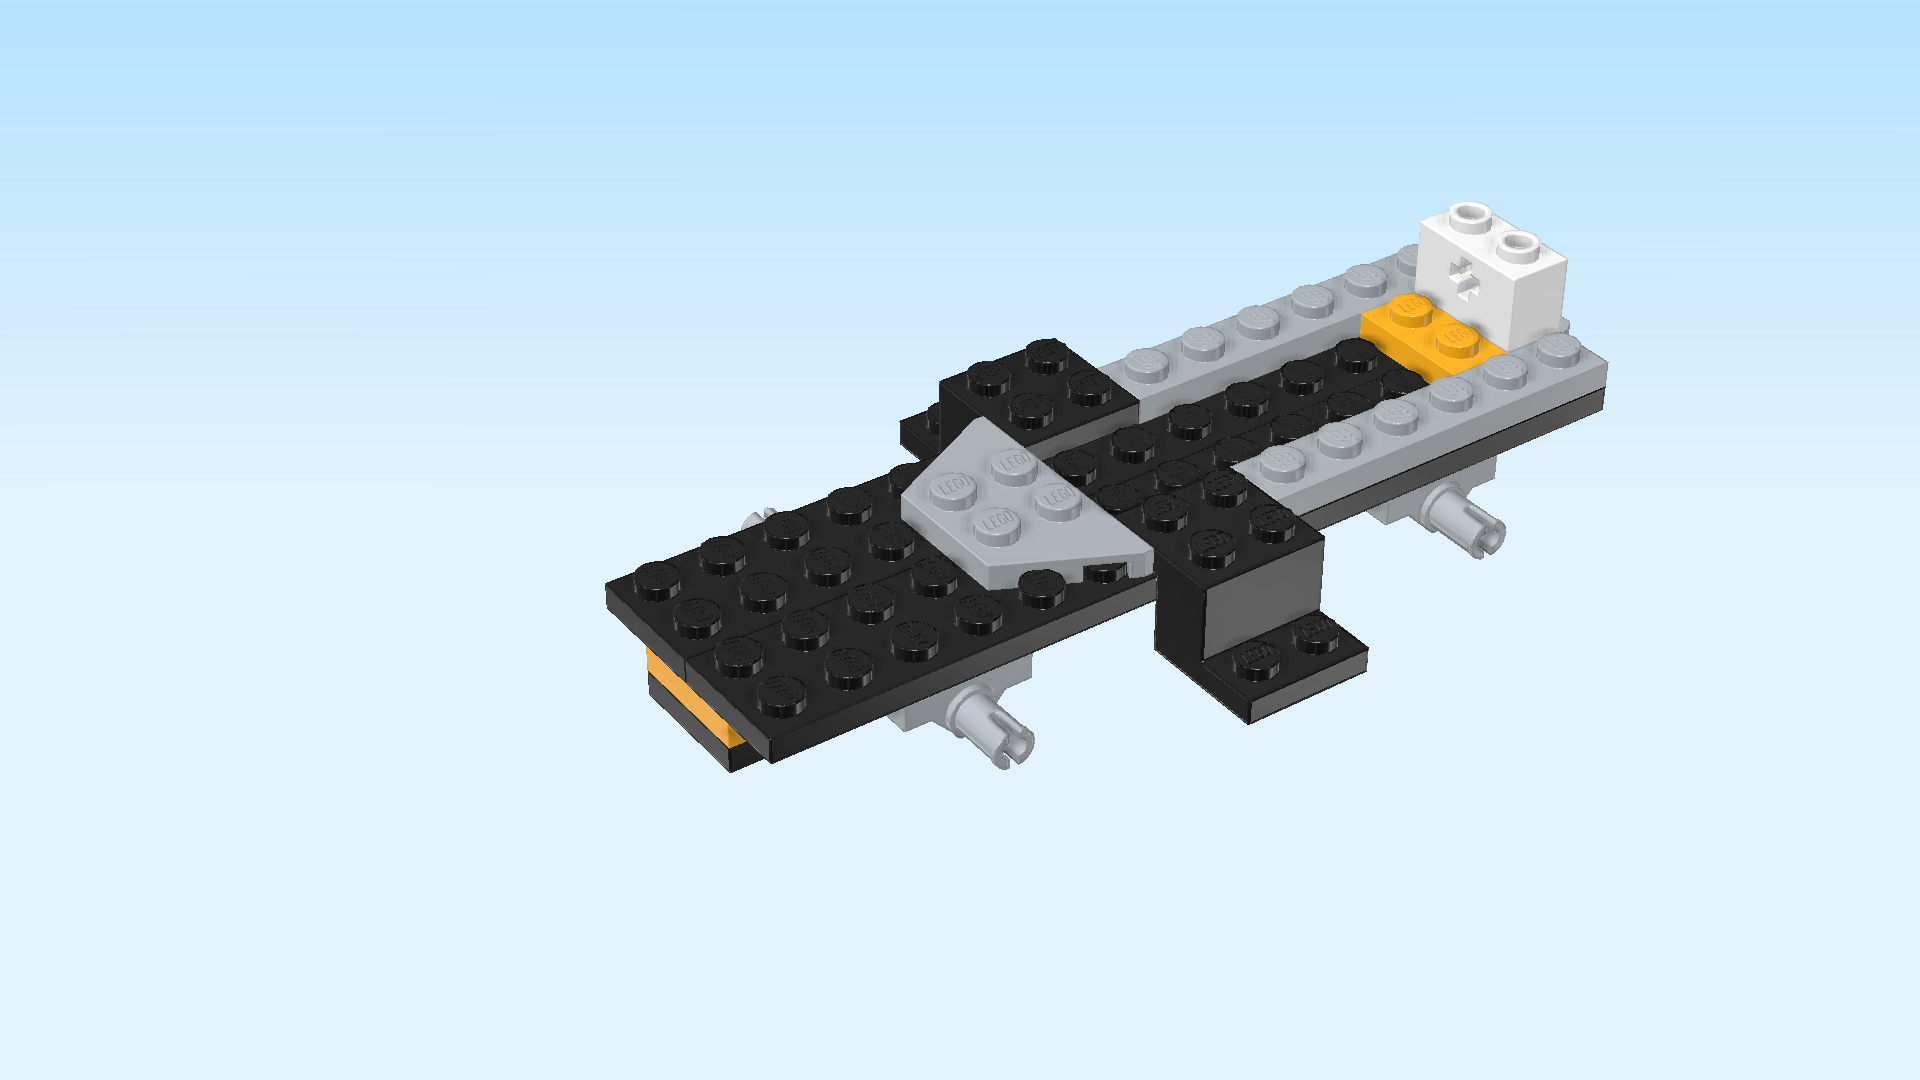
| Find 1 white brick 1x2 with side cross hole. |
| Put it vertically centered on the rightmost column. |
| Collect the following 3 pieces: |
| 2 bright blue bricks 1x1 with horizontal side clasp, |
| and 1 bright blue brick 1x2 with technic hole. |
| Put the brick 1x2 vertically centered to the left of the previous piece. |
| Put the 2 bricks 1x1 behind and in front of the previous piece, clasps to the right. |
| Together, these 3 pieces cover the second column from the right. |
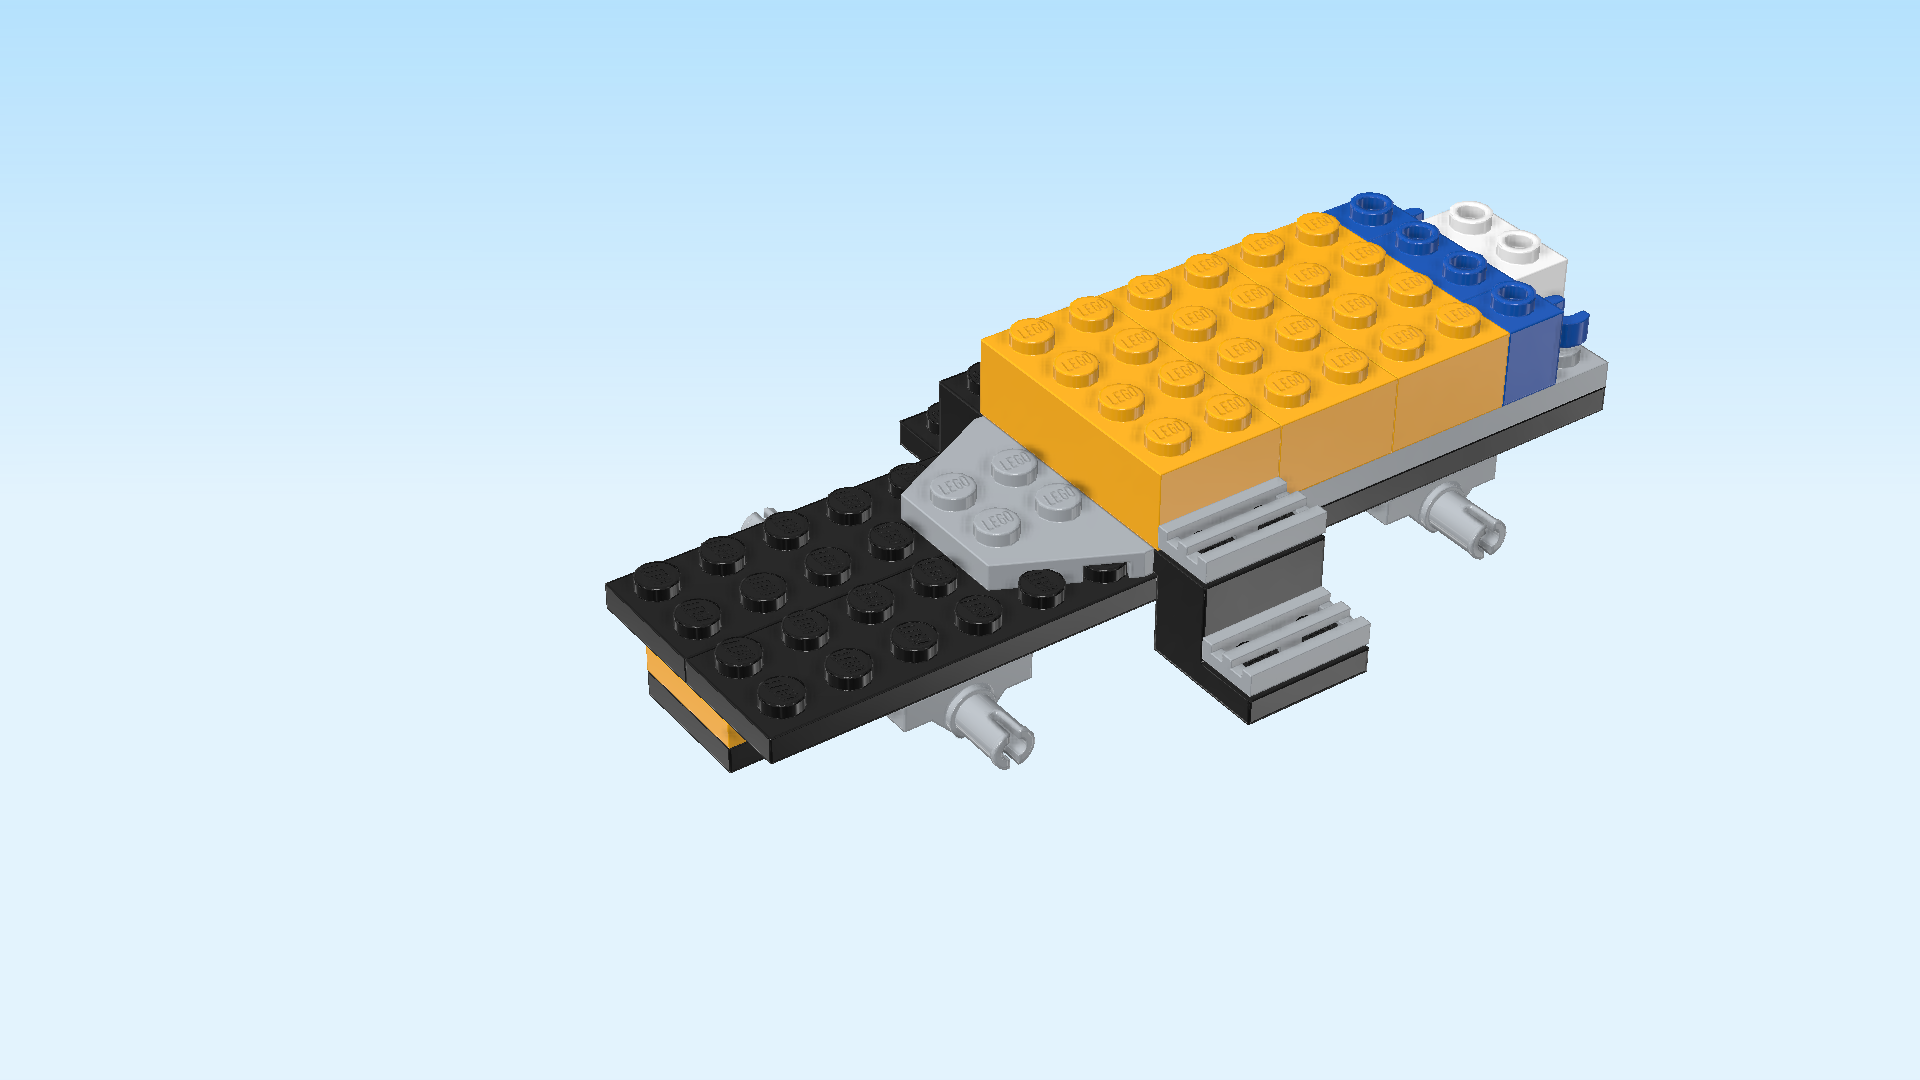
| Find 3 flame yellowish orange bricks 2x4. |
| Put 1 vertically to the left of the 3 previous pieces. |
| Put 1 vertically to the left of the previous piece. |
| Put the last one vertically to the left of the previous piece. |
| Find 2 medium stone grey grille tiles 1x2. |
| Put 1 horizontally in front of the previous piece. This means it will sit on the high row of the protruding stepped brick. |
| Put the other one horizontally in front of the previous piece on the low row of the stepped brick. |
| These are the steps that the digger operator can later climb to get into the digger! |
| Find 2 medium stone grey grille tiles 1x2. |
| Turn the structure vertically, 4 empty rows to the front, higher part of the structure to the back. |
| Mount the grille tiles vertically on the stepped brick pointing to the left. Mirror the grille tiles that we have mounted in the previous step. |
| Find 1 medium stone grey brick 2x2. |
| Put it centered in front of the bricks 2x4. This means it will sit on top of the trapeze plate. |
| Find 1 medium stone grey engine 2x2x1⅓. |
| Put it centered in front of the previous piece, narrow end pointing to the front. |
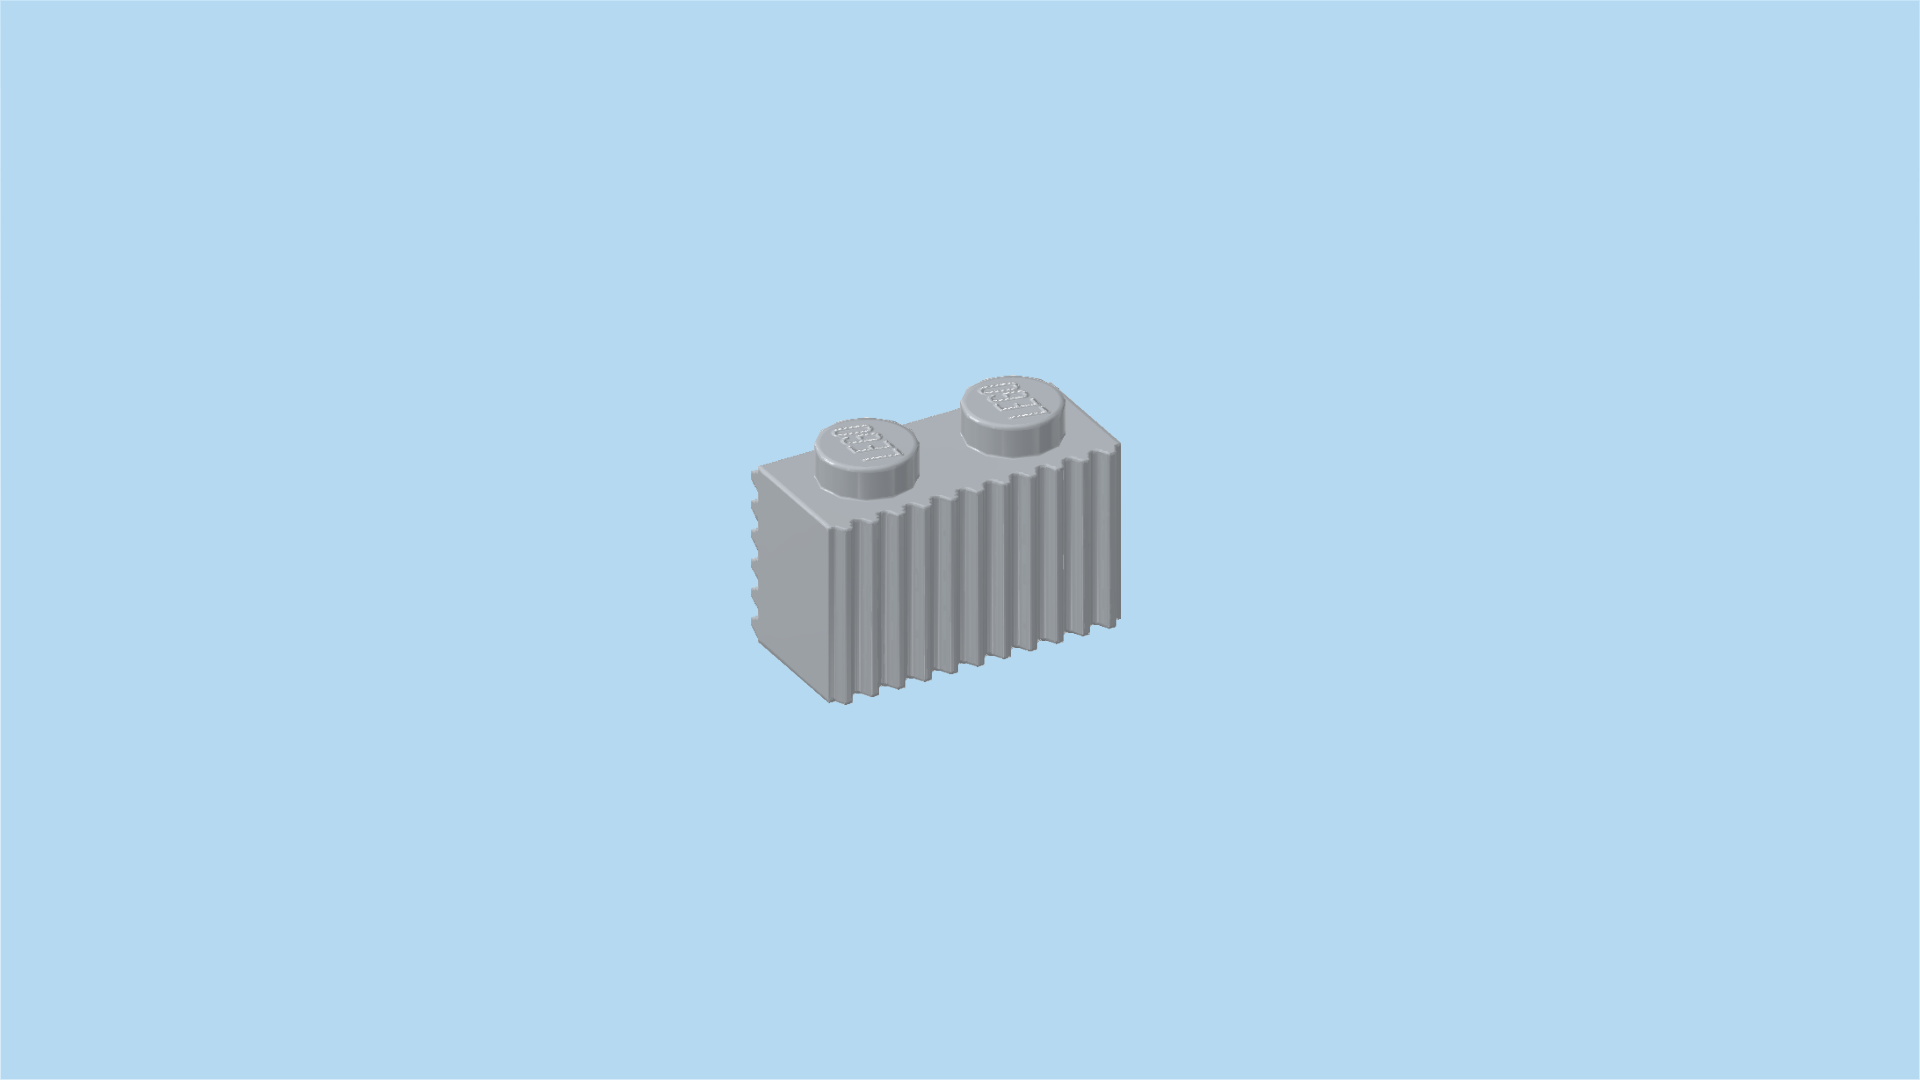
| Find 1 medium stone grey profile brick 1x2. |
| Put it horizontally centered in front of the previous piece, horizontal grooves to the front. |
| Collect the following 2 pieces: |
| 1 medium stone grey plate 2x6, |
| and 1 bright blue plate 2x6. |
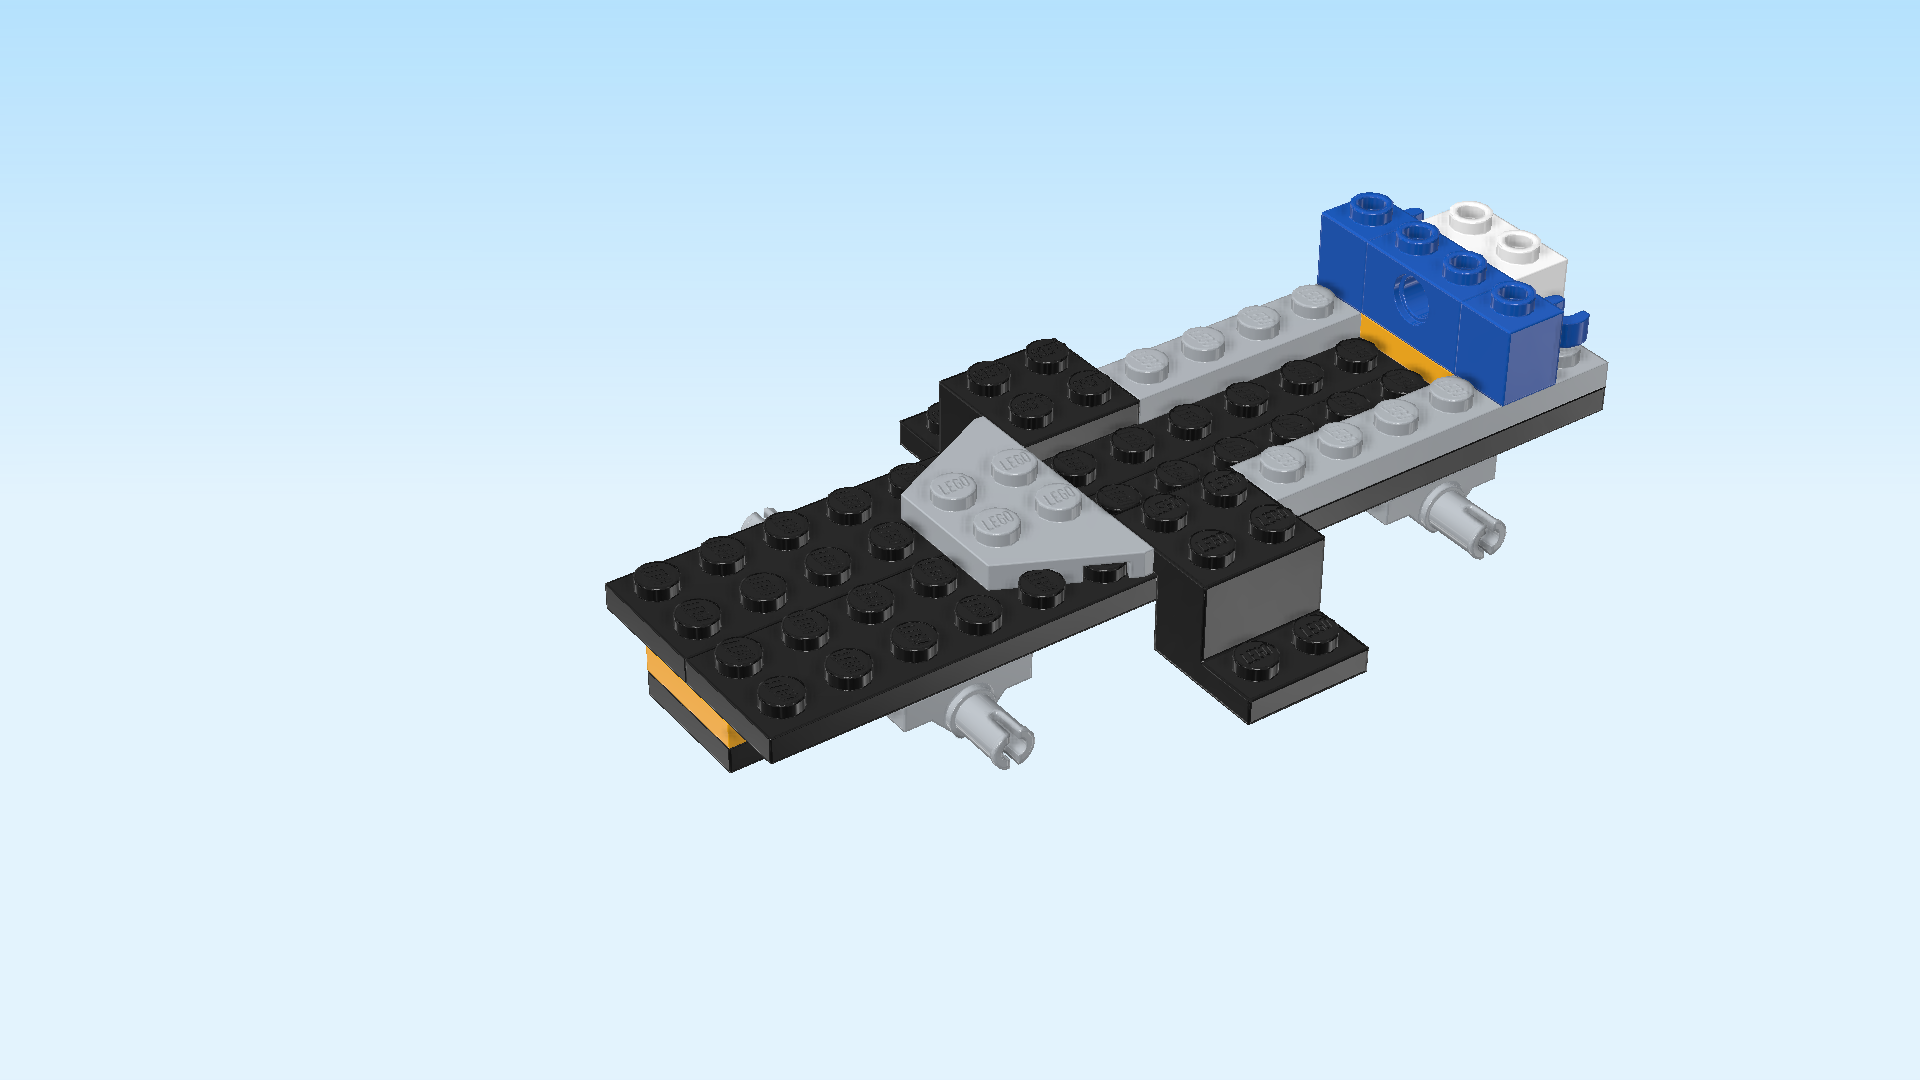
| Put the medium stone grey plate 2x6 vertically on the 2 middle columns, starting from the back edge. |
| Put the bright blue plate 2x6 vertically centered in front of the previous piece. |
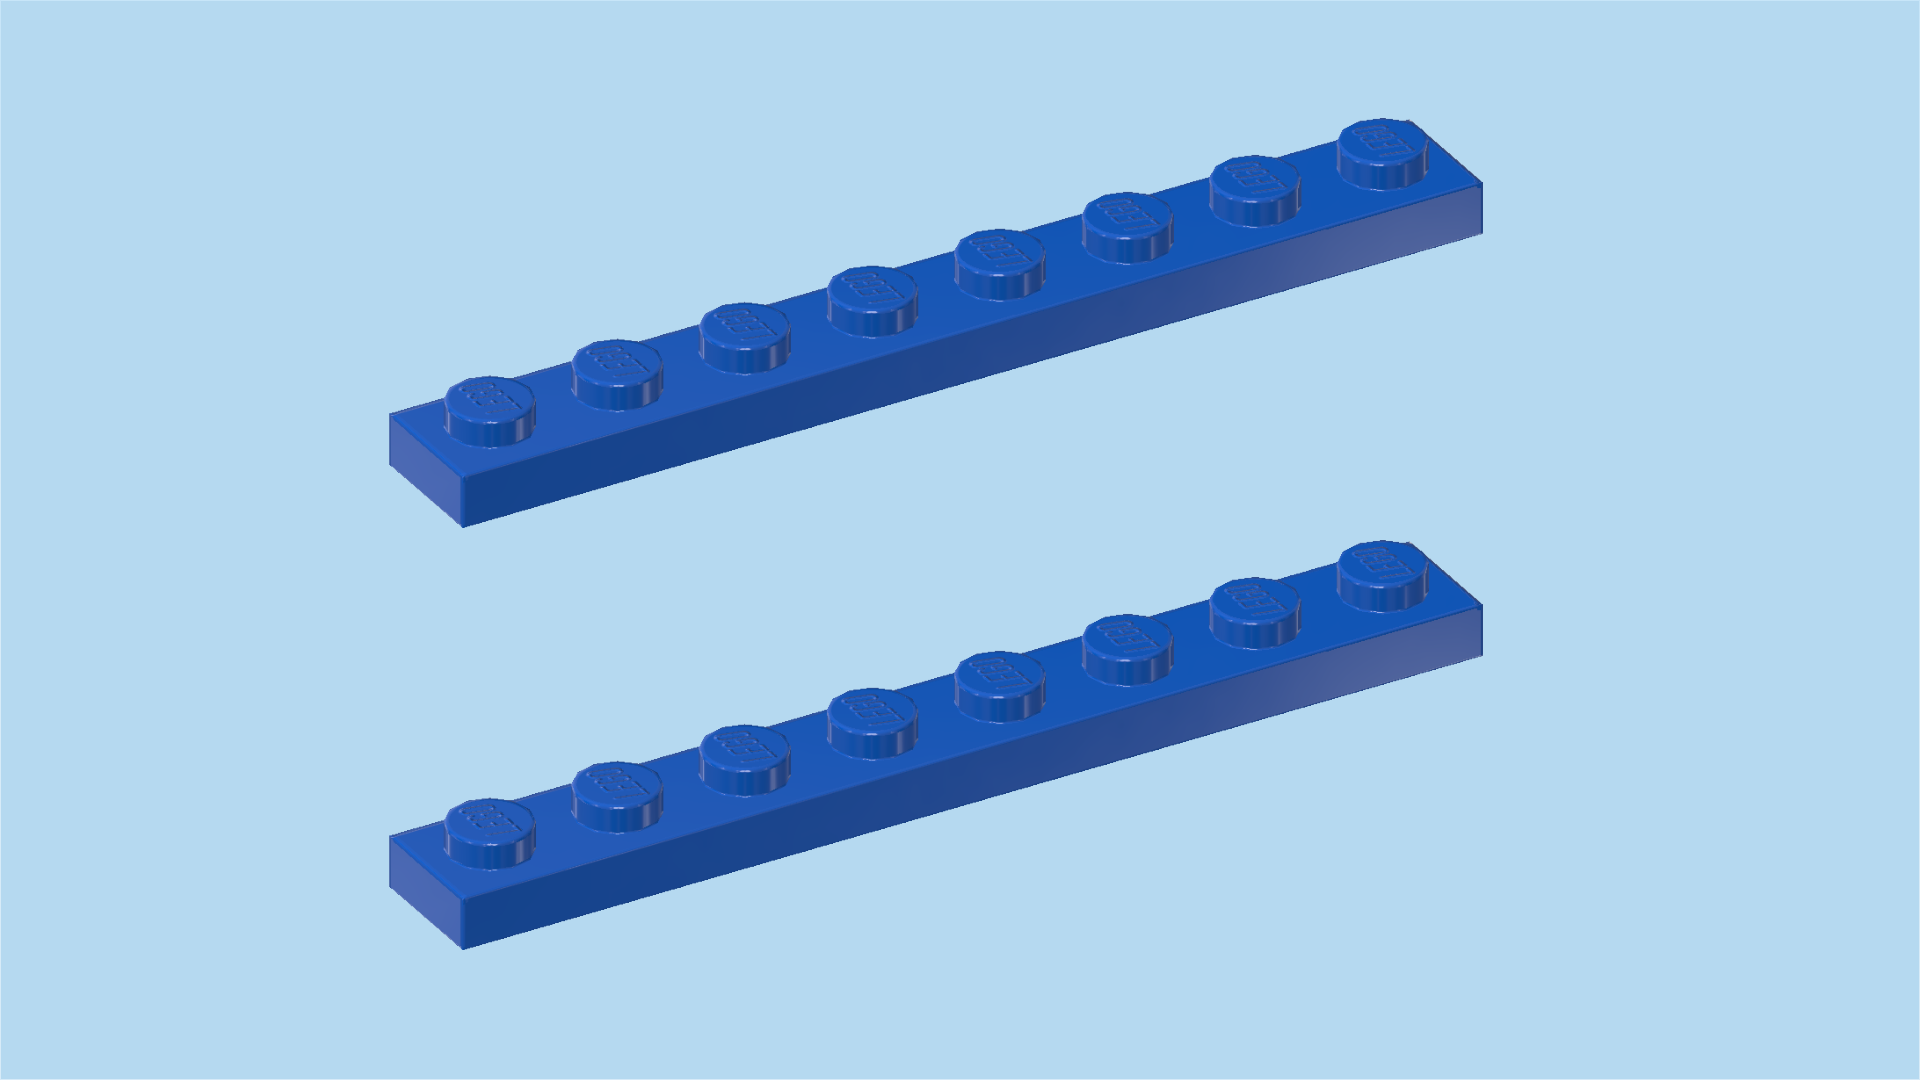
| Find 2 bright blue plates 1x8. |
| Put 1 vertically on the rightmost column, starting from its backmost knob. |
| Repeat symmetrically on the left. |
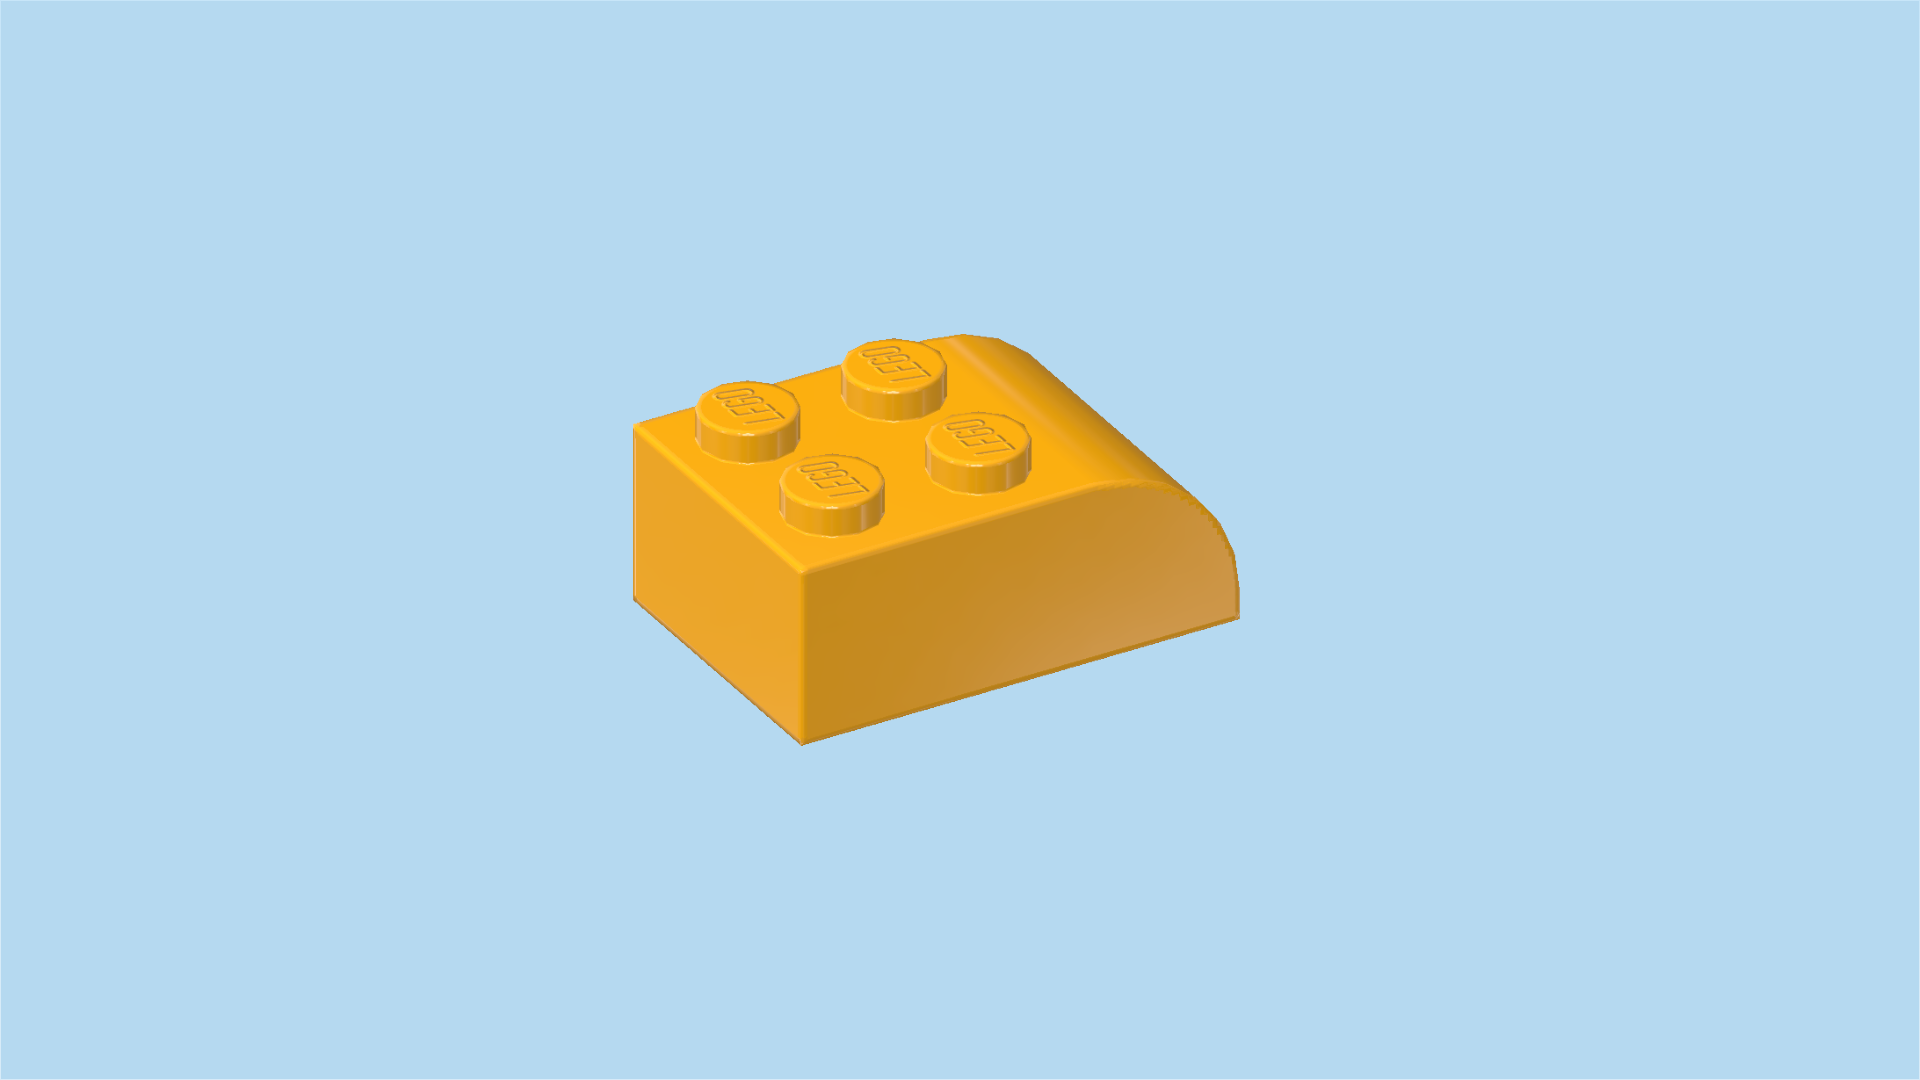
| Find 1 flame yellowish orange curve brick 2x3 with 4 knobs. |
| Put it vertically on the 2 middle columns, starting from the backmost edge, curve to the back. |
| Find 2 black bricks 1x4 with 4 side knobs. |
| Put 1 vertically on the leftmost column, again starting from this column's backmost knob, side knobs to the left. |
| Repeat symmetrically on the right. |
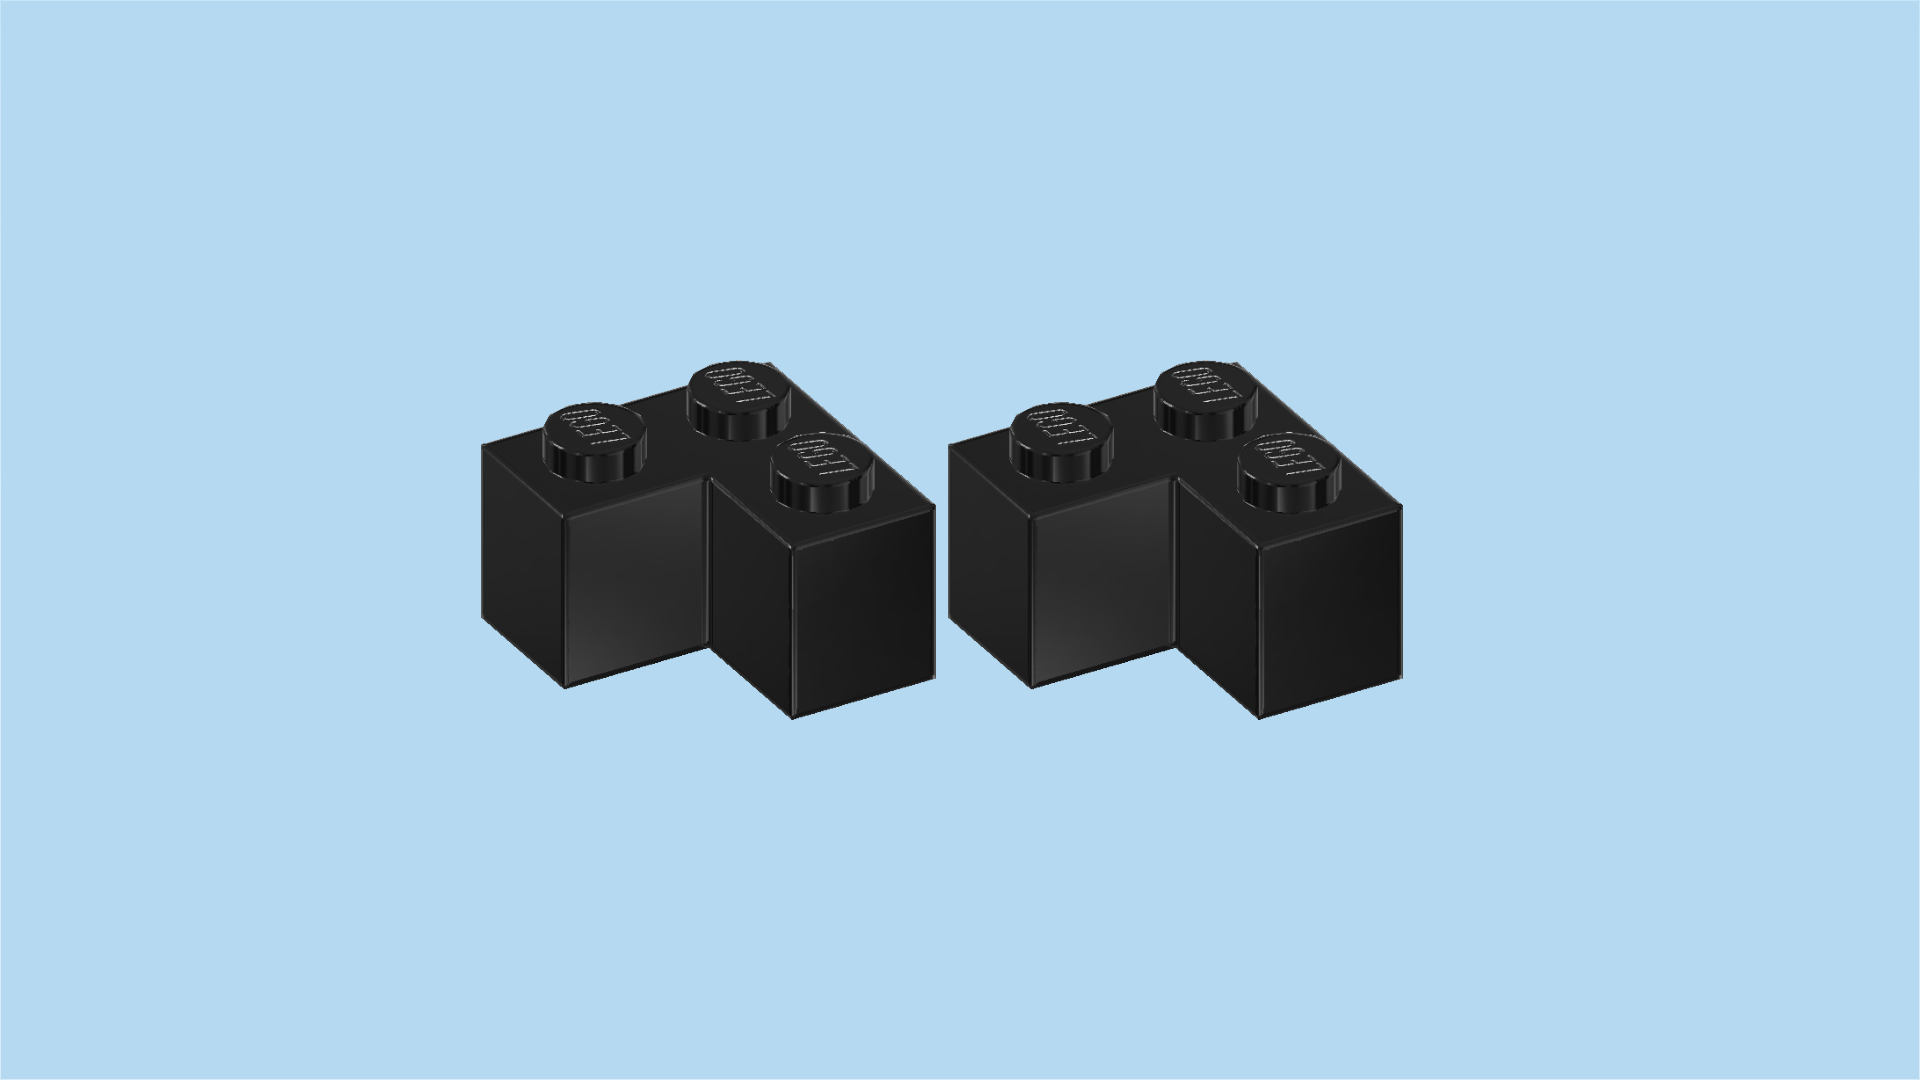
| Find 2 black corner bricks 1x2 - 1x2. |
| Turn 1 so that its outer corner is pointing to the front right. |
| Mount it in front of the previous piece. |
| Turn the other 1 so that its outer corner is pointing to the front left. |
| Mount it to the left of the previous piece. |
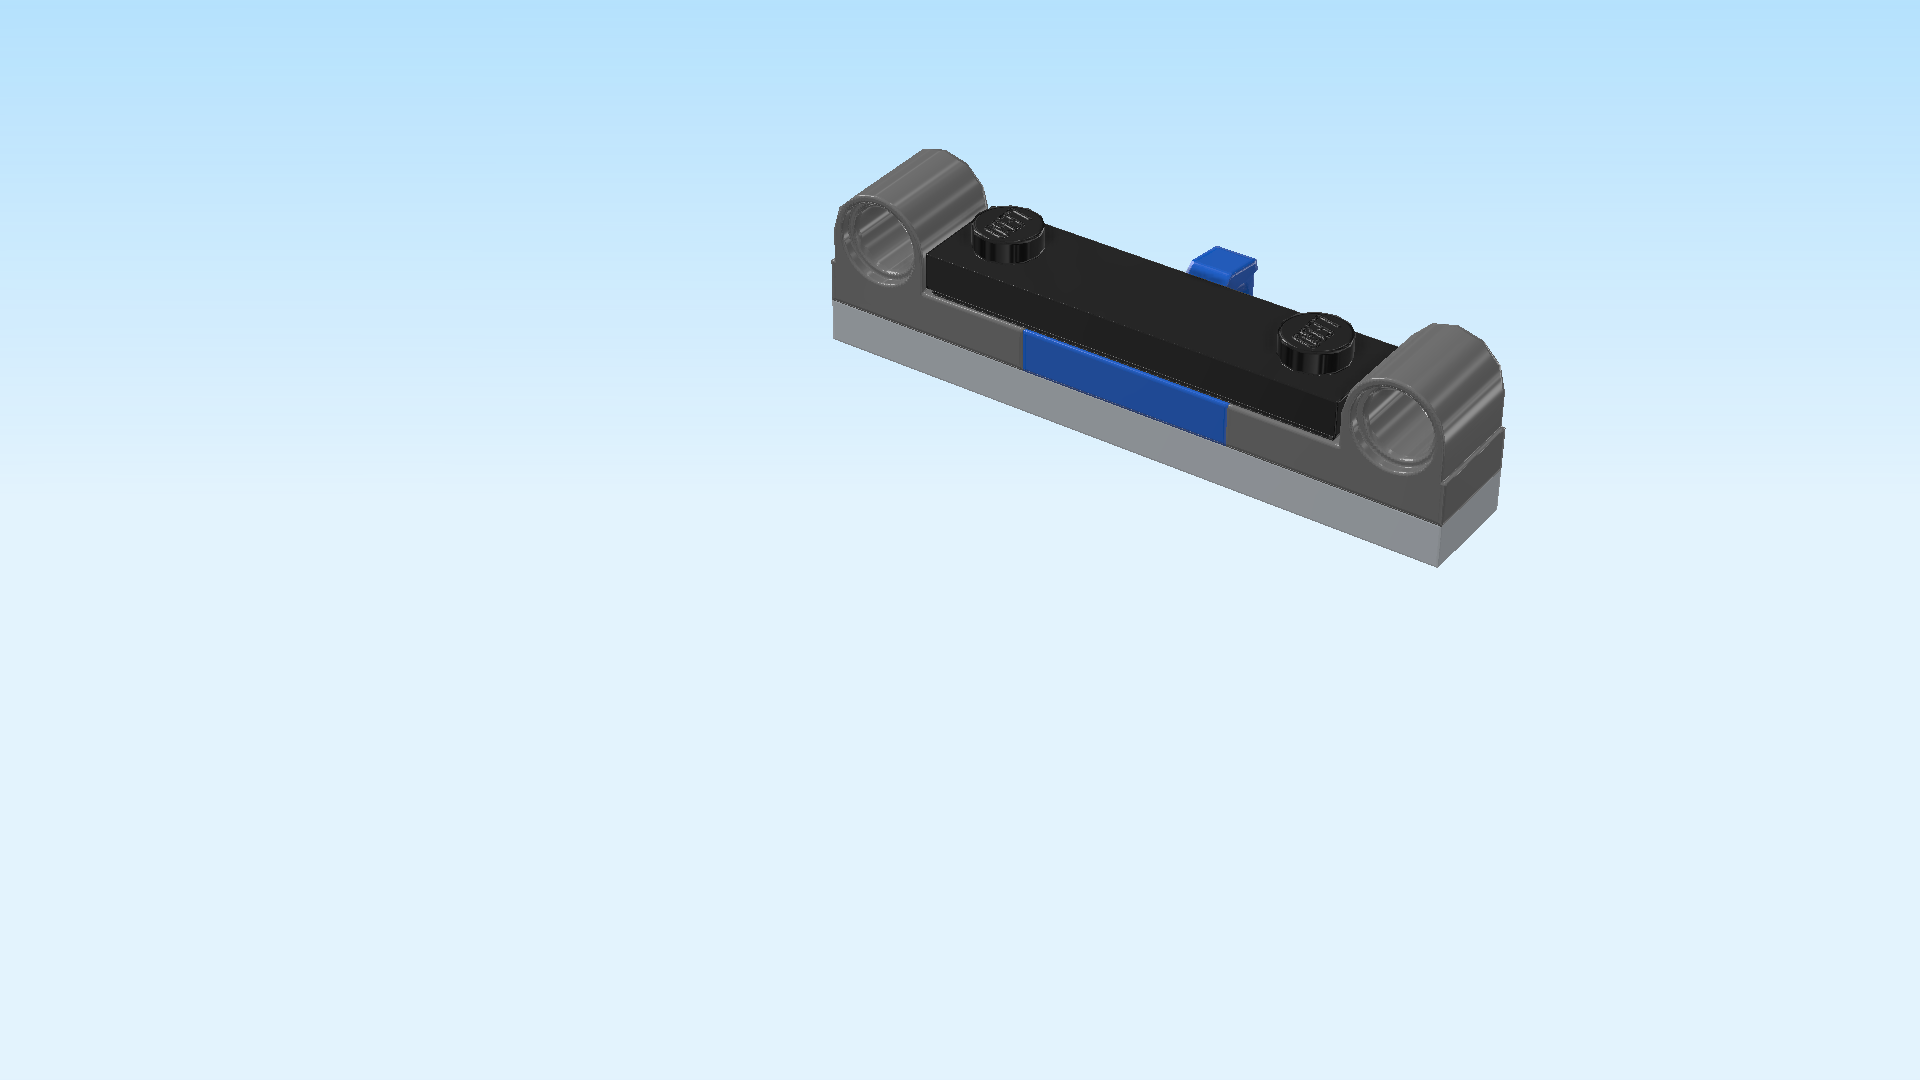
| Now, we will make 2 sub-parts of the digger. |
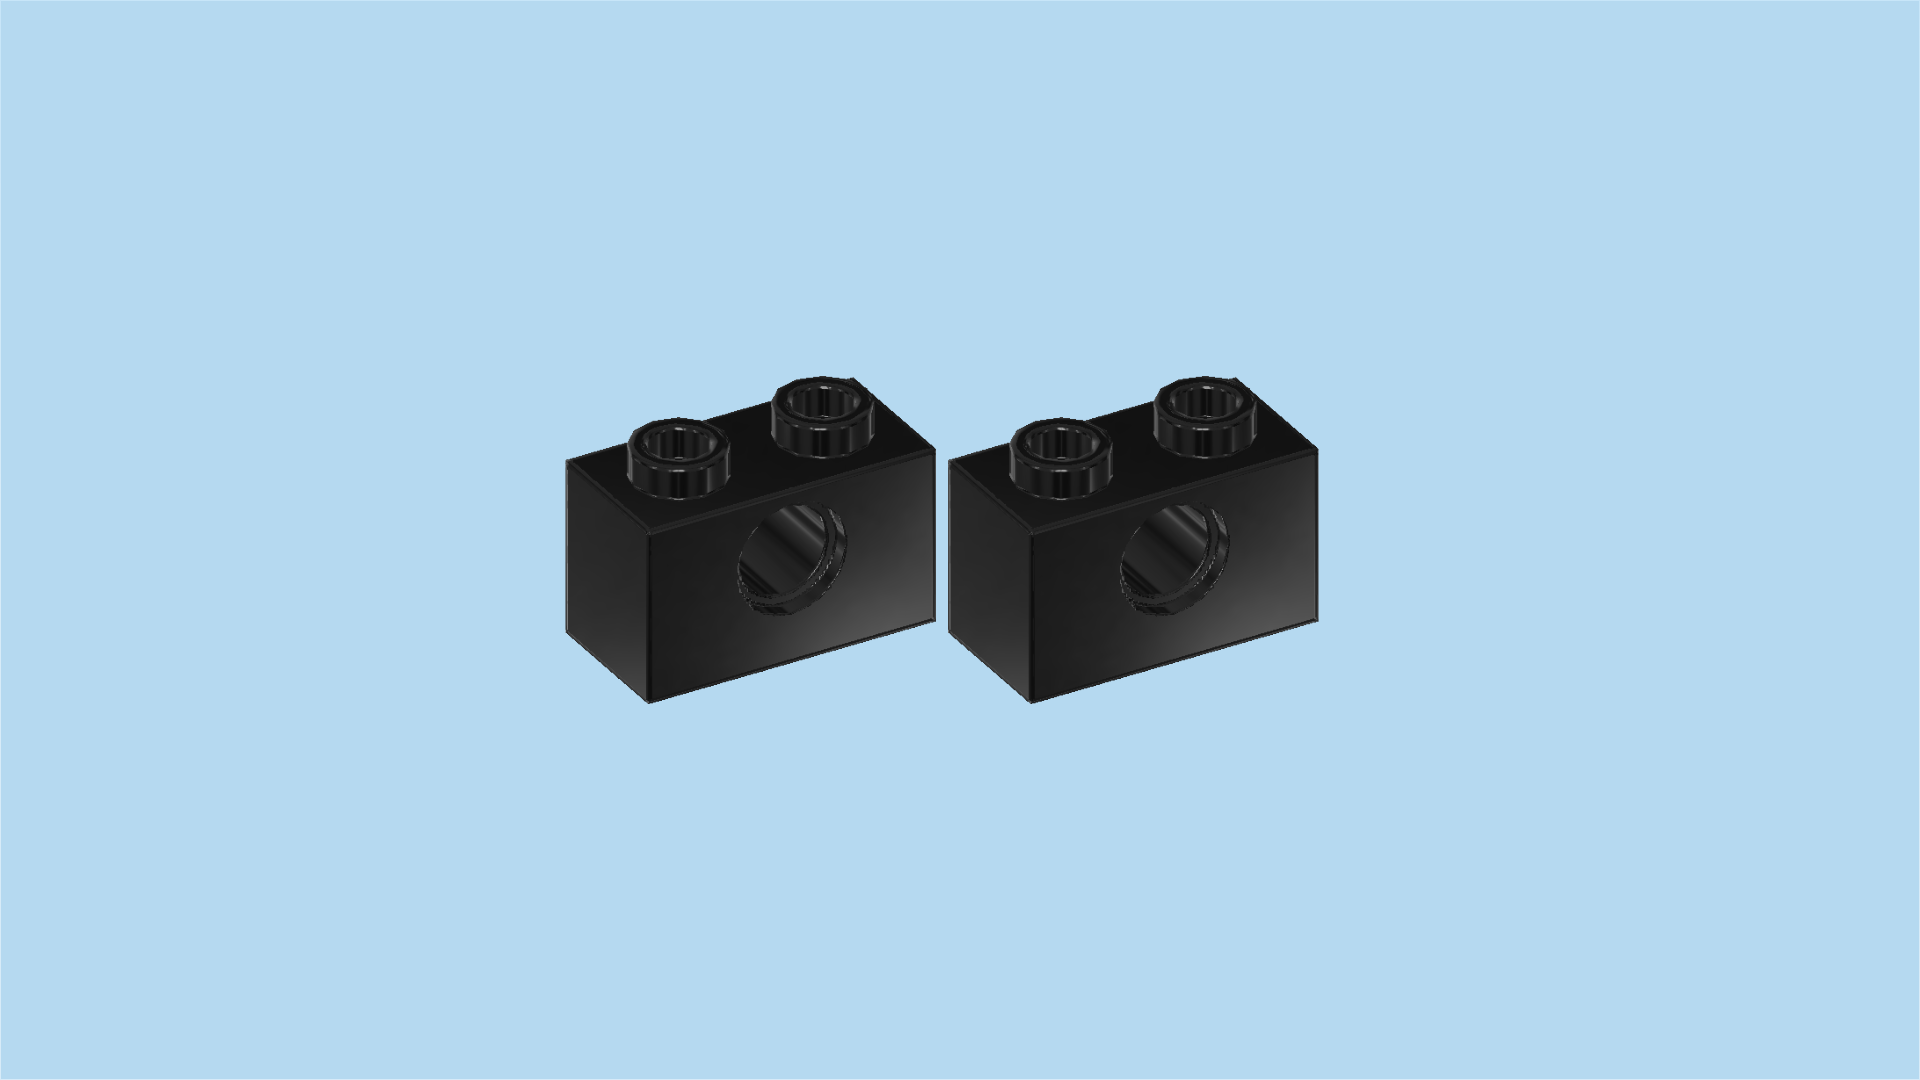
| Find 2 black bricks 1x2 with technic hole. |
| Put them horizontally next to each other on the table. |
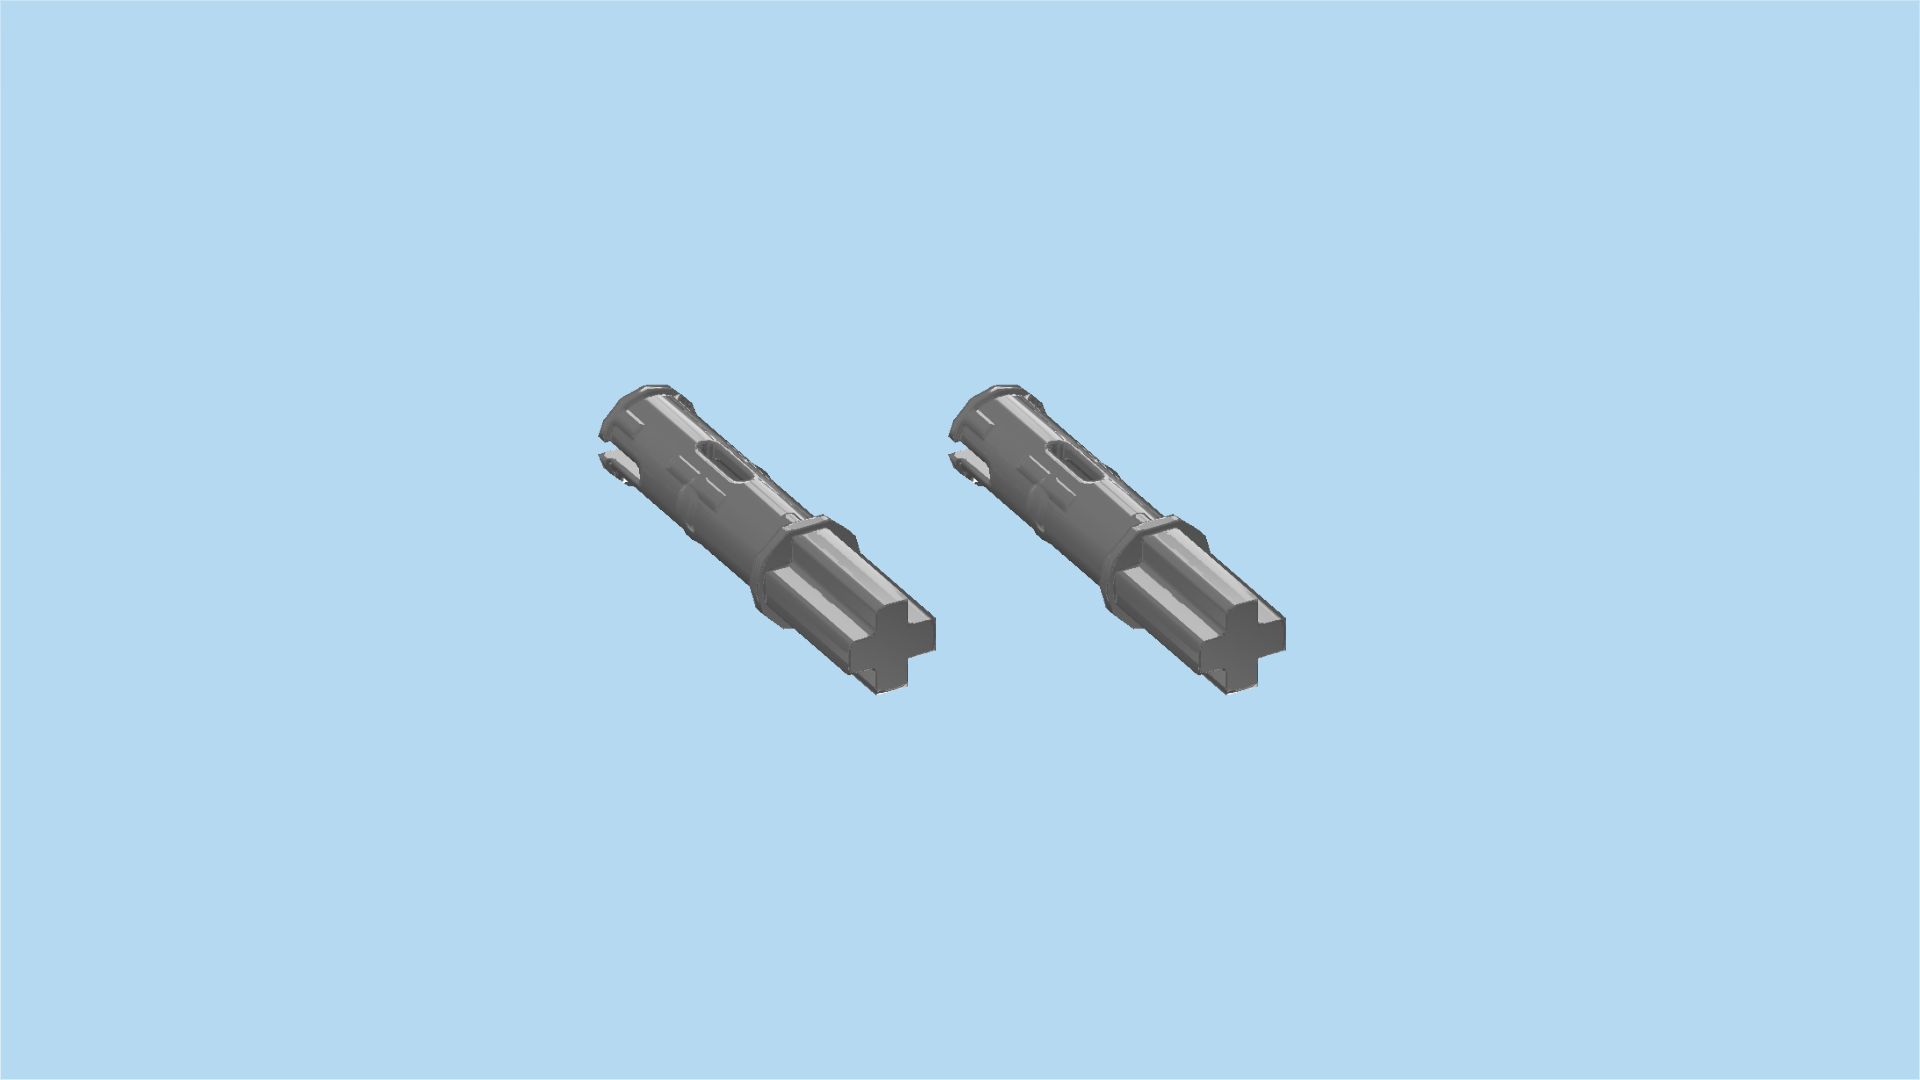
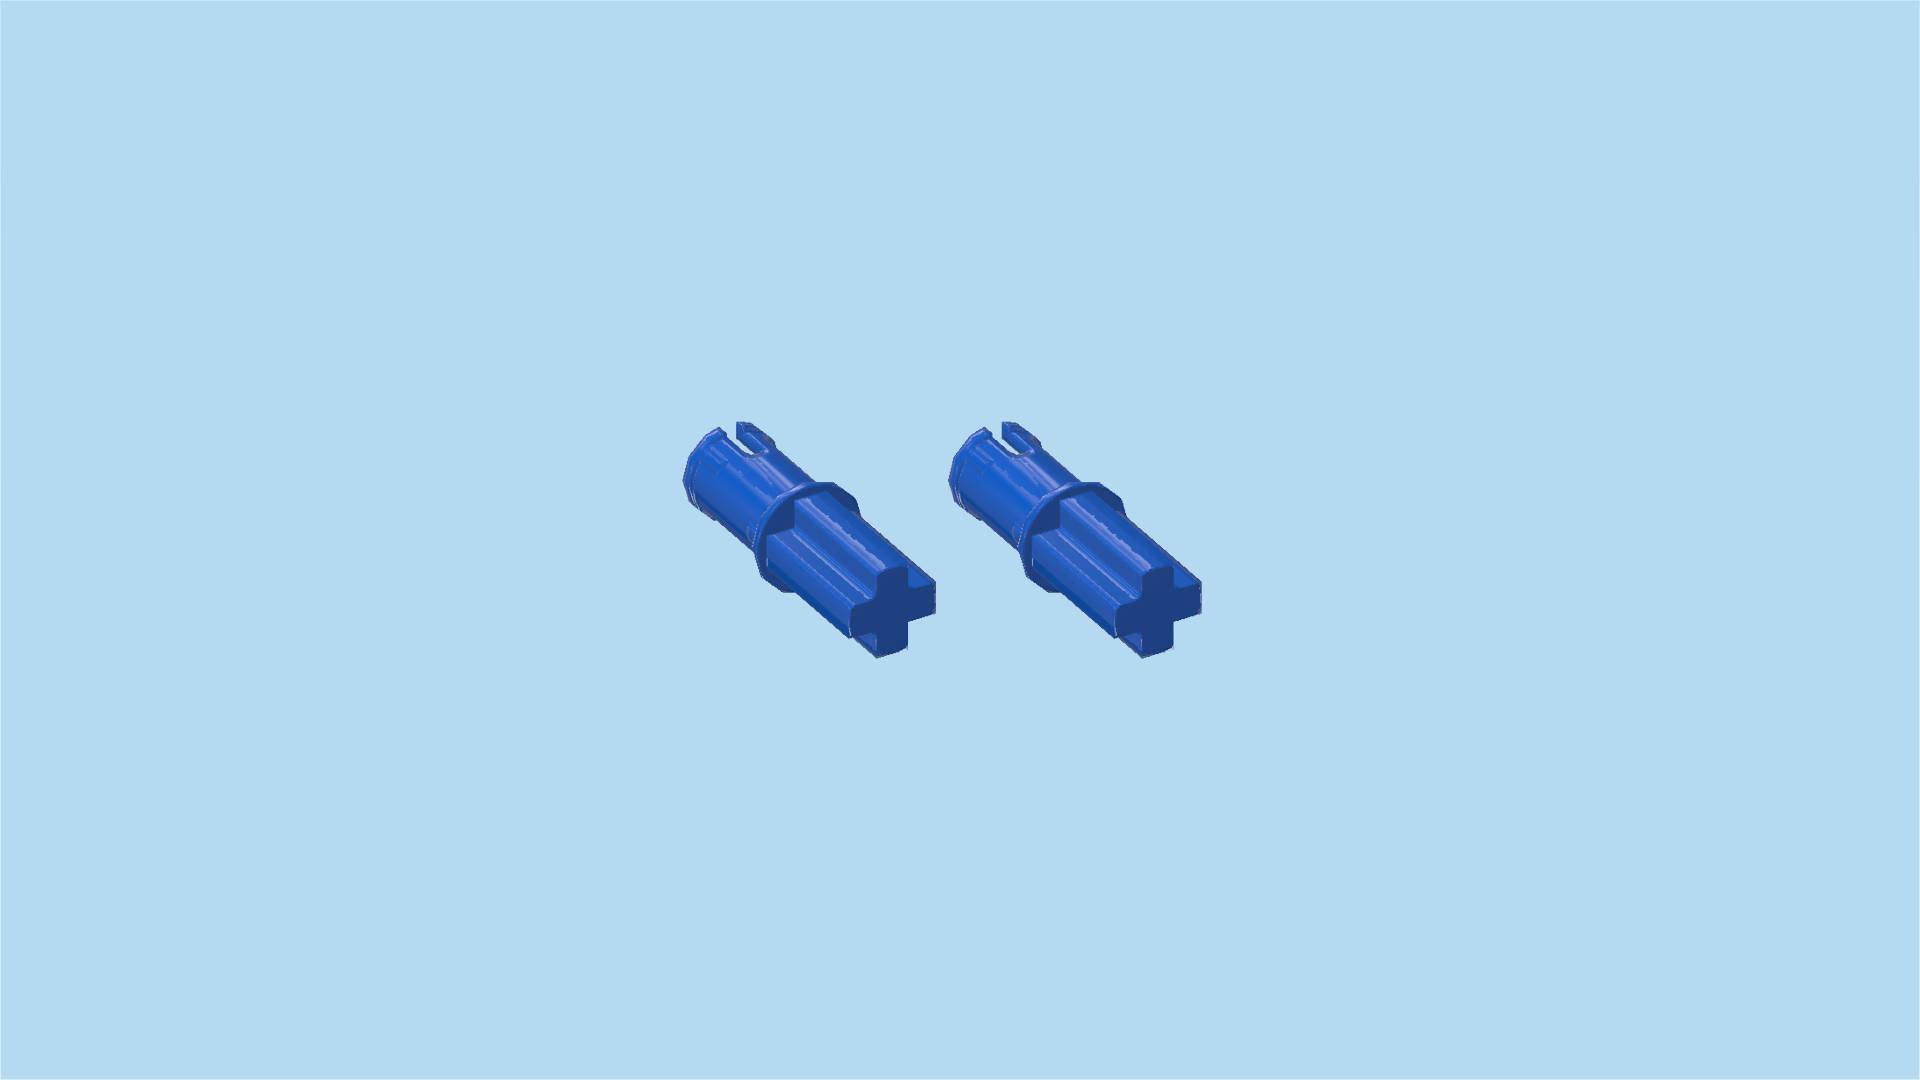
| Find 2 dark stone grey connector pegs 3m with cross axle end. |
| Insert the connector peg portions into the technic holes from the front, cross axle ends sticking out towards the front, remaining connectors protruding to the back. |
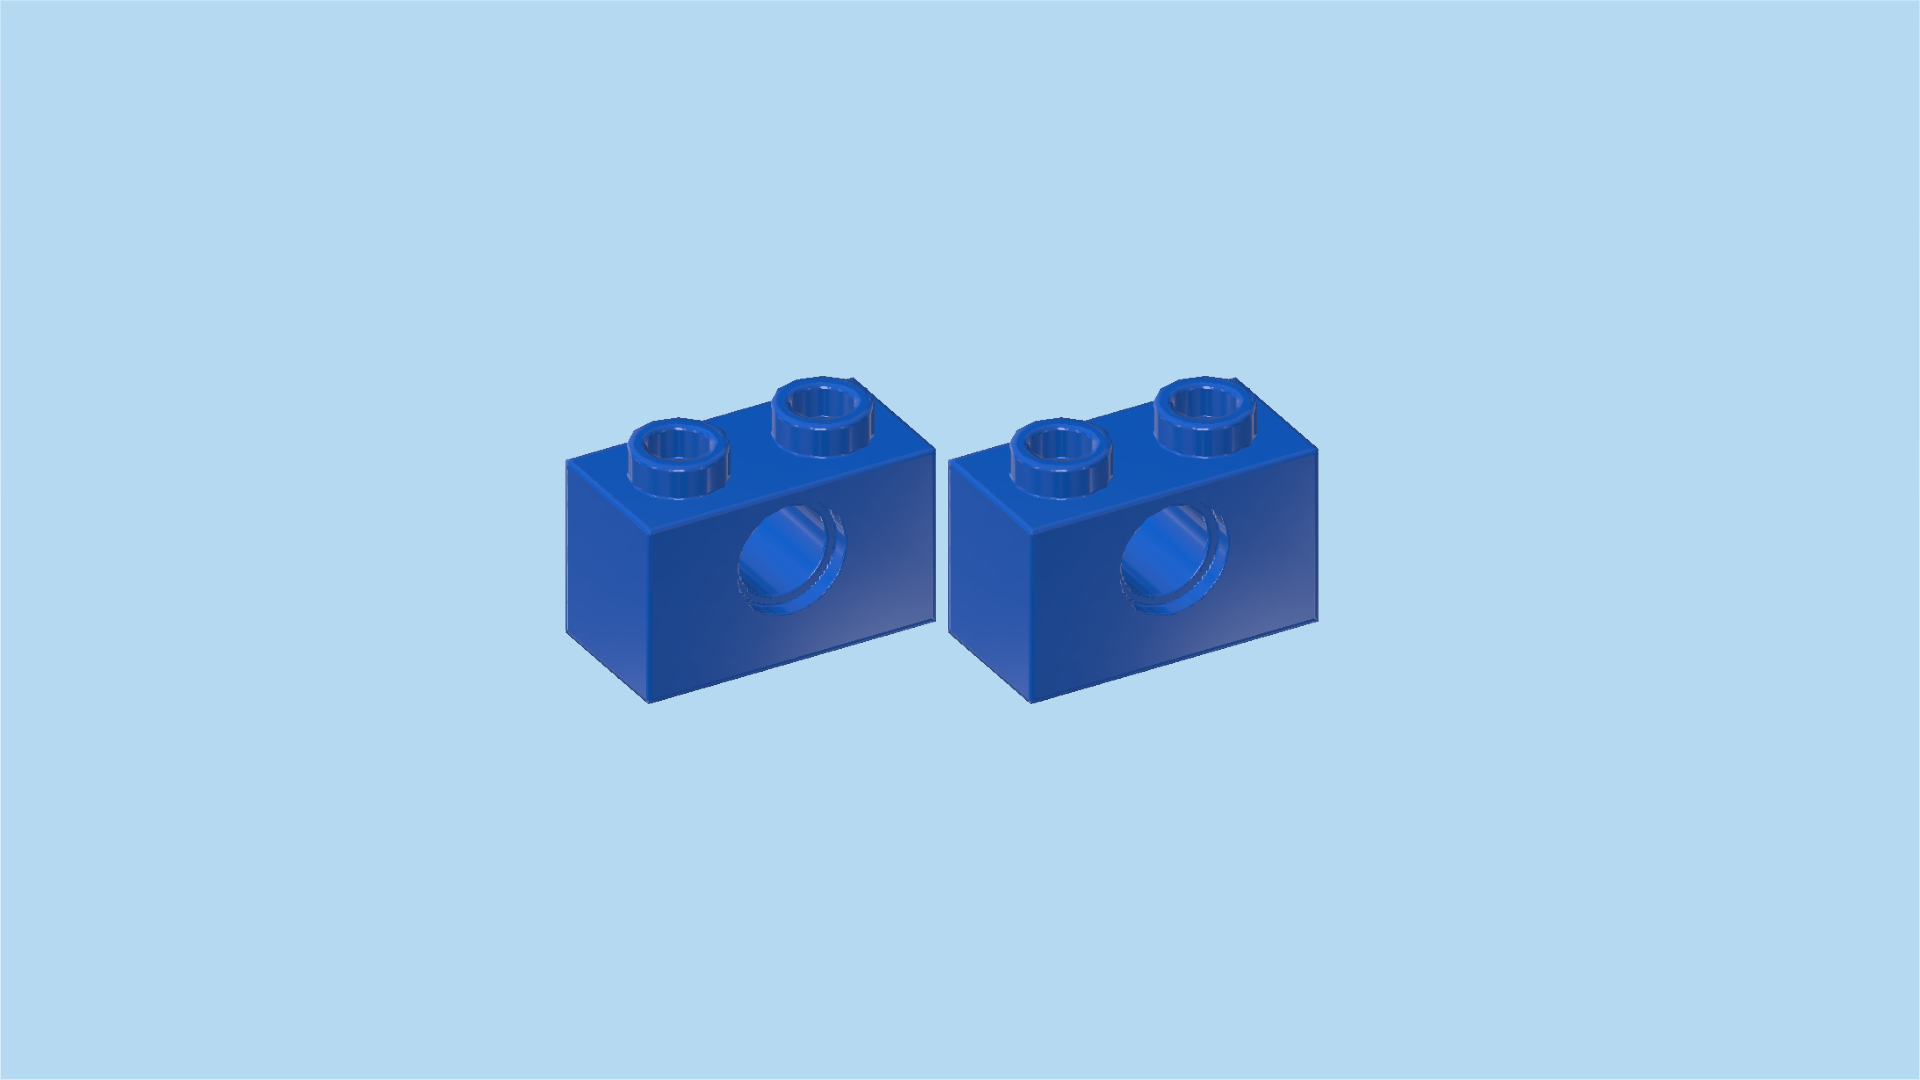
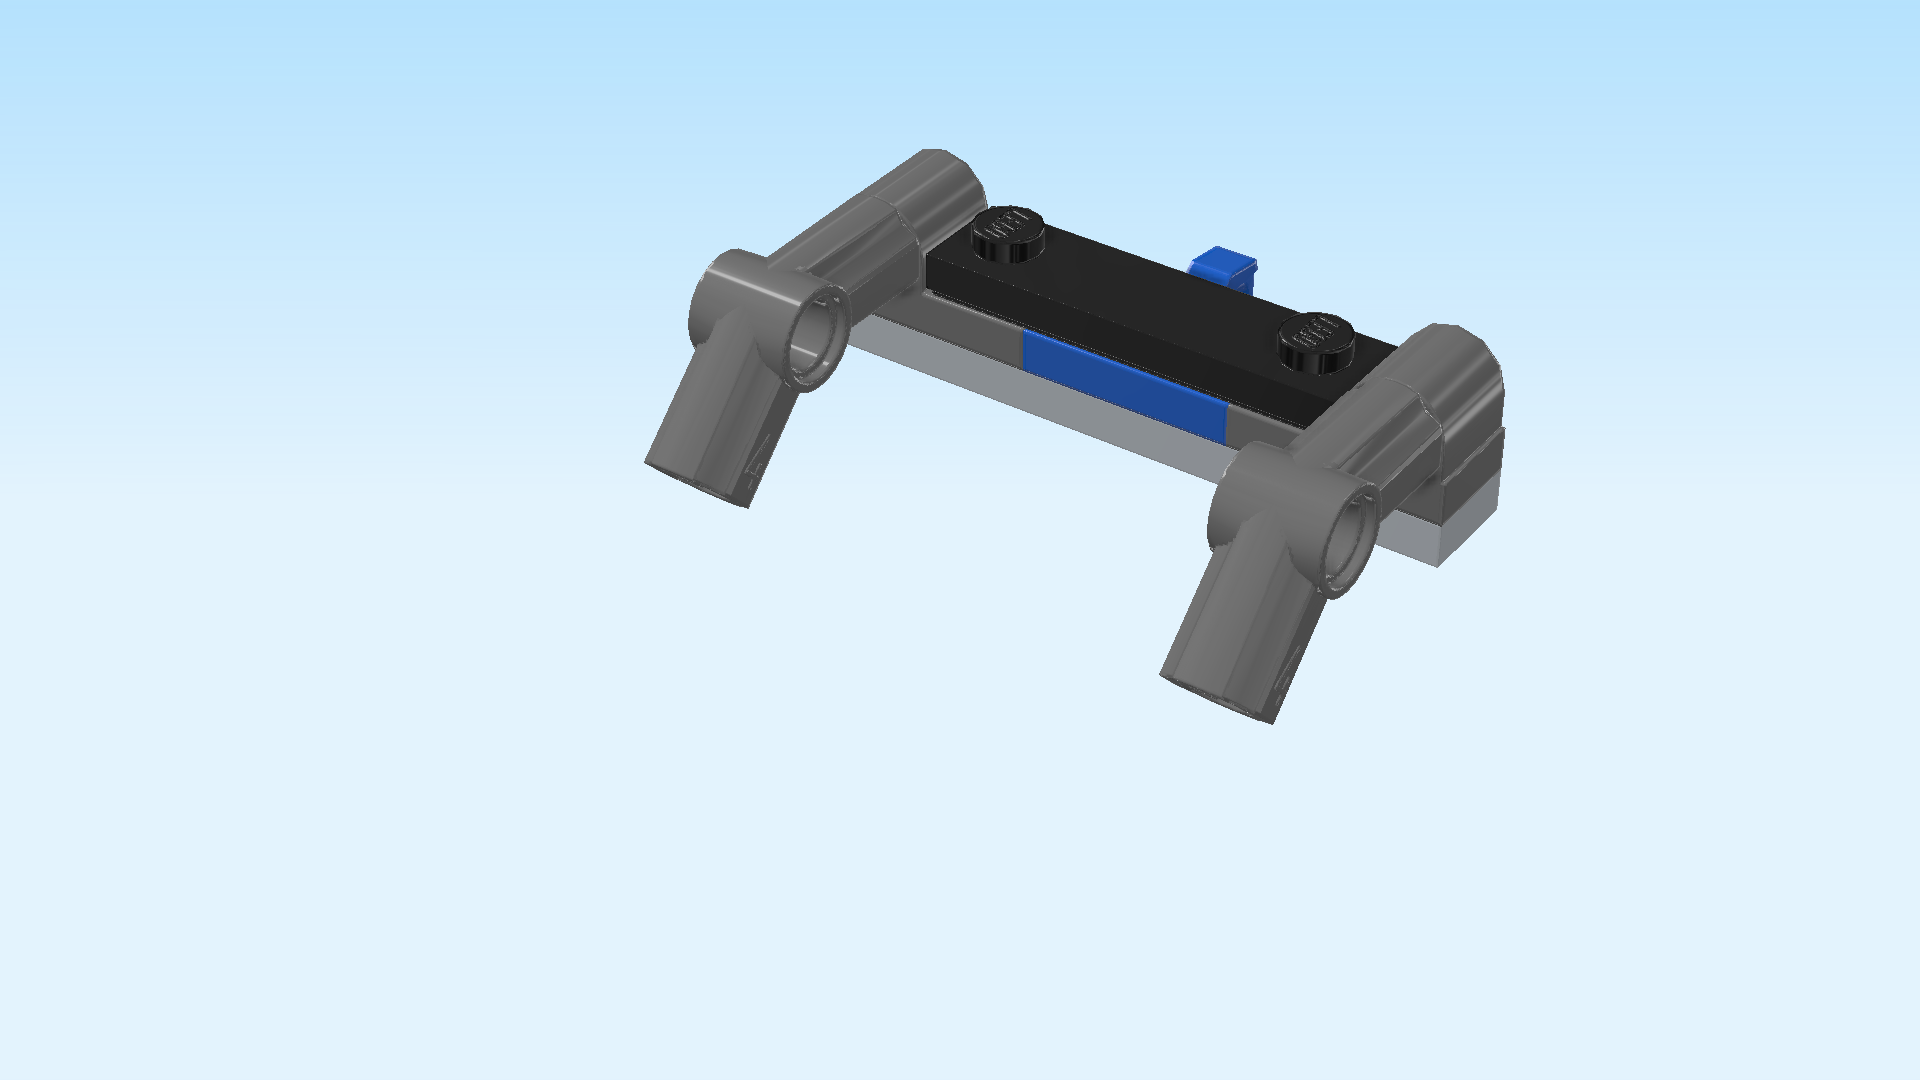
| Find 2 bright blue bricks 1x2 with technic hole. |
| Coming from the back, put 1 horizontally on the connector peg protruding to the back of 1 sub-part. |
| Repeat with the other brick and sub-part. |
| Turn 1 sub-part so that its cross axle is pointing to the left. |
| Mount it in front of the corner brick 1x2 - 1x2 on the 2 left columns. |
| Repeat symmetrically on the right. |
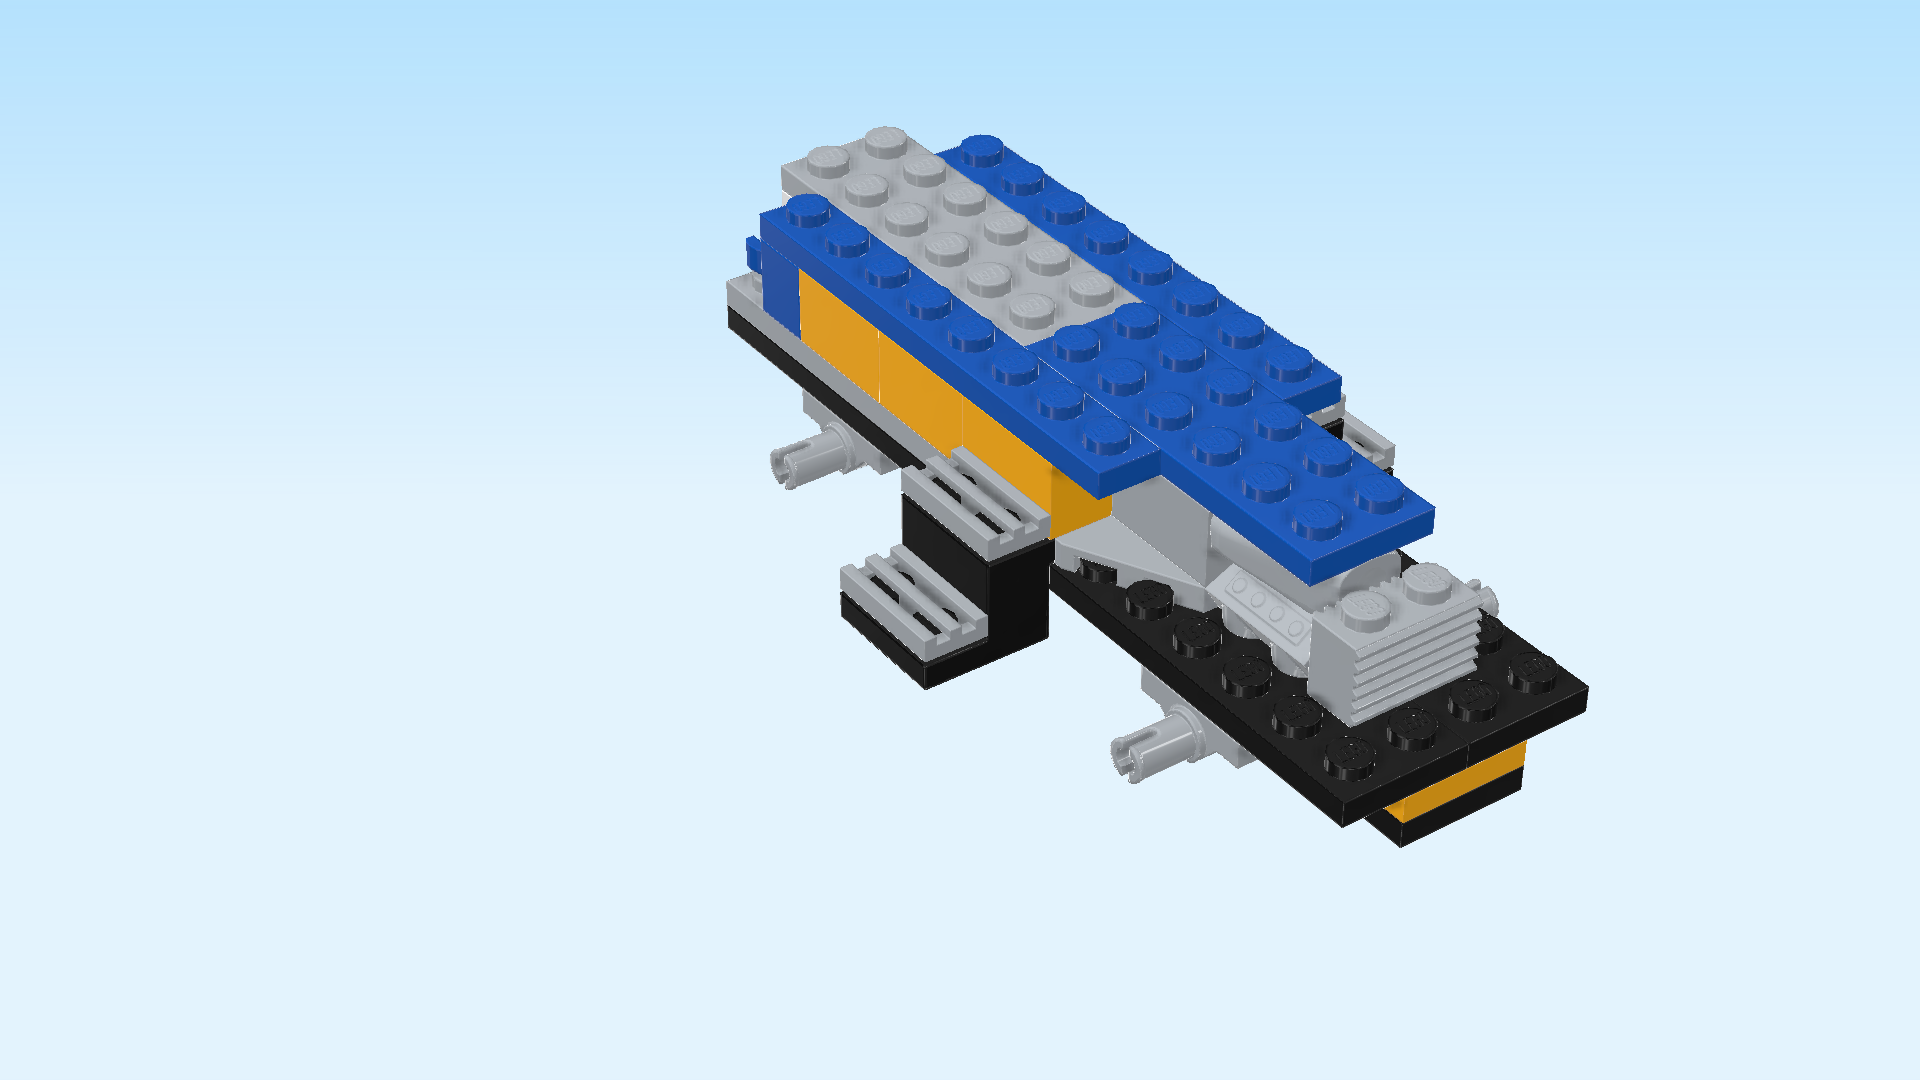
| Find 1 black curved bracket 2x4x1⅓ with 2 plates 1x2. |
| Put it vertically on the 2 middle columns in front of the 2 sub-parts we have just mounted, higher plate to the back. |
| Find 2 transparent light blue plates 1x2. |
| Put 1 horizontally on the higher plate of the previous piece. |
| Put the other one horizontally on the lower plate of the bracket from the previous step. |
| Collect the following 2 pieces: |
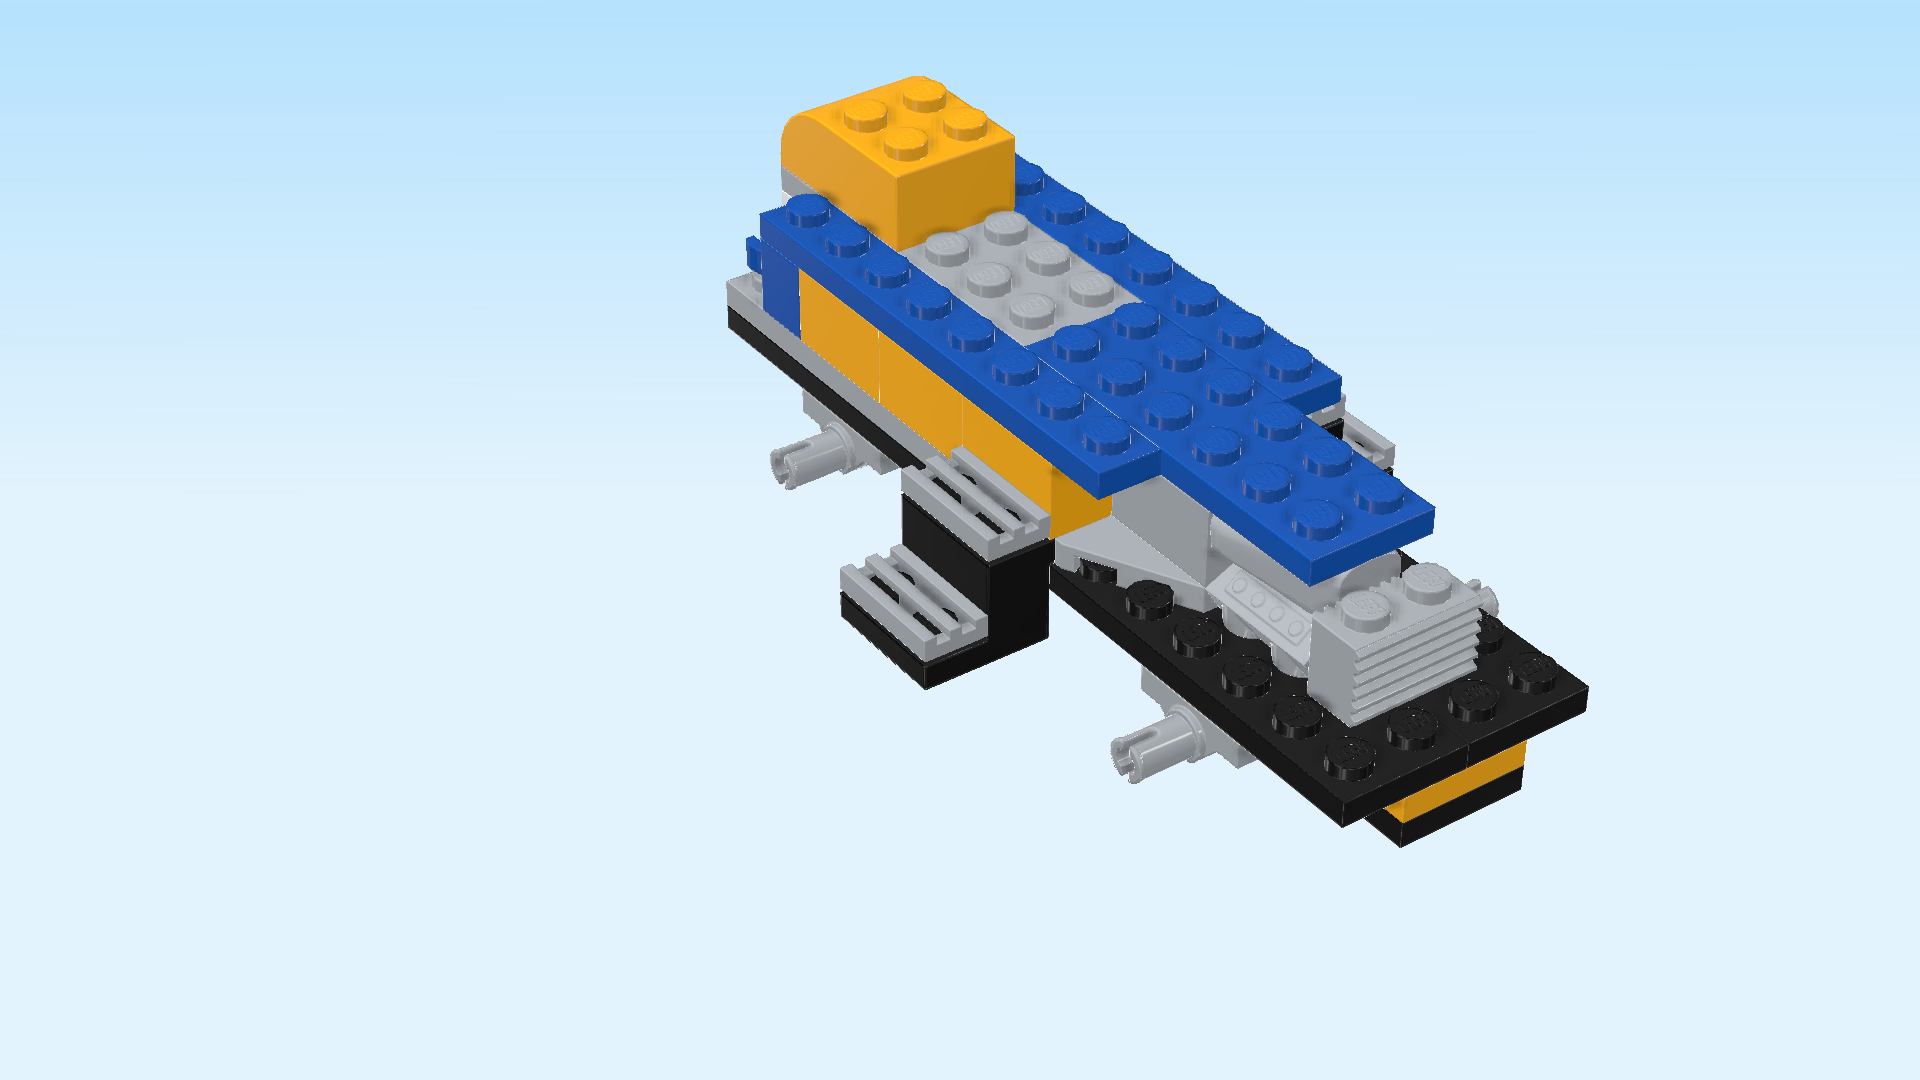
| 1 flame yellowish orange plate 2x2, |
| and 1 flame yellowish orange smooth roof tile 1x2x⅔. |
| Put the smooth roof tile 1x2 horizontally on the previous piece, slope to the front. |
| Put the plate 2x2 behind the previous piece. |
| Collect the following 2 pieces: |
| 1 flame yellowish orange two-stepped curve tile 2x4, |
| and 1 medium stone grey grille tile 1x2. |
| Put the curve tile 2x4 vertically on the previous piece and the 2 rows behind it, curve to the front. |
| This smooth surface will be the engine hood of the digger! |
| Put the grille tile horizontally centered behind the previous piece. |
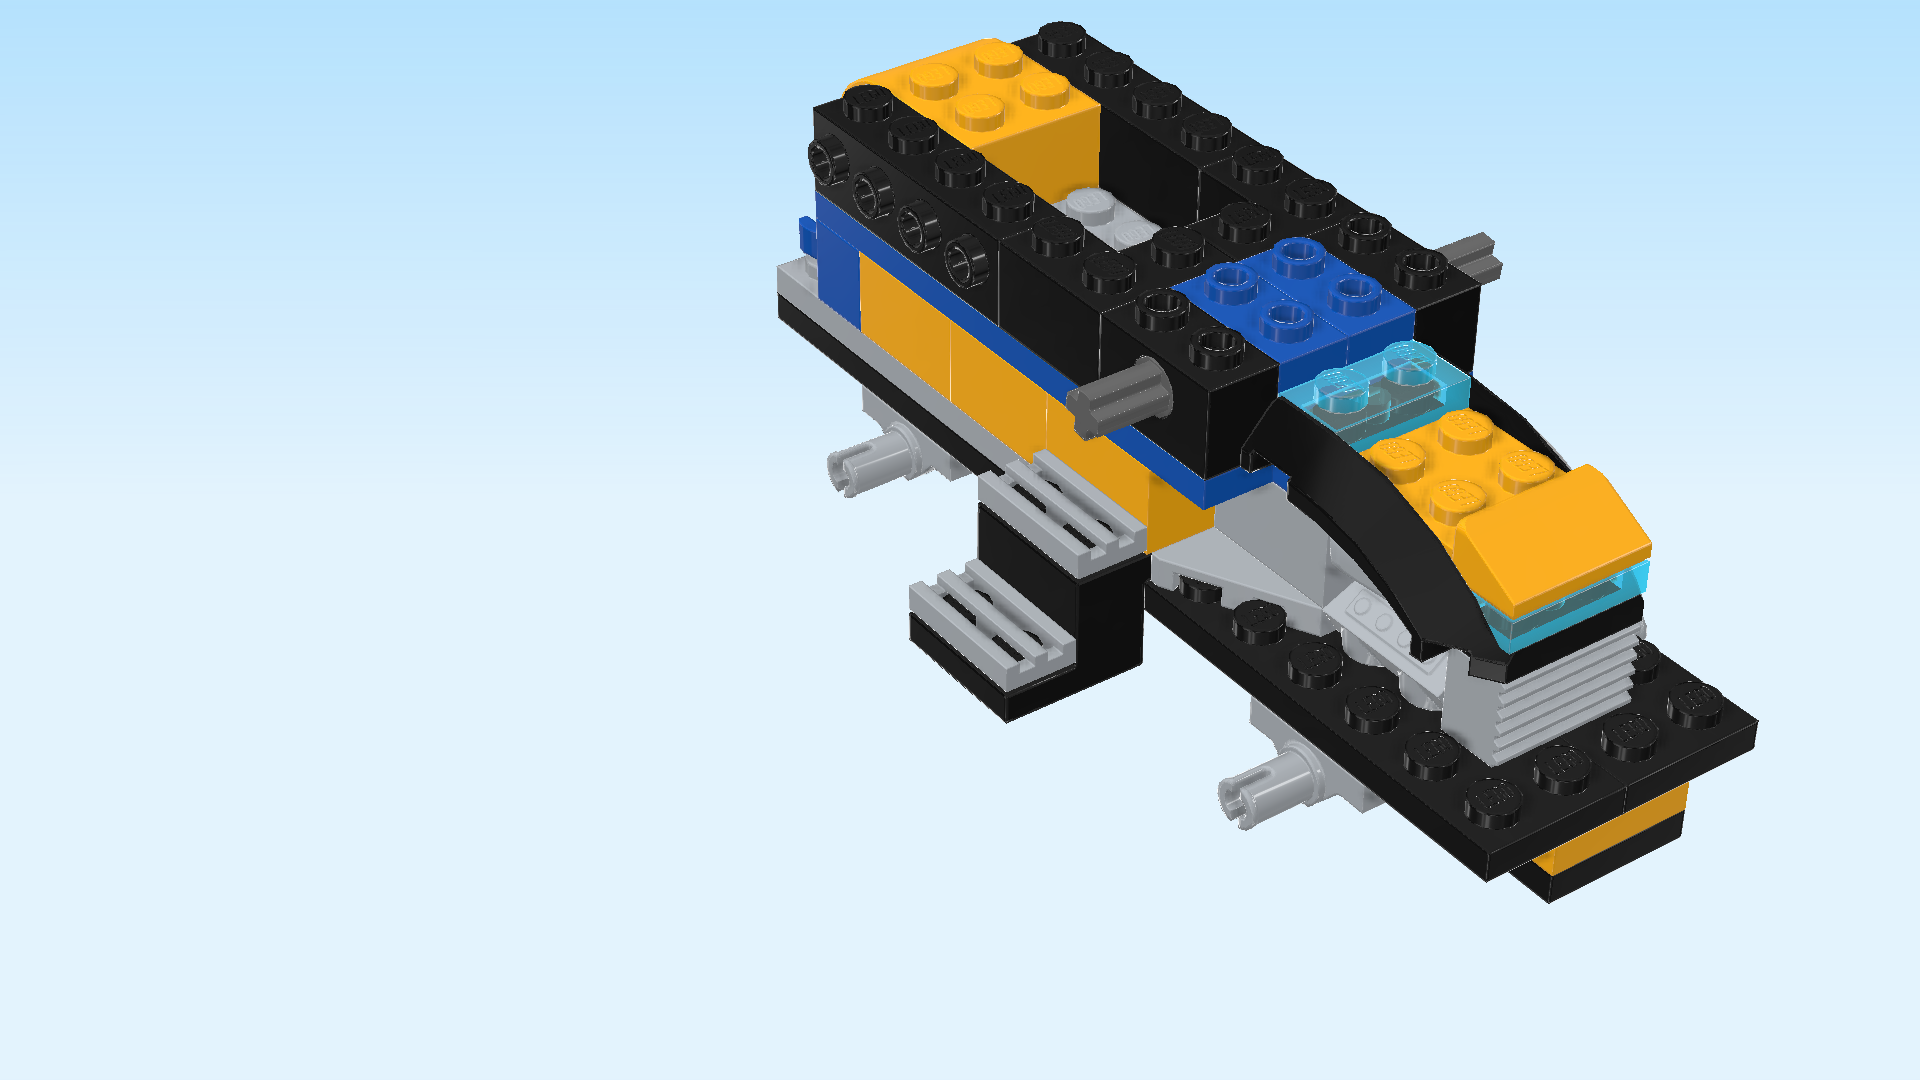
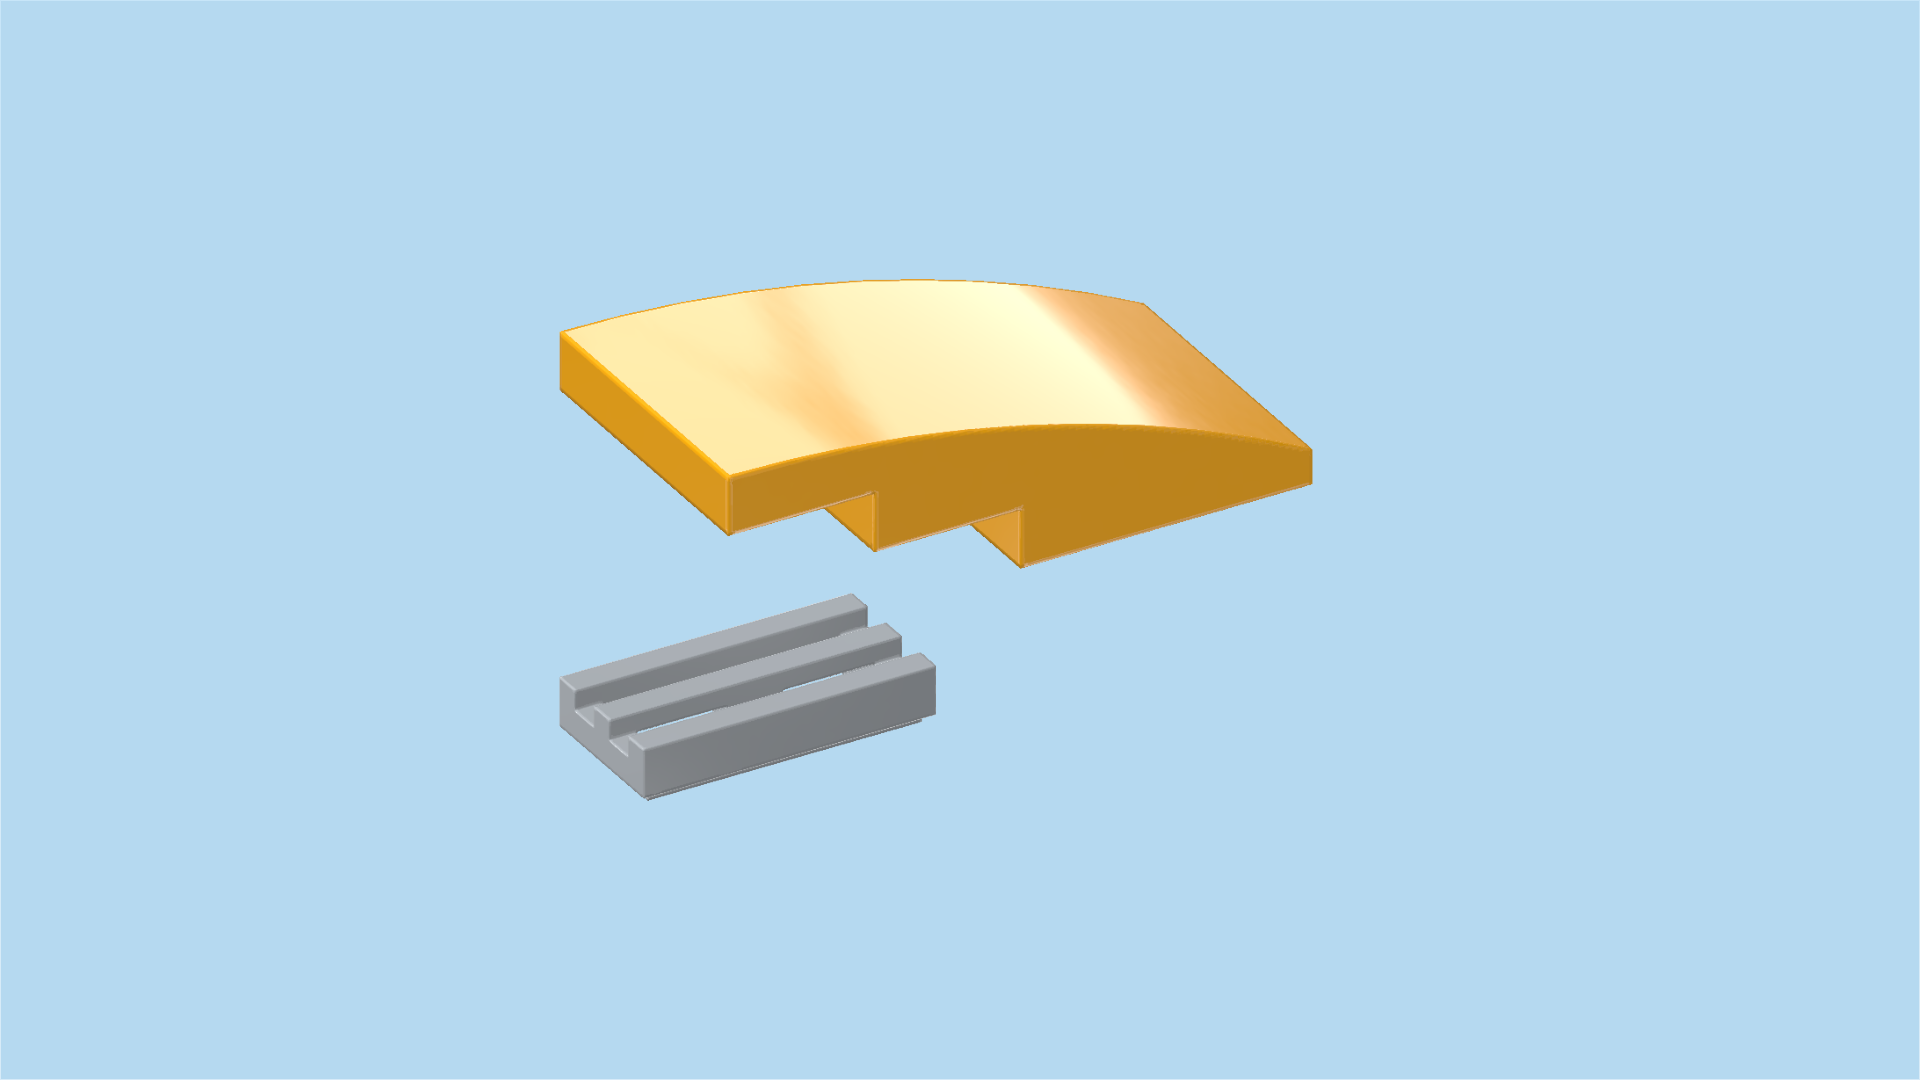
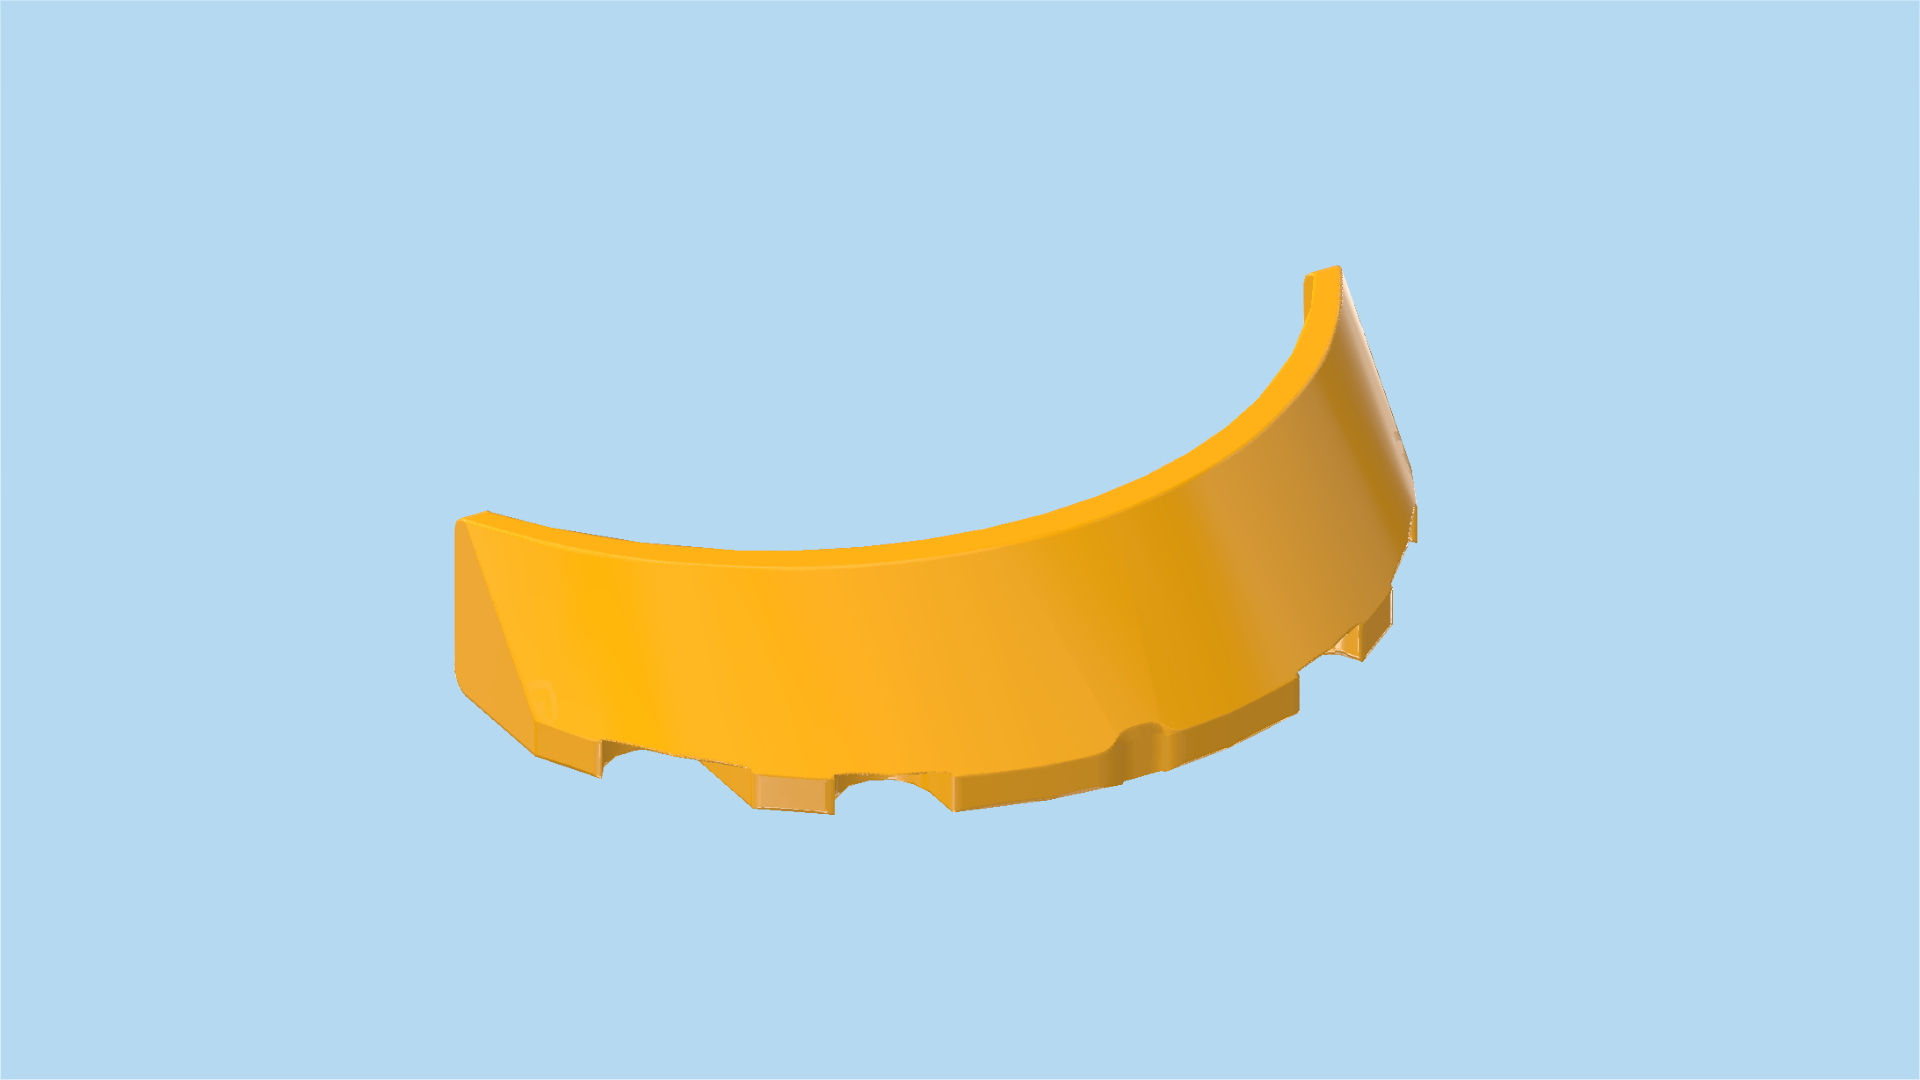
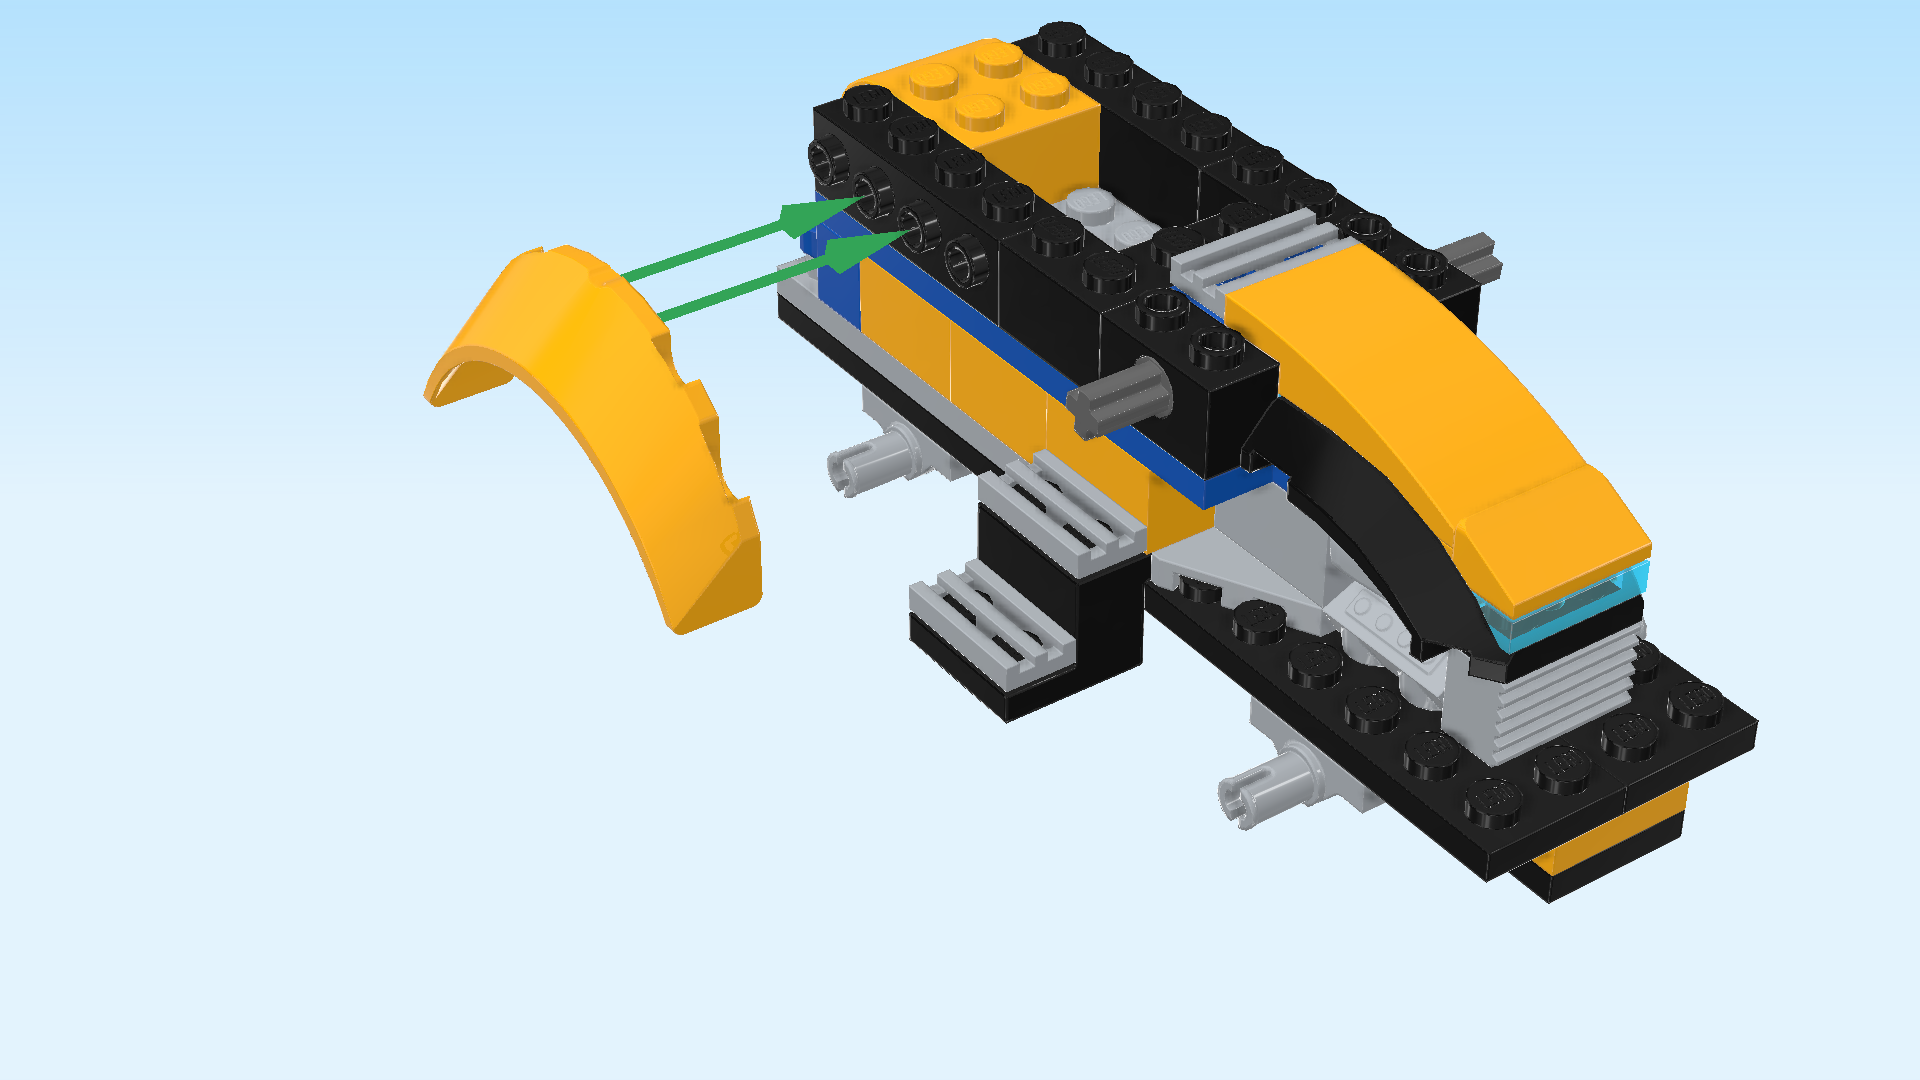
| Find 1 flame yellowish orange rounded windshield 3x6x1. |
| Hold it upright vertically so that its ends are pointing to the front and back. Make sure the bow is to the top and its connection points are to the right. |
| Mount its topmost edge centered on the 2 middle side knobs of the 4 knobs pointing to the left. |
| Make sure that it extends symmetrically to the front and back. The top edge of the mudguard should not be higher than the brick it is mounted on. |
| Find another flame yellowish orange rounded low windshield 3x6x1. |
| Mount it on the right side surface, mirroring the previous piece. |
| Again, make sure that it is overhanging symmetrically to the front and back. |
| Collect the following 3 pieces: |
| 2 dark stone grey round tiles 1x1 with small top shaft, |
| and 1 black and bright blue small steering wheel with plate 1x2. |
| Turn the structure horizontally again so that the front hood is to the left and the ball cup is to the right. |
| Identify the curved brick 2x3 with 4 knobs that is mounted on the right edge. |
| Put the 2 round tiles with shaft on the 2 left knobs of that brick. |
| Put the small steering wheel vertically on the leftmost column of the lowest level of knobs, steering wheel to the right. |
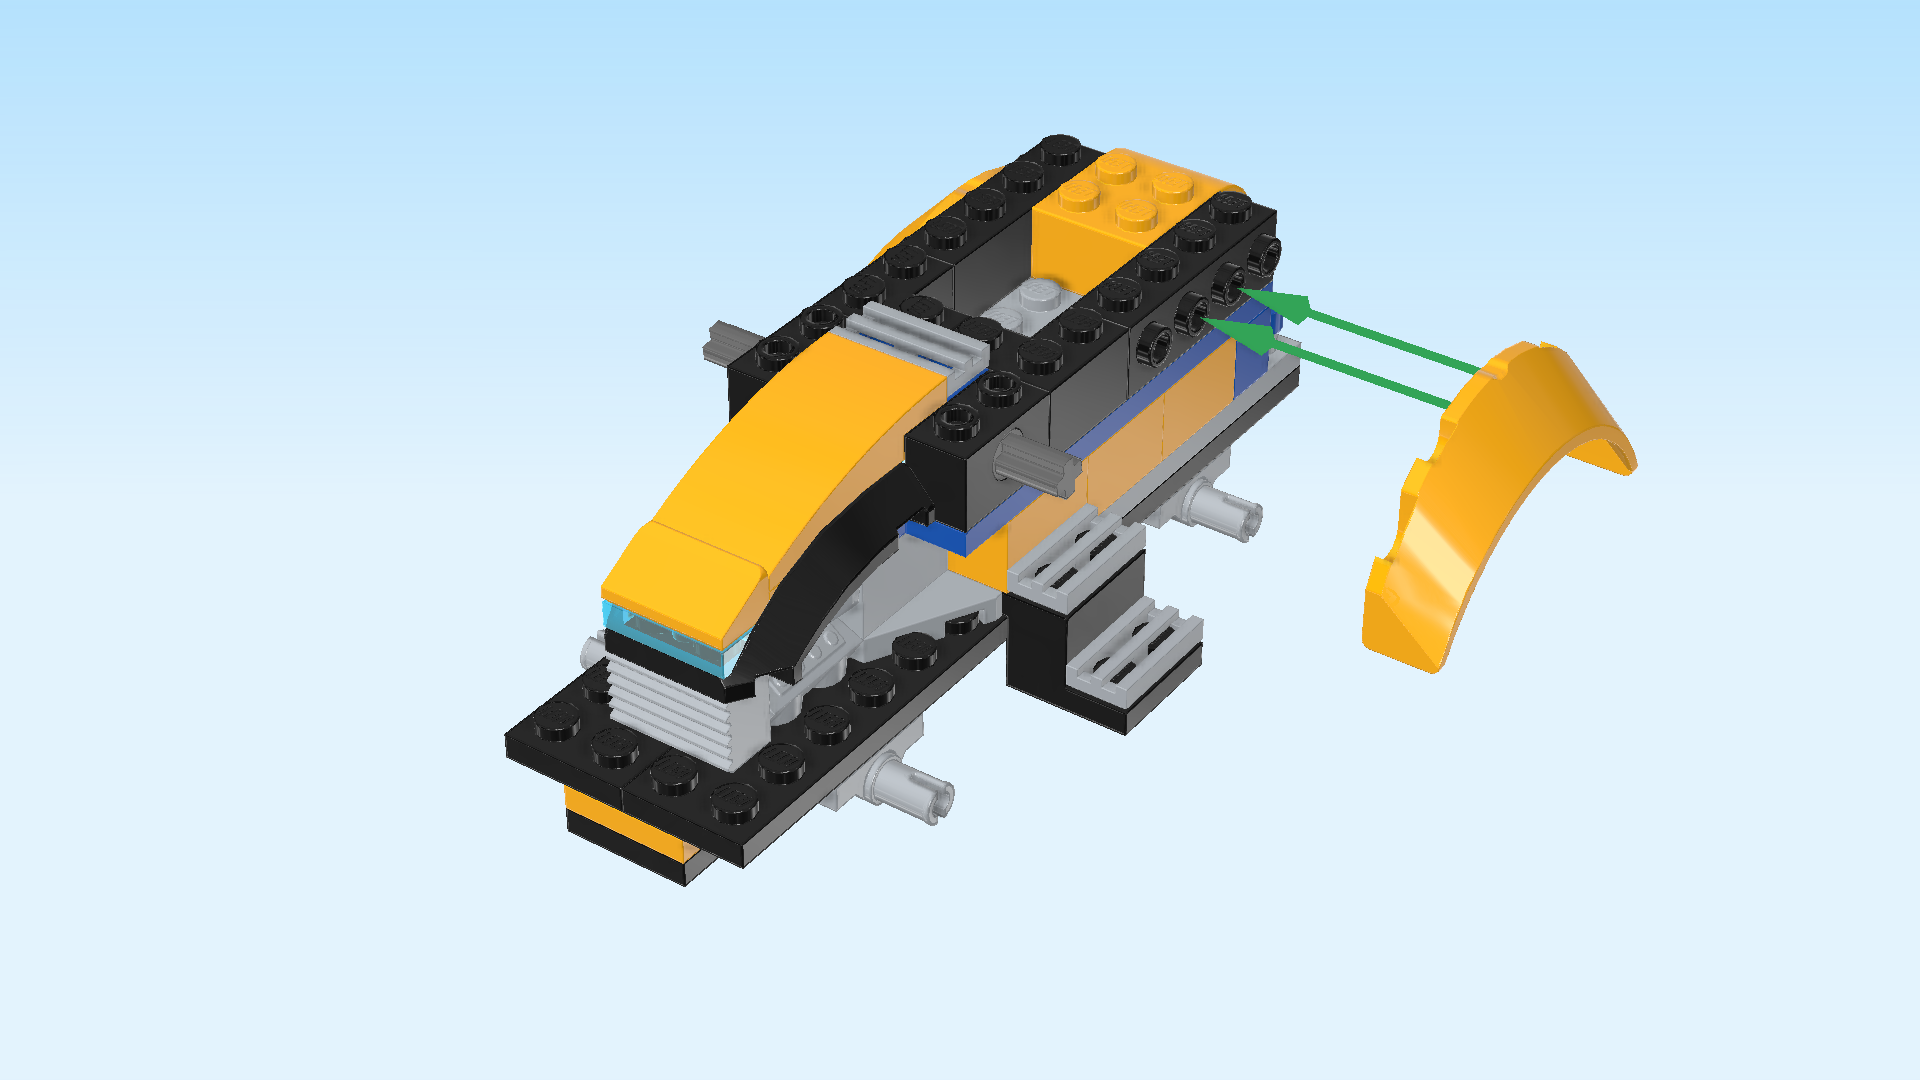
| Find 2 transparent brown windscreens 4x3x3 with sharp edges. |
| Put 1 vertically to the left of the steering wheel, slopes to the left. |
| Put the other one to the right of the previous piece, slopes to the right. |
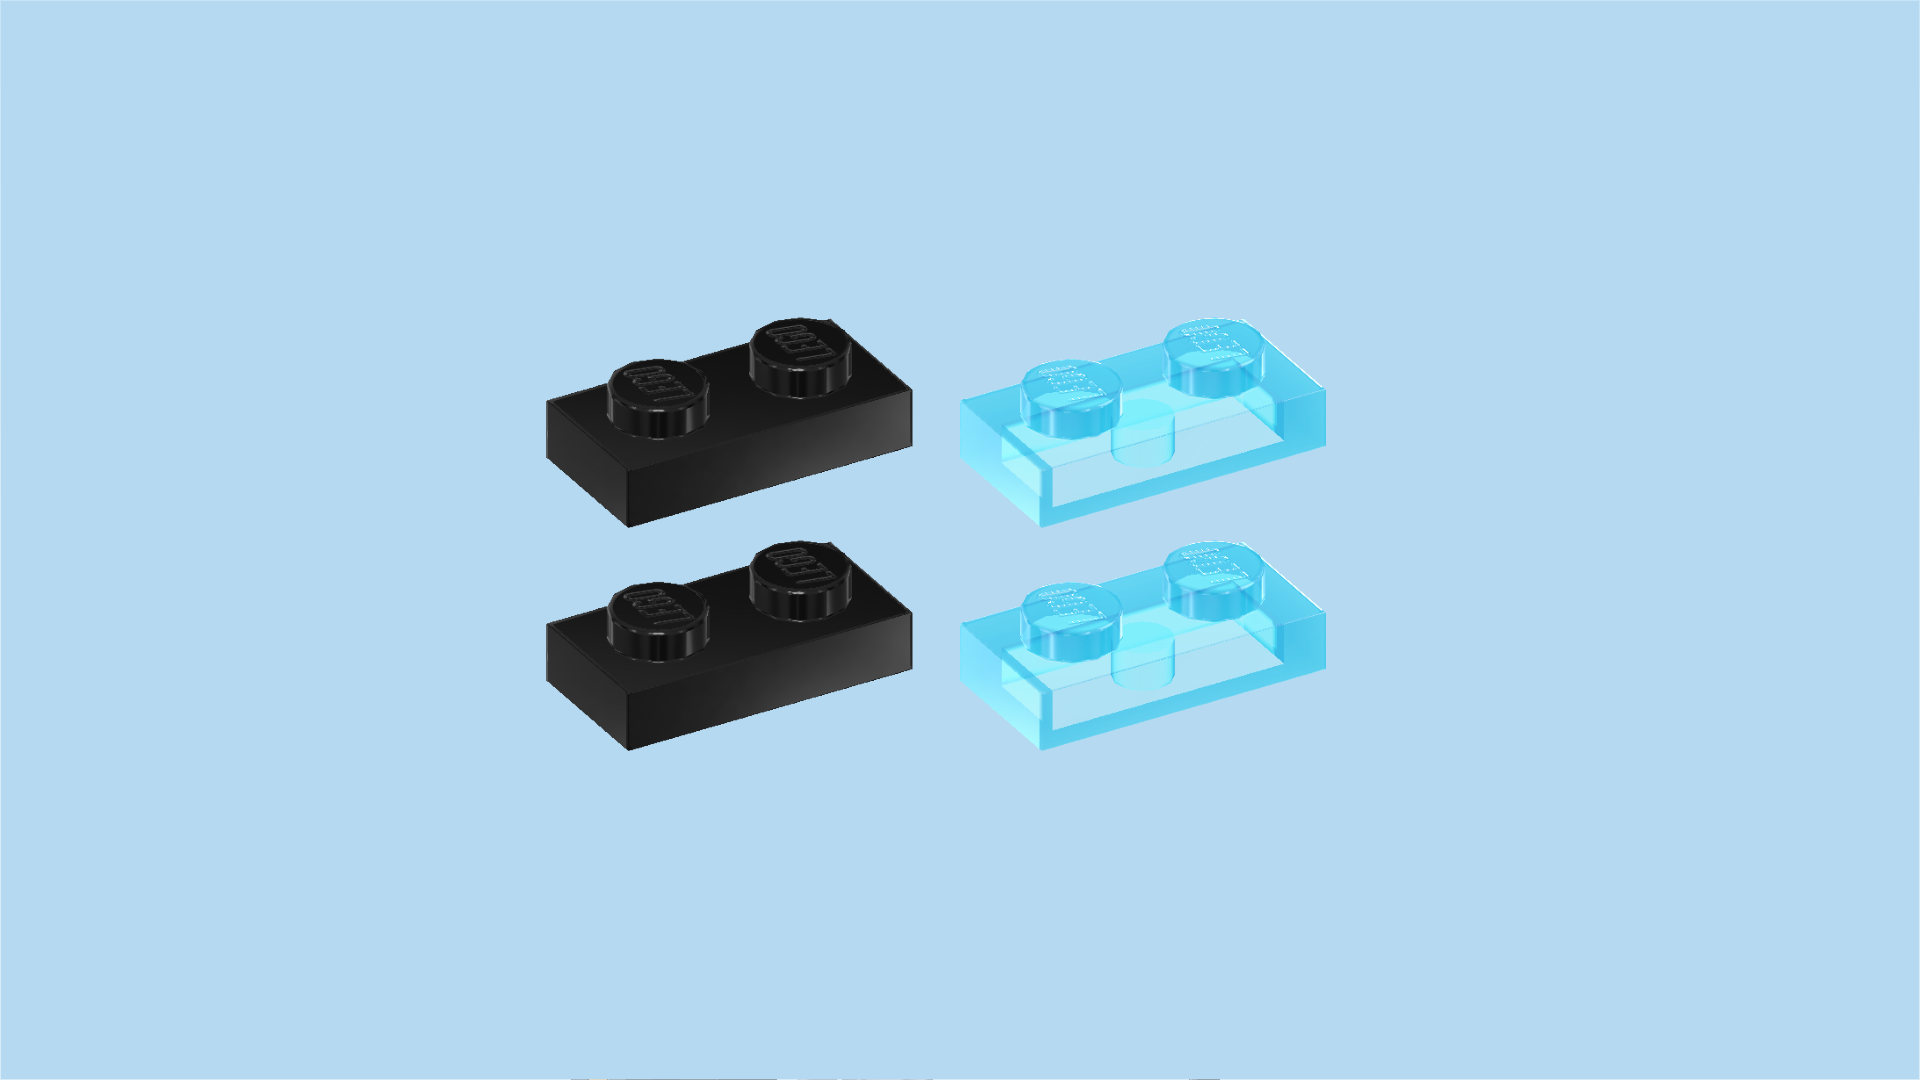
| Collect the following 4 pieces: |
| 2 black plates 1x2, |
| and 2 transparent light blue plates 1x2. |
| Put 1 black plate 1x2 horizontally on the 2 backmost knobs of the windscreens to connect them. |
| Repeat symmetrically at the front. |
| Put the 2 transparent light blue plates vertically on the left and right edges of the windscreens. |
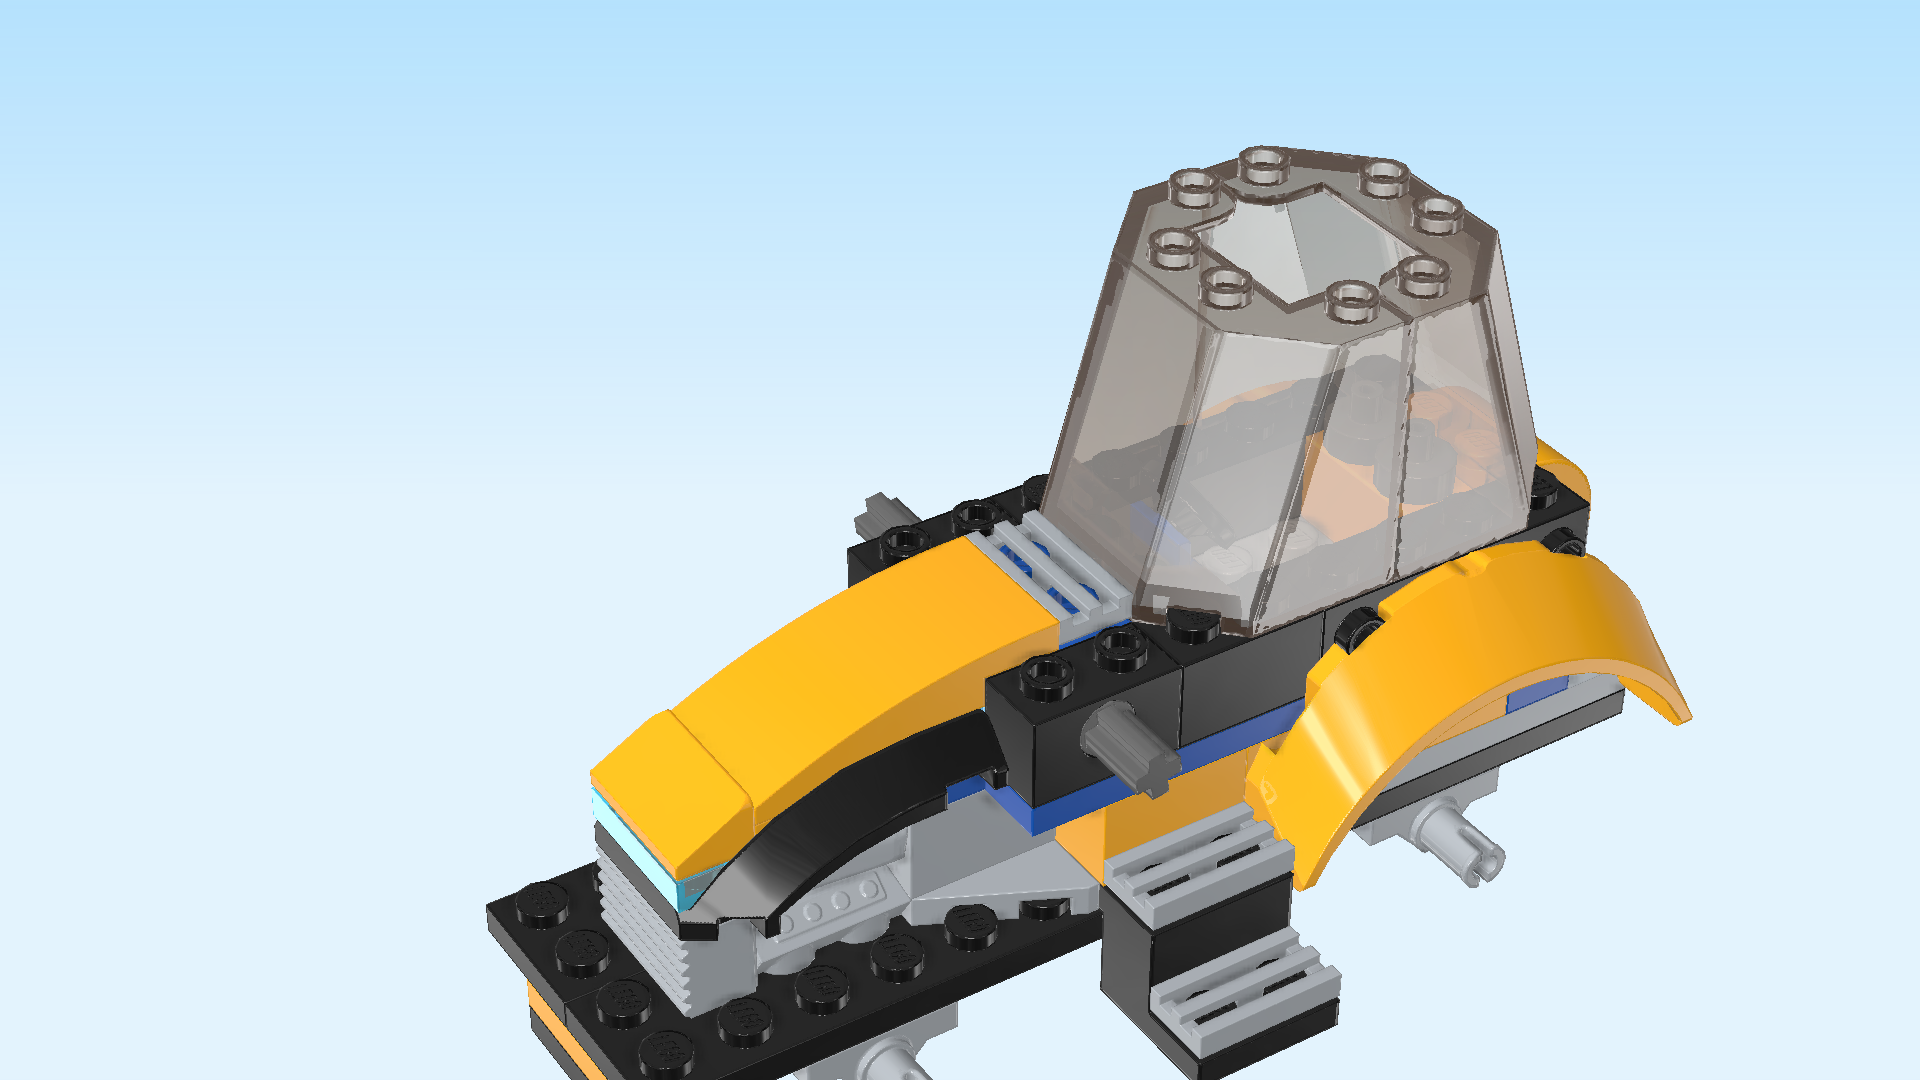
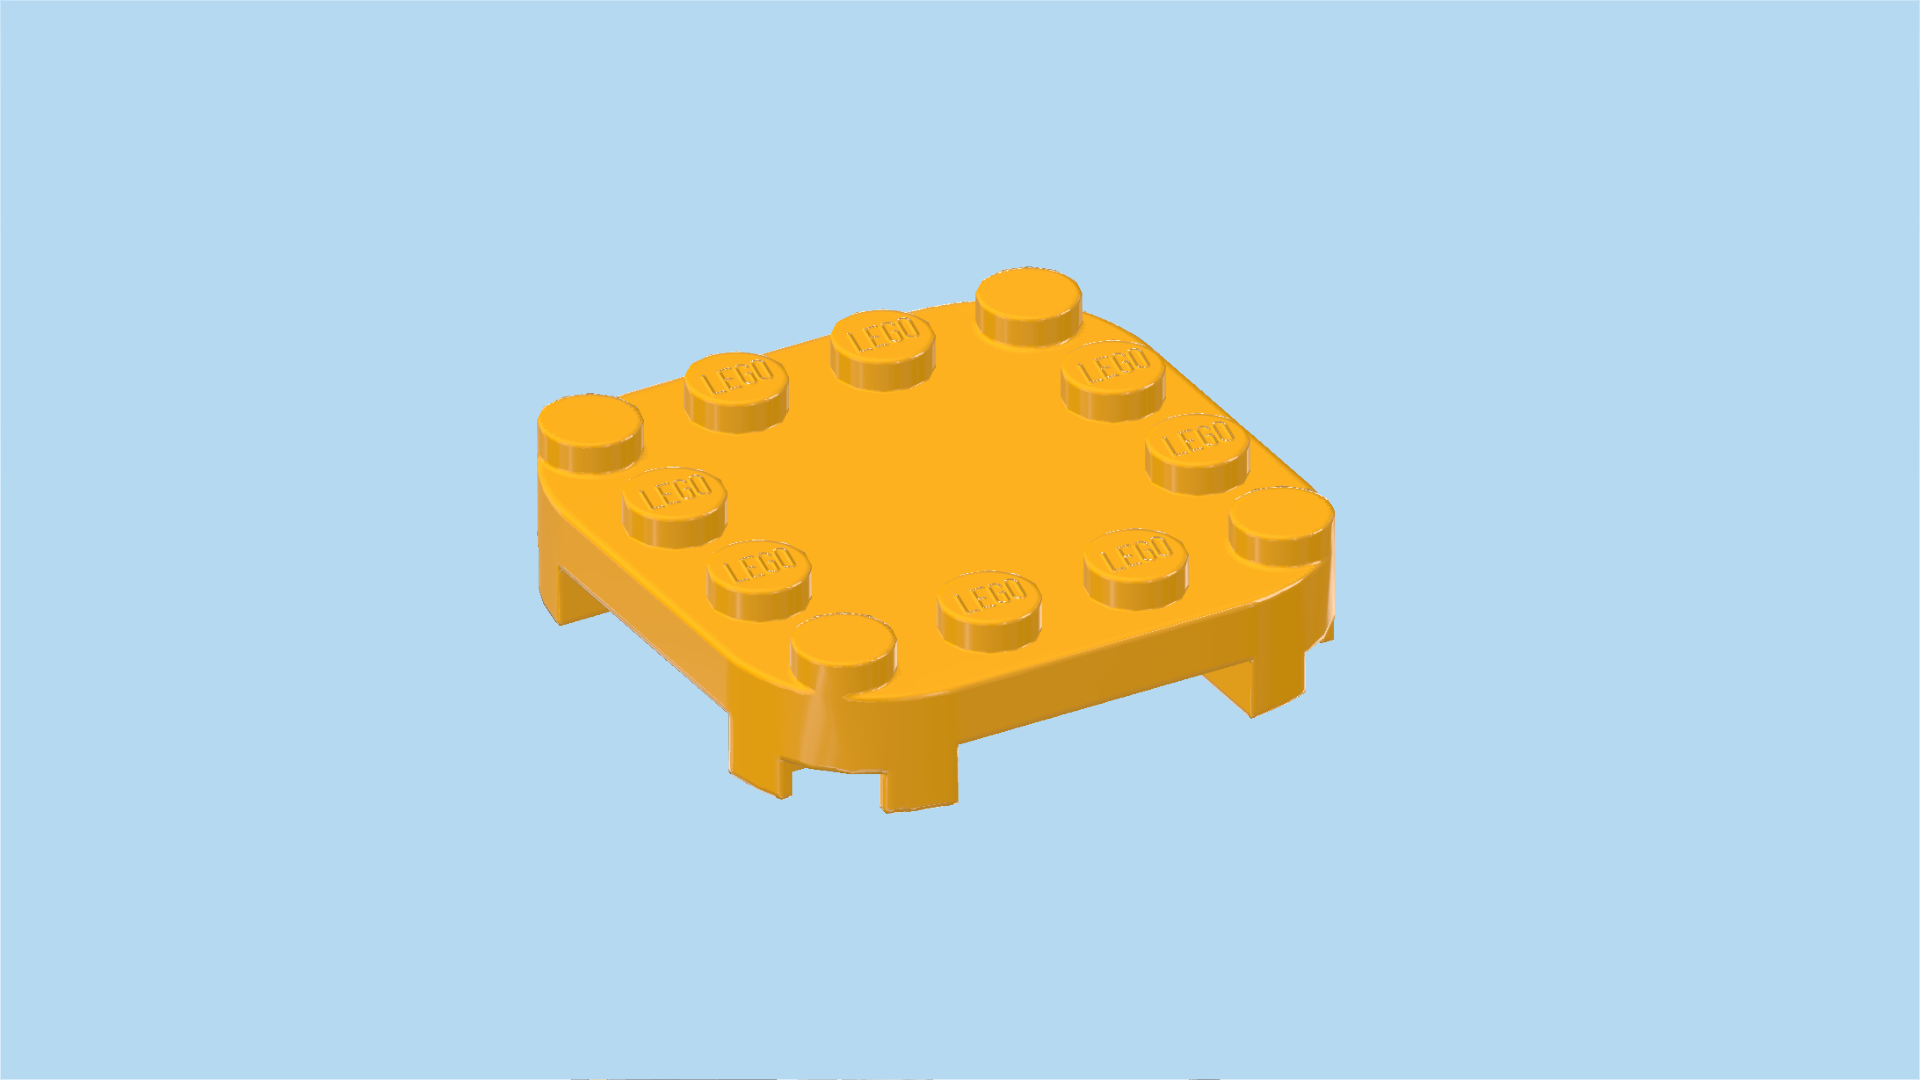
| Find 1 flame yellowish orange plate 4x4x⅔ with rounded corners and 4 feet. |
| Mount it on top of the windscreens. This is the roof of the driver's cabin! |
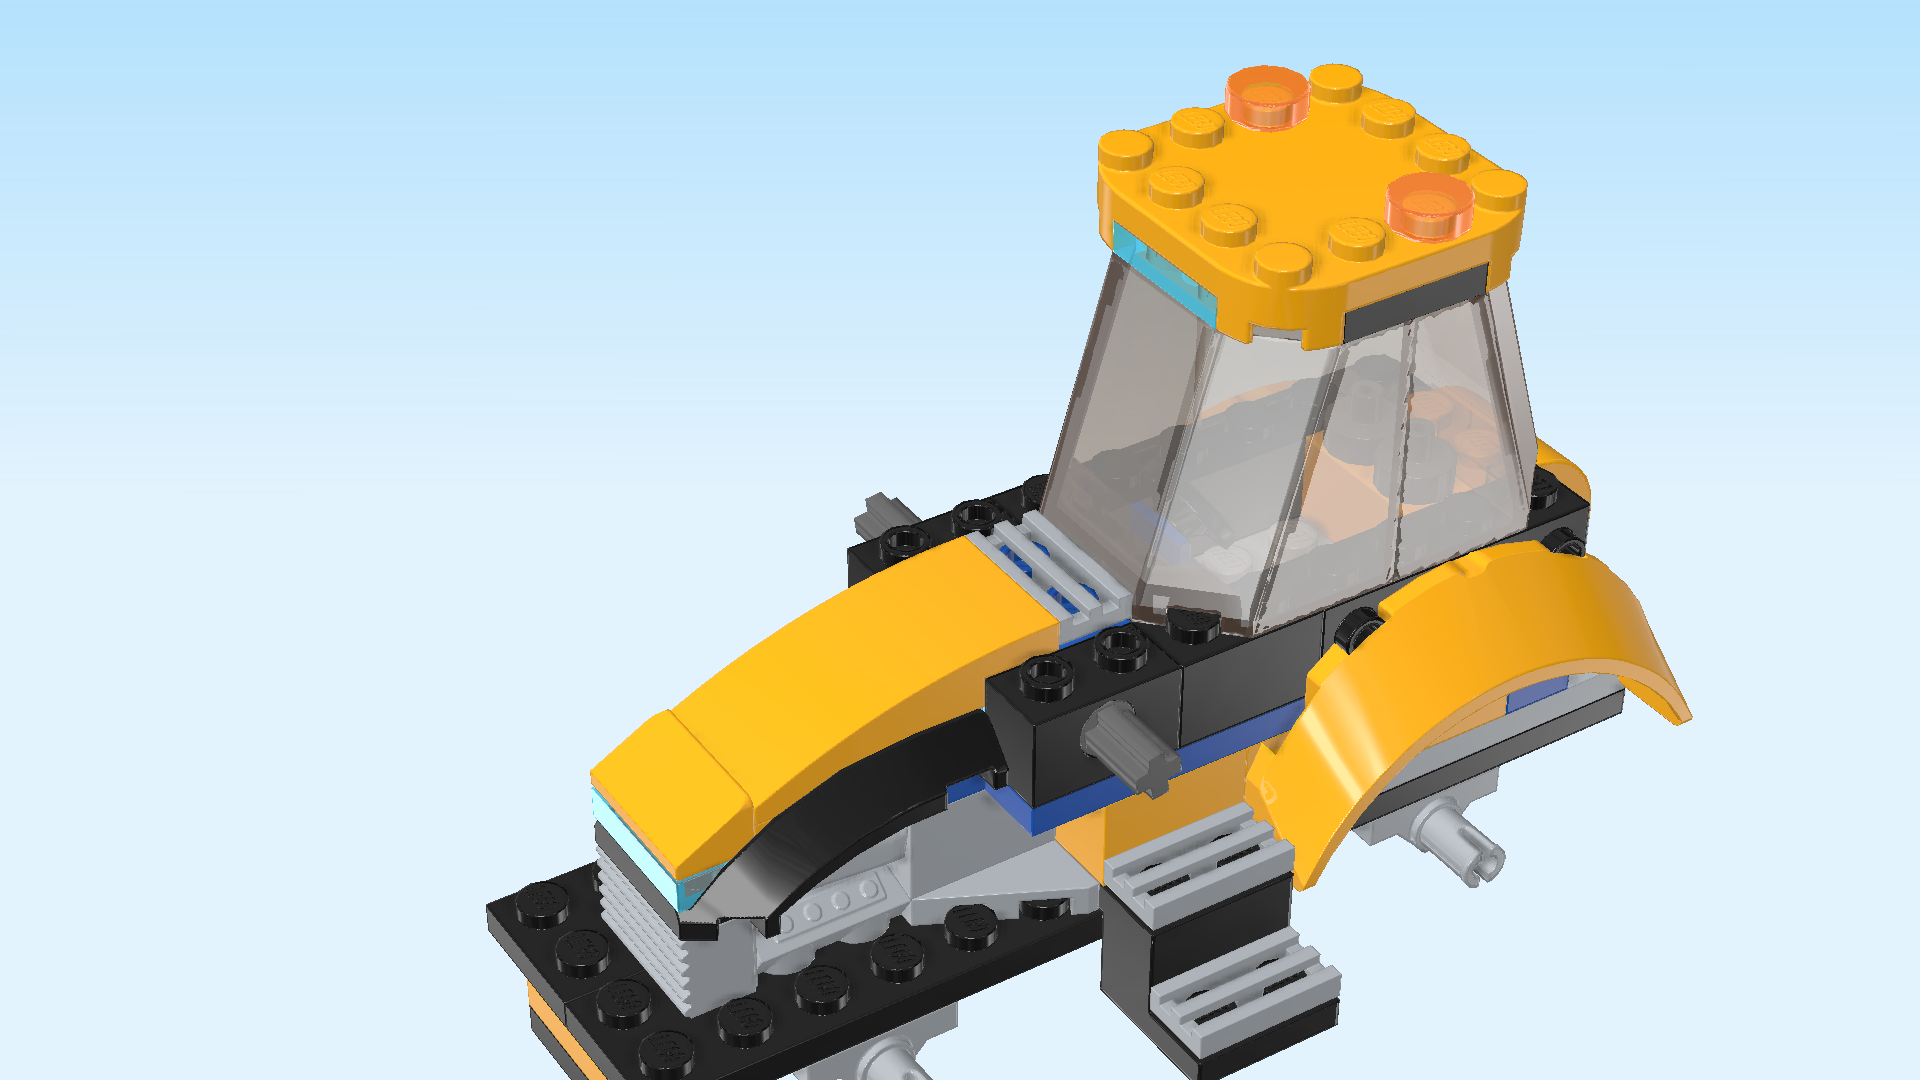
| Find 2 transparent bright orange round tiles 1x1. |
| Put 1 on the front row of the previous piece on the second knob from the right. |
| Repeat symmetrically on the back row. |
| Find 2 bright blue t-shaped cross axle joints 2m. |
| Turn 1 so that 1 cross hole is running from front to back and the other cross hole is to the left. |
| Put the hole running from front to left on the cross axle that is pointing towards you, other cross hole pointing to the left. Do not confuse the cross axle with the connector pegs at the bottom of the vehicle. |
| Repeat symmetrically at the back, other cross hole pointing to the left. |
| Next, we will build the front arms of the digger. |
| Collect the following 2 pieces: |
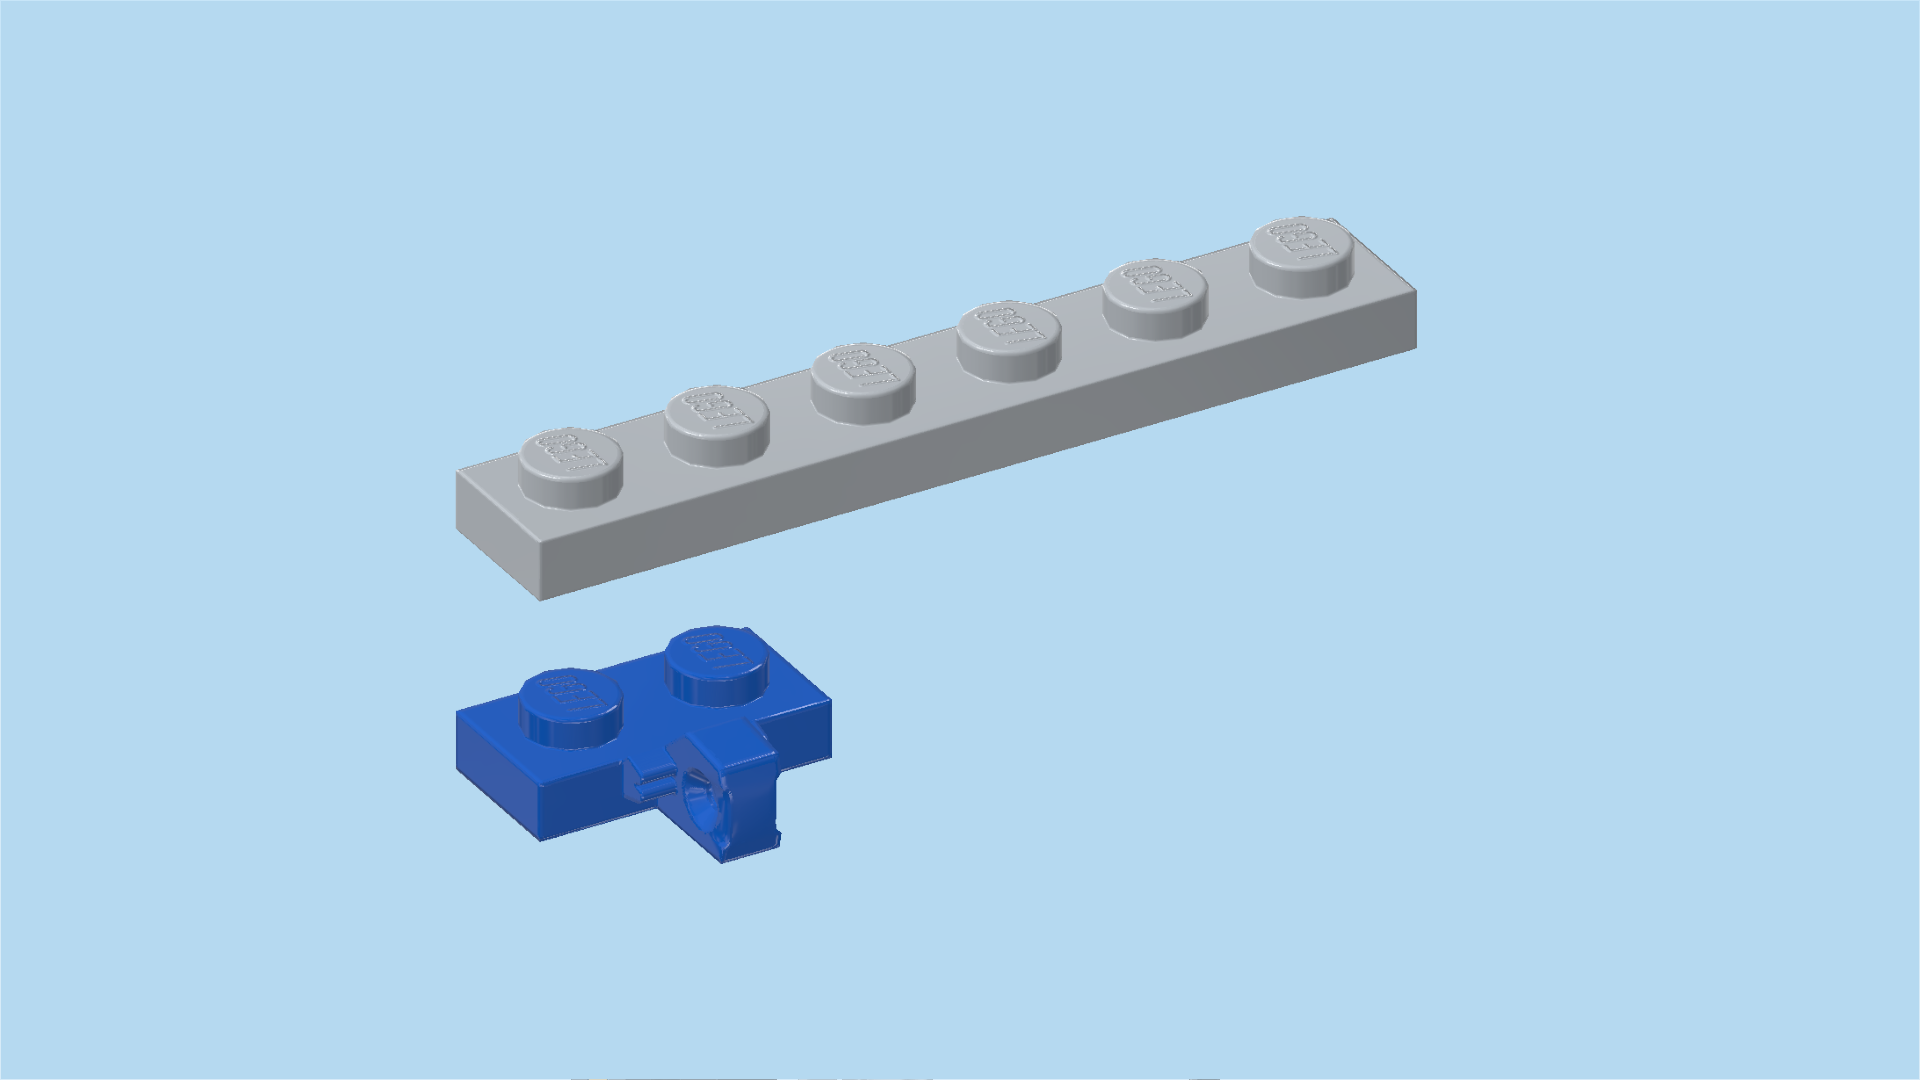
| 1 medium stone grey plate 1x6, |
| and 1 bright blue plate 1x2 with hinge stub on long side. |
| Put the plate 1x6 horizontally on the table. |
| Put the plate 1x2 horizontally centered on top, hinge stub to the back. |
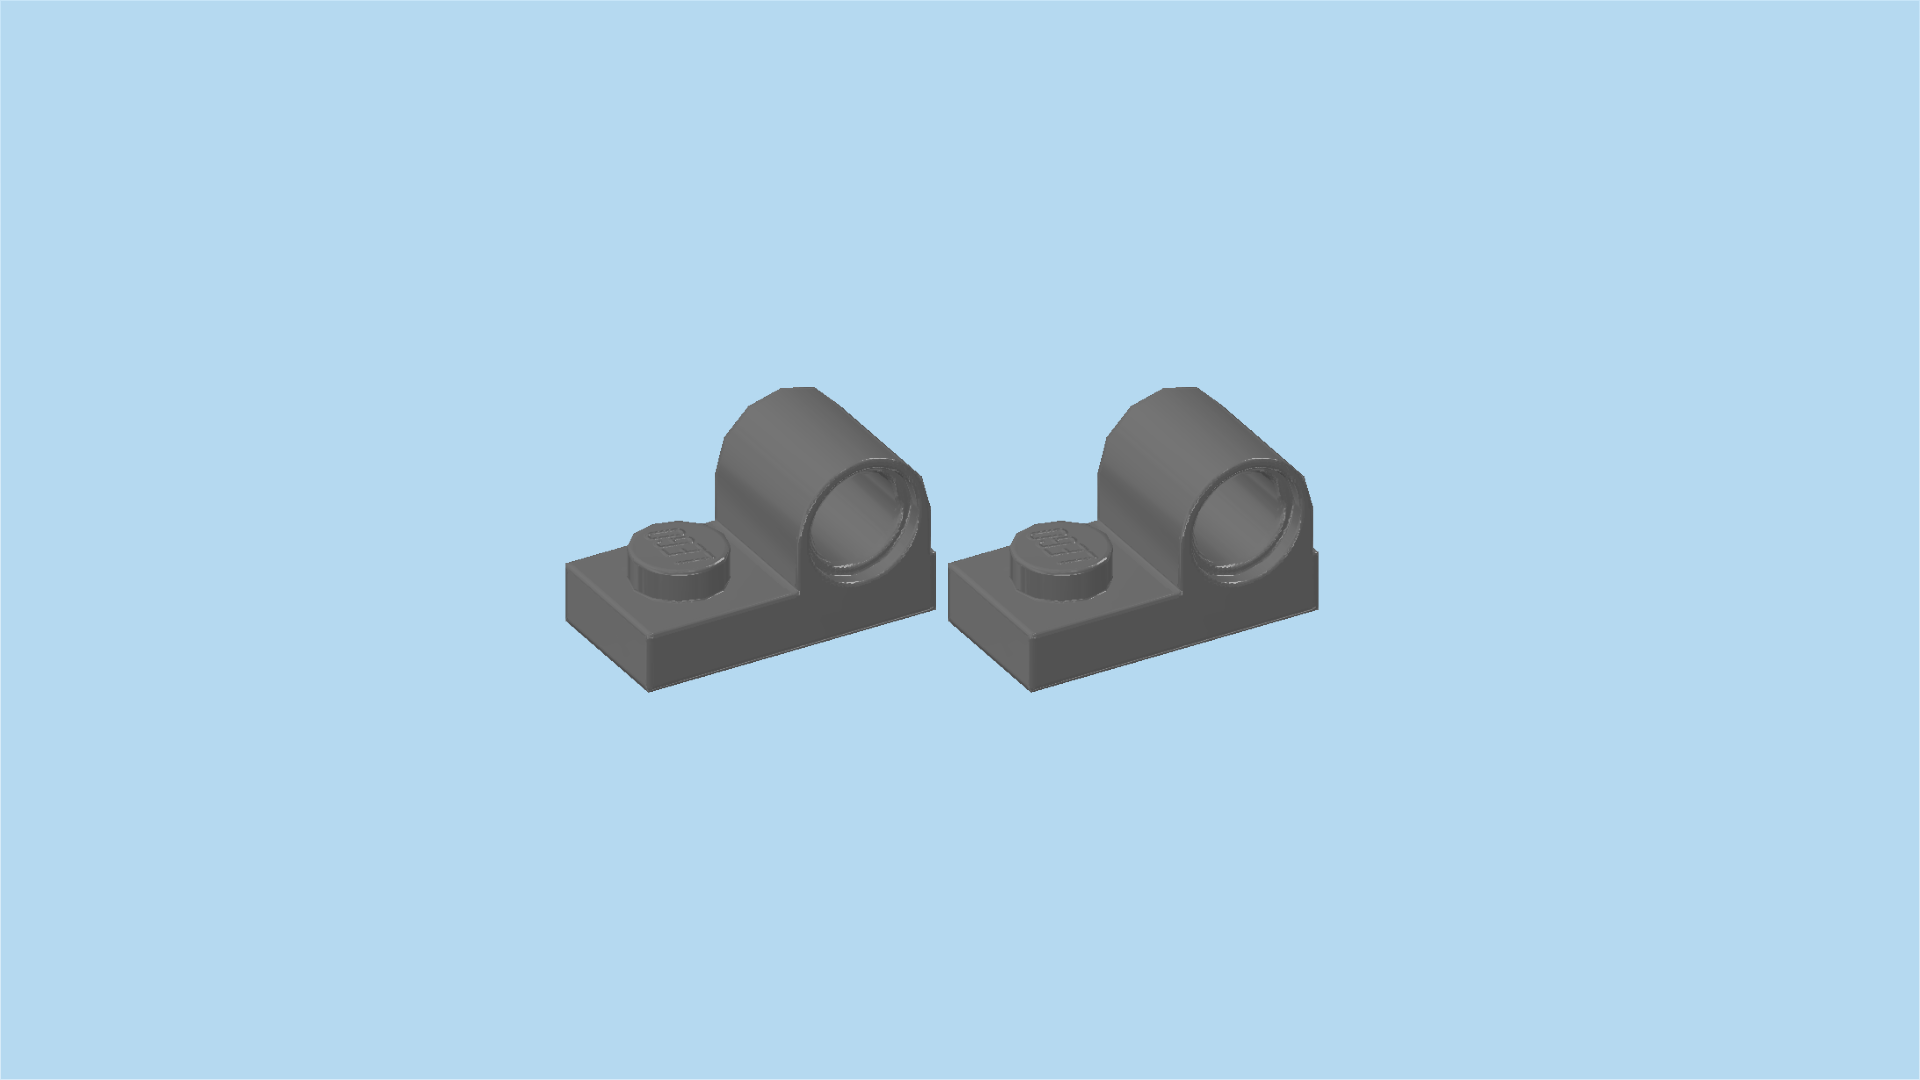
| Find 2 dark stone grey plates 1x2 with top tube. |
| Put 1 horizontally to the right of the previous piece, tube to the right. |
| Put the other one horizontally on the 2 left knobs, tube to the left. |
| Find 1 black plate 1x4 with 2 knobs. |
| Put it horizontally centered on top. |
| Find 2 bright blue connector pegs 2m with cross axle pin. |
| Insert the connector pegs from the front into the 2 tubes. The cross axle pins will stick out towards the front. |
| Find 2 dark stone grey angled cross axle extensions with middle bushing. |
| Hold 1 vertically so that its 2 ends are to the front and back, pointing down, middle bushing to the top. |
| Put it on the left cross axle coming from the front, front half of the extension protruding to the front, pointing down. |
| Repeat symmetrically on the right. |
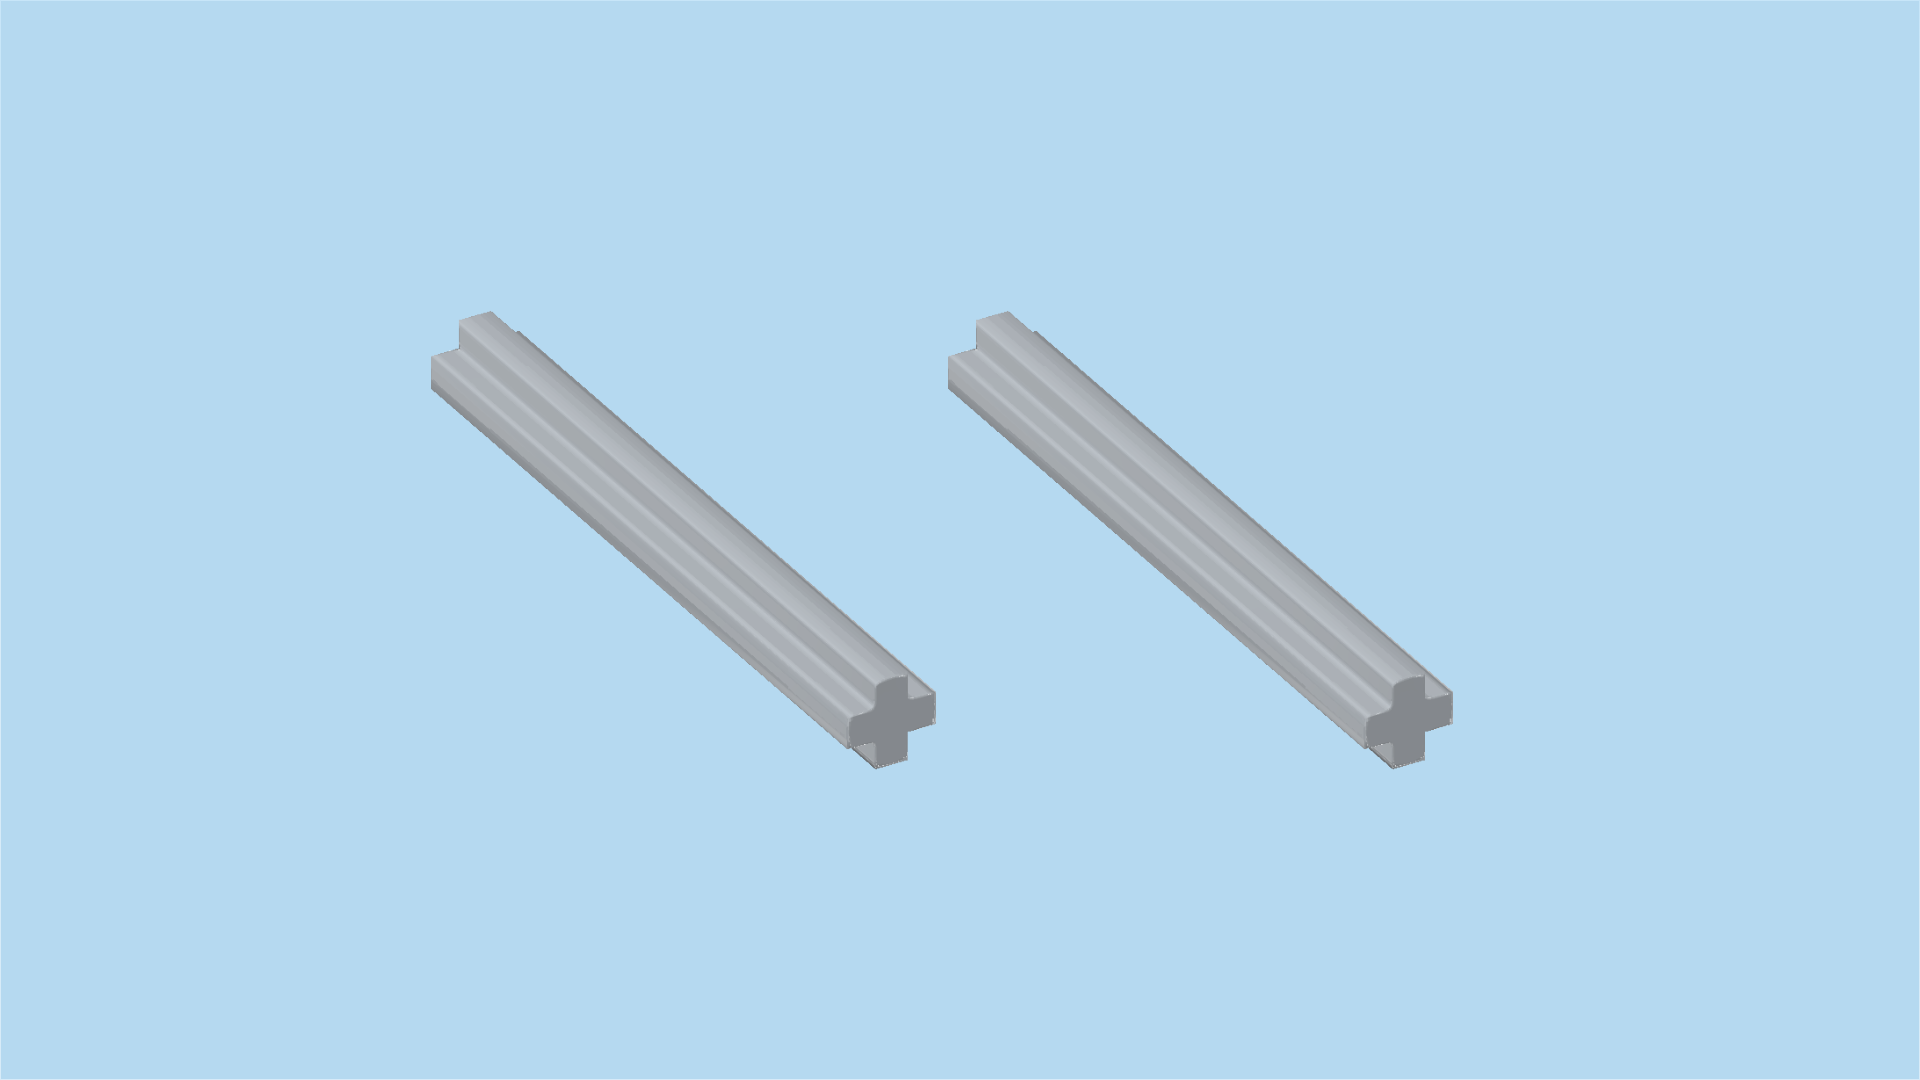
| Find 2 medium stone grey cross axles 5m. (5m means that this piece is roughly 5 knobs long. |
| Insert them into the 2 cross axle extensions coming from the front. |
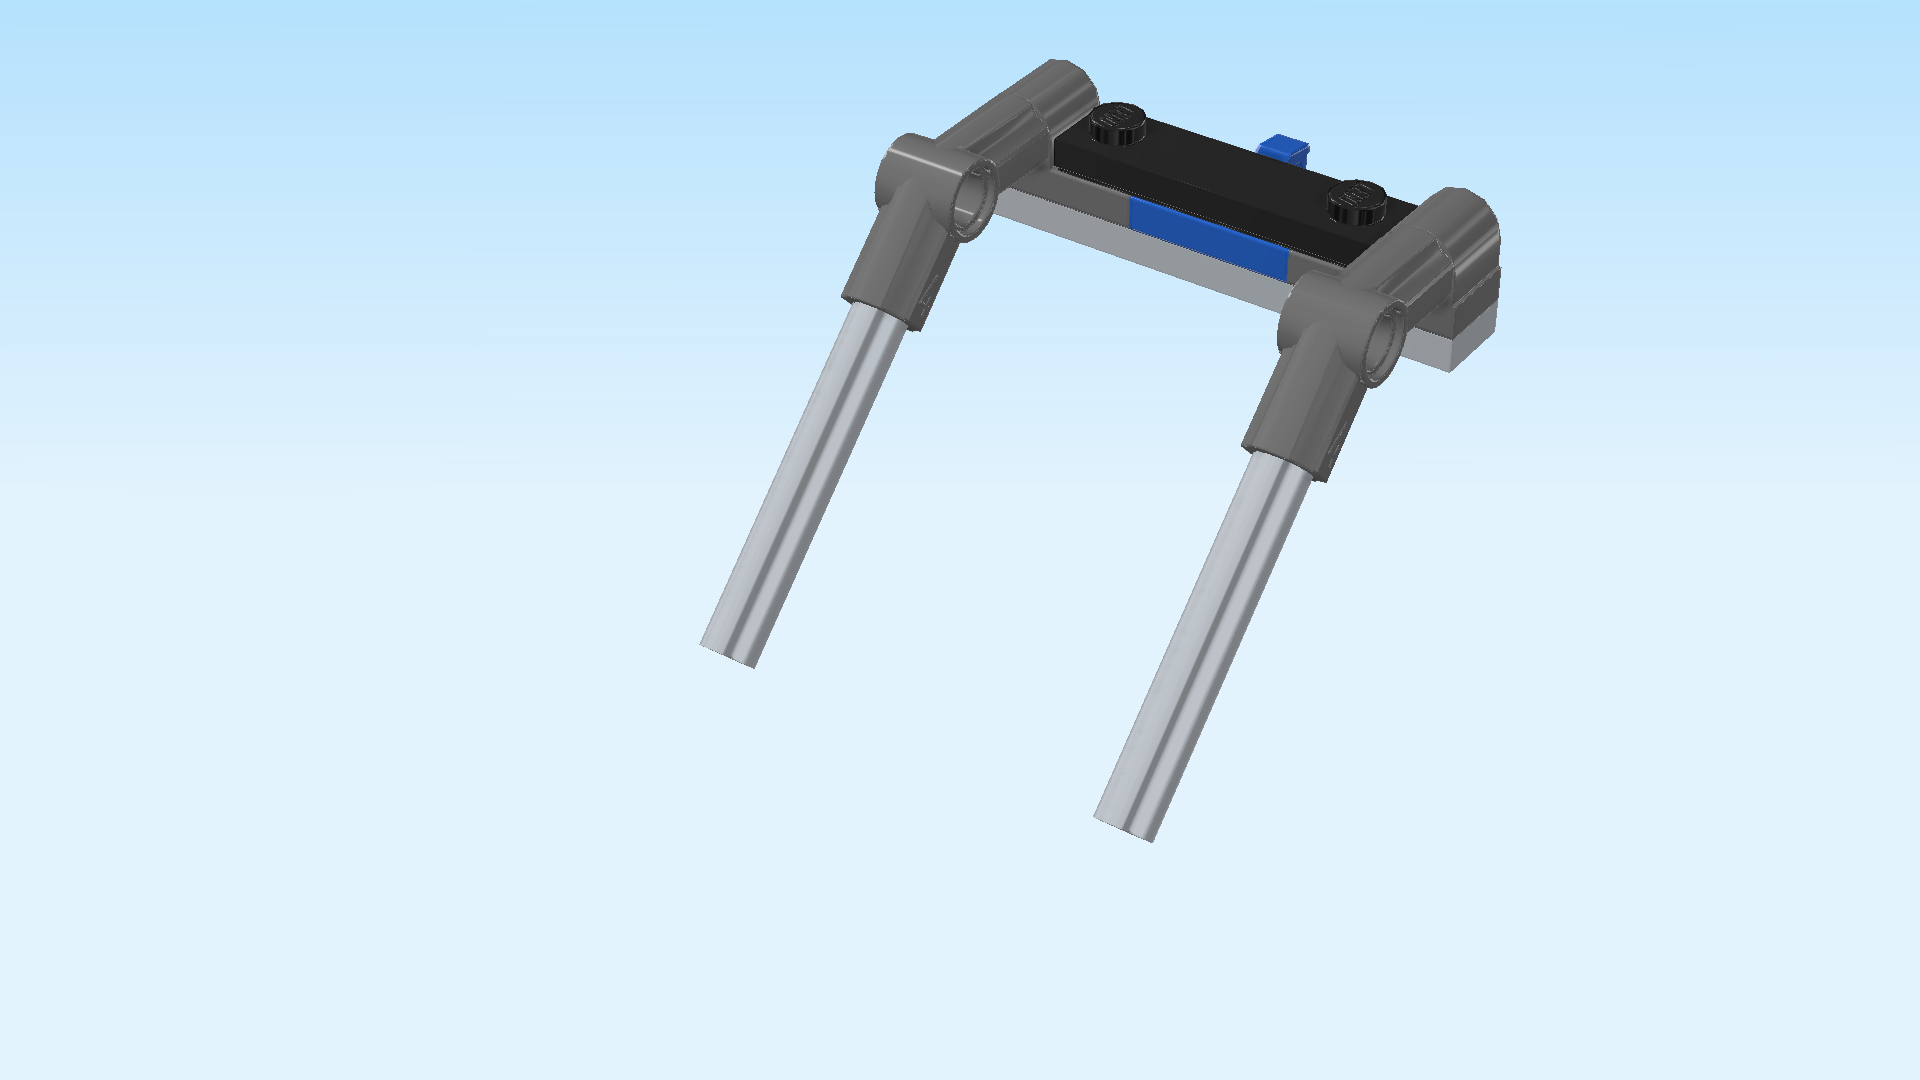
| The front arms of the digger are finished! Well done! Turn the build so that the 2 long cross axles are pointing to the right. The left edge of the build should be pointing down now. |
| Coming from the left, insert the cross axles into the 2 cross holes pointing to the left. |
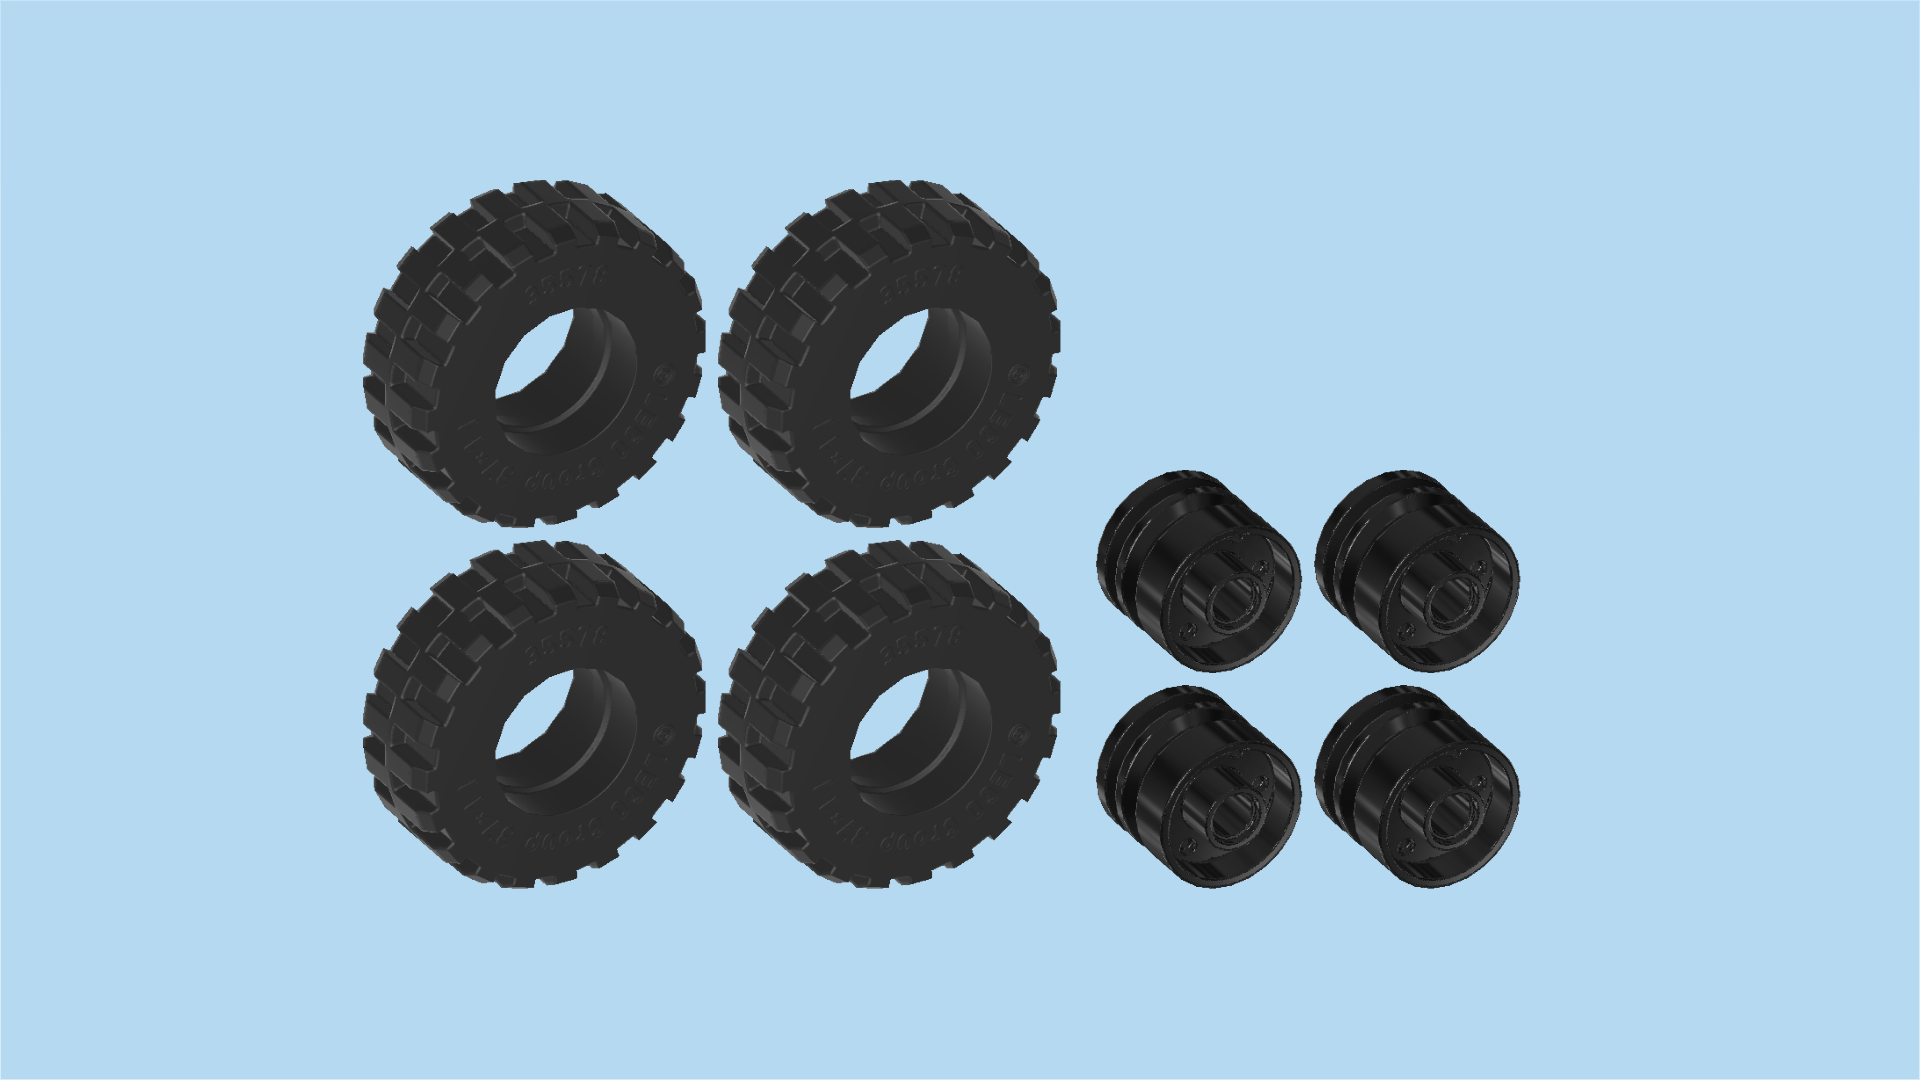
| Next up, we will assemble the 4 wheels. |
| Collect the following 8 pieces: |
| 4 black wide off-road tires, |
| and 4 black wide rims with hole and spokes. |
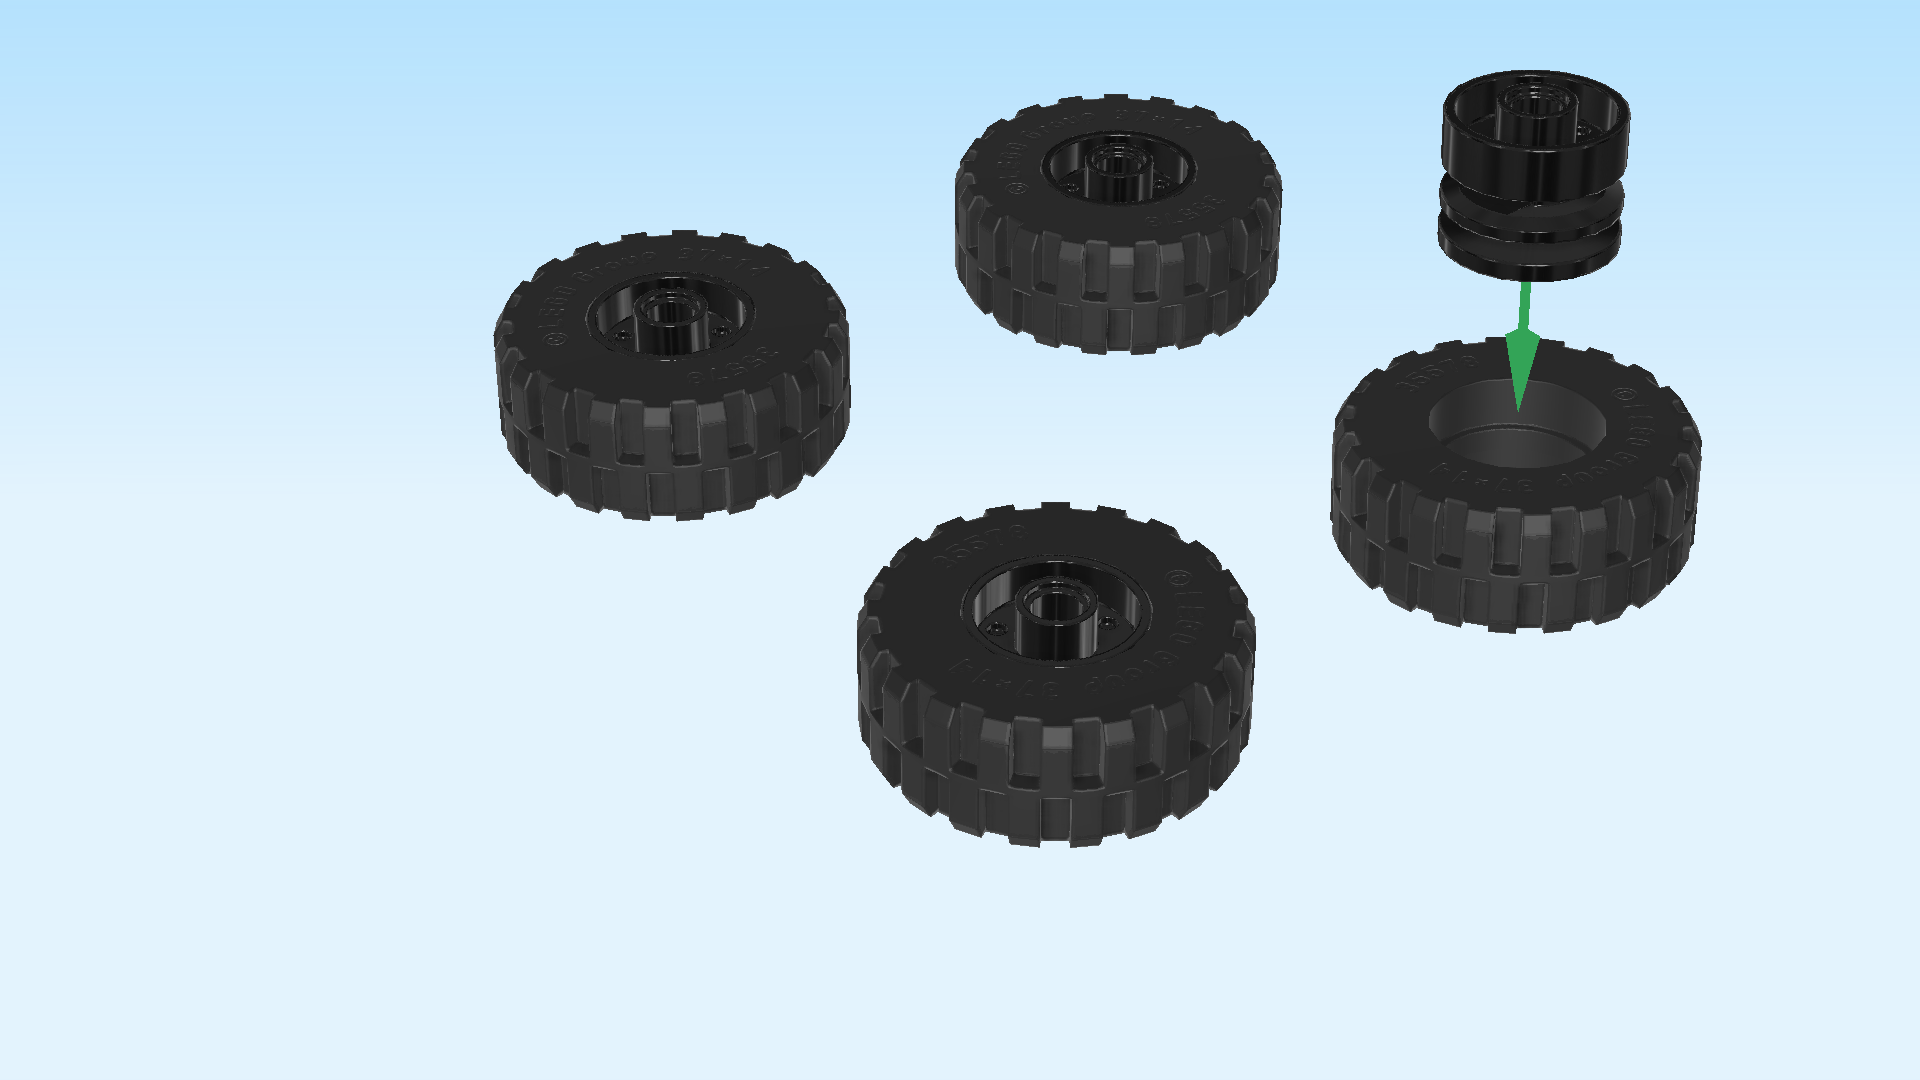
| Put the rims into the tires. |
| The 4 wheels are finished! Snap them on the 4 connector pegs at the bottom. Make sure that the spokes are facing inward, a digger usually does not have fancy wheel trims. |
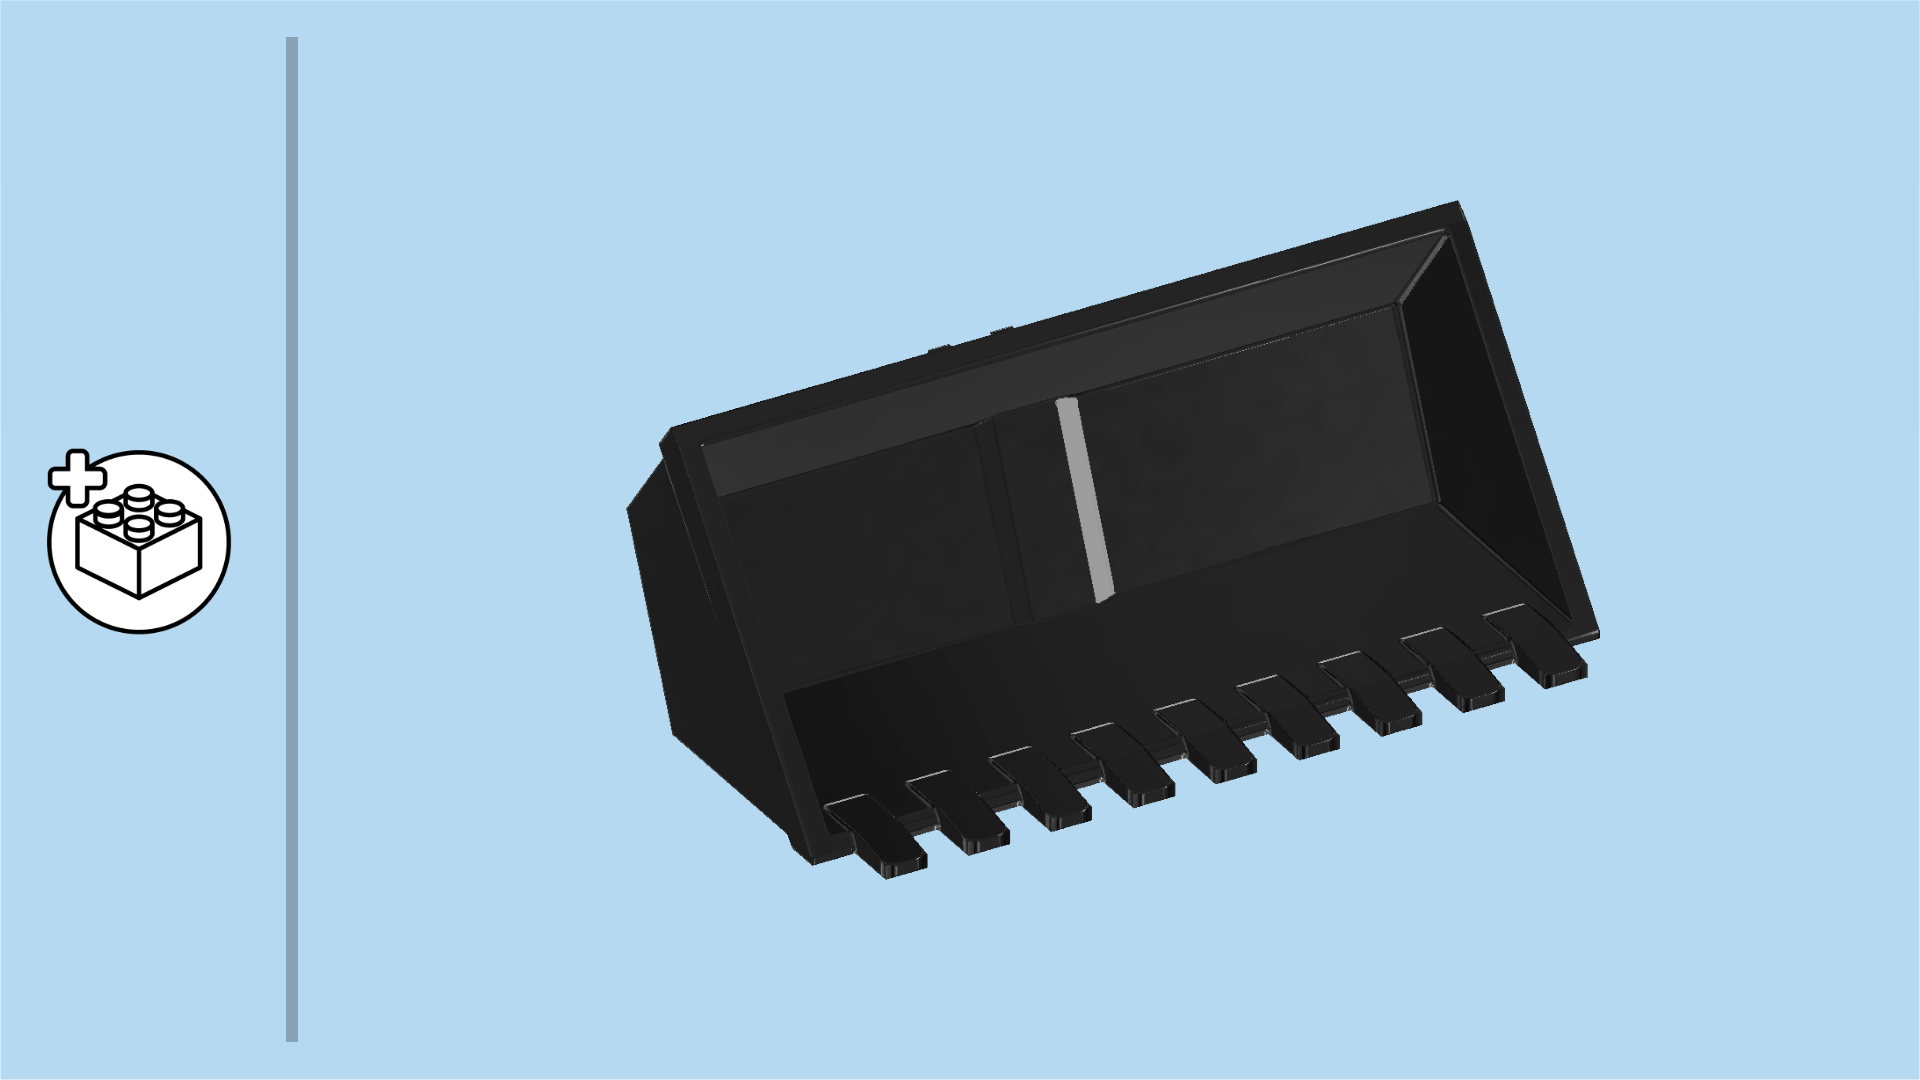
| Find 1 black digger bucket 4x8x2⅔. |
| Snap the bucket's hinge fork onto the hinge stub on the left edge of the digger arms. |
| You can lift off the windshields with roof of the driver's cabin and seat the digger operator behind the steering wheel. You can store her broom by snapping it into one of the 2 clasps at the rear end of the digger. The other clasp is for the shovel we will find later. |
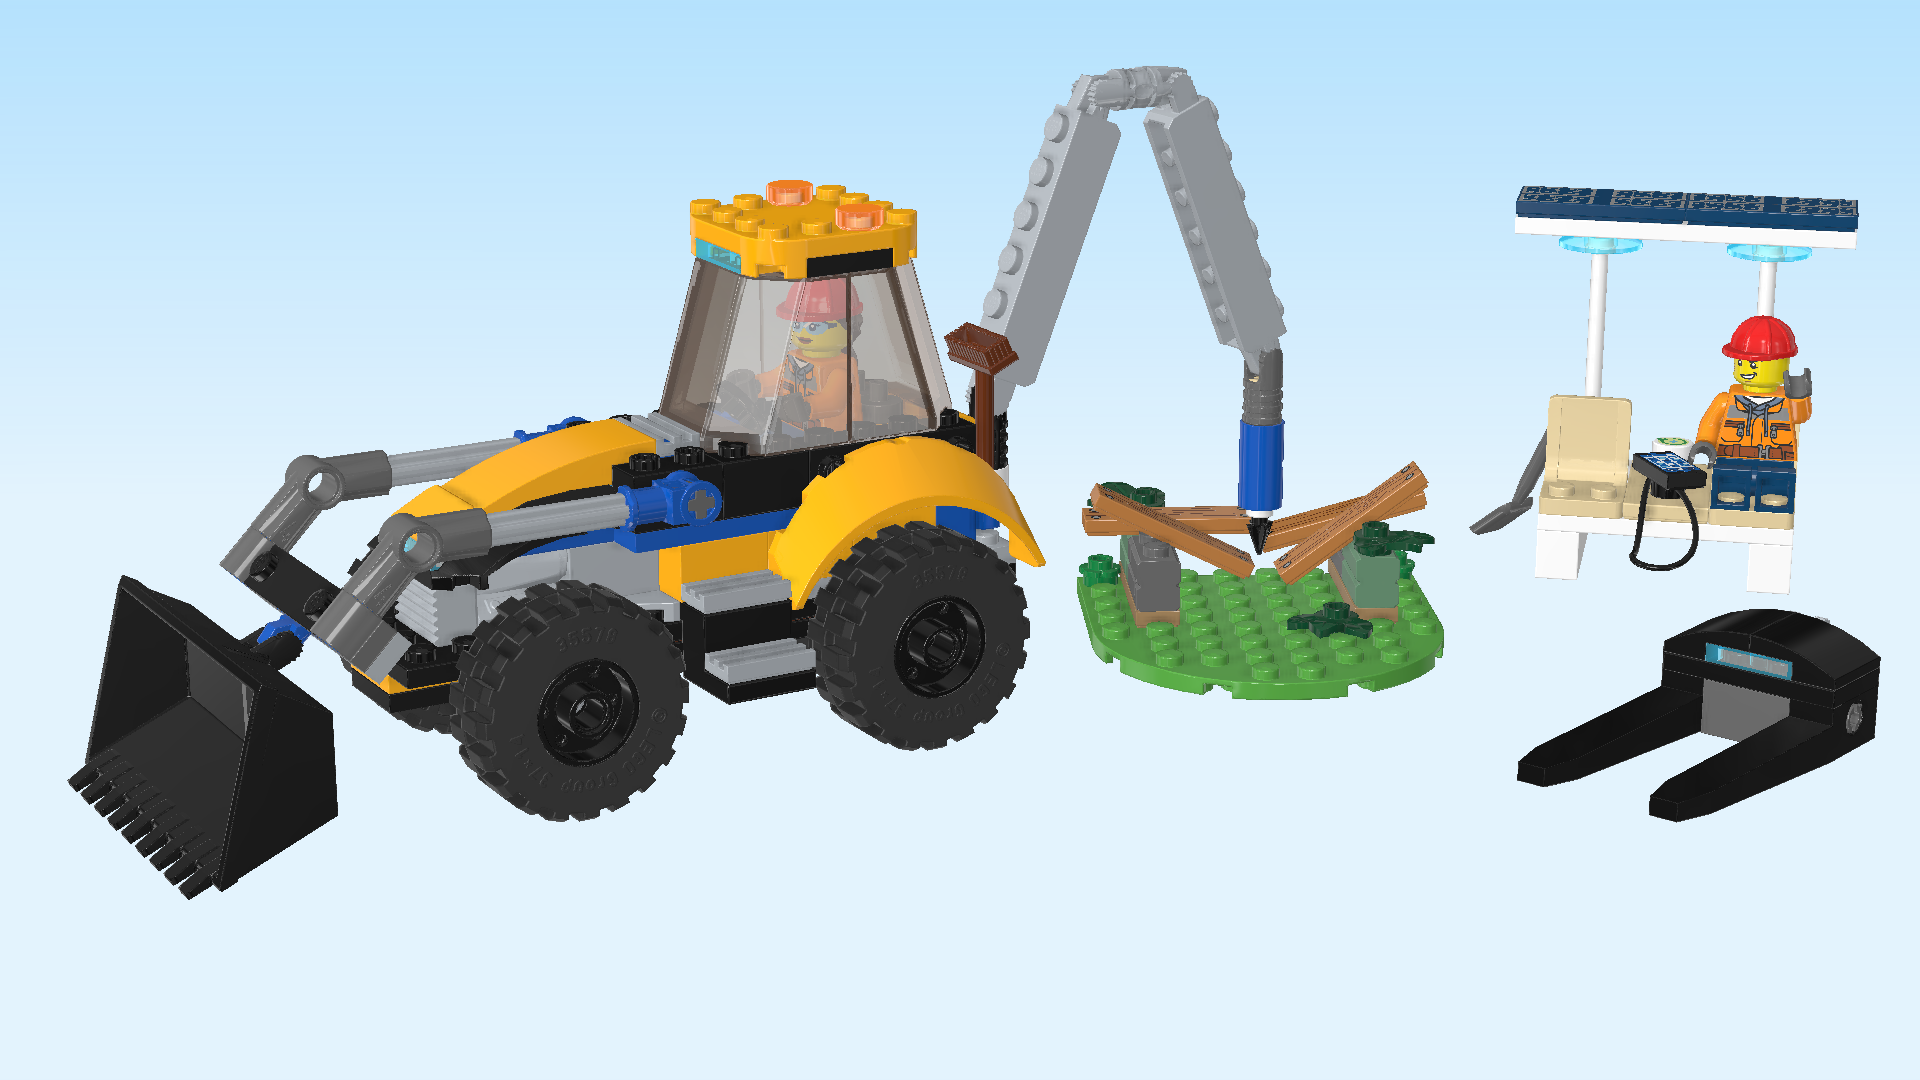
| The digger with bucket is finished! Great job! You can already try and shovel stuff out of the way! The arms of the digger are movable, as is the bucket, so you can adjust the bucket as needed. |
| Open bag number 2 and any small sub-bags in it. You can choose to have the bricks sorted by color again. This bag contains all bricks and pieces for the construction worker Minifigure, the old park bench with meadow, the jackhammer attachment, the forklift attachment, and the smart park bench with solar panel roof. |
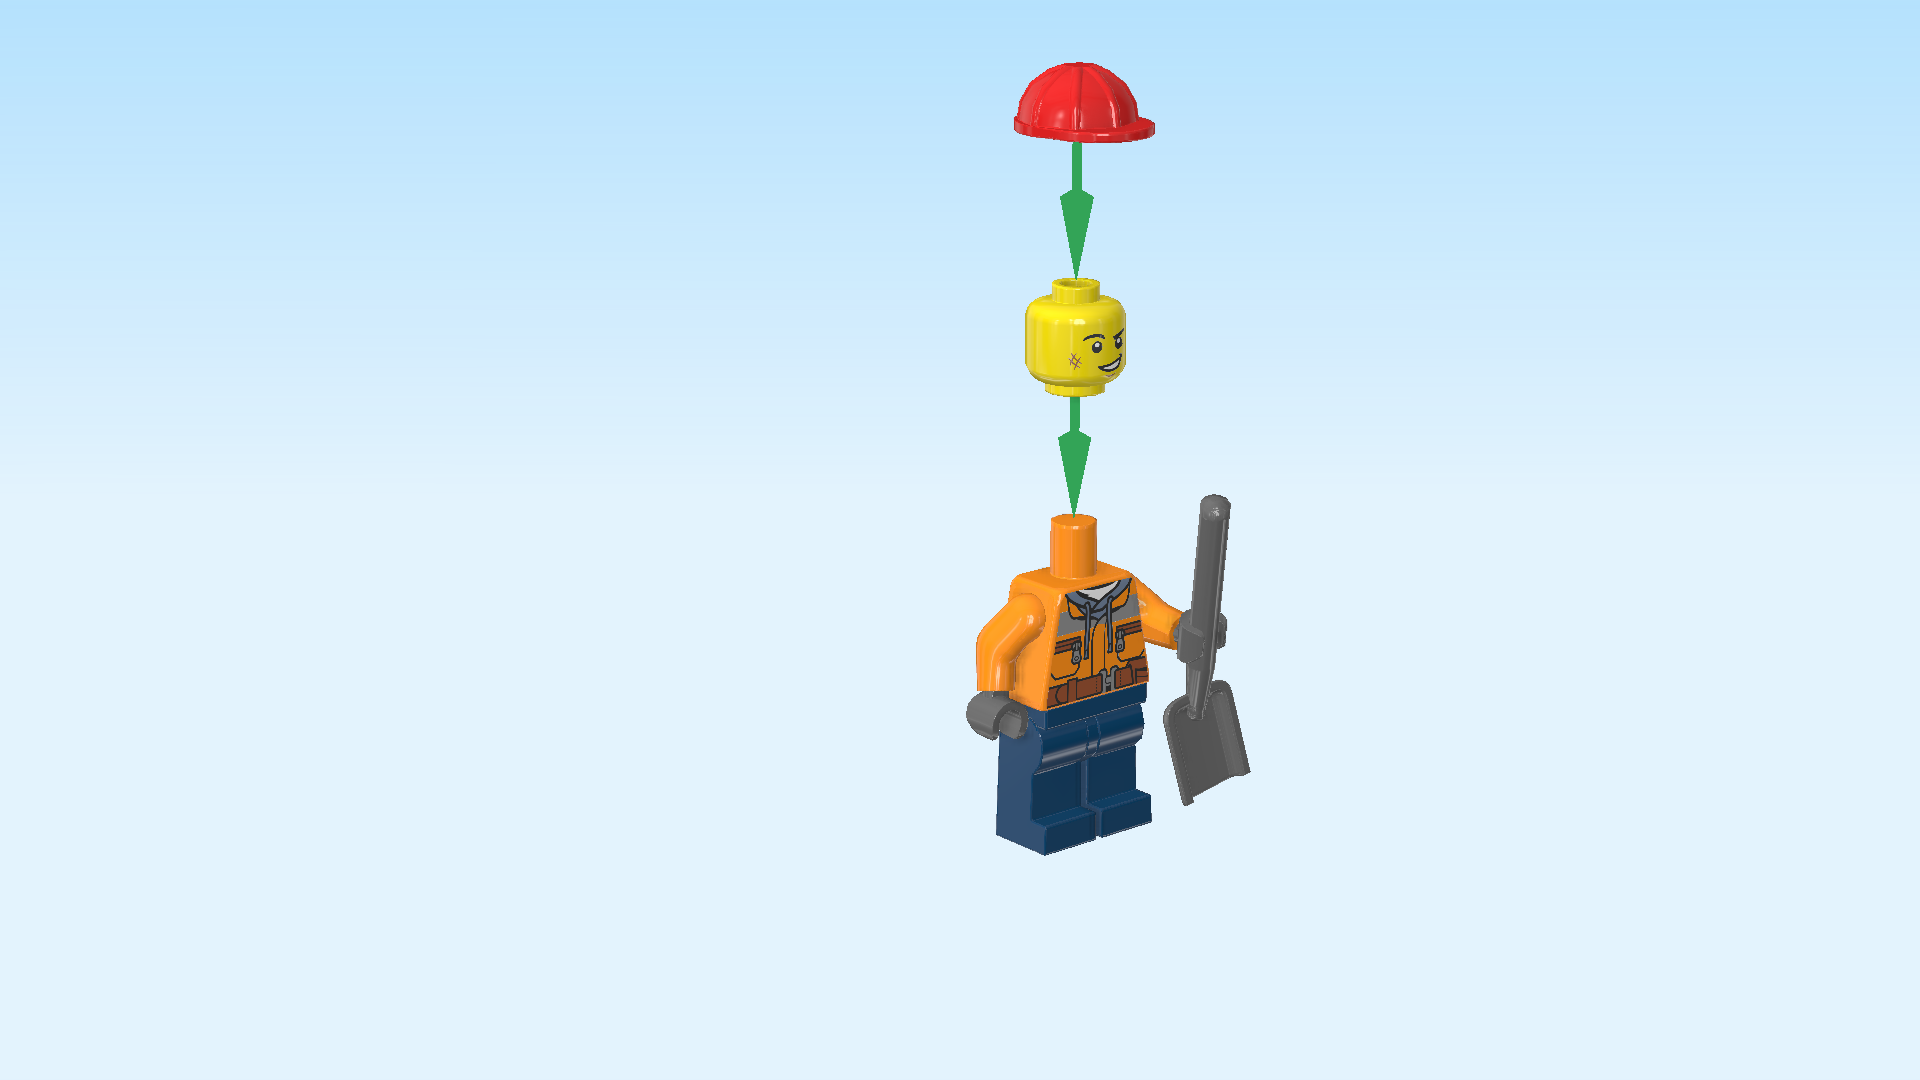
| First, we will build the construction worker Minifigure. |
| Collect the following 2 pieces: |
| 1 bright orange and dark stone grey upper part of the body, |
| and 1 earth blue pair of legs. |
| Put the upper body on the legs. |
| Collect the following 3 pieces: |
| 1 dark stone grey shovel, |
| 1 bright red hard hat, |
| and 1 bright yellow Minifigure head. |
| Put the head on the body and the hard hat on top. |
| Snap the shovel into the Minifigure's left hand, shovel portion to the bottom. |
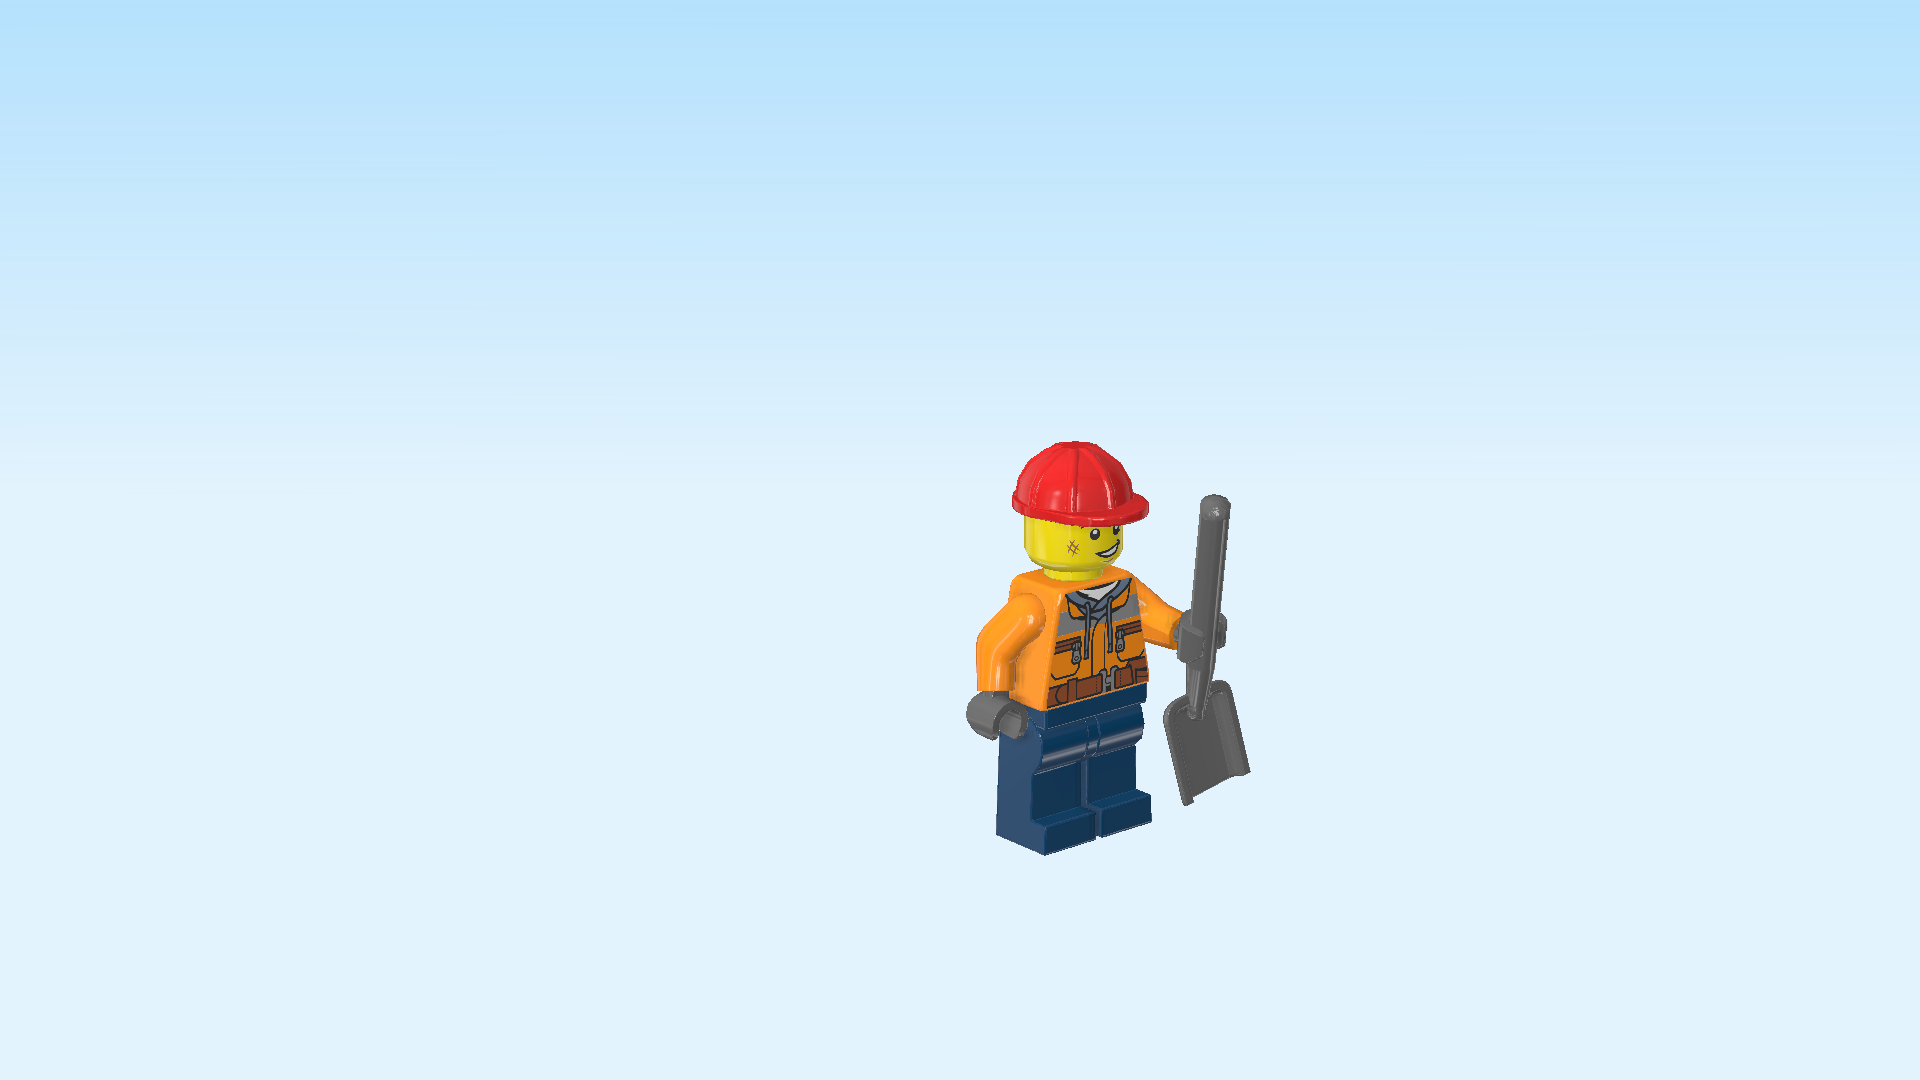
| The construction worker Minifigure is finished! Well done! He is wearing dark blue work pants and a bright orange safety jacket. It is the exact same jacket that the digger operator is wearing. He has a charming smile on his face and there is a smudge on his right cheek. He seems to like his job! |
| Next, we will build the old park bench. |
| Collect the following 3 pieces: |
| 1 bright green plate 8x8 with half circle, |
| and 2 dark green flower pieces 1x1 with through-hole. |
| Put the plate 8x8 on the table, half circle to the left. |
| Put 1 flower piece 1x1 on the backmost knob of the rightmost column. |
| Repeat symmetrically at the front. |
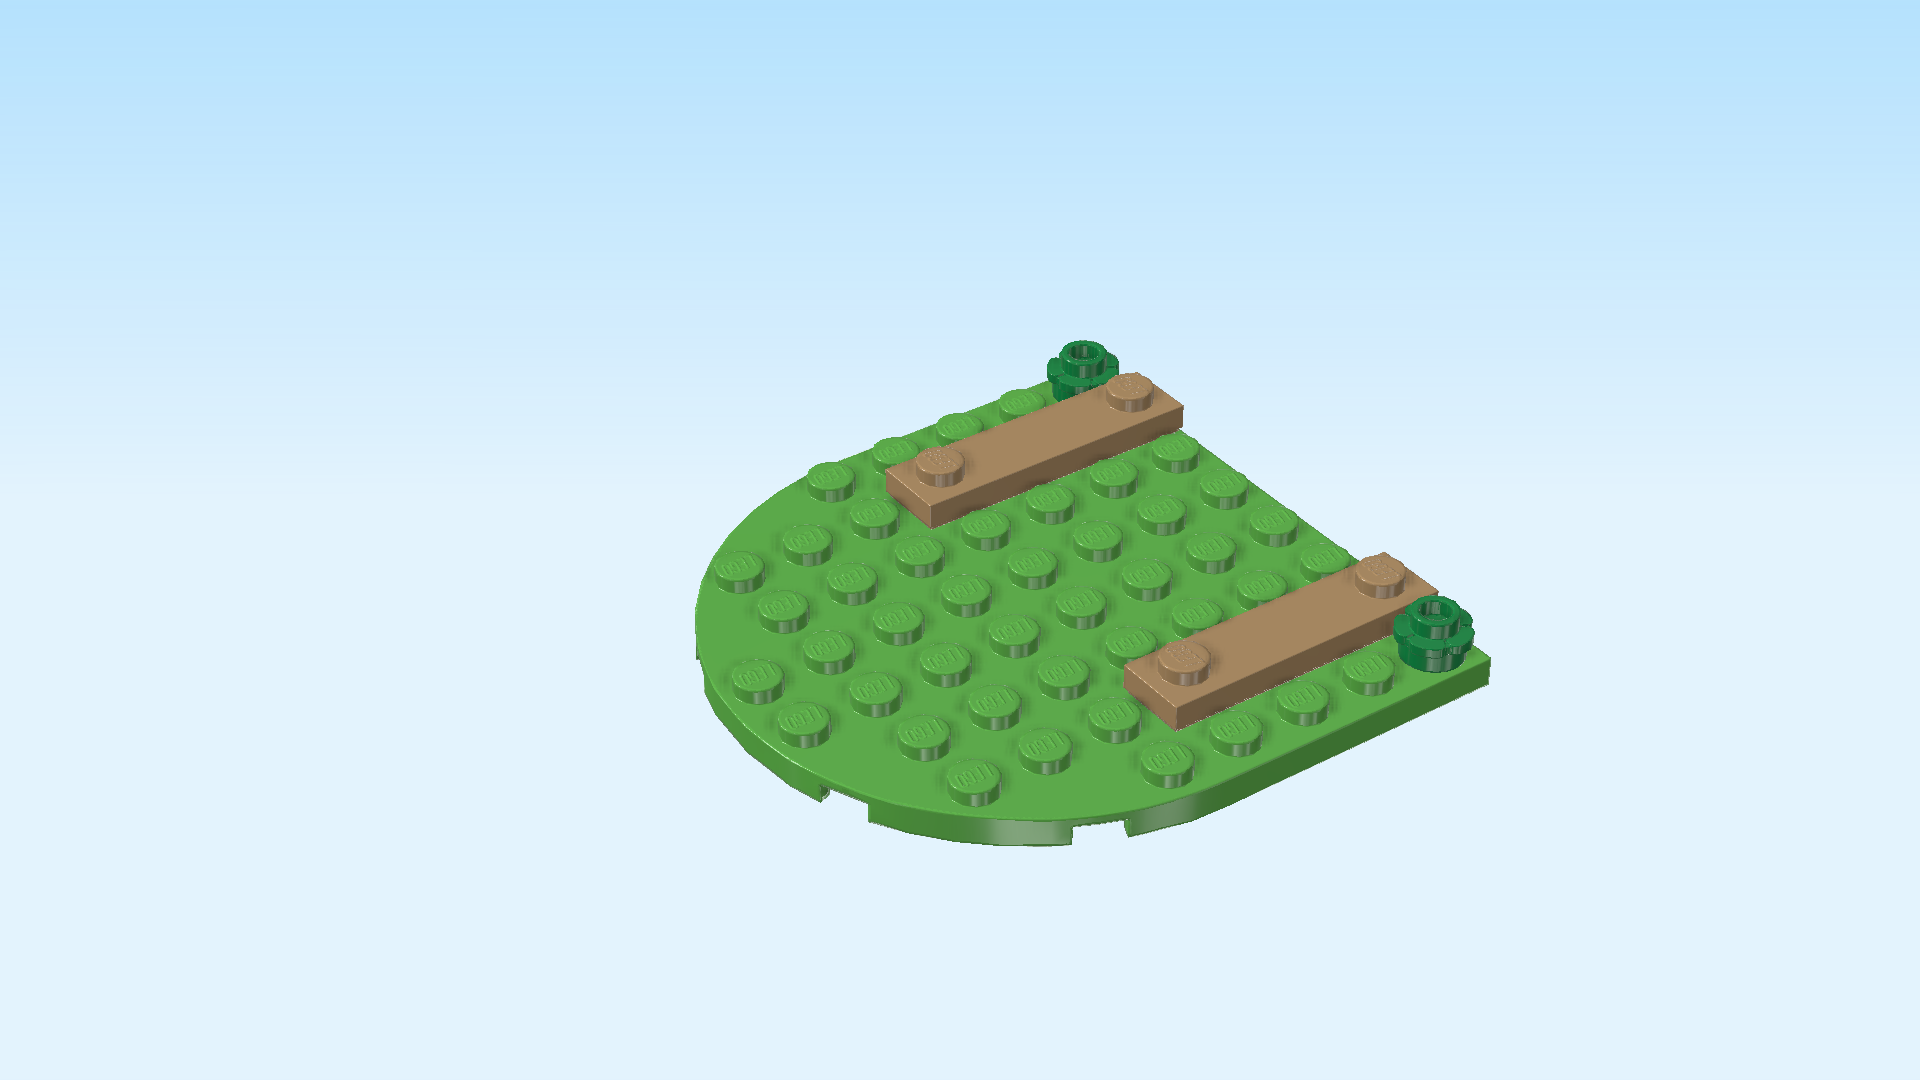
| Find 2 mud grey plates 1x4 with 2 knobs. |
| Put 1 horizontally behind the previous piece, starting from the right edge. This means it will sit on the second row from the front. |
| Repeat symmetrically at the back. |
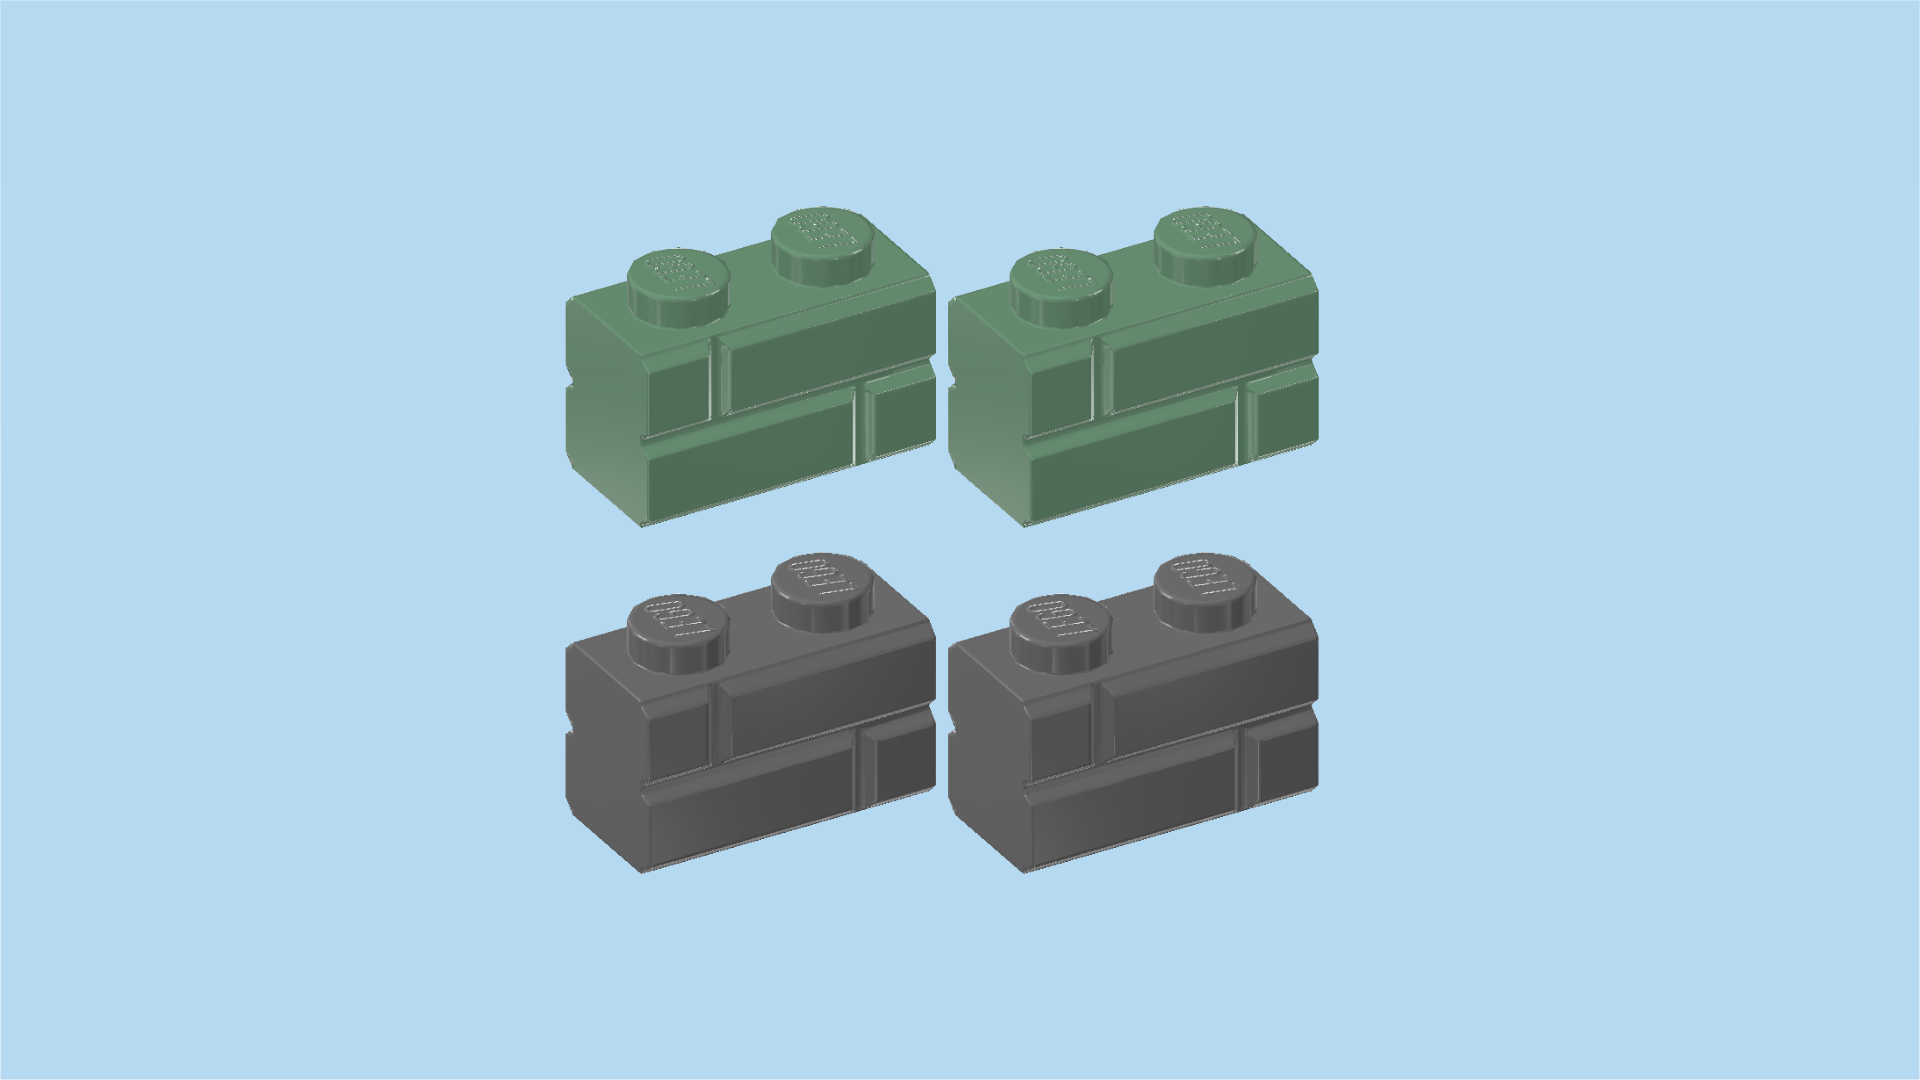
| Collect the following 4 pieces: |
| 2 sand green bricks 1x2 with brick carvings, |
| and 2 dark stone grey bricks 1x2 with brick carvings. |
| Put 1 sand green brick horizontally on the previous piece on its right half, brick carvings to the back. |
| Put 1 dark stone grey brick horizontally to the left of the previous piece, brick carvings to the back. |
| Repeat symmetrically at the front, brick carvings to the front. |
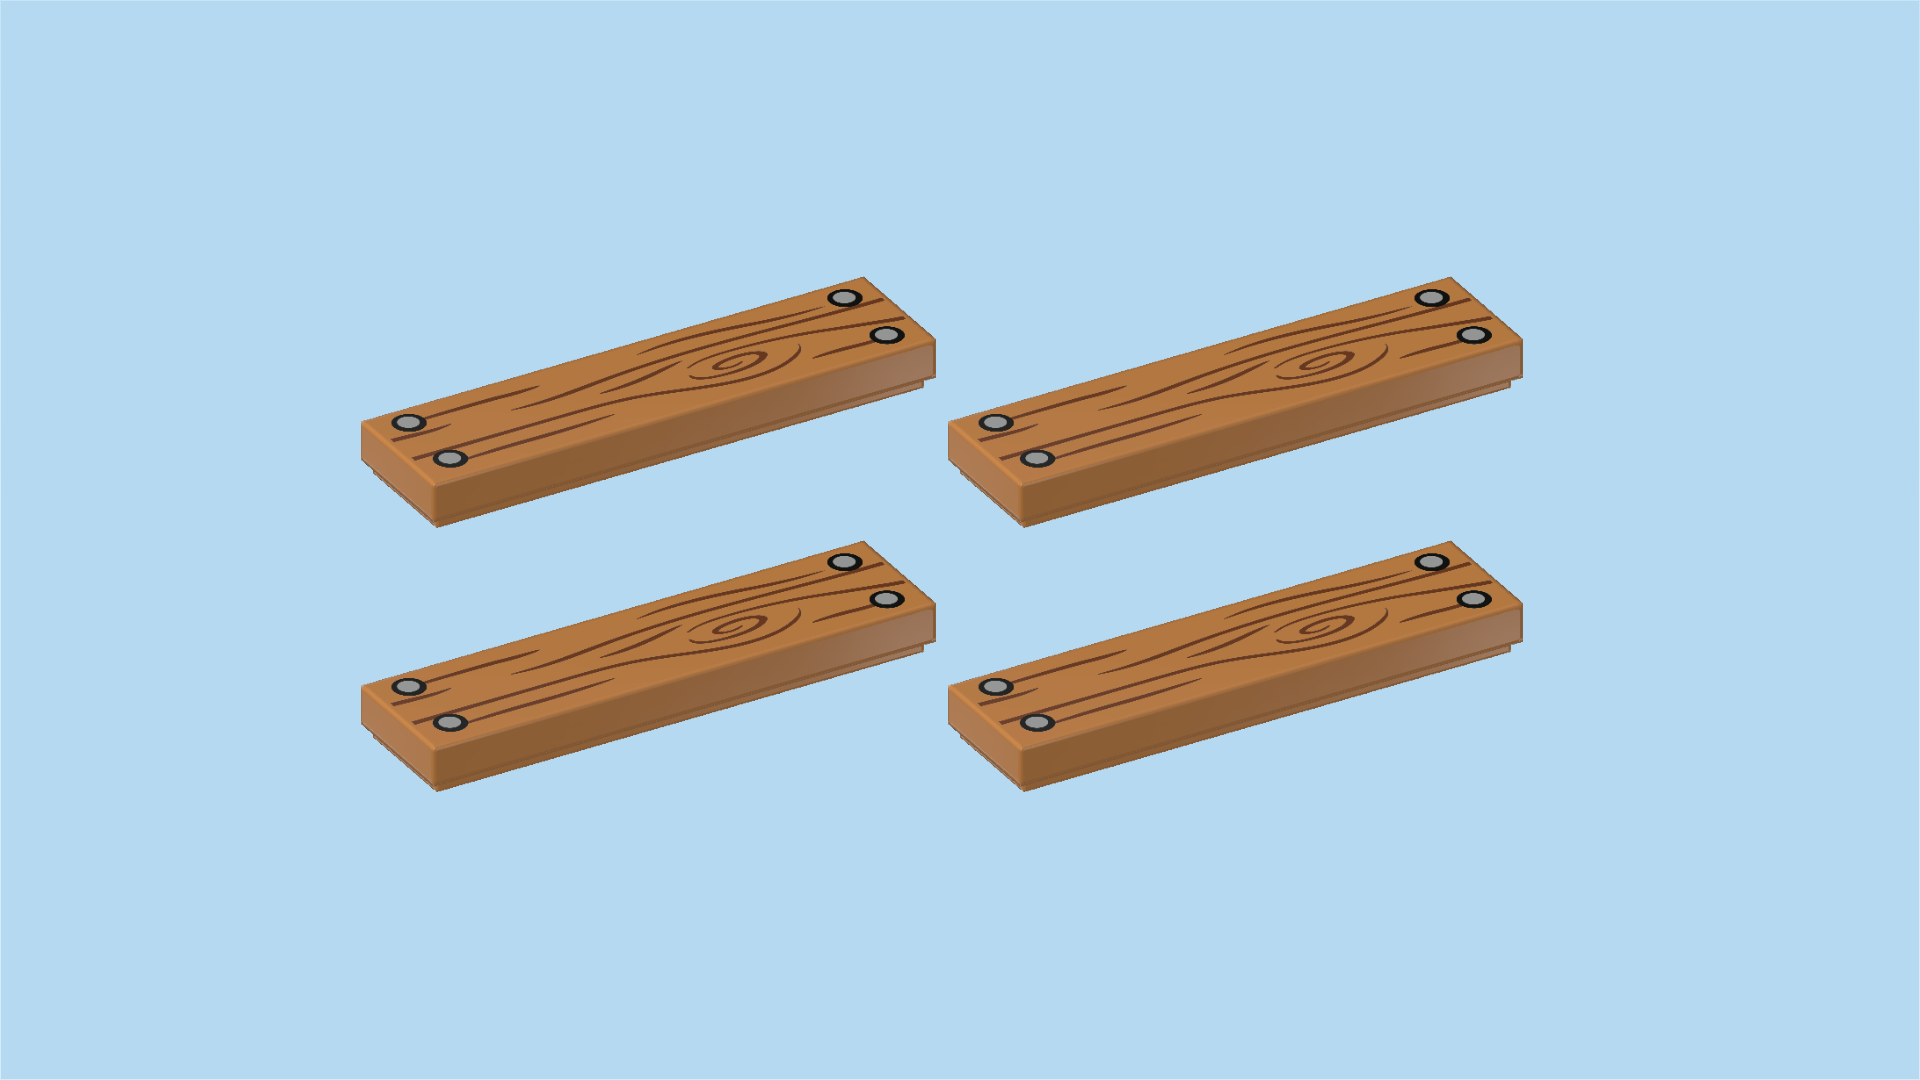
| Find 4 medium nougat brown flat tiles 1x4. |
| The tiles will be used to make the ramshackle seating of the old bench. Since we want to be able to break it down later, these pieces will only connect to a few single knobs. Continue for detailed instructions. |
| Put 1 vertically on the second knob of the profile bricks at the front, 1 row overhanging to the front, 2 rows overhanging to the back. |
| Put 1 vertically to the left of the previous piece, again 1 row overhanging to the front and 2 rows overhanging to the back. |
| Repeat symmetrically at the back. Make sure the back tiles and front tiles are touching in the middle. |
| Each of these pieces is printed with wood grain and 4 nails on the 4 corners. |
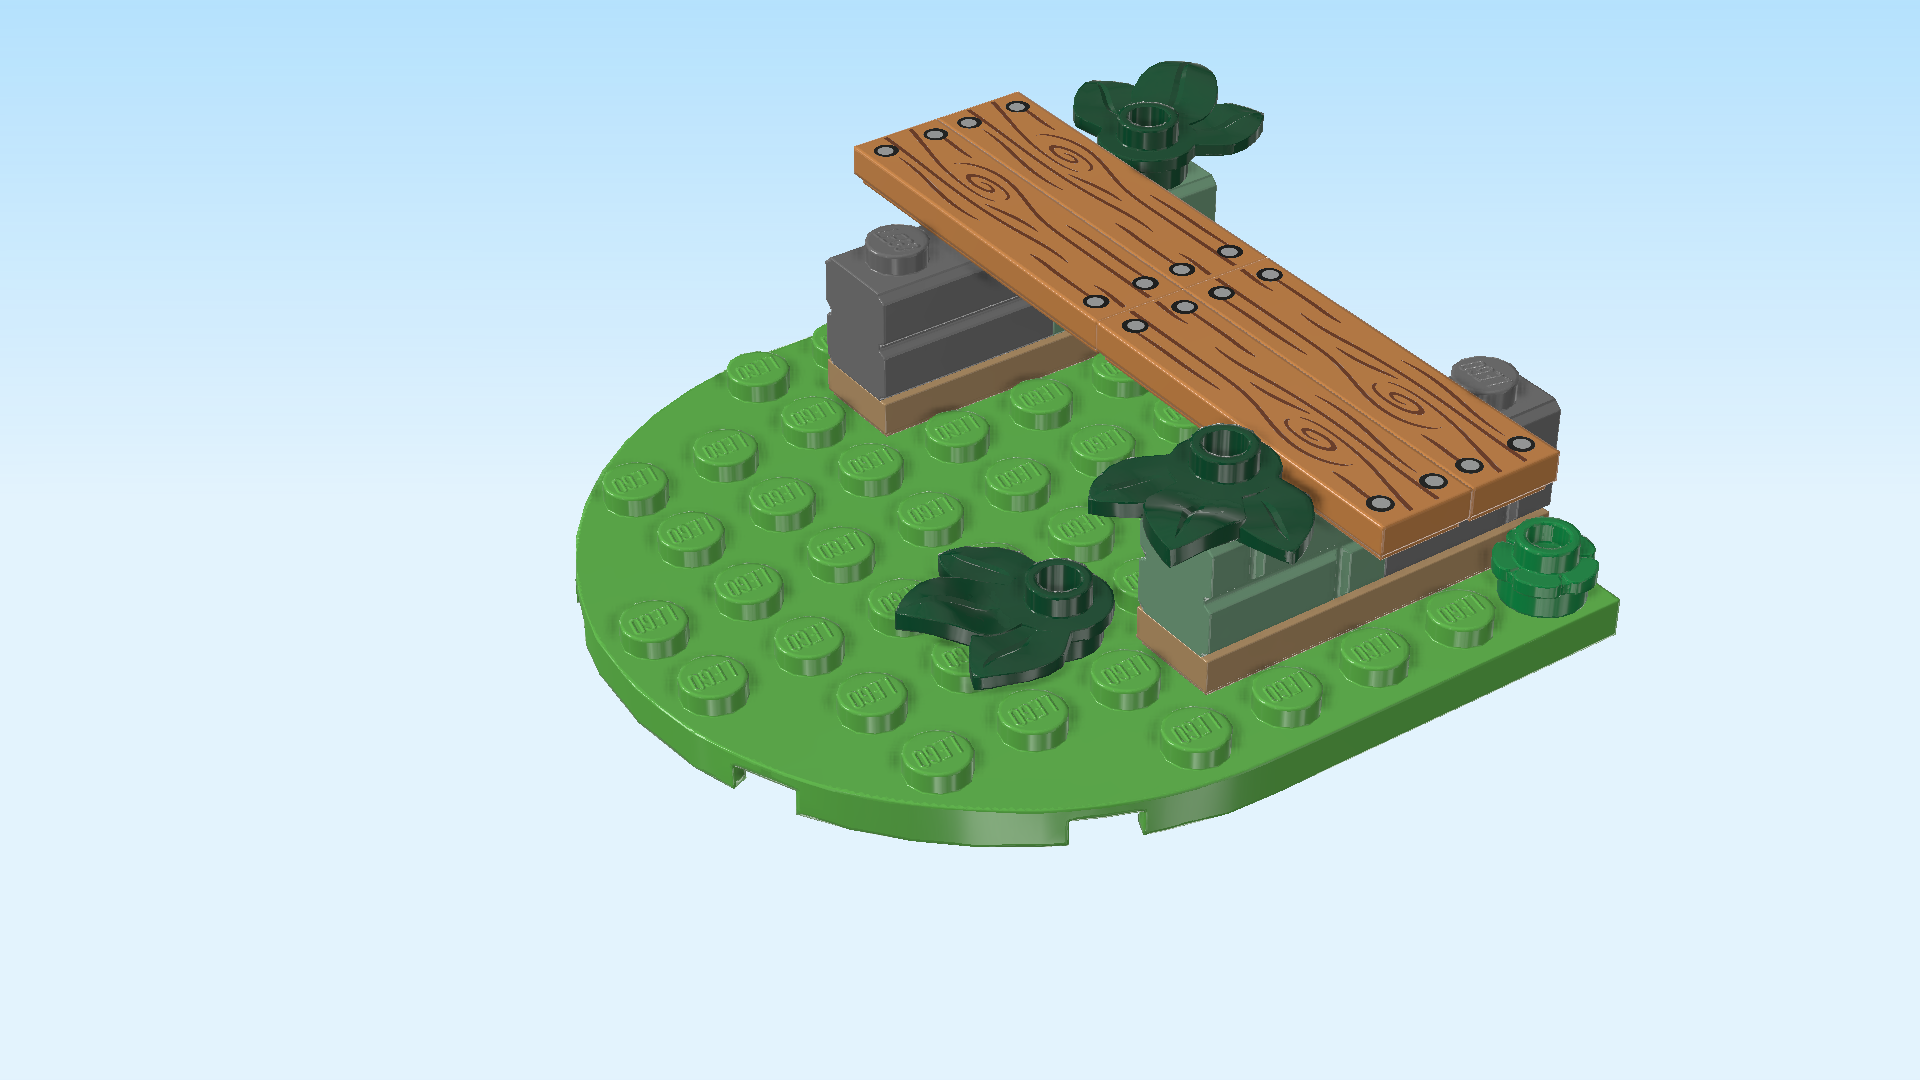
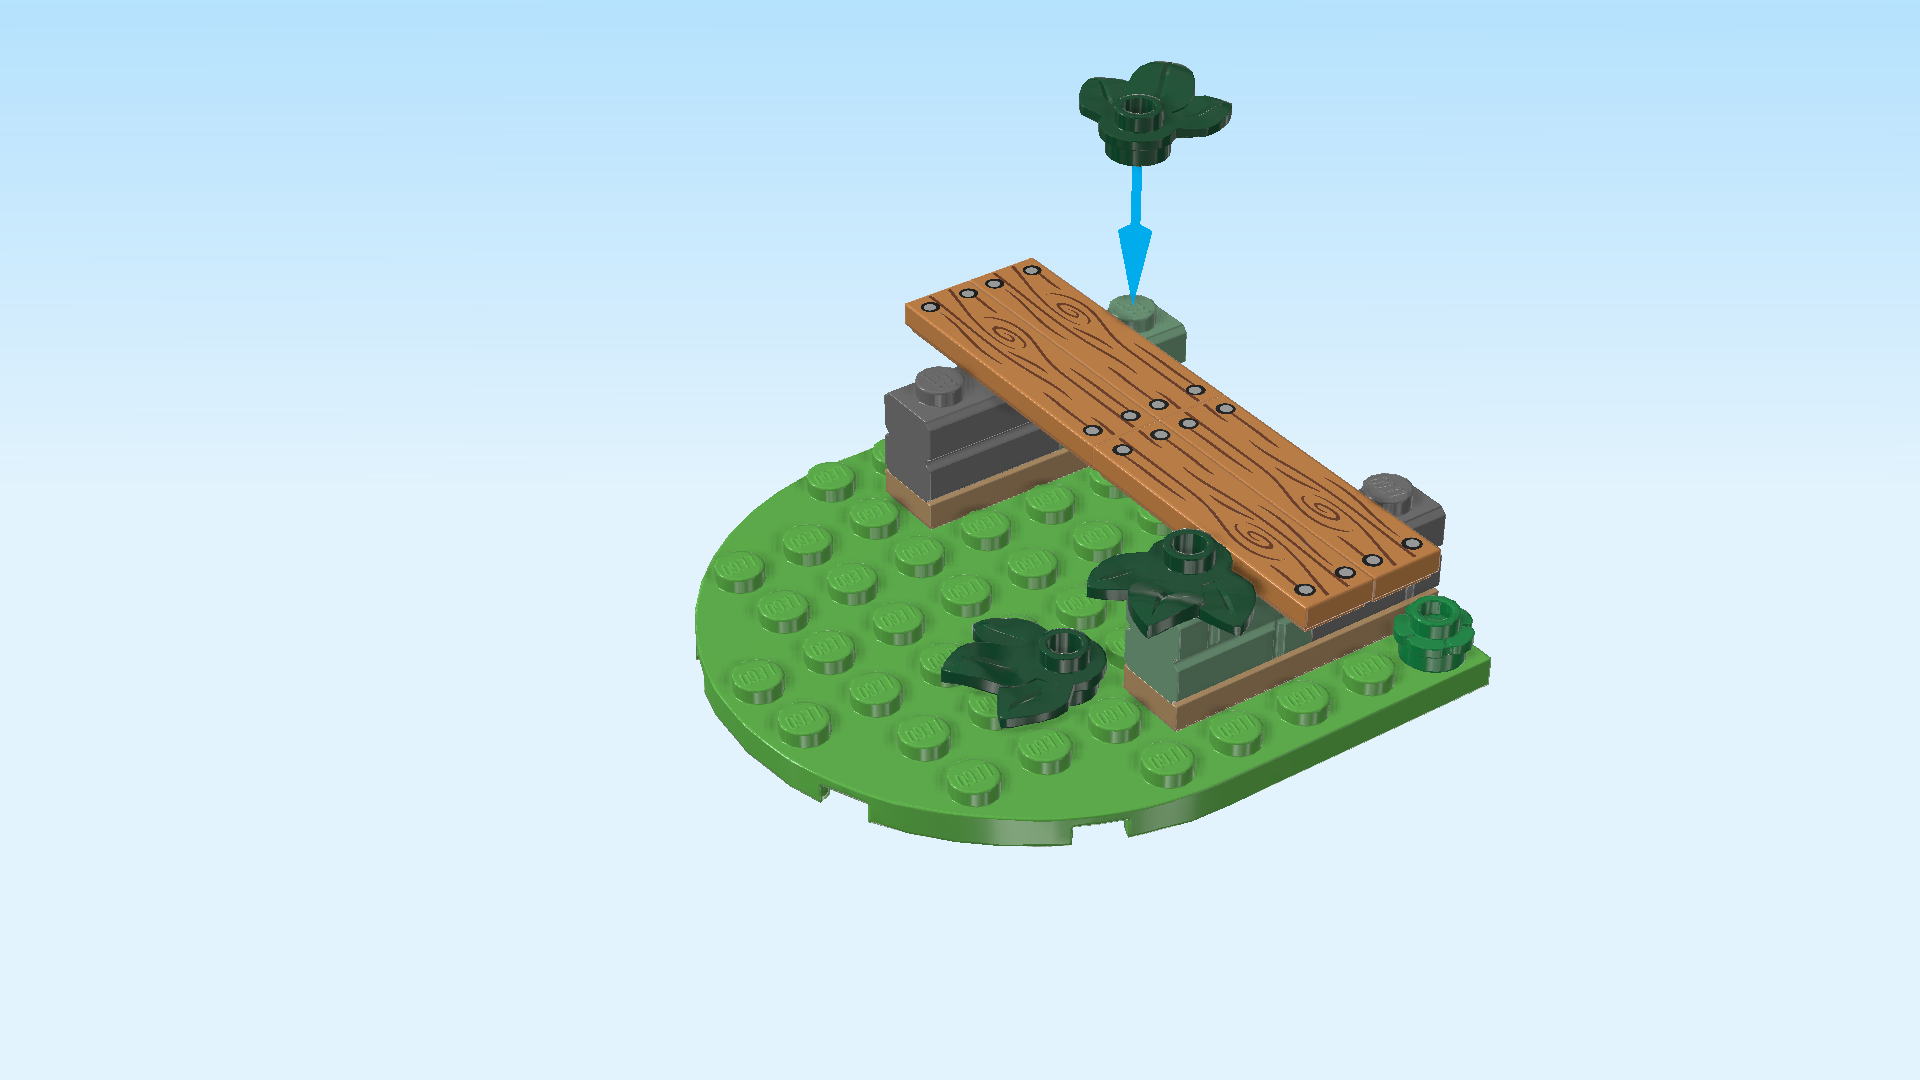
| Find 3 mossy green round plates 1x1 with 3 leaves. |
| Put 1 on the backmost rightmost knob of the park bench, leaves to the back right. |
| Put 1 on the frontmost leftmost knob of the bench, leaves to the front left. |
| Put the last one on a knob to the left of the park bench. We are using the third knob from the front on the fourth column from the left, but you can use any knob you like. |
| The old park bench is finished! Great job! This bench has seen better days: it is very unstable, overgrown with plants, and does not offer any shade or protection. Time to build a new one! Put the old park bench aside for now. |
| Now, we will build the jackhammer attachment. |
| Collect the following 2 pieces: |
| 1 white t-shaped round bushing with cross axle pin, |
| and 1 black friction connector peg with hinge stub. |
| Hold the t-shaped bushing so that its round hole is running from top to bottom and the cross axle is pointing to the right. |
| Insert the friction connector peg from the top into the round bushing. |
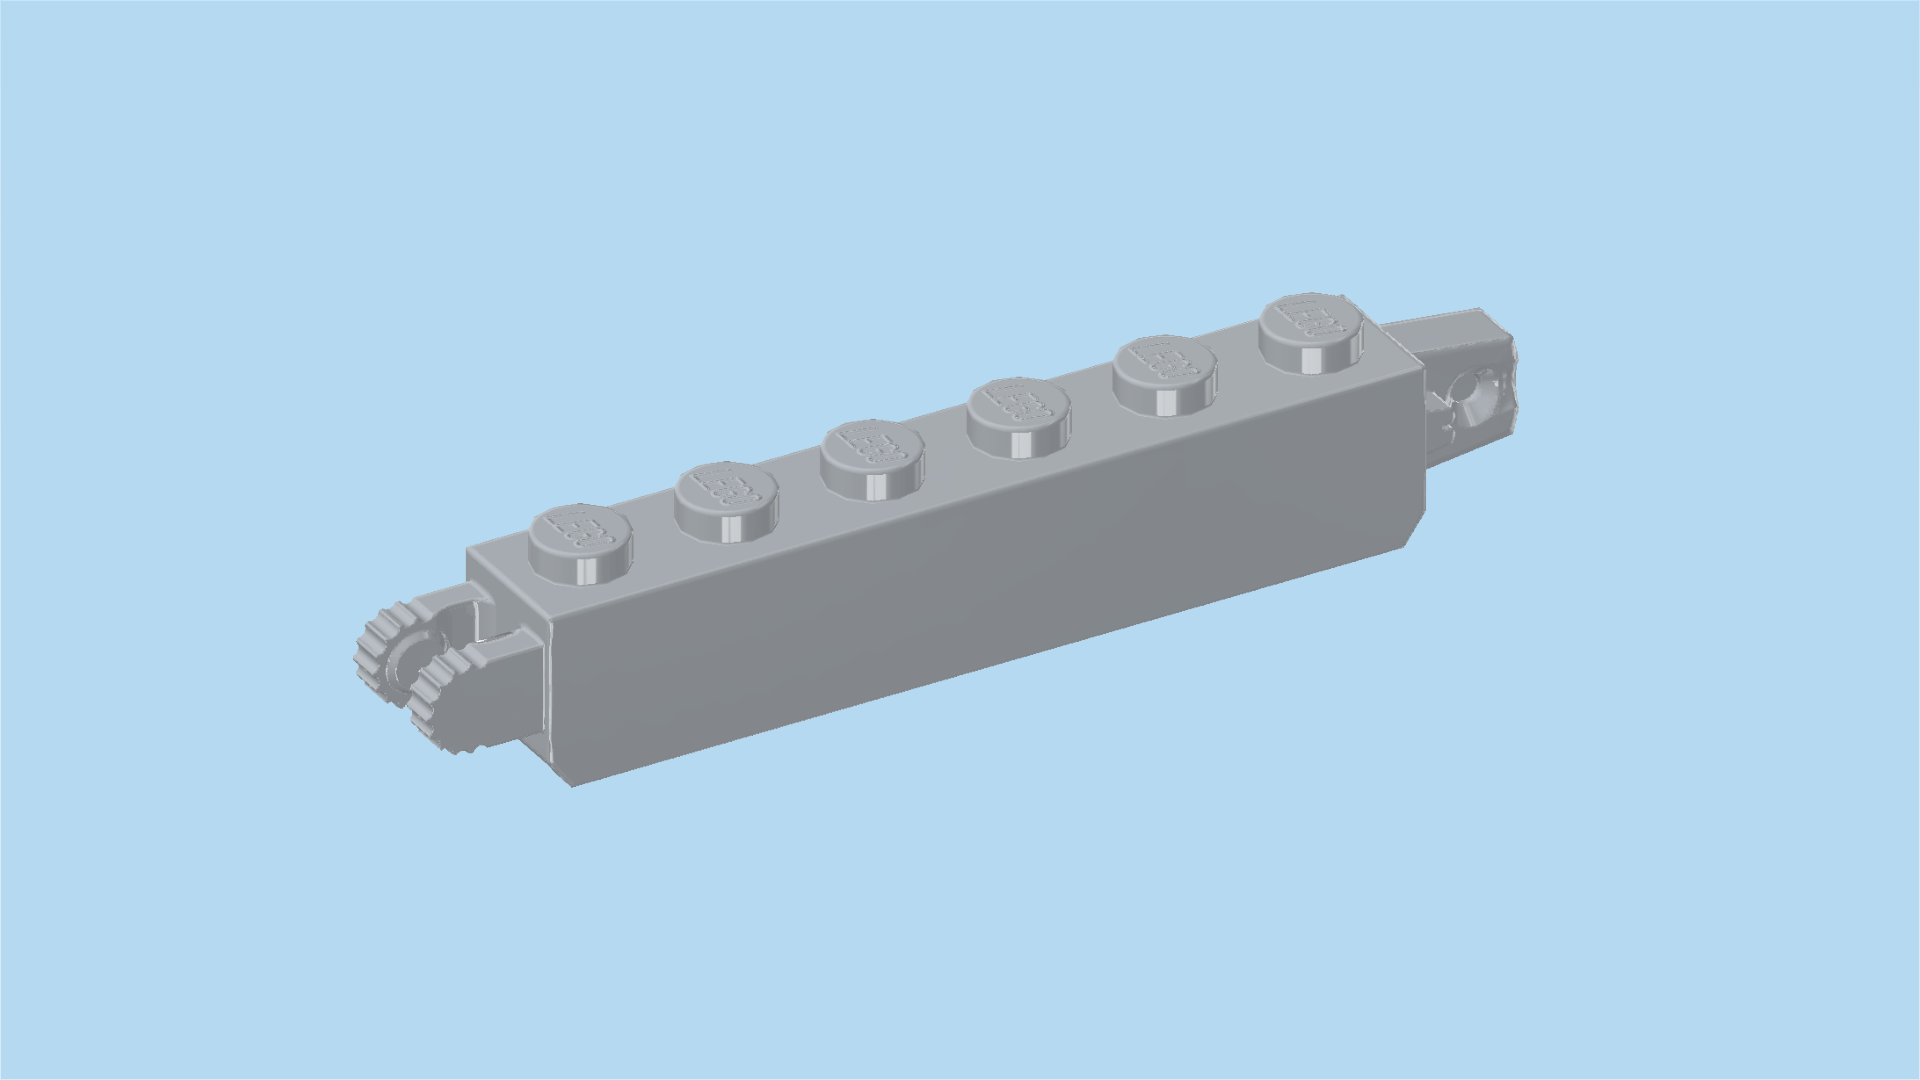
| Find 1 medium stone grey brick 1x6 with hinge stub and hinge fork on short sides. |
| Turn it upright, knobs pointing to the right, hinge fork pointing to the bottom. |
| Snap its hinge fork on the hinge stub of the previous piece. |
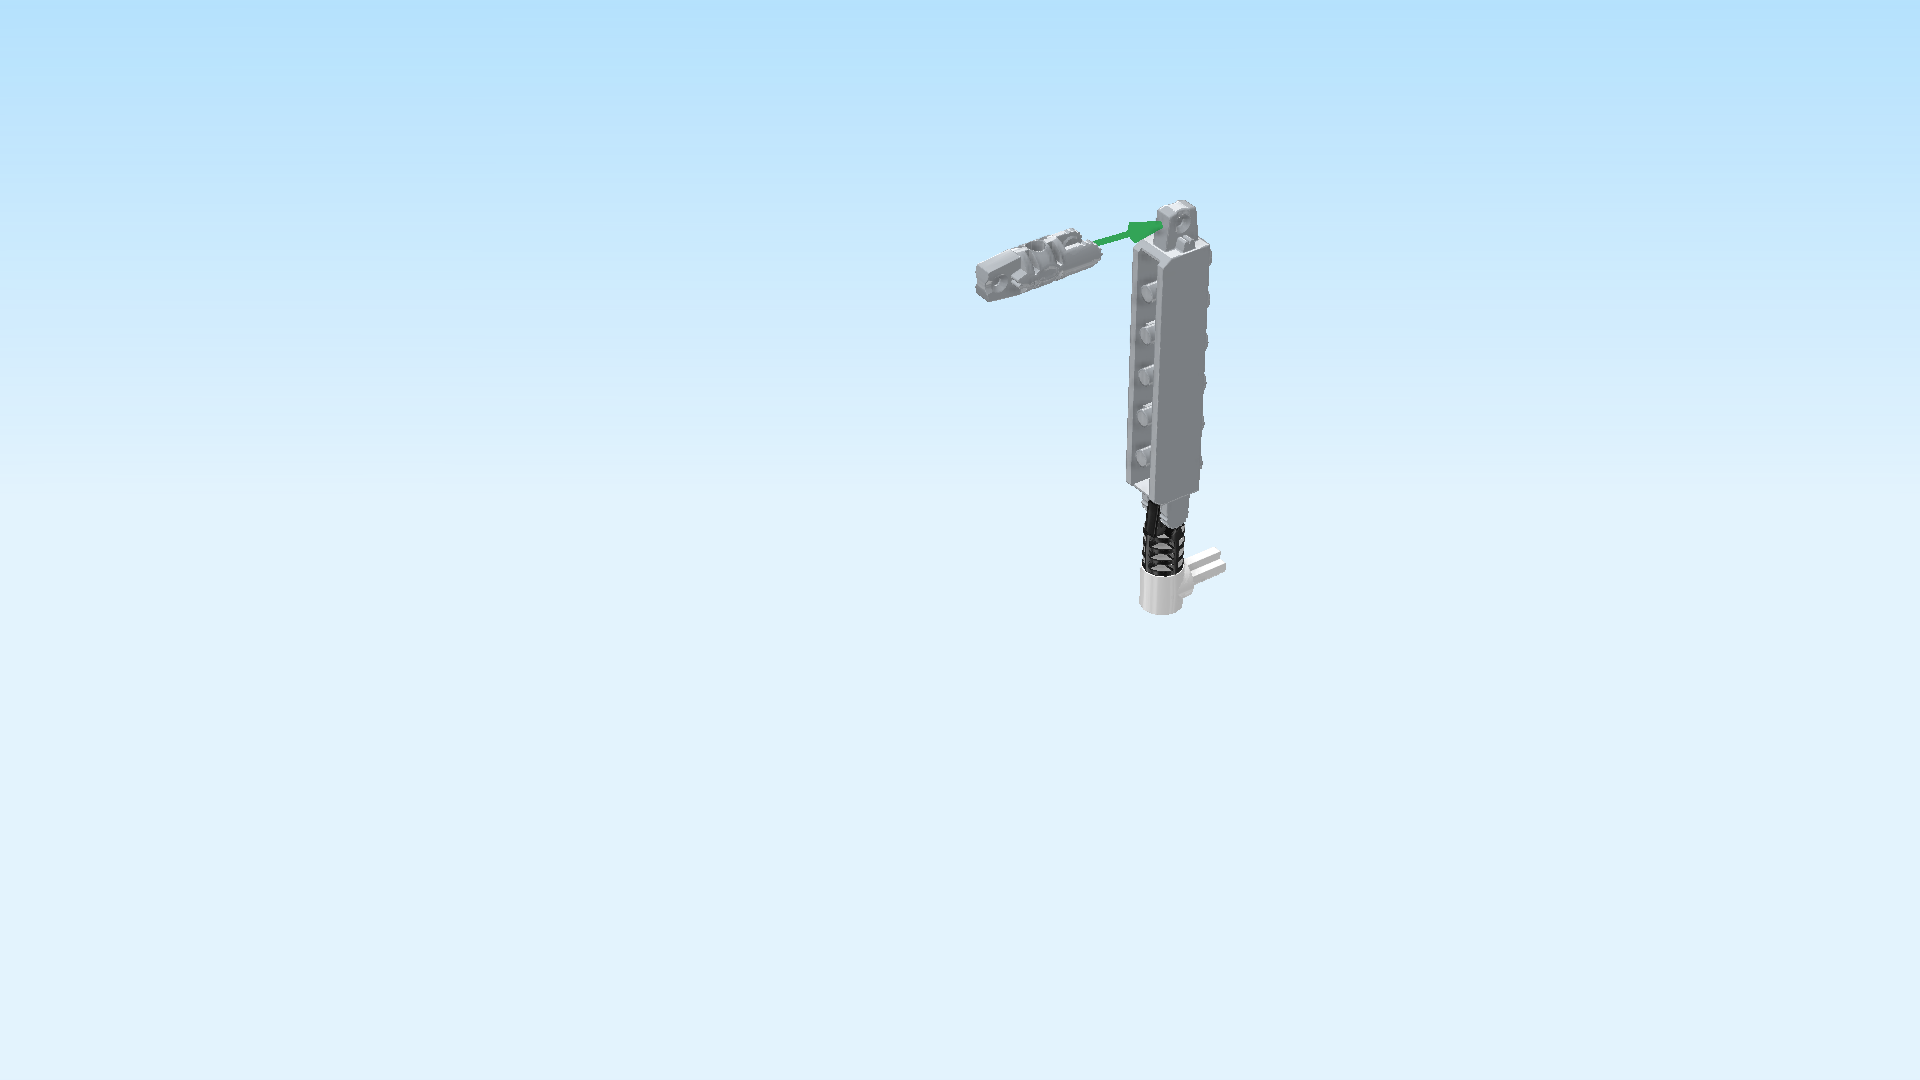
| Find 1 medium stone grey linking element with hinge fork and hinge stub. |
| Hold it horizontally, hinge fork pointing to the right. |
| Coming from the left, snap the hinge fork on the previous piece's hinge stub. |
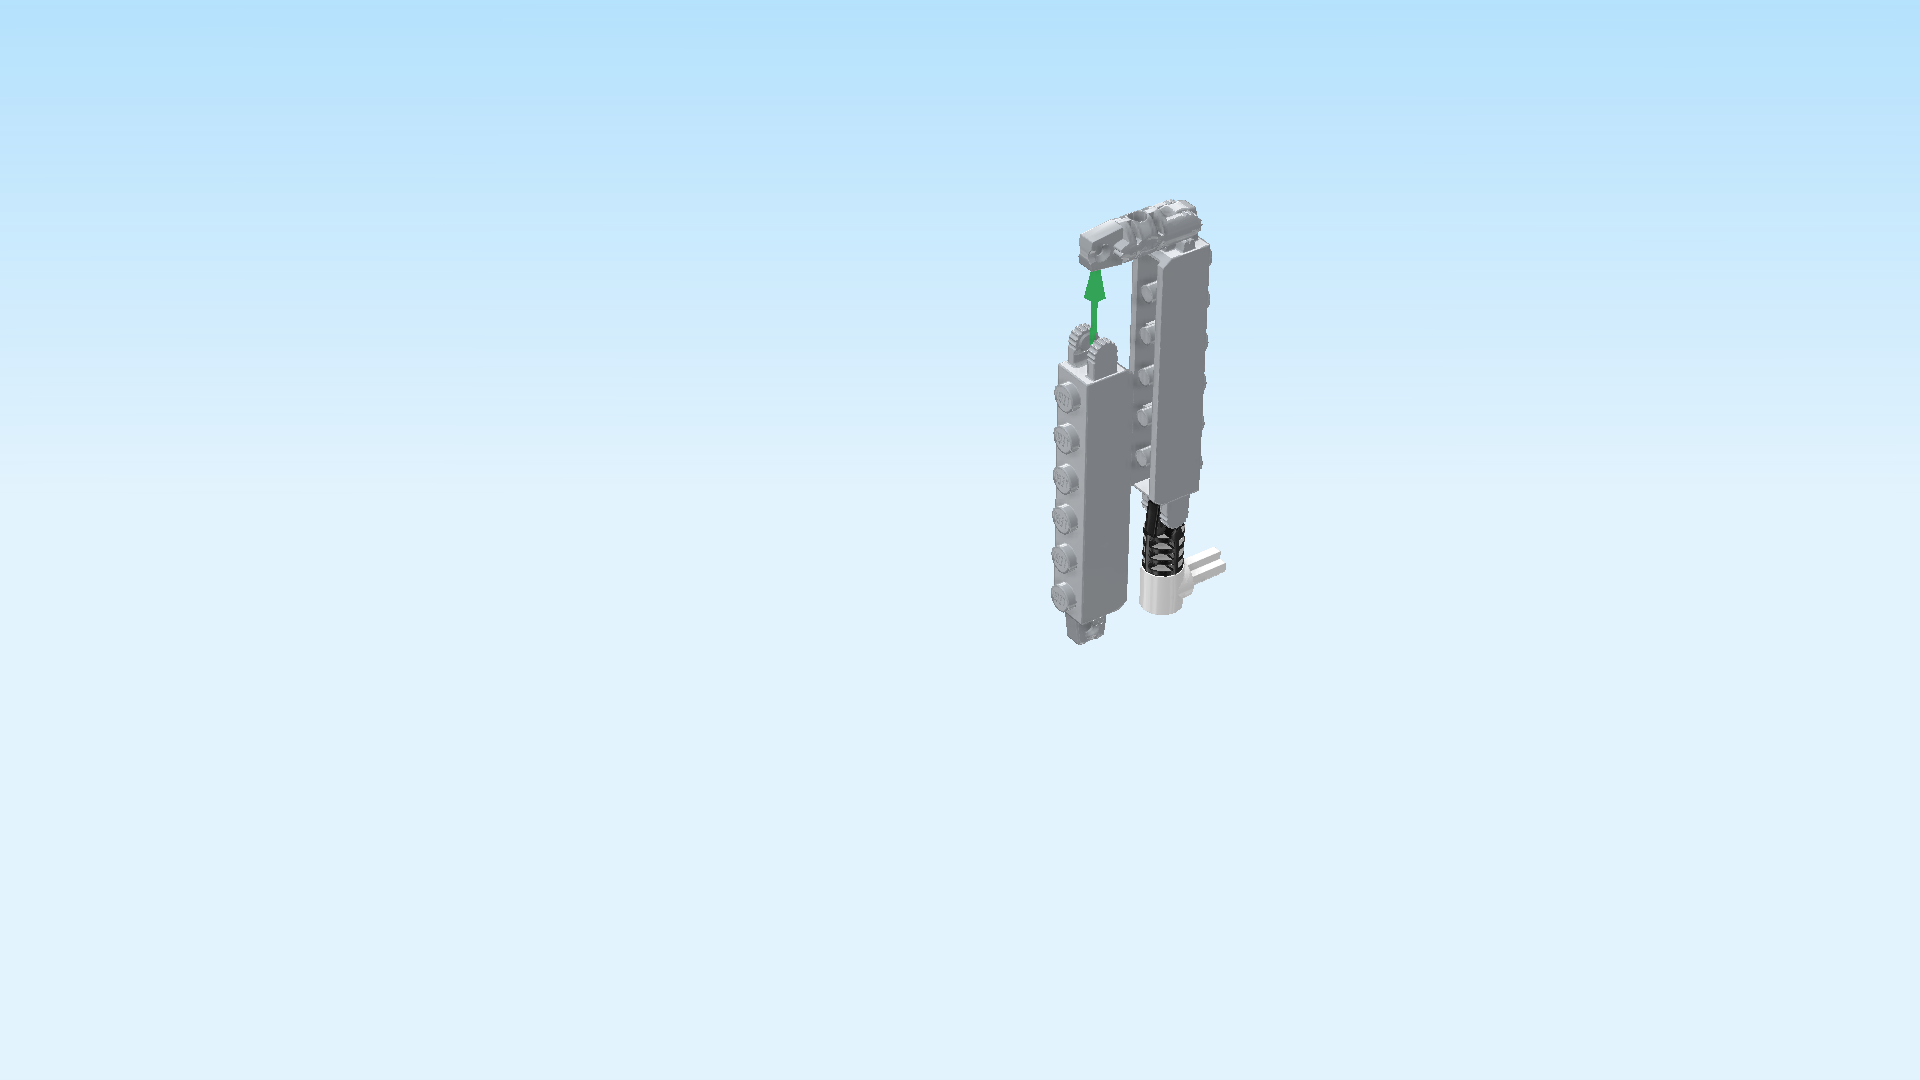
| Find another medium stone grey brick 1x6 with hinge stub and hinge fork on short sides. |
| Hold it upright, knobs pointing to the left, hinge fork pointing to the top. |
| Coming from the bottom, snap its hinge fork on the previous piece's hinge stub. |
| Find 1 dark stone grey hinge fork with cross hole 1m. |
| Turn it upright, hinge fork to the top, and snap it from the bottom on the hinge stub of the previous piece. |
| Find 1 pale ocher yellow connector peg 2m with cross axle pin. |
| Insert the cross axle pin from the bottom into the cross hole of the previous piece, connector peg sticking out towards the bottom. |
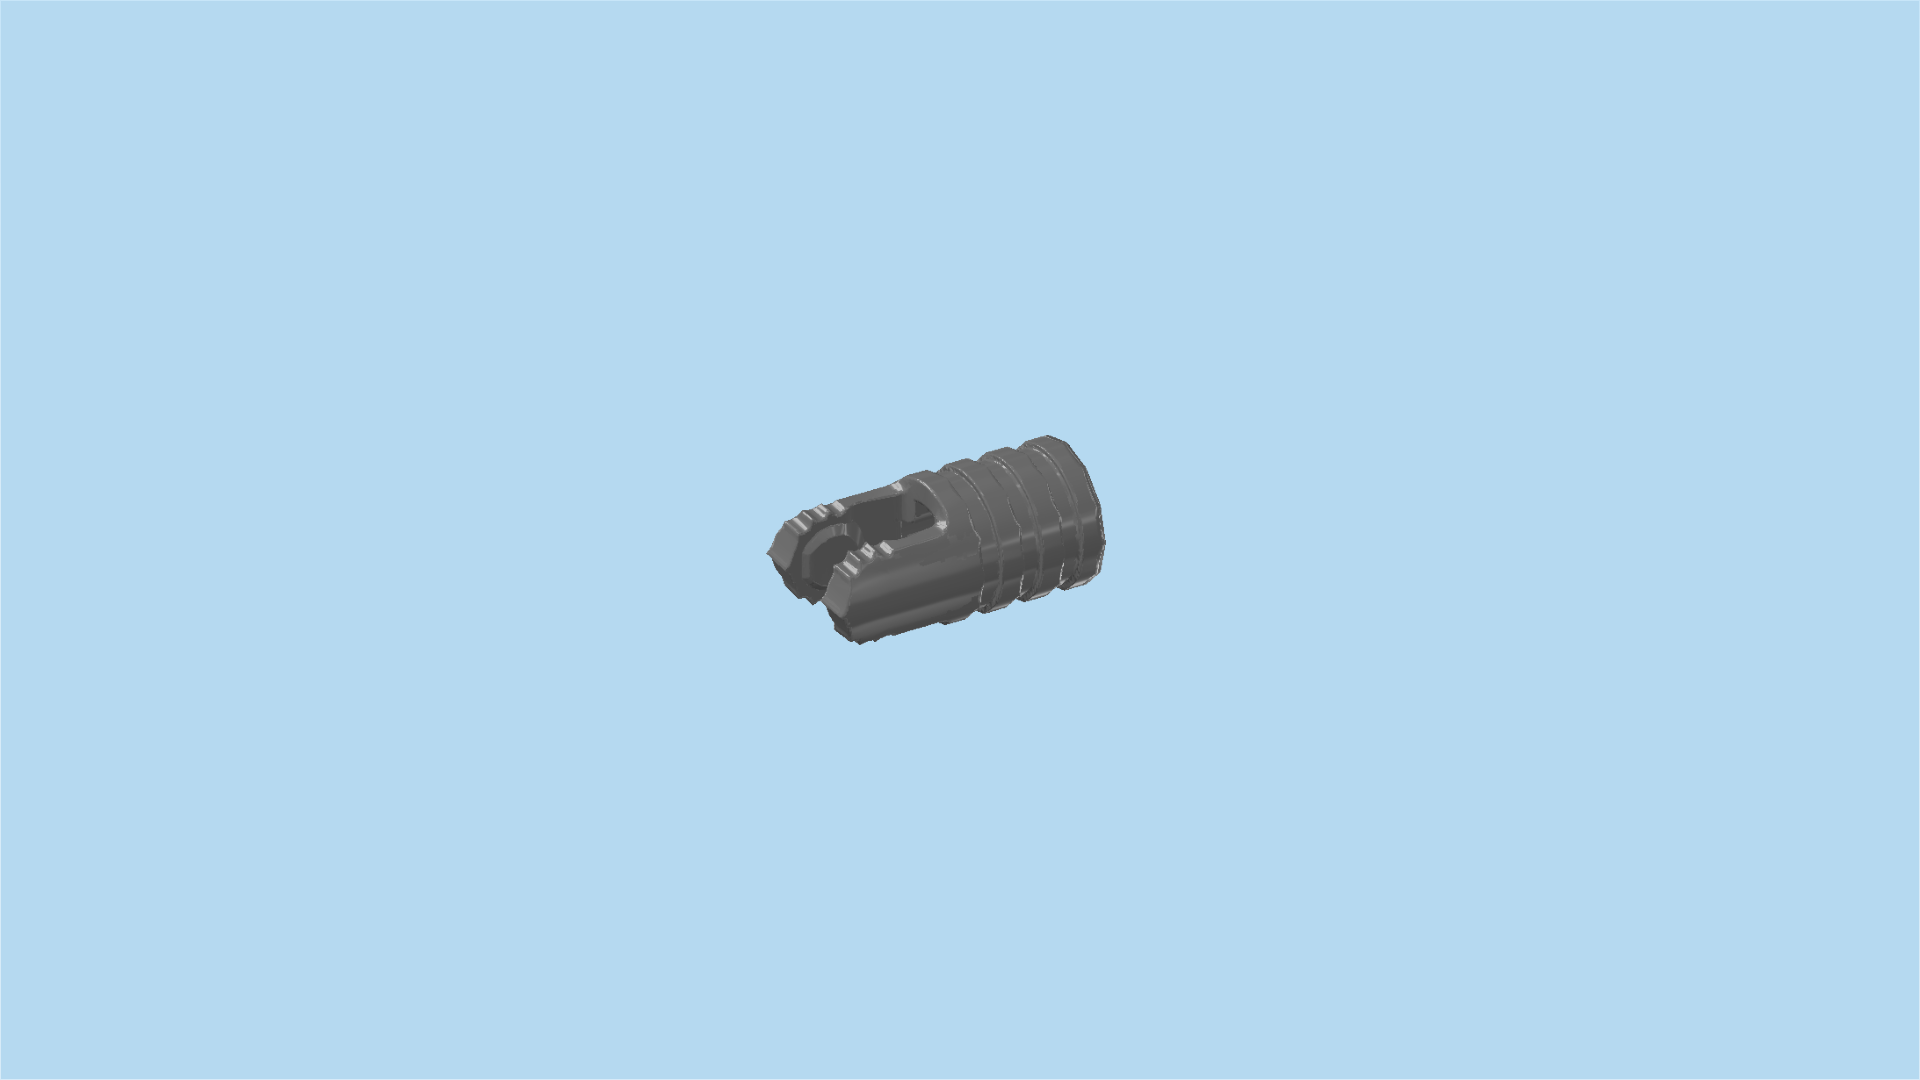
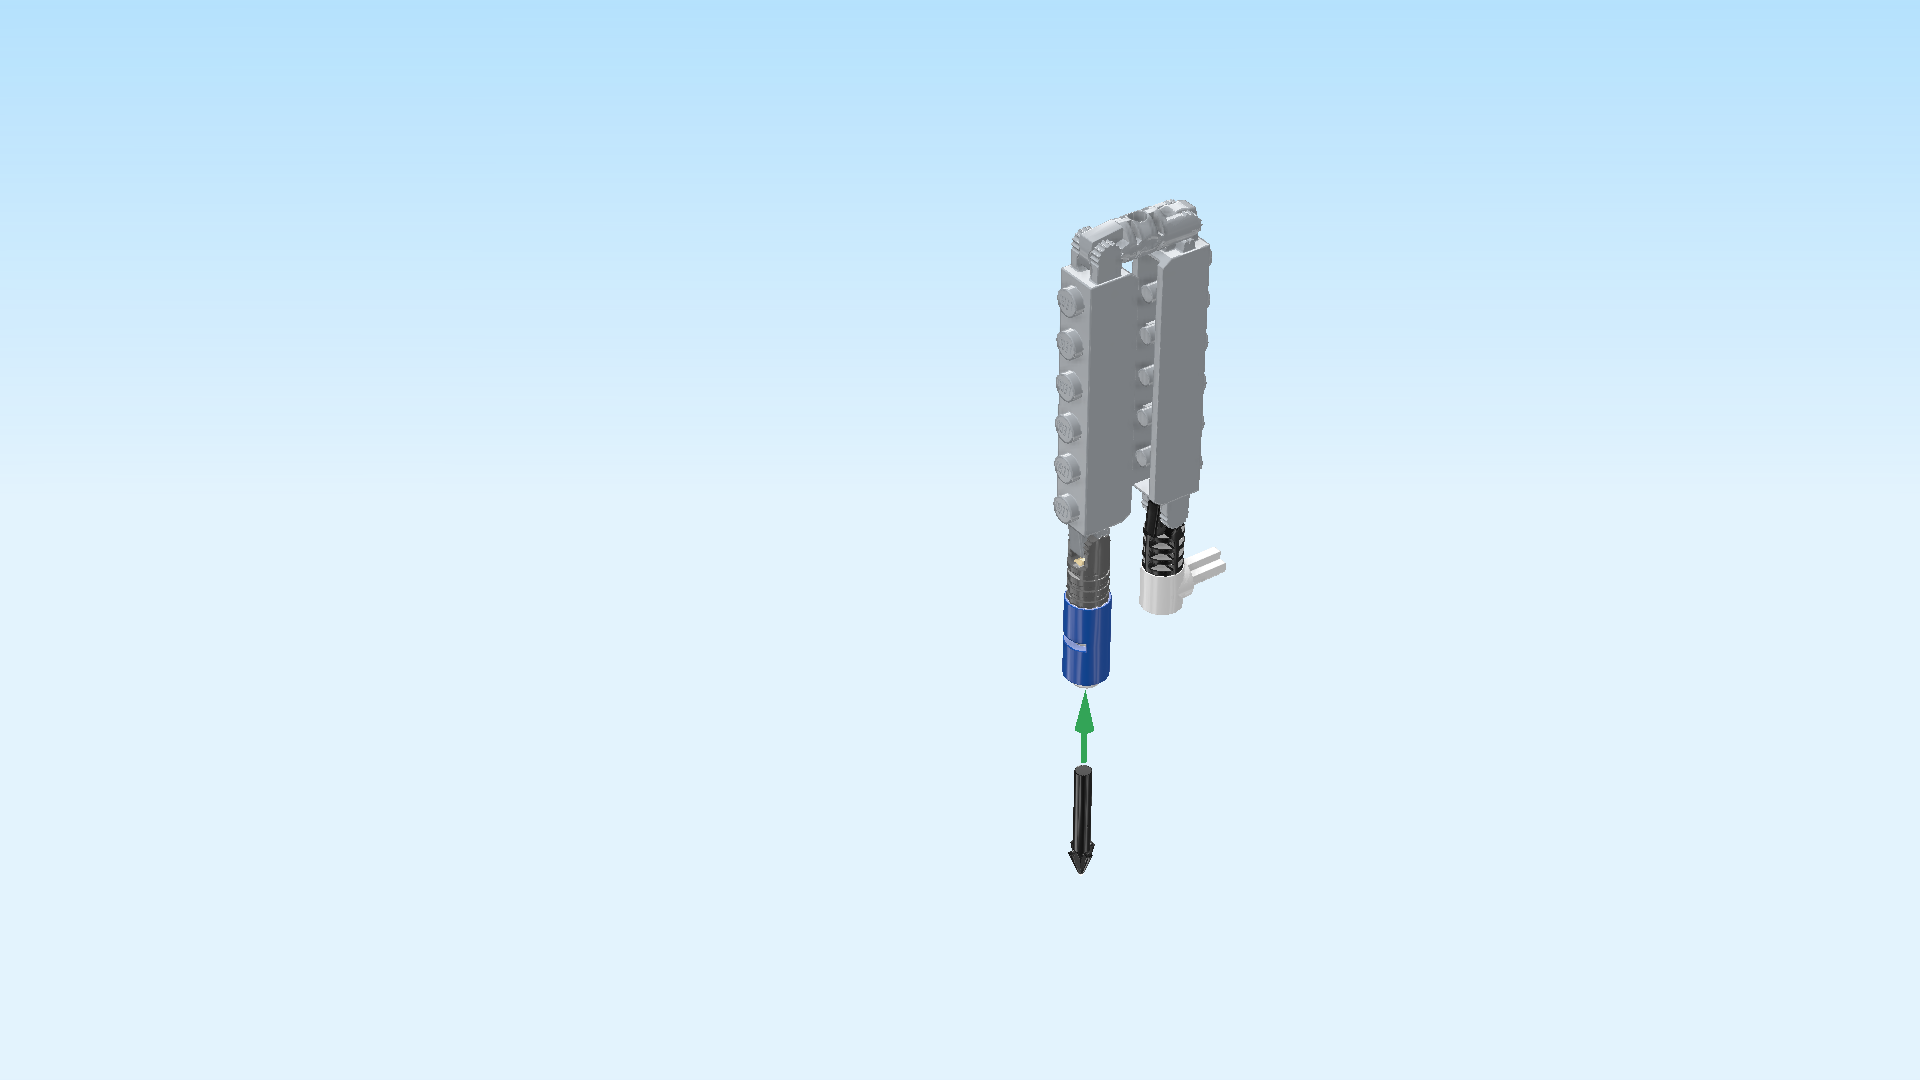
| Find 1 bright blue tube 2m with middle slot. |
| Put it from the bottom on the connector peg of the previous piece. |
| Find 1 white connector peg 1m with knob. |
| Insert the connector peg from the bottom into the previous piece. |
| Find 1 black harpoon spike. |
| Insert it from the bottom into the hollow knob of the previous piece, spike pointing to the bottom. |
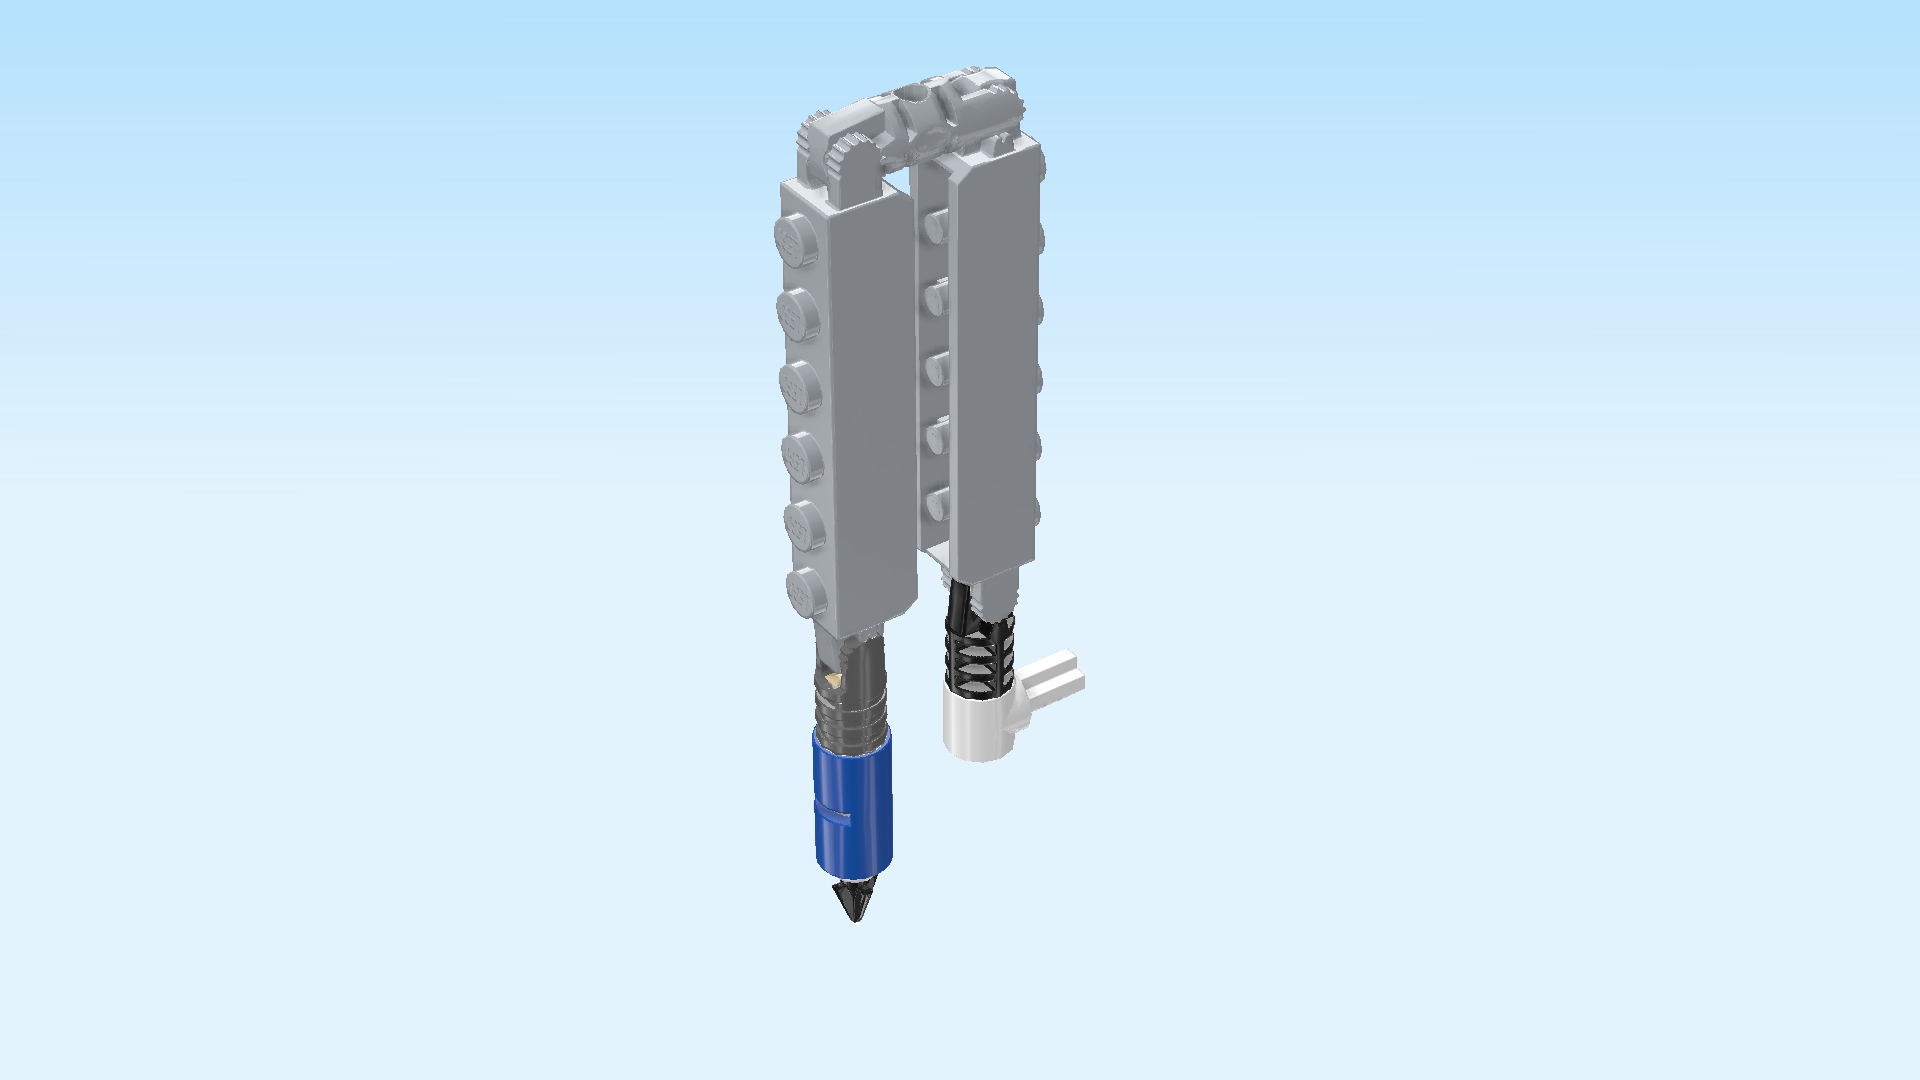
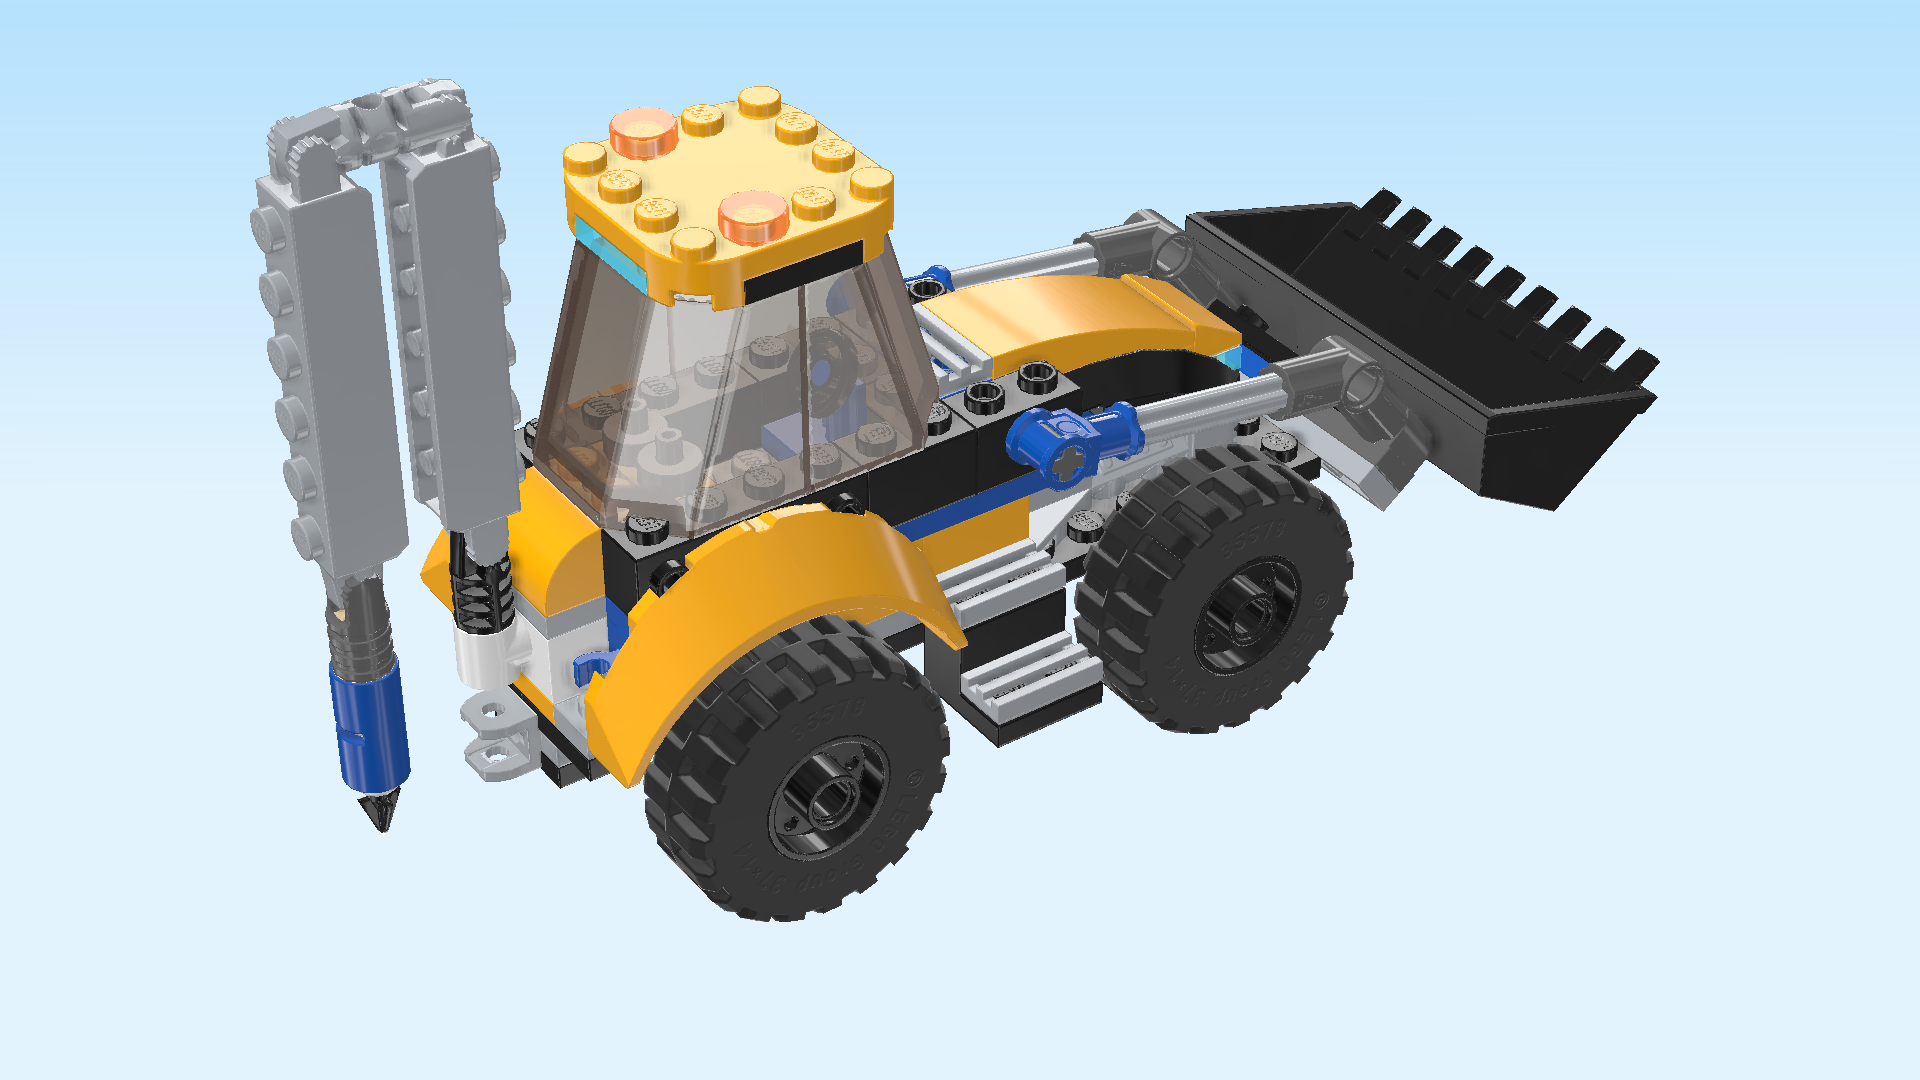
| The jackhammer attachment is finished! Well done! We will use the cross axle pin that is pointing to the right for installing it on the digger. |
| First, turn the digger so that its bucket is pointing to the right. Insert the jackhammer's cross axle into the cross hole on the left side of the digger. |
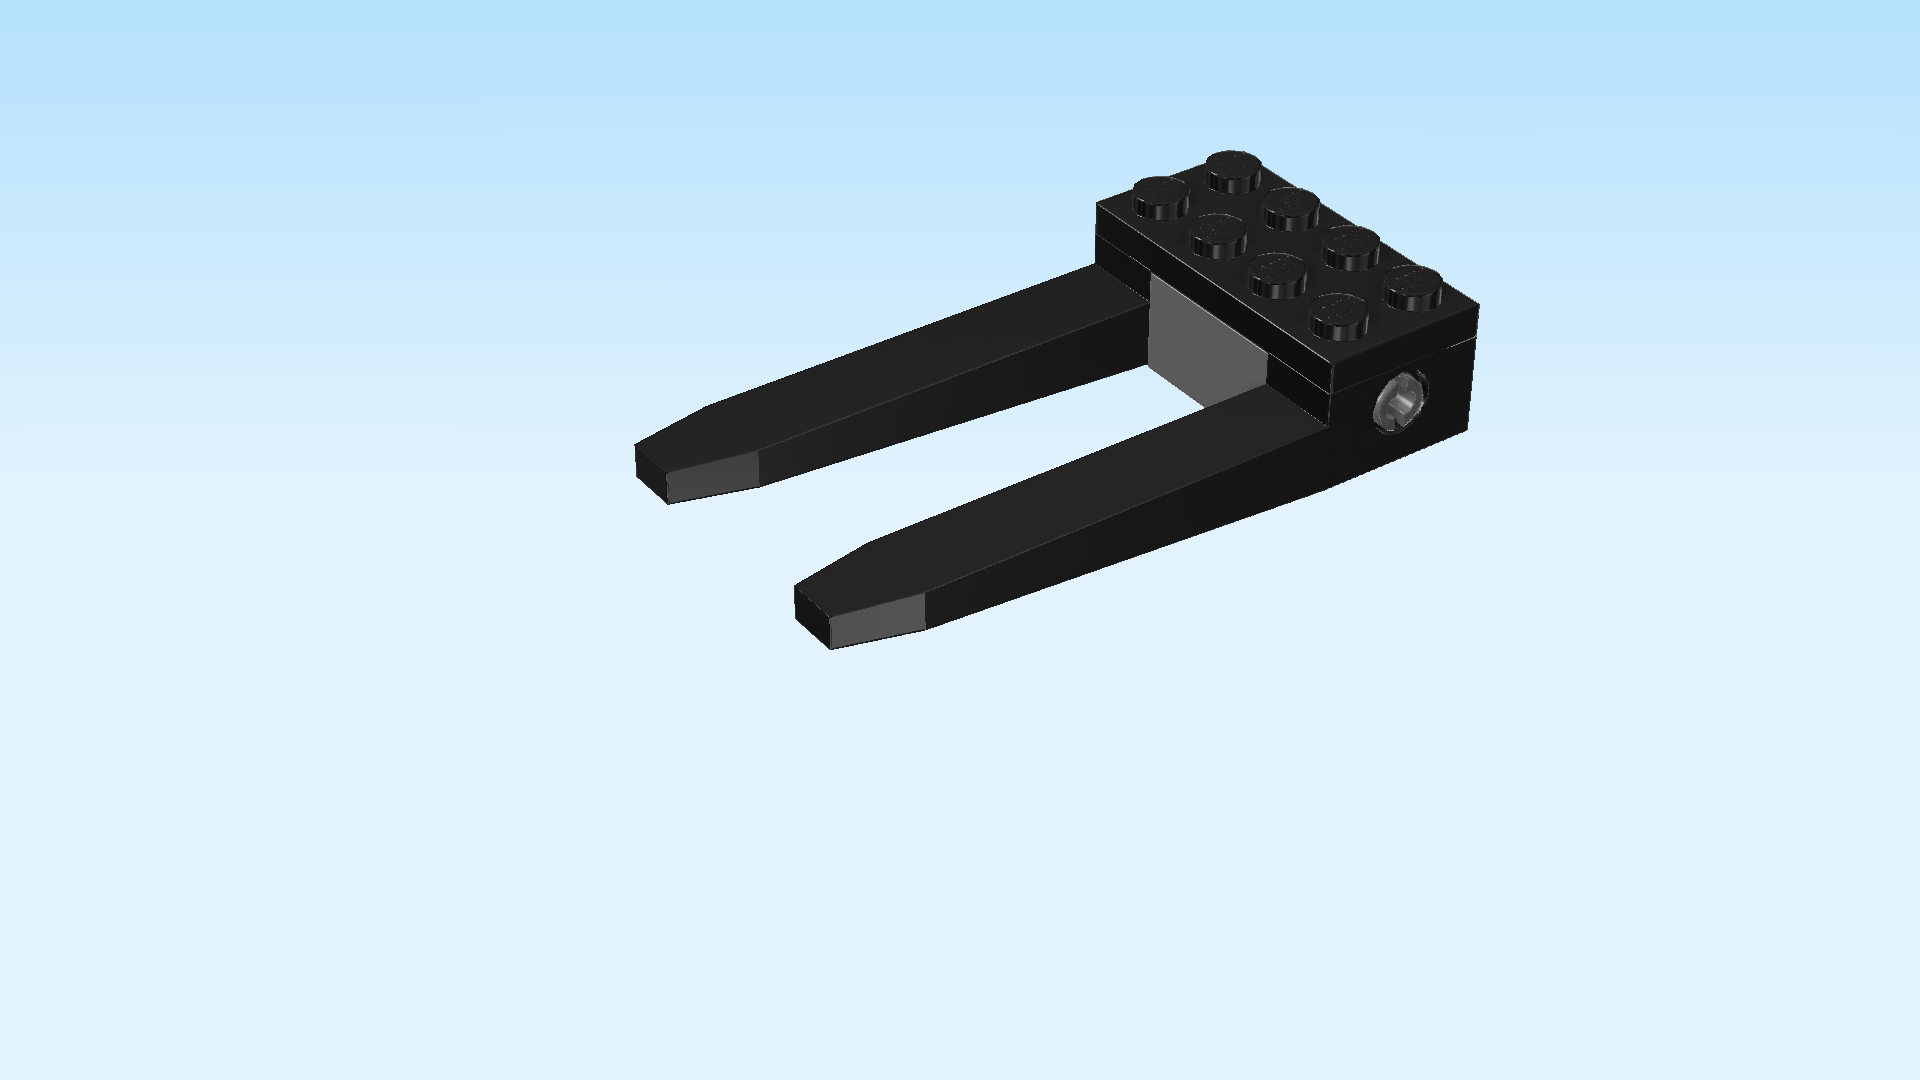
| Next, we will assemble the forklift attachment. |
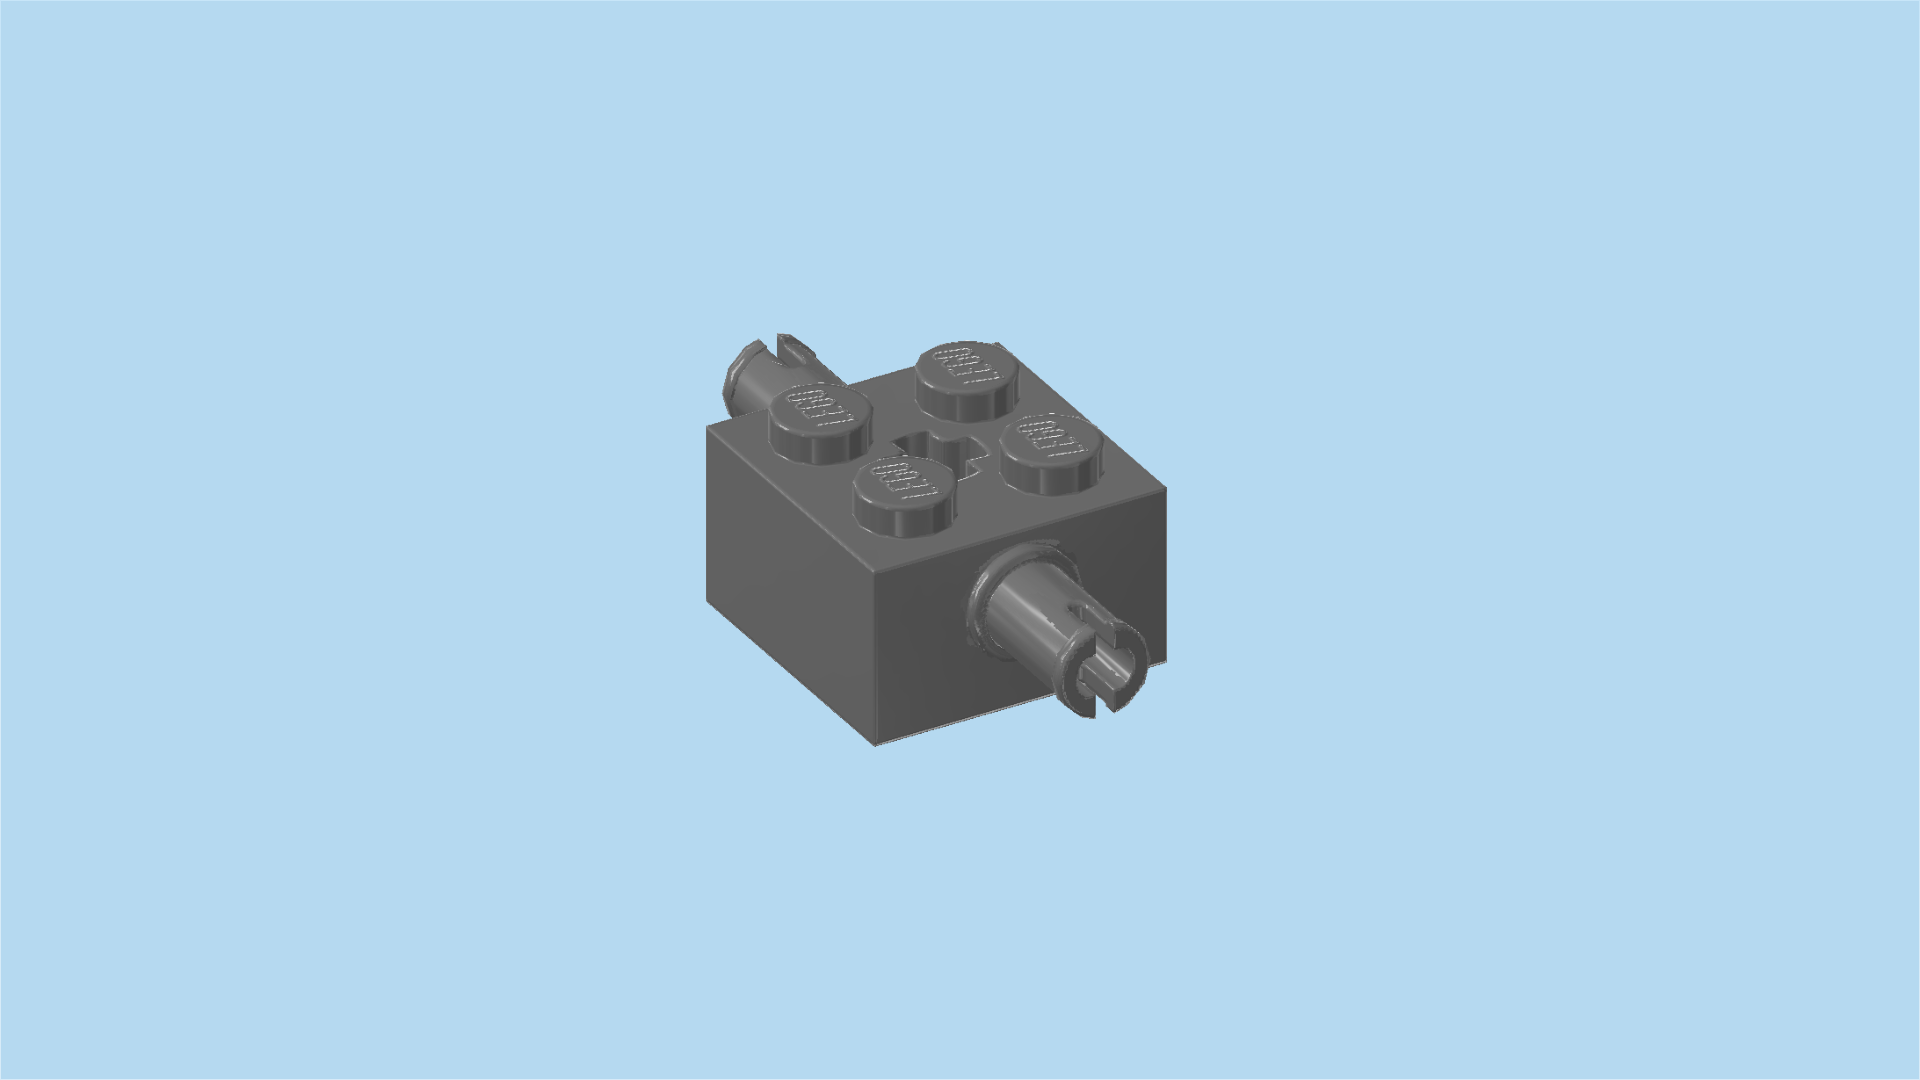
| Find 1 dark stone grey brick 2x2 with 2 side connectors. |
| Put it on the table, connectors to the front and back. |
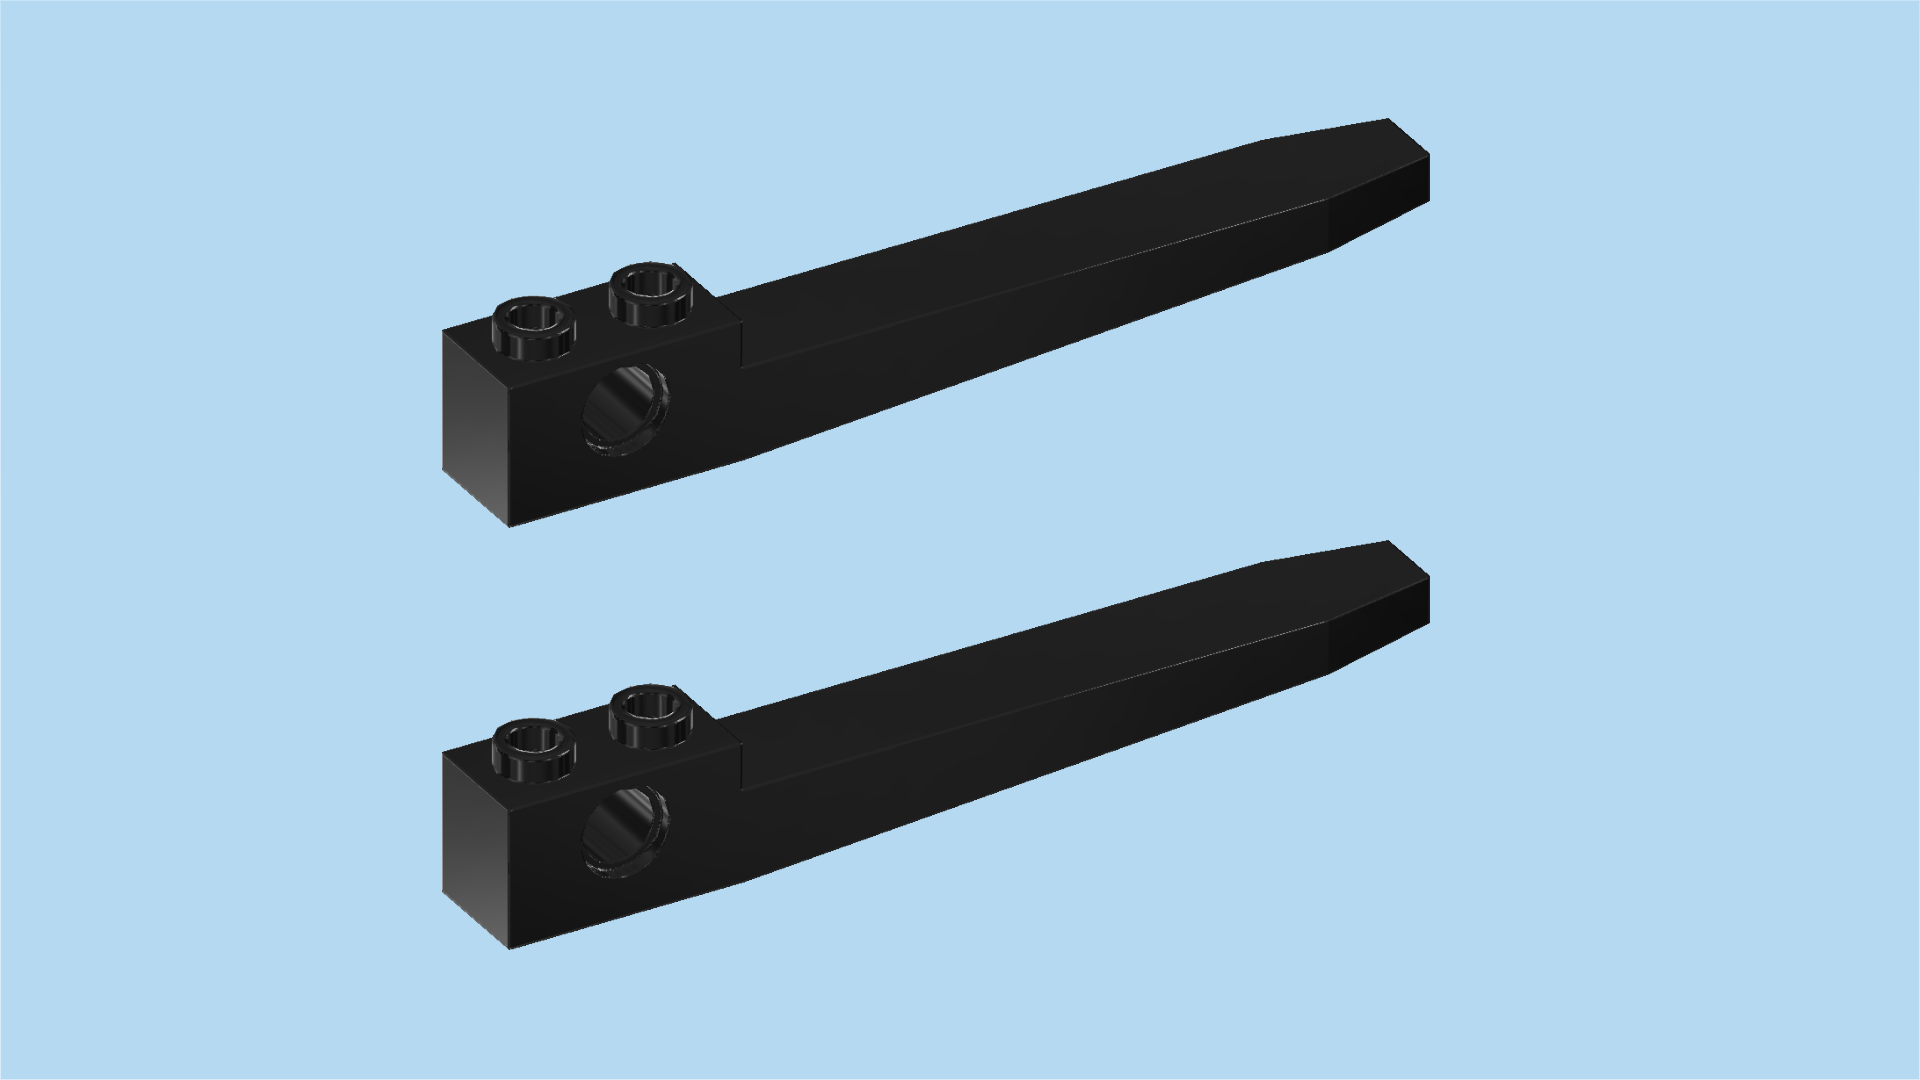
| Find 2 black bricks 1x2 with forklift arm. |
| Turn 1 horizontally so that the forklift arm is pointing to the left. |
| Coming from the front, put the hole of the brick on the connector pointing to the front. |
| Repeat symmetrically at the back, forklift arm again pointing to the left. |
| Find 1 black plate 2x4. |
| Put it vertically on top of the bricks. |
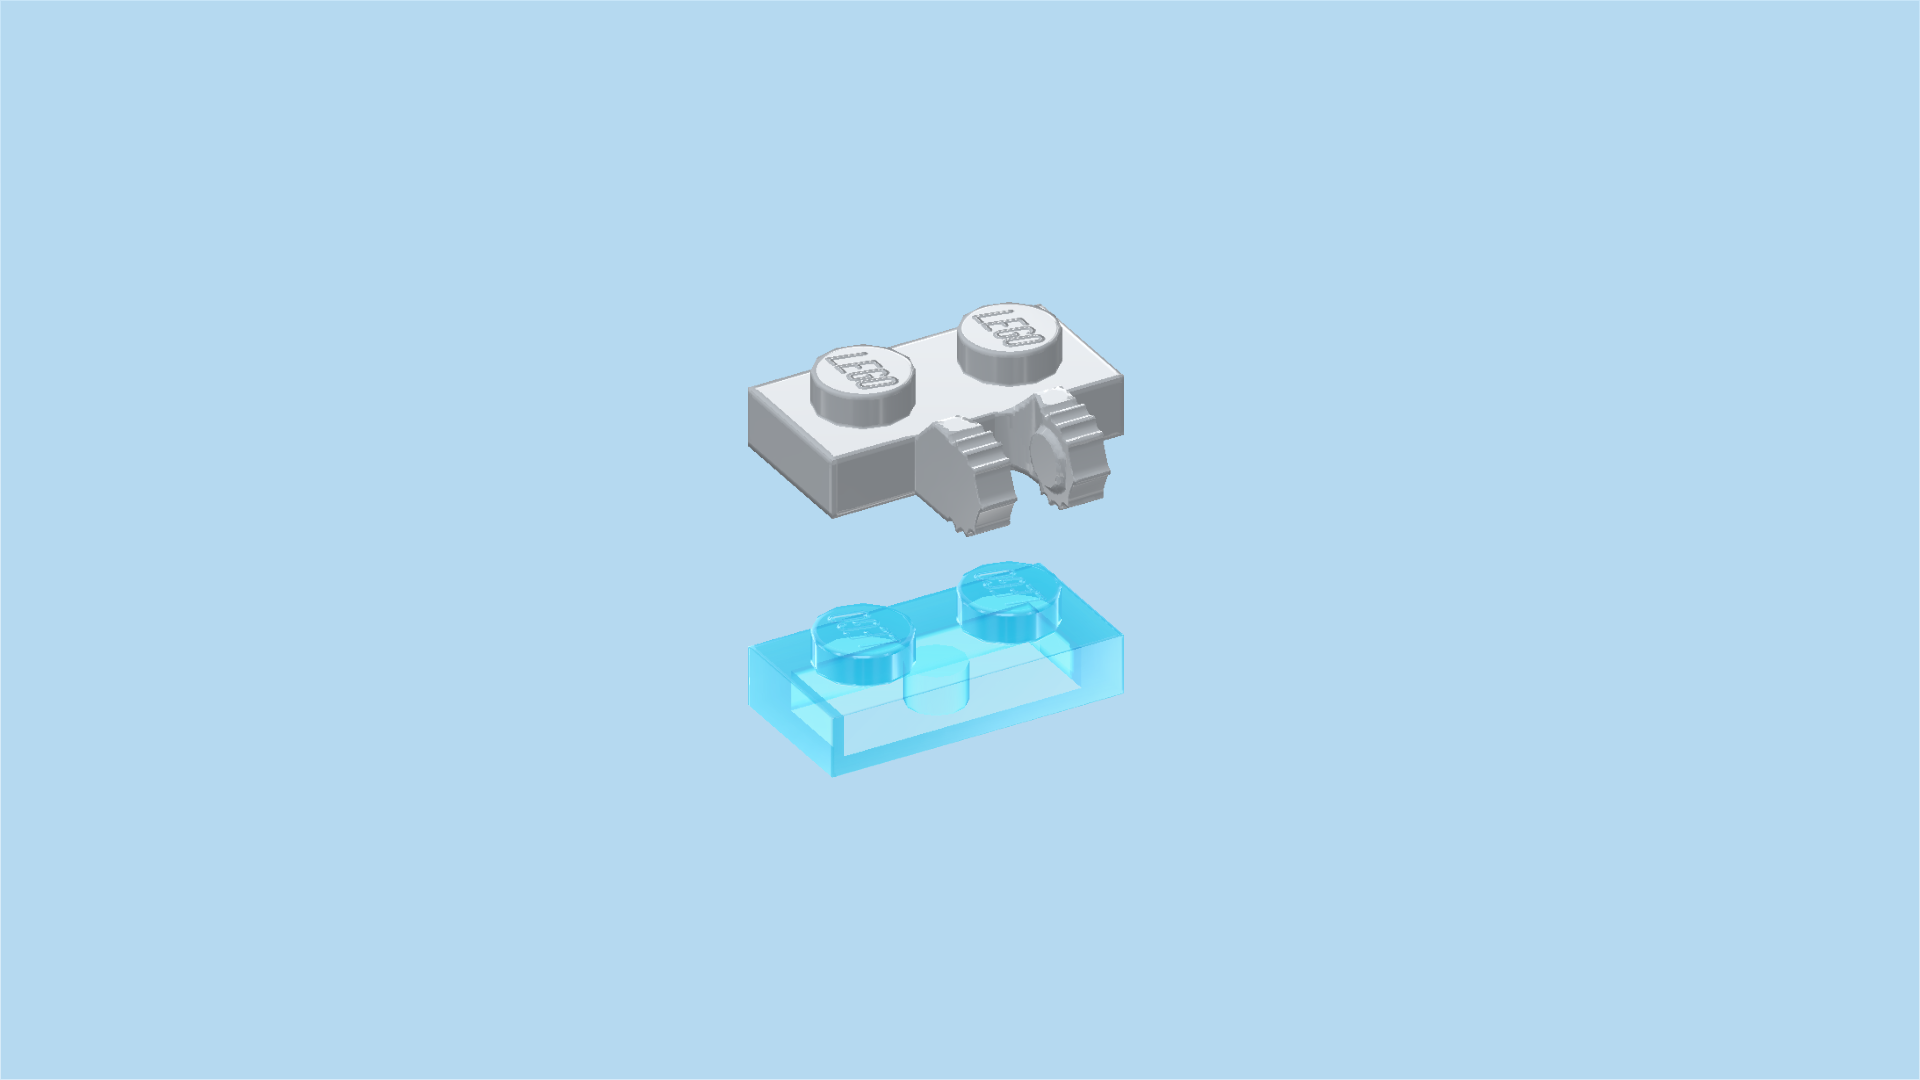
| Collect the following 2 pieces: |
| 1 transparent light blue plate 1x2, |
| and 1 medium stone grey plate 1x2 with hinge fork. |
| Put the plate with hinge fork vertically centered on the right column, hinge fork to the right. |
| Put the plate 1x2 vertically to the left of the previous piece. |
| Find 2 black one-stepped curve tiles 2x2x⅔. |
| Put 1 on the 4 front knobs, curve to the front. |
| Repeat symmetrically at the back. |
| The forklift attachment is finished! Great job! You will need it later to lift the new smart bench up and mount it. |
| Now, we will build the smart park bench with solar panel roof. |
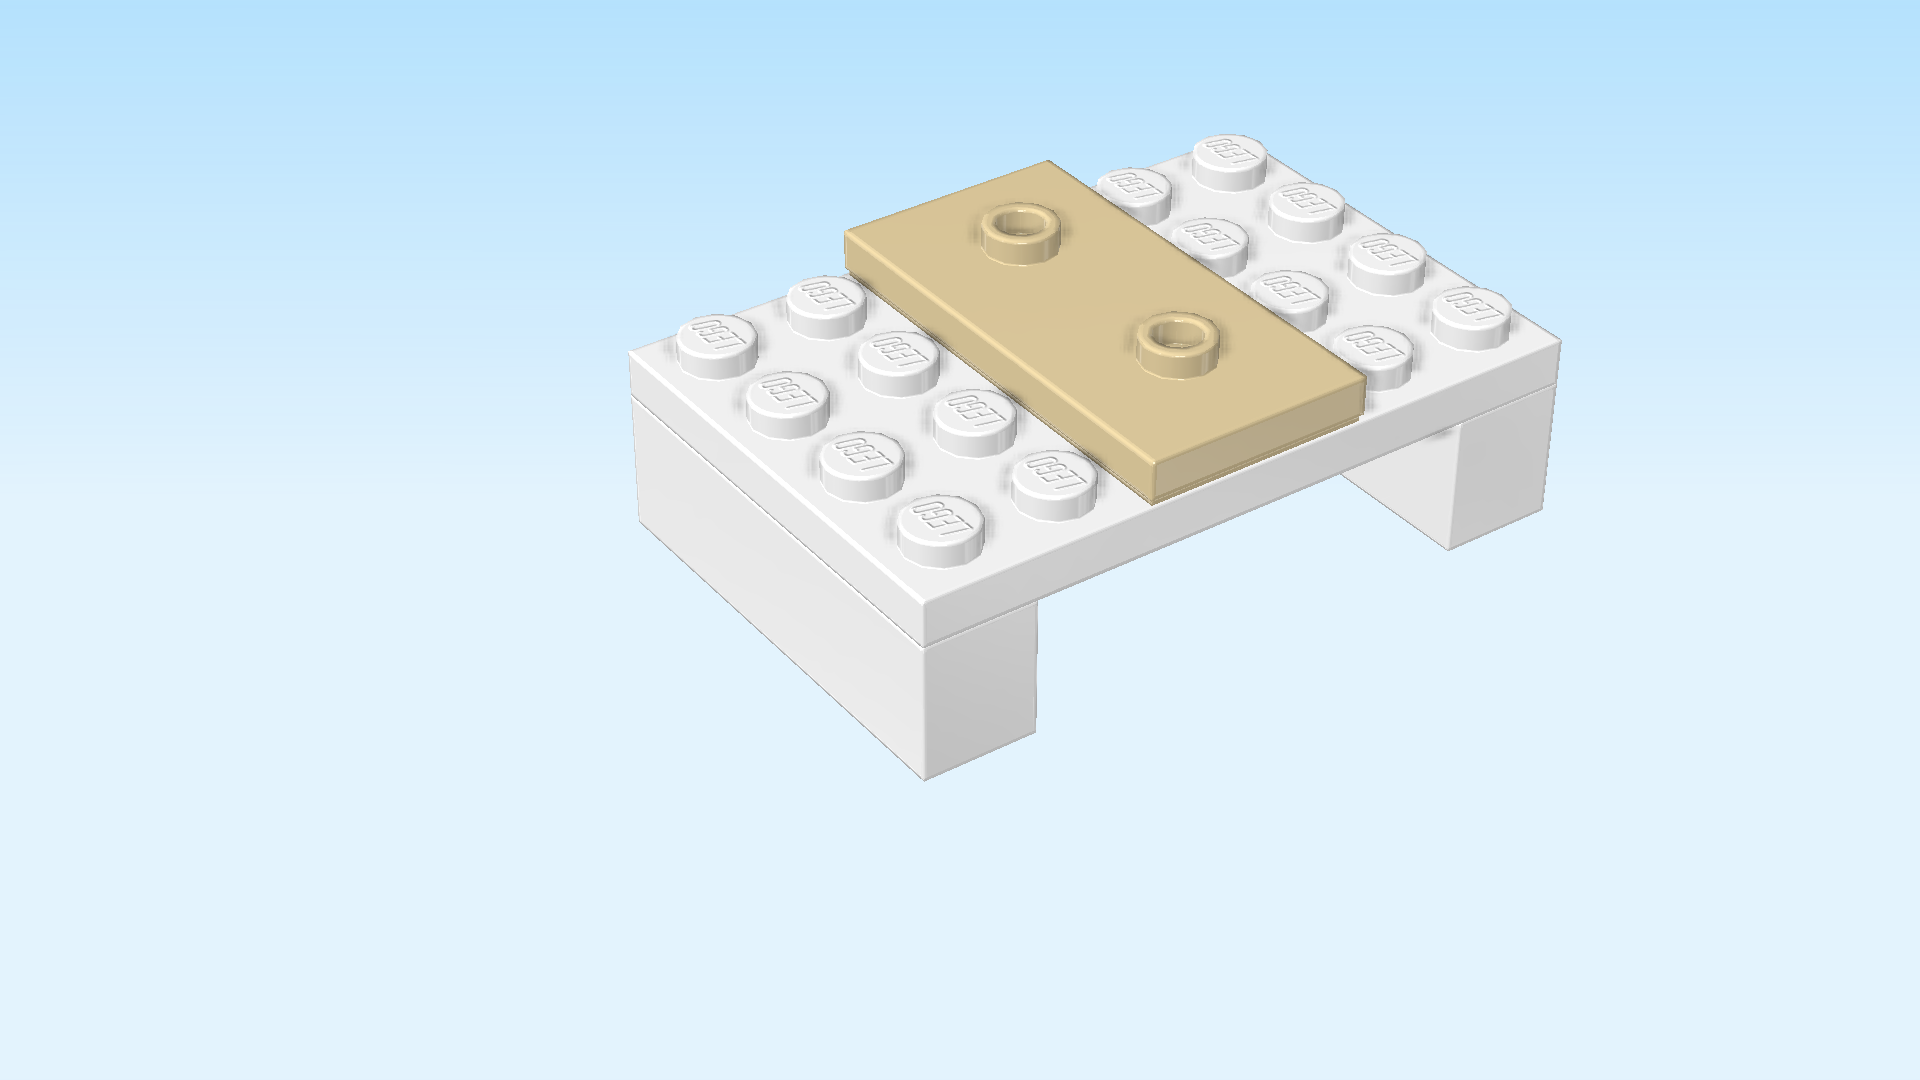
| Collect the following 3 pieces: |
| 2 white bricks 1x4, |
| and 1 white plate 4x6. |
| Hold the plate 4x6 horizontally. |
| Put 1 brick 1x4 vertically underneath the leftmost column. |
| Repeat symmetrically on the right. |
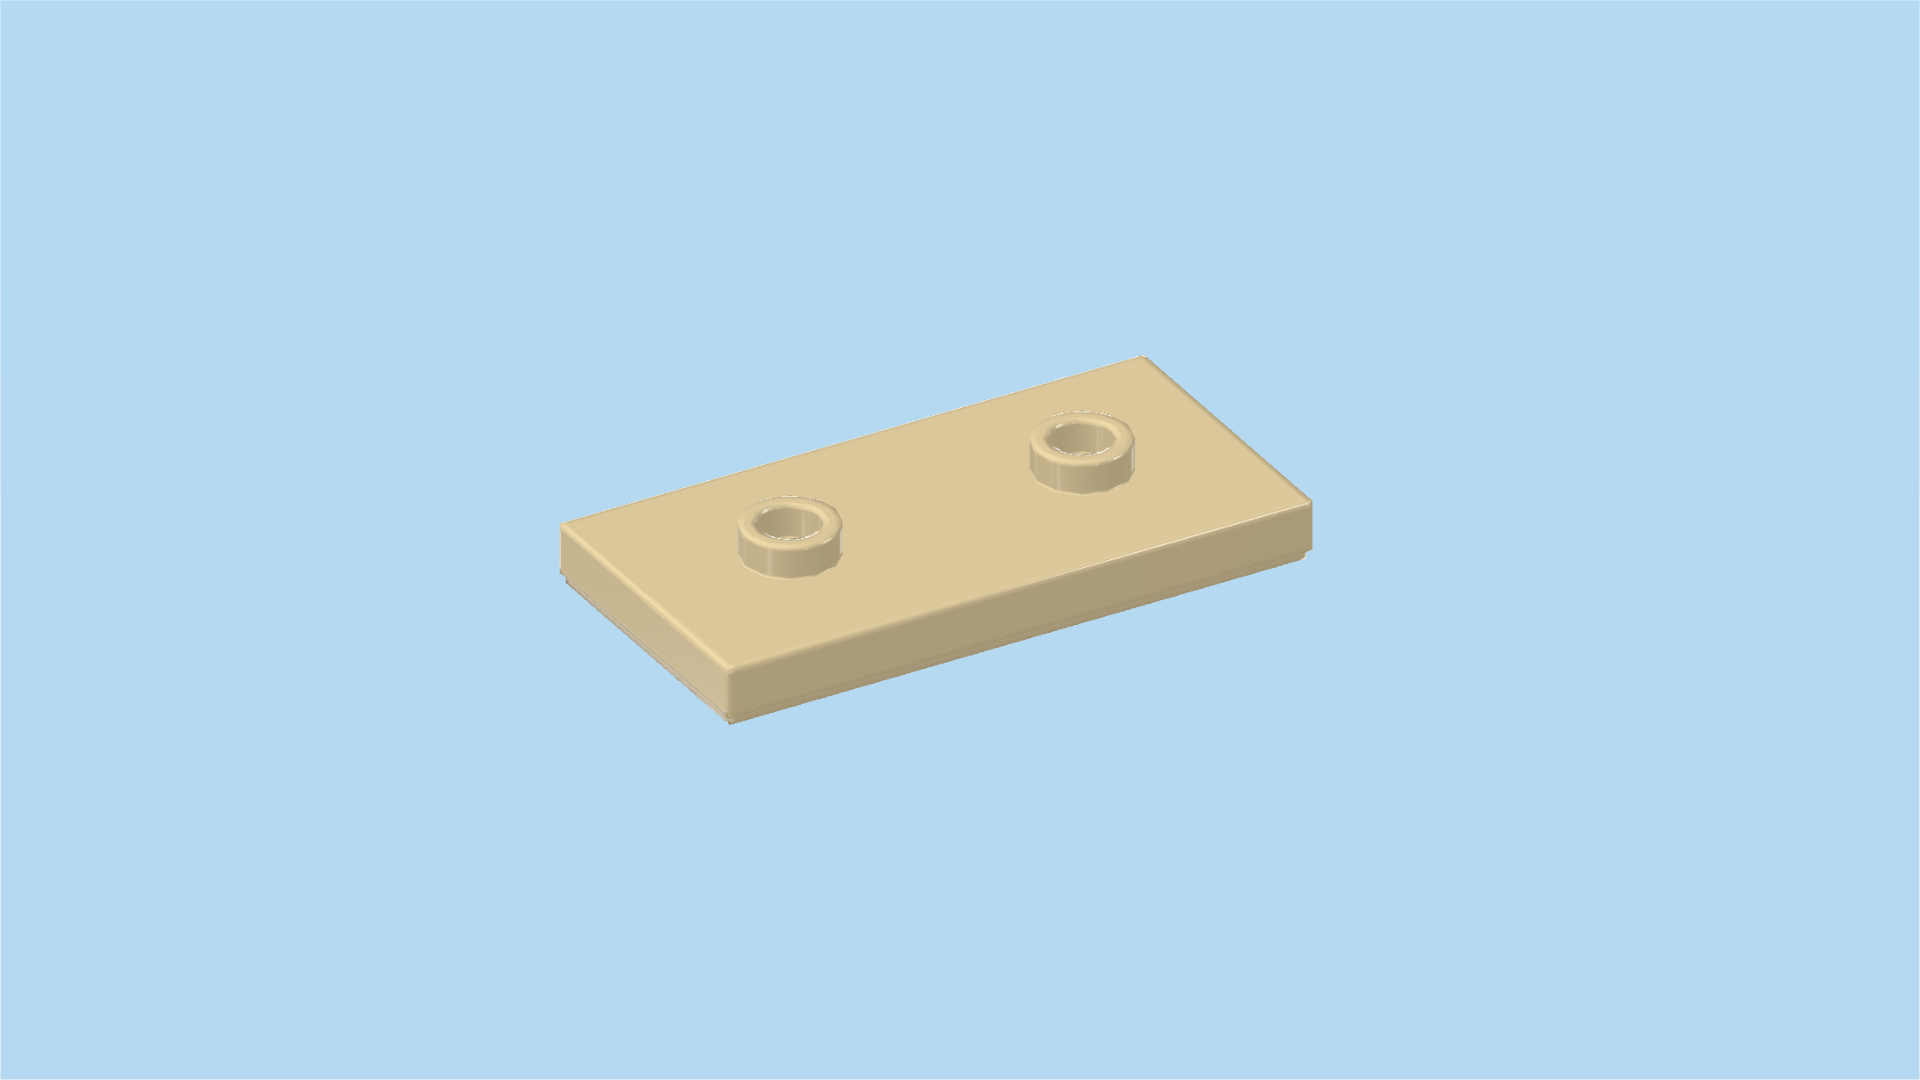
| Find 1 pale ocher yellow plate 2x4 with 2 knobs. |
| Put it vertically on the 2 middle columns. |
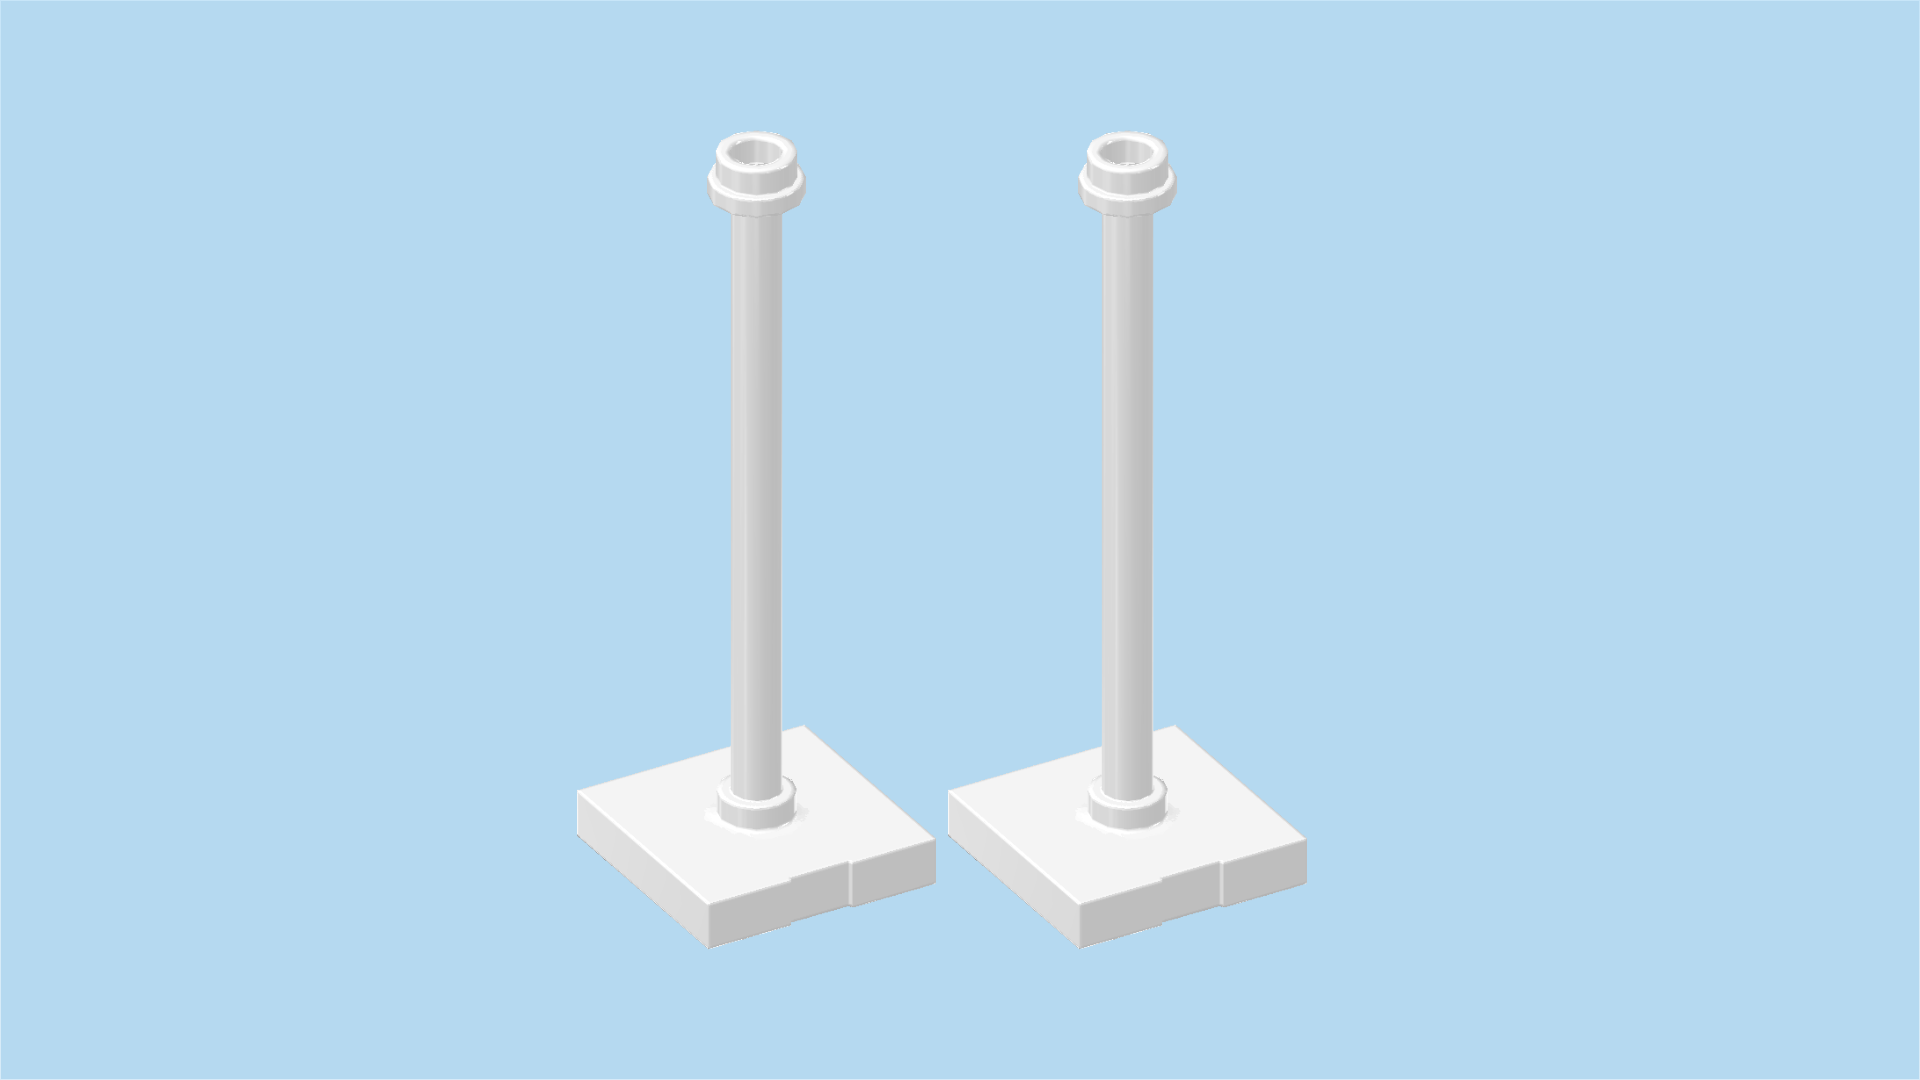
| Find 2 white flat tiles 2x2 with pole 5m. |
| Put 1 on the back right corner of the bench structure. |
| Repeat symmetrically on the back left corner. |
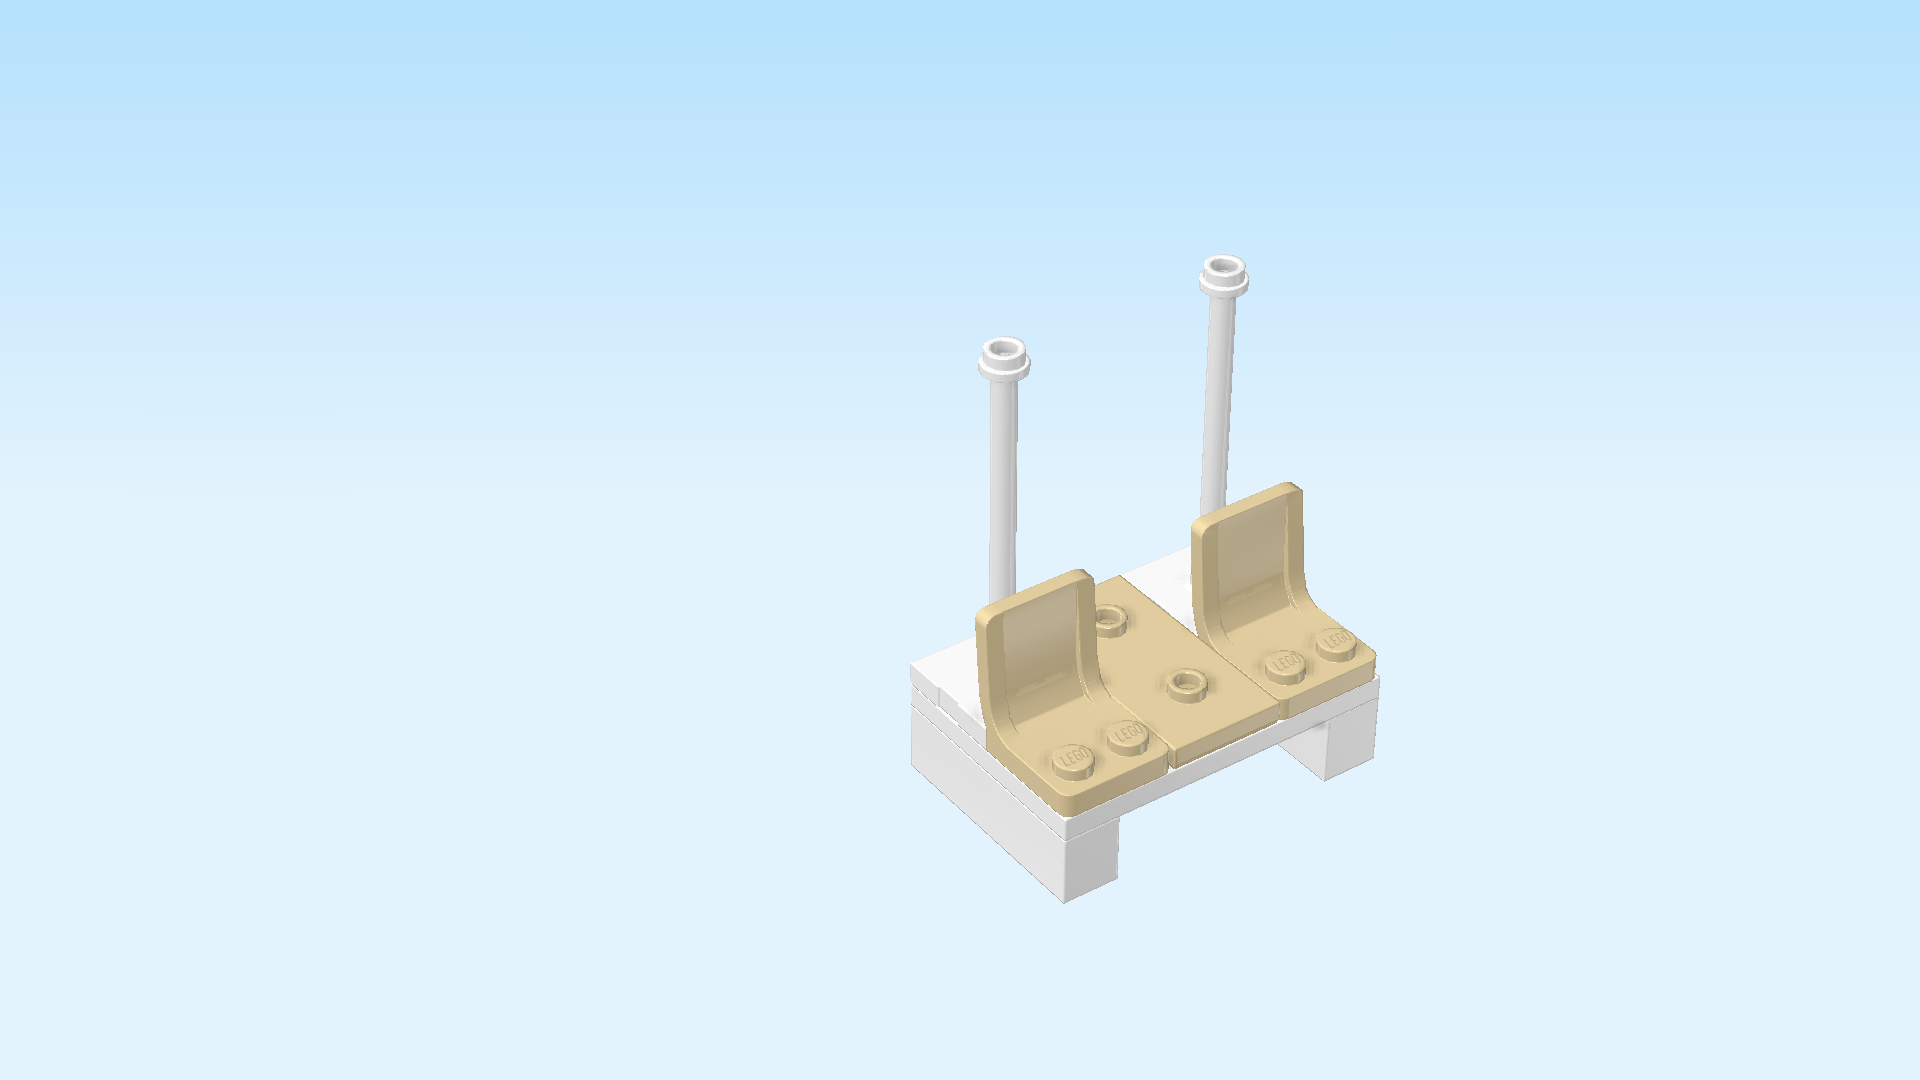
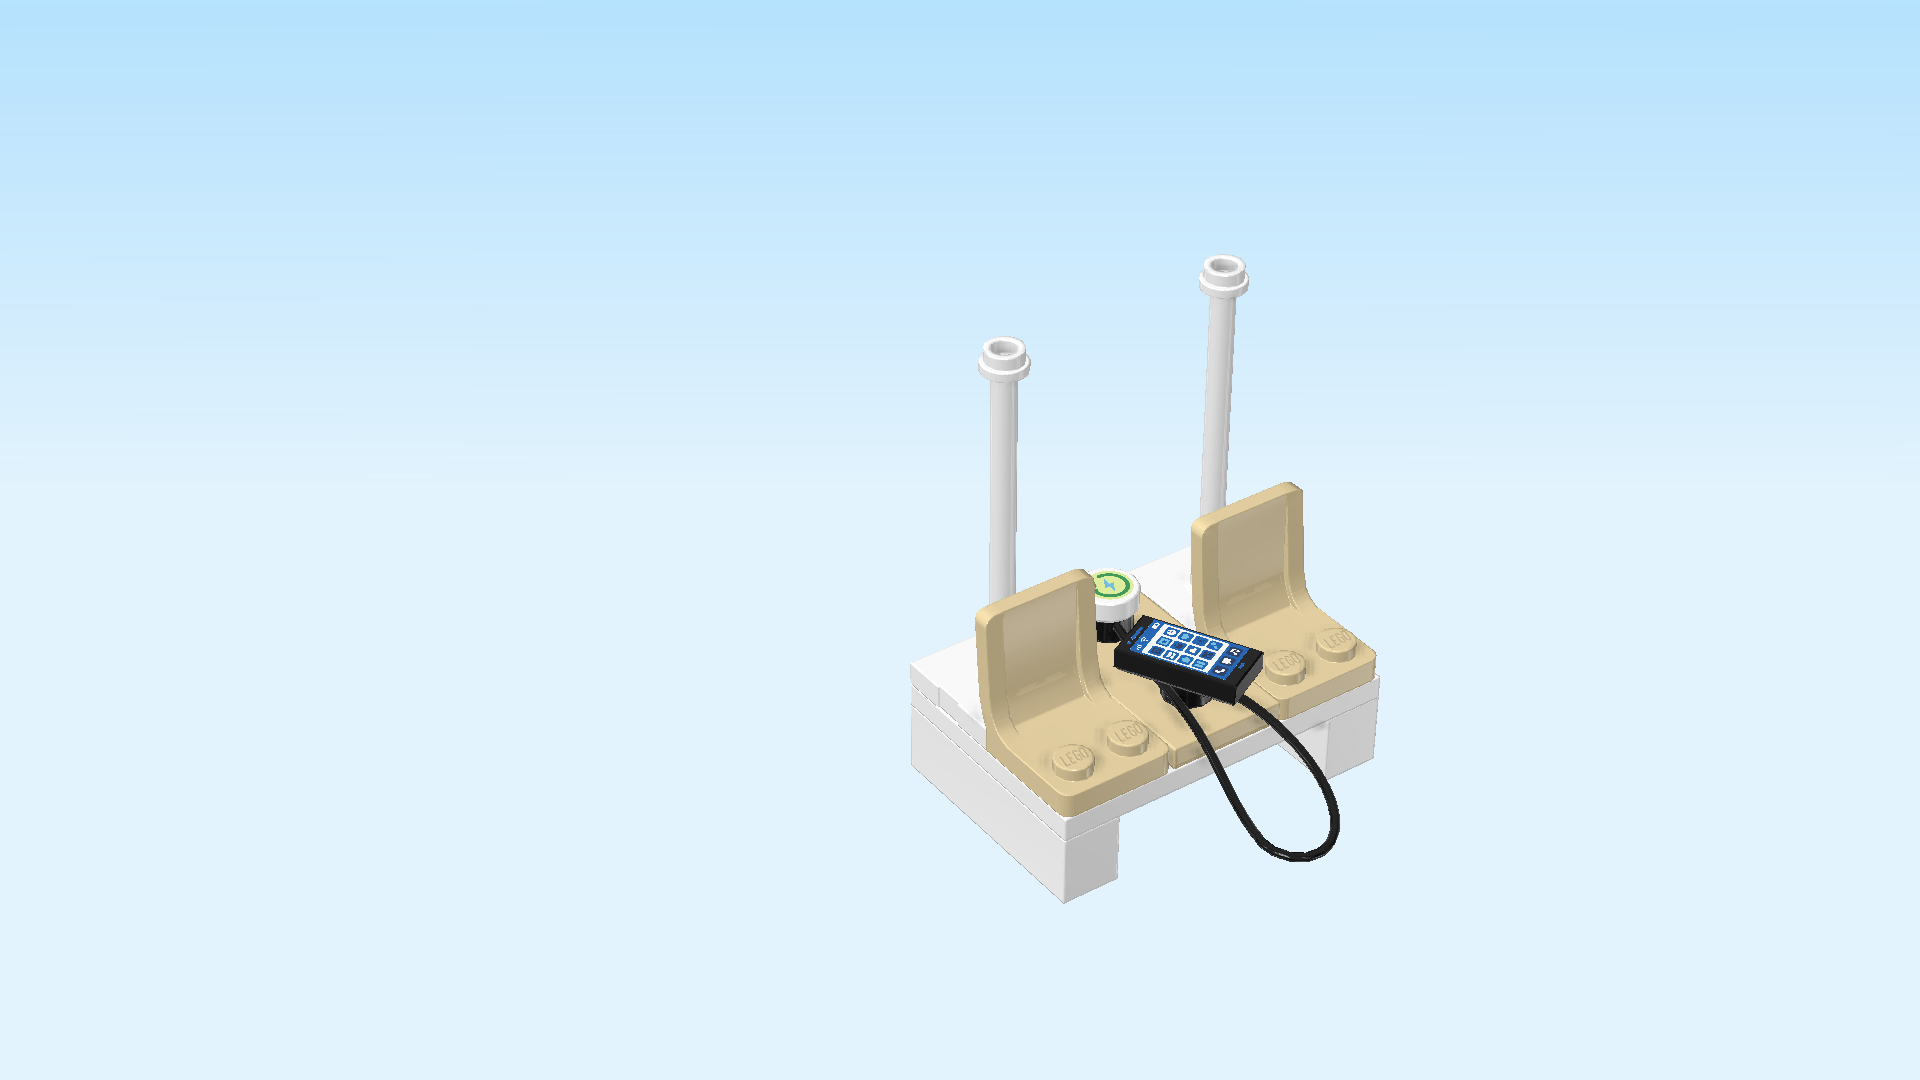
| Find 2 pale ocher yellow seats 2x2x2. |
| Put them in front of the 2 previous pieces, seatbacks to the back. |
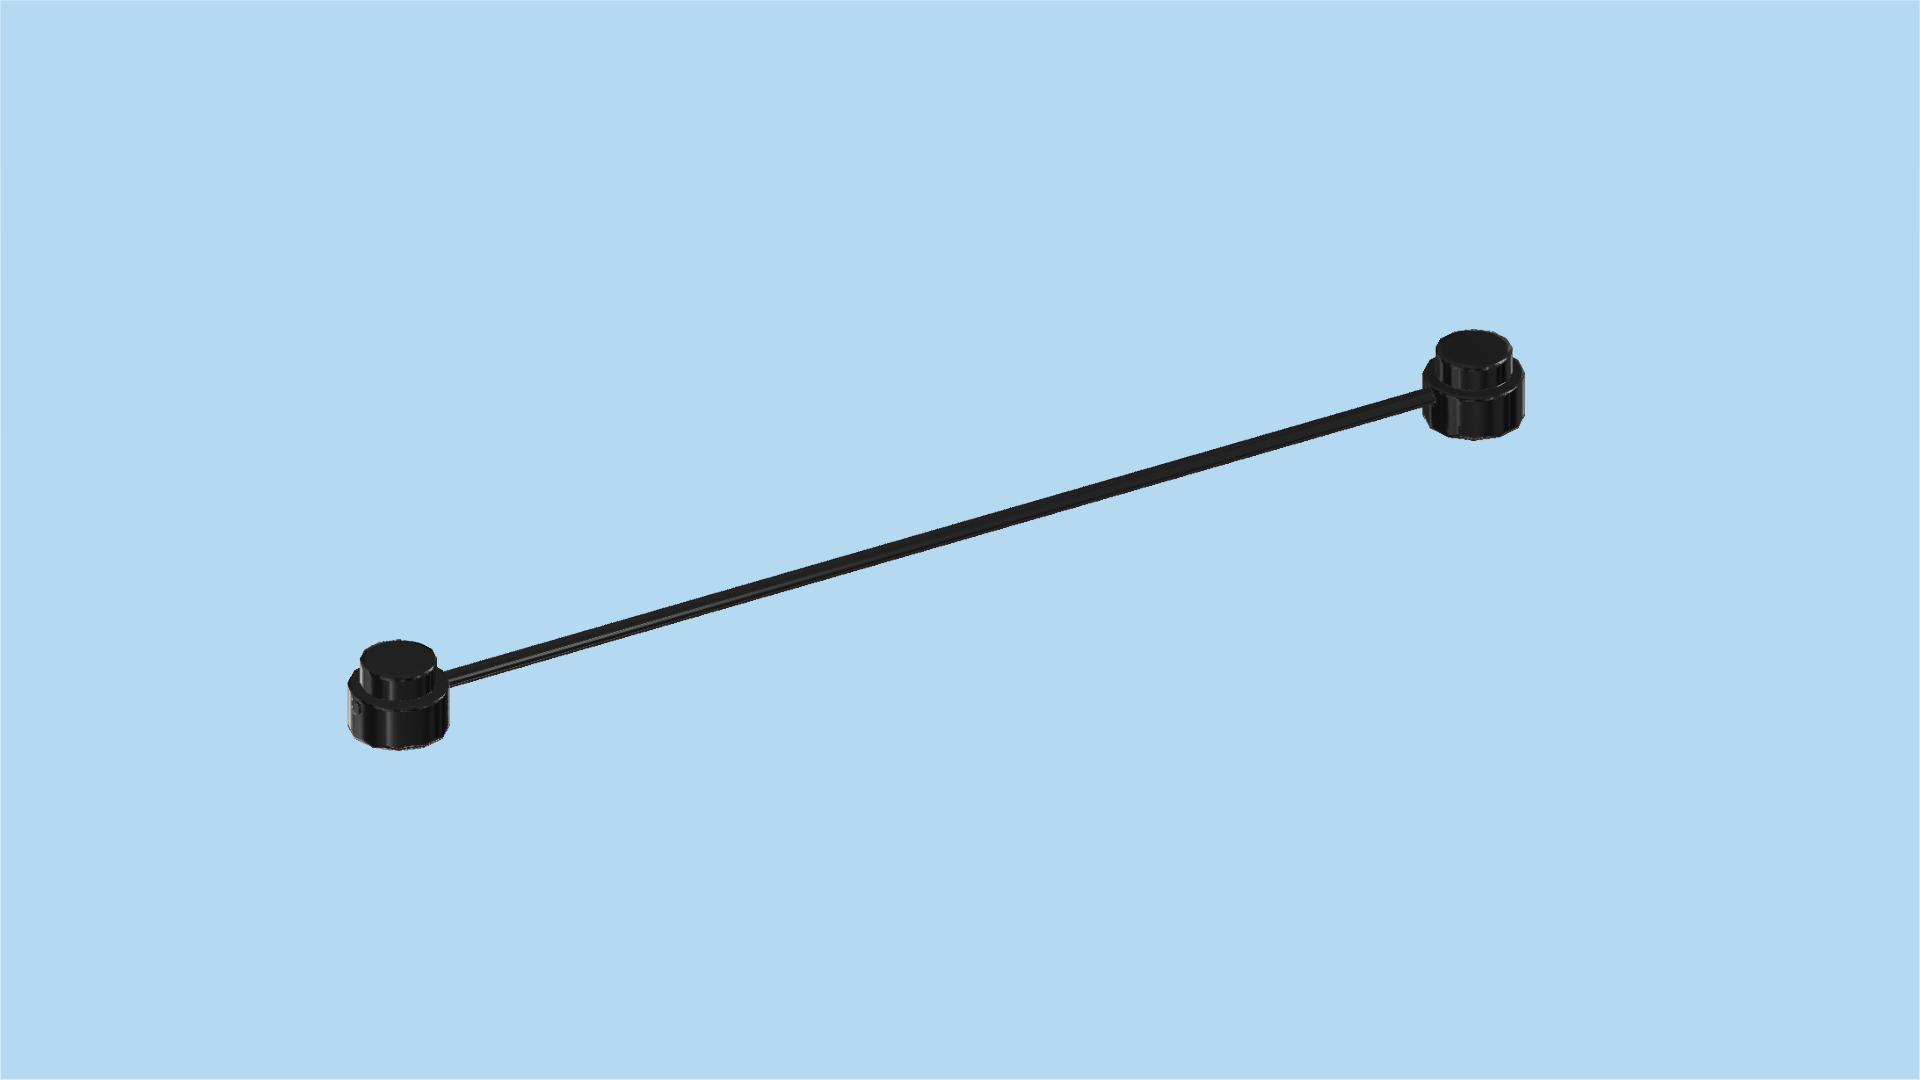
| Find 1 black string 11m with 2 knobs. |
| Put its 2 knobs on the plate mounted between the seats and poles. This is the charger cable. |
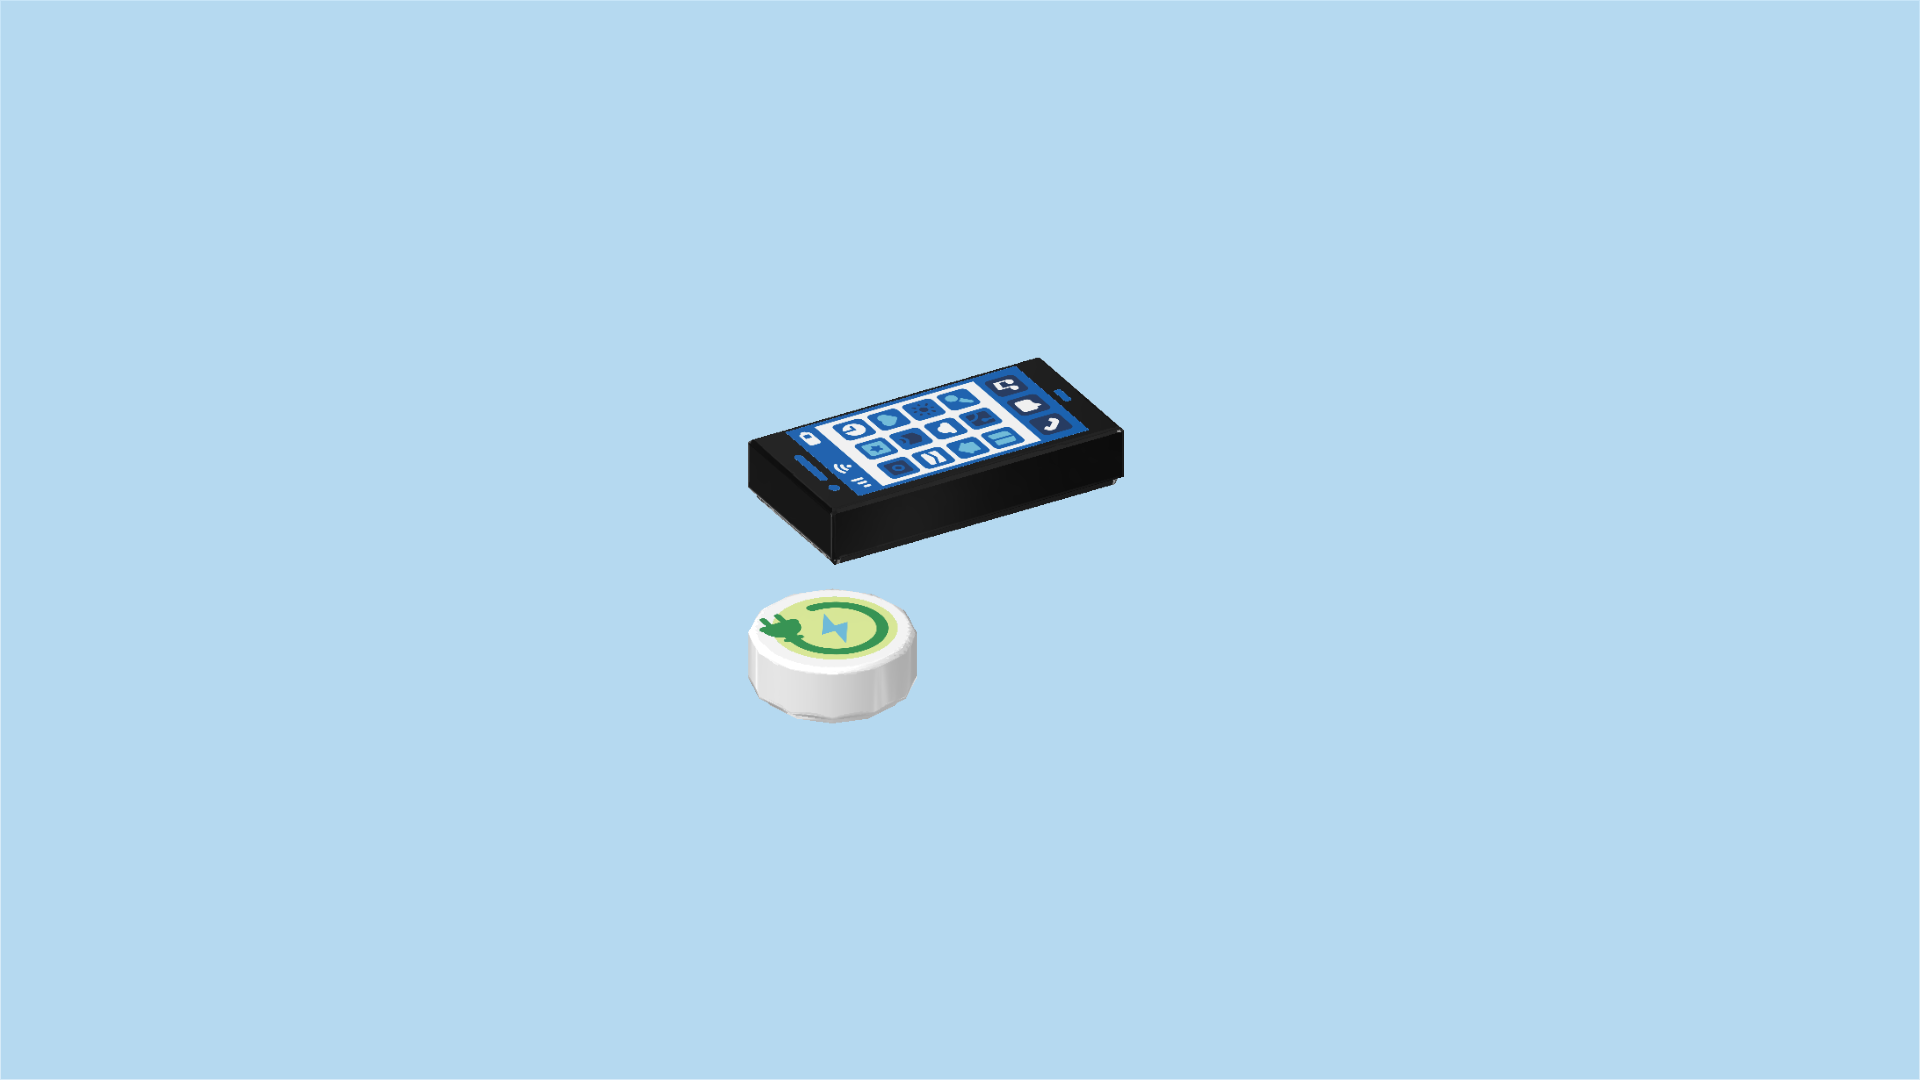
| Collect the following 2 pieces: |
| 1 white round tile 1x1, |
| and 1 black flat tile 1x2. |
| Put the round tile 1x1 on the back knob of the previous piece. |
| The round tile is printed with a green charging symbol: it consists of a dark green cable with plug circling the edge of the tile, and a green lightning symbol in the center. |
| Put the flat tile 1x2 vertically at an angle on the front knob of the string with knobs. |
| This piece is printed with the unlocked home screen of a smartphone. There are plenty of app icons on the home screen, and at the top of the screen there are icons for the state of charge, WiFi connectivity and cell reception. |
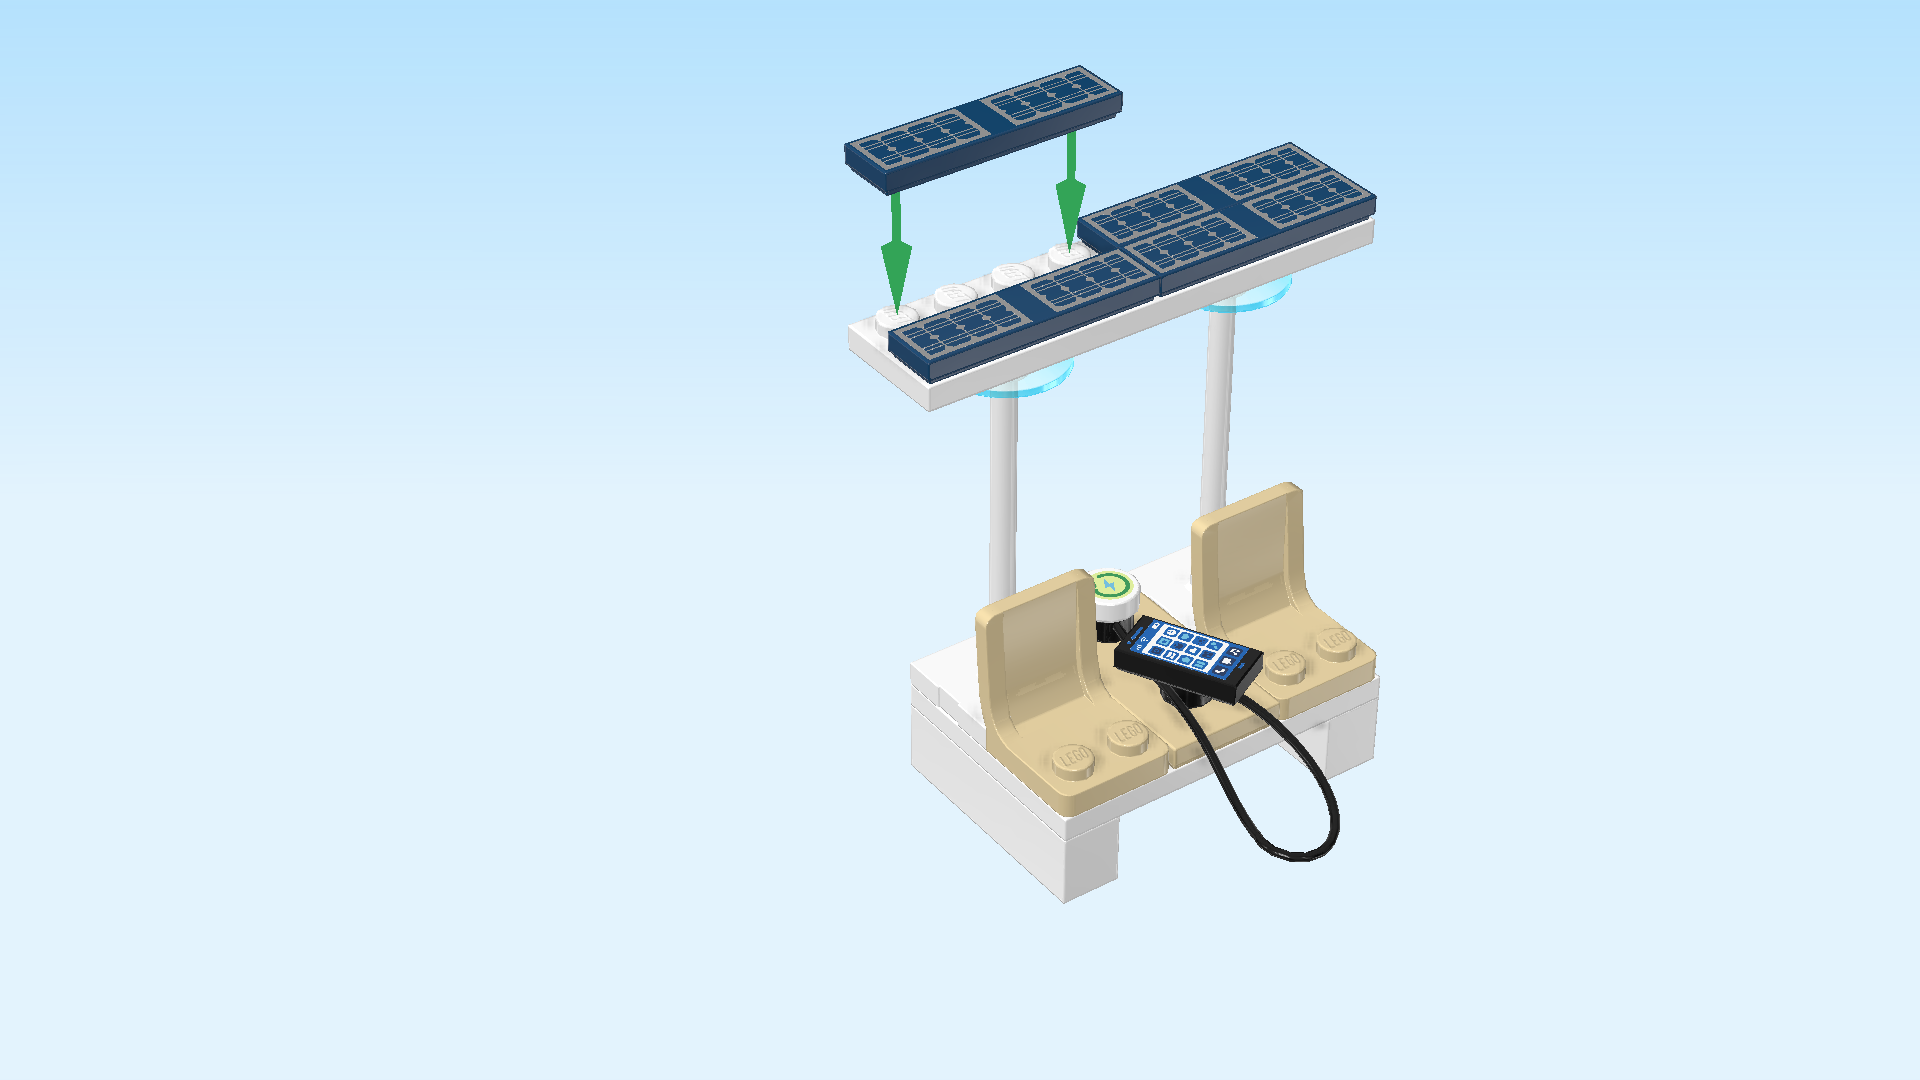
| Find 2 transparent light blue disks 2x2 with 1 knob. |
| Put them on top of the poles, knobs to the top. |
| Find 1 white plate 2x8. |
| Put it horizontally centered on top of the 2 previous pieces, symmetrically overhanging to the left and right. |
| Find 4 earth blue flat tiles 1x4. |
| Mount them horizontally next to each other on the previous piece so that they evenly cover the previous piece. |
| These tiles are printed with solar cells. |
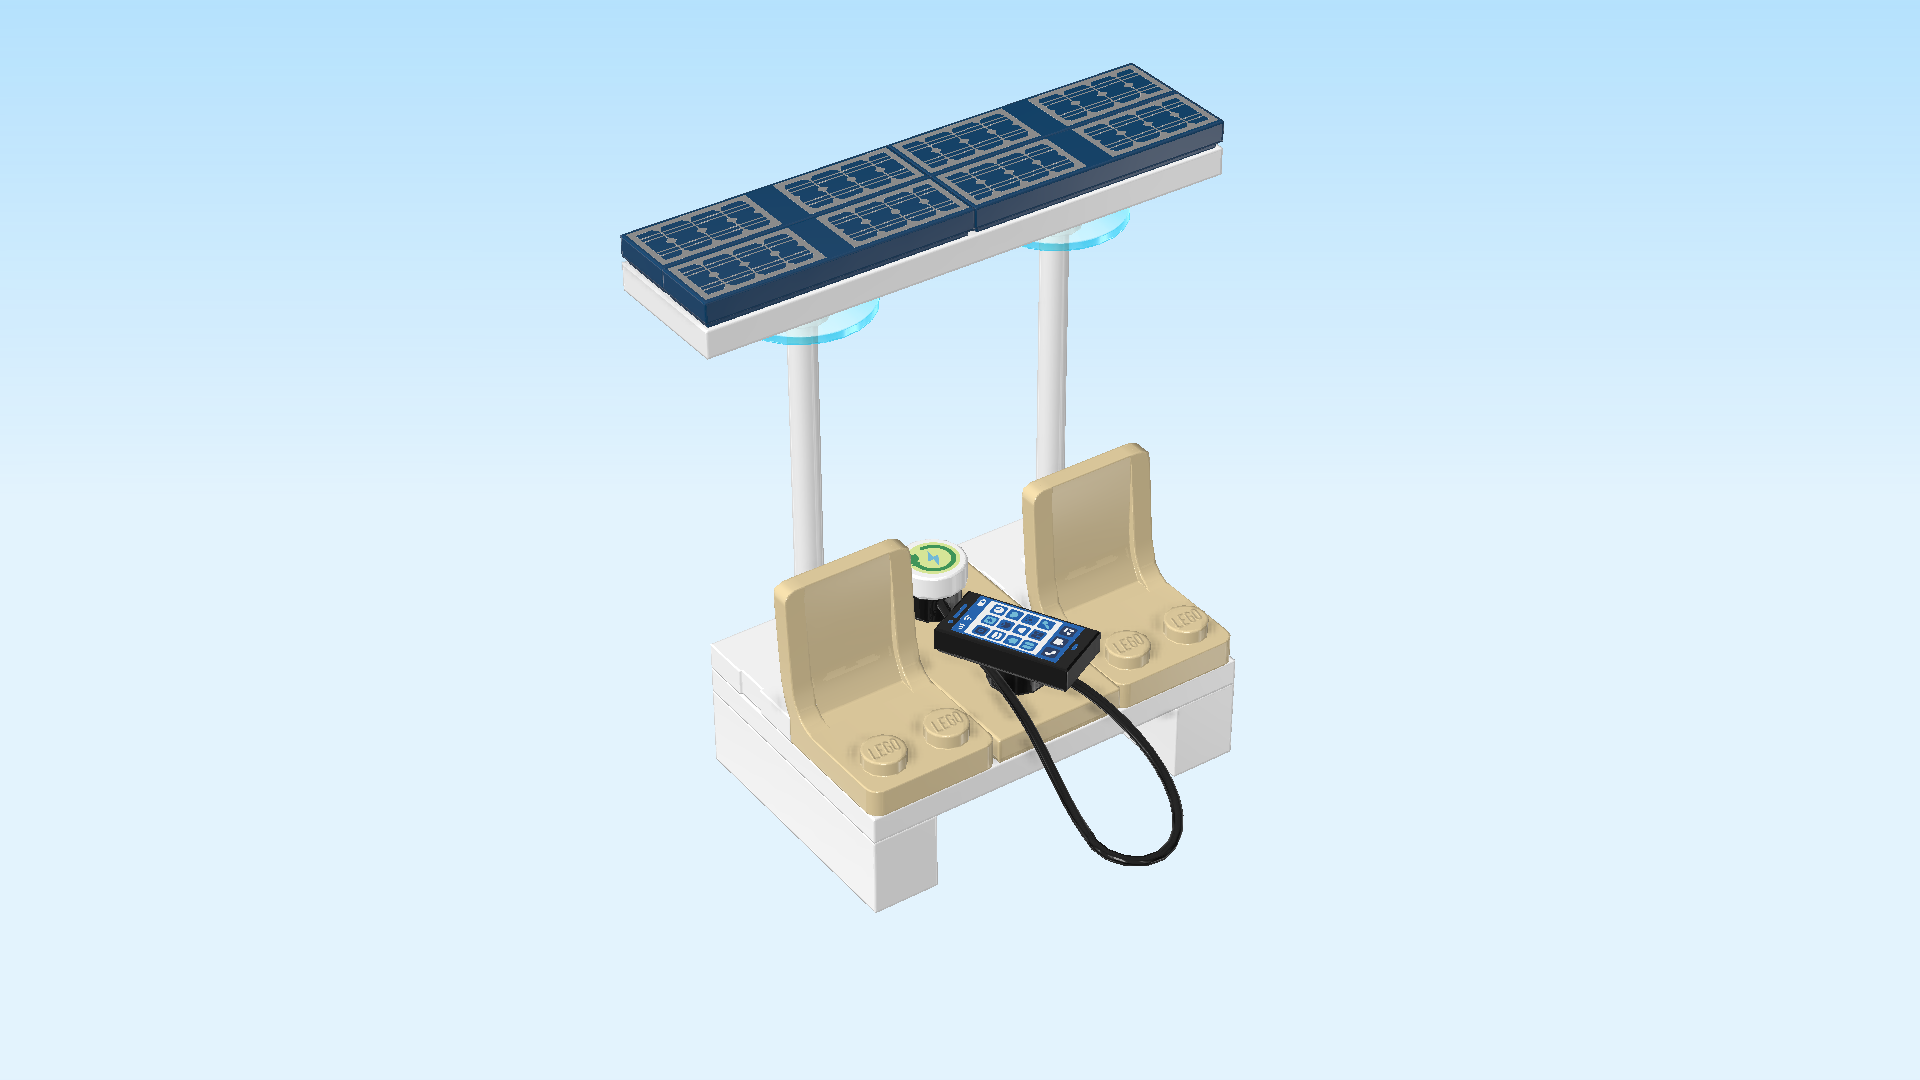
| The smart park bench with solar panel roof is finished! Great job! The solar cells at the top are used to generate electricity which can then be used to charge mobile devices. The future sure is solar, what a great way to generate and use green energy! |
| You have finished building the entire set! Fantastic work! But of course, the real work starts now: mount the digger and start breaking down the old park bench with the jackhammer. Make sure to chisel off all parts of the old bench until only the 2 mounting plates 1x4 with 2 knobs are left. Then, remove any rubble with the bucket of the digger and the broom. After that, it is time to exchange the bucket attachment for the forklift attachment (simply snap off the bucket from the digger arms and attach the forklift by snapping its hinge fork on the hinge stub of the digger arms). Carefully lift up the smart bench and mount it on the 2 mounting plates. And once you are done, it is time to go to the next construction site! There is always something to do. |
| Enjoy! |