LEGO 60369 Mobile Police Dog Training 

LEGO Audio & Braille Building Instructions for the LEGO City Police set "Mobile Police Dog Training".

Woof woof! Join the LEGO City Police K9 Unit for dog training and puppy development. Load the equipment into the trailer. Don’t forget the feeding bowls! Help the excited police dog and puppy into the cool K9 SUV and head for the training ground. When you arrive, set up the seesaw, jump bar and stepping paws and get ready for a fun day.

The box cover shows a sunny day in the outskirts of LEGO City. Only the city's skyline is visible in the distant background of the scene. The police SUV truck with trailer is parked on a dirt road surrounded by trees and a large boulder. The training course is built up in front of the truck on a meadow. Two different obstacles are already set up: a jump bar and three stepping paws. The seesaw obstacle is still loaded on the trailer. The policeman who will conduct the training is walking towards the course. He is wearing a safety helmet, and his arms are fully wrapped in safety padding. Even his hands are padded! His colleague, a policewoman who acts as a dog handler, is following him with the adult dog on a leash. The puppy dog is already sitting on one of the stepping paws, waiting for the training to begin. There is a feeding station with dog food and a bone. If everything goes well, our two dogs will probably get to enjoy these tasty treats! Let's get started!

Open the box. This can be tricky; ask someone to help you!

The box contains 2 booklets with visual building instructions, a sheet with a total of 3 stickers, and 2 bags with numbers printed on them. Ask a sighted person to help you find the correct bag!

Open bag number 1 and any sub-bags in it. This bag contains all bricks and pieces for the policewoman Minifigure and the police truck.

Before you start building, ask a sighted person to help you sort the pieces by color. This makes finding the correct pieces even easier!

First, we will build the policewoman Minifigure.

Collect the following 2 pieces:

1 baby blue and bright yellow upper part of the body,

and 1 earth blue pair of legs.

Put the upper body on the legs.

Collect the following 2 pieces:

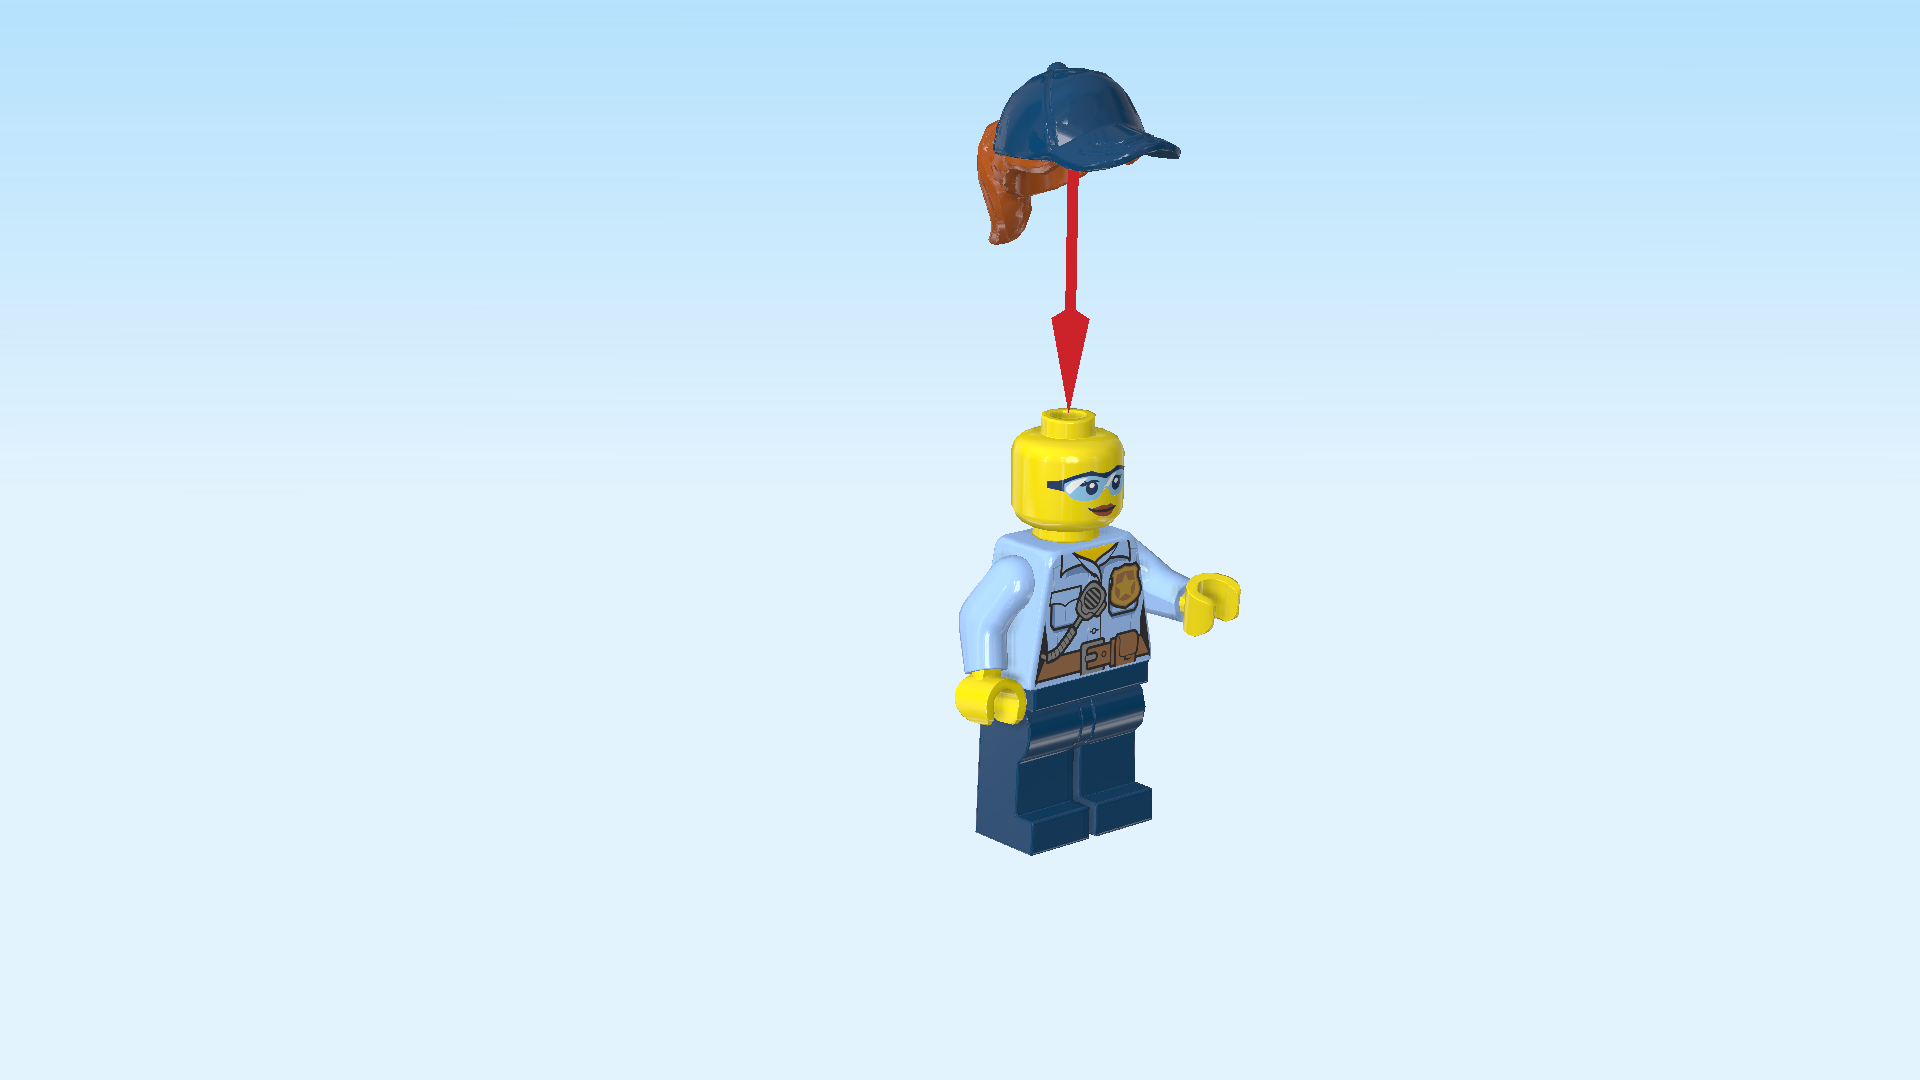
1 dark orange and earth blue billed cap with ponytail,

and 1 bright yellow Minifigure head.

Put the head on the body.

Put the cap with ponytail on top.

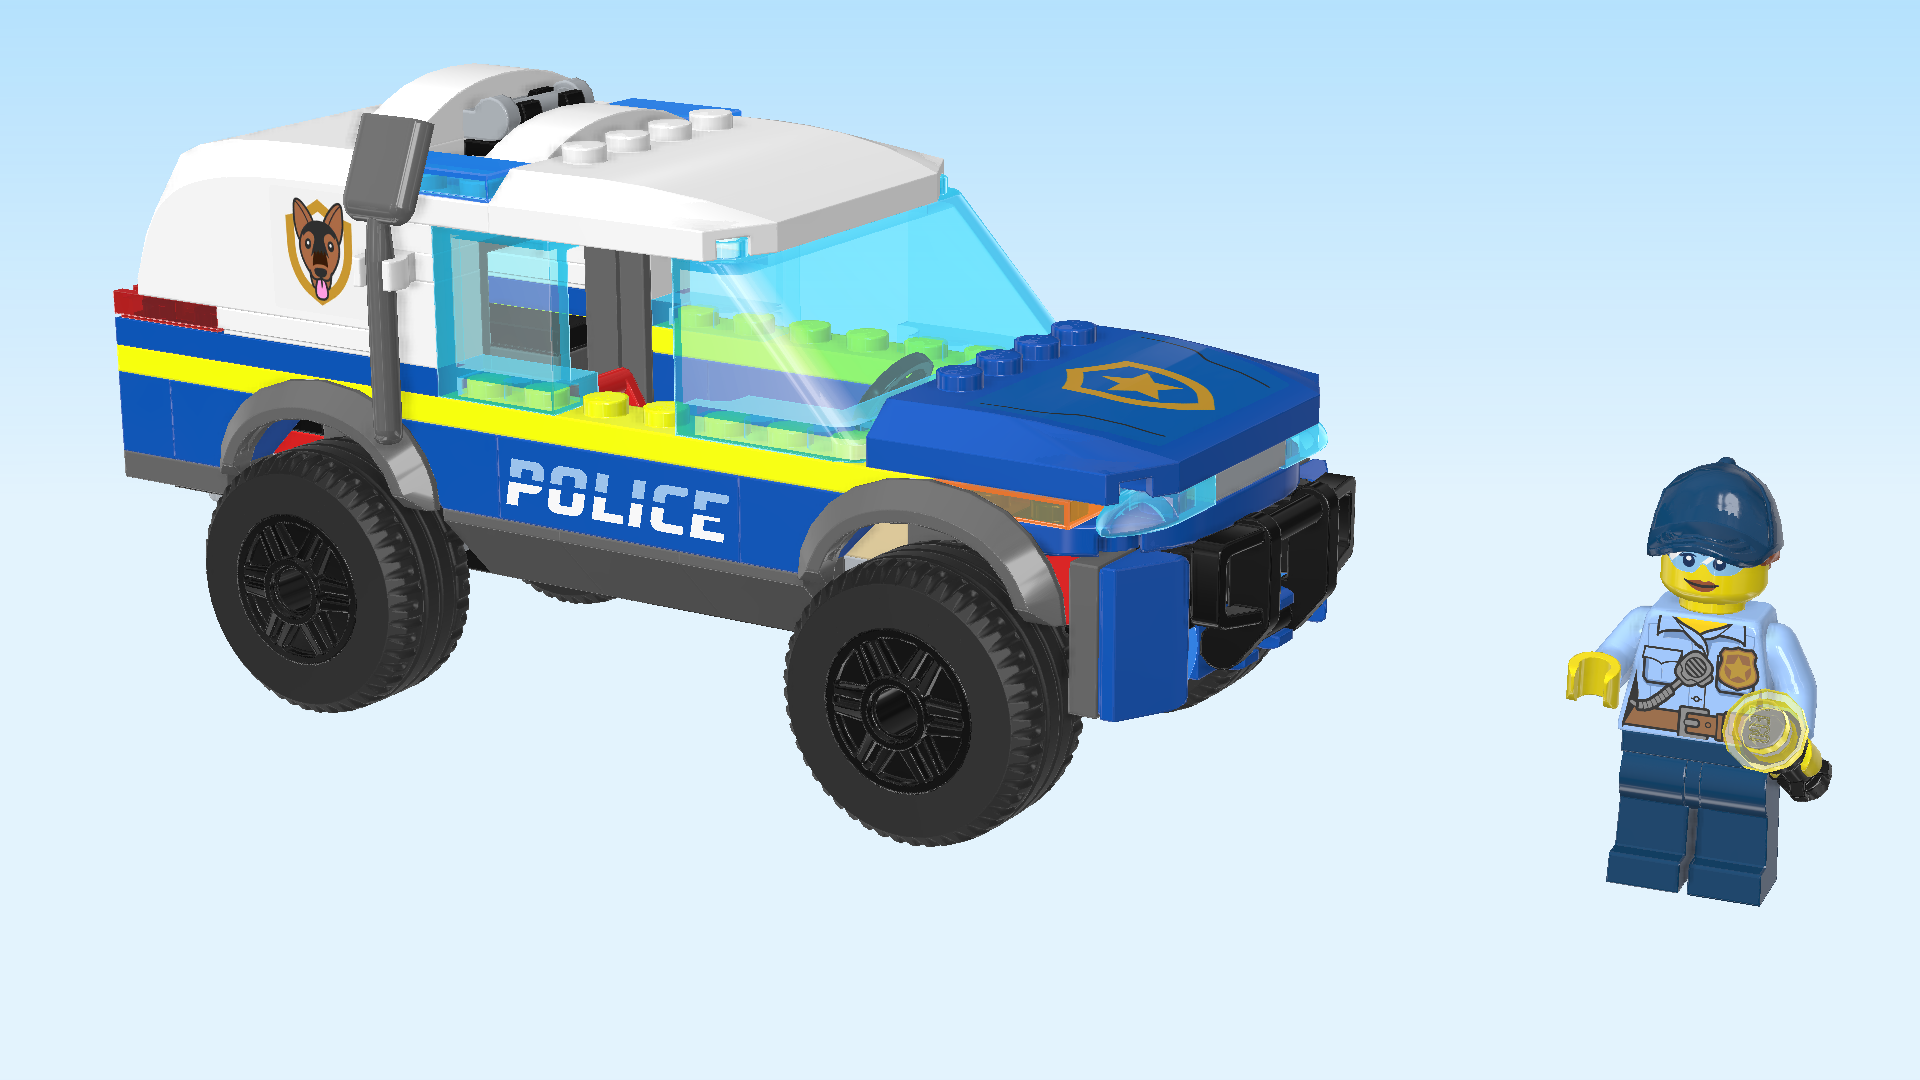
The policewoman Minifigure is finished! Well done! She is wearing dark blue pants and a light blue shirt as well as a brown belt with one utility pocket at the front and 2 at the back. She has a 2-way radio set clamped on her shirt at the front and a walkie-talkie attached on her belt at the back. Her shirt has 2 chest pockets, her golden police badge is pinned on the left chest pocket. She is wearing safety goggles which are mandatory for such trainings.

Now, let's continue with the police car.

Collect the following 2 pieces:

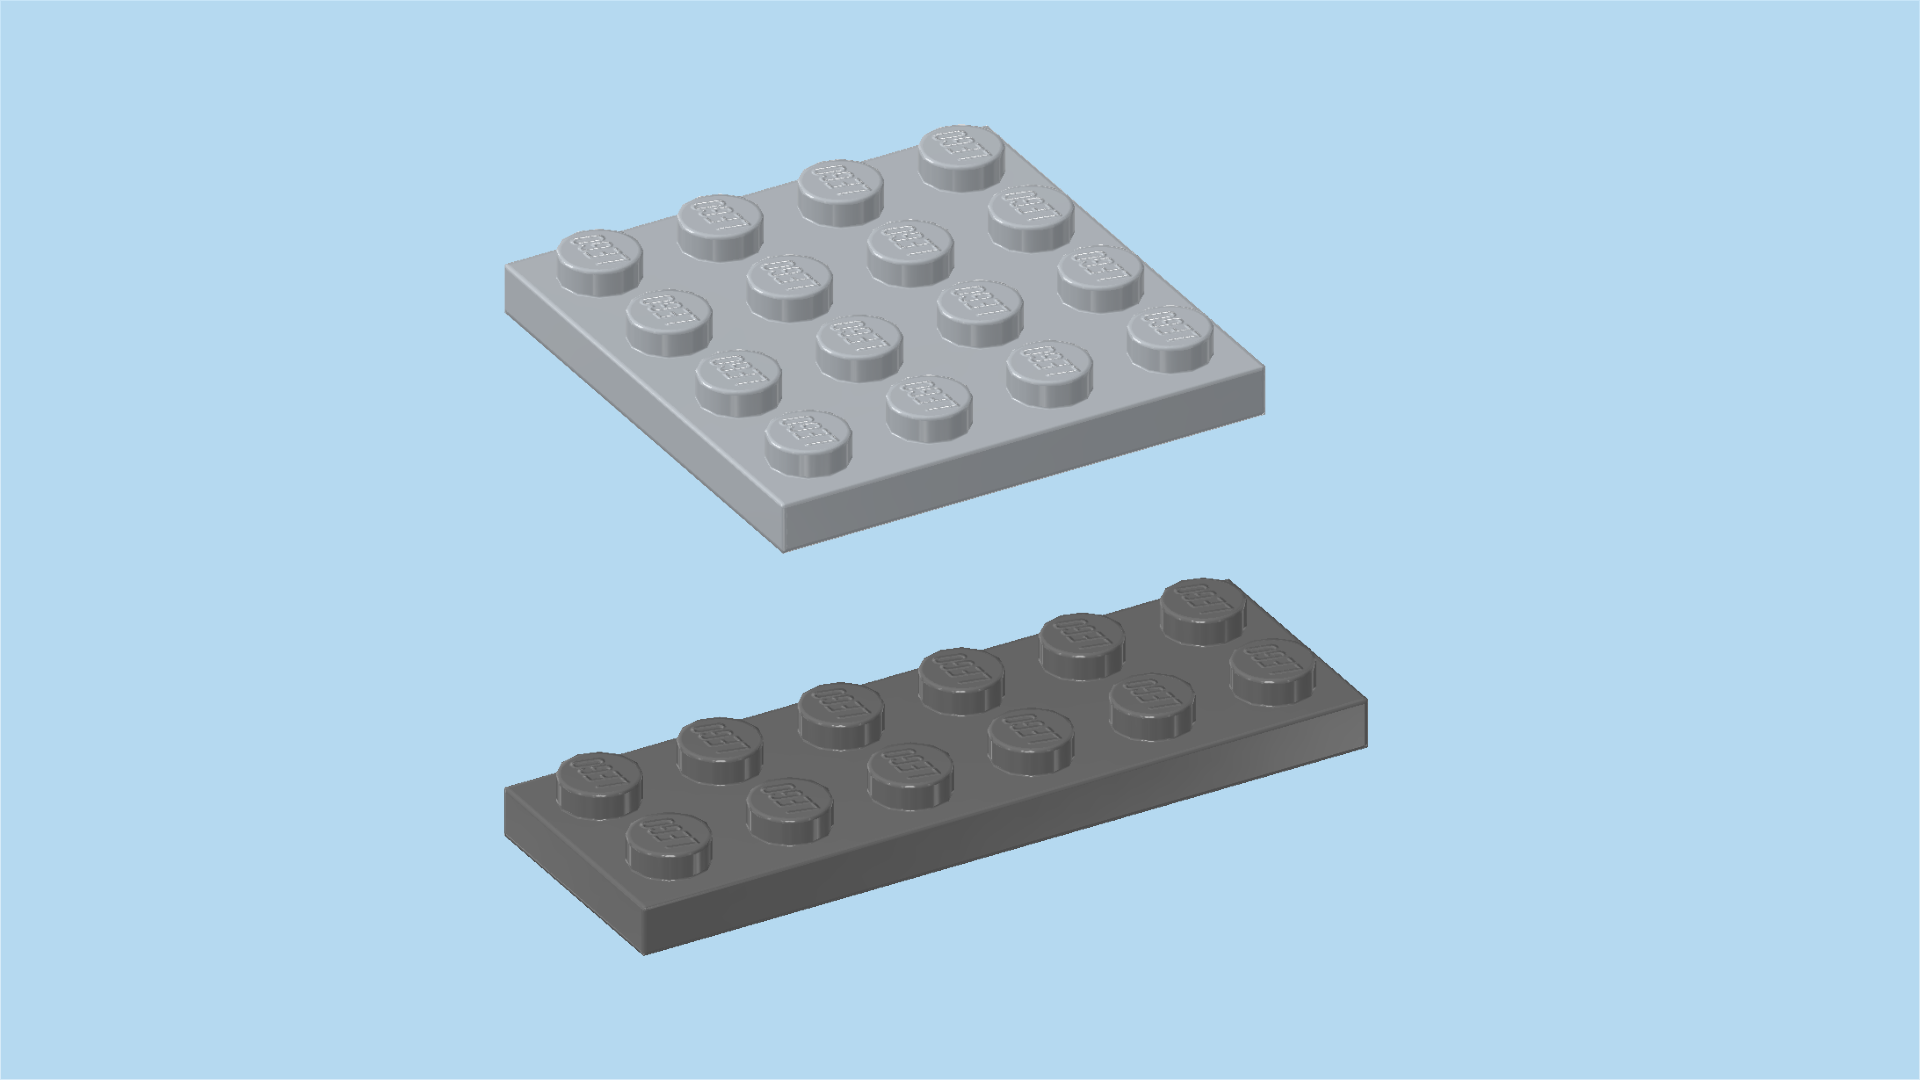
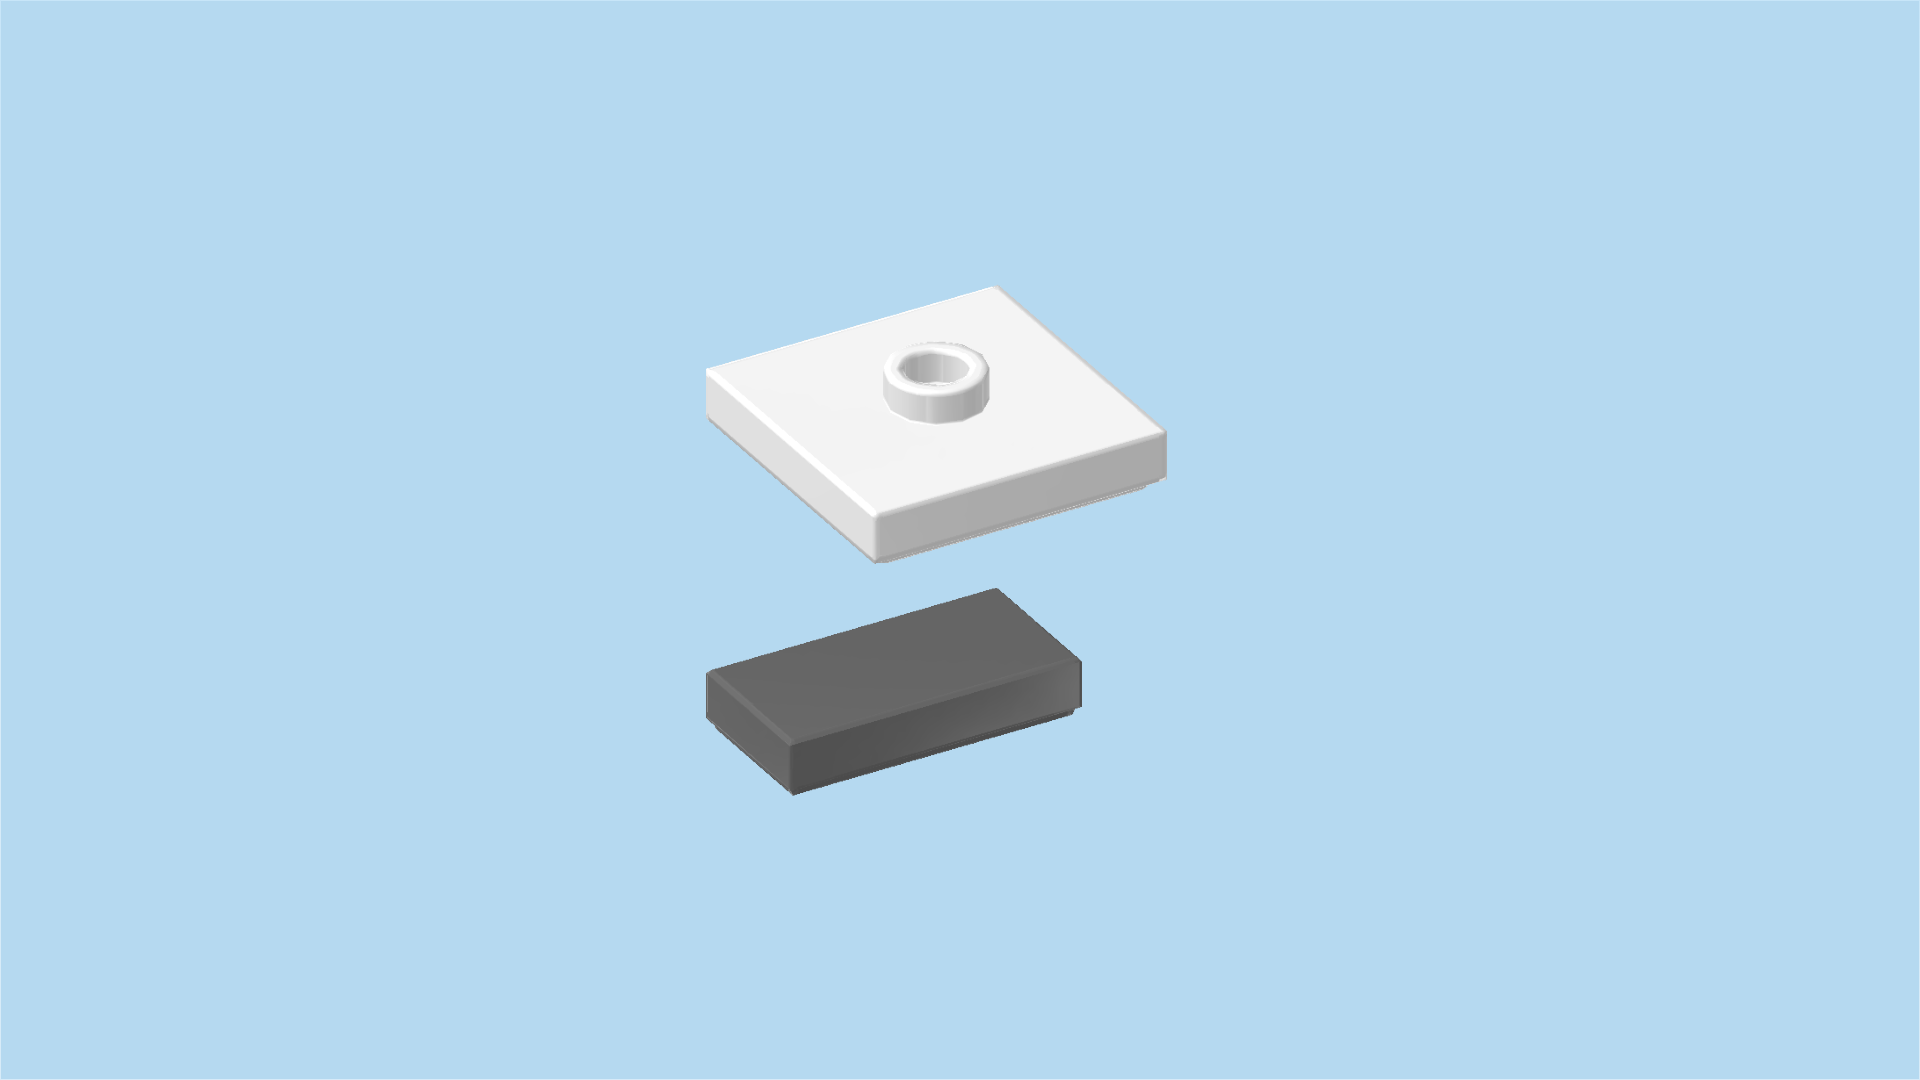
1 medium stone grey plate 2x2 with ball socket and cross hole,

and 1 black plate 2x16.

Put the plate 2x16 horizontally on the table.

Put the plate 2x2 on the 4 rightmost knobs, ball socket overhanging to the right.

Collect the following 3 pieces:

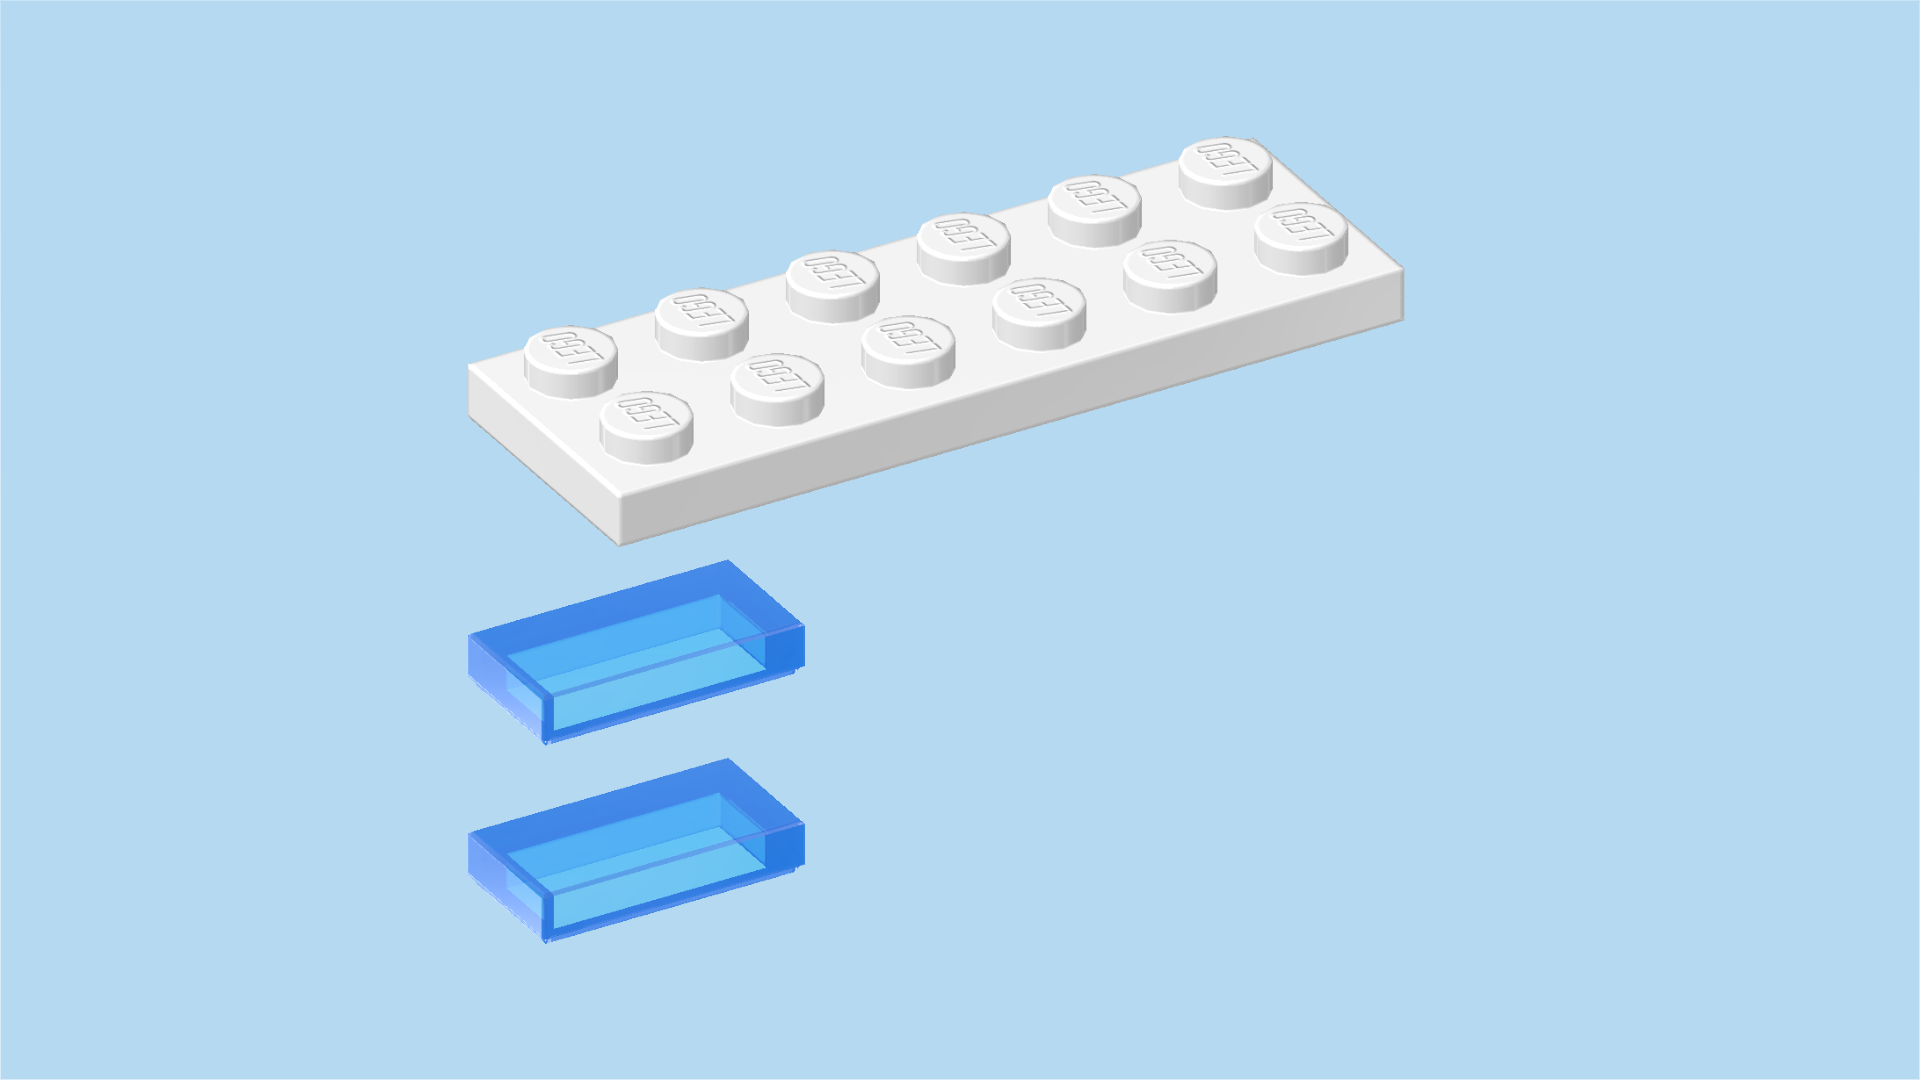
2 bright yellow grille tiles 1x2,

and 1 medium stone grey wheel suspension plate 2x4 with 2 connectors.

Put 1 grille tile 1x2 vertically to the left of the previous piece.

Put the wheel suspension plate 2x4 vertically centered to the left of the previous piece, symmetrically overhanging to the front and back.

Put the other grille tile 1x2 vertically to the left of the previous piece.

Find 3 dark stone grey inverted double roof tiles 2x6, 45°.

Put 1 vertically centered to the left of the previous piece, symmetrically overhanging to the front and back, slopes to the front and back.

Put 1 vertically centered to the left of the previous piece, again symmetrically overhanging to the front and back.

Put the last one vertically centered to the left of the previous piece.

Collect the following 3 pieces:

2 transparent red grille tiles 1x2,

and 1 medium stone grey wheel suspension plate 2x4 with 2 connectors.

Put 1 grille tile 1x2 vertically to the left of the previous piece.

Put the wheel suspension plate vertically centered to the left of the previous piece, symmetrically overhanging to the front and back.

Put the other grille tile 1x2 vertically to the left of the previous piece. It should cover the leftmost column of the base plate.

Find 2 black plates 2x16.

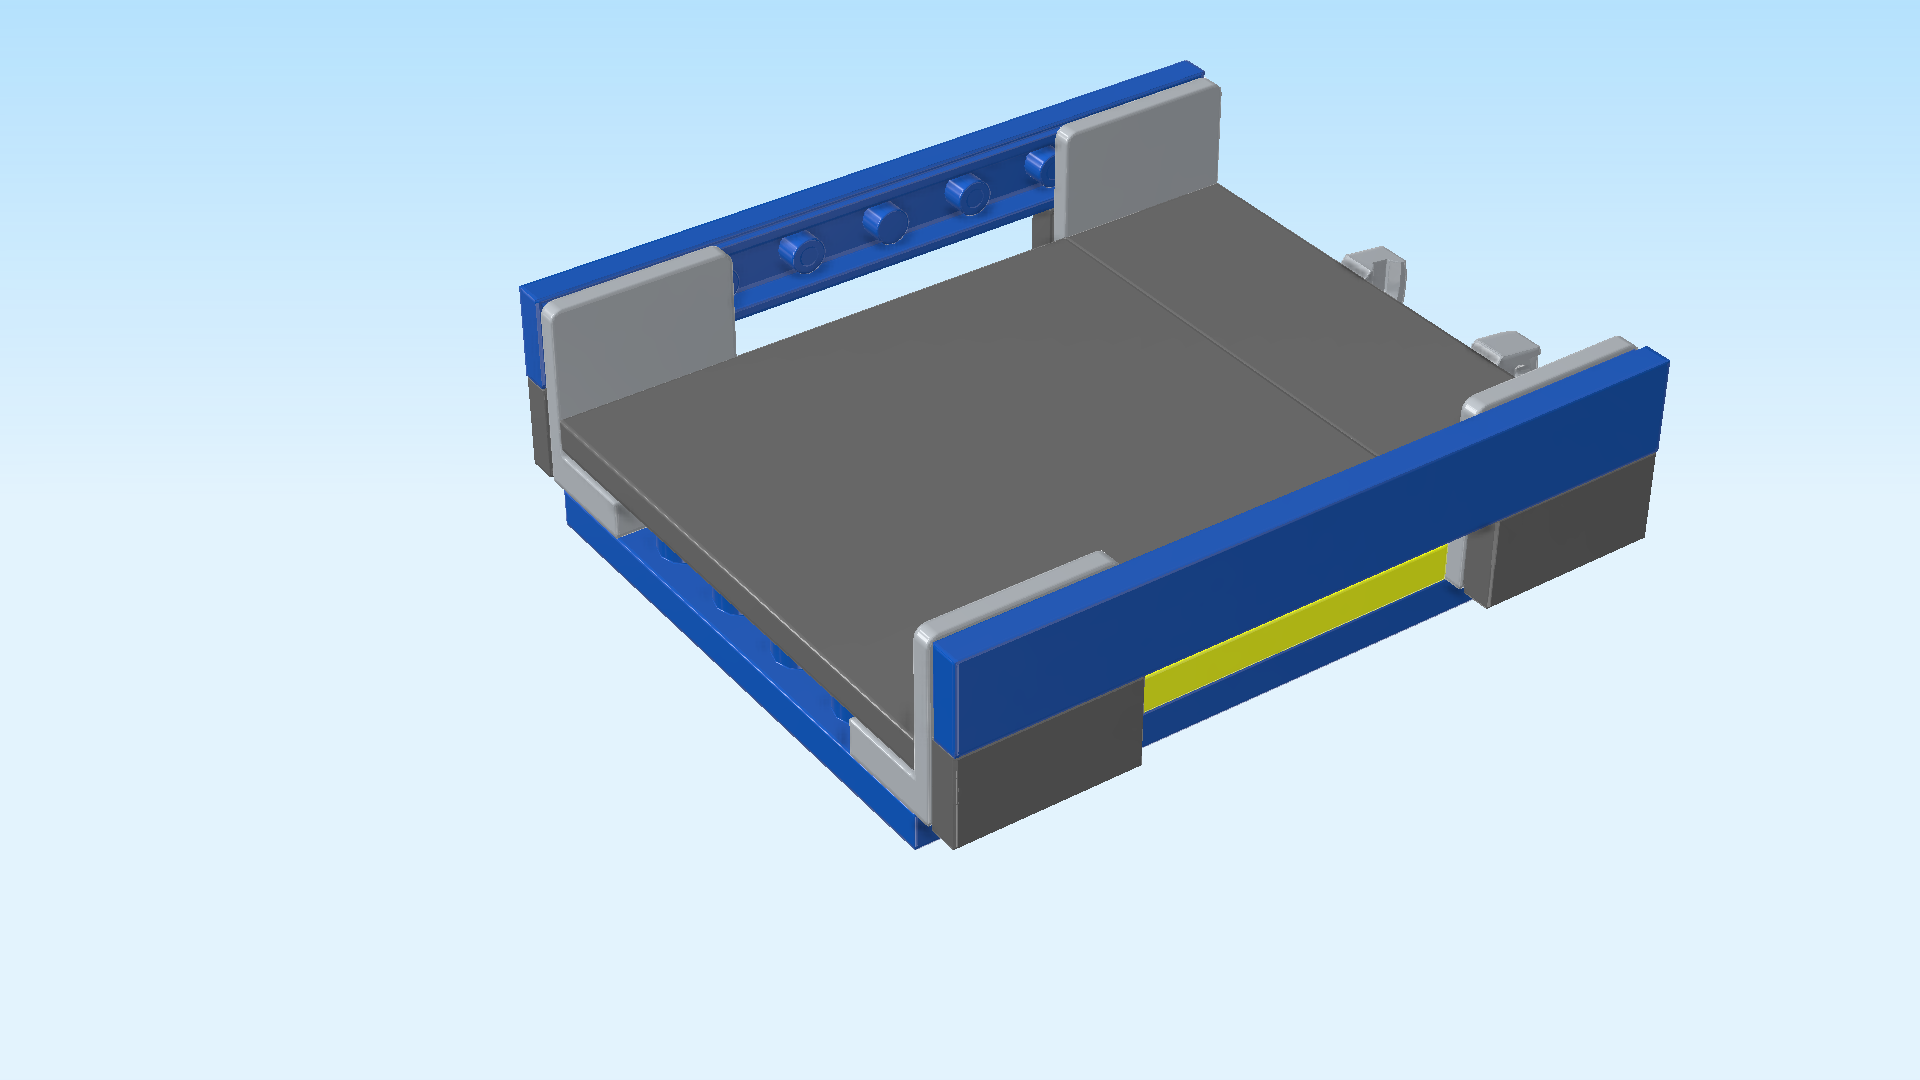
Put 1 horizontally centered on the second and third row from the back. Note that the backmost row are the 6 knobs of the inverted roof tiles, and the second row from the back also is not a full row but has a few holes.

Put the other one horizontally centered in front of the previous piece. Together, these two pieces cover the 4 middle rows of the build.

Collect the following 2 pieces:

1 dark stone grey plate 2x6,

and 1 medium stone grey plate 4x4.

Put the plate 2x6 vertically centered on the 2 rightmost columns, symmetrically overhanging to the front and back.

Put the plate 4x4 centered to the left of the previous piece.

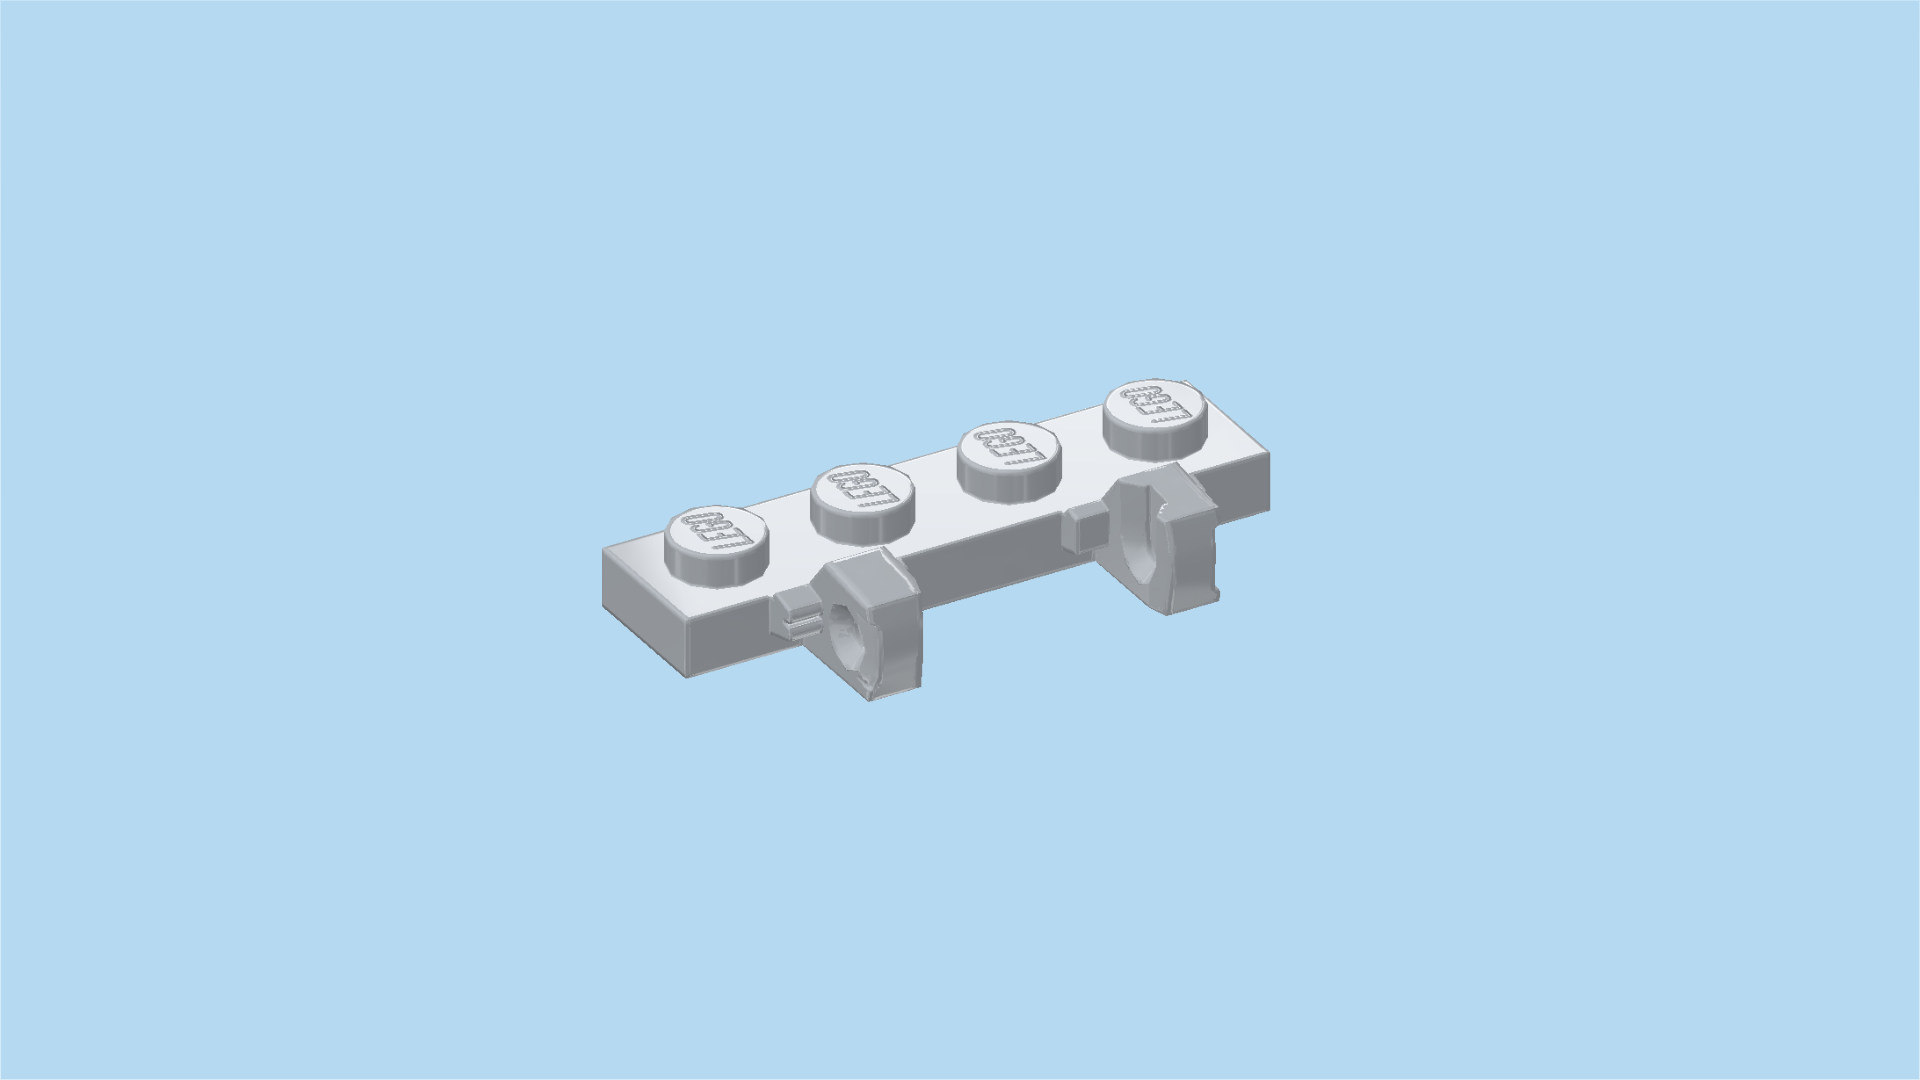
Find 1 medium stone grey plate 1x4 with 2 hinge stubs on long side.

Put it vertically centered on the rightmost column, 2 hinge stubs overhanging to the right.

If done correctly, the frontmost and backmost knobs of that column will remain empty for now.

Find 2 bright red corner plates 1x2 - 1x2.

Turn 1 so that its outer corner is pointing to the front right.

Mount it to the left of the previous piece next to its front half.

Turn the other one with its outer corner to the back right.

Mount it behind the previous piece.

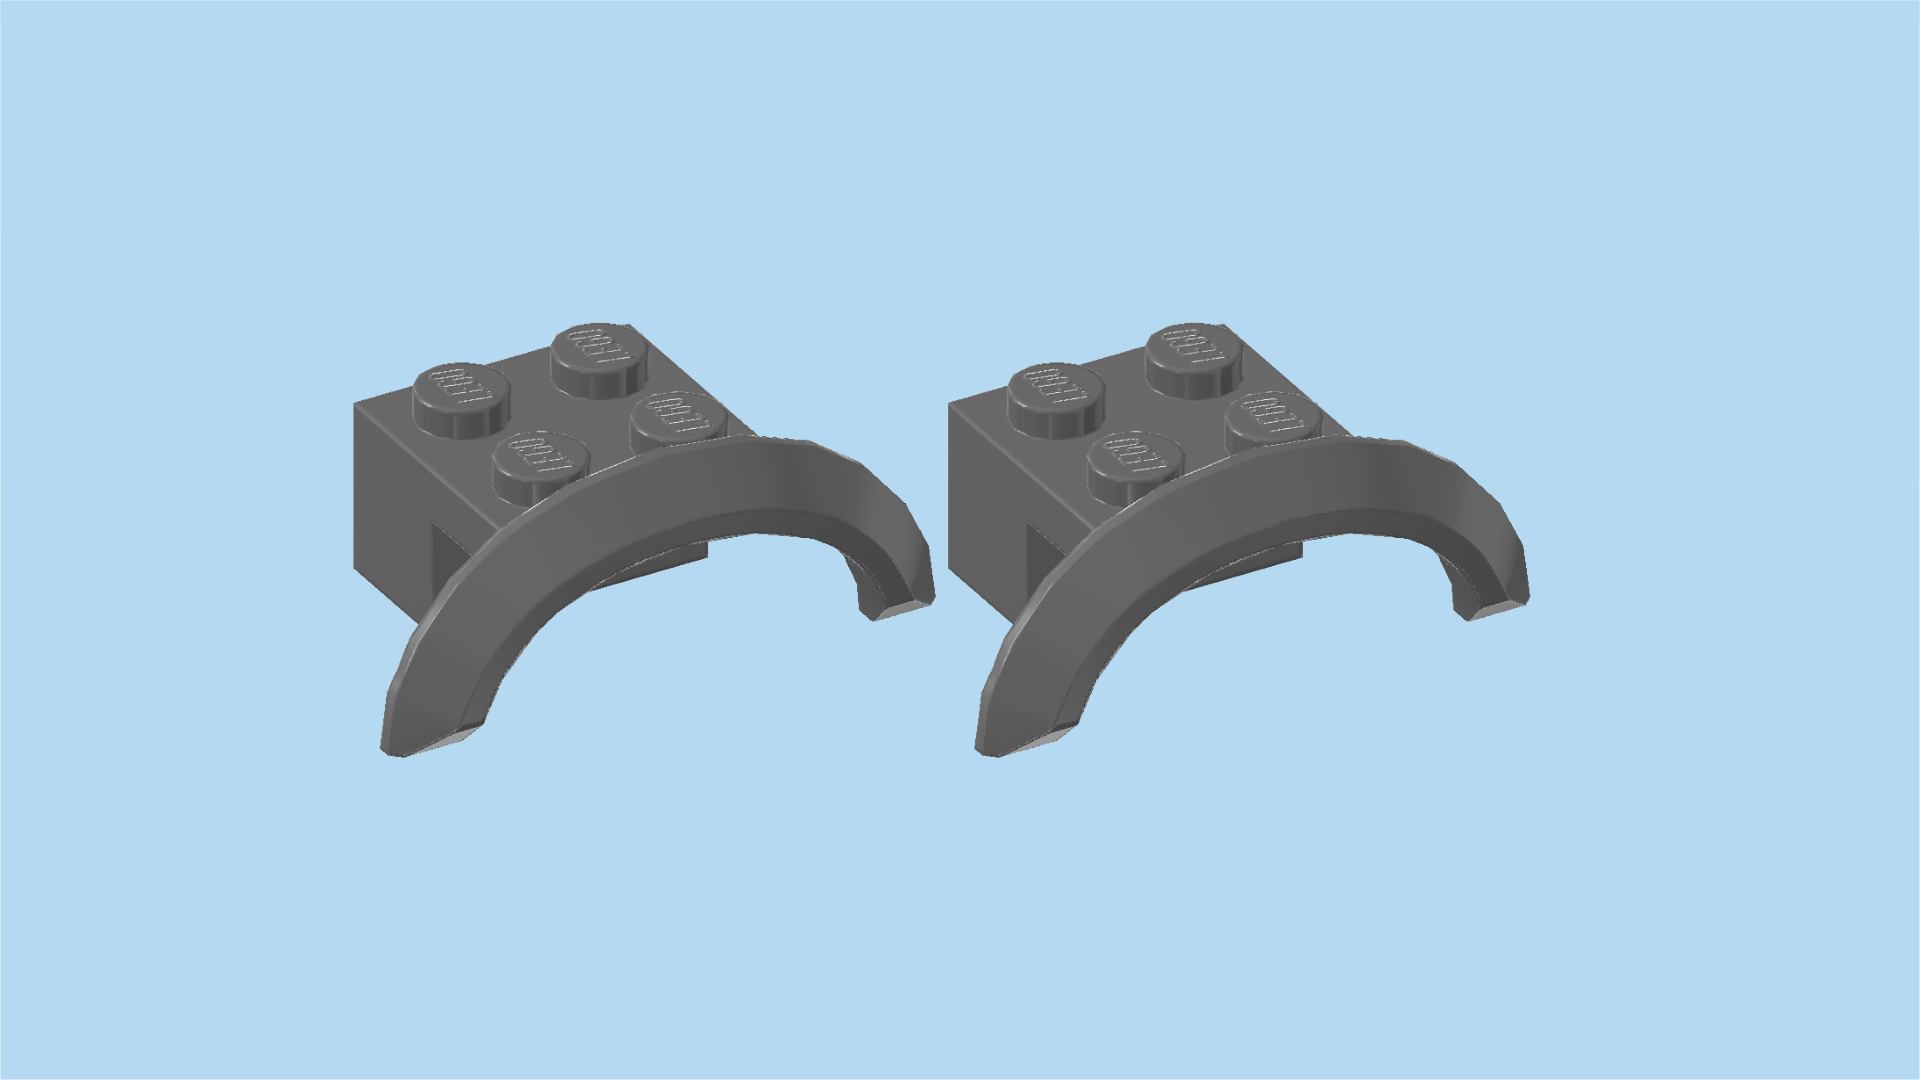
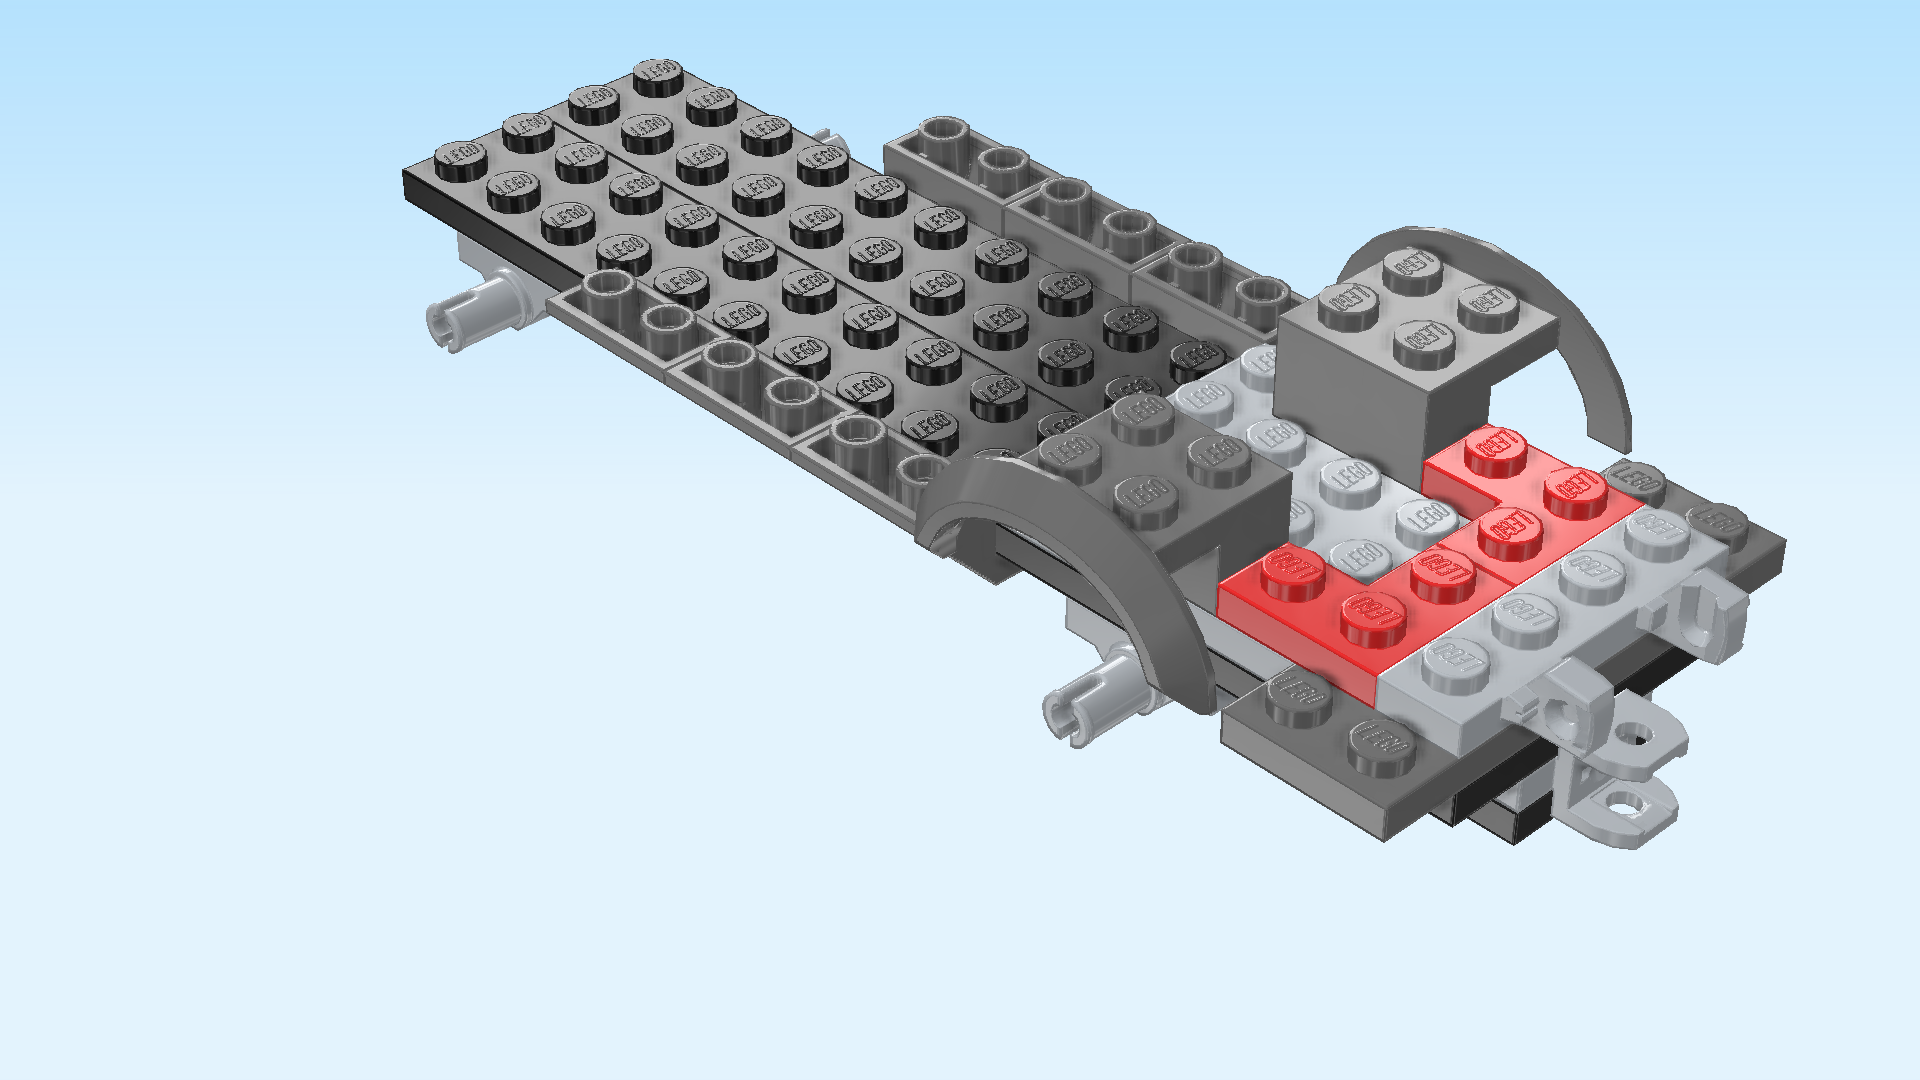
Find 2 dark stone grey stepped bricks 2x2 with mudguard.

Put 1 horizontally to the left of the previous piece's back row, 1 row and mudguard overhanging to the back.

Repeat symmetrically at the front.

Find 2 black roof tiles 1x3, 25°.

Put 1 horizontally to the right of the previous piece next to its back row, slope to the right.

If done correctly, it will be flush on the right edge, and there will be a row of 2 empty knobs in front of it.

Repeat symmetrically at the back, slope to the right.

Collect the following 4 pieces:

2 bright blue inverted roof tiles 1x2, 45°,

and 2 bright blue bricks 1x1.

Put 1 brick 1x1 behind the previous piece on the backmost knob of the rightmost column.

Put 1 inverted roof tile horizontally to its left, slope to the left.

Repeat symmetrically at the front.

Find 2 bright neon yellow plates 1x4.

Put 1 horizontally on the frontmost row, starting from the right edge.

Repeat symmetrically at the back.

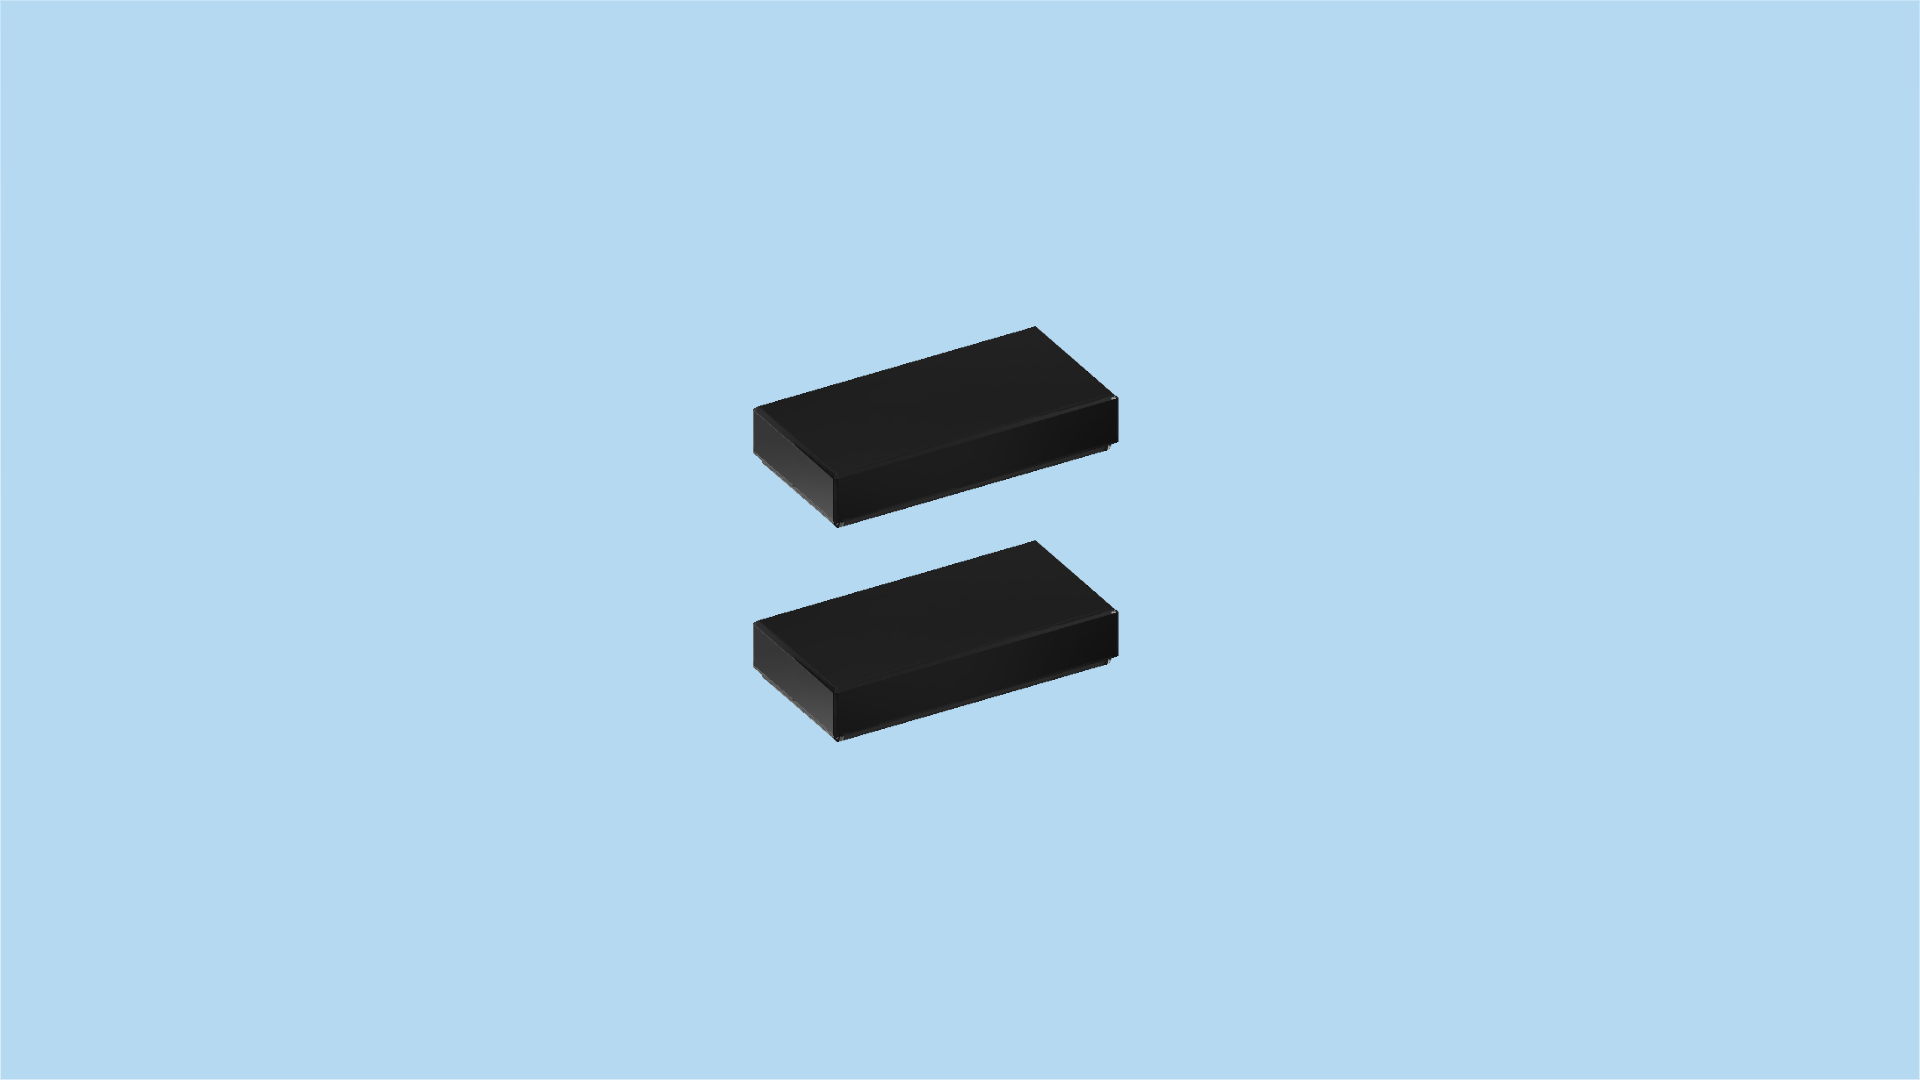
Find 2 black flat tiles 1x2.

Put 1 horizontally on the second row from the back, directly to the left of the roof tile 1x3.

Repeat symmetrically at the front.

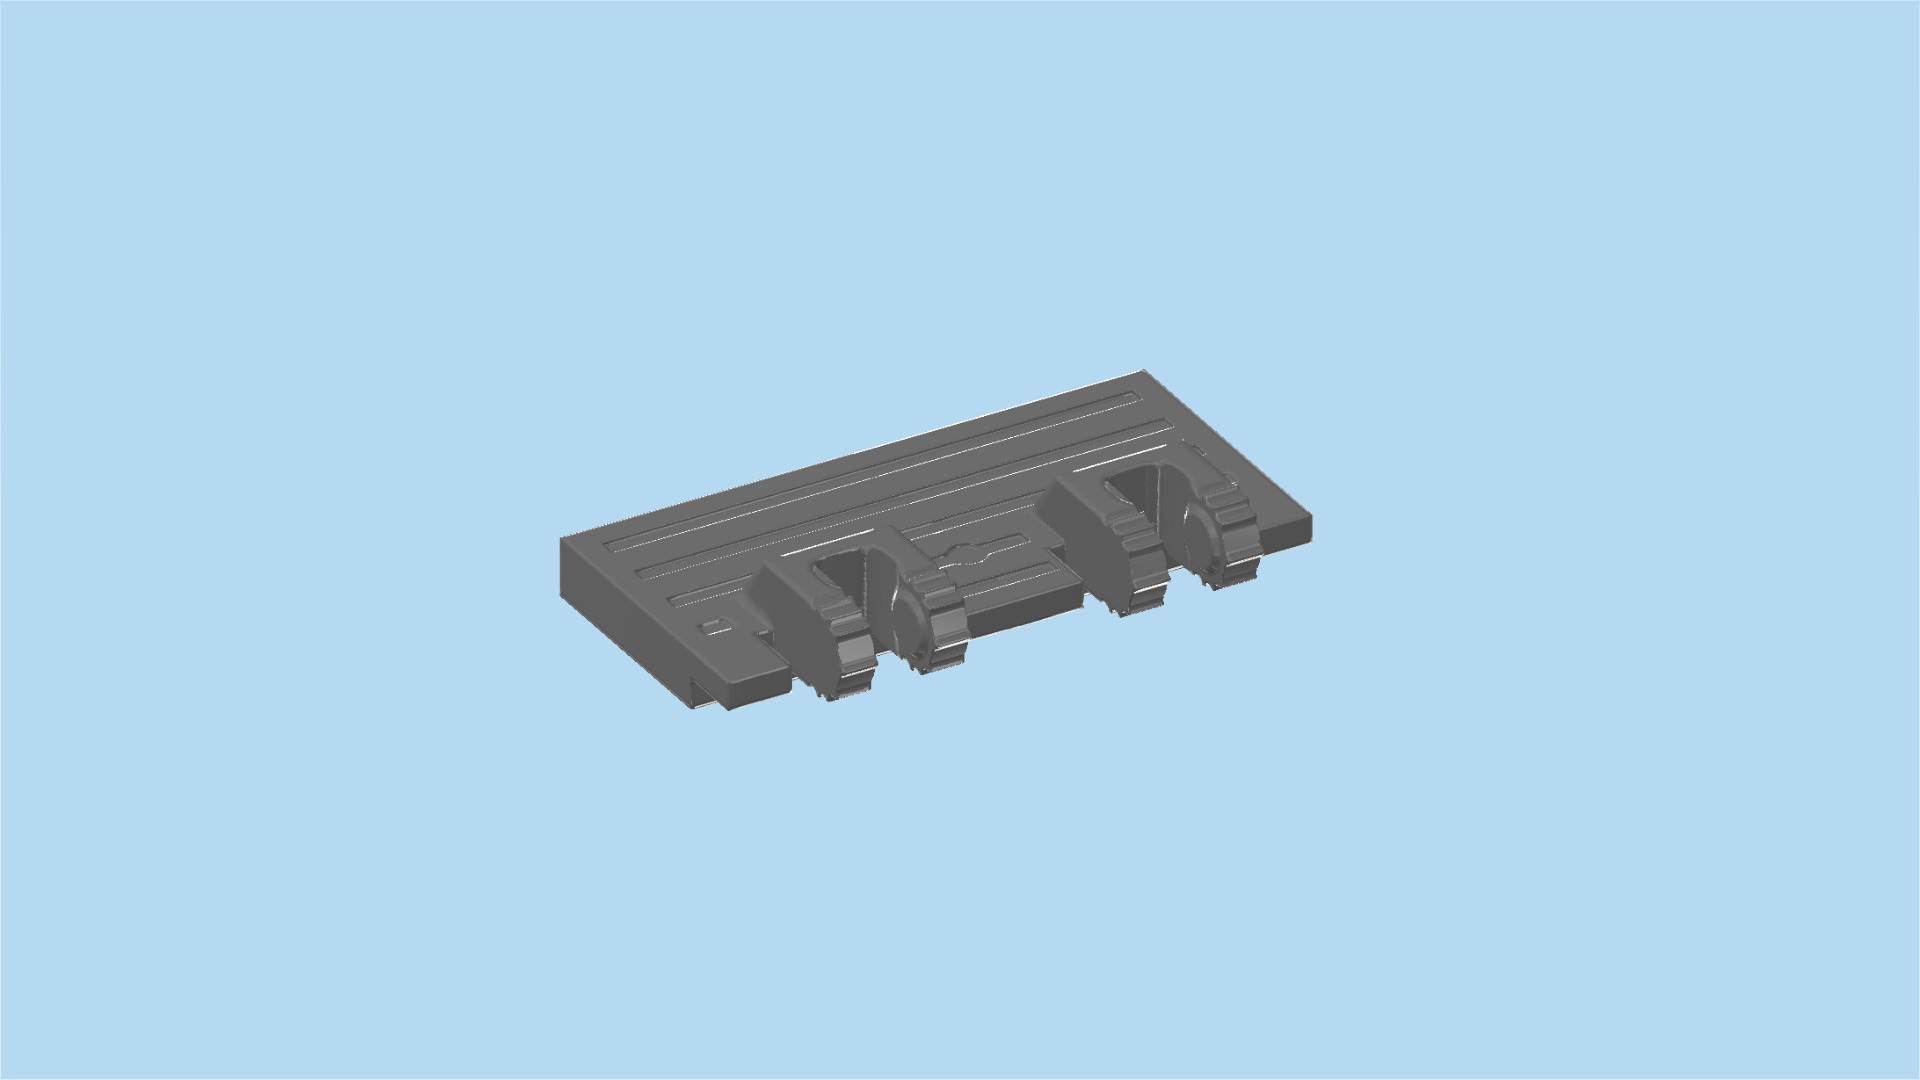
Find 1 dark stone grey ribbed tailgate 2x4 with 2 hinge forks.

Hold it vertically so that the ribbed side is to the bottom and the hinge forks are to the left.

Snap the 2 hinge forks on the 2 hinge stubs on the right edge of the structure.

You can later fold the tailgate up and down as needed. For now, however, please fold it up.

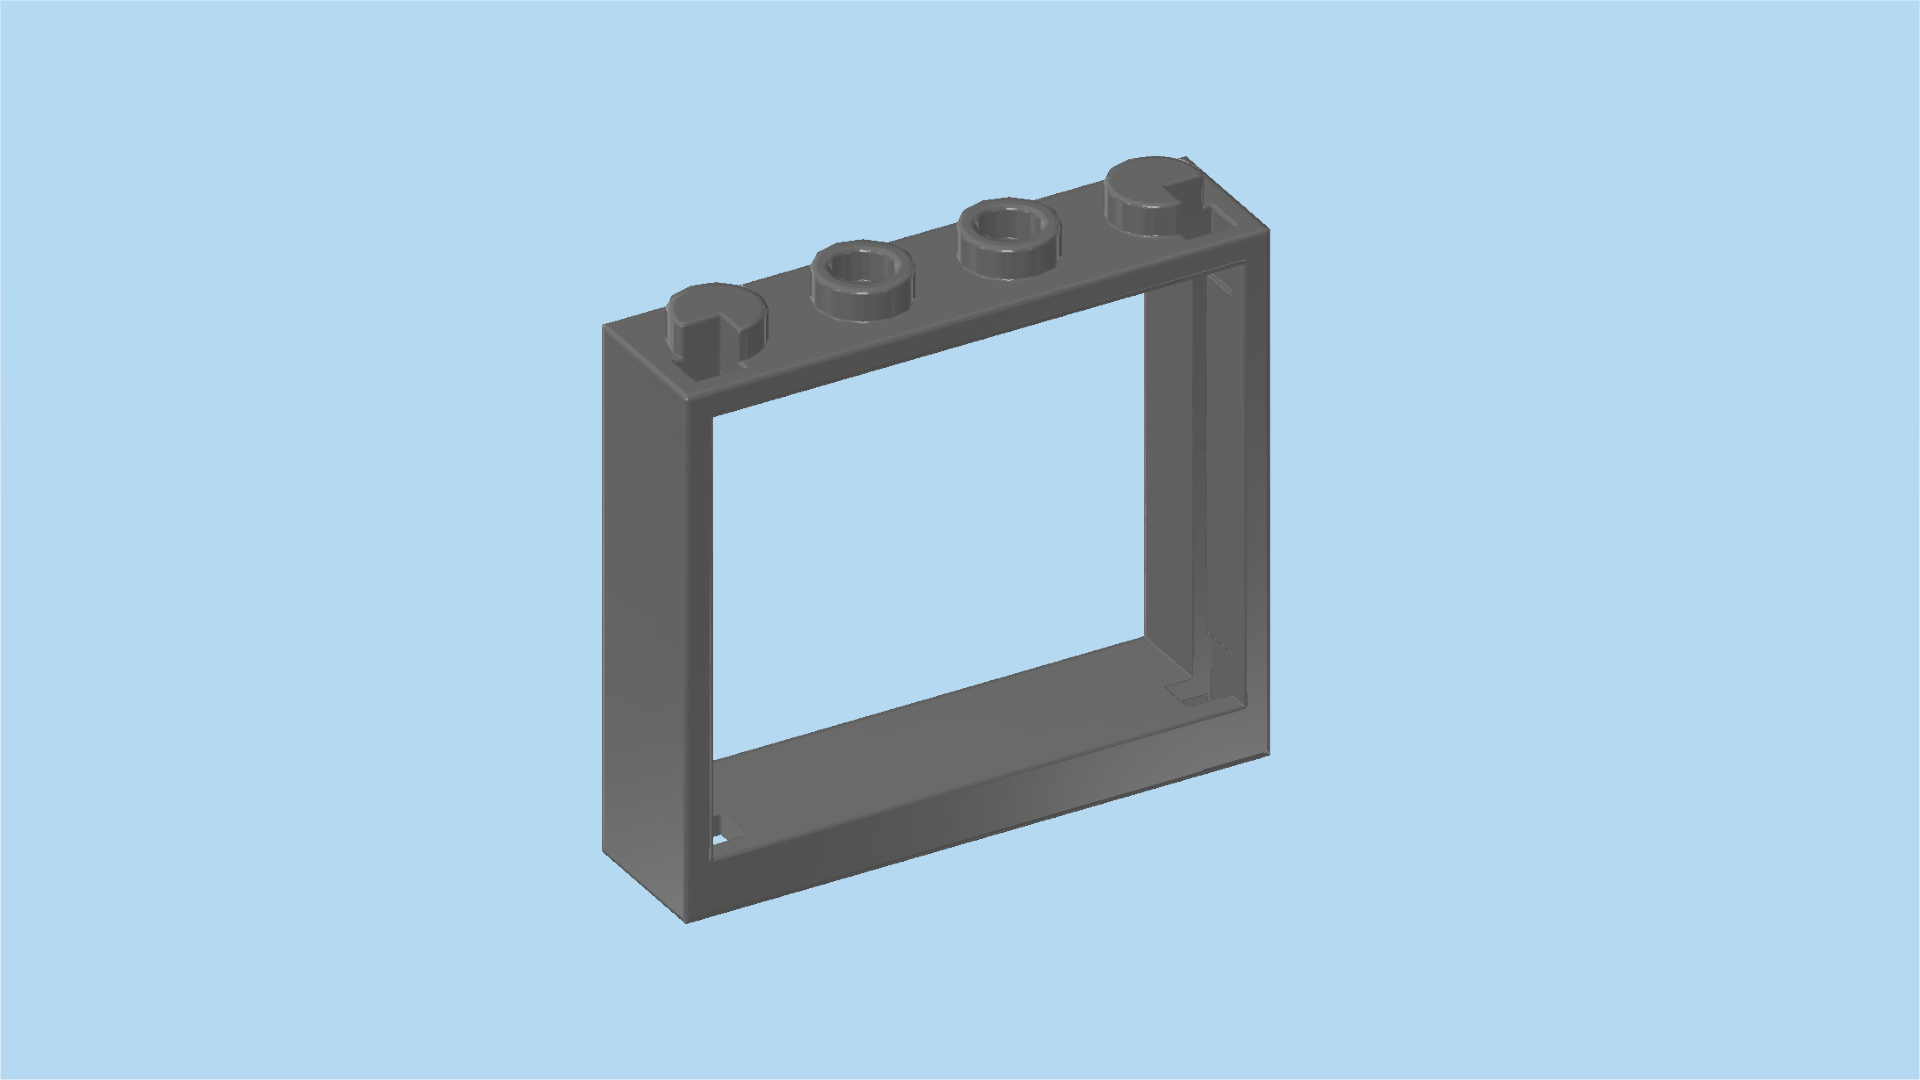
Find 1 dark stone grey window frame 1x4x3.

Put it vertically on the column between the leftmost edges of the mudguards, inner notch to the left. This means it will sit on the leftmost column of the plate 4x4 we have mounted earlier.

Collect the following 2 pieces:

1 bright red tile 1x2 with angled top handle,

and 1 bright red brick 1x4 with 4 side knobs.

Put the tile with top handle vertically centered to the left of the previous piece, slope of the handle to the left.

This will later be the seatback of the police truck's seat!

Put the brick 1x4 vertically on the leftmost column of the build, side knobs pointing to the left.

Find 1 medium stone grey plate 4x4.

Put it to the right of the previous piece.

Find 2 bright blue inverted roof tiles 1x2, 45°.

Put 1 horizontally on the frontmost row, slope to the right, aligning the slope with the left edge of the front mudguard.

If done correctly, the left edge of the plate with angled top handle and the current piece's left edge are flush.

Repeat symmetrically at the back.

Find 2 bright blue bricks 1x4. (These pieces are printed on one of their long sides.)

Put 1 horizontally to the left of the previous piece, print to the back.

Repeat symmetrically at the front, print to the front.

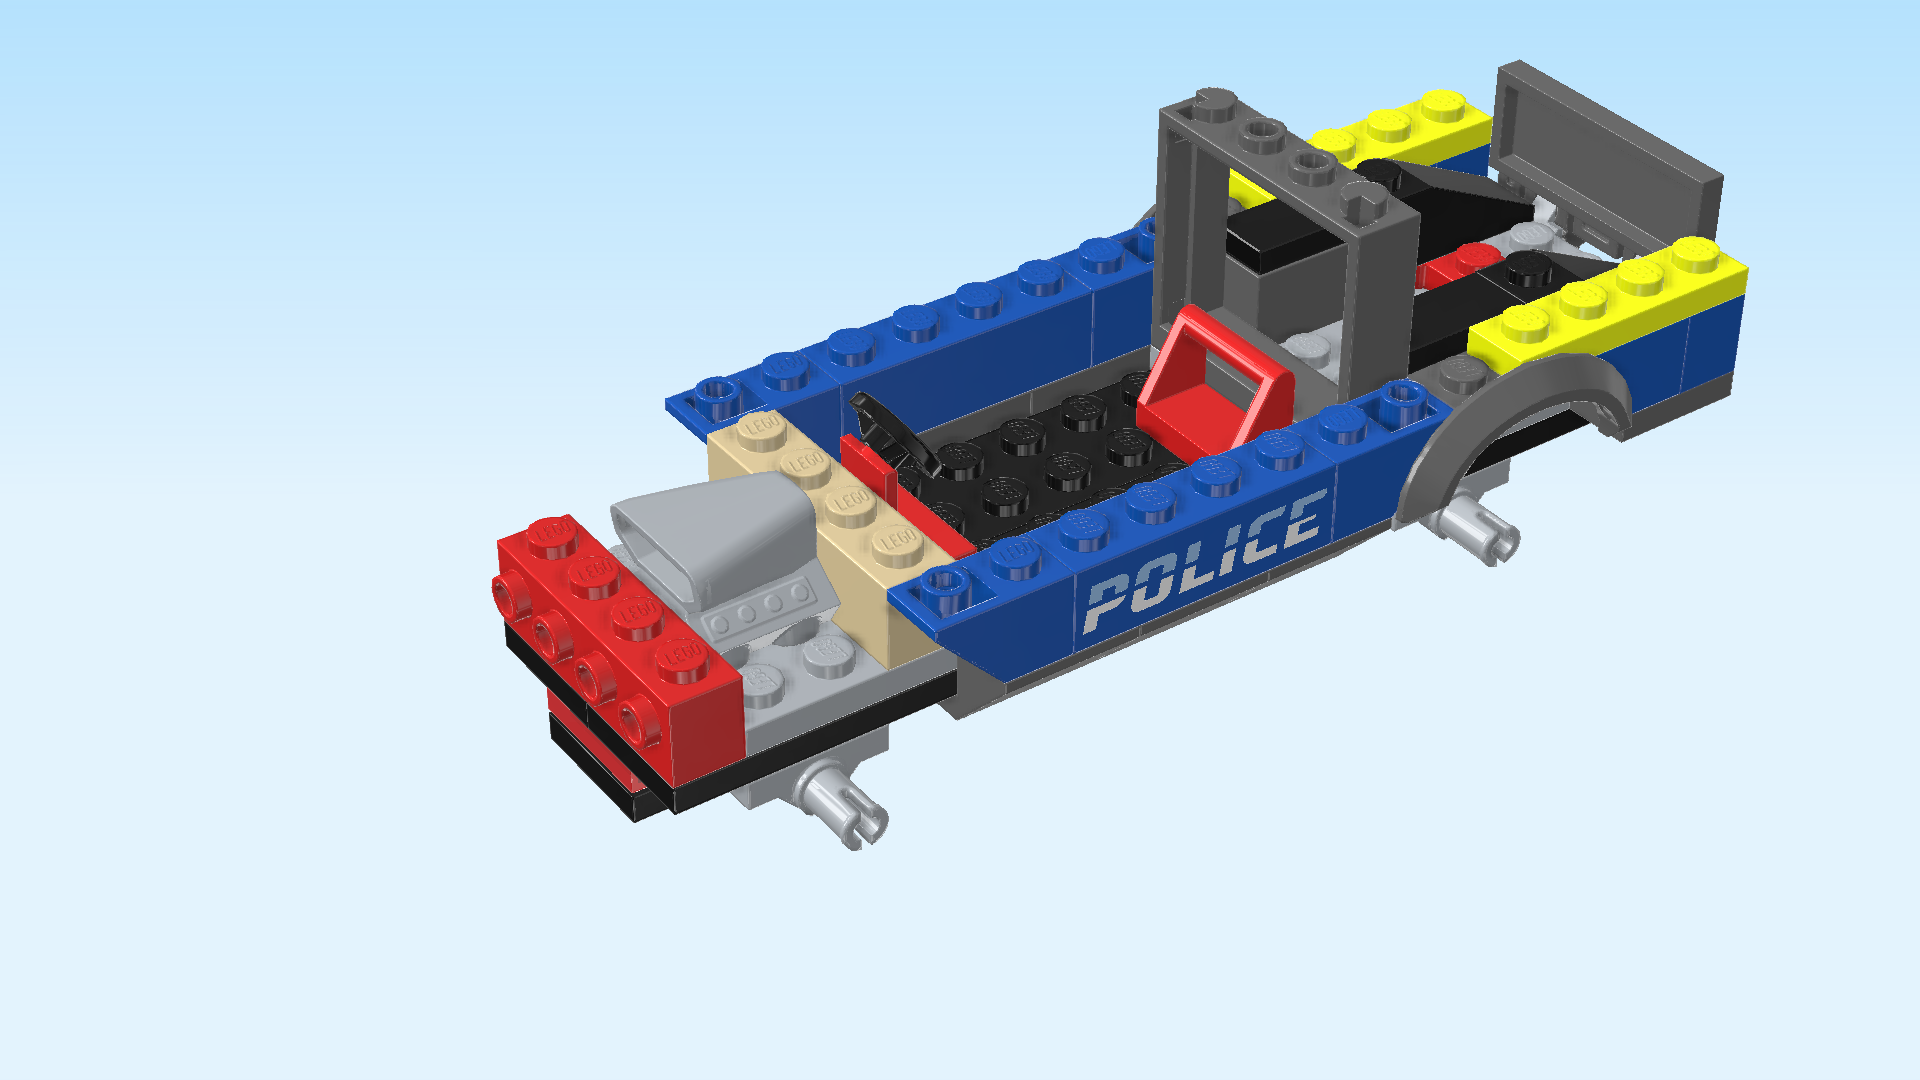
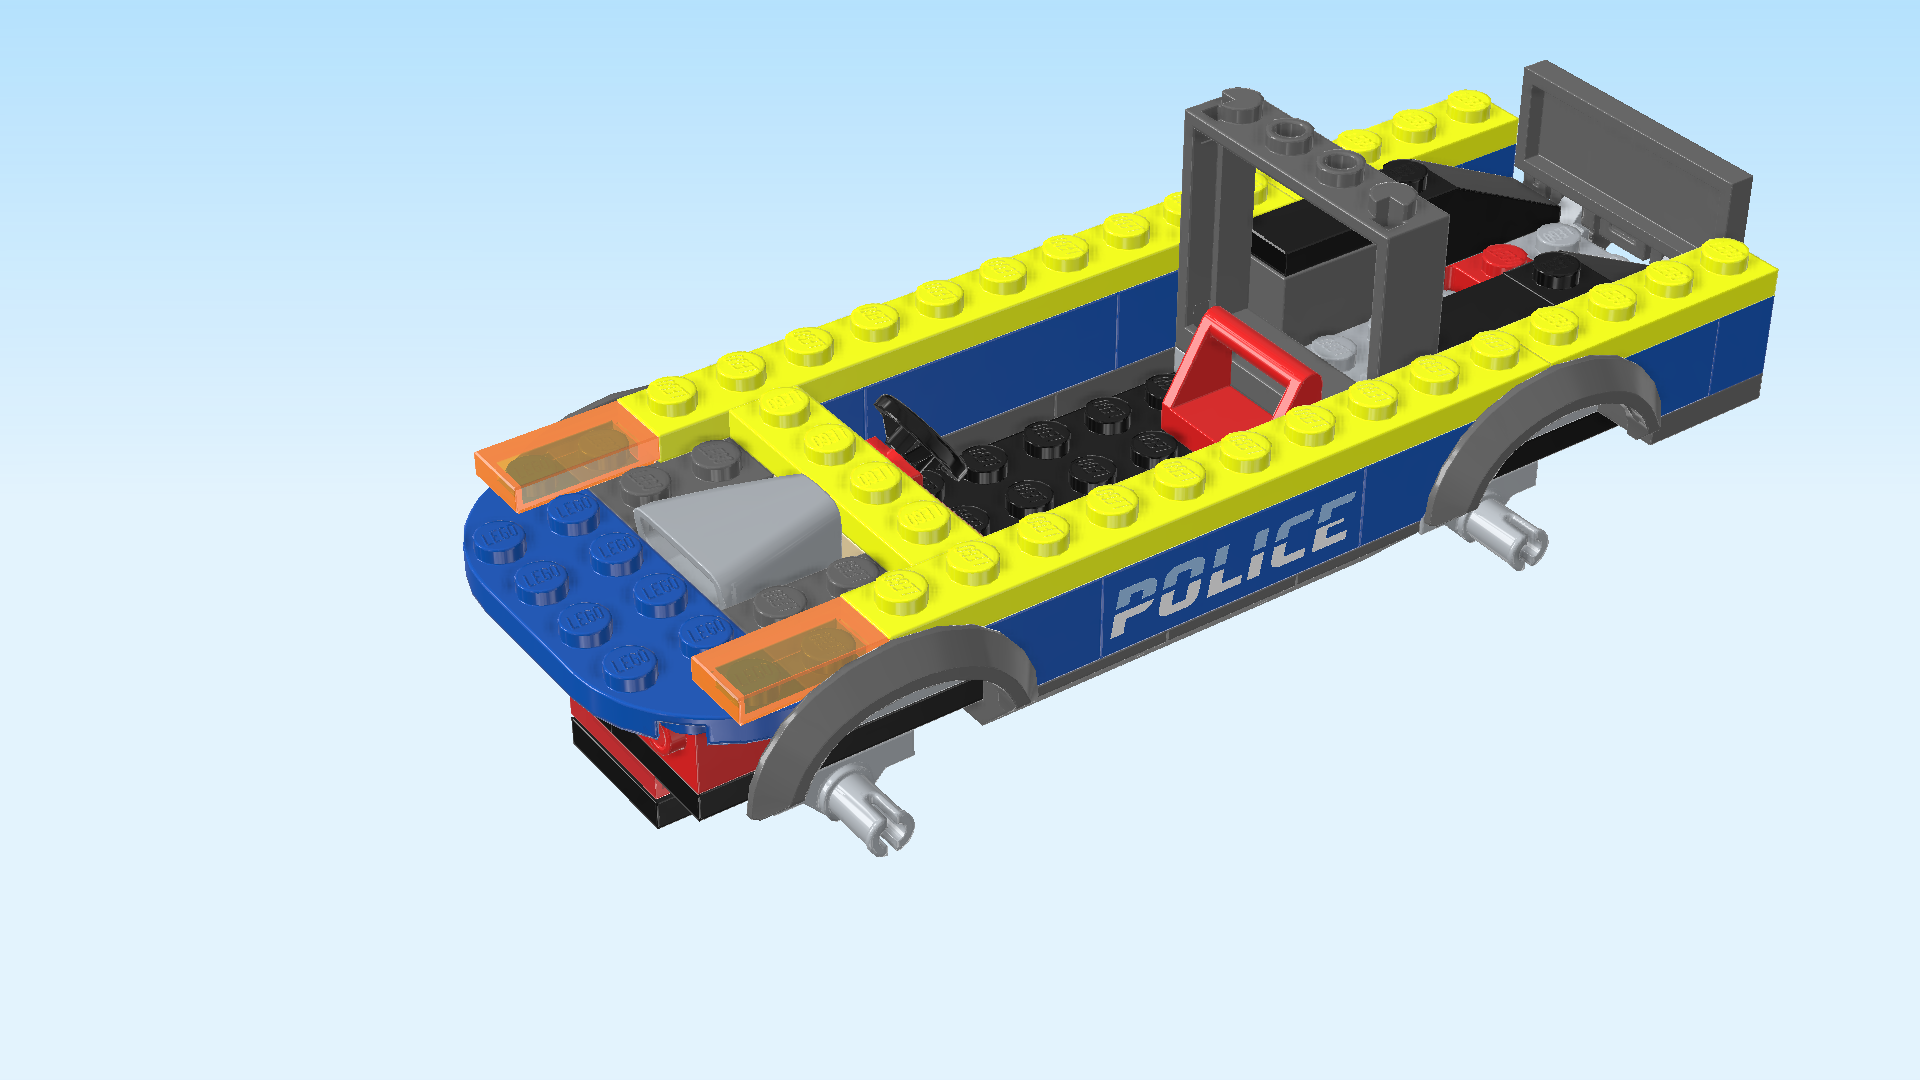
The bricks are printed with the word "POLICE" in all caps. The bottom half of the letters is white, the top half is light blue, and there is a blue line running through the middle of the letters in the same shade as the bricks.

Find 2 bright blue inverted roof tiles 1x2, 45°.

Put 1 horizontally to the left of the previous piece, slope to the left.

Repeat symmetrically at the back, slope to the left.

Find 1 black and bright red small steering wheel with plate 1x2.

Put it vertically centered on the fifth column from the left, steering wheel to the right.

If done correctly, there are 4 empty columns between the steering wheel and the plate with angled top handle.

Find 1 pale ocher yellow brick 1x4.

Put it vertically to the left of the previous piece.

Find 1 medium stone grey engine 2x2x1⅓.

Put it centered to the left of the previous piece, its narrow end to the right.

Find 2 dark stone grey stepped bricks 2x2 with mudguard.

Put 1 in front of the previous piece, 1 row and mudguard overhanging to the front.

Repeat symmetrically at the back.

Find 1 bright blue plate 2x6 with 2 rounded corners.

Put it vertically centered on the leftmost column, rounded corners to the left, 1 column overhanging to the left.

Find 2 bright neon yellow plates 1x10.

Put 1 horizontally on the frontmost row, starting from the right edge.

Repeat symmetrically at the back.

Find 1 bright neon yellow plate 1x4.

Put it vertically between the 2 previous pieces directly to the right of the engine. This means that it will sit between the previous pieces' second knobs from the left.

Find 2 transparent bright orange flat tiles 1x2.

Put 1 horizontally on the frontmost row, starting from its leftmost knob.

Repeat symmetrically at the back.

Find 1 medium stone grey grille tile 1x2.

Put it vertically centered on the leftmost column of the structure.

Find 2 transparent light blue plates 1x1 with tooth.

Put 1 vertically in front of the previous piece, tooth overhanging to the front.

Repeat symmetrically at the back, tooth overhanging to the back.

Next, we will build the front bumper with headlights.

Collect the following 2 pieces:

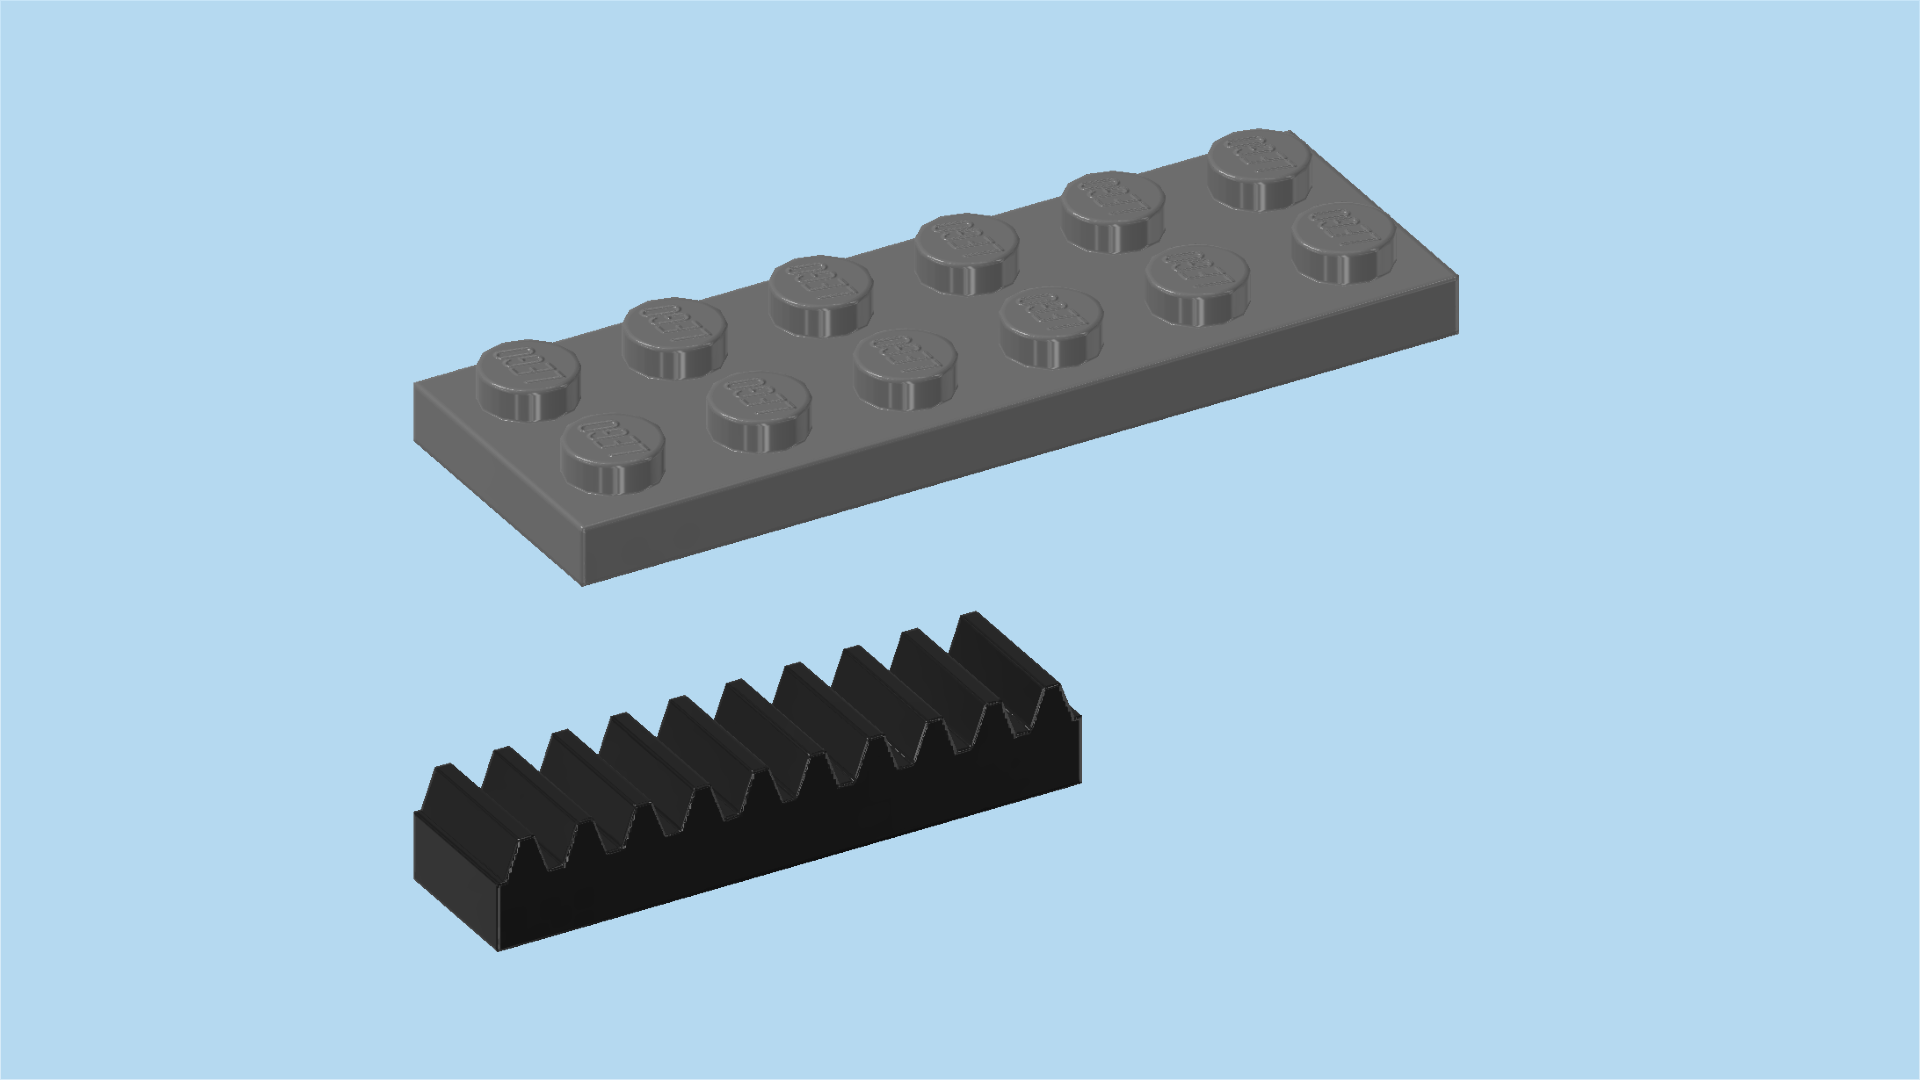
1 dark stone grey plate 2x6,

and 1 black toothed bar 1x4 with 10 teeth.

Put the plate 2x6 horizontally on the table.

Put the toothed bar 1x4 horizontally centered on the back row.

Collect the following 4 pieces:

2 bright blue plates 1x1 with top clasp,

and 2 transparent blue round tiles 1x1.

Put the plates with clasp on the 2 middle knobs of the front row. Make sure the tips of the clasps are to the front and back, not to the left and right.

Put 1 round tile 1x1 to the left of the 2 previous pieces, and the other one to the right of the 2 previous pieces.

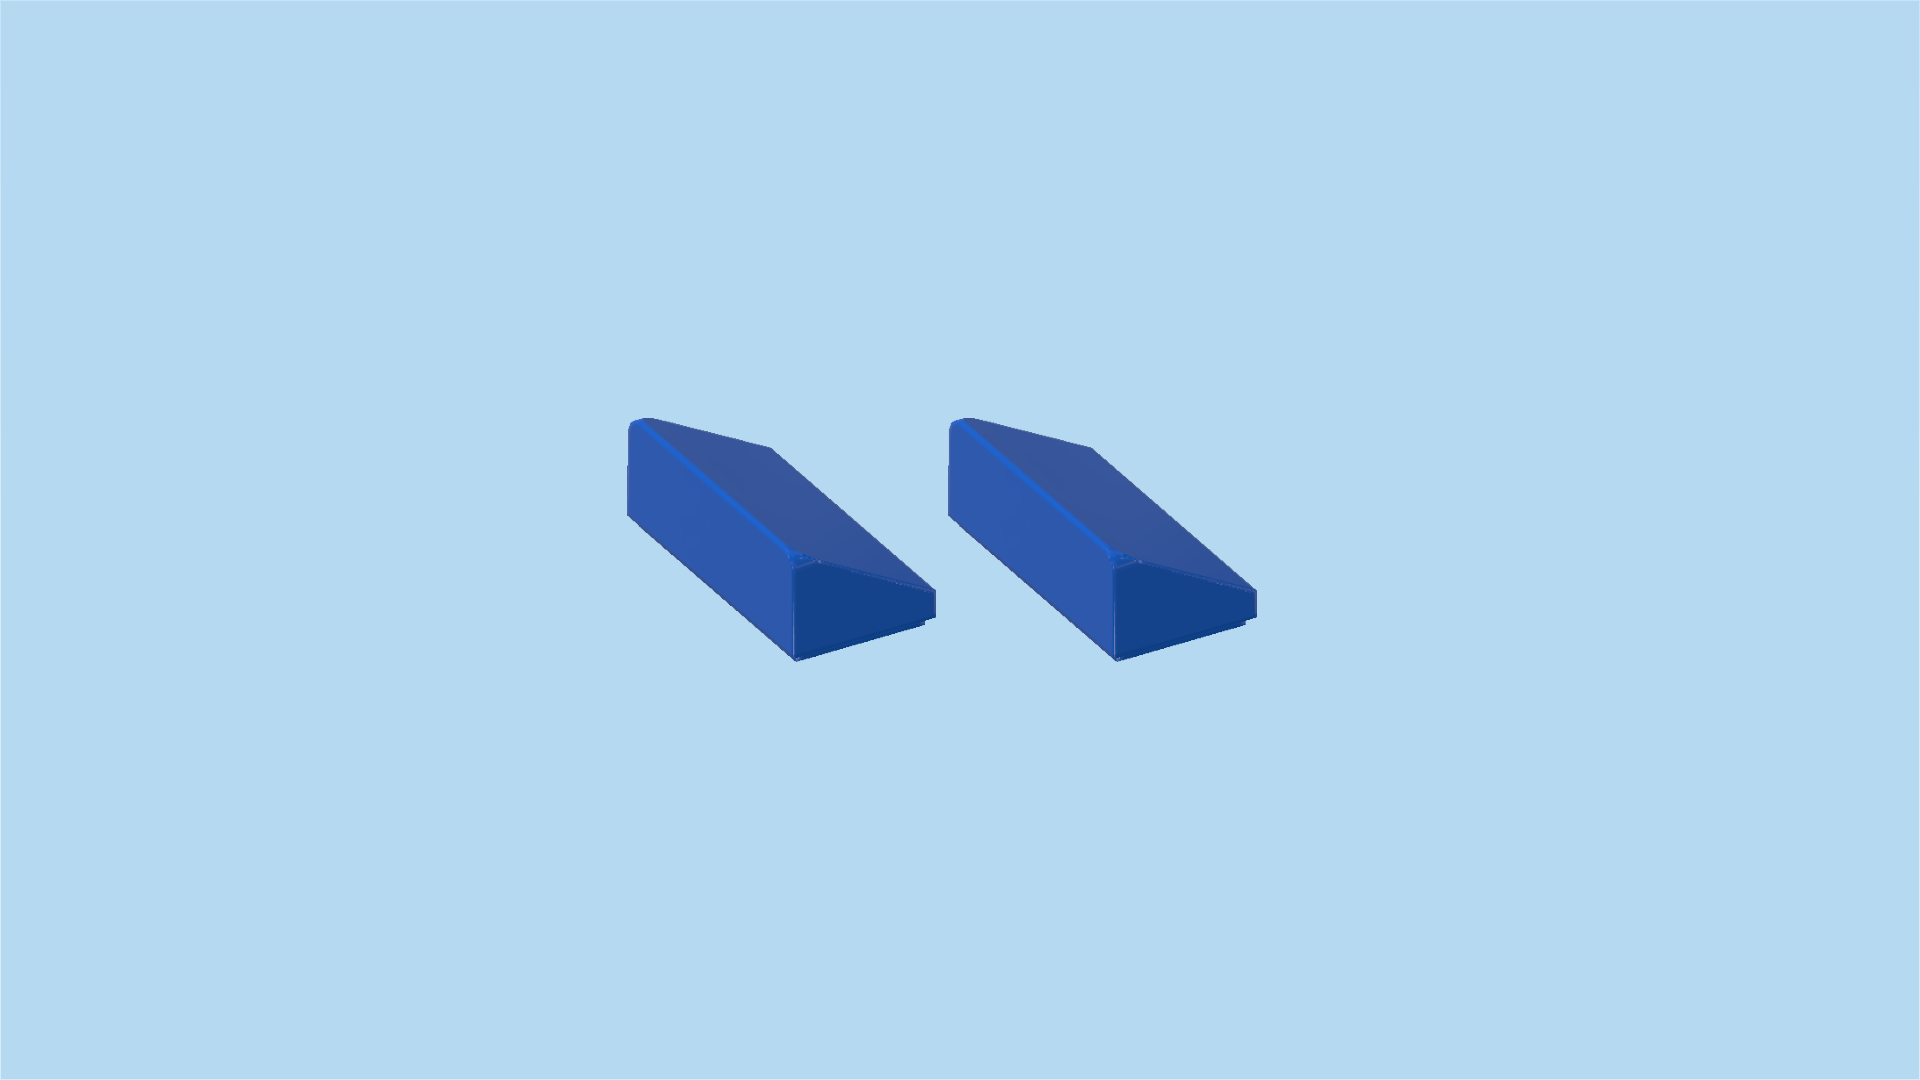
Find 2 bright blue smooth roof tiles 1x2x⅔.

Put 1 vertically on the rightmost column, slope to the right.

Put the other one vertically on the leftmost column, slope to the left.

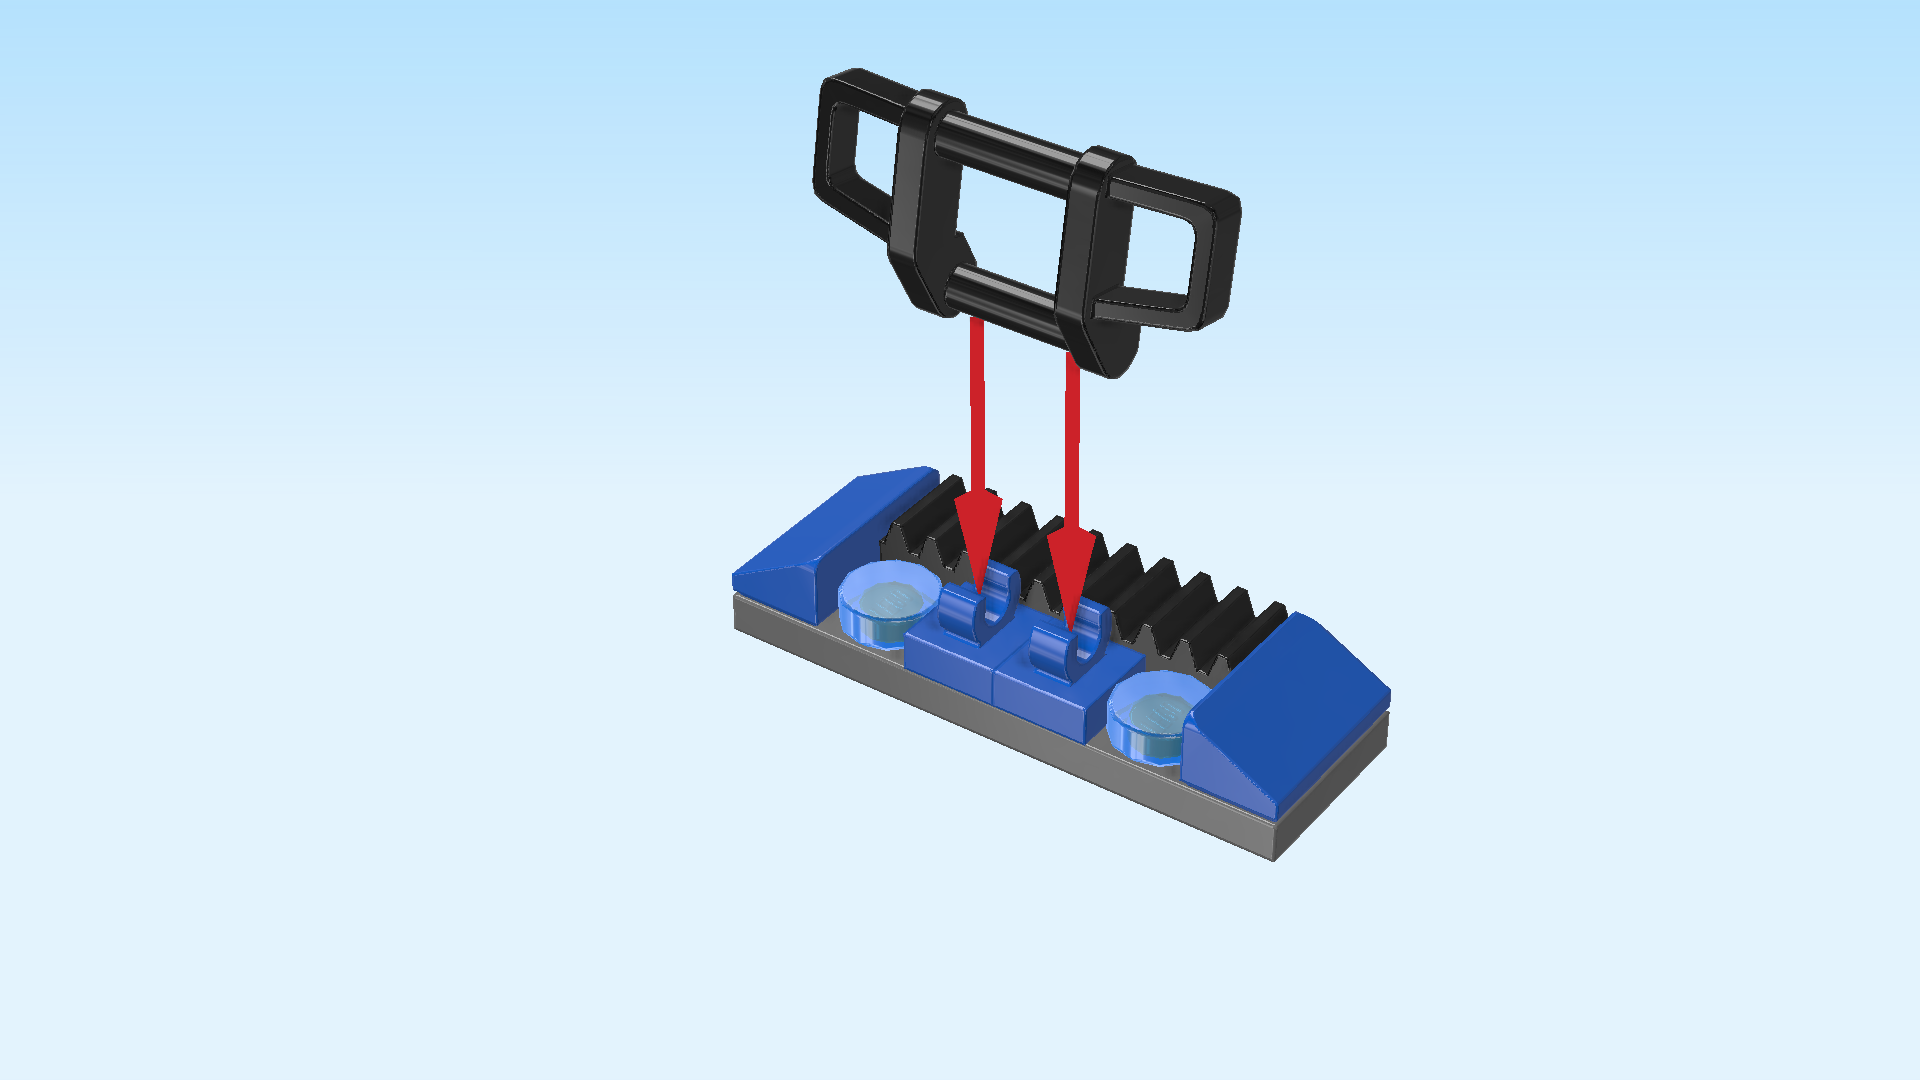
Find 1 black front bumper piece 1x4x1⅔.

Hold it so that its longest edge is to the top, and the shorter handle is to the bottom. Make sure the bottom handle is tilted towards the back.

Snap the bottom handle into the 2 clasps.

Now fold the front bumper down towards the toothed bar.

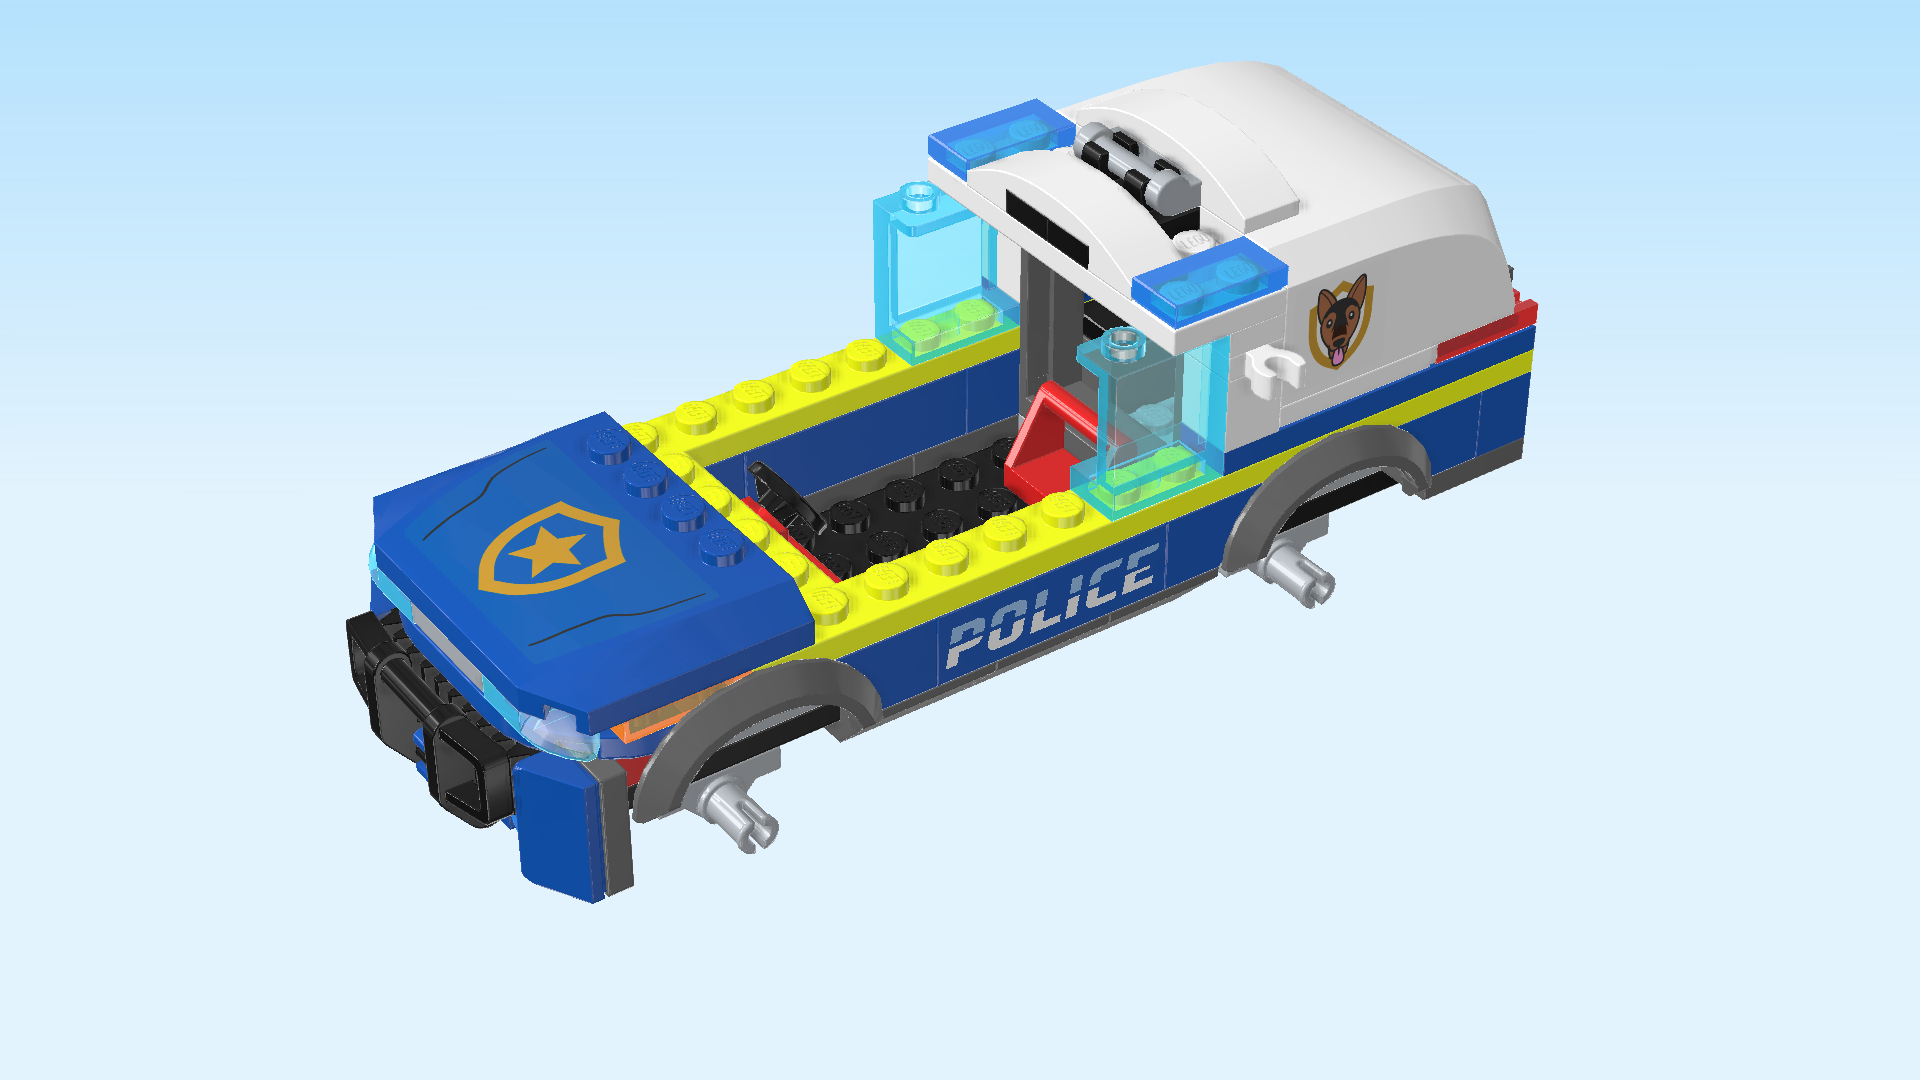
The front bumper with headlights is finished! Great job! Flip it upright so that the front bumper and toothed bar are at the top, and mount its top edge centered on the 4 side knobs pointing to the left. Make sure it is symmetrically protruding to the front and back.

Find 2 bright blue plates 1x6.

Put 1 horizontally on the frontmost row, starting from the right edge.

Repeat symmetrically at the back.

Find 2 transparent red grille tiles 1x2.

Put 1 horizontally on the previous piece, starting from the right edge.

Repeat symmetrically at the front.

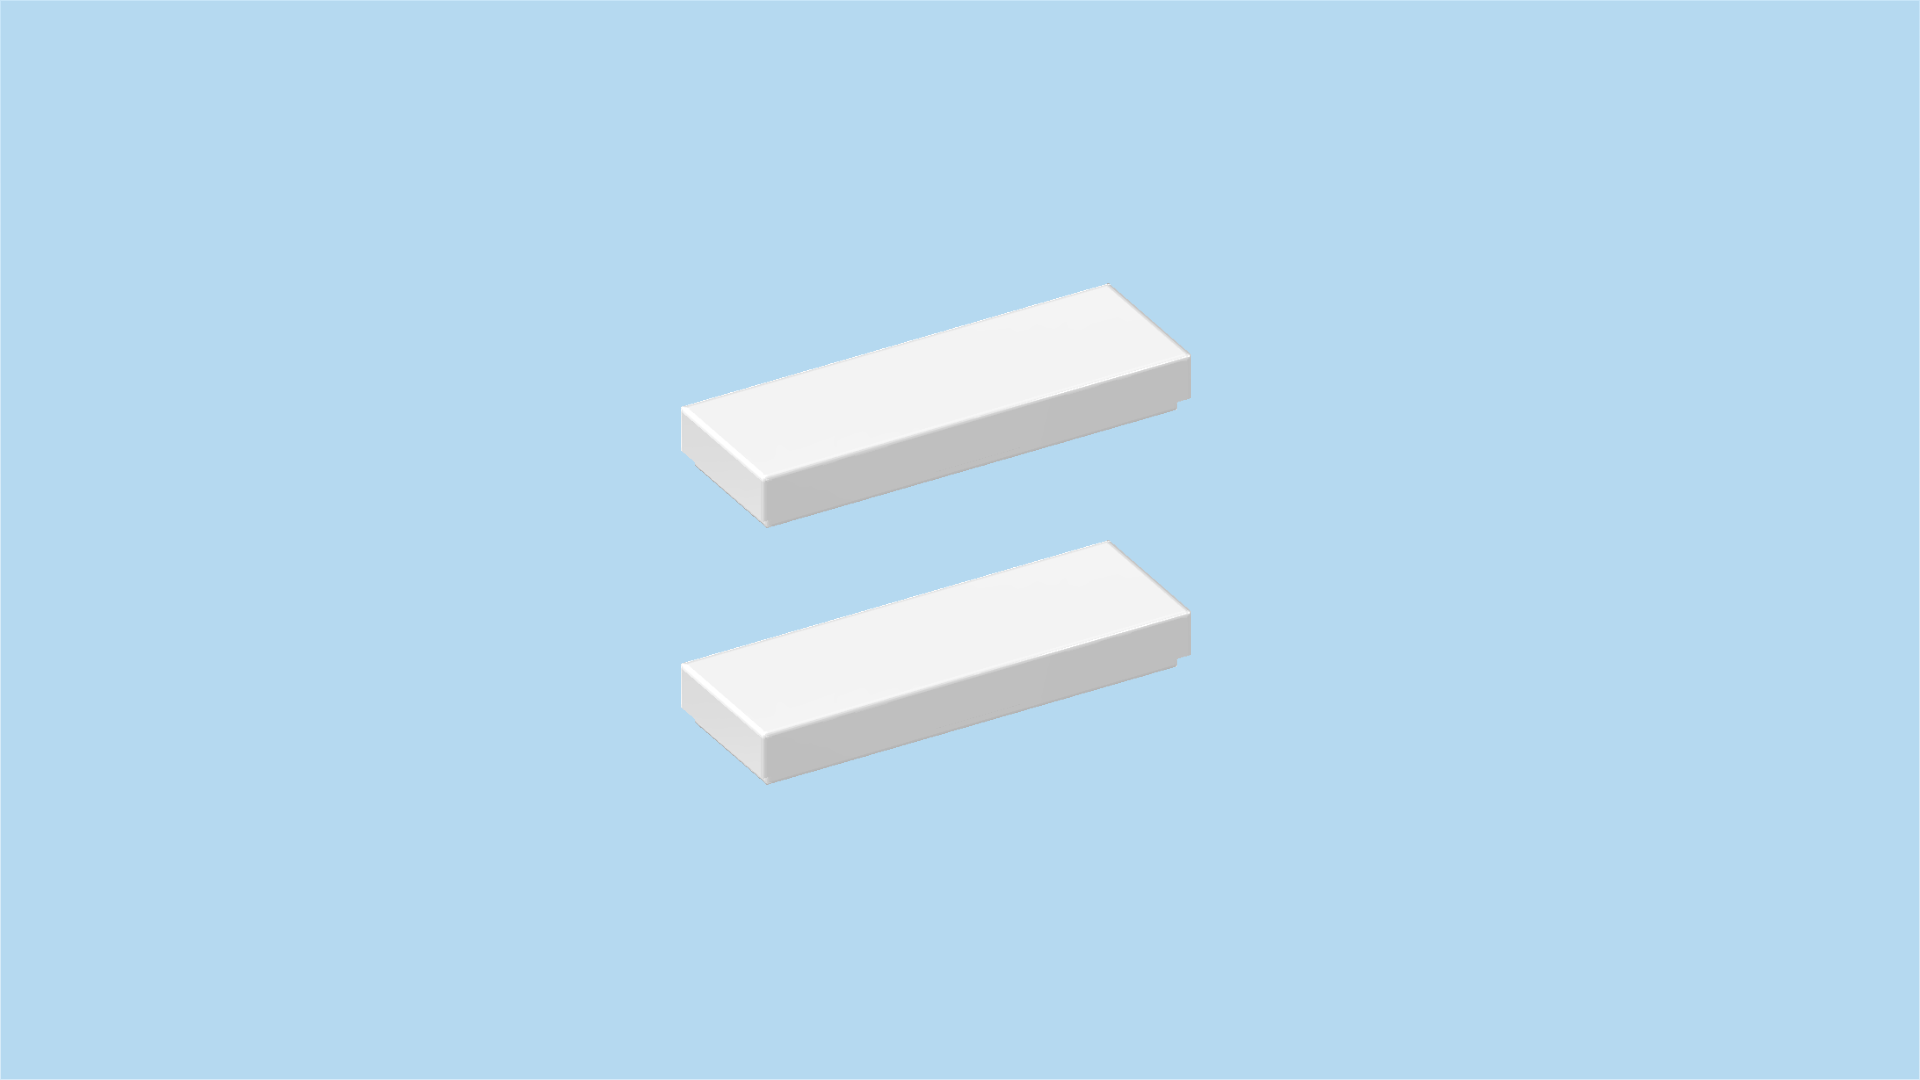
Find 2 white flat tiles 1x3.

Put 1 horizontally to the left of the previous piece.

Repeat symmetrically at the back.

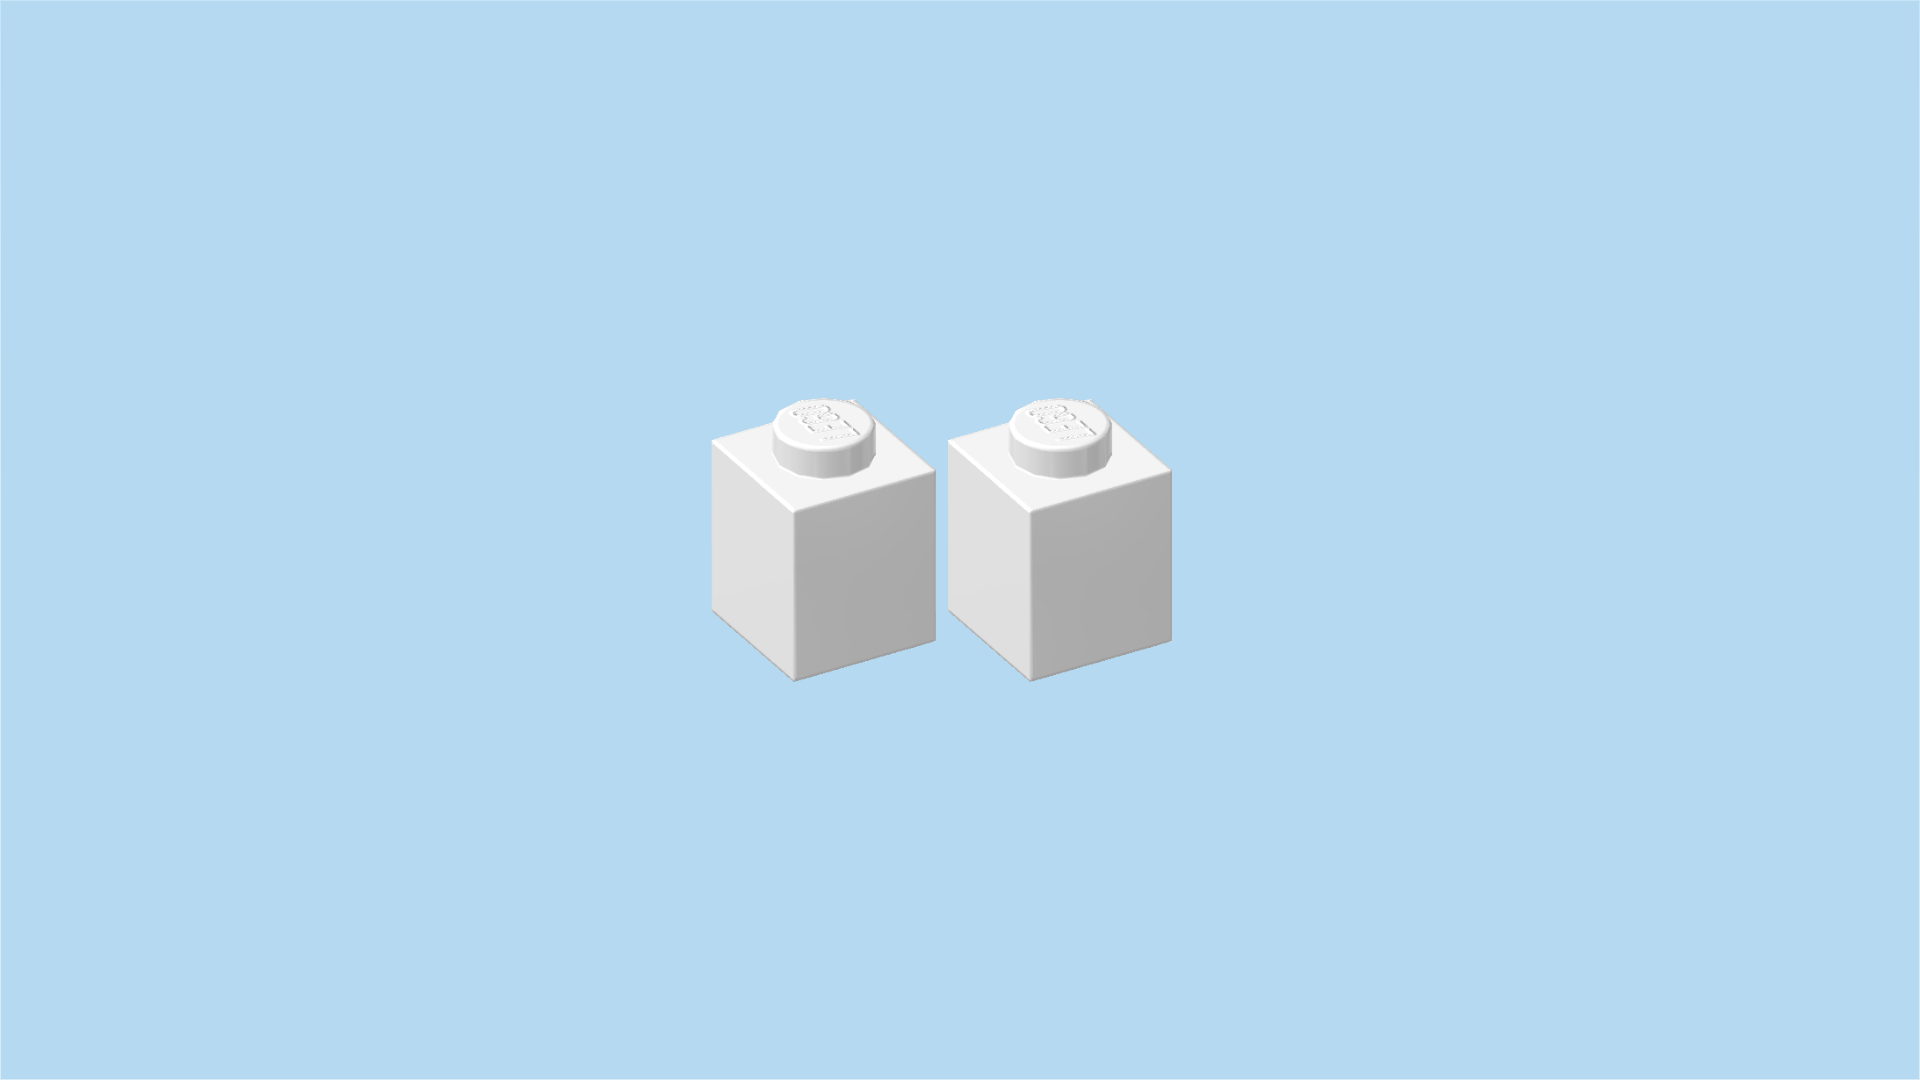
Find 2 white bricks 1x1.

Put 1 to the left of the previous piece.

Repeat symmetrically at the front.

Find 2 white plates 1x1 with horizontal side clasp.

Put 1 on top of the previous piece, clasp to the front.

Repeat symmetrically at the back, clasp to the back.

Find 1 white plate 1x6.

Put it vertically on the 2 previous pieces and the window frame, connecting them.

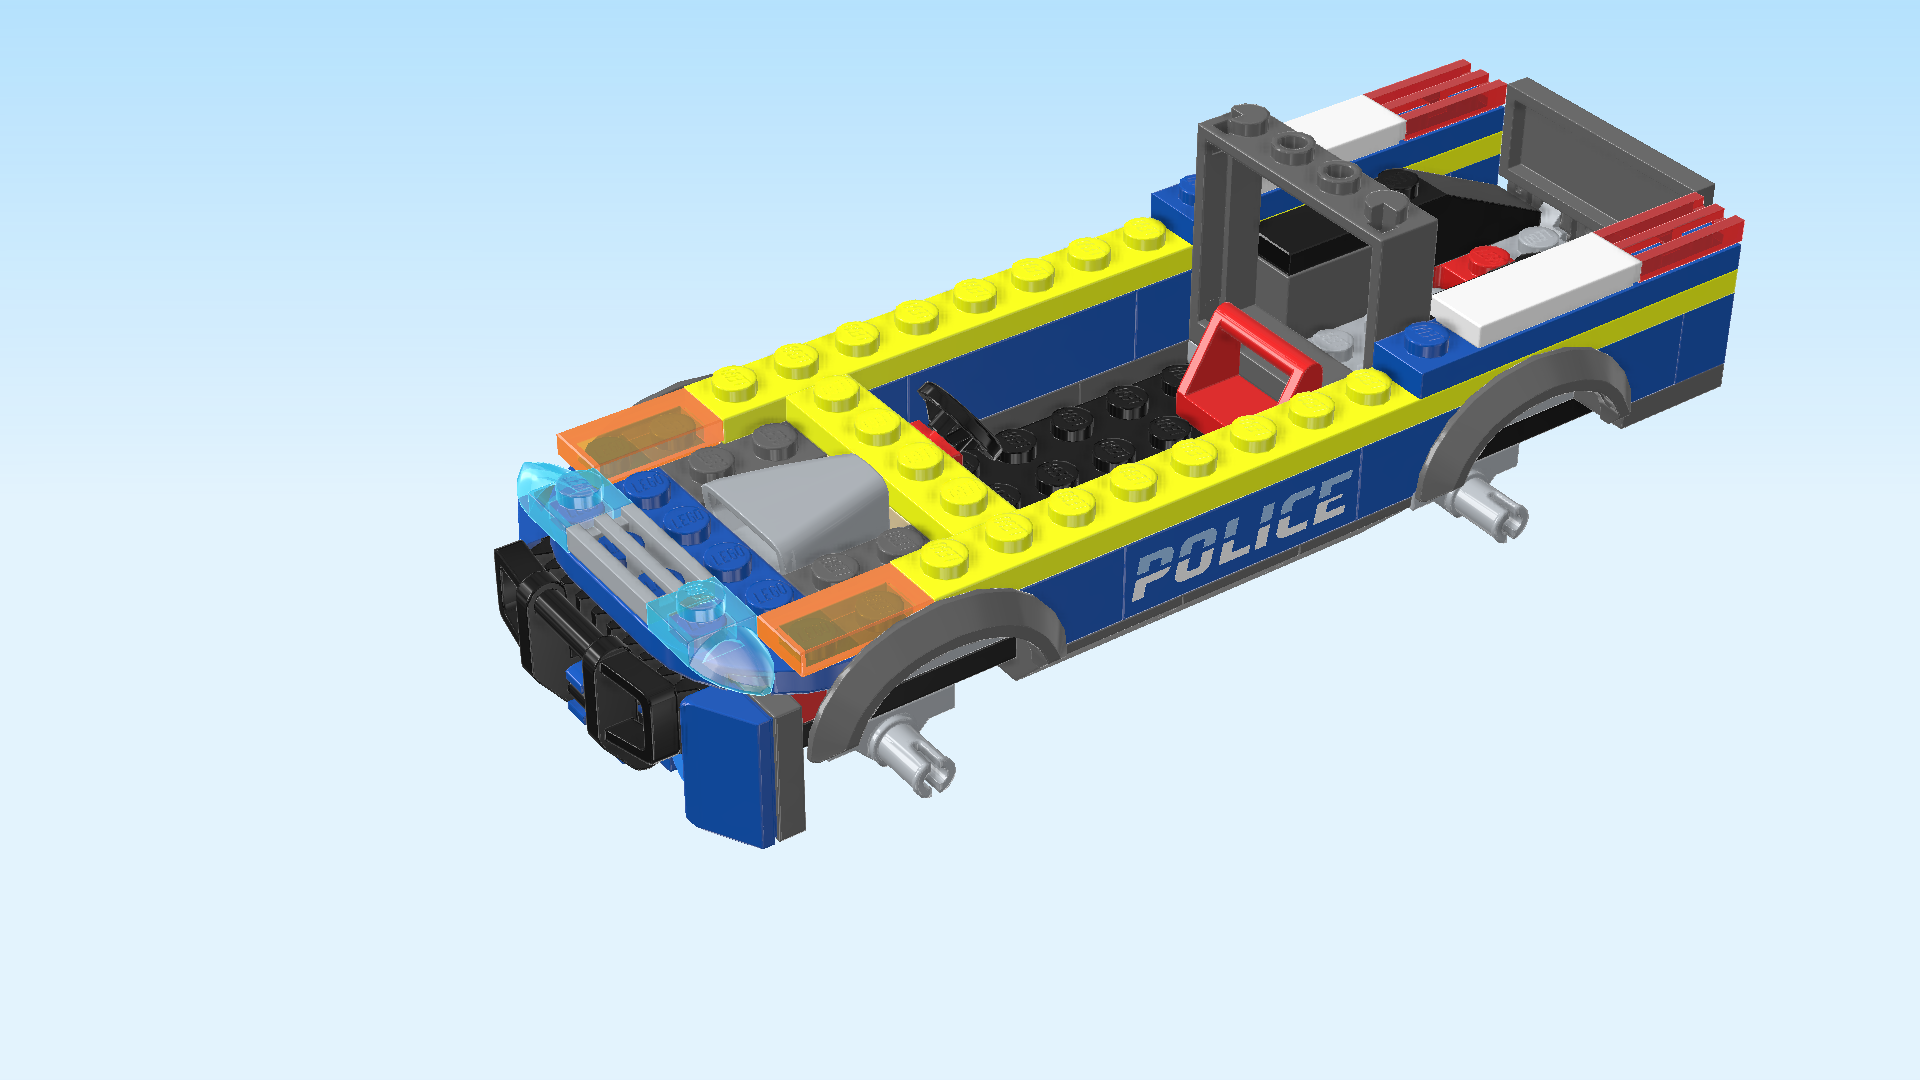
Find 2 transparent light blue wall elements 1x2x2 with 2 top knobs.

Put 1 horizontally on the frontmost row to the left of the previous pieces, wall panel to the front.

Repeat symmetrically at the back, wall panel to the back.

Next, we will build the roof siren lights.

Collect the following 3 pieces:

1 white plate 2x6,

and 2 transparent blue flat tiles 1x2.

Put the plate 2x6 horizontally on the table.

Put 1 flat tile 1x2 vertically on the rightmost column.

Put the other flat tile 1x2 vertically on the leftmost column.

Find 2 black plates 1x2 with top clasp.

Put them vertically next to each other on the 2 middle columns of the plate 2x6, clasps to the back.

Find 1 white curve tile 1x4.

Put it horizontally centered on the front row, locking in the 2 previous pieces.

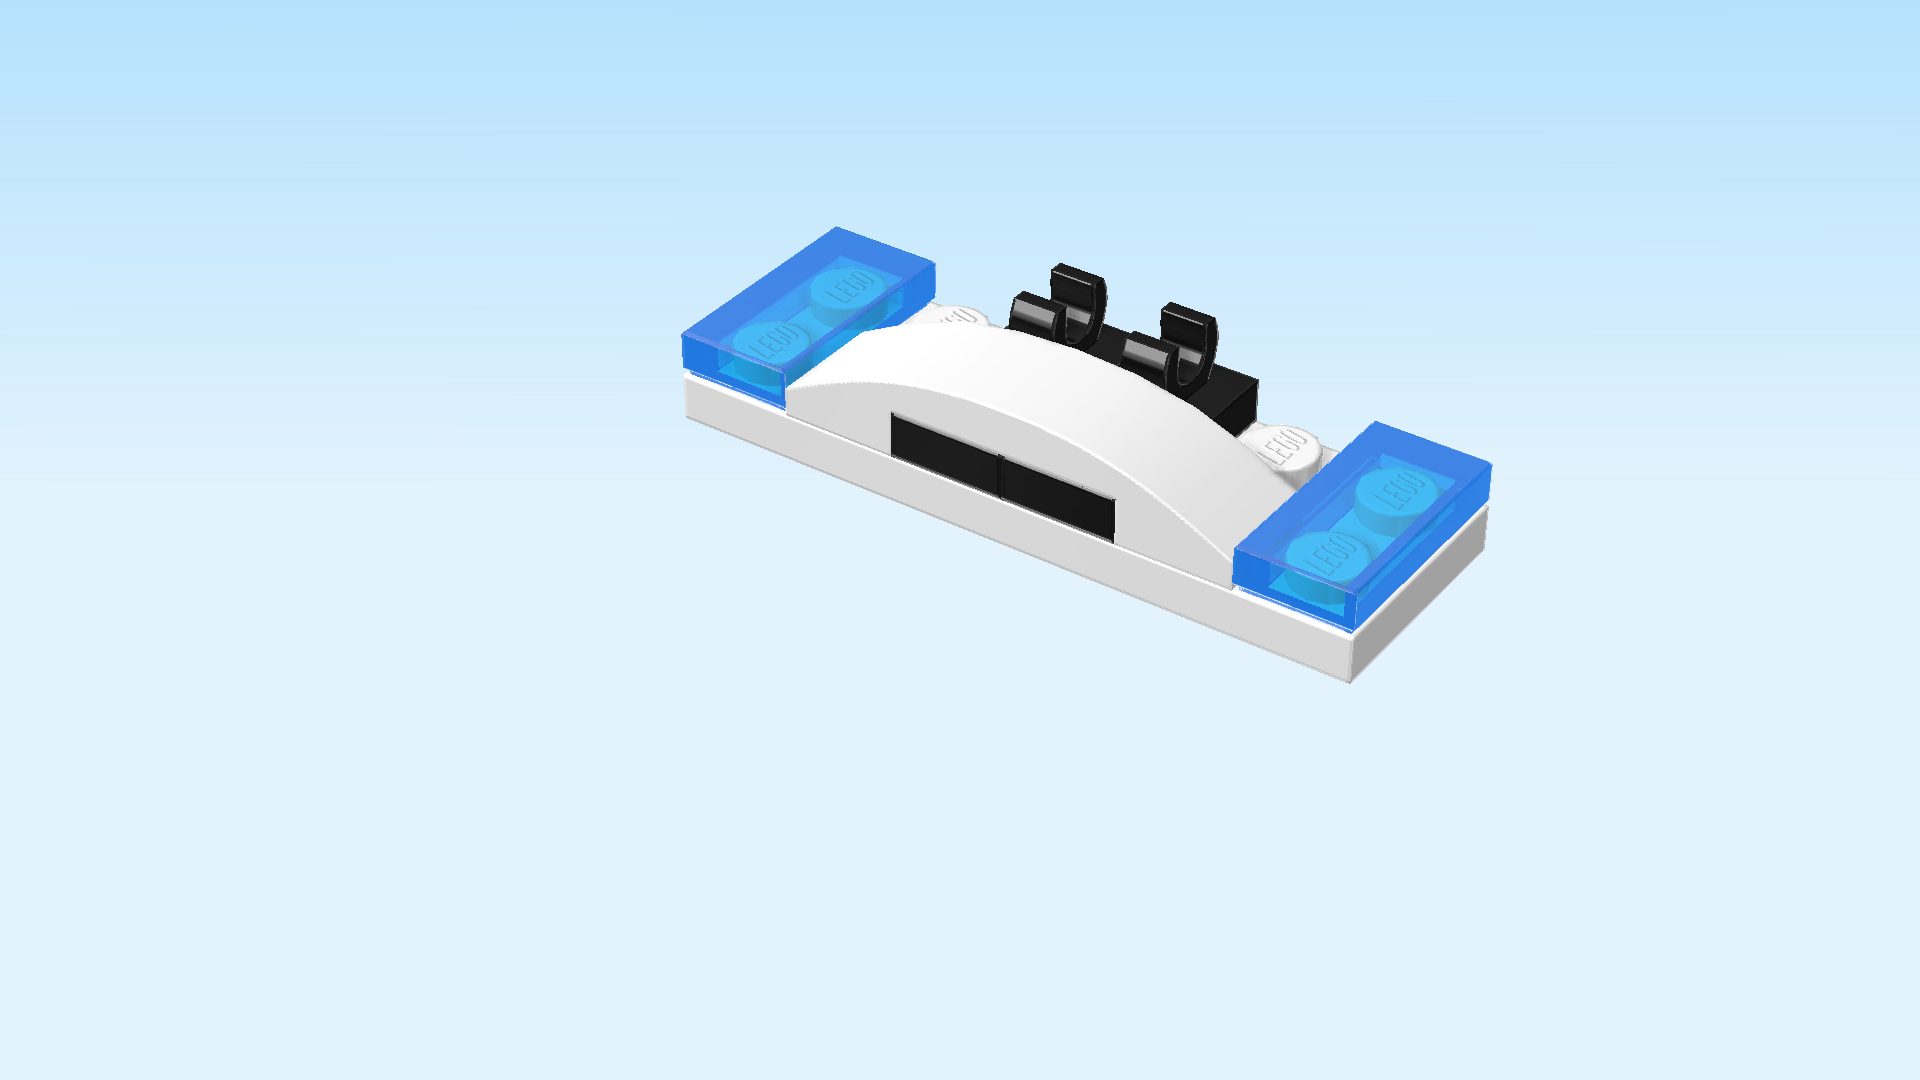
The roof siren lights are finished! Well done! Mount it vertically on the right knobs of the 2 wall elements and the column to their right, clasps to the right.

Next, we will assemble the trunk lid of the police truck.

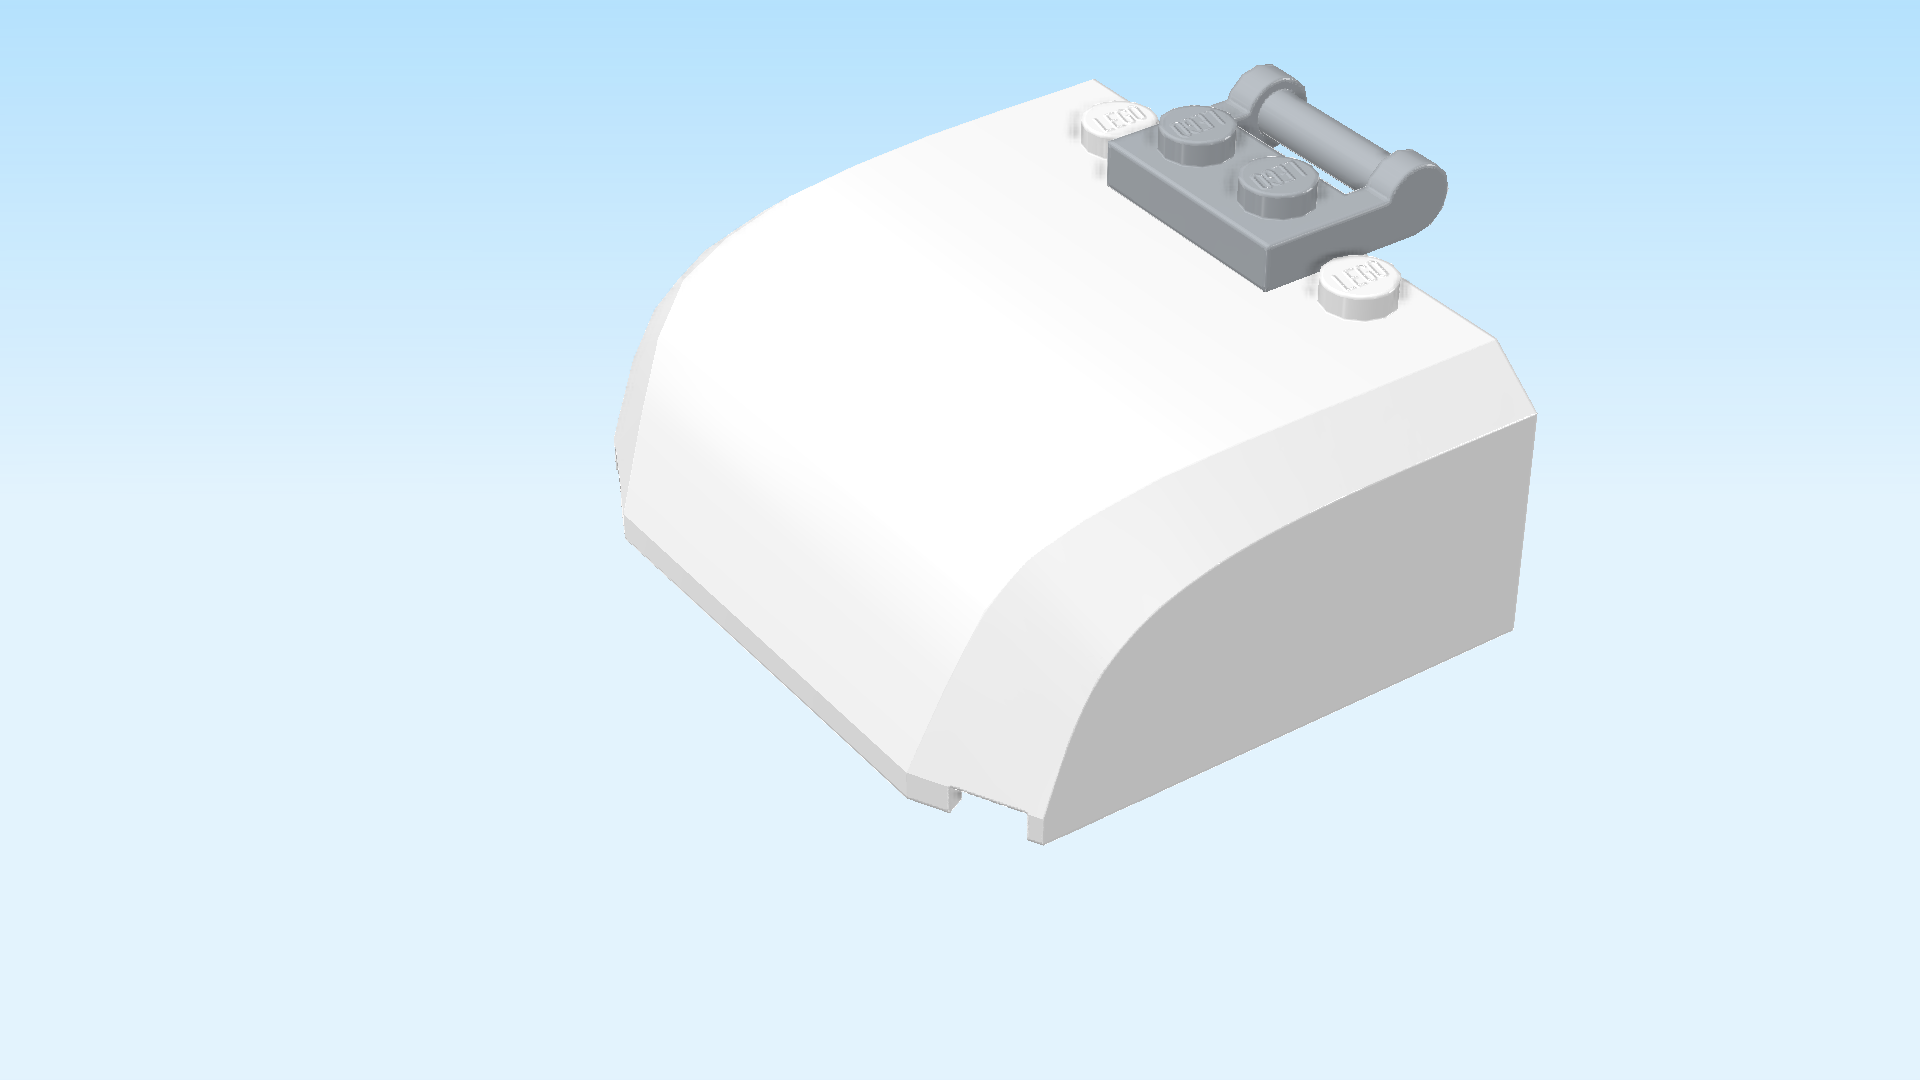
Collect the following 2 pieces:

1 medium stone grey plate 1x2 with handle on long side,

and 1 white curved hood 6x5x2.

Put the curved hood on the table, curve to the left.

Put the plate 1x2 vertically centered on the 2 middle knobs, side handle overhanging to the right.

Continue if you want to decorate this piece with a sticker now. If not, skip the next 3 sentences.

Find 1 square sticker 2x2. The set includes 2 stickers of this size, but since they are identical, you can choose either one. Ask a sighted person for help if you are not sure.

Put it on the side surface at the front, aligning it with the right edge.

The sticker is white with a golden silhouette of a police badge in the middle. There is a head of a black and brown German shepherd on the badge. The dog is sticking its tongue out and has a friendly look on its face.

Find 1 white curve tile 1x4.

Put it vertically on top, locking in the plate 1x2 with handle.

Continue if you want to decorate this piece with another sticker now. If not, skip the next 3 sentences.

Find another square sticker 2x2.

Turn the curved hood from left to right so that the curve is to the right, and attach the sticker on the front surface, aligning it with the left edge.

The sticker has the same design as the previous sticker.

The trunk lid of the police truck is finished! Well done! Snap the handle sticking out towards the left into the 2 clasps at the top of the vehicle. Fold the trunk lid down.

Collect the following 2 pieces:

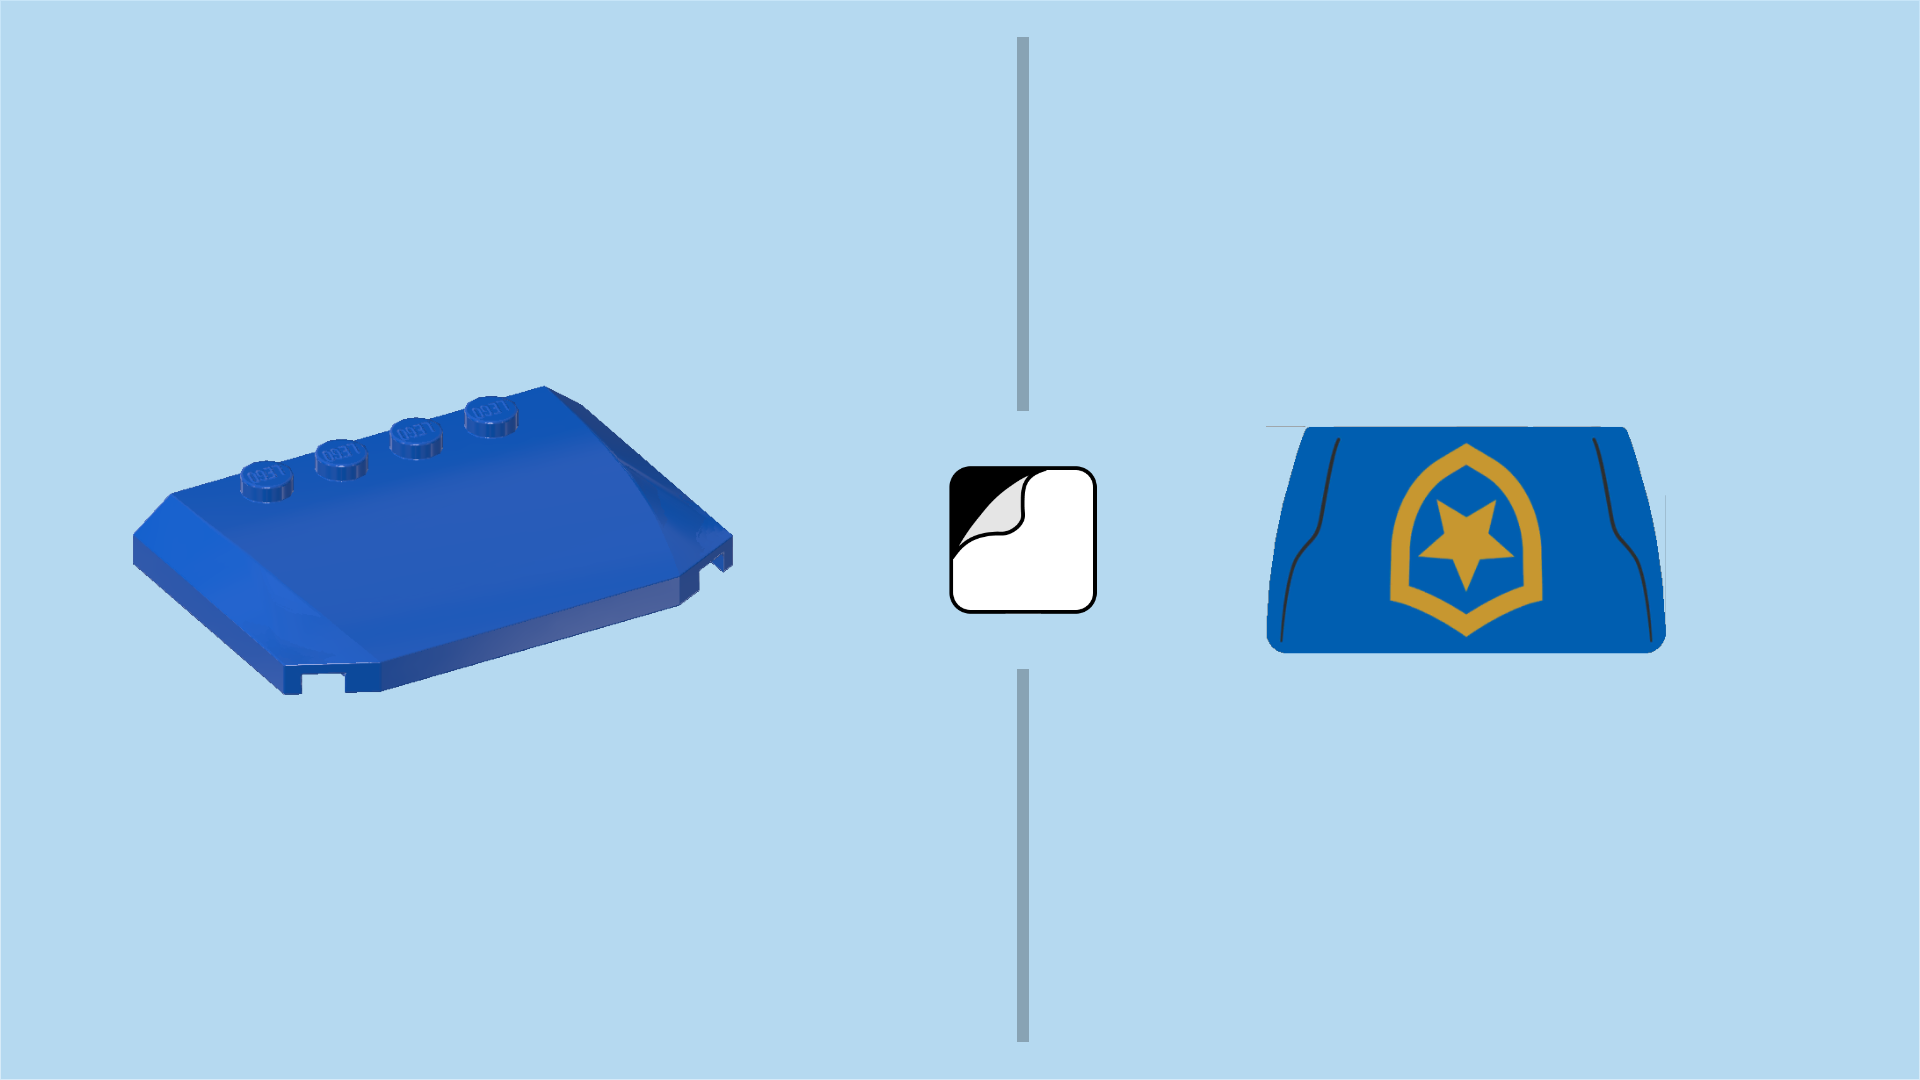
1 bright blue hood plate 4x6x⅔ with 2 angled corners and 4 knobs,

and 1 sticker 3x5 with slanted sides. (If you do not want to attach this sticker now, skip the next 3 sentences.)

Put the hood plate vertically on the table, 4 knobs to the right.

Put the sticker vertically on top, narrower side to the left. Do not cover the knobs.

The sticker is blue like the hood plate. It has two thin black lines on its shorter sides giving the car body a streamlined look, and in its center there is a big golden silhouette of a police badge with a golden star in the middle.

Mount the hood plate vertically on the leftmost edge of the car structure, 4 knobs to the right.

Find 1 transparent light blue windscreen 6x3x2.

Put it vertically to the right of the previous piece, slope to the left.

Now, we will make a flashlight.

Collect the following 2 pieces:

1 black lightsaber holder,

and 1 transparent yellow round plate 1x1.

Hold the lightsaber holder in your hand so that the slightly thicker end is to the top.

Put the round plate 1x1 on top.

Snap the flashlight into the clasp pointing to the front in the right half of the vehicle.

Find 1 white hood plate 4x6x⅔ with 2 angled corners and 4 knobs.

Put it vertically on top of the car, its leftmost edge sitting on the windshield and the rightmost edge on the wall elements. Make sure its 4 knobs are on the right edge.

Next, we will assemble the 4 wheels.

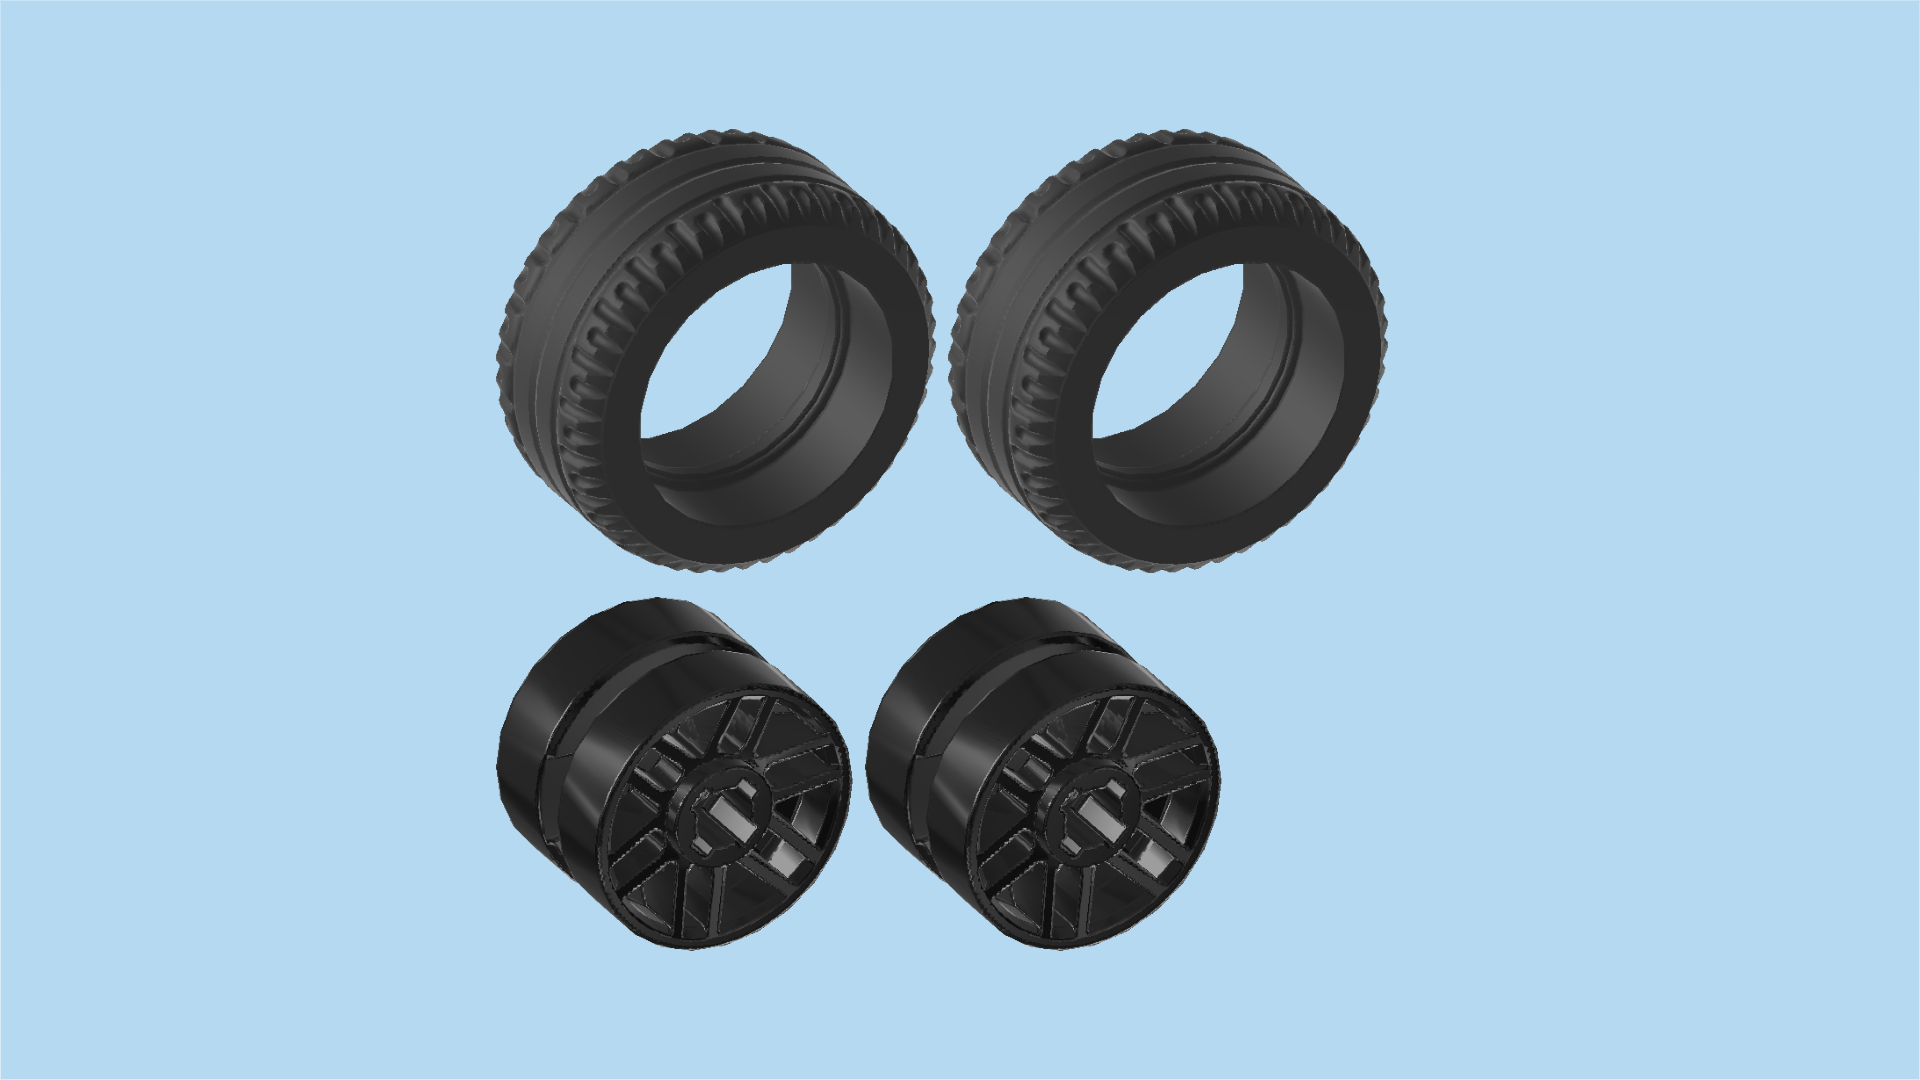
Collect the following 8 pieces:

4 black thick rubber tires with low lateral profile,

and 4 black wide rims with hole and spokes.

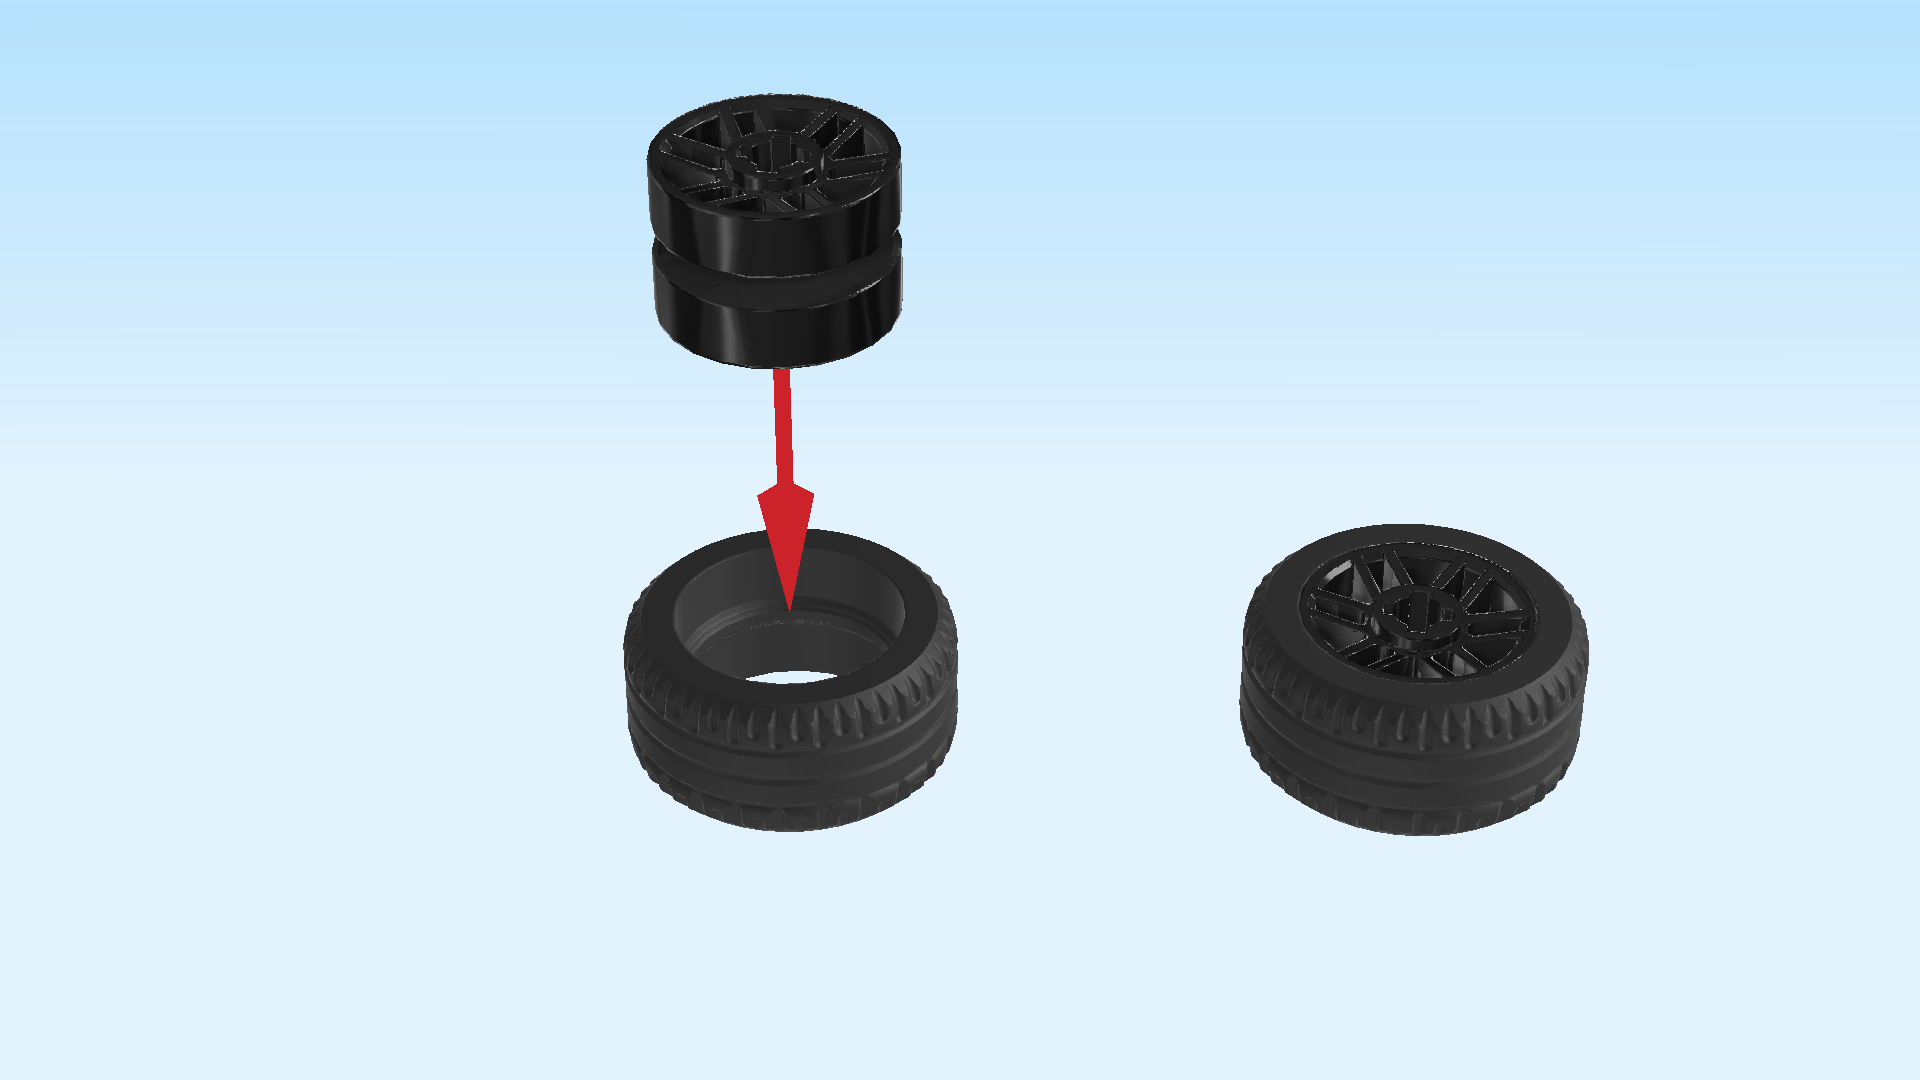
Put the rims into the tires.

Snap the 4 wheels on the connectors of the car. Make sure that the spokes are facing outwards.

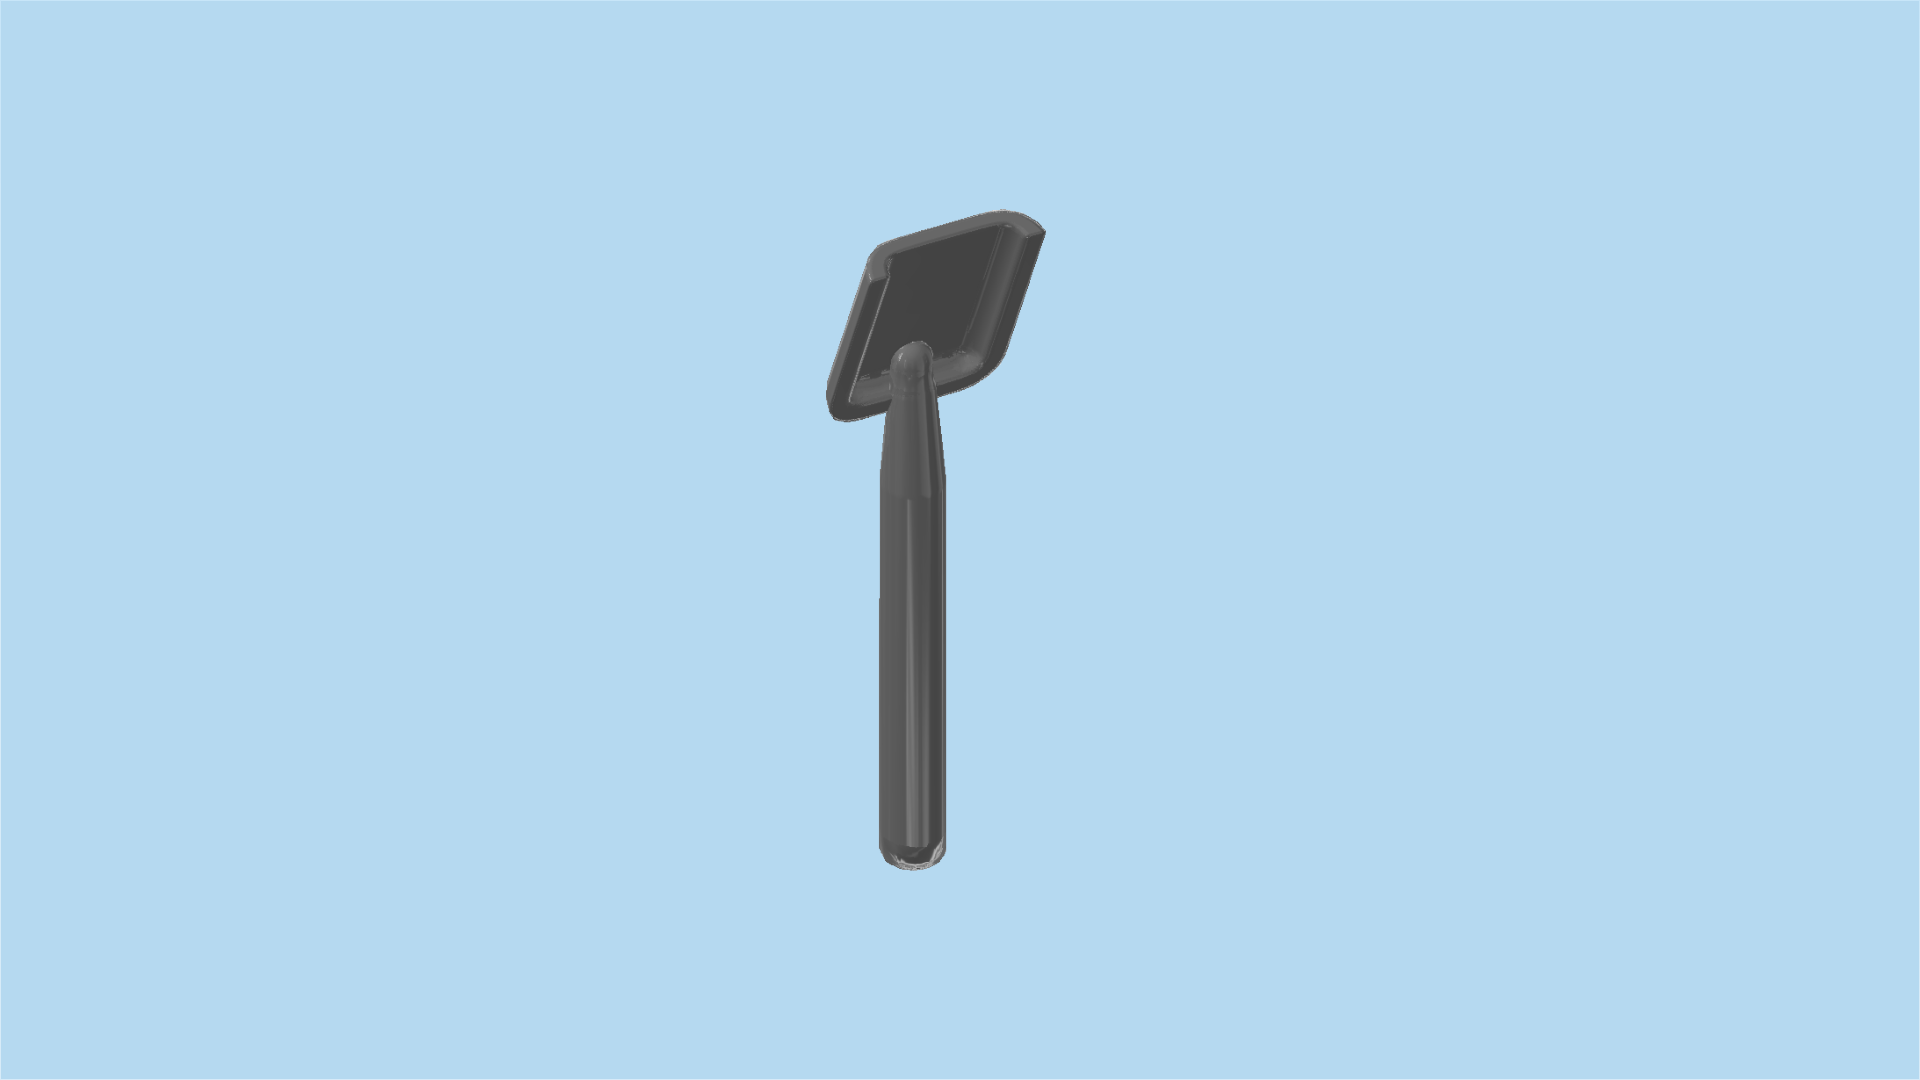
Find 1 dark stone grey shovel.

Snap its handle into the clasp pointing to the back on the car's side, shovel part to the top. Turn it so that the shovel part points towards the car body. This way it cannot get caught on objects at the side of the road.

To seat the Minifigure inside the police truck, take off the top hood plate, put the Minifigure inside, and attach the roof again. The cabin even seats two people if needed!

The police truck is finished! Very well done! It's time to put the police officer on the driver's seat and take the vehicle for a spin! While we continue building this set, the police officer can already attend to other police business if necessary.

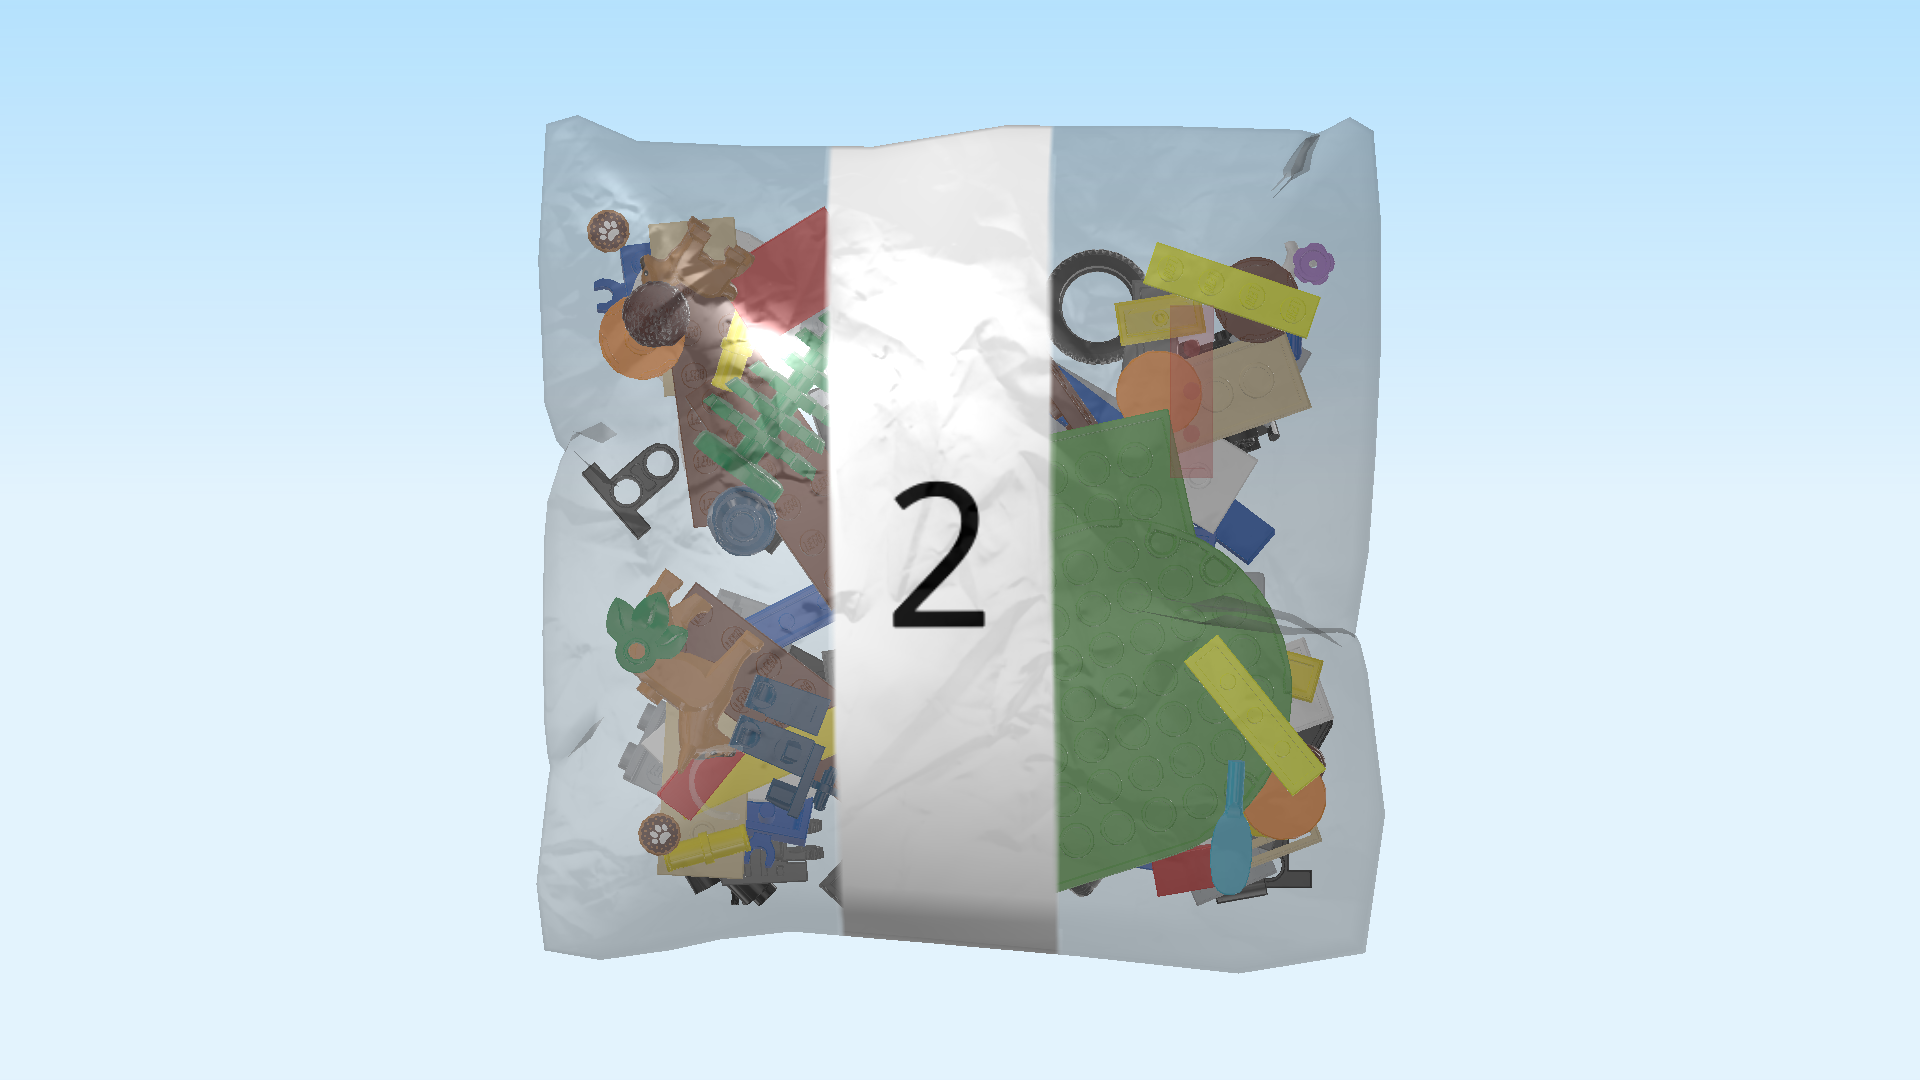
Open bag number 2. You can choose to have the bricks sorted by color again. This bag contains all bricks and pieces for the training police officer with safety padding, the trailer, the adult dog and the puppy, the feeding station and the training course with seesaw, jump bar and stepping paws.

First, we will build the training police officer.

Collect the following 2 pieces:

1 earth blue pair of legs,

and 1 earth blue upper part.

Put the upper body on the legs.

Collect the following 2 pieces:

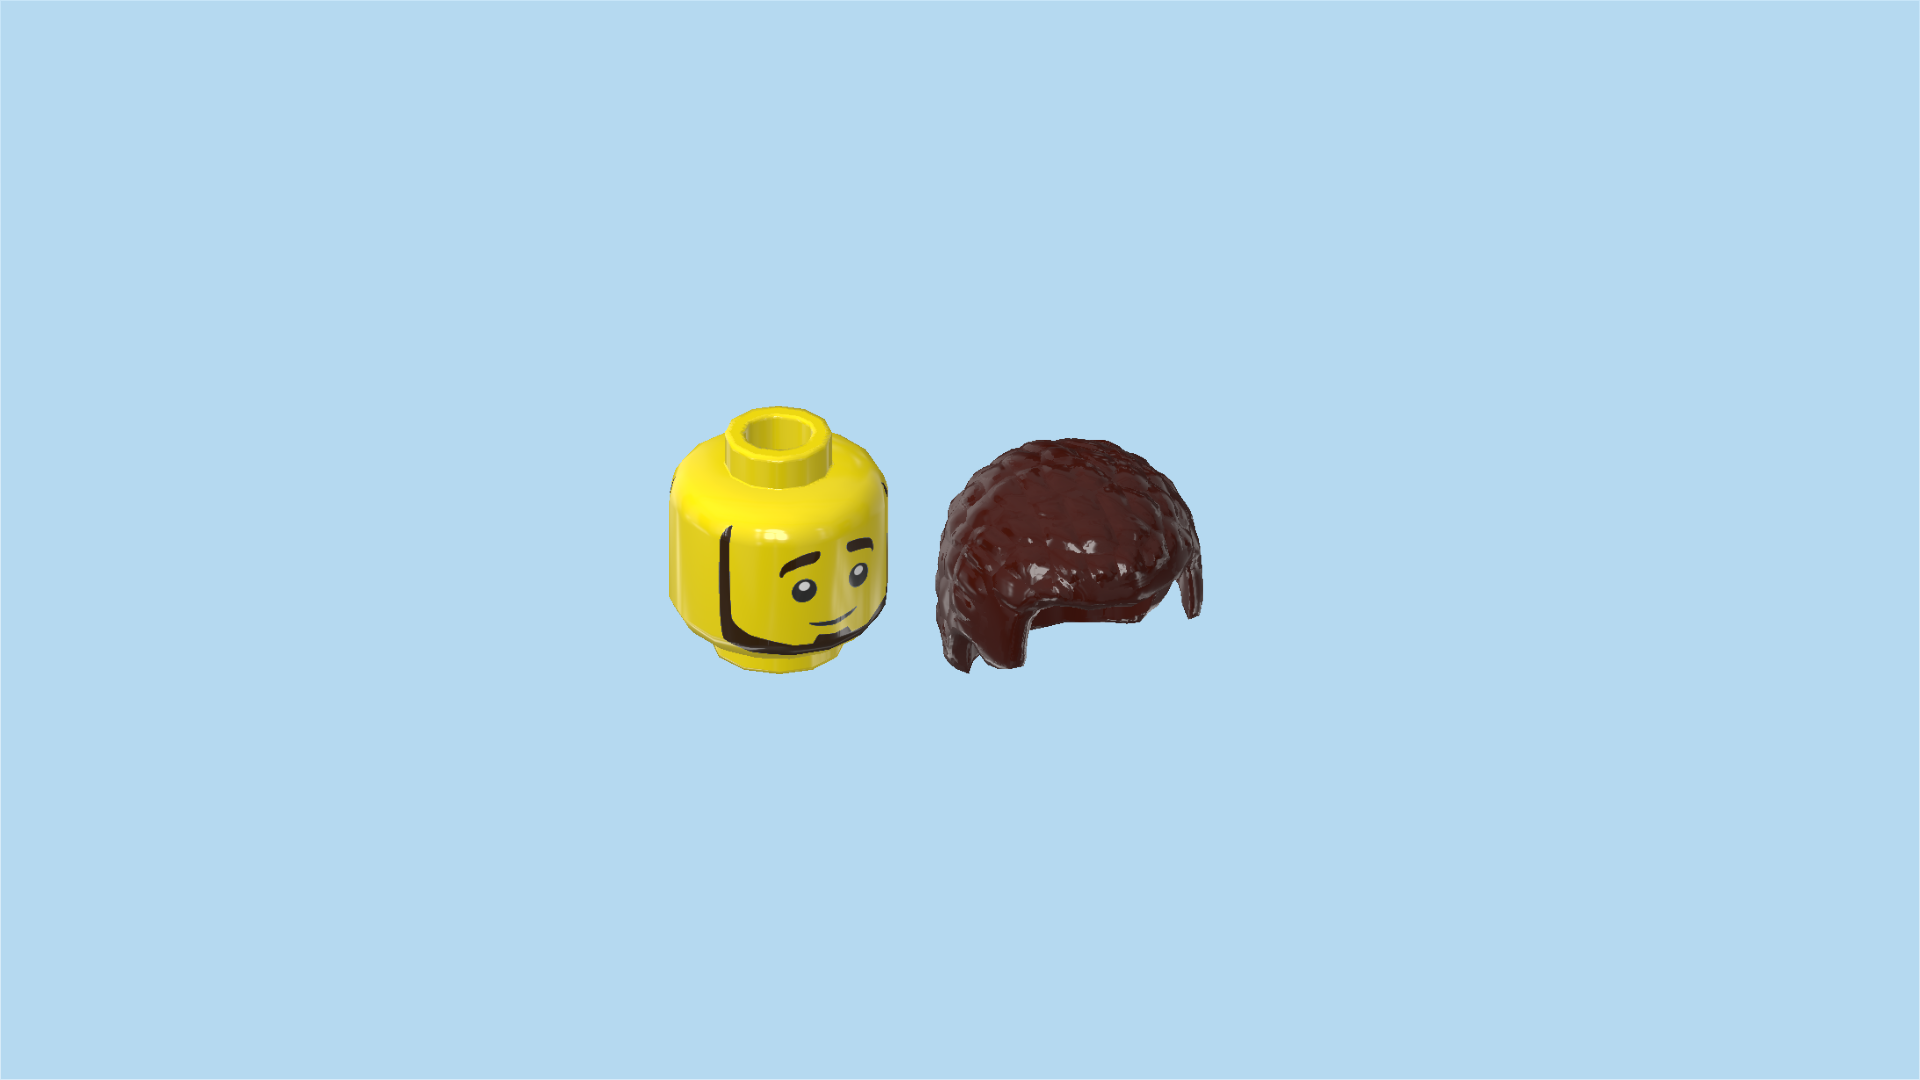
1 bright yellow Minifigure head,

and 1 dark brown hairpiece with short curly hair.

Put the head on the body.

Put the hairpiece on the head.

Collect the following 2 pieces:

1 earth blue football helmet,

and 1 transparent helmet visor.

Snap the visor into the opening of the helmet. The visor has two small bumps on its ends that fit neatly into two grooves on the helmet's sides.

To get the police officer ready for training, exchange the hairpiece with the helmet.

The training policeman Minifigure is finished! Well done! He is wearing a dark blue police uniform with a special safety jacket that has padding covering his arms and hands. This type of safety jacket is necessary to conduct bite training with the dogs. His safety jacket has silvery vertical stripes and a silvery police badge on the left side of his chest. His head has two different face prints: on one side, he is giving us a friendly wink, the other side shows a happy smile. He has a brown chin strap beard and brown eyebrows.

Collect the following 2 pieces:

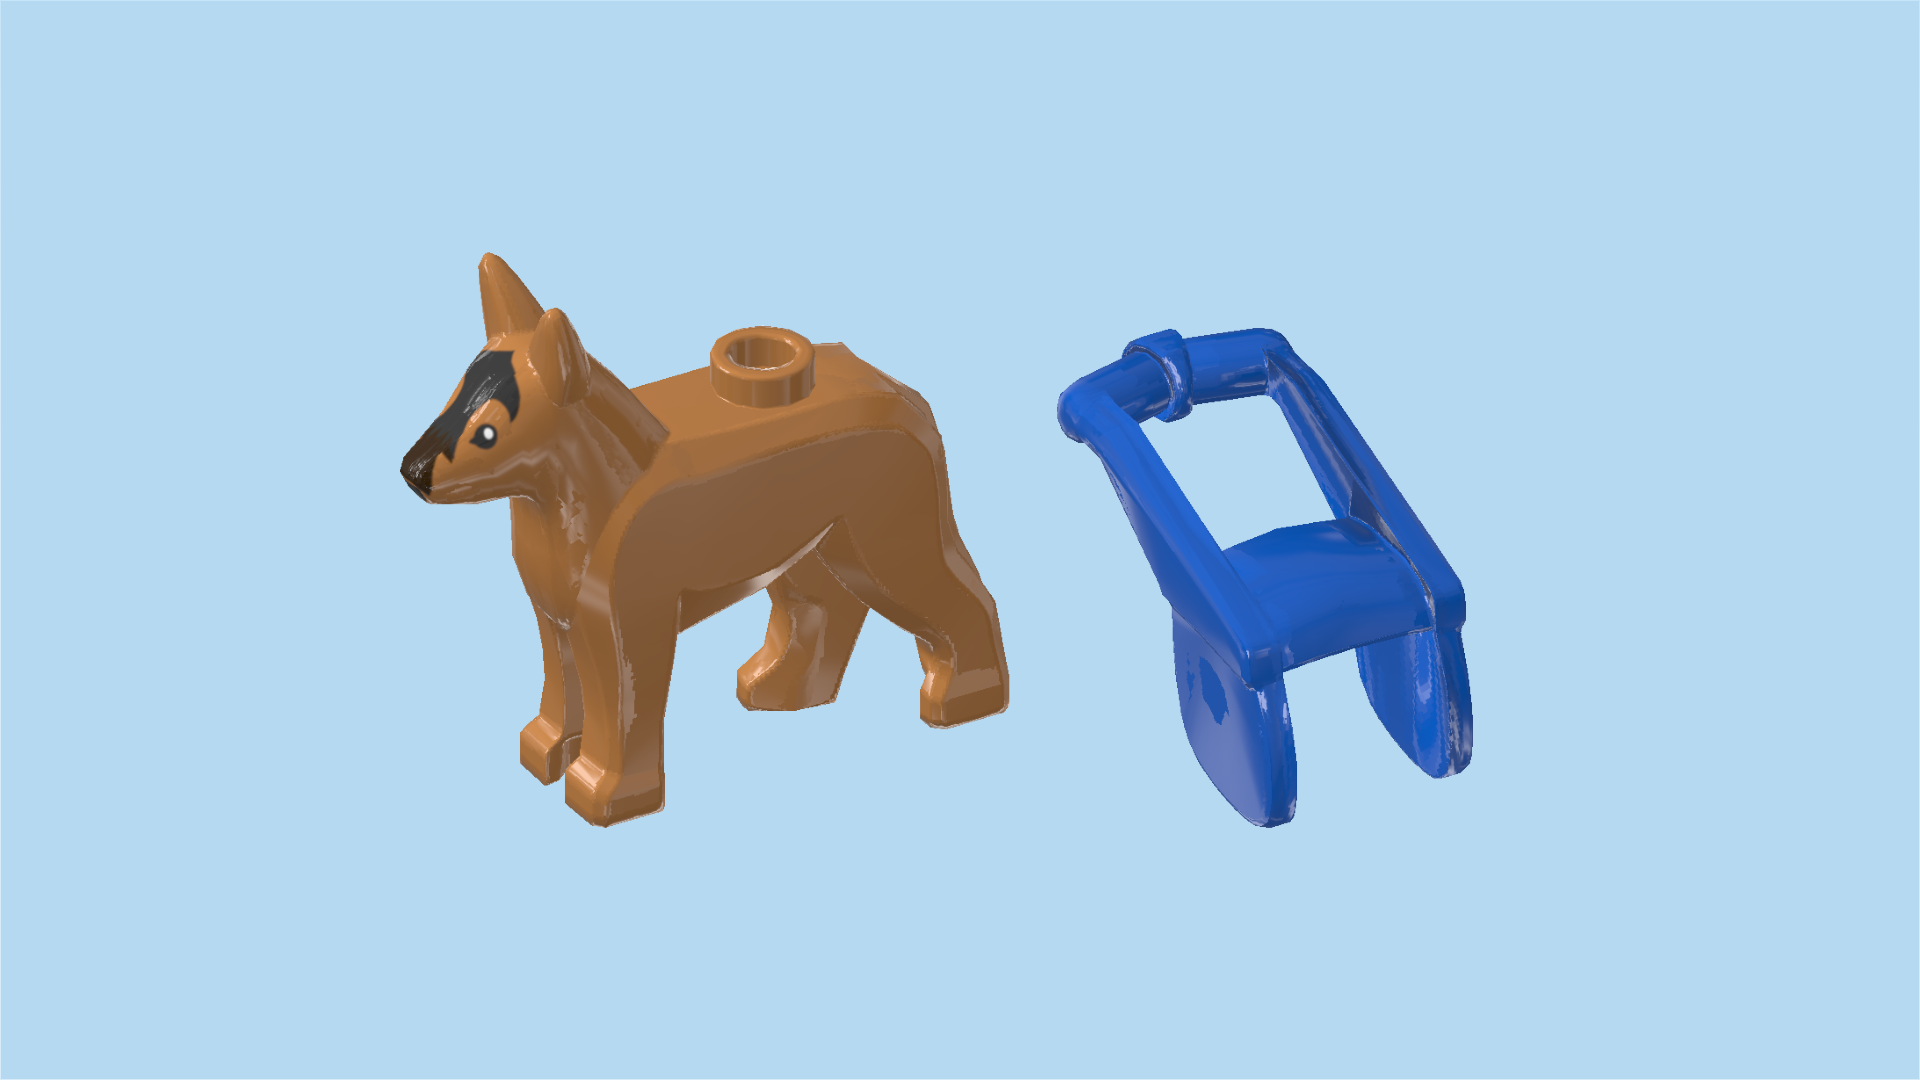
1 medium nougat brown dog with knob (this is the bigger dog),

and 1 bright blue dog harness with leash.

Put the dog horizontally on the table, snout to the right.

Hold the harness so that the leash handle is to the left and the 2 side tabs are to the bottom.

Put the right half of the harness on the dog. It should connect with the knob on the dog.

Find 1 medium nougat brown puppy dog.

The two dogs are medium brown and both have some black and dark brown spots on their snouts. They are ready for training! But of course, we first need to build them a training course. Let's continue!

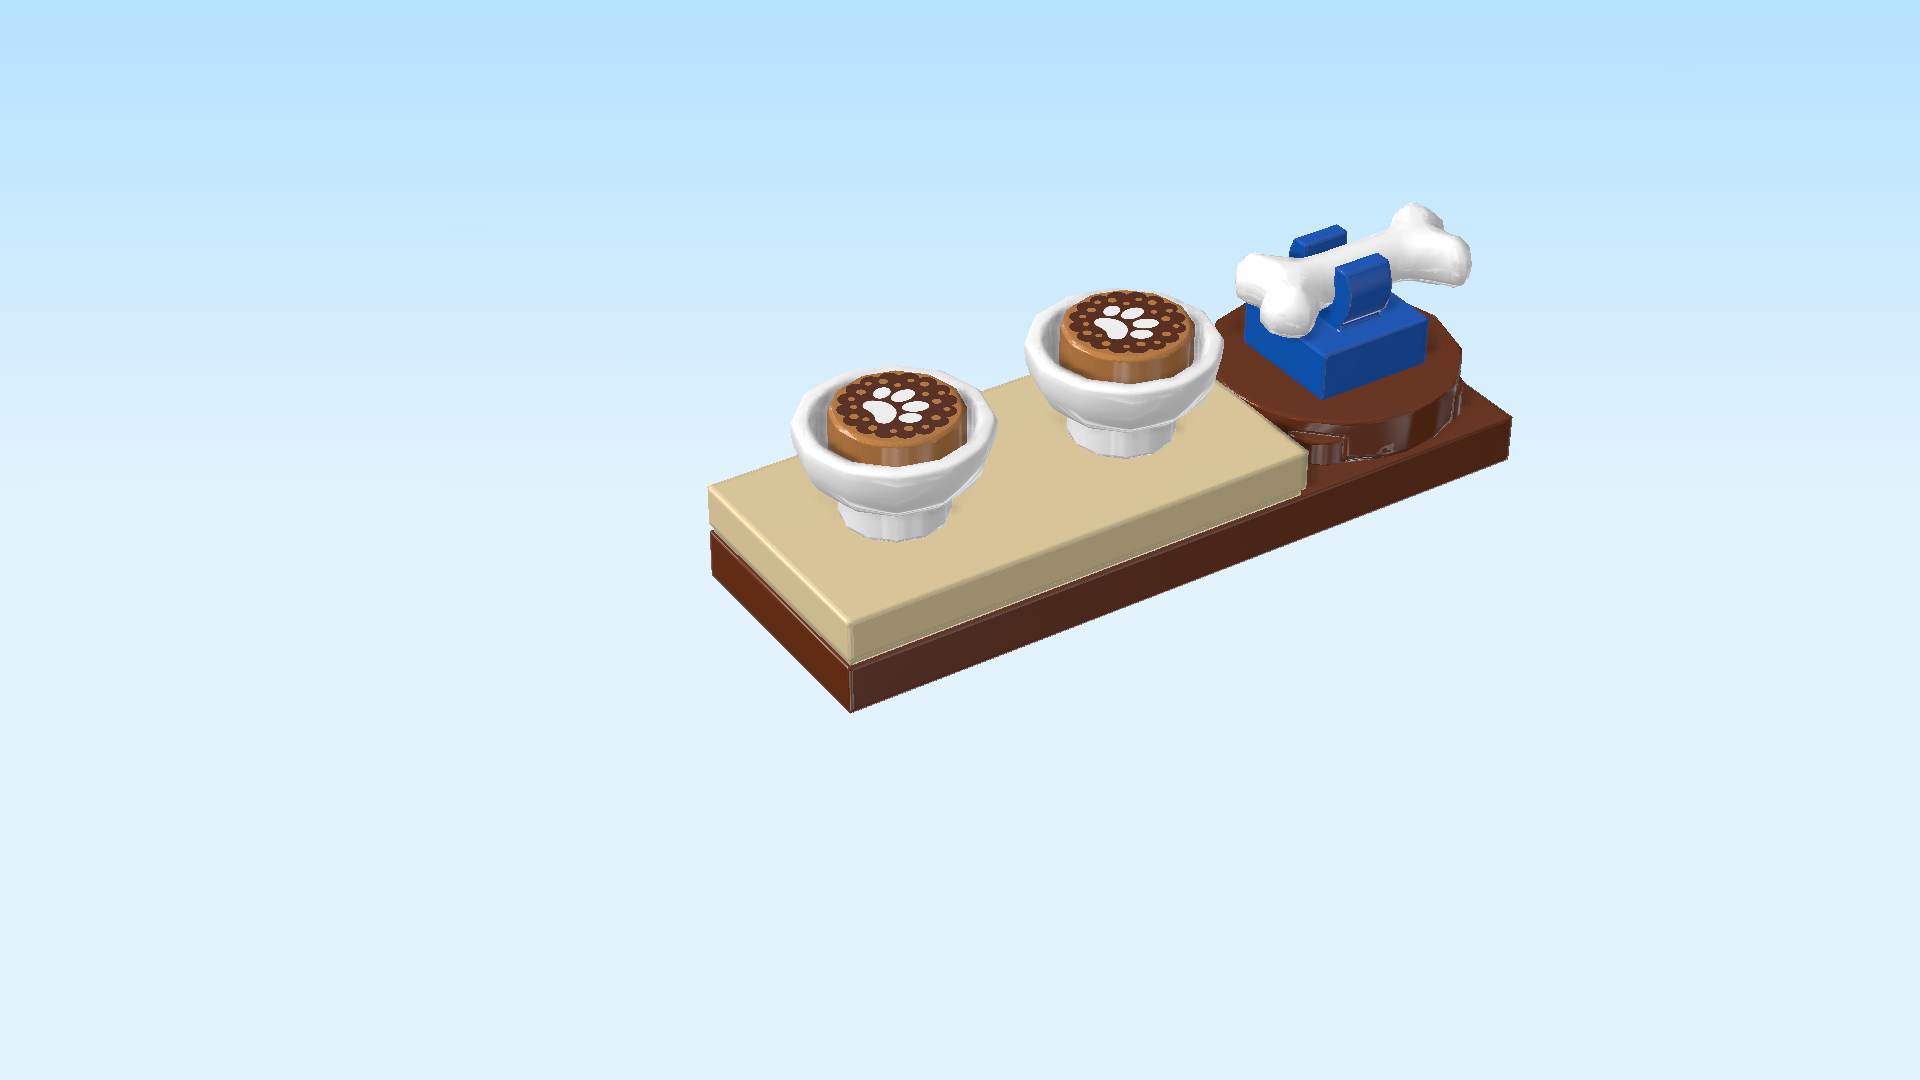
Now, we will build the feeding station.

Collect the following 2 pieces:

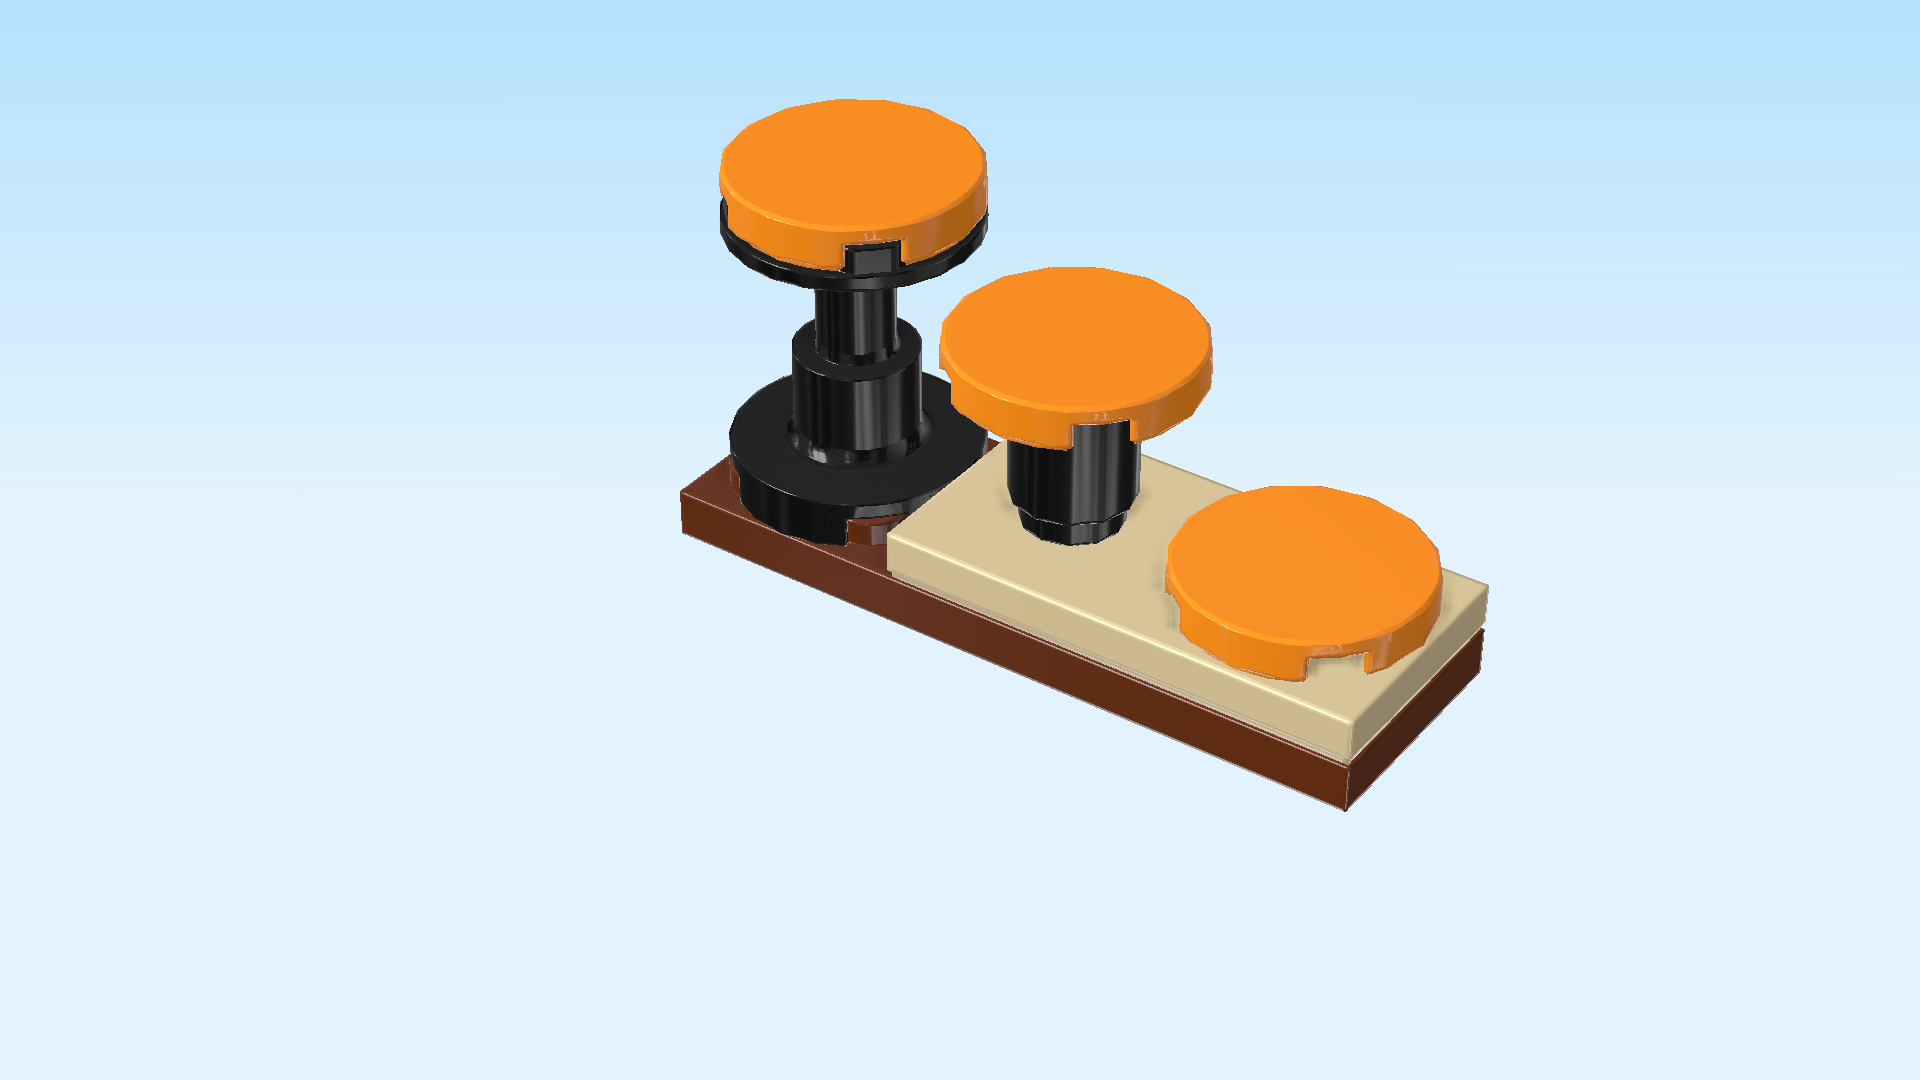
1 reddish brown plate 2x6,

and 1 reddish brown round plate 2x2 with 1 knob.

Put the plate 2x6 horizontally on the table.

Put the round plate 2x2 on the 4 rightmost knobs.

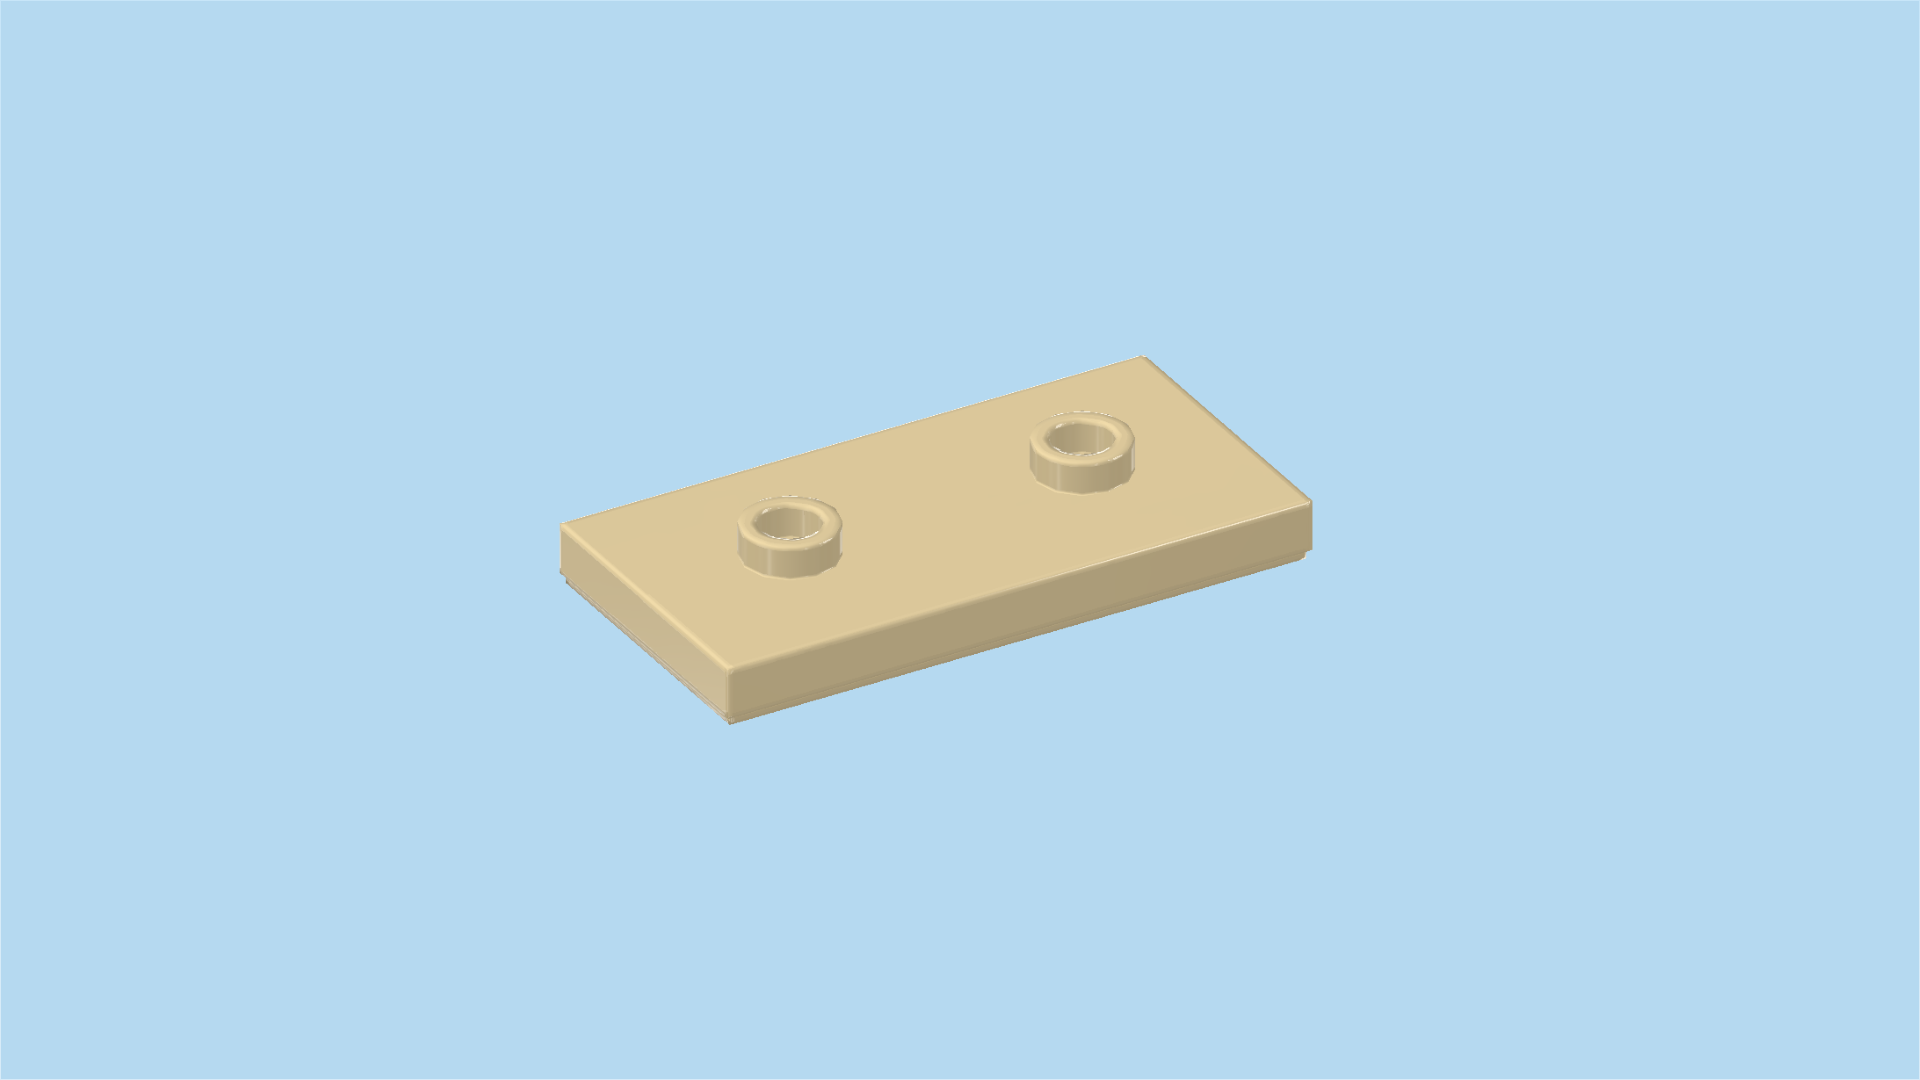
Find 1 pale ocher yellow plate 2x4 with 2 knobs.

Put it horizontally to the left of the previous piece.

Collect the following 3 pieces:

1 bright blue plate 1x1 with top clasp,

and 2 white round bowls.

Put the 2 bowls on the 2 knobs of the previous piece.

Put the plate 1x1 on the rightmost knob. Make sure the tips of the clasp are to the front and back, not to the left and right.

Find 2 medium nougat brown round tiles 1x1. (These pieces are printed.)

Put them into the 2 bowls.

These tiles are printed with dog treats: The have a granular dark brown texture (like a cookie), and in their center there is a white paw print.

Find 1 white bone.

Snap it horizontally into the clasp to the right of the bowls.

The feeding station is finished! Great job! When you are trying to teach your puppies and dogs new skills and tricks, dog treats can be a great way to incentivize their new behaviors. But of course you need to be careful with the treats and not give them too many. If the dogs get thirsty, you can exchange one of the treats with a transparent blue round tile 1x1 that will act as water!
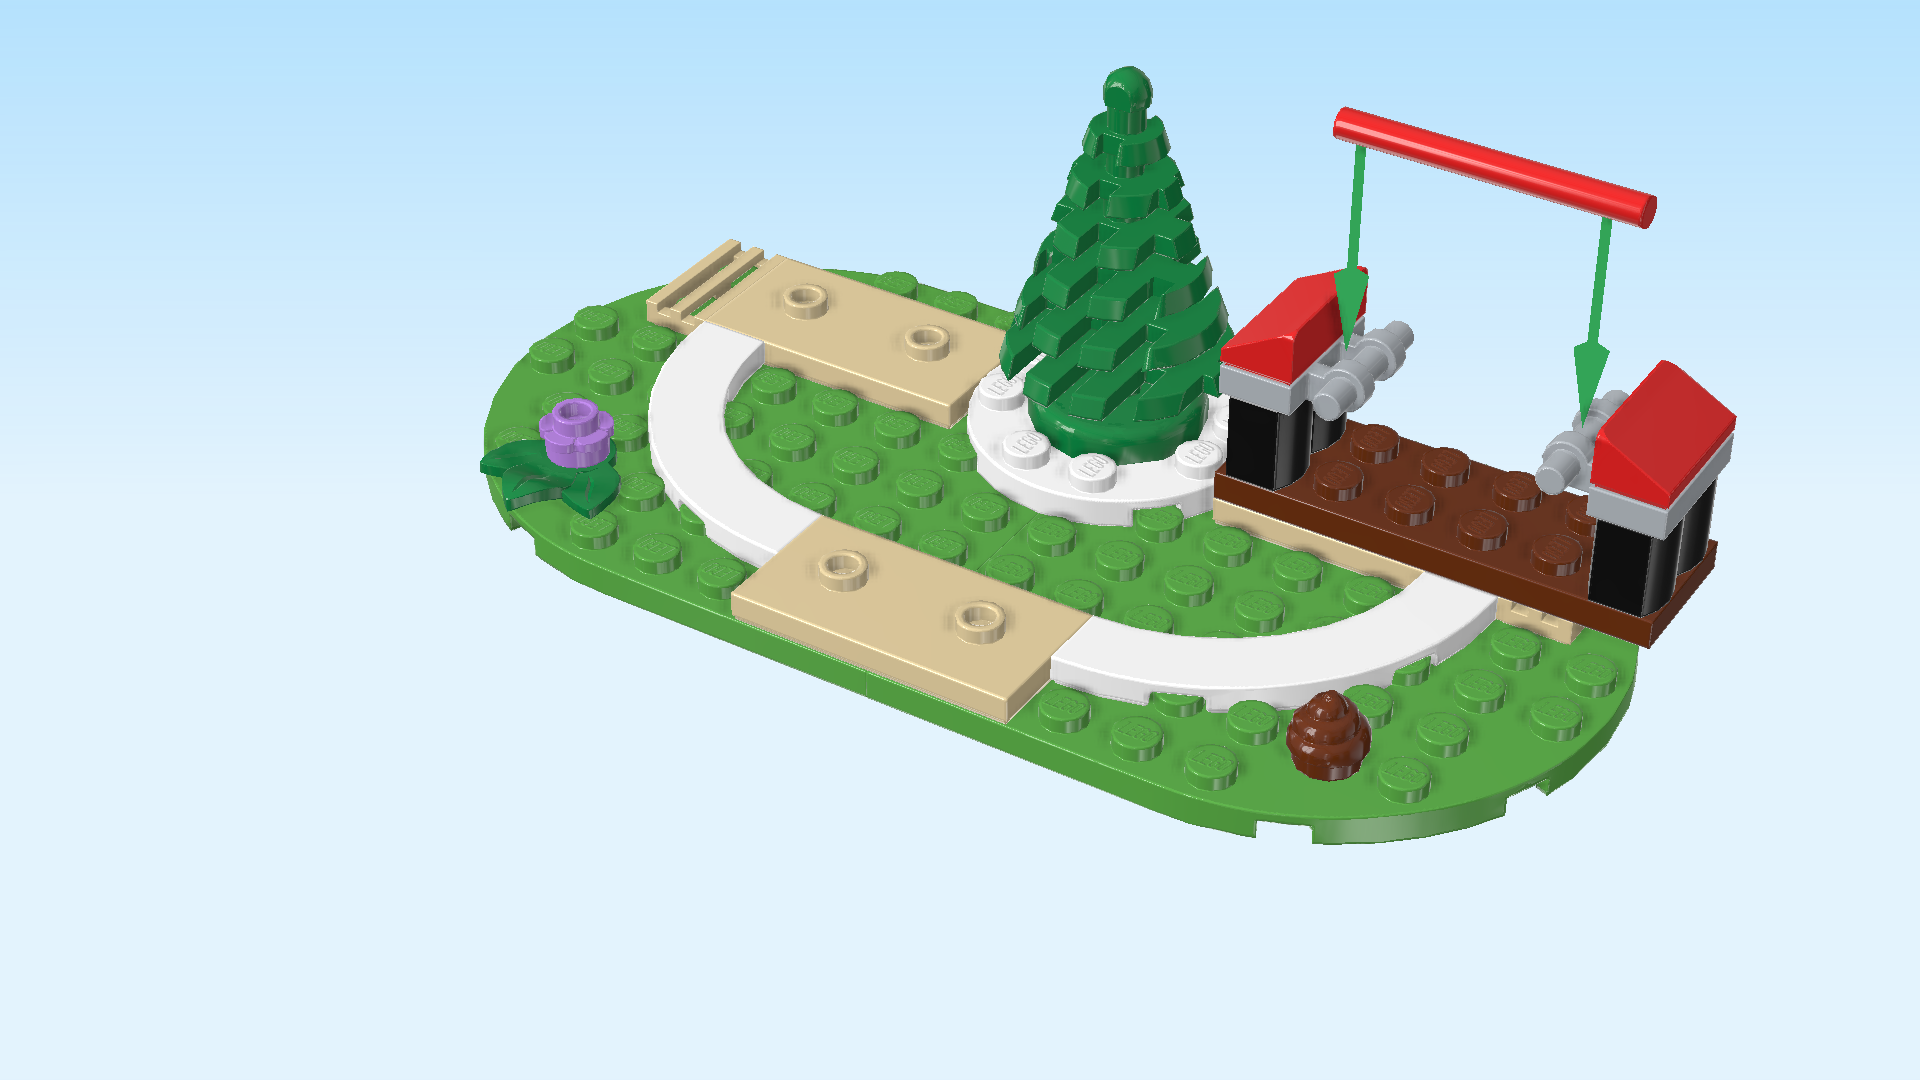
Now, we will build the base plate of the training course.

Collect the following 2 pieces:

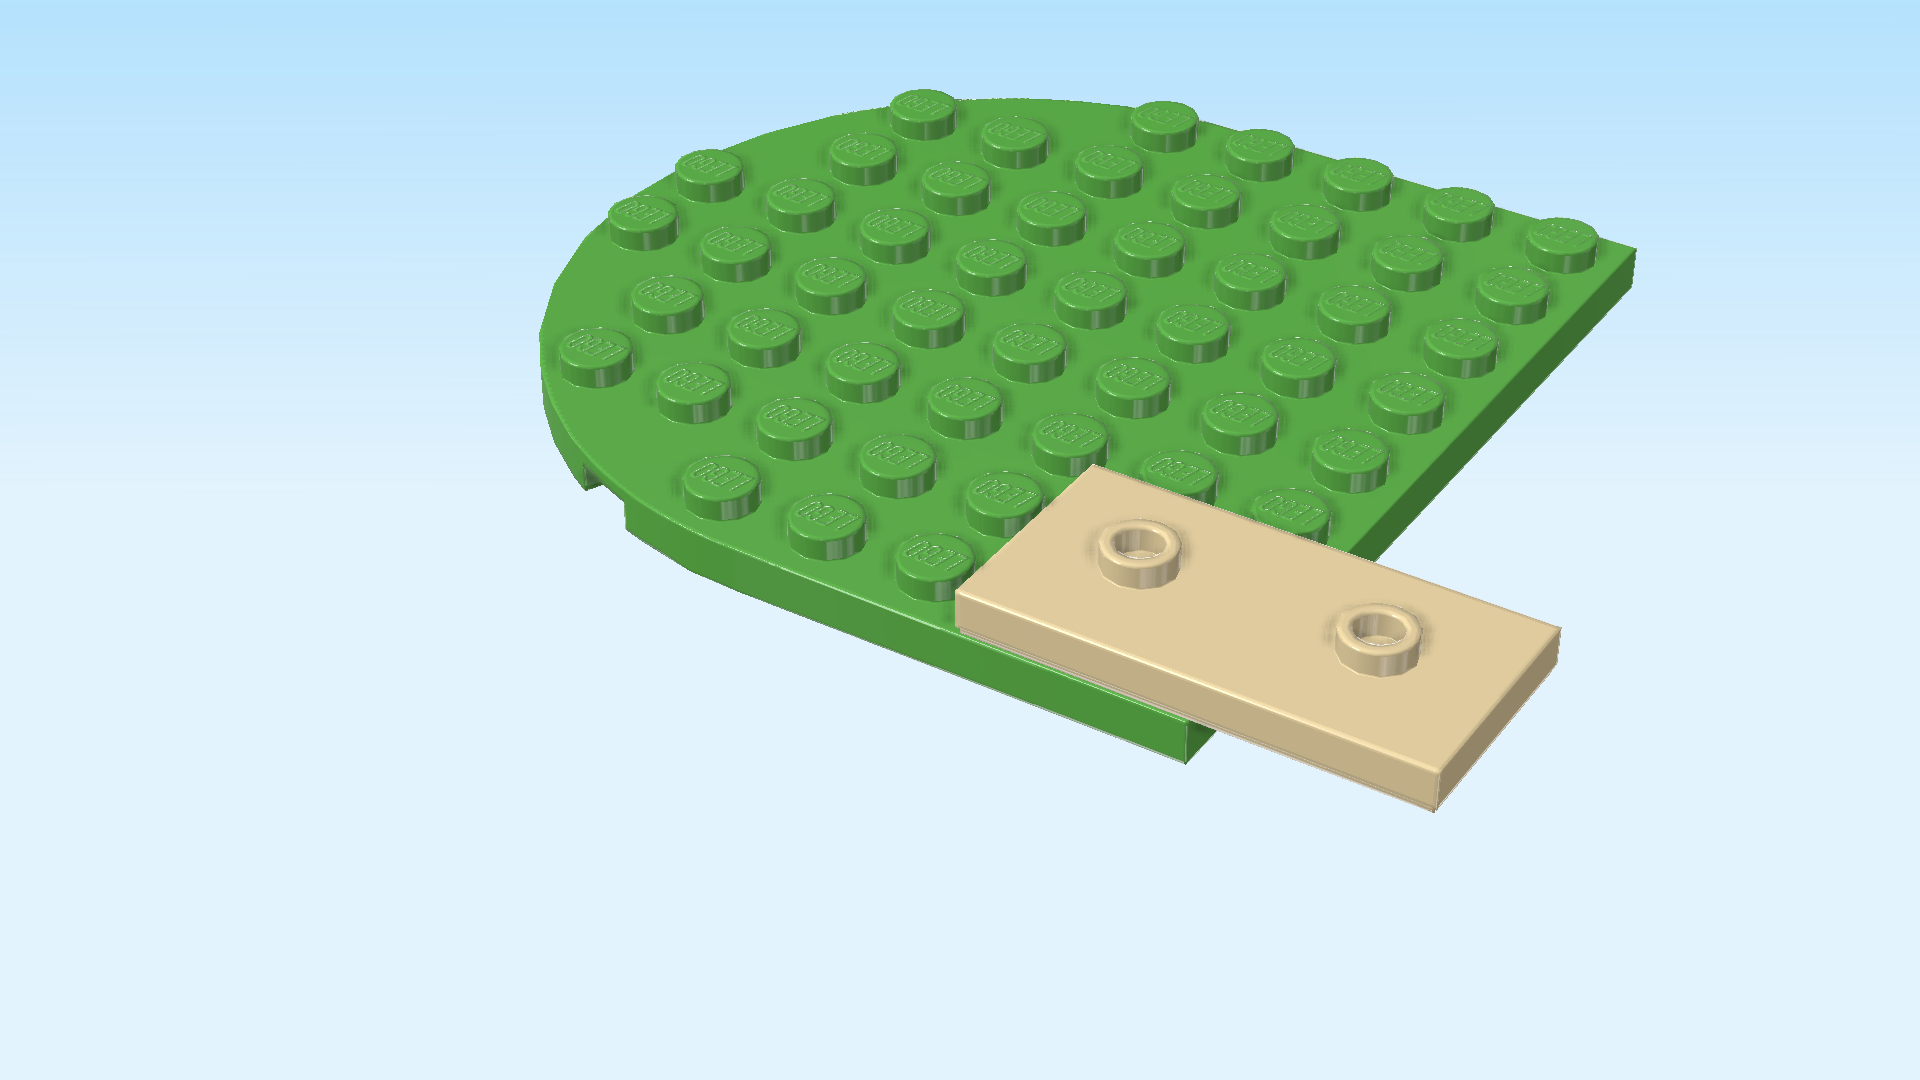
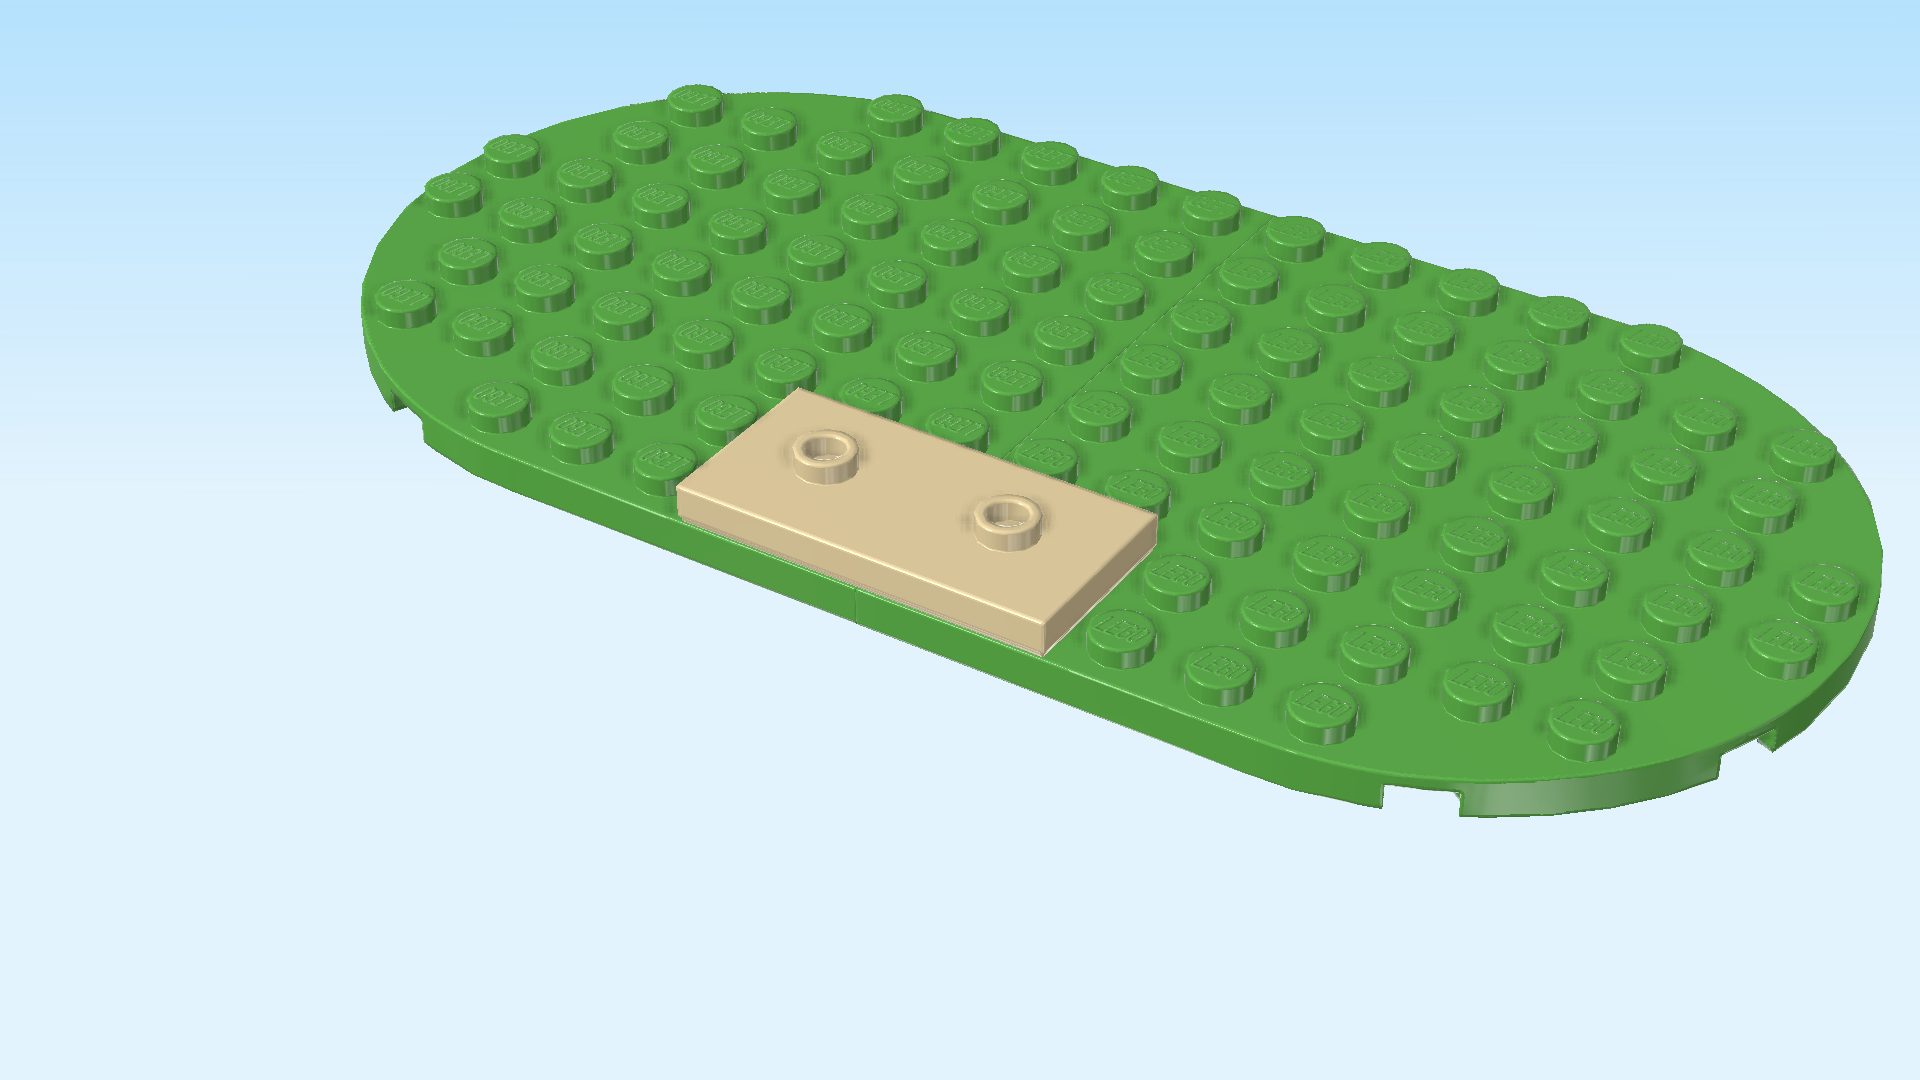
1 bright green plate 8x8 with half circle,

and 1 pale ocher yellow plate 2x4 with 2 knobs.

Put the plate 8x8 on the table, half circle to the left.

Put the plate 2x4 vertically on the 2 frontmost rows on the 2 rightmost columns, one half overhanging to the right.

Find another bright green plate 8x8 with half circle.

Turn it so that its half circle is to the right, and mount it underneath the previous piece, mirroring the first half-circle plate. Make sure their straight edges are flush and touch in the middle.

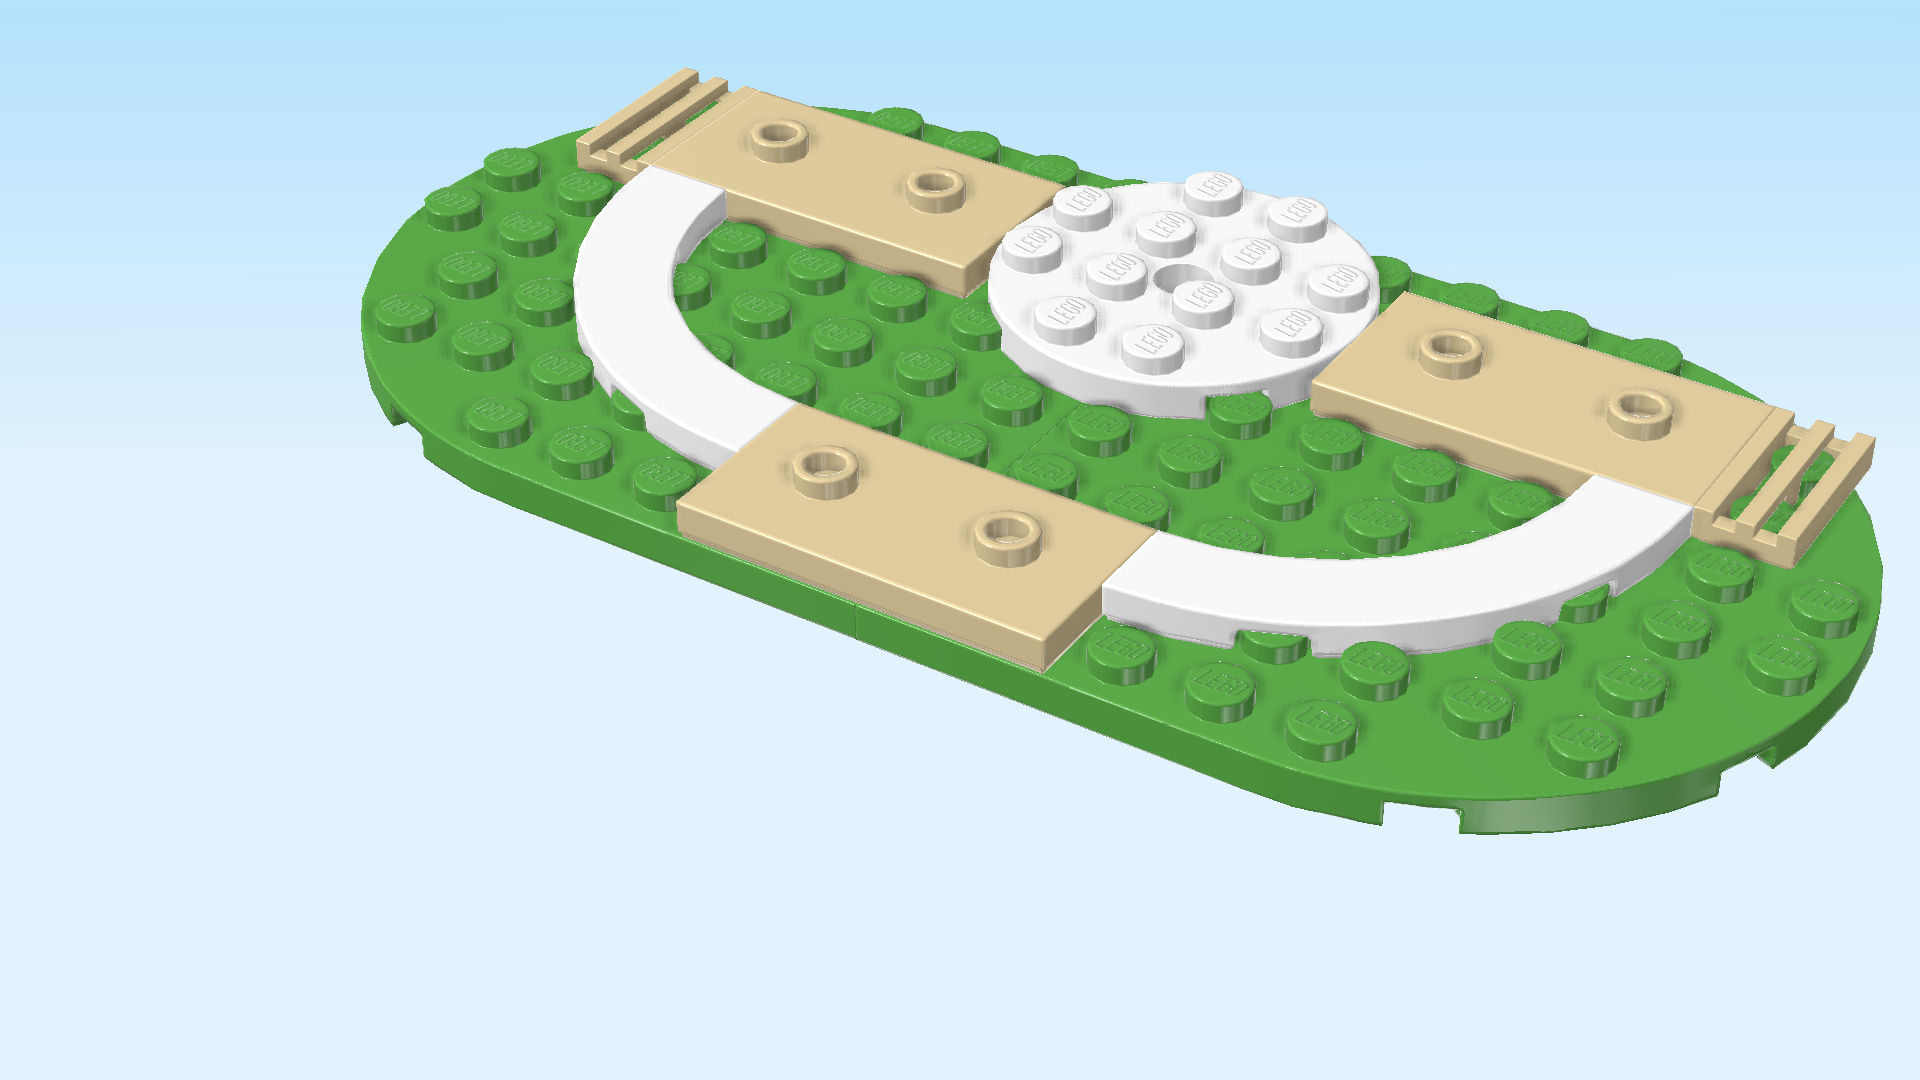
Find 2 white quarter-arched tiles 1x4.

Turn 1 so that is outer curve is to the front right. One end should be pointing to the left and the other one to the back.

Put it directly to the right of the plate 2x4, starting from its back half.

Repeat symmetrically on the left.

Find 2 pale ocher yellow plates 2x4 with 2 knobs.

Hold 1 horizontally, and align its left edge with the left edge at the back end of the previous piece.

Mount it there. If done correctly, there is 1 empty row behind this piece, and 1 empty column to the left of this piece.

Repeat symmetrically on the right.

Find 2 pale ocher yellow grille tiles 1x2.

Put 1 vertically to the right of the previous piece.

Repeat symmetrically on the left.

The back outer corners of these pieces will slightly protrude.

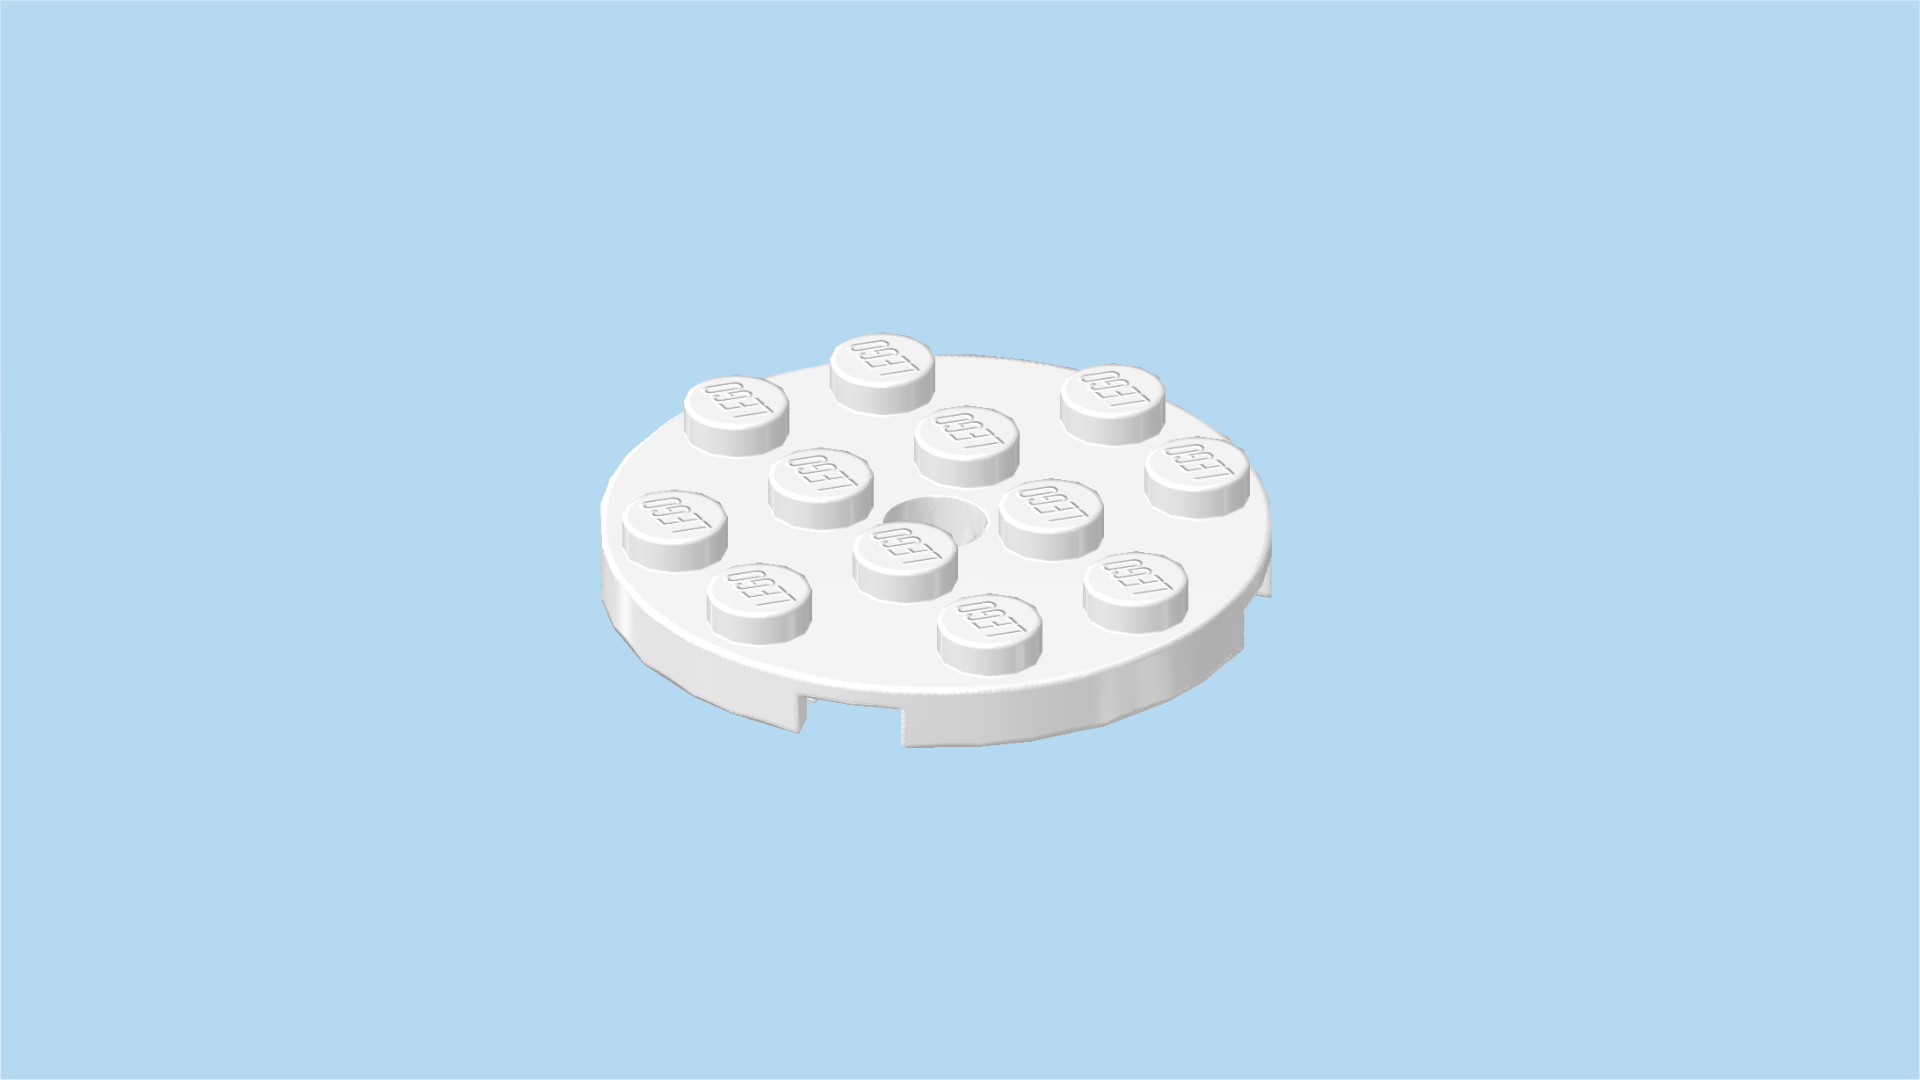
Find 1 white round plate 4x4 with middle hole.

Put it centered on the 4 backmost rows; it fits neatly between the two plates 2x4.

Find 1 dark green round plate 1x1 with 3 leaves.

Put it on the second row from the front on the second knob from the left, leaves pointing to the front.

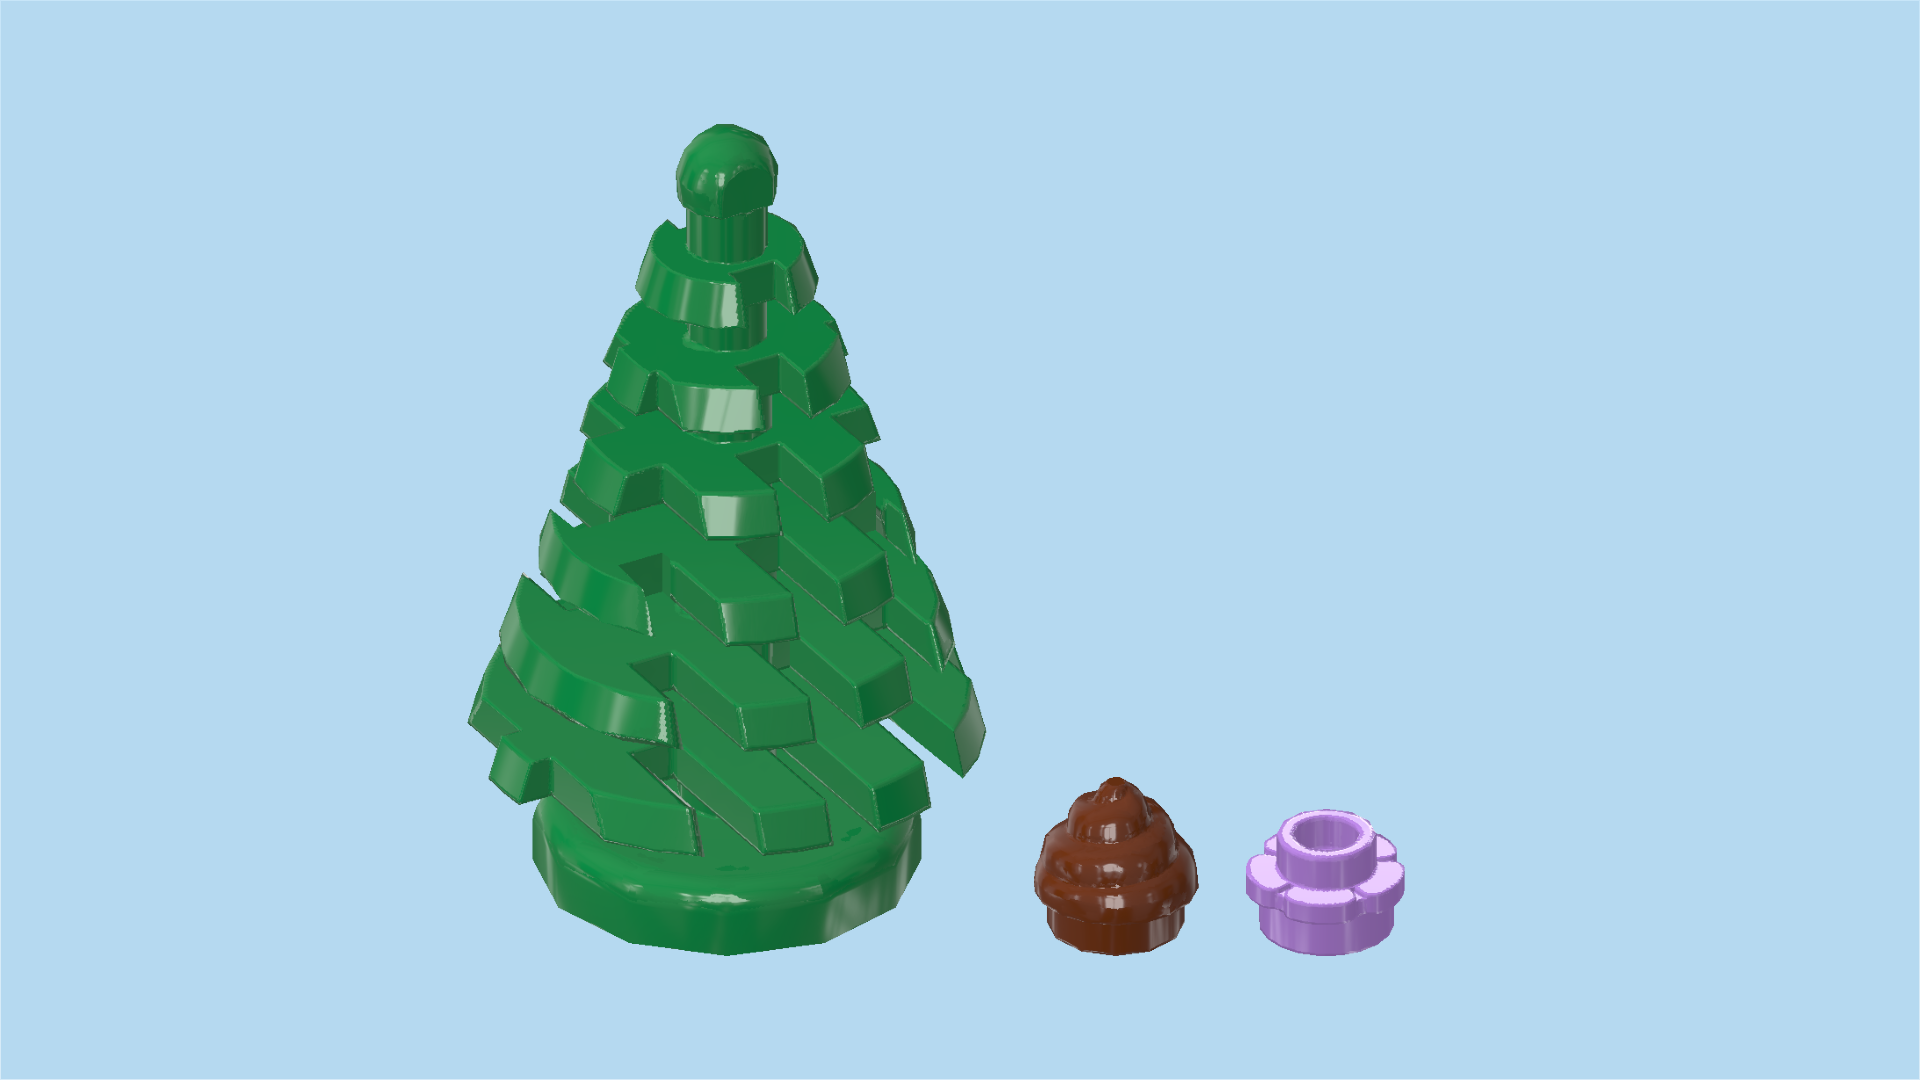
Collect the following 3 pieces:

1 dark green small spruce tree,

1 lavender flower piece 1x1 with through-hole,

and 1 reddish brown swirly whipped cream topping 1x1.

Put the flower piece on top of the previous piece.

Put the small spruce tree centered on the round tile 4x4 mounted at the back edge.

Put the swirly whipped cream topping 1x1 on the second row from the front on its second knob from the right.

In this set, what usually serves as a swirly whipped cream topping or a scoop of ice cream is used as a piece of dog poop. Make sure to avoid stepping into it! Later, you can use the shovel to remove it.

Next, we will build the jump bar obstacle.

Collect the following 3 pieces:

2 black palisade bricks 1x2, (A palisade brick has curved long sides with indentations in the middle)

and 1 reddish brown plate 2x6.

Put the plate 2x6 horizontally on the table.

Put 1 palisade brick 1x2 vertically on the rightmost column.

Repeat symmetrically on the left.

Find 2 medium stone grey plates 1x2 with shaft on long side.

Put 1 vertically on the previous piece, shaft to the right.

Repeat symmetrically on the right, shaft to the left.

Make sure the shafts are facing inwards, not outwards.

Find 2 bright red smooth roof tiles 1x2x⅔.

Put 1 vertically on the previous piece, slope to the right.

Repeat symmetrically on the left, slope to the left.

Mount the obstacle in its building orientation horizontally to the right of the round plate 4x4. The back outer corner will be protruding slightly.

Find 1 bright red shaft 4m. (4m means that this piece is around 4 knobs long.)

Put it horizontally on the 2 shafts of the obstacle. This can be a bit tricky because it is a loose fit and the bar can fall off easily.

The jump bar obstacle is finished! Well done! The dogs are supposed to jump so high that they do not touch the bar. If they execute their jumps sloppily and touch the bar, it will fall off immediately. Quite a difficult obstacle!

Now, we build the seesaw obstacle.

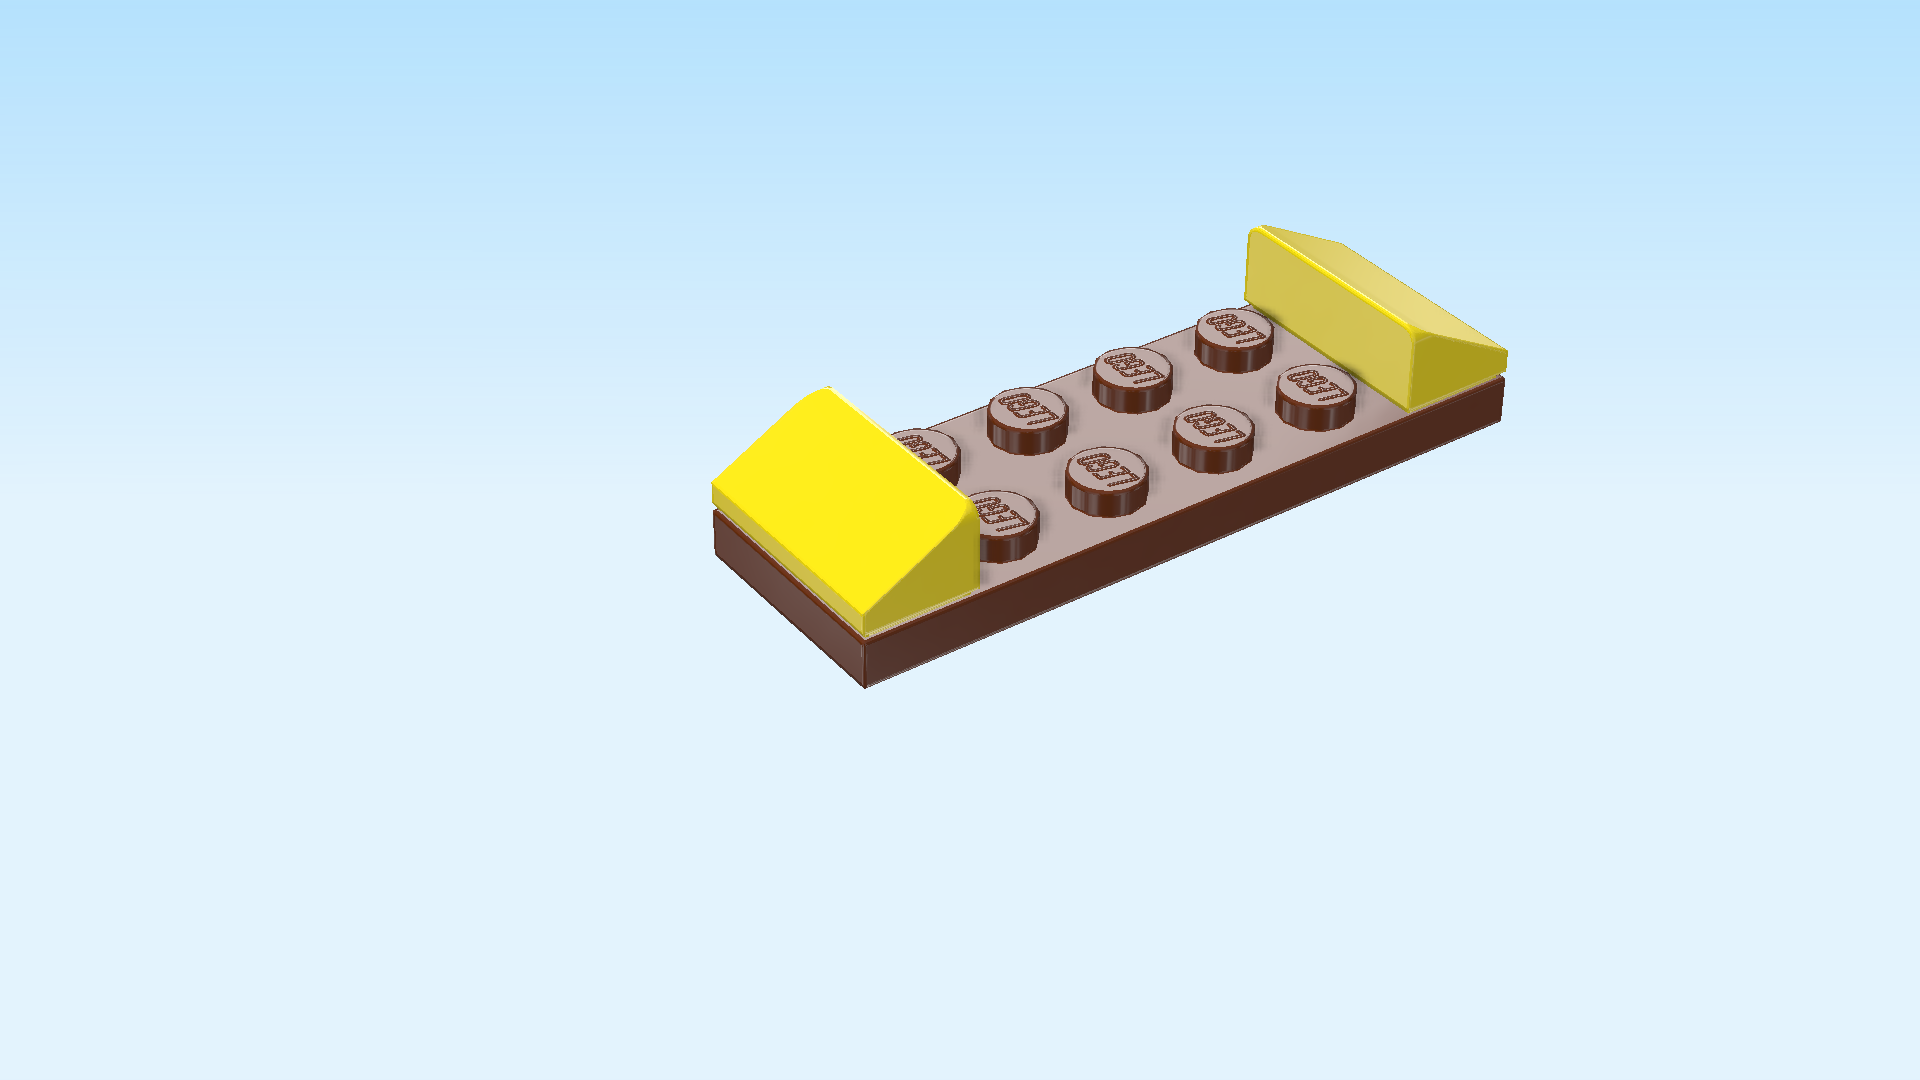
Collect the following 3 pieces:

1 reddish brown plate 2x6,

and 2 bright yellow smooth roof tiles 1x2x⅔.

Put the plate 2x6 horizontally on the table.

Put 1 smooth roof tile vertically on the rightmost column, slope to the right.

Repeat symmetrically on the left, slope to the left.

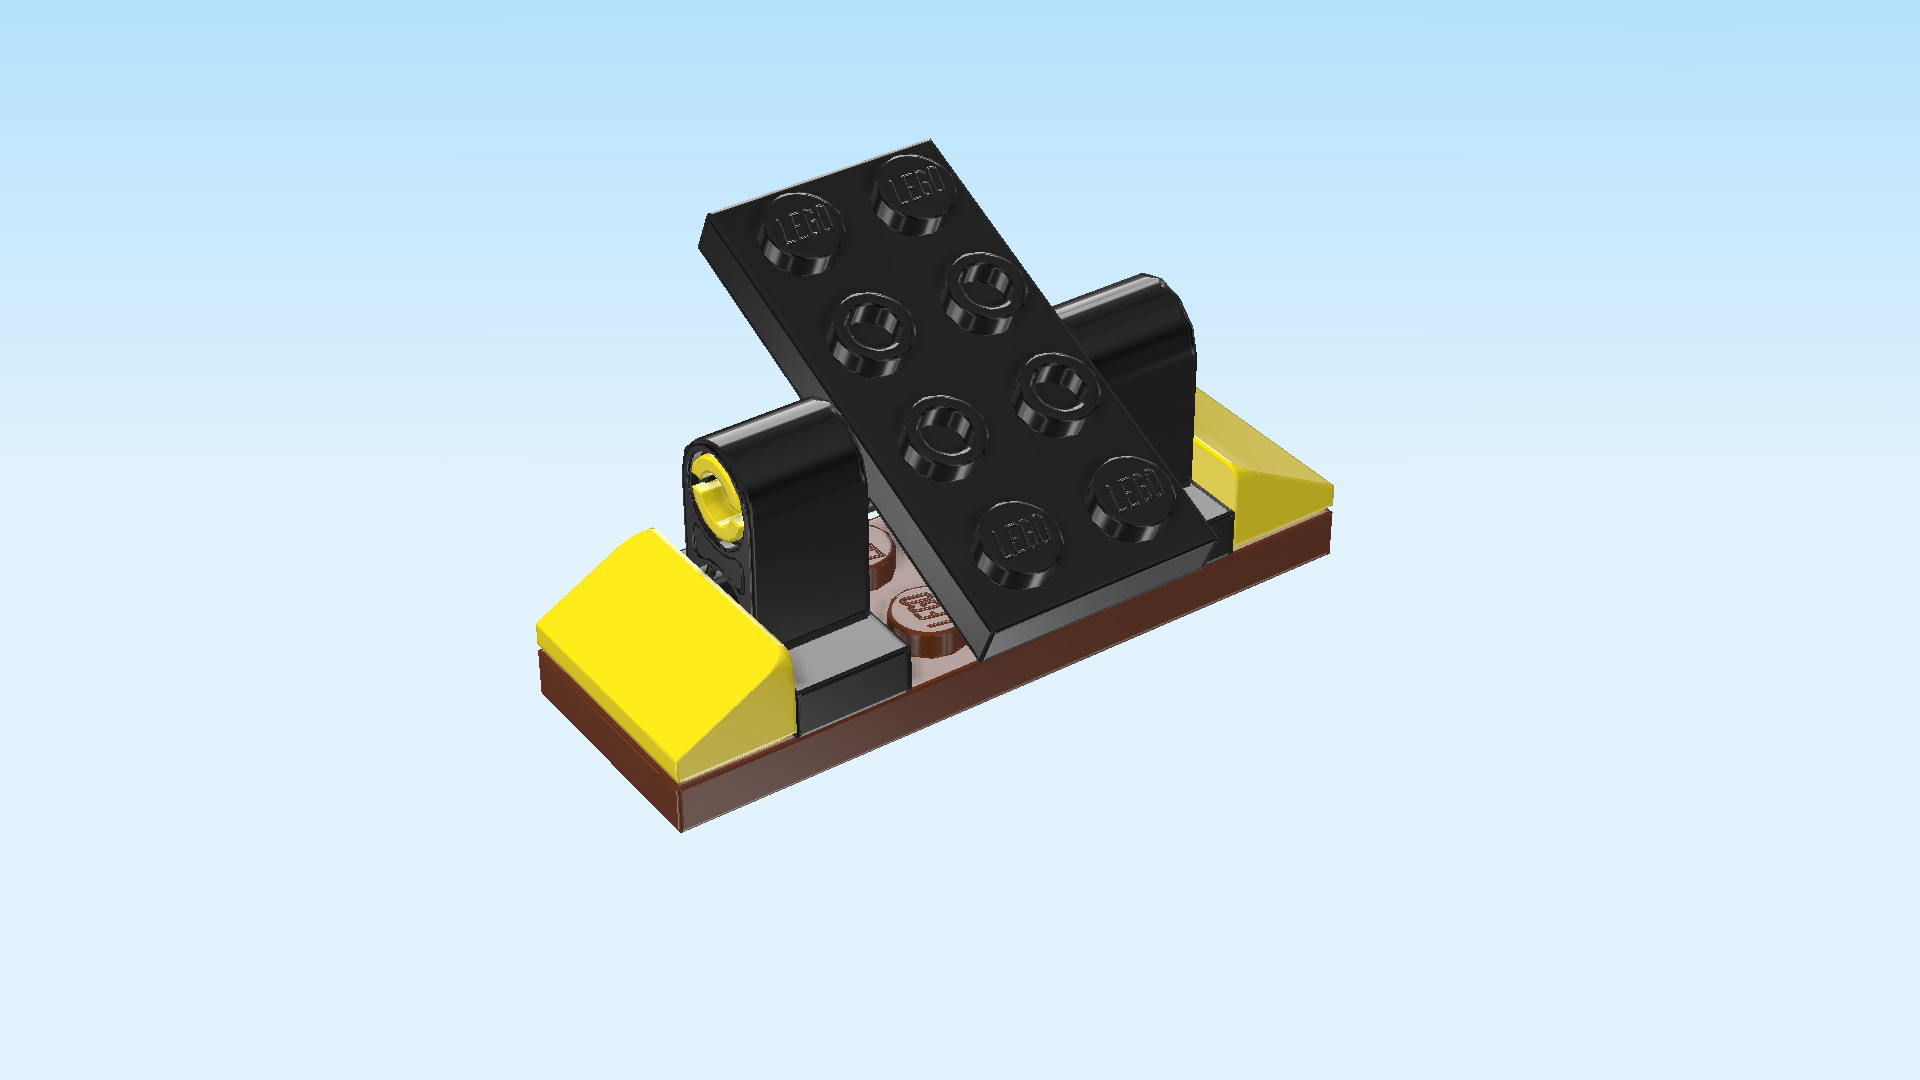
Now, we will make the tilting mechanism.

Collect the following 3 pieces:

1 black plate 2x4 with center bottom tube,

and 2 bright yellow connector pegs 2m with middle ring. (2m means that these pieces are about 2 knobs long.)

Put the plate 2x4 vertically on the table. It will be wobbly because of the tube at the bottom.

Insert 1 connector peg into the tube coming from the right, one half sticking out to the right.

Repeat symmetrically on the left.

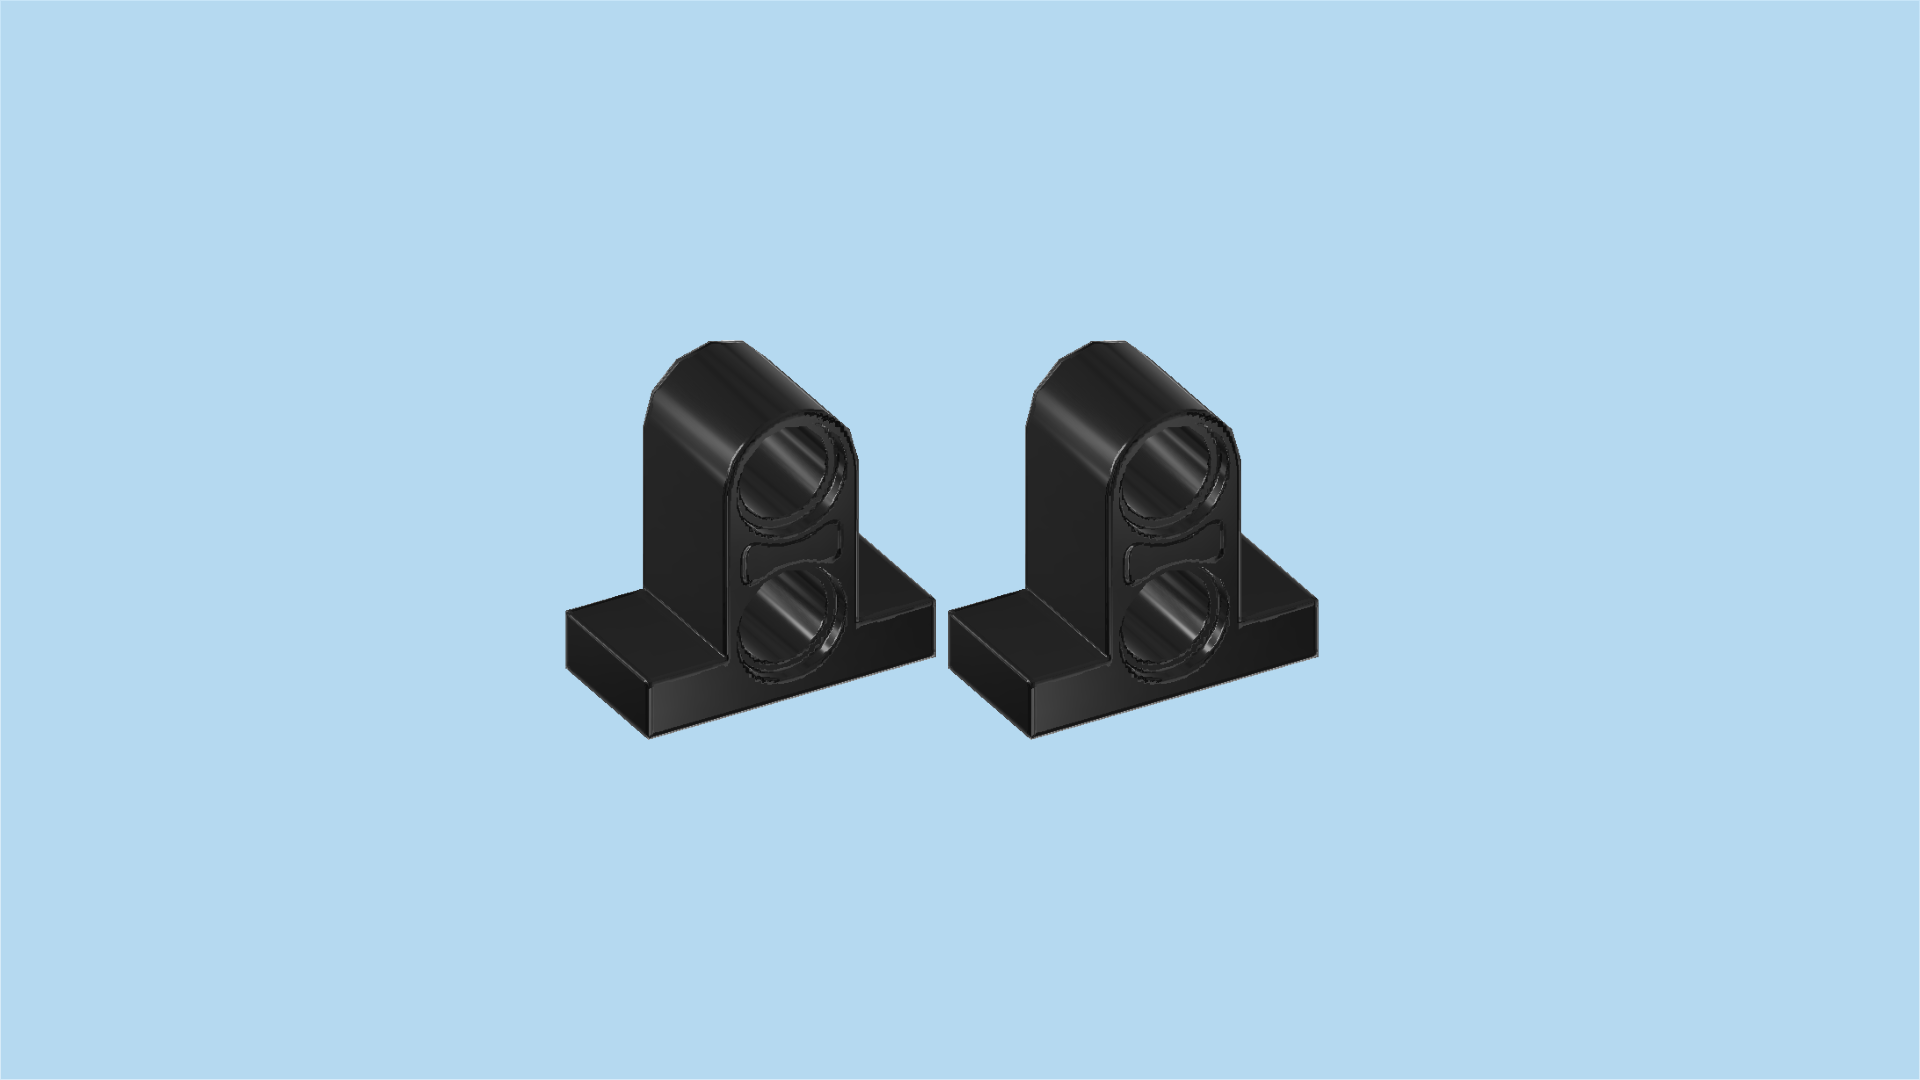
Find 2 black t-shaped beams with plate 1x2. (This piece consists of a plate 1x2 as its base and a vertical technic beam with 2 round holes.)

Put 1 vertically on the table, holes running from left to right.

Insert the connector sticking out towards the left into the top hole.

Repeat symmetrically on the right.

If done correctly, the tilting mechanism can stand on the 2 plates 1x2, and the tilting plate in the middle can be tilted forwards and backwards.

The tilting mechanism is finished! Mount it in its building orientation centered on the obstacle base we have built earlier. If done correctly, the tilting plate 2x4 is mounted vertically in the middle of the obstacle.

Find 2 bright yellow flat tiles 1x8.

Put 1 vertically centered on the right column of the tilting plate, symmetrically overhanging to the front and back.

Repeat symmetrically on the left column with the other flat tile to create a long panel.

The seesaw obstacle is finished! Well done! Mount it in its building orientation to the left of the round plate 4x4. Again, the back outer corner will be protruding slightly.

Next, we will build the stepping paws obstacle.

Collect the following 2 pieces:

1 reddish brown plate 2x6,

and 1 black support stand 2x2x2.

Put the plate 2x6 horizontally on the table.

Put the support stand on the 4 leftmost knobs.

Find 1 pale ocher yellow plate 2x4 with 2 knobs.

Put it horizontally to the right of the previous piece.

Find 1 black round brick 1x1.

Put it on the left knob of the previous piece.

Find 3 bright orange round tiles 2x2.

Put 1 on the previous piece.

Put 1 on the support stand.

Put the last one on the rightmost knob.

The stepping paws obstacle is finished! Well done! Mount it in its building orientation centered on the plate 2x4 with 2 knobs that is mounted at the front edge of the training course. This obstacle trains dogs to adjust their jumping abilities according to height and distance.

Next, we will continue with the trailer. Let's start with the underbody of the trailer.

Collect the following 2 pieces:

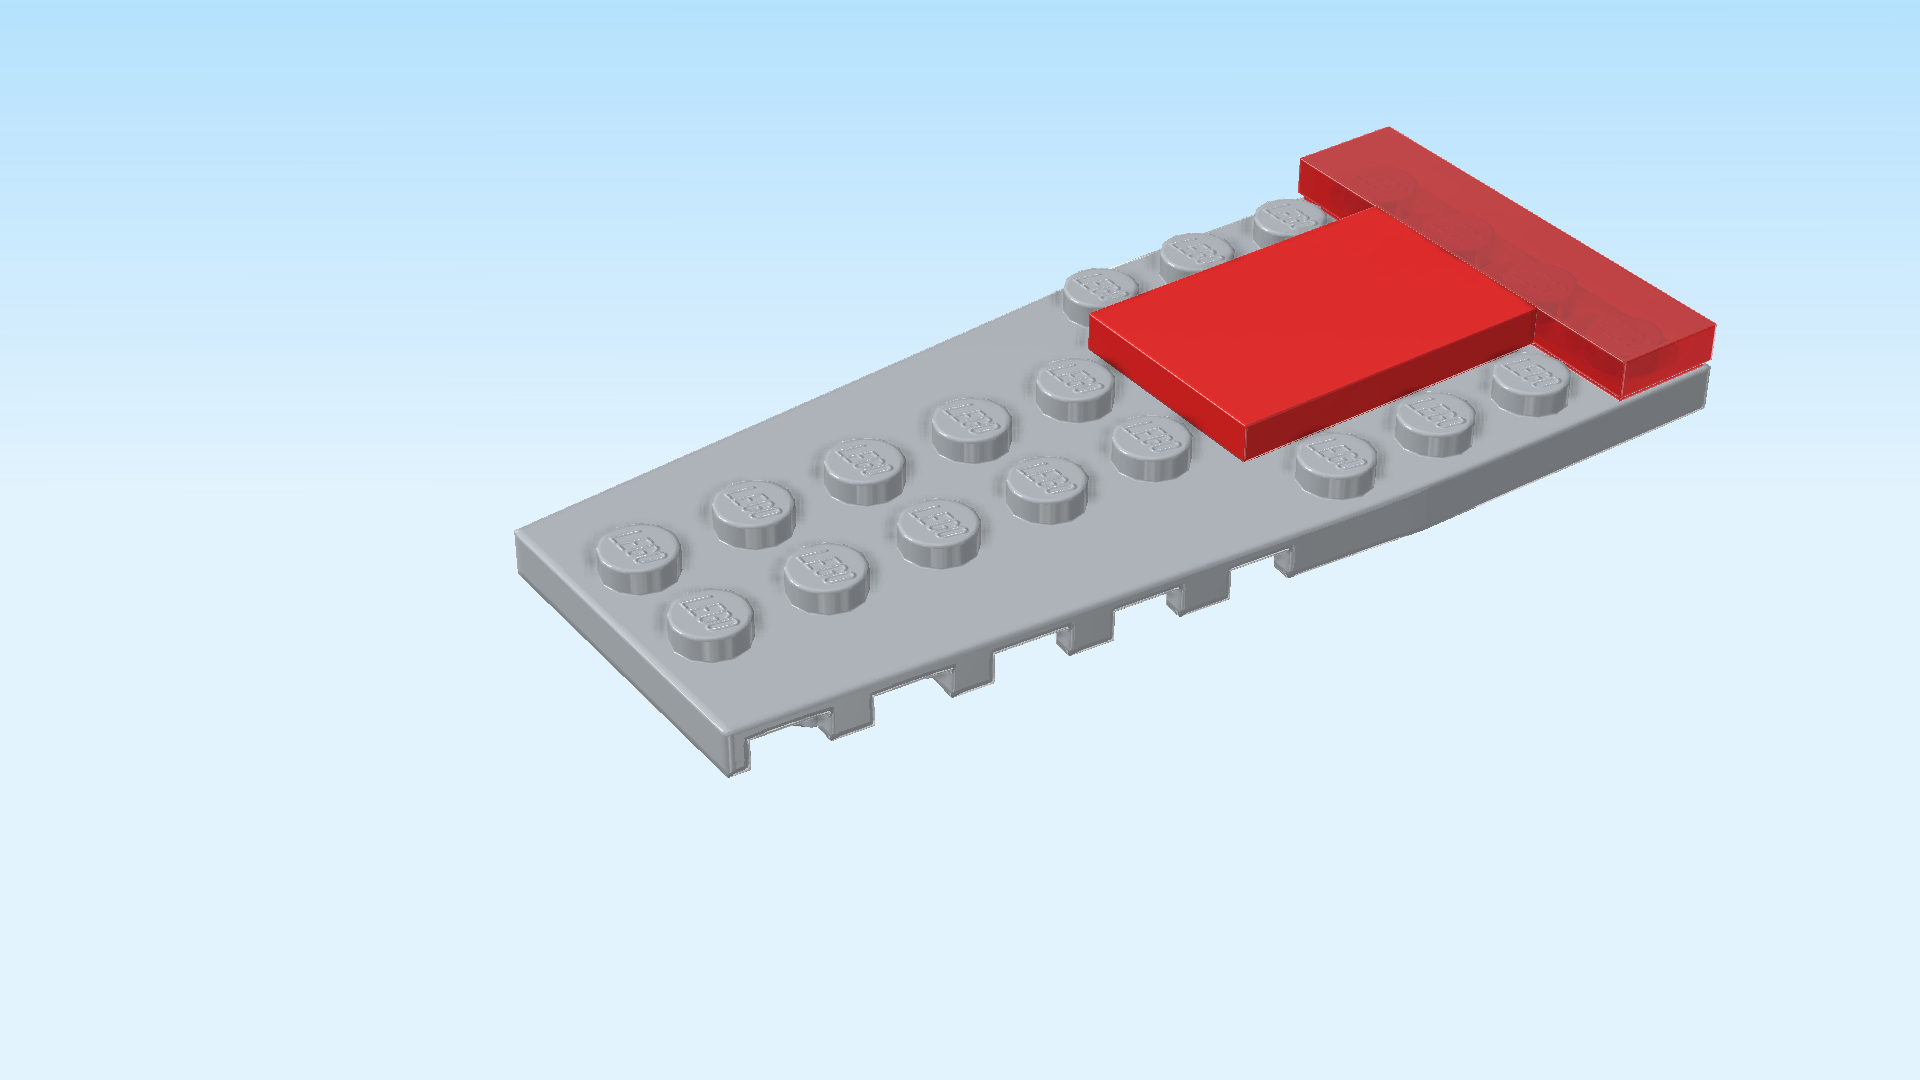
1 medium stone grey slanted plate 4x9, (This plate consists of a square part with 4x4 knobs and a slightly slanted rectangular part with 2x5 knobs.)

and 1 transparent red flat tile 1x4.

Put the slanted plate 4x9 horizontally on the table, slanted end to the left.

Put the flat tile 1x4 vertically on the rightmost column.

Find 1 bright red flat tile 2x3.

Put it horizontally centered to the left of the previous piece. This means it will sit on the 2 middle rows.

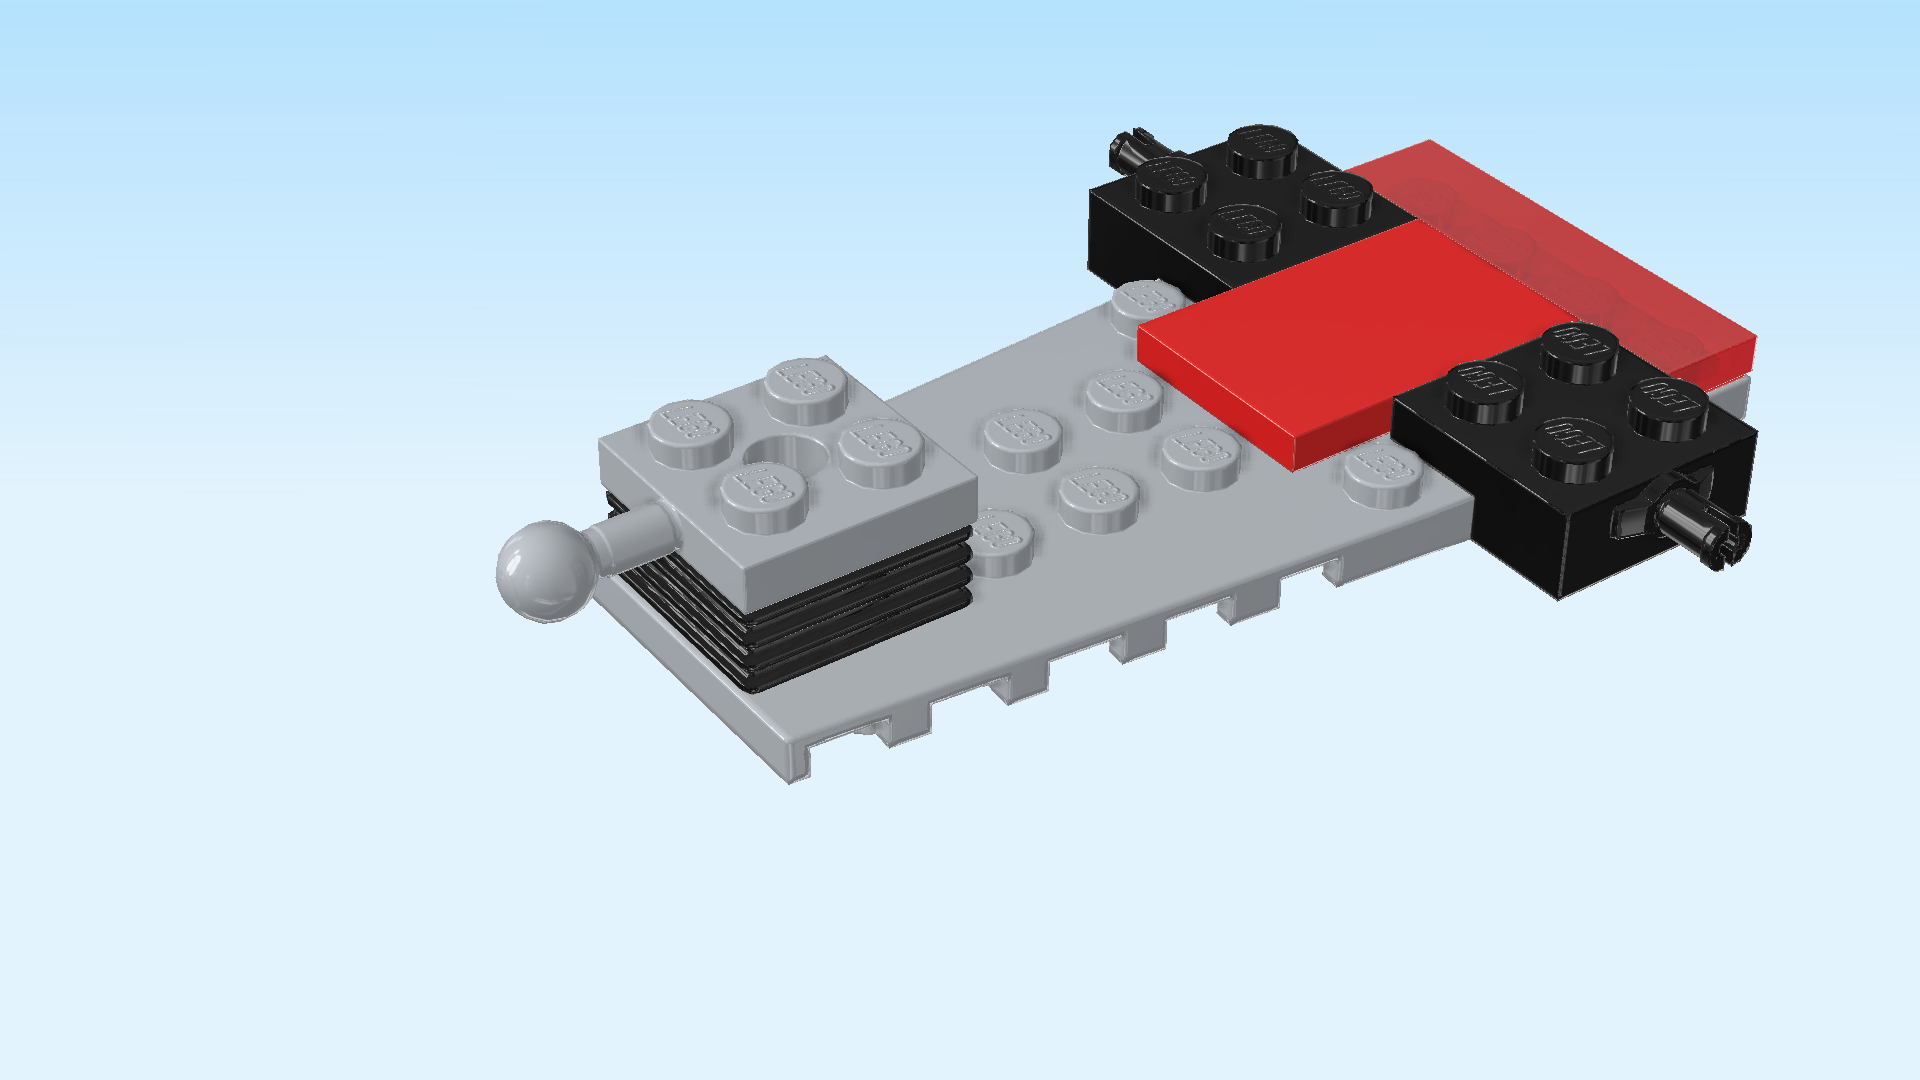
Find 1 black low profile brick 2x2x⅔.

Put it on the 4 leftmost knobs.

Find 2 black one-stepped plates 2x2 with side connector.

Put 1 horizontally on the backmost row starting from the right, connector to the back.

Repeat symmetrically at the front.

Find 1 medium stone grey plate 2x2 with ball on side shaft.

Put it on the low profile brick at the left edge, ball with shaft overhanging to the left.

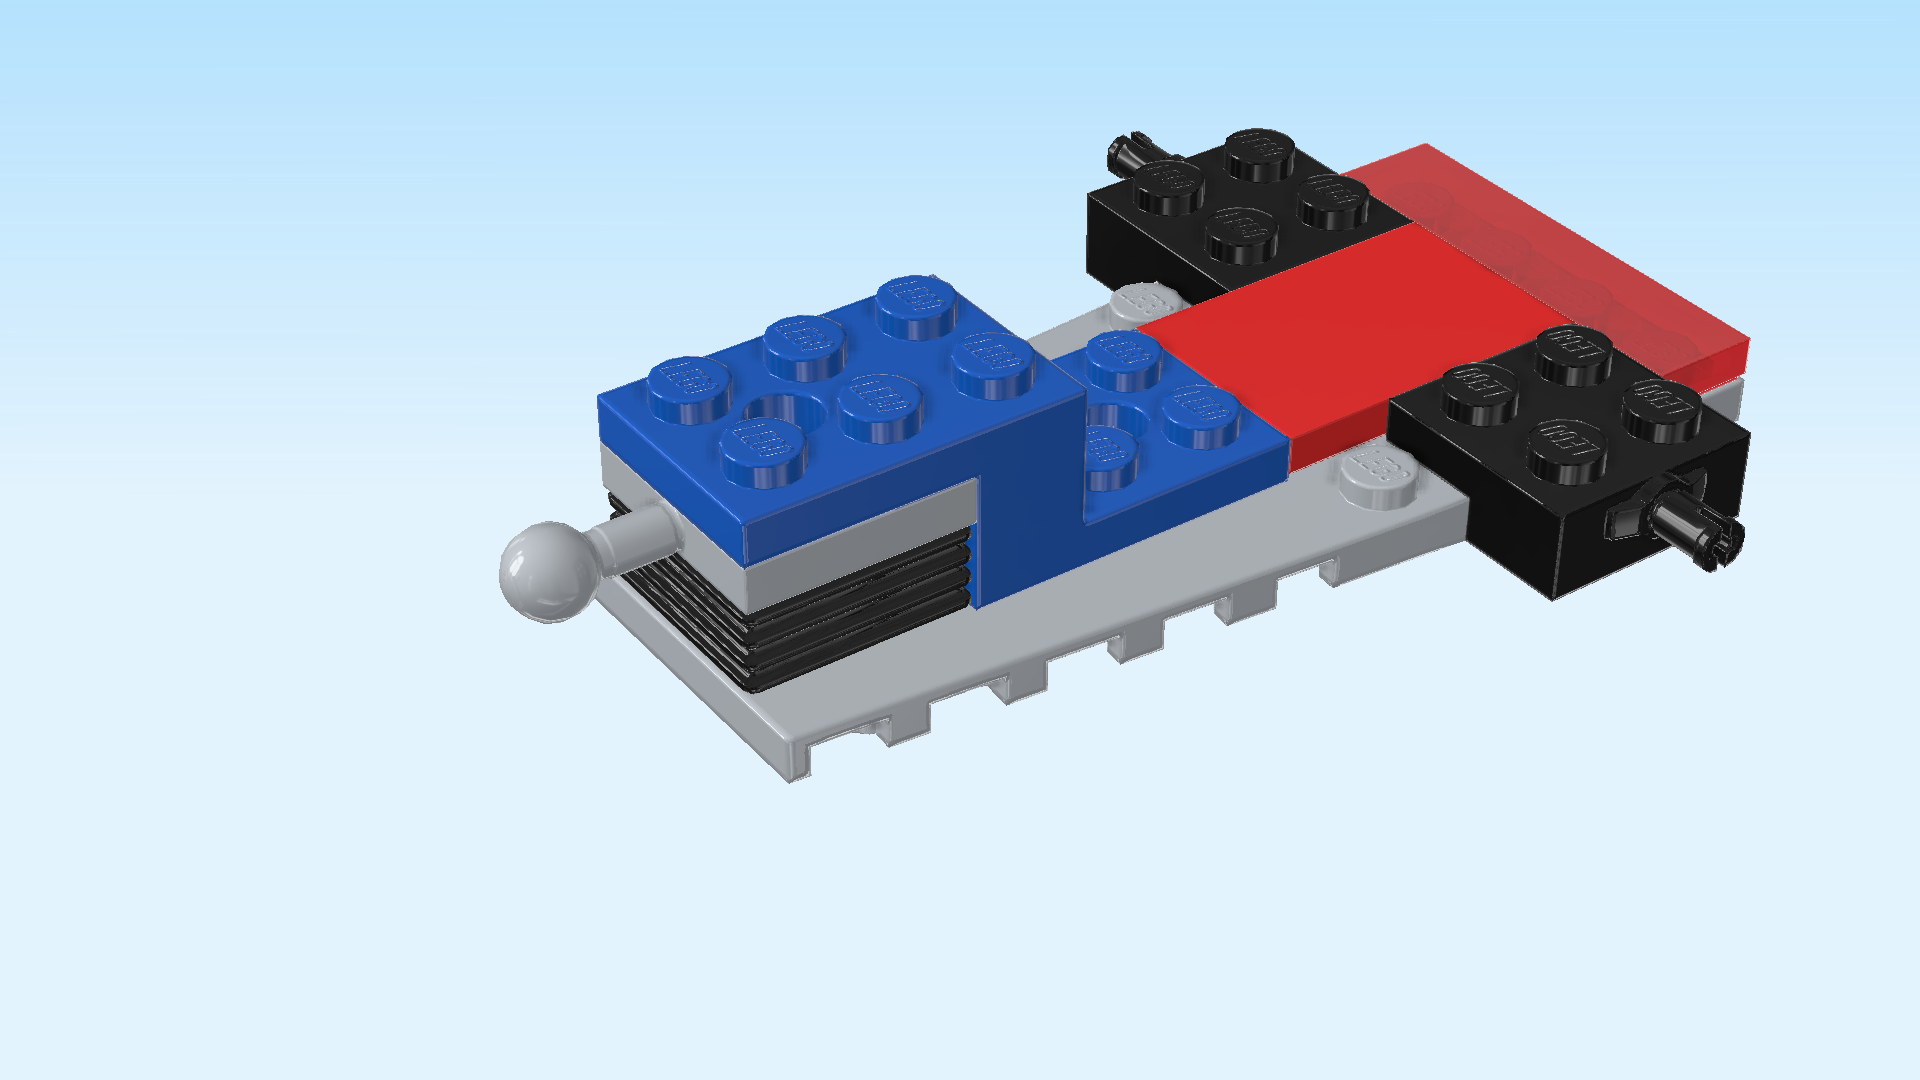
Find 1 bright blue stepped brick 2x3 - 2x2 with top and bottom plate.

Turn it horizontally so that the 2x3 top surface is pointing to the left.

Mount it on the left edge covering the previous piece with its top plate. Its shape fits neatly into the structure we have built so far.

Find 2 bright blue bricks 1x2 with horizontal clasp on long side.

Put 1 horizontally on the front row of the previous piece, skipping its leftmost knob, clasp to the front.

Put the other one horizontally behind the previous piece, clasp to the back.

Collect the following 2 pieces:

1 dark stone grey flat tile 1x2,

and 1 white plate 2x2 with 1 knob.

Put the flat tile 1x2 vertically on the leftmost column.

Put the plate 2x2 to the right of the previous piece. It will sit on a higher level, namely on the 2 bricks with clasp.

Find 1 medium azure blue hairbrush.

Snap its handle into the clasp sticking out towards the front, brush head pointing to the top. Make sure the bristles are towards the front.

The underbody of the trailer is finished! Turn it from left to right so that the ball on shaft is pointing to the right, and put it aside for now.

Now, we will build the body of the trailer.

Collect the following 2 pieces:

1 bright blue plate 6x8,

and 1 medium stone grey plate 1x4 with 2 hinge stubs on long side.

Put the plate 6x8 horizontally on the table.

Put the plate 1x4 vertically centered on the leftmost column, hinge stubs to the left.

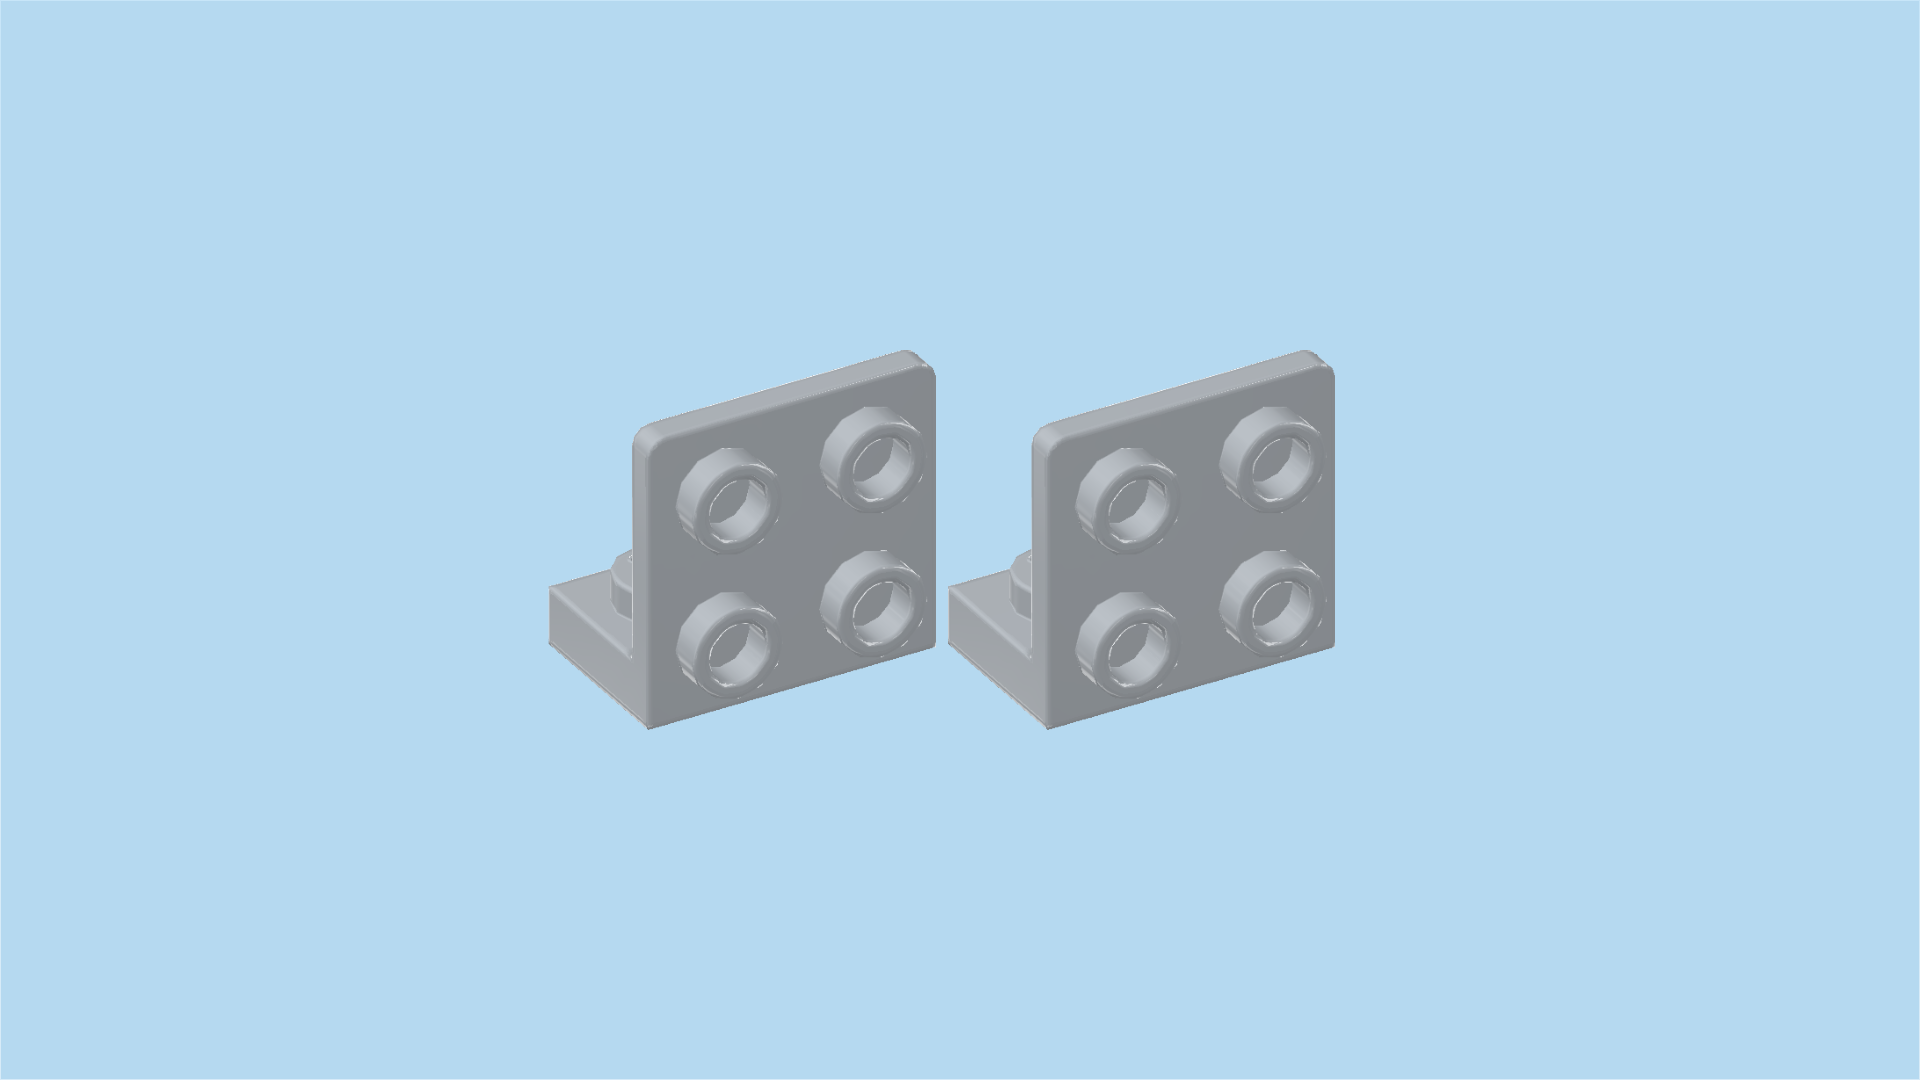
Find 2 medium stone grey bottom angle plates 1x2 - 2x2 with 4 side knobs.

Put 1 horizontally on the frontmost row, starting from the left edge, 4 side knobs to the front.

Repeat symmetrically at the back, 4 side knobs to the back.

Collect the following 3 pieces:

2 bright neon yellow plates 1x4,

and 1 white plate 2x2 with 1 knob.

Put 1 plate 1x4 horizontally to the right of the previous piece.

Repeat symmetrically at the front.

Put the plate 2x2 centered between the 2 previous pieces. If done correctly, there are 3 empty columns to its right, and 1 empty column each between this piece and the 2 previous pieces.

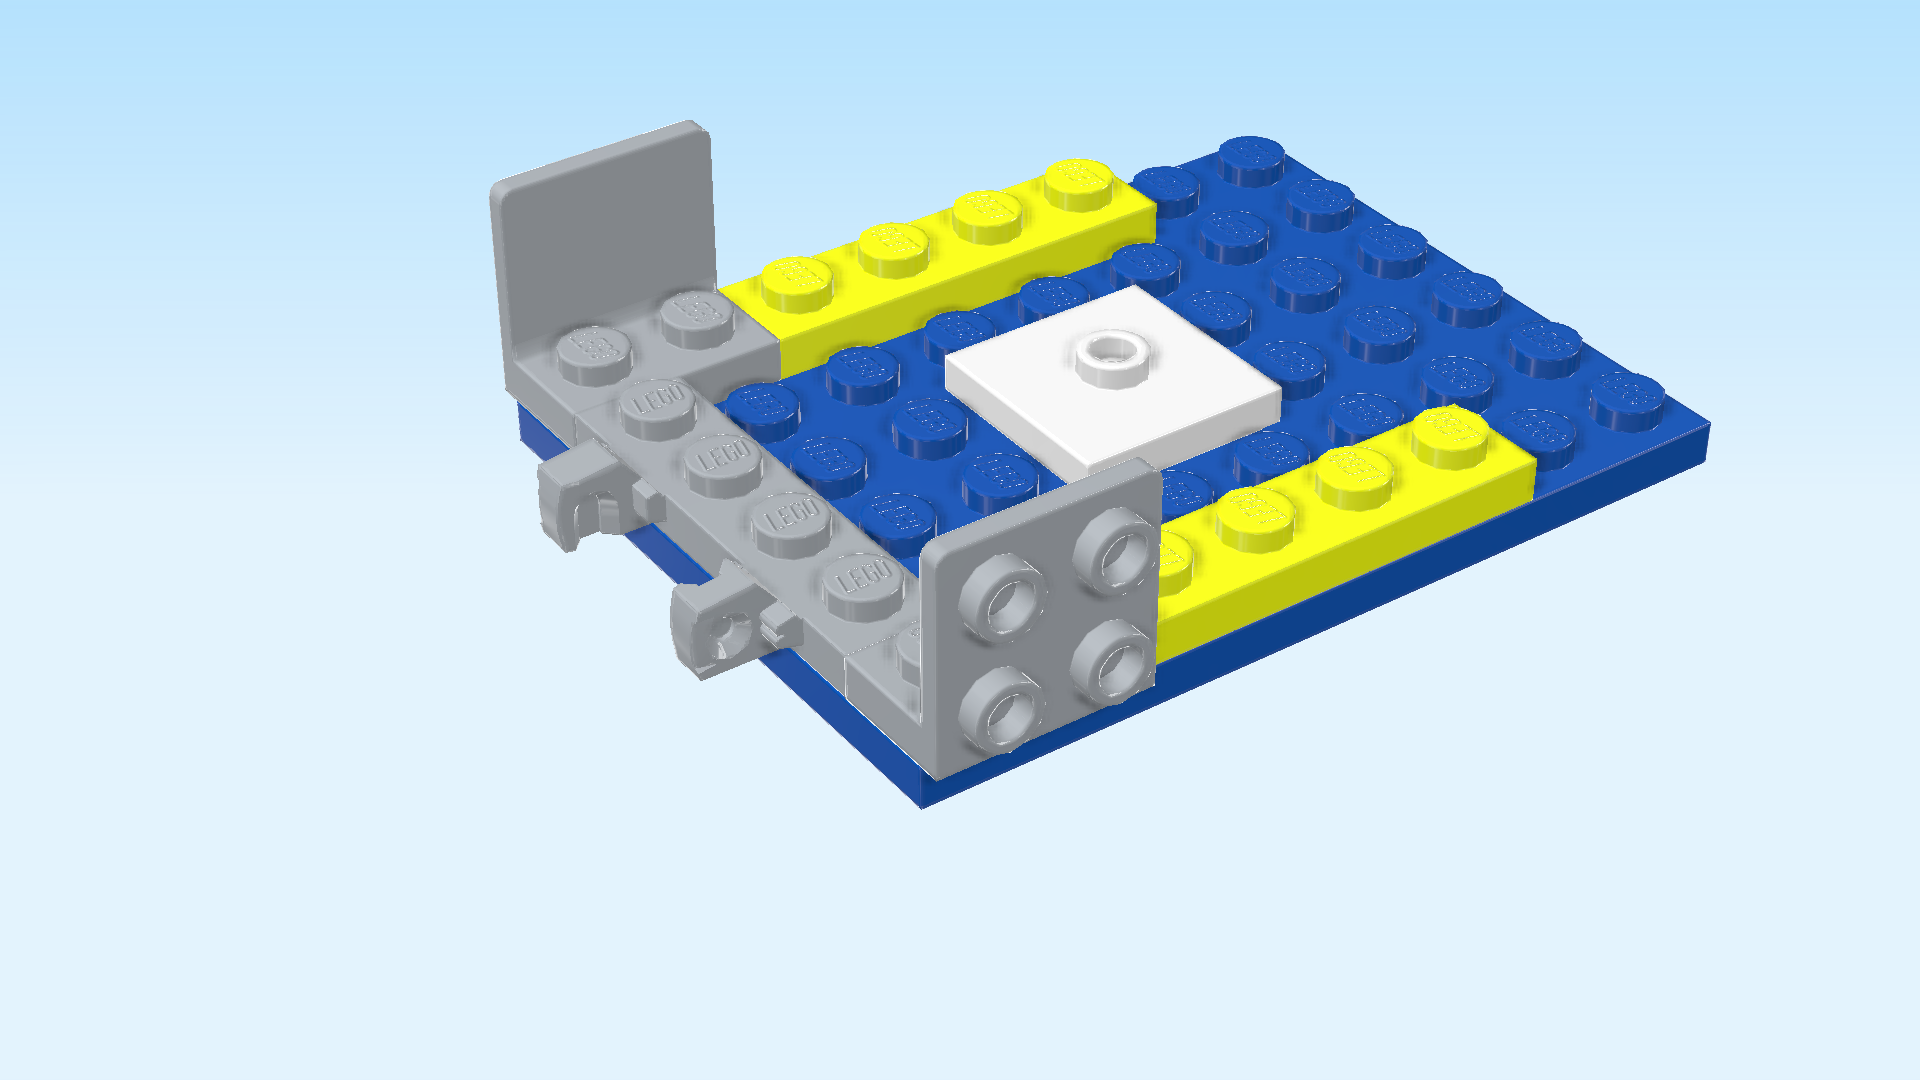
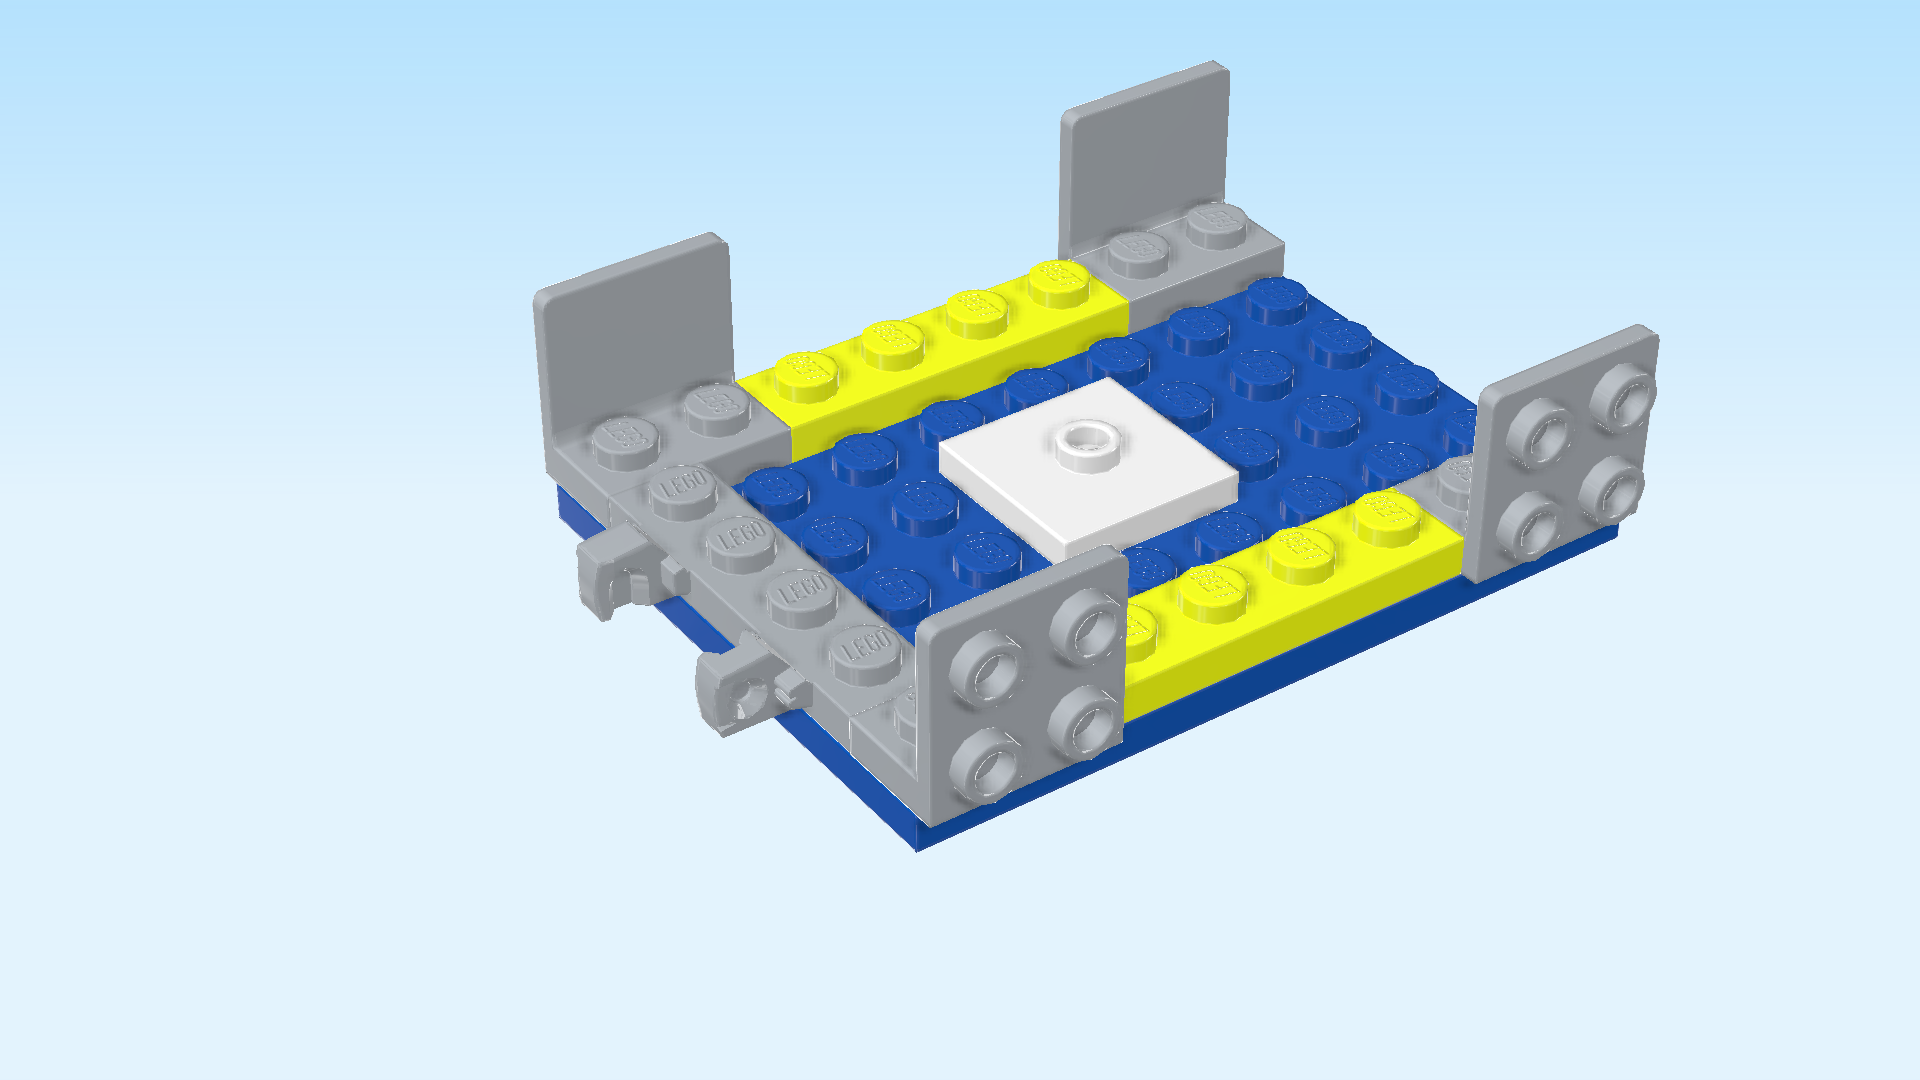
Find 2 medium stone grey bottom angle plates 1x2 - 2x2 with 4 side knobs.

Put 1 horizontally on the frontmost row, starting from the right edge, 4 side knobs to the front.

Repeat symmetrically at the back, 4 side knobs to the back.

Find 1 dark stone grey flat tile 2x6.

Put it vertically on the 2 leftmost columns.

Find 1 dark stone grey flat tile 6x6.

Put it to the right of the previous piece. Together, the 2 pieces should cover the entire surface.

Find 2 dark stone grey flat tiles 1x2.

Put 1 upright horizontally on the bottom row of front side knobs at the right edge.

Repeat symmetrically at the left edge.

Find 1 bright blue flat tile 1x8.

Put it upright horizontally above the 2 previous pieces, connecting the 2 angle plate side panels.

Find another 2 dark stone grey flat tiles 1x2.

Turn the trailer body from left to right. Now, the hinge stubs should be pointing to the right.

Put 1 upright horizontally on the bottom row of side knobs at the right edge.

Repeat symmetrically on the left.

Find another bright blue flat tile 1x8.

Put it upright horizontally above the 2 previous pieces, connecting the 2 angle plate side panels.

Find 1 dark stone grey ribbed tailgate 2x4 with 2 hinge forks.

Hold it vertically flat in front of you, ribbed surface to the bottom, 2 hinge forks to the left.

Snap the 2 hinge forks on the 2 hinge stubs coming from the right. Fold the tailgate up or down as needed.

The body of the trailer is finished! Great job! Before you mount it, turn it from left to right again so that the tailgate is on the left.

Mount it horizontally centered on the trailer underbody. Make sure that its right edge touches the higher 2x2 tower of the underbody.

Next, we will assemble the 2 wheels of the trailer.

Collect the following 4 pieces:

2 black narrow rims with cross hole and spokes,

and 2 black narrow rubber tires with low profile.

Put the rims into the tires.

The 2 wheels of the trailer are finished! Snap them on the 2 connectors at the bottom of the trailer. Make sure that the spokes are facing outwards.

The trailer is finished! Well done! You can actually load the 3 obstacles as well as the feeding station vertically in the trailer. Take the obstacles off of the training course and mount them vertically next to each other in the trailer. You might have to lift the seesaw a bit to fit them all including the feeding station. Snap the ball sticking out towards the side of the trailer on the ball socket at the rear end of the truck to tow it to your next training location.

You have finished building the entire set! Great job! It is time to start the dog training. Guide the dogs through the different obstacles, practice the difficult ones with them, and don't forget to reward them with a treat time and again. Once you are done with the training, load the training obstacles on the trailer, put the 2 dogs in the trunk of the police truck, and off you go to your next police dog adventure!

Enjoy!