| LEGO Audio & Braille Building Instructions for the LEGO City set "The Shark Attack Stunt Challenge". |
| Join LEGO City Adventures TV series pilot Chuck D. Goldberg for fun stunt displays and competitions. Take your position at The Shark Attack Stunt Challenge, power up your winged flywheel stunt bike and let it go! Avoid the spinning shark wheel to strike the barrels and reveal the chest of diamonds. But watch out for the scary skeleton that's guarding the treasure! |
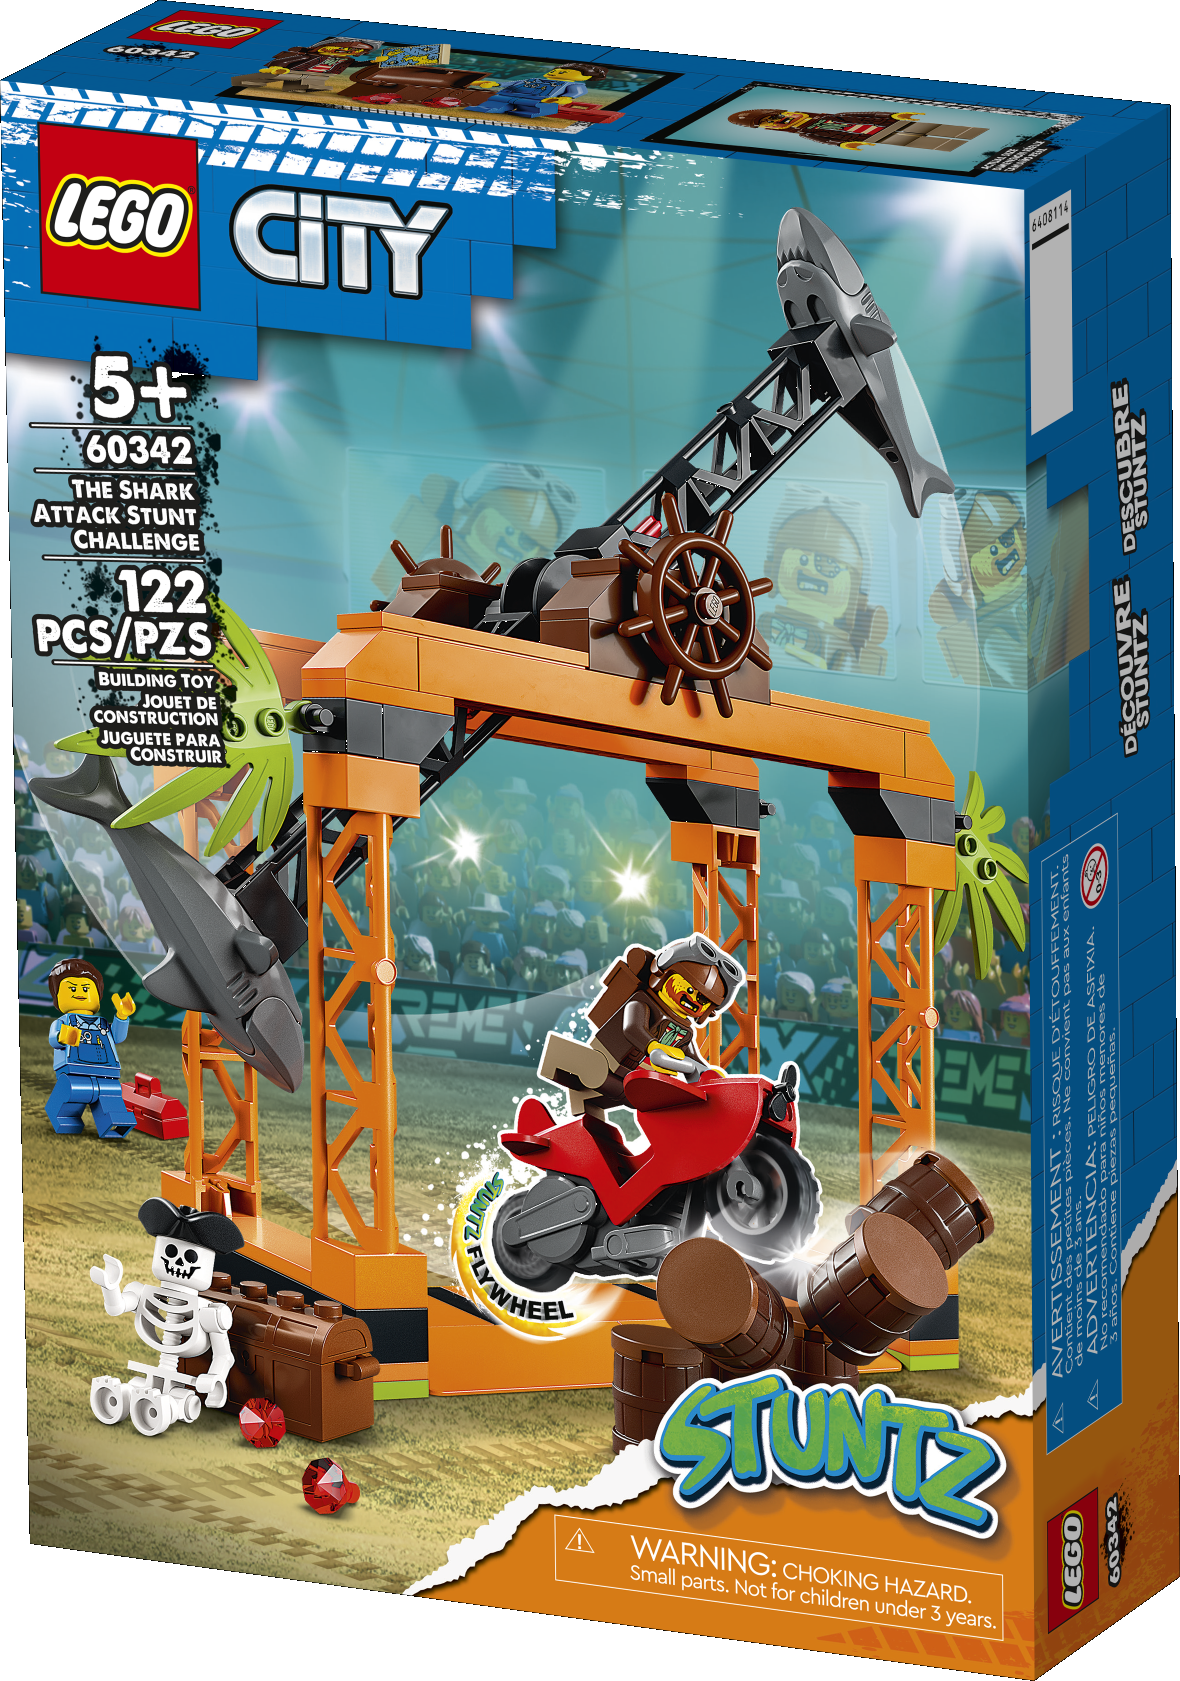
| On the box cover, Chuck D. Goldberg's stunt is in full swing. He has just managed to avoid the spinning sharks, his motorcycle in mid-air as he is crushing the piled up barrels. The huge crowd in the background is cheering him on, a few are even taking pictures. Above the grand stand, there are huge screens showing close ups of Chuck as he is performing his stunts. The obstacle with the spinning shark wheel is a huge orange scaffolding with 4 main pillars and 2 top beams holding the spinning shark wheel. The stunt arena has a sandy floor that is covered in skid marks. Chuck's mechanic is watching from the distance, toolbox at the ready for a quick repair. The treasure chest with diamonds spilling out is in the bottom left corner. Chuck has not yet been able to snatch it from the skeleton. But he is on it! |
| Open the box. This can be tricky; ask someone to help you! |
| The box contains 2 booklets with visual building instructions, 2 bags with numbers printed on them, and 4 loose pieces: 4 bricks 1x16. Ask a sighted person to help you find the correct bag! |
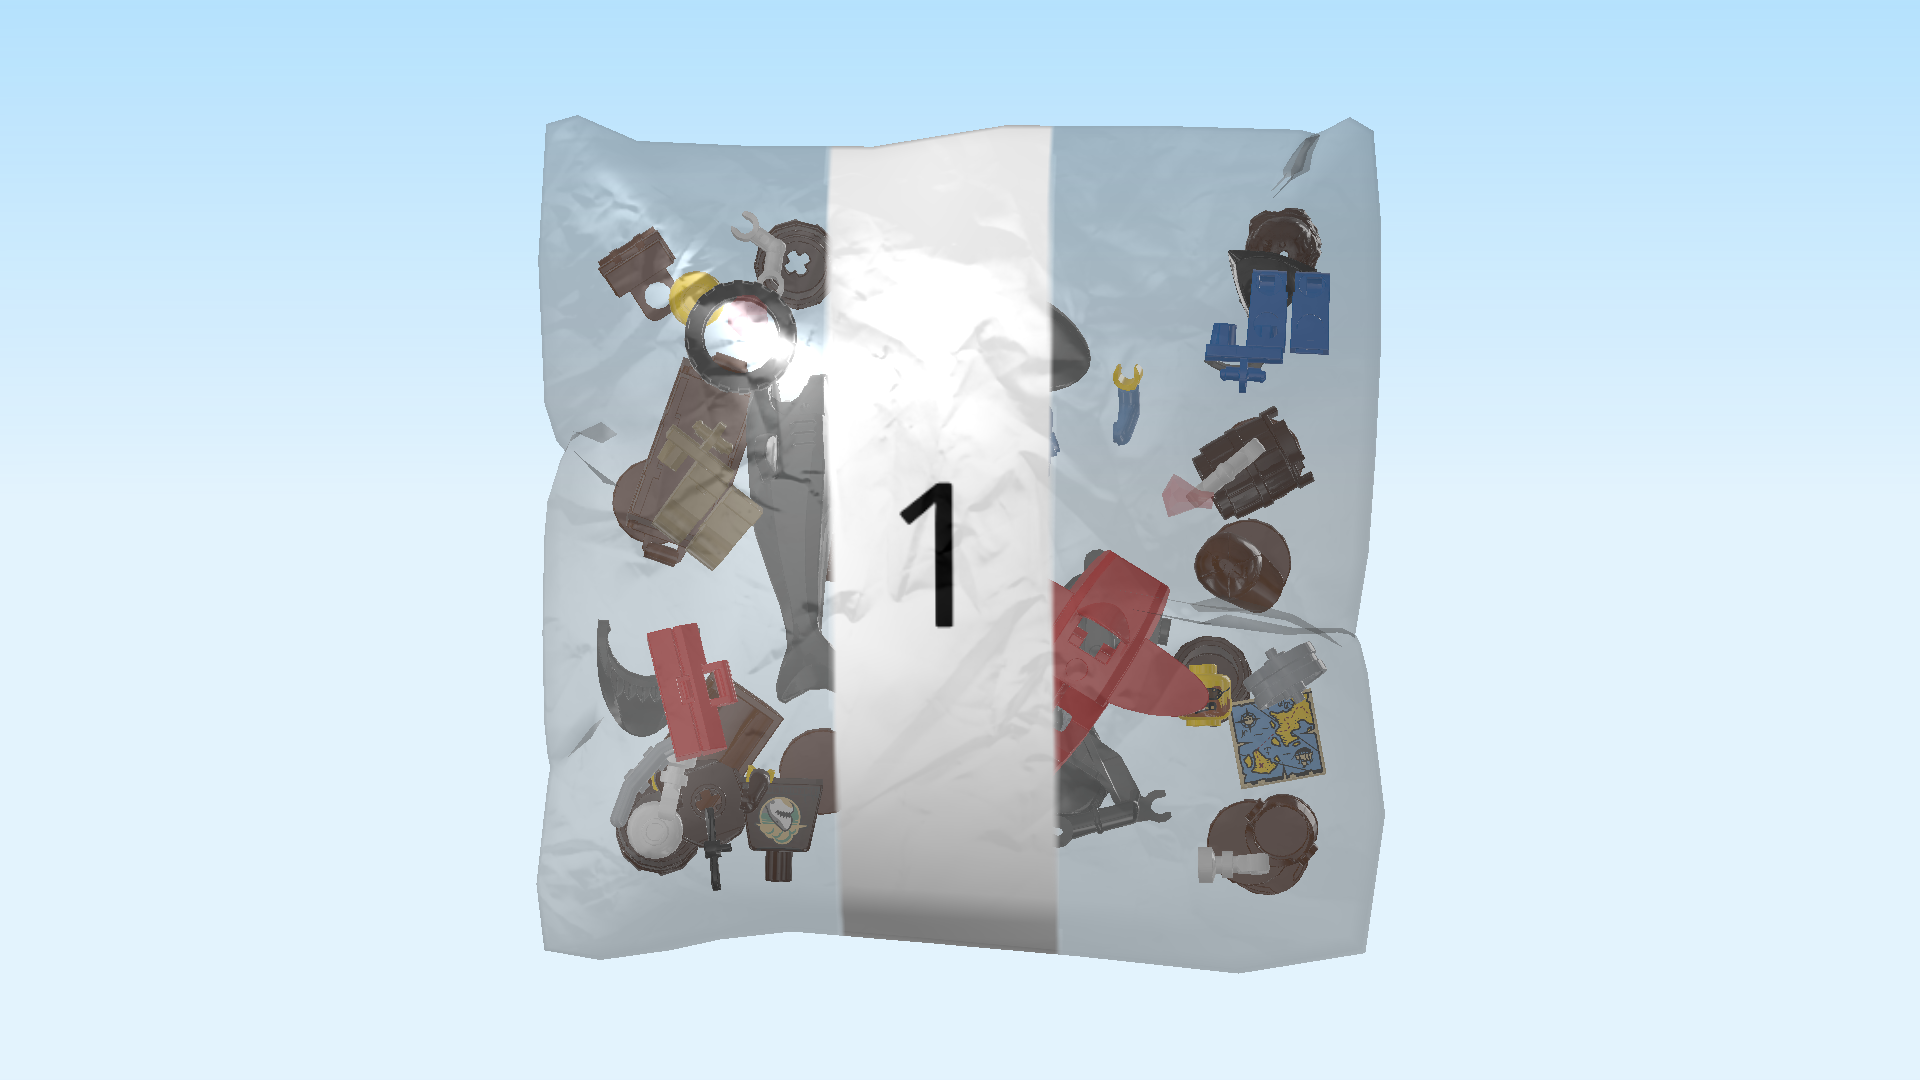
| Carefully open bag number 1 and any small sub-bags in it. This bag contains all bricks and pieces for the mechanic Minifigure, the Chuck D. Goldberg Minifigure, the scary skeleton Minifigure, the stunt bike, the sharks and the stunt barrels. |
| Before you start building, ask a sighted person to help you sort the pieces by color. This makes finding the correct pieces even easier! |
| First, we build the mechanic Minifigure. |
| Attention: The shapes of most Minifigure parts are identical. They do differ in color and design though. Ask for help to make sure that you are using the correct parts. |
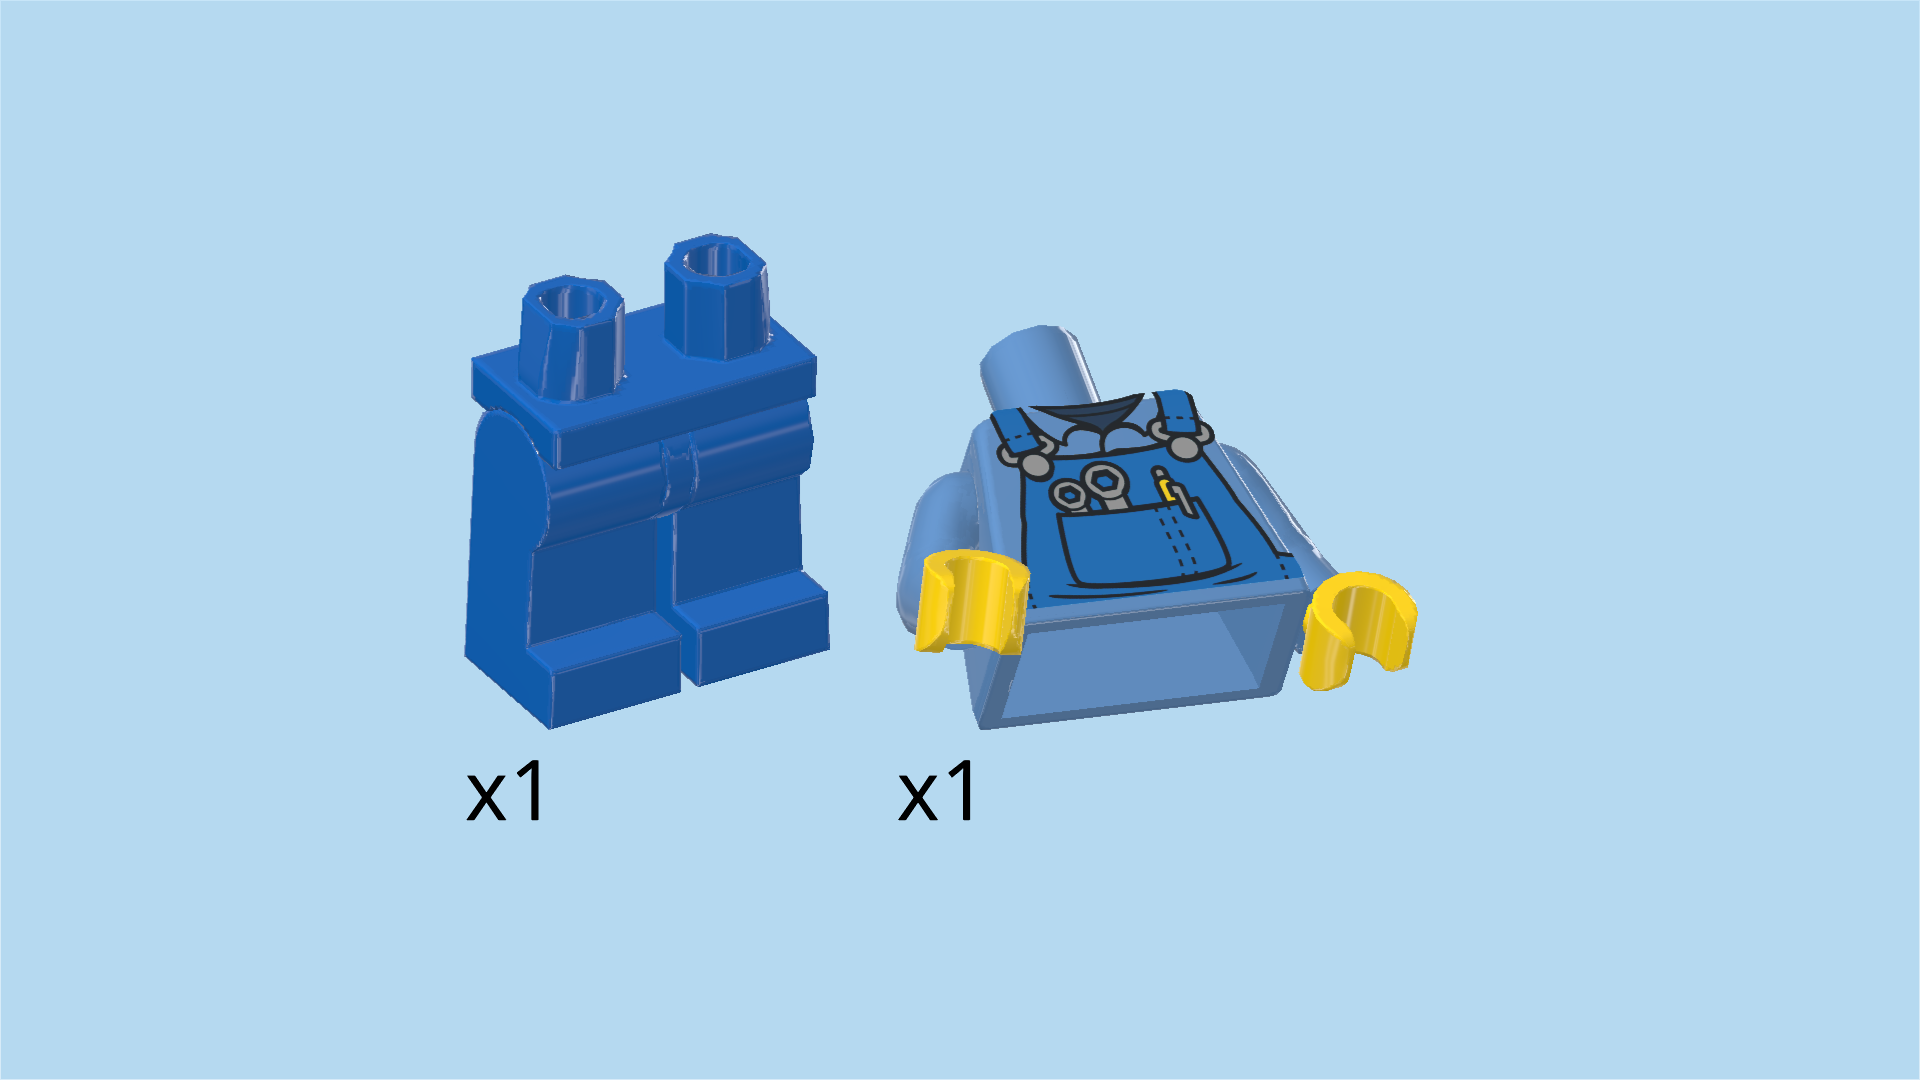
| Collect the following 2 pieces: |
| 1 bright blue pair of legs, |
| and 1 medium blue and bright yellow upper part of the body. |
| Put the upper body on top of the legs. |
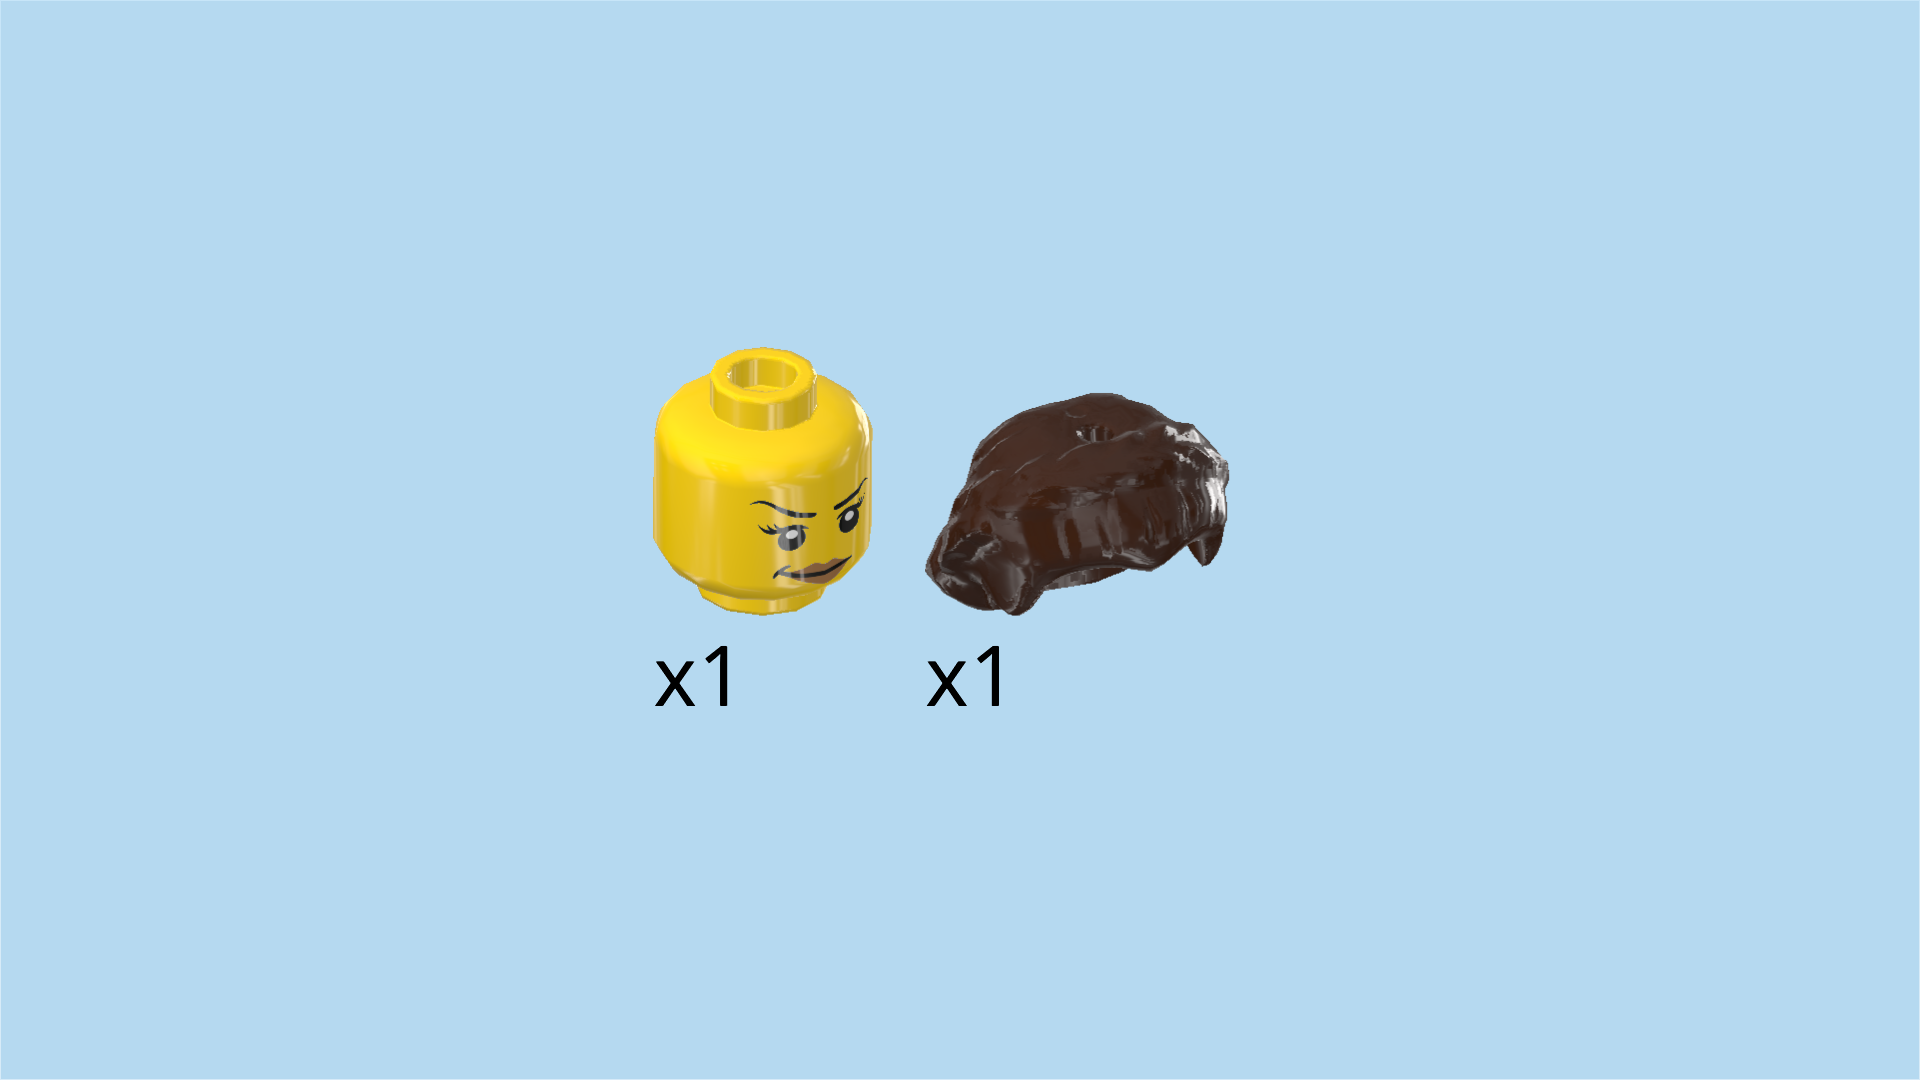
| Collect the following 2 pieces: |
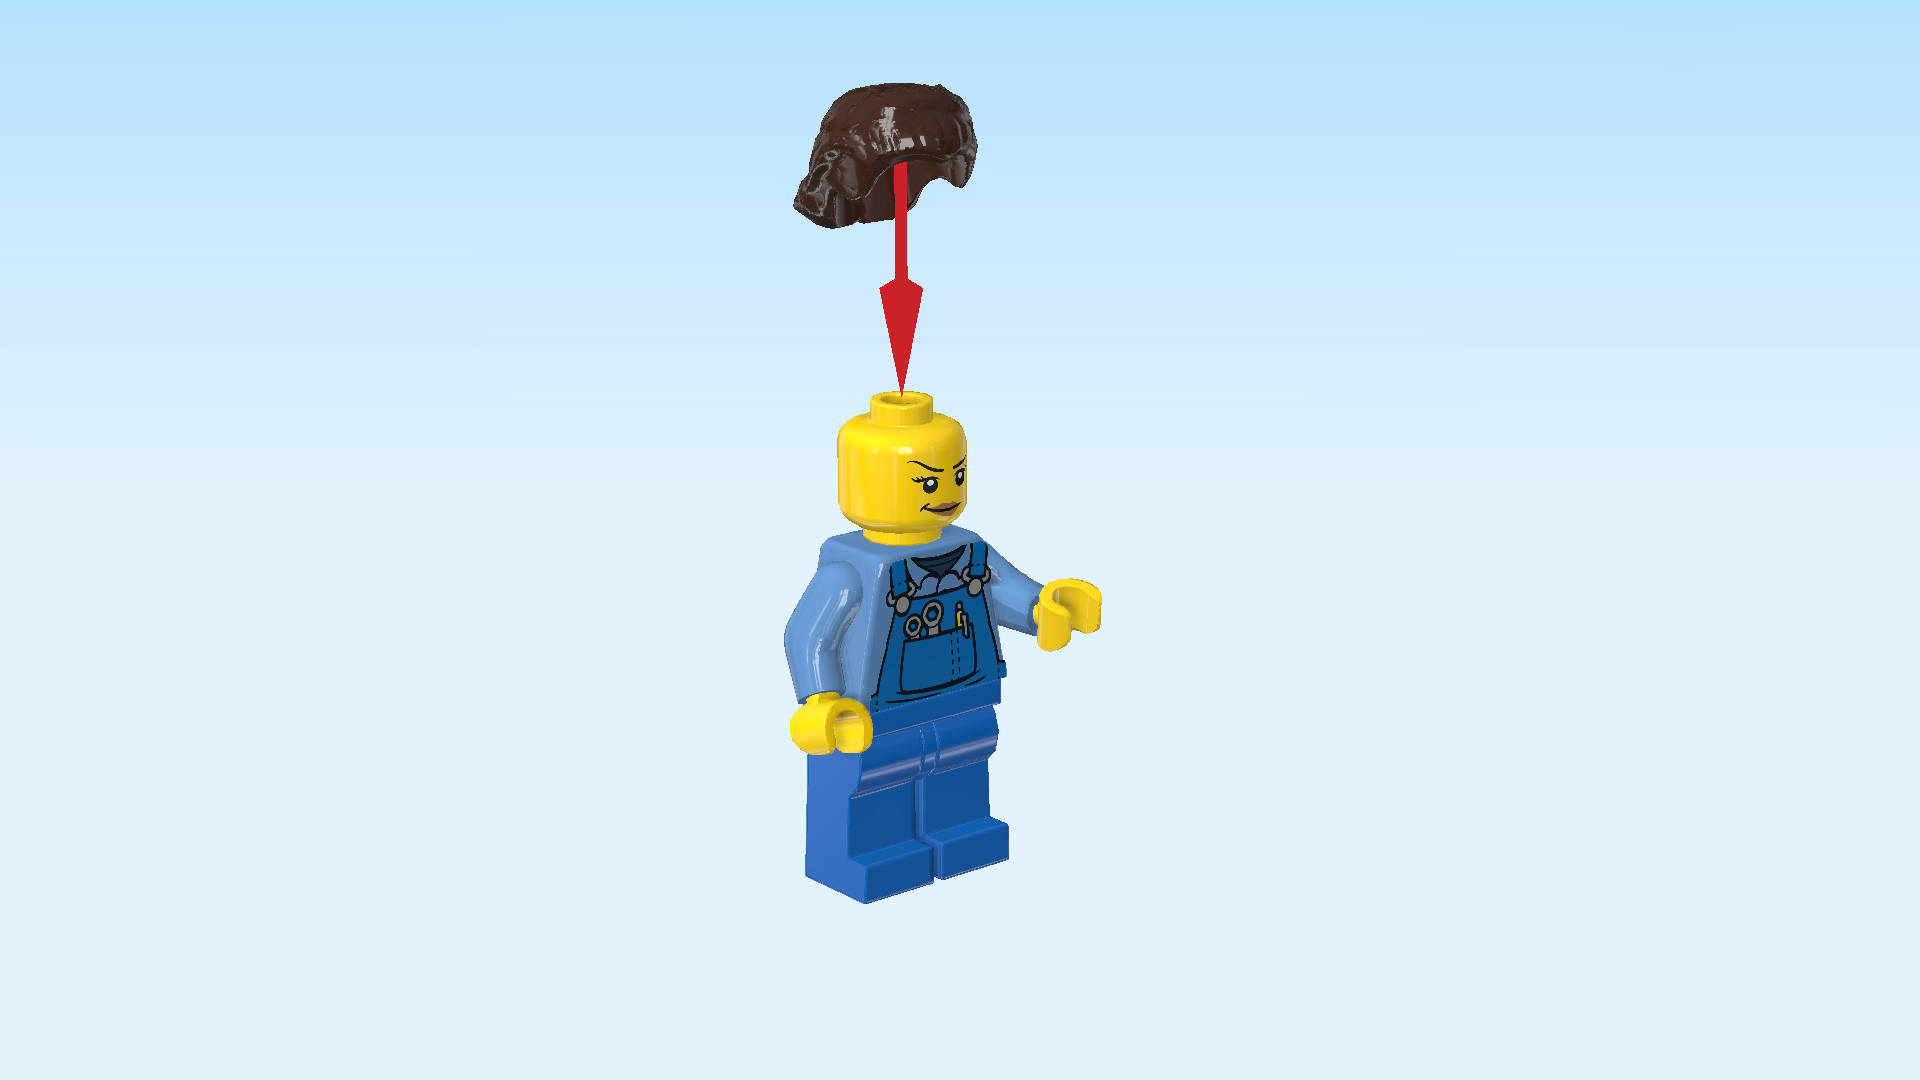
| 1 bright yellow Minifigure head, |
| and 1 dark brown hairpiece with a plait. |
| Put the head on the body. |
| Put the hair on top. |
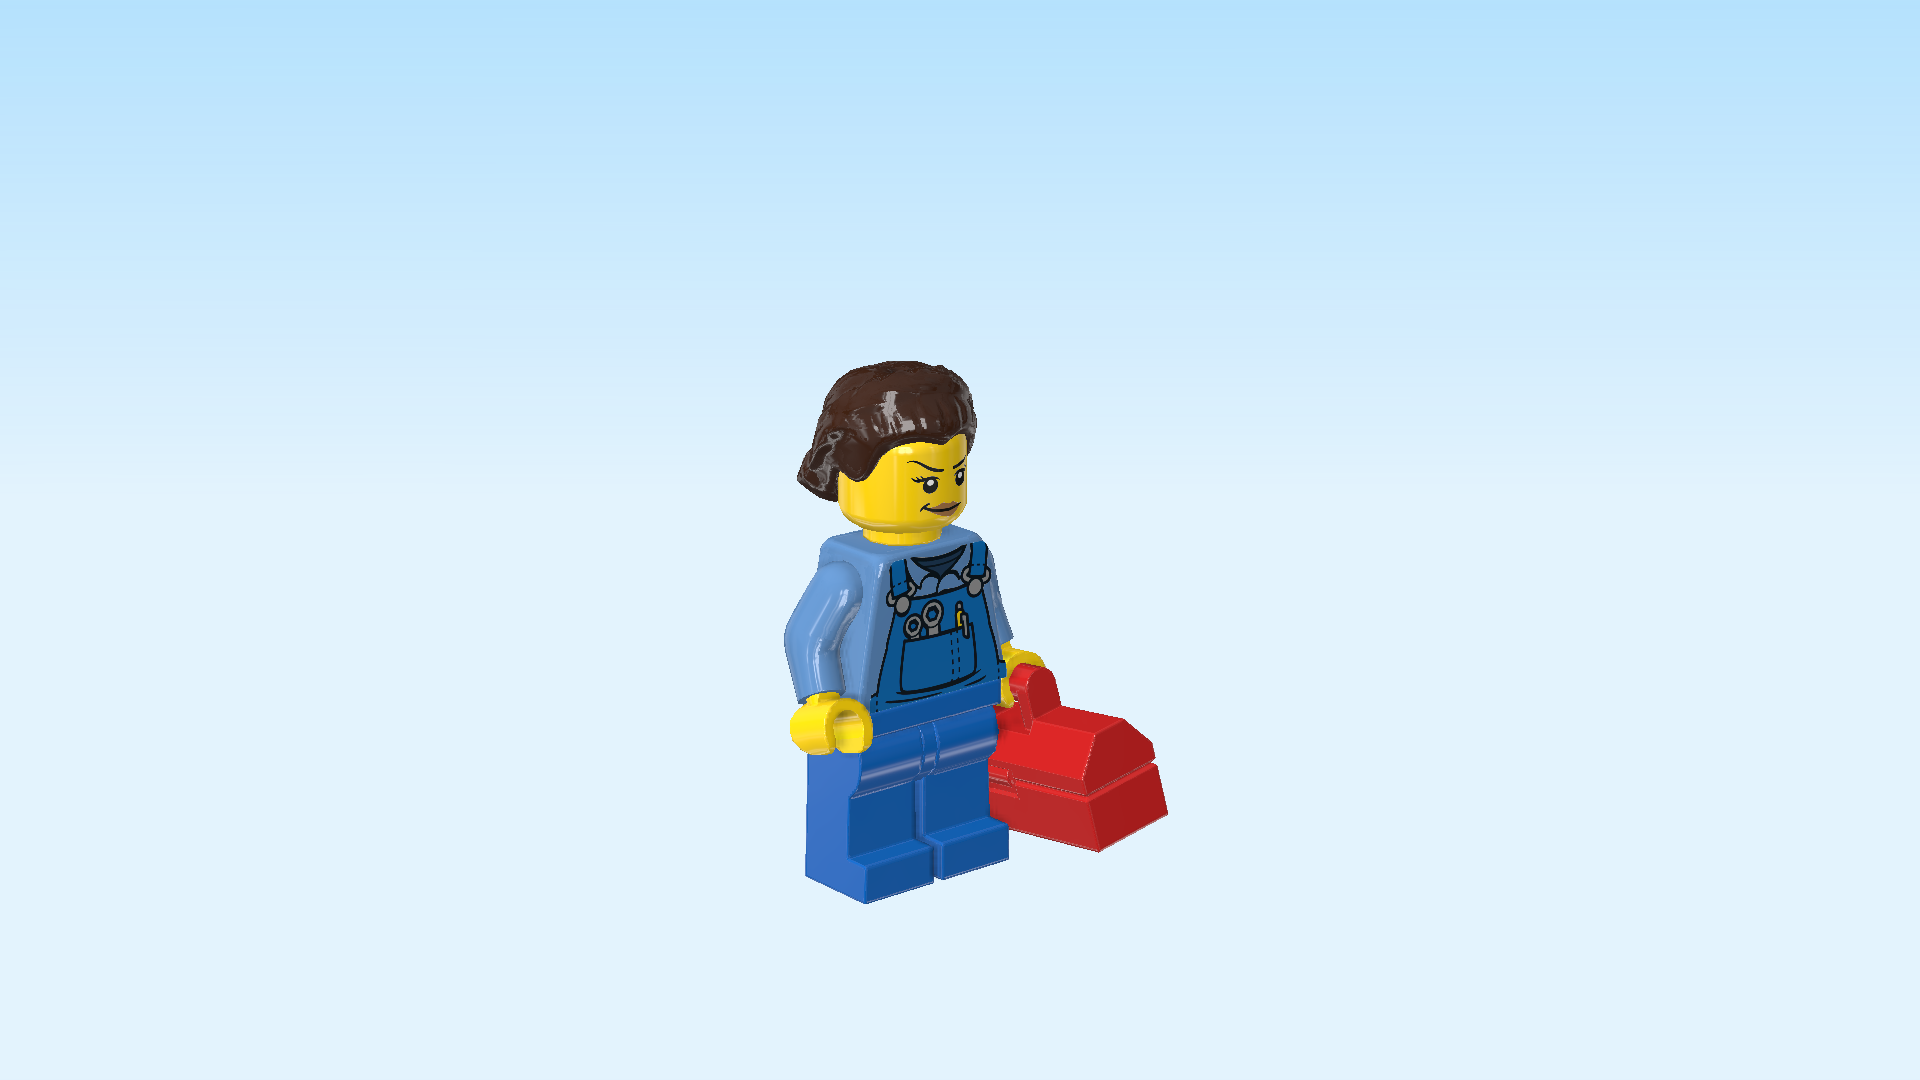
| Find 1 bright red Minifigure toolbox. |
| Snap its handle into the mechanic's left hand. |
| The mechanic Minifigure is finished! Well done! She is wearing blue overalls with a chest pocket and a light blue shirt. There are two wrenches and a pen in the chest pocket. The mechanic's hair is in a tight plait so that it does not get in the way during repairs. She has a daring smirk on her face. She loves the thrill of the stunts! |
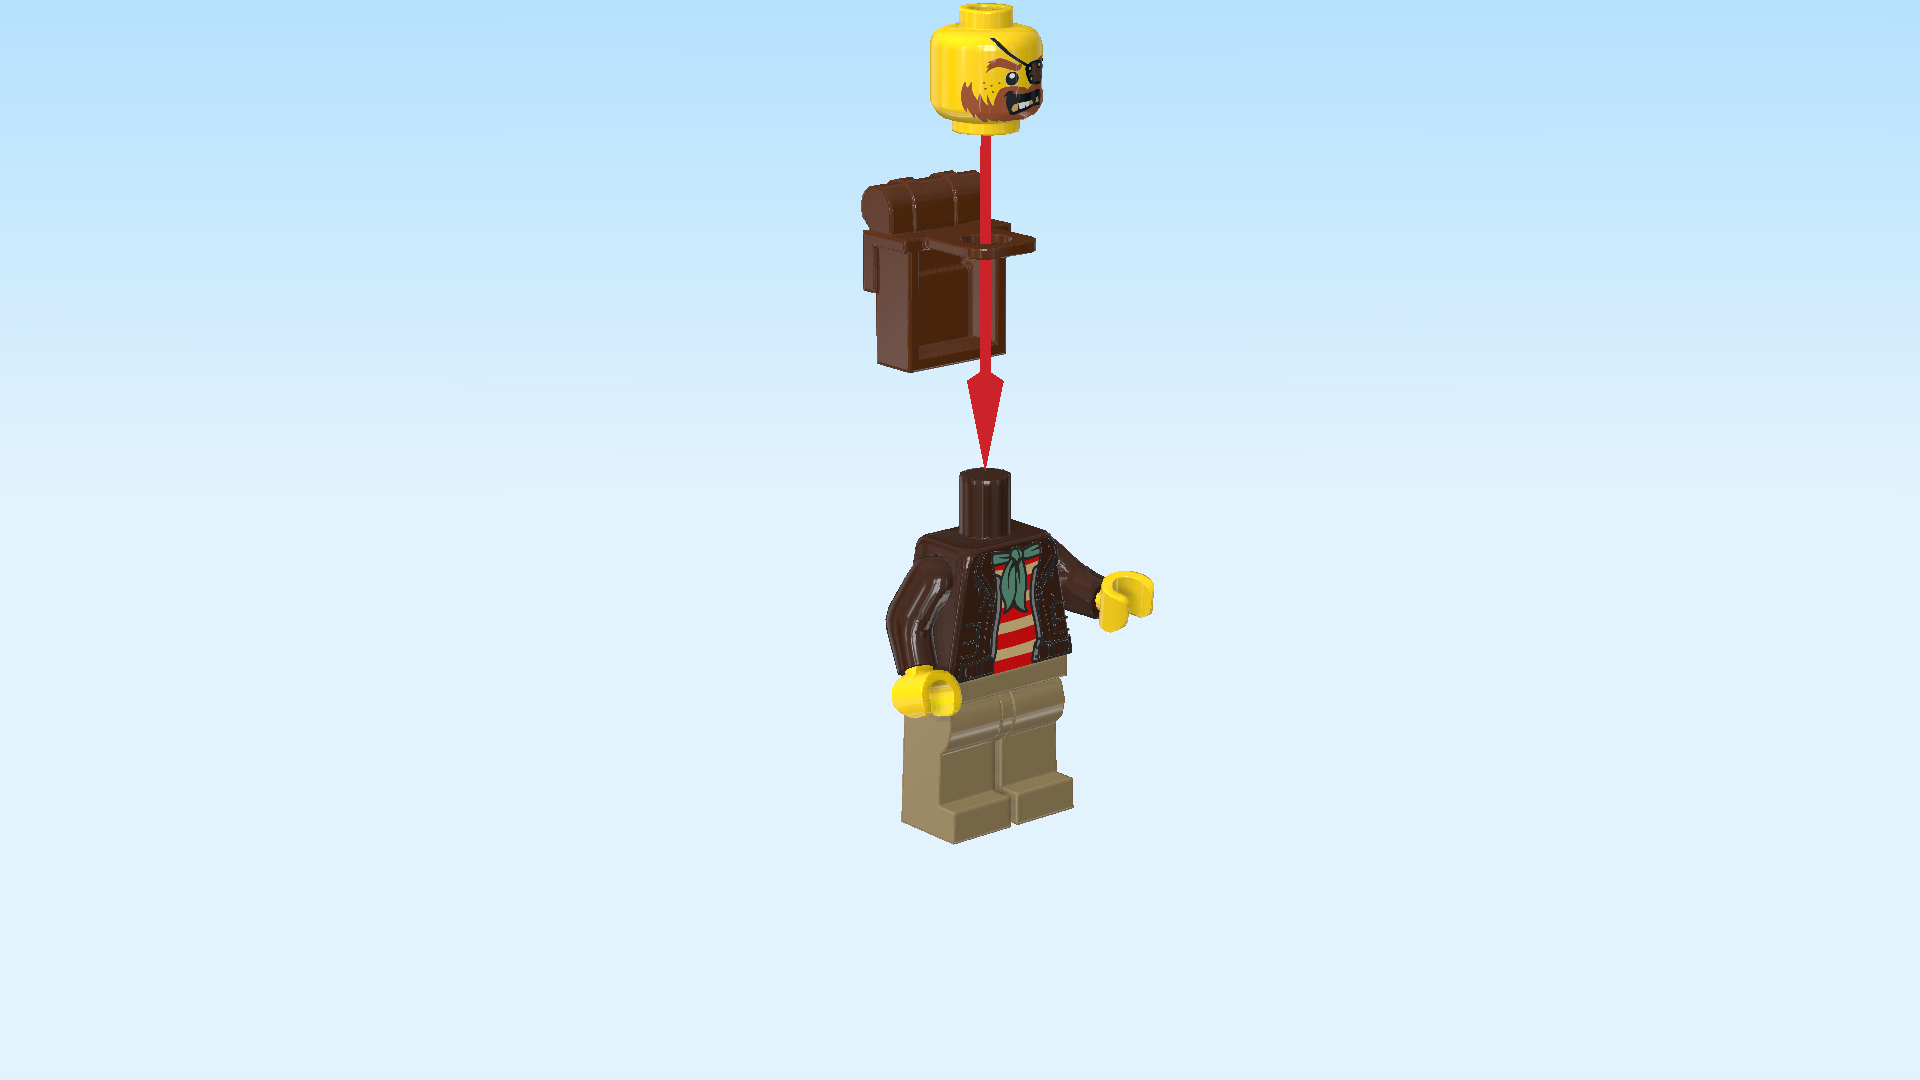
| Now, we will build the Chuck D. Goldberg Minifigure. |
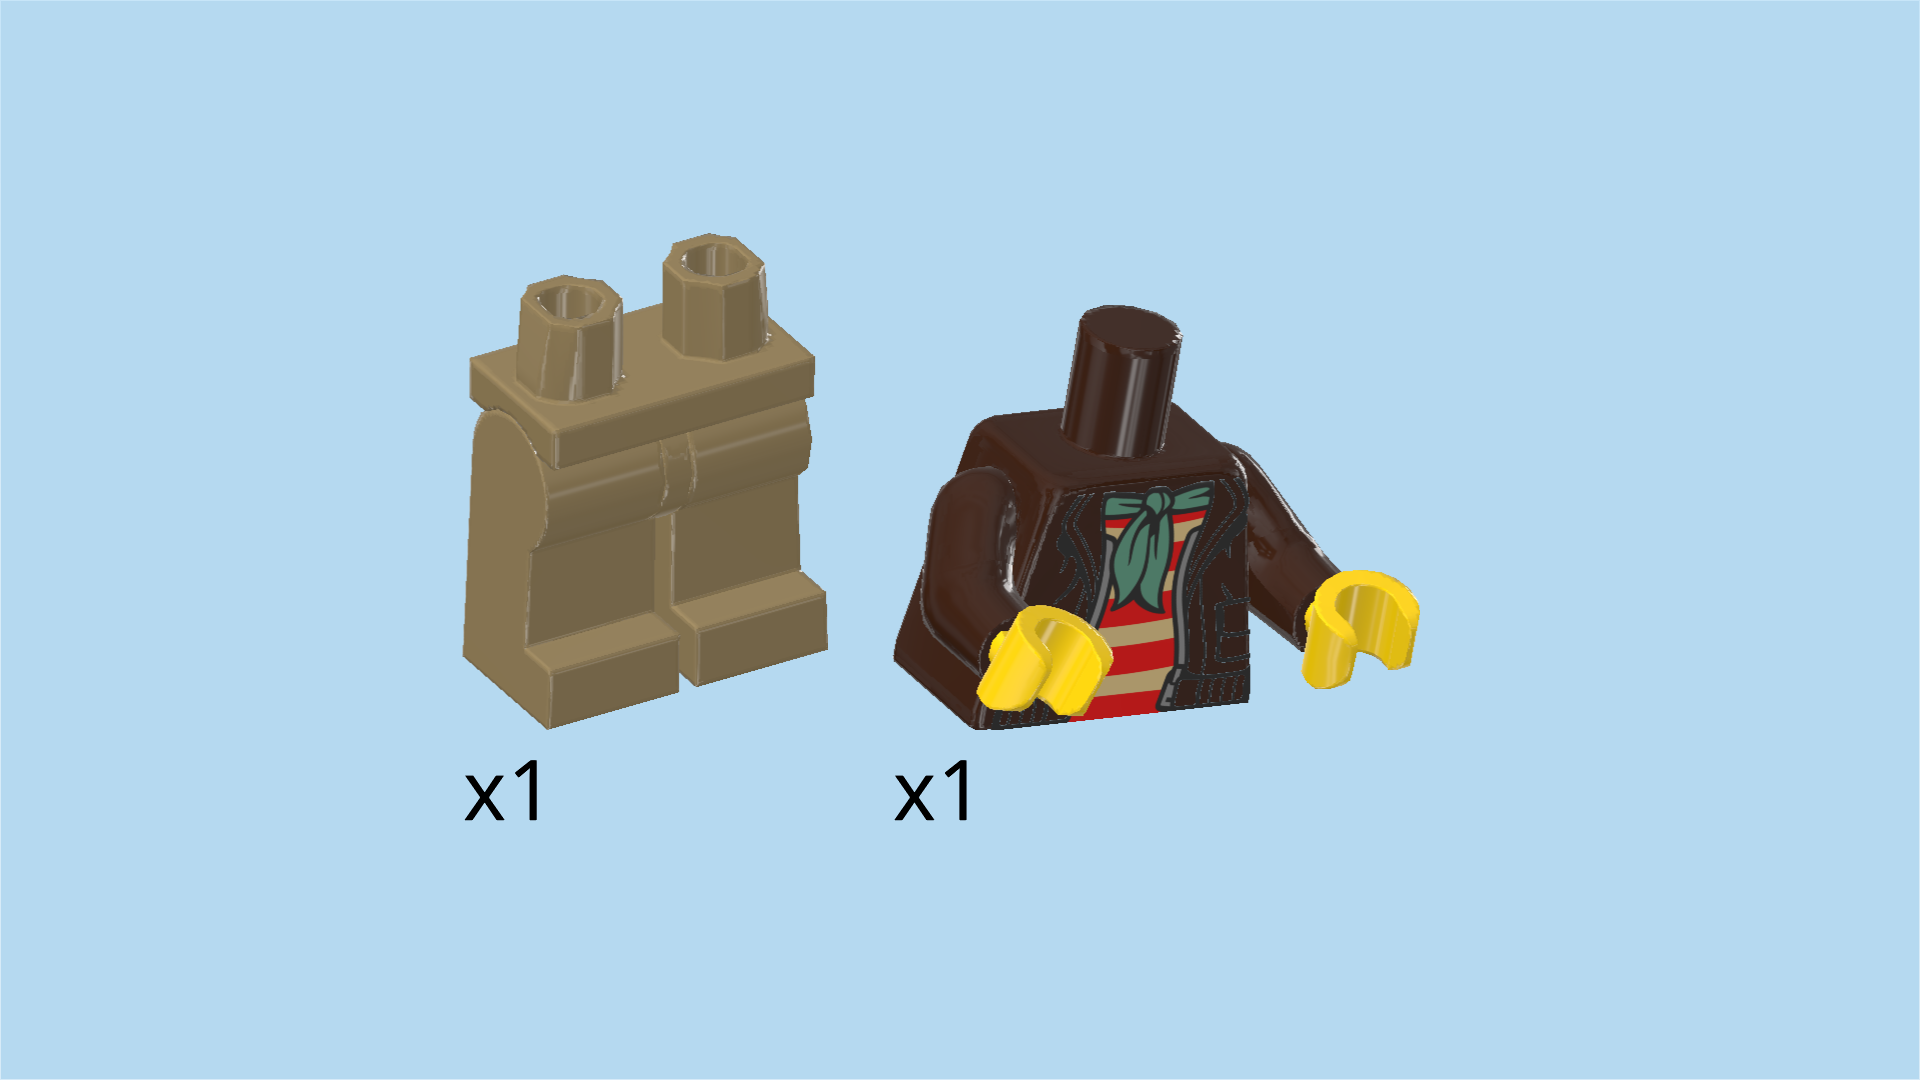
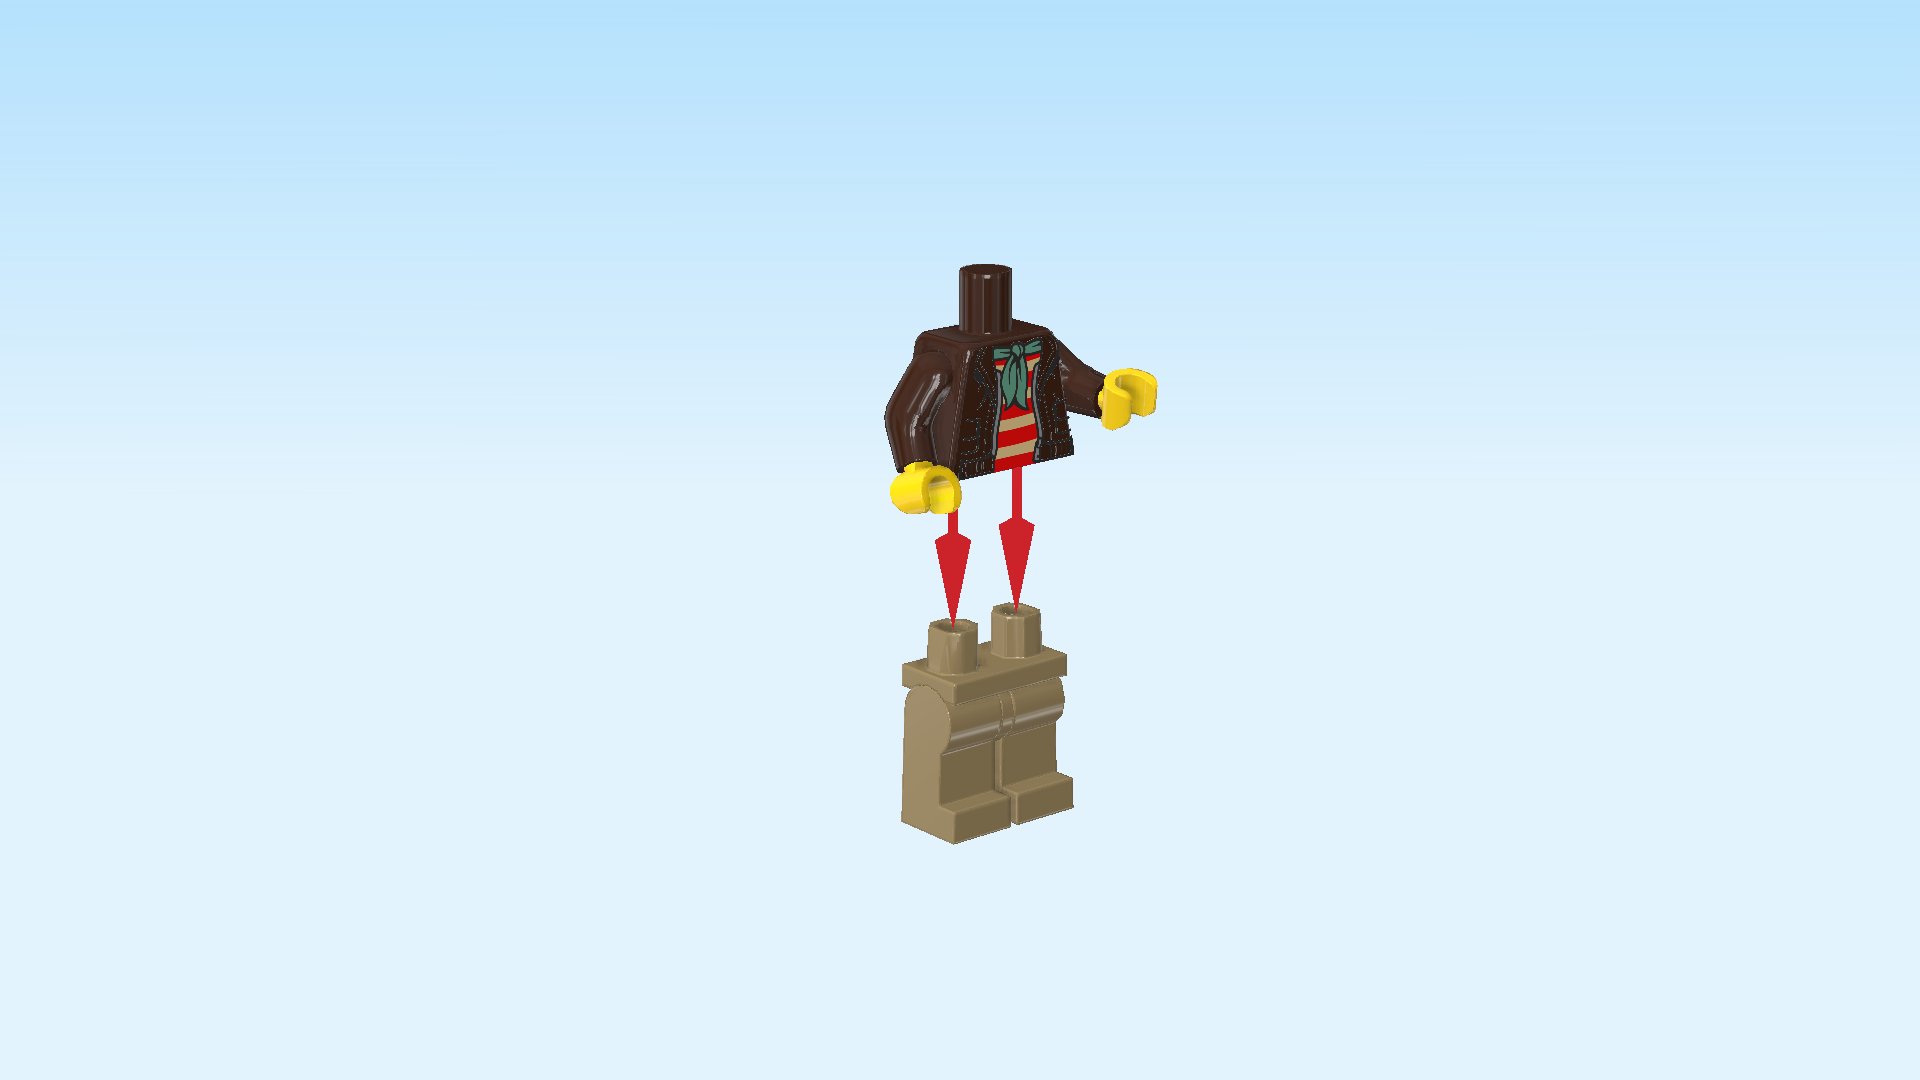
| Collect the following 2 pieces: |
| 1 dark brown and bright yellow upper part of the body, |
| and 1 mud grey pair of legs. |
| Put the upper body on top of the legs. |
| Collect the following 2 pieces: |
| 1 bright yellow Minifigure head, |
| and 1 reddish brown knapsack. |
| Put the sling of the knapsack around the neck, knapsack to the back. |
| Put the head on the body. |
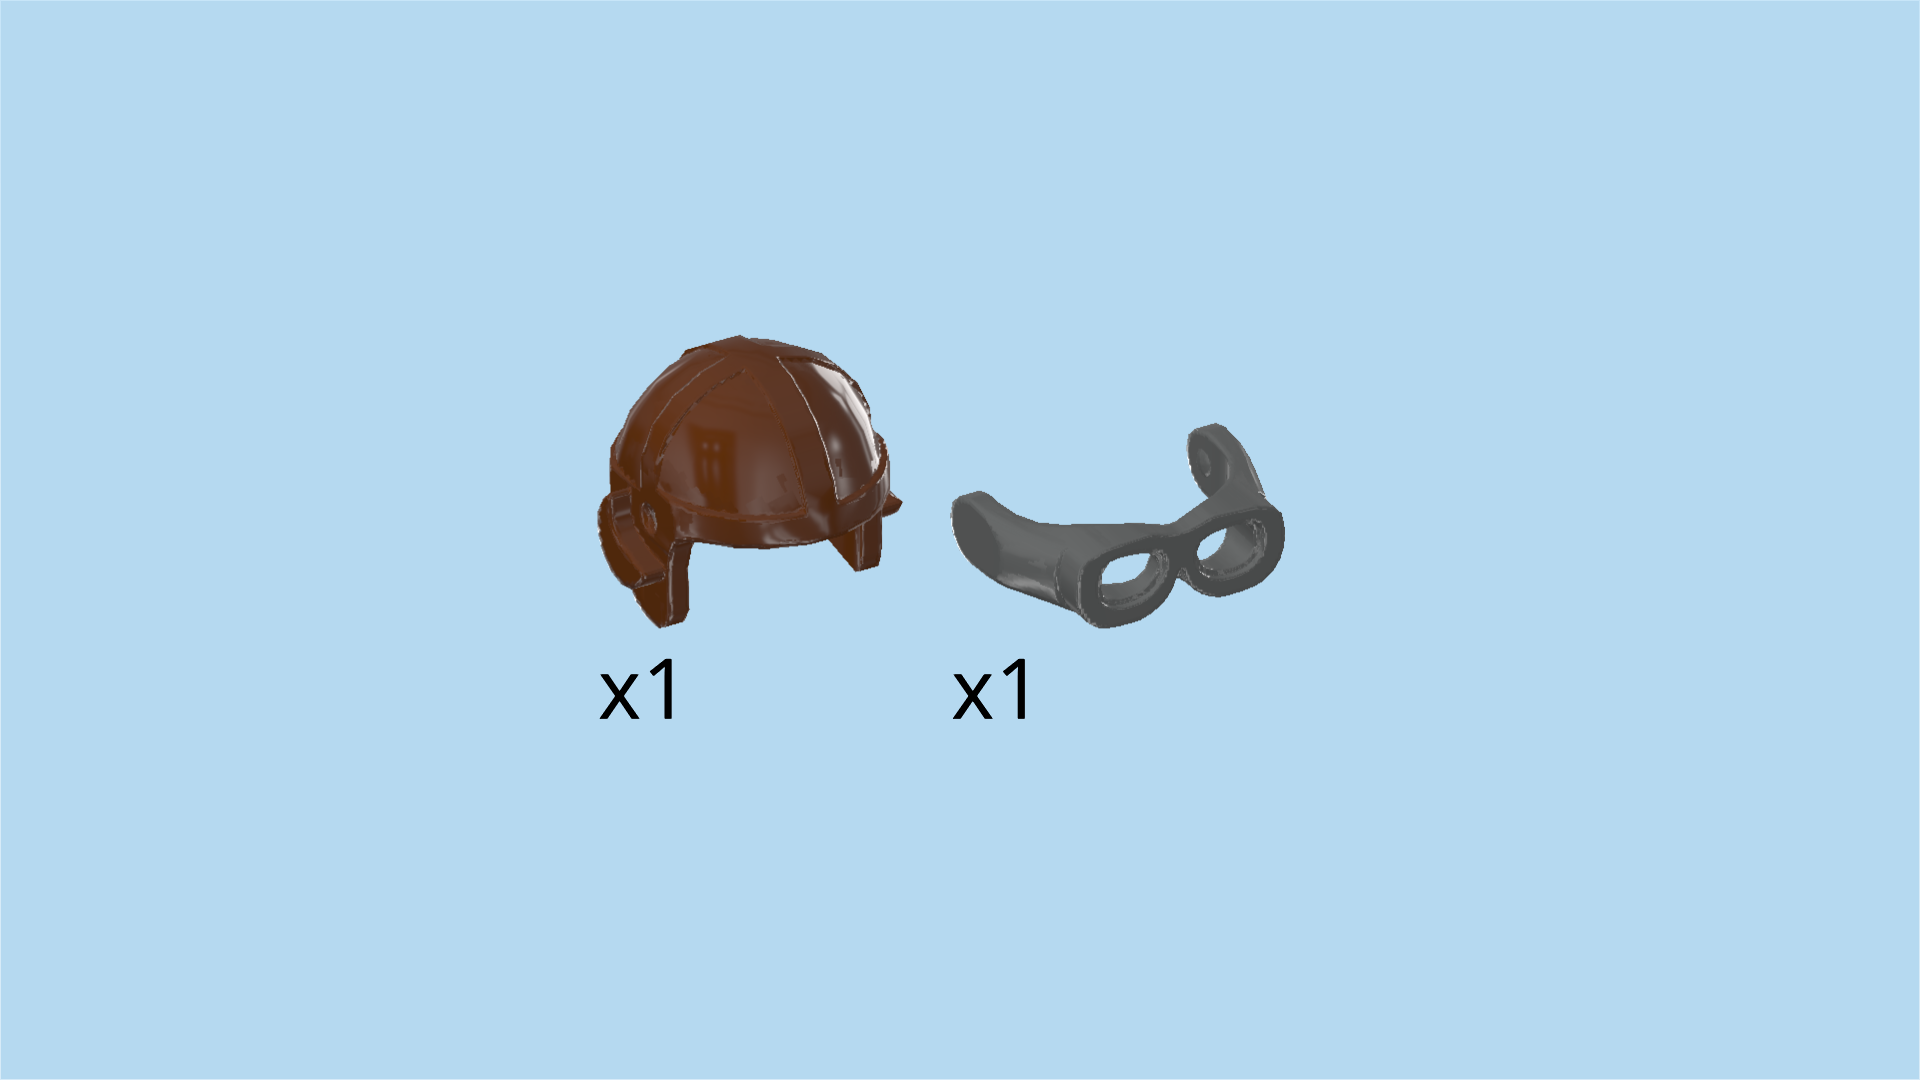
| Collect the following 2 pieces: |
| 1 dark stone grey pair of aviator goggles, |
| and 1 reddish brown aviator helmet. |
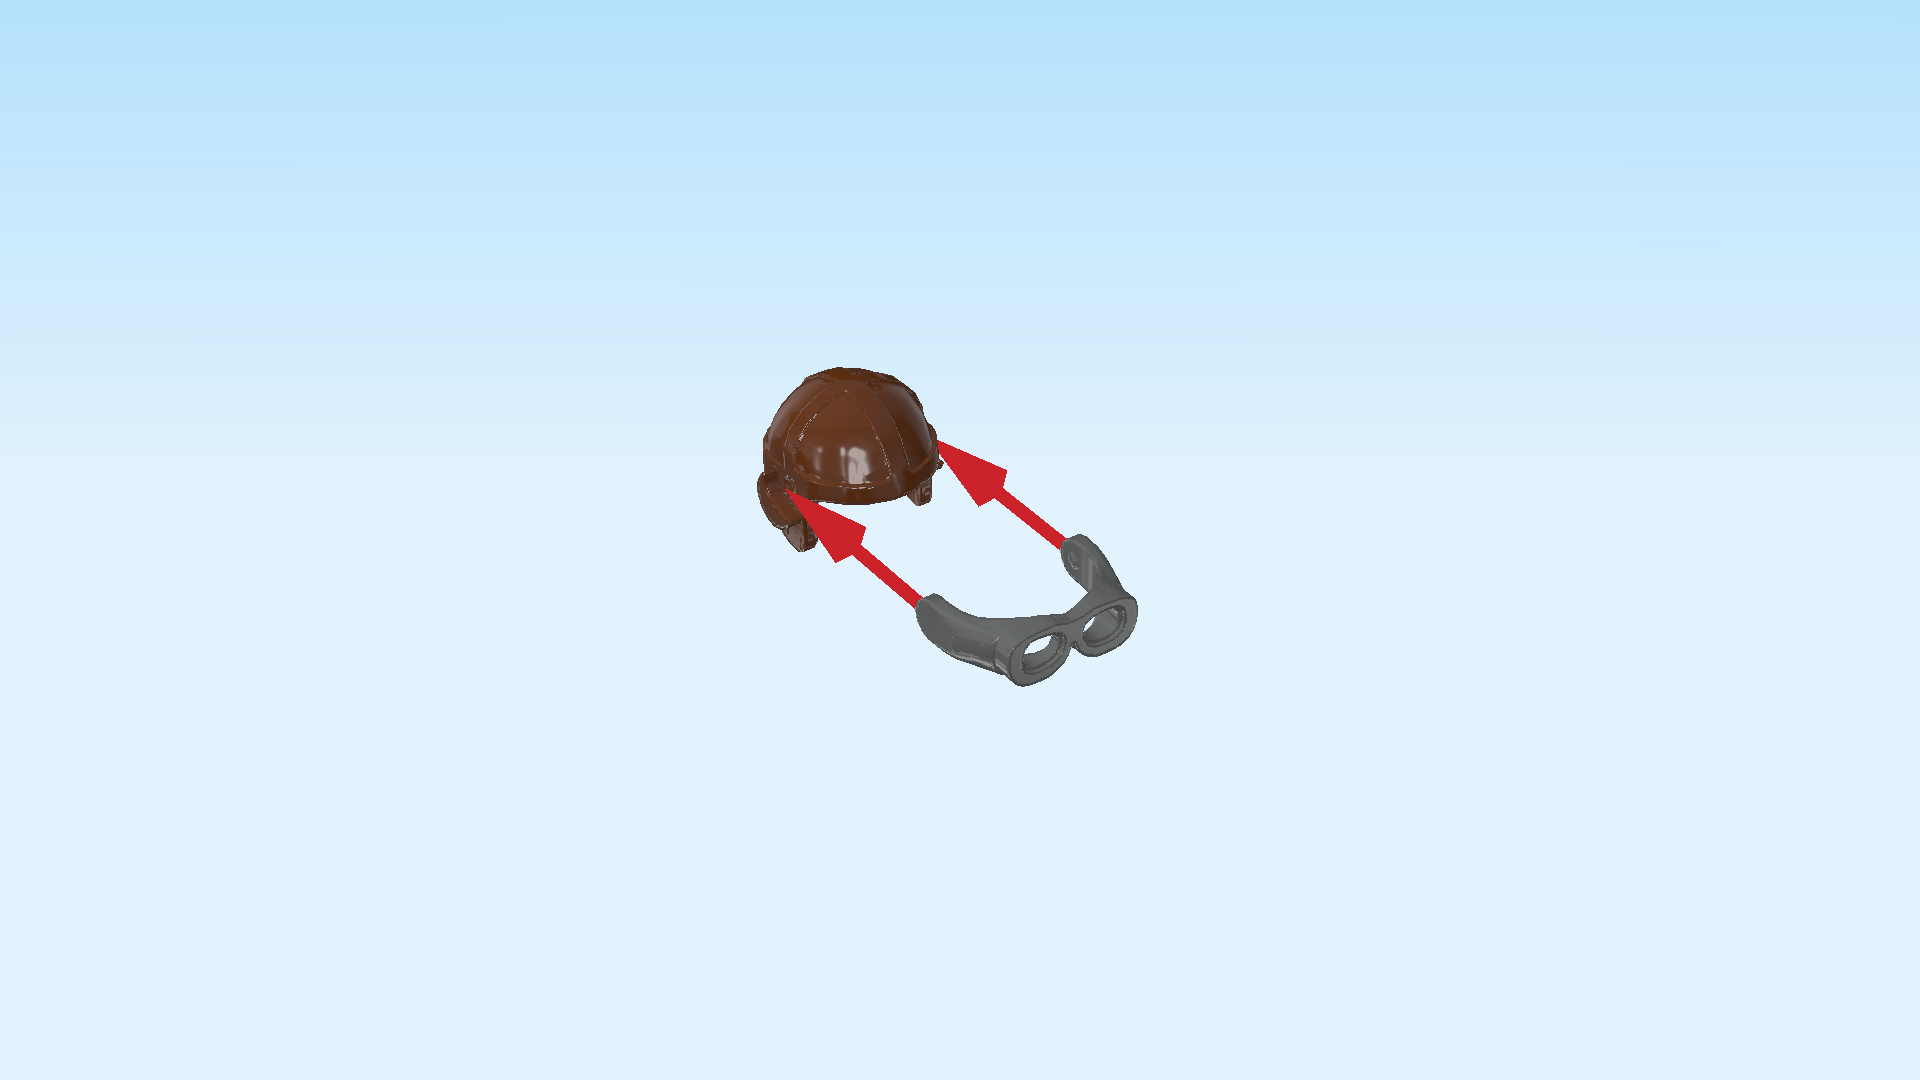
| Snap the aviator goggles into the grooves on the aviator helmet. |
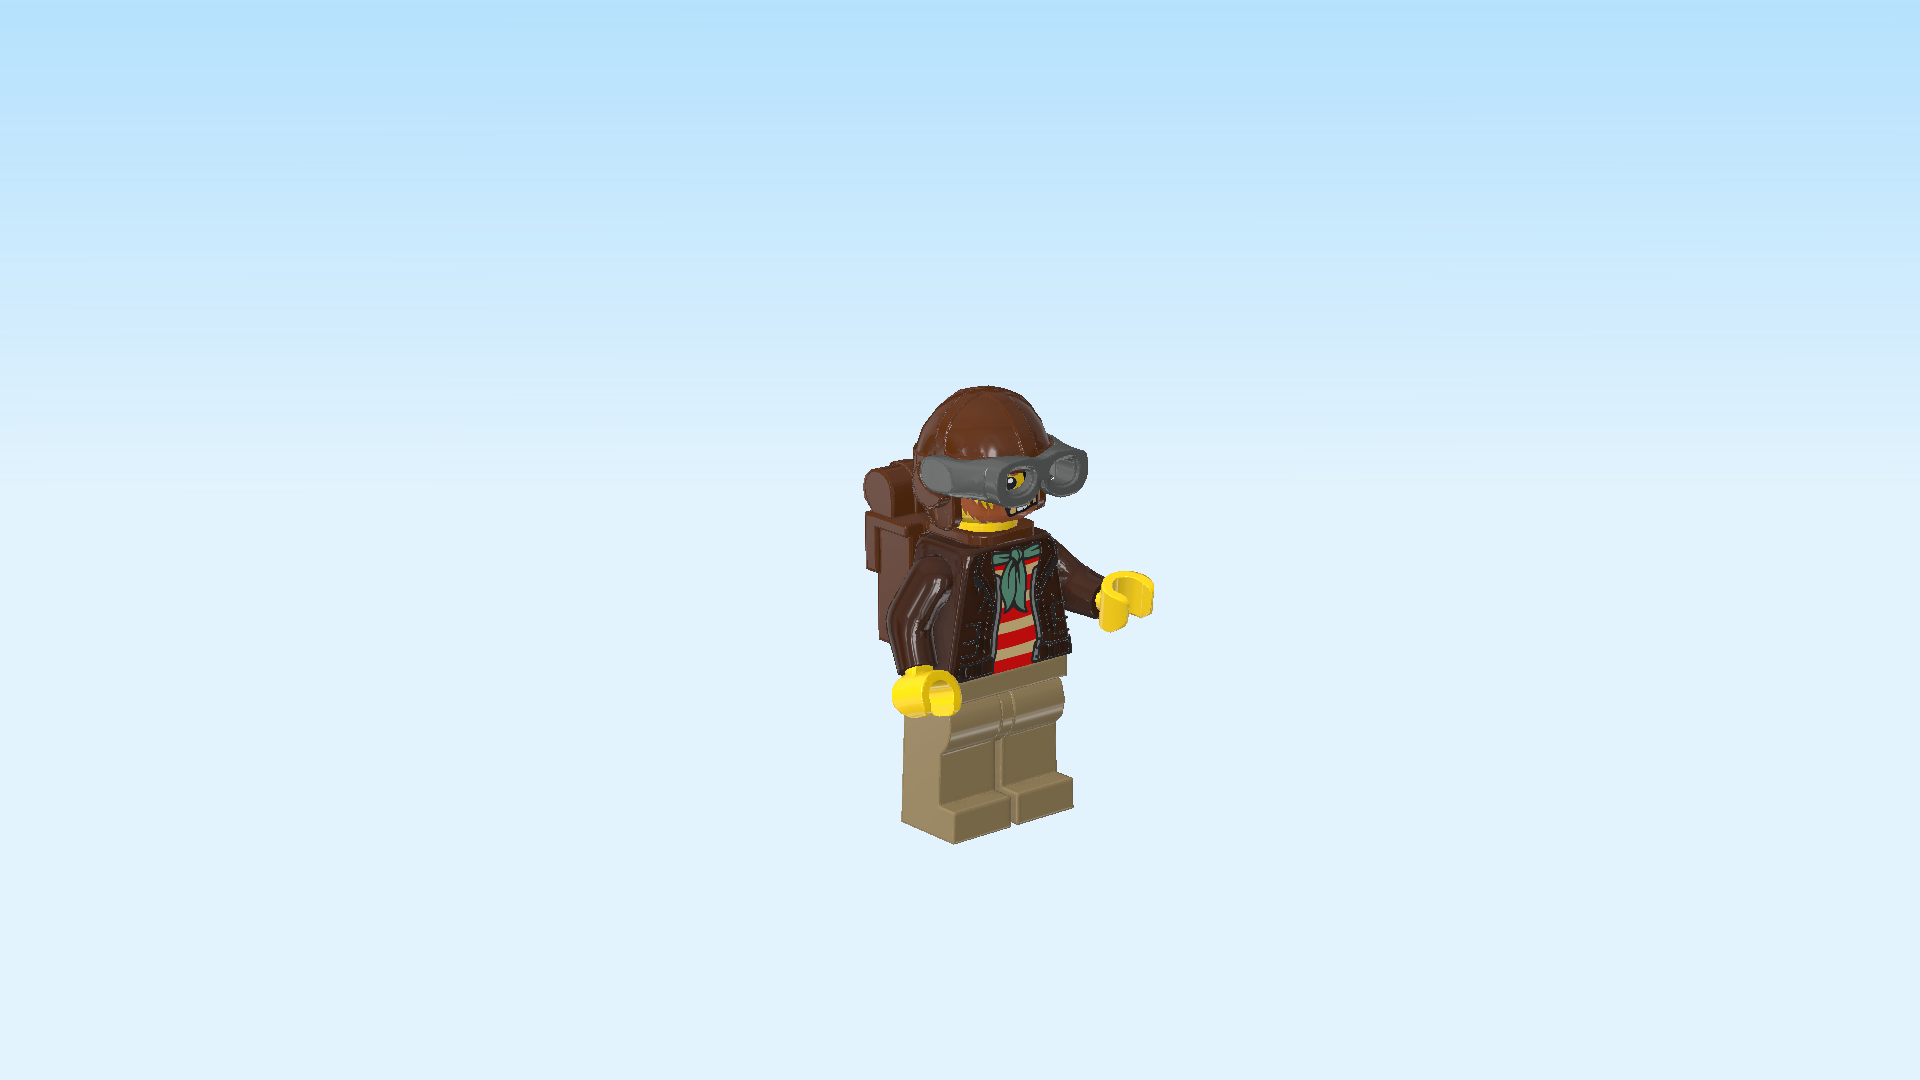
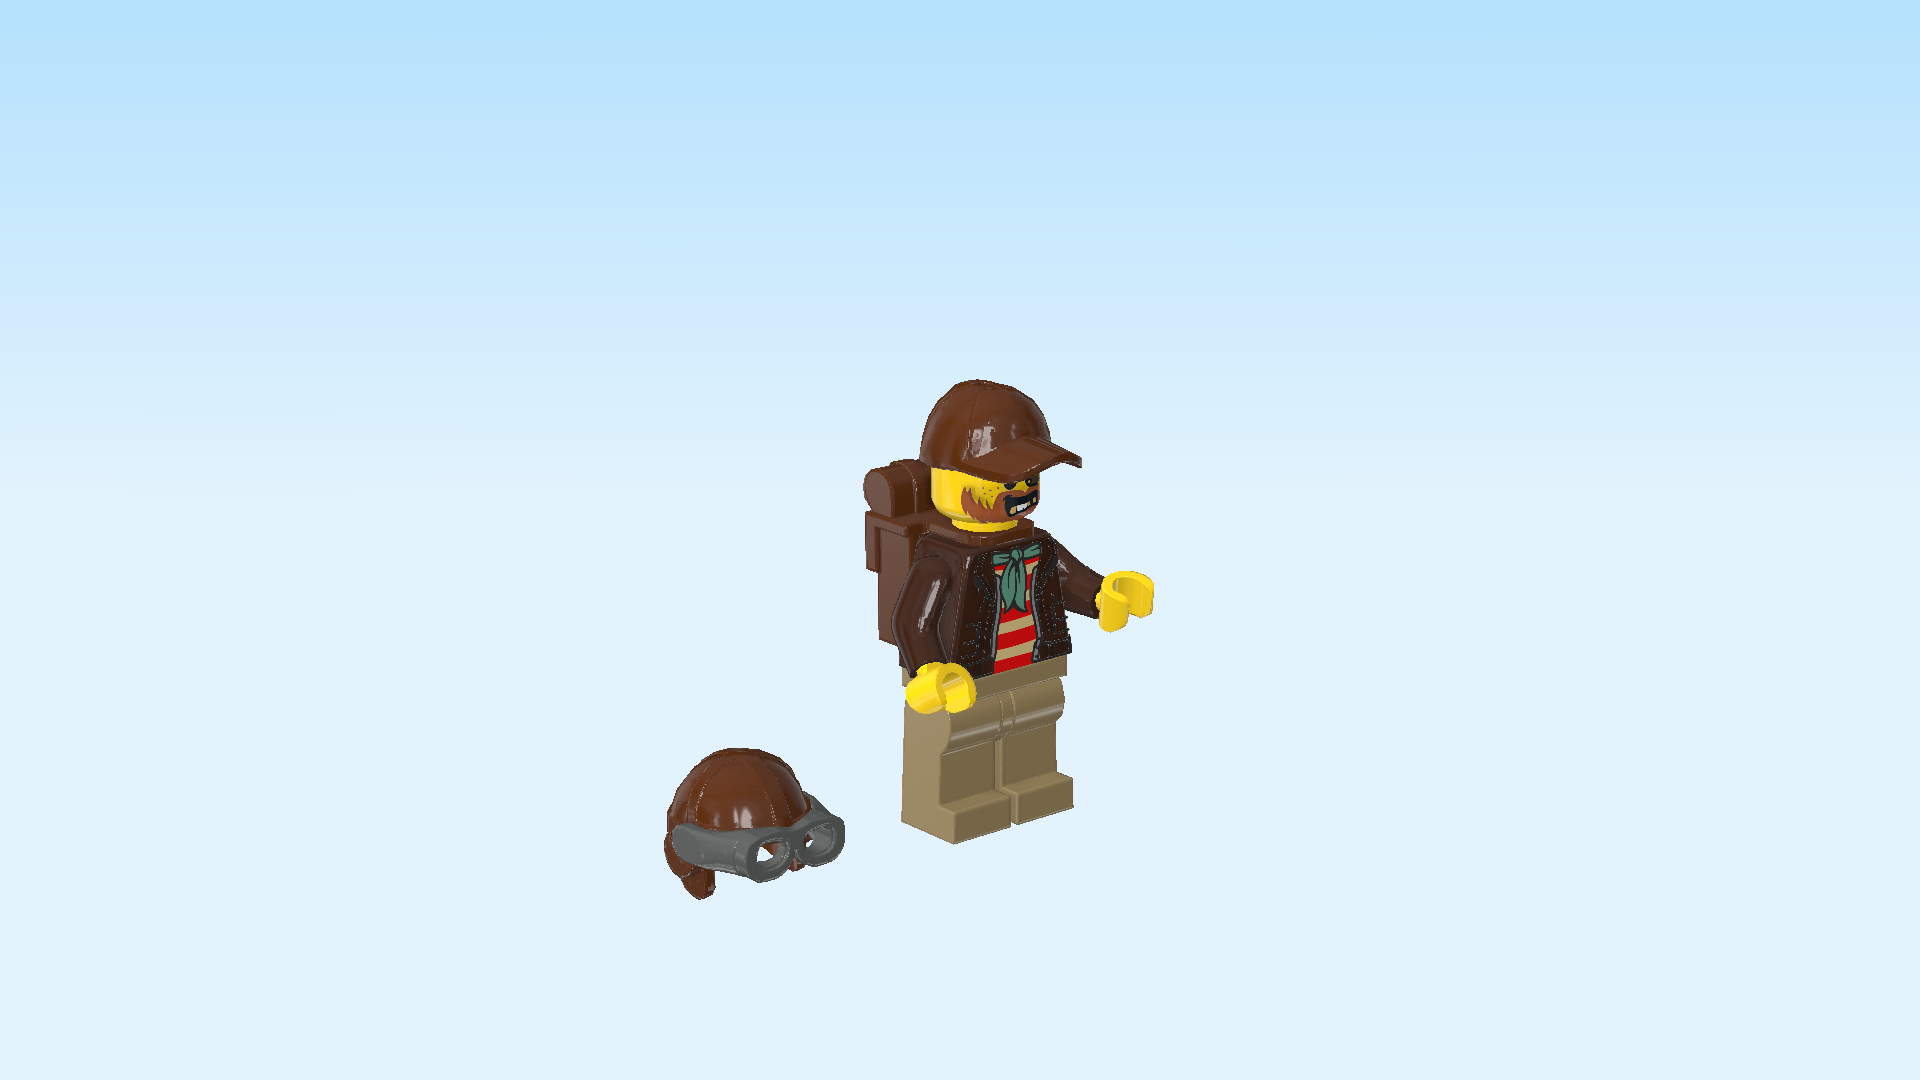
| Put the helmet on the head. |
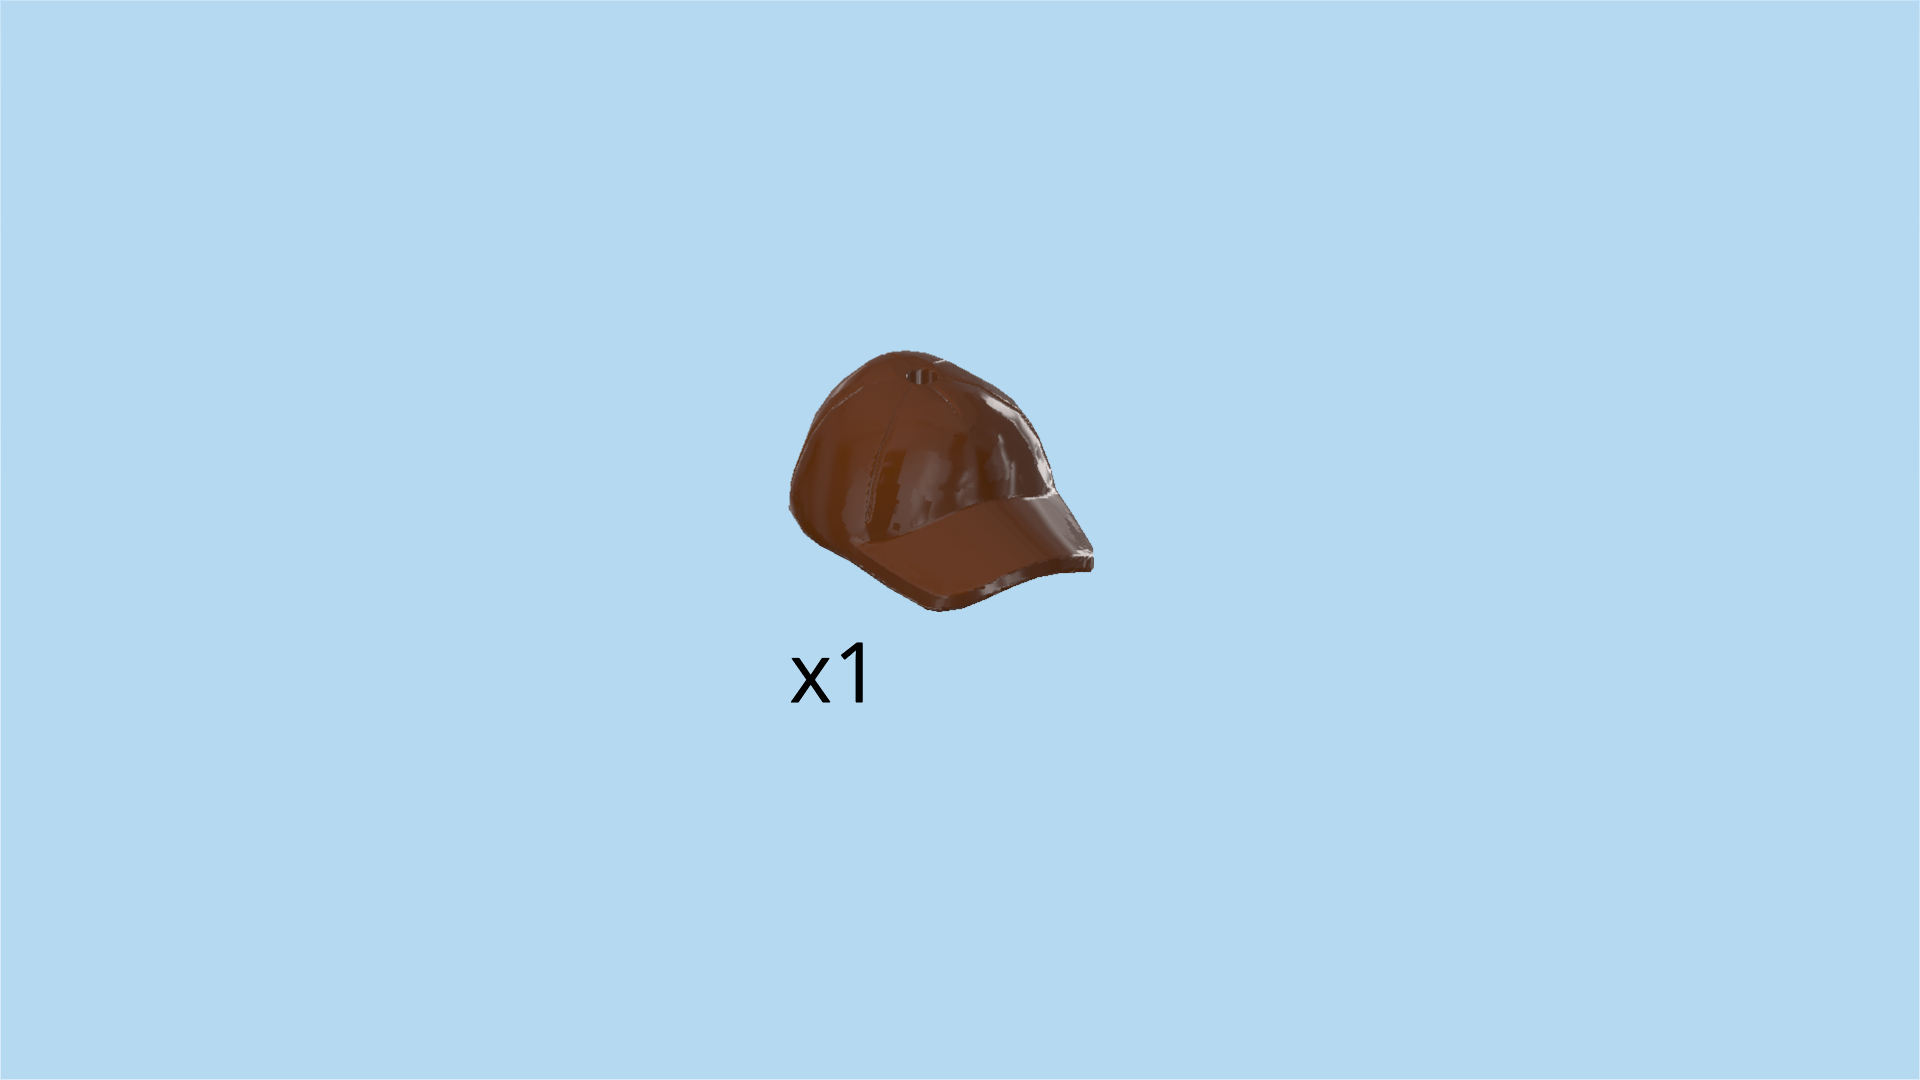
| Find 1 reddish brown billed cap. |
| Whenever Chuck is not doing stunts, you can swap the helmet for the cap. |
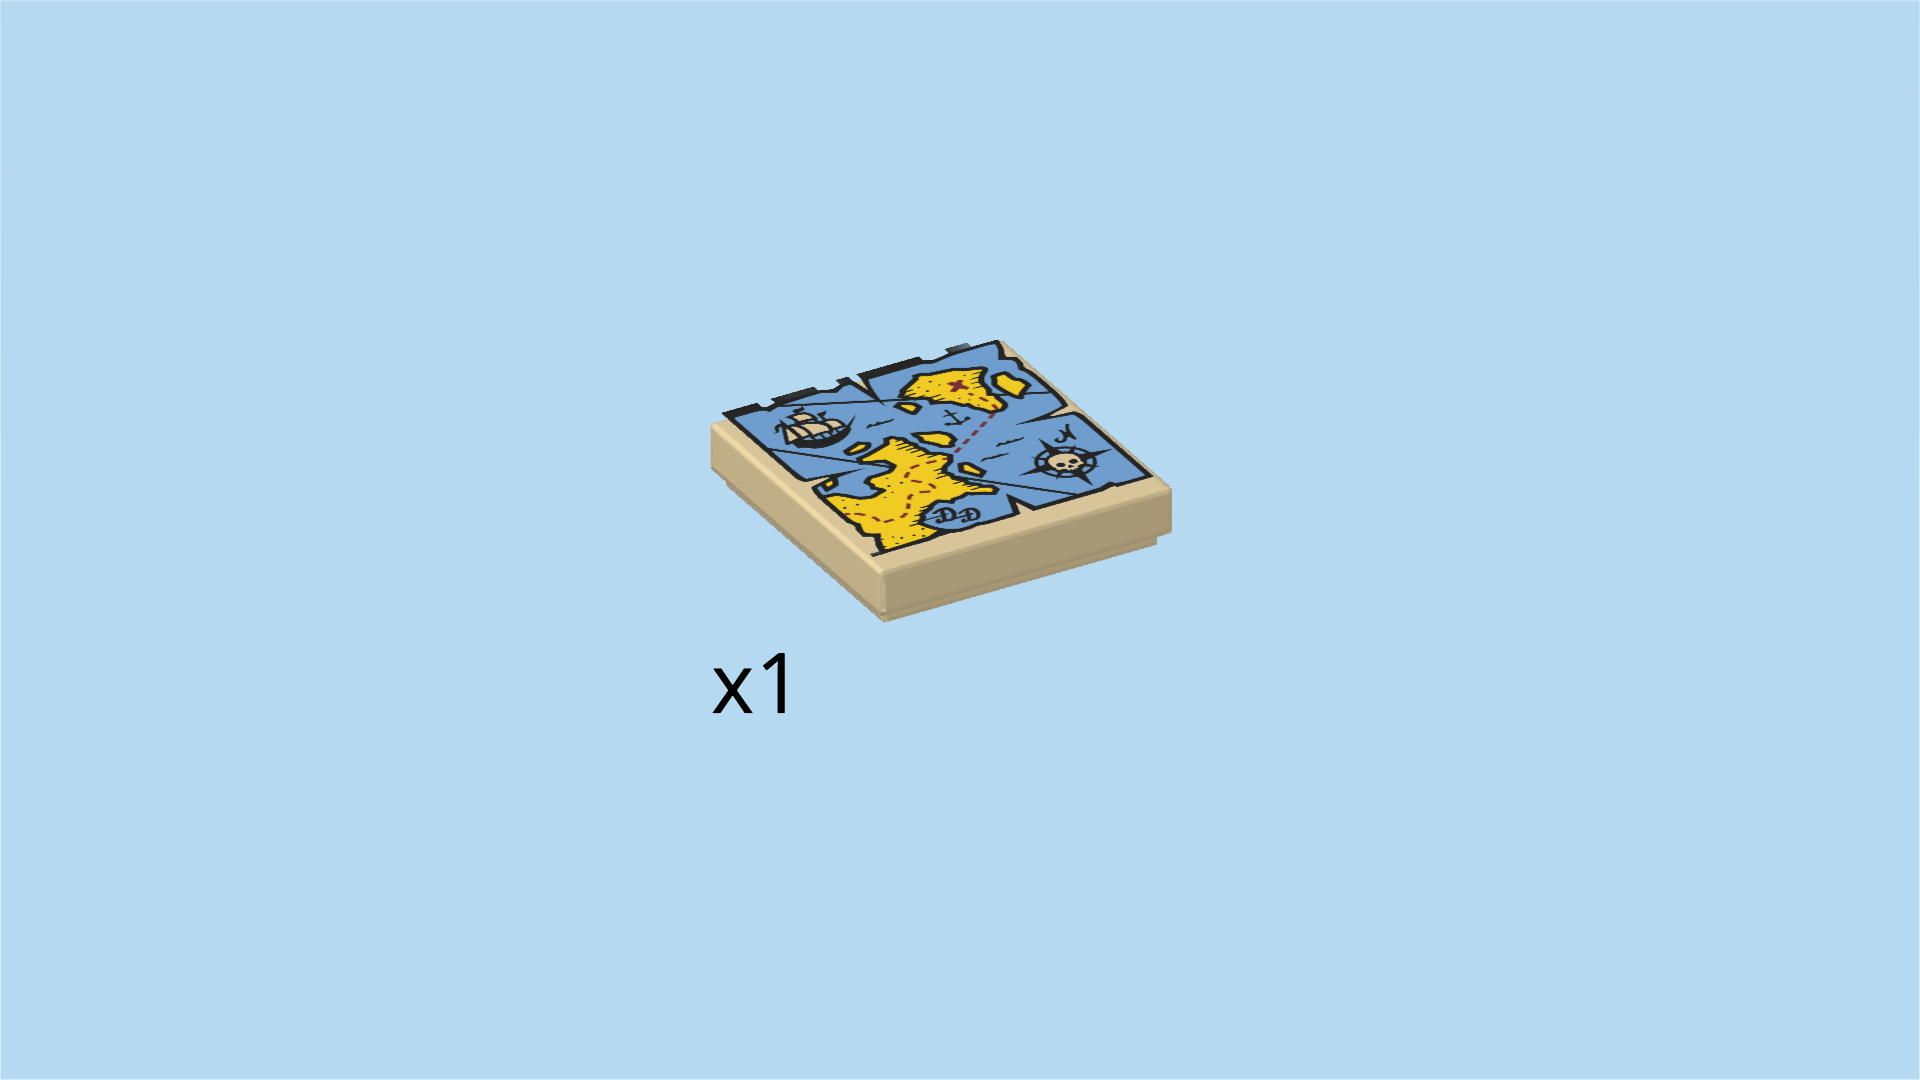
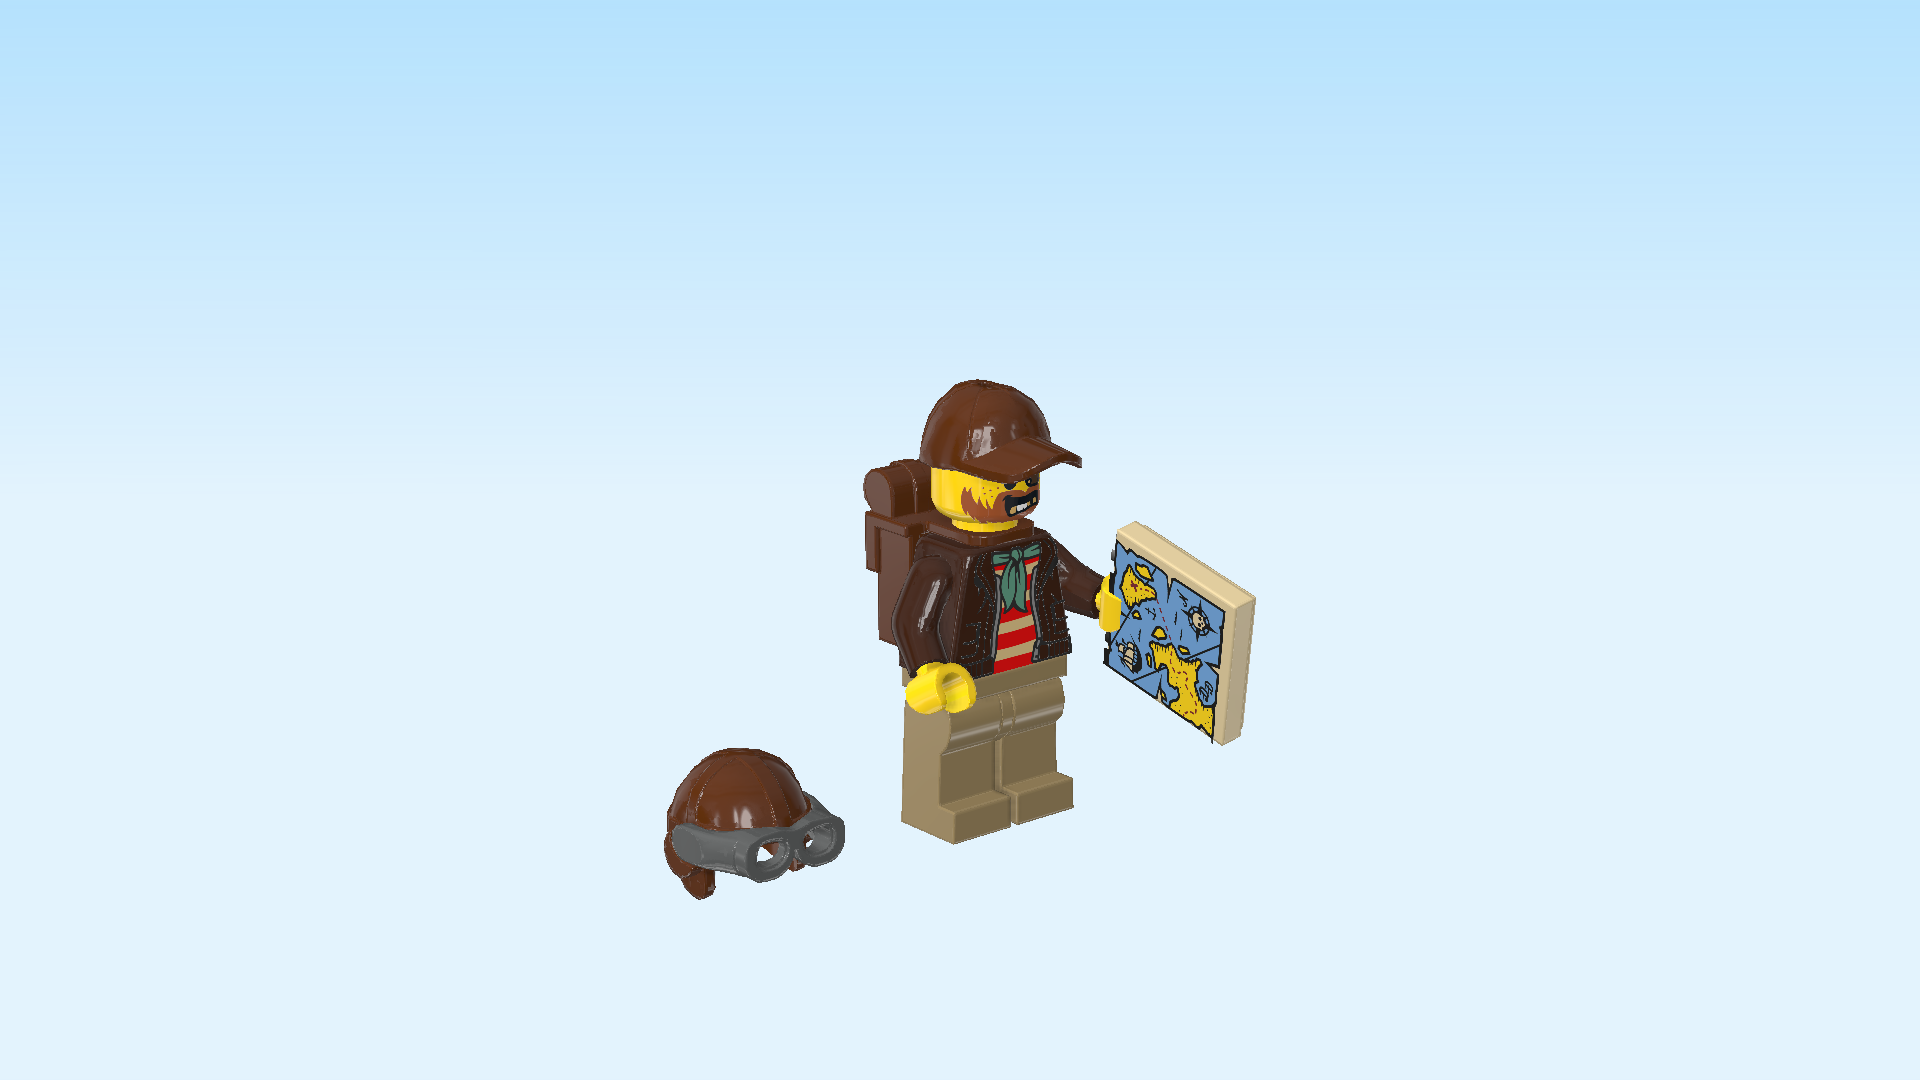
| Find 1 pale ocher yellow flat tile 2x2. |
| Snap it into Chuck's left hand. It is printed with a treasure map! |
| The Chuck D. Goldberg Minifigure is finished! Well done! Chuck is wearing khaki trousers, a dark brown leather jacket with zipper, a shirt with red and white cross stripes and a green scarf tied into a knot. He has a scrubby red beard, his face twisted into a broad grin. He has several gold teeth! Chuck is wearing an eye patch over his left eye. What a character! There is no-one like him for sure. |
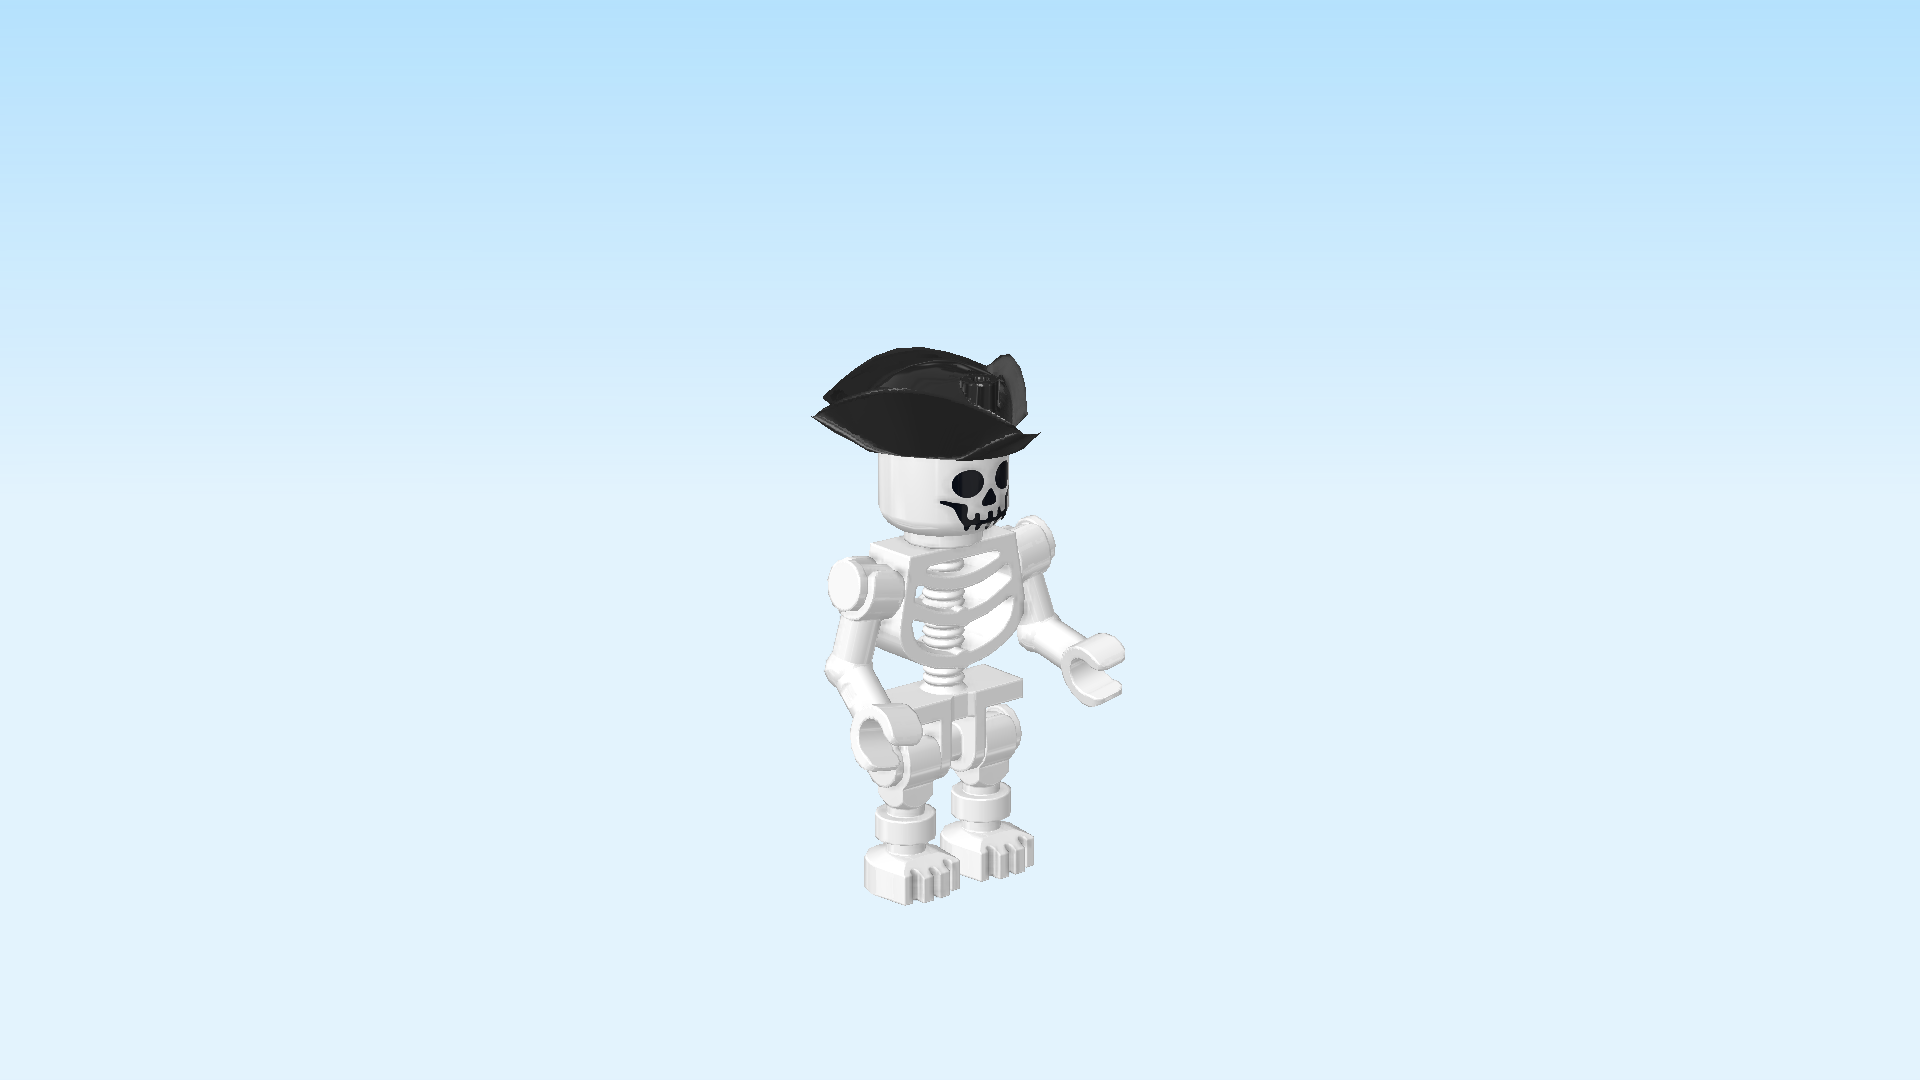
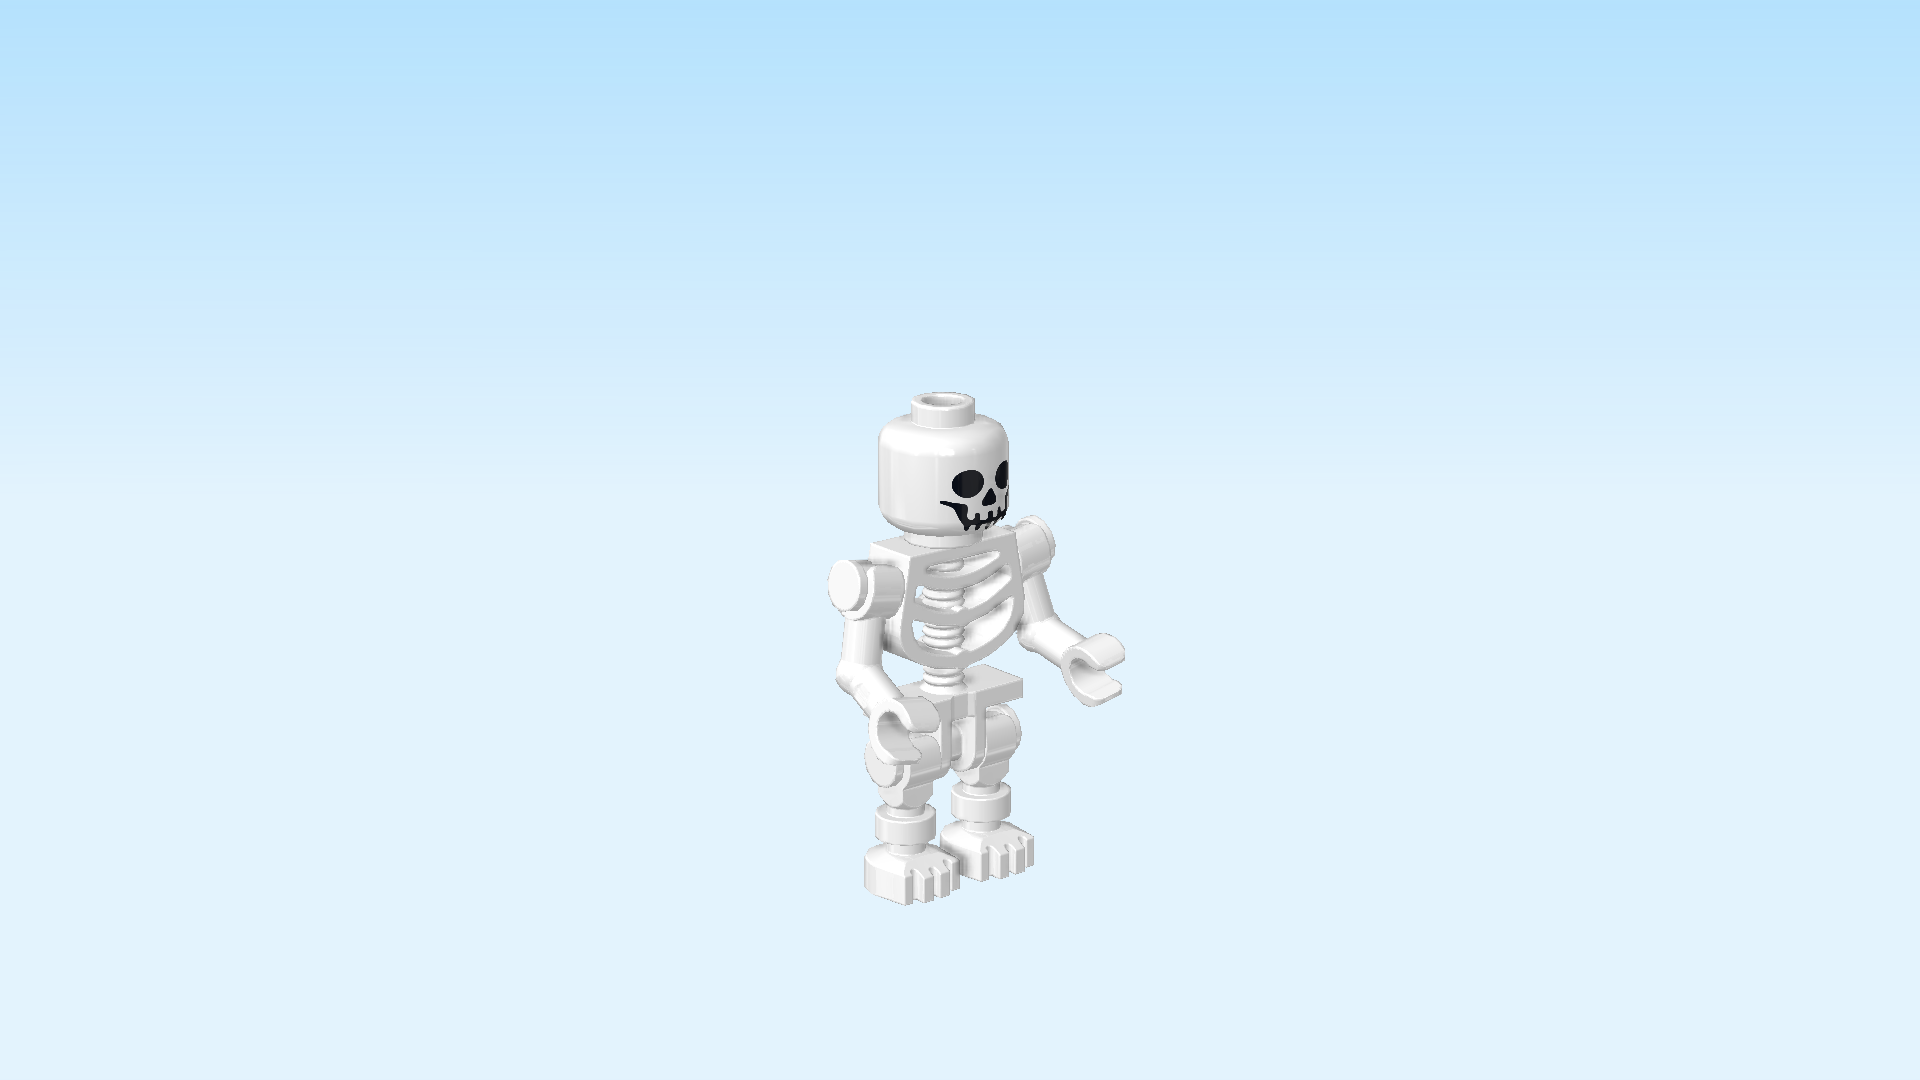
| Next up, we will build the scary skeleton Minifigure. |
| Collect the following 2 pieces: |
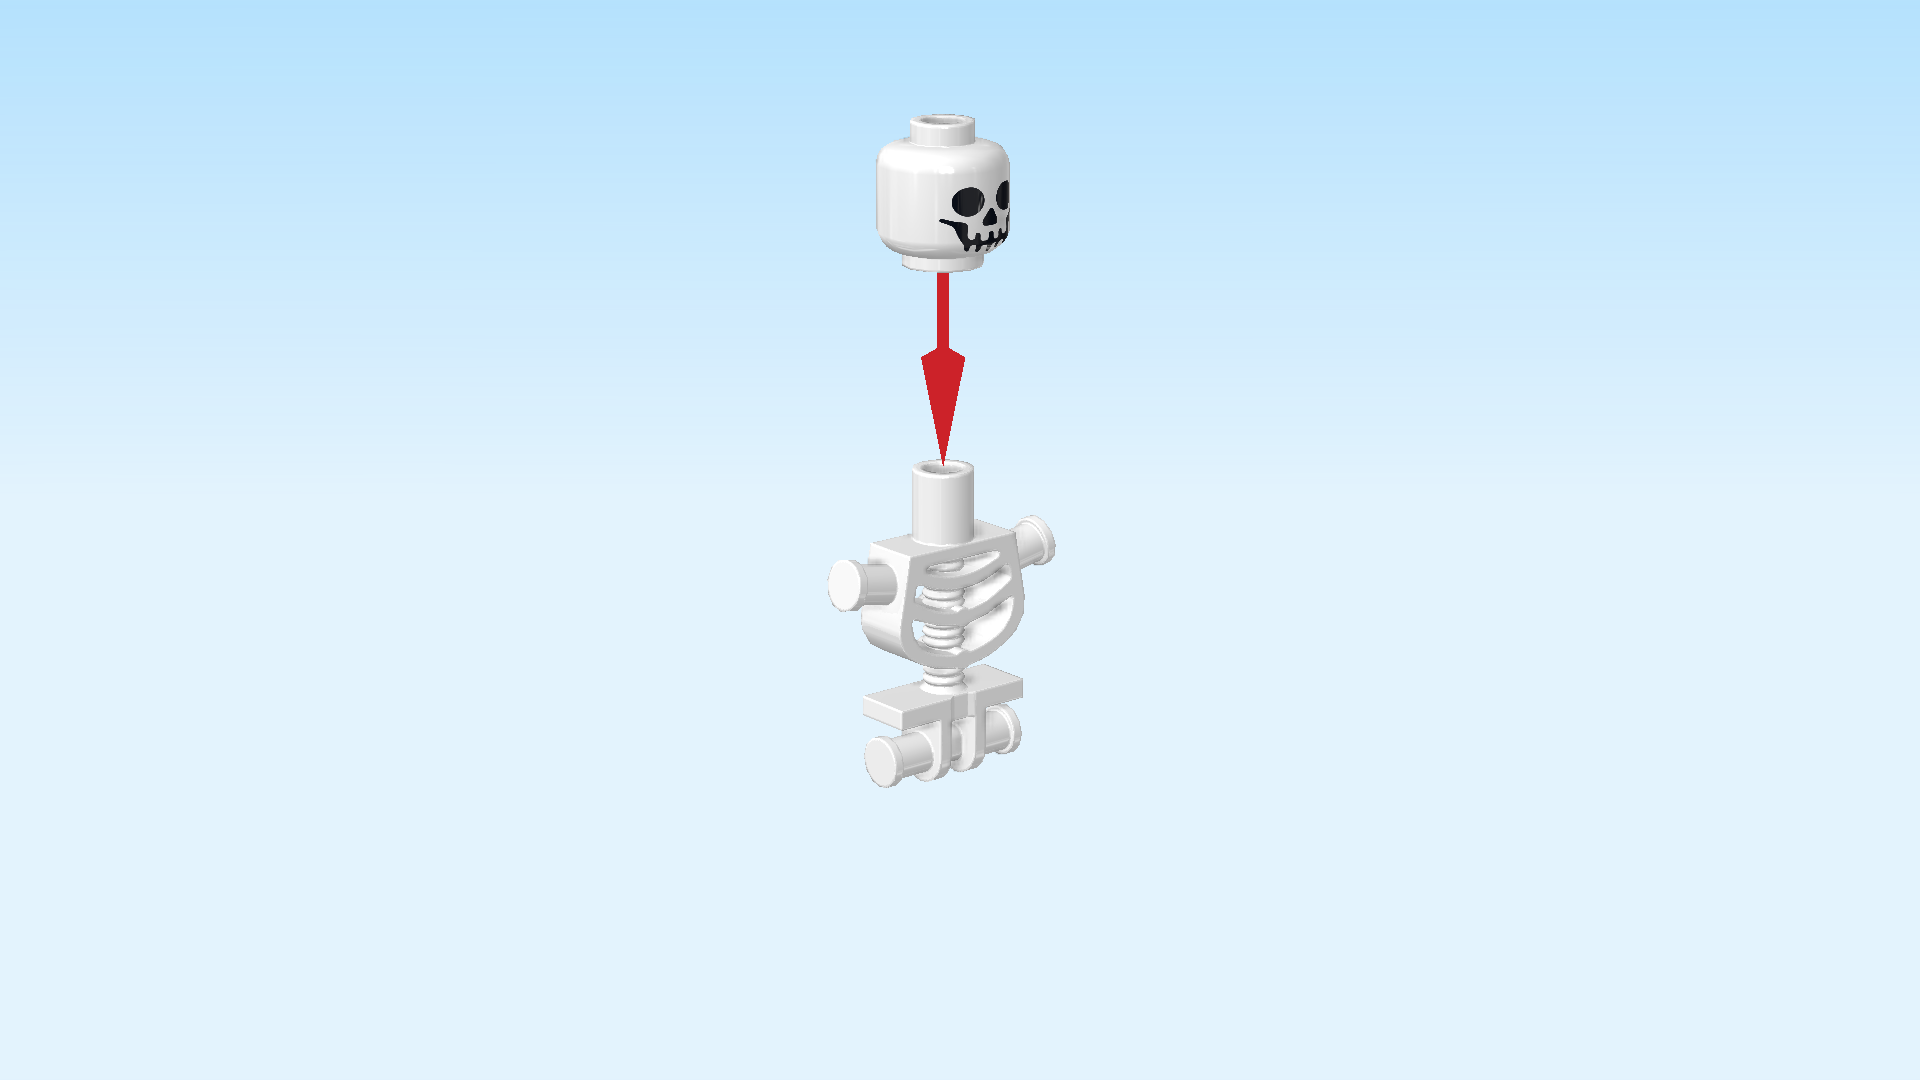
| 1 white skeleton torso with 2 arm shafts and 2 leg shafts, |
| and 1 white Minifigure head. |
| Put the head on the top connector of the skeleton torso. It is printed with a skull with 2 black circles for eye sockets, a black triangle for the nose opening and a big skeleton grin. |
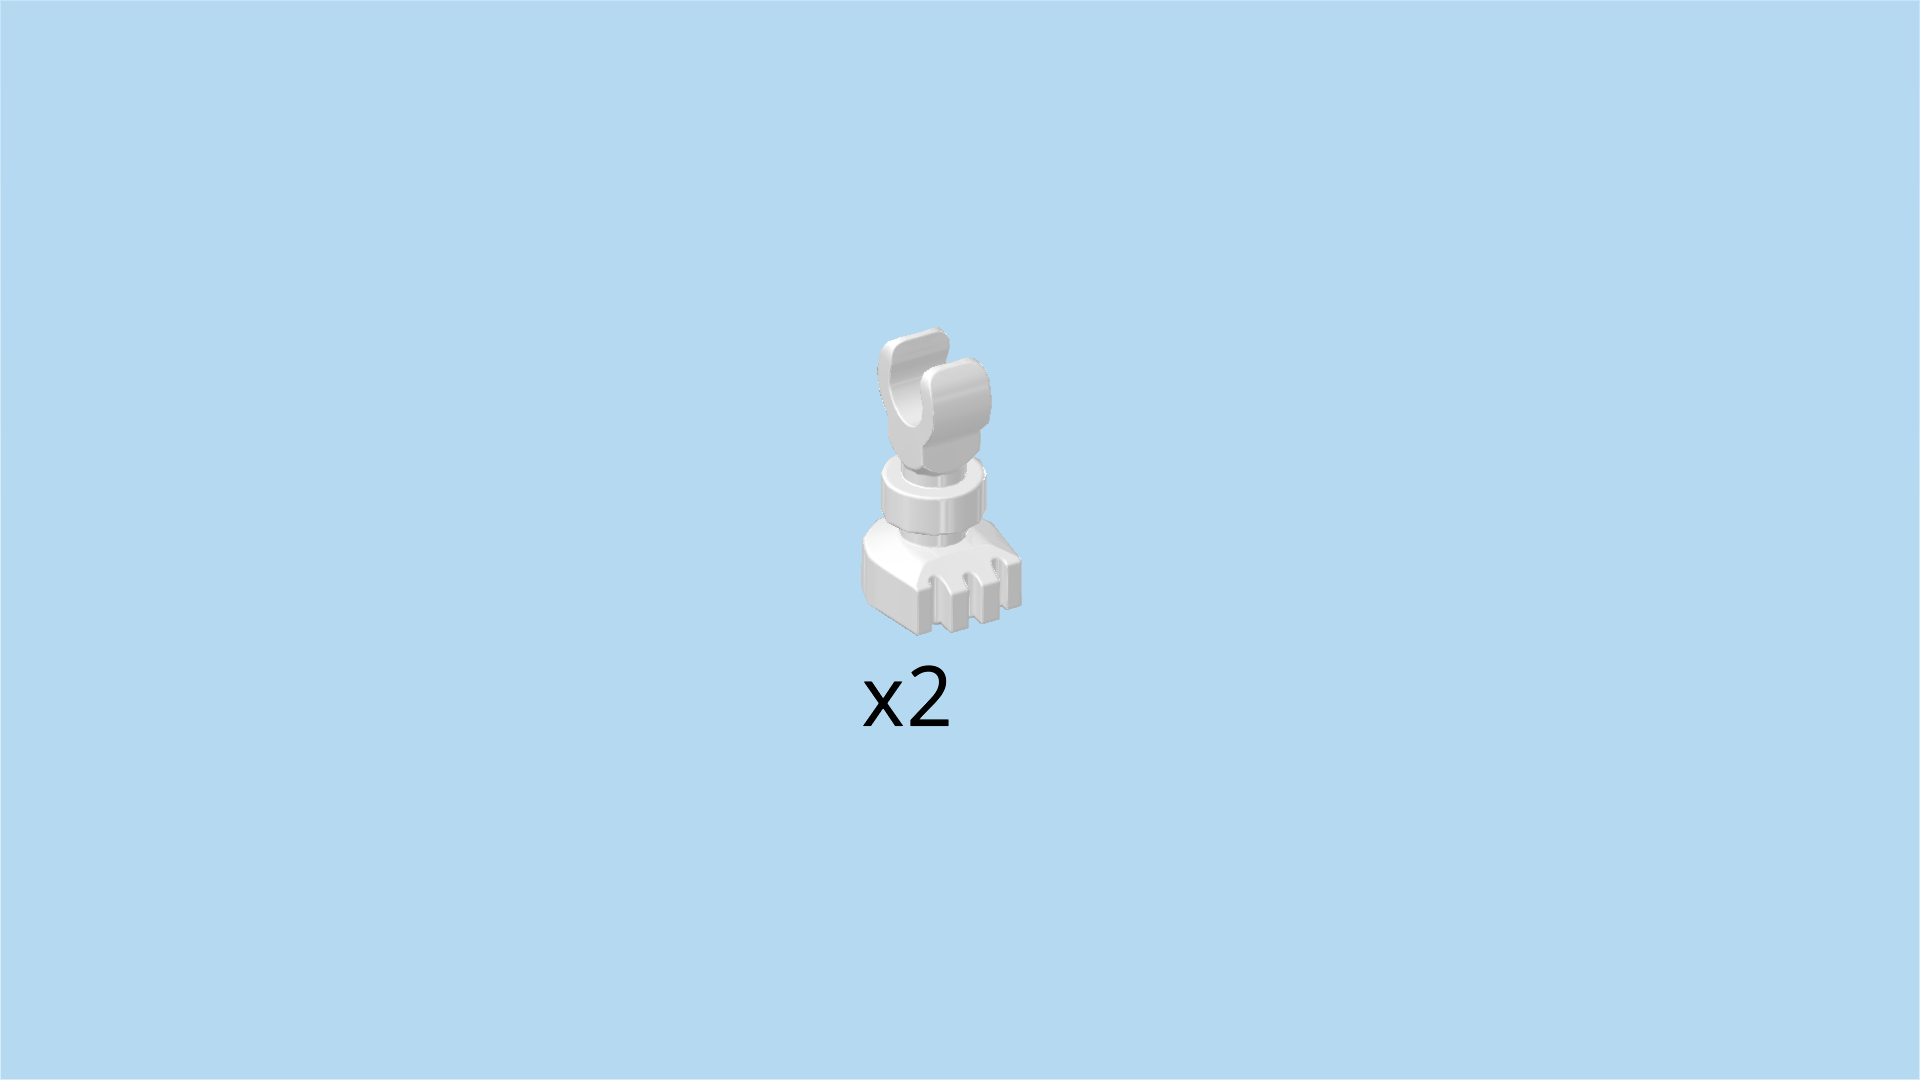
| Find 2 white skeleton feet 1x1 with top clasp. |
| Snap their clasps into the 2 bottom shafts. Make sure the little toes are pointing to the front. |
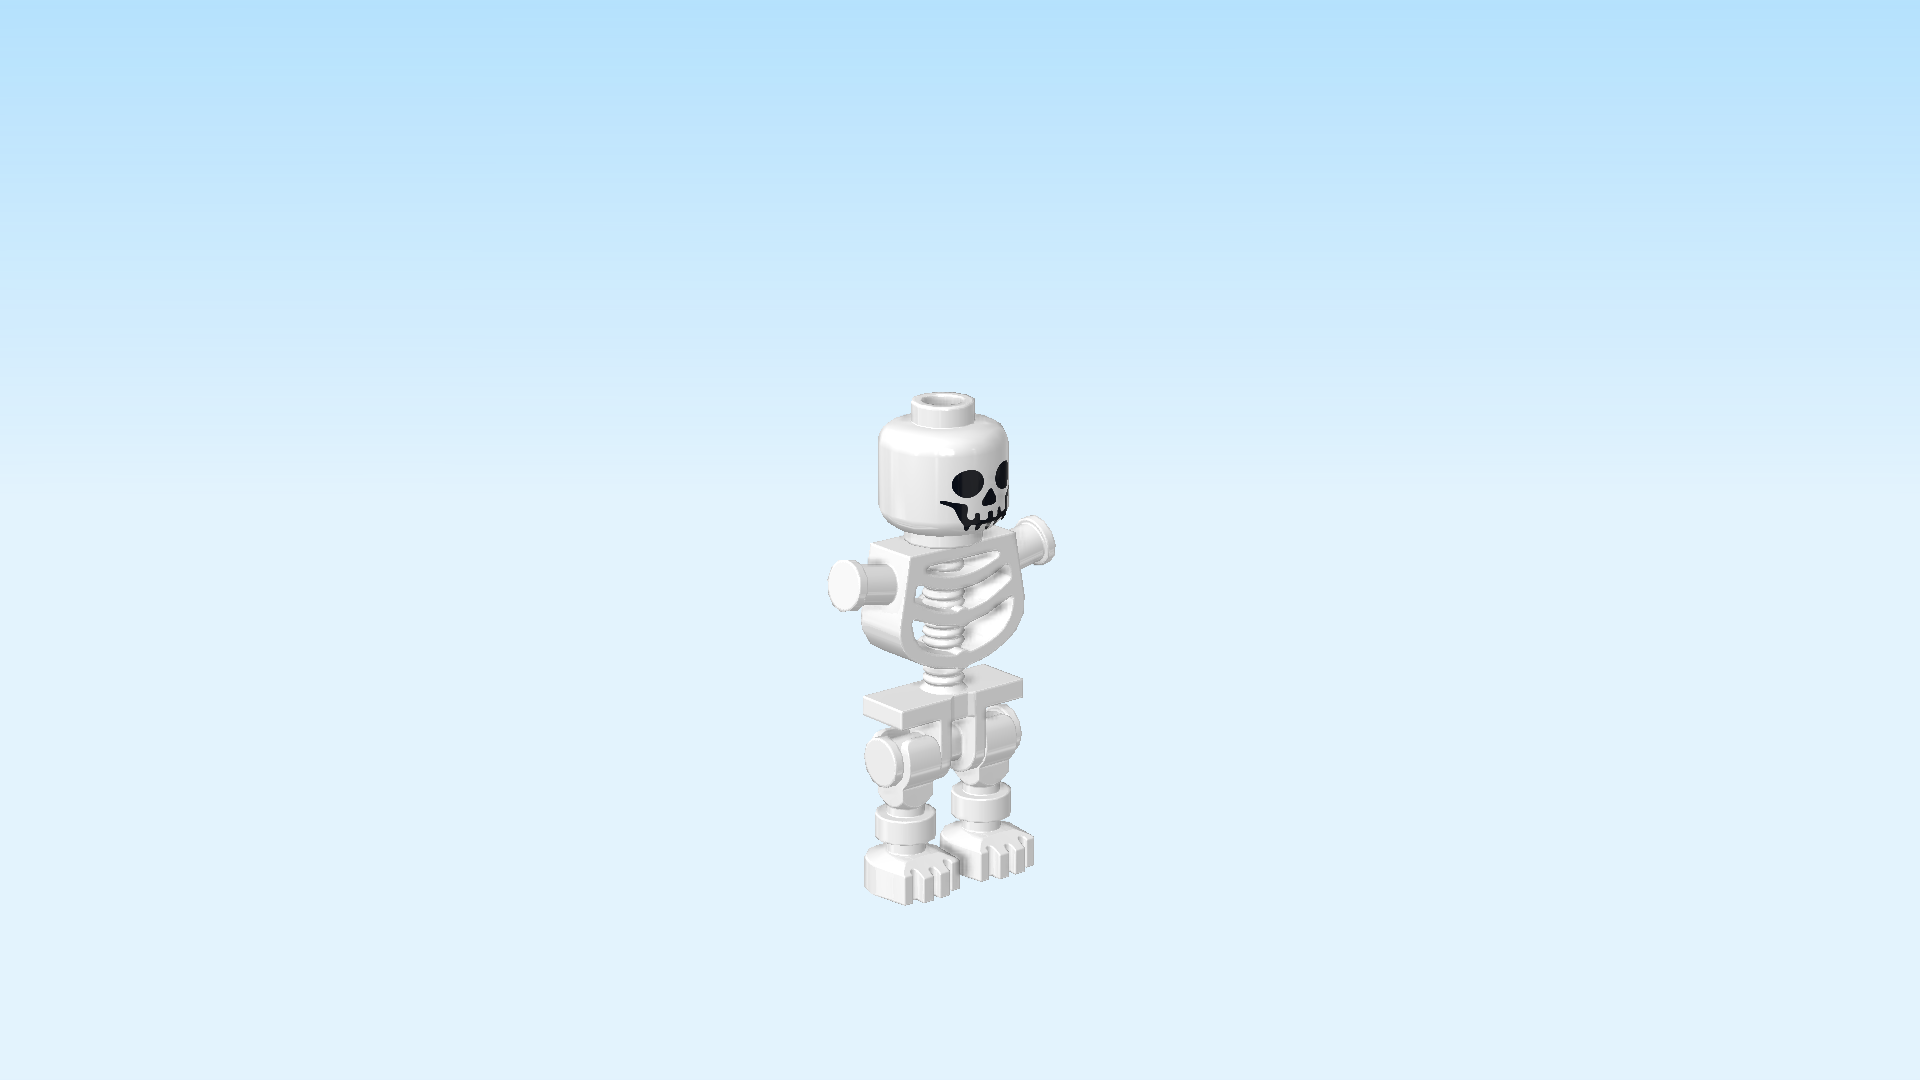
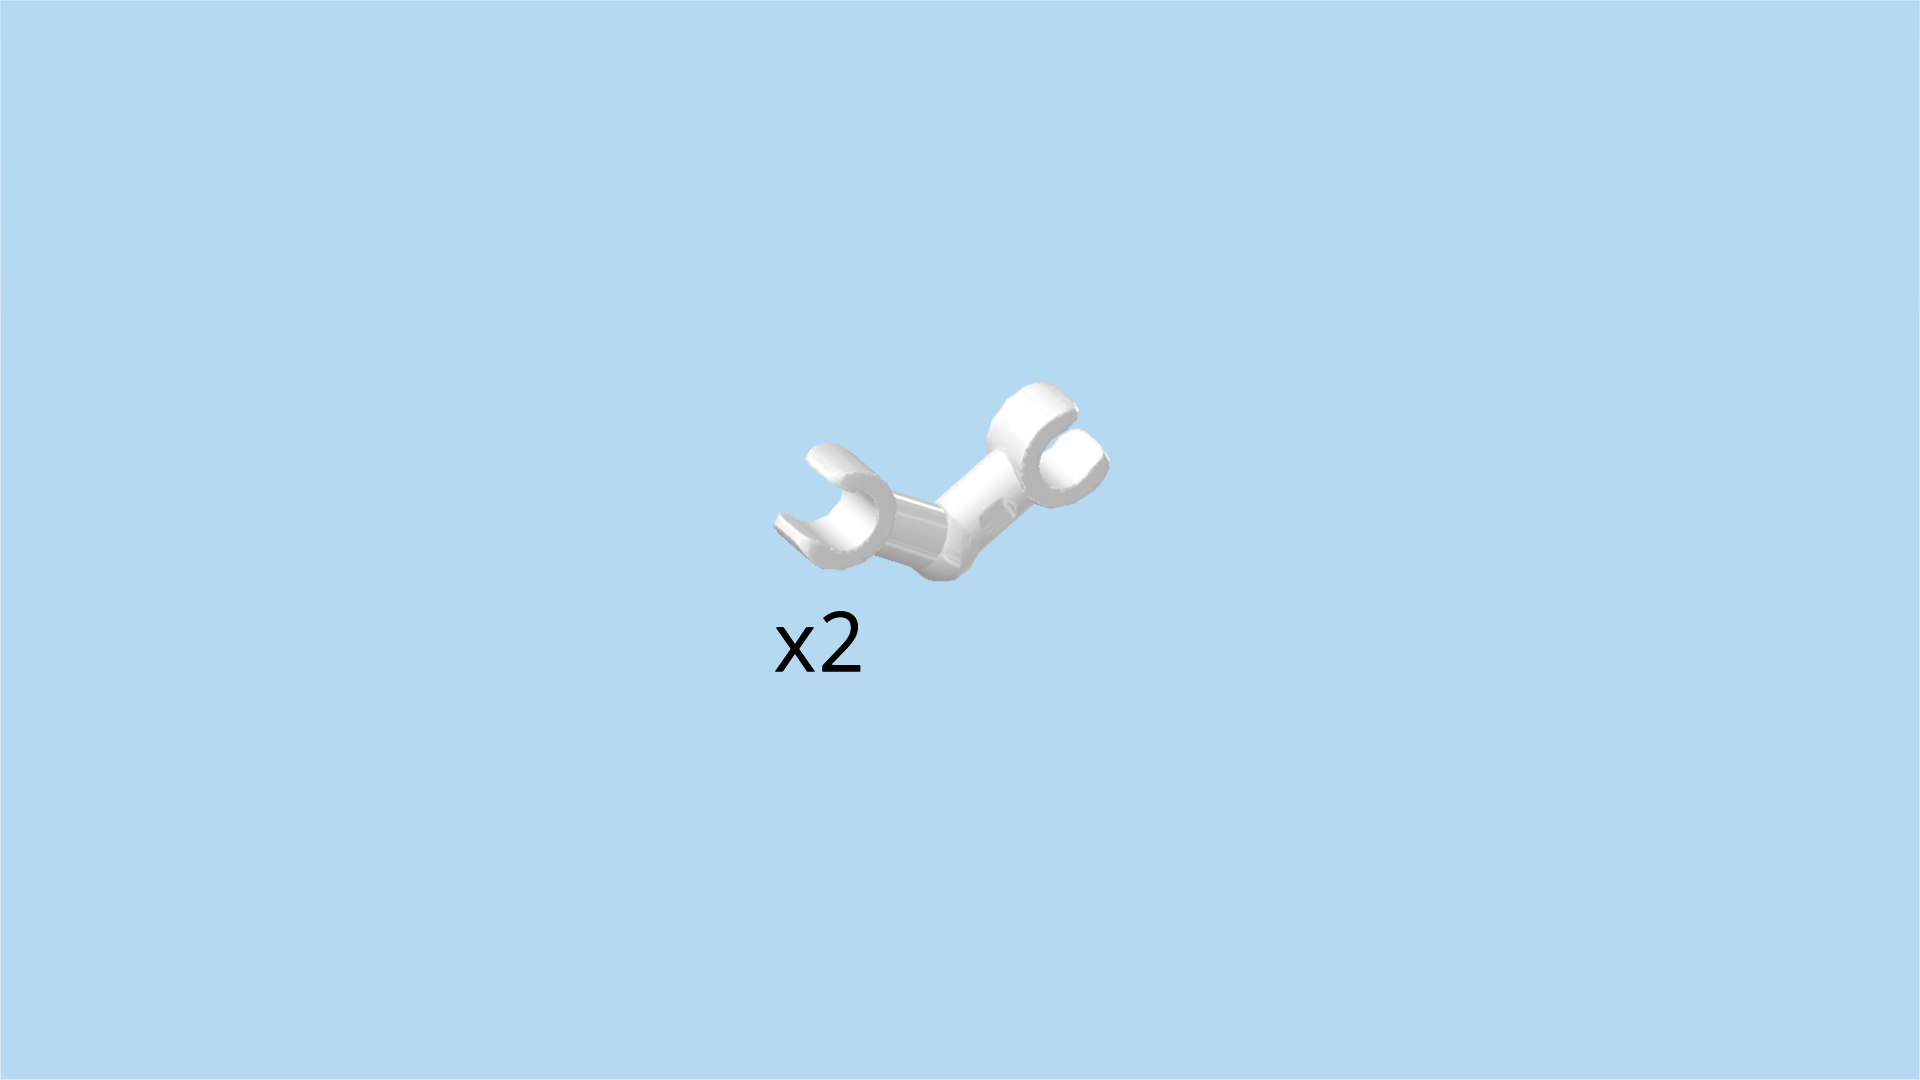
| Find 2 white bent skeleton arms with 2 clasps. |
| Using either clasp, snap the arms on the 2 arm shafts on the left and right side. Make sure the elbows are pointing down. |
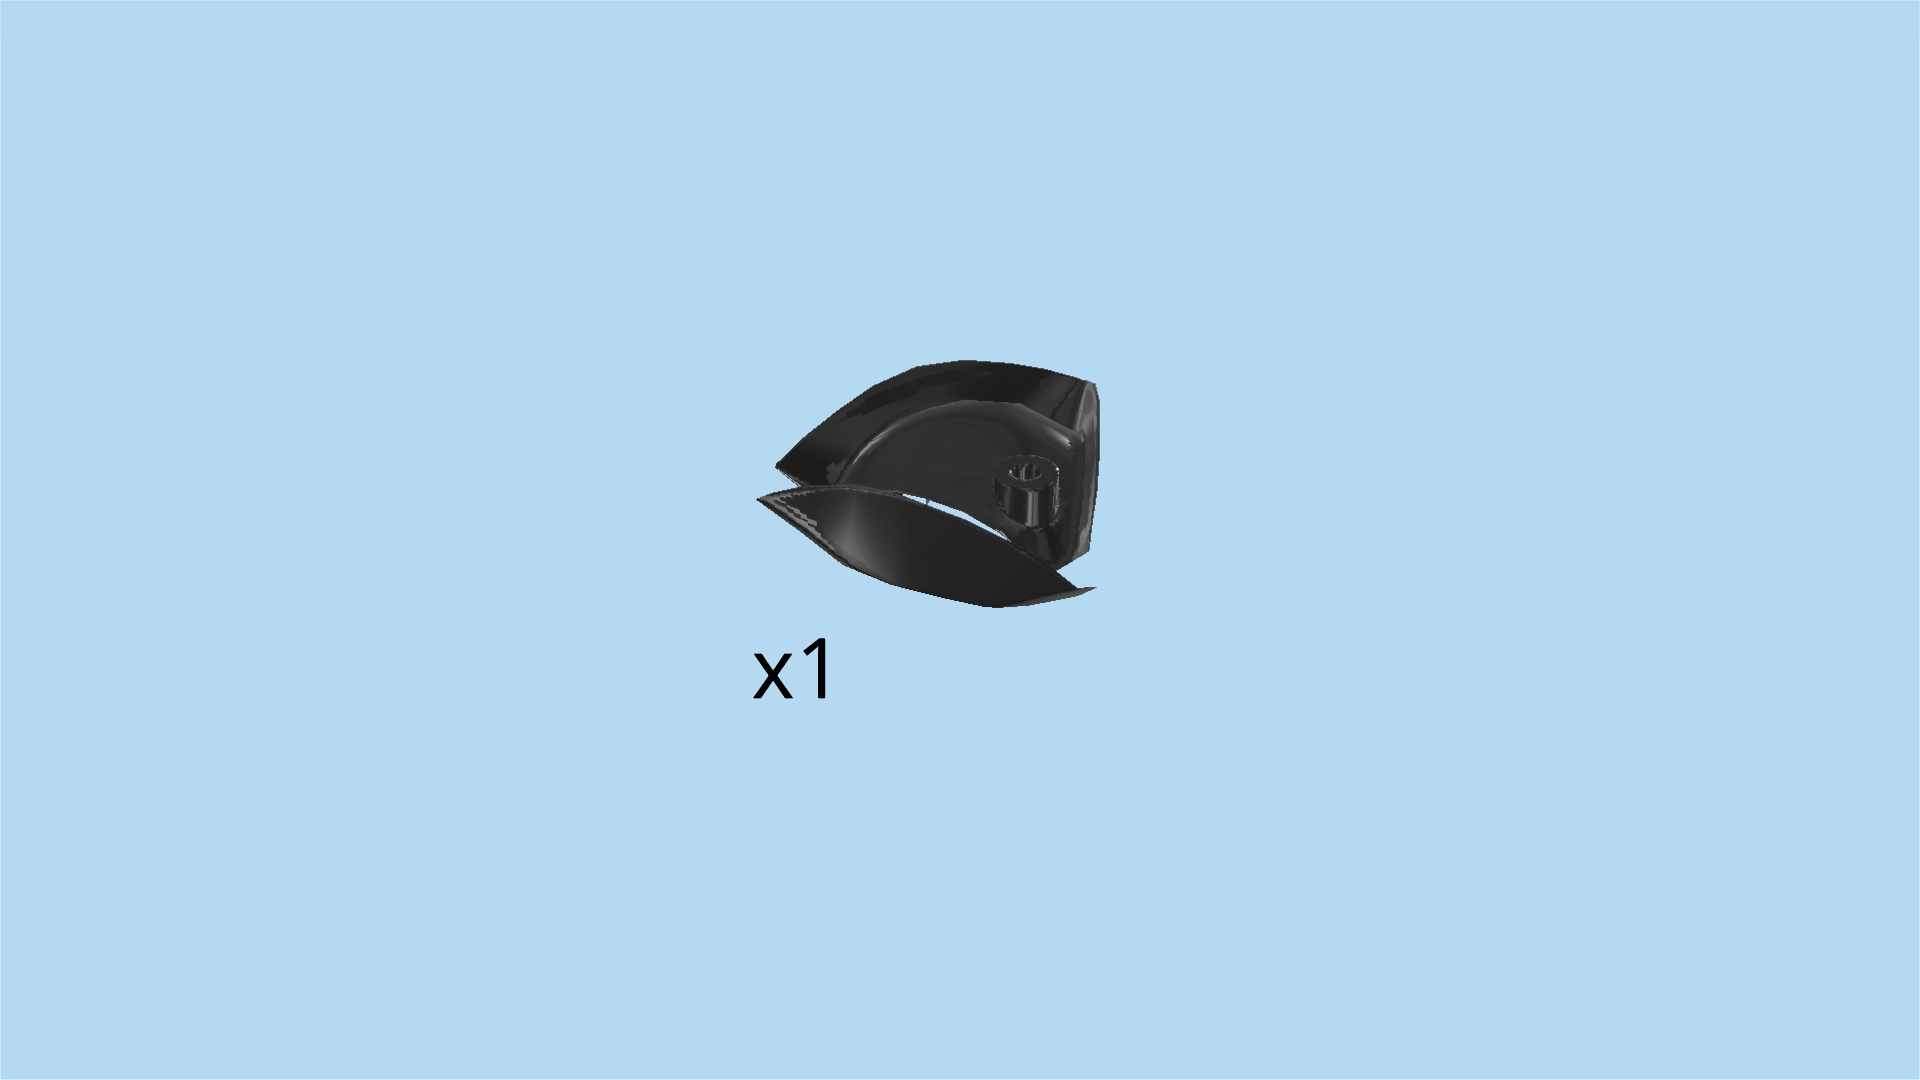
| Find 1 black three-cornered hat. |
| Put it on the head of the skeleton. |
| The scary skeleton Minifigure is finished! Great job! It is the guardian of the diamond treasure. Do you think it will be able to defend it against Chuck D. Goldberg? |
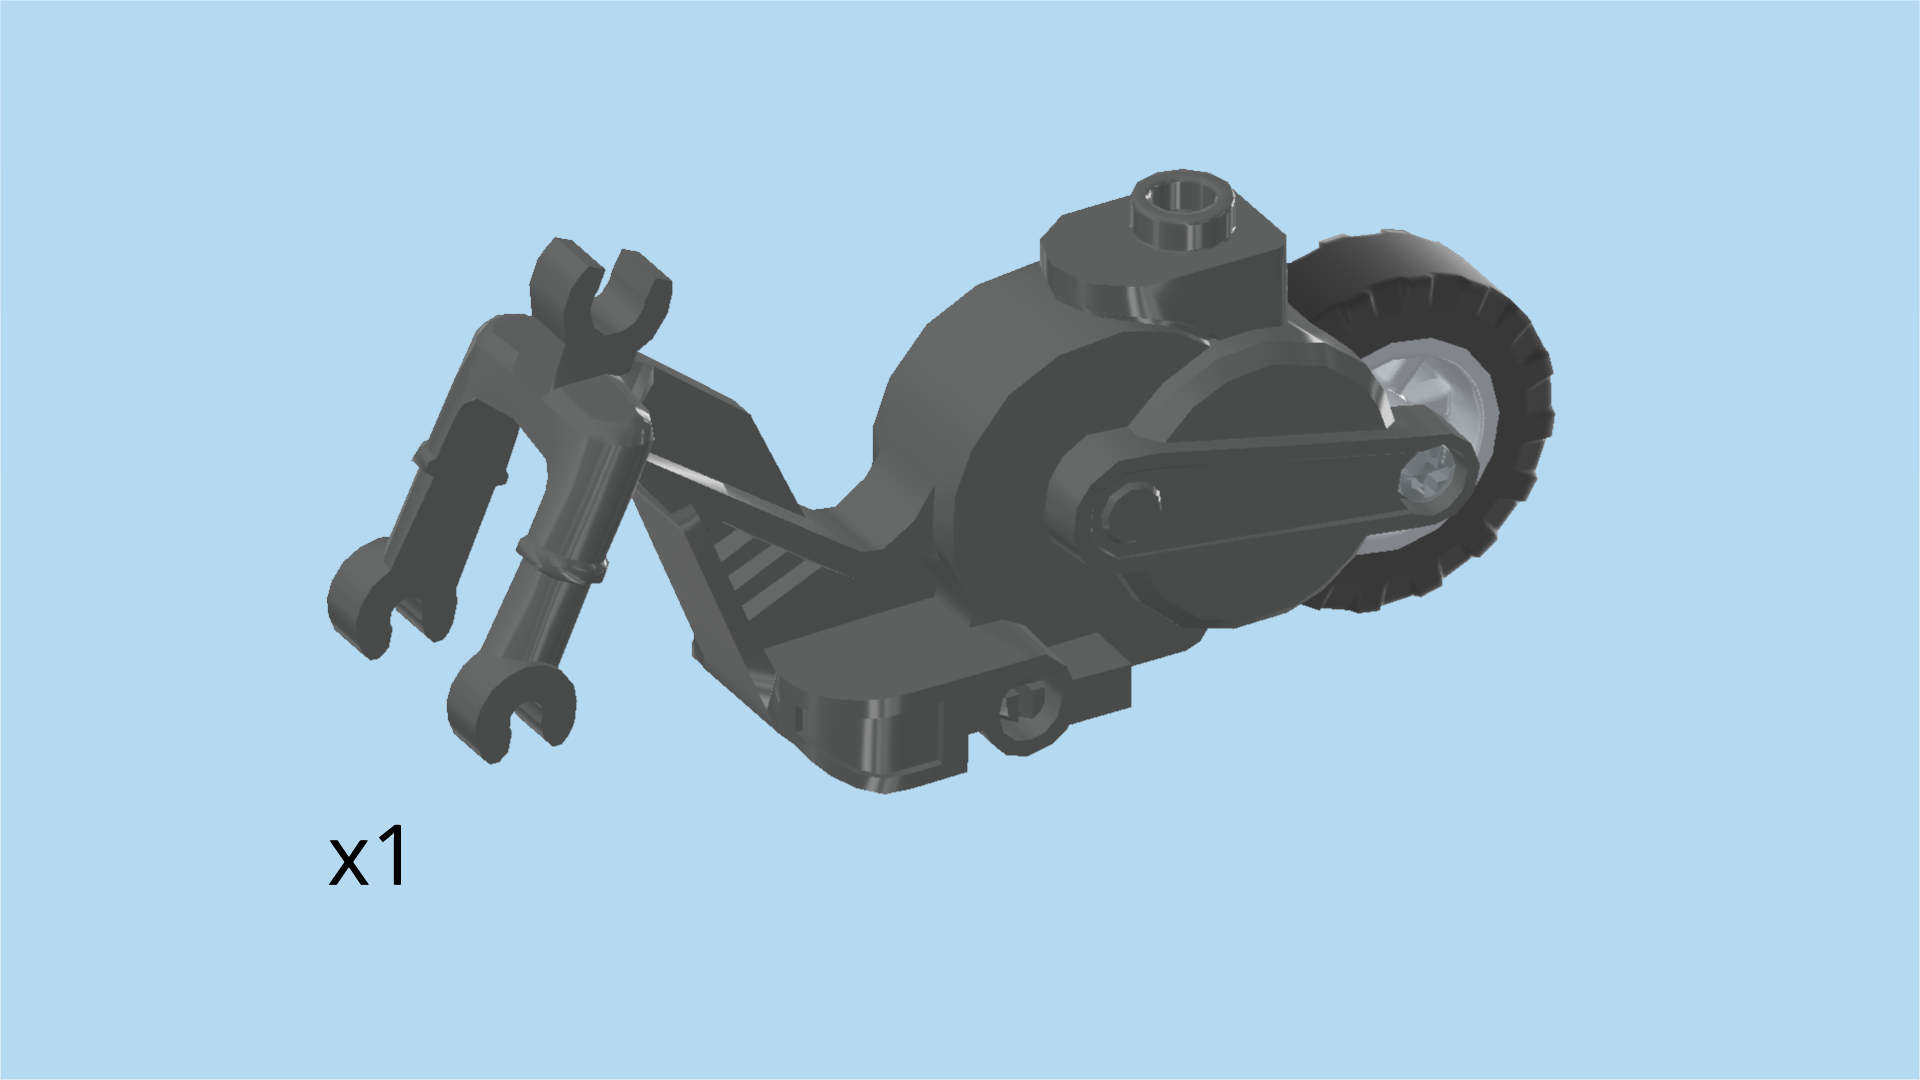
| Next, we will build the stunt bike. |
| Find 1 medium stone grey, black, dark stone grey and silver metallic motorcycle frame with flywheel. |
| Put it horizontally on the table, flywheel to the right. |
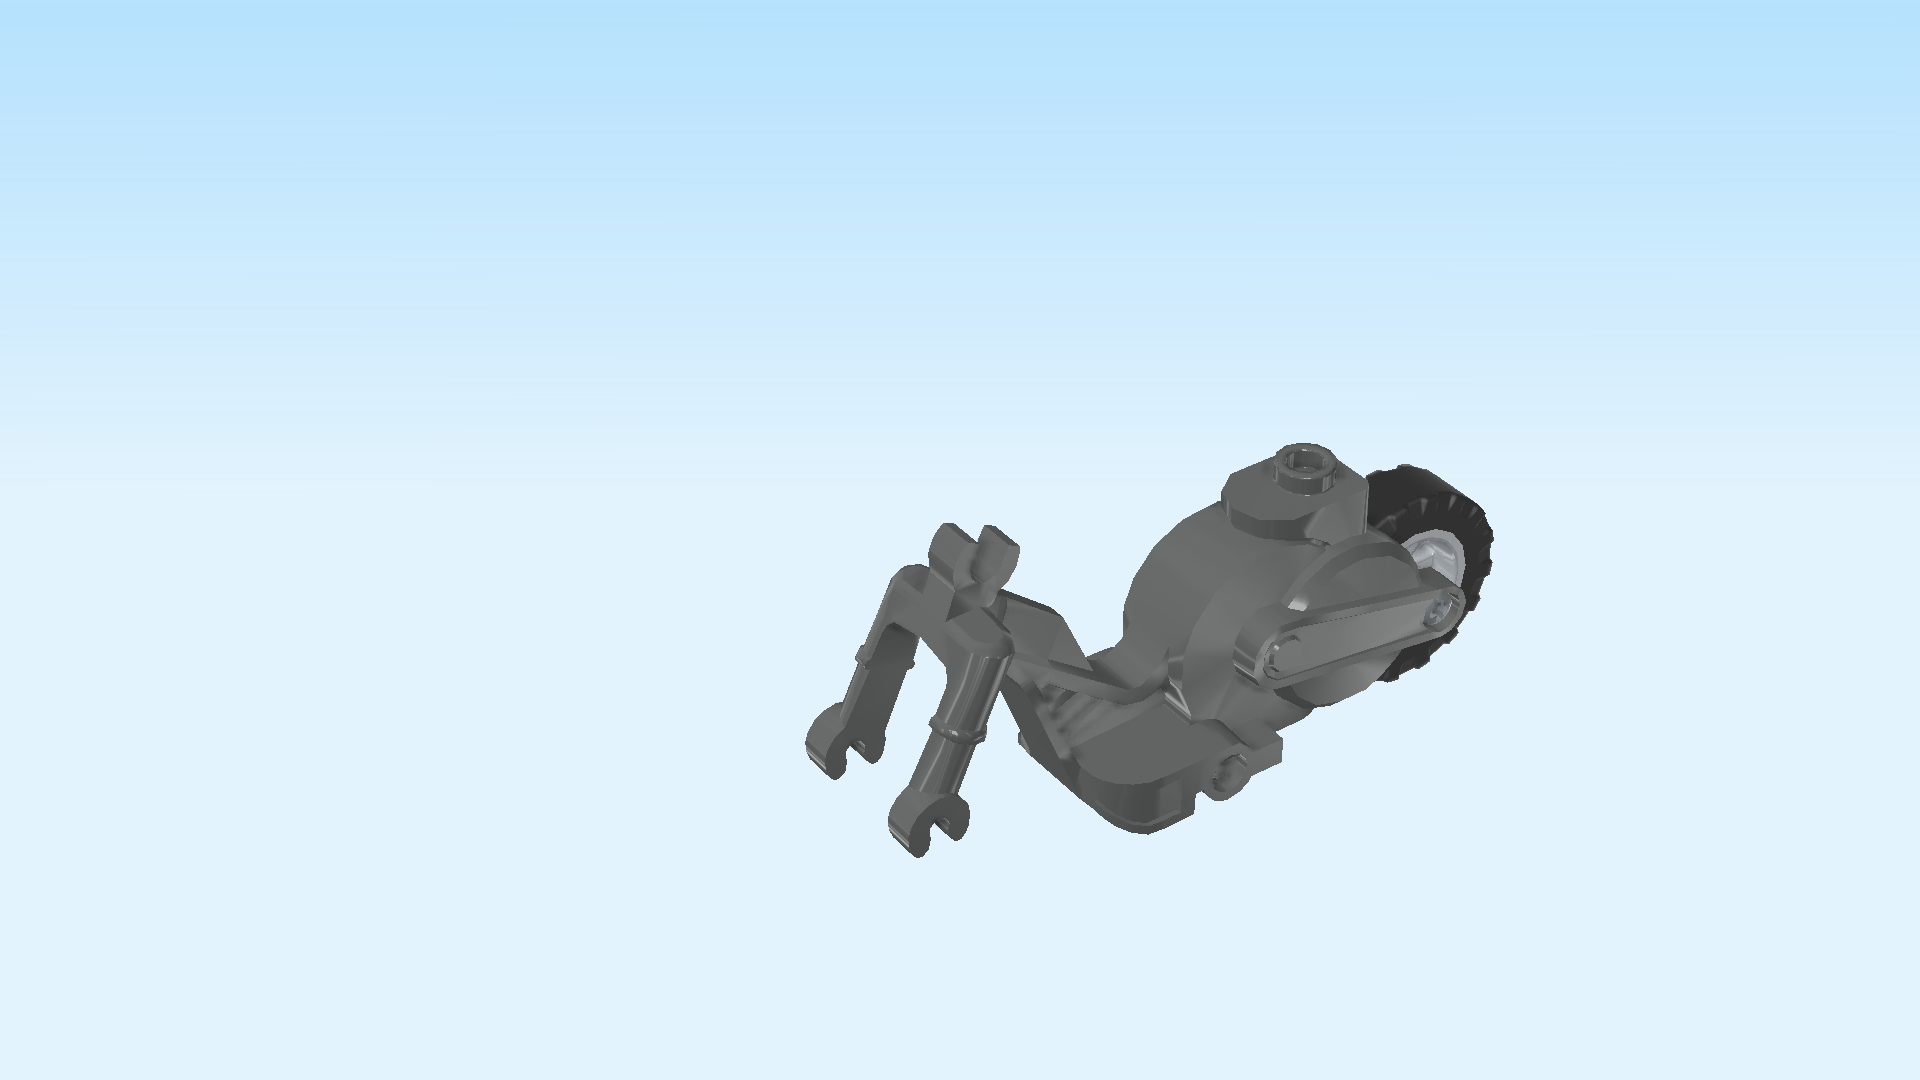
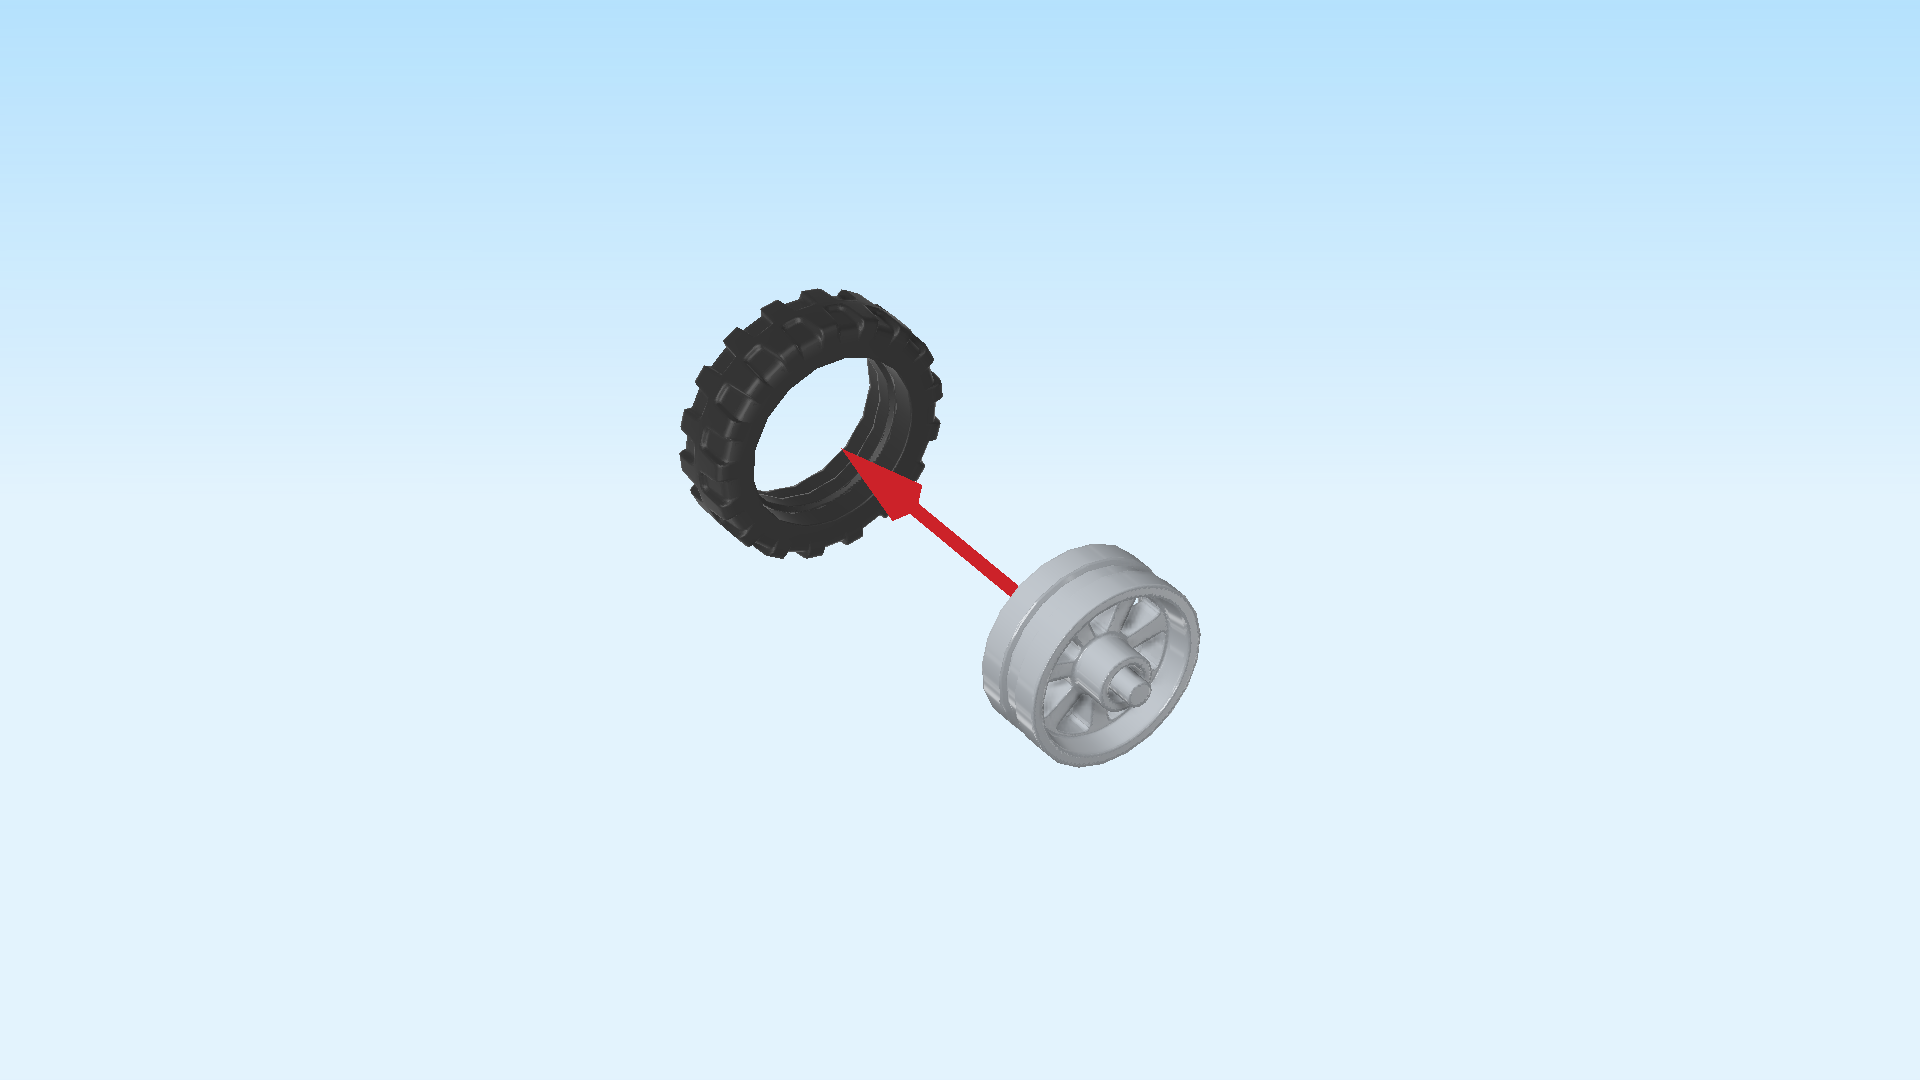
| Next up, we assemble the front wheel of the bike. |
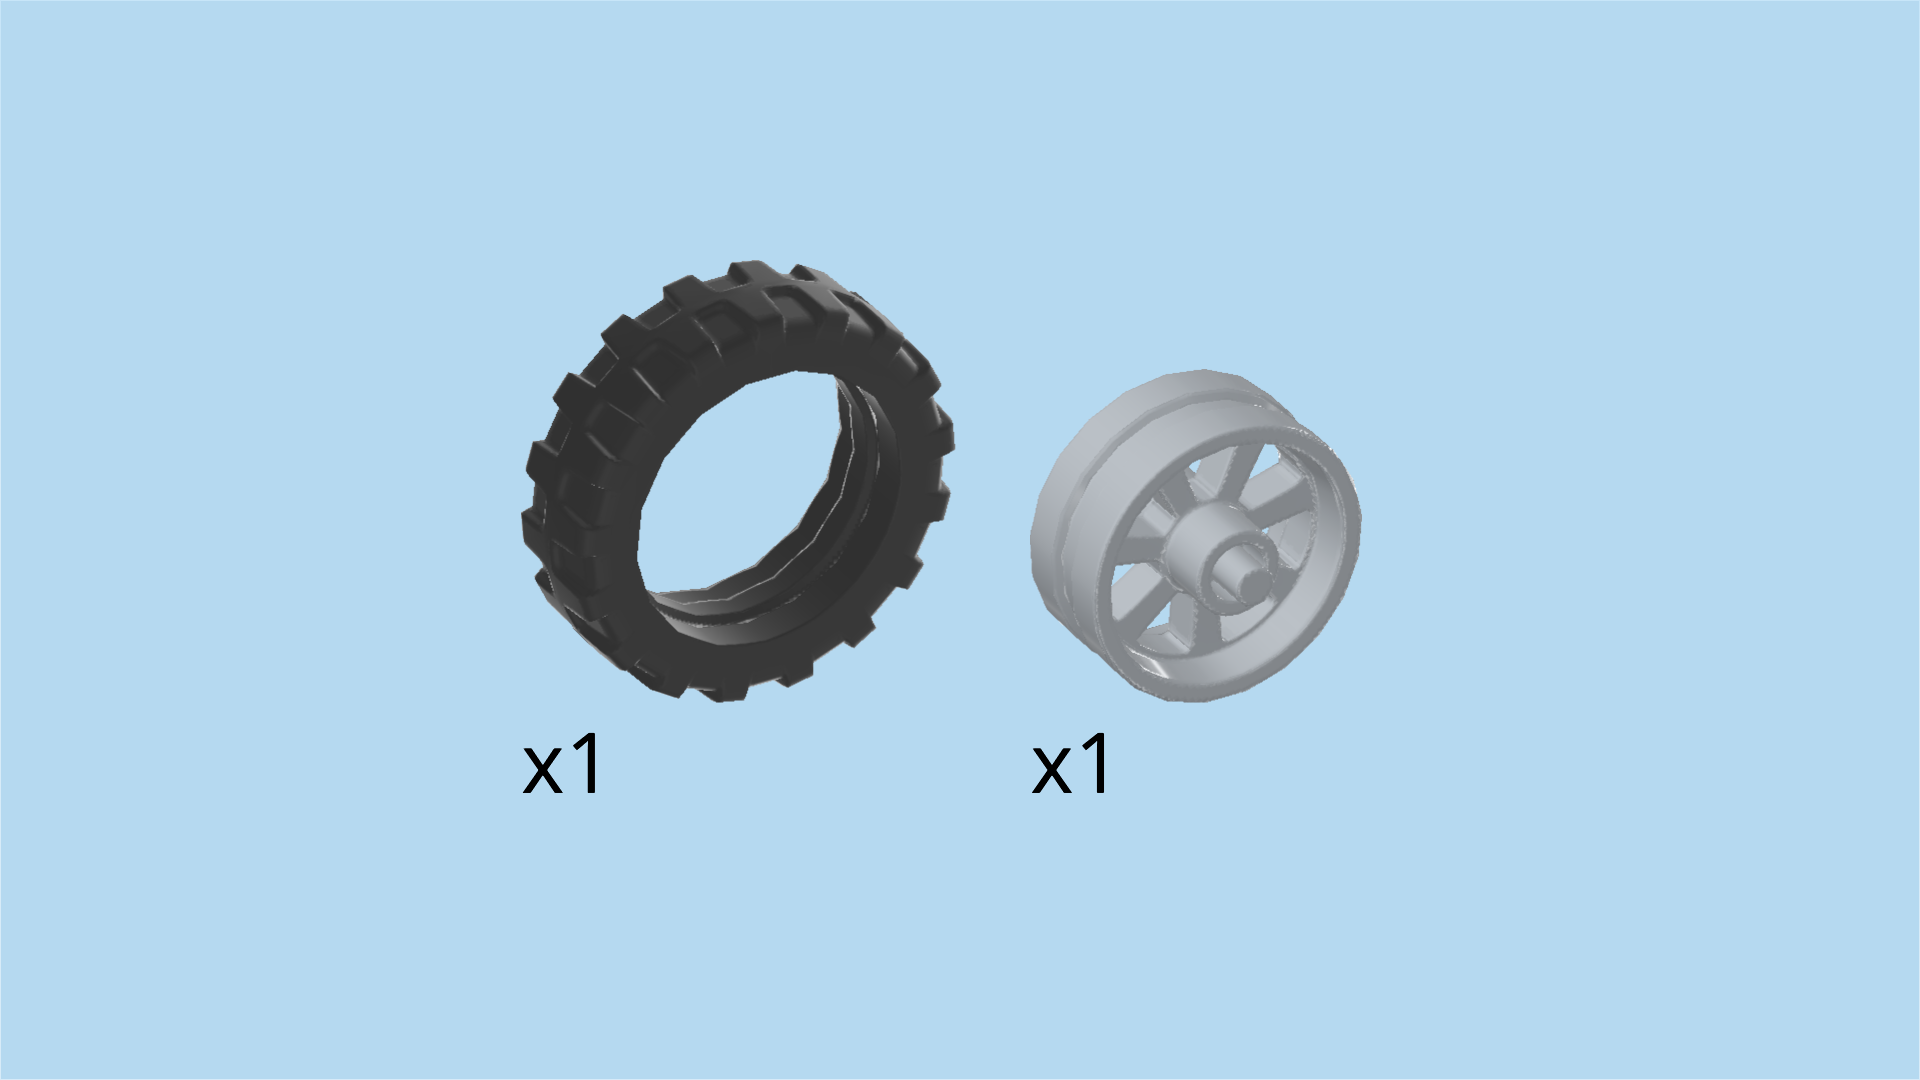
| Collect the following 2 pieces: |
| 1 black rubber tire with high profile, |
| and 1 medium stone grey motorcycle rim with pins and spokes. |
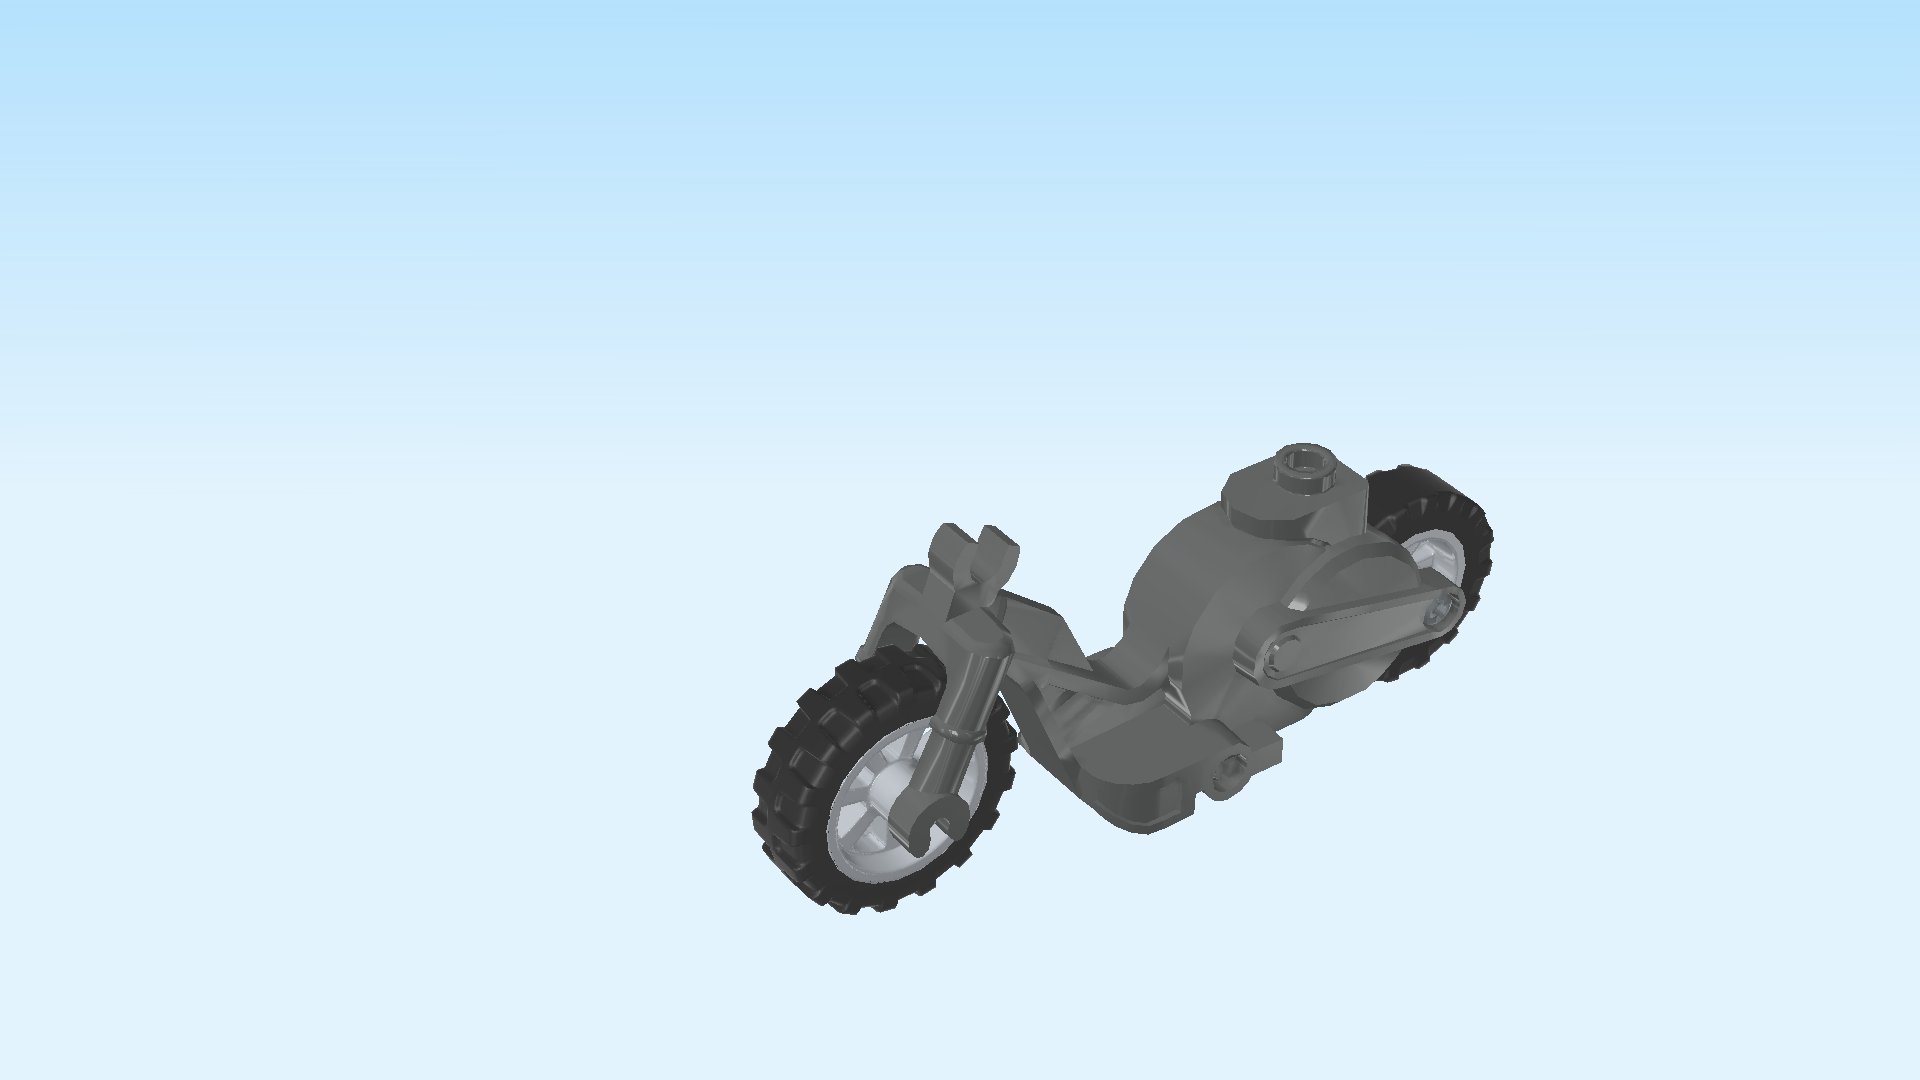
| Put the tire around the rim. |
| Snap the spokes of the rim into the front wheel fork on the motorcycle frame. |
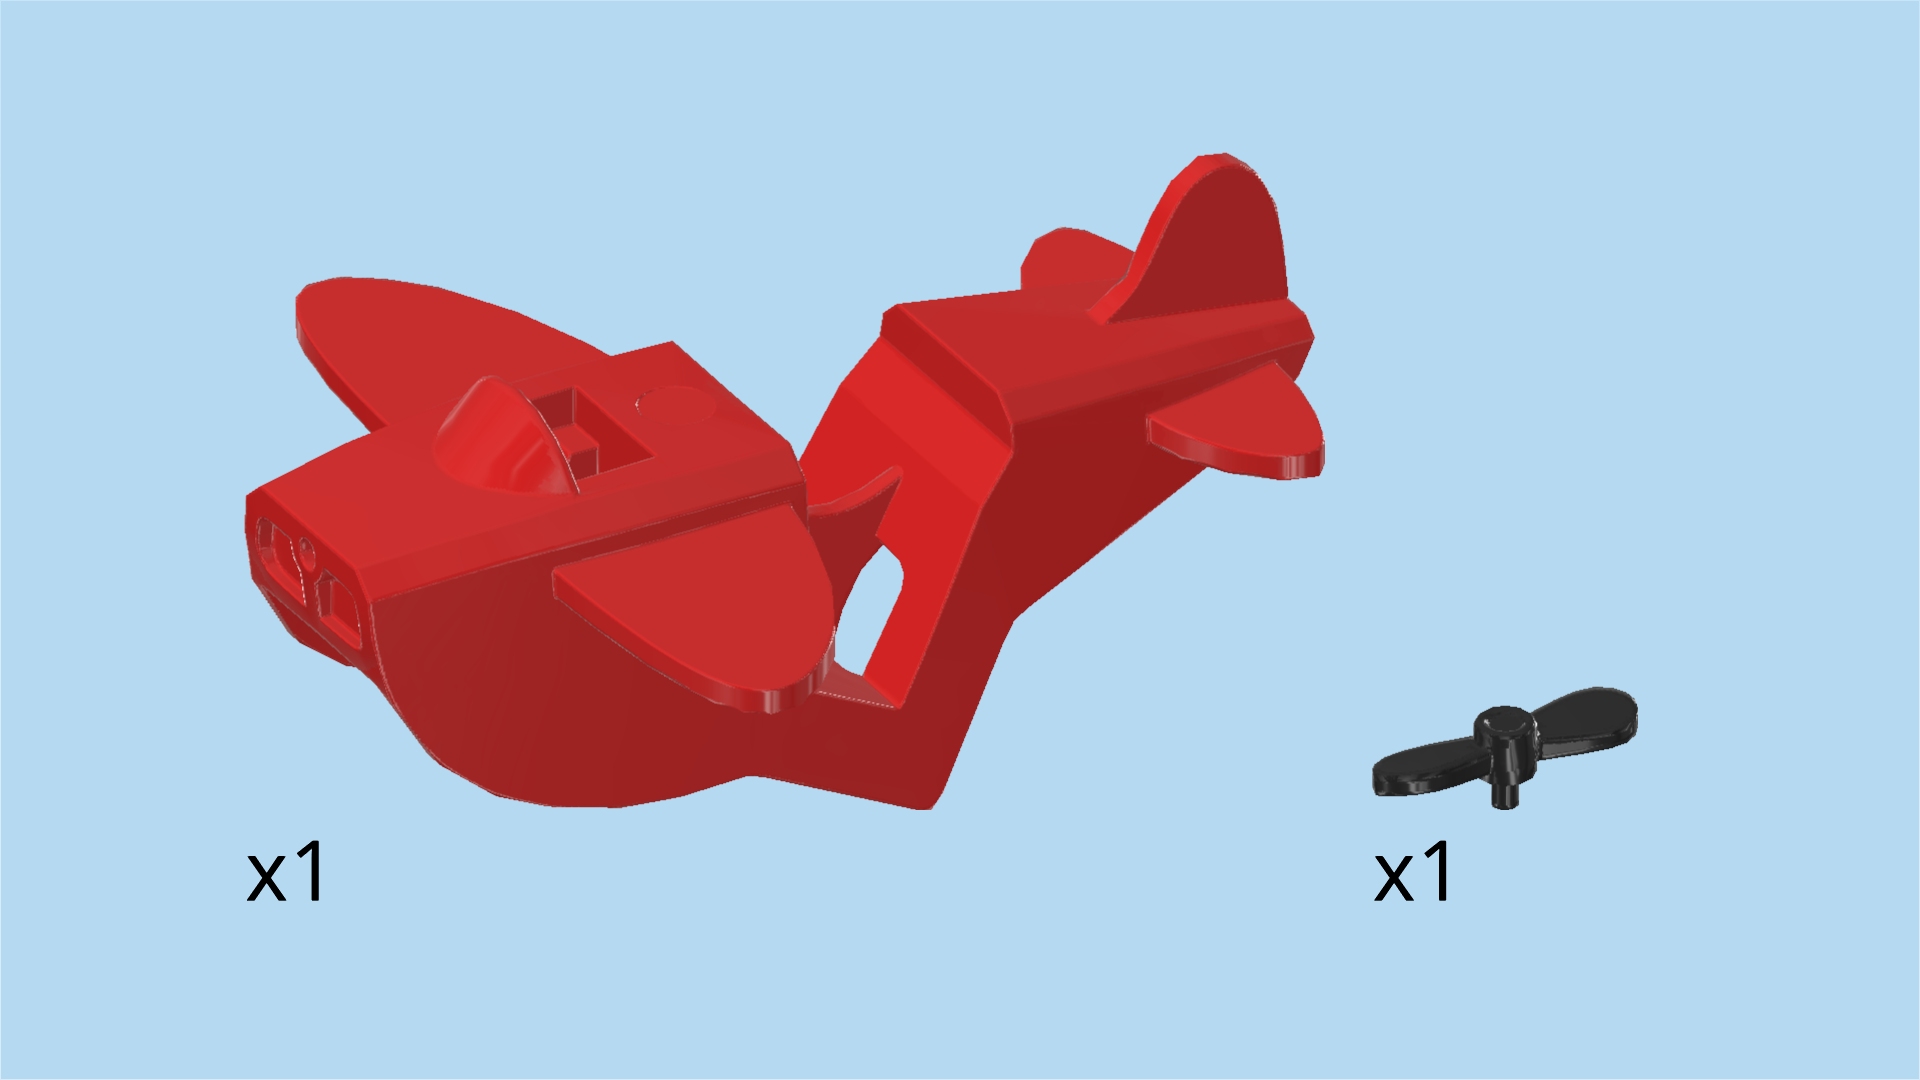
| Collect the following 2 pieces: |
| 1 bright red motorcycle fairing in airplane design, |
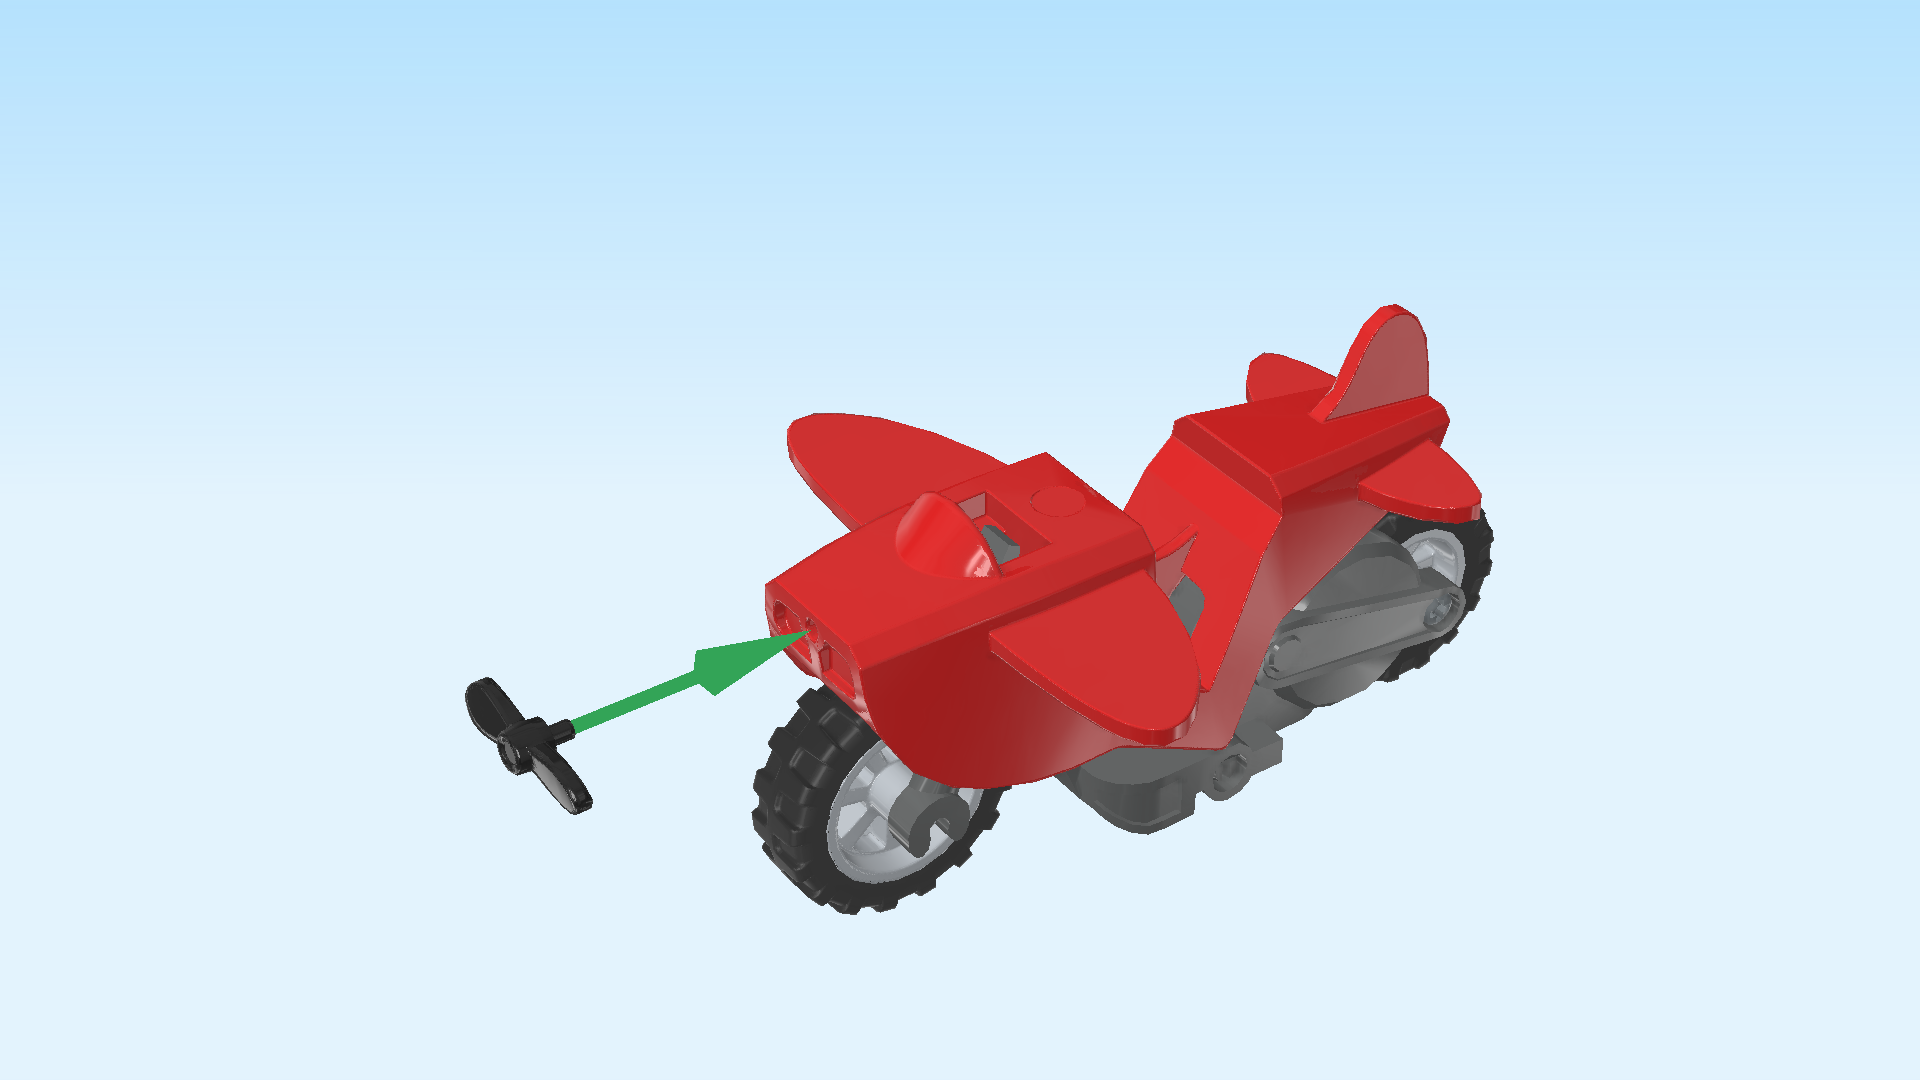
| and 1 black 2-winged propeller with pin. |
| Put the motorcycle fairing on top of the motorcycle frame. Make sure the 2 larger side wings are more on the left, and the 2 small wings and rear fin are on the right. |
| Insert the pin of the 2-winged propeller into the small side hole on the left side surface. This hole is located above the front wheel on the fairing. |
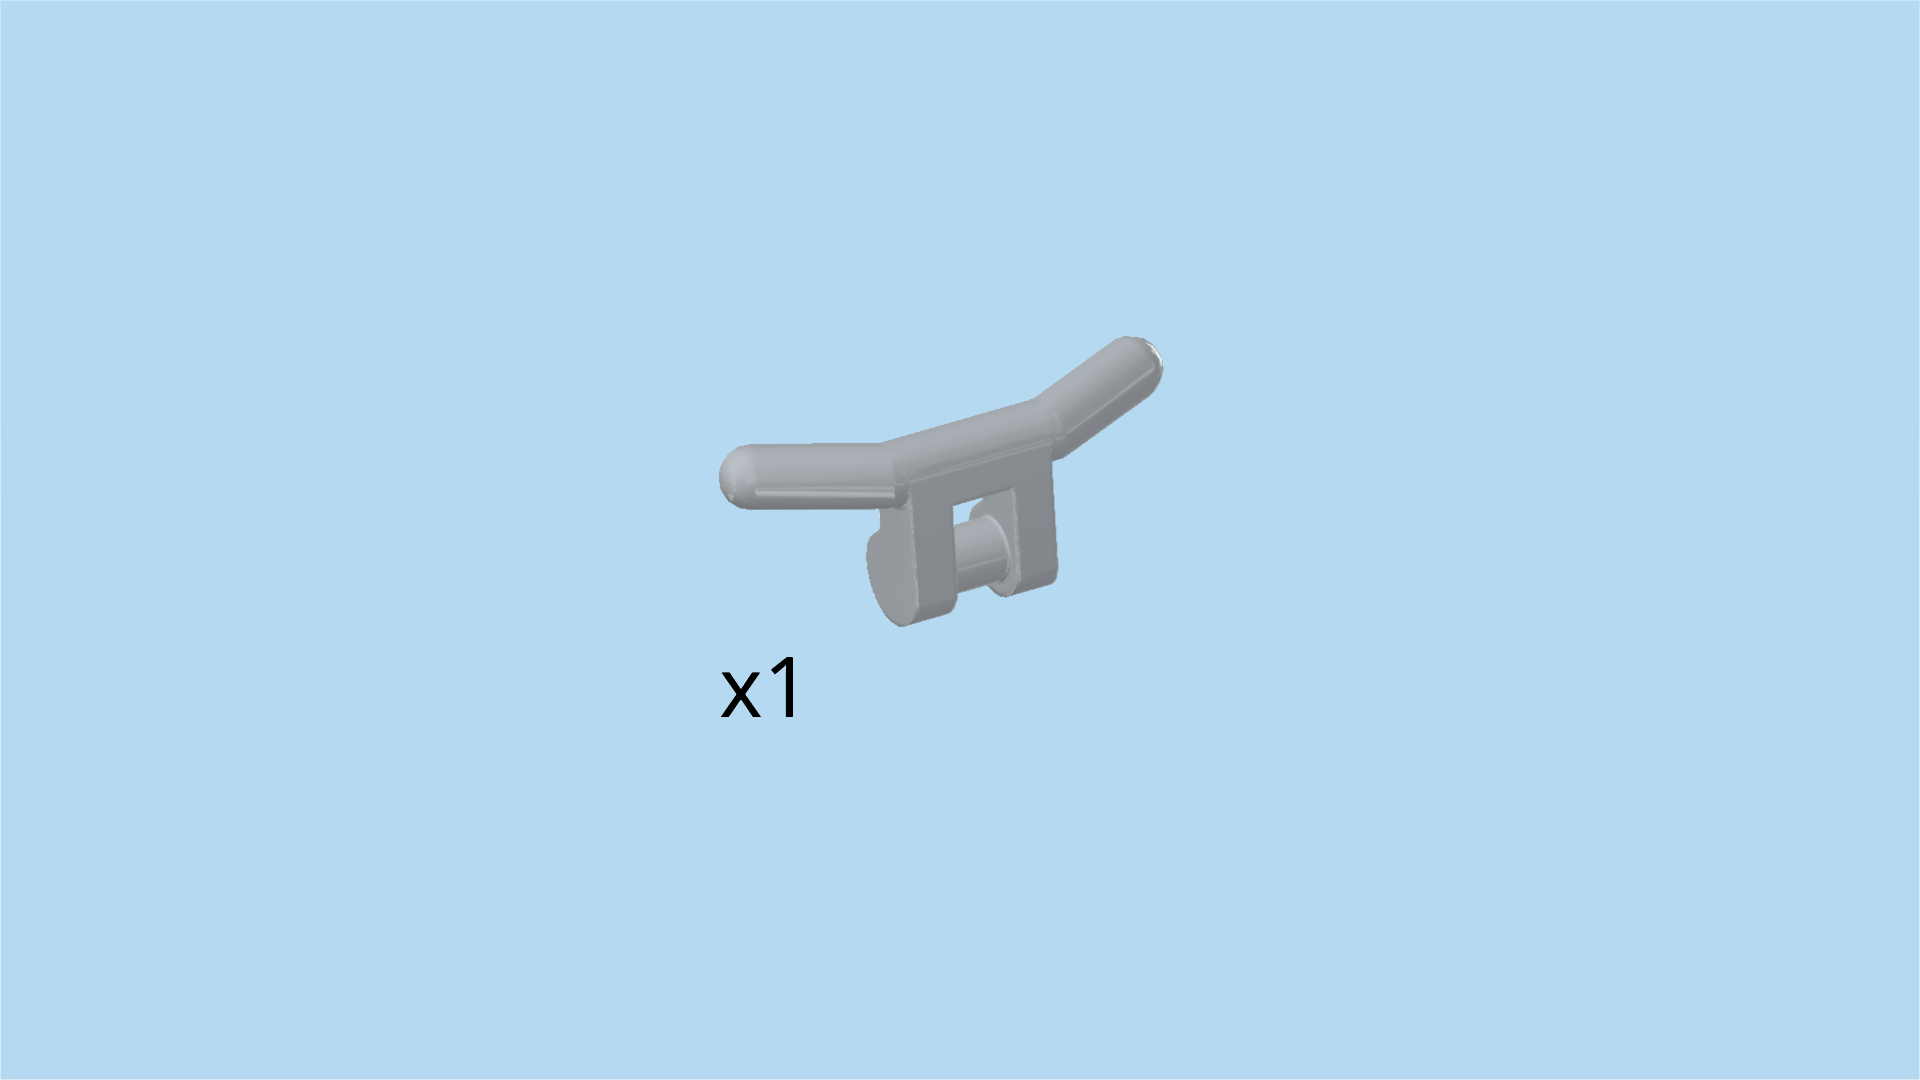
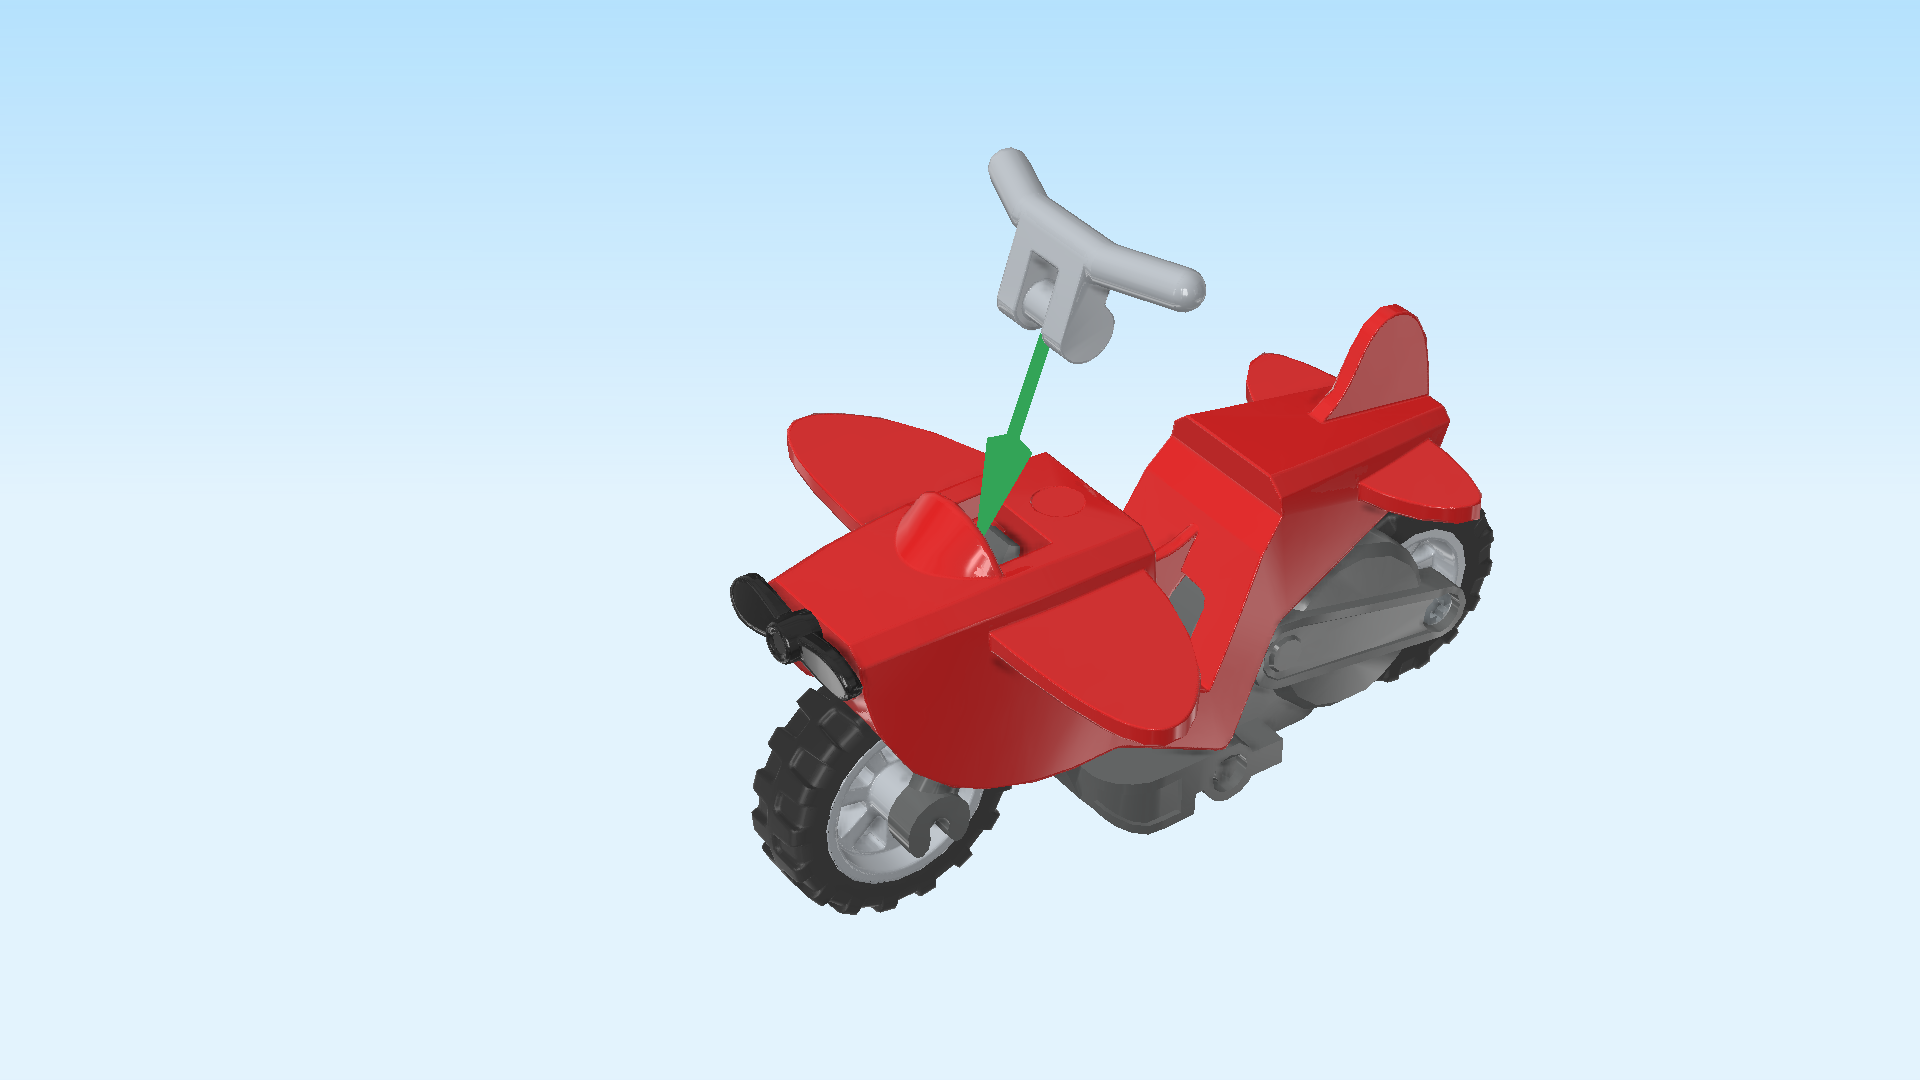
| Find 1 medium stone grey handlebar with bottom shaft. |
| Insert it into the opening on the top surface in the left half of the fairing, and snap the bottom shaft into the clasp there. |
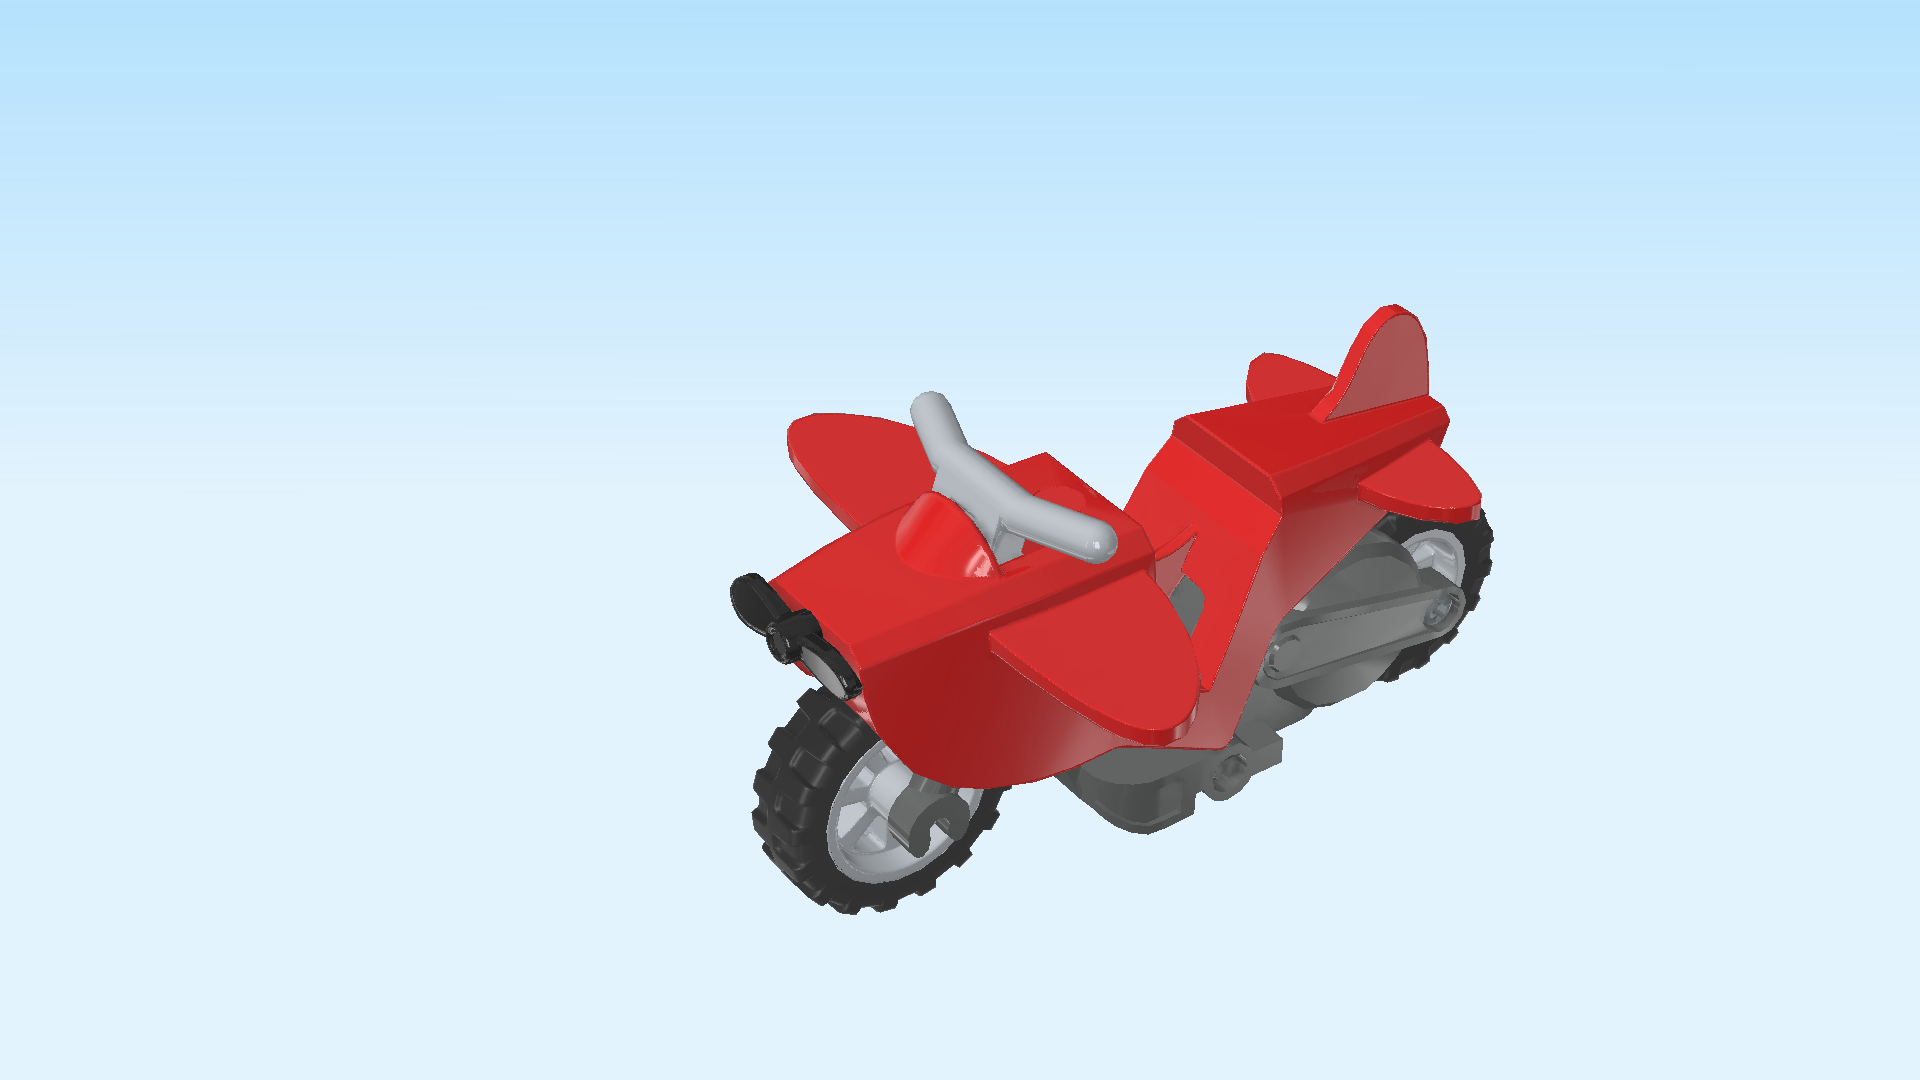
| The stunt bike is finished! Well done! Put the helmet on Chuck's head and take the stunt bike for a spin! As you might know, stunts take a lot of practice and a swing flywheel will only show its full effect if you practice your stunts well. Take the bike and spin its wheels on the table forward several times before letting it go. This way you wind up the wheels with speed. The faster you spin it forward, the faster your bike will go once you release it! |
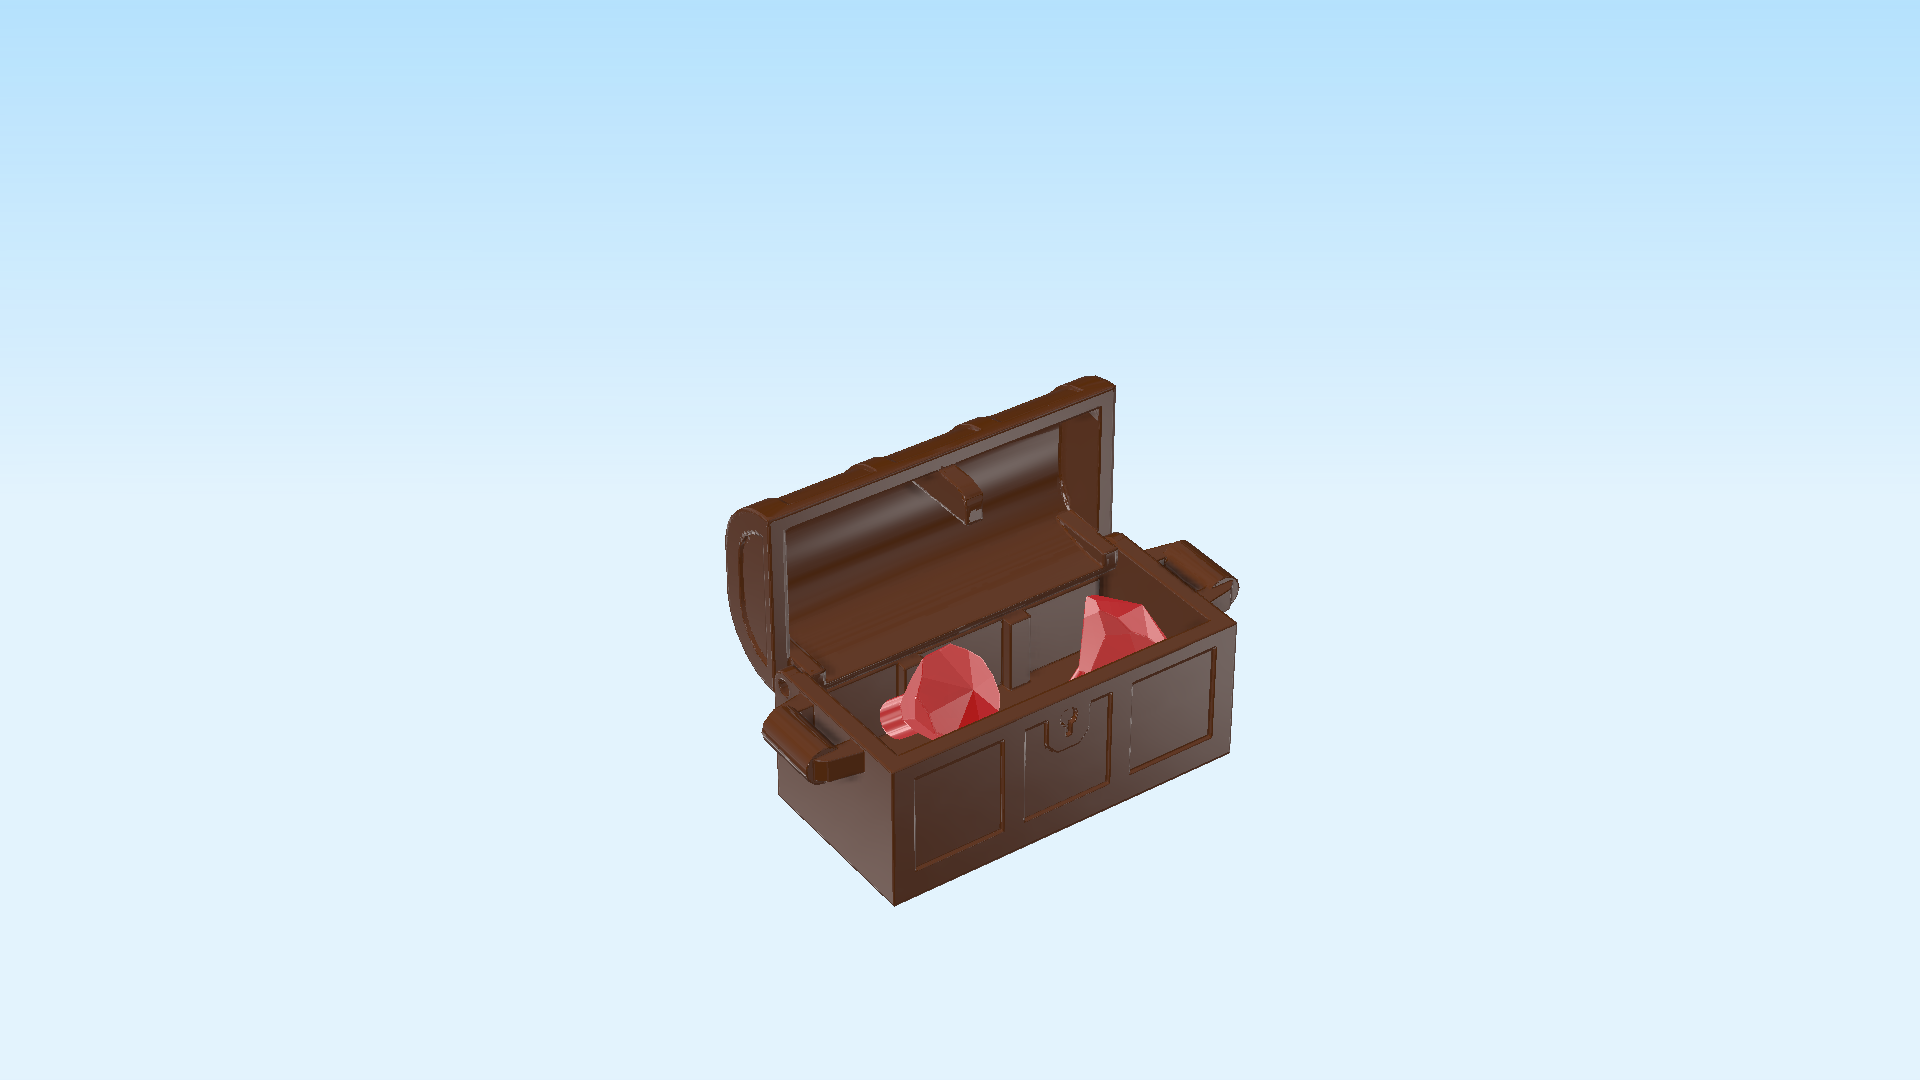
| Next up, we will build the treasure chest. |
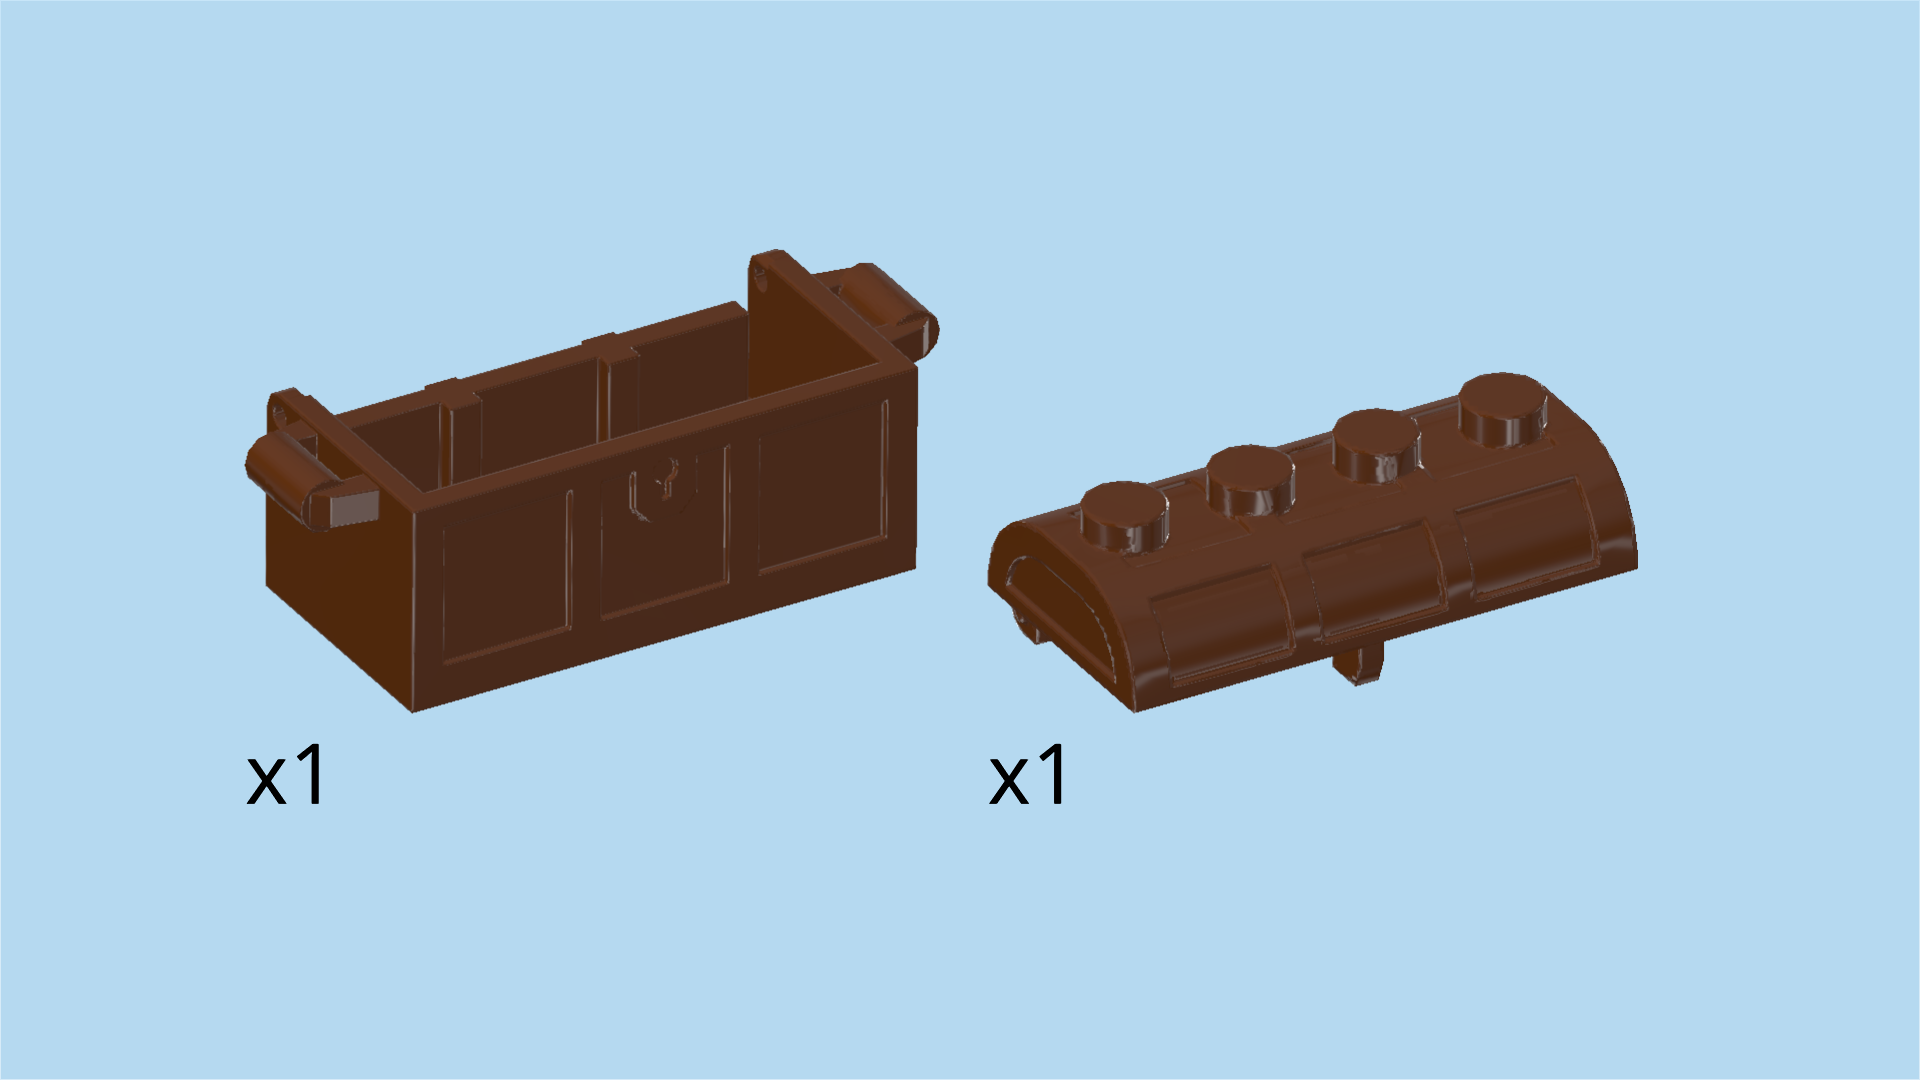
| Collect the following 2 pieces: |
| 1 reddish brown treasure chest bottom 2x4, |
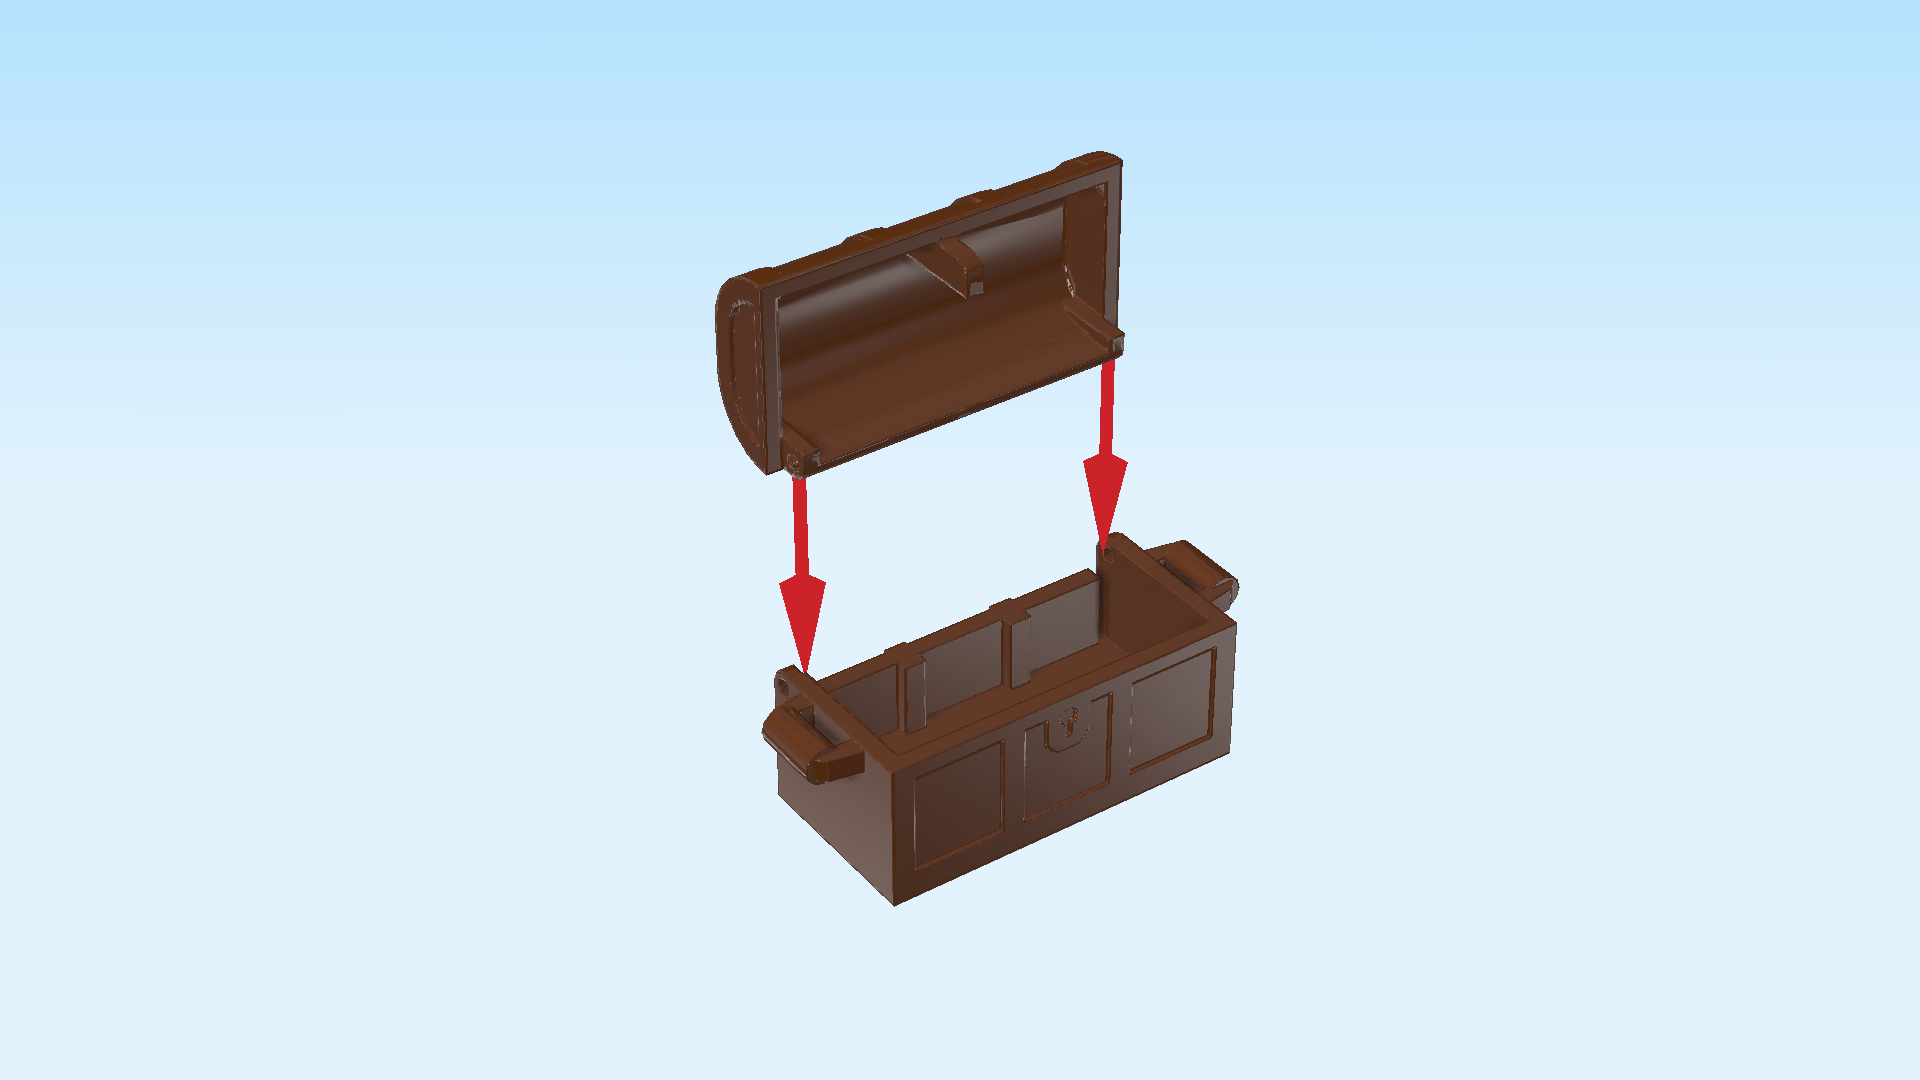
| and 1 reddish brown treasure chest lid 2x4. |
| Snap the lid onto the treasure chest bottom. The bottom has 2 notches inside next to its lowest side wall, and the lid has to stubs that fit into those notches. |
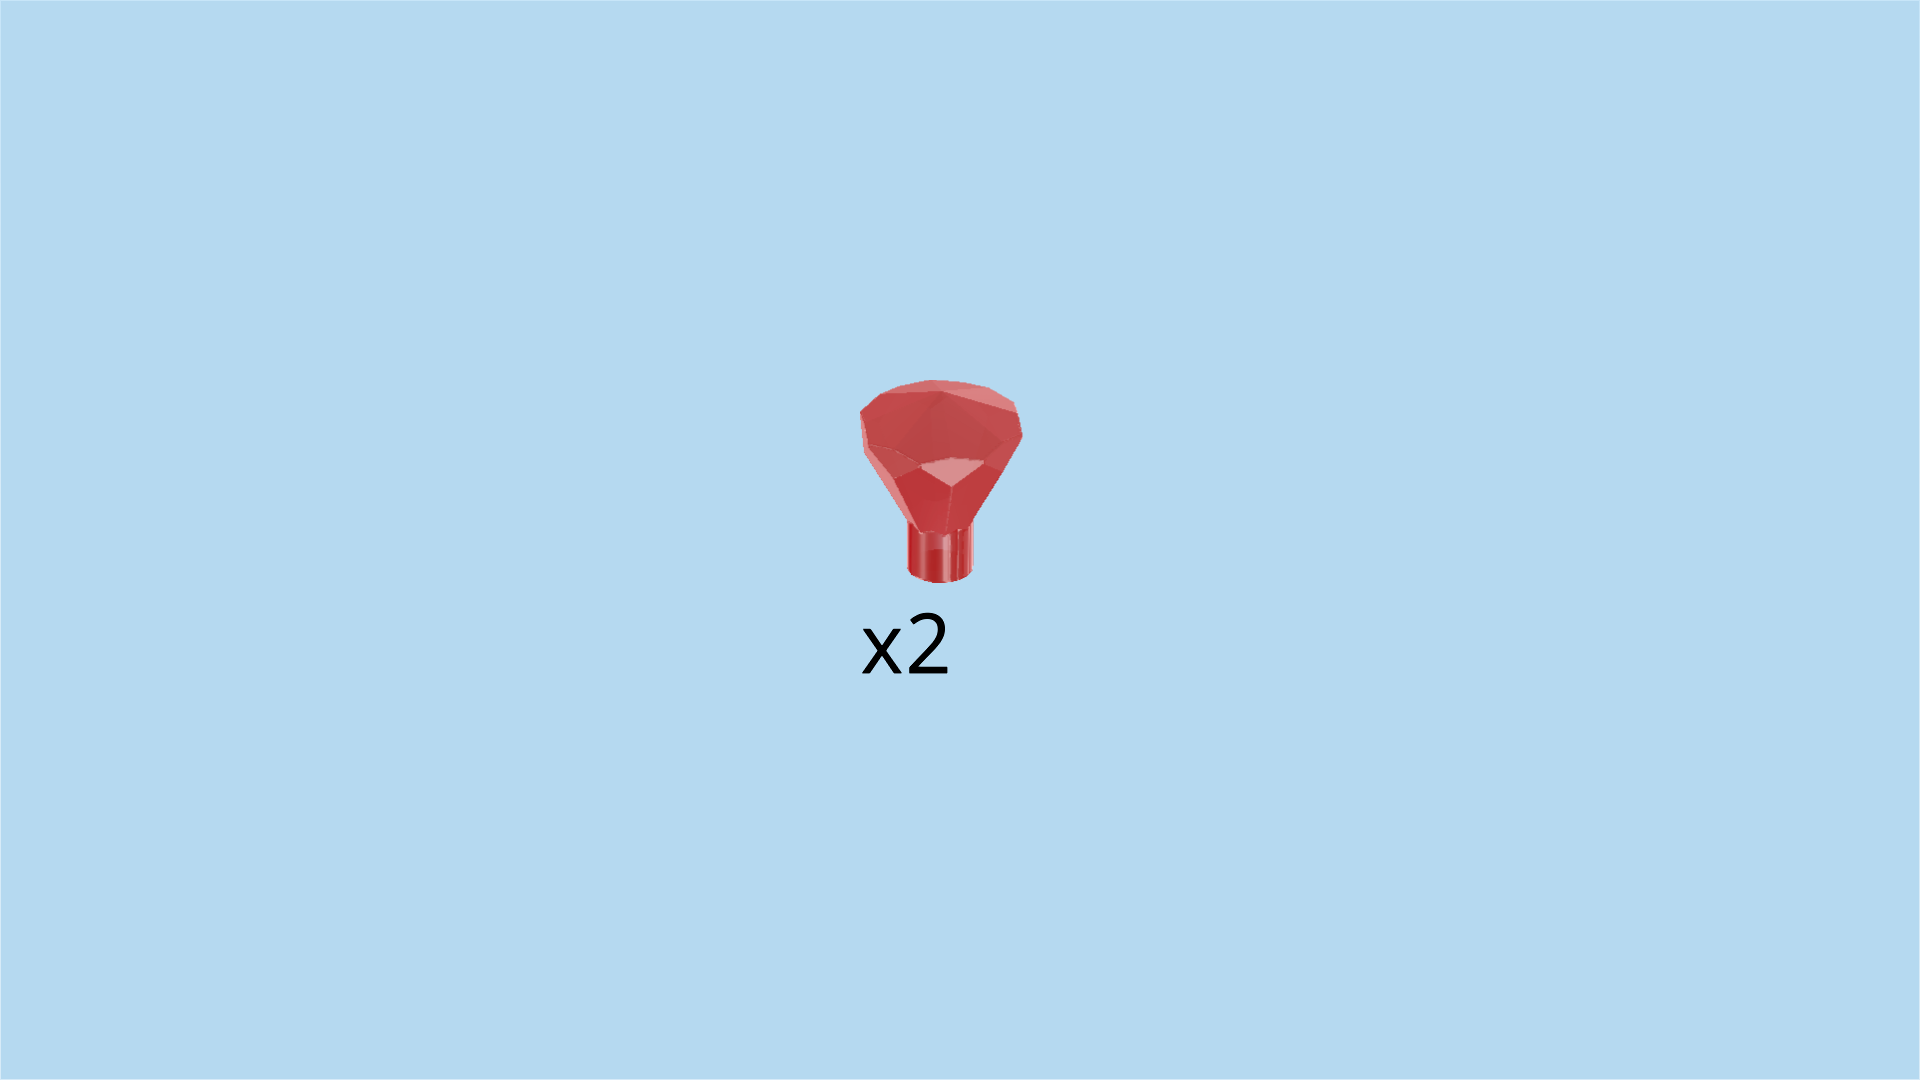
| Find 2 transparent red diamonds with stick. |
| Put them inside the treasure chest. |
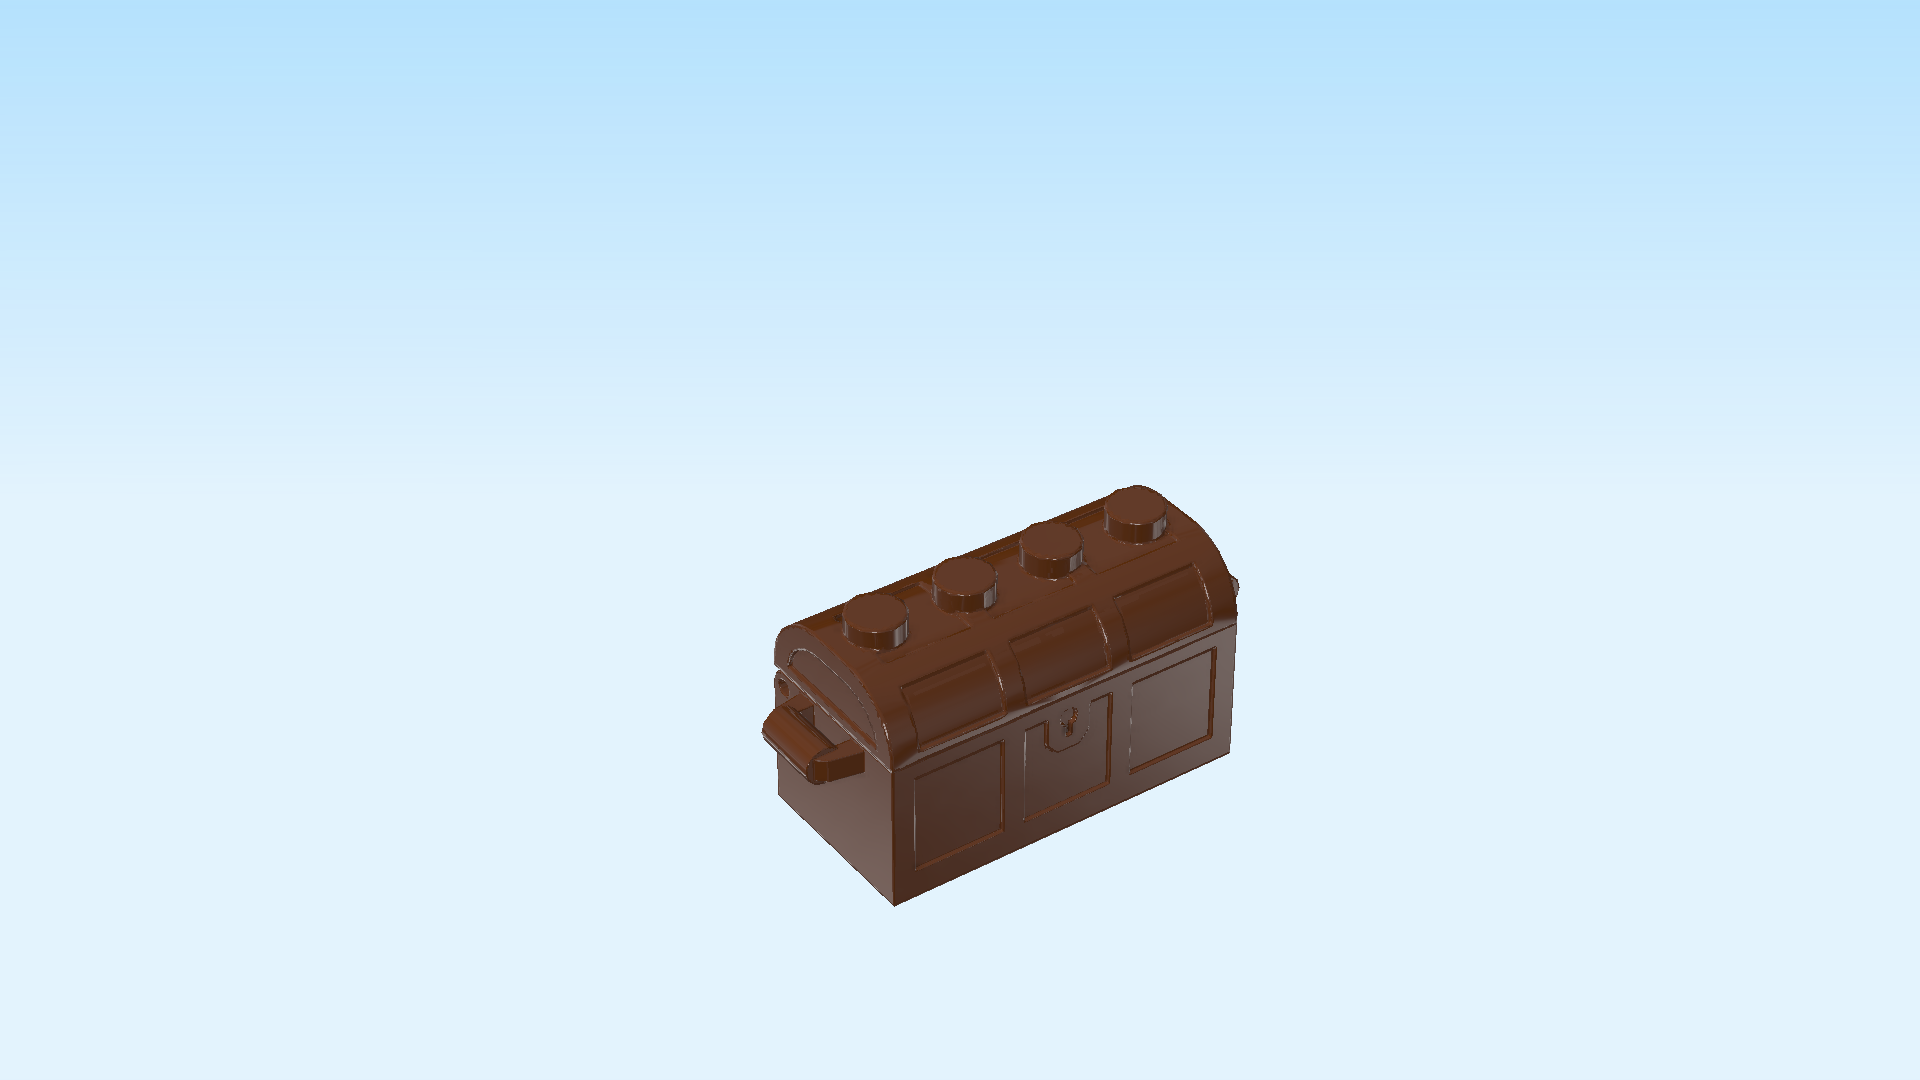
| The treasure chest is finished! Great job! Close it tight and let the scary skeleton guard it. |
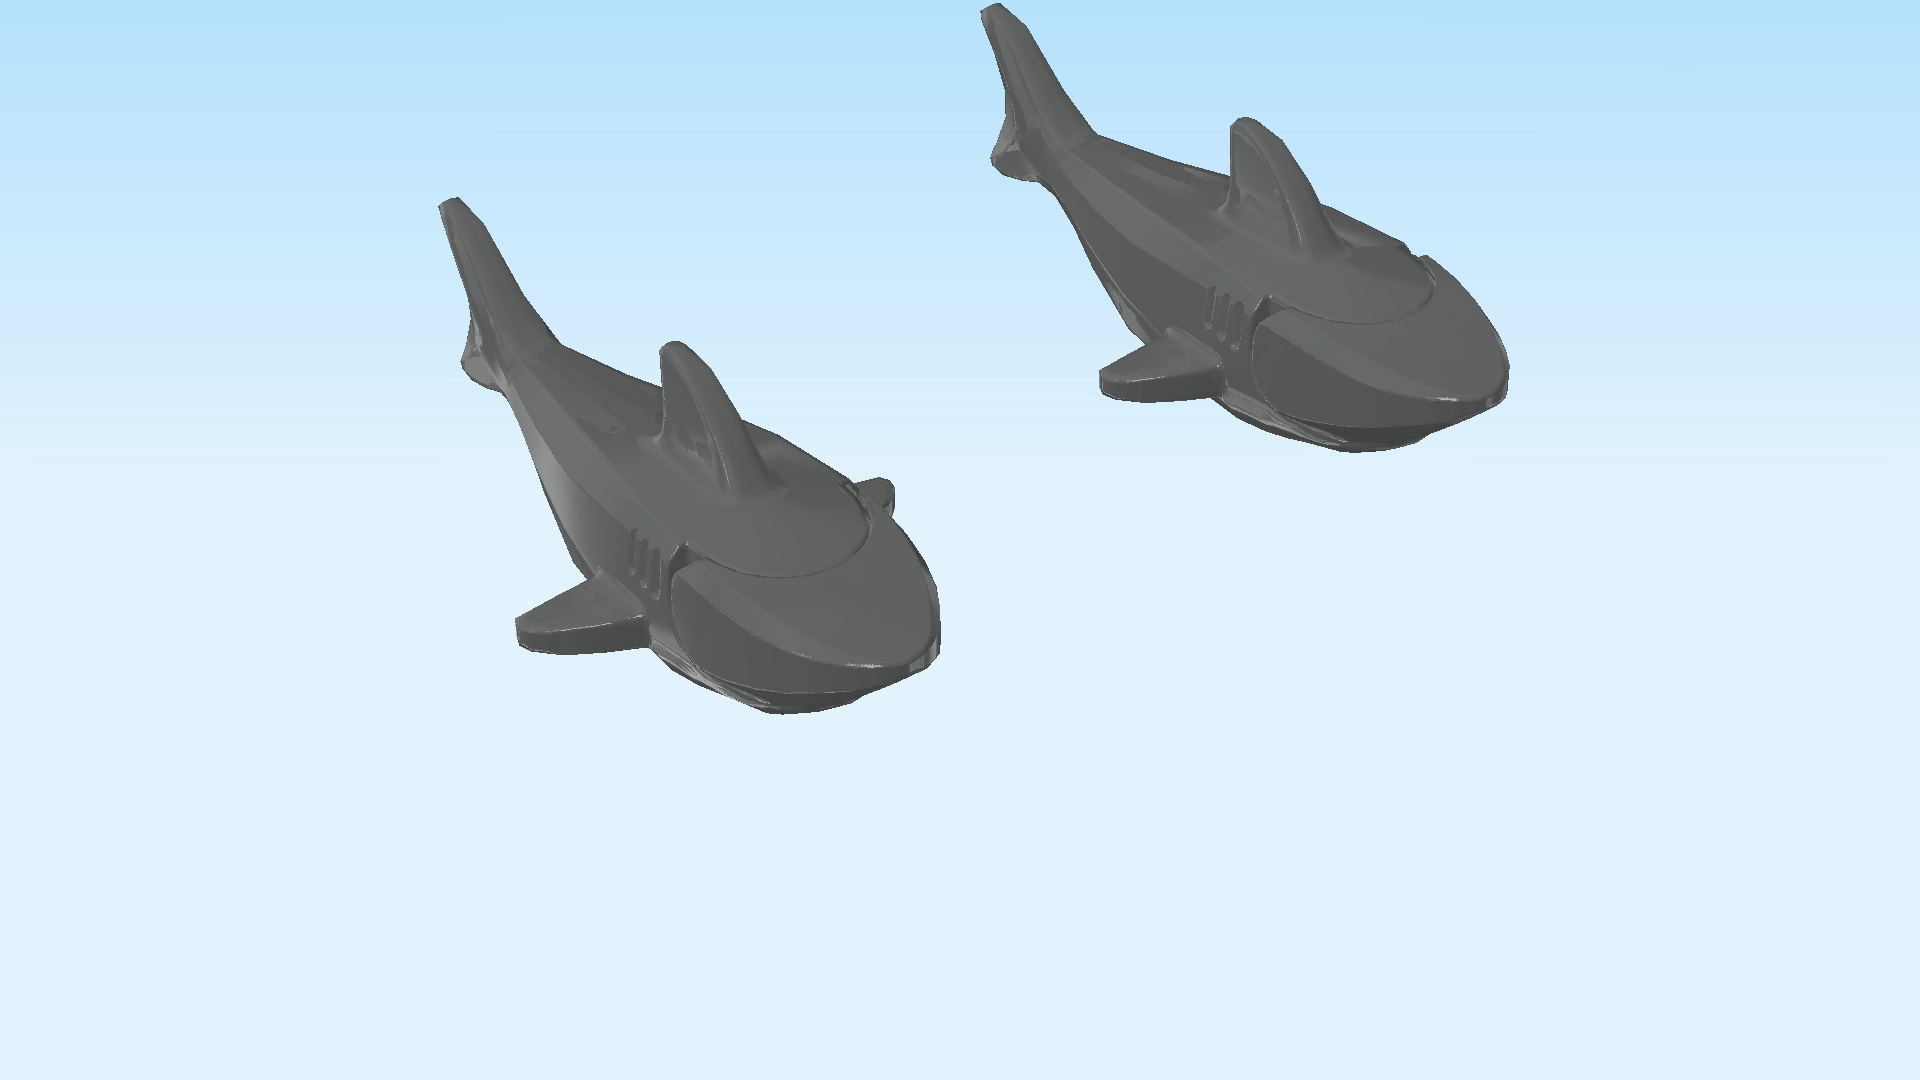
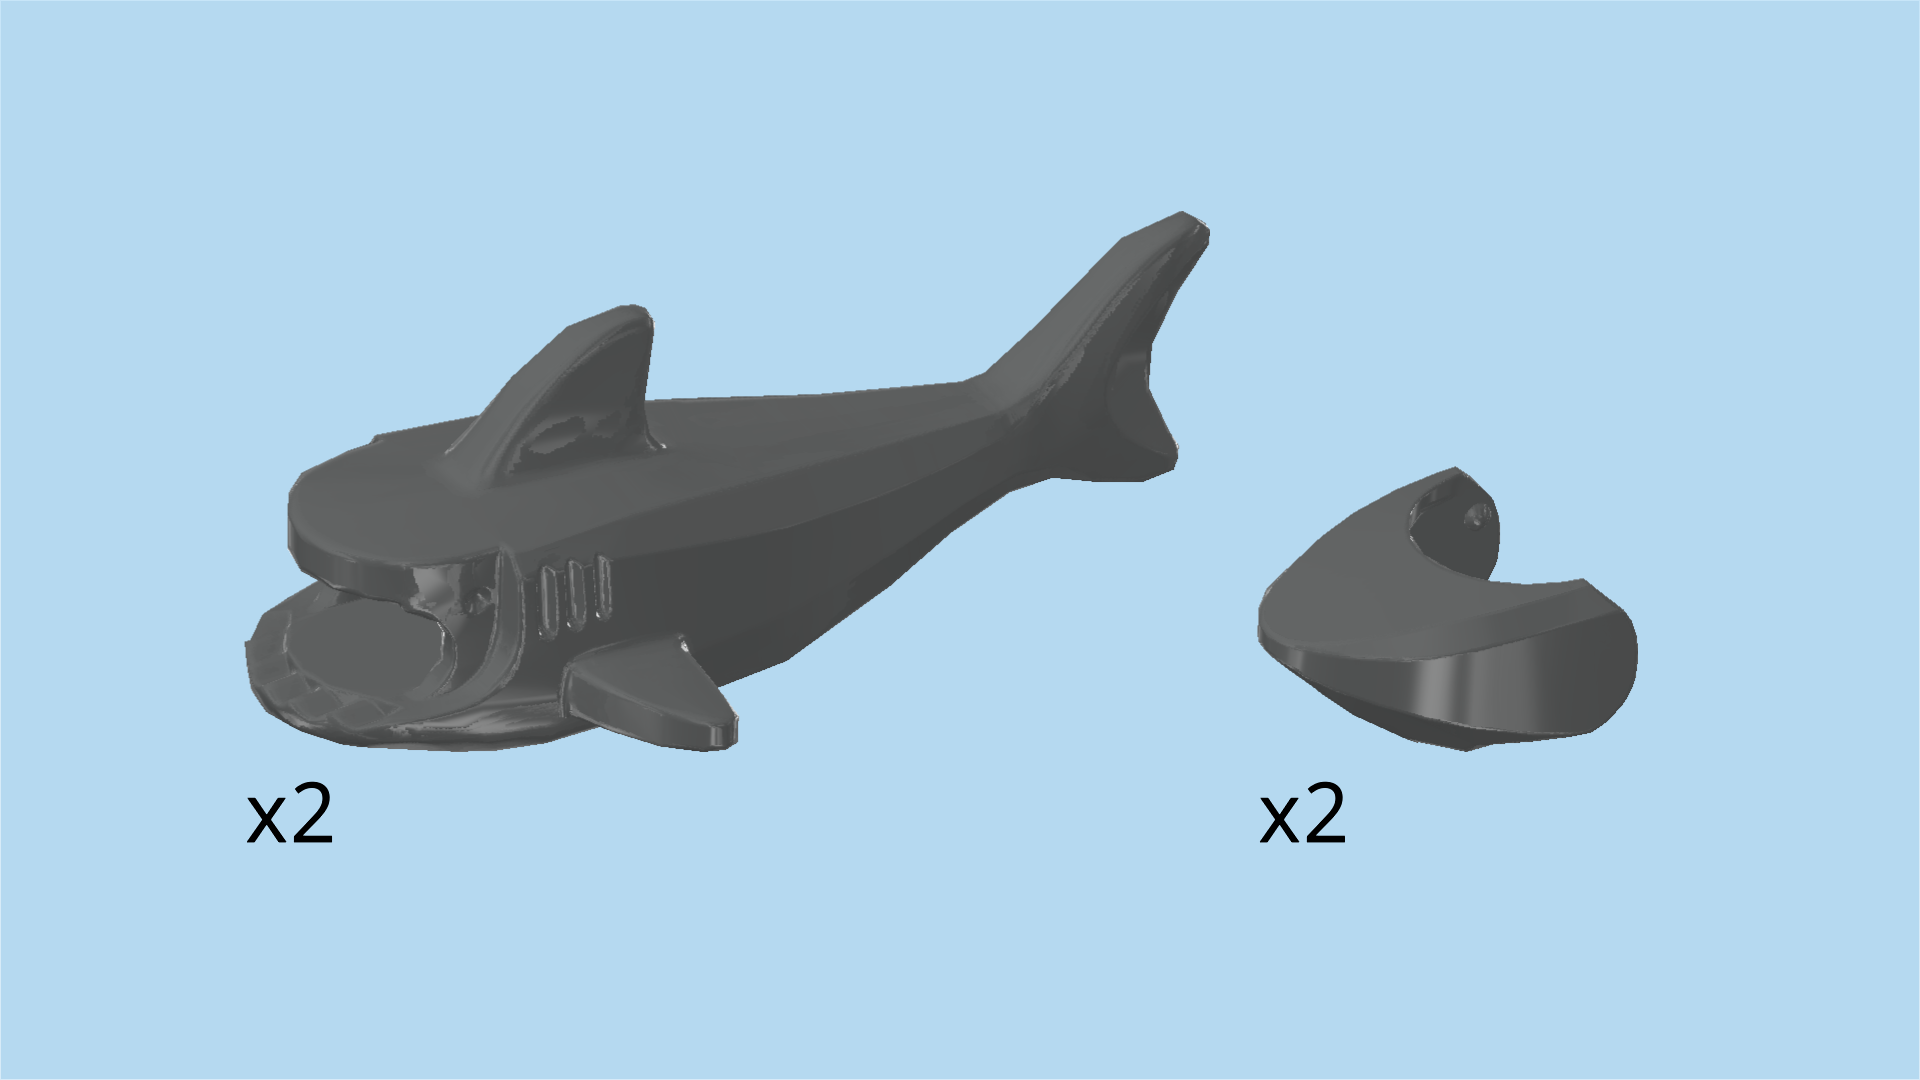
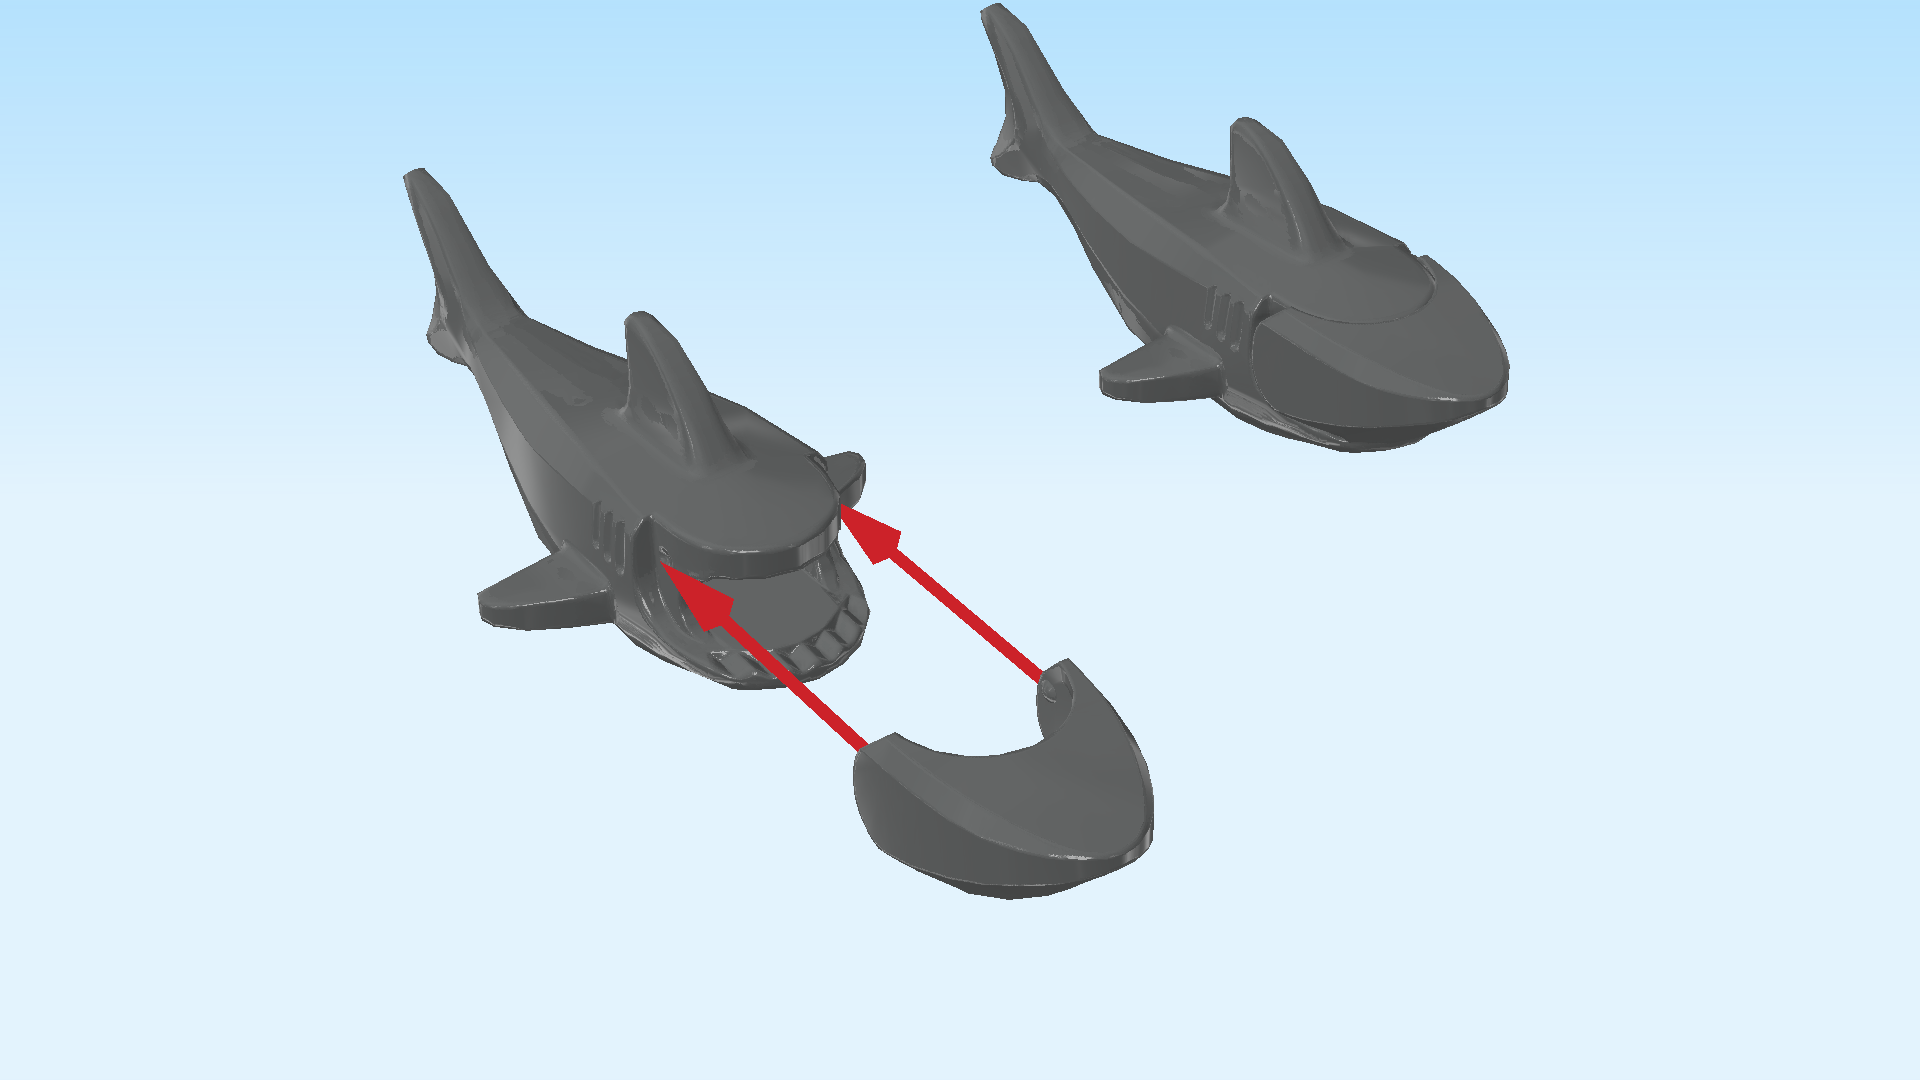
| Next up, we will build 2 stunt sharks. |
| Collect the following 4 pieces: |
| 2 dark stone grey shark bodies 6x9, |
| and 2 dark stone grey shark jaws. |
| Hold 1 shark body in your hand, front opening to the right. |
| Snap 1 shark jaw into the opening. Its flat side should be to the top, the curved side to the bottom. |
| Repeat with the other shark body and shark jaw. |
| The 2 stunt sharks are finished! Well done! They will be mounted on the obstacle scaffolding in the very last step! |
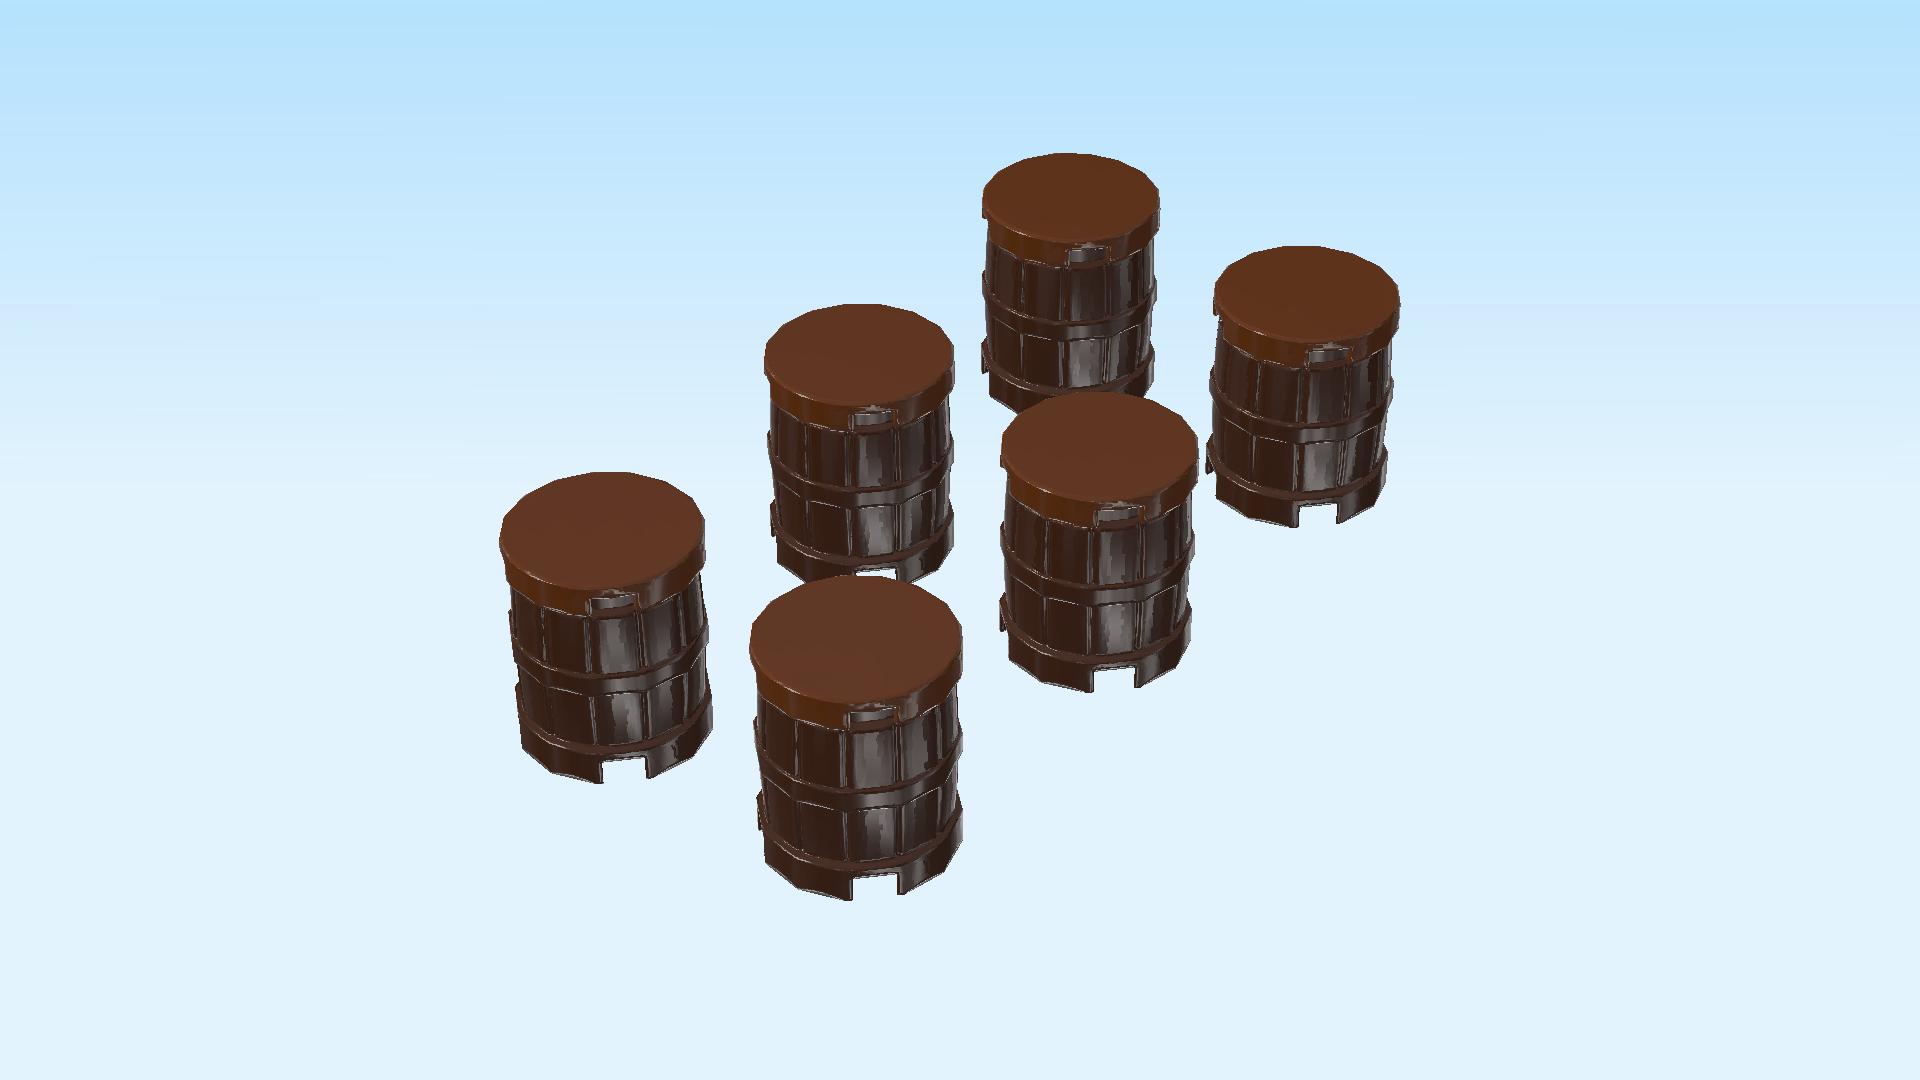
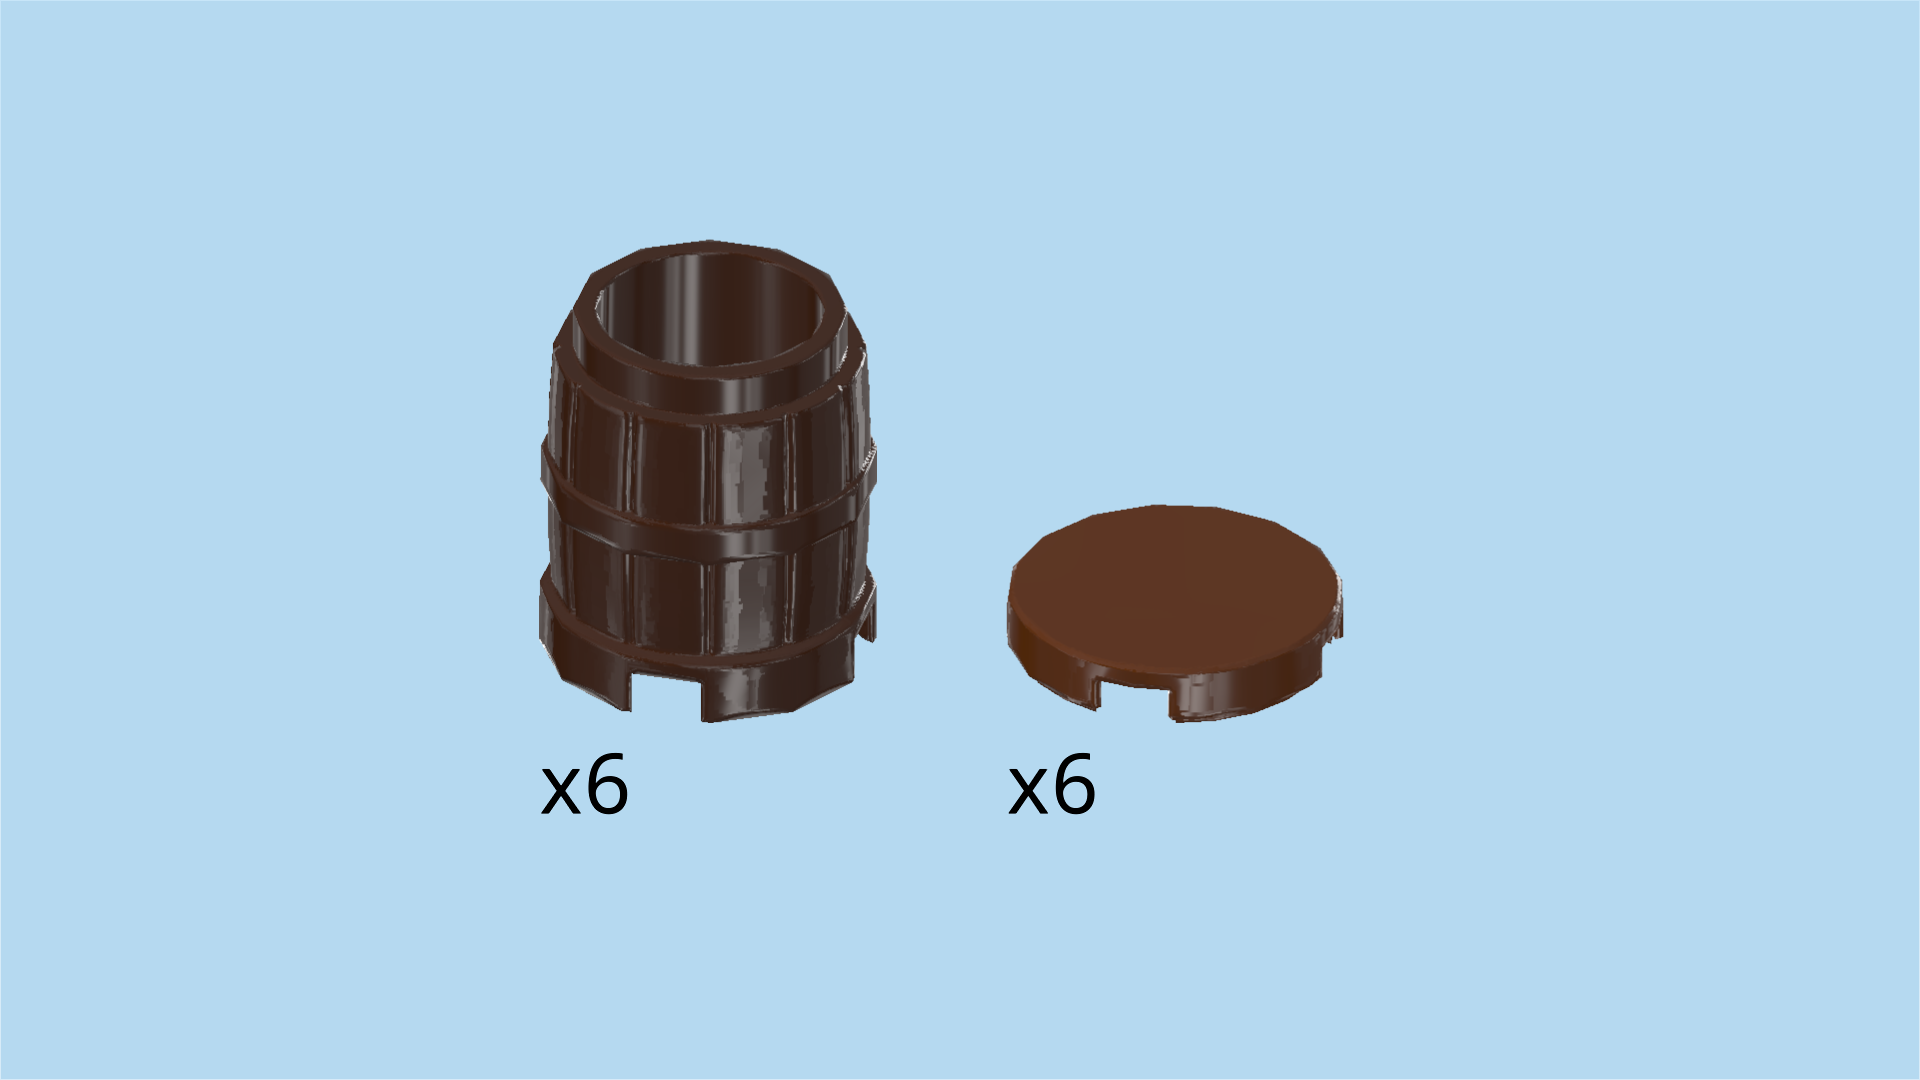
| Next, we will build 6 stunt barrels. |
| Collect the following 12 pieces: |
| 6 dark brown barrels 2x2, |
| and 6 reddish brown round tiles 2x2. |
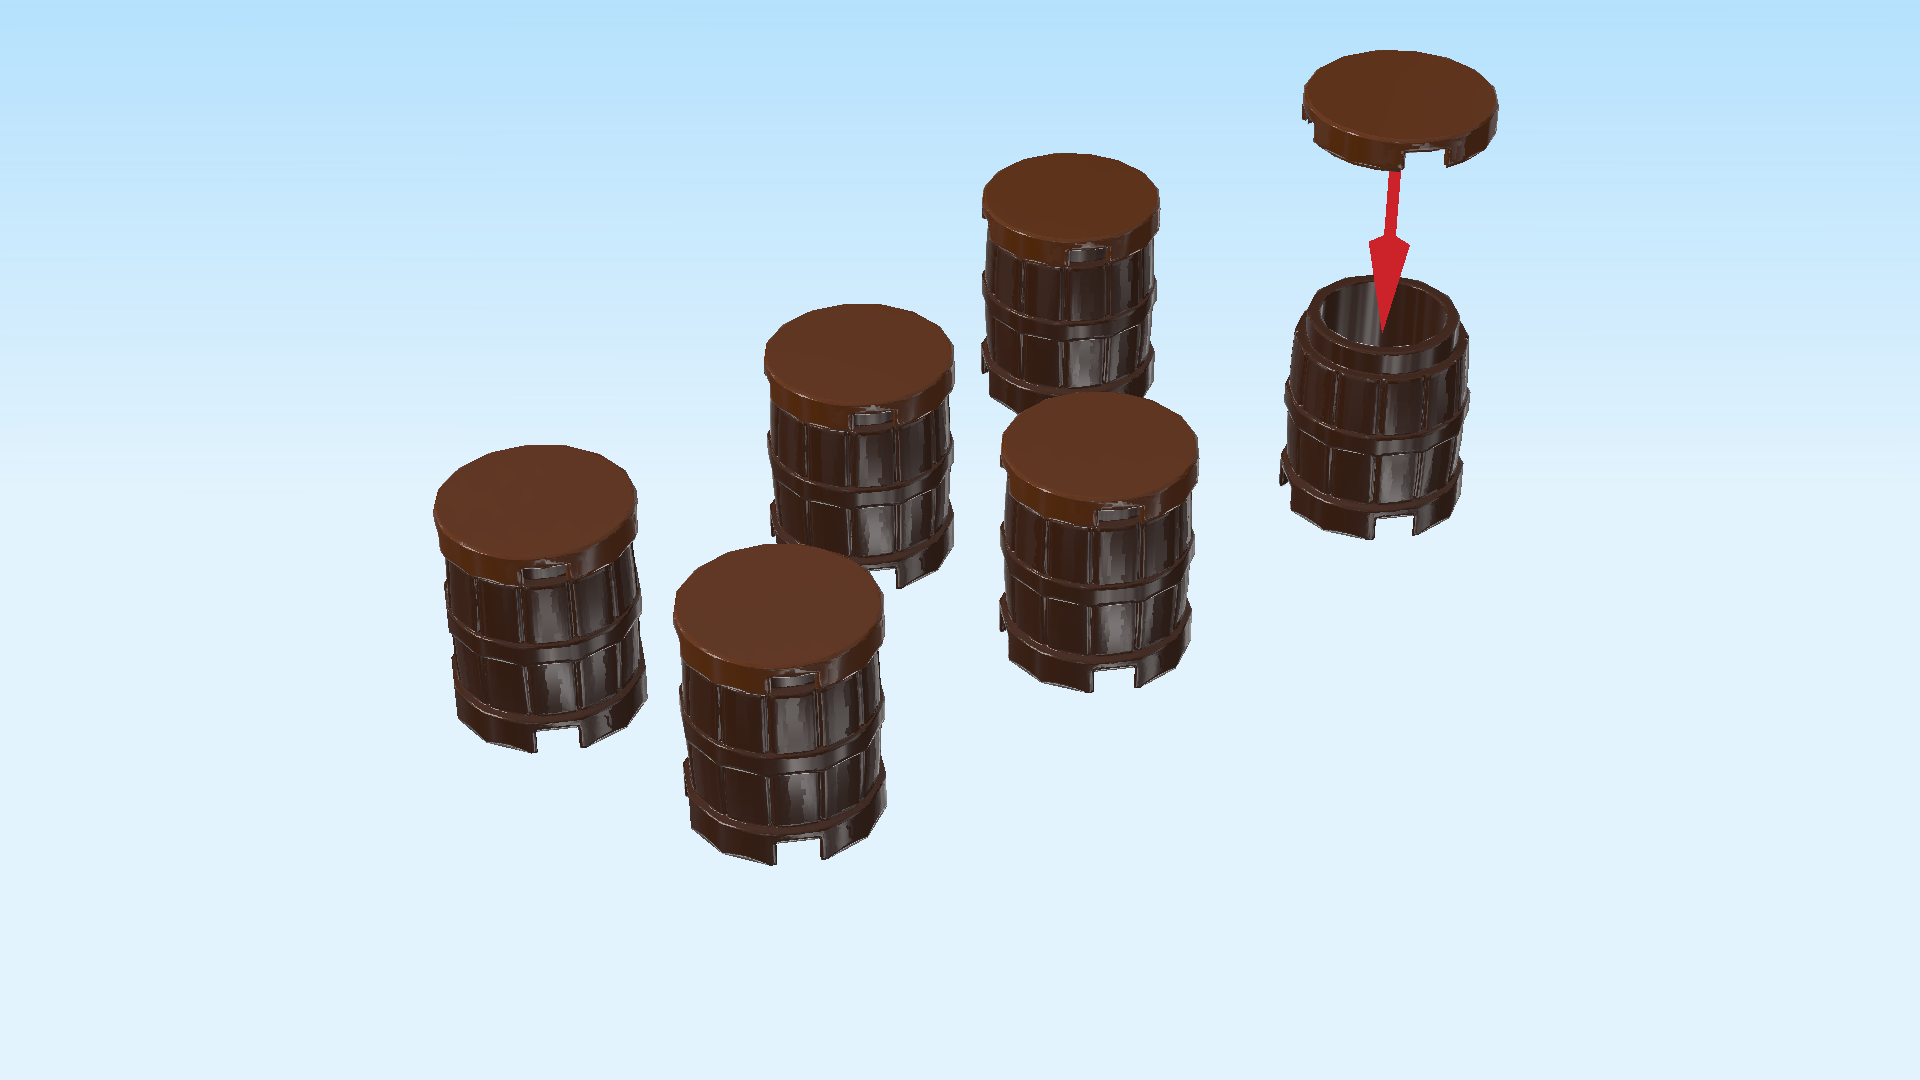
| Put 1 barrel on the table, barrel opening to the top. |
| Put 1 round tile 2x2 on top. |
| Repeat 5 times to make the other stunt barrels. |
| The 6 stunt barrels are finished! You can later arrange and stack the stunt barrels in every way you can possibly imagine! Chuck will either have to drive around them, jump over them or drive through them and make sure to hit them all! You can already give it a try. |
| Open bag number 2. You can choose to have the bricks sorted by color again. This bag contains all bricks and pieces for the obstacle scaffolding. |
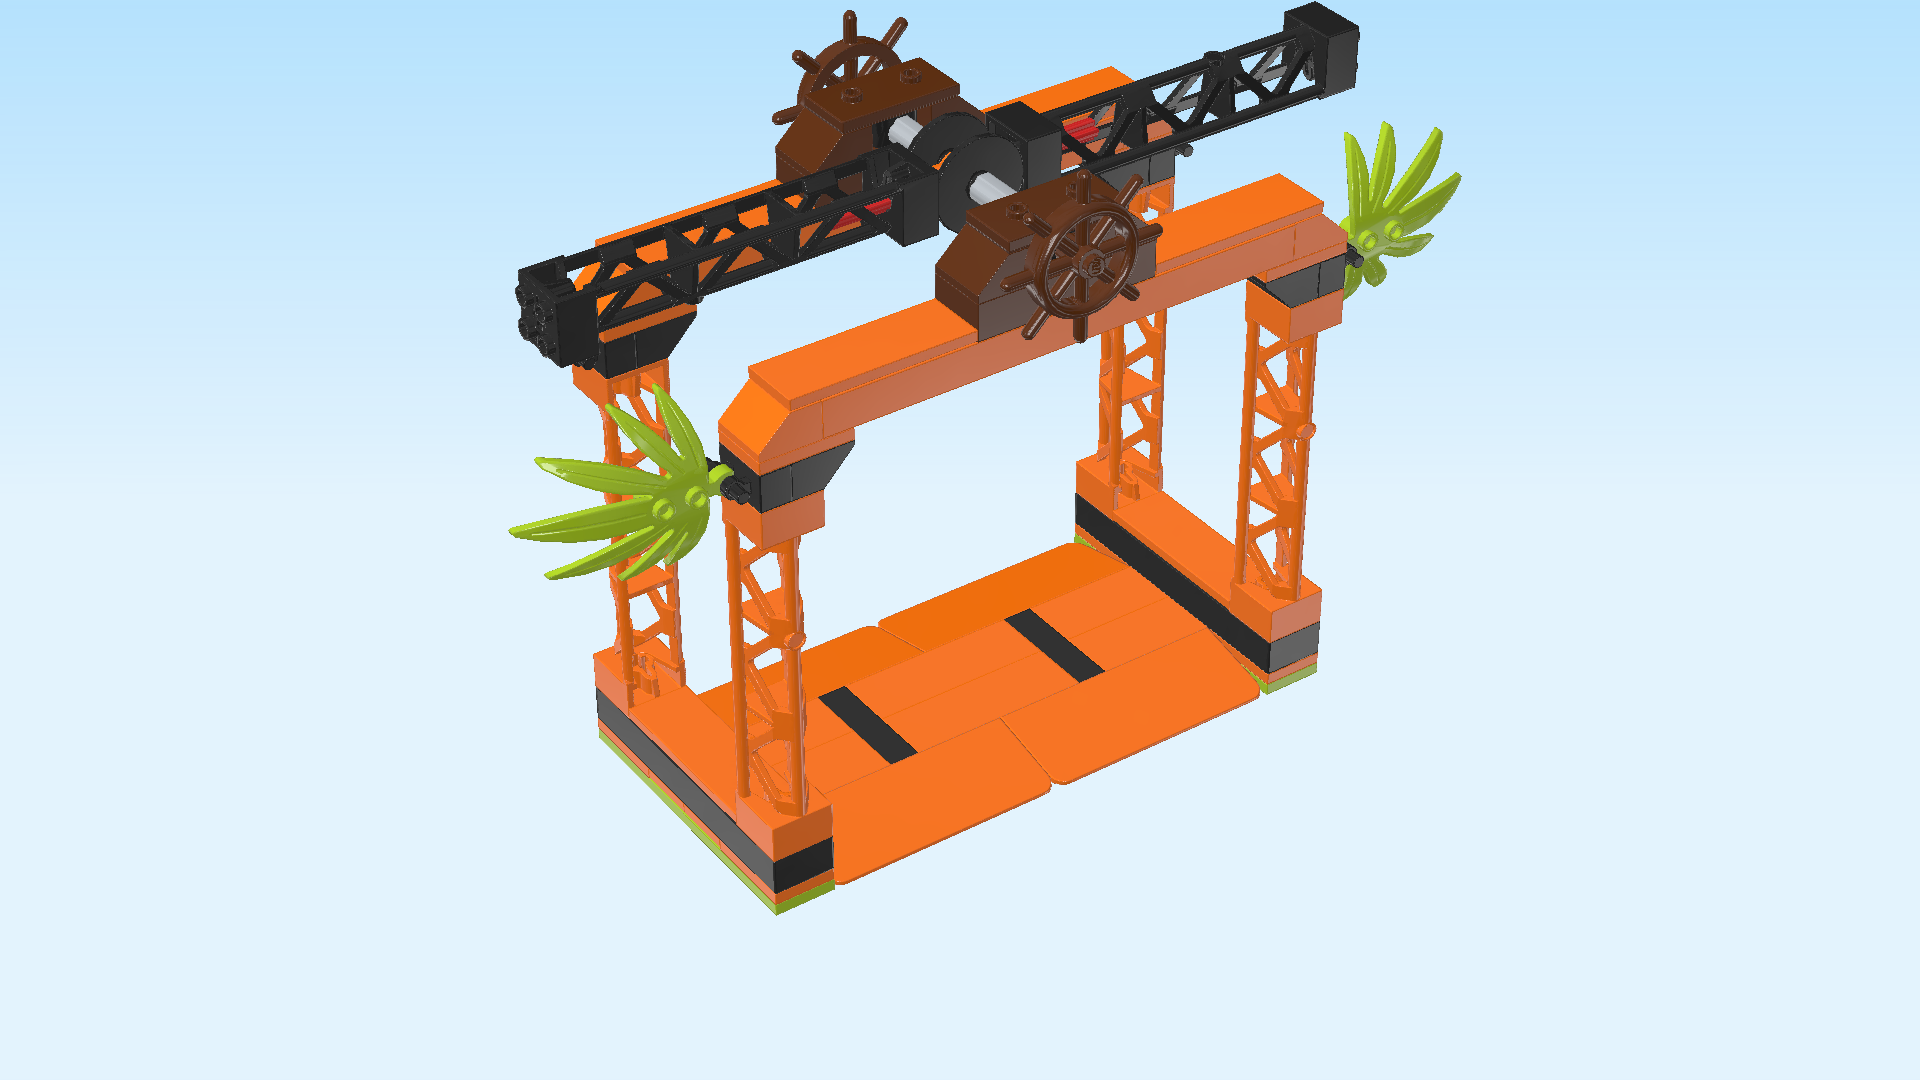
| Now, we will build the obstacle scaffolding. |
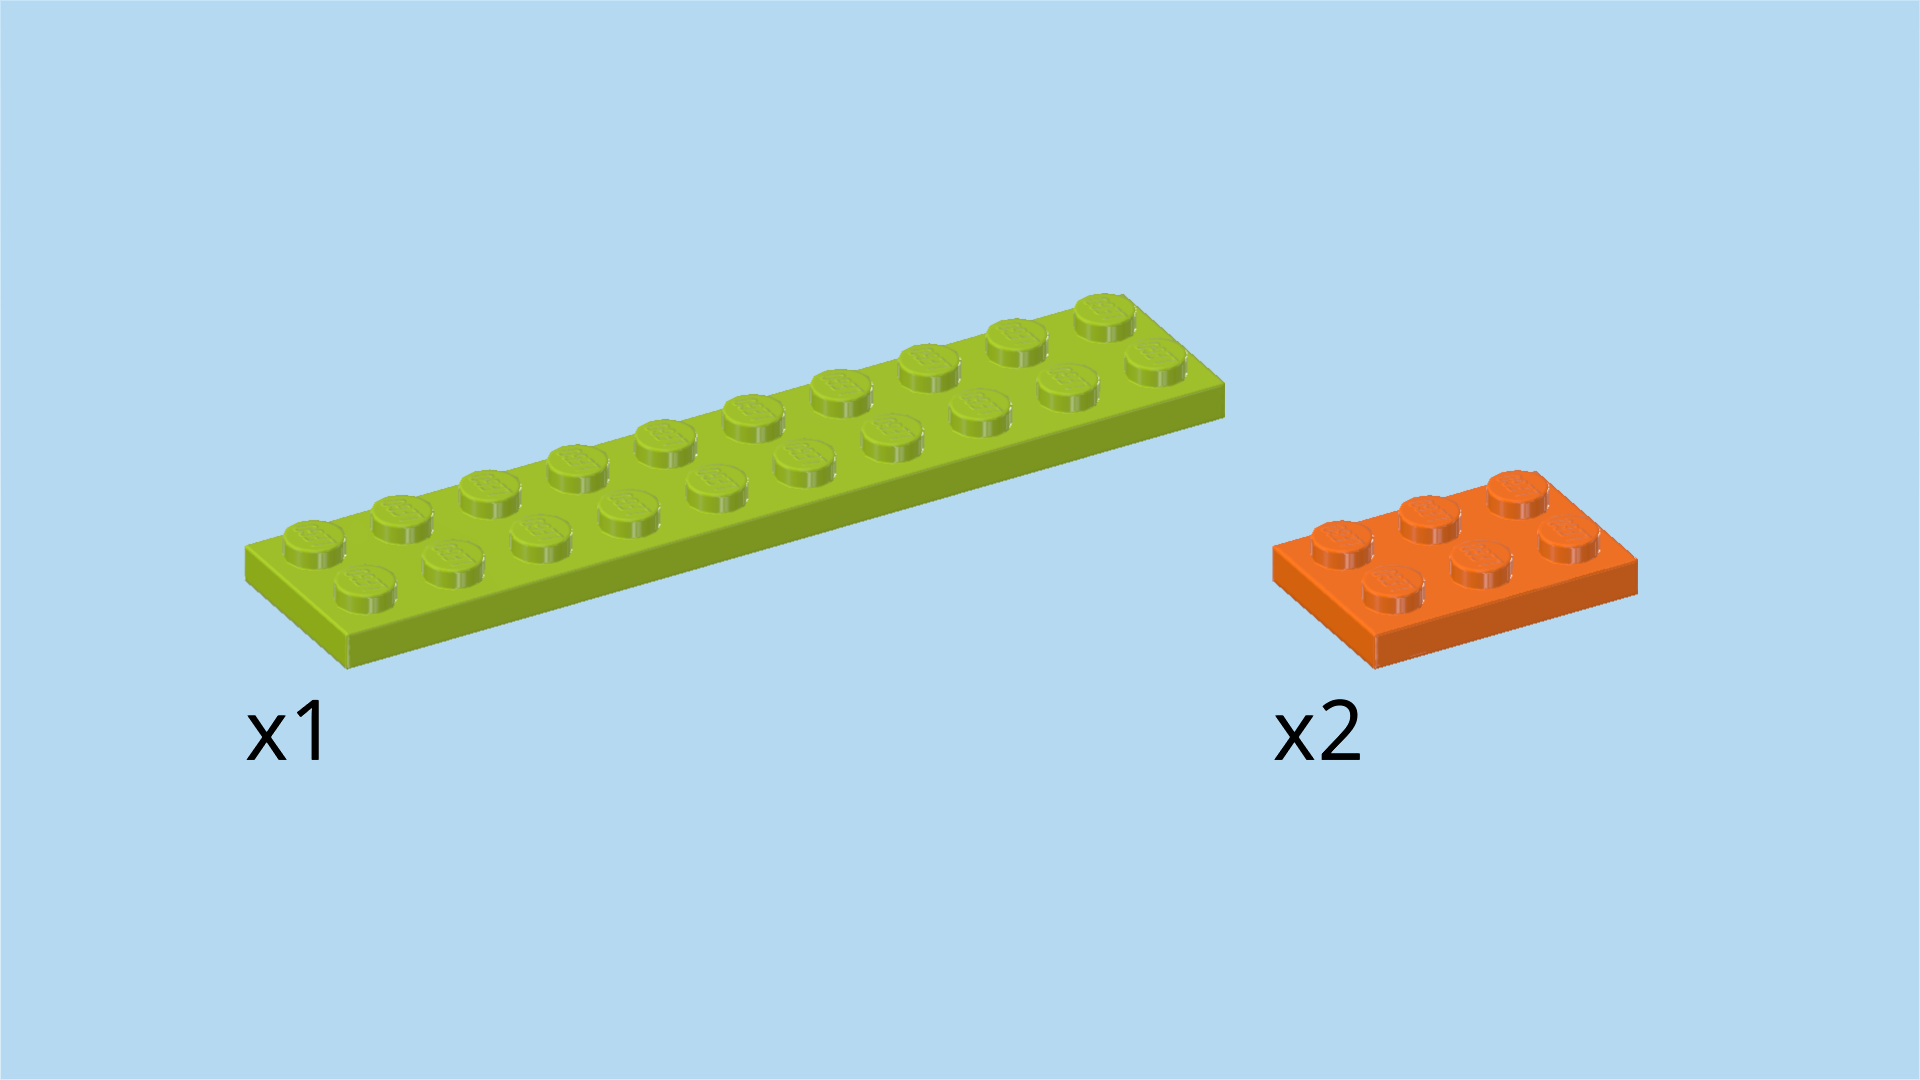
| Collect the following 3 pieces: |
| 2 bright orange plates 2x3, |
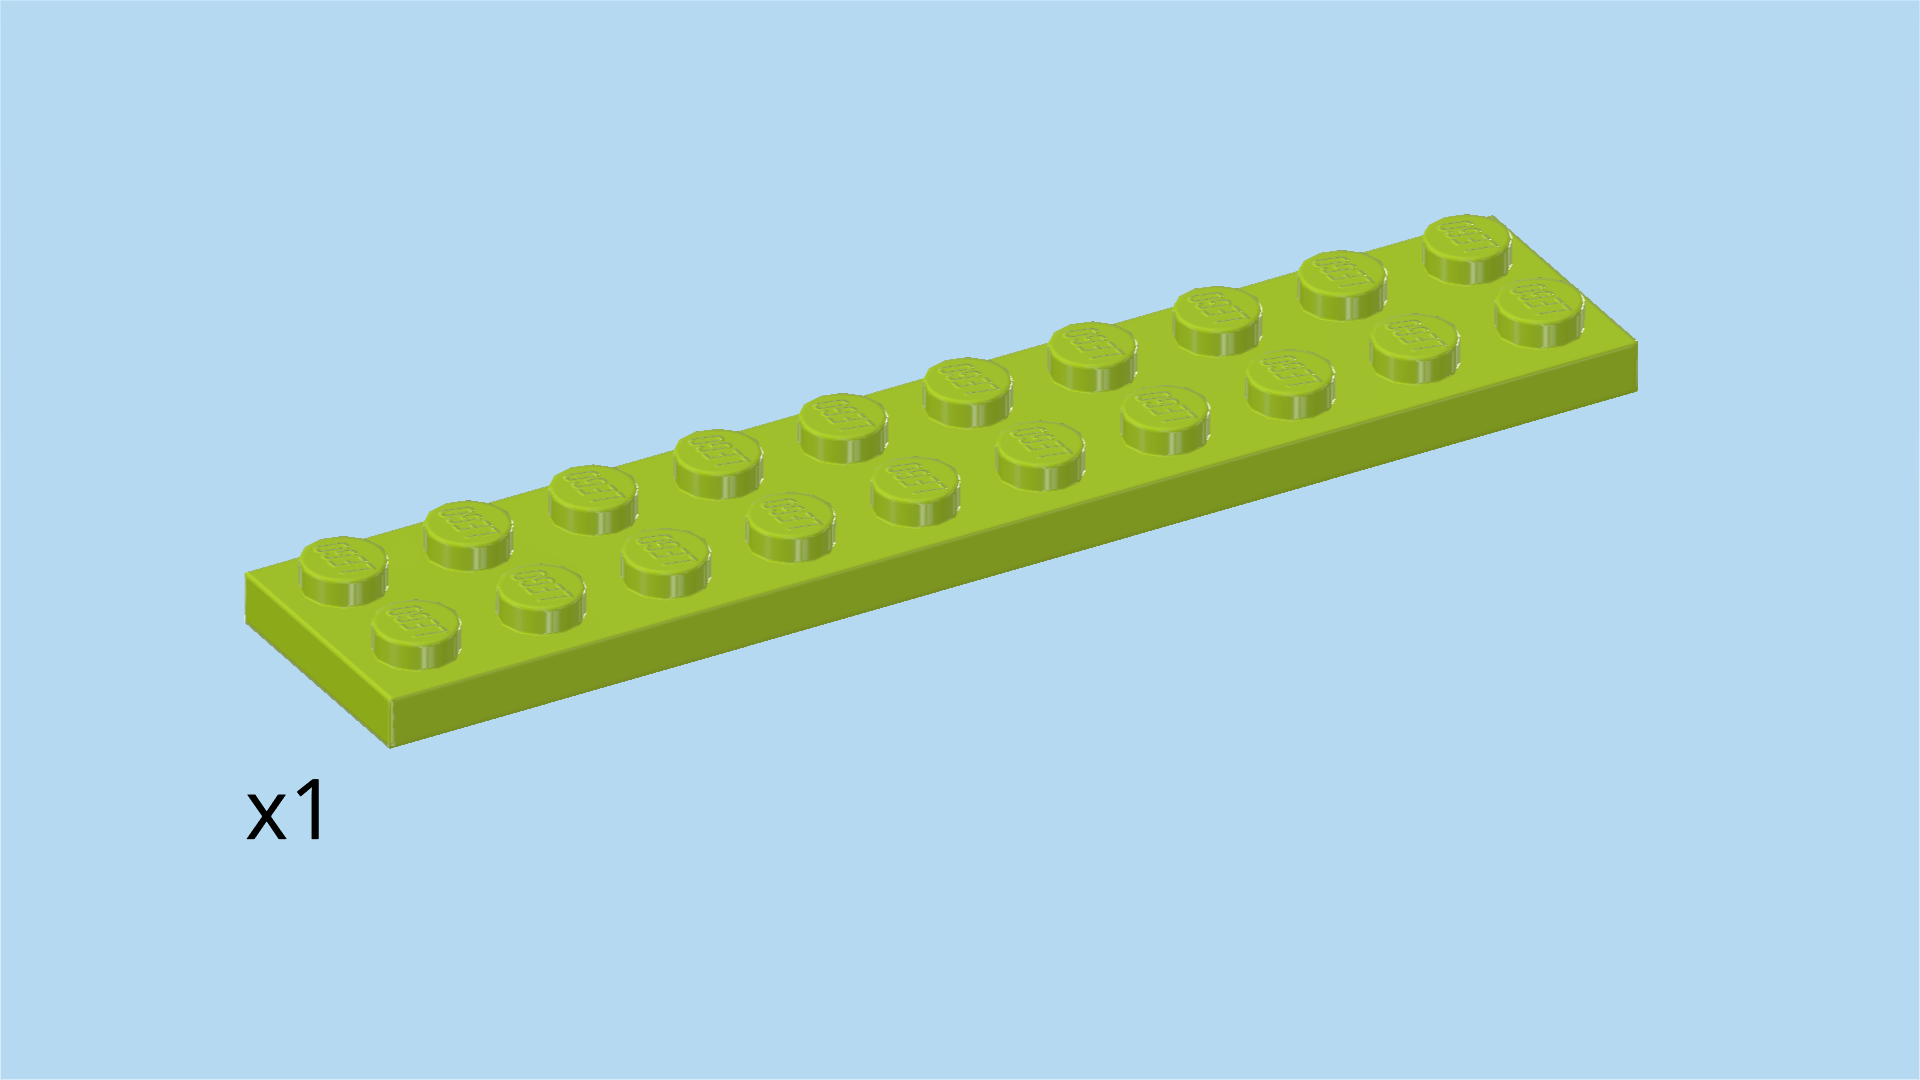
| and 1 bright yellowish green plate 2x10. |
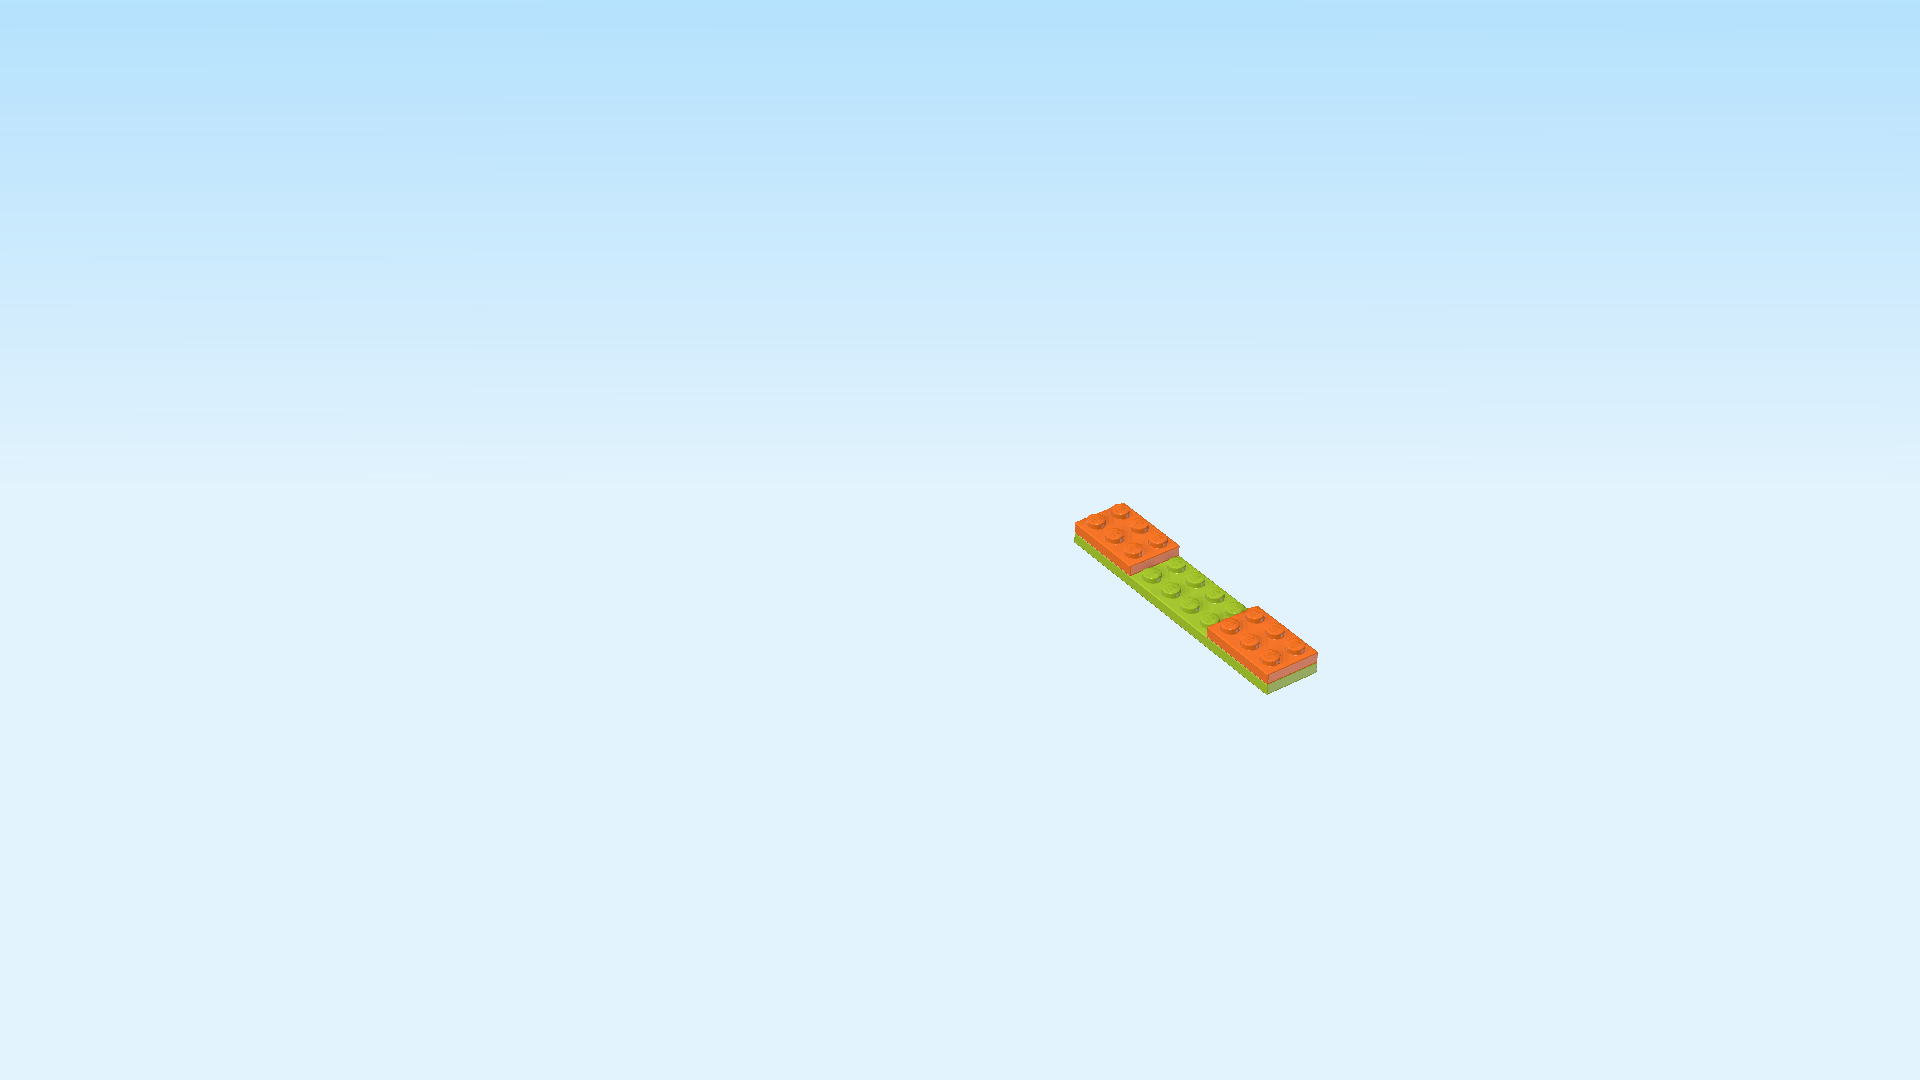
| Put the plate 2x10 vertically on the table. |
| Put 1 plate 2x3 vertically on top, starting from the frontmost edge. |
| Put the other plate 2x3 vertically on the backmost edge. |
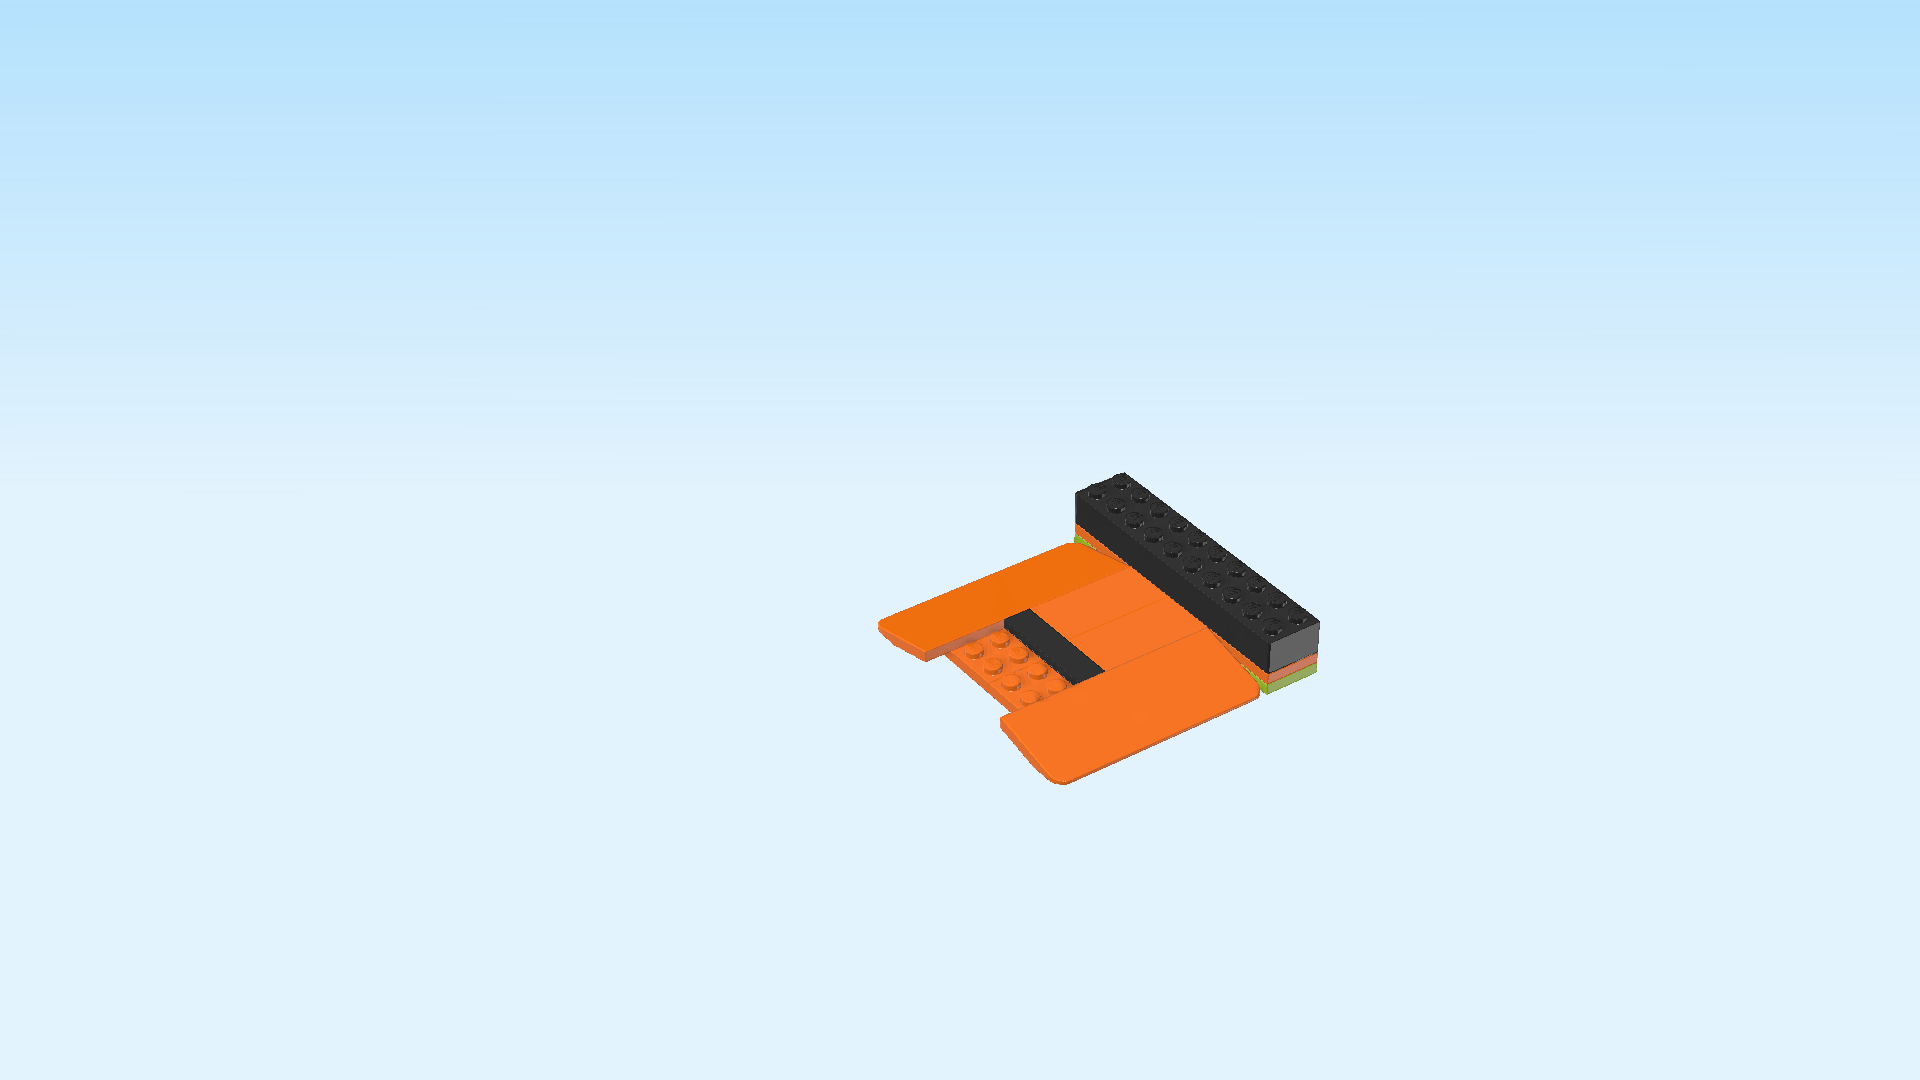
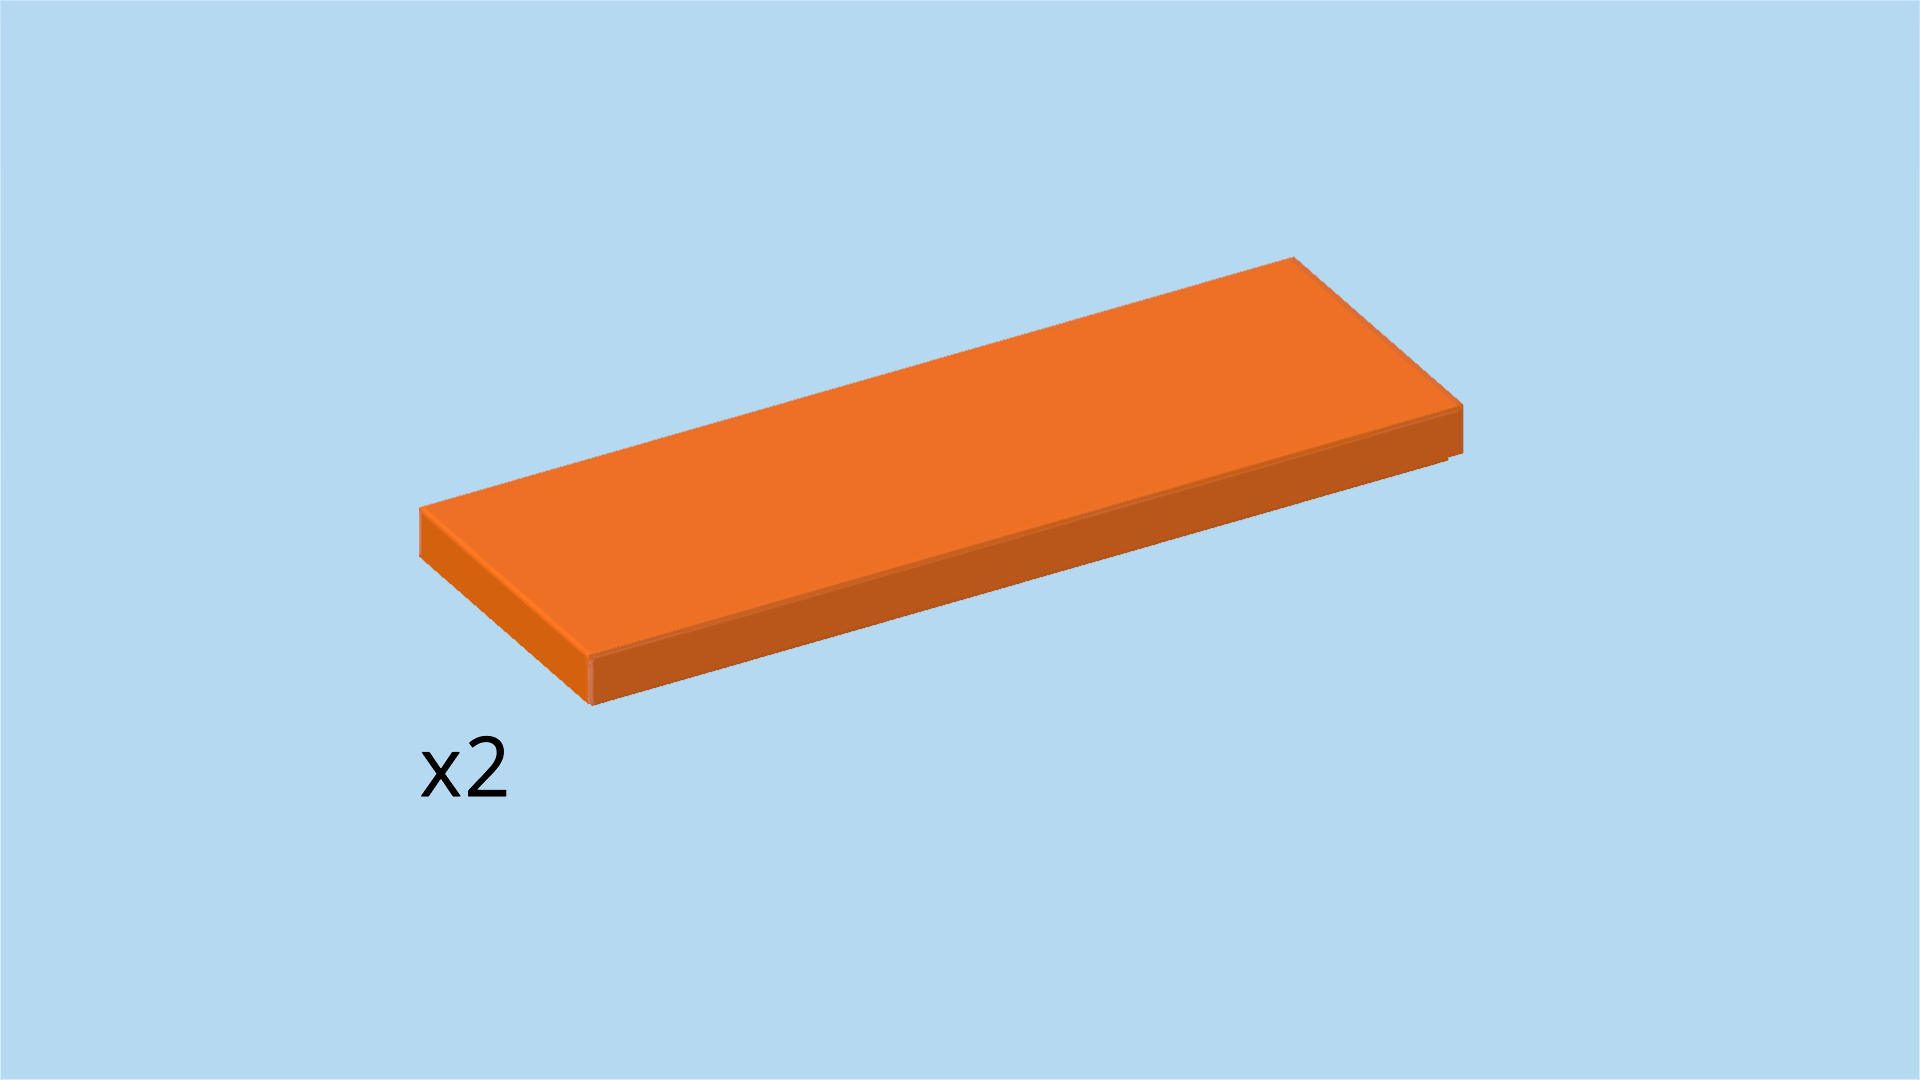
| Find 2 bright orange flat tiles 2x6. |
| Put 1 horizontally in front of the previous piece, aligning their right edges, 4 columns overhanging to the left. |
| Put the other one horizontally in front of the previous piece, 4 columns overhanging to the left. |
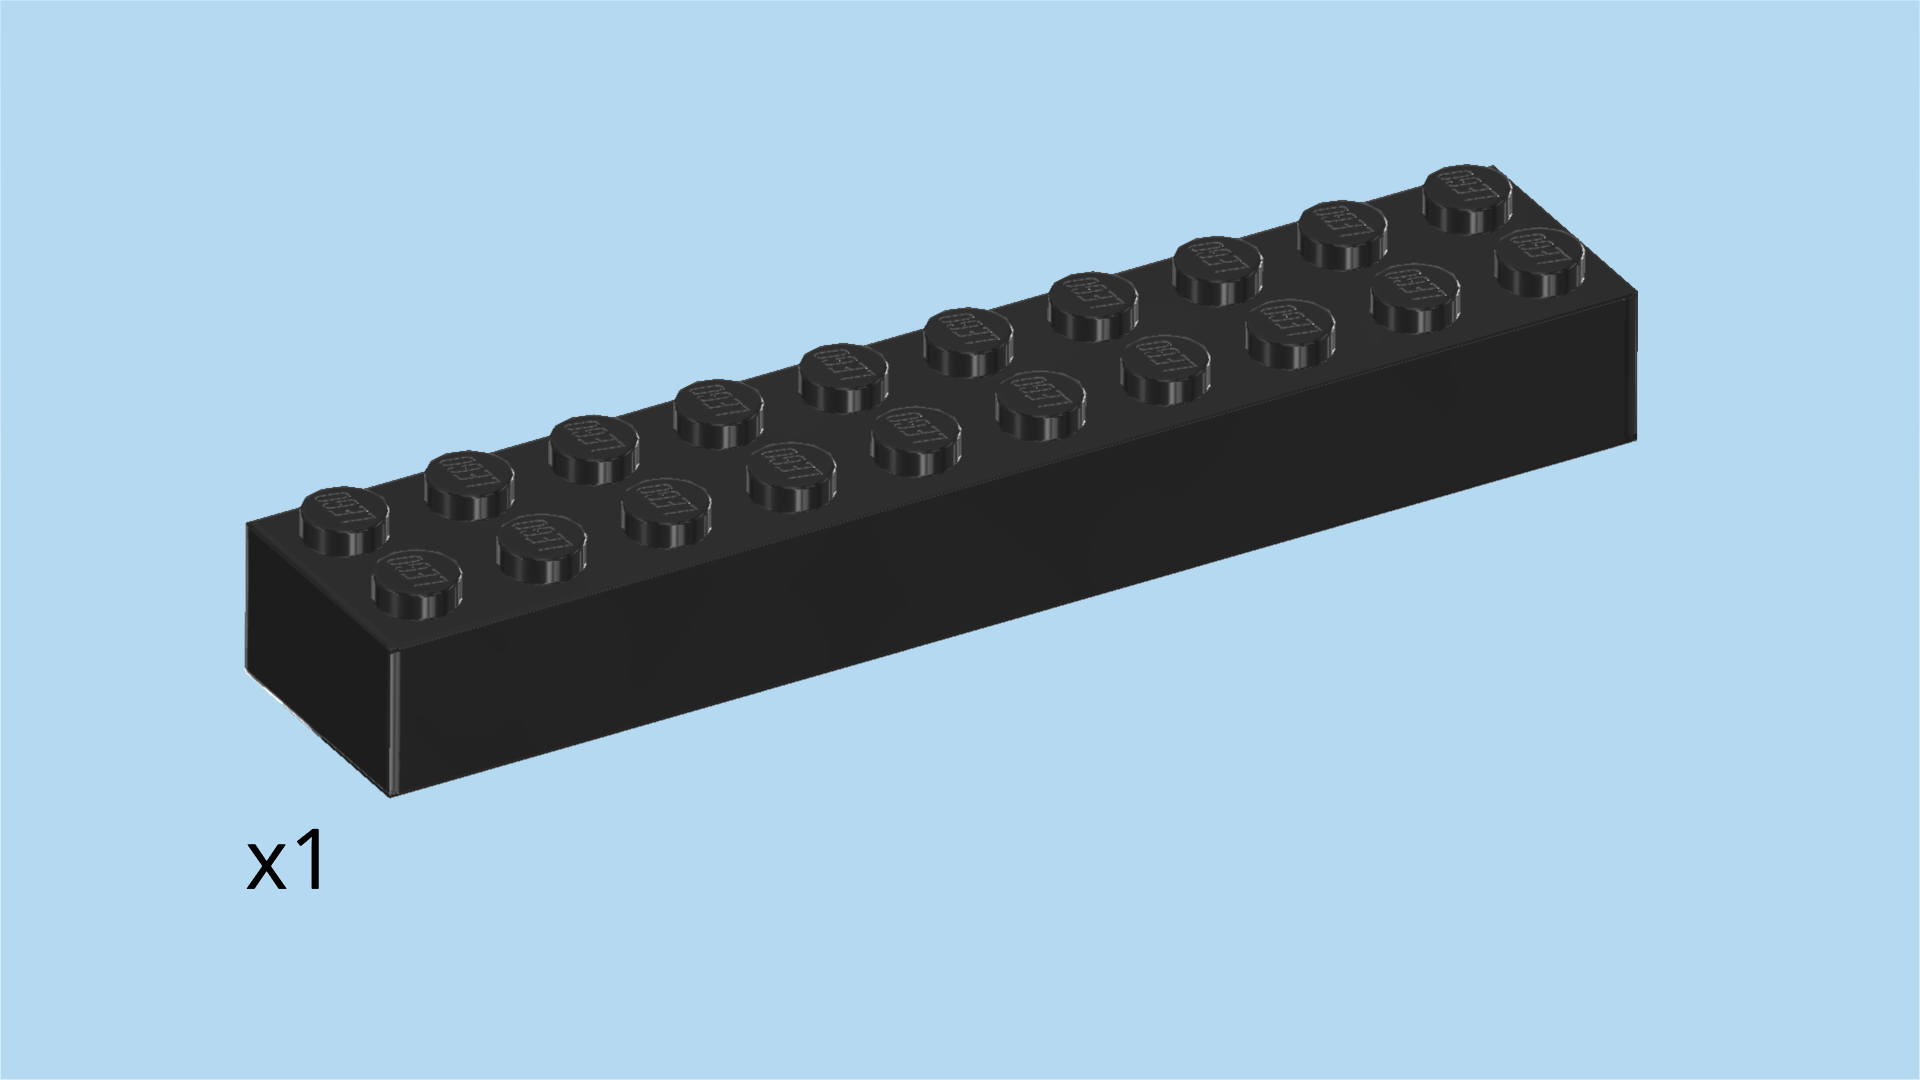
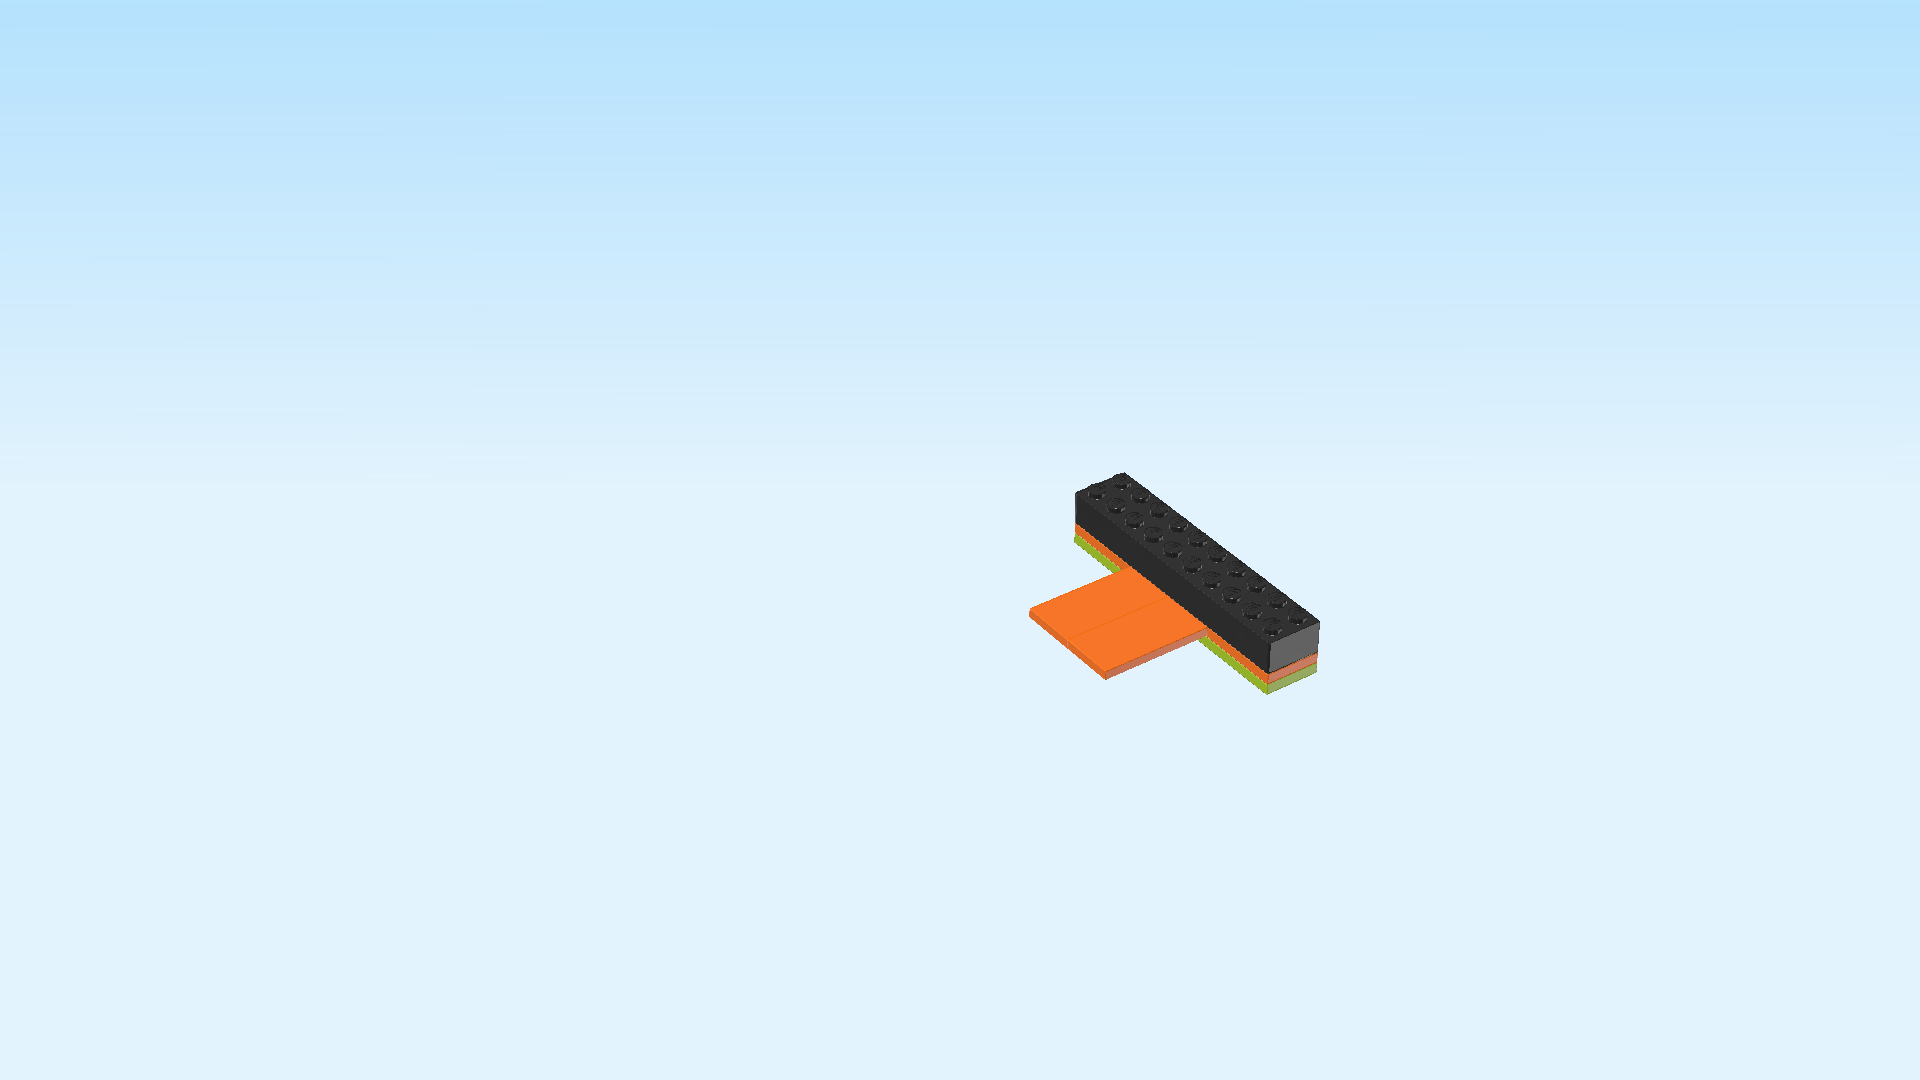
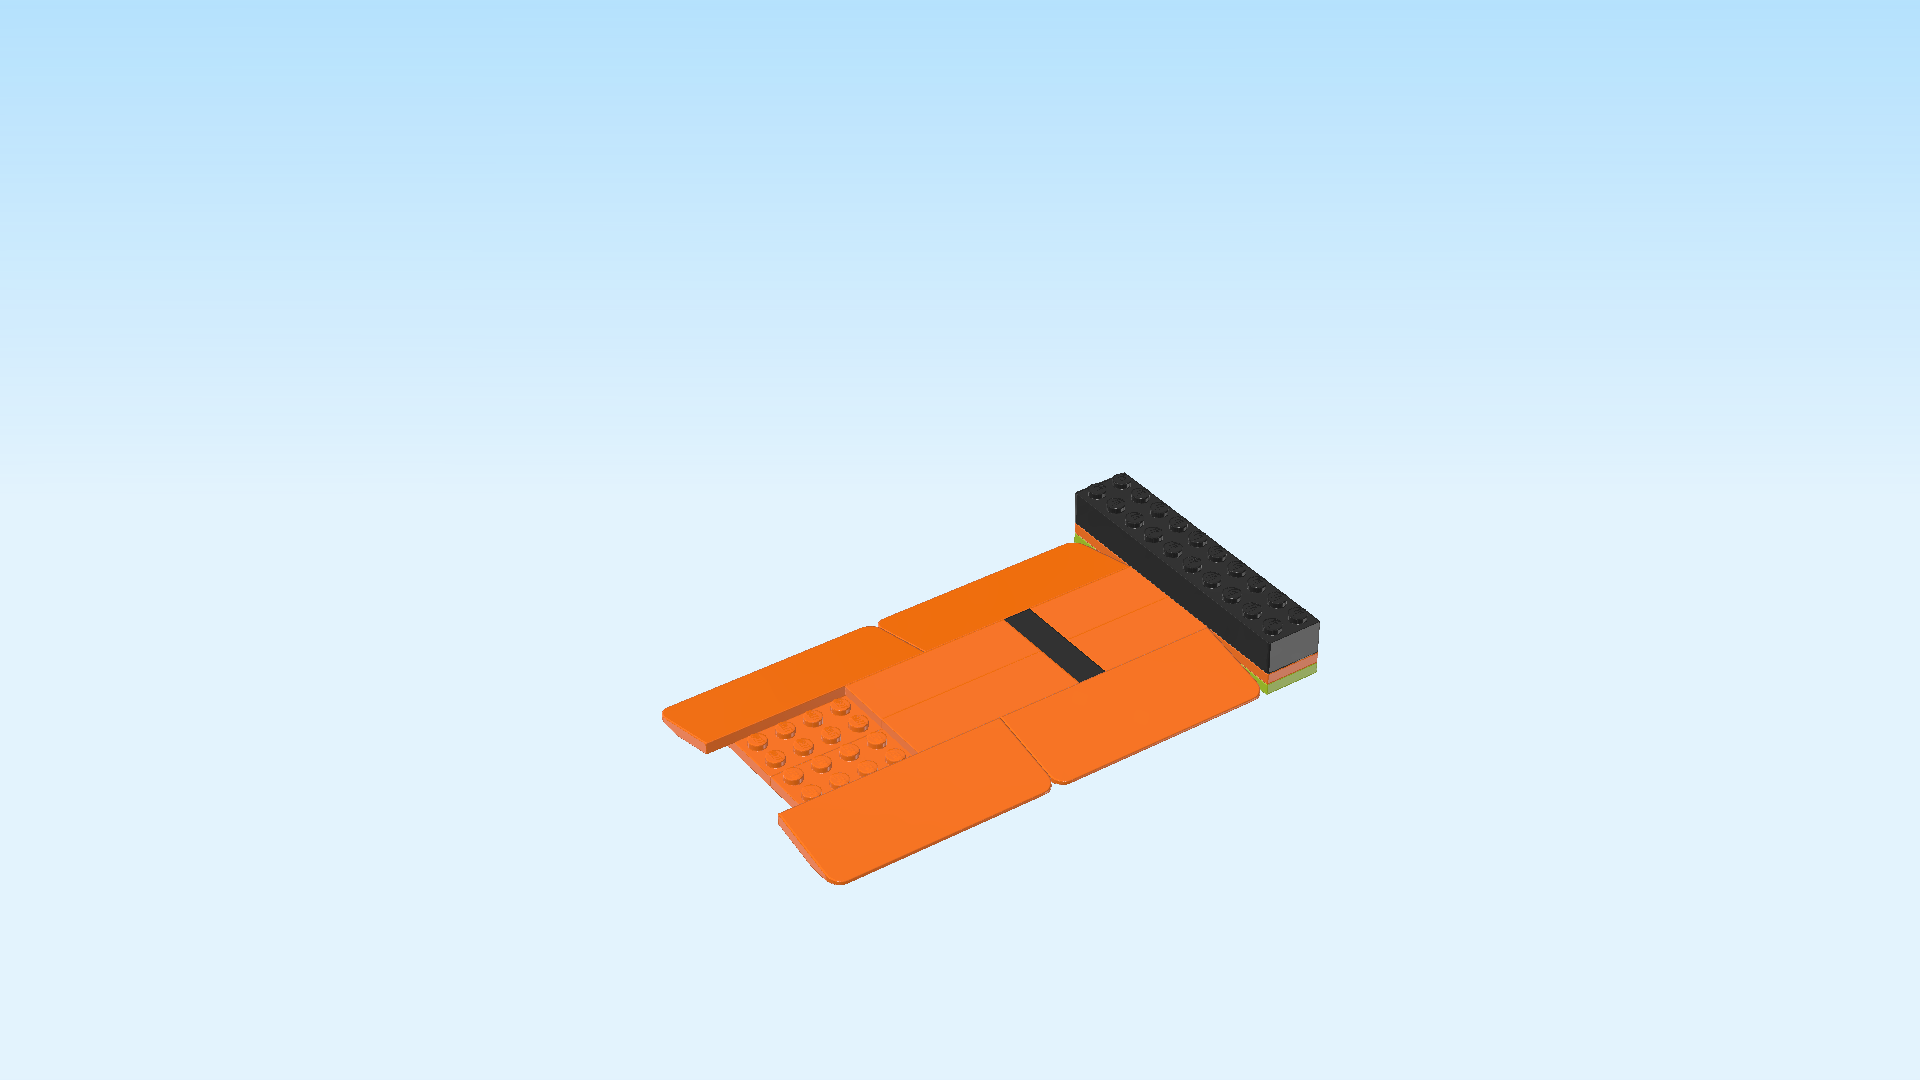
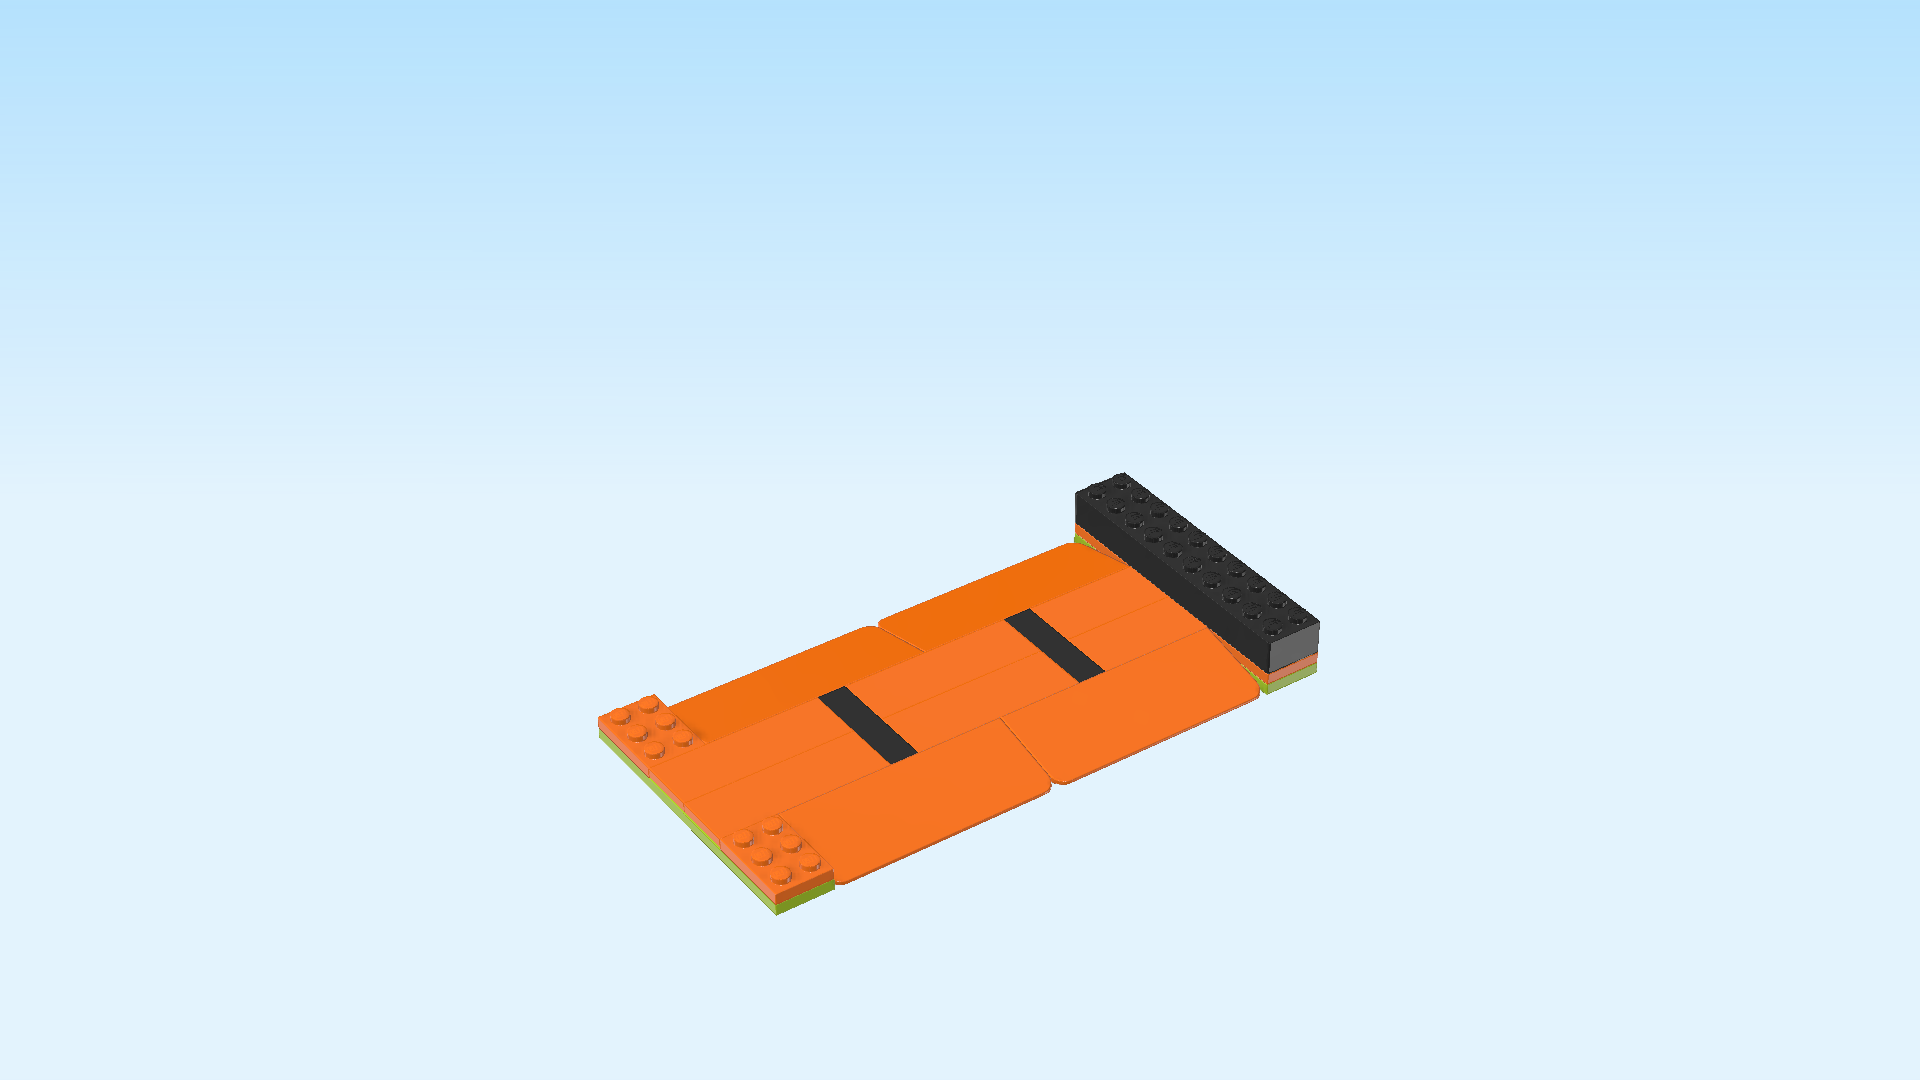
| Find 1 black brick 2x10. |
| Put it vertically on the 2 rightmost columns. |
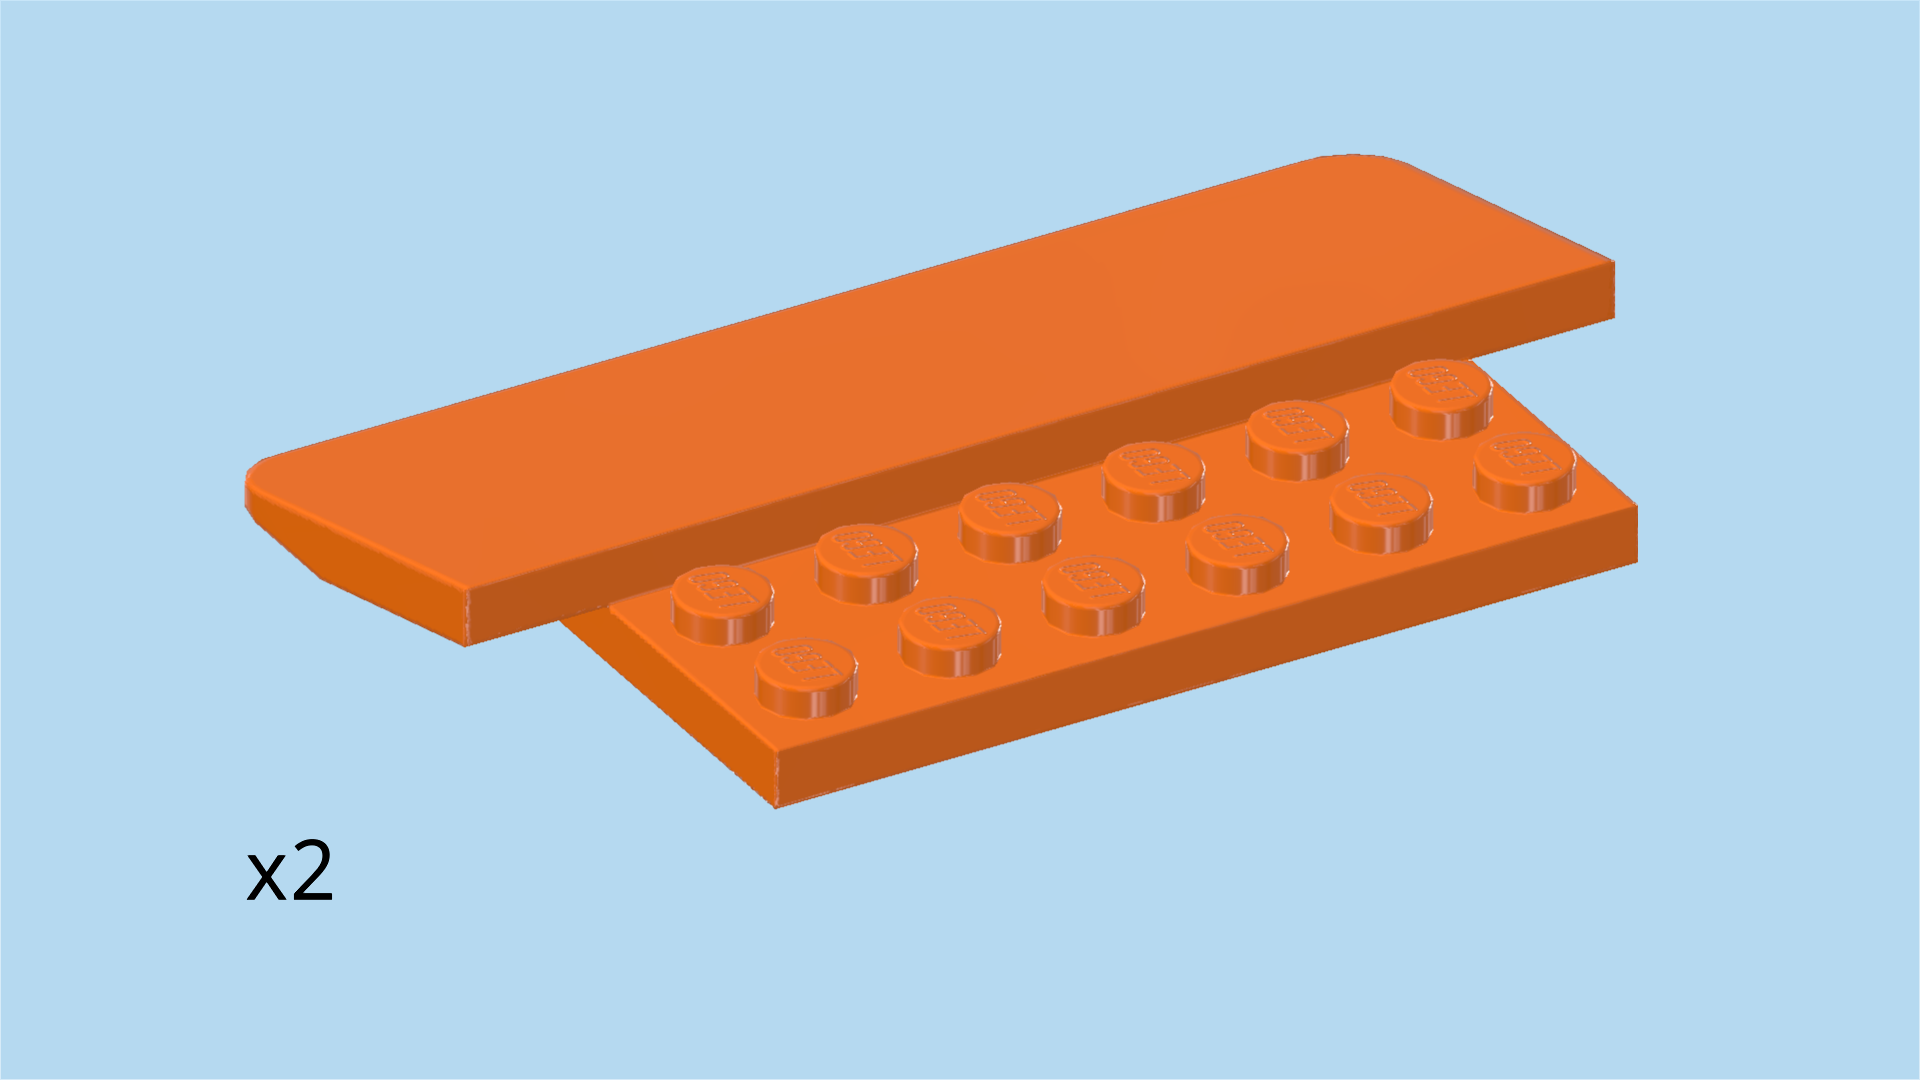
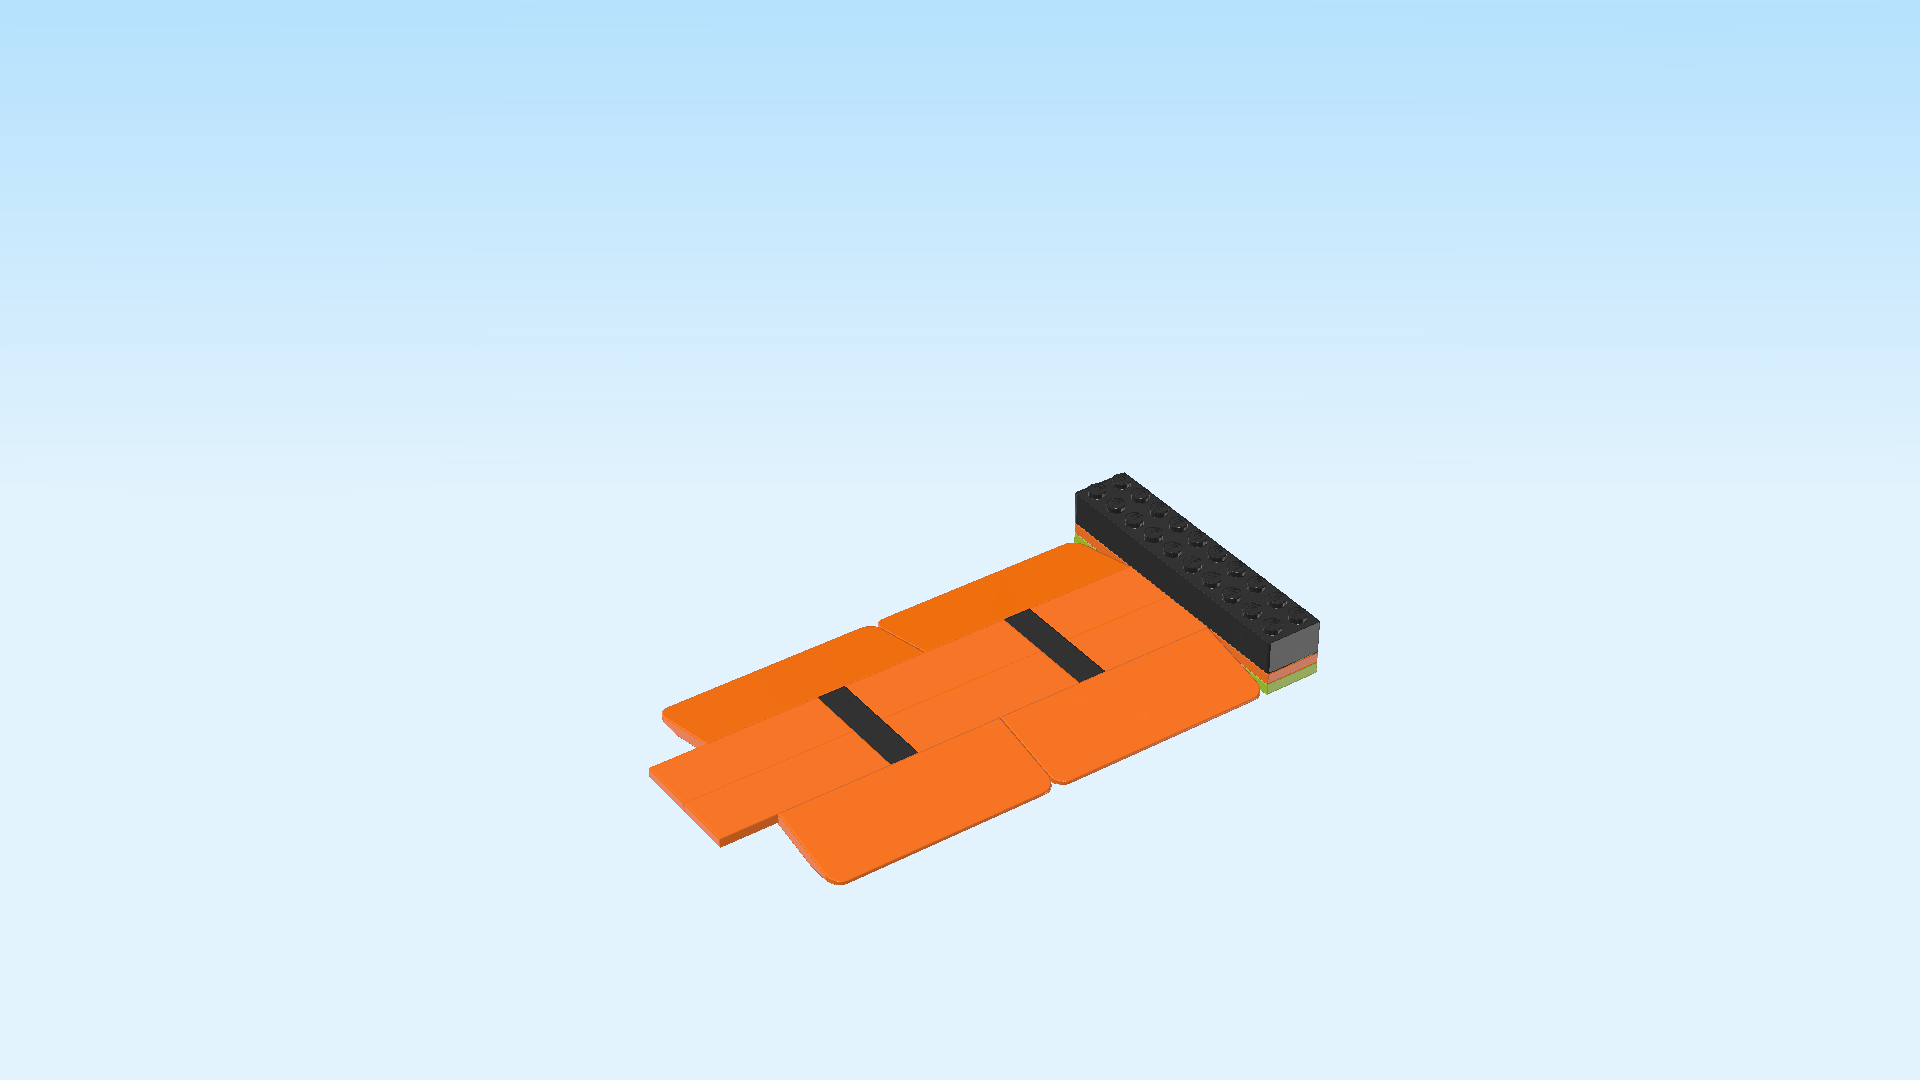
| Find 2 bright orange ramps 8x5. |
| Turn 1 ramp horizontally so that its plate 2x6 is to the back. Mount it underneath the overhanging flat tile at the front, left half protruding towards the left. |
| Repeat symmetrically at the back: turn the other ramp horizontally with its plate 2x6 to the front. Mount it underneath the overhanging flat tile at the back, left half protruding towards the left. |
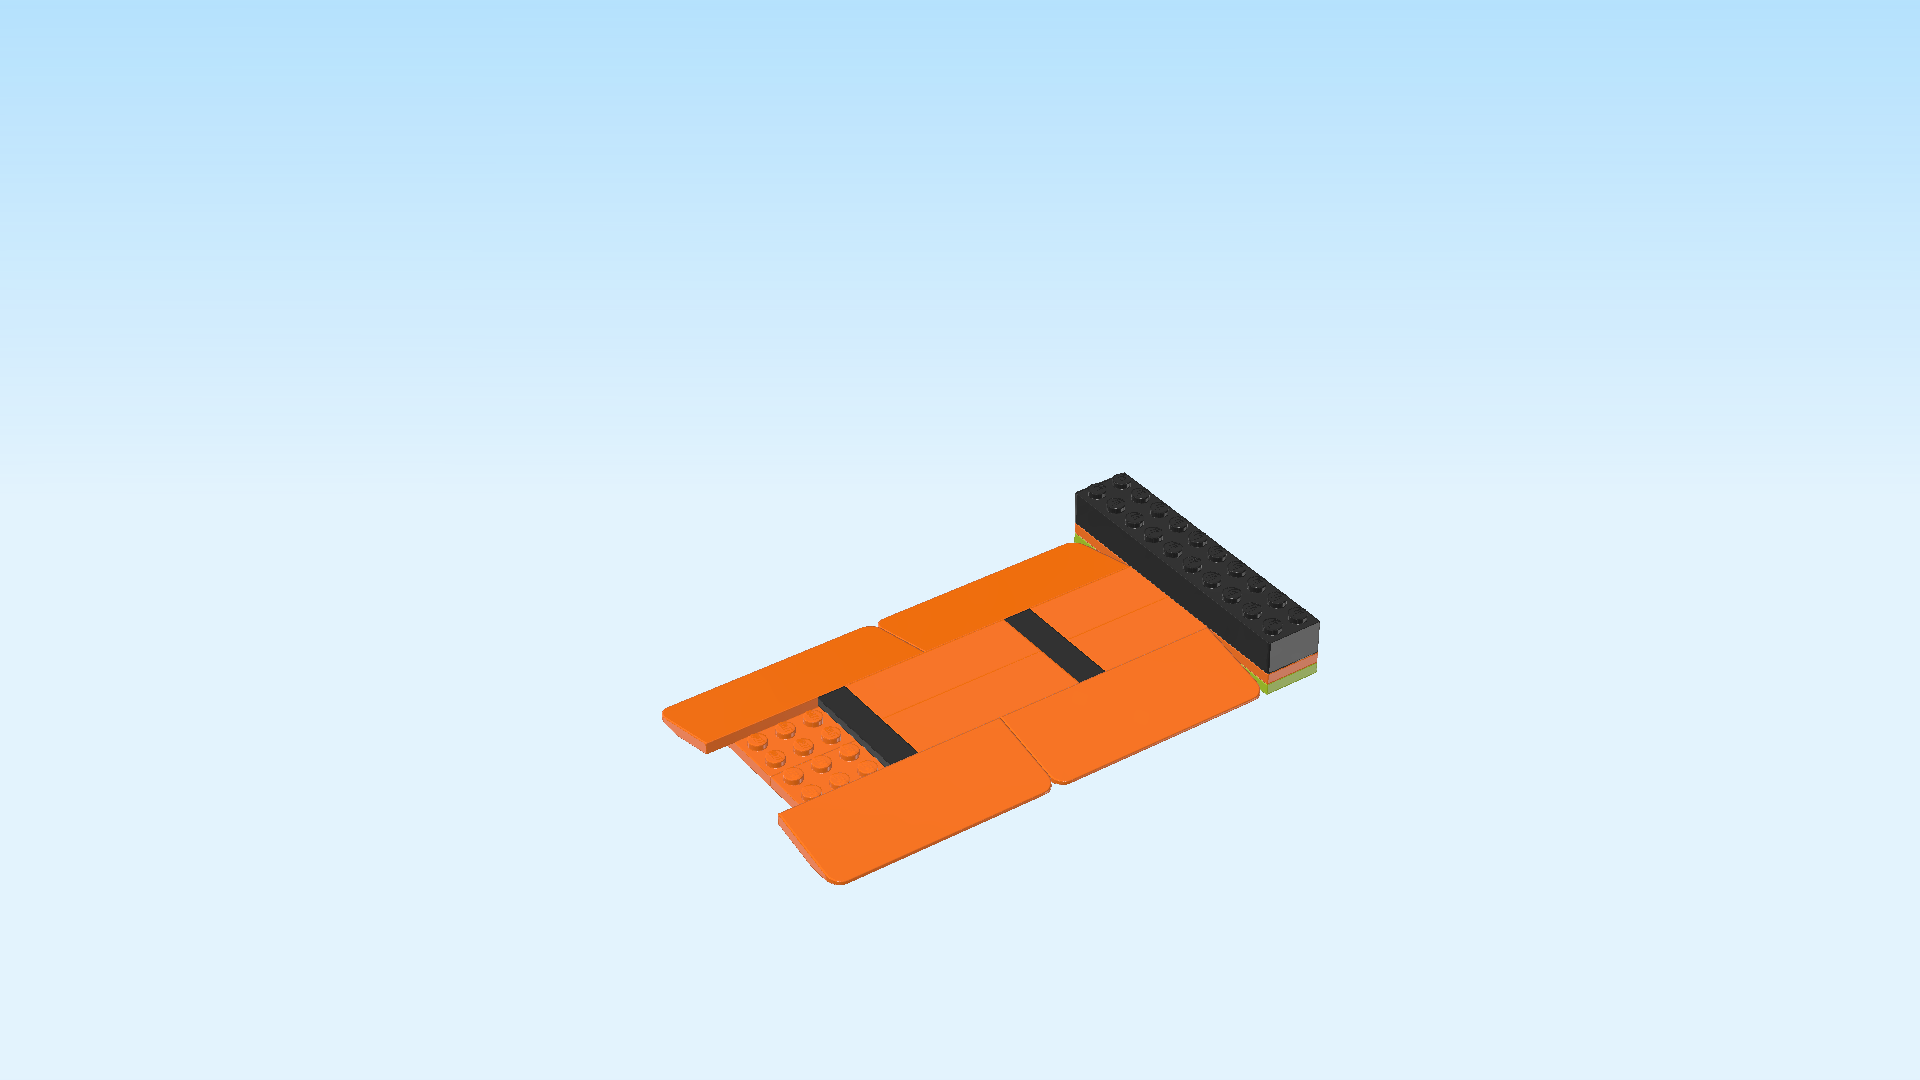
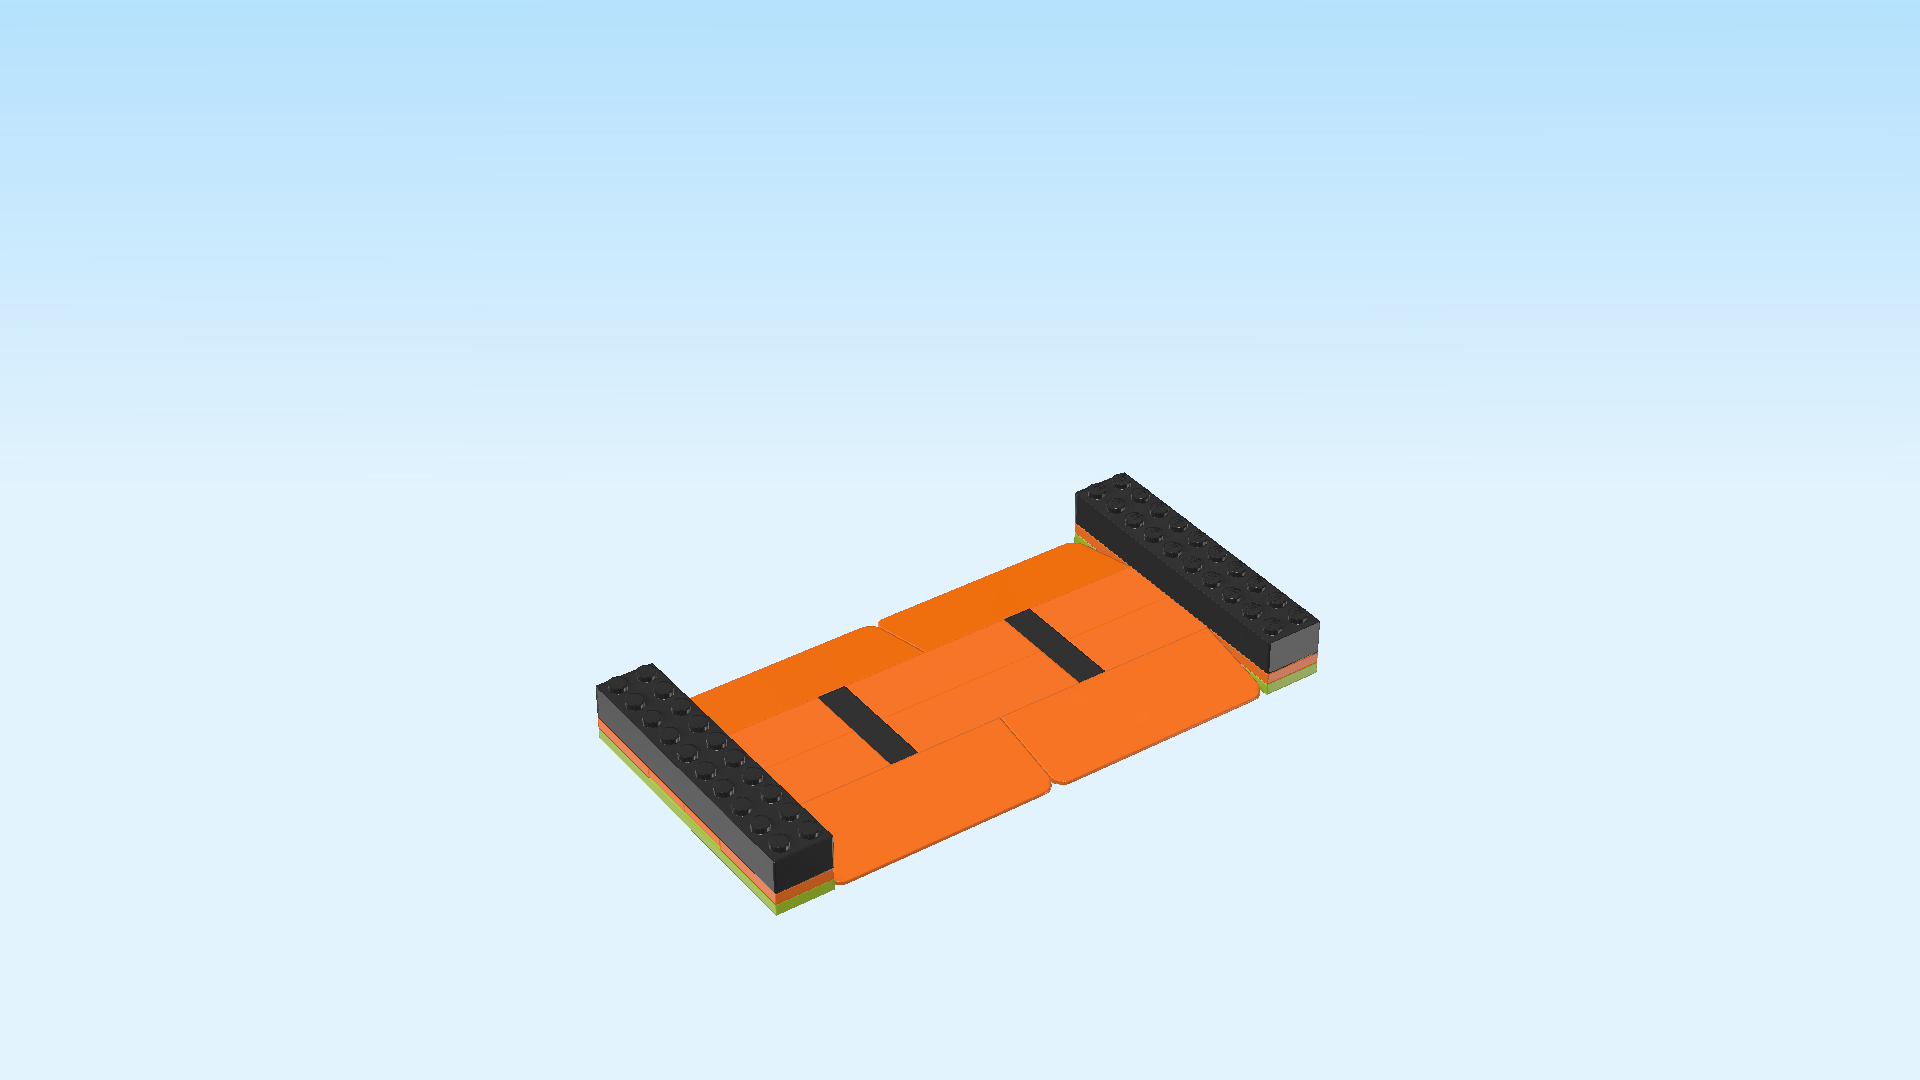
| Find 1 black flat tile 1x4. |
| Put it vertically on the rightmost column of the 2 previous pieces. |
| Find 2 bright orange flat tiles 2x6. |
| Put 1 horizontally to the left of the previous piece aligned with its back edge, left half overhanging to the left. |
| Put the other one horizontally in front of the previous piece in the same orientation. |
| Find 2 bright orange ramps 8x5. |
| Turn one horizontally so that its plate 2x6 is to the back. Mount the ramp underneath the overhanging flat tile at the front, 5 columns (4 with knobs, 1 without knobs) overhanging to the left. |
| Repeat symmetrically at the back. |
| Find 1 black flat tile 1x4. |
| Put it vertically on the rightmost column of the 2 previous pieces. |
| Find 2 bright orange flat tiles 2x6. |
| Put them horizontally to the left of the previous piece, one on the 2 back rows, the other one on the 2 front rows. If done correctly, 2 columns (without knobs) will overhang to the left. |
| Find 1 bright yellowish green plate 2x10. |
| Put it vertically centered underneath the 2 previous pieces. Their left edges align, and the current piece also perfectly aligns with the front and back edges of the structure. |
| Find 2 bright orange plates 2x3. |
| Put 1 vertically on the 6 backmost knobs of the previous piece. |
| Repeat symmetrically at the front. |
| Find 1 black brick 2x10. |
| Put it vertically on the 2 leftmost columns. |
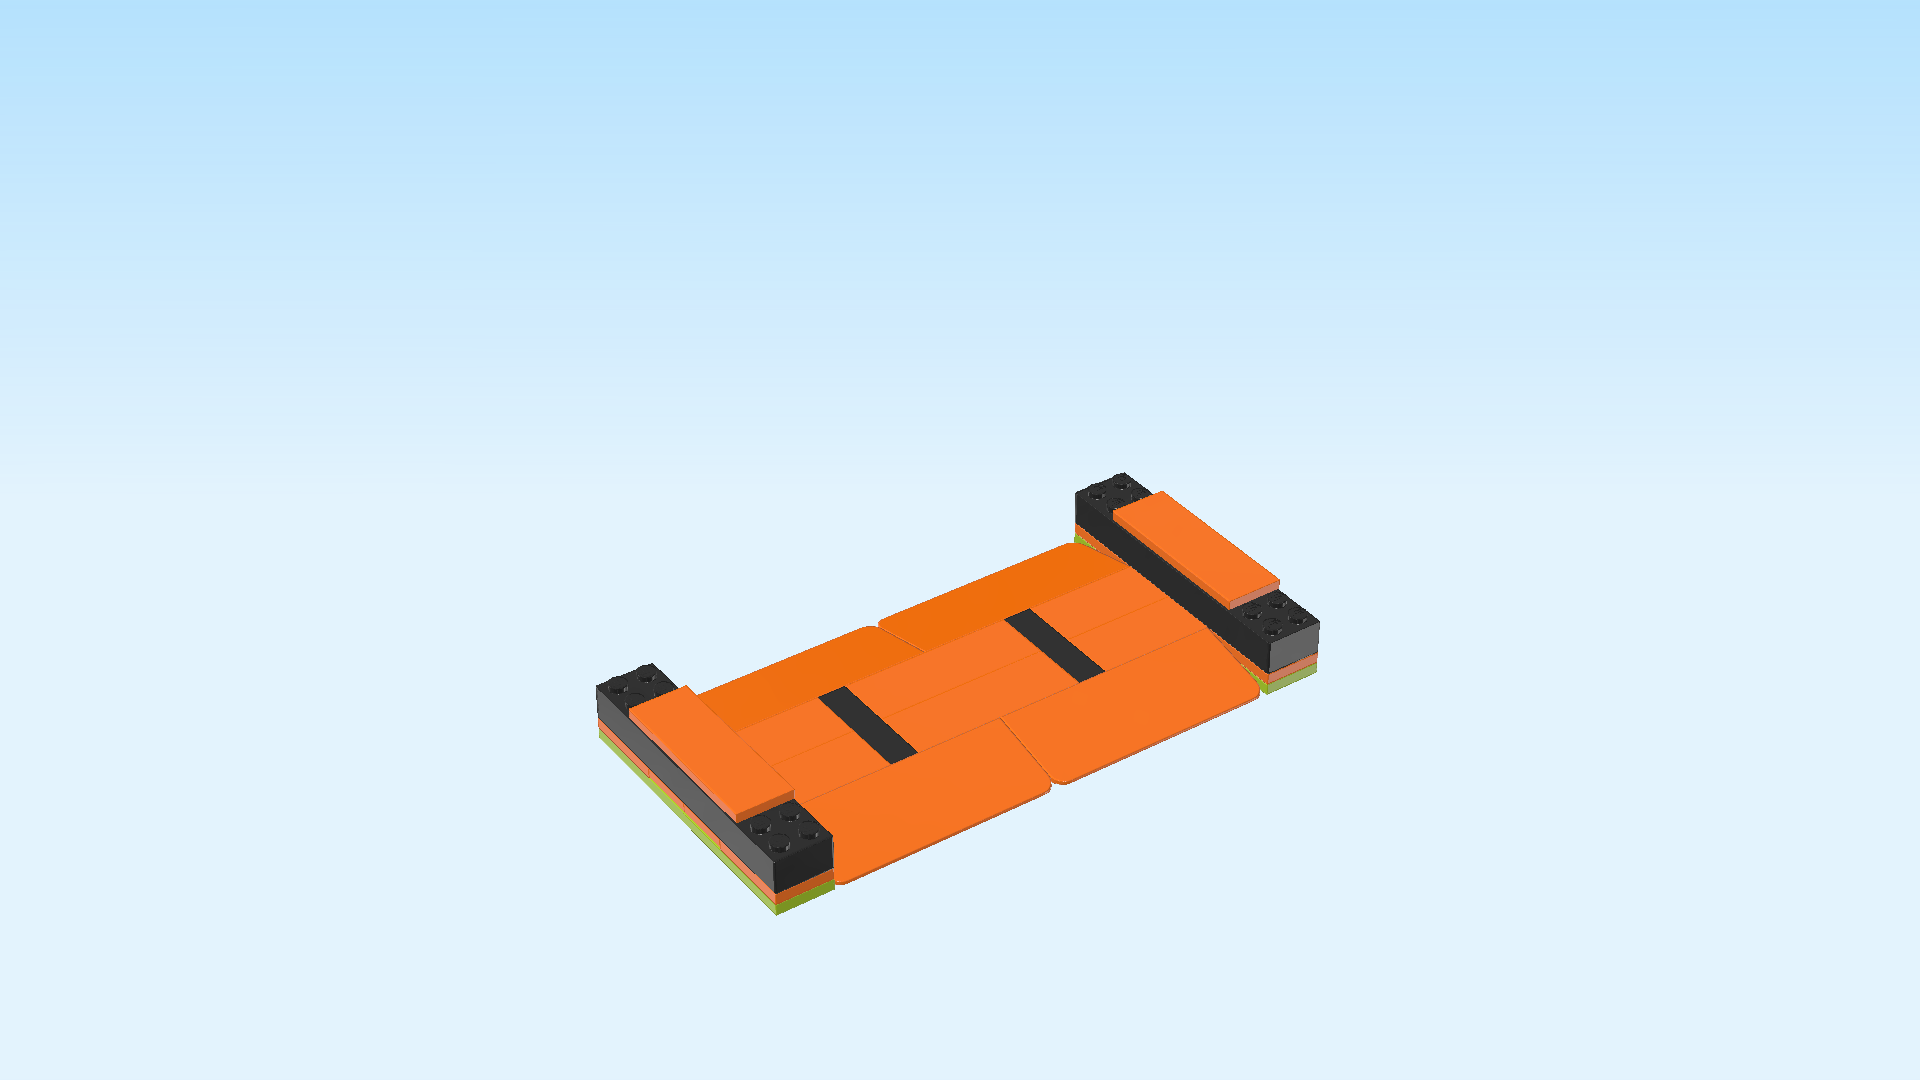
| Find 2 bright orange flat tiles 2x6. |
| Put 1 vertically centered on top of the previous piece. Make sure at the front and back there are 2 empty rows each. |
| Repeat symmetrically on the right edge of the structure. |
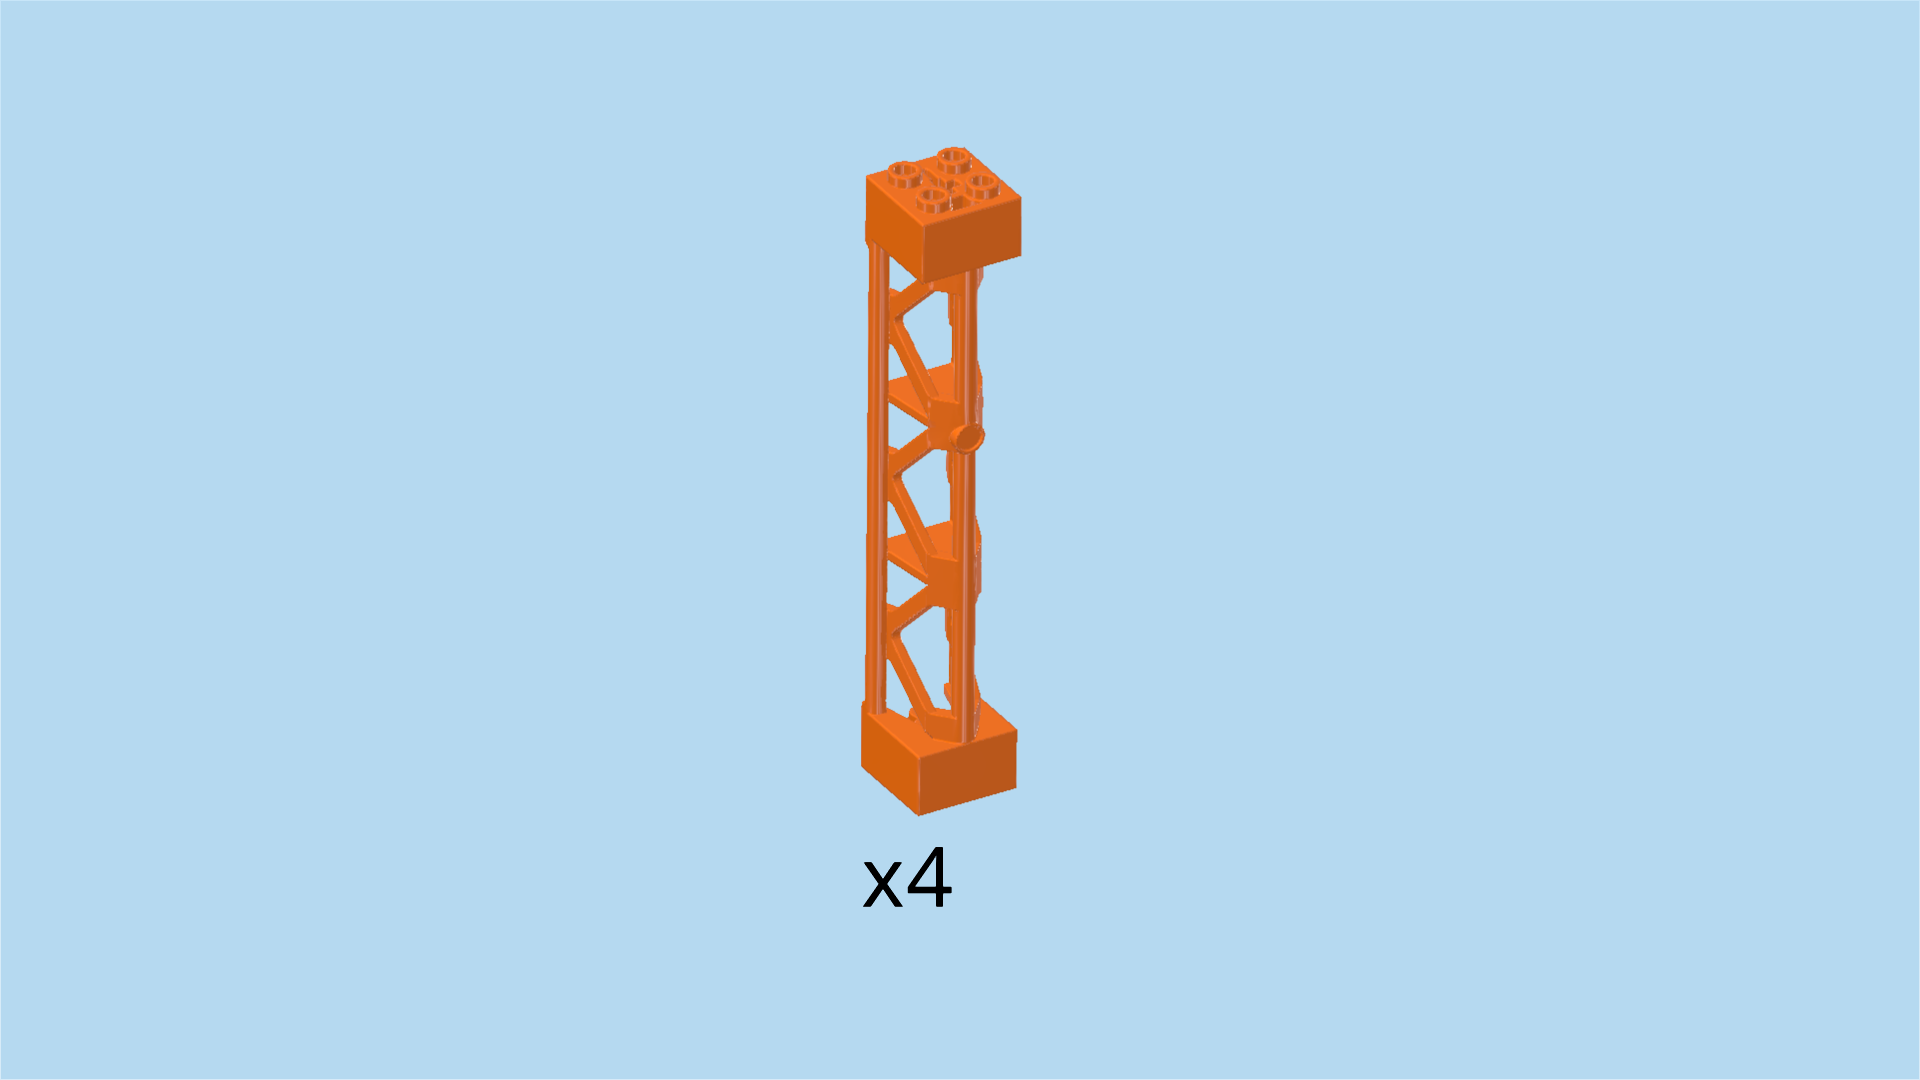
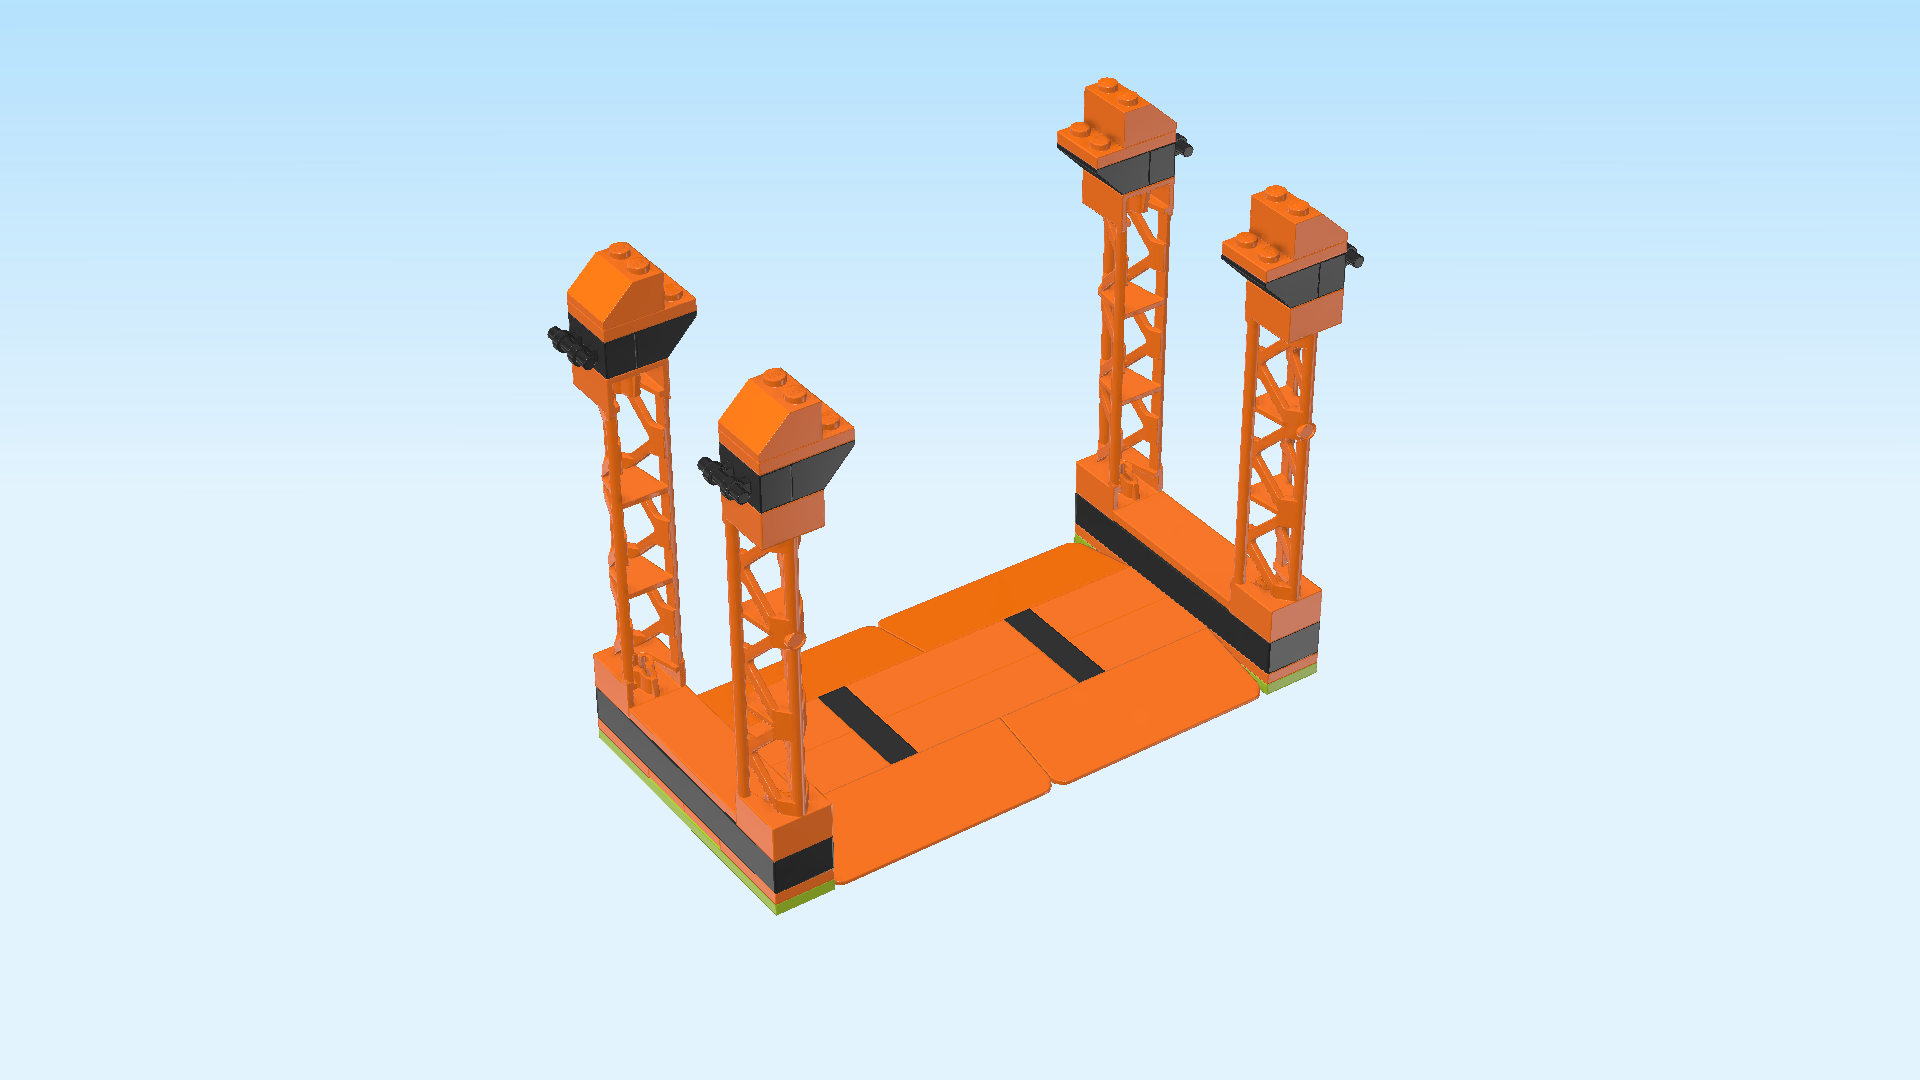
| Find 4 bright orange lattice girders 2x2x10. |
| Each girder has 1 side knob on one of its vertical bars. We will use those for orientation. |
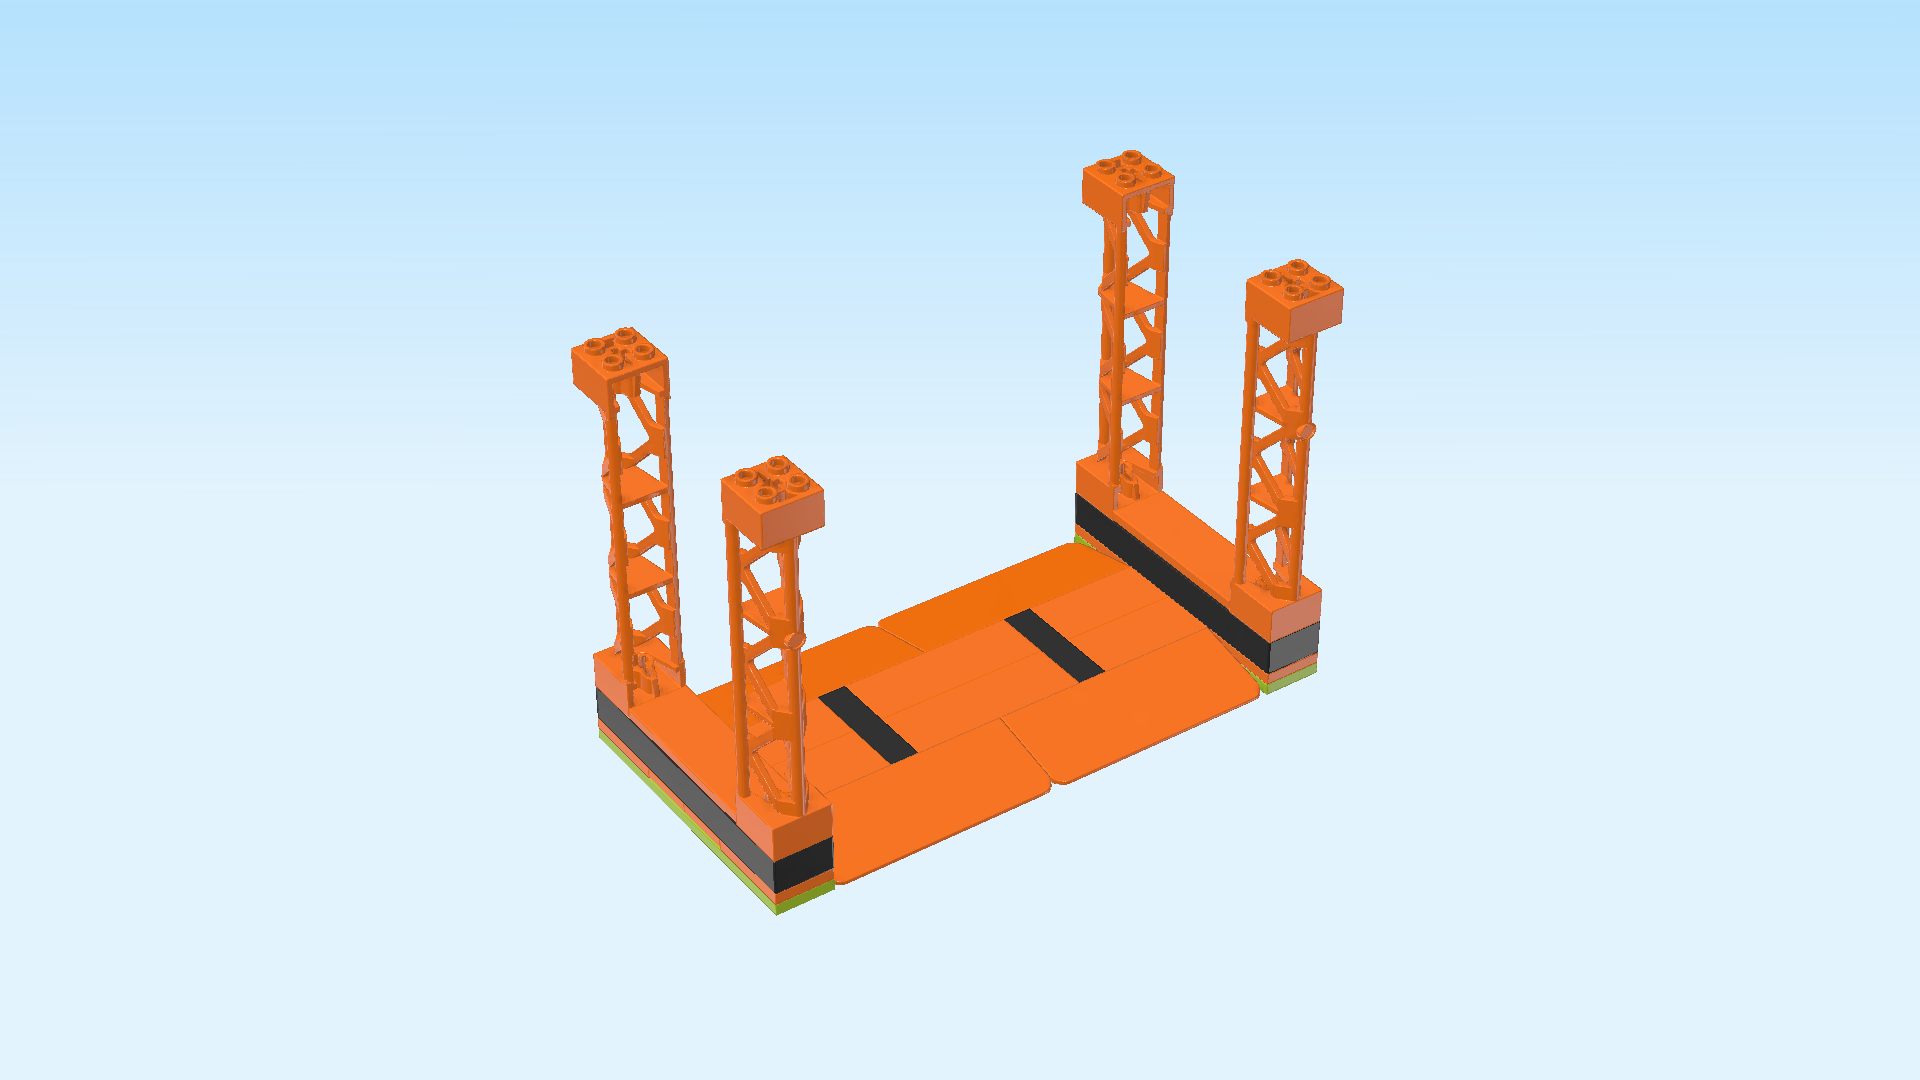
| Put 1 girder on the 4 knobs in the back right corner, side knob pointing to the back. |
| Repeat symmetrically on the back left corner, side knob to the back. |
| Mount the other 2 girders on the front right corner and the front left corner, side knobs pointing to the front. |
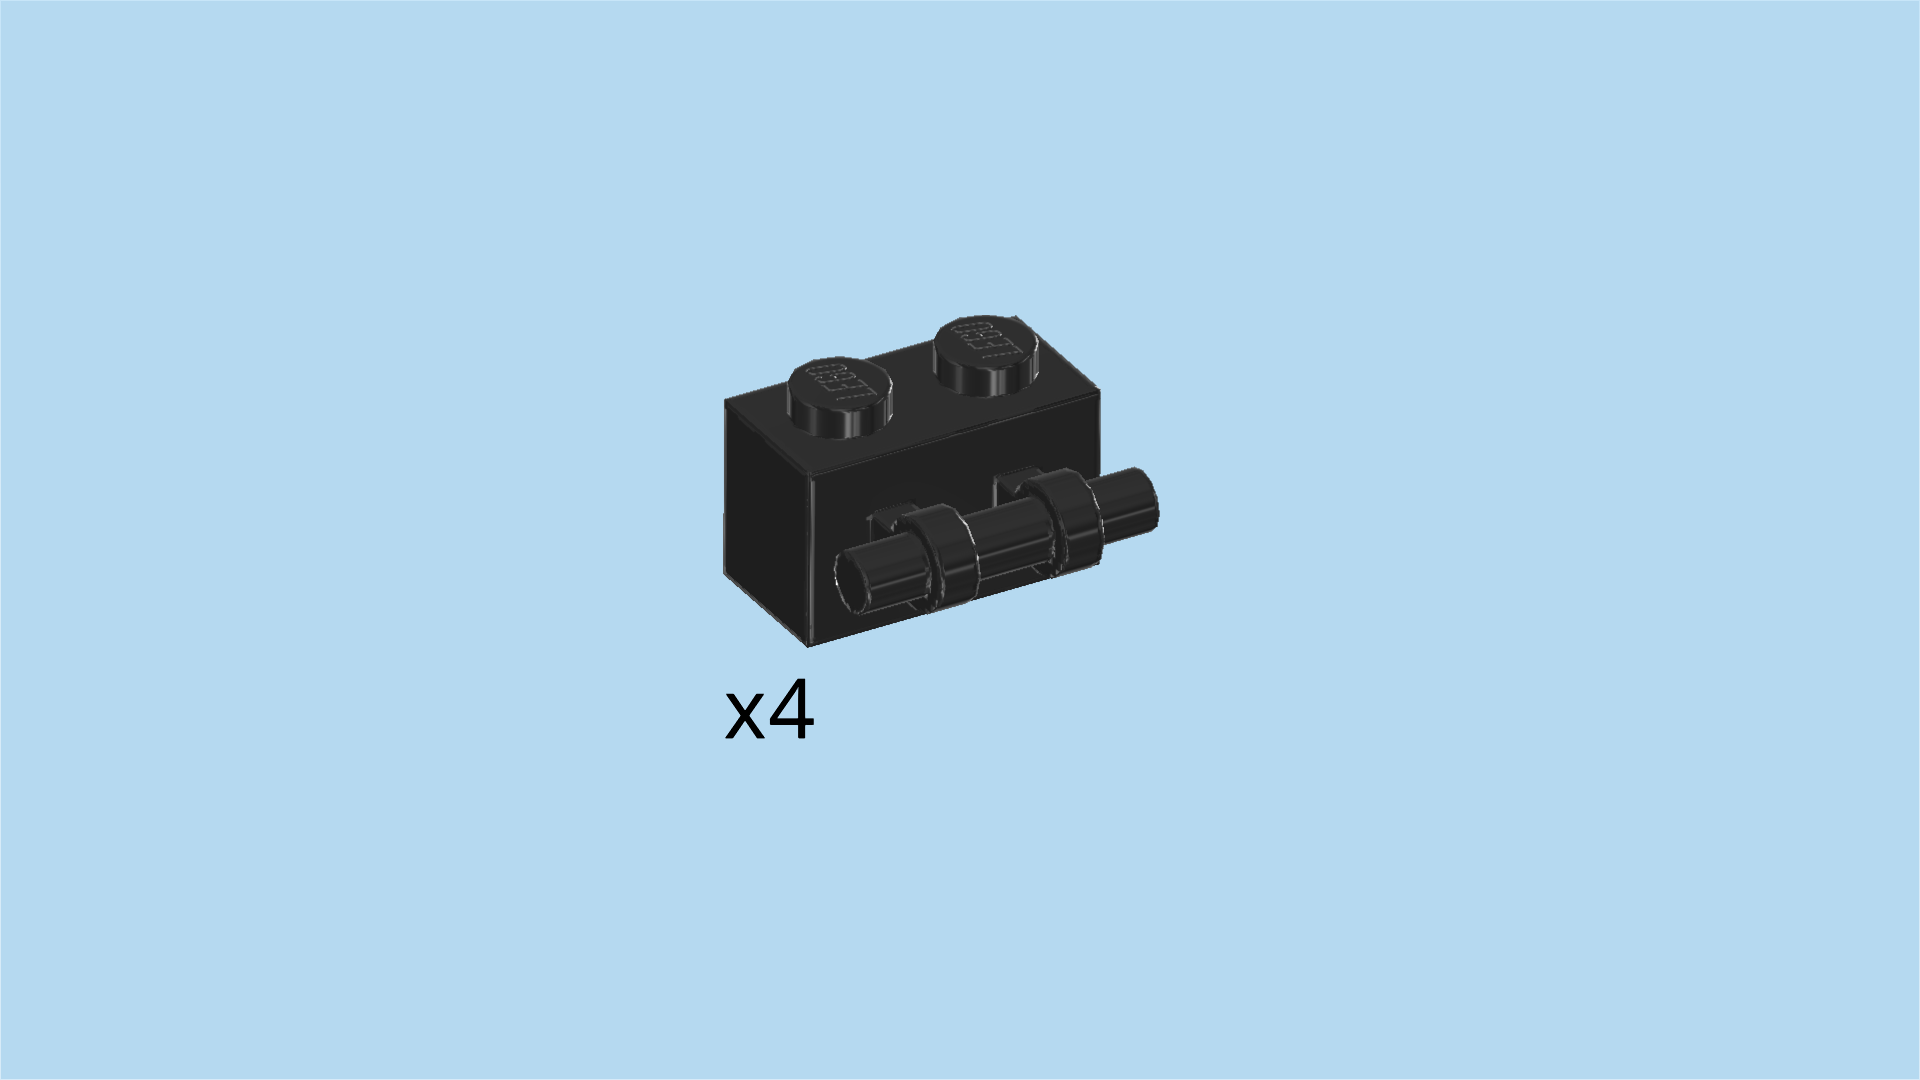
| Find 4 black bricks 1x2 with shaft on long side. |
| Put 1 vertically on the right column of the girder in the back right corner, shaft to the right. |
| Repeat symmetrically on the girder in the front right corner. |
| Put another one vertically on the left column of the girder in the back left corner, shaft to the left. |
| Repeat symmetrically on the girder in the front left corner. |
| Find 4 black inverted roof tiles 2x2, 45°. |
| Put 1 to the right of the previous piece, slope overhanging to the right. |
| Repeat symmetrically on the girder in the back left corner, slope overhanging to the right. |
| Repeat this on the 2 right girders, slopes overhanging to the left. |
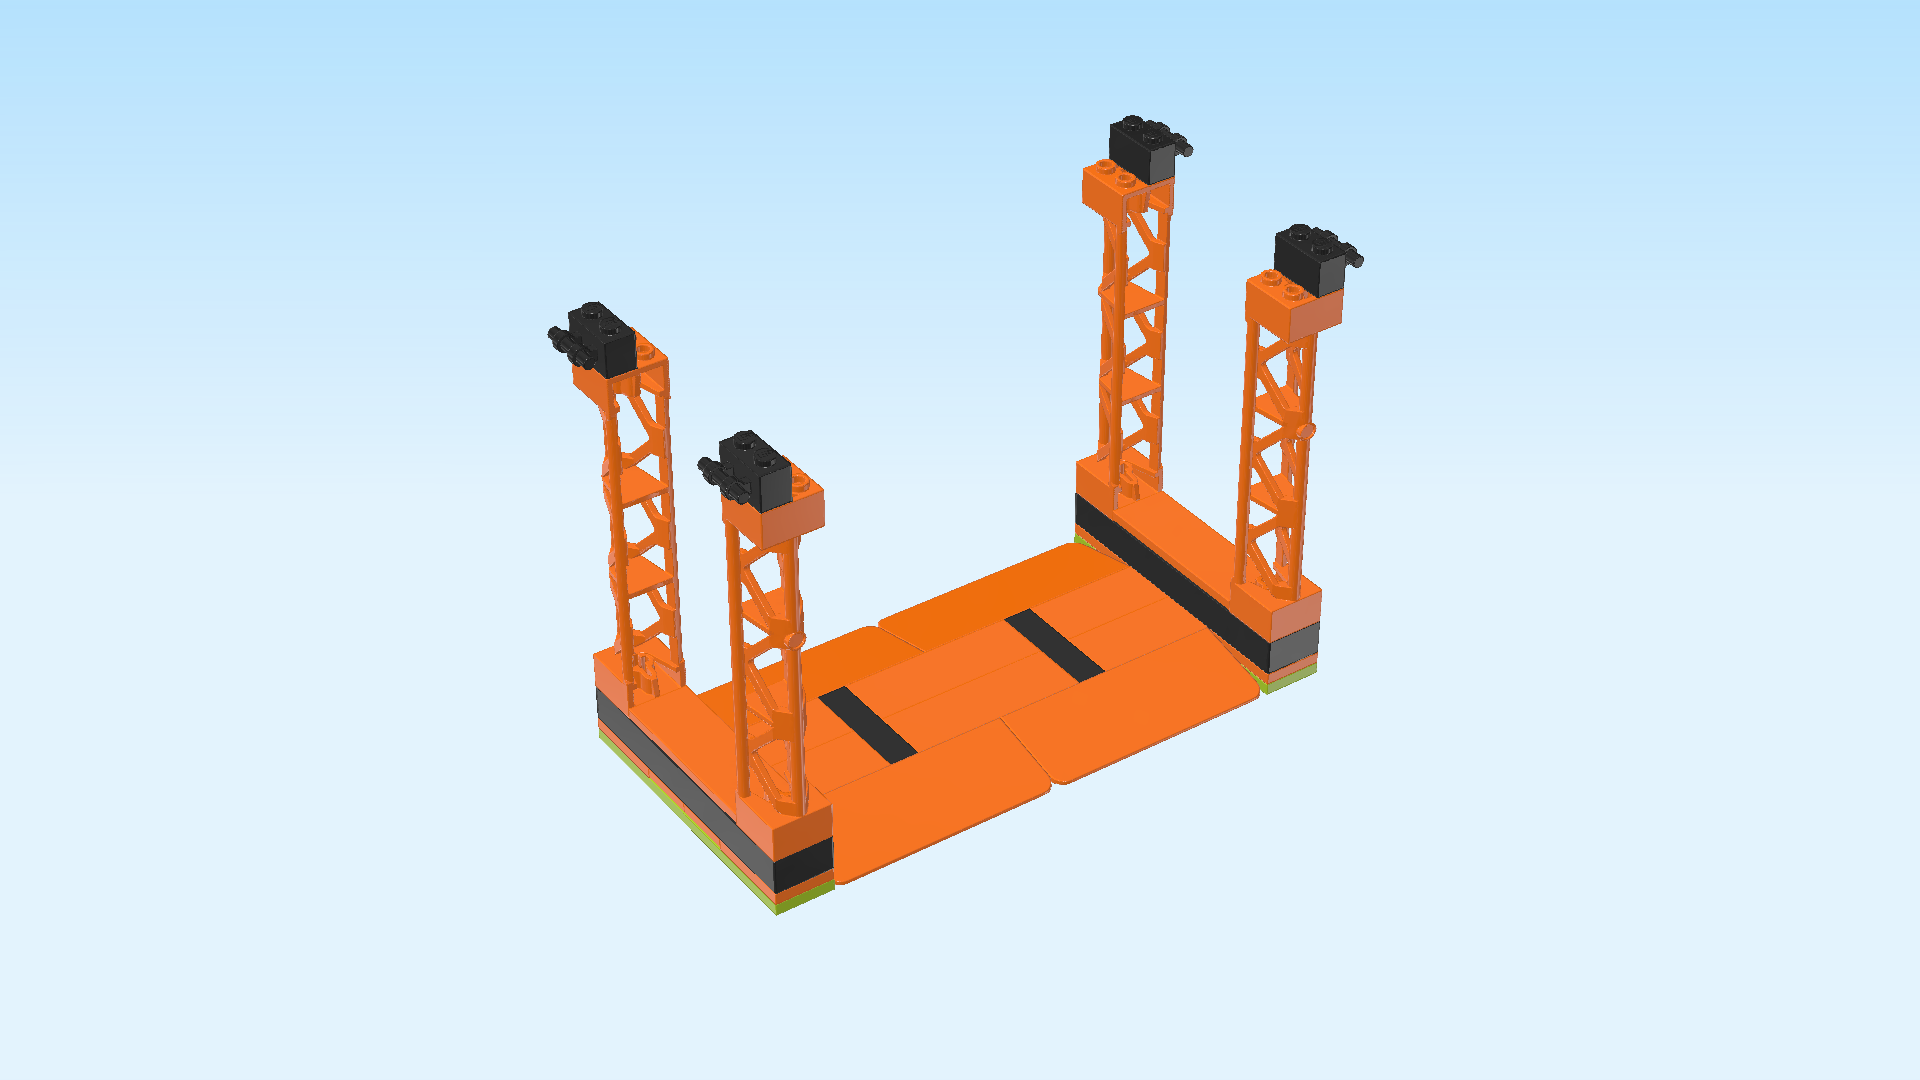
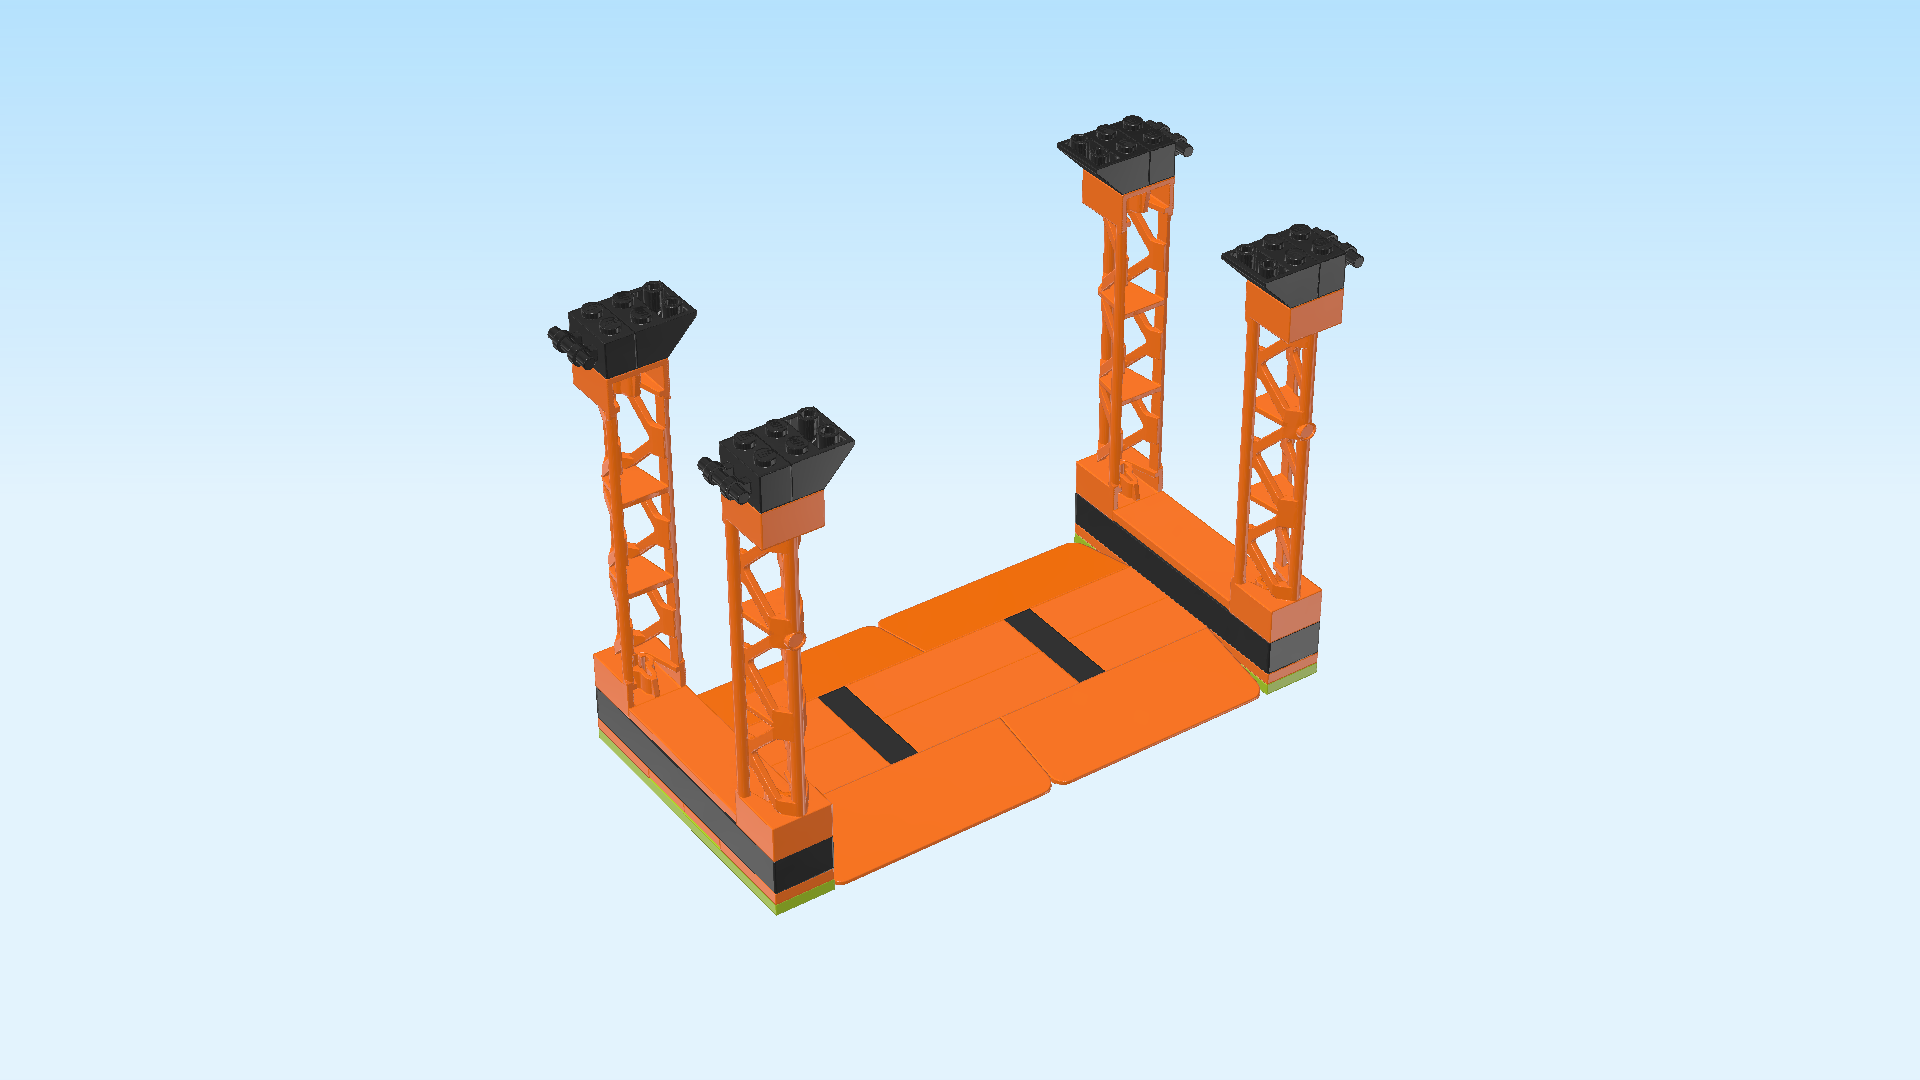
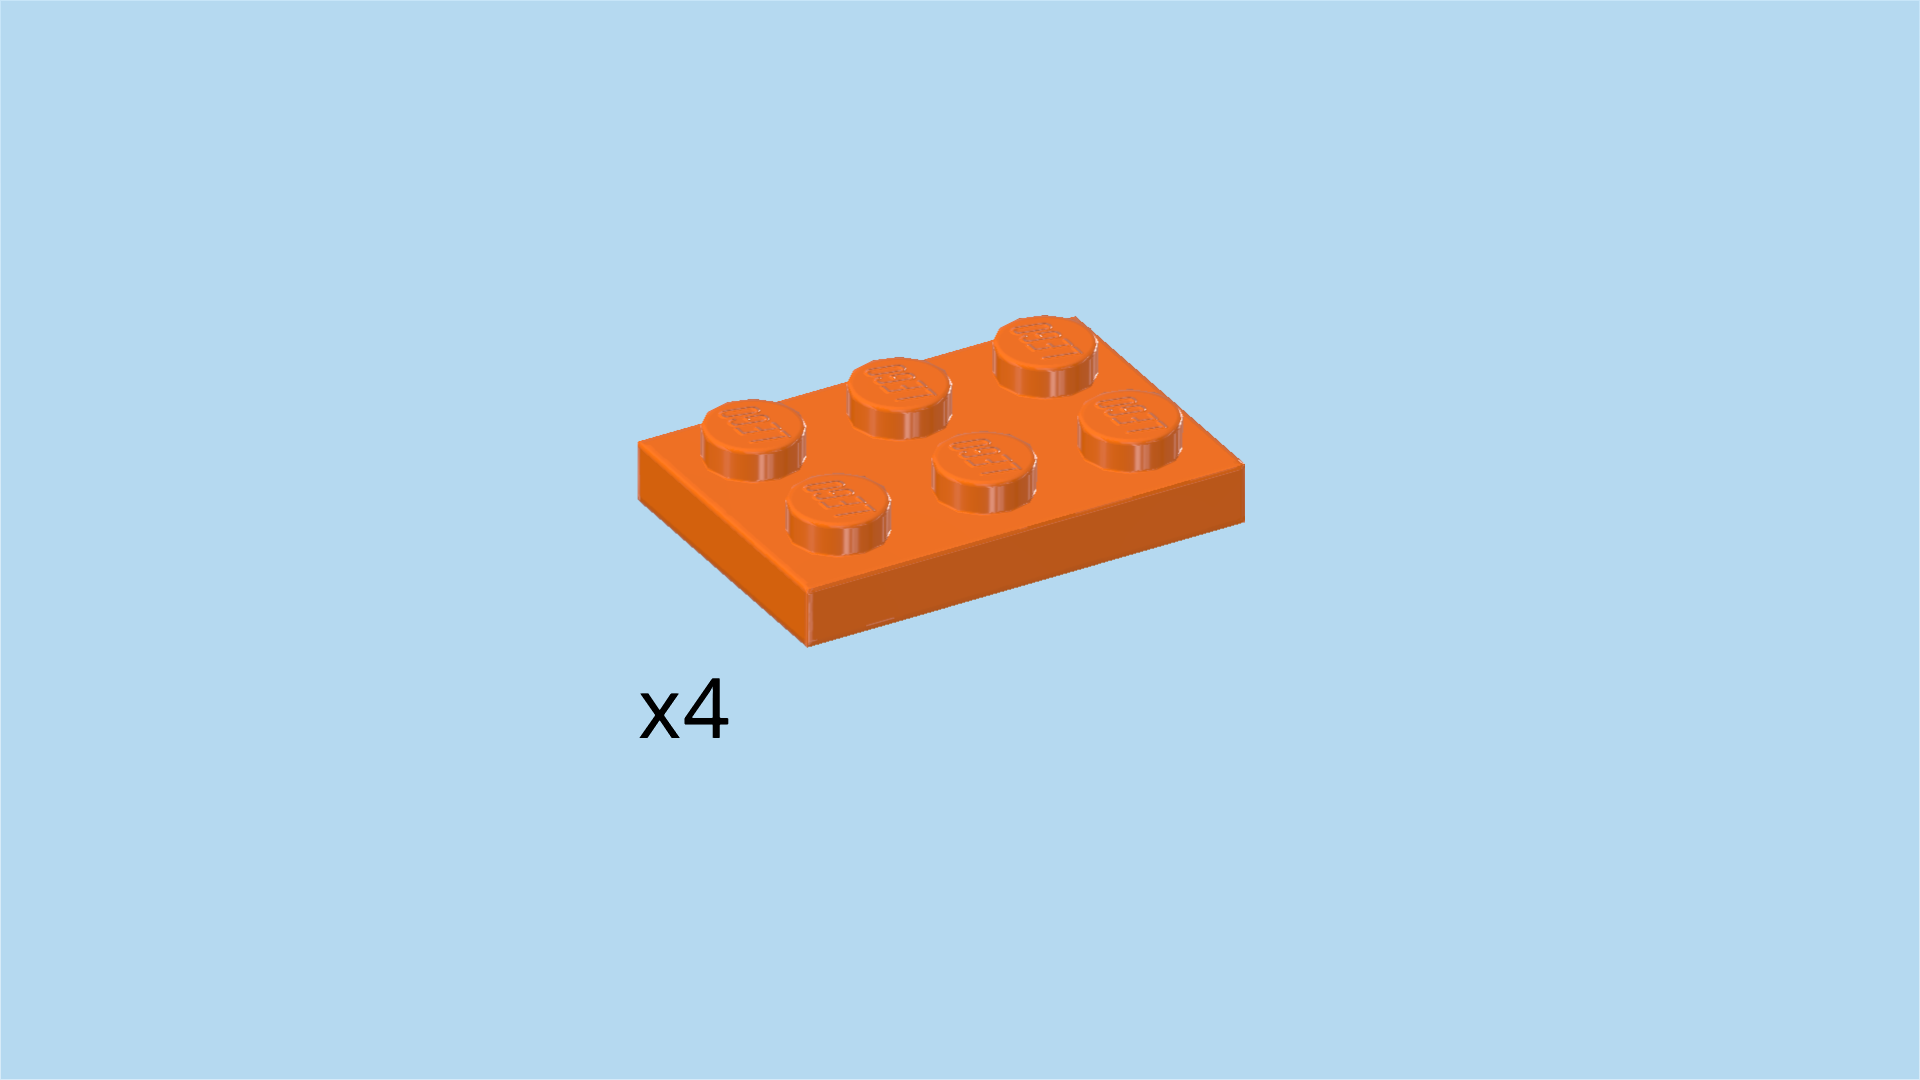
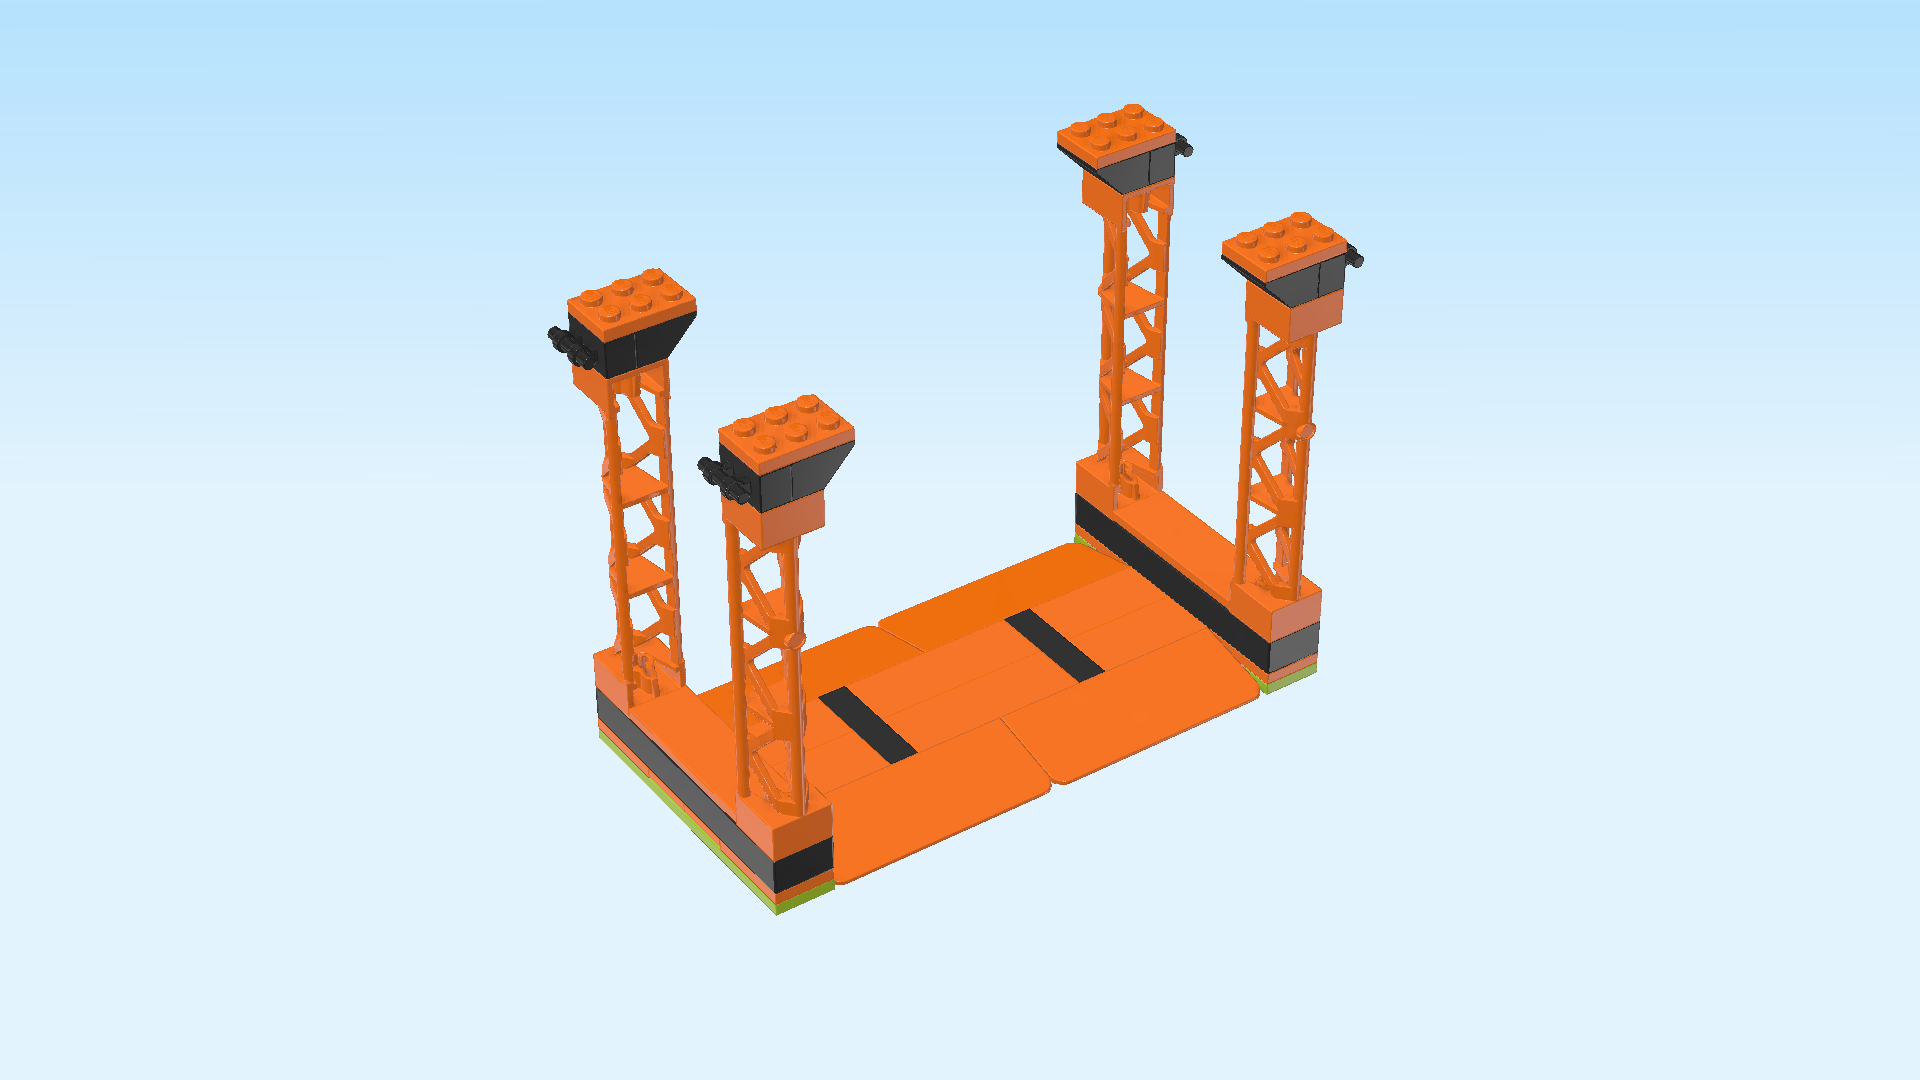
| Find 4 bright orange plates 2x3. |
| Put them horizontally on the top surfaces of the 4 girders. |
| Find 4 bright orange roof tiles 2x2, 45°. |
| Put 1 on the girder in the back right corner, starting from the right edge, slope to the right. The leftmost column on that girder remains empty. |
| Repeat symmetrically on the front right girder, slope to the right. |
| Put the other 2 on the leftmost edges of the 2 left girders, slopes to the left. On those girders, the rightmost columns remain empty. |
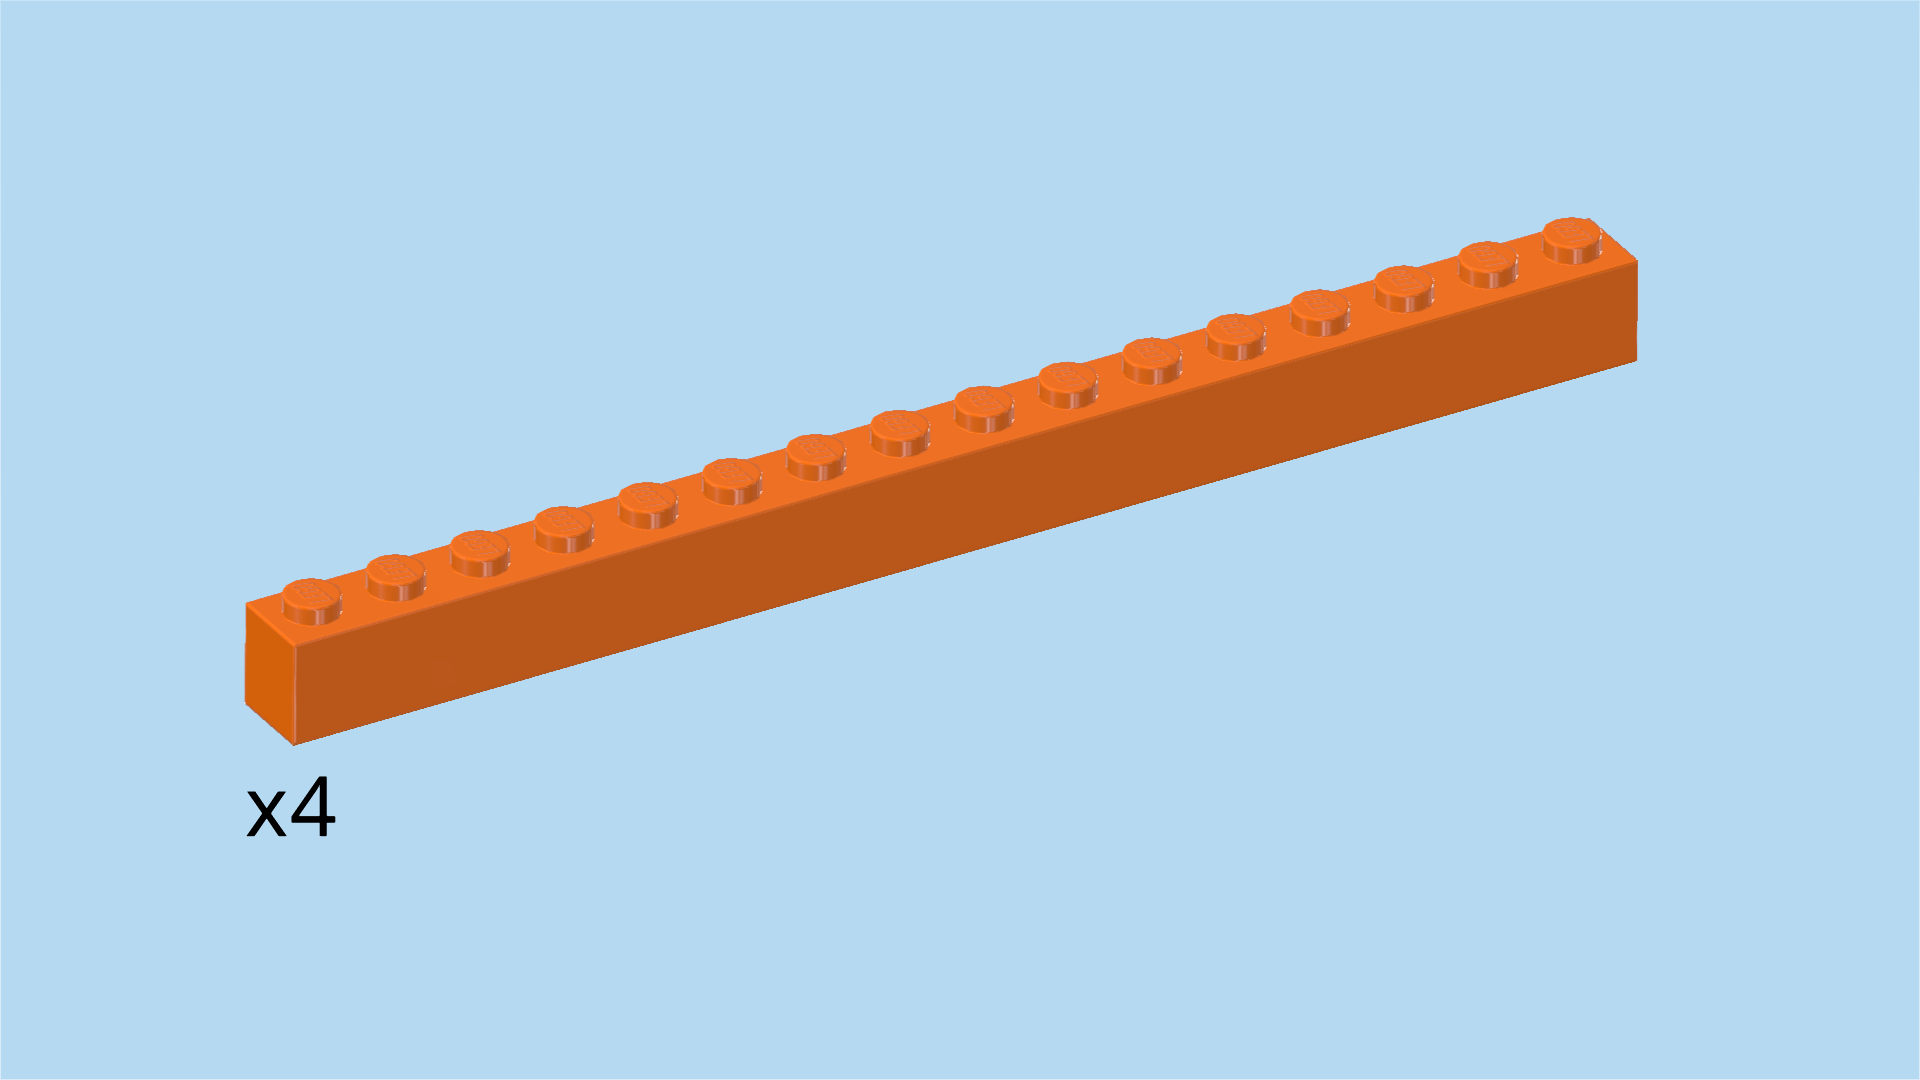
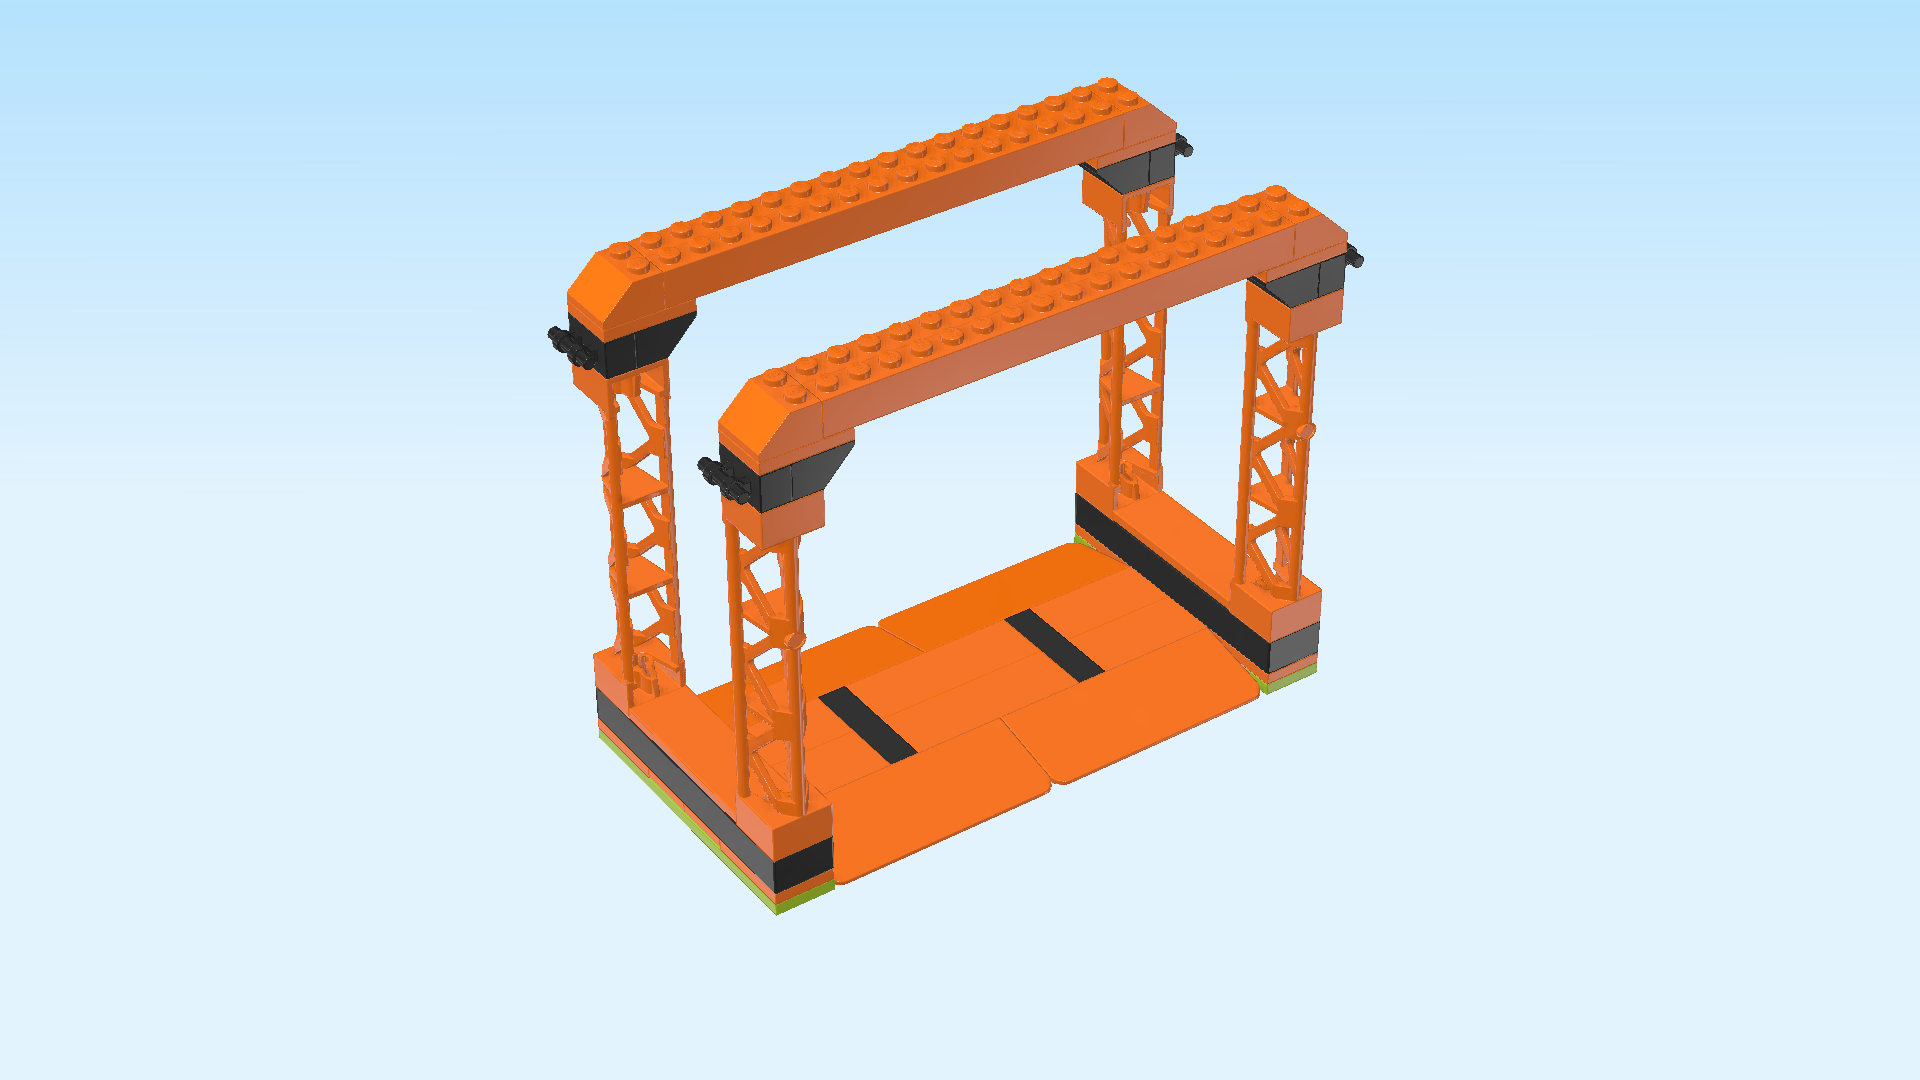
| Find 4 bright orange bricks 1x16. |
| Put 1 horizontally on the frontmost row, connecting the 2 front girders. |
| Put 1 horizontally behind the previous piece. |
| Repeat symmetrically on the 2 back girders. |
| Find 4 bright orange flat tiles 2x6. |
| Put 1 horizontally on the 2 backmost rows, starting from the left edge. |
| Repeat symmetrically on the right edge. |
| Put another 1 horizontally on the 2 frontmost rows, starting from the left edge. |
| Repeat symmetrically on the right edge. |
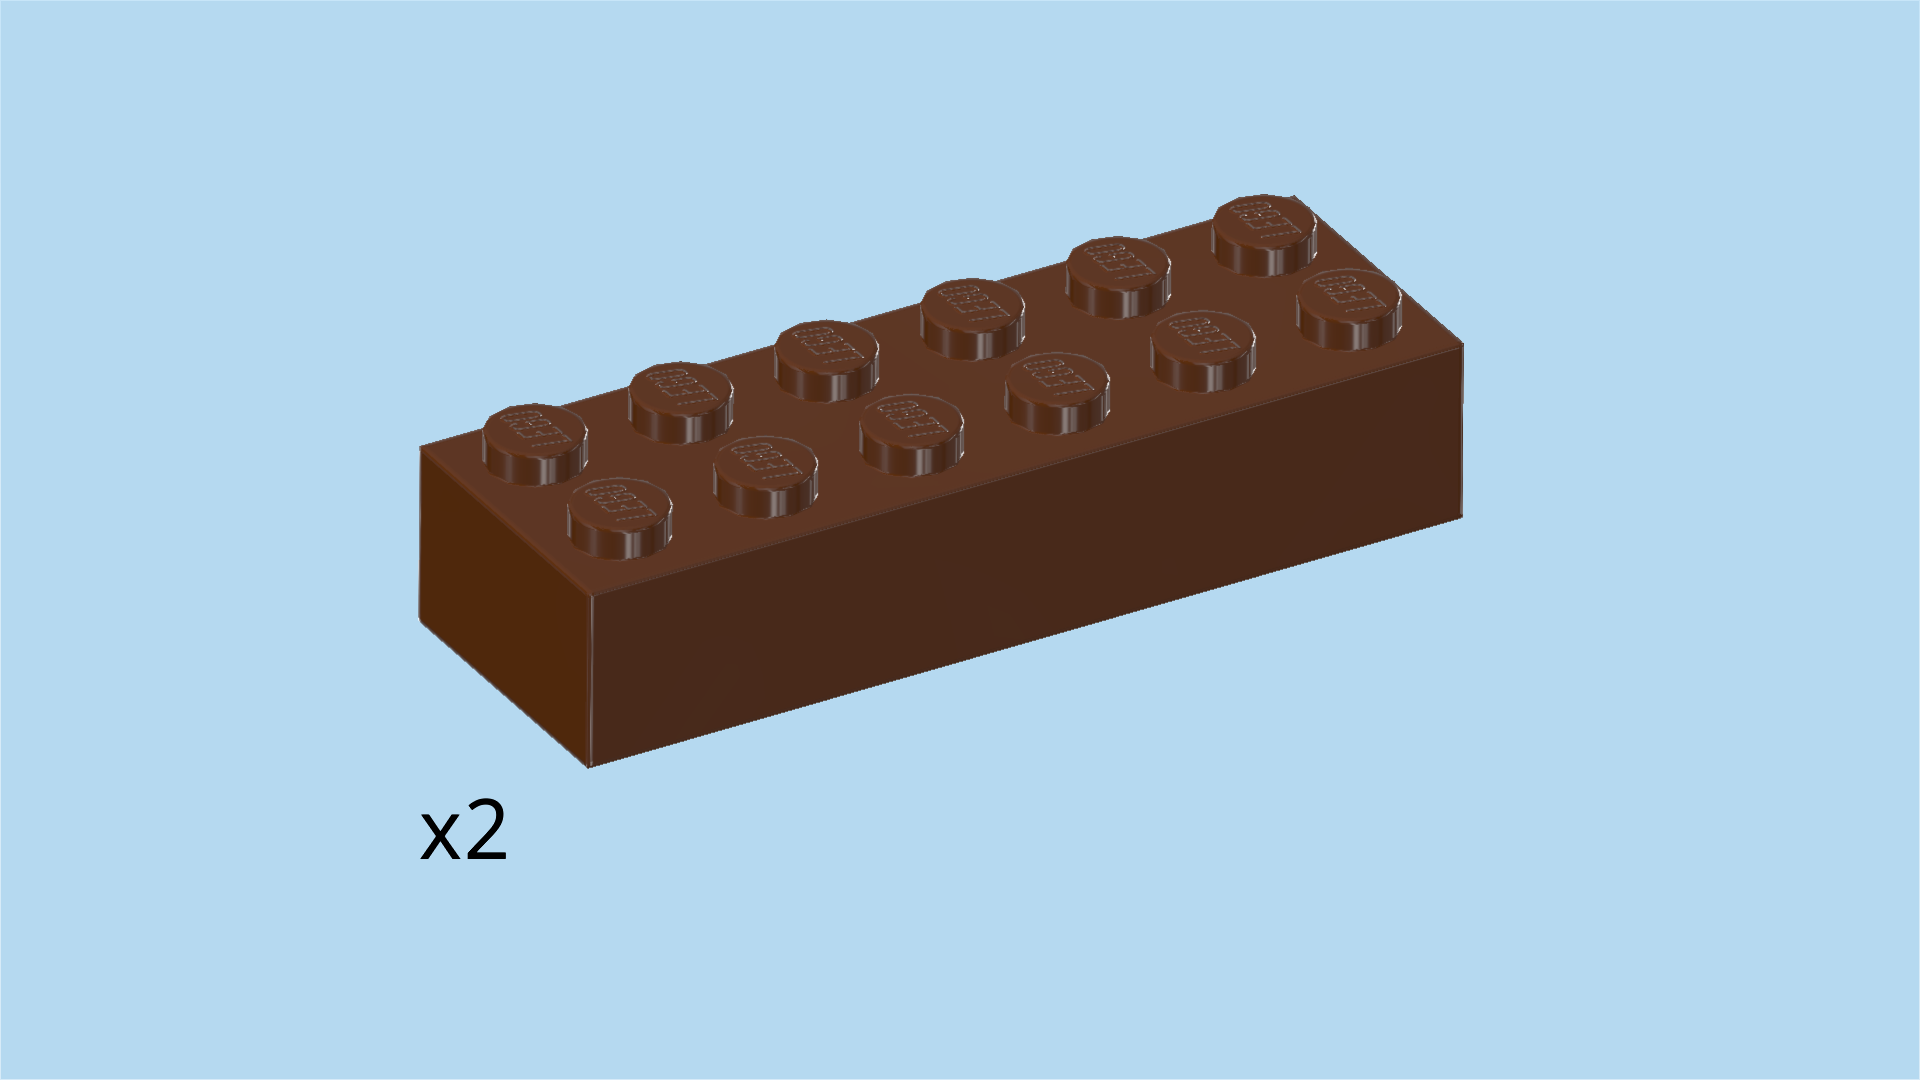
| Find 2 reddish brown bricks 2x6. |
| Put 1 horizontally between the 2 previous pieces. If done correctly, it will be mounted in the middle of the 2 frontmost rows. |
| Repeat symmetrically on the 2 backmost rows. |
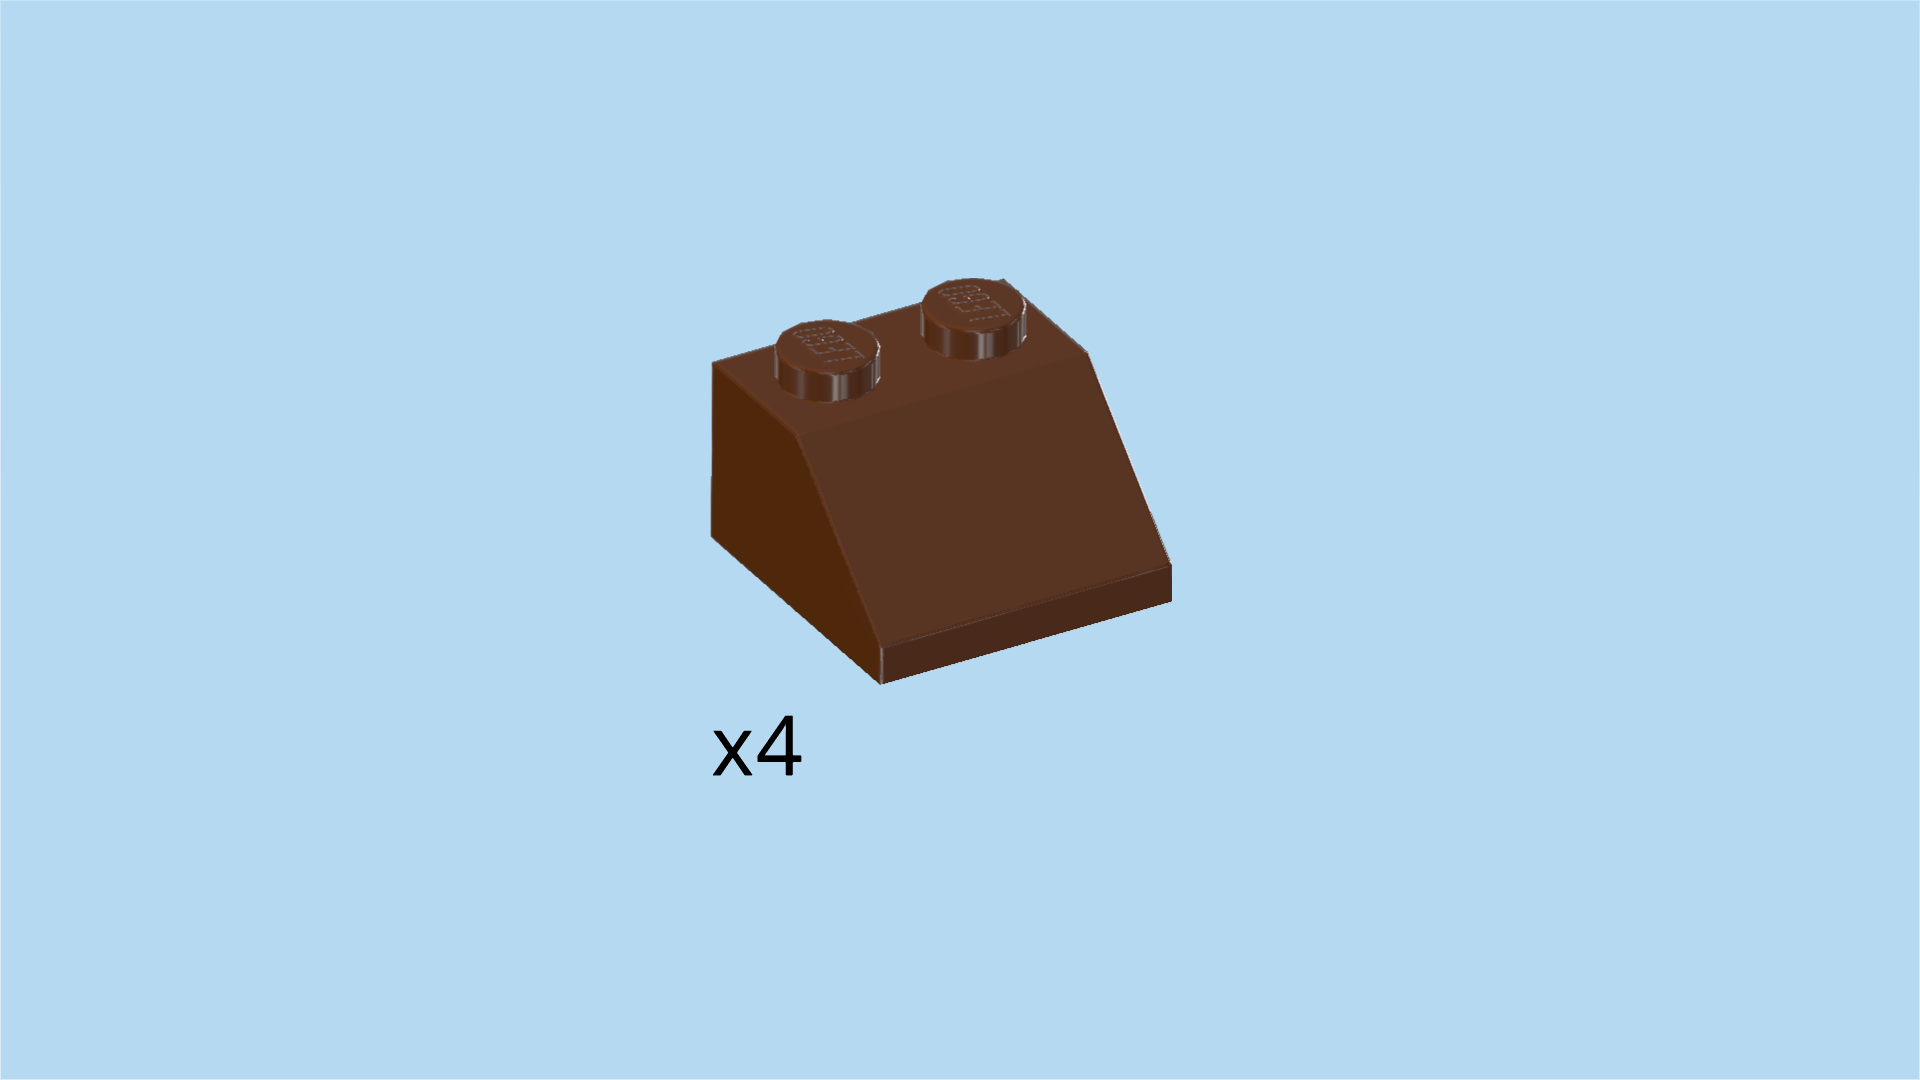
| Find 4 reddish brown roof tiles 2x2, 45°. |
| Put 1 on the right edge of the previous piece, slope to the right. |
| Repeat symmetrically on the left edge of that same brick 2x6, slope to the left. |
| Repeat symmetrically at the front with the 2 remaining pieces, again slopes to the left and right. |
| Next, we will build the spinning mechanism for the obstacle. |
| Collect the following 2 pieces: |
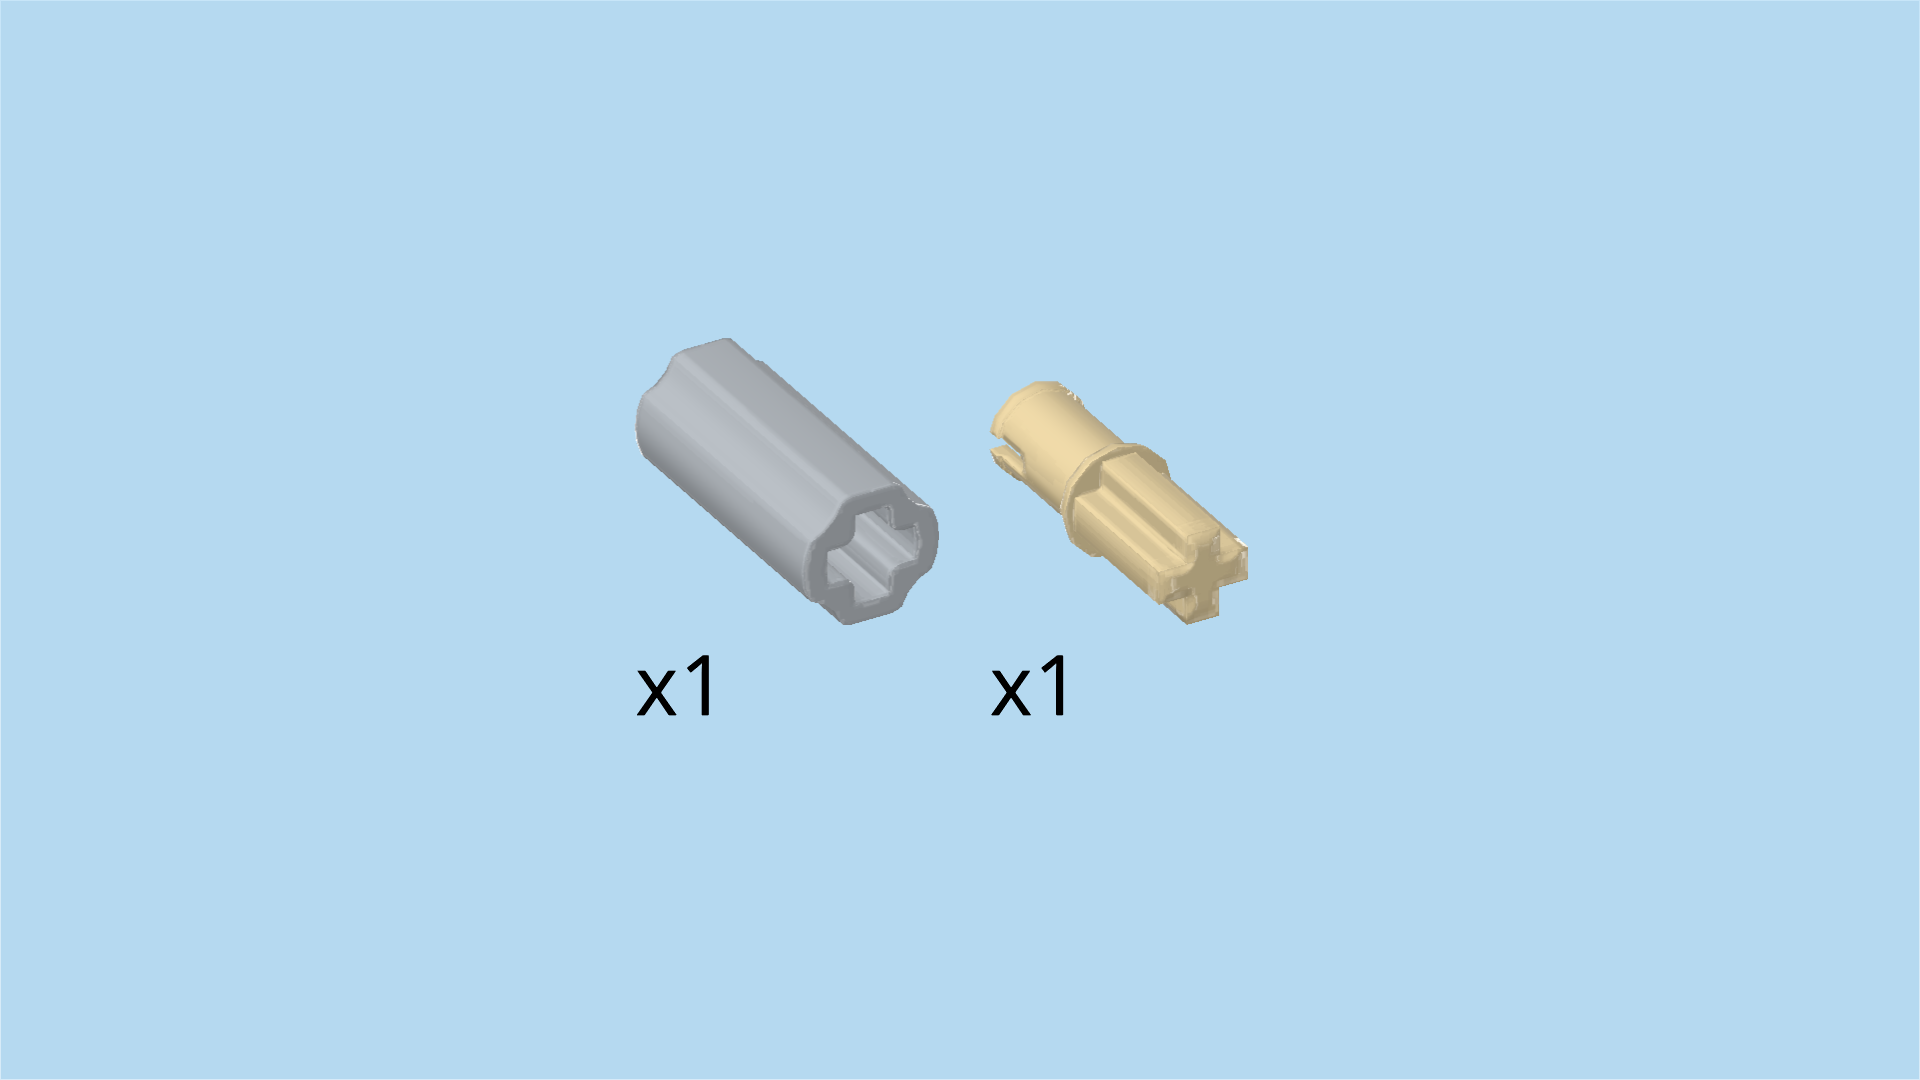
| 1 medium stone grey cross axle extension 2m, |
| and 1 pale ocher yellow connector peg 2m with cross axle pin. |
| Hold the pieces horizontally, and insert the cross axle pin into the extension from the left, connector sticking out towards the left. |
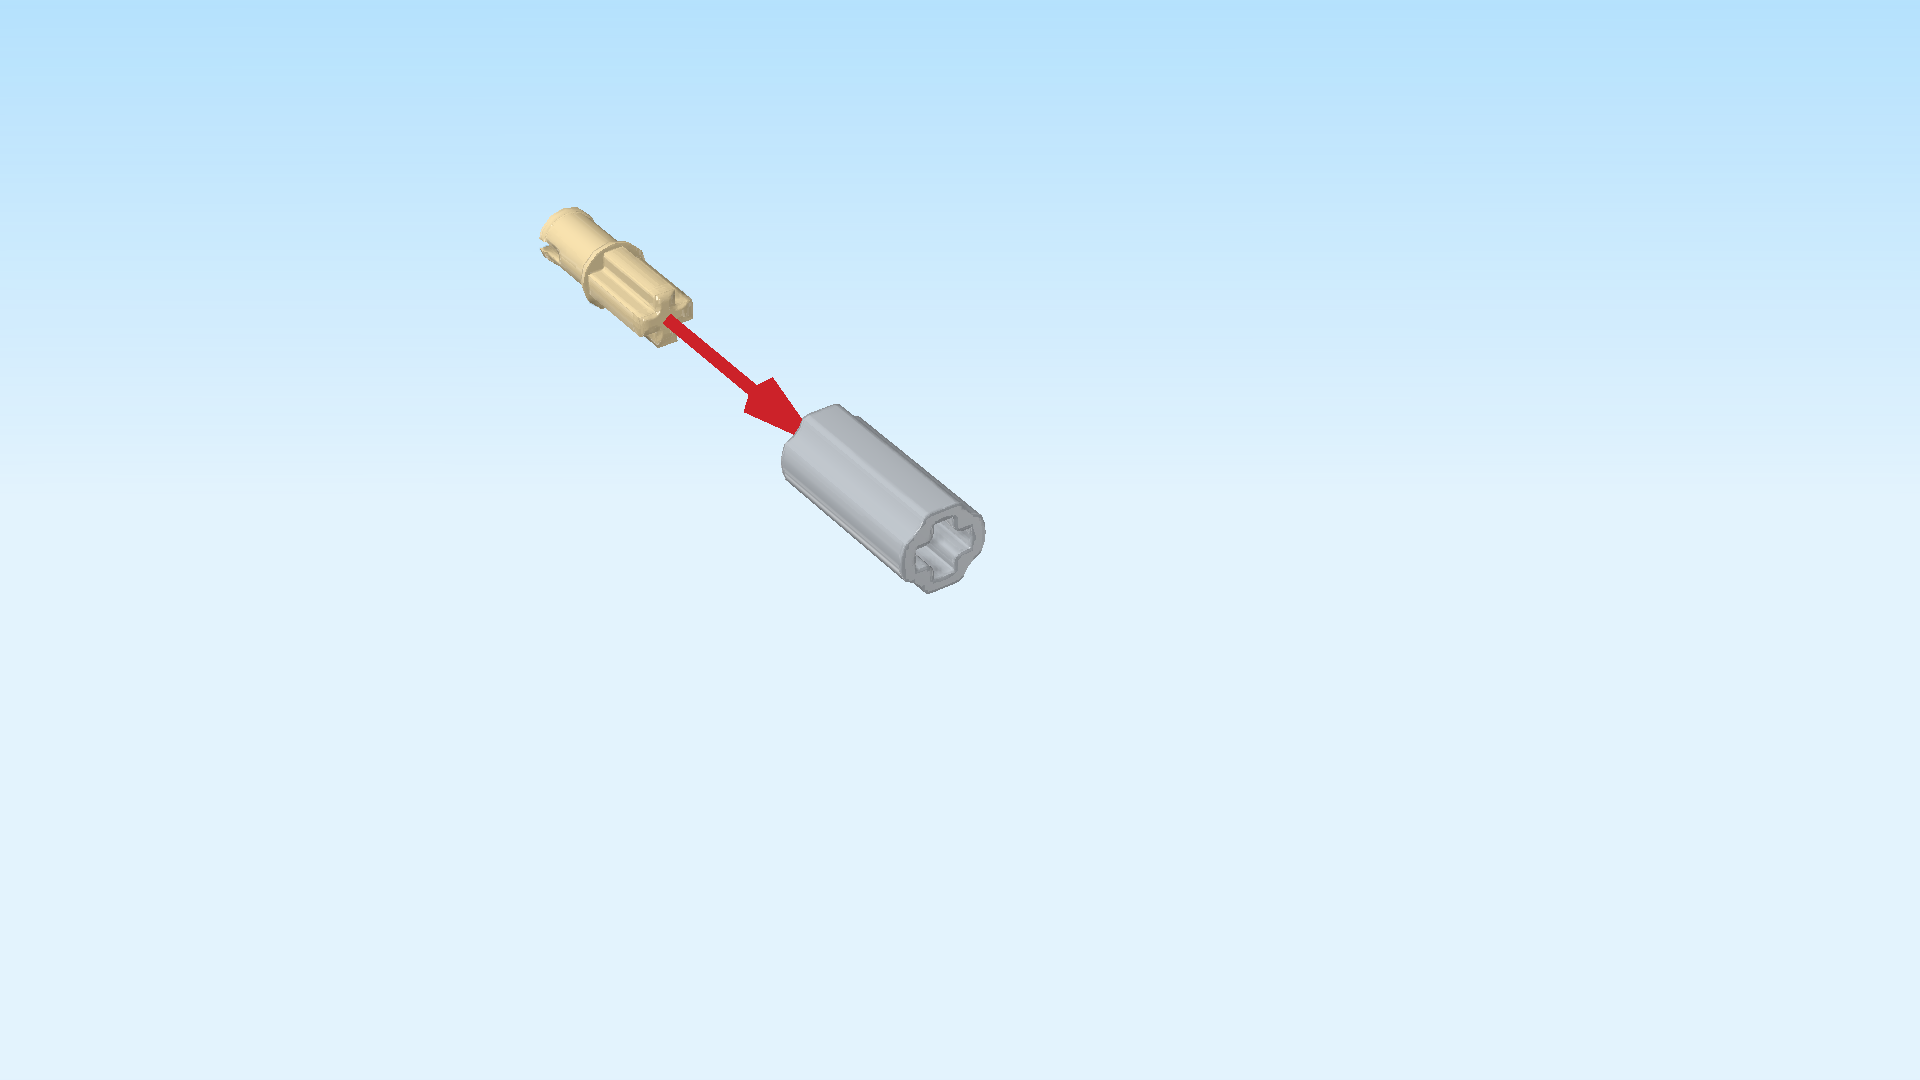
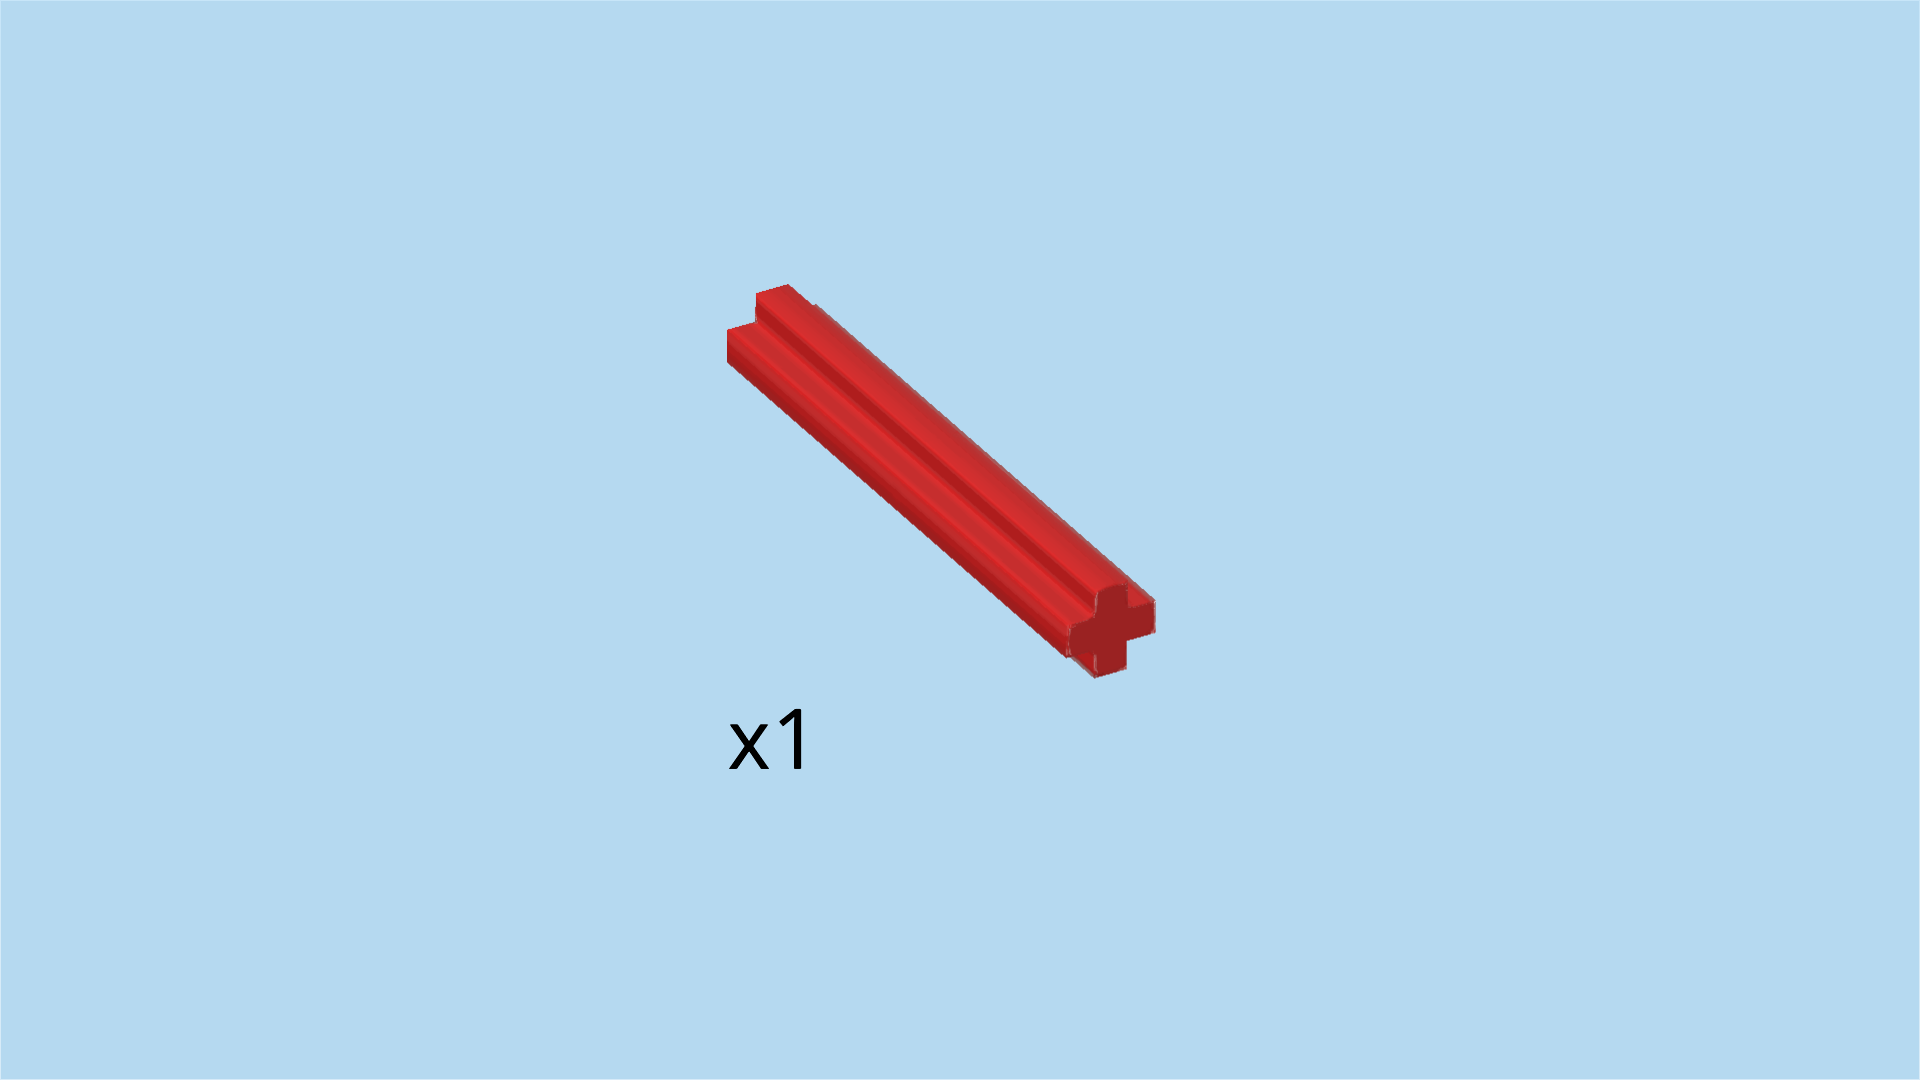
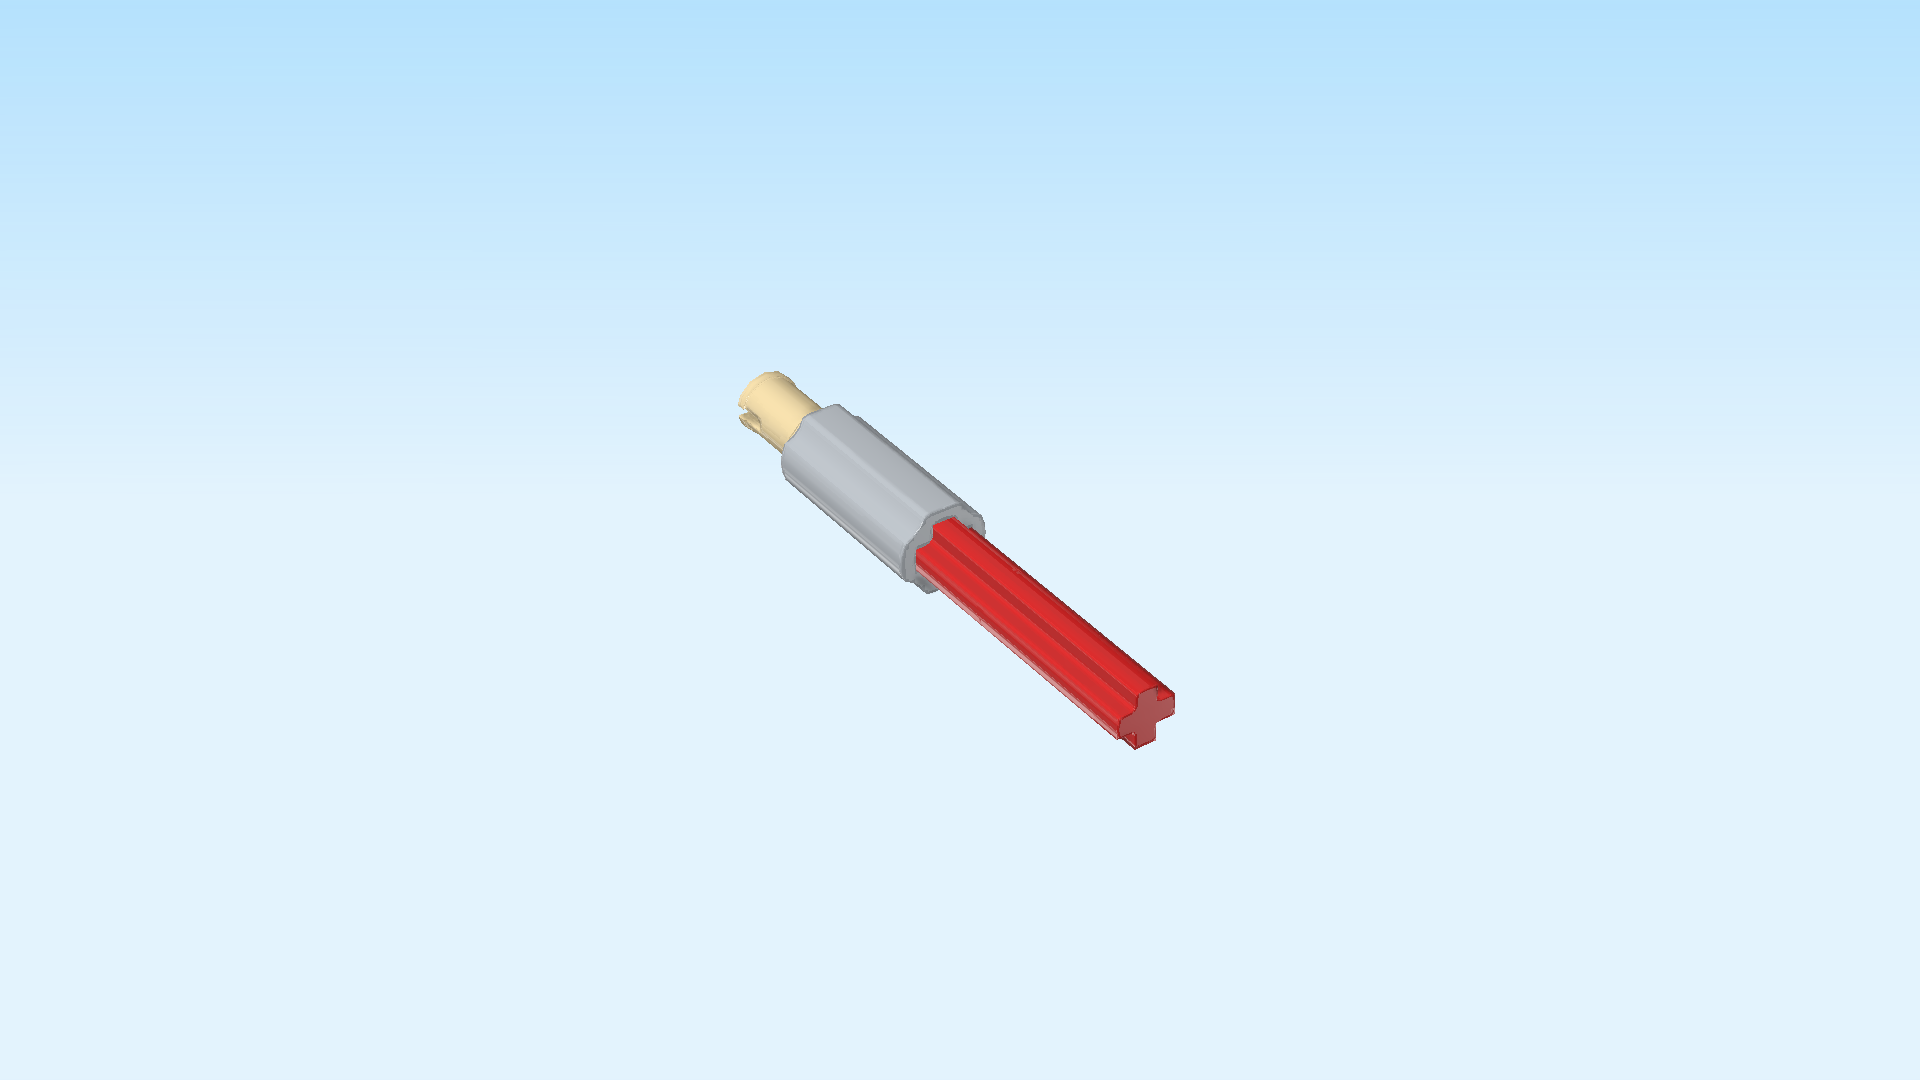
| Find 1 bright red cross axle 4m. |
| Insert it into the cross axle extension from the right, ¾ of the cross axle sticking out to the right. |
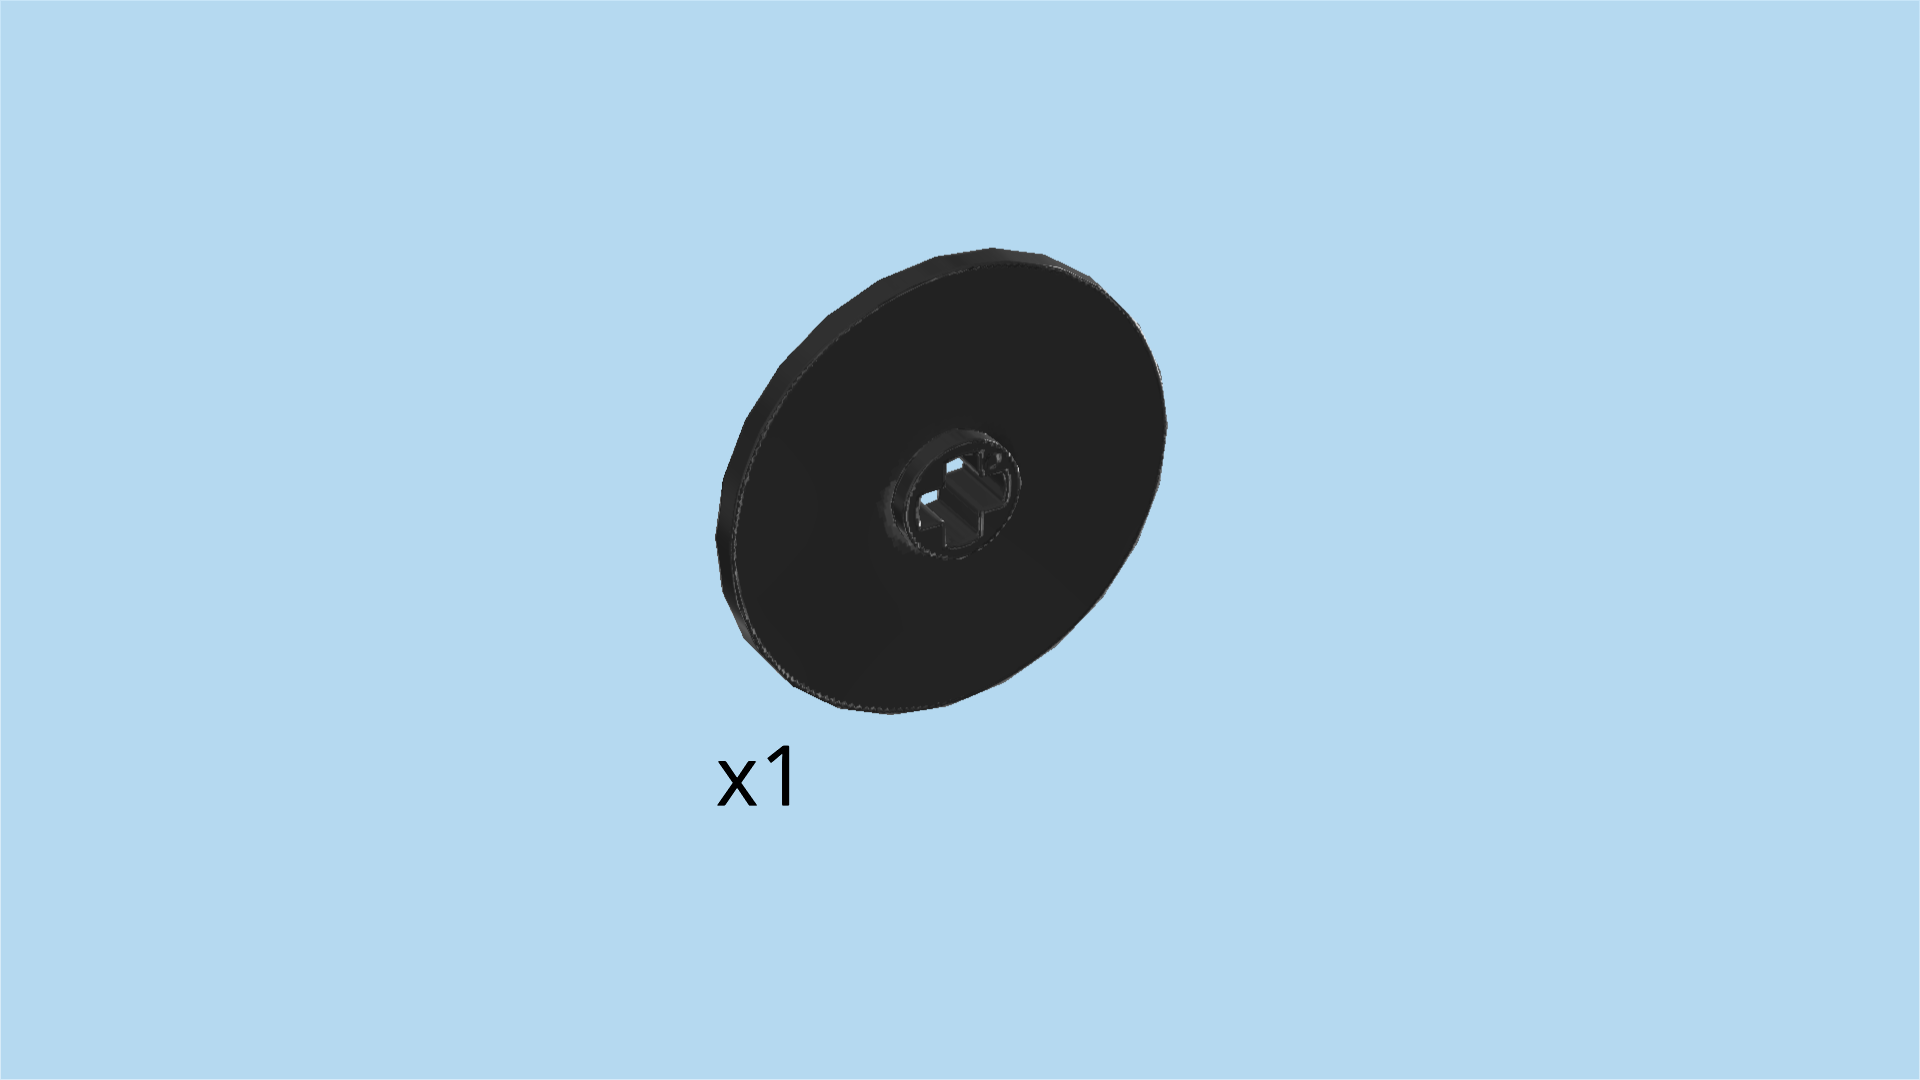
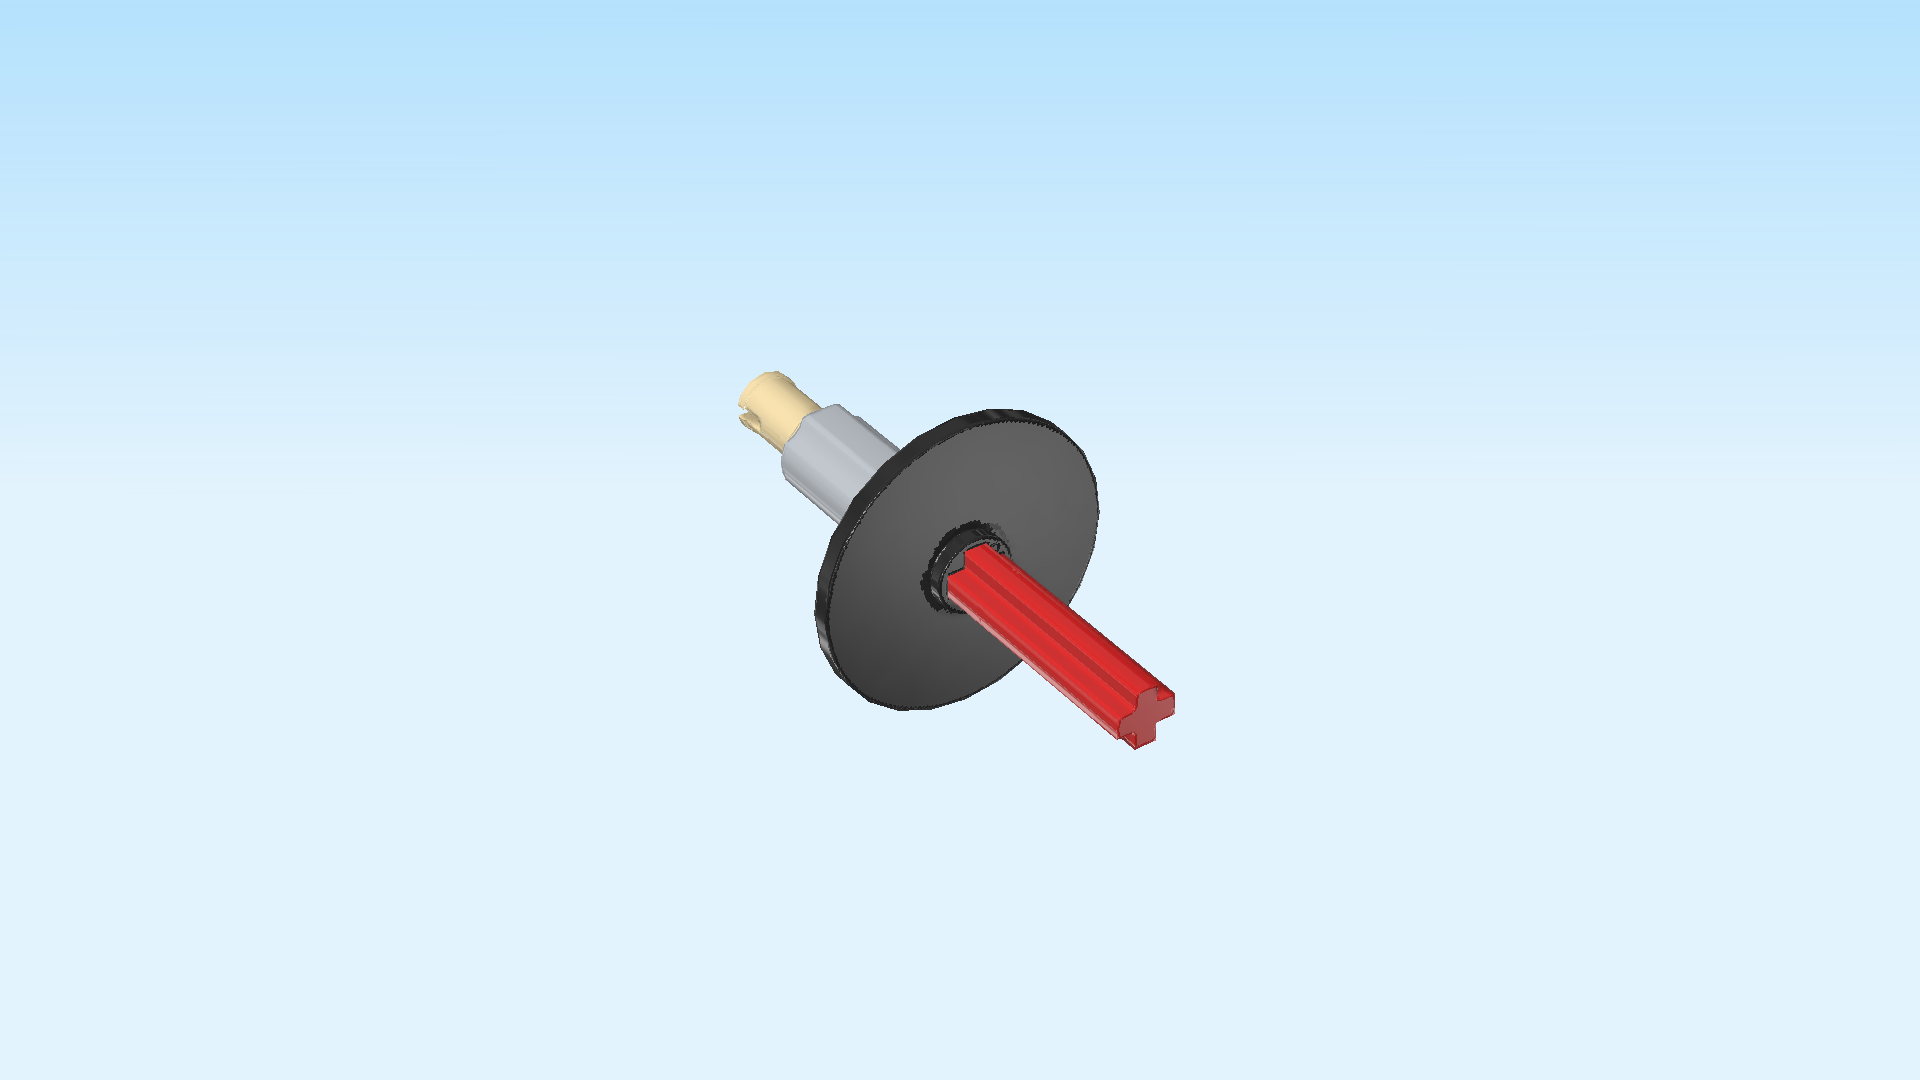
| Find 1 black flat technic disk 3x3 with cross hole. |
| Put it on the cross axle from the right and push it in all the way to the stop. |
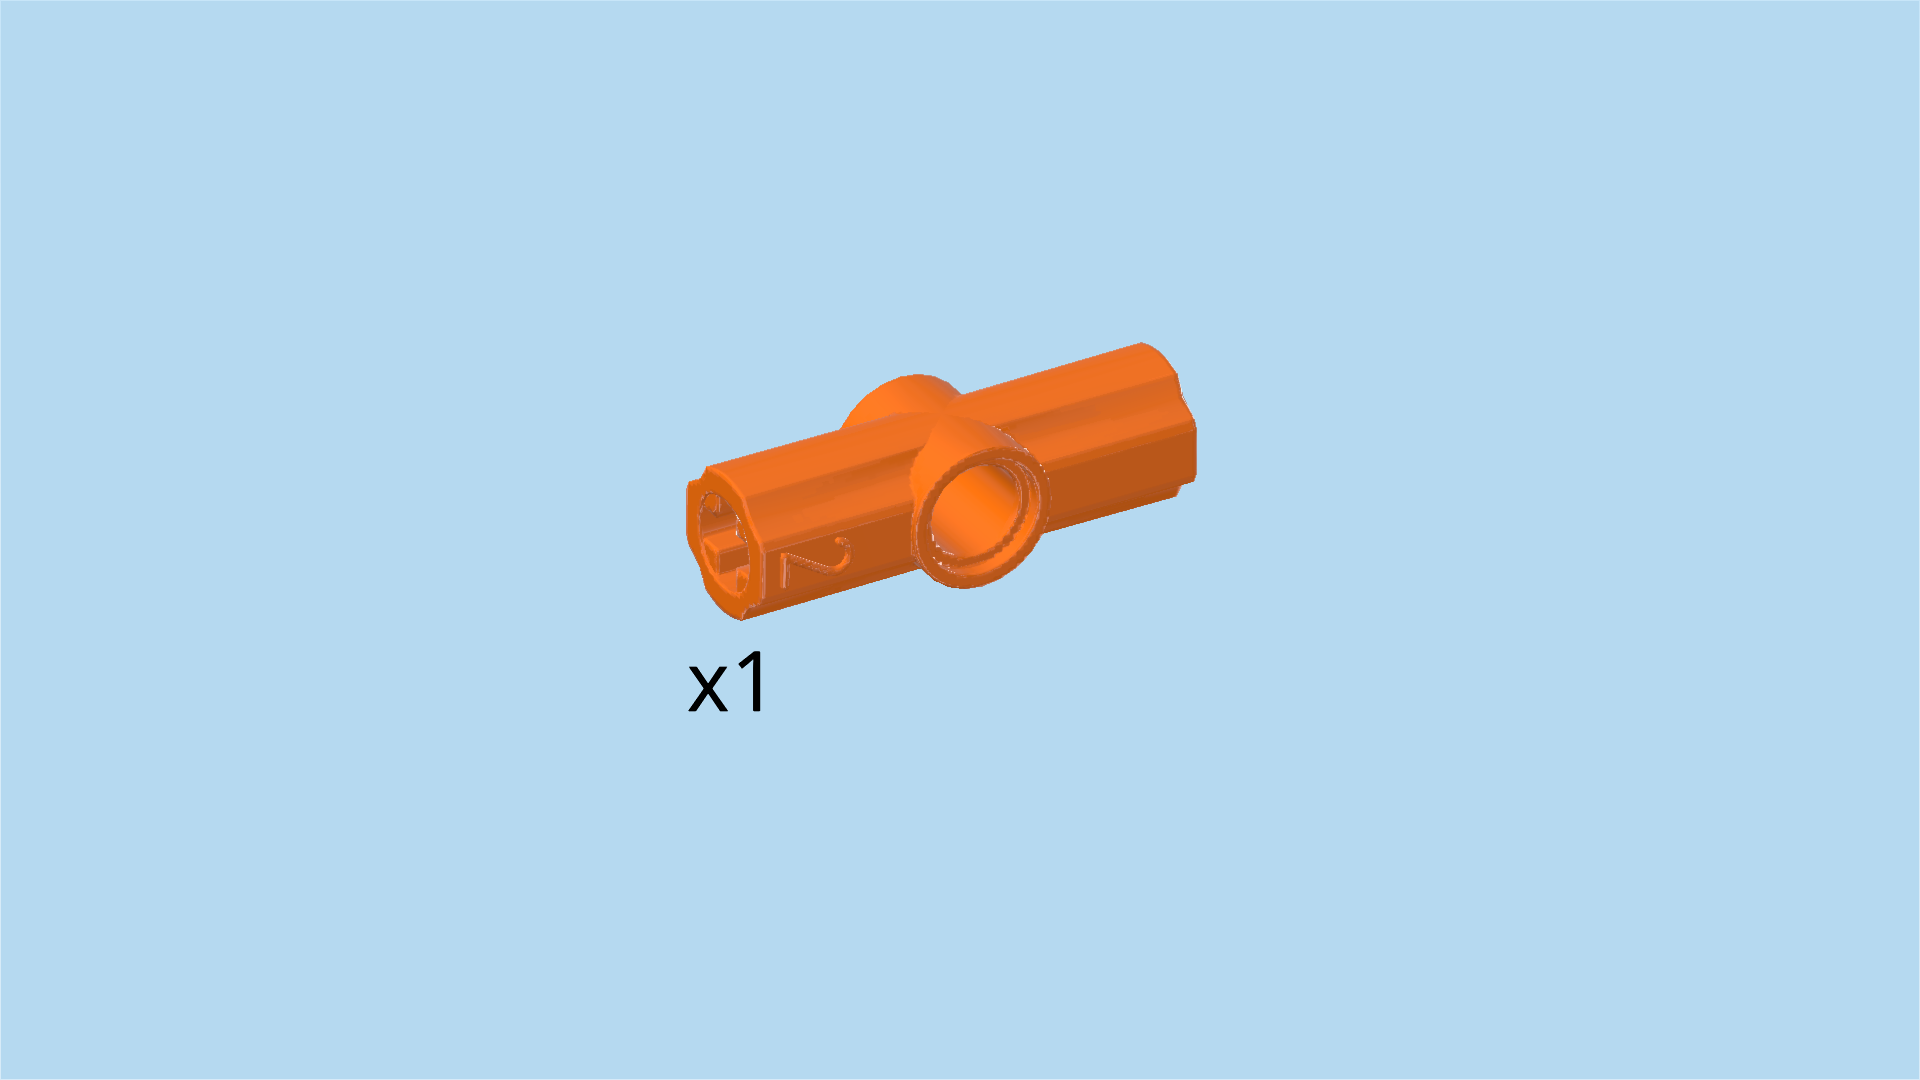
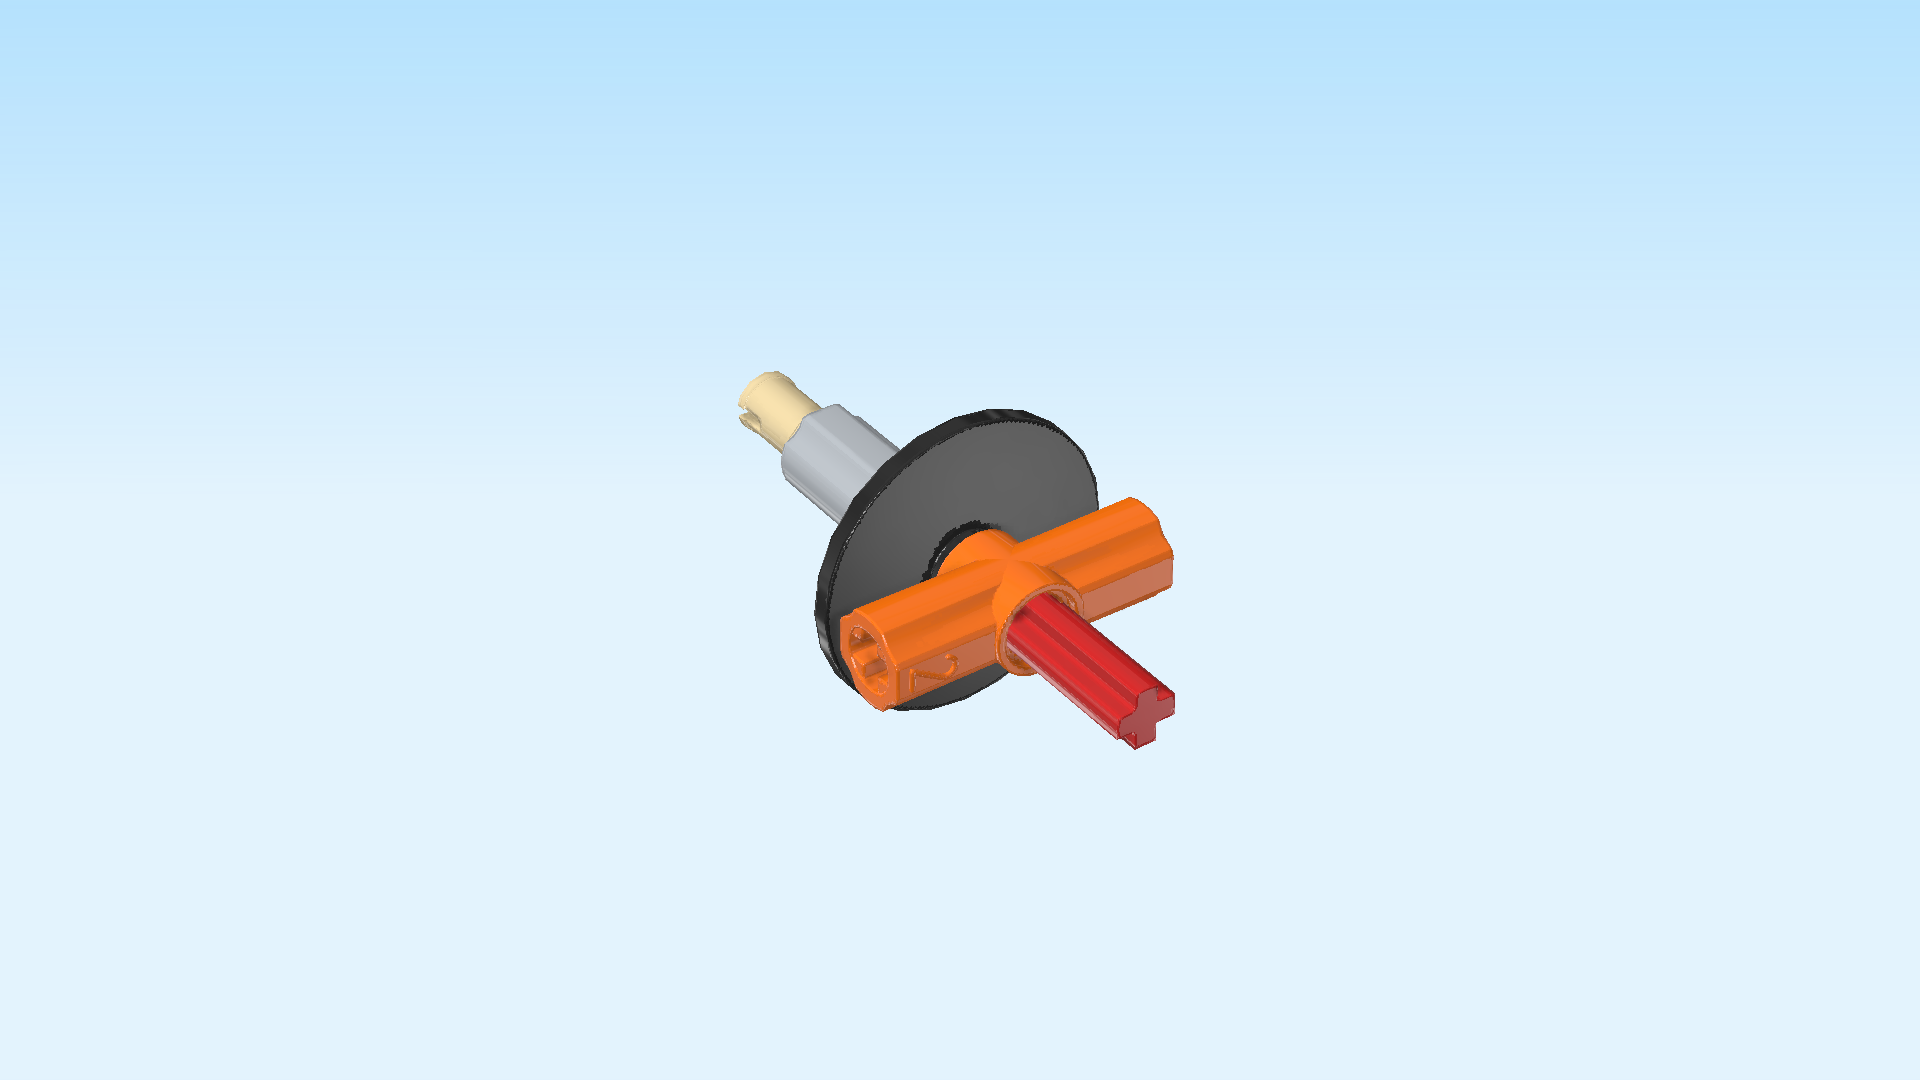
| Find 1 bright orange straight cross axle extension 3m with middle bushing. |
| Hold it vertically, and put the middle bushing (the round hole of the piece) on the cross axle from the right. |
| This is not a tight fit, so the piece will move around for now. This is fine. |
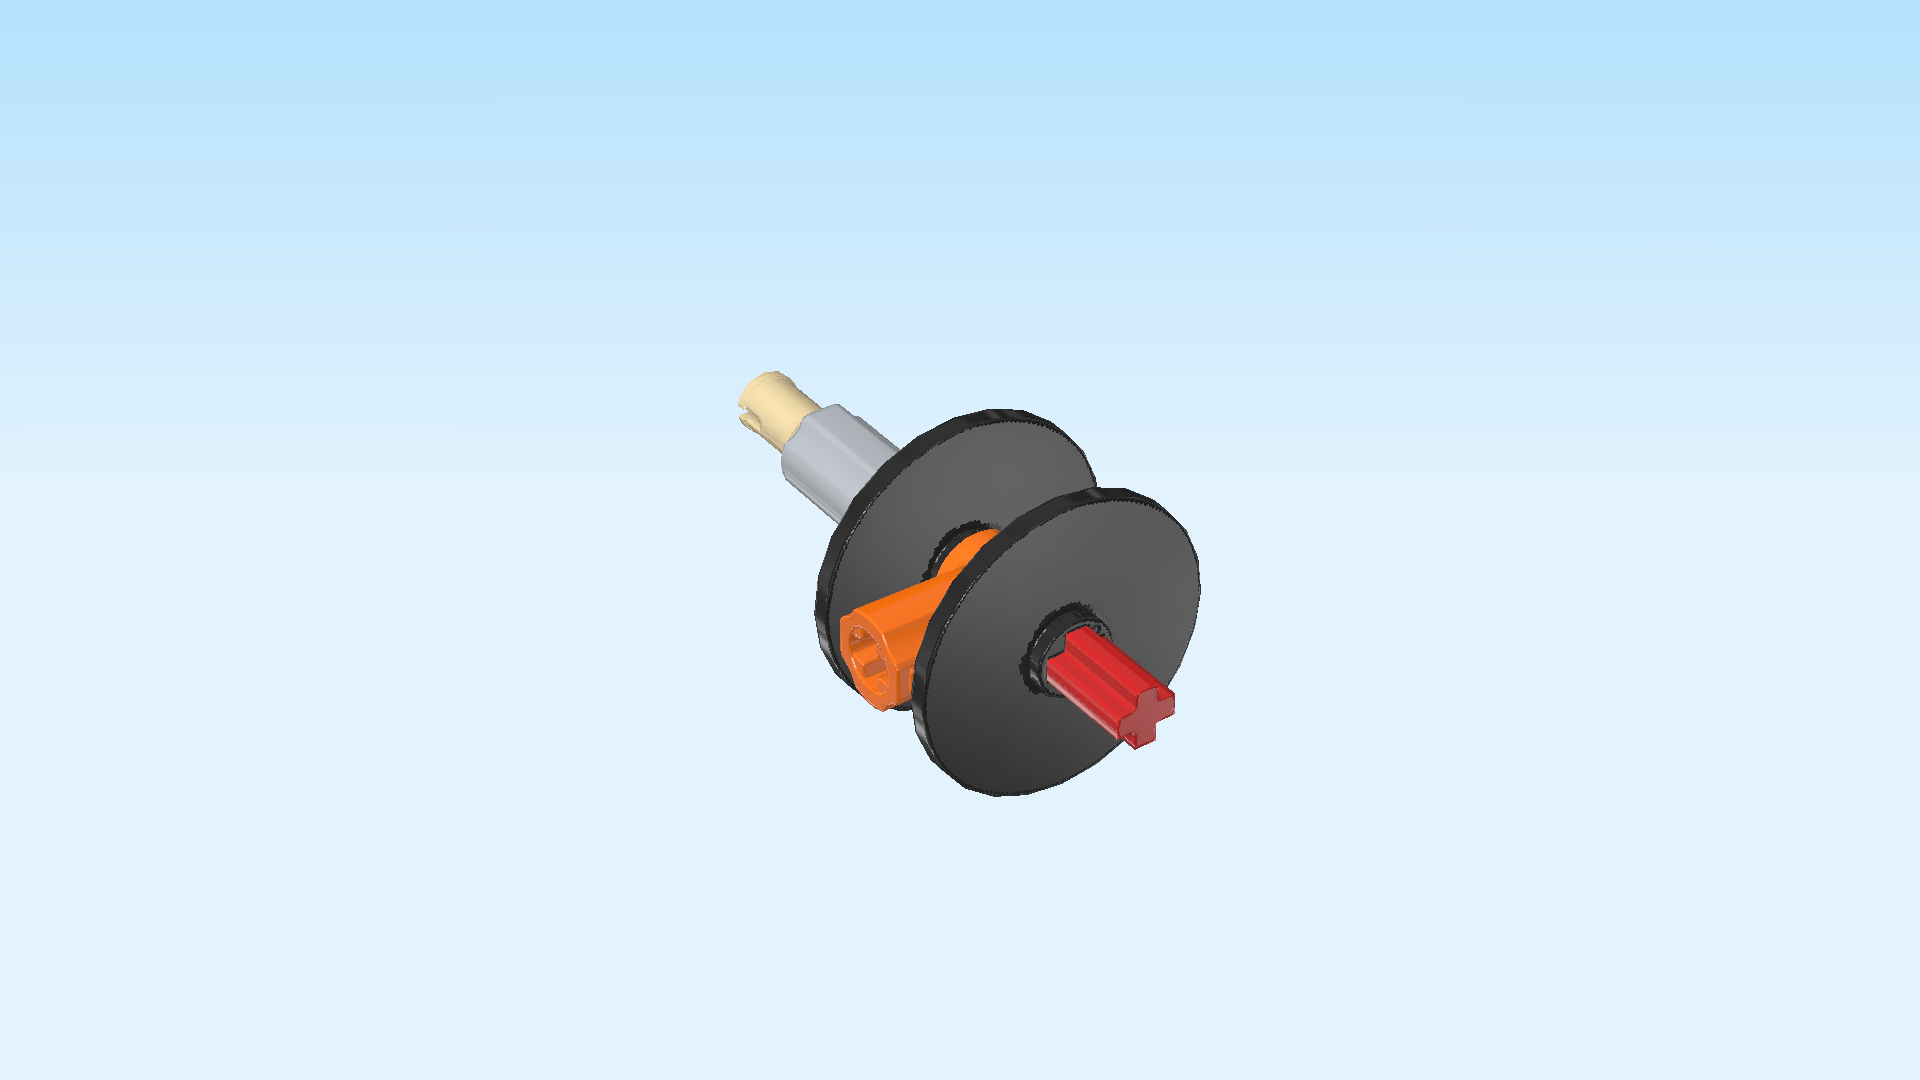
| Find 1 black flat technic disk 3x3 with cross hole. |
| Put it on the cross axle from the right. |
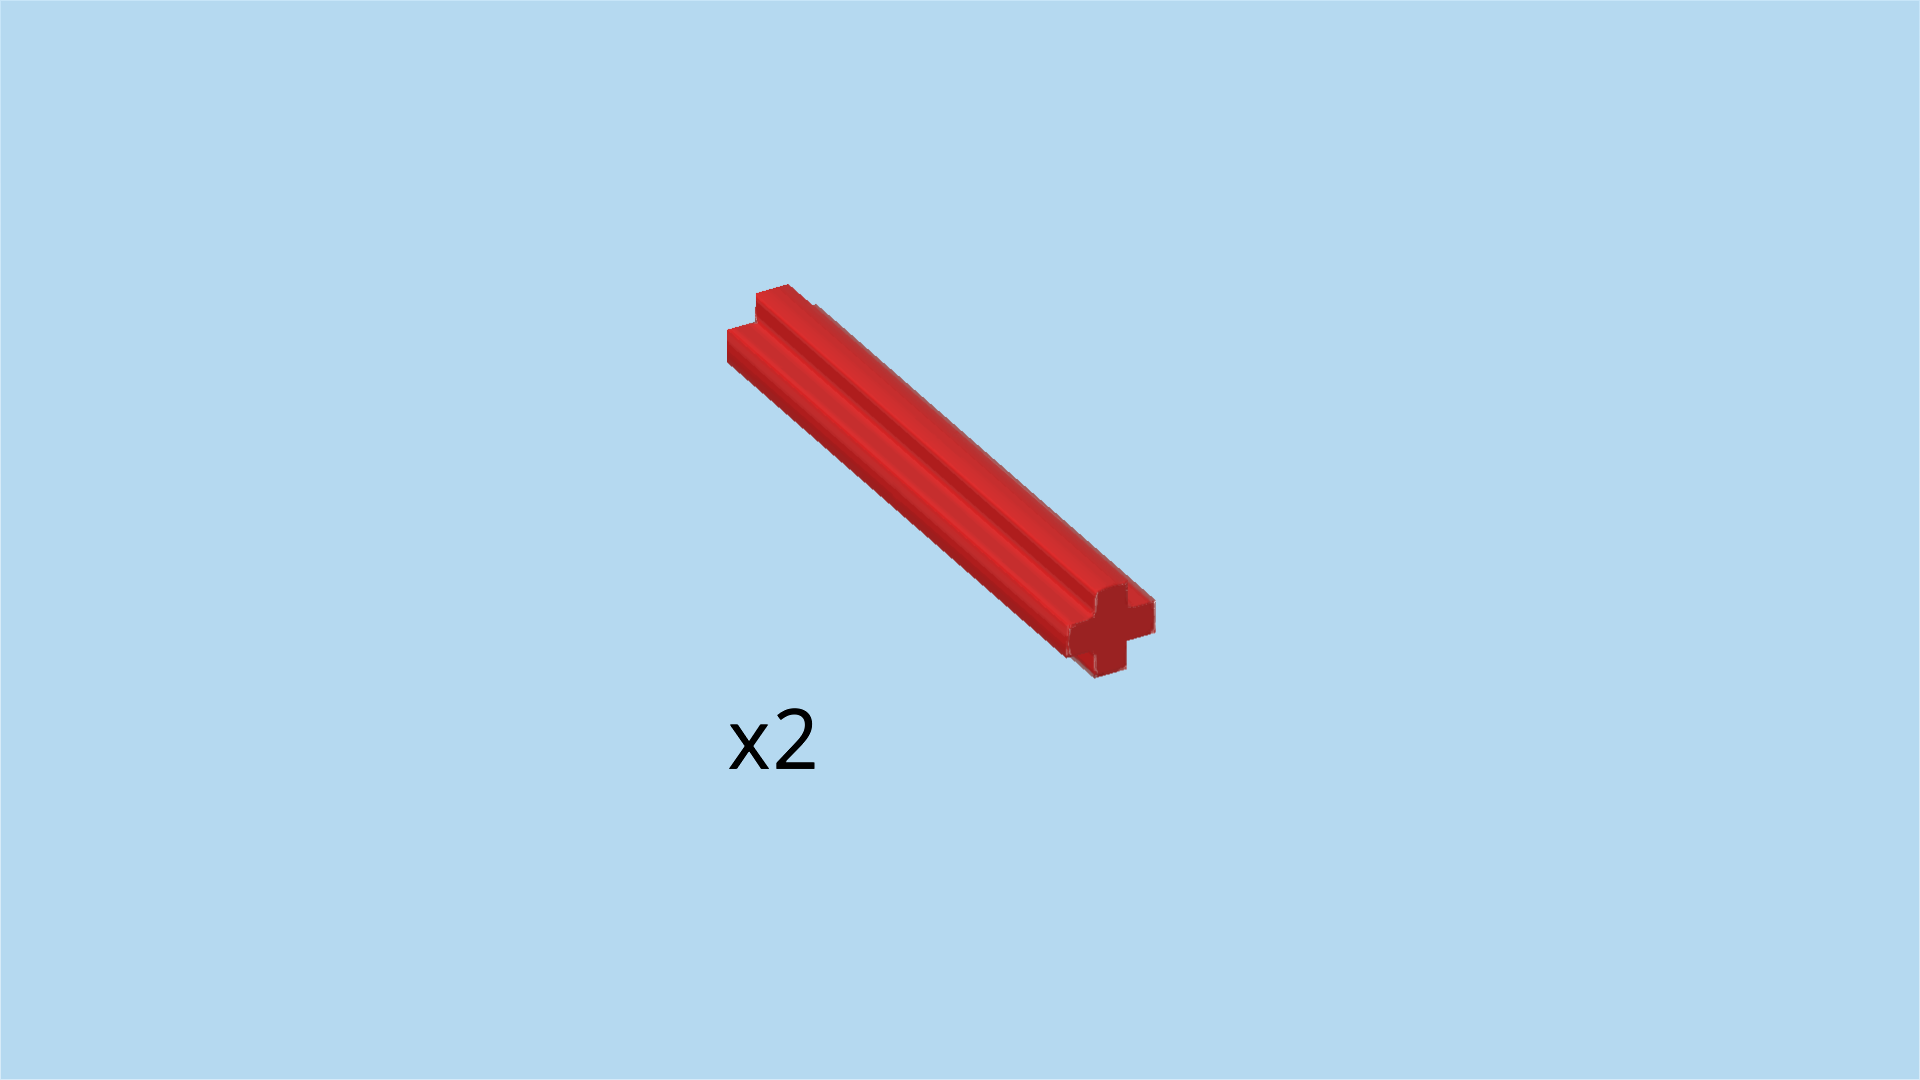
| Find 2 bright red cross axles 4m. |
| Insert 1 into the cross axle extension between the 2 disks from the back. ¾ of the cross axle will protrude to the back. |
| Insert the other one into the same extension from the front, ¾ protruding to the front. |
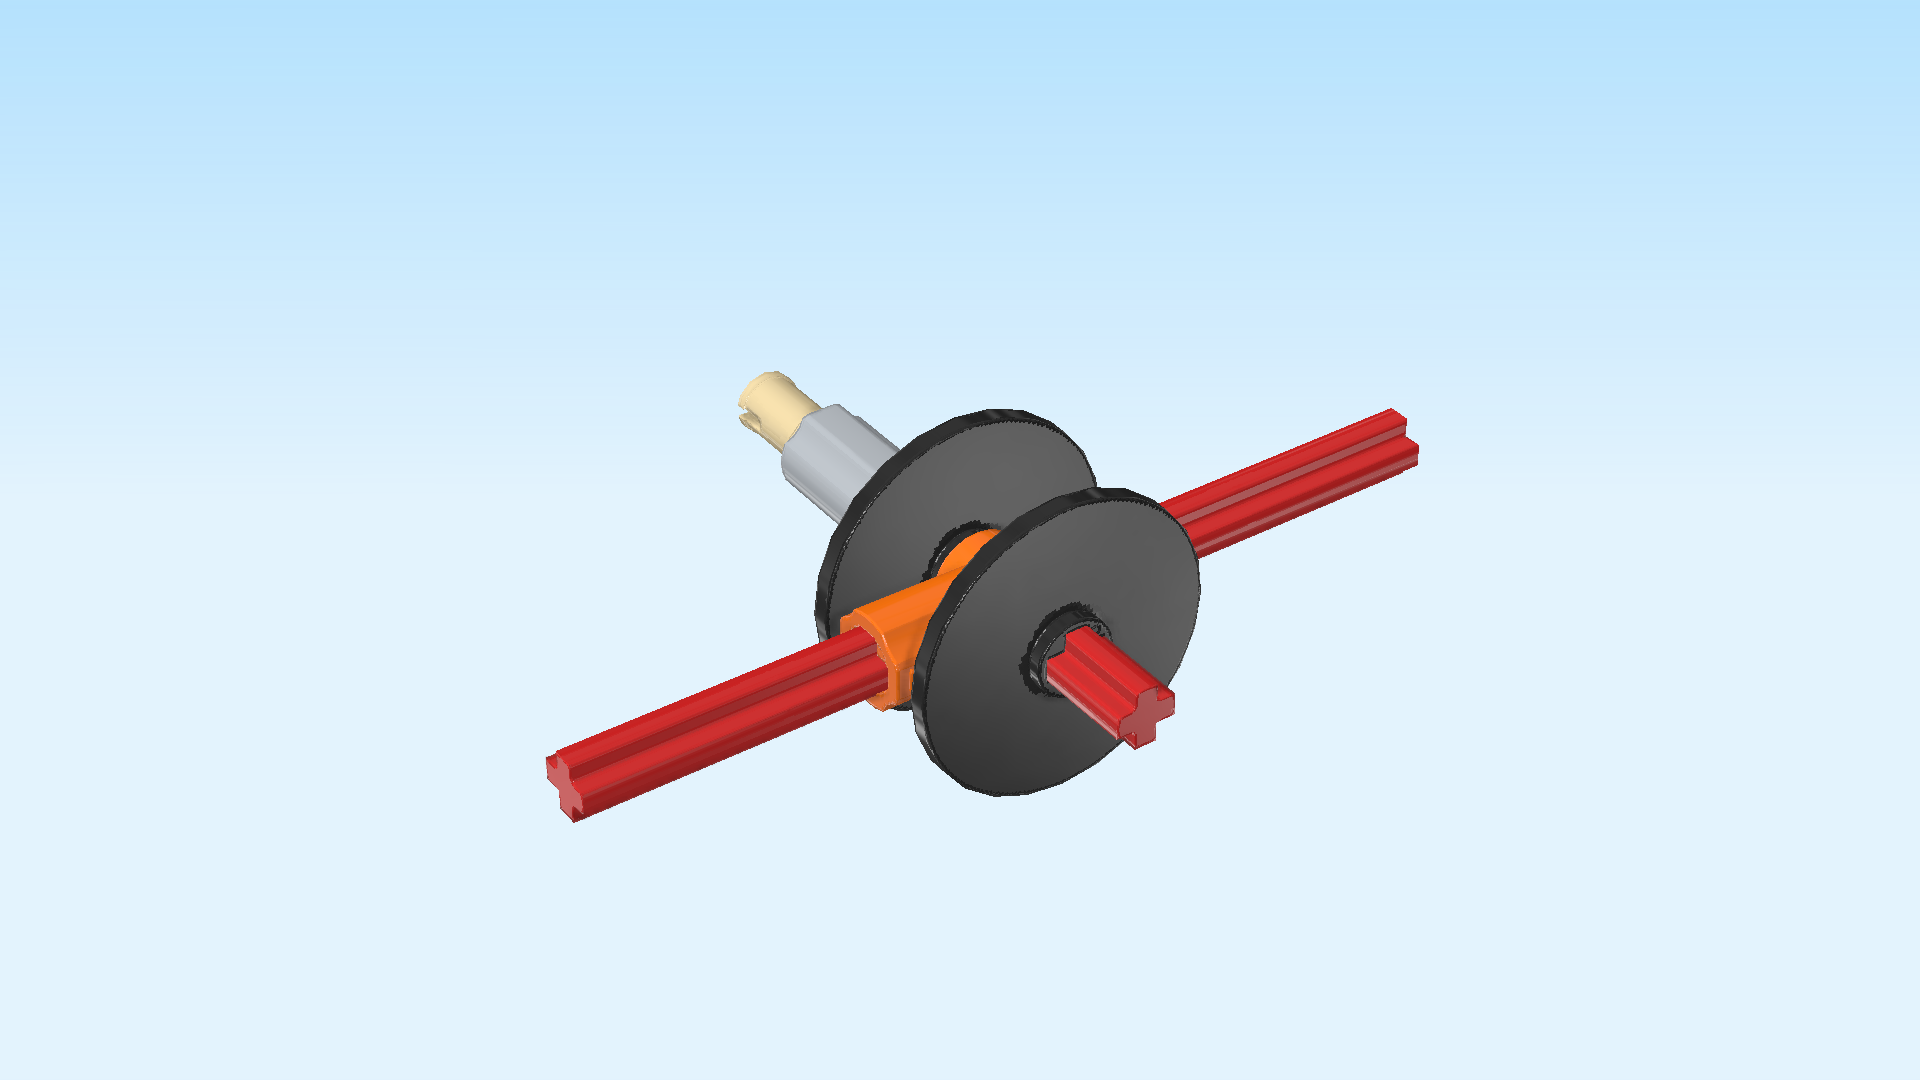
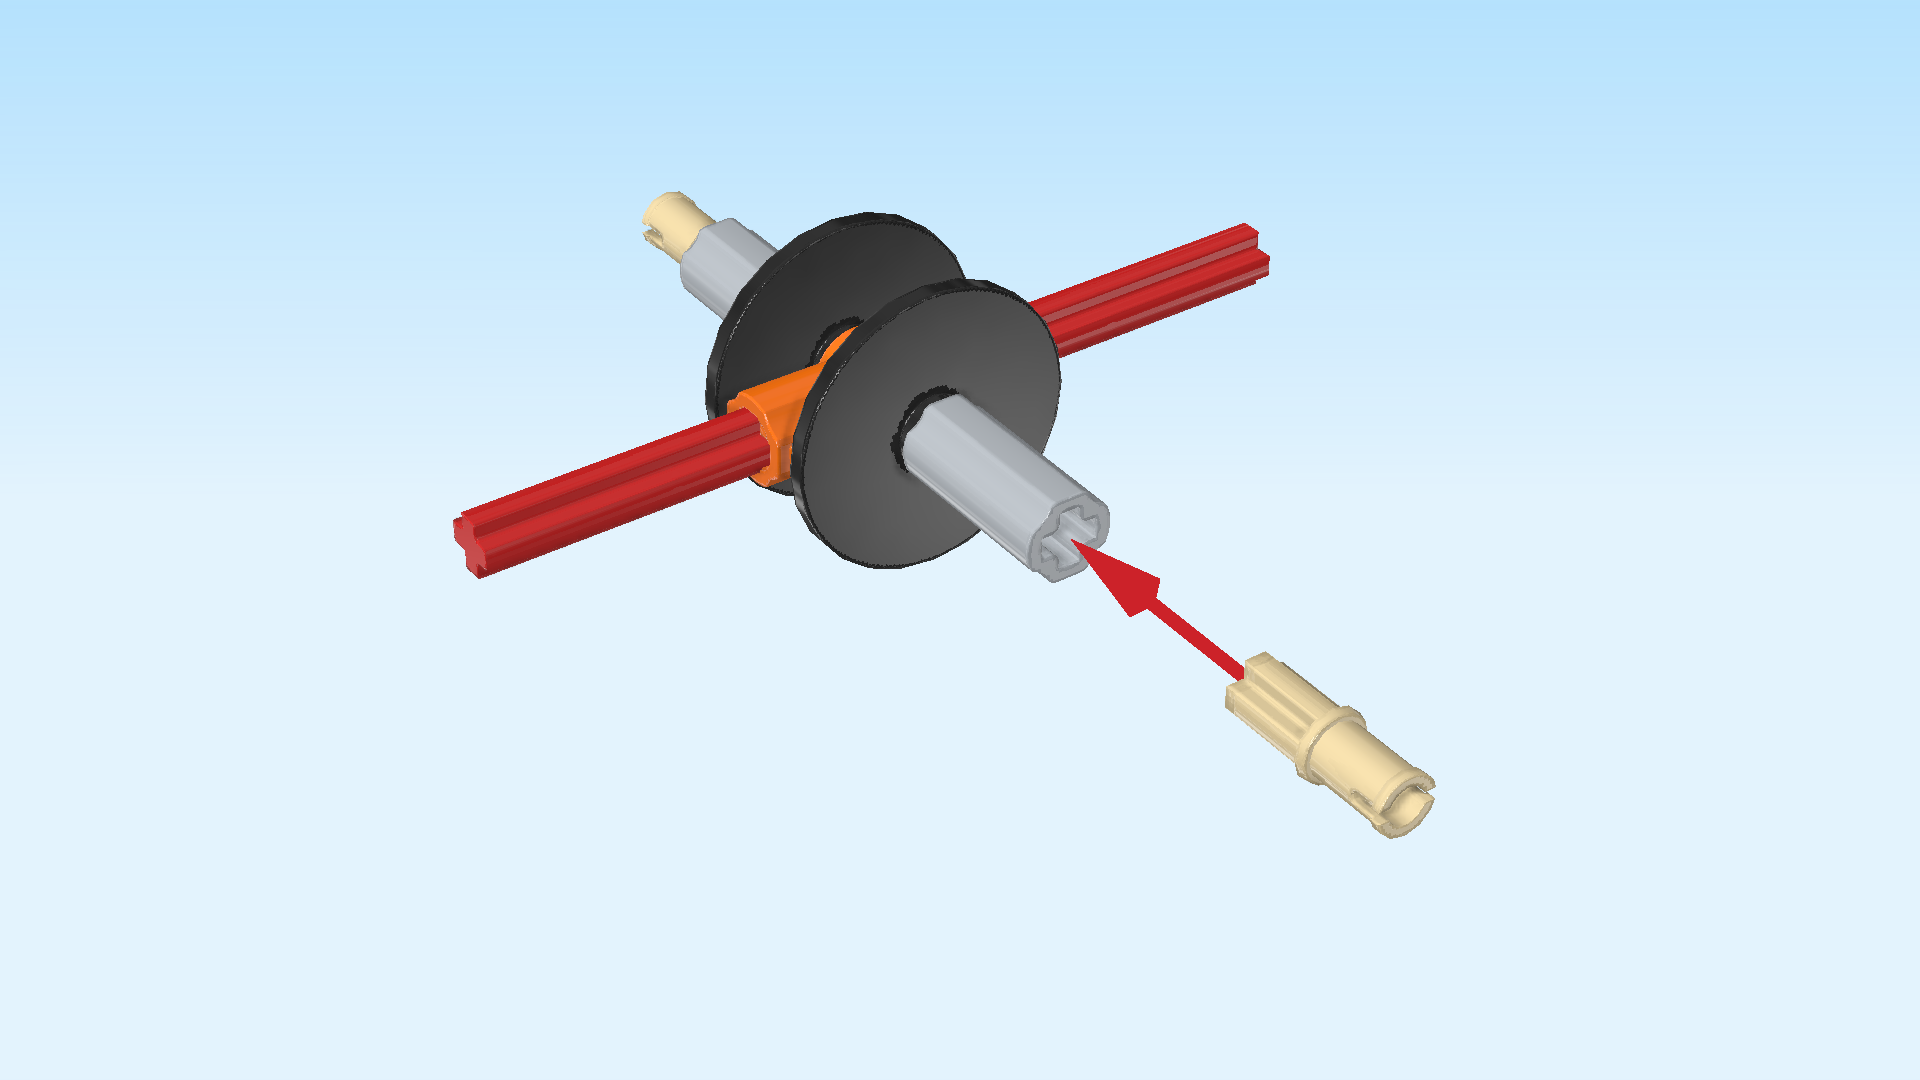
| Collect the following 2 pieces: |
| 1 medium stone grey cross axle extension 2m, |
| and 1 pale ocher yellow connector peg 2m with cross axle pin. |
| Put the cross axle extension horizontally on the cross axle sticking out towards the right. |
| Insert the cross axle pin horizontally into the previous piece from the right, connector peg sticking out to the right. |
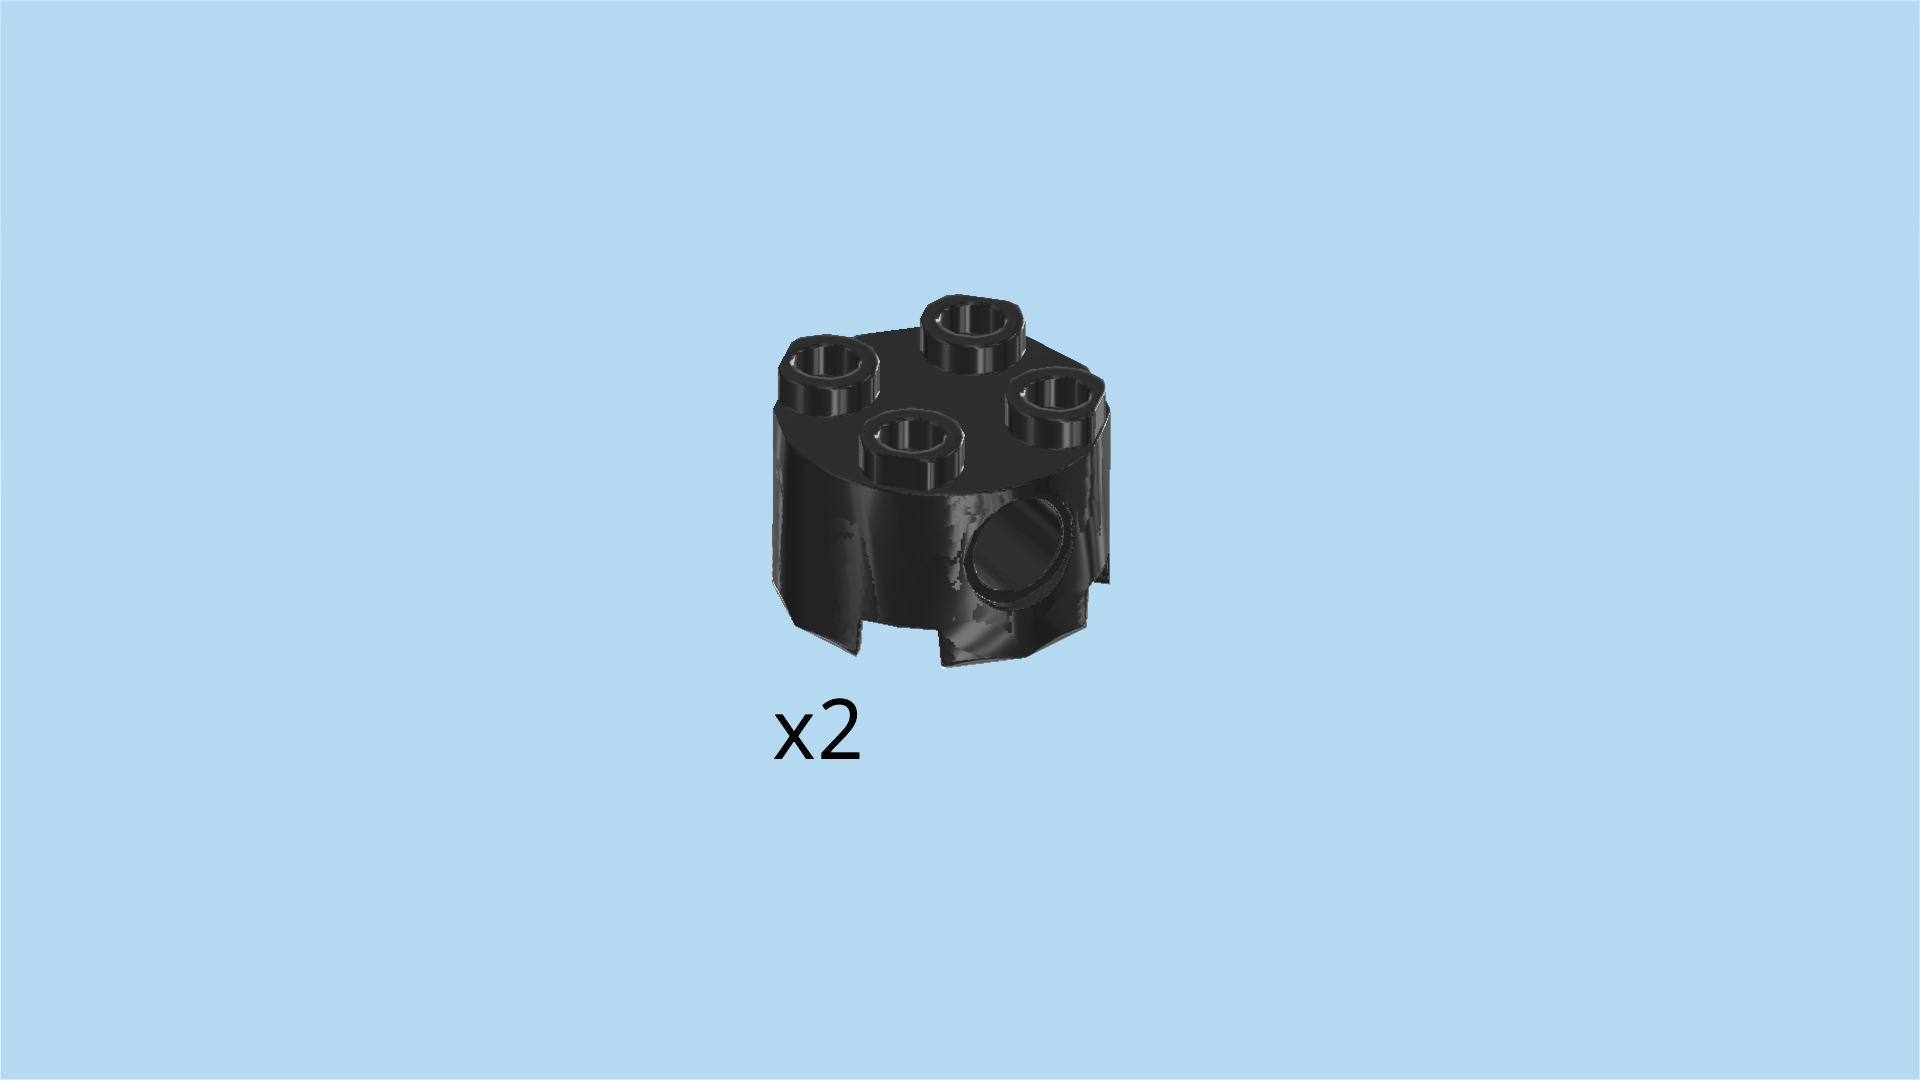
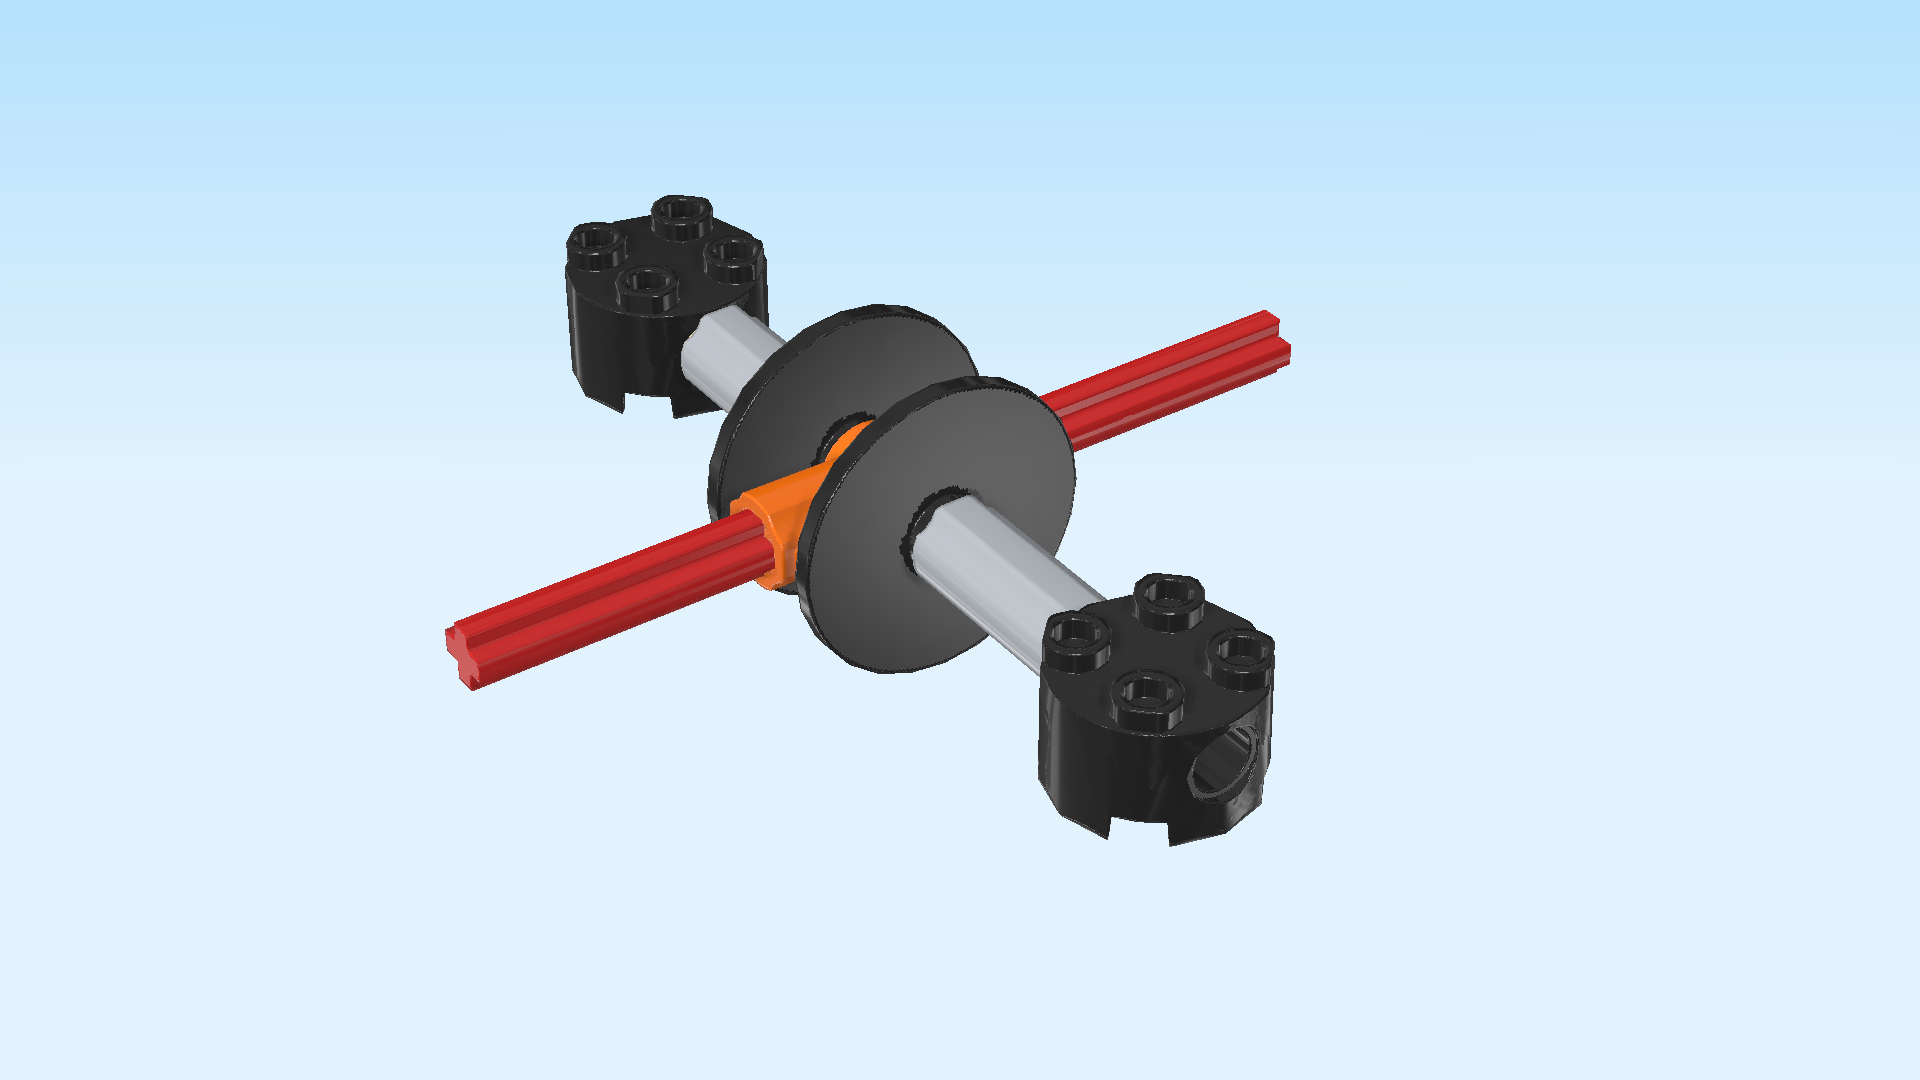
| Find 2 black round bricks 2x2 with side hole. |
| Turn them so that their side holes are running from left to right (instead of front to back). |
| Put the side hole of 1 round brick on the connector peg sticking out towards the left, and repeat symmetrically on the right. |
| The spinning mechanism for the obstacle is finished! Well done! Before you mount it, turn it vertically so that the round bricks 2x2 are at the front and back, and the 2 cross axles are pointing to the left and right. |
| Mount it on top of the obstacle scaffolding in the middle. The round bricks 2x2 will fit neatly between the 4 roof tiles 2x2 we have mounted previously. |
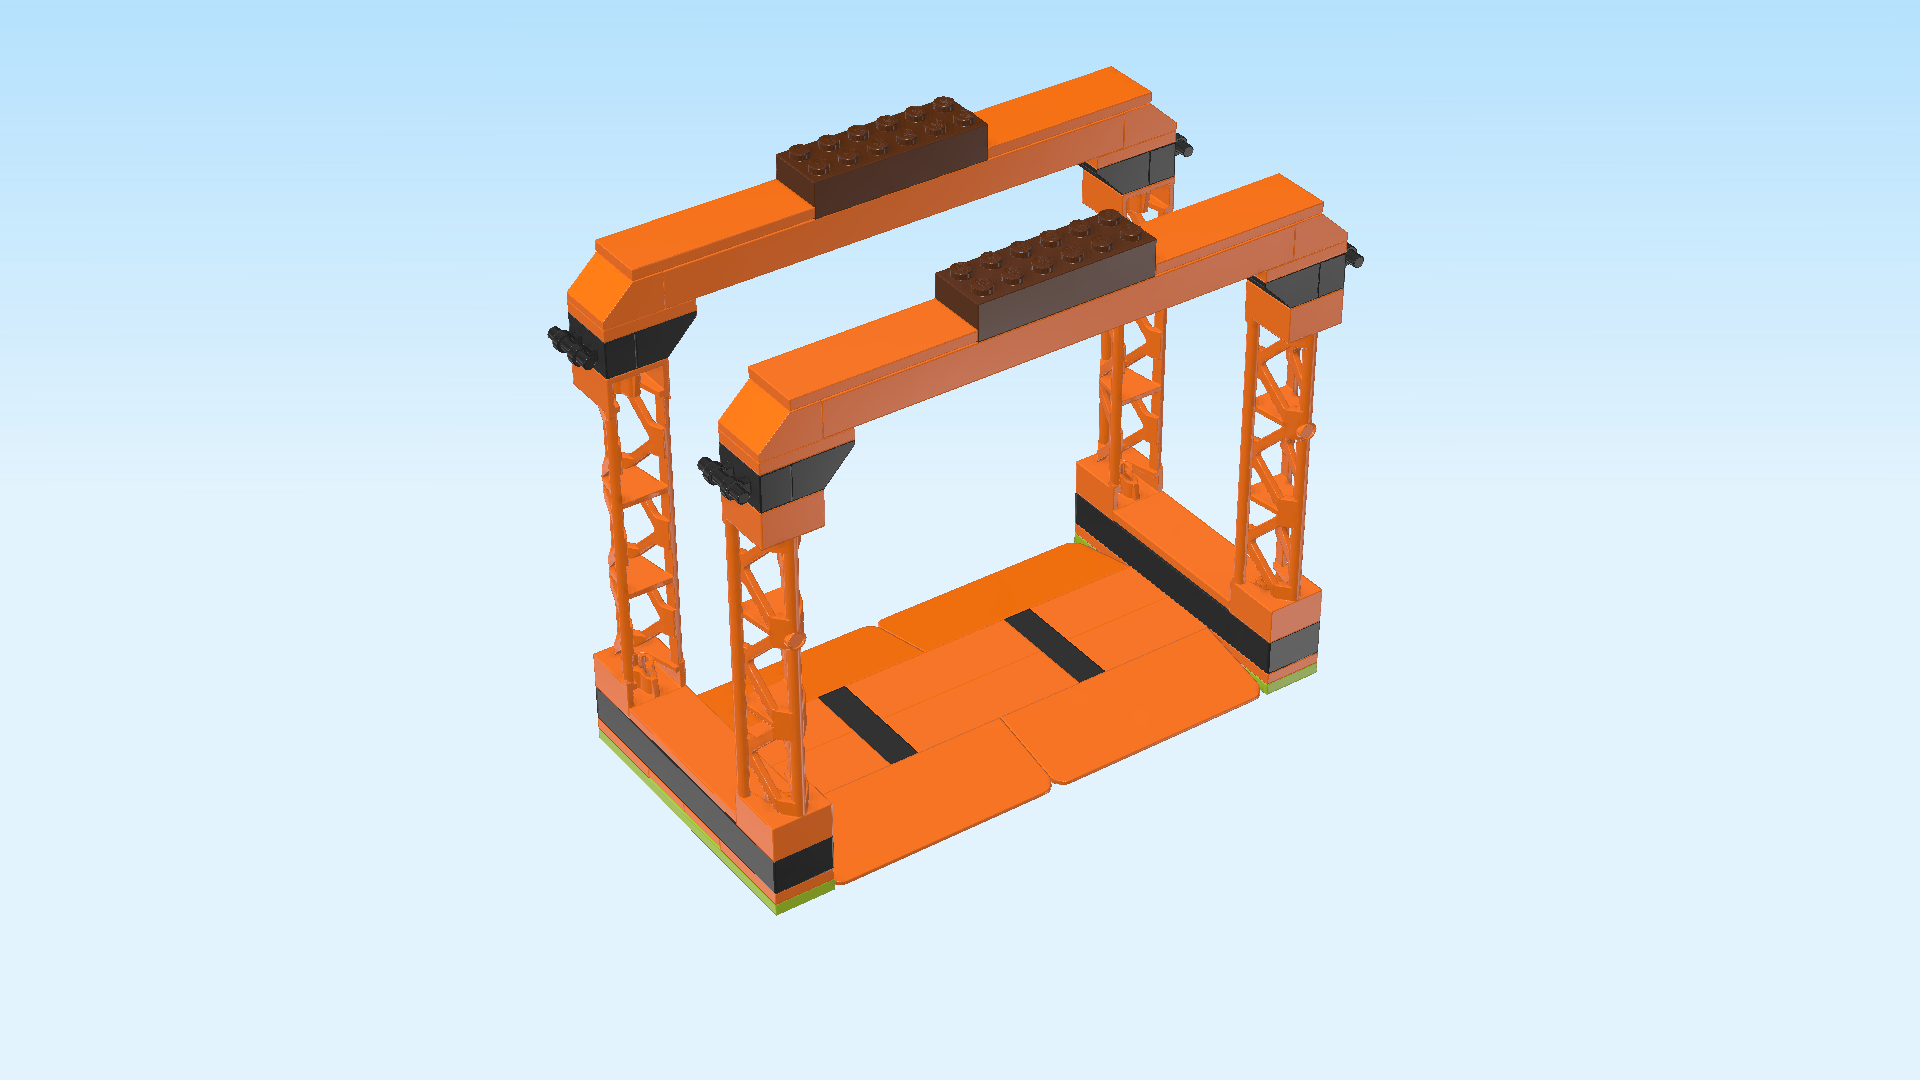
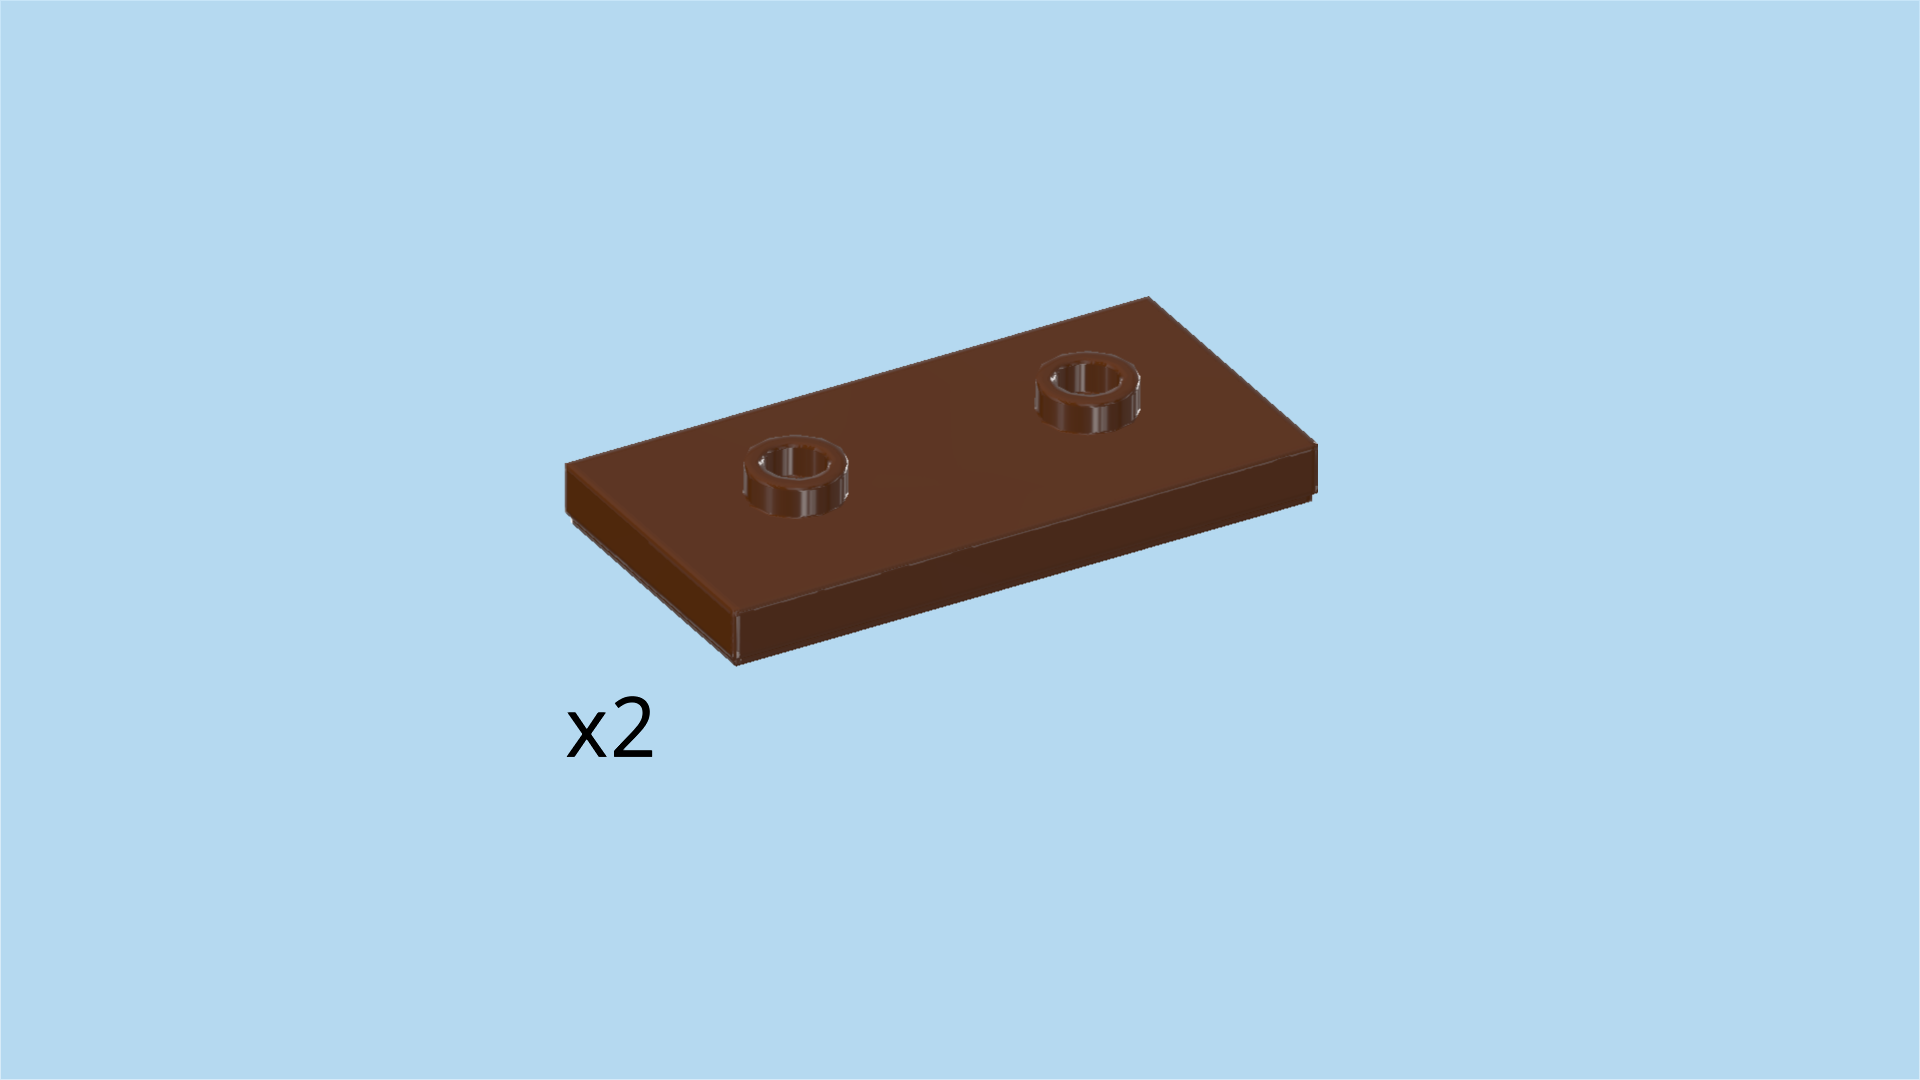
| Find 2 reddish brown plates 2x4 with 2 knobs. |
| Put 1 horizontally centered on the 2 frontmost rows. This means it will sit on the round brick 2x2 and the 2 roof tiles to its left and right. |
| Repeat symmetrically on the 2 backmost rows. |
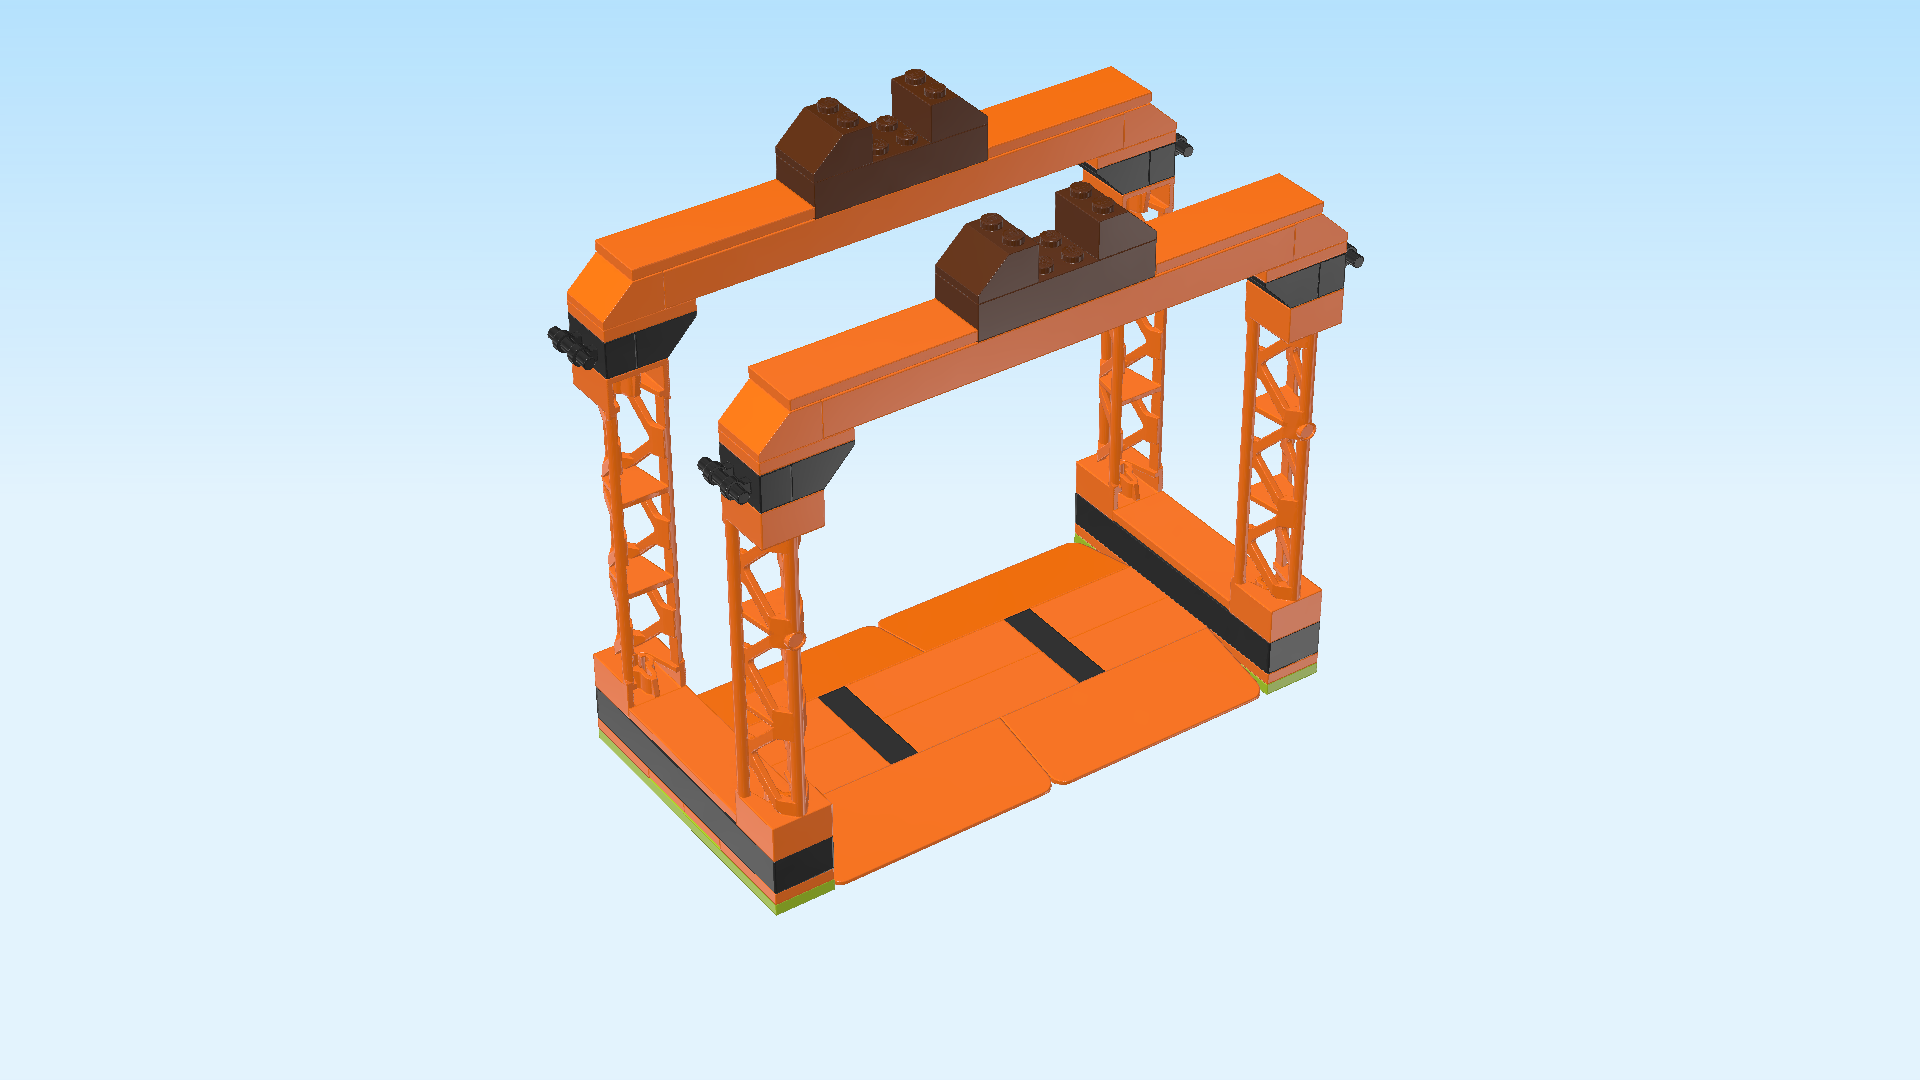
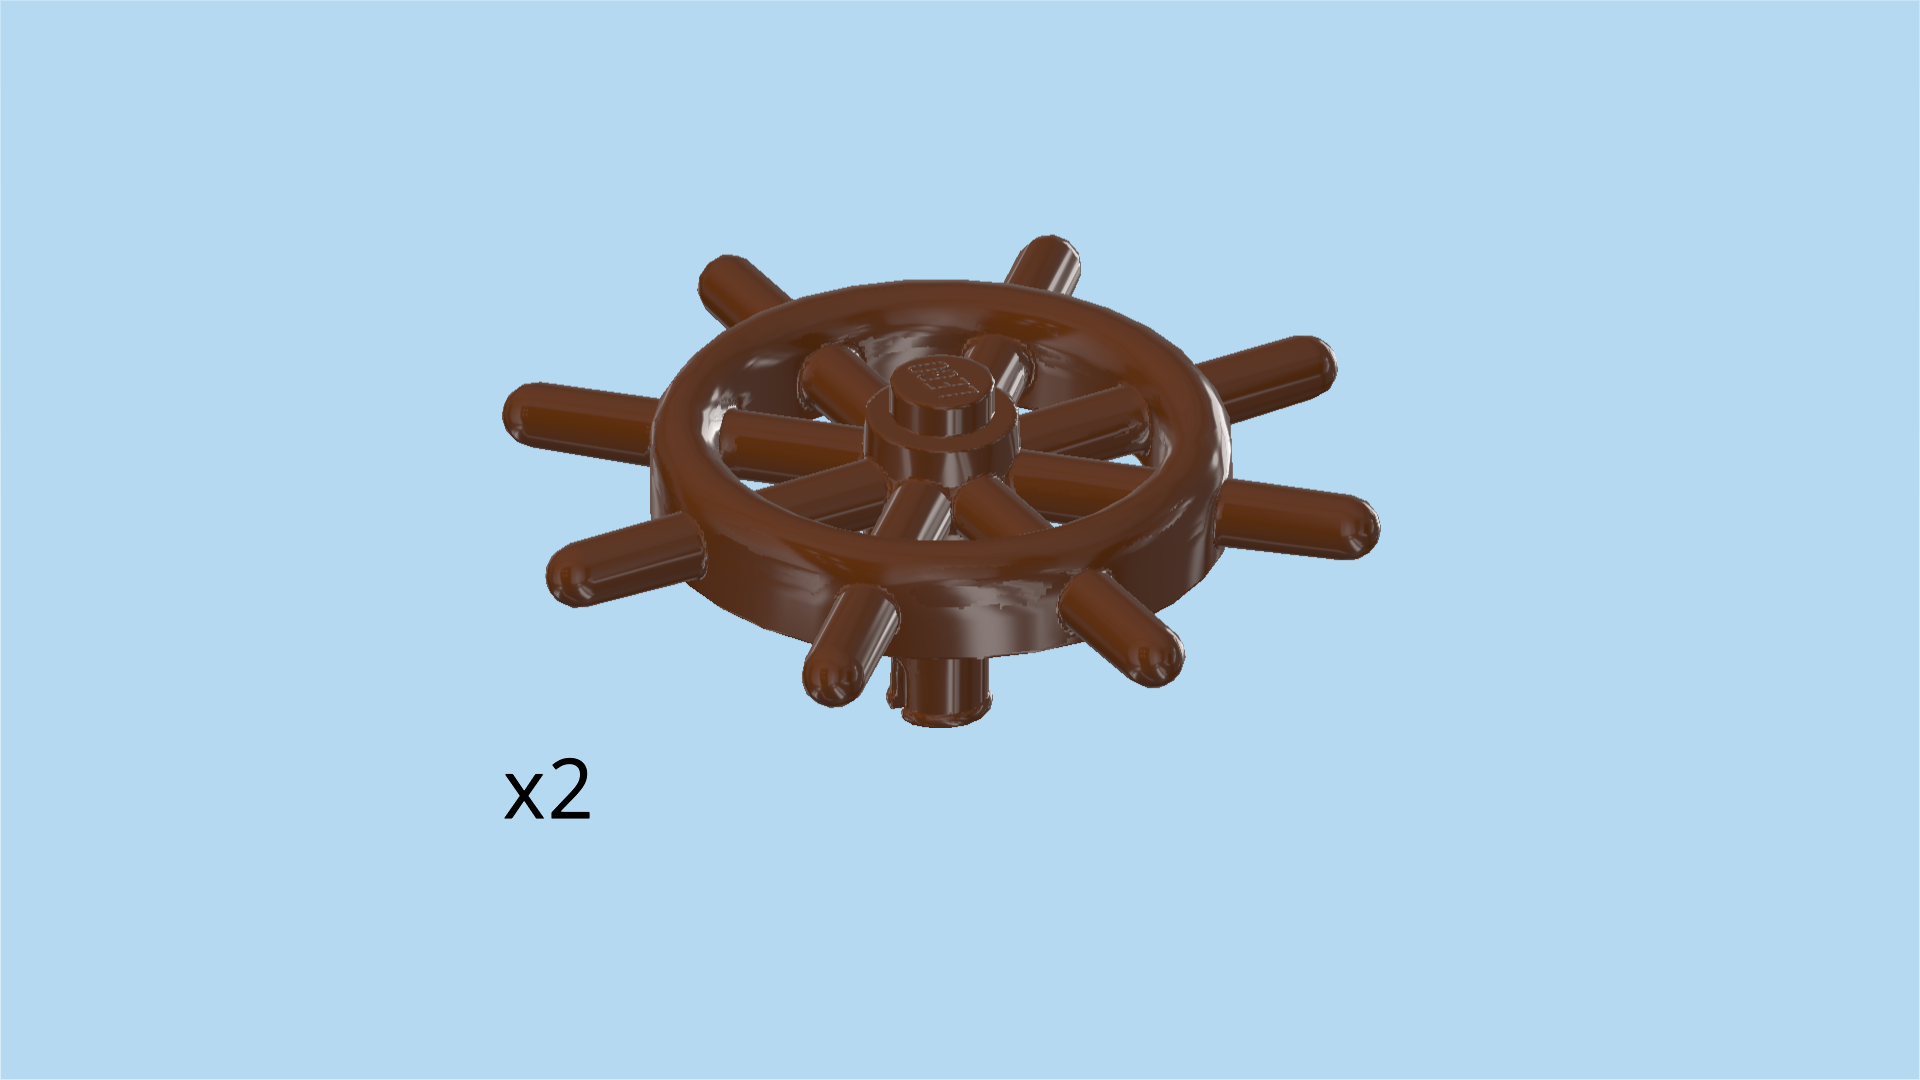
| Find 2 reddish brown steering wheels with 8 handles and bottom connector. |
| Flip 1 upright so that its bottom connector is pointing to the back. |
| Insert the connector into the side hole of the round brick 2x2 at the front. |
| Repeat symmetrically at the back. If you turn the steering wheels, the spinning mechanism will start to rotate. |
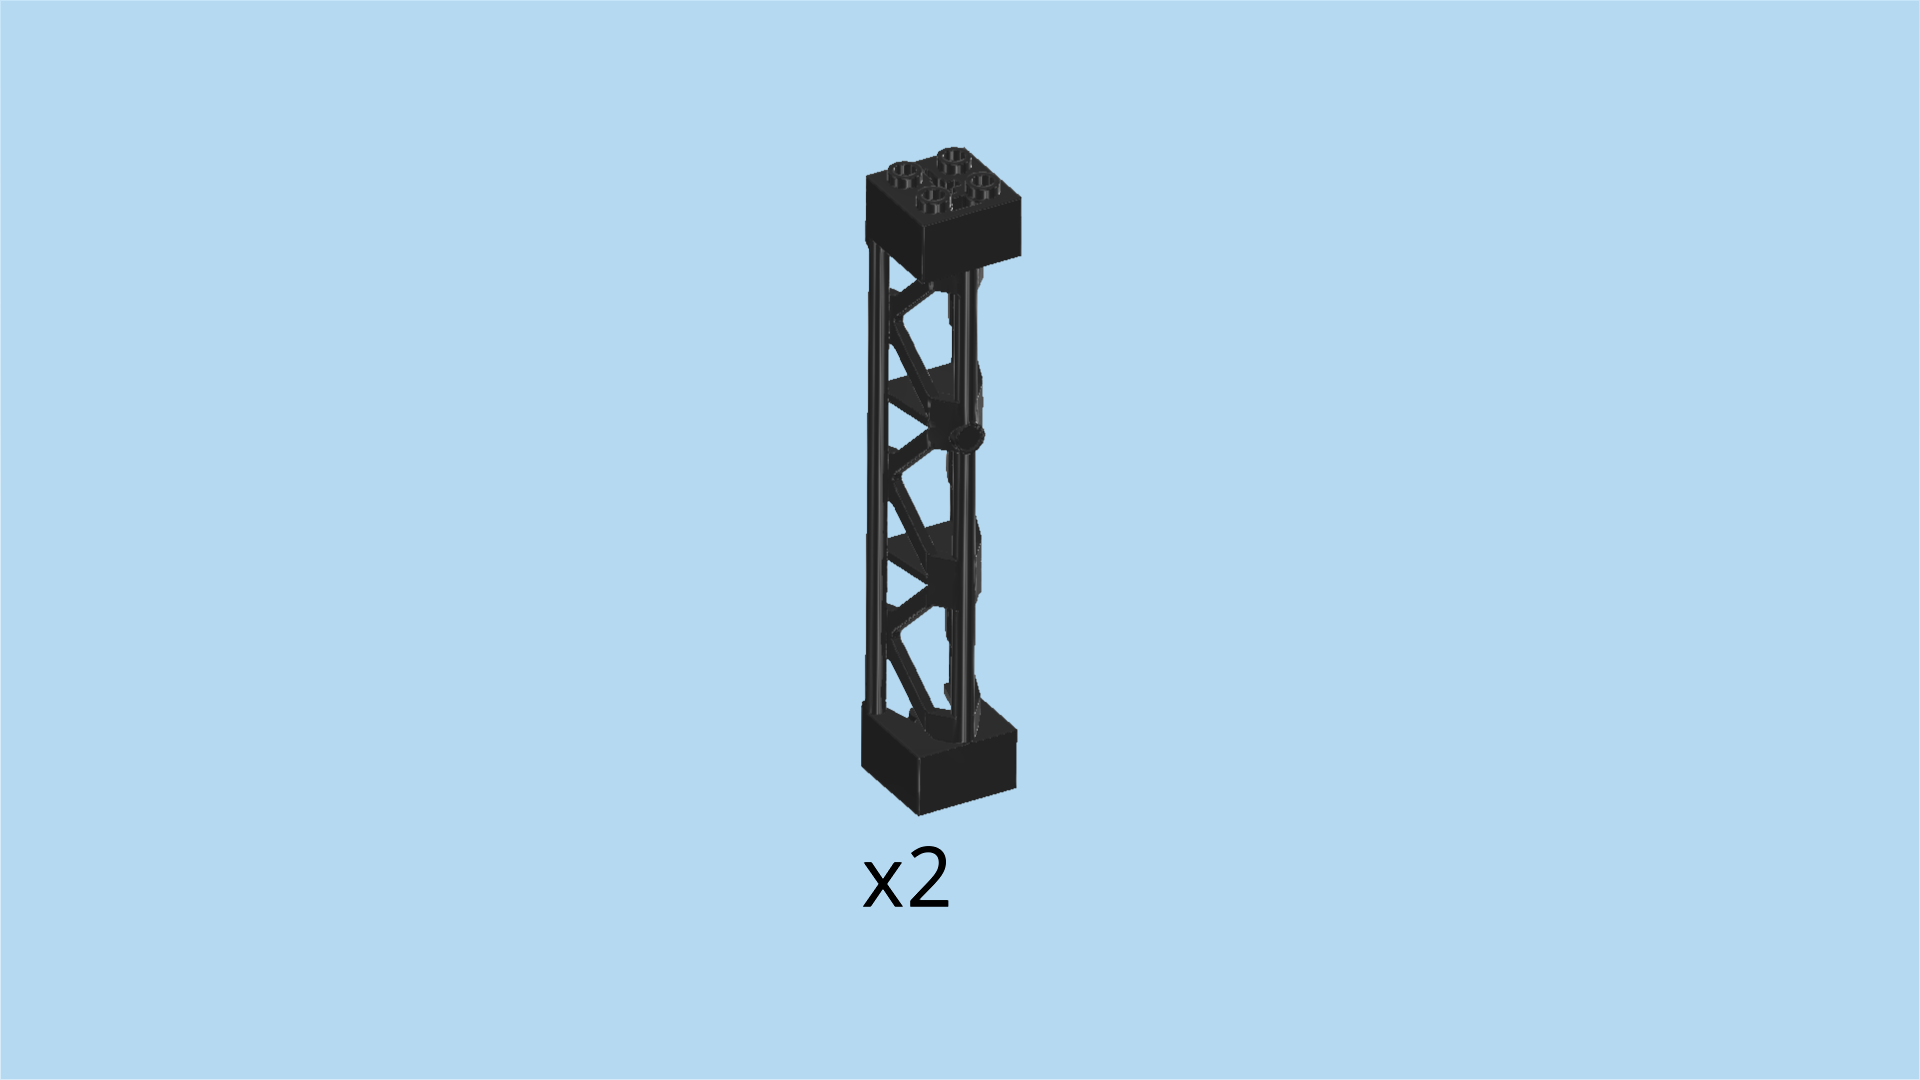
| Find 2 black lattice girders 2x2x10. |
| They will be attached on the 2 spinning cross axles in the middle of the structure. Continue for detailed instructions. |
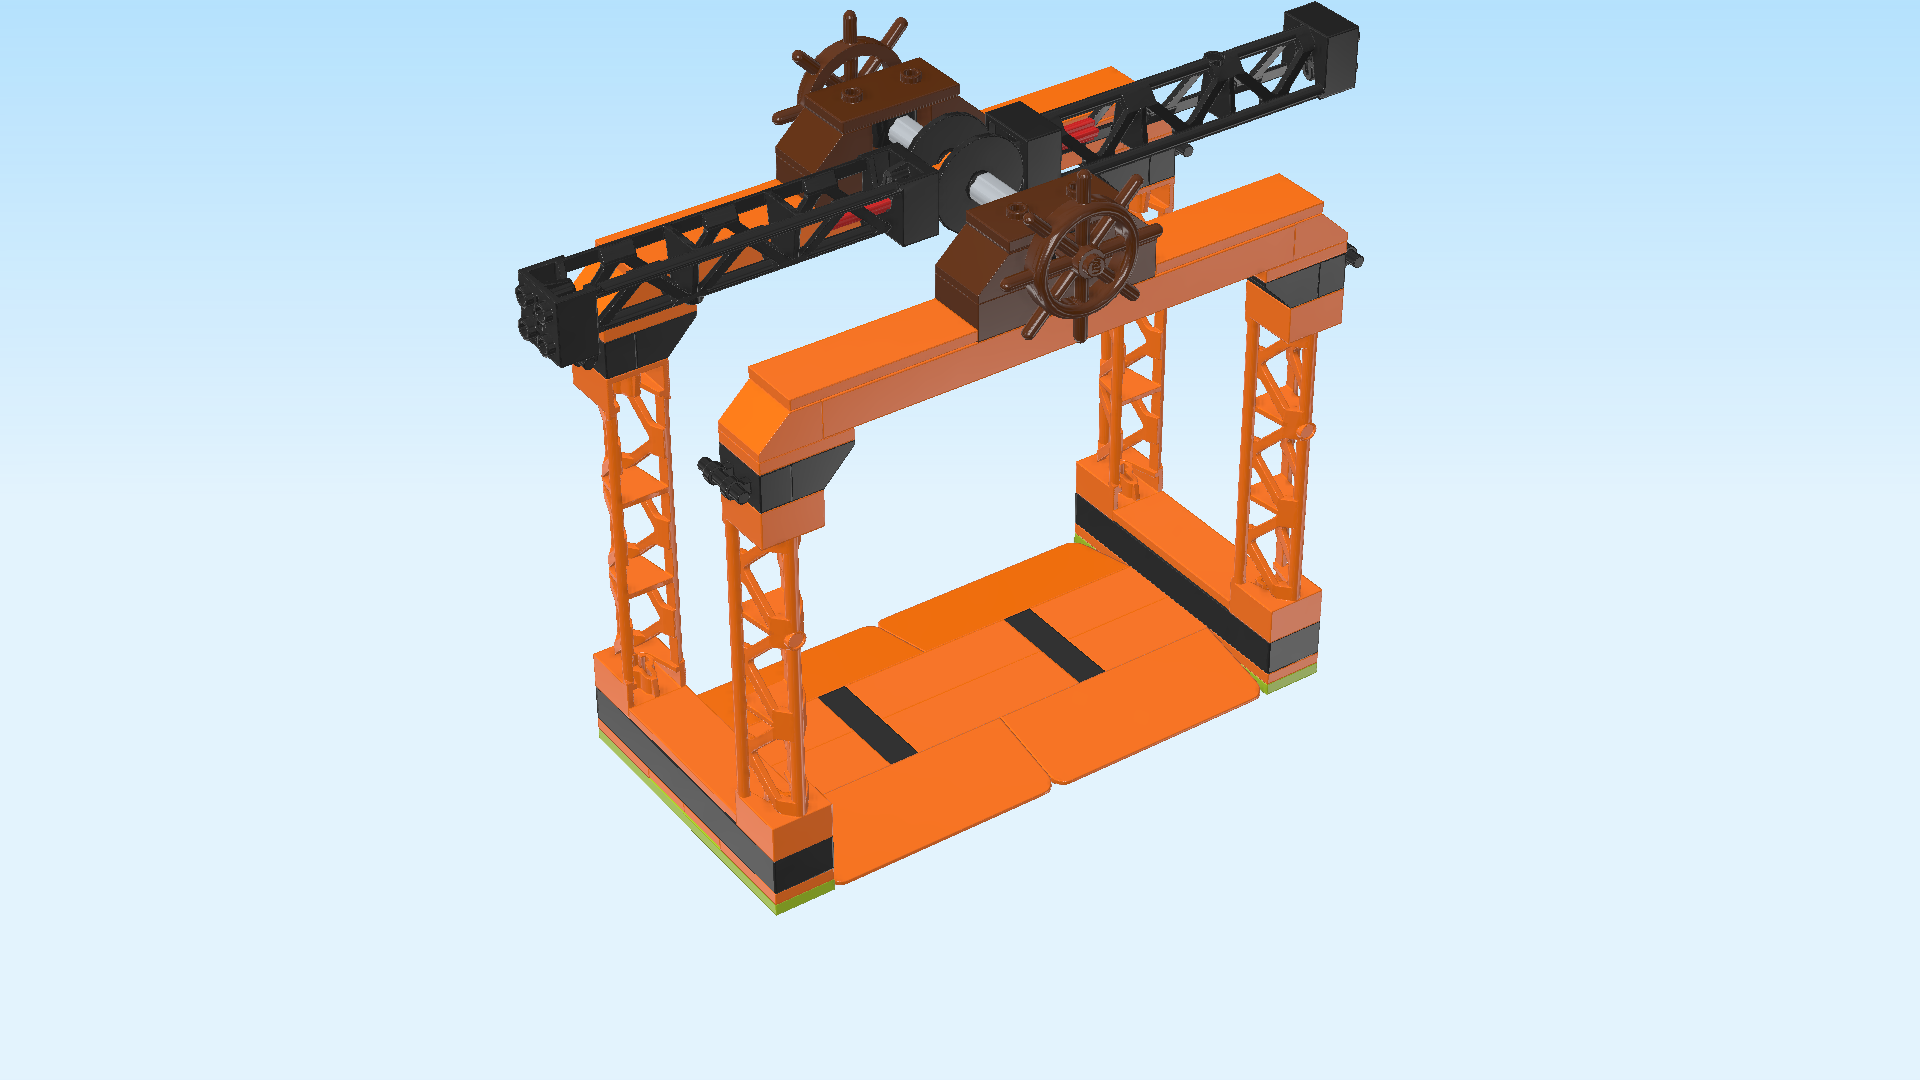
| Flip 1 girder upright and hold it horizontally. Make sure its 4 top knobs are pointing to the right. |
| Now, insert the right cross axle of the 2 cross axles of the spinning mechanism into the bottom surface of the girder. |
| Hold the other girder upright horizontally, knobs pointing to the left, and insert the other cross axle into the bottom surface. |
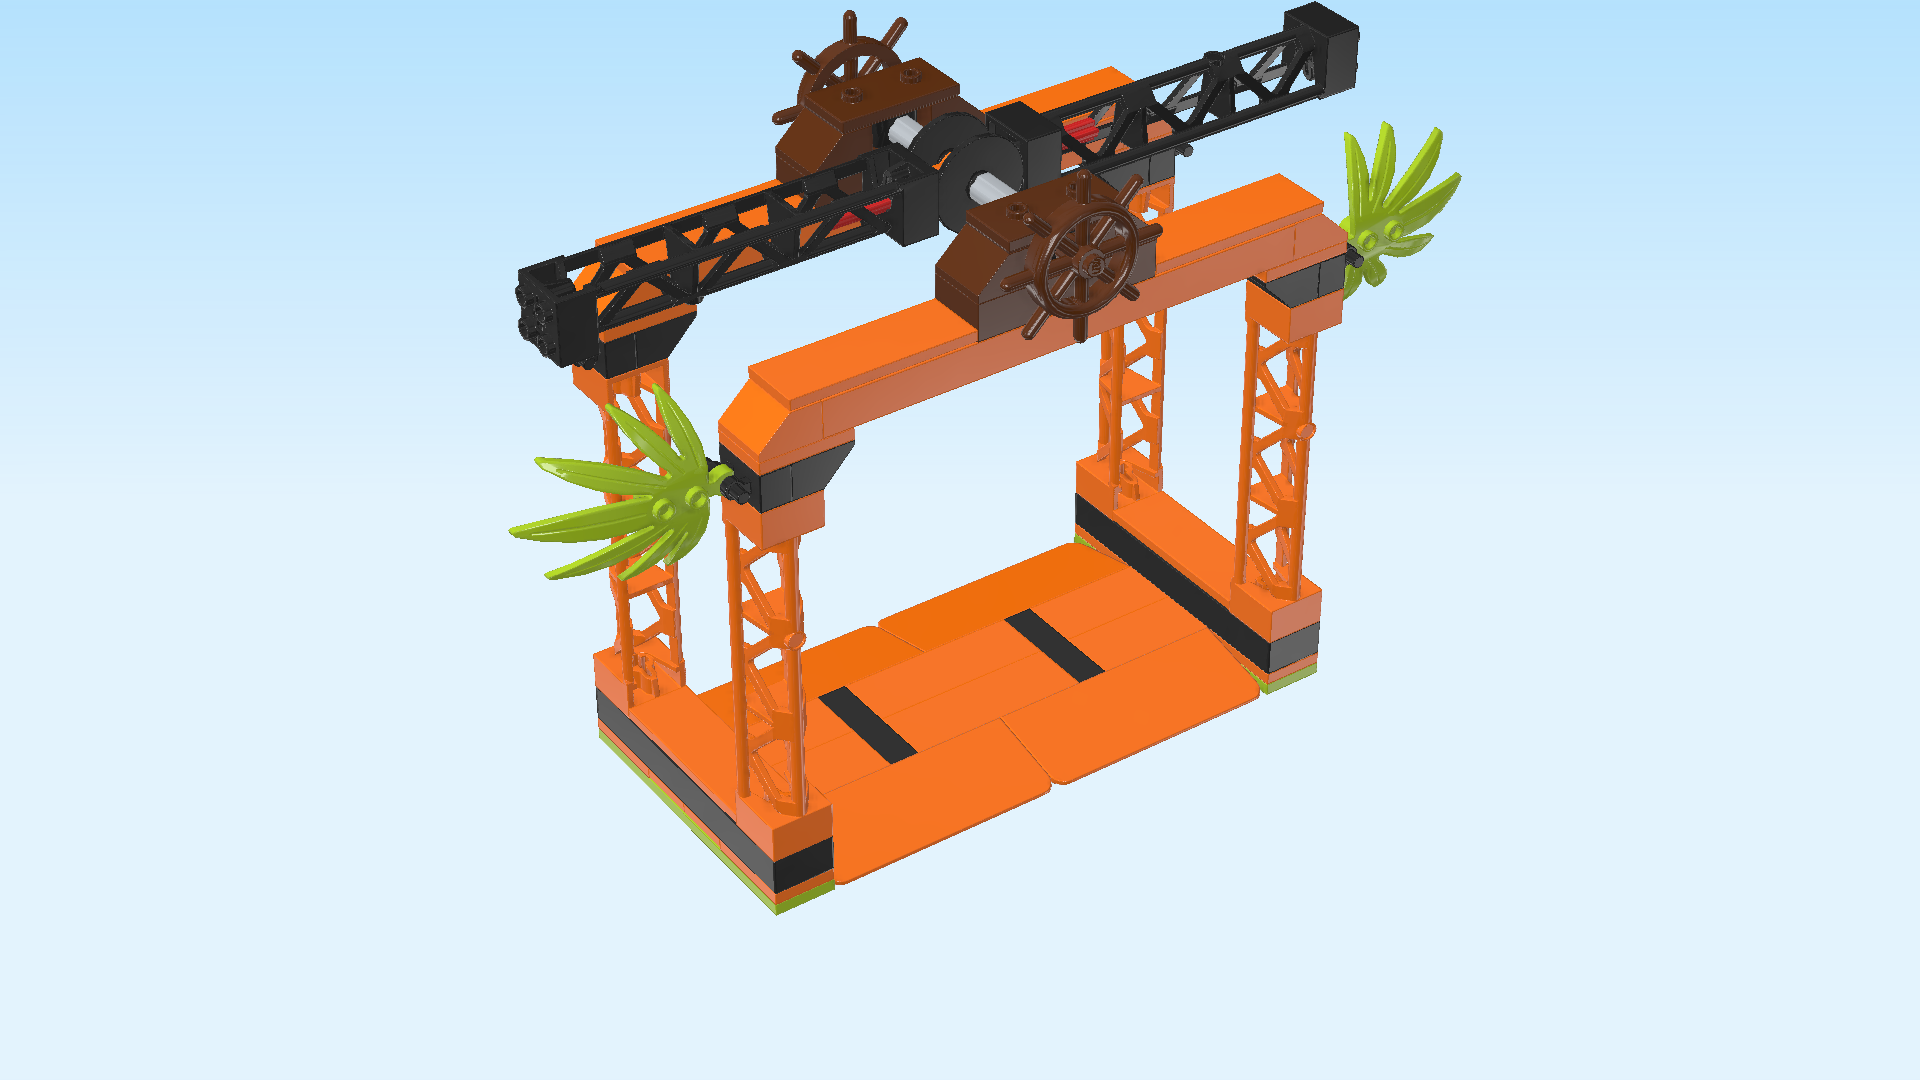
| Find 2 bright yellowish green palm tree leaves with 7 leaves and clasp. |
| Snap the clasp of 1 palm tree leaf on the shaft pointing to the right on the front right girder, knobs to the front, leaves pointing to the top right. |
| Repeat symmetrically on the front left girder, leaves pointing to the top left. |
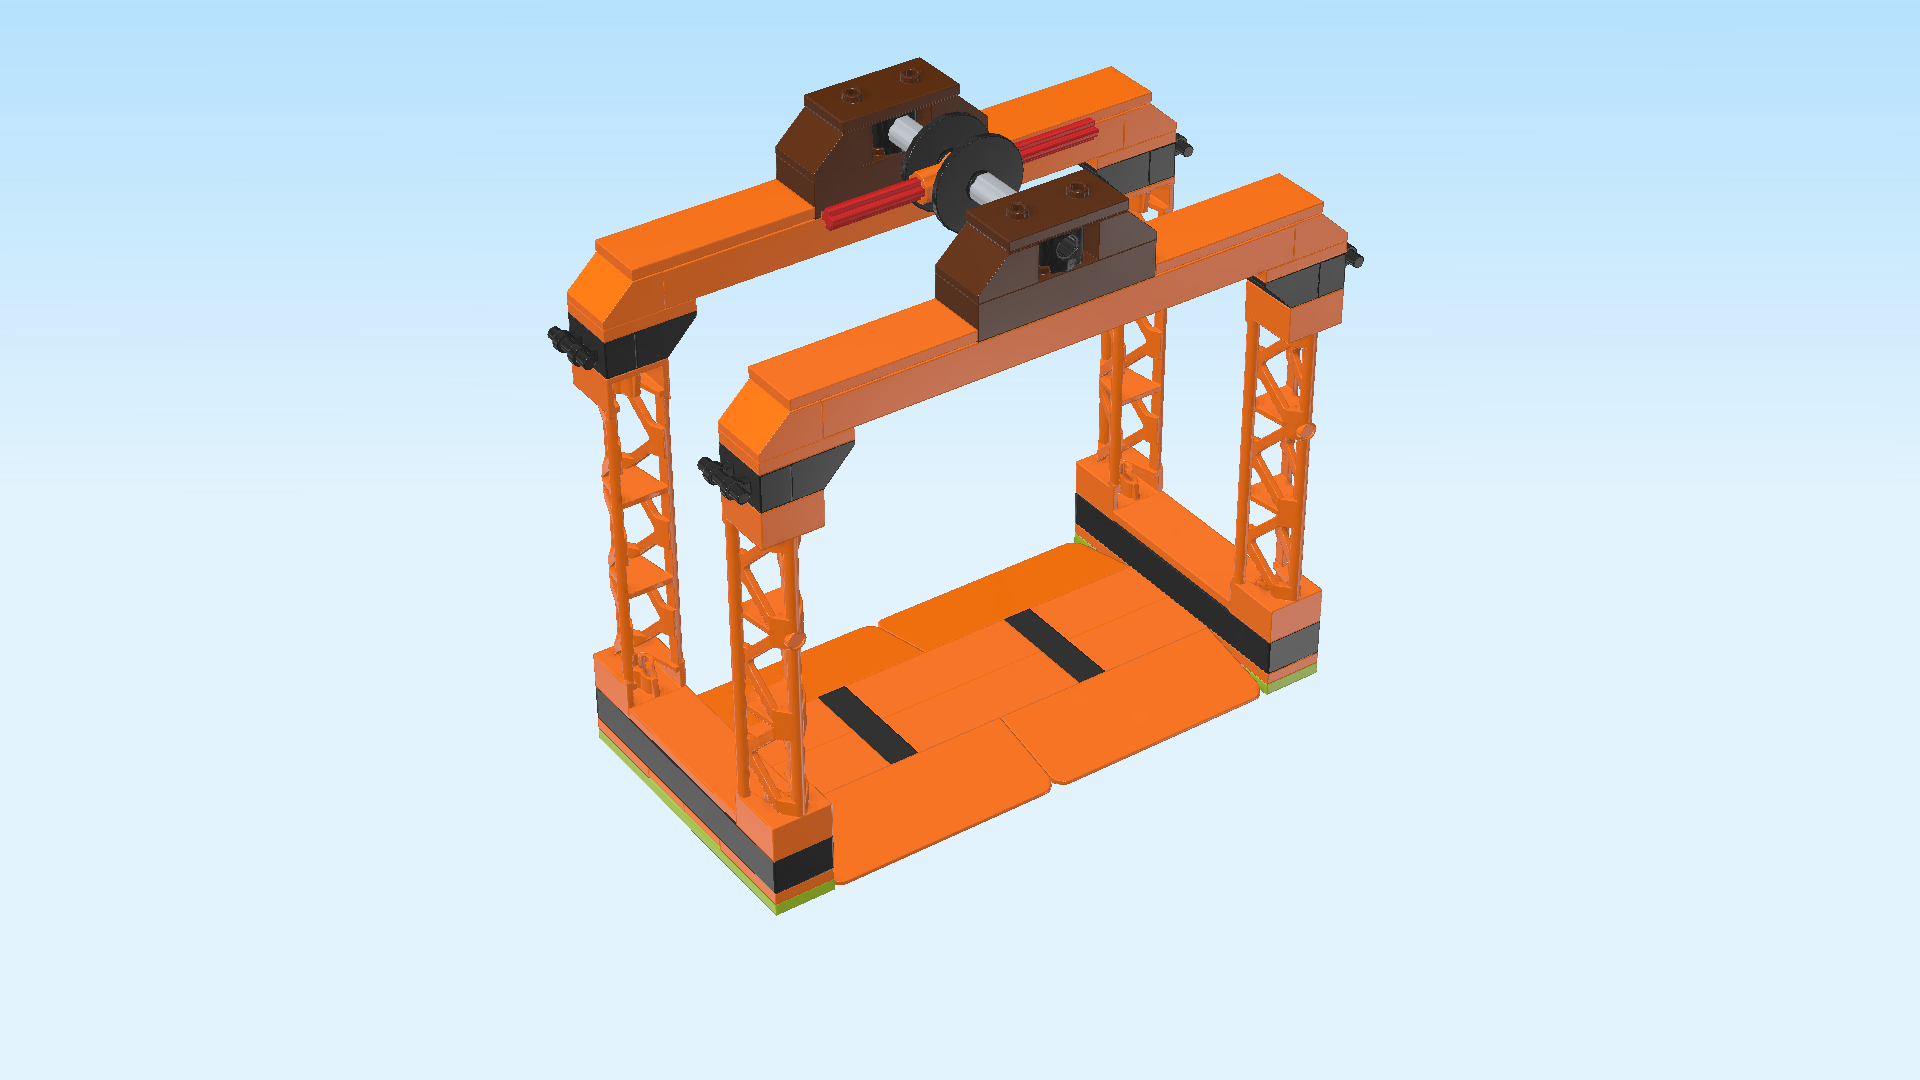
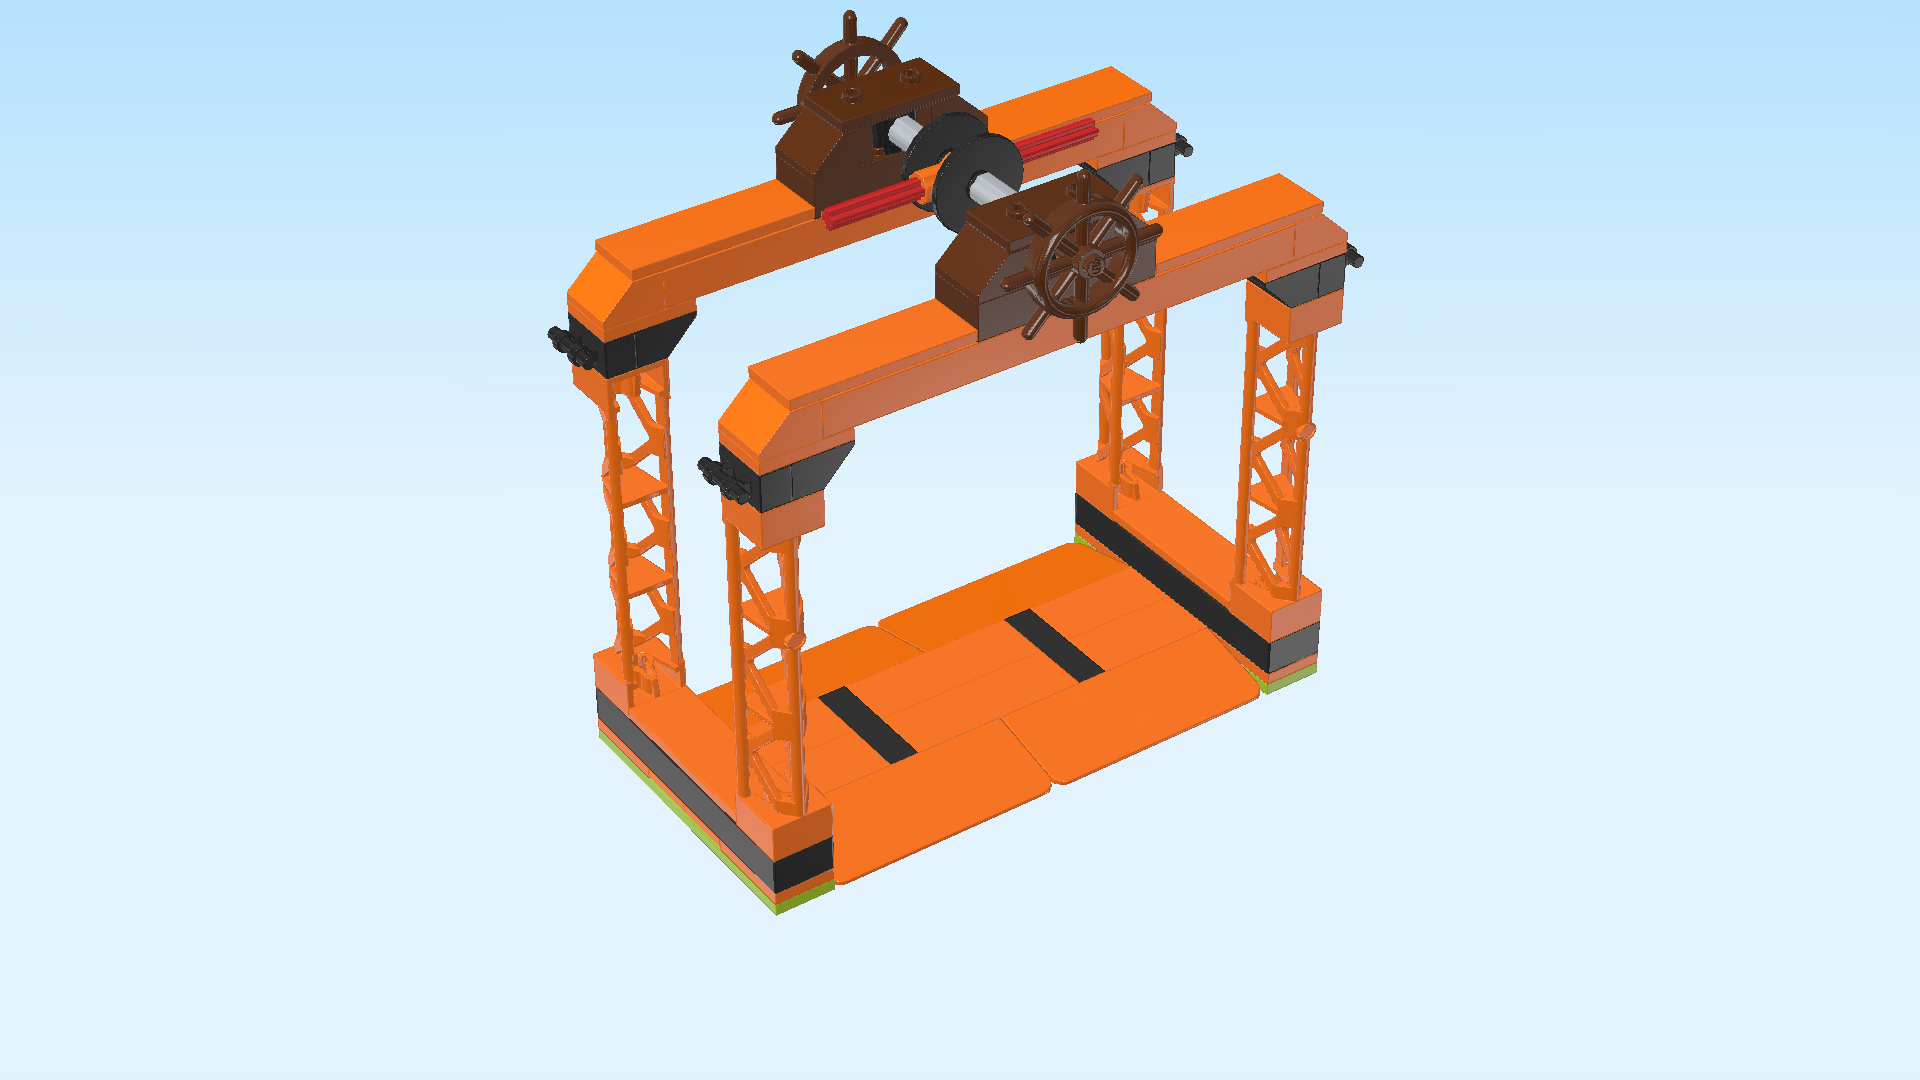
| The obstacle scaffolding is finished! Well done! |
| For the last building step, attach the 2 sharks on the 2 spinning girders in the middle. Use the bottom surface of each shark and the 4 knobs of each spinning girder to mount them. |
| You have finished building the entire set! Fantastic work! Now it's time to show us all your stunt tricks: stack the barrels, wind up the flywheel, let the sharks spin, and off you go! And if the crazy stunts that Chuck D. Goldberg is capable of damage the stunt bike, worry not. Your capable mechanic can fix just about anything! And watch out for the skeleton. He seems like a sly adversary! |
| Enjoy! |