| LEGO Audio & Braille Building Instructions for the LEGO City set "Race Buggy Transporter". |
| The time has arrived... It's race day! Jump into the SUV off-roader and head for the race circuit. Lower the trailer ramps and unload the supercool Baja buggy. Lift the roll cage and climb aboard. Put on your safety helmet. Ready, steady, GO! Power away from the starting line, steer around bends, zoom down straights and thunder across the finish line to break the LEGO City speed record! |
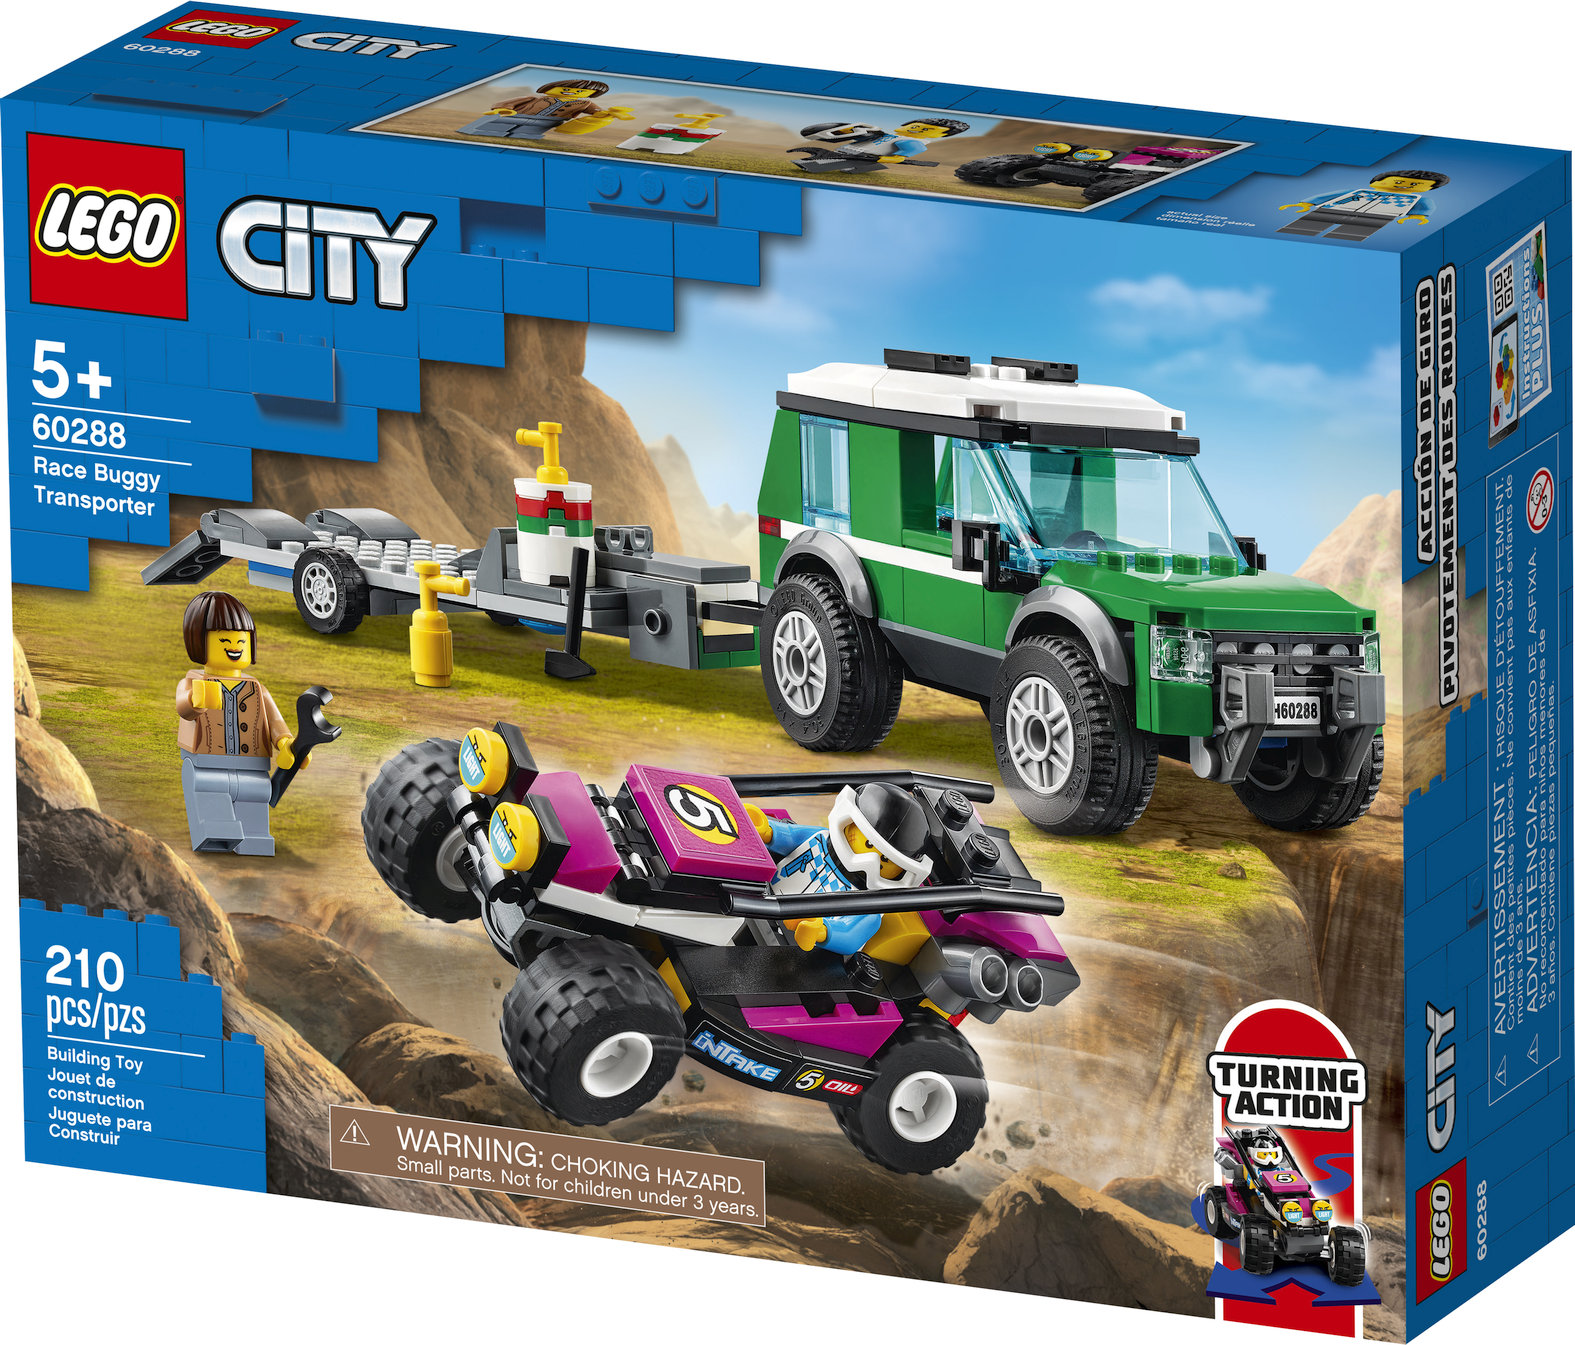
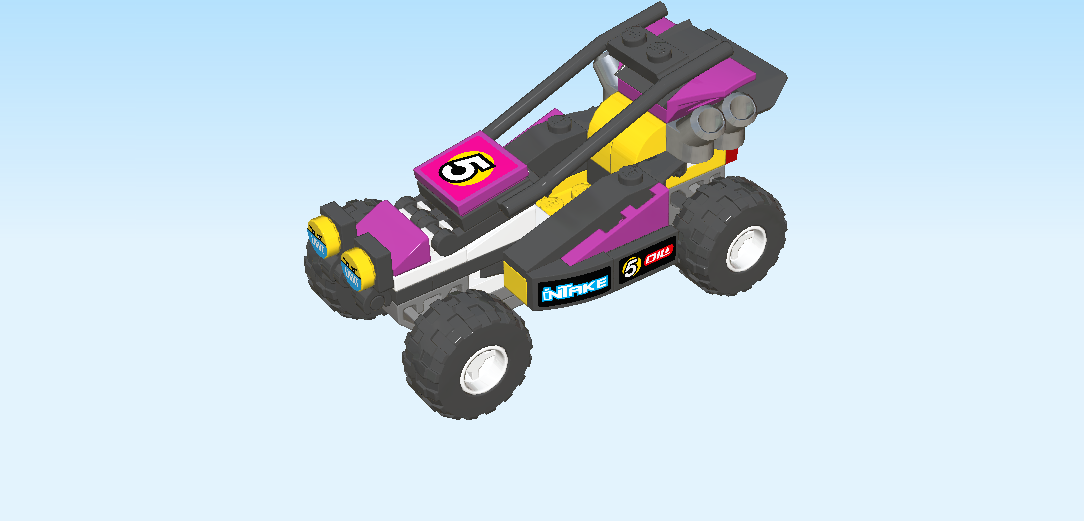
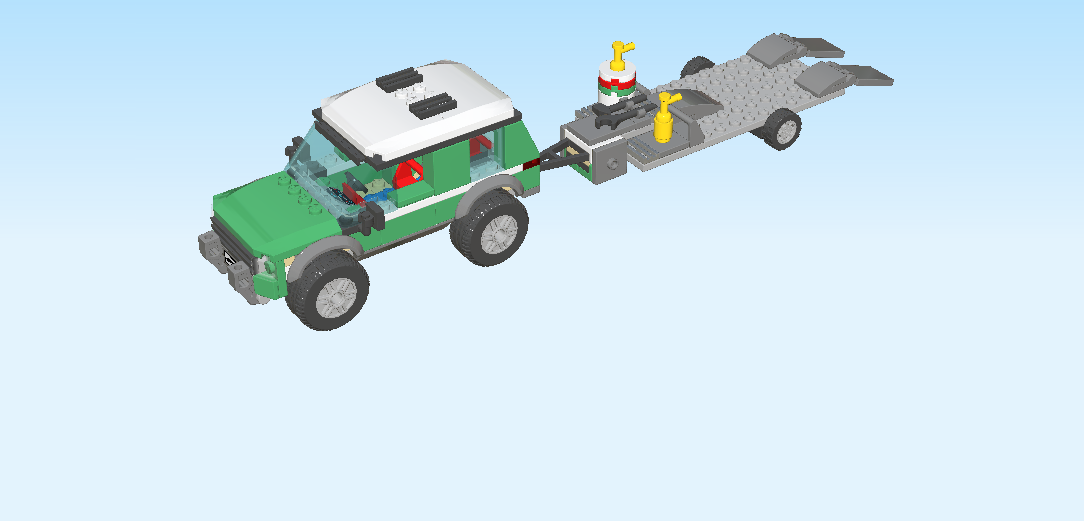
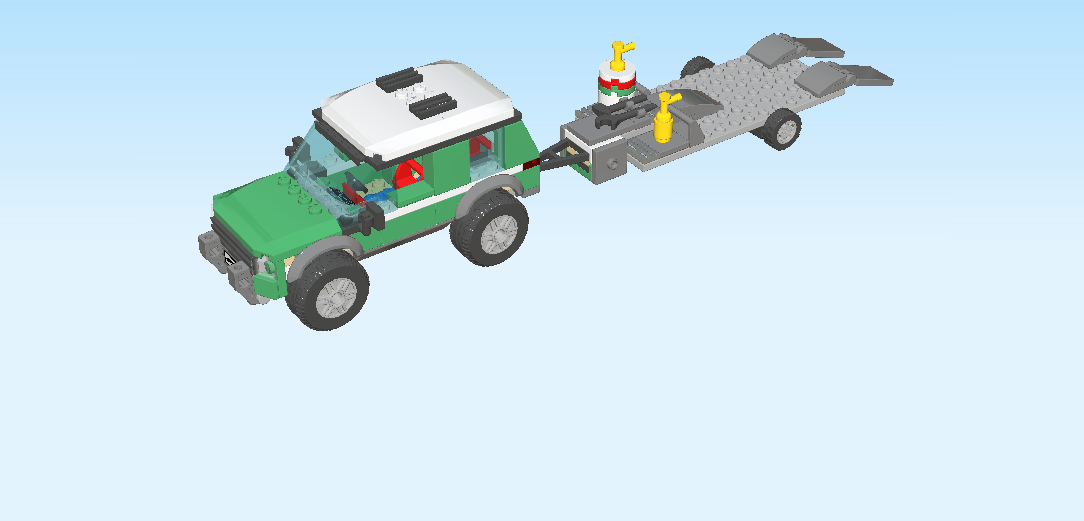
| On the box cover, the Baja race buggy is shown flying in mid-air, racing across rocky terrain! The male driver is seated in the buggy, of course wearing safety helmet and goggles. The buggy has a cool design: with its large balloon tires, massive rear spoilers, black and dark purple paint coatings, and many racing-related stickers, it is quite the eye-catcher! This time, the female driver is watching from a safe distance in the back. She is holding the wrench, all ready to fix the buggy after the race. In the back of the scene, the SUV off-roader with trailer is parked, it is shown from the front and right side. The vehicle is green and has grey mudguards, a white removable roof and a white horizontal line in the body paint. It easily seats two people. The trailer is grey, and it is equipped with an octane fuel cylinder, a fire extinguisher and some tools. In addition, the ramps of the trailer can be folded up and down for easy loading and safe transporting. |
| Open the box. This can be tricky; ask someone to help you! |
| The box contains 2 booklets with visual building instructions, 3 plastic bags with numbers printed on them, and a sheet with stickers. Ask a sighted person to help you find the correct bag! |
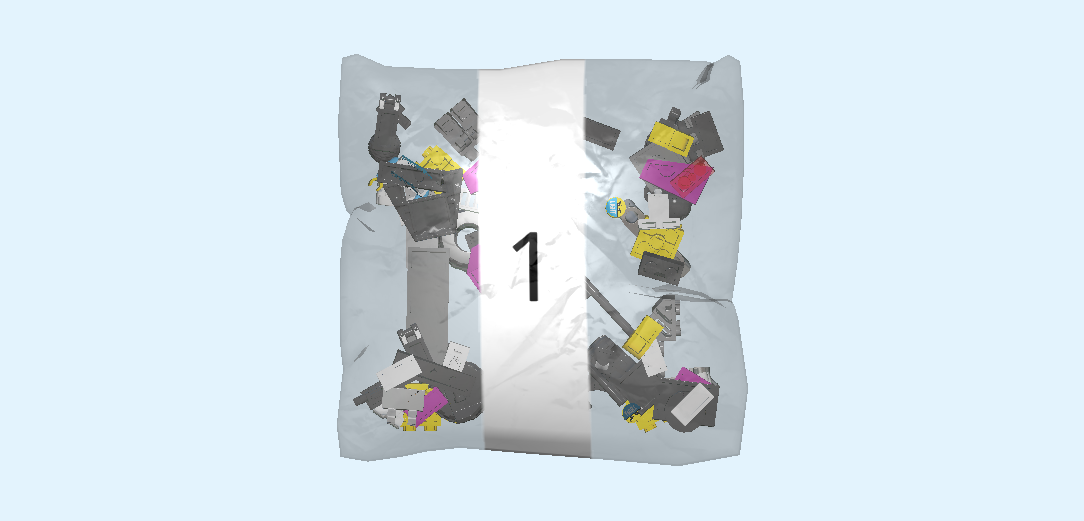
| Carefully open bag number 1 and any small sub-bags in it. This bag contains all bricks and pieces for the male driver Minifigure and the Baja race buggy. |
| Before you start building, ask a sighted person to help you sort the pieces by color. This makes finding the correct pieces even easier! |
| First, we will build the male driver Minifigure. |
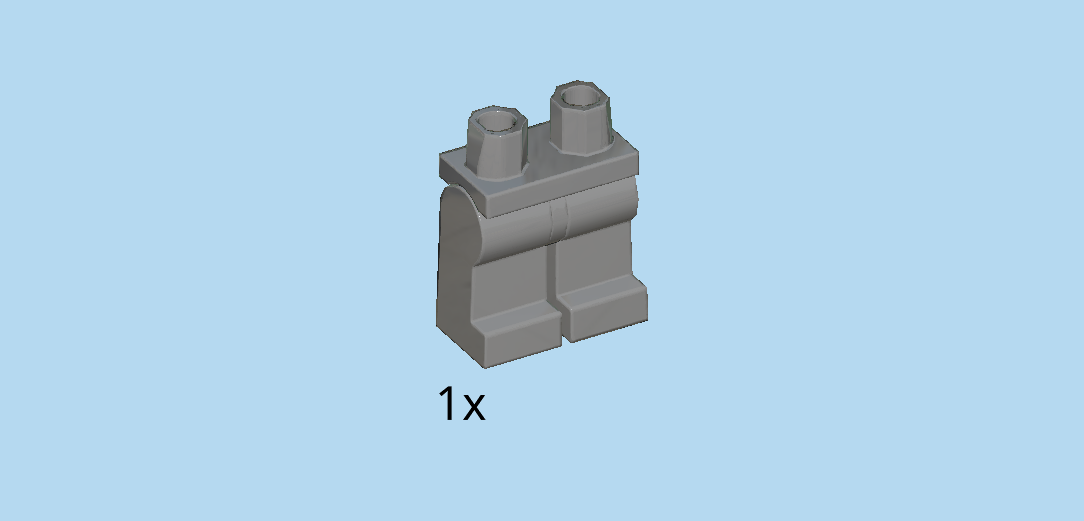
| Find 1 dark stone grey pair of legs. |
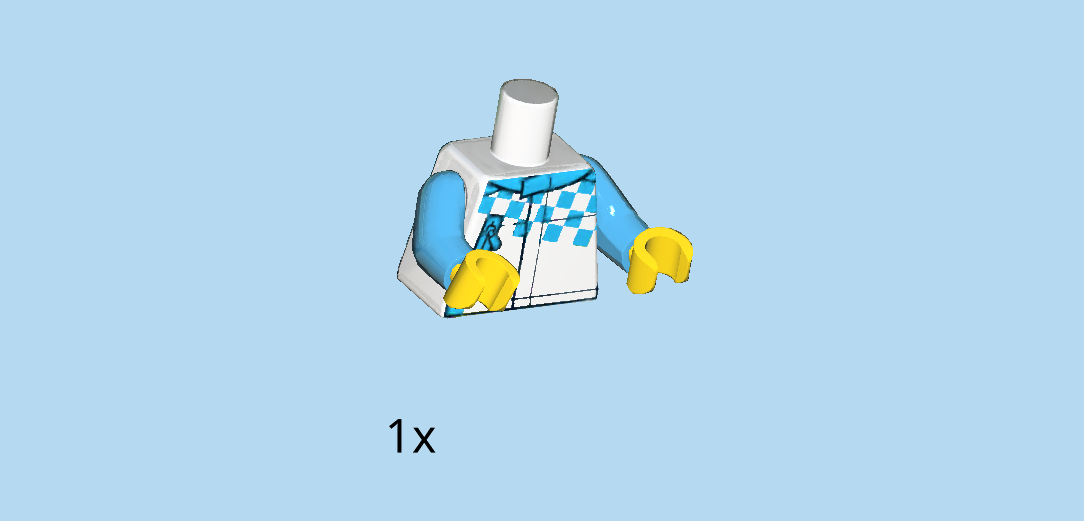
| Find 1 white, dark azure blue and bright yellow upper part of the body. |
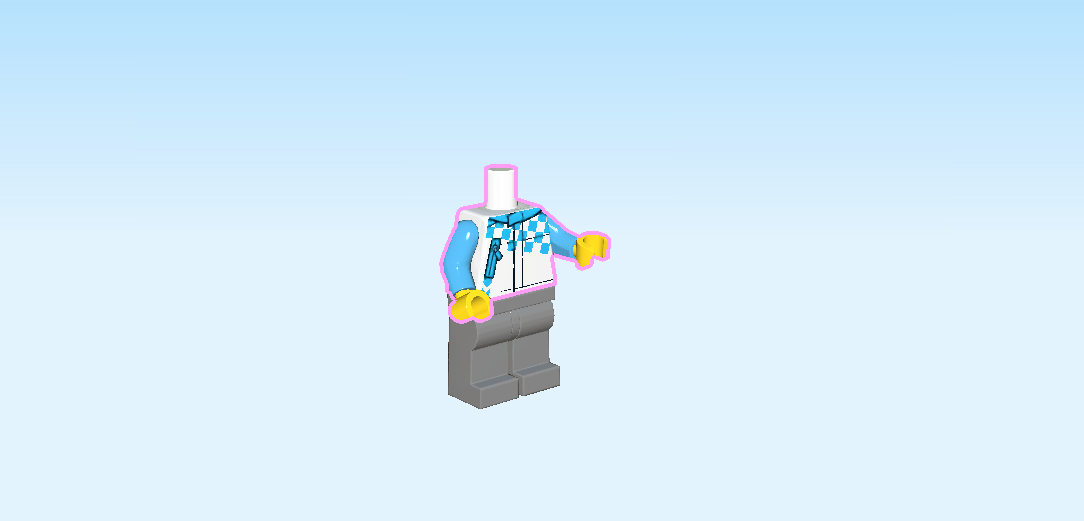
| Put the upper body on top of the legs. |
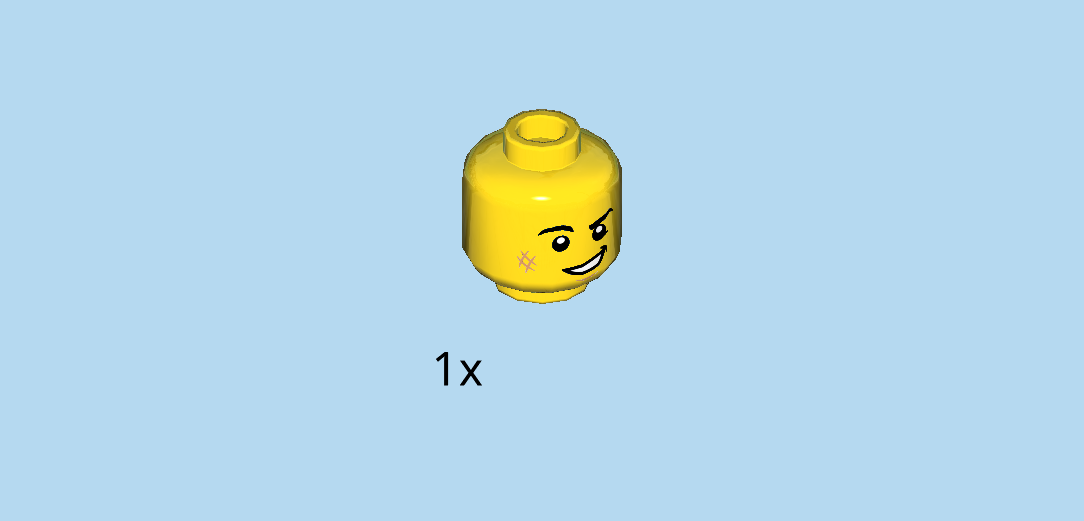
| Find 1 bright yellow head. |
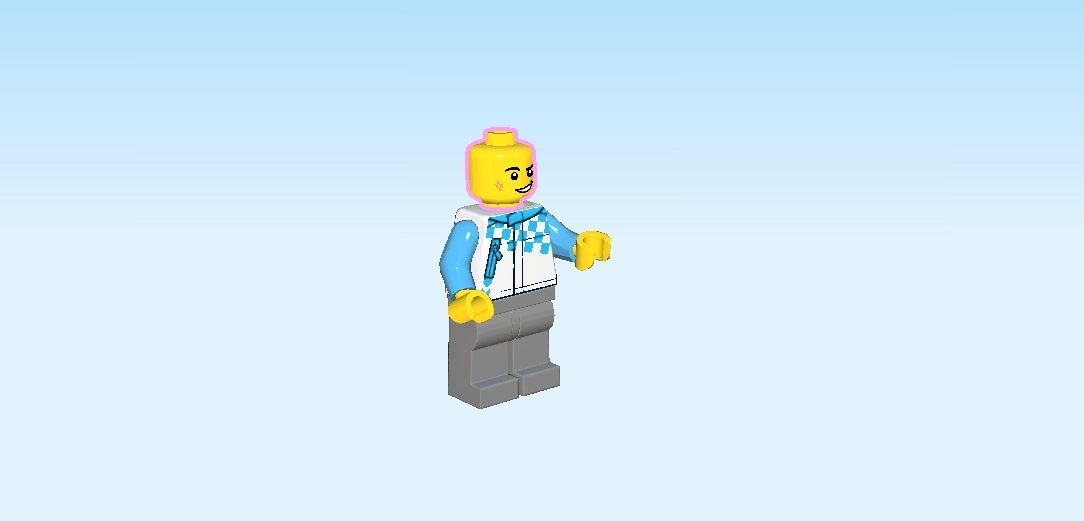
| Put it on top. |
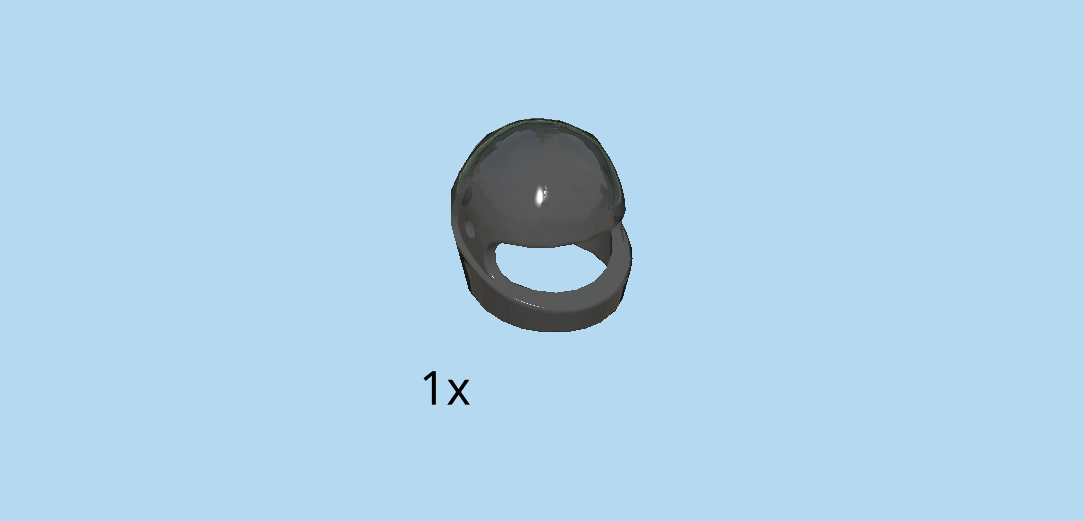
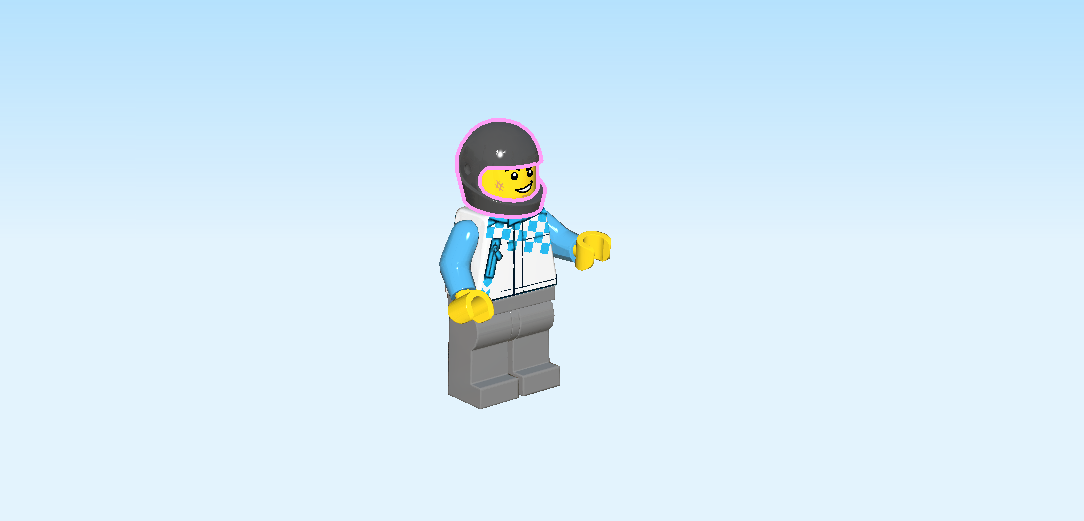
| Find 1 black safety helmet. |
| Put it on the head. |
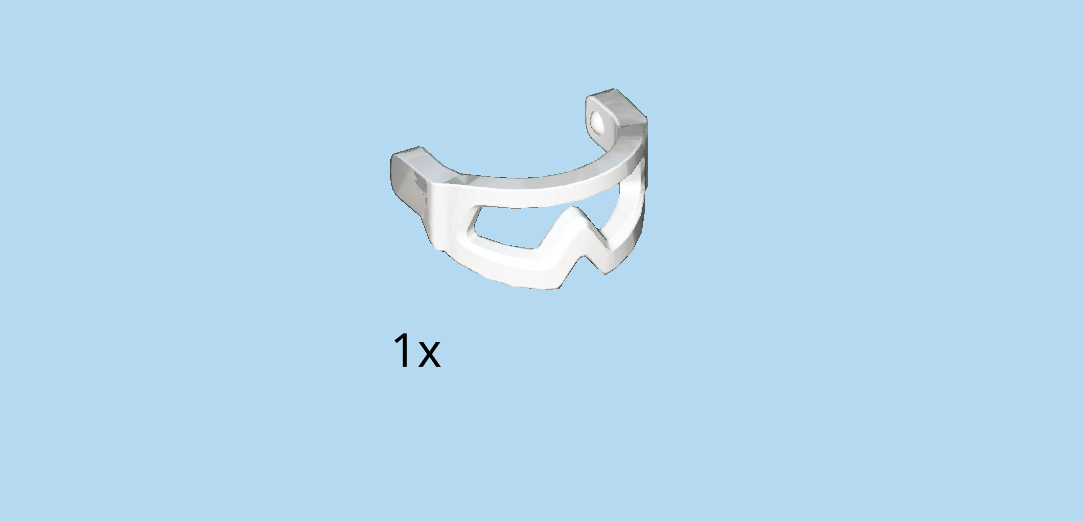
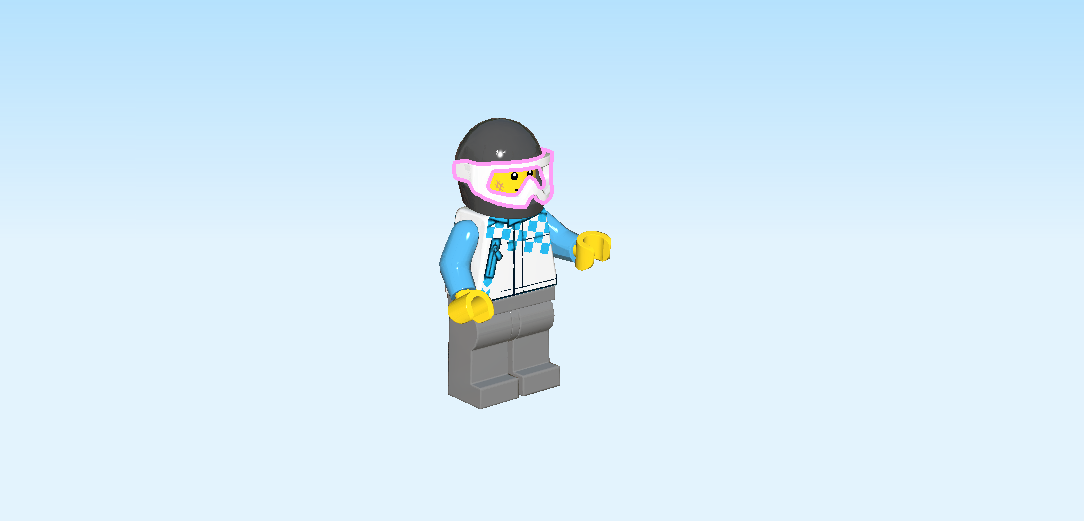
| Find 1 white pair of safety goggles. |
| Snap it onto the helmet. |
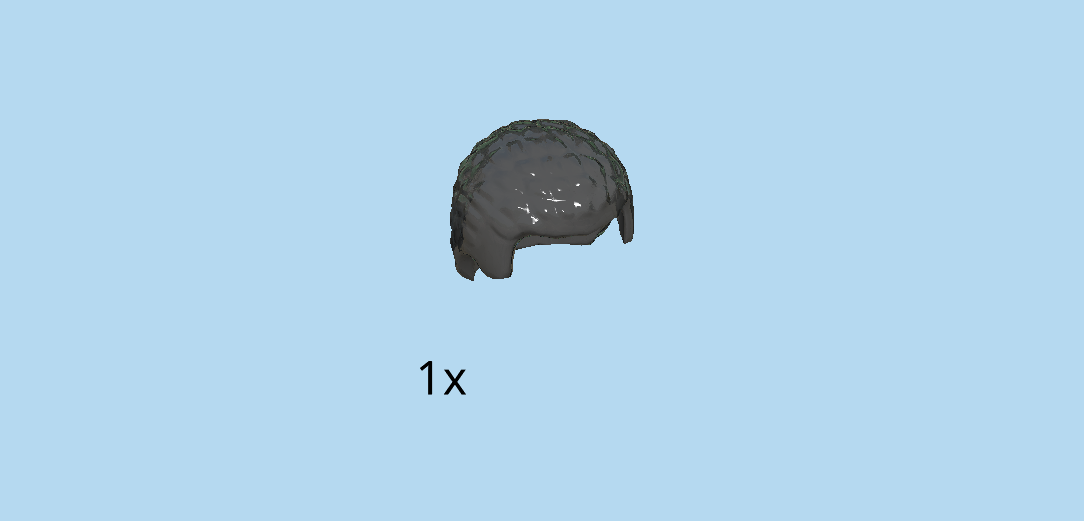
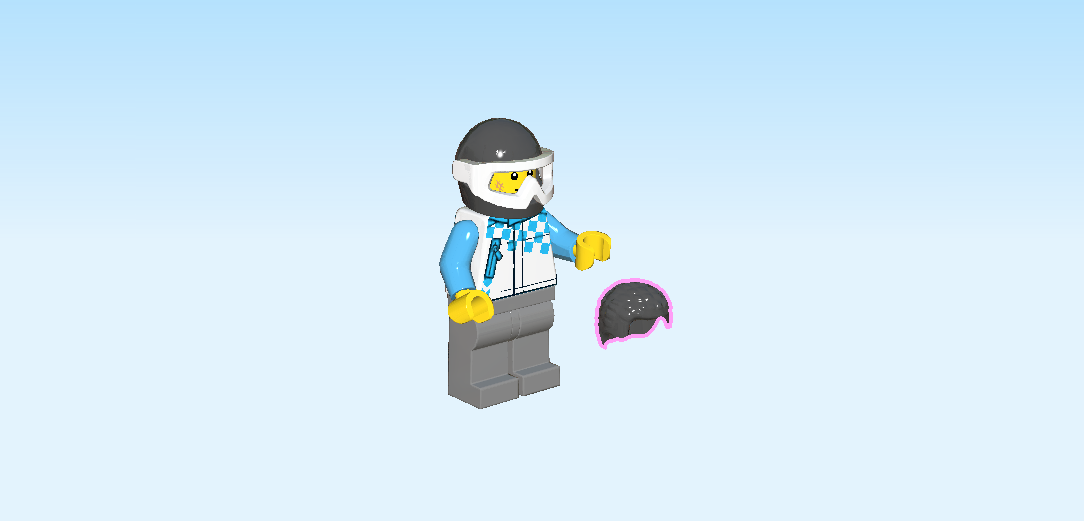
| Find 1 black hairpiece with short curly hair. |
| You can put it on the head instead of the helmet whenever this driver is not driving. The helmet of course also fits the female driver Minifigure! |
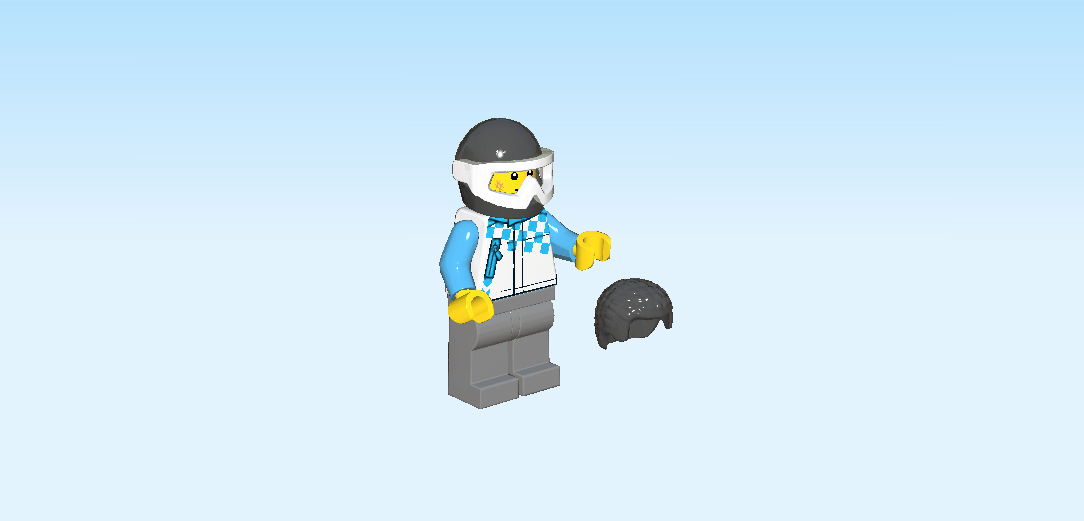
| The male driver Minifigure is finished! Well done! He is wearing grey pants and a cool white jacket with light blue sleeves, a blue zipper pocket on his right chest, and a diagonal white-and-blue checked pattern at the top. The back of his jacket is light blue with a blue-and-white checked pattern at the bottom. The driver has a daring grin on his face and there is a smudge on his right cheek. Looks like he is up for a wild ride! |
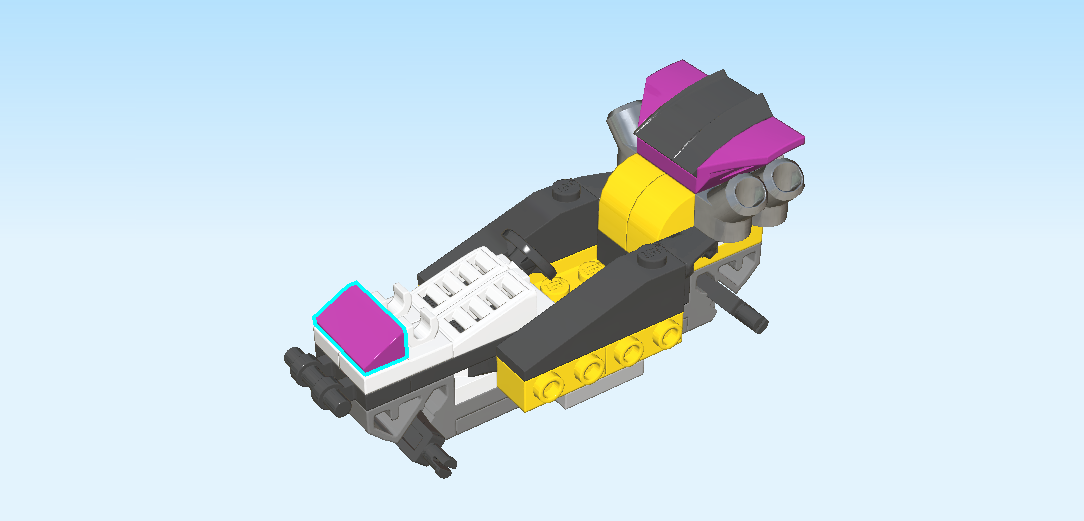
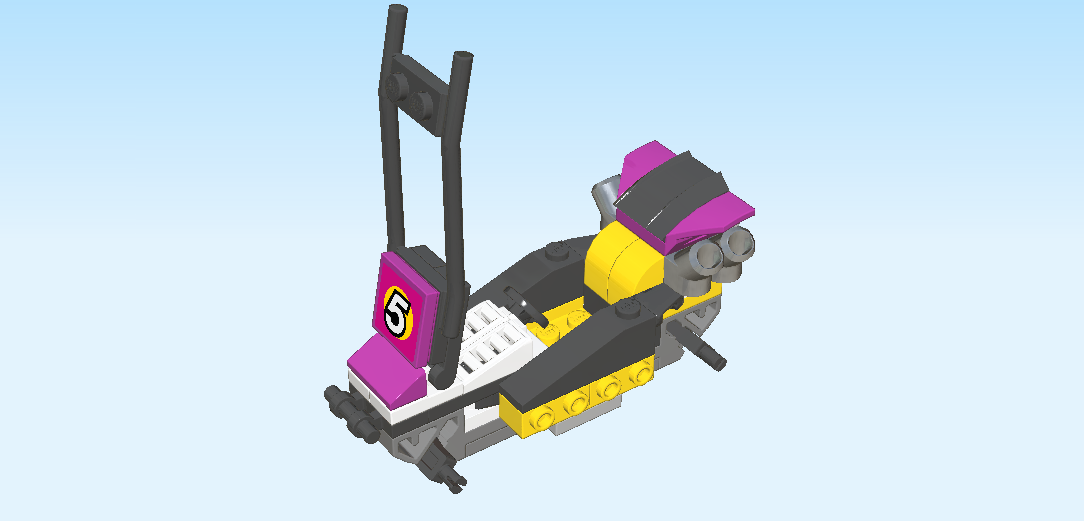
| Now, we will build the Baja race buggy. |
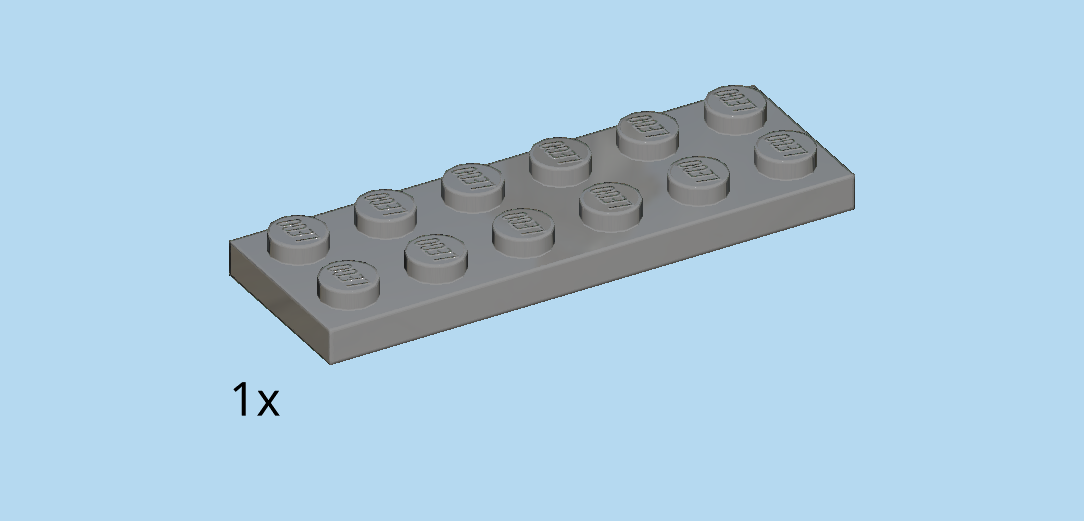
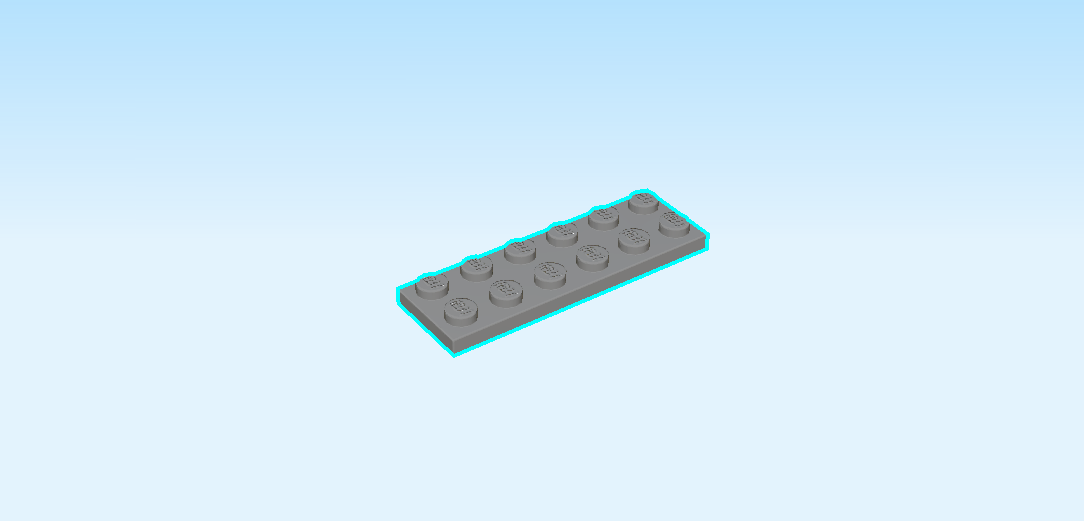
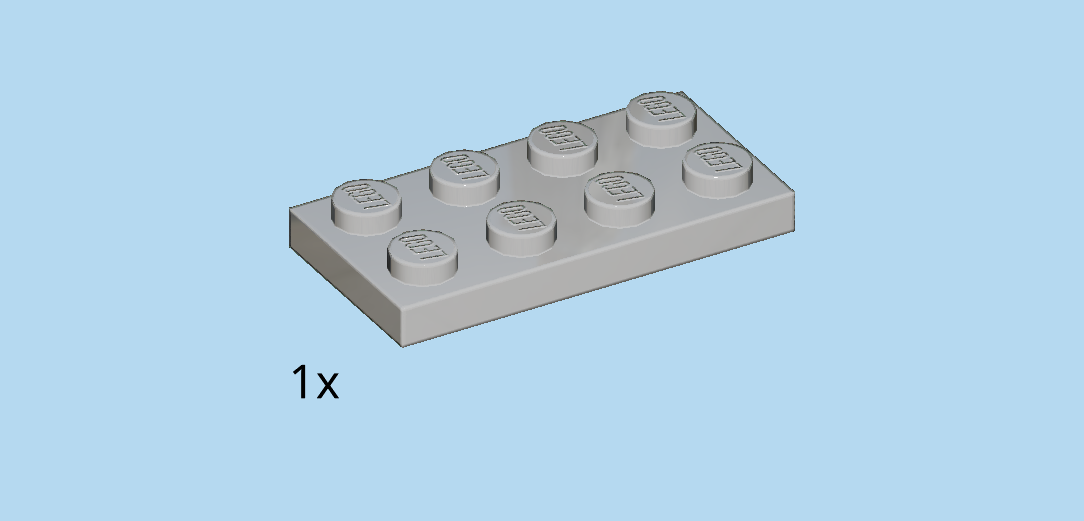
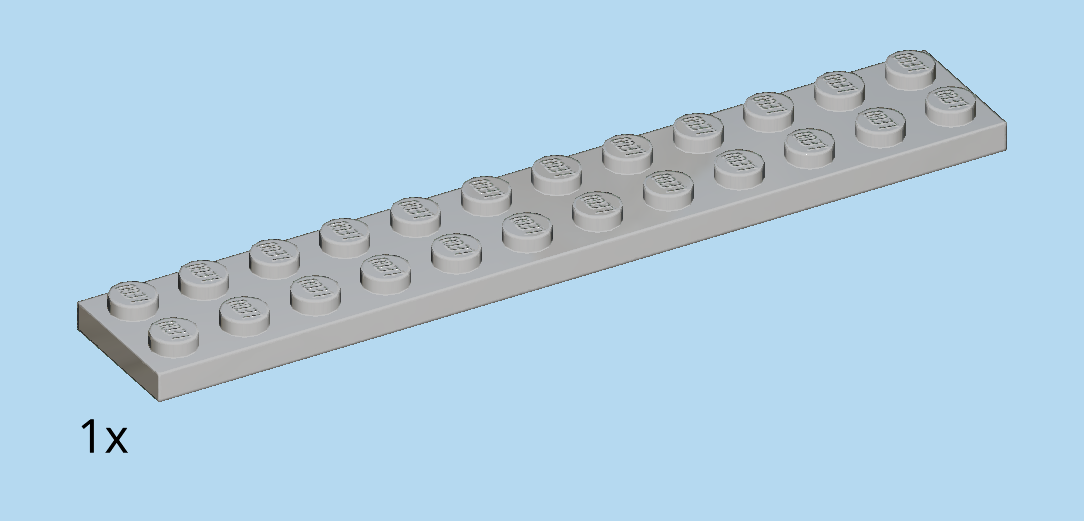
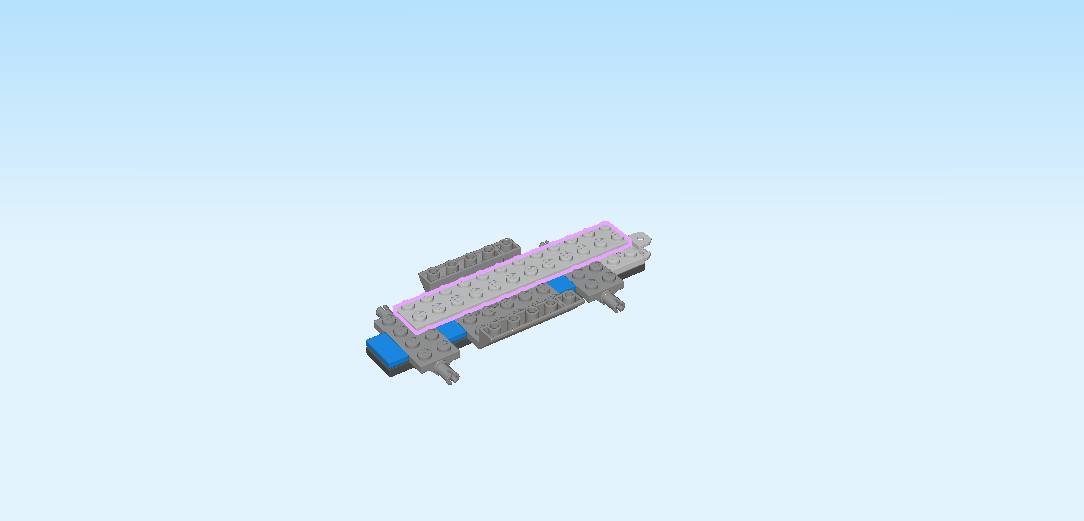
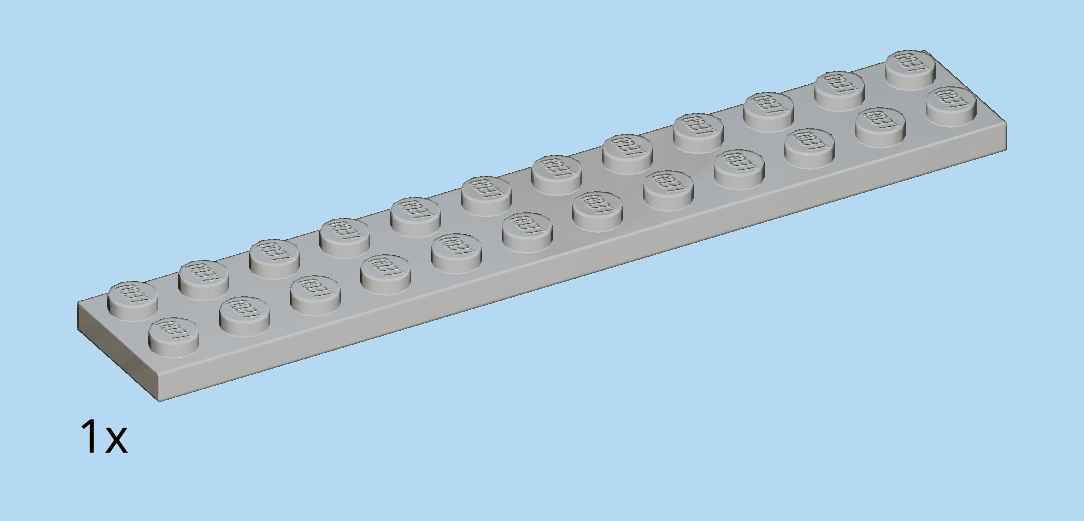
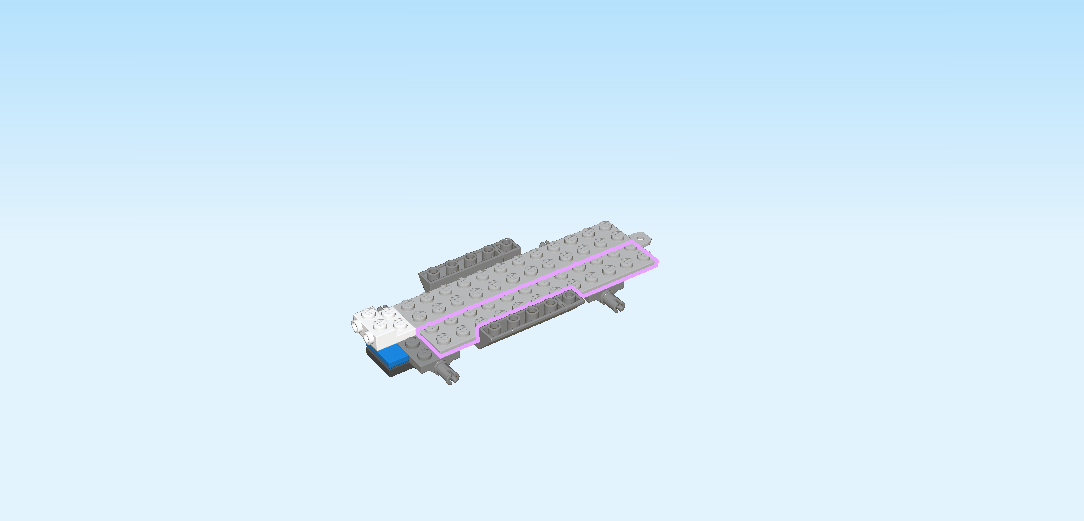
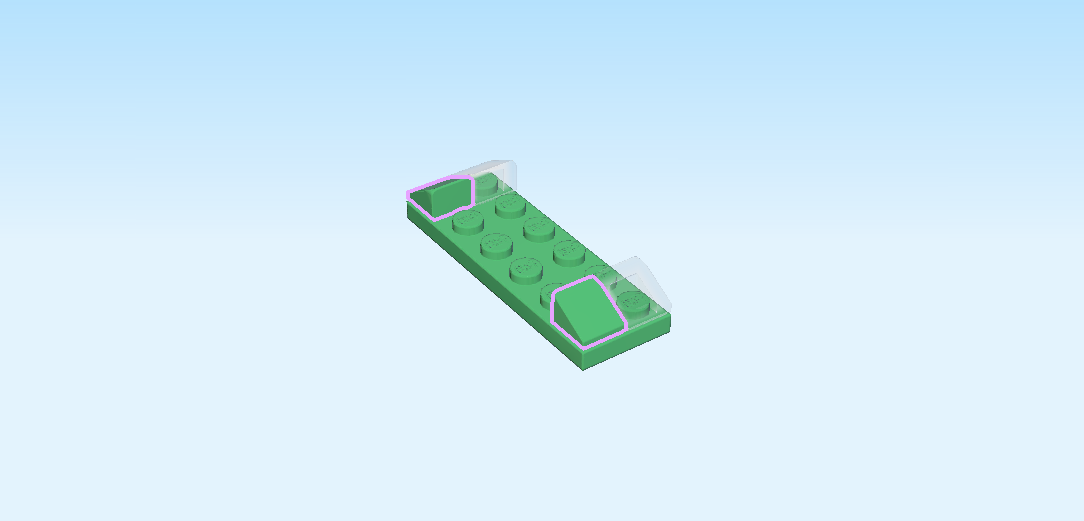
| Find 1 dark stone grey plate 2x6. |
| Put it horizontally on the table. |
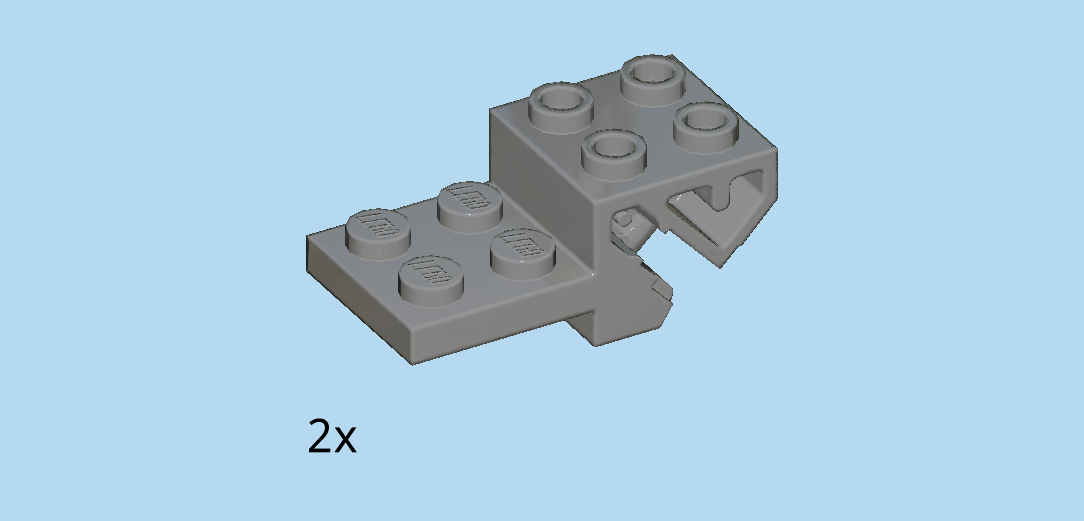
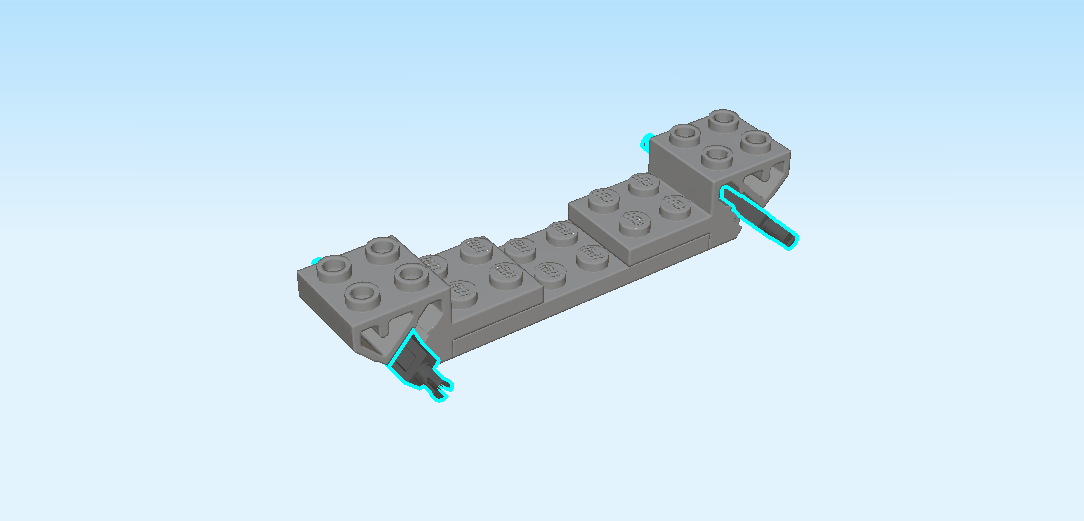
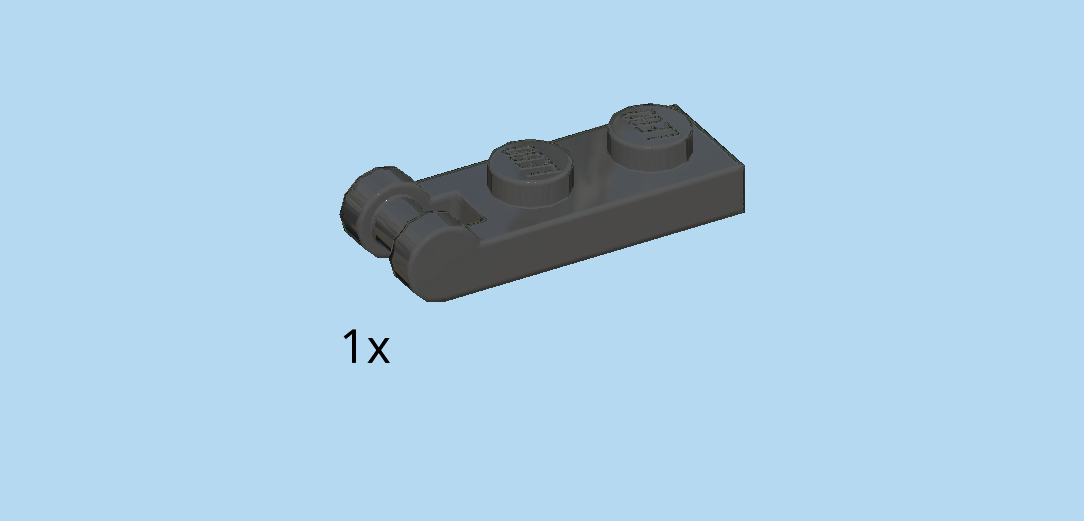
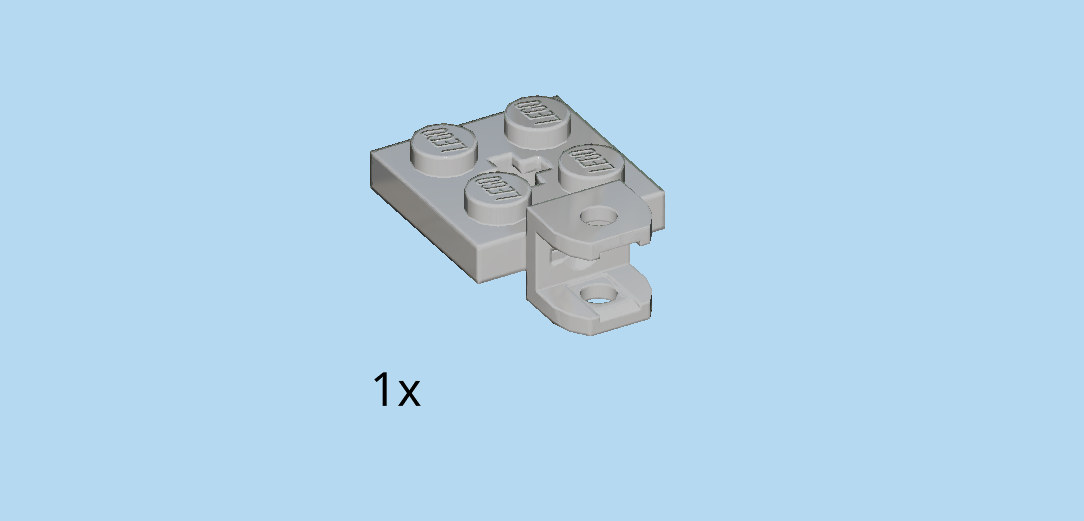
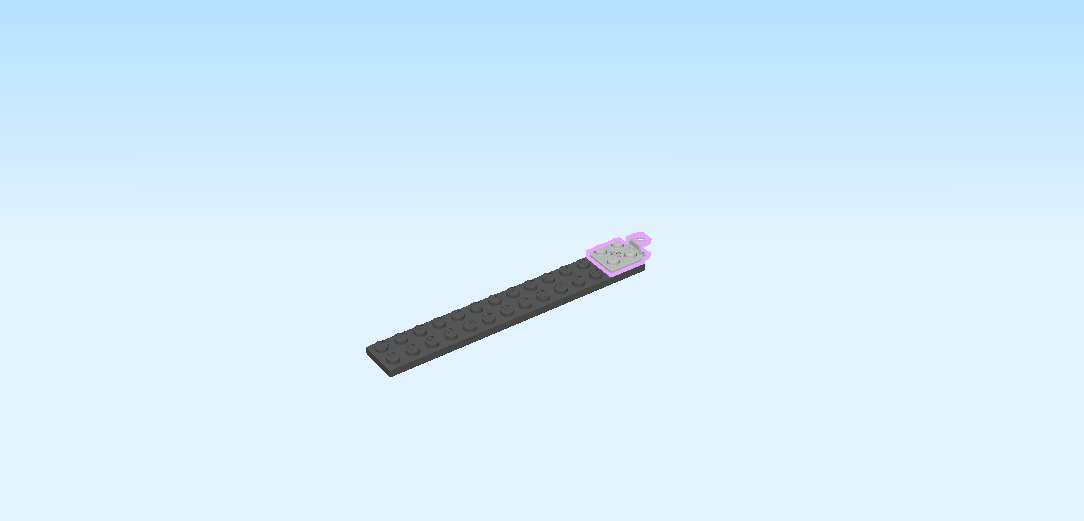
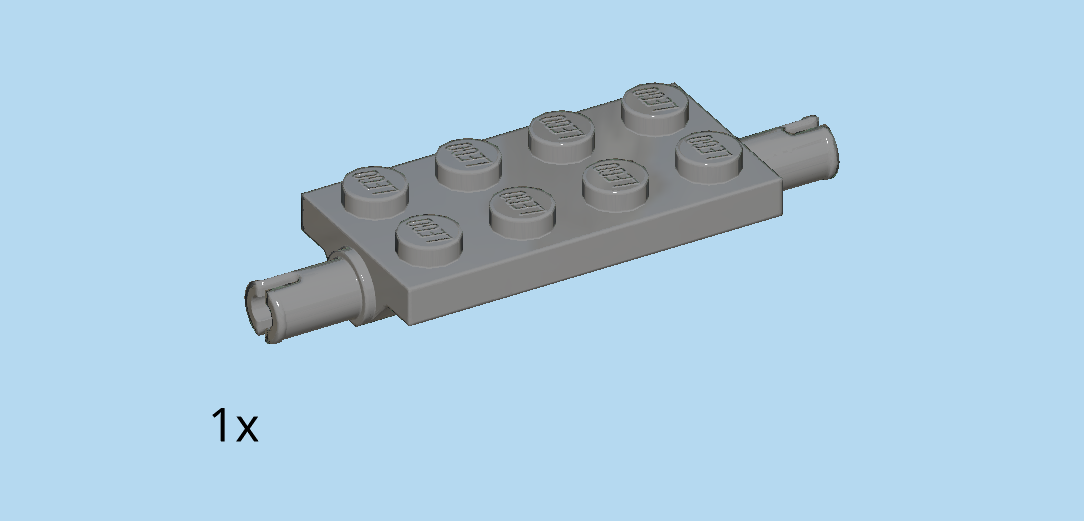
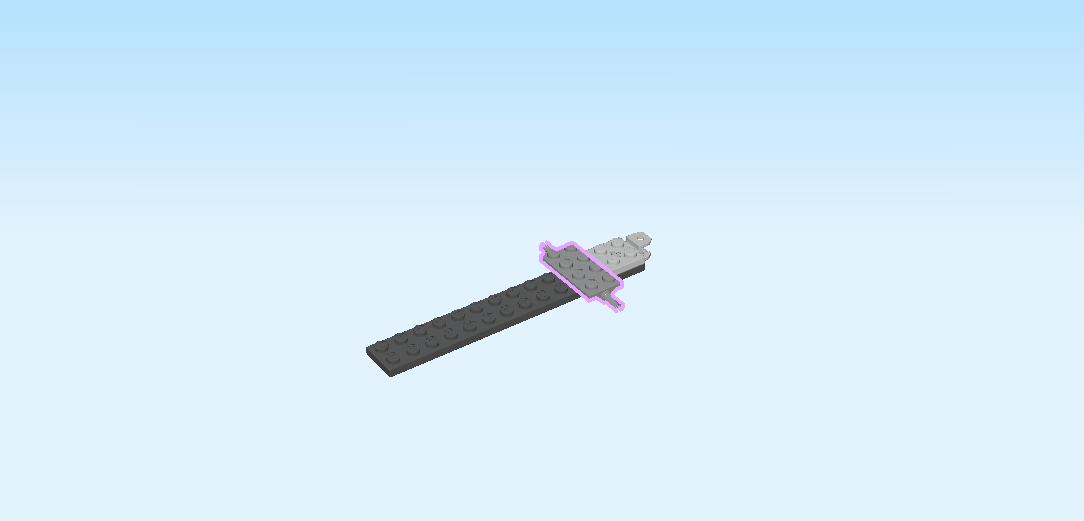
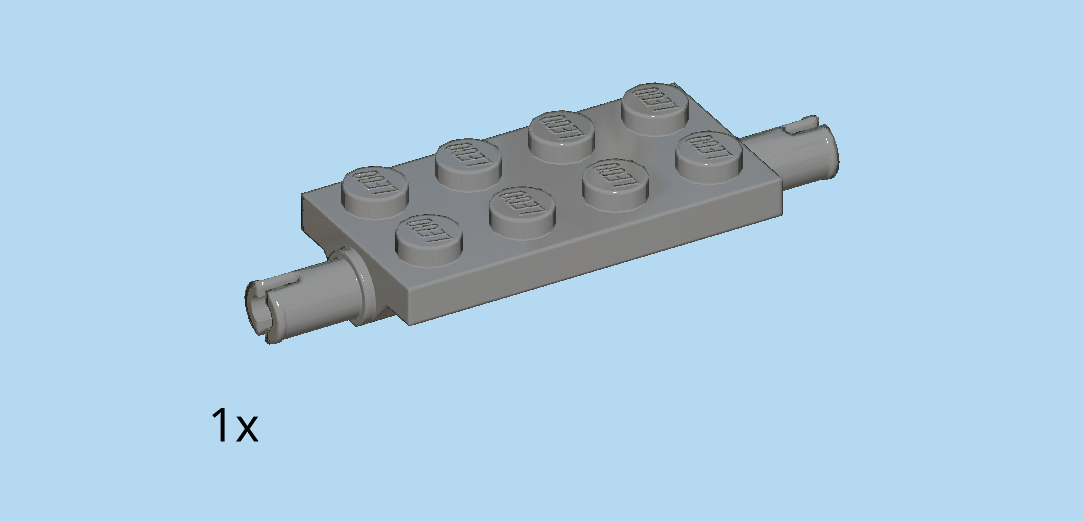
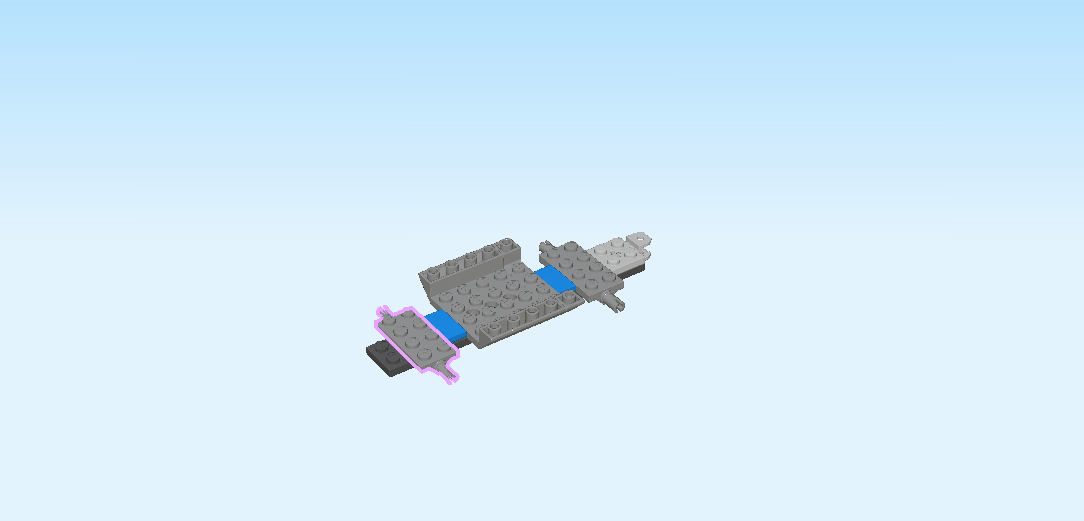
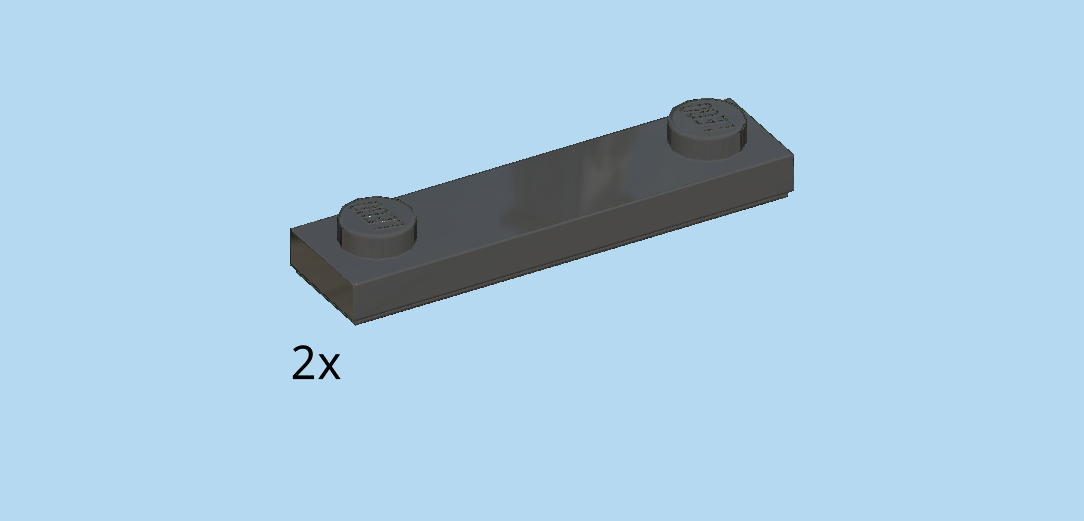
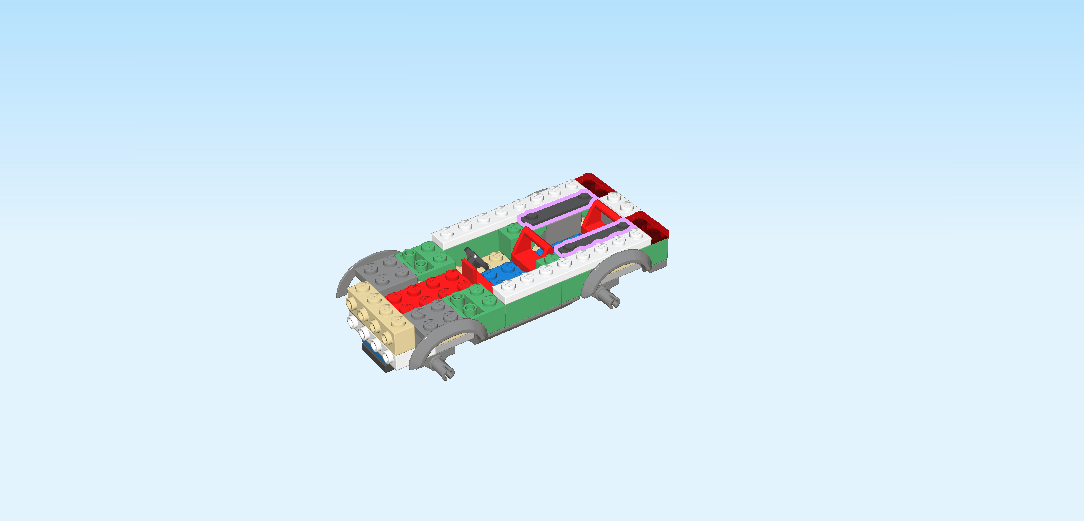
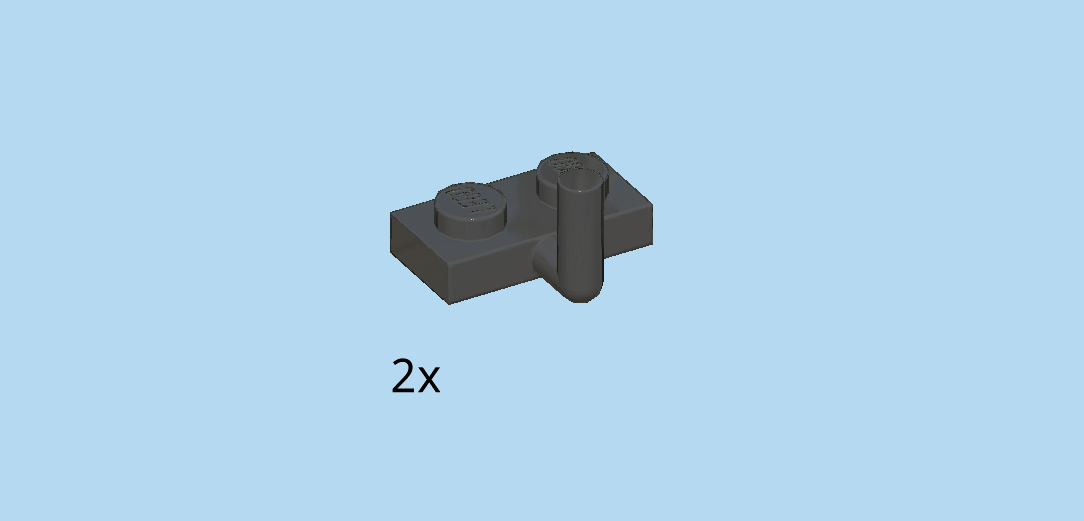
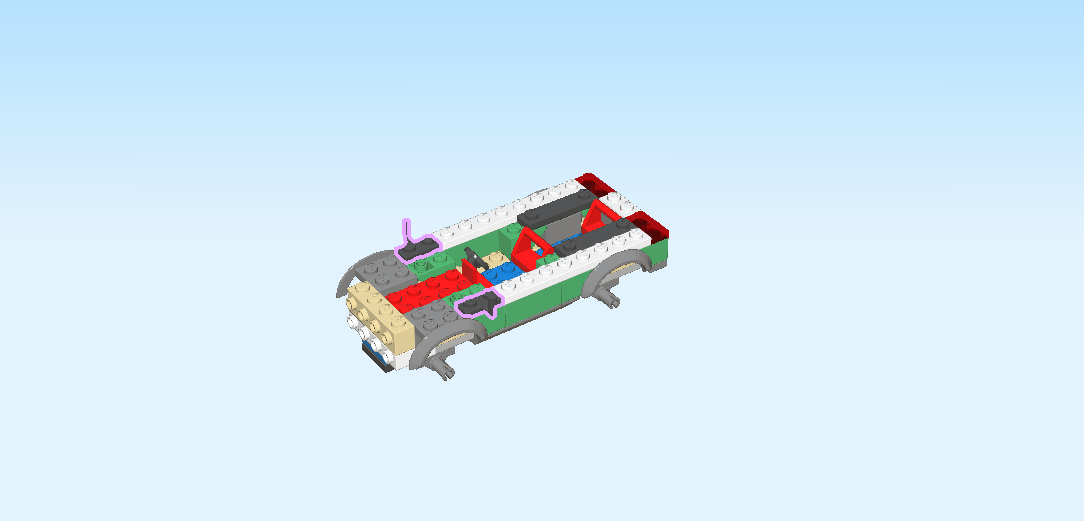
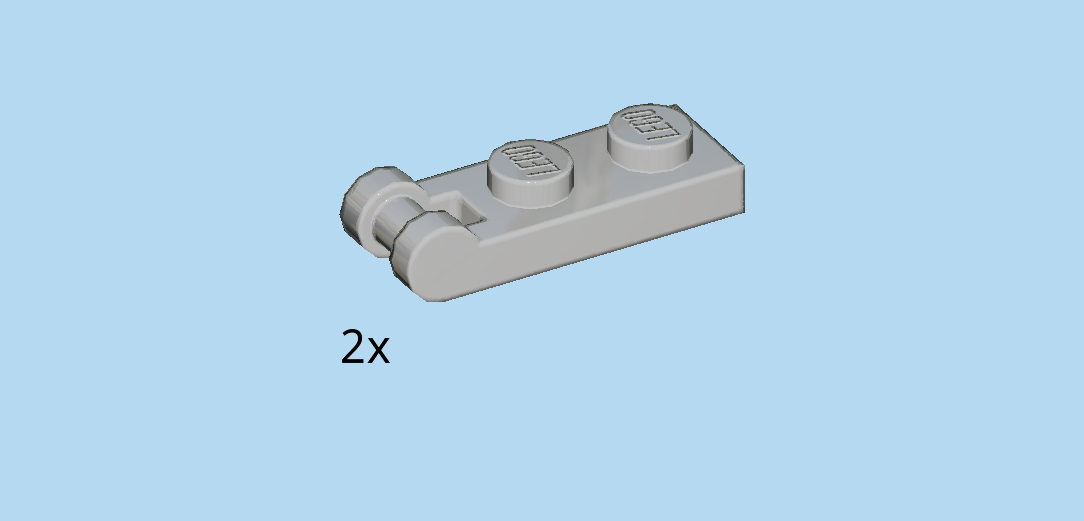
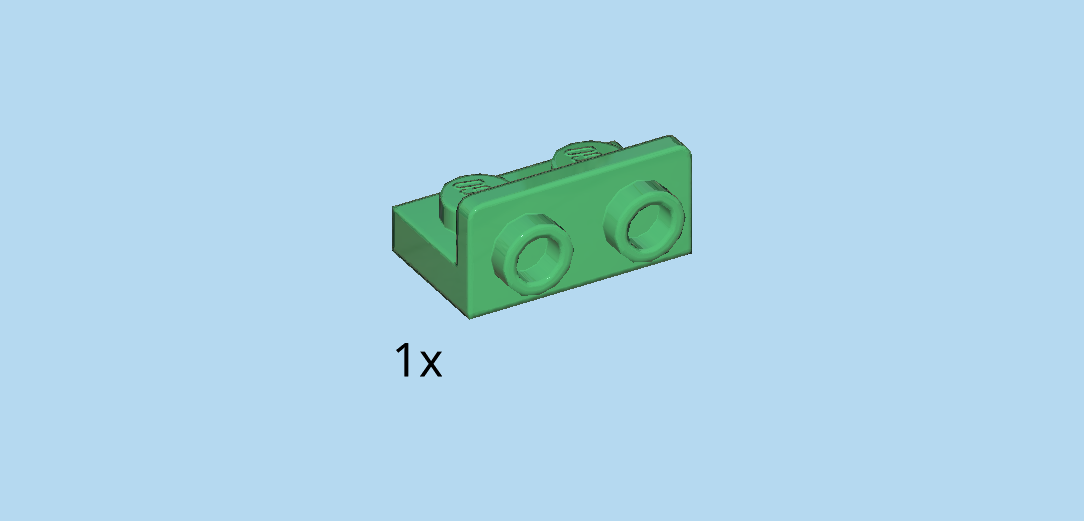
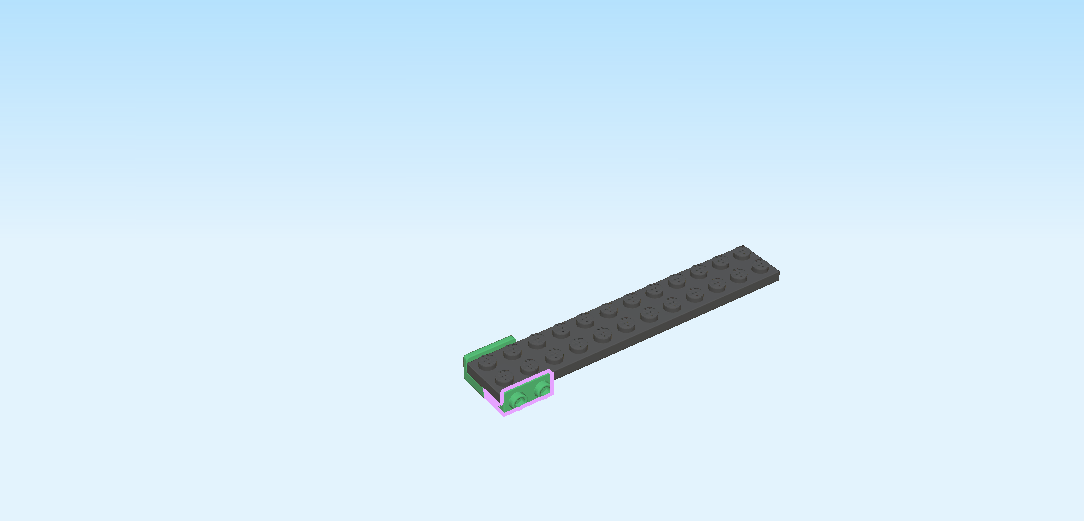
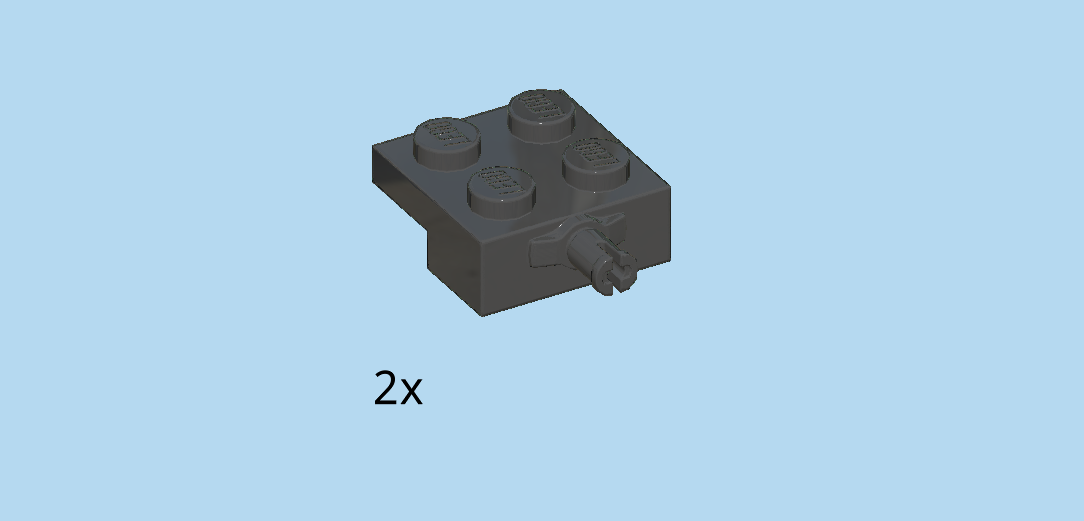
| Find 2 dark stone grey wheel bearings 2x4x1 with function block. |
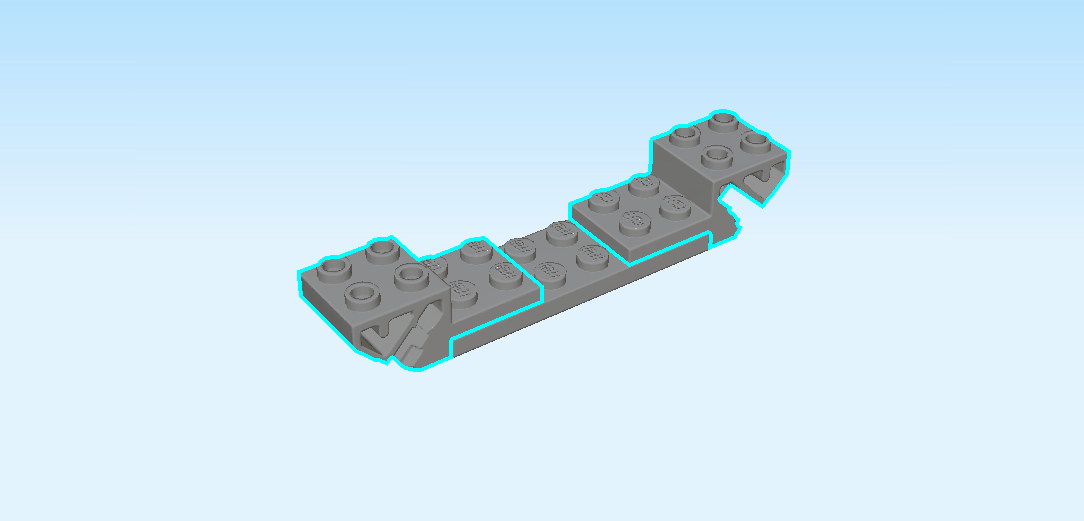
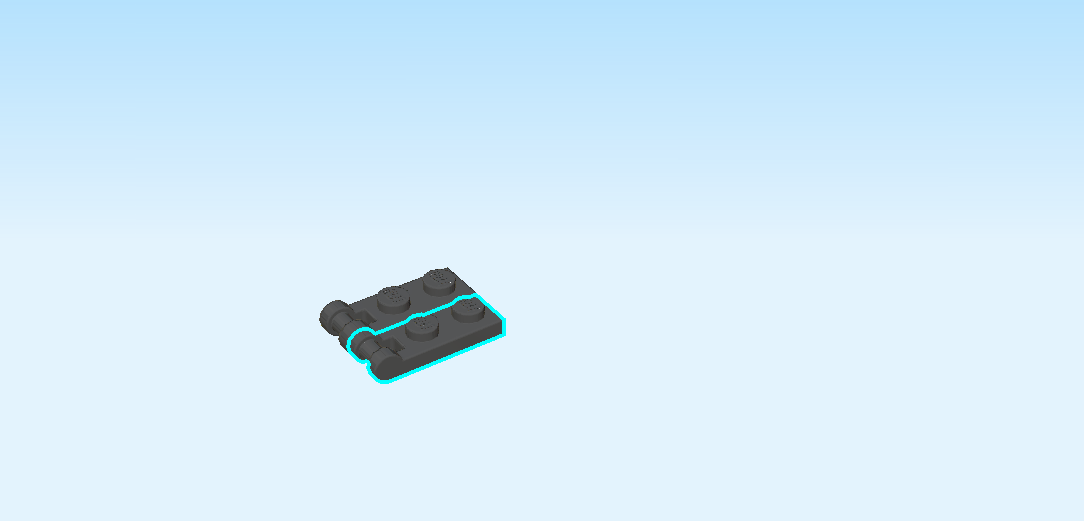
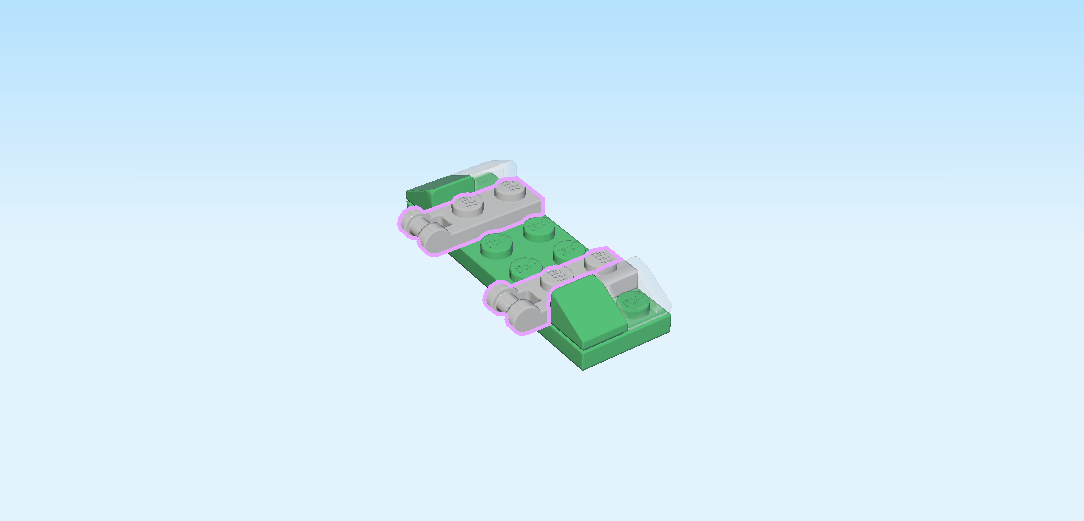
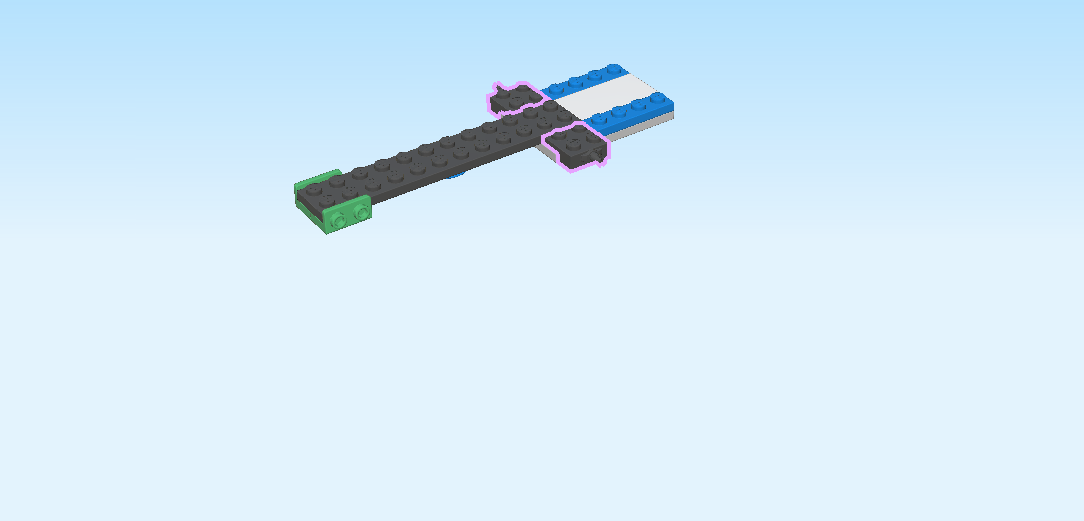
| Put 1 horizontally on the four rightmost knobs, function block overhanging to the right. |
| Repeat symmetrically on the left. |
| Examine one of the function blocks closer: it has a diagonal slit opening towards the bottom. In the middle of this slit is a round shaft. This is where the wheel axles will be snapped on in the next step. |
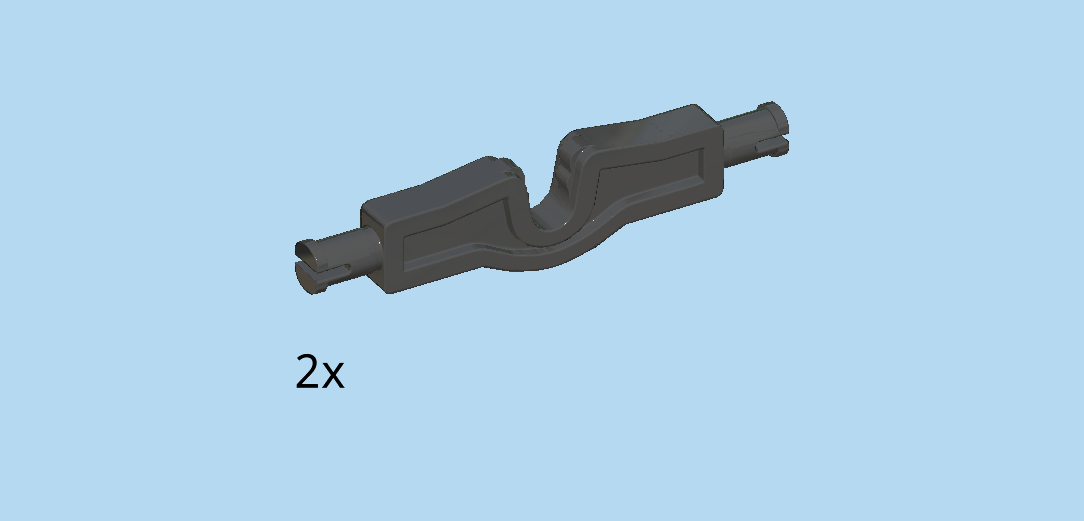
| Find 2 black wheel axles 3m with 2 connectors. |
| Identify the rounded indentation in the middle of the axle, and hold the axle vertically so that the indentation is to the top. Snap the indentation onto the shaft of the function block from the bottom right. |
| Repeat symmetrically on the left. |
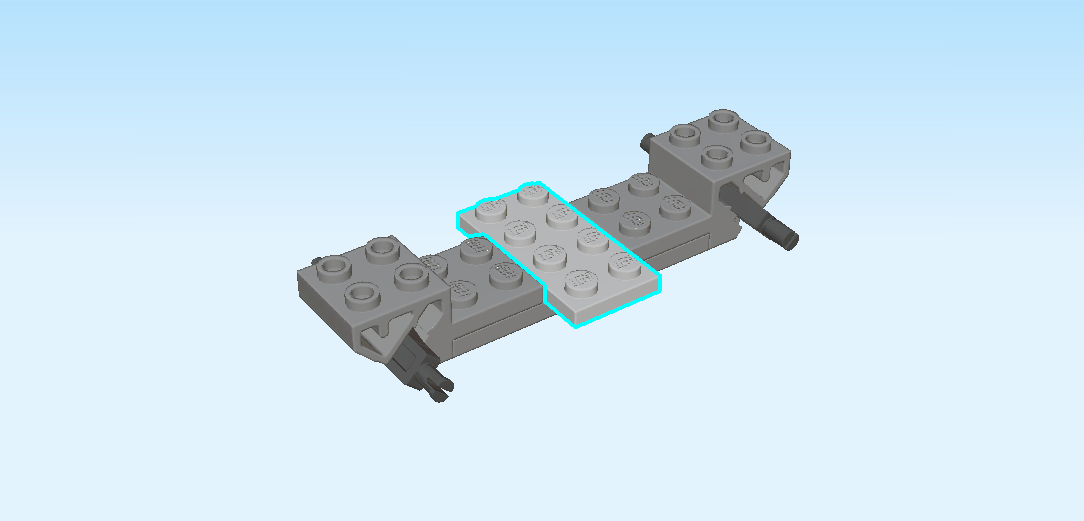
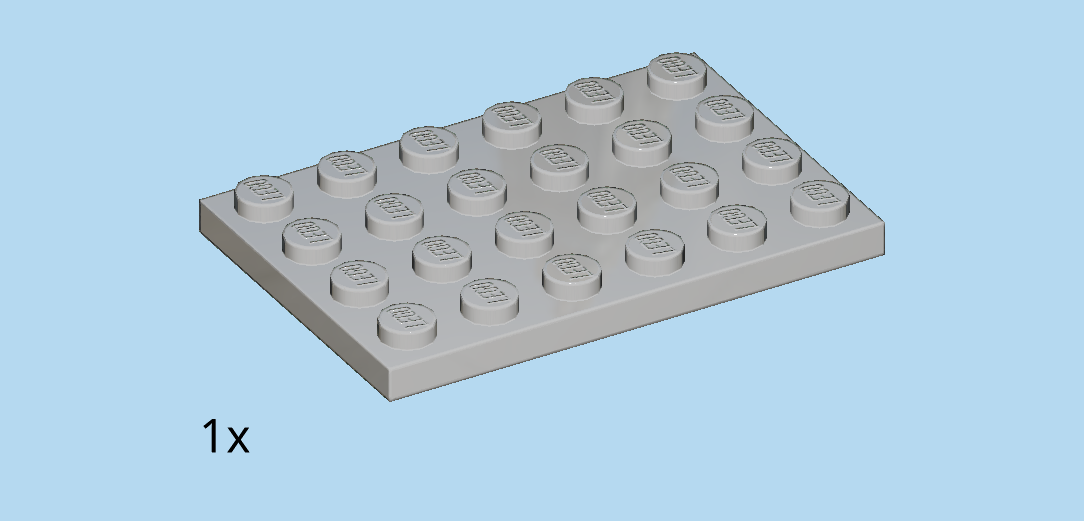
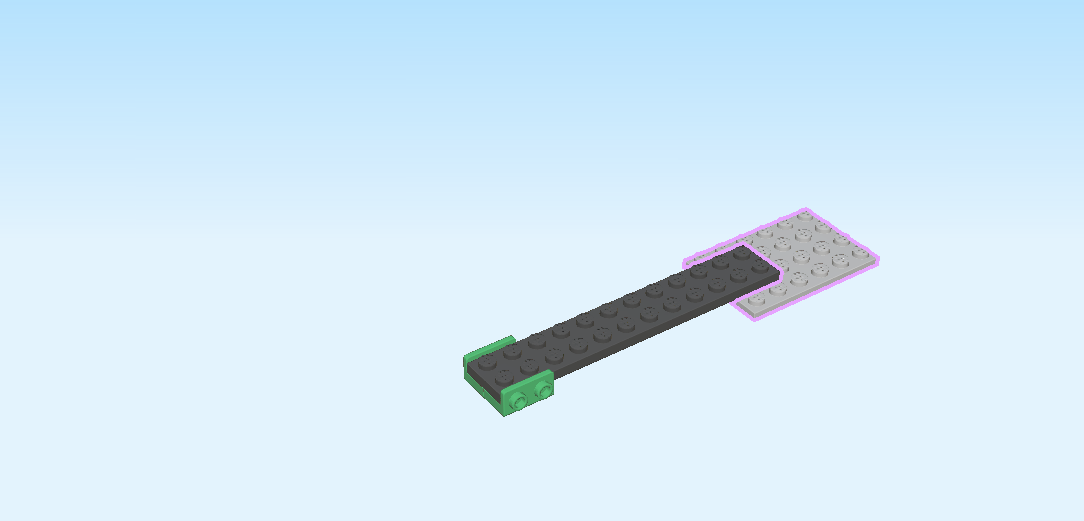
| Find 1 medium stone grey plate 2x4. |
| Put it vertically centered on the 4 middle knobs of the structure, symmetrically overhanging to the front and back. |
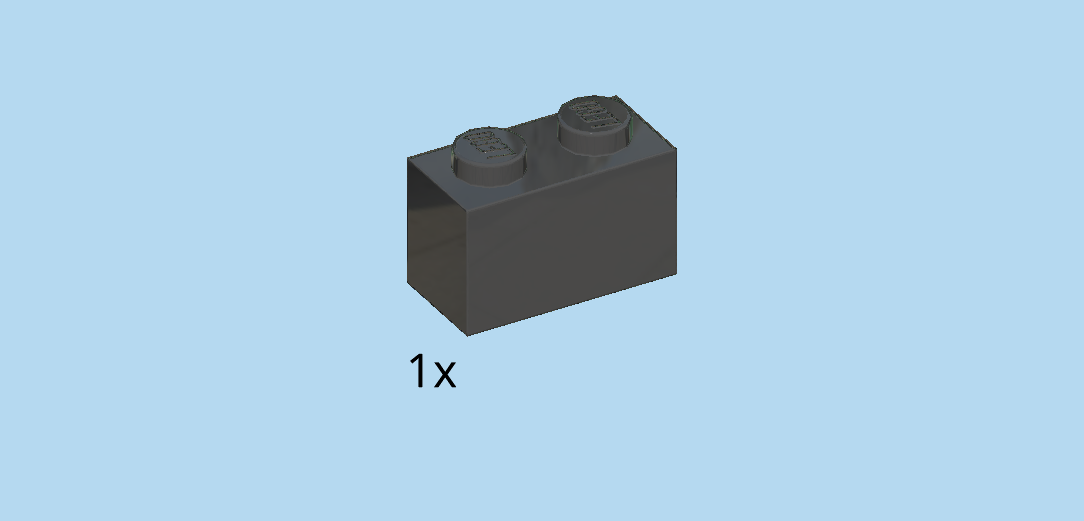
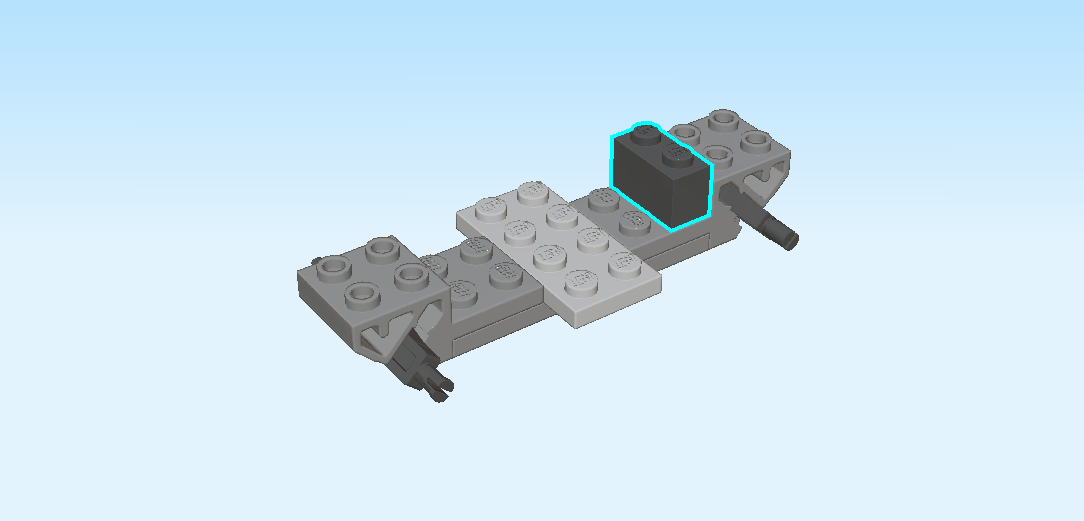
| Find 1 black brick 1x2. |
| Put it vertically on the third column from the right. |
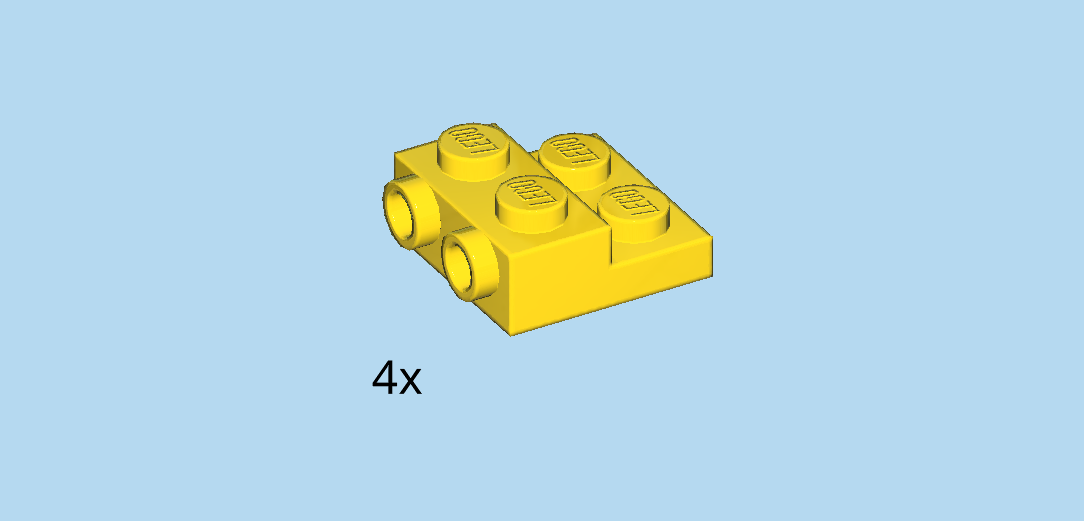
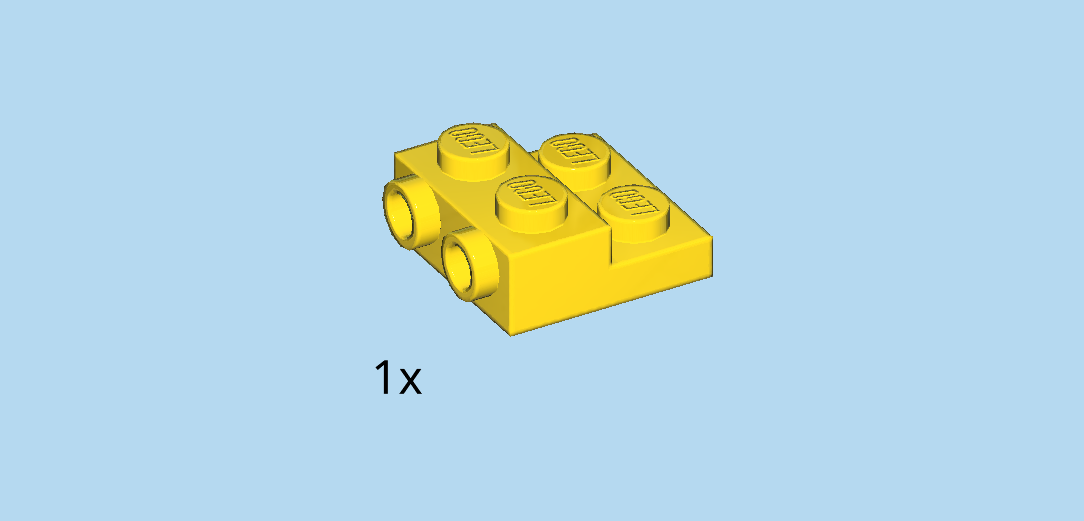
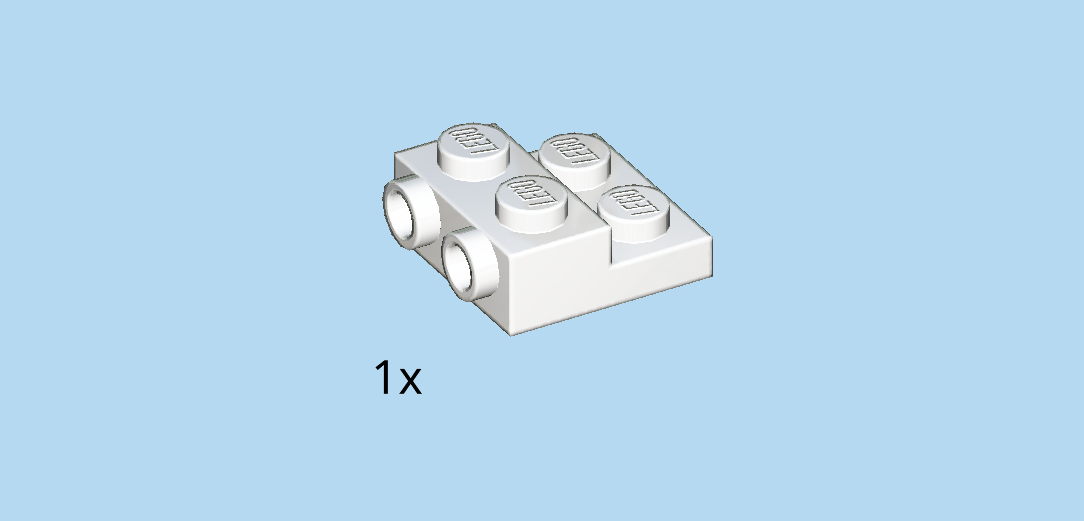
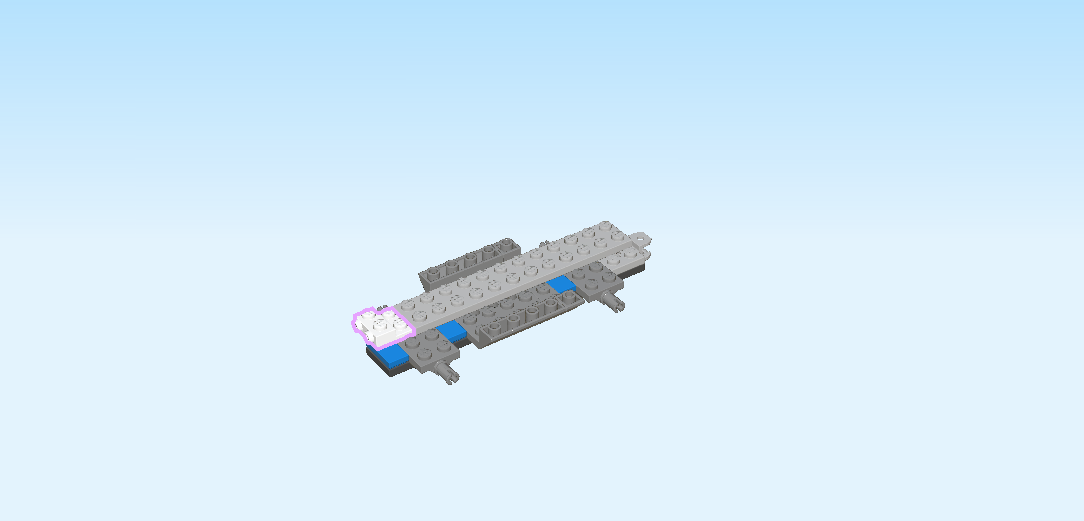
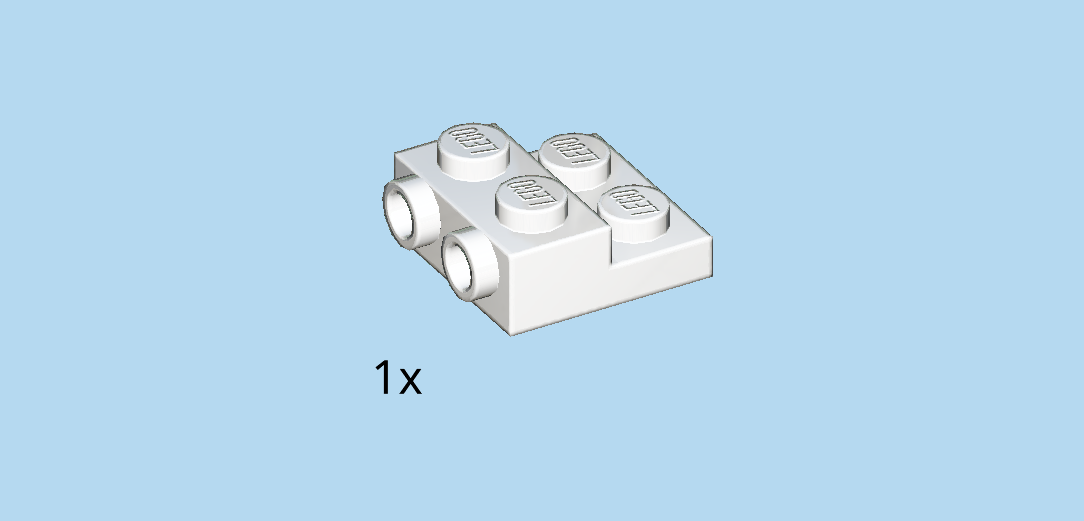
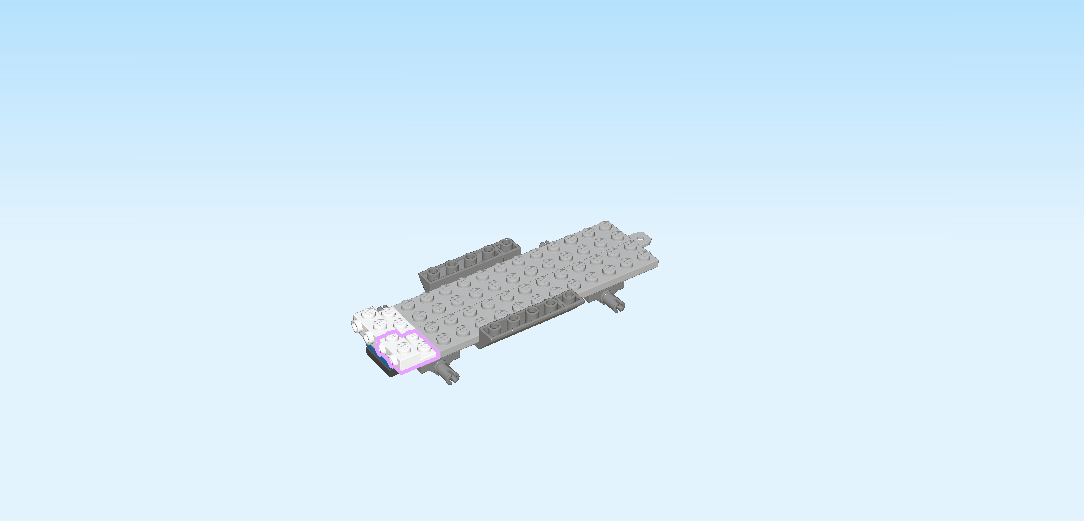
| Find 4 bright yellow one-stepped plates 2x2x⅔ with 2 side knobs. |
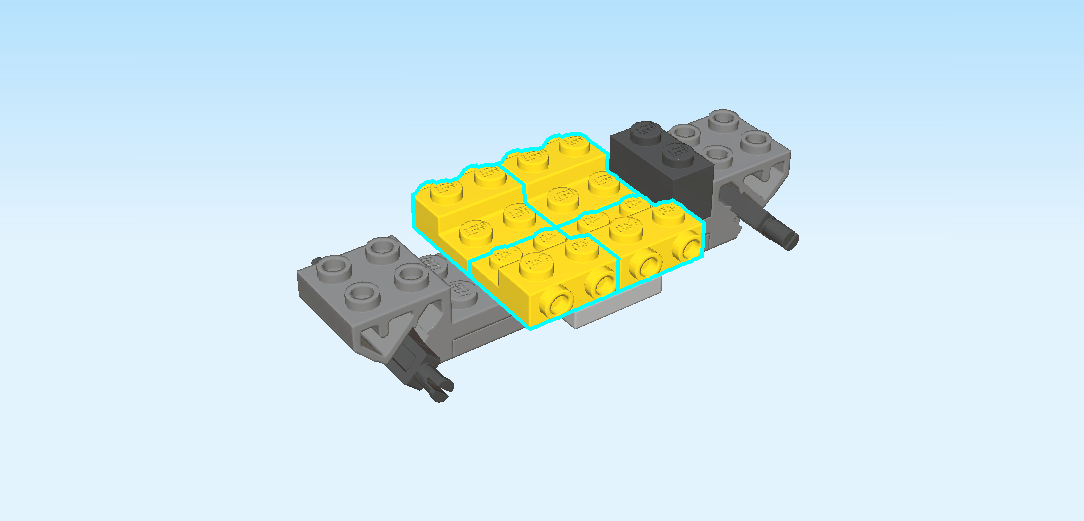
| Put 1 to the left of the previous piece on the 2 back rows, side knobs pointing to the back. The piece only connects to a total of 3 knobs. |
| Put another 1 to the left of the previous piece, side knobs to the back. |
| Repeat symmetrically at the front with the 2 remaining pieces. |
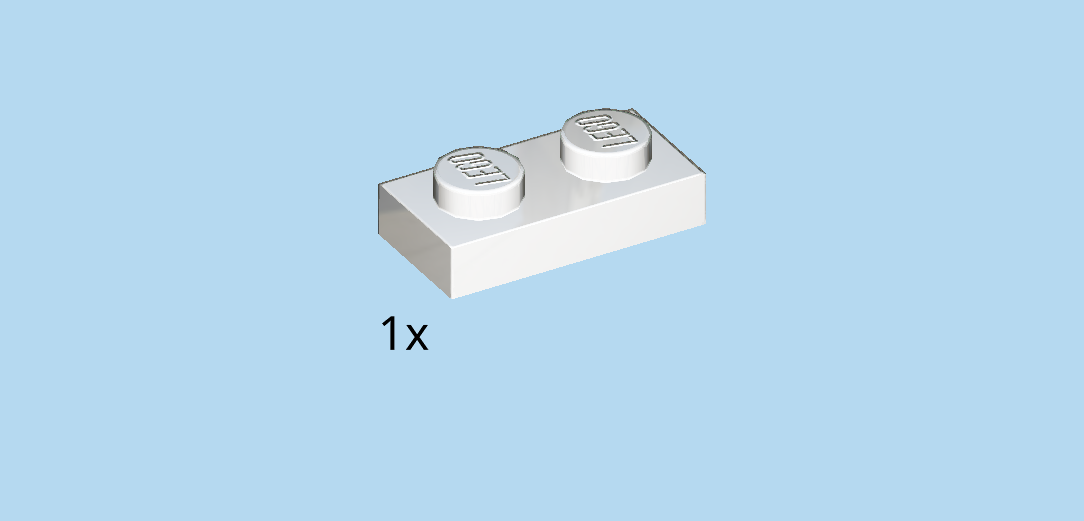
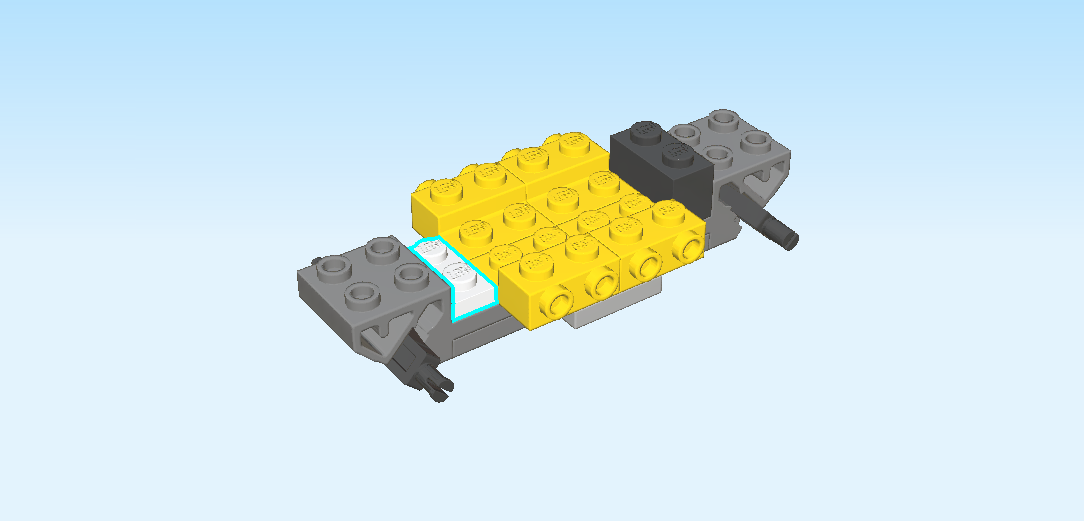
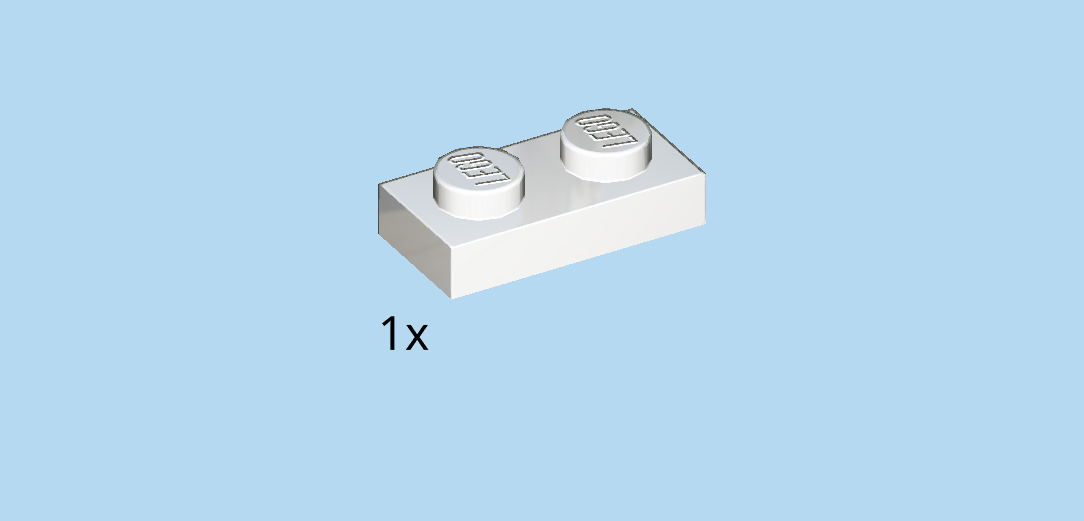
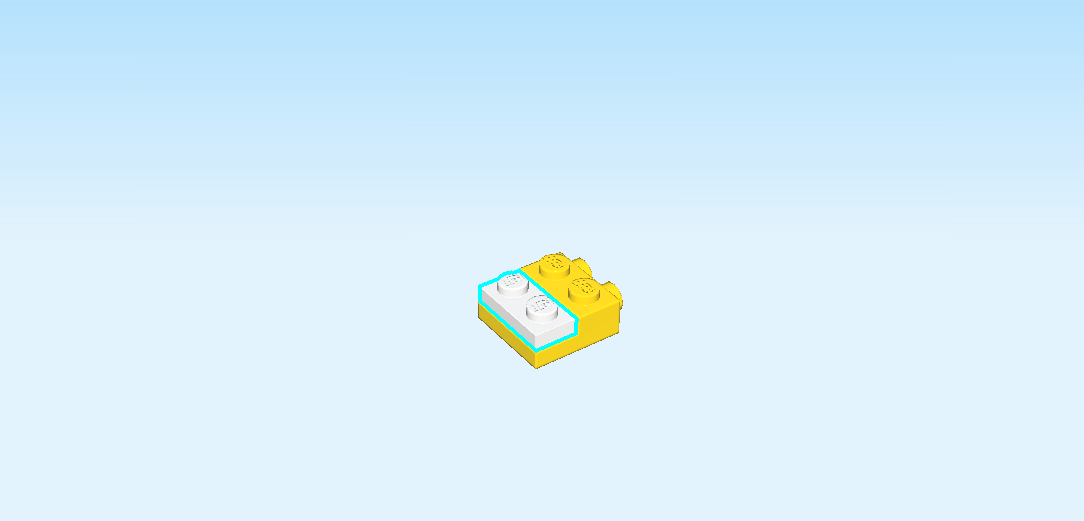
| Find 1 white plate 1x2. |
| Put it vertically to the left of the 4 previous pieces. |
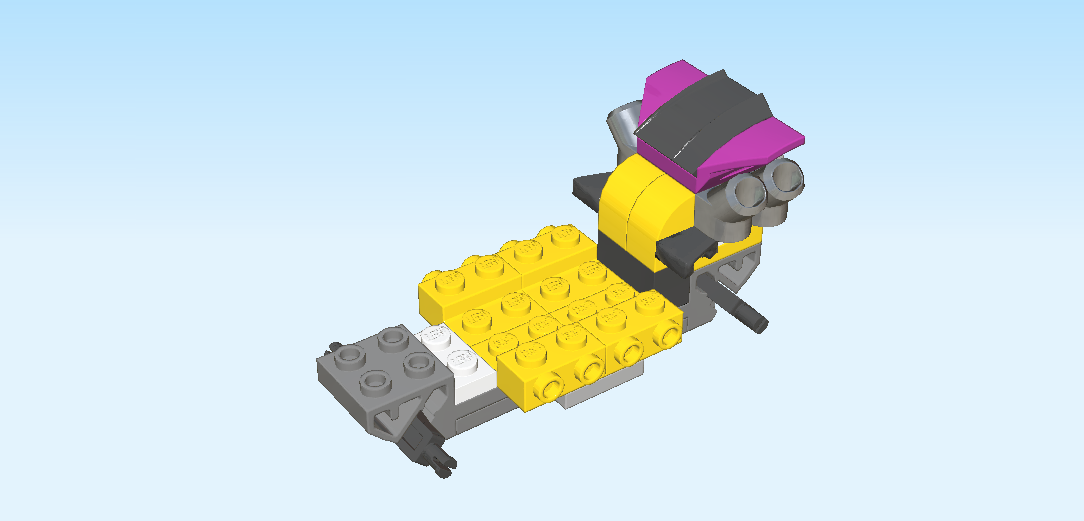
| Now, we will build the rear spoiler. |
| Find 1 bright yellow one-stepped plate 2x2x⅔ with 2 side knobs. |
| Put it on the table, side knobs pointing to the right. |
| Find 1 white plate 1x2. |
| Put it vertically on the left column. |
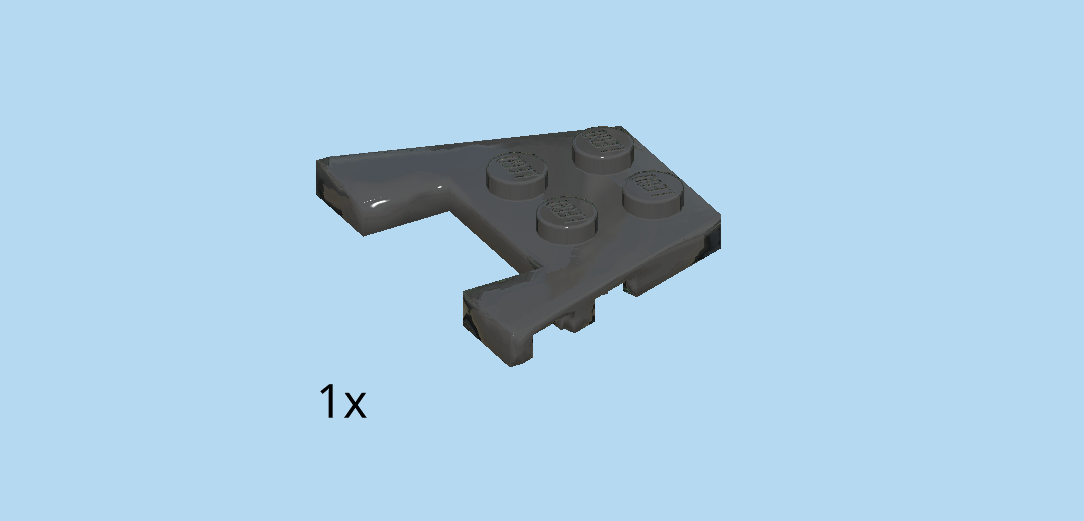
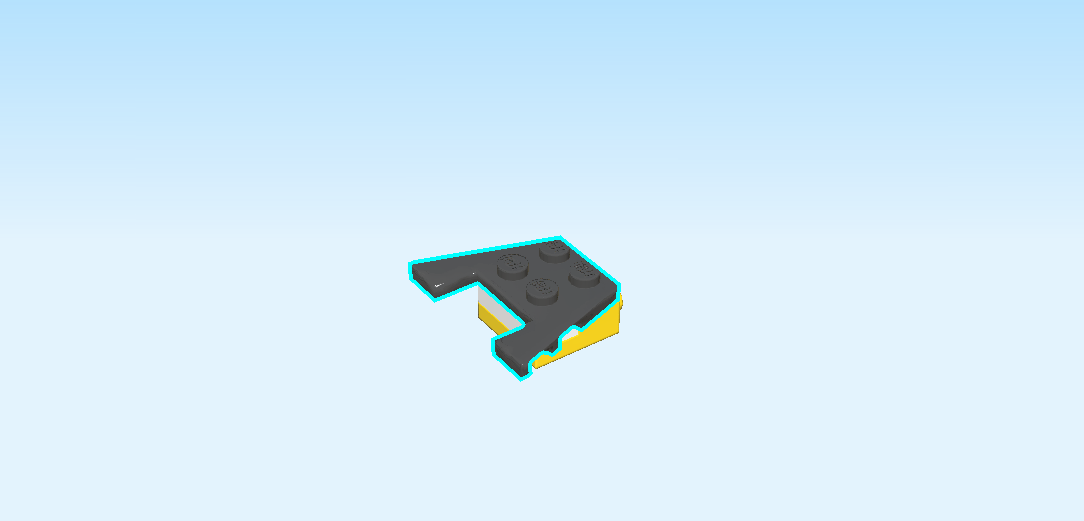
| Find 1 black trapeze plate 3x4 with cut-out. |
| Put it vertically on top, cut-out and wings overhanging to the left. |
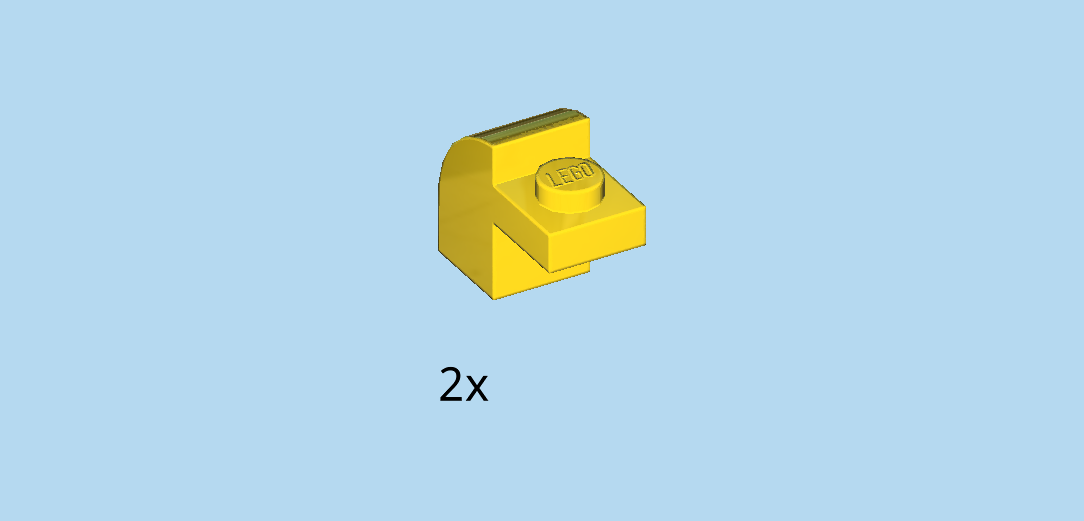
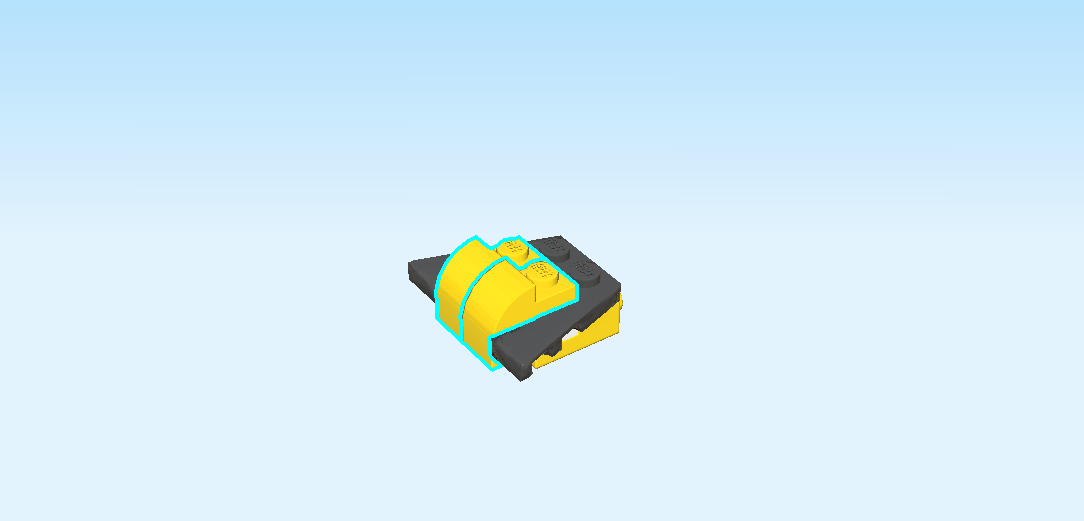
| Find 2 bright yellow arched bricks 1x1 with protruding plate. |
| Put 1 horizontally into the cut-out on the back row, protruding plate to the right, while only the protruding plate connects to a knob. |
| Put the other 1 in front of the previous piece in the same orientation. |
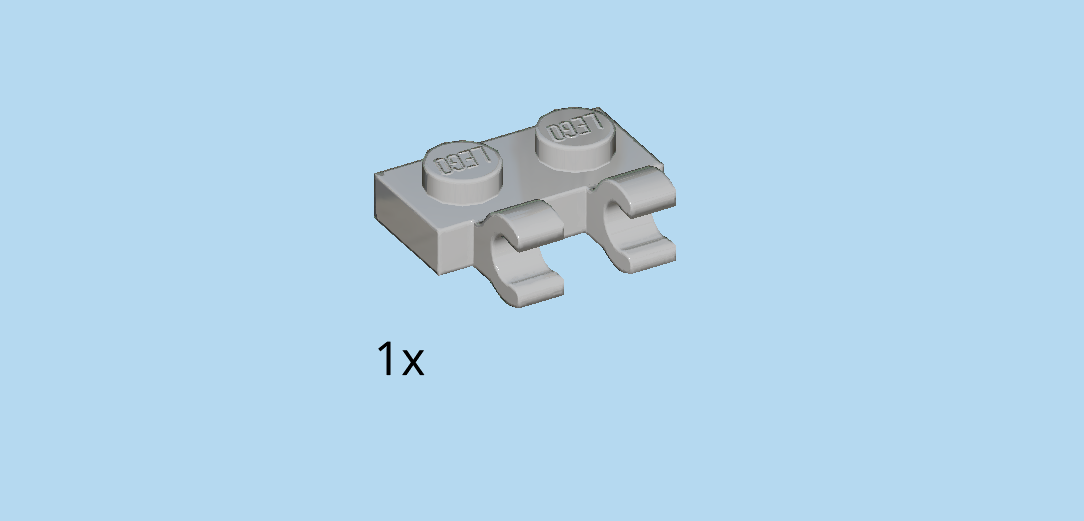
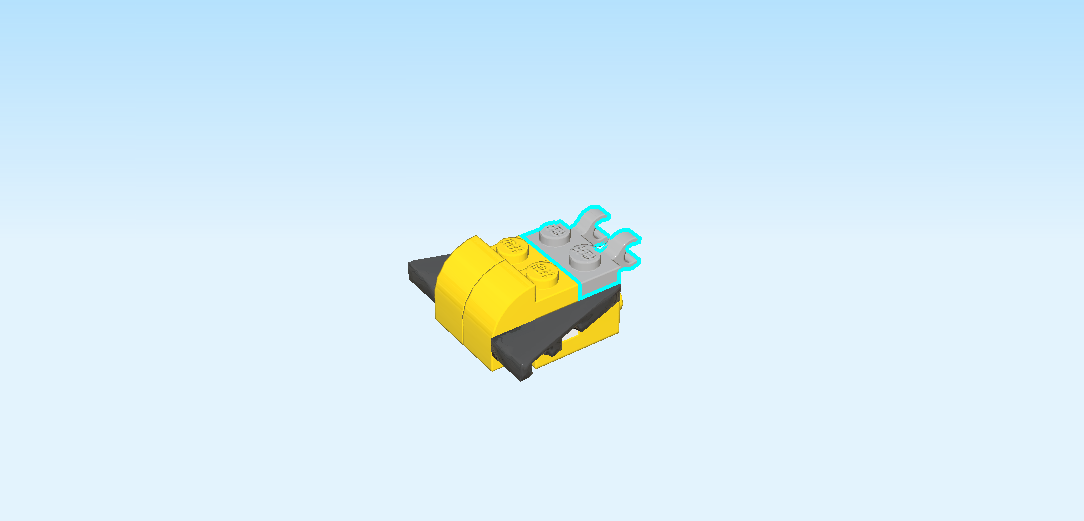
| Find 1 medium stone grey plate 1x2 with 2 vertical clasps on long side. |
| Put it vertically on the right column, clasps to the right. |
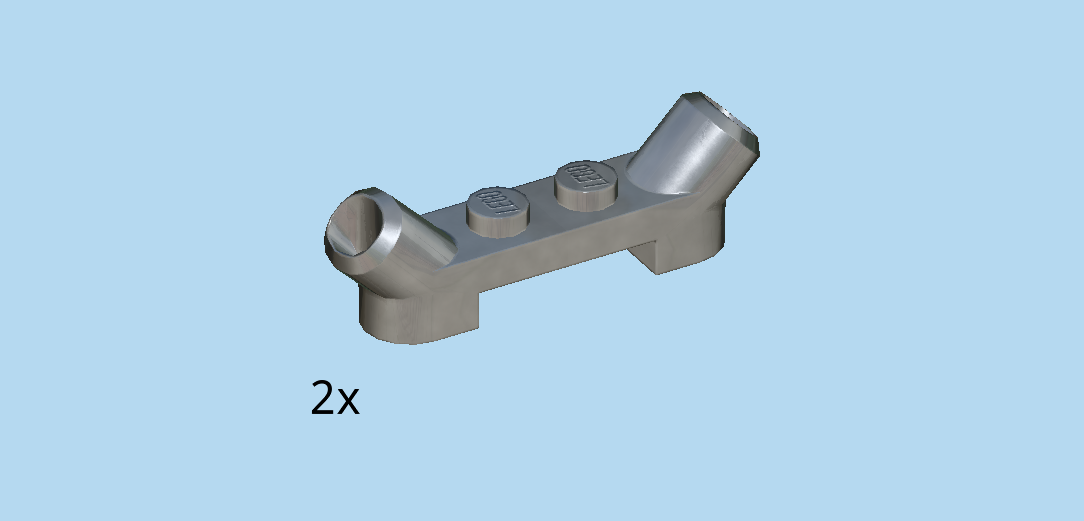
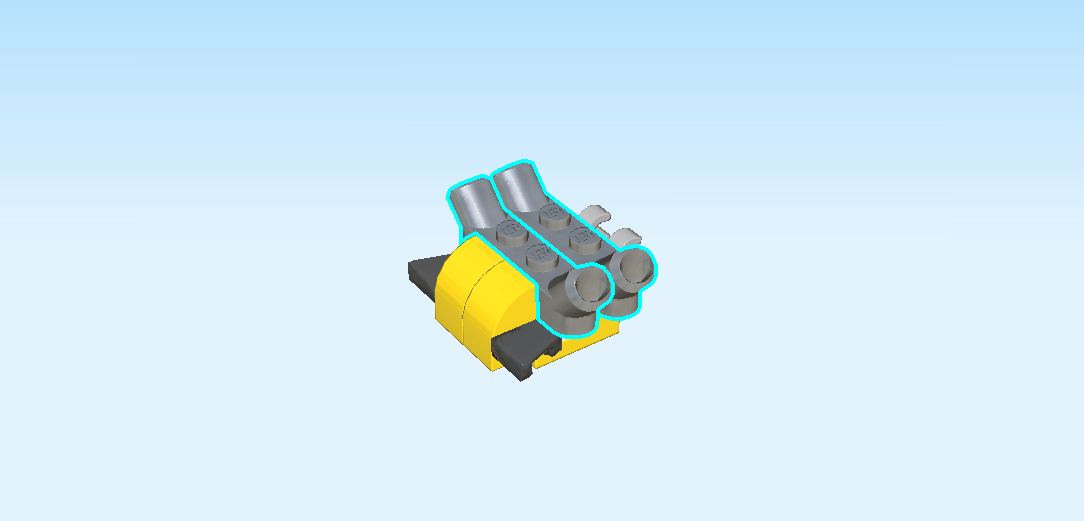
| Find 2 silver metallic plates 1x4x⅔ with 2 diagonal top tubes. |
| Put 1 vertically centered on the left column, top tubes to the front and back. |
| Put the other one vertically centered to the right. |
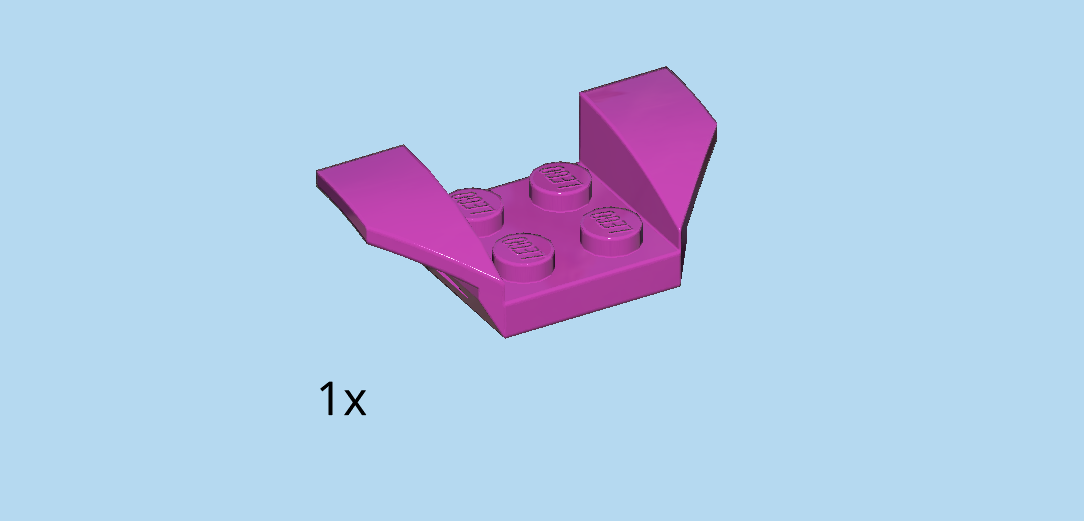
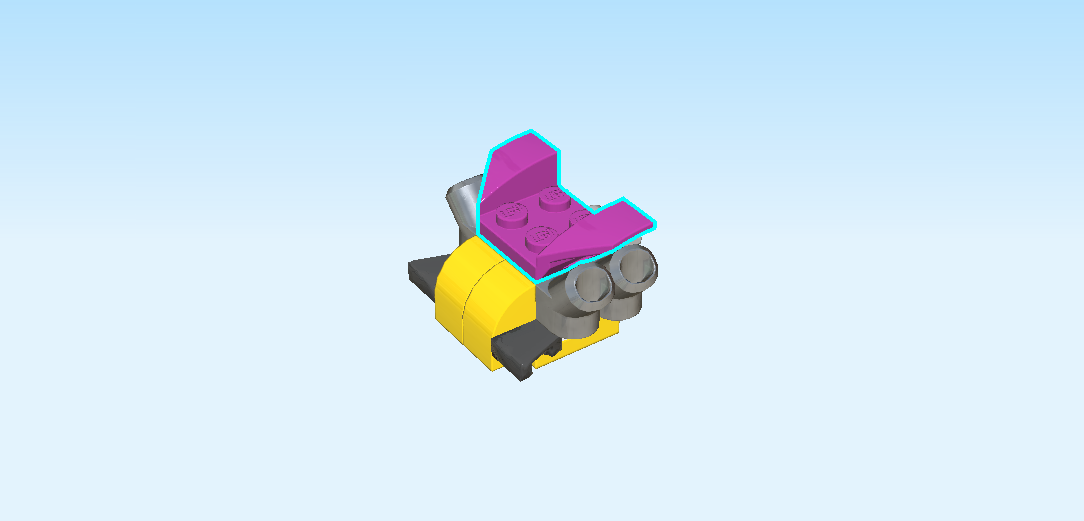
| Find 1 purple violet plate 2x4 with 2 wedged curve tiles. |
| Put it vertically on top of the 2 previous pieces, narrow end to the left, wheel arches to the front and back. |
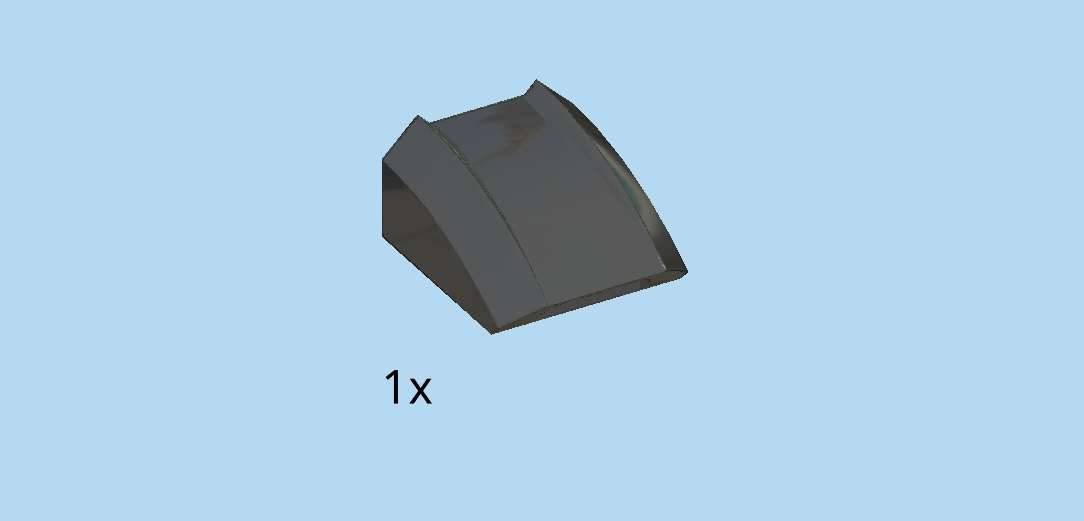
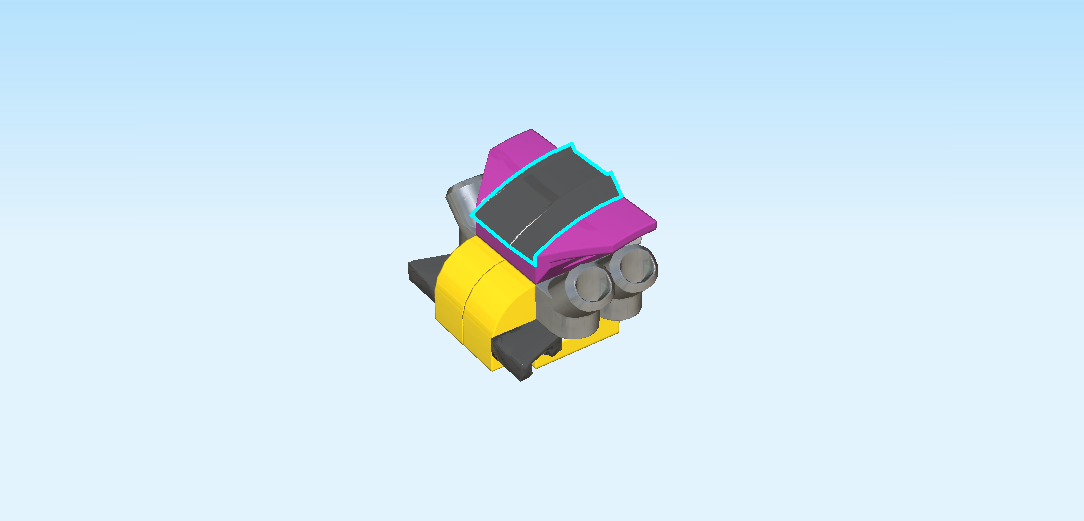
| Find 1 black curved sport front 2x2. |
| Put it on top of the previous piece, curve to the left. |
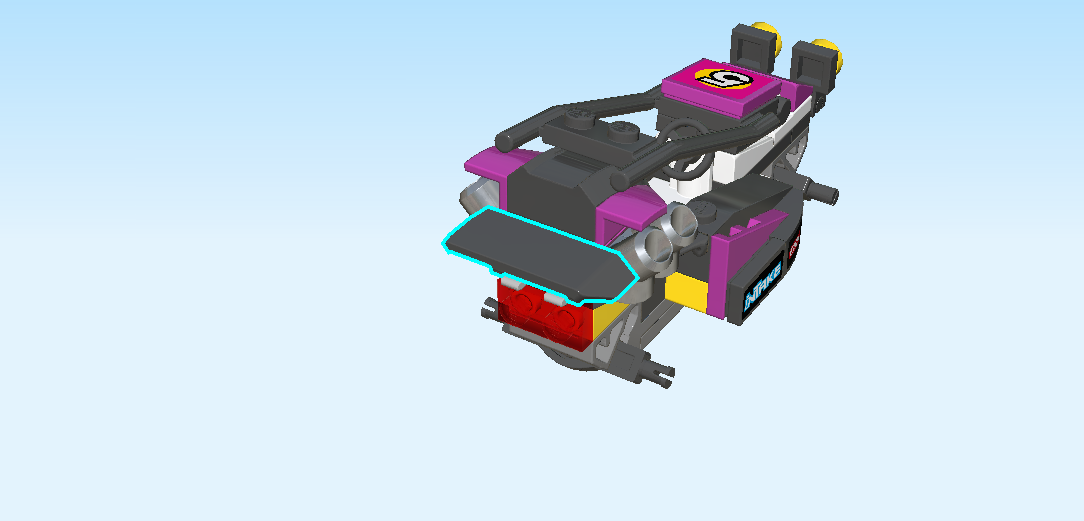
| The rear spoiler is finished! Great job! Put it horizontally on the 6 rightmost knobs, curves to the left. |
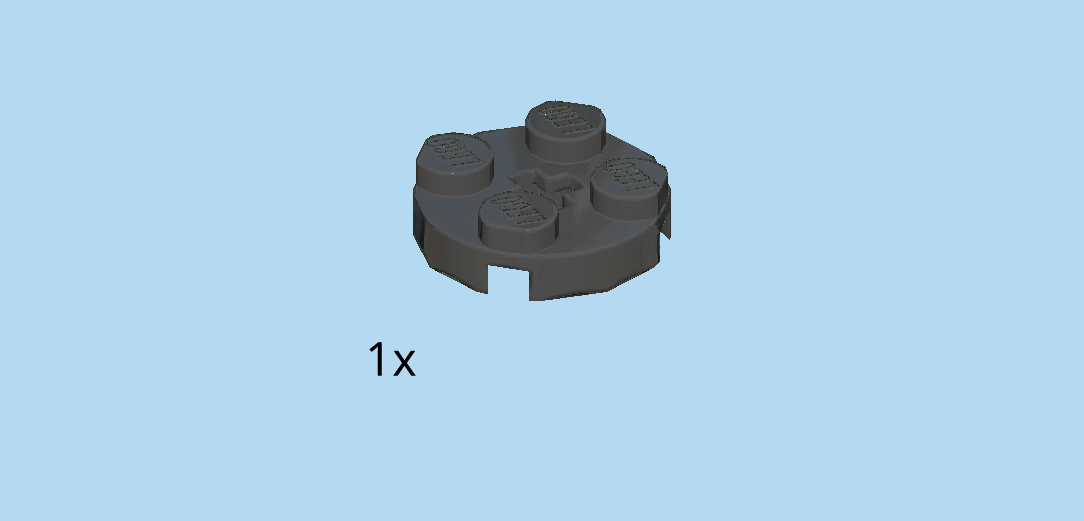
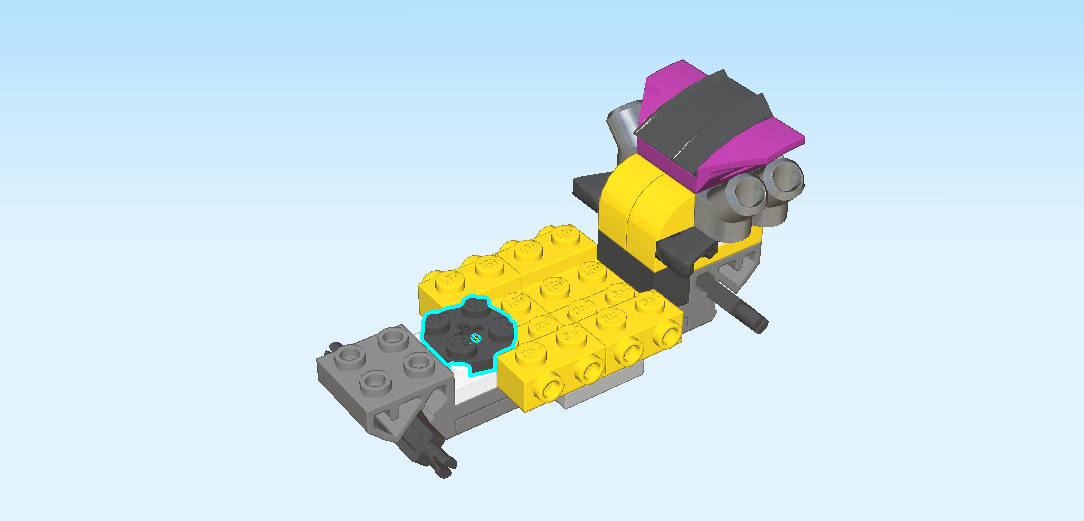
| Find 1 black round plate 2x2. |
| Put it centered on the third and fourth column from the left. |
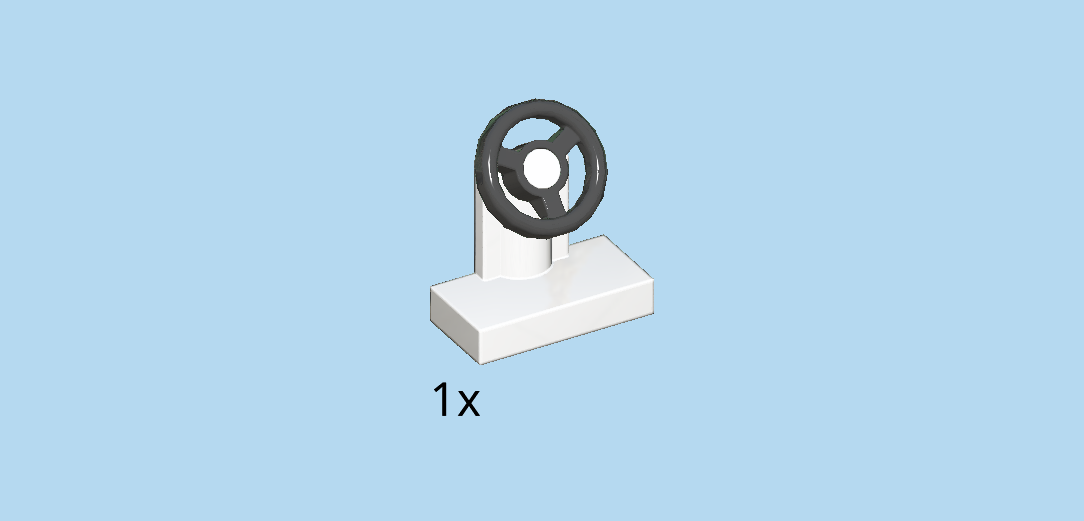
| Find 1 black and white small steering wheel with plate 1x2. |
| Put it vertically to the right of the previous piece, steering wheel to the right. |
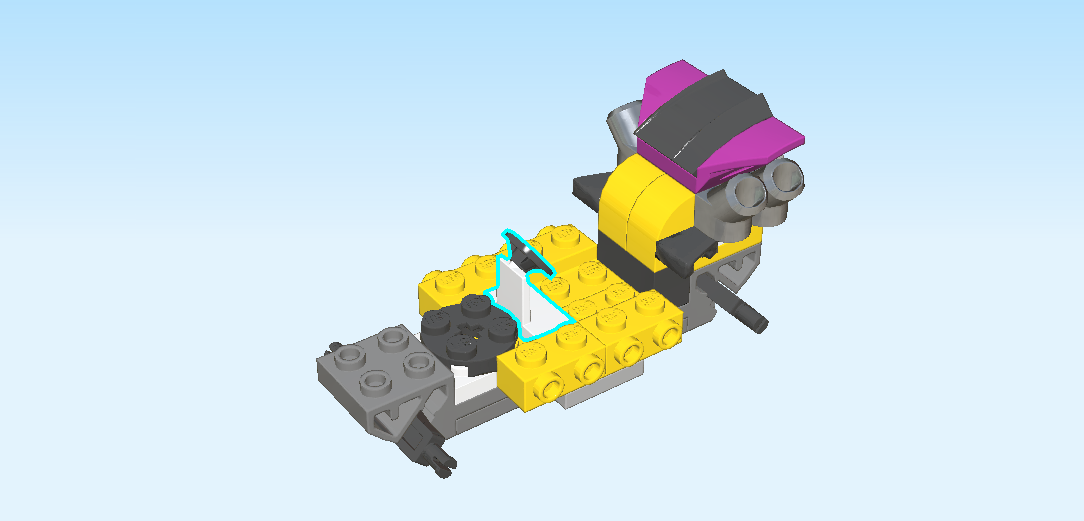
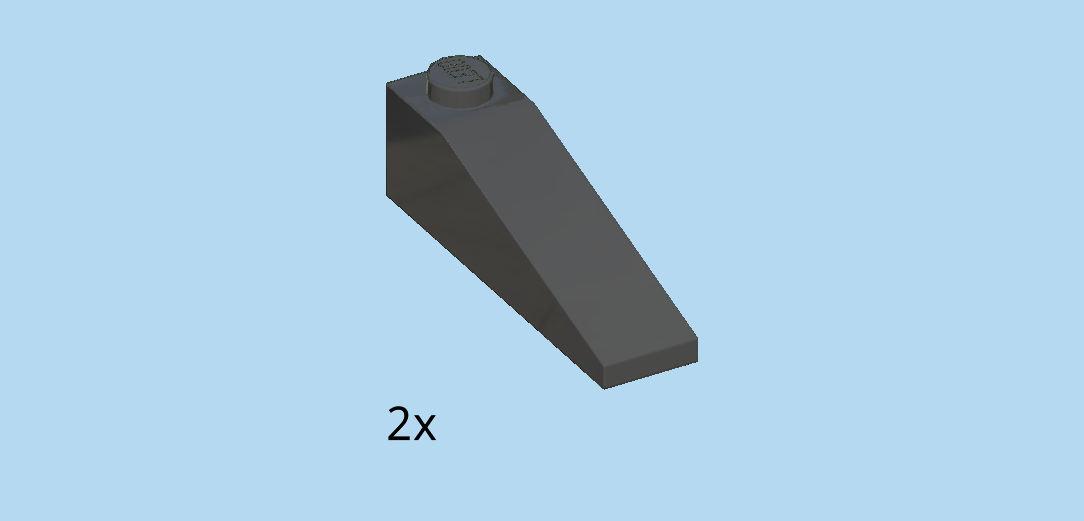
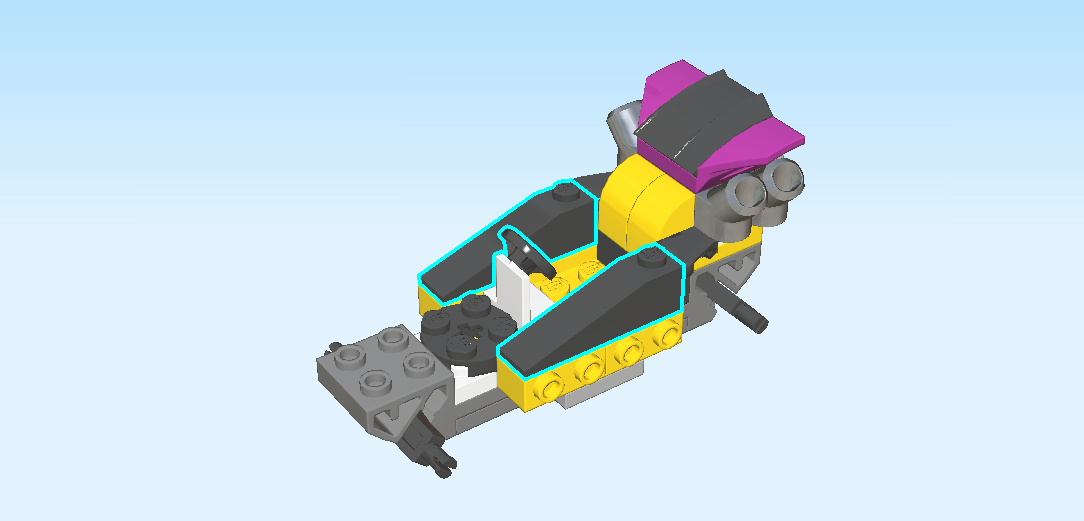
| Find 2 black roof tiles 1x4x1, 18°. |
| Put 1 horizontally on the backmost row, slope to the left. |
| Repeat symmetrically at the front. |
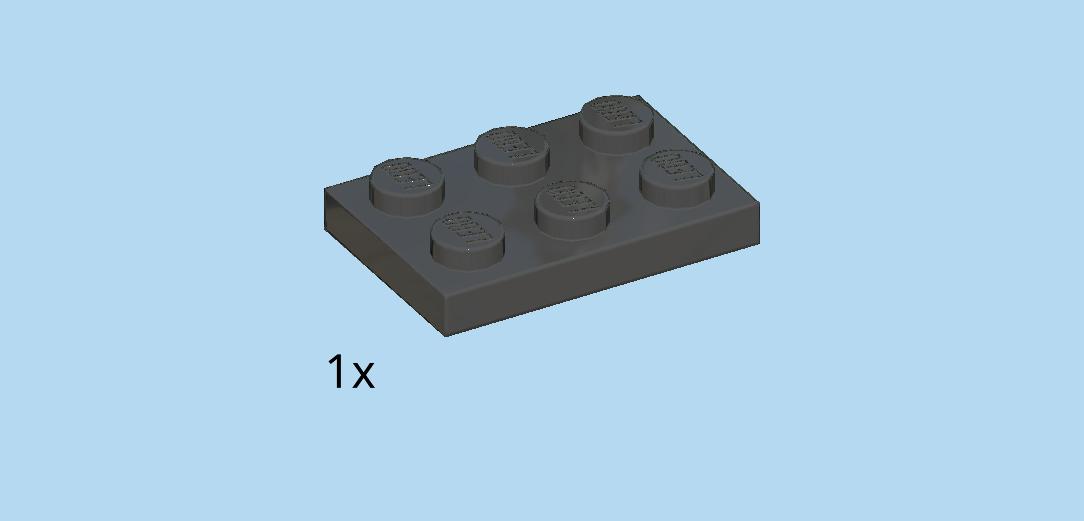
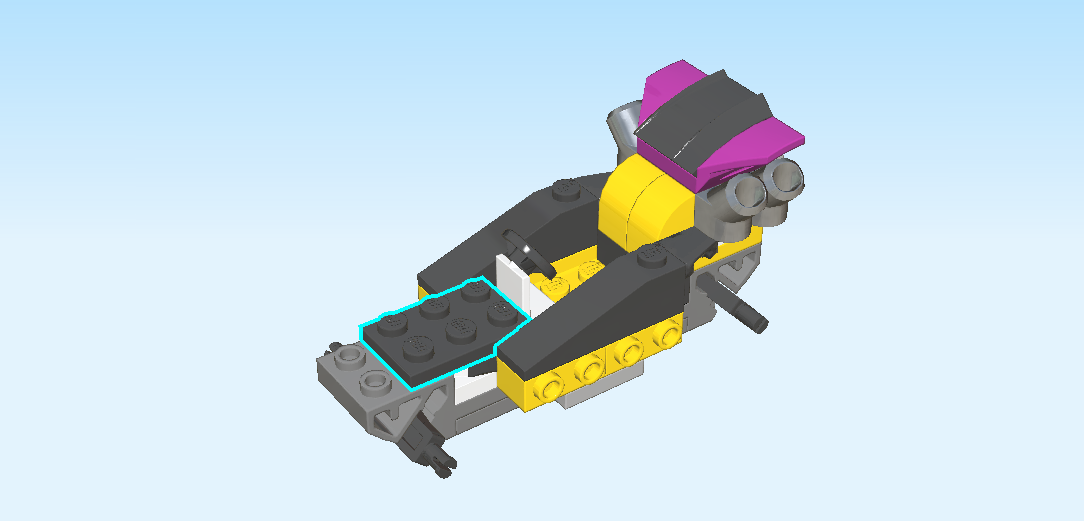
| Find 1 black plate 2x3. |
| Skip the leftmost column, and mount it horizontally. |
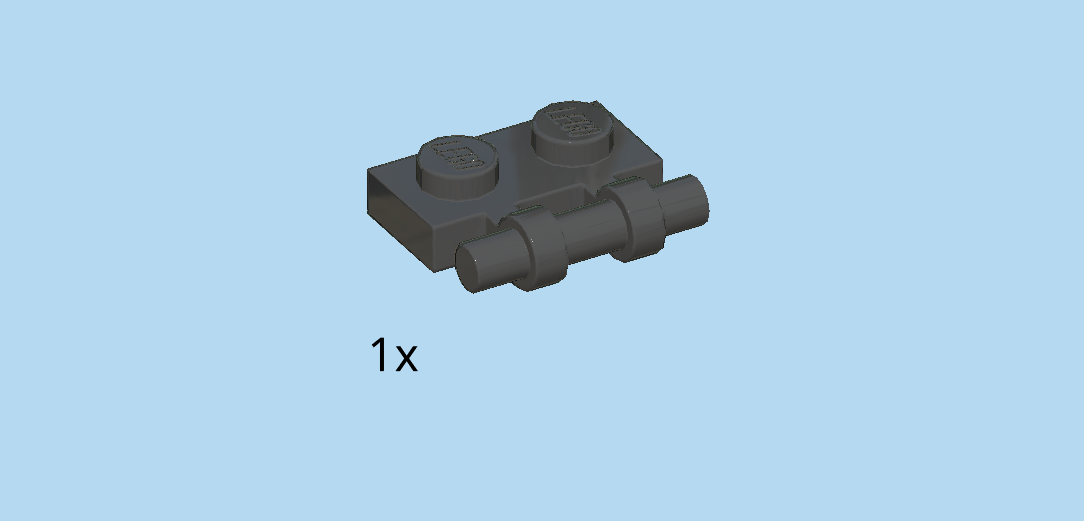
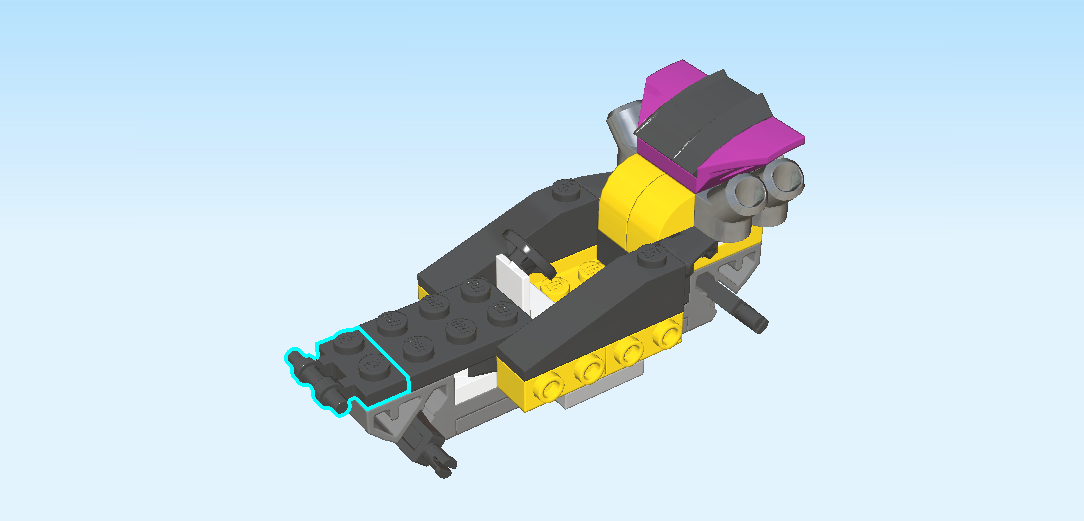
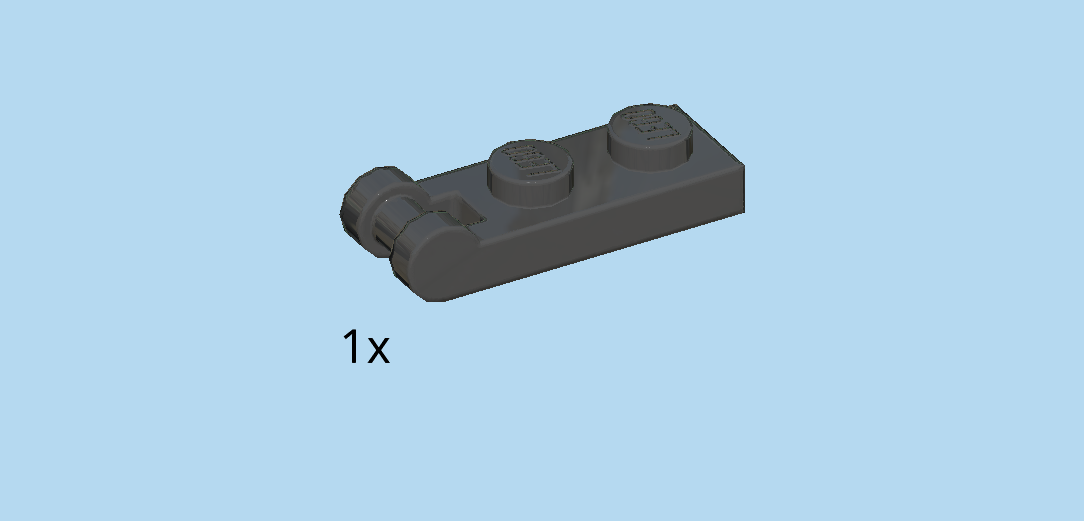
| Find 1 black plate 1x2 with shaft on long side. |
| Put it vertically on the leftmost column, shaft to the left. |
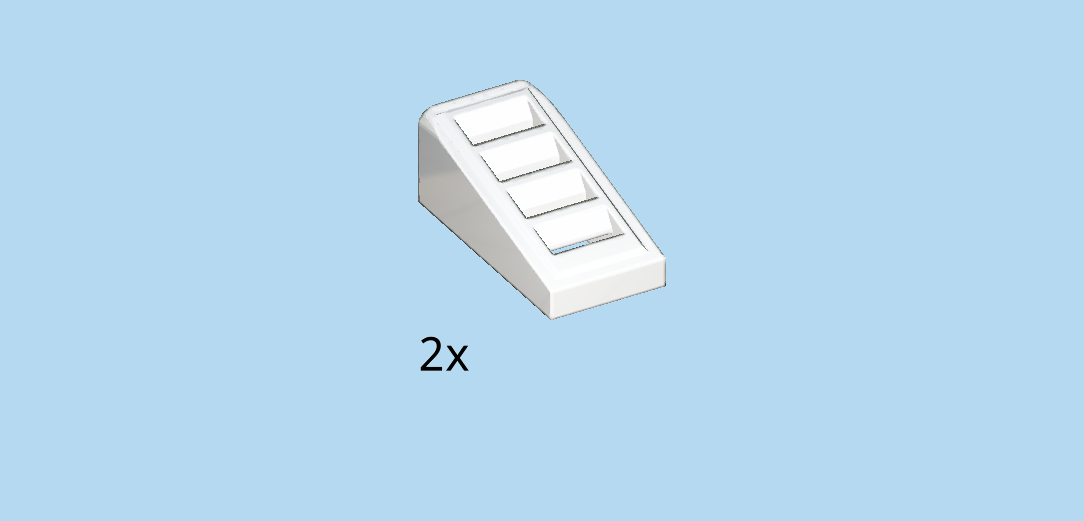
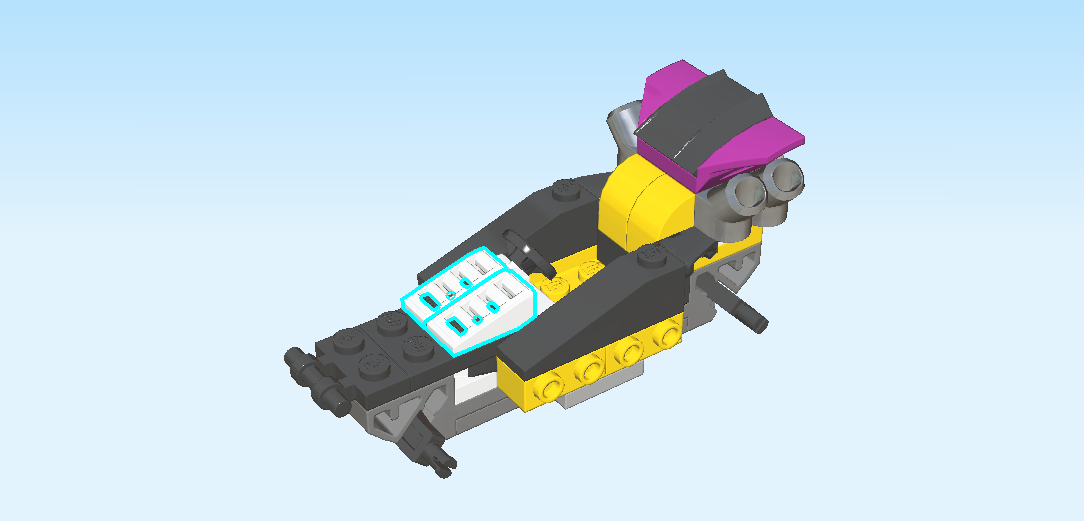
| Find 2 white roof tiles with lattice 1x2x⅔. |
| Put them horizontally next to each other to the left of the steering wheel, slopes to the left. |
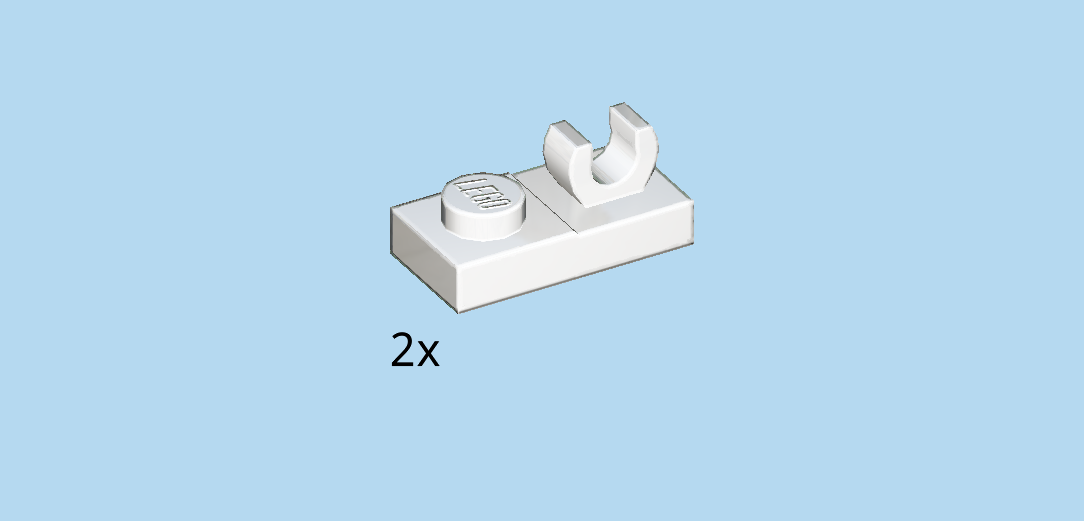
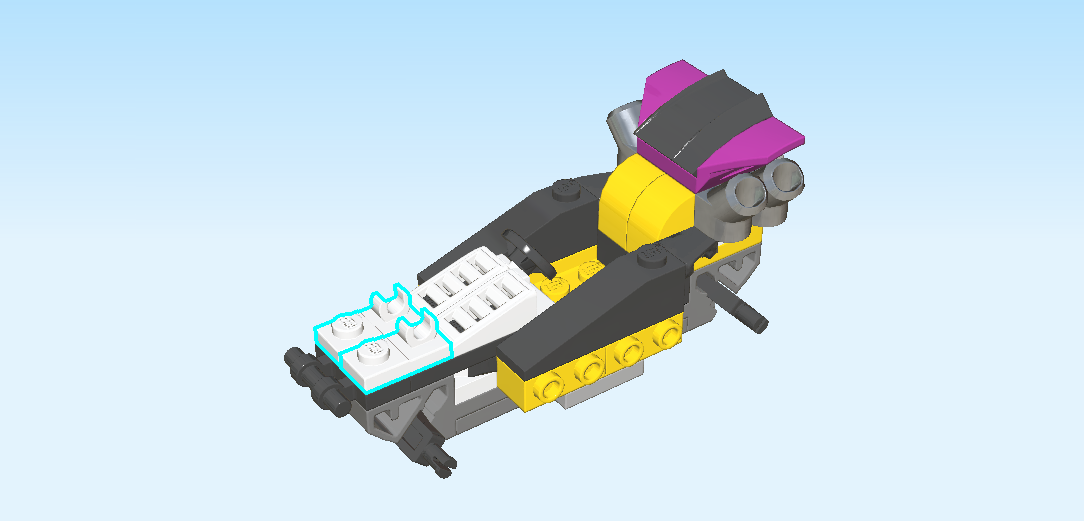
| Find 2 white plates 1x2 with top clasp. |
| Put them horizontally to the left of the 2 previous pieces, clasps to the right. |
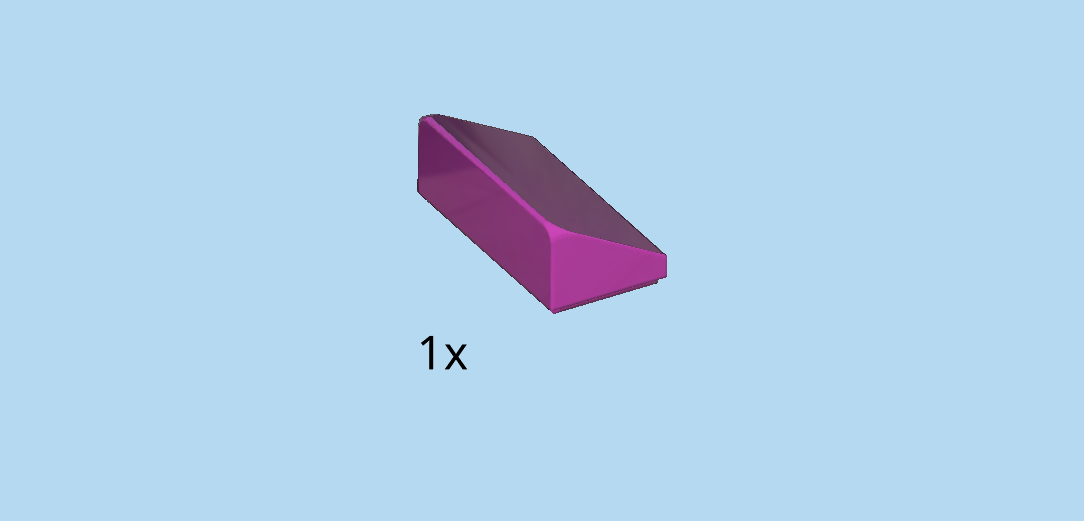
| Find 1 purple violet smooth roof tile 1x2x⅔. |
| Put it vertically on the leftmost column, slope to the left. |
| Next, we will build the roll cage. |
| Find 1 black plate 1x2 with shaft on short side. |
| Put it horizontally on the table, shaft to the left. |
| Find 1 black plate 1x2 with shaft on short side. |
| Put it horizontally in front of the previous piece, shaft to the left. Right now, the two pieces are not connected. Make sure they touch on their long sides and both shafts are on the left. |
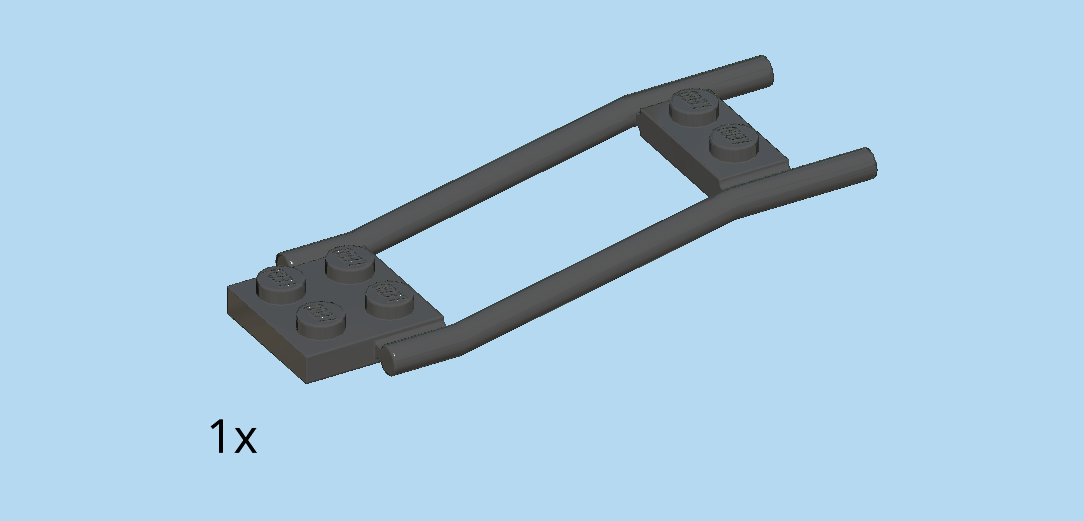
| Find 1 black double drawbar 3x8. |
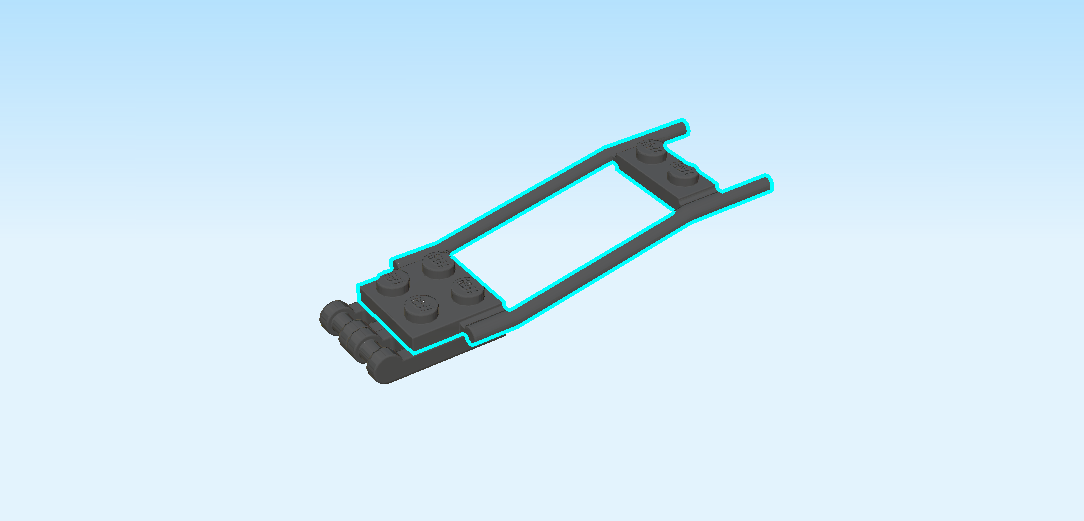
| Put its lower part with the 4 knobs on top of the 4 knobs of the 2 previous pieces, drawbar extending to the right. |
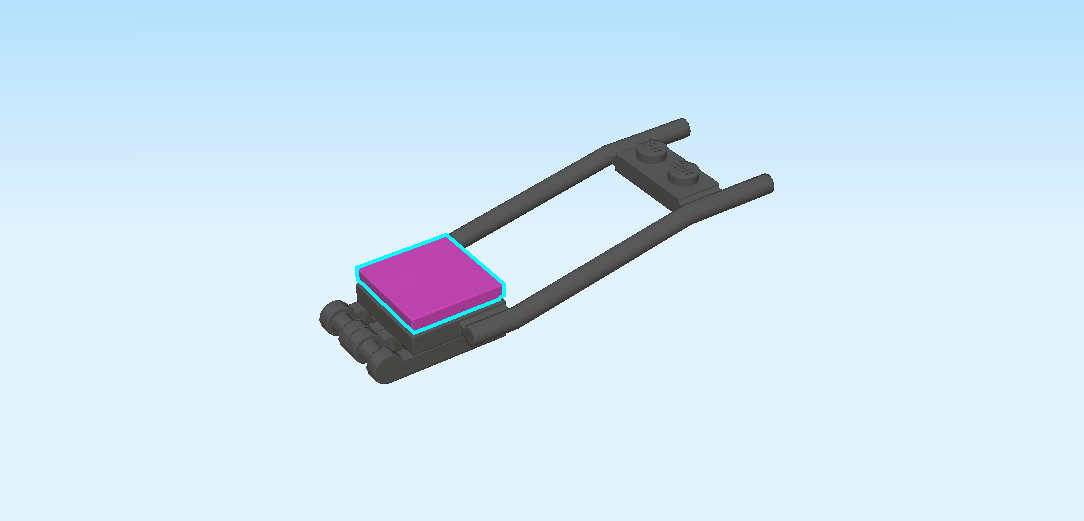
| Find 1 purple violet flat tile 2x2. |
| Put it on the 4 knobs of the lower part at the left. |
| Continue if you want to decorate this piece with a sticker now. If not, skip the next 3 sentences. |
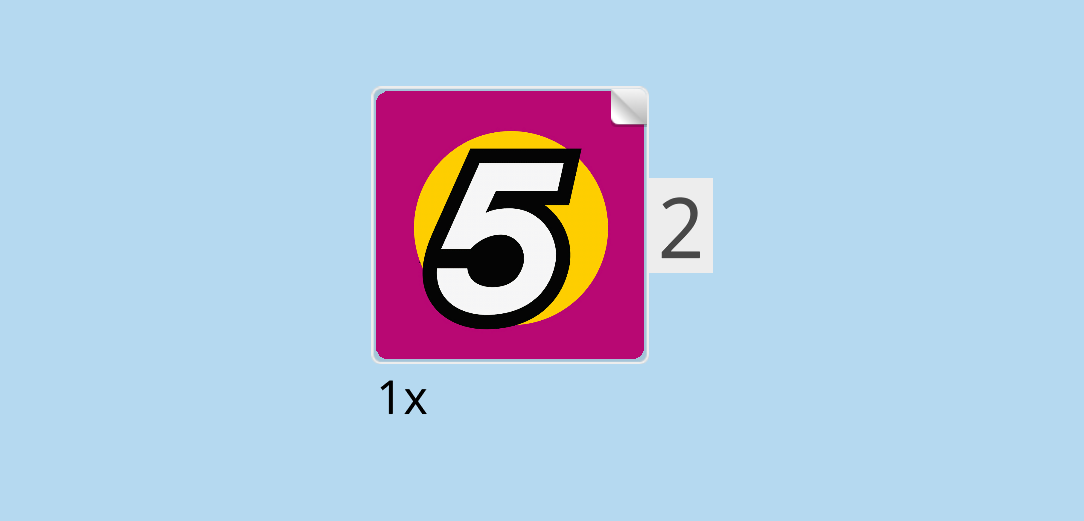
| Find 1 square sticker number 2. Ask a sighted person to help you find the correct sticker. |
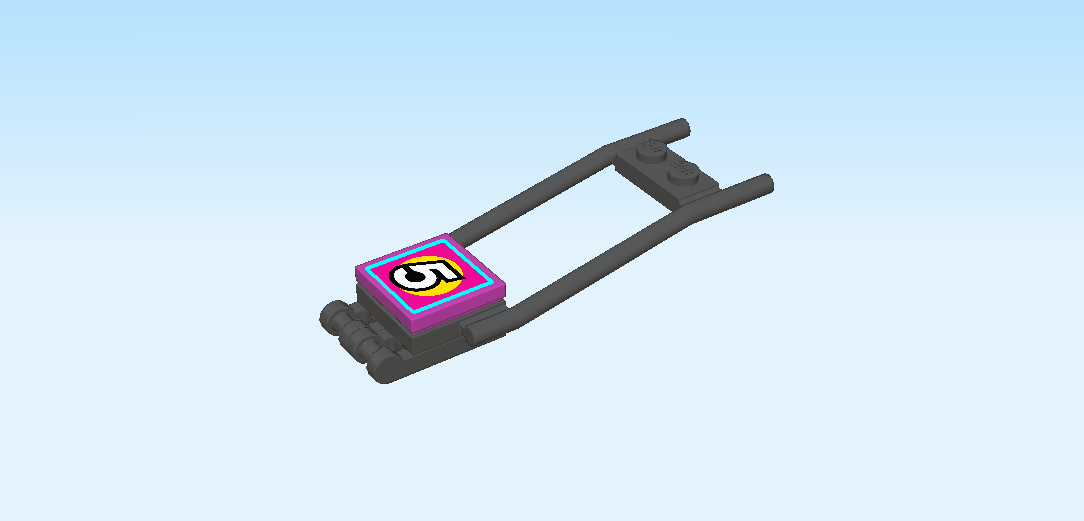
| Put it on the previous piece. |
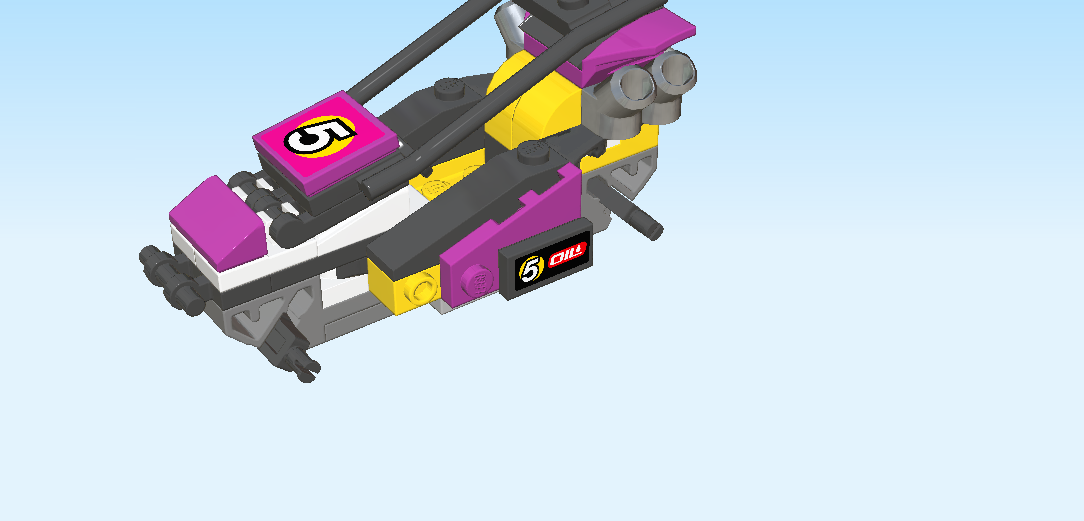
| The sticker is bright pink with a yellow circle in the middle. There is a white number 5 with black outline in the middle of the yellow circle. |
| The roll cage is finished! Well done! Snap the 2 shafts at its left bottom onto the 2 clasps at the left of the structure. |
| You can fold up the roll cage to seat a driver. Make sure to fold it down again before you start driving! |
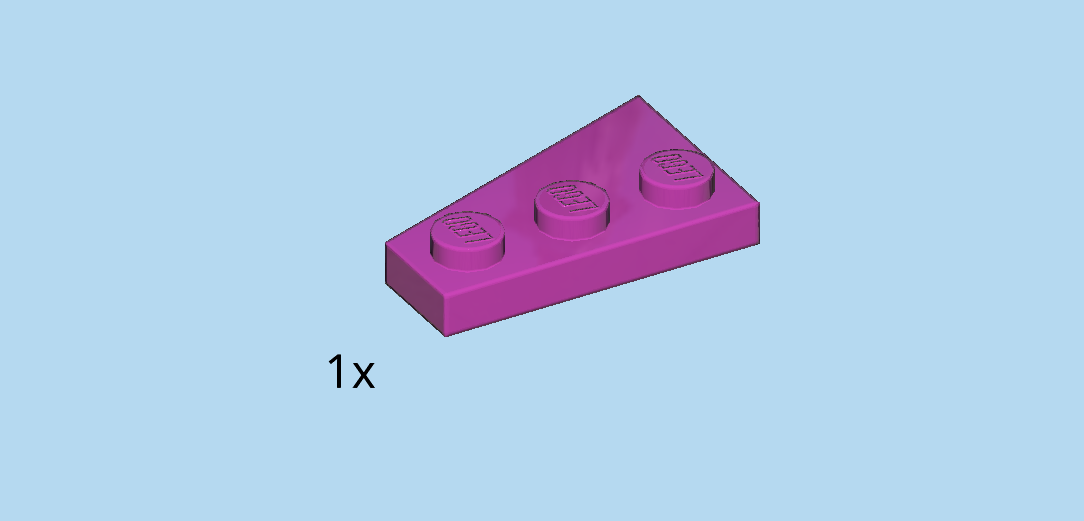
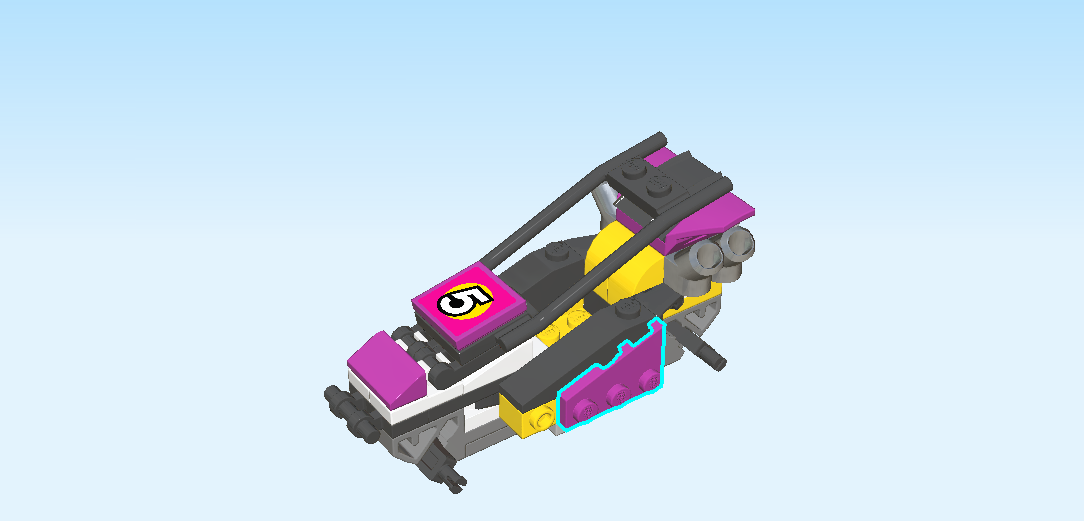
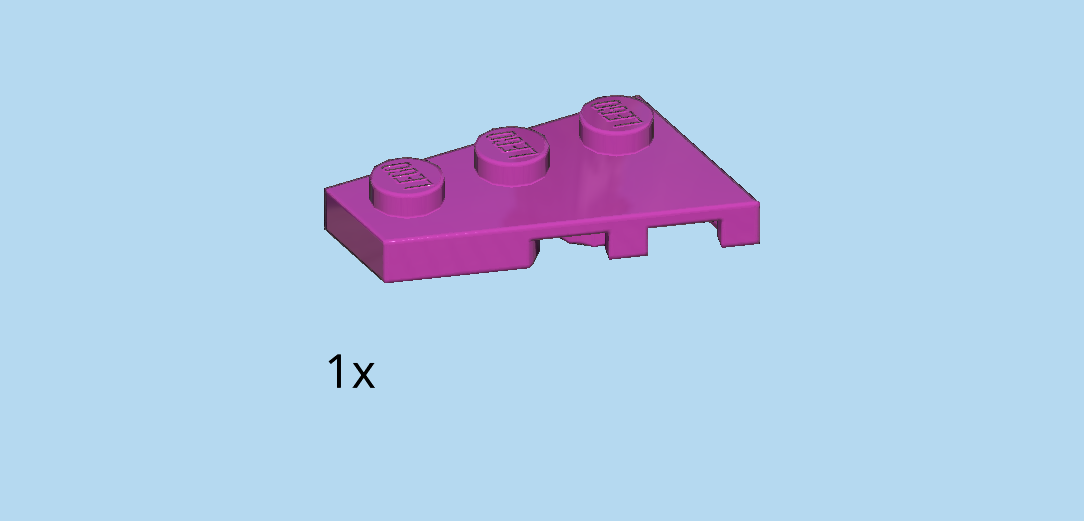
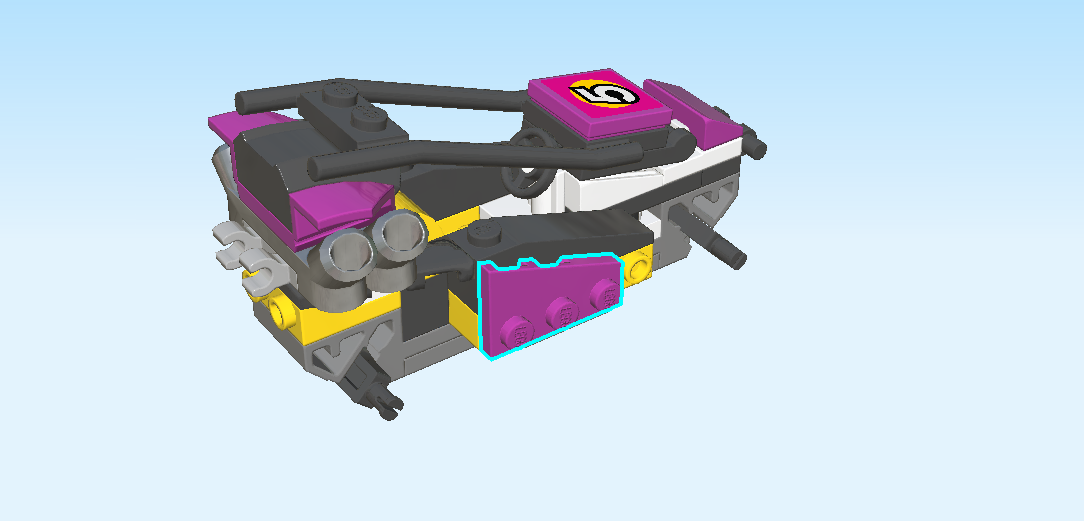
| Find 1 purple violet right wedge plate 2x3 with 3 knobs. |
| Put it upright horizontally on the 3 rightmost side knobs that are pointing to the front, narrow end on the left, 3 knobs at the bottom, and angle towards the top. If this does not add up, you might have the wrong wedge plate. Try again with the other one. |
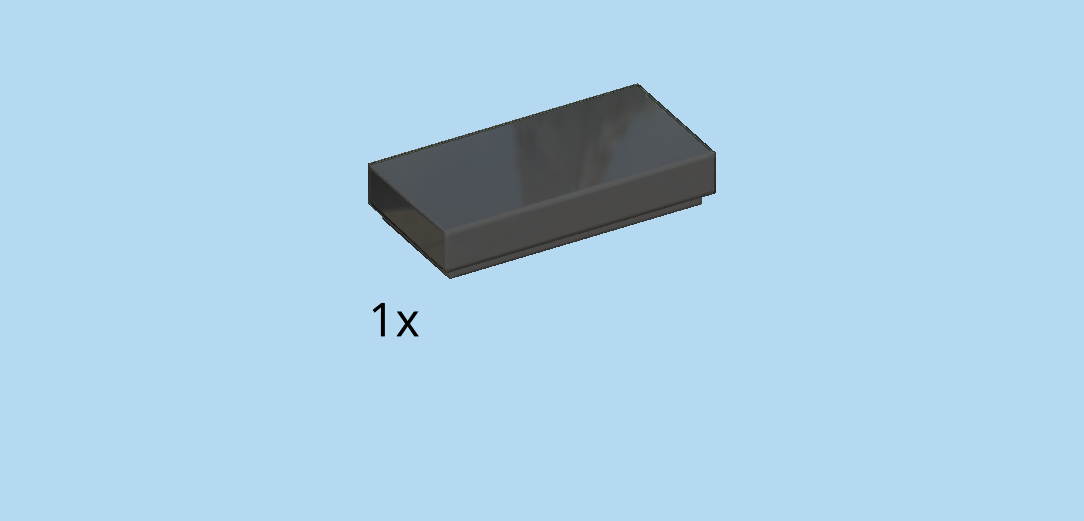
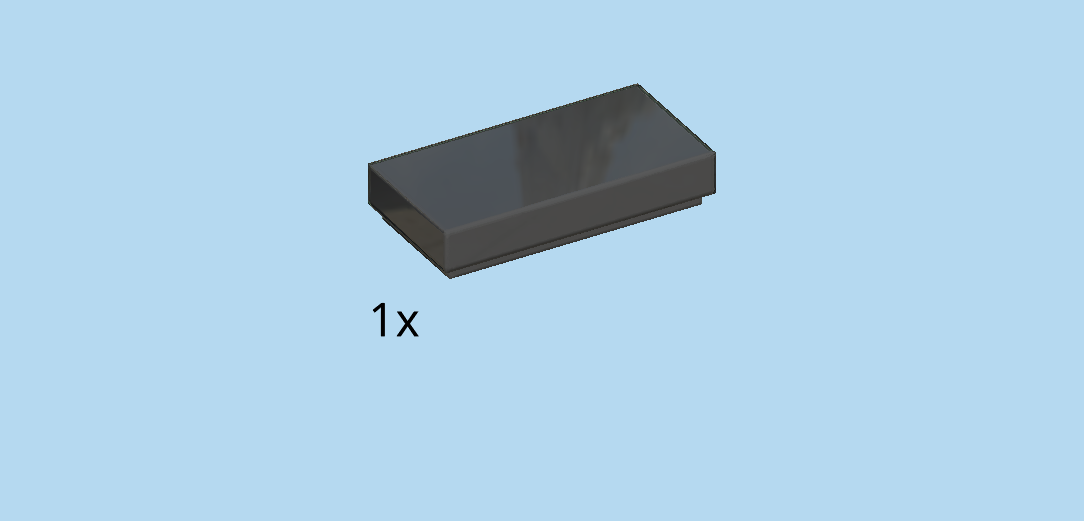
| Find 1 black flat tile 1x2. |
| Continue if you want to decorate this piece with a sticker now. If not, skip the next 3 sentences. |
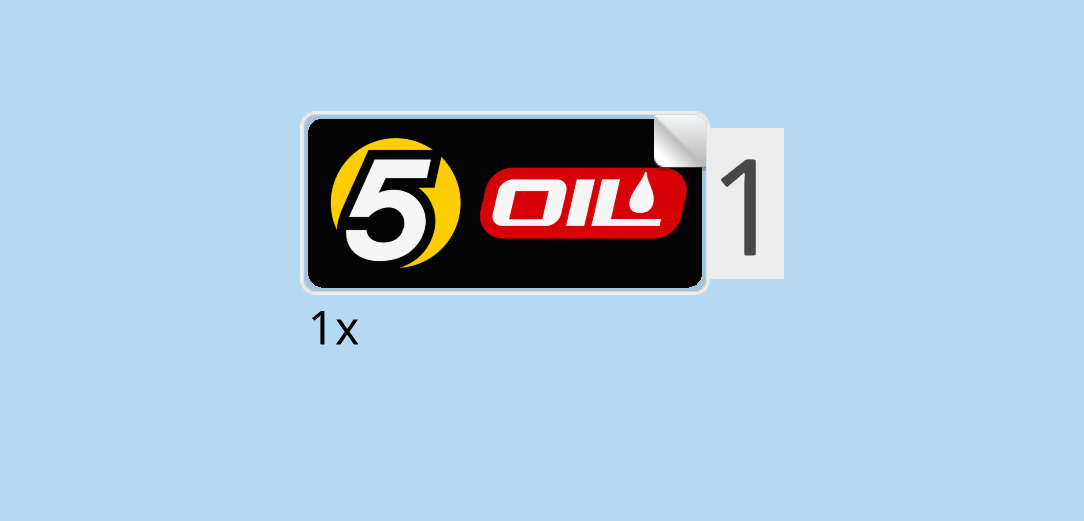
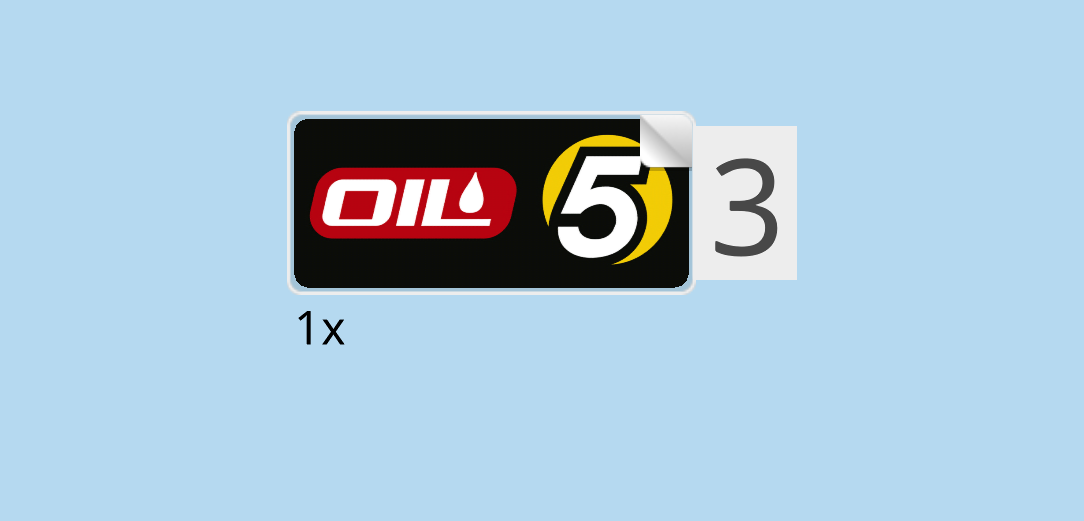
| Find 1 small rectangular sticker number 1. Ask a sighted person to help you find the correct sticker. |
| Put it on the flat tile. |
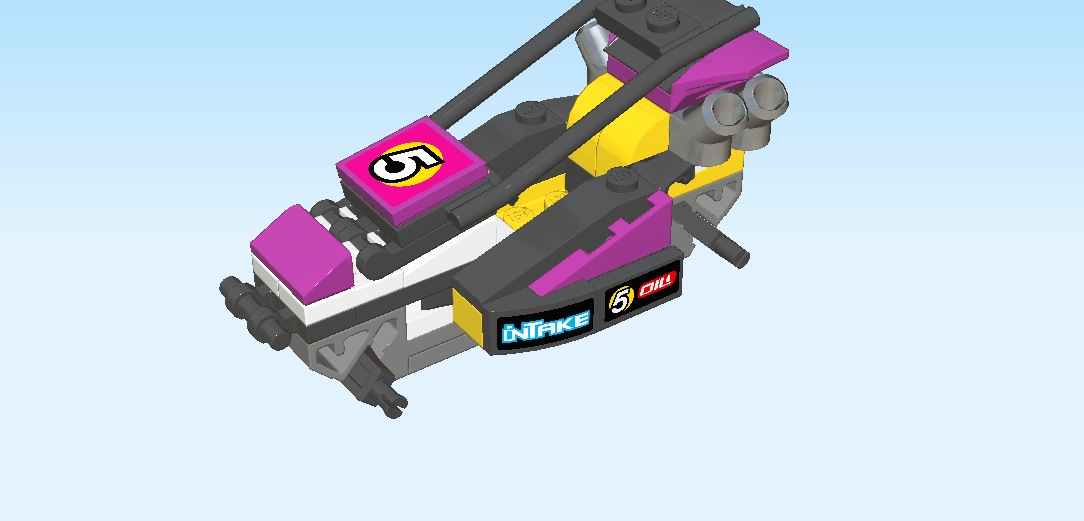
| The sticker is black. On its left half, there is a yellow circle, again with a white number 5 with black outline in the middle. In the right half of the sticker there is a red rectangle, containing the word "OIL" in capital letters and white writing. On top of the letter "L" there is a white droplet of oil. |
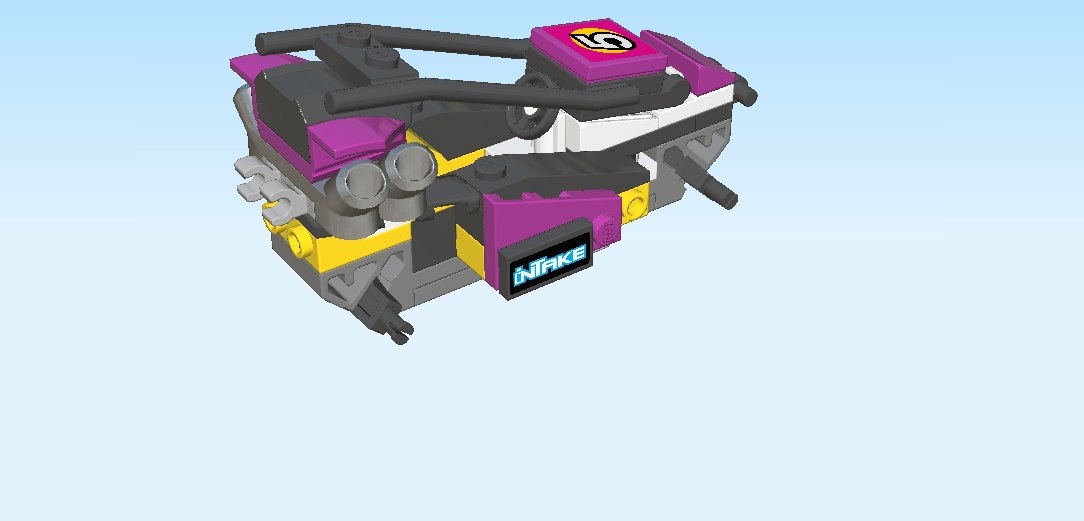
| Mount this piece upright horizontally on the 2 rightmost knobs of the previous piece, so the 2 rightmost side knobs pointing to the front. |
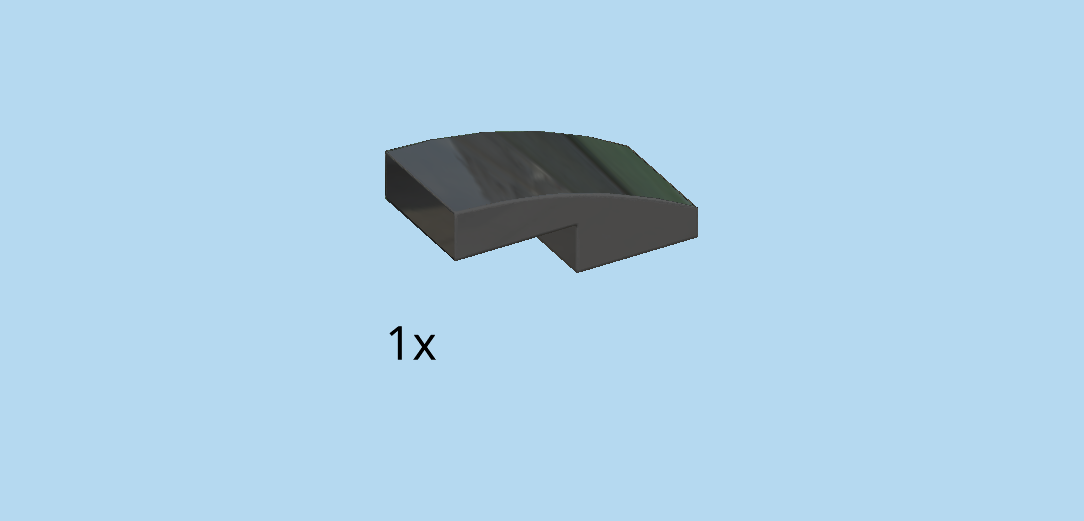
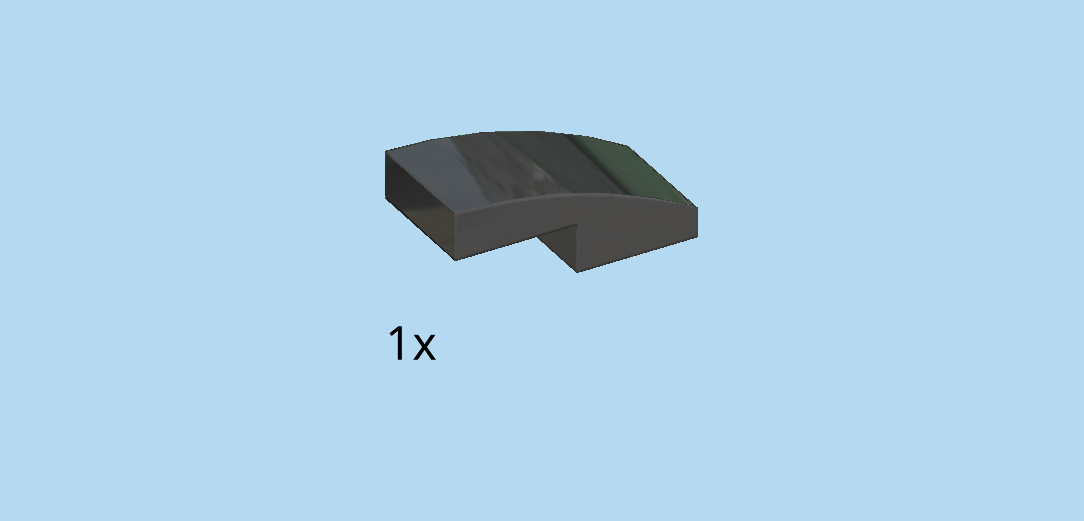
| Find 1 black one-stepped curve tile 1x2x⅔. |
| Continue if you want to decorate this piece with a sticker now. If not, skip the next 3 sentences. |
| Find a small rectangular sticker number 4. Ask a sighted person to help you find the correct sticker. |
| Put the sticker on the curve tile. |
| The sticker is black and printed with the word "INTAKE" in capital letters and white writing with light blue outline. The used font is rather angular and connected. The superscript dot of the "i" was kept, its vertical line at the same time serves as the left vertical line of the N, and the horizontal line of the "T" is hovering above its two neighboring letters. |
| Mount this piece upright horizontally to the left of the previous piece, curve to the left. |
| Find 1 purple violet left wedge plate 2x3 with 3 knobs. |
| First, turn the structure left to right. This means that now the higher part of the vehicle is to the left. |
| Put the wedge plate upright horizontally on the 3 leftmost side knobs pointing to the front, narrow end to the right, angle to the top. |
| Find 1 black flat tile 1x2. |
| Continue if you want to decorate this piece with a sticker now. If not, skip the next 2 sentences. |
| Find 1 small rectangular sticker number 6. Ask a sighted person to help you find the correct sticker. |
| Put it on the flat tile. It has the same design as the black sticker with the "INTAKE" lettering in white and light blue. |
| Put it upright horizontally on the 2 leftmost knobs of the previous piece, so the 2 leftmost side knobs pointing to the front. |
| Find 1 black one-stepped curve tile 1x2x⅔. |
| Continue if you want to decorate this piece with a sticker now. If not, skip the next 2 sentences. |
| Find 1 small rectangular sticker number 3. Ask a sighted person to help you find the correct sticker. |
| Put it on the curve tile. It has the same design as sticker number 1 but in the other order: the red rectangle with "OIL " and droplet in white is in the left half, and the yellow circle with the white number 5 is in the right half. |
| Mount it upright horizontally to the right of the previous piece, curve to the right. |
| Next, we will make the 2 front headlights. |
| Let's start with one. |
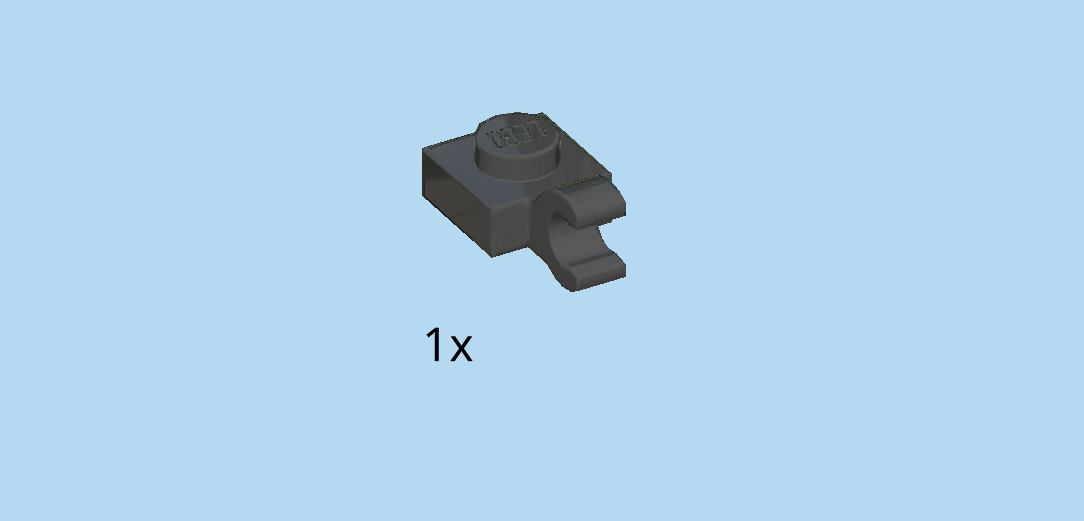
| Find 1 black plate 1x1 with vertical side clasp. |
| Put it on the table, clasp to the left. |
| Find 1 bright yellow round tile 1x1. |
| Put it on top of the previous piece. |
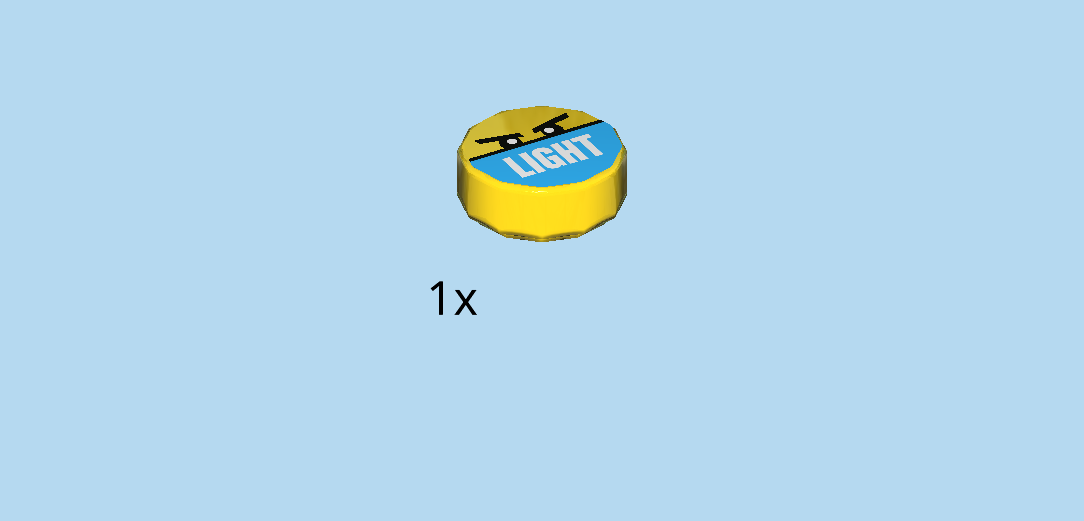
| The piece is printed with two stern-looking eyes with eyebrows hovering above a black horizontal line, the bottom half of the piece is printed with a light-blue area with the word "LIGHT" in all caps in white lettering in the middle. |
| Find another black plate 1x1 with vertical side clasp, and another printed bright yellow round tile 1x1. |
| Assemble the second front headlight just like the first one. |
| The print of the round tile 1x1 is identical to the previous one. |
| Now, turn the structure left to right again so that the high part is on the right again. |
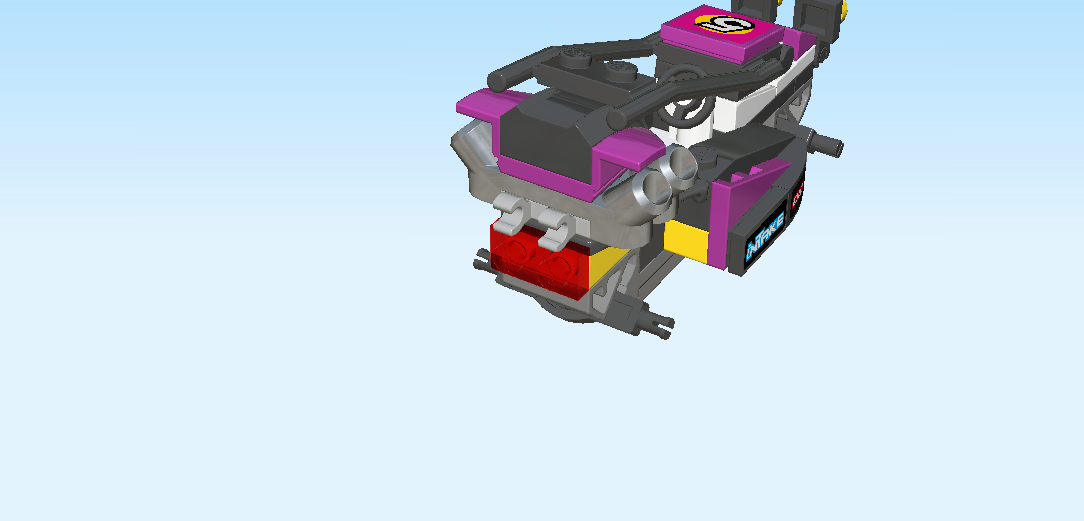
| To mount the front headlights, flip them upright and snap their clasps into the shafts on the left side of the structure. |
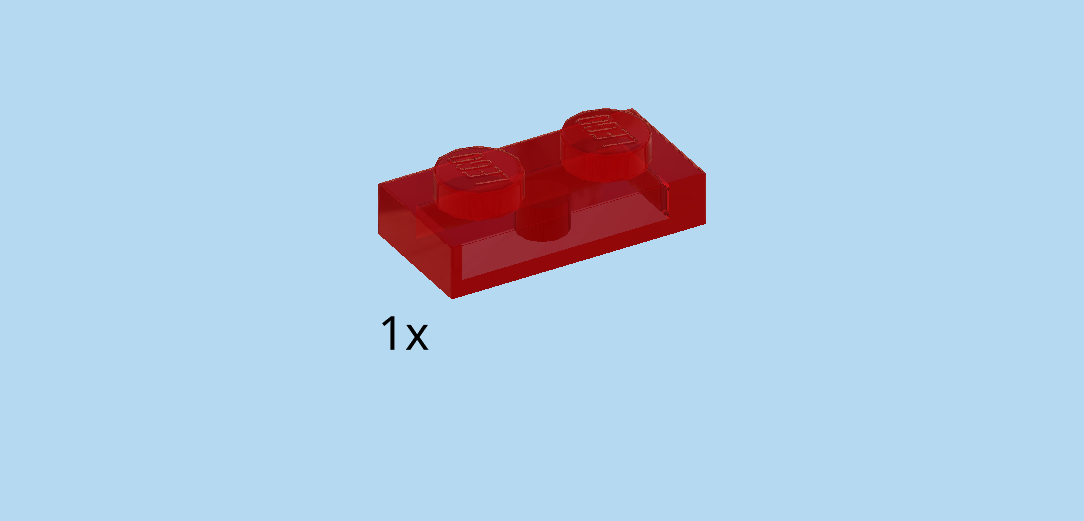
| Find 1 transparent red plate 1x2. |
| Put it upright horizontally on the 2 side knobs pointing to the right, just below the 2 clasps. |
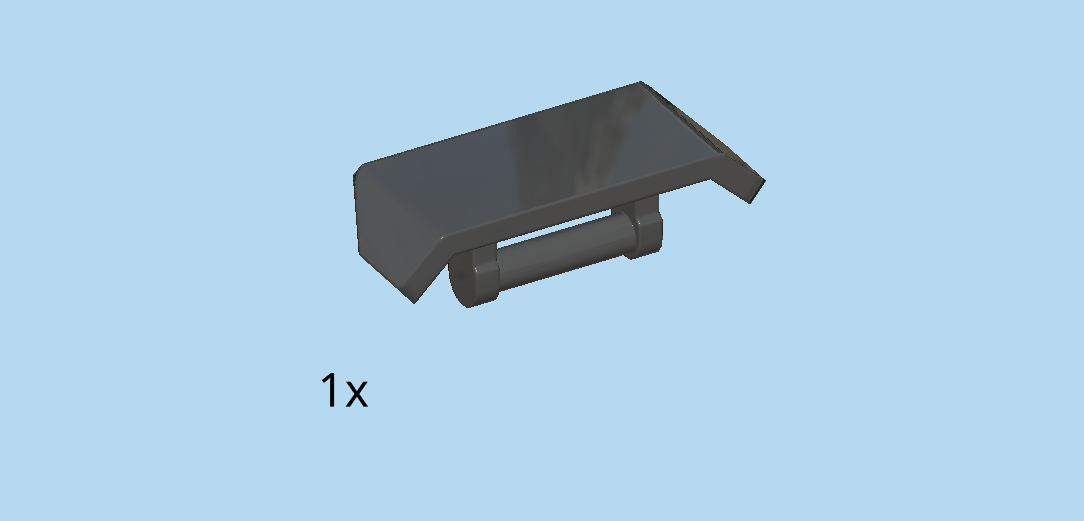
| Find 1 black spoiler panel 2x4 with sloped ends and bottom shaft. |
| Snap the bottom shaft into the 2 clasps above the previous piece. |
| Next, we will assemble the 4 wheels of the Baja race buggy. |
| Let's start with one. |
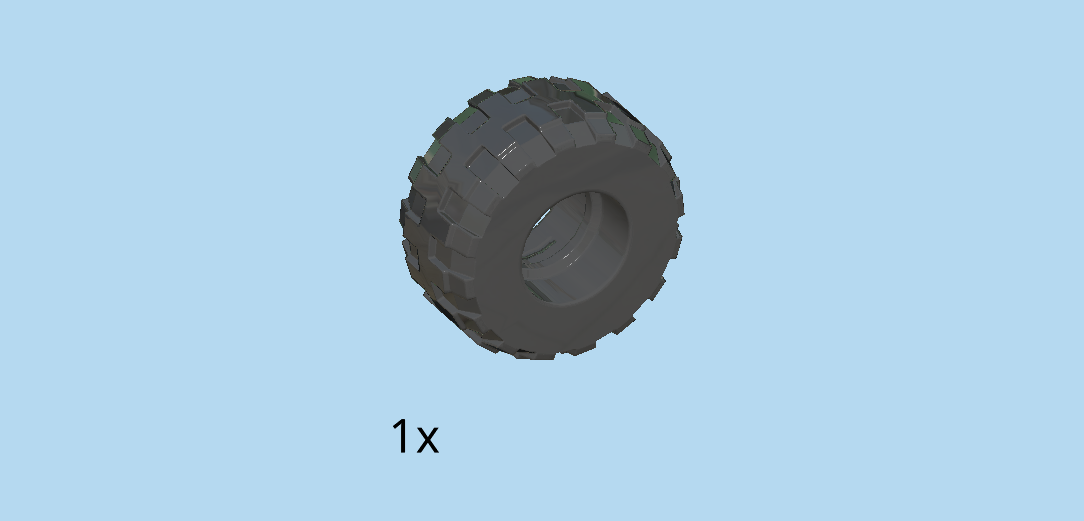
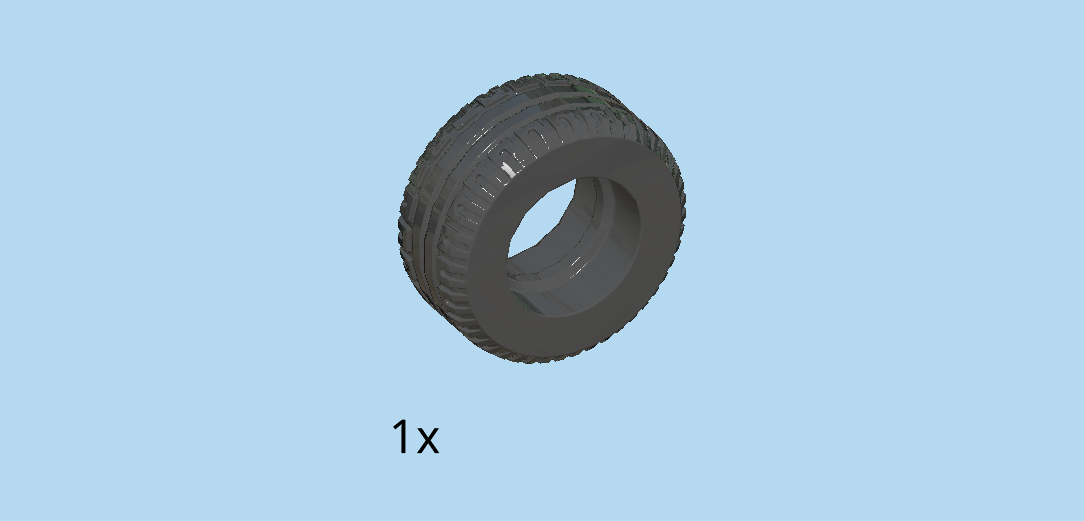
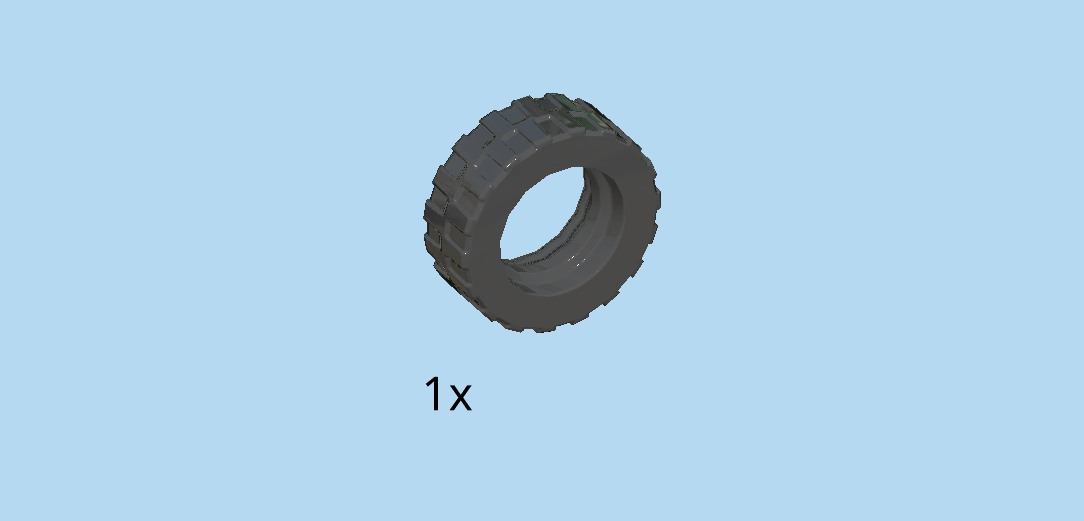
| Find 1 black wide balloon tire with profile. |
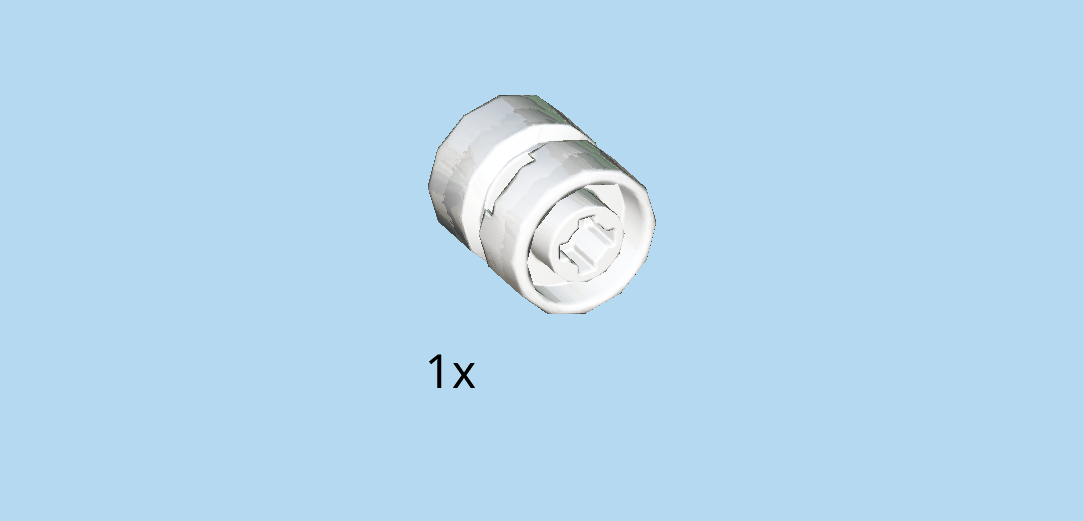
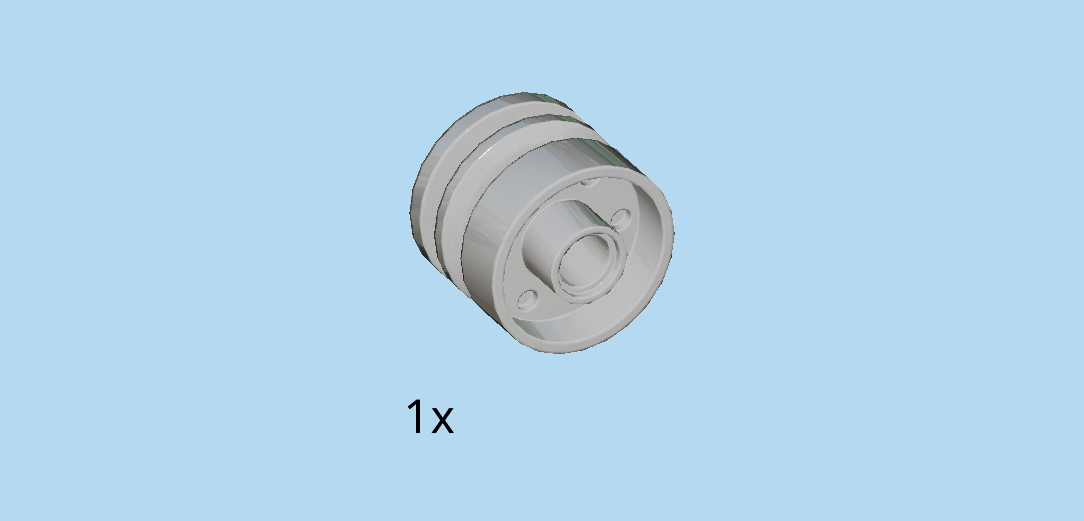
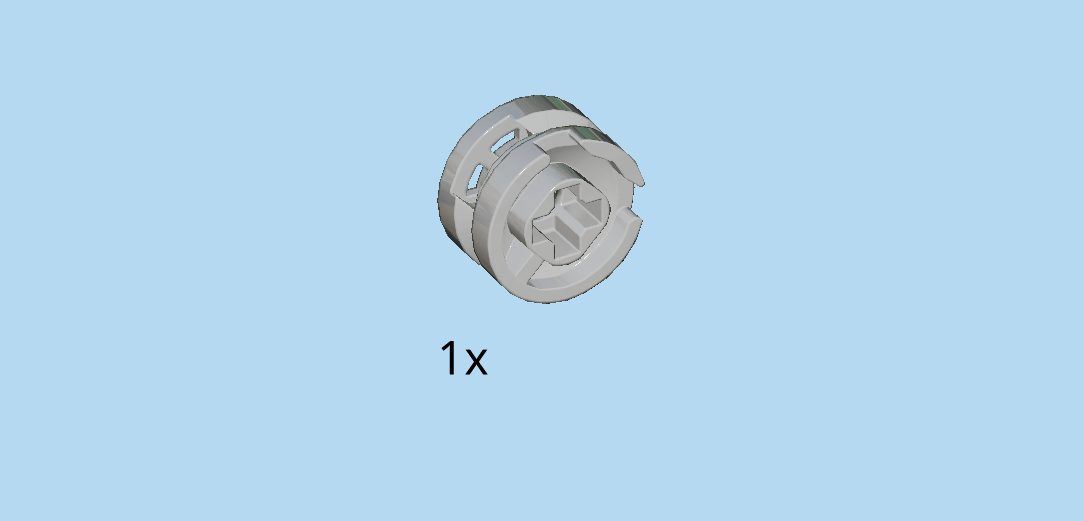
| Find 1 white wide rim with hole. |
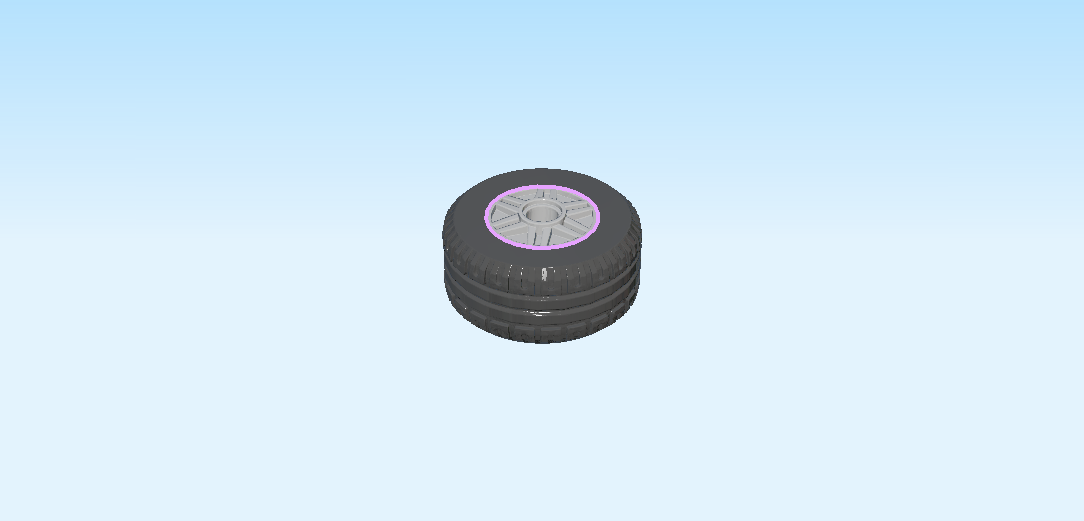
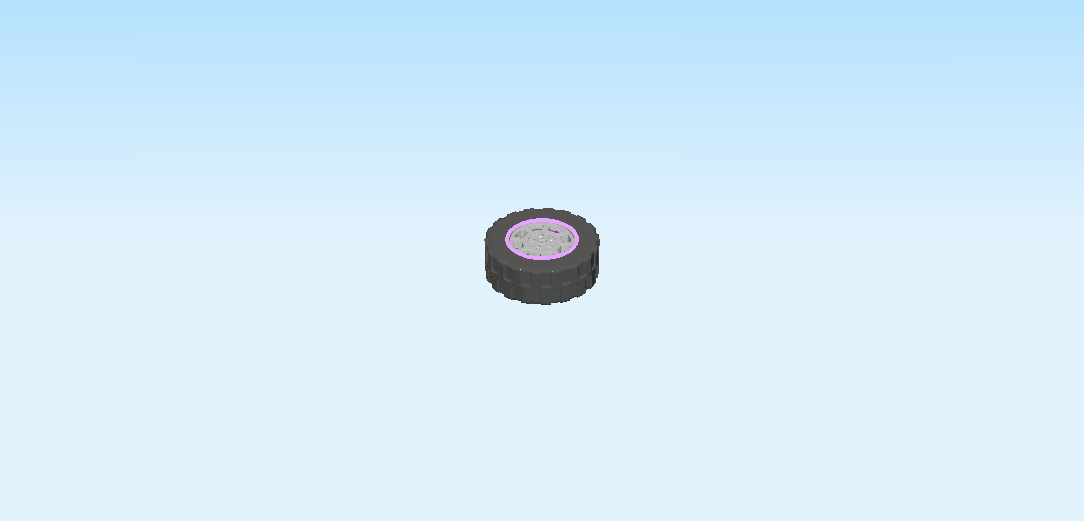
| Put the tire around the rim. |
| Find another 3 tires, and another 3 rims. |
| Assemble the remaining 3 wheels just like the first one. |
| Great job! Now, snap the 4 wheels onto the connectors at the bottom of the vehicle. |
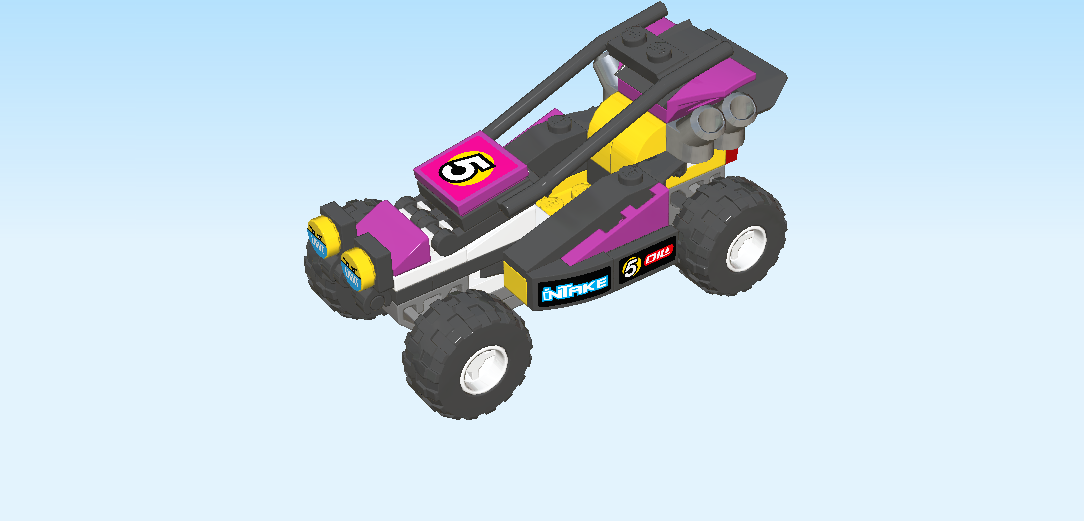
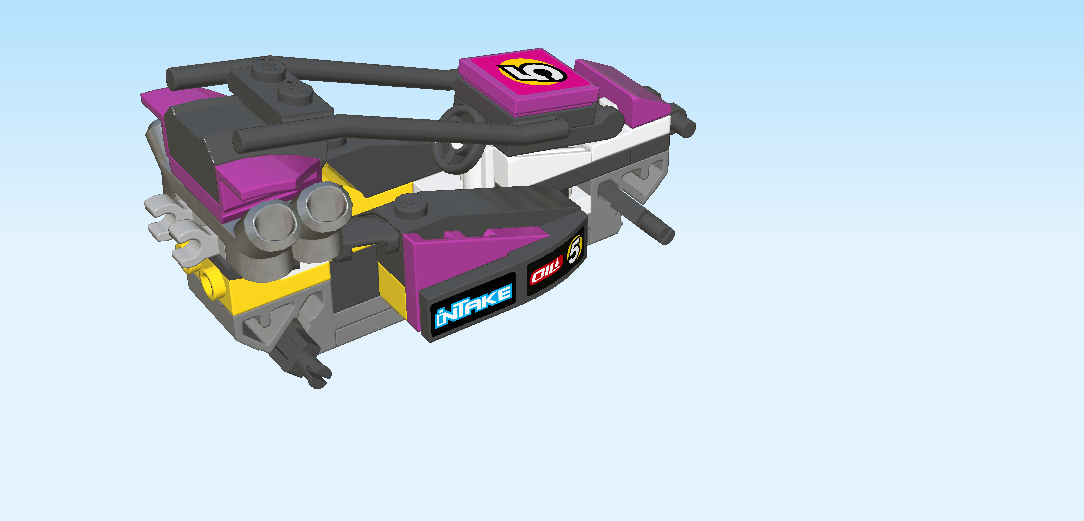
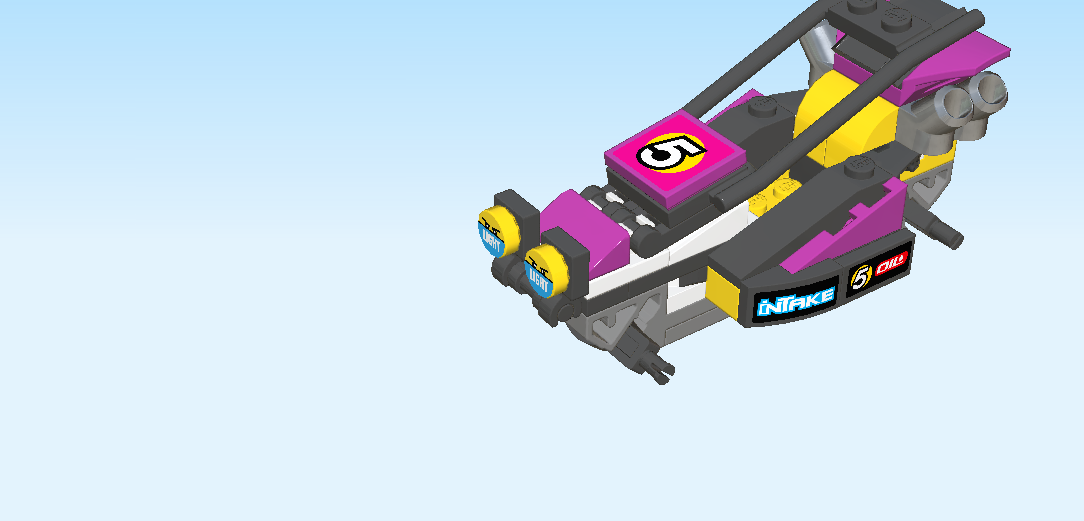
| The Baja race buggy is finished! Great job! Thanks to the flexible wheel axles you can actually steer it left and right. Lift up the roll cage, seat the driver in the race buggy, and take it for a spin! |
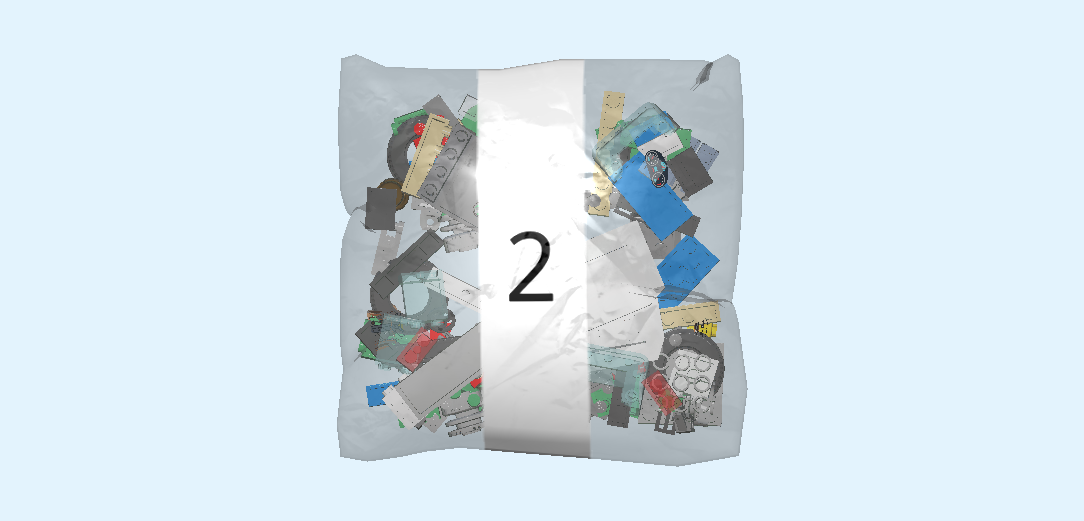
| Open bag number 2. You can choose to have the bricks sorted by color again. This bag contains all bricks and pieces for the female driver Minifigure and the SUV off-roader. |
| Next, we will build the female driver Minifigure. |
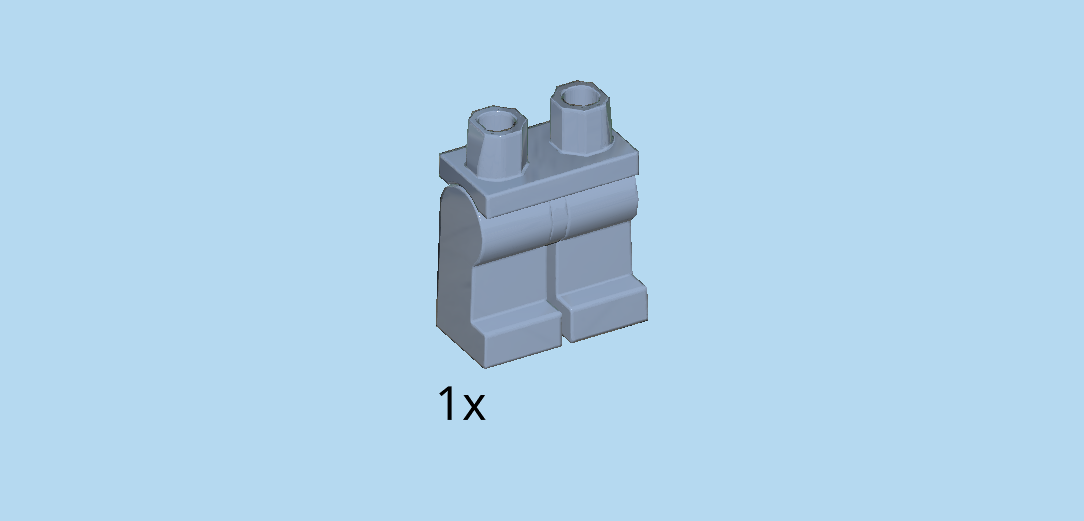
| Find 1 sand blue pair of legs. |
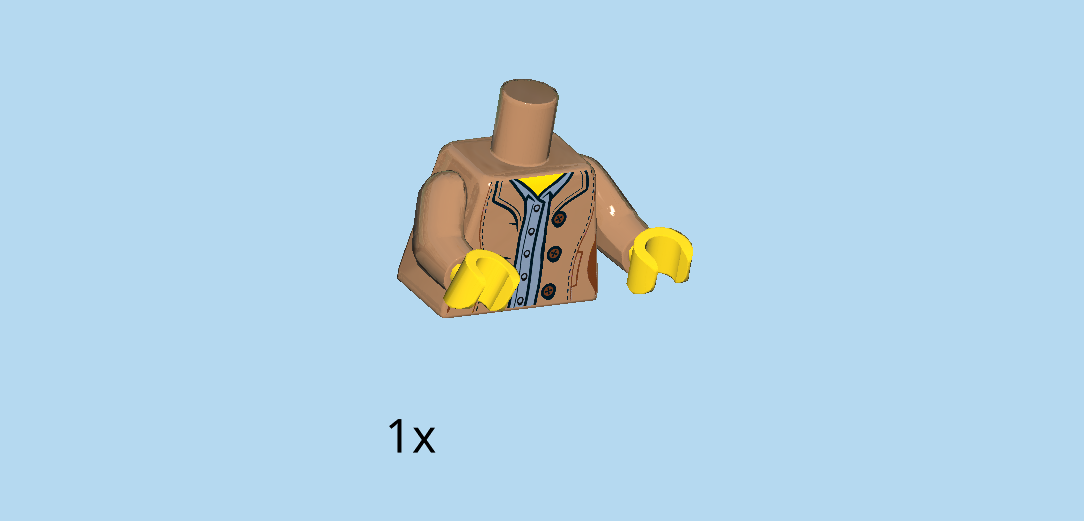
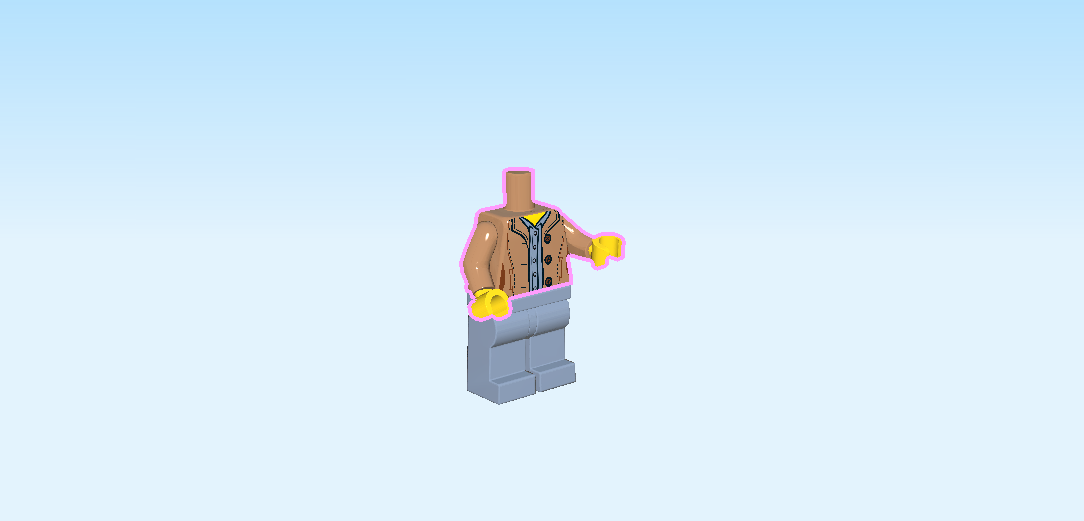
| Find 1 medium nougat brown and bright yellow upper part of the body. |
| Put the upper body on top of the legs. |
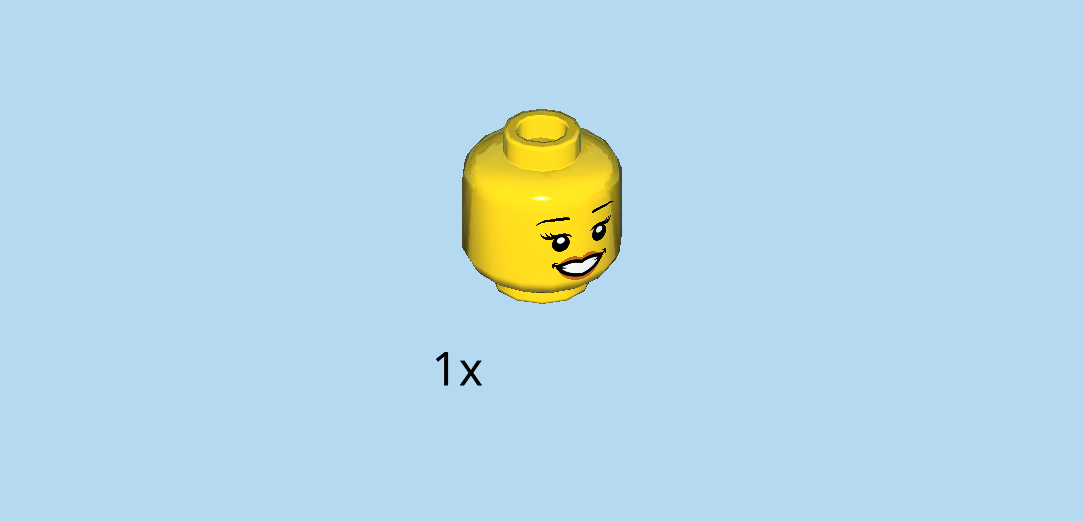
| Find 1 bright yellow head. |
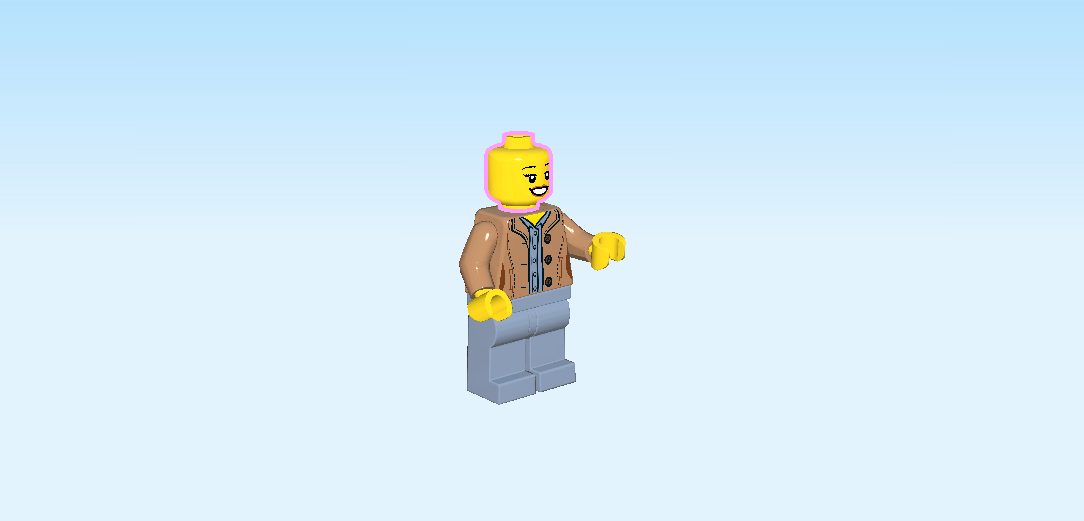
| Put it on top. |
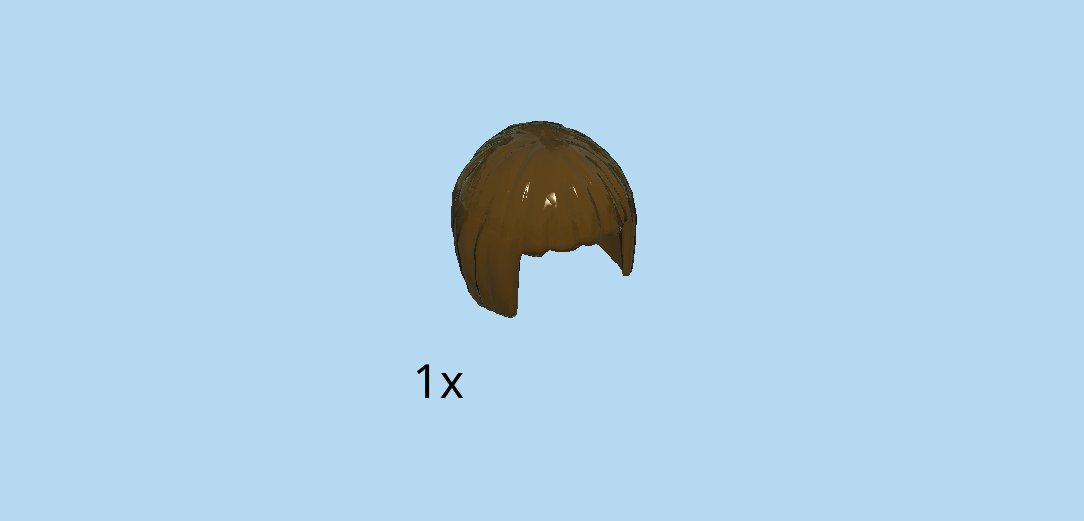
| Find 1 dark brown hairpiece with a bob hairstyle. |
| Put it on the head. |
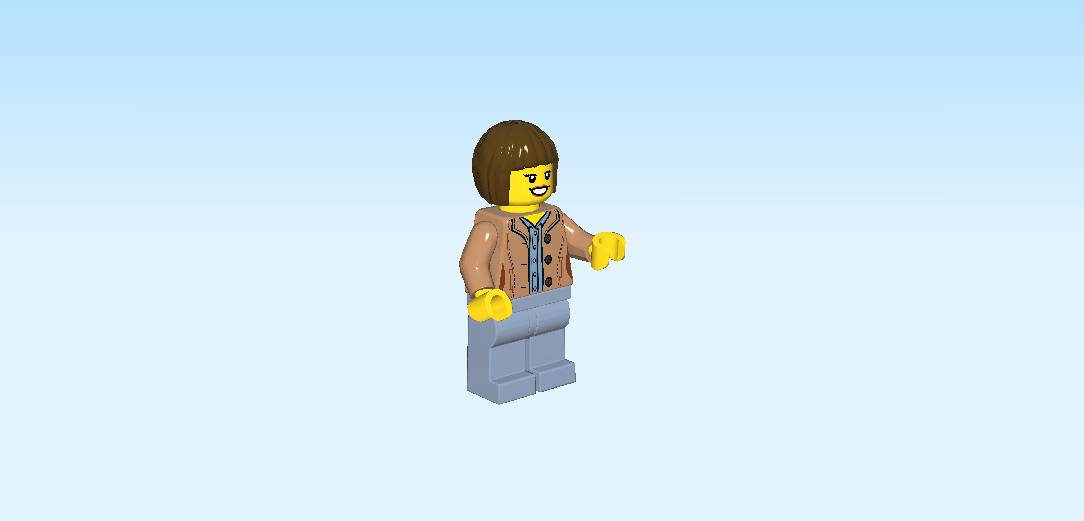
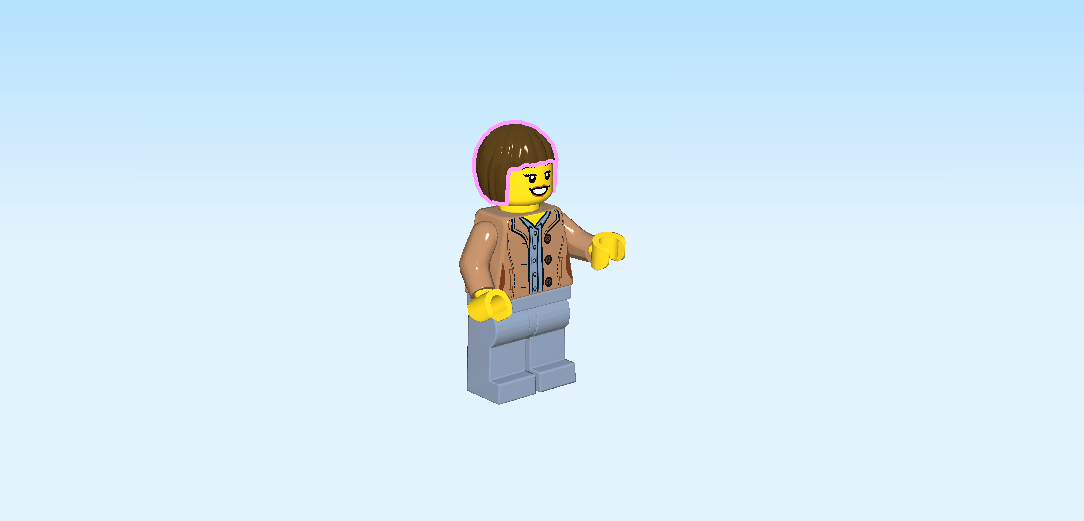
| The female driver Minifigure is finished! Great job! She is wearing sand blue pants and a light brown leather jacket with 3 large dark brown buttons, side pockets and decorative stitching, and a sand blue blouse underneath. The driver has a broad smile on her face, and she is wearing nude colored lipstick. Put on the safety helmet and goggles and let her take the race buggy for a test drive! |
| Next up, we will build the SUV off-roader. |
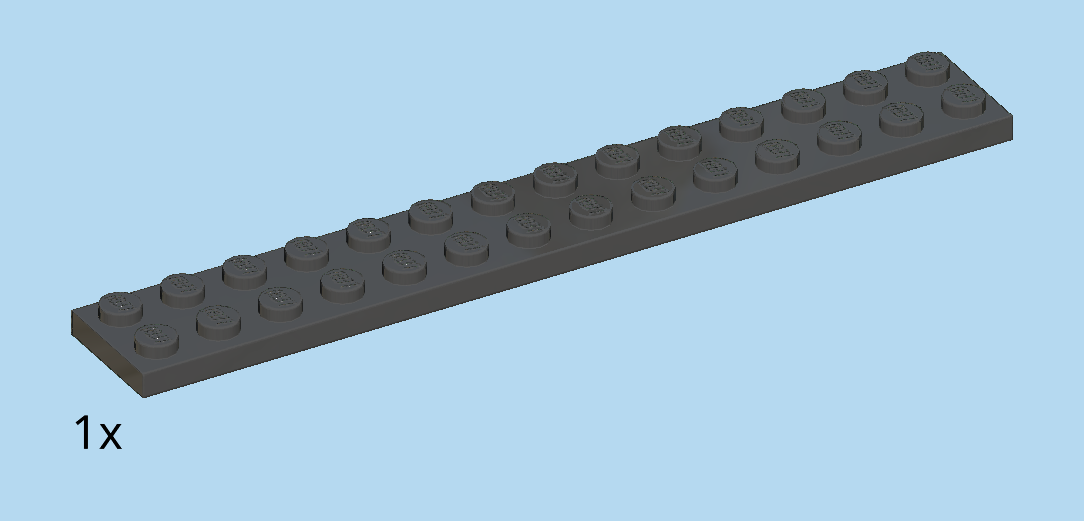
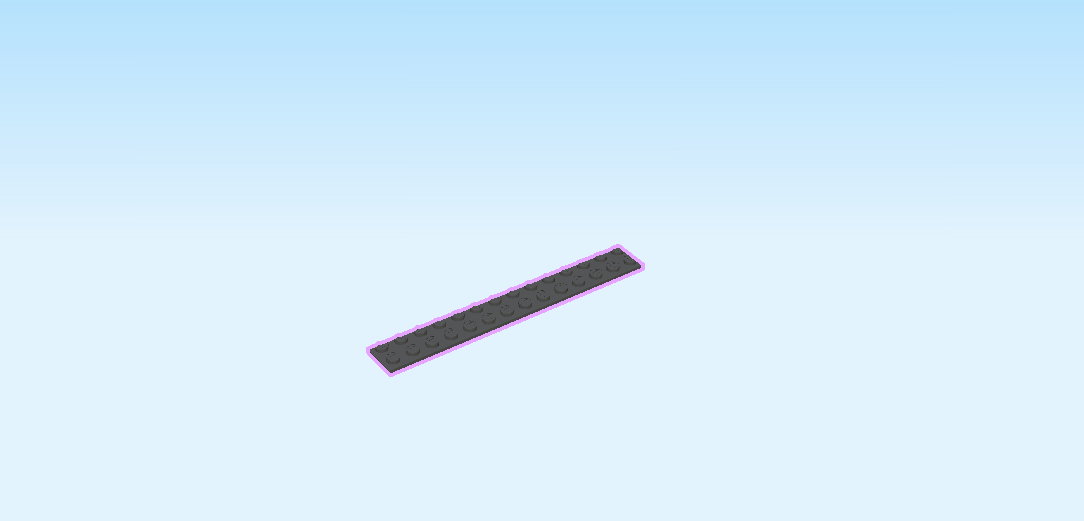
| Find 1 black plate 2x14. |
| Put it horizontally on the table. |
| Find 1 medium stone grey plate 2x2 with side ball socket and top cross hole. |
| Put it on the rightmost 4 knobs, ball socket to the right. |
| Find 1 dark stone grey plate 2x4 with 2 side connector pins. |
| Put it vertically centered to the left of the previous piece, connector pins to the front and back. |
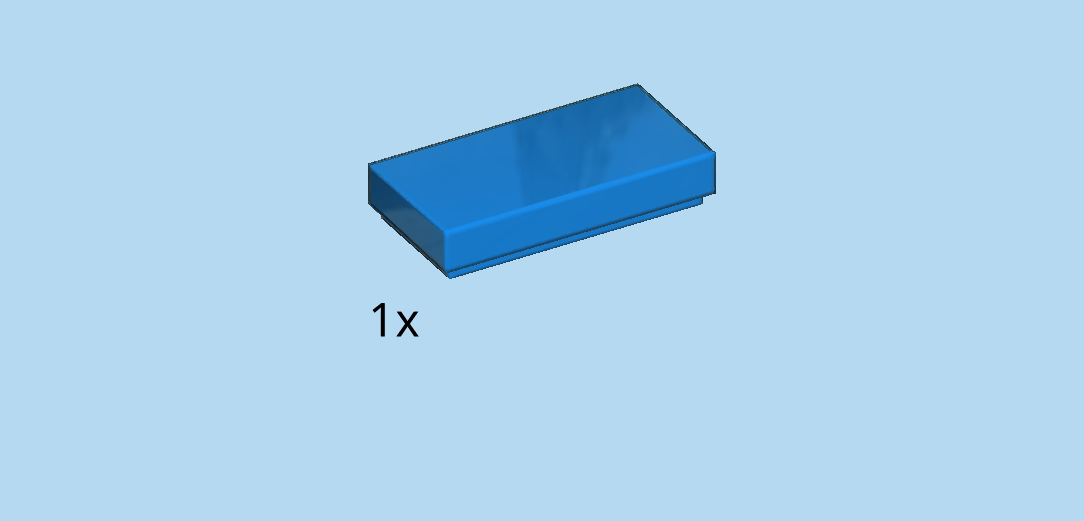
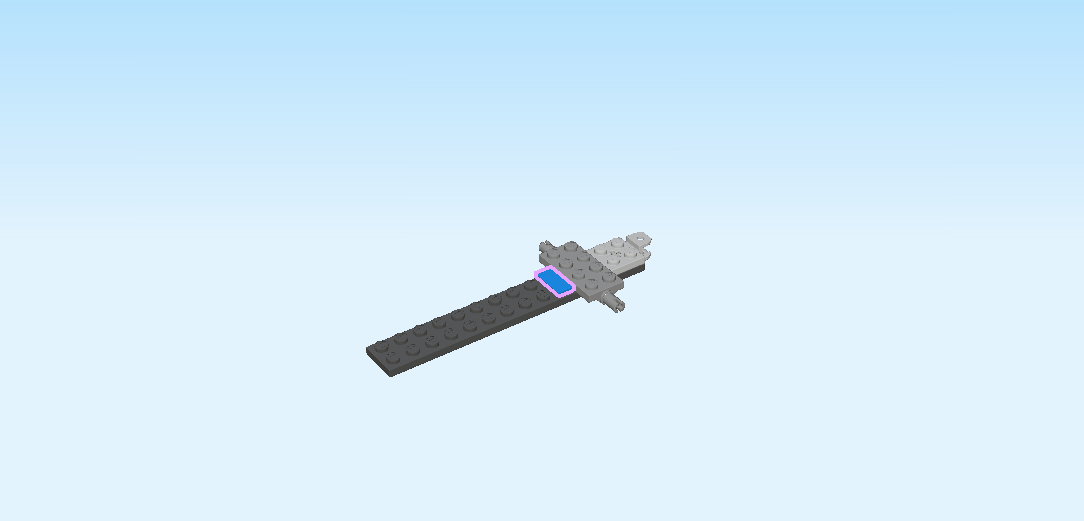
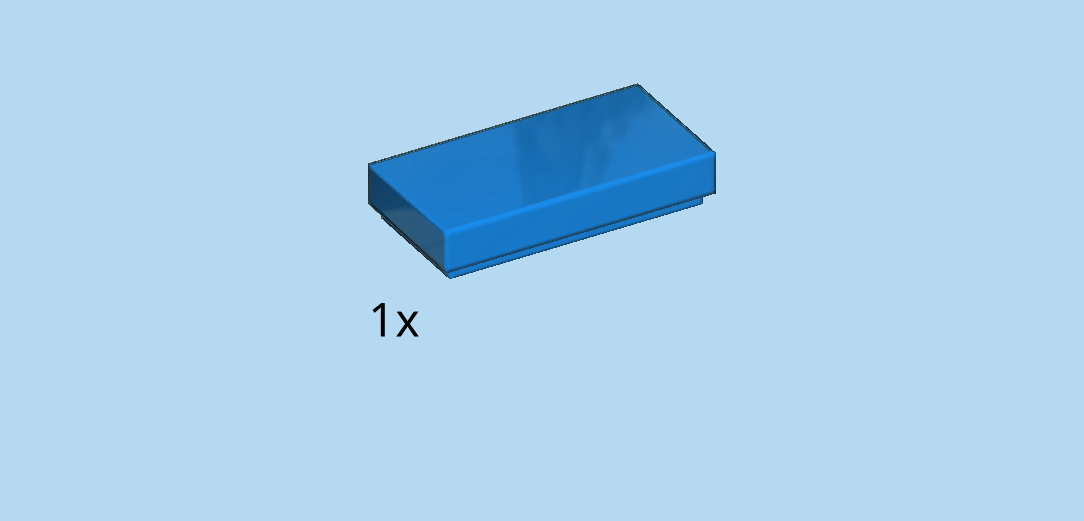
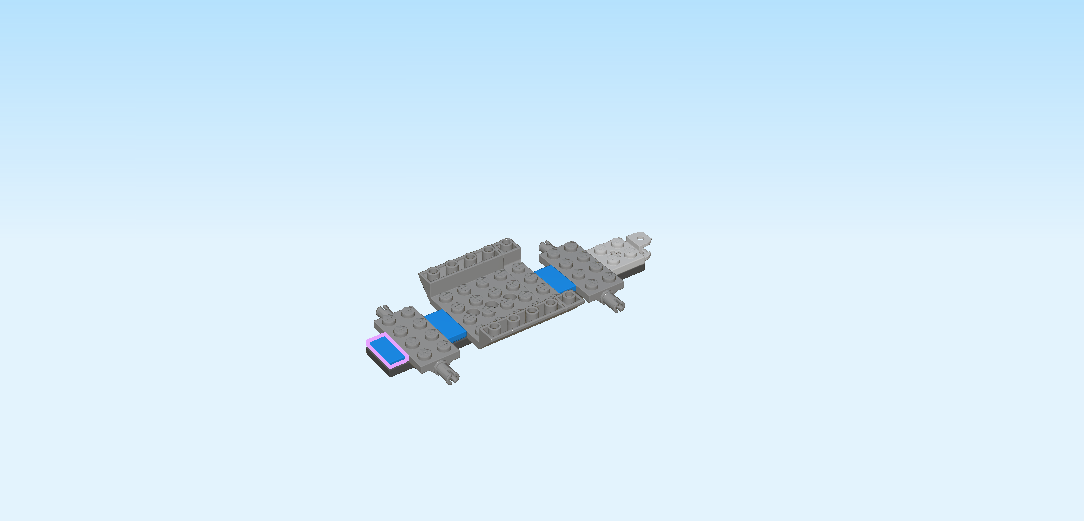
| Find 1 bright blue flat tile 1x2. |
| Put it vertically to the left of the previous piece. |
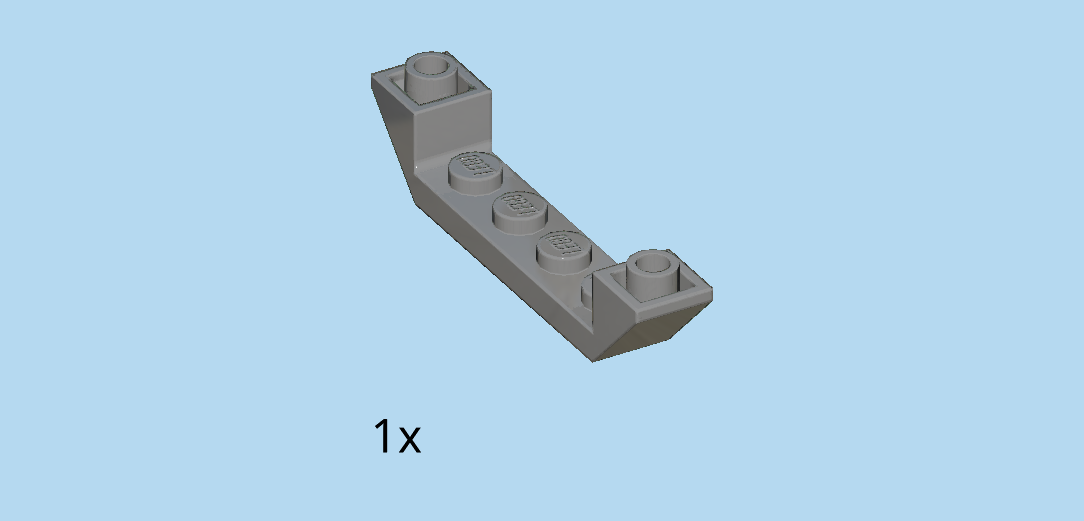
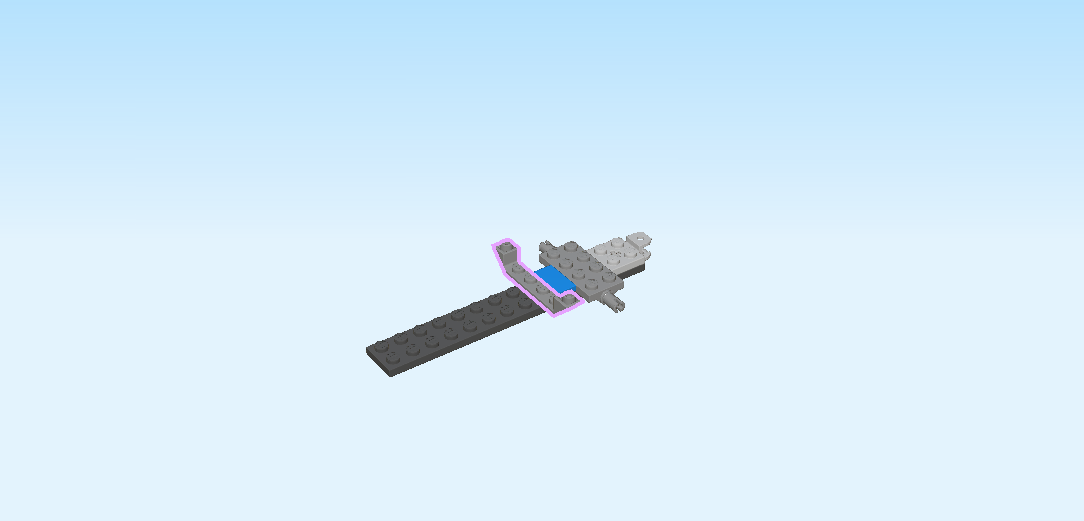
| Find 1 dark stone grey inverted double roof tile 1x6x1, 45°. |
| Put it vertically centered to the left of the previous piece, slopes to the front and back. |
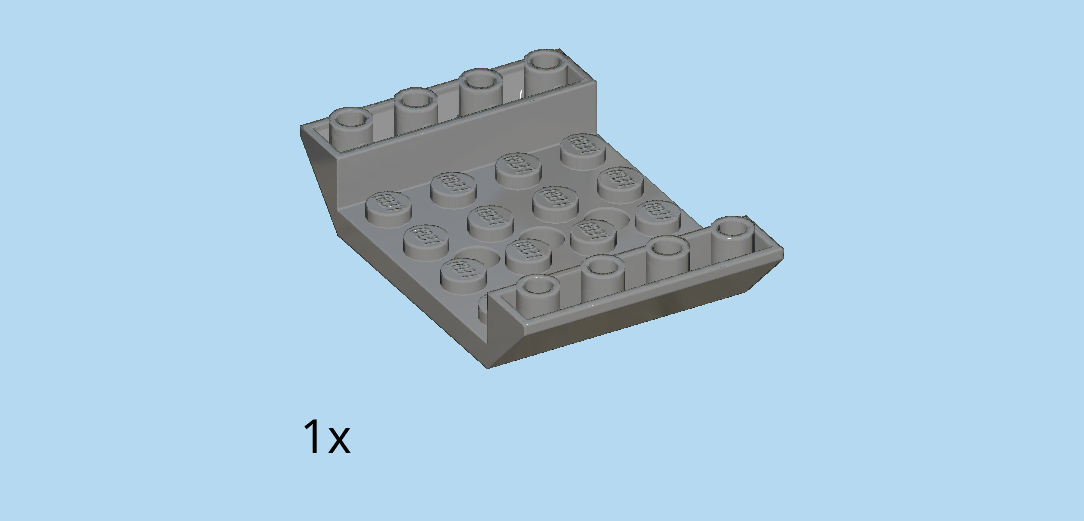
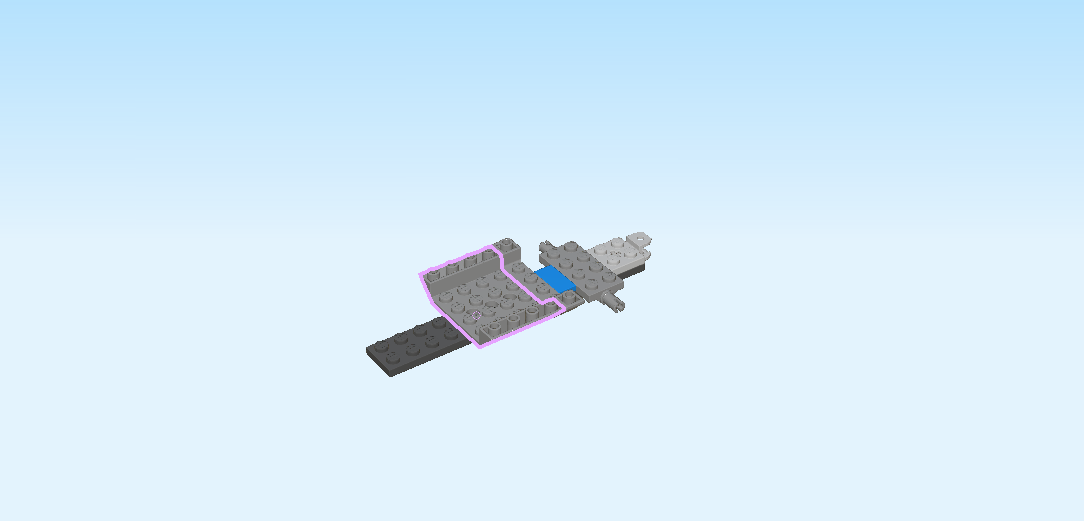
| Find 1 dark stone grey inverted double roof tile 4x6 with 3 holes, 45°. |
| Put it vertically centered to the left of the previous piece, slopes to the front and back. |
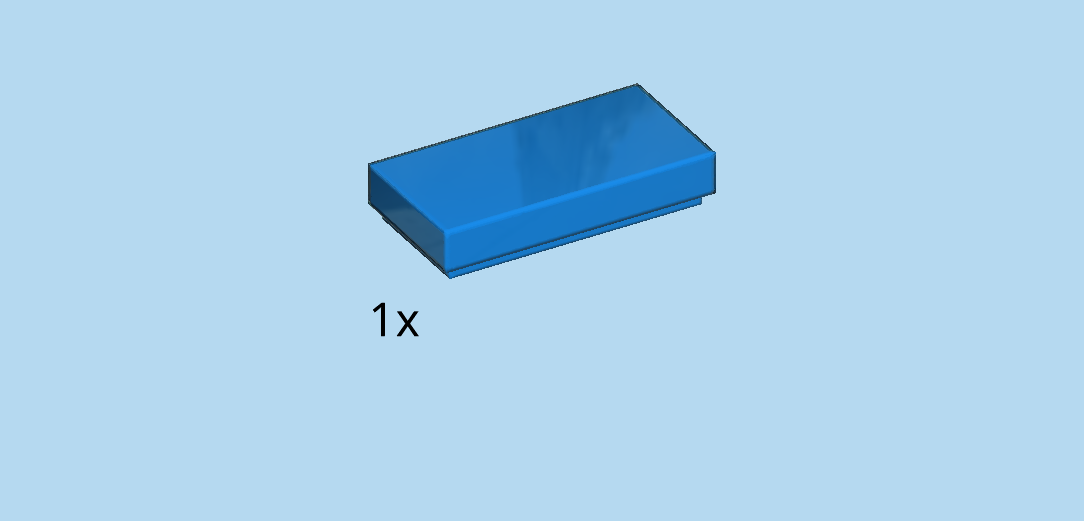
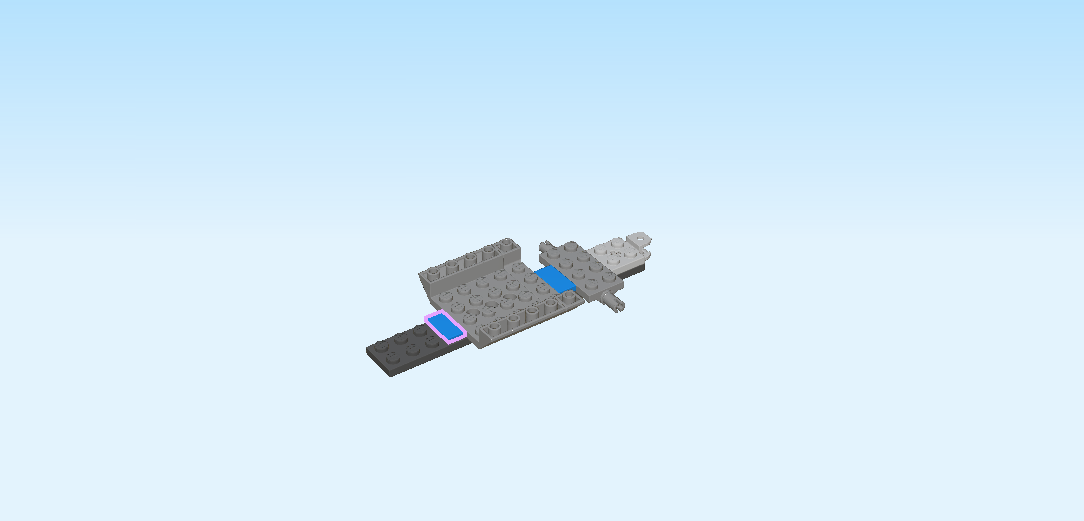
| Find 1 bright blue flat tile 1x2. |
| Put it vertically to the left of the previous piece. |
| Find 1 dark stone grey plate 2x4 with 2 side connector pins. |
| Put it vertically centered to the left of the previous piece, connectors to the front and back. |
| Find 1 bright blue flat tile 1x2. |
| Put it vertically to the left of the previous piece. |
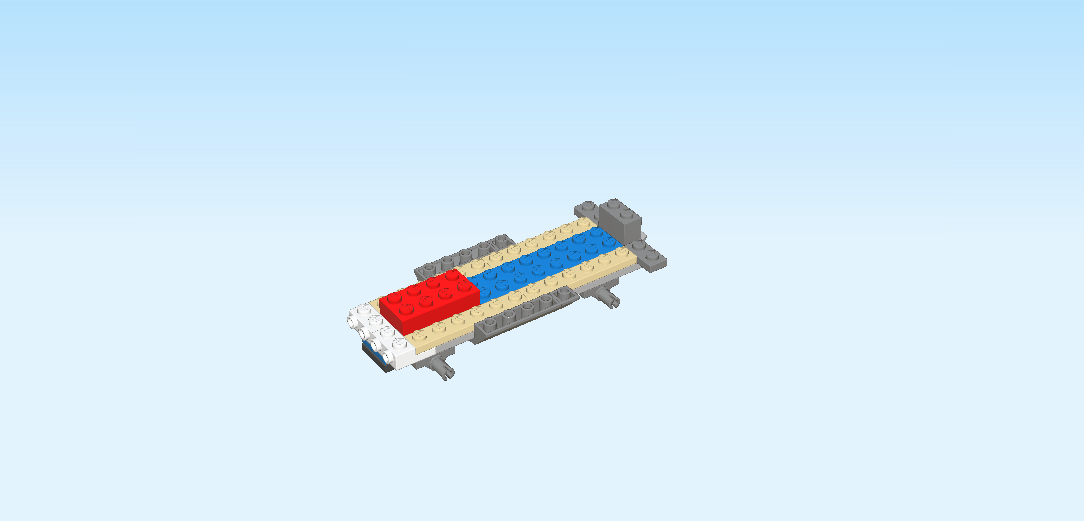
| Find 1 medium stone grey plate 2x12. |
| Put it horizontally on the 2 backmost rows of the lower level, starting from the right edge. |
| Find 1 white one-stepped plate 2x2x⅔ with 2 side knobs. |
| Put it to the left of the previous piece, side knobs pointing to the left. This piece only connects to 2 knobs. |
| Find 1 medium stone grey plate 2x12. |
| Put it horizontally on the 2 frontmost rows of the lower level, starting from the right edge. |
| Find 1 white one-stepped plate 2x2x⅔ with 2 side knobs. |
| Put it to the left of the previous piece, side knobs pointing to the left. |
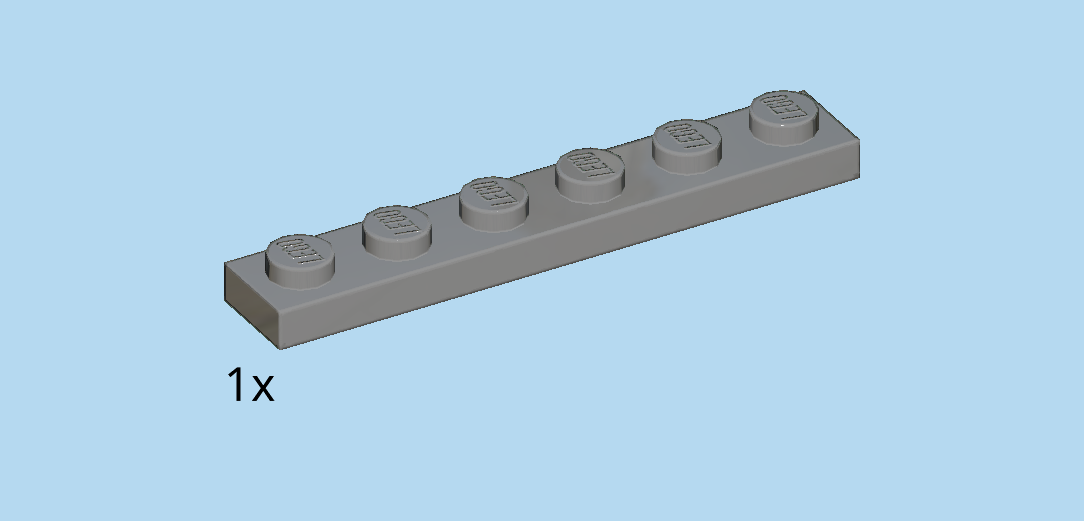
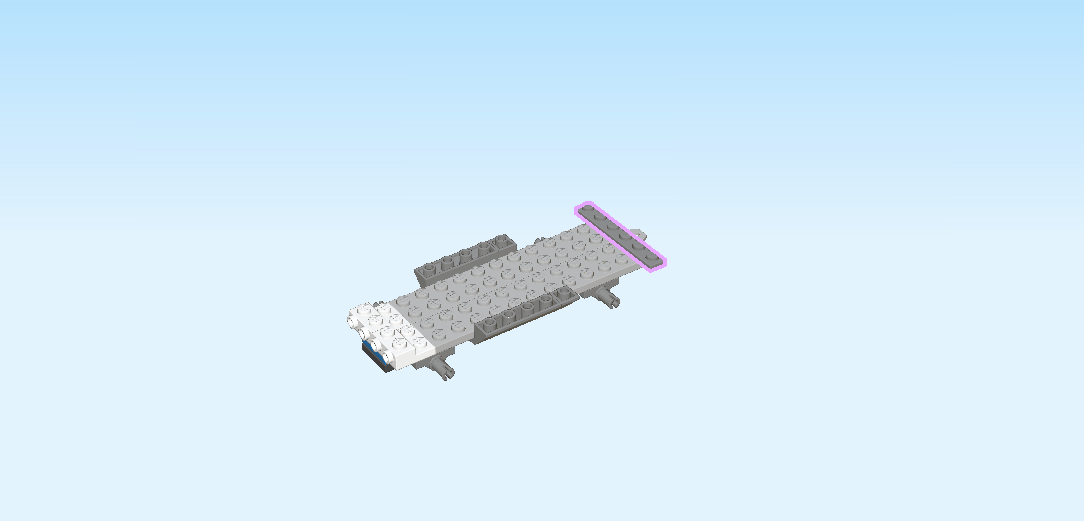
| Find 1 dark stone grey plate 1x6. |
| Put it vertically centered on the rightmost column. |
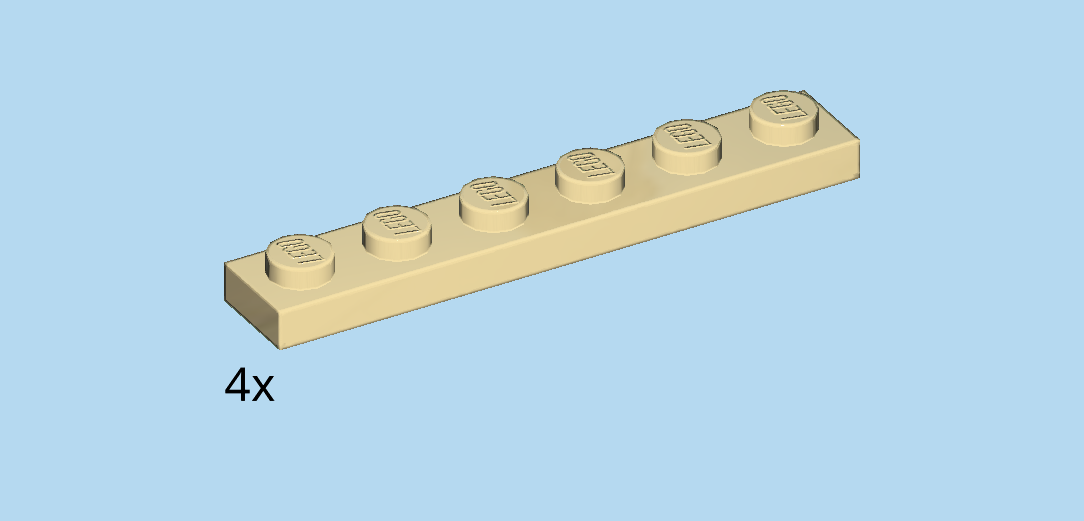
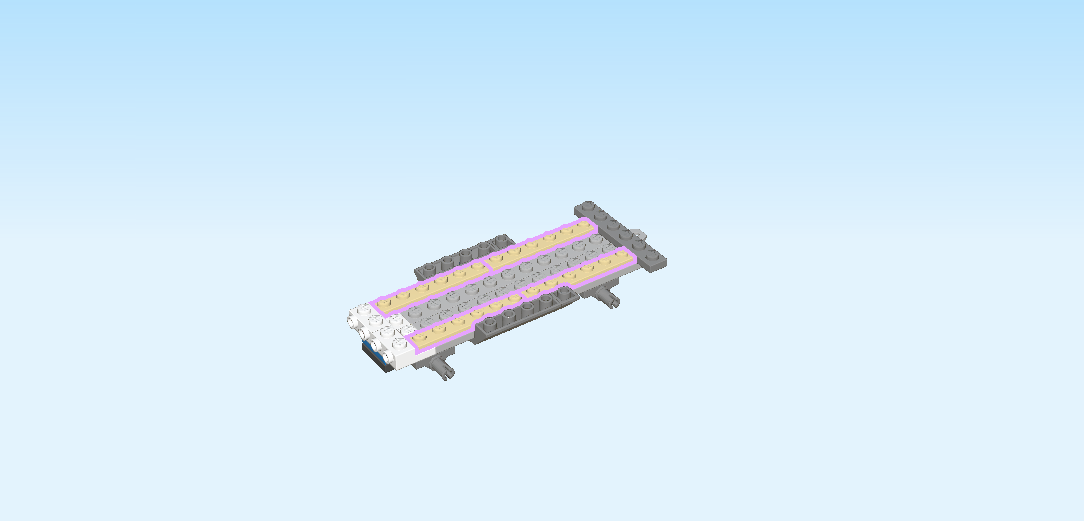
| Find 4 pale ocher yellow plates 1x6. |
| Put 1 horizontally to the left of the previous piece on the backmost row of the lower level. |
| Put another 1 horizontally to the left of the previous piece. |
| Repeat symmetrically on the front row of the lower level with the 2 remaining pieces. |
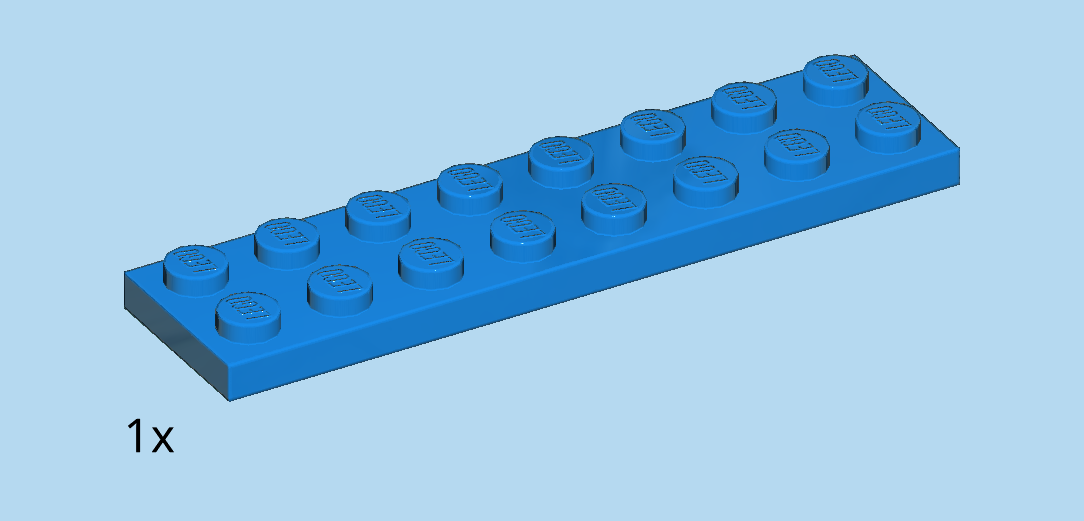
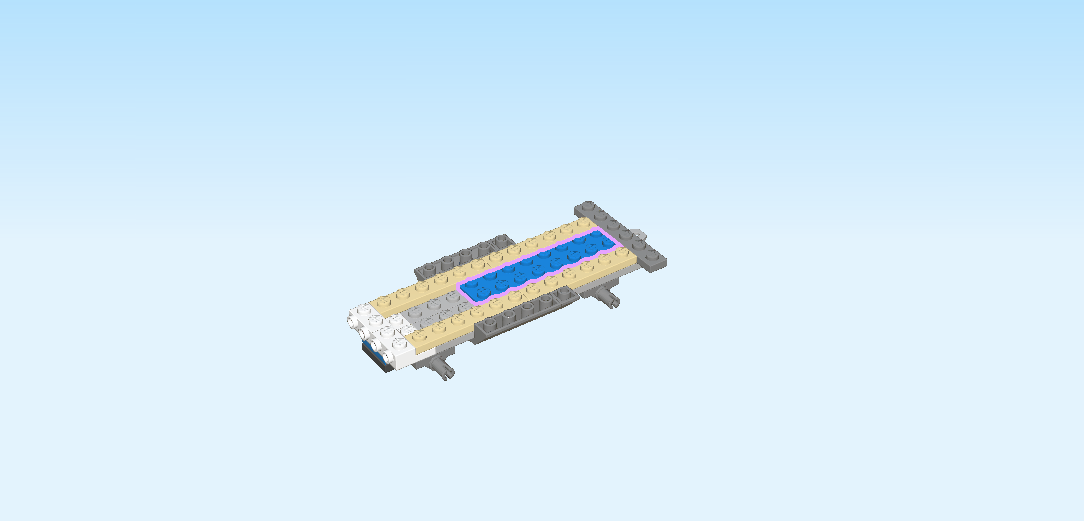
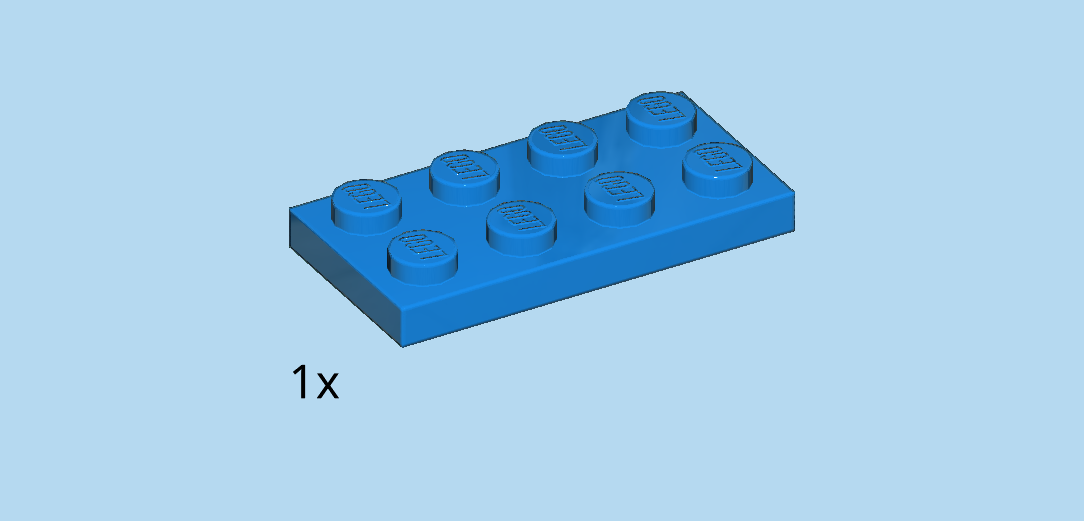
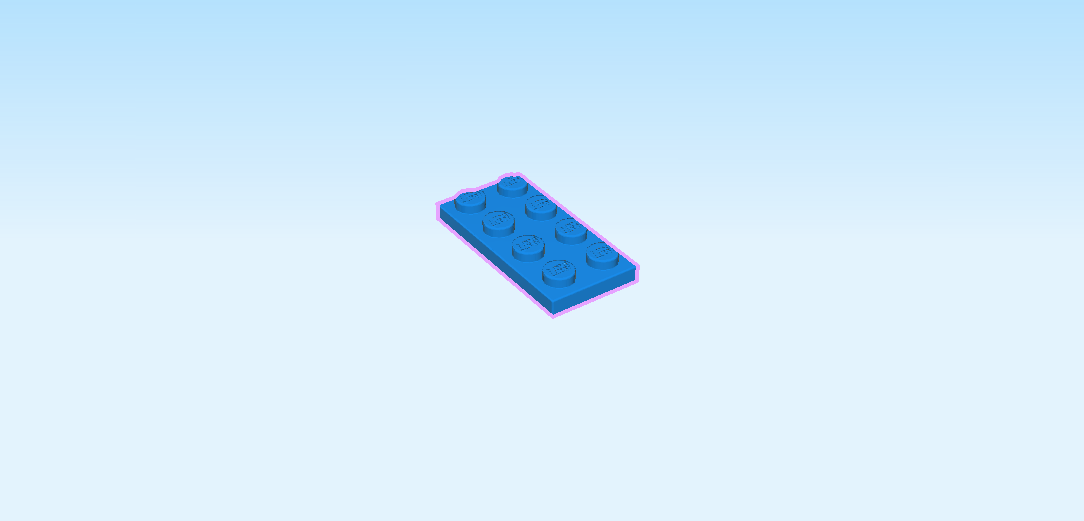
| Find 1 bright blue plate 2x8. |
| Put it horizontally on the 2 middle rows, starting on the second column from the right. |
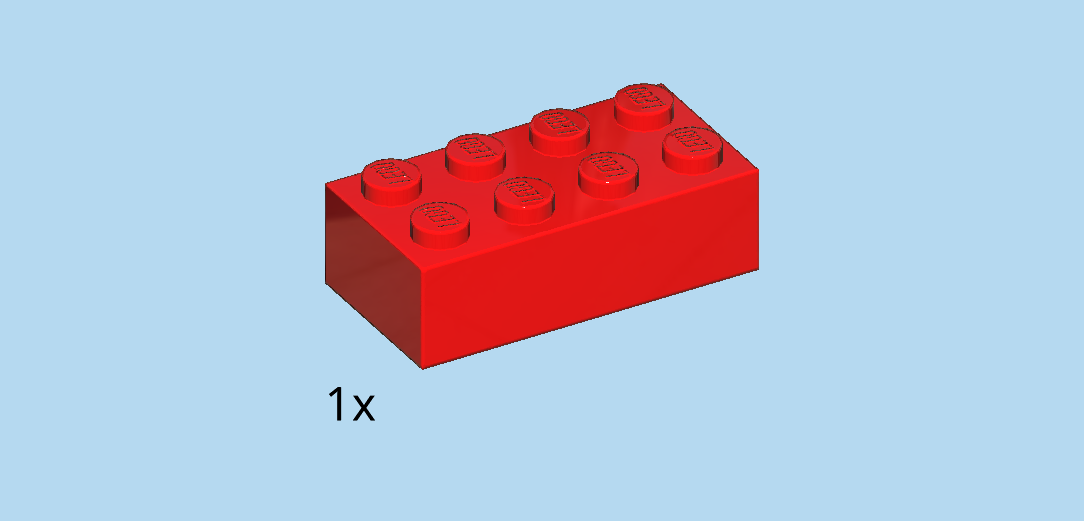
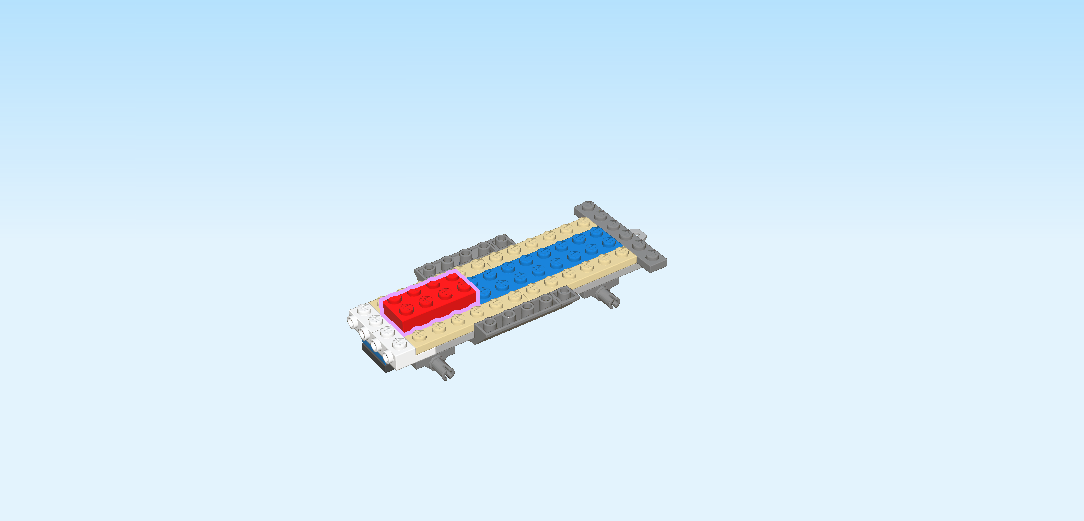
| Find 1 bright red brick 2x4. |
| Put it horizontally to the left of the previous piece. |
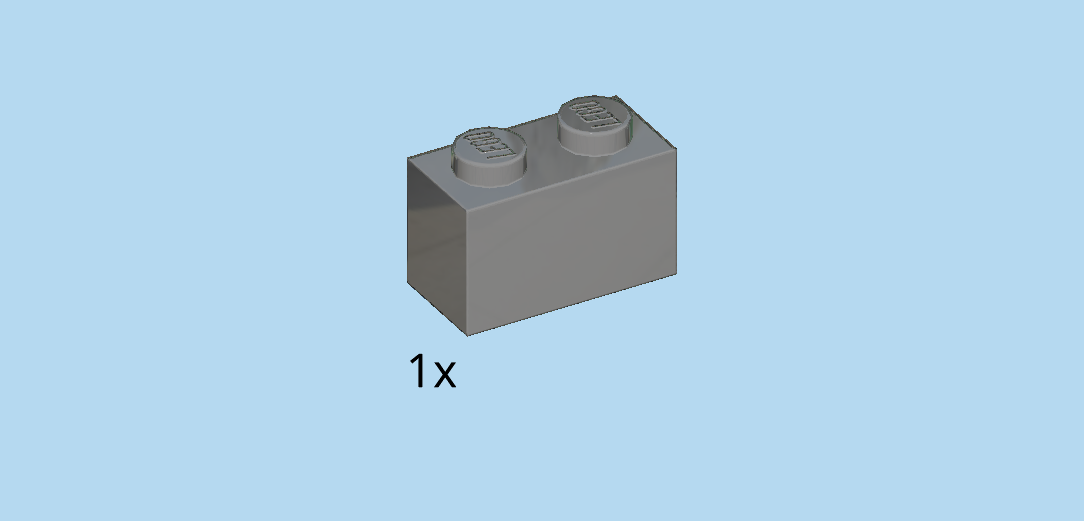
| Find 1 dark stone grey brick 1x2. |
| Continue if you want to decorate this piece with a sticker now. If not, skip the next 3 sentences. |
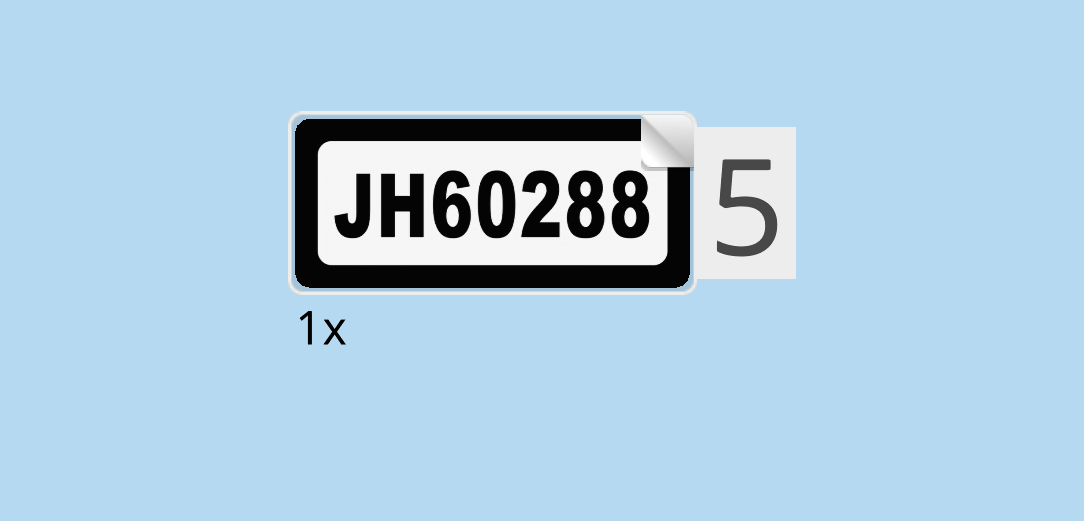
| Find 1 small rectangular sticker number 5. Ask a sighted person to help you find the correct sticker. |
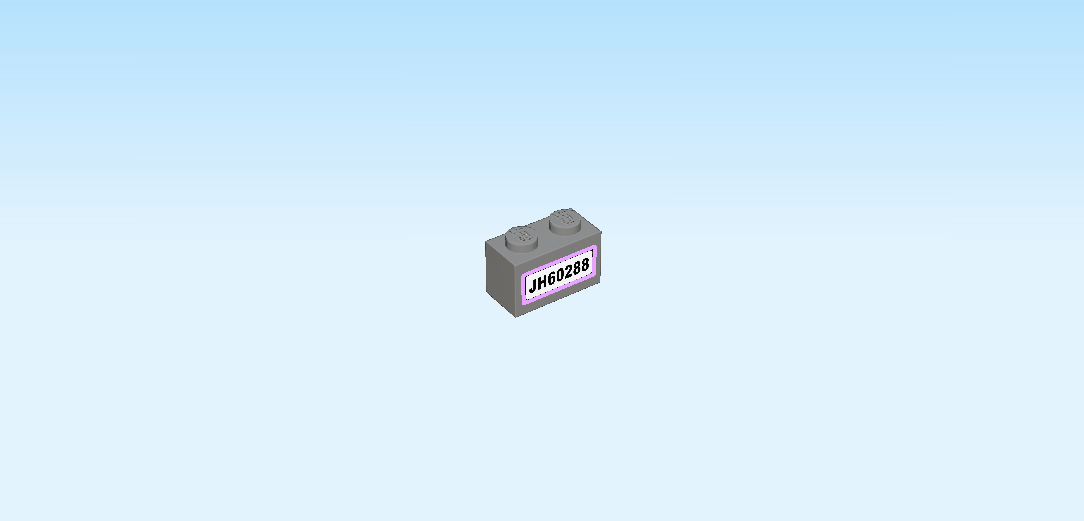
| Put it on one of the long side surfaces of the brick 1x2. |
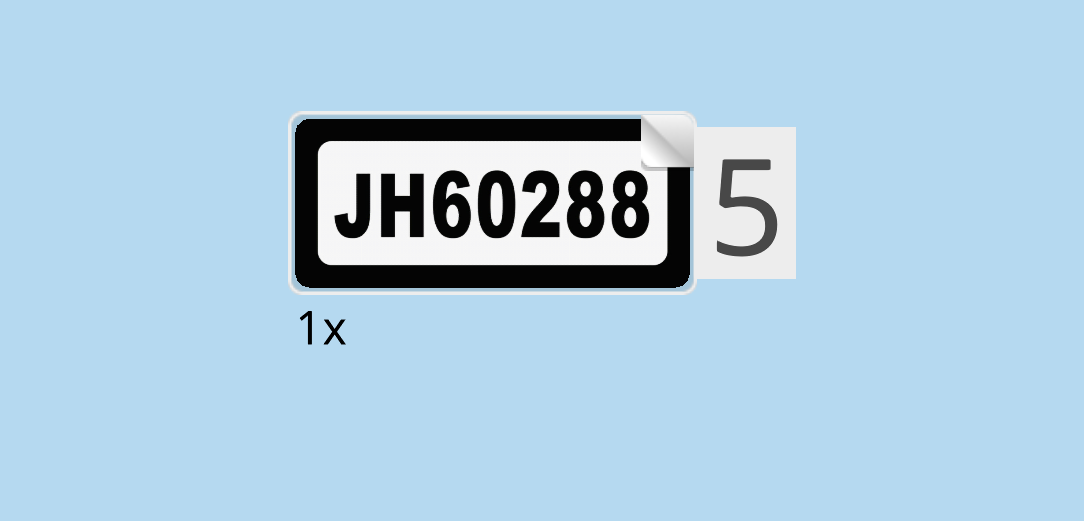
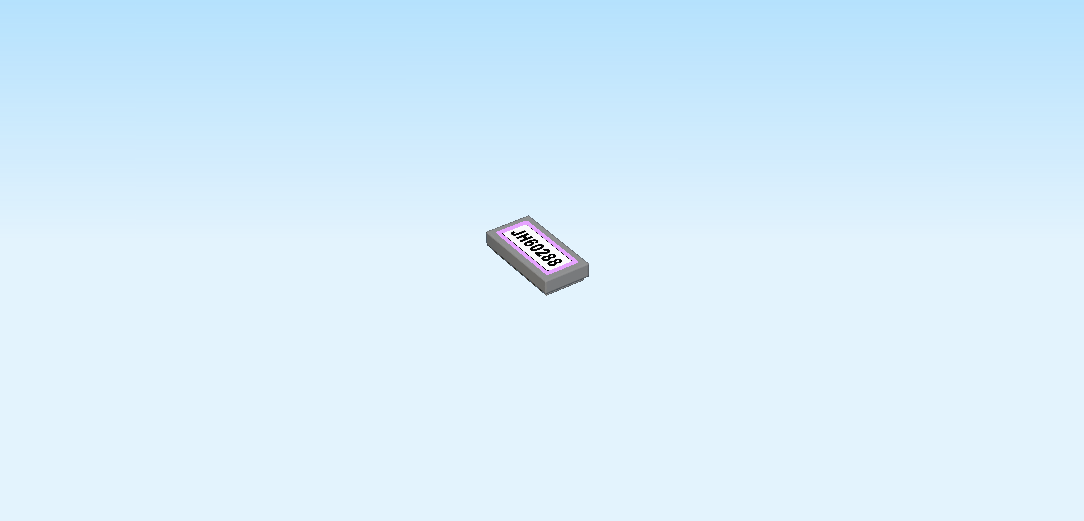
| The sticker is printed with the license plate. It is white with a bold black frame. The license number is "J H 6 0 2 8 8 " and is printed in black letters. |
| Mount this piece vertically centered on the rightmost column, sticker to the right. |
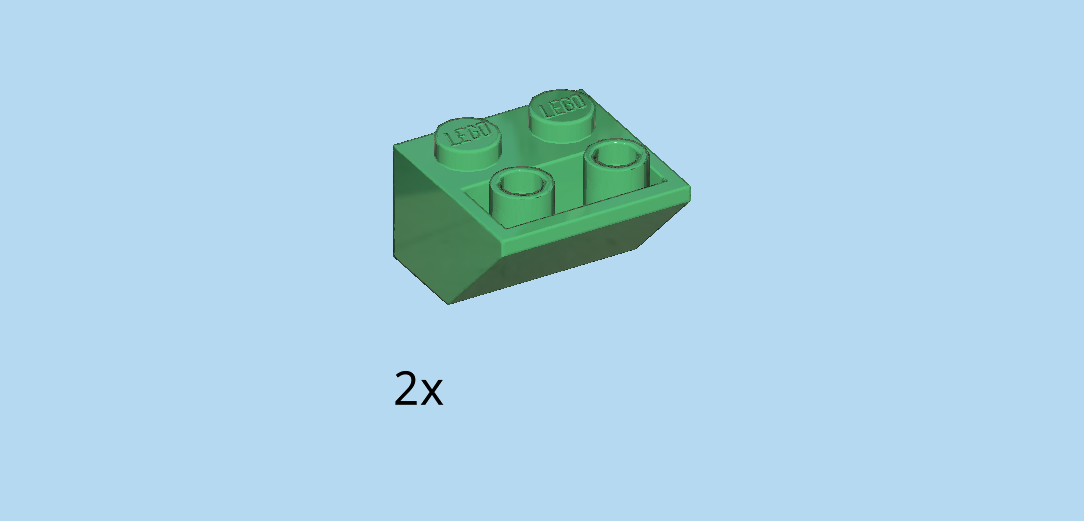
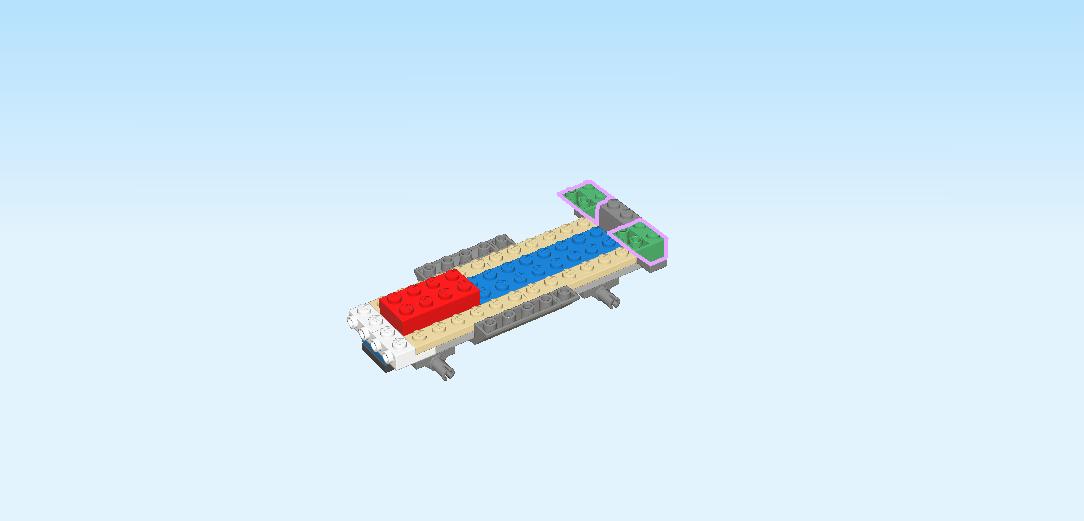
| Find 2 dark green inverted roof tiles 2x2, 45°. |
| Put 1 behind the previous piece, slope to the left. |
| Repeat symmetrically at the front. |
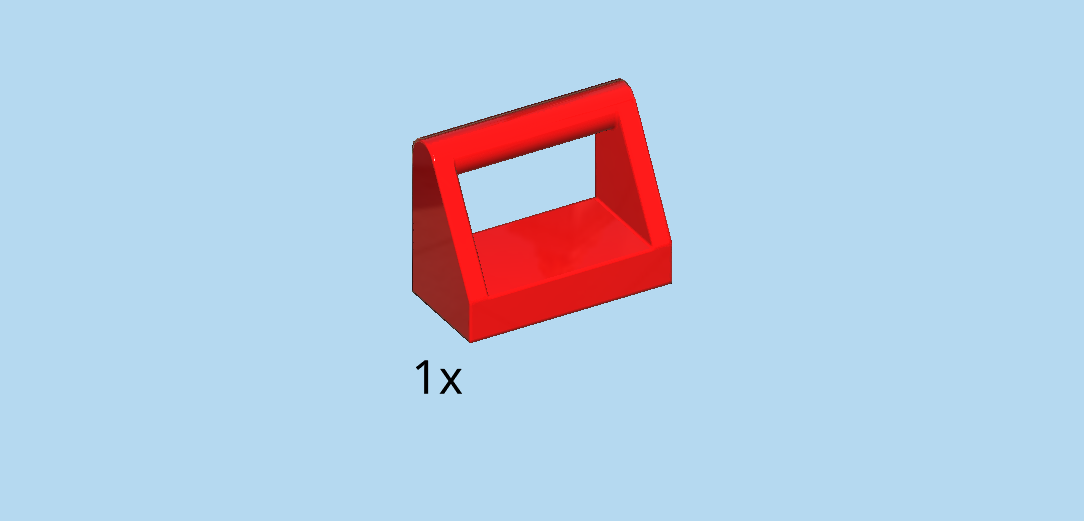
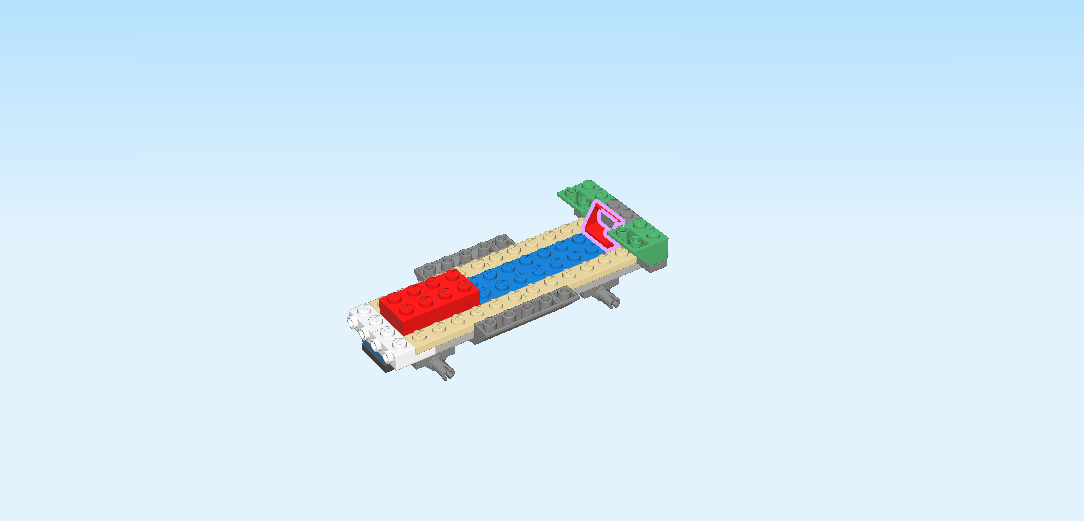
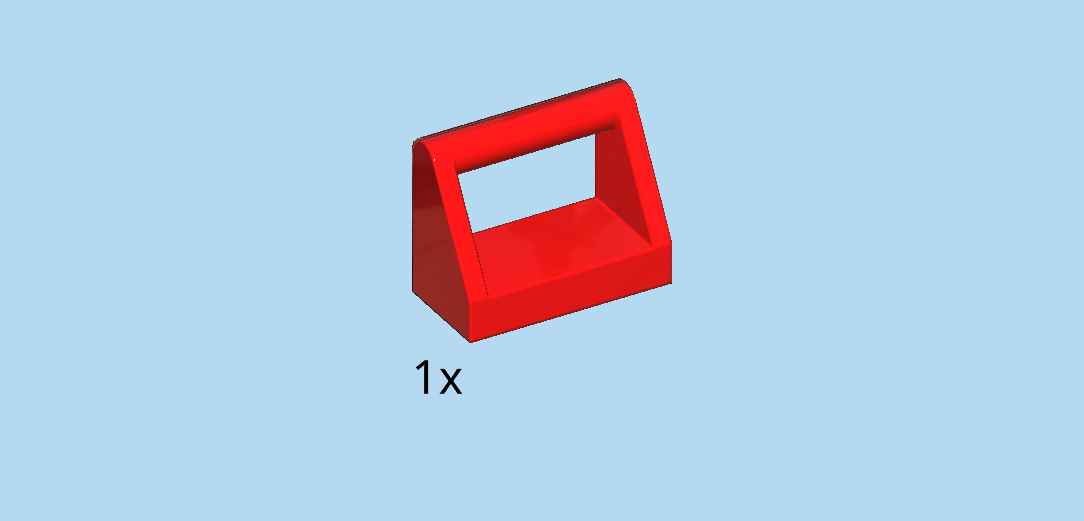
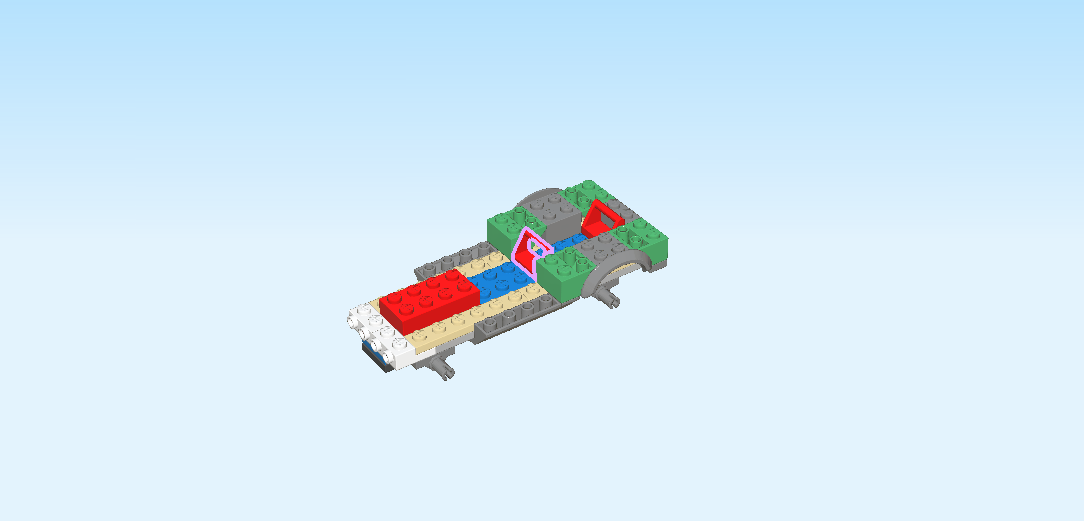
| Find 1 bright red plate 1x2 with angled top handle. |
| Put it vertically between the slopes of the 2 previous pieces, angle to the left. |
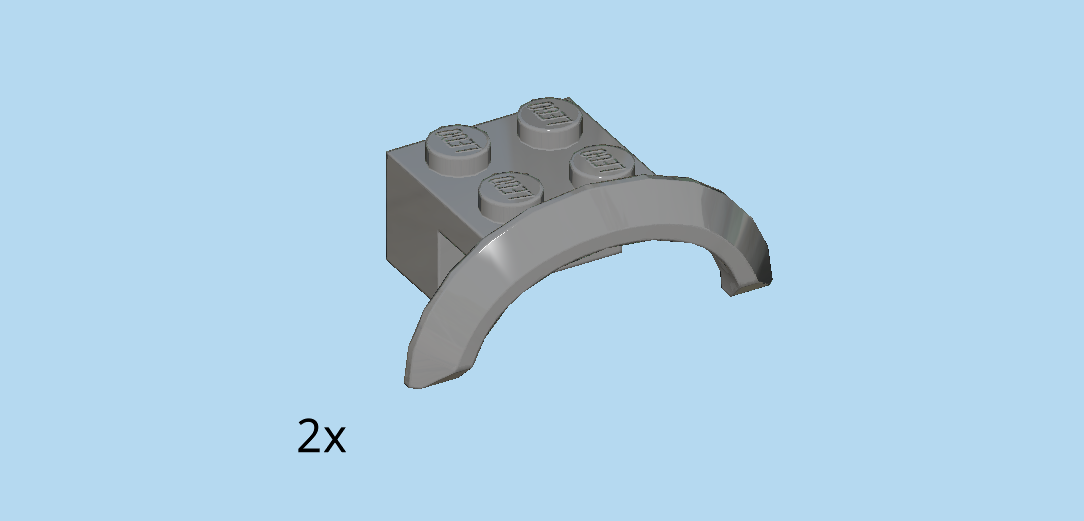
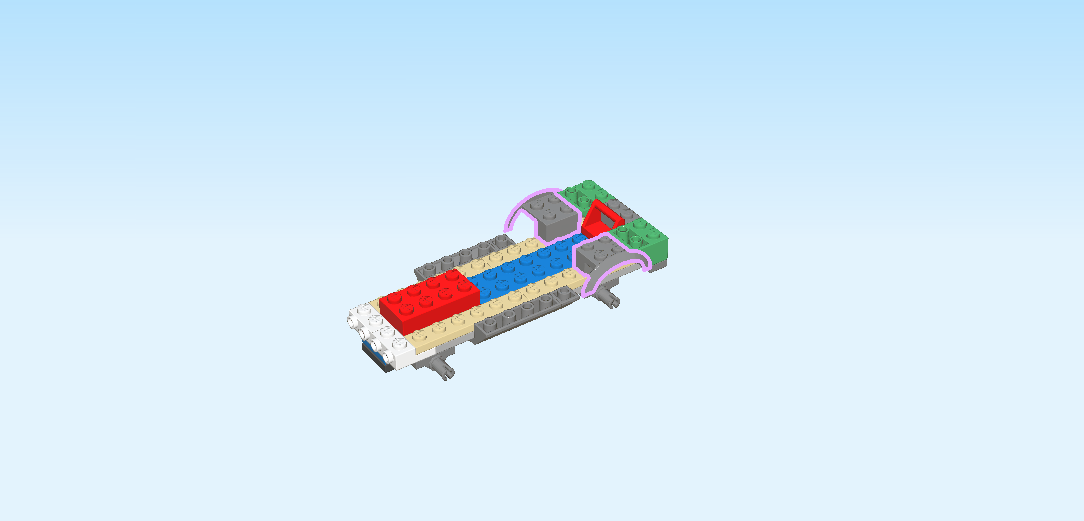
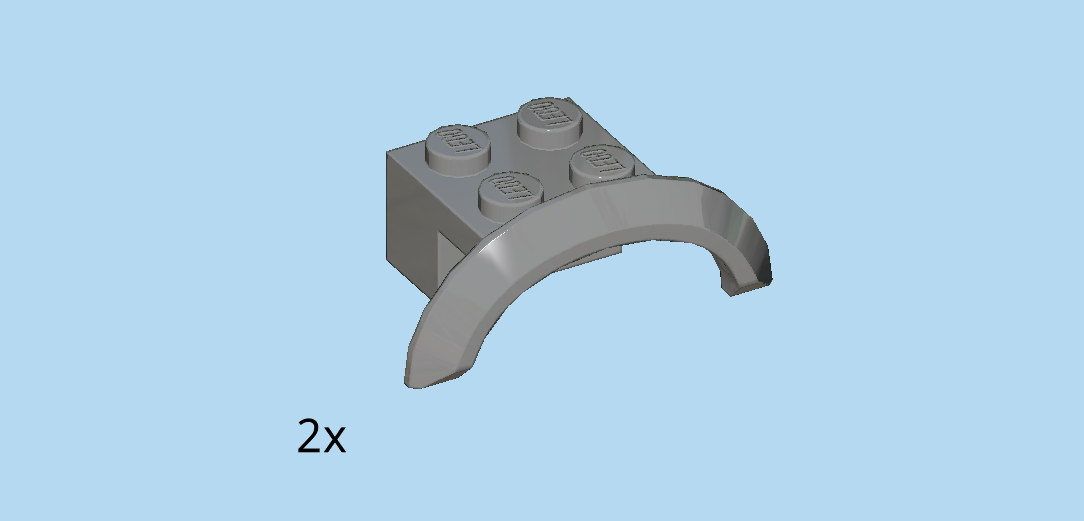
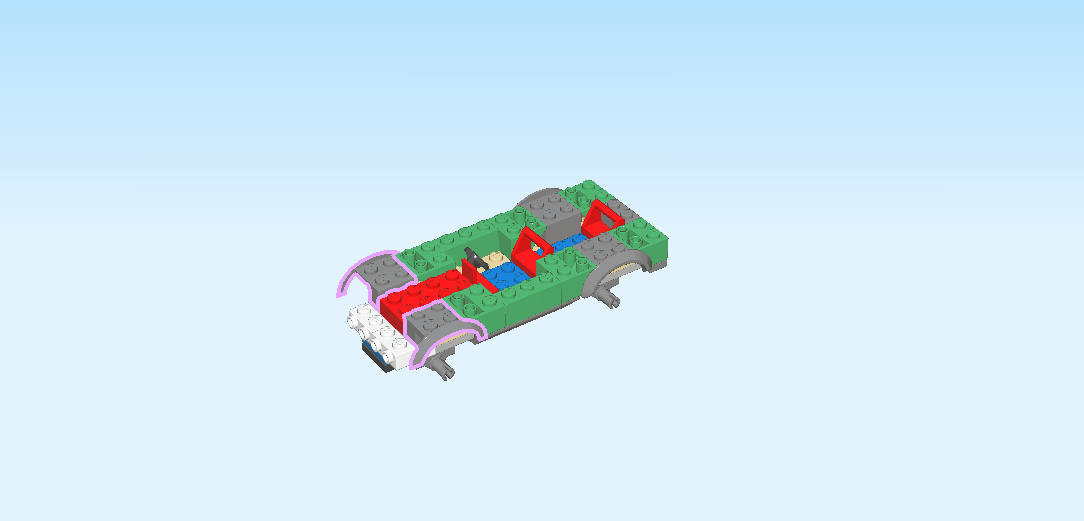
| Find 2 dark stone grey bricks 2x4x1 with short round mudguard. |
| Put 1 horizontally to the left of the roof tile at the back, 1 row and mudguard overhanging to the back. |
| Repeat symmetrically at the front. |
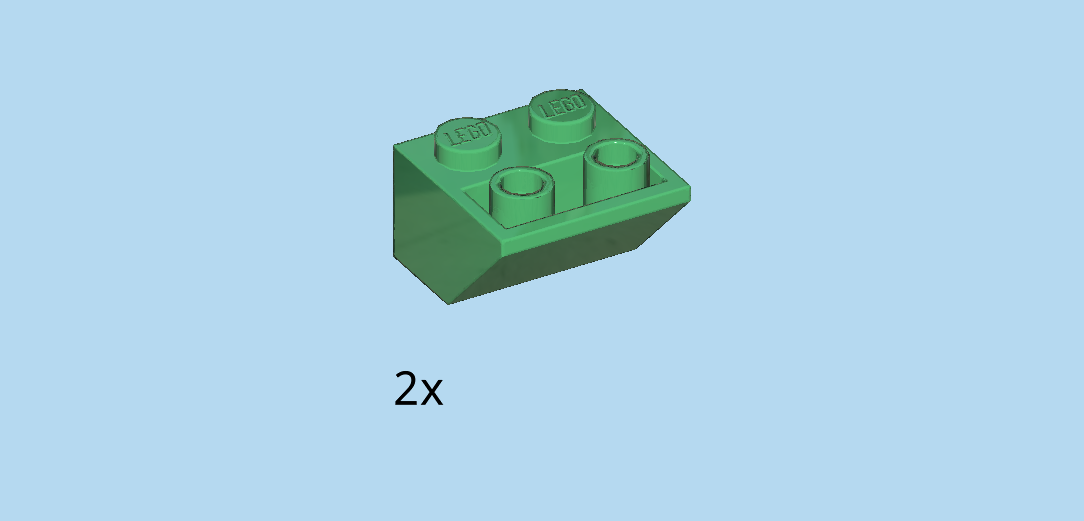
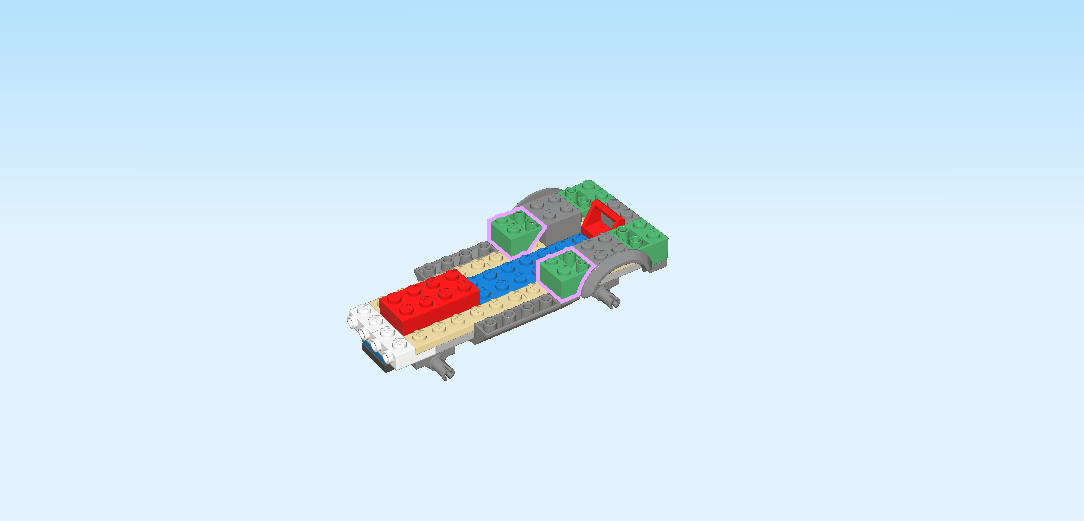
| Find 2 dark green inverted roof tiles 2x2, 45°. |
| Put 1 to the left of the previous piece, slope to the right. |
| Repeat symmetrically at the back. |
| Find 1 bright red plate 1x2 with angled top handle. |
| Put it vertically between the 2 previous pieces, making sure the bottoms of the pieces are flush on the left, angles to the left. |
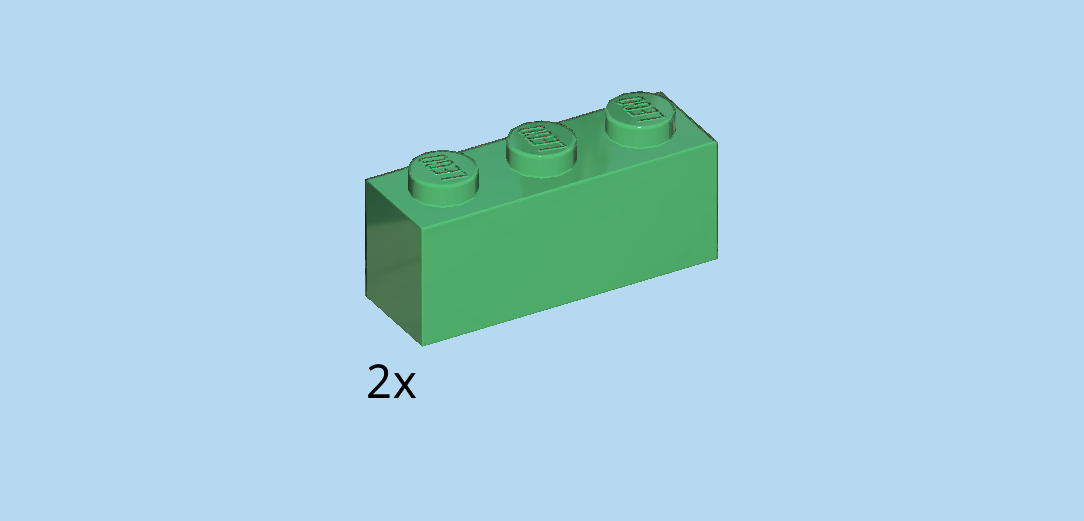
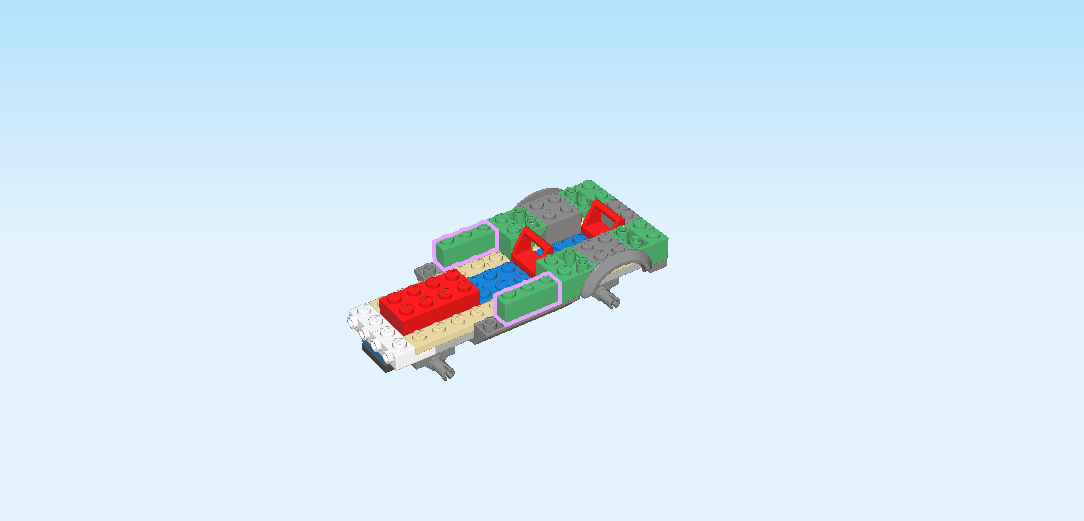
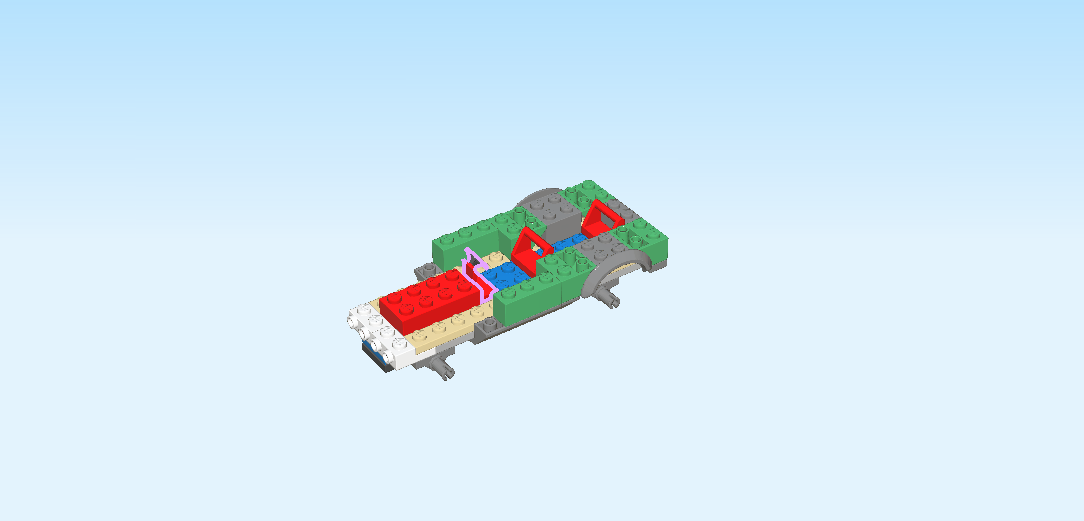
| Find 2 dark green bricks 1x3. |
| Put 1 horizontally on the backmost row of the structure, leaving its leftmost knob empty. |
| Repeat symmetrically at the front. |
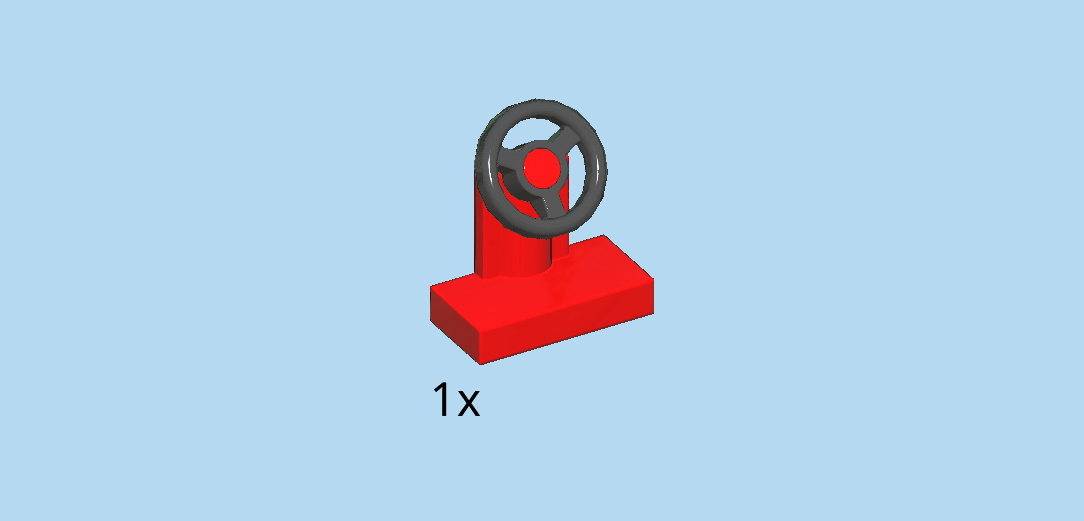
| Find 1 black and bright red small steering wheel with plate 1x2. |
| Put it vertically centered on the 6th column from the left, steering wheel to the right. |
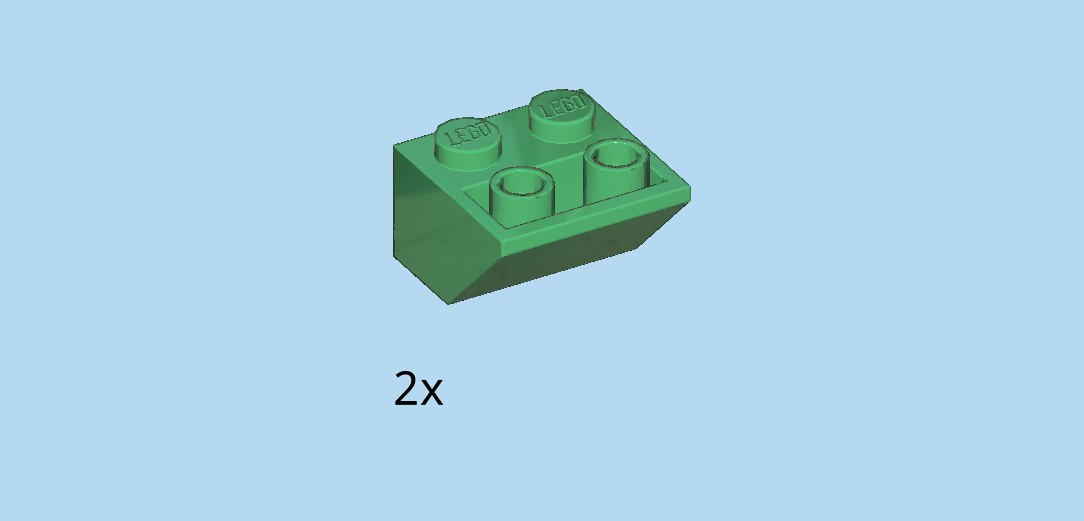
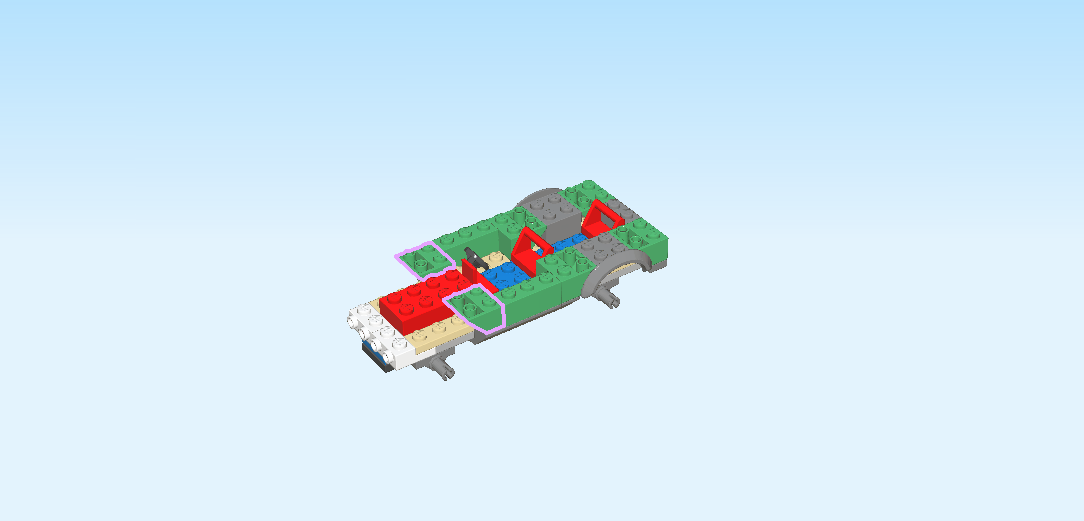
| Find 2 dark green inverted roof tiles 2x2, 45°. |
| Put 1 on the leftmost knob of the frontmost row and the knob behind it, slope overhanging to the left. |
| Repeat symmetrically at the back. |
| Find 2 dark stone grey bricks 2x4x1 with short round mudguard. |
| Put 1 horizontally to the left of the previous piece, 1 row and mudguard overhanging to the back. |
| Repeat symmetrically at the front. |
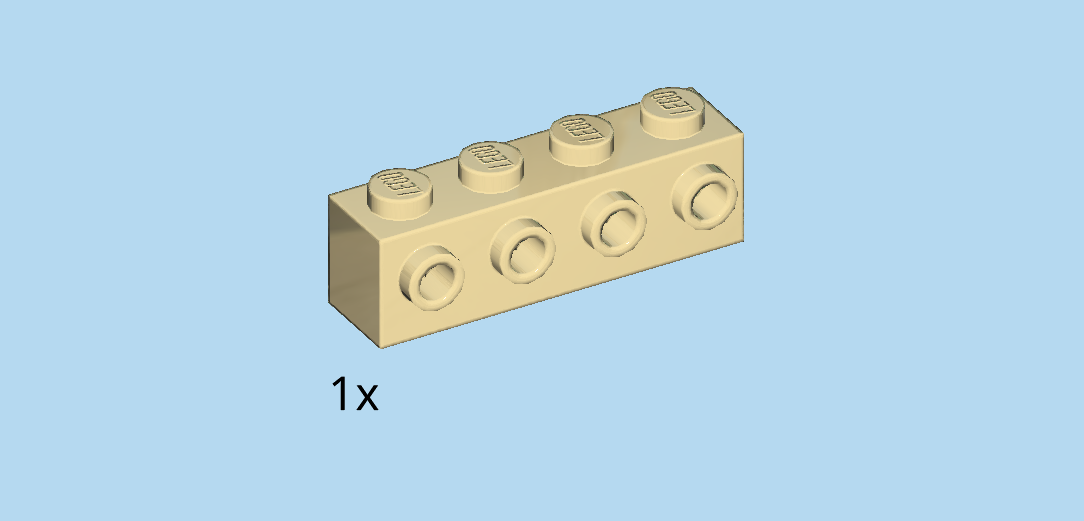
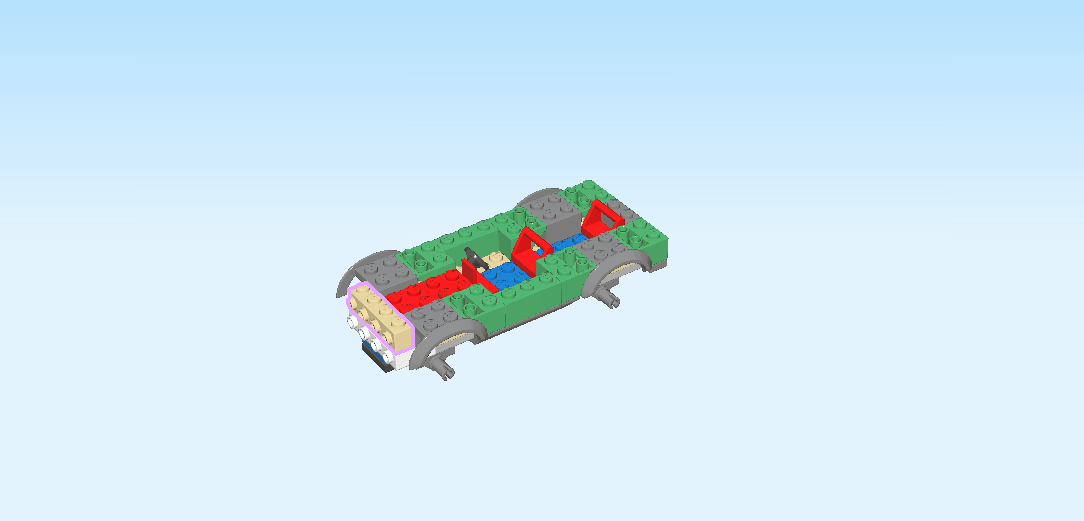
| Find 1 pale ocher yellow brick 1x4 with 4 side knobs. |
| Put it vertically on the leftmost column, side knobs to the left. |
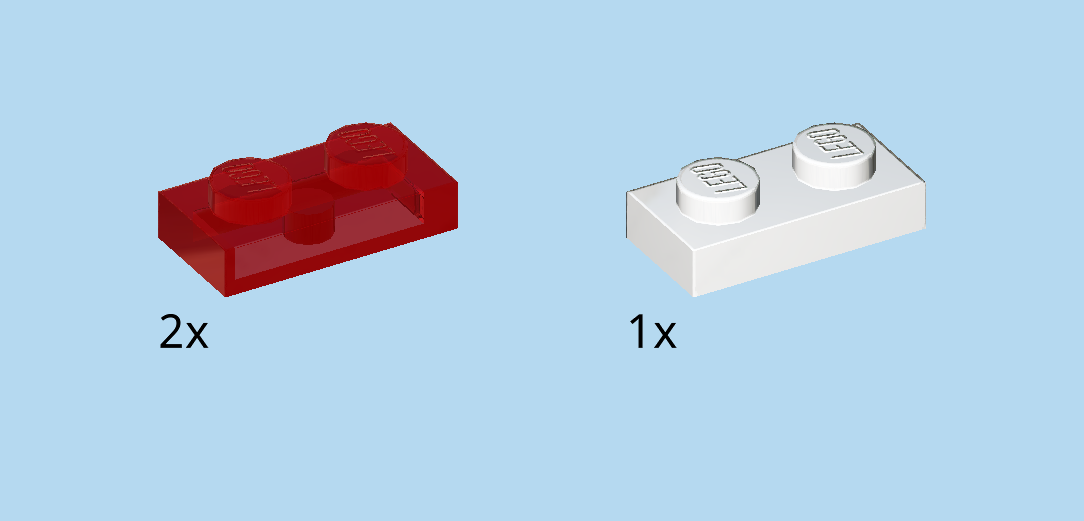
| Collect the following 3 pieces: |
| 2 transparent red plates 1x2, |
| and 1 white plate 1x2. |
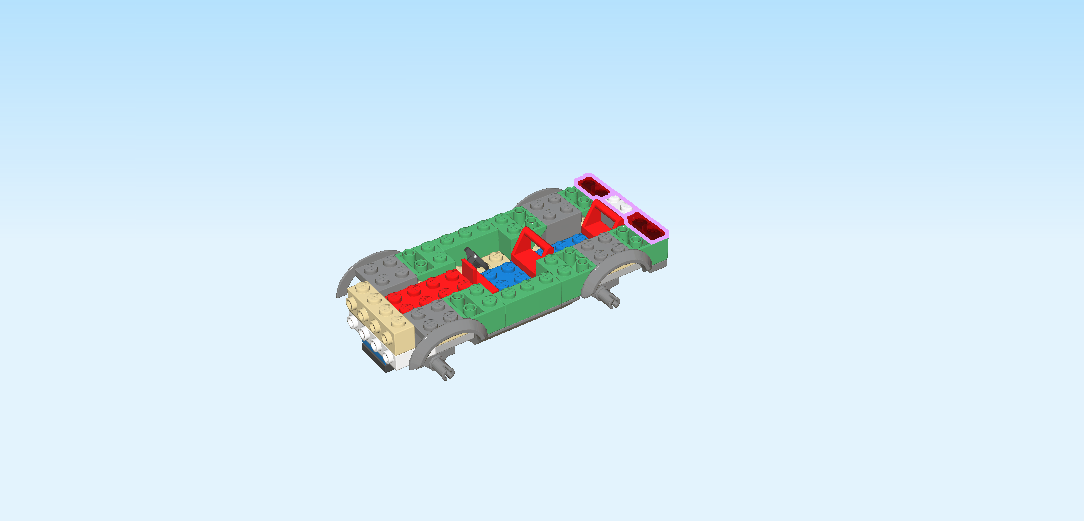
| Put the white plate 1x2 vertically centered on the rightmost column. |
| Put 1 transparent red plate 1x2 vertically behind the previous piece. |
| Repeat symmetrically at the front. |
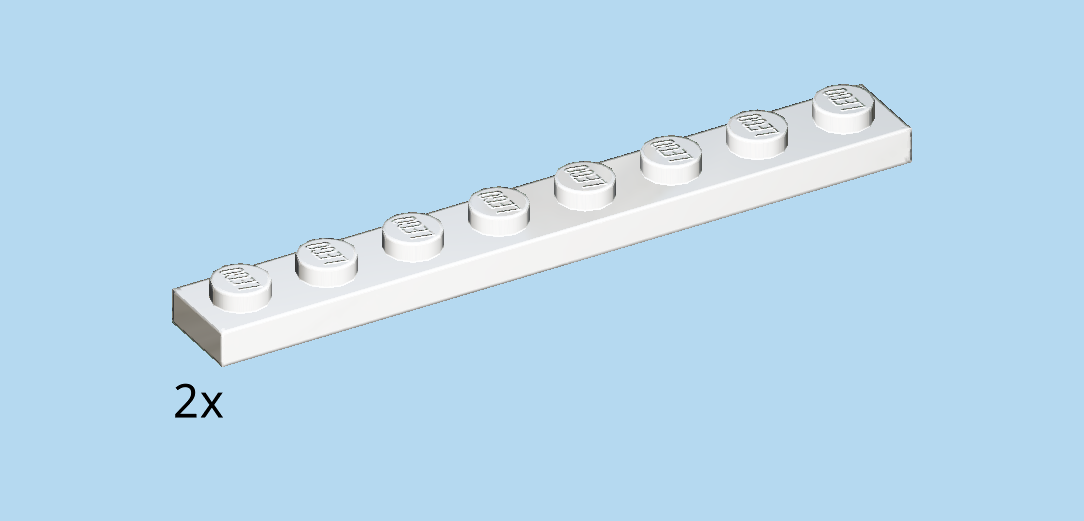
| Find 2 white plates 1x8. |
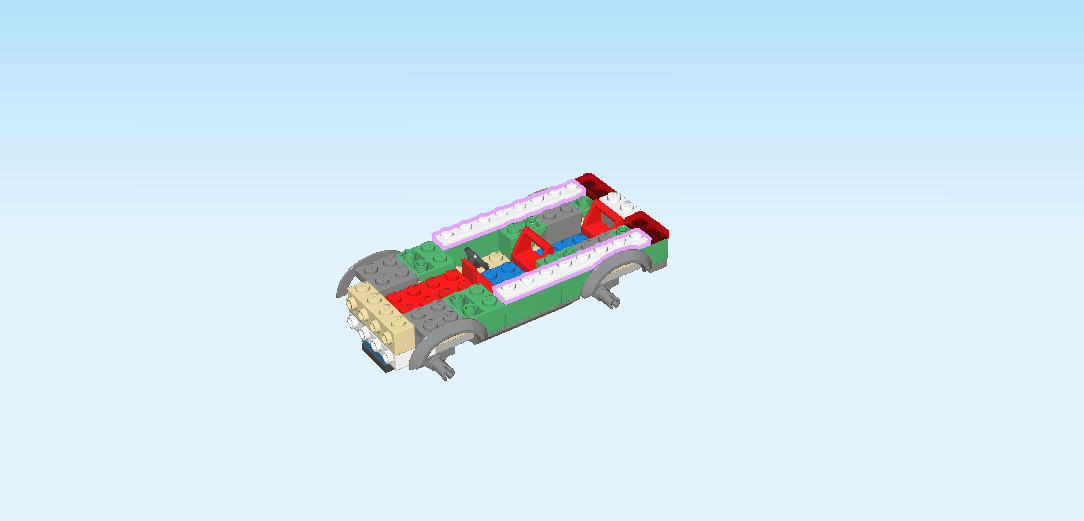
| Put 1 horizontally to the left of the previous piece on the frontmost row. |
| Repeat symmetrically at the back. |
| Find 2 black plates 1x4 with 2 knobs. |
| Put 1 horizontally in front of the previous piece, starting on the second column from the right. |
| Repeat symmetrically at the front. |
| Find 2 black plates 1x2 with upward hook on long side. |
| Put 1 horizontally on the backmost row on the third and fourth knob from the left, upward hook to the back. |
| Repeat symmetrically at the front. |
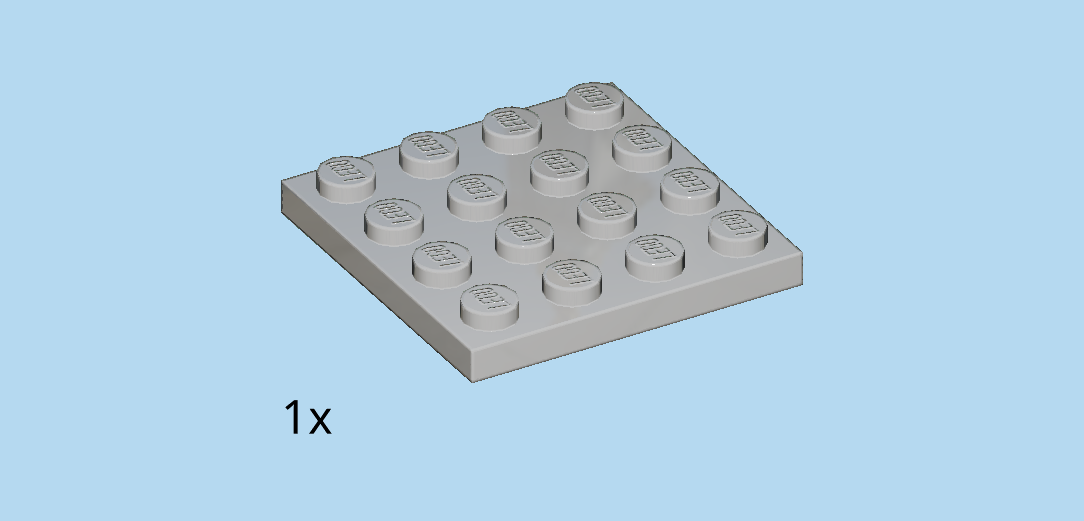
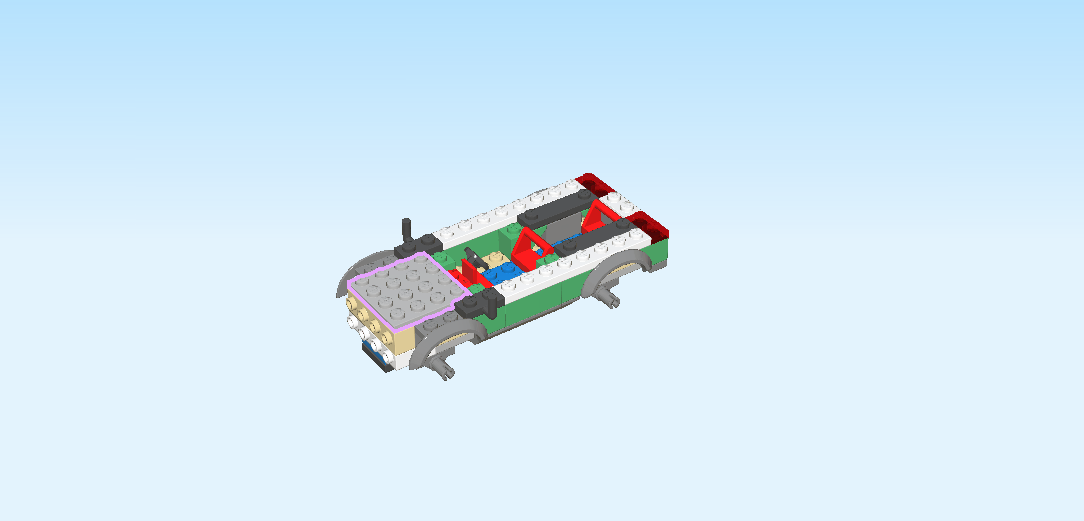
| Find 1 medium stone grey plate 4x4. |
| Put it centered on the leftmost edge. |
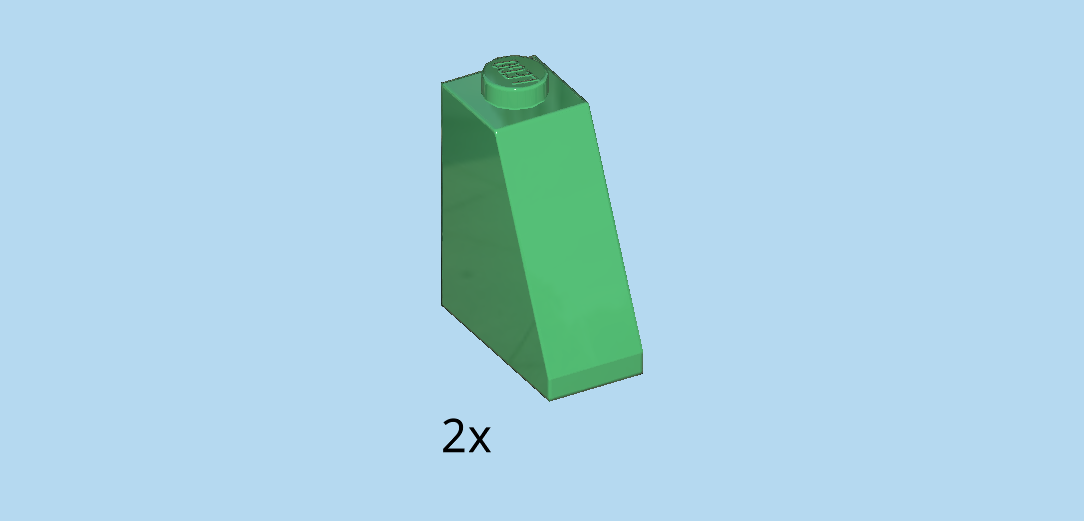
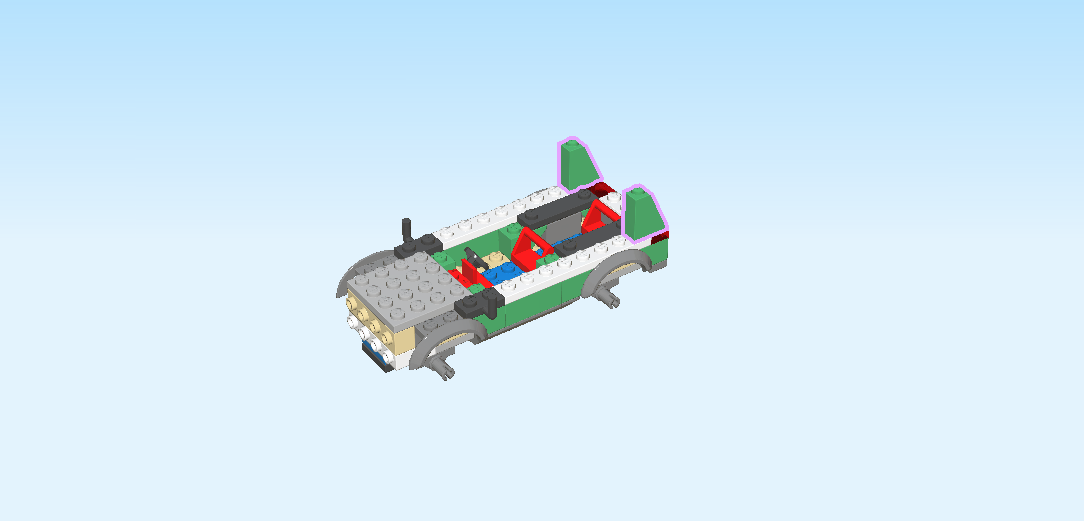
| Find 2 dark green roof tiles 1x2x2, 65°. |
| Put 1 horizontally on the backmost row, starting from the right edge, slope to the right. |
| Repeat symmetrically at the front. |
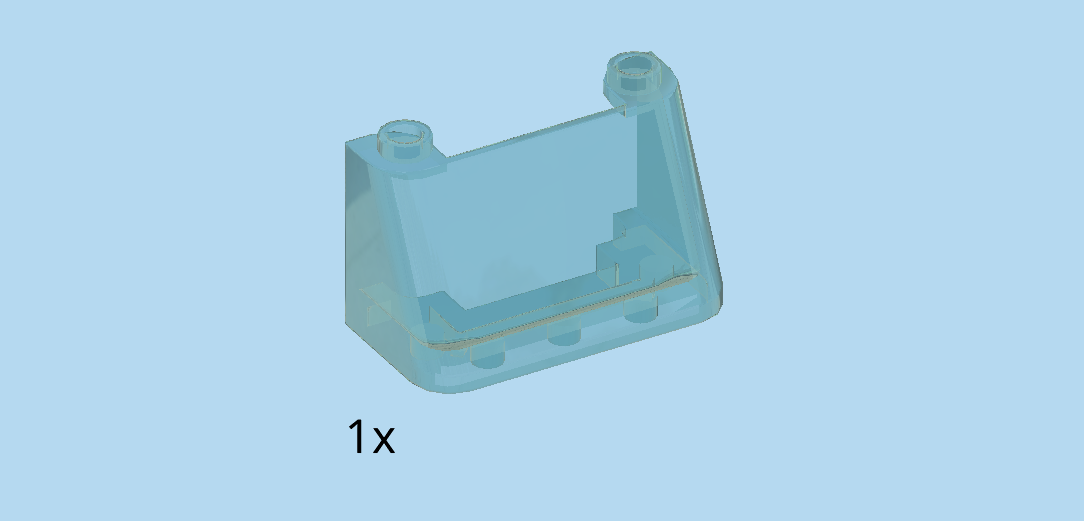
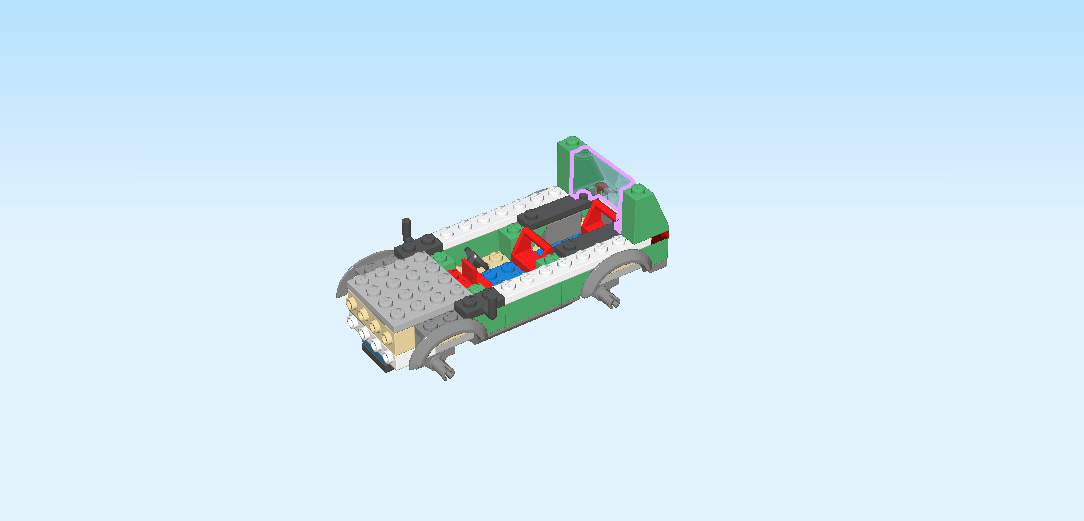
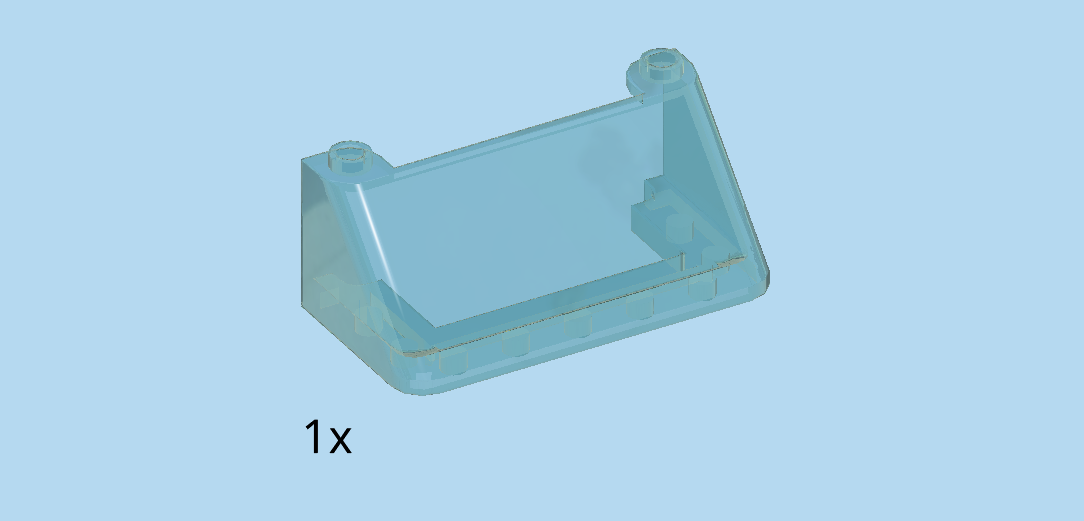
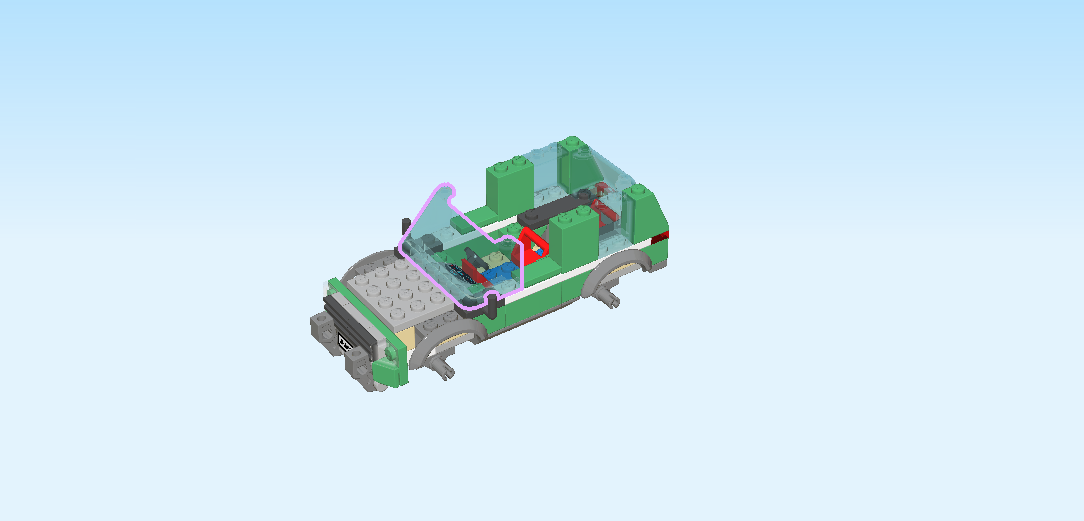
| Find 1 transparent light blue windscreen 2x4x2. |
| Put it vertically between the 2 previous pieces on the rightmost column, slope to the right. If this piece does not fit, try the other windscreen. |
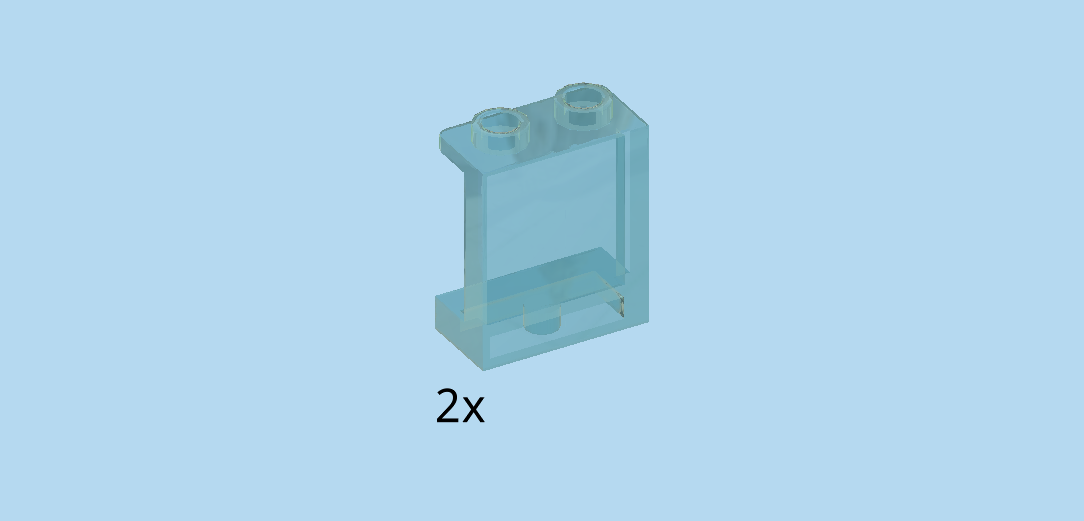
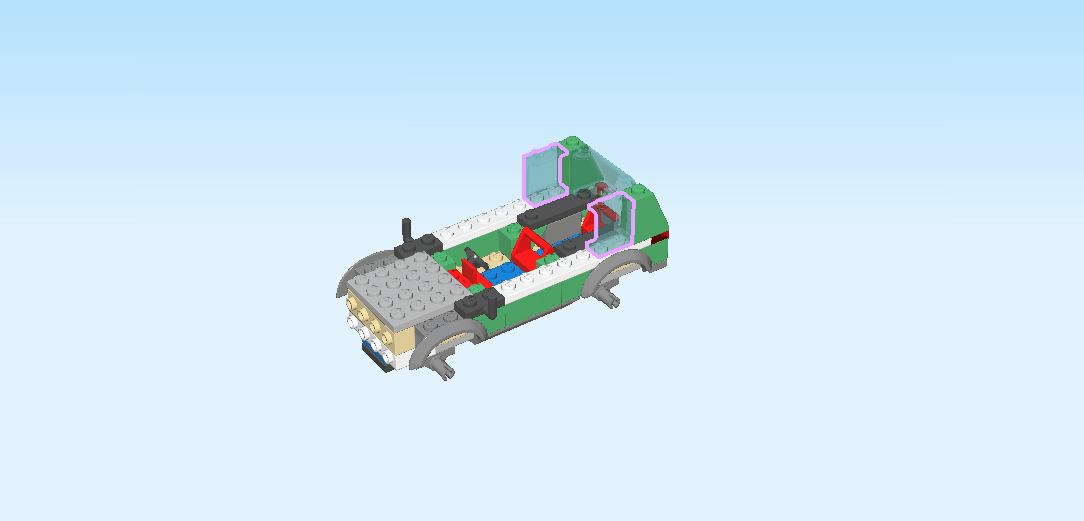
| Find 2 transparent light blue wall elements 1x2x2 with 2 top knobs. |
| Put 1 horizontally on the backmost row to the left of the roof tile, panel to the back. |
| Repeat symmetrically at the front. |
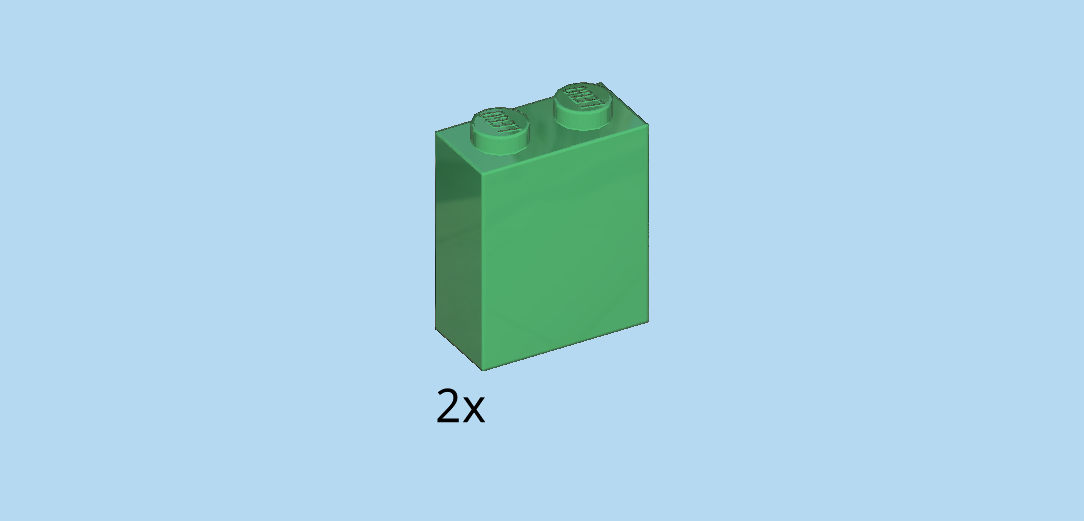
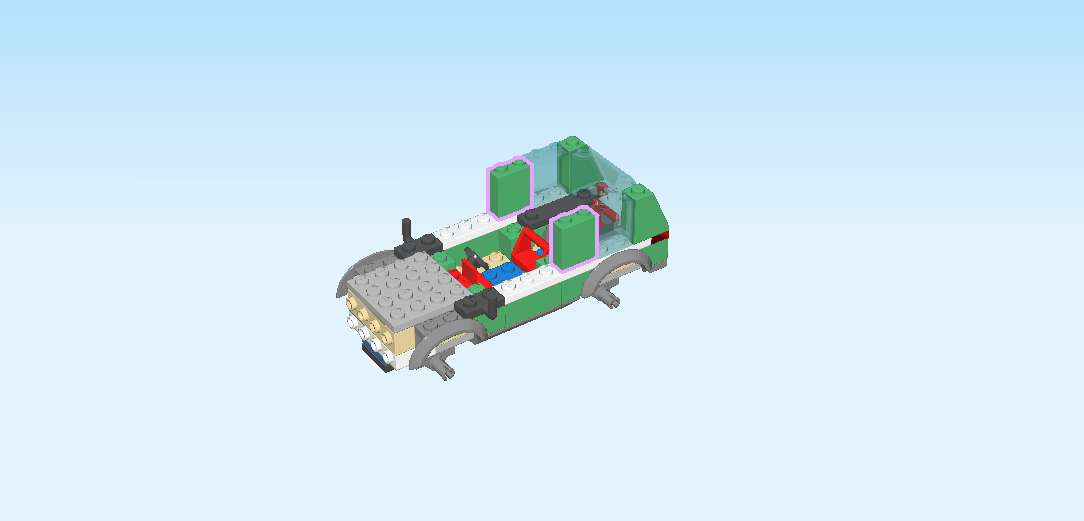
| Find 2 dark green bricks 1x2x2. |
| Put 1 horizontally to the left of the previous piece. |
| Repeat symmetrically at the back. |
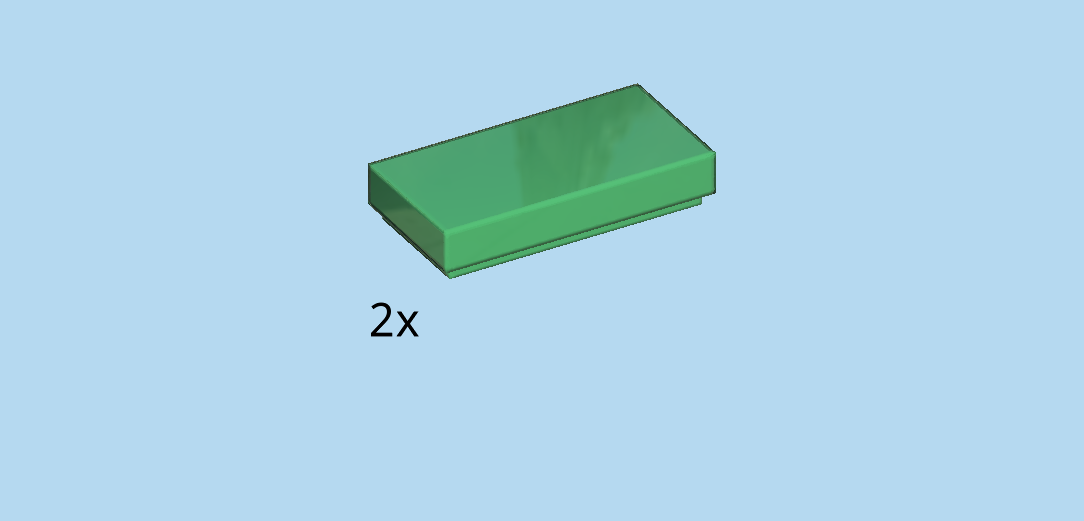
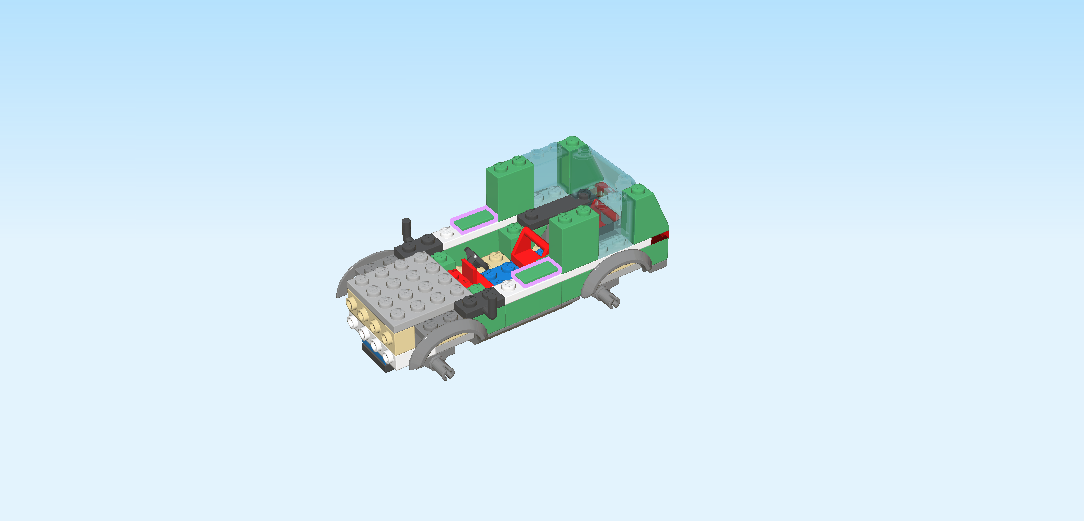
| Find 2 dark green flat tiles 1x2. |
| Put 1 horizontally to the left of the previous piece. |
| Repeat symmetrically at the front. |
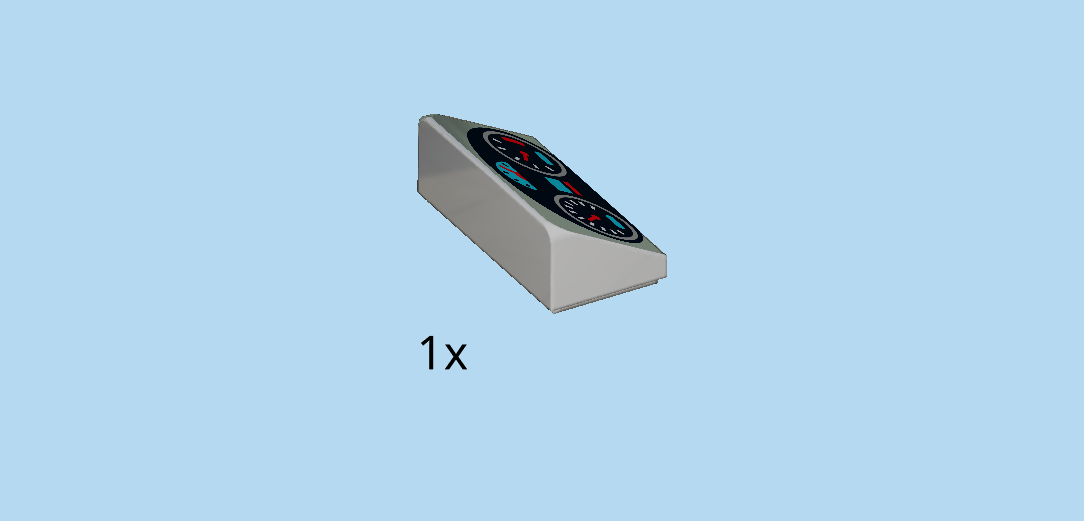
| Find 1 medium stone grey smooth roof tile 1x2x⅔. |
| Put it vertically centered to the left of the steering wheel, slope to the right. |
| It is printed with the dashboard of the SUV off-roader: a black oval area with a speed indicator, tachometer and a fuel gauge. |
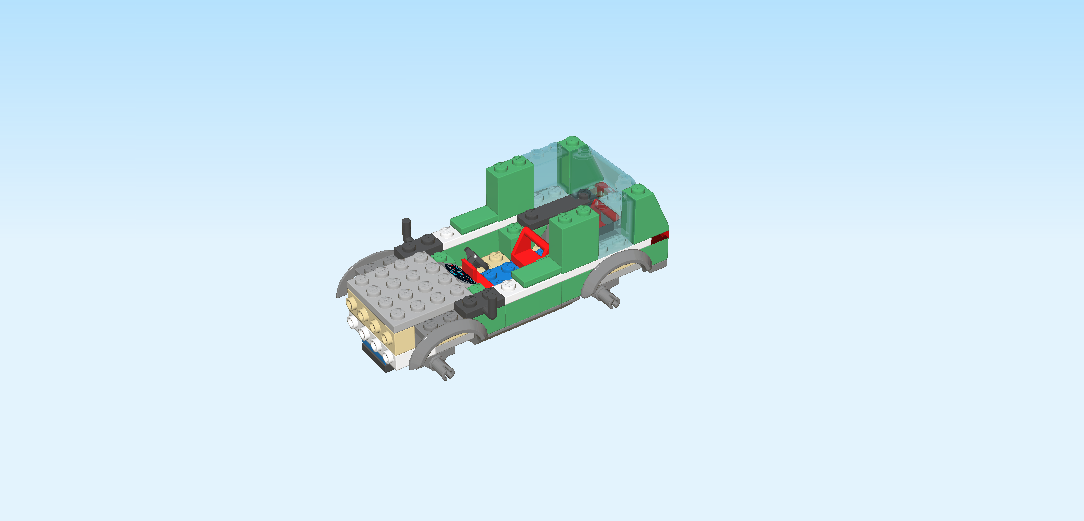
| Next up, we will build the front bumper. |
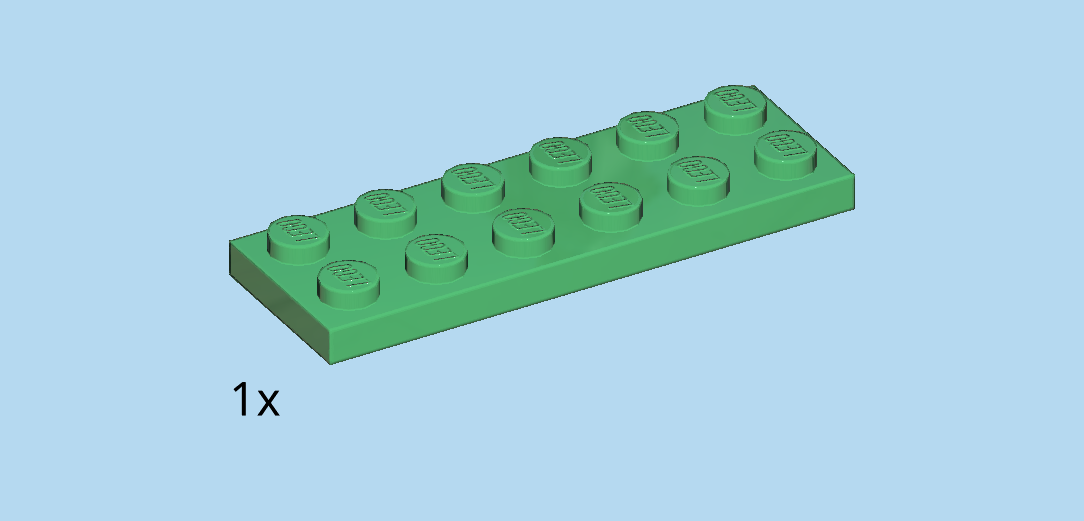
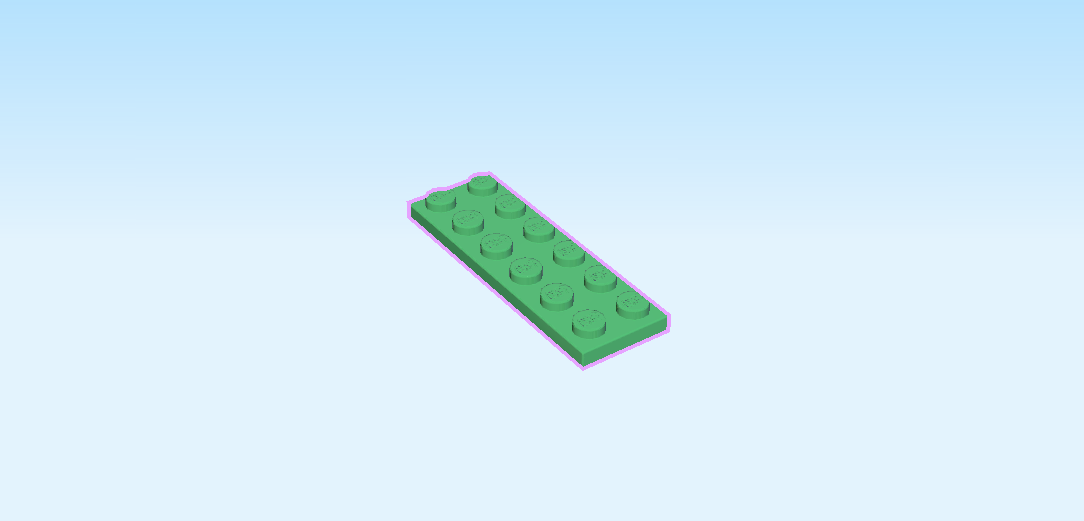
| Find 1 dark green plate 2x6. |
| Put it horizontally on the table. |
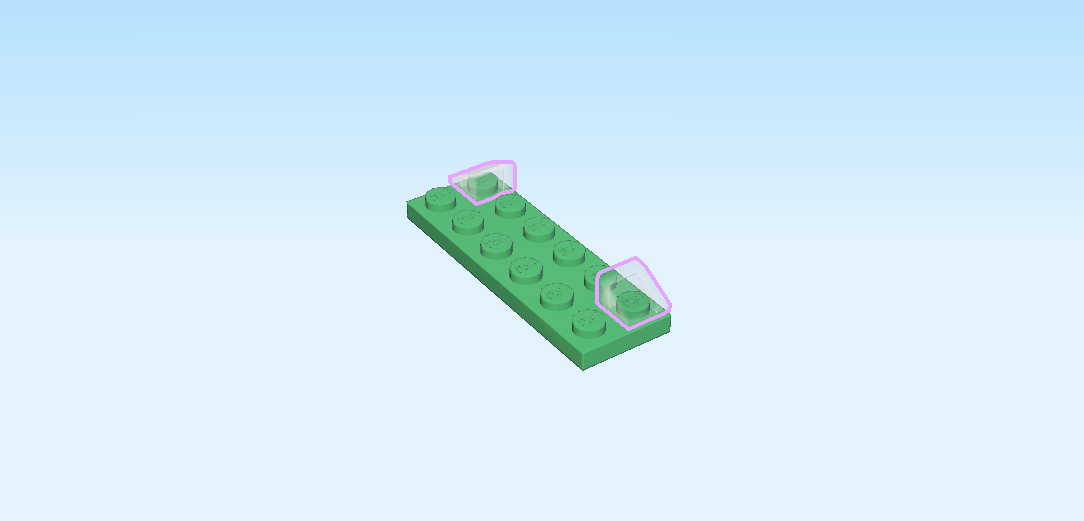
| Find 2 transparent smooth roof tiles 1x1x⅔. |
| Put 1 on the leftmost knob of the back row, slope to the left. |
| Repeat symmetrically on the right. |
| Find 2 dark green smooth roof tiles 1x1x⅔. |
| Put 1 in front of the previous piece, slope to the right. |
| Repeat symmetrically on the left. |
| Find 2 medium stone grey plates 1x2 with shaft on short side. |
| Put 1 vertically on the column to the right of the previous piece, shaft to the front. |
| Repeat symmetrically on the right. |
| Find 1 medium stone grey plate 2x2. |
| Put it between the 2 previous pieces. |
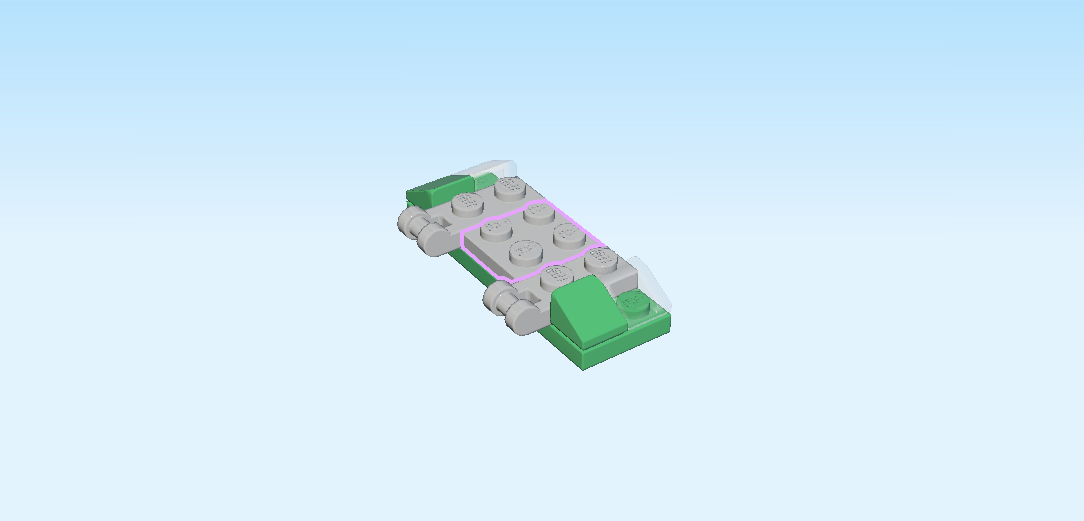
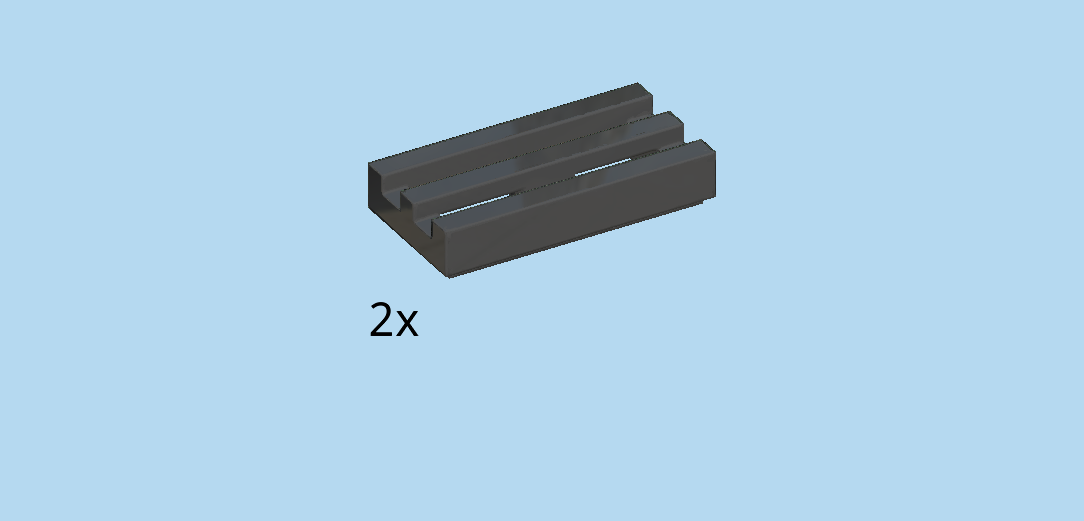
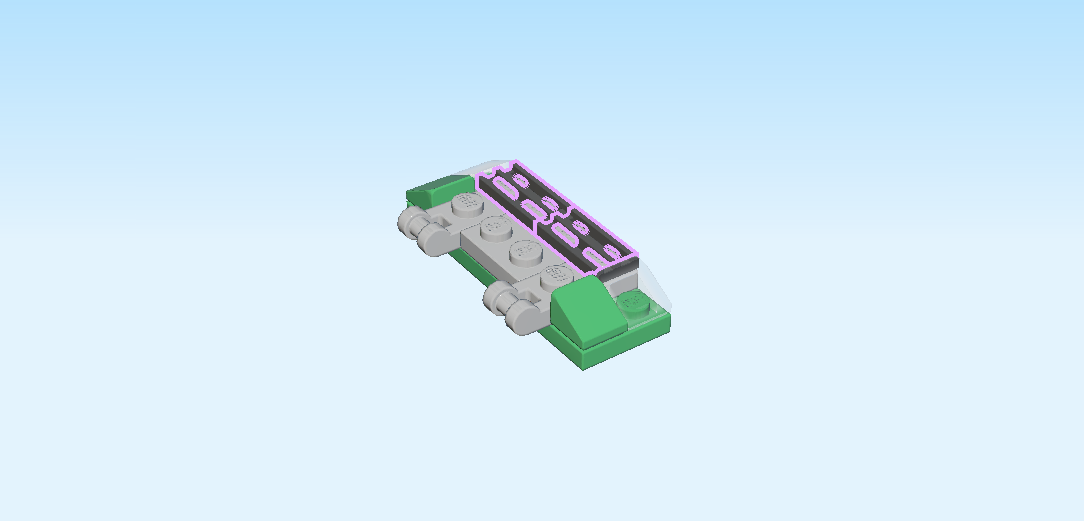
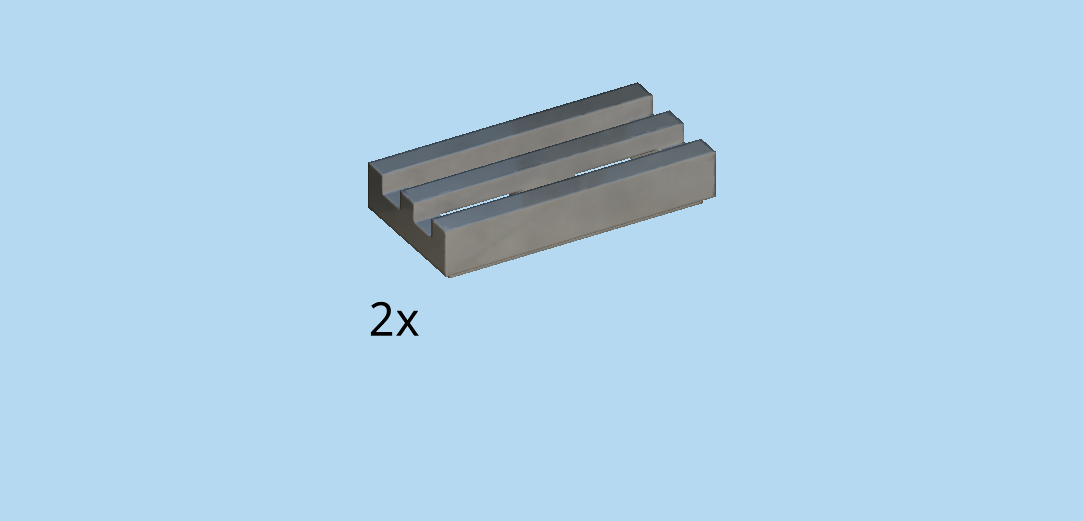
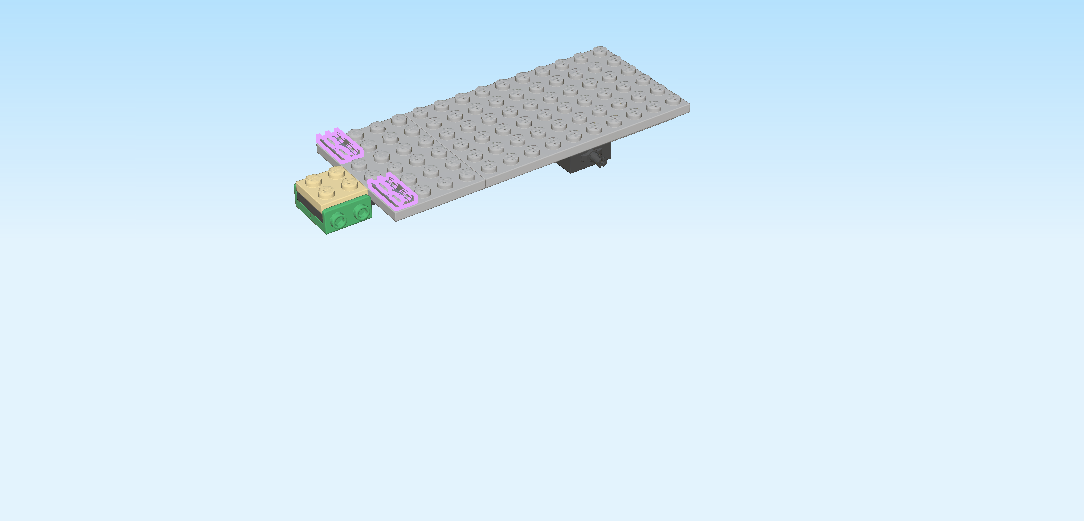
| Find 2 black grille tiles 1x2. |
| Put them horizontally next to each other on the back row. |
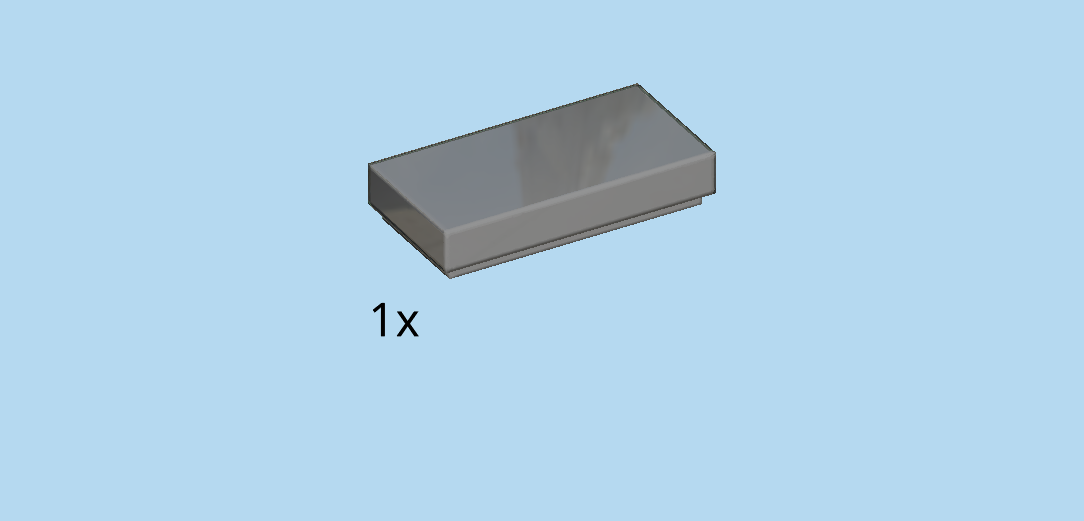
| Find 1 dark stone grey flat tile 1x2. |
| Continue if you want to decorate this piece with a sticker now. If not, skip the next 3 sentences. |
| Find 1 small rectangular sticker number 5. Ask a sighted person to help you find the correct sticker. |
| Put it on the flat tile. |
| This sticker is printed with the license plate of the SUV off-roader. It is white with a bold black frame. The license number is "J H 6 0 2 8 8", it is printed in black letters. |
| Mount this piece horizontally centered on the front row. |
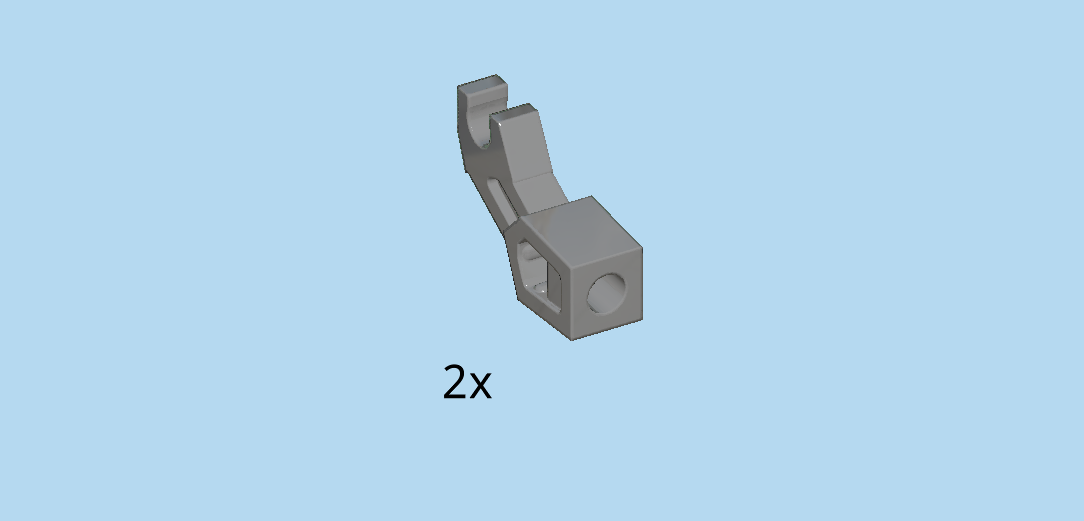
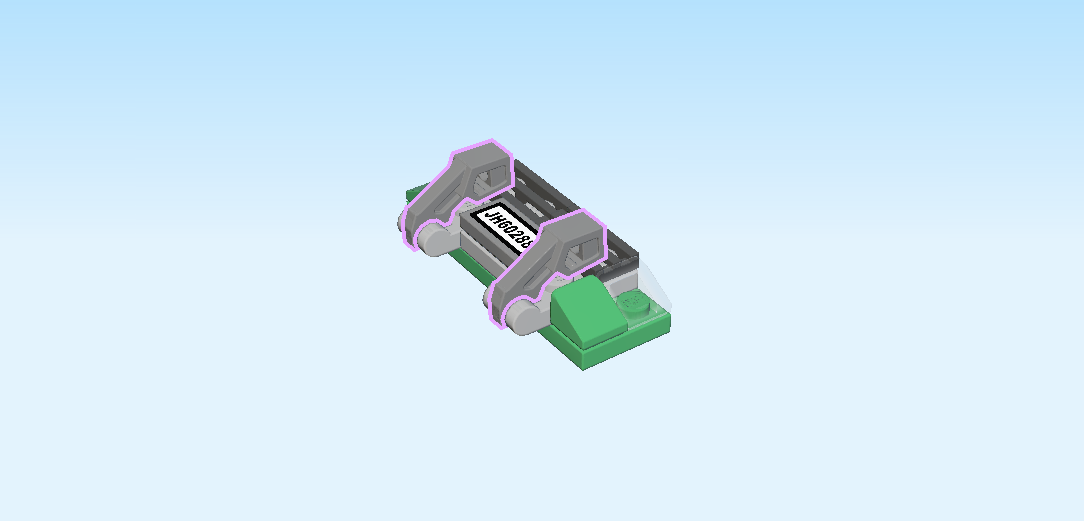
| Find 2 dark stone grey mechanical arms with clasp. |
| Snap the clasp of 1 into the shaft on the left front, arm bending upwards, little cube to the back. |
| Repeat symmetrically on the right. |
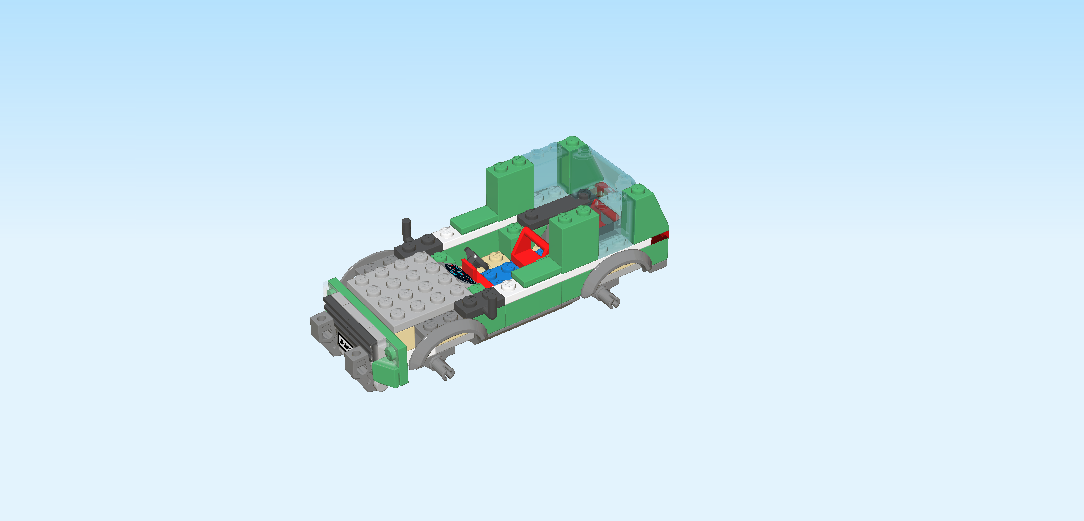
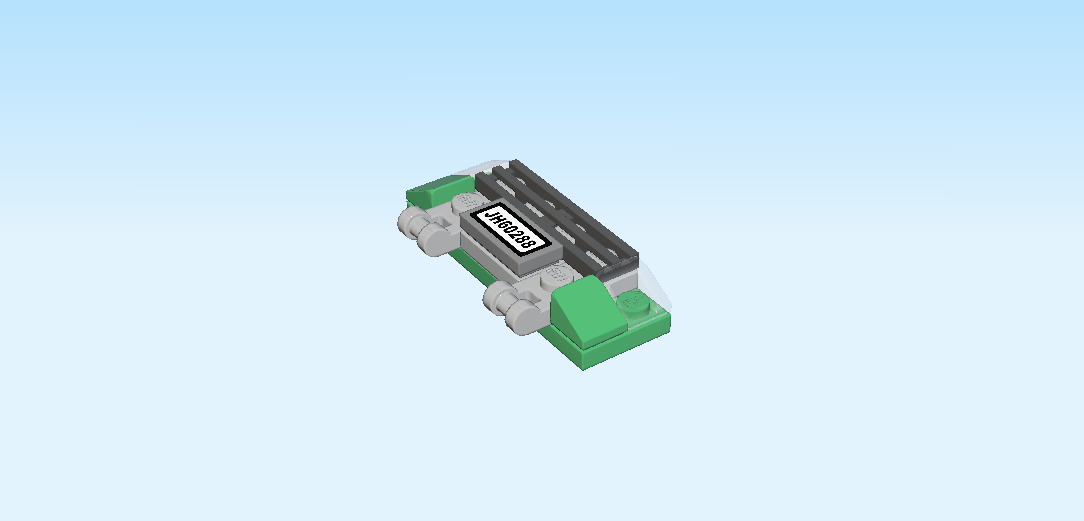
| The front bumper is finished! Well done! Flip it upright, and mount it horizontally on the side knobs pointing to the left. Make sure the grille tiles form the upper row, and the bumper bars are extending from the bottom up. |
| Find 1 transparent light blue windscreen 6x3x2. |
| Put it vertically on the fourth column from the left, slope to the left. Make sure to ignore the knobless section on the left edge when counting columns. |
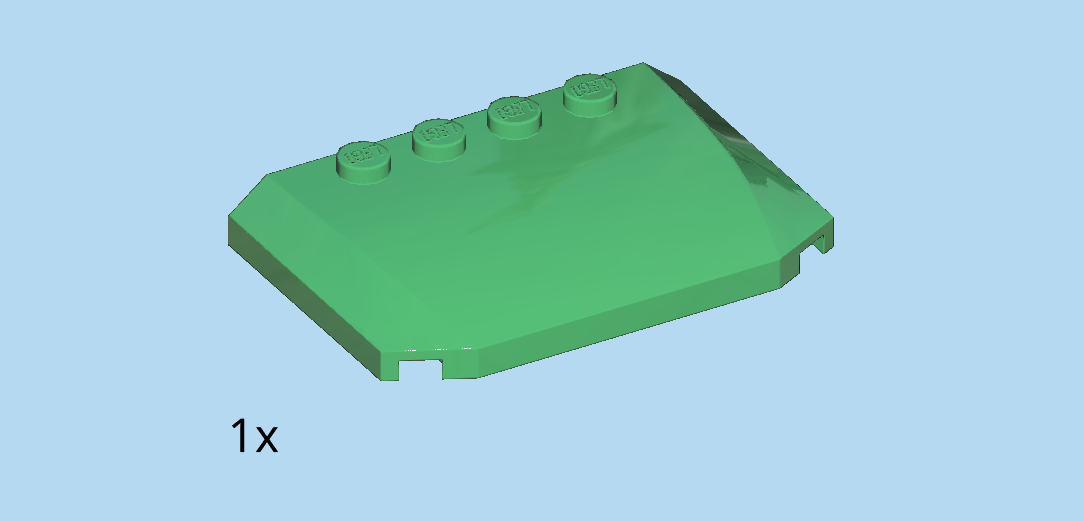
| Find 1 dark green hood plate 4x6x⅔ with 2 angled corners and 4 knobs. |
| Put it vertically to the left of the windscreen, 4 knobs to the right. On the left edge, it will protrude over the knobless part. |
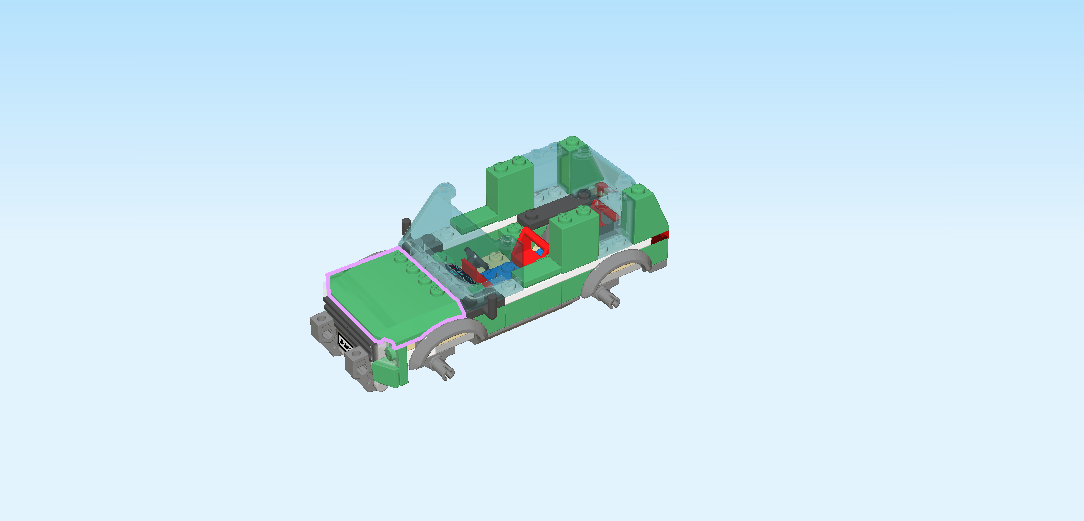
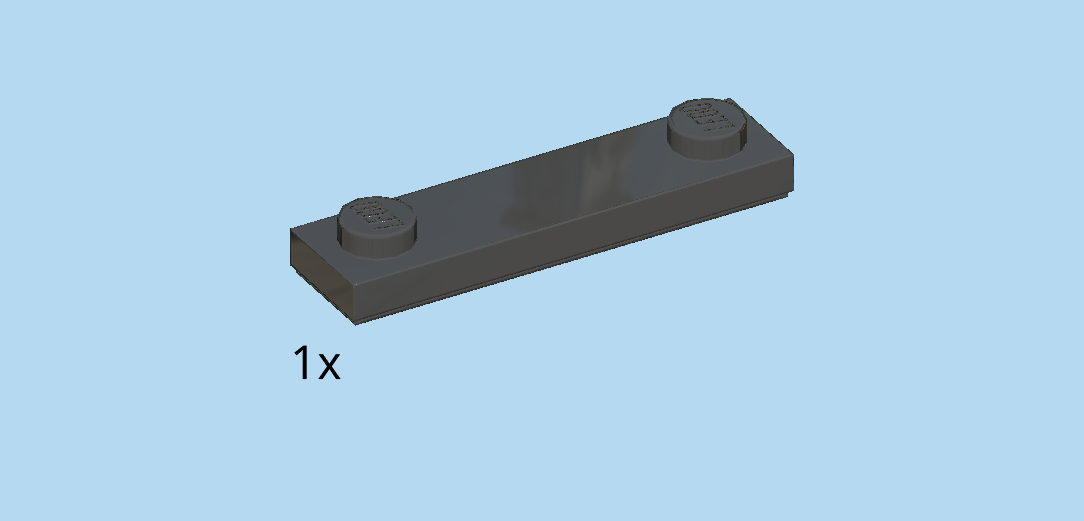
| Find 1 black plate 1x4 with 2 knobs. |
| Put it vertically centered on the rightmost column on top of the rear window. |
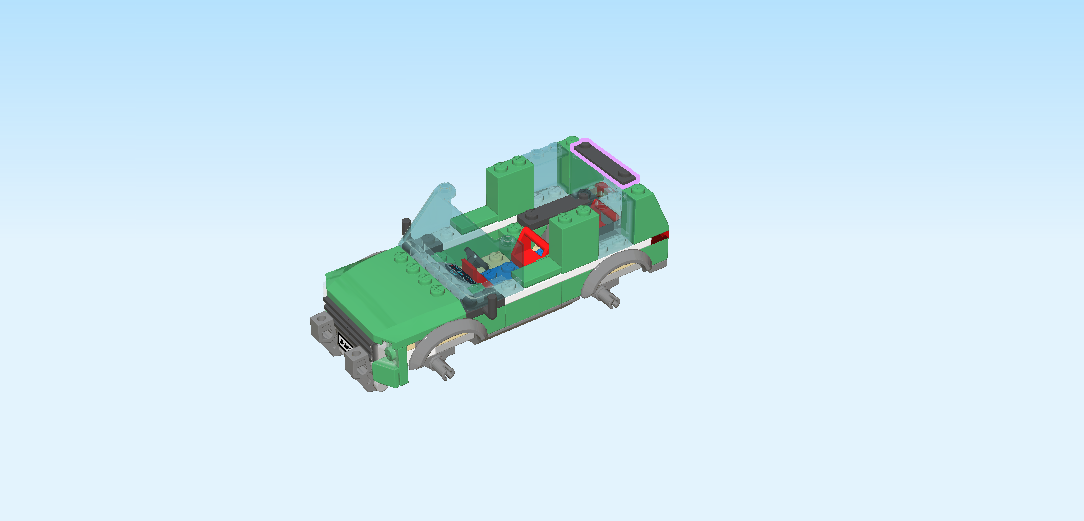
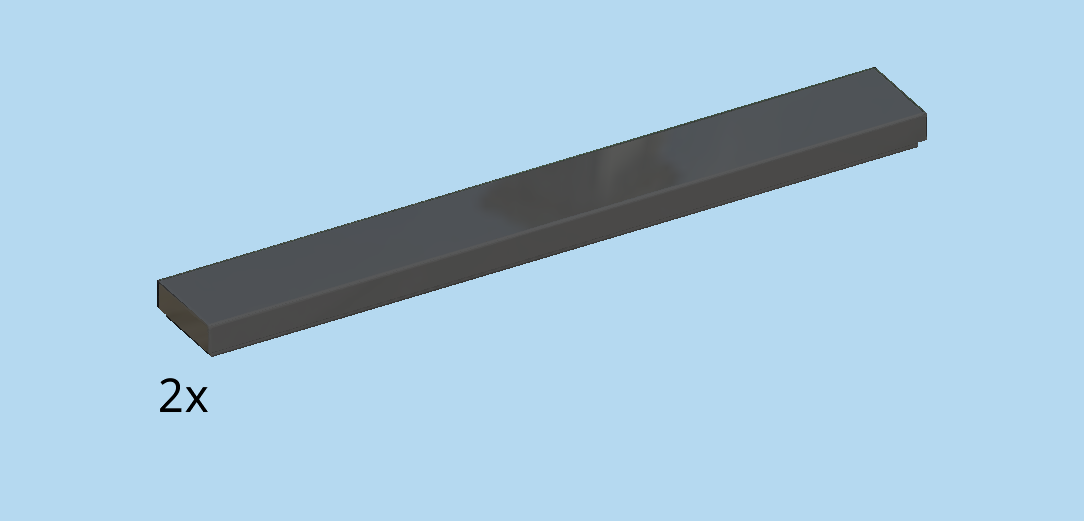
| Find 2 black flat tiles 1x8. |
| Put 1 horizontally on the backmost column, starting from the right edge. |
| Repeat symmetrically at the front. |
| Now, we will build the roof of the SUV off-roader. |
| Find 1 bright blue plate 2x4. |
| Put it vertically on the table. |
| Find 1 white hood plate 4x6x⅔ with 2 angled corners and 4 knobs. |
| Put it vertically centered on the right column of the previous piece, 4 knobs to the left. |
| Find 1 white hood plate 4x6x⅔ with 2 angled corners and 4 knobs. |
| Put it vertically centered on the leftmost column, knobs to the right. This means that you should now have 2 vertical columns with 4 knobs each in the middle of the roof structure. |
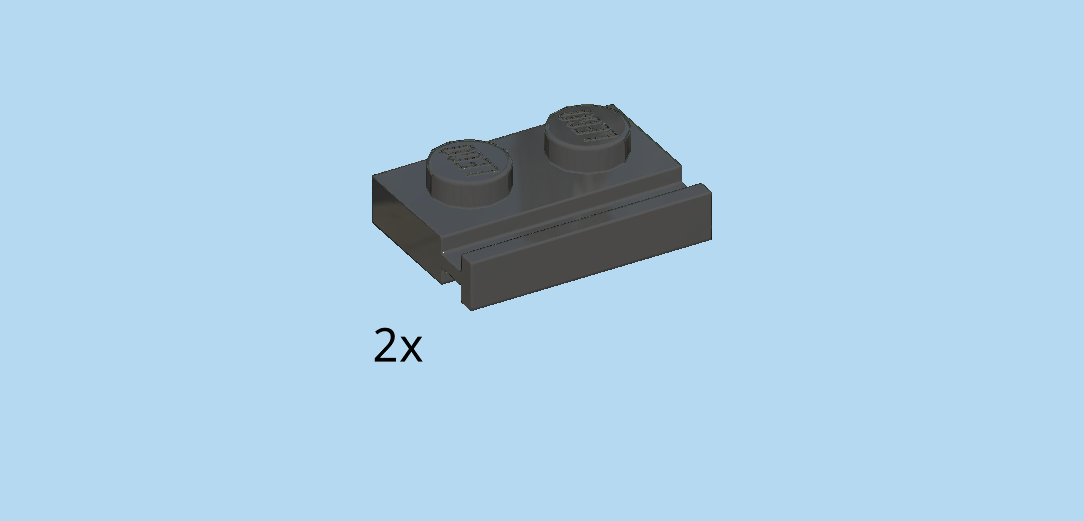
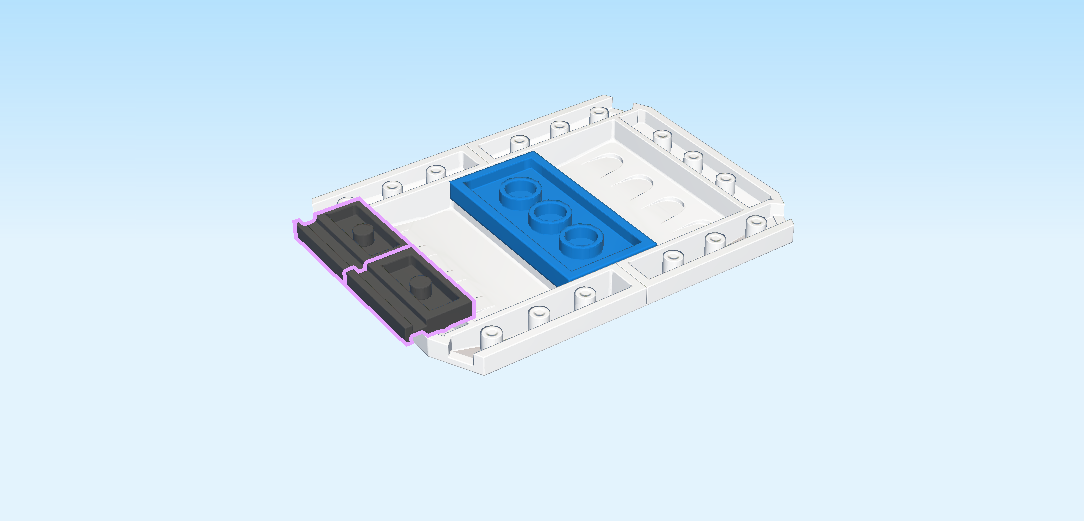
| Find 2 black plates 1x2 with side rail. |
| First, flip the roof structure upside down. Make sure to keep the orientation horizontally. |
| Put them vertically next to each other on the leftmost column, side rails to the left. The frontmost and backmost rows remain empty. |
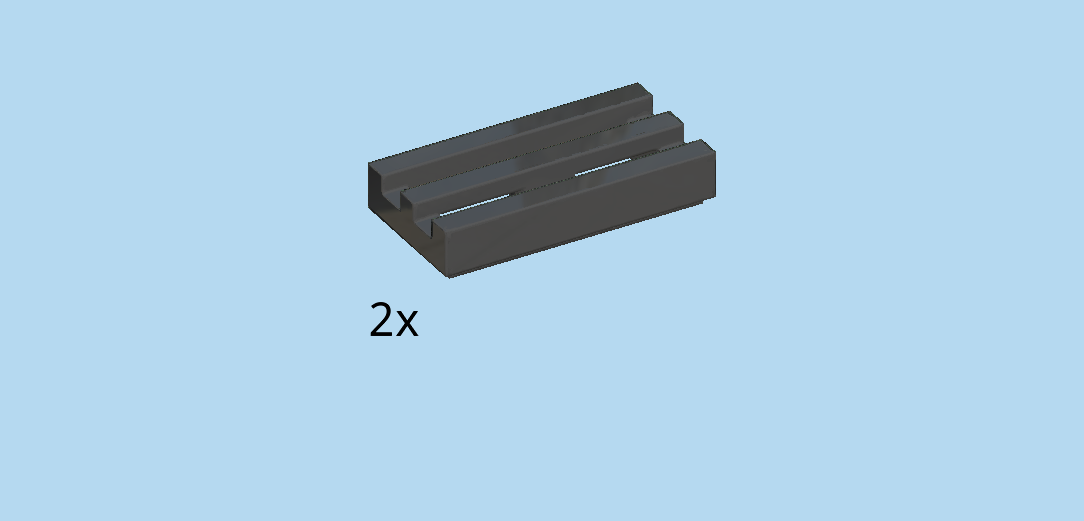
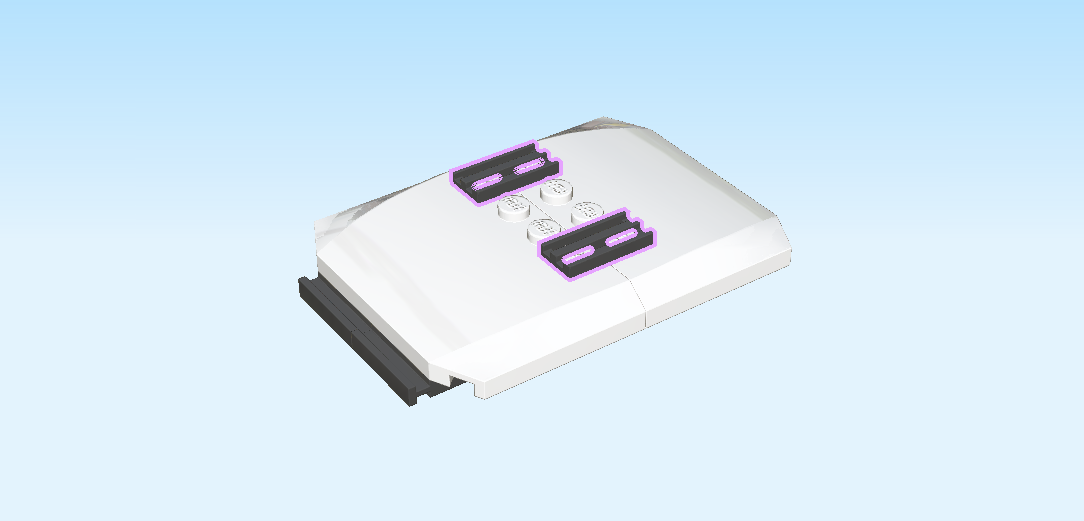
| Find 2 black grille tiles 1x2. |
| Flip the roof structure right side up again. The side rails should stick out on the left edge. |
| Put 1 grille tile horizontally on the backmost row. |
| Repeat symmetrically at the front. |
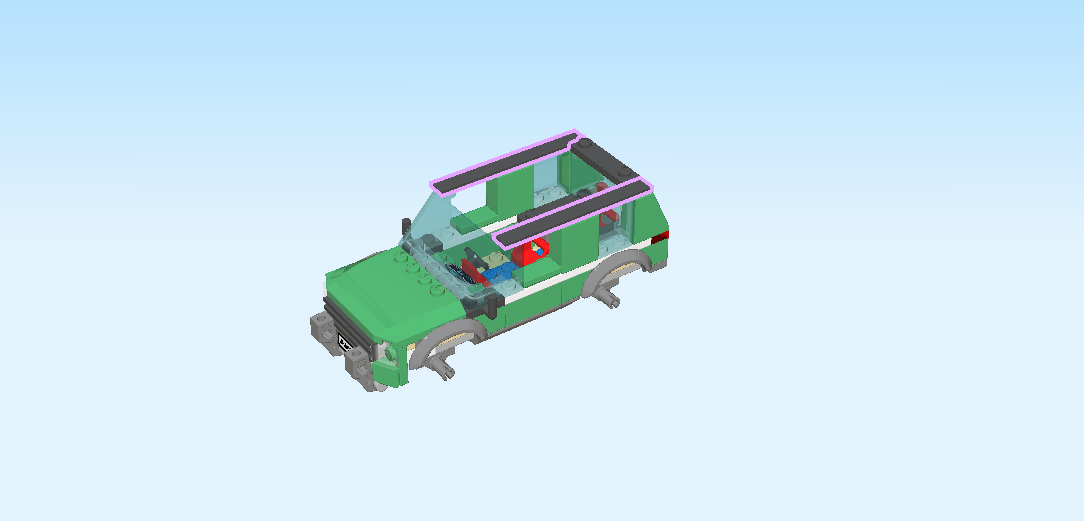
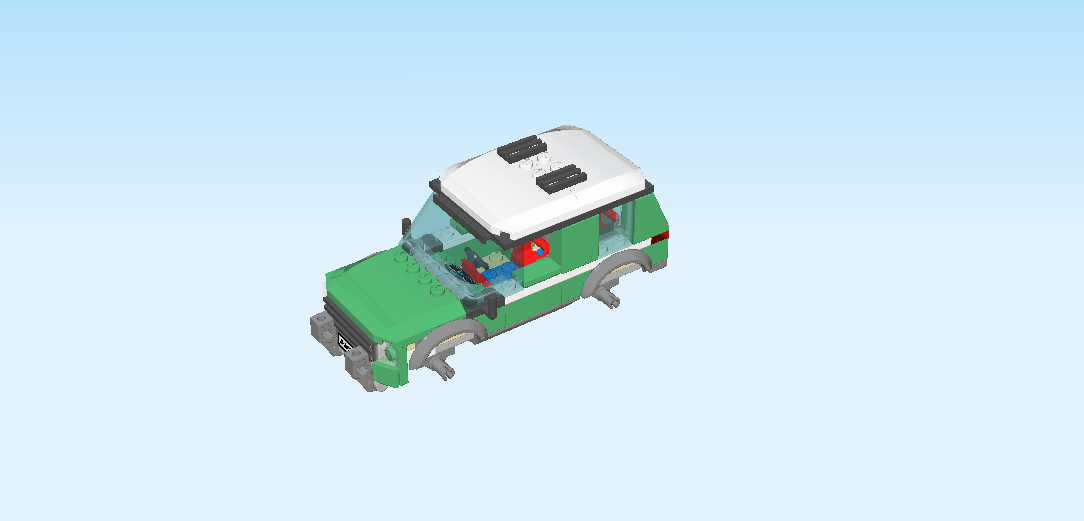
| The roof of the SUV off-roader is finished! Well done! Mount it horizontally on top of the SUV off-roader, side rails to the left. You can easily take off the roof to seat the 2 Minifigures. |
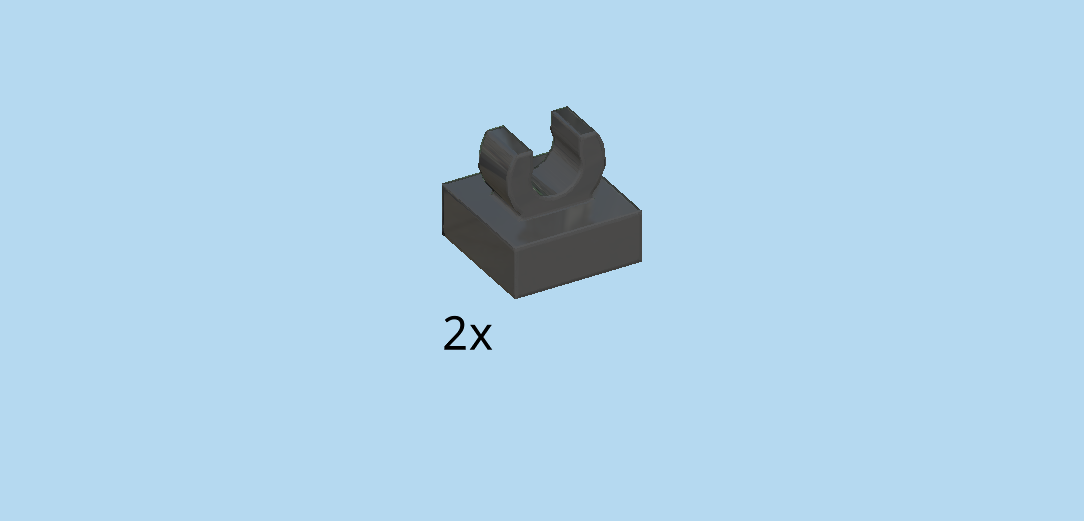
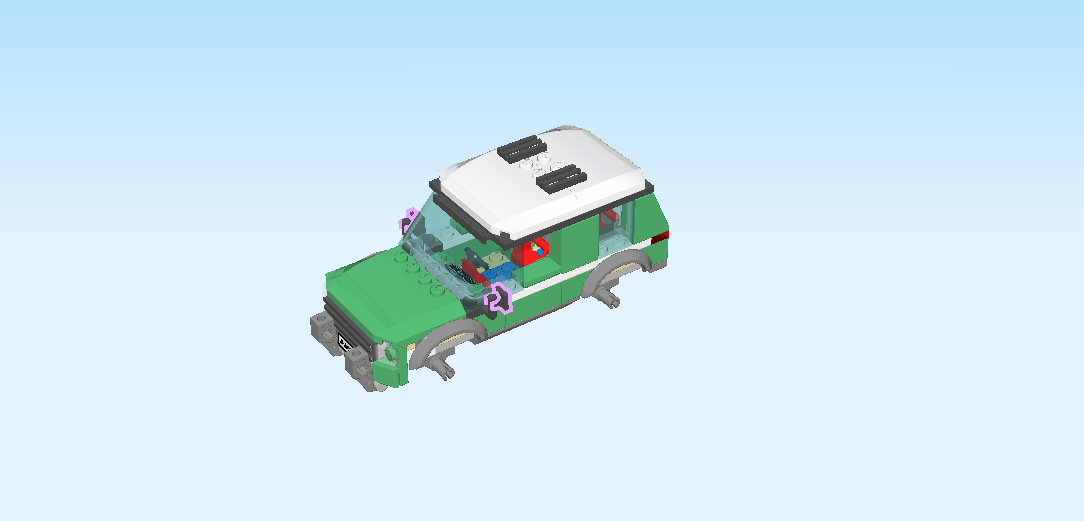
| Find 2 black plates 1x1 with top clasp. |
| Turn 1 upright, and snap it onto the upward hook at the front, coming from the right. This will serve as the exterior rearview mirror. |
| Repeat symmetrically at the back. |
| Next, we assemble the 4 wheels of the SUV off-roader. |
| Let's start with one. |
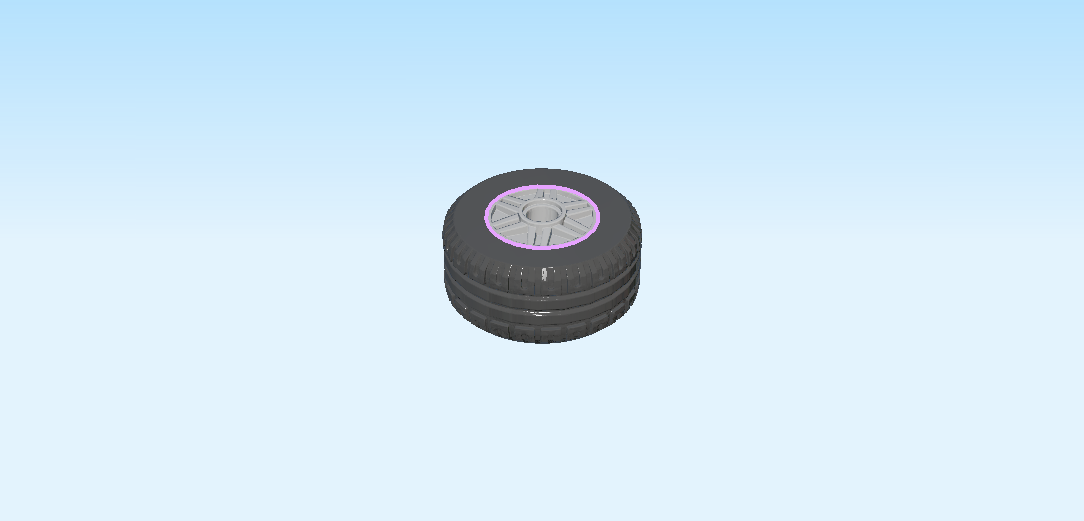
| Find 1 black thick rubber tire with low lateral profile. |
| Find 1 medium stone grey wide rim with hole and spokes. |
| Put the tire around the rim. |
| Find another 3 tires, and another 3 rims. |
| Assemble the remaining 3 wheels just like the first one. |
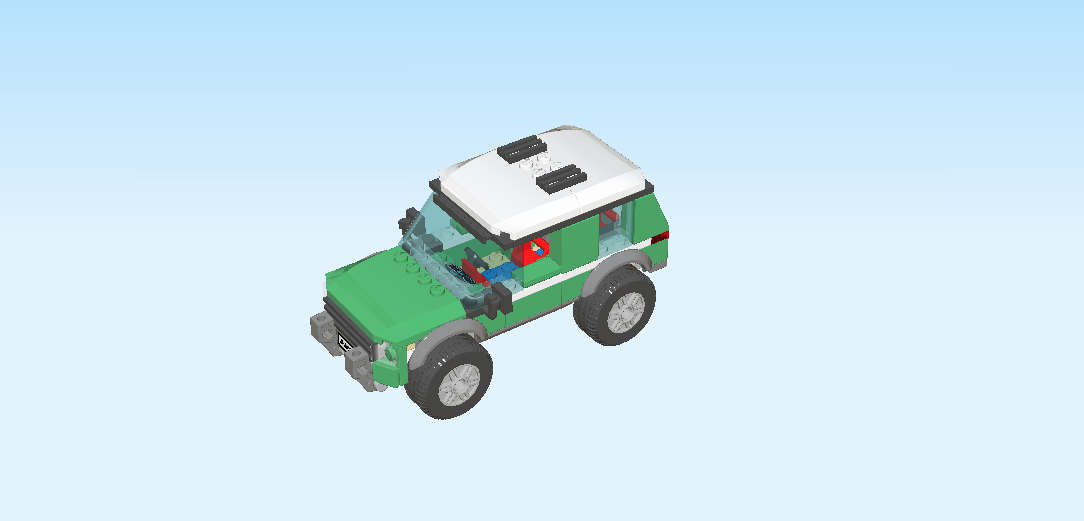
| Well done! Now snap the wheels on the 4 connectors at the bottom of the vehicle, spokes facing outwards. |
| Open bag number 3. You can choose to have the bricks sorted by color again. This bag contains all bricks and pieces for the trailer of the SUV off-roader. |
| Let's build the trailer. |
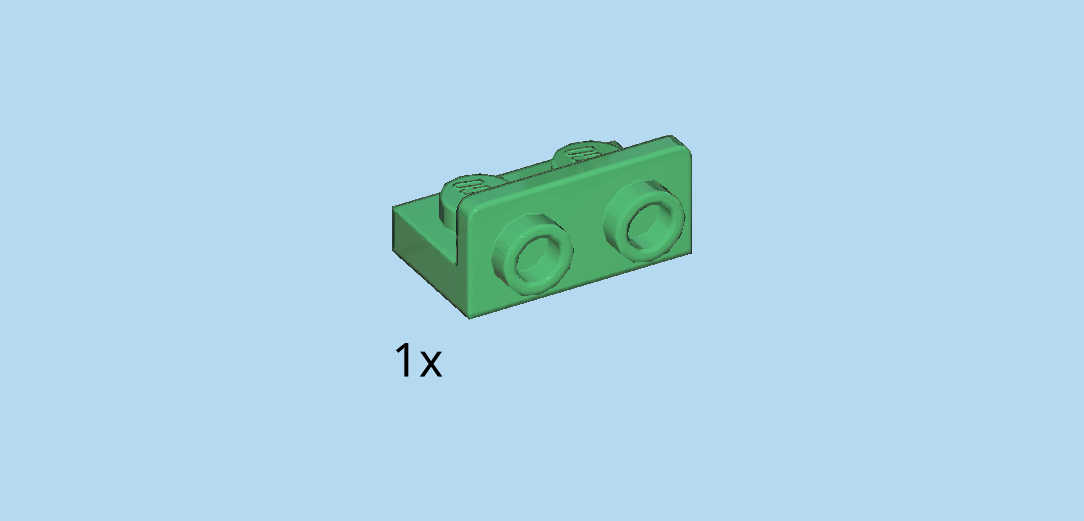
| Find 1 dark green bottom angle plate 1x2 - 1x2 with 2 side knobs. |
| Put it horizontally on the table, side knobs pointing to the back. |
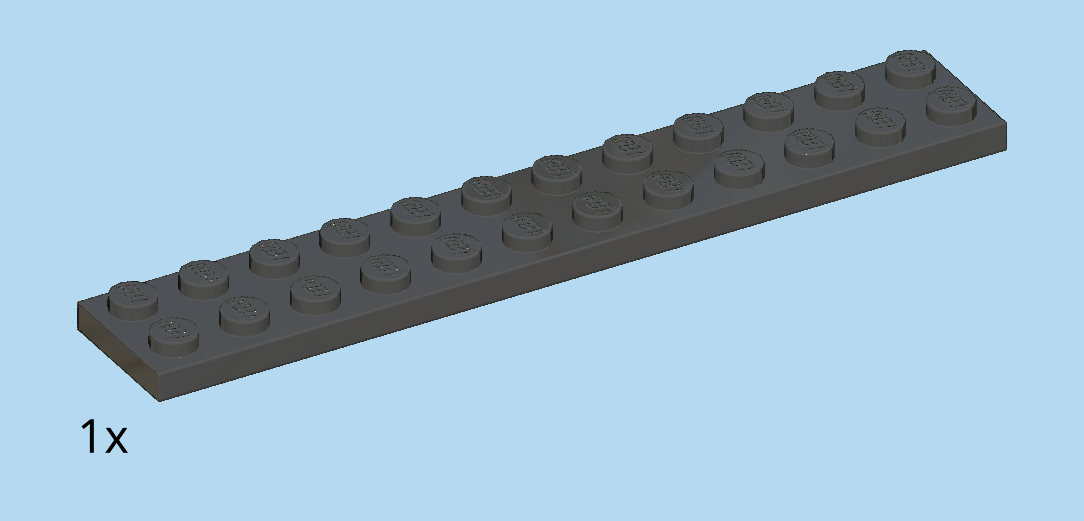
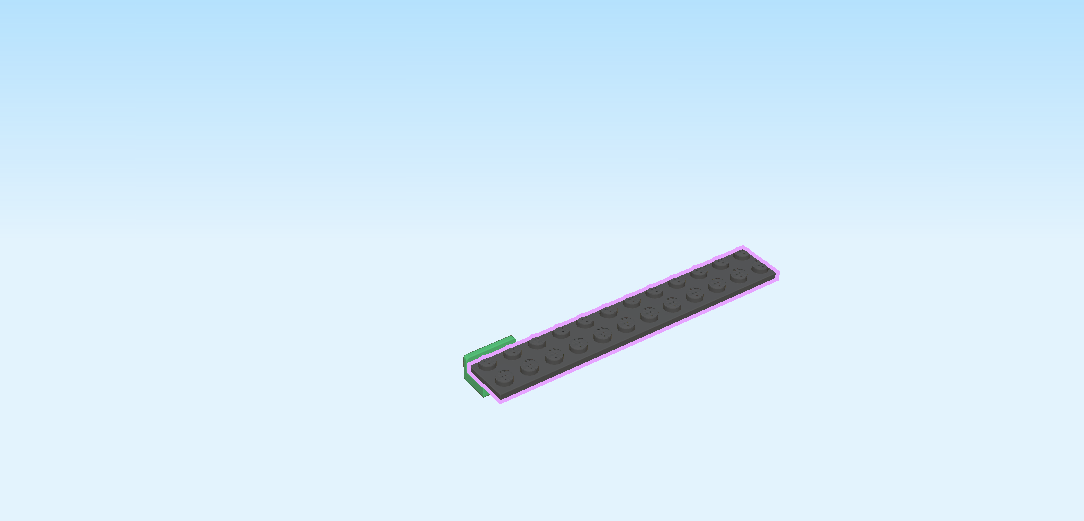
| Find 1 black plate 2x12. |
| Put it horizontally on top, starting with the left back corner, 1 row overhanging to the front and 10 columns overhanging to the right. |
| Find 1 dark green bottom angle plate 1x2 - 1x2 with 2 side knobs. |
| Put it horizontally underneath the front row of the previous piece on the left edge, side knobs pointing to the front. |
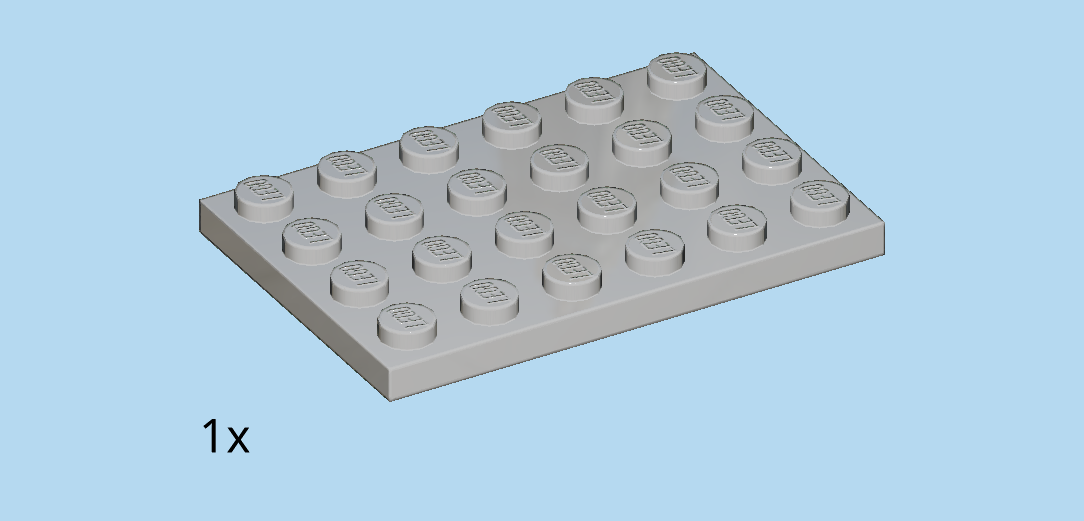
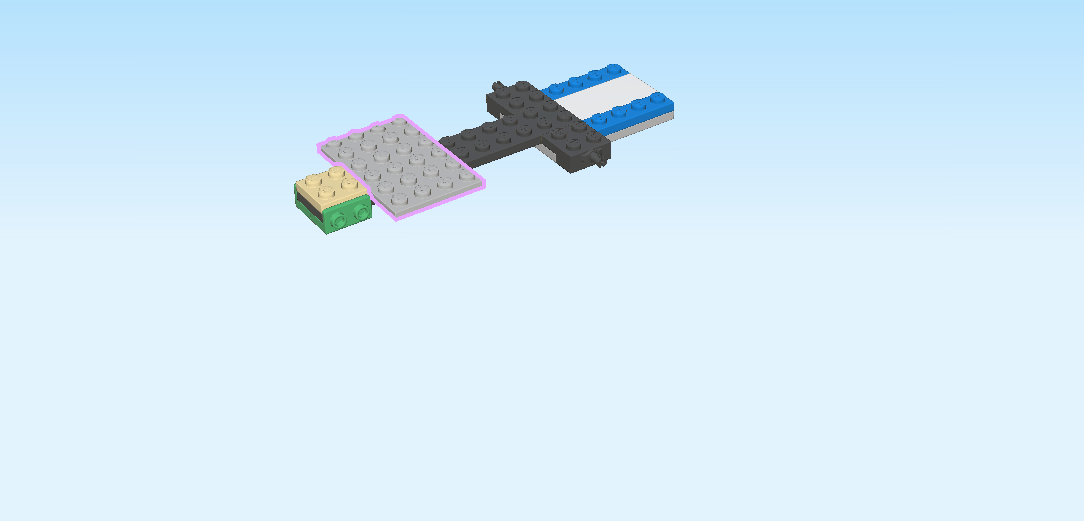
| Find 1 medium stone grey plate 4x6. |
| Put it horizontally underneath the rightmost 2 columns of the structure, 4 columns protruding to the right, 1 row protuding to the back and 1 to the front. |
| Collect the following 3 pieces: |
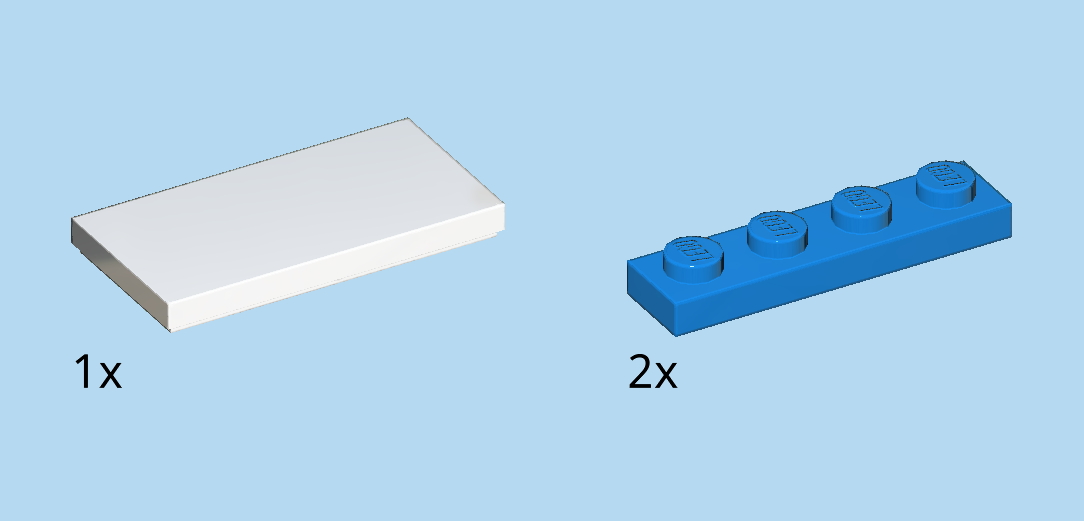
| 2 bright blue plates 1x4, |
| and 1 white flat tile 2x4. |
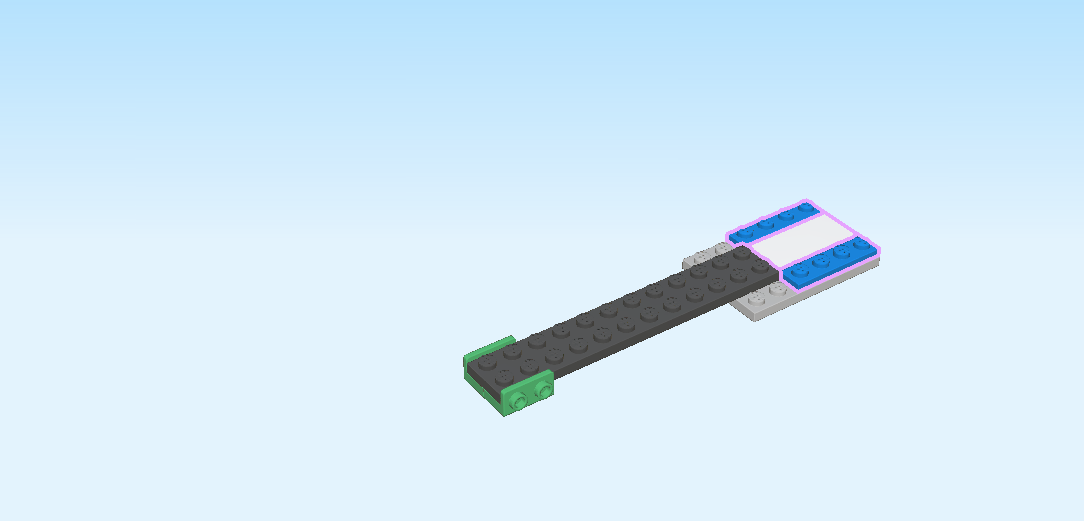
| Put the flat tile 2x4 horizontally on the 2 middle rows, starting from the right edge. Make sure the short sides of the tile and the previous piece touch. |
| Put 1 plate 1x4 horizontally behind the previous piece. |
| Repeat symmetrically at the front. |
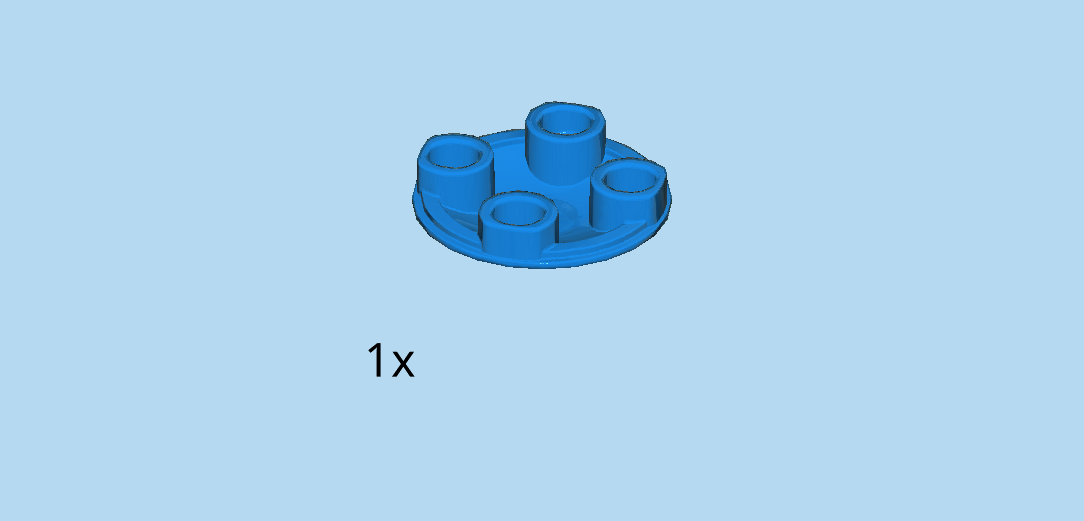
| Find 1 bright blue inverted curve disk 2x2. |
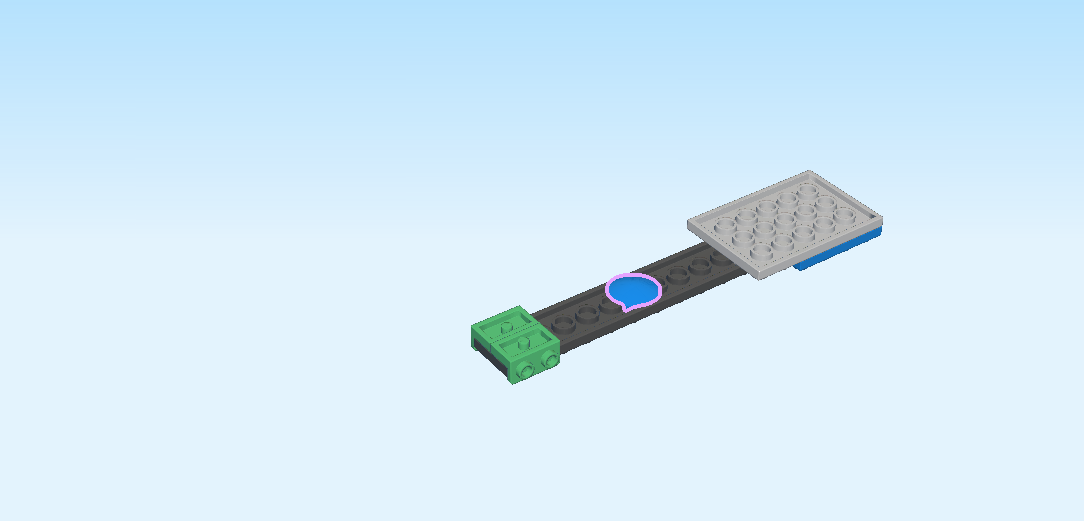
| First, flip the structure upside down. Make sure the left and right sides remain the same. |
| Identify the lowest level of the structure (it only consists of 2 rows and has no side knobs) and put the inverted curve disk in the middle of that section. |
| Find 2 black one-stepped bearing elements 2x2 with side pin connector. |
| Flip the structure right side up again, side knobs remain on the left and broad end on the right. |
| Skip 4 columns from the right edge, and mount 1 on the backmost row, 1 row and side pin connector overhanging to the back. |
| Repeat symmetrically at the front. |
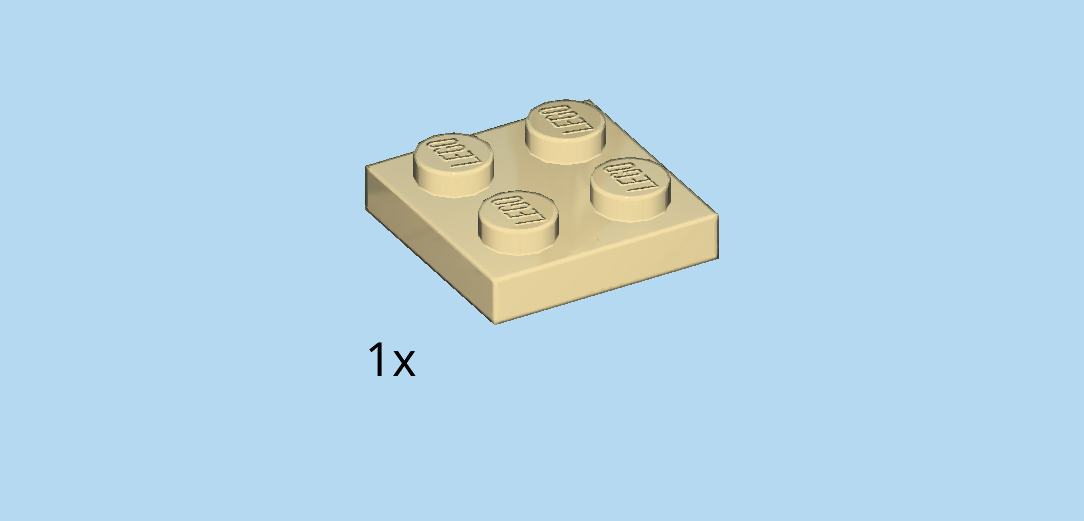
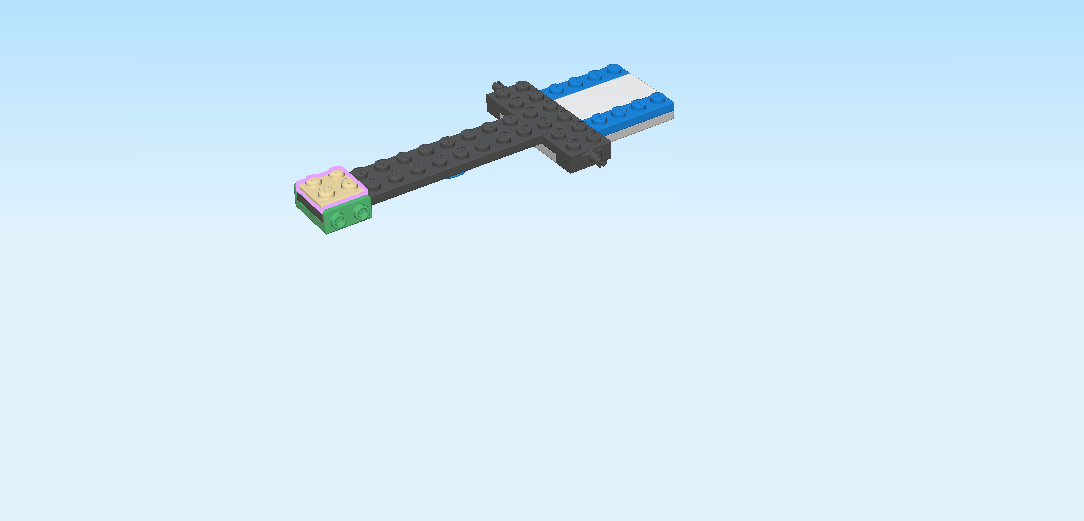
| Find 1 pale ocher yellow plate 2x2. |
| Put it on the left edge of the structure. |
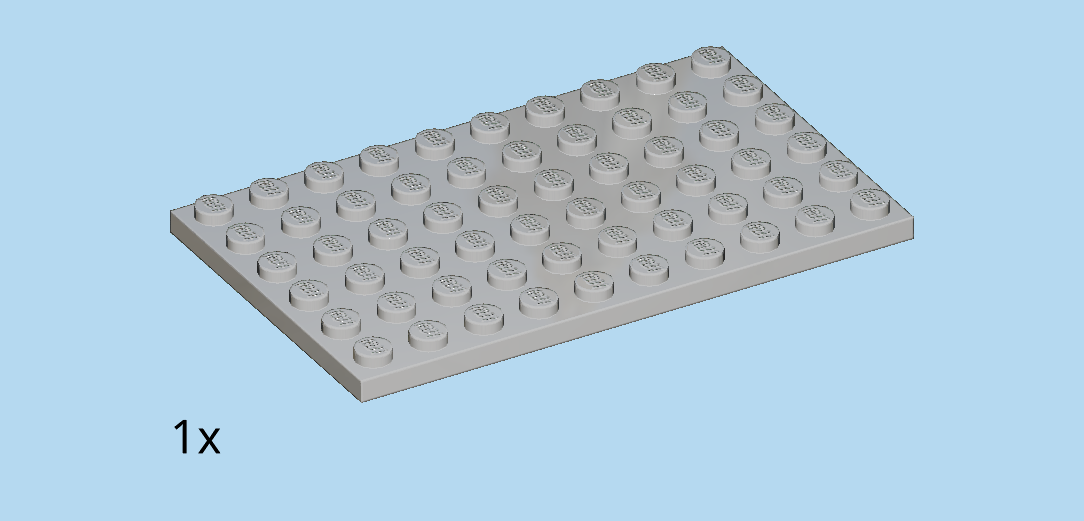
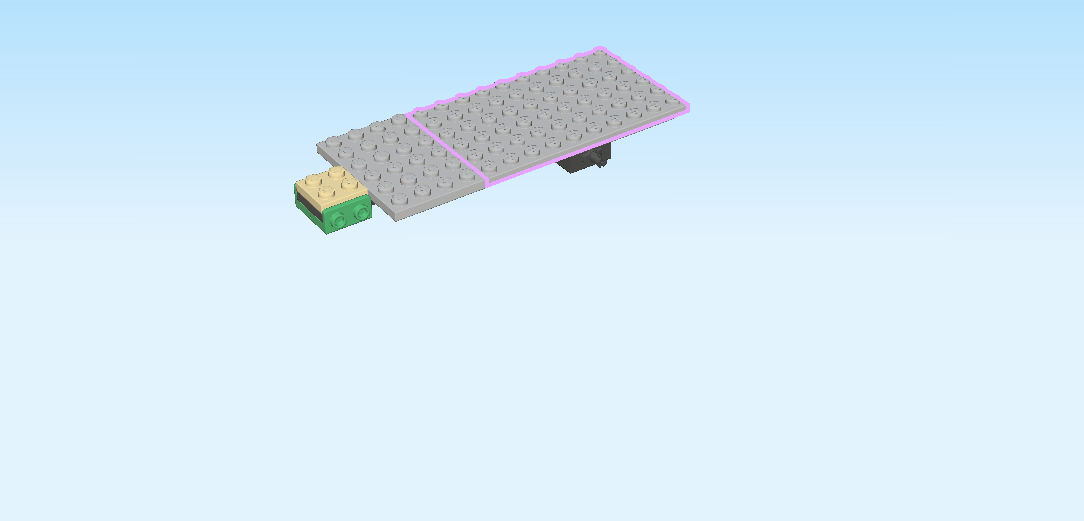
| Find 1 medium stone grey plate 4x6. |
| Put it vertically centered to the right of the previous piece. |
| Find 1 medium stone grey plate 6x10. |
| Put it horizontally centered to the right of the previous piece. |
| Find 2 silver metallic grille tiles 1x2. |
| Skip the 2 leftmost columns consisting of 2 knobs each, and put 1 vertically on the third column from the left at the backmost edge. |
| Repeat symmetrically at the front. |
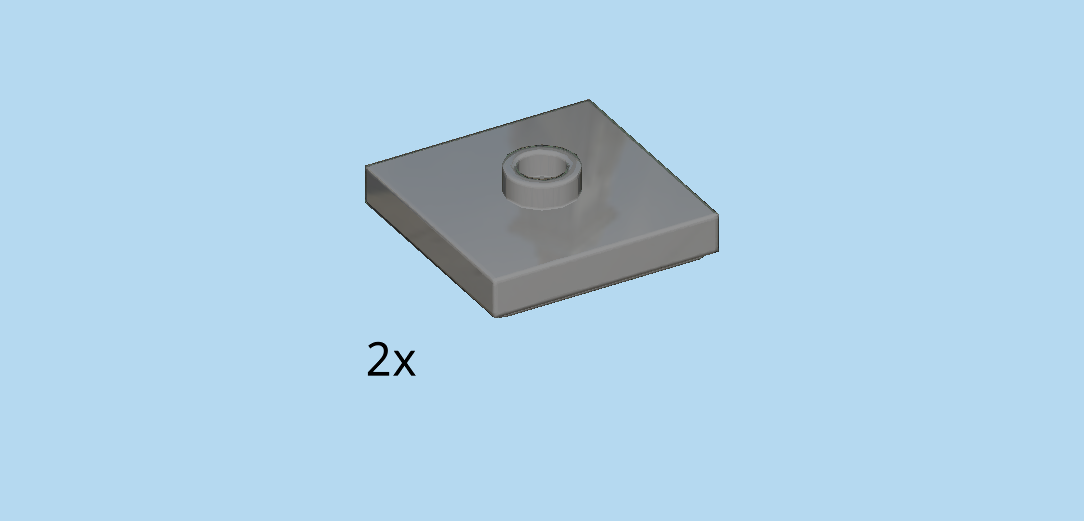
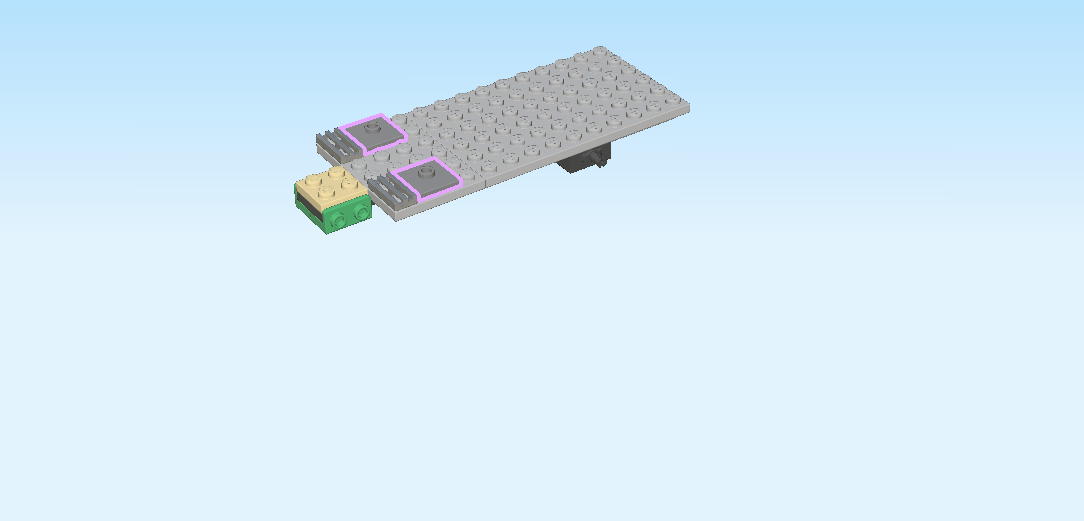
| Find 2 dark stone grey plates 2x2 with 1 knob. |
| Put 1 to the right of the previous piece. |
| Repeat symmetrically at the back. |
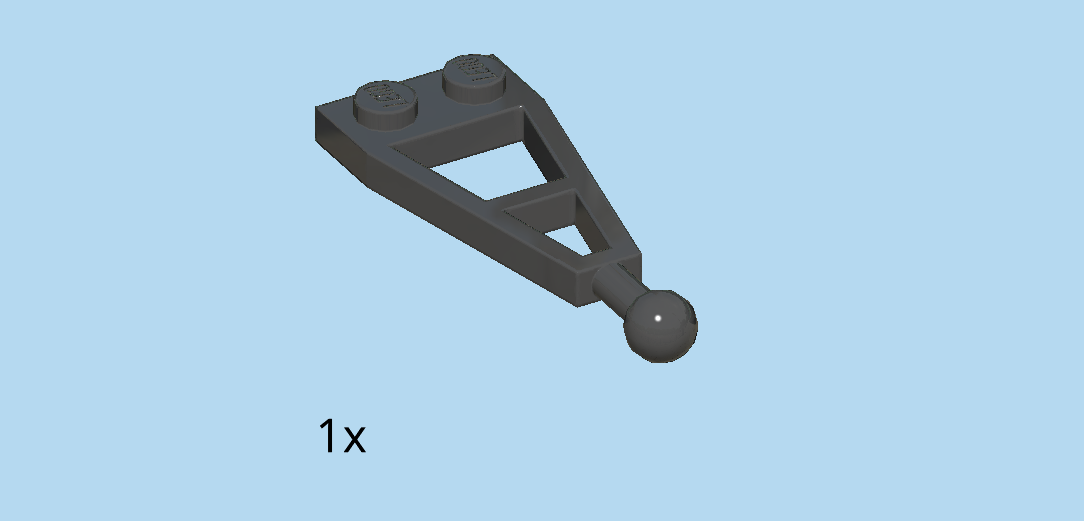
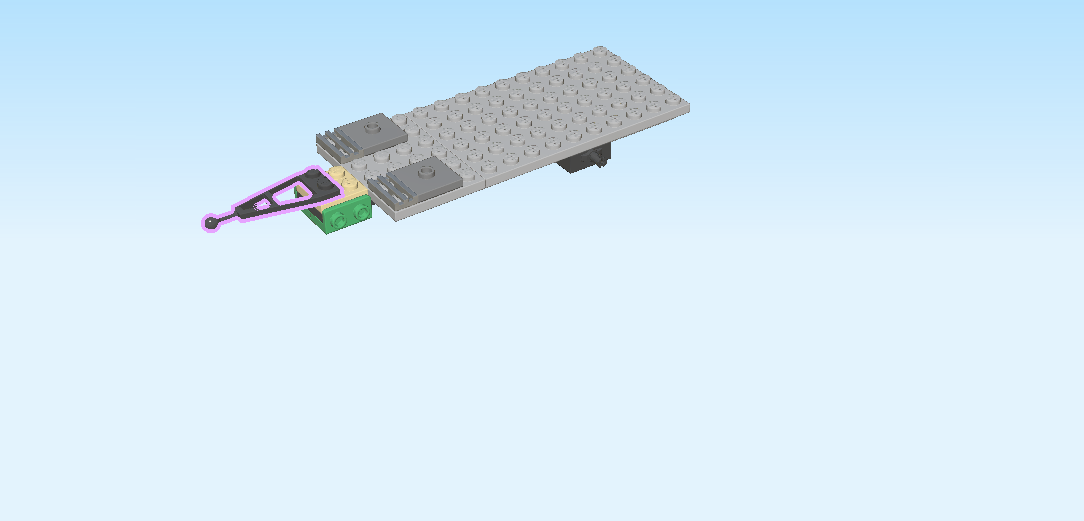
| Find 1 black plate 1x2 with towing extension 3m and ball. |
| Put it on the leftmost column, towing extension and ball overhanging to the left. |
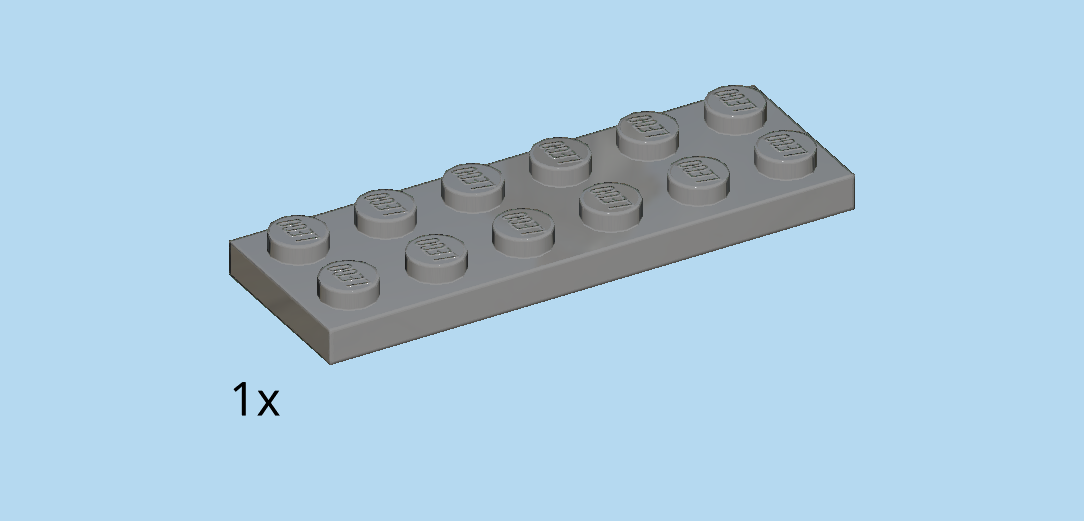
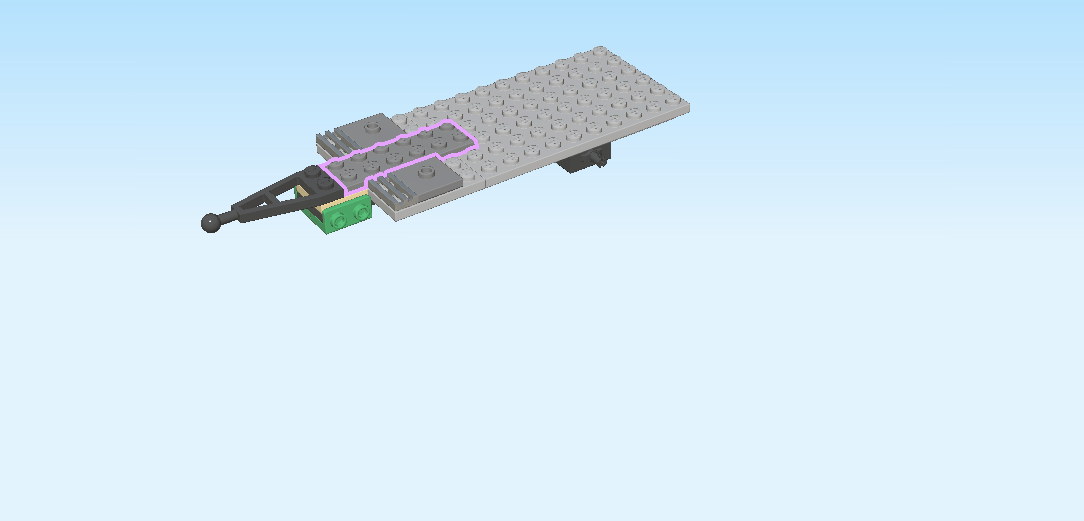
| Find 1 dark stone grey plate 2x6. |
| Put it horizontally to the right of the previous piece. |
| Find 2 dark stone grey plates 1x2 with angled top handle. |
| Identify the plate 2x2 with 1 knob on the 2 backmost rows. Put 1 plate 1x2 with angled top handle vertically to the right of that piece, angle to the right. |
| Repeat symmetrically at the front. |
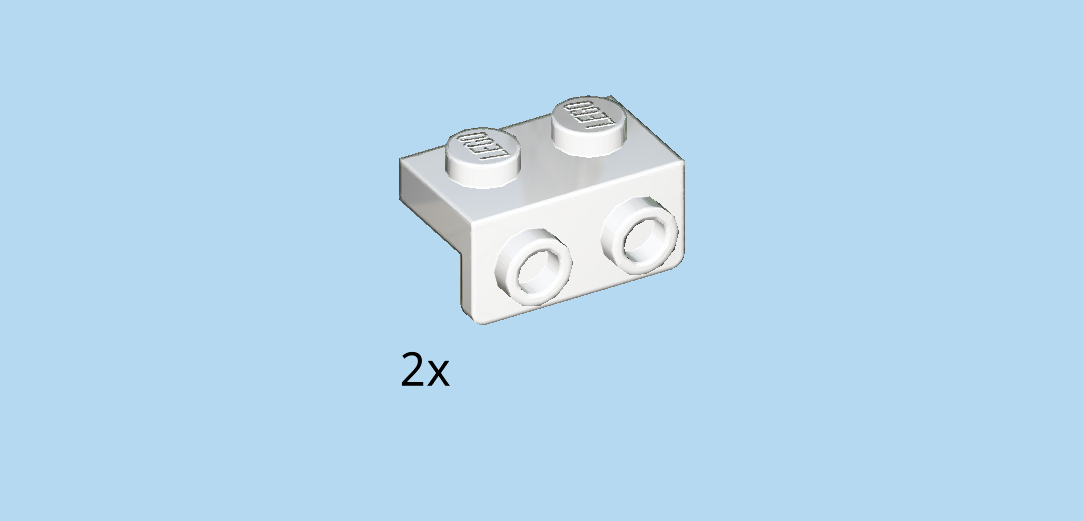
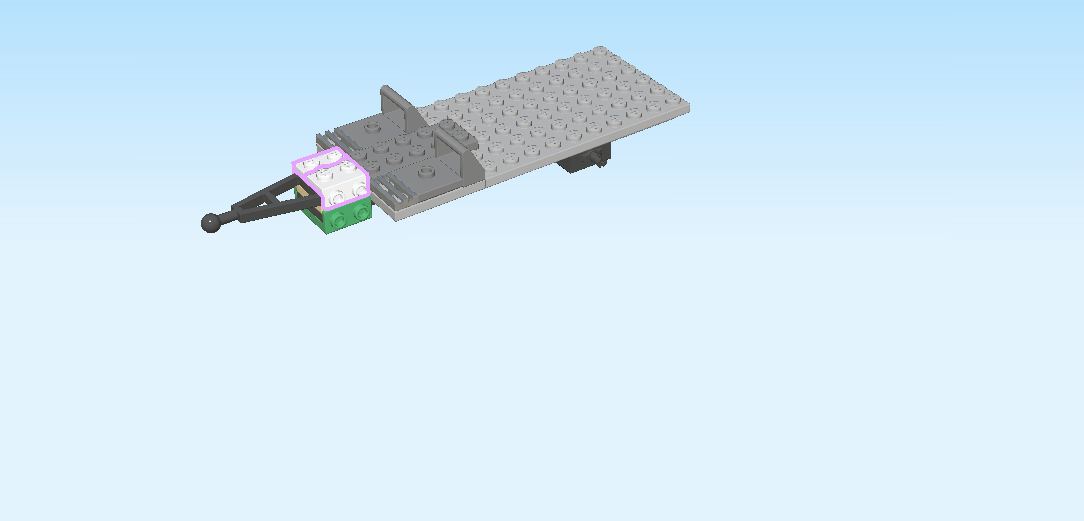
| Find 2 white top angle plates 1x2 - 1x2 with 2 side knobs. |
| Put 1 horizontally on the left edge on the back row, side knobs to the back. |
| Repeat symmetrically at the front. |
| Find 1 dark stone grey plate 2x2 with 1 knob. |
| Mount it upright on the 4 side knobs pointing to the front. |
| Find another dark stone grey plate 2x2 with 1 knob. |
| Mount it upright on the 4 side knobs pointing to the back. |
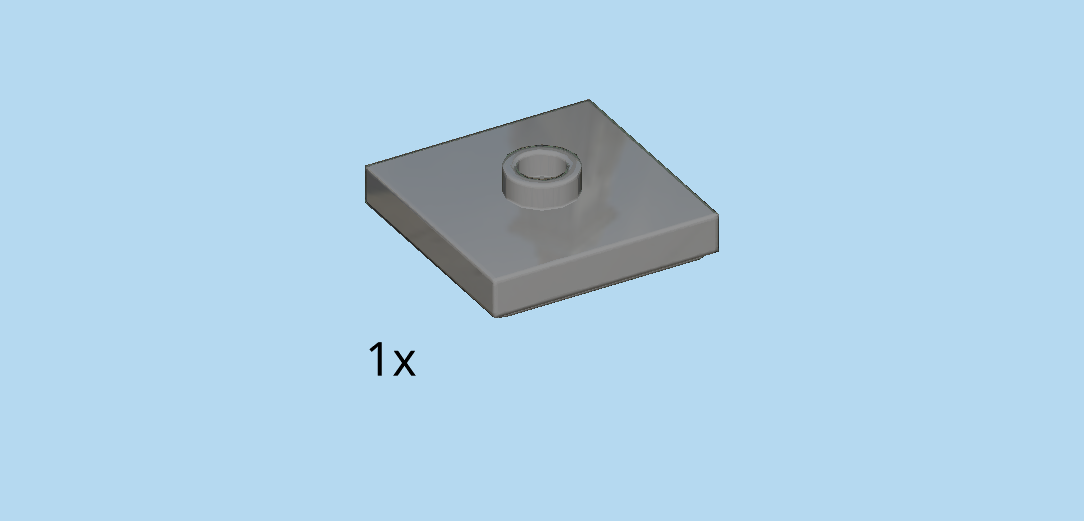
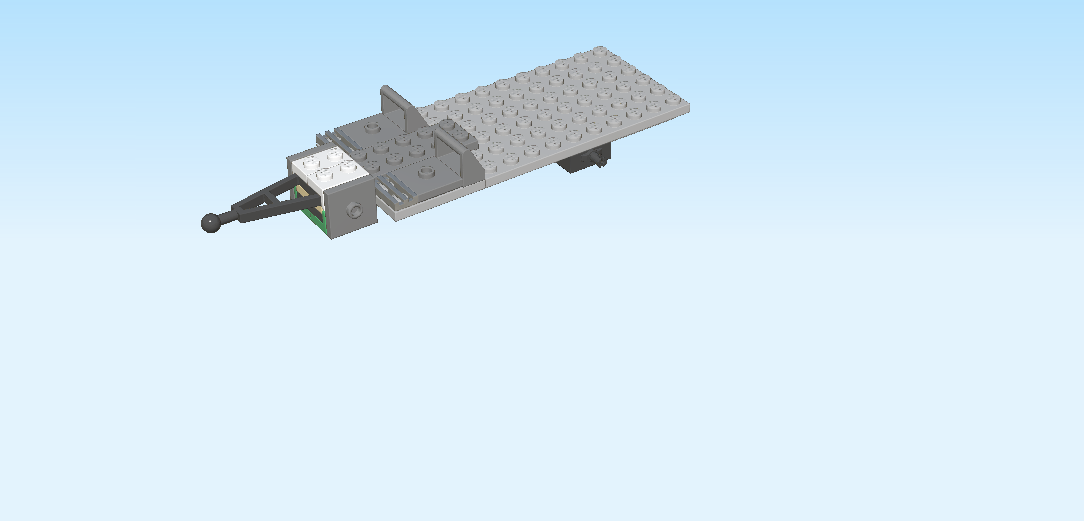
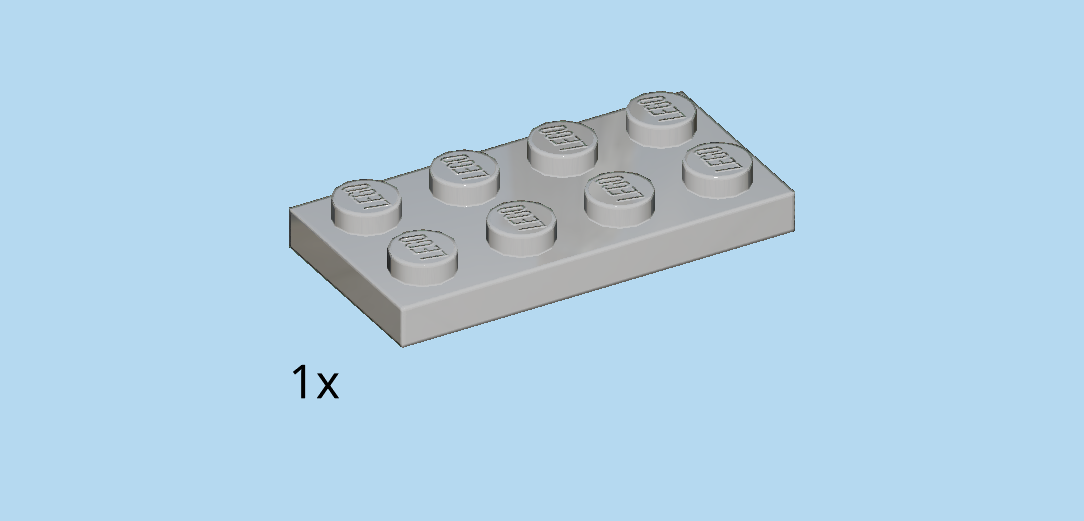
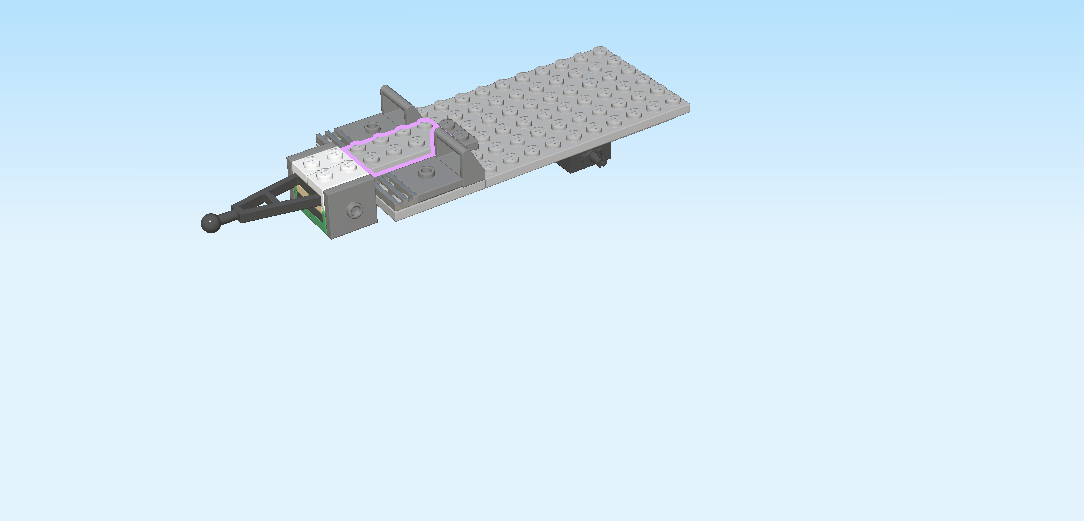
| Find 1 medium stone grey plate 2x4. |
| Skip the 2 leftmost columns, and mount it horizontally centered. |
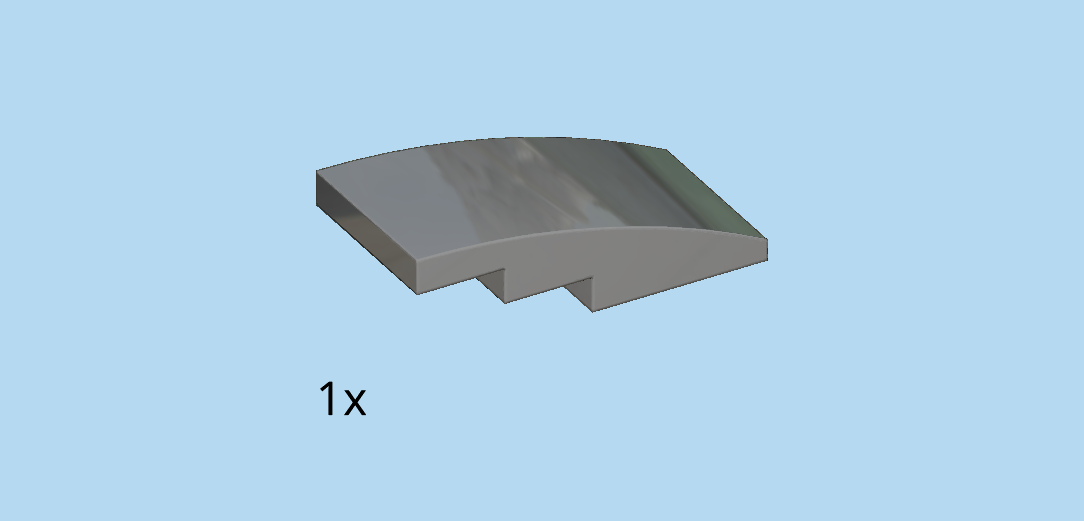
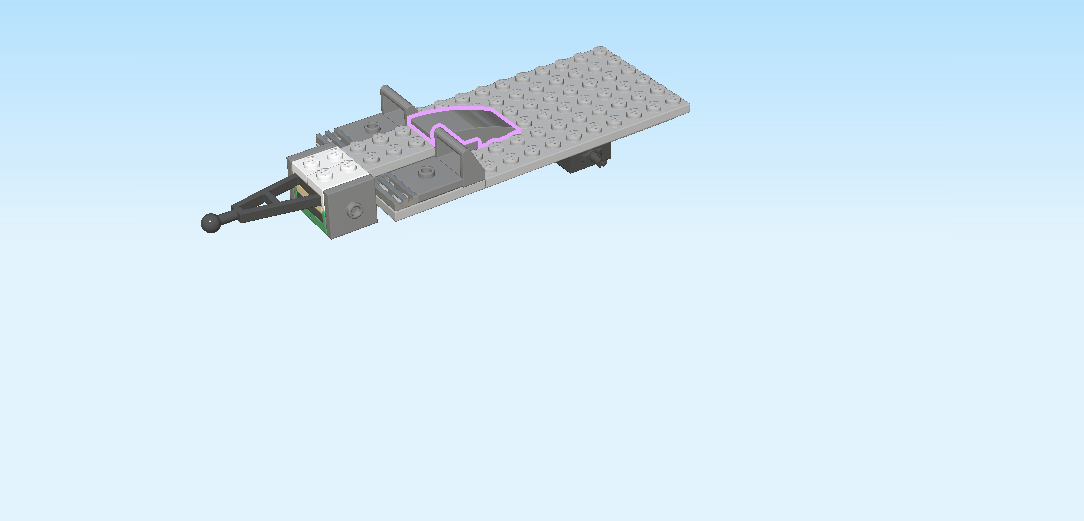
| Find 1 dark stone grey two-stepped curve tile 2x4. |
| Put it horizontally on the rightmost column of the previous piece, curve to the right. The two steps of the curve tile fit perfectly into the 2 steps on the structure. |
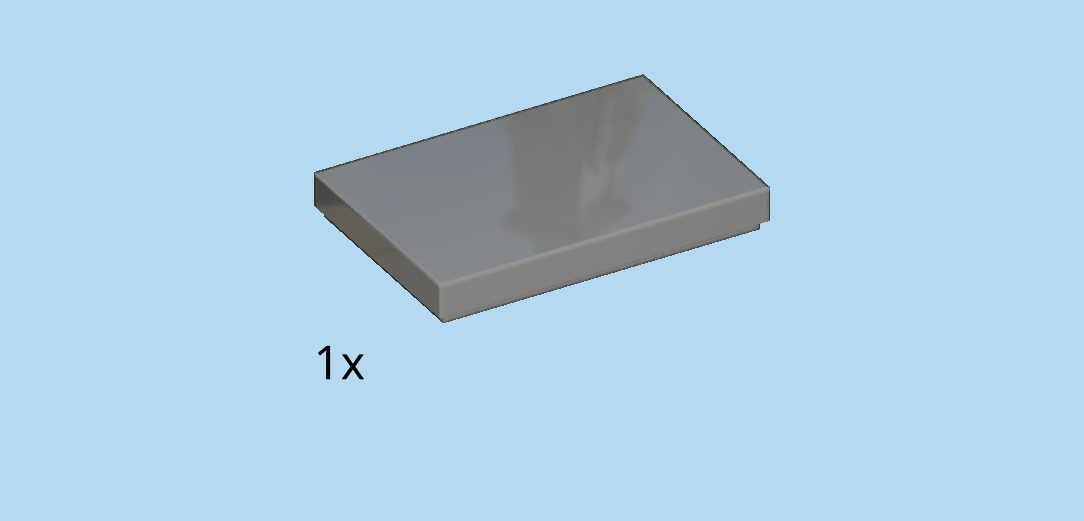
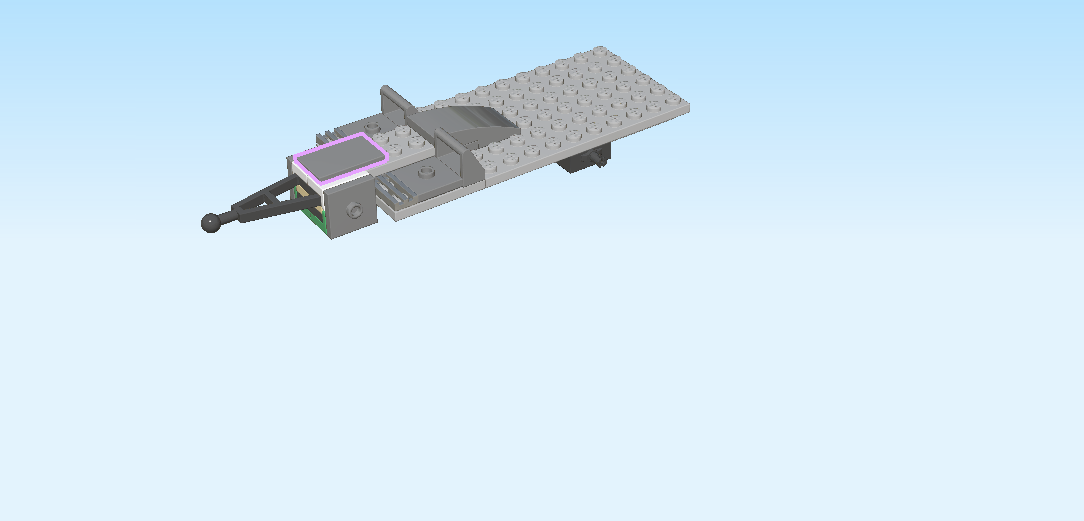
| Find 1 dark stone grey flat tile 2x3. |
| Put it horizontally on the leftmost edge. |
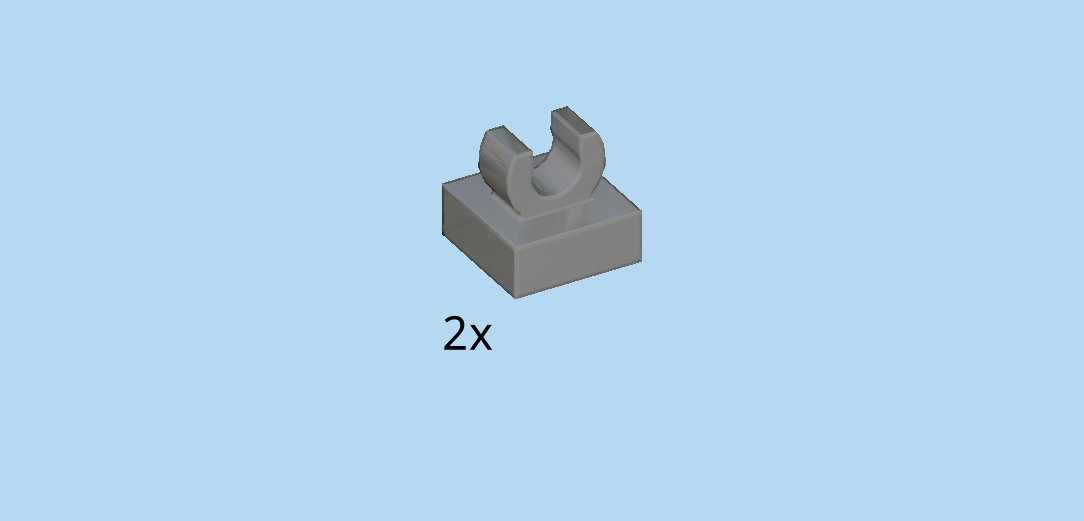
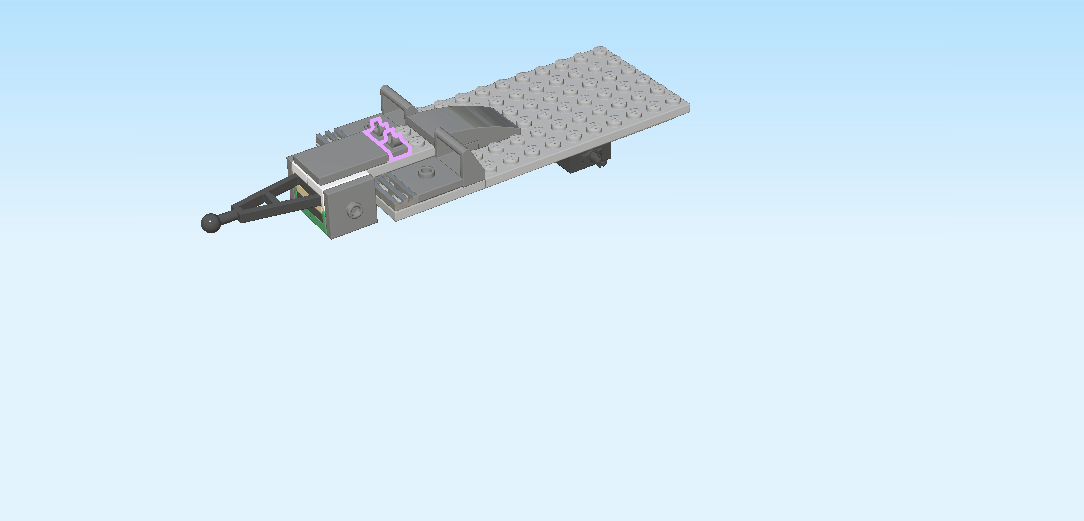
| Find 2 dark stone grey plates 1x1 with top clasp. |
| Note: pay particular attention to the orientation of the clasps. |
| Put 1 to the right of the previous piece on the back knob, clasp ends pointing to the front and back. |
| Put the other one in front of the previous piece, clasp ends again pointing to the front and back. |
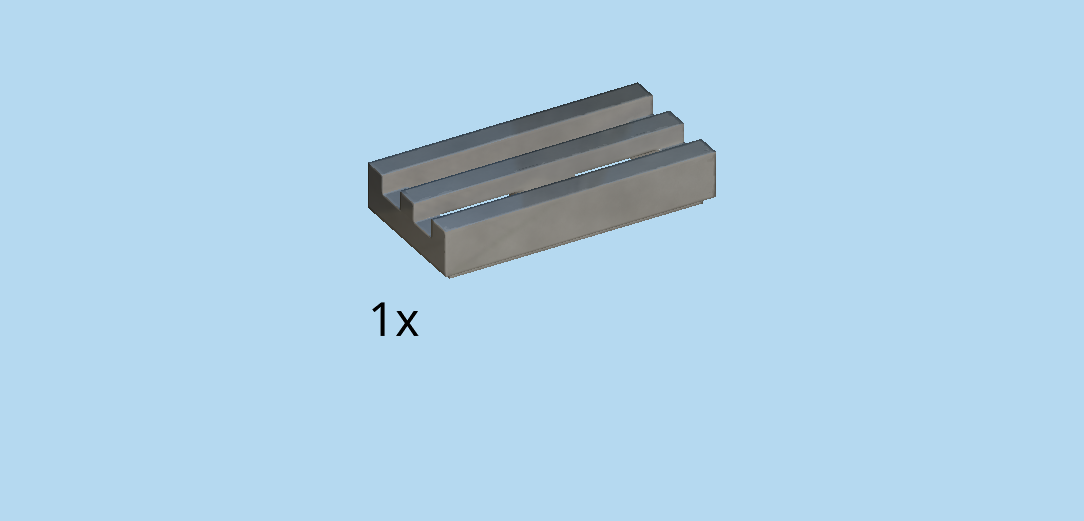
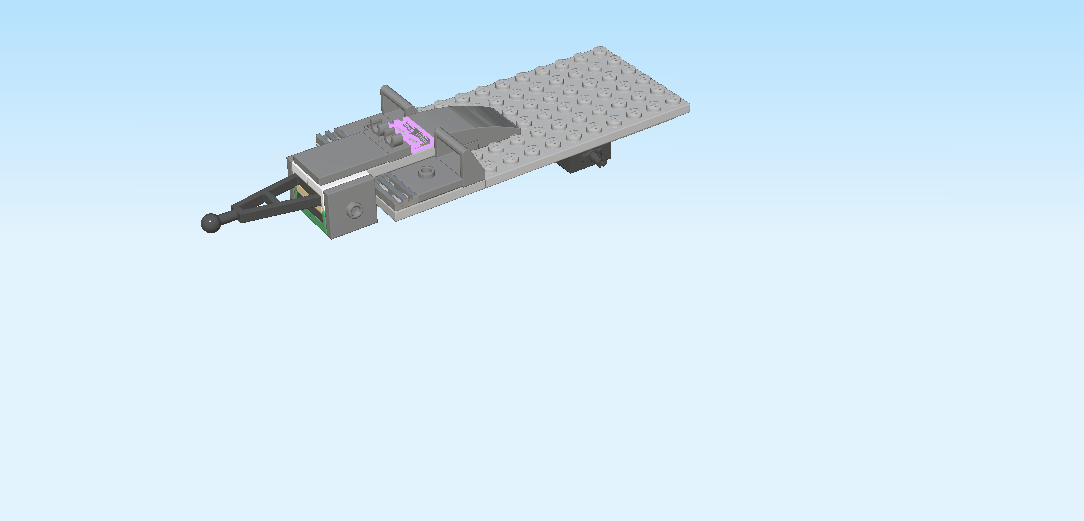
| Find 1 silver metallic grille tile 1x2. |
| Put it vertically to the right of the 2 previous pieces. |
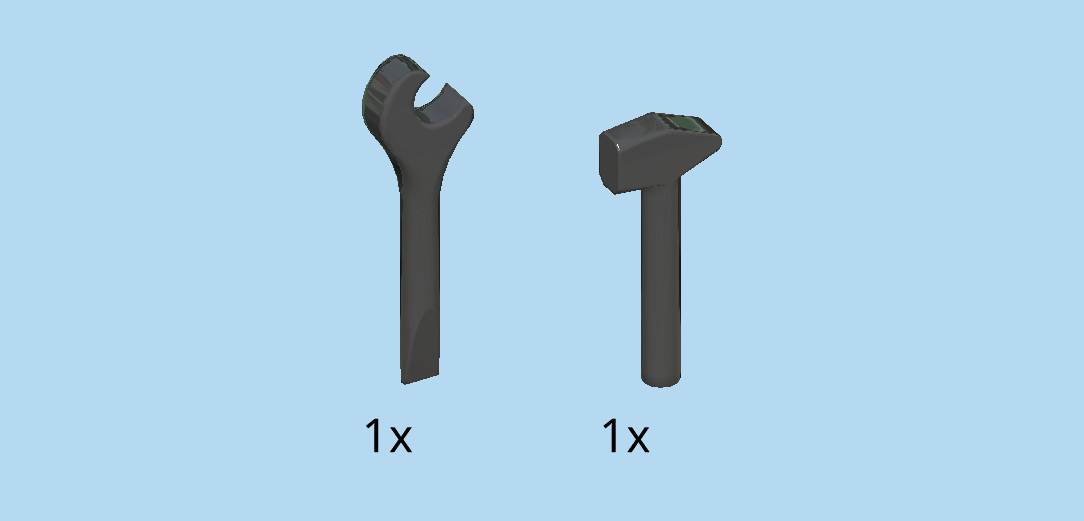
| Collect the following 2 pieces: |
| 1 black wrench, |
| and 1 black hammer. |
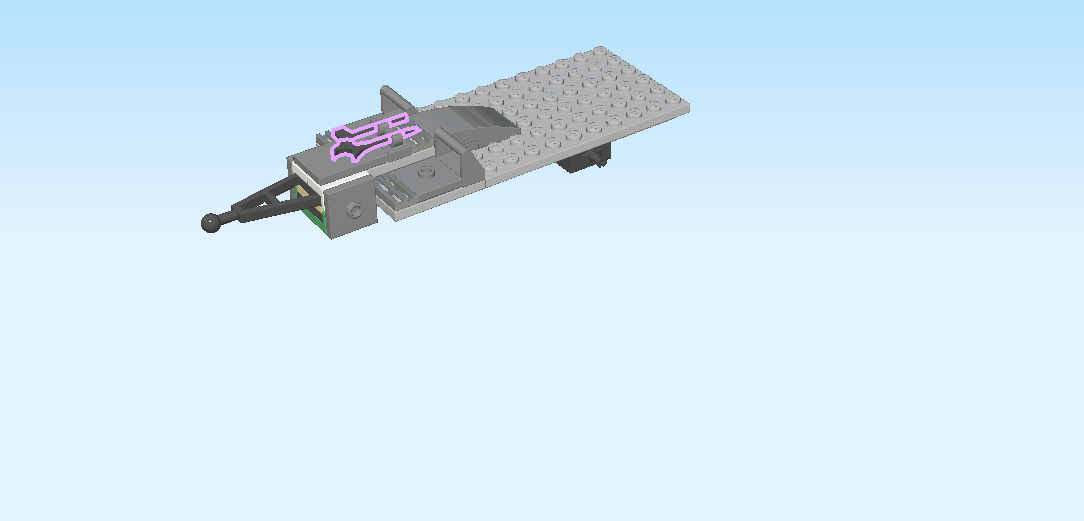
| Snap their handles horizontally into the 2 clasps to the left of the previous piece. If you cannot mount them horizontally, the plates 1x1 with top clasp could be mounted incorrectly. |
| Now, we build the octane fuel cylinder. |
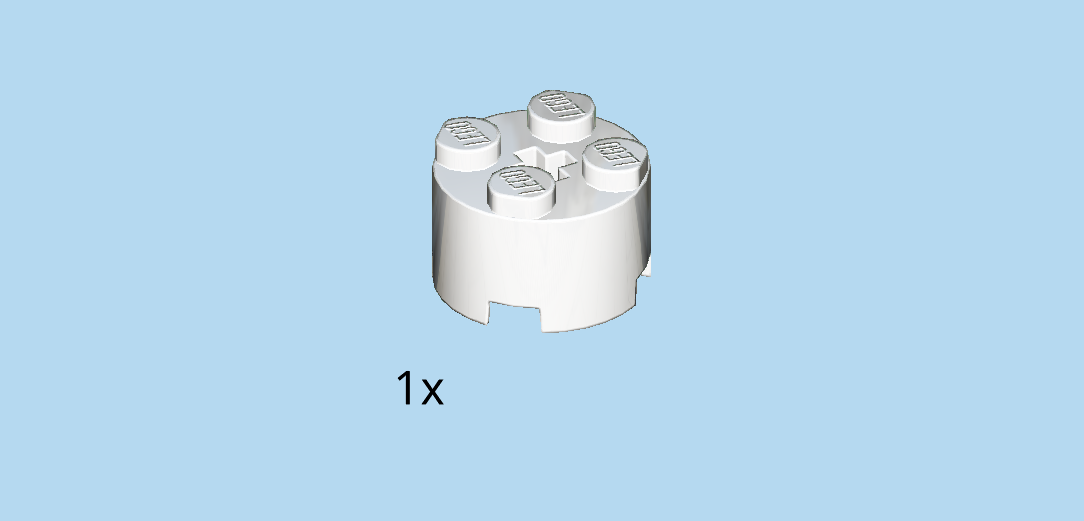
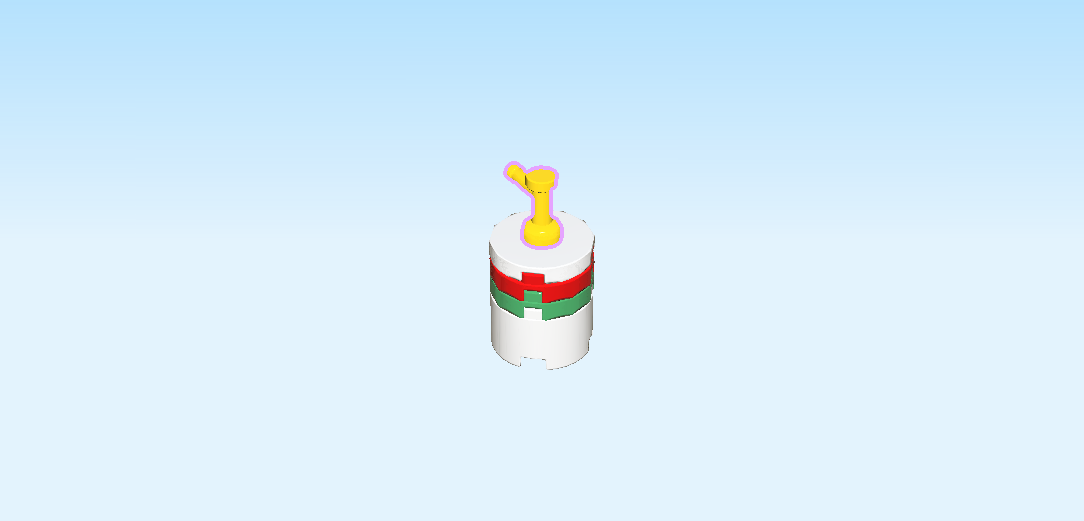
| Find 1 white round brick 2x2 with top cross hole. |
| Put it on the table. |
| Find 1 dark green round plate 2x2. |
| Put it on top. |
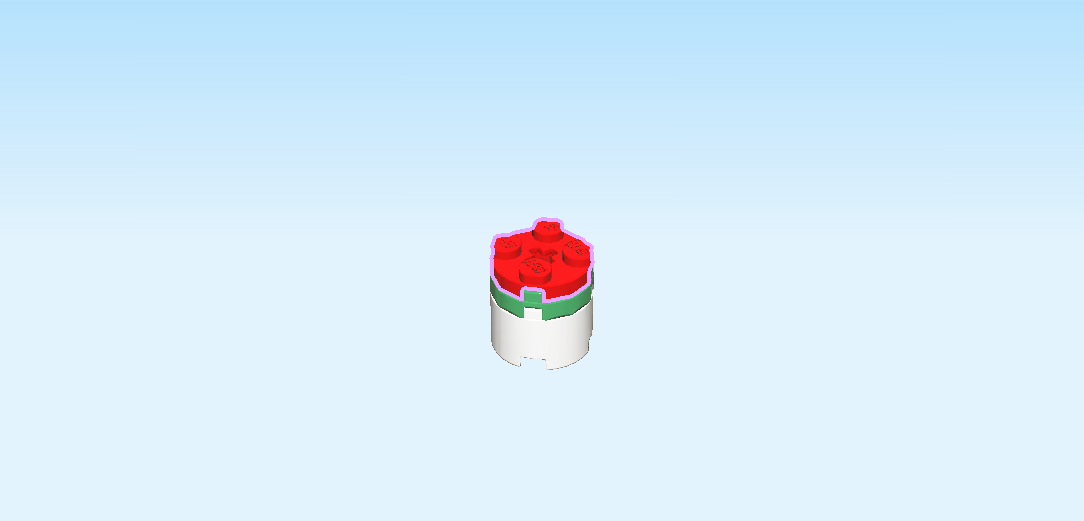
| Find 1 bright red round plate 2x2. |
| Put it on top. |
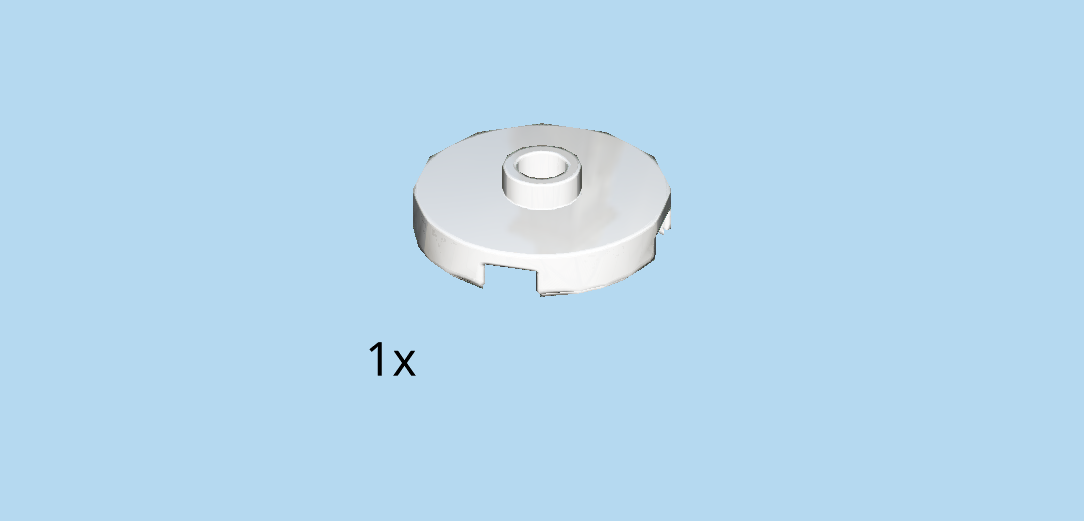
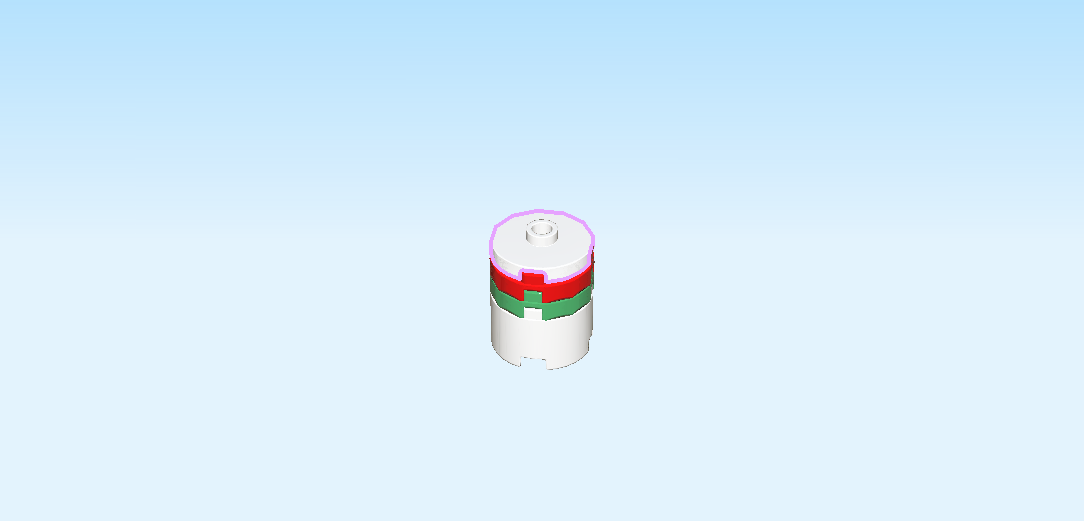
| Find 1 white round plate 2x2 with 1 knob. |
| Put it on top. |
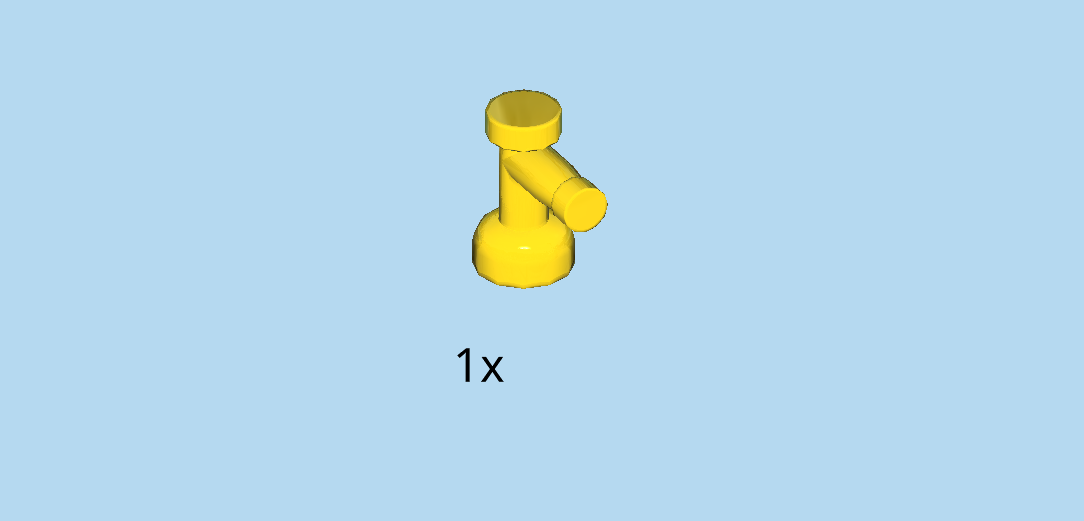
| Find 1 bright yellow water tap. |
| Put it on top. |
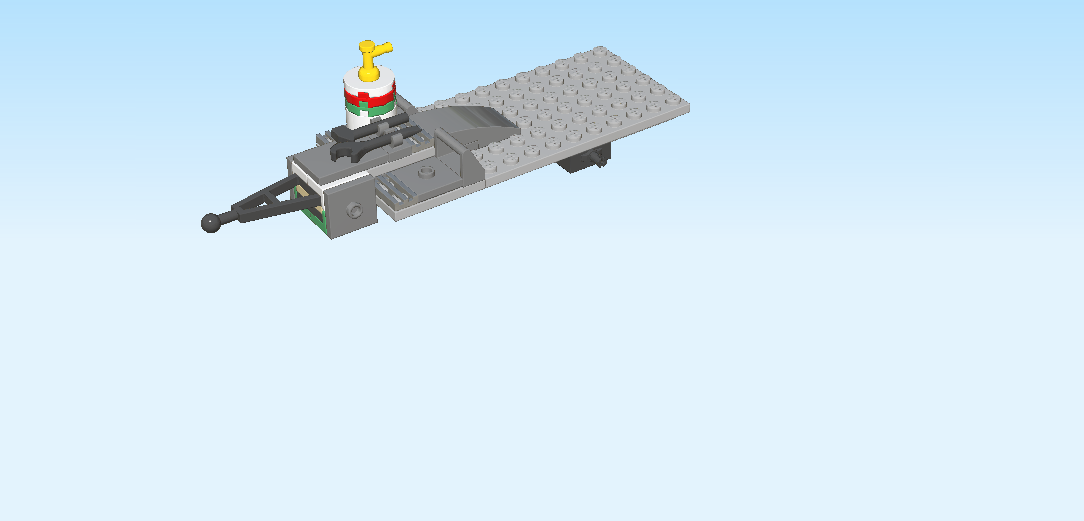
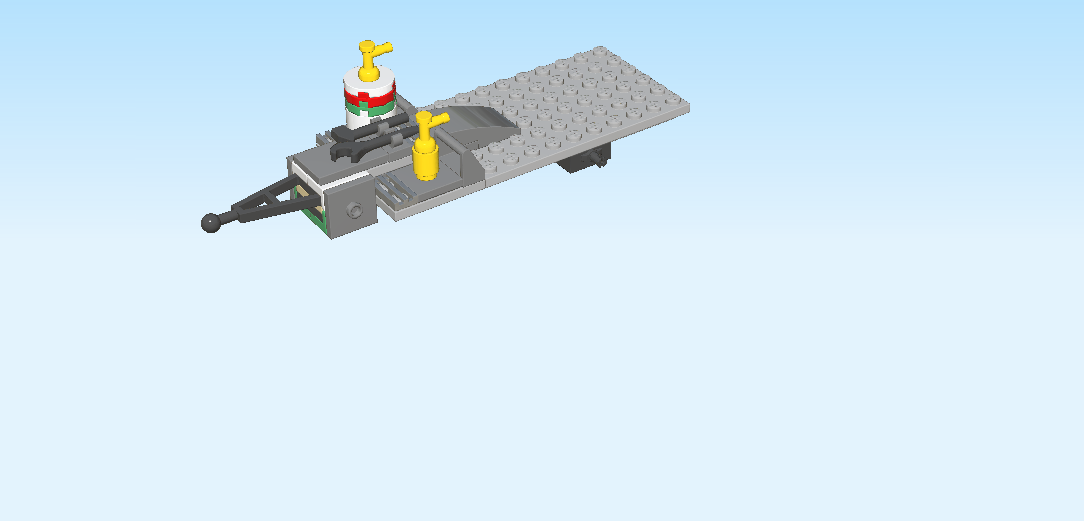
| The octane fuel cylinder is finished! Well done! Put it on top of the plate 2x2 with 1 knob behind the wrench and hammer. Do not confuse it with the plate 2x2 with 1 knob that is mounted upright at the left edge of the structure. |
| Next, we will build the fire extinguisher. |
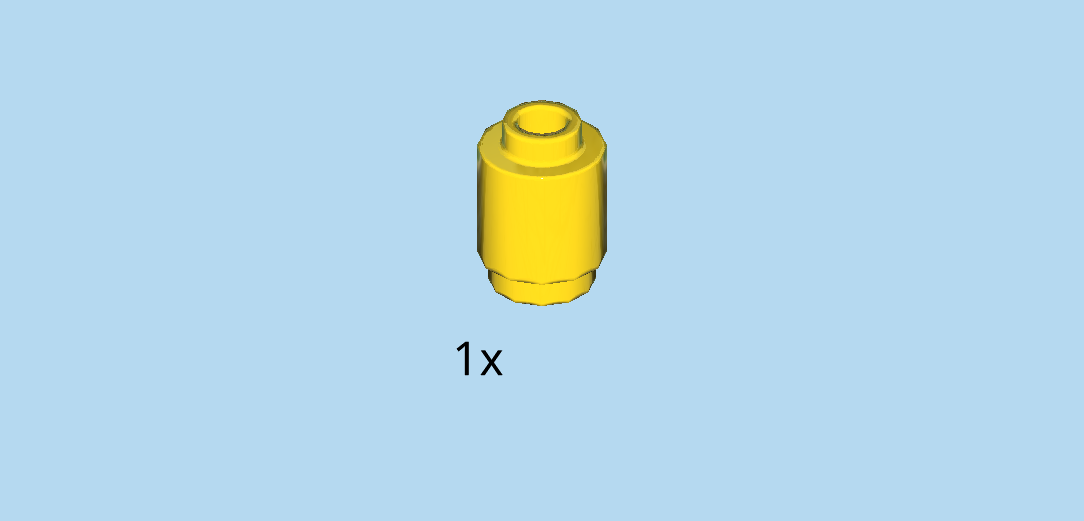
| Find 1 bright yellow round brick 1x1. |
| Put it on the table. |
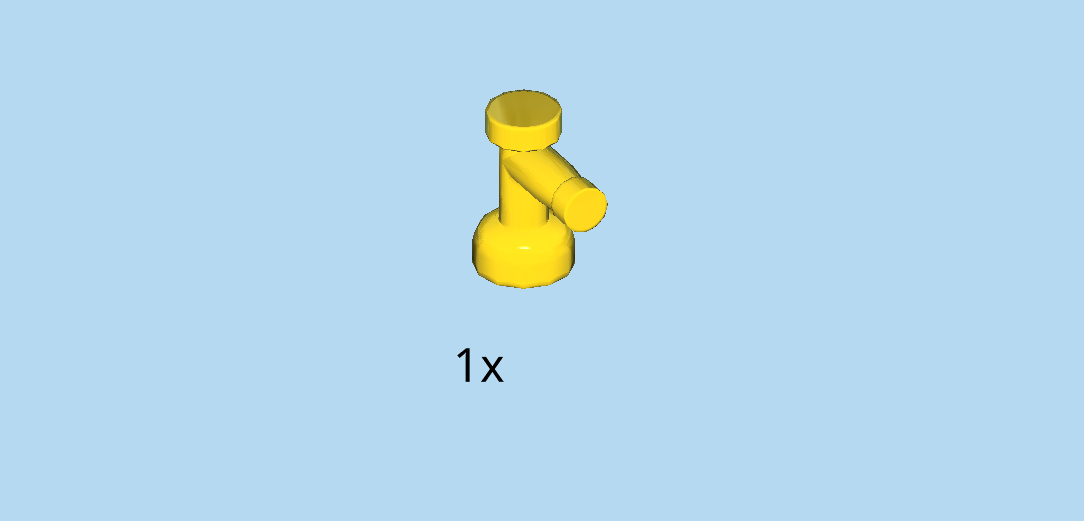
| Find 1 bright yellow water tap. |
| Put it on the top knob of the previous piece. |
| The fire extinguisher is finished! Well done! Put it on the plate 2x2 with 1 knob in front of the wrench and hammer. Do not confuse it with the upright plate 2x2 with 1 knob at the left edge. |
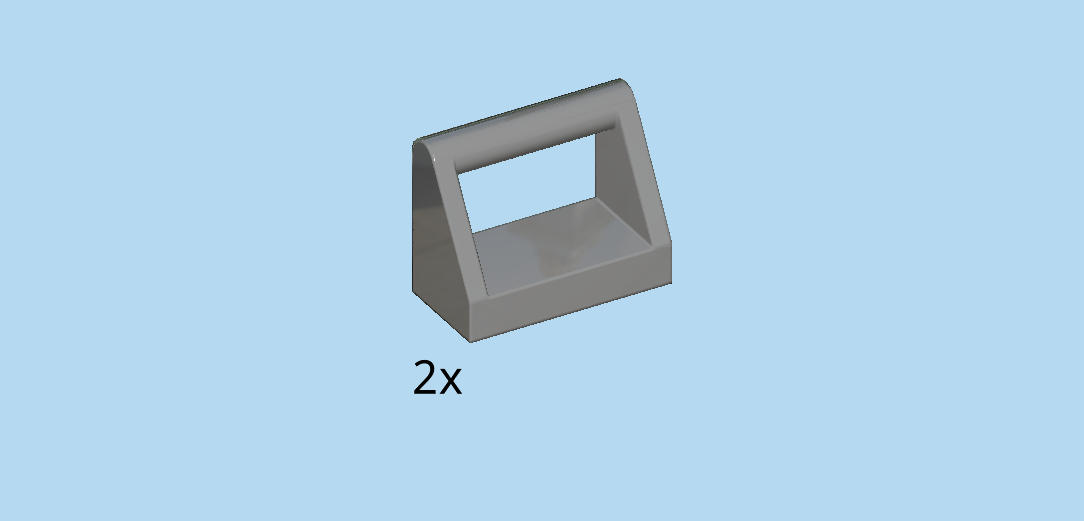
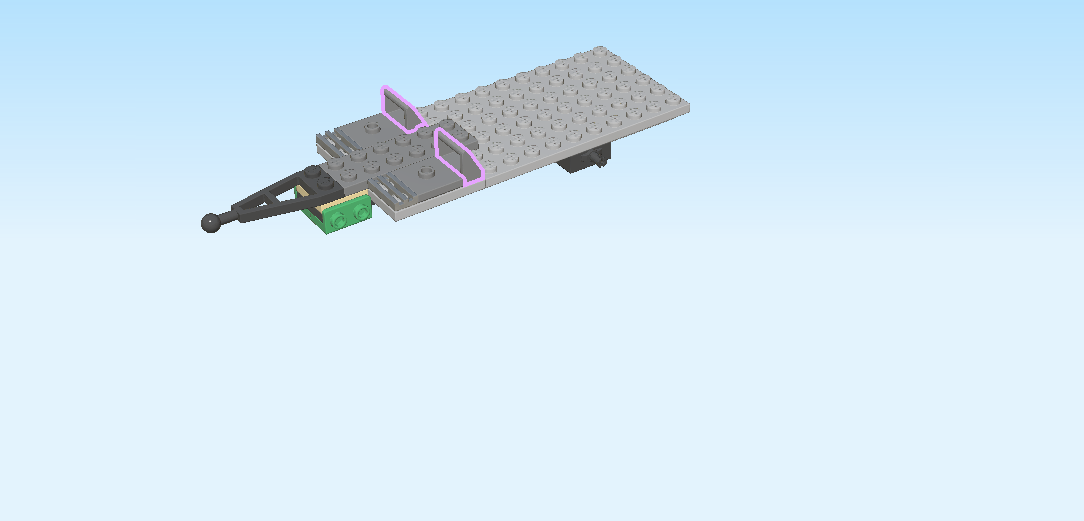
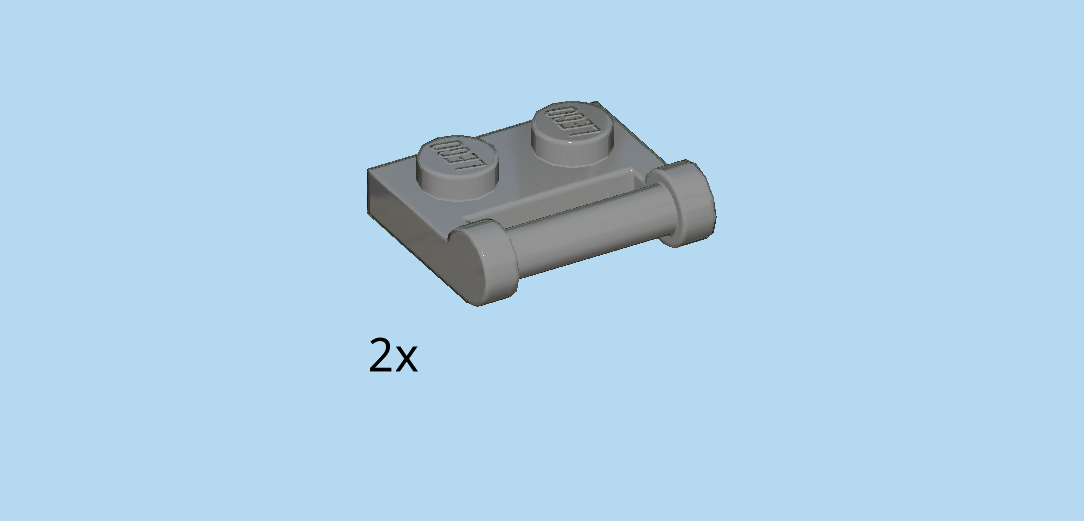
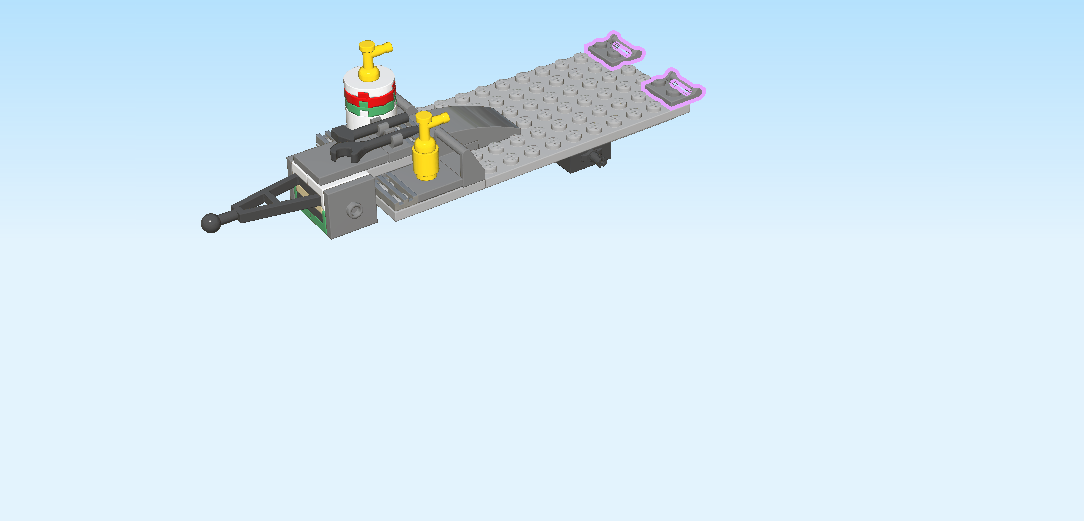
| Find 2 dark stone grey plates 1x2 with handle on long side. |
| Put 1 vertically on the rightmost column at the back, handle to the right. |
| Repeat symmetrically at the front. |
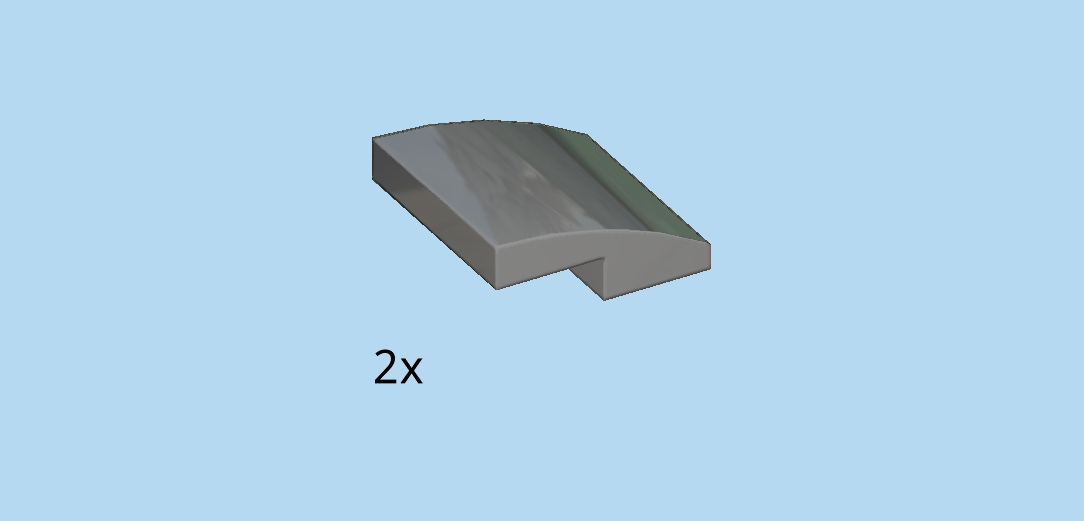
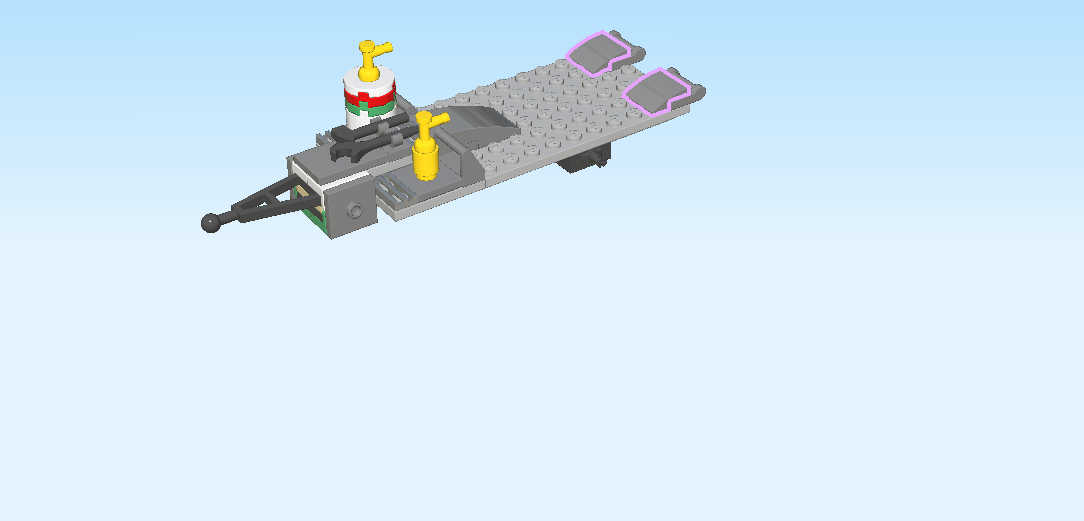
| Find 2 dark stone grey one-stepped curve tiles 2x2x⅔. |
| Put 1 on the previous piece and the column to its left, curve to the left. |
| Repeat symmetrically at the back. |
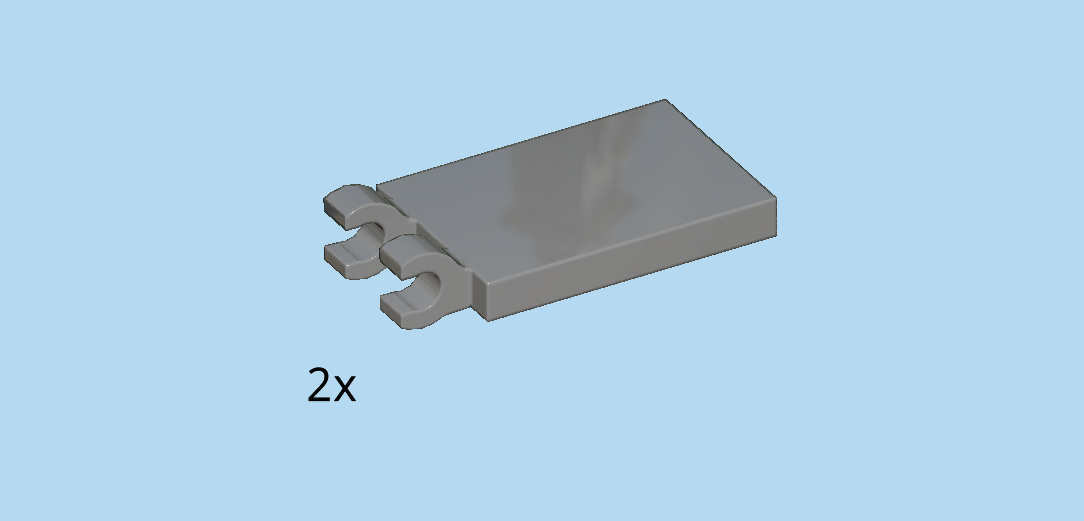
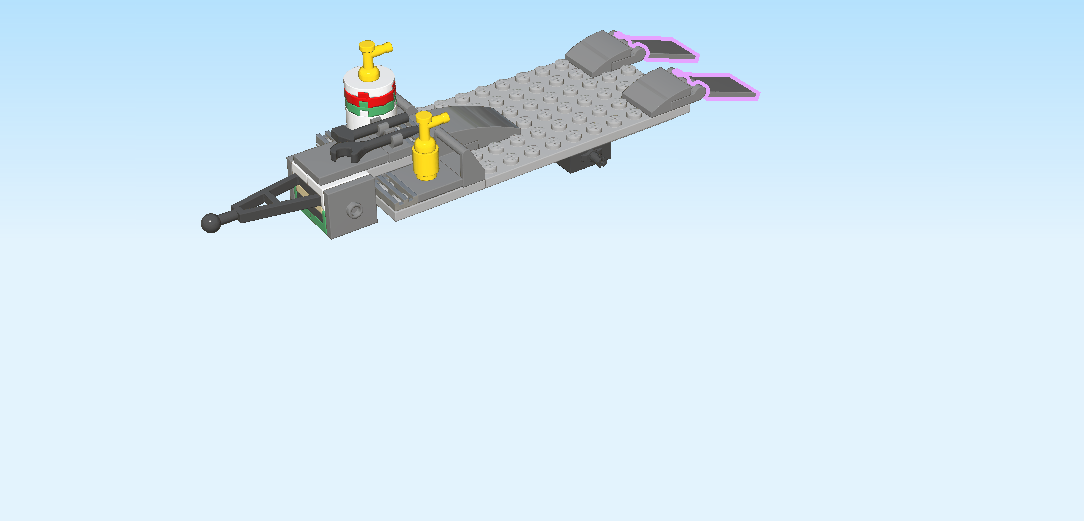
| Find 2 dark stone grey flat tiles 2x3 with 2 vertical clasps on short side. |
| Snap the clasps of 1 on the handle at the back right, flat tile overhanging to the right. |
| Repeat symmetrically at the front. |
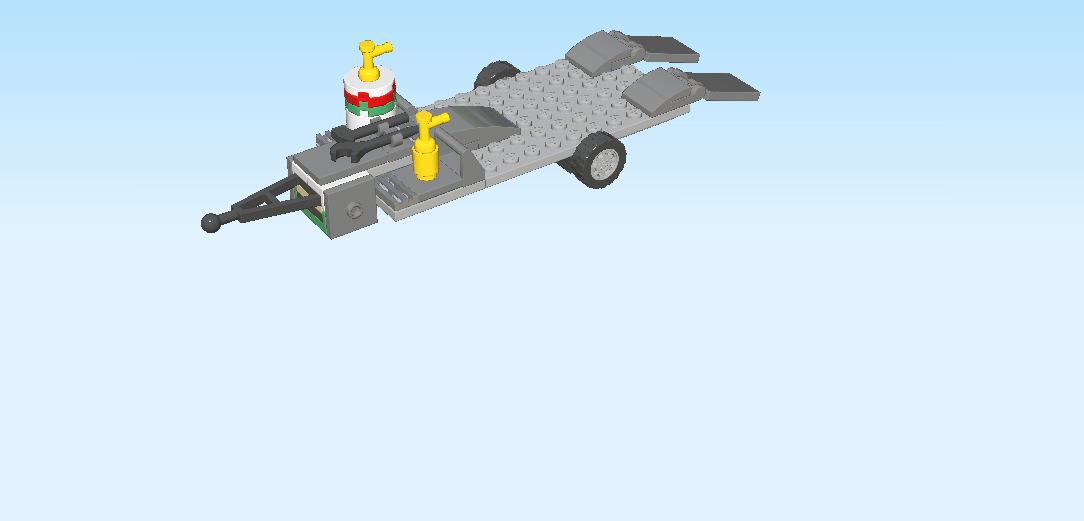
| These are the fold-down ramps of the trailer! Use them to load and unload the Baja race buggy. When transporting the race buggy, fold them up to secure the vehicle in place. |
| Next up, we will assemble the 2 wheels of the trailer. |
| Let's start with one. |
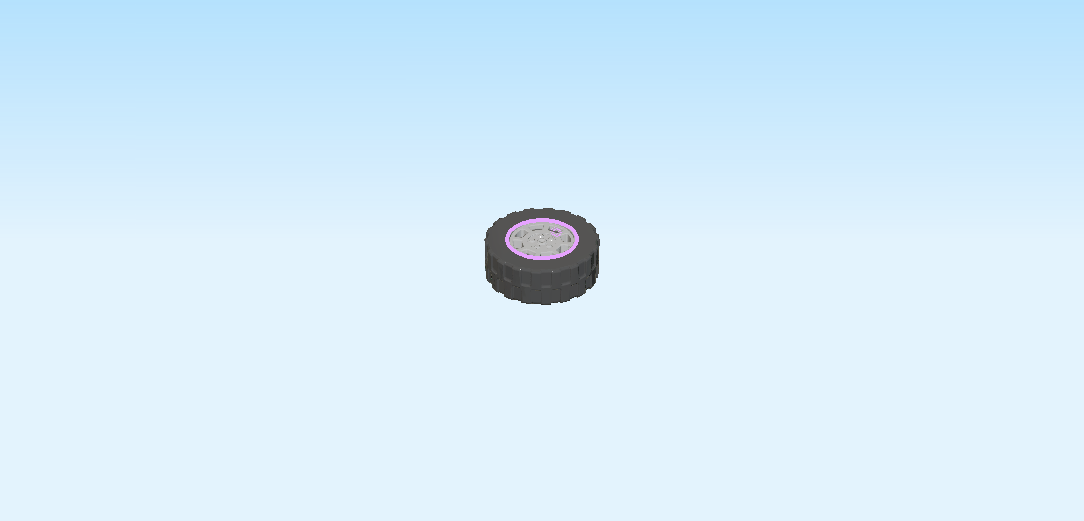
| Find 1 black rubber tire with staggered low profile. |
| Find 1 medium stone grey rim with cross wheel hub and spokes. |
| Put the tire around the rim. |
| Find another tire and another rim. |
| Assemble the second wheel just like the first one. |
| Snap the wheels onto the 2 pin connectors at the bottom of the trailer. |
| The trailer is finished! Very well done! Snap the ball of the towing extension into the ball socket at the rear end of the SUV off-roader. |
| The SUV off-roader with trailer is finished! Well done! |
| You have finished building the entire LEGO City Race Buggy Transporter set! Excellent work! Now it is time to load the race buggy on the trailer and find the perfect terrain for some off-road action. The Baja race buggy is steerable which guarantees extra fun on your racing adventures! Whoever is in the driver seat must wear the safety helmet and goggles. Ready, steady, Go! |
| Enjoy! |
