| LEGO Audio & Braille Building Instructions for the LEGO City set "Elite Police Boat Transport". |
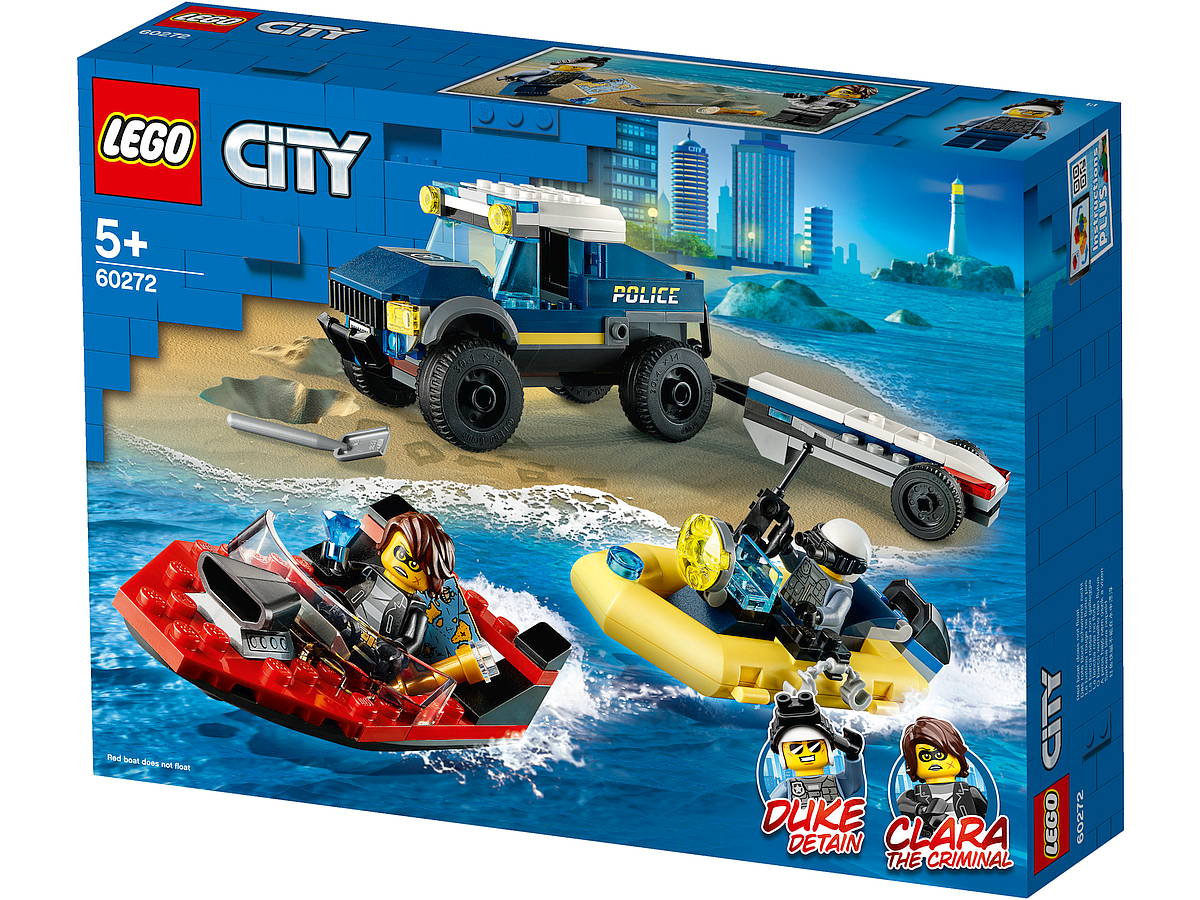
| Vroom! Clara the Criminal is making a twilight escape in a superfast speedboat loaded with stolen treasure. Mobilize LEGO City TV hero Duke DeTain and race to the scene in the armored off-roader. Then unload the cool police dinghy from the trailer, grab the night vision goggles and set off in hot pursuit before she escapes into the darkness. Another action-packed LEGO City Police adventure! |
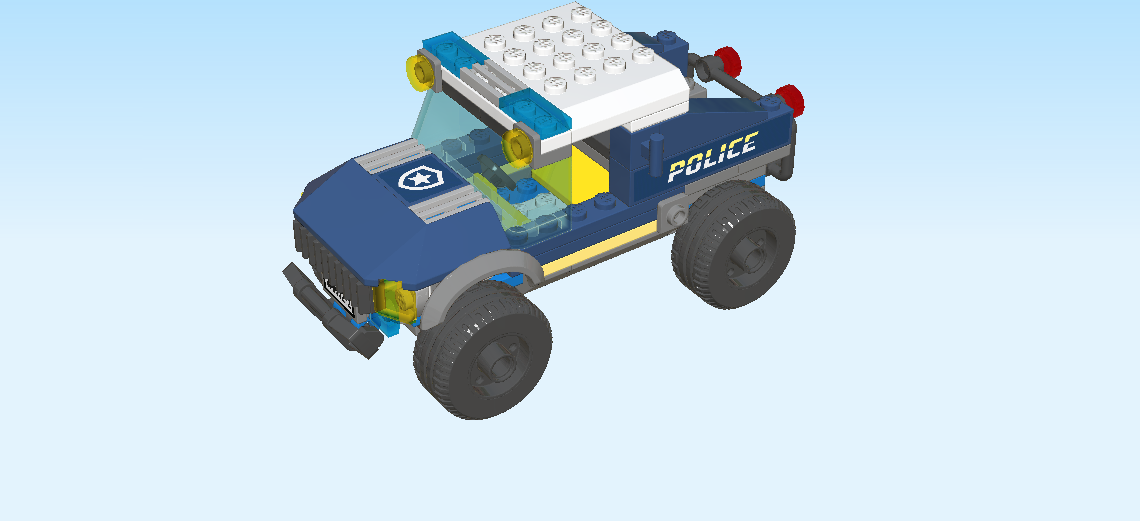
| On the box cover, you can see the armored police off-roader complete with detachable boat trailer standing at the beach; the truck is a chic night blue with yellow horizontal stripes and yellow POLICE signs on the sides as well as a white roof with flashing blue lights. The trailer is designed in the LEGO City police colors, as well, and has red rear lights. The LEGO City skyline is the serene backdrop of the scene, while at the front, Clara the Criminal is speeding off in her blazing red speedboat with cool black rear spoilers. But not to worry, police officer Duke DeTain is already hard on her heels in his yellow police dinghy! |
| Open the box. This can be tricky; ask someone to help you! |
| The box contains two booklets with visual building instructions, two large plastic bags with numbers printed on them, and one unnumbered plastic bag; ask a sighted person to help you find the correct bag! |
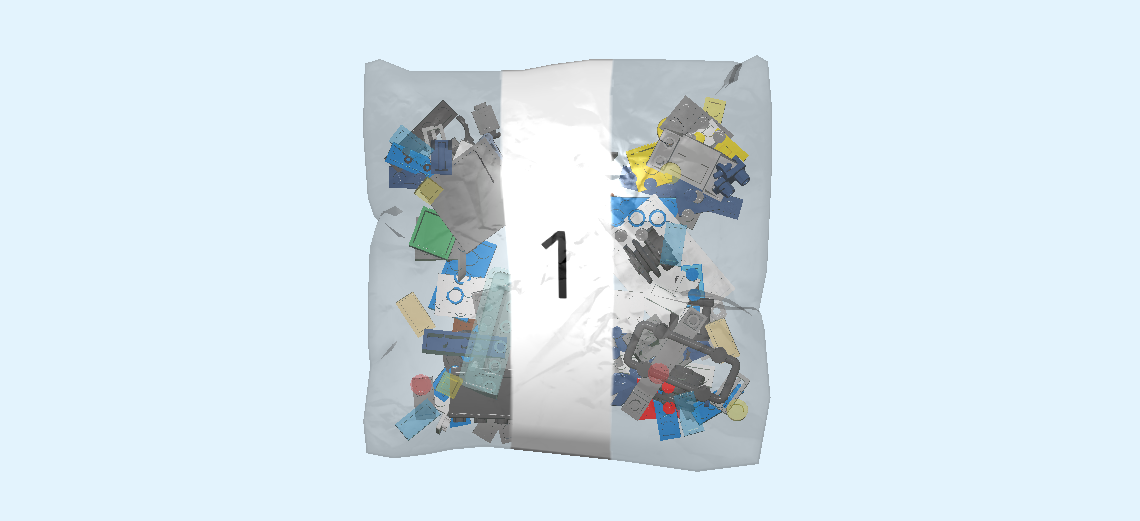
| Carefully open bag 1 and any small sub-bags in it, as well as the unnumbered plastic bag. Bag 1 contains the bricks and pieces for the Duke DeTain Minifigure and the police off-roader jeep, the extra bag contains the dinghy boat and the tires of the jeep. |
| Before you start building, ask a sighted person to help you sort the pieces by color. This way, finding pieces and building will be even easier! |
| First, we will build the Duke DeTain Minifigure. |
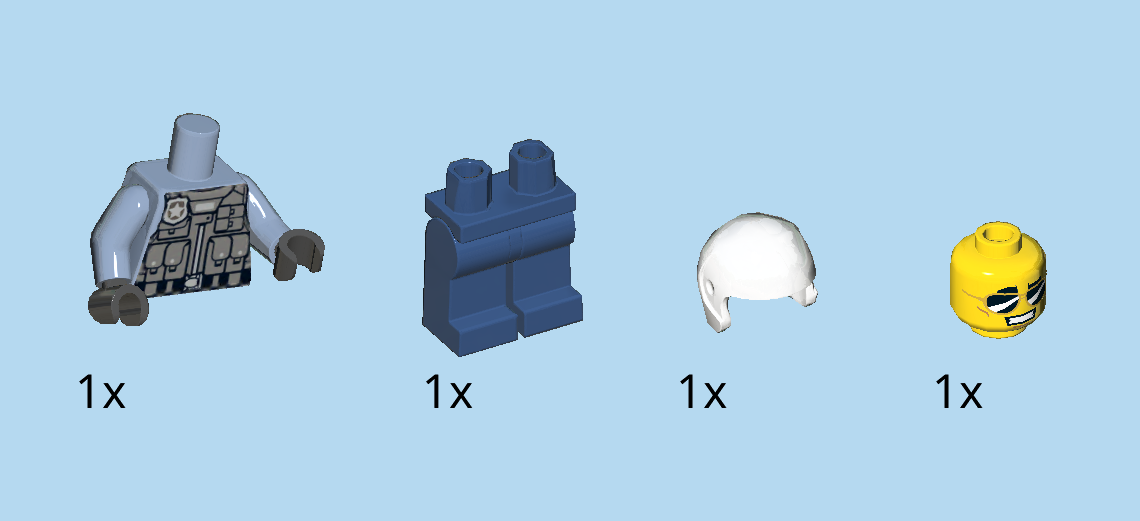
| Collect the following 4 pieces: |
| 1 bright yellow head, |
| 1 earth blue pair of legs, |
| 1 white football helmet, |
| and 1 sand blue and black upper part of the body. |
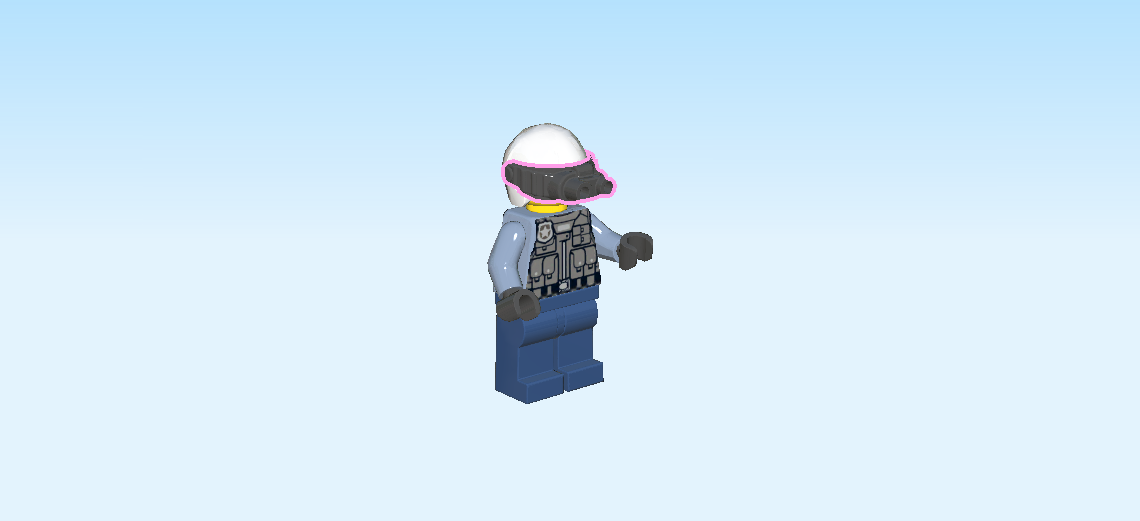
| Assemble the Minifigure: stack the upper part of the body on the legs, put the head on top, and place the helmet on the head. |
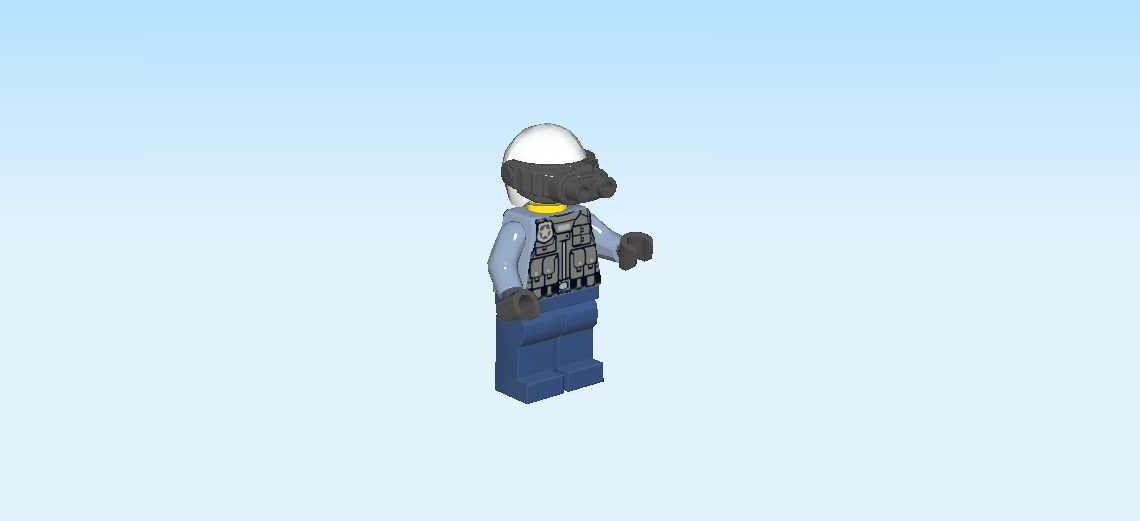
| Duke DeTain has a broad grin on his face and is wearing cool sunglasses. He is all ready to catch Clara the Criminal! Will he succeed? You decide! |
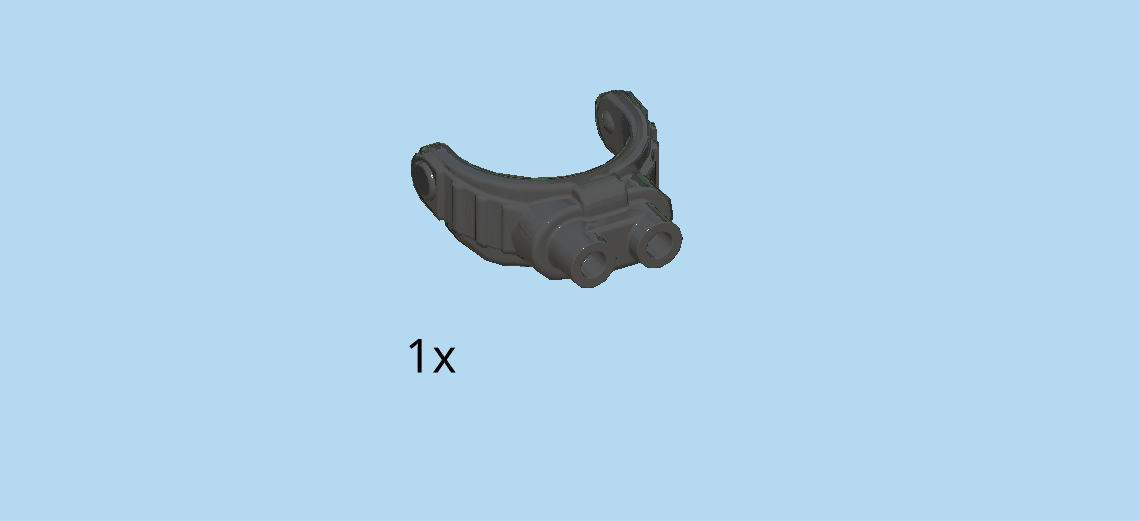
| Find 1 black pair of night vision goggles. |
| Snap them onto the helmet. |
| The Duke DeTain Minifigure is finished! Well done! He is wearing blue pants and a light blue shirt. On top of that, he is wearing a grey police vest with many pockets for his technical equipment. Thanks to the night vision goggles, Clara the Criminal won't stand a chance! |
| Next, we will build the police off-roader jeep. |
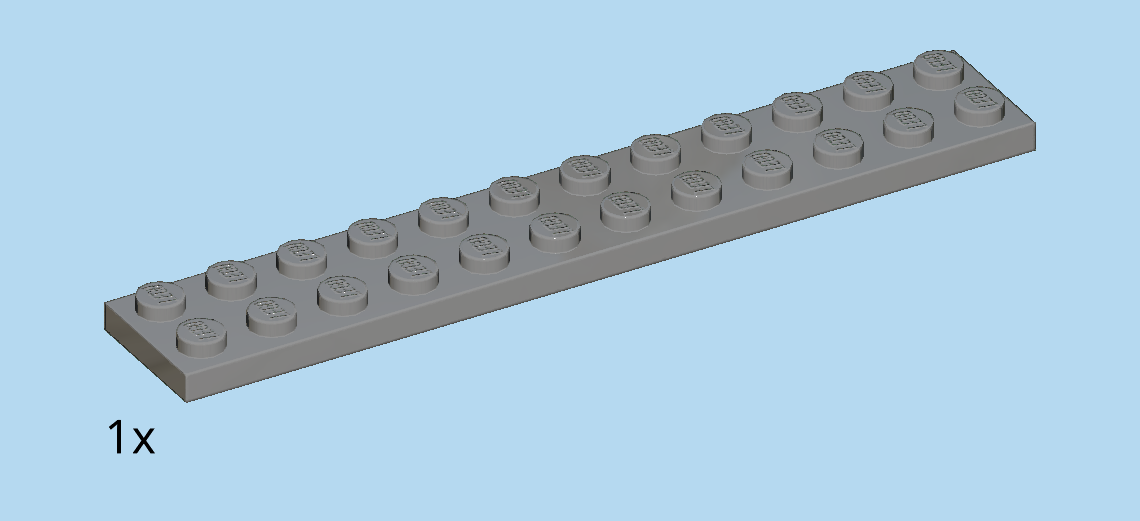
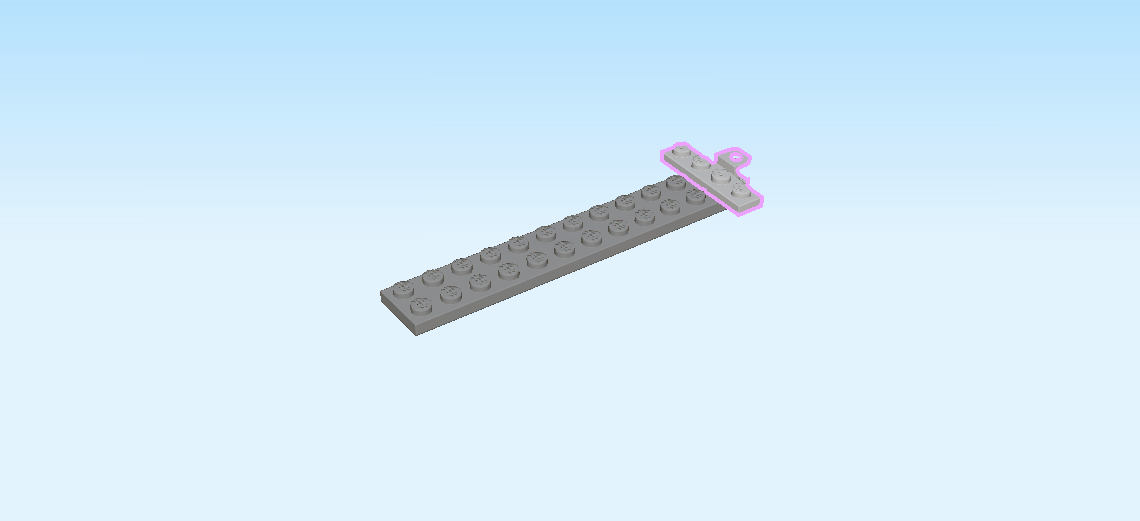
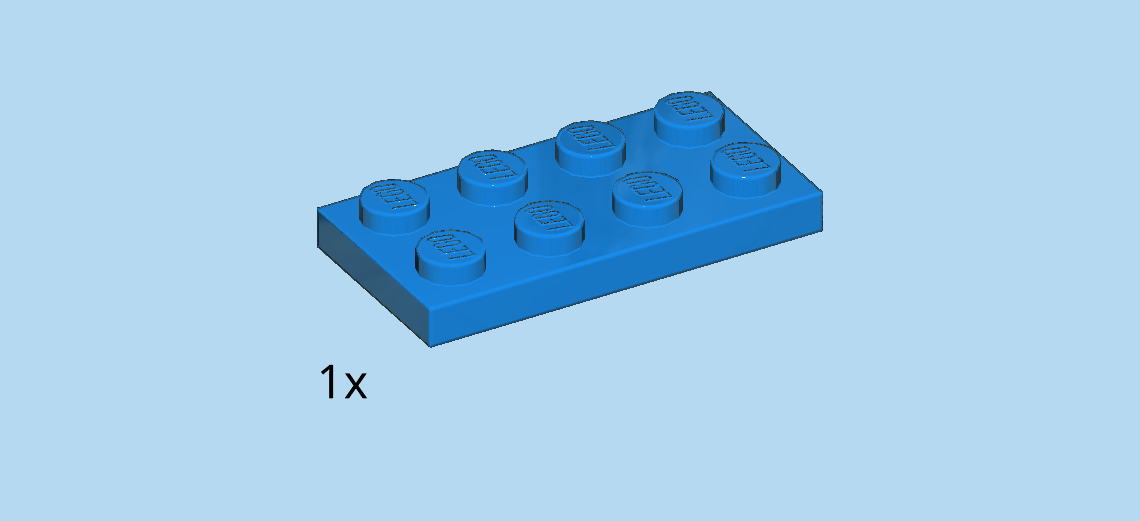
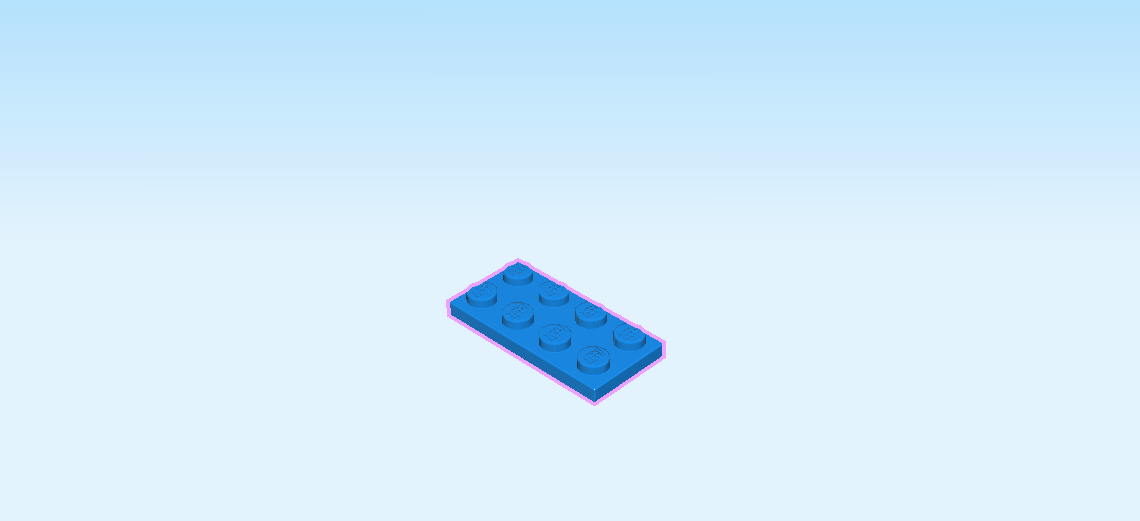
| Find 1 dark stone grey plate 2x12. |
| Put it horizontally on the table. |
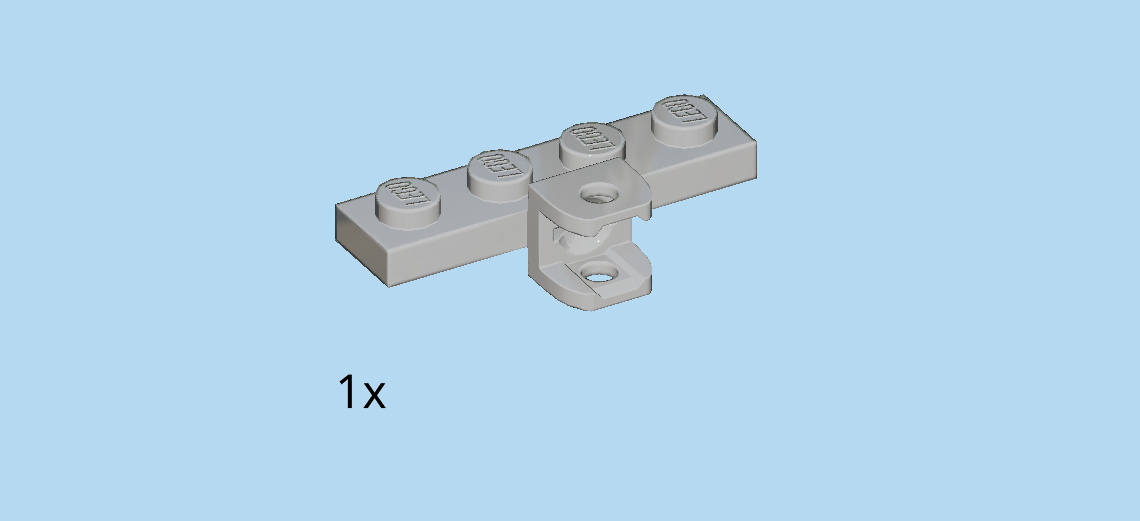
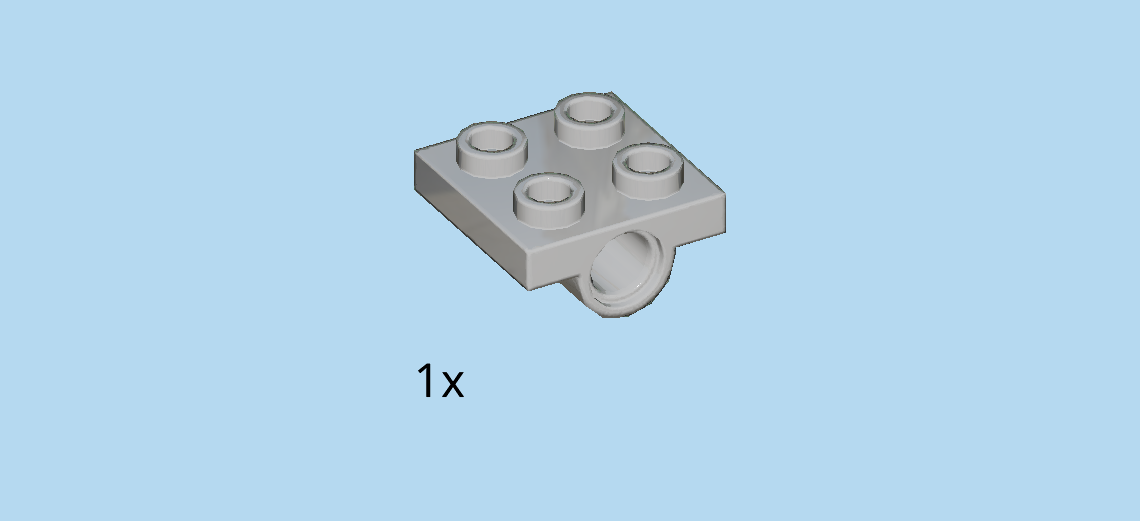
| Find 1 medium stone grey plate 1x4 with ball socket on long side. |
| Put it vertically centered on the rightmost column of the previous piece, ball socket to the right. This is later used to attach the boat trailer. |
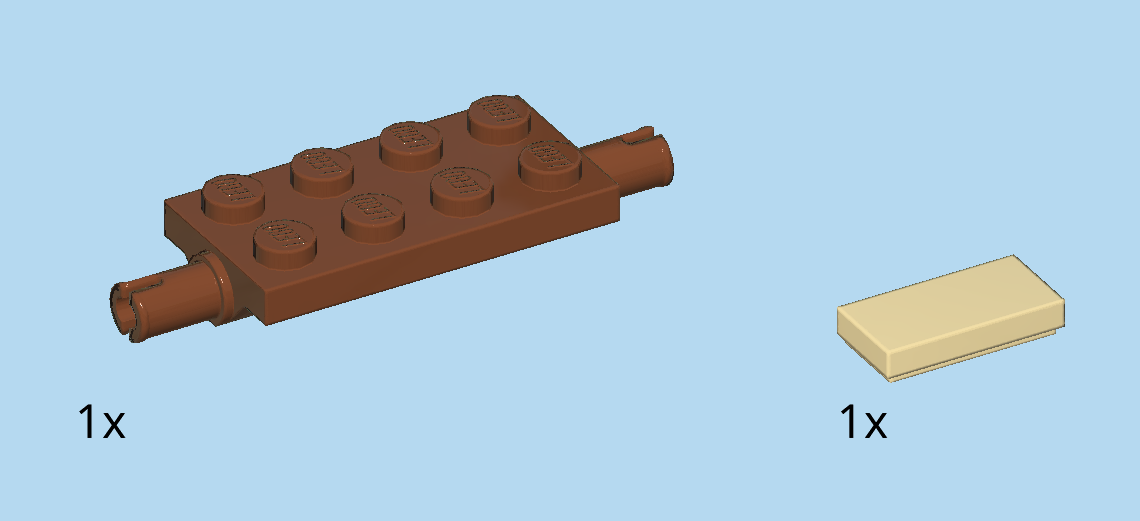
| Collect the following 2 pieces: |
| 1 pale ocher yellow flat tile 1x2, |
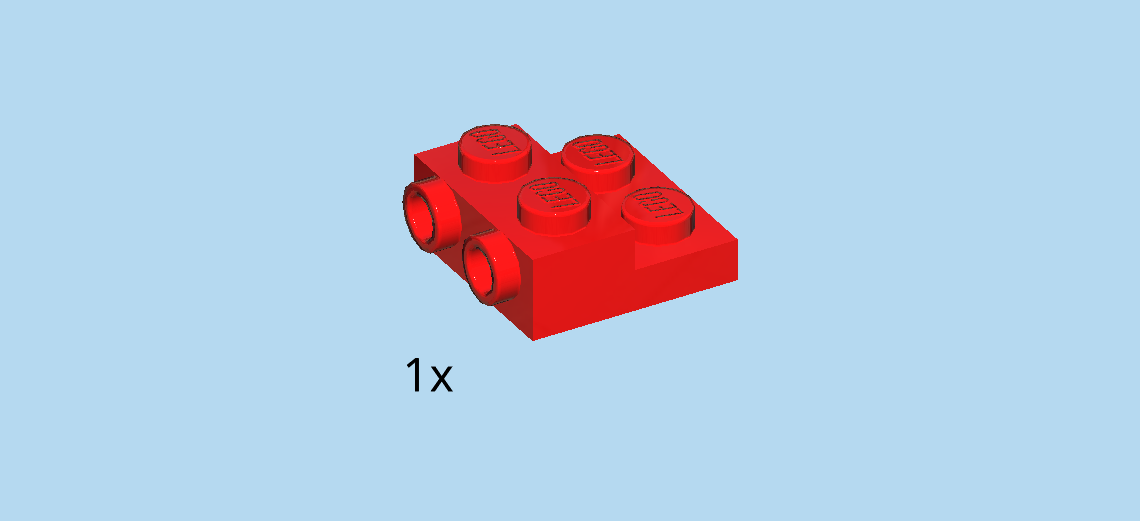
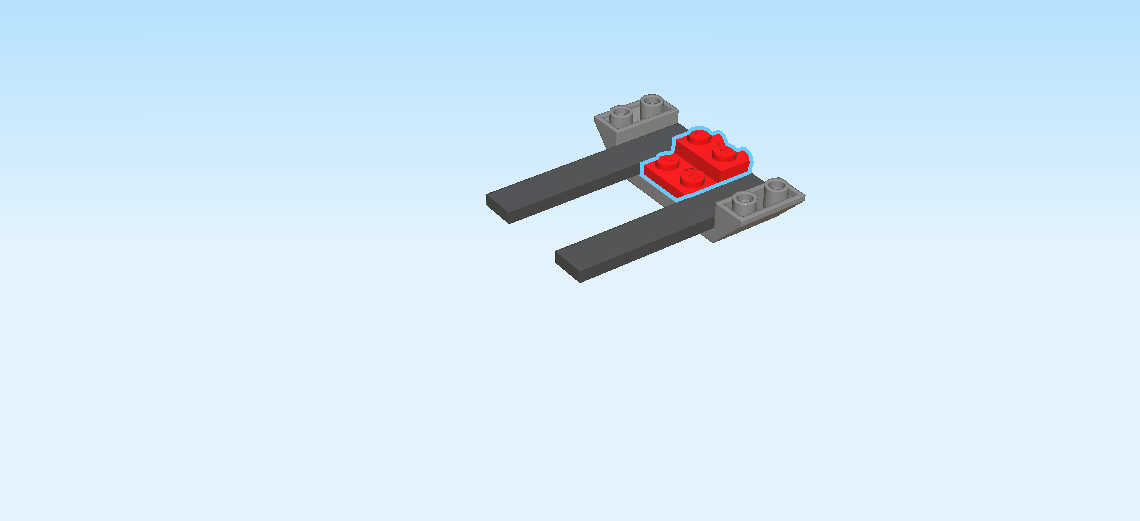
| and 1 reddish brown plate 2x4 with 2 side connector pins. |
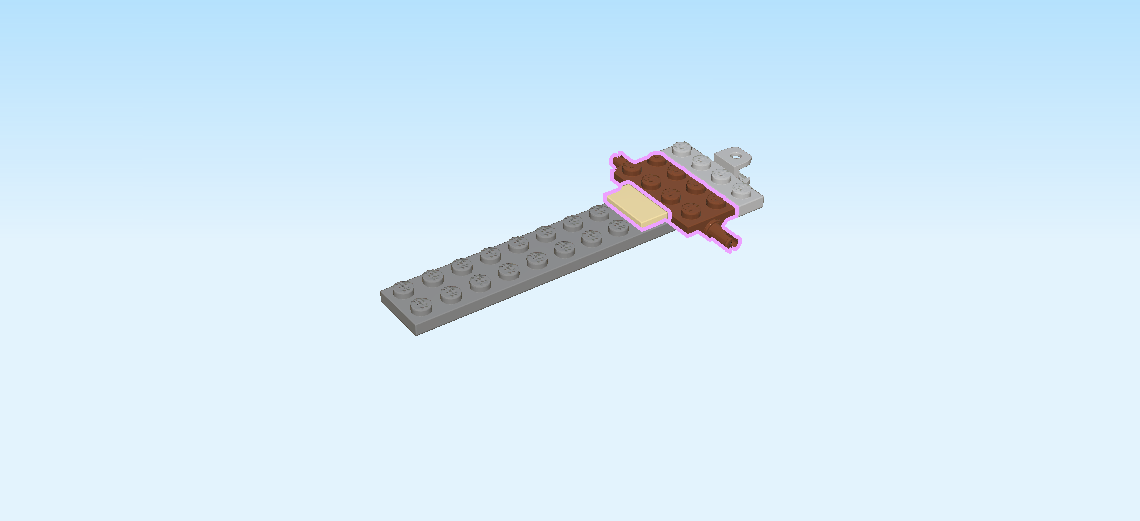
| Put the plate 2x4 with 2 side connector pins vertically centered to the left of the previous piece. |
| Put the flat tile 1x2 vertically to the left. |
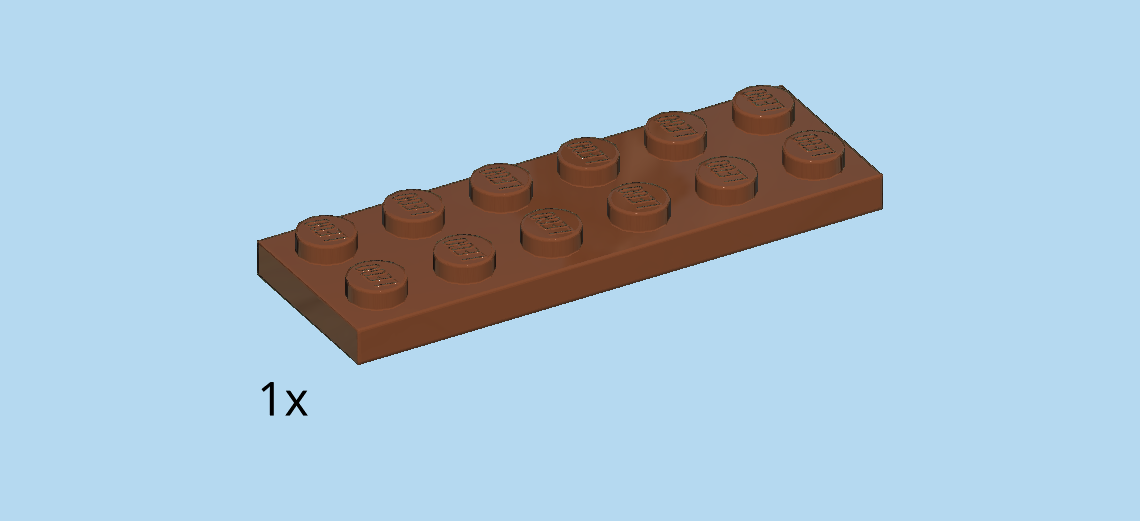
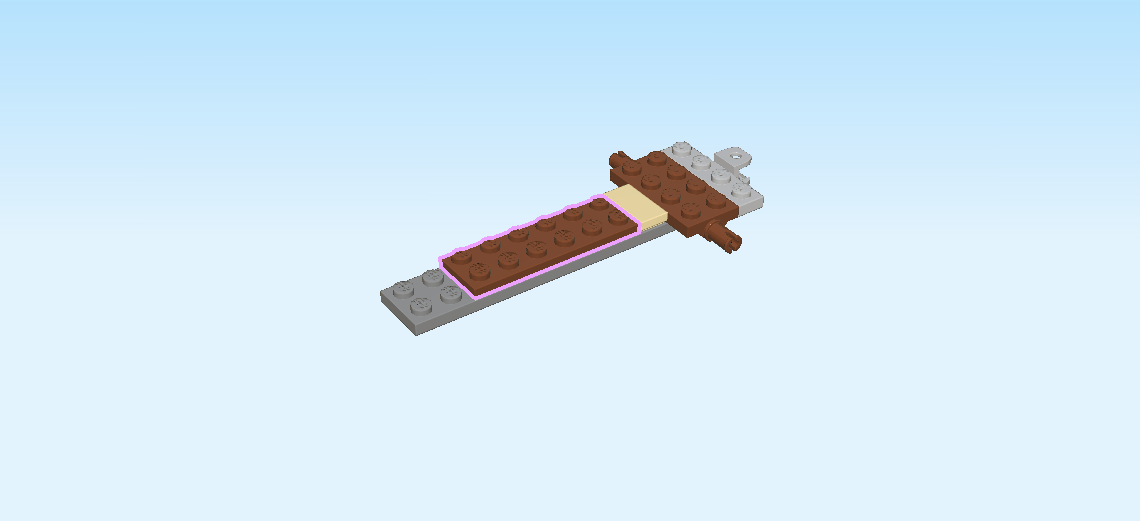
| Find 1 reddish brown plate 2x6. |
| Put it horizontally to the left. |
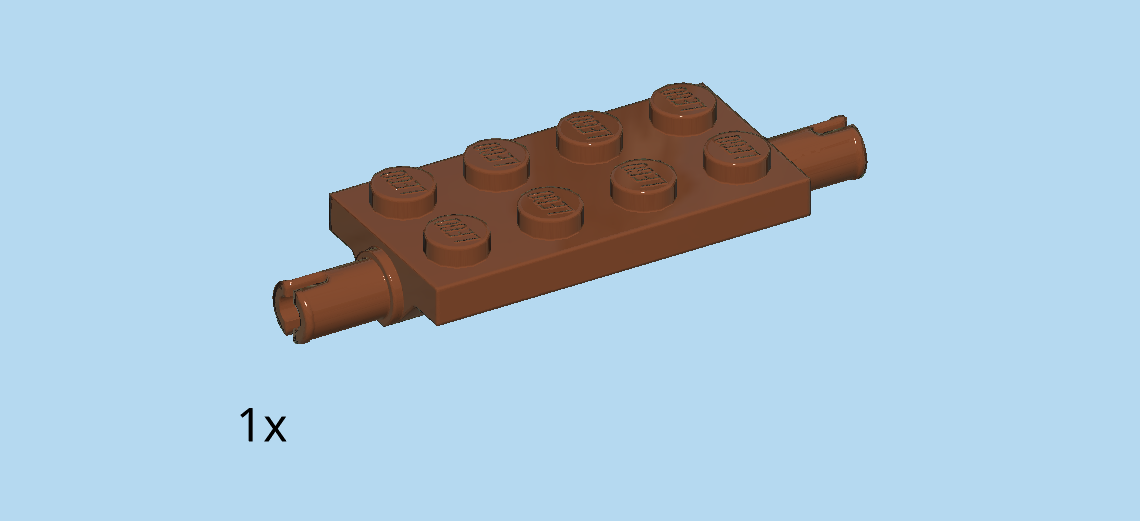
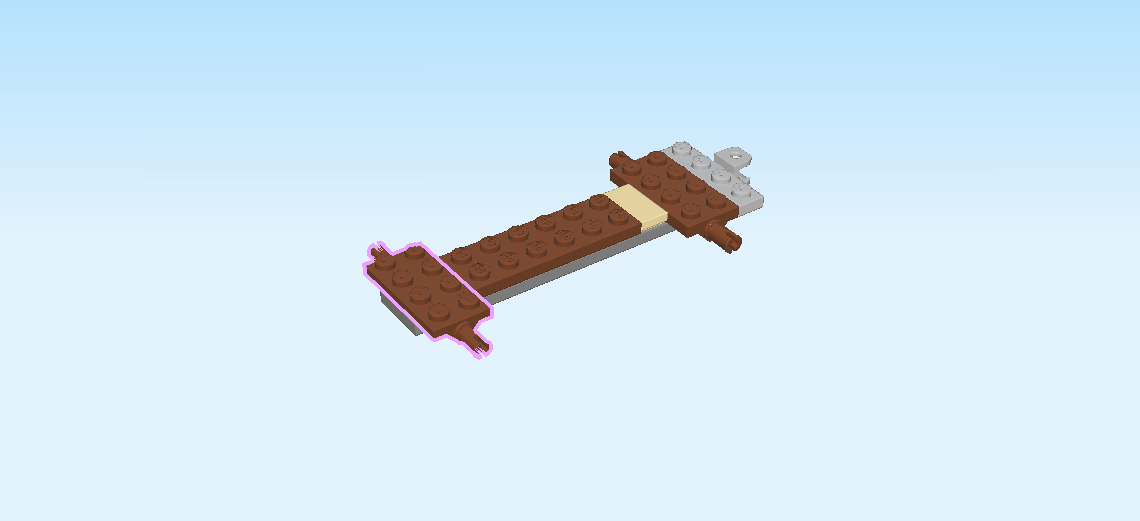
| Find 1 reddish brown plate 2x4 with 2 side connector pins. |
| Put it vertically centered to the left of the previous piece. |
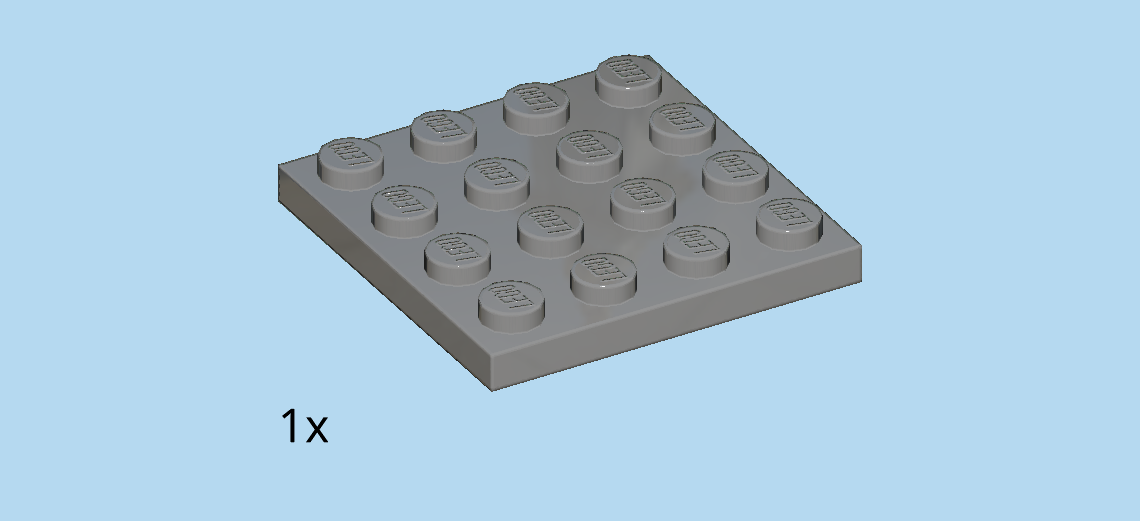
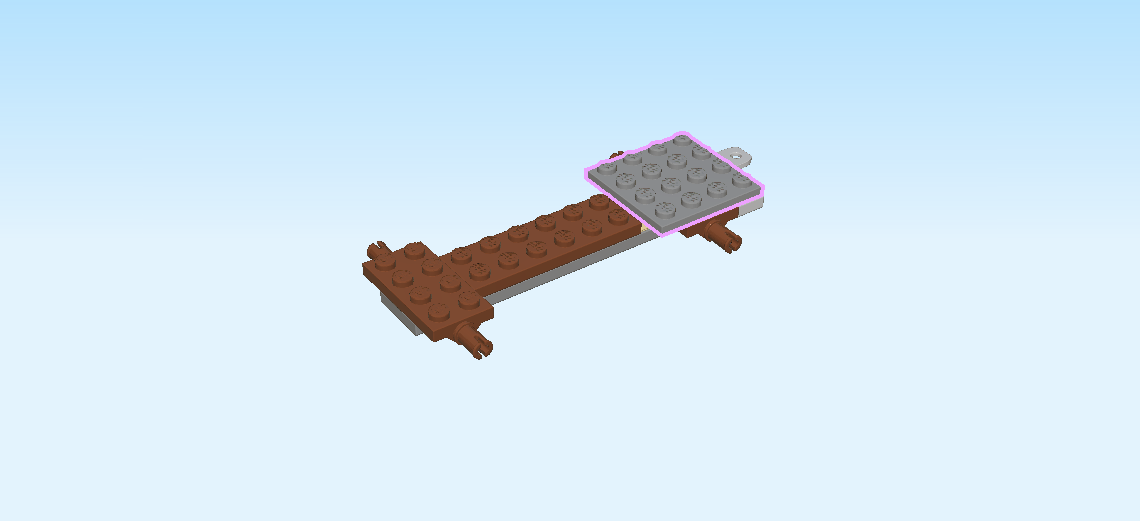
| Find 1 dark stone grey plate 4x4. |
| Put it centered on top starting from the right edge of the structure. |
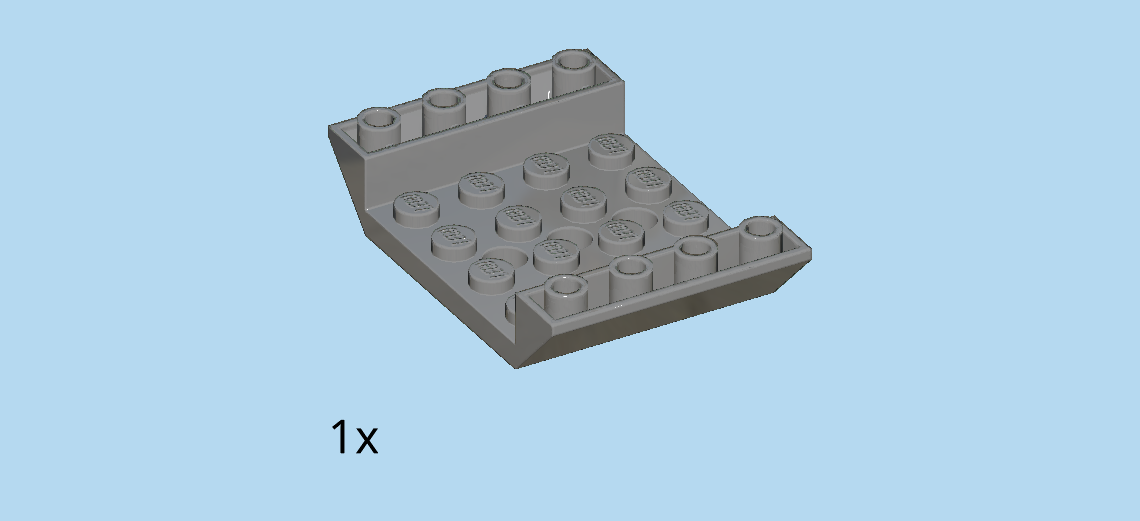
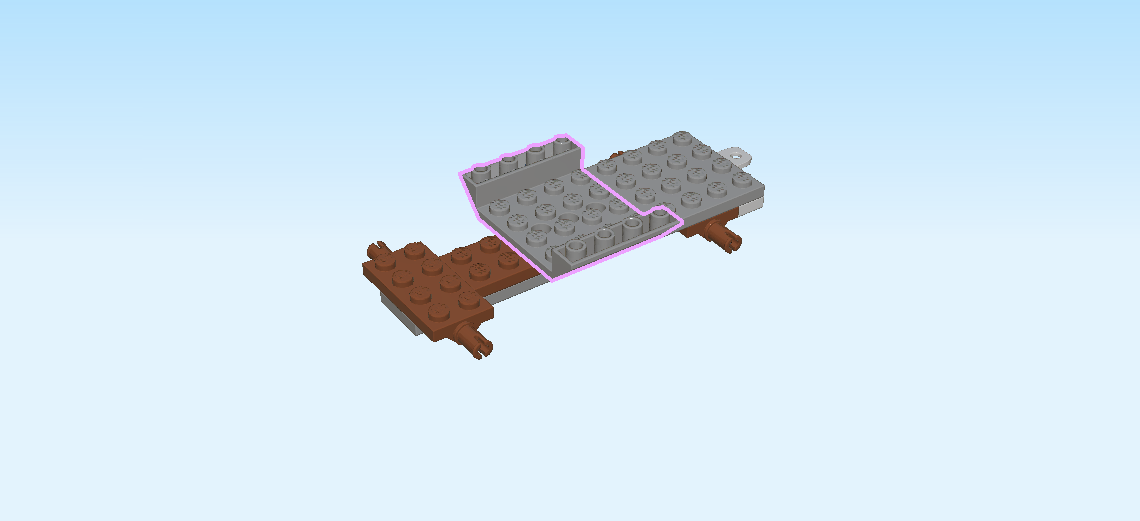
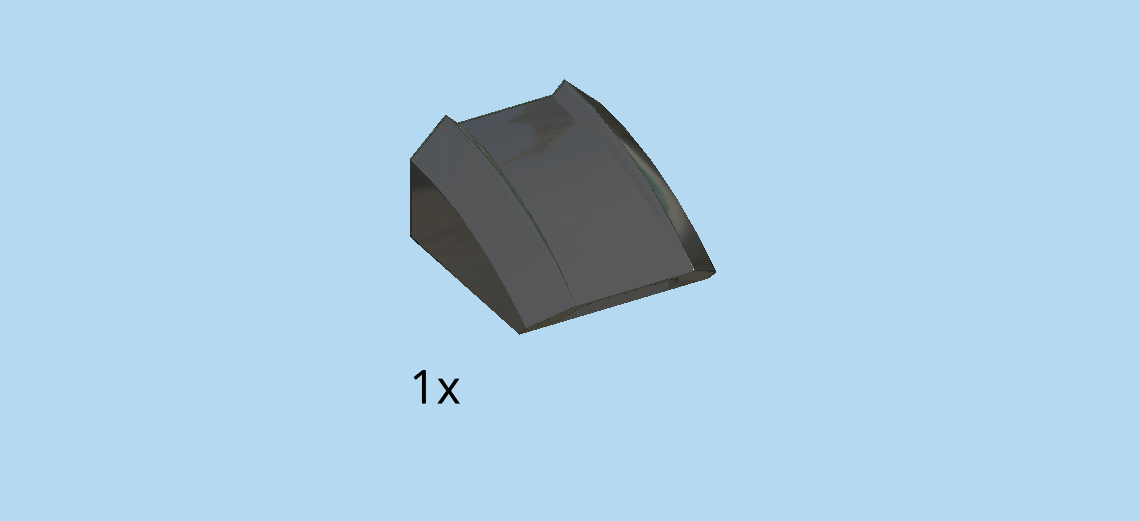
| Find 1 dark stone grey inverted double roof tile 4x6, 45°. |
| Put it vertically centered to the left, roof tile wings to the front and back. |
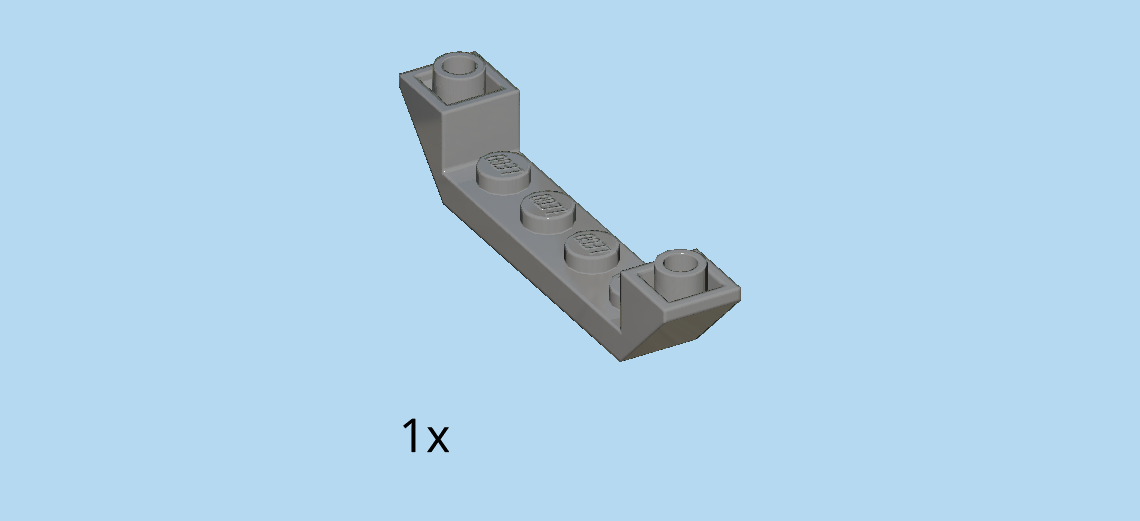
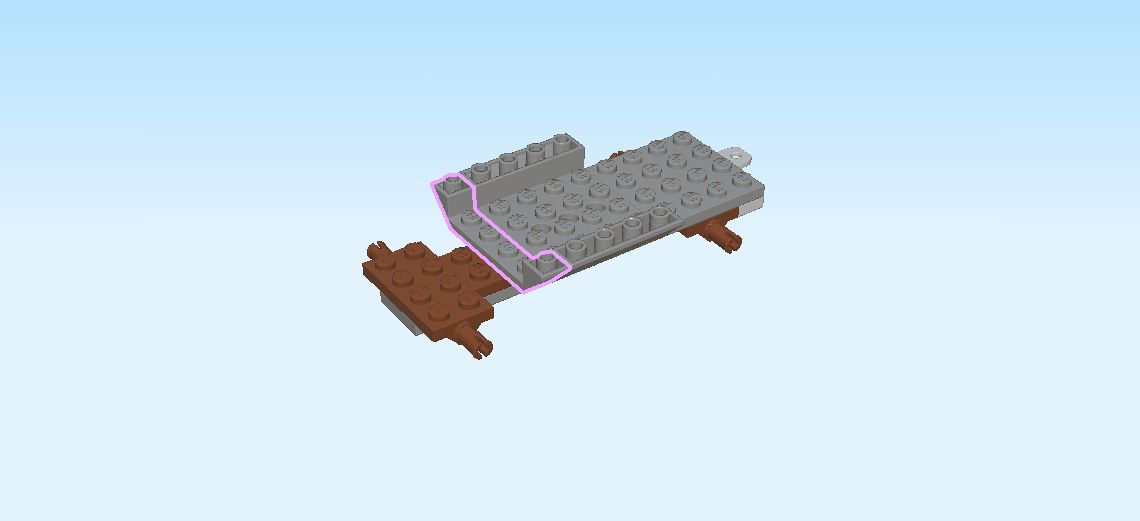
| Find 1 dark stone grey inverted double roof tile 1x6x1, 45°. |
| Put it vertically to the left. |
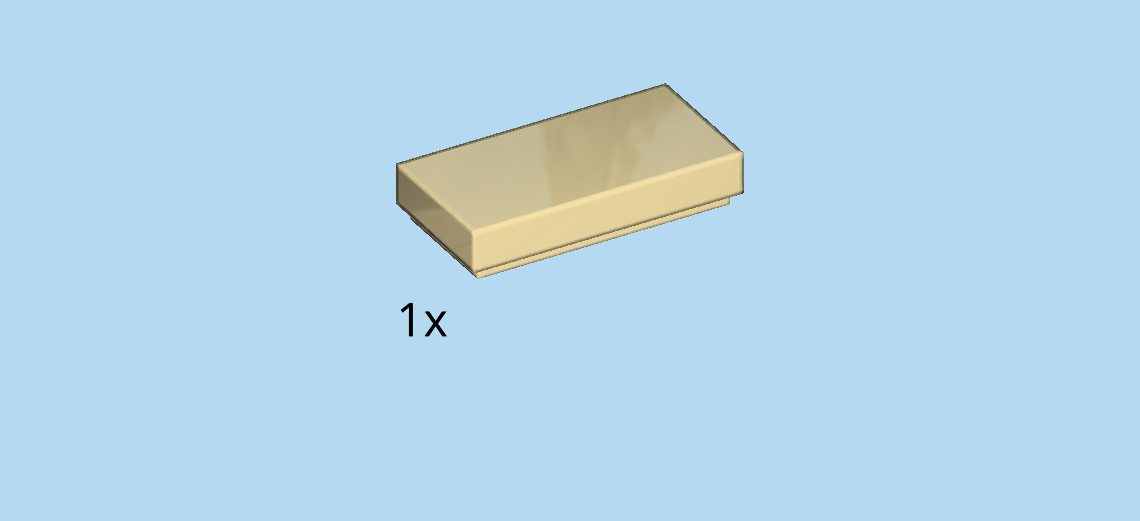
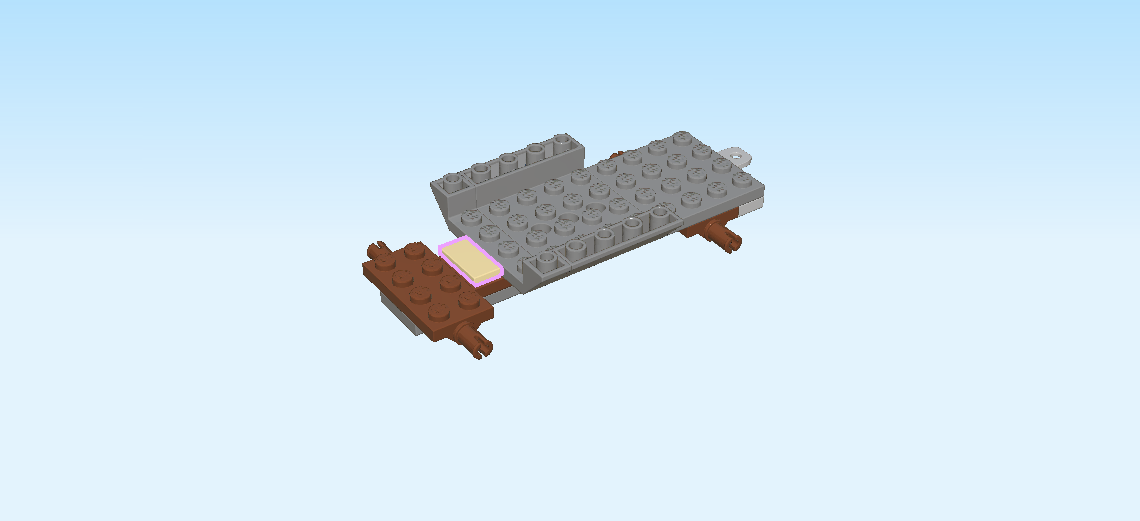
| Find 1 pale ocher yellow flat tile 1x2. |
| Put it vertically to the left of the previous piece. |
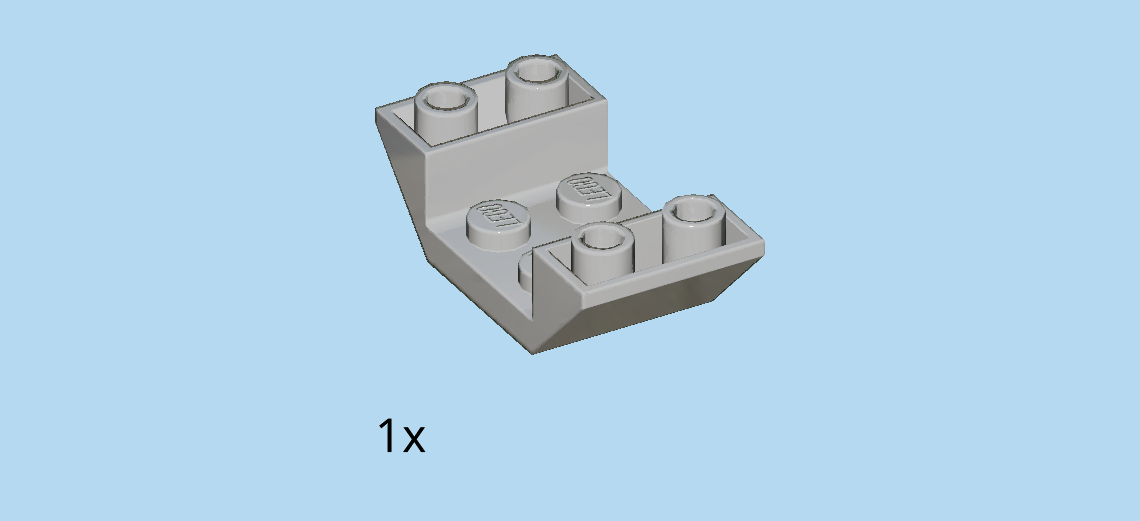
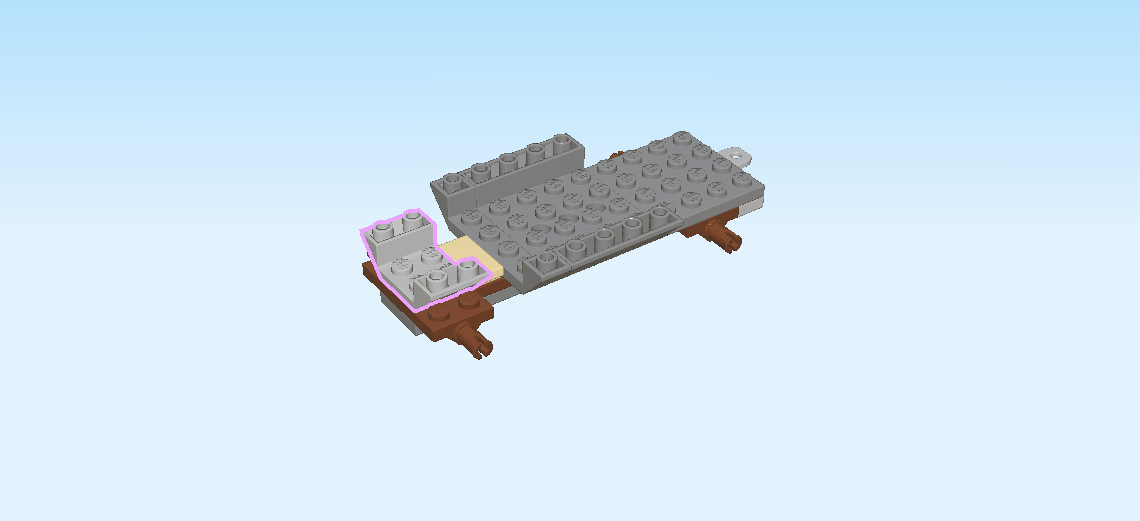
| Find 1 medium stone grey inverted double roof tile 2x4, 45°. |
| Put it vertically to the left. |
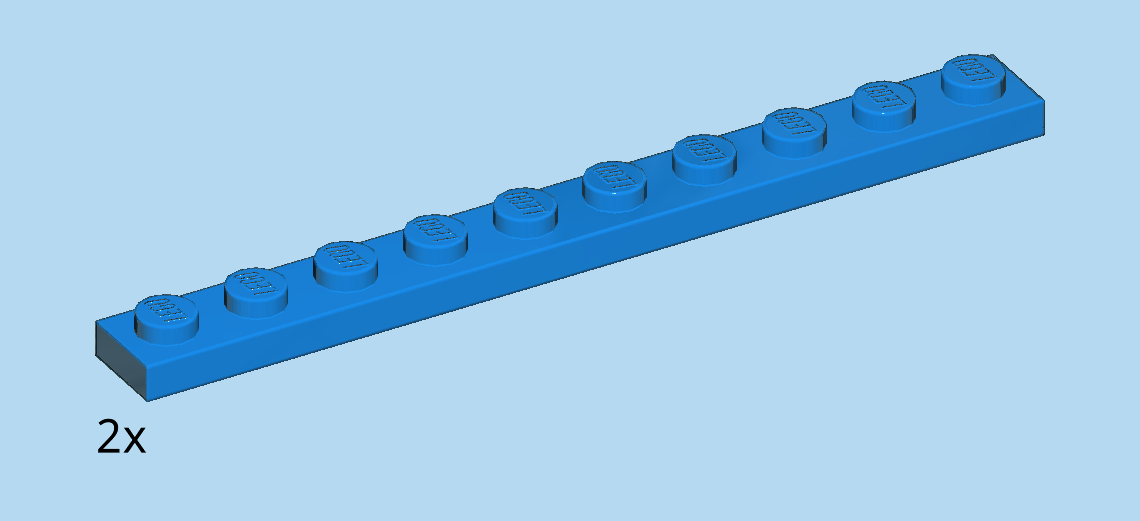
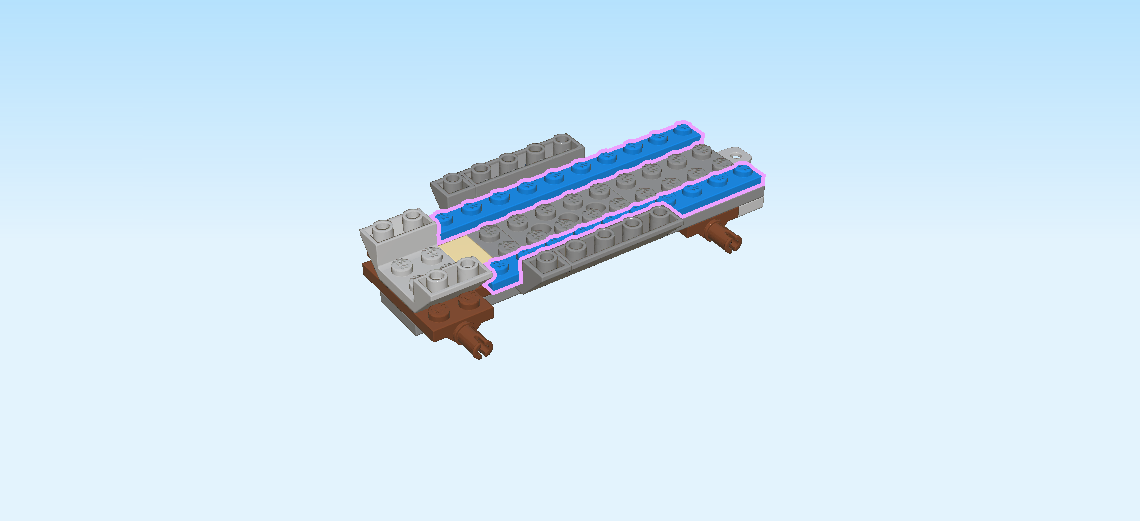
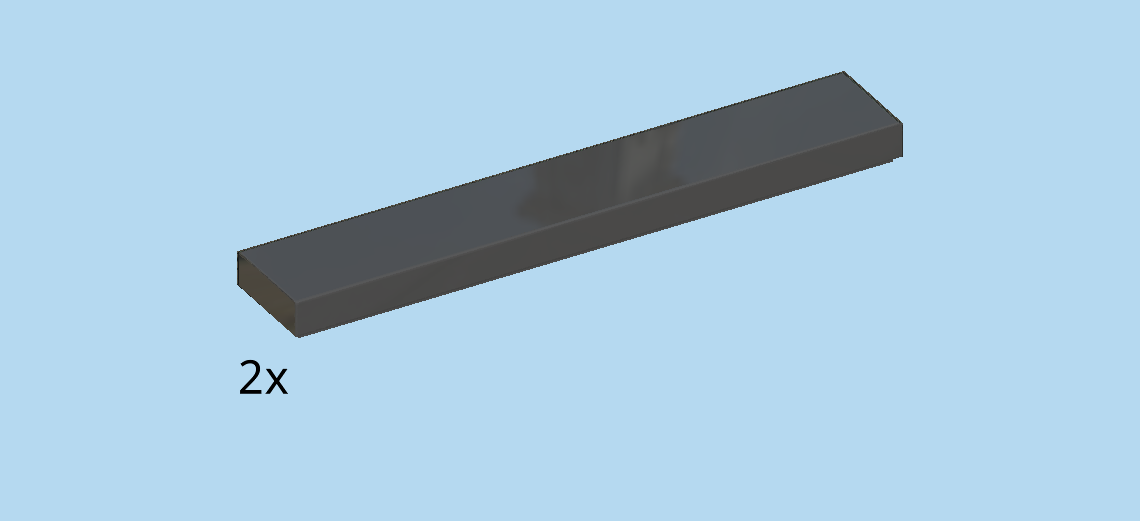
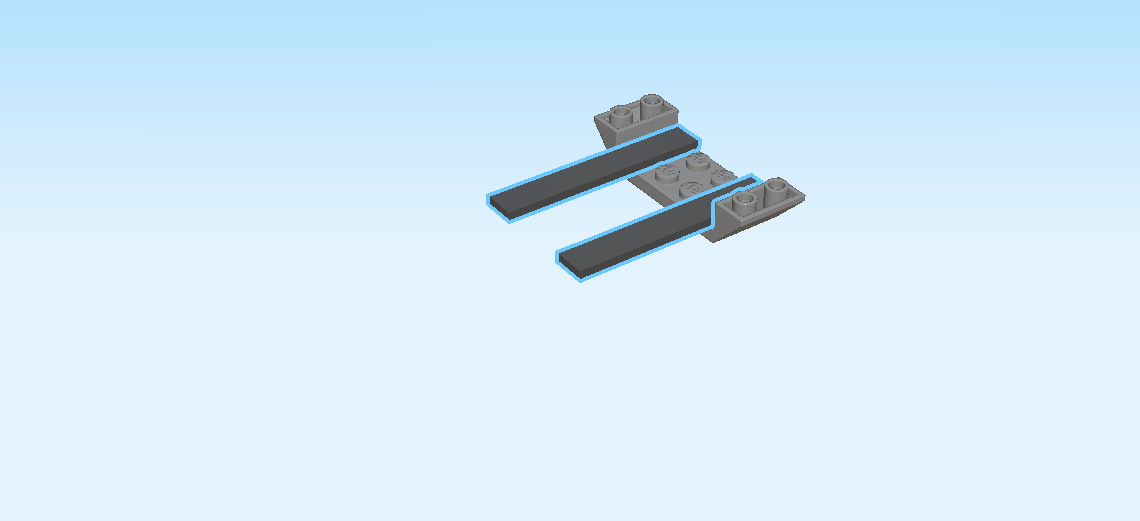
| Find 2 bright blue plates 1x10. |
| Put 1 horizontally on the frontmost row on the lower level of the structure, starting from the right. |
| Put the other one horizontally on the backmost row on the lower level, again starting from the right. |
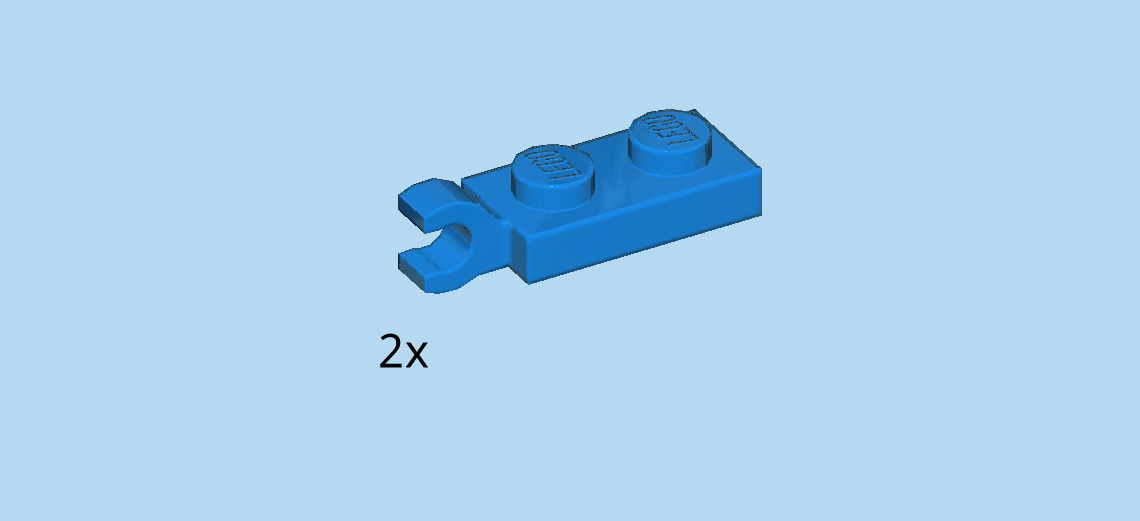
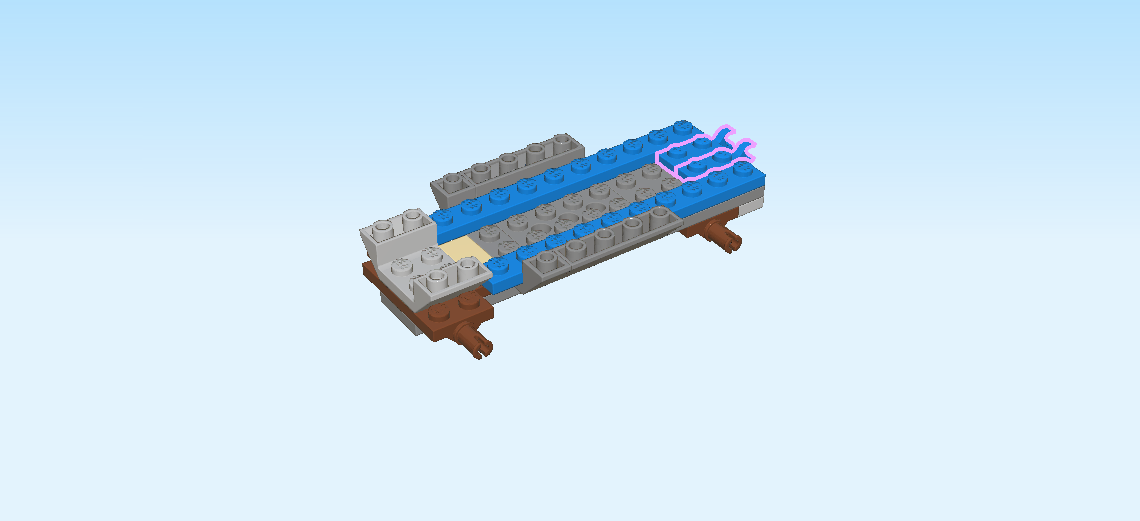
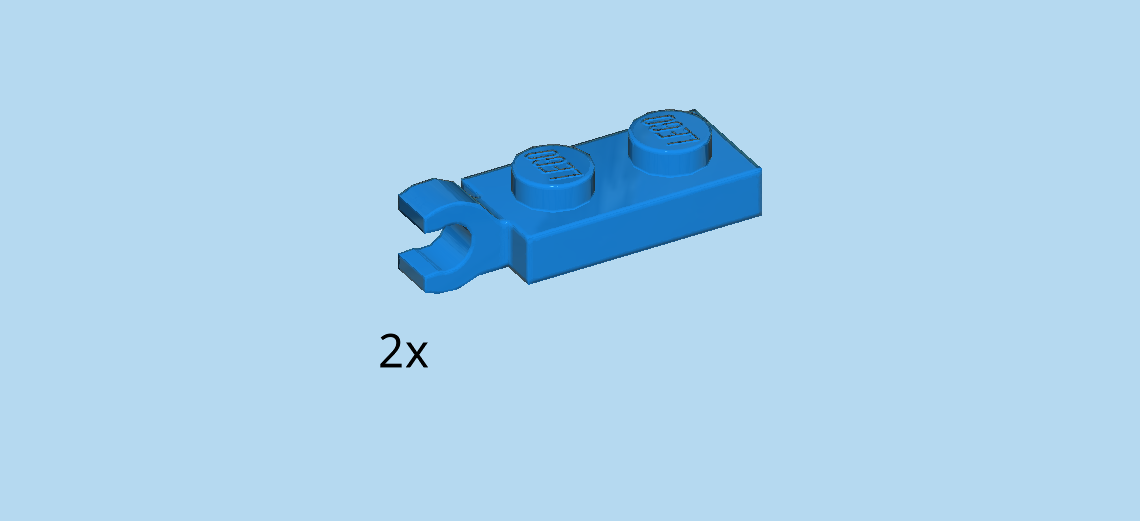
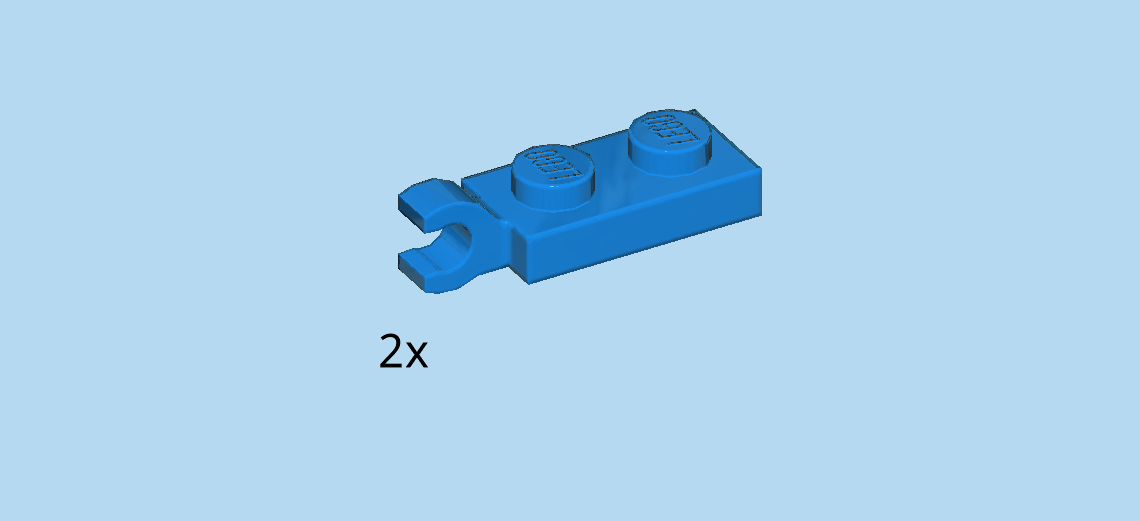
| Find 2 bright blue plates 1x2 with vertical clasp on short side. |
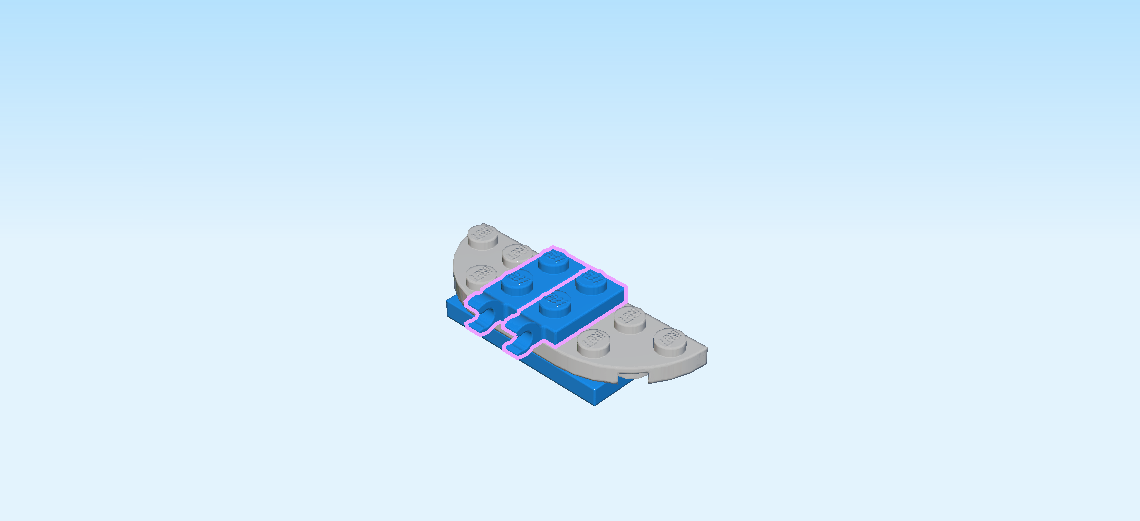
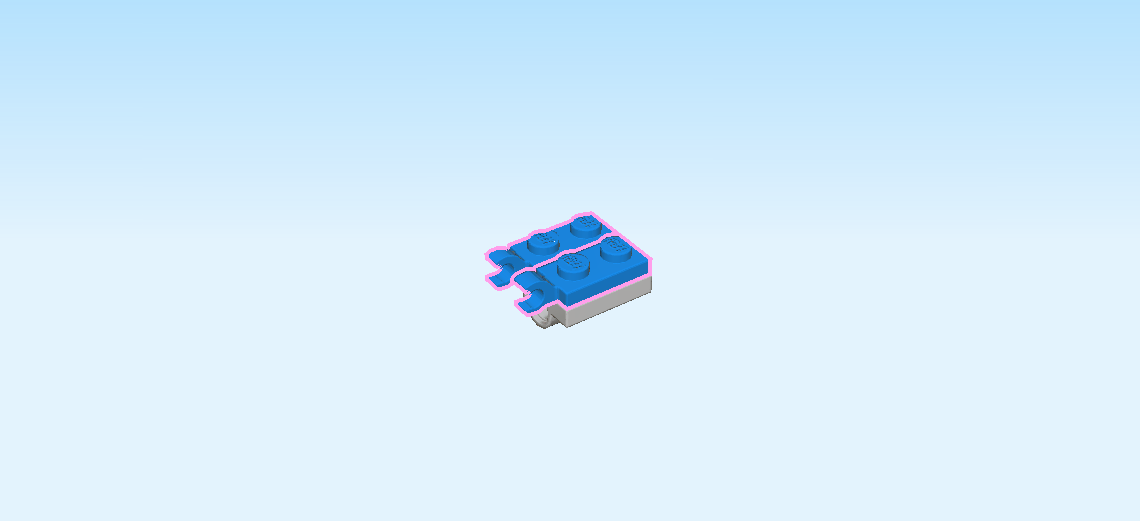
| Put them horizontally on the middle two rows starting from the right, clasps to the right. |
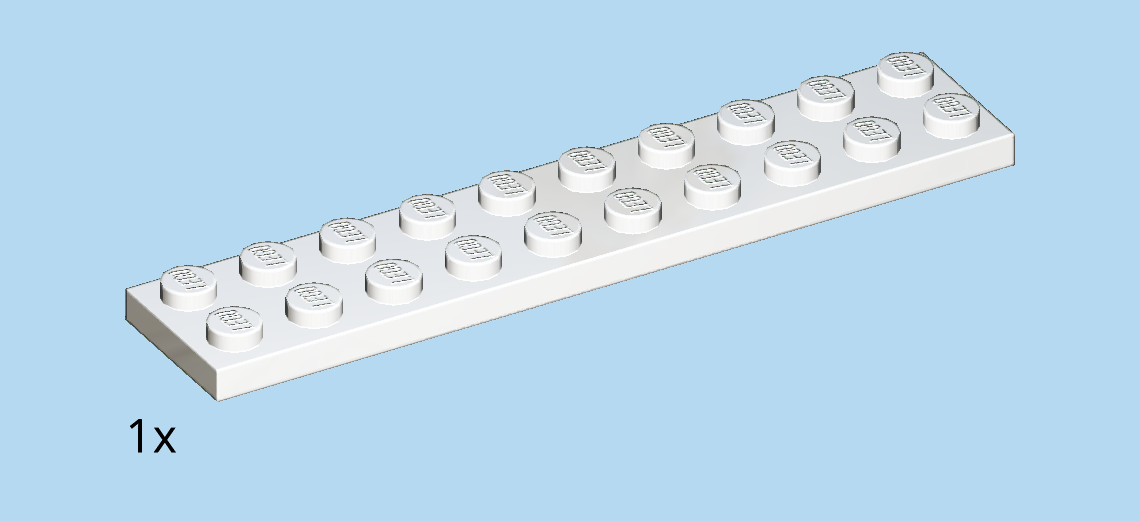
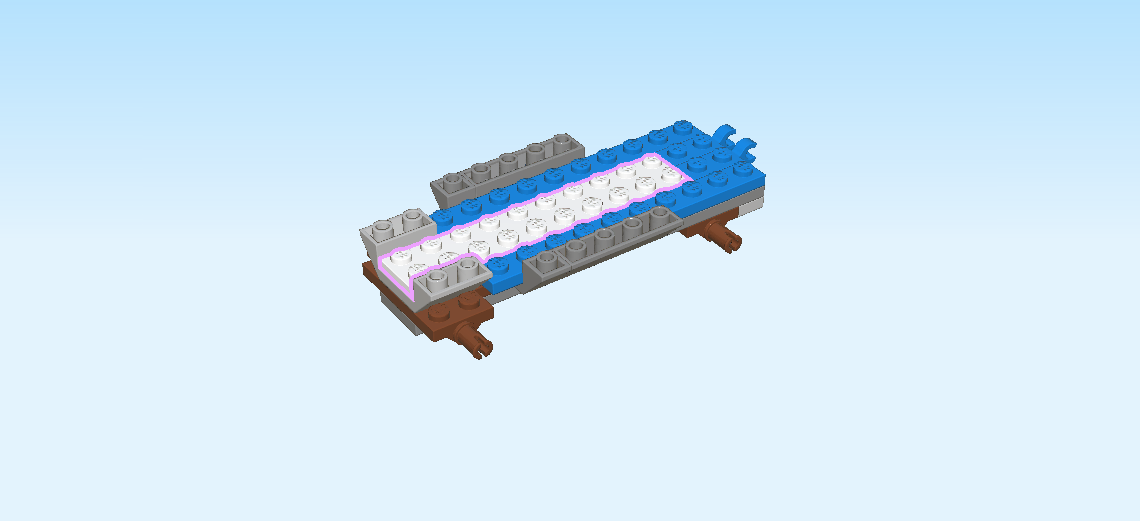
| Find 1 white plate 2x10. |
| Put it horizontally to the left of the two previous pieces on the middle two rows. |
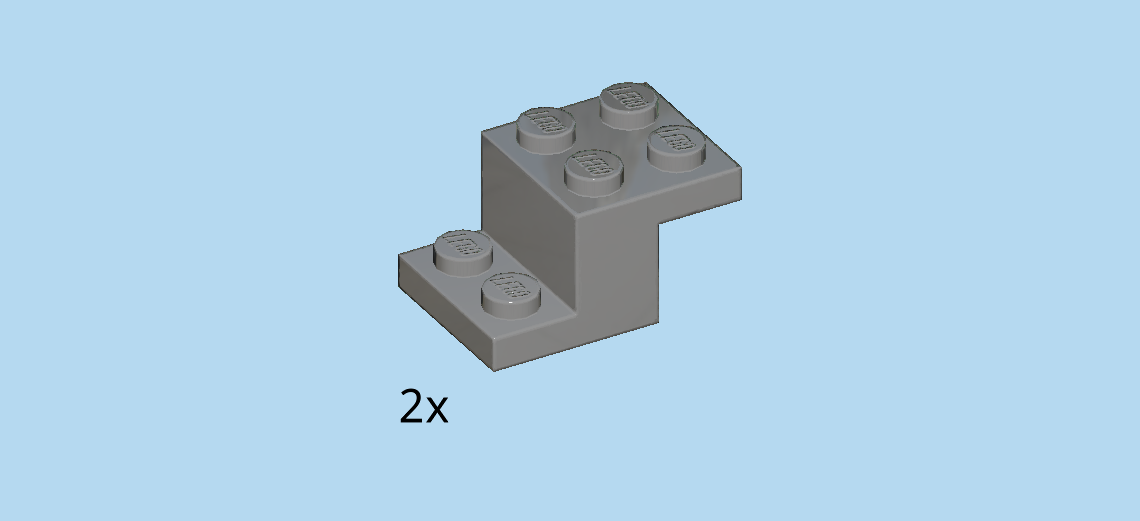
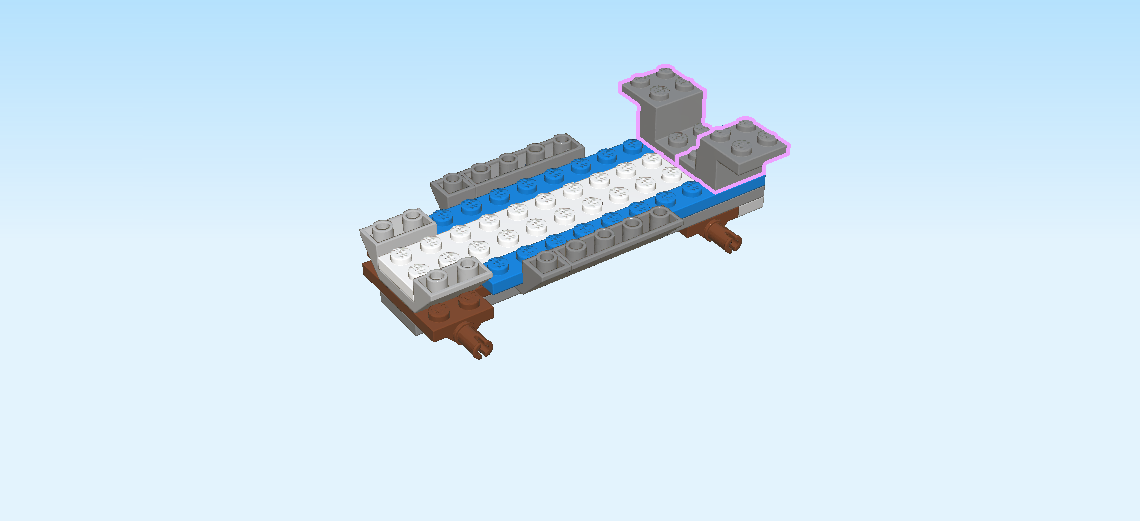
| Find 2 dark stone grey bricks 2x2 - 1x2 with top and bottom plate. |
| Put 1 vertically on the 4 back knobs of the rightmost two columns, top plate overhanging to the back. |
| Repeat symmetrically at the front. This time, the top plate is overhanging to the front. |
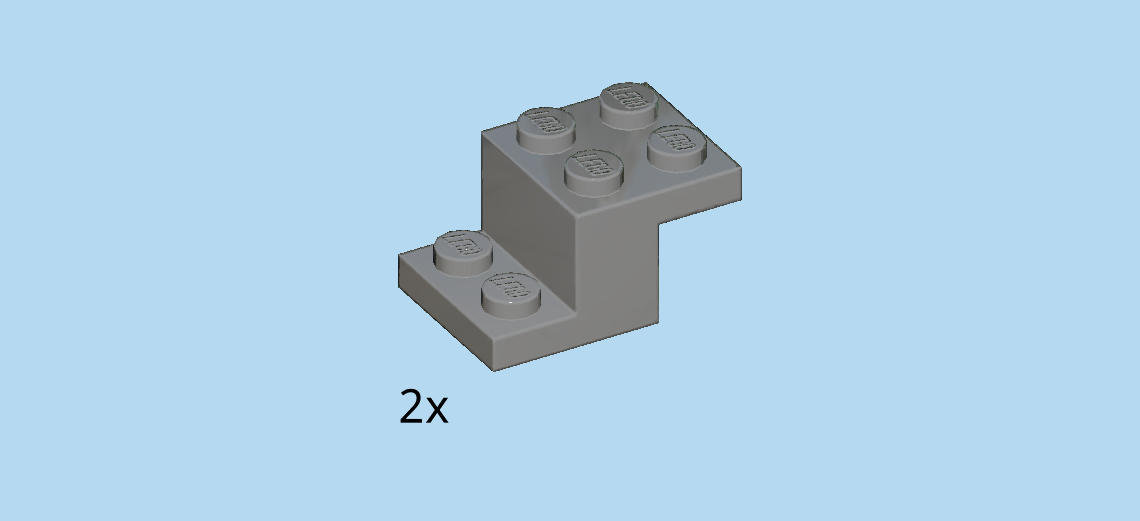
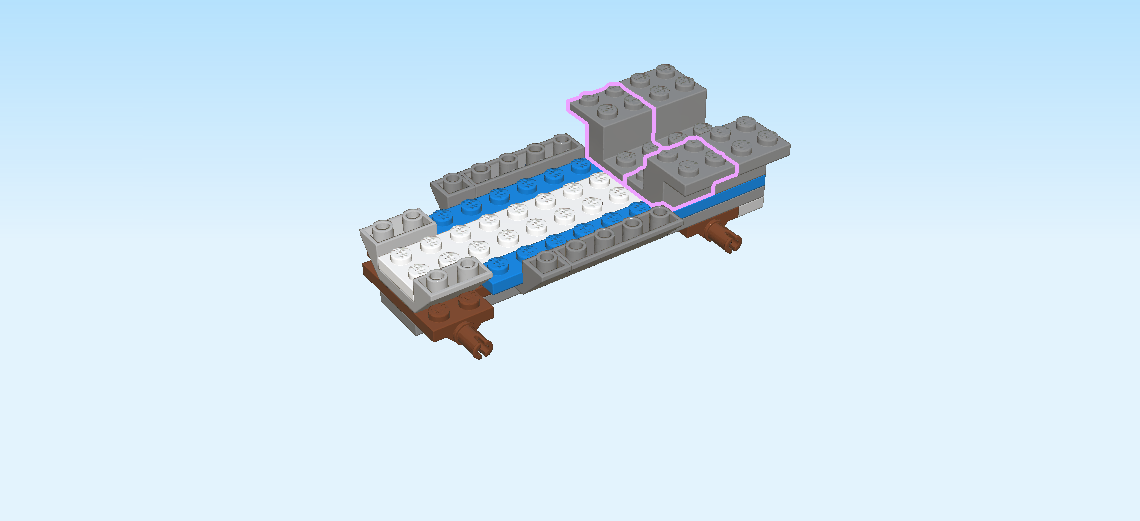
| Find 2 dark stone grey bricks 2x2 - 1x2 with top and bottom plate. |
| Place them to the left of the two previous pieces, top plates pointing to the front and back in the same way as the two previous pieces. |
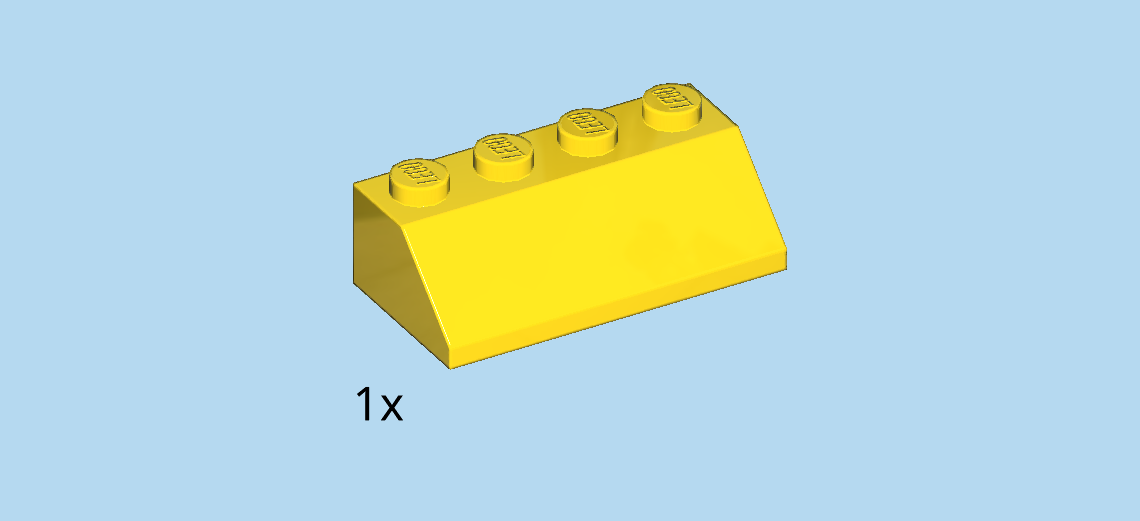
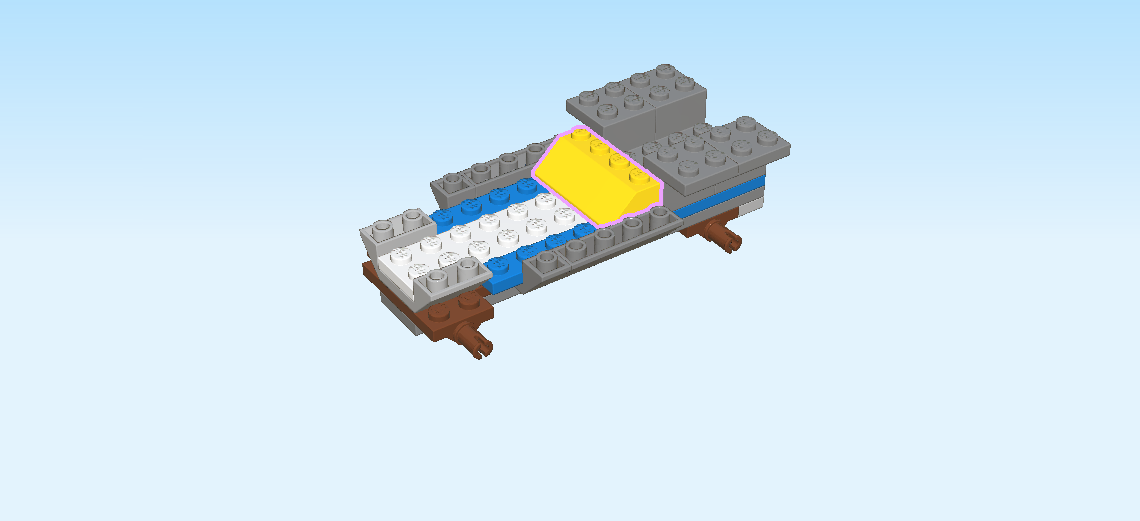
| Find 1 bright yellow roof tile 2x4, 45°. |
| Put it vertically centered to the left of the two previous pieces, slope to the left. |
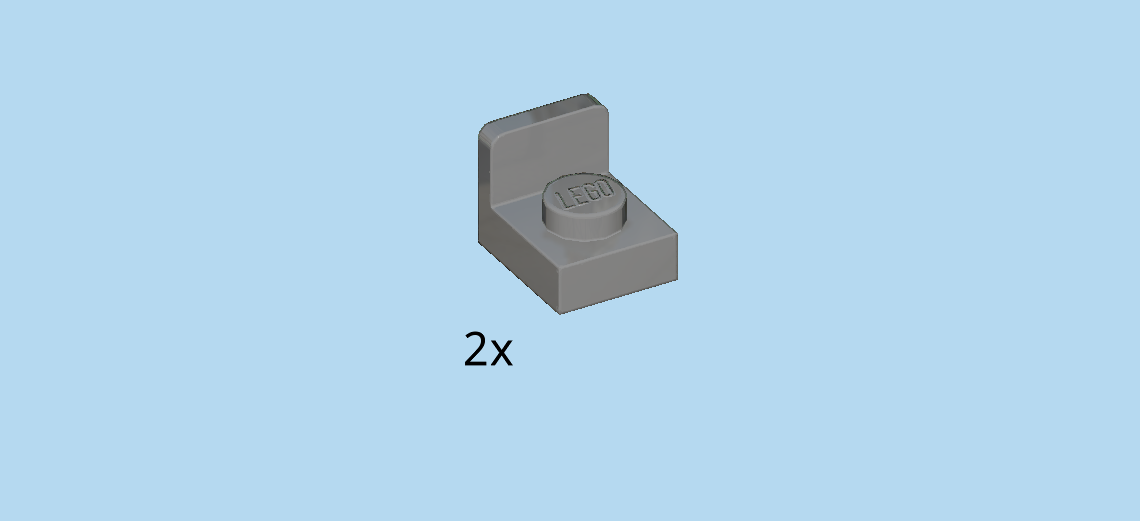
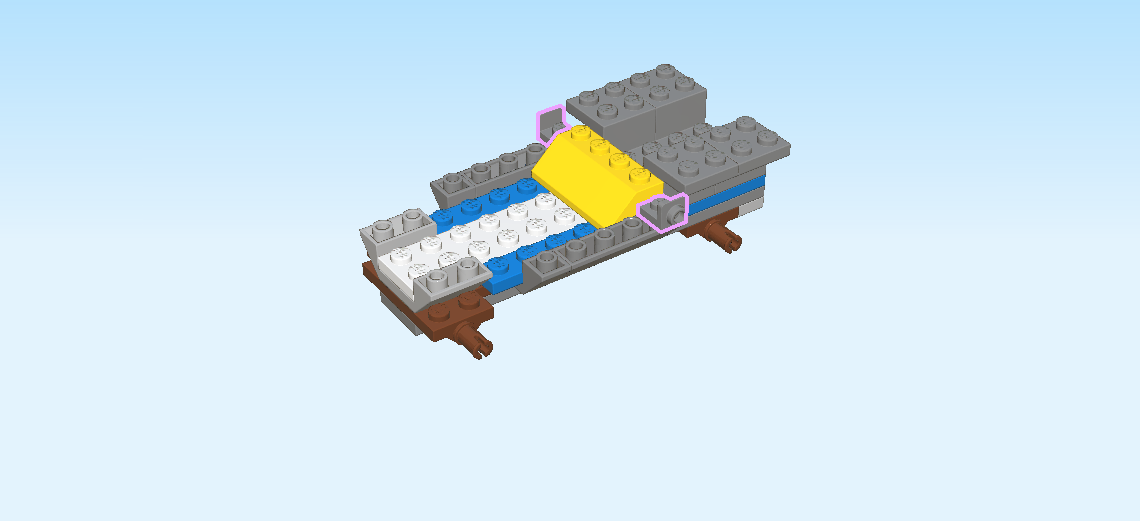
| Find 2 dark stone grey bottom angle plates 1x1 - 1x1 with side knob. |
| Put 1 on the back row in line with the knobs of the previous piece, side knob to the back. |
| Repeat symmetrically at the front. |
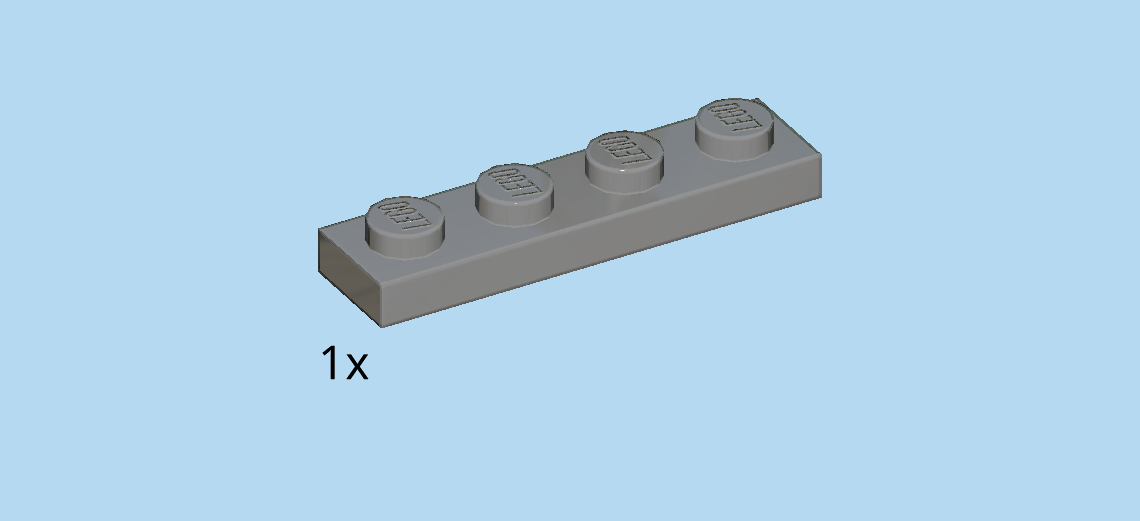
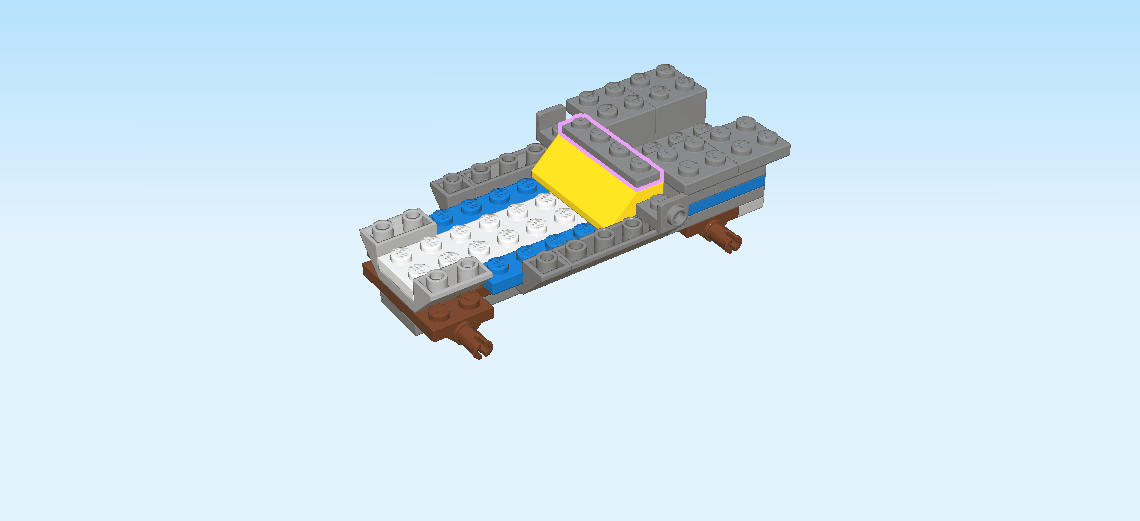
| Find 1 dark stone grey plate 1x4. |
| Put it vertically on top of the roof tile 2x4. |
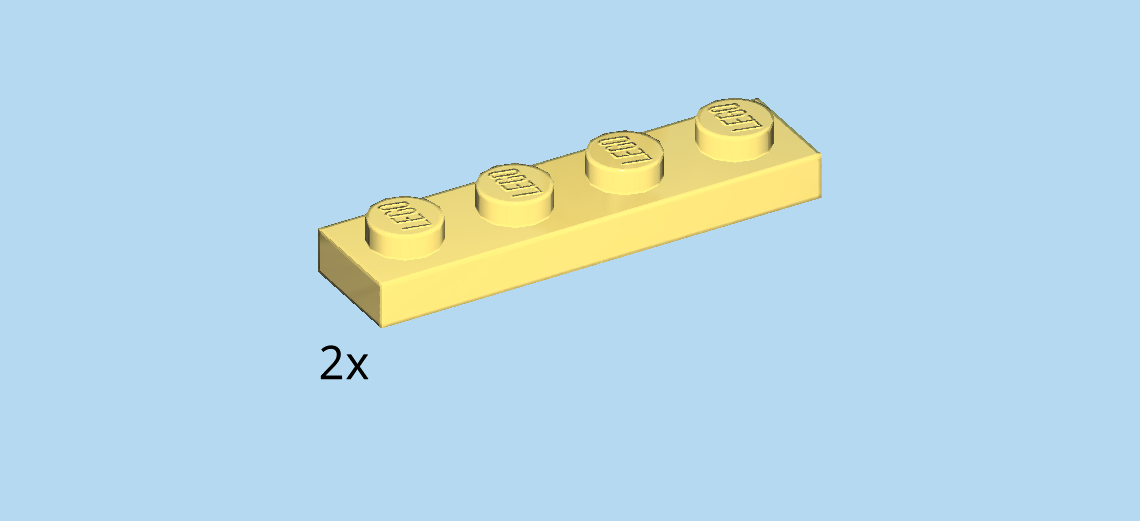
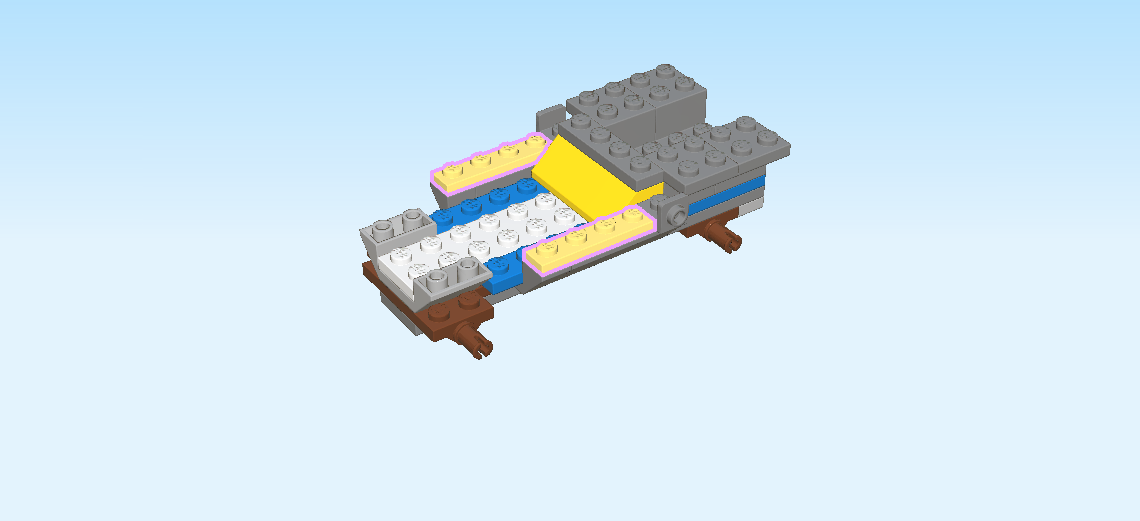
| Find 2 lemon yellow plates 1x4. |
| Put 1 horizontally on the front row to the left of the angle plate 1x1. |
| Repeat symmetrically at the back. |
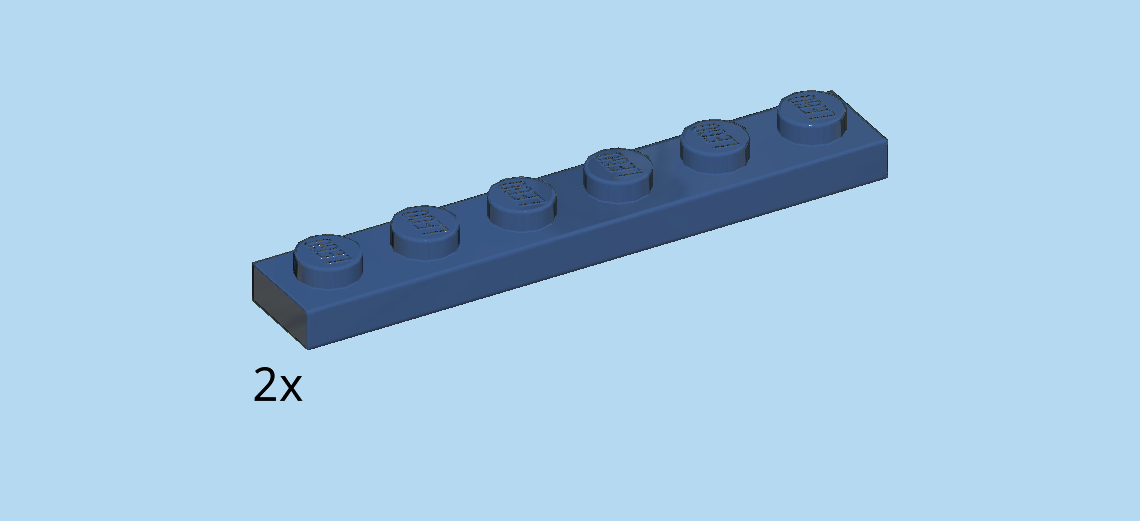
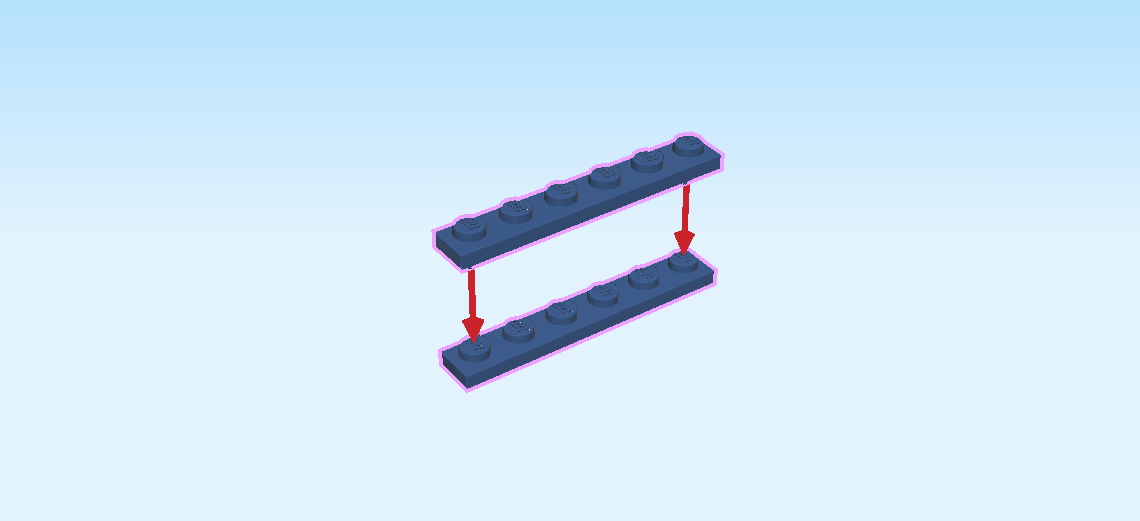
| Find 2 earth blue plates 1x6. |
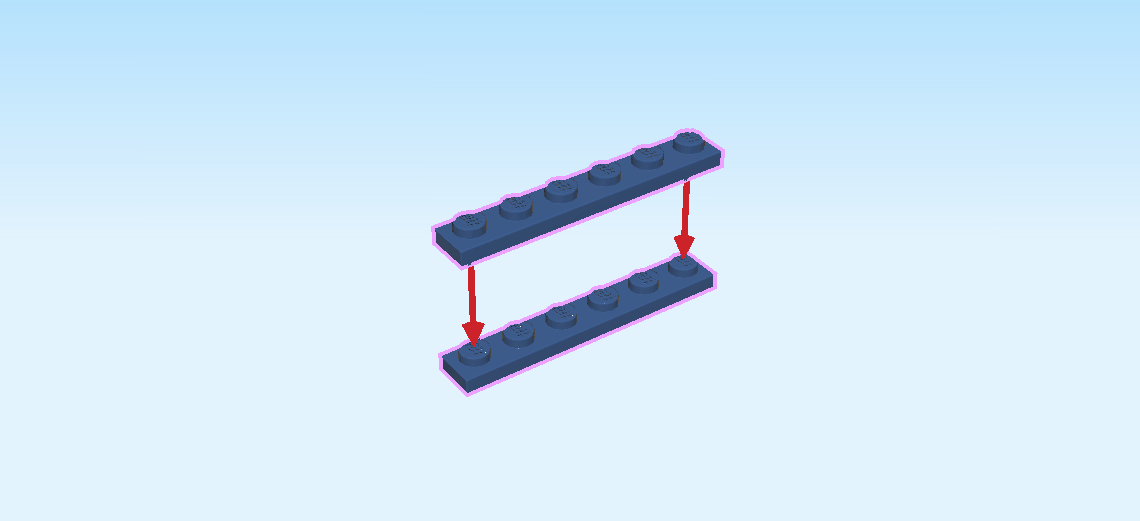
| First, stack them on top of each other. |
| Now, skip 4 columns from the right, and then mount the plates horizontally on the frontmost row. |
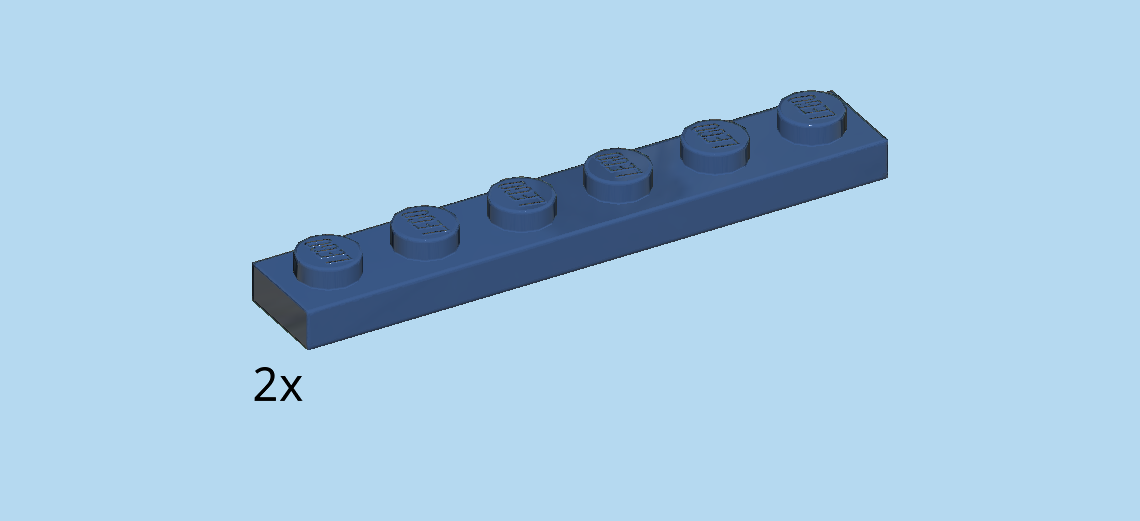
| Find another 2 earth blue plates 1x6. |
| Stack them on top of each other. |
| Skip 4 columns from the right, and put the plates horizontally on the backmost row. |
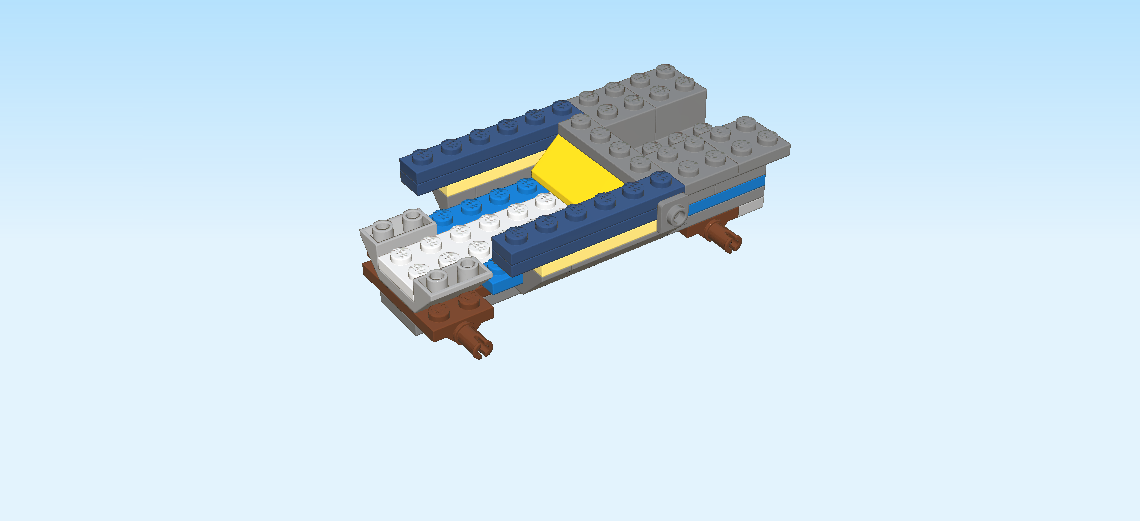
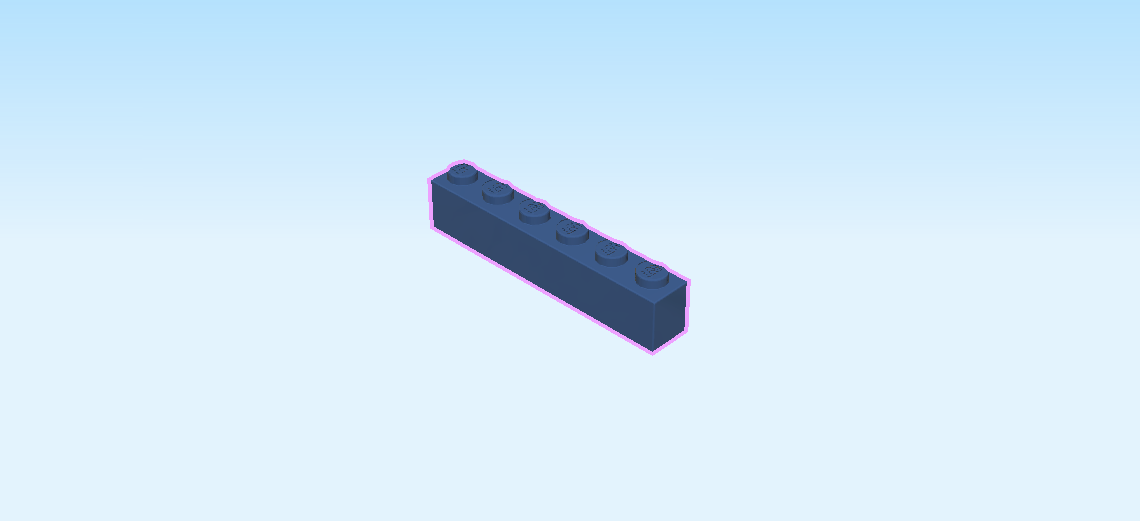
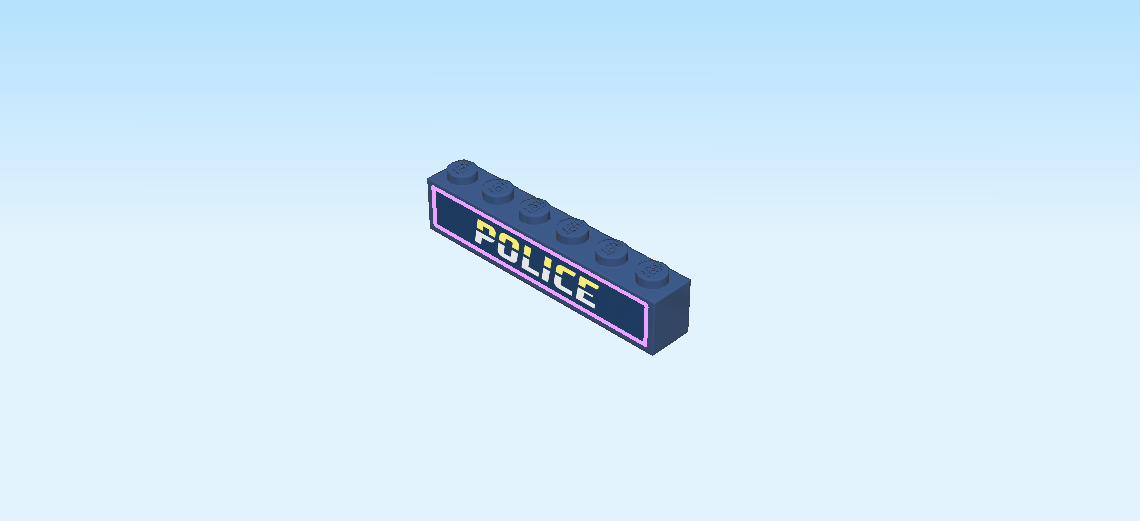
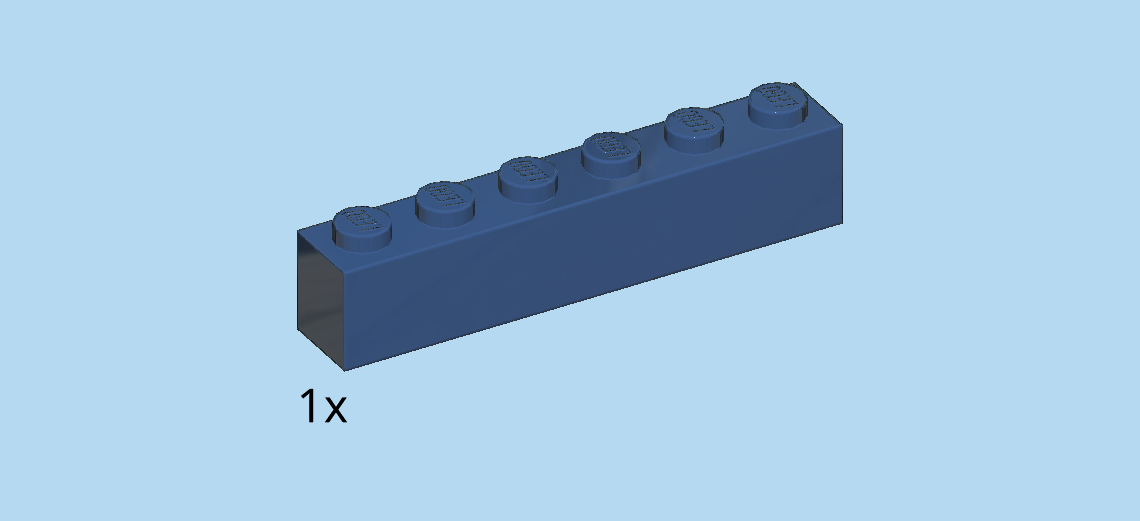
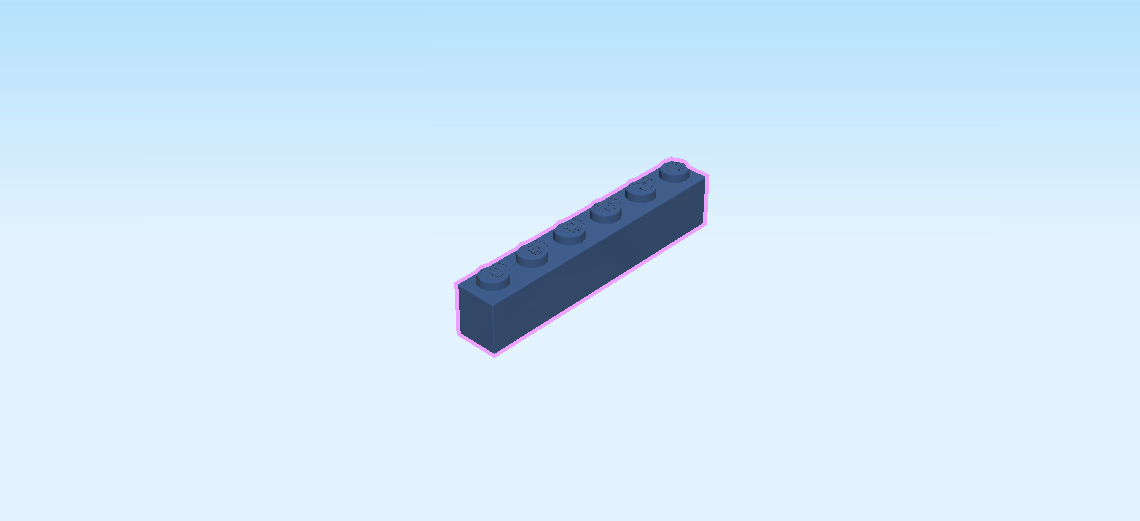
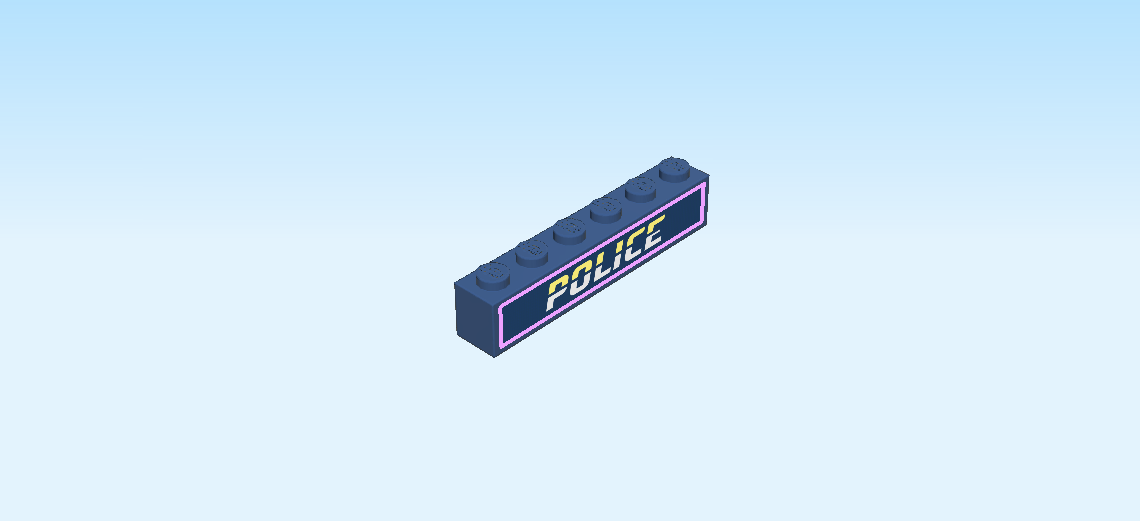
| Find 1 earth blue brick 1x6. |
| Continue if you want to decorate the brick with a police sticker now. If not, skip the next three sentences. |
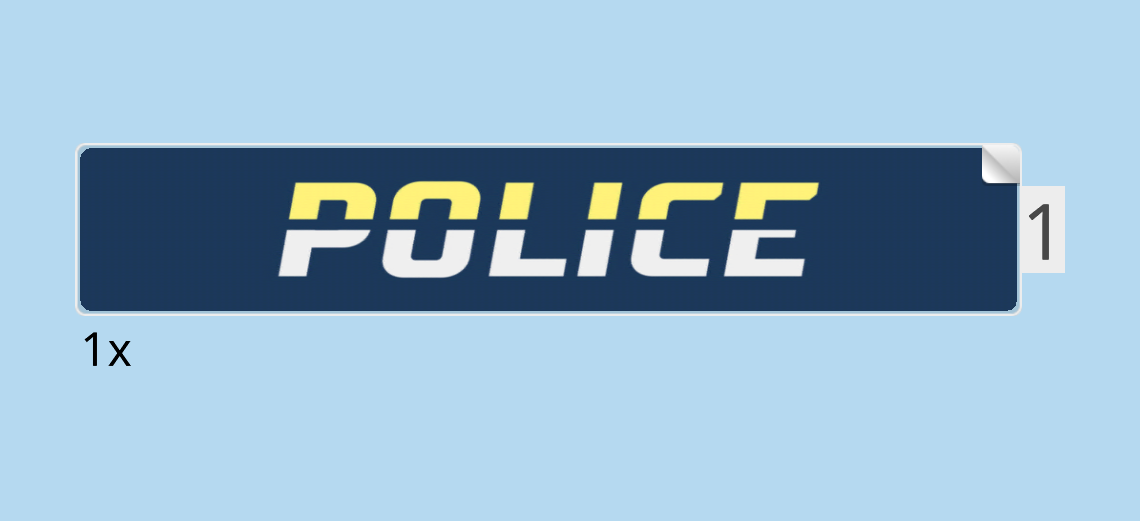
| Find 1 rectangular sticker number 1. Ask a sighted person to help you. |
| Put it horizontally on one of the two long side surfaces of the brick. |
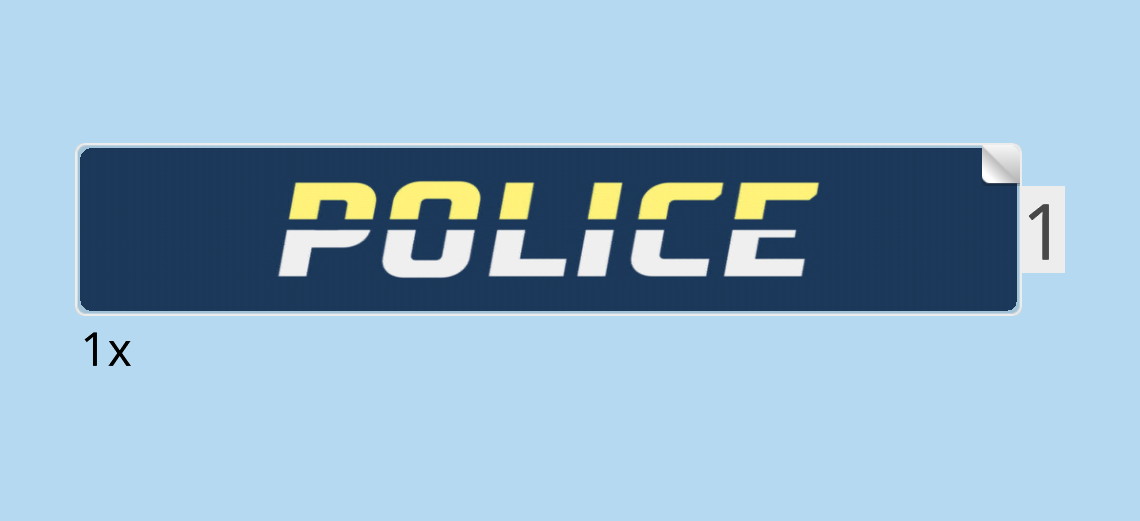
| The sticker is dark blue and has the word "POLICE" written on it in all caps in a cool design: the top of the letters is lemon yellow, there is a dark blue horizontal line running through the middle of each letter, and the bottom half of the letters is white. |
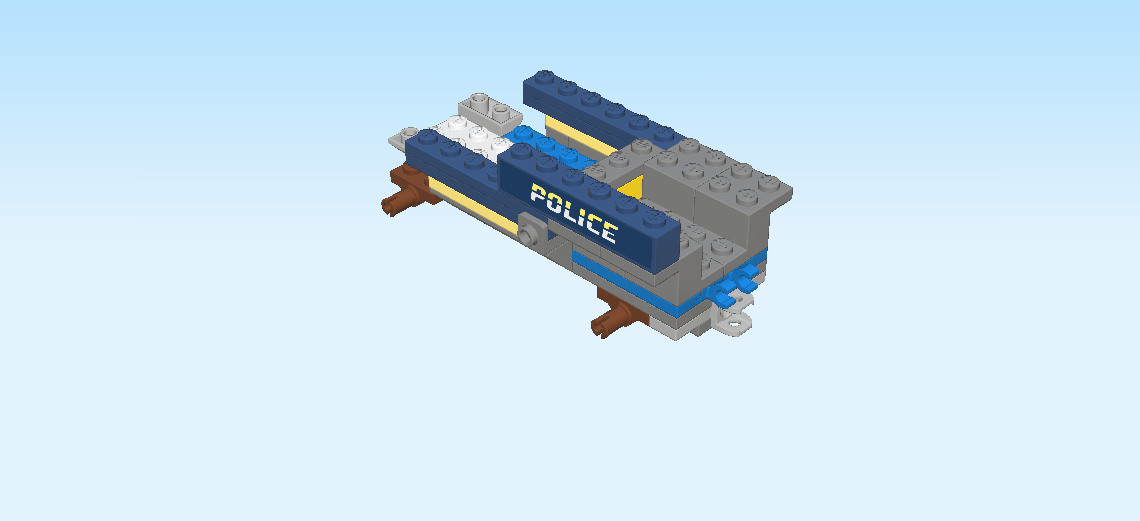
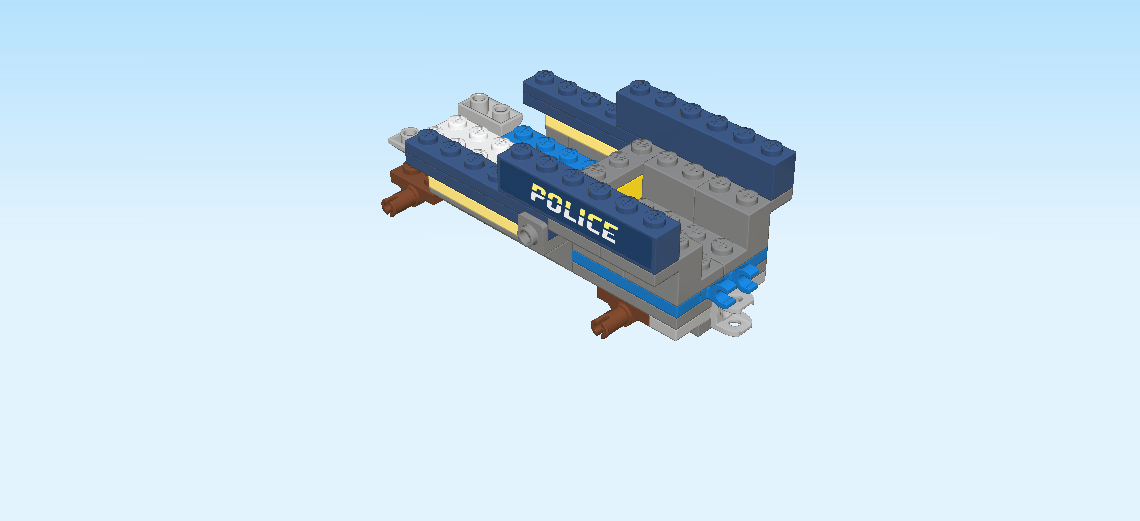
| Mount the brick horizontally on the frontmost row, starting from the right, sticker to the front. |
| Find another earth blue brick 1x6. |
| Again, continue if you want to decorate the brick with a police sticker now. If not, skip the next three sentences. |
| Find another rectangular sticker number 1. Ask a sighted person to help you. |
| Put it horizontally on one of the two long side surfaces of the brick. |
| The sticker has the same design as the previous one. |
| Mount the brick horizontally on the backmost row, starting from the right, sticker to the back. |
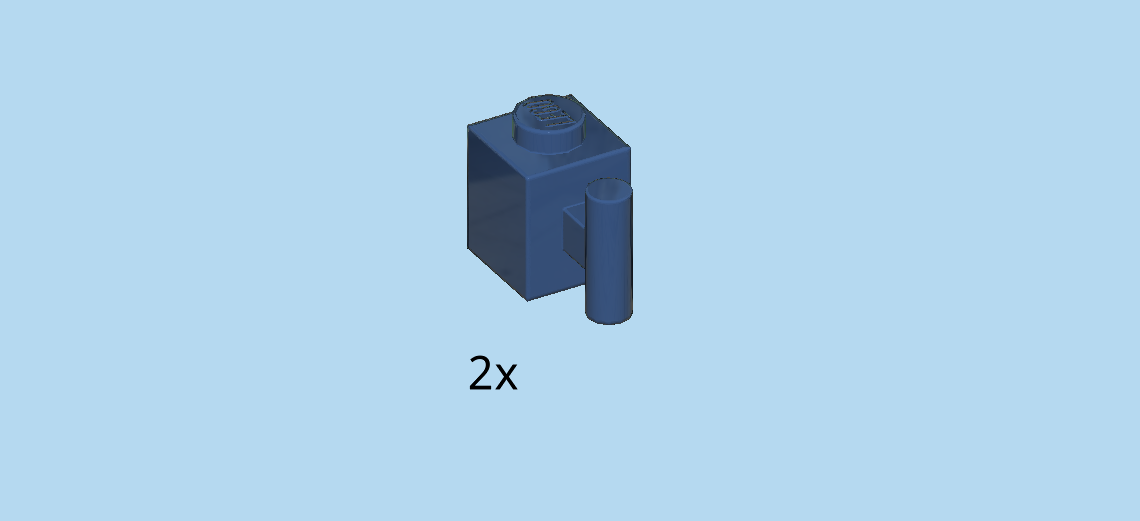
| Find 2 earth blue bricks 1x1 with vertical side shaft. |
| Put 1 on the leftmost knob of the previous piece, side shaft to the back. |
| Repeat symmetrically at the front. |
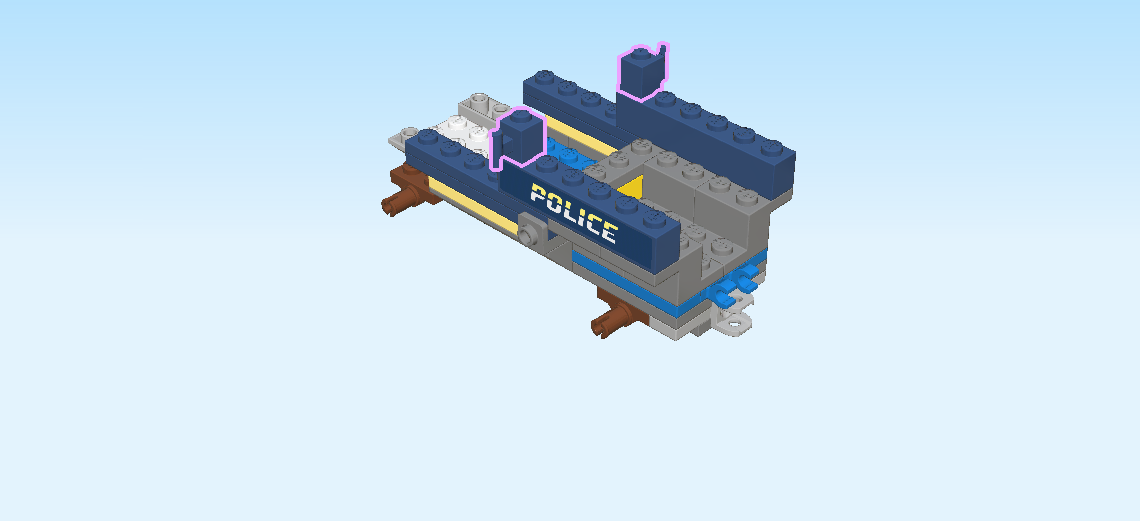
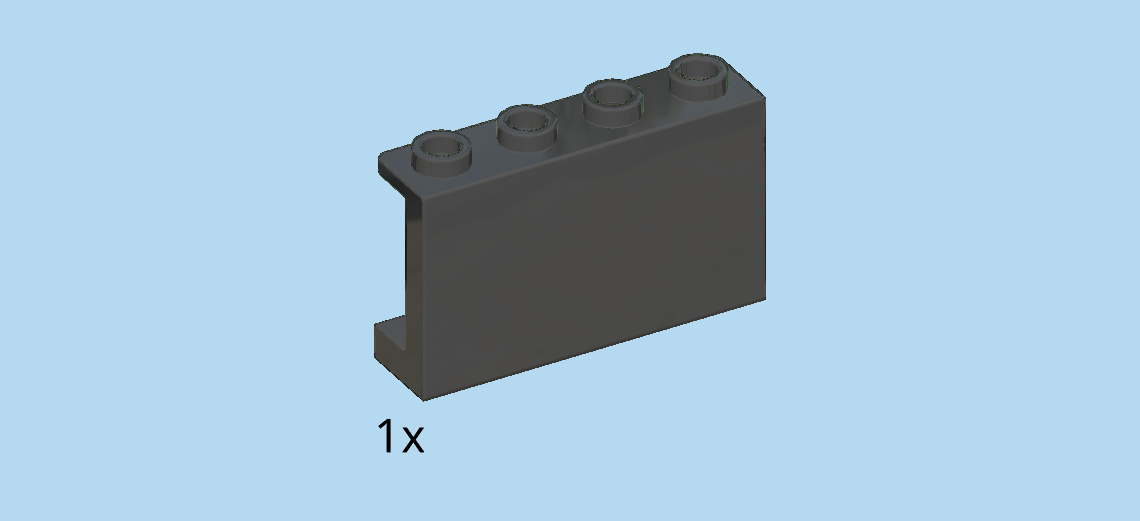
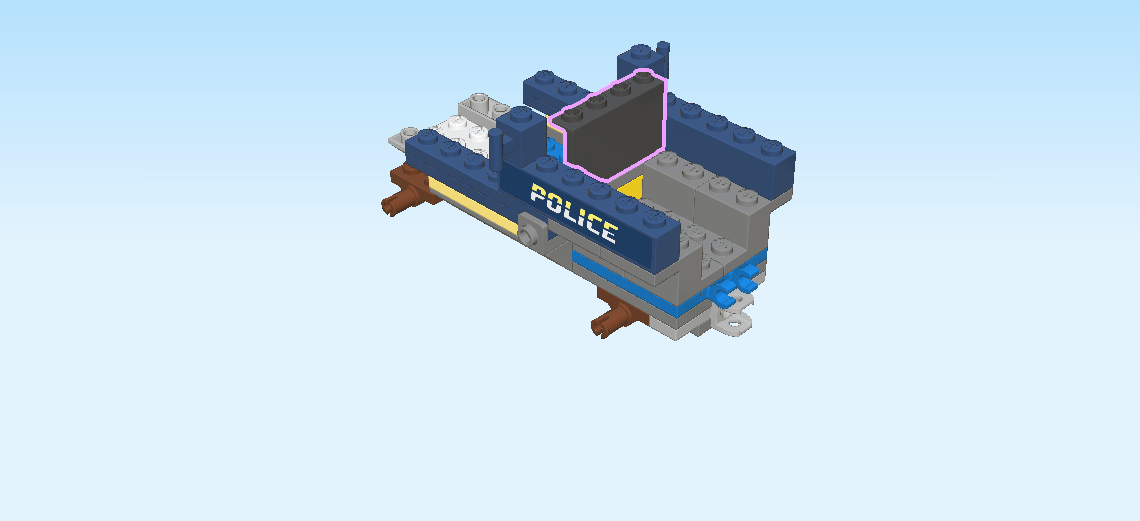
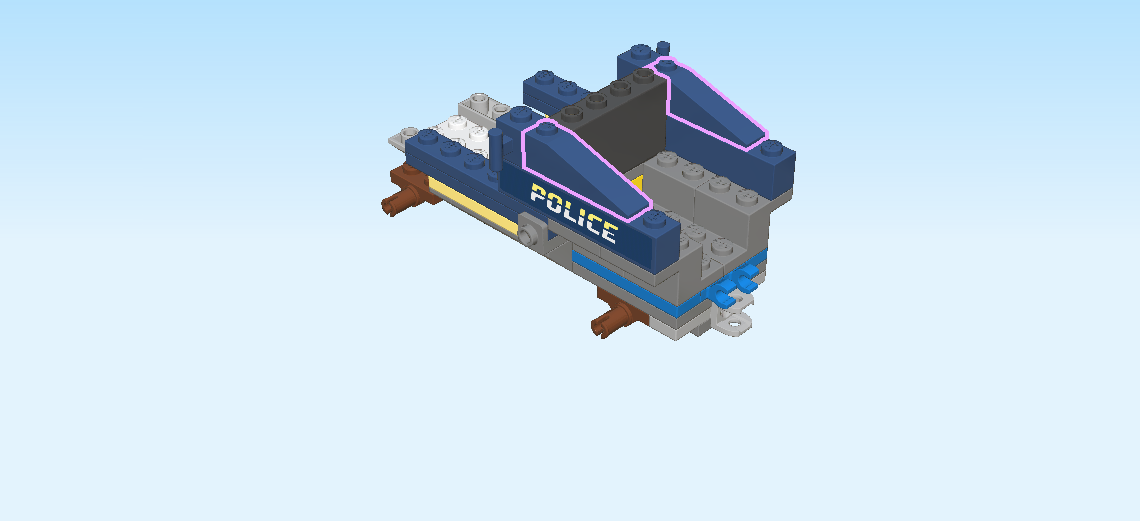
| Find 1 black wall element 1x4x2 with 4 top knobs. |
| Put it vertically centered on the fifth column from the right, side panel to the right. |
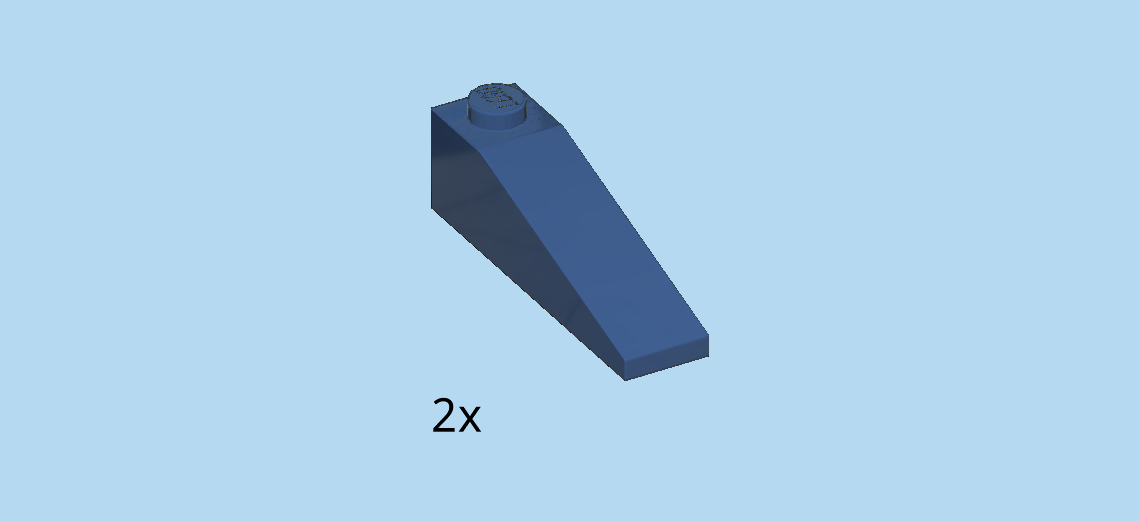
| Find 2 earth blue roof tiles 1x4x1, 18°. |
| Skip the rightmost column, and put one horizontally on the frontmost row, slope to the right. |
| Repeat symmetrically at the back. |
| Next, we will build the rear bumper of the jeep. |
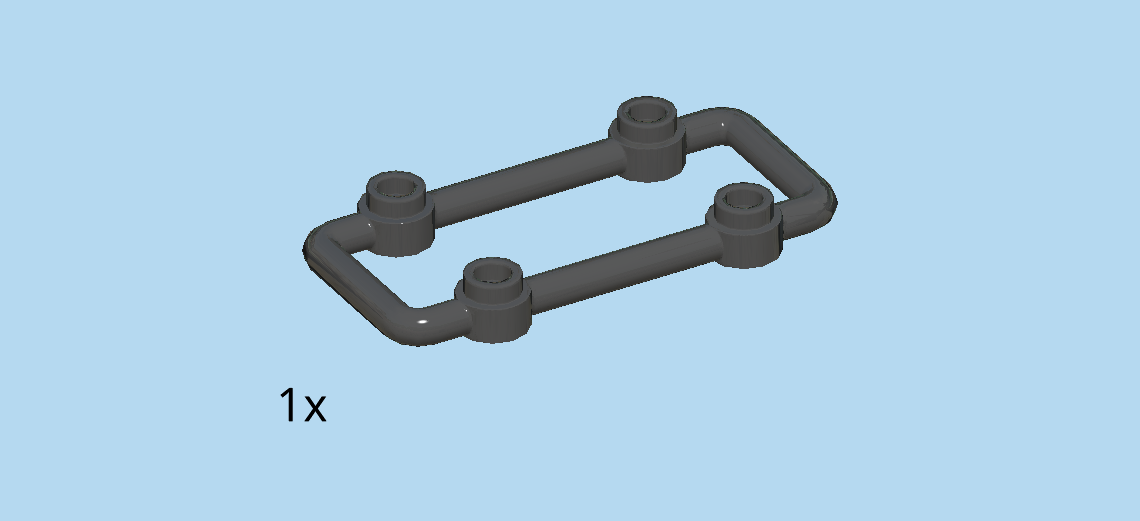
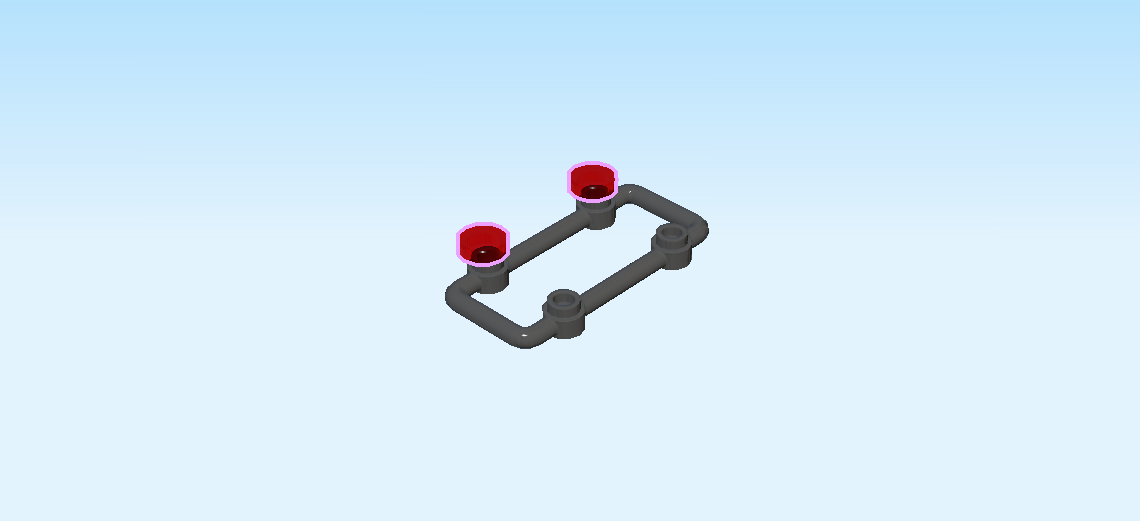
| Find 1 black rectangular bar 3x6 with 4 knobs. |
| Put it horizontally on the table. |
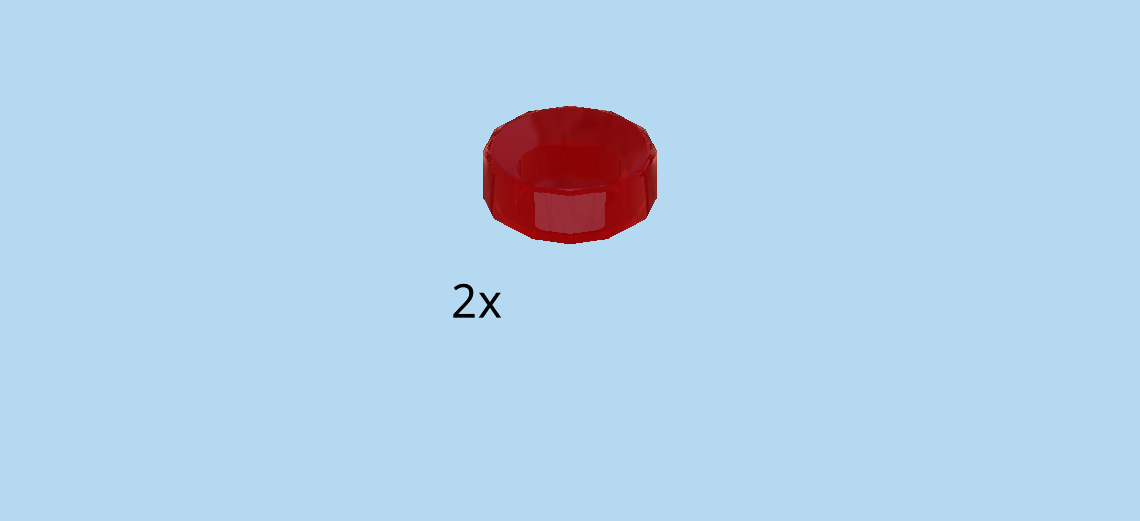
| Find 2 transparent red round tiles 1x1. |
| Put them on the two knobs at the back. |
| Now, flip this part upside down. This means the two round tiles are pointing to the bottom. |
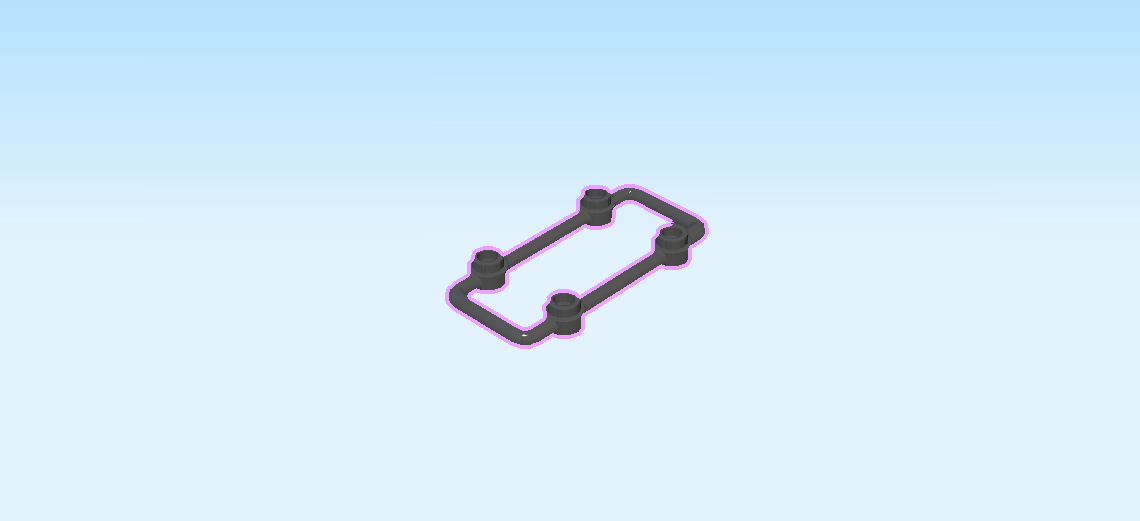
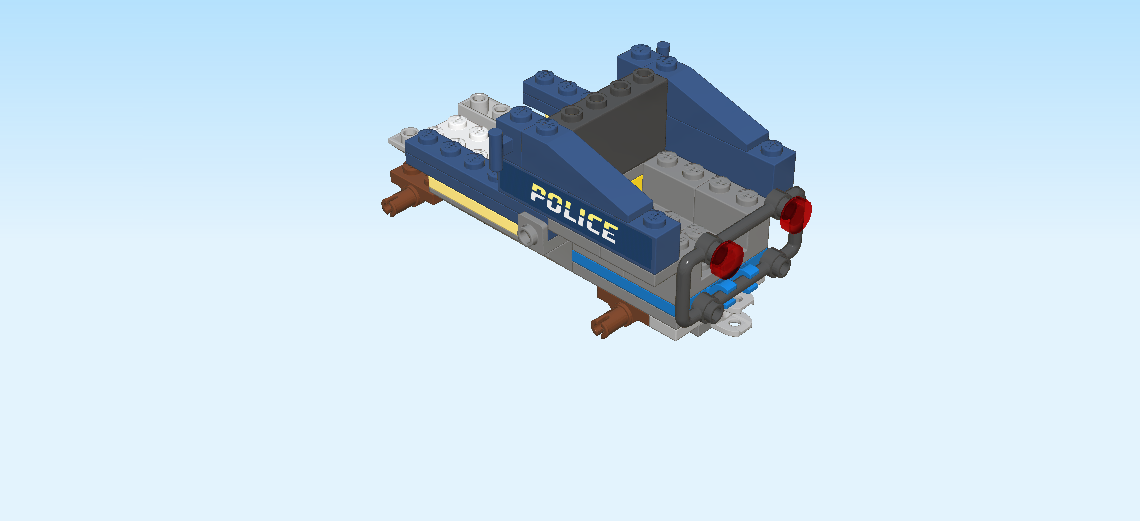
| Identify the longer bar of this part that does not have the two round tiles mounted on it. Snap it into the two clasps at the right side of the structure. |
| Now you can flip this part up: if done correctly, the two transparent red round tiles 1x1 are pointing to the right. They are the back lights of your off-roader! |
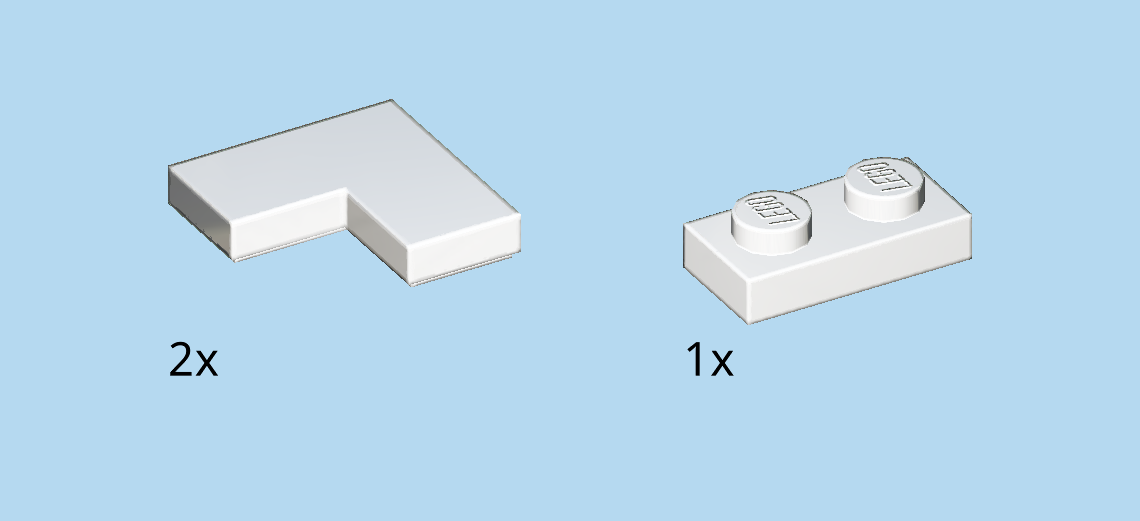
| Collect the following 3 pieces: |
| 2 white corner tiles 2x2, |
| and 1 white plate 1x2. |
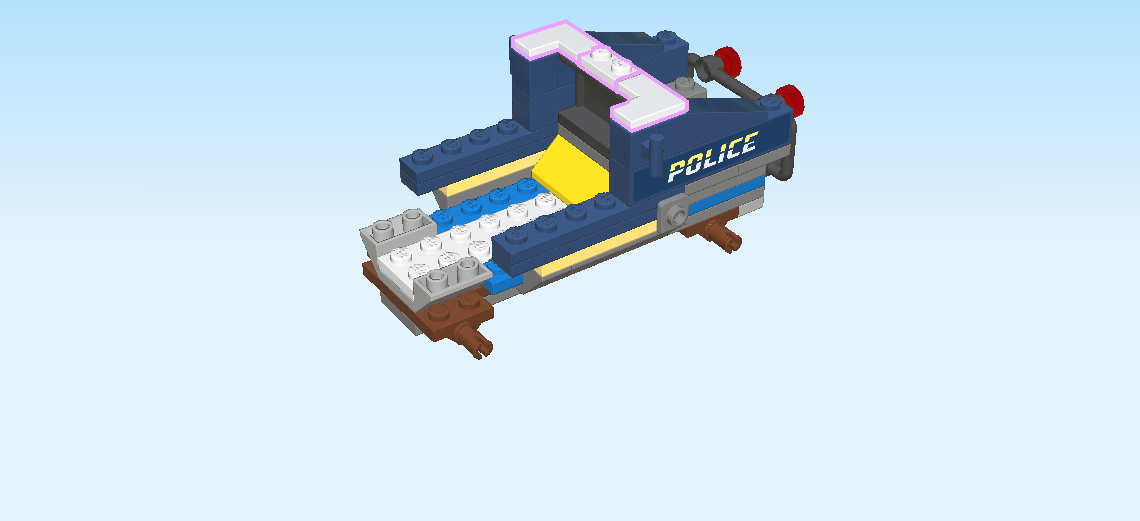
| Put 1 corner tile on the roof tile 1x4 in the middle at the front. The outer corner is to the front right. |
| Repeat symmetrically at the back with the other corner tile. |
| Put the plate 1x2 vertically between the previous two pieces at the top of the structure. |
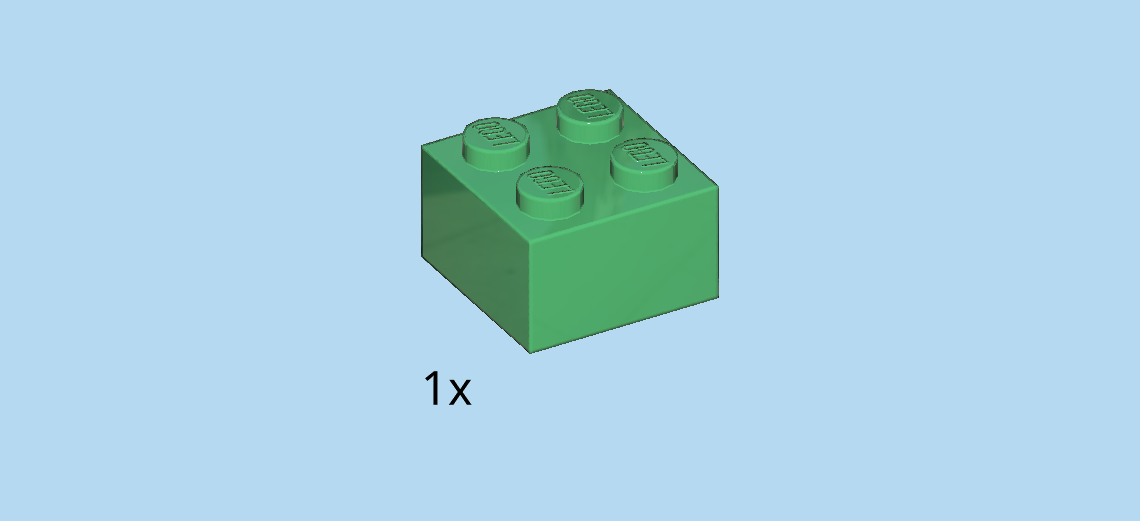
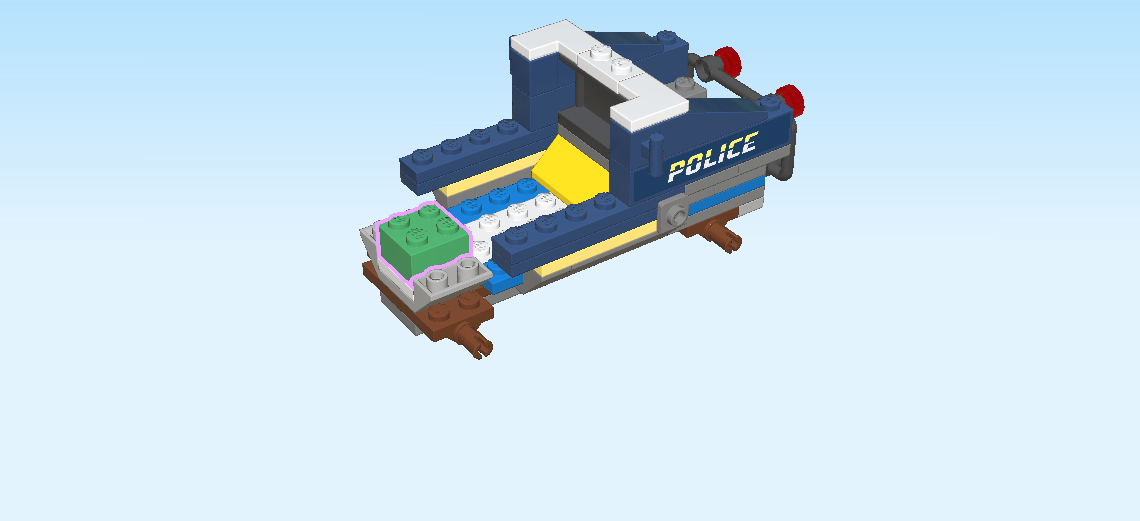
| Find 1 dark green brick 2x2. |
| Put it on the leftmost edge in the middle. |
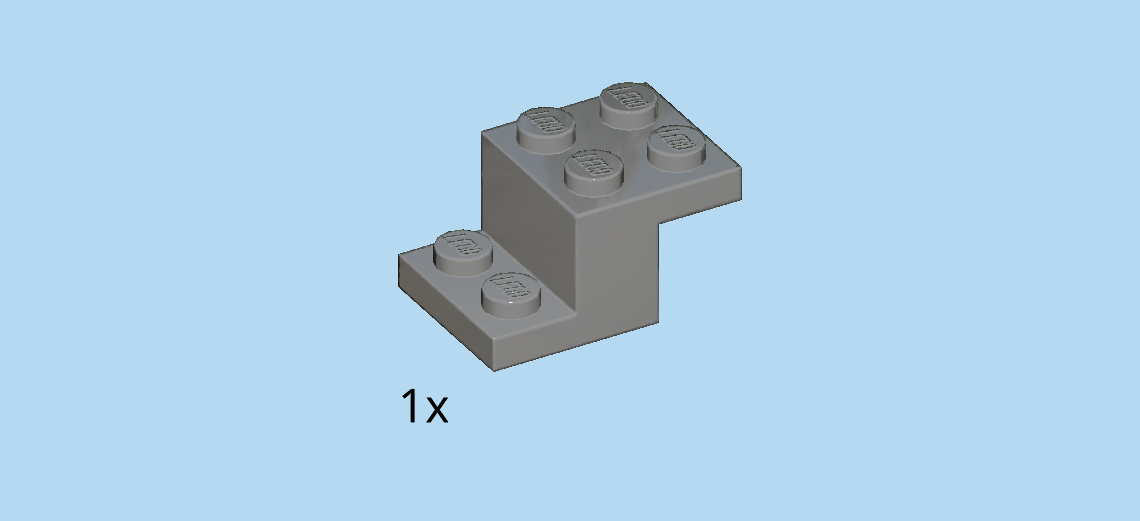
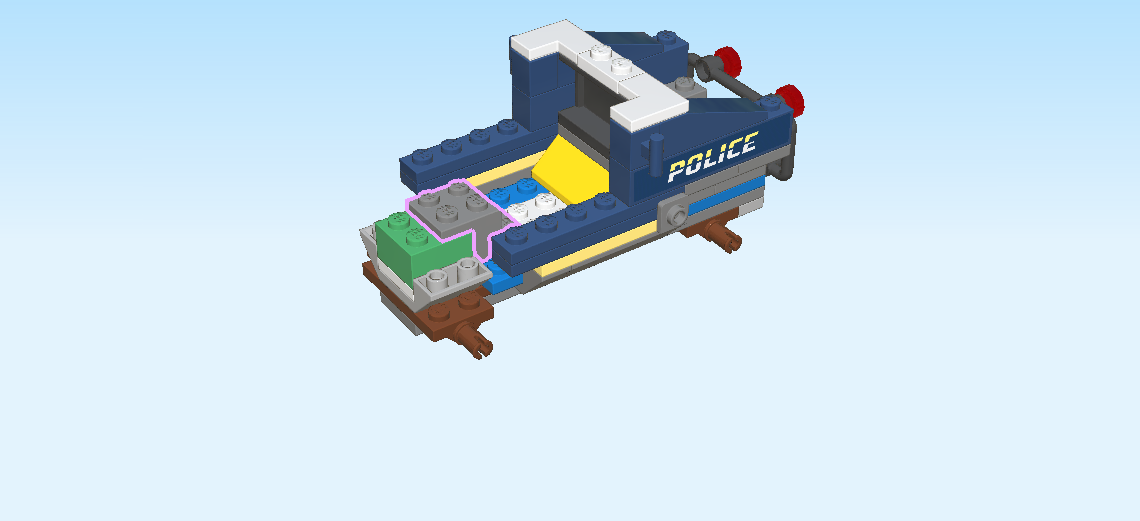
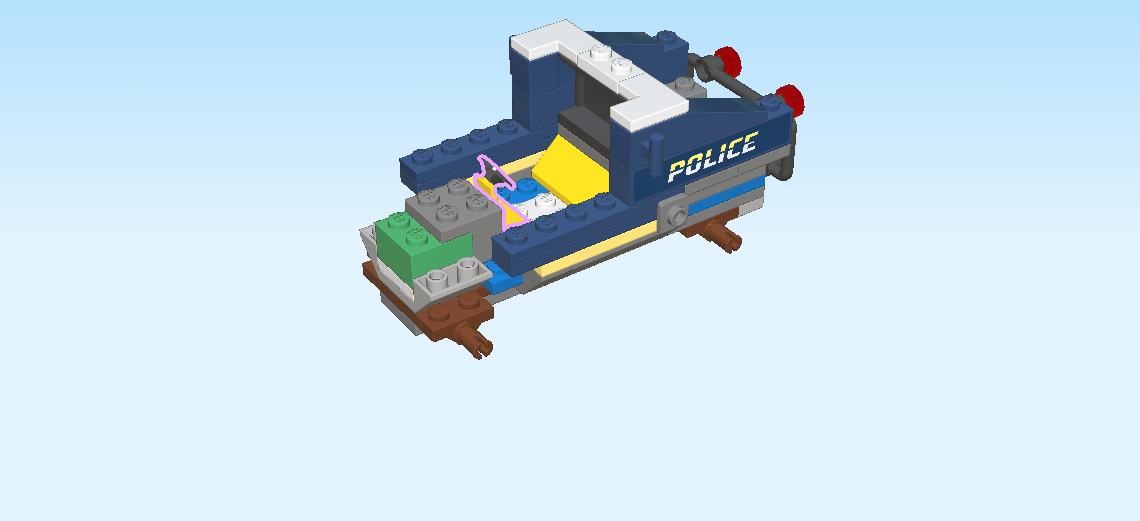
| Find 1 dark stone grey brick 2x2 - 1x2 with top and bottom plate. |
| Put it horizontally to the right, bottom plate to the right, and top plate to the left. |
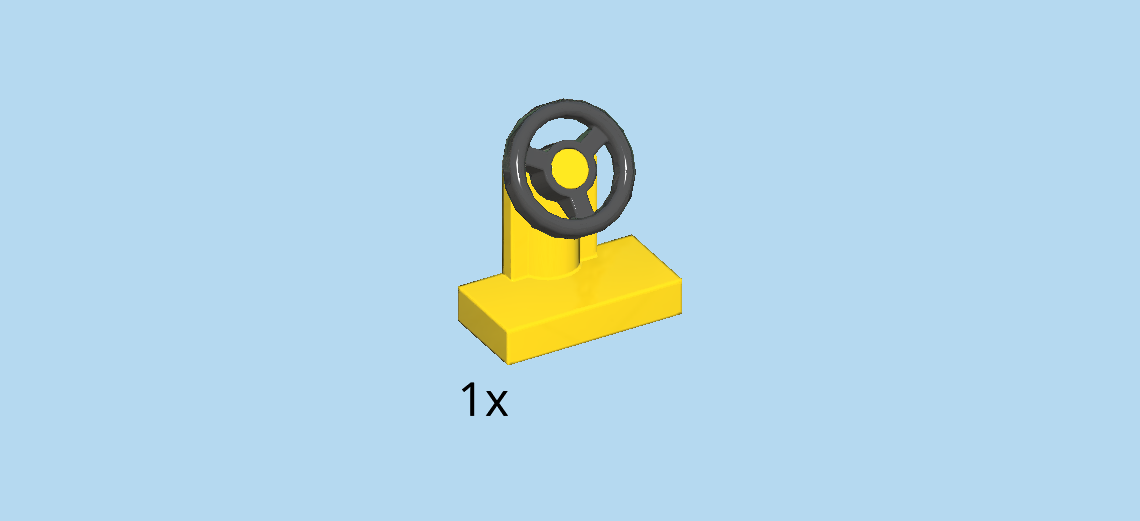
| Find 1 black and bright yellow small steering wheel with plate 1x2. |
| Put it vertically on the bottom plate of the previous piece, steering wheel to the right. |
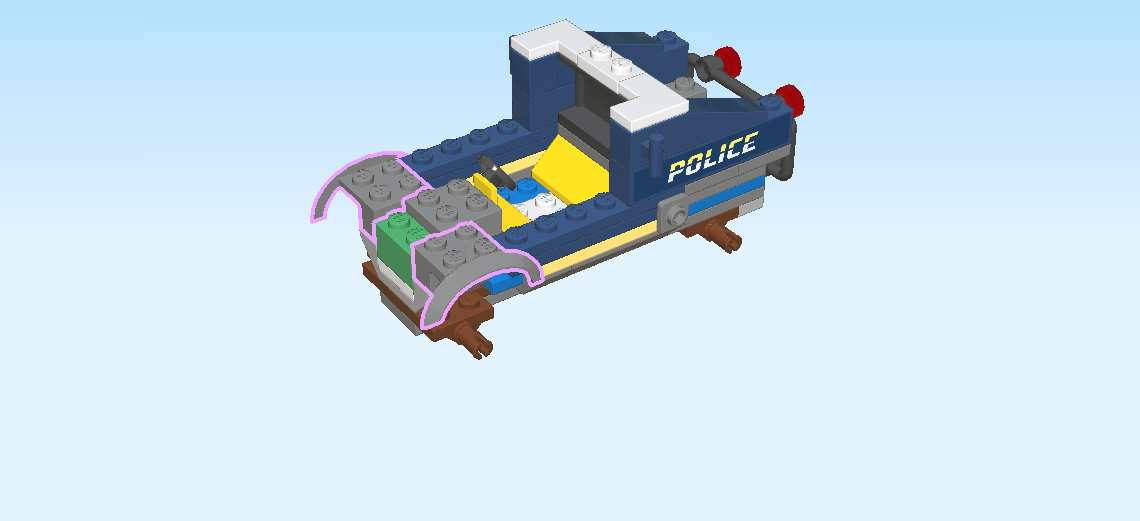
| Find 2 dark stone grey bricks 2x4x1 with fender. |
| Put them on the frontmost and backmost row on the left edge, fenders overhanging to the front and back. |
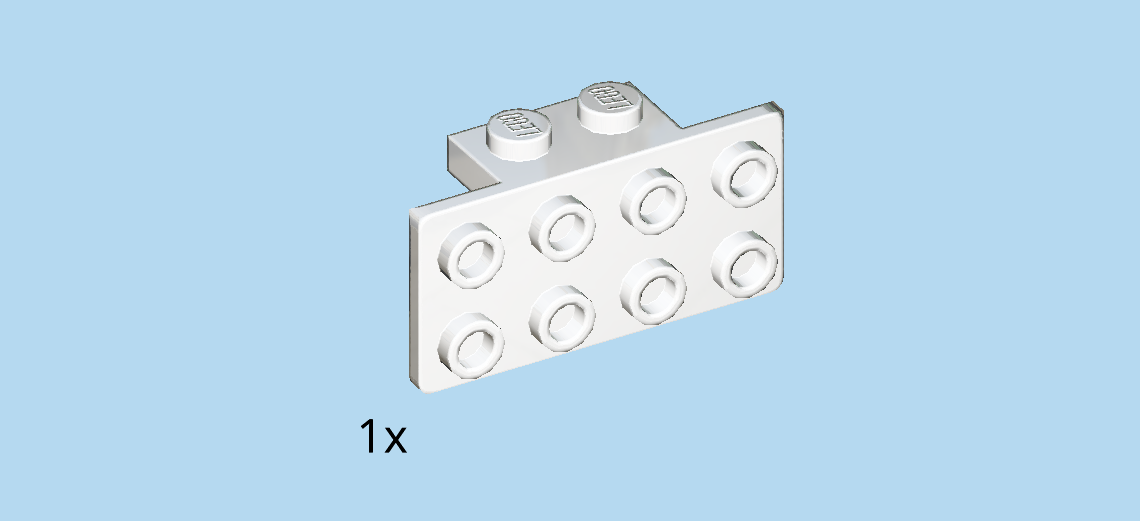
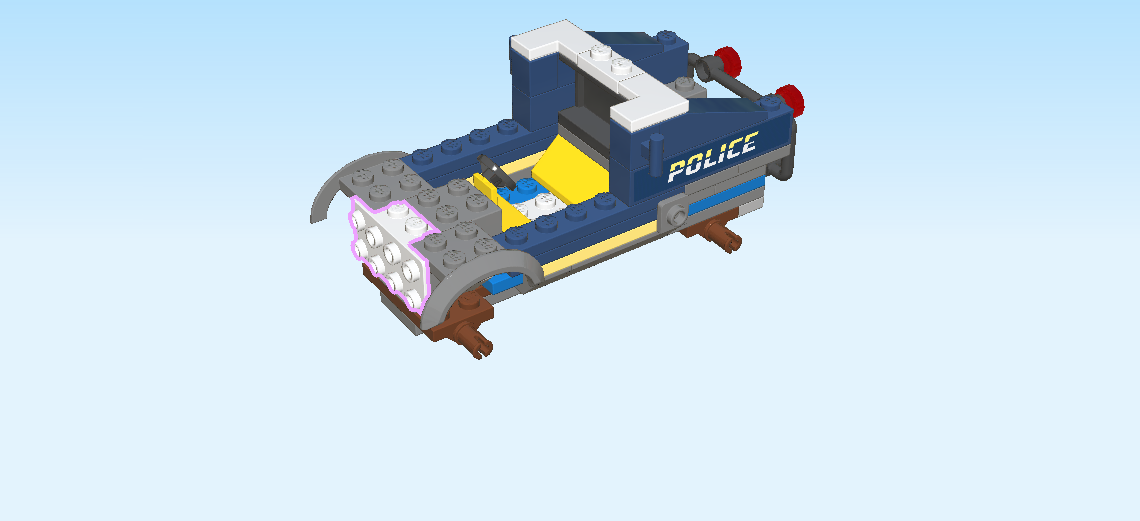
| Find 1 white top angle plate 1x2 - 2x4 with 8 side knobs. |
| Put it vertically centered on the leftmost column, side plate to the left. |
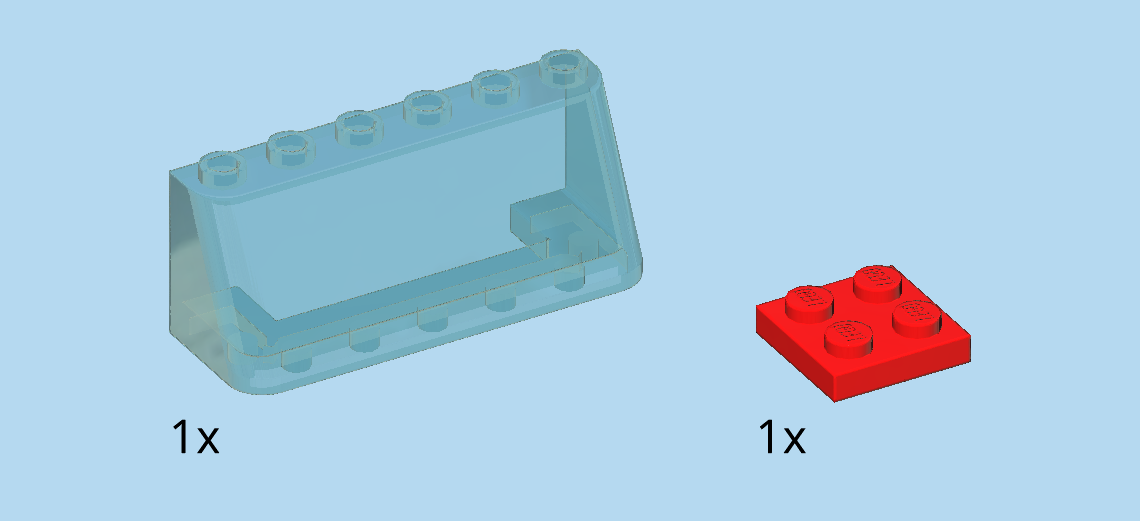
| Collect the following 2 pieces: |
| 1 transparent light blue windscreen 2x6x2, |
| and 1 bright red plate 2x2. |
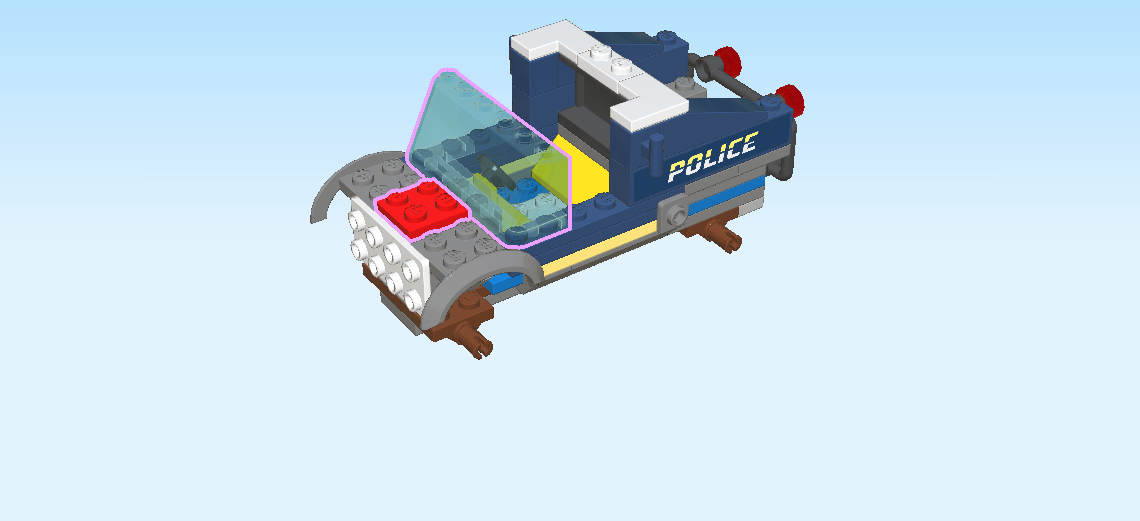
| Skip 2 columns from the left, and put the windscreen 2x6x2 vertically on top, slope to the left. |
| Put the plate 2x2 to the left in the middle. |
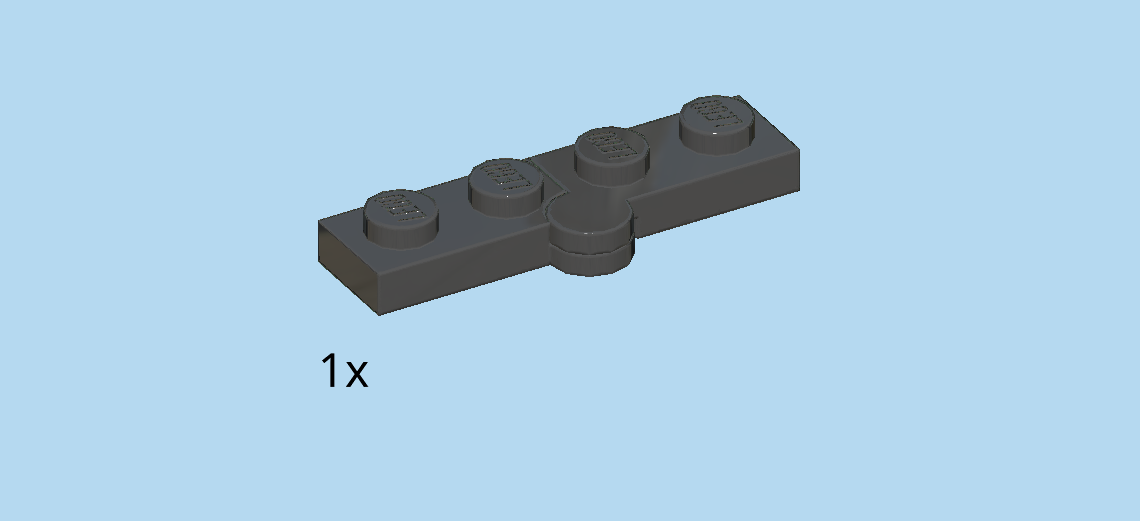
| Find 1 black hinge plate 1x2 - 1x2. |
| Put it vertically centered on top of the windscreen, hinge to the right. |
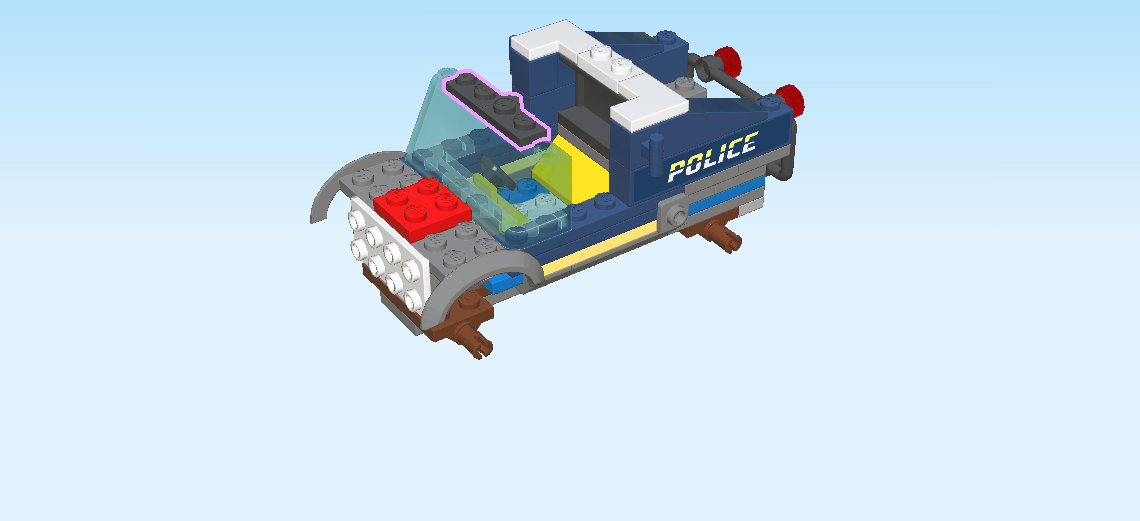
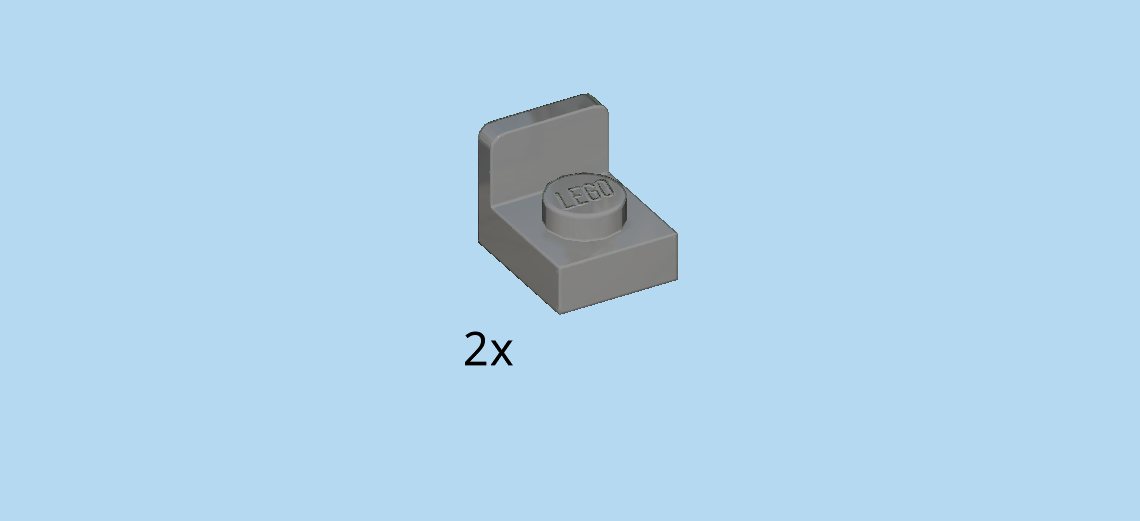
| Find 2 dark stone grey bottom angle plates 1x1 - 1x1 with side knob. |
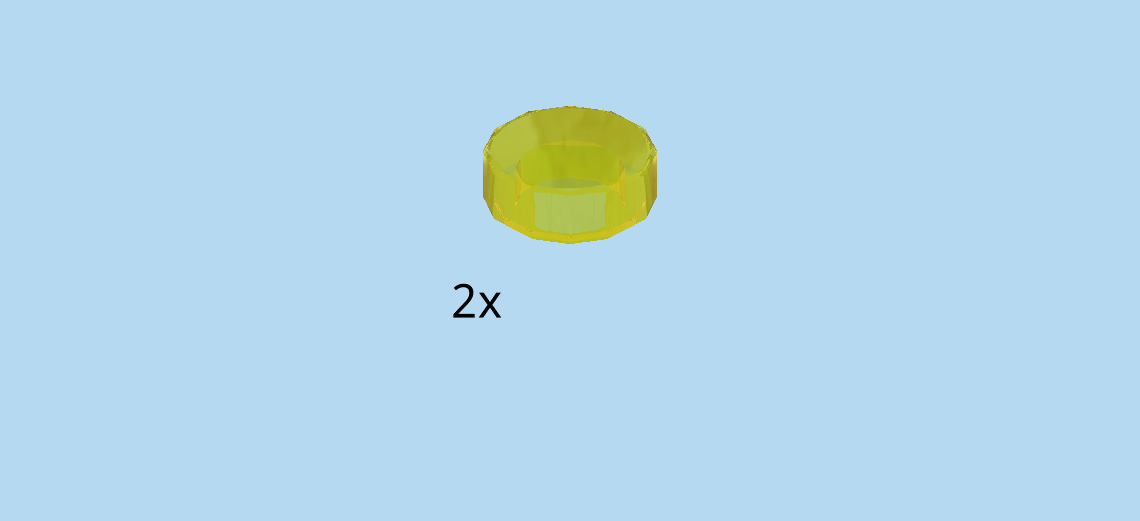
| Find 2 transparent yellow round tiles 1x1. |
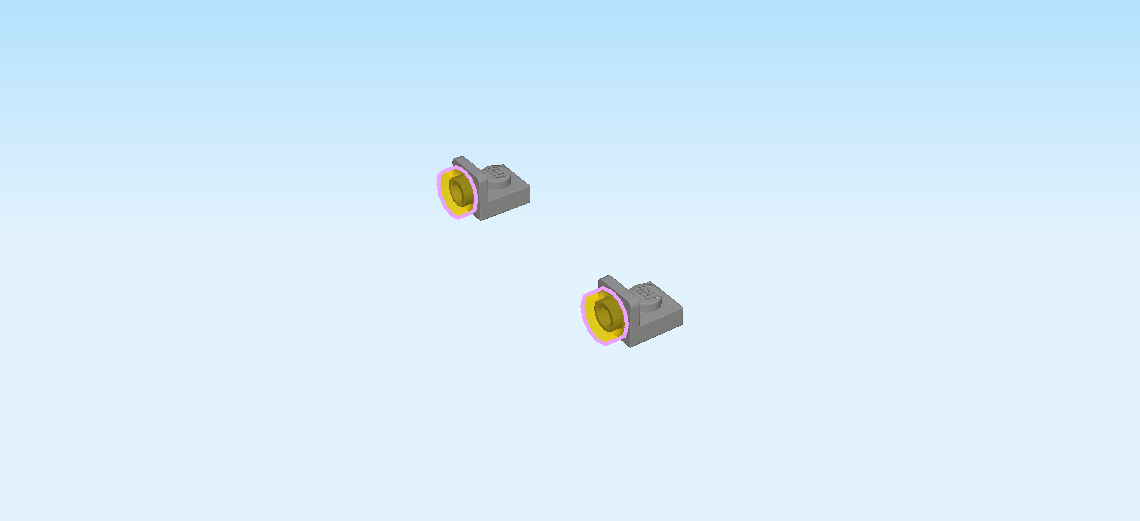
| Put the round tiles 1x1 upright on the side knobs of the bottom angle plates. |
| These are now your top headlights! |
| Mount the headlights on the frontmost and backmost top knob of the windshield. Make sure the round tiles 1x1 are pointing to the left. |
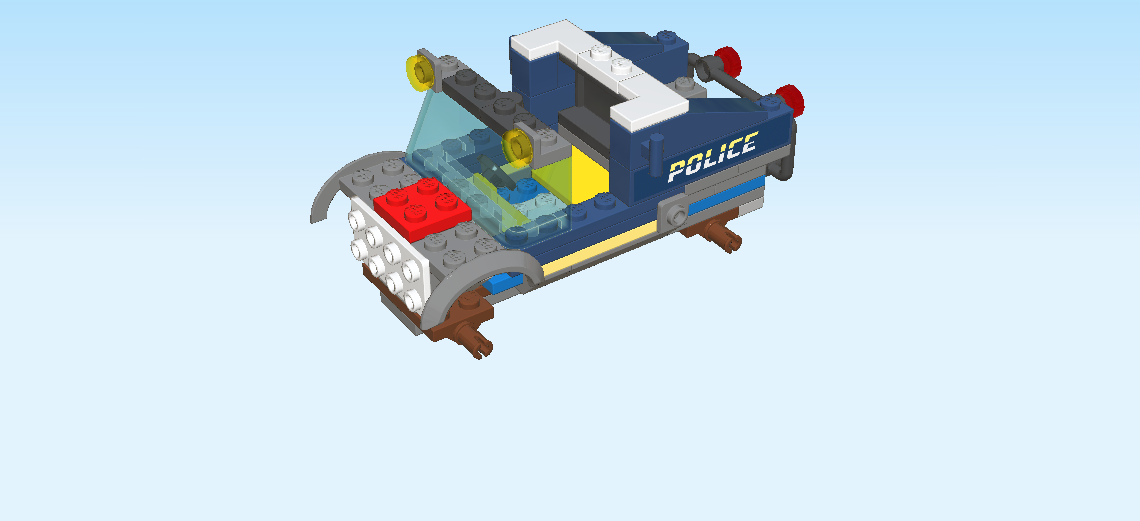
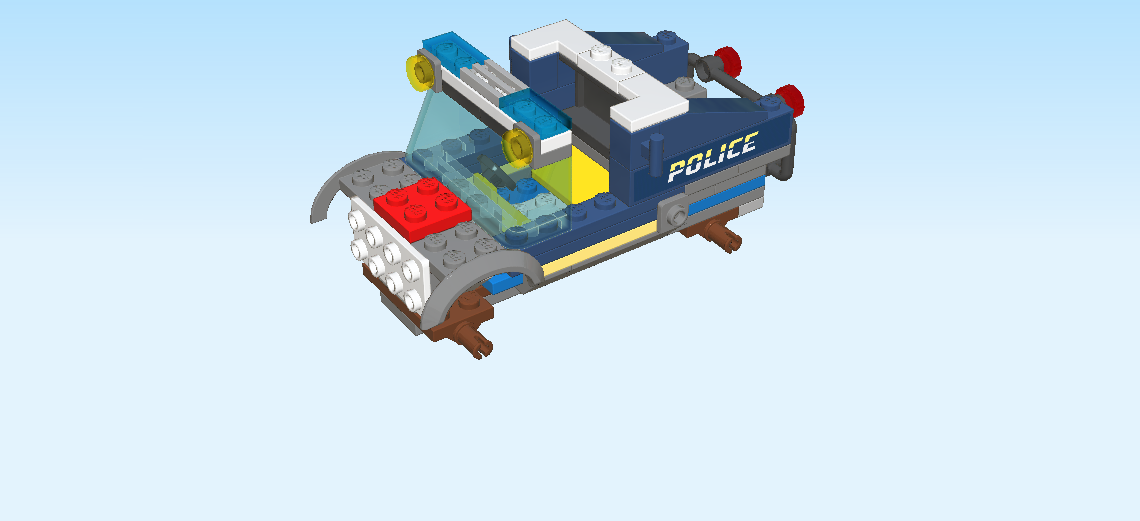
| Next up, let's build the flashing blue light. |
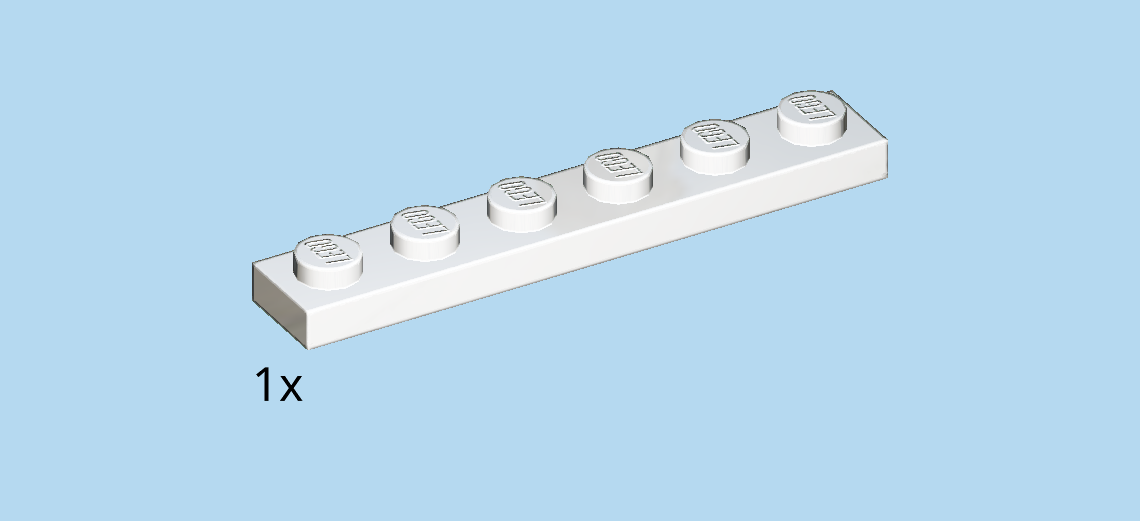
| Find 1 white plate 1x6. |
| Put it vertically on the table. |
| Collect the following 3 pieces: |
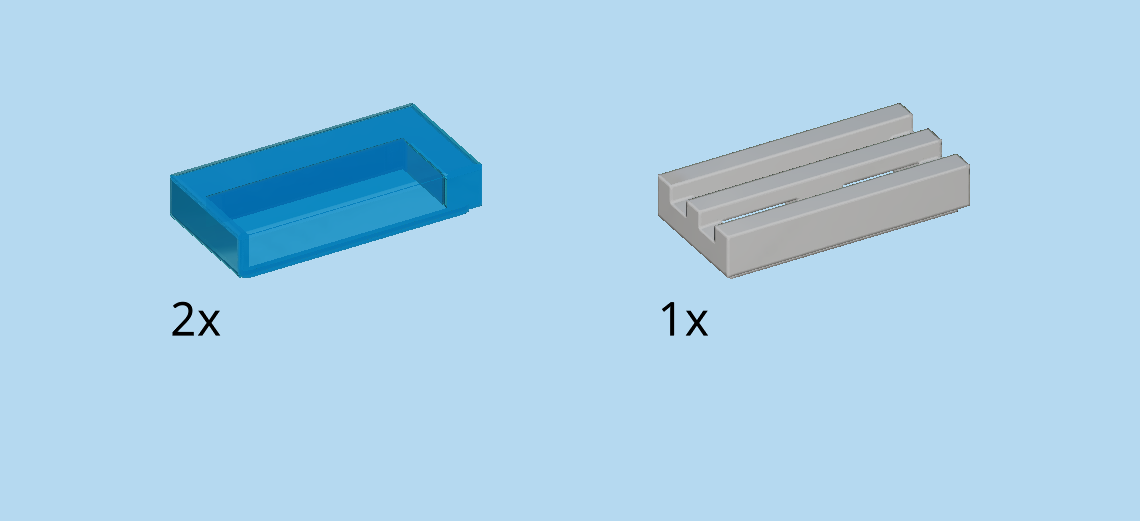
| 1 medium stone grey grille tile 1x2, |
| and 2 transparent blue flat tiles 1x2. |
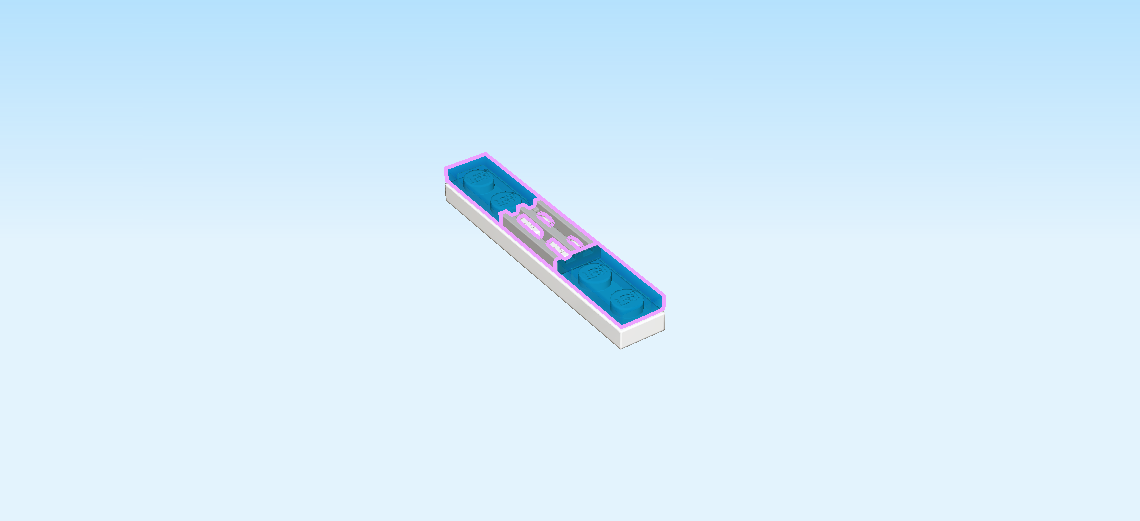
| Put the grille tile 1x2 vertically in the middle. |
| Put the 2 flat tiles vertically to the front and back. |
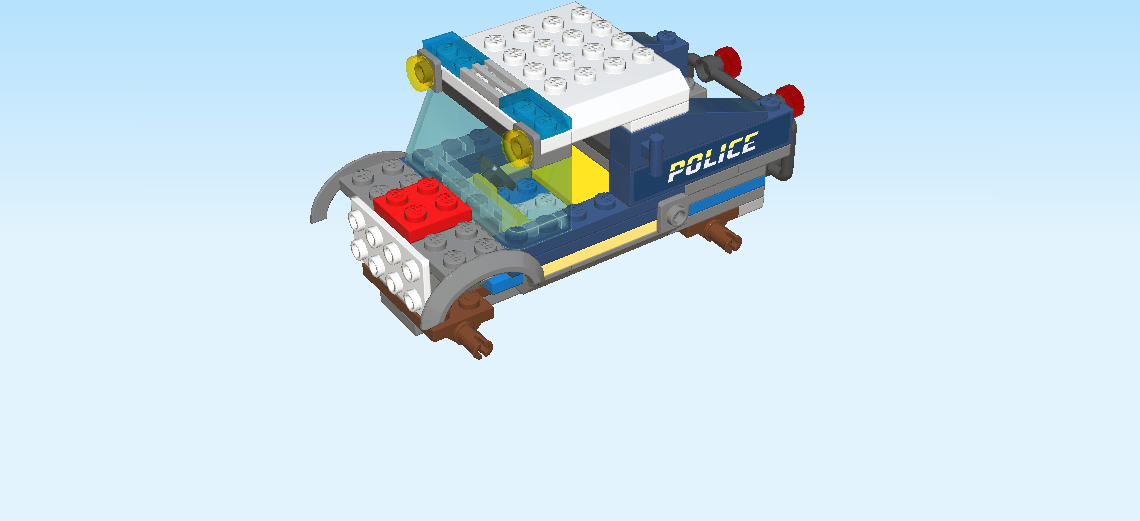
| Now, mount this part vertically on top of the windshield. |
| In the next step, we build the roof of the jeep. |
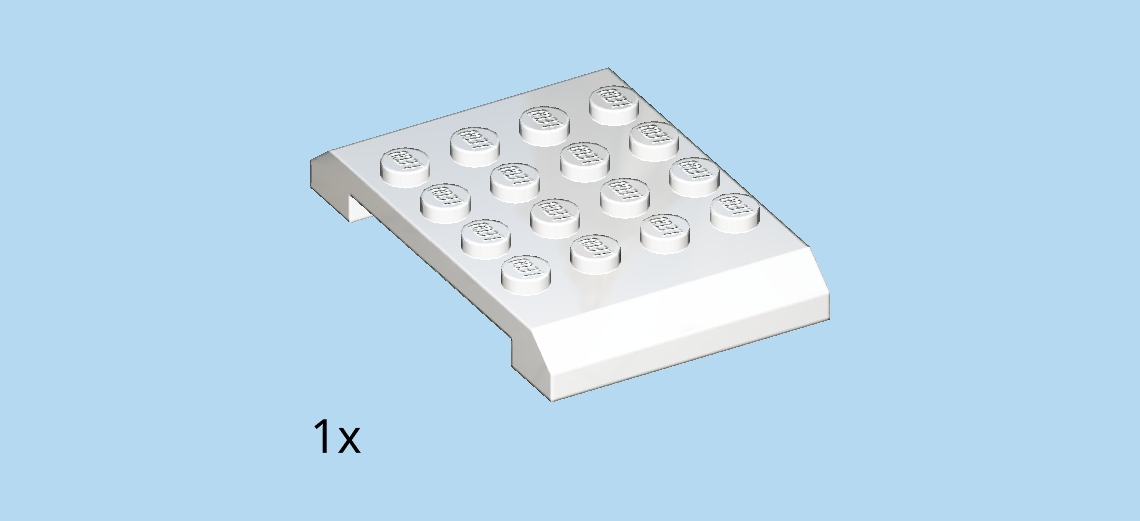
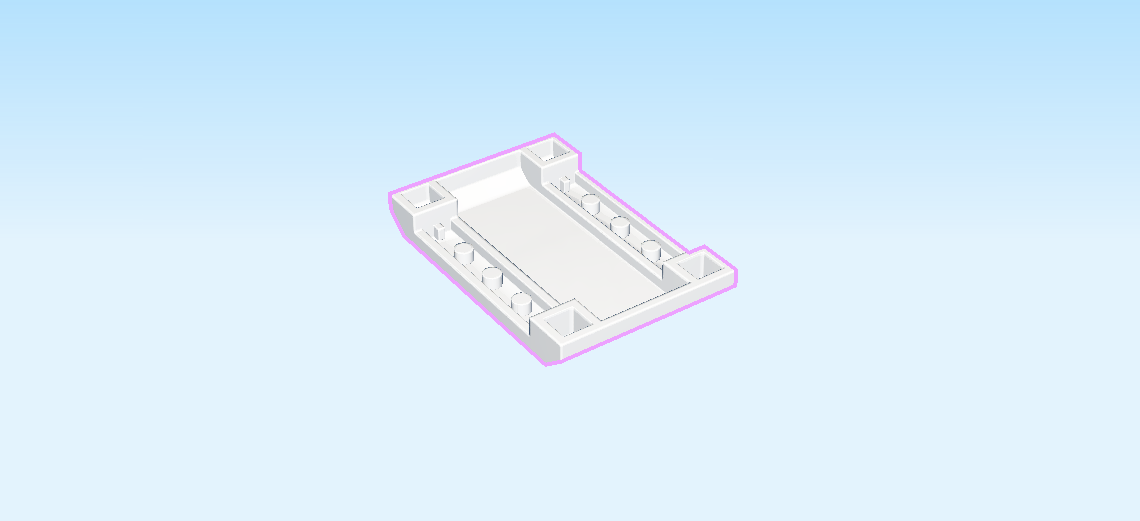
| Find 1 white shell plate 4x6x⅔. |
| Put it upside down vertically on the table. |
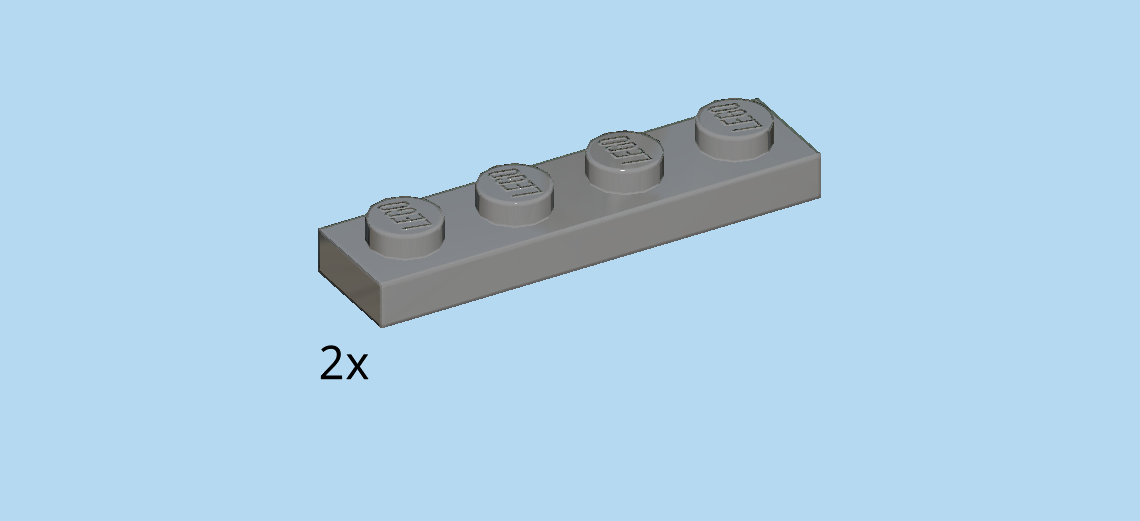
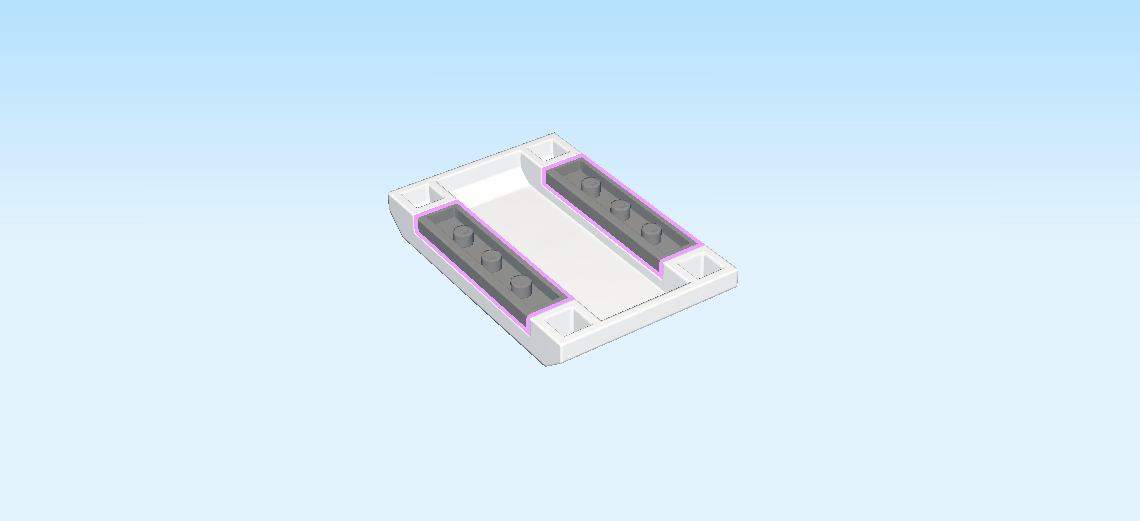
| Find 2 dark stone grey plates 1x4. |
| Put 1 upside down vertically on the leftmost column. |
| Repeat symmetrically on the right. |
| The roof of the jeep is finished! Great job! Flip it right side up again and mount it vertically to the right of the flashing blue lights. |
| Now, let's build the front bumper. |
| Find 1 bright blue plate 2x4. |
| Put it horizontally on the table. |
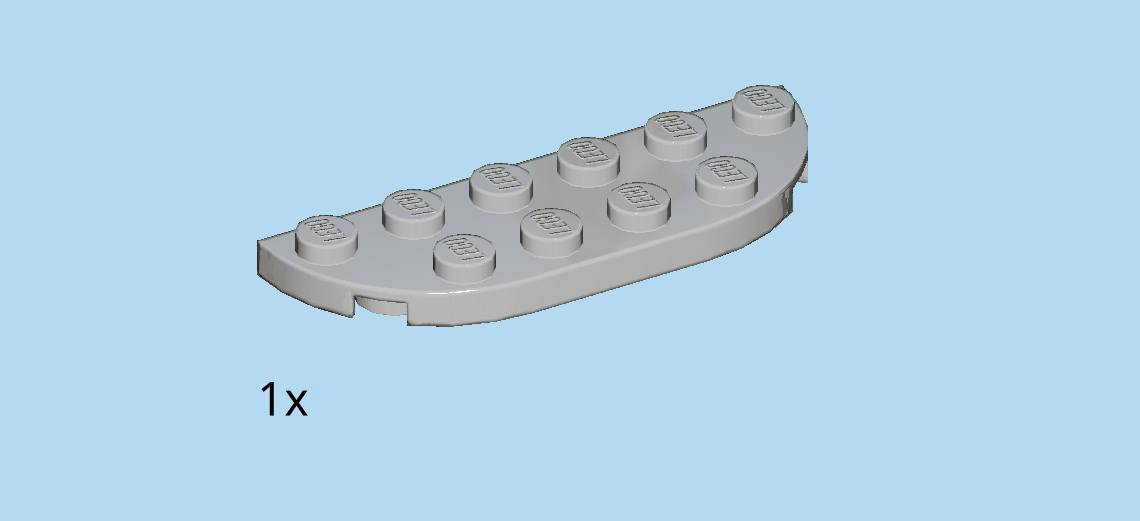
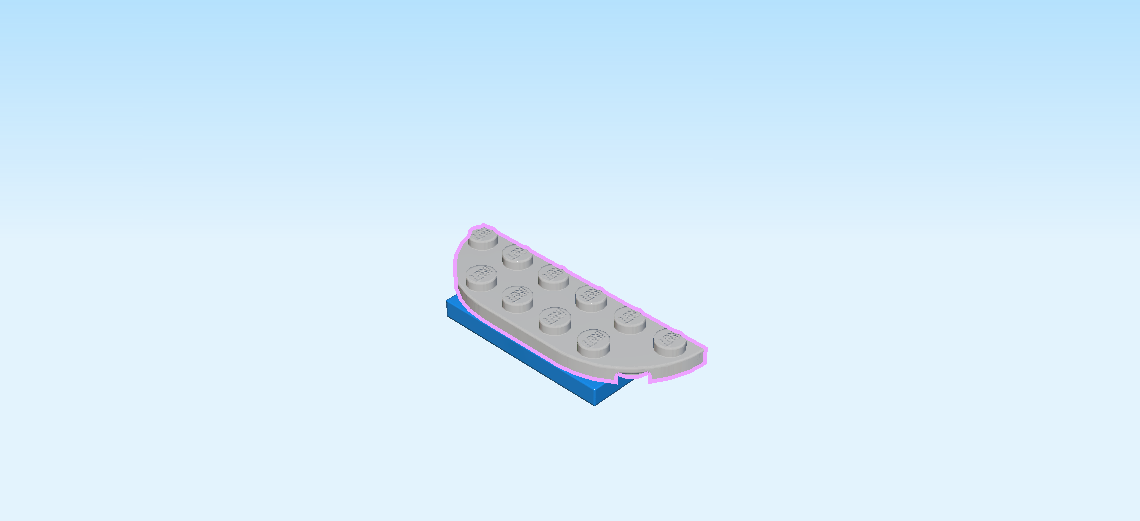
| Find 1 medium stone grey plate 2x6 with 2 round corners. |
| Put it horizontally centered on top, round corners to the front. |
| Find 2 bright blue plates 1x2 with vertical clasp on short side. |
| Put them vertically on the two middle columns, clasps to the front. |
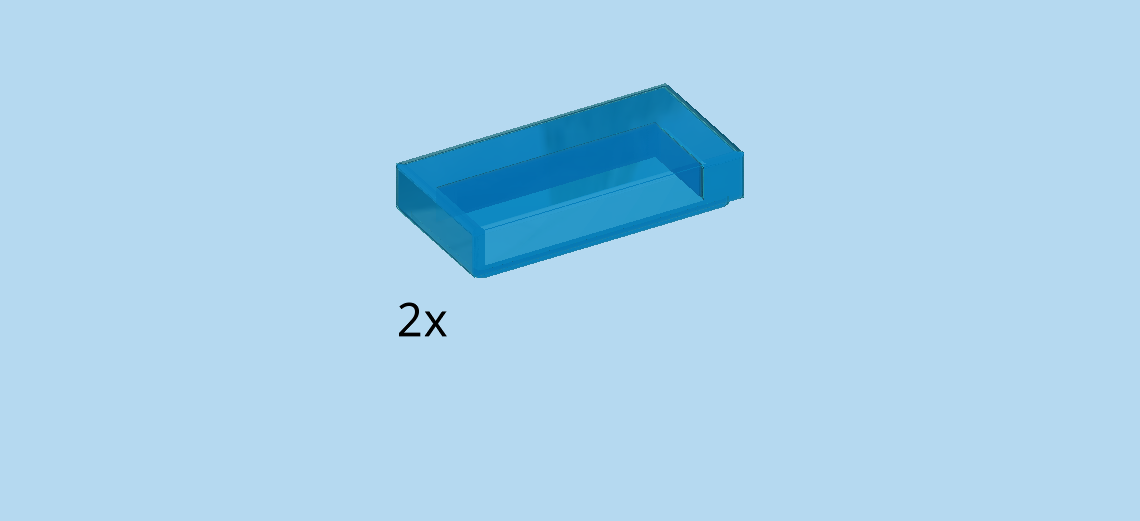
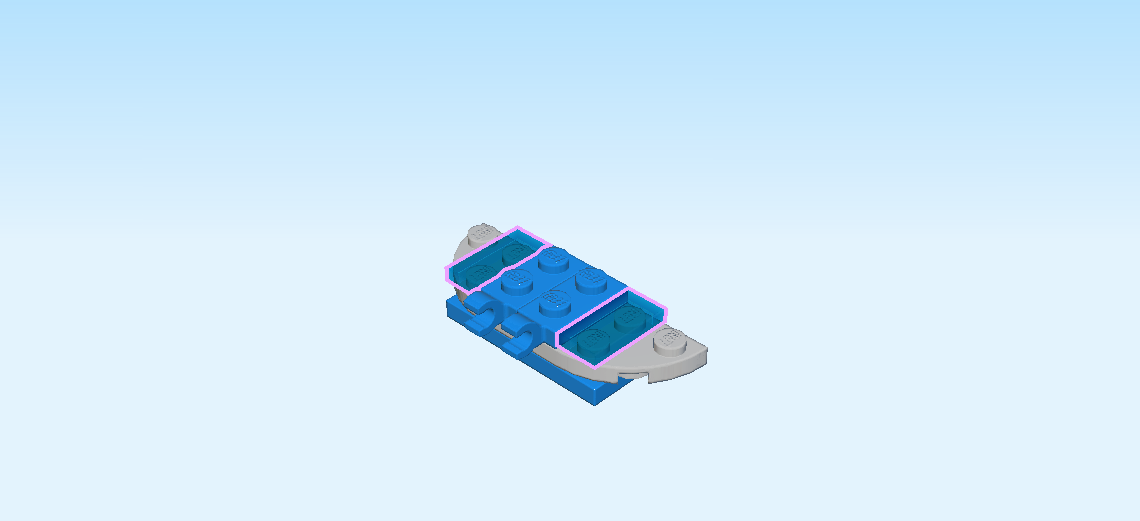
| Find 2 transparent blue flat tiles 1x2. |
| Put them vertically to the left and right of the two previous pieces. |
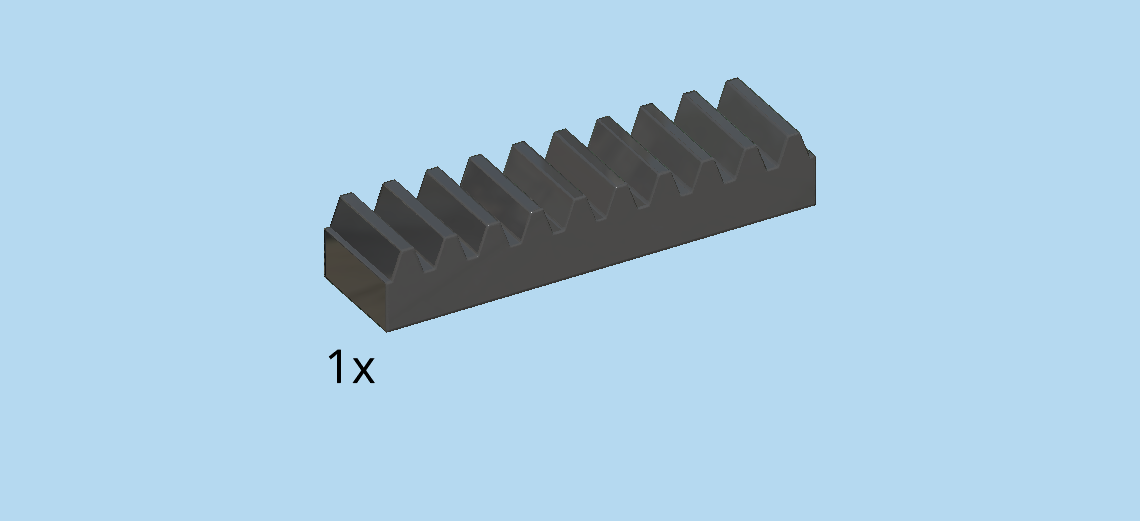
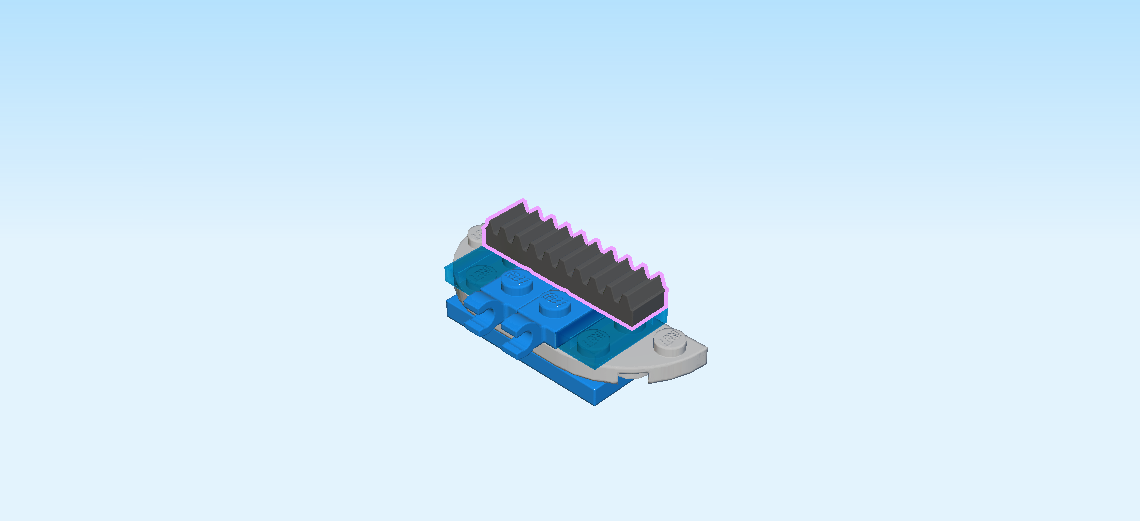
| Find 1 black toothed bar 1x4 with 10 teeth. |
| Put it horizontally centered on the backmost row. |
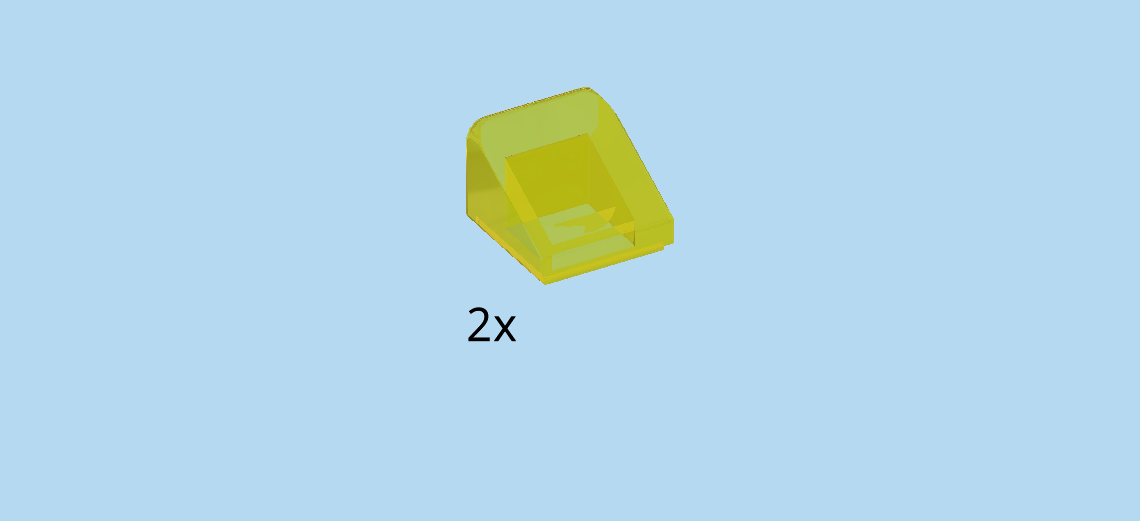
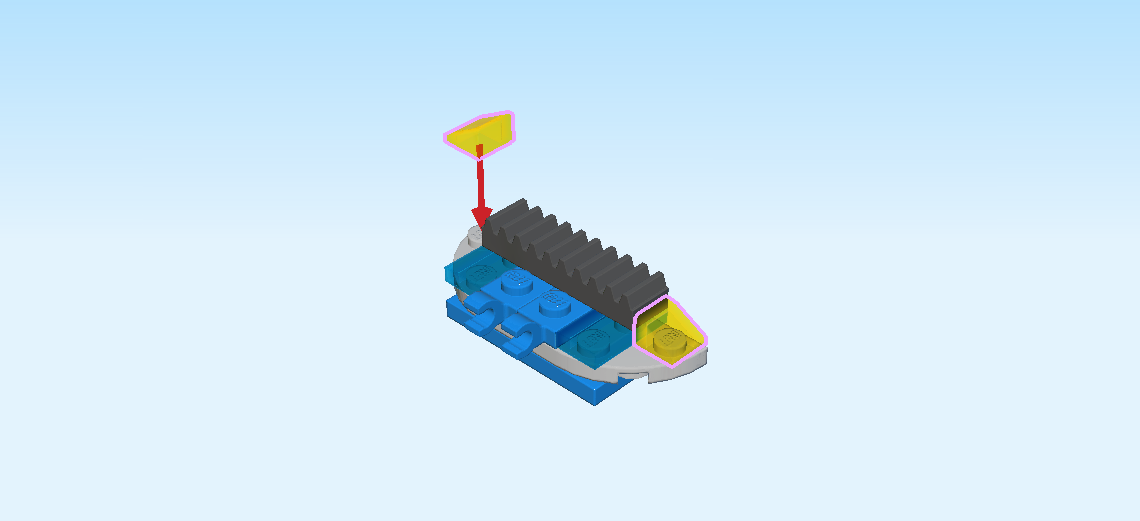
| Find 2 transparent yellow smooth roof tiles 1x1x⅔. |
| Put 1 to the right of the previous piece, slope to the right. |
| Repeat symmetrically on the left, slope to the left. |
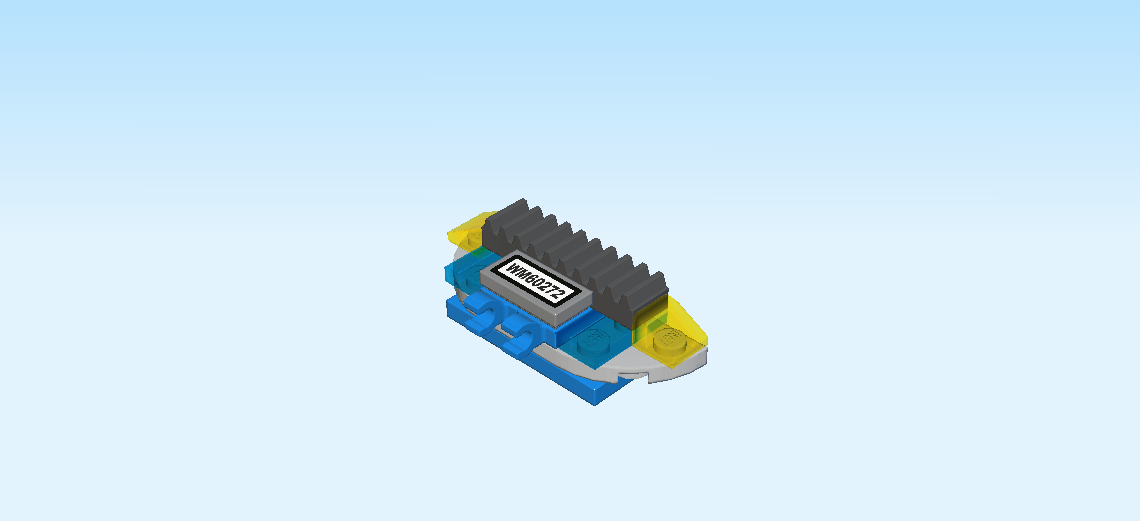
| Now, let's make the license plate. |
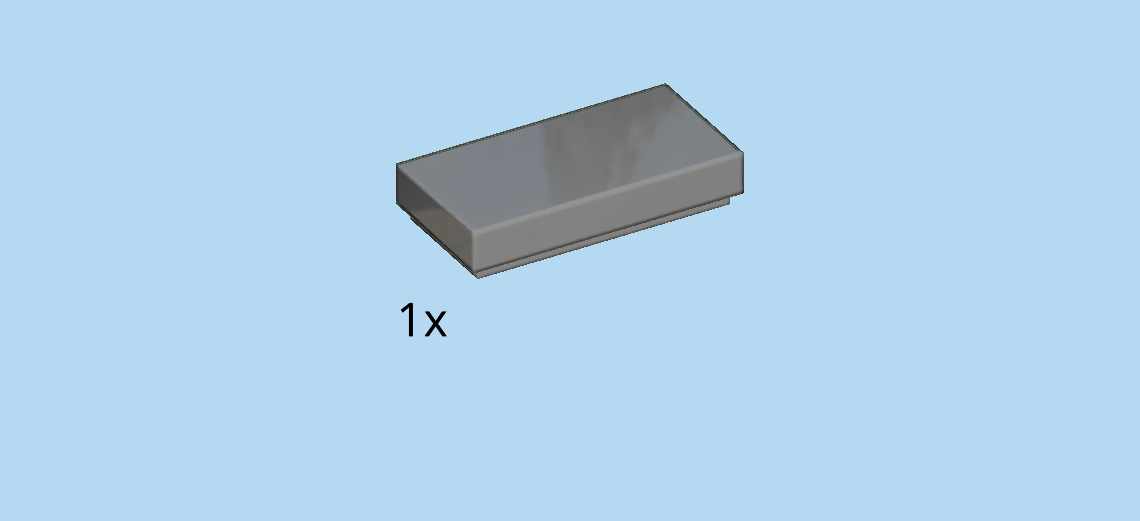
| Find 1 dark stone grey flat tile 1x2. |
| Continue if you want to decorate the flat tile with a license plate sticker now. If not, skip the next three sentences. |
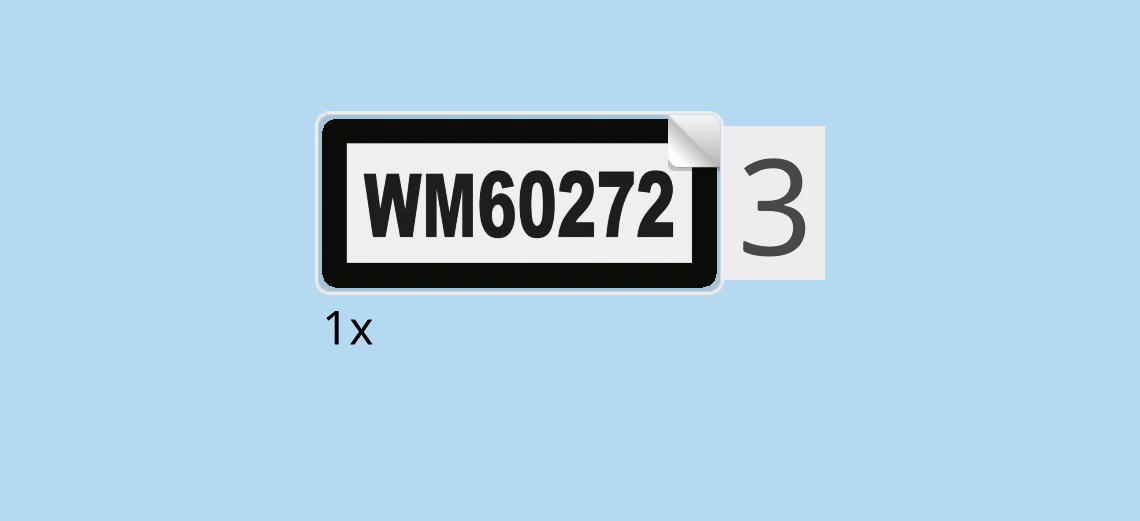
| Find the rectangular sticker number 3. Ask a sighted person to help you. |
| Put it horizontally on top. |
| The sticker shows a white license plate with a black frame and black letters. It reads: "W M 6 0 2 7 2". |
| Put the license plate horizontally centered on the front row of the front bumper. |
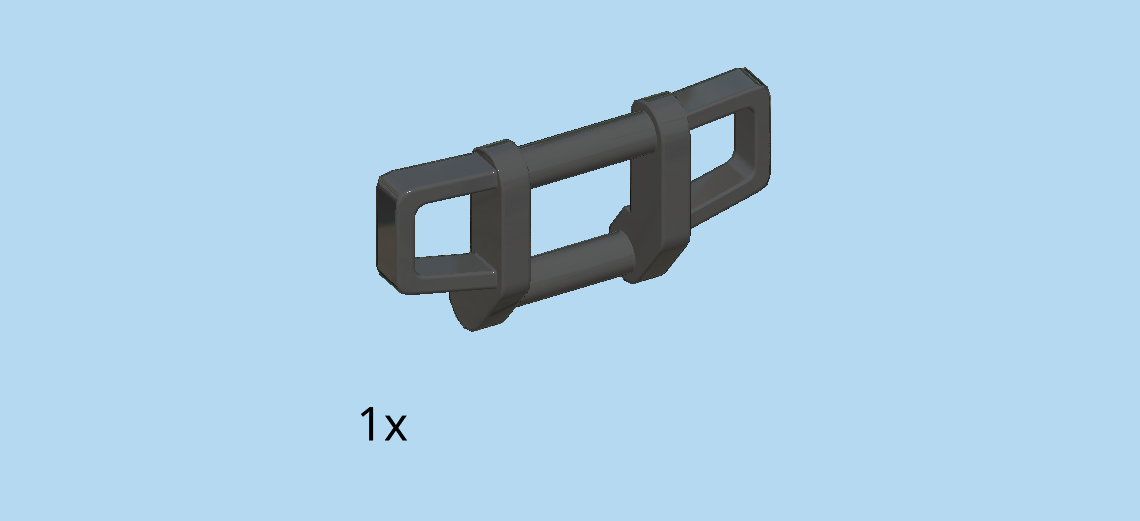
| Find 1 black front bumper piece 1x4x1⅔. |
| Snap the lower bar that protrudes a little from the rest of the piece into the clasps on the front side of the bumper. |
| The front bumper piece should lock in the rest of the front bumper neatly. If not, you might need to turn the front bumper piece around. |
| The front bumper is finished! Well done! Now it's time to mount it: put it upright, and mount it on the 8 side knobs on the left side of the vehicle. The toothed bar is at the top, the front bumper piece is at the bottom, folding upwards. |
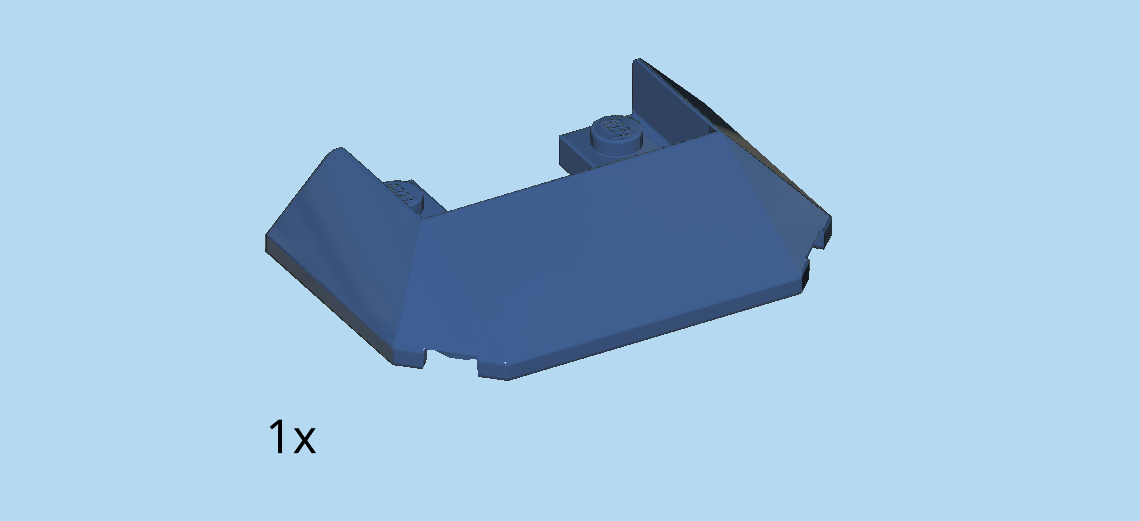
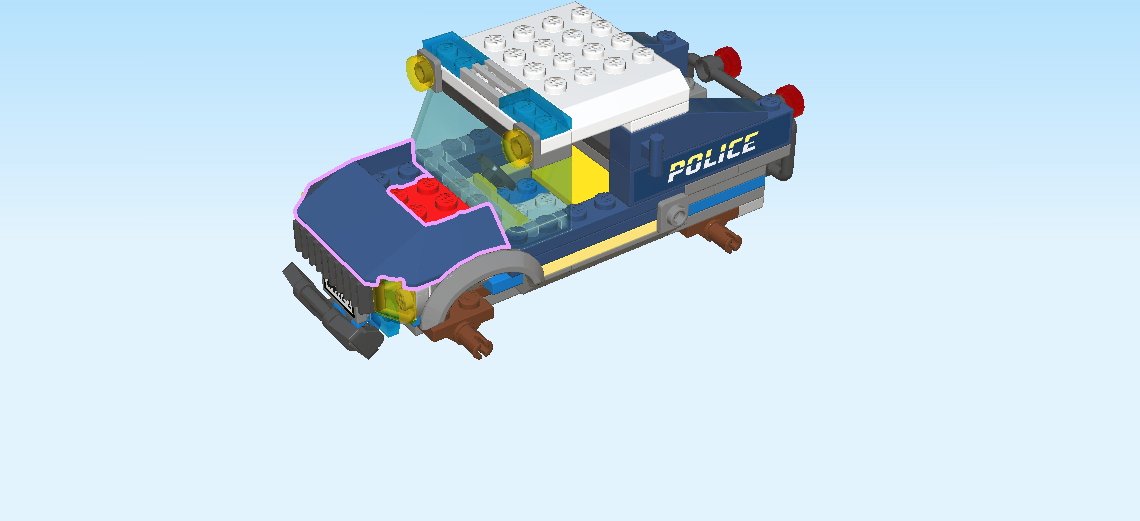
| Find 1 earth blue engine hood 6x4x1 with 3 sloped sides. |
| Put it vertically on the leftmost edge of the structure, cutout to the right. |
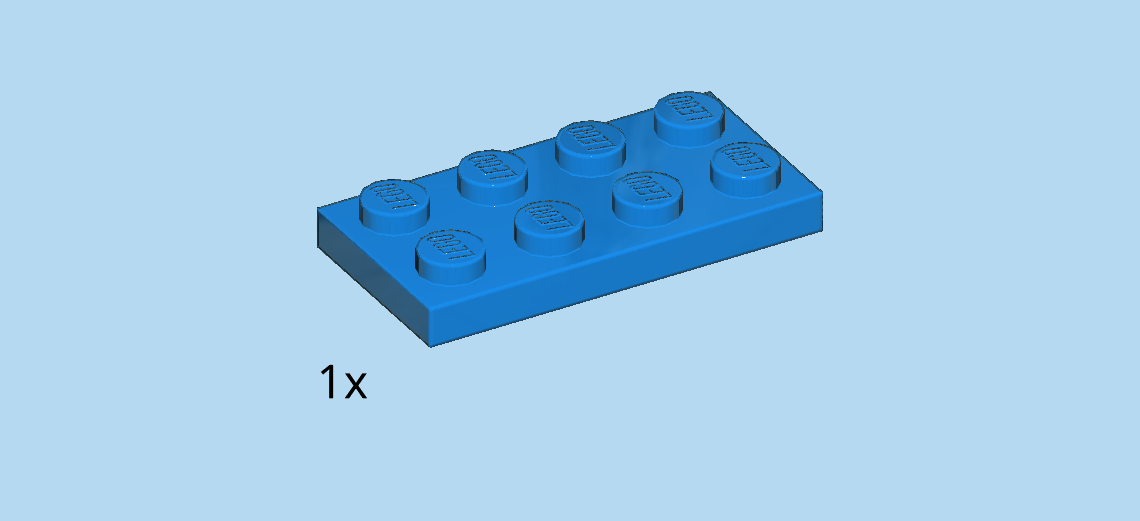
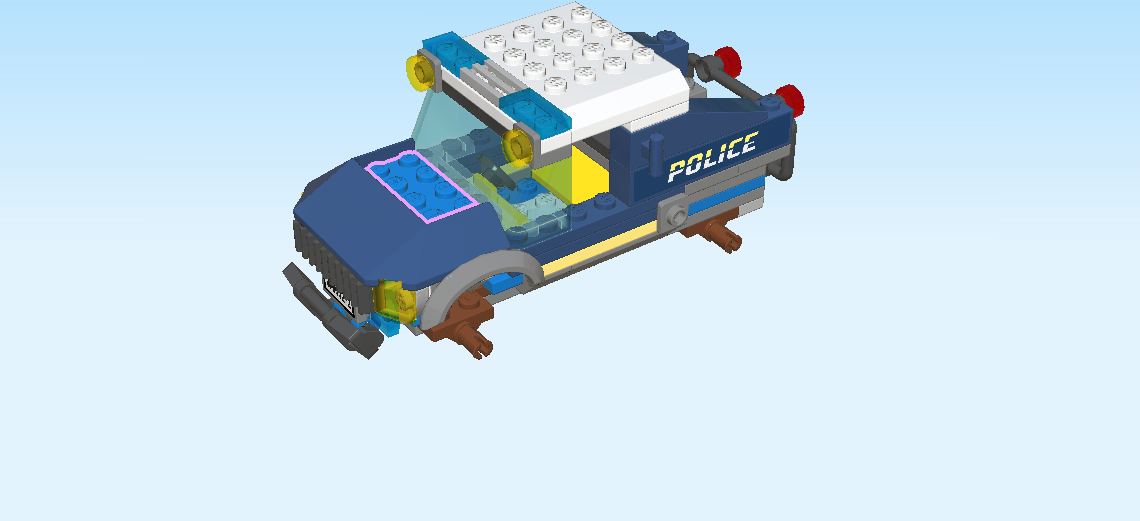
| Find 1 bright blue plate 2x4. |
| Put it vertically in the cutout of the previous piece. It should fit perfectly. |
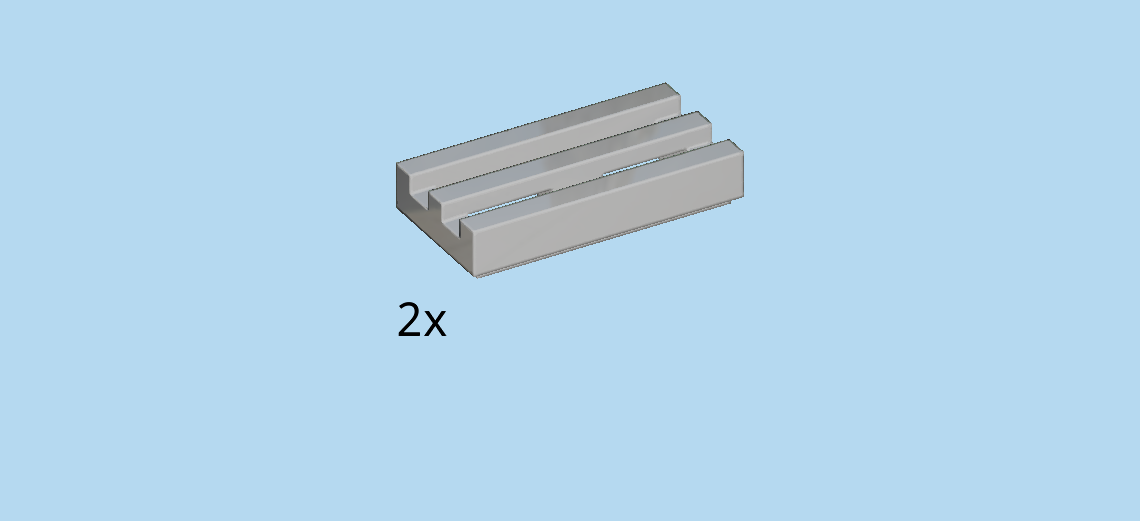
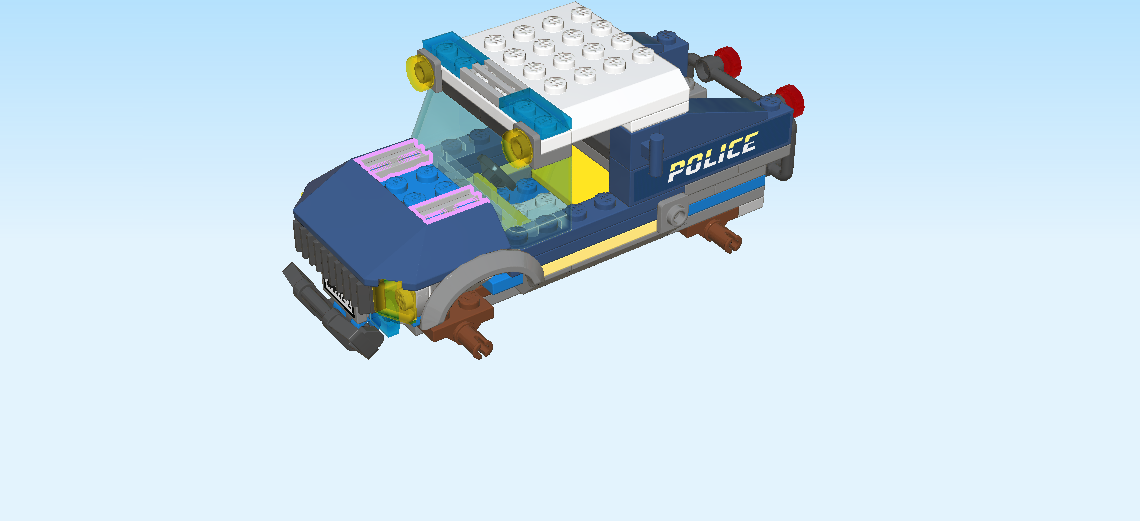
| Find 2 medium stone grey grille tiles 1x2. |
| Put them horizontally on the front and back rows of the previous piece. |
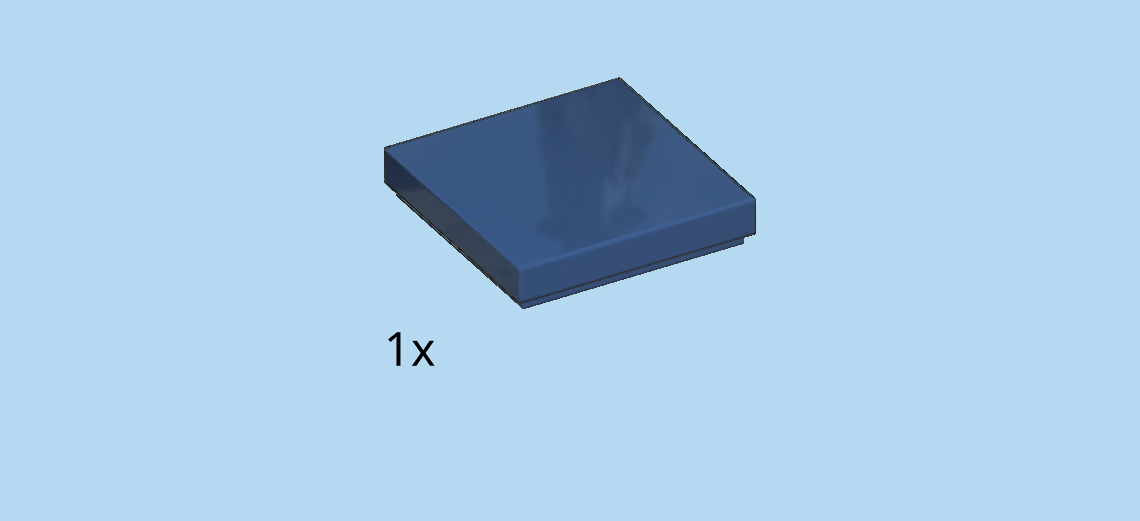
| Find 1 earth blue flat tile 2x2. |
| Continue if you want to decorate the flat tile with a sticker now. If not, skip the next three sentences. |
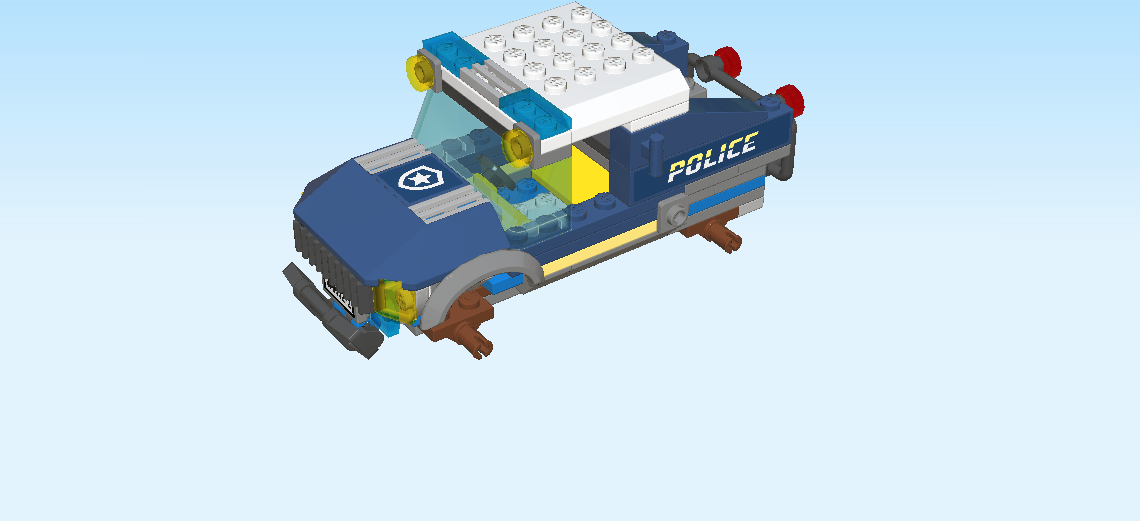
| Find the square sticker number 2. Ask a sighted person to help you. |
| Put it on top of the flat tile. The sticker is dark blue and has a white police badge symbol with a white star in the middle on it. |
| Put the flat tile between the two grille tiles from before. |
| Next, we will assemble the 4 wheels. |
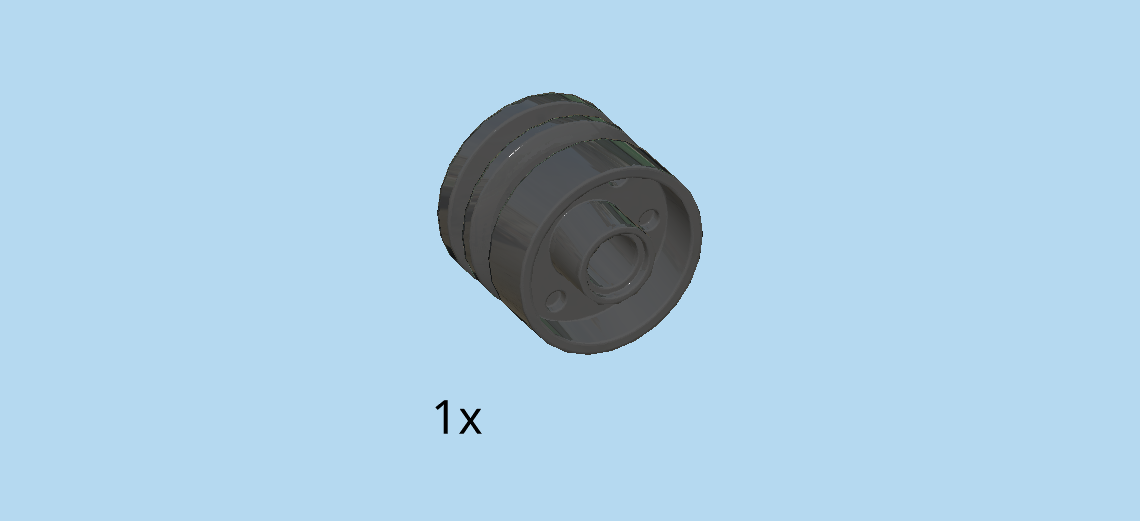
| Find 1 black wide rim with hole and spokes. |
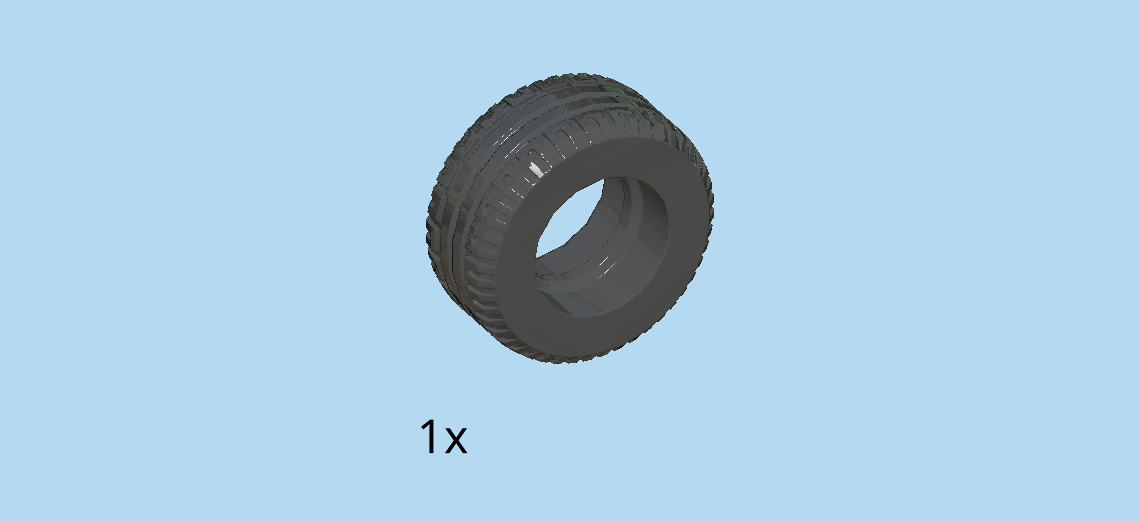
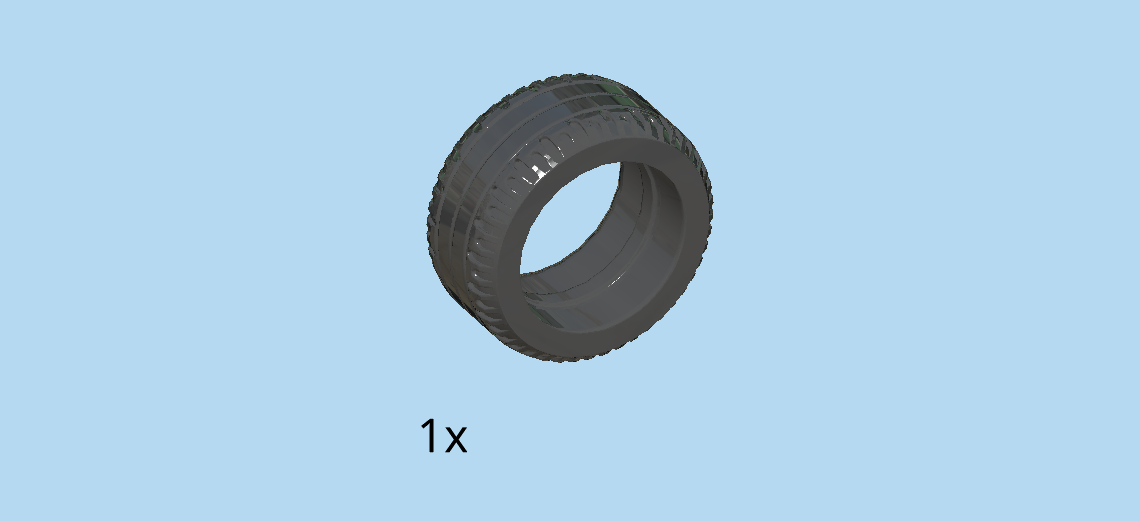
| Find 1 black thick rubber tire with lateral profile. |
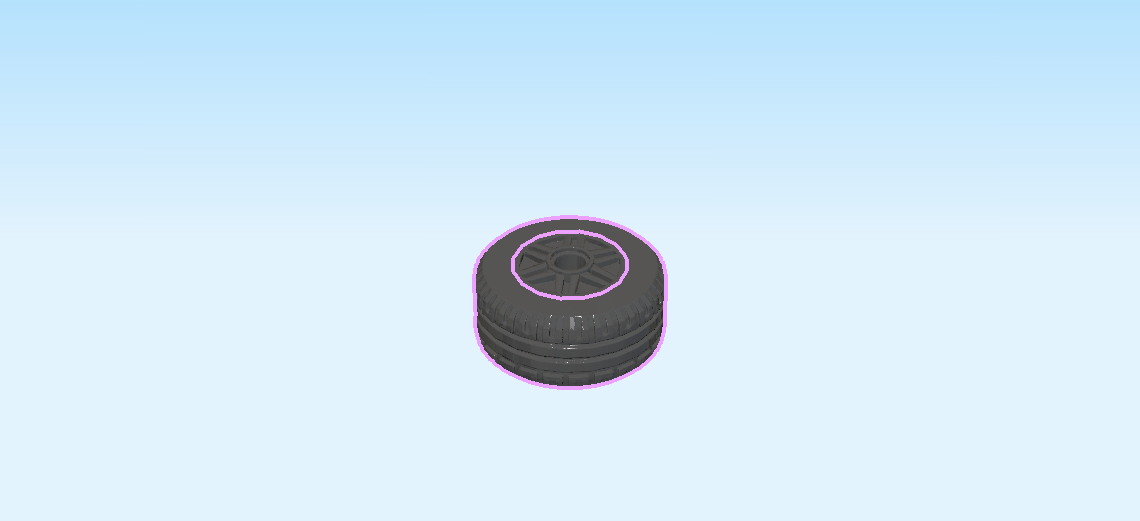
| Put the tire around the rim. |
| Now, find 3 more rims and 3 more tires. |
| Assemble the other 3 wheels just like the first one. |
| Great job! Now, snap the wheels onto the connectors at the bottom of the vehicle. |
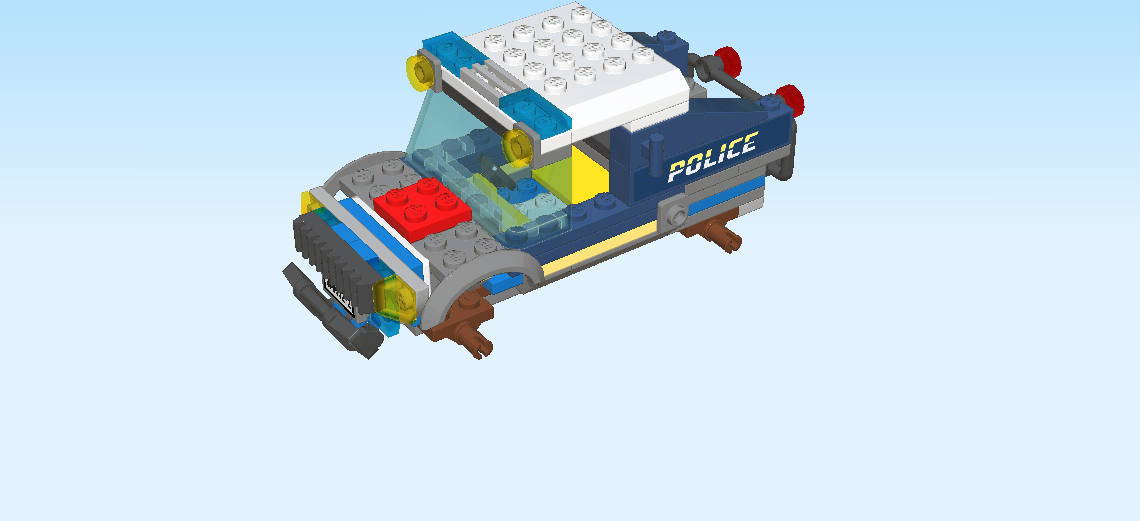
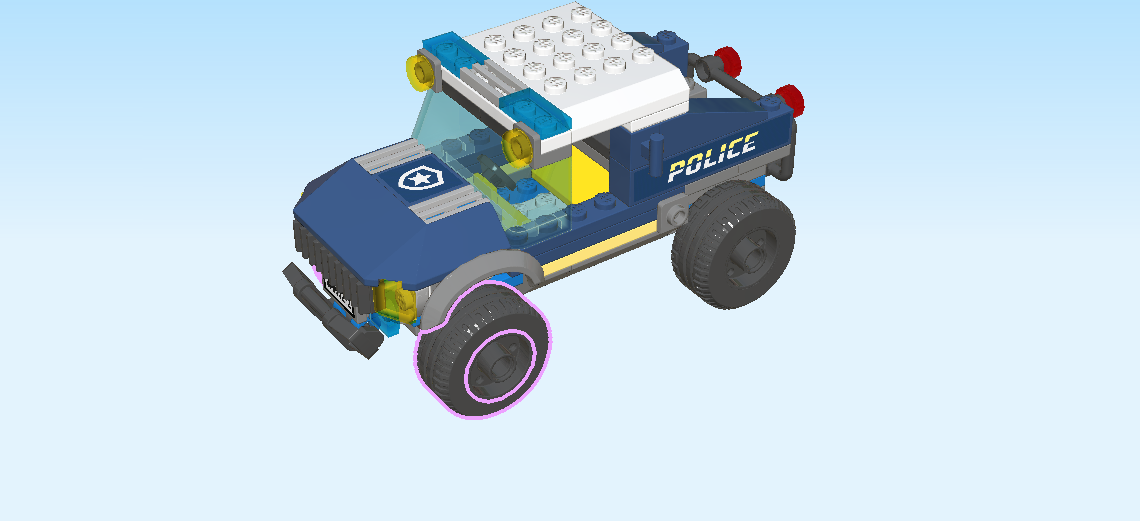
| The armored police off-roader jeep is finished! Really well done, that was hard! Now, your off-roader is ready for chasing some crooks and criminals! Duke DeTain can already take it for a spin. |
| We have built everything from bag 1 now. Time for the next bag! |
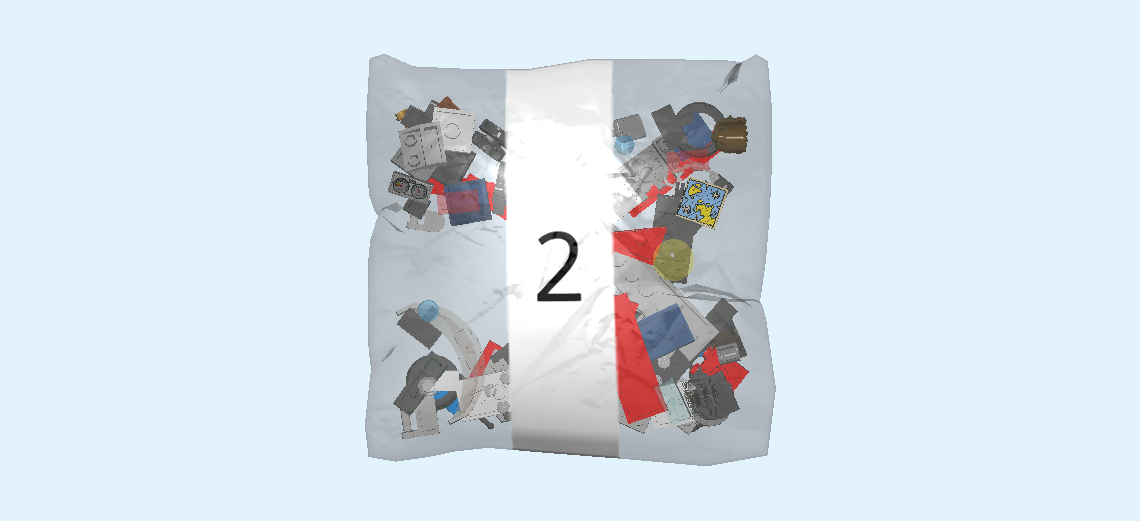
| Open bag number 2 and any sub-bags in it. You can choose to have the bricks sorted by color again.This bag contains the bricks and pieces for the Clara the Criminal Minifigure, the detachable boat trailer, the police dinghy, and the speedboat. |
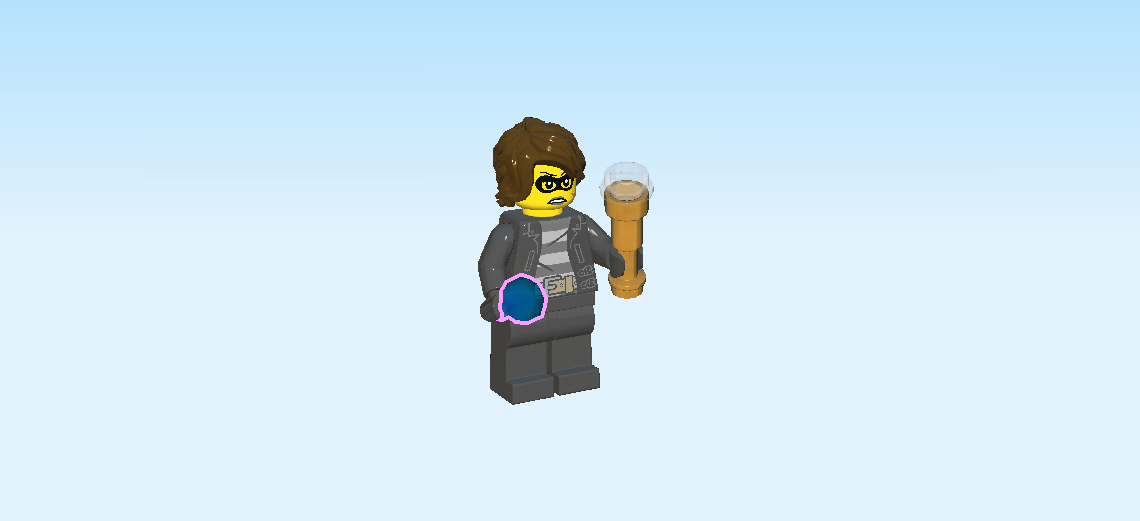
| First, we build the Clara the Criminal Minifigure. |
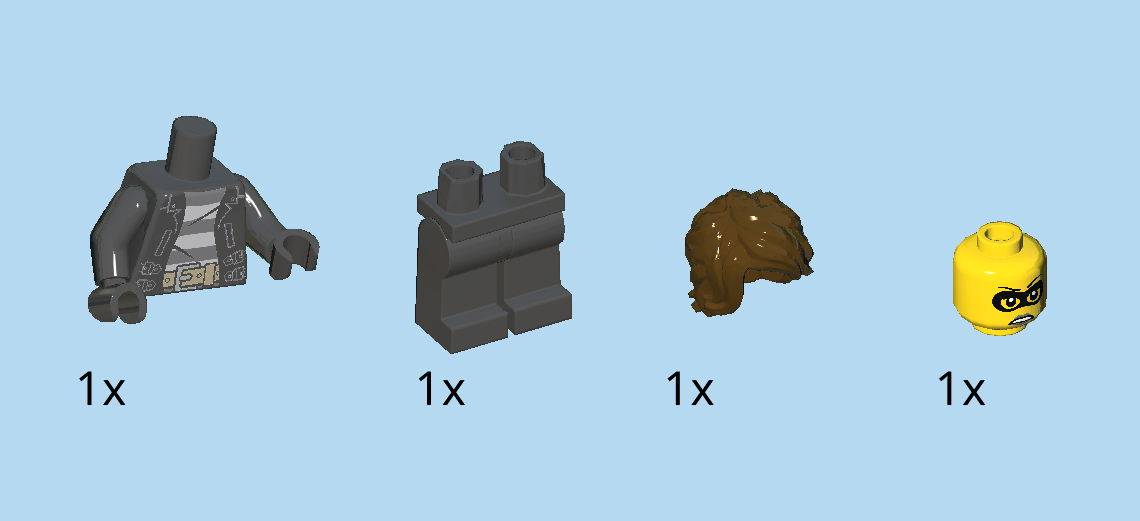
| Collect the following 4 pieces: |
| 1 bright yellow head, |
| 1 dark brown hairpiece, |
| 1 black pair of legs, |
| and 1 black upper part of the body. |
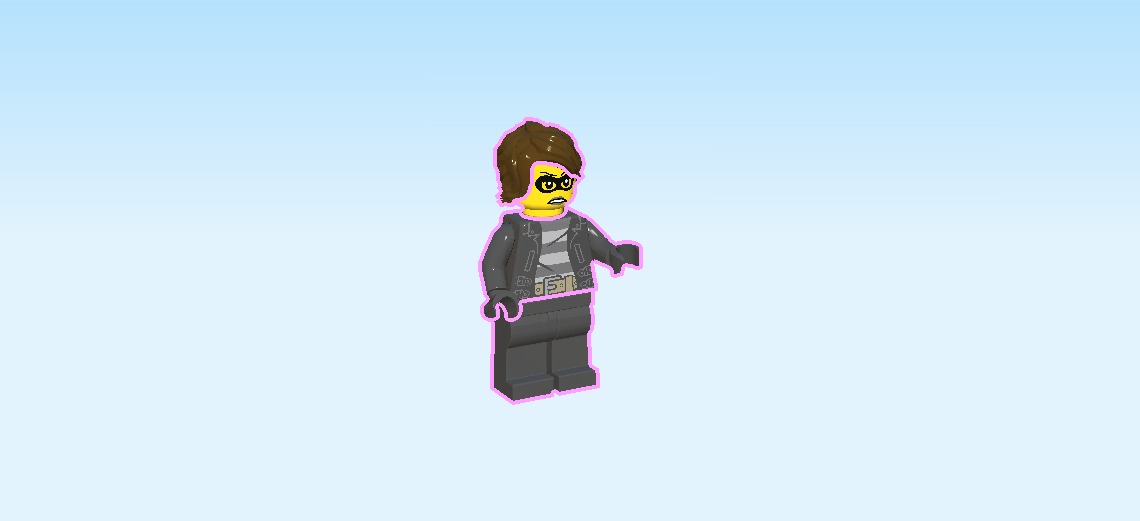
| Assemble the Minifigure: put the upper part of the body on the legs, put the head on top, and then put the hair on top. |
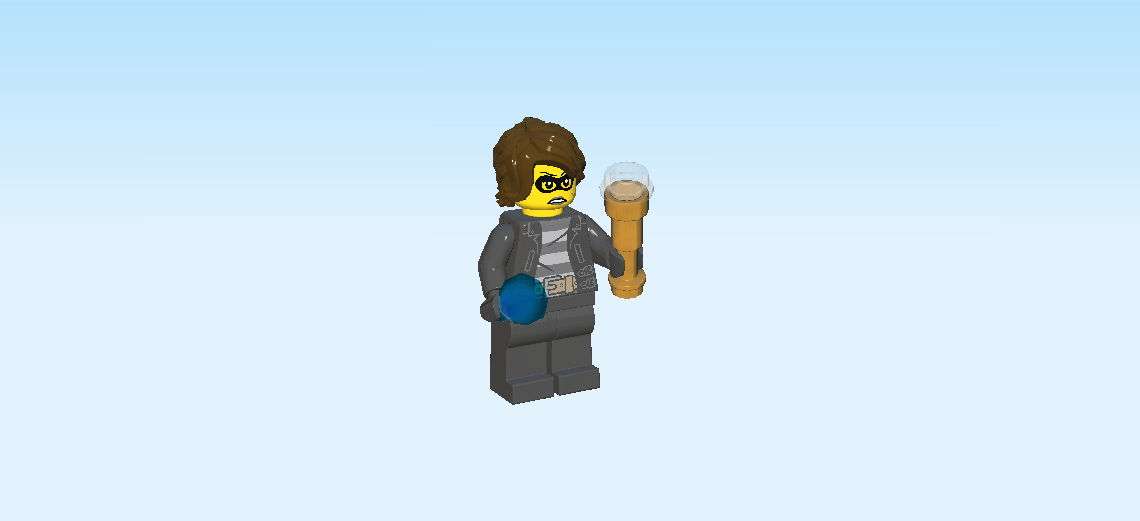
| Clara the Criminal has a fierce look on her face and is wearing a black eye mask and even black lipstick. She is wearing a black leather jacket, a shirt with grey stripes, and black pants with a brown belt. One thing is certain: she sure is up to something! |
| Collect the following 2 pieces: |
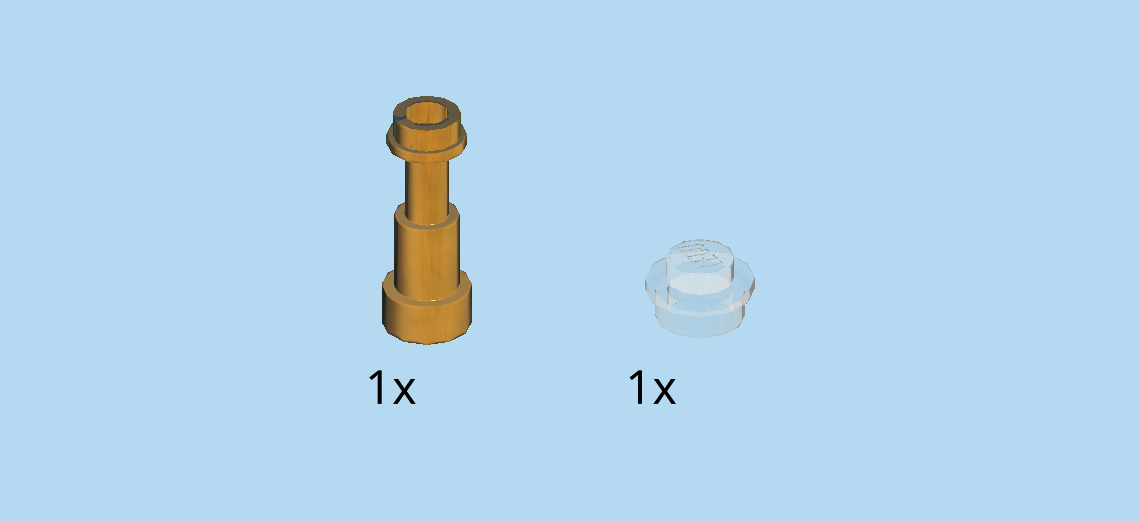
| 1 warm gold spyglass piece with knob, |
| and 1 transparent round plate 1x1. |
| Put the round plate 1x1 on the wider opening of the spyglass. |
| Find 1 transparent blue diamond with stick. |
| Put the diamond and the spyglass in Clara's hands. |
| The Clara the Criminal Minifigure is finished! Good job! She is already carrying her loot with her. Now all she needs is a speedboat to get away. Let's see what we can do! |
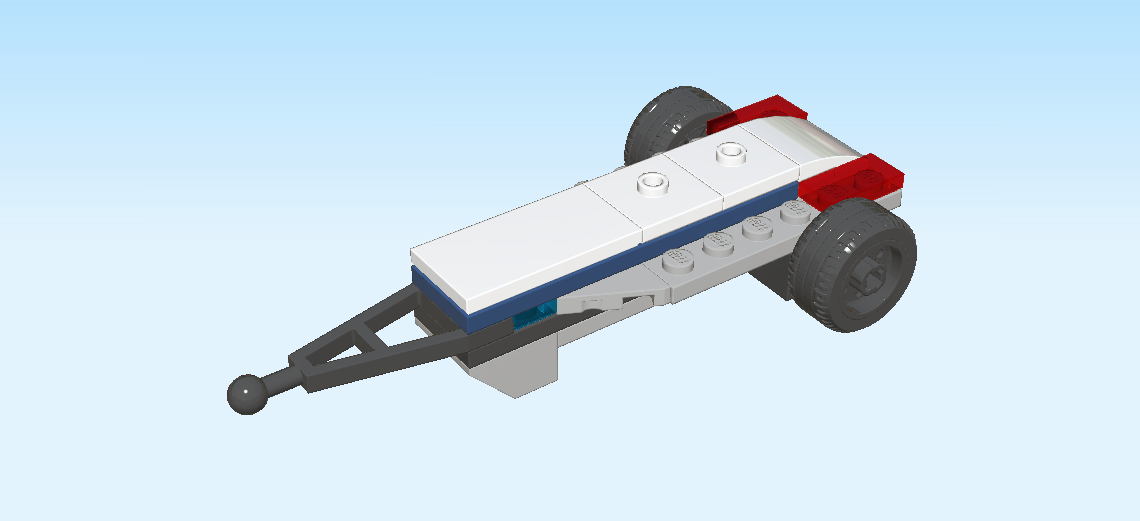
| Next, we build the detachable boat trailer. |
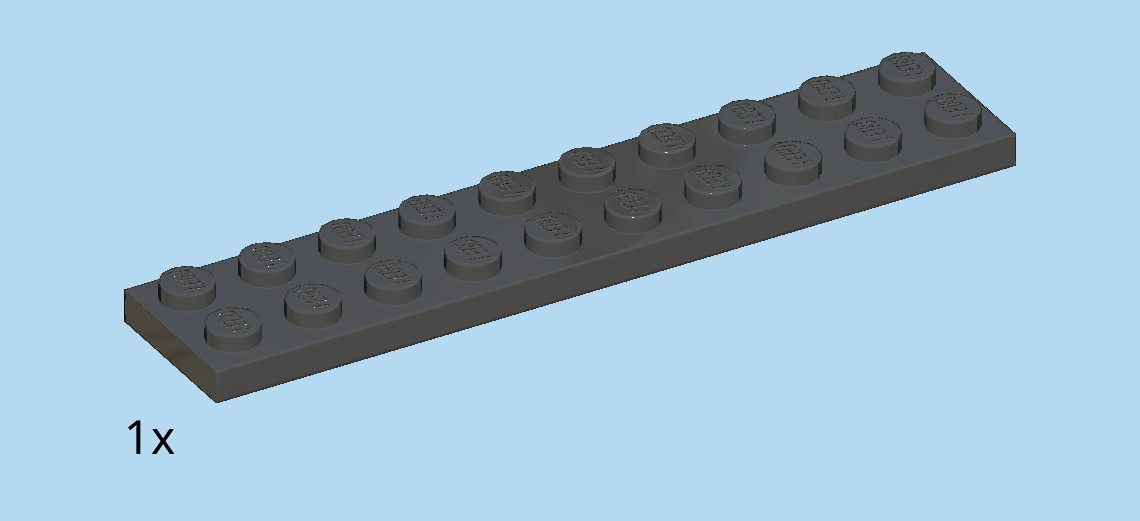
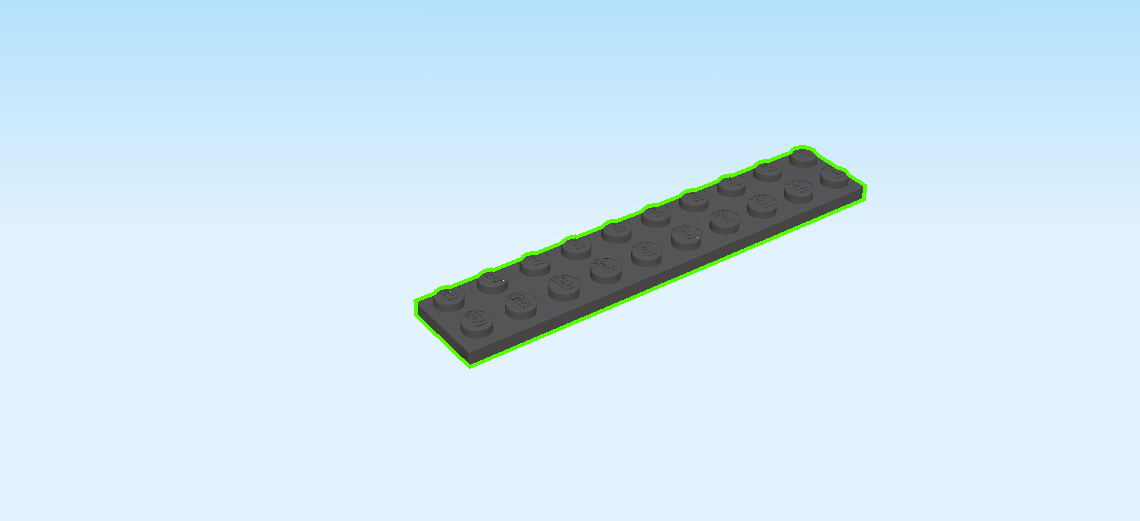
| Find 1 black plate 2x10. |
| Put it horizontally on the table. |
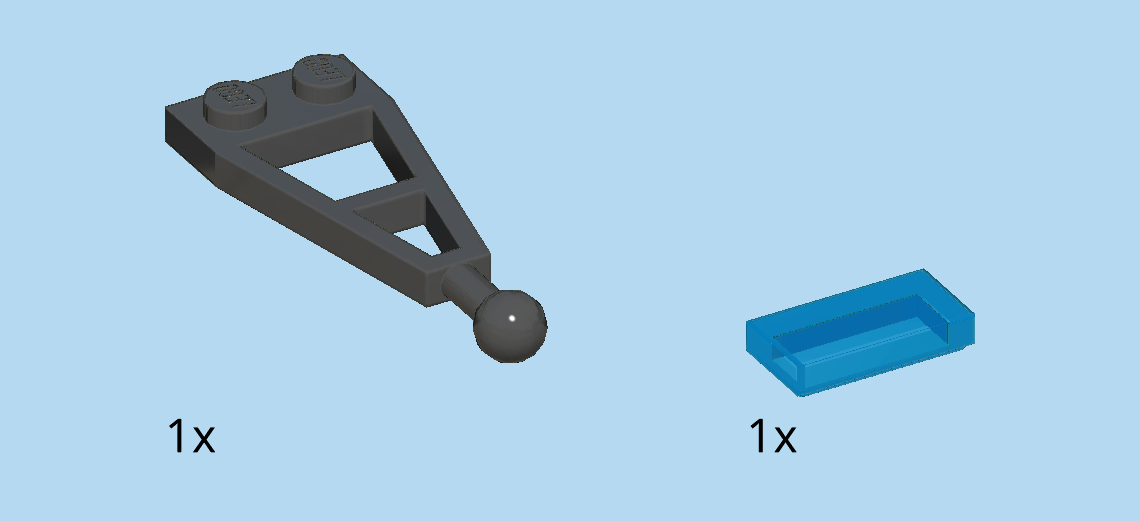
| Collect the following 2 pieces: |
| 1 transparent blue flat tile 1x2, |
| and 1 black plate 1x2 with towing extension and ball. |
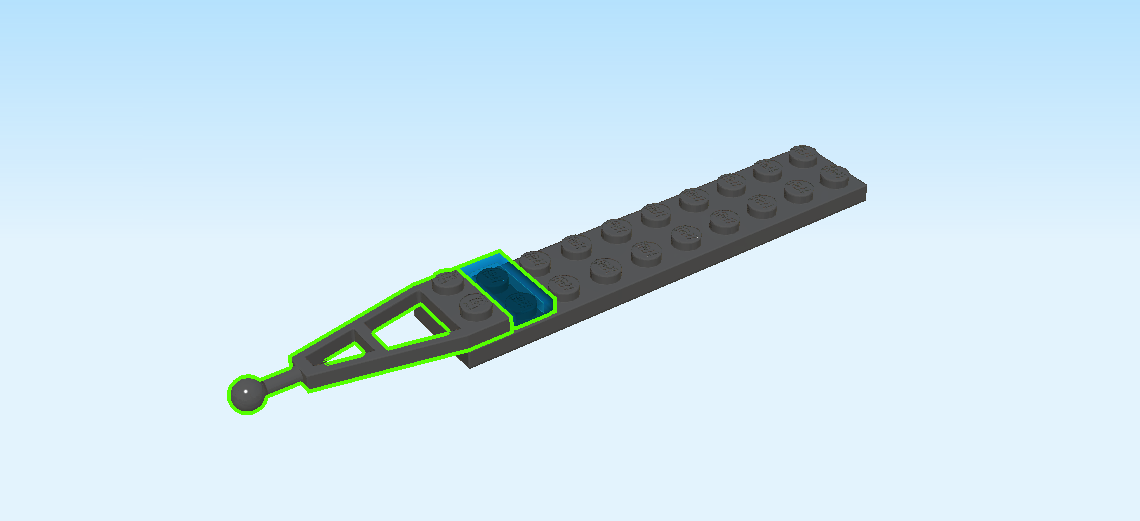
| Mount the plate 1x2 with towing extension and ball on the leftmost column. The towing extension and ball are overhanging to the left. |
| Put the flat tile 1x2 vertically to the right of the previous piece. |
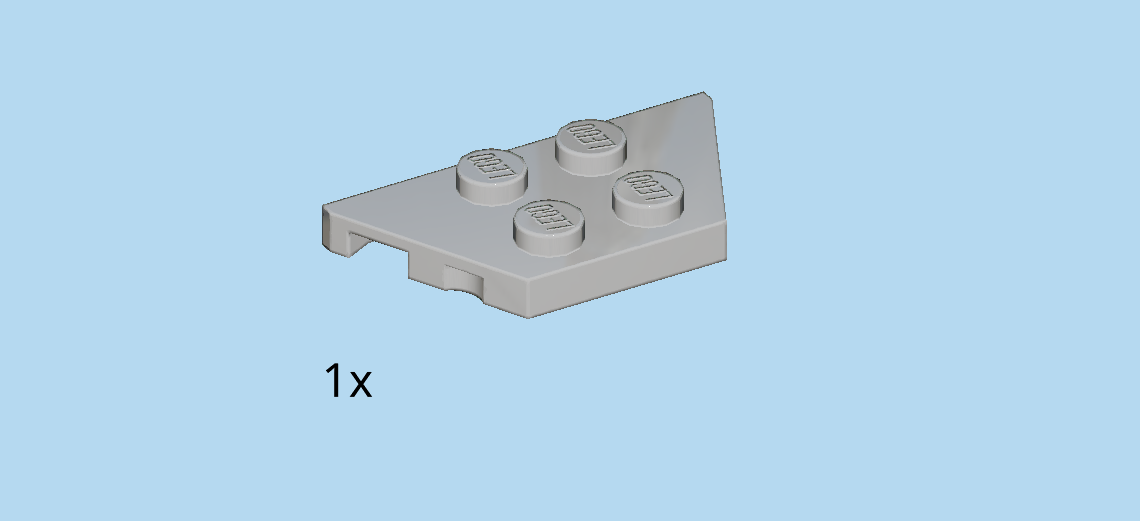
| Find 1 medium stone grey trapeze plate 2x4. |
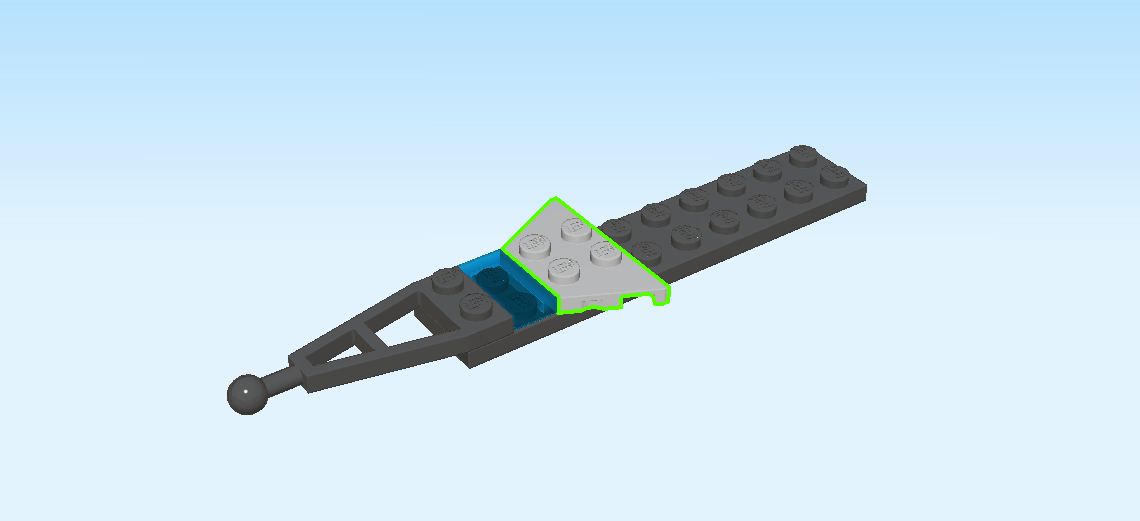
| Put it vertically centered to the right of the previous piece, narrow end to the left and broad end to the right. |
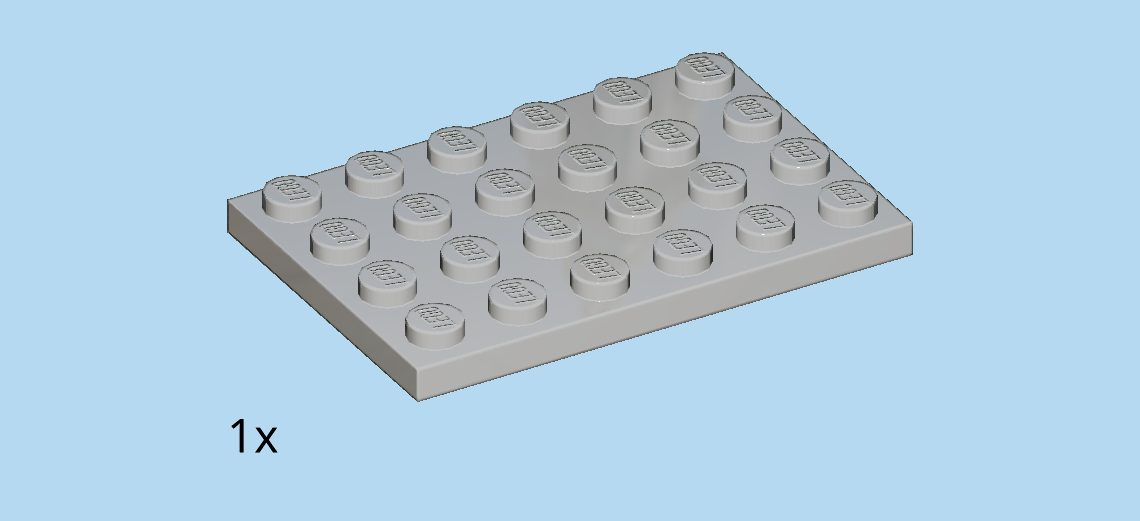
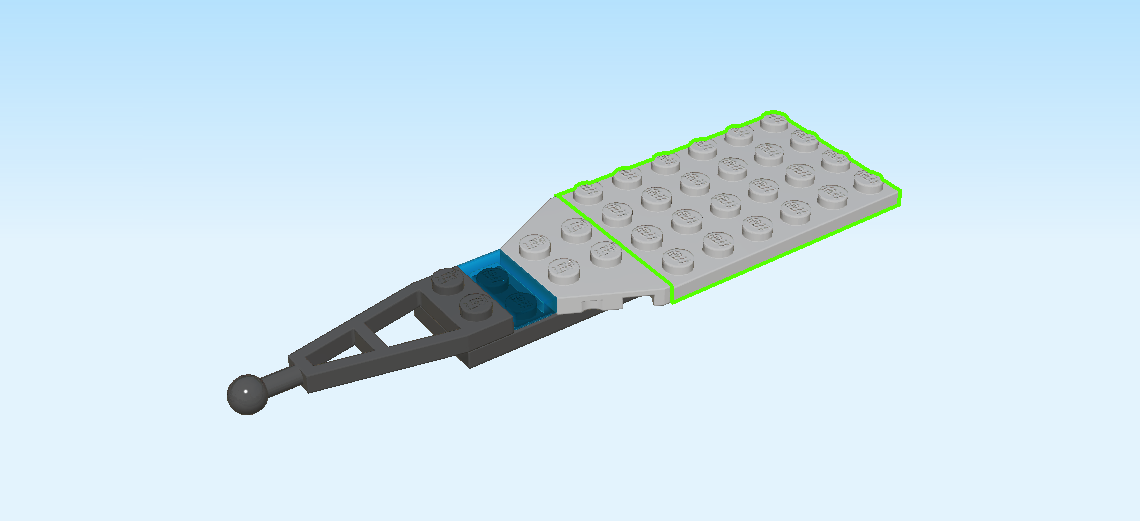
| Find 1 medium stone grey plate 4x6. |
| Put it horizontally centered to the right. |
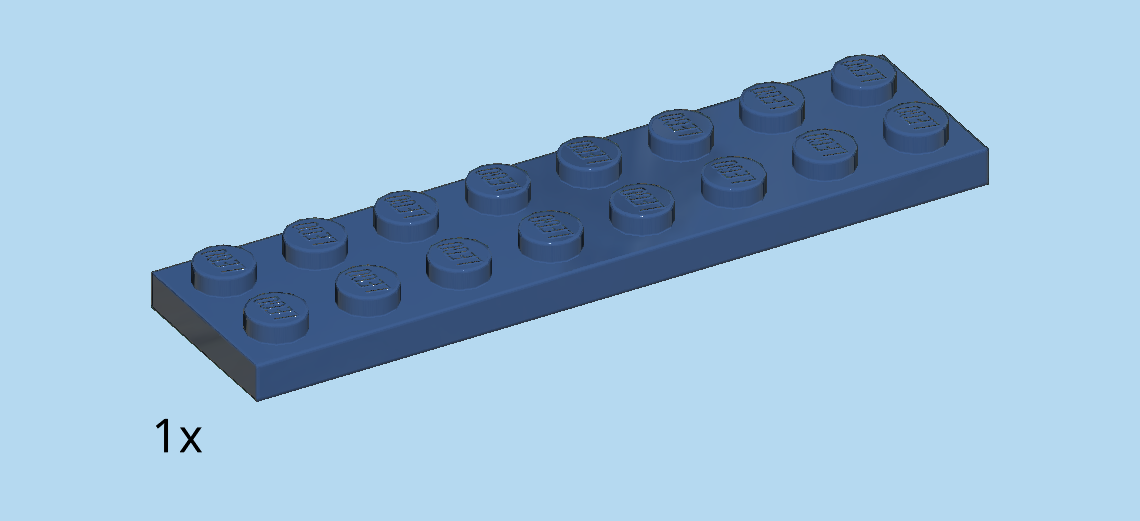
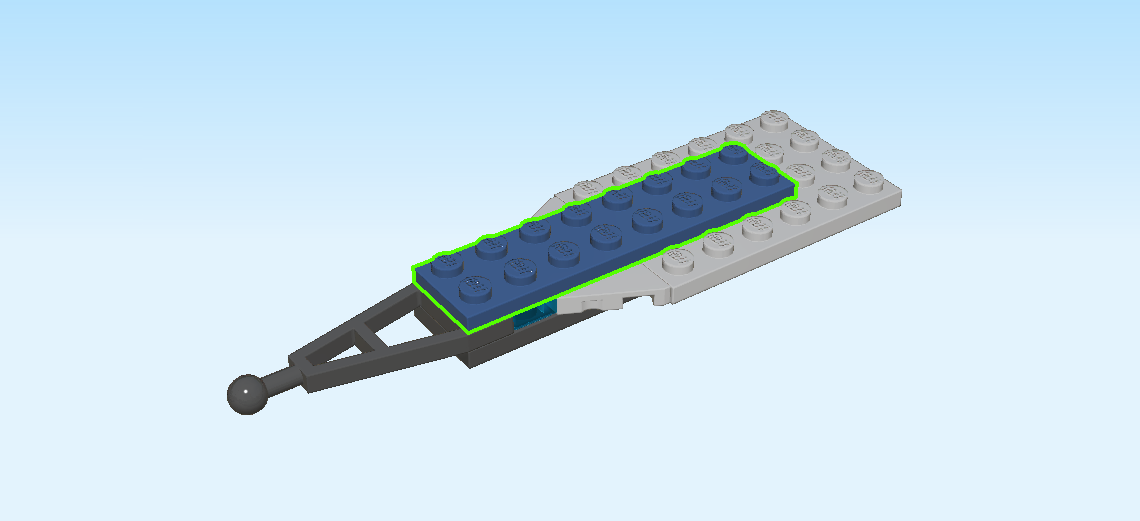
| Find 1 earth blue plate 2x8. |
| Put it horizontally on top, starting from the left. |
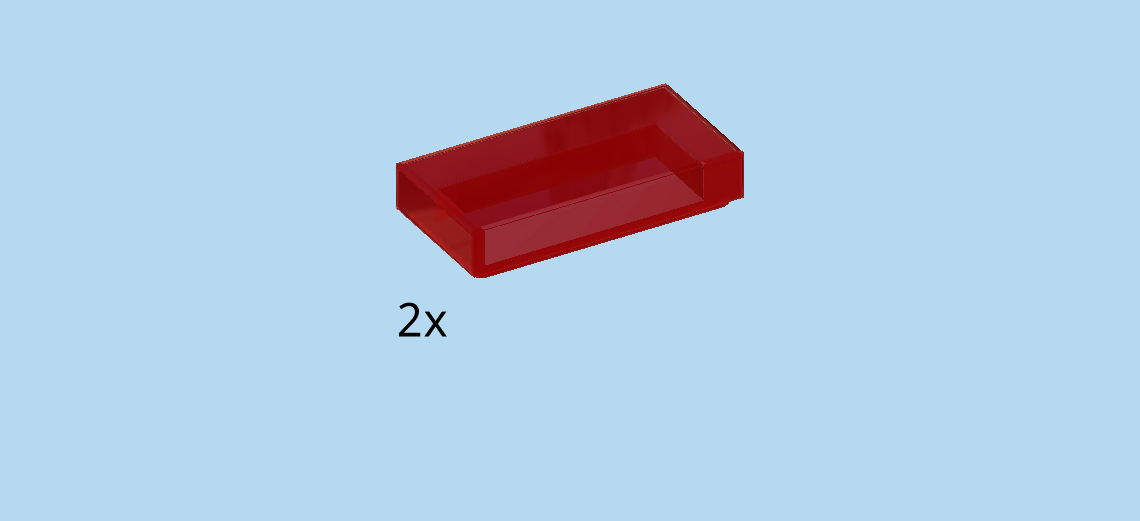
| Find 2 transparent red flat tiles 1x2. |
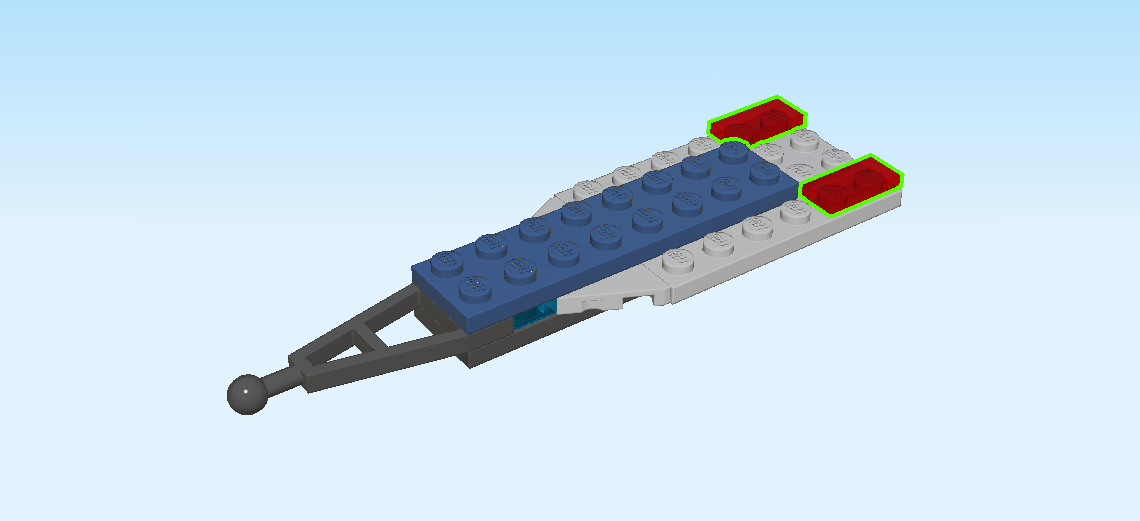
| Put 1 horizontally on the backmost row on the right edge. |
| Repeat symmetrically on the front row. |
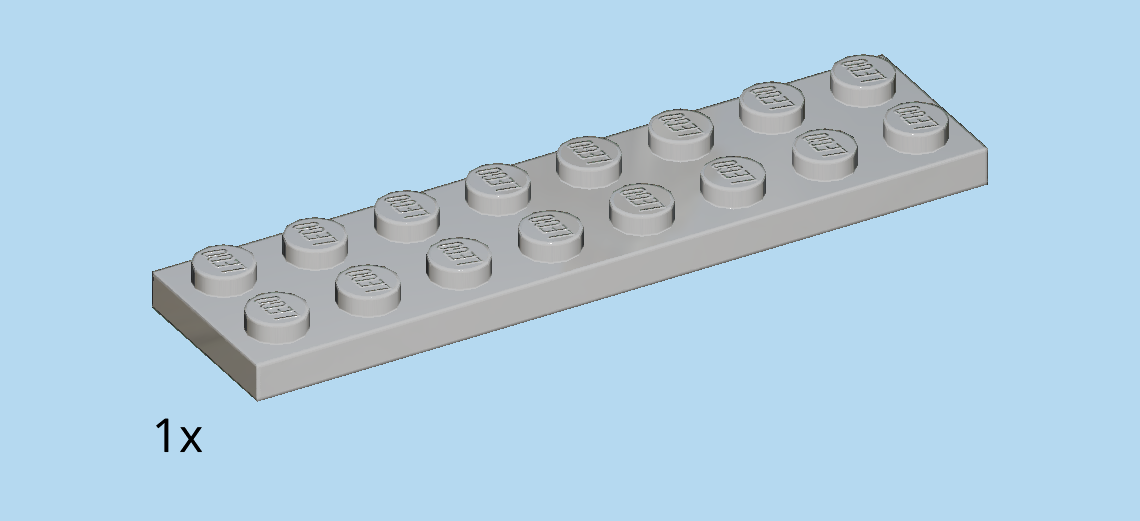
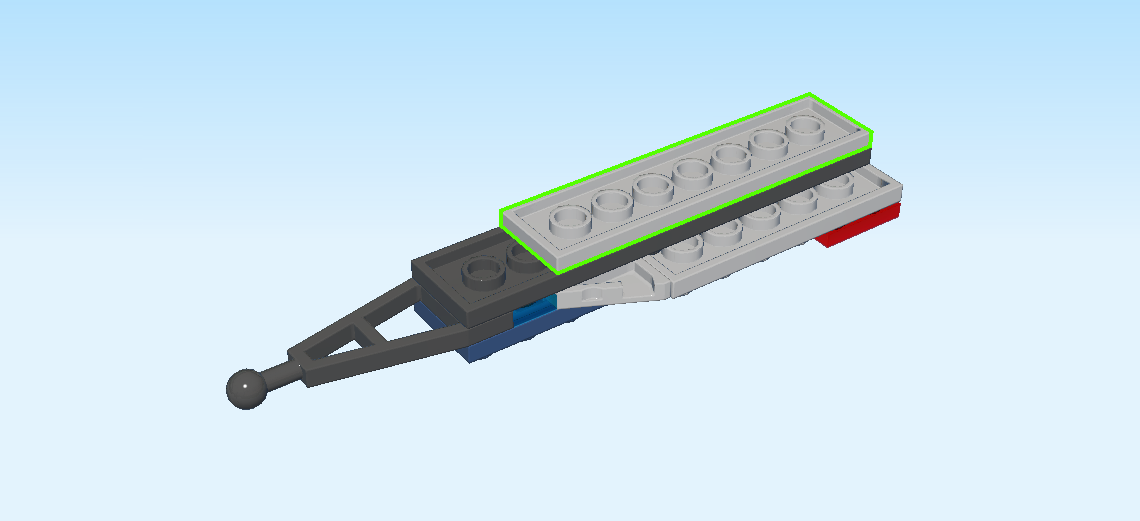
| Find 1 medium stone grey plate 2x8. |
| First, flip the structure upside down. The knobs are pointing to the bottom. Keep the towing extension on the left. |
| Put the plate 2x8 horizontally on top starting from the right. |
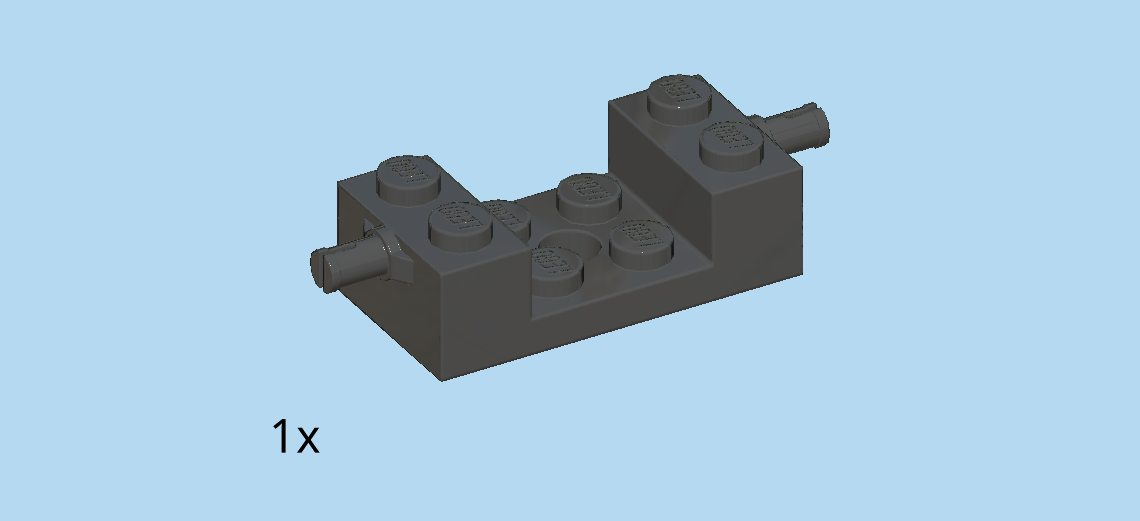
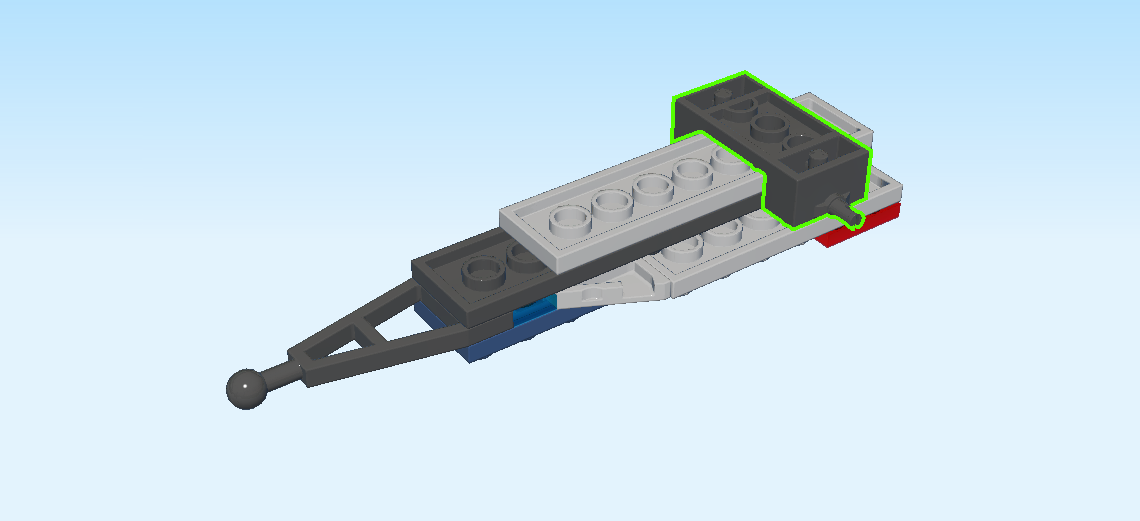
| Find 1 black bearing element 2x4x1 with 2 connector pins. |
| Put it upside down vertically on the second and third column from the right. The connector pins are pointing to the front and back. |
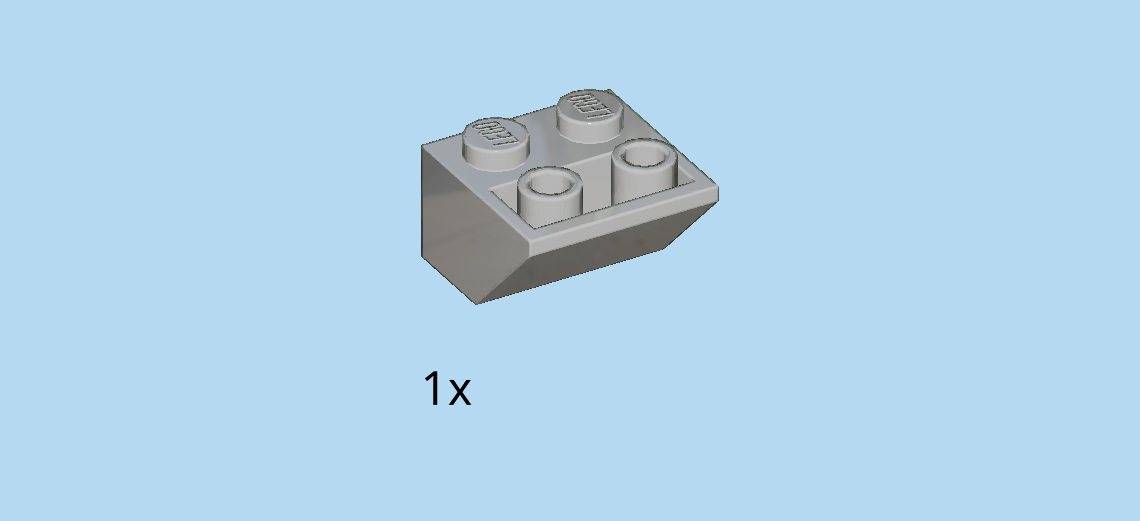
| Find 1 medium stone grey inverted roof tile 2x2, 45°. |
| Put it upside down on the leftmost edge, slope to the left. |
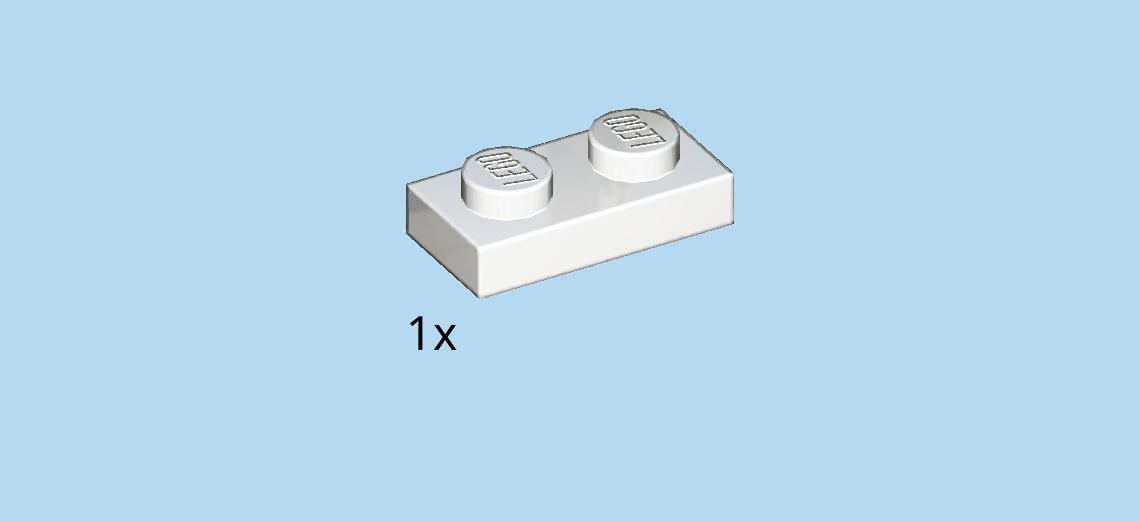
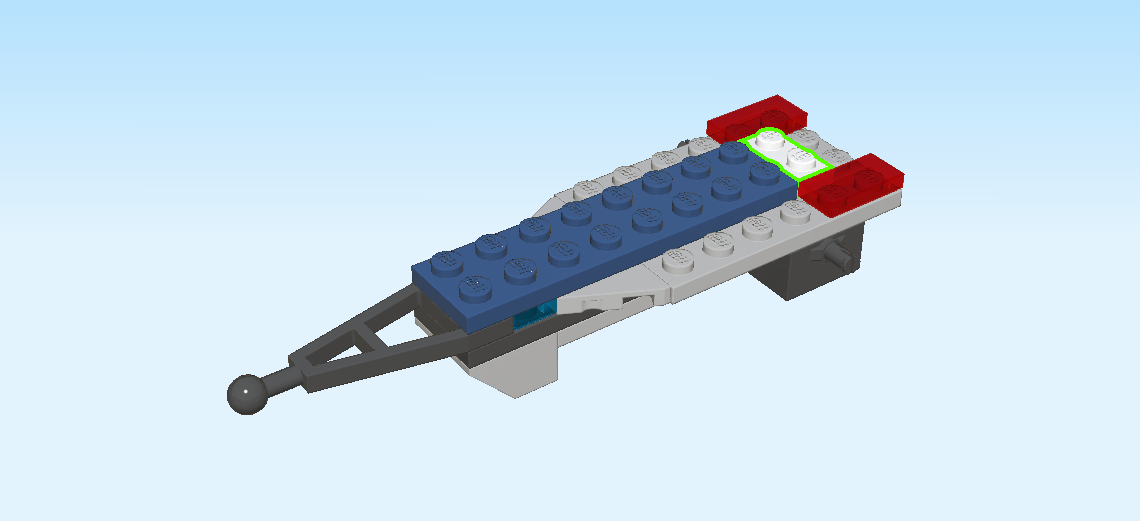
| Find 1 white plate 1x2. |
| Now, flip the structure right side up again. Keep the towing extension on the left. |
| Put the plate 1x2 vertically centered on the second column from the right. |
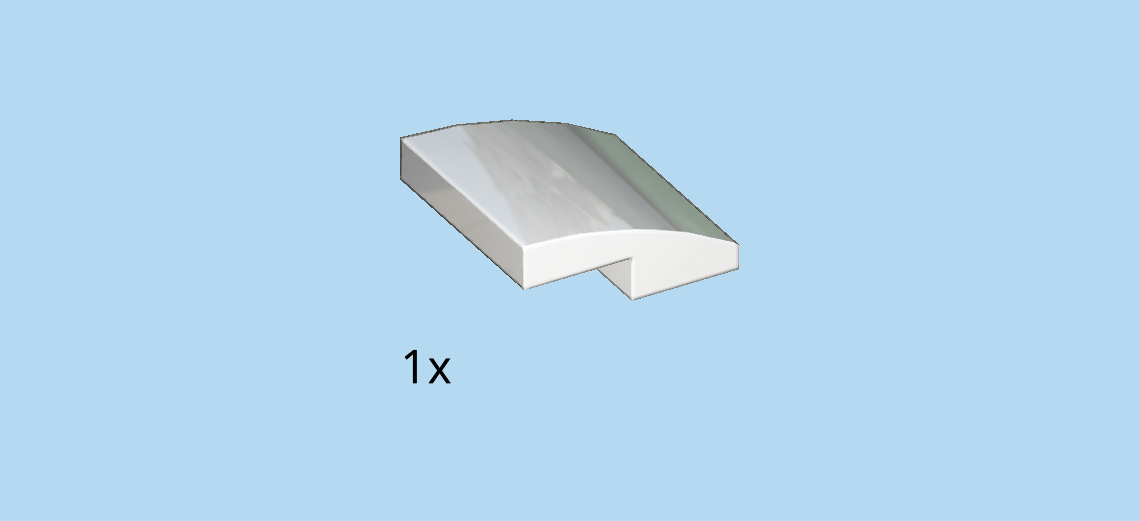
| Find 1 white one-stepped curve tile 2x2x⅔. |
| Put it centered on the right edge, curve to the right. |
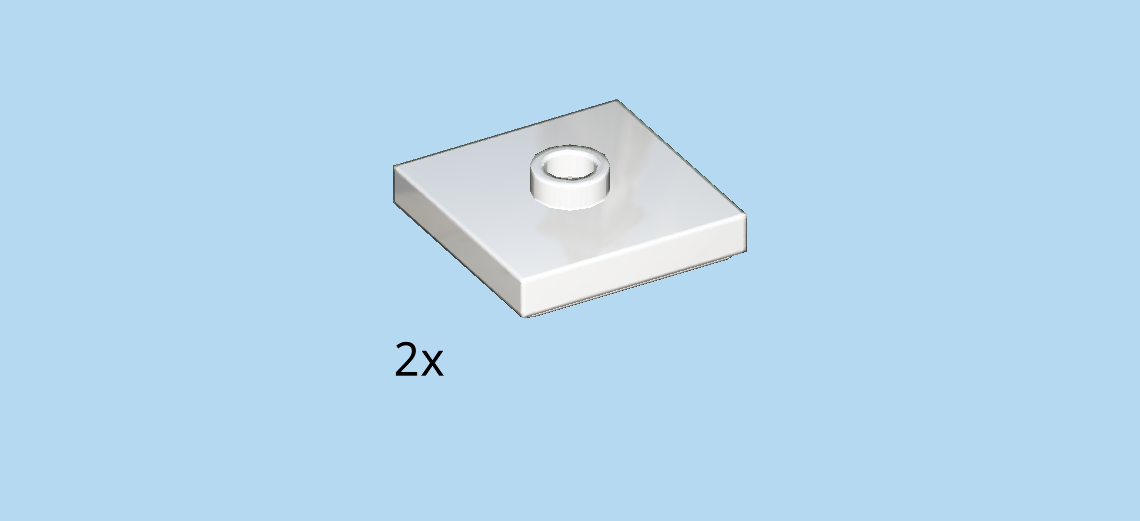
| Find 2 white plates 2x2 with 1 knob. |
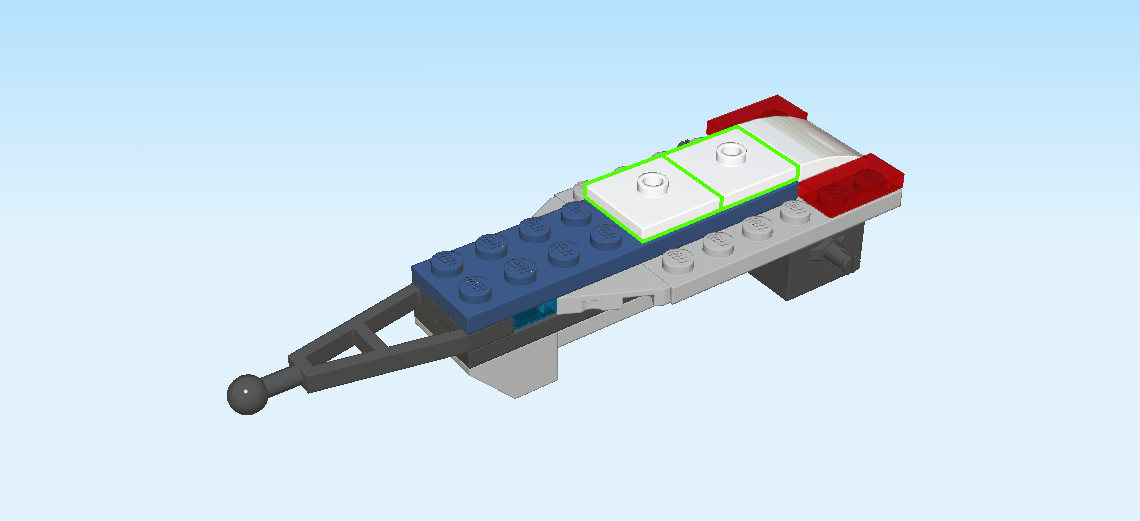
| Put 1 on the middle two rows to the left of the previous piece. |
| Put the other one to the left. |
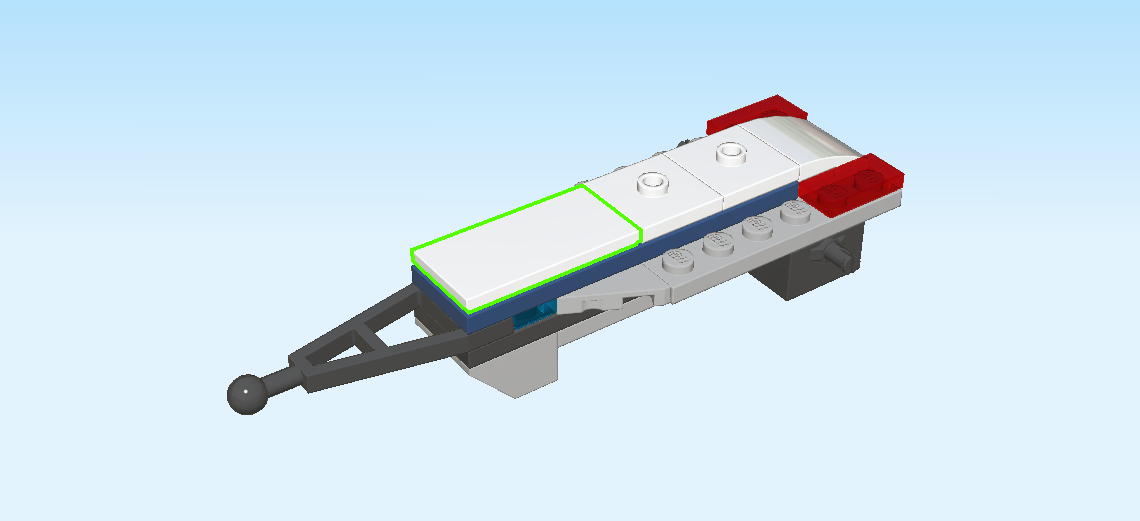
| Find 1 white flat tile 2x4. |
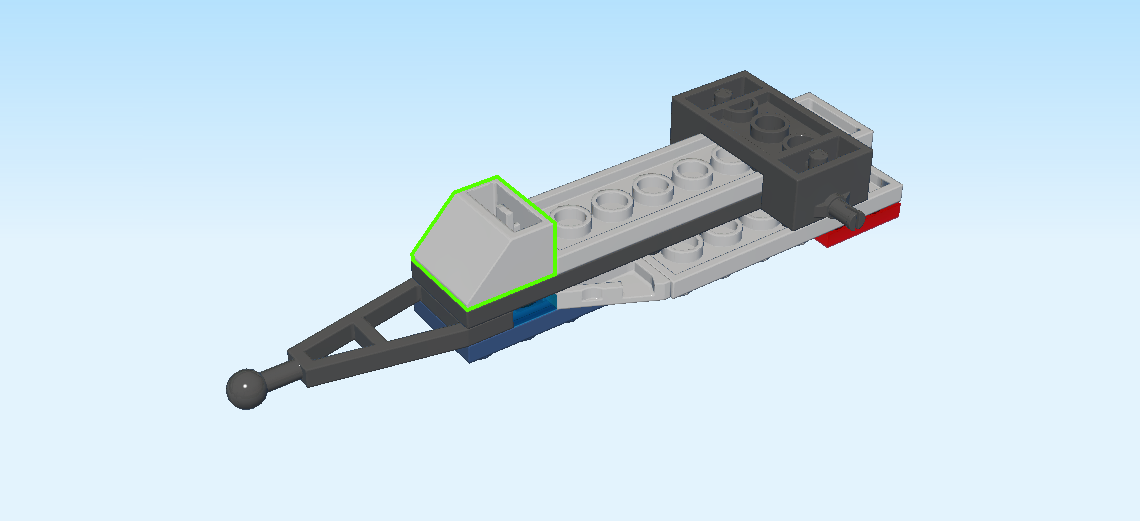
| Put it horizontally to the left. |
| Next, we will assemble the 2 wheels. |
| Find 1 black narrow rim with hole and spokes. |
| Find 1 black narrow rubber tire with low profile. |
| Put the tire around the rim. |
| Now, find another rim and another tire. Assemble the second wheel just like the first one. |
| Well done! Now snap the wheels on the two connectors at the bottom of the boat trailer, spokes facing inwards. |
| The detachable boat trailer is finished! Well done! You can now snap the towing extension into the ball socket on the rear of your vehicle. |
| Next up, we will build the police dinghy boat. |
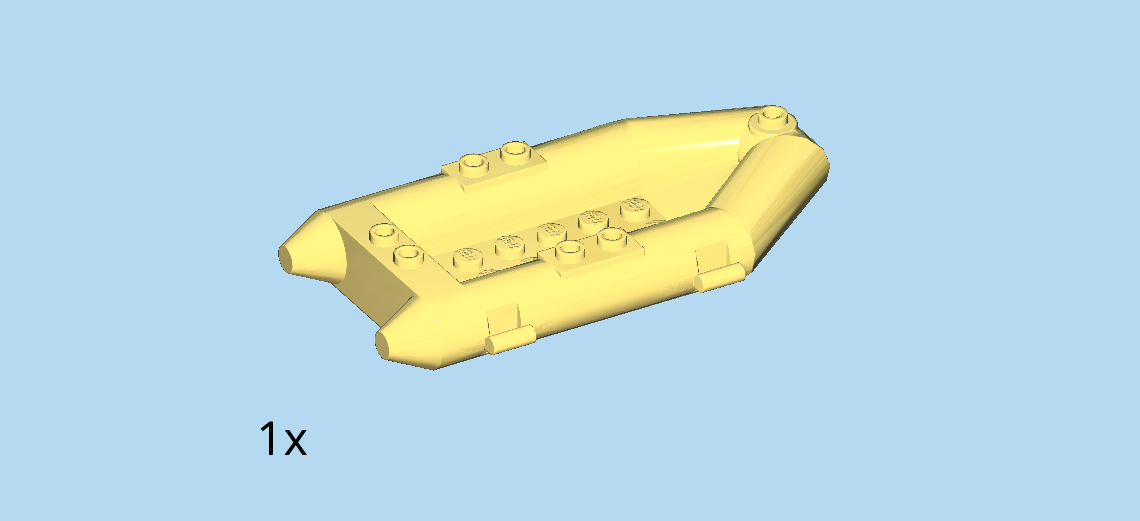
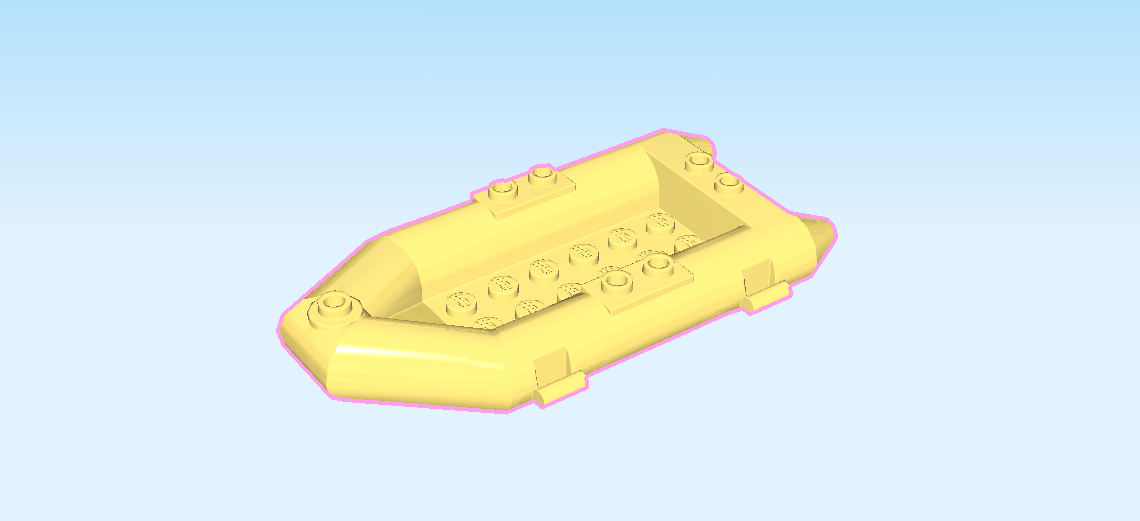
| Find 1 lemon yellow raft boat 6x10. |
| Put it horizontally on the table, narrow end to the left. |
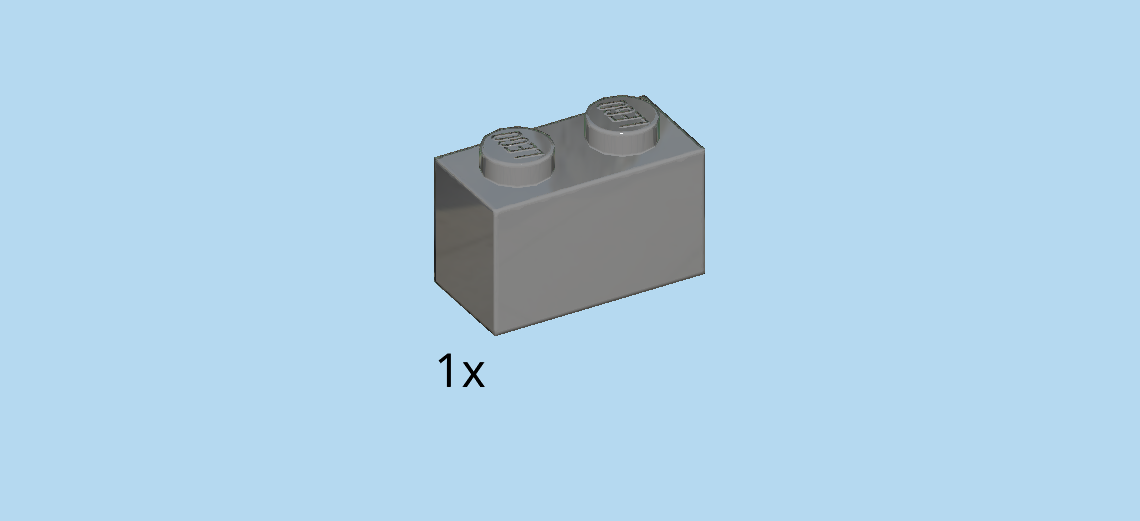
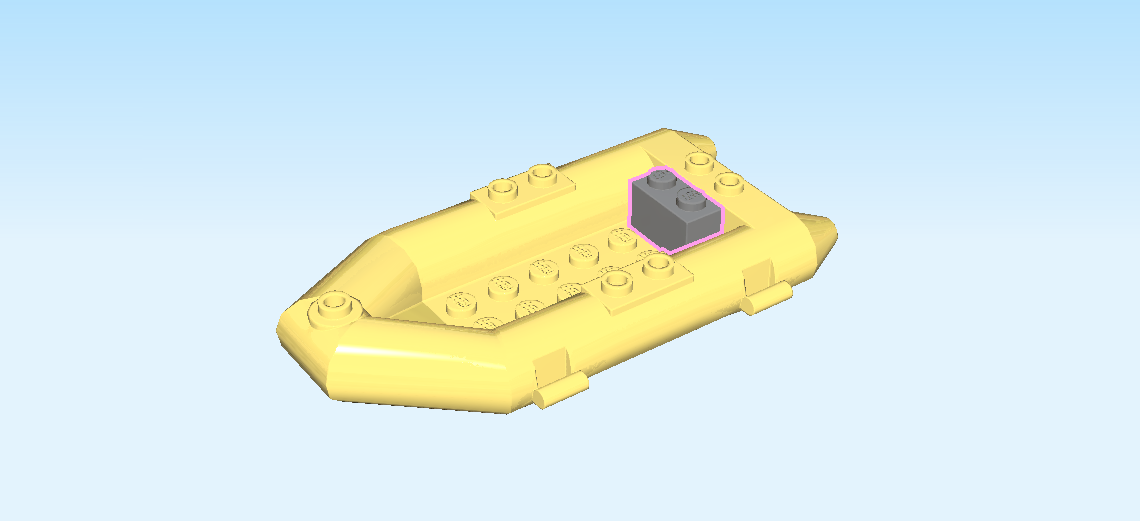
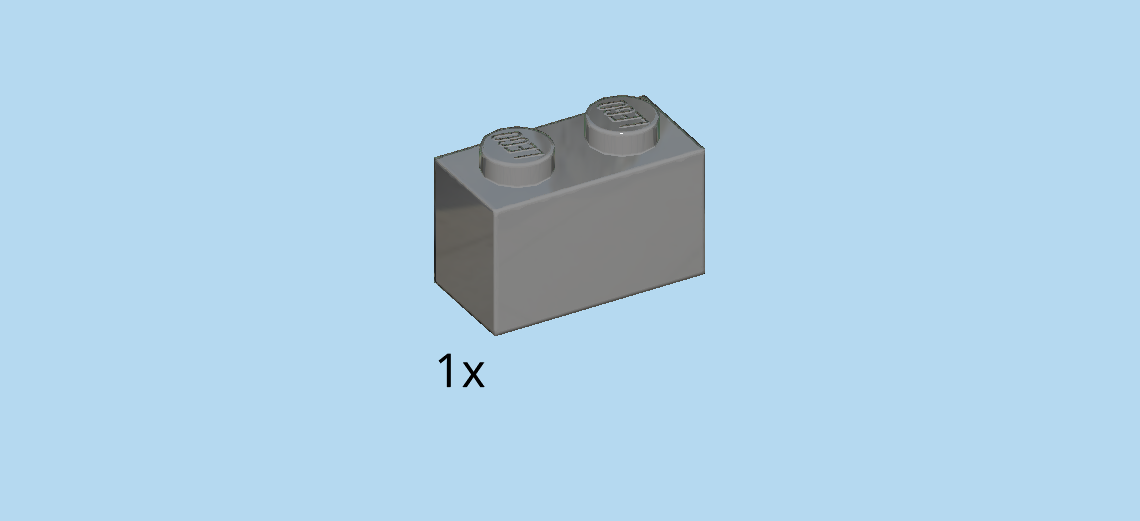
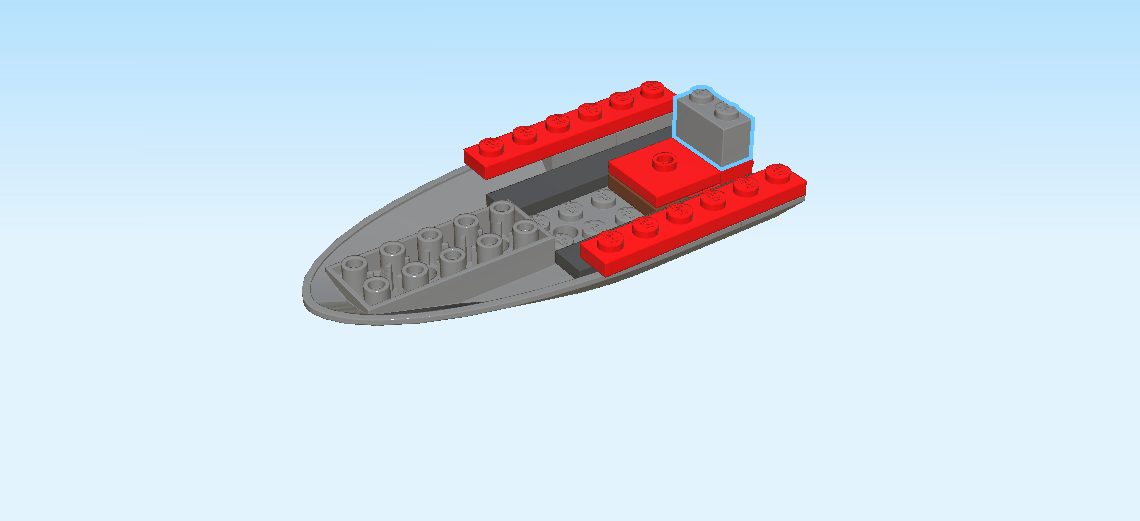
| Find 1 dark stone grey brick 1x2. |
| Put it vertically on the rightmost column of the lower level of the raft. |
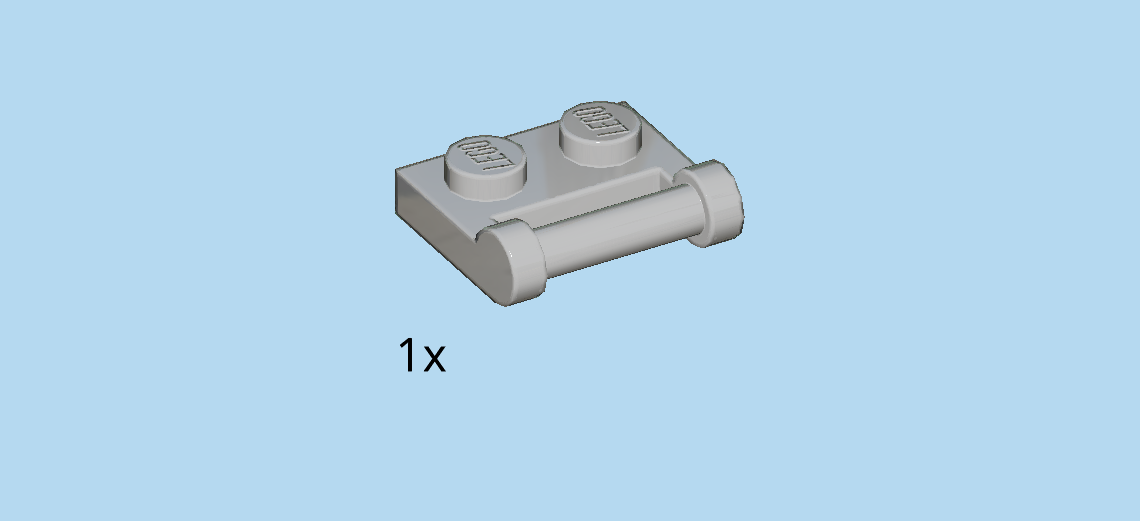
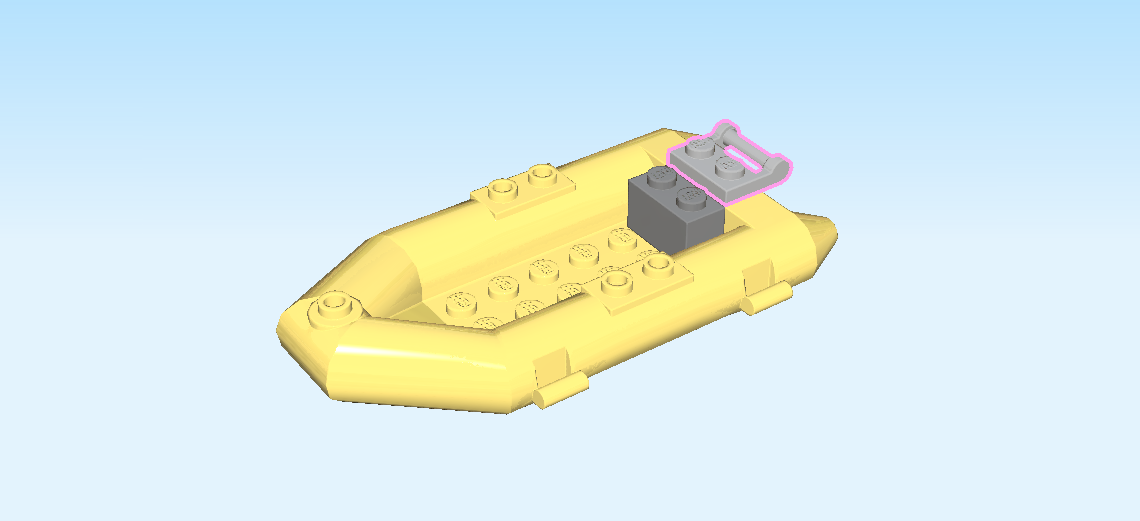
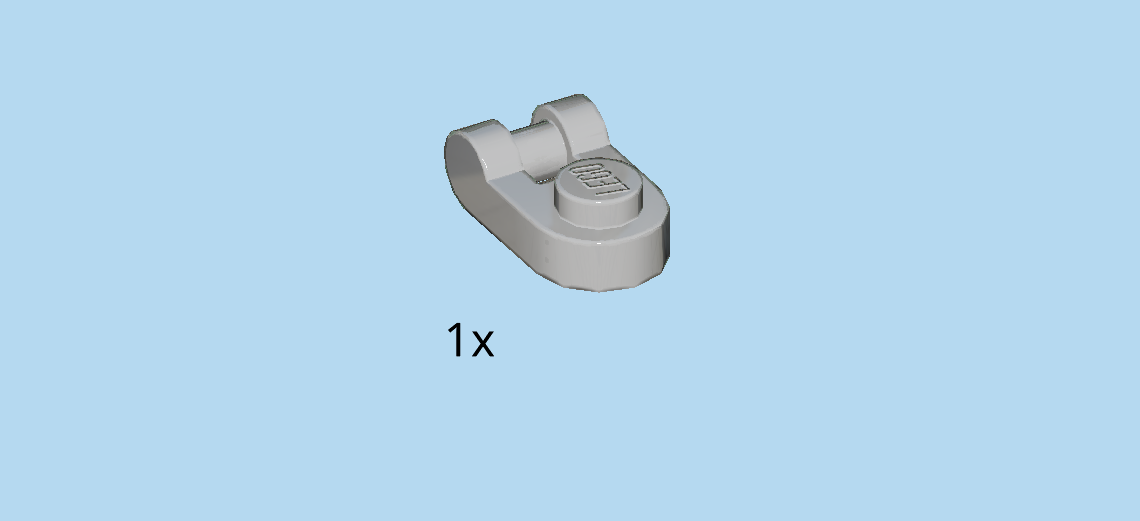
| Find 1 medium stone grey plate 1x2 with handle on long side. |
| Put it vertically to the right, on the higher level of the raft, handle to the right. |
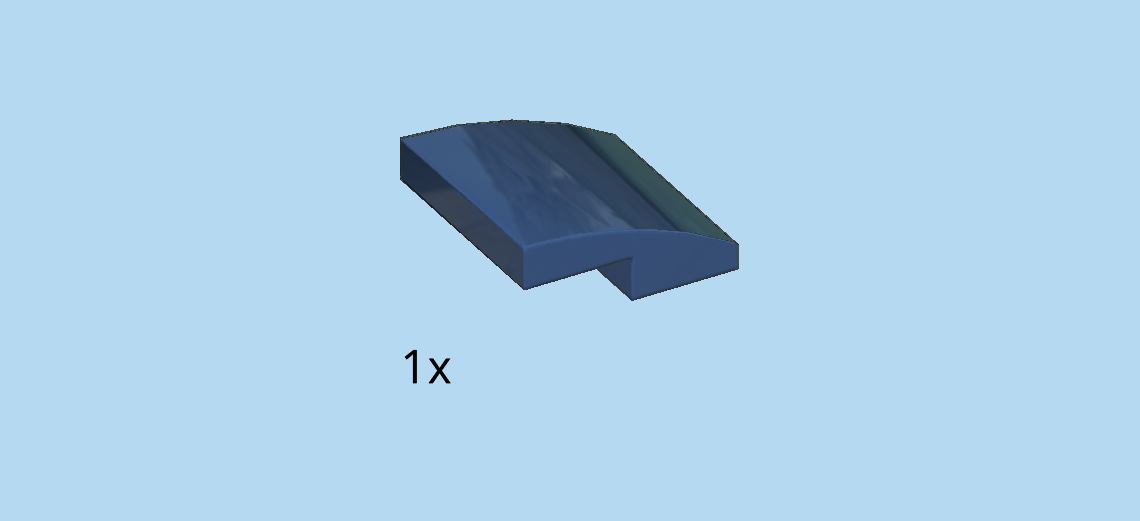
| Find 1 earth blue one-stepped curve tile 2x2x⅔. |
| Put it on top of the previous two pieces, curve to the left. |
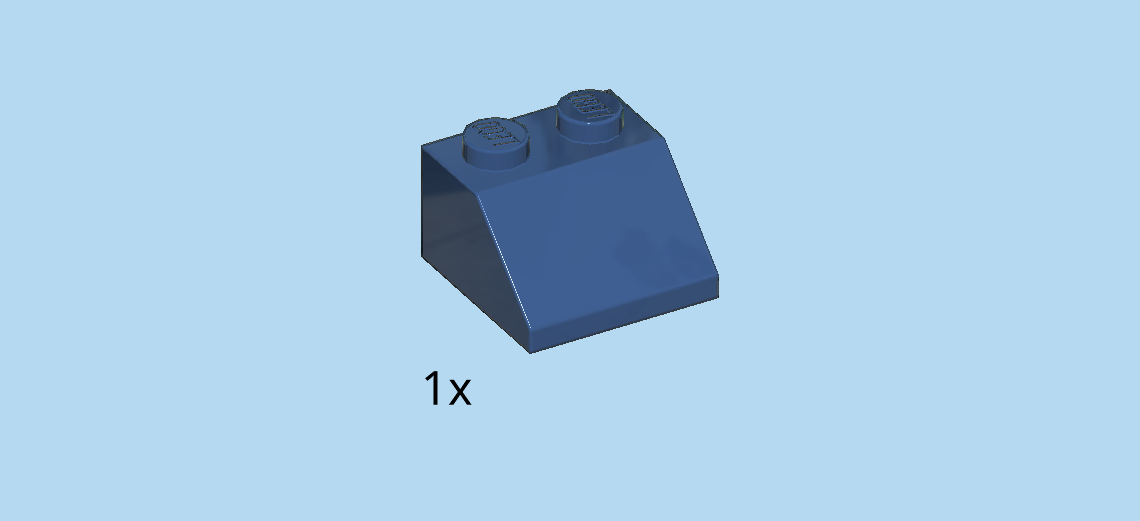
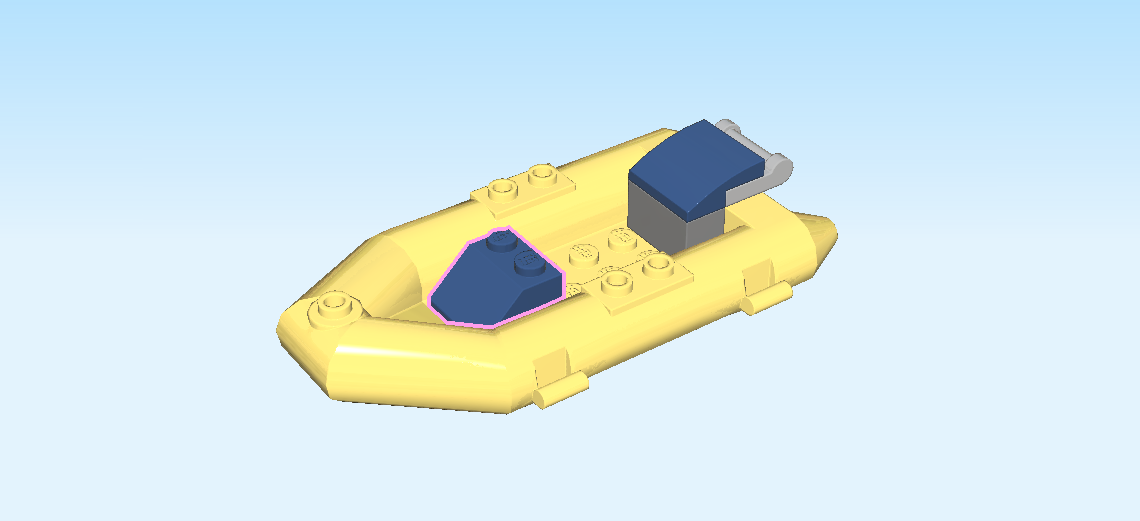
| Find 1 earth blue roof tile 2x2, 45°. |
| Put it on the leftmost two columns of the lower level, slope to the left. |
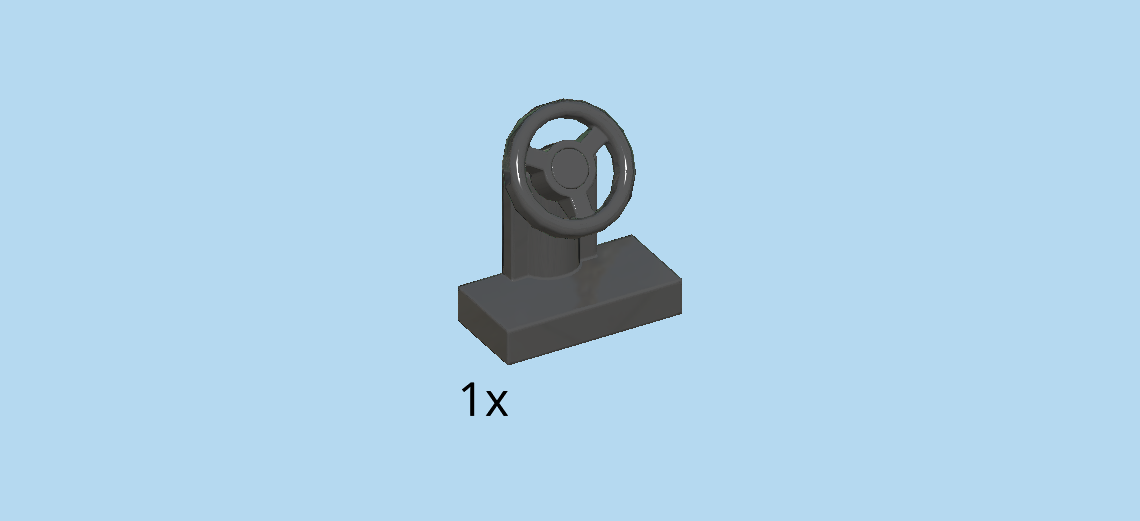
| Find 1 black small steering wheel with plate 1x2. |
| Put it vertically to the right of the previous piece, steering wheel to the right. |
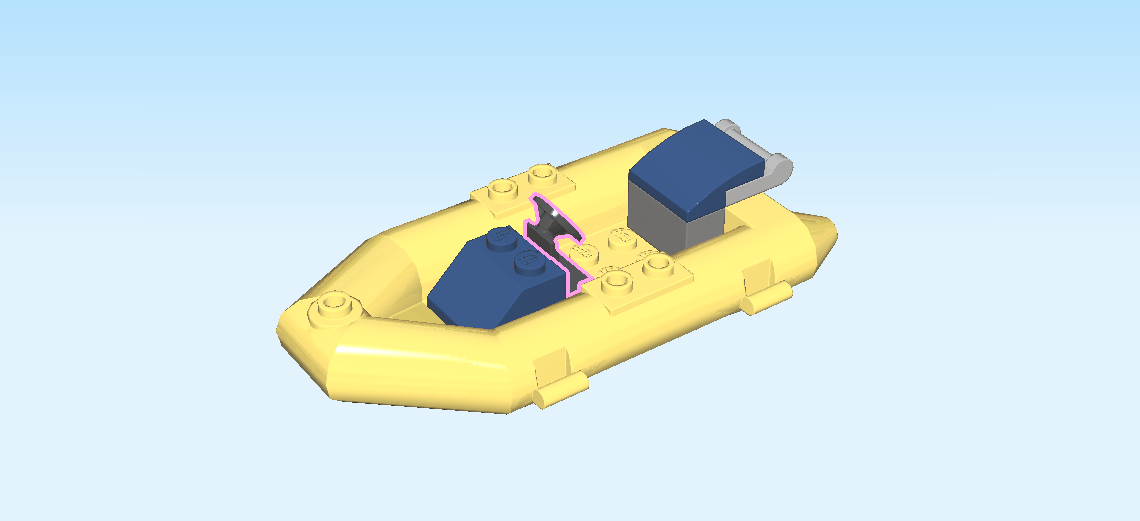
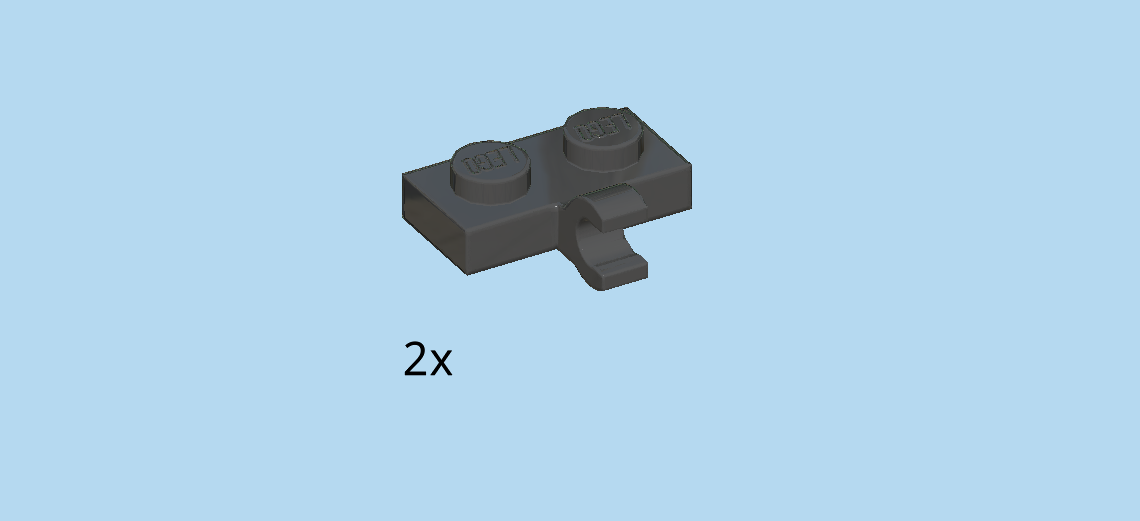
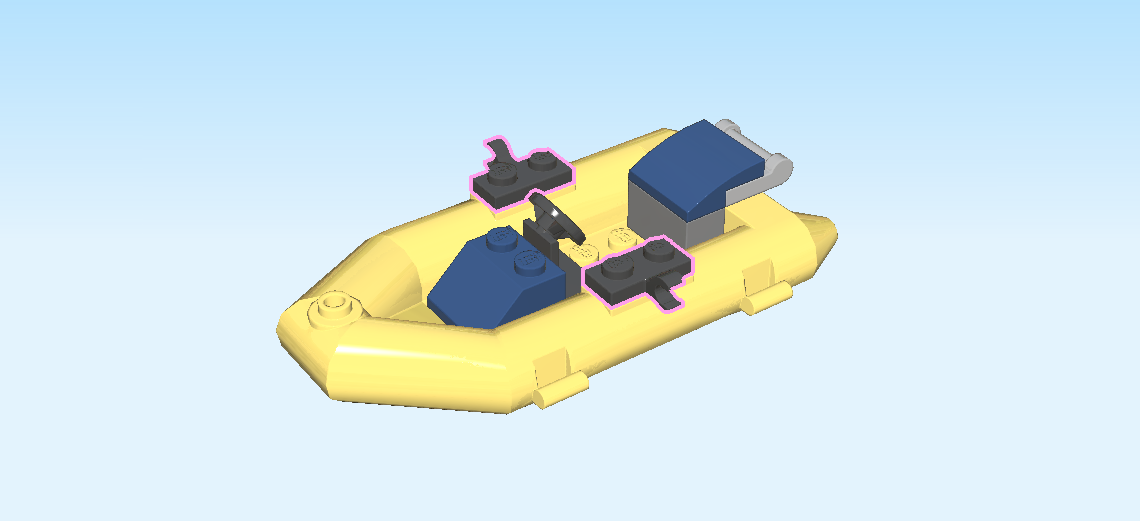
| Find 2 black plates 1x2 with vertical clasp on long side. |
| Put 1 horizontally on the front row of the higher level of the raft, clasp to the front. |
| Repeat symmetrically at the back. |
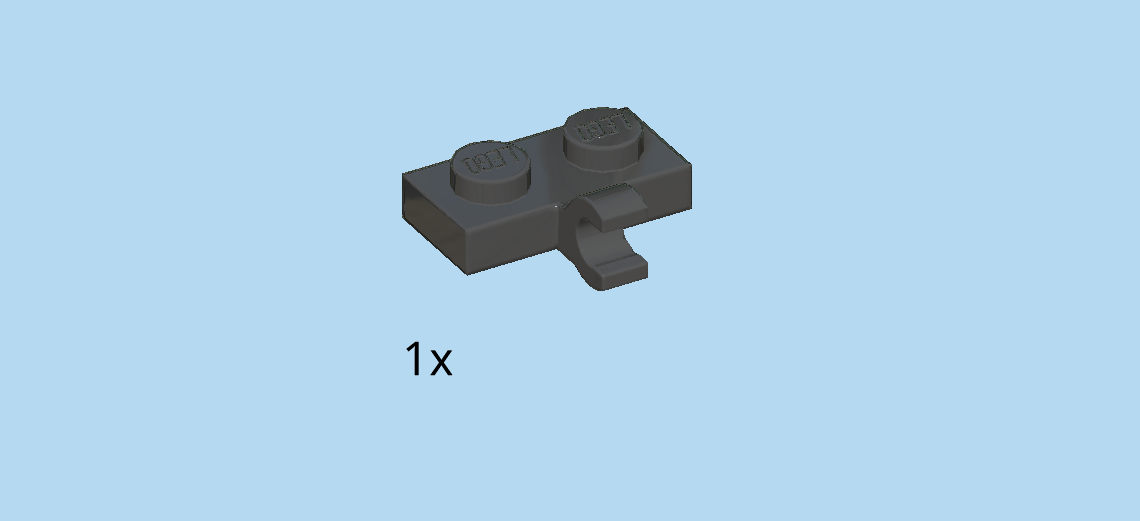
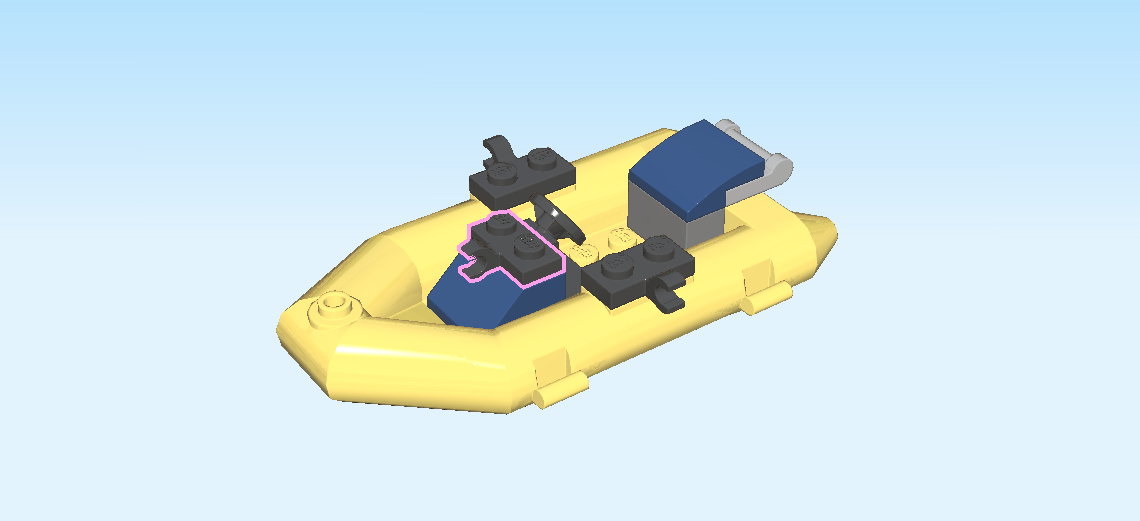
| Find 1 black plate 1x2 with vertical clasp on long side. |
| Put it vertically on the roof tile at the left side of the raft, clasp to the left. |
| Collect the following 2 pieces: |
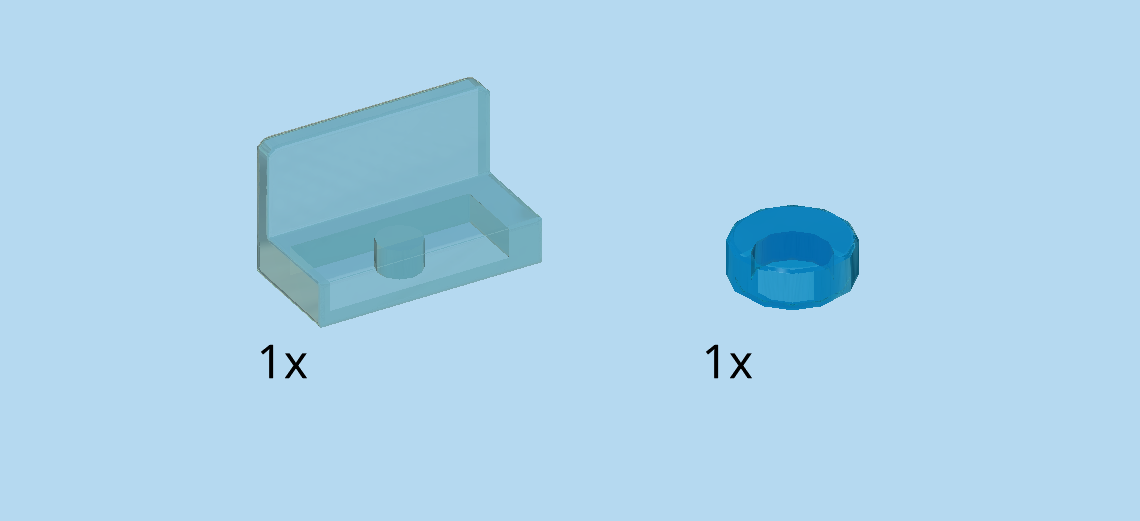
| 1 transparent blue round tile 1x1, |
| and 1 transparent light blue wall element 1x2x1. |
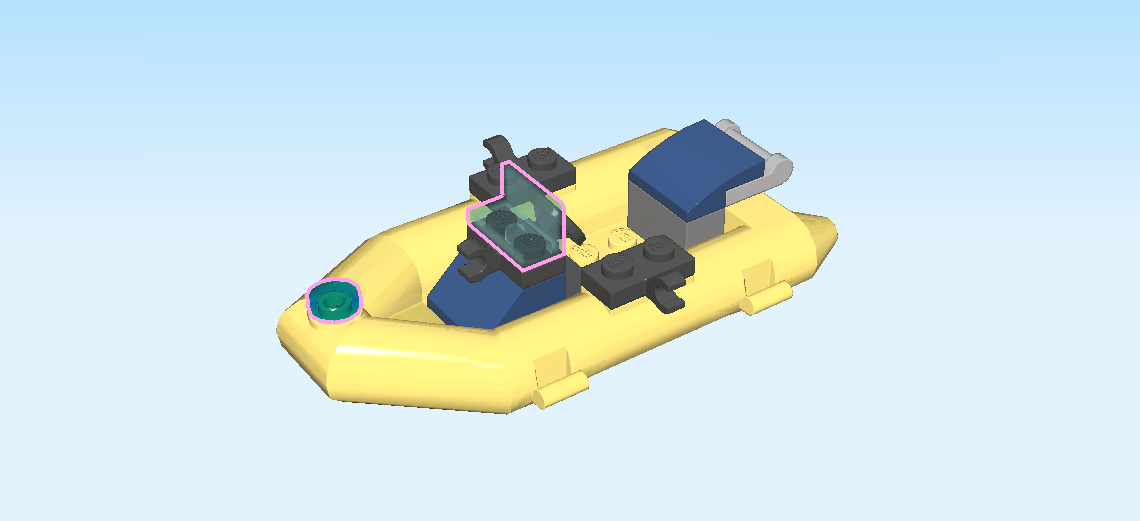
| Put the round tile 1x1 on the knob on the left edge of the higher level. |
| Put the wall element vertically on top of the roof tile and plate with clasp, panel to the right. |
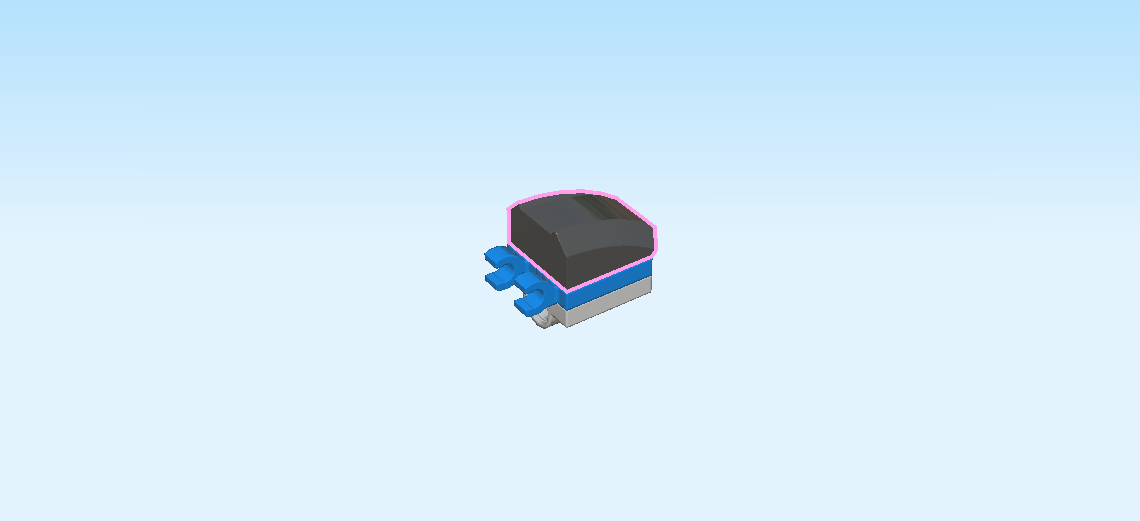
| Next up, we will build the motor. |
| Find 1 medium stone grey plate 2x2 with centered bottom tube. |
| Put it on the table, bottom tube running from left to right. |
| Find 2 bright blue plates 1x2 with vertical clasp on short side. |
| Put them horizontally on top, clasps to the left. |
| Find 1 black curved sport front 2x2. |
| Put it on top, curve to the right. |
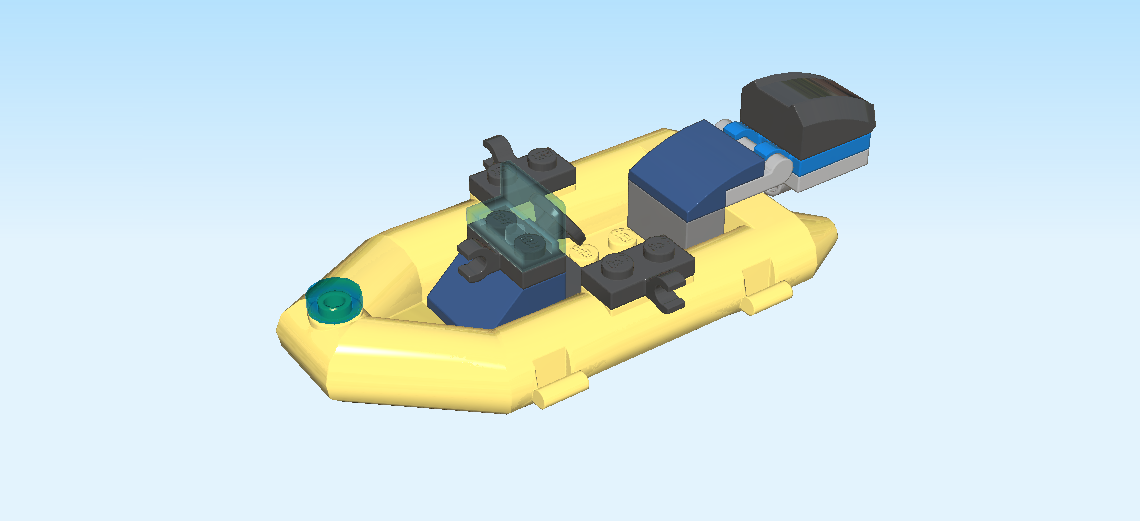
| The motor is finished! Great! Now, snap the clasps of the motor into the handle on the right side of the boat. |
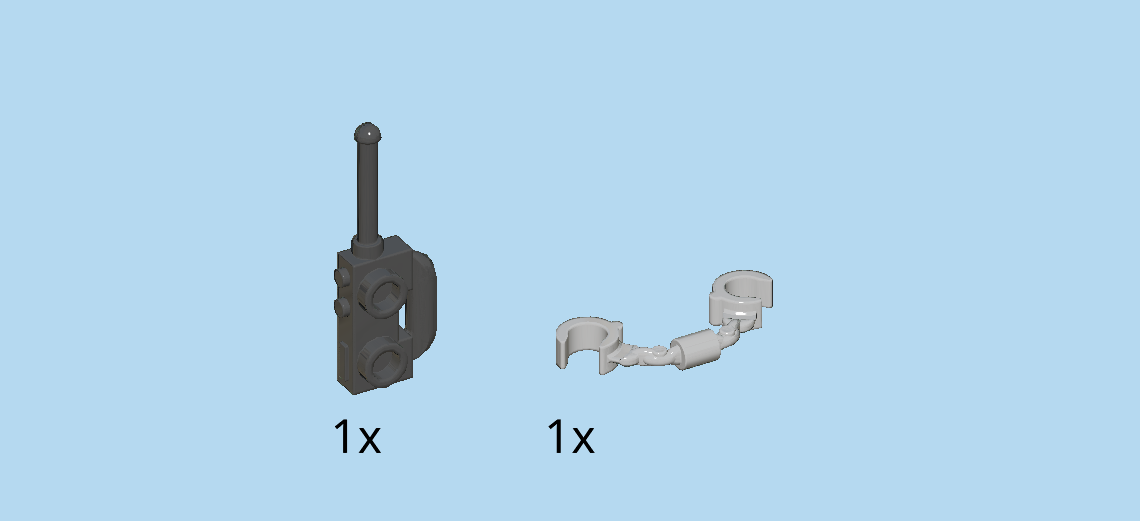
| Collect the following 2 pieces: |
| 1 black walkie-talkie plate 1x2 with antenna, |
| and 1 medium stone grey pair of handcuffs. |
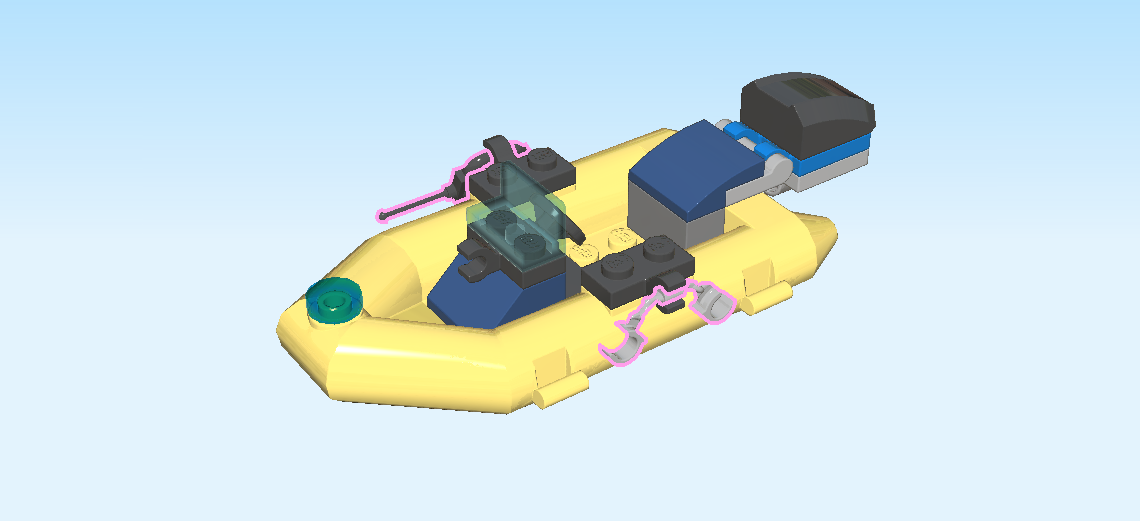
| You can snap these two into the clasps at the front and back of the boat. This way, Duke DeTain can access them whenever needed. |
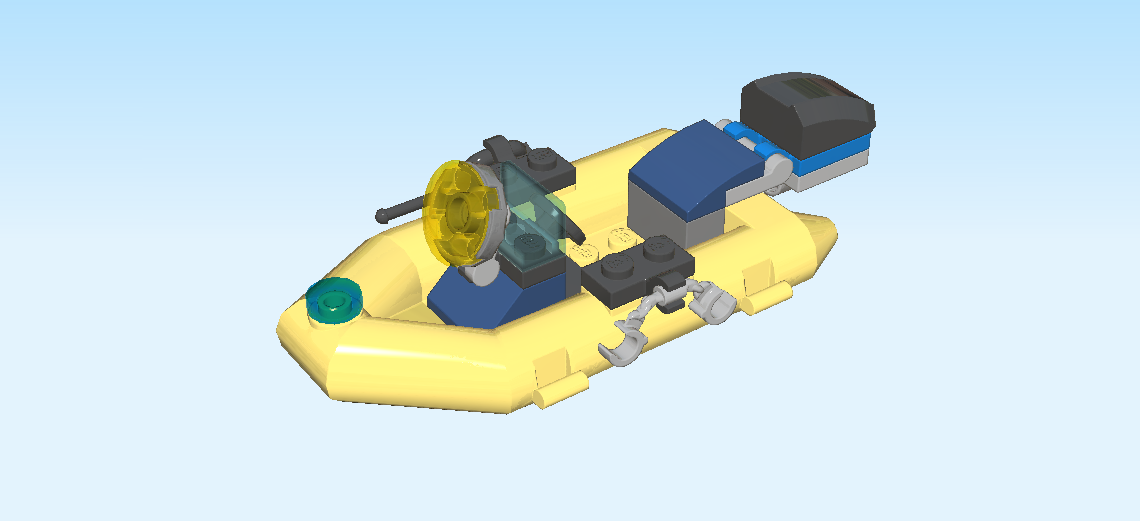
| Next, let's make a searchlight. |
| Collect the following 2 pieces: |
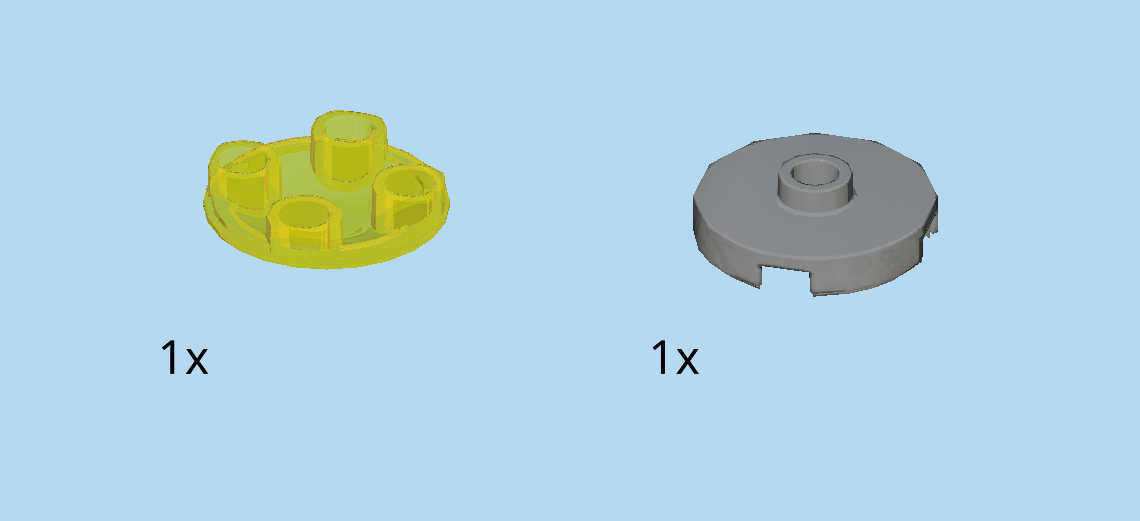
| 1 dark stone grey round plate 2x2 with 1 knob, |
| and 1 transparent yellow curved disk 2x2. |
| Put the curved disk 2x2 on the table, knobs to the top. |
| Put the round plate 2x2 with 1 knob on top. |
| Find 1 medium stone grey rounded plate 1x1 with side shaft. |
| Put it on top, side shaft to the right. |
| The searchlight is finished! Now snap the small handle into the clasp located to the left of the steering wheel. You can adjust where the beam of the searchlight is pointing to seek out your suspects! |
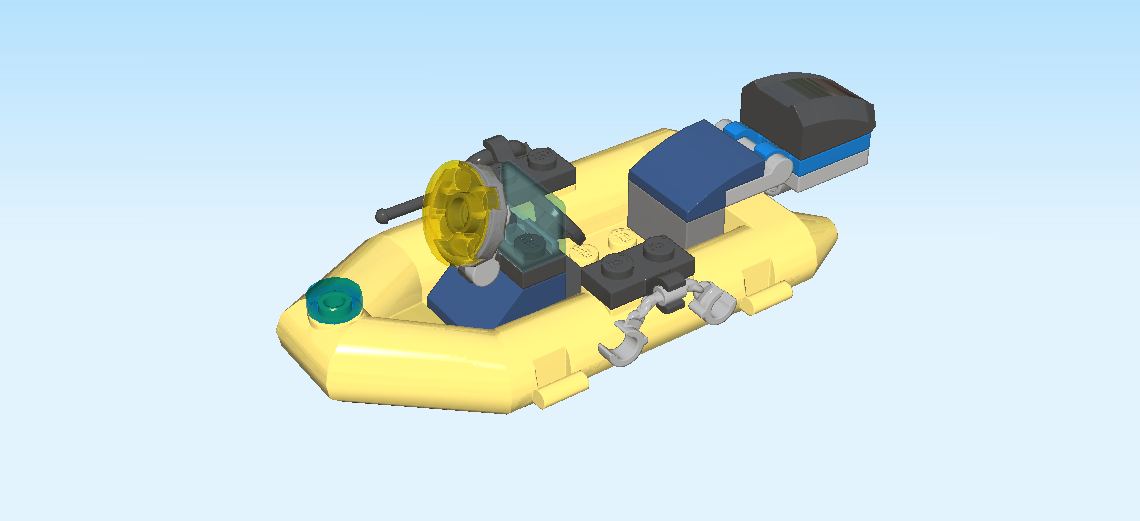
| The dinghy boat is finished! Very well done! Duke DeTain is now perfectly equipped to hunt down criminals both on land and water. But first, let's give Clara the Criminal a fair chance. |
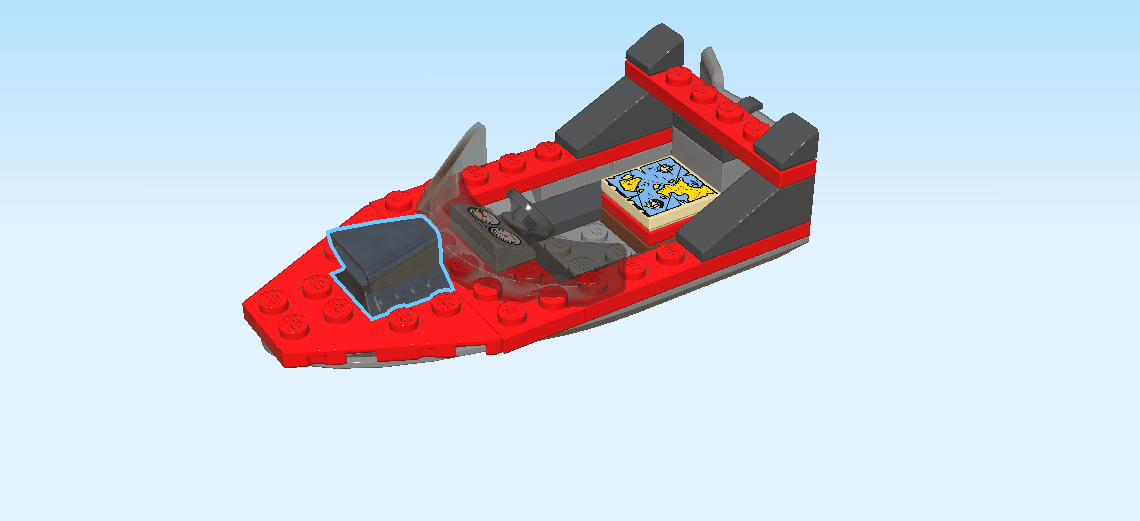
| Finally, we will build the speedboat. |
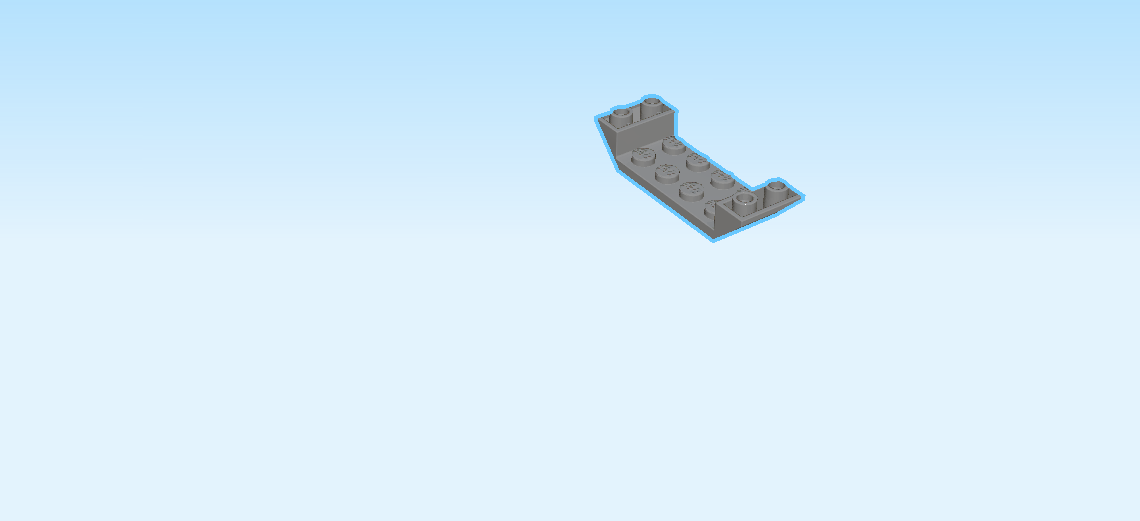
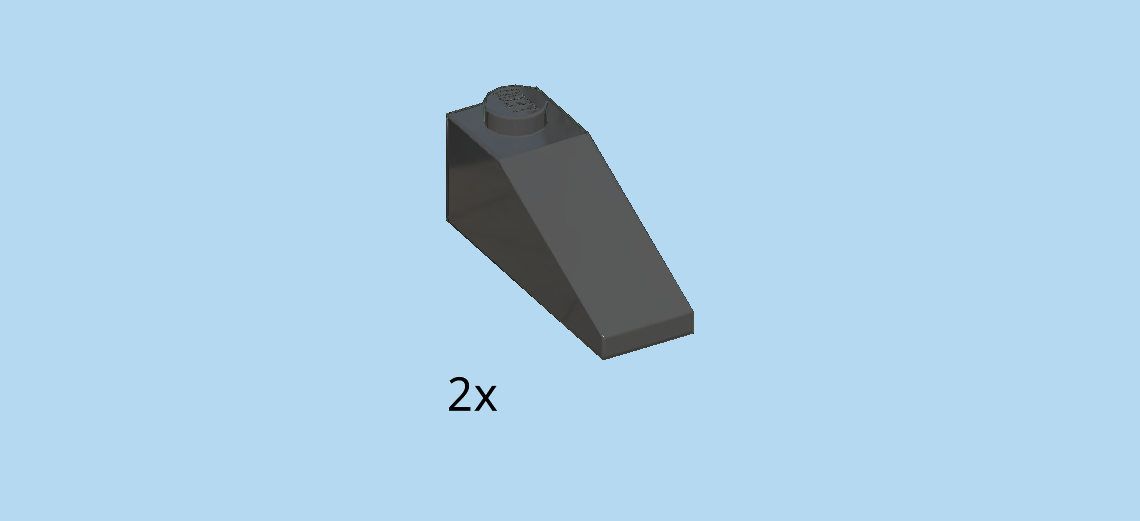
| Find 1 dark stone grey inverted double roof tile 2x6, 45°. |
| Put it vertically on the table, roof wings to the front and back. |
| Find 2 black flat tiles 1x6. |
| Put 1 horizontally on the backmost row of the lower level of the roof tile, starting from the right. This means the flat tile is overhanging to the left. |
| Repeat symmetrically on the frontmost row of the lower level. |
| Find 1 bright red two-stepped plate 2x2x⅔ with 2 side knobs. |
| Put it between the two previous pieces, side knobs to the right. |
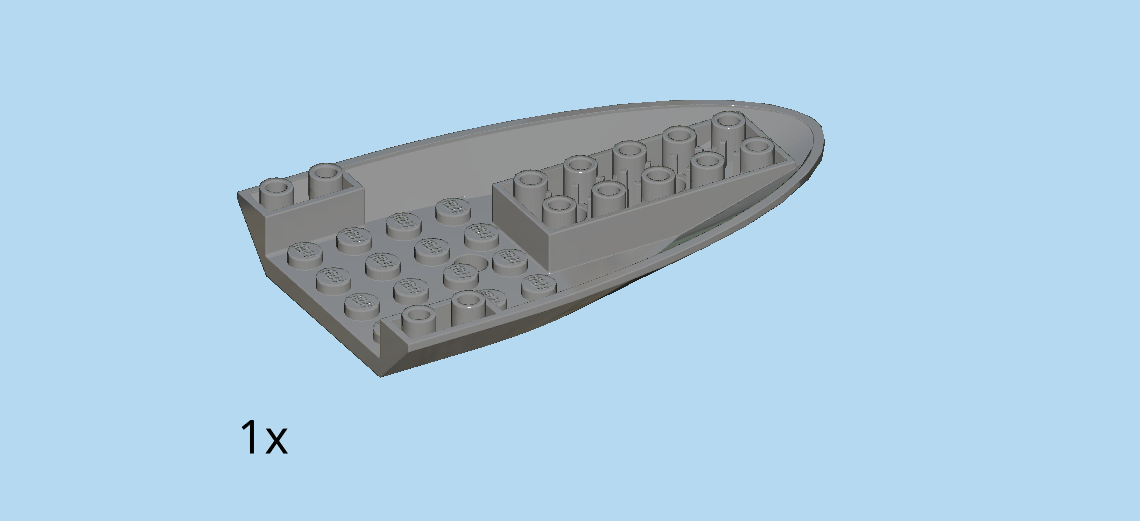
| Find 1 dark stone grey ship bottom 6x10. |
| Put it horizontally on the table, pointy end to the left. |
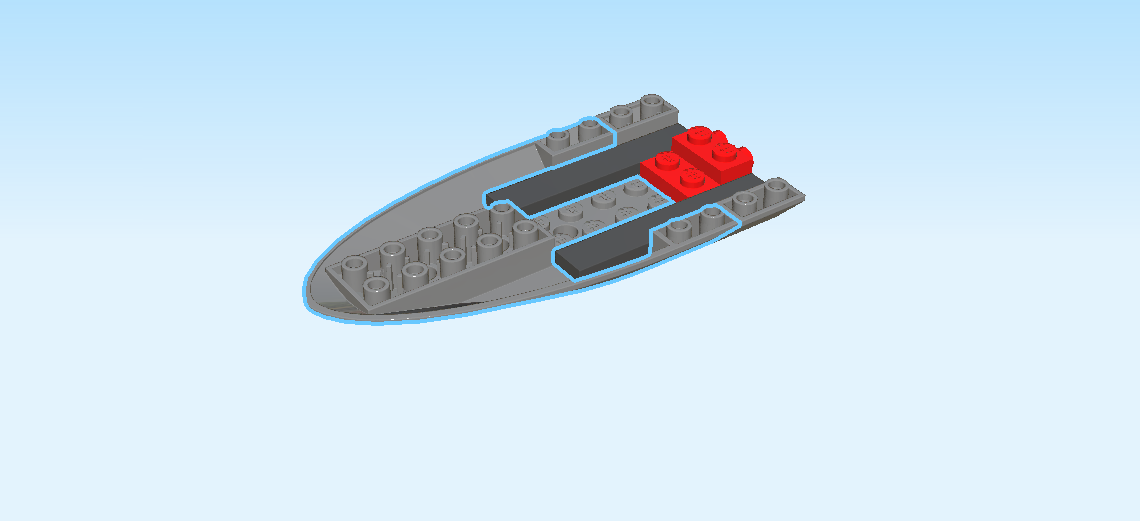
| Now, insert the 2 overhanging flat tiles into the ship bottom coming from the right. The pieces fit neatly together. |
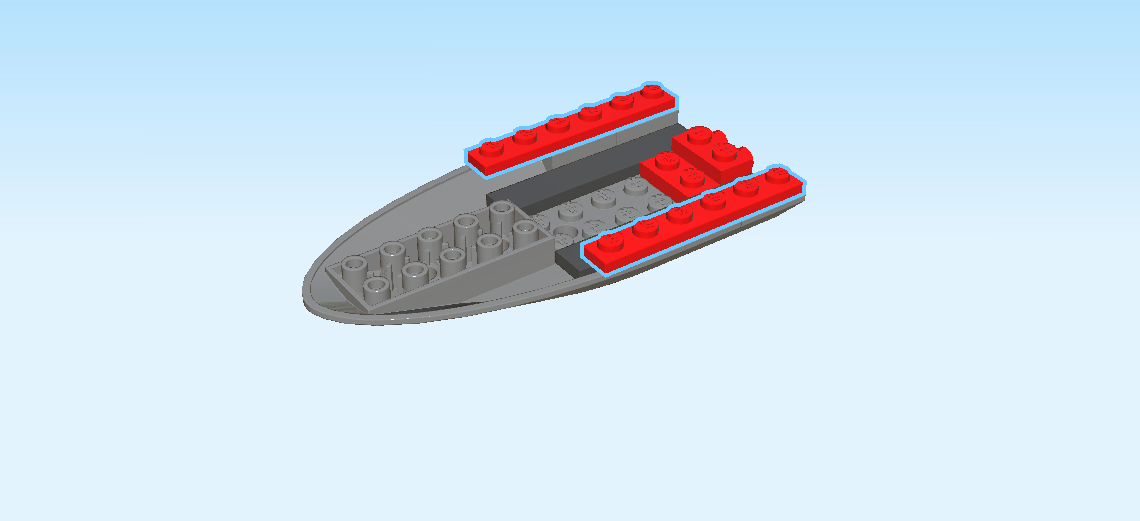
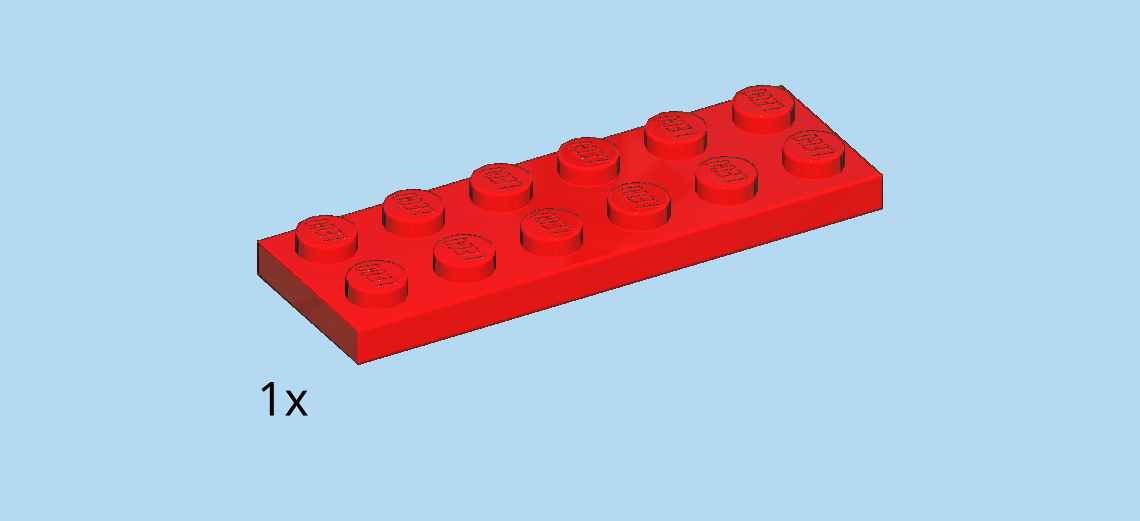
| Find 2 bright red plates 1x6. |
| Put 1 horizontally on the backmost topmost row, starting from the right. |
| Repeat symmetrically at the front. |
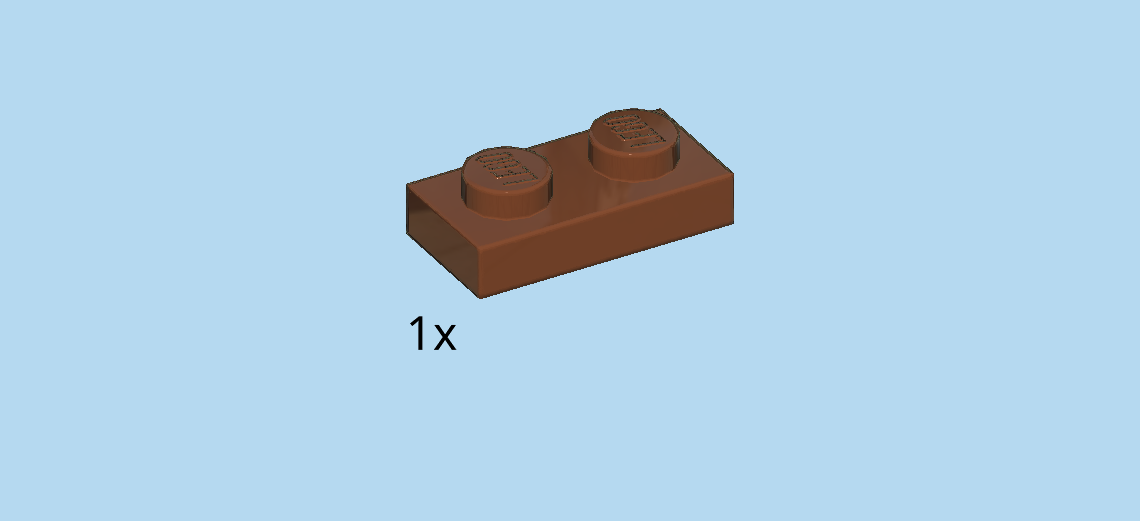
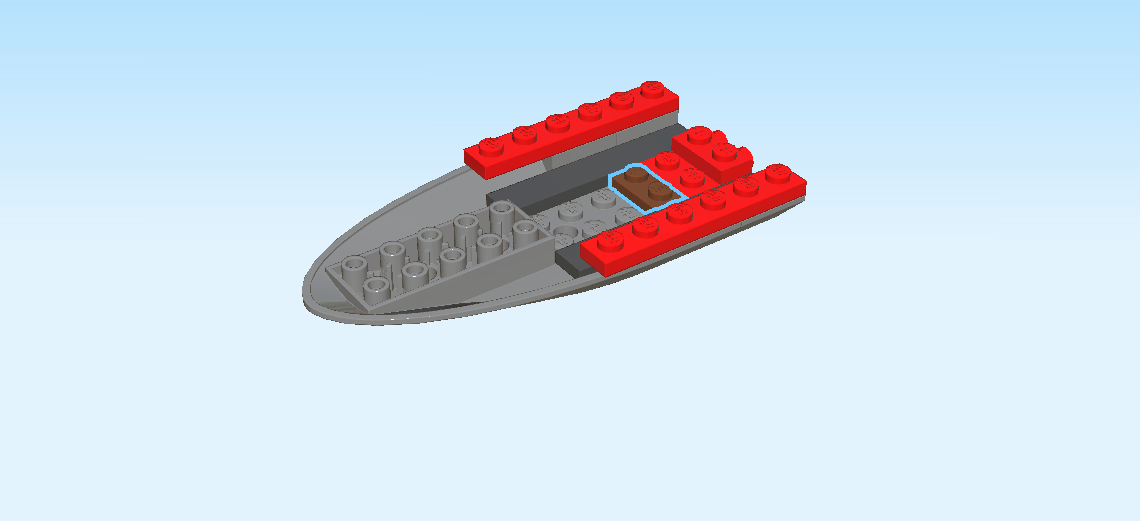
| Find 1 reddish brown plate 1x2. |
| Put it vertically centered on the third column from the right. |
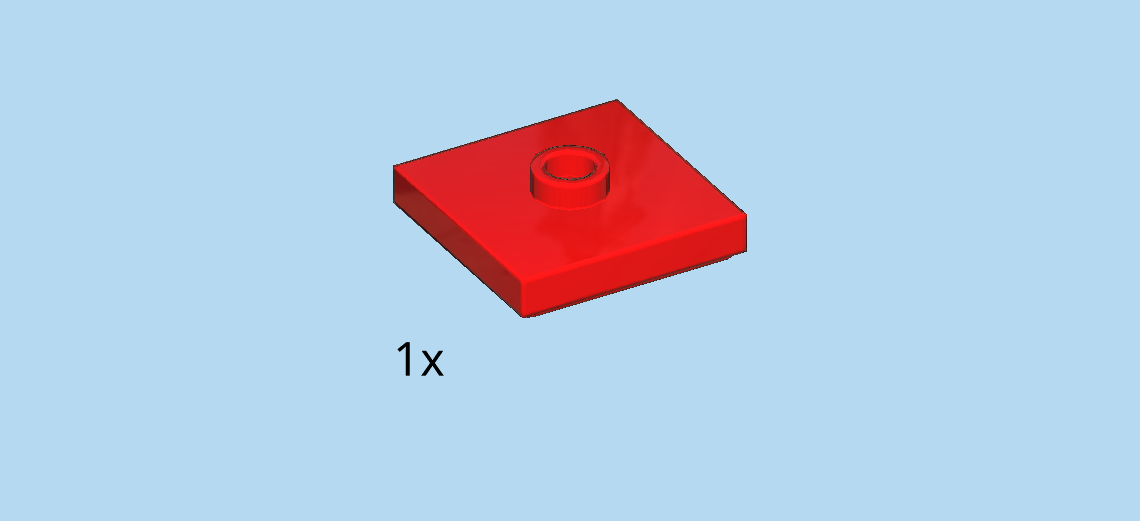
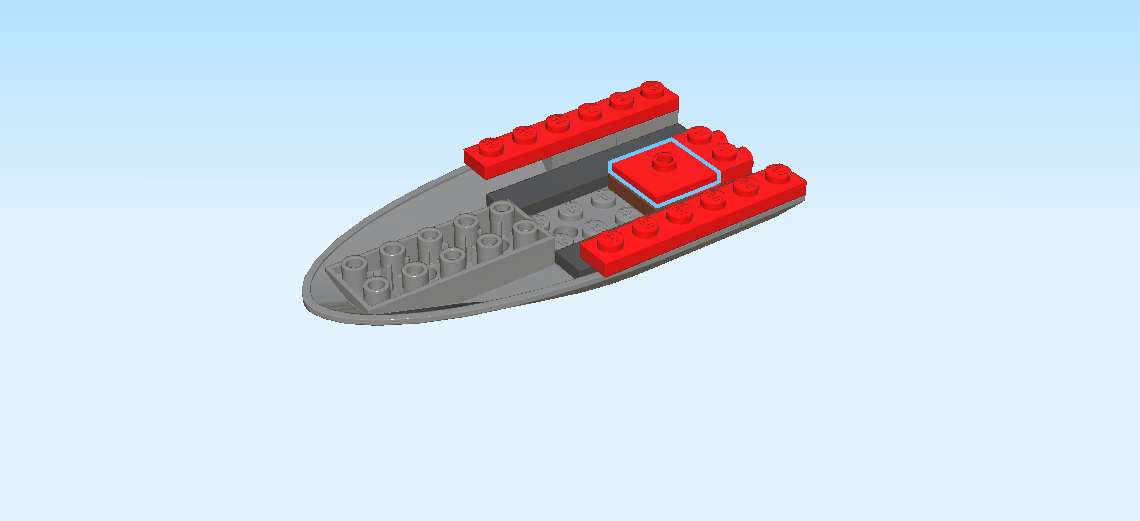
| Find 1 bright red plate 2x2 with 1 knob. |
| Put it centered on the second and third column from the right. |
| Find 1 dark stone grey brick 1x2. |
| Put it vertically centered on the rightmost column. |
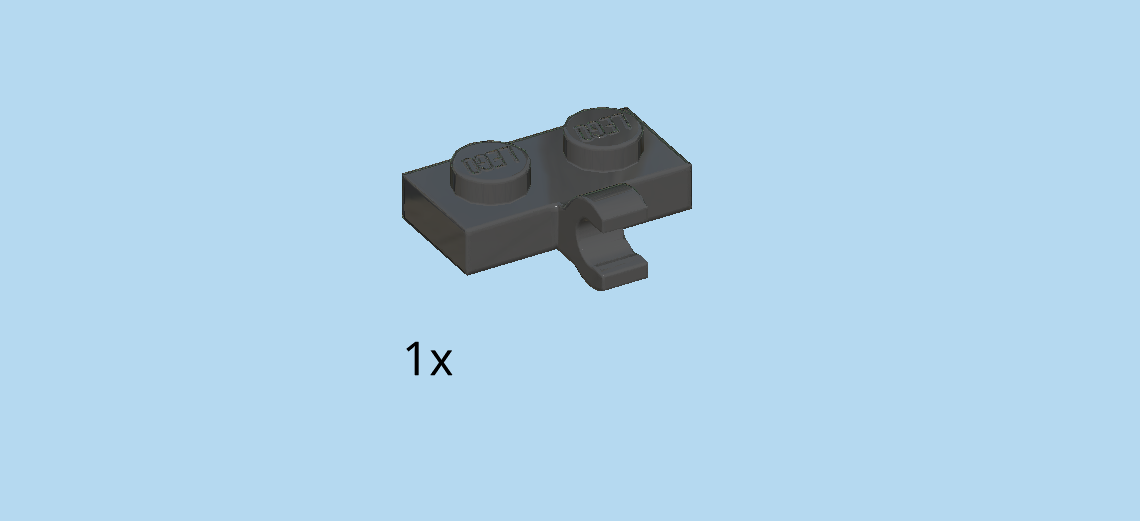
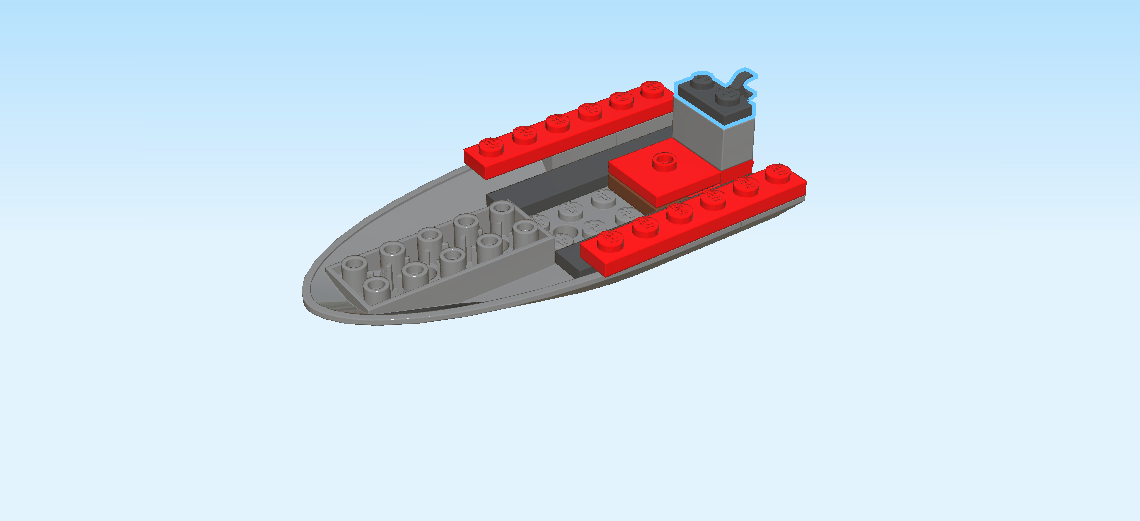
| Find 1 black plate 1x2 with vertical clasp on long side. |
| Put it vertically on top of the previous piece, clasp to the right. |
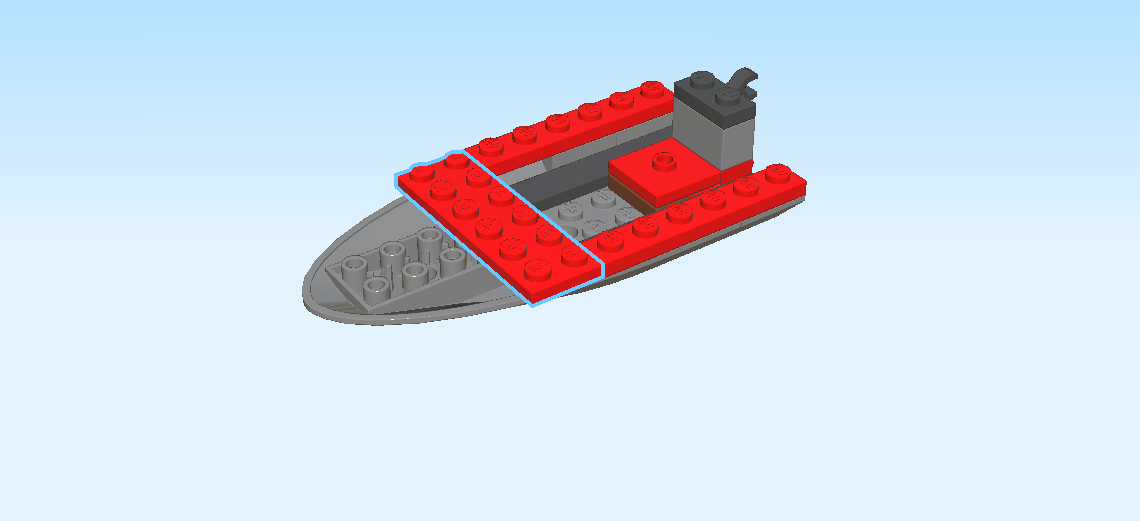
| Find 1 bright red plate 2x6. |
| Skip 3 columns from the left, and put it vertically on top. It touches the two plates 1x6 on the right side. |
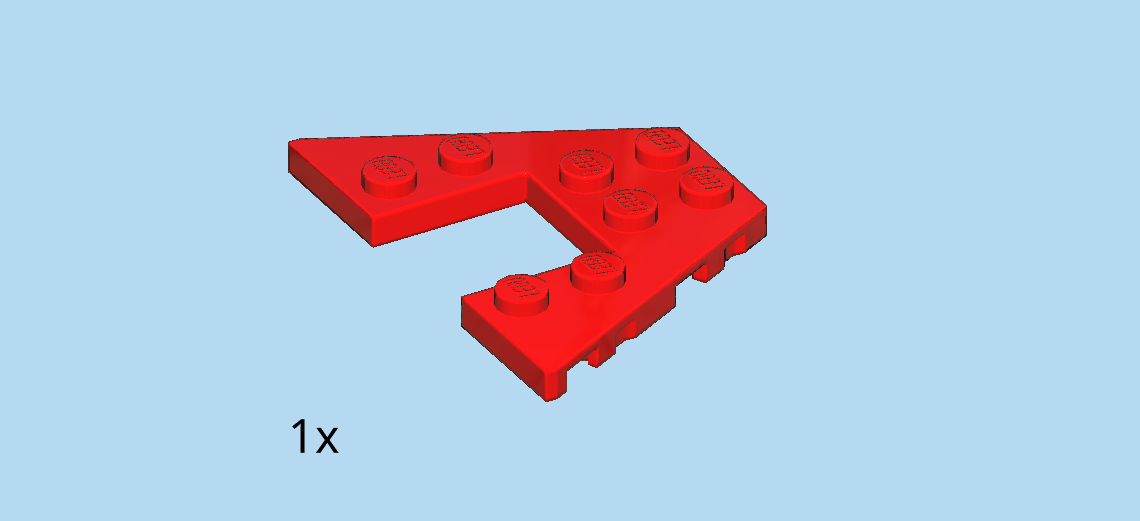
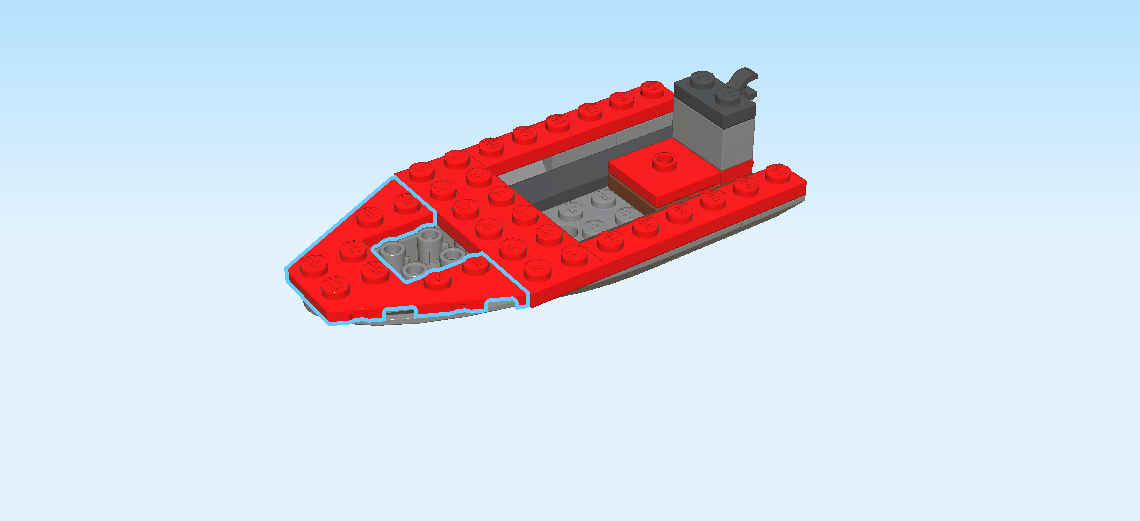
| Find 1 bright red trapeze plate 6x4 with cut-out. |
| Put it horizontally to the left, cut-out to the right. This piece fits the shape of the ship bottom. |
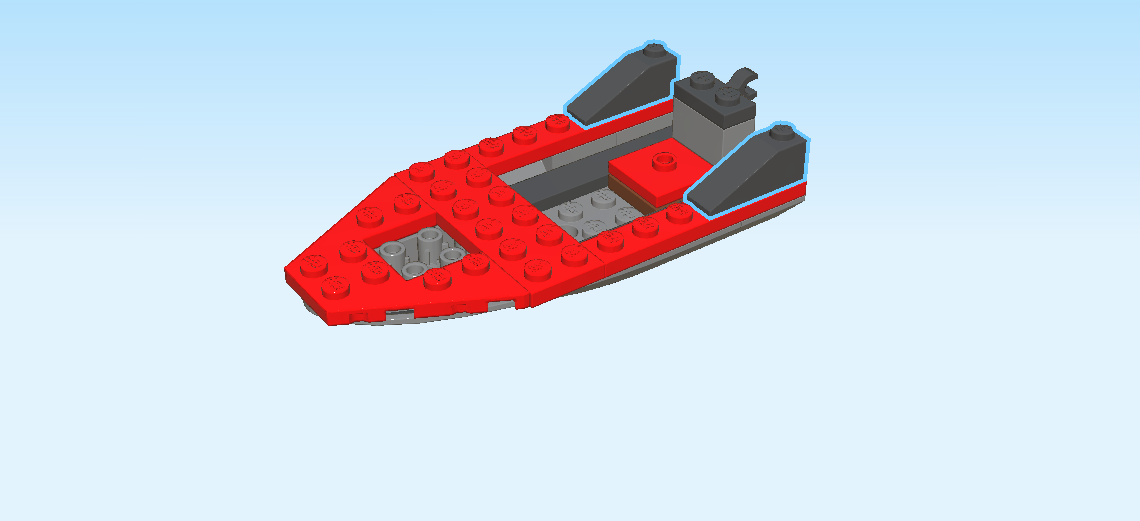
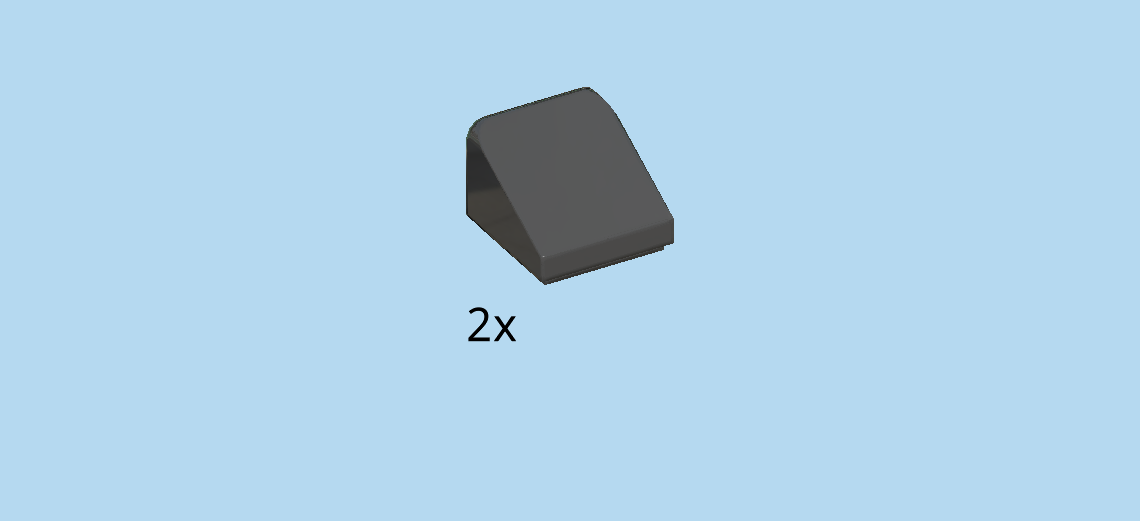
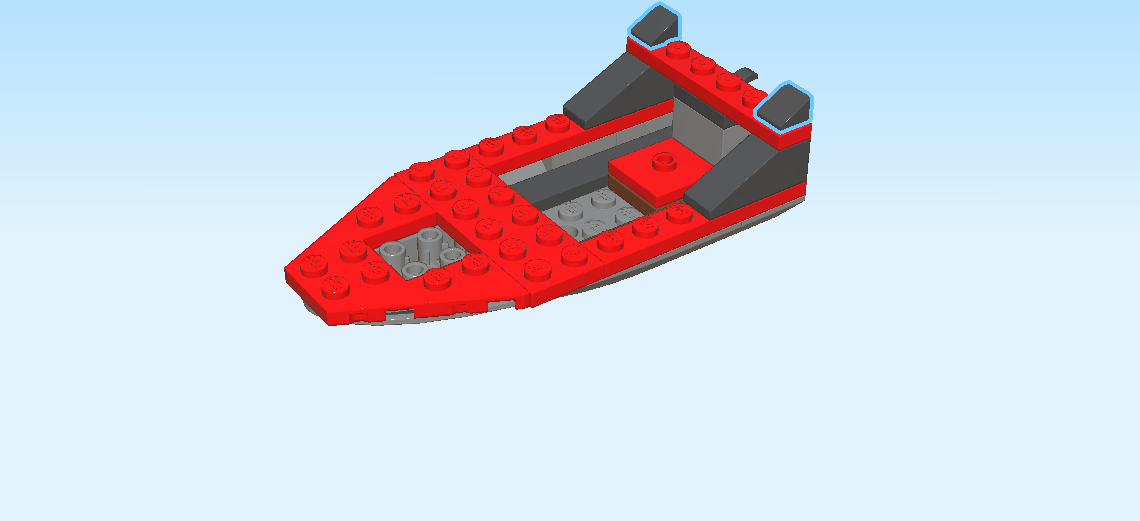
| Find 2 black roof tiles 1x3, 25°. |
| Put 1 horizontally on the backmost row starting from the right, slope to the left. |
| Repeat symmetrically at the front. |
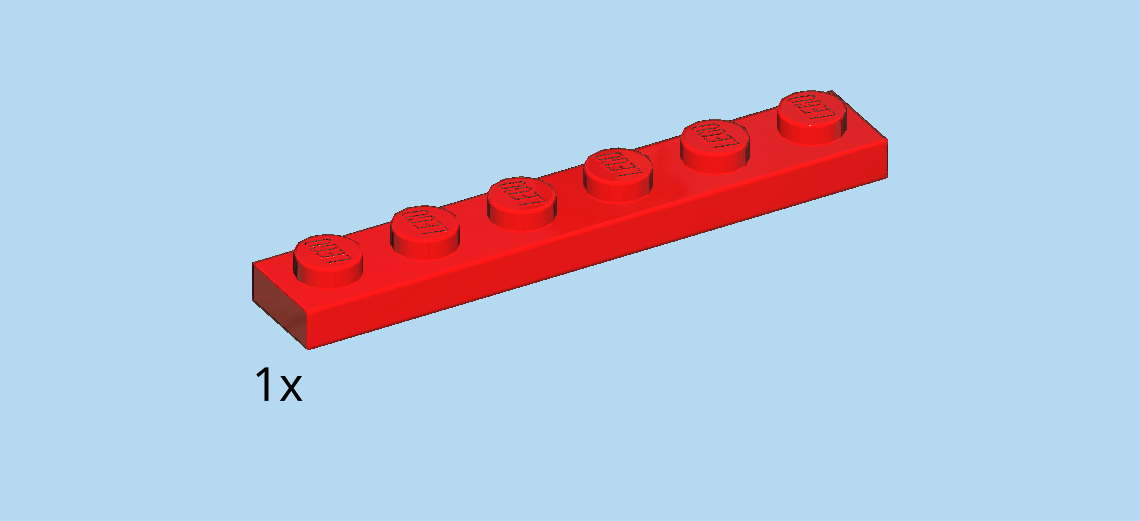
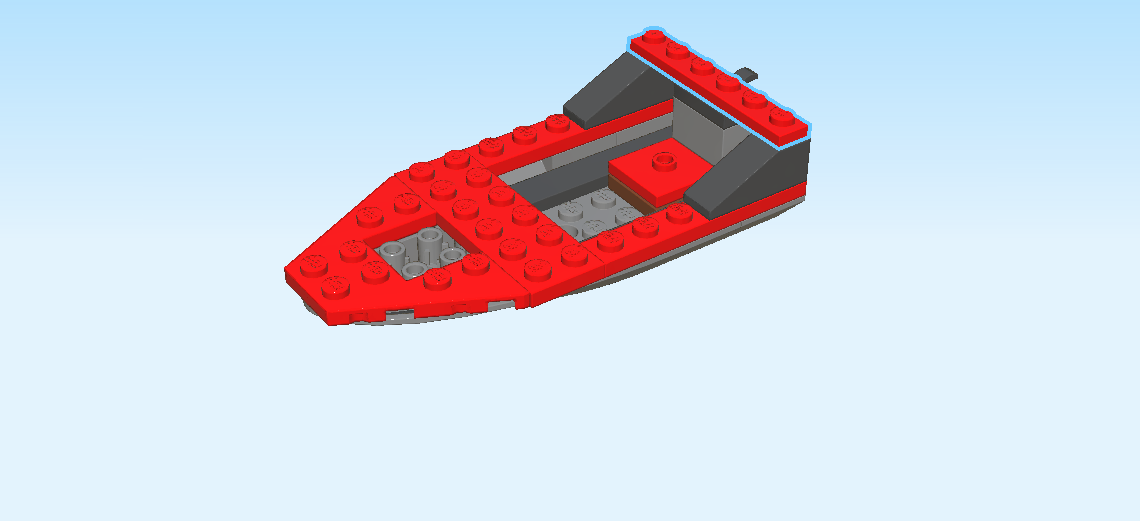
| Find 1 bright red plate 1x6. |
| Put it vertically on top on the rightmost column. |
| Find 2 black smooth roof tiles 1x1x⅔. |
| Put 1 on the backmost knob of the previous piece, slope to the left. |
| Repeat symmetrically at the front. |
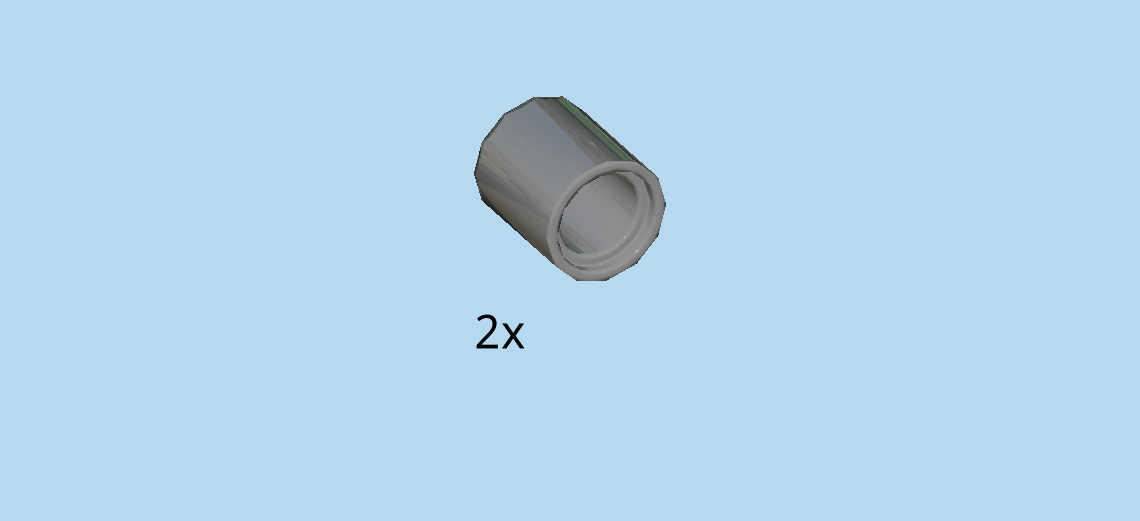
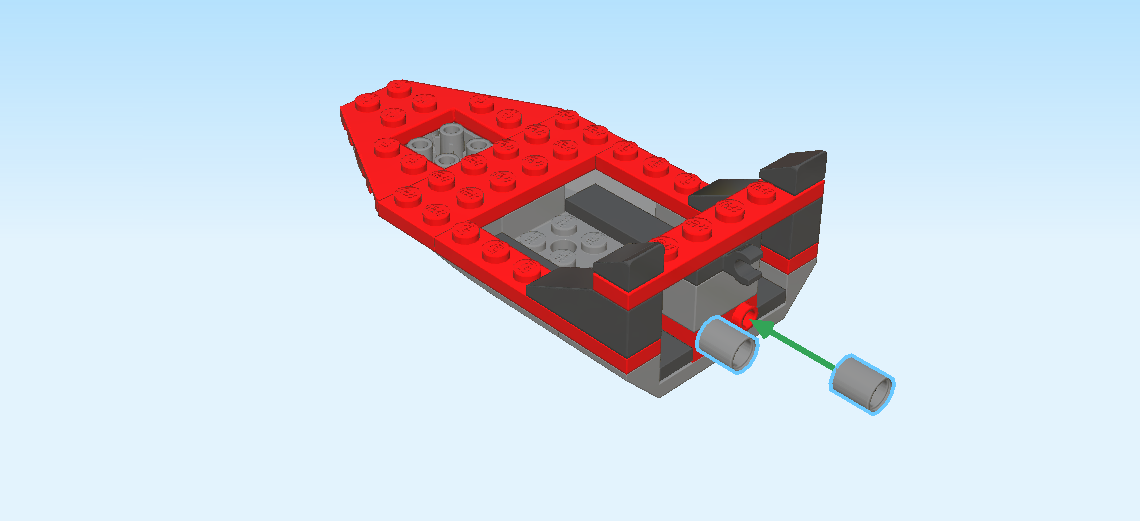
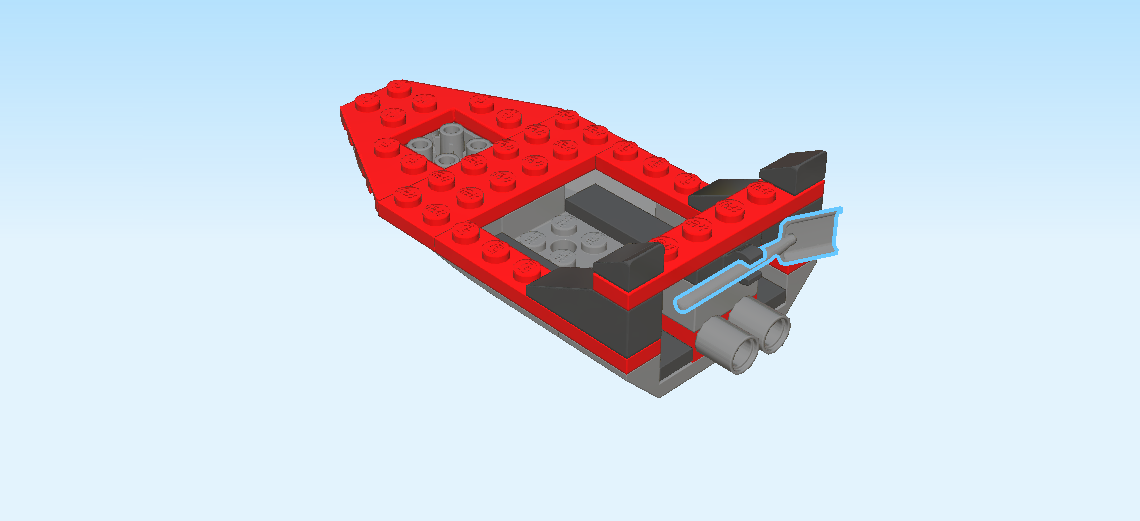
| Find 2 dark stone grey technic bushings 1m. |
| Put them upright on the 2 side knobs at the right side surface of the structure. |
| These are the water jets of the speedboat! |
| Find 1 dark stone grey shovel. |
| Snap its handle horizontally into the clasp above the two previous pieces. |
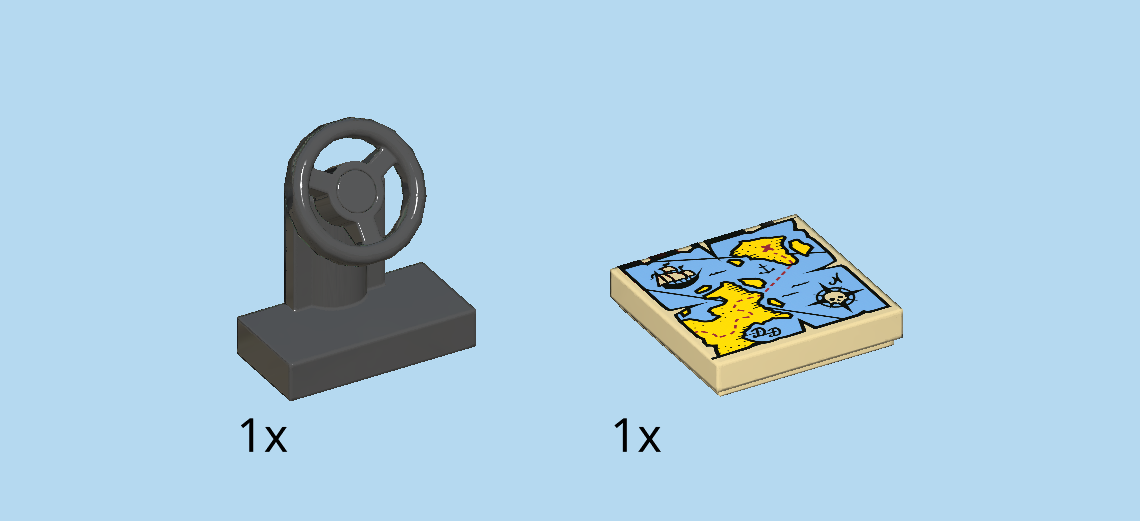
| Collect the following 2 pieces: |
| 1 pale ocher yellow printed flat tile 2x2, |
| and 1 black small steering wheel with plate 1x2. |
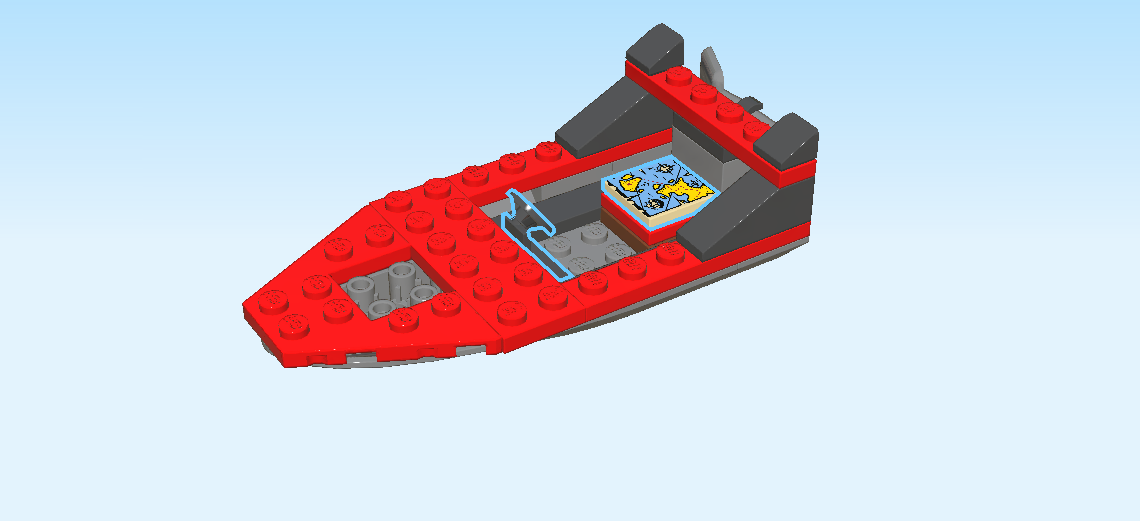
| Put the flat tile 2x2 on the second and third column from the right. It is printed with a map of the LEGO City bay. A big red X marks the treasure that Carla the Criminal has hidden on a small island. |
| Put the small steering wheel vertically on the leftmost column of the lower level of the boat, steering wheel to the right. |
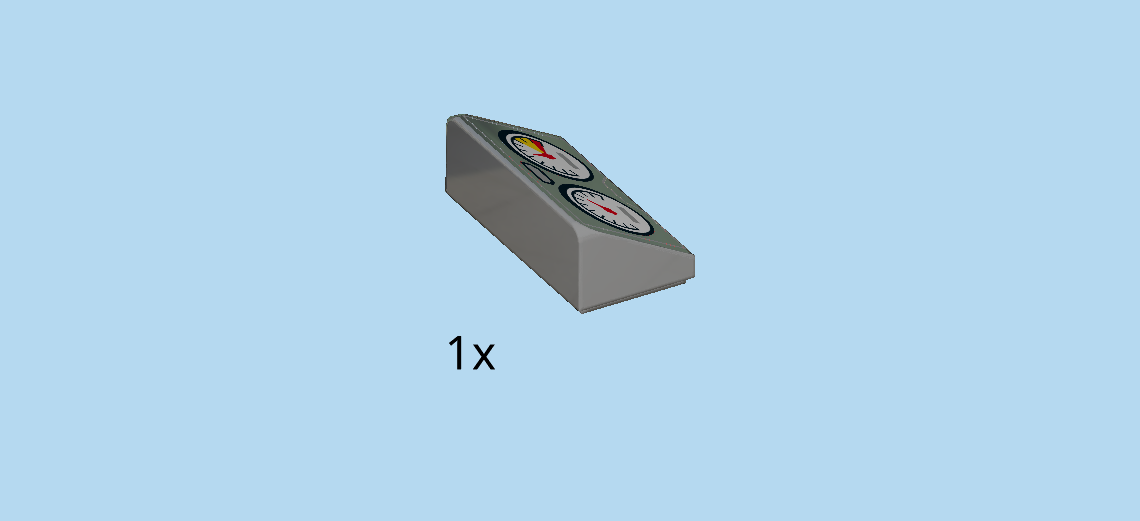
| Find 1 dark stone grey printed roof tile 1x2x⅔. |
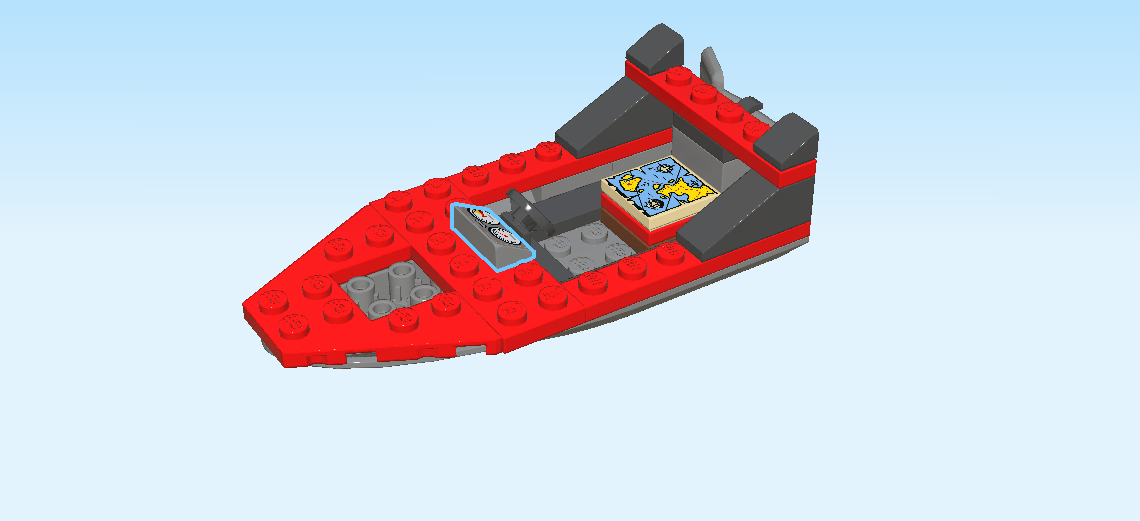
| Put it vertically centered to the left of the steering wheel. It is printed with a dashboard that has two gauges. |
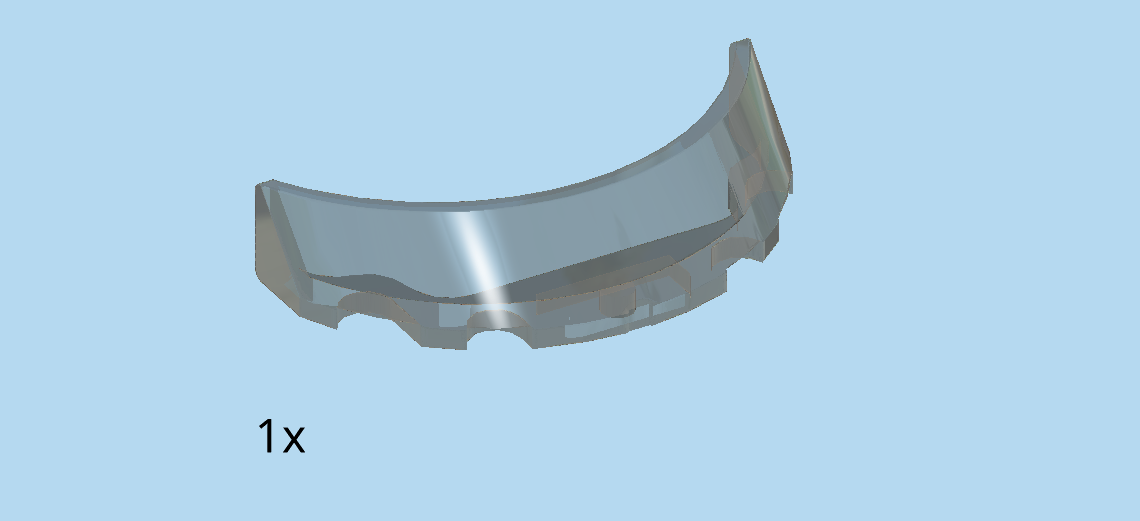
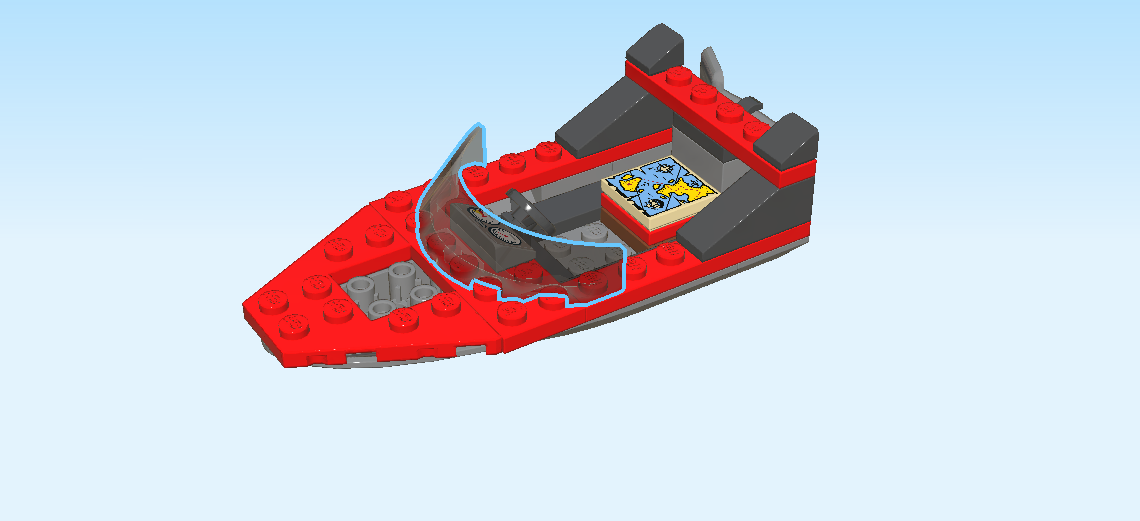
| Find 1 transparent brown rounded cockpit 3x6x1. |
| Put it vertically to the left of the dashboard, curve to the left. |
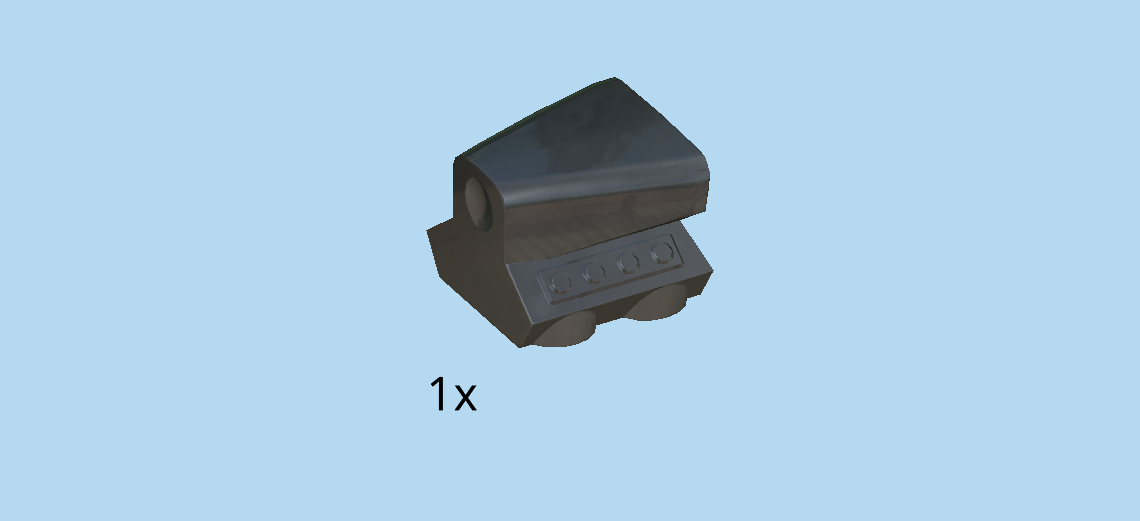
| Find 1 titanium metallic engine 2x2x1⅓. |
| Put it to the left, narrow end pointing to the right. |
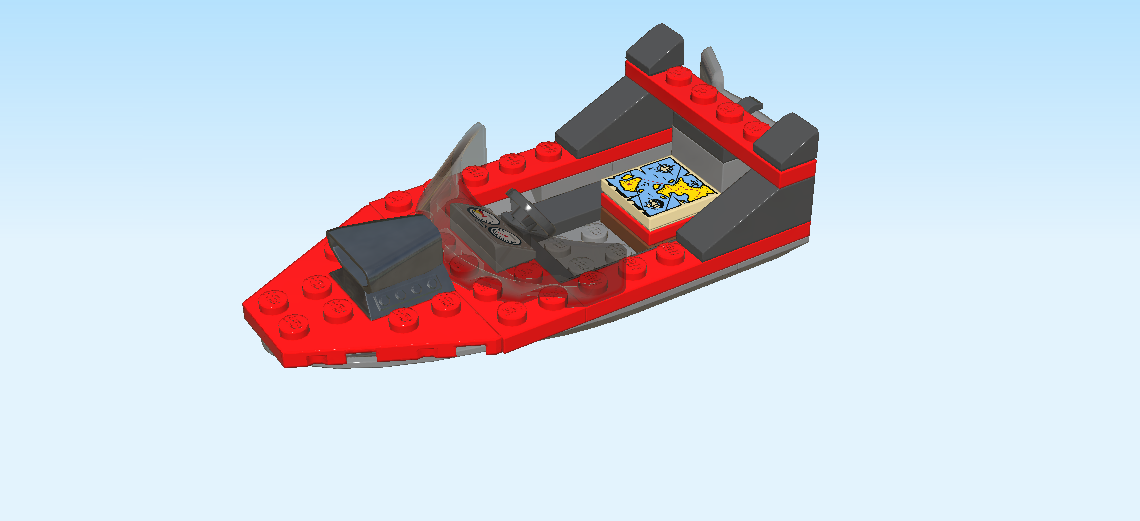
| The speedboat is finished! Great job! Finally, Clara the Criminal can mount her getaway boat and rush off with the big blue diamond. Who knows what else she is up to! Do you think Duke DeTain can keep up with her? Let's find out and take them on a chase in LEGO City bay! |
| Enjoy! |
