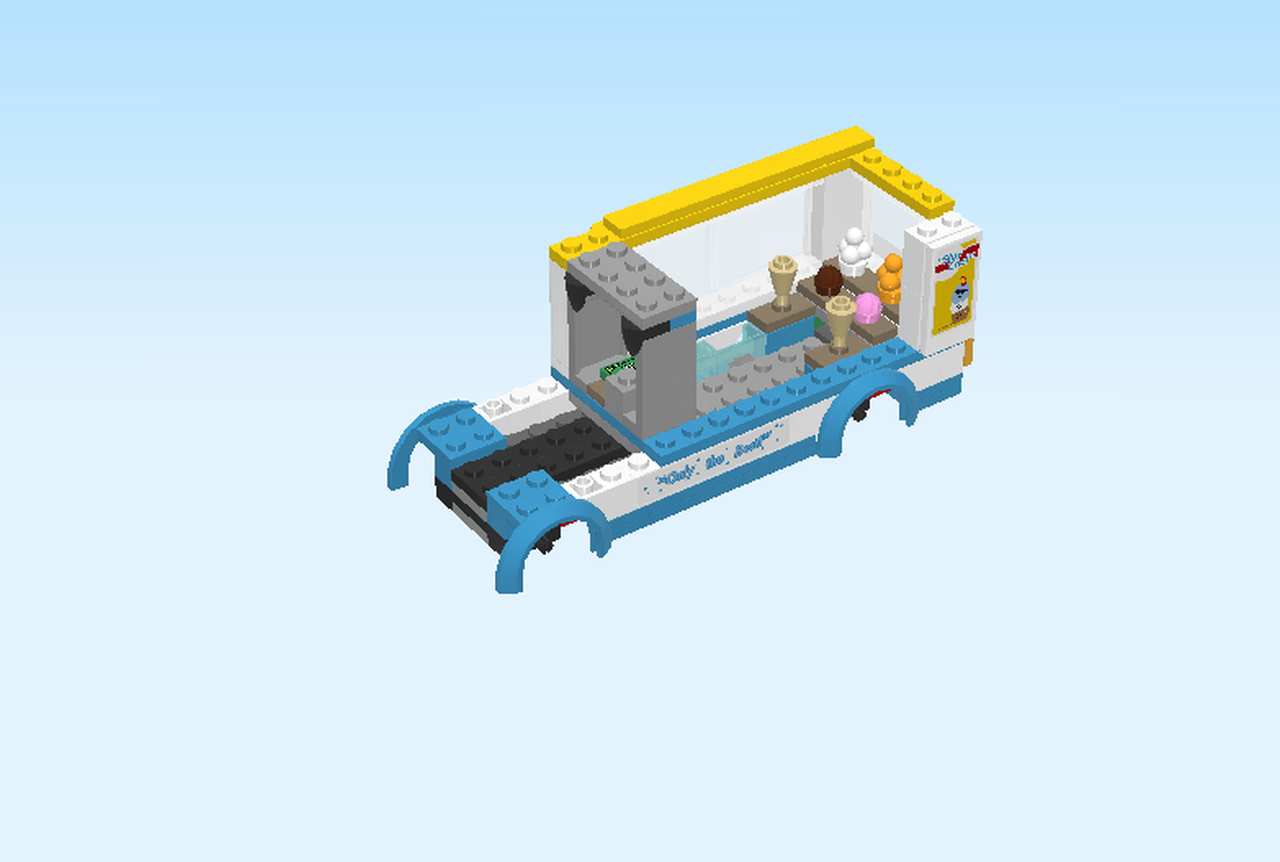
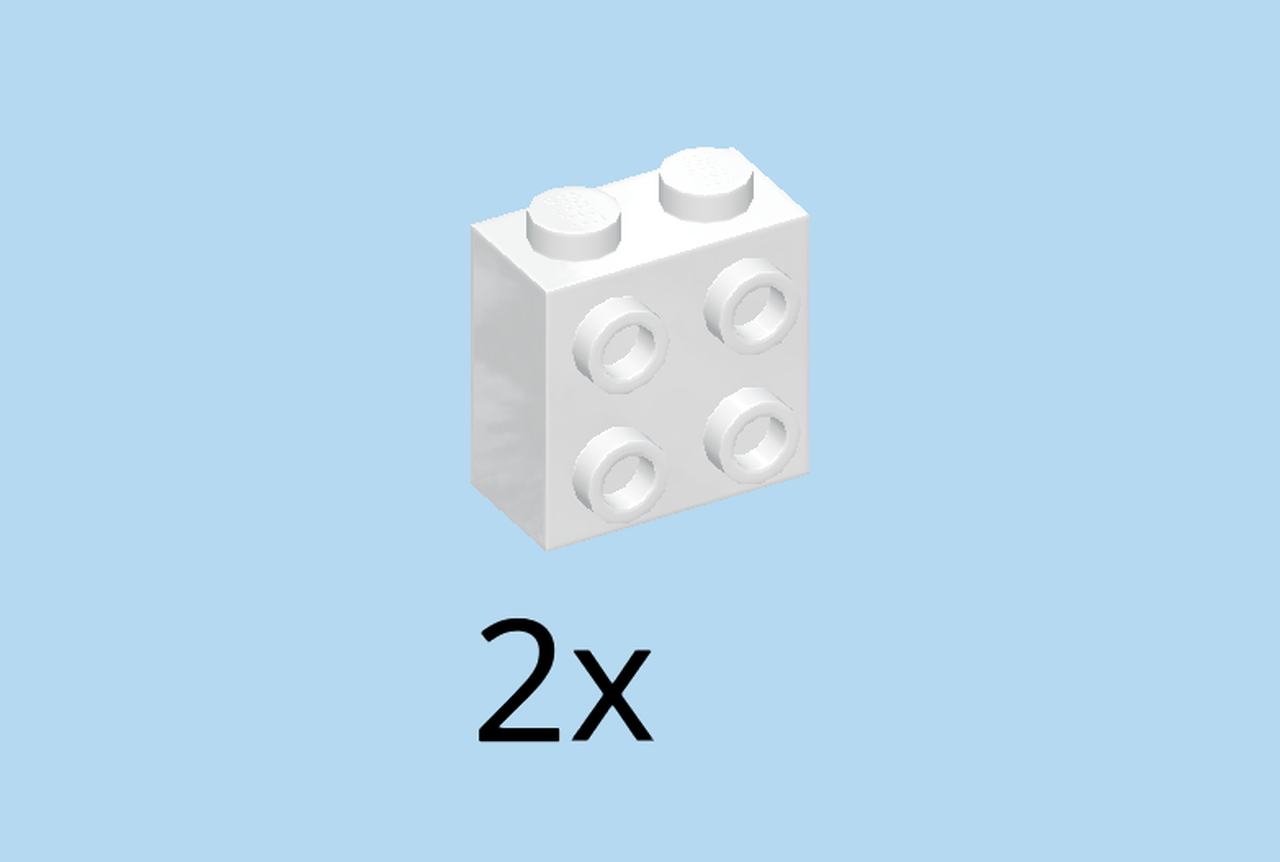
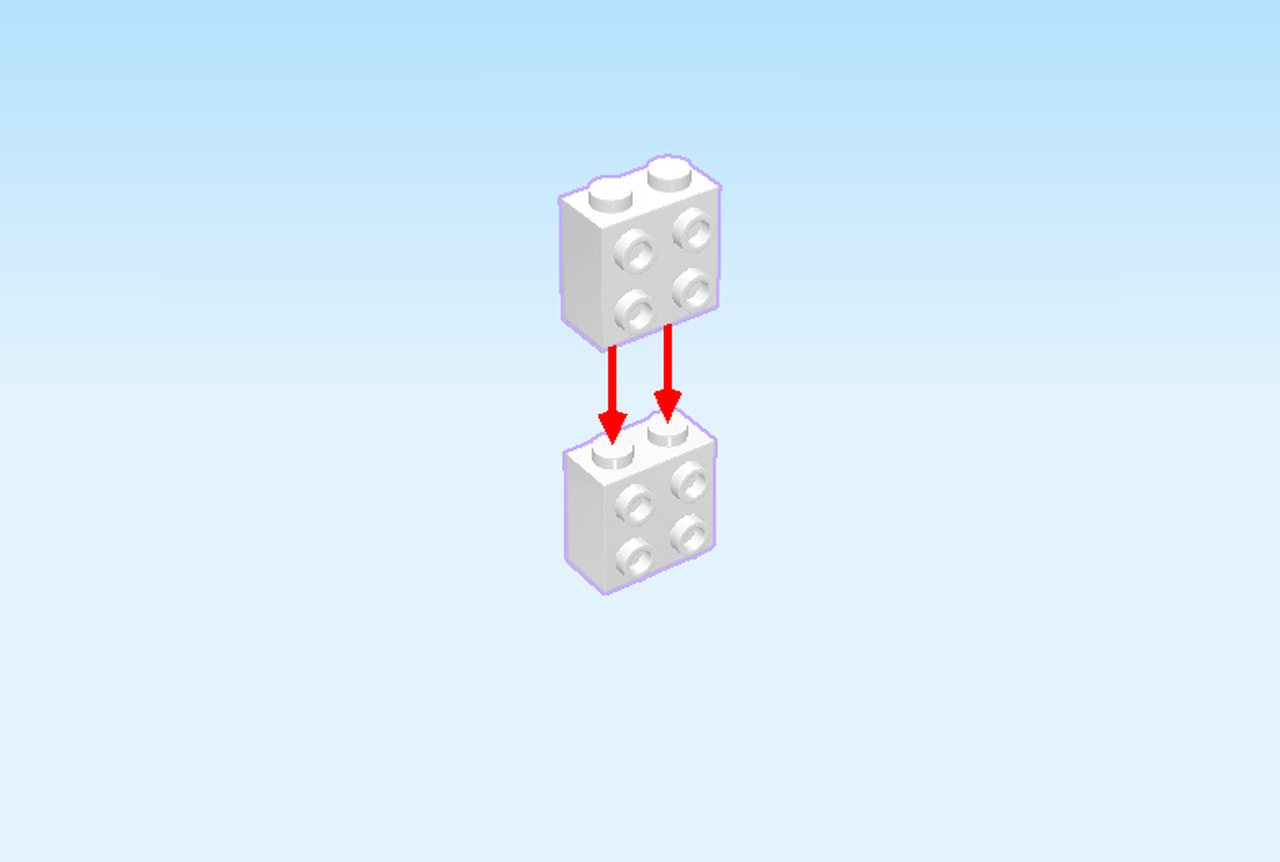
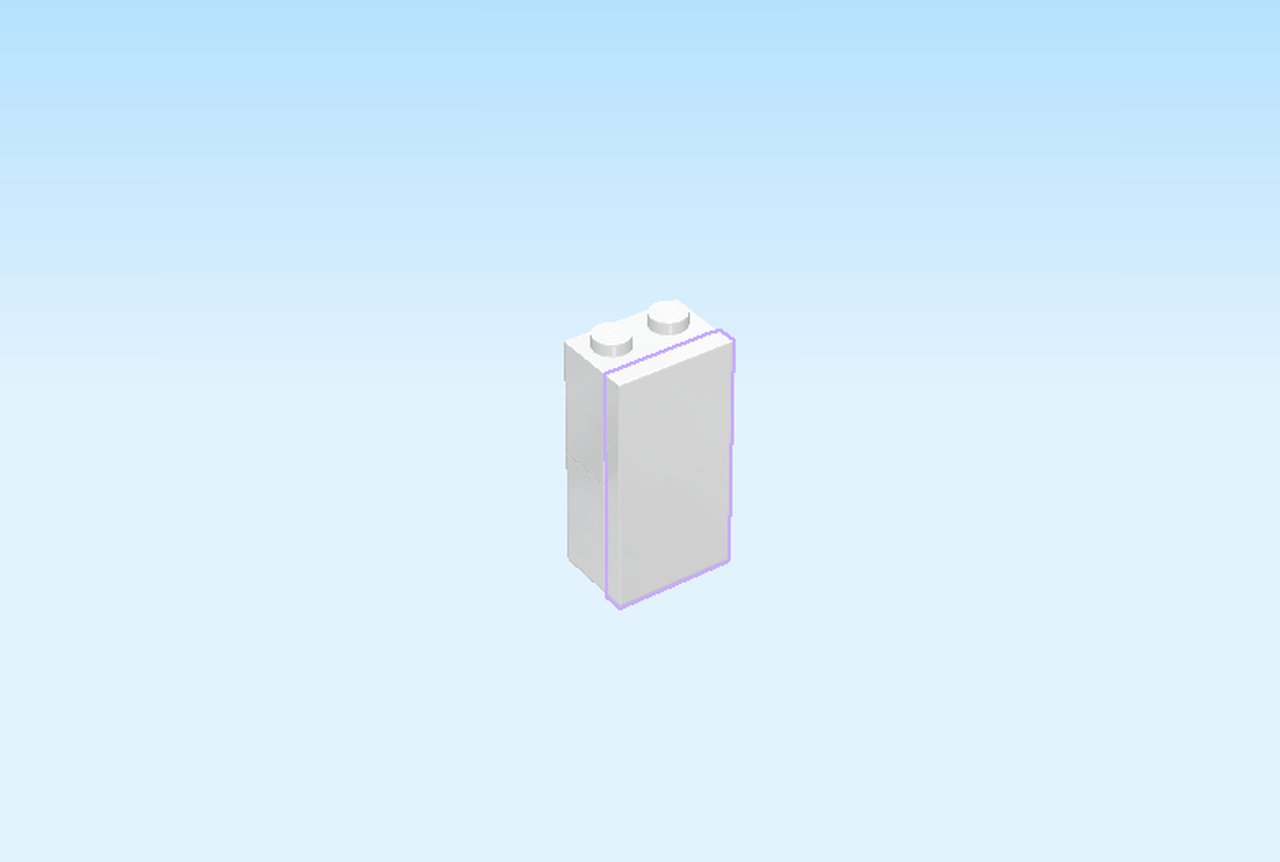
| LEGO Audio & Braille Building Instructions for the LEGO City set "Ice-Cream Truck". |
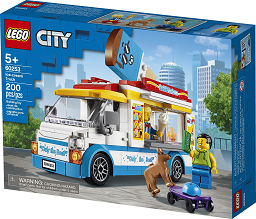
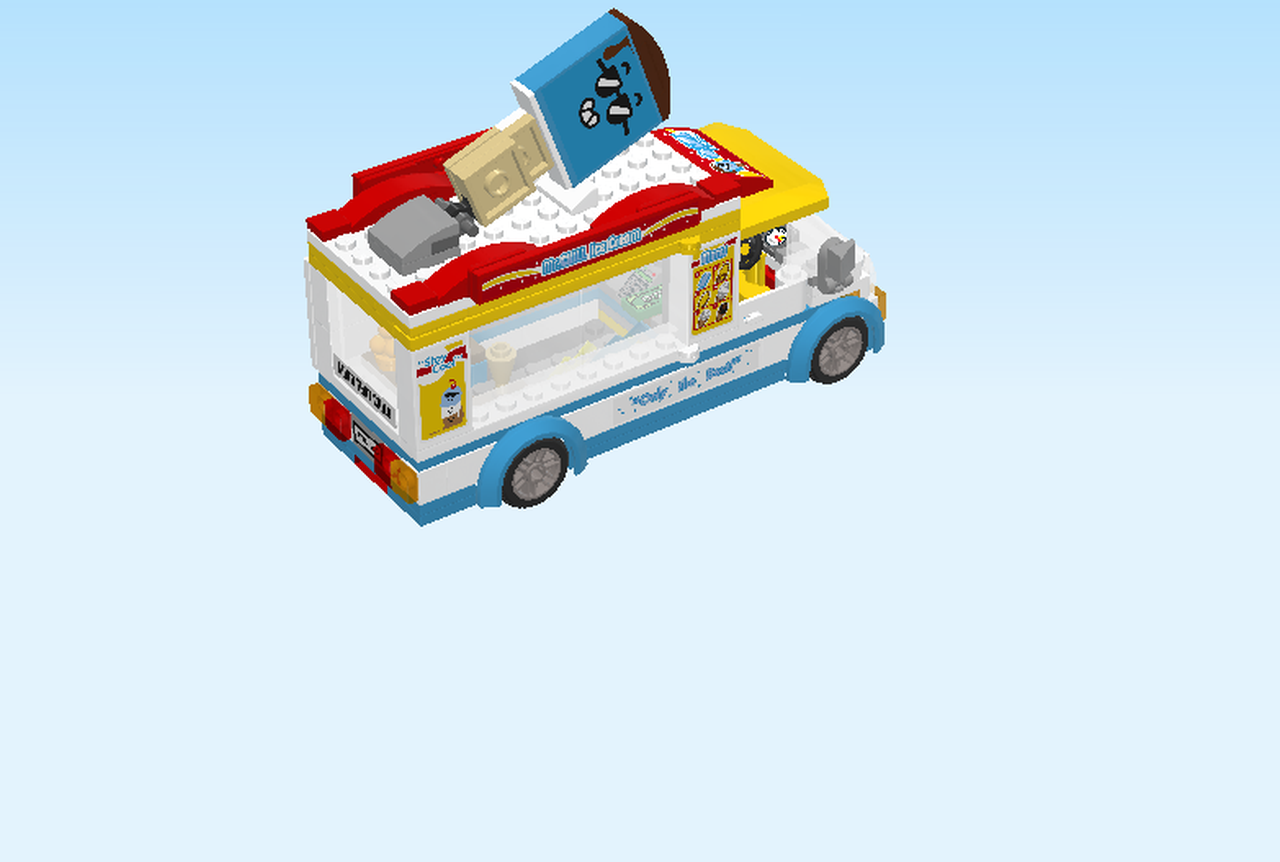
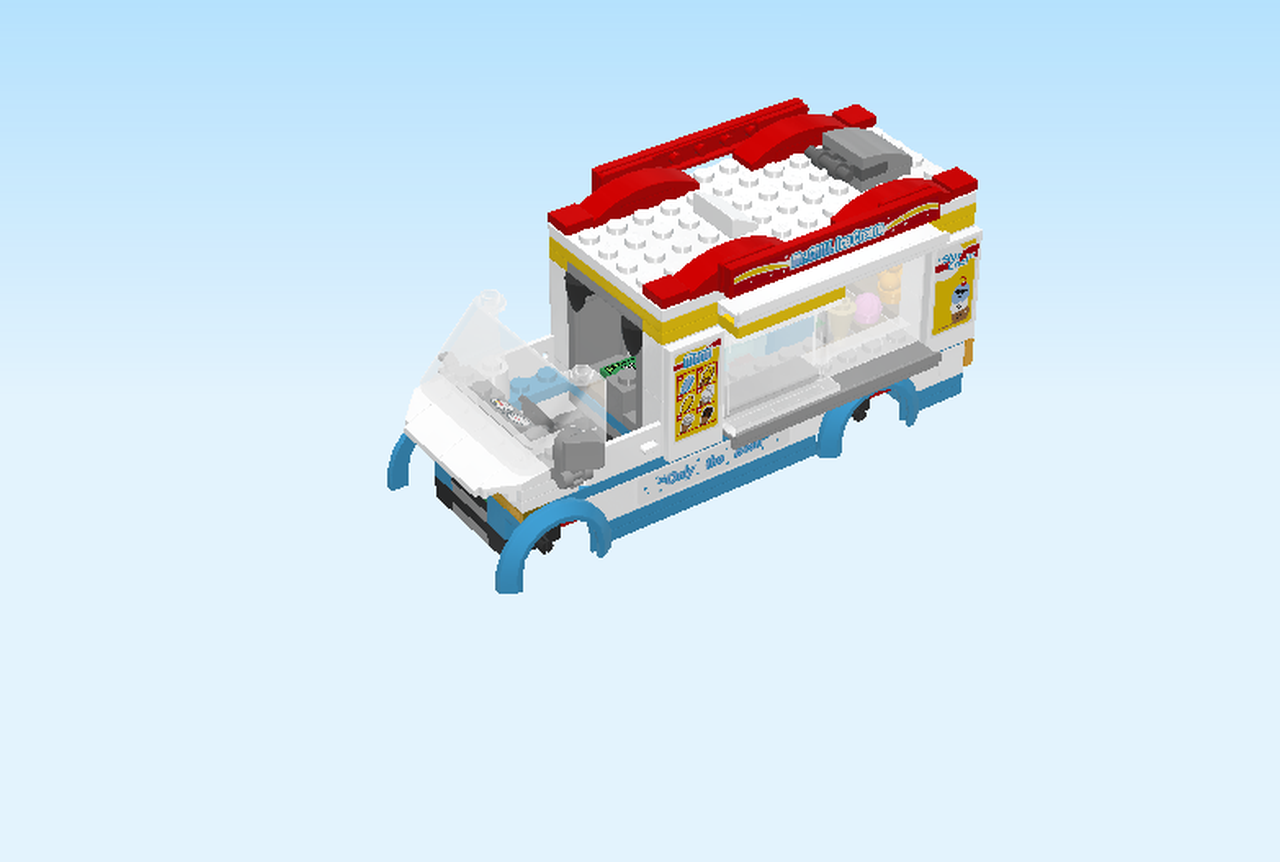
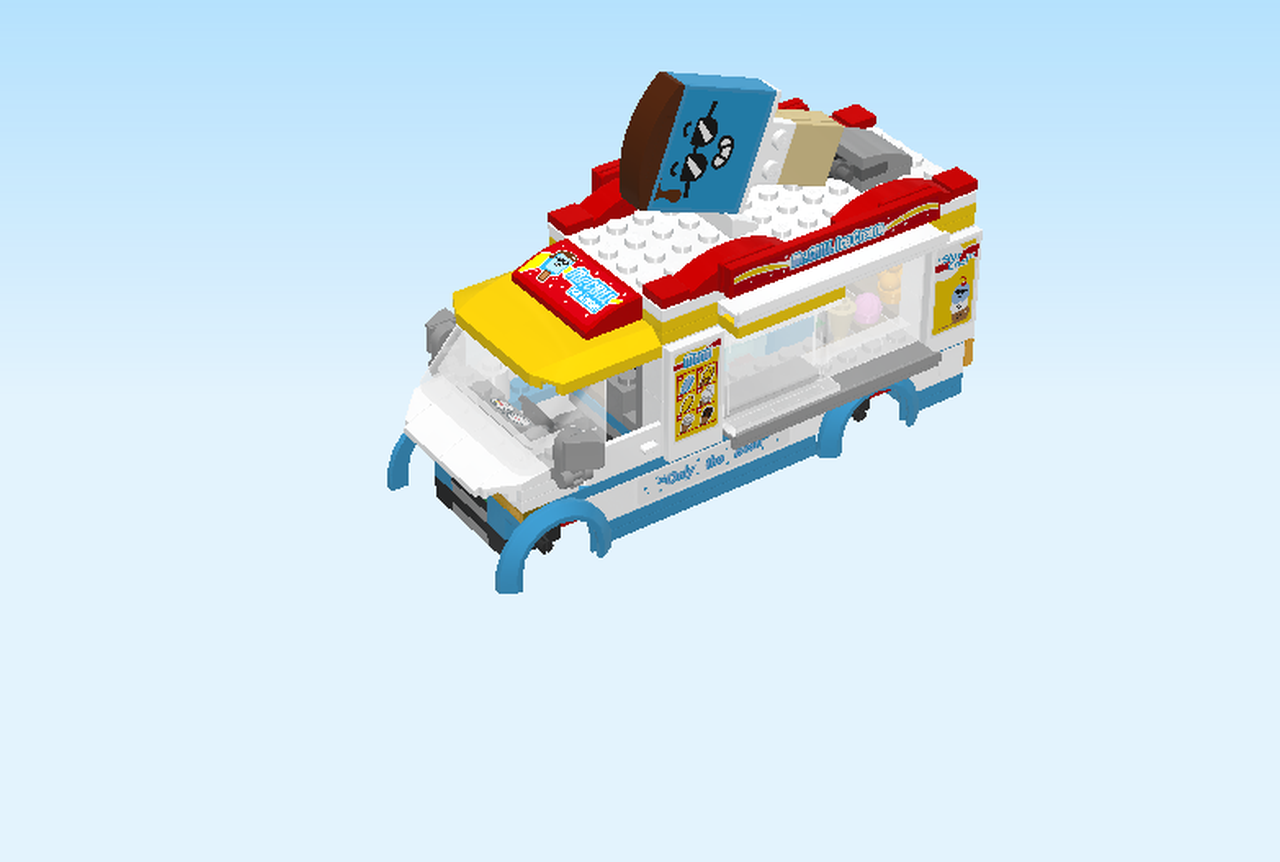
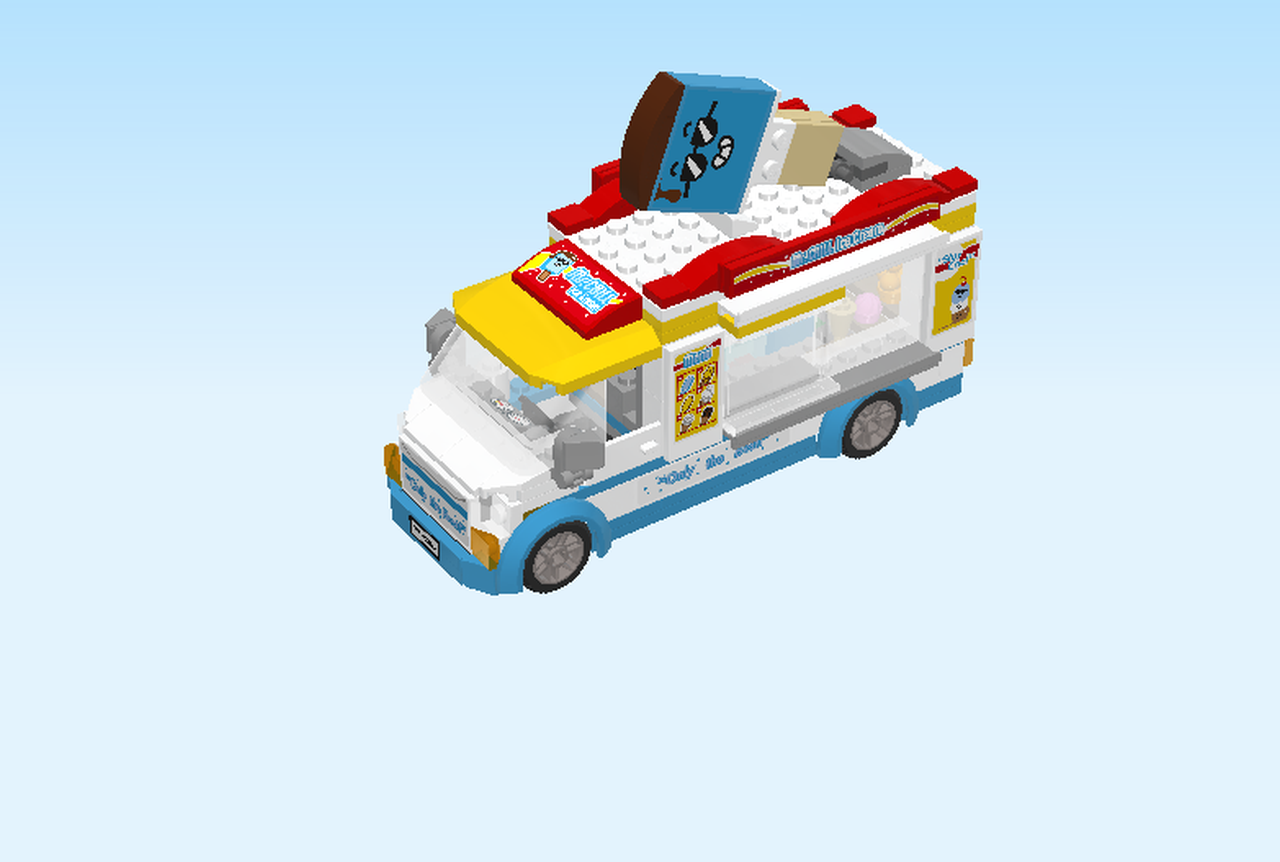
| Ding-a-ling-a-ling! The LEGO® City Ice-Cream Truck has arrived! Take one more circuit on your cool skateboard, then flick up your board, remove your helmet and head over for a treat together with your cute dog. Help the ice-cream lady serve delicious ice-cream cones and popsicles. Then close the serving hatch and help drive this awesome, multicolored truck to the next stop! |
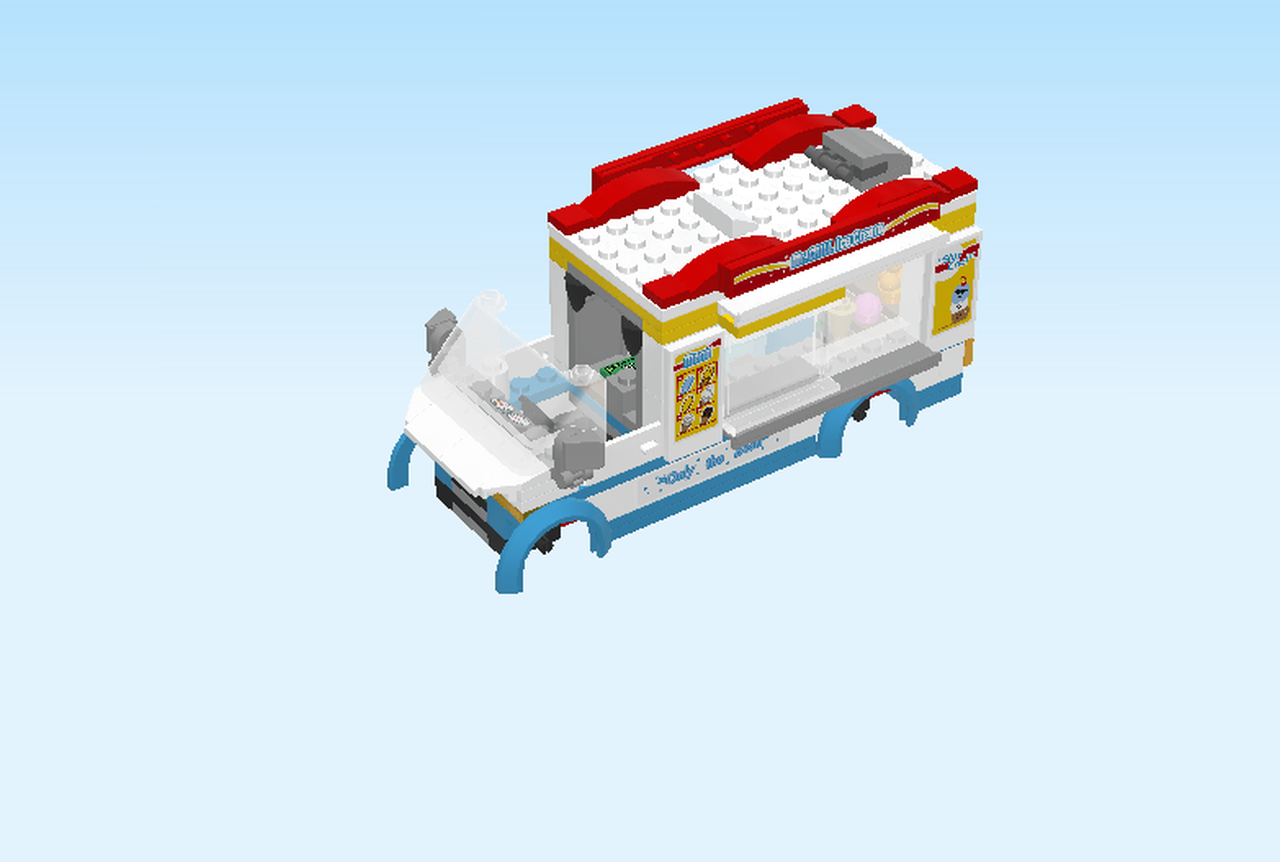
| The box front shows the ice-cream truck parked on the street and the ice-cream lady is standing inside the truck ready to sell an ice-cream to the boy. The boy has parked his skateboard on the side, it is guarded by his dog. |
| Open the box. This can be tricky; ask someone to help you! |
| The box contains two booklets with visual building instructions, two numbered bags, 2 medium stone grey plates 2x16 and a sticker sheet. |
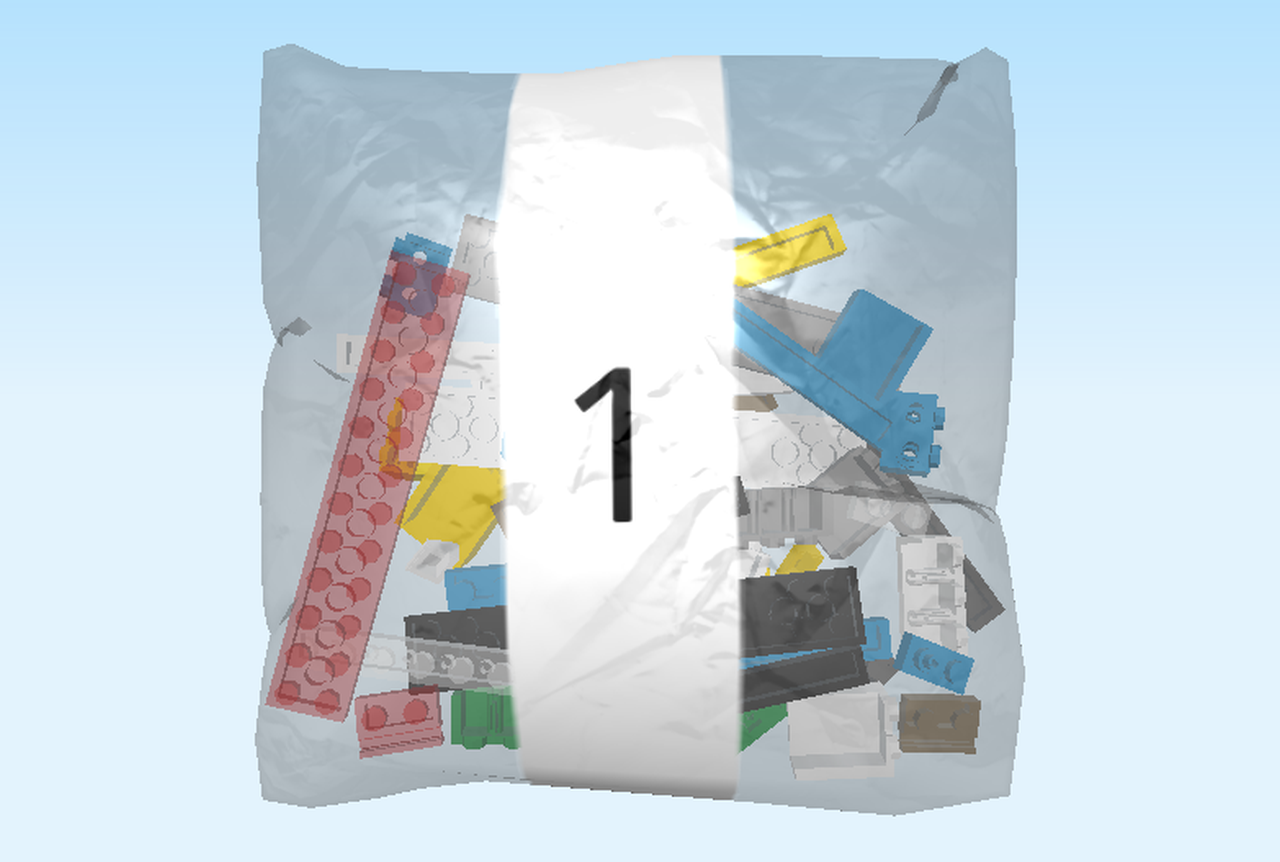
| Open bag 1. Before you get started, ask a sighted person to help you sort the pieces by color. This way, it will be easier finding the right pieces. |
| First, we will build the skater boy Minifigure. |
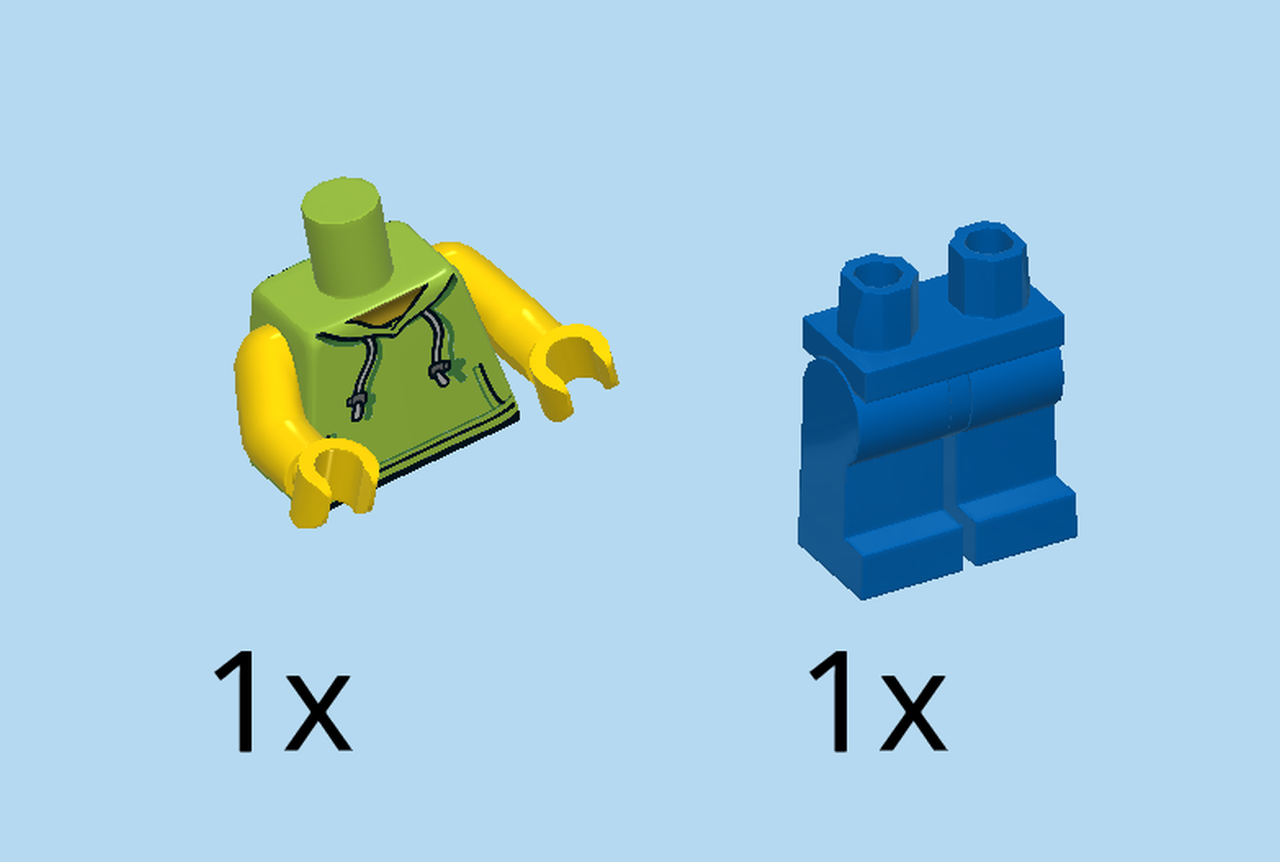
| Collect the following 2 pieces: |
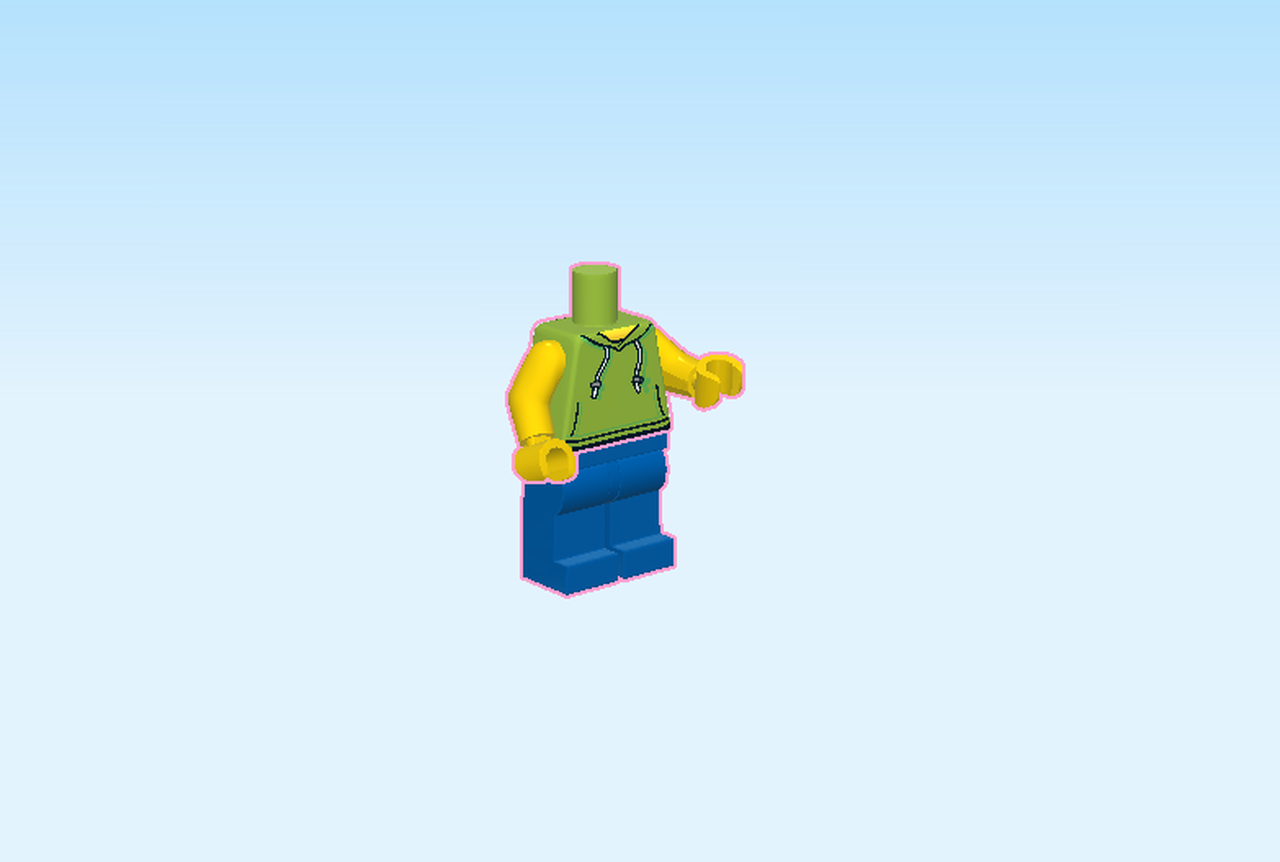
| 1 bright yellowish green and bright yellow upper part of the body, |
| and 1 bright blue pair of legs. |
| Put the upper part of the body on the legs. |
| Collect the following 2 pieces: |
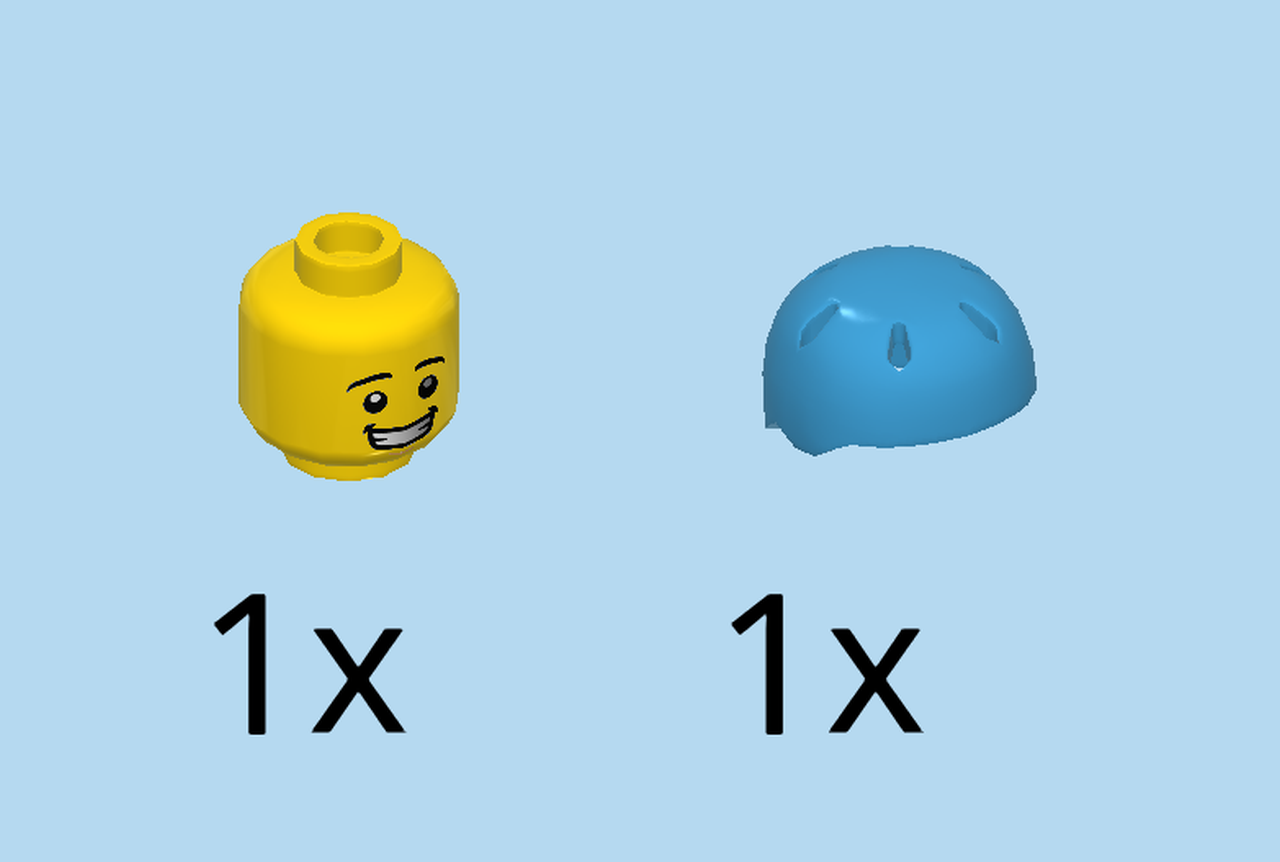
| 1 dark azure blue skater helmet, |
| and 1 bright yellow head. |
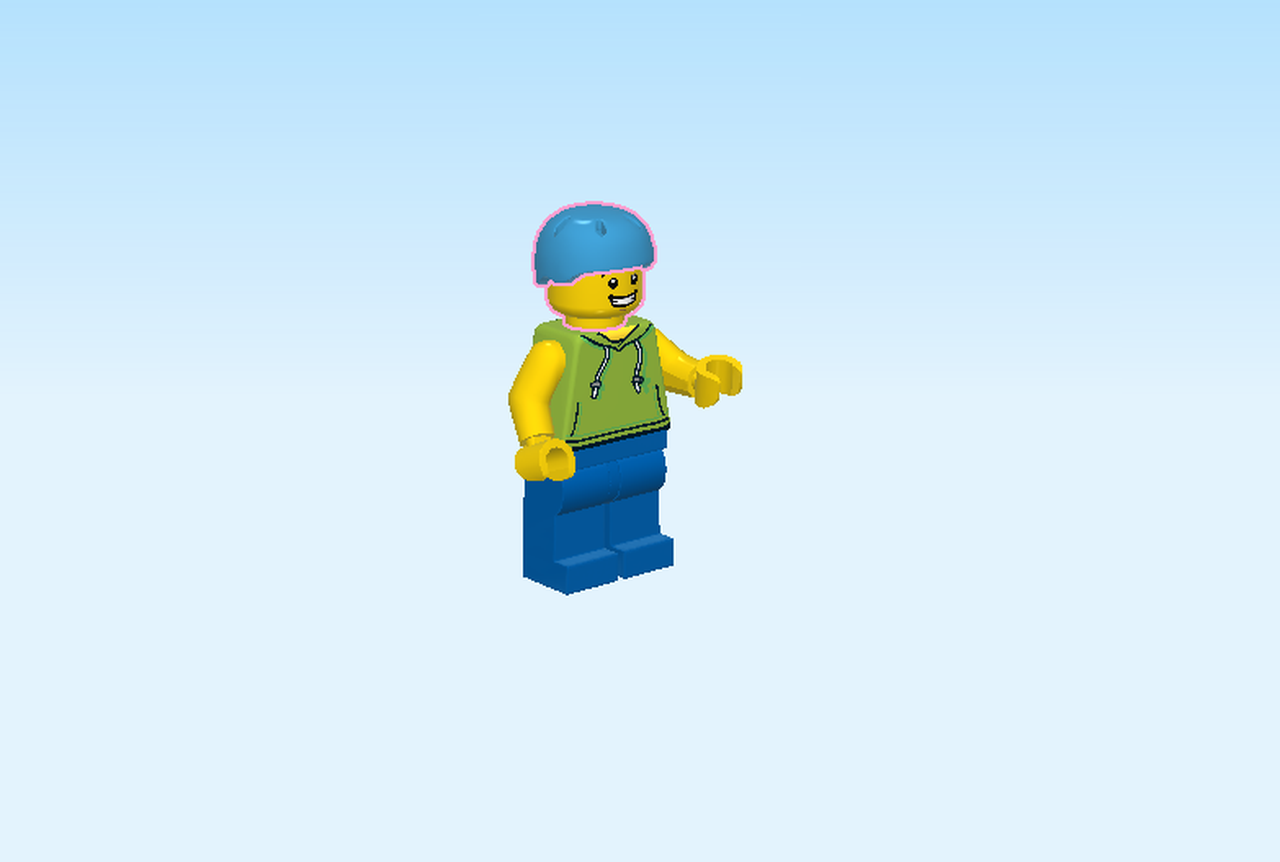
| Put them on top. |
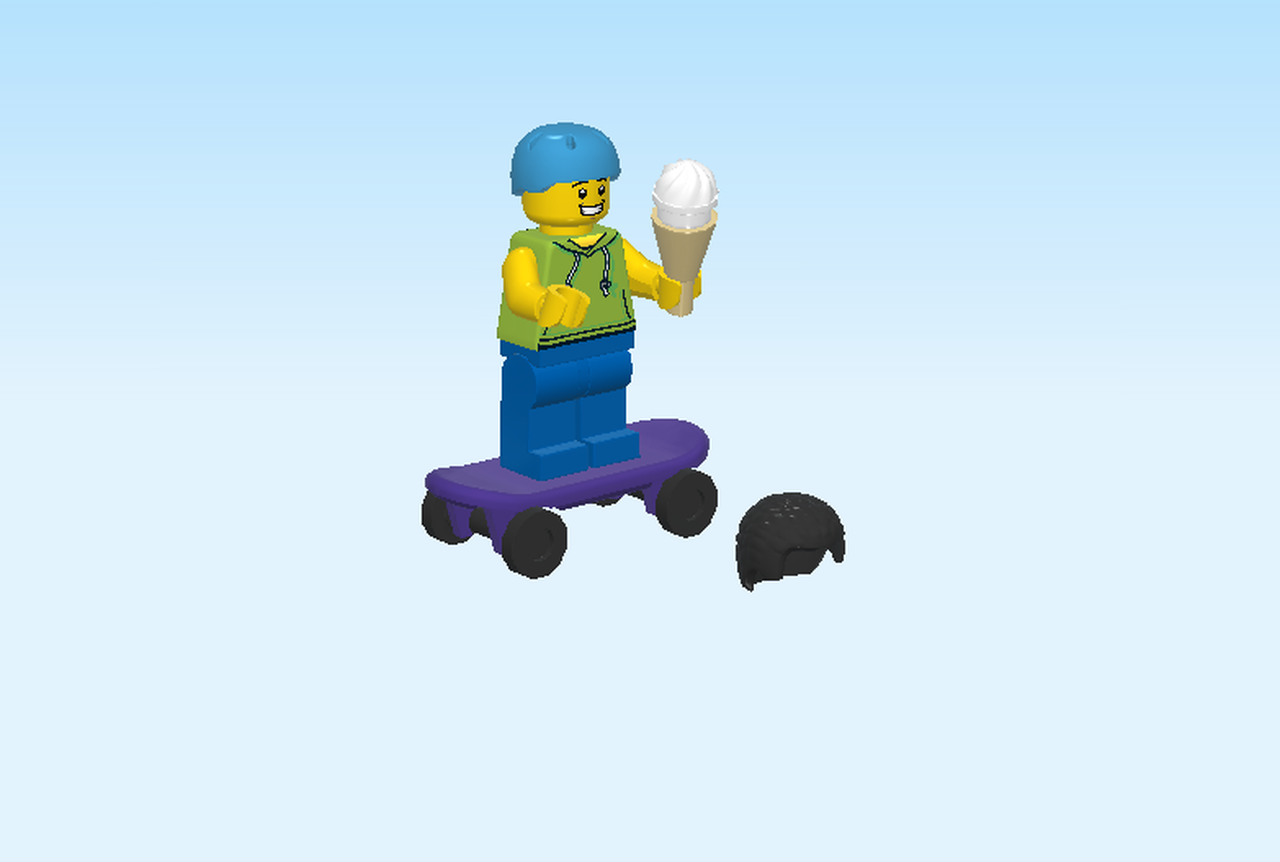
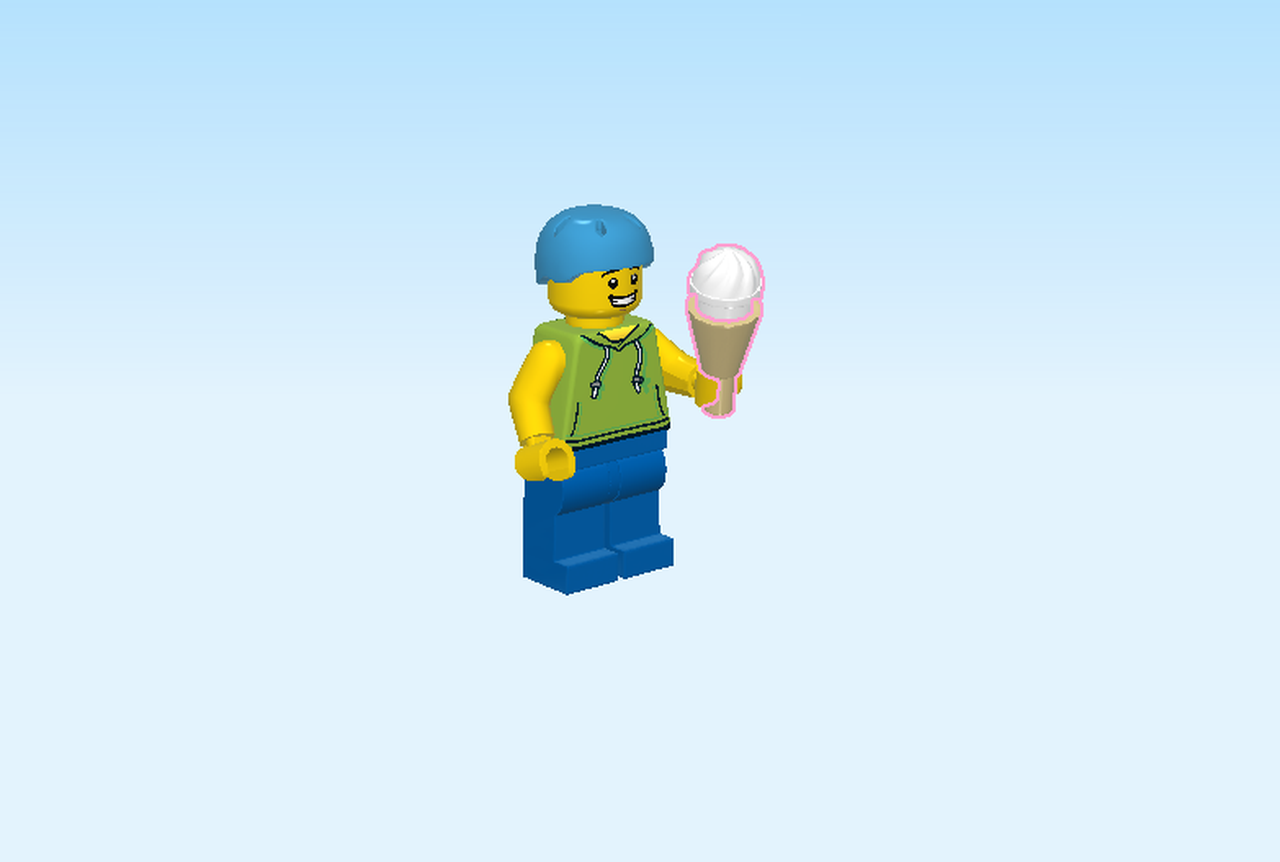
| The Minifigure is wearing blue pants and a green hoodie with short sleeves. He has a big smile on his face. |
| Collect the following 2 pieces: |
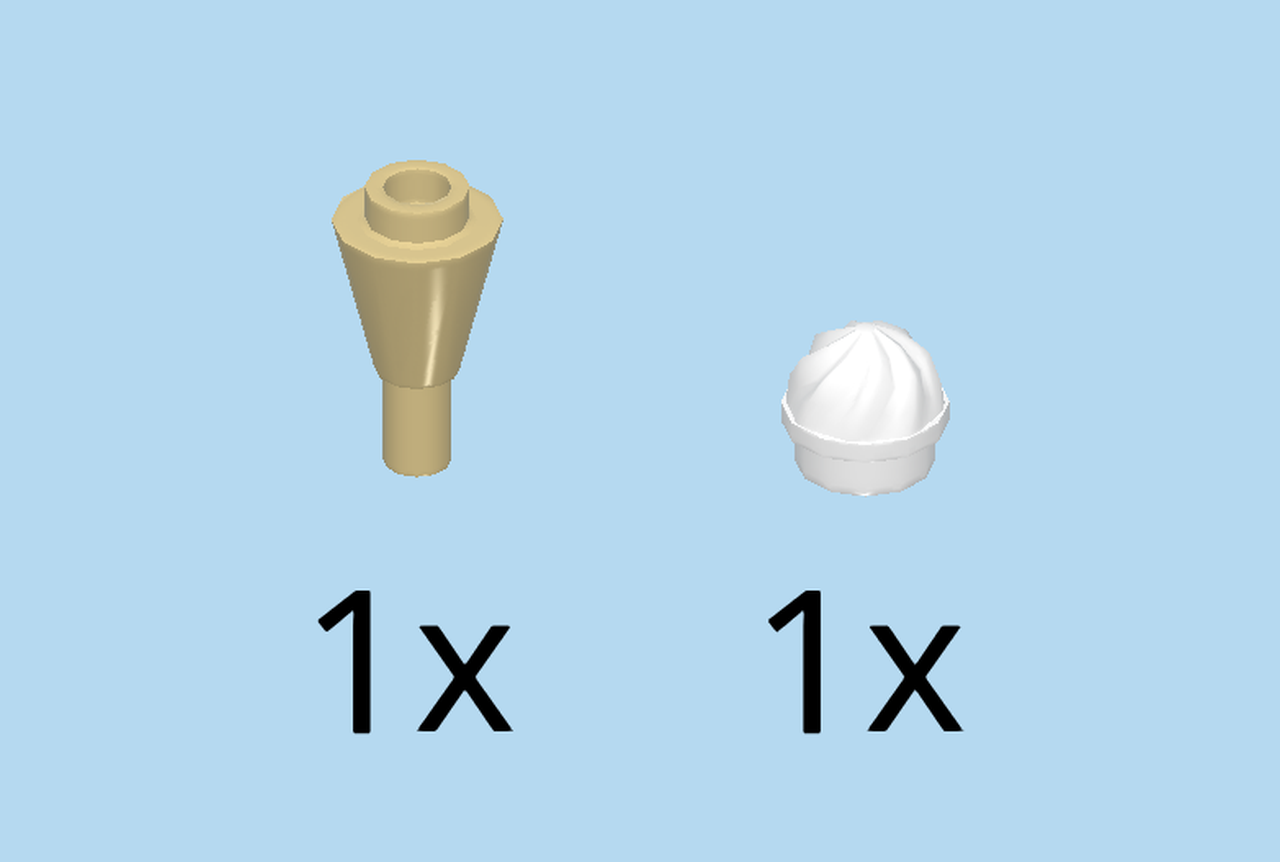
| 1 pale ocher yellow inverted cone 1x1 with shaft, |
| and 1 white decoration top 1x1. |
| Put the decoration top on top of the cone. |
| Put the ice cream in his hand. |
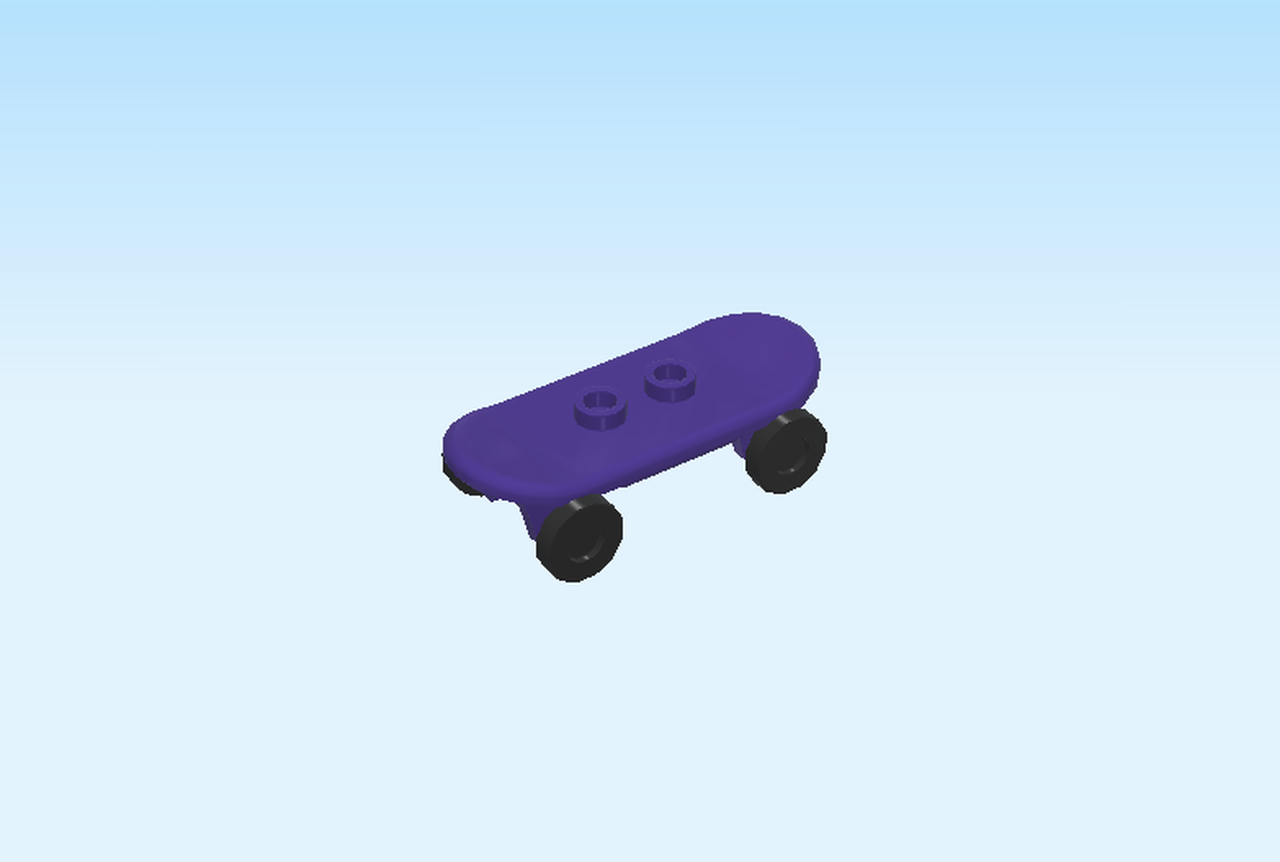
| We are now going to build the skateboard. |
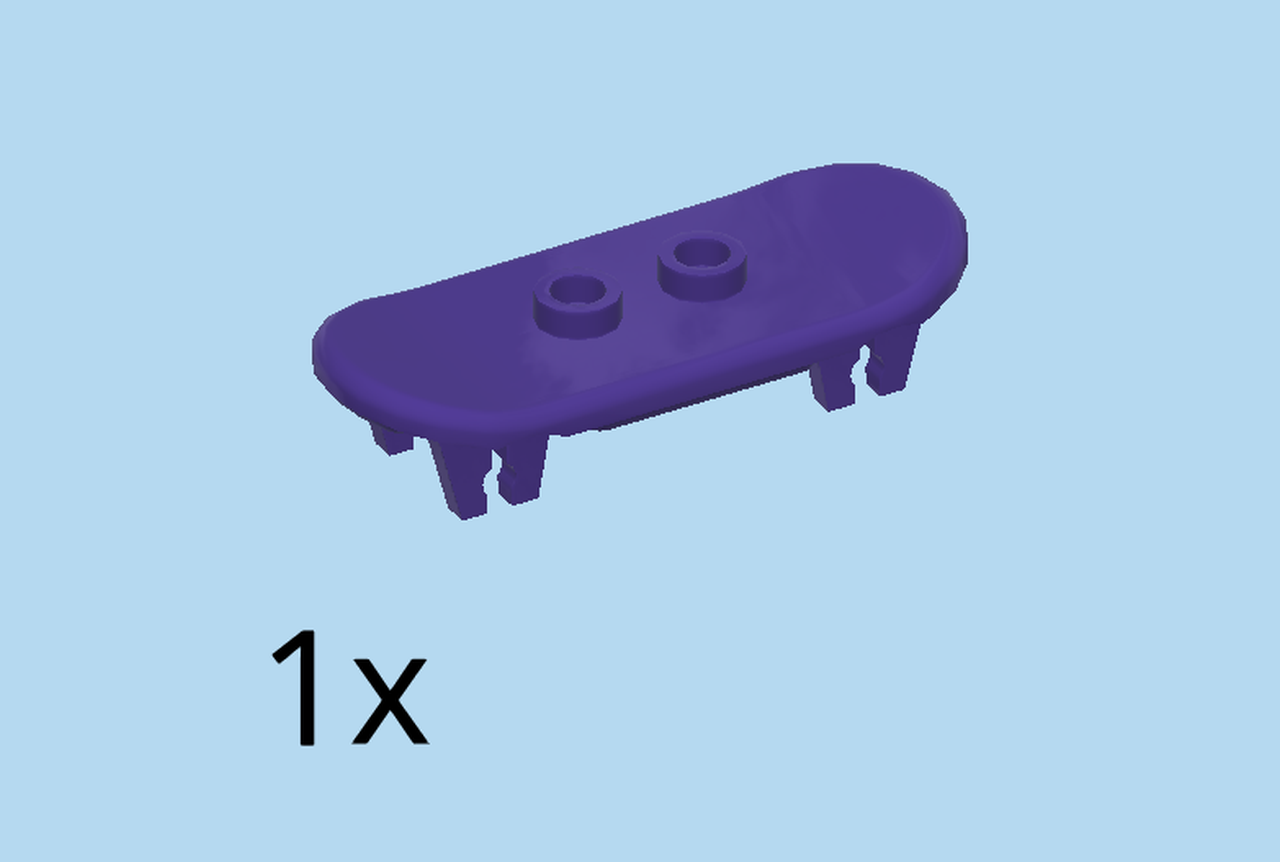
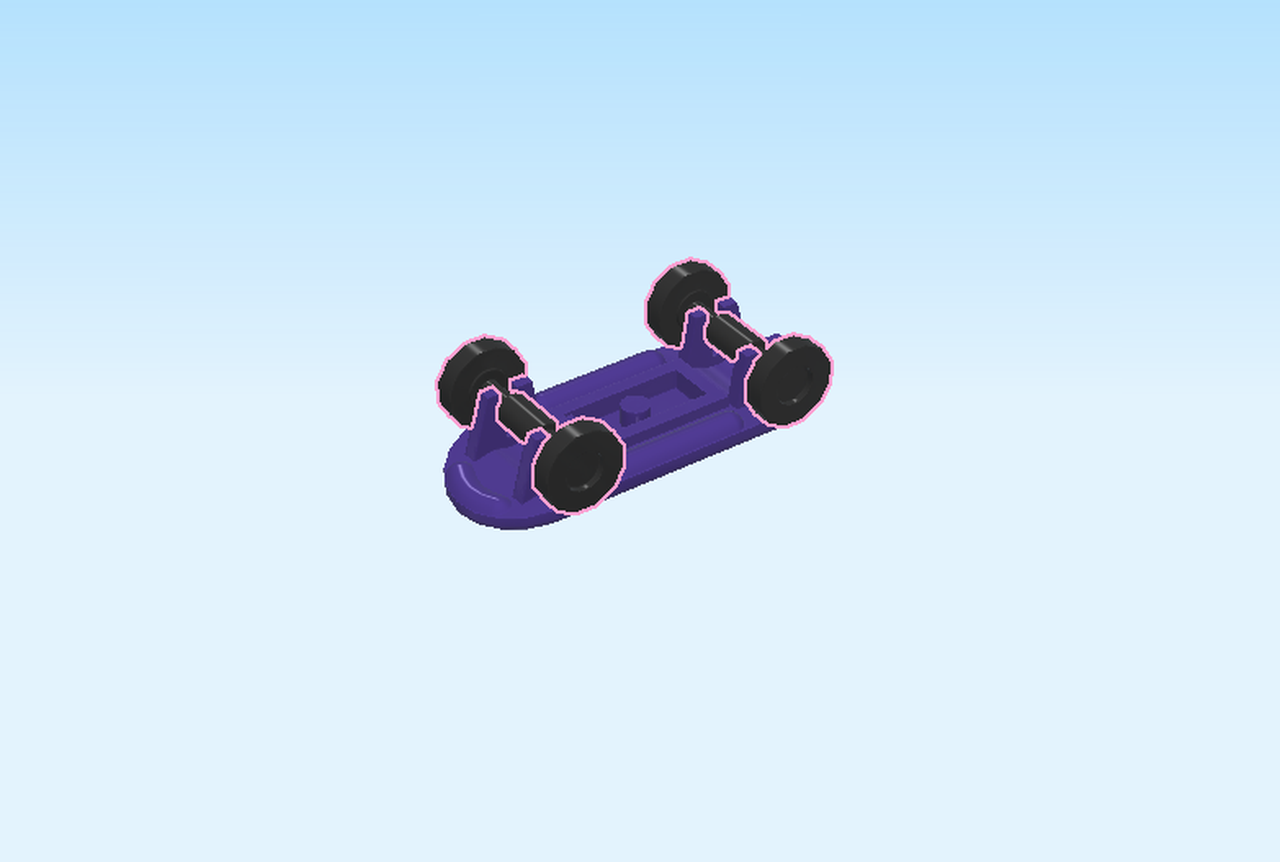
| Find 1 medium lilac skateboard top. |
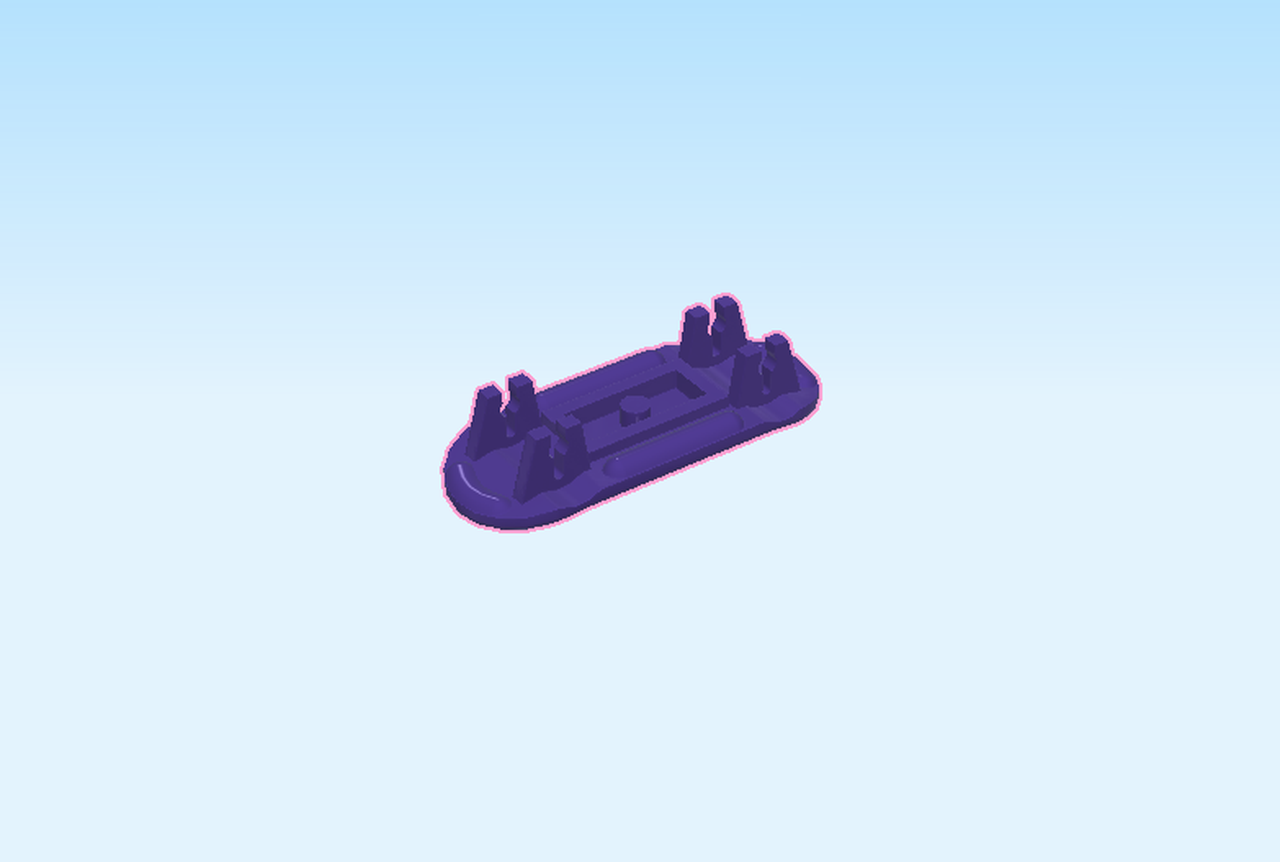
| Put it on the table with the two knobs down. |
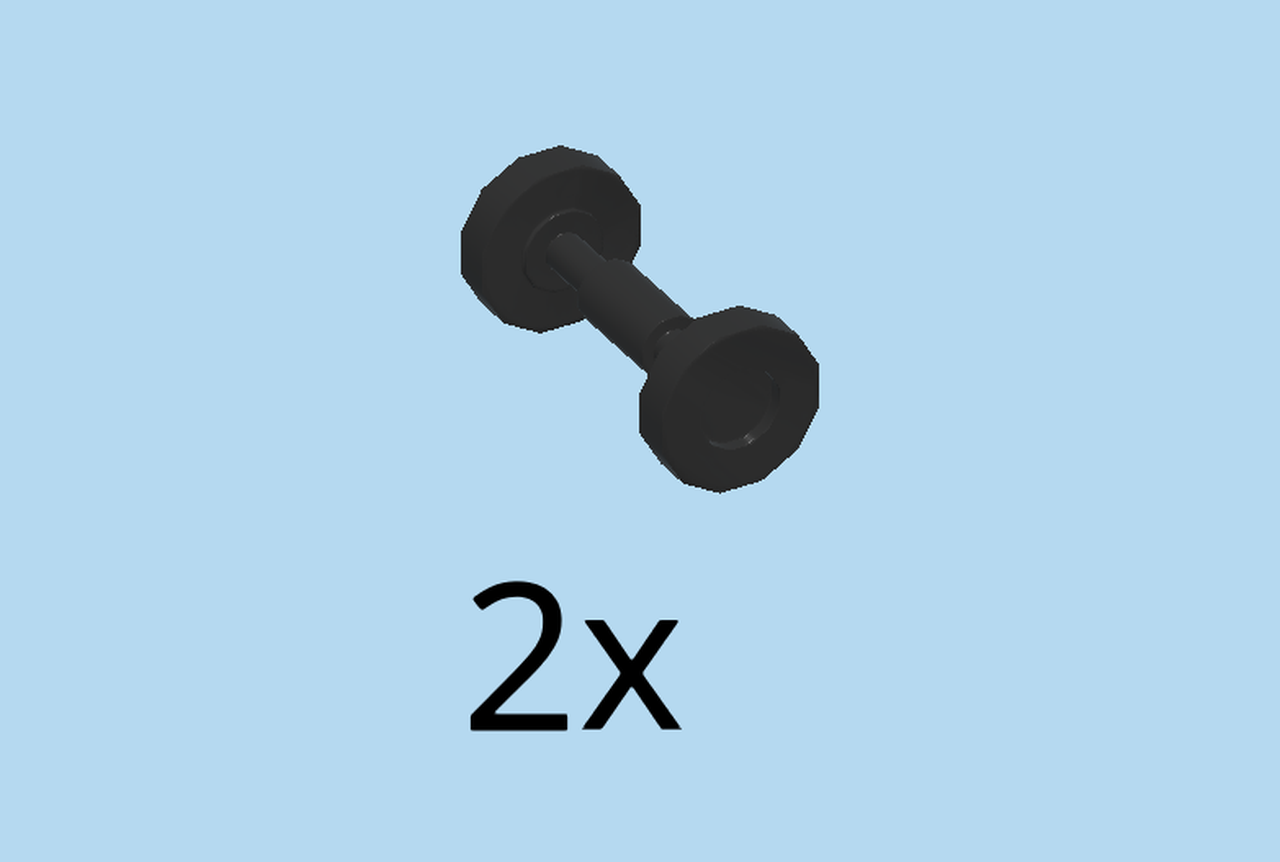
| Find 2 black small plastic wheel axles. |
| Put them vertically into the clasps. |
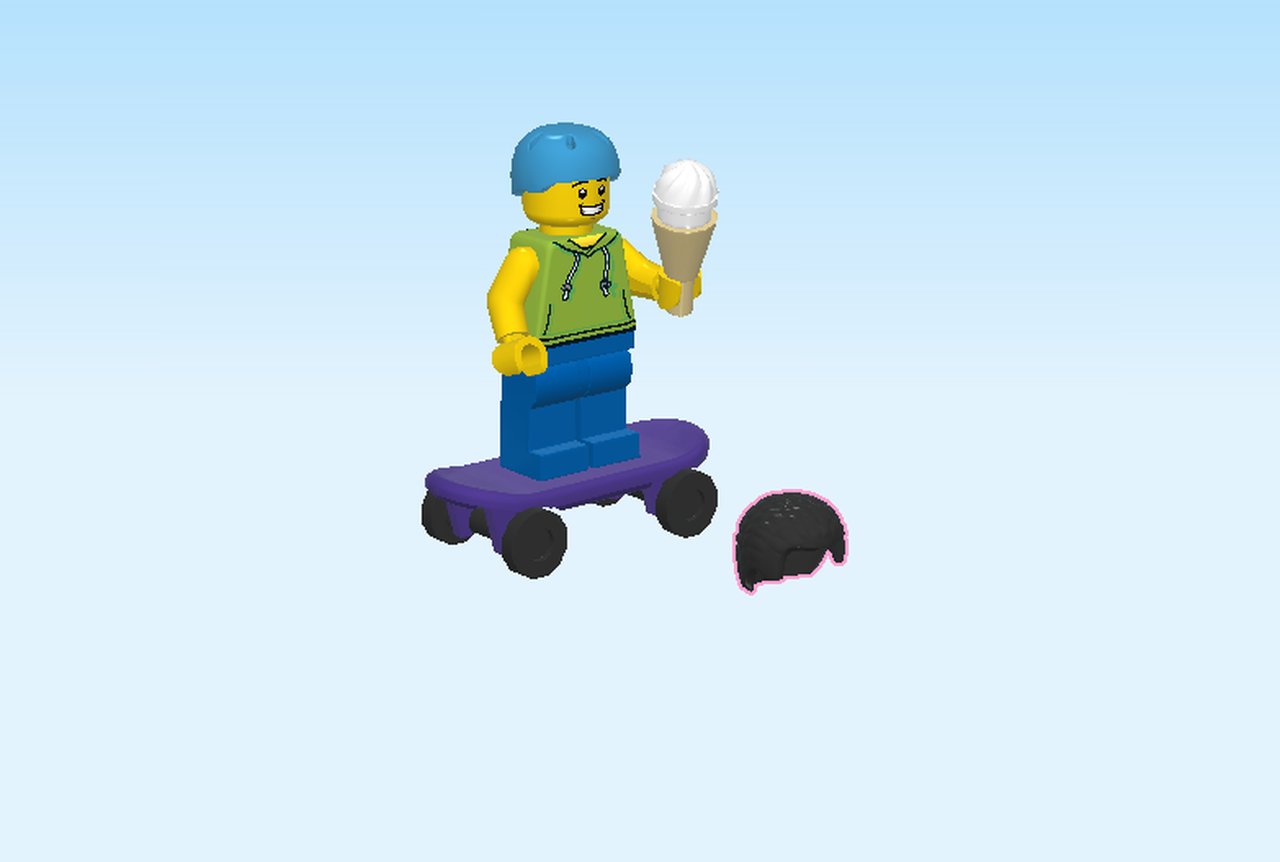
| Turn the skateboard right side up and put the Minifigure on top. |
| Find 1 black hairpiece. |
| Put it on the table. |
| When the Minifigure is finished skating you can take his helmet off and put on the black hairpiece. |
| You are now finished building the Minifigure. Great job! He can take his skateboard for a spin until the ice-cream truck arrives. |
| In the next section we will build the ice-cream lady Minifigure. |
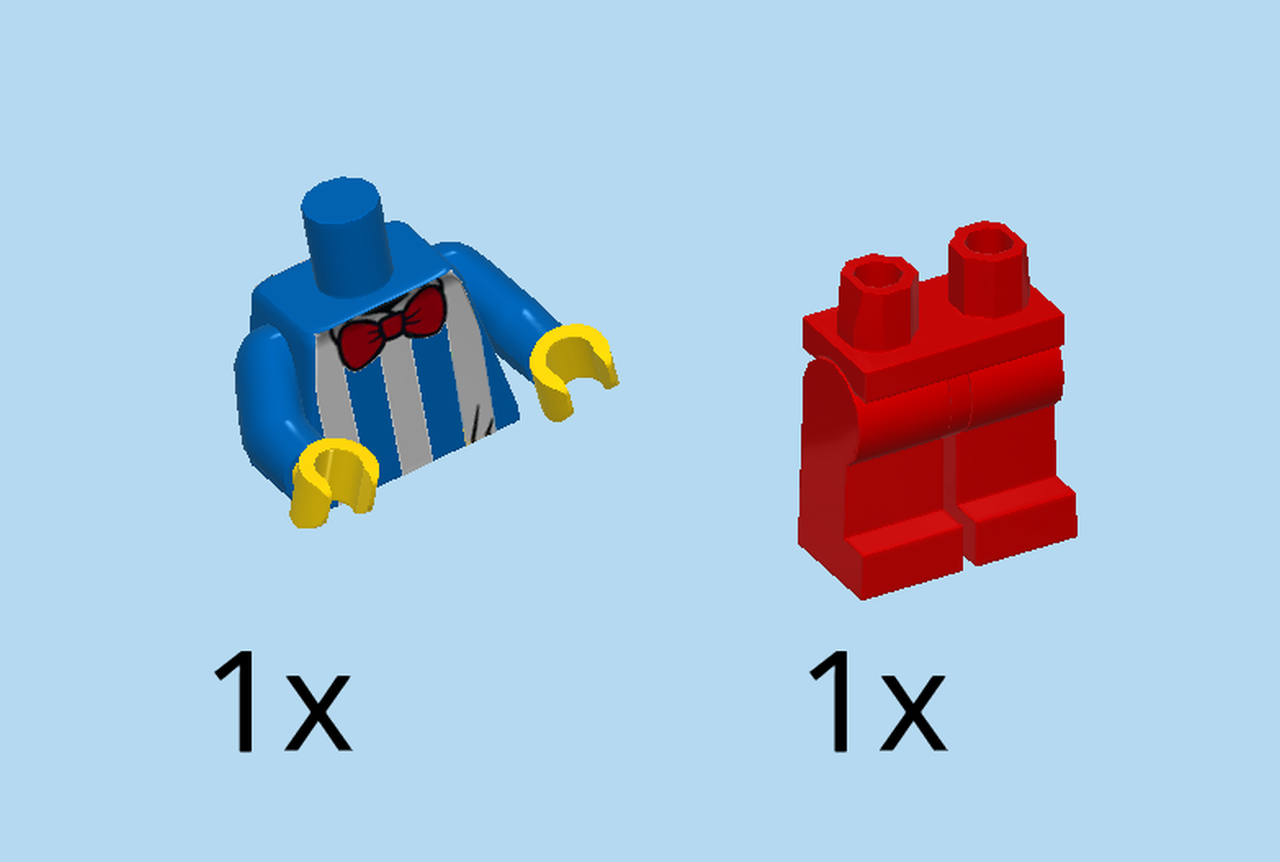
| Collect the following 2 pieces: |
| 1 bright red pair of legs, |
| and 1 bright blue and bright yellow upper part of the body. |
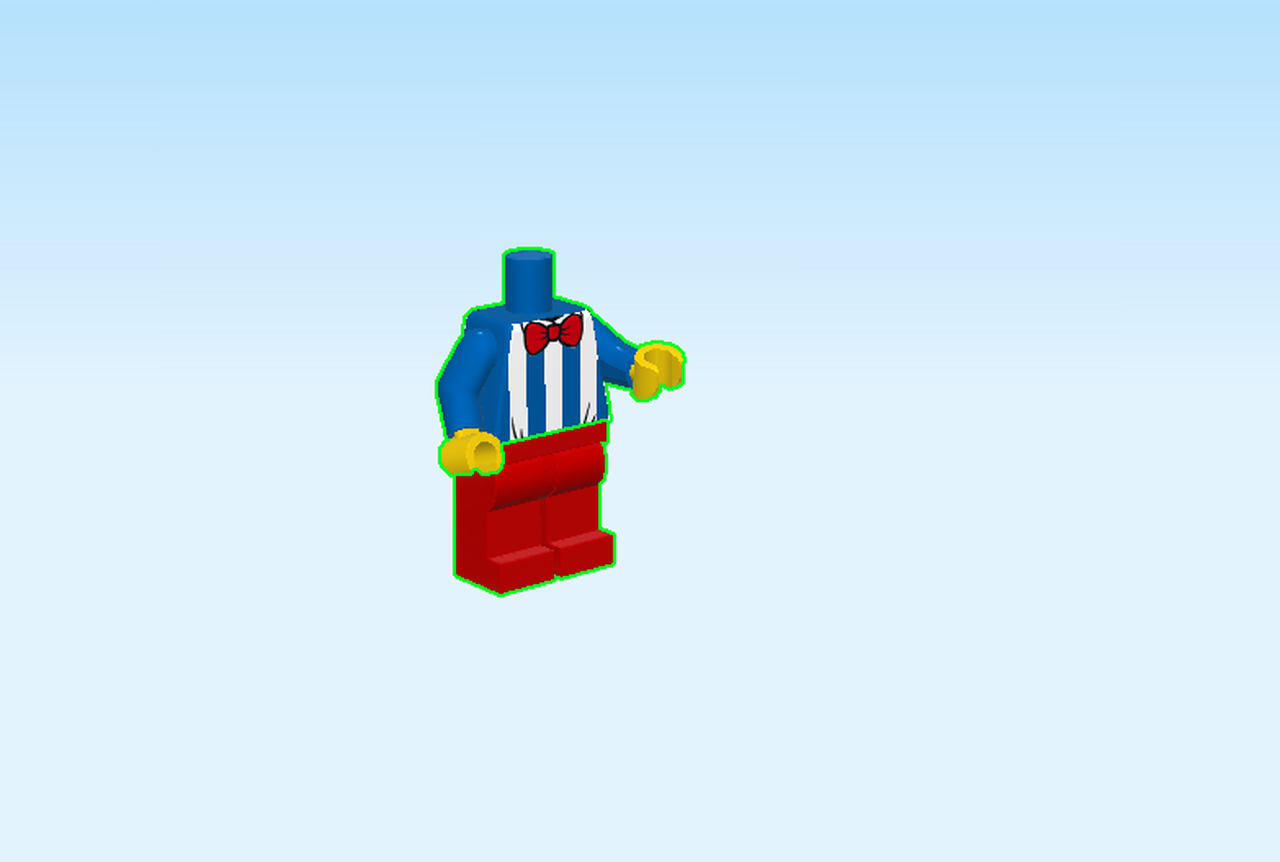
| Put the upper part of the body on the legs. |
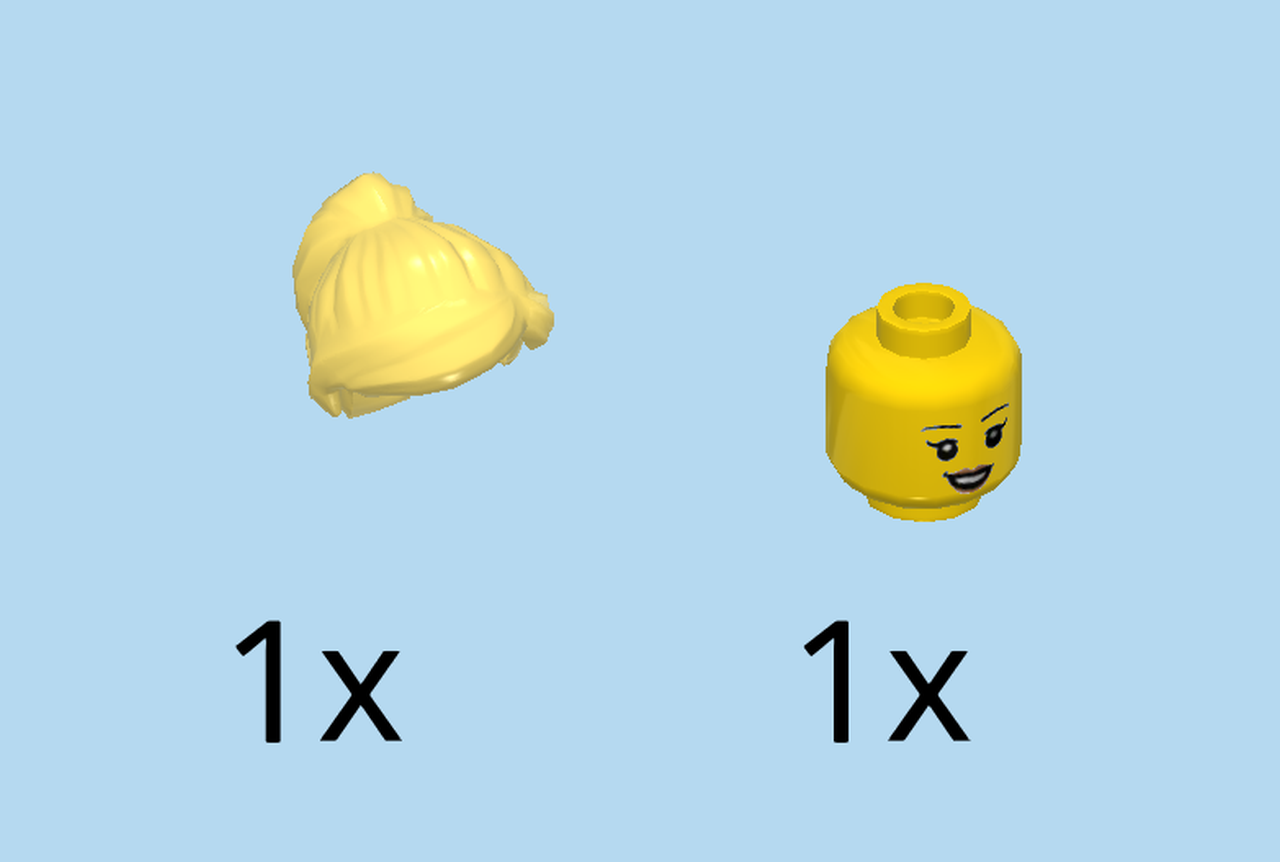
| Collect the following 2 pieces: |
| 1 bright yellow head, |
| and 1 lemon yellow hairpiece with fringes and ponytail. |
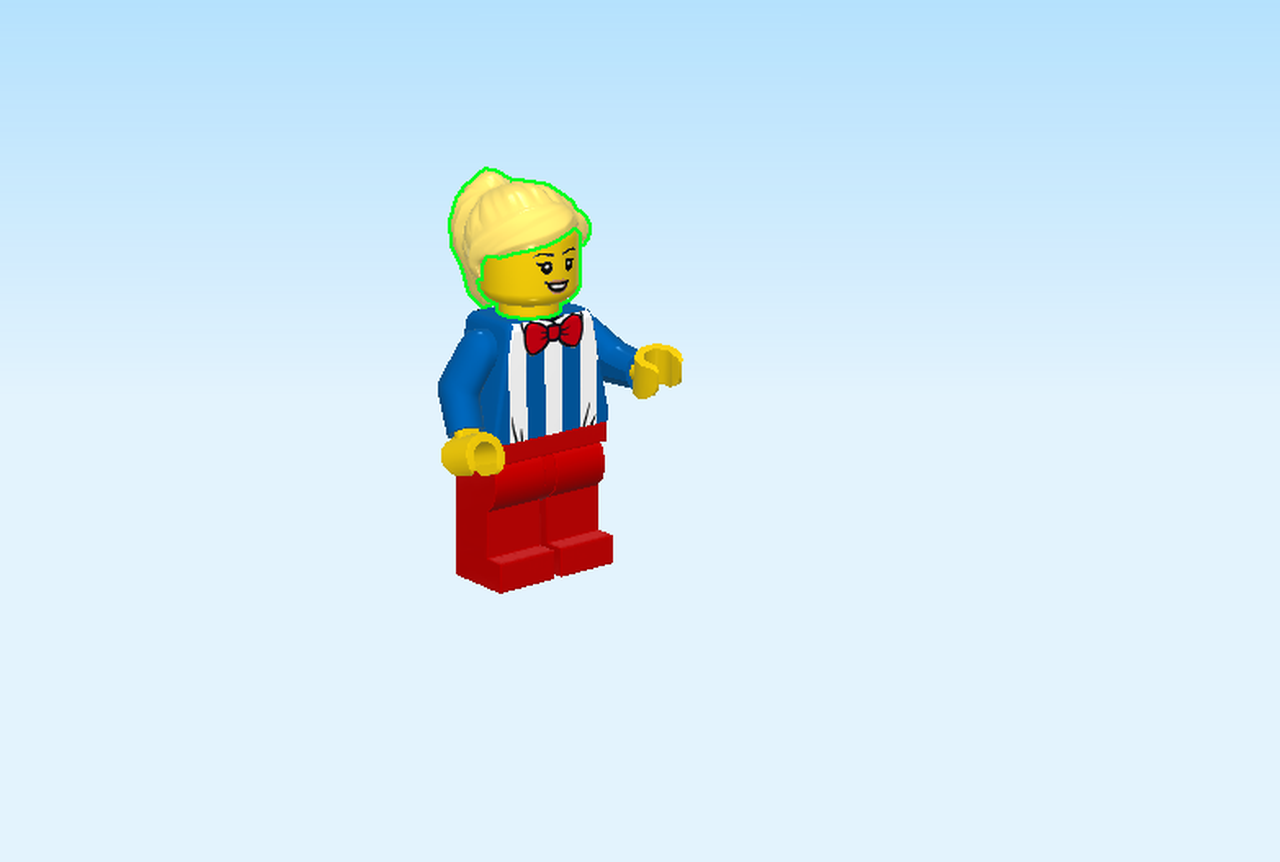
| Put them on top. |
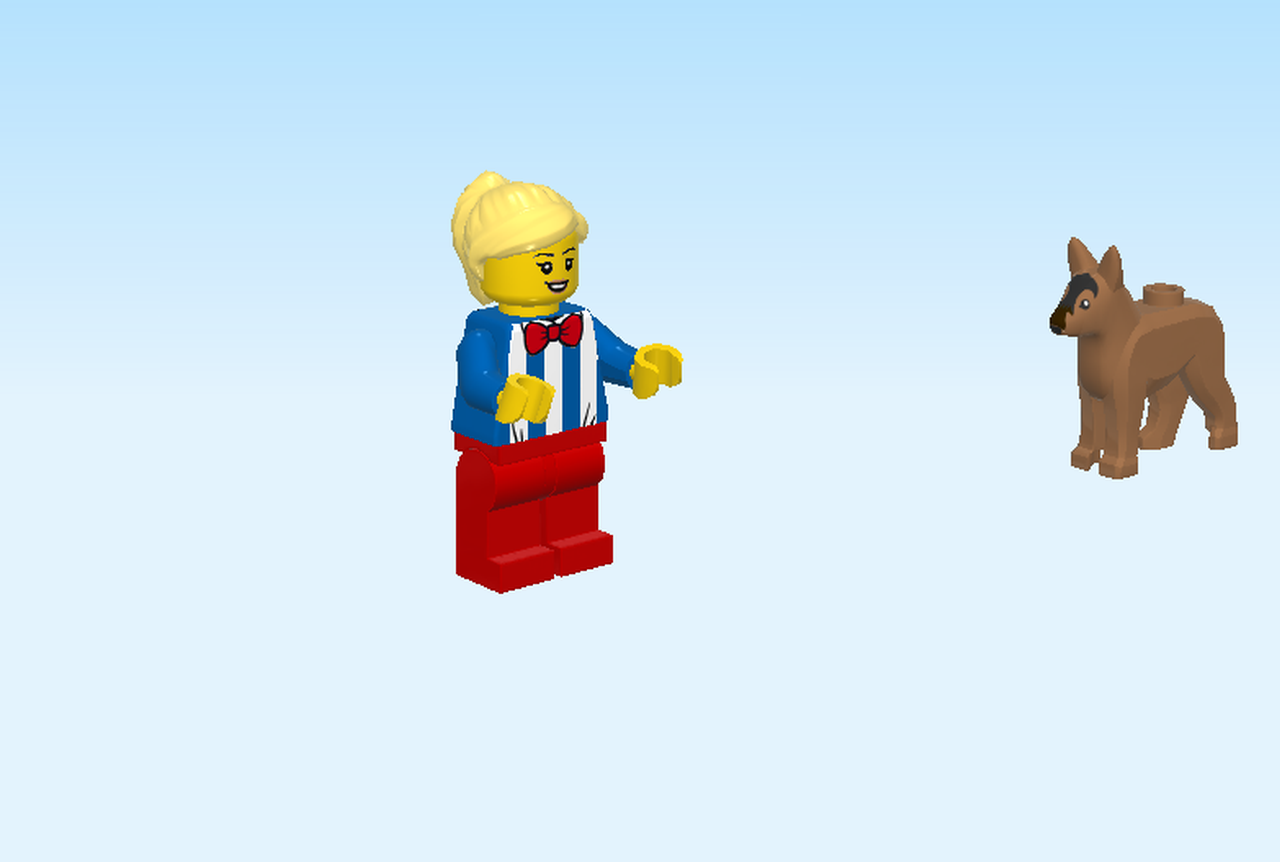
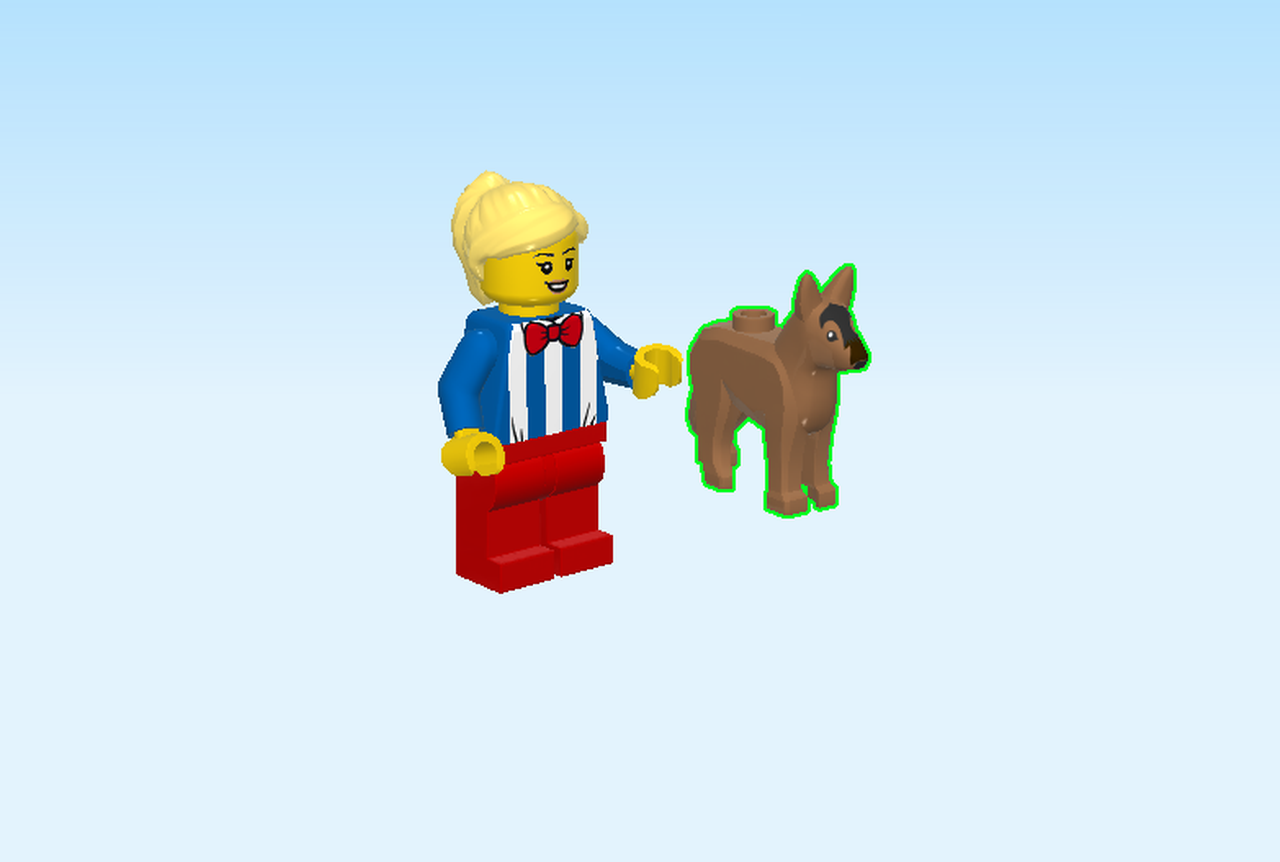
| The ice-cream lady is wearing red pants and a blue and white striped shirt with a red bowtie. She has a big smile on her face. |
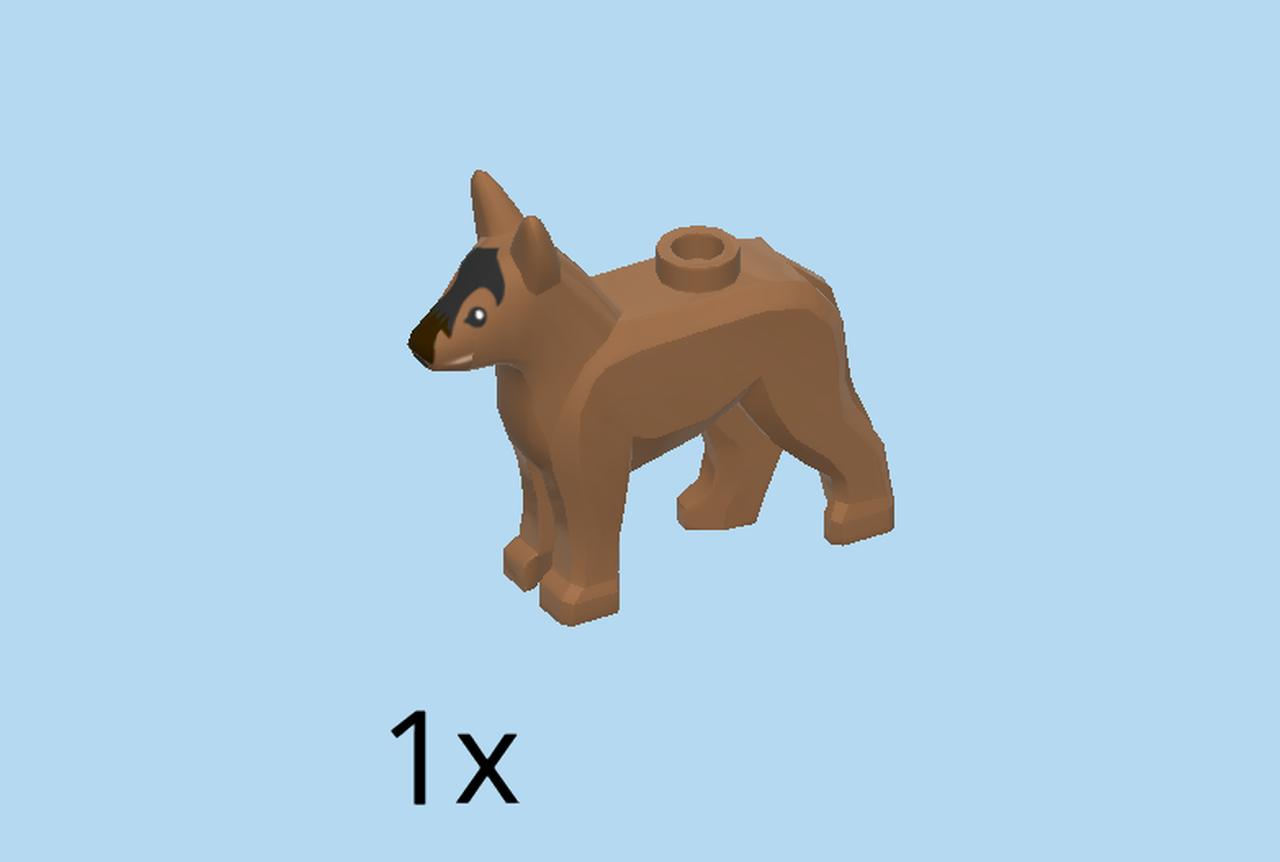
| Find 1 medium nougat brown dog with knob. |
| Put it on the table. |
| You are now finished building the ice-cream lady. She can play with the dog until we have finished building the ice-cream truck! |
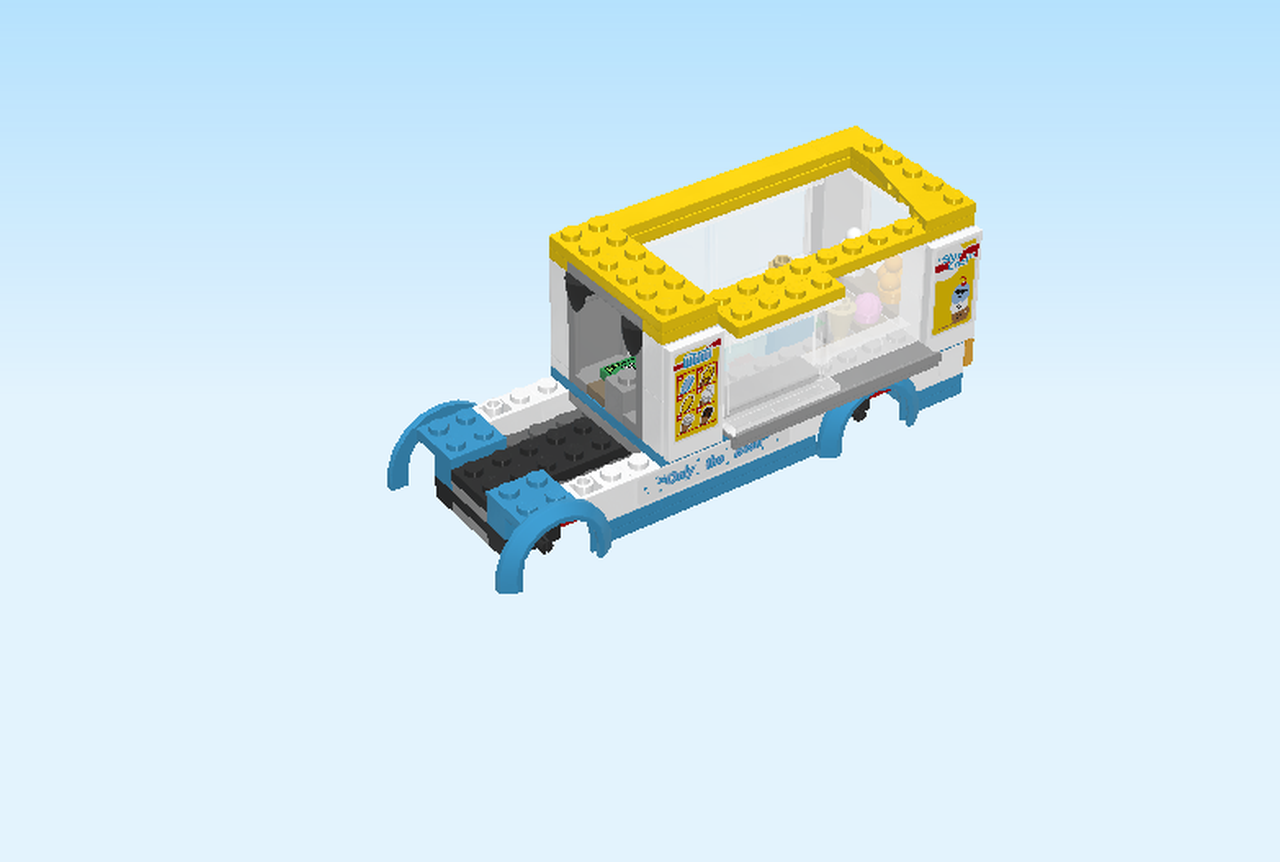
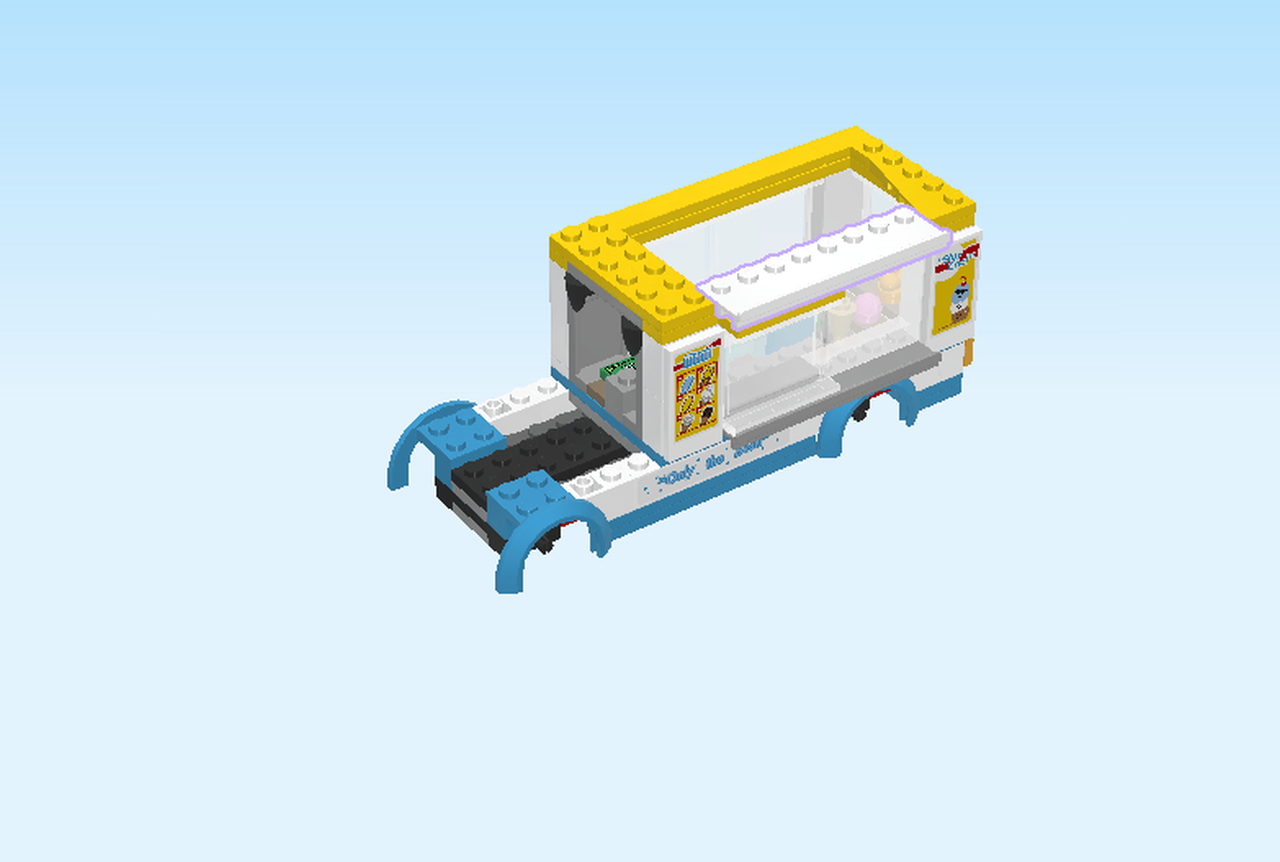
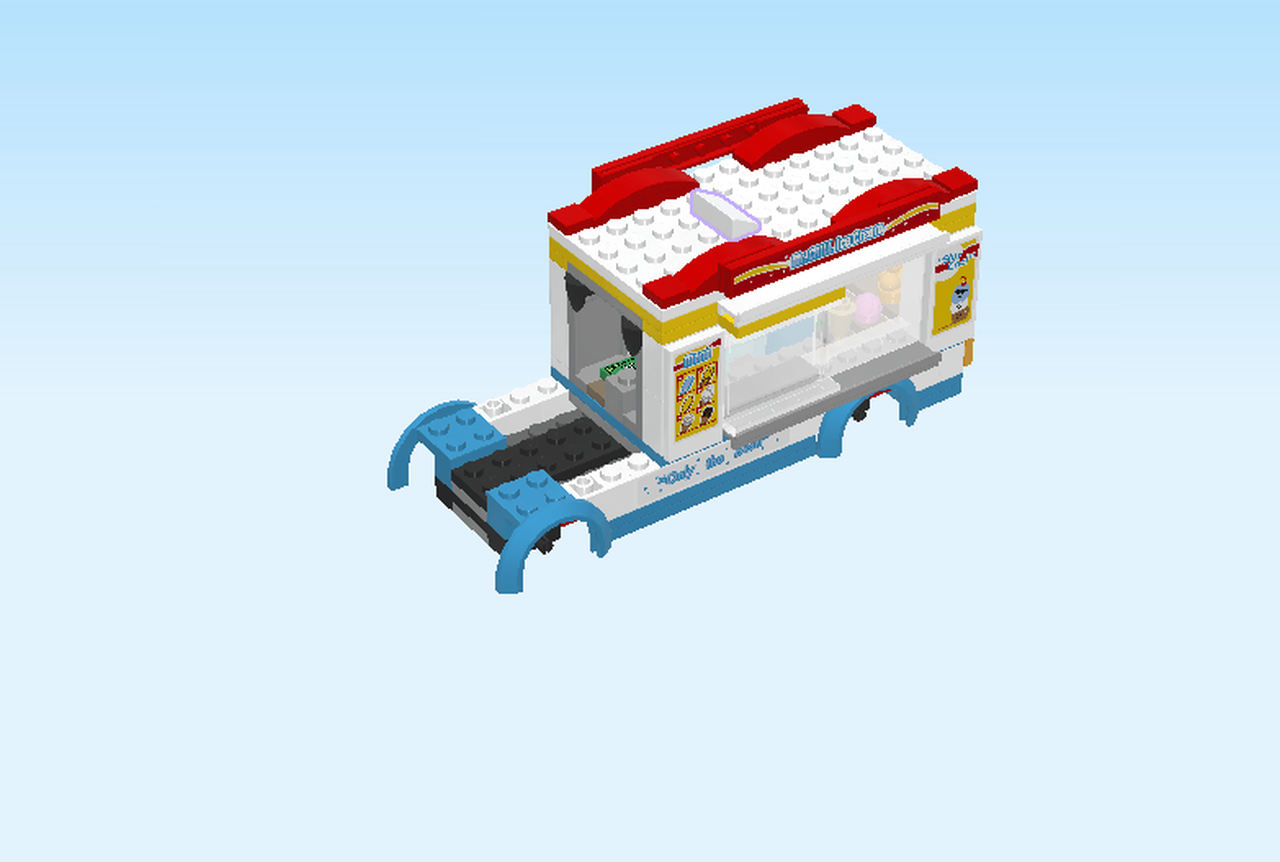
| Next, we will build the ice-cream truck. |
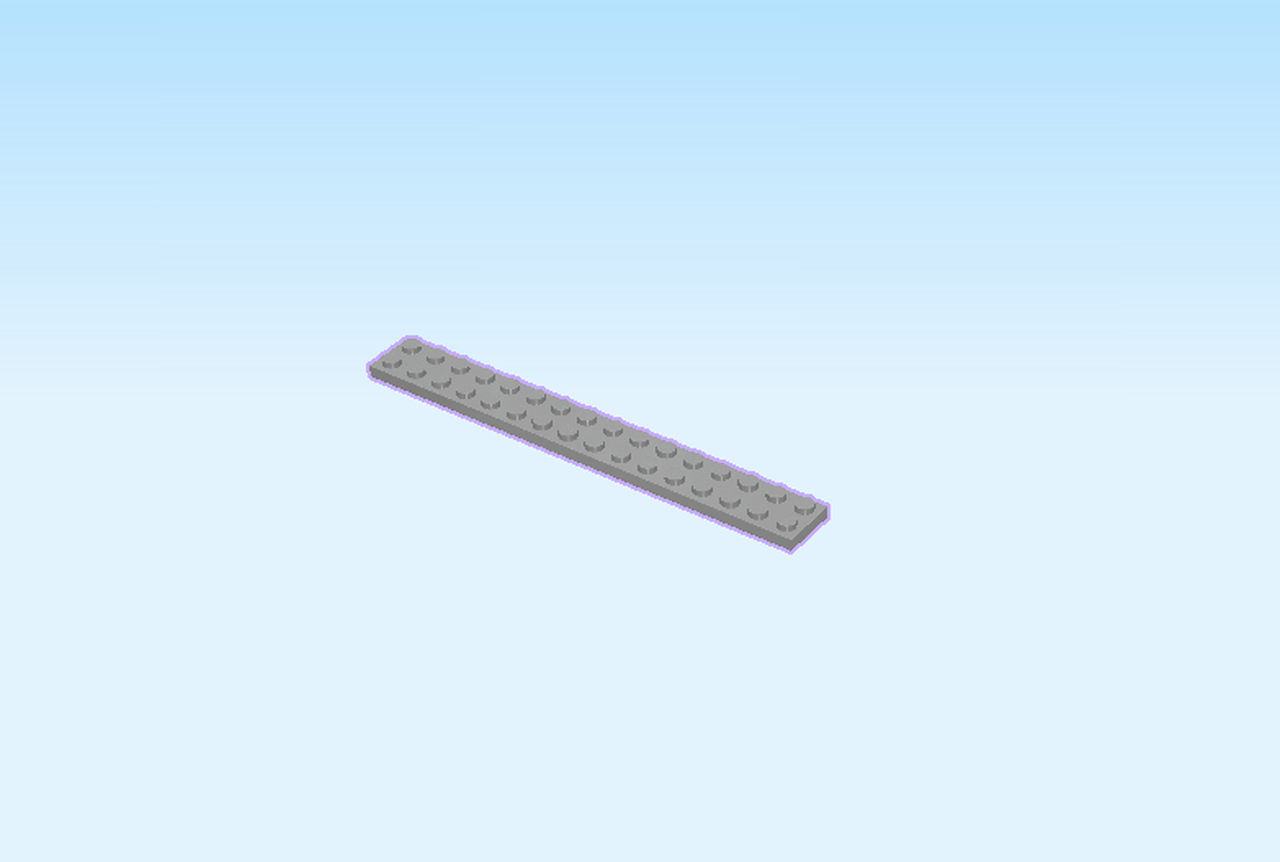
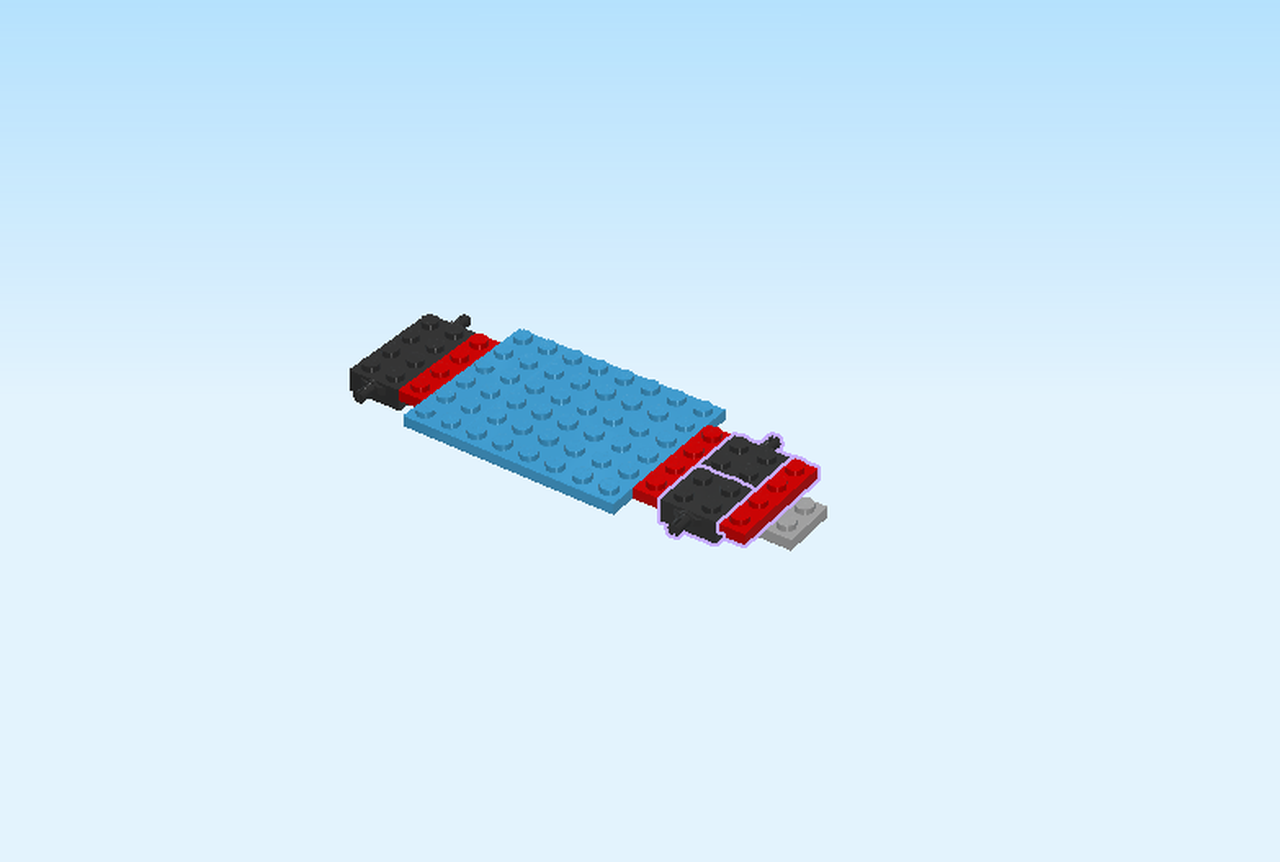
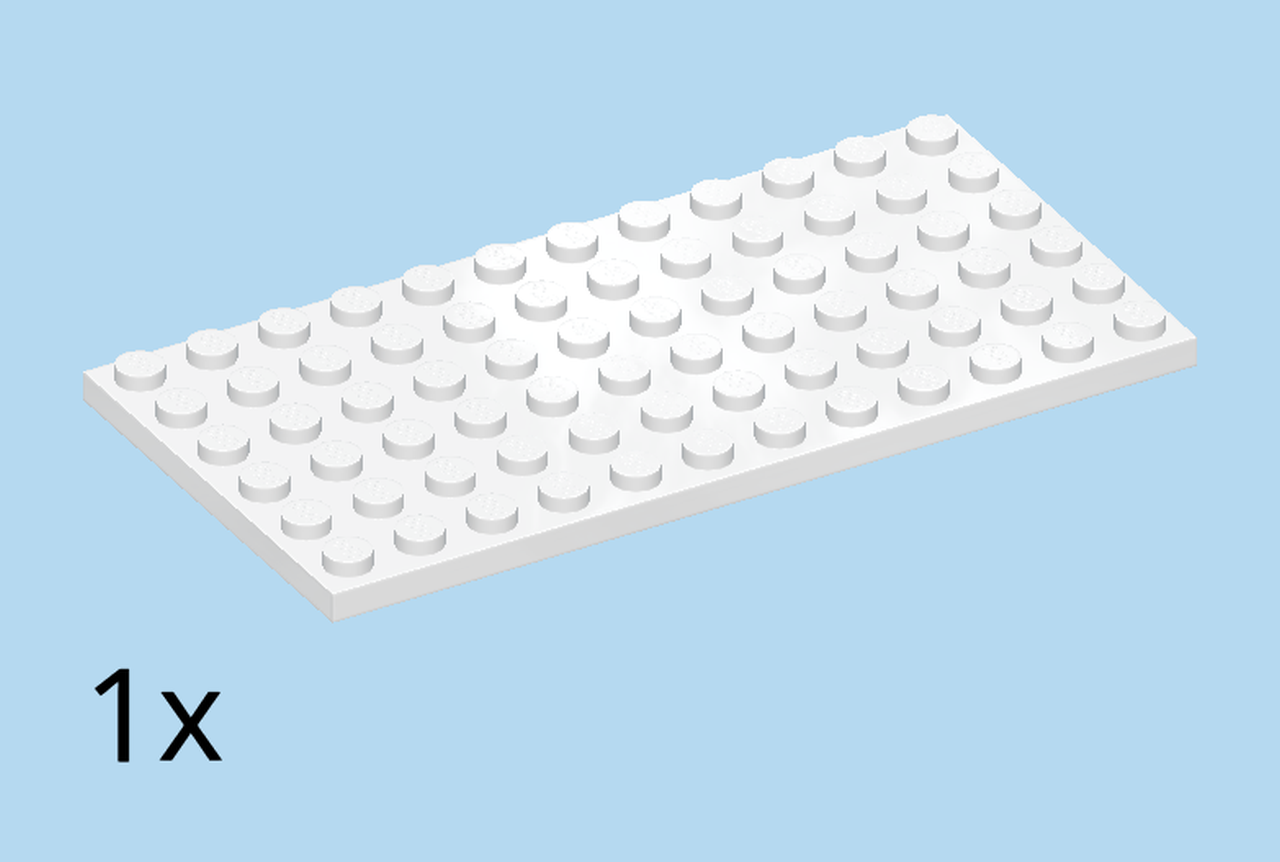
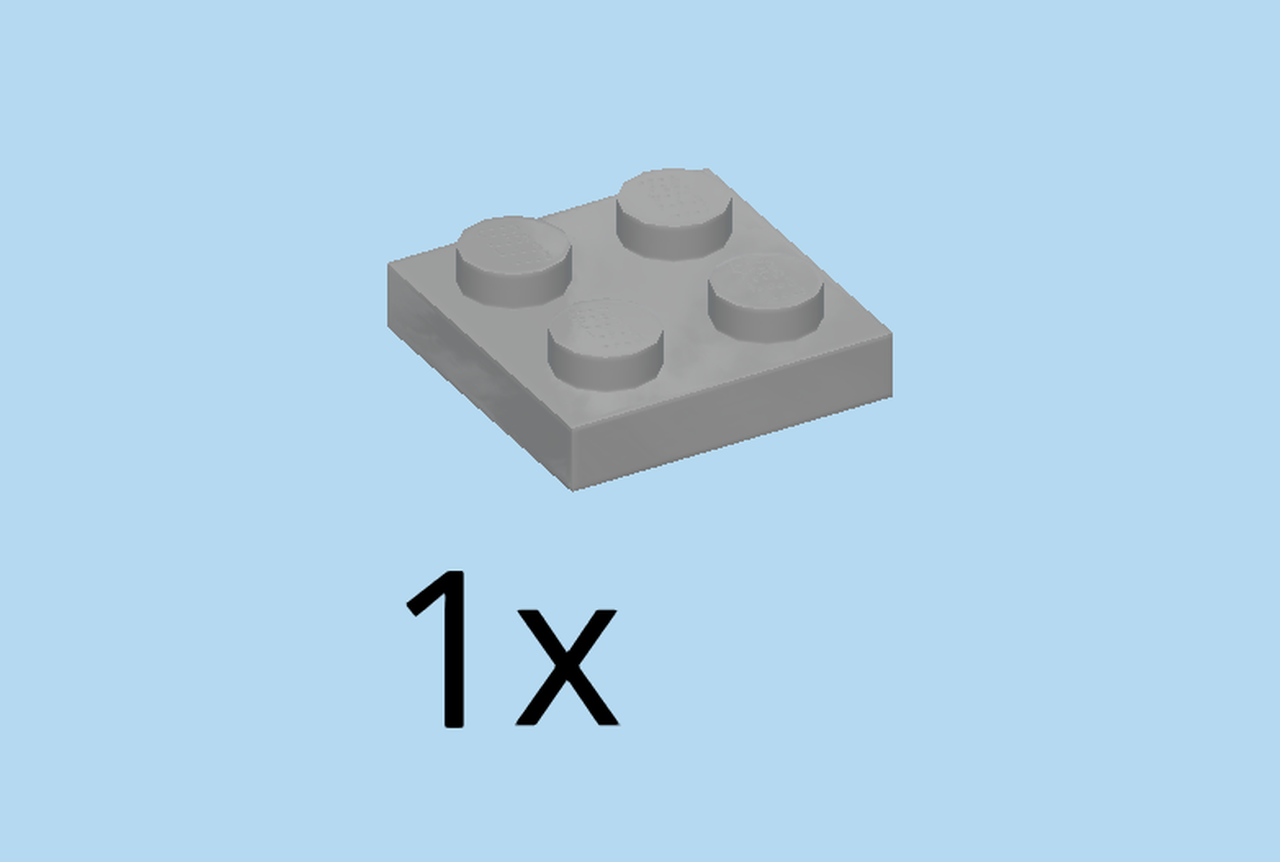
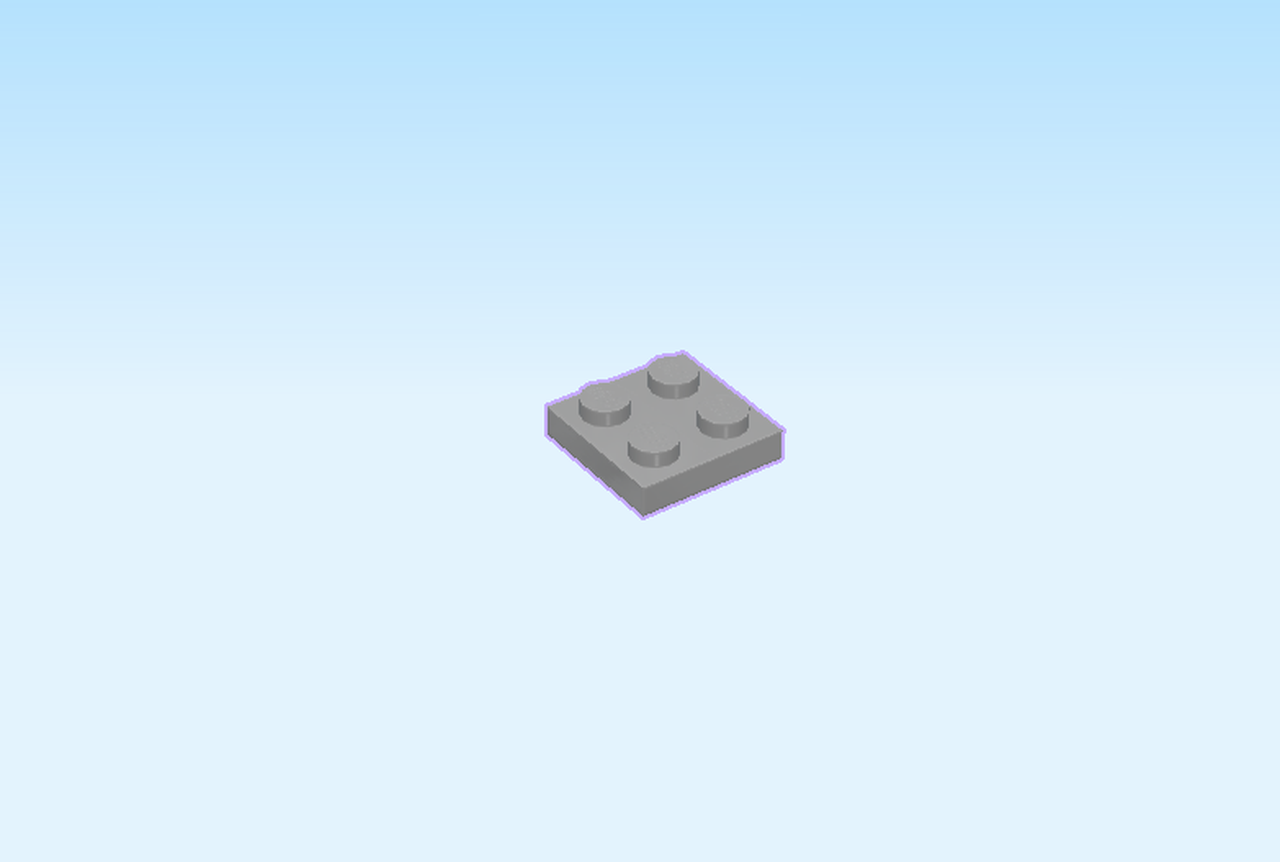
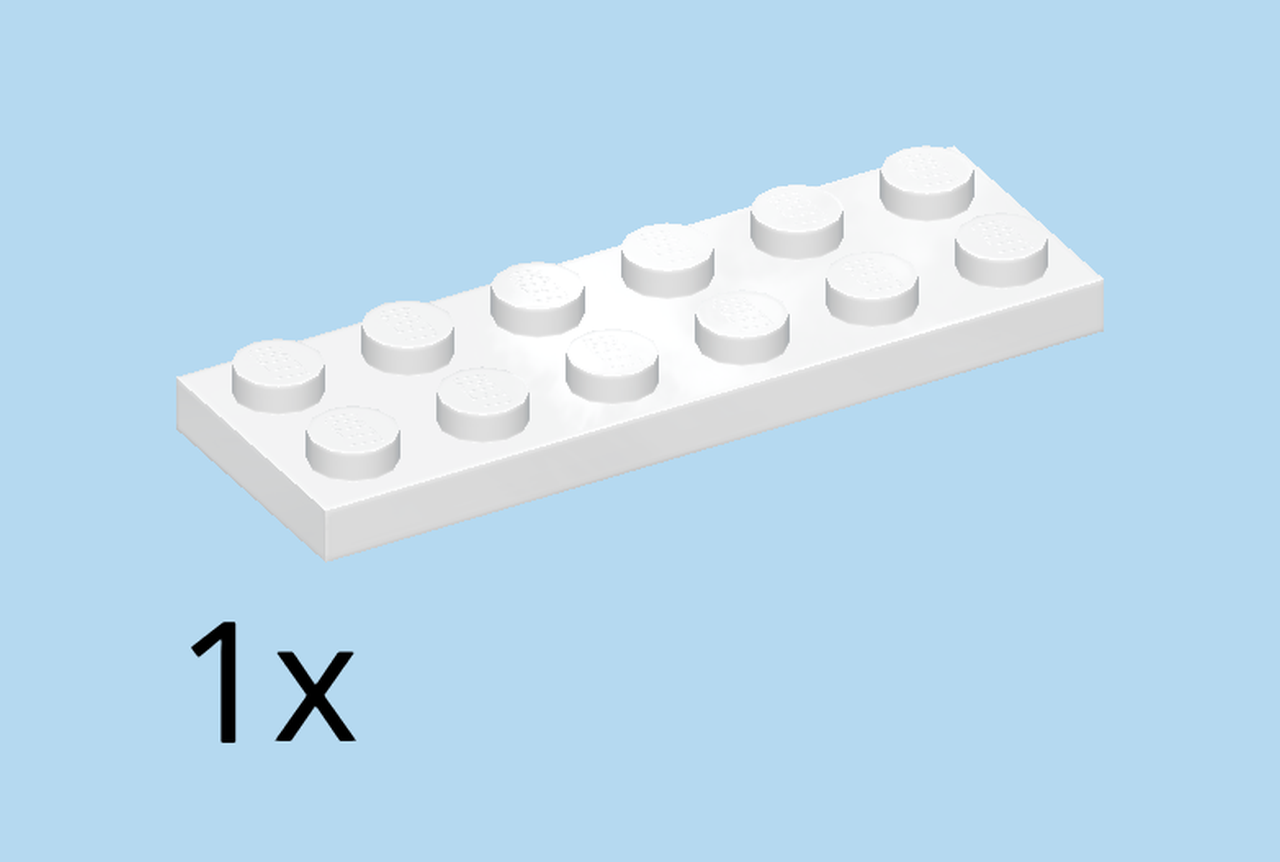
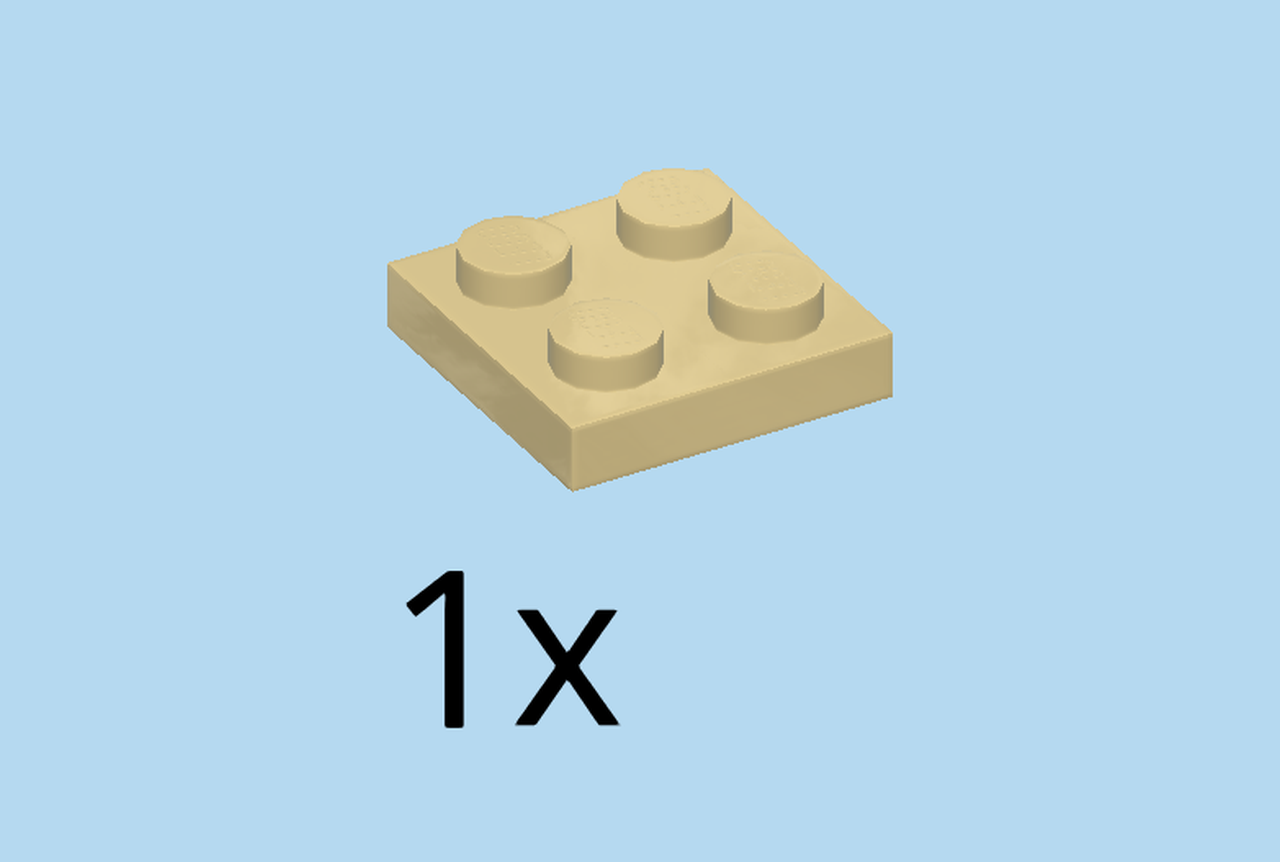
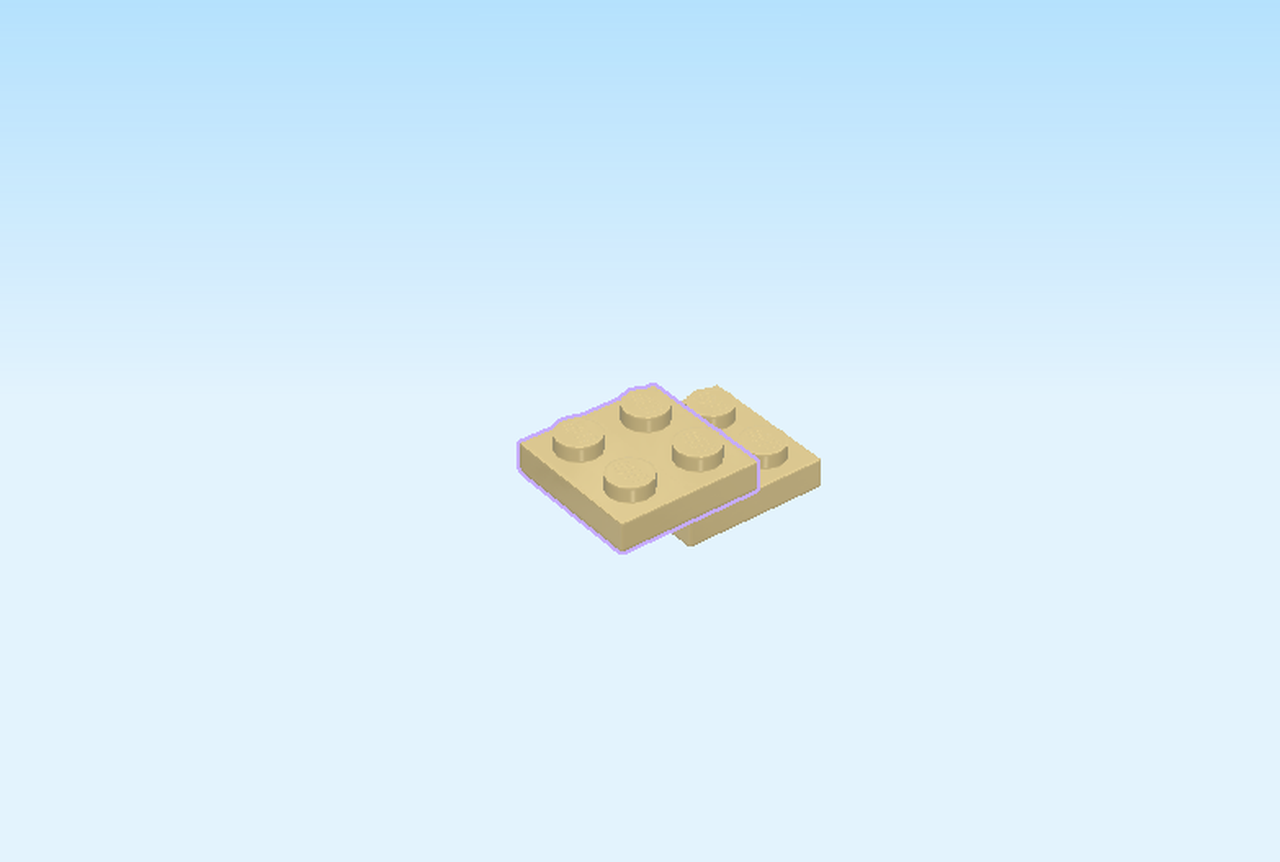
| Find 1 medium stone grey plate 2x16. |
| Put it horizontally on the table. |
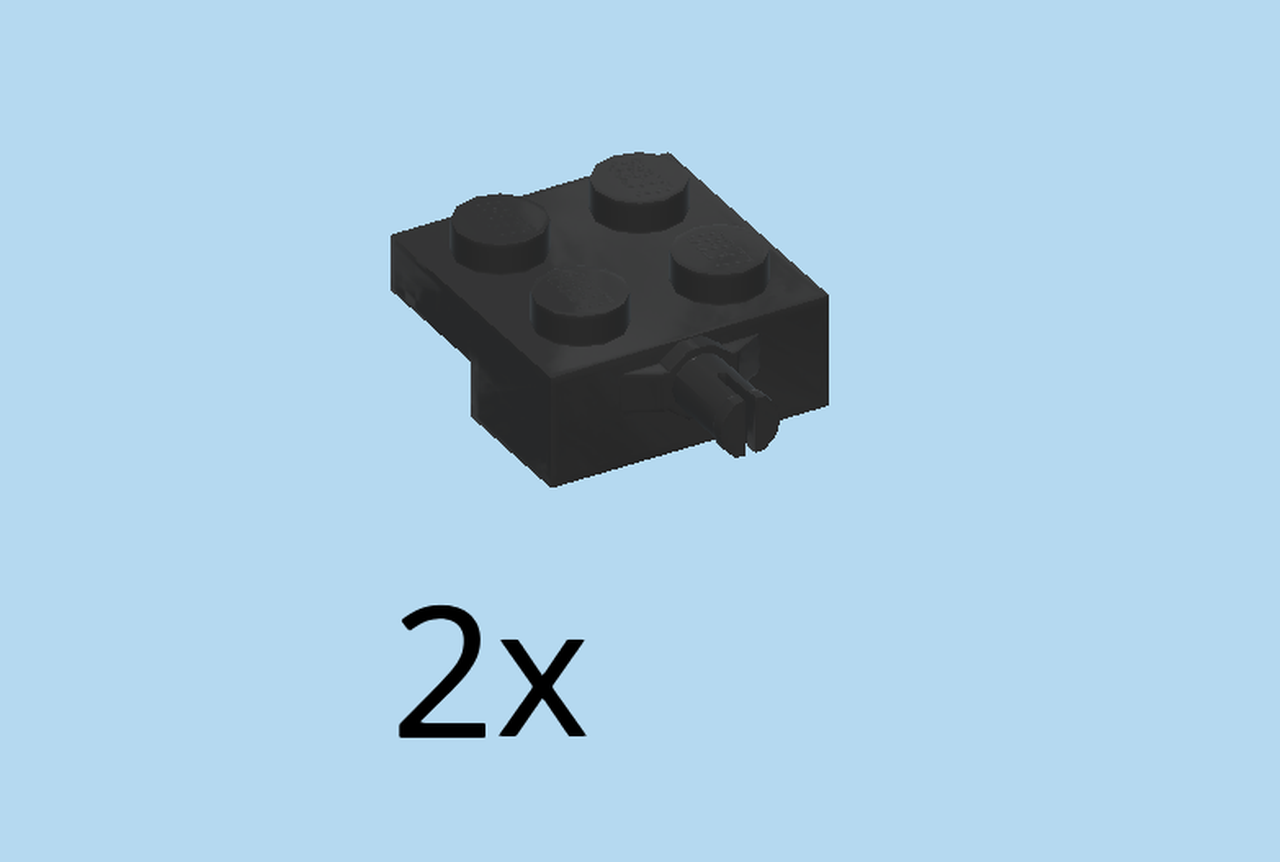
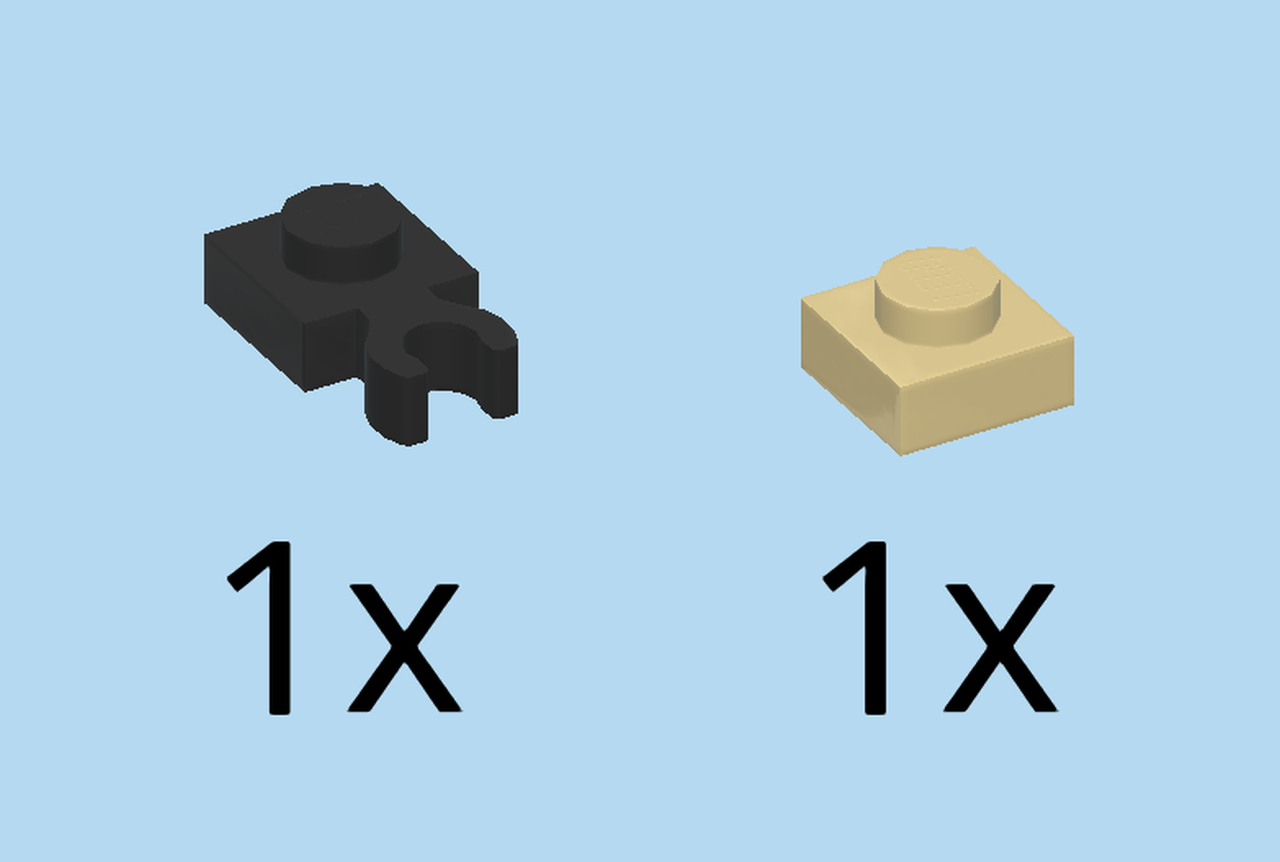
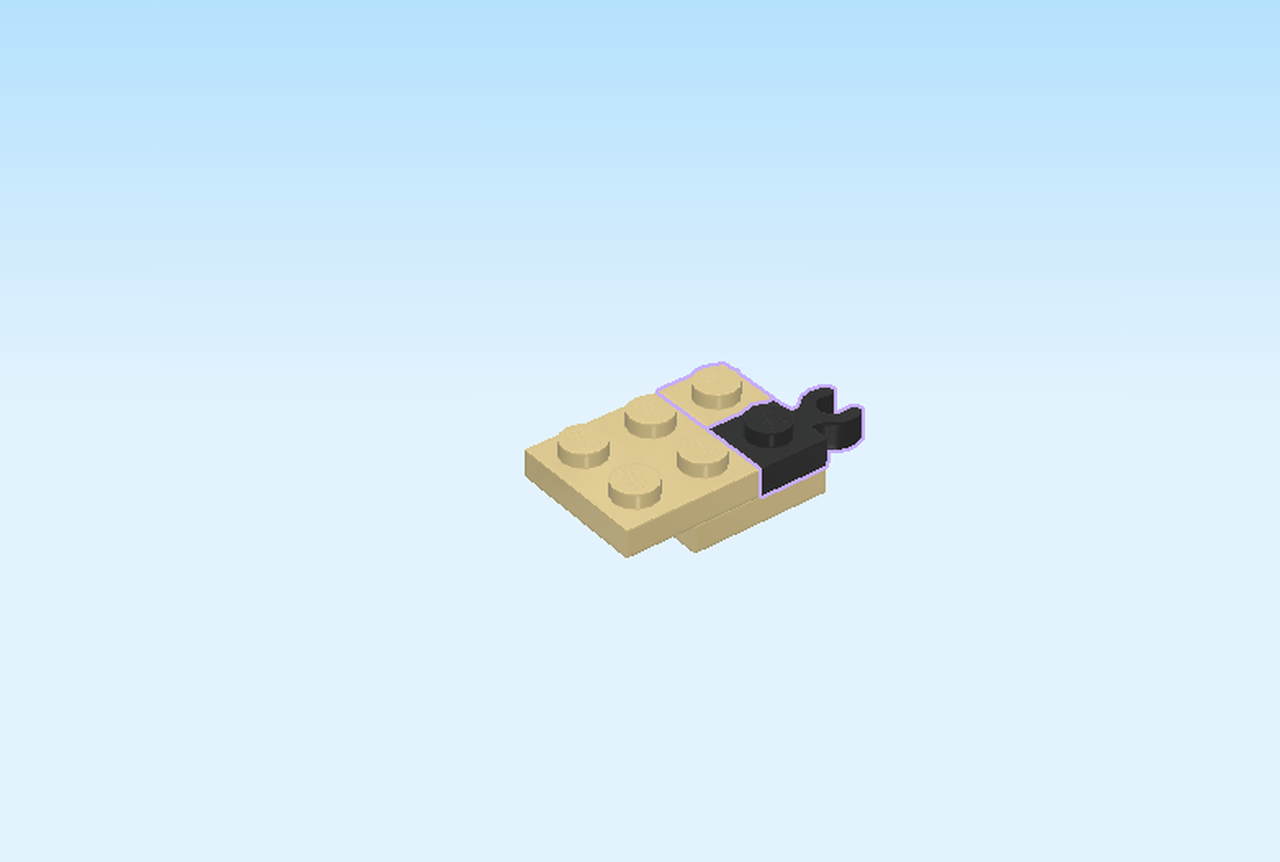
| Find 2 black bearing elements 2x2 with single connector pin. |
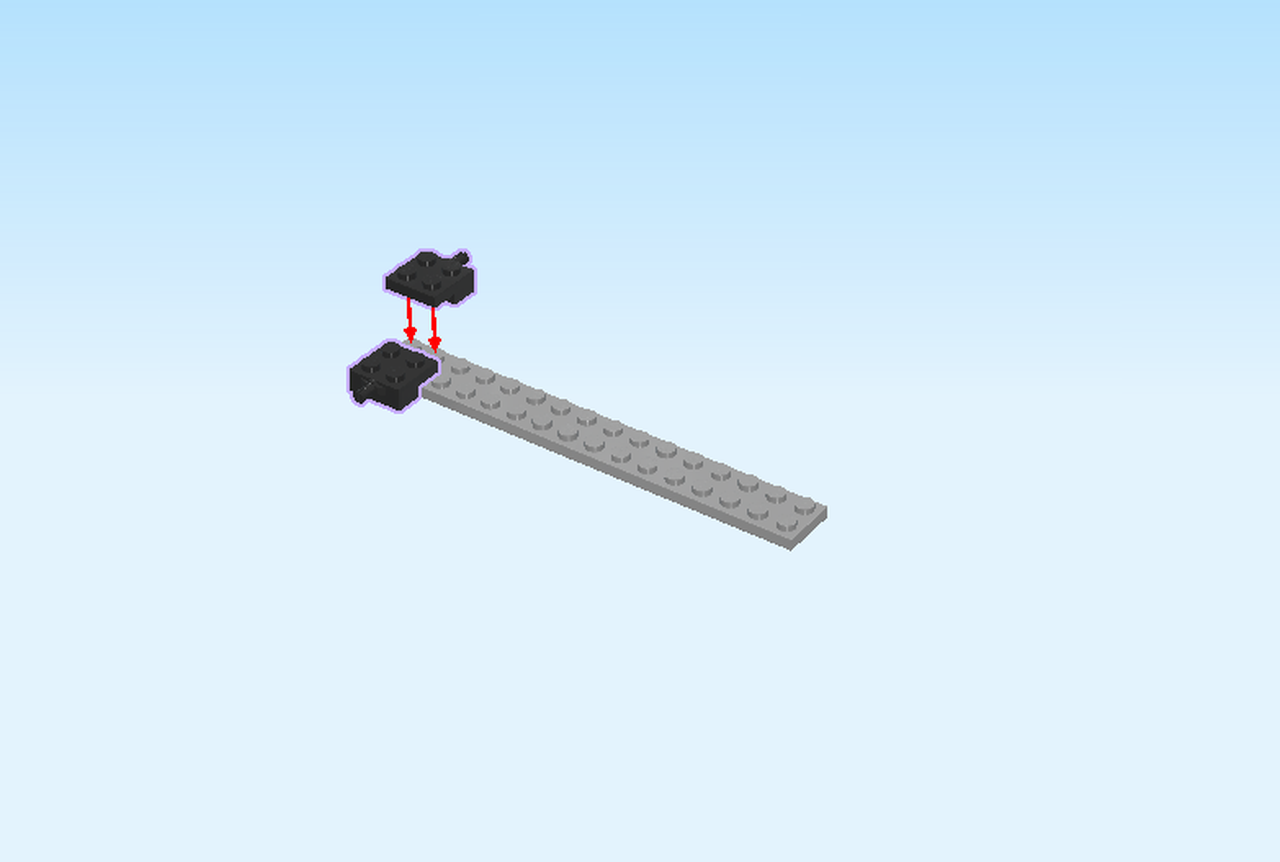
| Put one on the leftmost edge of the back row, connector pin to the back. |
| Repeat symmetrically at the front, connector pin to the front. |
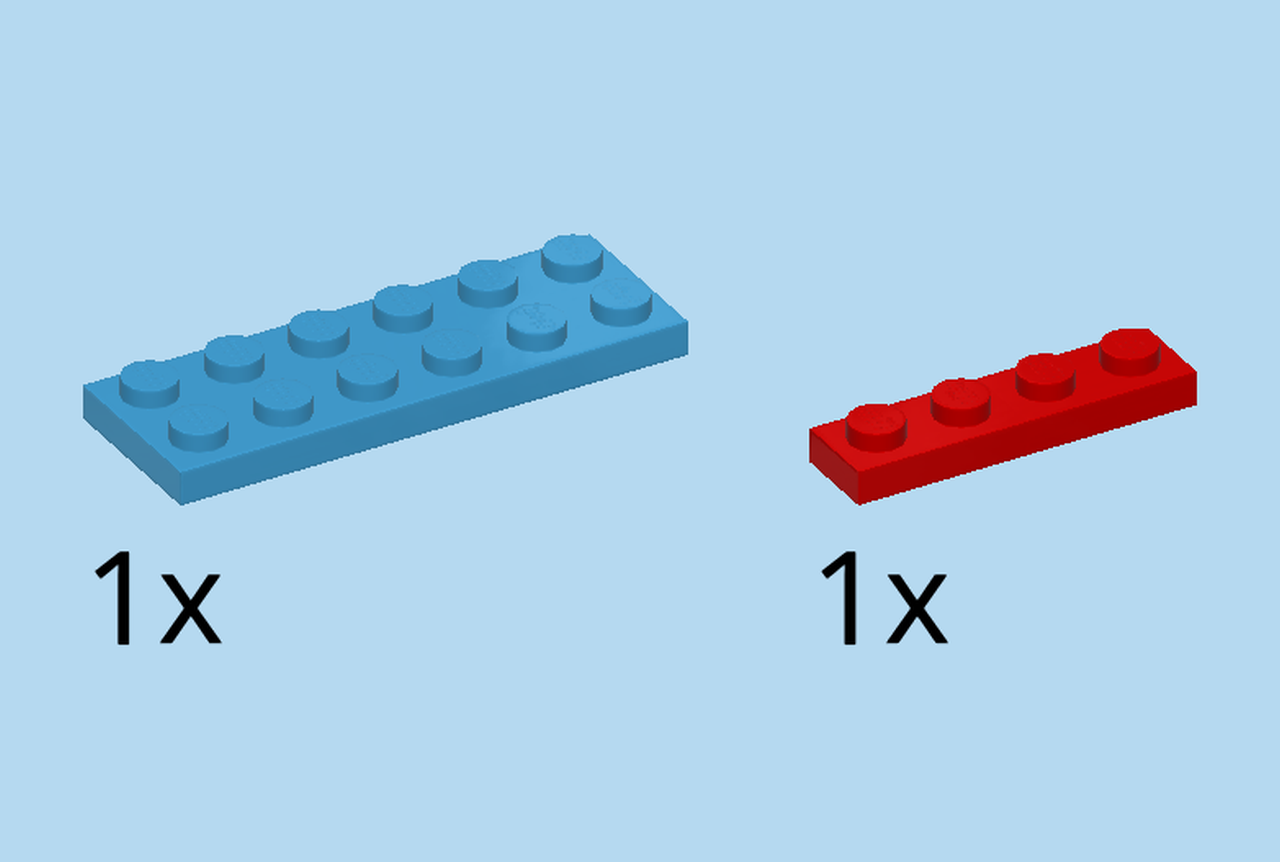
| Collect the following 2 pieces: |
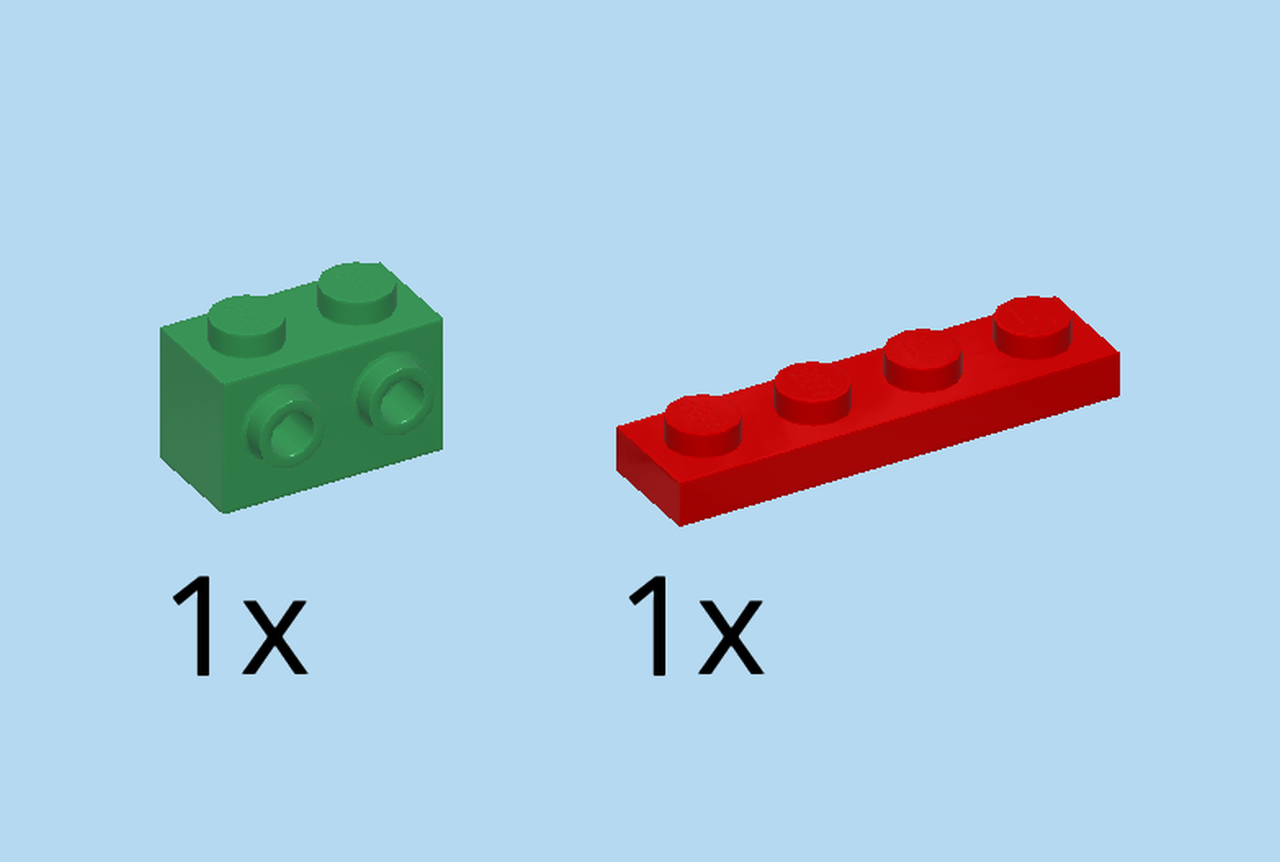
| 1 bright red plate 1x4, |
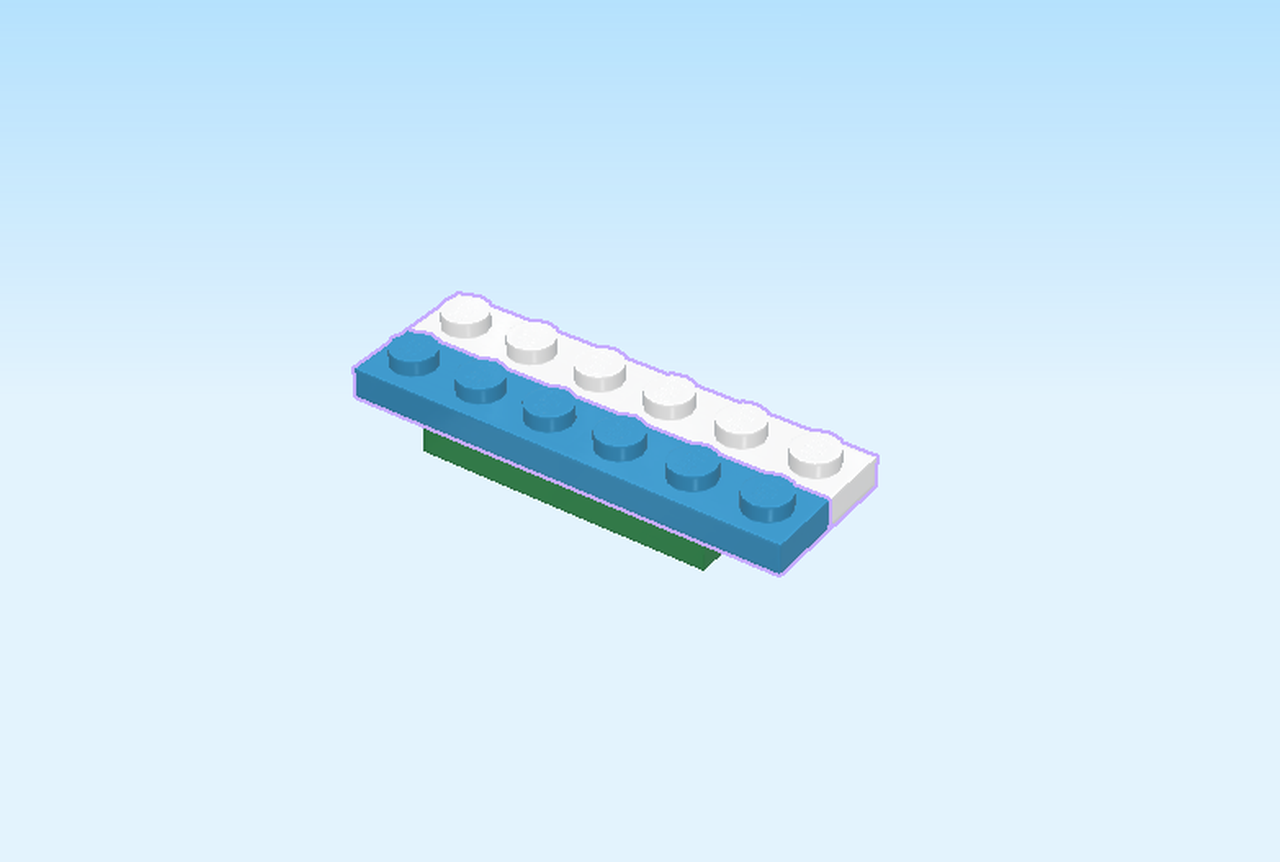
| and 1 dark azure blue plate 2x6. |
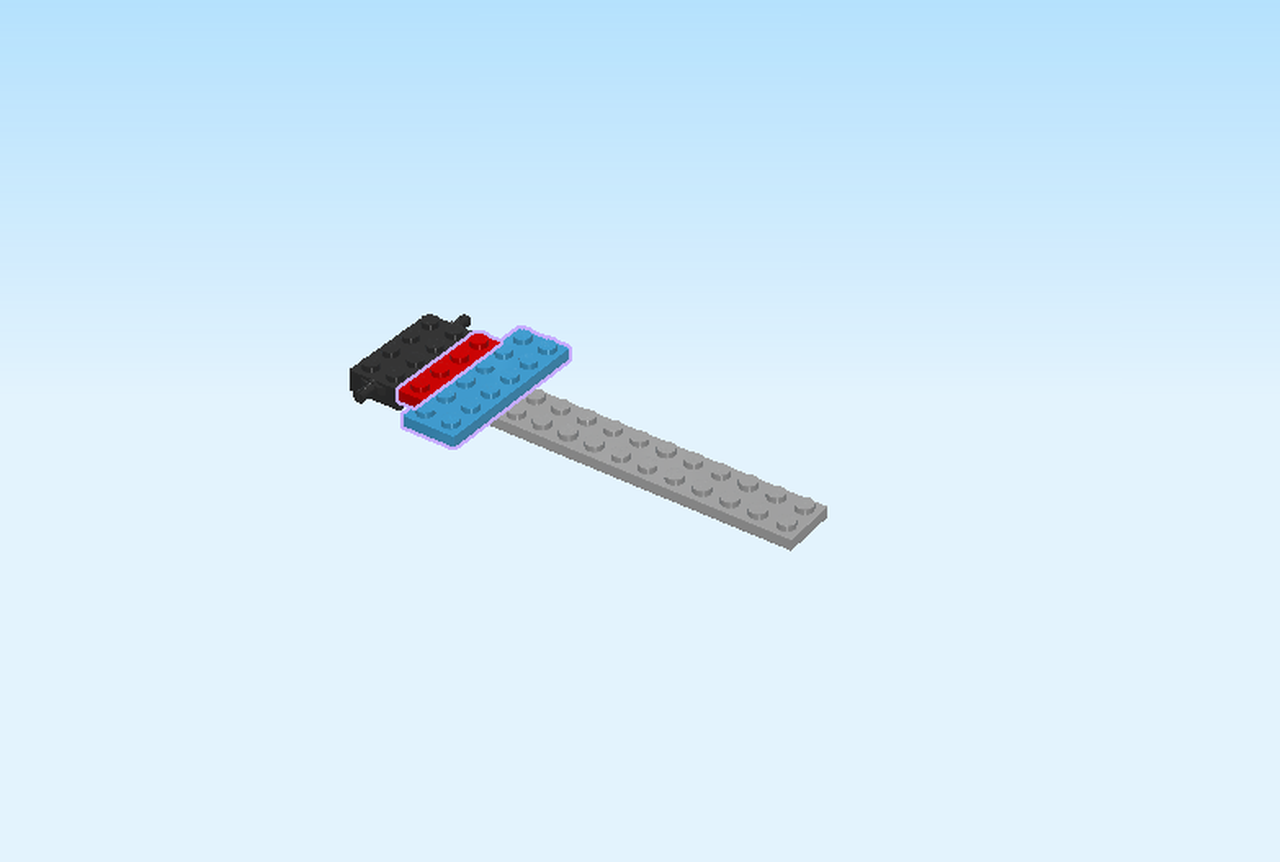
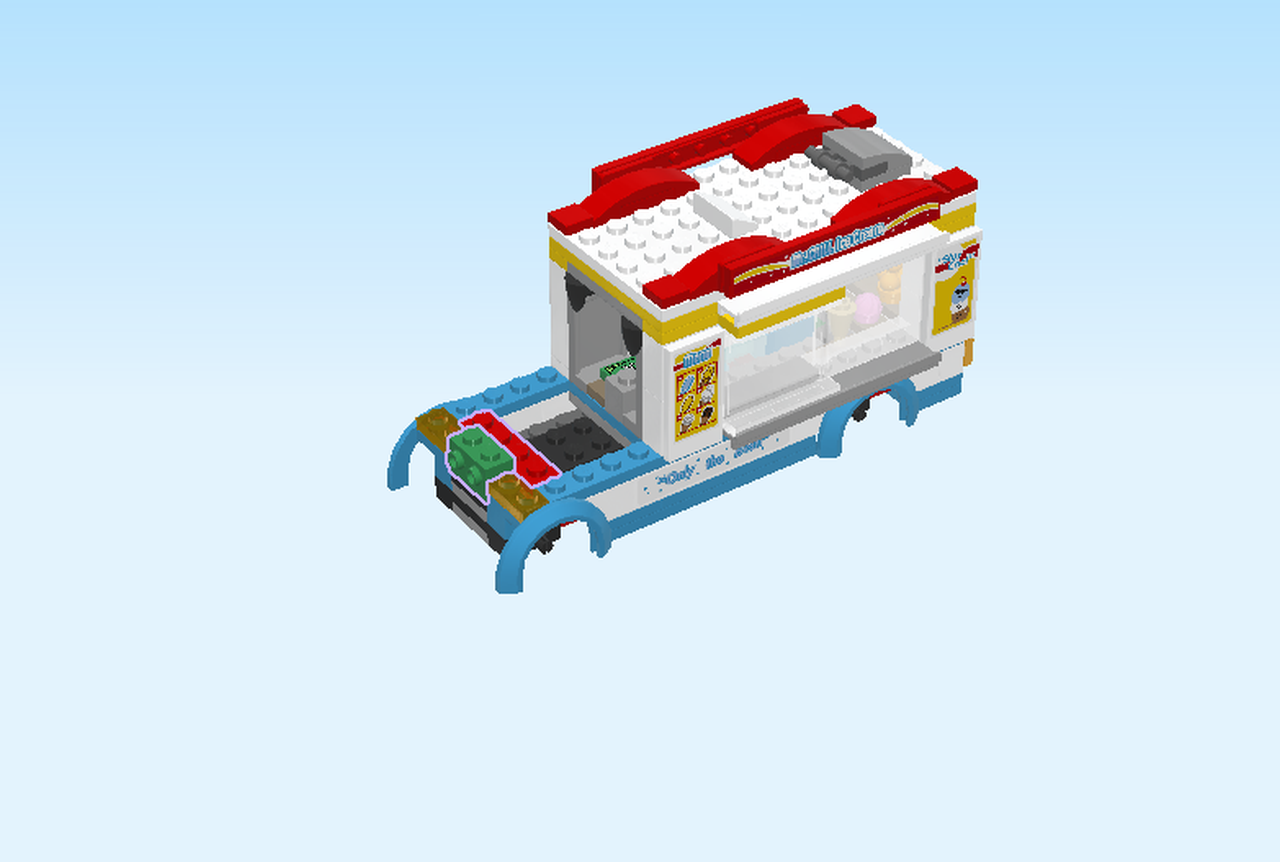
| Put the red plate 1x4 vertically centered to the right of the previous pieces. |
| Put the blue plate 2x6 vertically centered to the right of the previous plate. |
| Collect the following 2 pieces: |
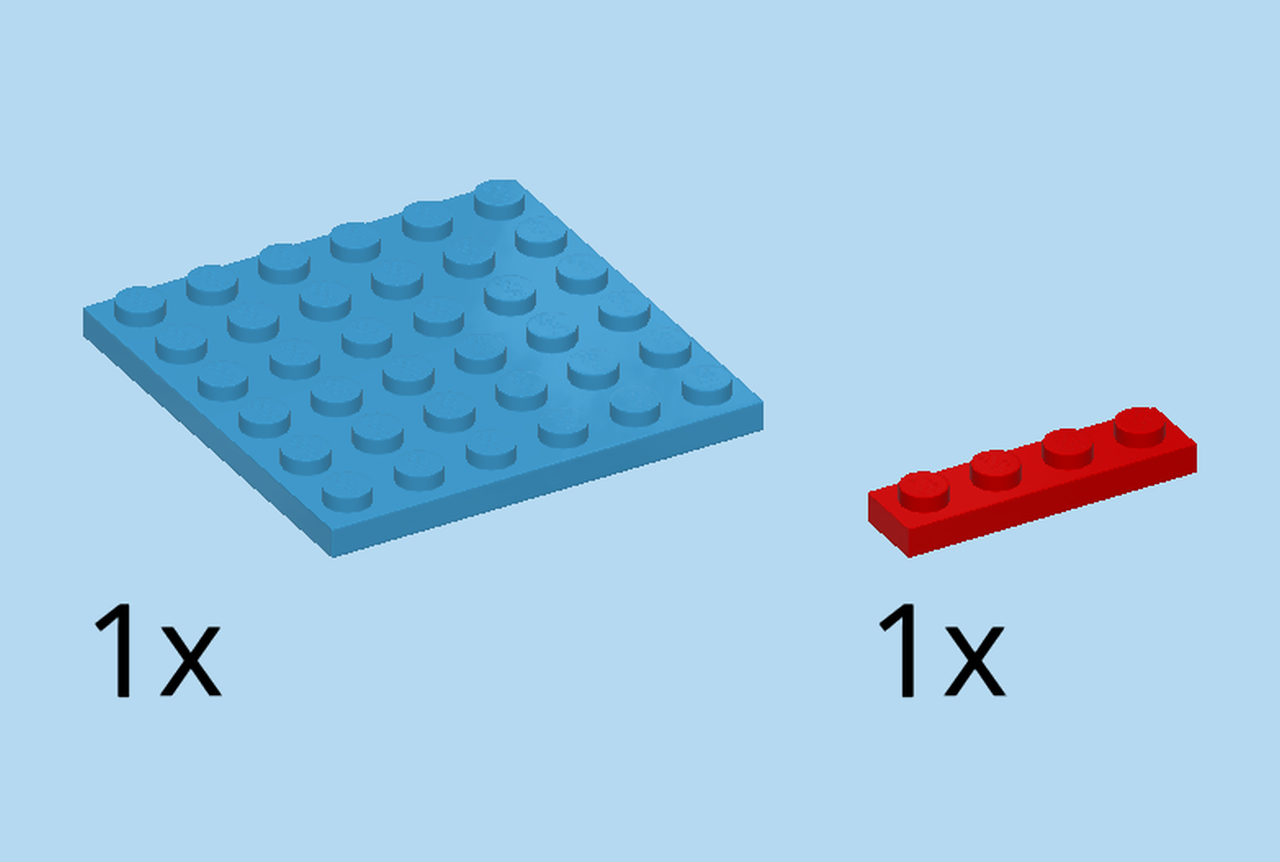
| 1 dark azure blue plate 6x6, |
| and 1 bright red plate 1x4. |
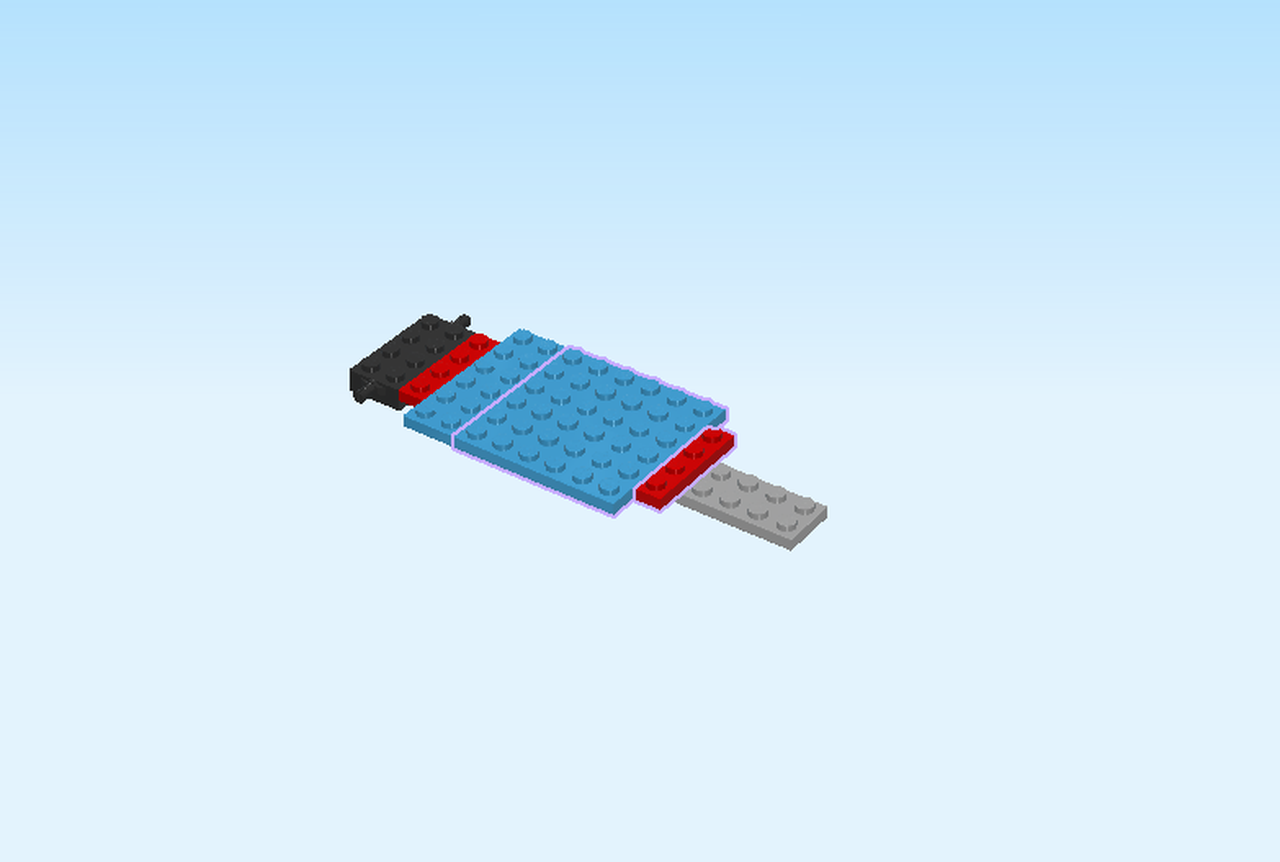
| Put the blue plate 6x6 centered to the right of the previous plate. |
| Put the red plate 1x4 vertically centered to the right of the previous plate. |
| Collect the following 3 pieces: |
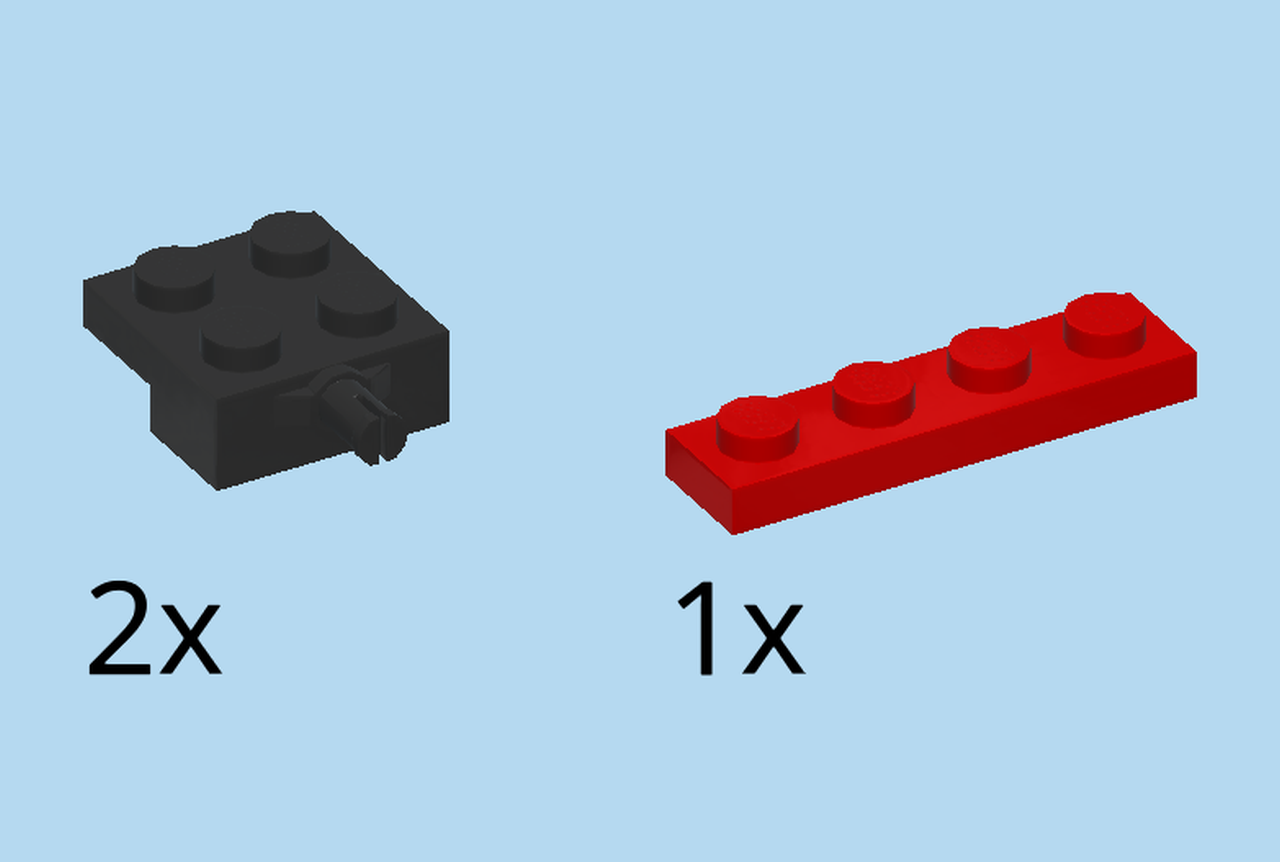
| 2 black bearing elements 2x2 with single connector pin, |
| and 1 bright red plate 1x4. |
| Put one bearing element to the right of the previous plate on the back row, connector pin to the back. |
| Repeat symmetrically at the front. |
| Put the red plate 1x4 vertically centered to the right of the previous elements. |
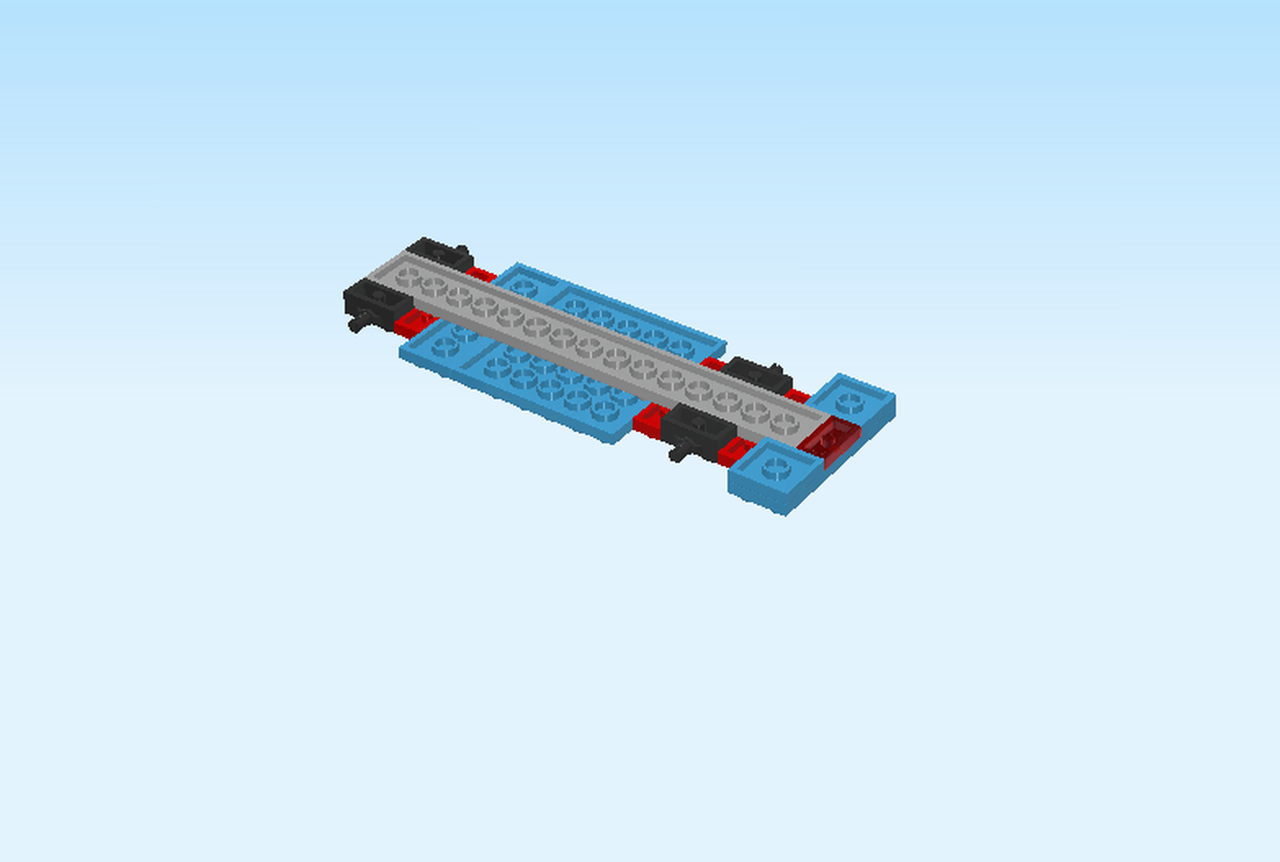
| Now, turn the structure upside down. |
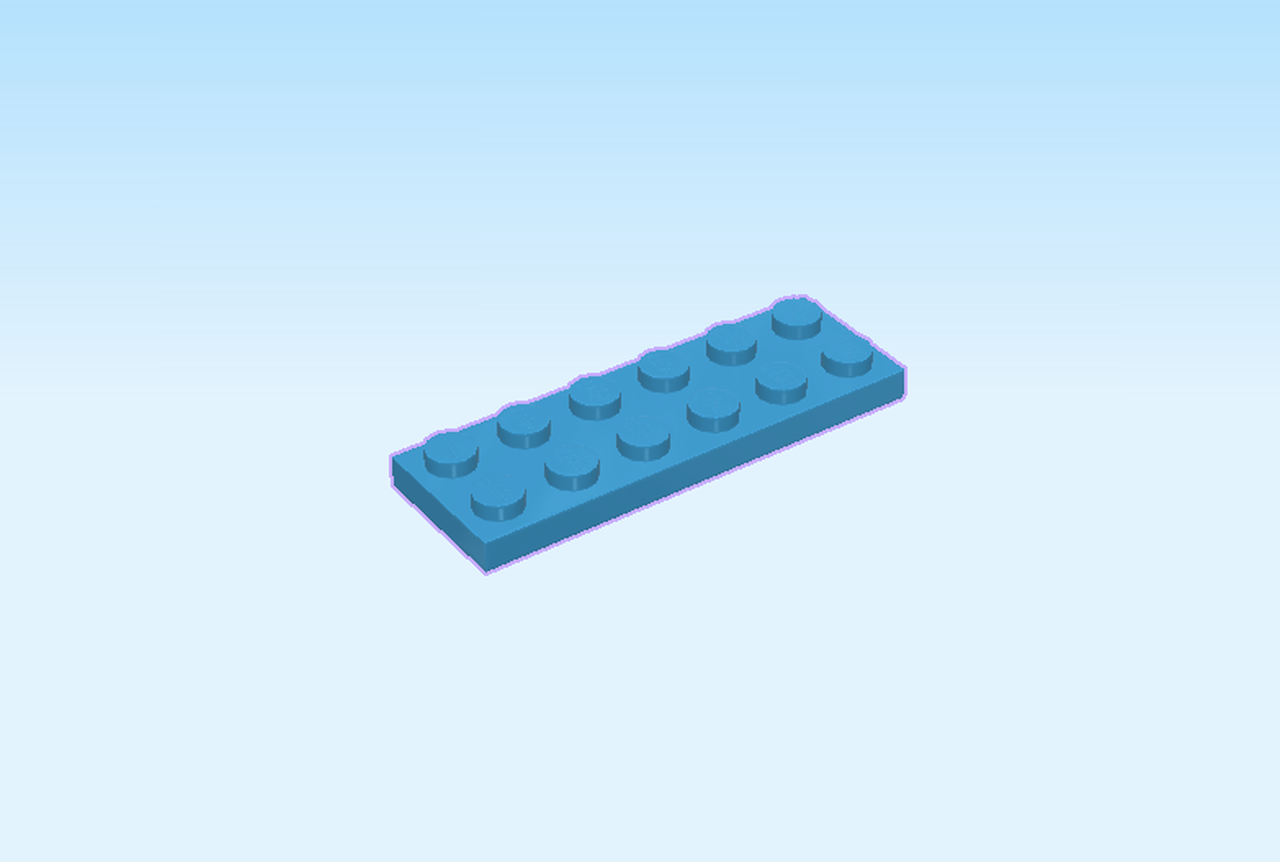
| Find 1 dark azure blue plate 2x6. |
| Put it upside down horizontally on the table. |
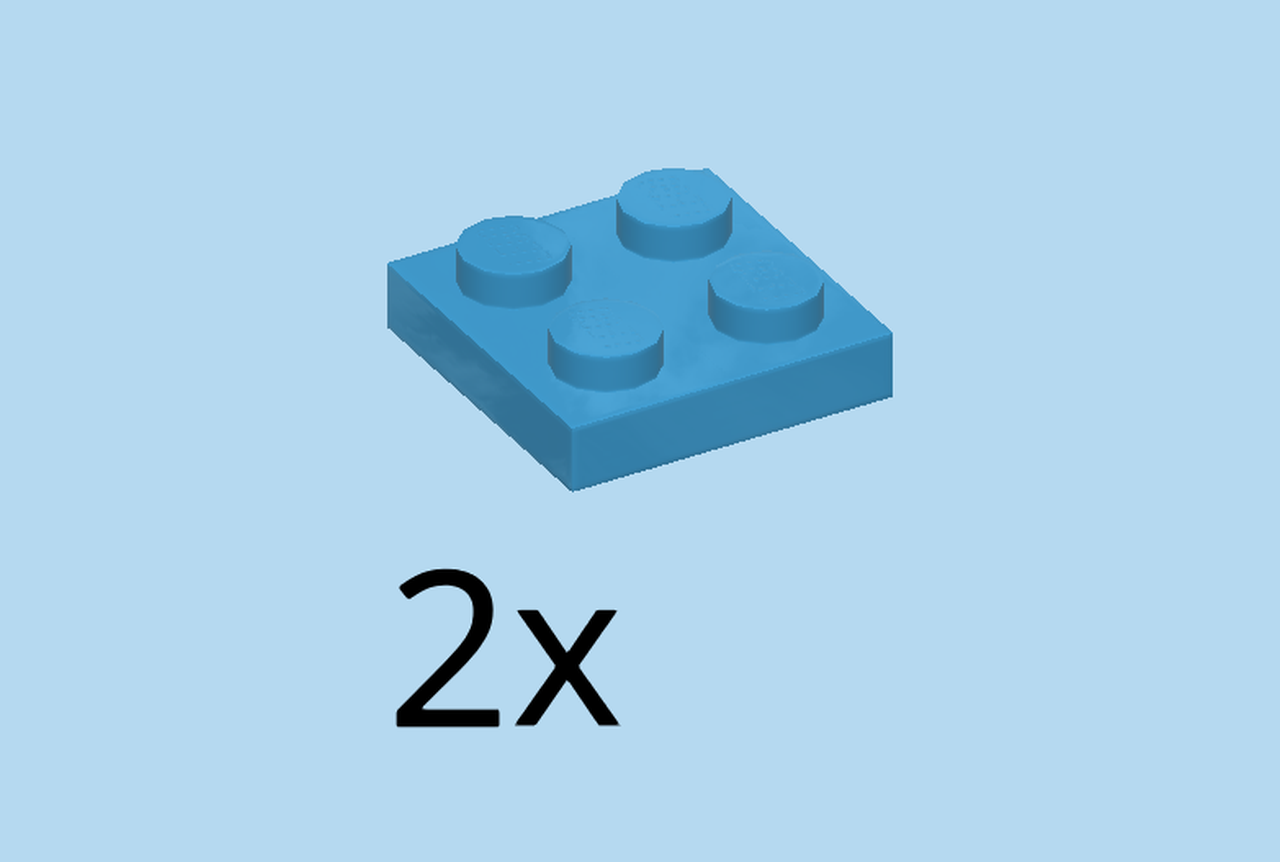
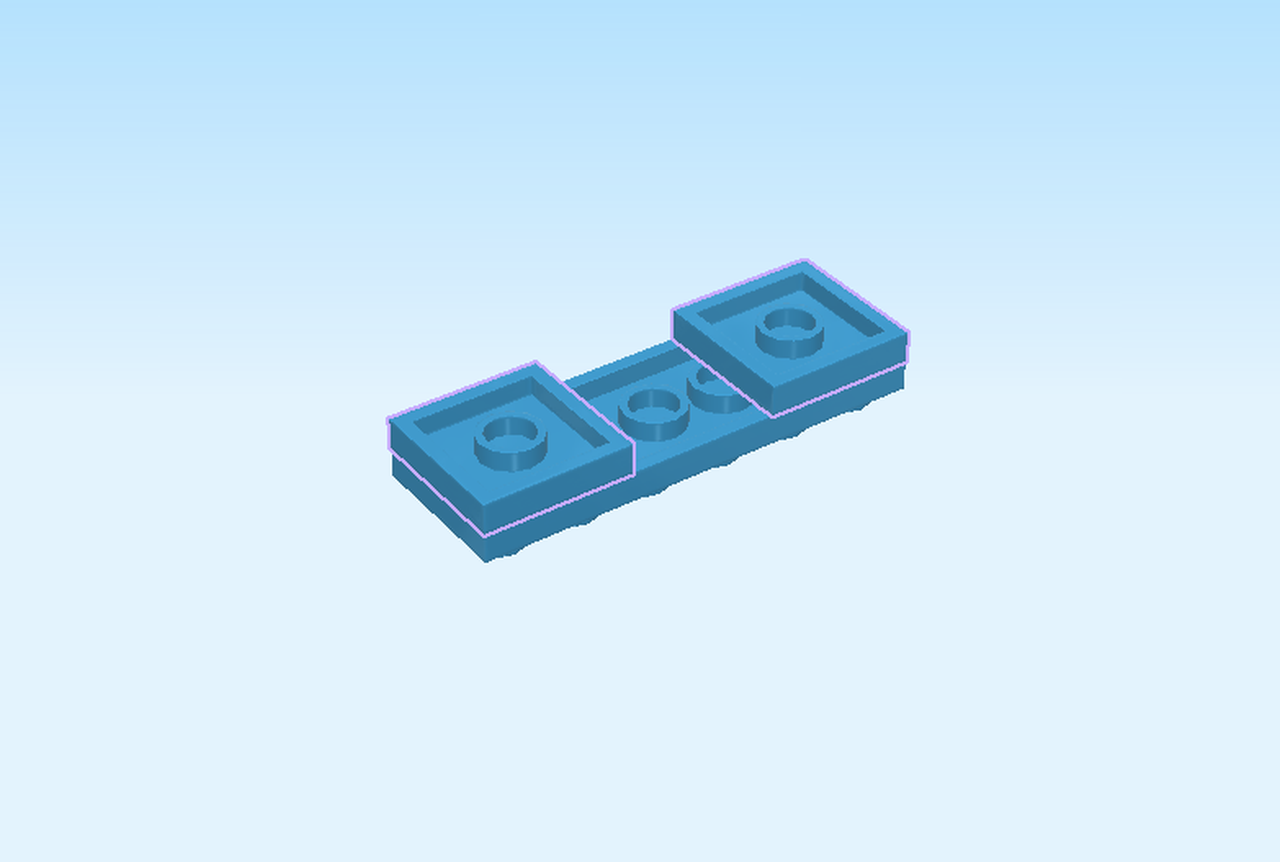
| Find 2 dark azure blue plates 2x2. |
| Put them in the left and right corner of the previous piece. |
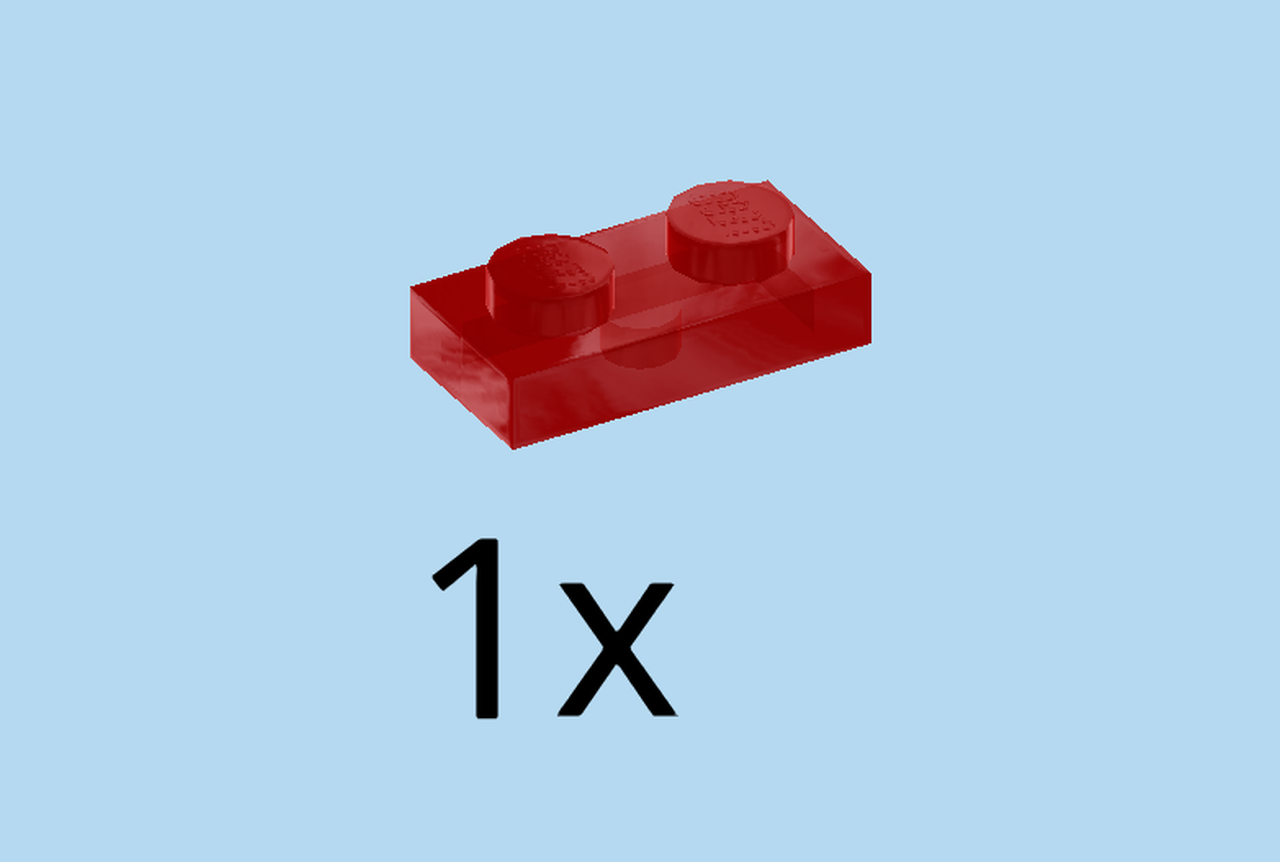
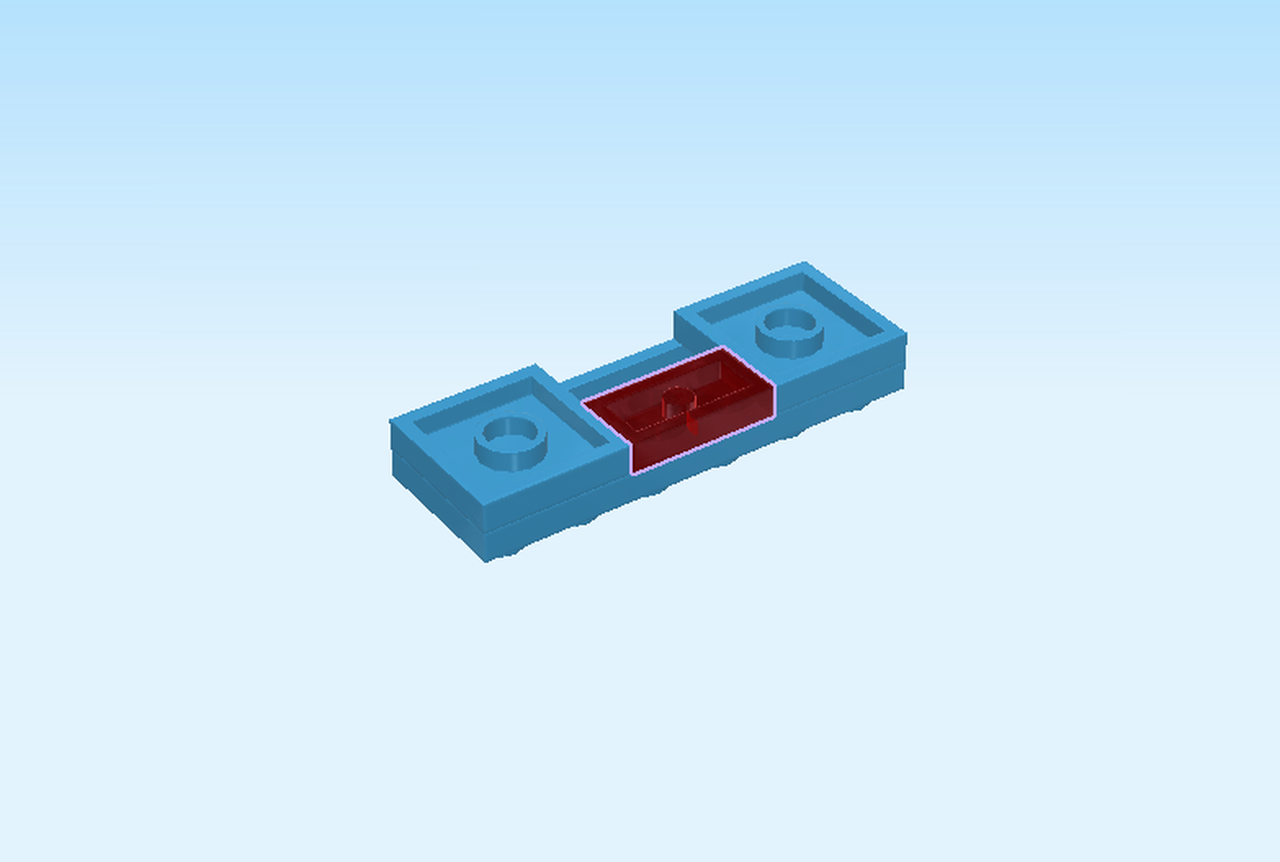
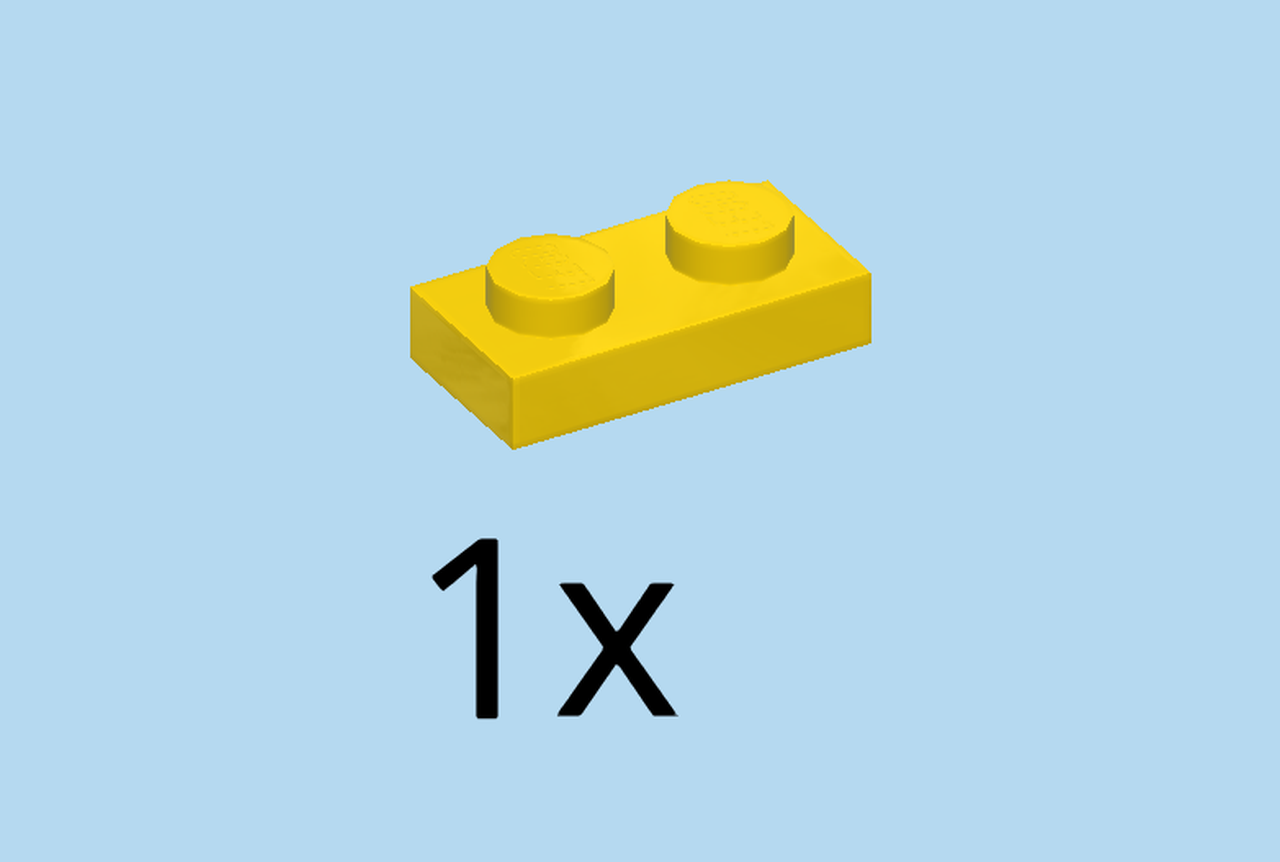
| Find 1 transparent red plate 1x2. |
| Put it horizontally between the previous two plates on the front row. |
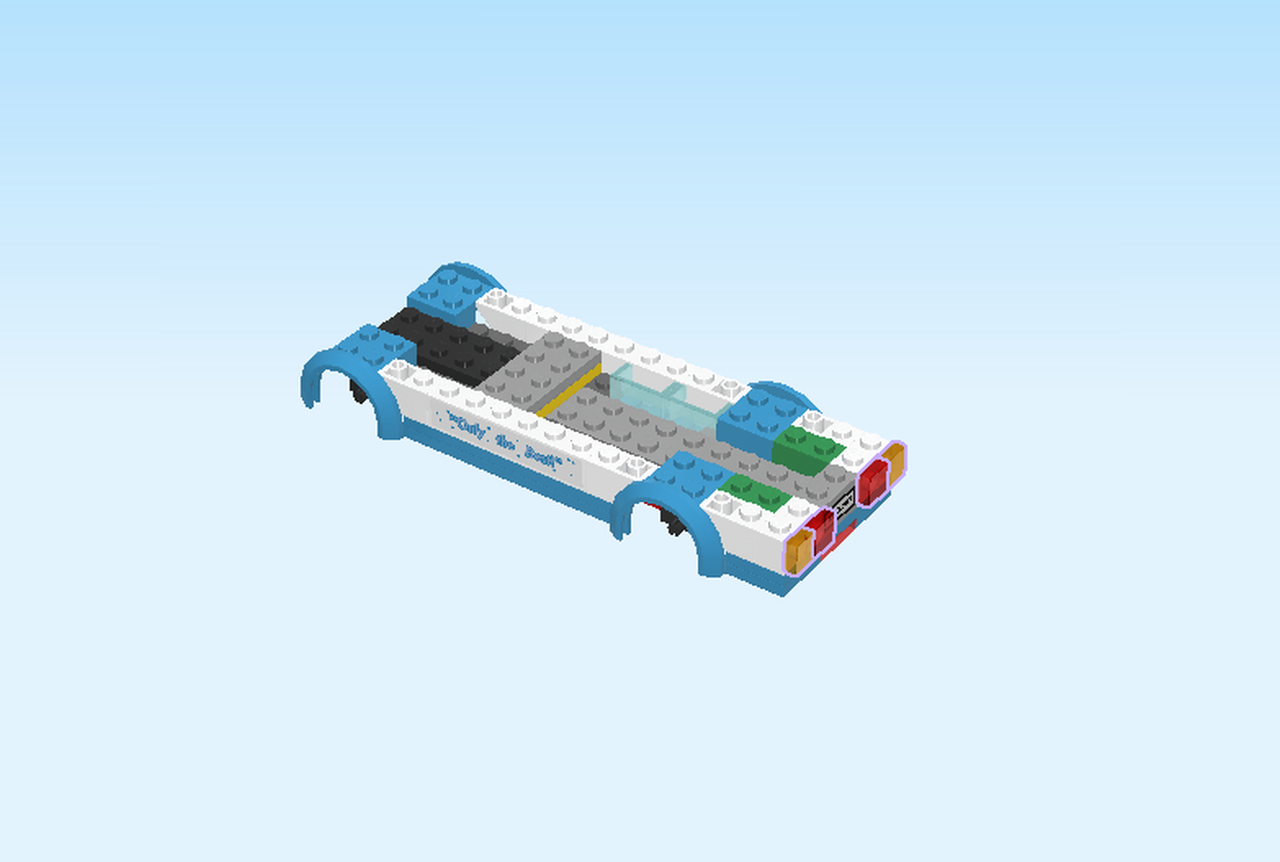
| Put the small build vertically centered underneath the rightmost column of the structure, so underneath the plate 2x16. |
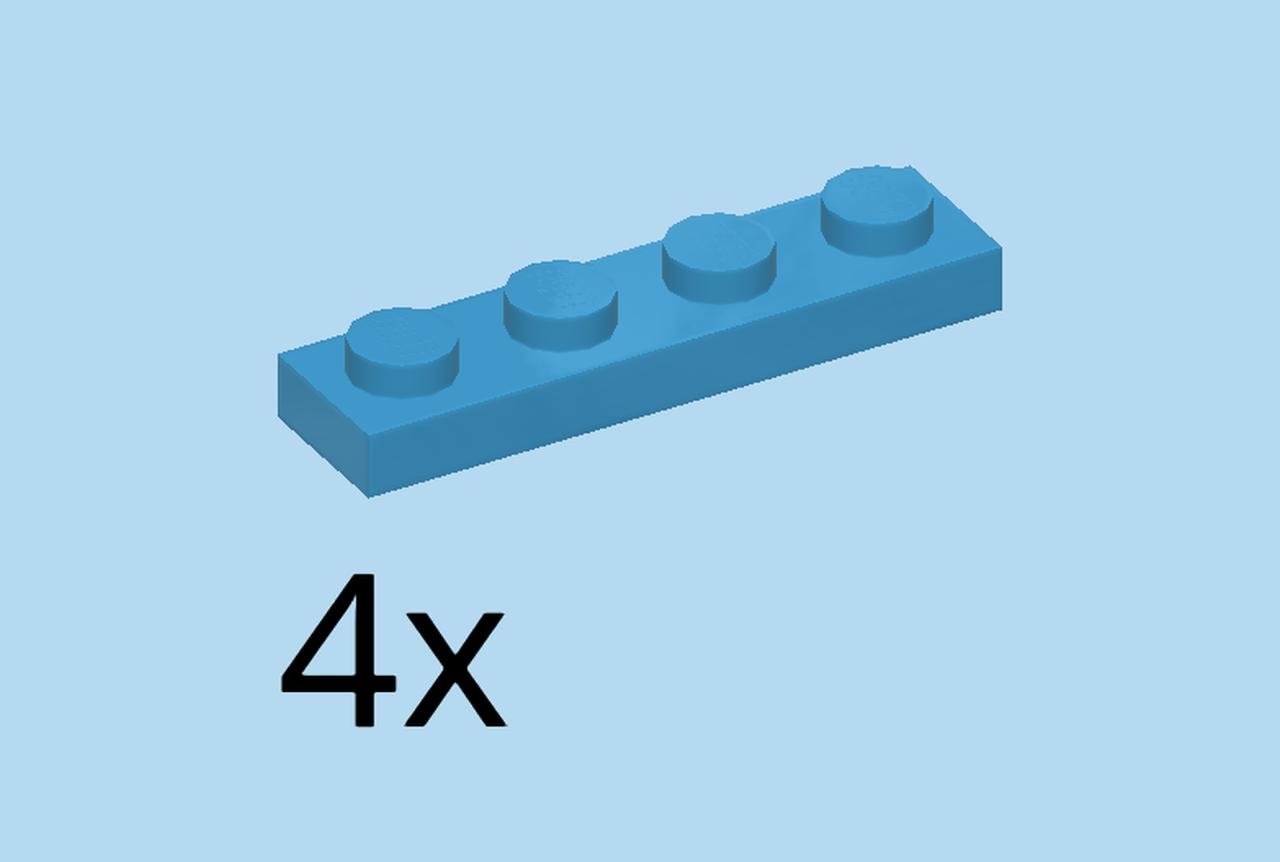
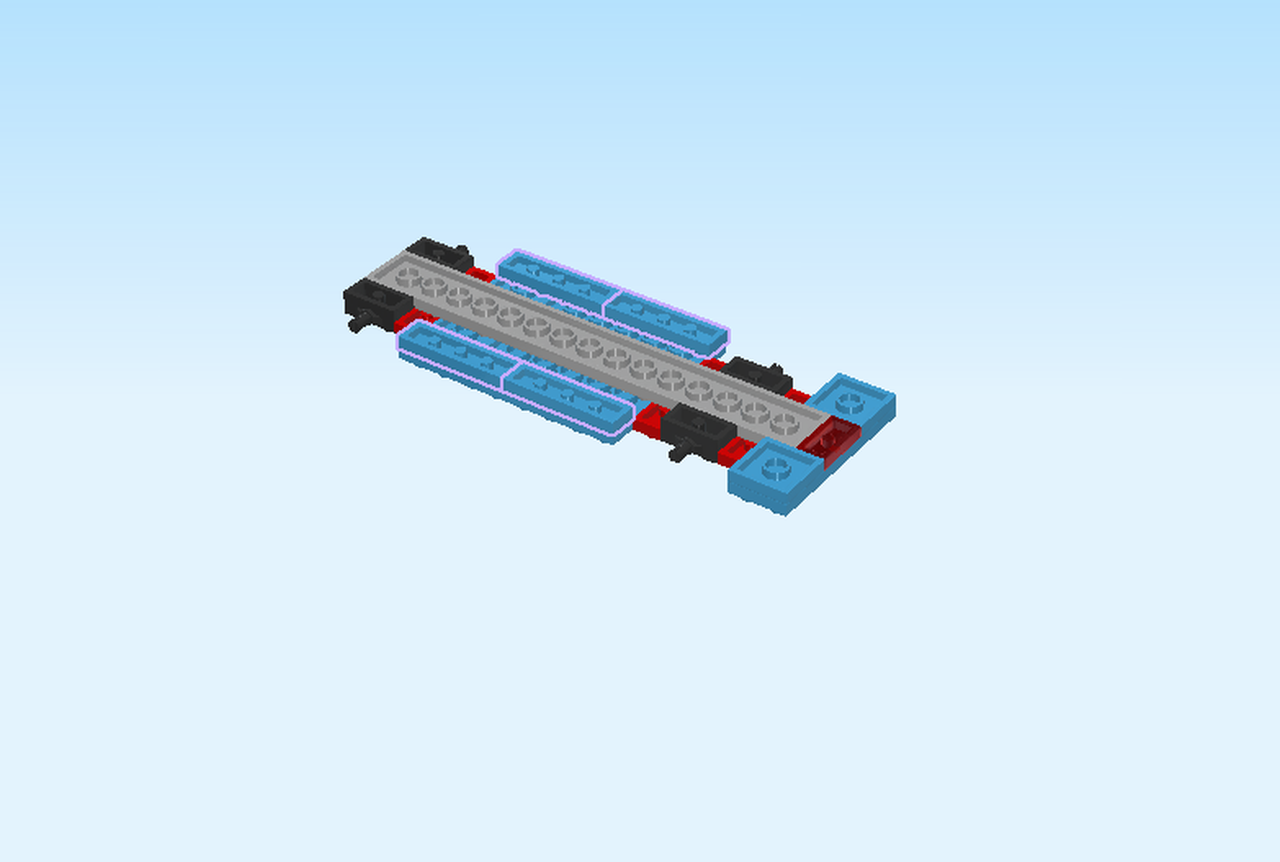
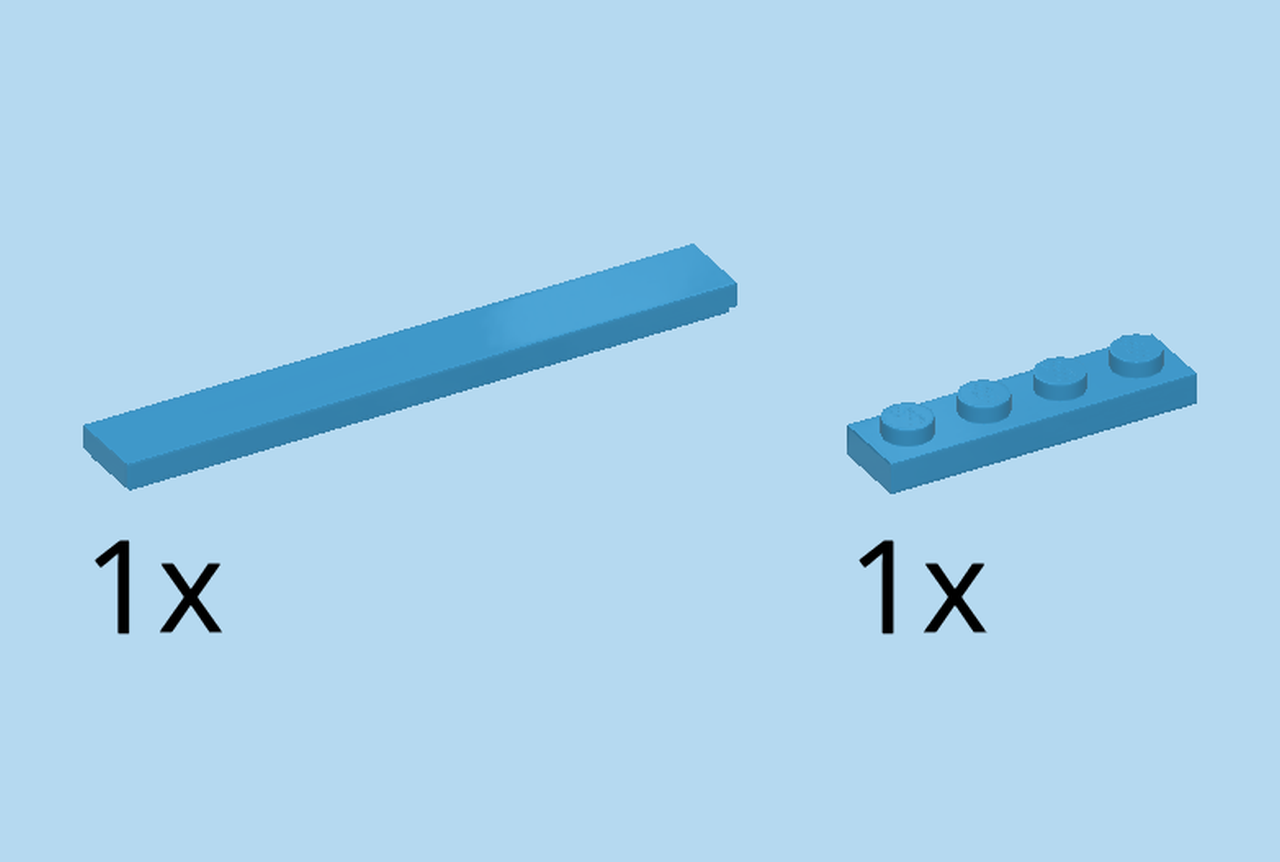
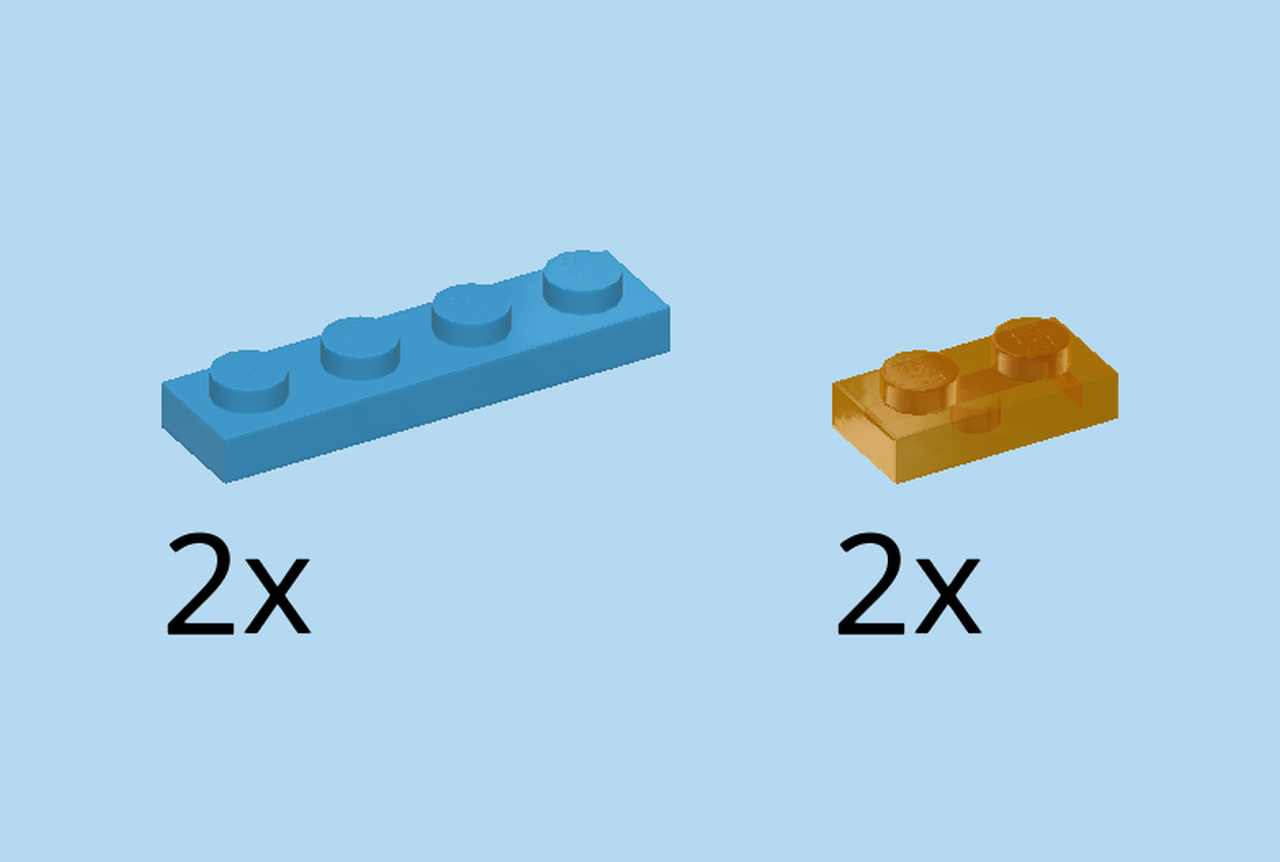
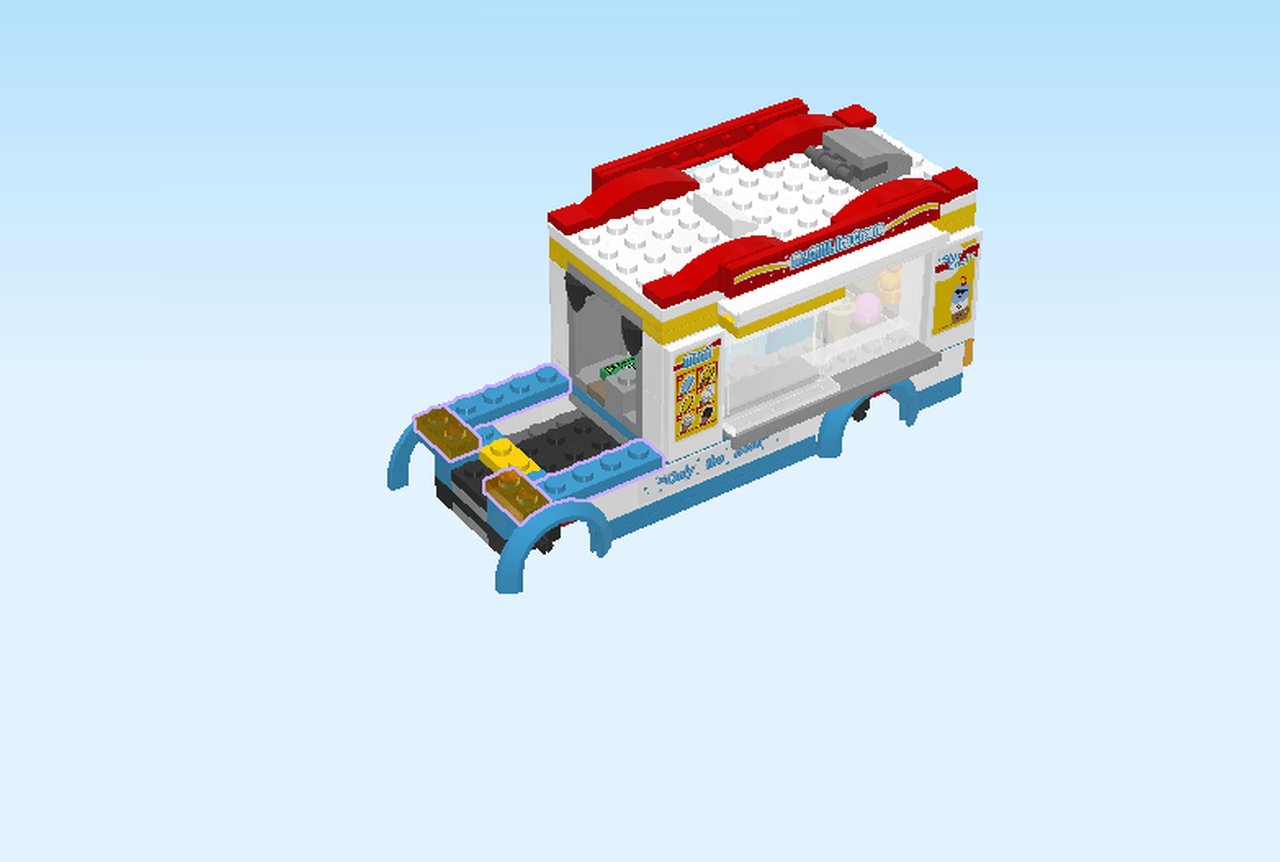
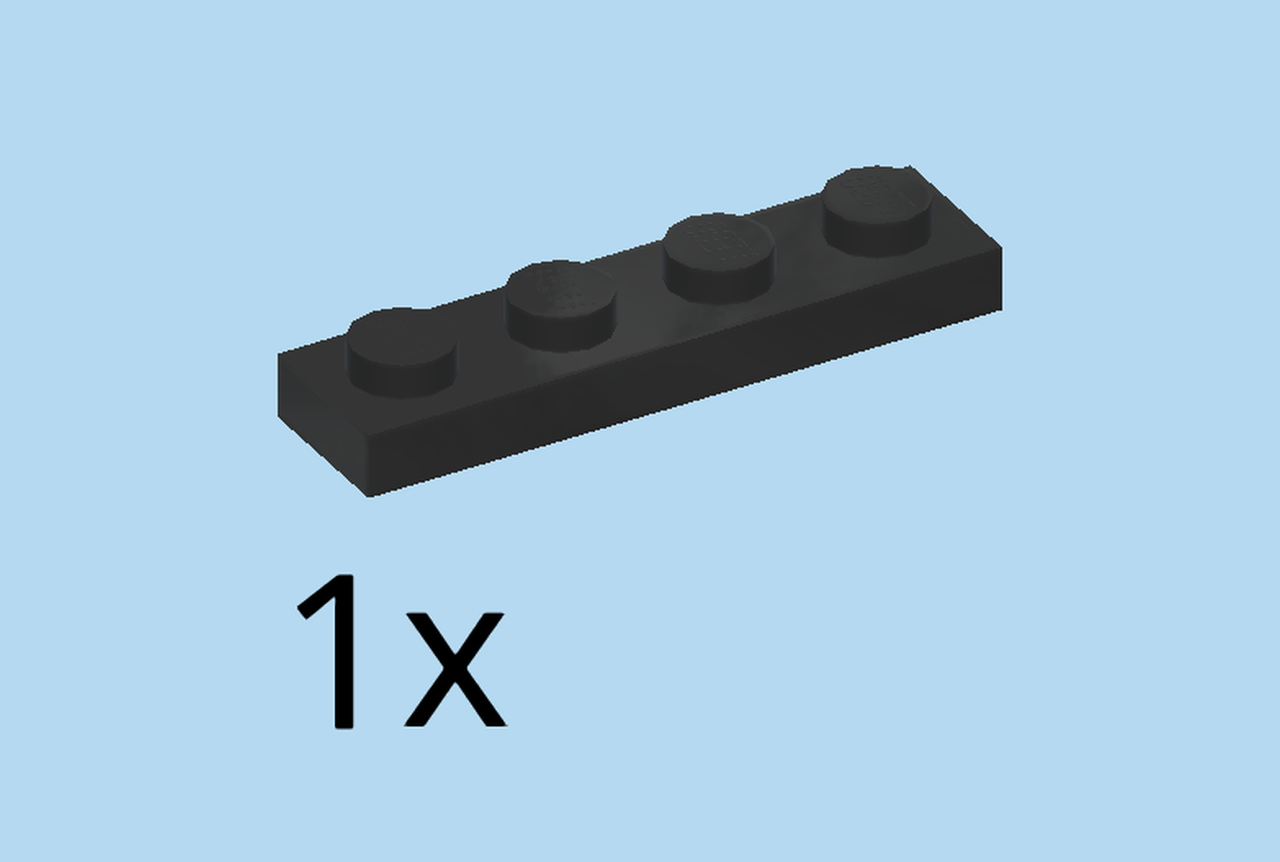
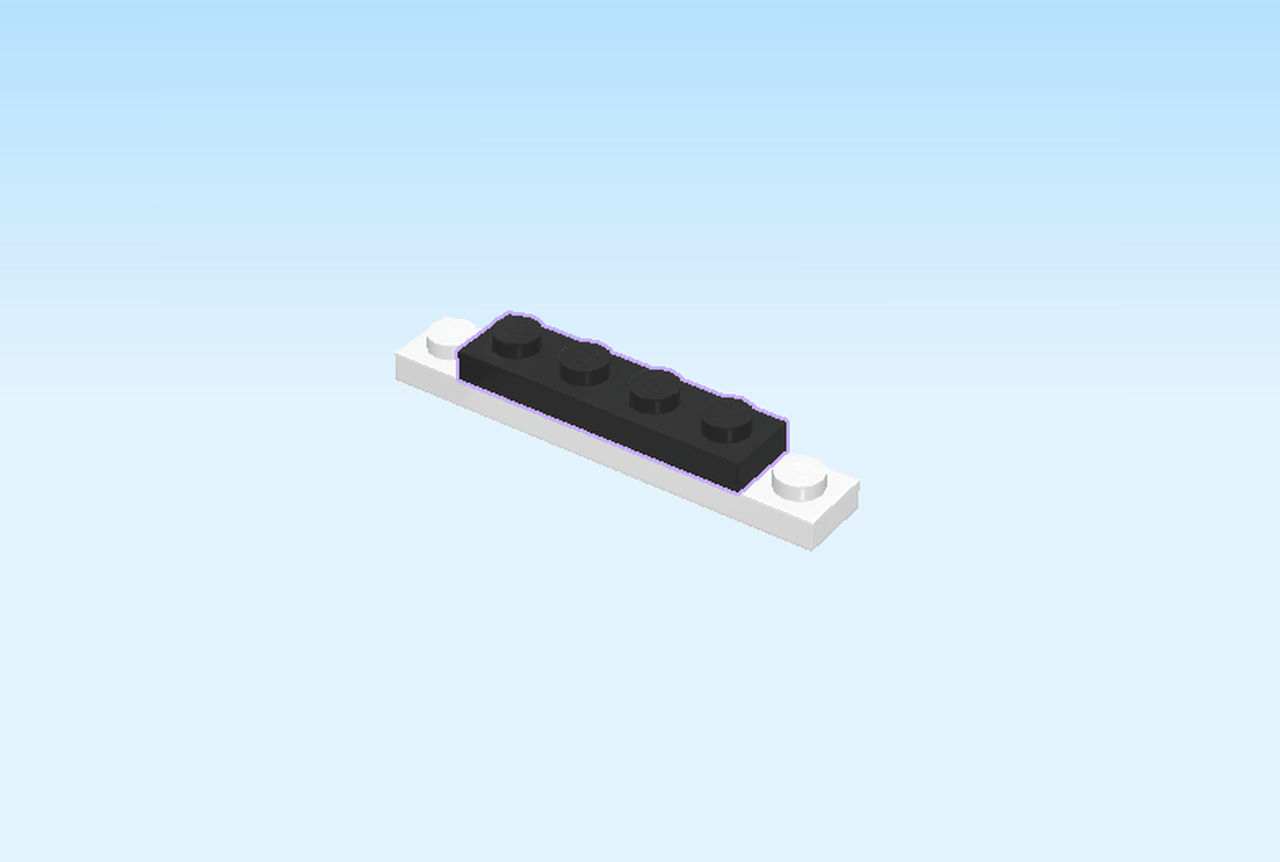
| Find 4 dark azure blue plates 1x4. |
| Put two horizontally on the backmost row. |
| Repeat symmetrically at the front. |
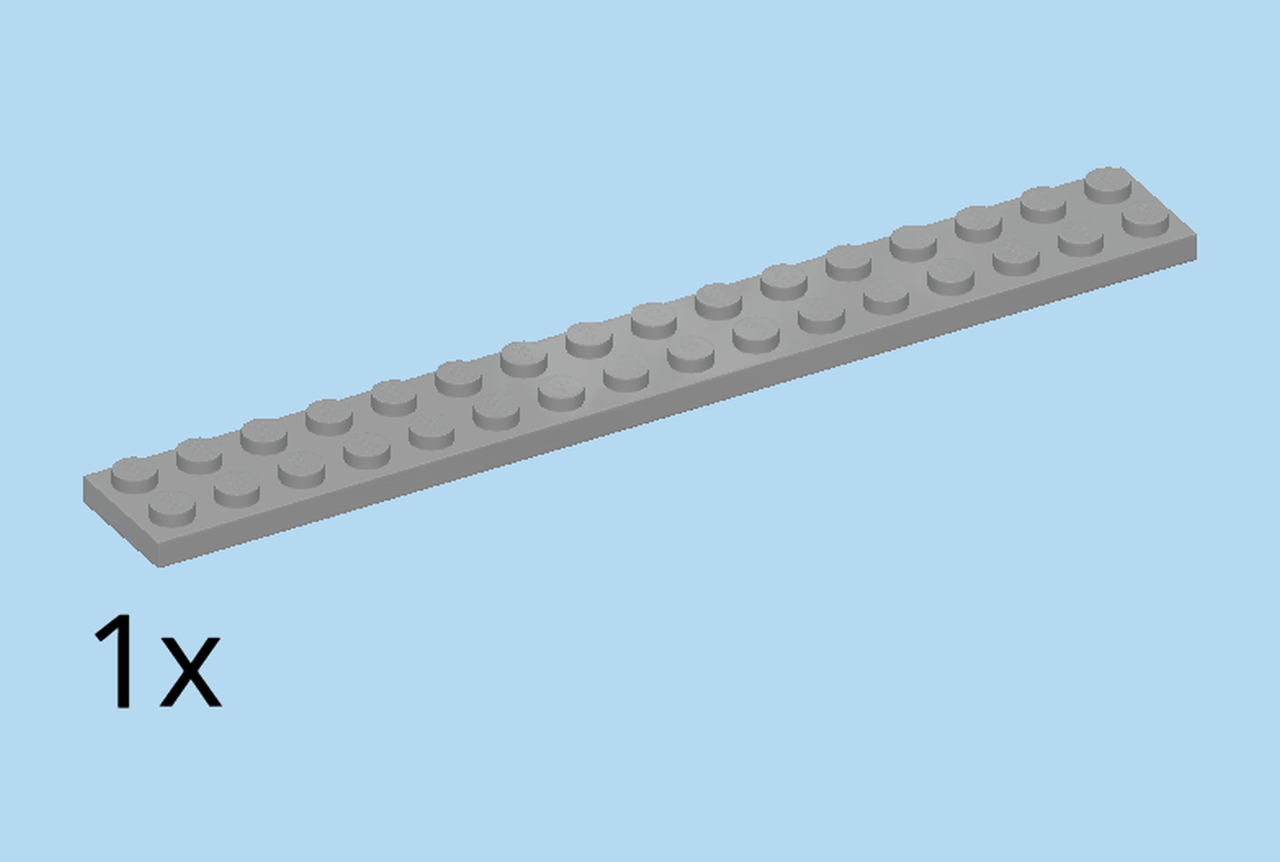
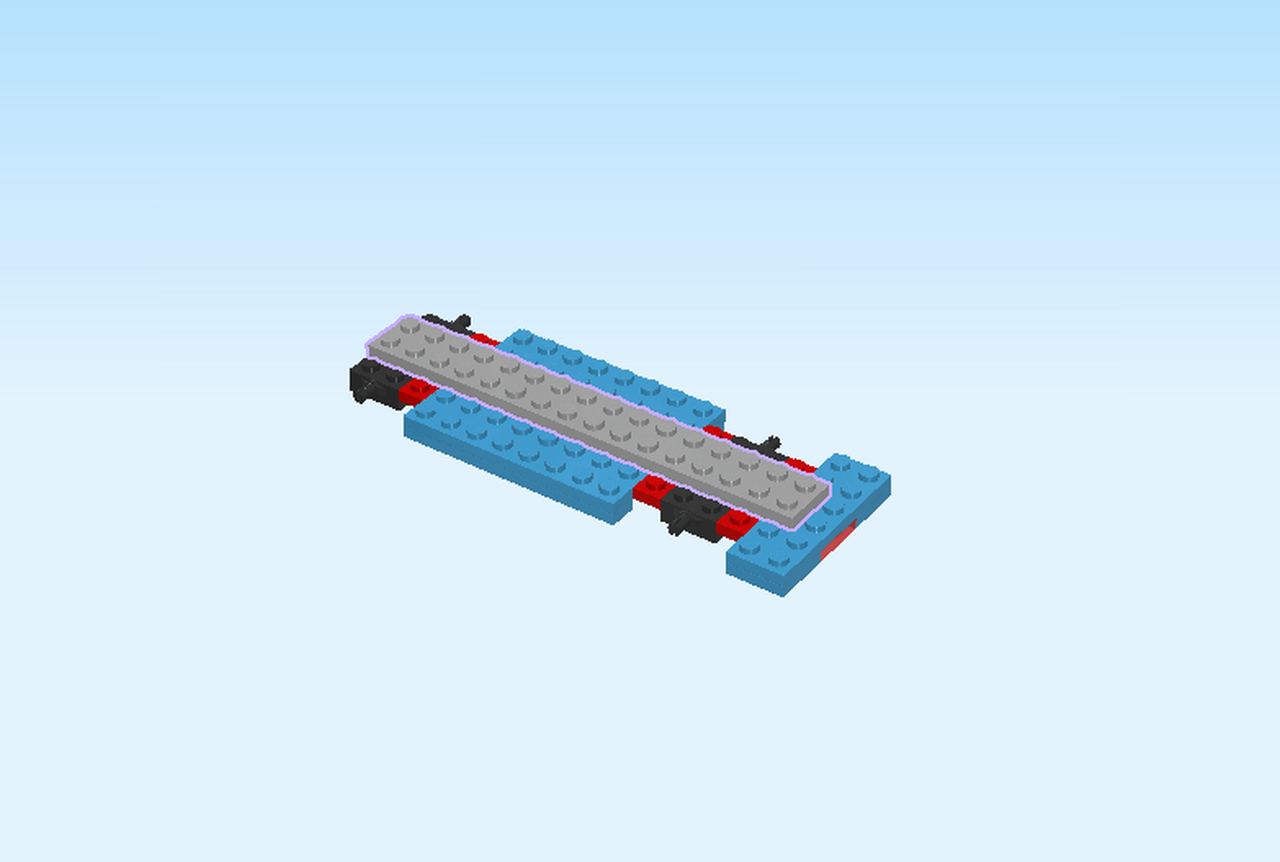
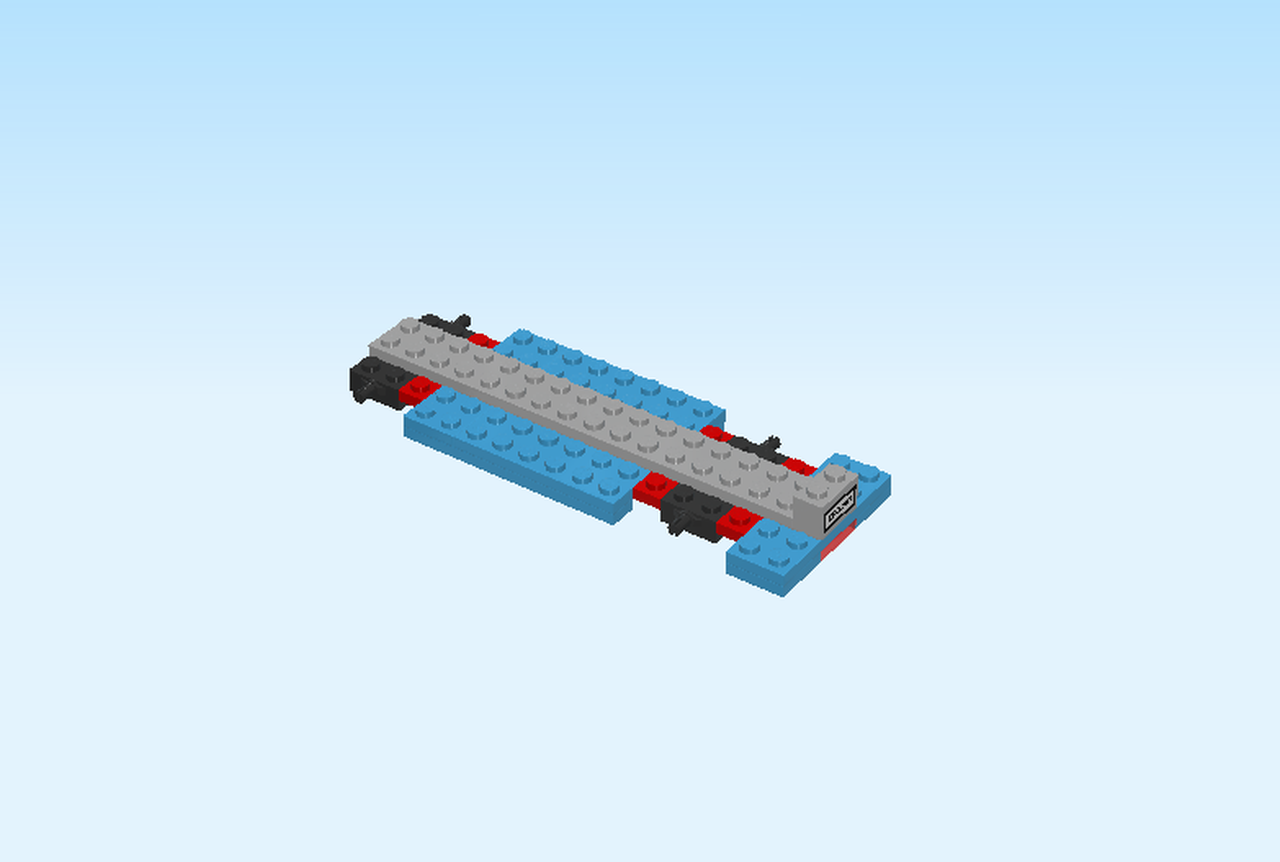
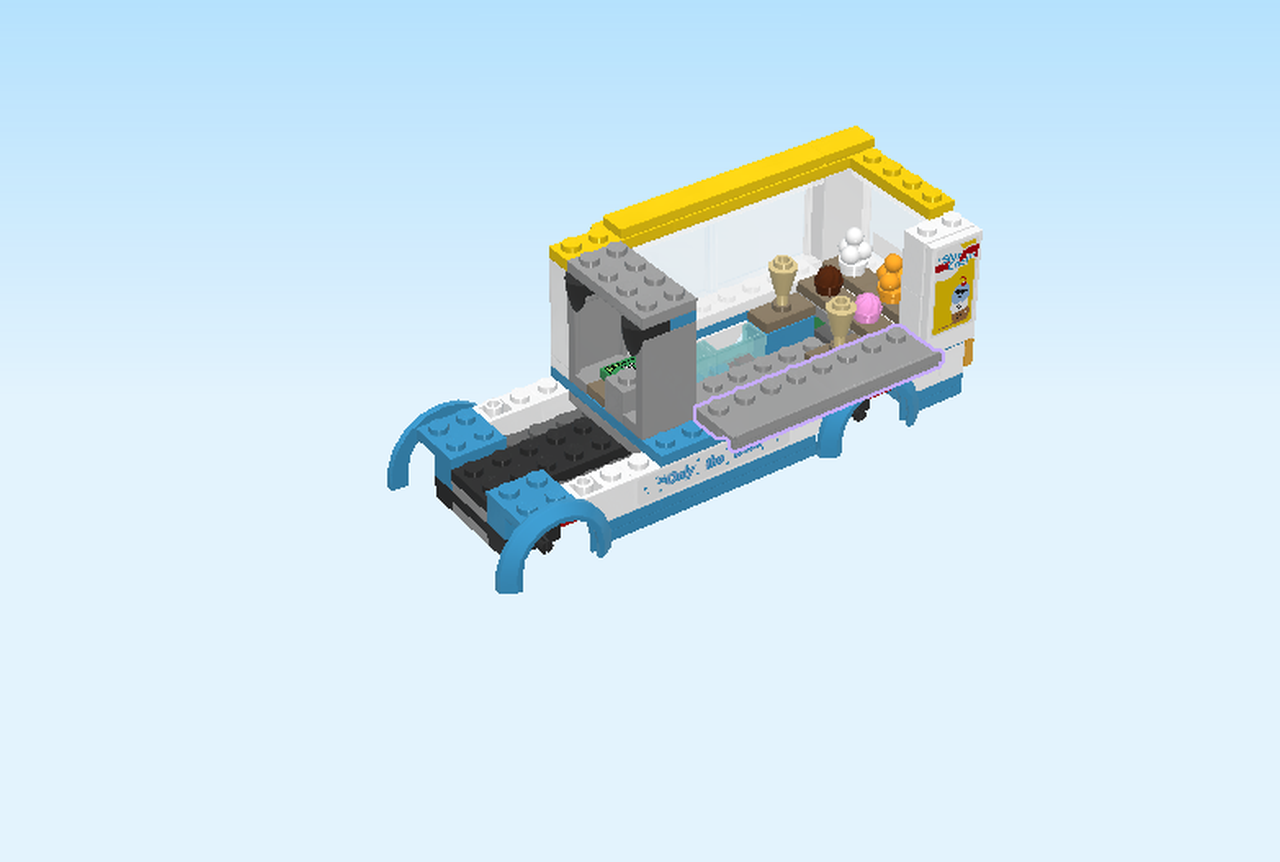
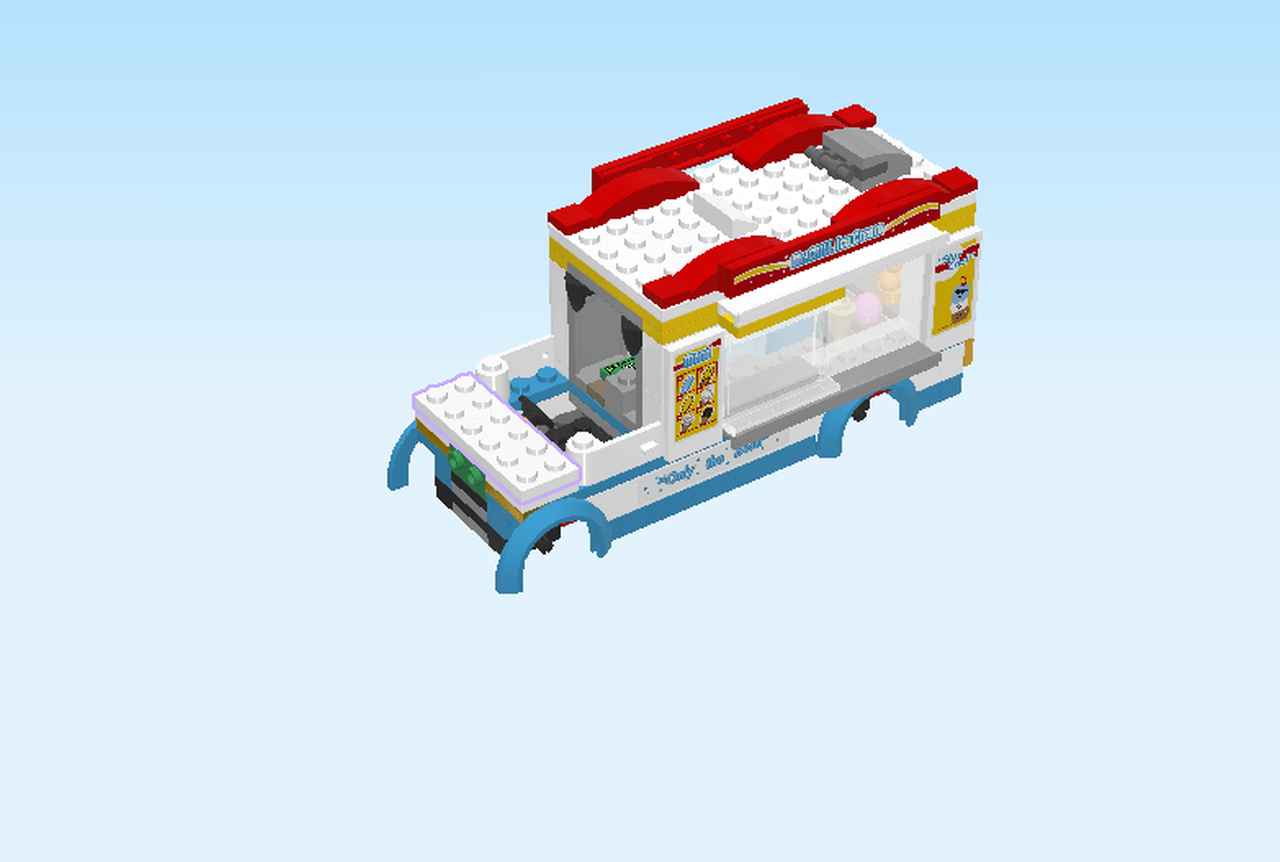
| Find 1 medium stone grey plate 2x16. |
| Now, turn the structure right side up again. |
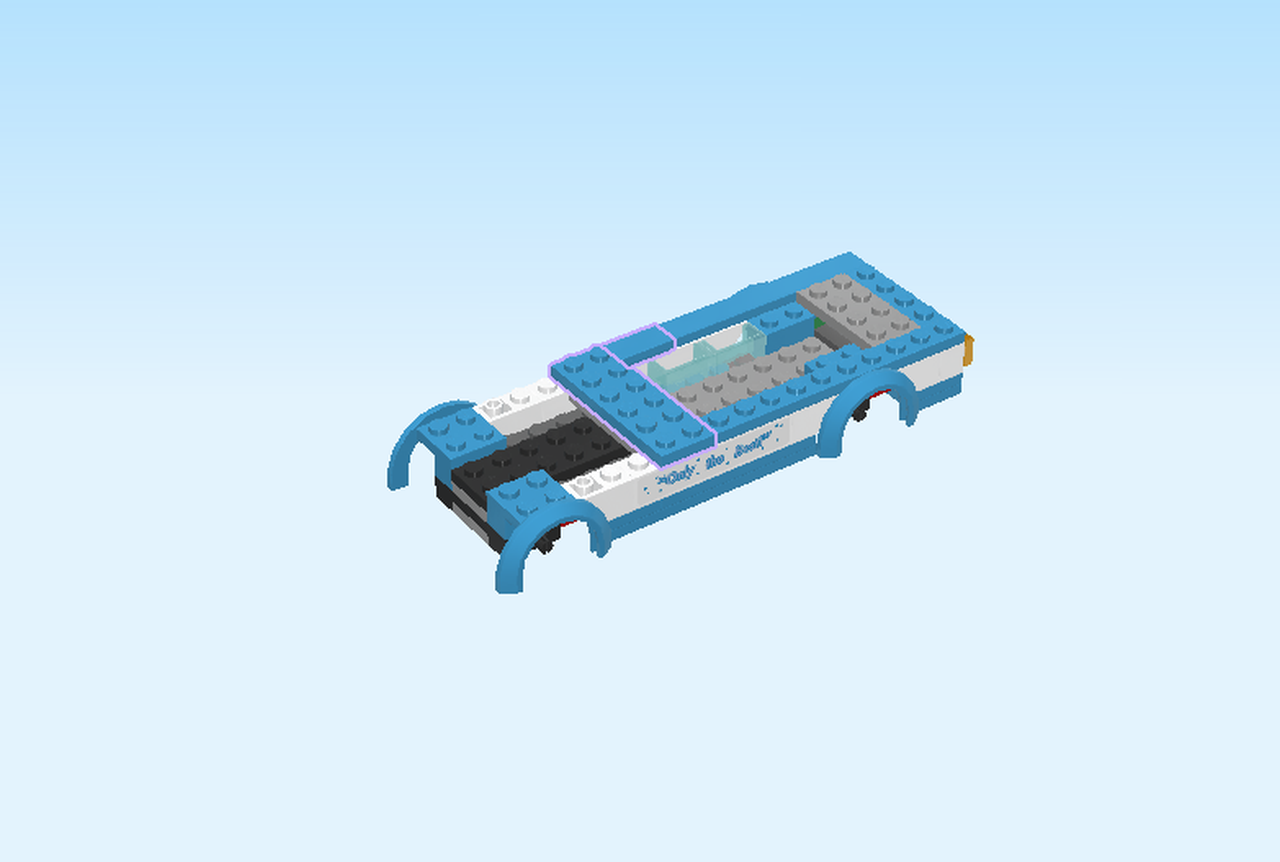
| Put the plate 2x16 horizontally centered on top, starting from the leftmost edge. This means that there is one empty column on the rightmost edge. |
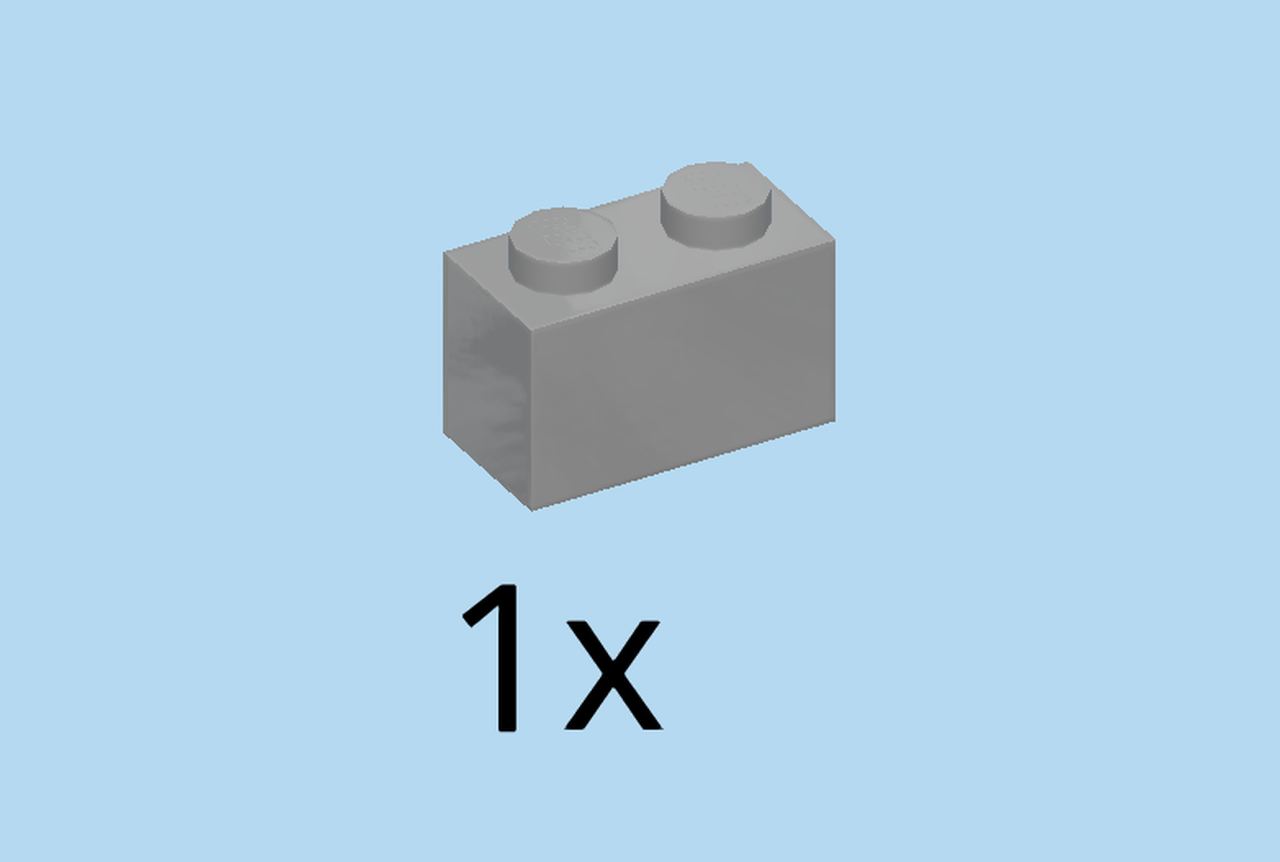
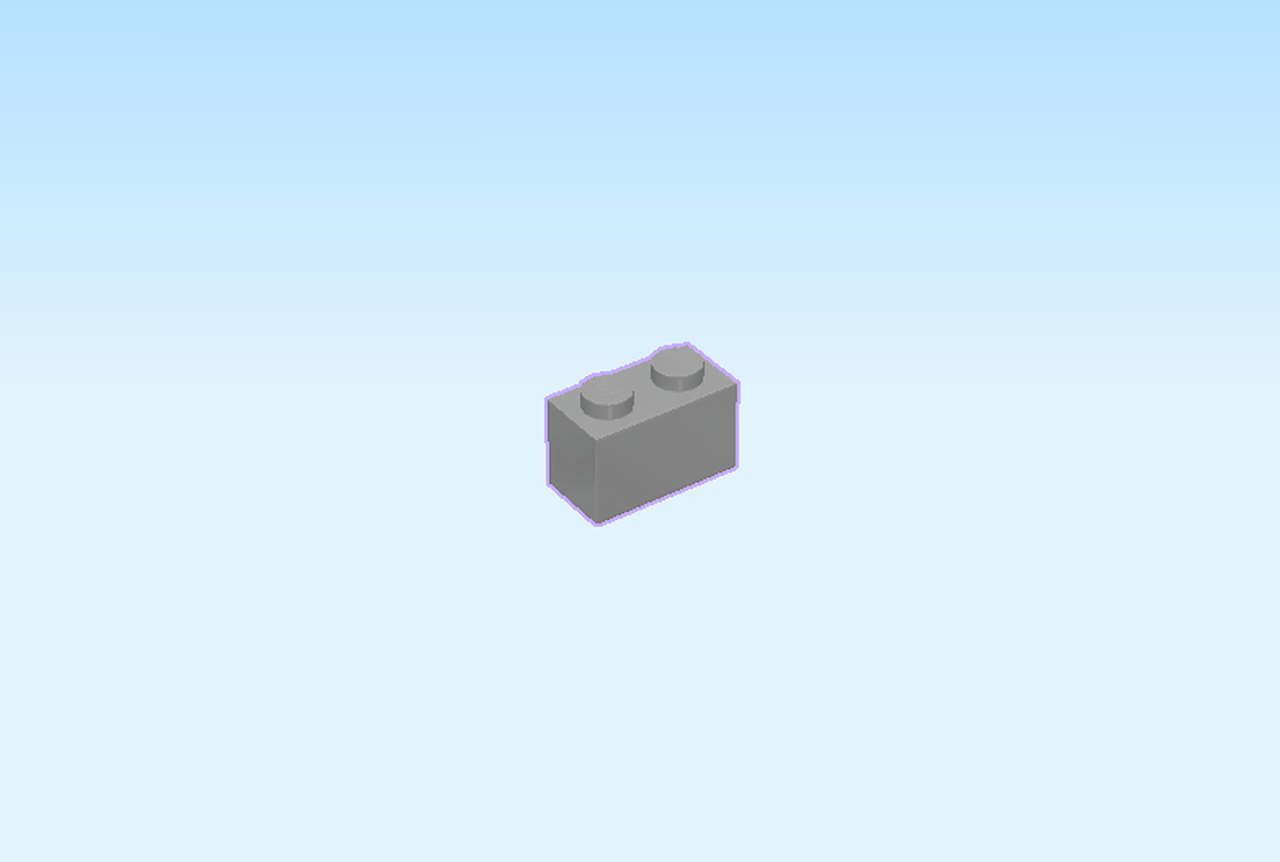
| Find 1 medium stone grey brick 1x2. |
| Put it on the table. |
| Continue if you want to put a sticker on the brick, showing the license plate. If not, skip the following 3 sentences. |
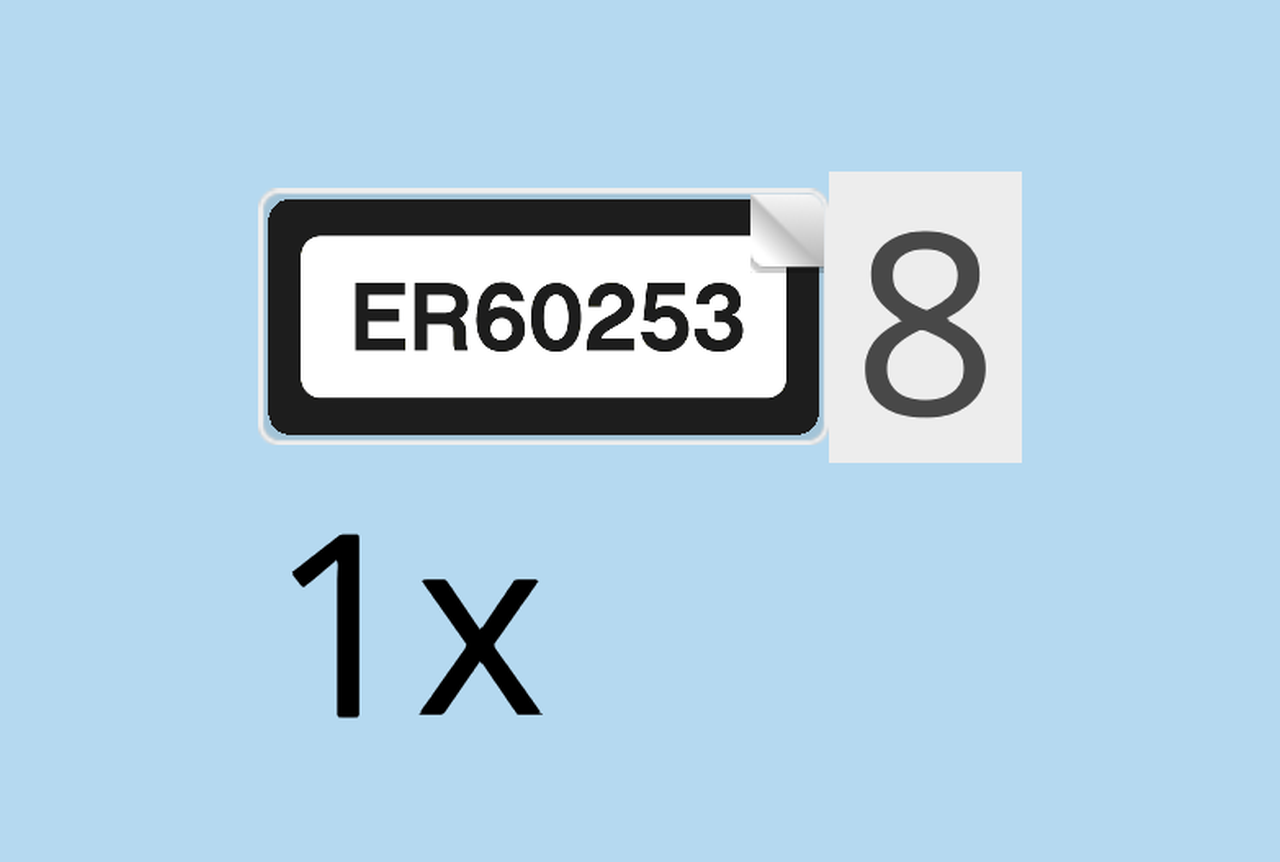
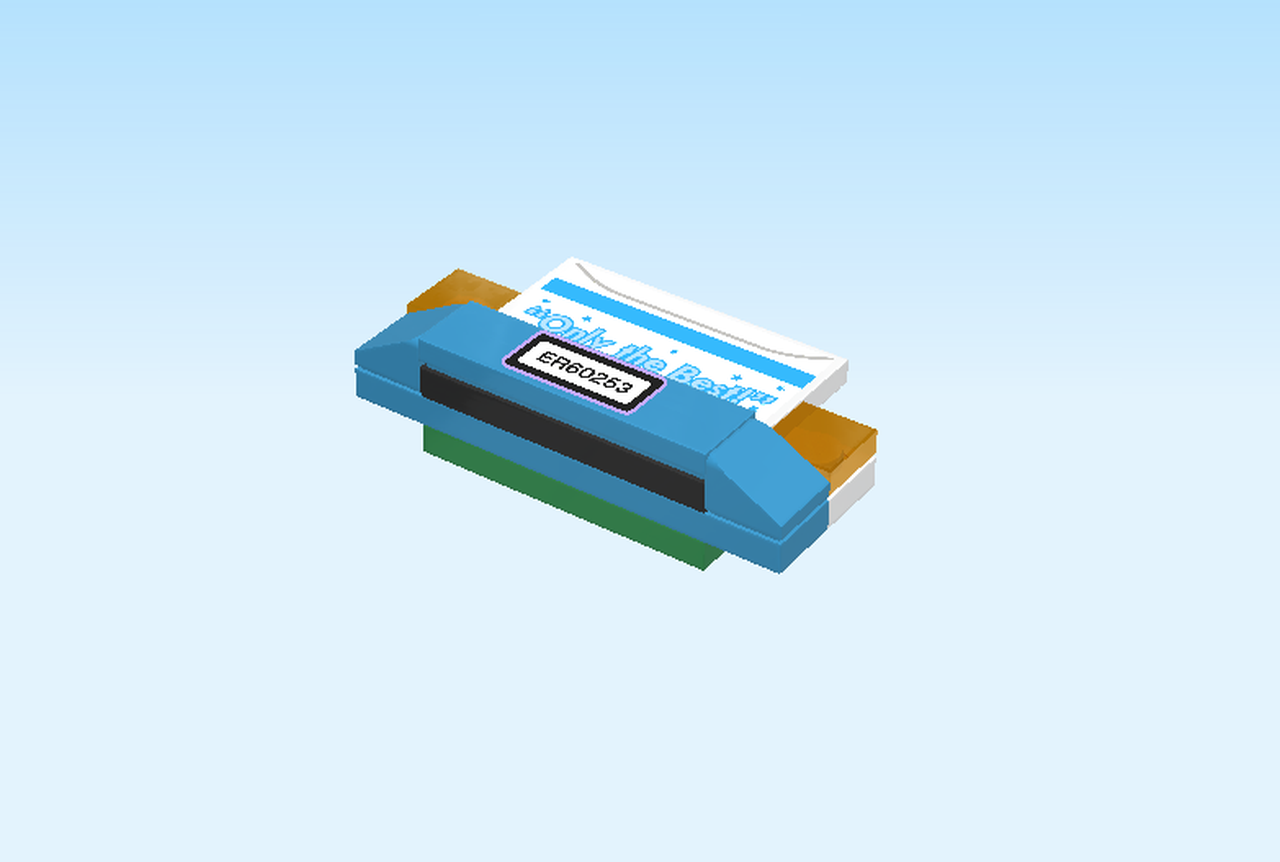
| Find 1 sticker number 8. Ask a sighted person to help you. |
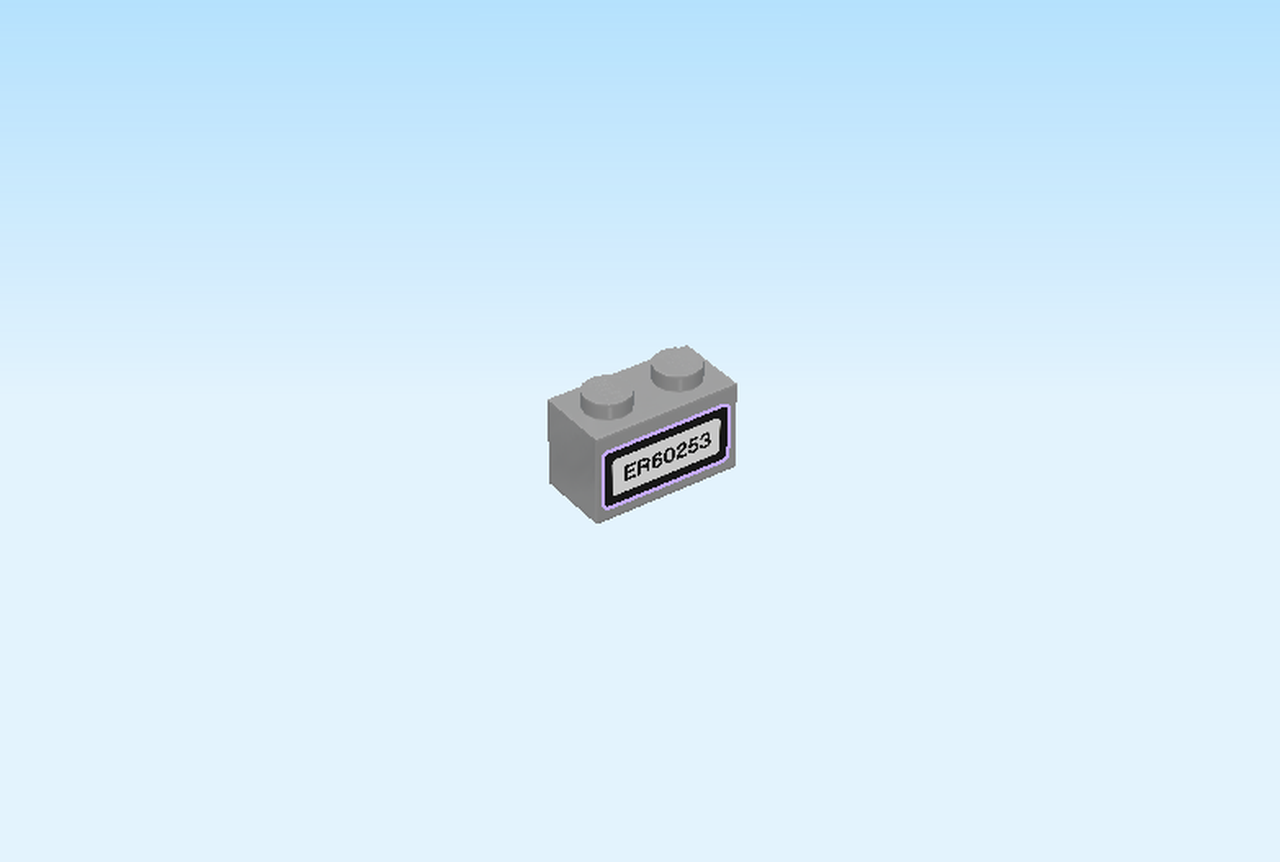
| Turn it upright and put it horizontally centered on the front surface. |
| The sticker is printed with a black and white license plate, showing the license tag: ER60253. |
| Put the brick vertically centered on the rightmost column, sticker to the right. |
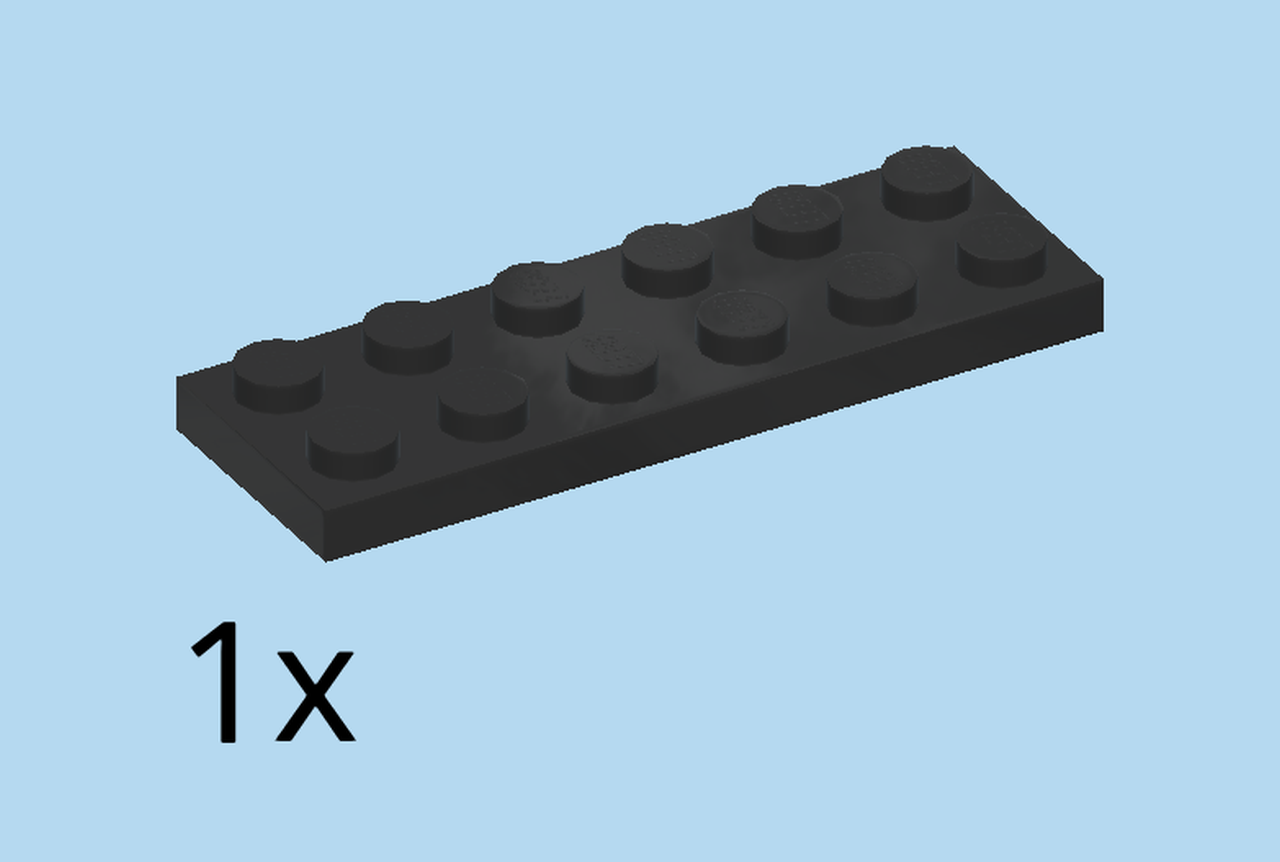
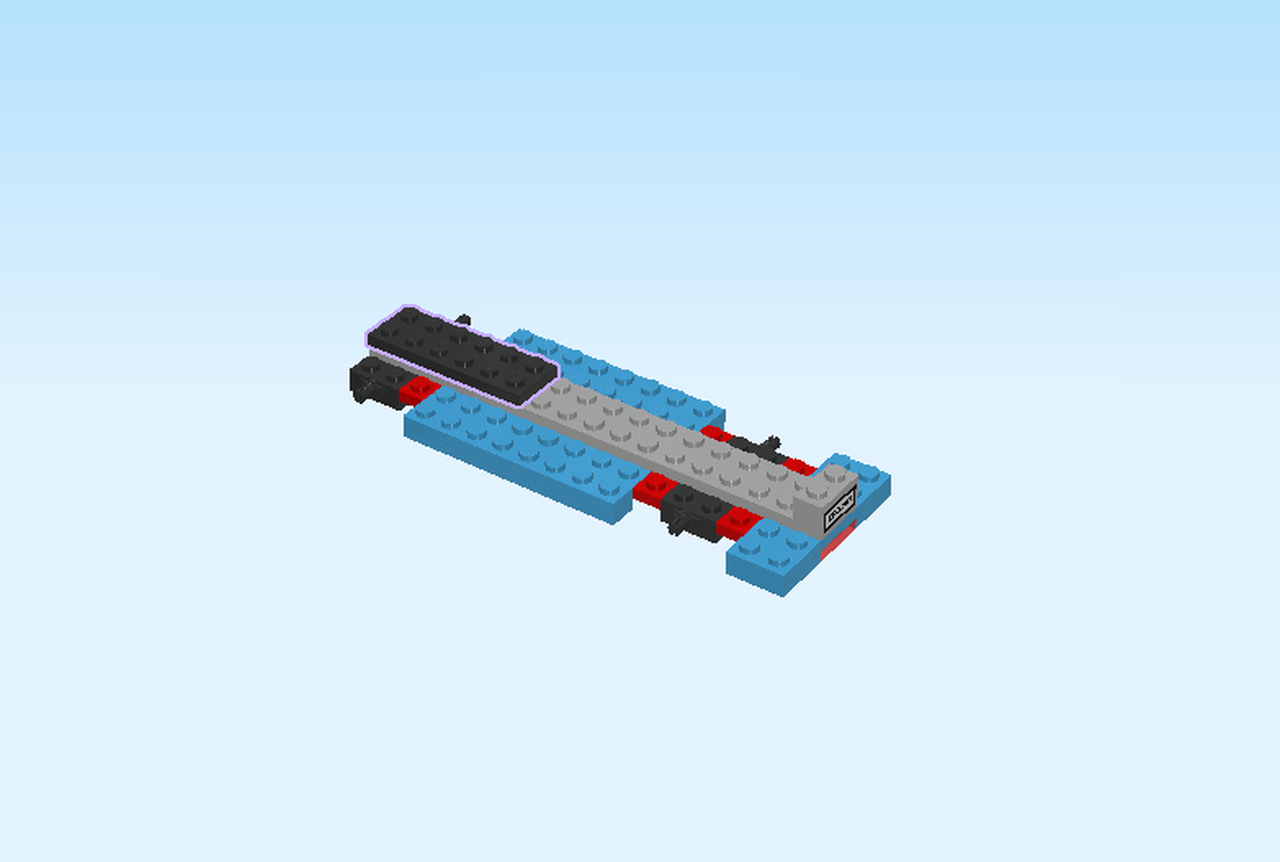
| Find 1 black plate 2x6. |
| Put it horizontally centered on the leftmost edge. |
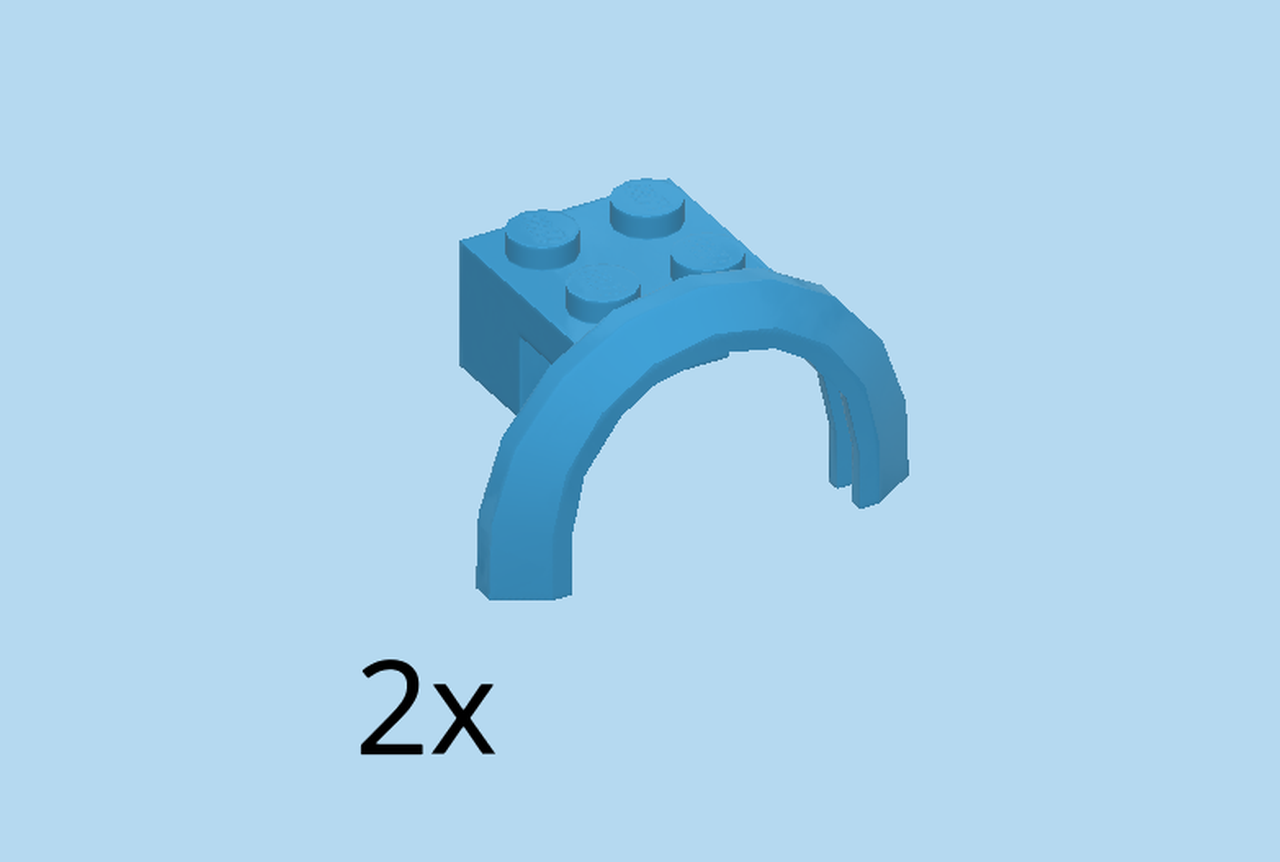
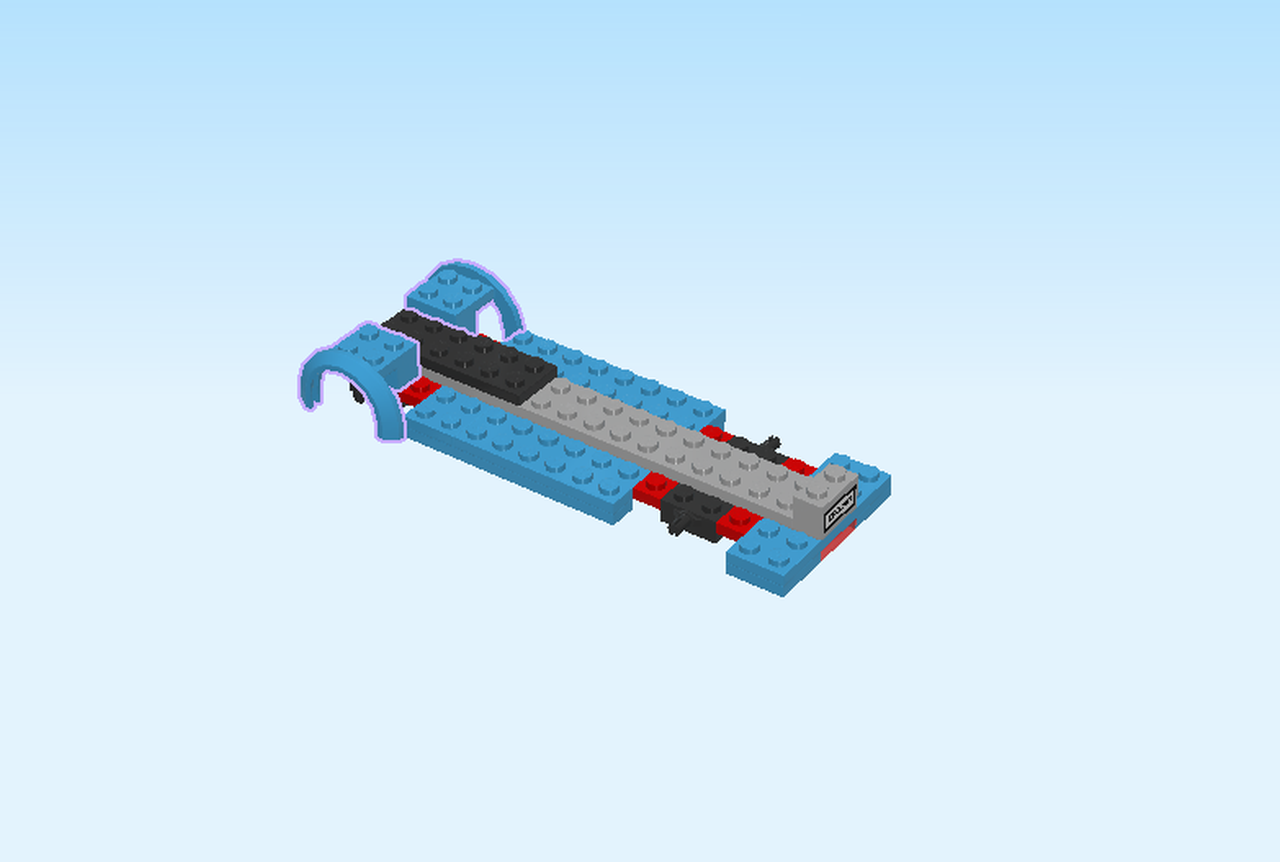
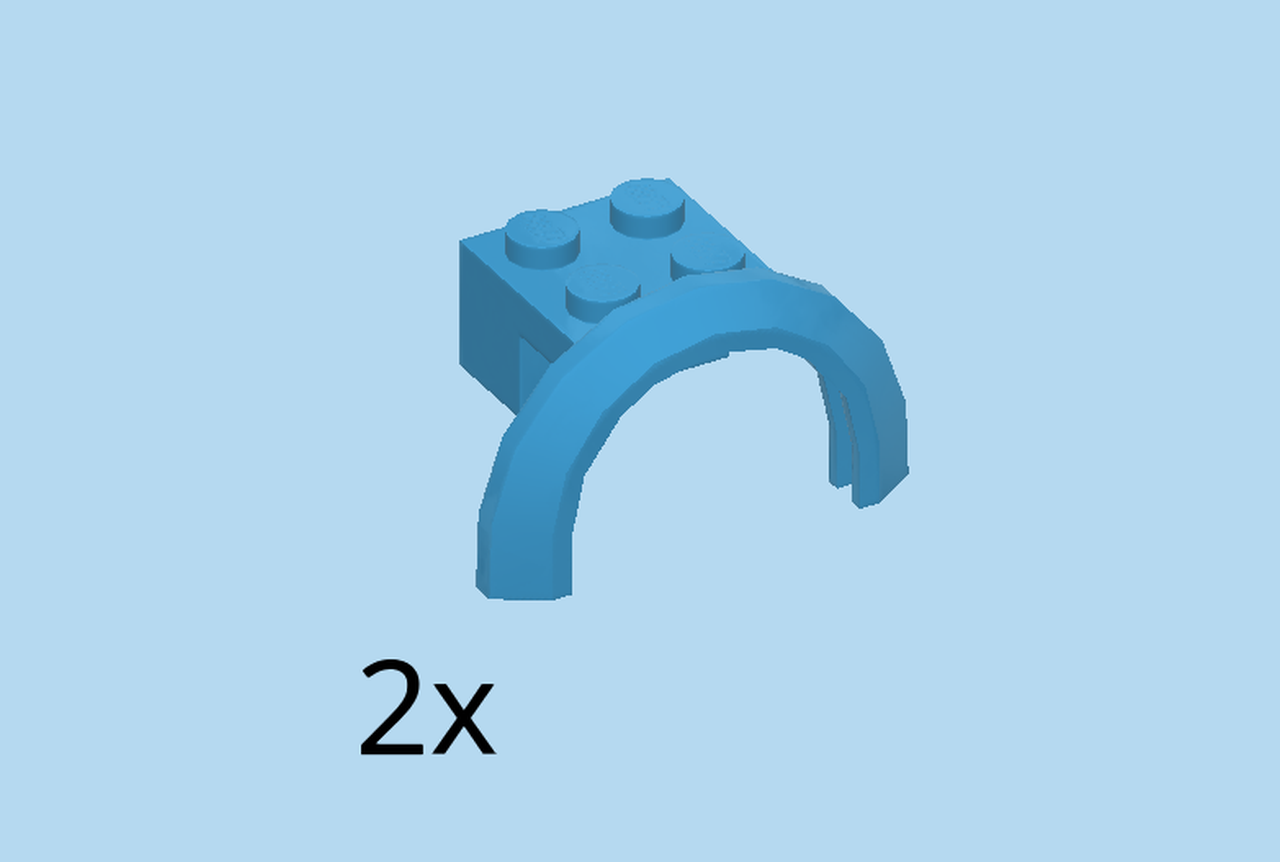
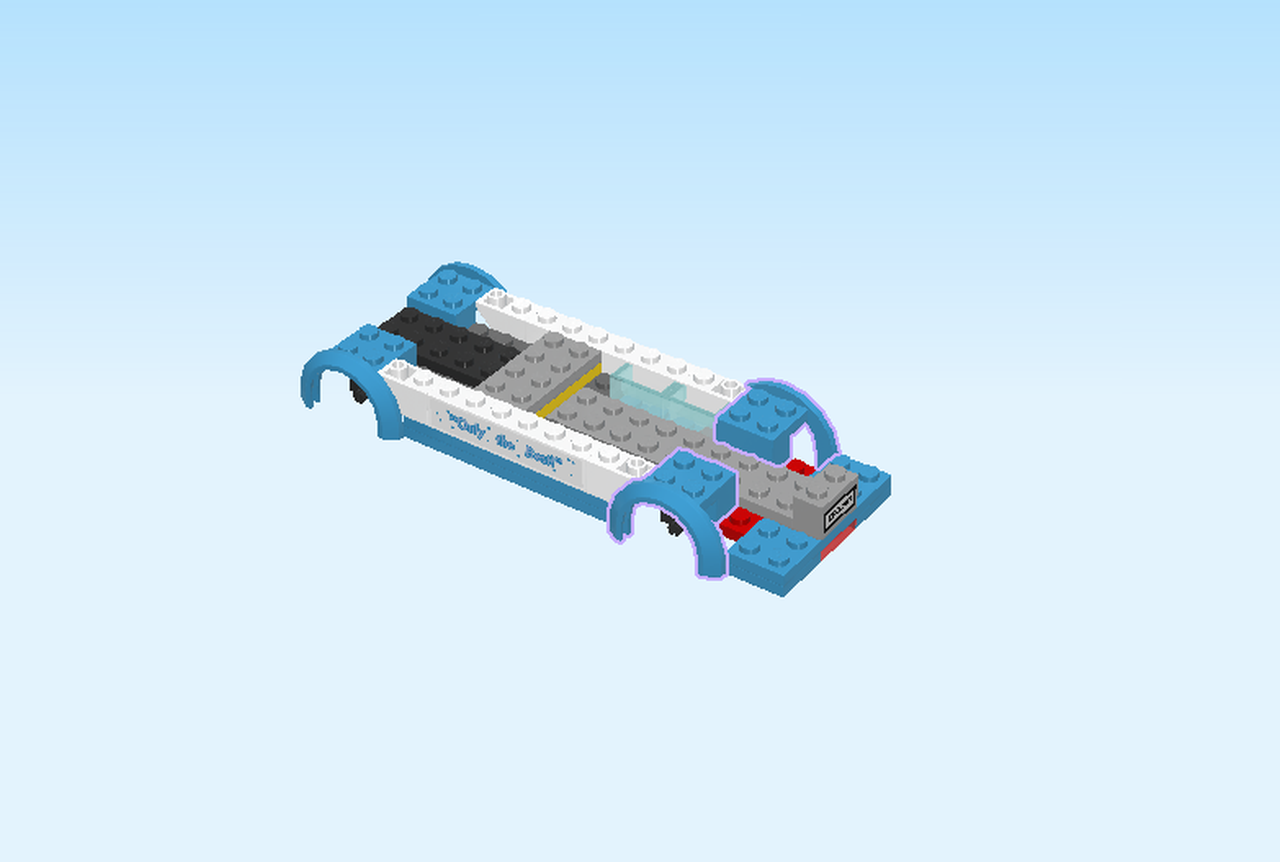
| Find 2 dark azure blue bricks 2x4x1 with fender. |
| Put one horizontally on the back row at the leftmost edge, fender to the back. |
| Repeat symmetrically at the front, fender to the front. |
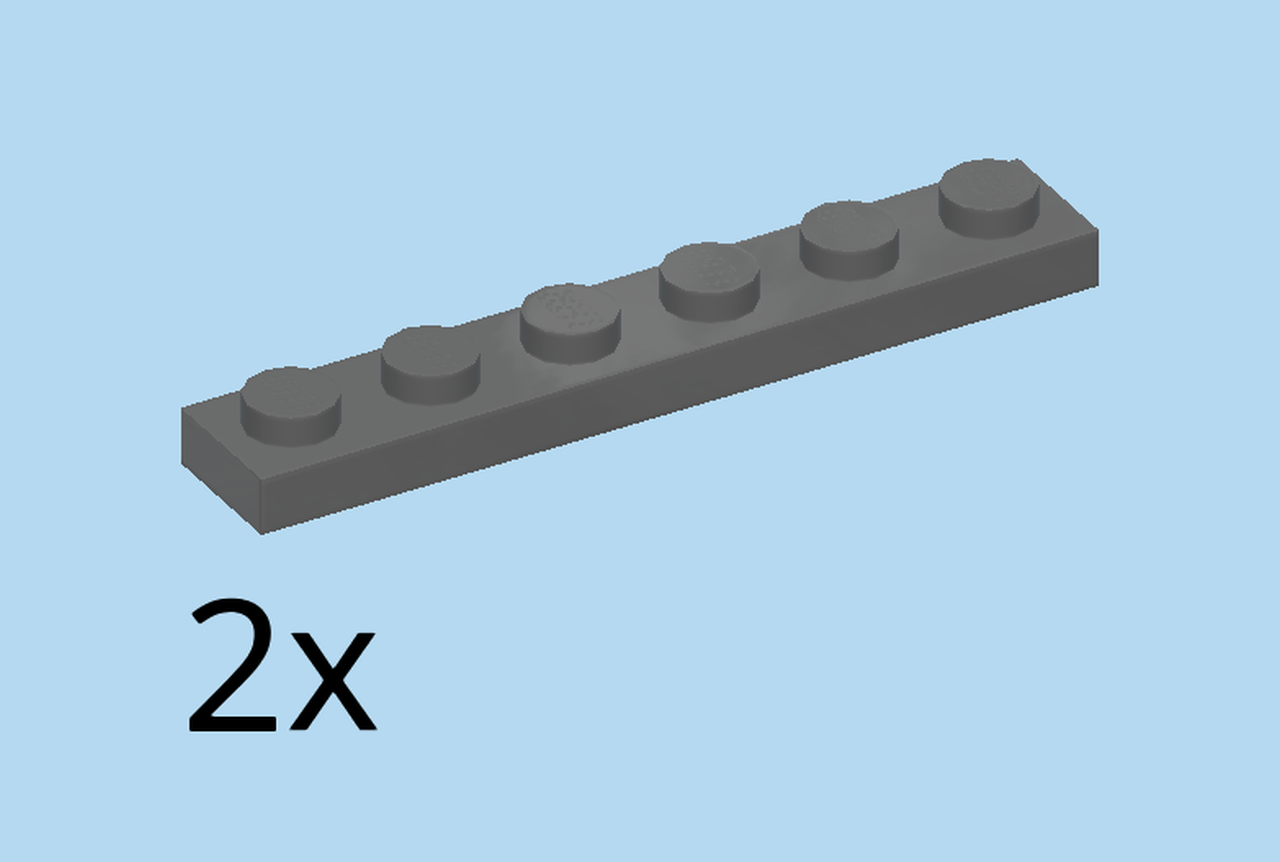
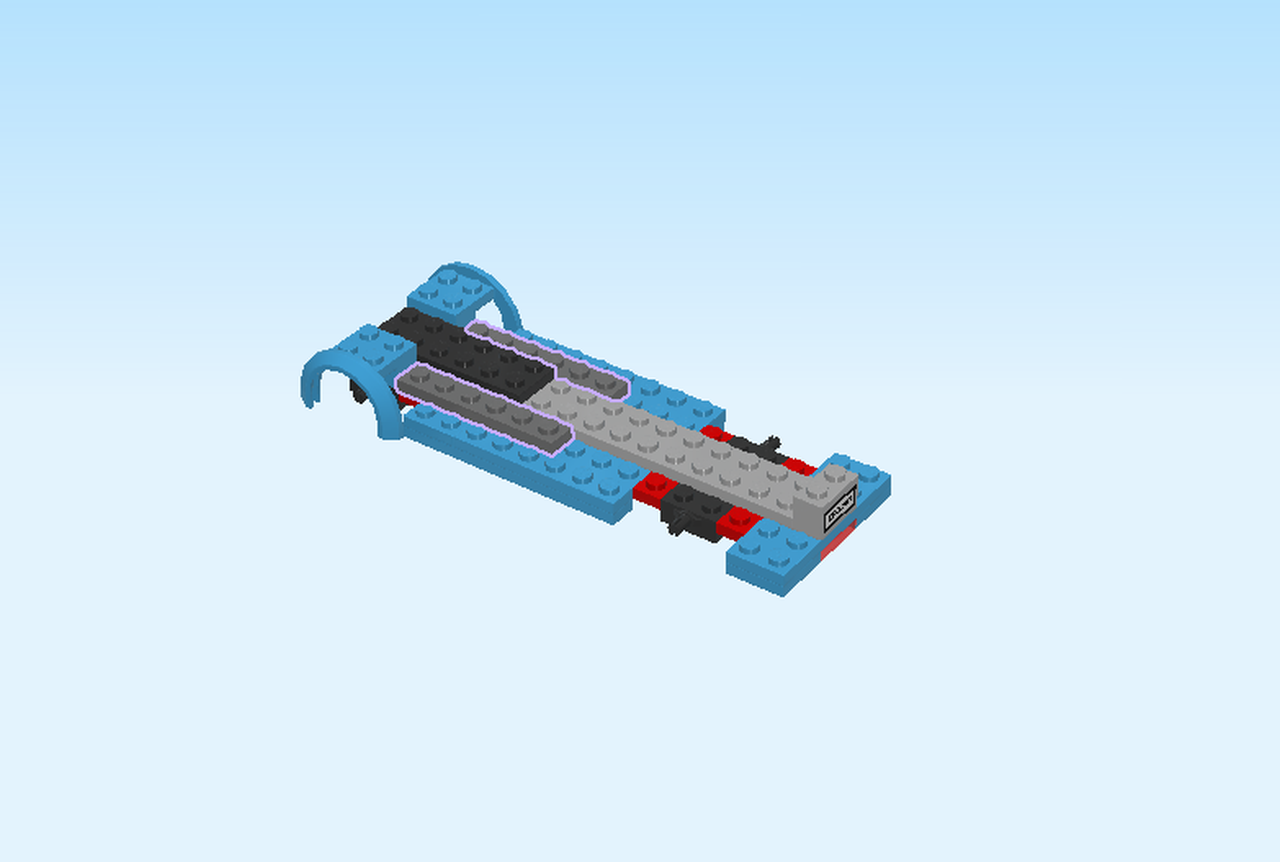
| Find 2 dark stone grey plates 1x6. |
| Put one horizontally on the second row from the back, to the right of the brick with fender. |
| Repeat symmetrically at the front. |
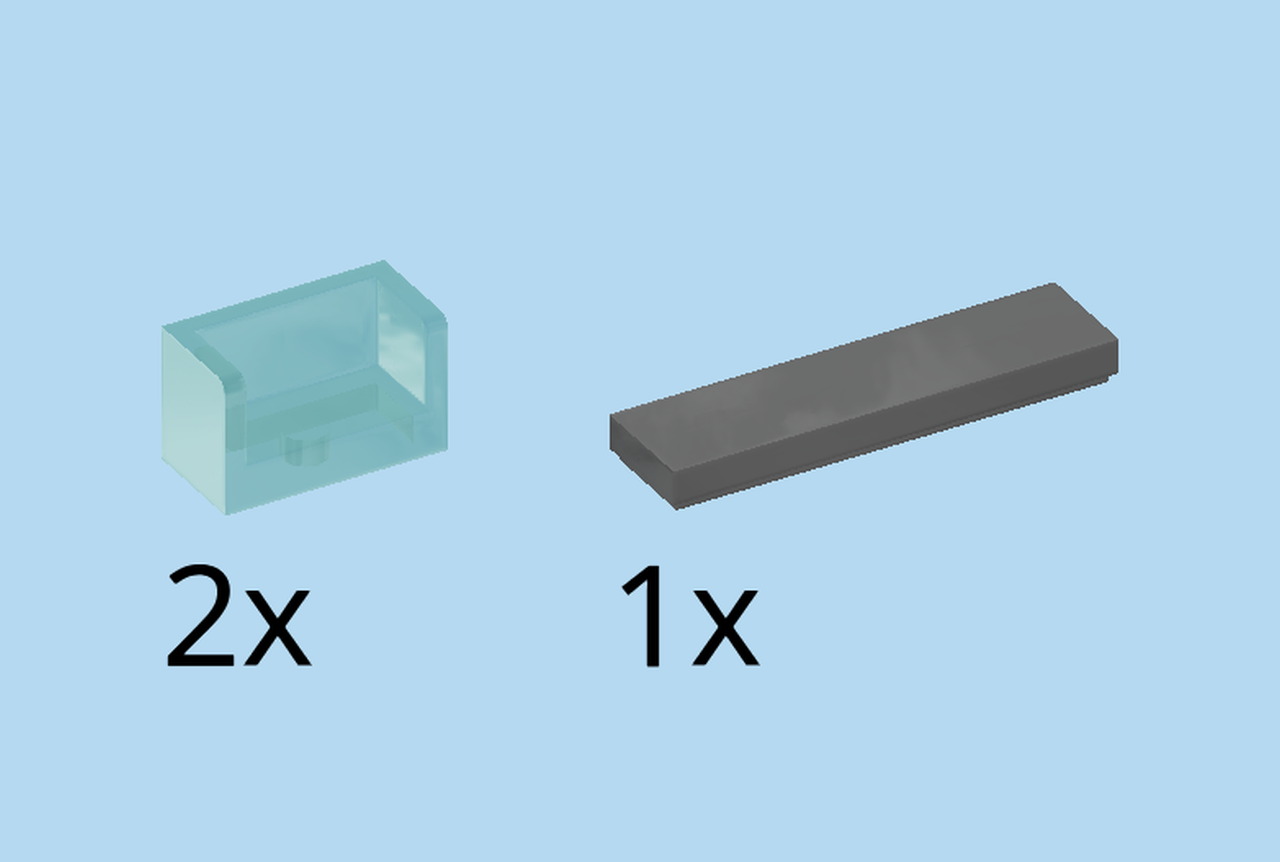
| Collect the following 3 pieces: |
| 1 dark stone grey flat tile 1x4, |
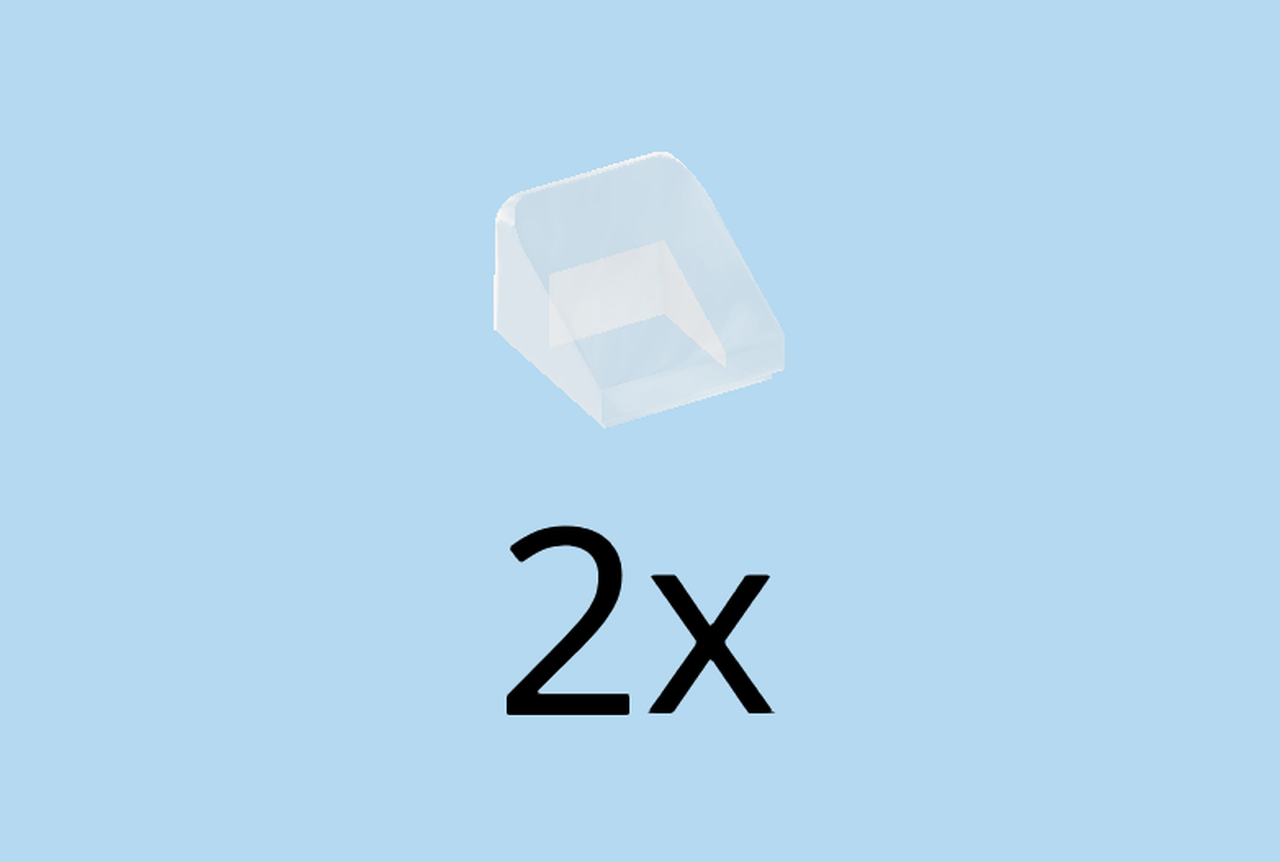
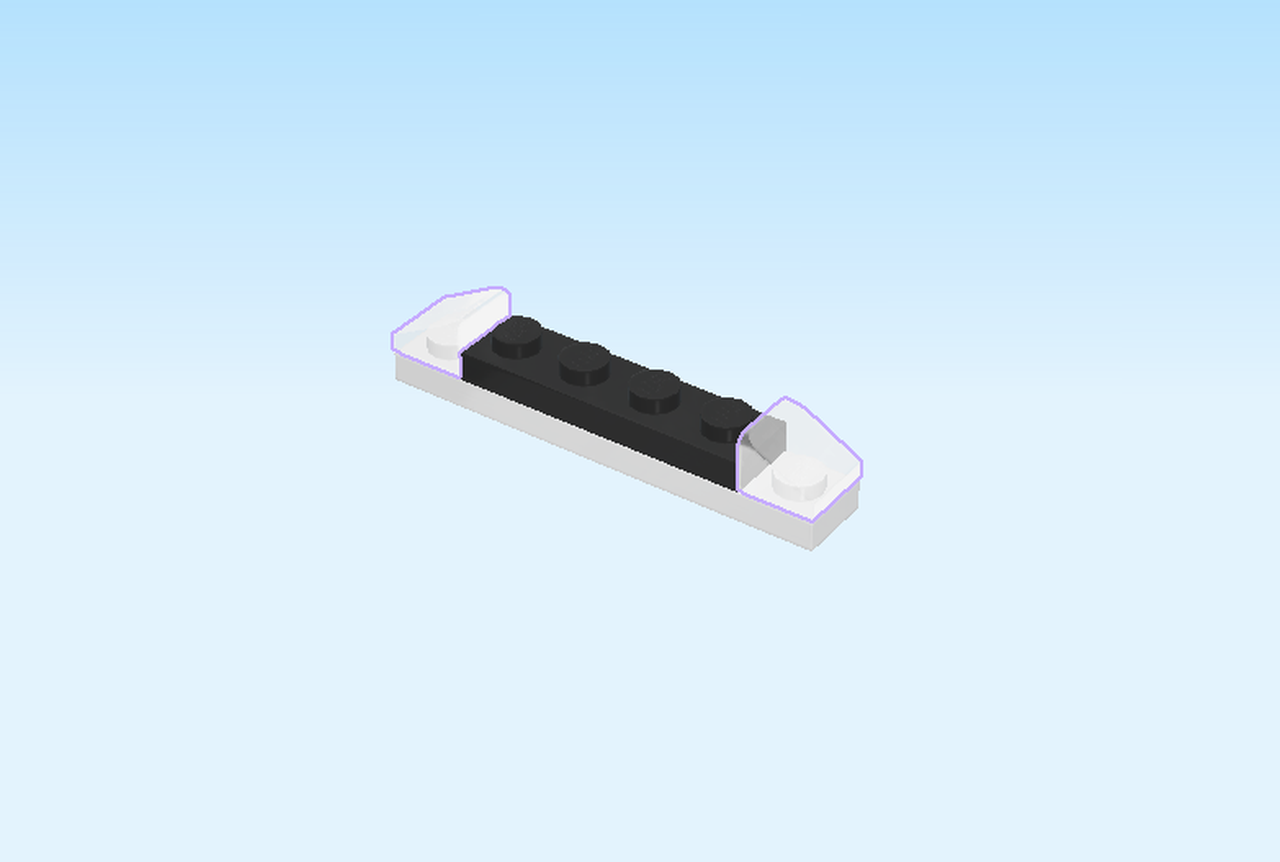
| and 2 transparent light blue double wall corners 1x2x1. |
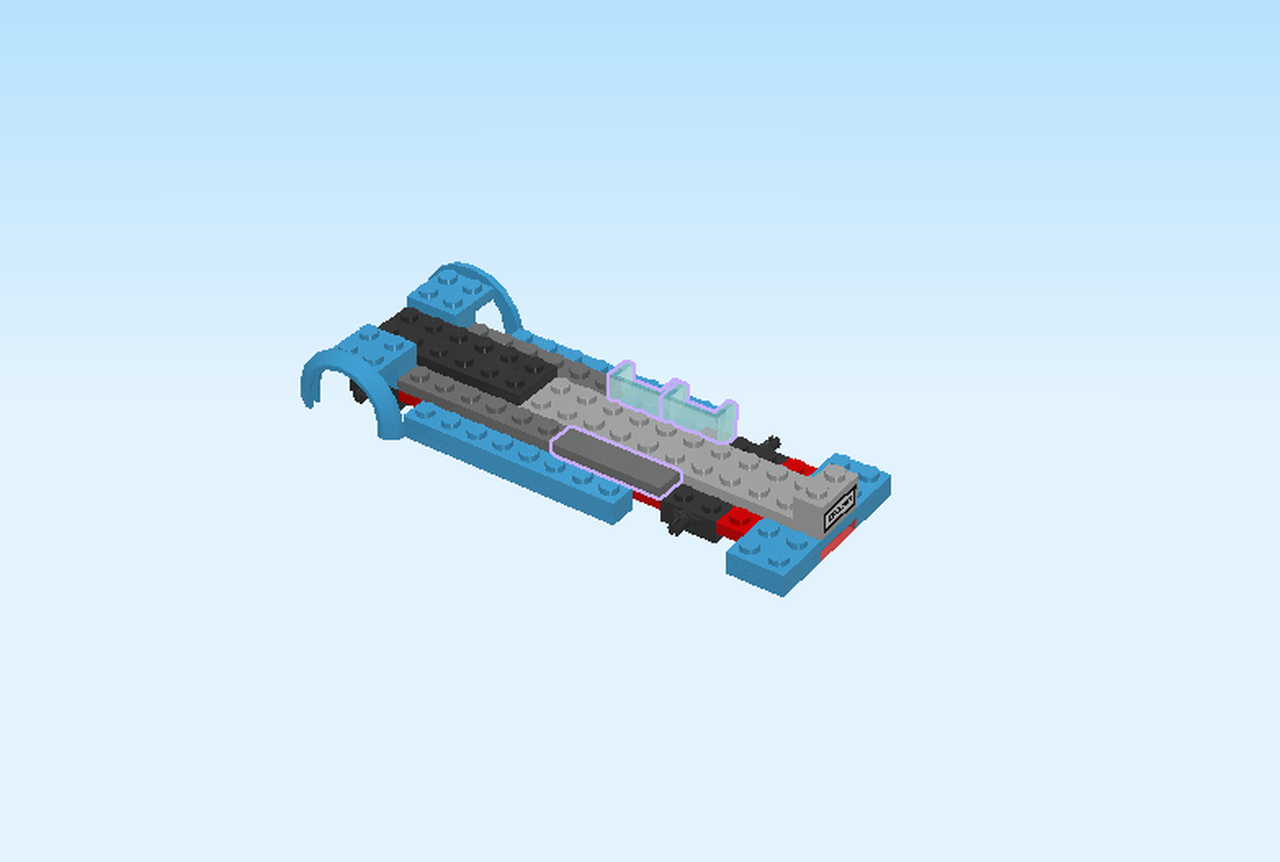
| Put the flat tile 1x4 on the second row from the front, to the right of the previous plate. |
| Put one wall element horizontally on the second row from the back, to the right of the plate 1x6, wall to the front. |
| Put the second wall element to the right of the previous element, wall to the front. |
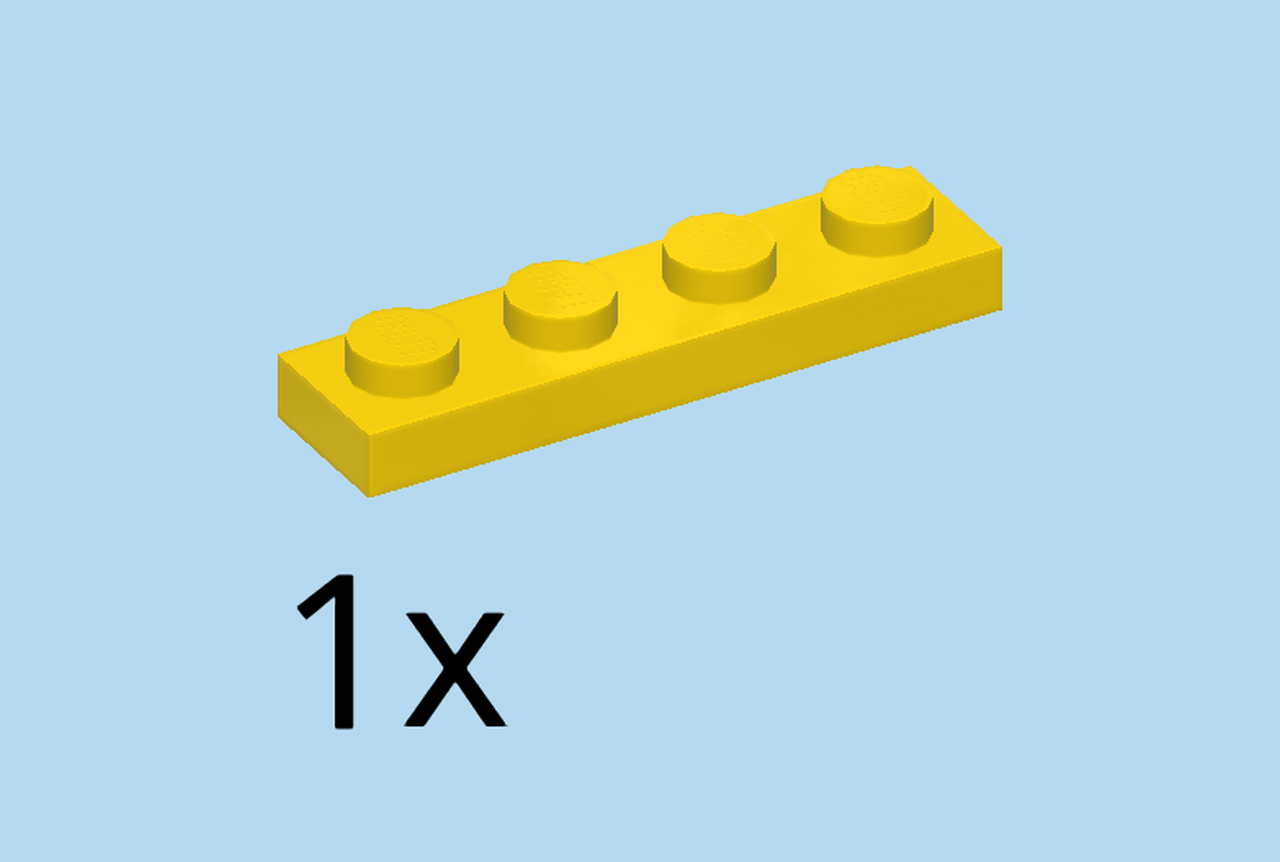
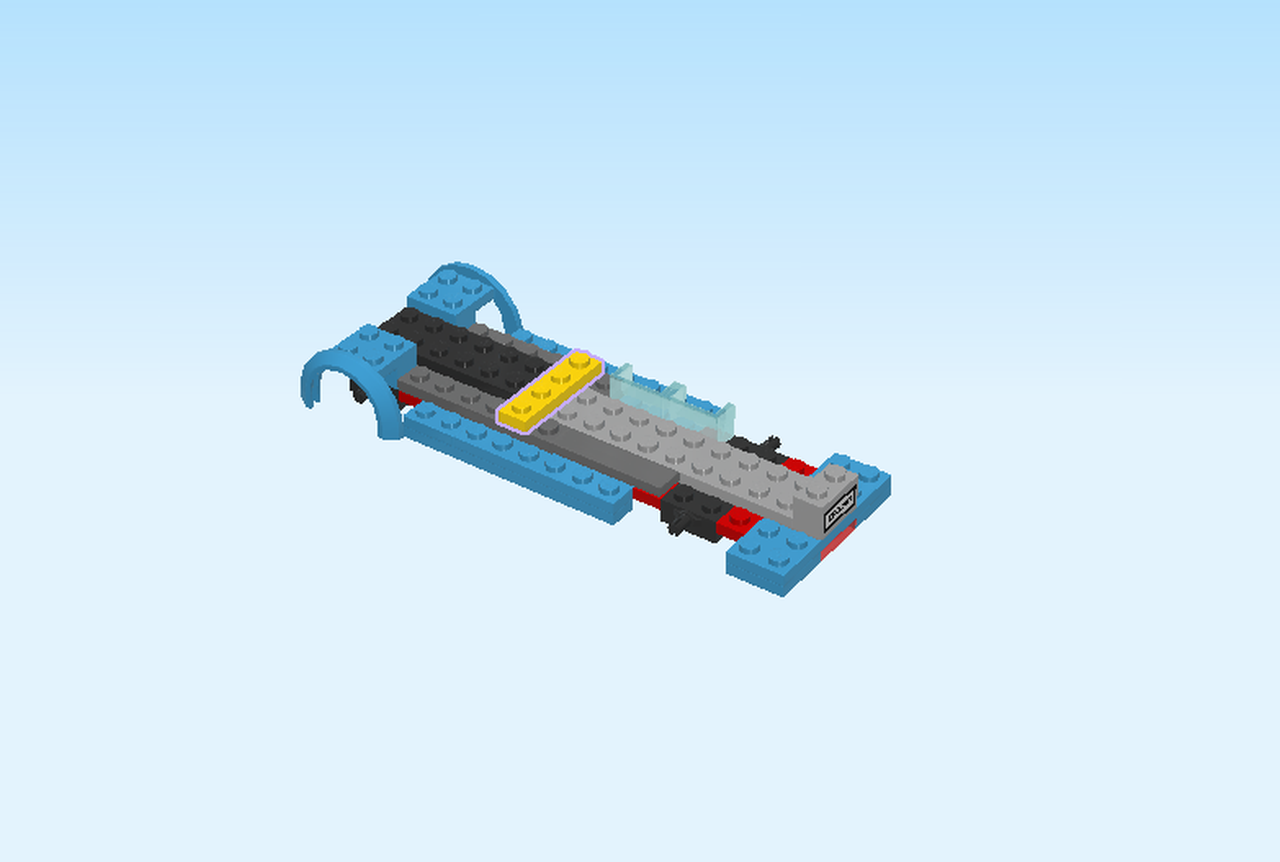
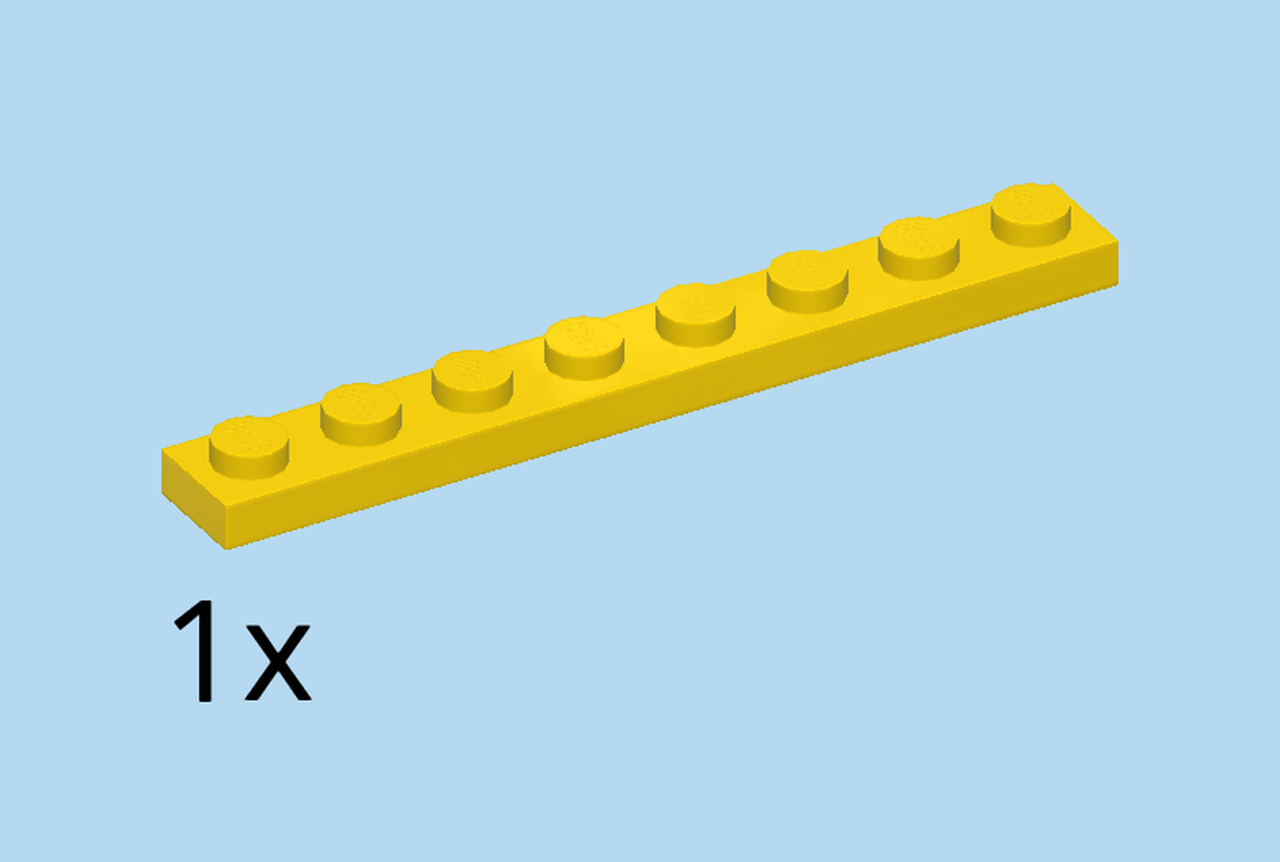
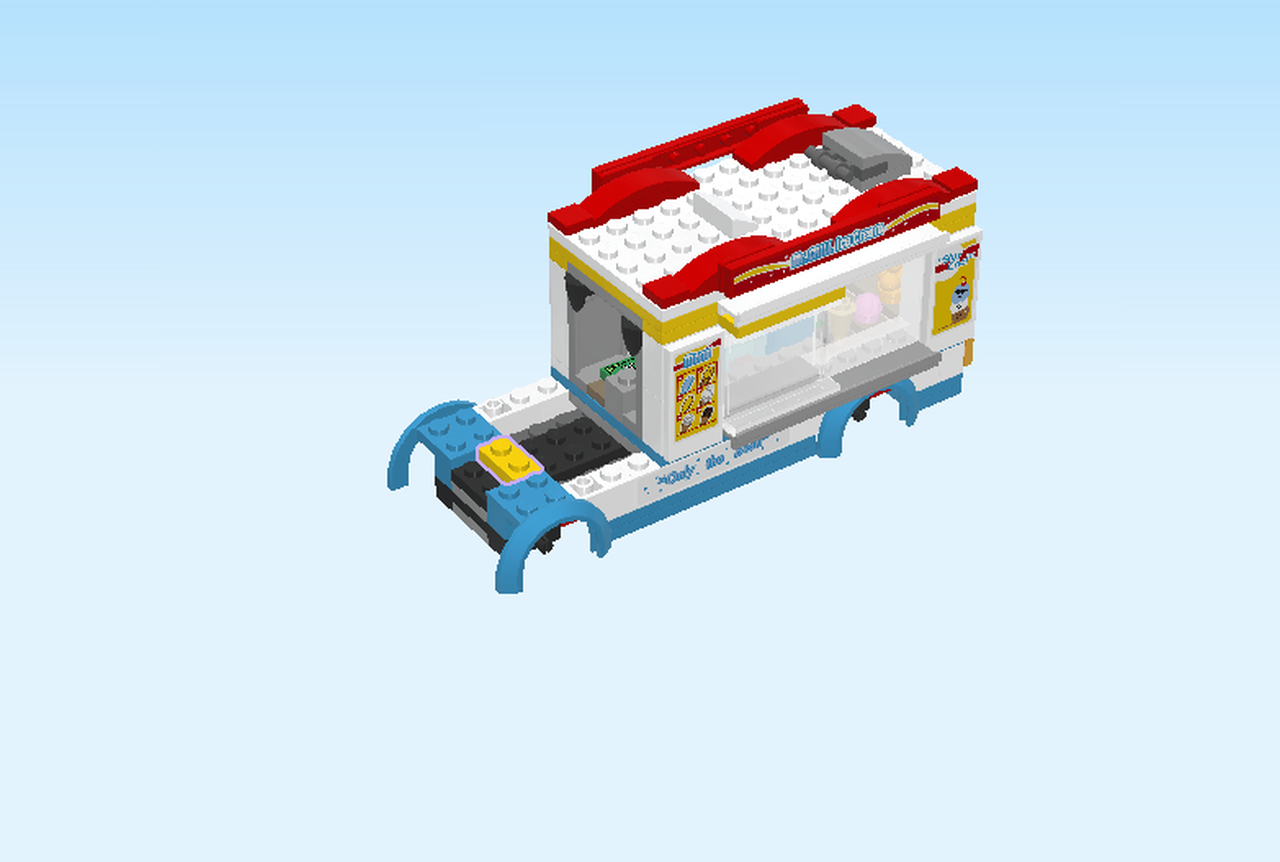
| Find 1 bright yellow plate 1x4. |
| Put it vertically centered on the seventh column from the left, to the right of plate 2x6. |
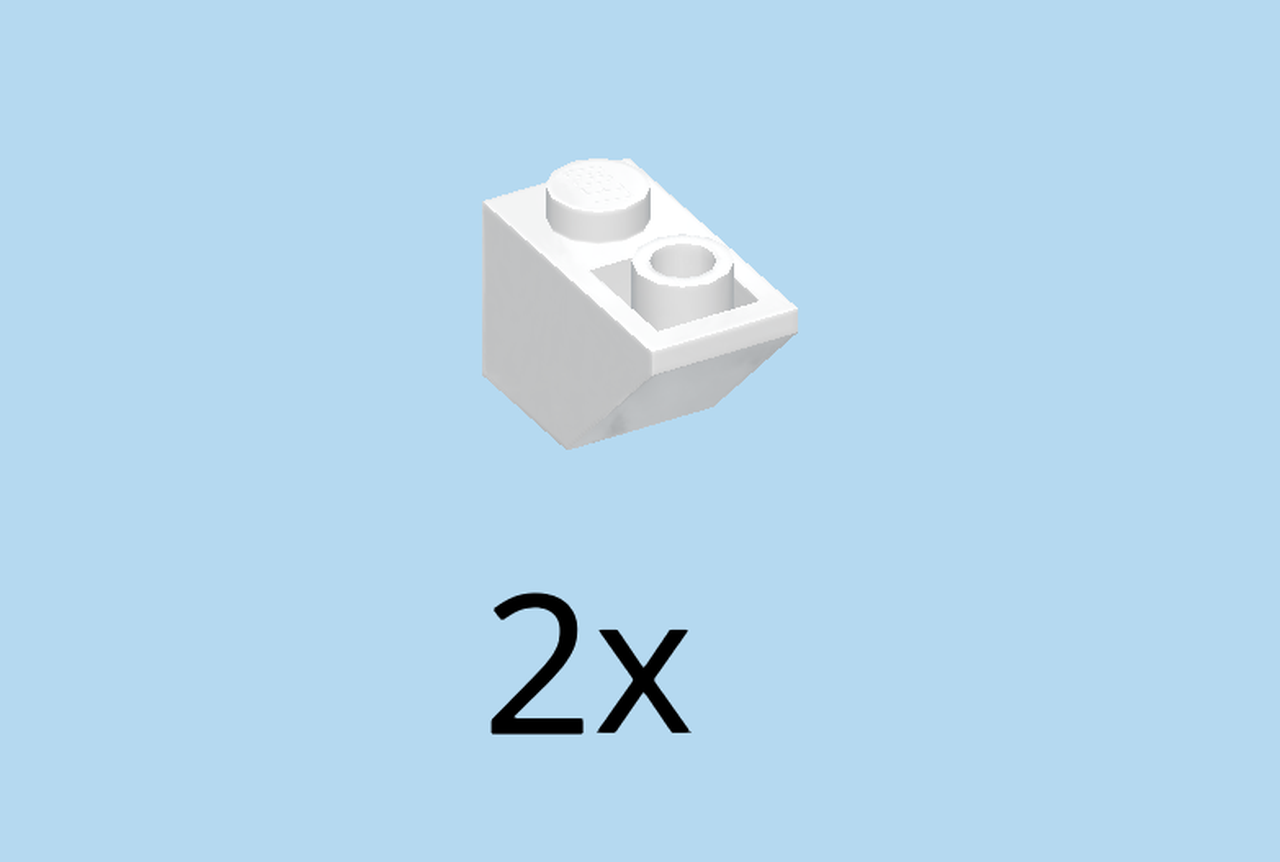
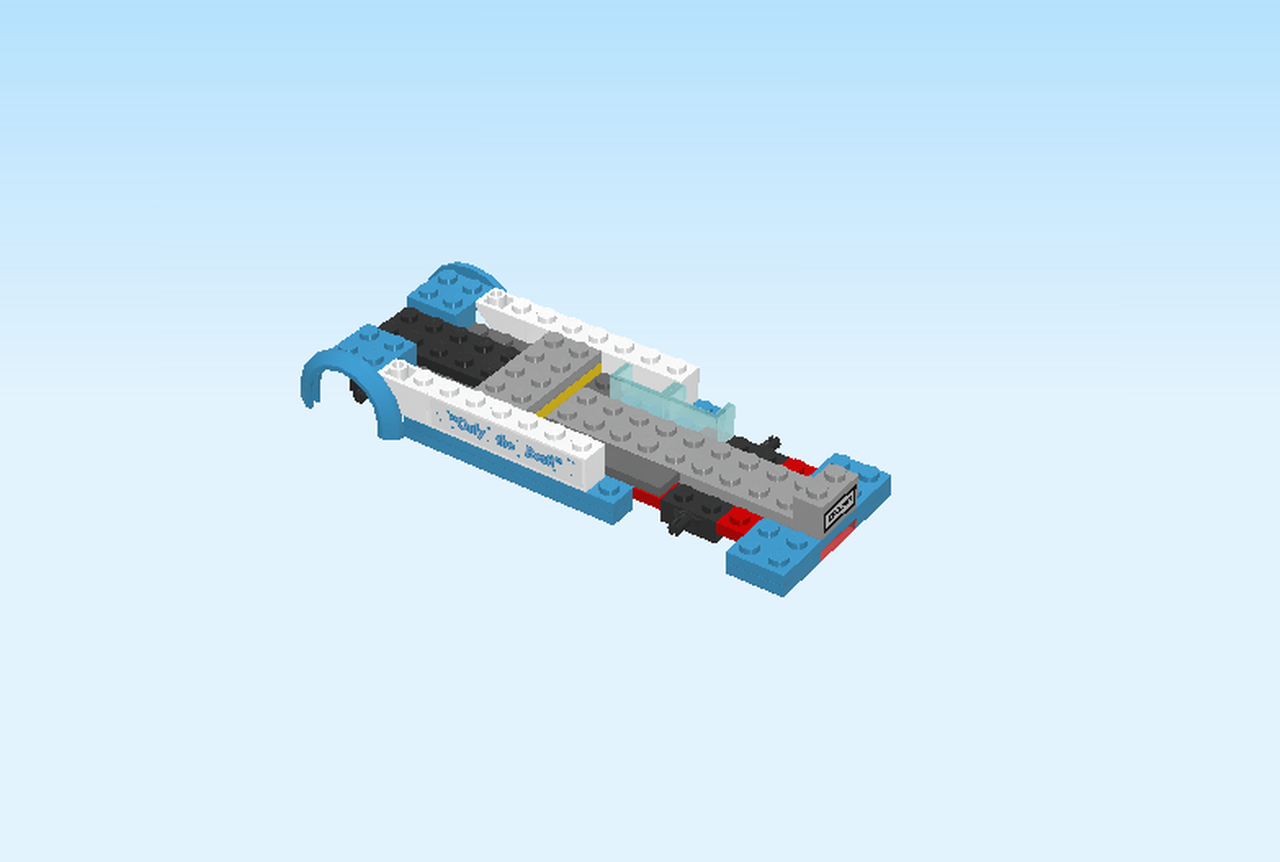
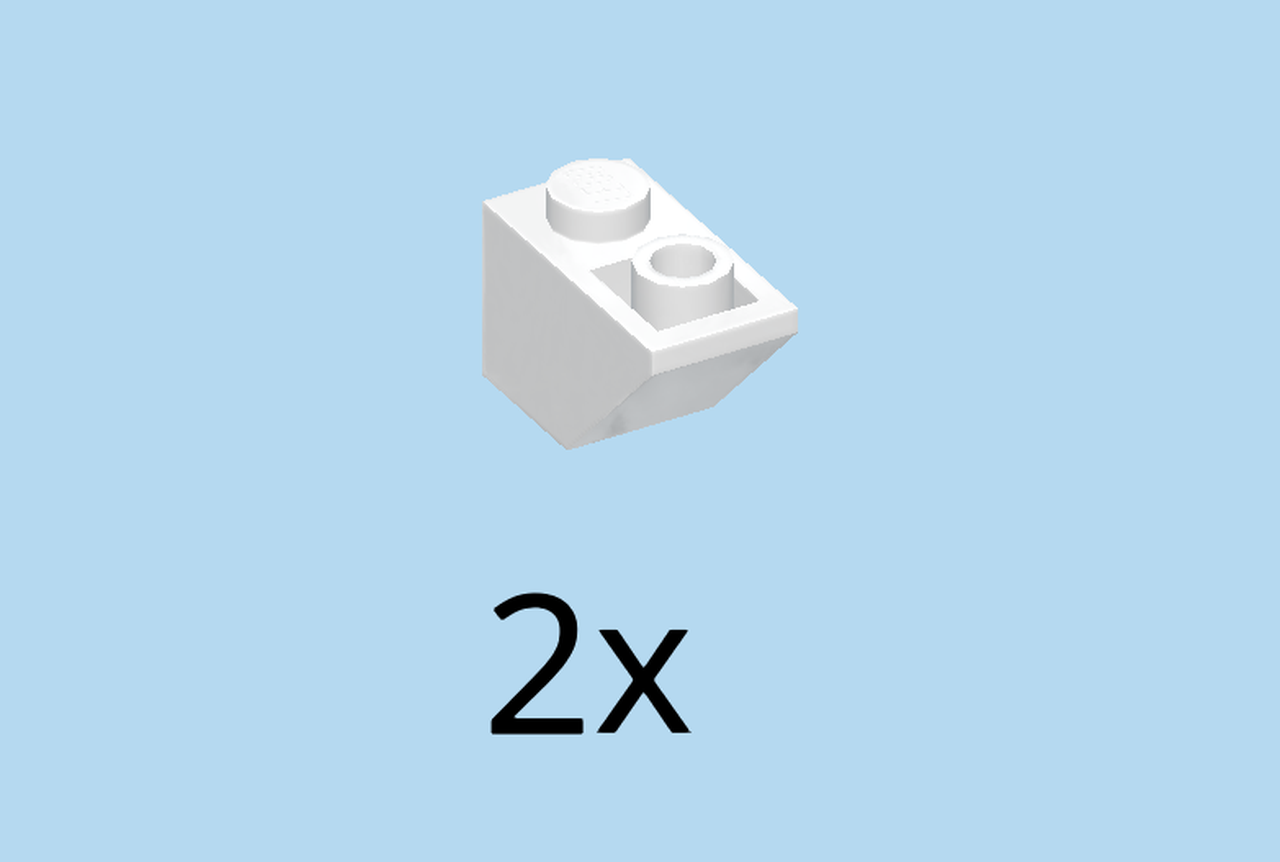
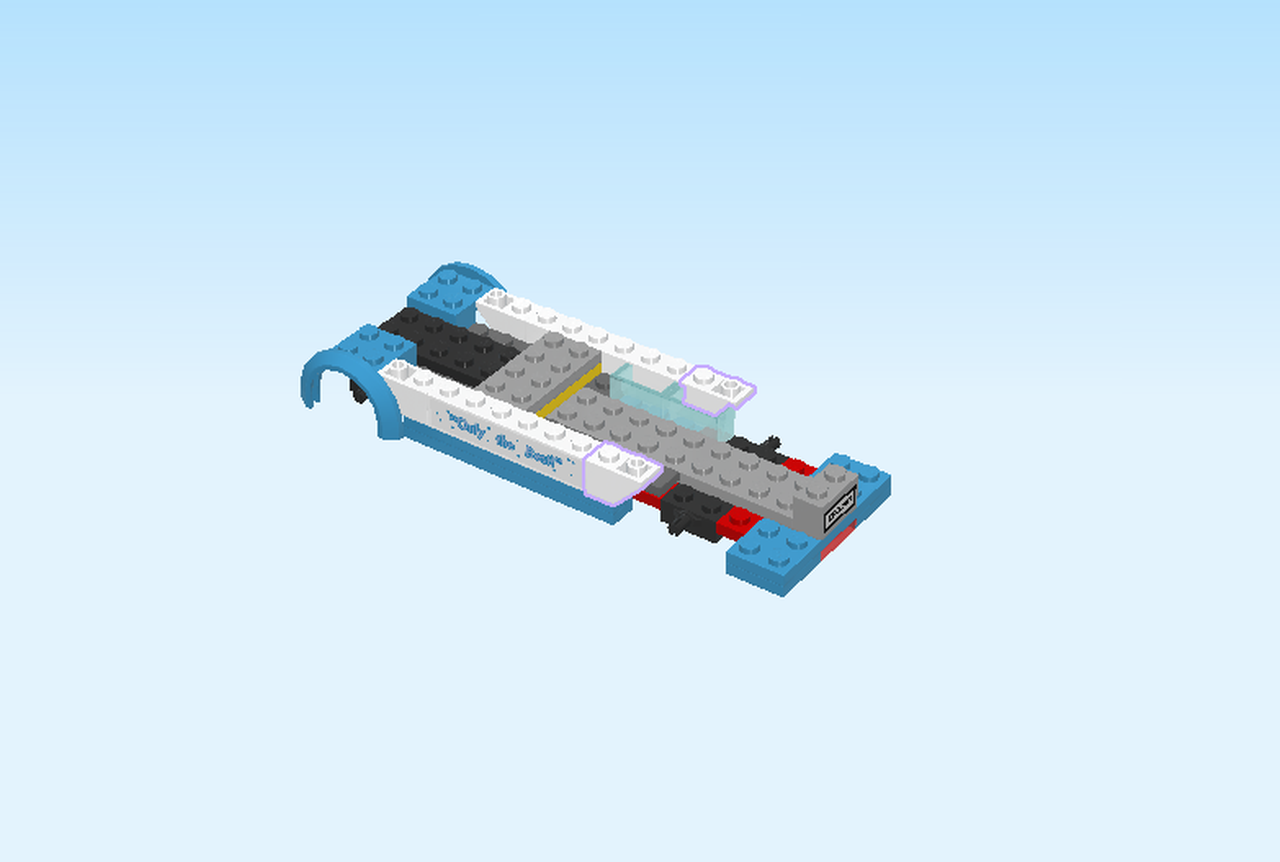
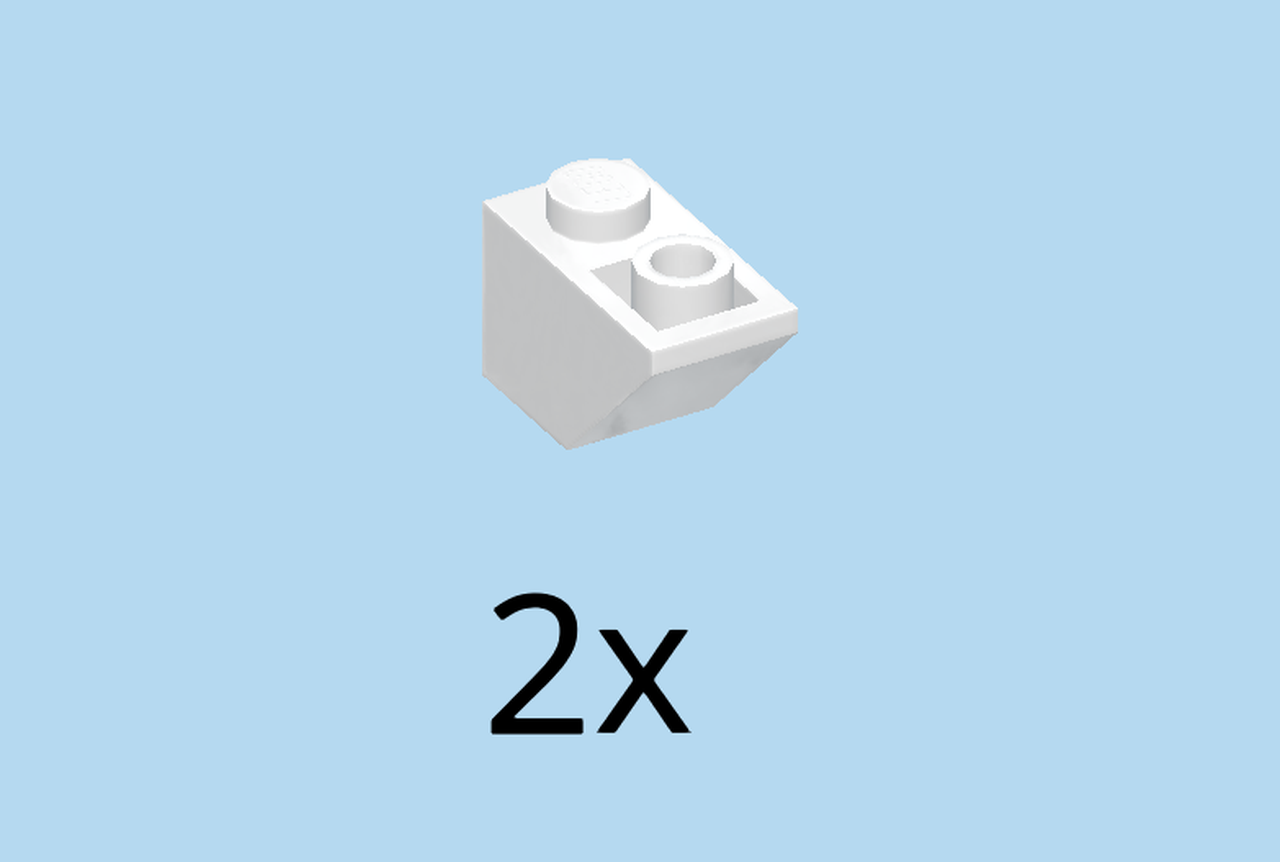
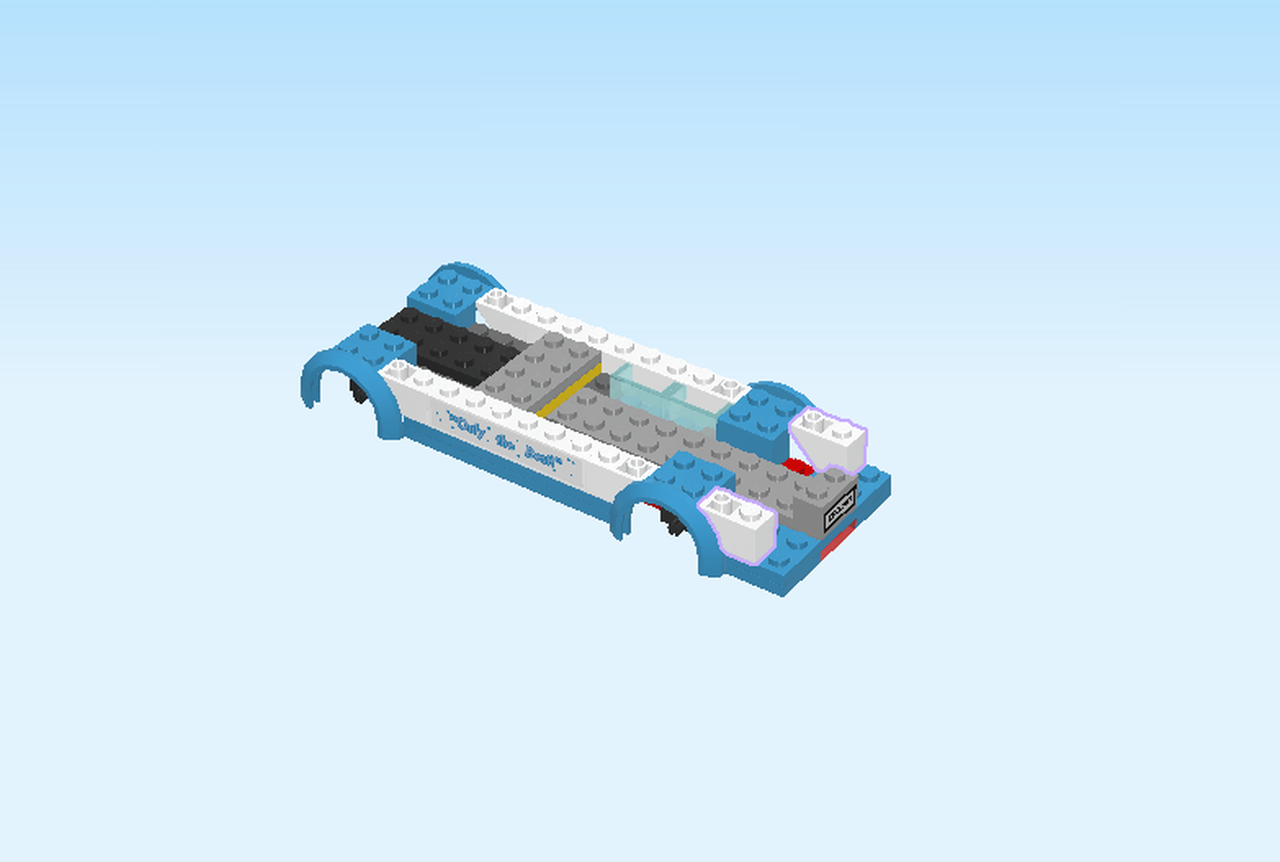
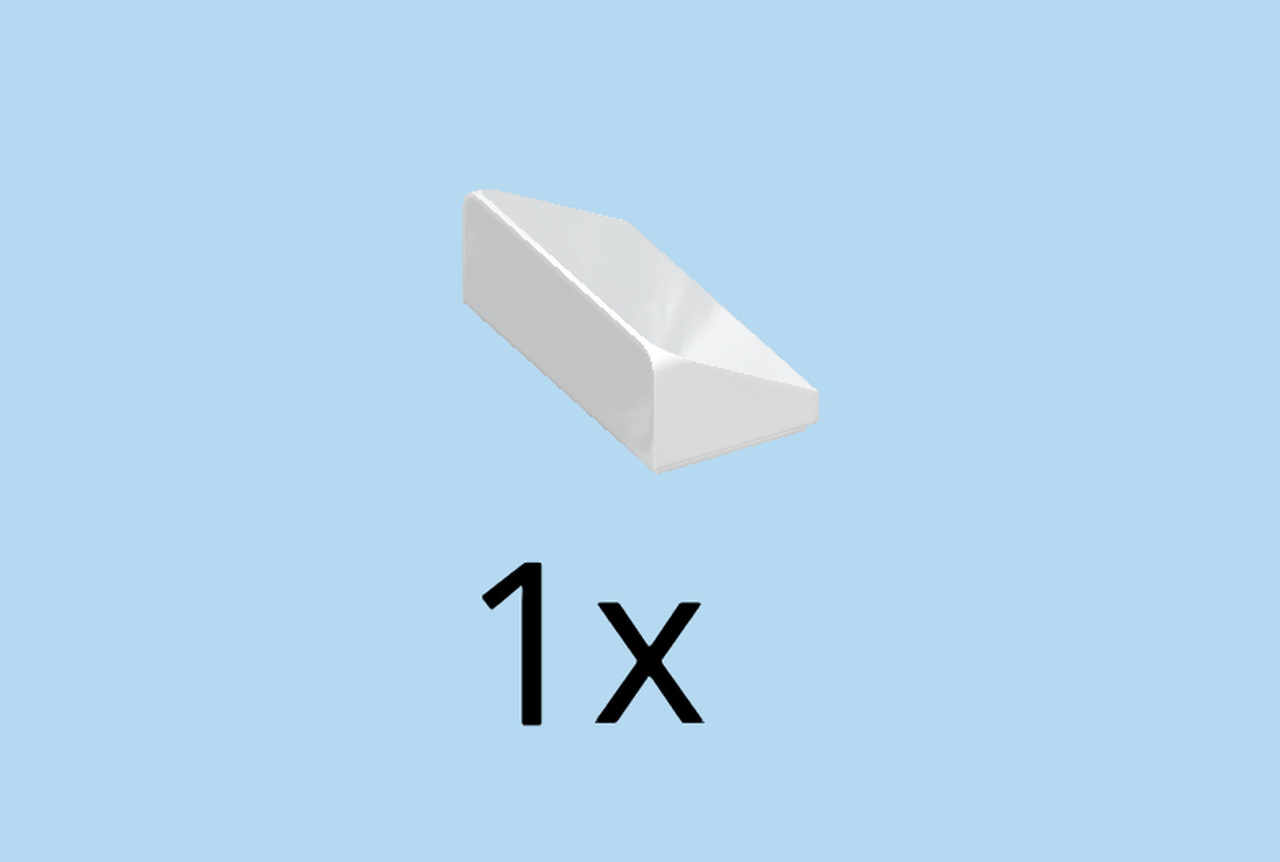
| Find 2 white inverted roof tiles 1x2. |
| Put one horizontally to the right of the brick with fender on the backmost row, slope to the left. |
| Repeat symmetrically at the front. |
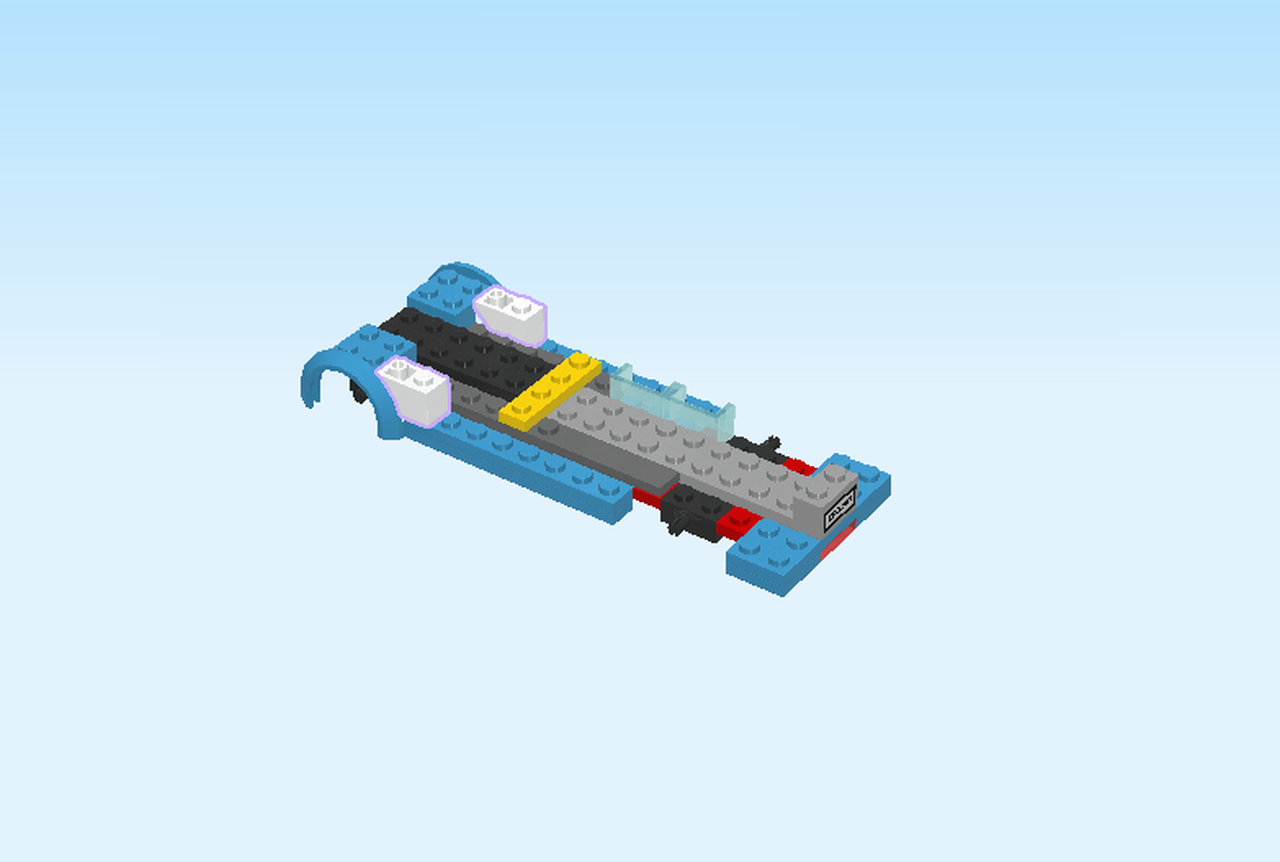
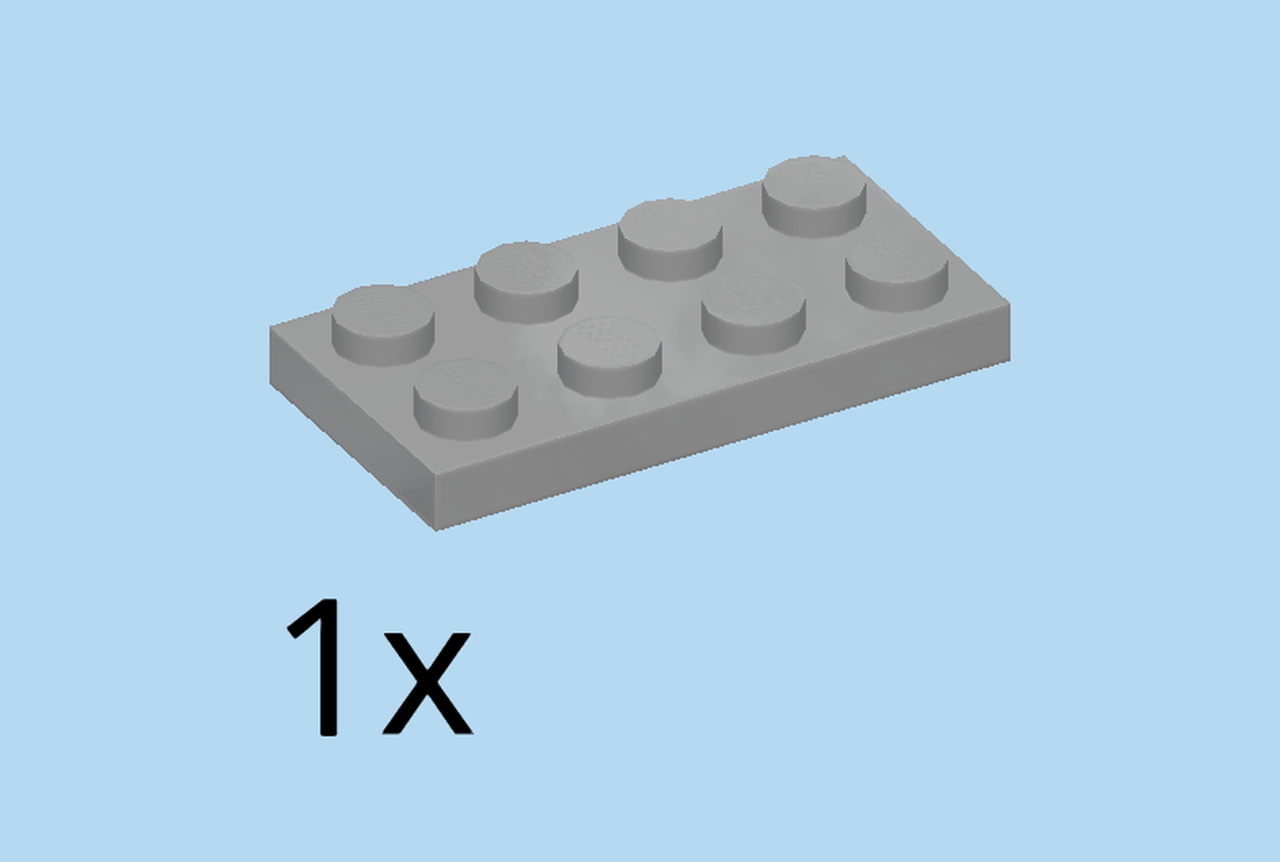
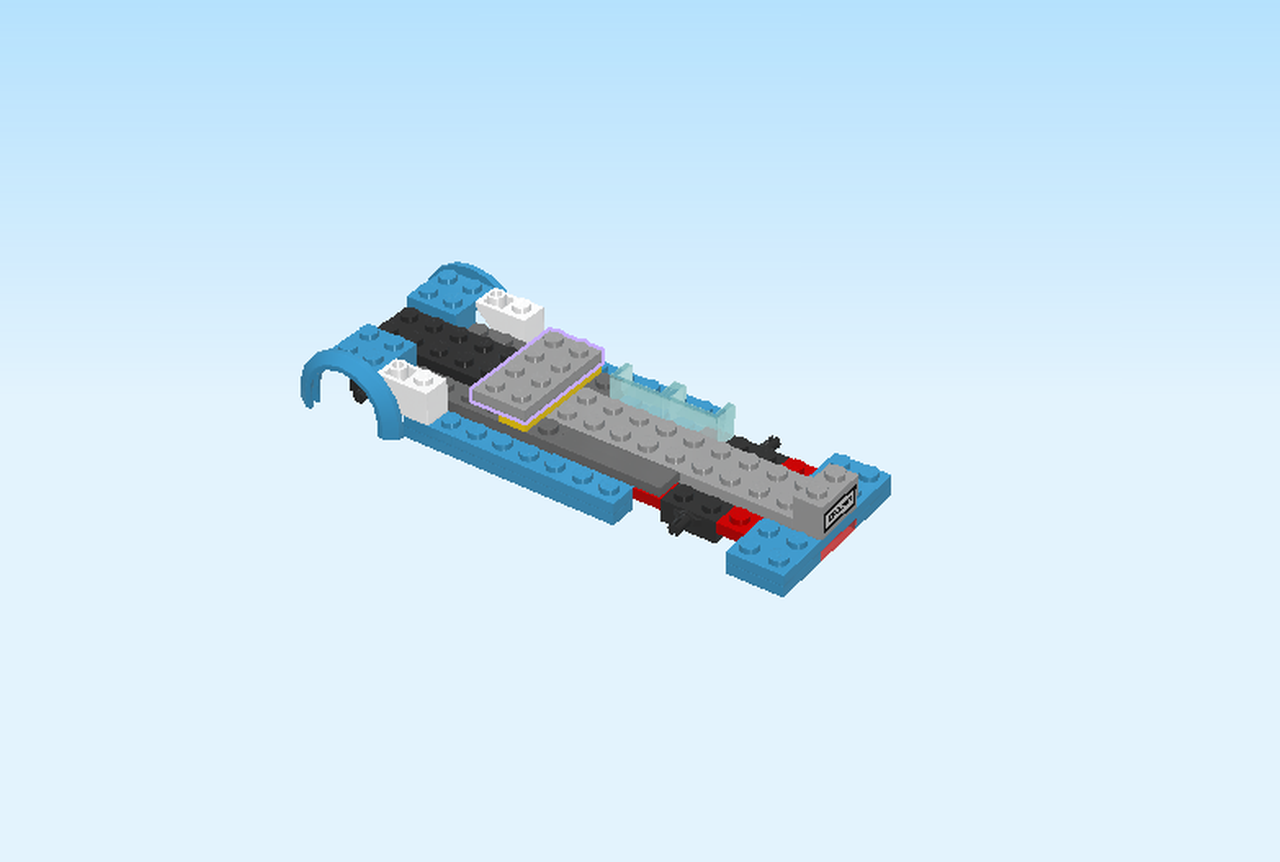
| Find 1 medium stone grey plate 2x4. |
| Put it vertically centered on the sixth and seventh column from the left. |
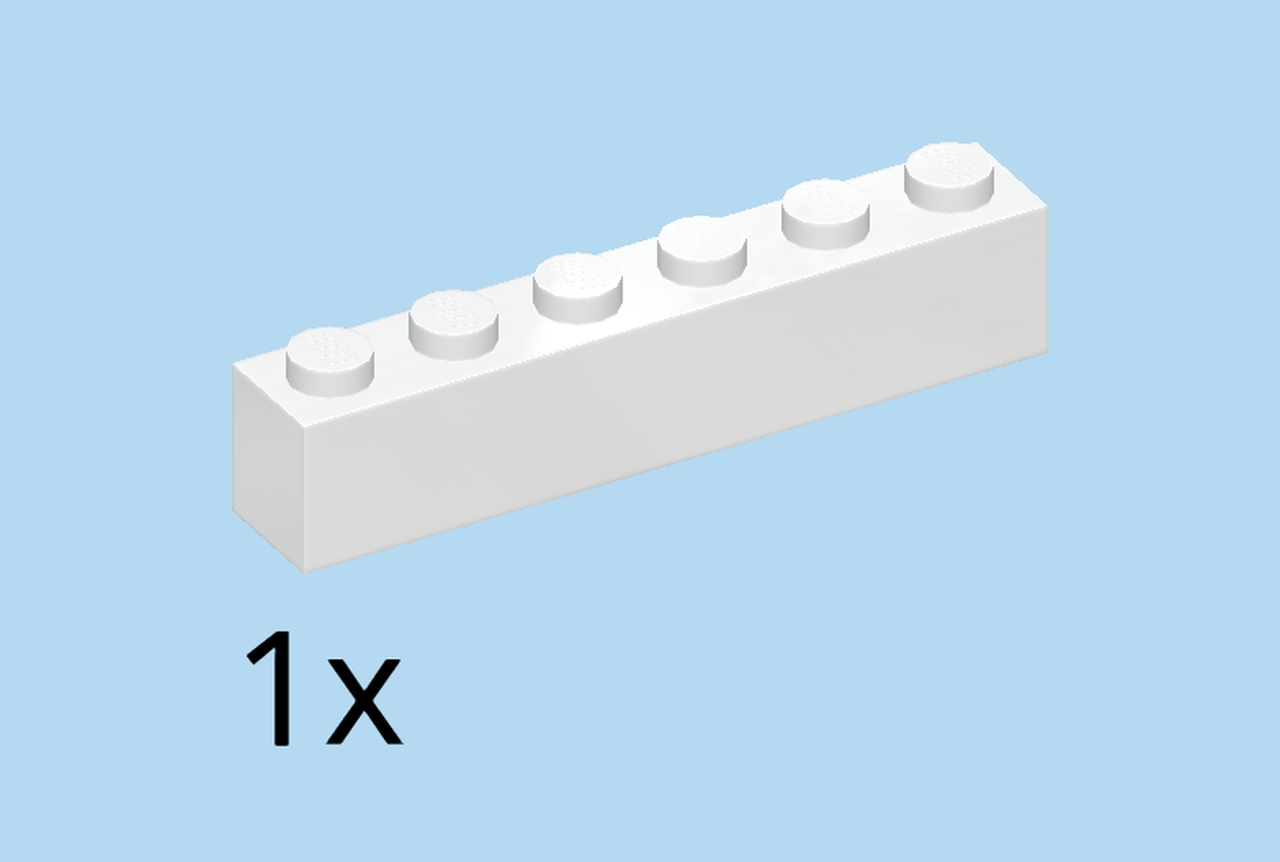
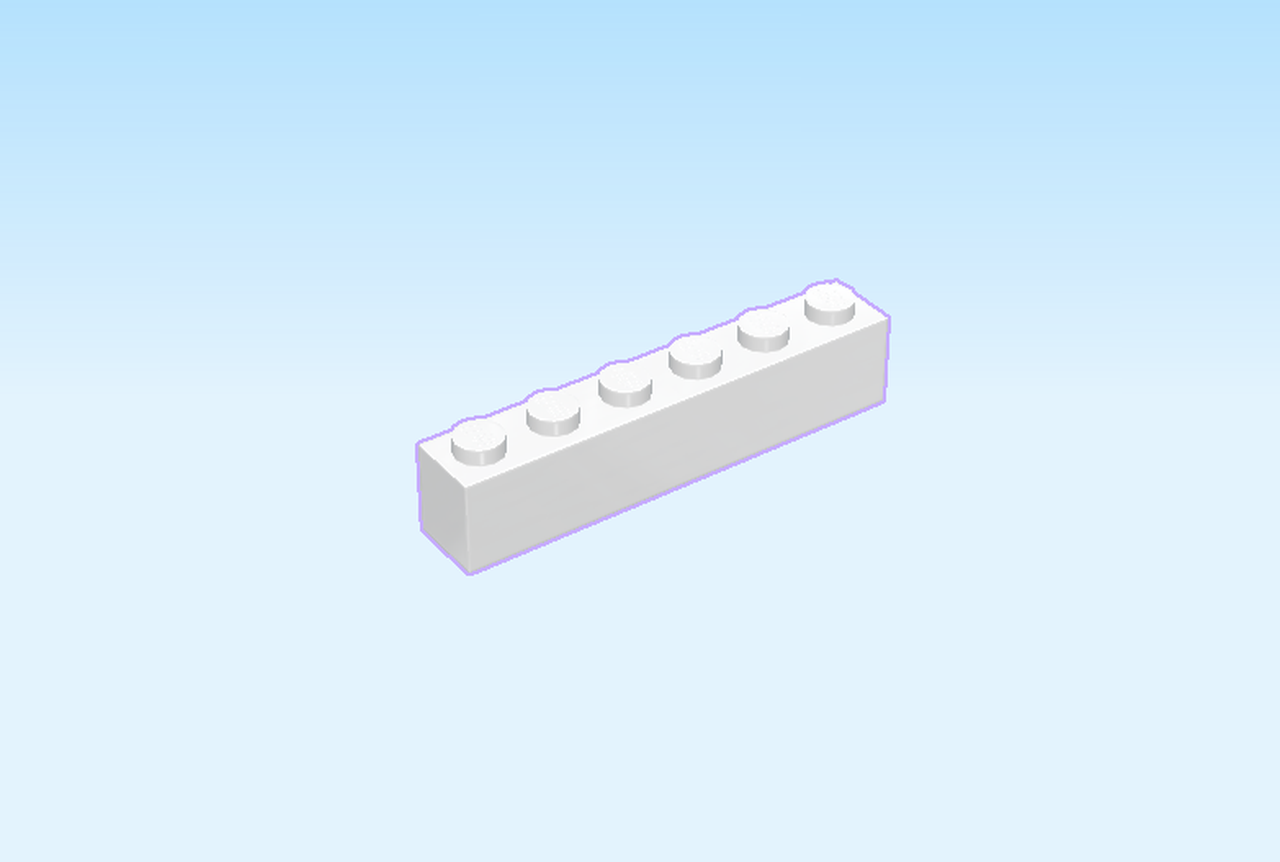
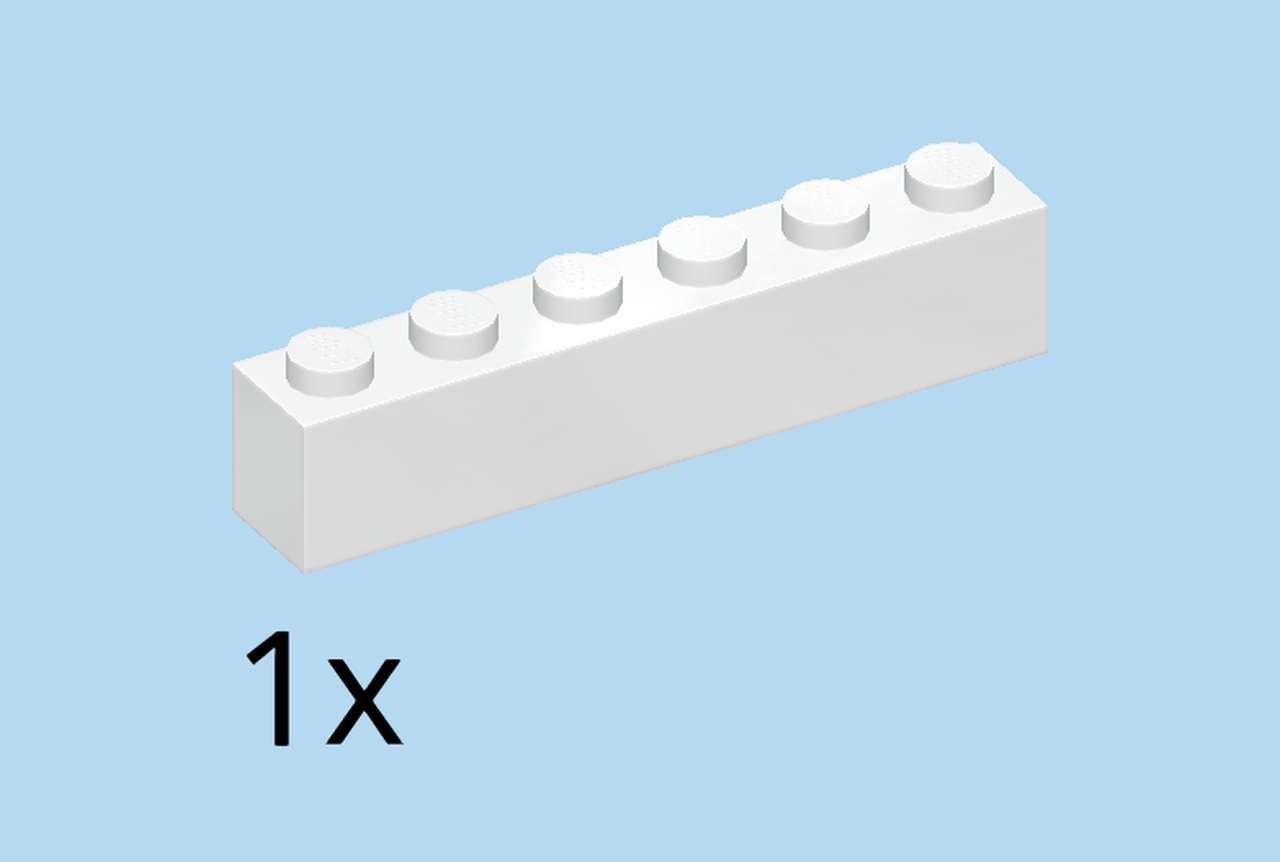
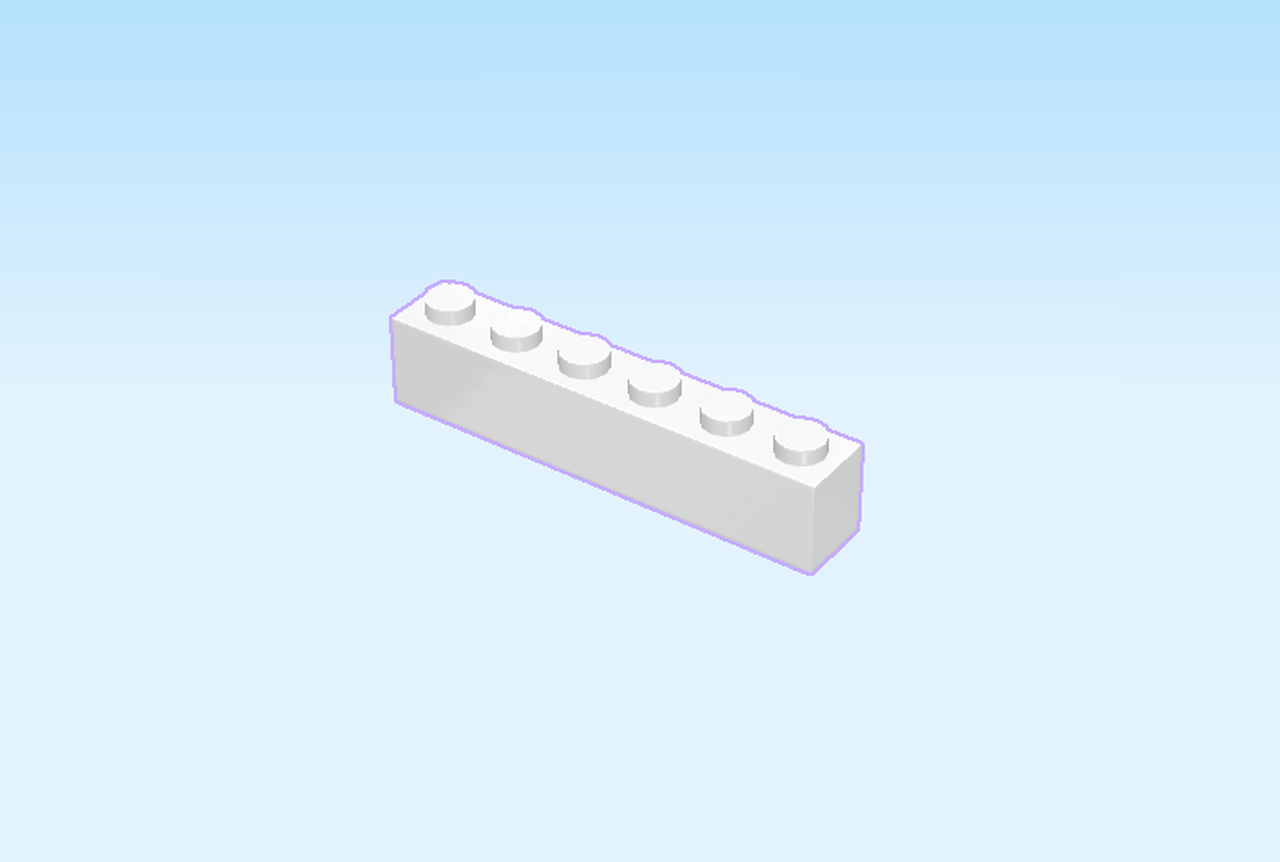
| Find 1 white brick 1x6. |
| Put it on the table. |
| Continue if you want to put a sticker on the brick. If not, skip the following 3 sentences. |
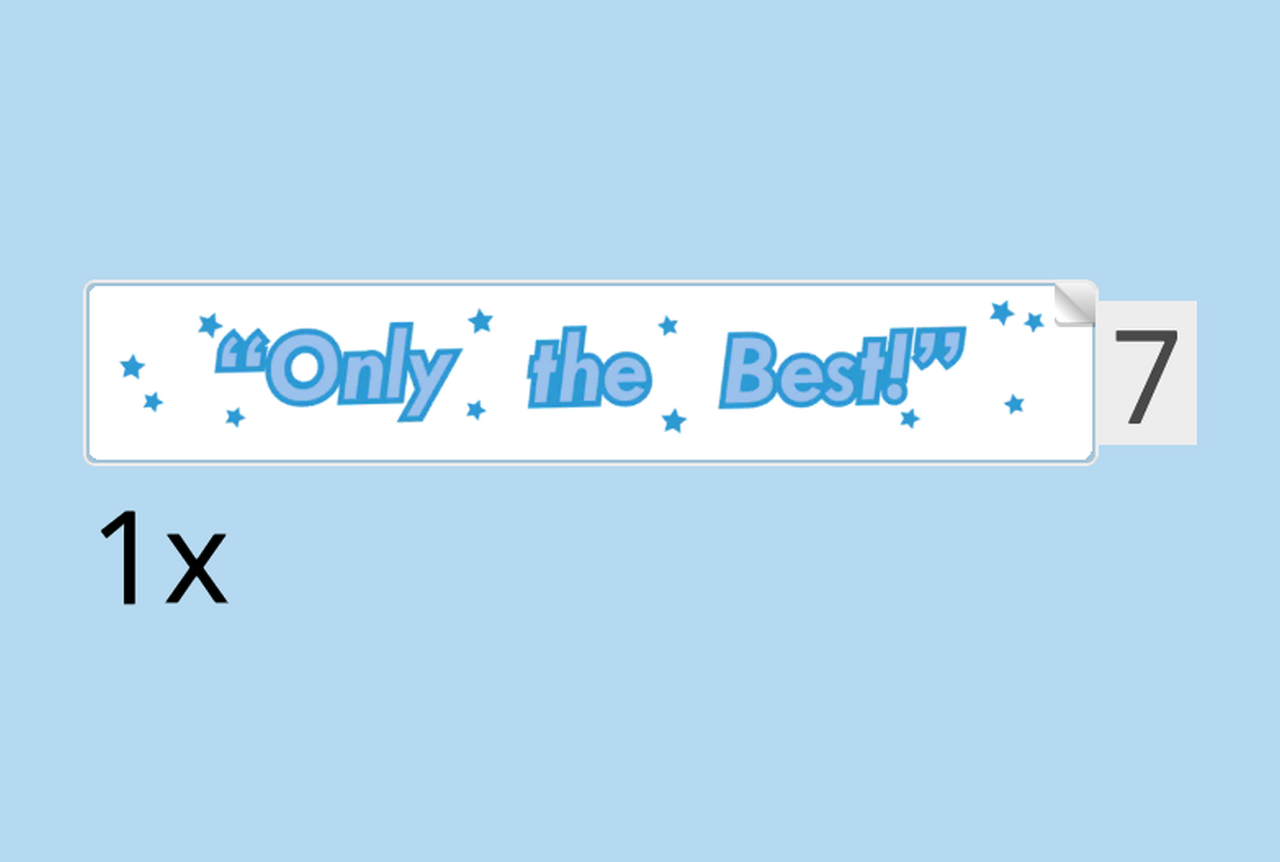
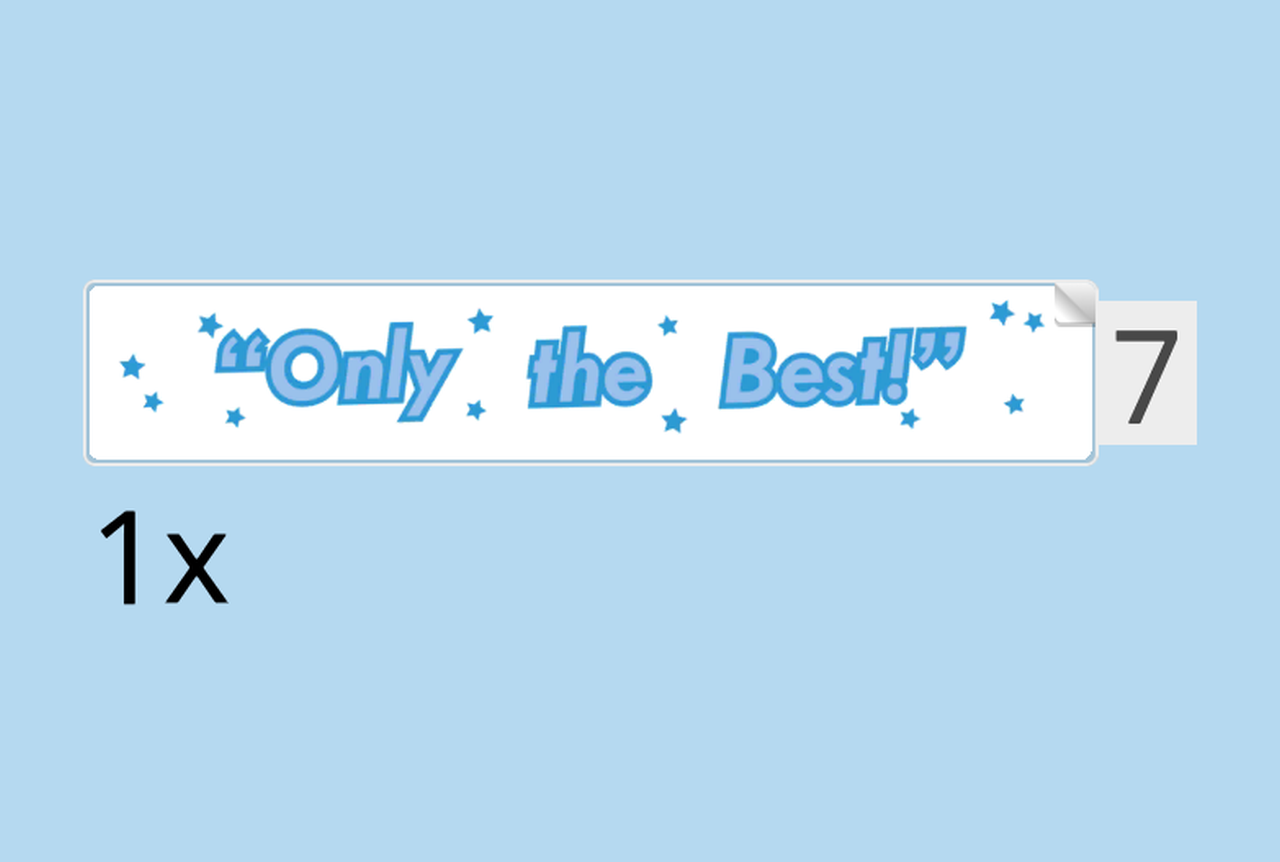
| Find 1 sticker number 7. Ask a sighted person to help you. |
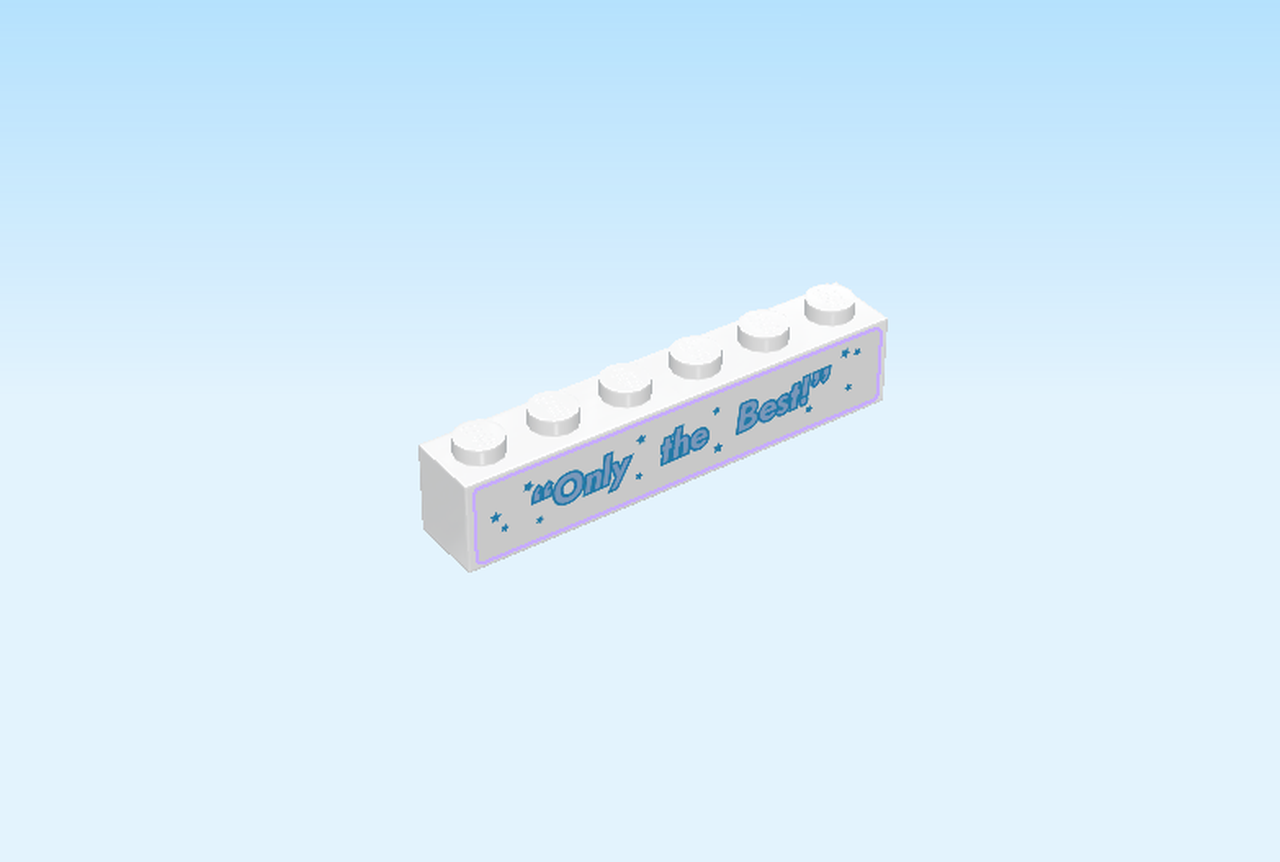
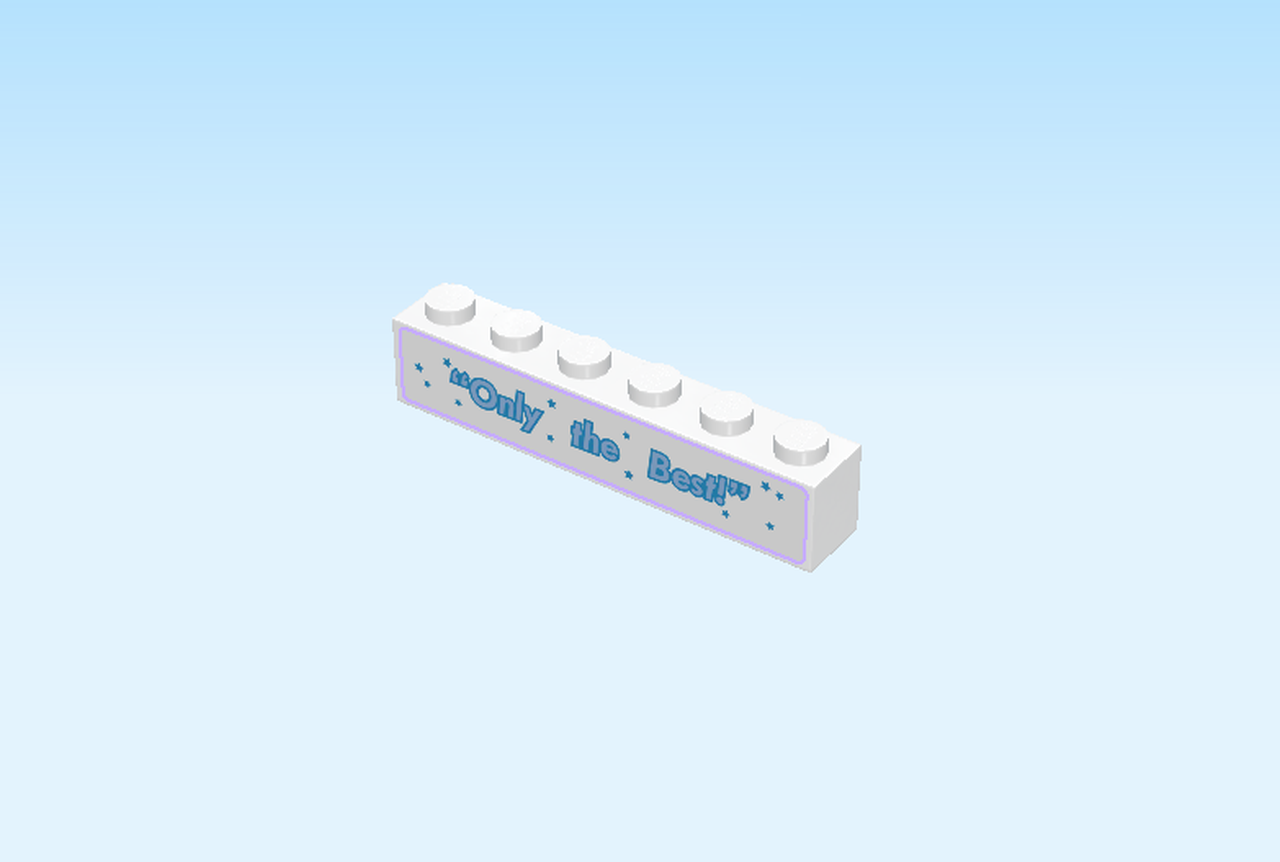
| Turn it upright and put it horizontally centered on the side surface. |
| The sticker is white and printed with a blue text saying: "Only the Best". There are a few small blue stars surrounding the text. |
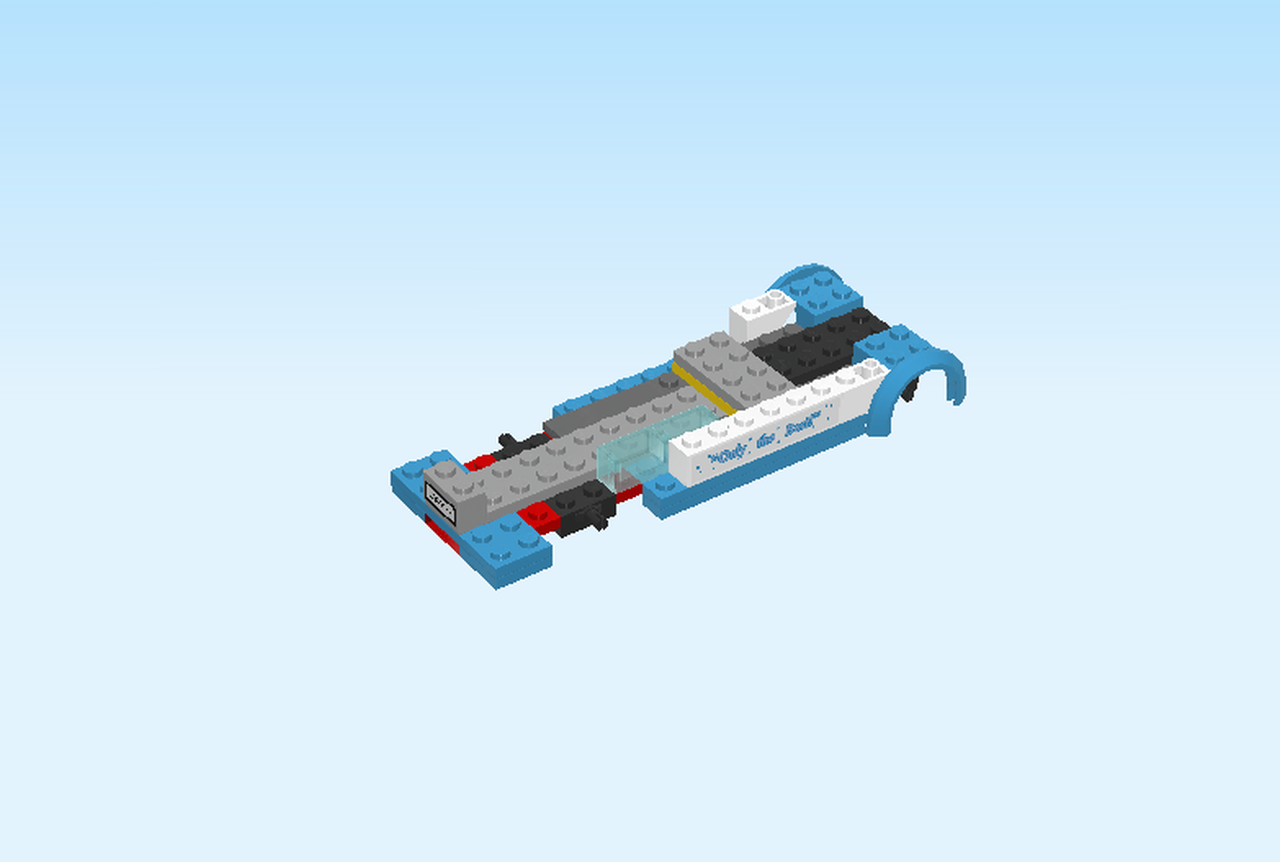
| Put the brick horizontally on the back row, to the right of the inverted roof tile, sticker to the back. |
| Find 1 white brick 1x6. |
| Put it on the table. |
| Continue if you want to put a sticker on the brick. If not, skip the following 3 sentences. |
| Find 1 sticker number 7. Ask a sighted person to help you. |
| Turn it upright and put it horizontally centered on the surface. |
| The sticker is also white and printed with a blue text saying: "Only the Best". |
| Put the brick horizontally on the front row, to the right of the inverted roof tile, sticker to the front. |
| Find 2 white inverted roof tiles 1x2. |
| Put one horizontally to the right of the previous piece, slope to the right. |
| Repeat symmetrically at the back. |
| Find 2 dark azure blue bricks 2x4x1 with fender. |
| Put one to the right of the previous element, fender to the front. |
| Repeat symmetrically at the back, fender to the back. |
| Find 2 white inverted roof tiles 1x2. |
| Put one horizontally on the back row, skipping one column from the right, slope to the left. |
| Repeat symmetrically at the front, slope to the left. |
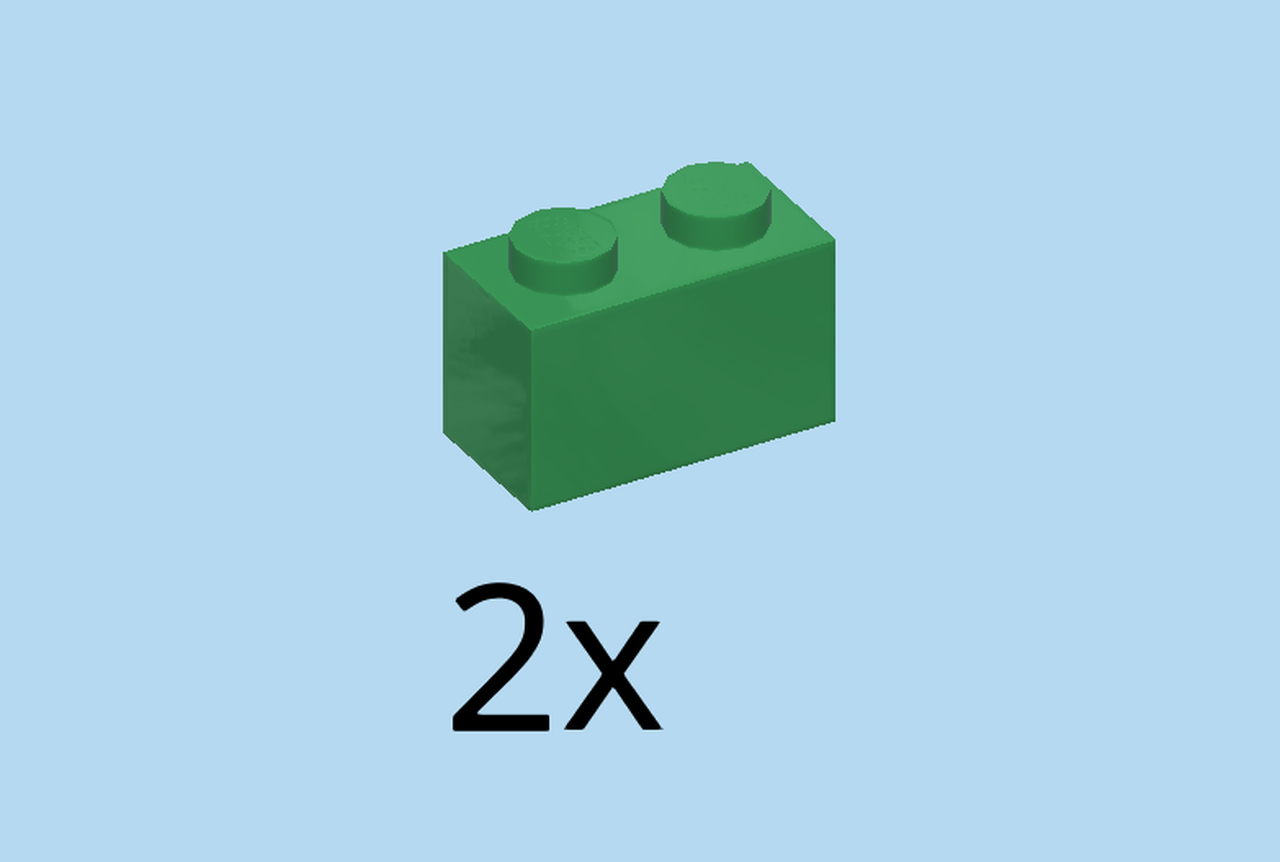
| Find 2 dark green bricks 1x2. |
| Put one horizontally behind the previous piece. |
| Repeat symmetrically at the back. |
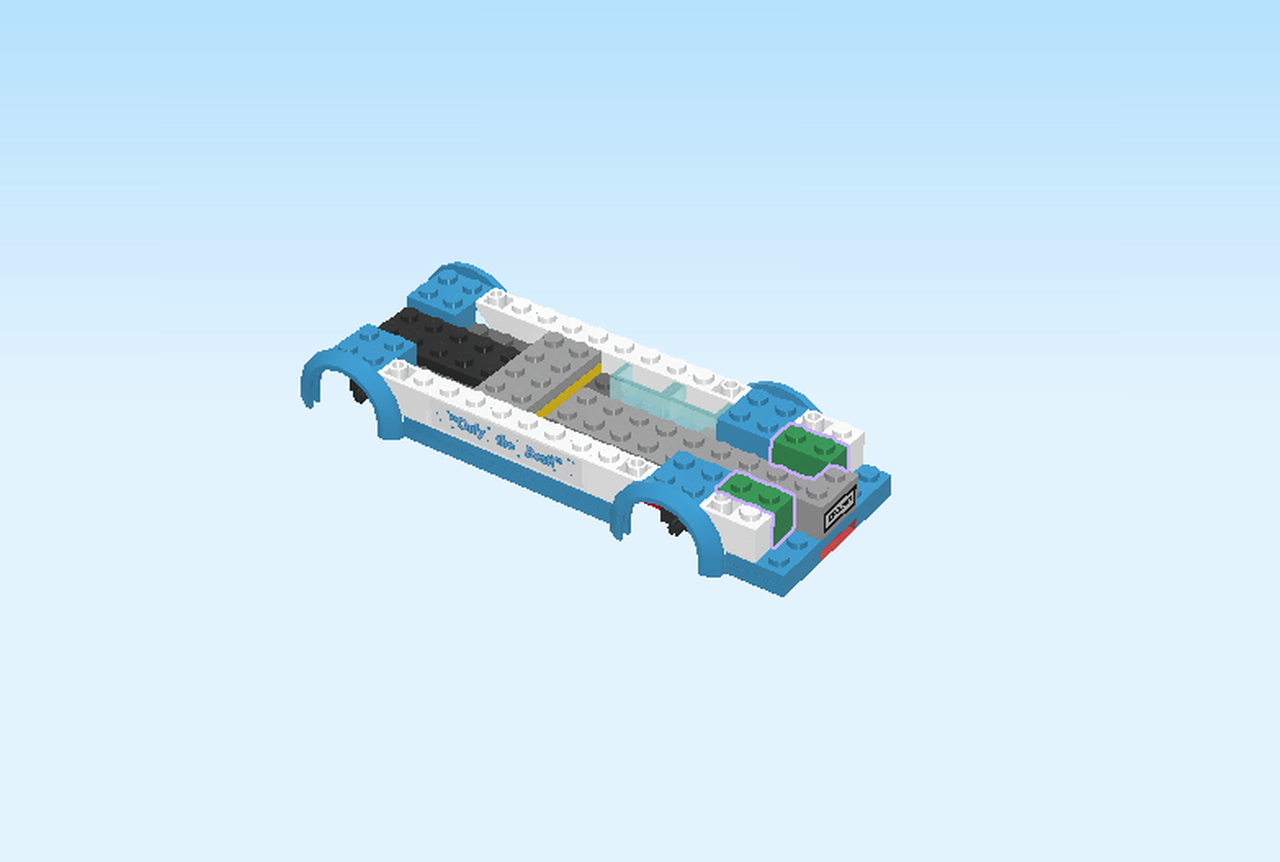
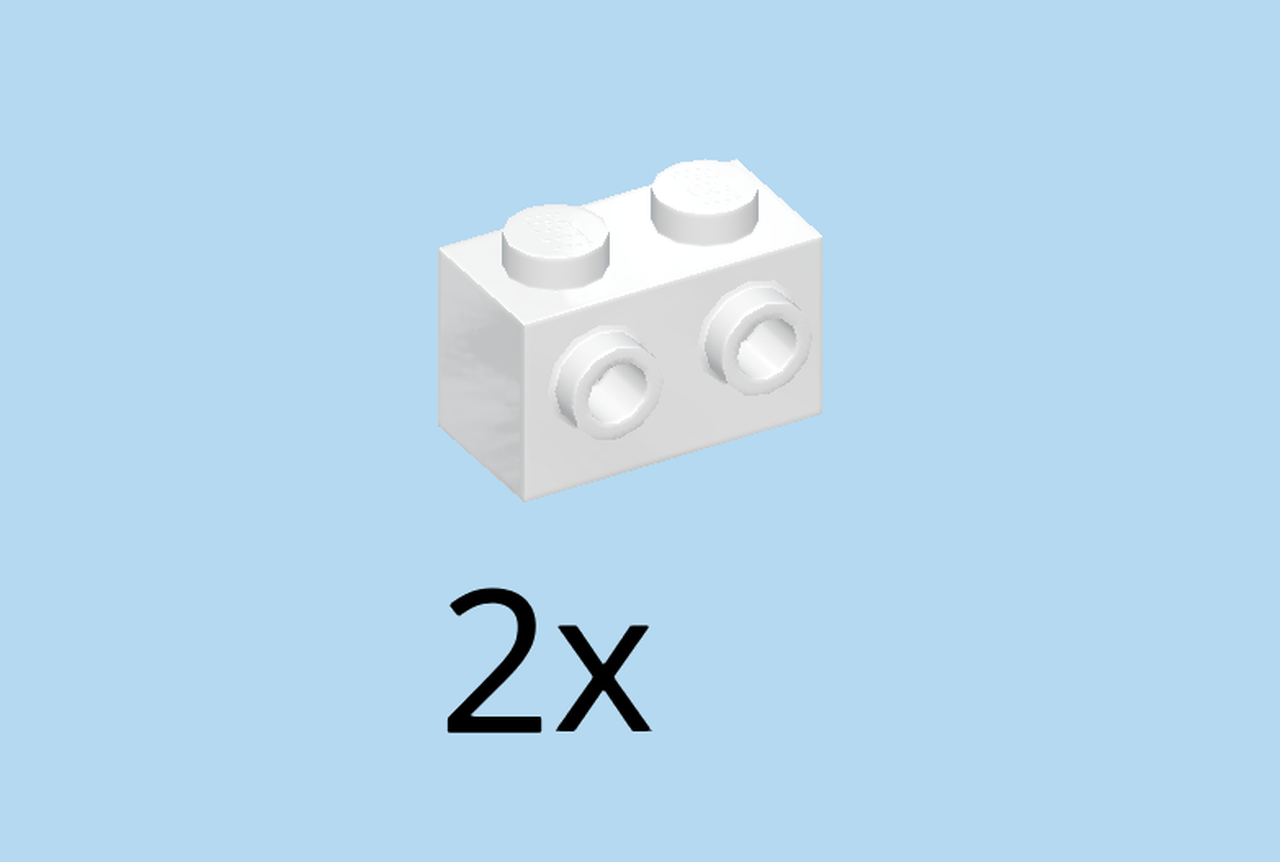
| Find 2 white bricks 1x2 with 2 side knobs. |
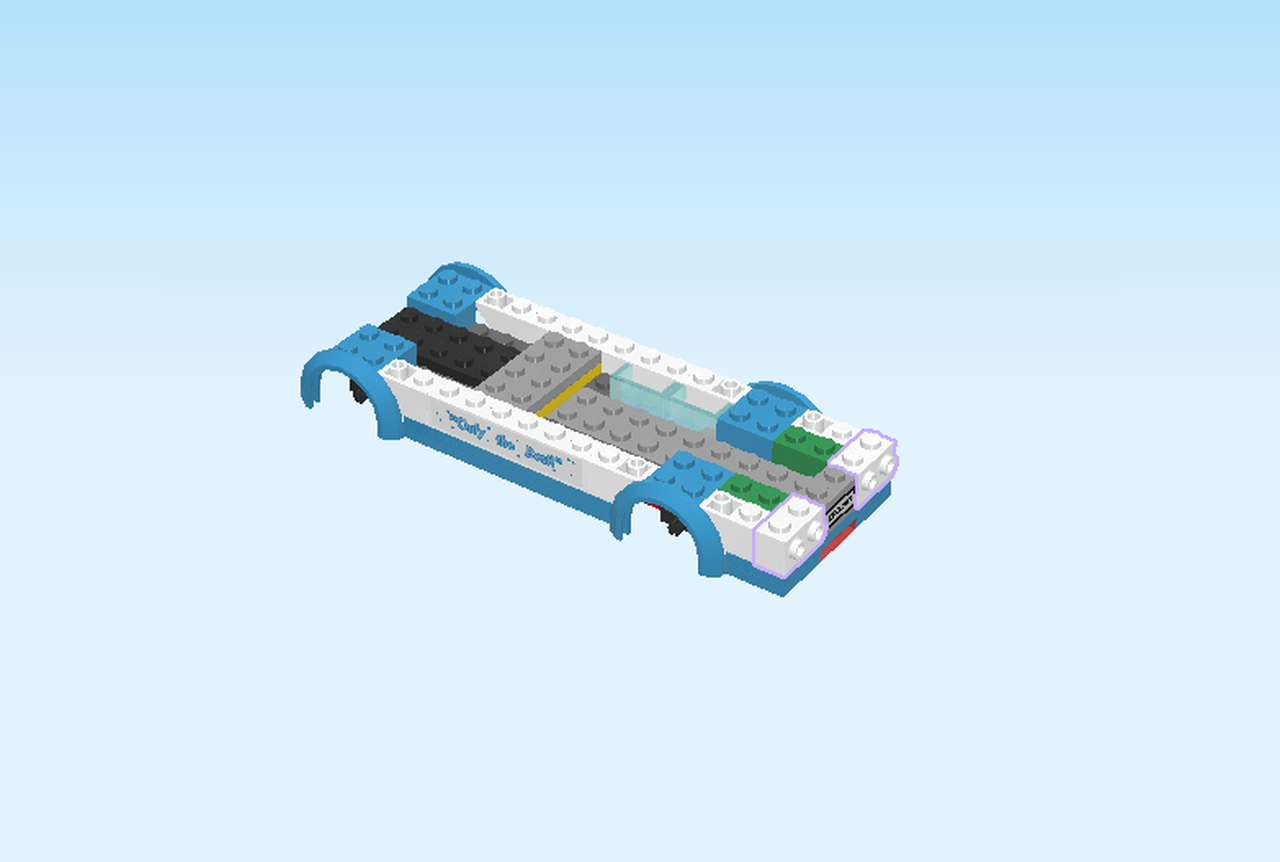
| Put one vertically on the rightmost column at the back, side knobs to the right. |
| Repeat symmetrically at the front. |
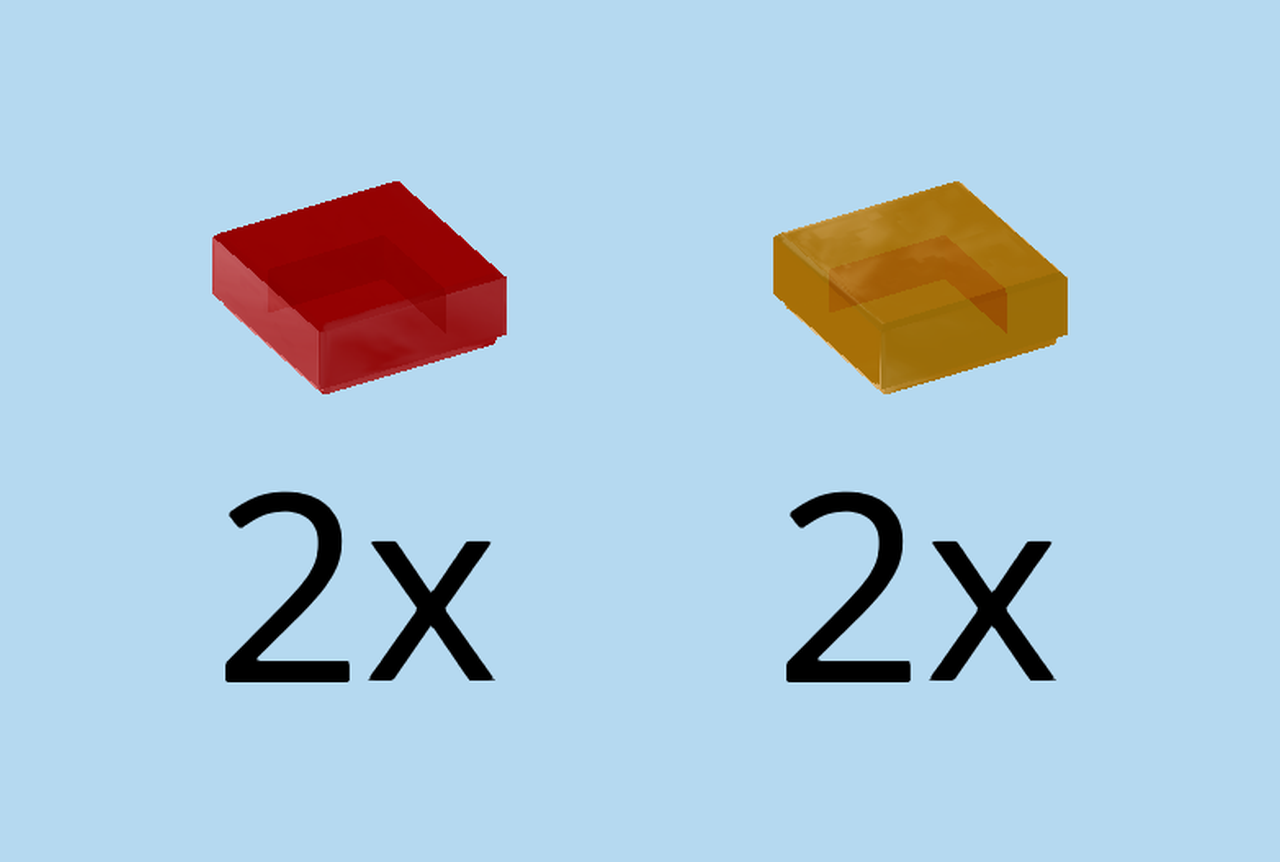
| Collect the following 4 pieces: |
| 2 transparent red flat tiles 1x1, |
| and 2 transparent bright orange flat tiles 1x1. |
| Careful! These pieces have a special orientation. |
| Turn one transparent bright orange tile upright, and put it on the backmost side knob on the right side. |
| Repeat symmetrically at the front. |
| Turn one transparent red tile upright, and put it on the side knob behind the previous piece. |
| Repeat symmetrically at the back. |
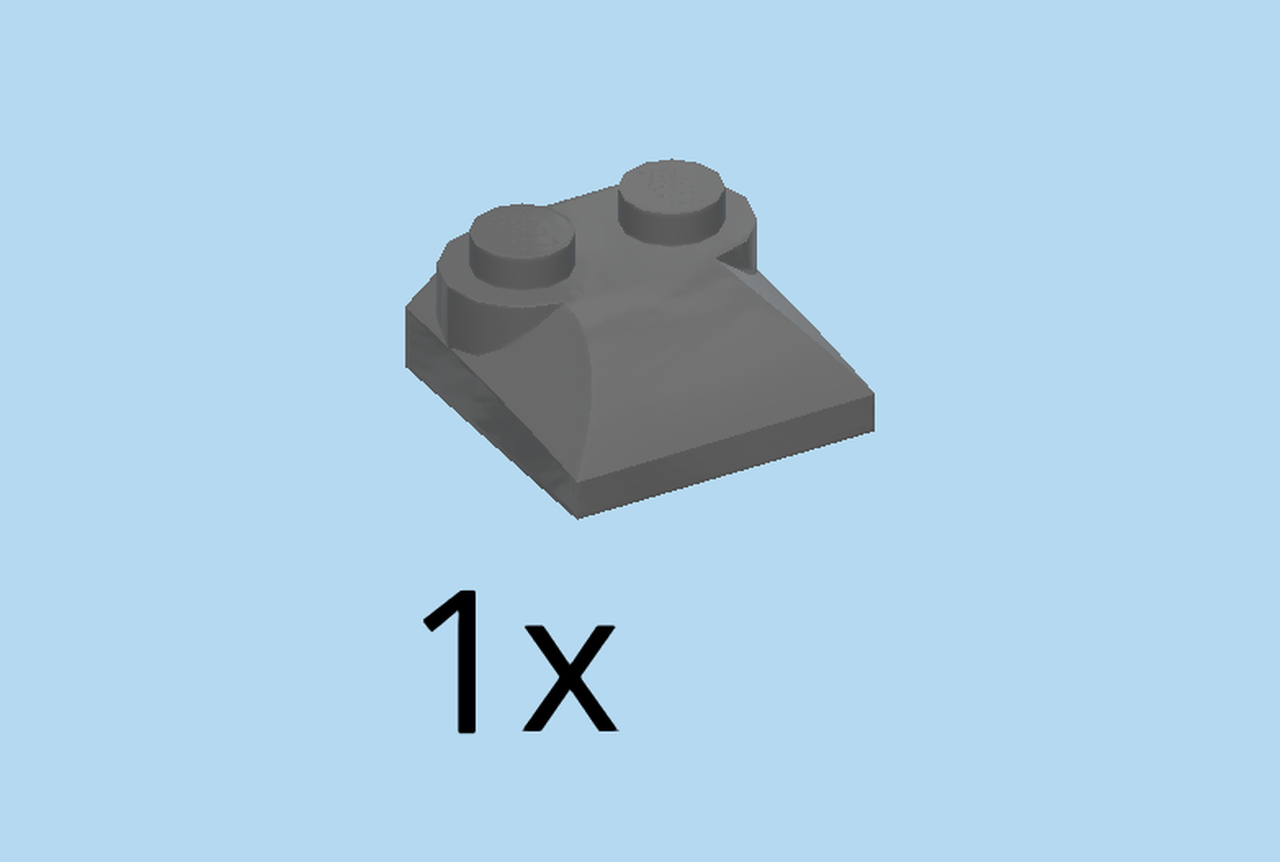
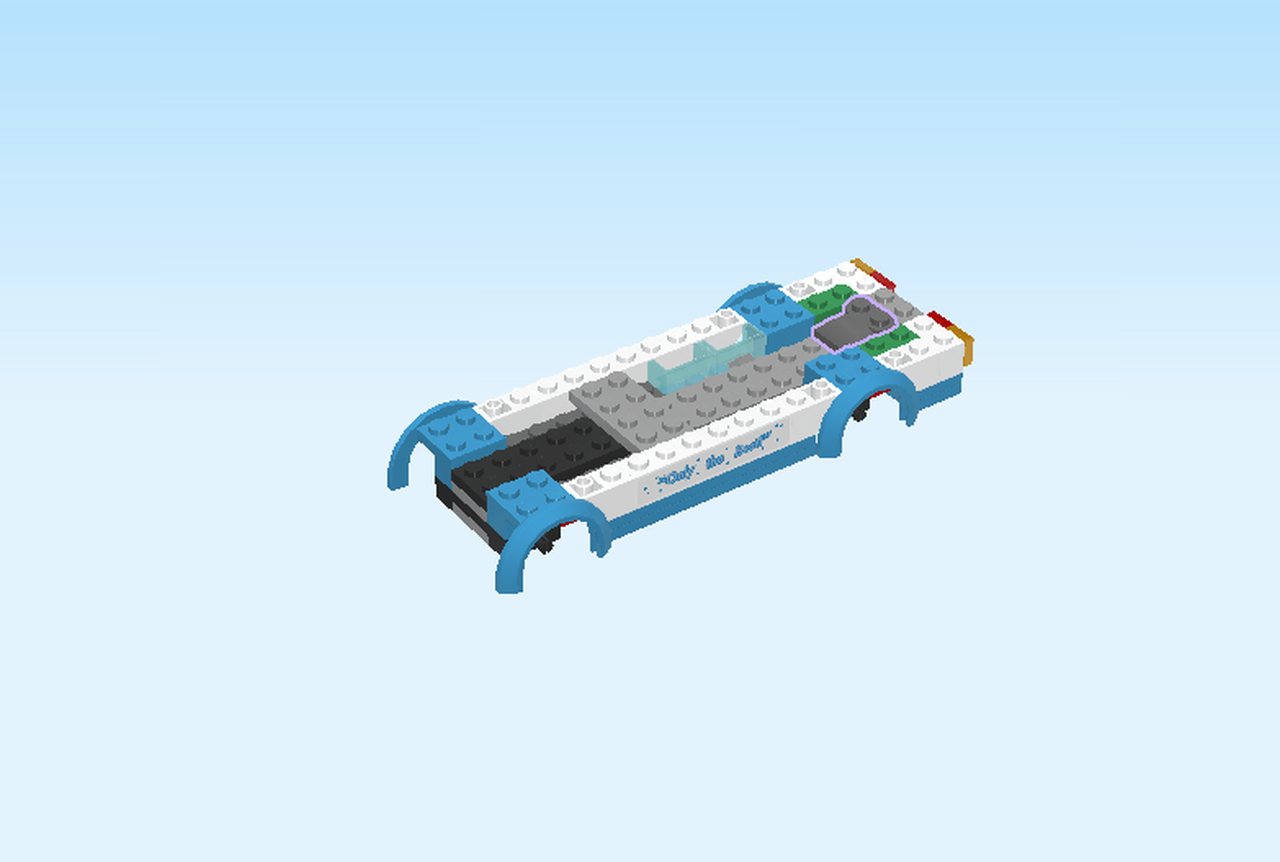
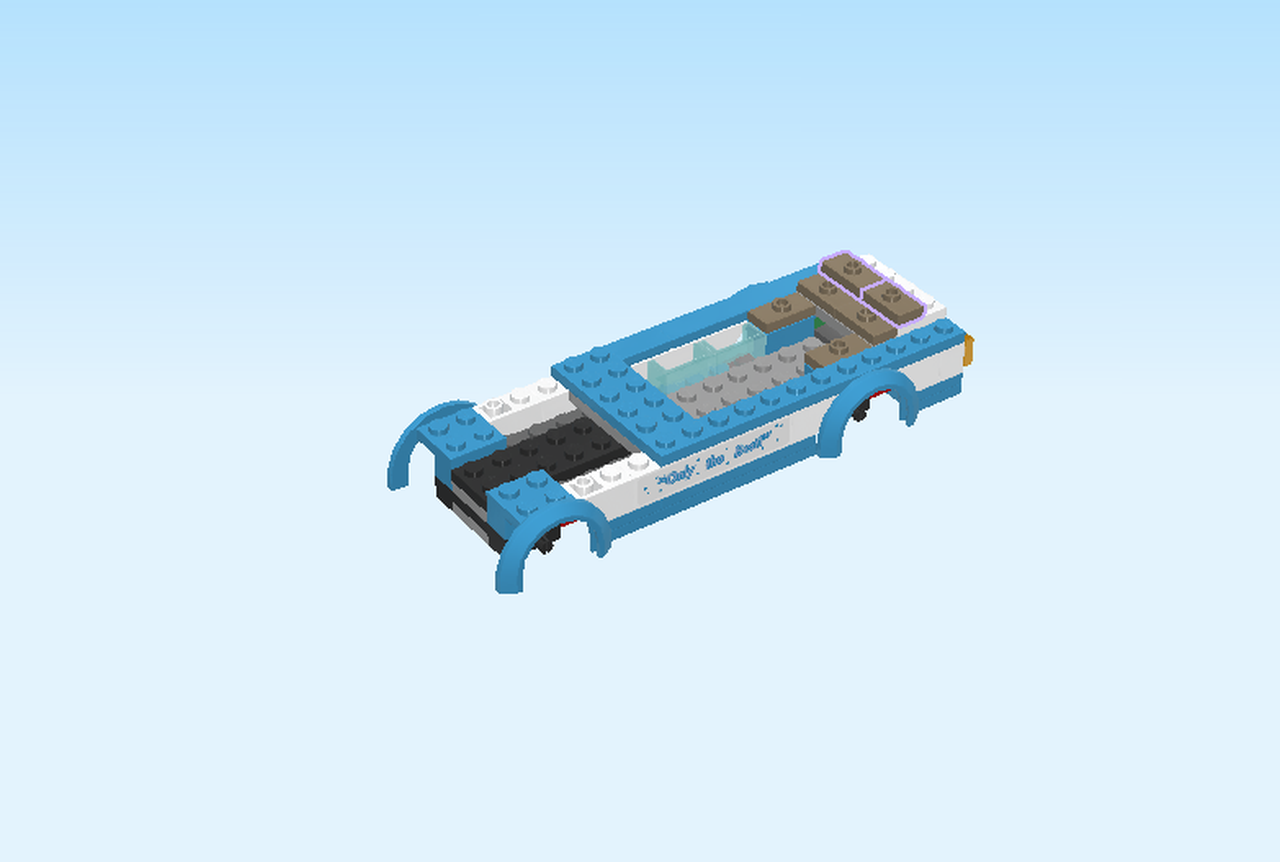
| Find 1 dark stone grey plate with bows 2x2 with two knobs. |
| Put it centered on the second and third column from the right, slope to the left. |
| Collect the following 2 pieces: |
| 1 dark azure blue flat tile 1x8, |
| and 1 dark azure blue plate 1x4. |
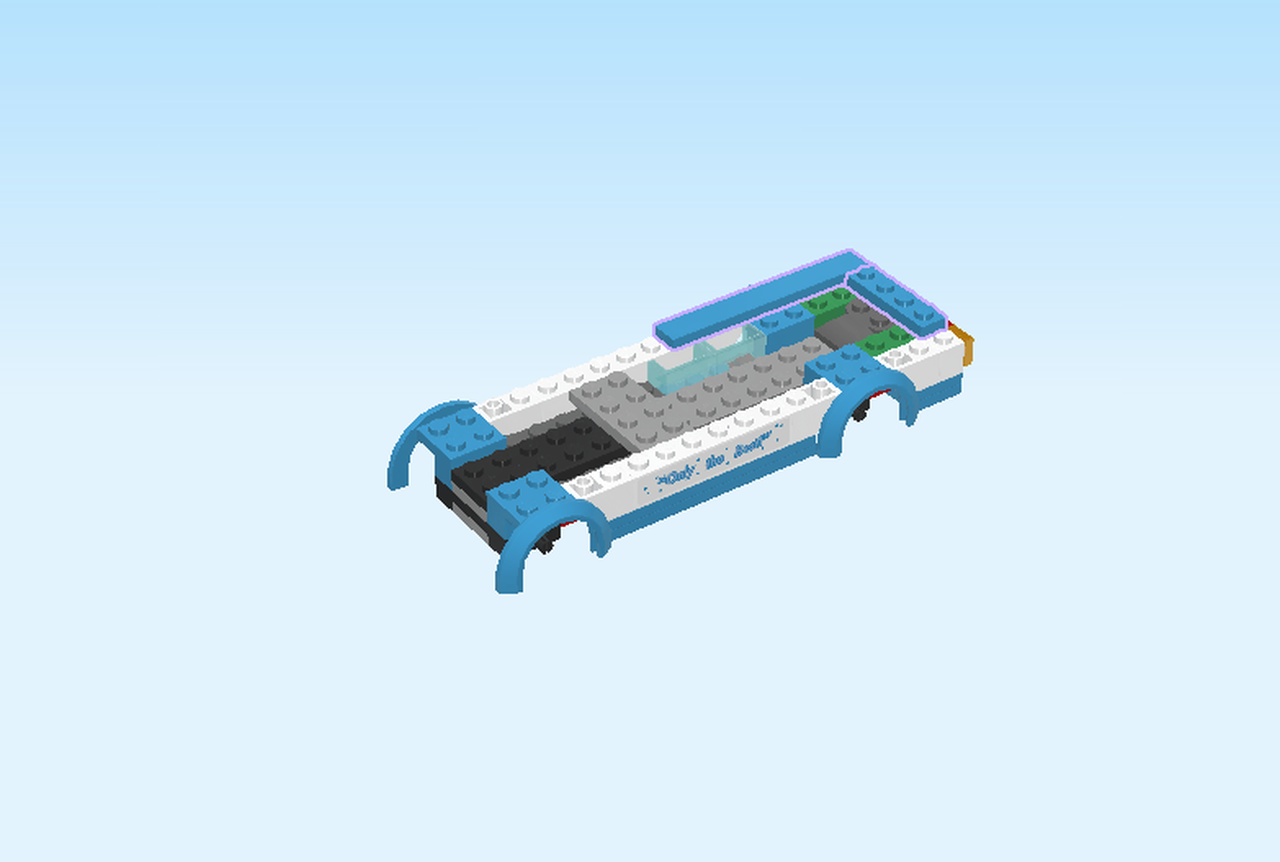
| Put the flat tile 1x8 horizontally on the back row starting from the right edge. |
| Put the plate 1x4 vertically centered on the rightmost column. |
| Collect the following 2 pieces: |
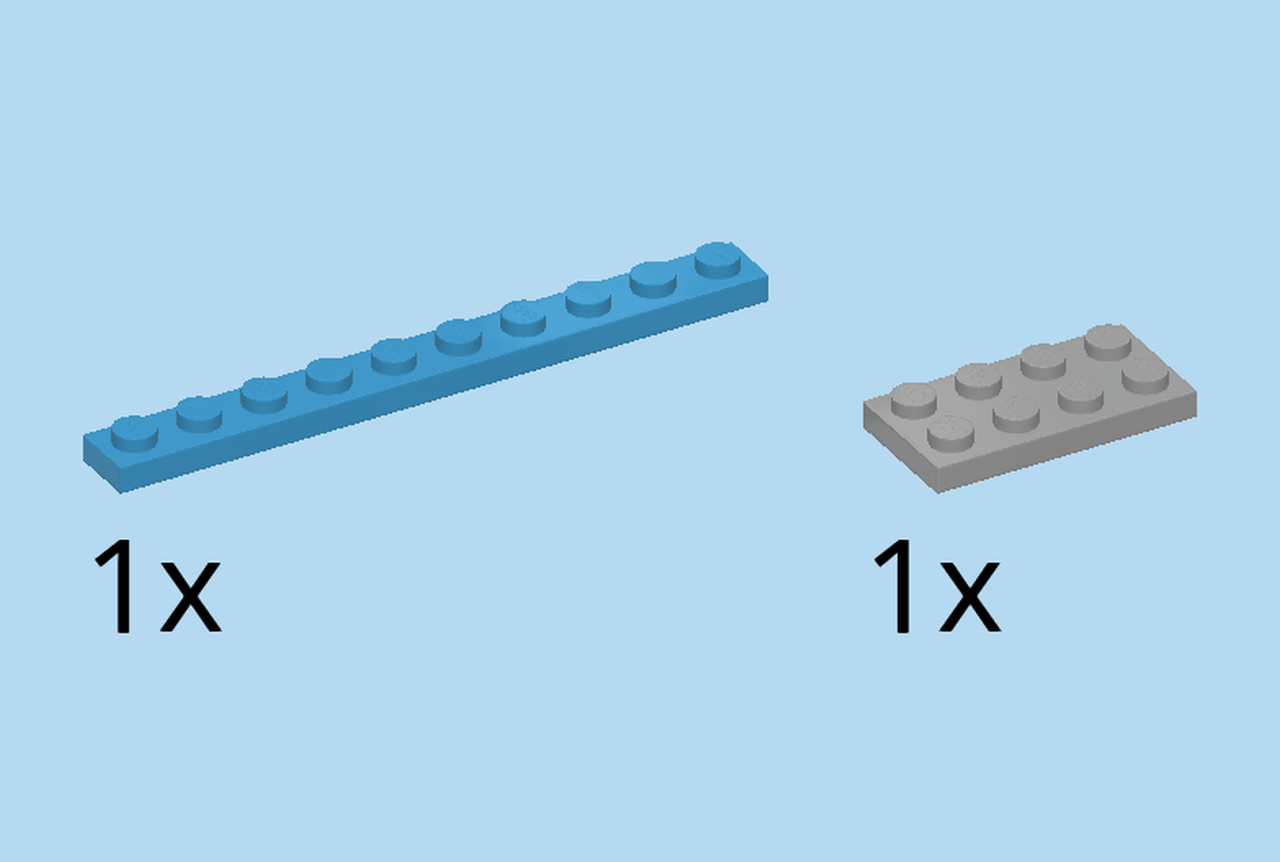
| 1 dark azure blue plate 1x10, |
| and 1 medium stone grey plate 2x4. |
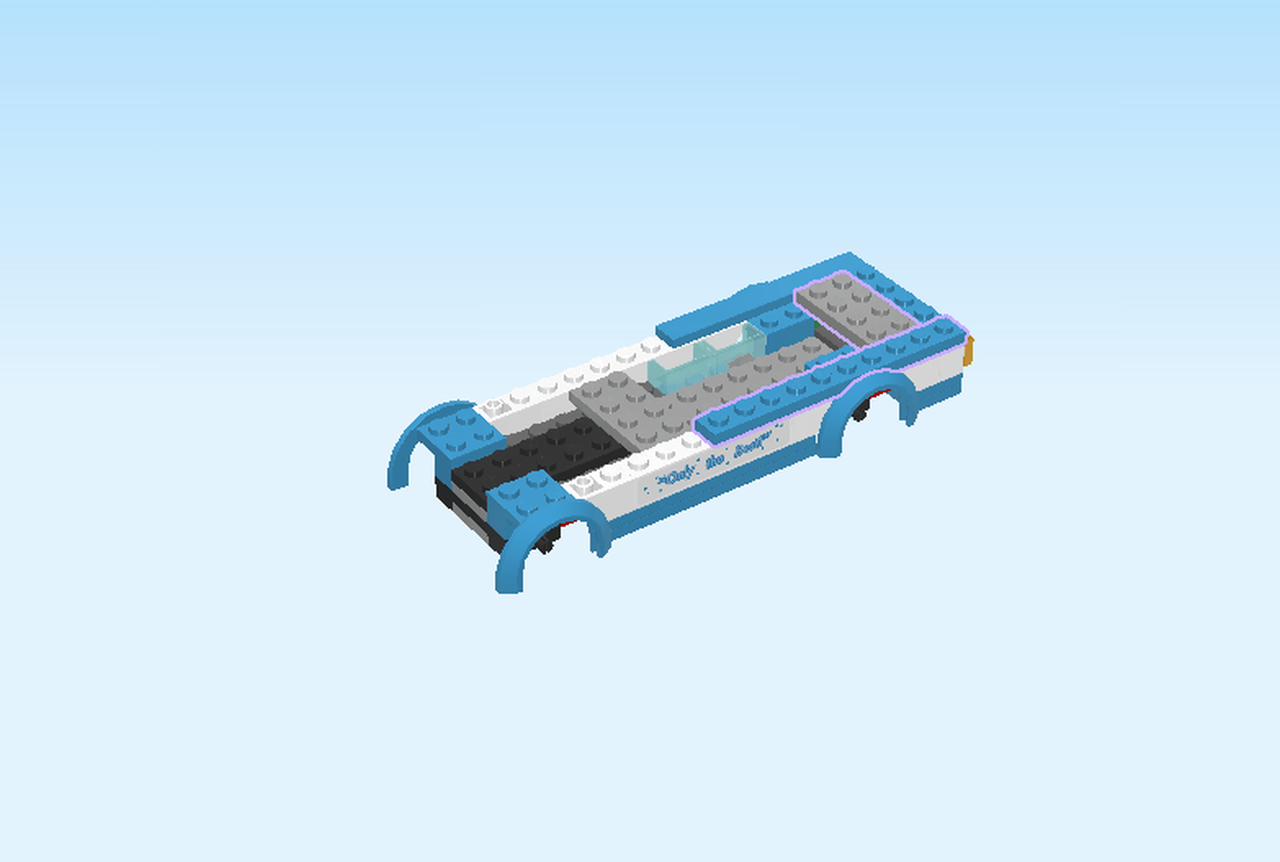
| Put the plate 2x4 vertically to the left of the previous piece. |
| Put the plate 1x10 horizontally on the frontmost row starting from the right edge. |
| Collect the following 2 pieces: |
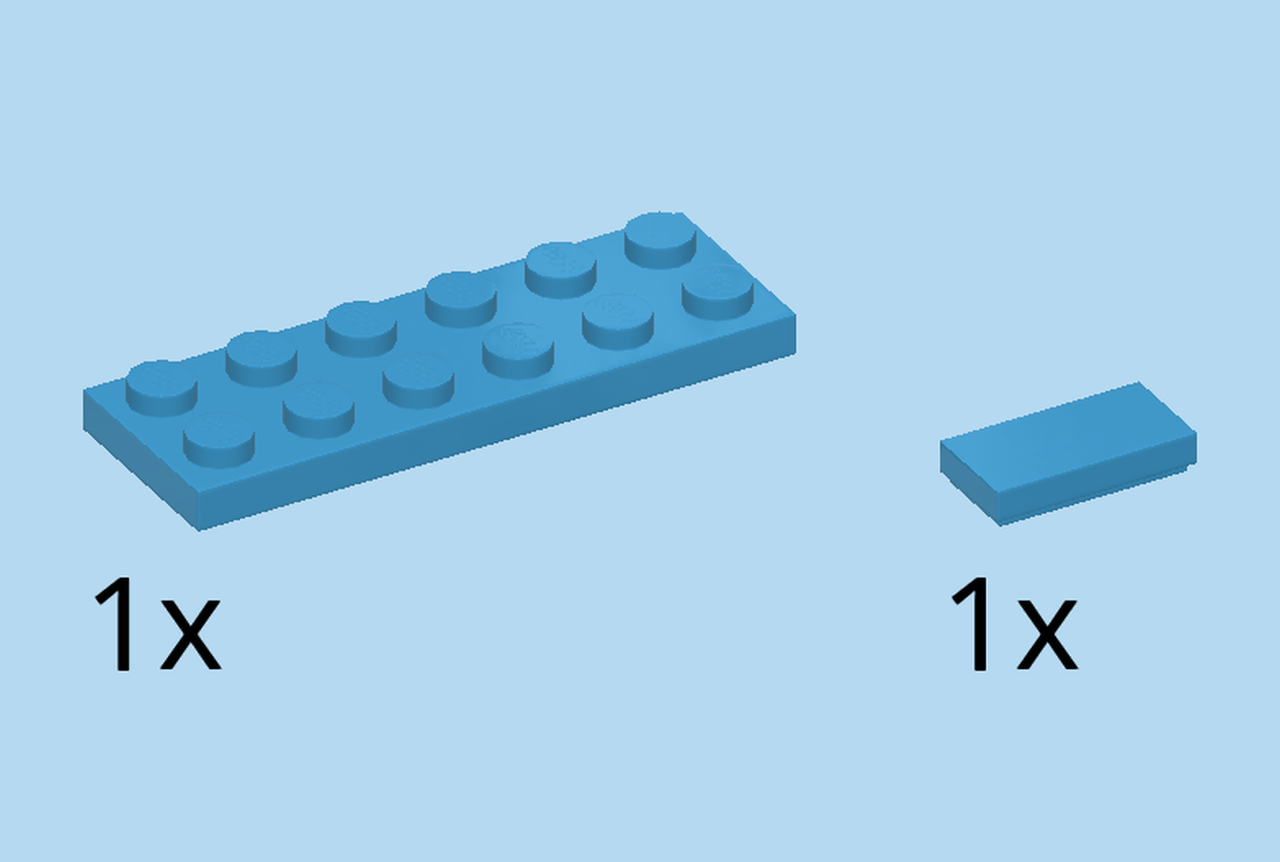
| 1 dark azure blue flat tile 1x2, |
| and 1 dark azure blue plate 2x6. |
| Put the flat tile 1x2 horizontally to the left of the flat tile 1x8 on the backmost row. |
| Put the plate 2x6 vertically to the left of the previous element, connecting the front and back row. |
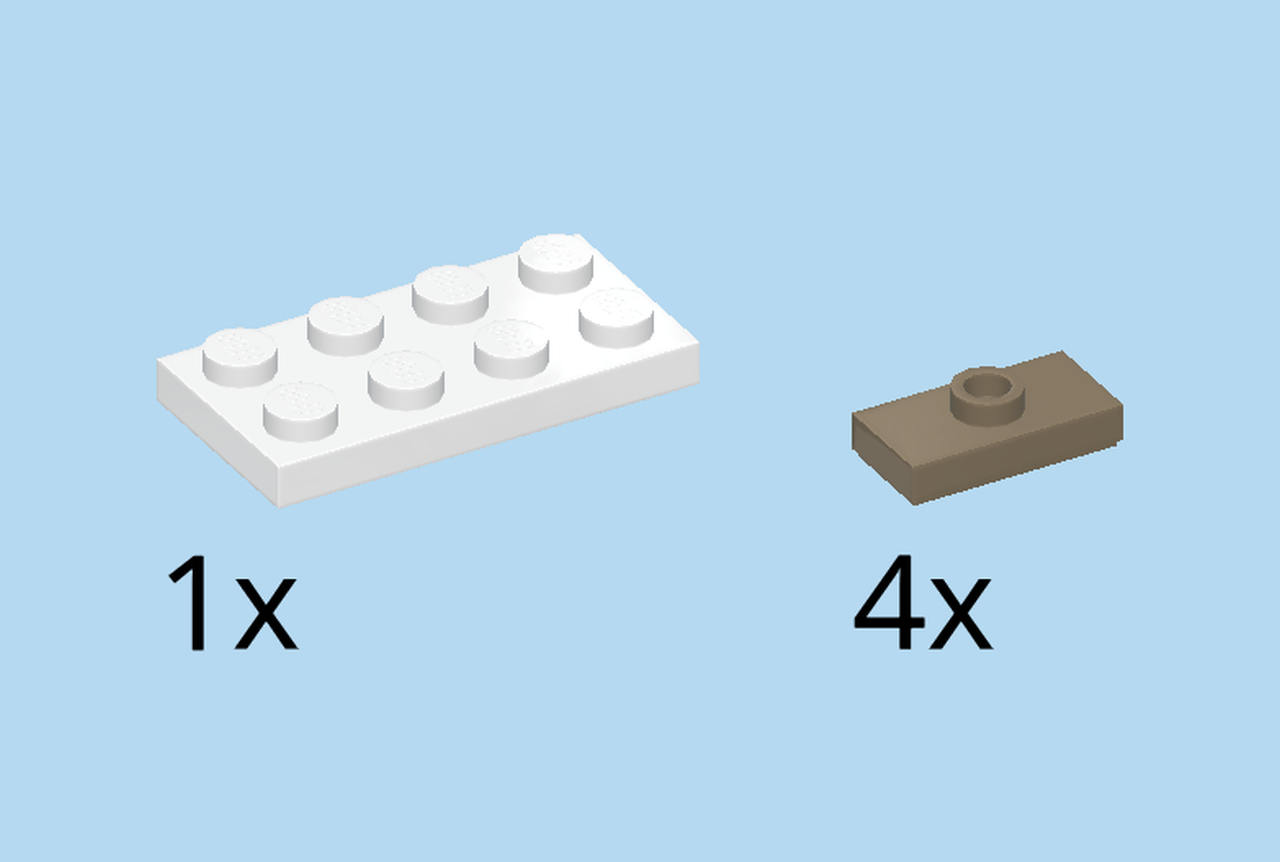
| Collect the following 5 pieces: |
| 1 white plate 2x4, |
| and 4 mud grey plates 1x2 with 1 knob. |
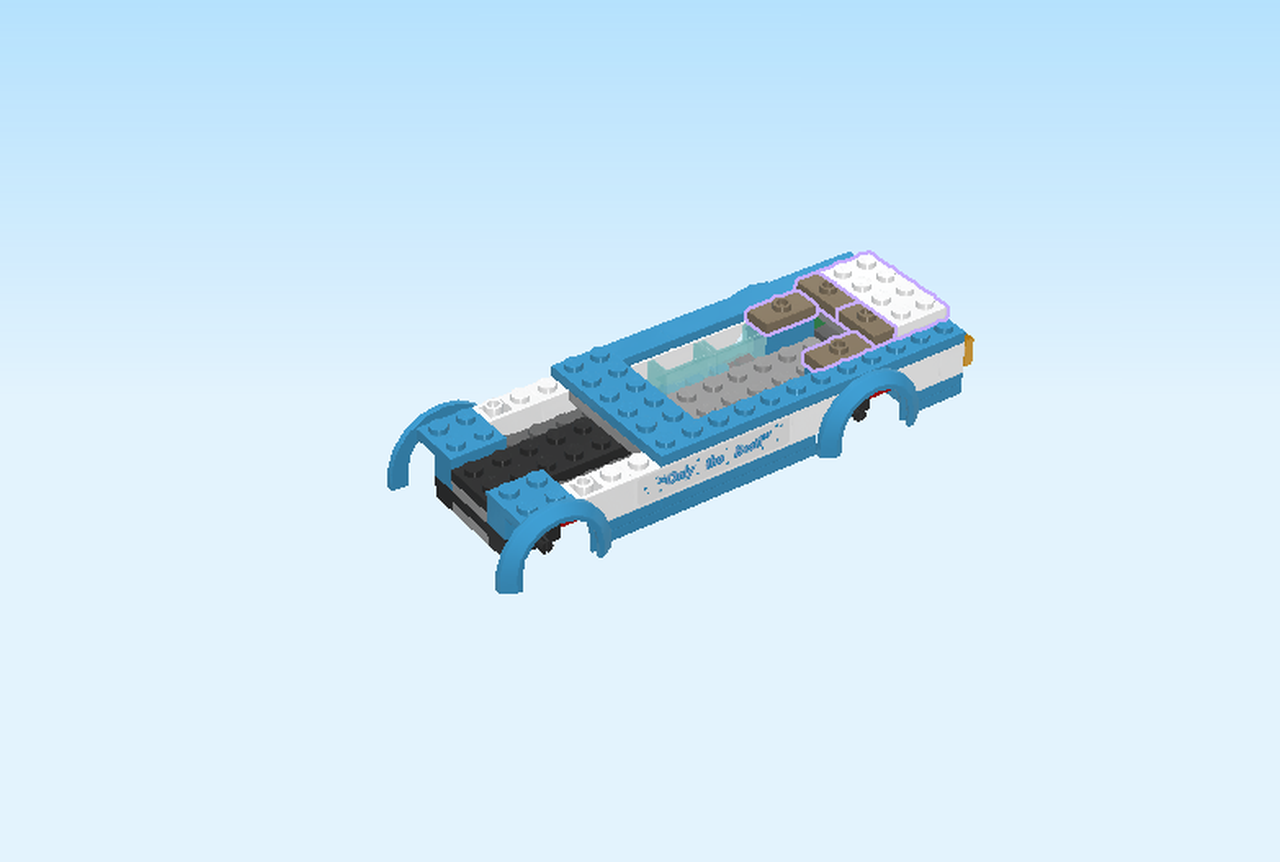
| Put the plate 2x4 vertically centered on the rightmost edge. |
| Put 2 plates 1x2 with 1 knob vertically to the left of the previous plate. |
| Put one plate 1x2 with 1 knob horizontally to the left of the previous elements on the second row from the back. |
| Repeat symmetrically at the front. |
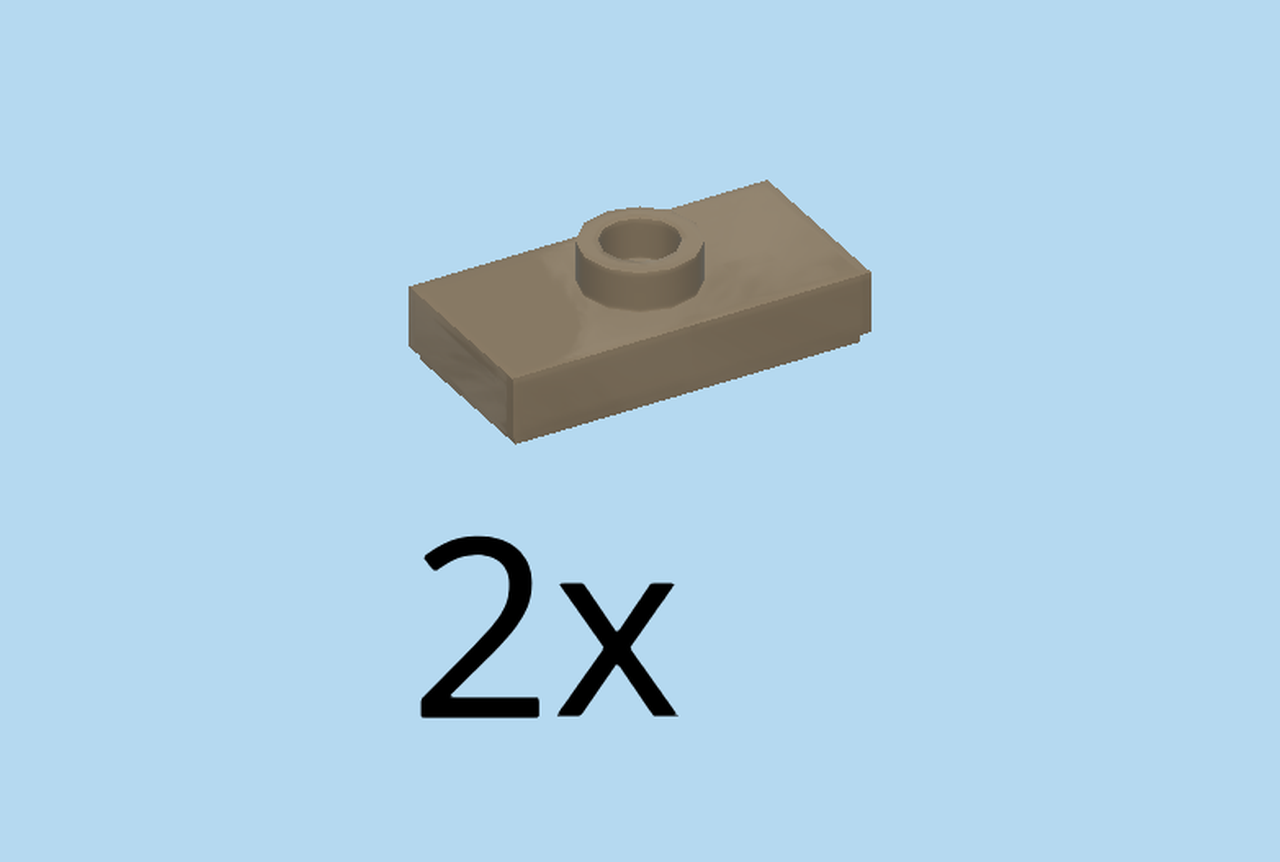
| Find 2 mud grey plates 1x2 with 1 knob. |
| Put one vertically on second column from the right, skipping one row from the back. |
| Put one vertically in front of the previous element. |
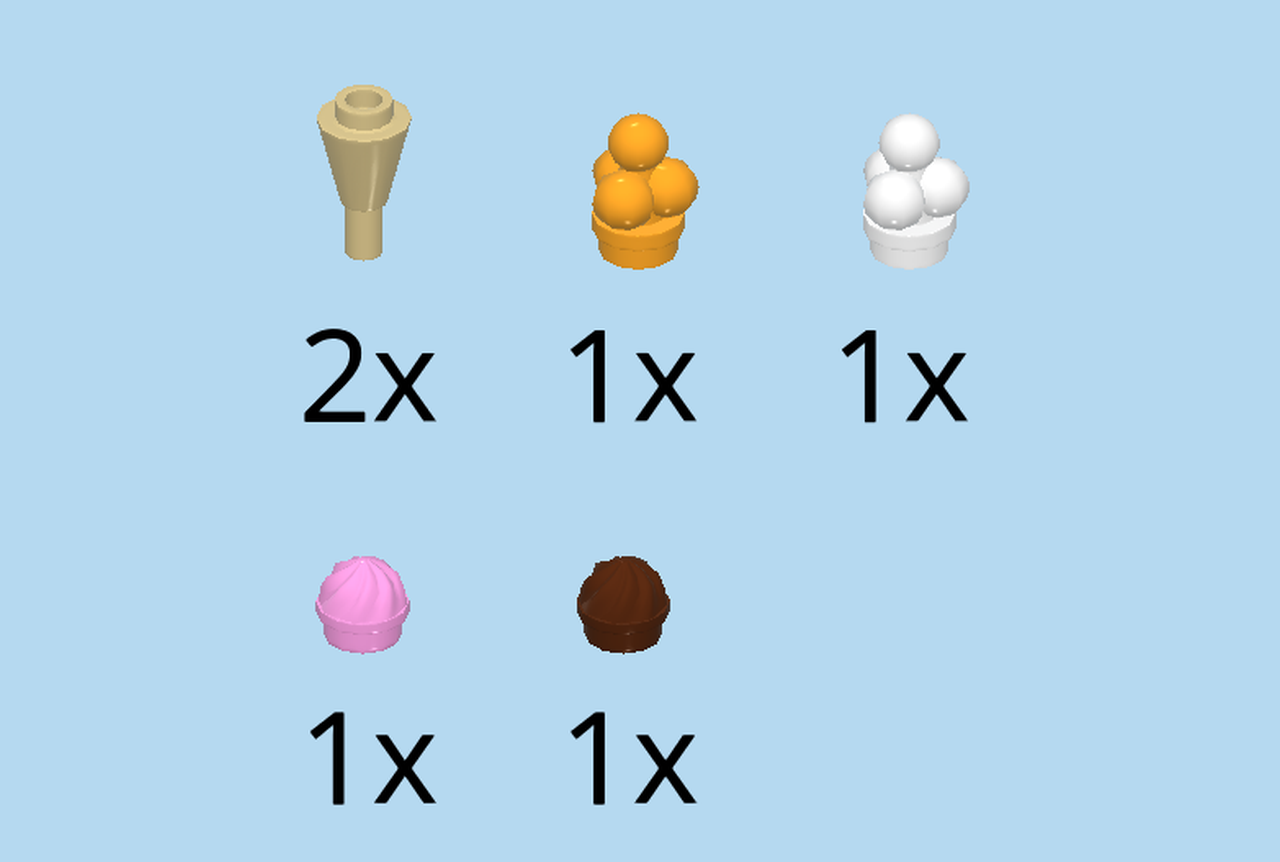
| Collect the following 6 pieces: |
| 1 flame yellowish orange piece of ice cream scoop, |
| 1 white piece of ice cream scoop, |
| 1 light purple decoration top 1x1, |
| 1 reddish brown decoration top 1x1, |
| and 2 pale ocher yellow inverted cones 1x1 with shaft. |
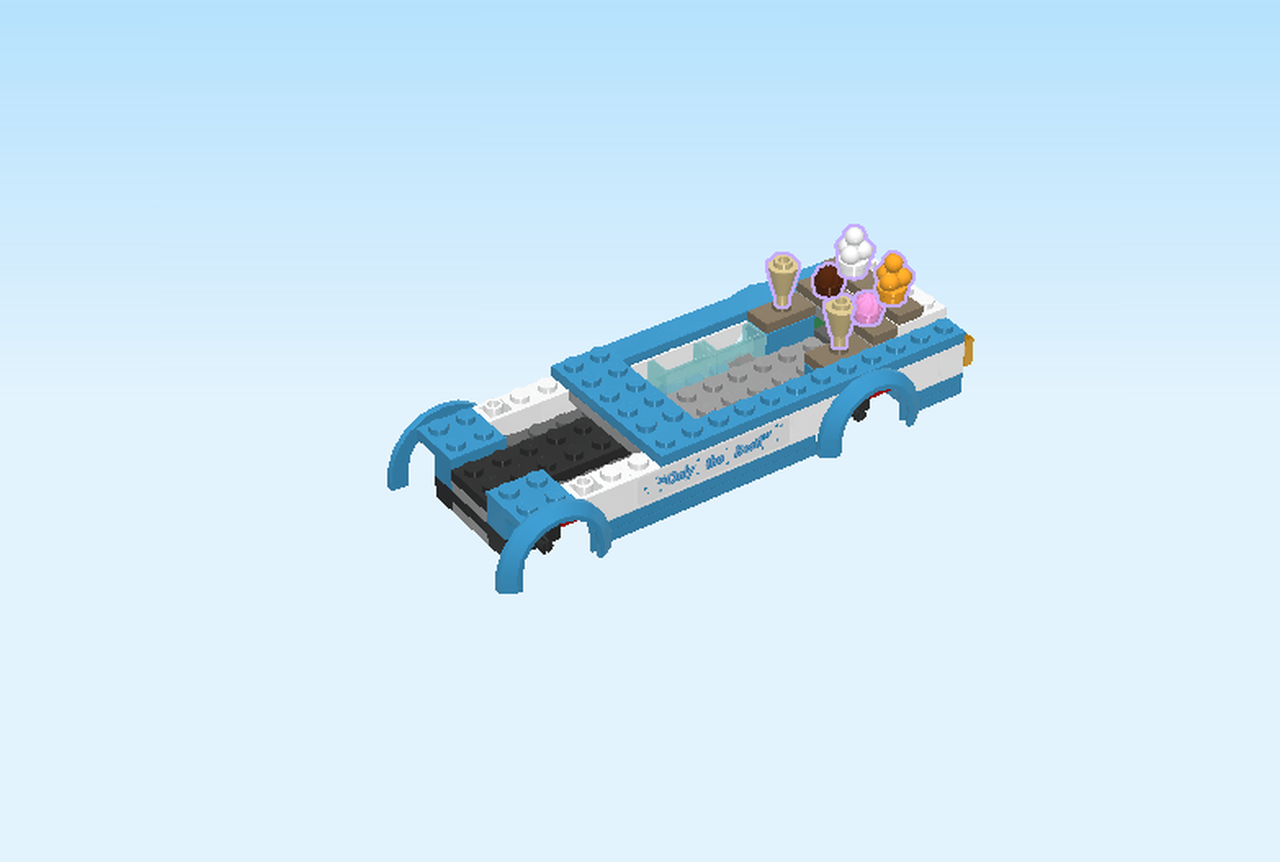
| Put the 6 pieces onto the knobs of the last 6 elements. |
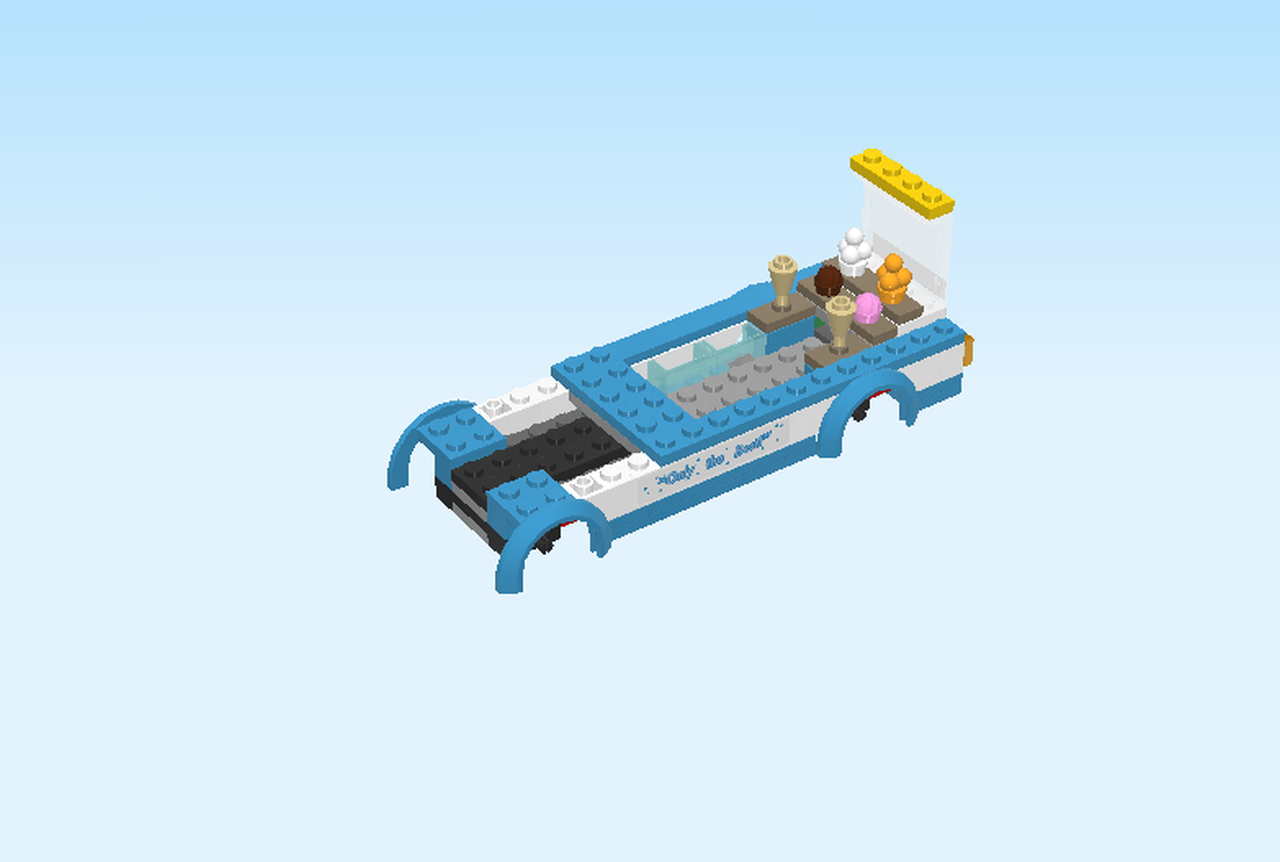
| Next up, we will build the rear window. |
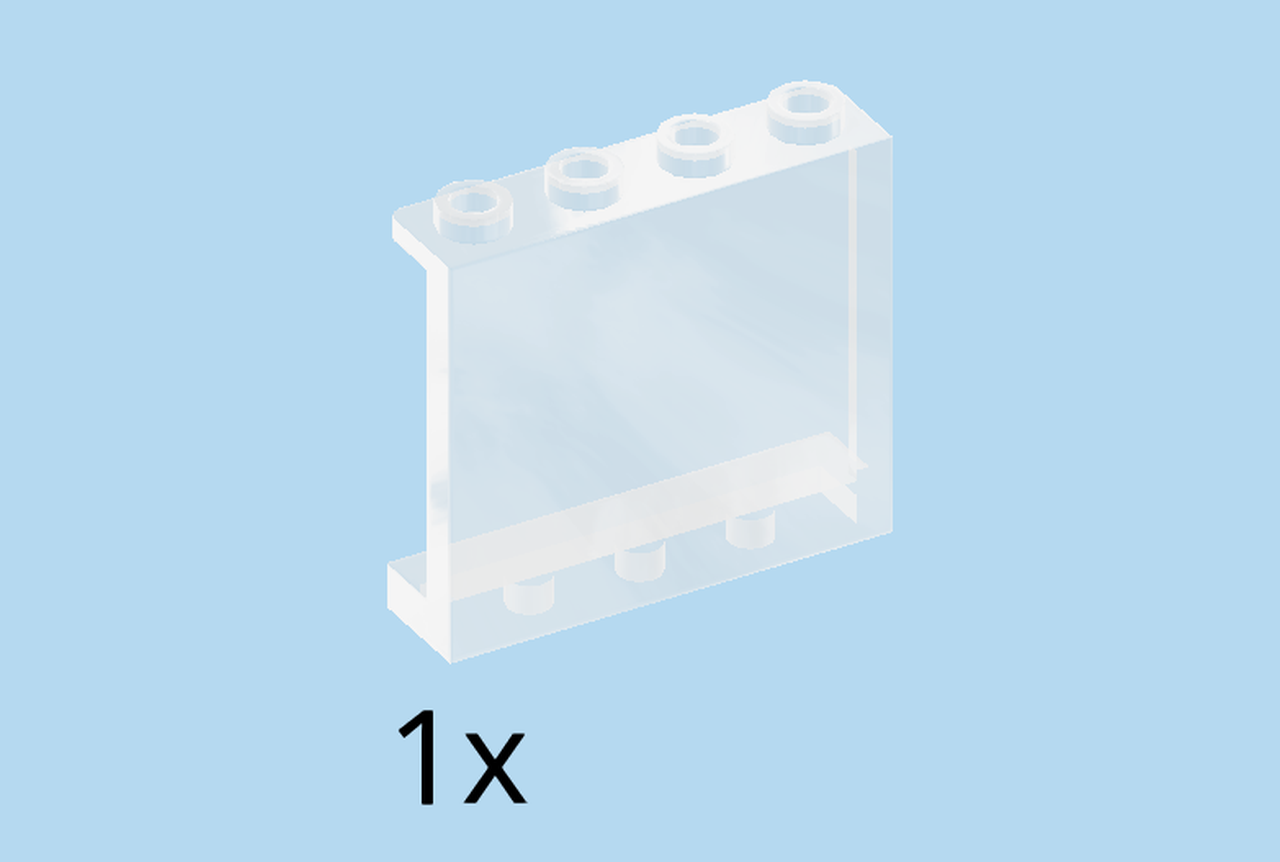
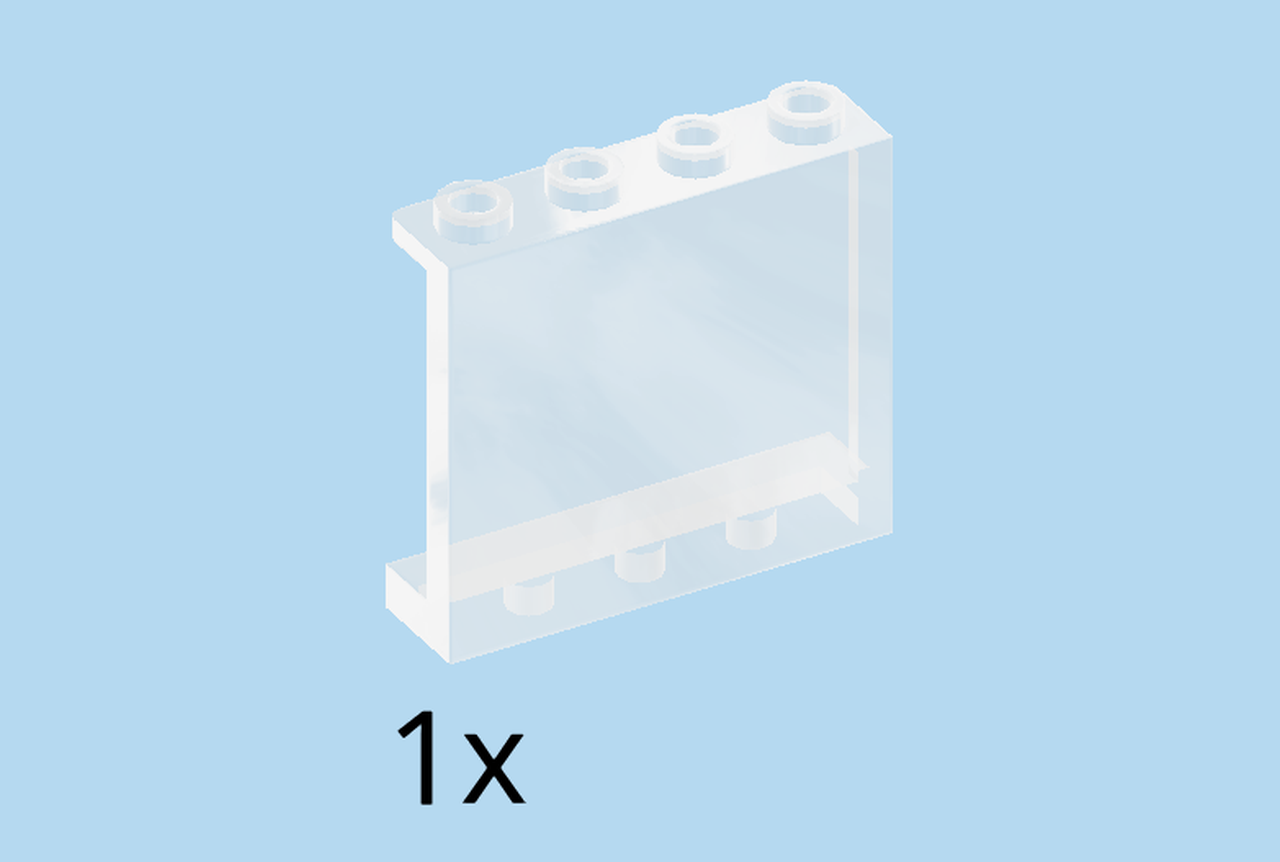
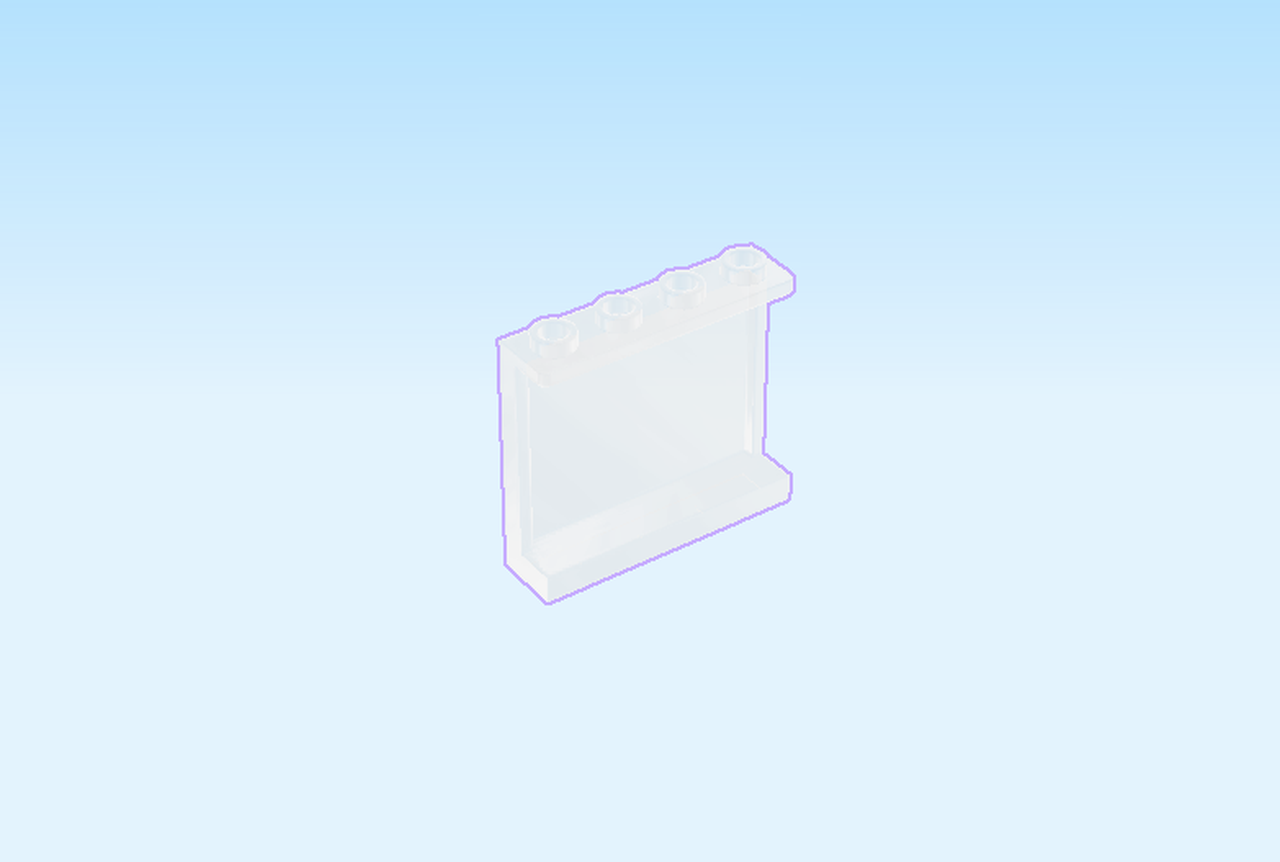
| Find 1 transparent wall element 1x4x3. |
| Put it horizontally on the table, wall to the front. |
| Continue if you want to put a sticker on the element. If not, skip the following 3 sentences. |
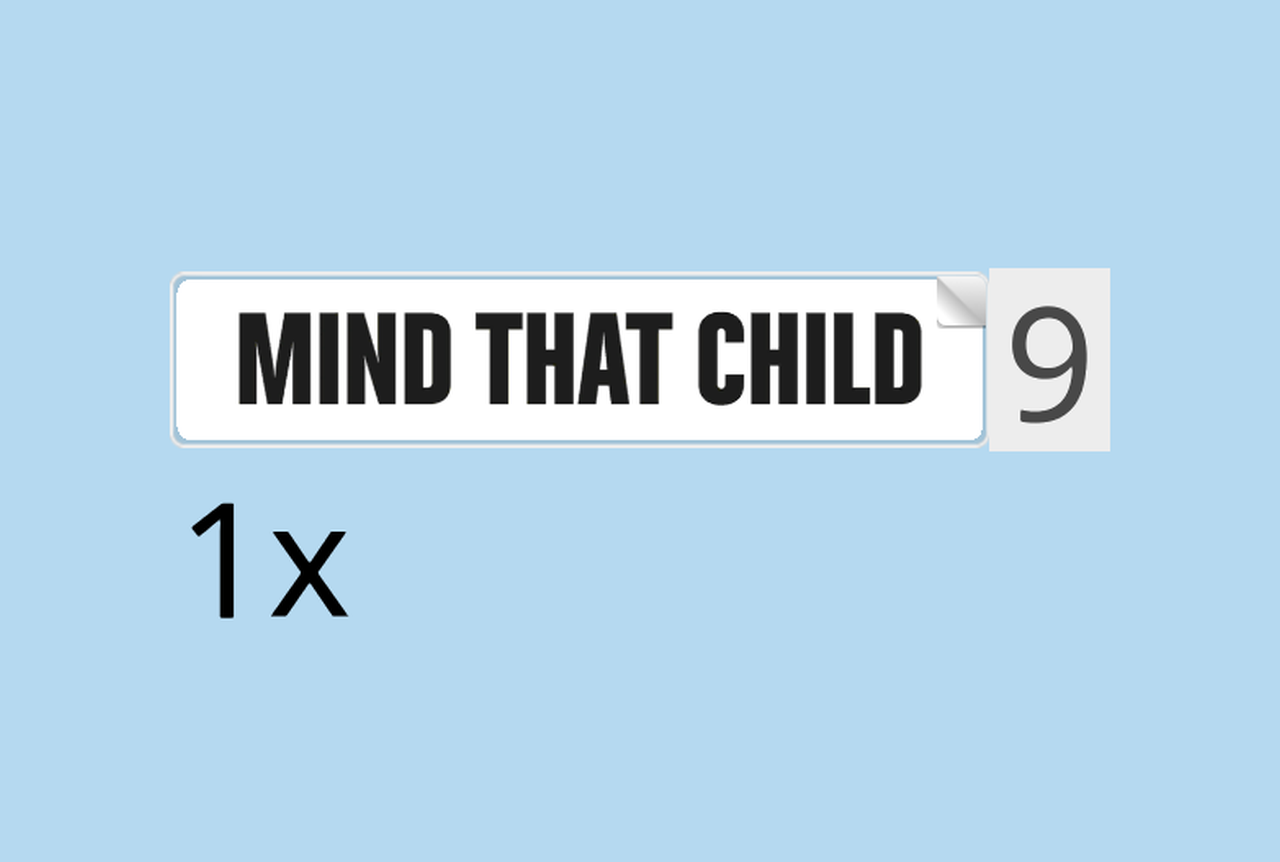
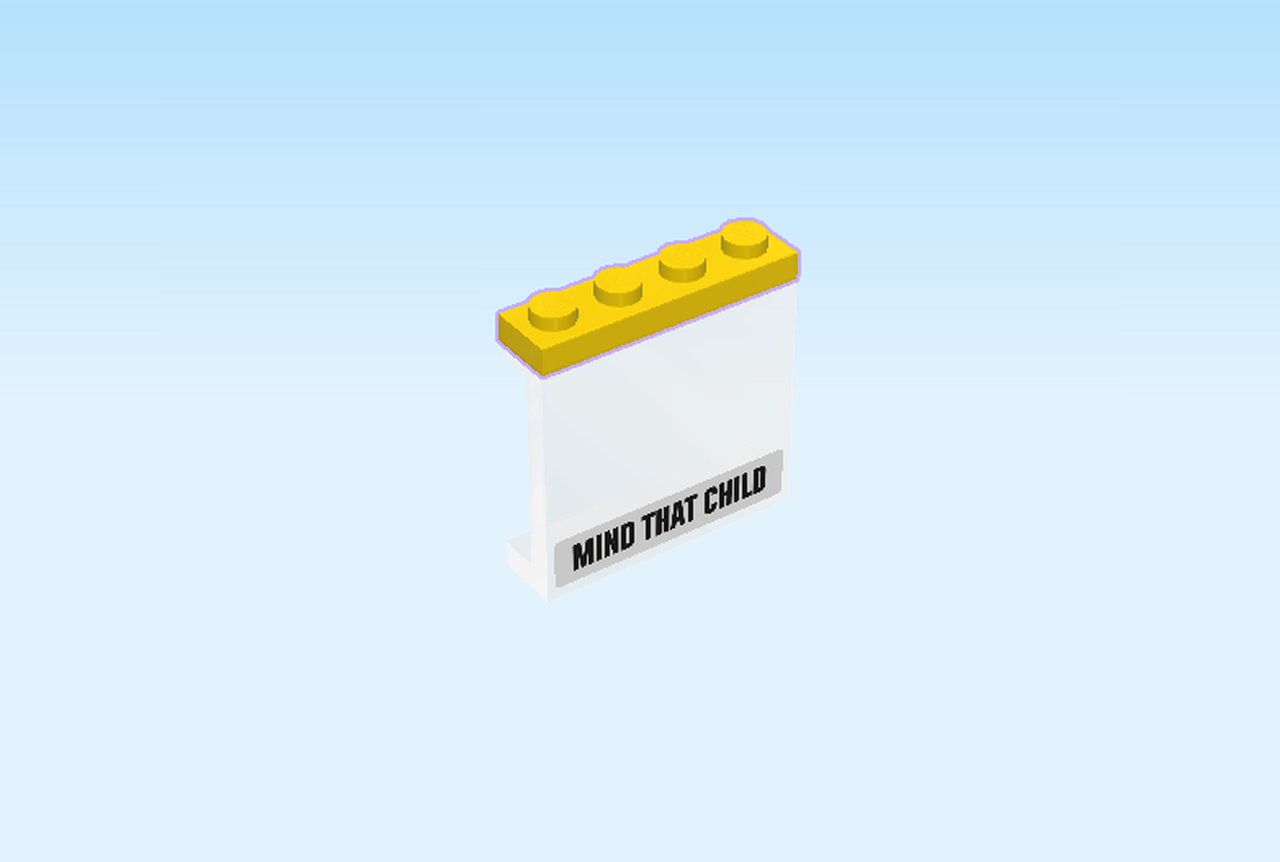
| Find 1 sticker number 9. Ask a sighted person to help you. |
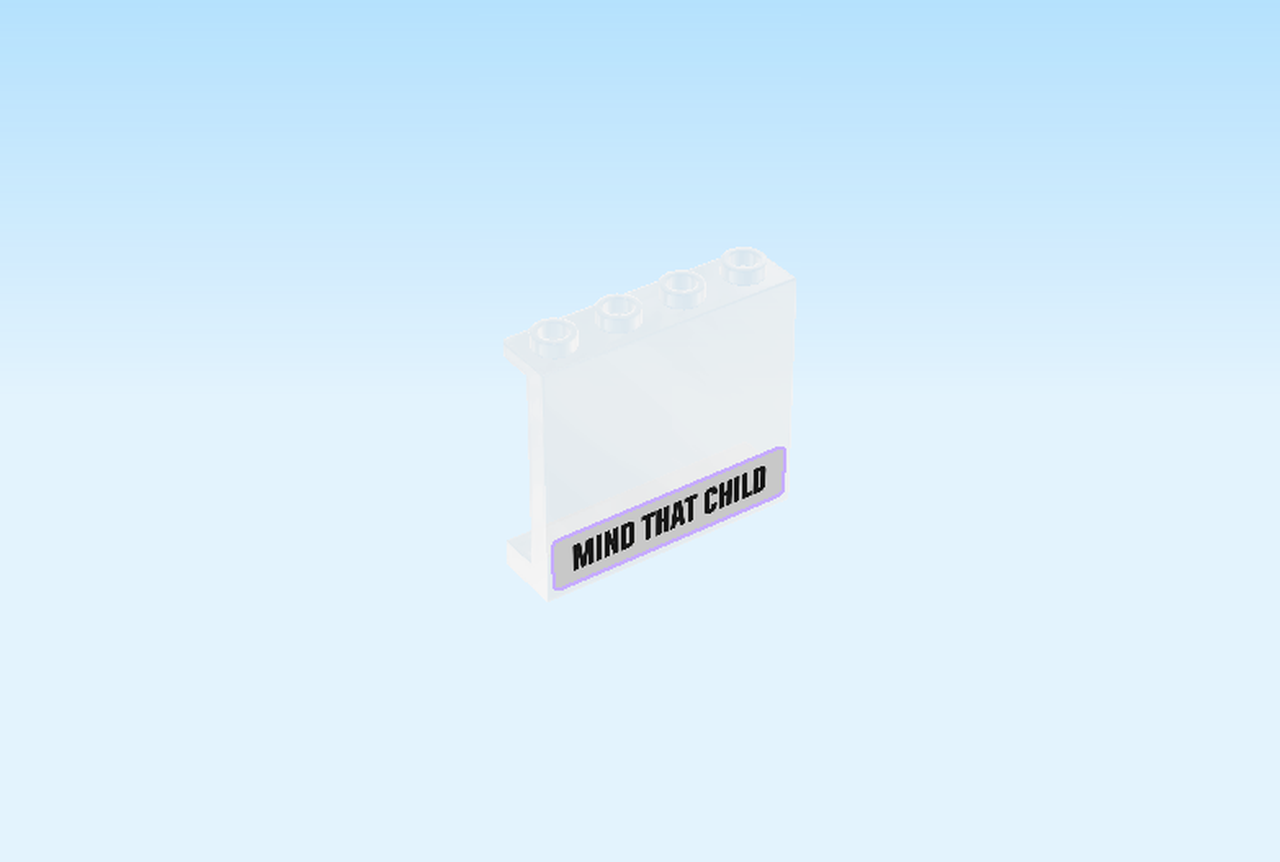
| Turn it upright and put it horizontally centered on the wall at the bottom. |
| The sticker is printed with a black text saying: "Mind that child". |
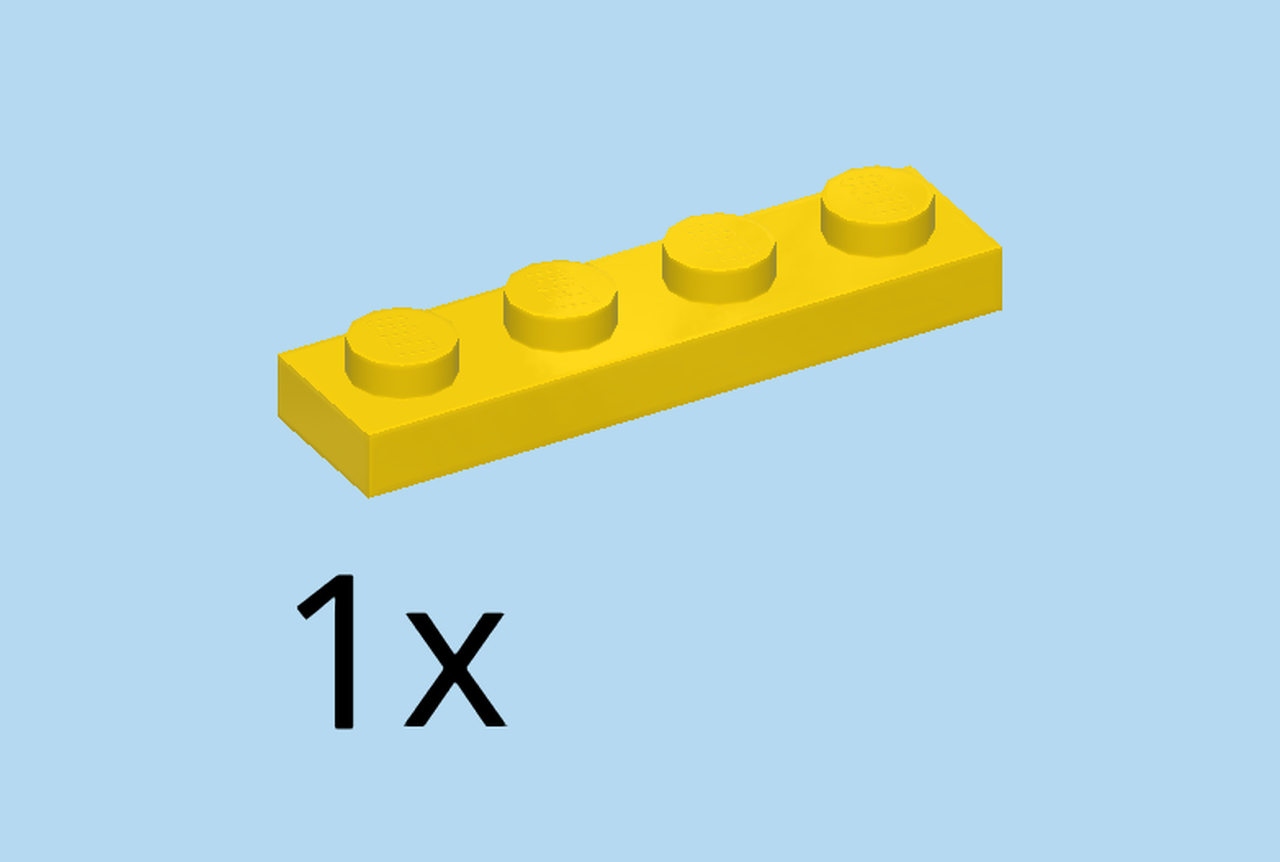
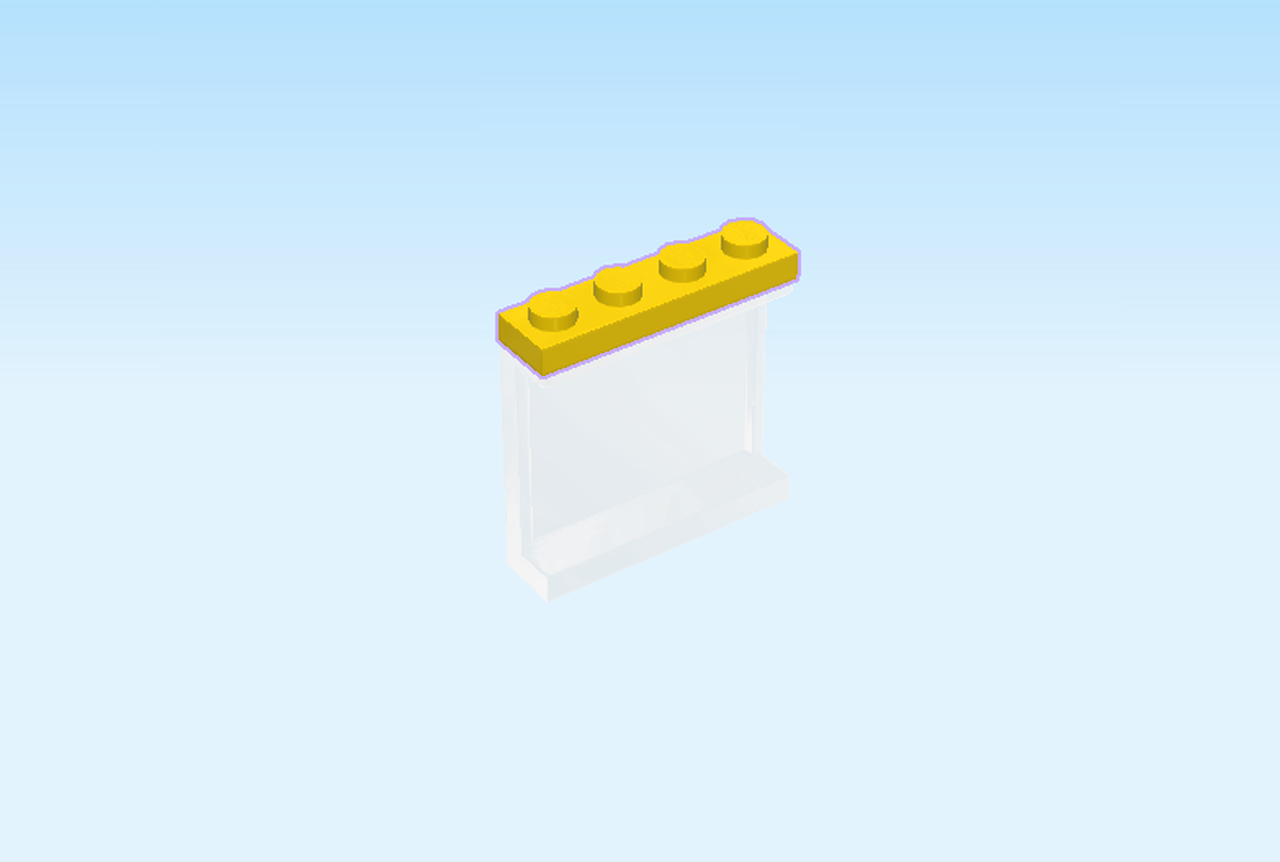
| Find 1 bright yellow plate 1x4. |
| Put it horizontally on top of the window. |
| Put the window vertically centered on the rightmost edge, sticker to the right. |
| Now, let's make the side windows. |
| Find 1 white plate 1x8. |
| Put it horizontally on the table. |
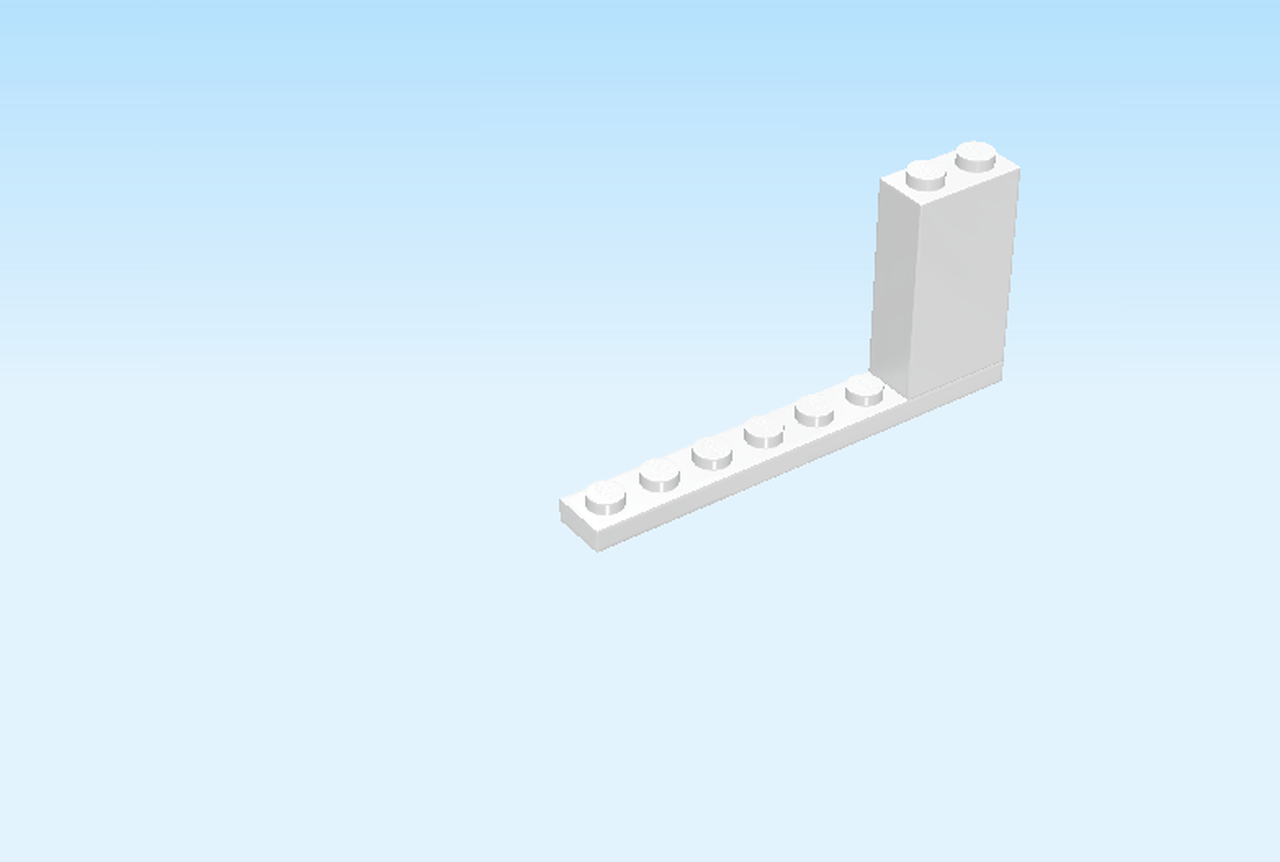
| Find 1 white brick 1x2x3. |
| Put it on the table. |
| Continue if you want to put a sticker on the brick. If not, skip the following 3 sentences. |
| Find 1 sticker number 6. Ask a sighted person to help you. |
| Turn it upright and put it on the surface. |
| The sticker is printed with an image of an ice cream cone and the text: "Stay cool". |
| Put the brick horizontally on the rightmost edge of the plate, sticker to the back. |
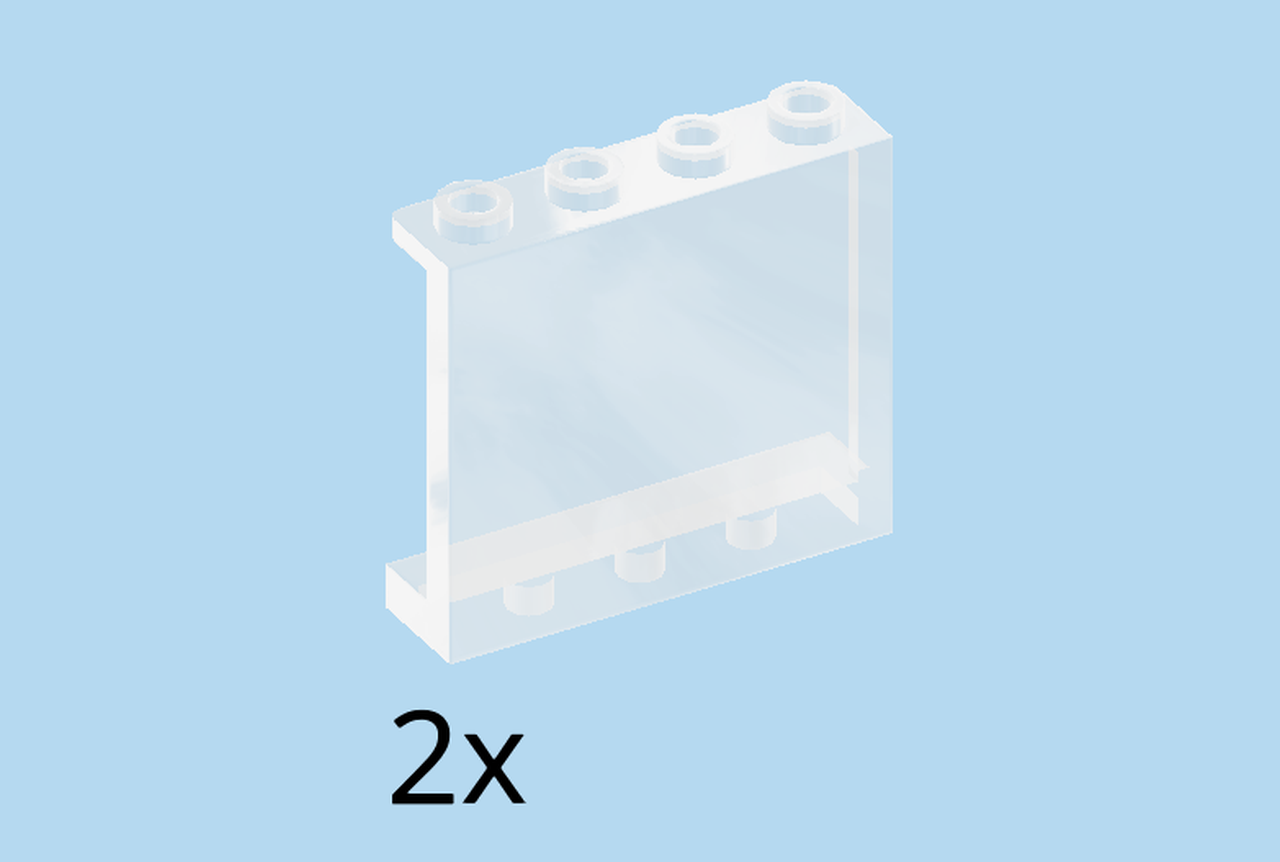
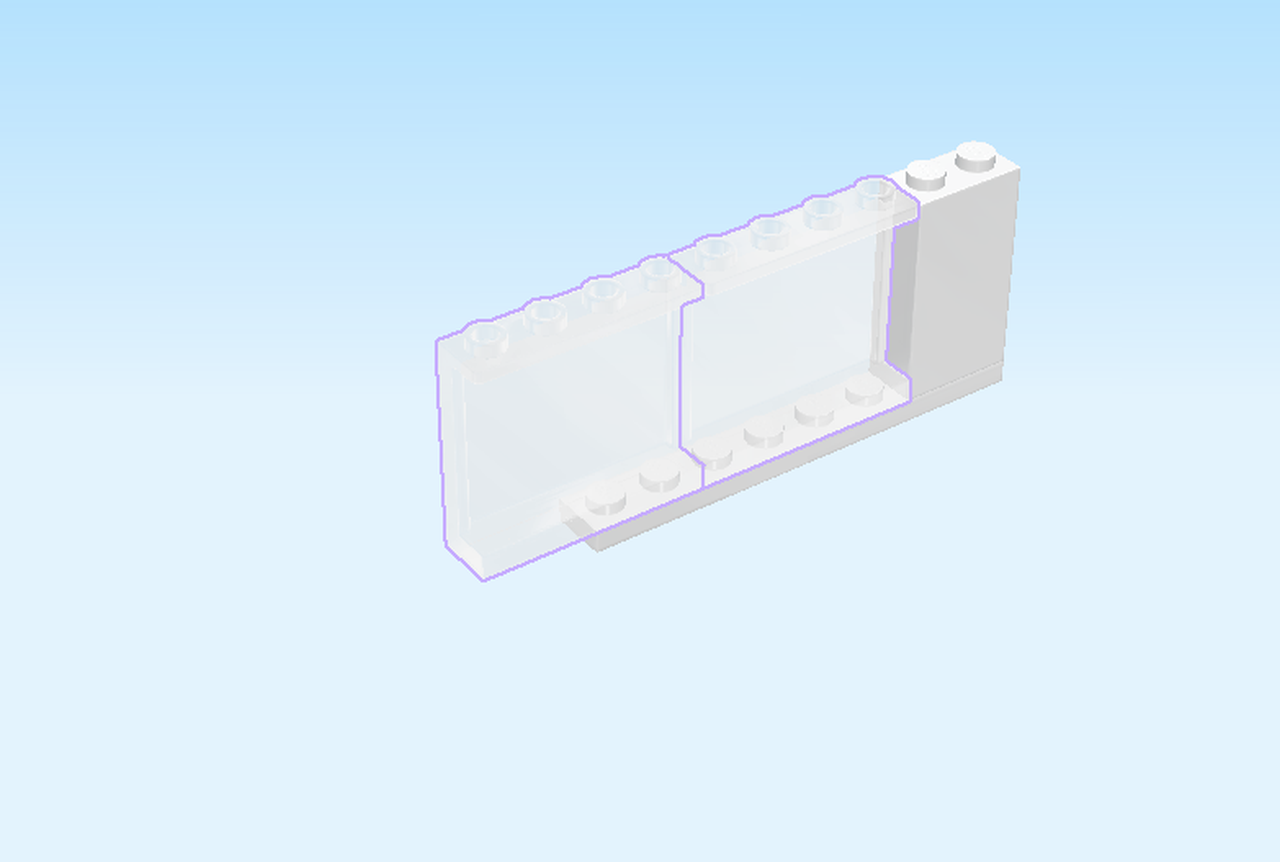
| Find 2 transparent wall elements 1x4x3. |
| Put them horizontally to the left of the brick, wall to the back. Make sure that 2 knobs of the second window are overhanging to the left. |
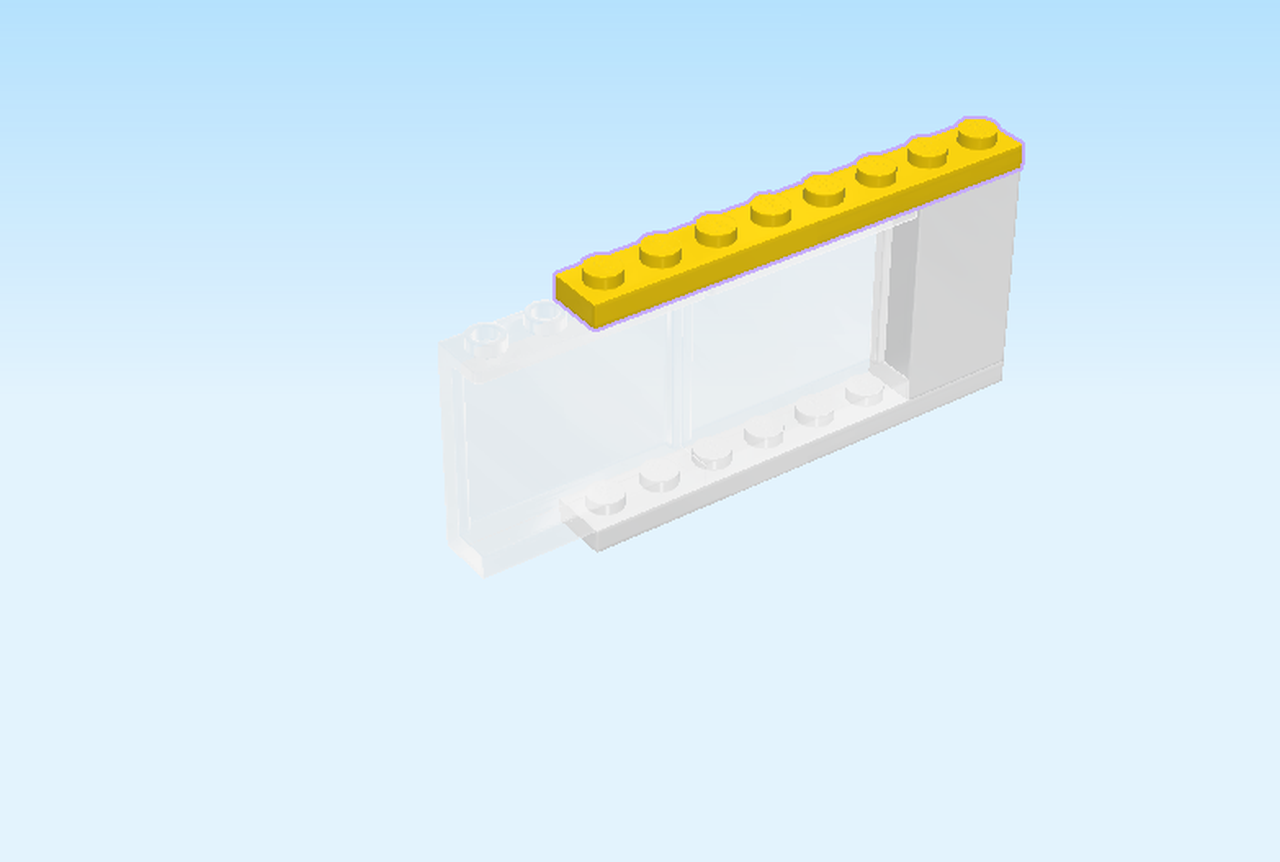
| Find 1 bright yellow plate 1x8. |
| Put it horizontally on top starting from the right edge. |
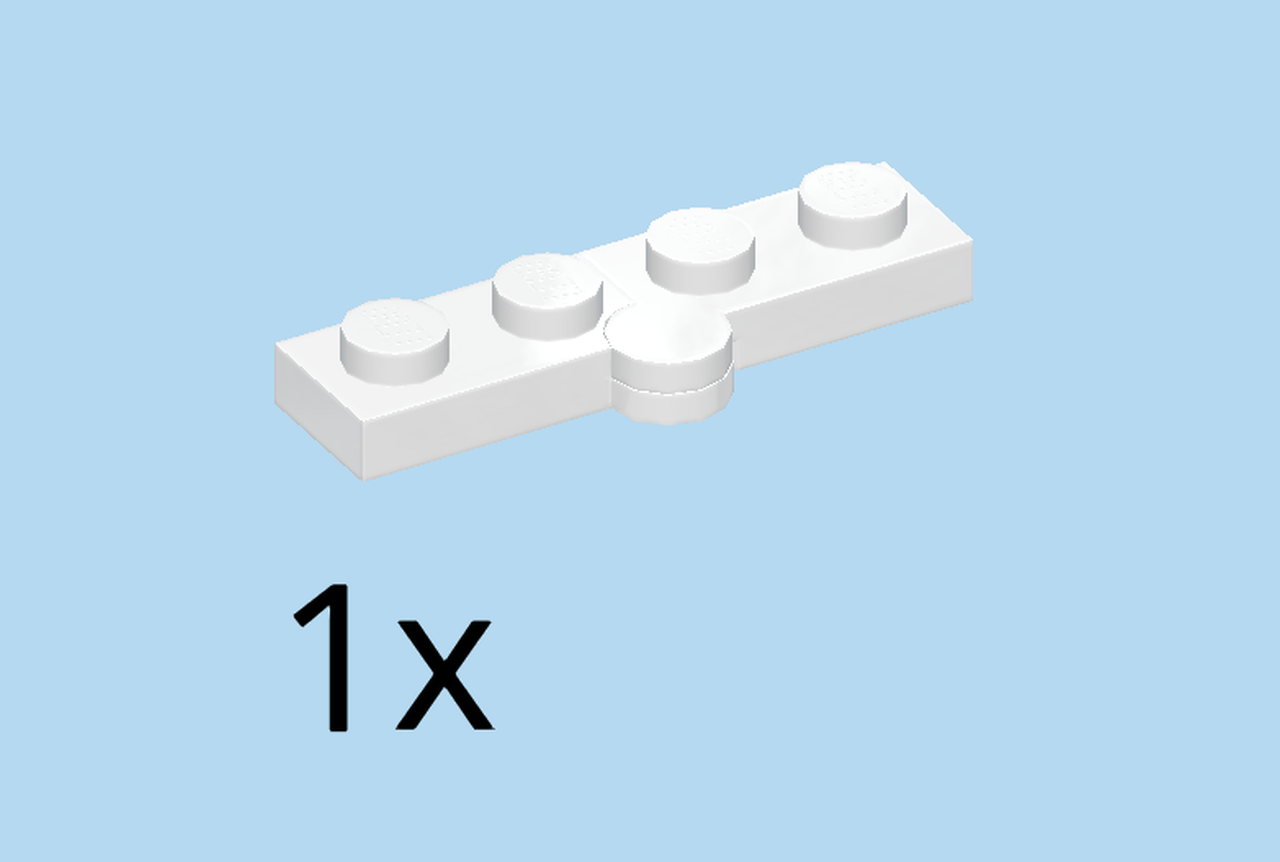
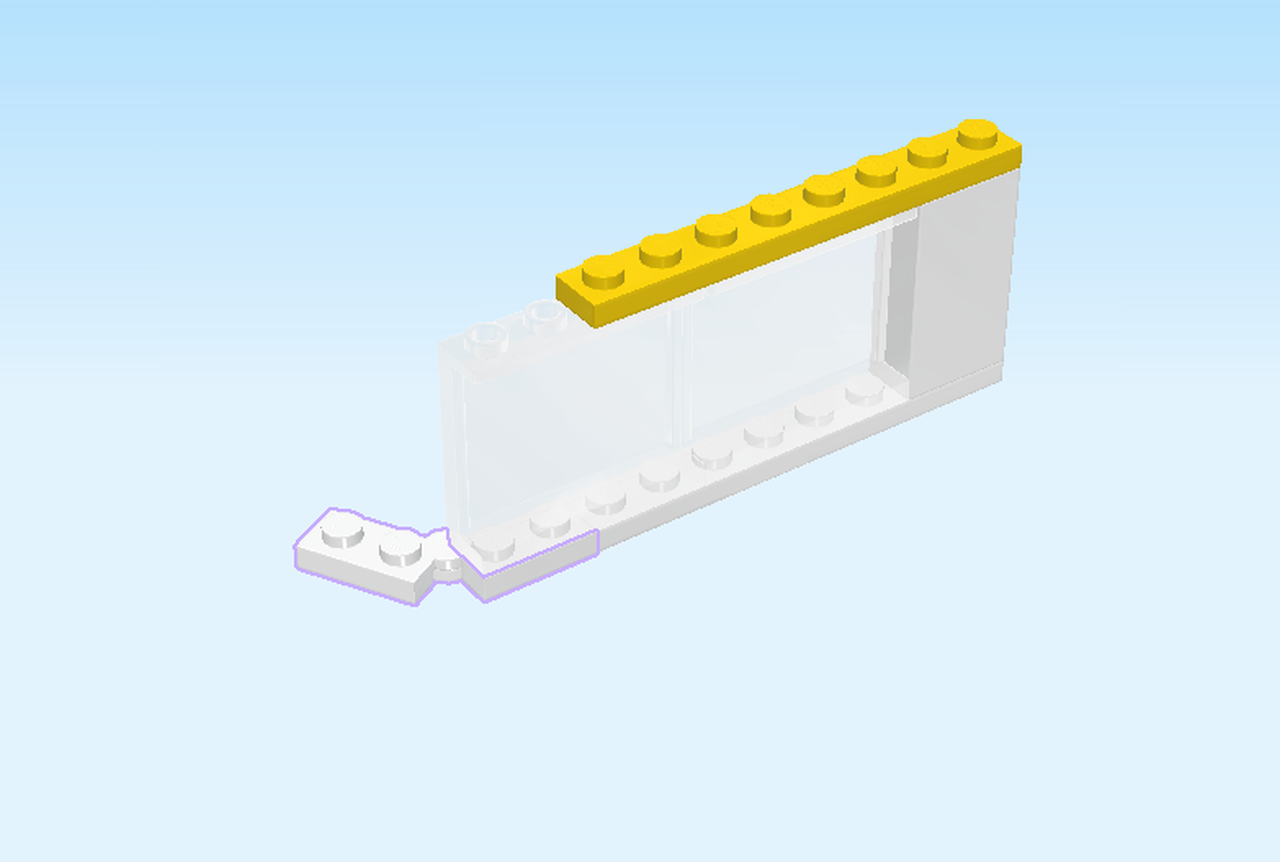
| Find 1 white hinge plate 1x2 - 1x2. |
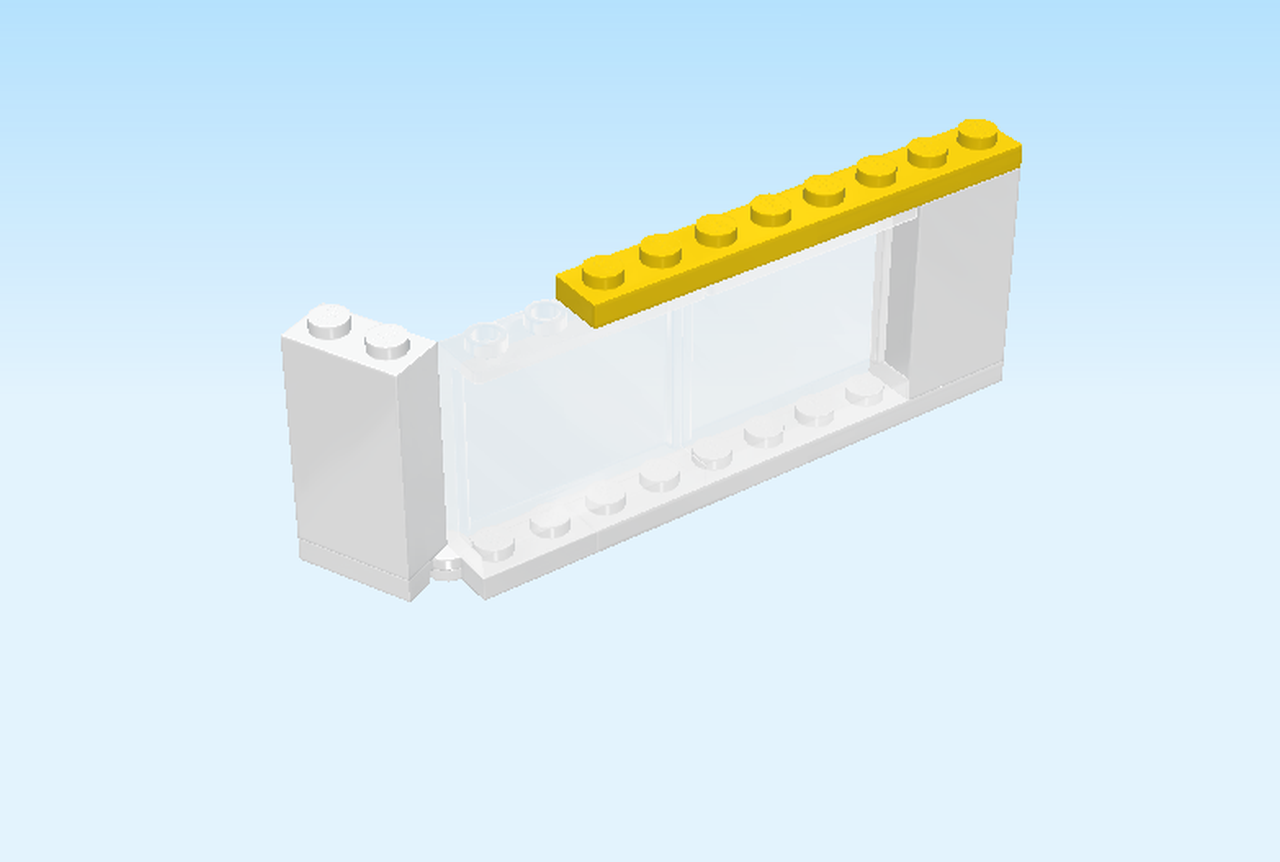
| Hold the hinge plate horizontally and open it so that it is moving towards the back. Now, put the right half of the hinge plate horizontally underneath the window structure at the left edge. The left half of the hinge plate is overhanging to the left and to the back. |
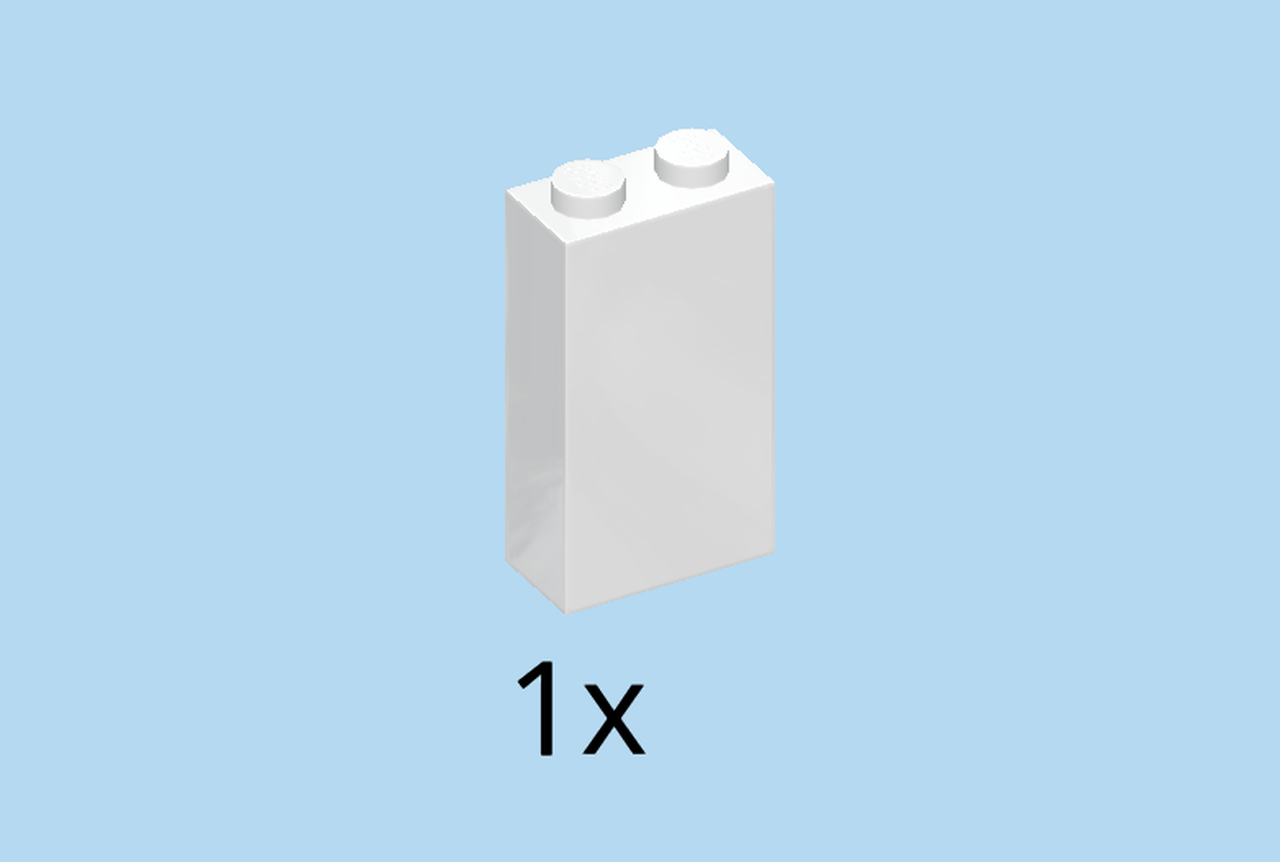
| Find 1 white brick 1x2x3. |
| Put it horizontally on the table. |
| Continue if you want to put a sticker on the brick. If not, skip the following 3 sentences. |
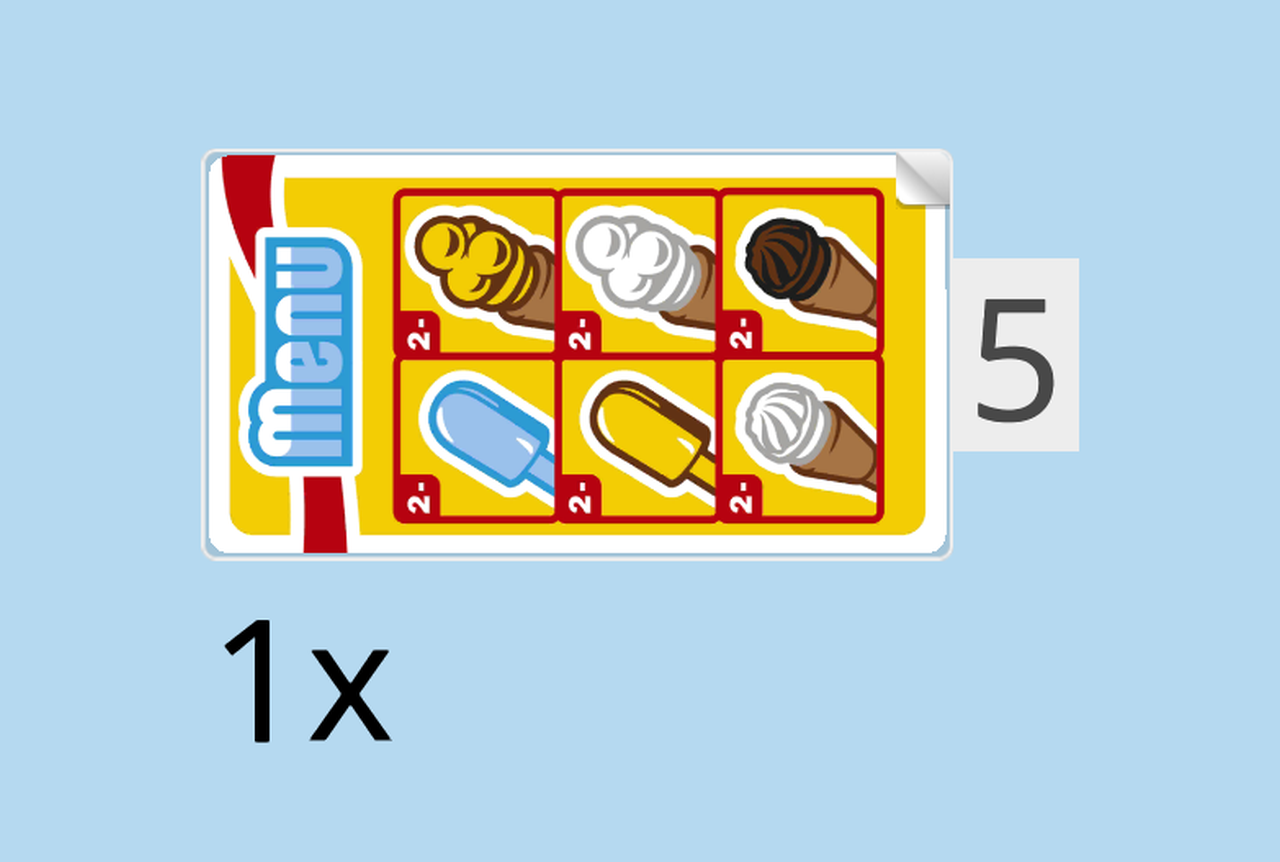
| Find 1 sticker number 5. Ask a sighted person to help you. |
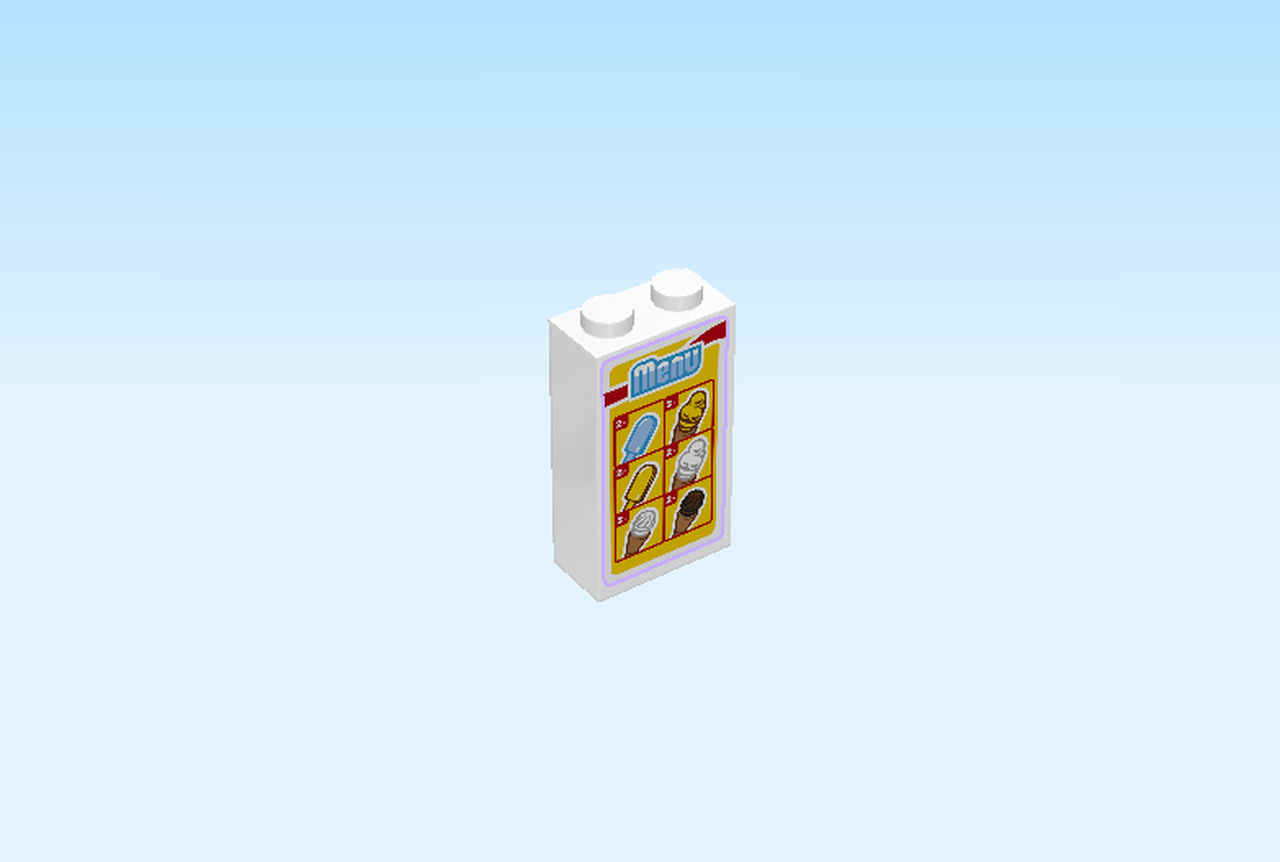
| Turn it upright and put it on the front surface. |
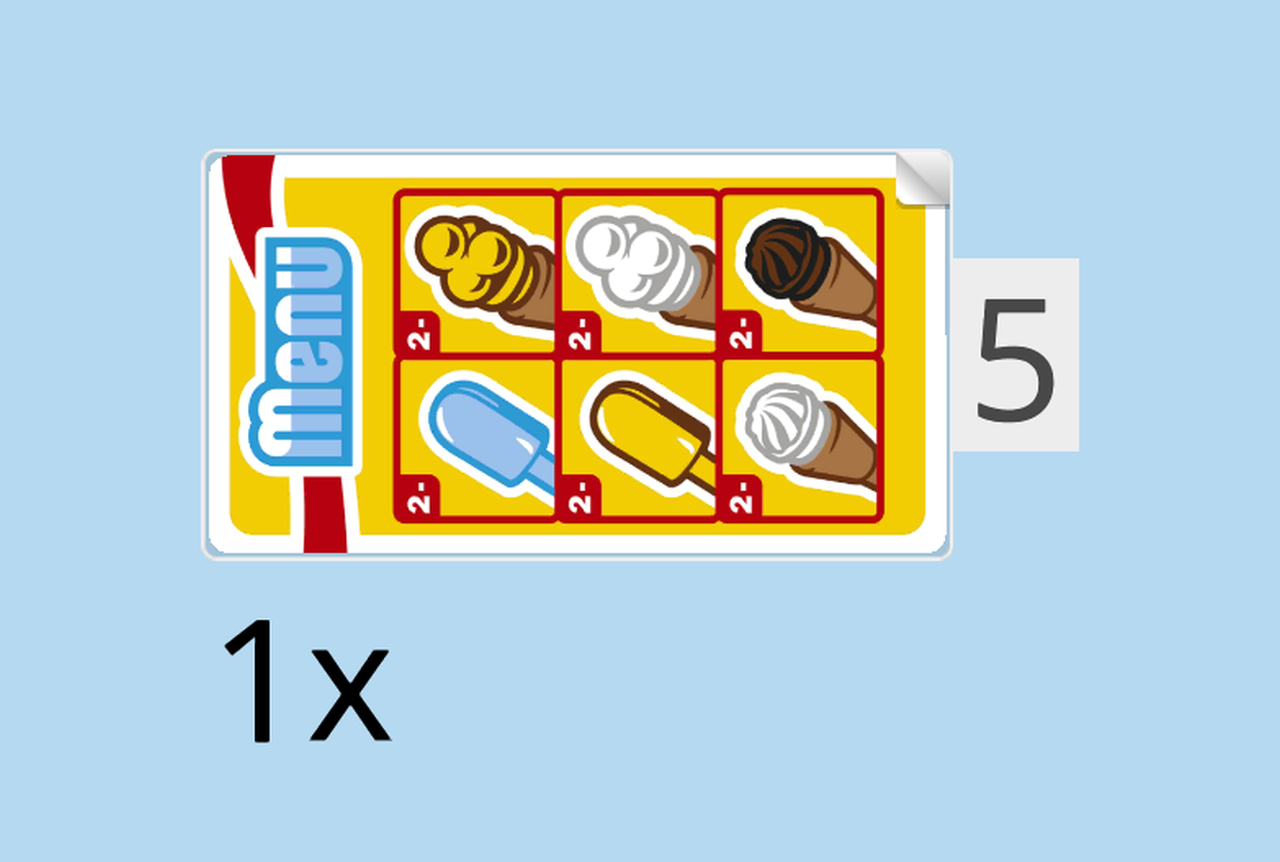
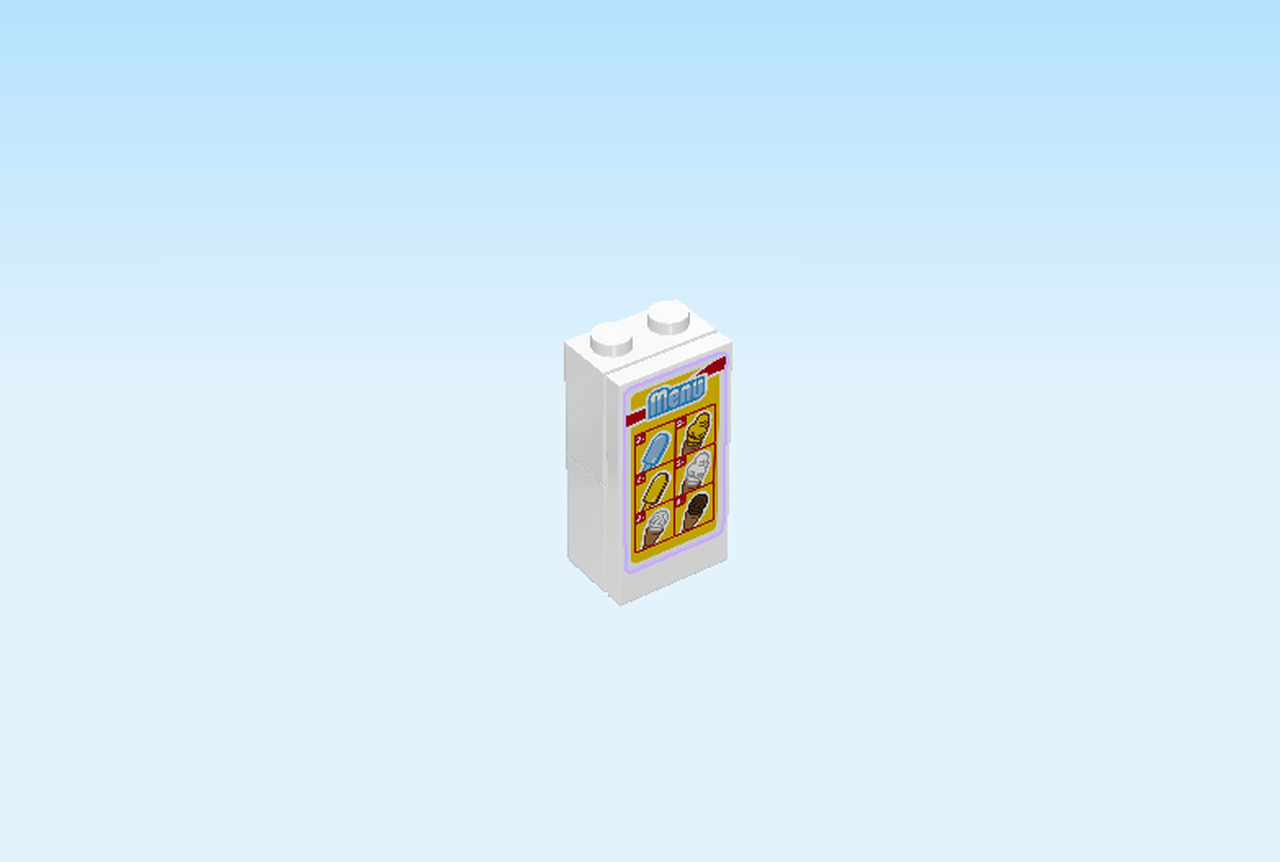
| The sticker is printed with an ice cream menu. |
| Put the brick horizontally on the opened hinge plate, sticker to the back. |
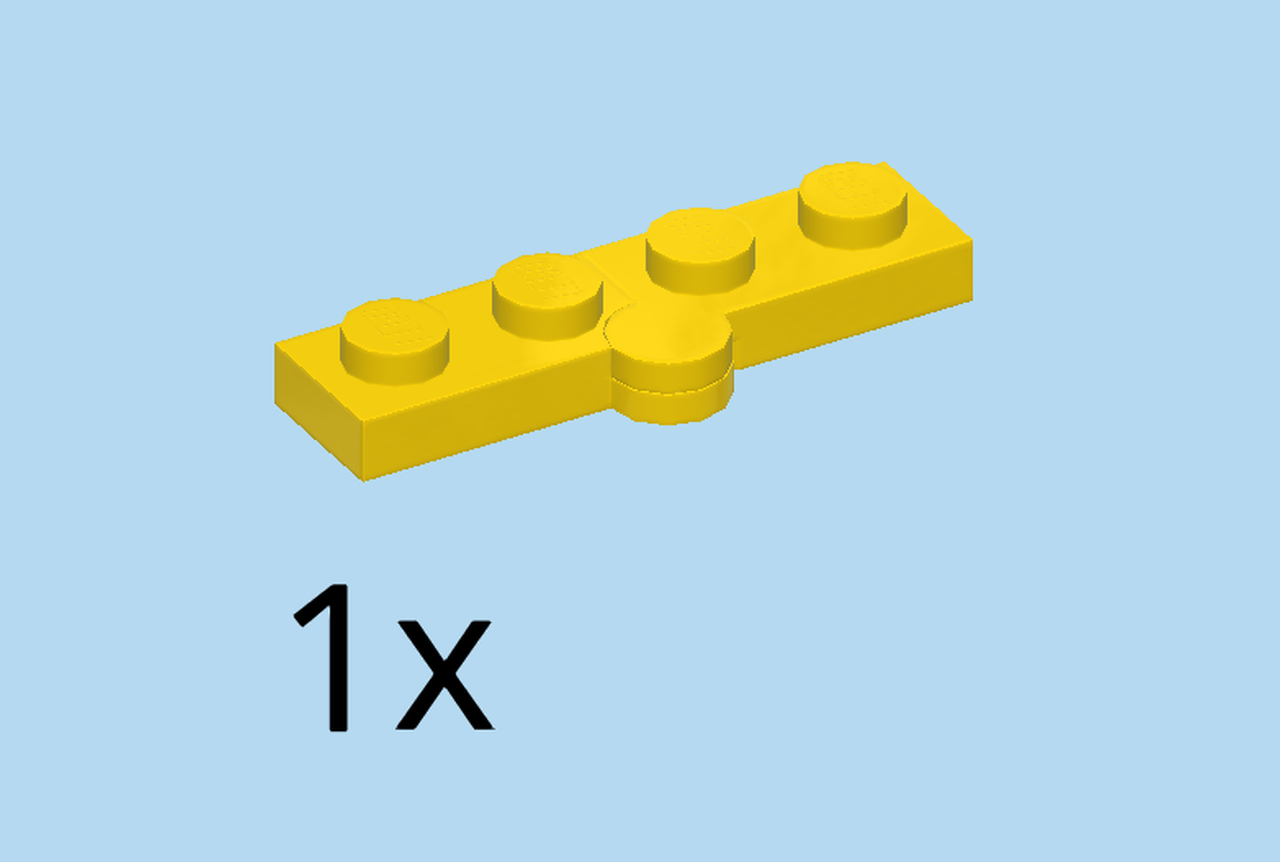
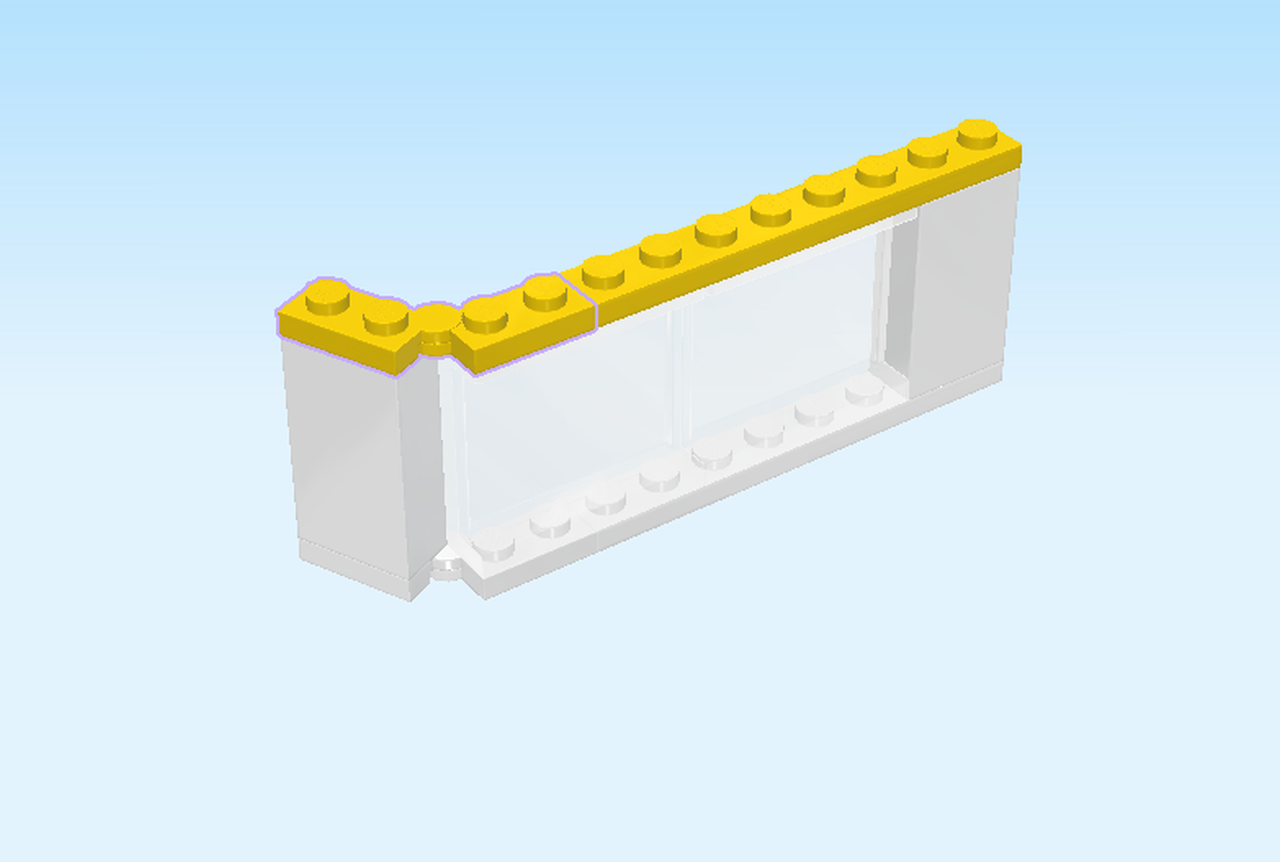
| Find 1 bright yellow hinge plate 1x2. |
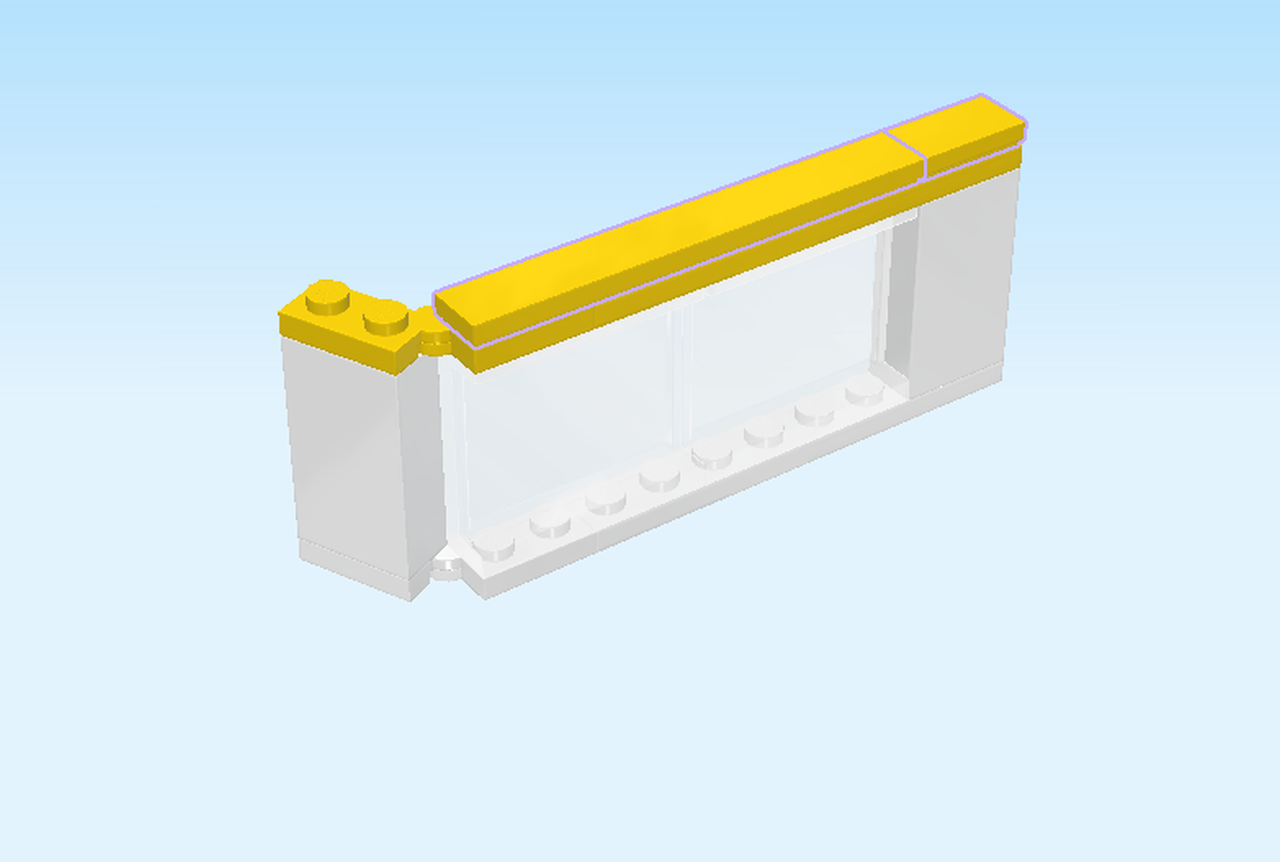
| Open the hinge plate so that it is moving towards the back, and put it on the top of the window and the previous brick. |
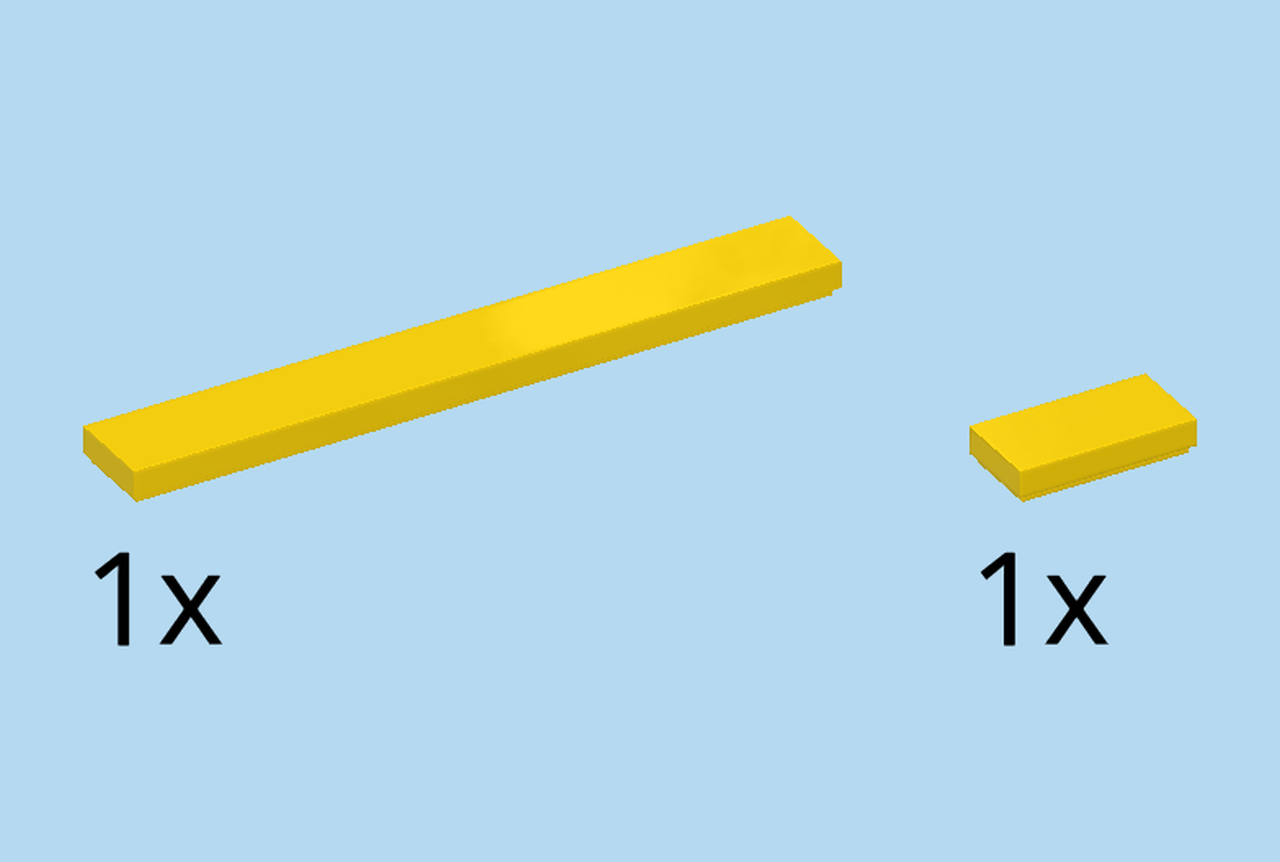
| Collect the following 2 pieces: |
| 1 bright yellow flat tile 1x8, |
| and 1 bright yellow flat tile 1x2. |
| Put the flat tile 1x2 horizontally on top on the rightmost edge. |
| Put the flat tile 1x8 horizontally to the left. |
| We are now going to mount the side window on the structure. |
| Put the smaller part 1x2 on the back row, skipping 5 knobs from the left. The window is opening to the back. |
| Collect the following 2 pieces: |
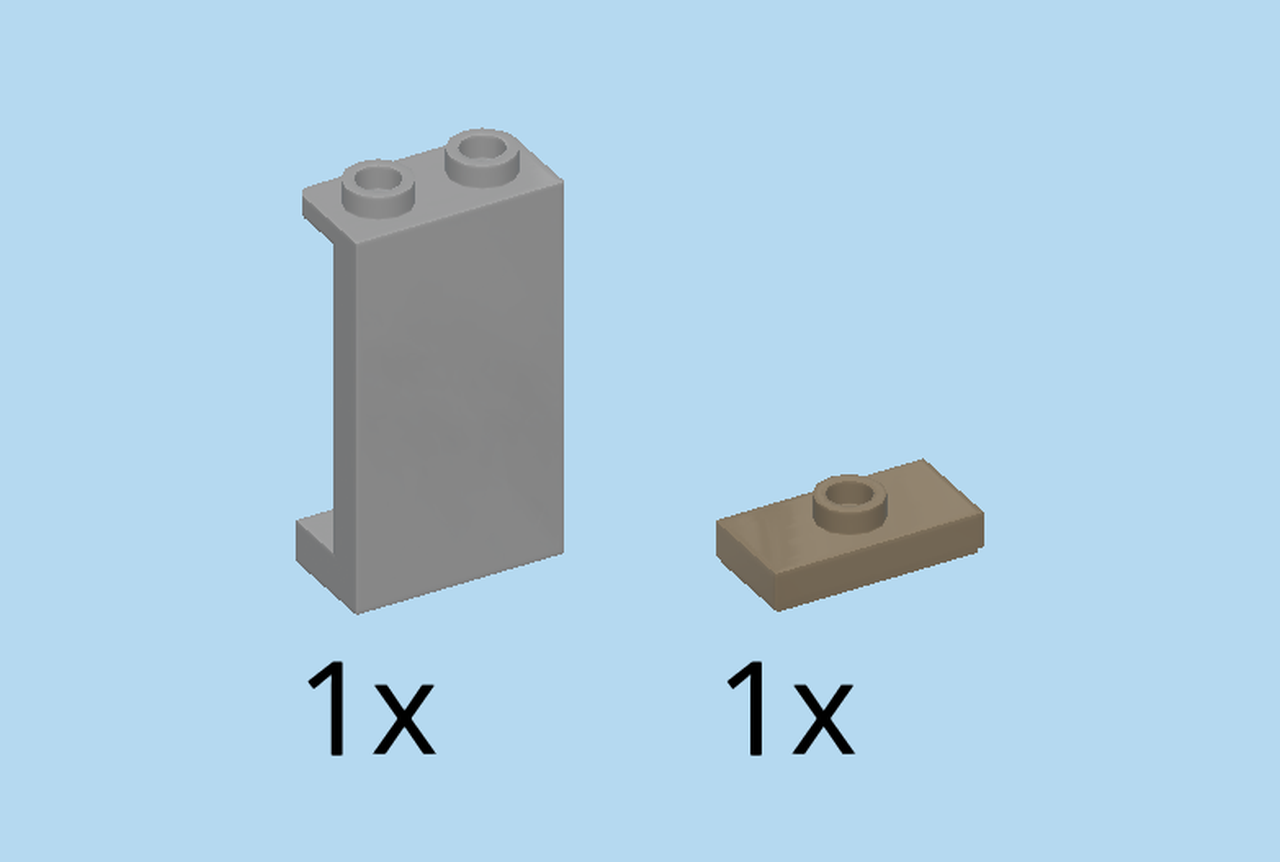
| 1 medium stone grey wall element 1x2x3, |
| and 1 mud grey plate 1x2 with 1 knob. |
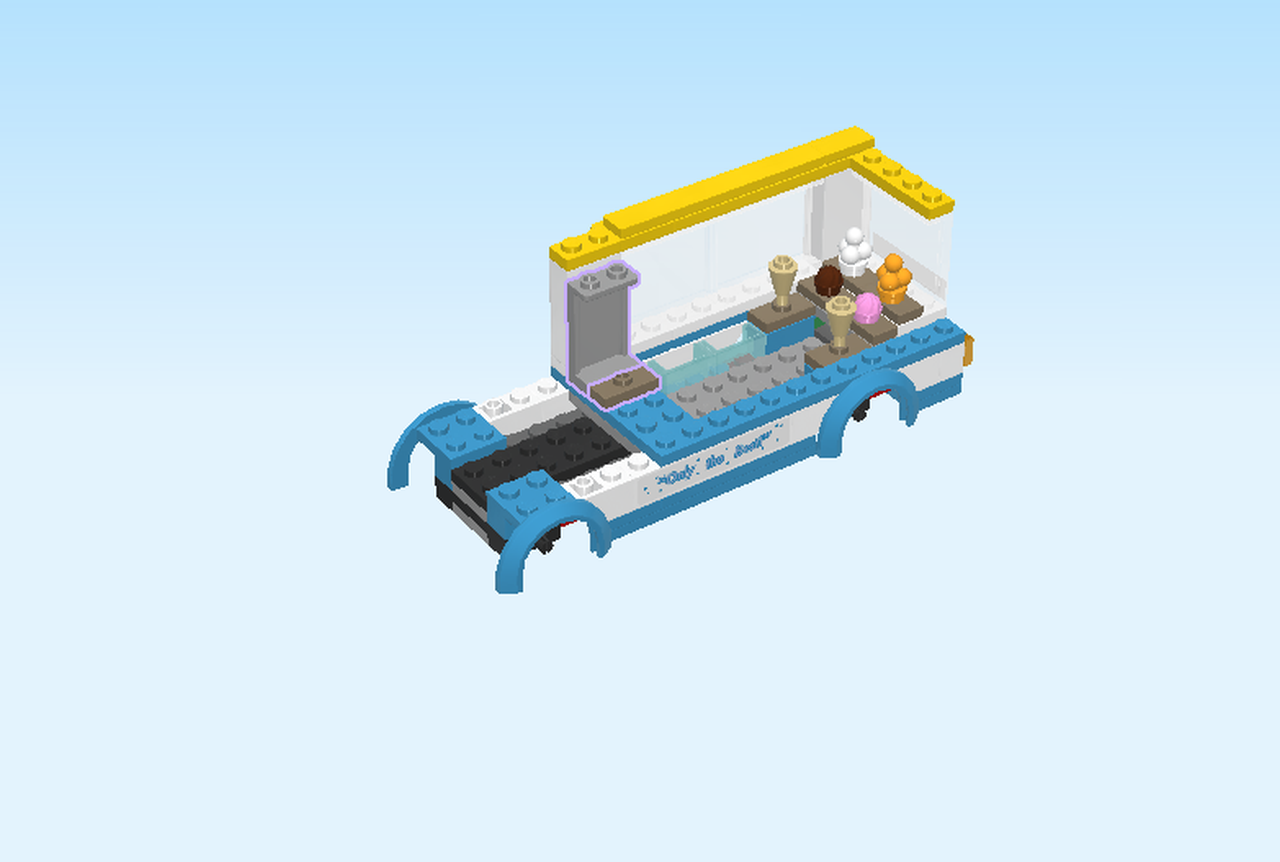
| Put the wall element horizontally in front of the small part of the side window, wall to the back. |
| Put the plate 1x2 with 1 knob horizontally in front of the previous piece. |
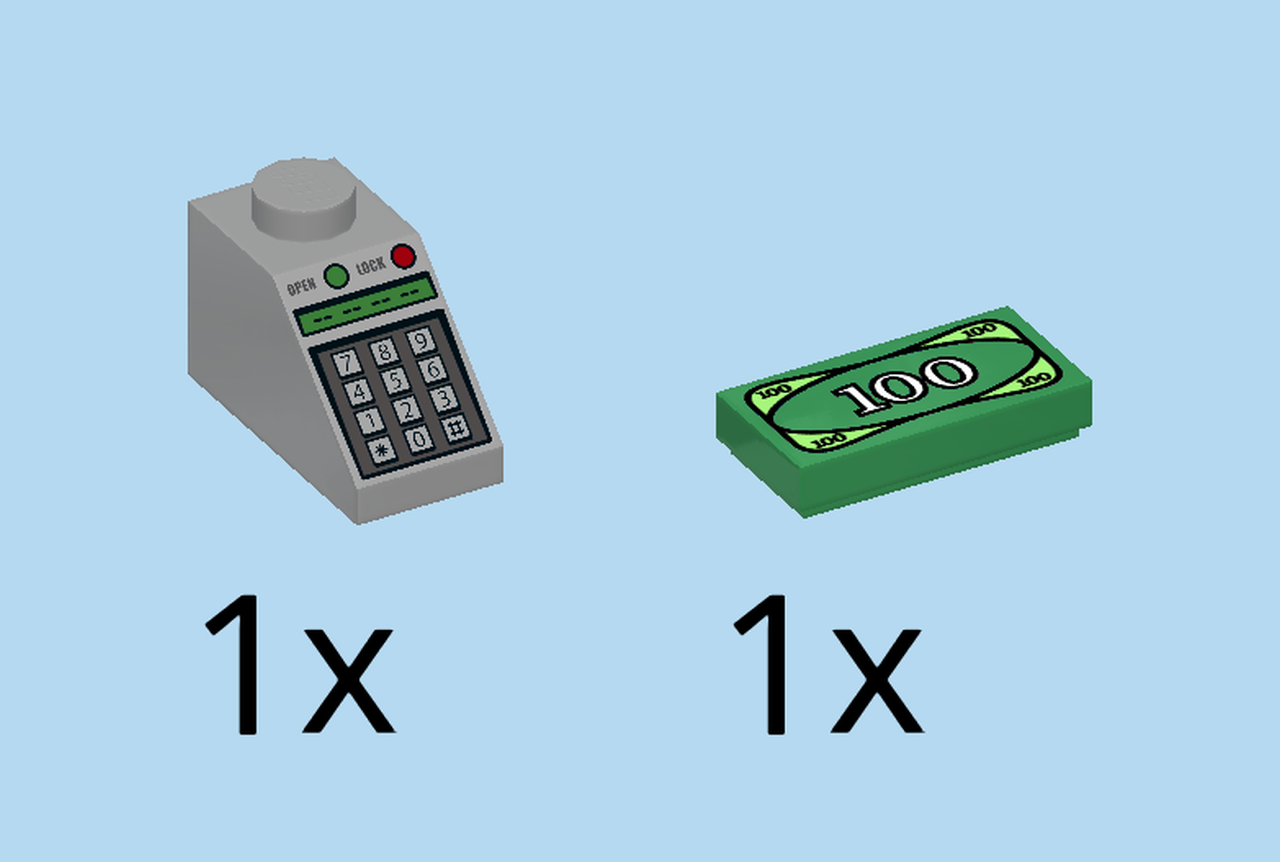
| Collect the following 2 pieces: |
| 1 dark green flat tile 1x2, with currency print, |
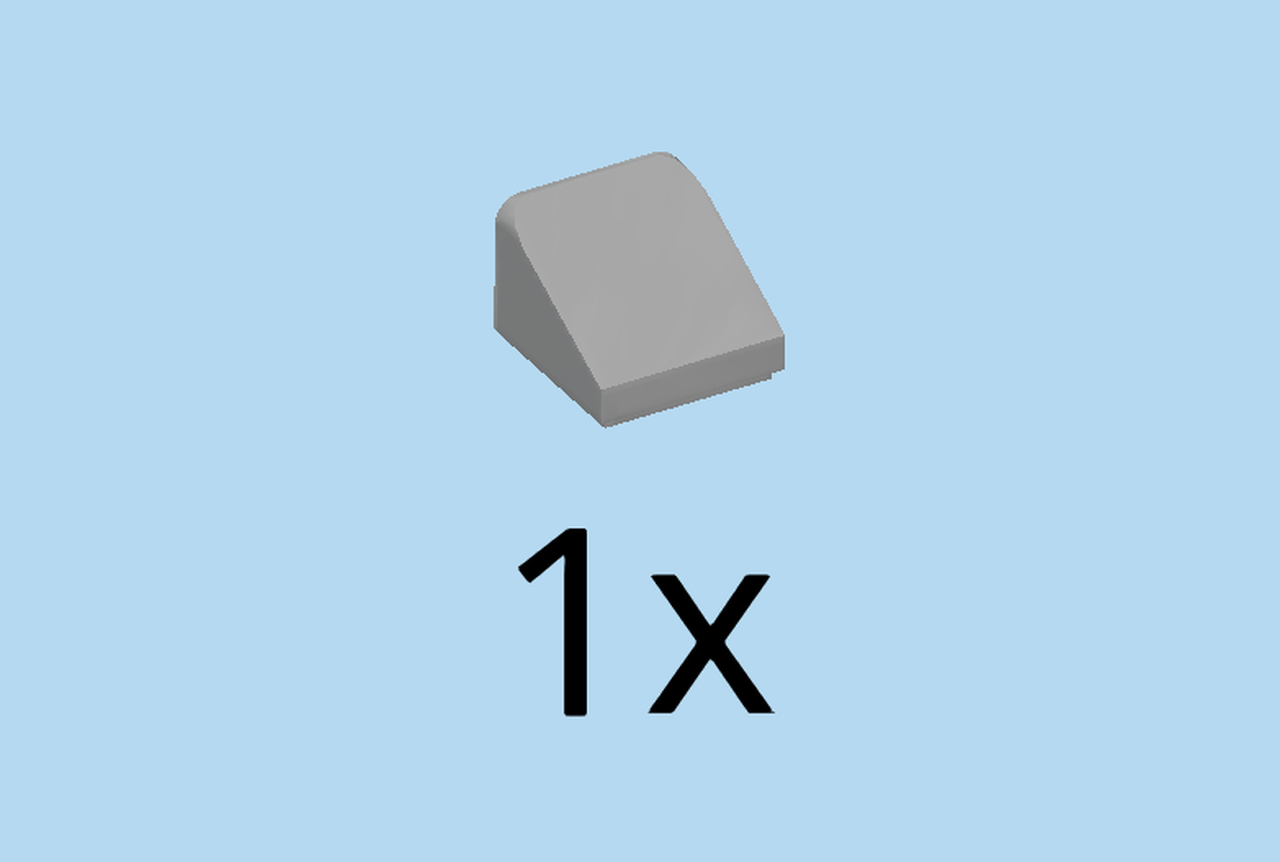
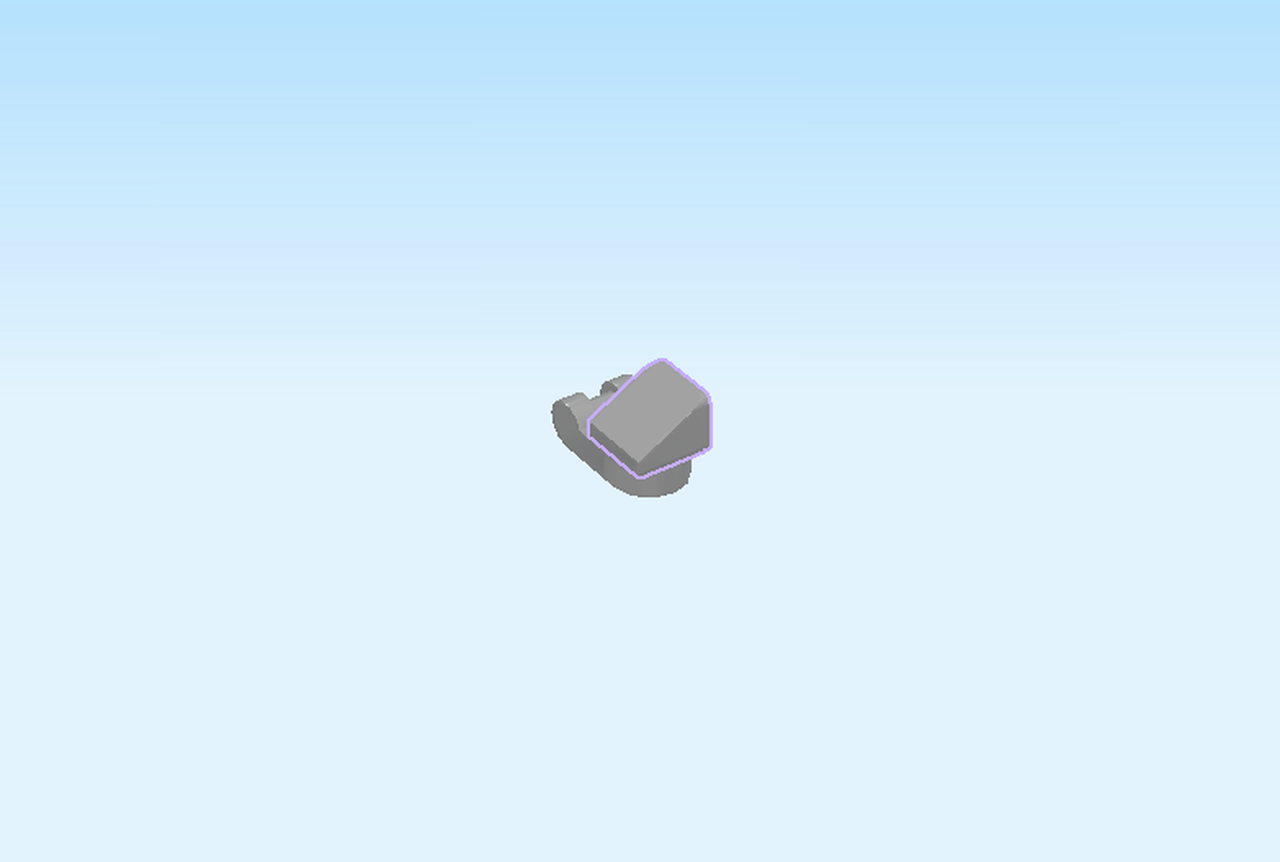
| and 1 medium stone grey roof tile 1x2, 45°. |
| Put the roof tile horizontally in the front of the previous piece, slope to the right. |
| The slope of the roof tile is printed with a key pad for the cash register. |
| Put the flat tile 1x2 with currency print horizontally behind the previous piece. |
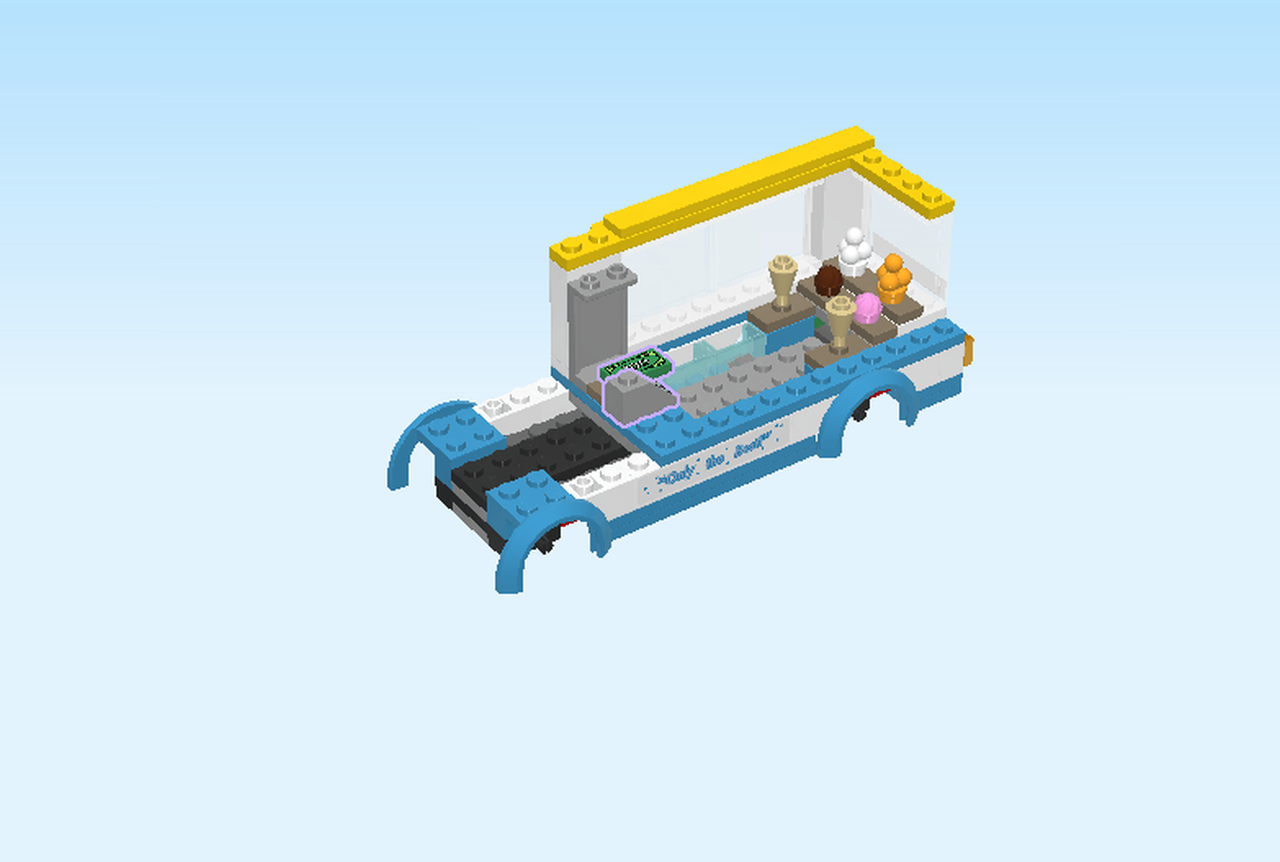
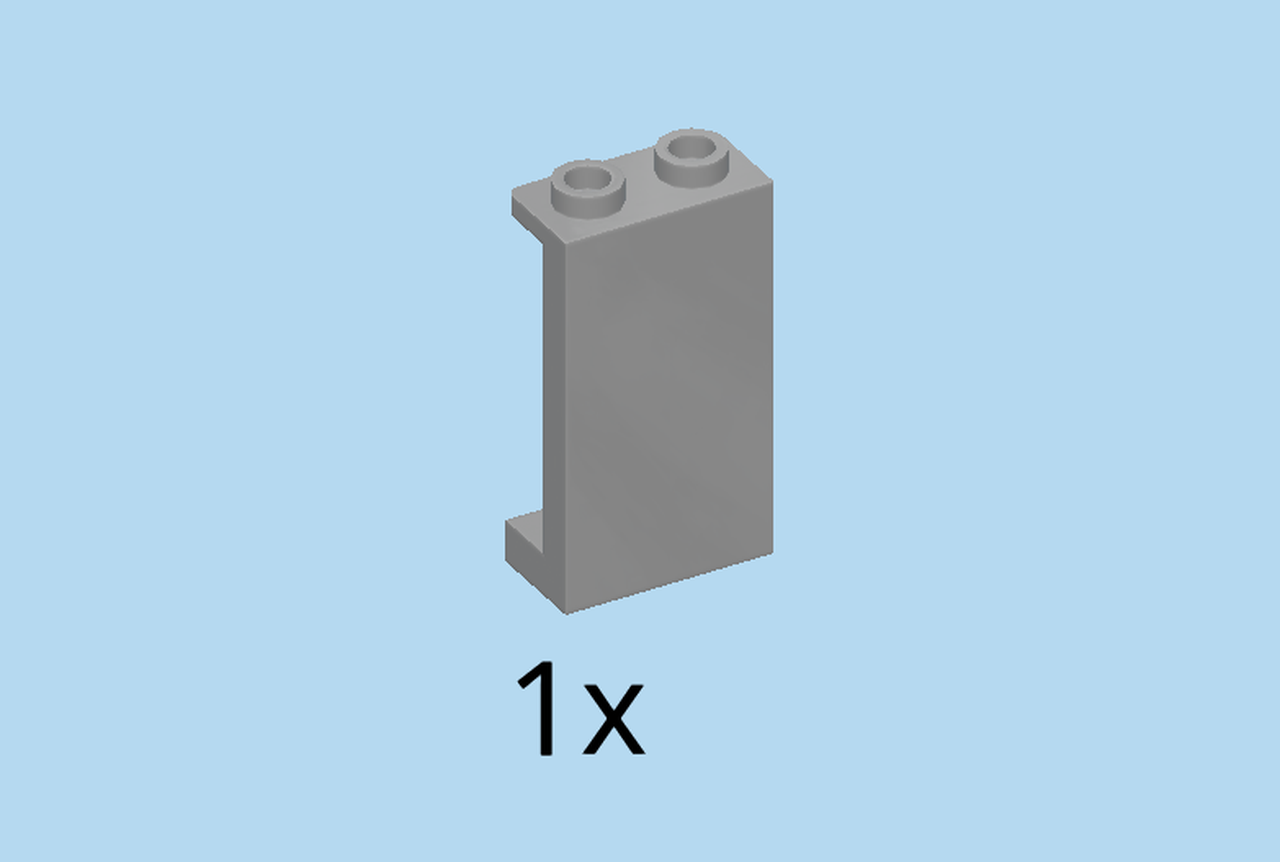
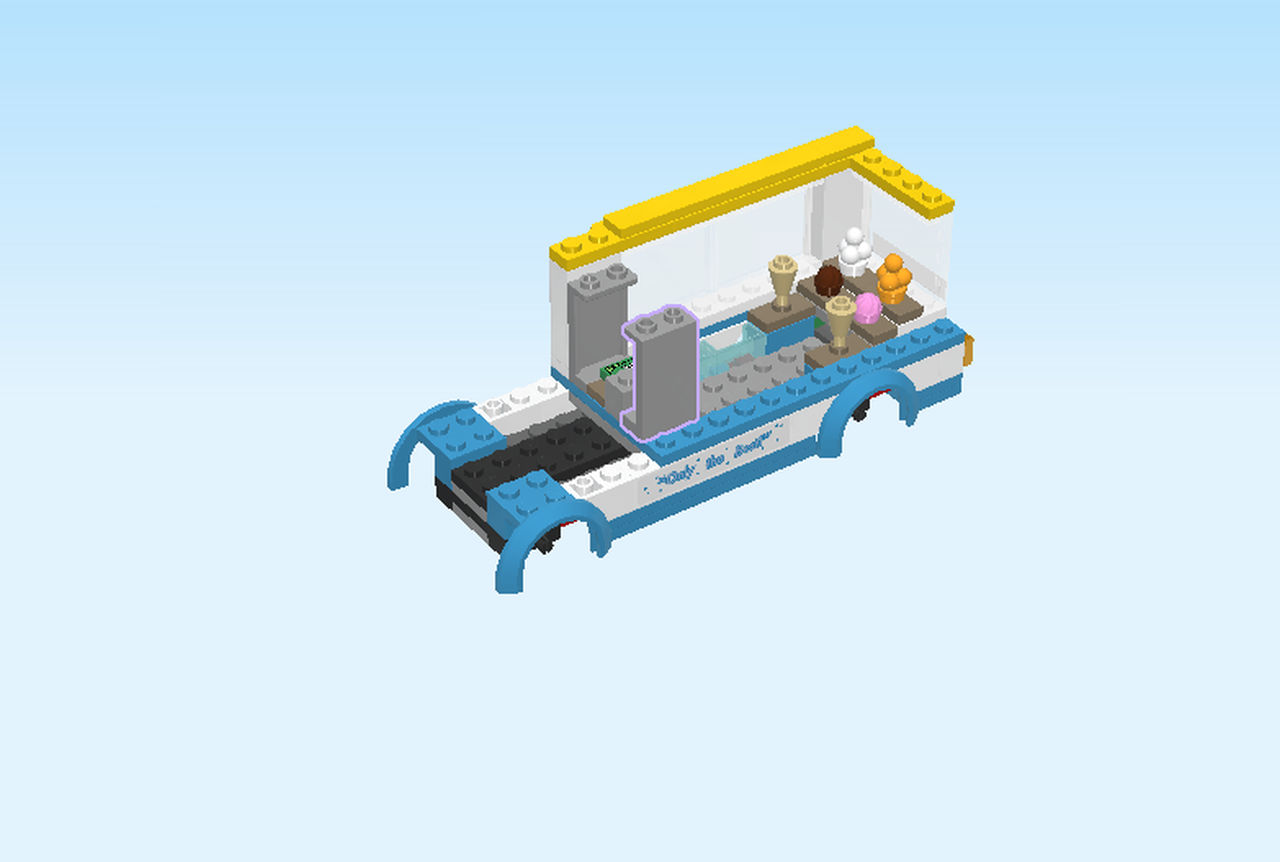
| Find 1 medium stone grey wall element 1x2x3. |
| Put it horizontally in front of the roof tile 1x2, wall to the front. |
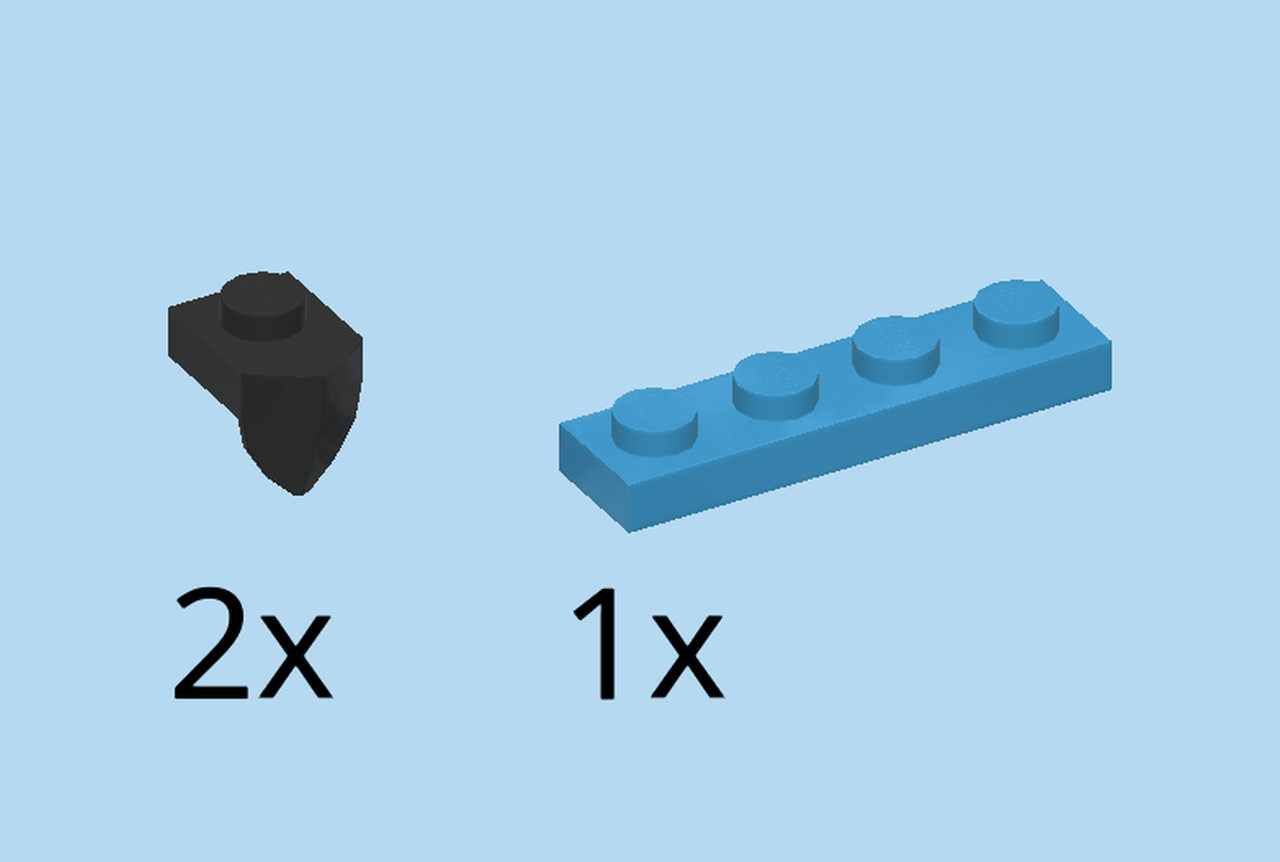
| Collect the following 3 pieces: |
| 1 dark azure blue plate 1x4, |
| and 2 black plates 1x1 with 1 vertical side tooth. |
| Put the plate 1x4 vertically on top of the two wall elements on the right column. |
| Put the 2 plates 1x1 with vertical side tooth on the two knobs to the left of the previous element, teeth to the left. |
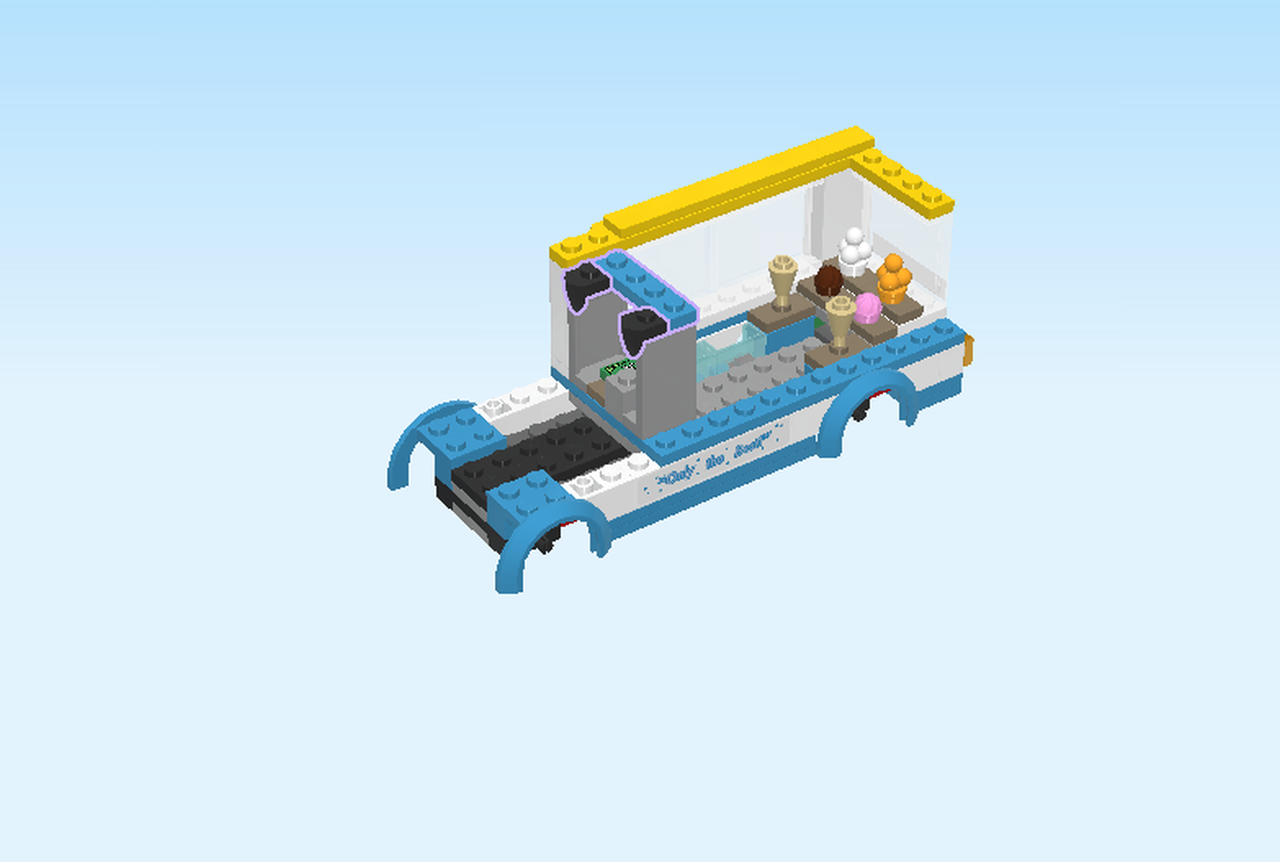
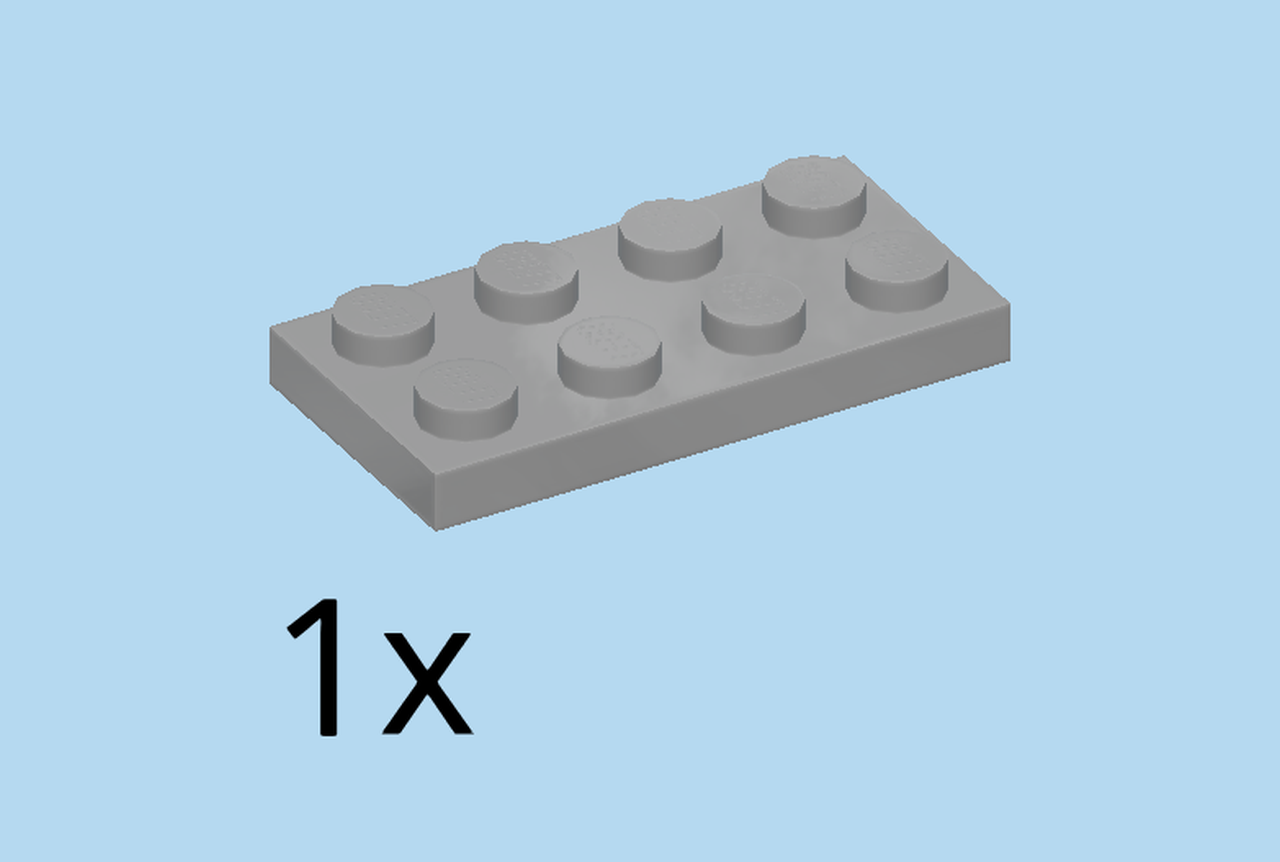
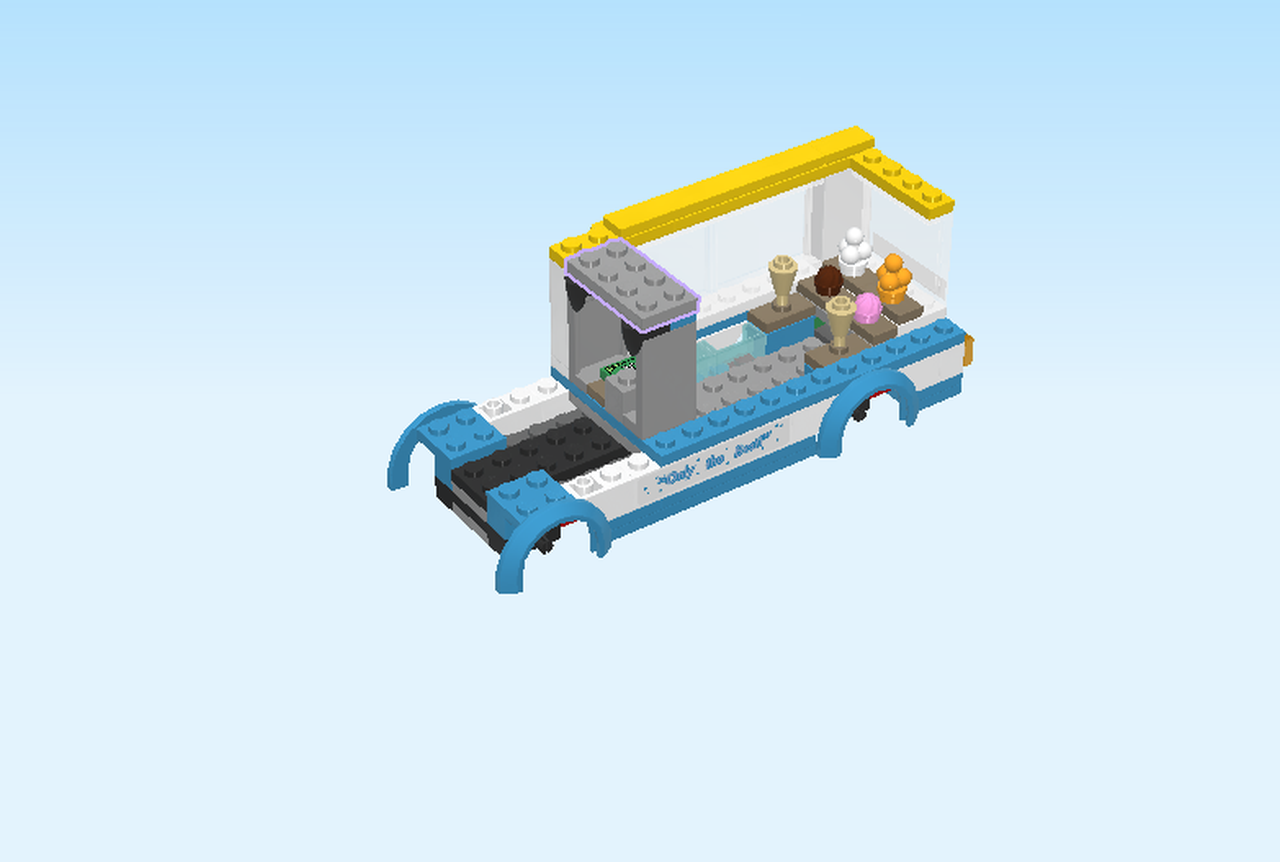
| Find 1 medium stone grey plate 2x4. |
| Put it vertically on top of the previous elements. |
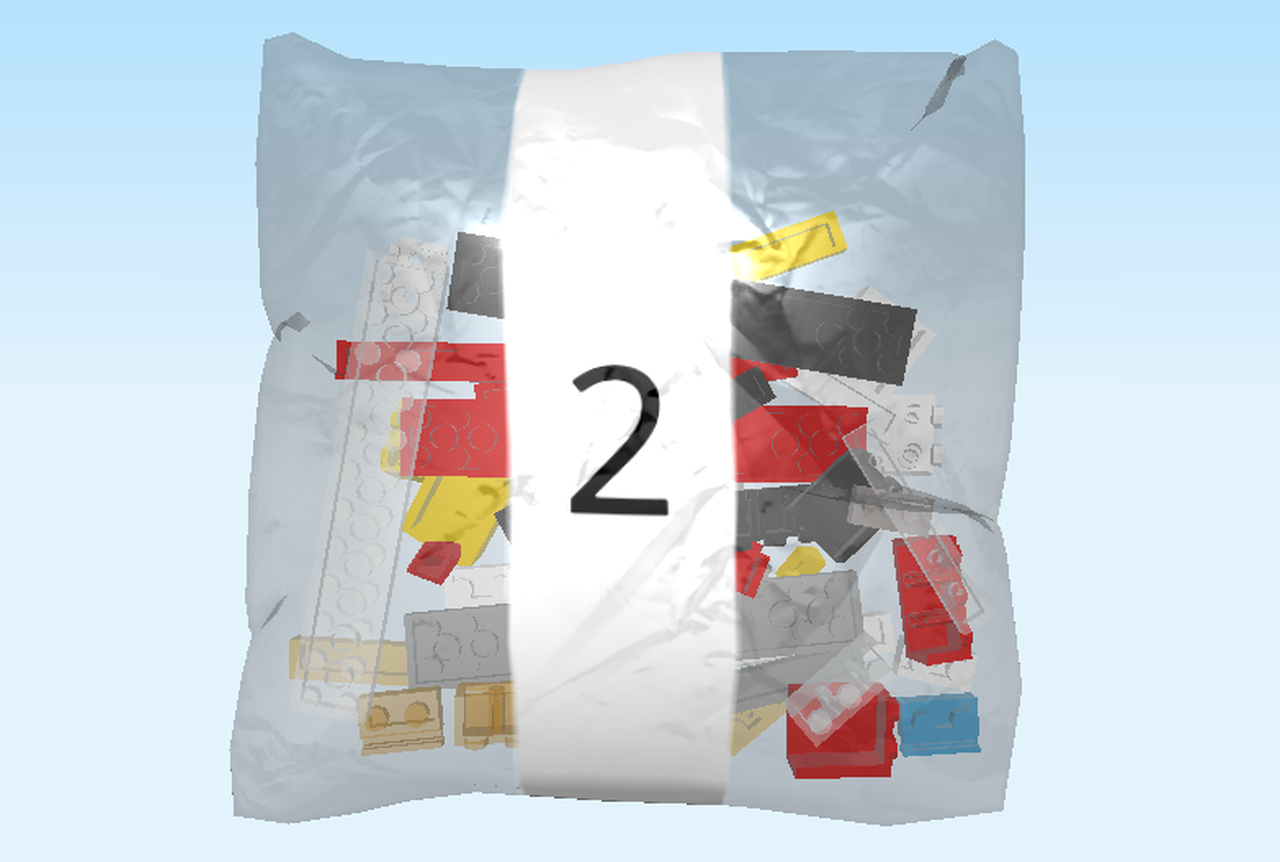
| You are now finished building with bag 1. Let's move on to bag 2. Ask a sighted person to help you find the correct bag and open it carefully. |
| Bag 2 contains all bricks and pieces for the rest of the ice-cream truck. You can ask a sighted person to sort the bricks by color again if you like. |
| Let's continue building the ice-cream truck! |
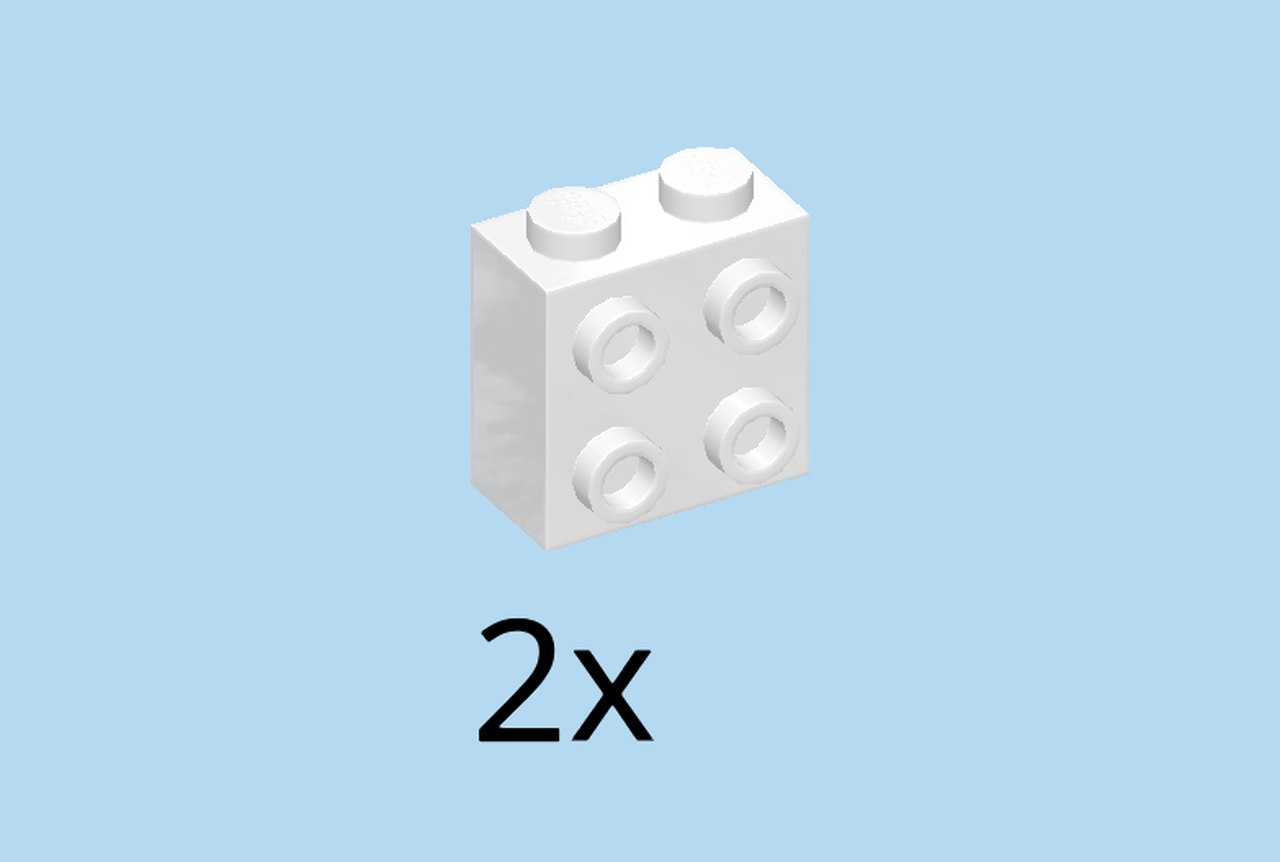
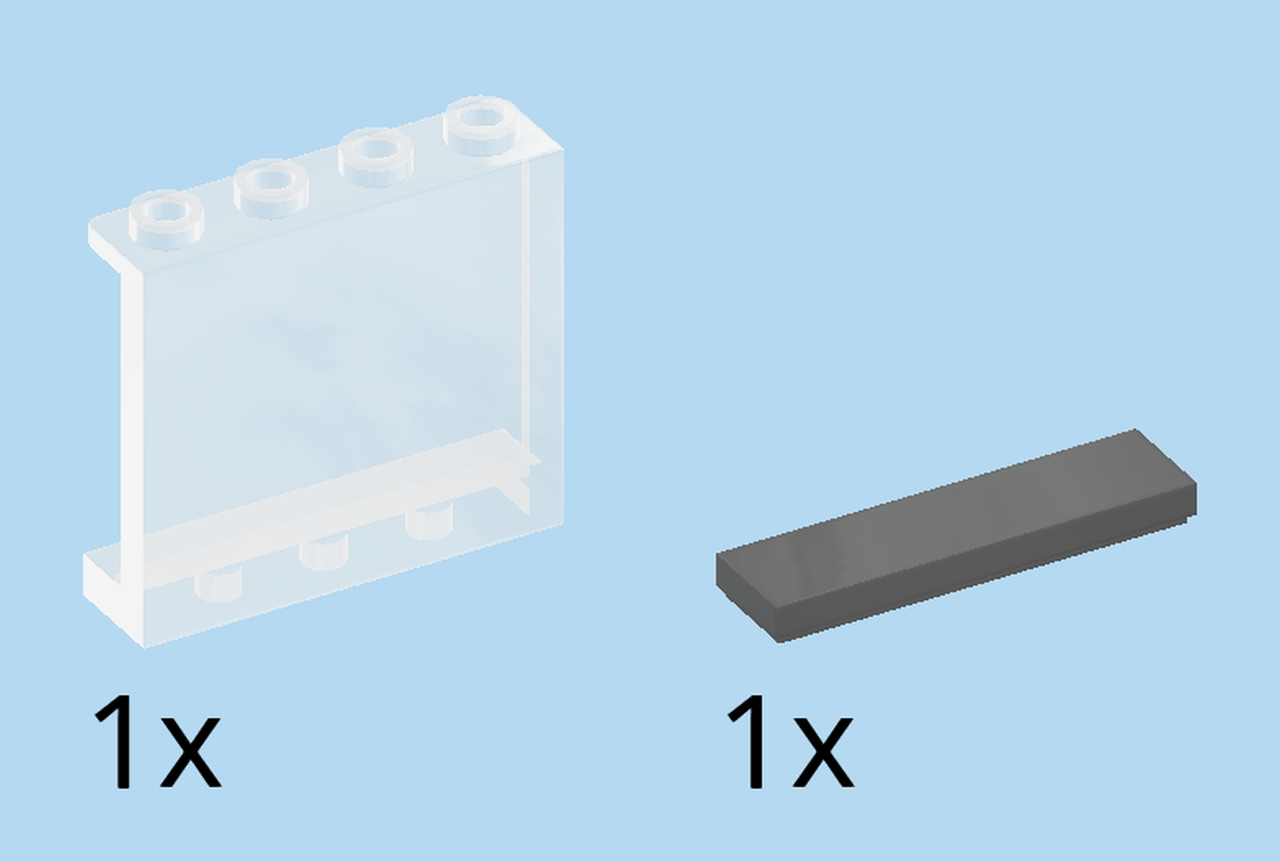
| Find 2 white bricks 1x2x2 with 4 side knobs. |
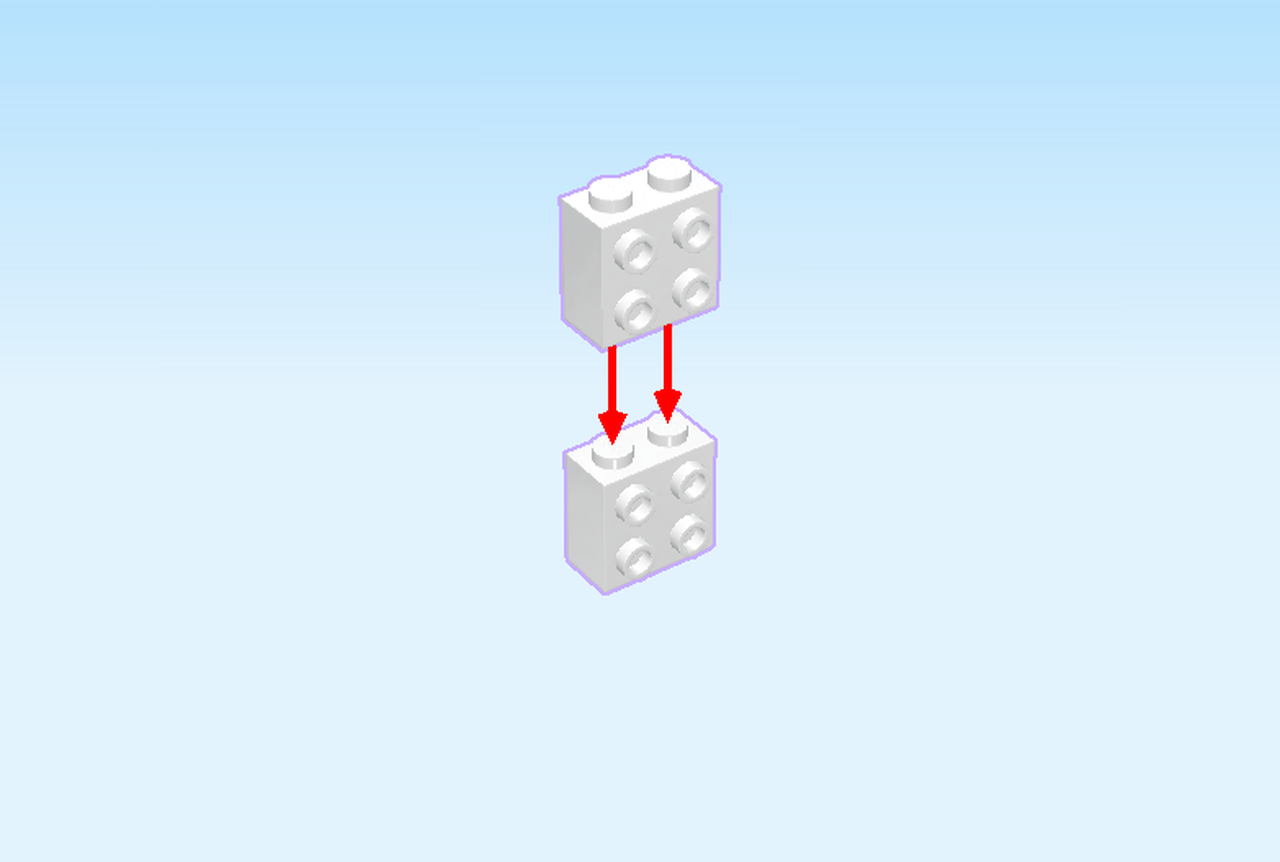
| Put them horizontally on top of each other, side knobs to the front. |
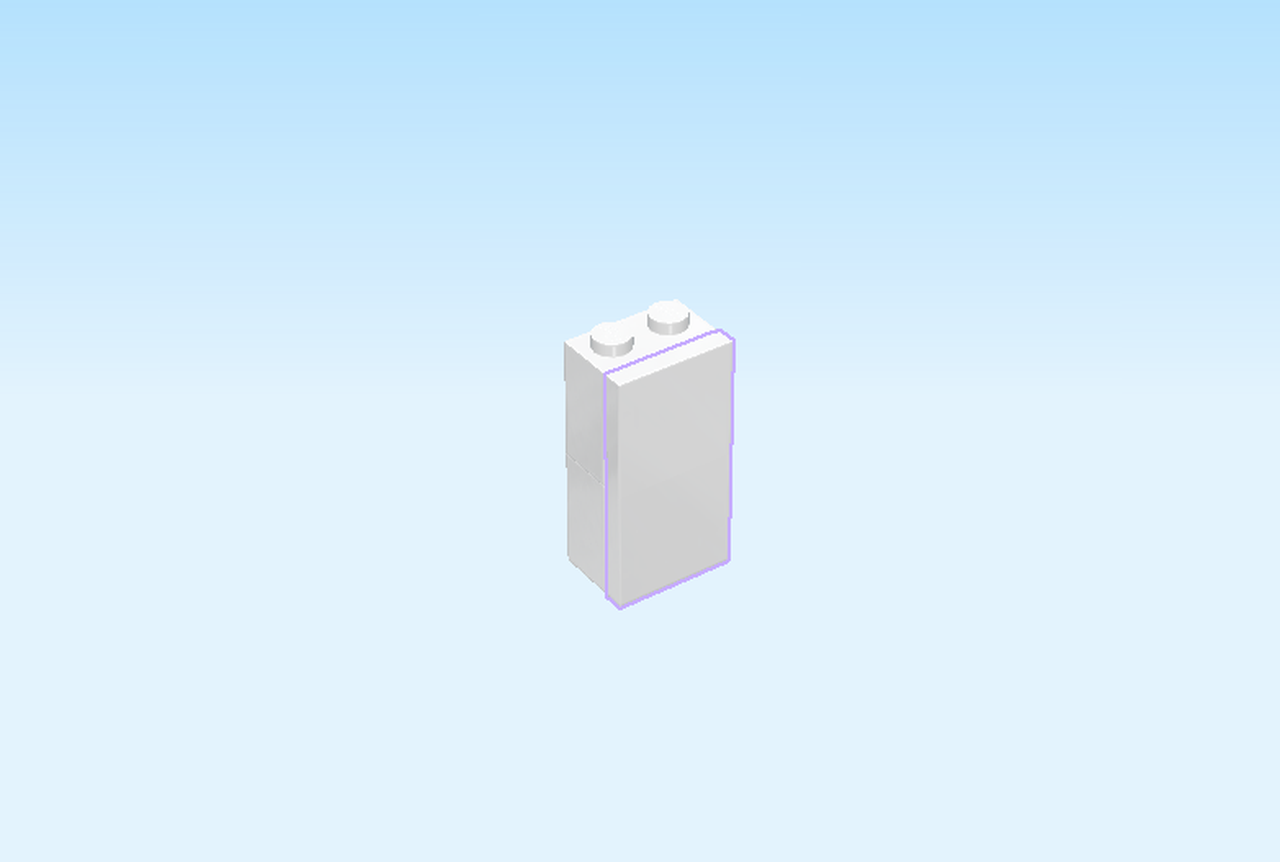
| Find 1 white flat tile 2x4. |
| Turn it upright and put it vertically on the 8 side knobs. |
| Continue if you want to put a sticker on the brick. If not, skip the following 3 sentences. |
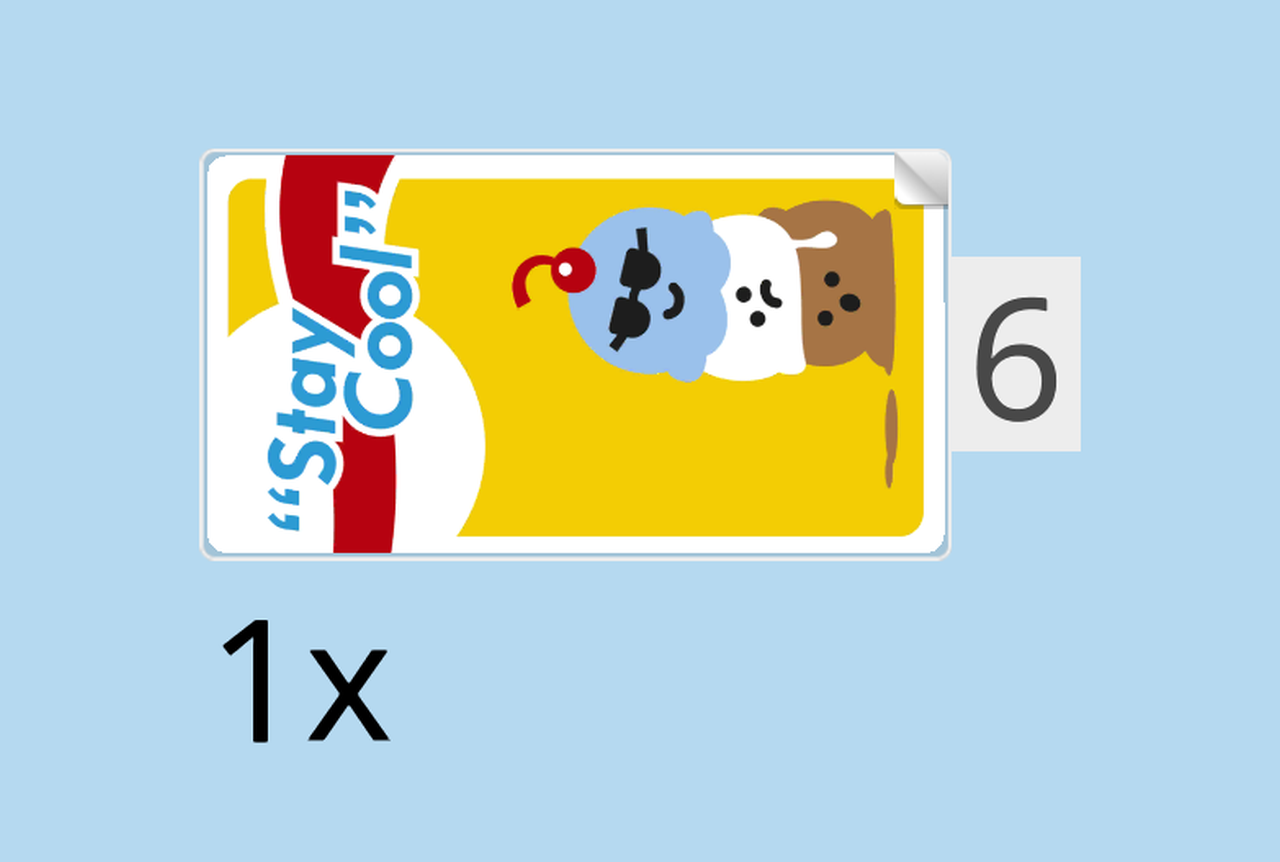
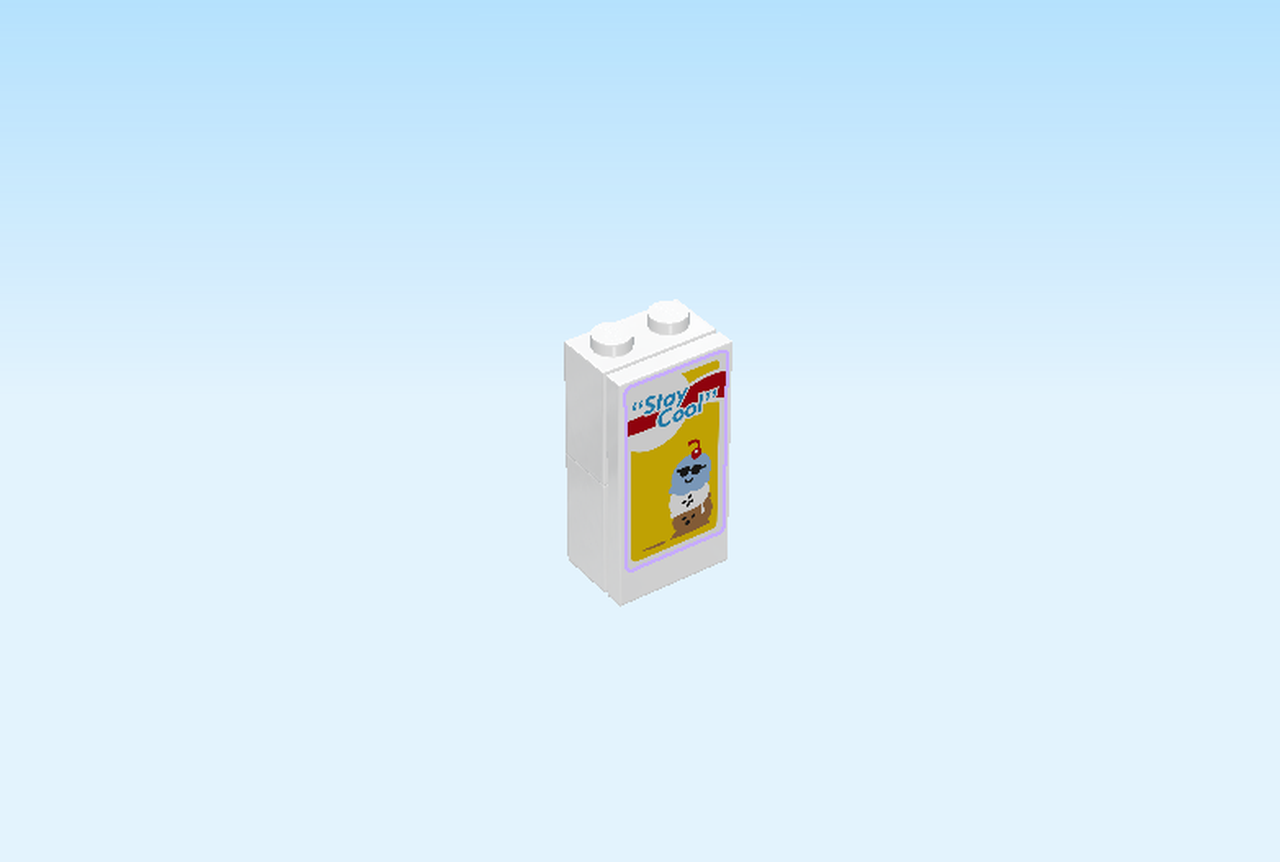
| Find 1 sticker number 6. Ask a sighted person to help you. |
| Turn it upright and put it vertically on the previous piece. |
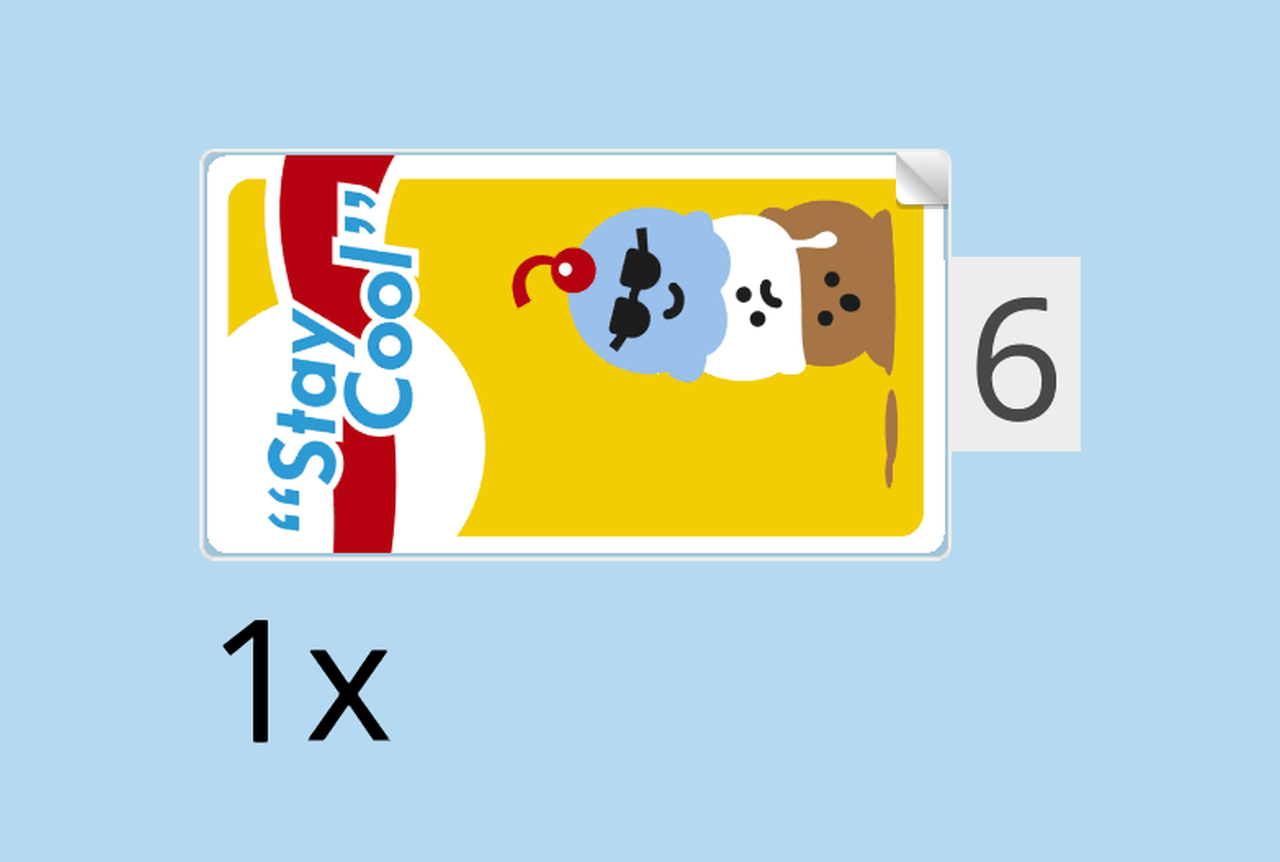
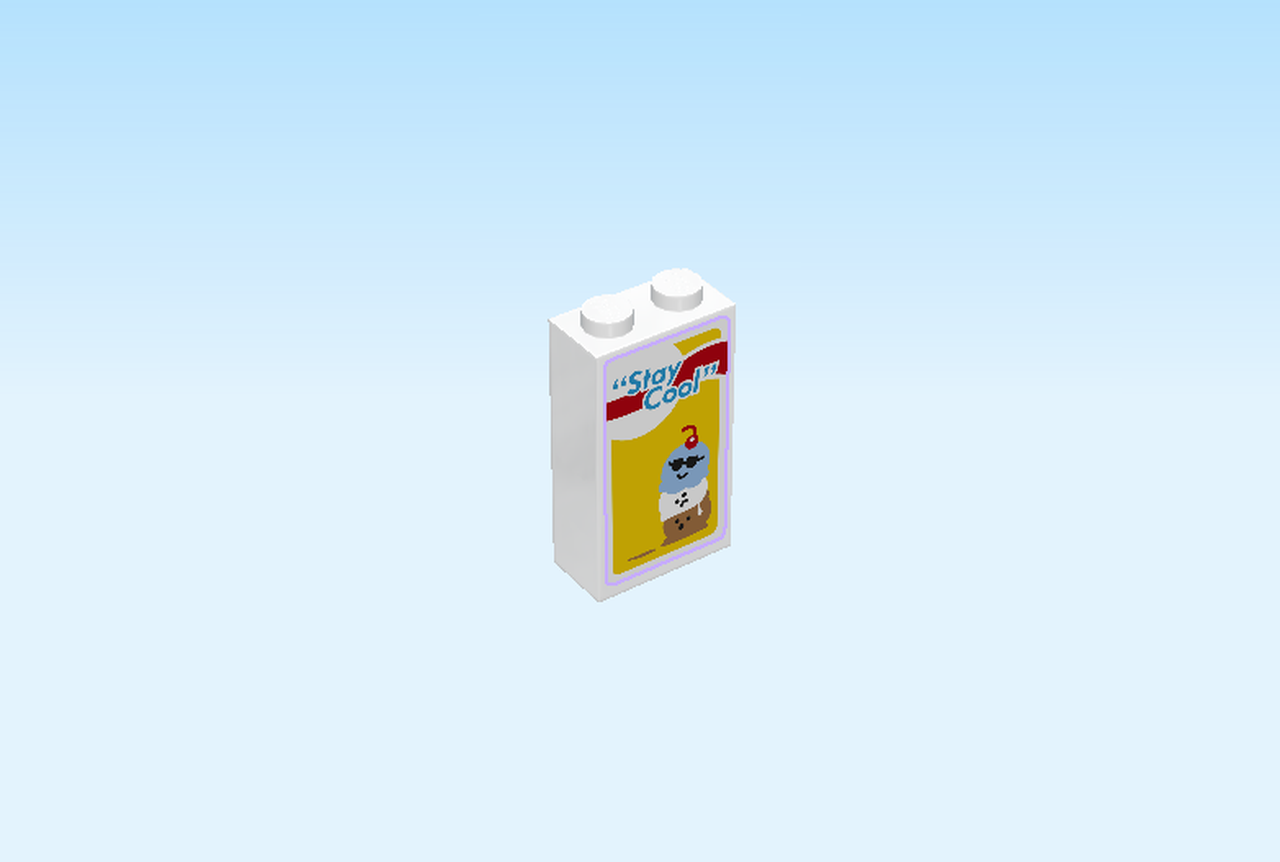
| The yellow sticker is printed with an image of an ice cream cone with 3 scoops - chocolate, vanilla and blueberry. The blueberry scoop is wearing a pair of sunglasses and has a cherry on top! The sticker is also printed with the text: "Stay cool" and a red decorative ribbon. |
| Put the brick horizontally on the front row at the rightmost edge, sticker to the front. |
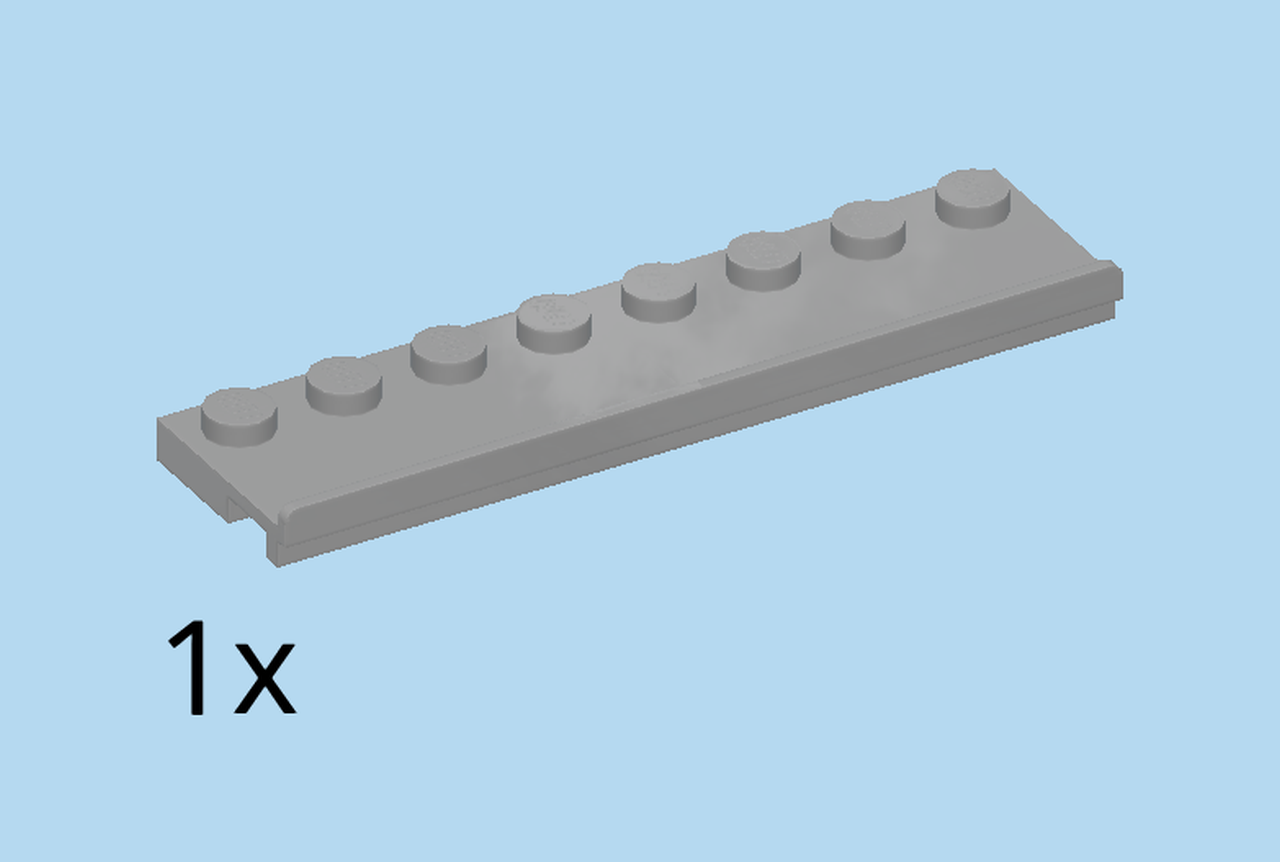
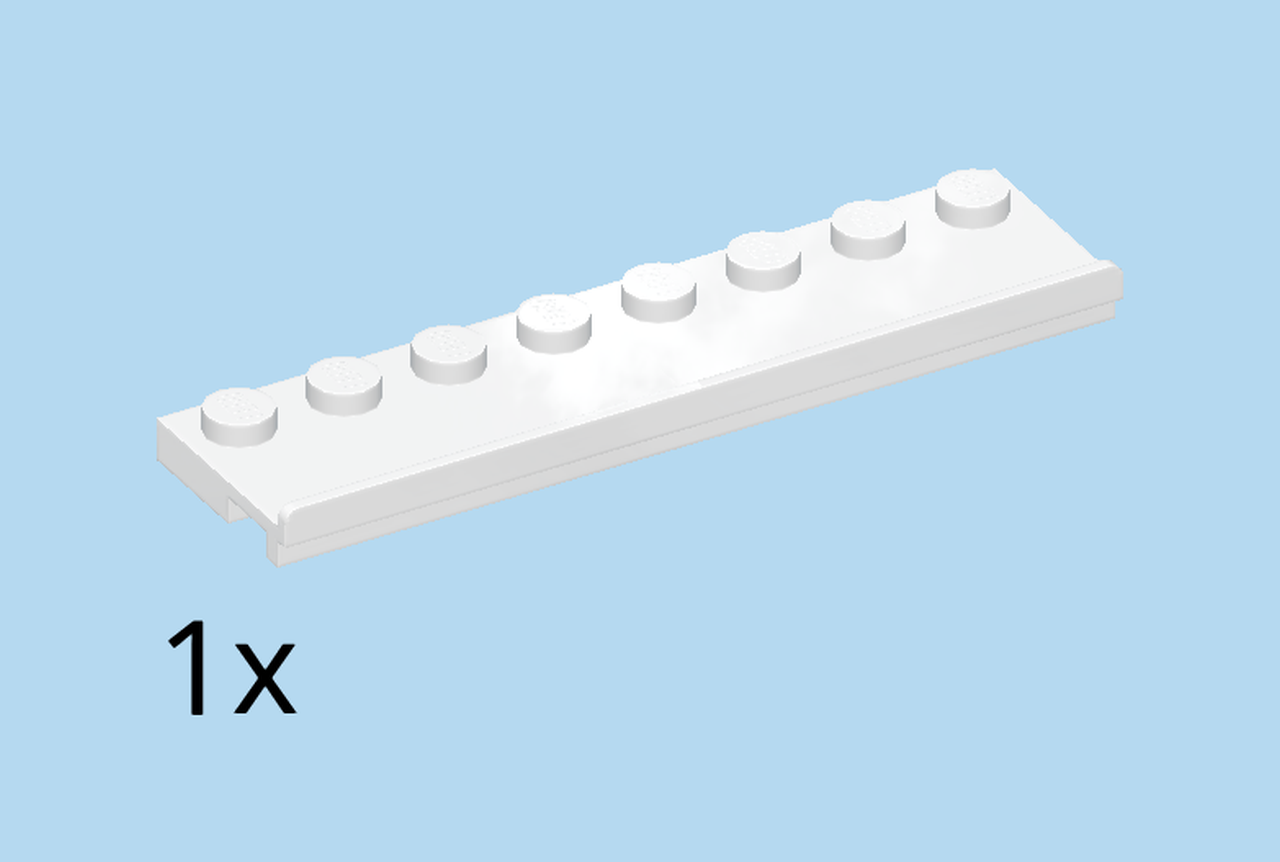
| Find 1 medium stone grey plate 2x8 with gliding groove and 8 knobs. |
| Put it horizontally to the left of the previous small build, gliding groove overhanging to the front. |
| Collect the following 2 pieces: |
| 1 transparent wall element 1x4x3, |
| and 1 dark stone grey flat tile 1x4. |
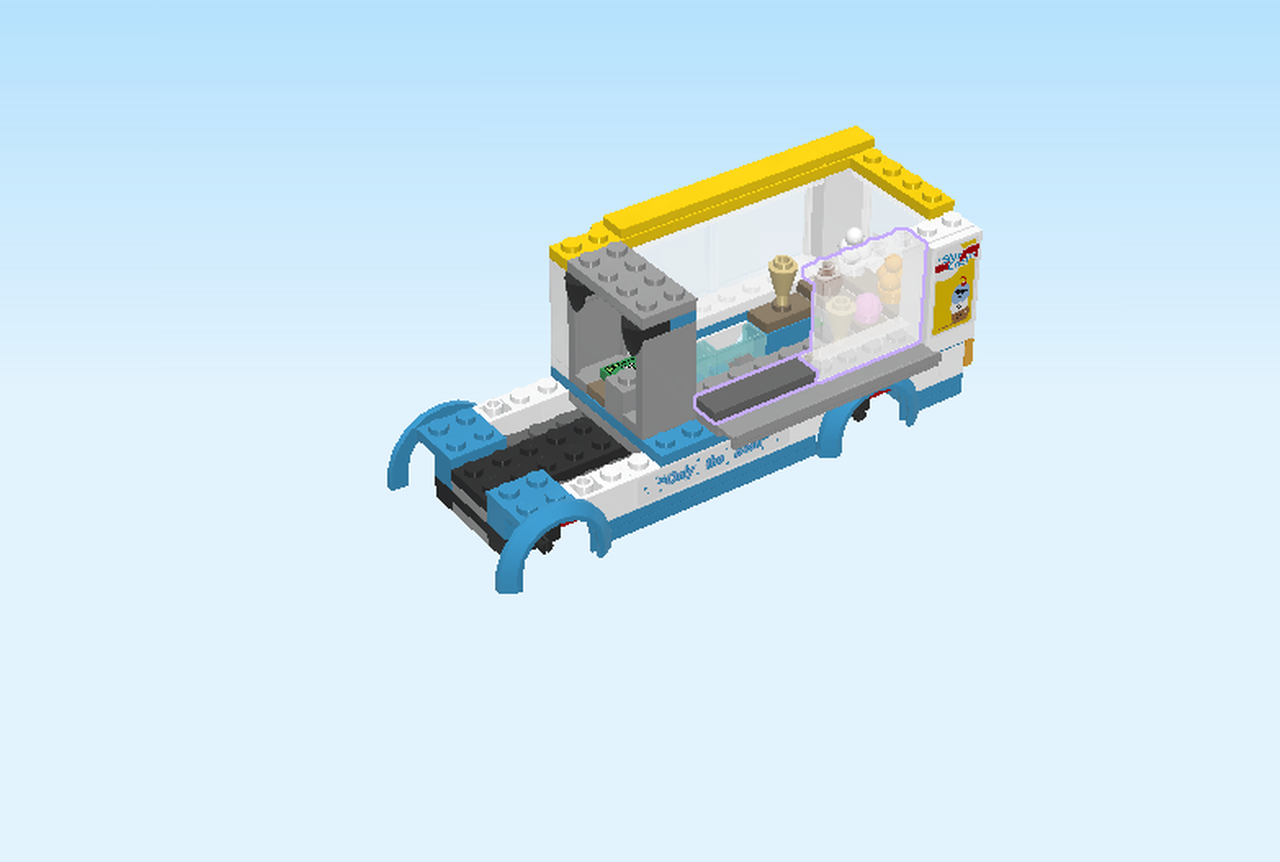
| Put the wall element on top of the previous element on the right edge, wall to the front. |
| Put the flat tile 1x4 horizontally to the left of the previous element. |
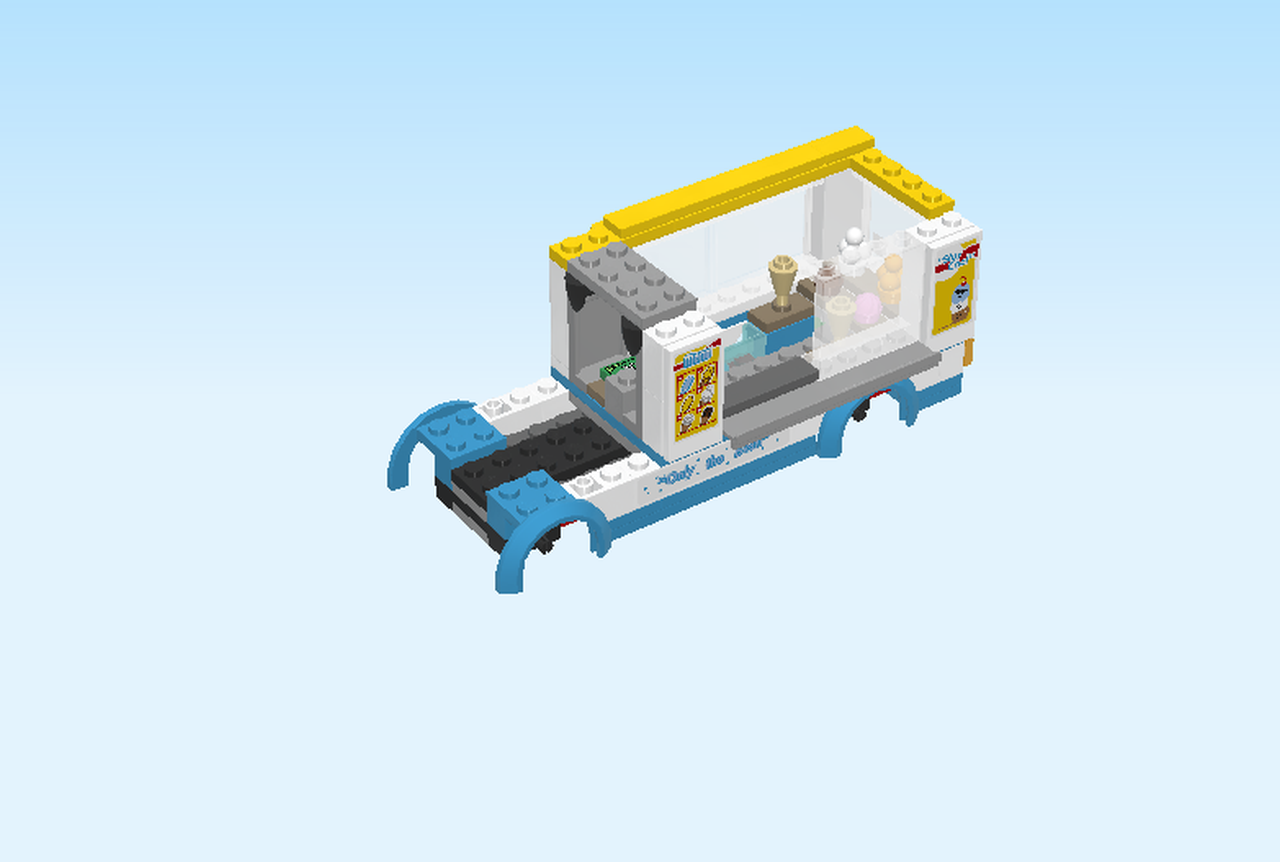
| We are now going to build another ice cream sign. |
| Find 2 white bricks 1x2x2 with 4 side knobs. |
| Put them horizontally on top of each other, side knobs to the front. |
| Find 1 white flat tile 2x4. |
| Turn it upright and put it on the 8 side knobs. |
| Continue if you want to put a sticker on the brick. If not, skip the following 3 sentences. |
| Find 1 sticker number 5. Ask a sighted person to help you. |
| Turn it upright and put it on the previous piece. |
| The sticker is printed with an ice cream menu. |
| Skip 5 columns from the left, and put the small build horizontally on the front row, sticker to the front. |
| Find 1 bright yellow plate 1x12. |
| Put it horizontally on the front row starting from the rightmost edge. |
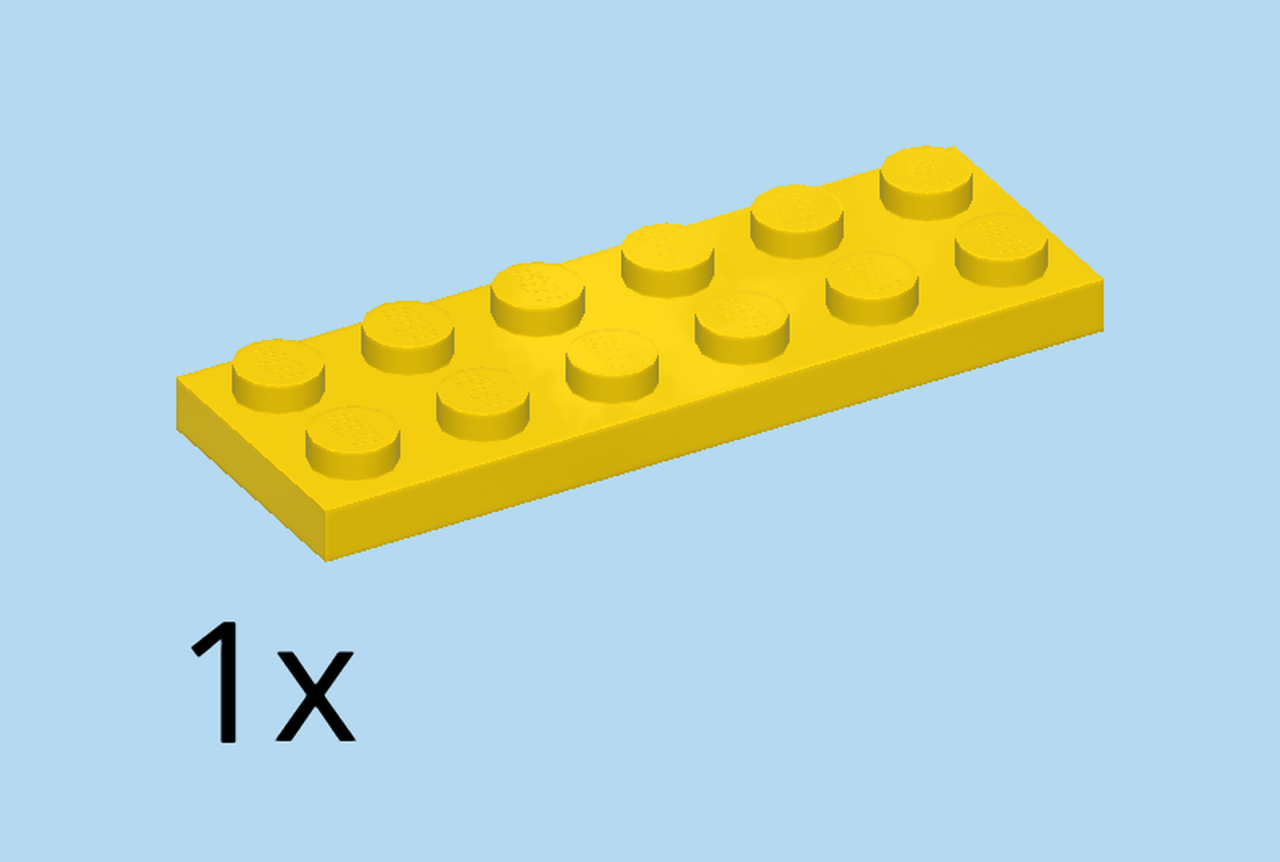
| Find 1 bright yellow plate 2x6. |
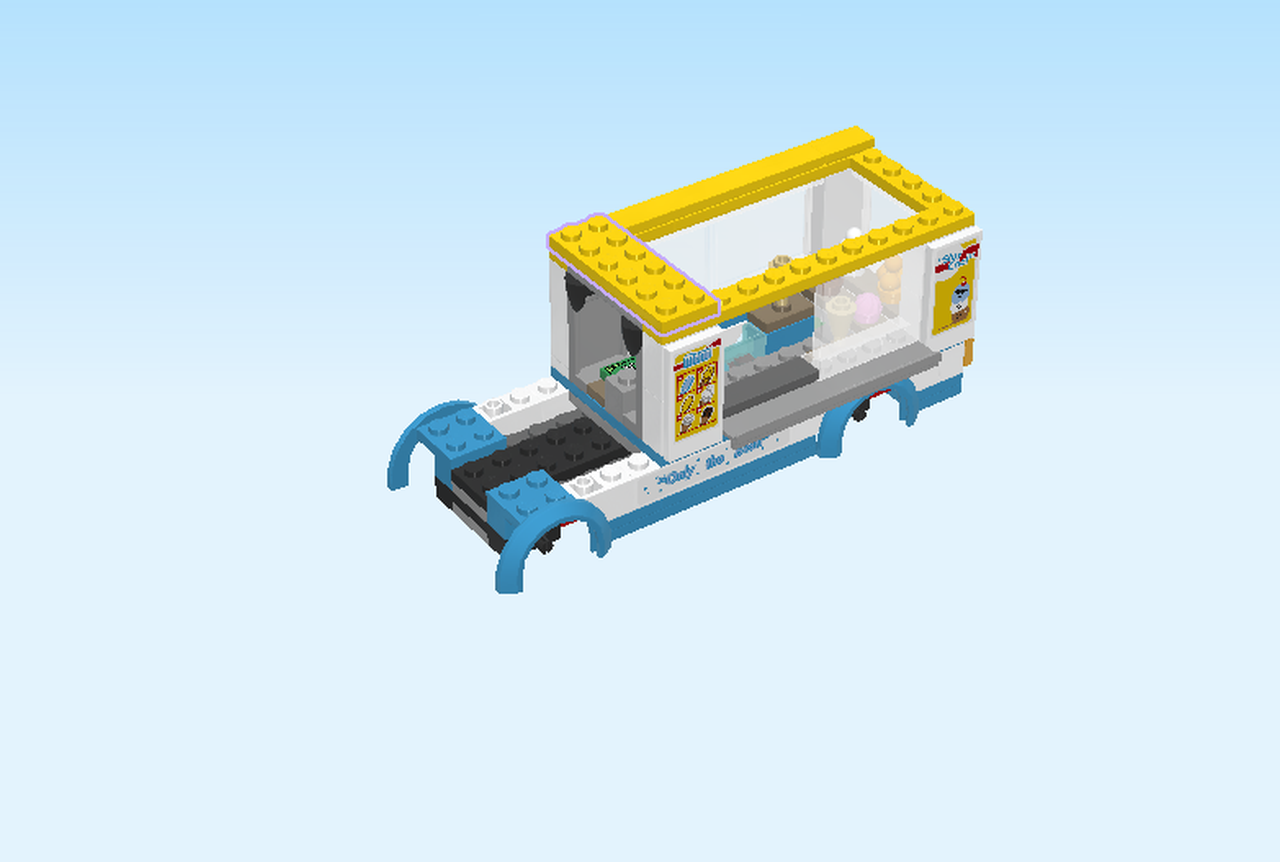
| Put it vertically on the leftmost edge of the high part of the structure. |
| Collect the following 2 pieces: |
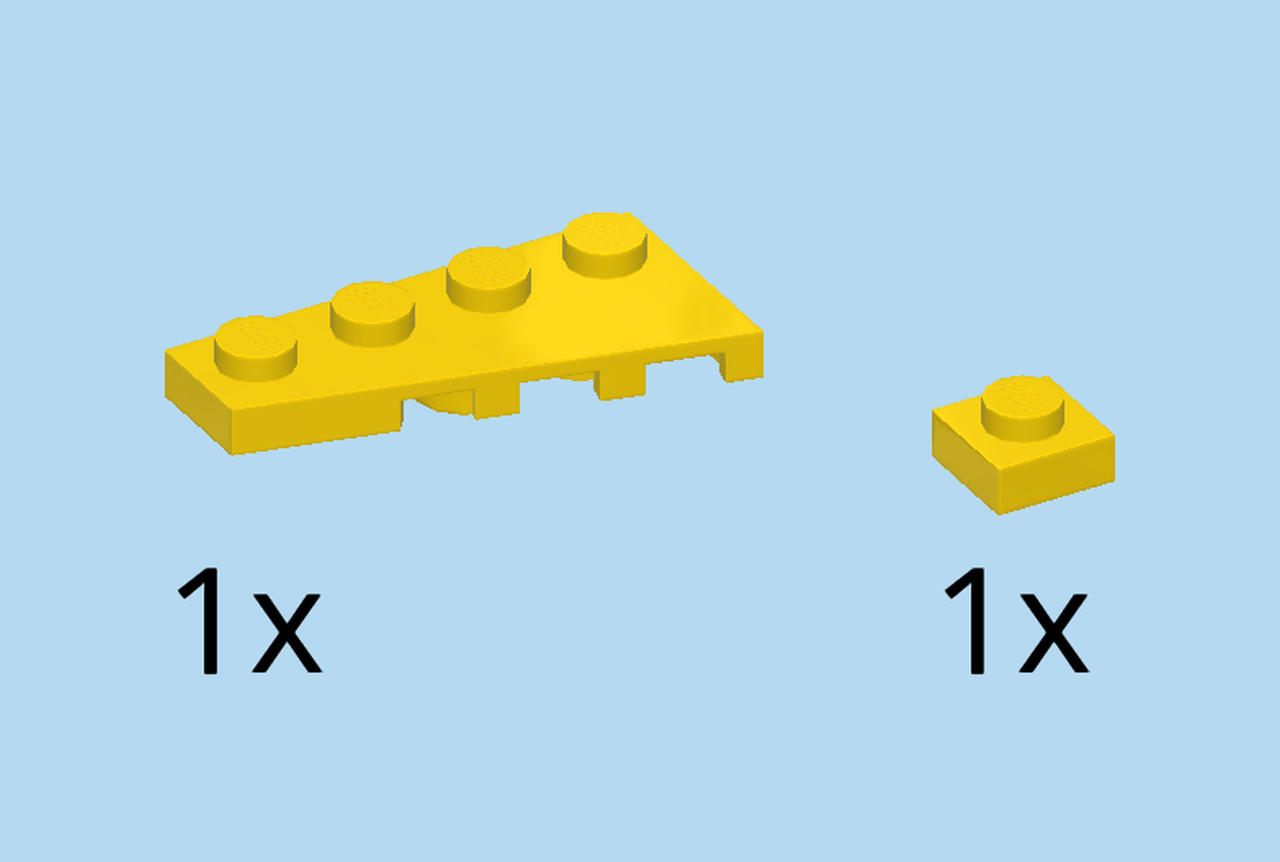
| 1 bright yellow left wedge plate 2x4 with angle, |
| and 1 bright yellow plate 1x1. |
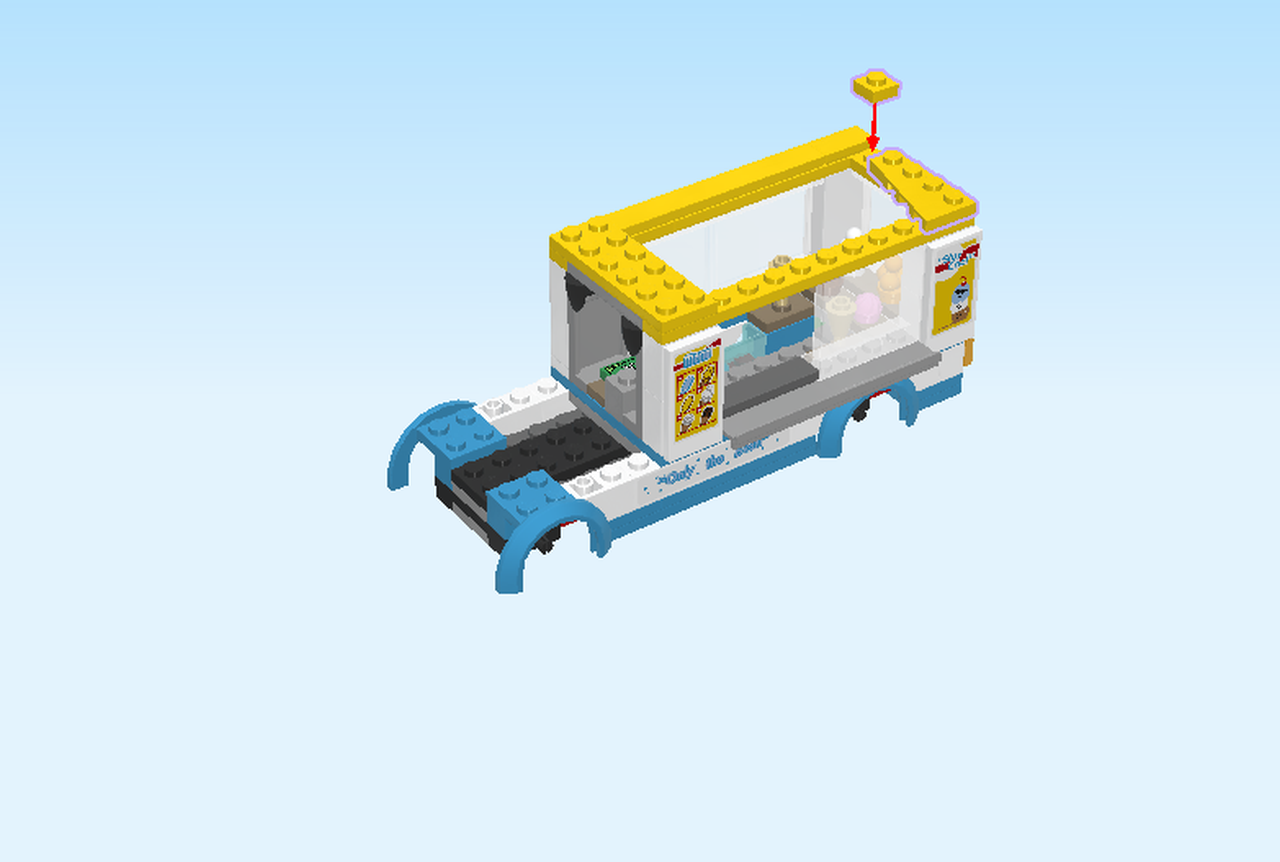
| Put the left wedge plate 2x4 vertically on the rightmost edge at the front, broad end to the front. |
| Put the plate 1x1 on the rightmost edge behind the previous piece. |
| We are now going to build a window. This will be a sliding window, so mounting it can be a bit challenging. |
| Find 1 transparent wall element 1x4x3. |
| Put it horizontally on the table, wall to the back. |
| Find 1 bright yellow plate 1x4. |
| Put it horizontally on top. |
| Place the window on the plate with sliding groove on the frontmost row, wall to the back. Attention: the window will not firmly attach just now. The next piece will hold it in place. |
| Find 1 white plate 2x8 with gliding groove. |
| Put it horizontally on the front row of the high part, sliding groove overhanging to the front. The window is now locked by the sliding groove and can be slid from left to right. |
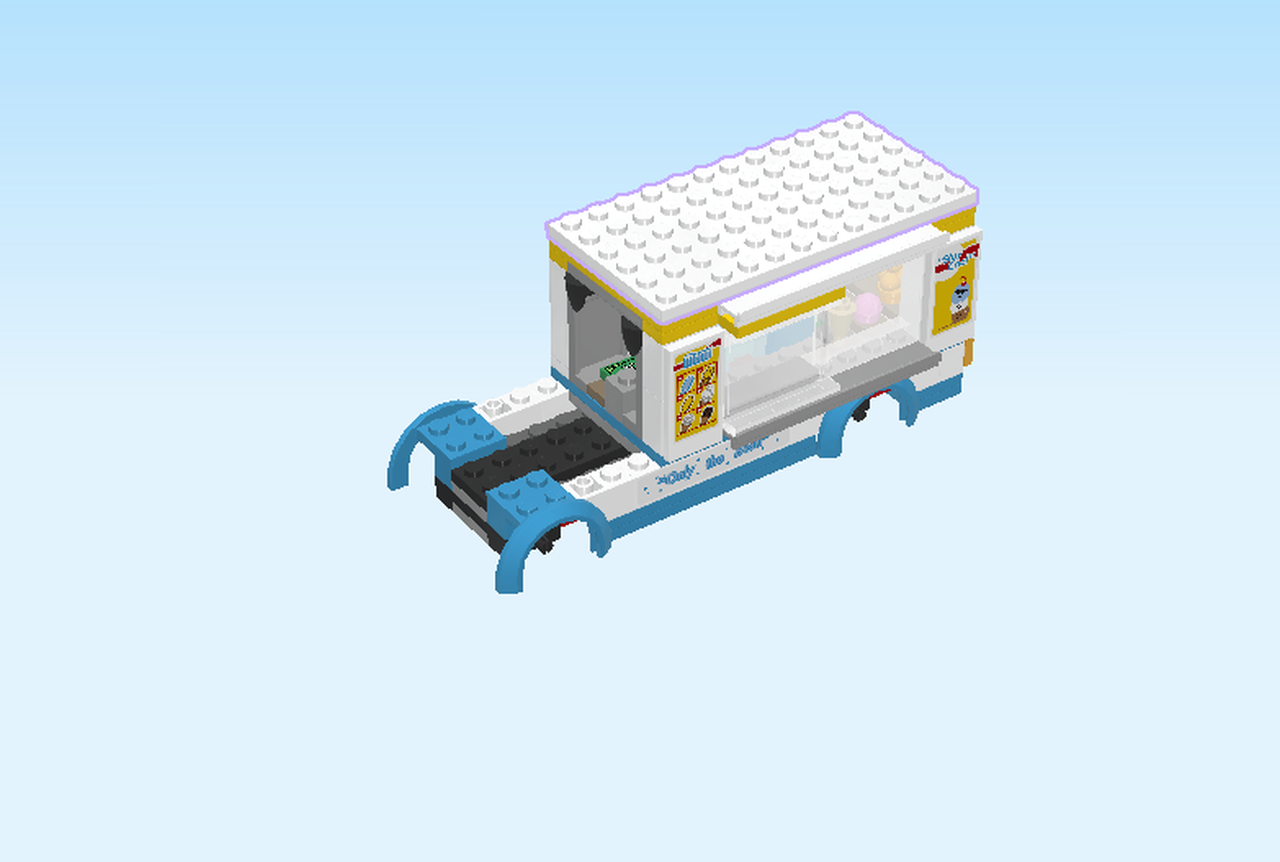
| Find 1 white plate 6x12. |
| Put it horizontally on top. |
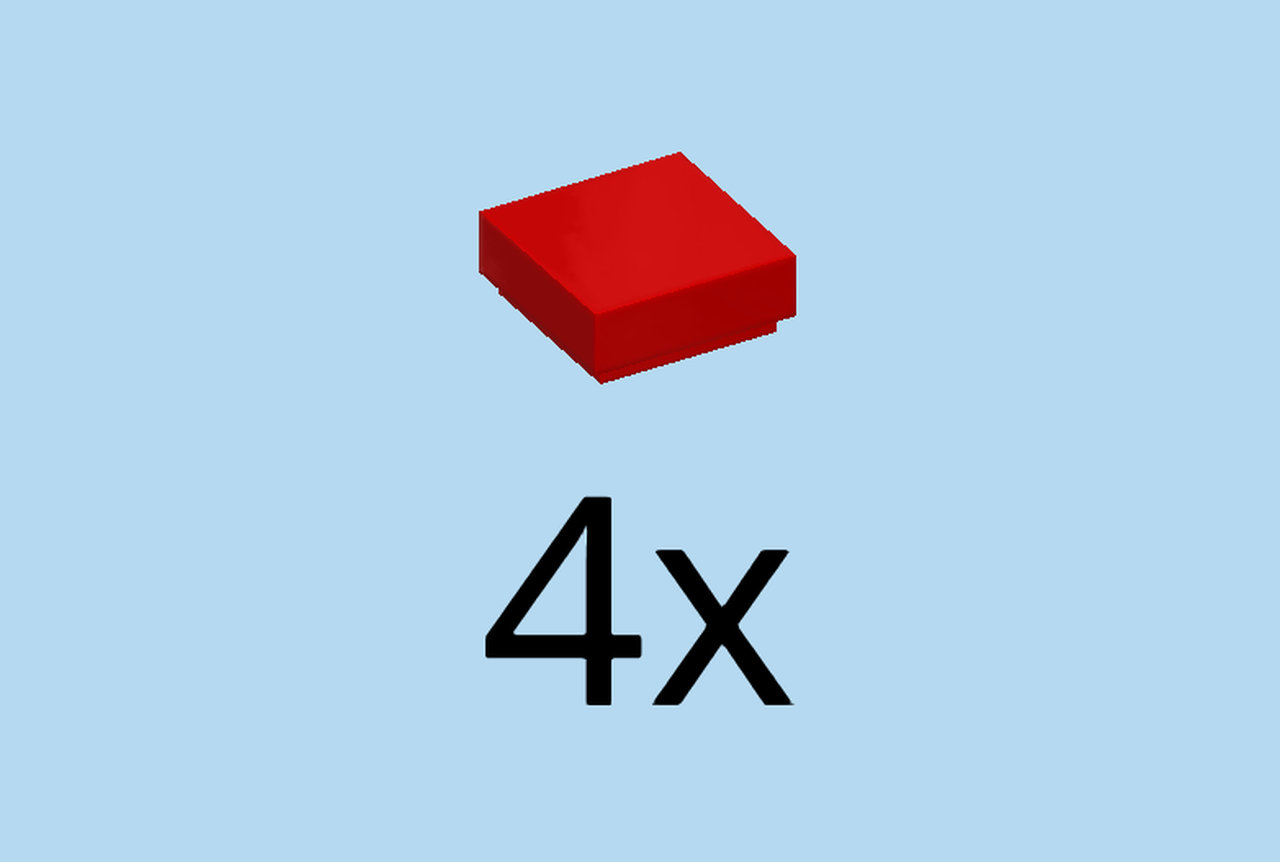
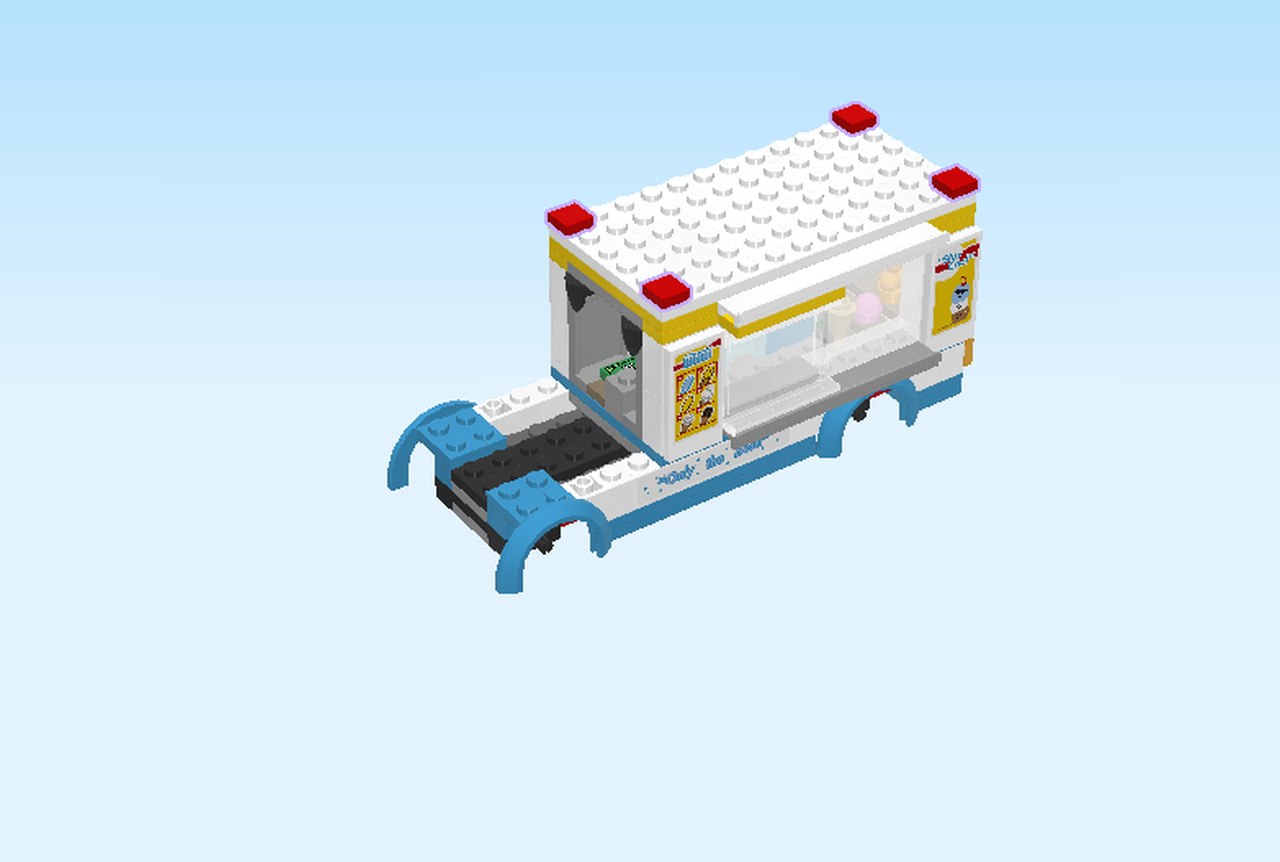
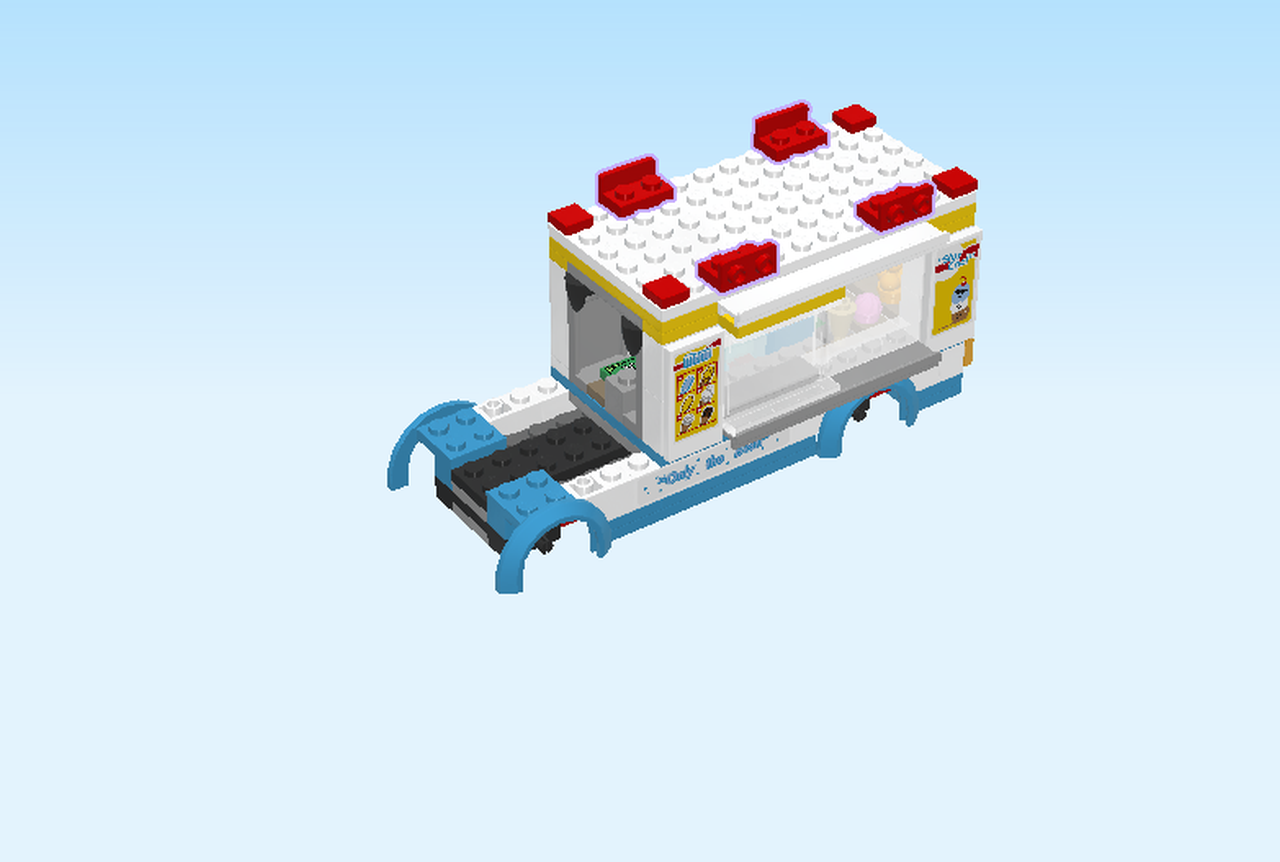
| Find 4 bright red flat tiles 1x1. |
| Put one in every corner of the previous piece. |
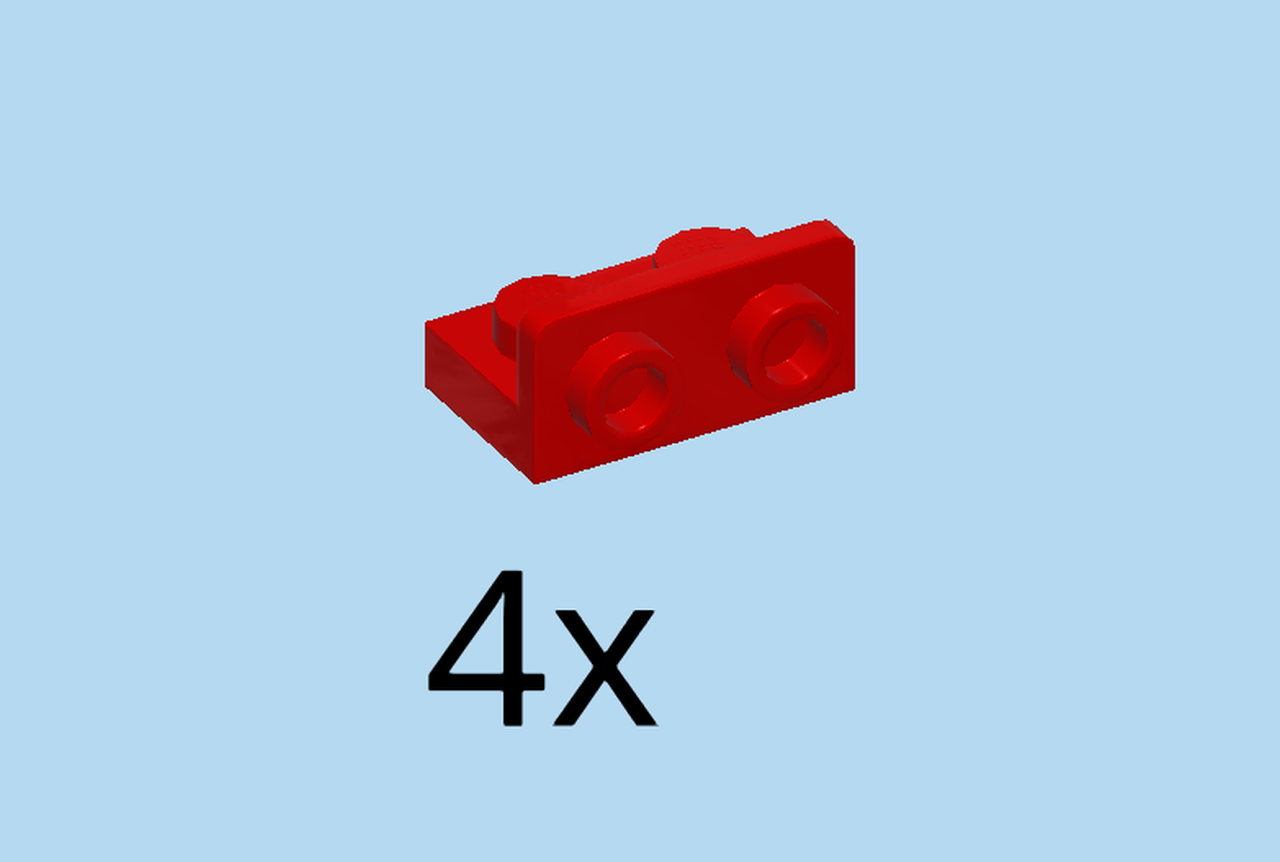
| Find 4 bright red bottom angle plates 1x2 - 1x2 with side 2 knobs. |
| Put one on the back row, skipping two columns from the right, side knobs to the back. |
| Skip four columns to the left, and put one horizontally on the back row, side knobs to the back. |
| Repeat symmetrically on the front row with the 2 remaining angle plates, side knobs to the front. |
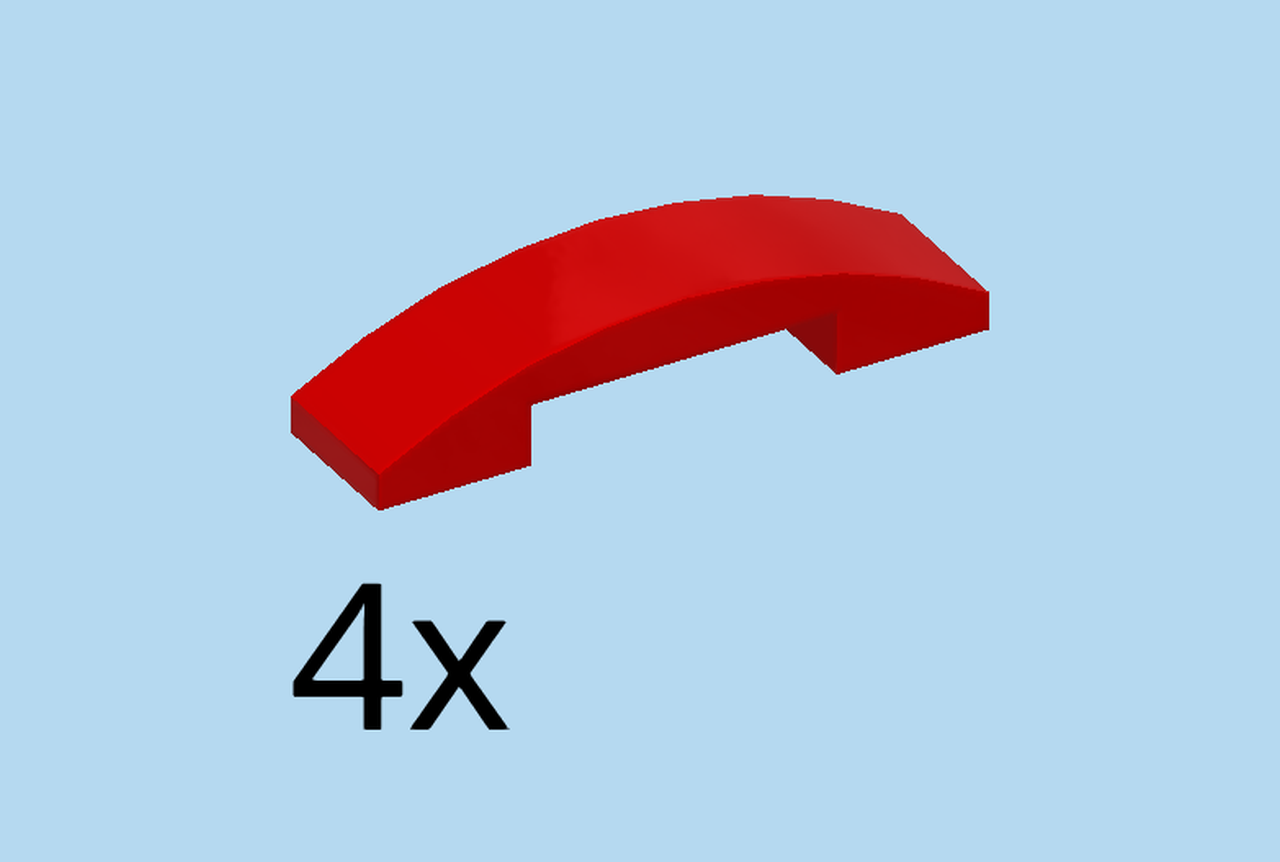
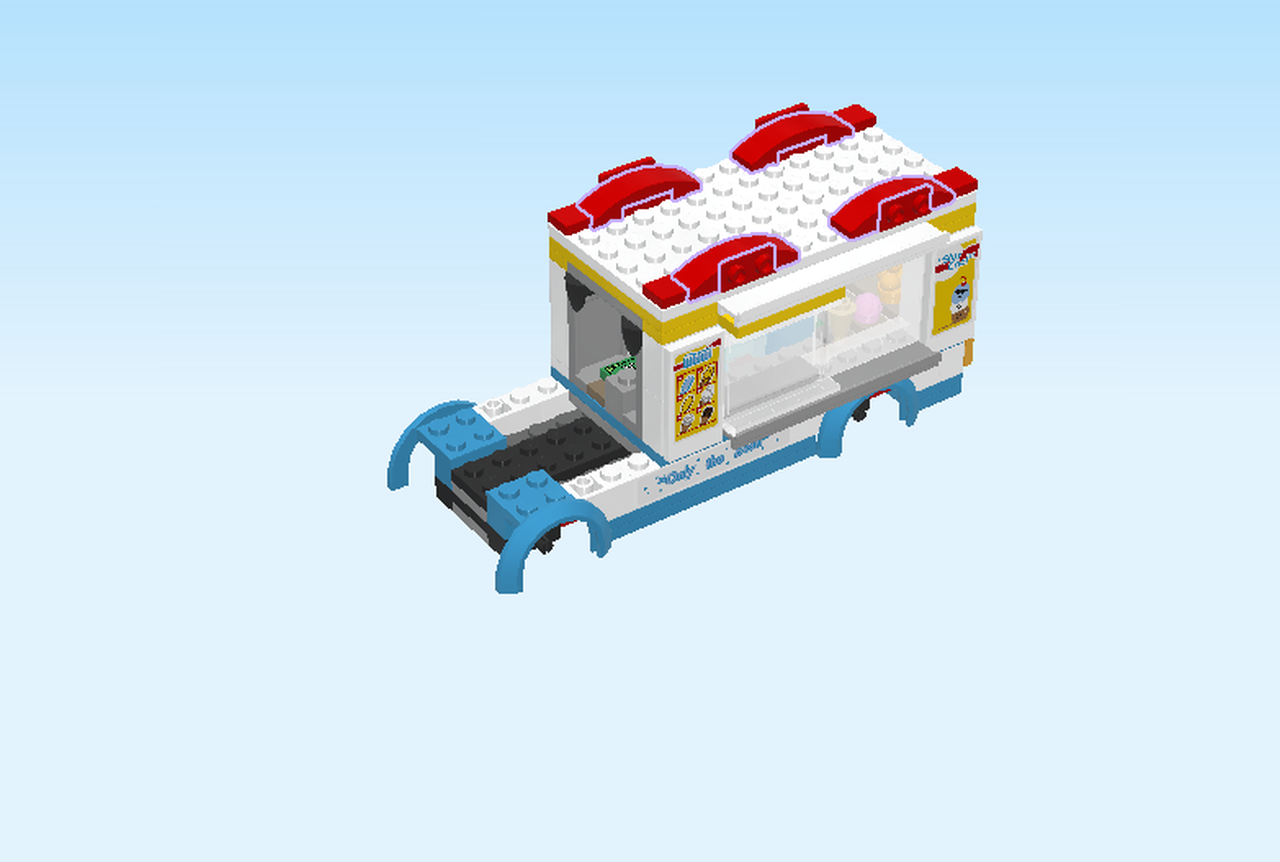
| Find 4 bright red tiles 1x4 with bow. |
| Put them horizontally on top of the previous 4 pieces. |
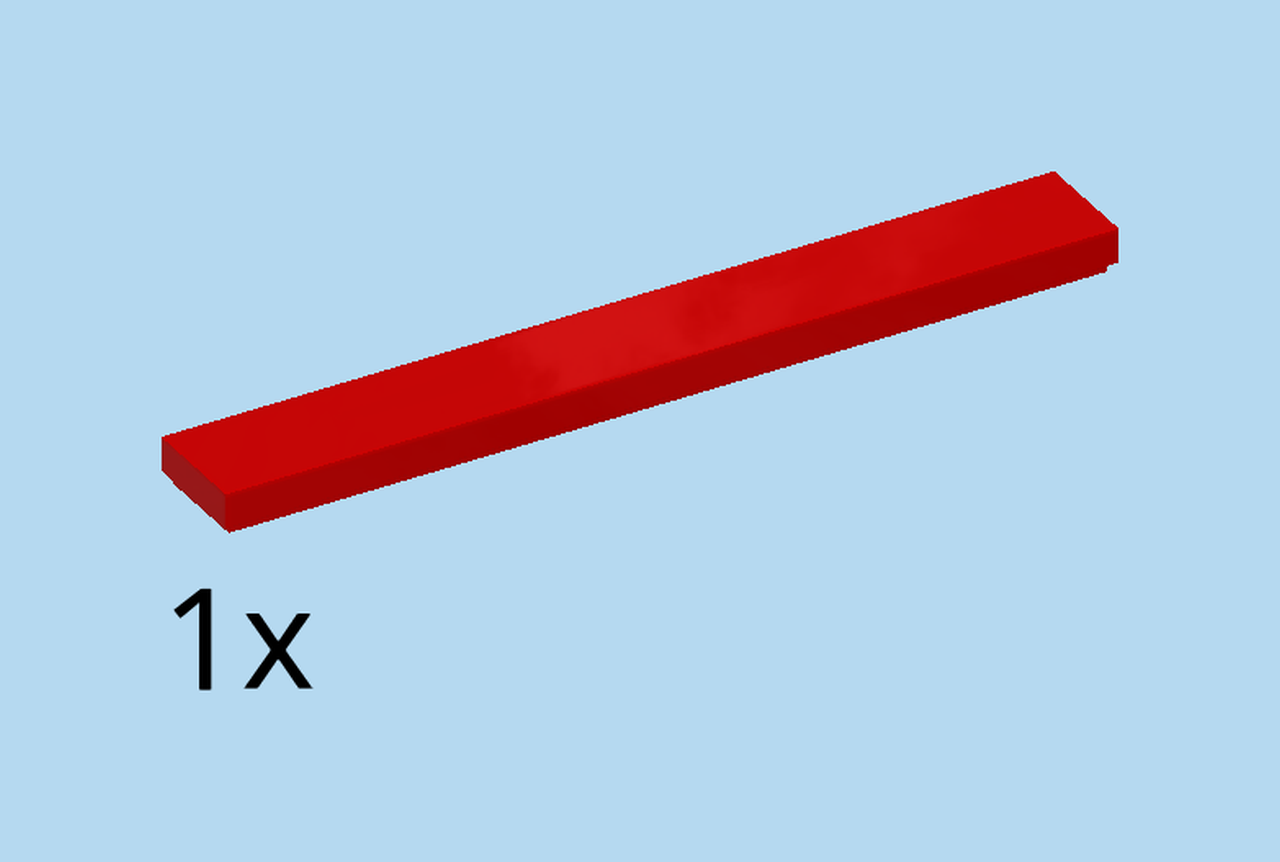
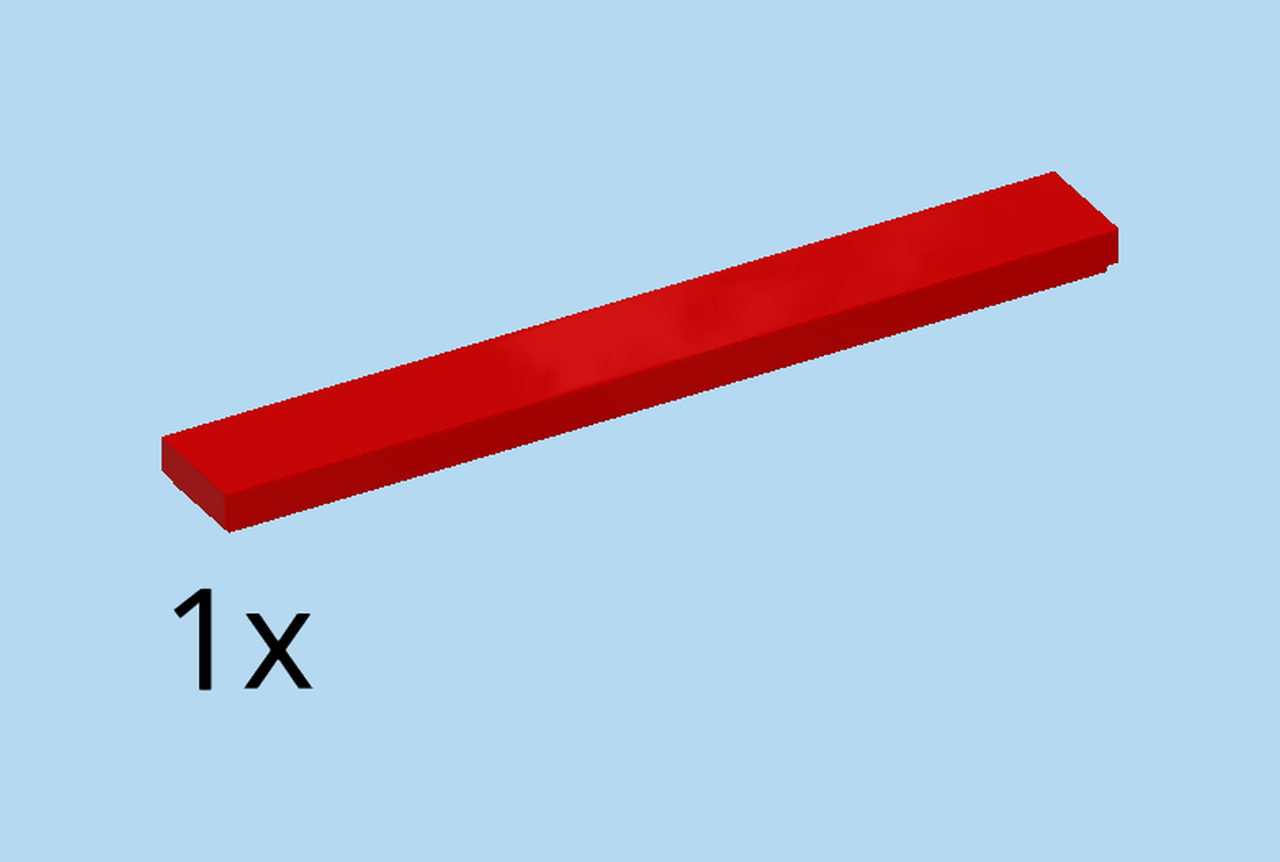
| Find 1 bright red flat tile 1x8. |
| Put it horizontally on the table. |
| Continue if you want to put a sticker on the piece. If not, skip the following 3 sentences. |
| Find 1 sticker number 2. Ask a sighted person to help you. |
| Put the sticker horizontally on the surface. |
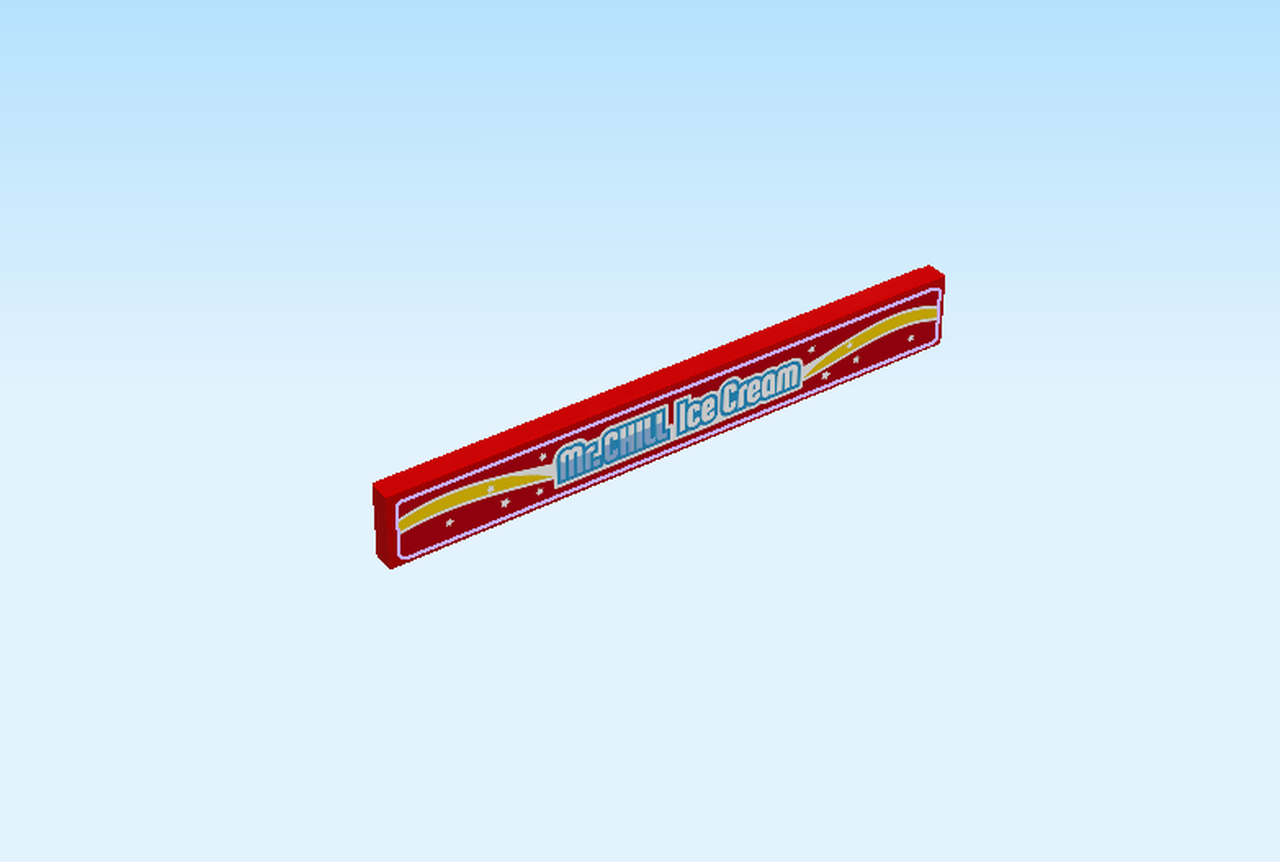
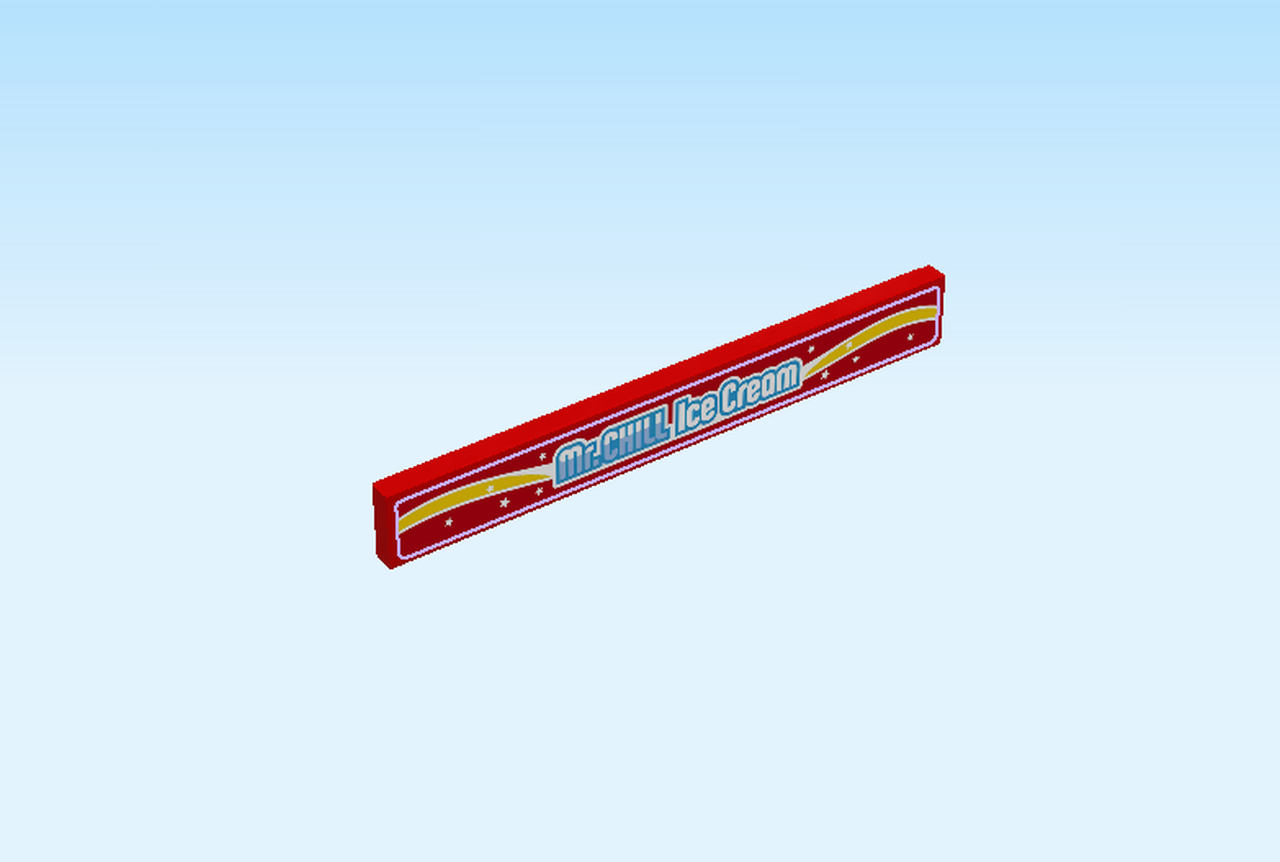
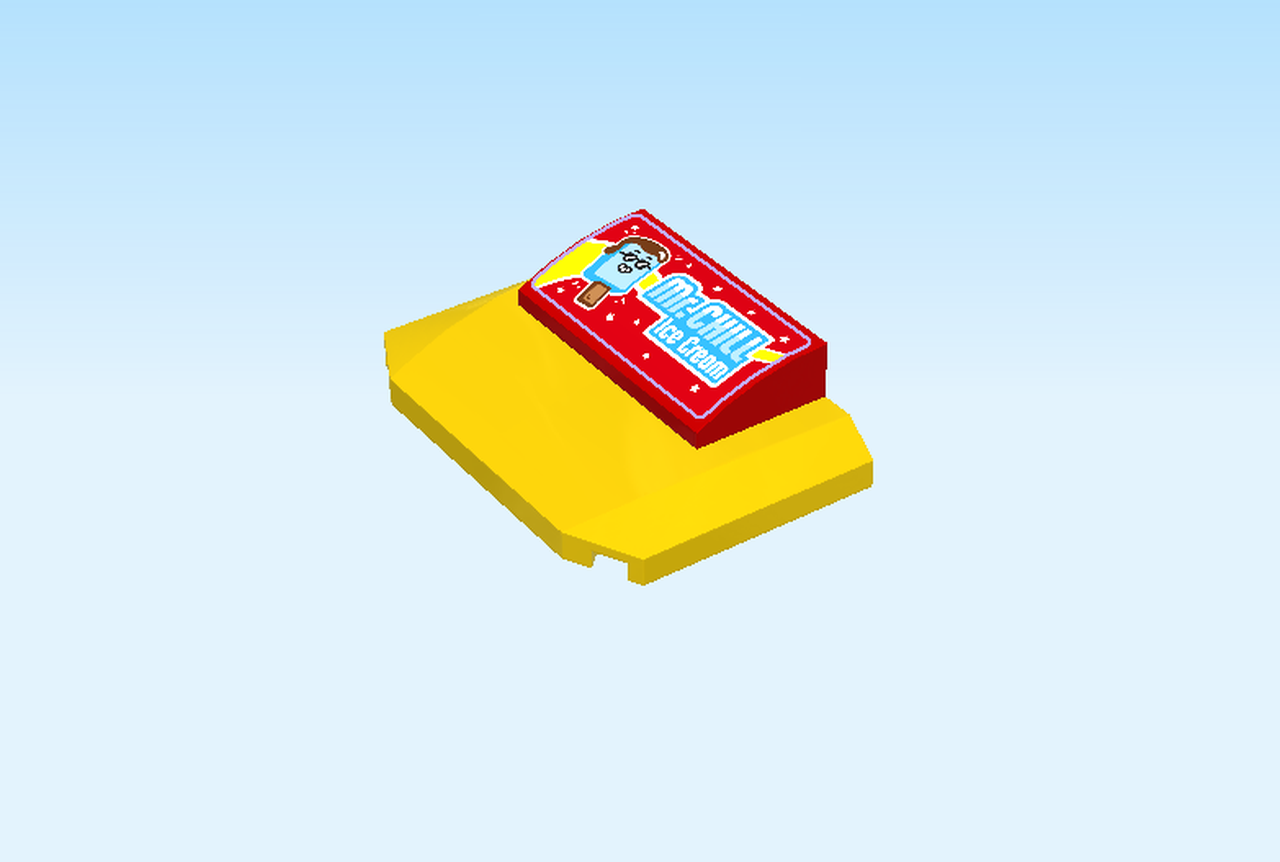
| The red sticker is printed with the text: "Mr. Chill Ice Cream" and has a yellow decorative ribbon on it. There are some tiny white stars surrounding the writing. |
| Turn the structure left to right, this means that the rear end is now pointing to the left. |
| Turn the flat tile upright horizontally and put it on the 4 side knobs at the top front side of the structure. |
| Let's repeat this on the other side. Turn the structure left to right again. Now the rear end is pointing to the right. |
| Find 1 bright red flat tile 1x8. |
| Put it horizontally on the table. |
| Continue if you want to put a sticker on the piece. If not, skip the following 3 sentences. |
| Find 1 sticker number 2. Ask a sighted person to help you. |
| Put the sticker horizontally on the surface. |
| The red sticker is again printed with the text: "Mr. Chill Ice Cream" and has a yellow decorative ribbon on it. There are tiny white stars surrounding the writing. |
| Turn the flat tile 1x8 upright and put it horizontally on the 4 side knobs at the front of the structure. |
| Find 1 white smooth roof tile 1x2x⅔. |
| Put it vertically centered on top of the structure, skipping 4 columns from the left, slope to the right. |
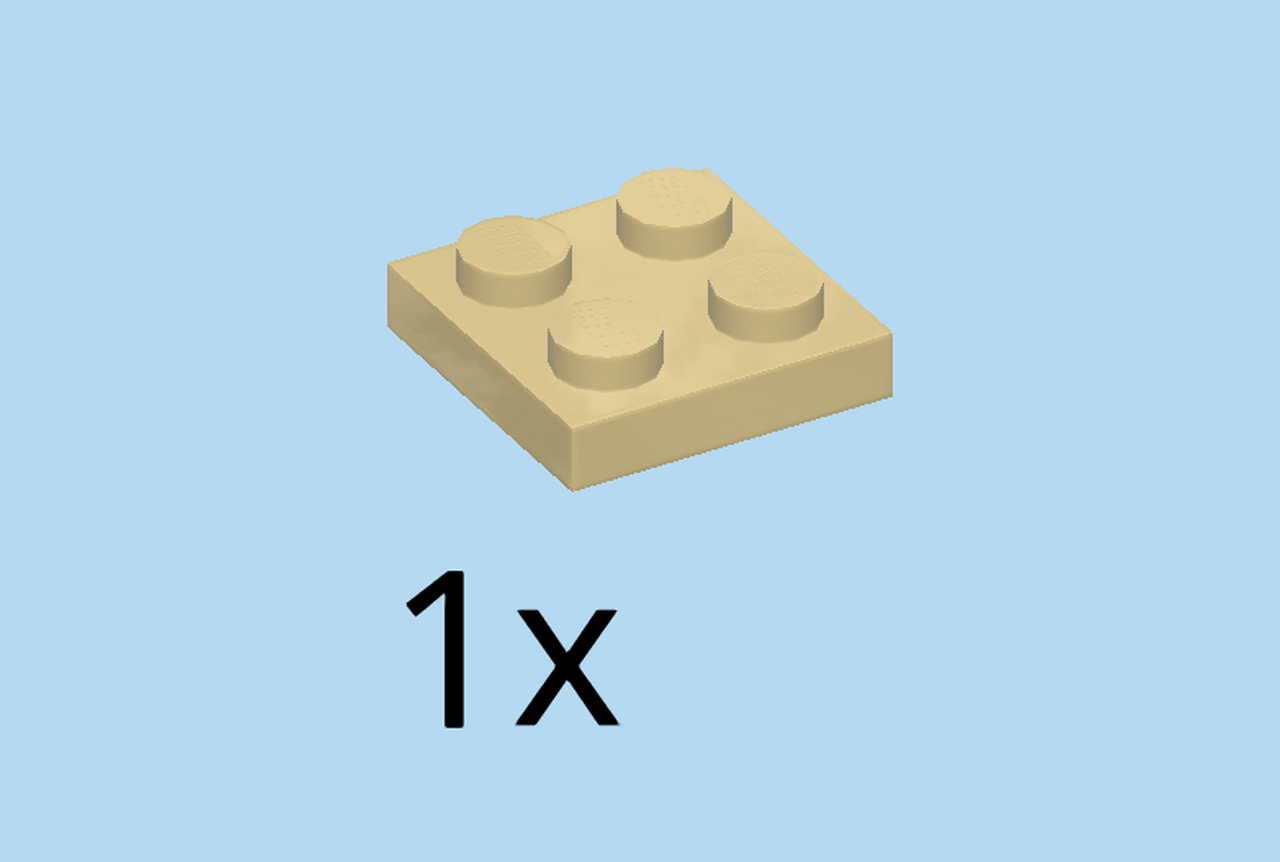
| Find 1 medium stone grey plate 2x2. |
| Put it on the table. |
| Find 1 dark stone grey plate 1x2 with shaft on long side. |
| Put it vertically on the left column, shaft to the left. |
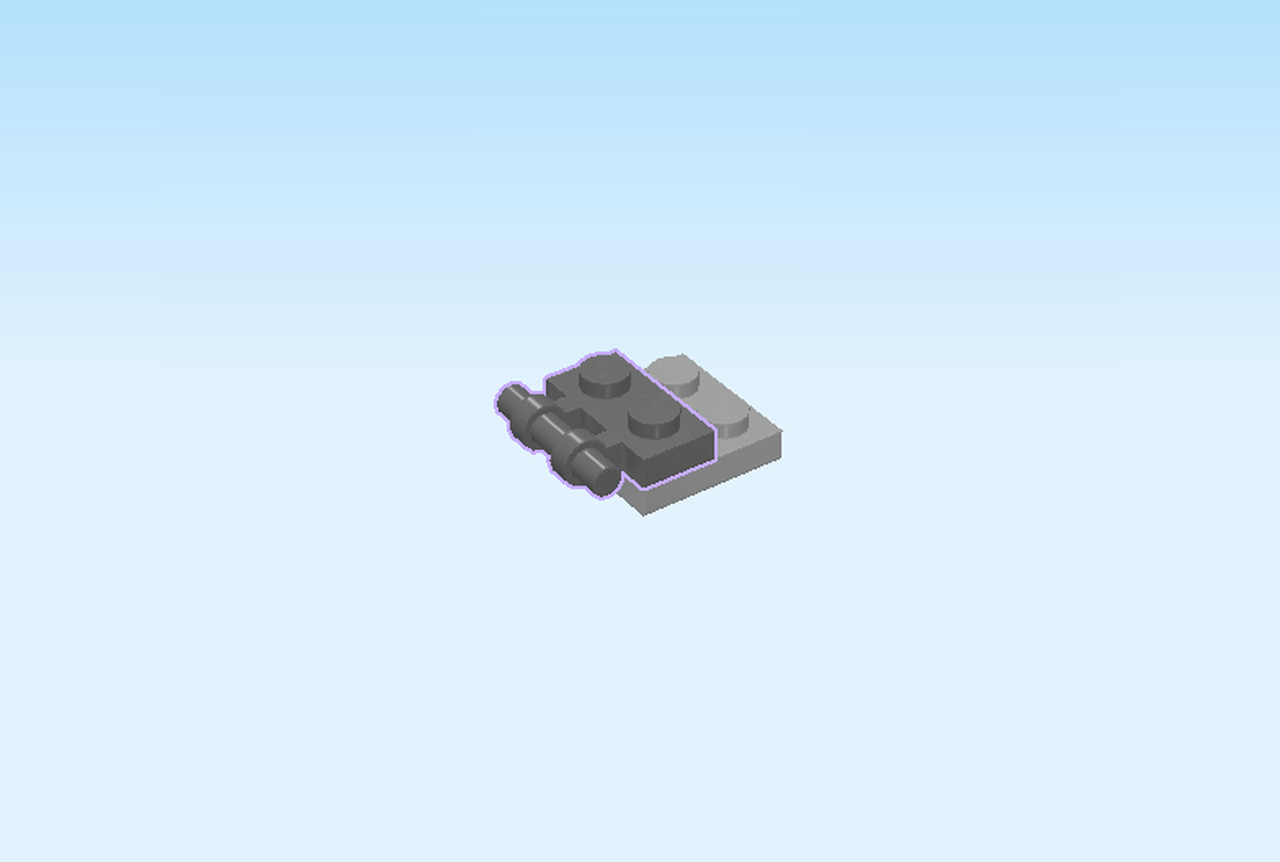
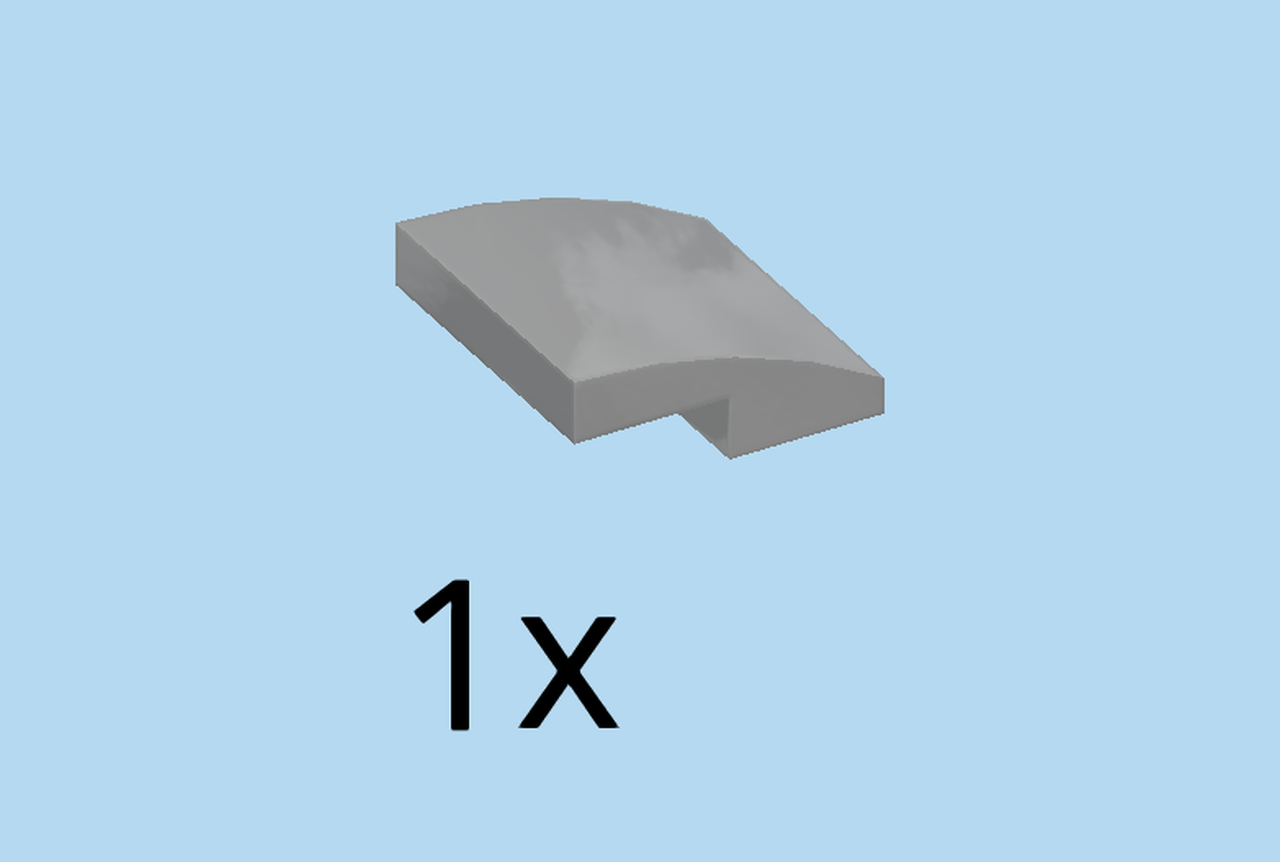
| Find 1 medium stone grey one-stepped curve tile 2x2x⅔. |
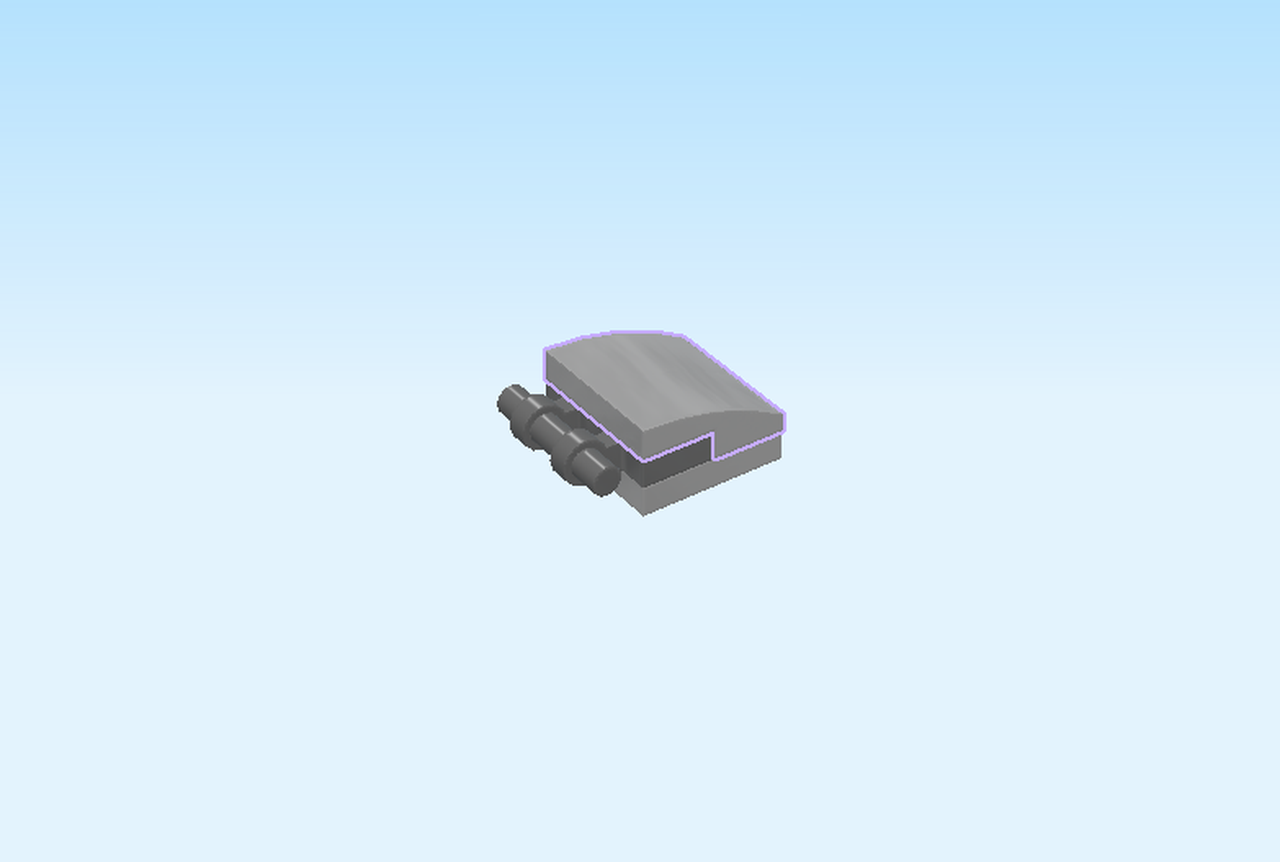
| Put it on top, slope to the right. |
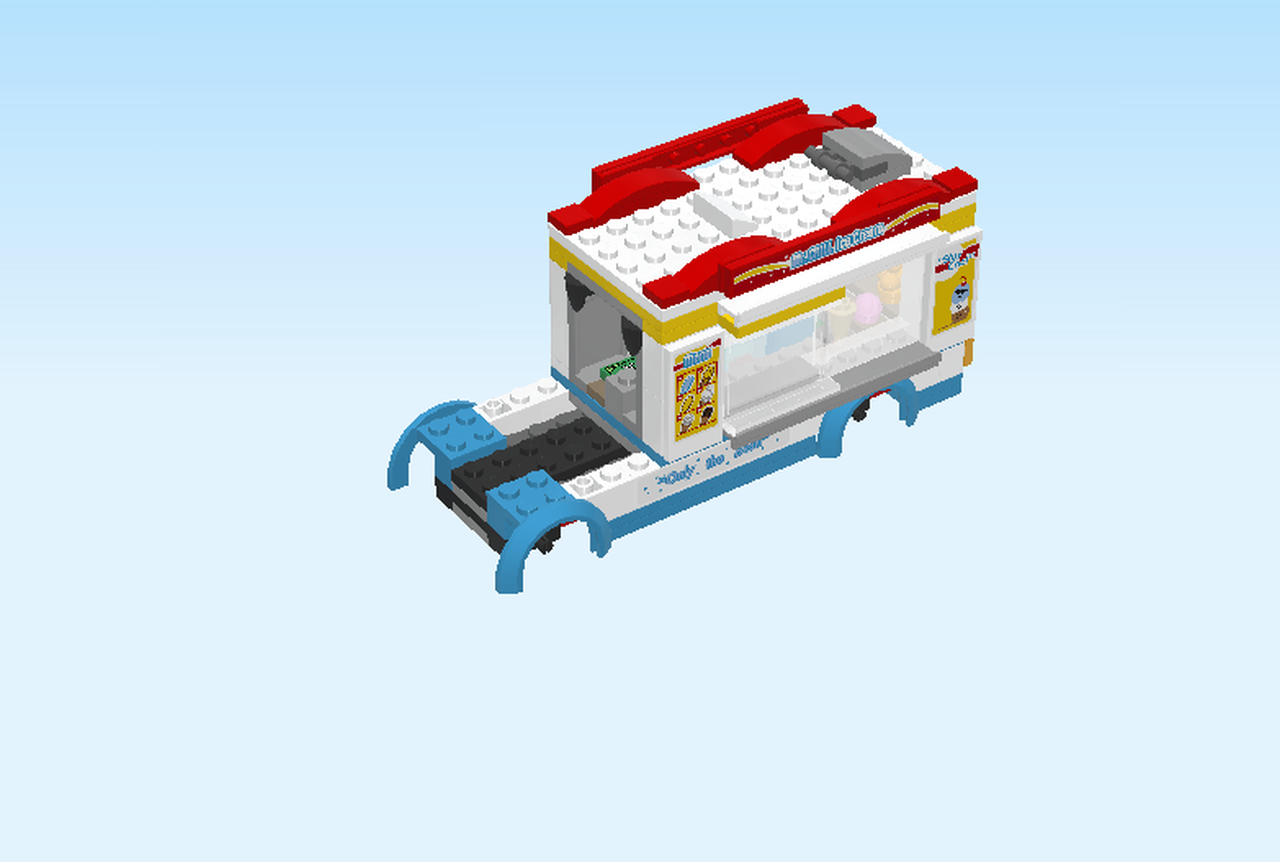
| Put the small build centered on top of the structure, skipping one column from the right, slope to the right. |
| Find 1 bright yellow plate 1x2. |
| Put it vertically centered on the lower part of the structure, skipping one column from the left. |
| Collect the following 4 pieces: |
| 2 transparent bright orange plates 1x2, |
| and 2 dark azure blue plates 1x4. |
| Put one plate 1x4 horizontally on the back row of the lower part, skipping one column from the left. |
| Repeat symmetrically on the front row. |
| Put one plate 1x2 vertically on the leftmost column at the back. |
| Repeat symmetrically at the front. |
| Collect the following 2 pieces: |
| 1 dark green brick 1x2 with 2 side knobs, |
| and 1 bright red plate 1x4. |
| Put the plate 1x4 vertically centered on the second column from the left. |
| Put the brick 1x2 vertically centered to the left of the previous piece. |
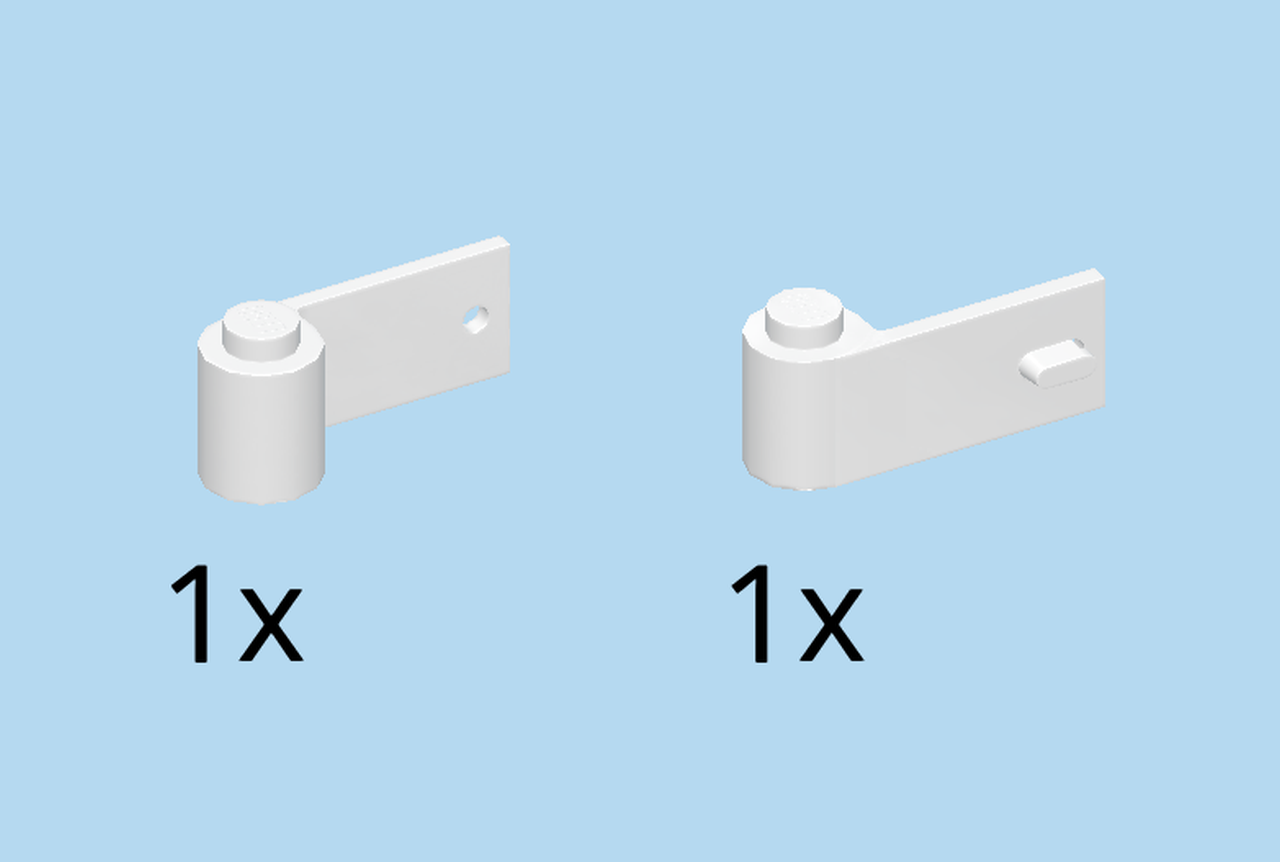
| Collect the following 2 pieces: |
| 1 white right door 1x3, |
| and 1 white left door 1x3. |
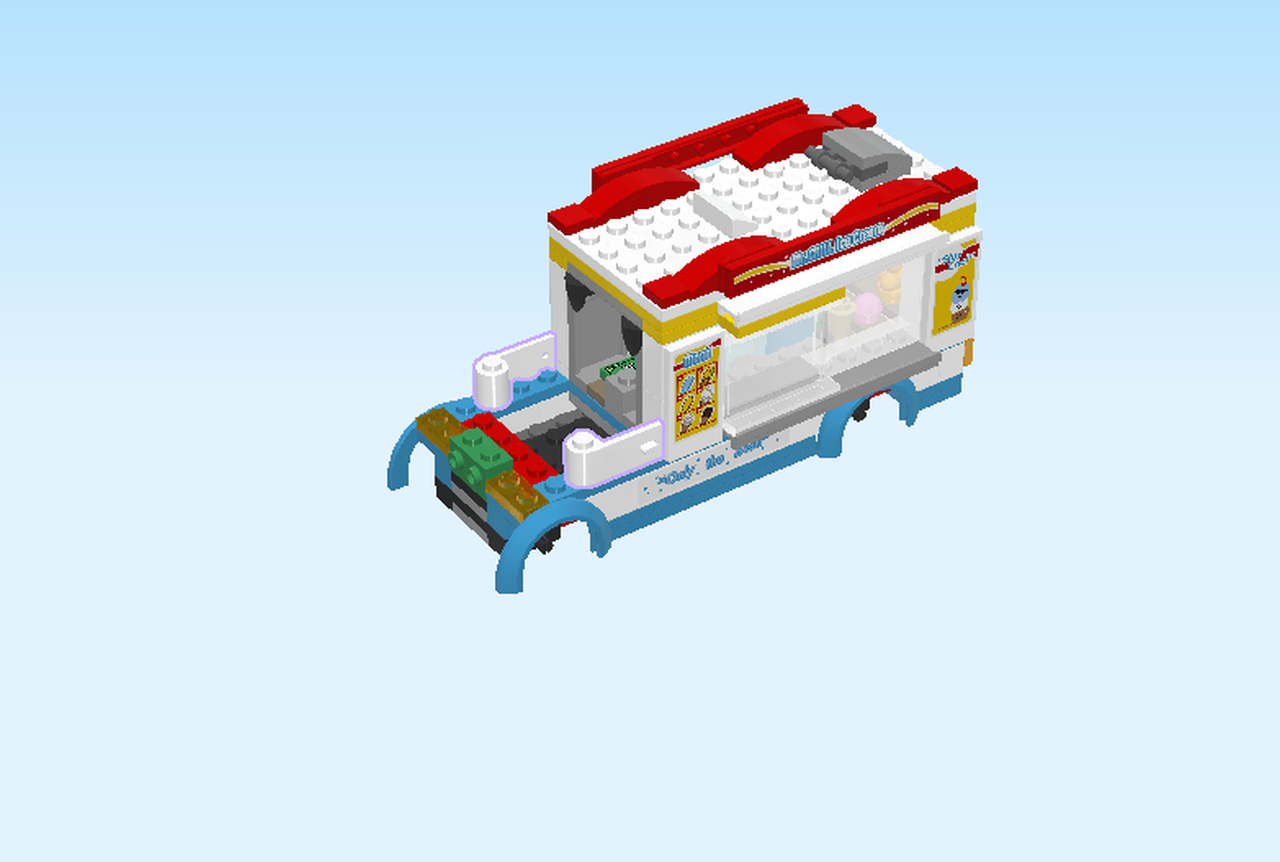
| Put the left door horizontally on the back row, skipping two columns from the left. Make sure the door opens on its right end and towards the back. |
| Put the right door on the front row, skipping two columns from the left. Make sure the door opens on its right end and towards the front. |
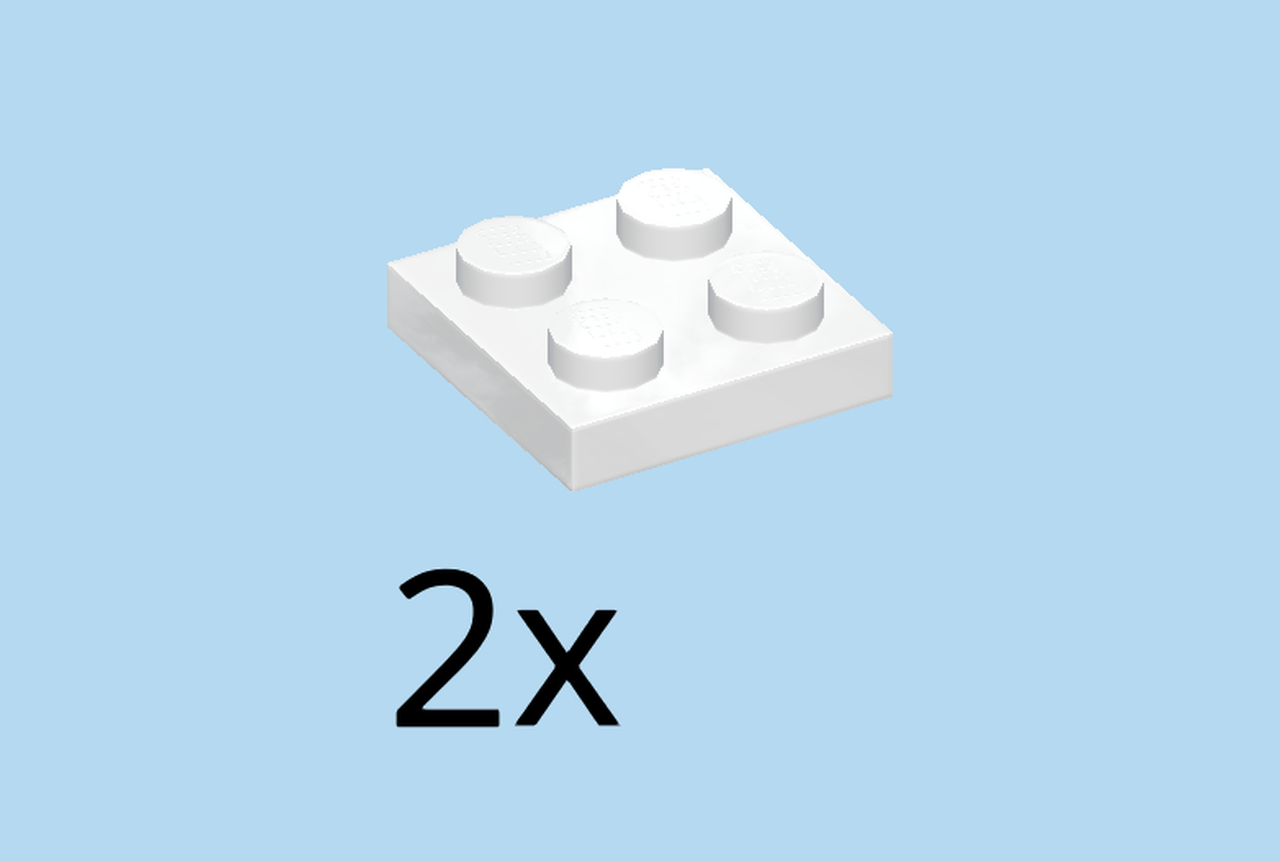
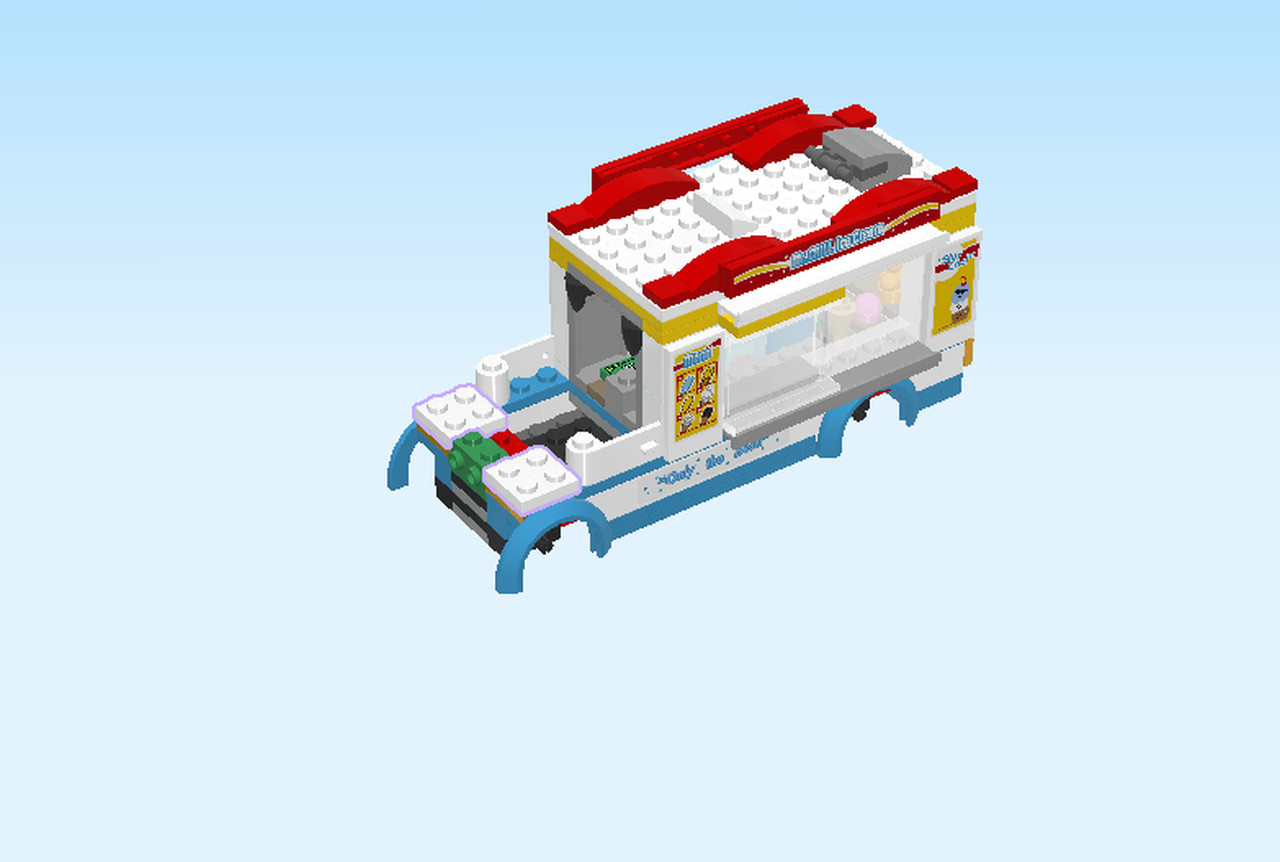
| Find 2 white plates 2x2. |
| Put 1 on the leftmost edge at the back. |
| Repeat symmetrically at the front. |
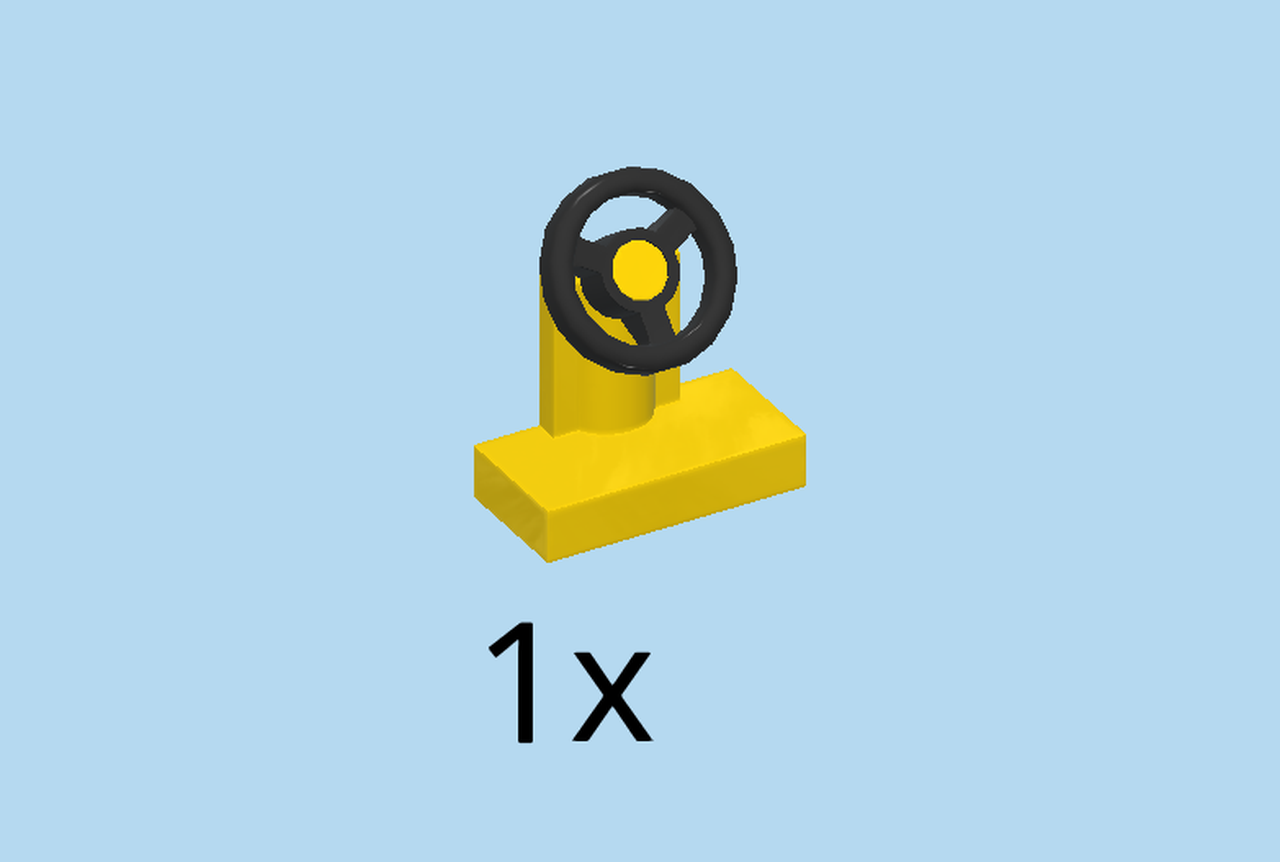
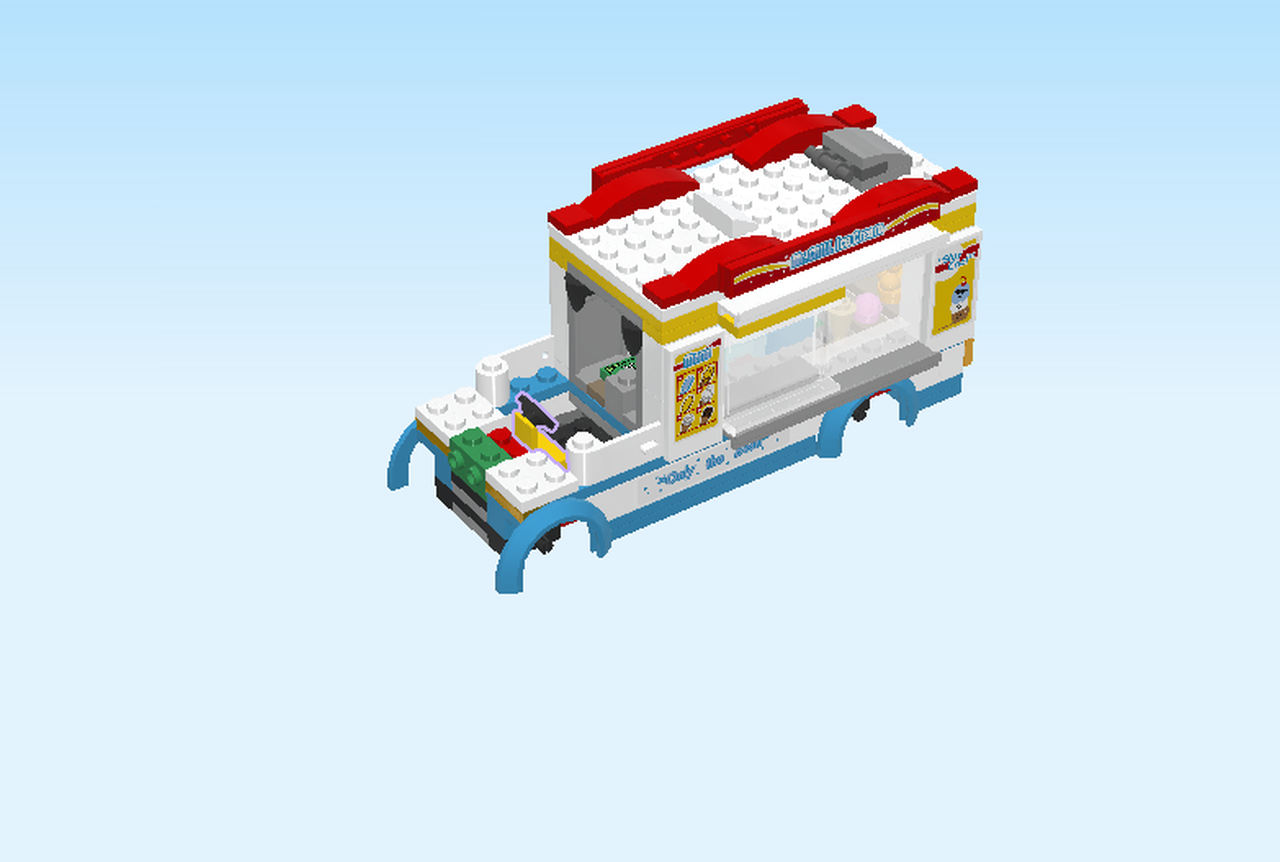
| Find 1 black and bright yellow small steering wheel with plate 1x2. |
| Put it vertically centered on the third column from the left, steering wheel to the right. |
| Find 1 white plate 2x6. |
| Put it vertically on the leftmost edge. |
| Collect the following 3 pieces: |
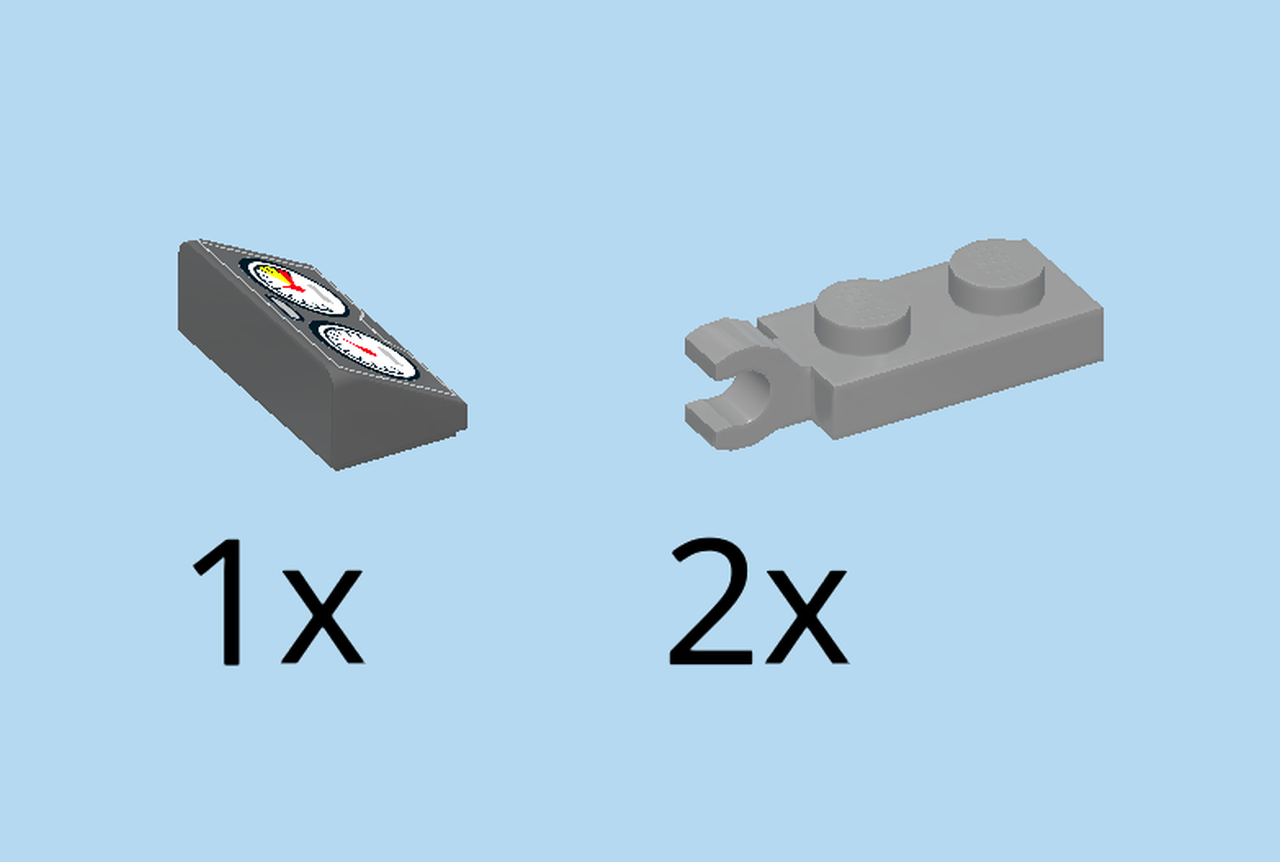
| 1 dark stone grey smooth roof tile 1x2x⅔, printed with a dashboard, |
| and 2 medium stone grey plates 2x1 with clasp on short end. |
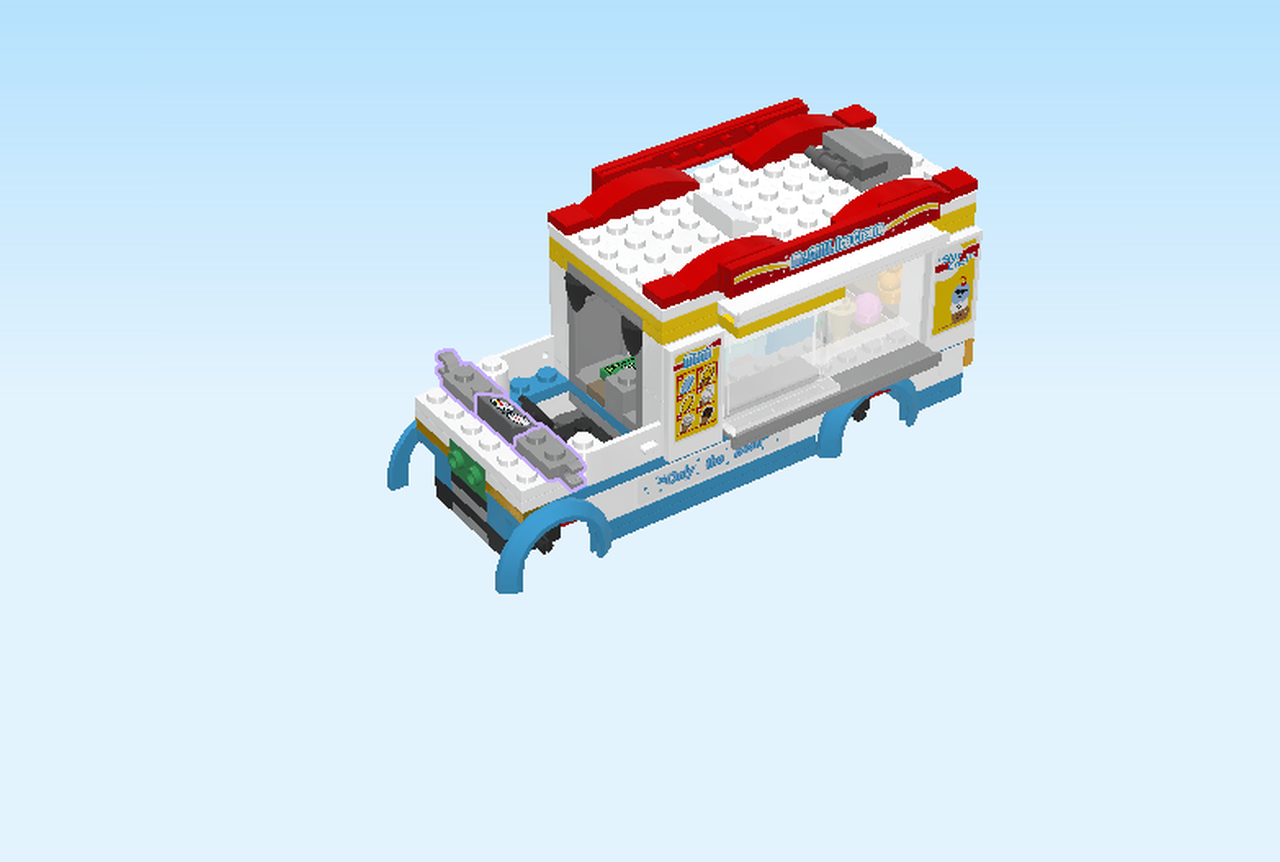
| Put the smooth roof tile 1x2 vertically centered on the second column from the left, slope to the right. |
| Put 1 plate 1x2 vertically behind the previous piece, clasp to the back. |
| Repeat symmetrically at the front, clasp to the front. |
| Collect the following 4 pieces: |
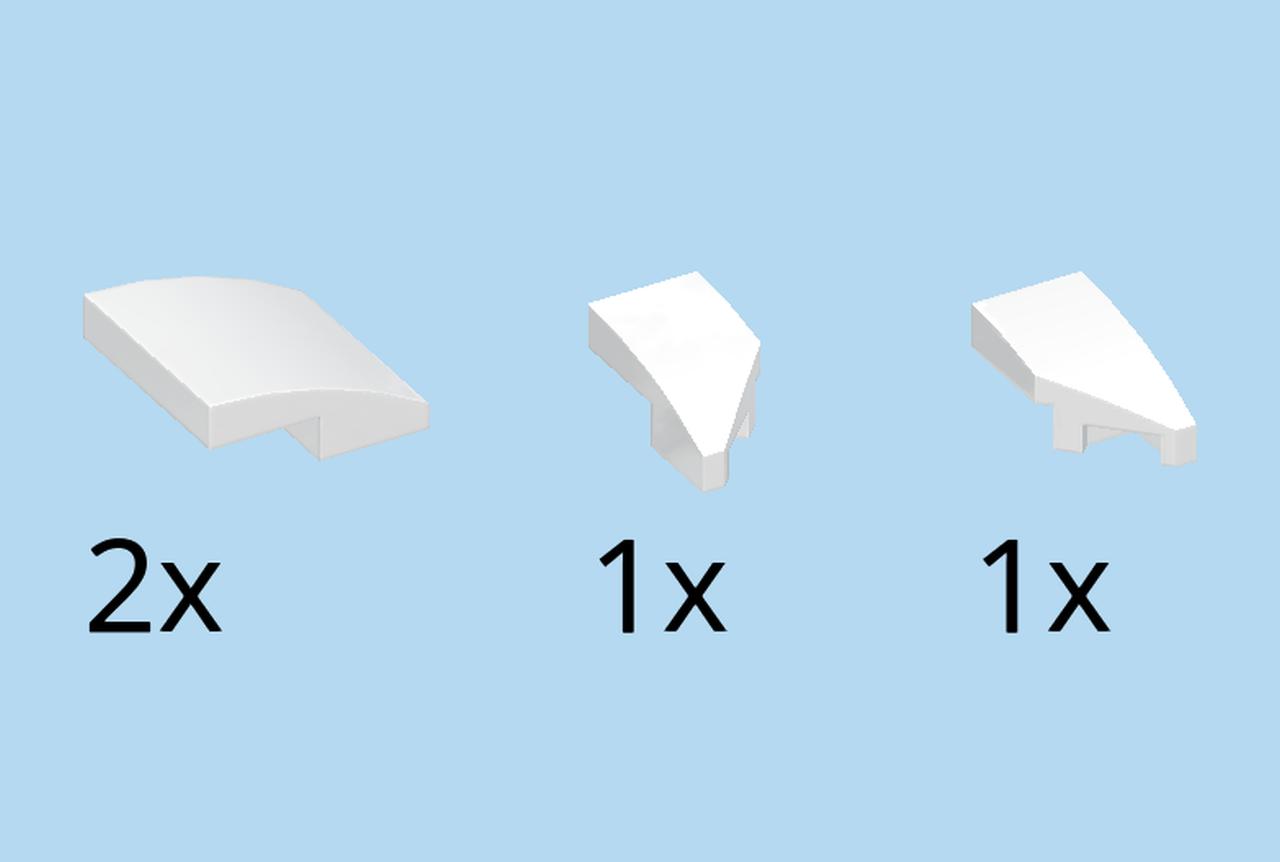
| 1 white right wedge tile 1x2 with 45° cut, |
| 2 white one-stepped curve tiles 2x2x⅔, |
| and 1 white left wedge tile 1x2 with 45° cut. |
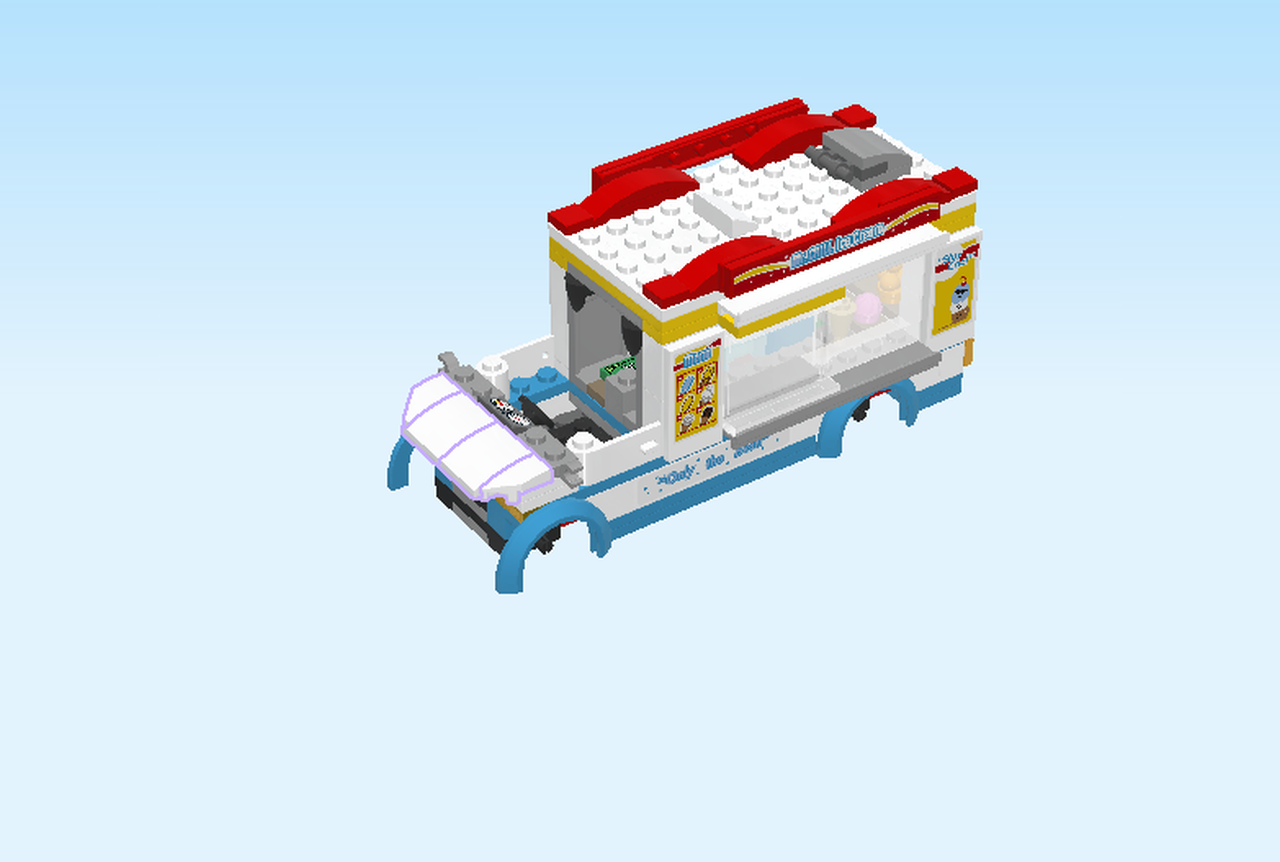
| Put the curve tiles centered on the leftmost column, curves and 1 column overhanging to the left. |
| Put the left wedge tile 1x2 with 45° cut horizontally in front of the previous pieces, cut to the front and left. |
| Repeat symmetrically at the back with the right wedge tile. |
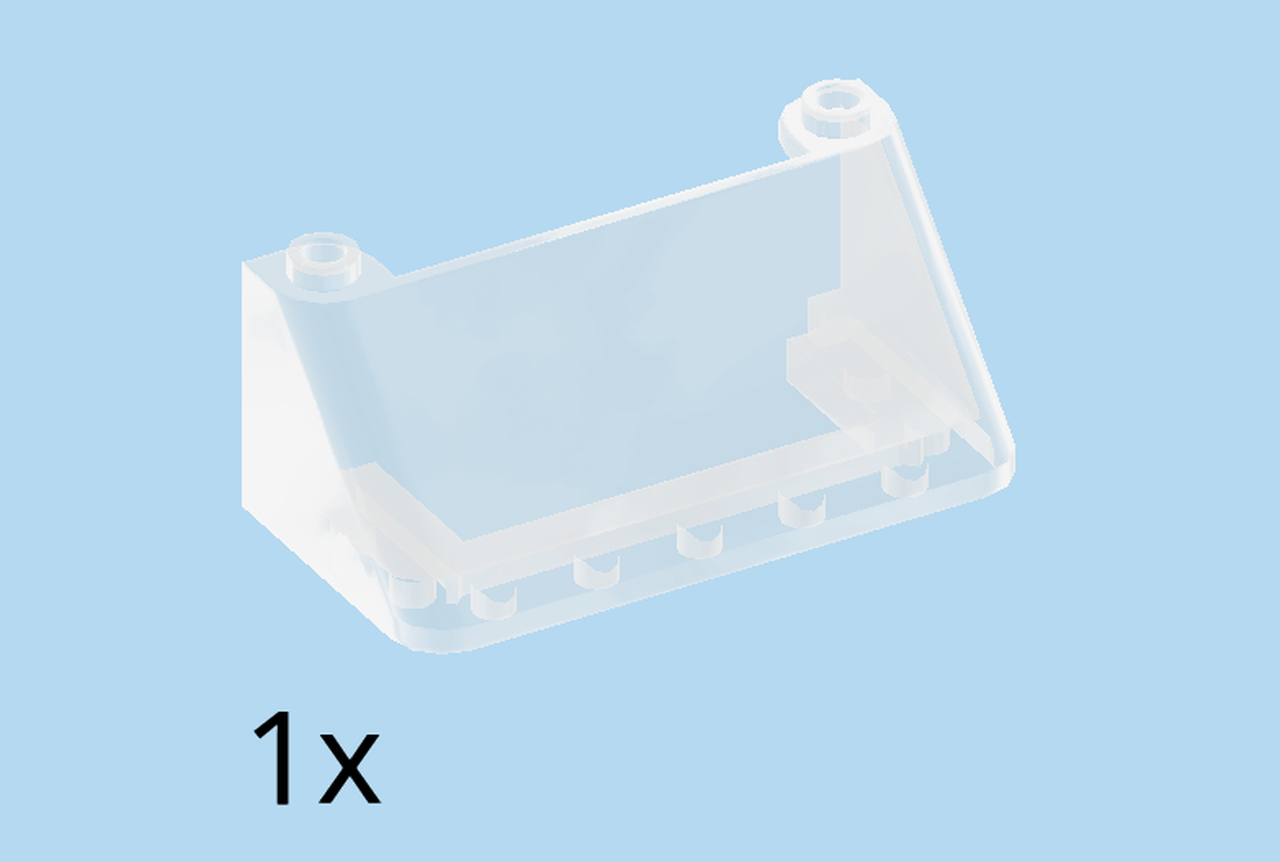
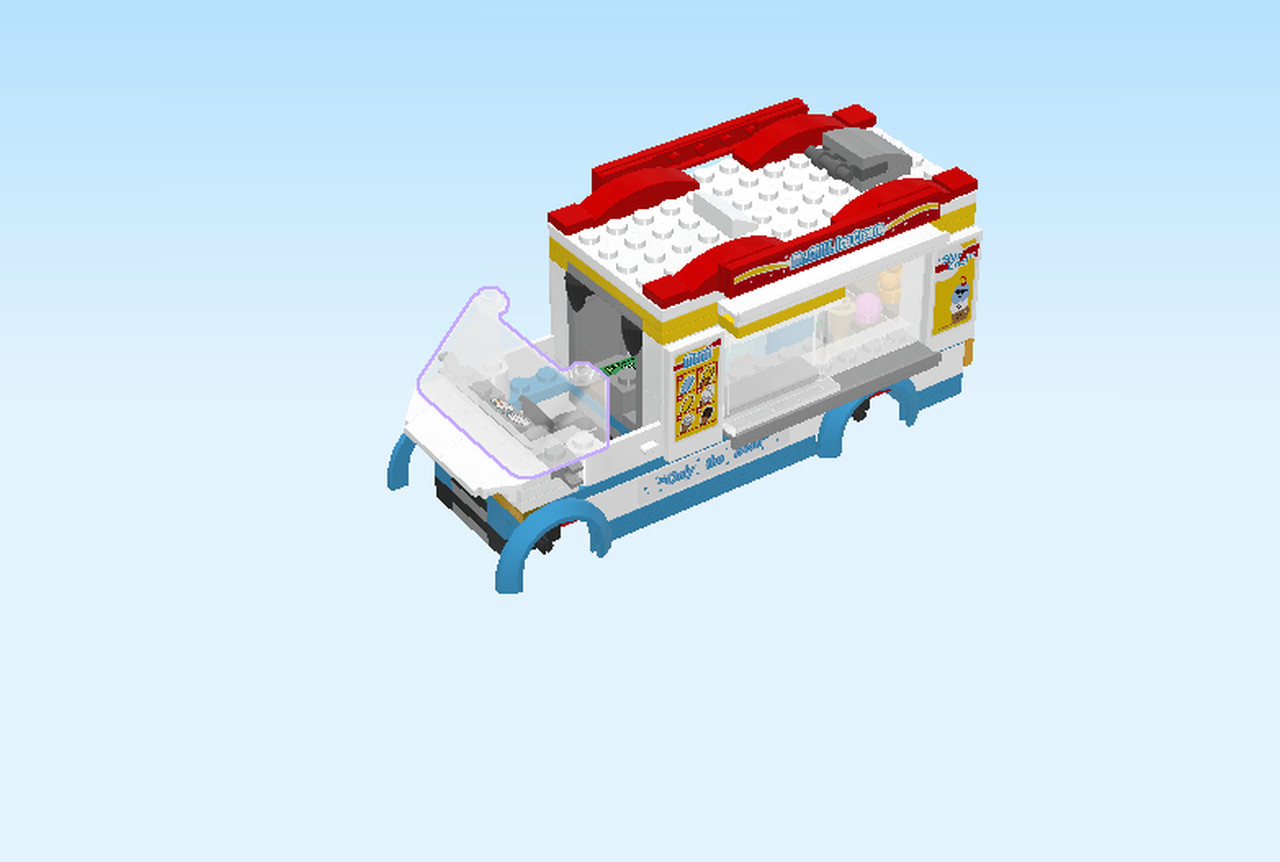
| Find 1 transparent windscreen 6x3x2. |
| Put it vertically on top of the previous pieces, slope to the left. Make sure that the leftmost column of the curve and wedge tiles underneath remains empty. |
| We are now going to build the left side mirror. |
| Find 1 medium stone grey round plate 1x1 with side shaft. |
| Put it on the table, shaft to the front. |
| Find 1 medium stone grey smooth roof tile 1x1x⅔. |
| Put it on the knob, slope to the left. |
| Snap the shaft of the side mirror into the clasp at the left front side of the structure, roof tile at the top. |
| Now, let's build the other side mirror. |
| Find 1 medium stone grey round plate 1x1 with side shaft. |
| Put it on the table, shaft to the back. |
| Find 1 medium stone grey smooth roof tile 1x1x⅔. |
| Put it on the knob, slope to the left. |
| Snap the shaft of the side mirror into the clasp at the left back side of the structure, roof tile at the top. |
| We are now going to build the roof. |
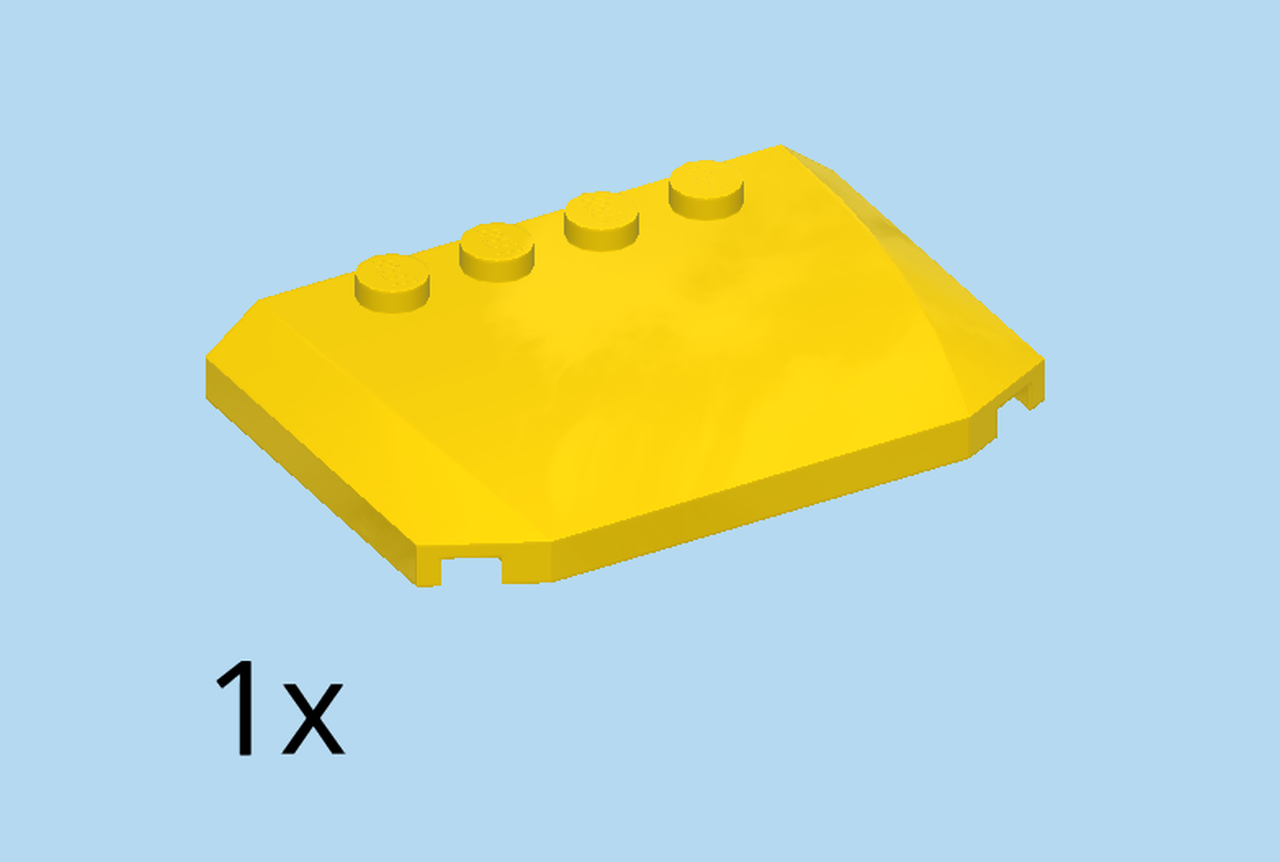
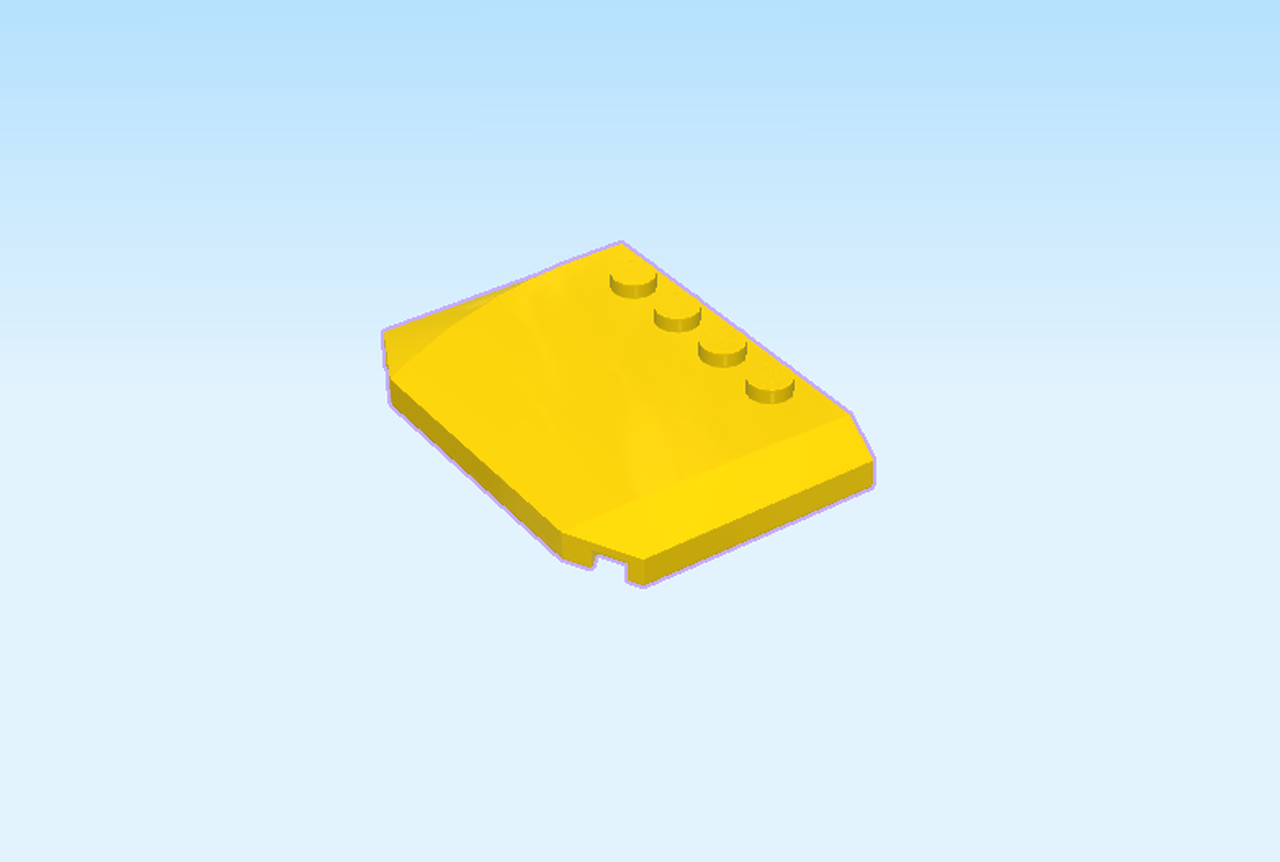
| Find 1 bright yellow plate 4x6x⅔ with 4 knobs and 2 angled corners. |
| Put it vertically on the table, knobs to the right. |
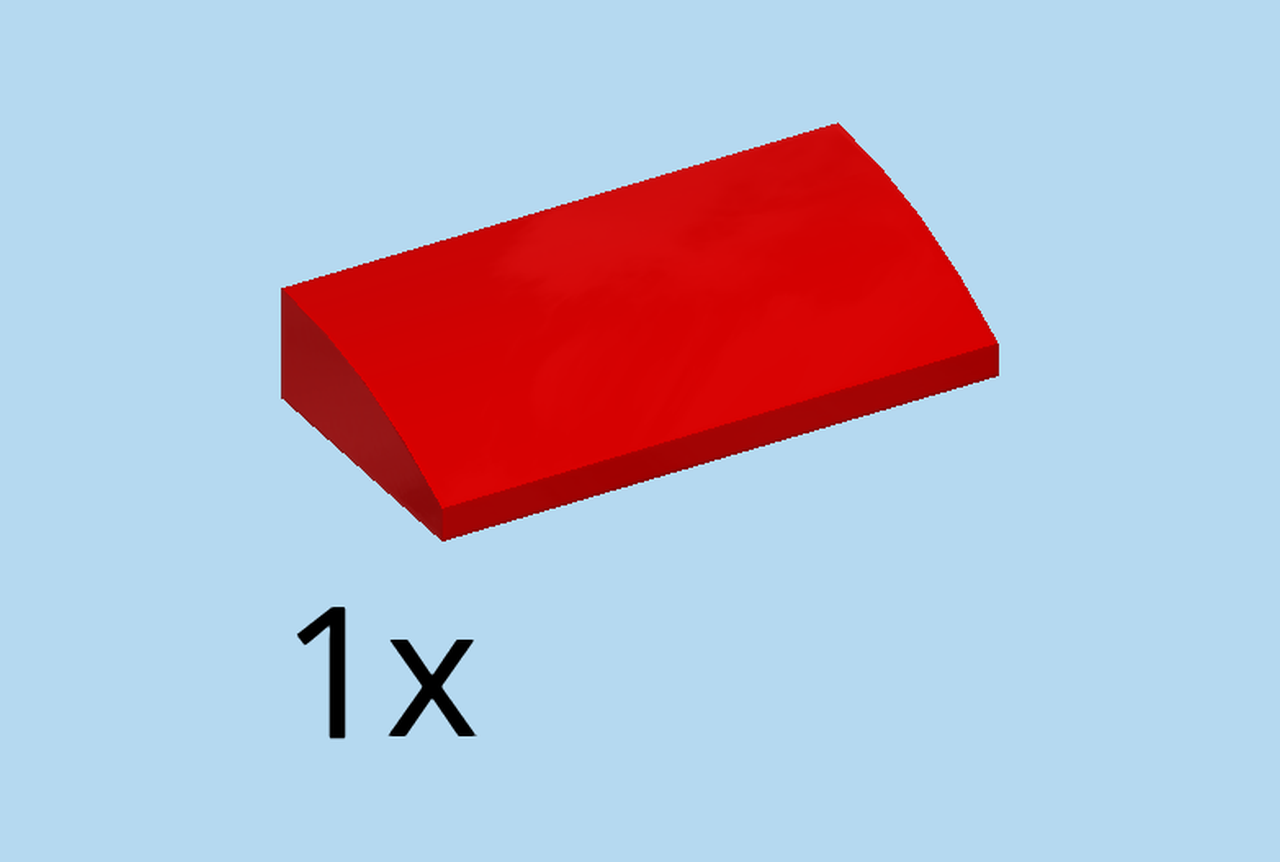
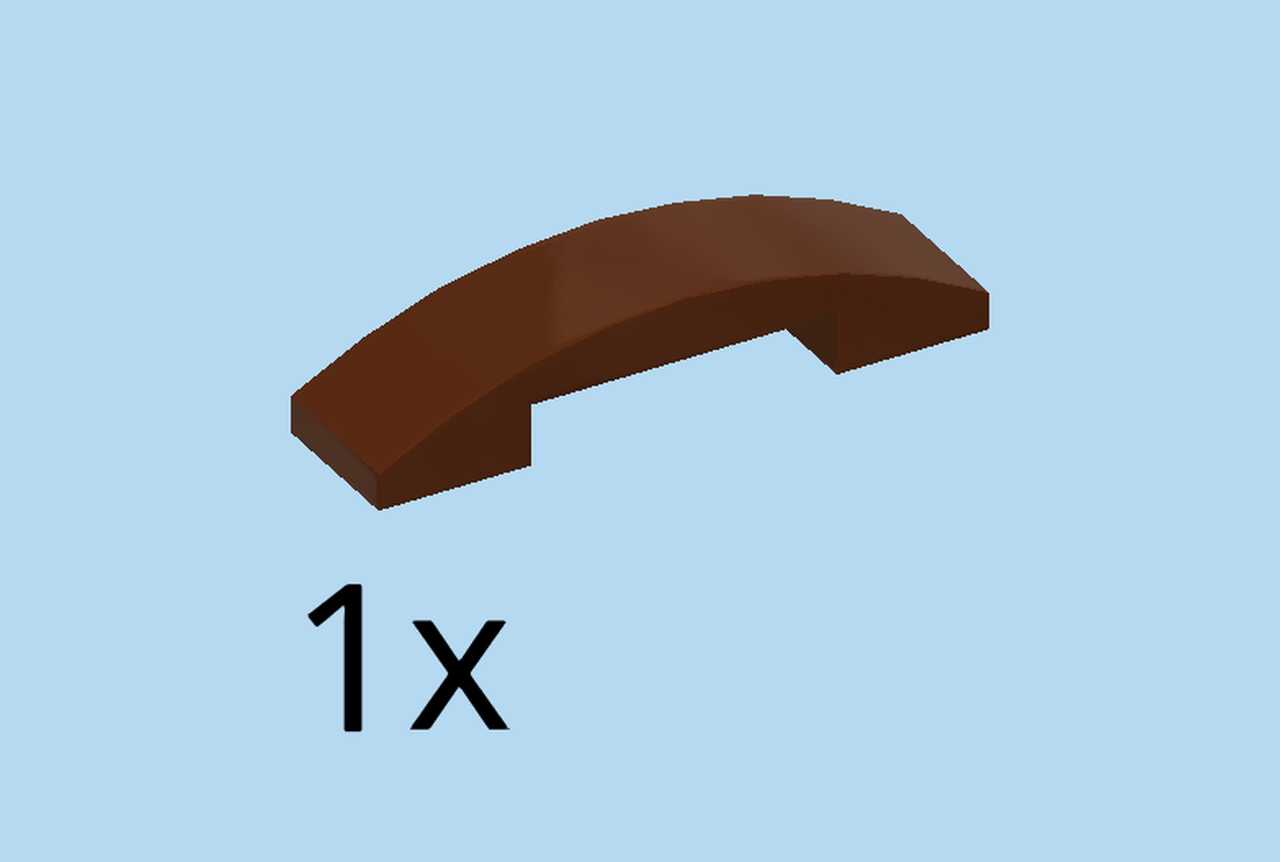
| Find 1 bright red curve tile 2x4. |
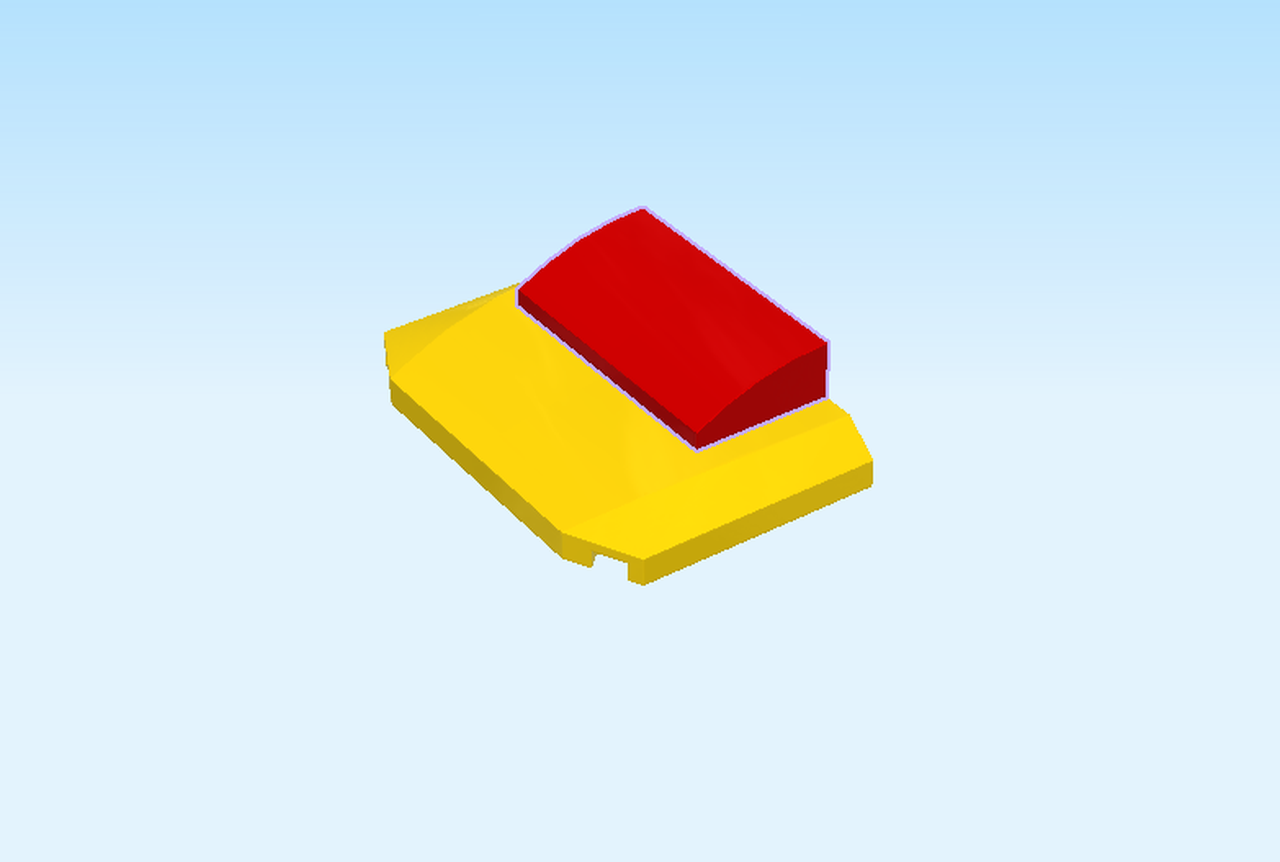
| Put it vertically on the four knobs, slope to the left. |
| Continue if you want to put a sticker on the piece. If not, skip the following 3 sentences. |
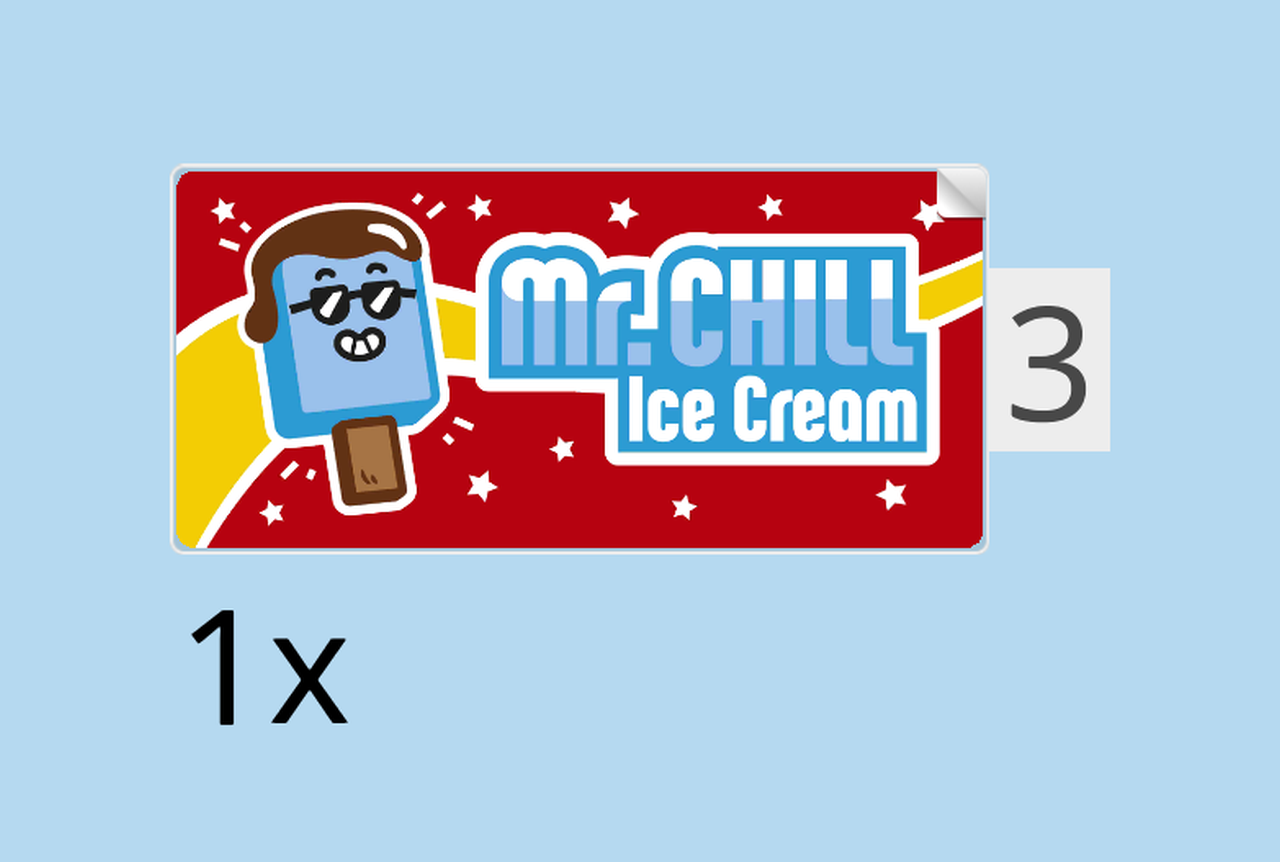
| Find 1 sticker number 3. Ask a sighted person to help you. |
| Put it vertically on the surface of the previous element. |
| The red sticker is printed with an image of a popsicle with black hair and sunglasses, and the blue and white text: "Mr. Chill Ice Cream". |
| Put the roof on top of the windscreen. |
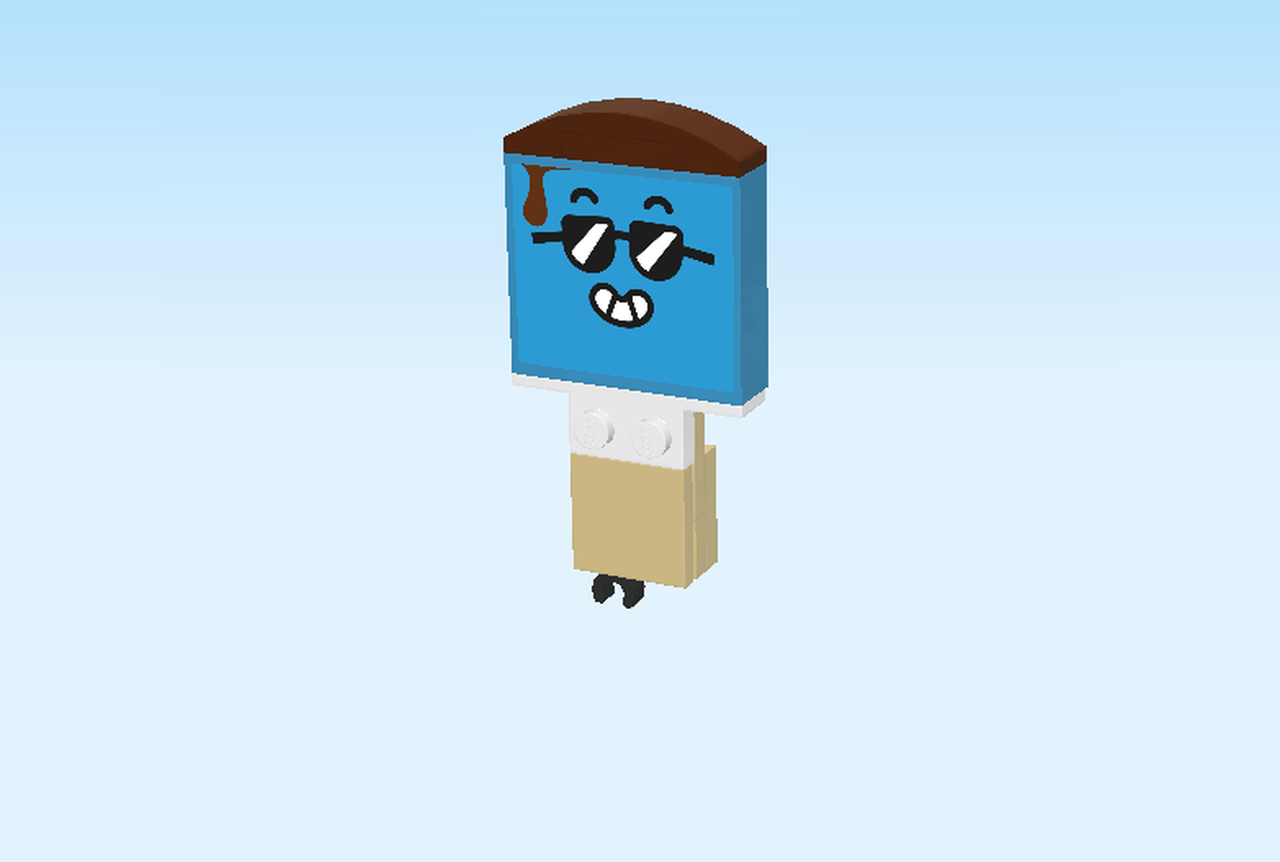
| We are now going to build a big popsicle, which is going to be mounted on top of the ice cream truck. |
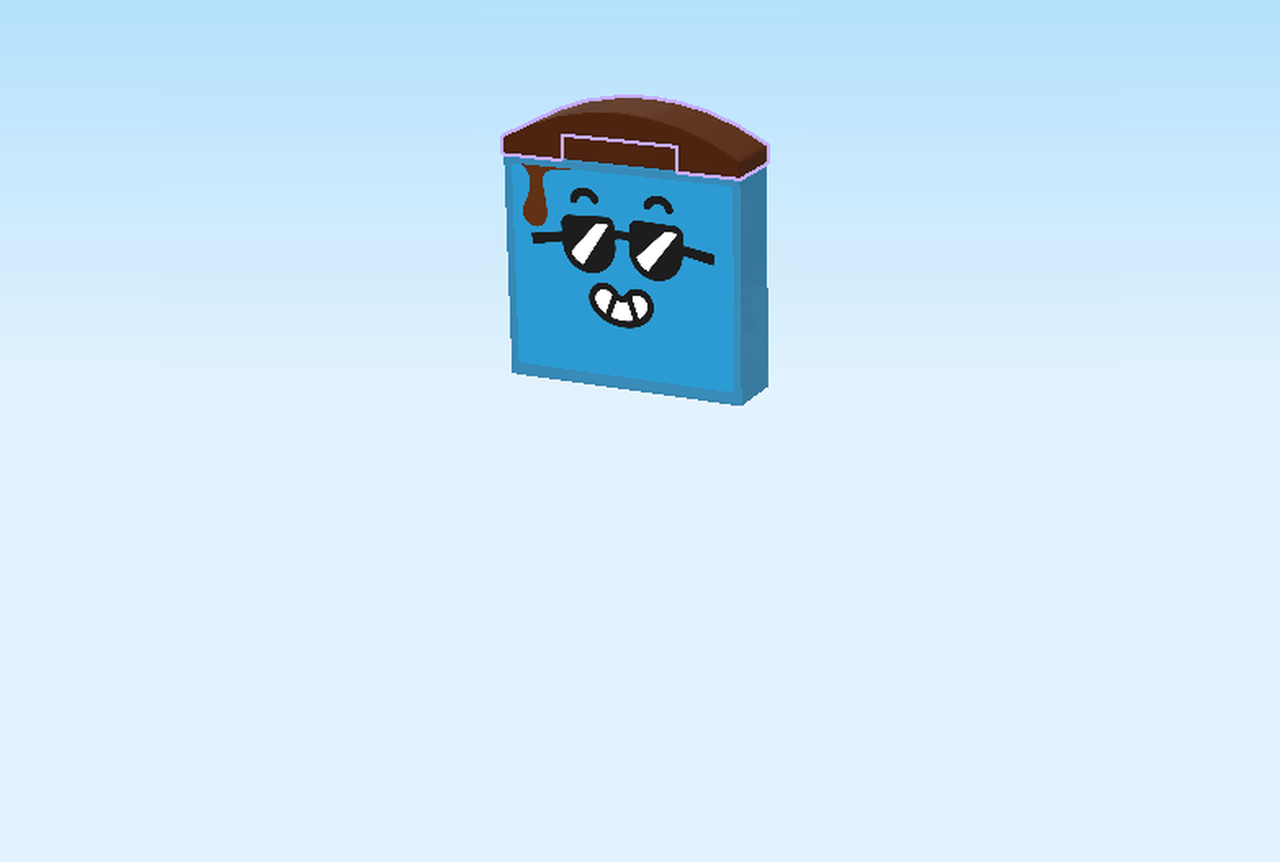
| Find 1 dark azure blue brick 1x4x3. |
| Put it horizontally on the table. |
| Continue if you want to put a sticker on the brick. If not, skip the following 3 sentences. |
| Find 1 sticker number 1. Ask a sighted person to help you. |
| Place it on the front surface. |
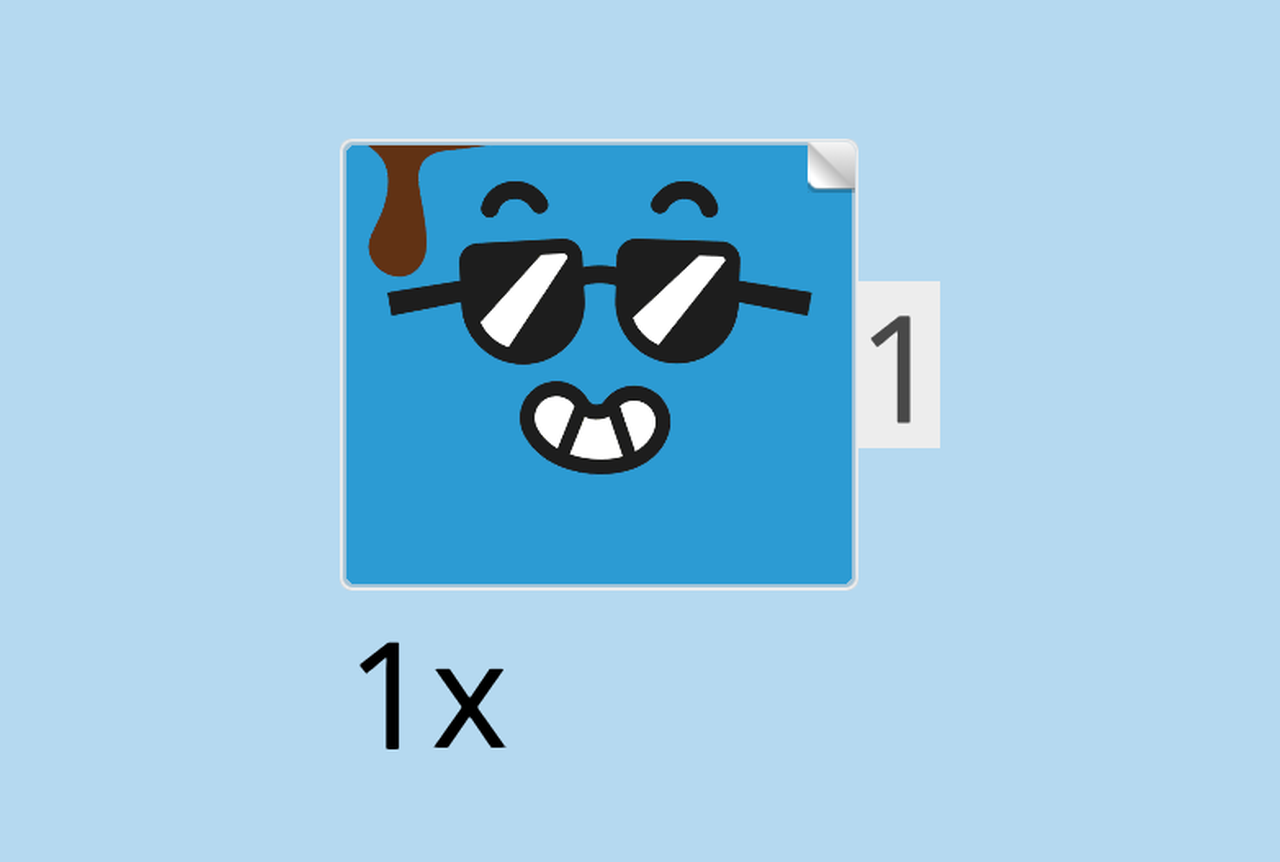
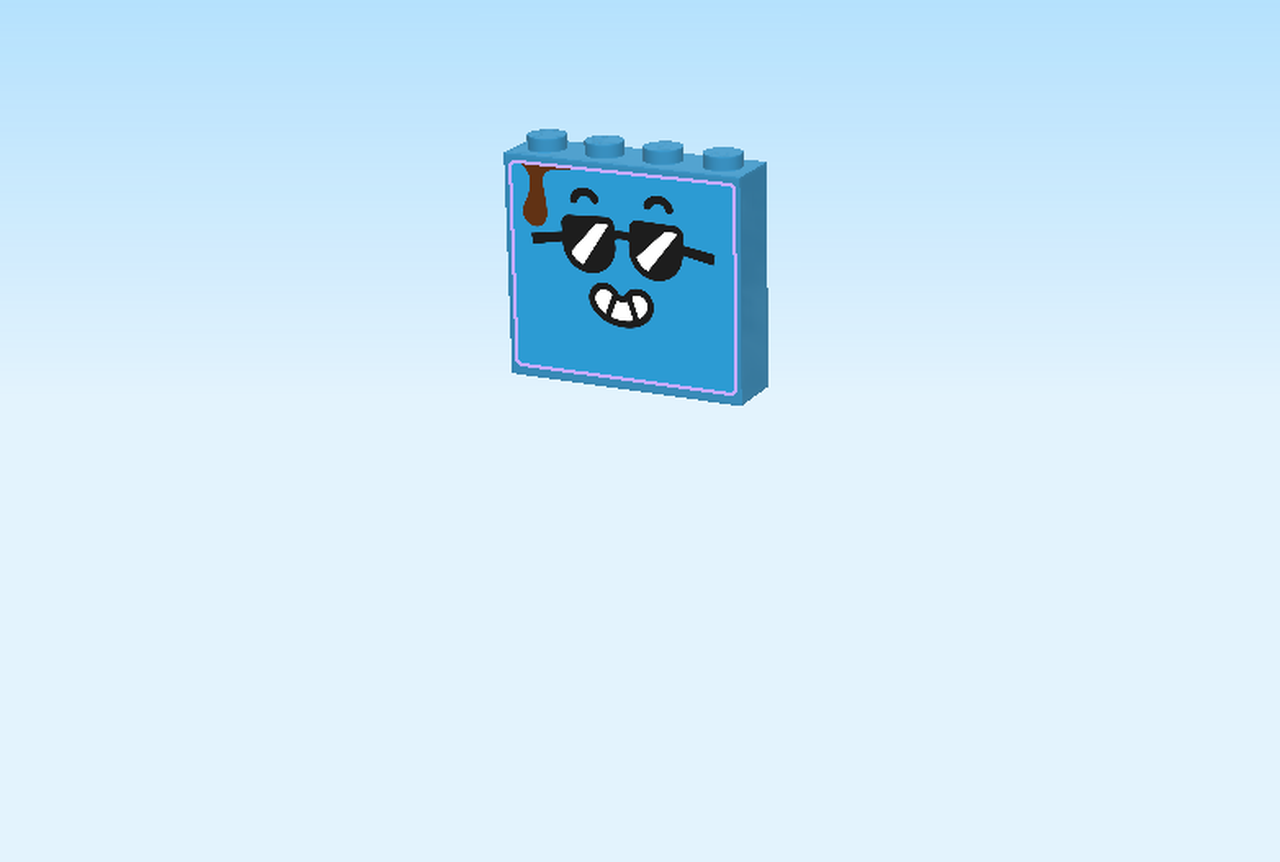
| The sticker is printed with a smiling face with sunglasses. |
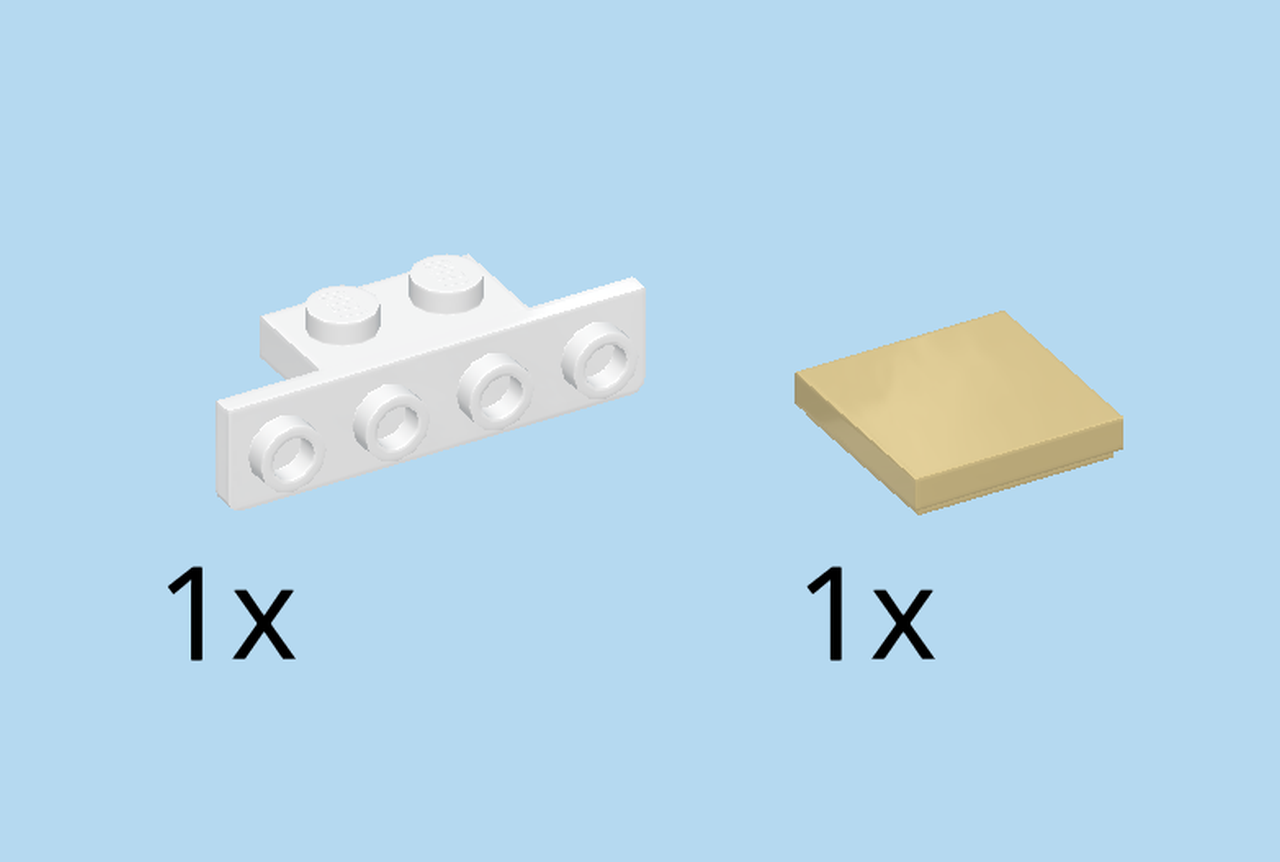
| Turn the brick left to right, and put another sticker number 1 on the other side. |
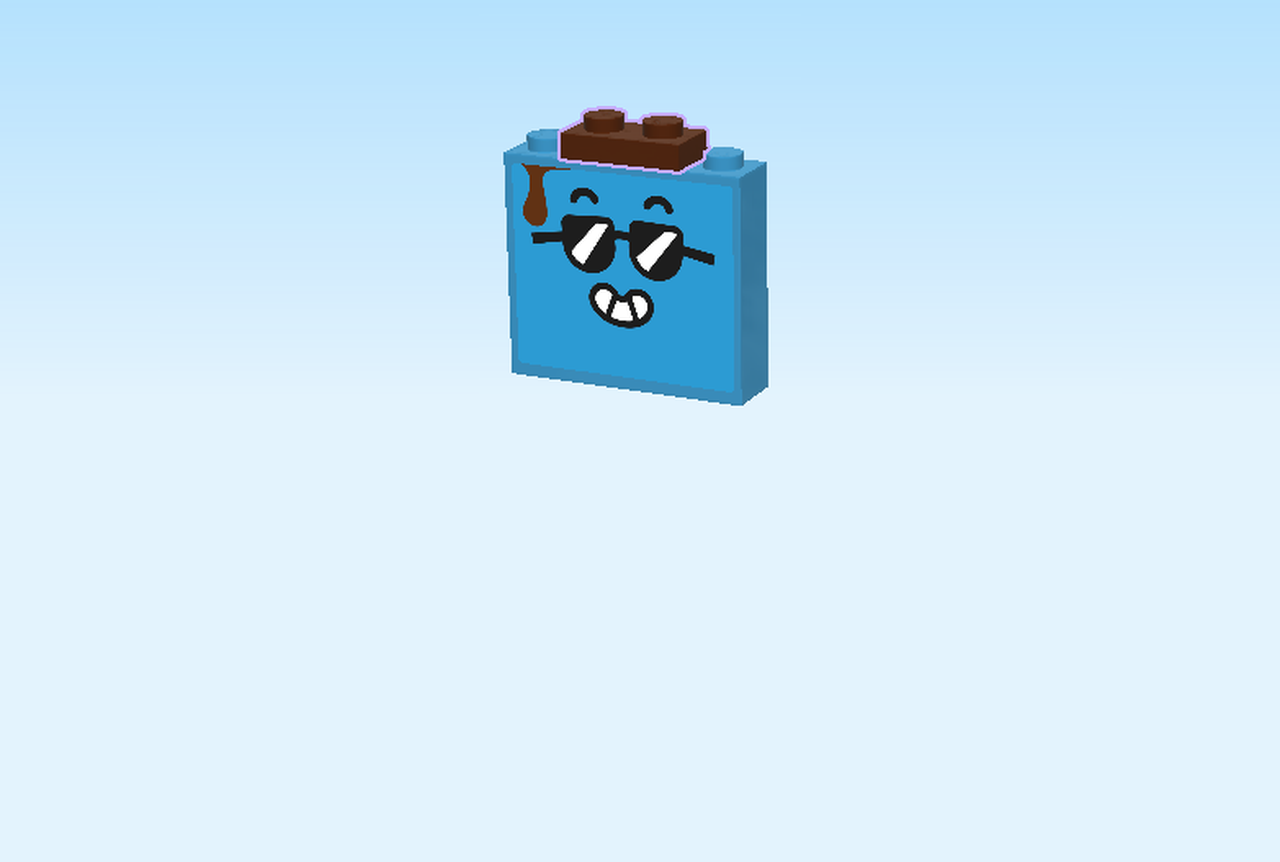
| Find 1 reddish brown plate 1x2. |
| Put it horizontally centered on top of the brick. |
| Find 1 reddish brown tile 1x4 with bow. |
| Put it horizontally on top. |
| Find 1 pale ocher yellow plate 2x2. |
| Put it on the table. |
| Find 1 pale ocher yellow plate 2x2. |
| Put it on the left column of the previous piece, one column overhanging to the left. |
| Collect the following 2 pieces: |
| 1 black plate 1x1 with side clasp, |
| and 1 pale ocher yellow plate 1x1. |
| Put the plate 1x1 with clasp on the rightmost edge at the front, clasp to the right. |
| Put the plate 1x1 behind the previous element. |
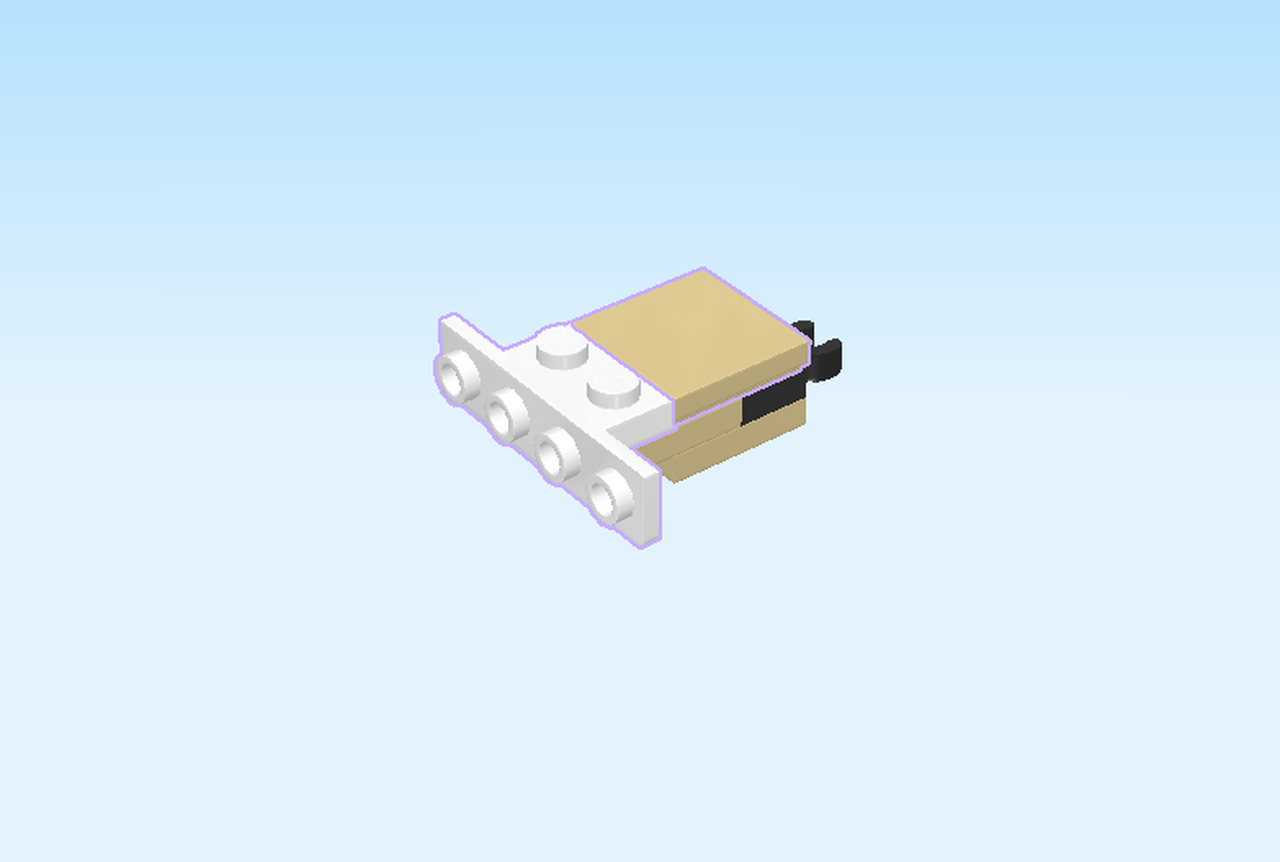
| Collect the following 2 pieces: |
| 1 pale ocher yellow flat tile 2x2, |
| and 1 white top angle plate 1x2 - 1x4 with 4 side knobs. |
| Put the flat tile 2x2 on the rightmost edge. |
| Put the angle plate vertically on the leftmost edge, side knobs to the left. |
| Now, flip this small build upright and attach the 4 side knobs underneath the blue brick. The clasp is now pointing to the bottom on the left side of the build. |
| The popsicle is now finished. |
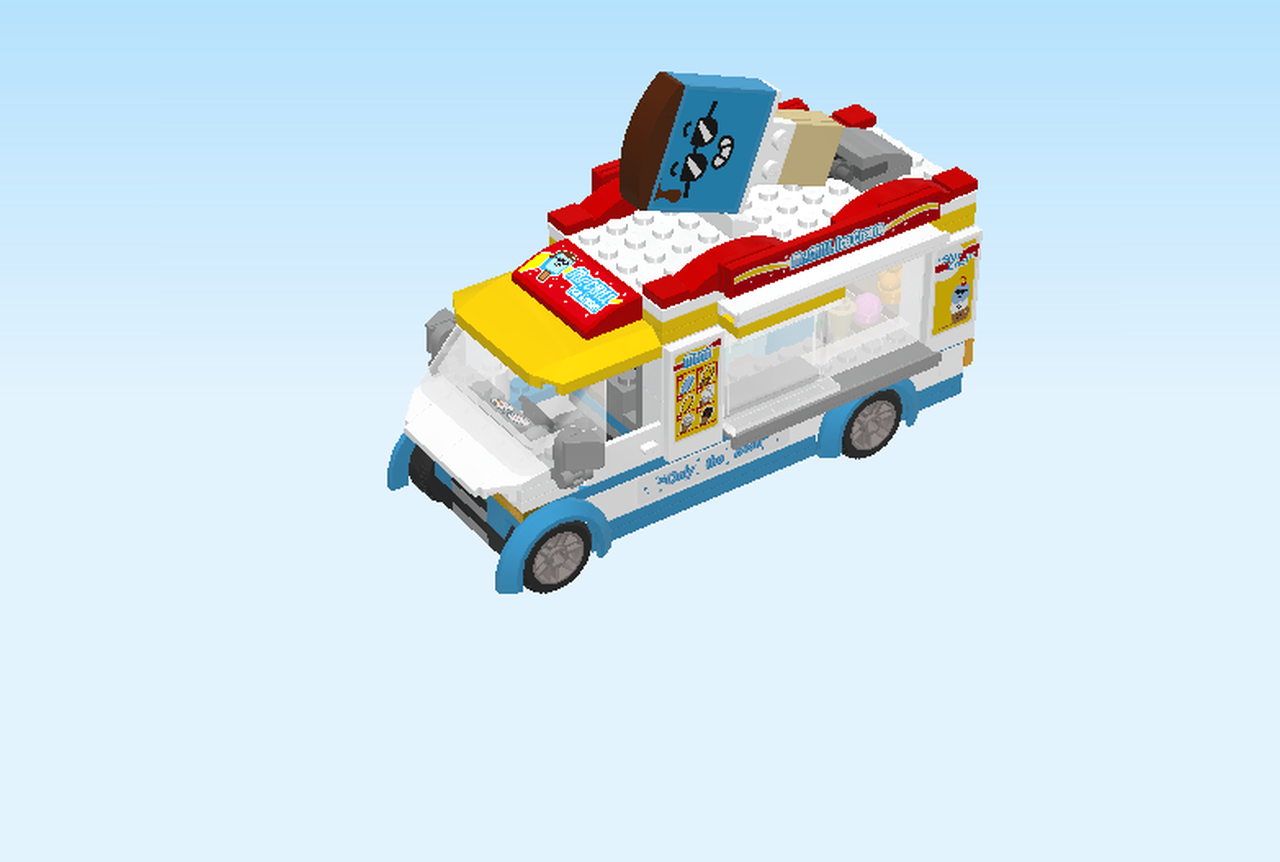
| Attach the popsicle on the structure. Click the clasp onto the shaft on the right section of the roof. The popsicle is touching the roof tile 1x2 at the left and is therefore mounted at an angle. |
| We are now going to assemble the wheels. |
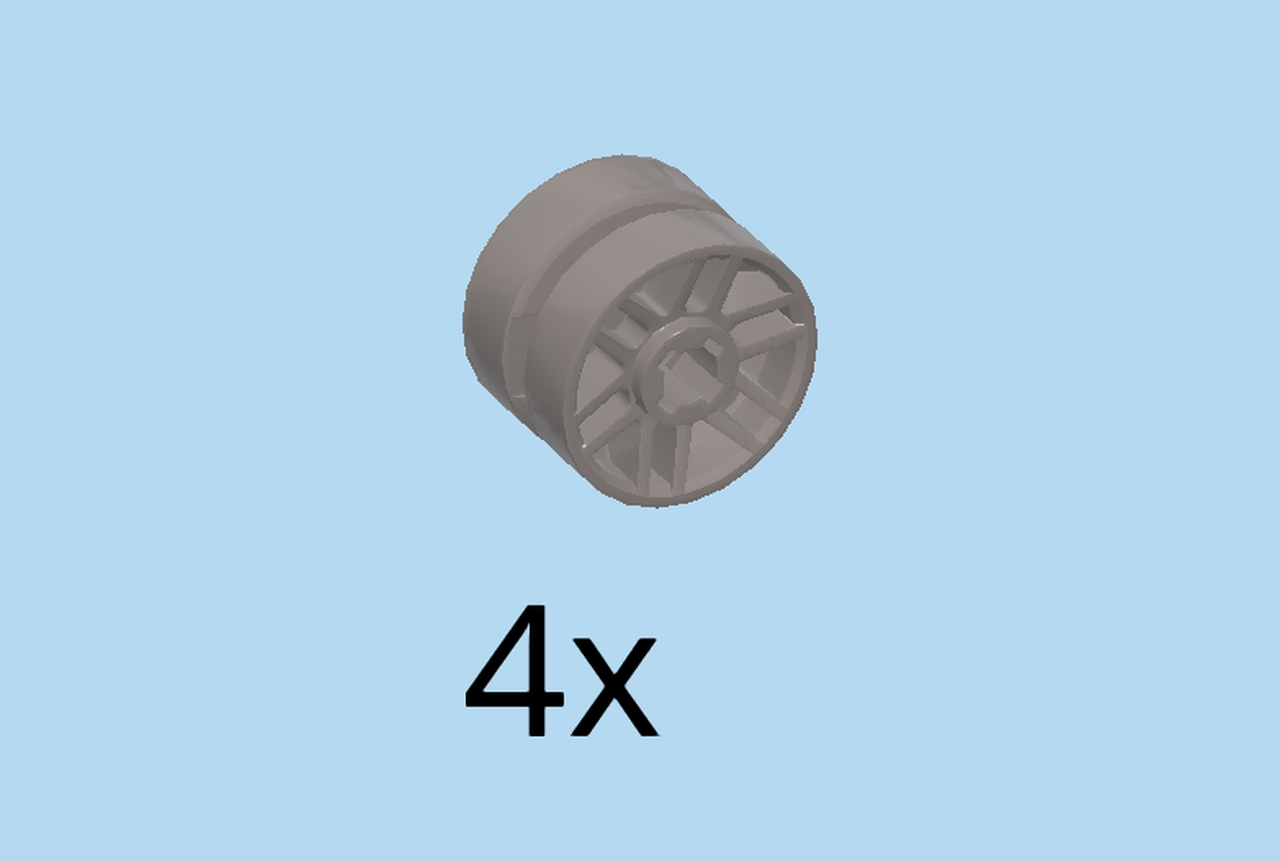
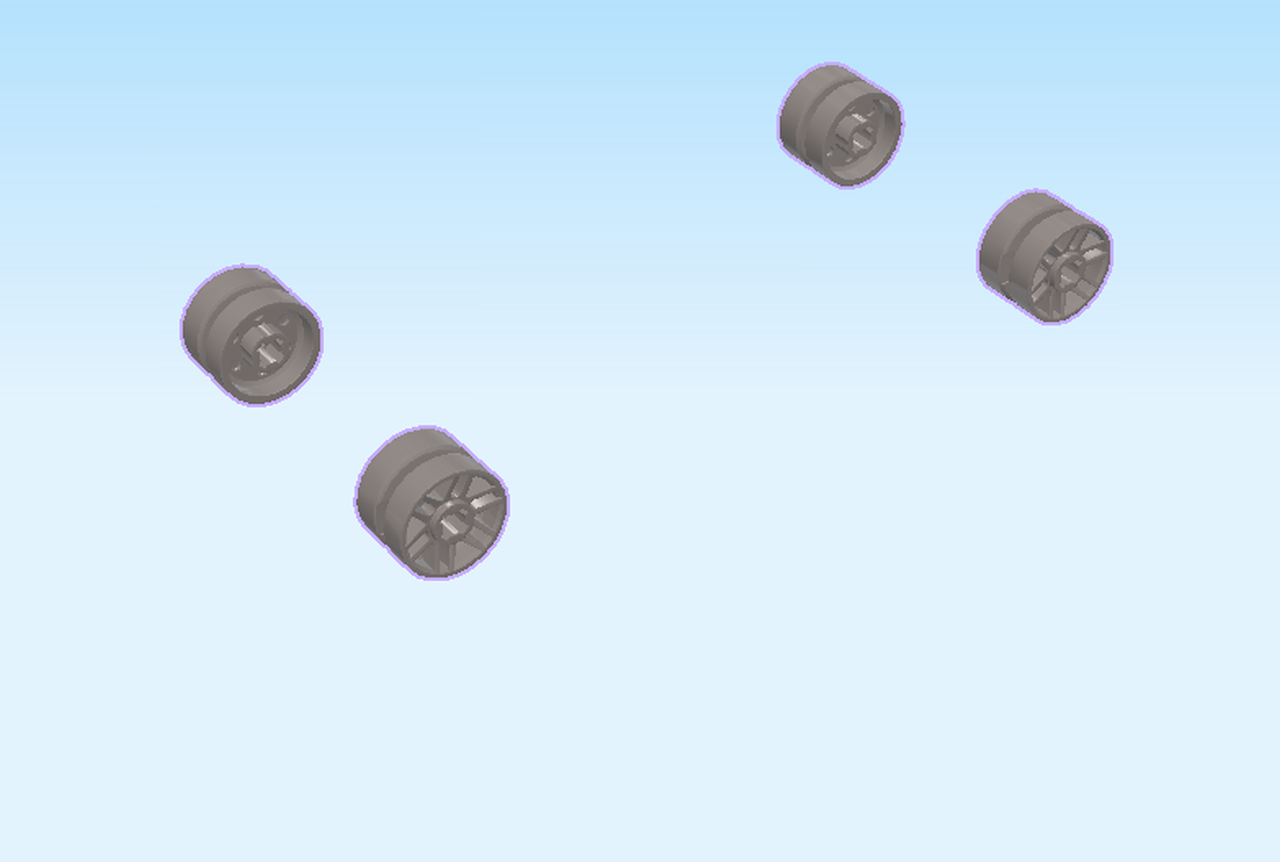
| Find 4 silver metallic narrow rims with hole and spokes. |
| Put them on the table. |
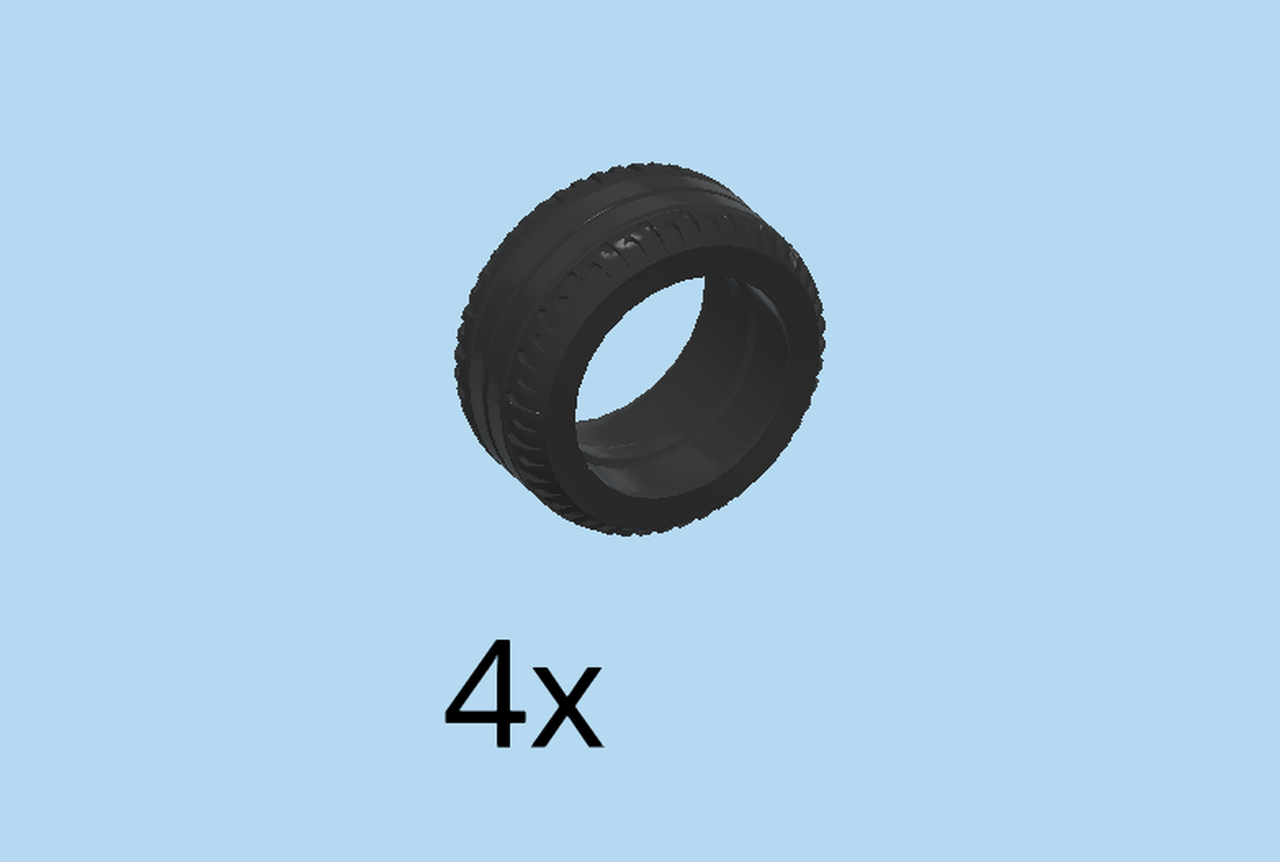
| Find 4 black narrow tires with low profile. |
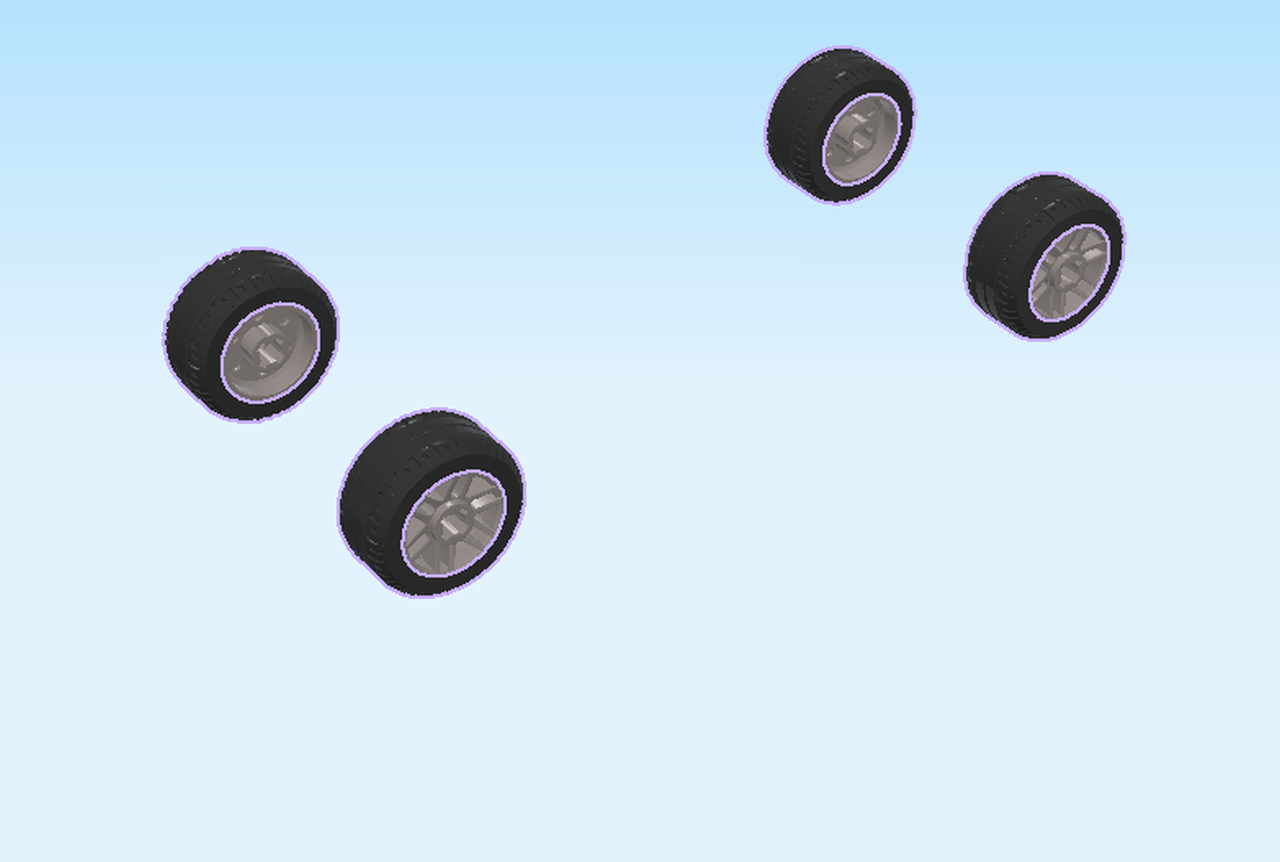
| Put the tires onto the rims. |
| Put the wheels on the 4 side connectors, spokes facing outwards. |
| We are now going to build the front of the ice-cream truck. |
| Find 1 dark green plate 2x4. |
| Put it vertically on the table. |
| Collect the following 2 pieces: |
| 1 dark azure blue plate 1x6, |
| and 1 white plate 1x6. |
| Put the dark azure blue plate 1x6 vertically centered on the left column. |
| Put the white plate 1x6 vertically centered on the right column. |
| Find 1 white flat tile 2x4. |
| Put it horizontally on the table. |
| Continue if you want to put a sticker on the piece. If not, skip the following 3 sentences. |
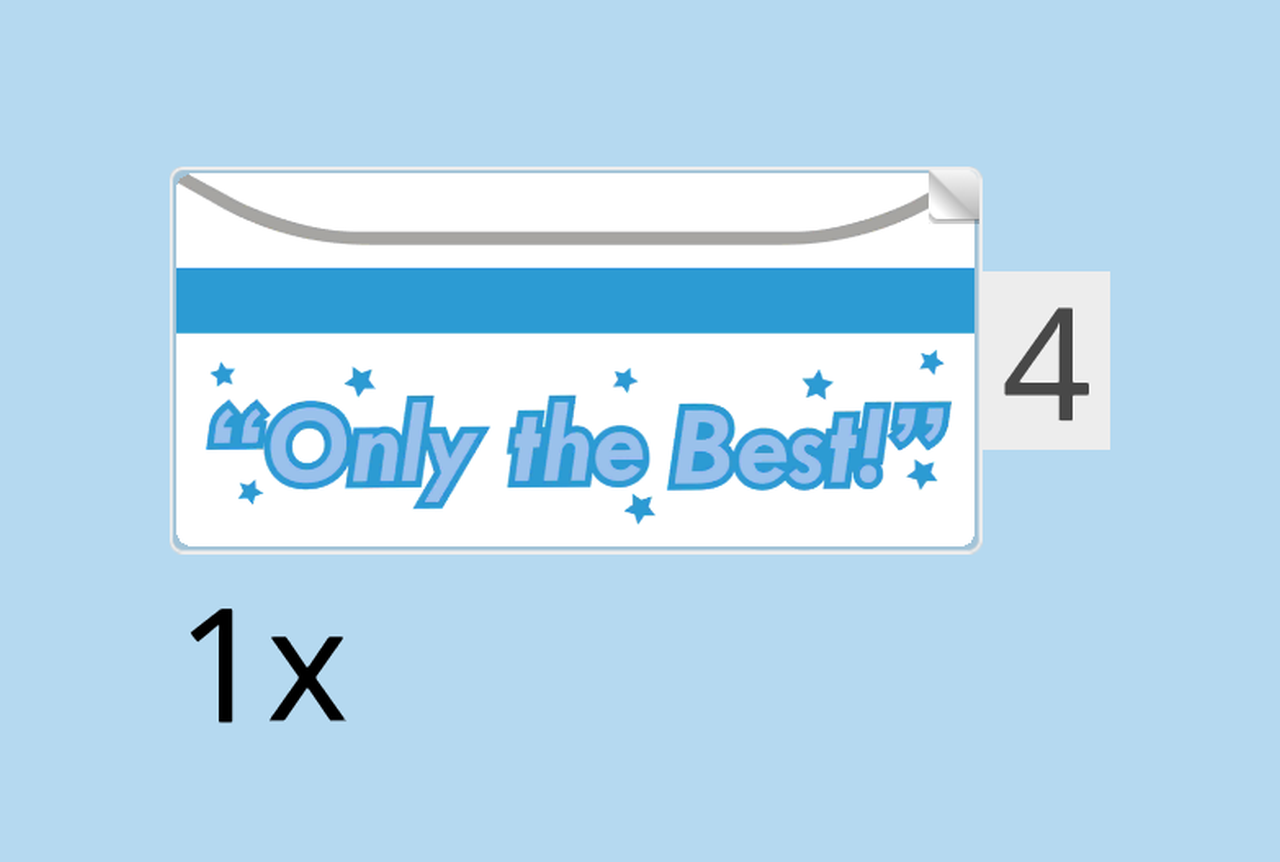
| Find 1 sticker number 4. Ask a sighted person to help you. |
| Place it on the surface. |
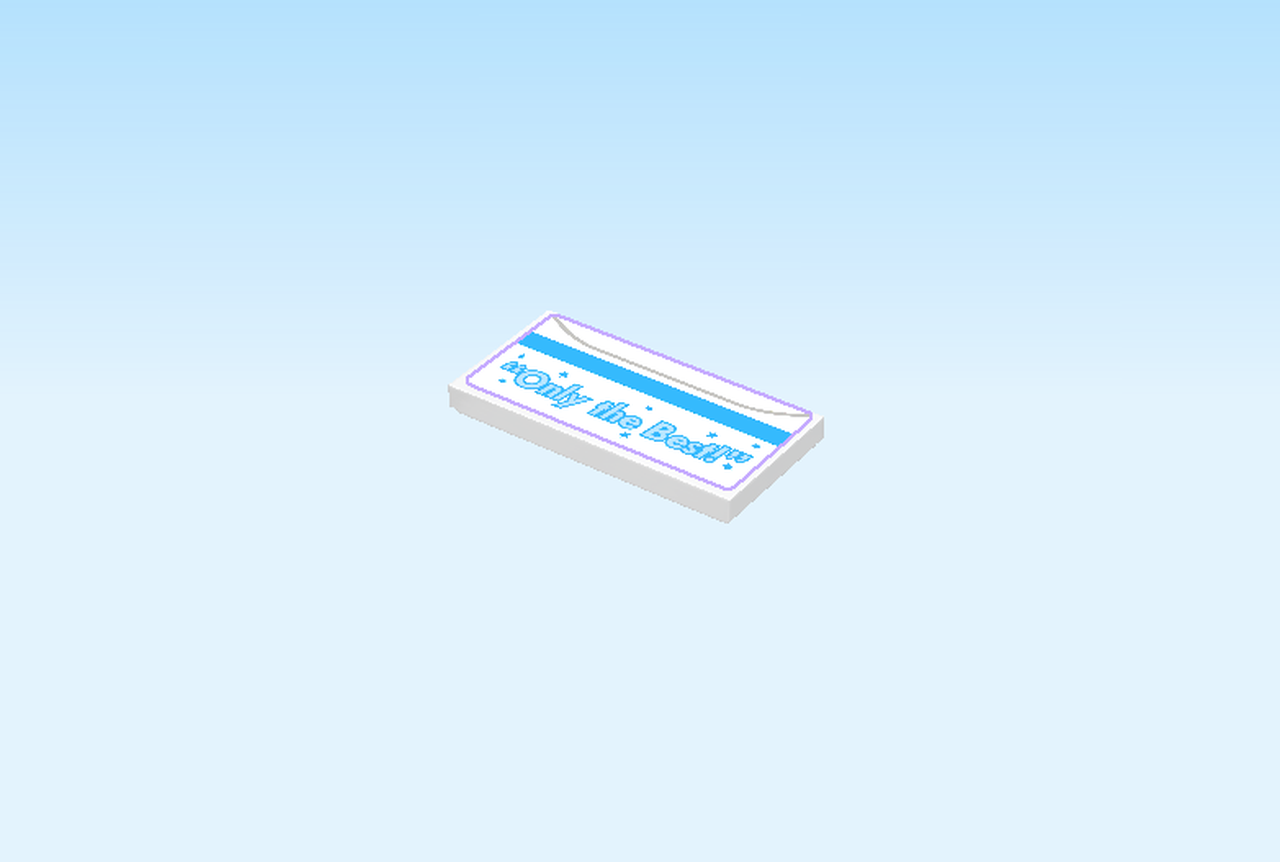
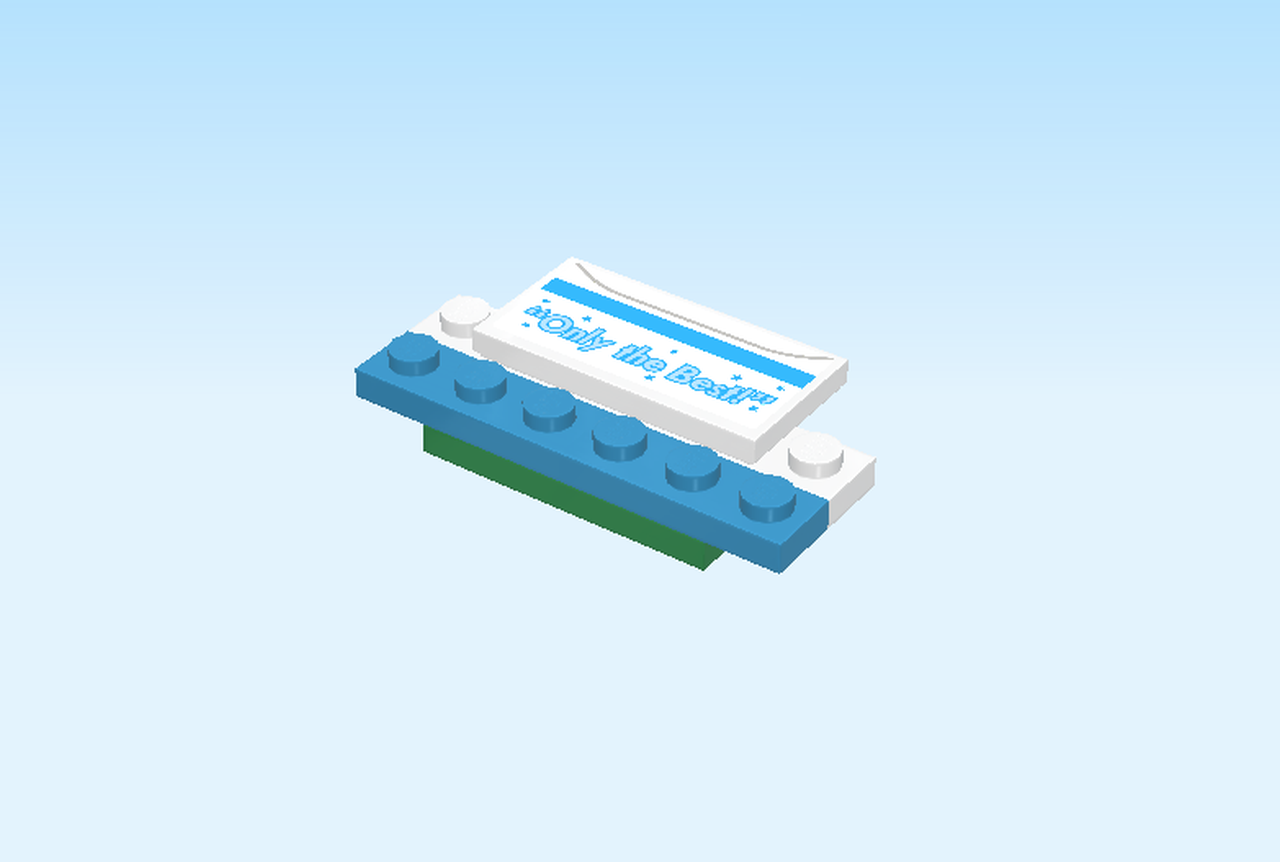
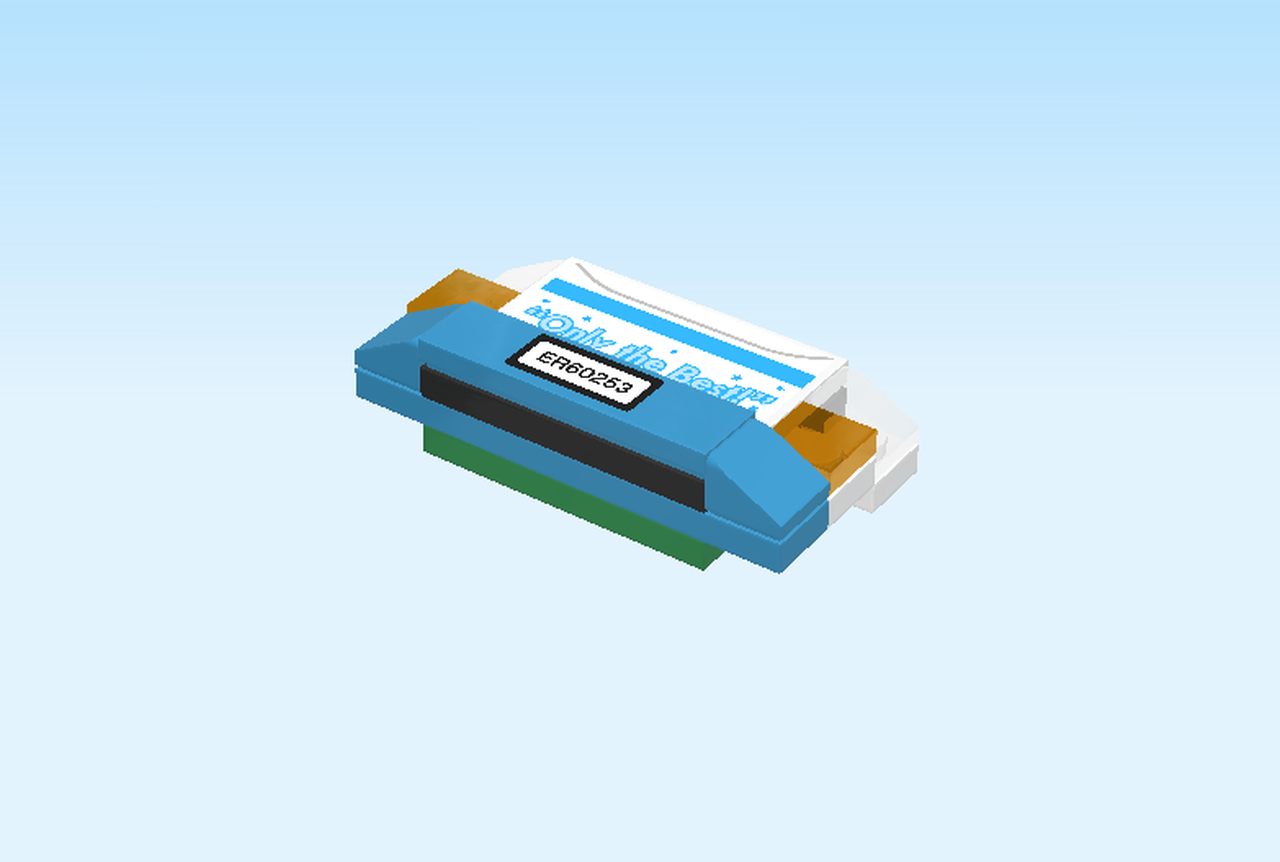
| The white sticker is printed with the blue text "Only the Best", a blue ribbon and some tiny blue stars. |
| Put the tile vertically centered on the right column, one column overhanging to the right. |
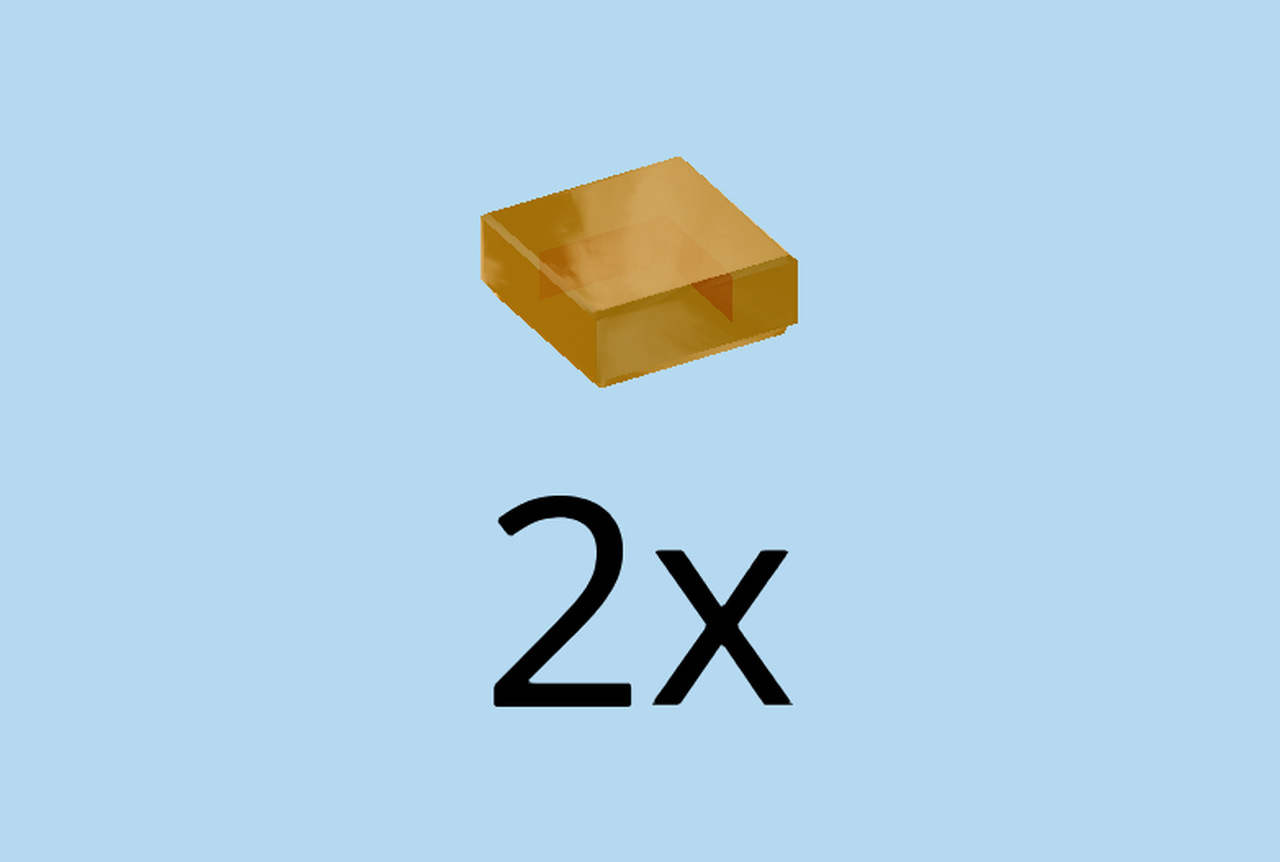
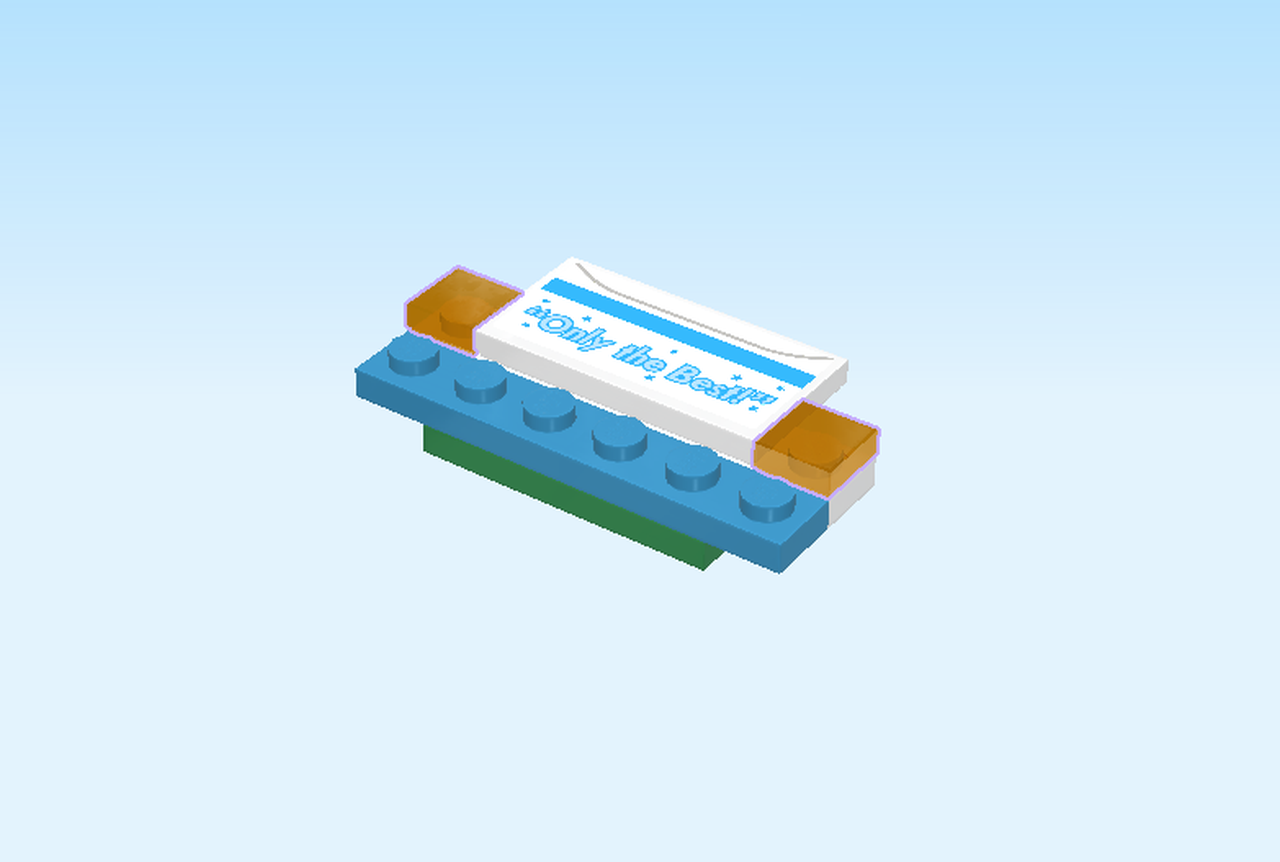
| Find 2 transparent bright orange flat tiles 1x1. |
| Put one in front of the previous element. |
| Repeat symmetrically at the back. |
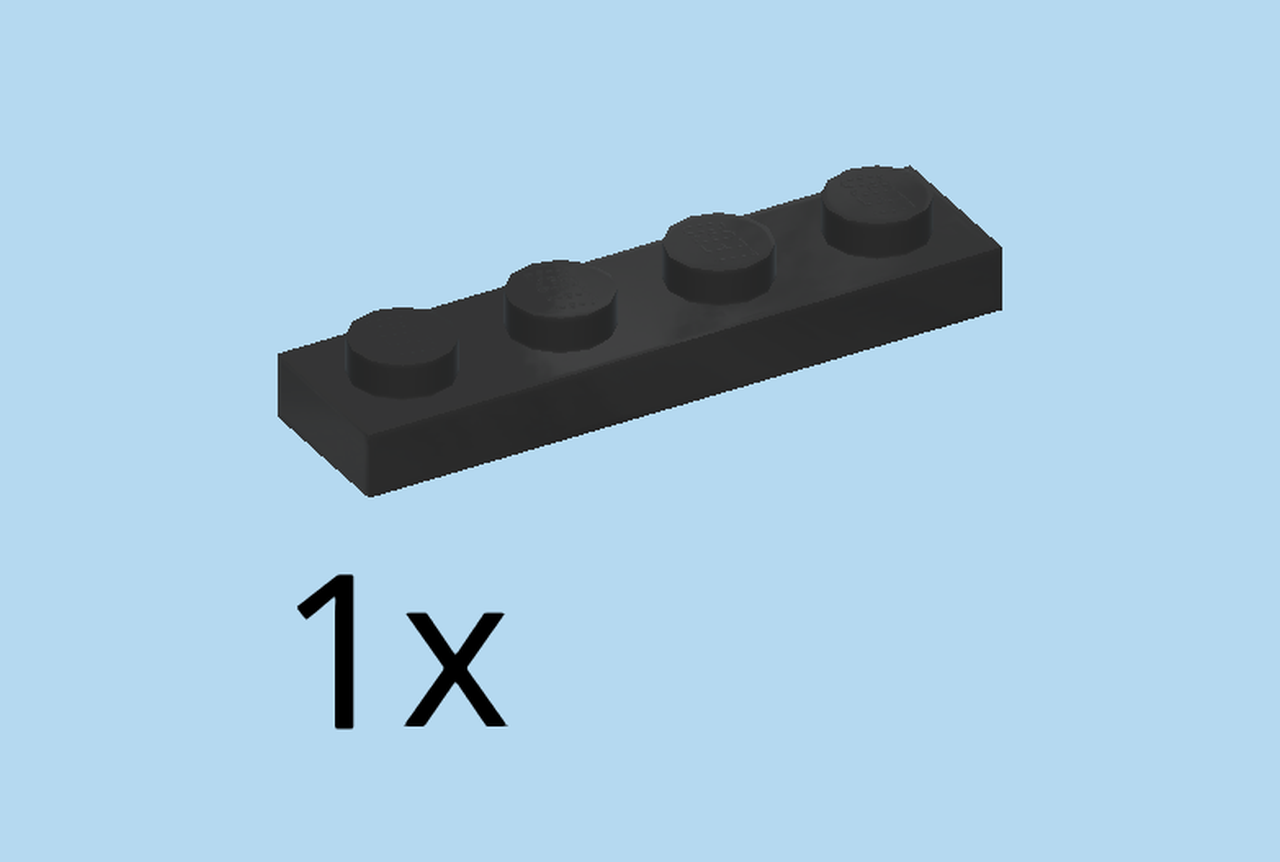
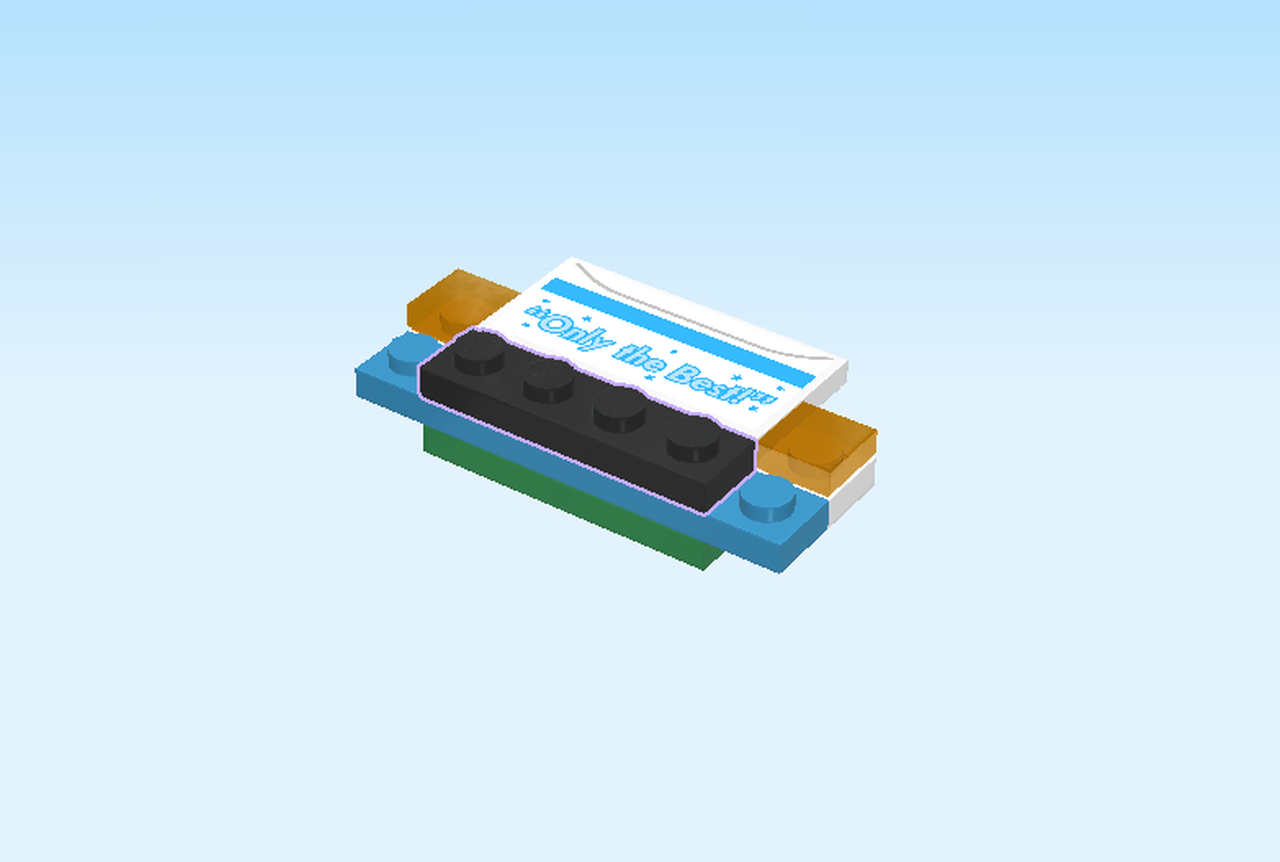
| Find 1 black plate 1x4. |
| Put it vertically in the middle of the left column. |
| Collect the following 3 pieces: |
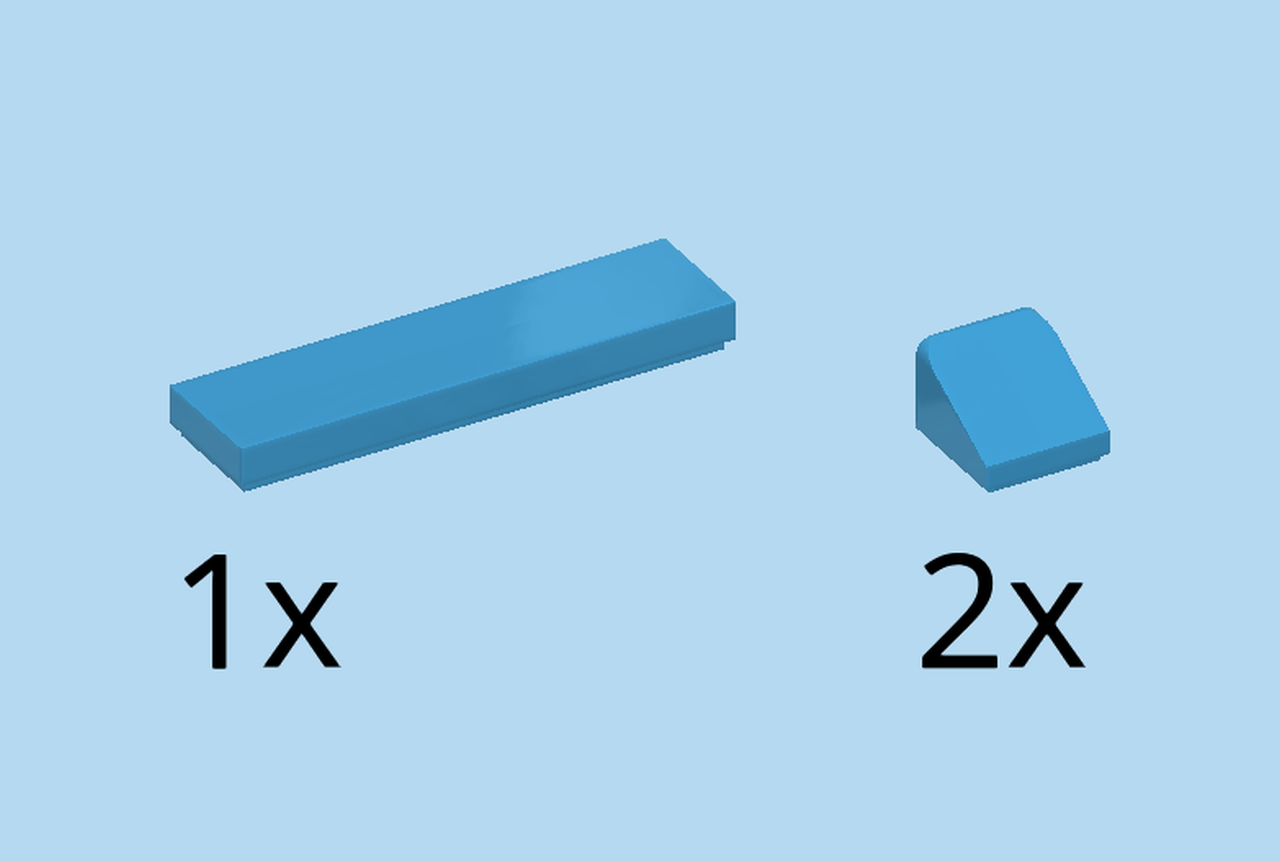
| 2 dark azure blue smooth roof tiles 1x1x⅔, |
| and 1 dark azure blue flat tile 1x4. |
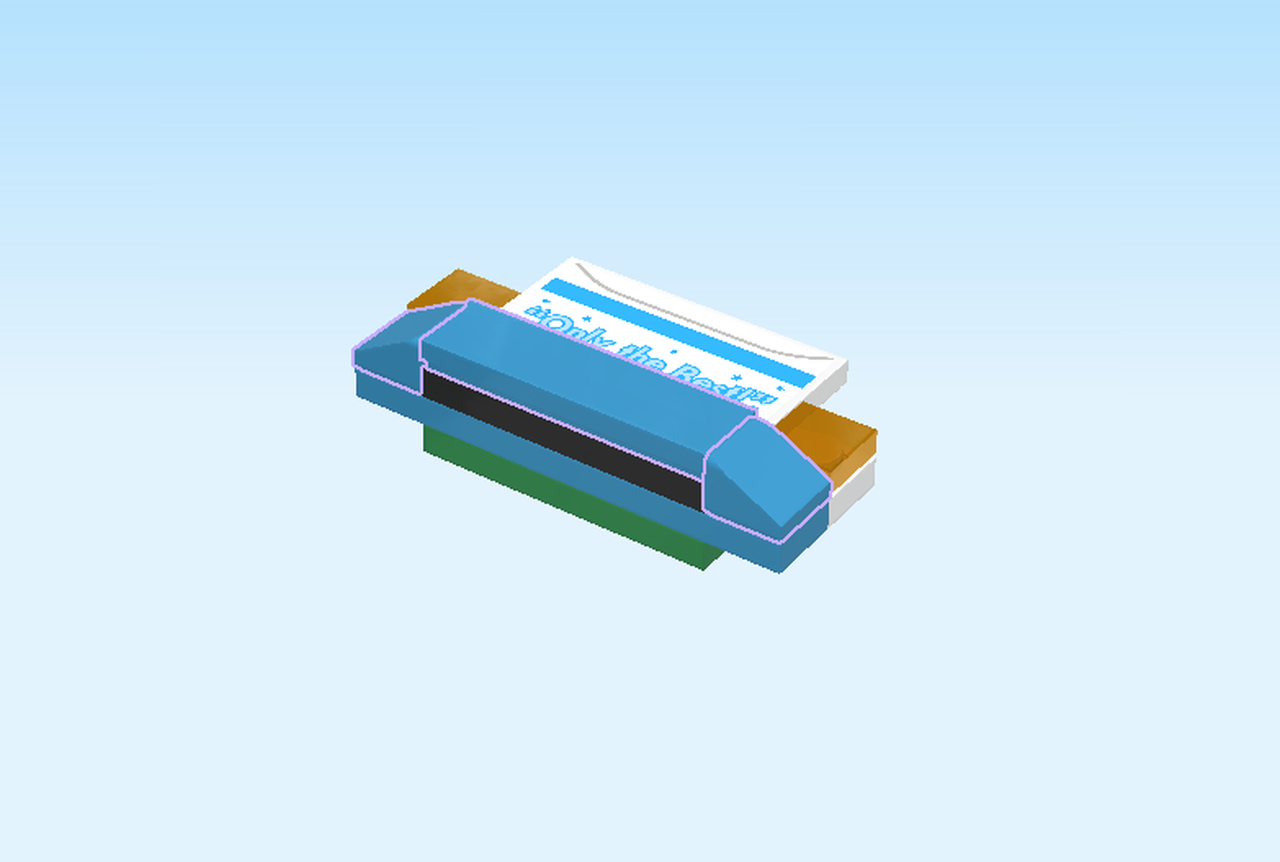
| Put the flat tile 1x4 on top of the previous element. |
| Put one roof tile 1x1 behind the previous element, slope to the back. |
| Repeat symmetrically at the front, slope to the front. |
| Continue if you want to put a sticker on the build. If not, skip the following 3 sentences. |
| Find 1 sticker number 8. Ask a sighted person to help you. |
| Put the sticker on top of the flat tile 1x4 on the left. |
| The sticker is printed with a black and white license plate, showing the license tag: ER60253. |
| Find 1 white plate 1x6. |
| Put it vertically on the table. |
| Find 1 black plate 1x4. |
| Put it vertically centered on top. |
| Find 2 transparent smooth roof tiles 1x1x⅔. |
| Put one behind the previous element, slope to the back. |
| Repeat symmetrically at the front. |
| Careful! This will be mounted in a special orientation. |
| Put the small build vertically centered underneath the rightmost column of the truck front. |
| Turn the truck front upright and mount it on the left side of the structure at the bottom. The small sticker with the license plate is at the bottom. |
| Collect the following 2 pieces: |
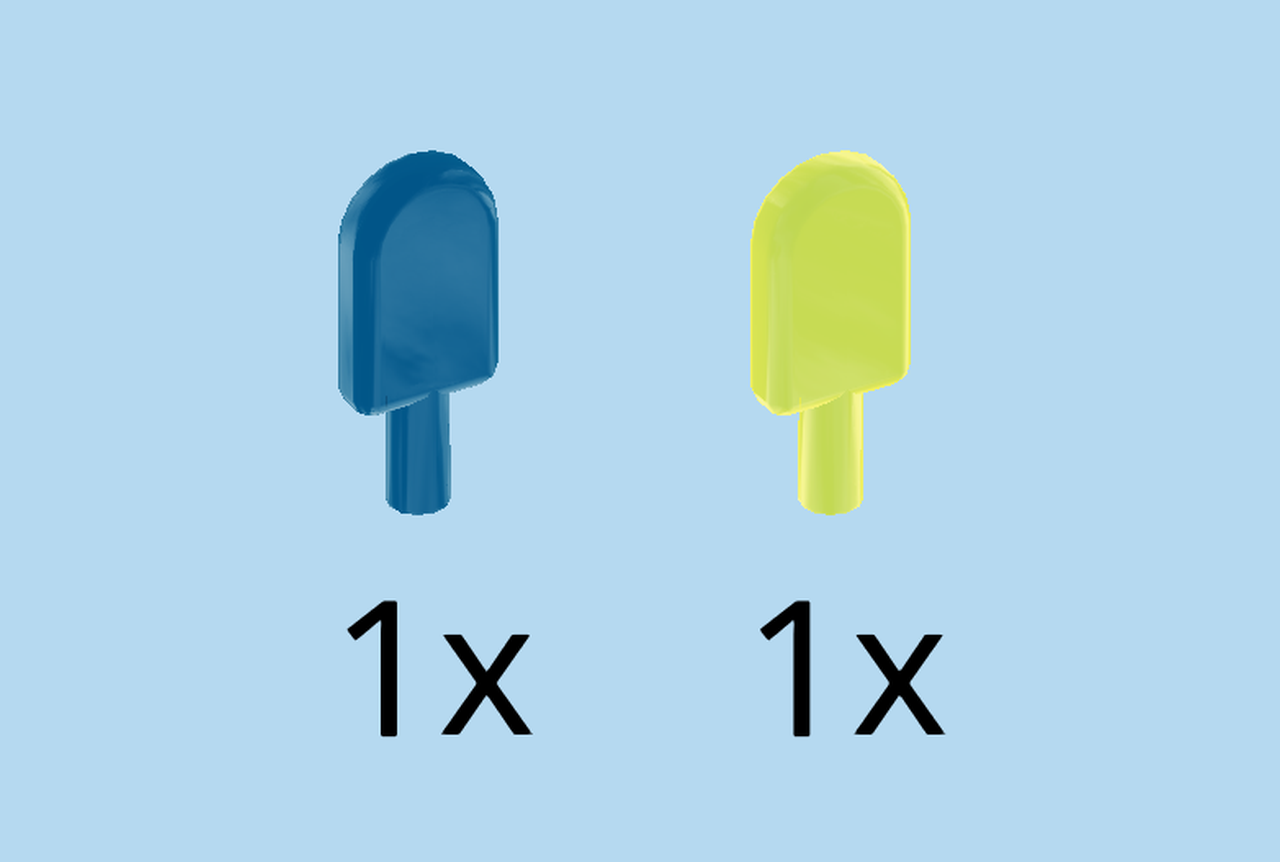
| 1 transparent fluorescent green ice lolly, |
| and 1 transparent blue ice lolly. |
| Turn the ice cream truck left to right. This means that now the front end of the truck is pointing to the right. Open the large side window. You can now put the two popsicles into the holders. |
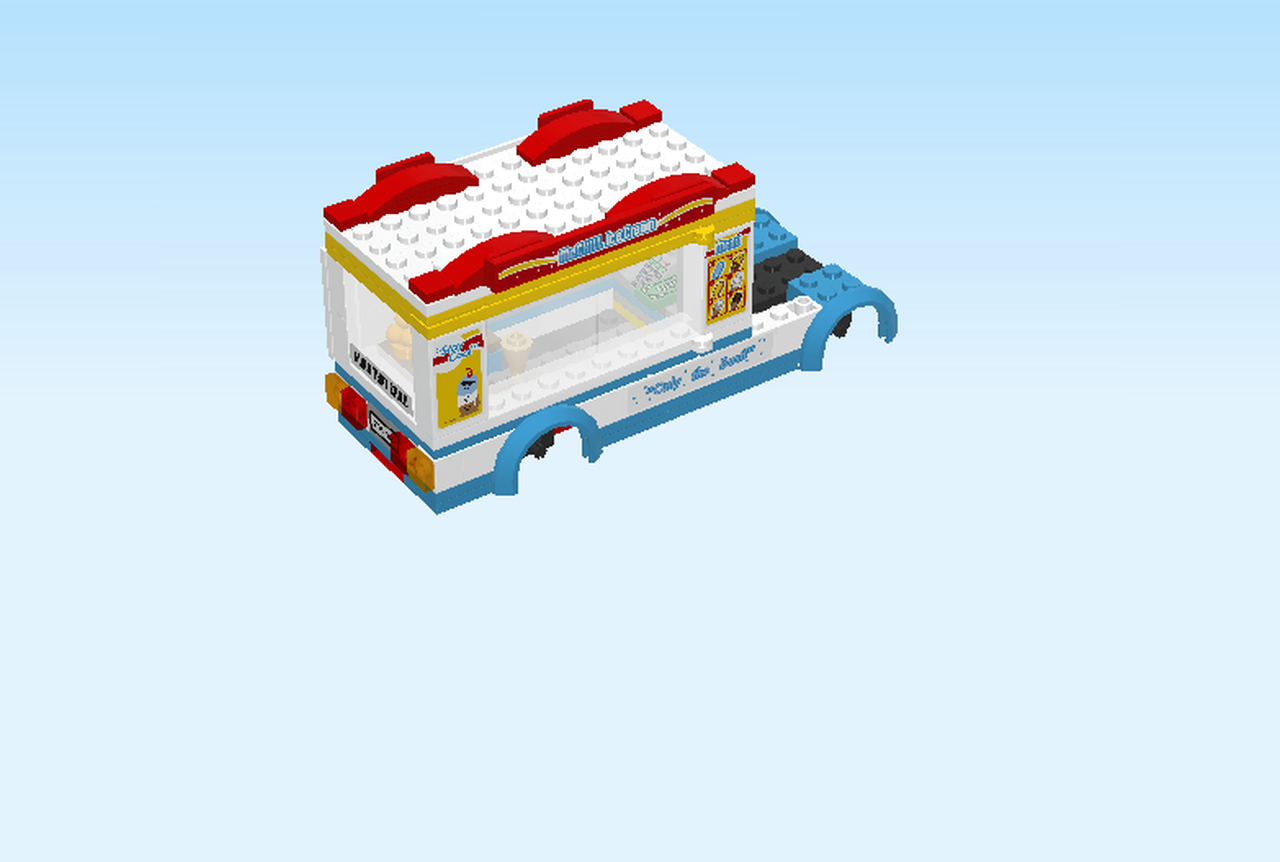
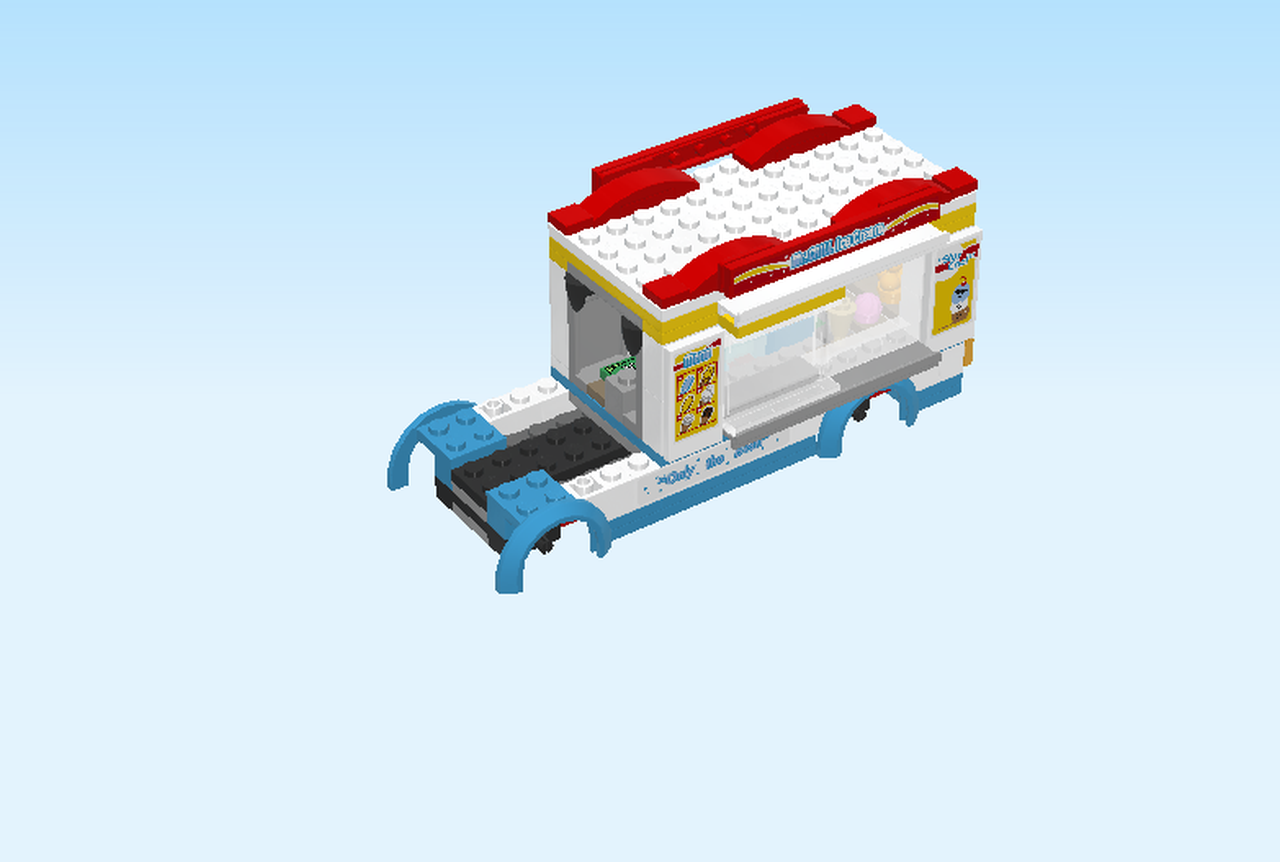
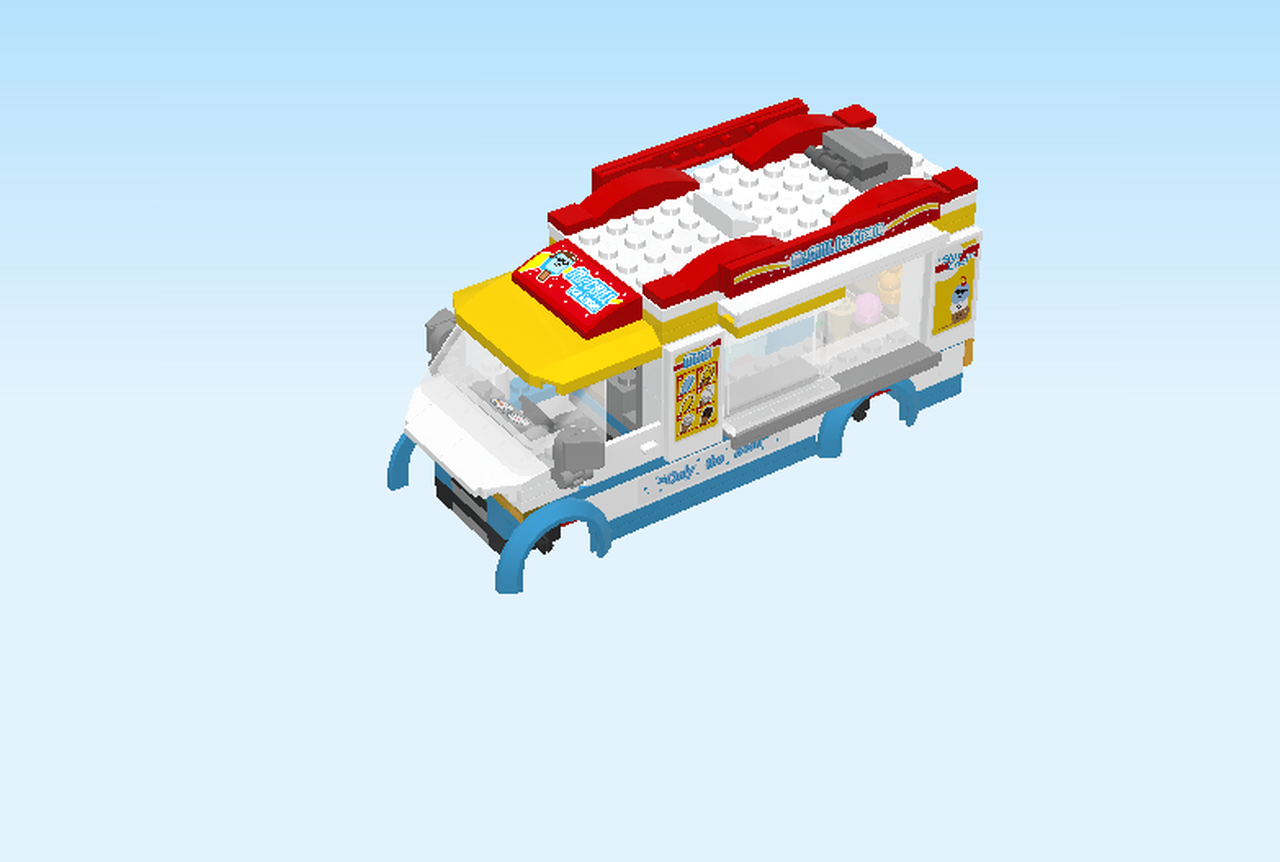
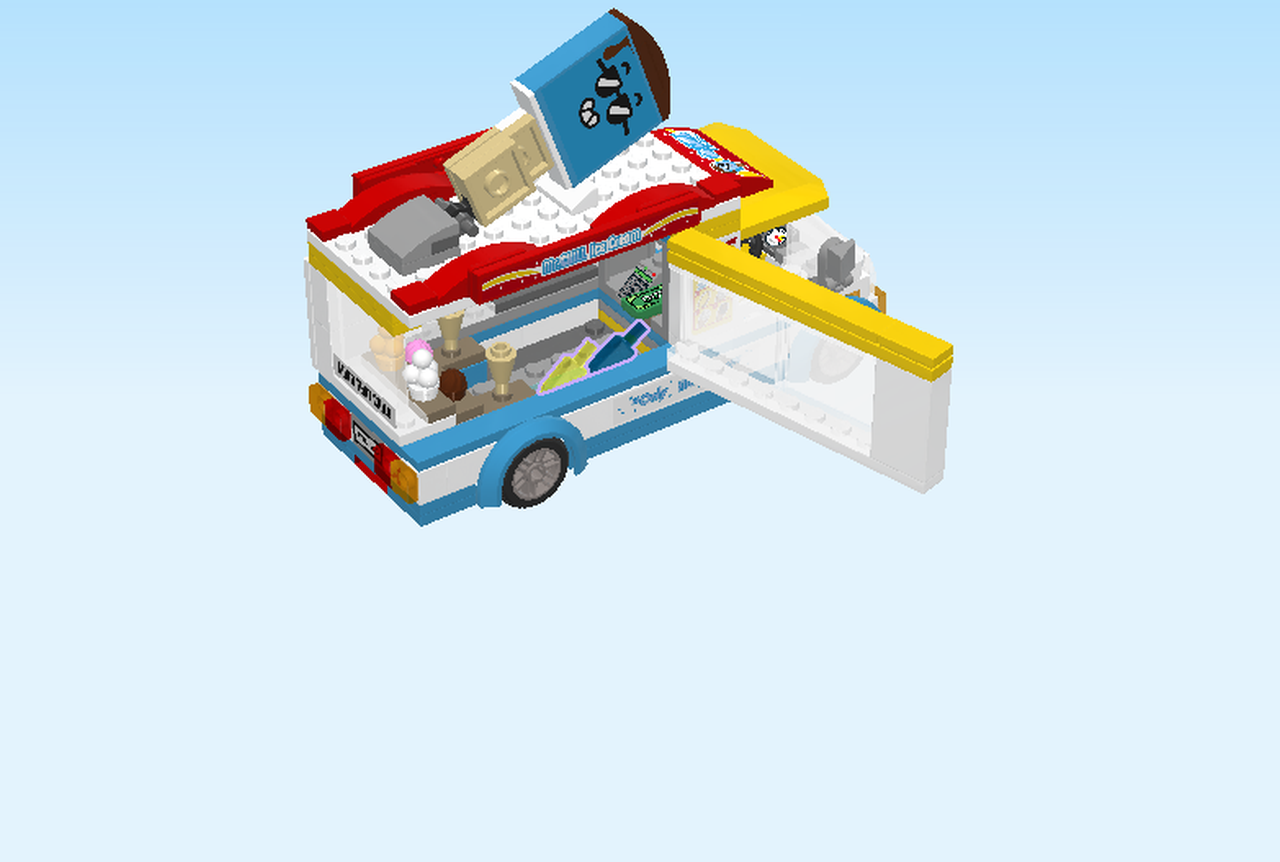
| You have now finished building the whole ice-cream truck. Well done! |
| Close the window again. Seat the ice cream lady in the front seat and off you go. Take the truck for a spin through the neighborhood and see if there are any children around who would like a tasty ice cream cone or a cool popsicle! Slide the side window open and start selling your delicious treats. |
| Enjoy! |
