| LEGO Audio & Braille Building Instructions for the LEGO City set "Sky Police Drone Chase". |
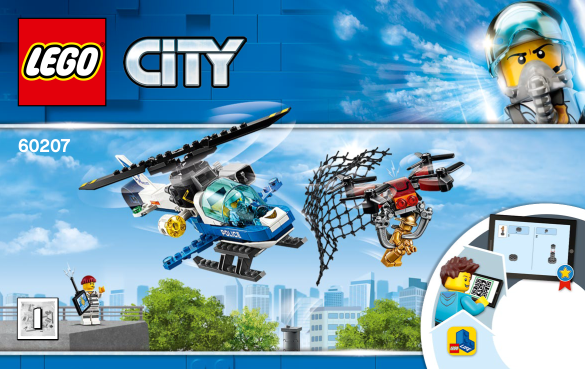
| When a crook uses his drone to steal a valuable statue, it is time to launch the police helicopter and bring him to justice. |
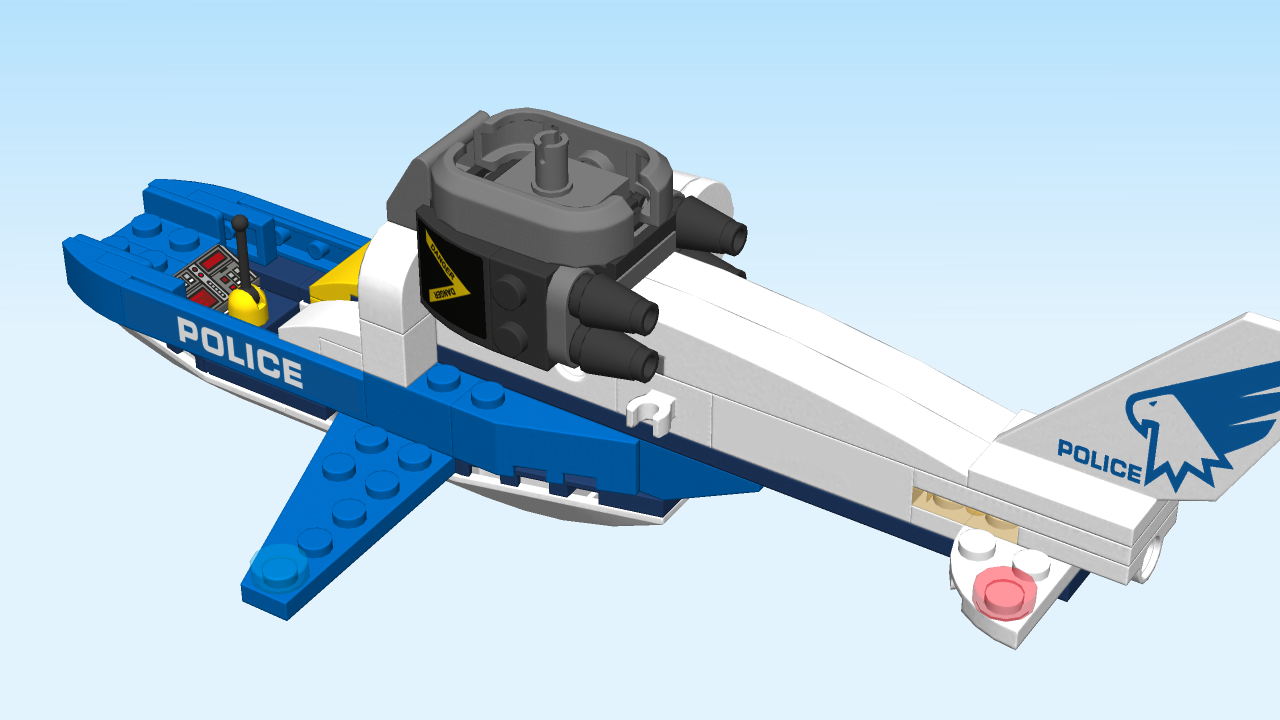
| Patrol the LEGO City streets from above with the exciting Sky Police Drone Chase set, featuring a police helicopter with opening minifigure cockpit, spinning rotor, searchlight and firing net shooter. This fun police play set also includes a buildable drone with spinning rotors and opening claws, a golden minifigure statue with pedestal, remote-control element, handcuffs and 2 minifigures. |
| Includes 3 LEGO City minifigures: a crook and a Sky Police officer figure, plus a golden minifigure statue. |
| Open the box. This is tricky for everyone; ask someone to help you! |
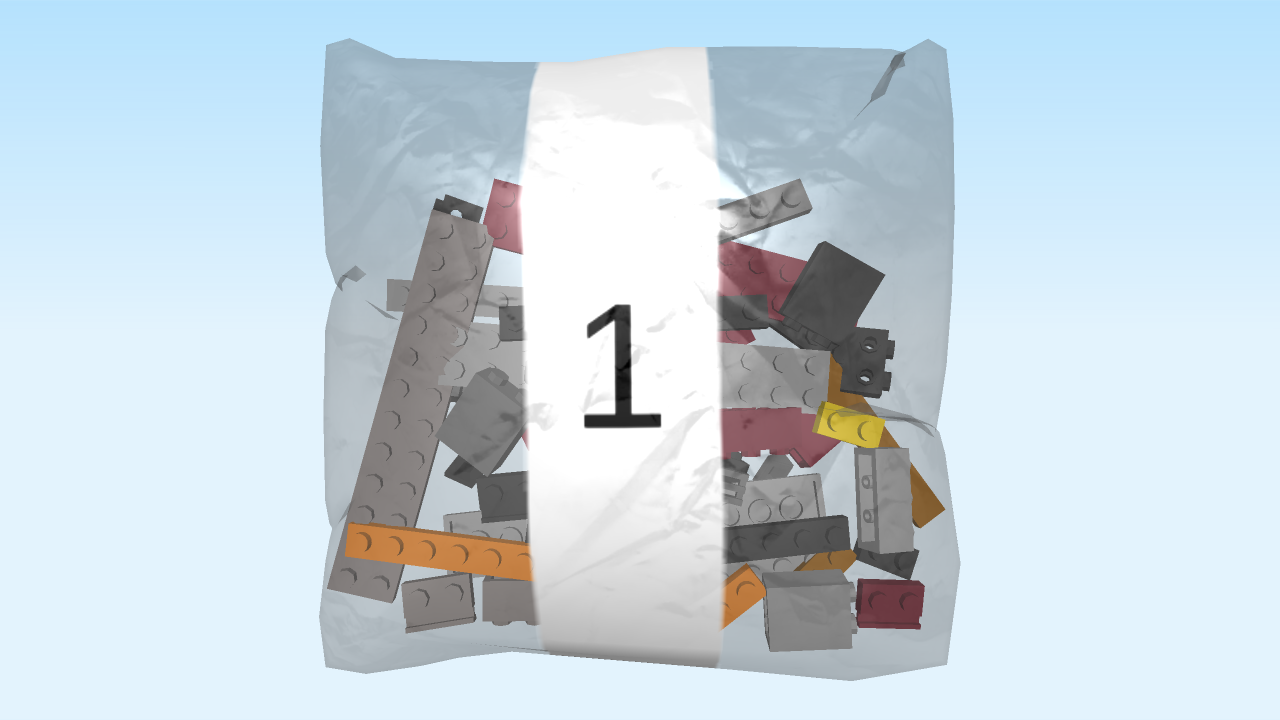
| The box contains two booklets with visual building instructions, a sticker set, and two plastic bags. They are labelled with the numbers 1 and 2. Ask a sighted person to help you find the correct bag. |
| Carefully open bag 1 and the small sub-bag in it. It contains the pieces for the mini figure crook, the drone and the golden fireman statue. |
| Before you start building, ask a sighted person to help you sort the pieces by color. |
| First, we will build the crook mini figure. |
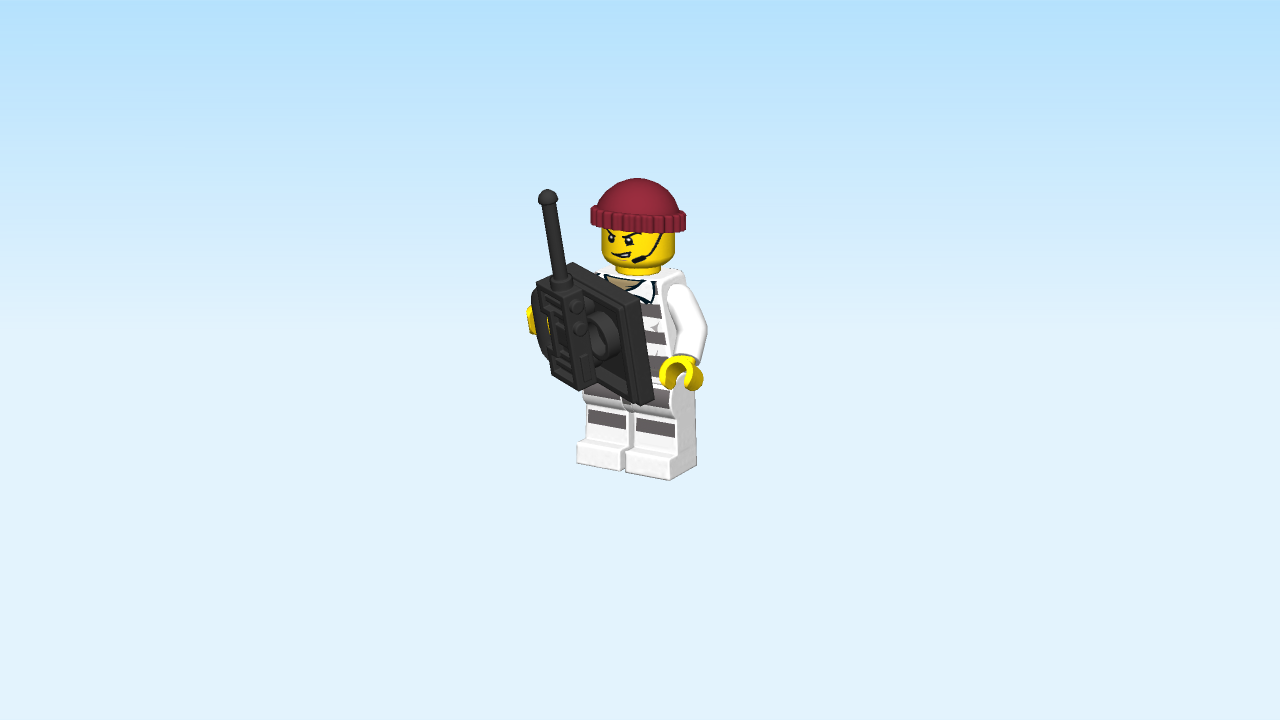
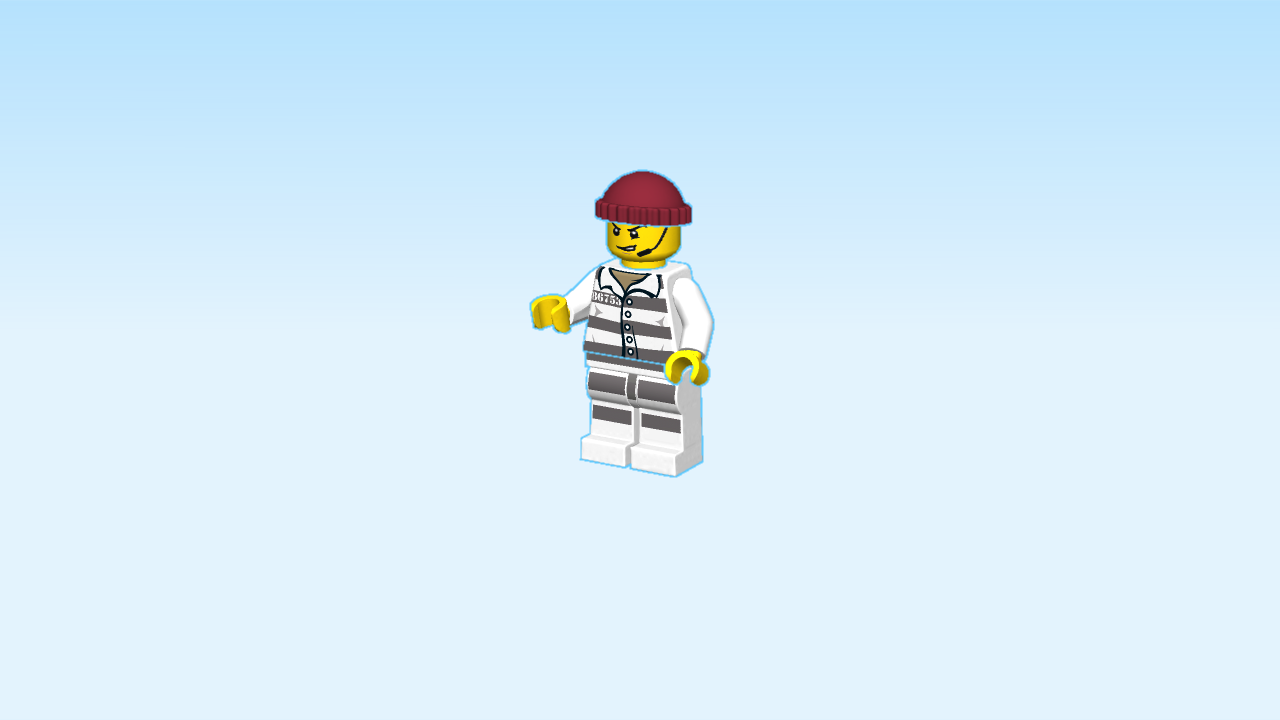
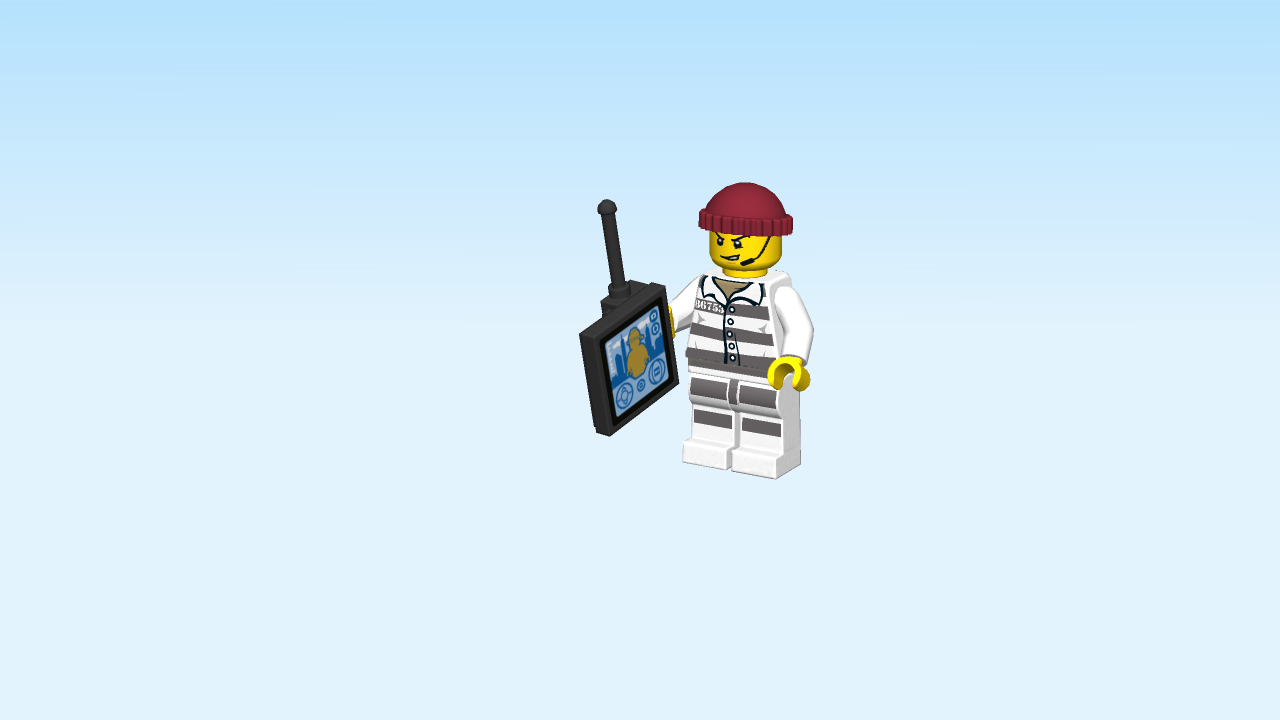
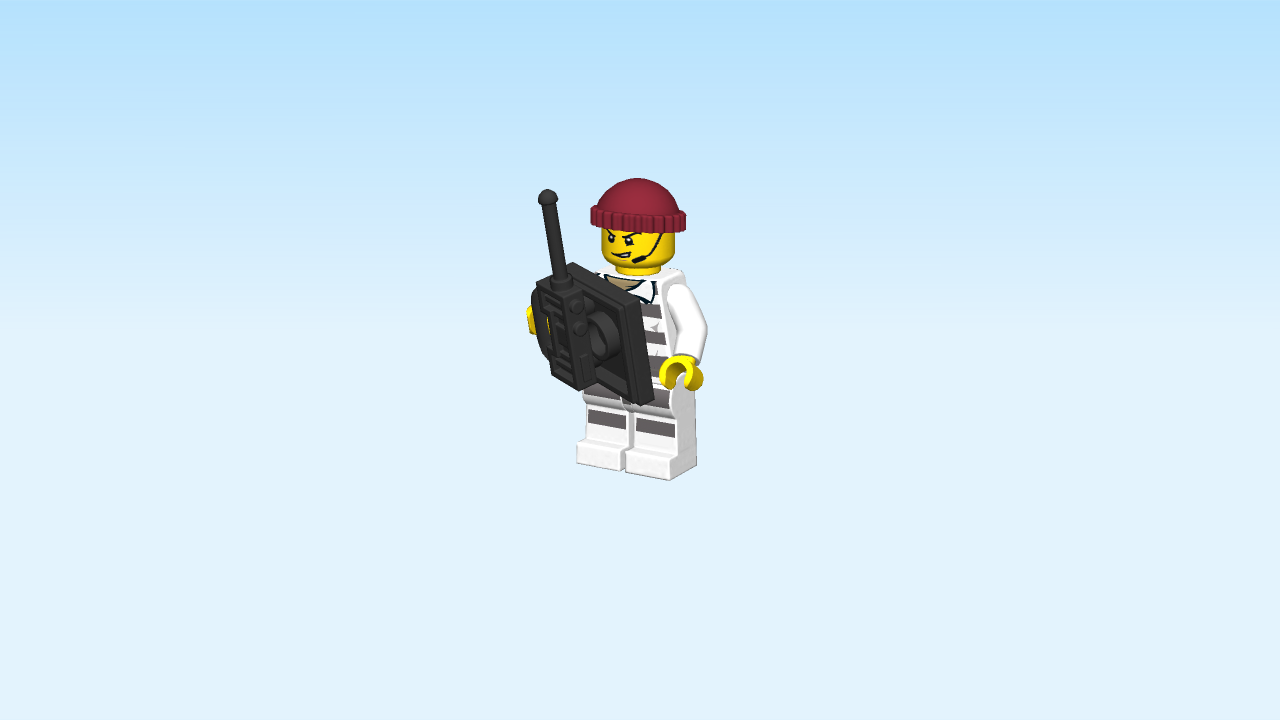
| The crook wears a white prison uniform with grey stripes. He has an evil grin on his face, and the head is also printed with a headset. His cap is dark red, and he has a remote control to maneuver his drone. |
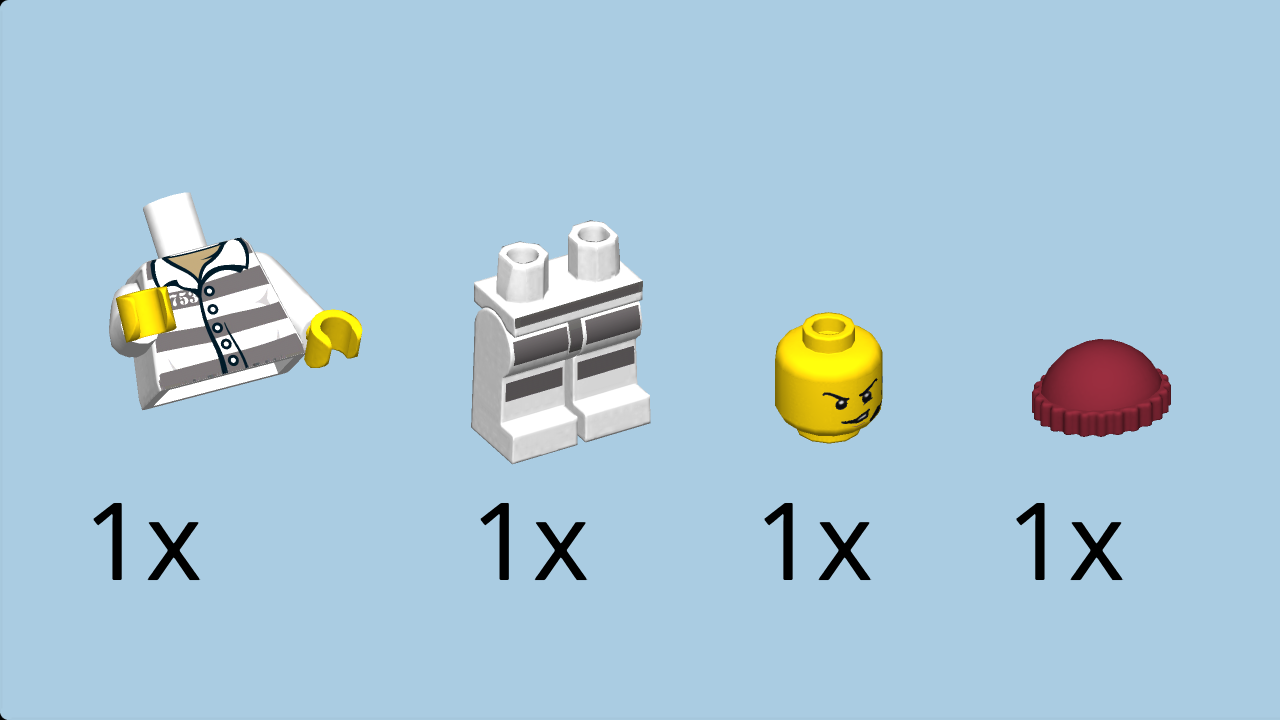
| Collect the following 4 pieces: |
| 1 white upper part of the body, |
| 1 bright yellow mini head, |
| 1 white pair of legs, |
| and 1 new dark red mini pixie cap. |
| Put the upper part of the body on the legs. |
| Put the head on top. |
| Put the mini pixie cap on top. |
| Next, we will build a remote control. |
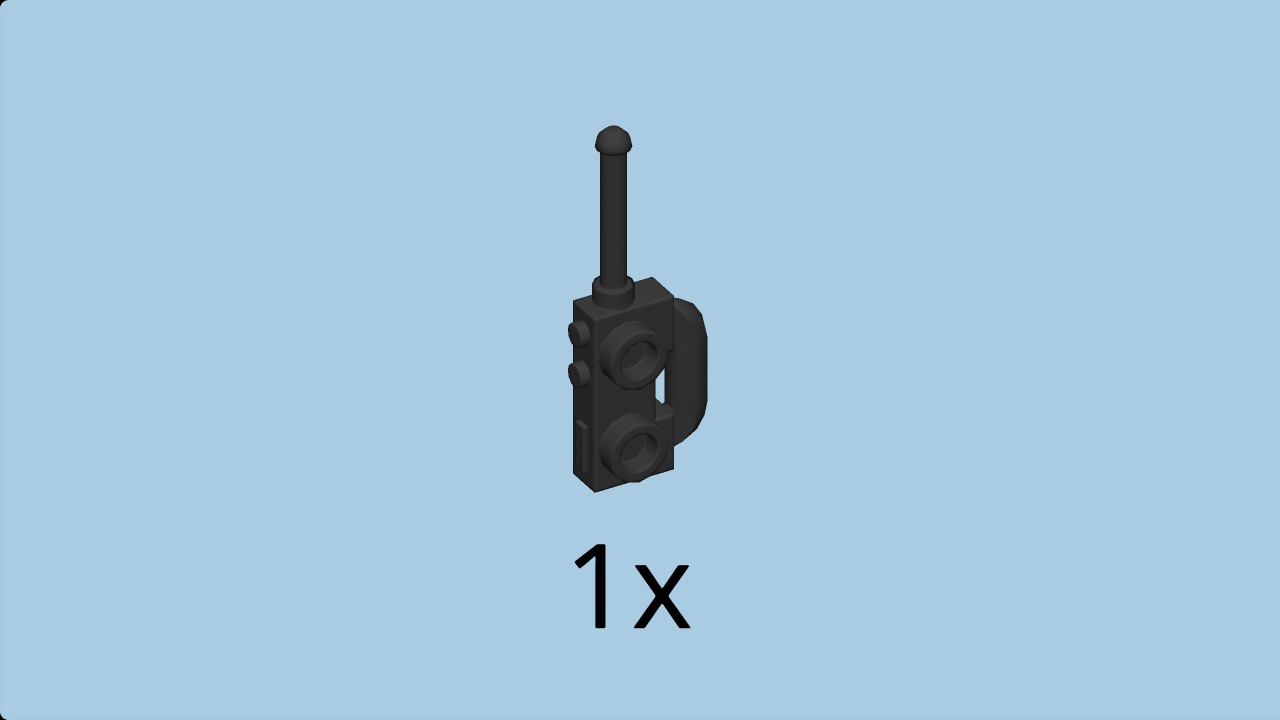
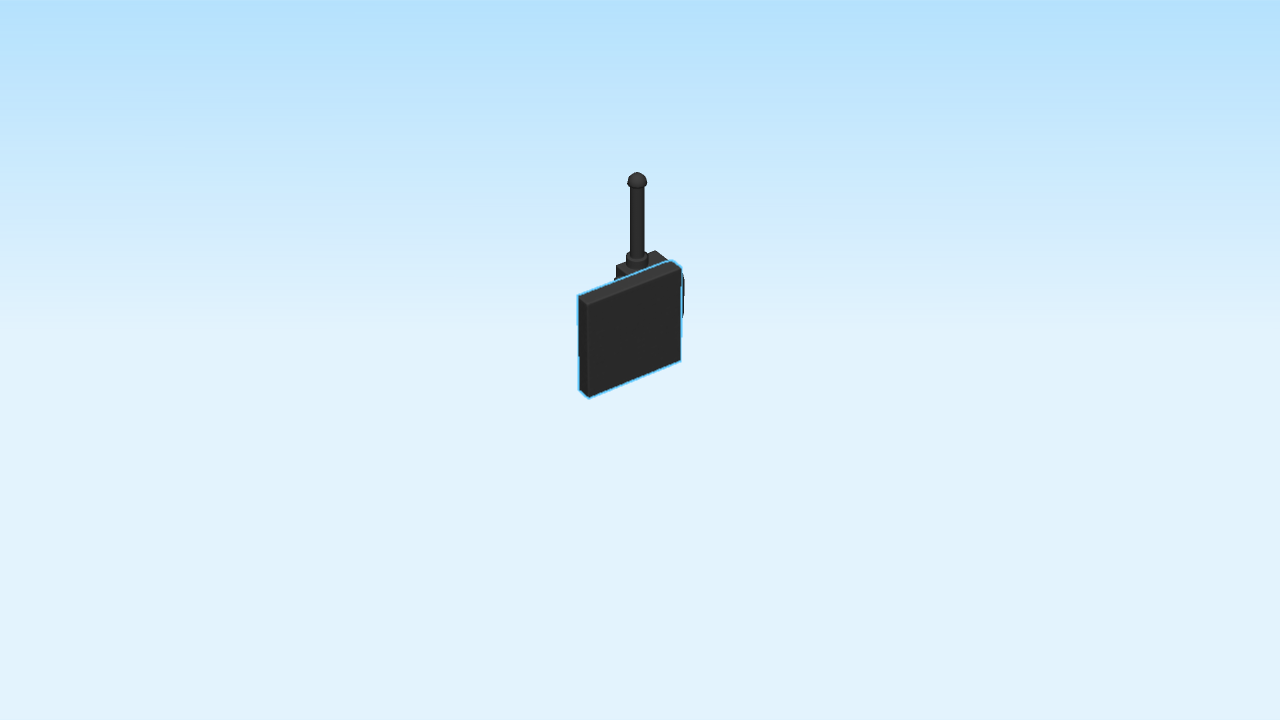
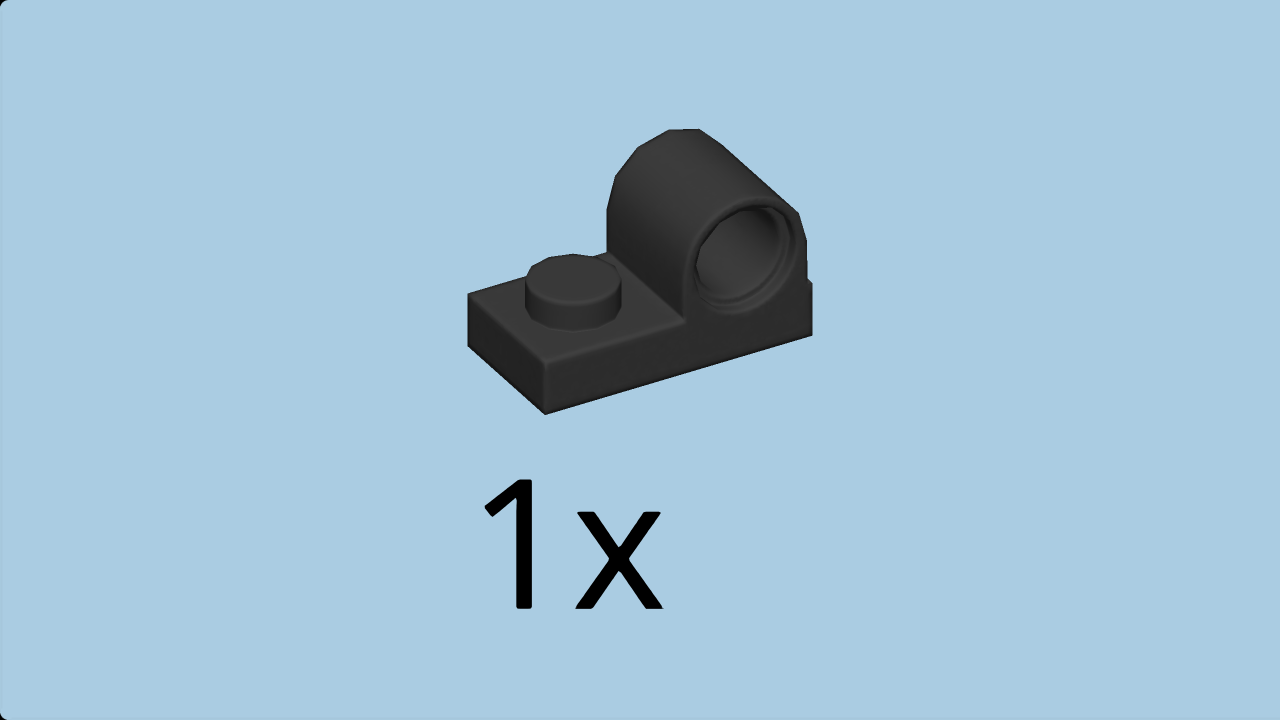
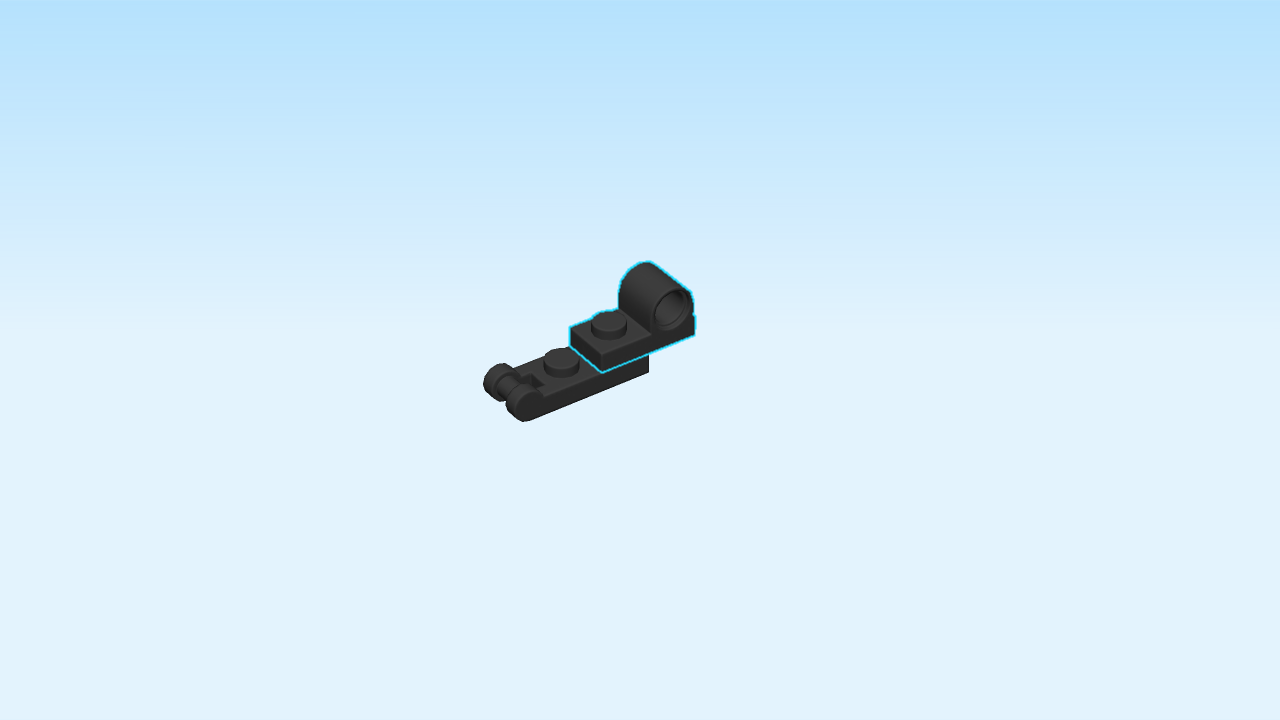
| Find 1 black walkie-talkie plate 1x2 with antenna. |
| Put it vertically on the table, handle to the right. |
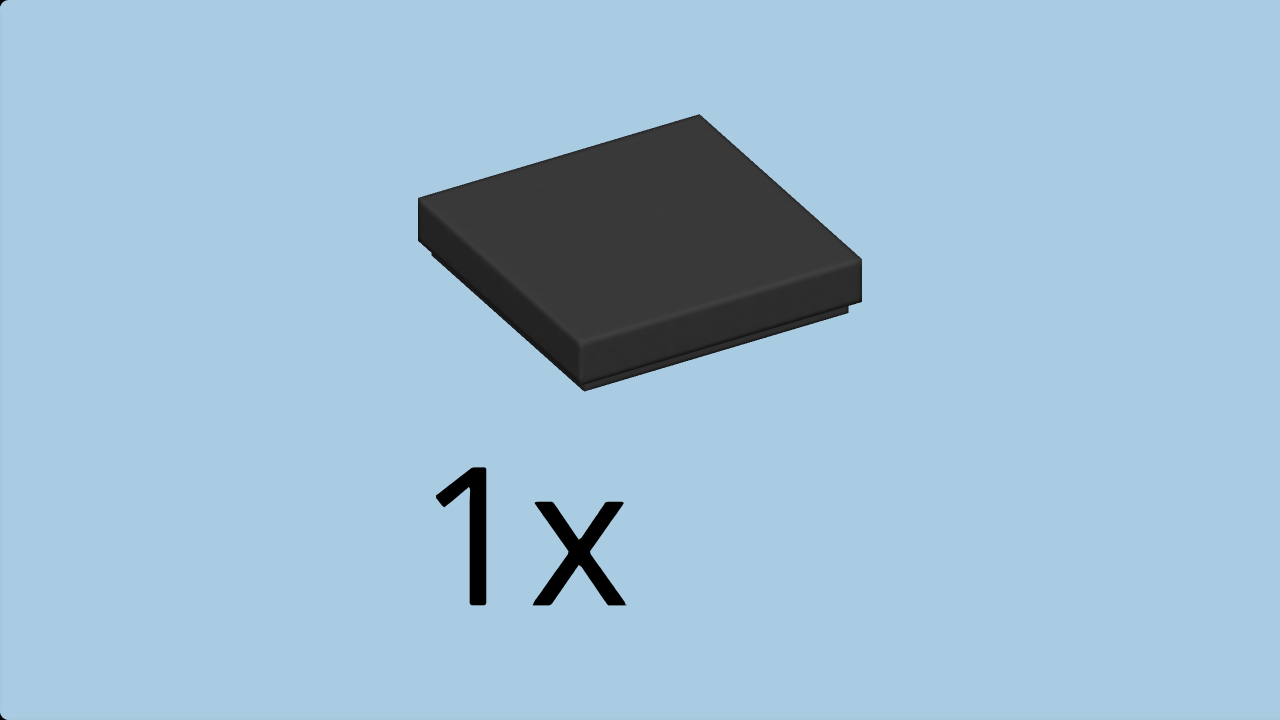
| Find 1 black flat tile 2x2. |
| Put it on top, overhanging to the left. |
| Continue if you want to decorate the remote control with a sticker now. If not, skip the next three sentences. |
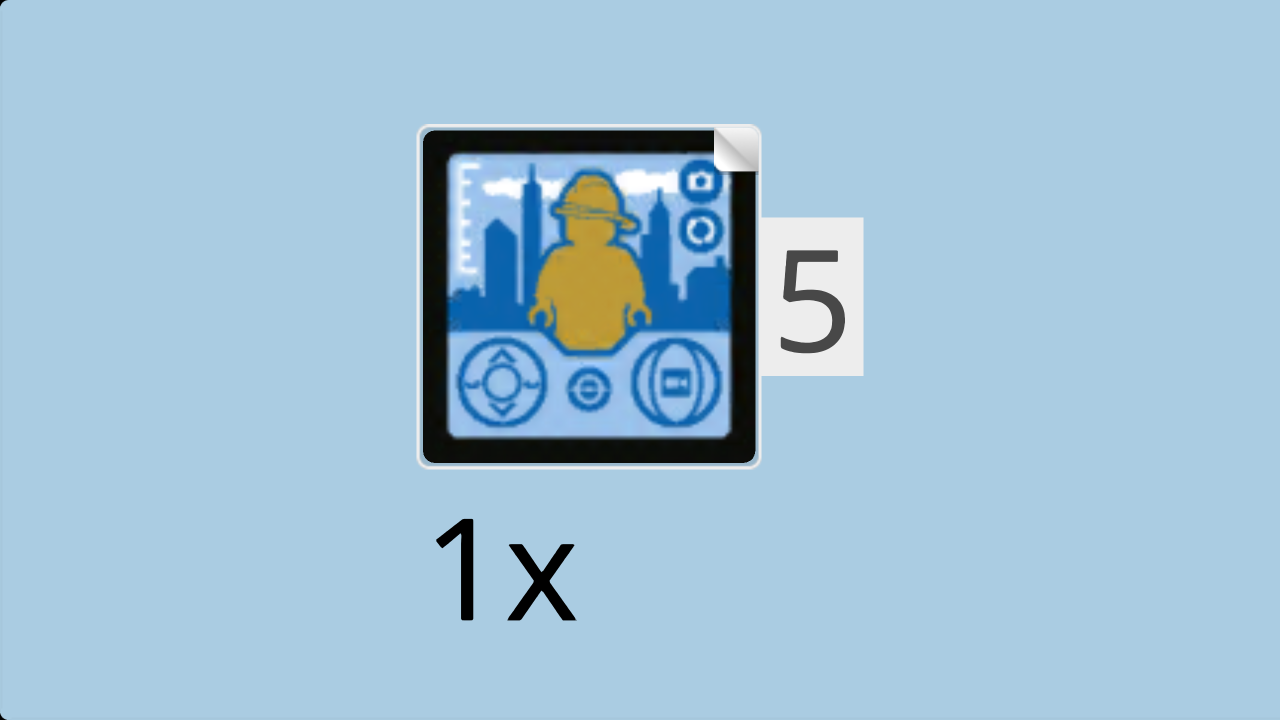
| Find 1 square sticker number 5. Ask a sighted person to help you. |
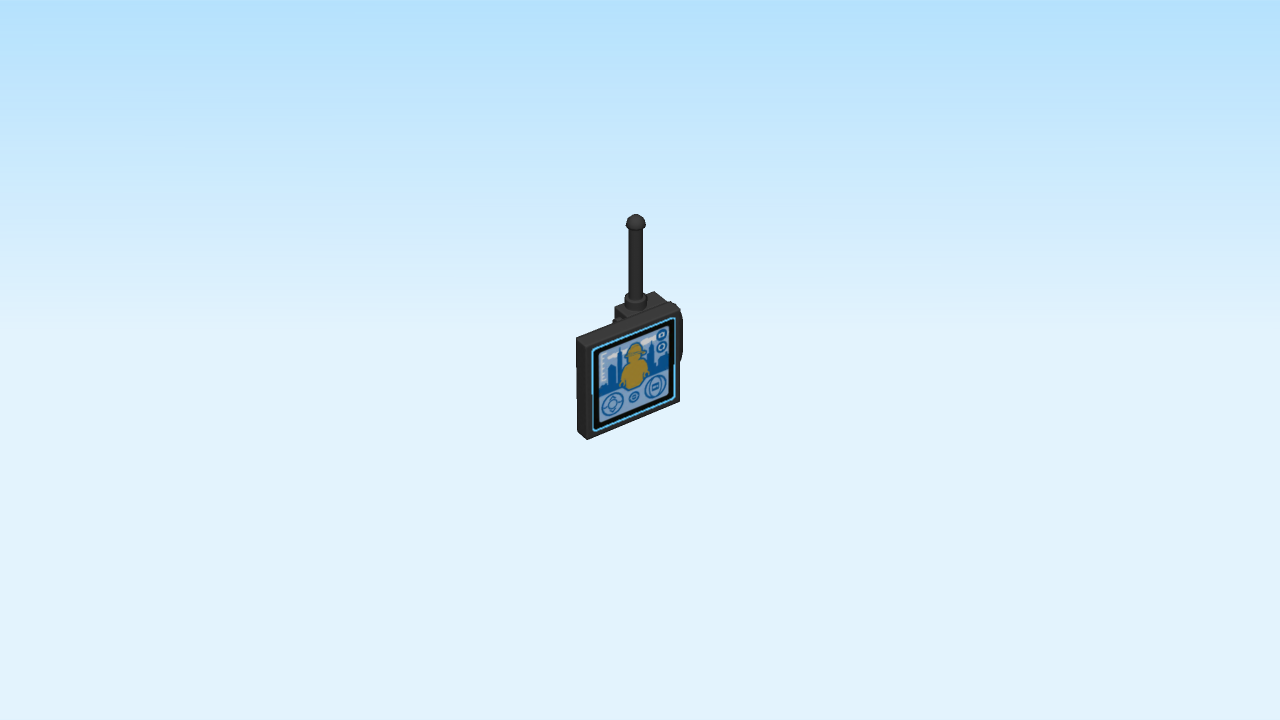
| Put it on the remote control. |
| (It shows the video transmitted from the drone camera: the fireman statue is already in sight, and in the background the city skyline is visible). |
| The remote control is finished! Put its handle in the hand of the crook. |
| The crook is finished! Well done! With his remote control, he will be able to control the drone. Do you think his attempt to steal the golden fireman statue will succeed? |
| Next, we will build the golden fireman statue. |
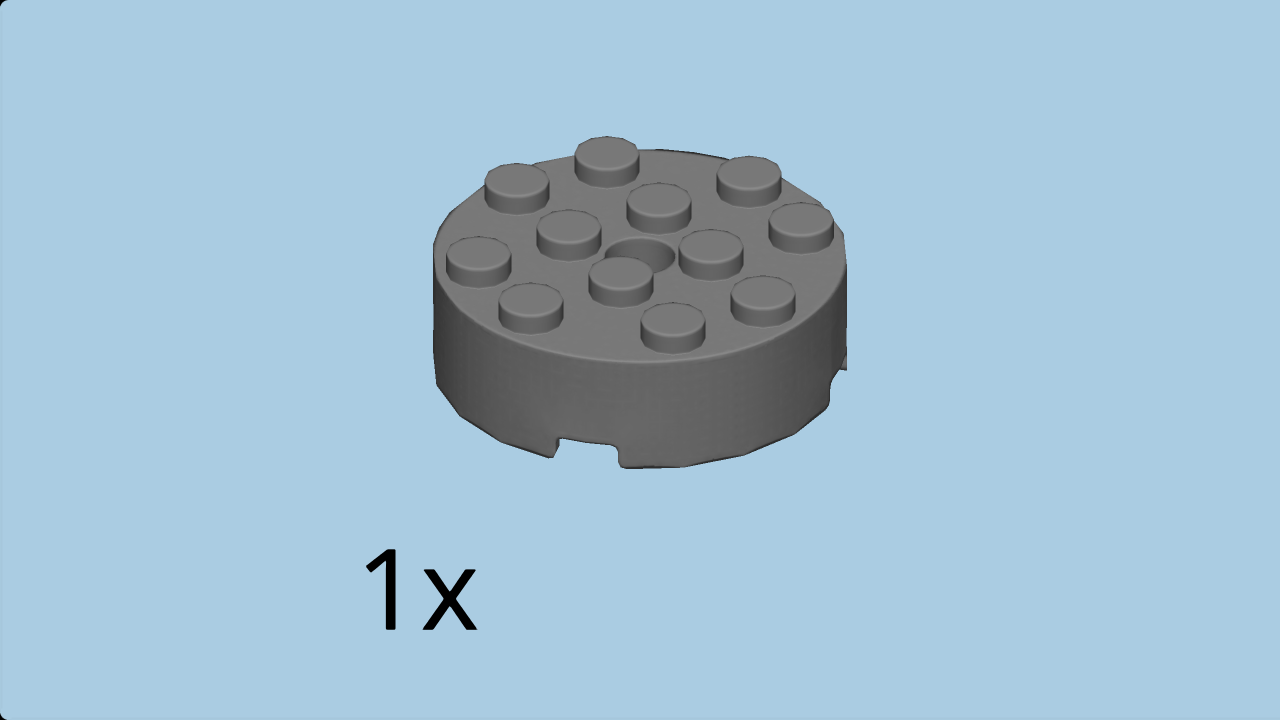
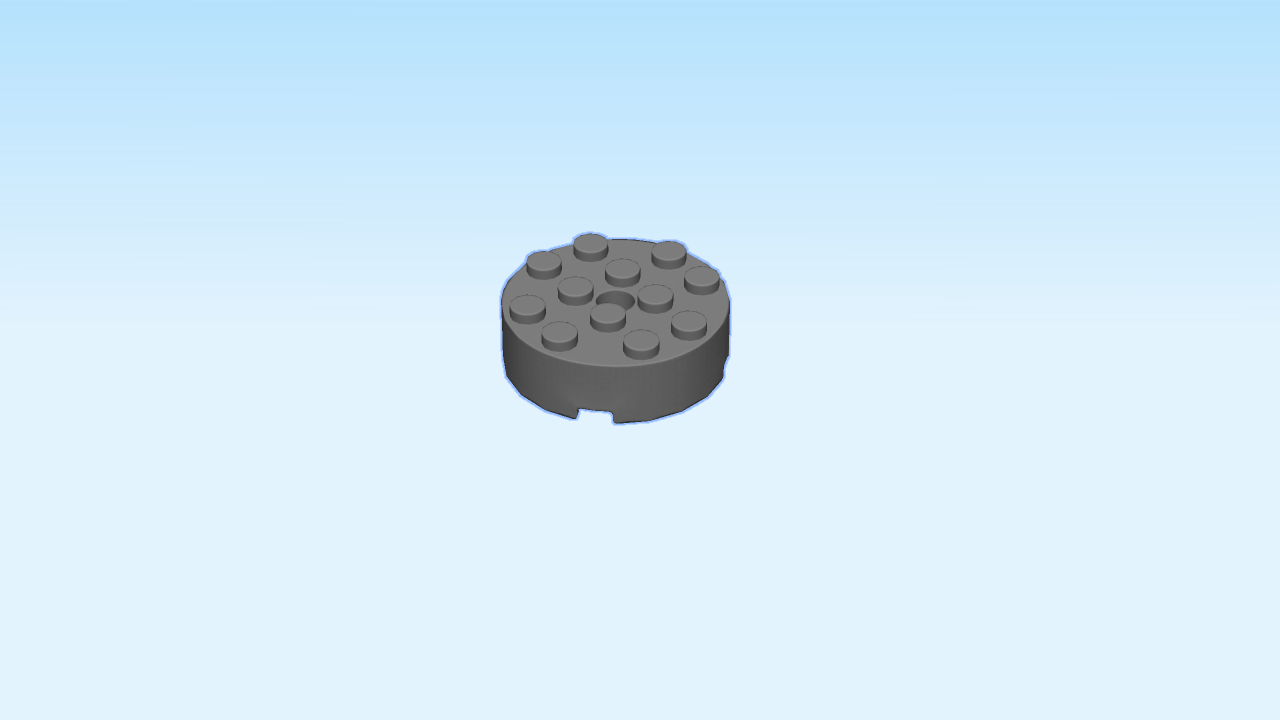
| Find 1 dark stone grey round brick 4x4 with middle hole. |
| Put it on the table. |
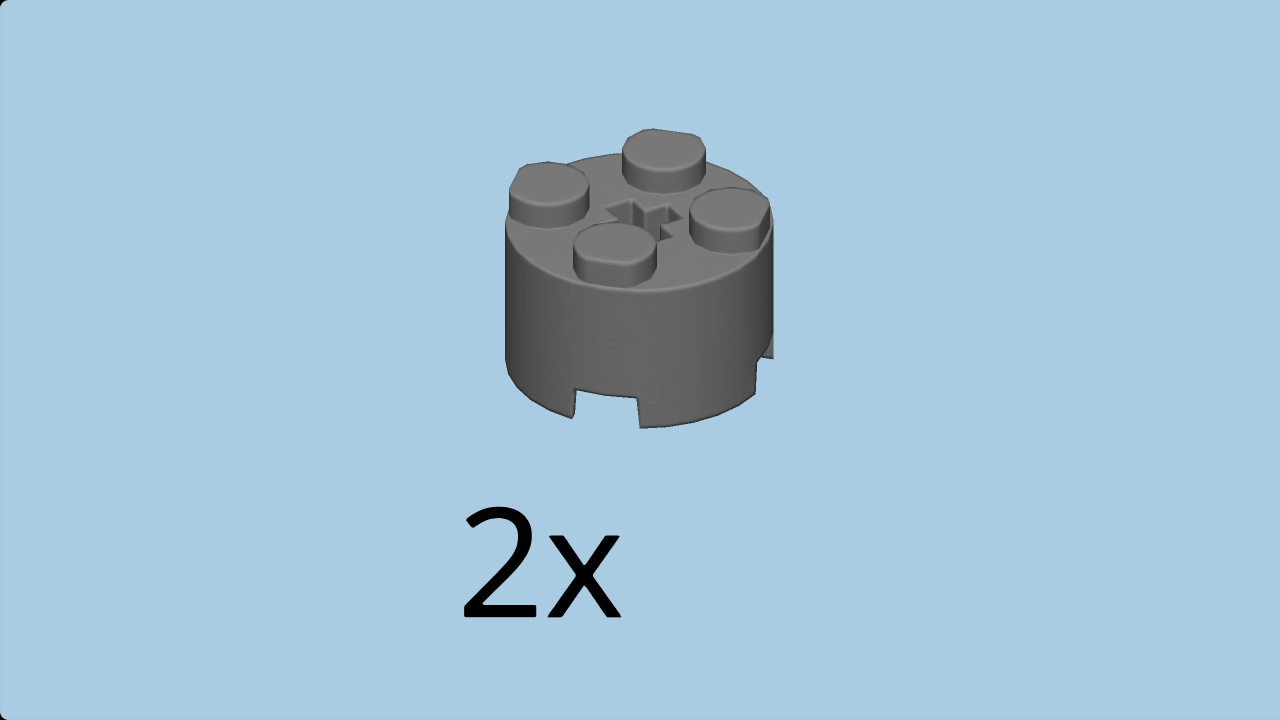
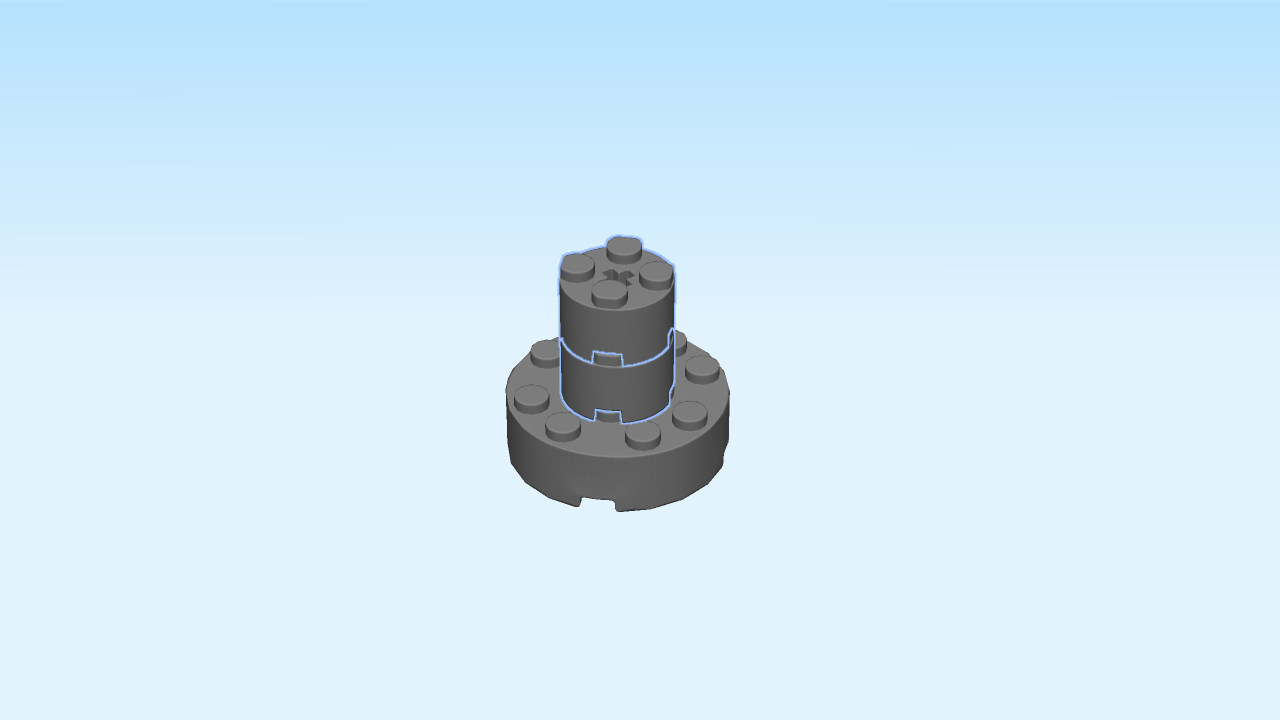
| Find 2 dark stone grey cylinders with top cross hole. |
| Stack them in the middle of the previous piece. |
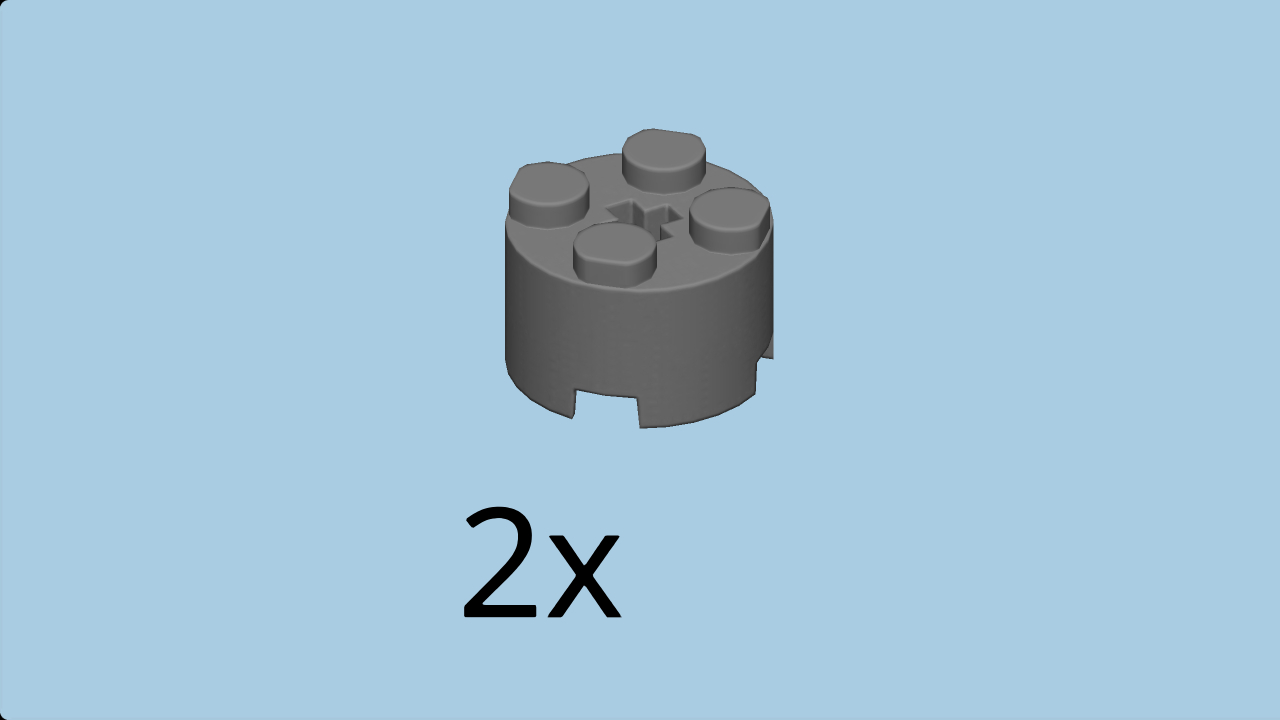
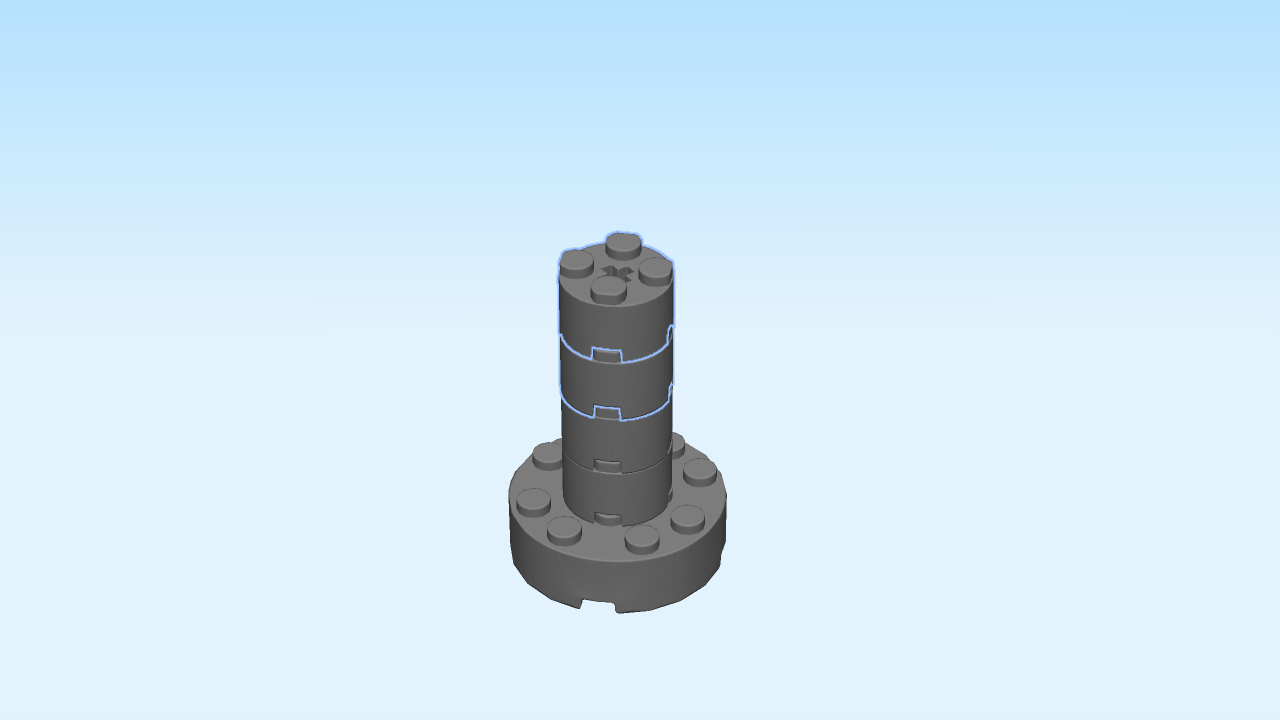
| Find another 2 dark stone grey cylinders with top cross hole. |
| Stack them in the middle of the previous piece. |
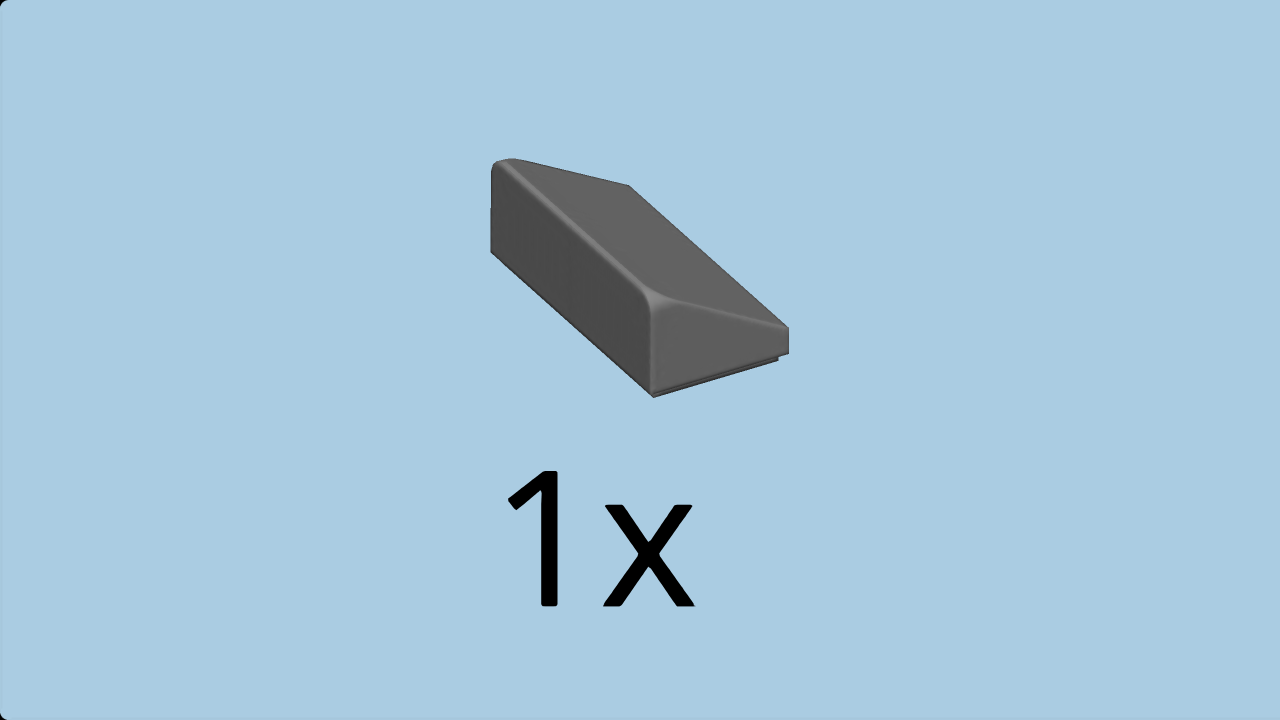
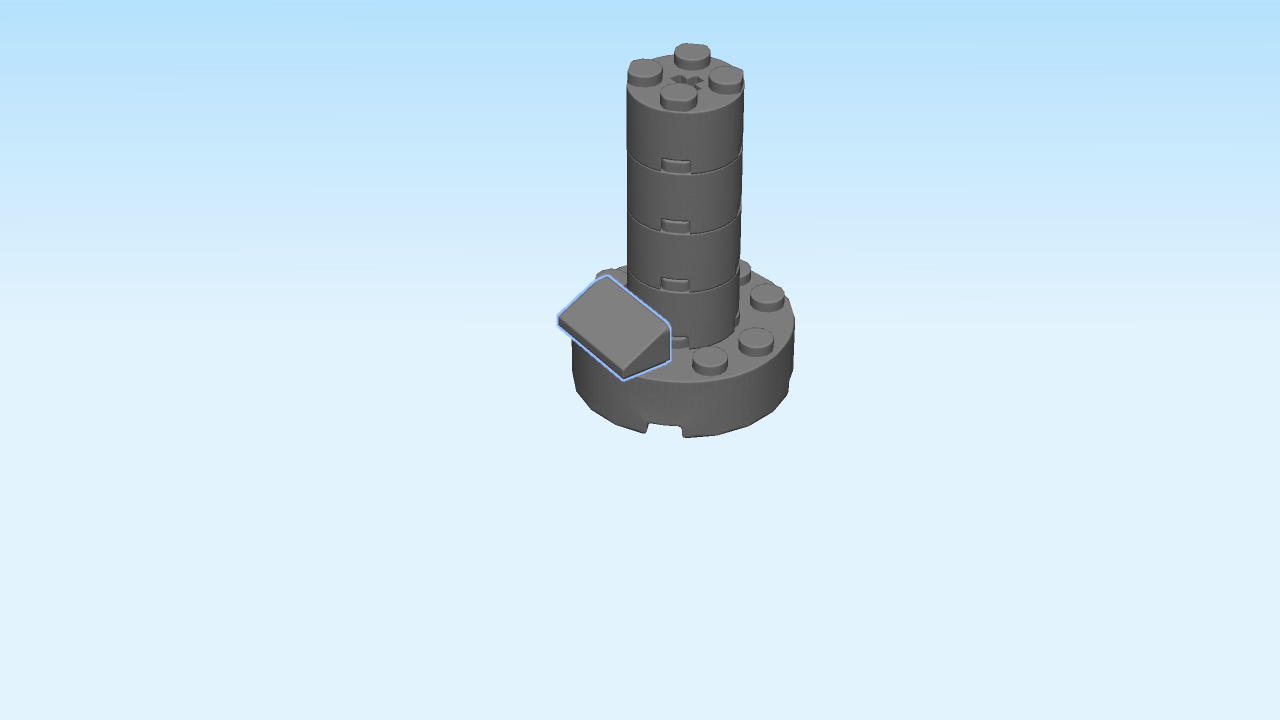
| Find 1 dark stone grey smooth roof tile 1x2. |
| Put it horizontally on the front two knobs of the round brick 4x4, slide to the front. |
| Continue if you want to decorate it with a sticker now. If not, skip the next three sentences. |
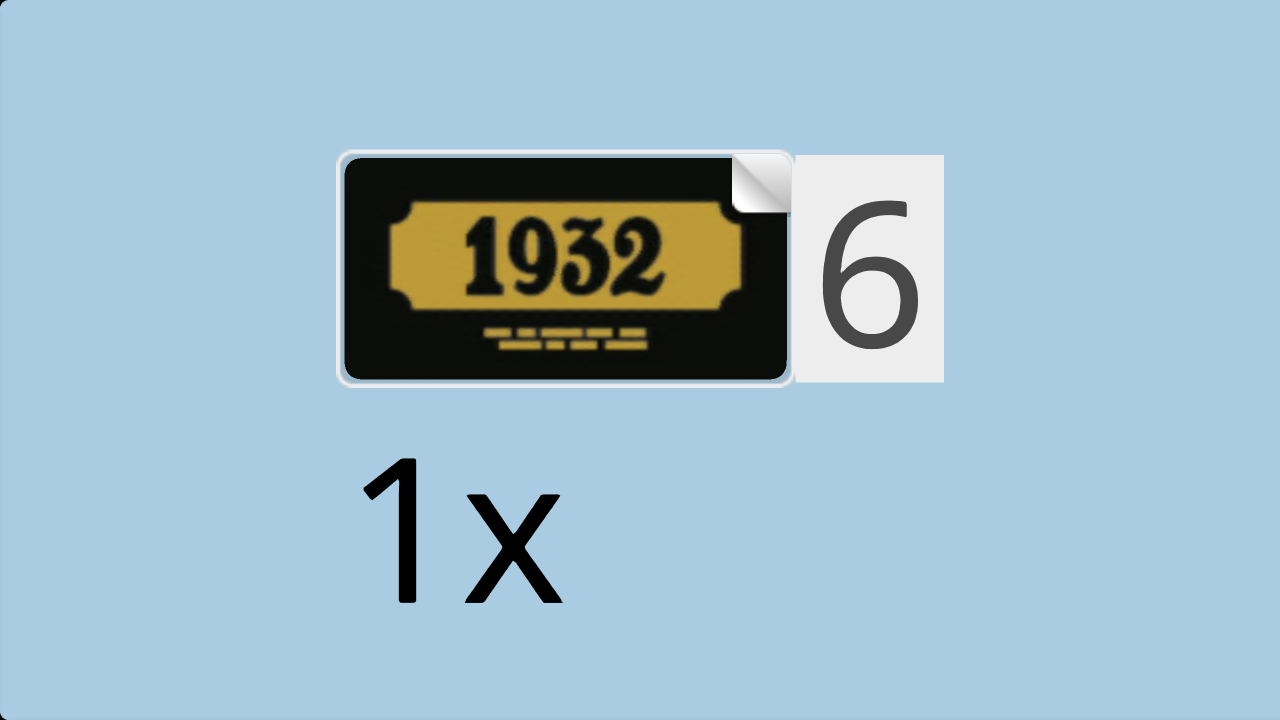
| Find 1 small rectangle sticker number 6. Ask a sighted person to help you. |
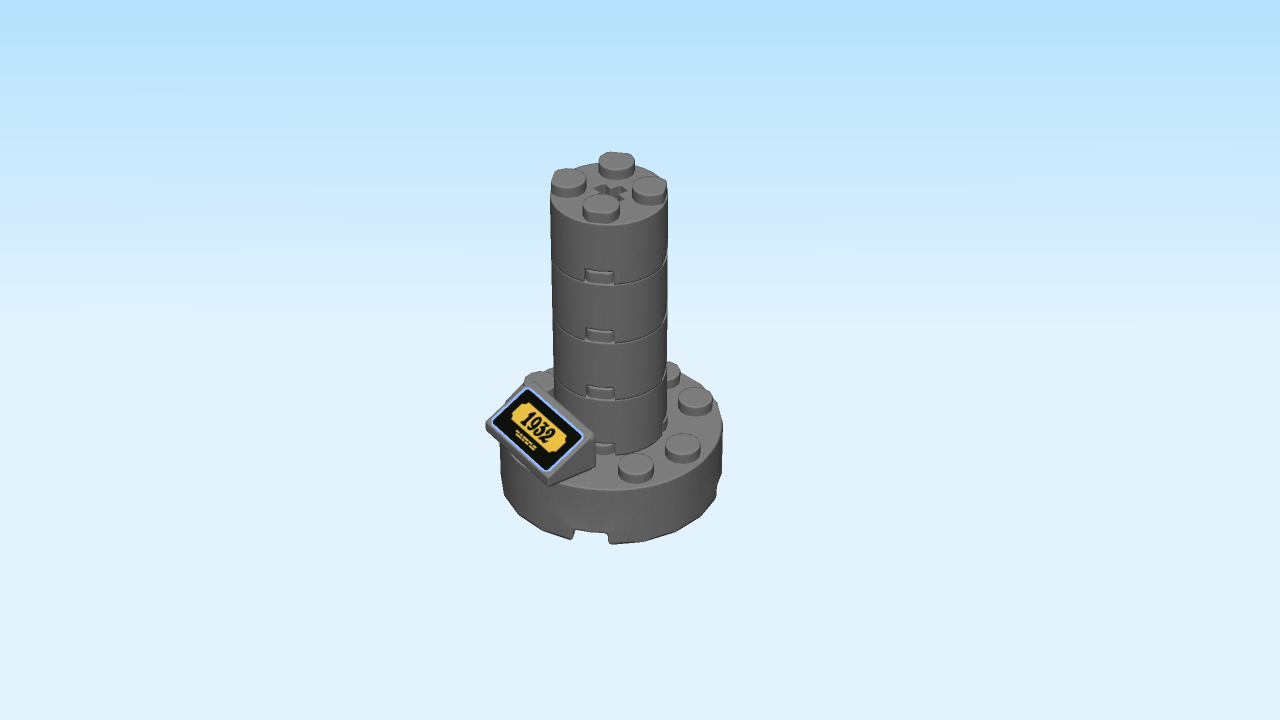
| Put it on the roof tile 1x2. |
| (It is a plaque at the bottom of the statue showing the date 1932). |
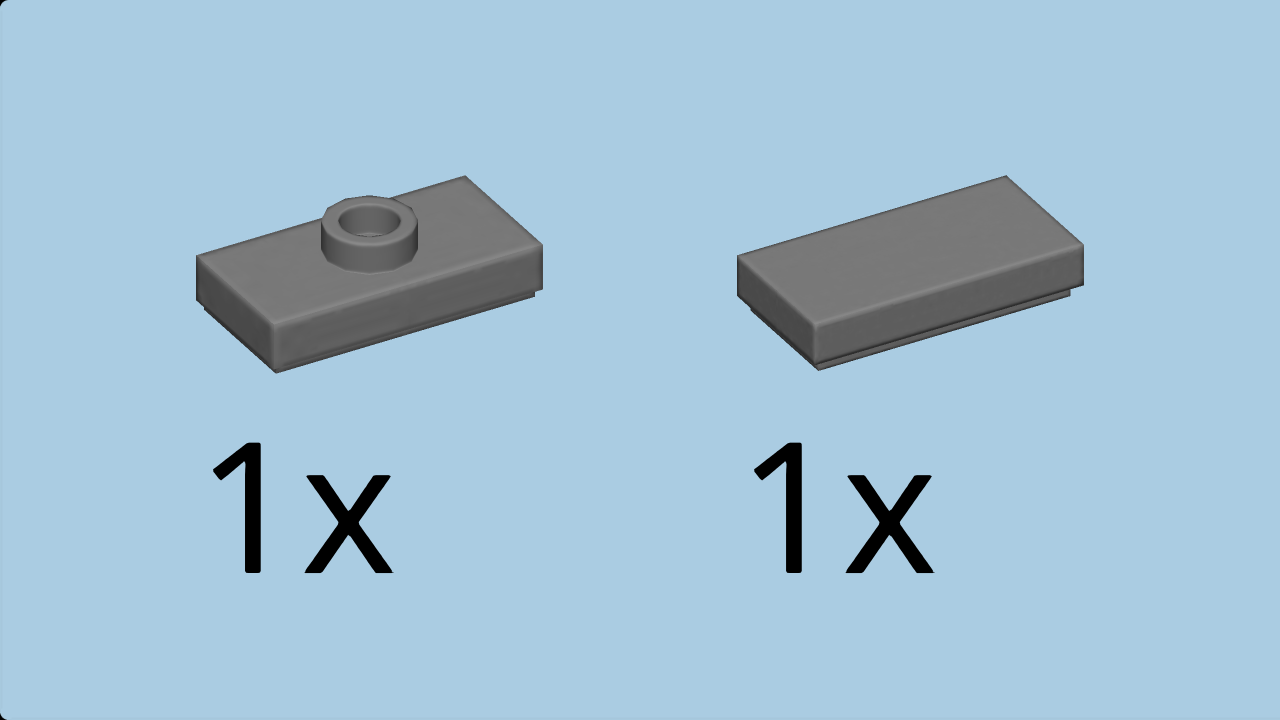
| Collect the following 2 pieces: |
| 1 dark stone grey flat tile 1x2, |
| and 1 dark stone grey plate 1x2 with 1 knob. |
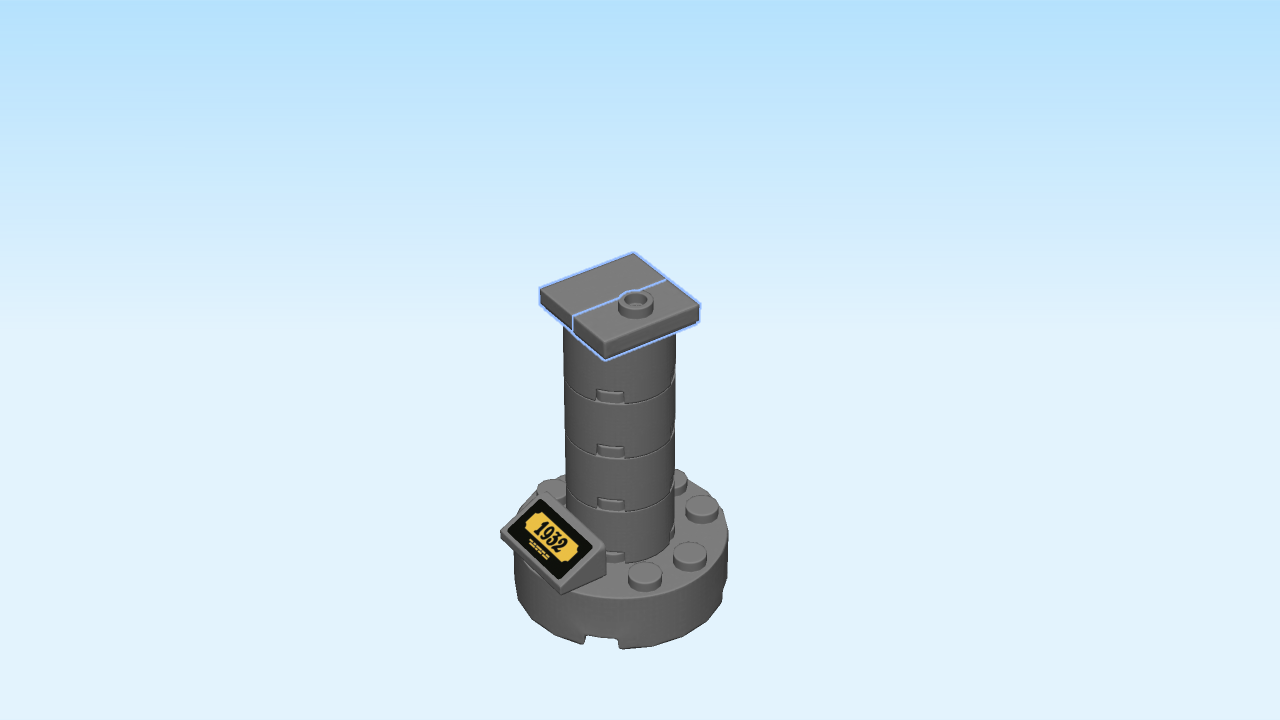
| Put the flat tile 1x2 vertically on top of the pillar on the left column. |
| Put the plate 1x2 with 1 knob vertically to the right. |
| Next, we will build the fireman mini figure. |
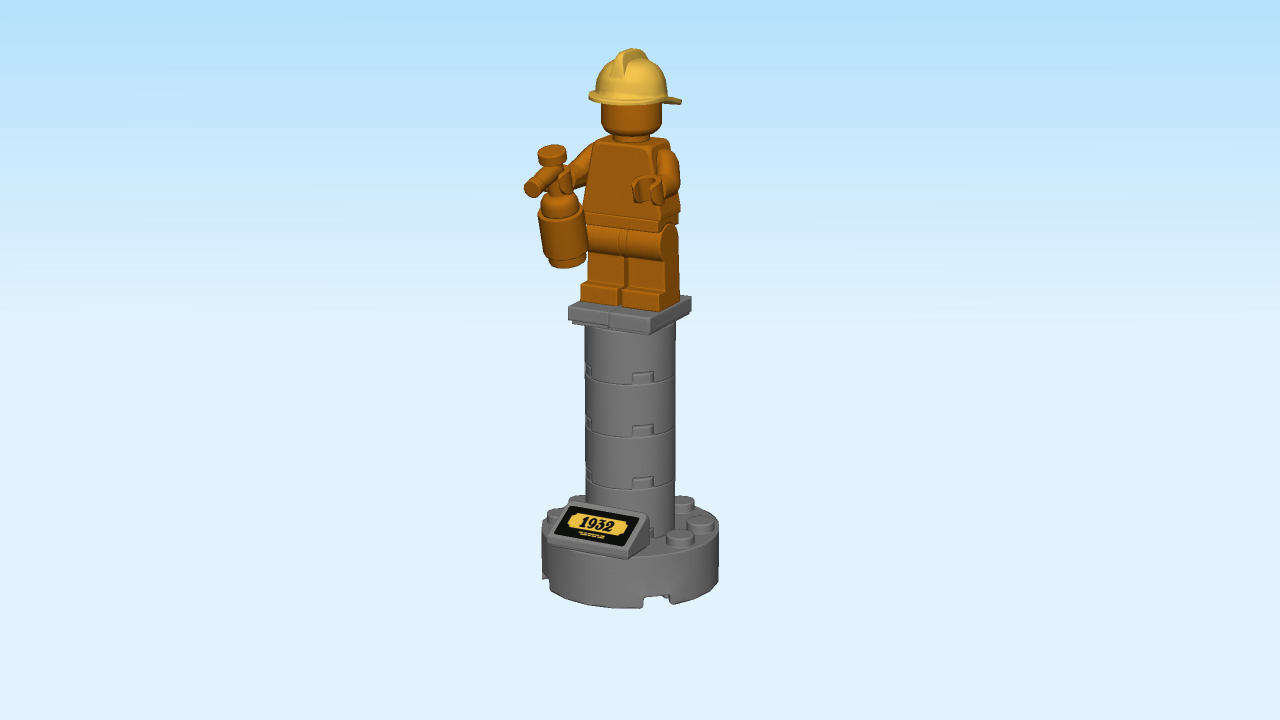
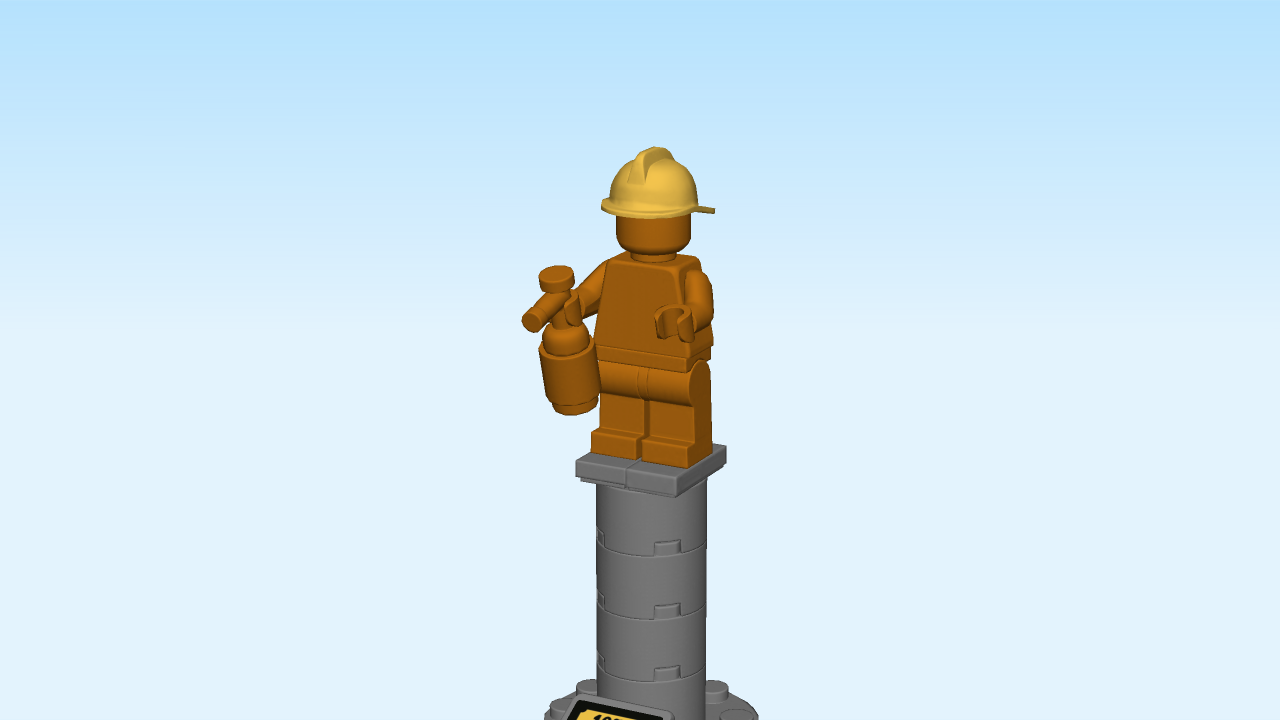
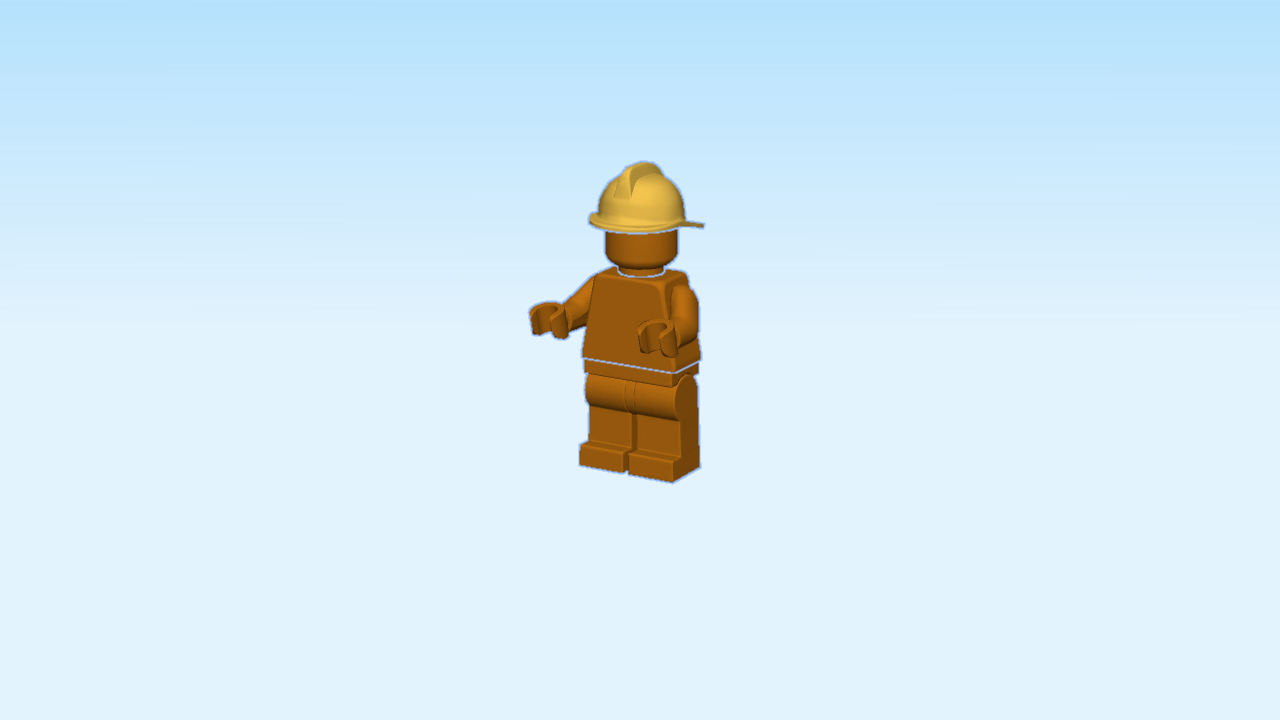
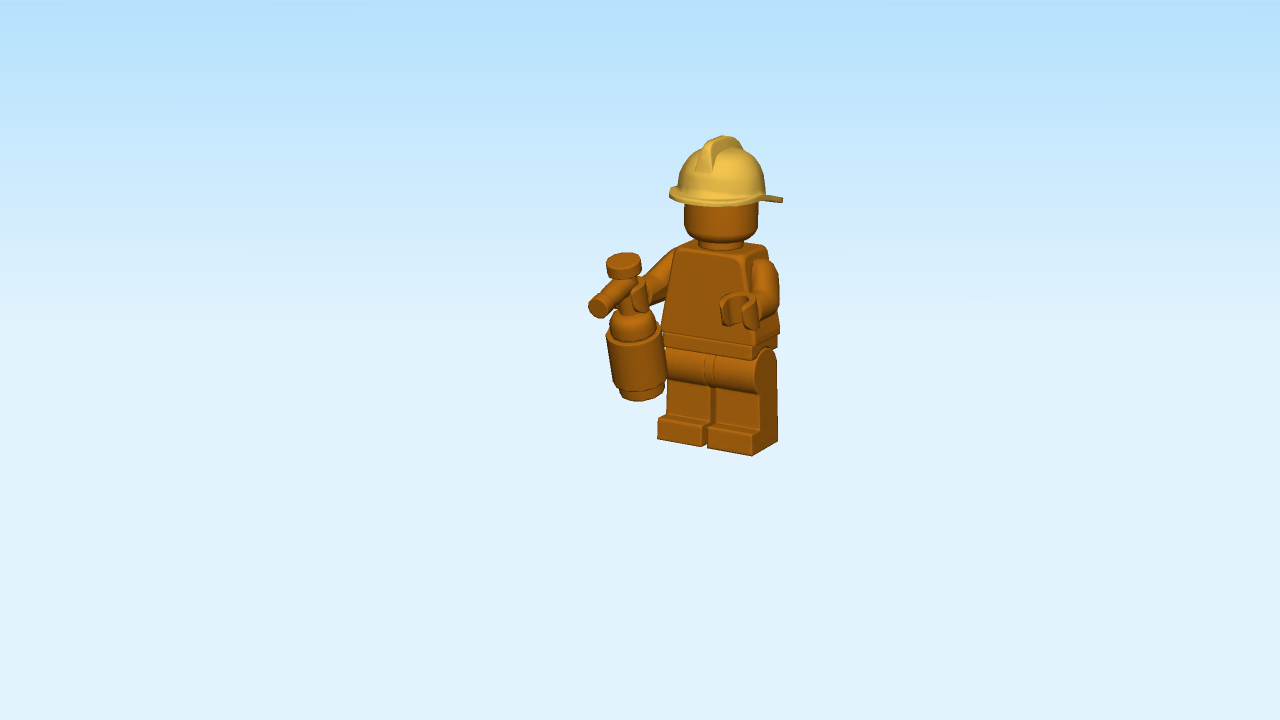
| The statue is warm gold and wears a fireman helmet. There is a fire extinguisher in the statue's hand. |
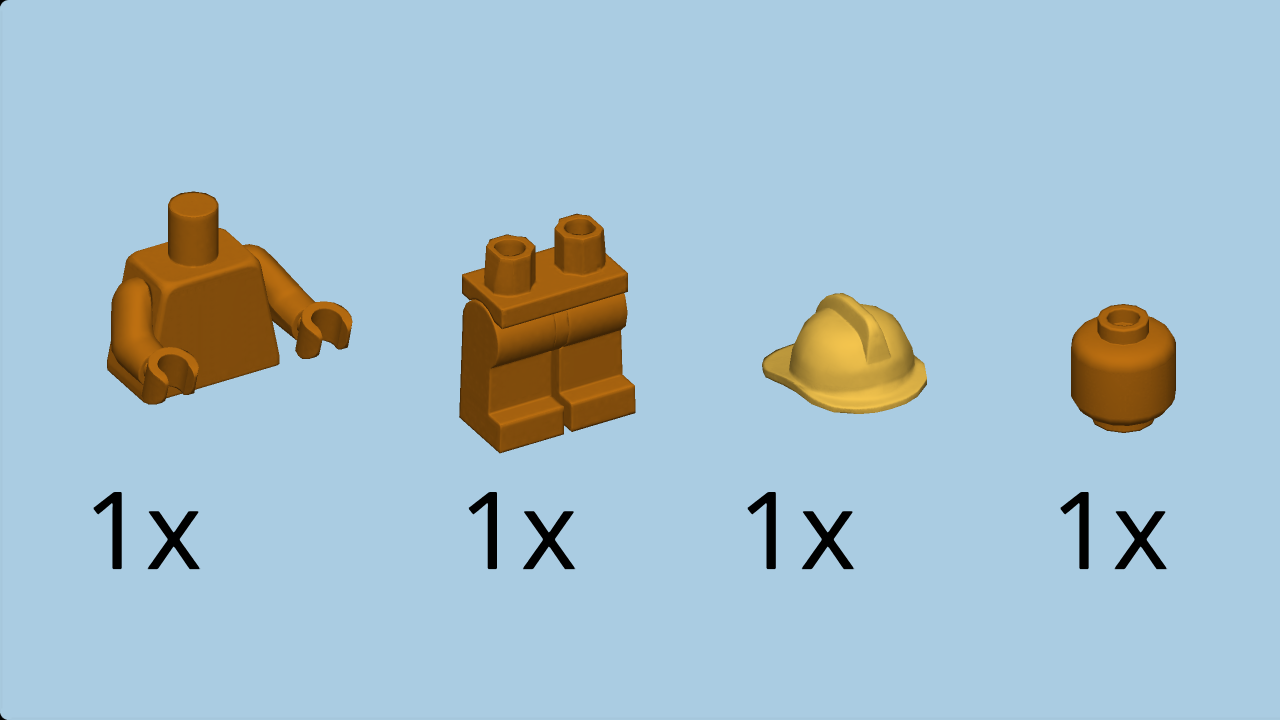
| Collect the following 4 pieces: |
| 1 warm gold pair of legs, |
| 1 warm gold upper part of the body, |
| 1 warm gold head, |
| and 1 fireman helmet. |
| Put the upper part of the body on the legs. |
| Put the head on top. |
| Put the fireman helmet on the head, screen to the back. |
| Next, we will build a fire extinguisher. |
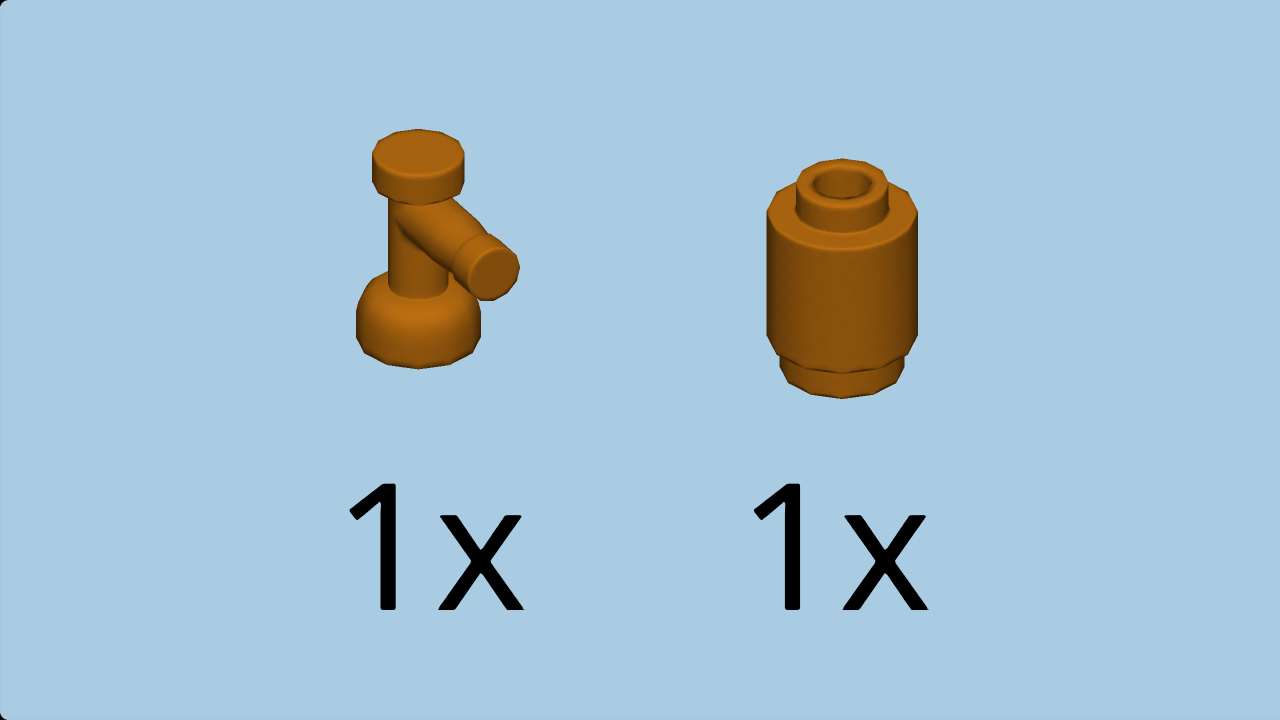
| Collect the following 2 pieces: |
| 1 warm gold cylinder 1x1, |
| and 1 warm gold water tap. |
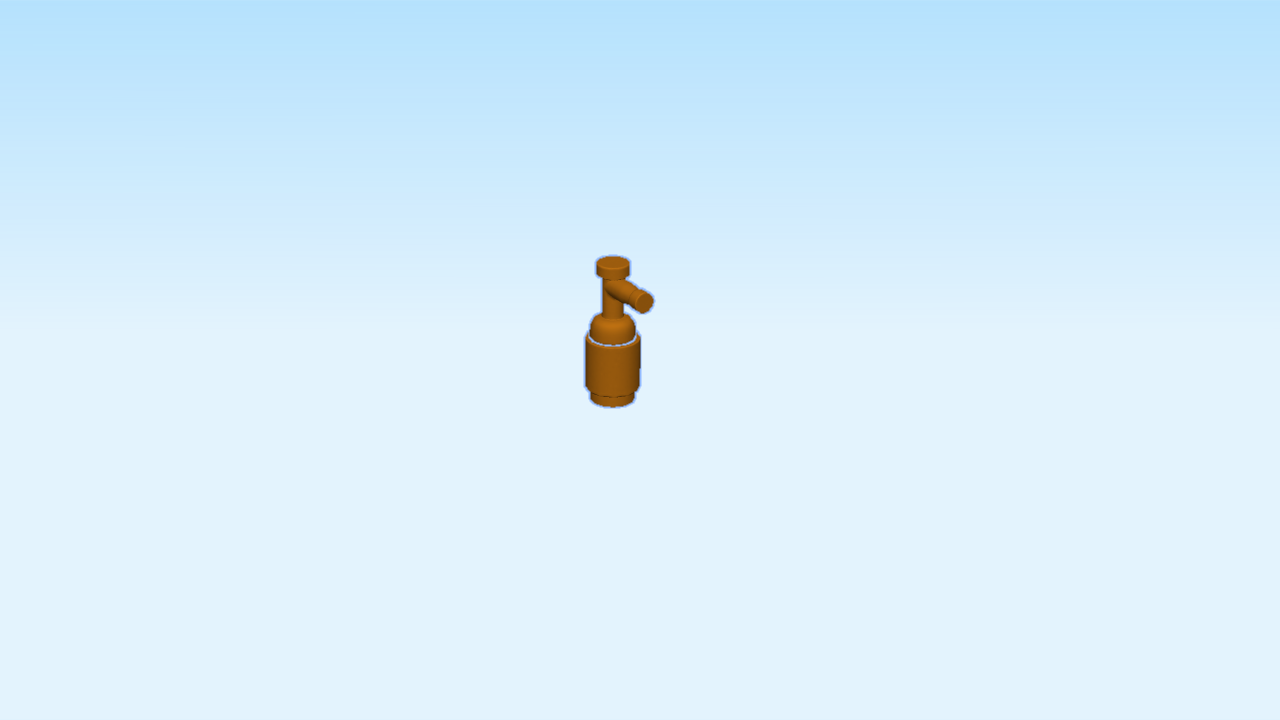
| Put the water tap on top of the cylinder 1x1. |
| The fire extinguisher is finished! Put it in the hand of the statue. |
| Now, mount the statue on top of the pillar. |
| The golden fireman statue is finished! Well done! Take good care of this monument of the hero from the year 1932, and watch out for the crook. He wants to steal it! |
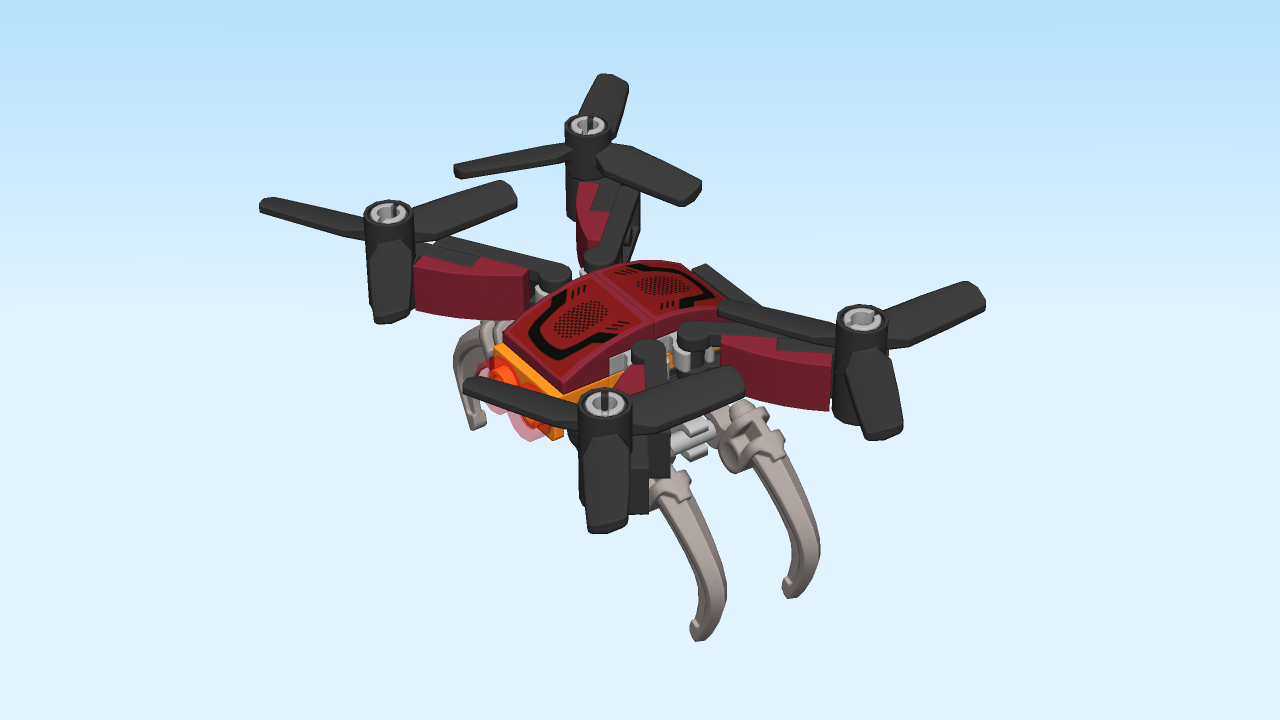
| Next, we will build the drone. |
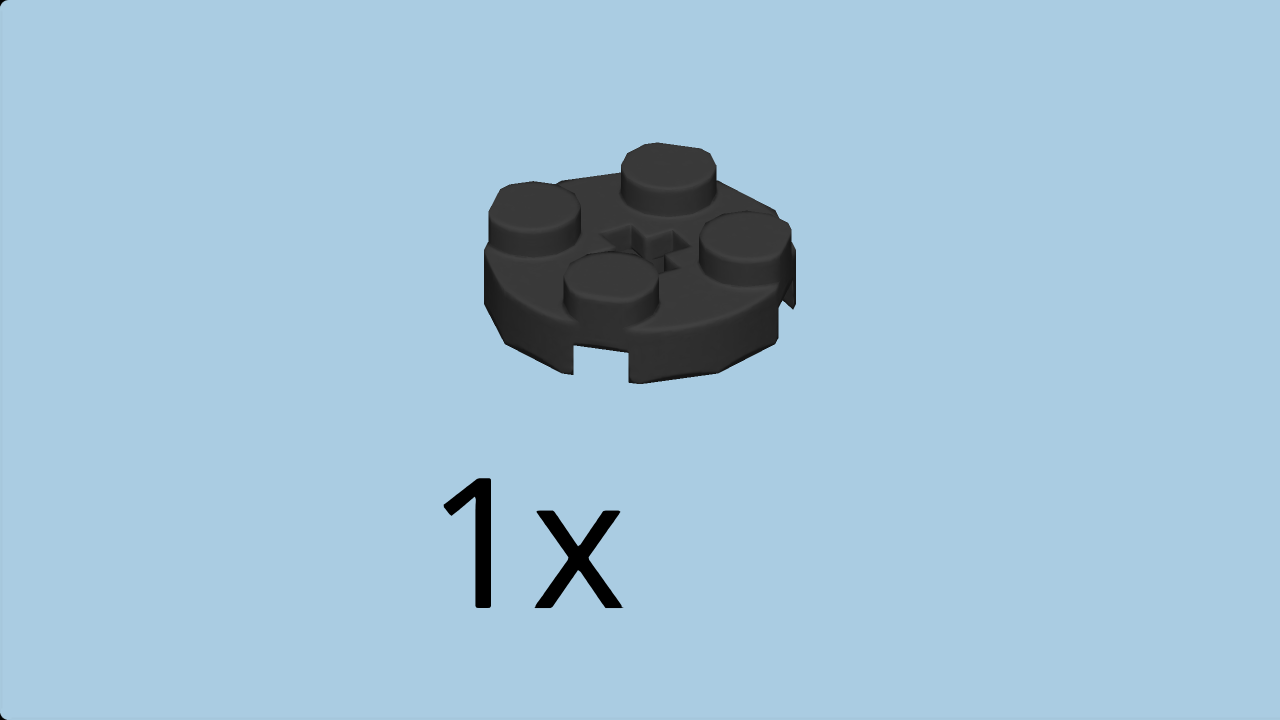
| Find 1 black round plate 2x2. |
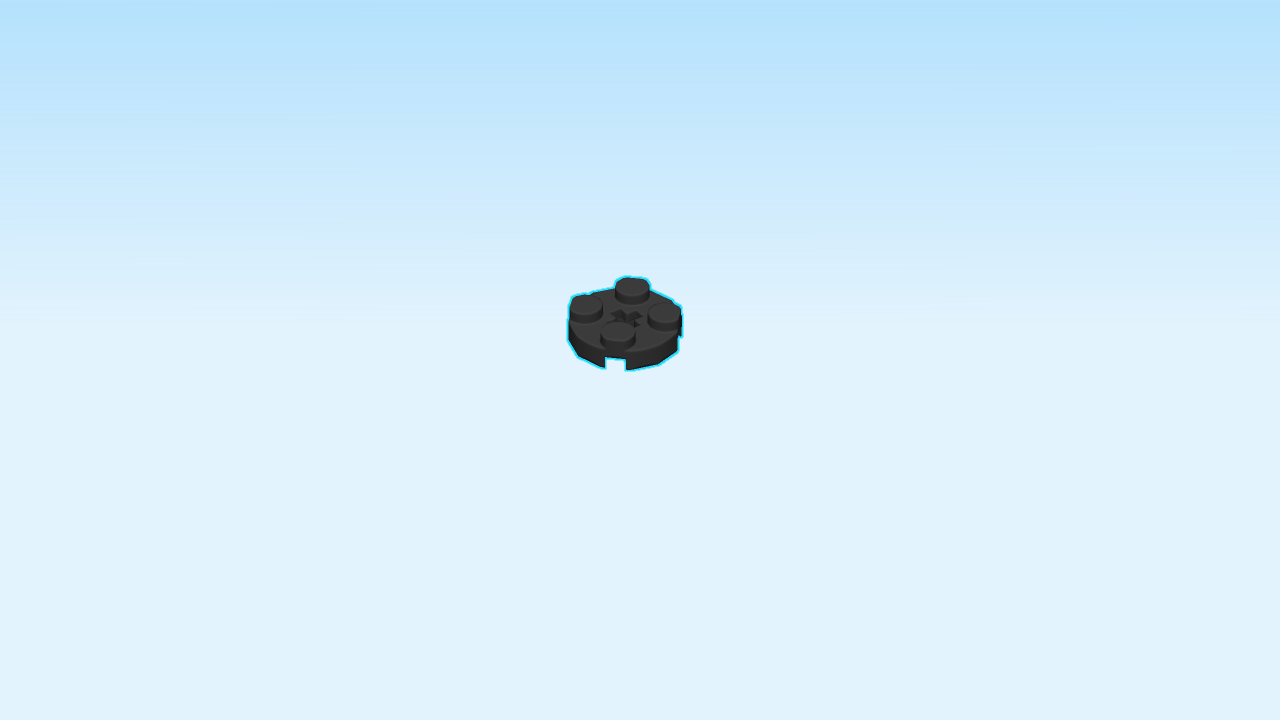
| Put it on the table. |
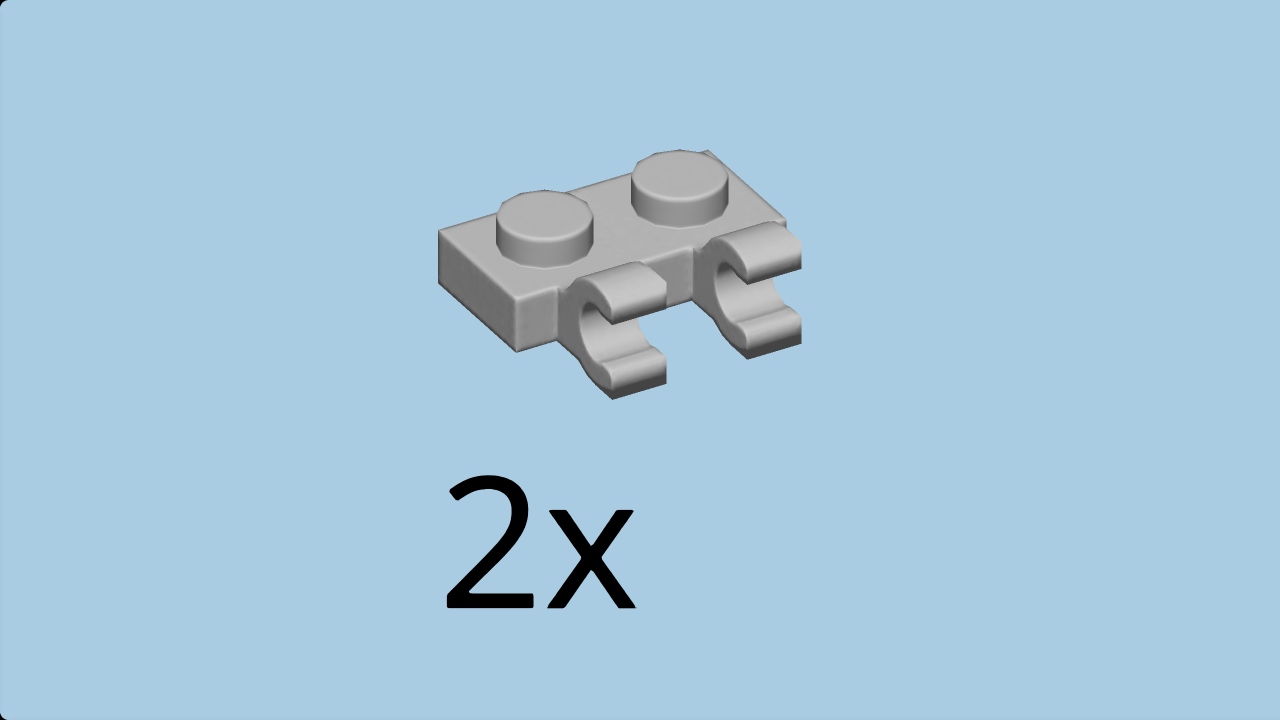
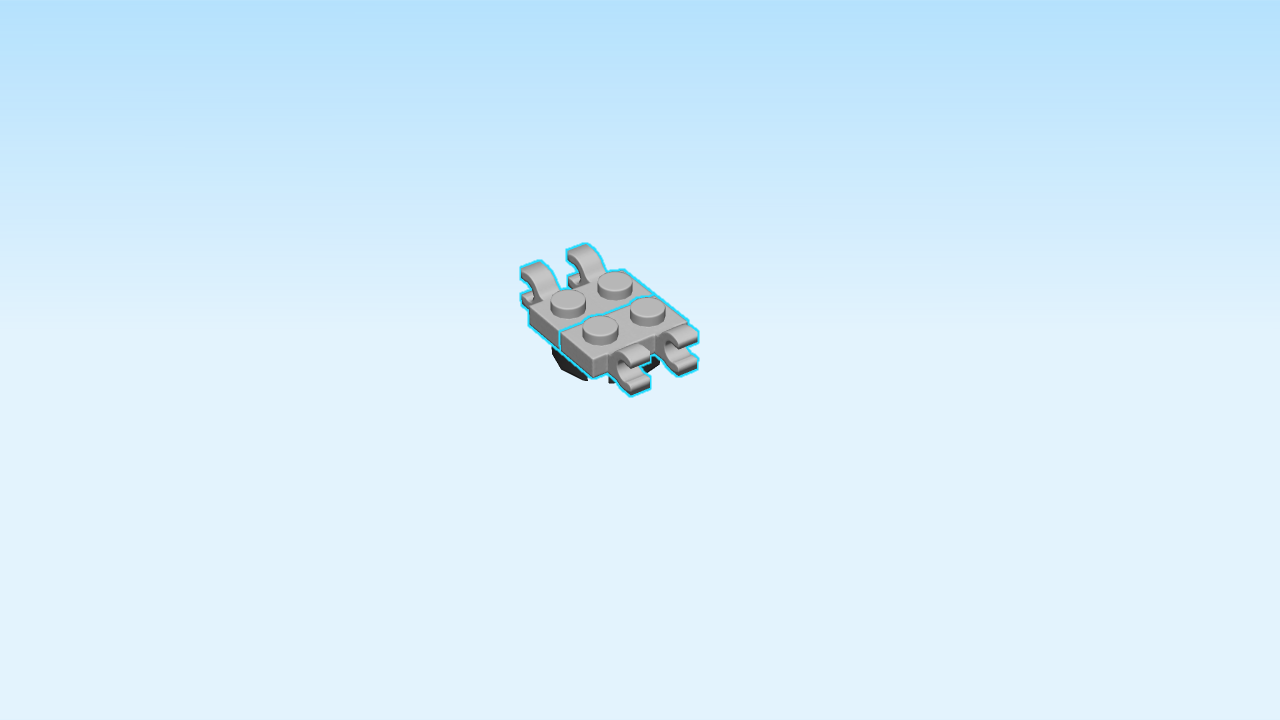
| Find 2 medium stone grey plates 1x2 with 2 side clasps. |
| Put one vertically on the left two knobs, clasps to the left. |
| Repeat symmetrically on the right. |
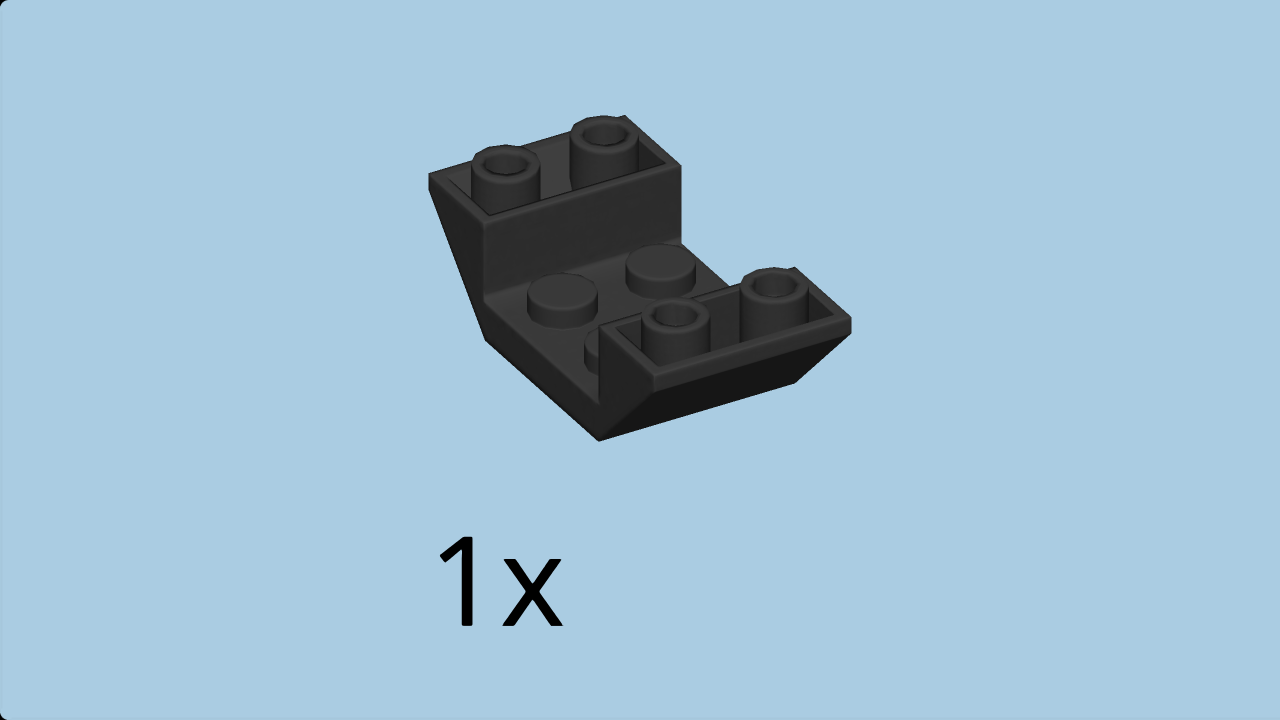
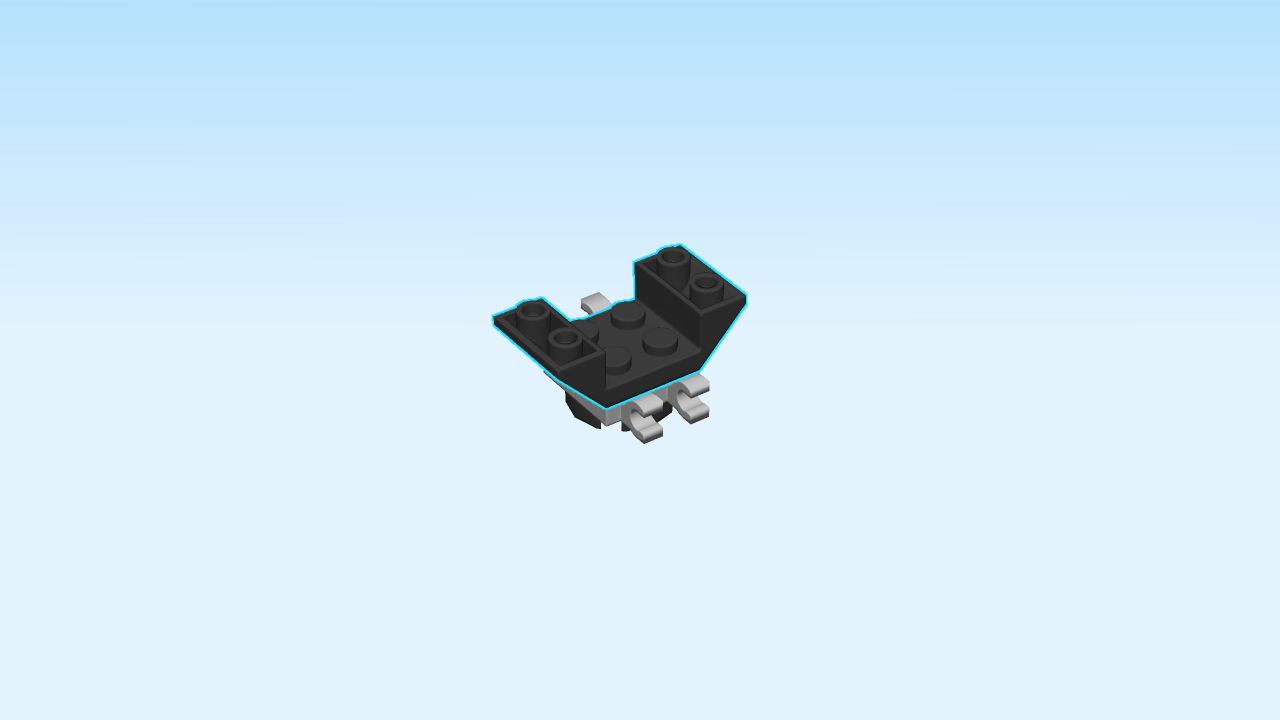
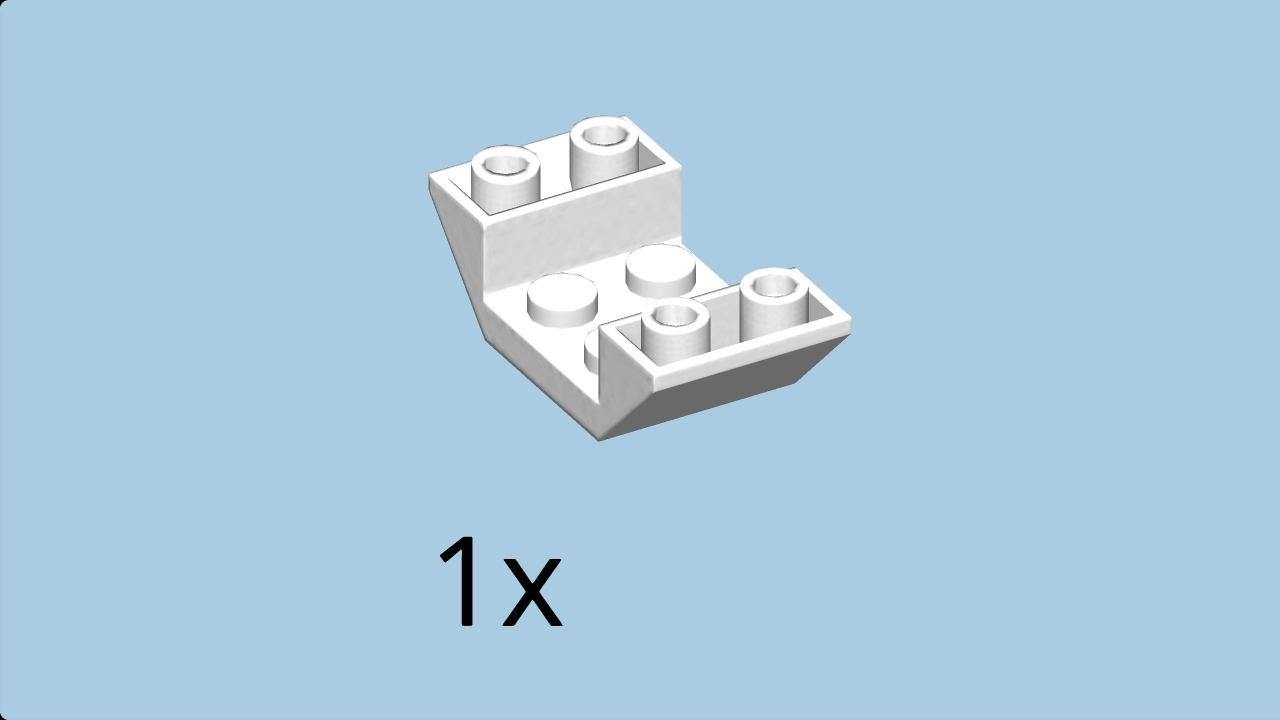
| Find 1 black inverted double roof tile 2x4. |
| Put it vertically on top, wings to the front and back. |
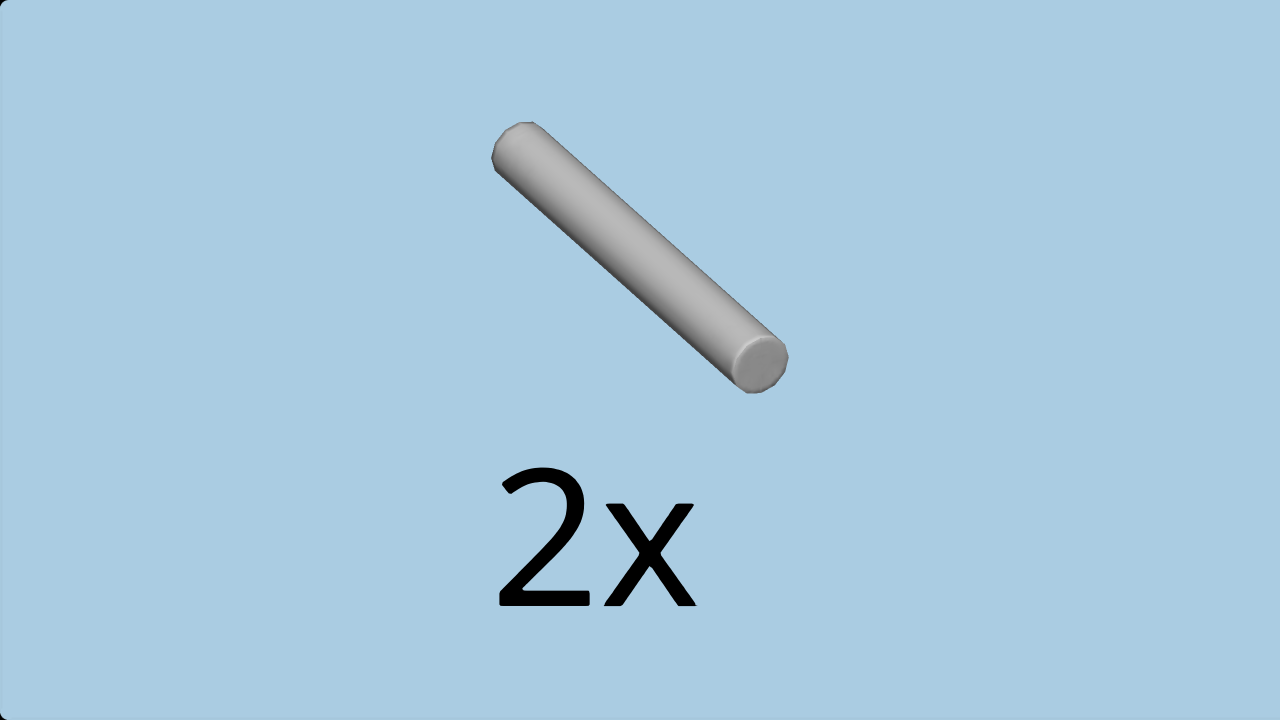
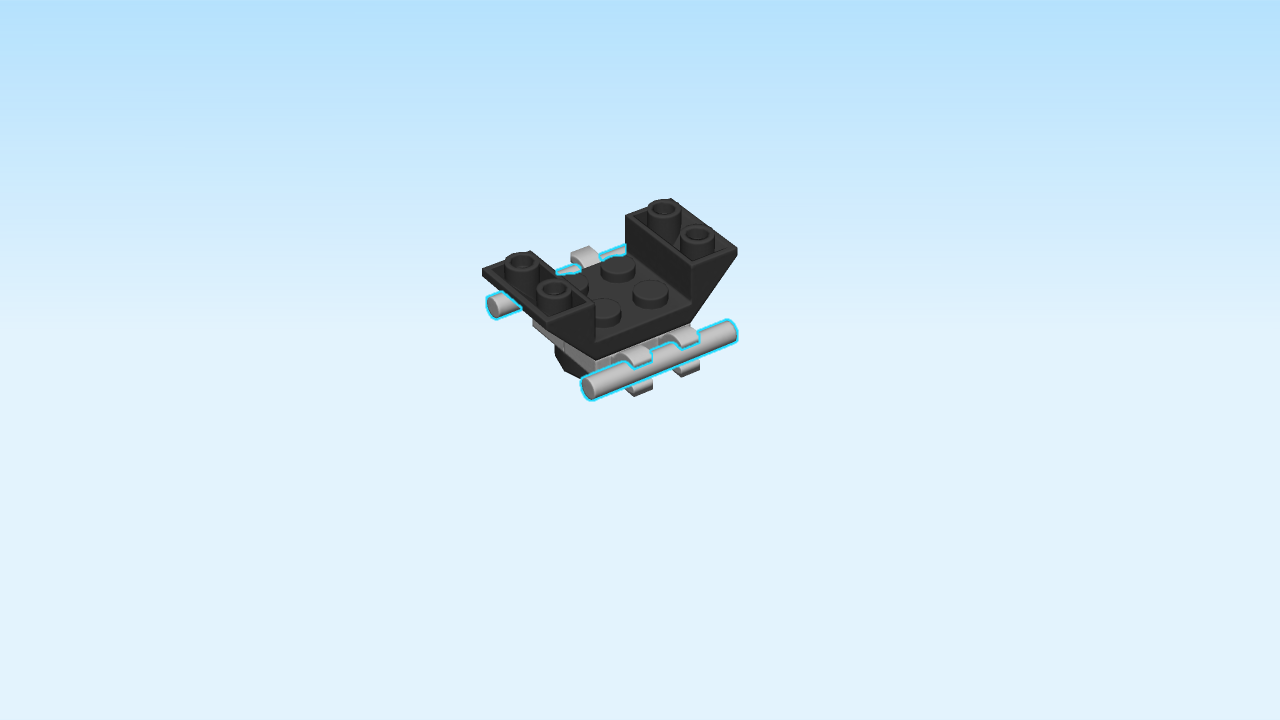
| Find 2 medium stone grey shafts, 3 knobs long. |
| Snap one into the clasps on the right. |
| Repeat symmetrically on the left. |
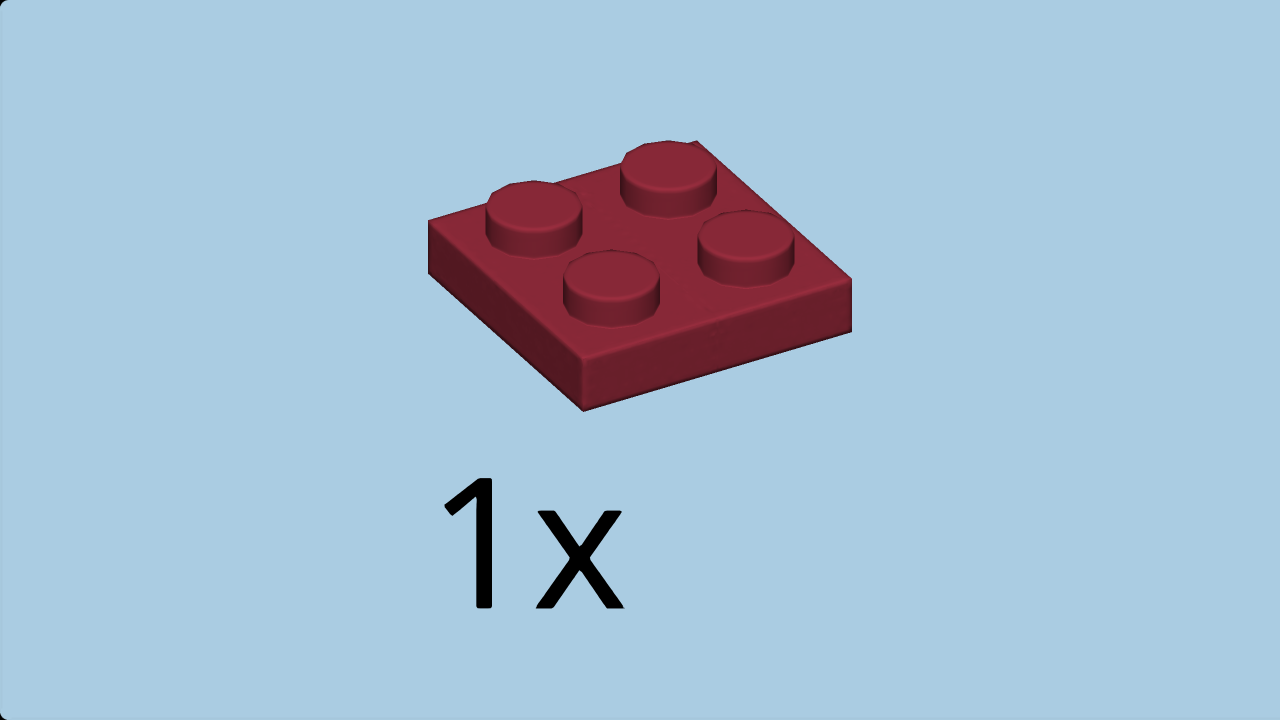
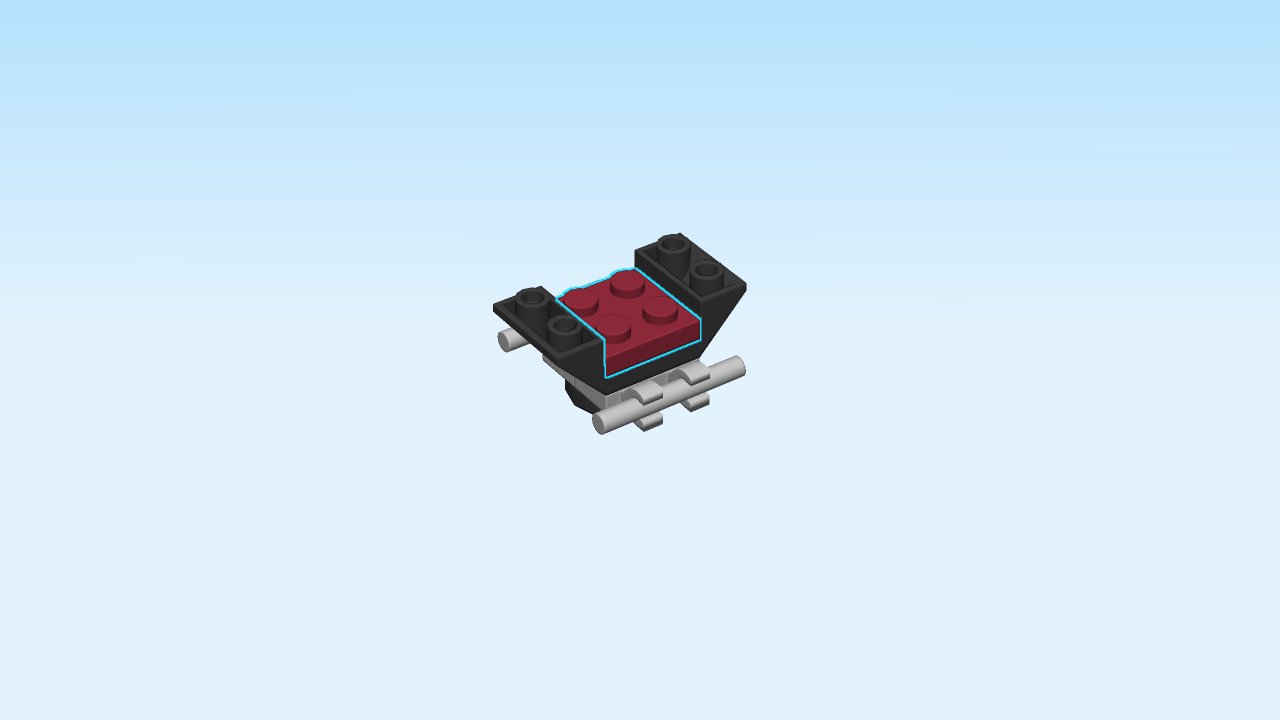
| Find 1 new dark red plate 2x2. |
| Put it on top in the middle. |
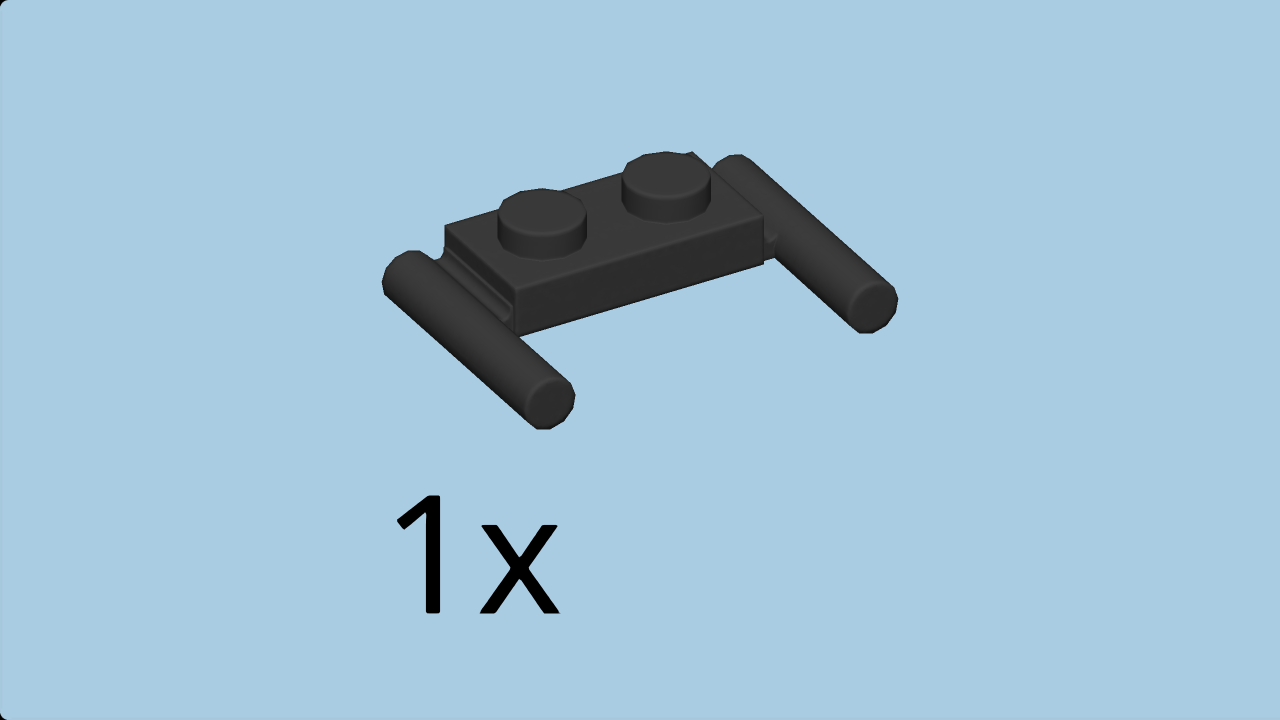
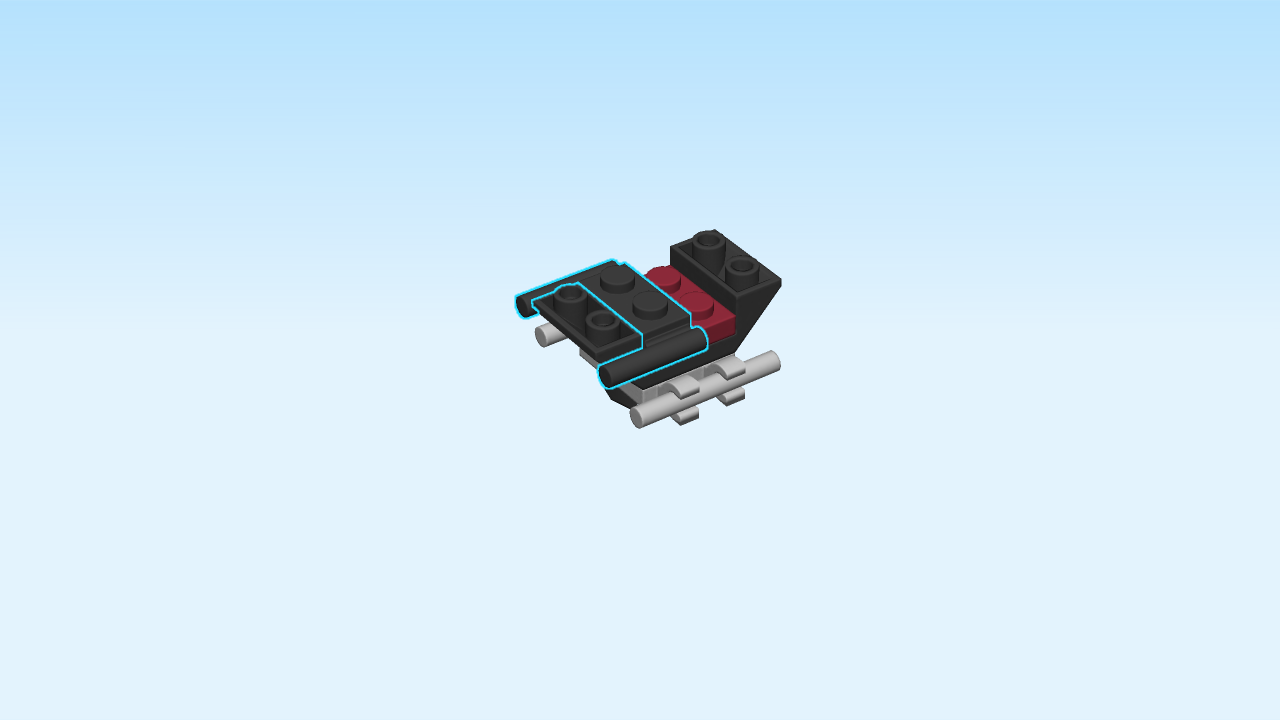
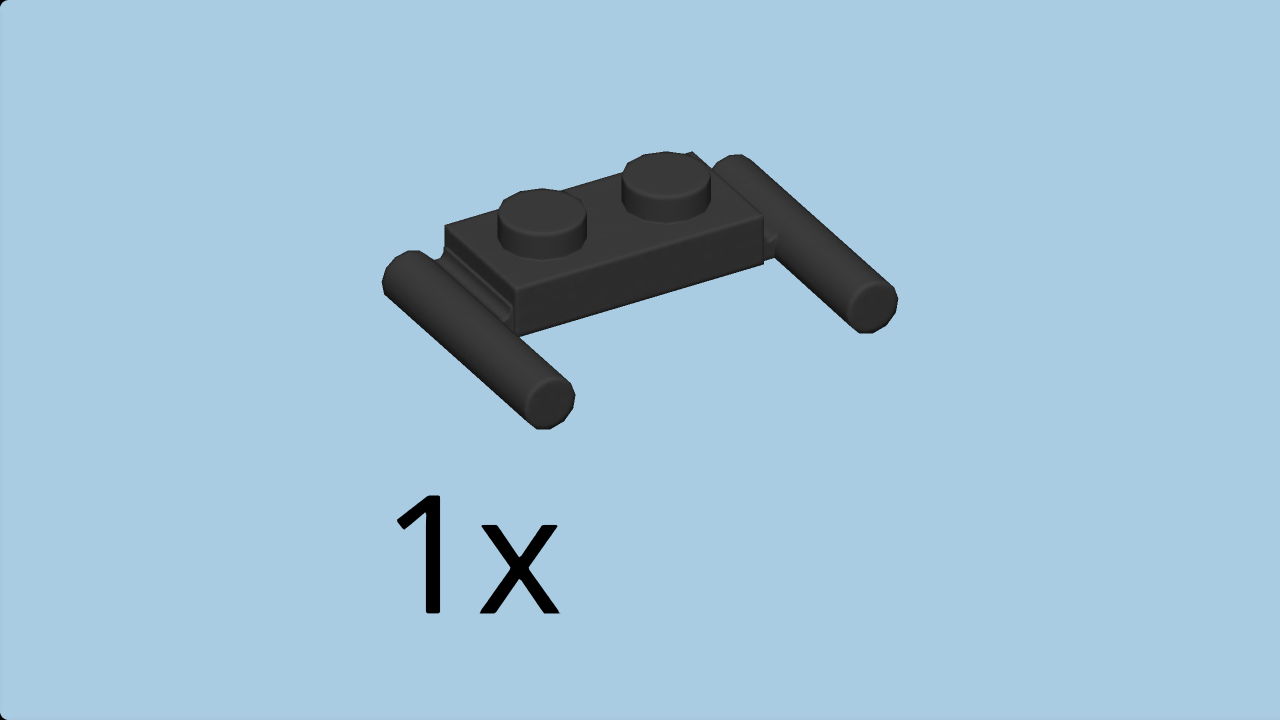
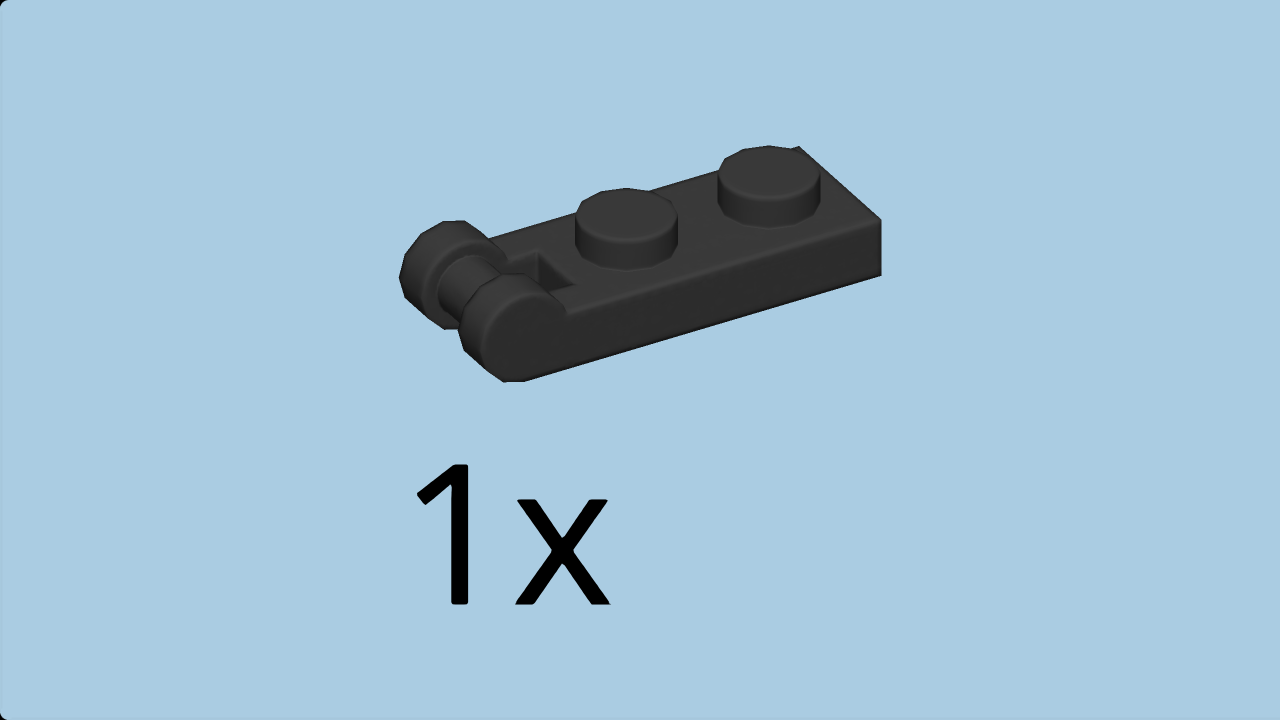
| Find 1 black plate 1x2 with 2 side handles. |
| Put it horizontally on the front row of the previous piece, handles to the front. |
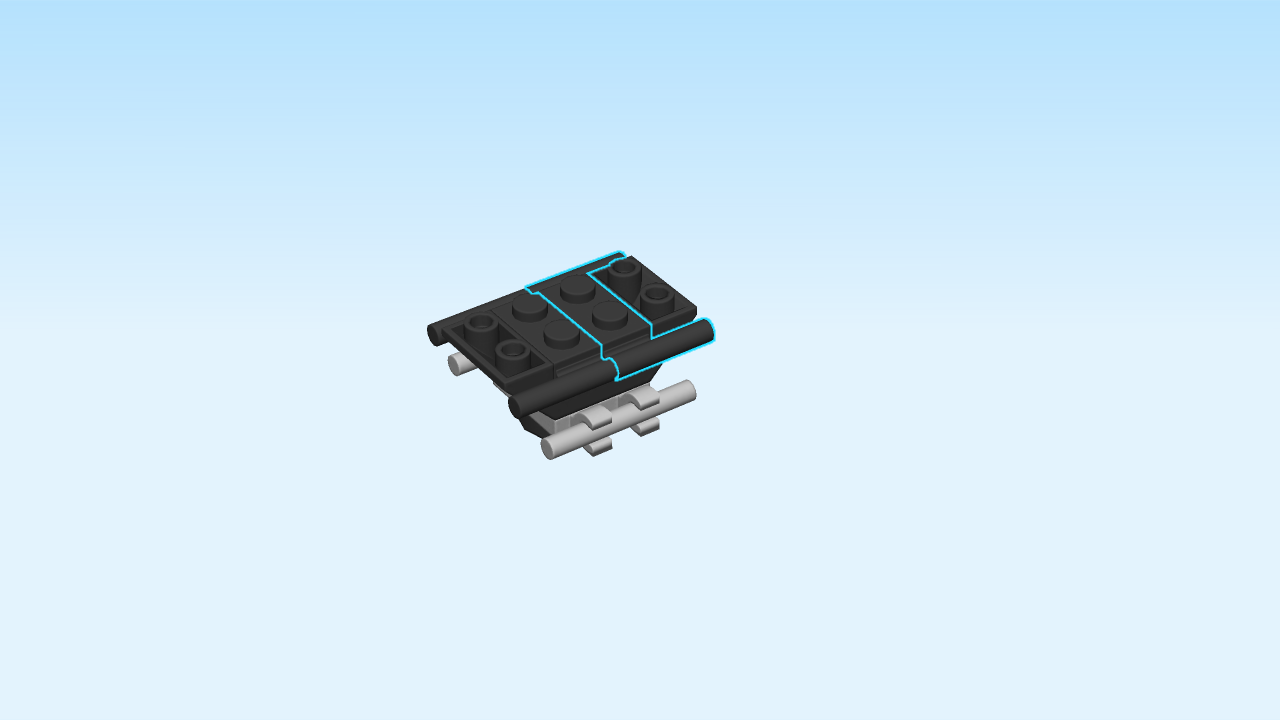
| Find 1 black plate 1x2 with 2 side handles. |
| Put it horizontally on the back row of the plate 2x2, handles to the back. |
| Collect the following 3 pieces: |
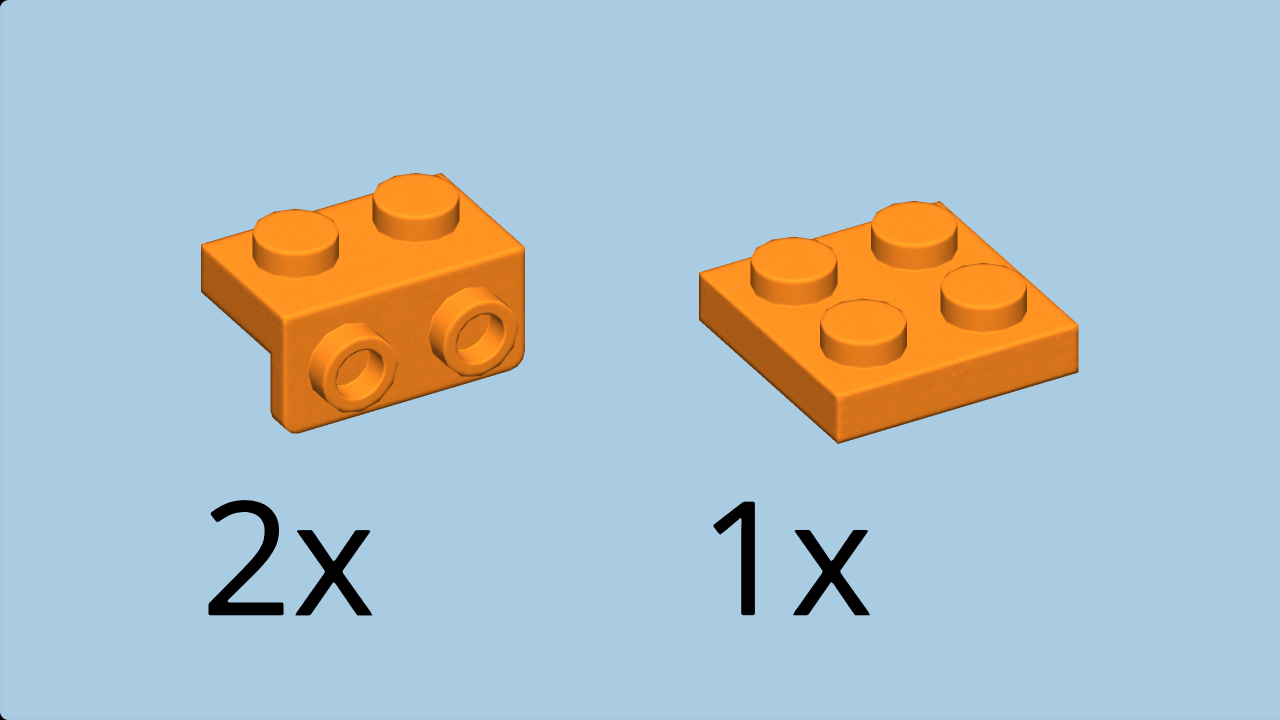
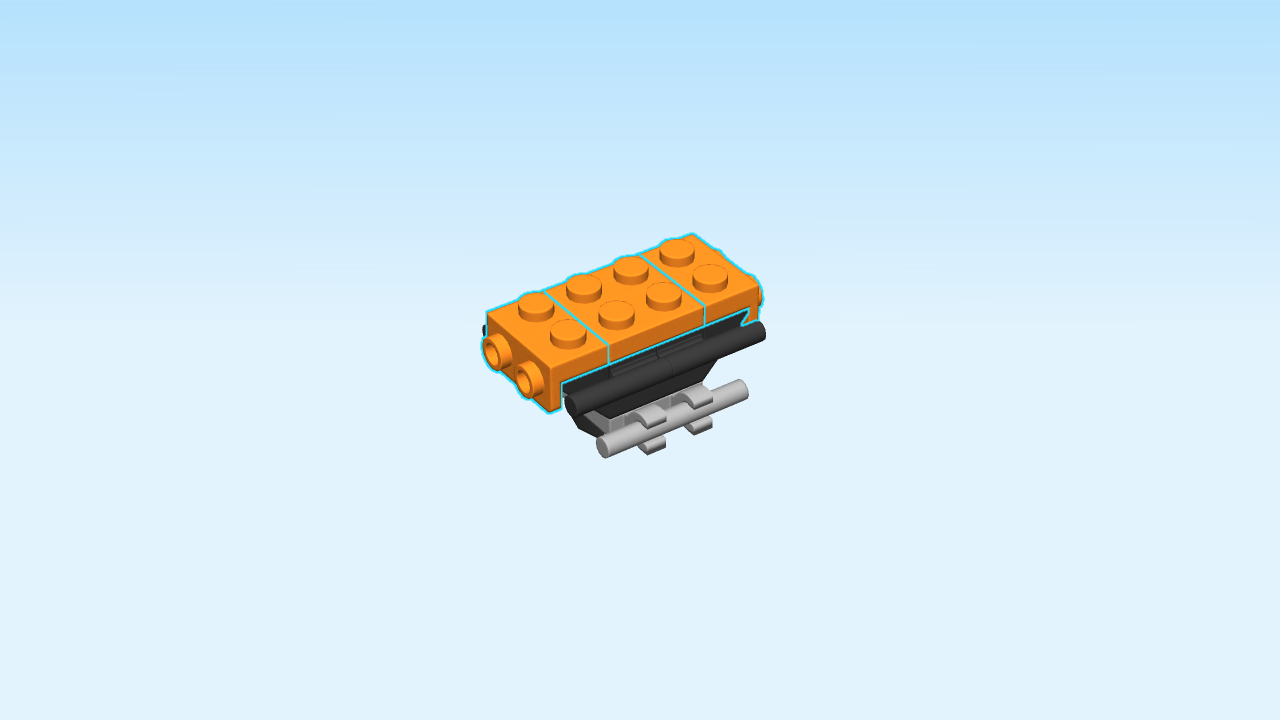
| 1 bright orange plate 2x2, |
| and 2 bright orange top angular plates 1x2 - 1x2 with side knobs. |
| Put the plate 2x2 on top in the middle. |
| Put one top angular plate horizontally on the backmost row, side knobs to the back.. |
| Repeat symmetrically at the front. |
| Collect the following 3 pieces: |
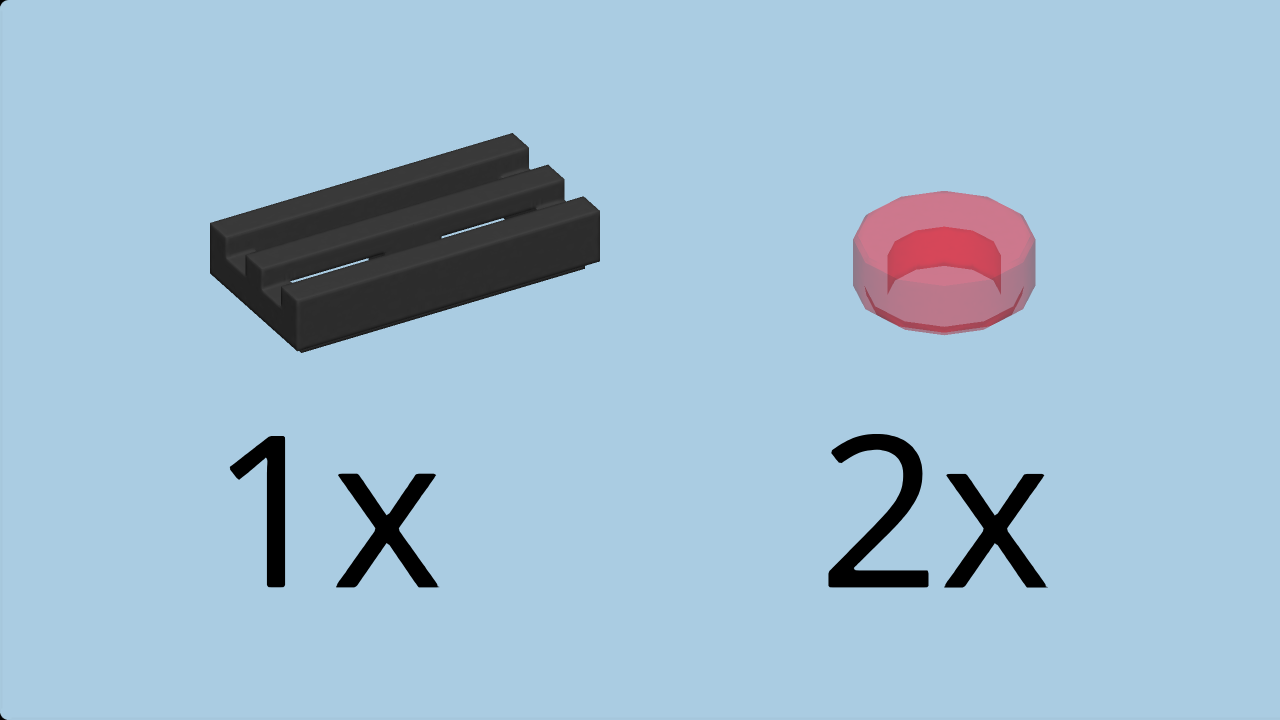
| 1 black grille plate 1x2, |
| and 2 transparent red round flat tiles 1x1. |
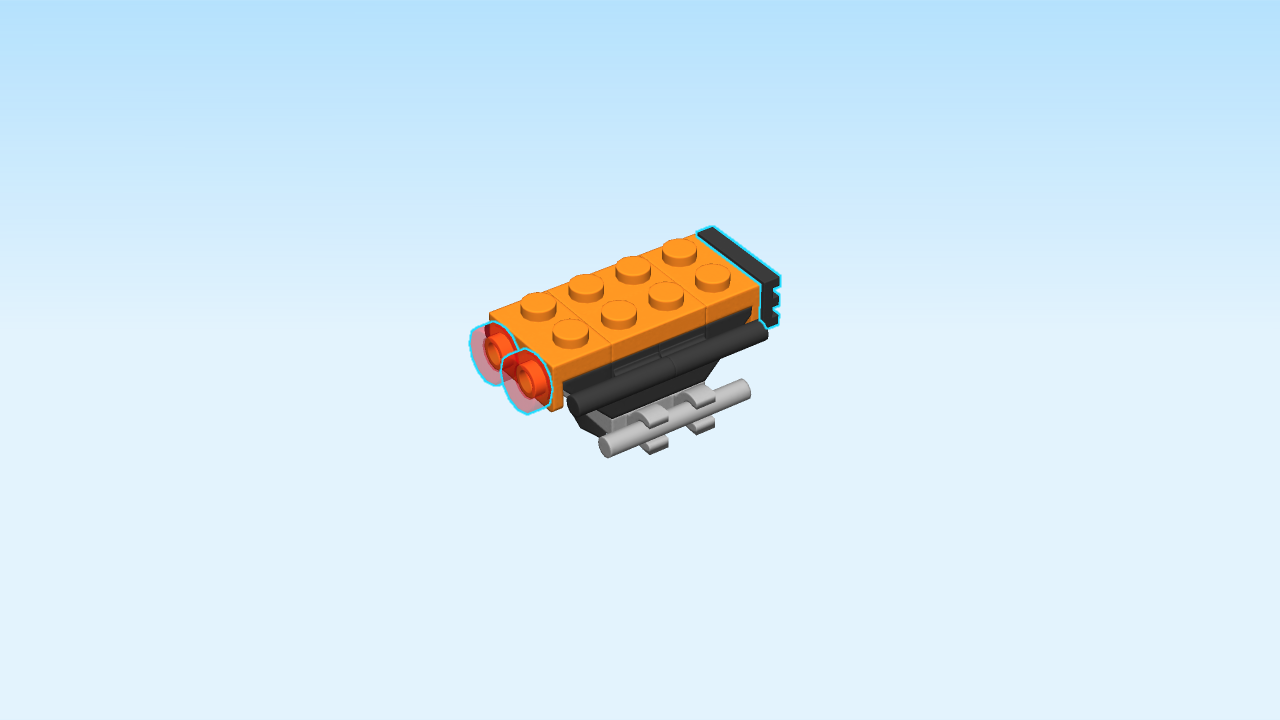
| Careful: the next three pieces have a special orientation! |
| Put the grille plate 1x2 upright horizontally on the side knobs at the back. |
| Put the round flat tiles 1x1 upright on the side knobs at the front. |
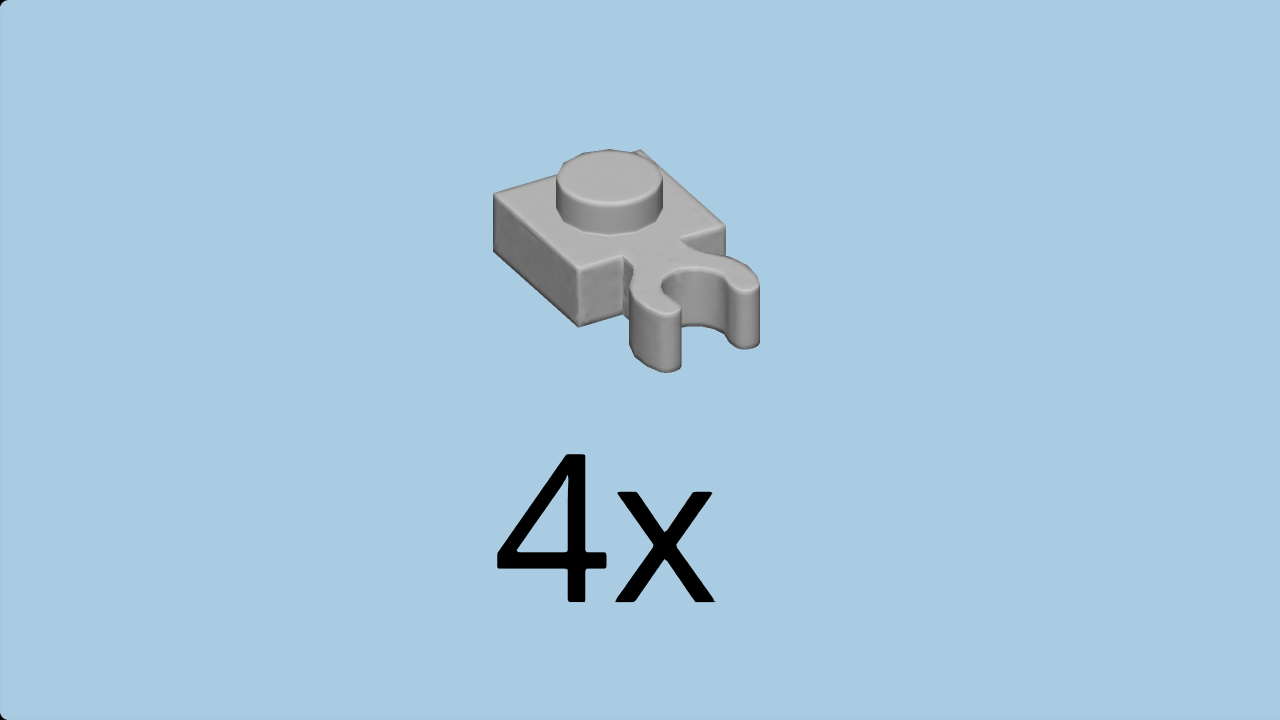
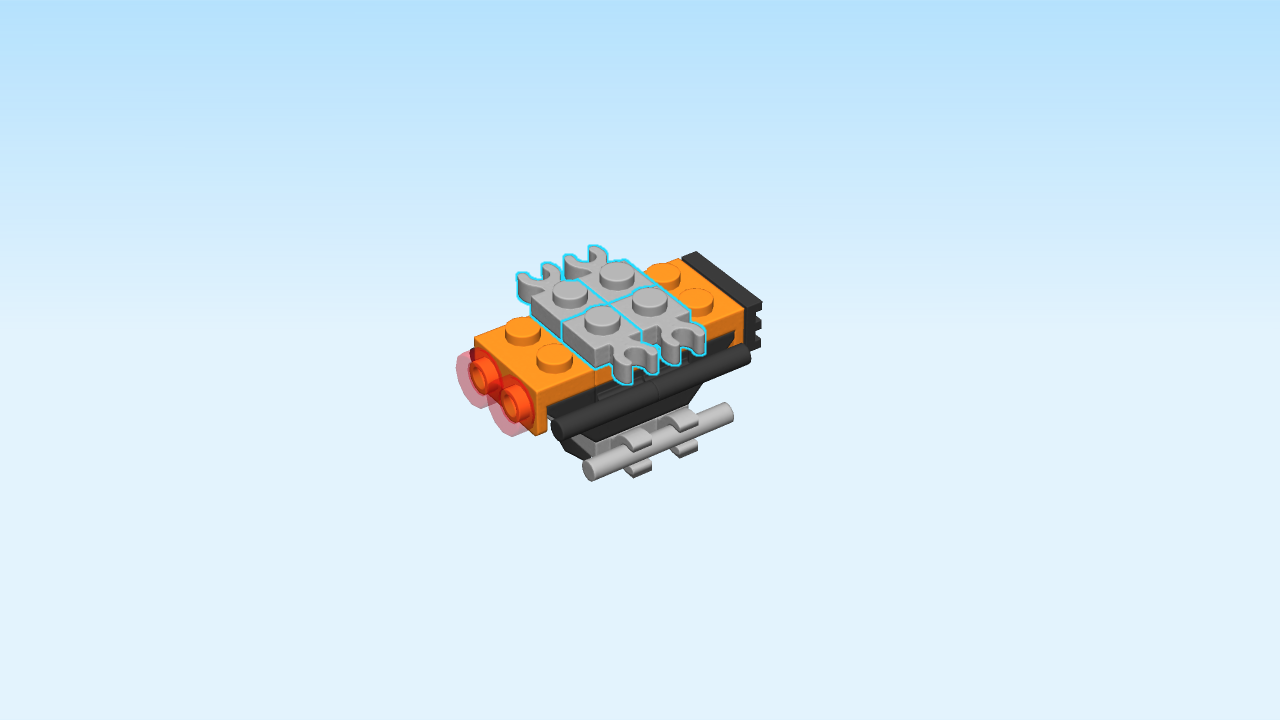
| Find 4 medium stone grey plates 1x1 with side clasp. |
| Put them on top on the four middle knobs, clasps to the left and right. |
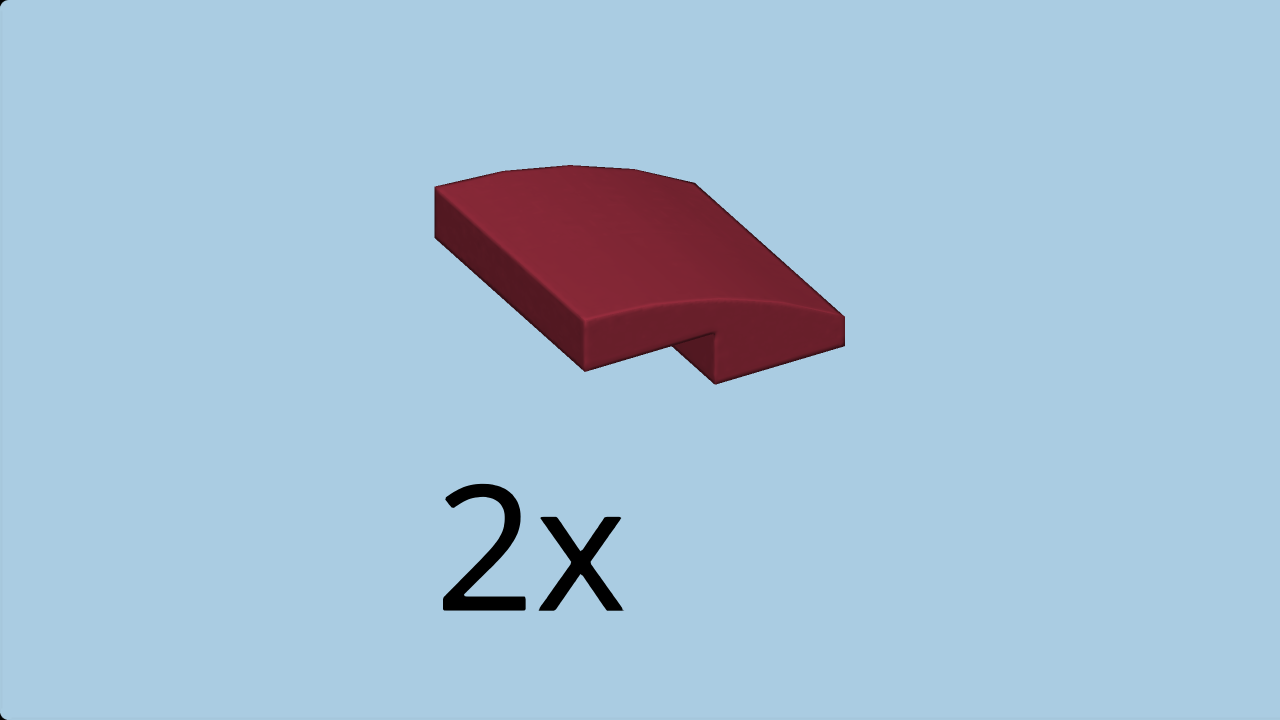
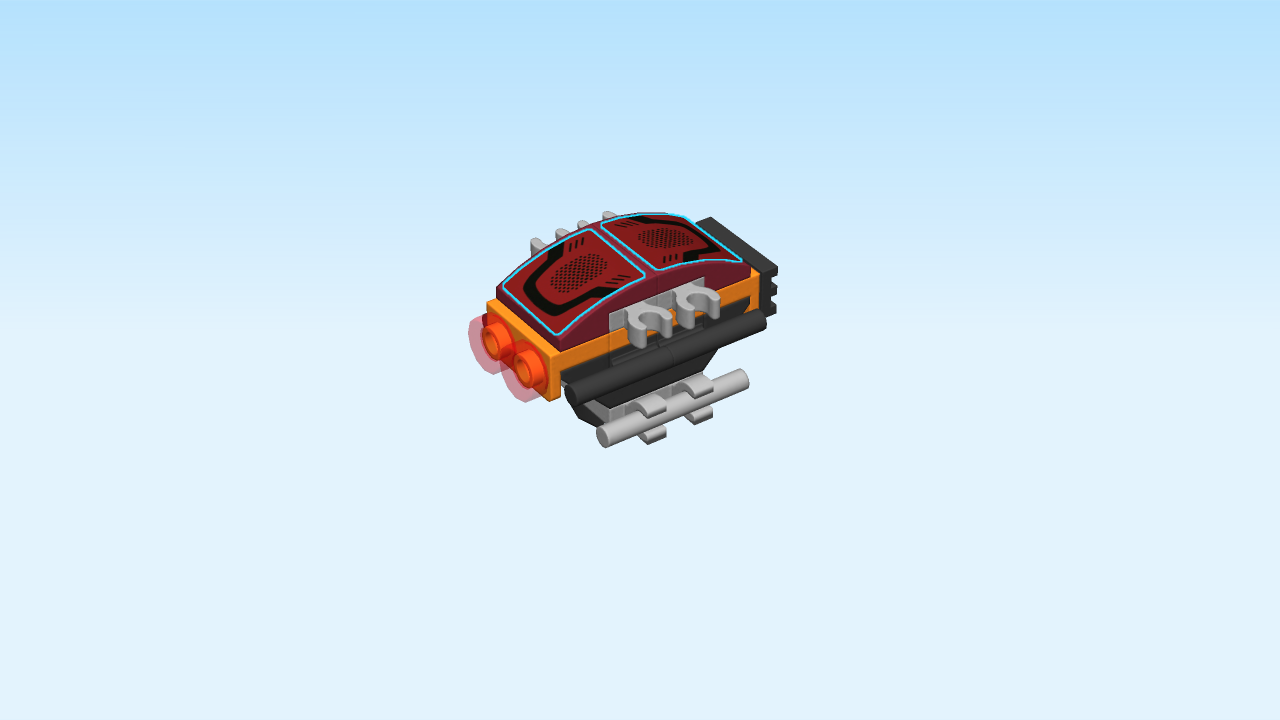
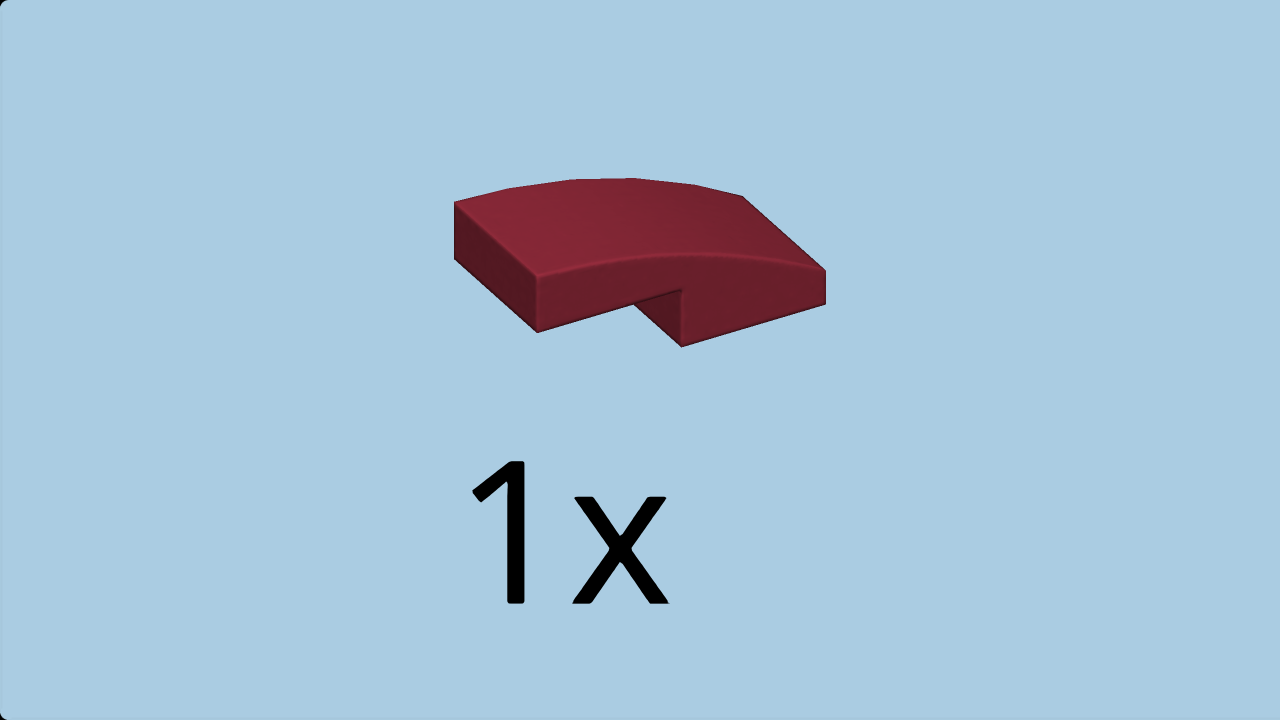
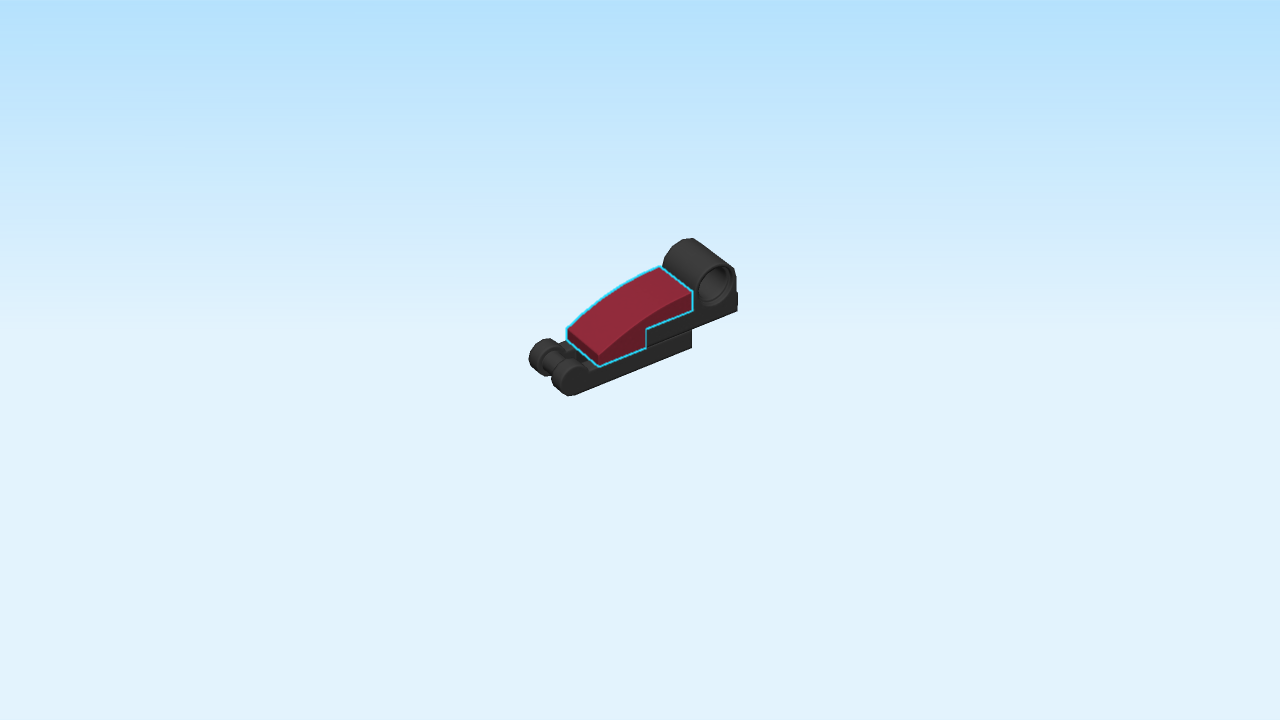
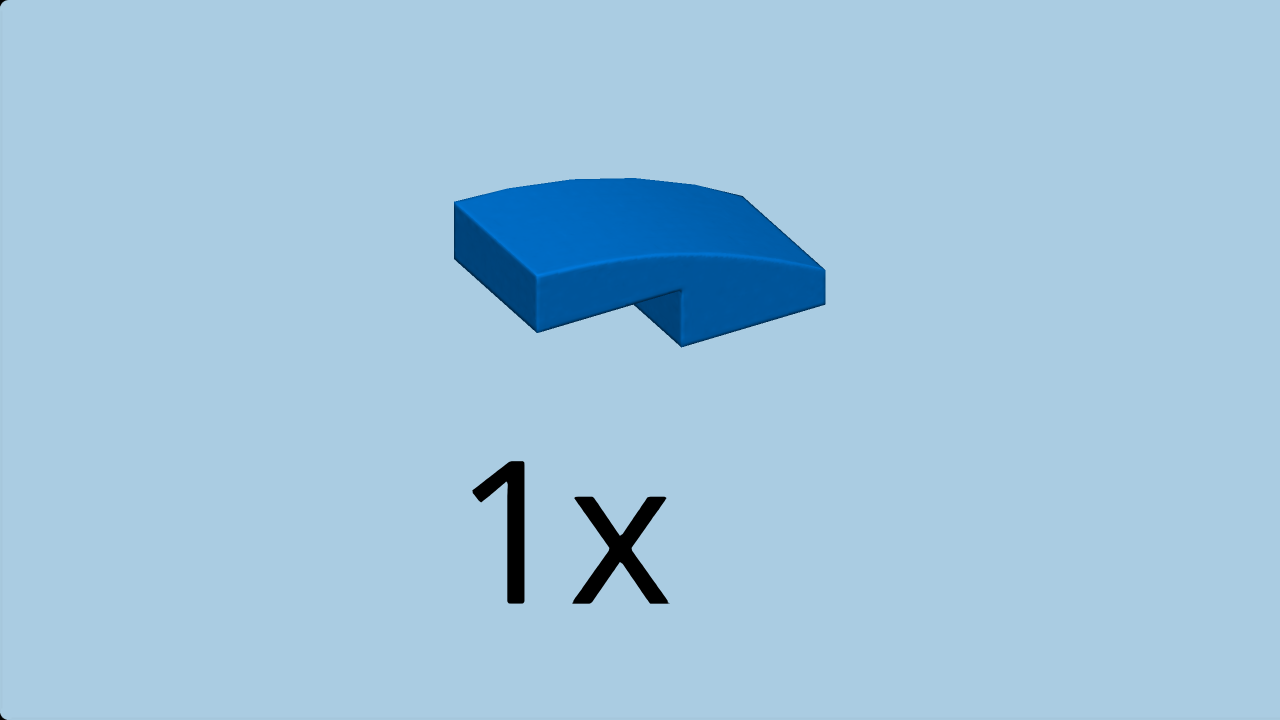
| Find 2 new dark red curve pieces 2x2. |
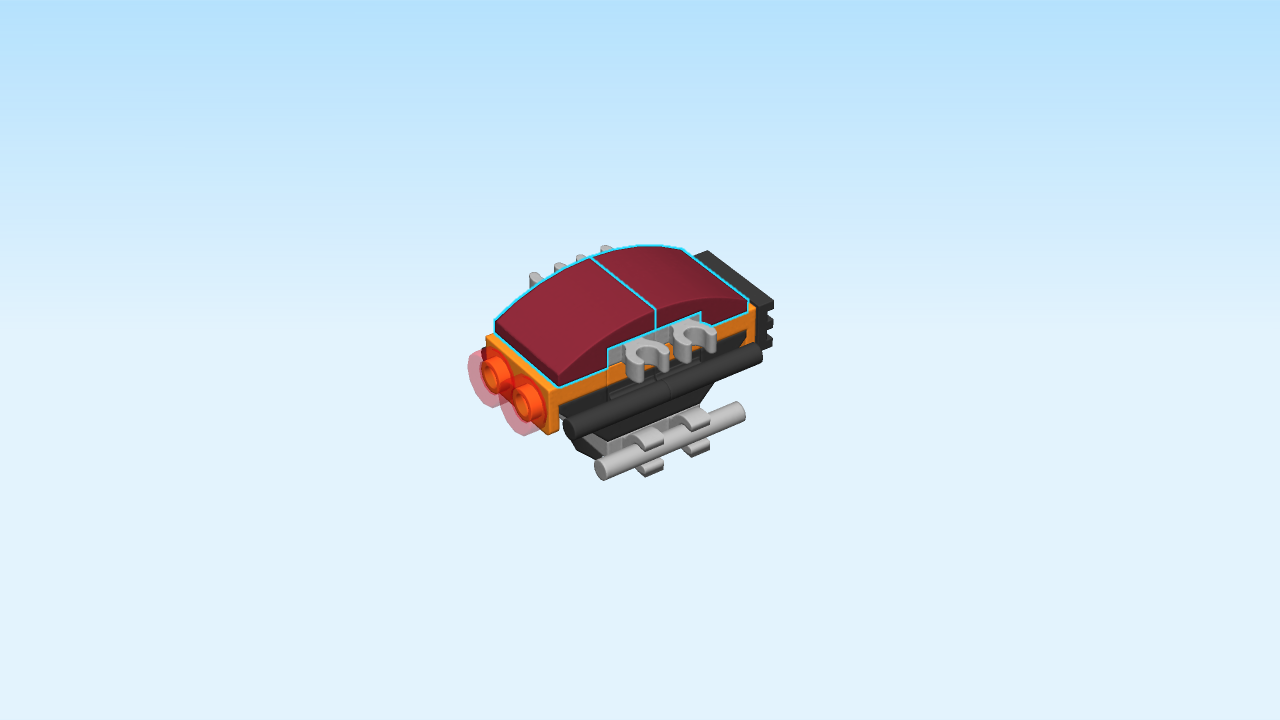
| Put one on the front row, curve to the front. |
| Repeat symmetrically at the back. |
| Continue if you want to decorate the curve pieces with 2 stickers now. If not, skip the next three sentences. |
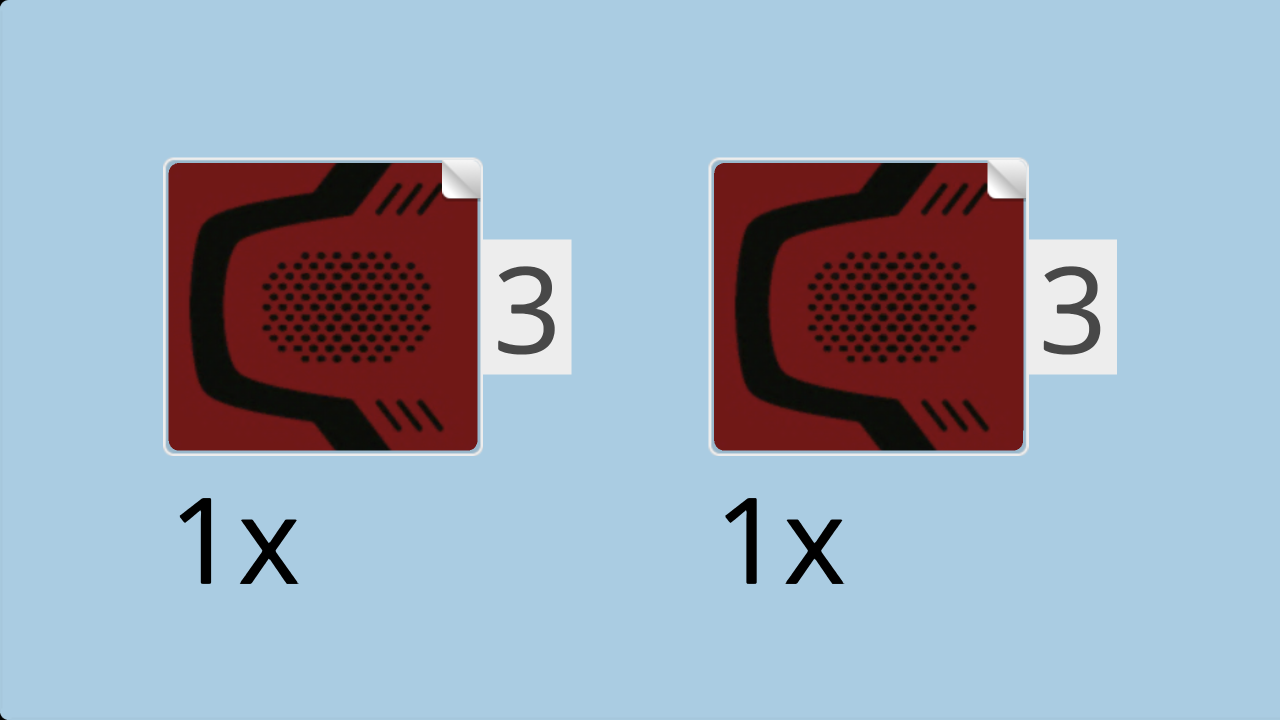
| Find 2 square stickers number 3. Ask a sighted person to help you. |
| Put them on the curves. |
| (The stickers show the engine hood and ventilation slits of the drone.). |
| Now, you have to flip the structure knob-side down. This means that the top knobs are now touching the table. Remember to keep the orientation vertical. |
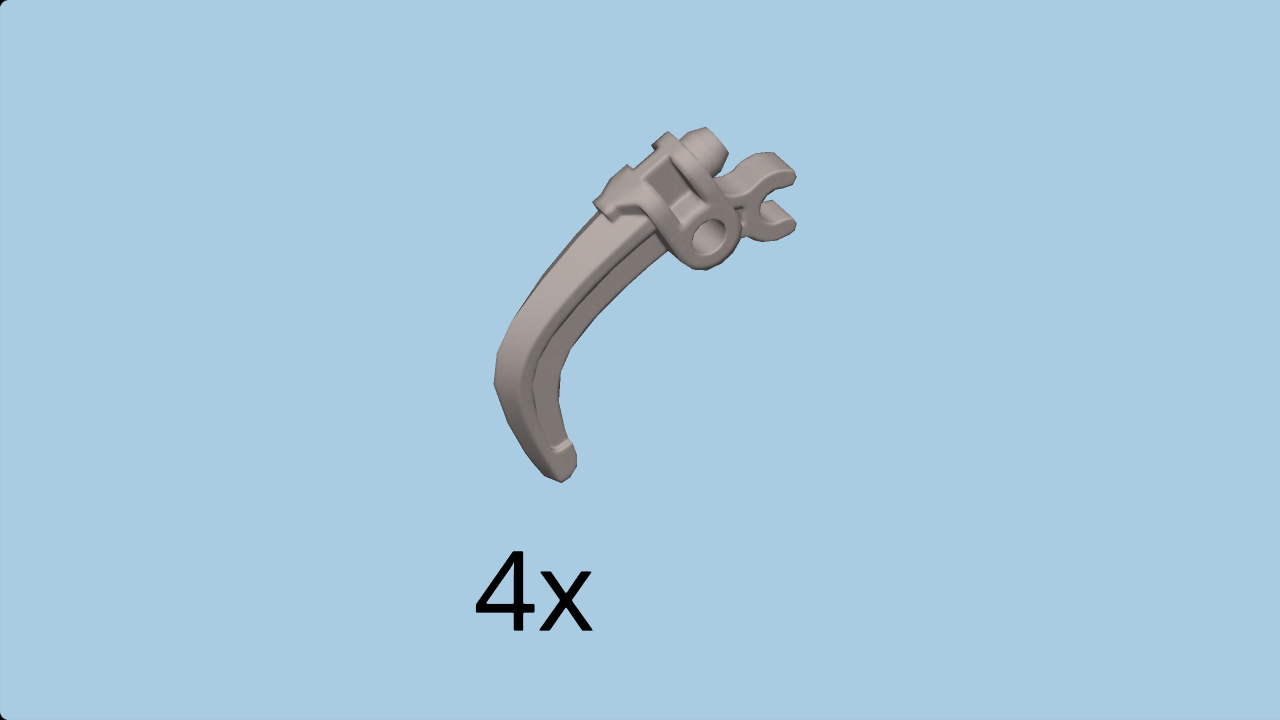
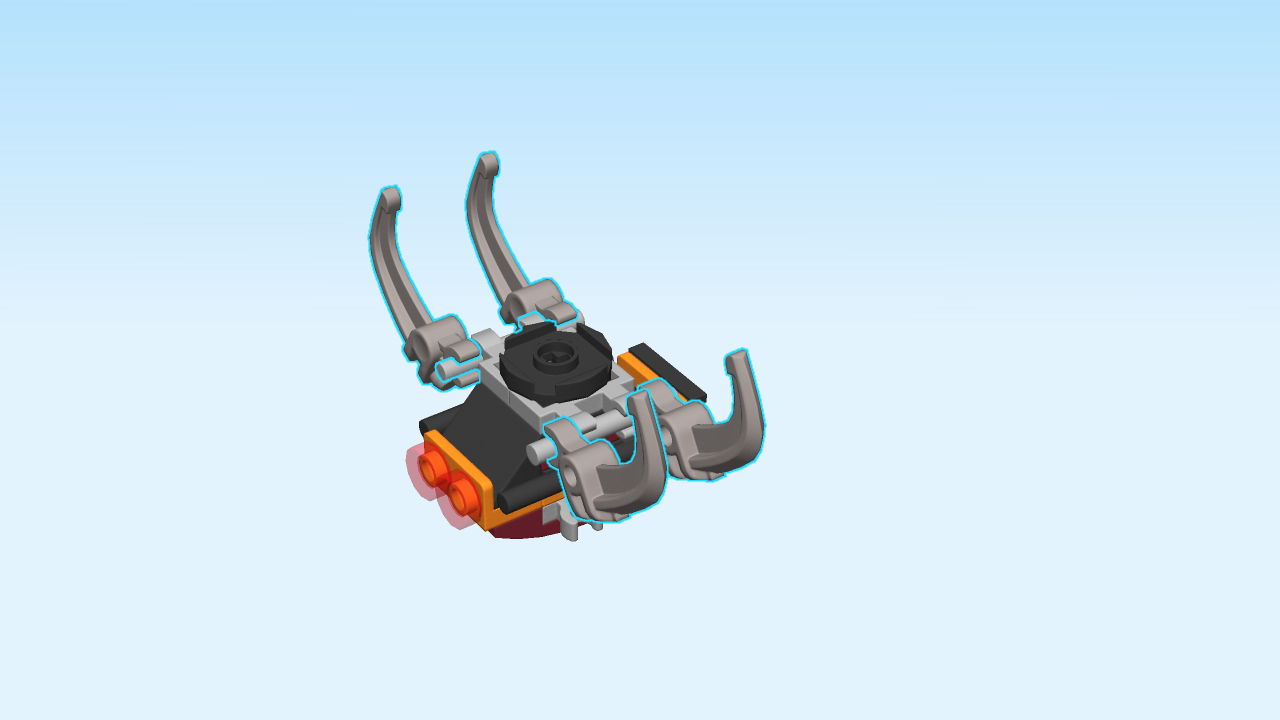
| Find 4 silver metallic claws with holder. |
| Put two of them on the left shaft at its back and front ends. The claws are pointing both upward and inward. |
| Repeat symmetrically on the right. |
| Flip the structure right-side up again. |
| Next, we will build 4 propeller bases. |
| Find 1 black plate 1x2 with side shaft. |
| Put it horizontally on the table, shaft to the left. |
| Find 1 black plate 1x2 with top tube. |
| Put it horizontally on the right knob, top tube overhanging to the right. |
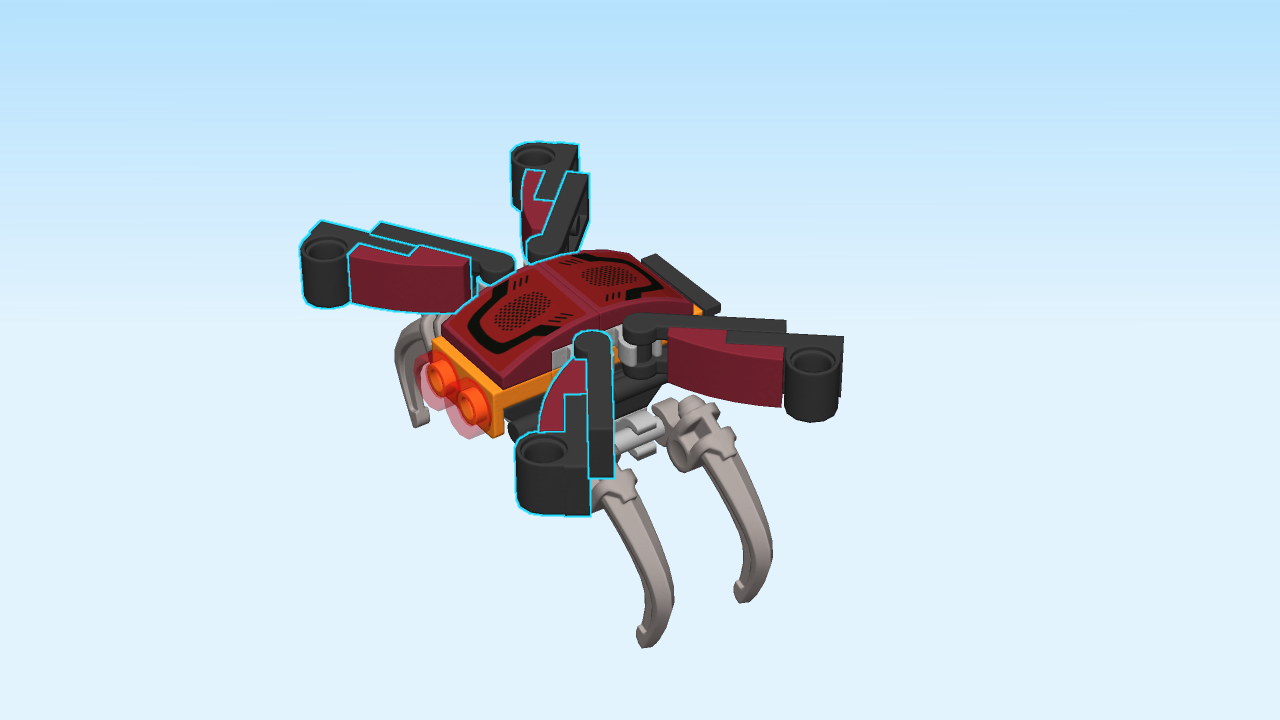
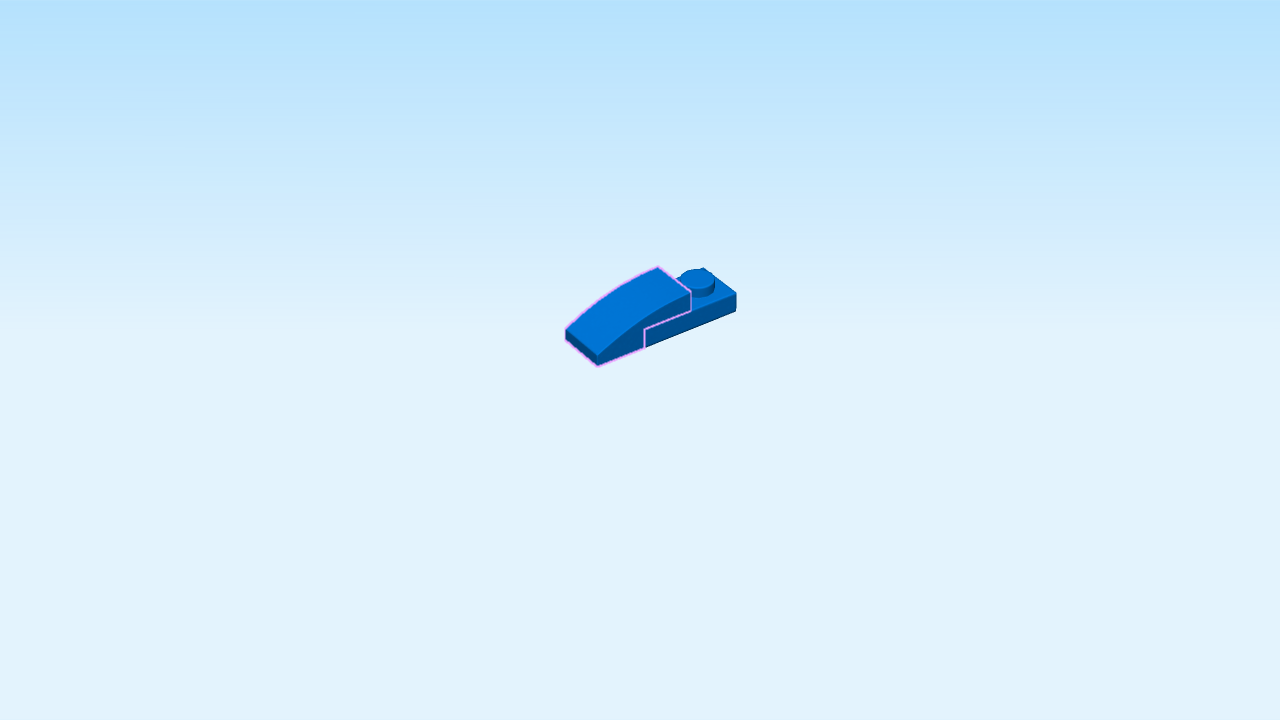
| Find 1 new dark red curve piece 1x2. |
| Put it horizontally on top, slide to the left. |
| Repeat to make four such parts in total. |
| Careful: these builds have a special orientation! |
| Mount the propeller bases upright, all curves to the front, by snapping the side shafts into the clasps on the side of the structure. |
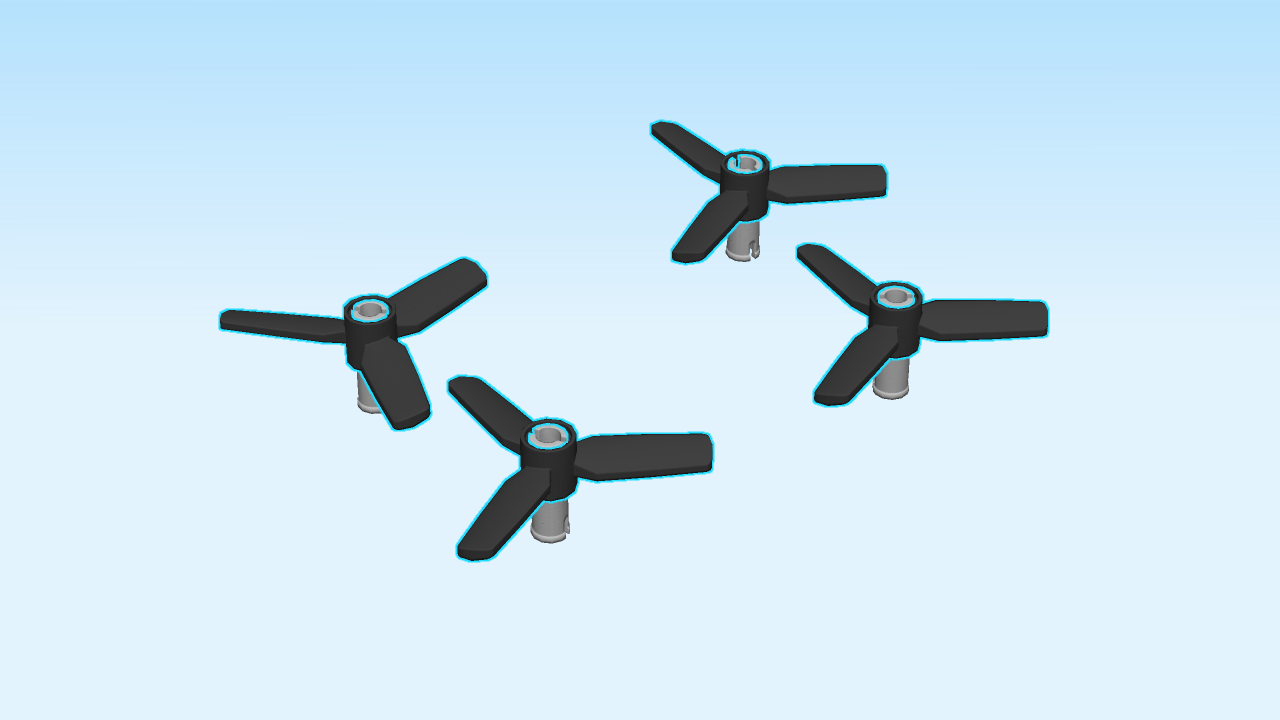
| Next, we will build 4 propellers. |
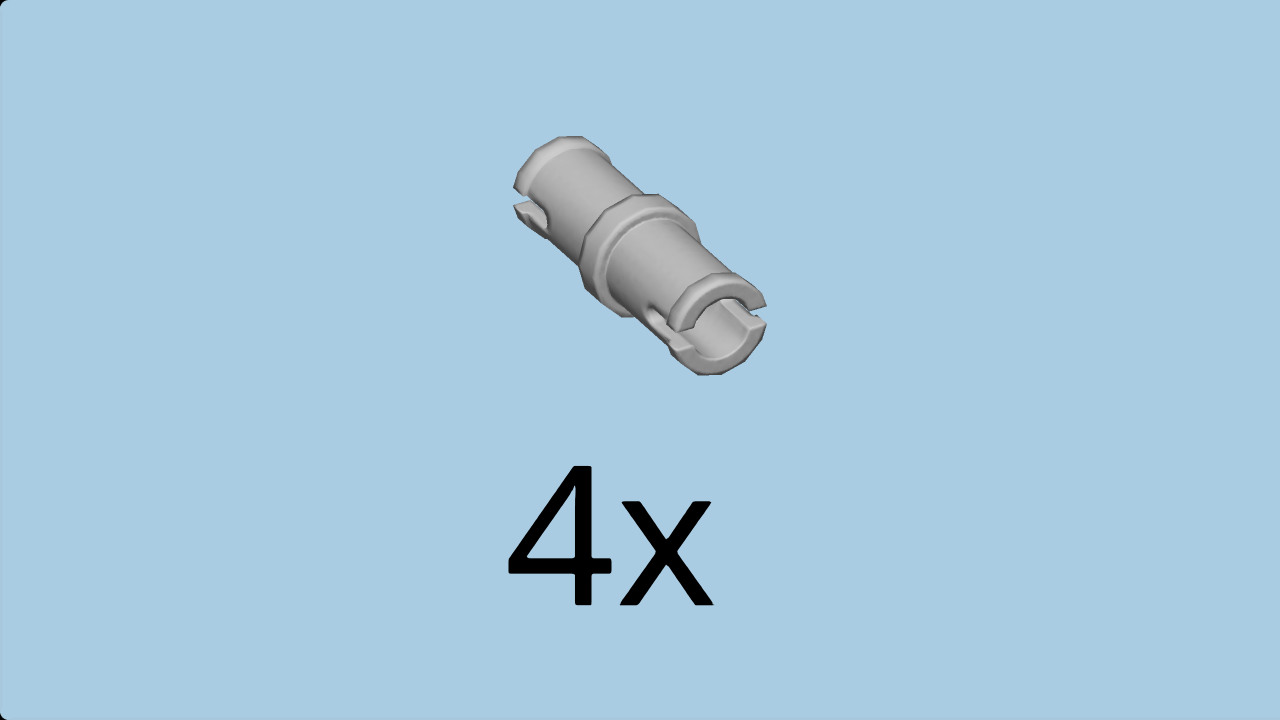
| Find 4 medium stone grey small connector pegs with middle ring. |
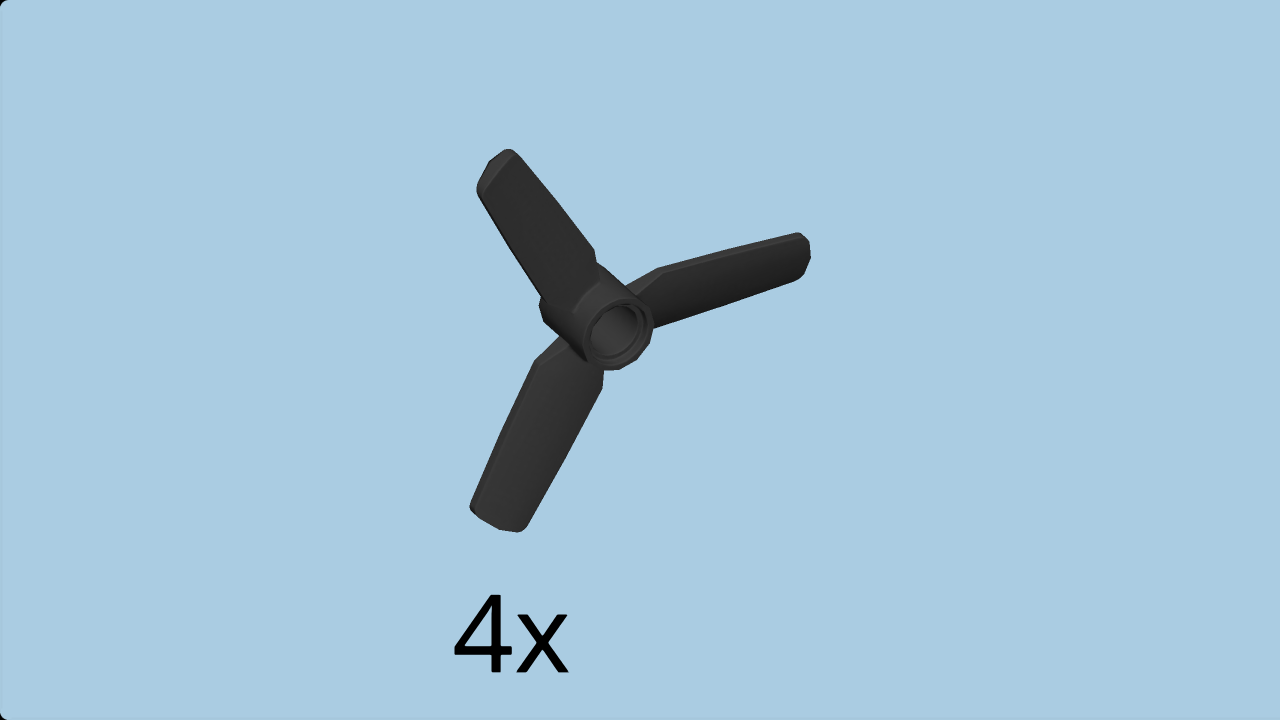
| Find 4 black propellers with 3 blades. |
| Insert the 4 small connector pegs into the 4 propellers. |
| The propellers are finished! Insert the other halves of the connector pegs into the tubes of the four propeller bases. |
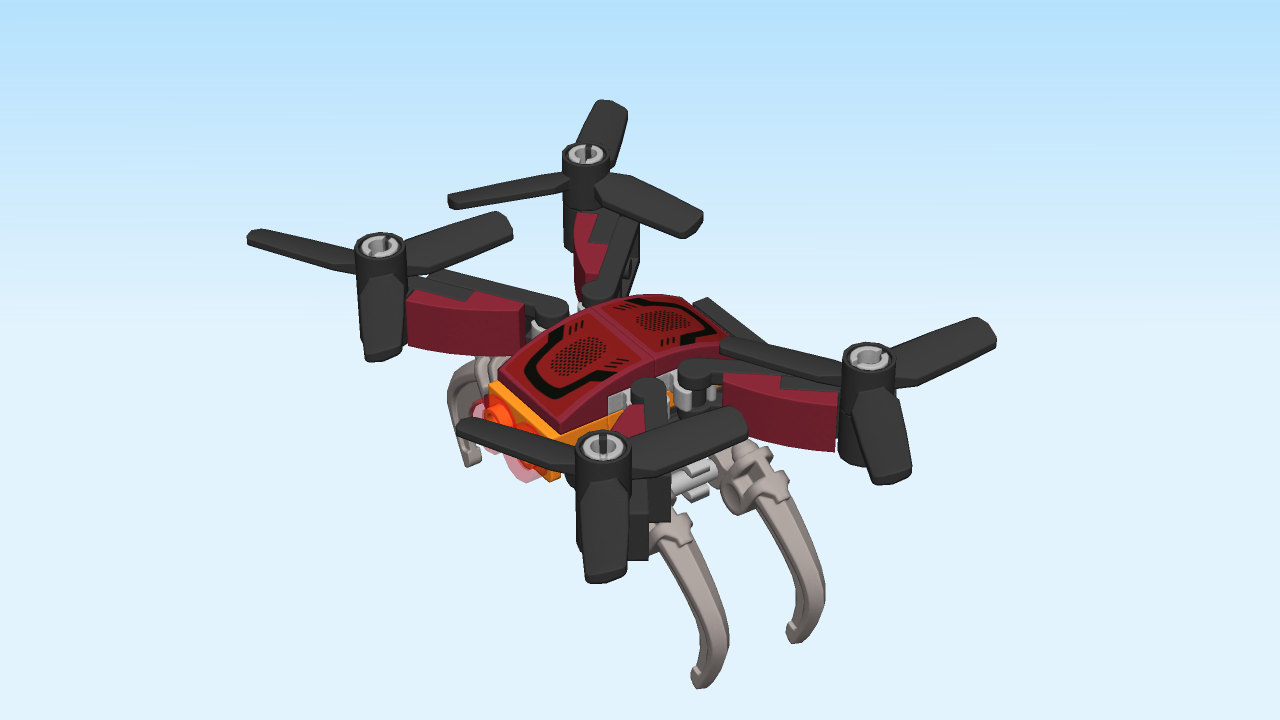
| The drone is finished! Well done! Use the remote control to move and maneuver it. The claws of the drone can snatch the fireman statue right off its pedestal! |
| Now, carefully open bag 2 and its 2 sub-bags. Keep the small box for later (it contains the net for the shooter). The bags contain all pieces for the police officer mini figure, and the police helicopter. |
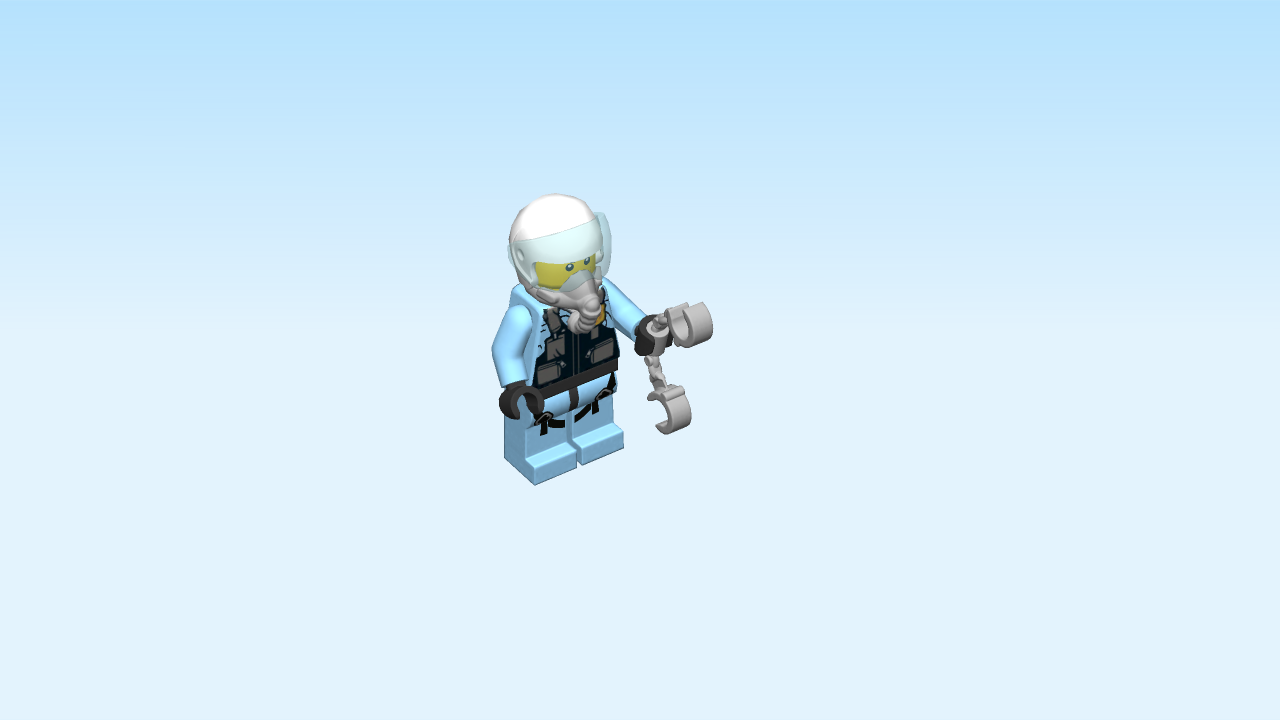
| Next, we will build the police officer mini figure. |
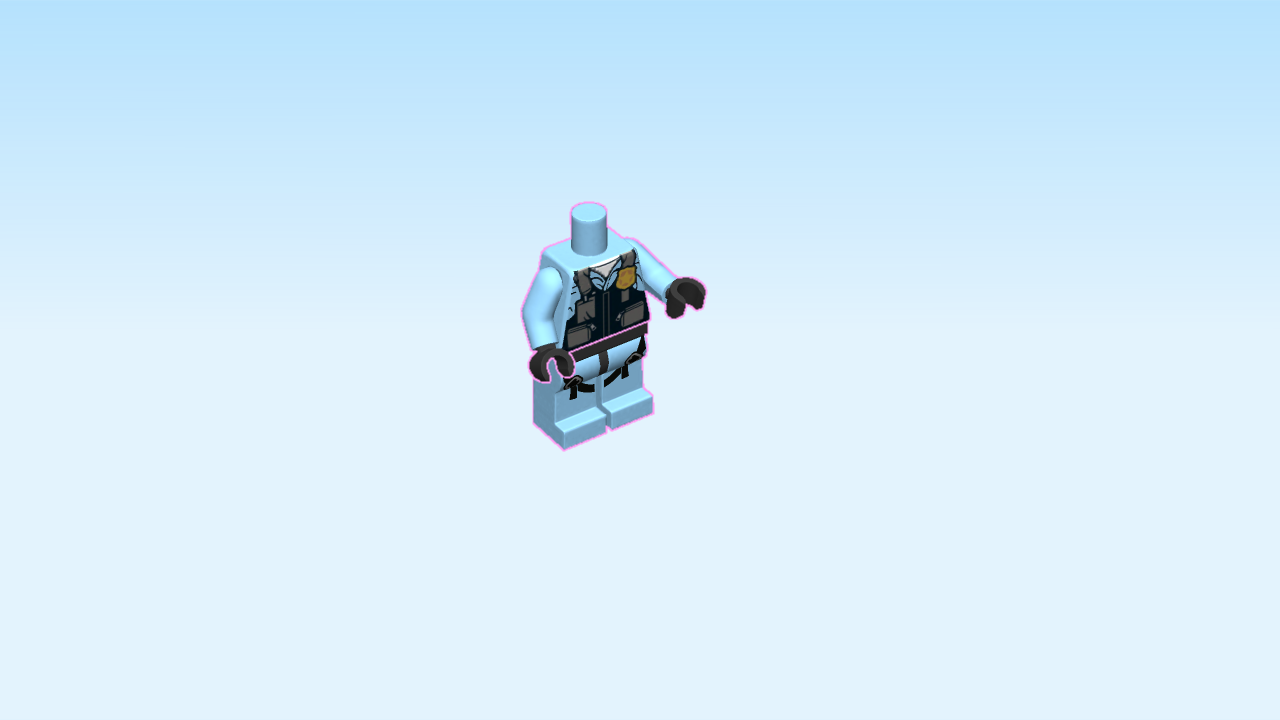
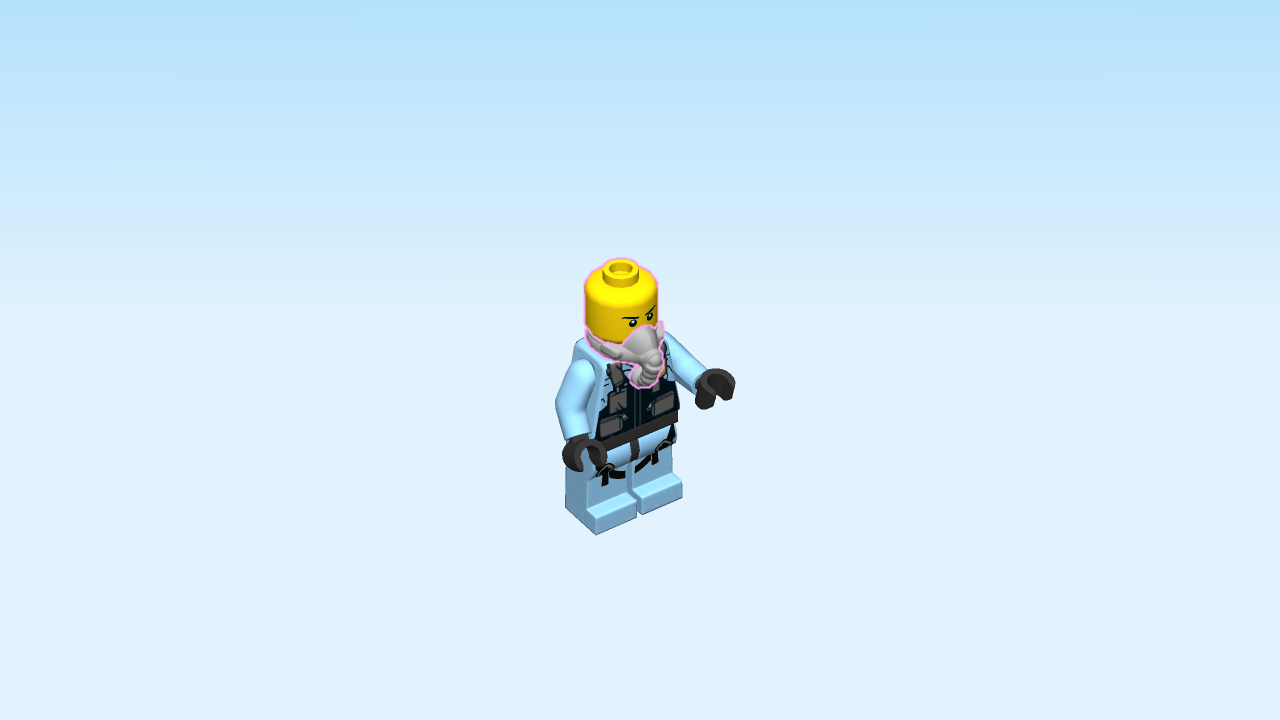
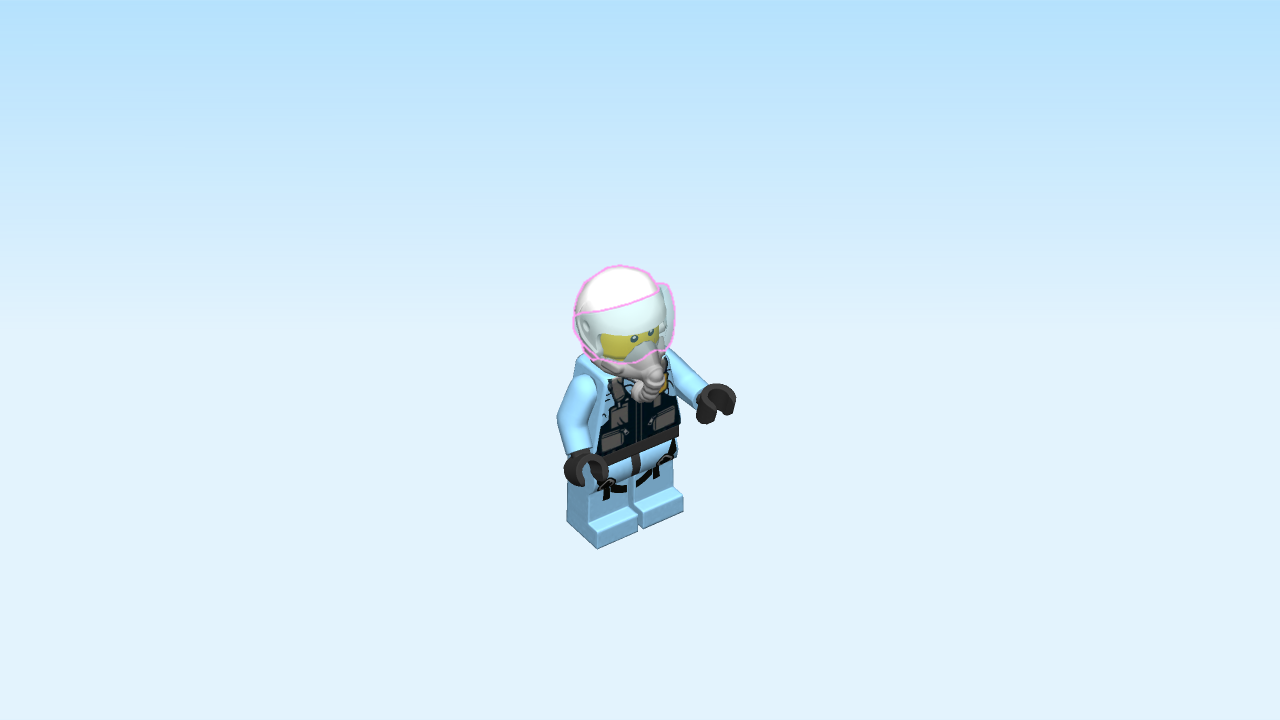
| The Sky police officer is wearing a light blue police uniform and a black bulletproof vest with his police badge pinned on. He is also wearing a gas mask, and a helmet with visor. His face is determined; once he has captured the crook, he will use his handcuffs to arrest him! |
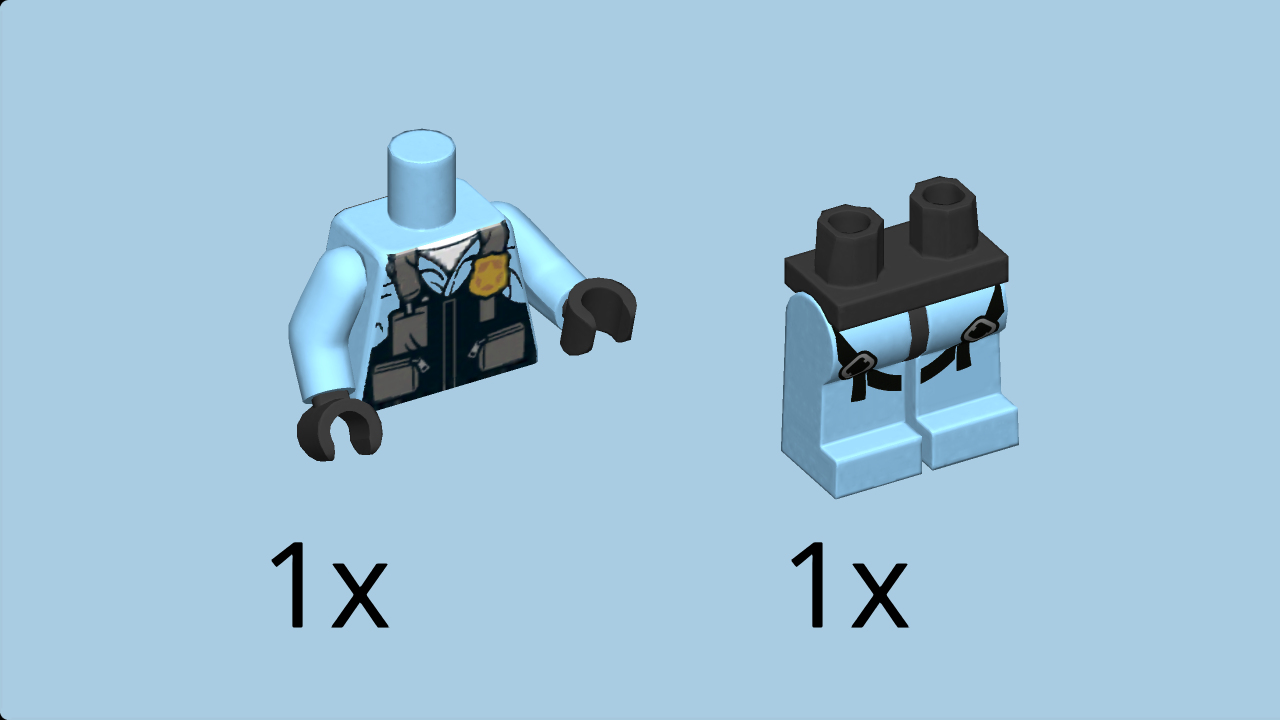
| Collect the following 2 pieces: |
| 1 black and light royal blue upper part of the body, |
| and 1 black and light royal blue pair of legs. |
| Put the upper part of the body on the legs. |
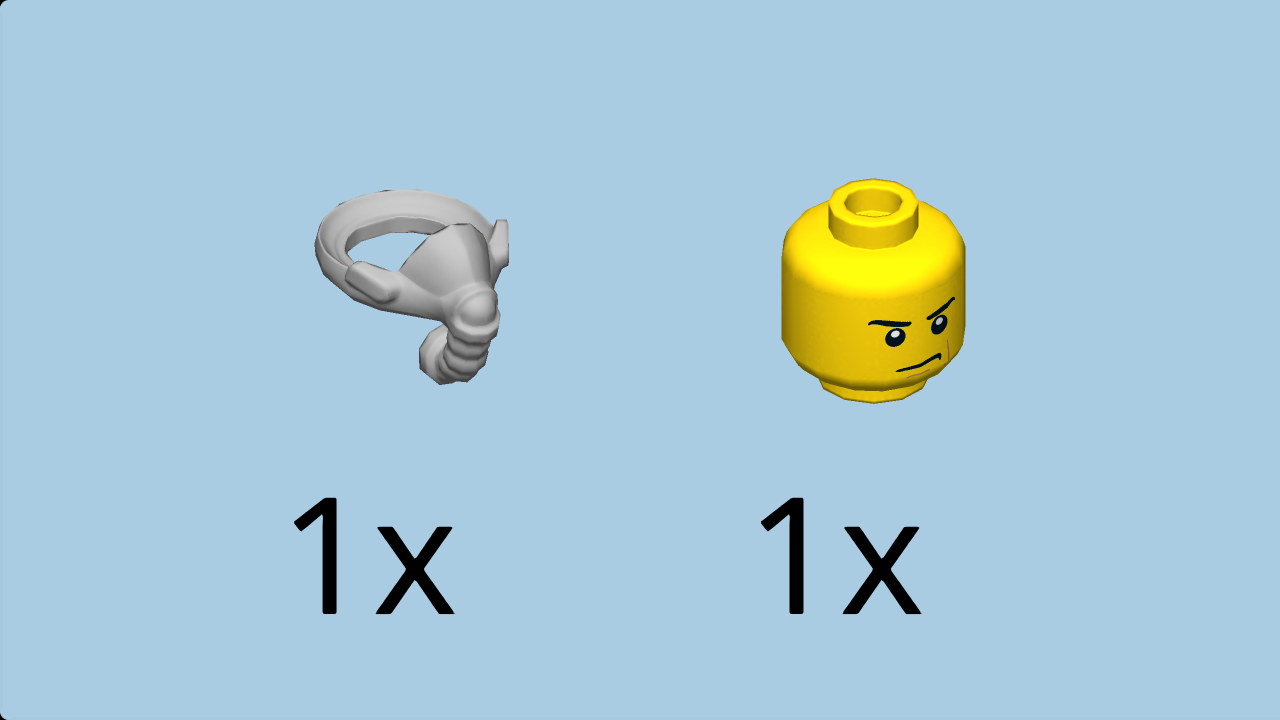
| Collect the following 2 pieces: |
| 1 medium stone grey oxygen mask, |
| and 1 bright yellow head. |
| Put the oxygen mask around the neck, tube to the front. |
| Put the head on the body. |
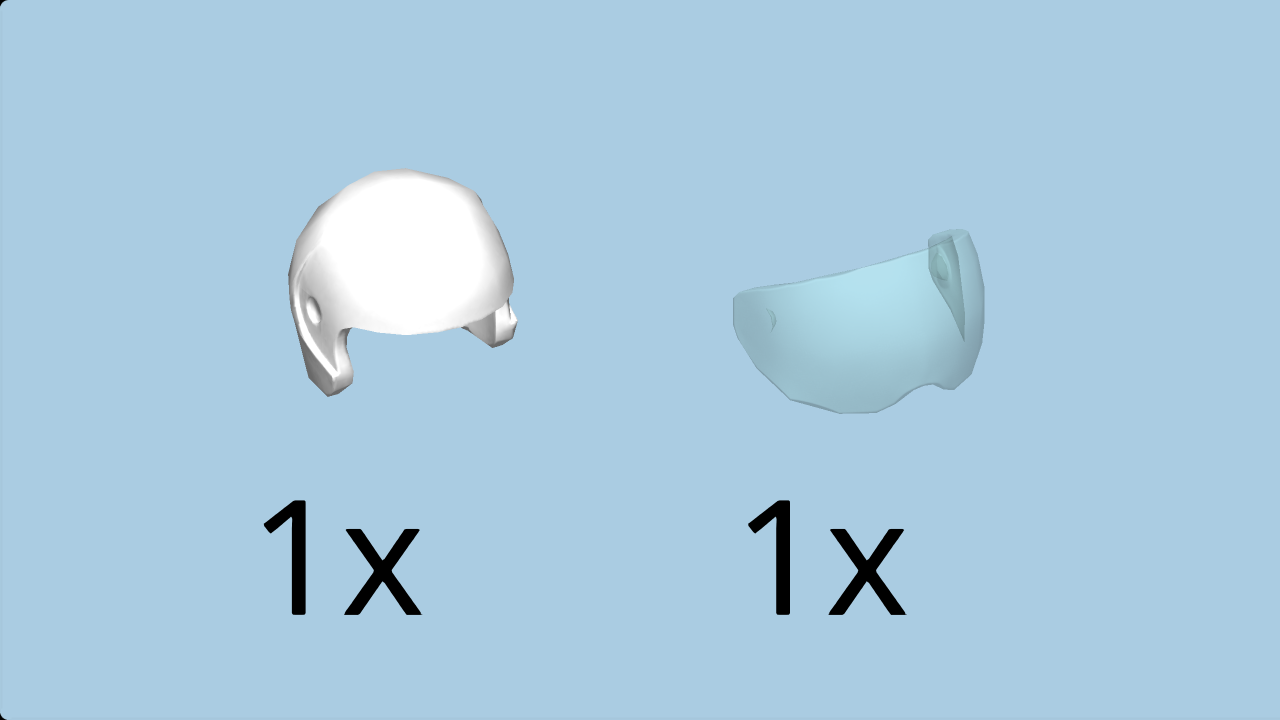
| Collect the following 2 pieces: |
| 1 white football helmet, |
| and 1 transparent light blue helmet visor. |
| Put the helmet on the head. |
| Put the helmet visor on the helmet, small cut-out to the bottom. |
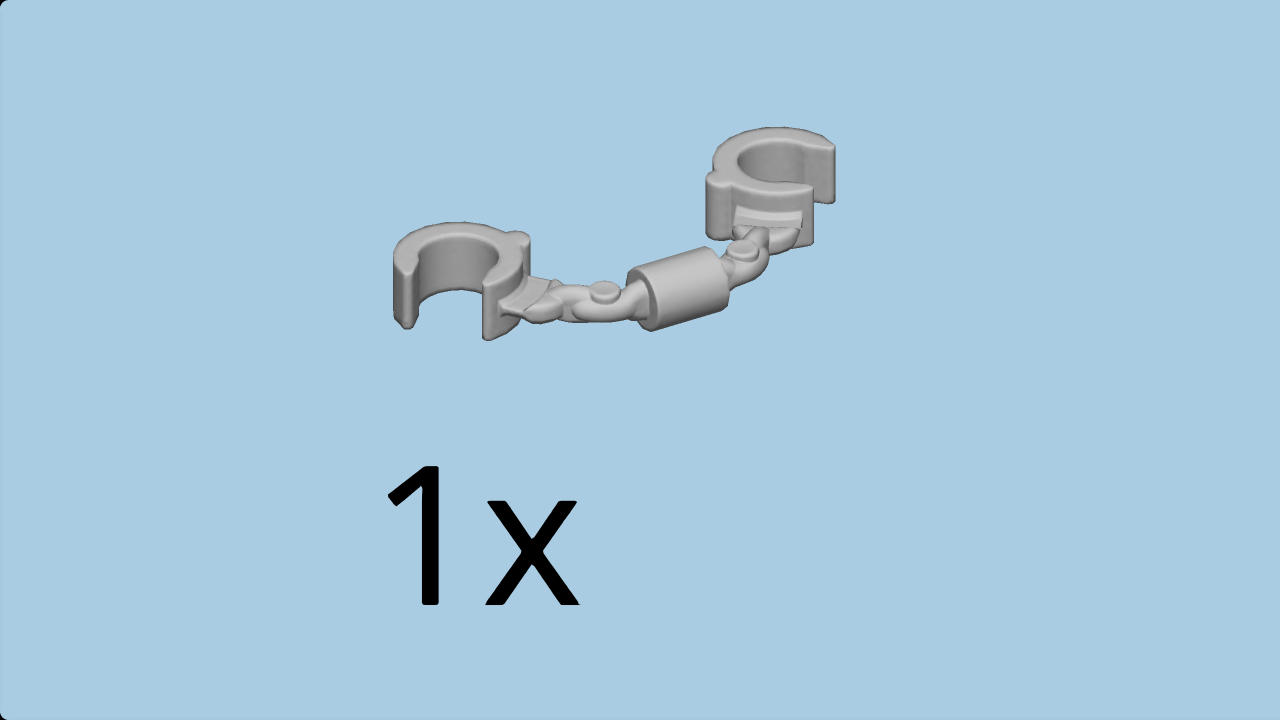
| Find 1 medium stone grey pair of handcuffs. |
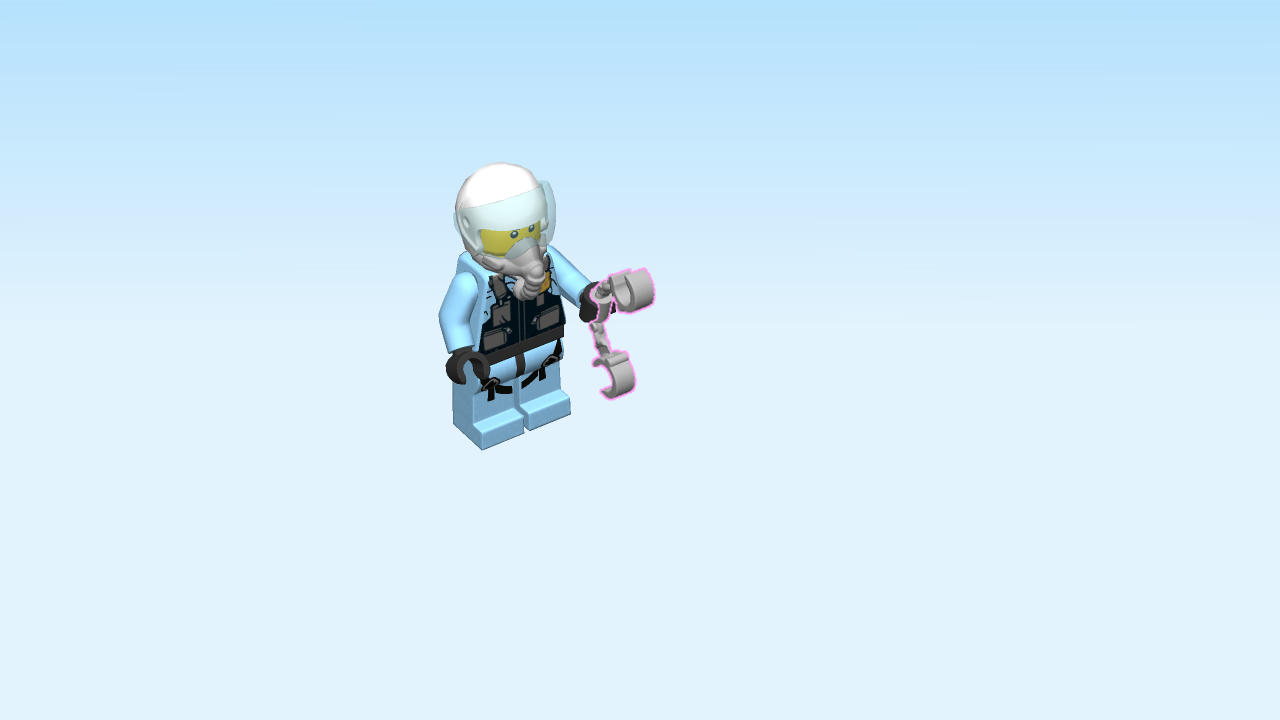
| Put them in the police officer's hand. |
| The police officer mini figure is finished! Well done! He is getting ready to chase after the crook if necessary. Don't let them get away! |
| Next, we will build the helicopter base. |
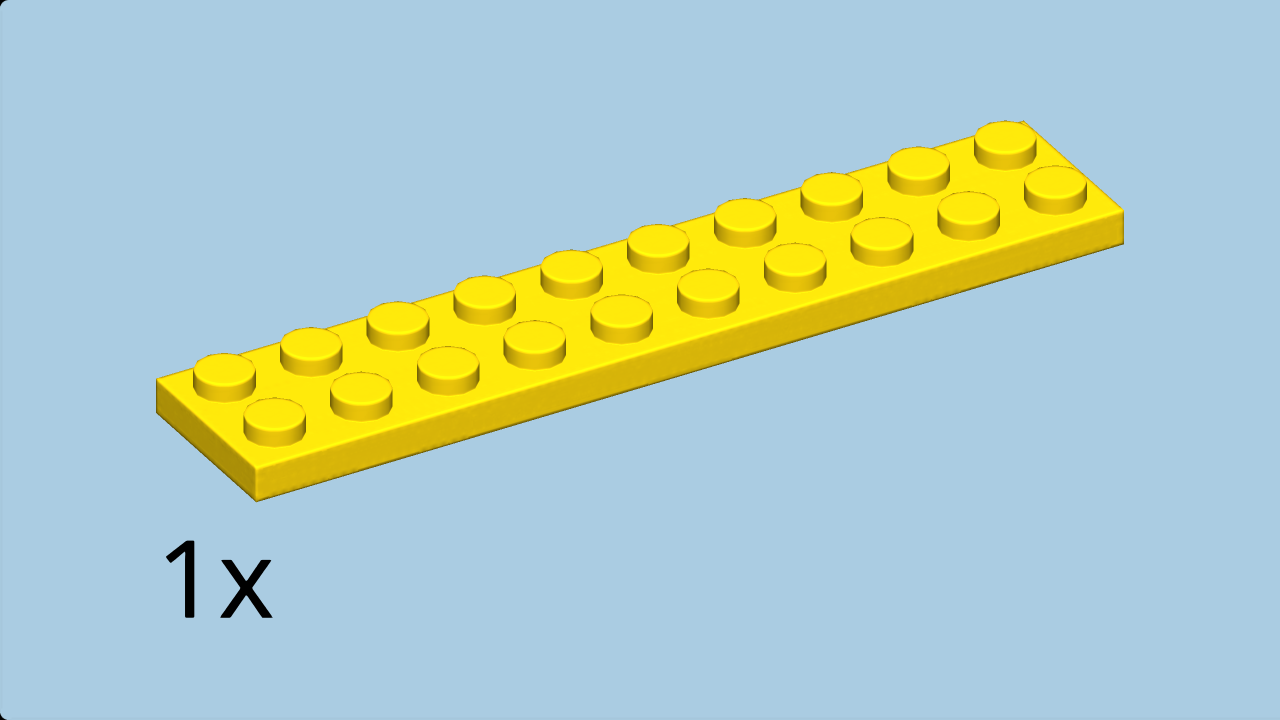
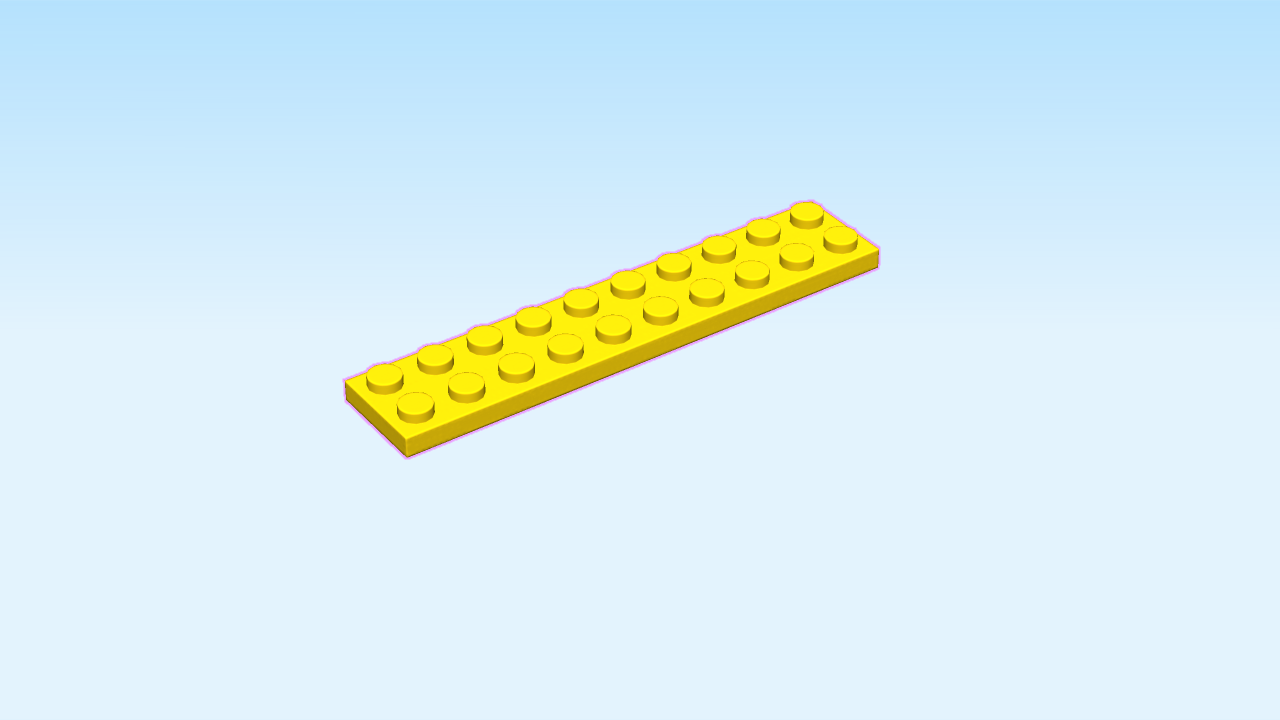
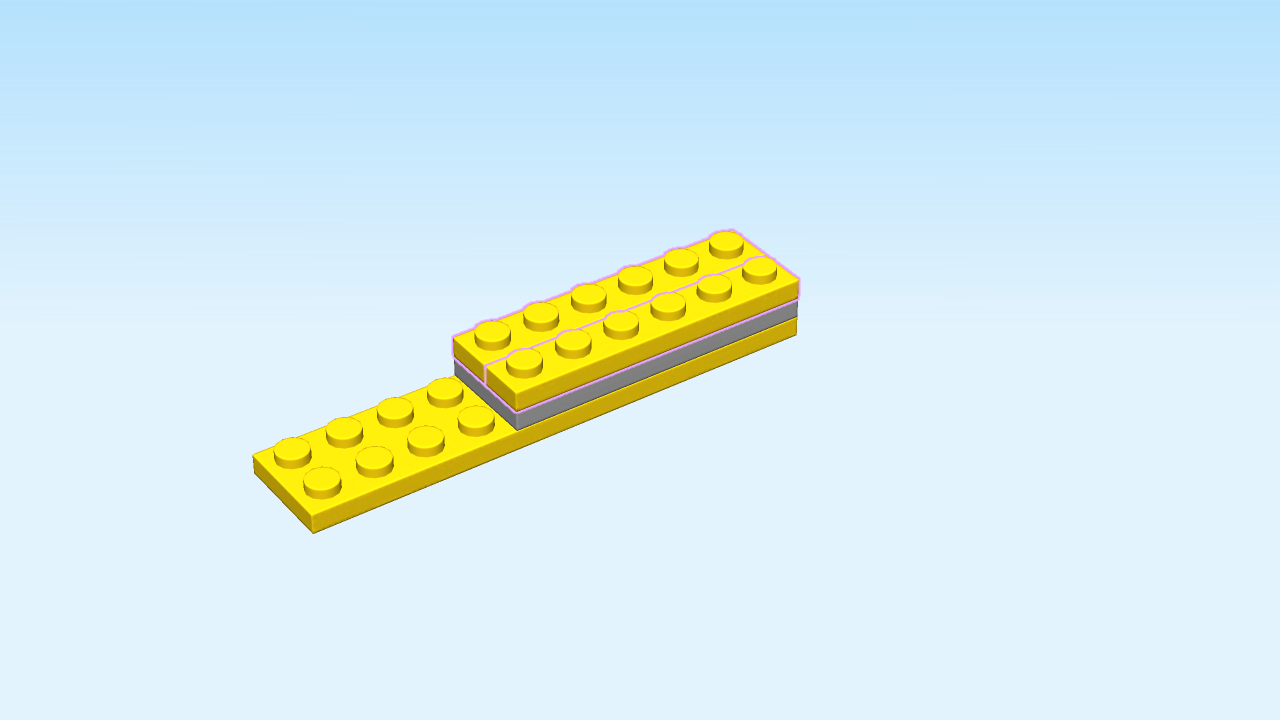
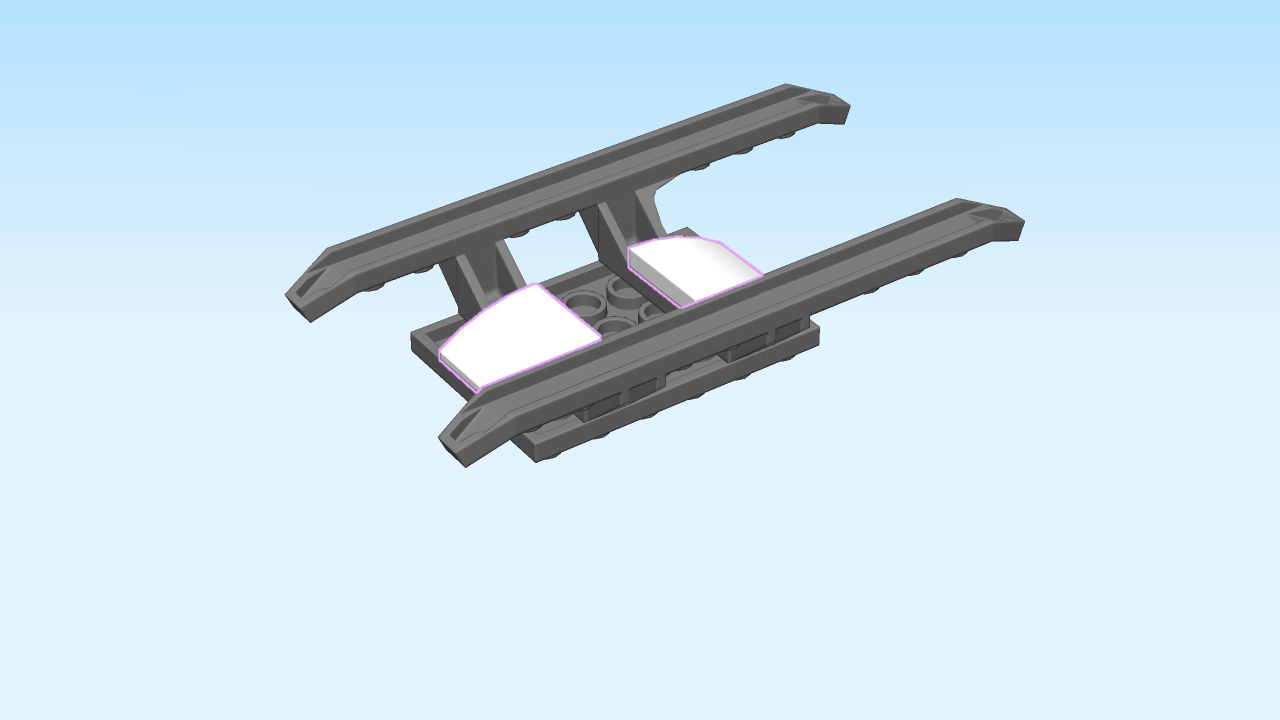
| Find 1 bright yellow plate 2x10. |
| Put it horizontally on the table. |
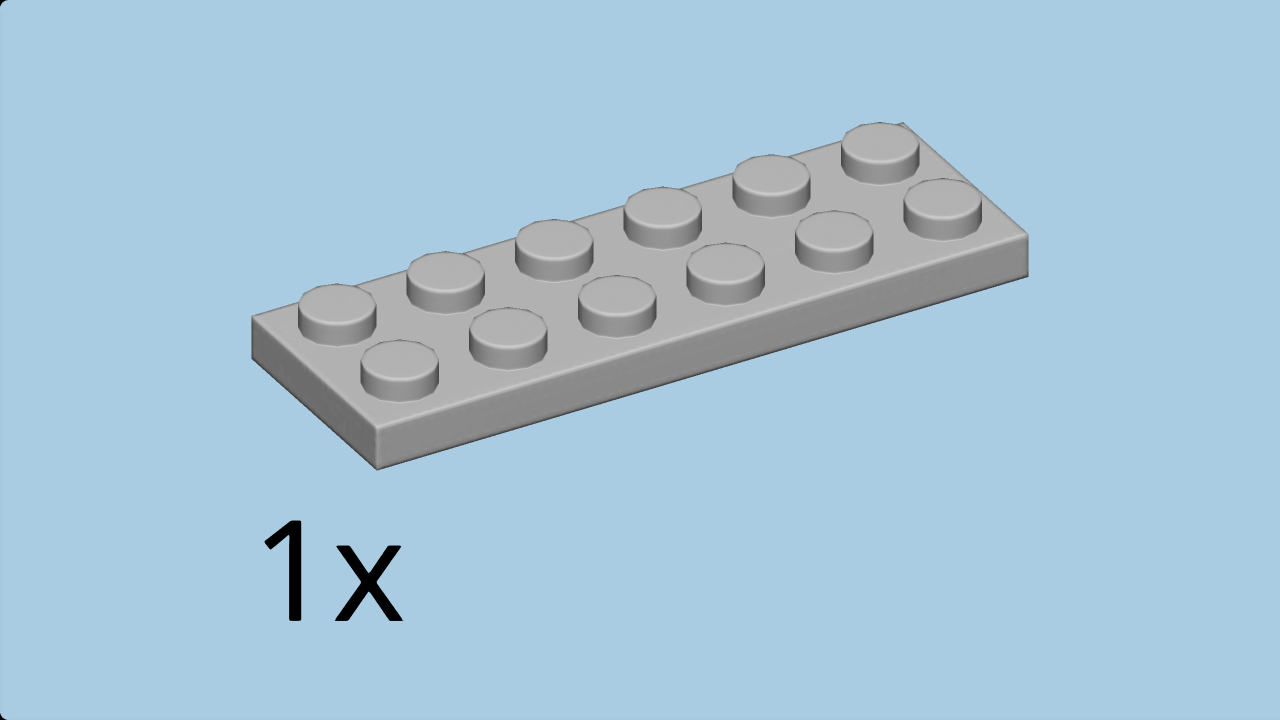
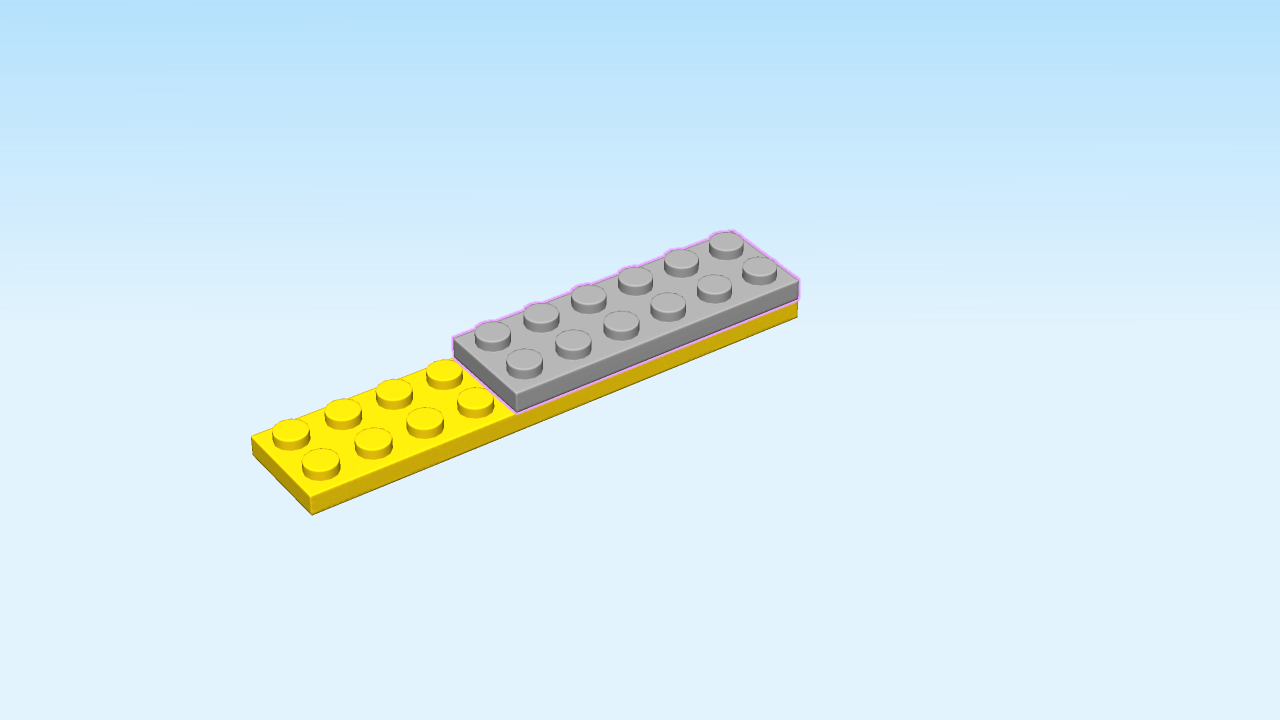
| Find 1 medium stone grey plate 2x6. |
| Put it horizontally on top, starting from the right edge. |
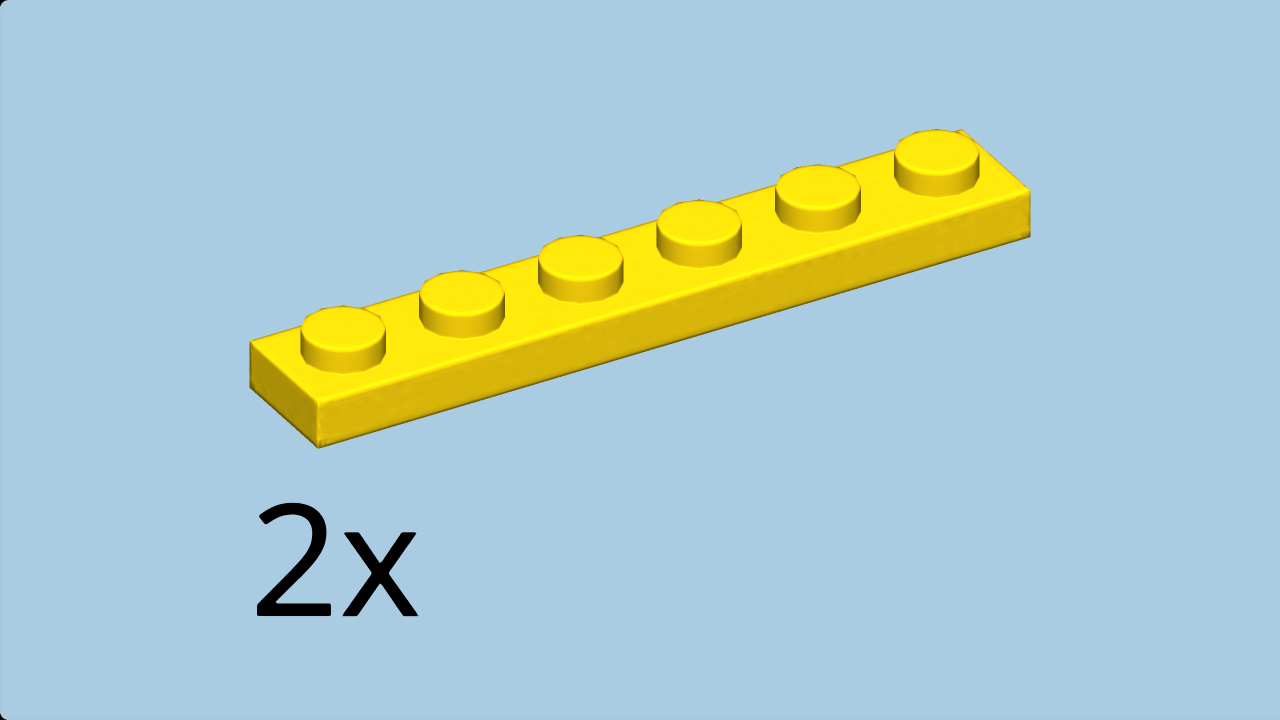
| Find 2 bright yellow plates 1x6. |
| Put one horizontally on the back row, starting from the right edge. |
| Repeat symmetrically on the front row. |
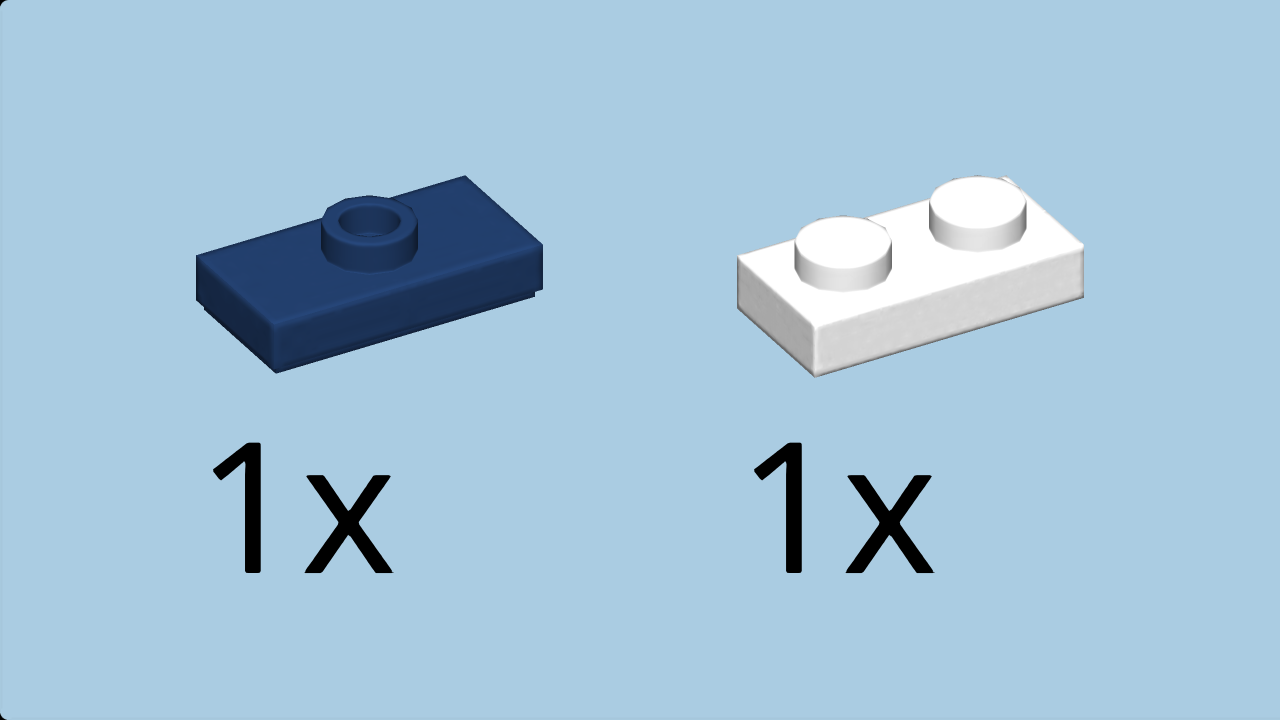
| Collect the following 2 pieces: |
| 1 white plate 1x2, |
| and 1 earth blue plate 1x2 with 1 knob. |
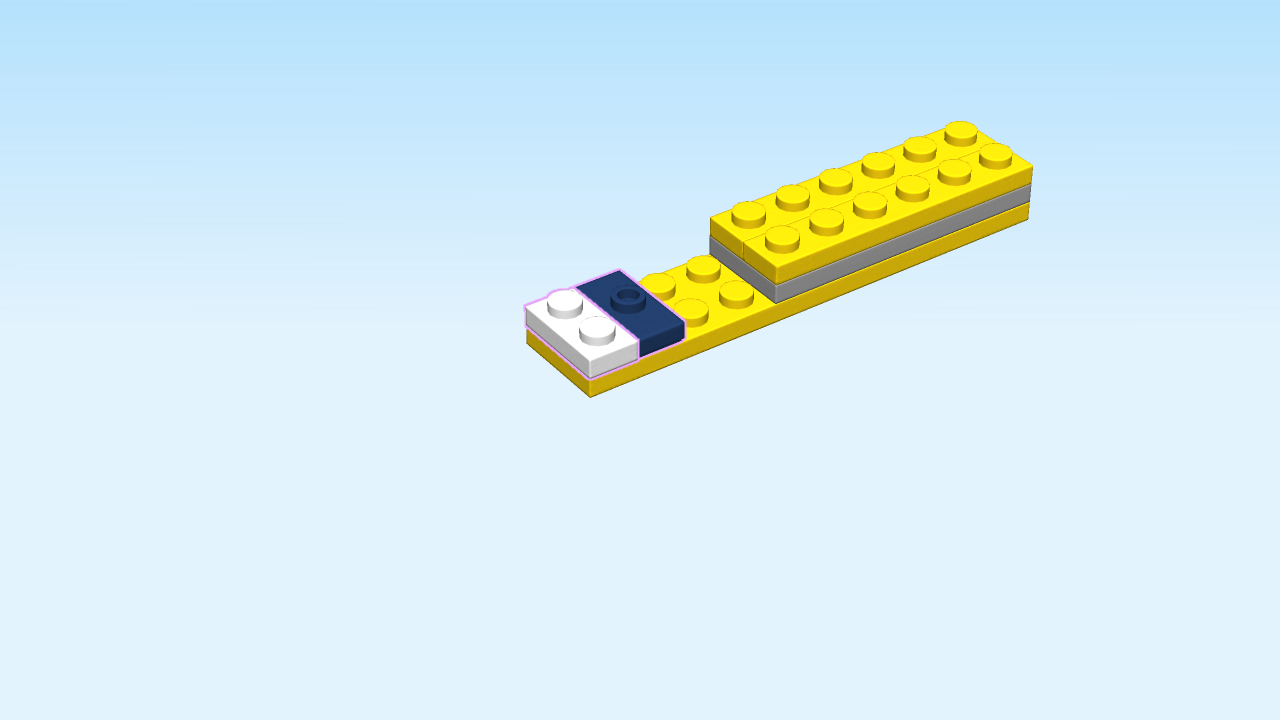
| Put the plate 1x2 vertically on the leftmost column of the structure. |
| Put the plate 1x2 with one knob vertically to the right of the previous piece. |
| Collect the following 2 pieces: |
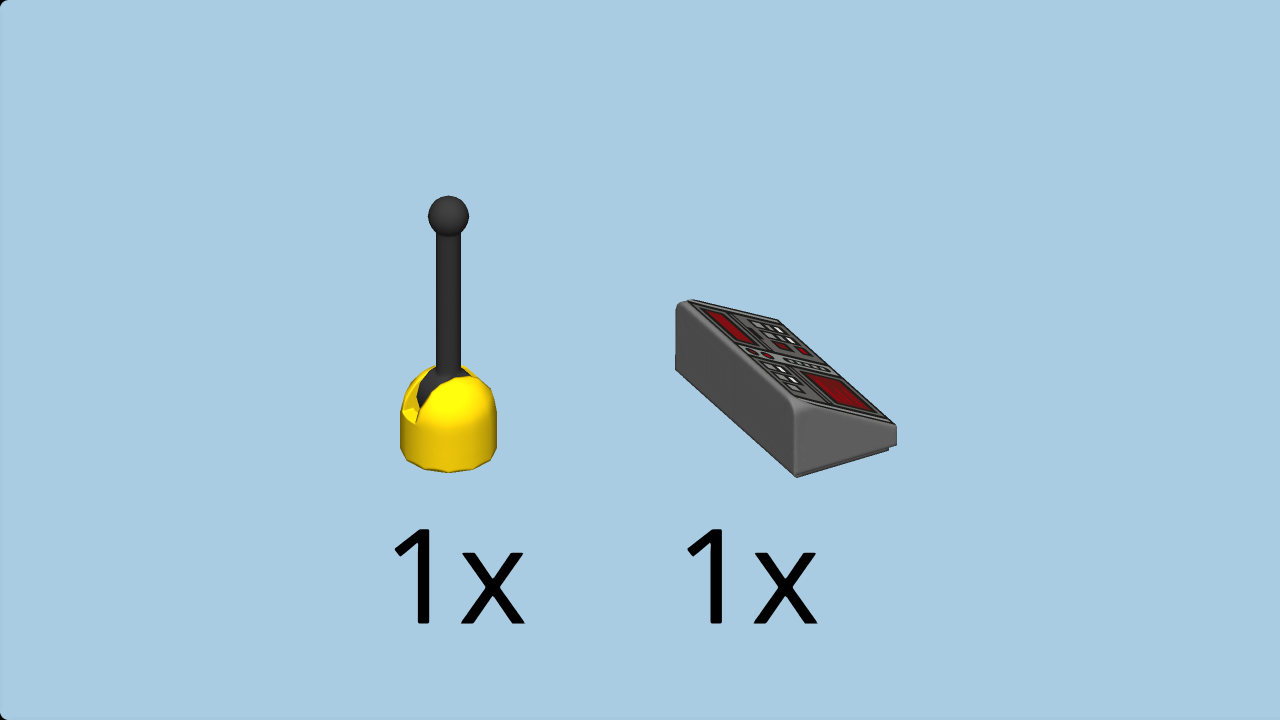
| 1 dark stone grey smooth roof tile 1x2, |
| and 1 black and bright yellow joystick. |
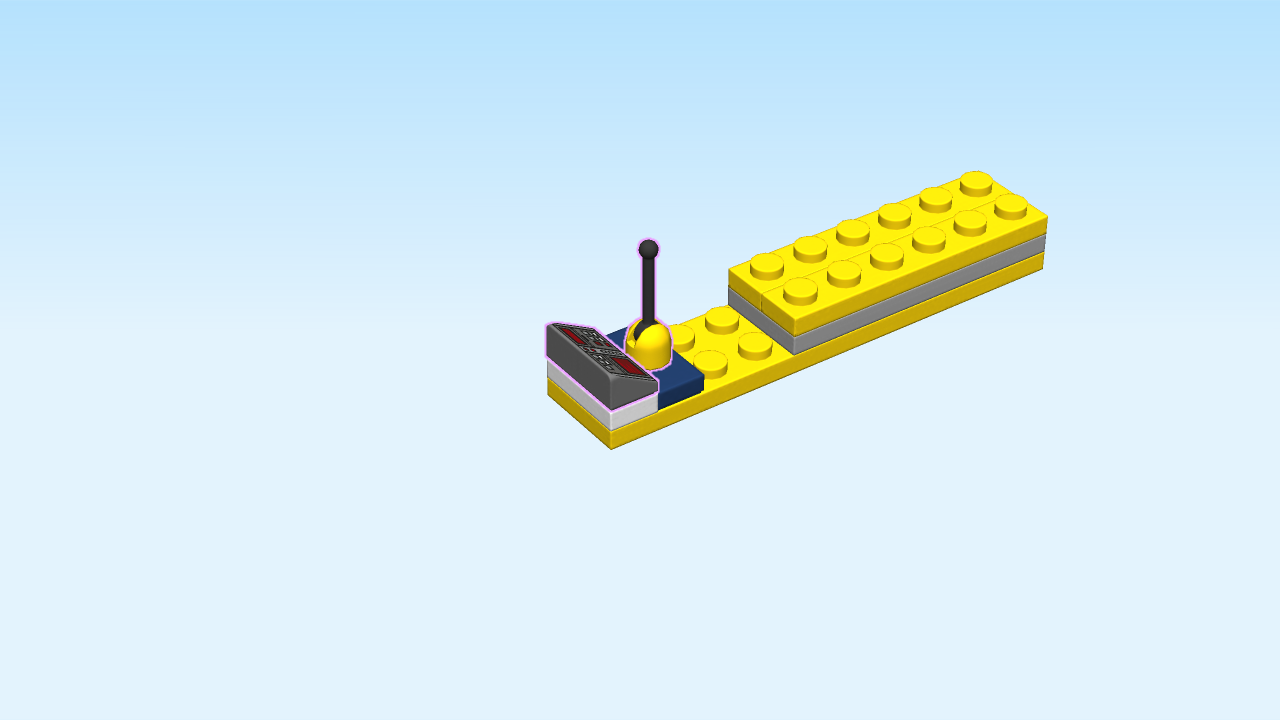
| Put the roof tile 1x2 vertically on the leftmost column, slide to the right. |
| Put the joystick to the right. |
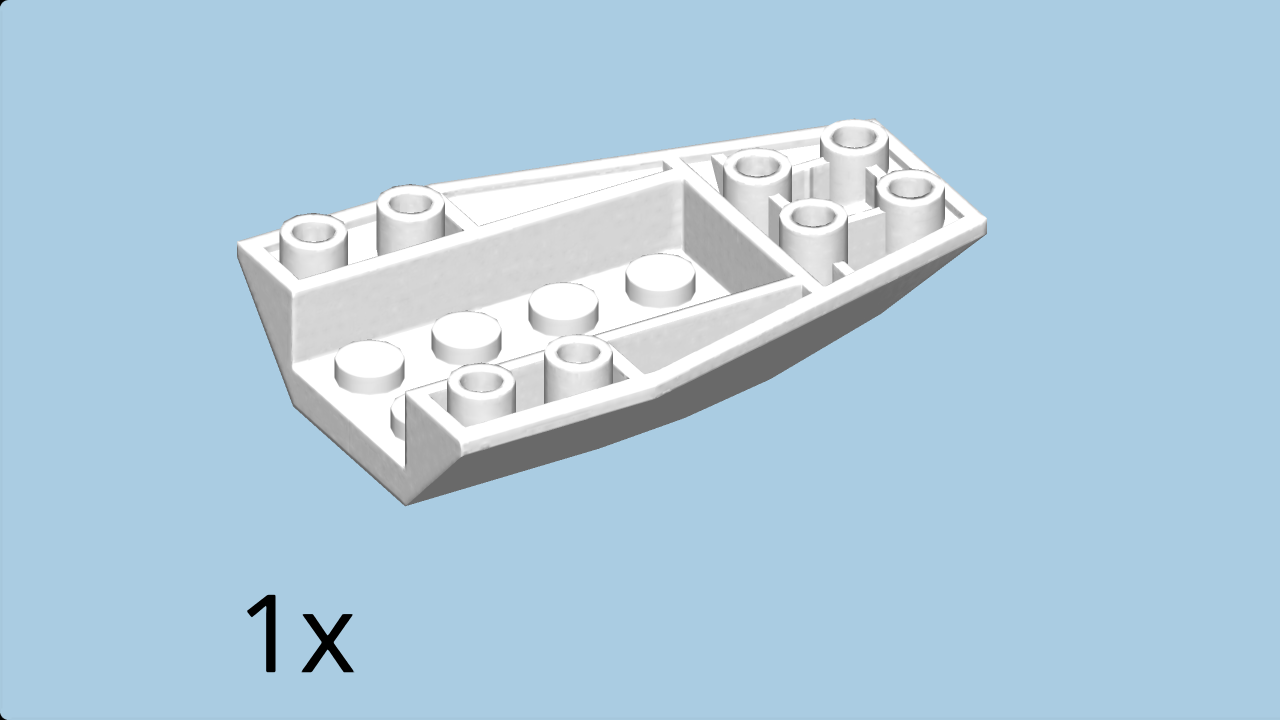
| Find 1 white inverted brick 4x6 with bow. |
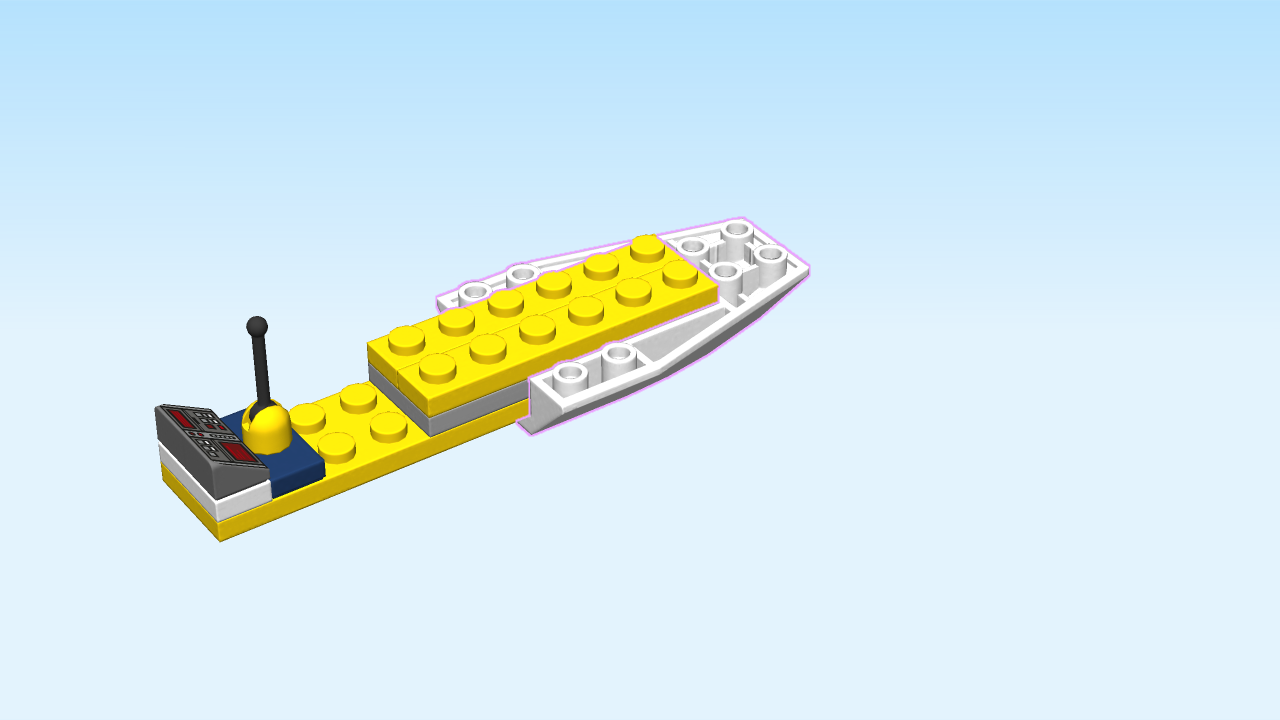
| Put it horizontally on the table, bow to the right. |
| Now, connect it to the structure you have built so far: insert the right part of the structure into the lower part of the inverted brick 4x6 with bow, bow to the right. |
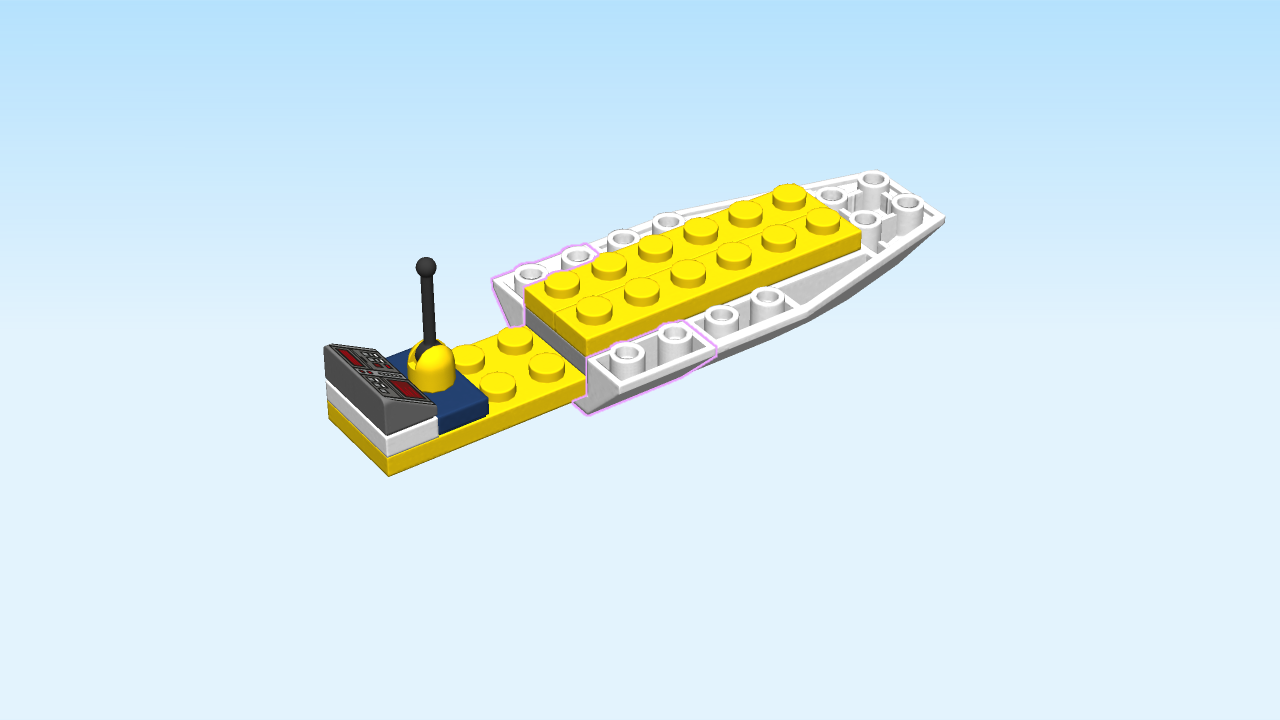
| Find 1 white inverted double roof tile 2x4. |
| Careful: this piece has a special orientation. |
| Put it vertically underneath to the left of the previous piece. |
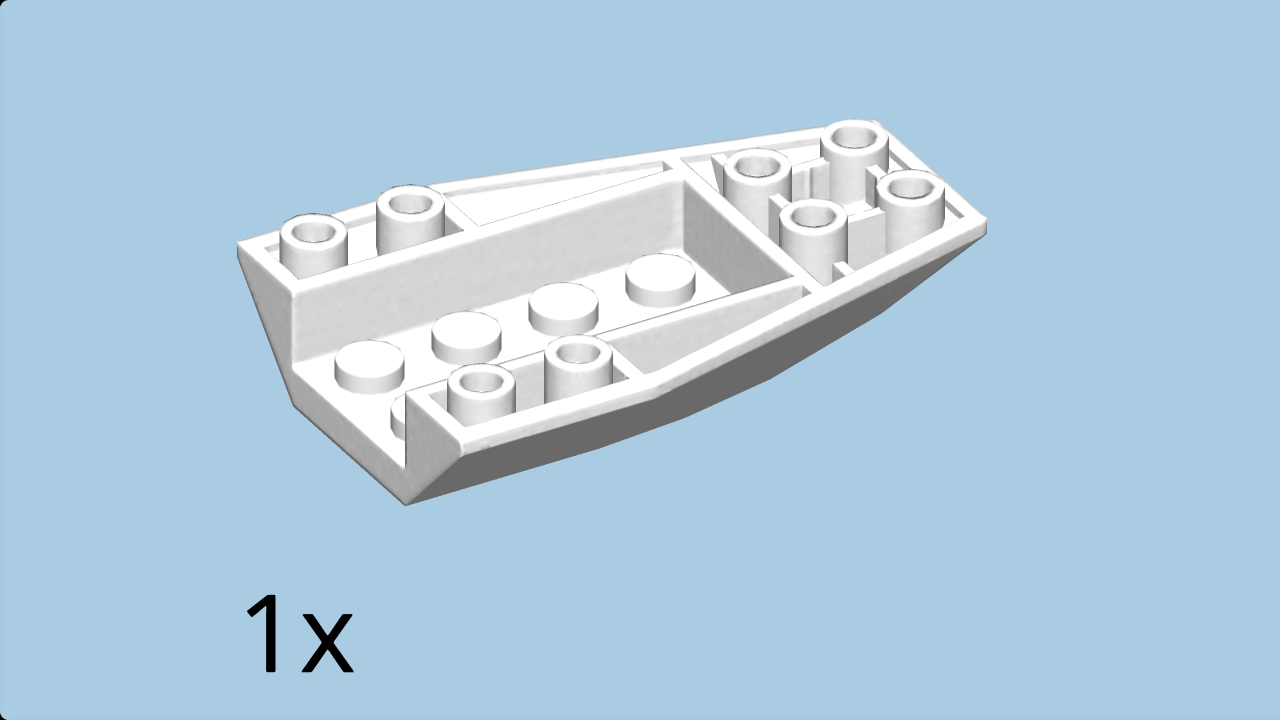
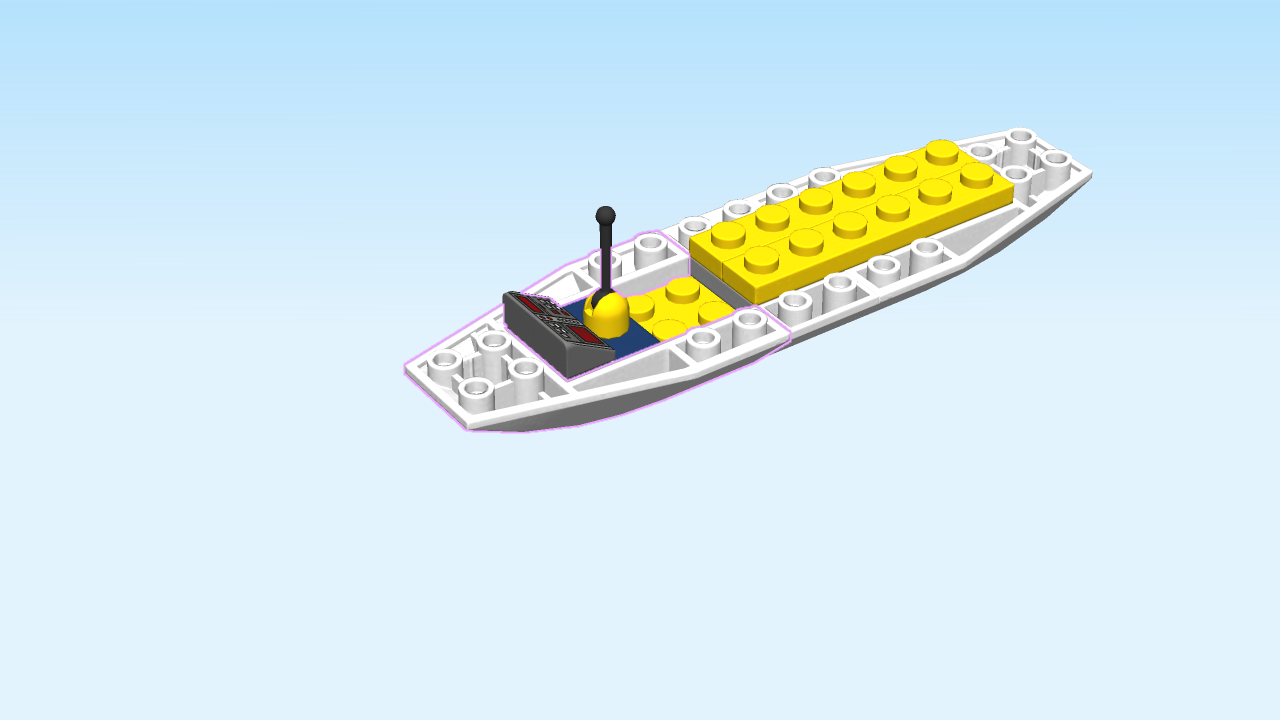
| Find another white inverted brick 4x6 with bow. |
| Put it horizontally underneath to the left, bow to the left. |
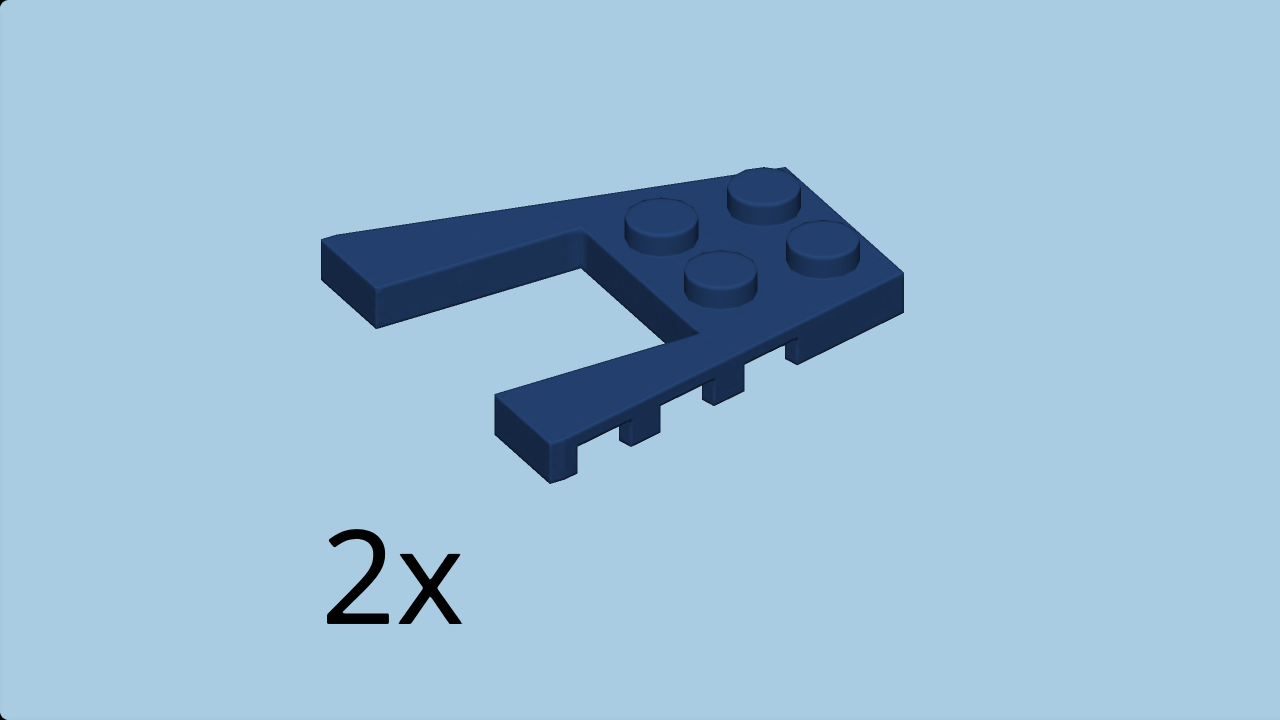
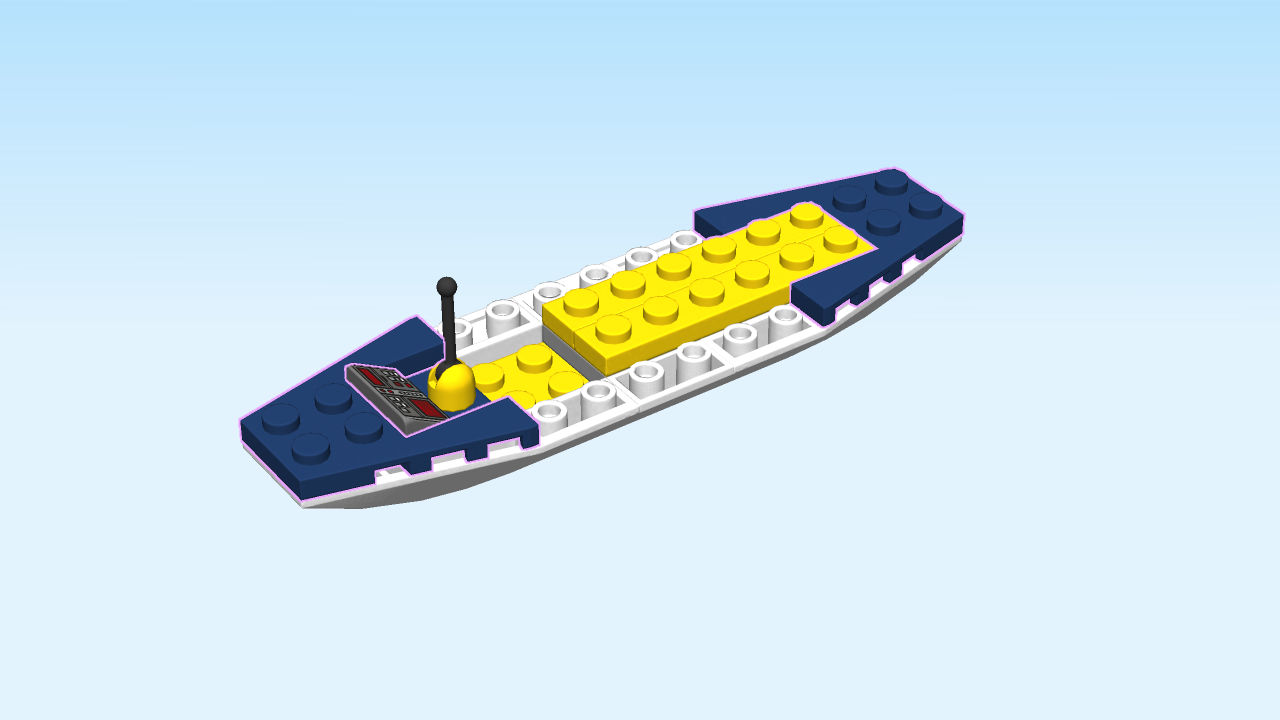
| Find 2 earth blue plates 4x4 with angled wings. |
| Put one horizontally on the rightmost edge of the structure, wings framing the 2 plates 1x6. |
| Repeat symmetrically on the left. |
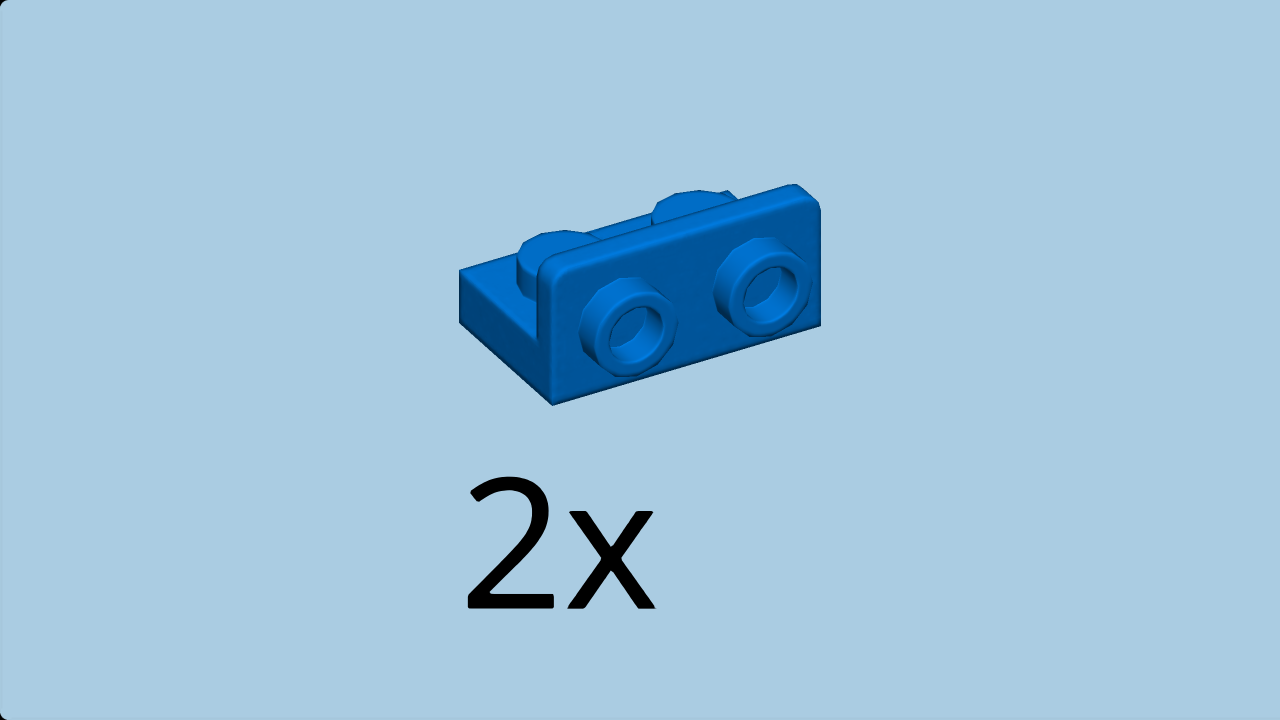
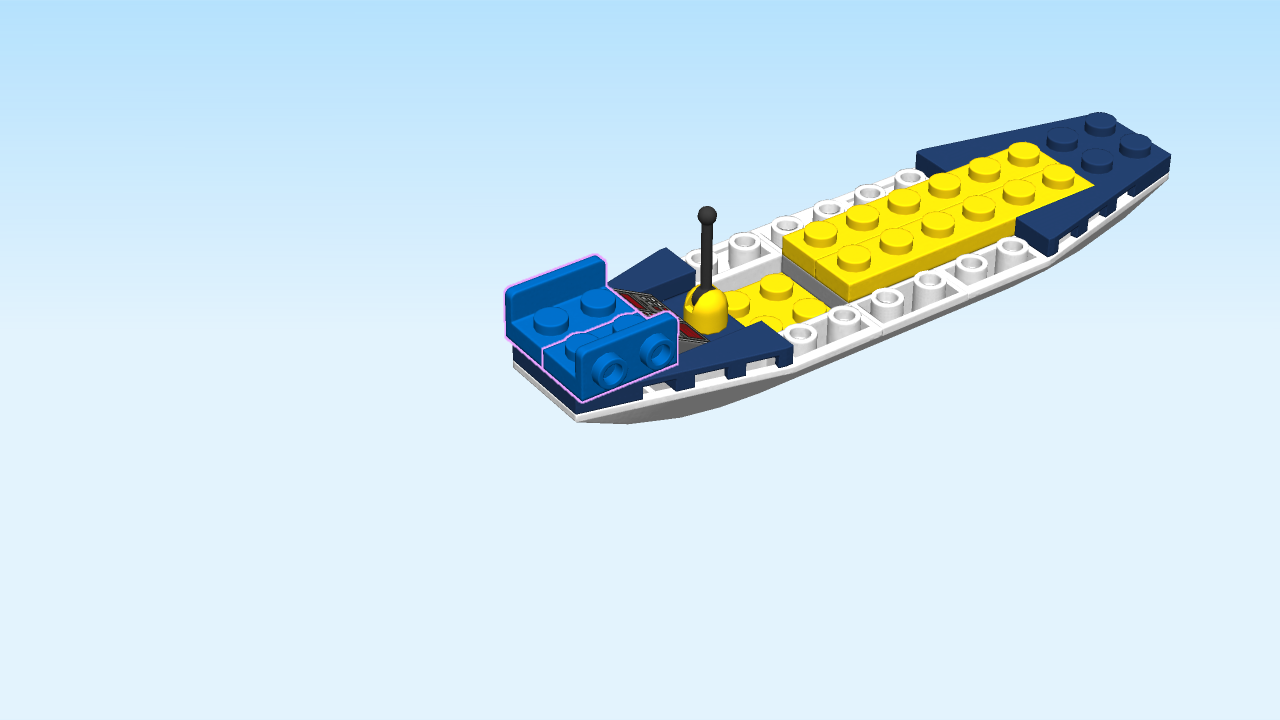
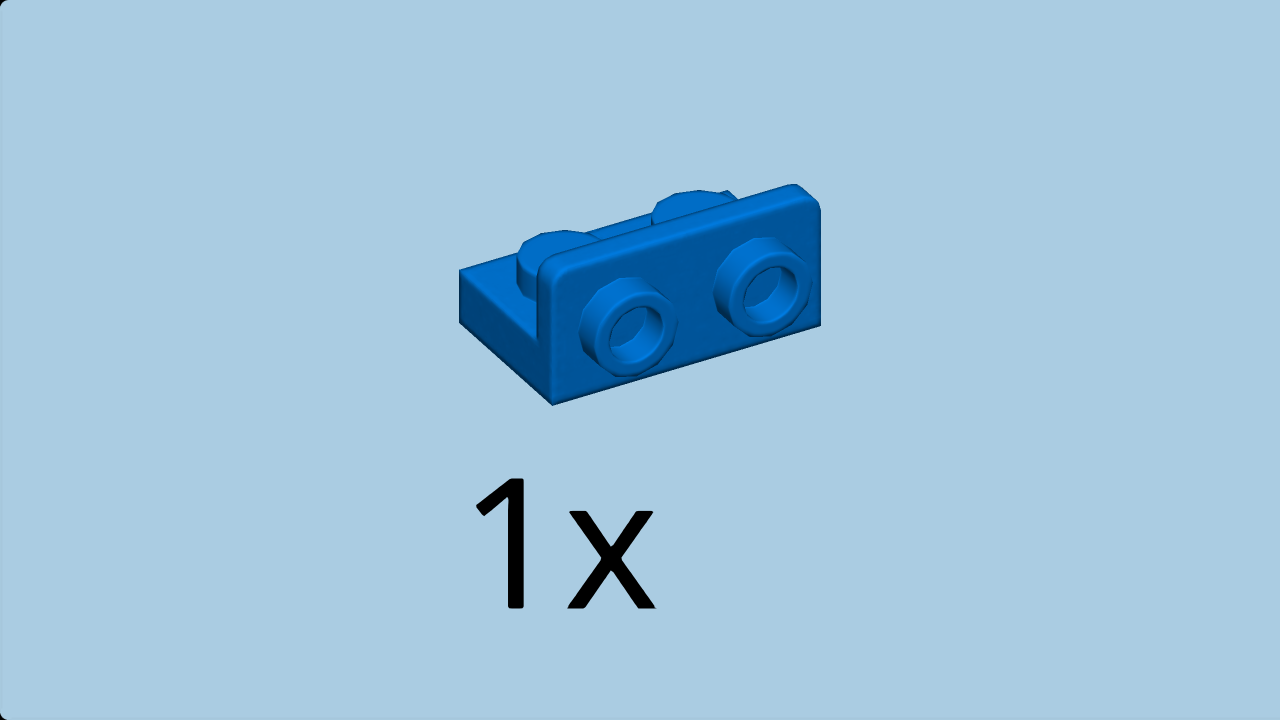
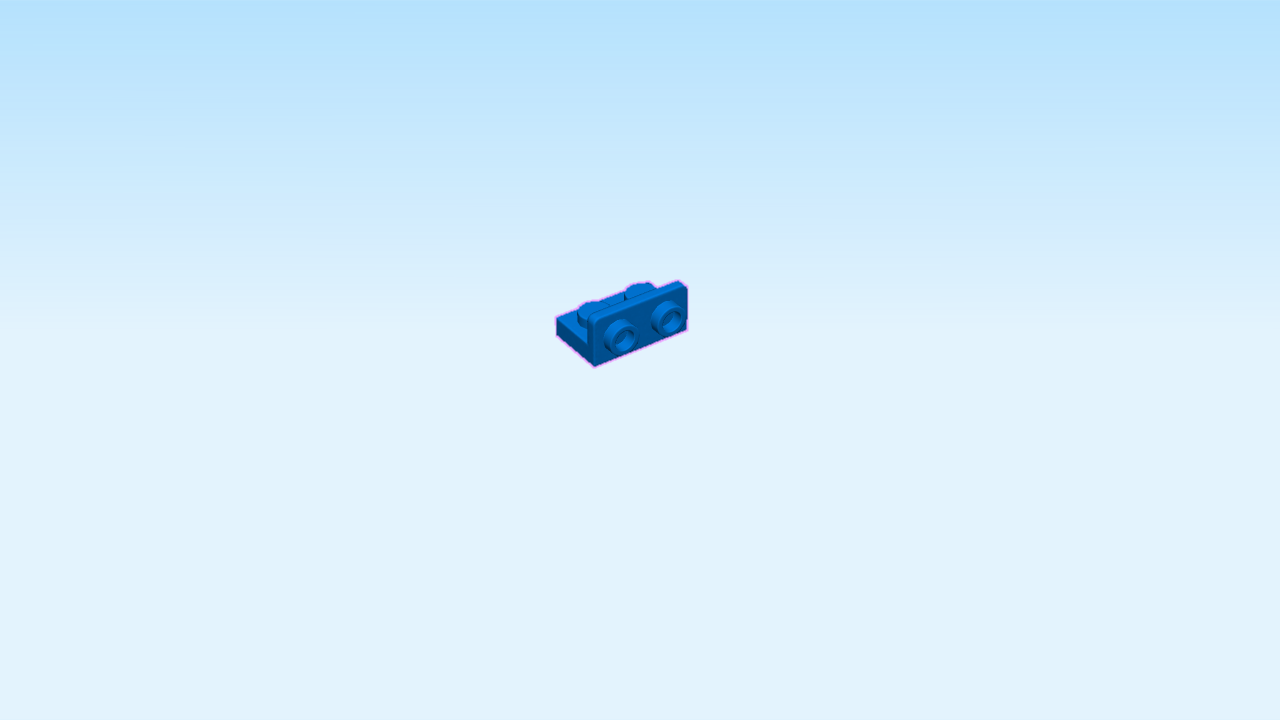
| Find 2 bright blue bottom angular plates 1x2 - 1x2 with side knobs. |
| Put one horizontally on the front two knobs of the previous piece, side knobs to the front. |
| Repeat symmetrically at the back. |
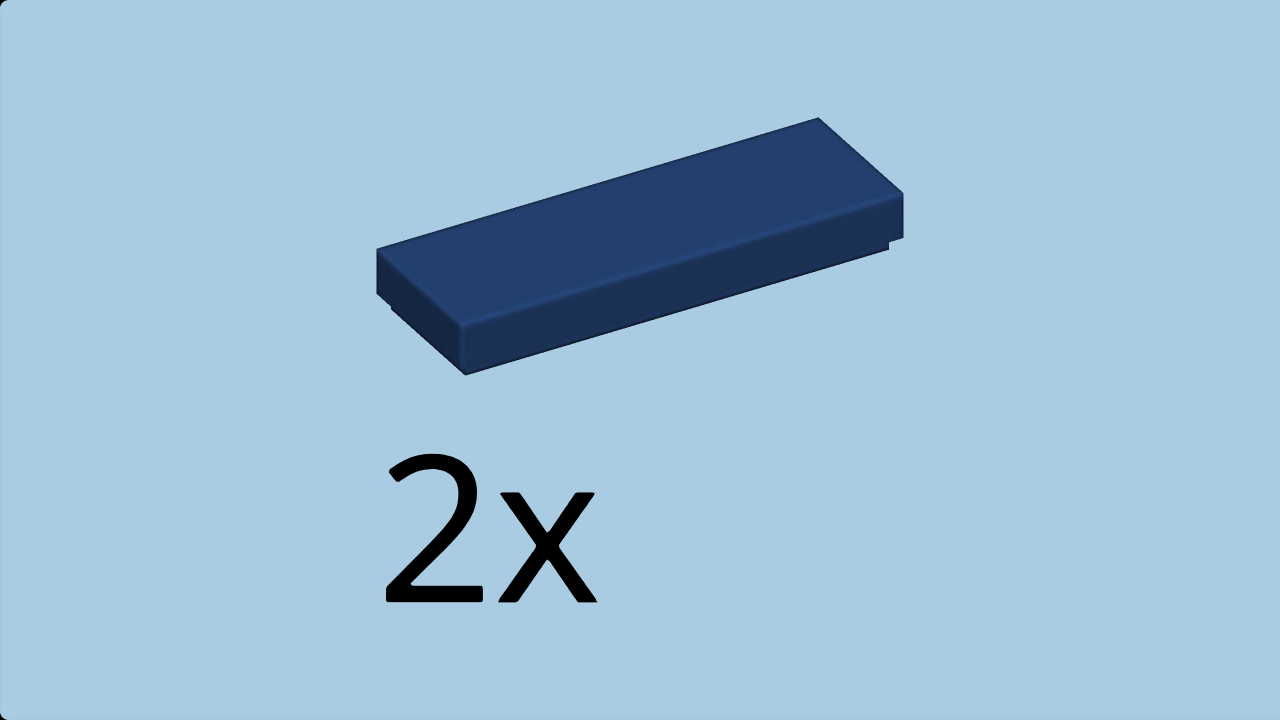
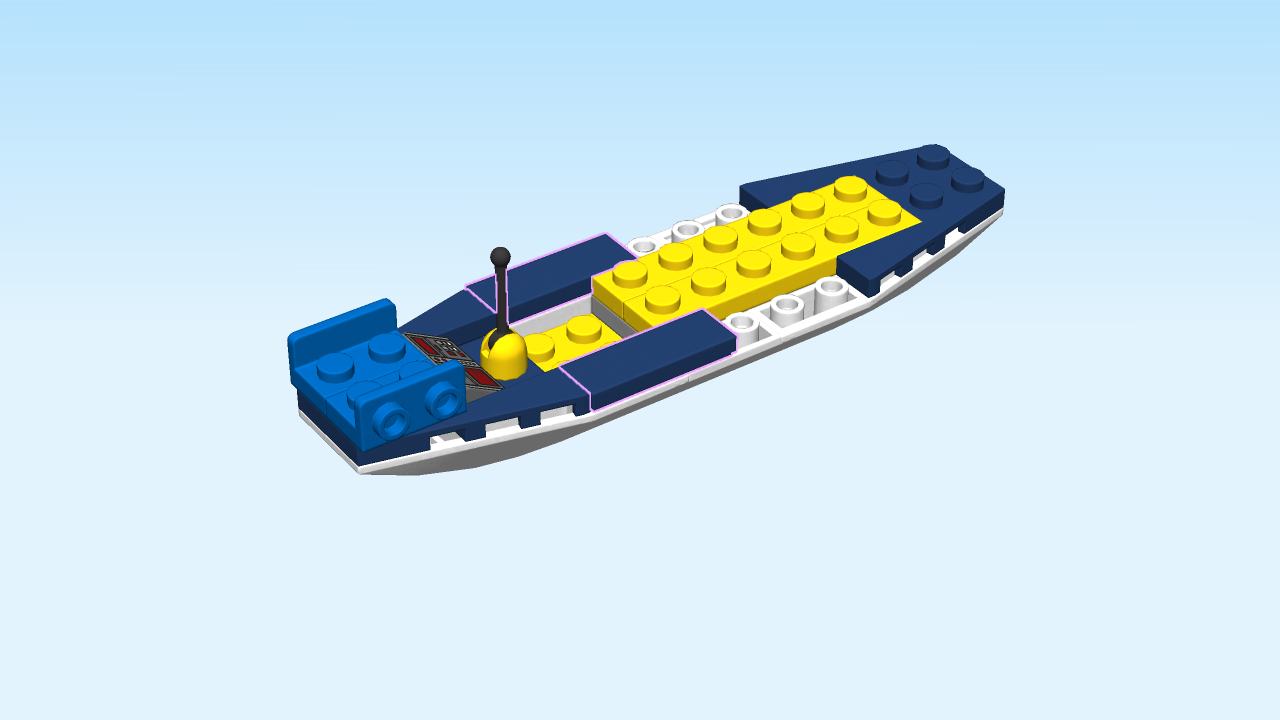
| Find 2 earth blue flat tiles 1x3. |
| Put one horizontally on the left edge of the frontmost row. |
| Repeat symmetrically at the back. |
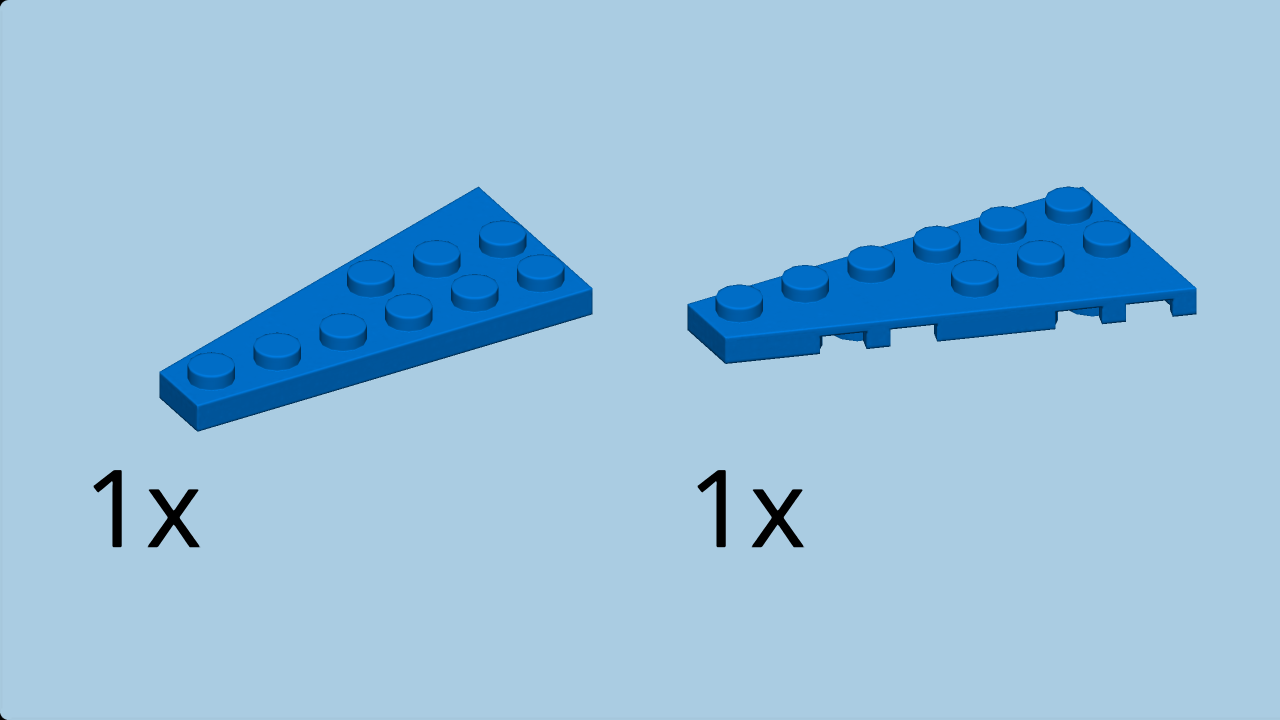
| Collect the following 2 pieces: |
| 1 bright blue right wing plate 3x6 with angle, |
| and 1 bright blue left wing plate 3x6 with angle. |
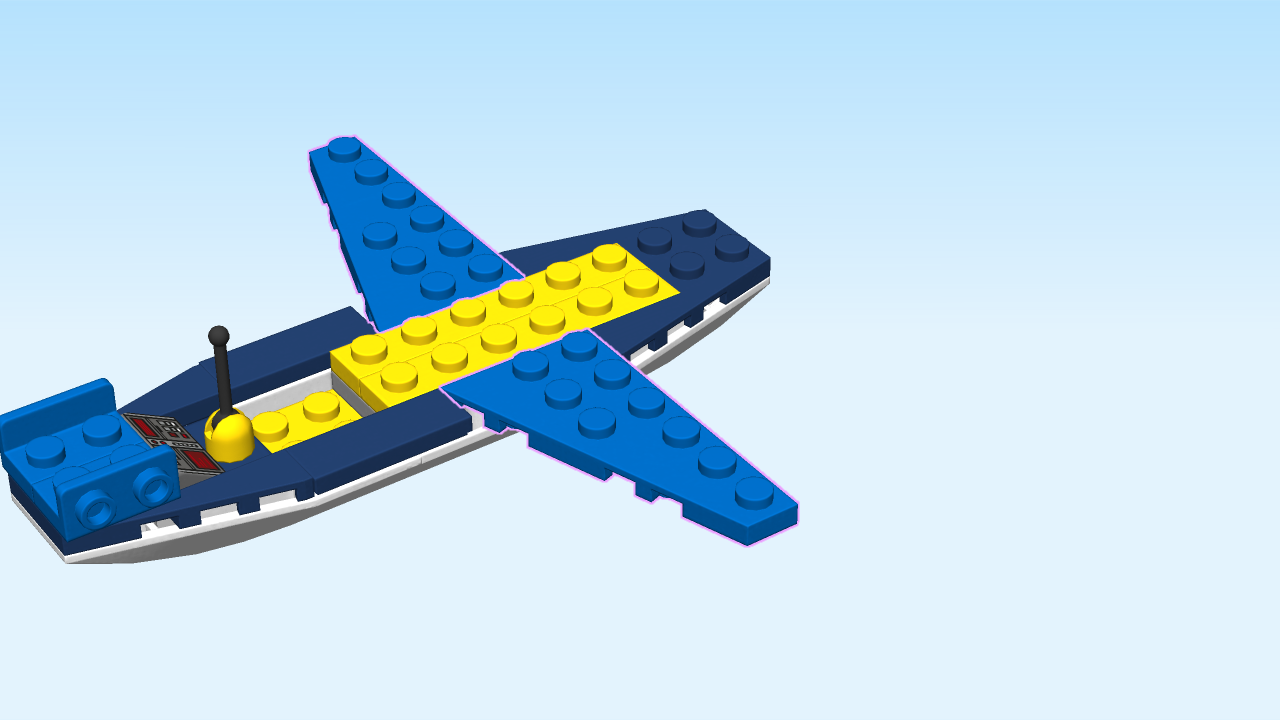
| Put the right wing plate 3x6 with angle vertically on the right edge of the backmost row, narrow end to the back. |
| Put the left wing plate 3x6 with angle vertically on the right edge of the frontmost row, narrow end to the front. |
| Find 2 transparent blue round flat tiles 1x1. |
| Put them on the outermost knobs of the 2 previous pieces. |
| Find 1 bright blue inverted roof tile 2x3. |
| Put it horizontally on the rightmost column of the structure, slide to the right. |
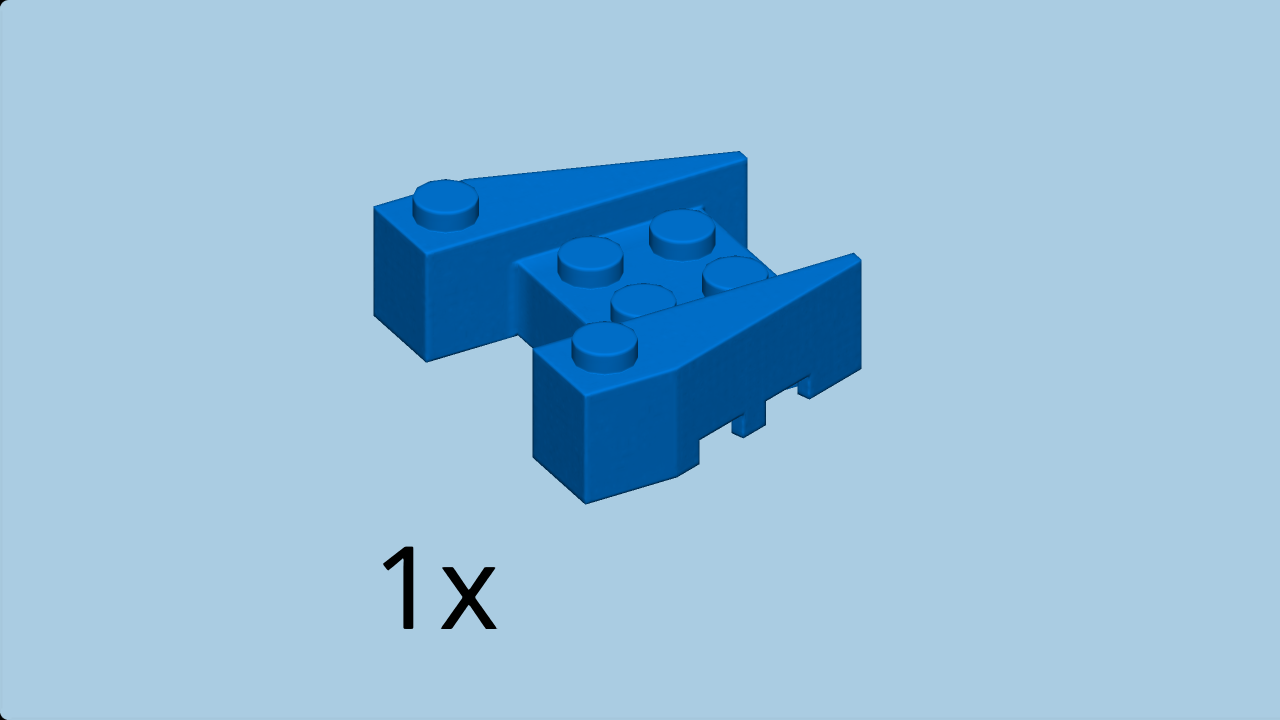
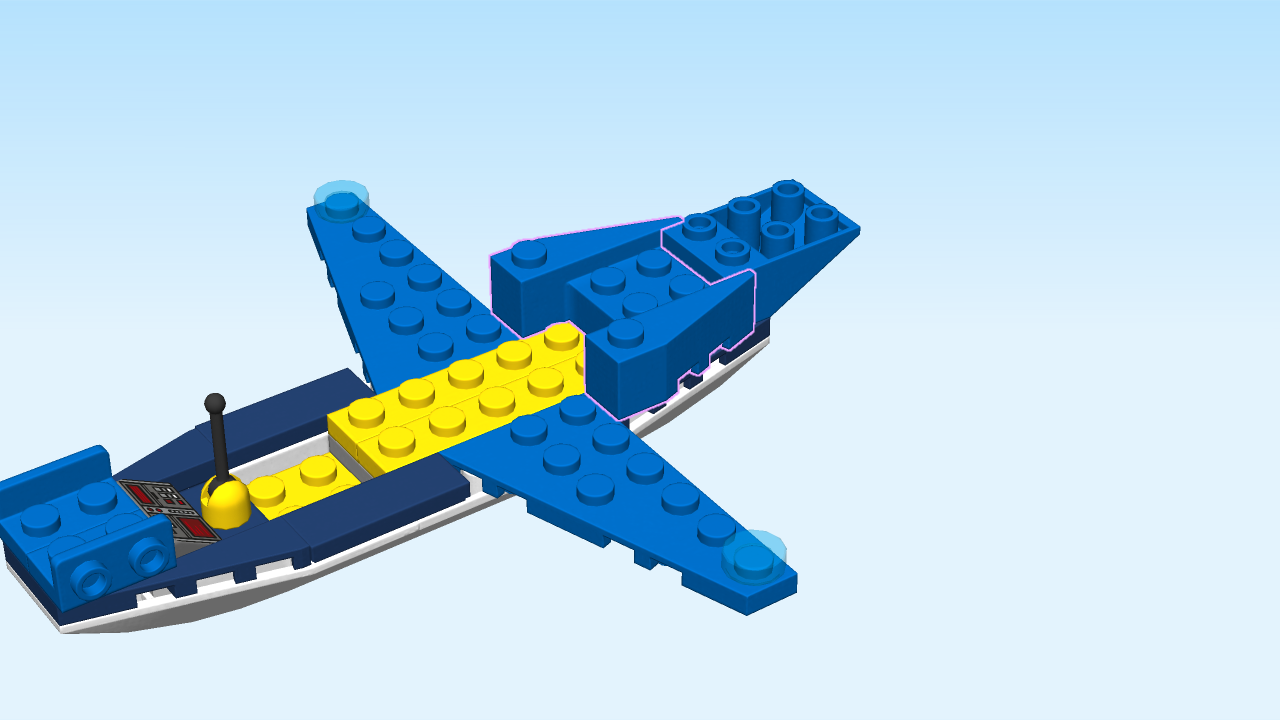
| Find 1 bright blue brick 4x4 with angles and two cut-outs. |
| Put it to the left of the previous piece, shorter cut-out to the right. |
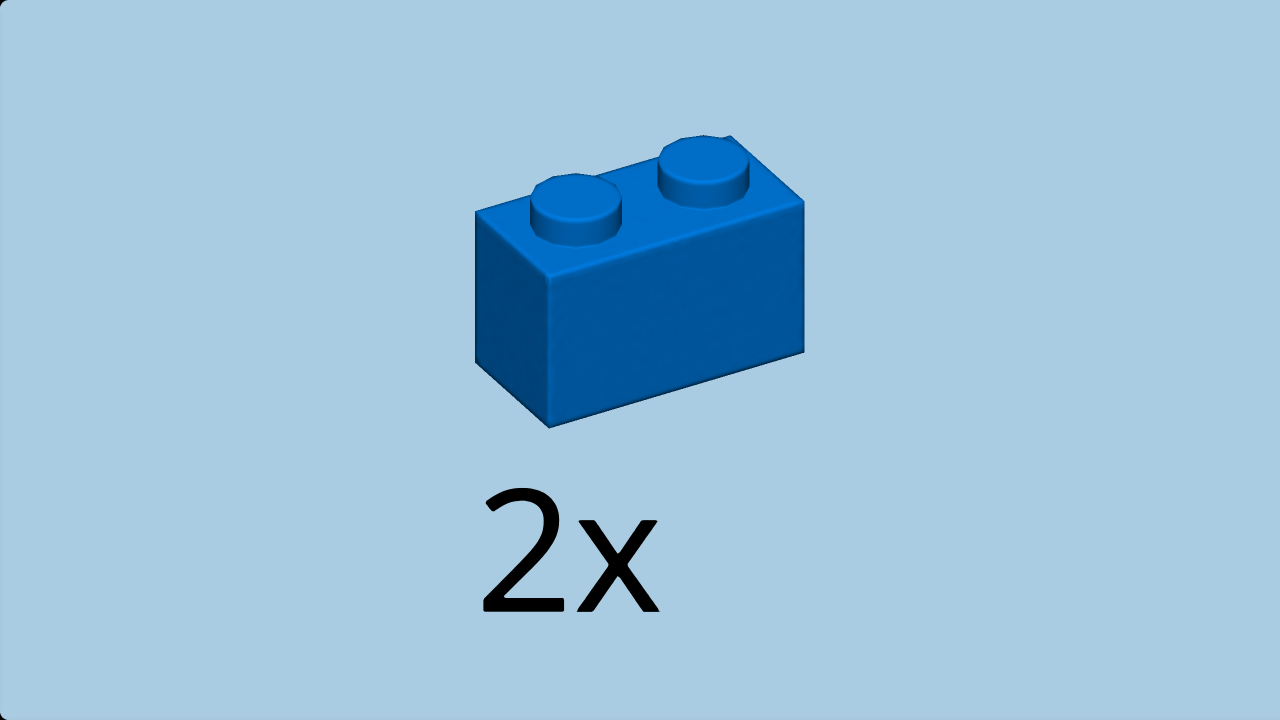
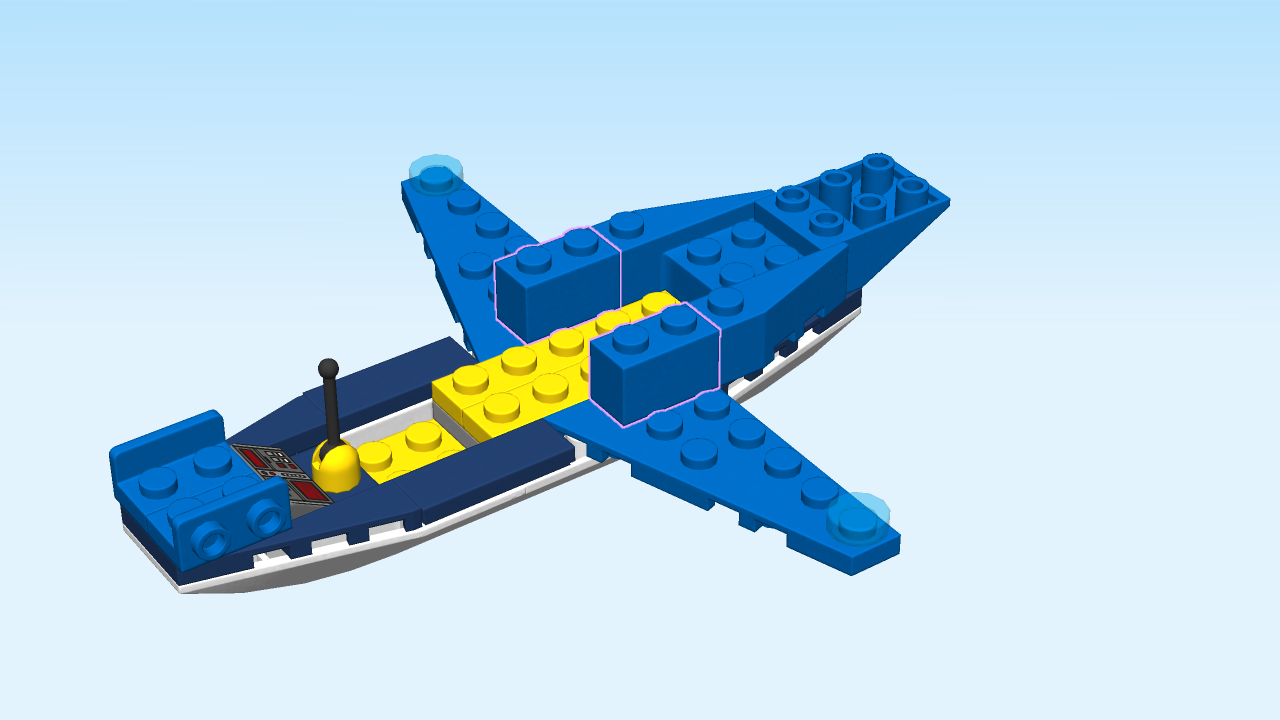
| Find 2 bright blue bricks 1x2. |
| Put them horizontally on the innermost rows of the wing plates 3x6 with angle. |
| Next, we will make 2 parts. |
| Find 1 bright blue bottom angular plate 1x2 - 1x2 with side knobs. |
| Put it horizontally on the table, side knobs to the front. |
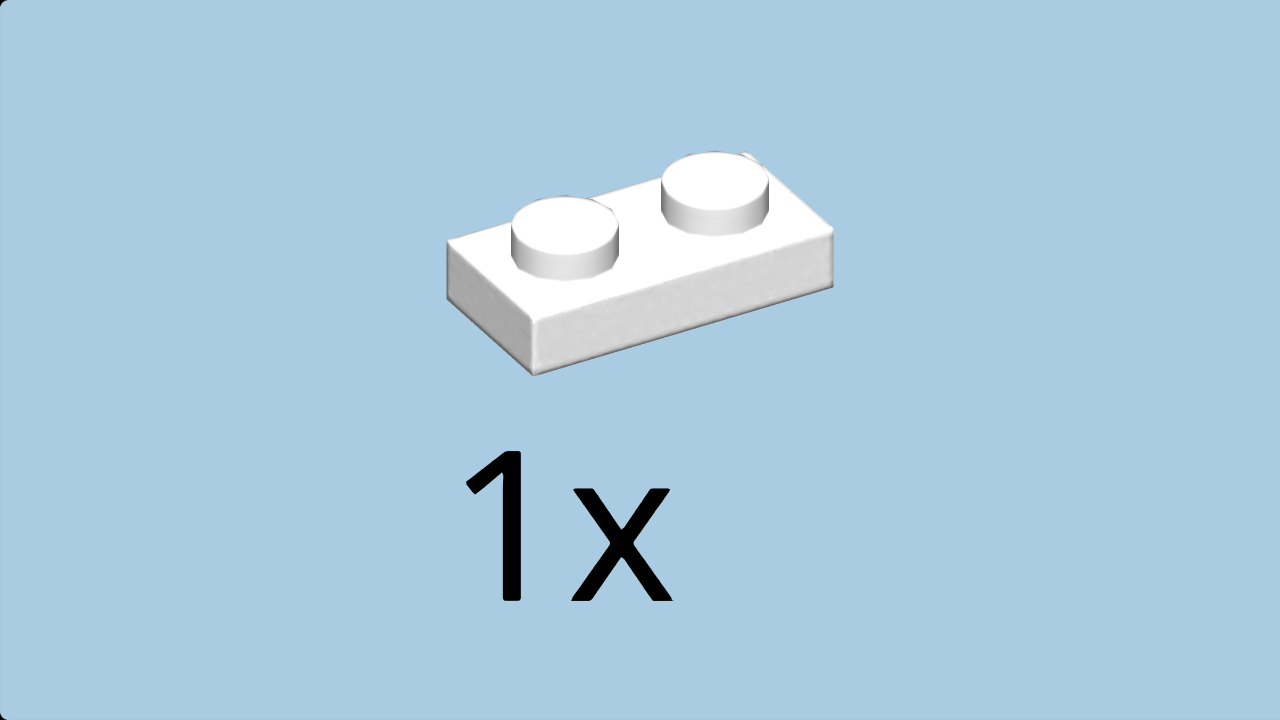
| Find 1 white plate 1x2. |
| Put it upright on the side knobs at the front. |
| Repeat to make another such part. |
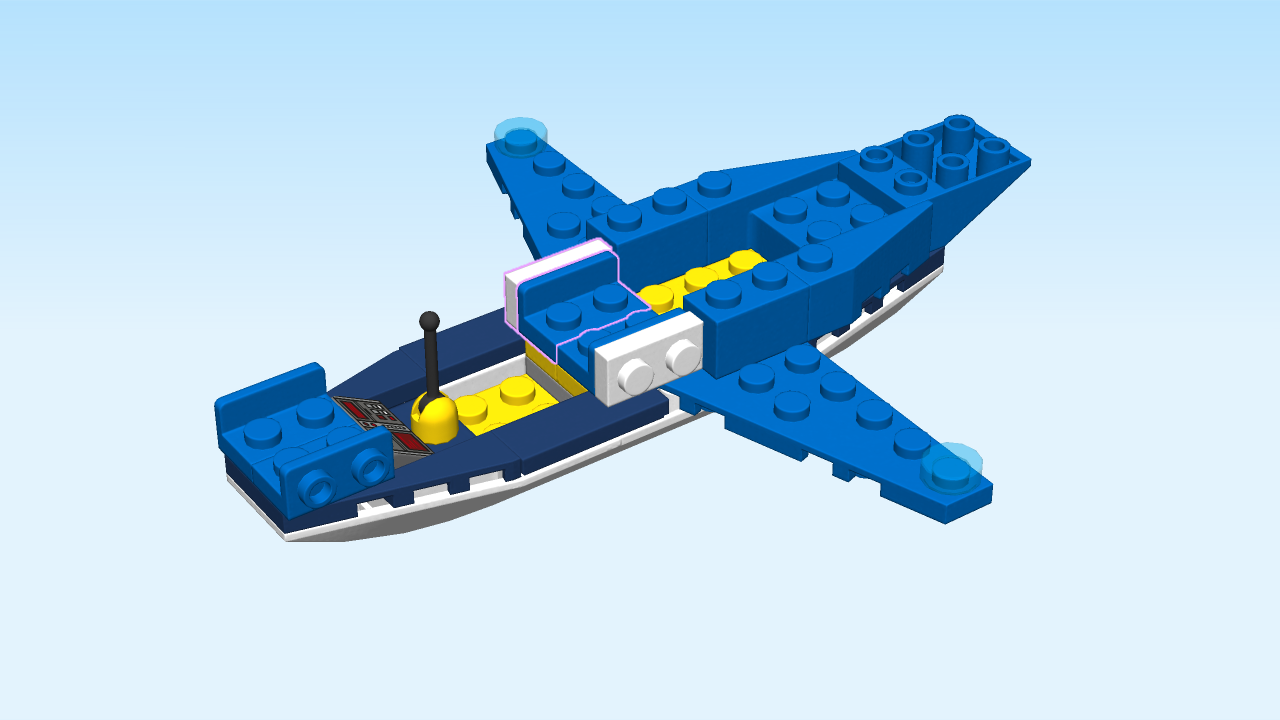
| Mount the parts horizontally on the middle rows left of the previous pieces, side knobs to the front and back. |
| Find 1 white plate 1x2. |
| Put it vertically on the right column of the two bottom angular plates 1x2 - 1x2 with side knobs. |
| Collect the following 2 pieces: |
| 1 bright yellow brick 1x2, |
| and 1 medium stone grey plate 2x6. |
| Put the brick 1x2 vertically to the left. |
| Put the plate 2x6 horizontally to the right of the previous piece. |
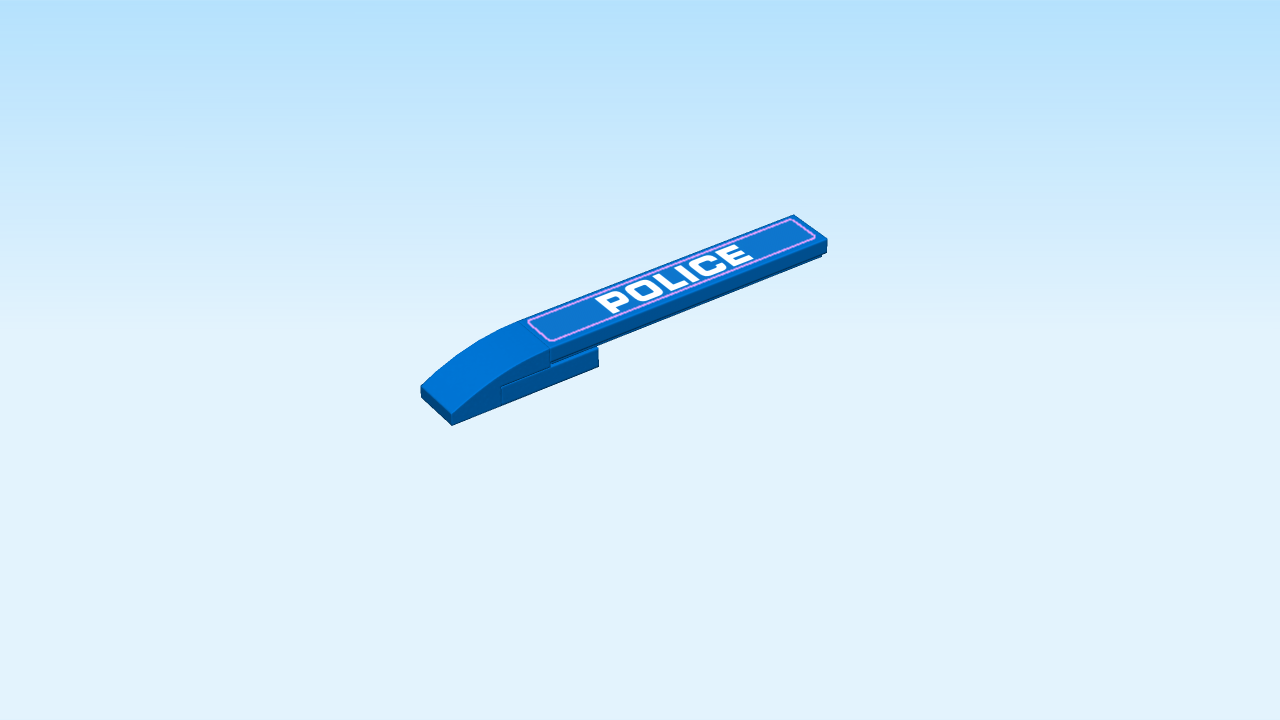
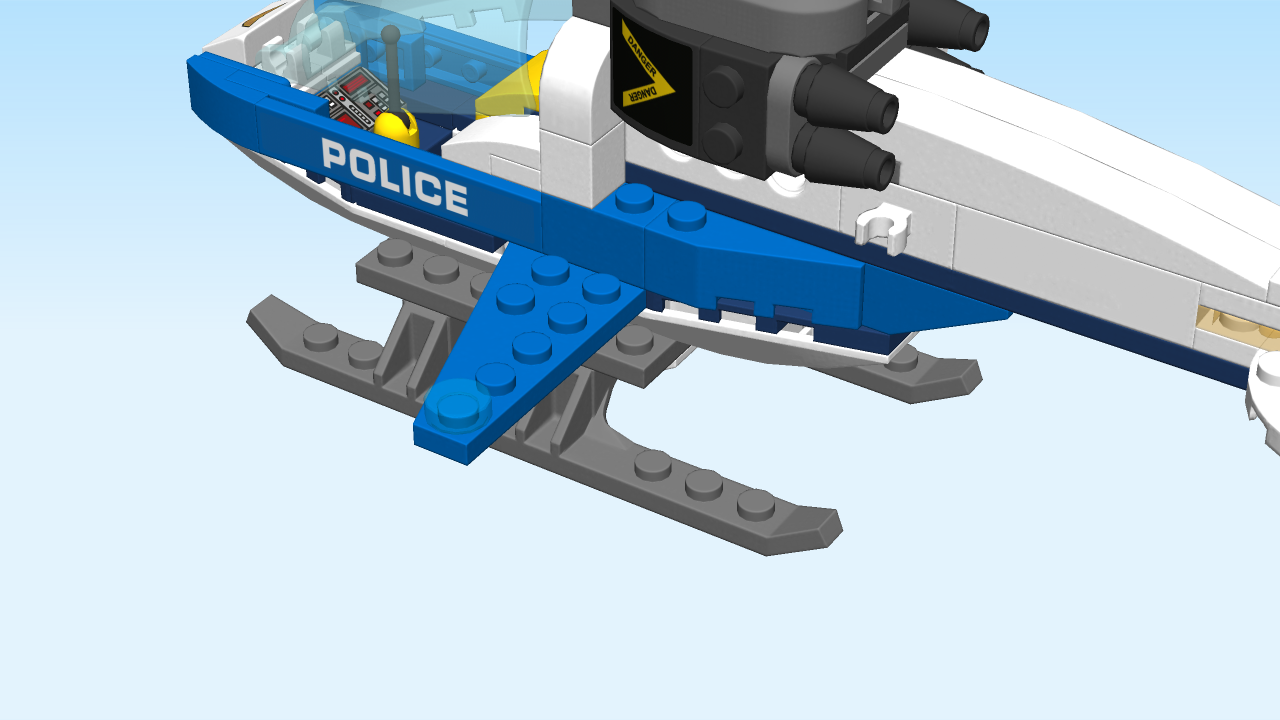
| Now, we will build 2 side police signs. |
| Find 1 bright blue plate 1x2. |
| Put it horizontally on the table. |
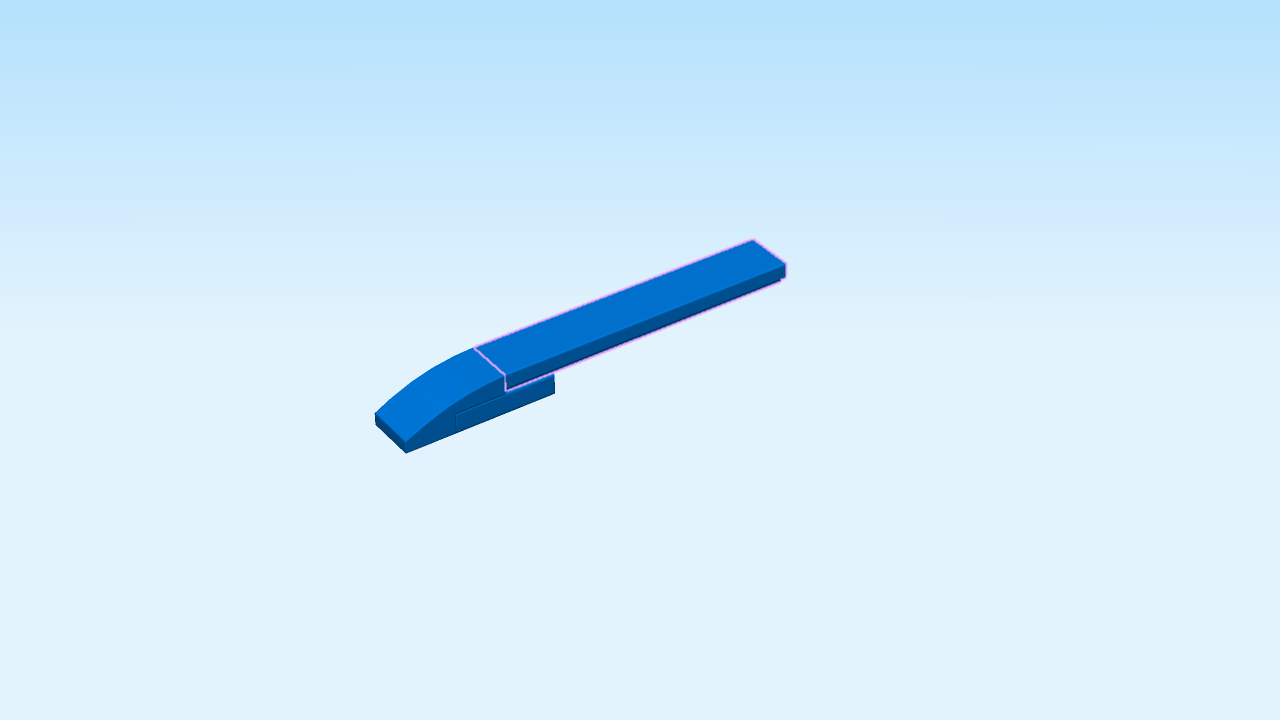
| Find 1 bright blue curve piece 1x2. |
| Put it horizontally on the left knob, overhanging to the left, curve to the left. |
| Find 1 bright blue flat tile 1x6. |
| Put it horizontally on the right knob, overhanging to the right. |
| Continue if you want to decorate the police sign with a sticker now. If not, skip the next three sentences. |
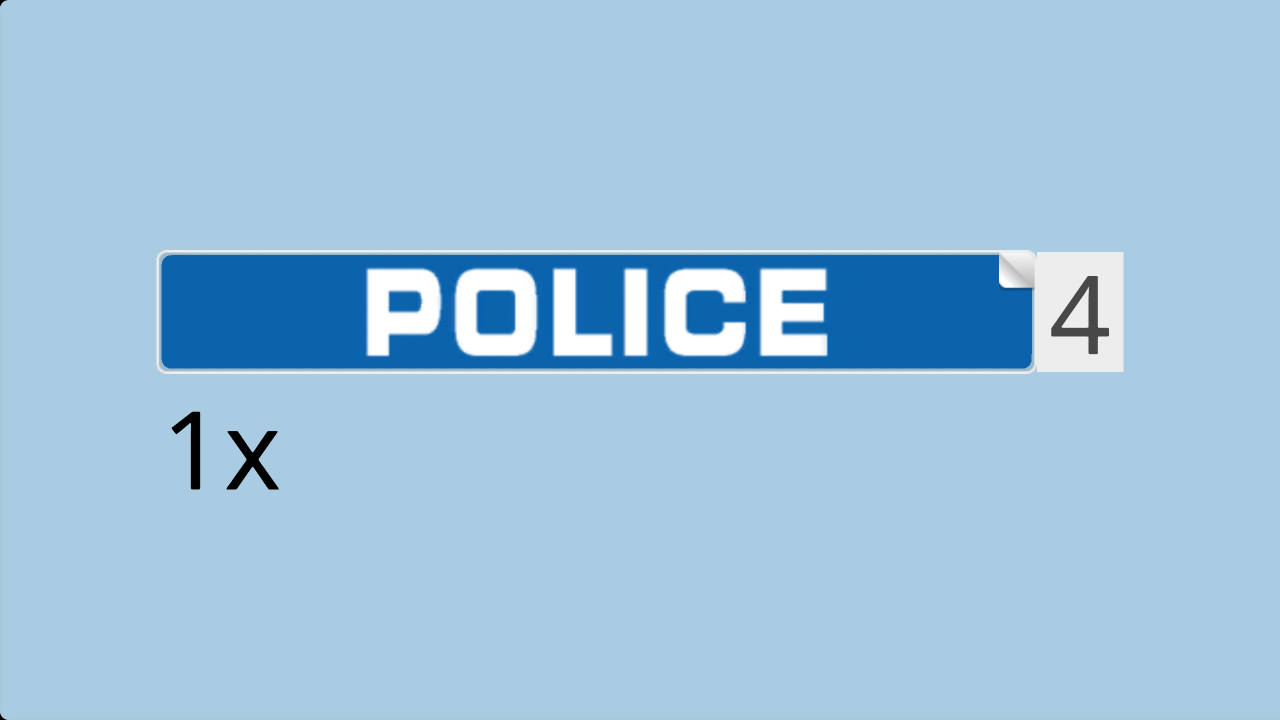
| Find 1 long rectangular sticker number 4. Ask a sighted person to help you. |
| Put it horizontally on the previous piece. |
| (The sticker is bright blue and has "Police" written on it in white letters). |
| Careful: this build has a special orientation! |
| The first side police sign is finished! Mount it upright horizontally on the side knobs at the front side of the structure, curve to the left. |
| Repeat to make another side police sign. |
| Mount it horizontally on the side knobs at the back side of the structure, curve to the left. |
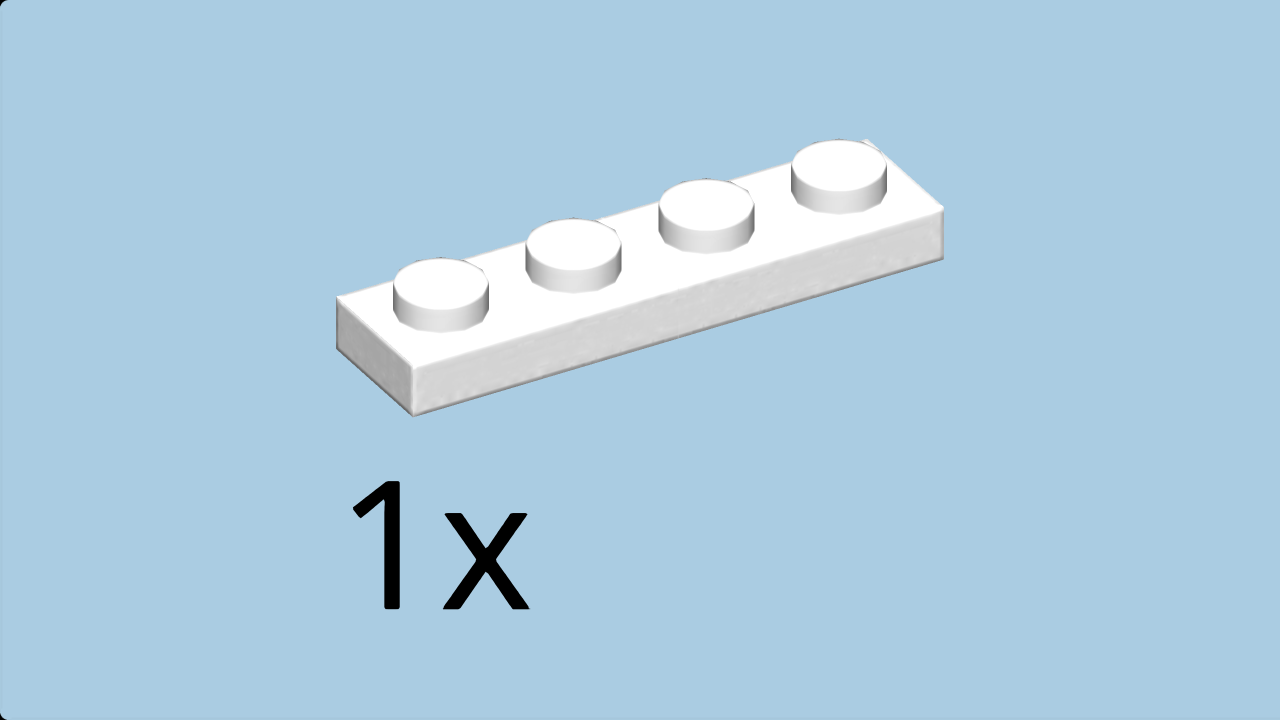
| Find 1 white plate 1x4. |
| Put it vertically to the right of the bright yellow brick 1x2 in the middle of the structure. |
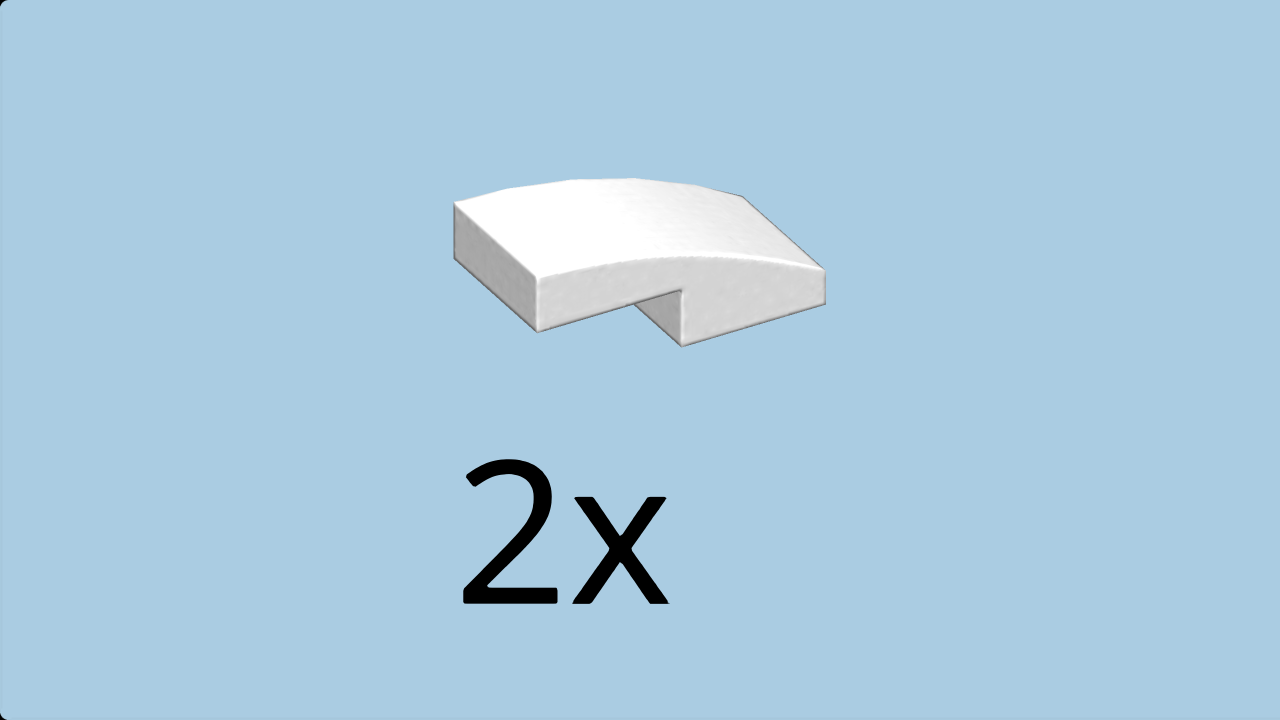
| Find 2 white curve pieces 1x2. |
| Put one horizontally on the frontmost knob of the previous piece, overhanging to the left, curve to the left. |
| Repeat symmetrically at the back. |
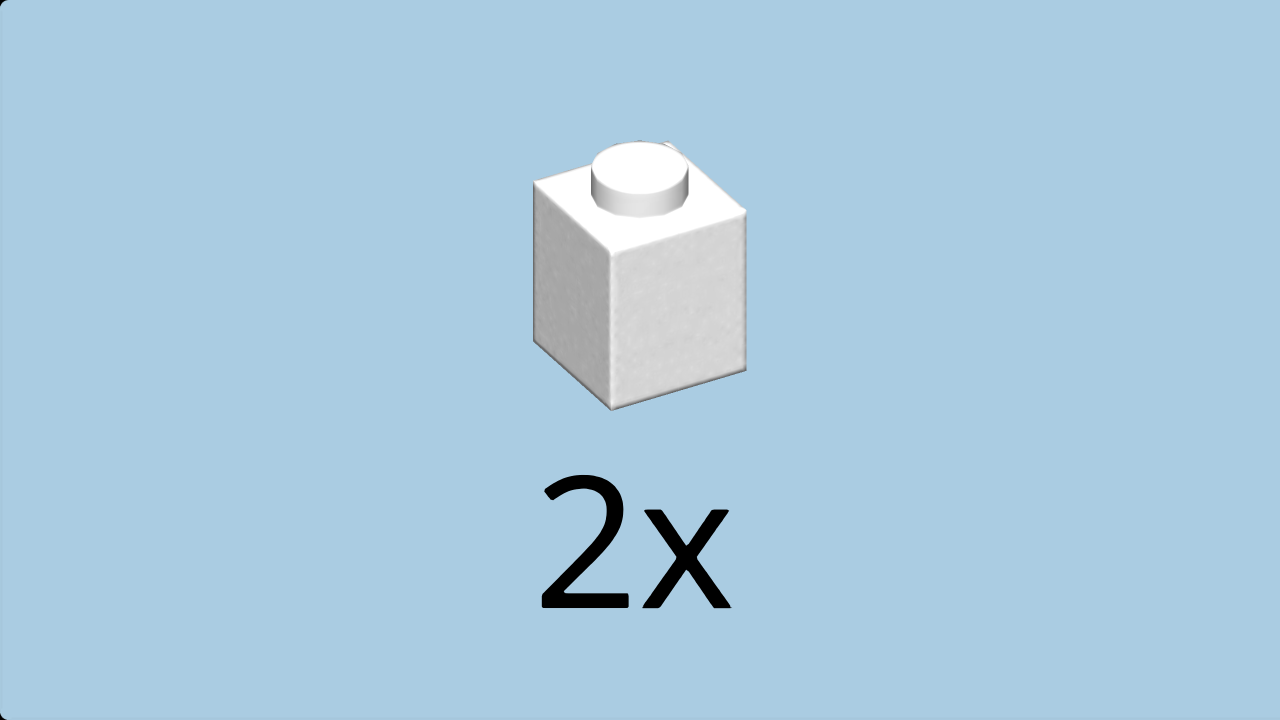
| Find 2 white bricks 1x1. |
| Put them to the right of the curve pieces 1x2. |
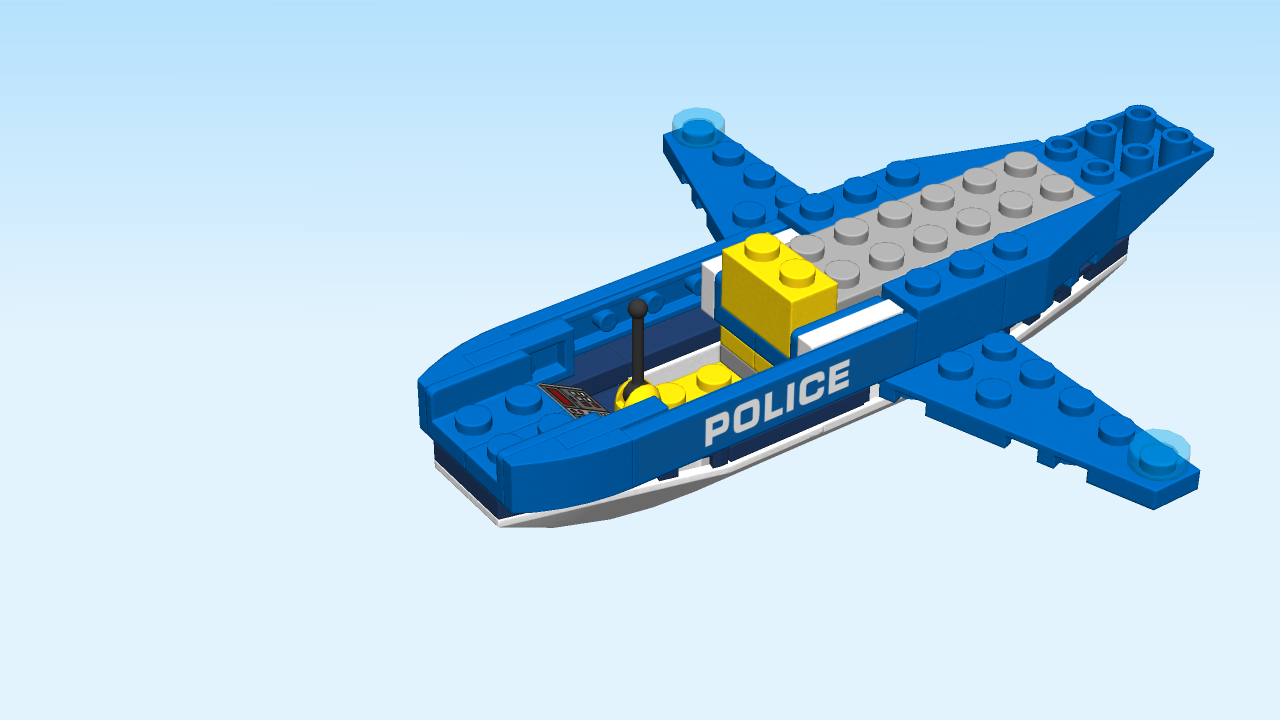
| The helicopter base is finished! Well done! Put it aside for now, we will need it again later. |
| Next, we will build the helicopter tail. |
| Find 1 earth blue plate 2x14. |
| Put it horizontally on the table. |
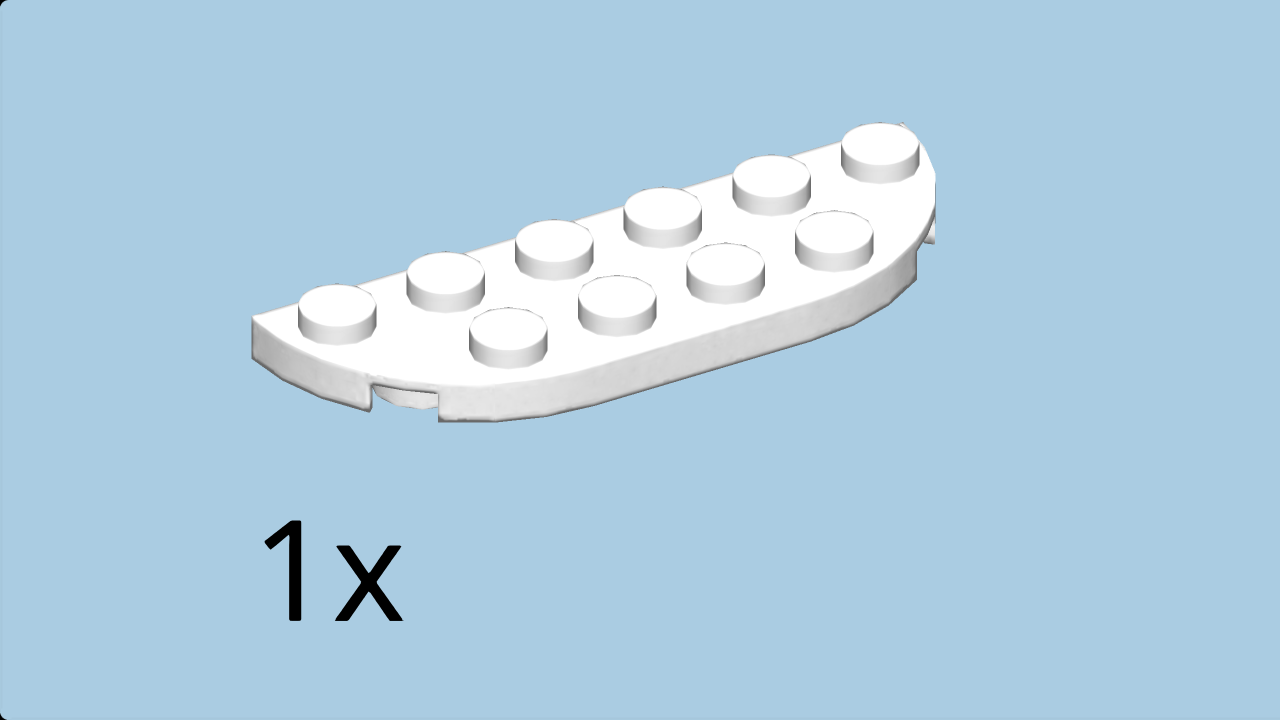
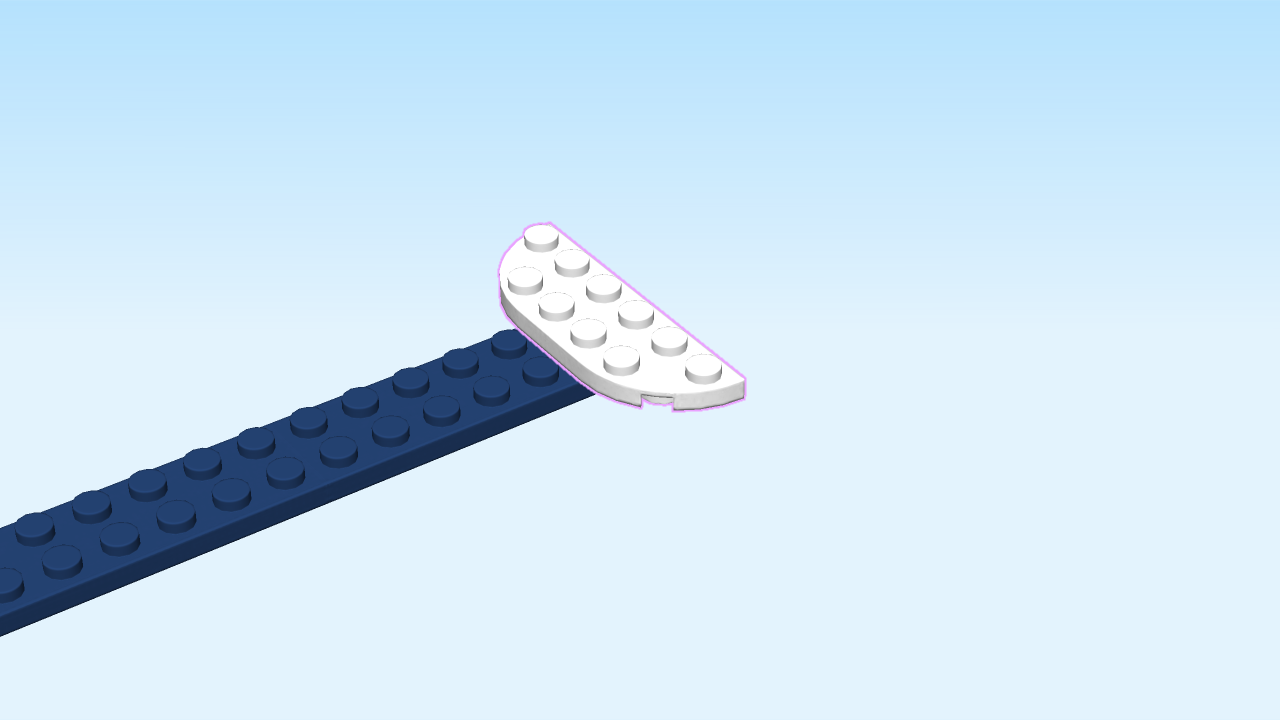
| Find 1 white half-circle plate 2x6. |
| Put it vertically on the two right columns, symmetrically overhanging to the front and back, rounded corners to the left. |
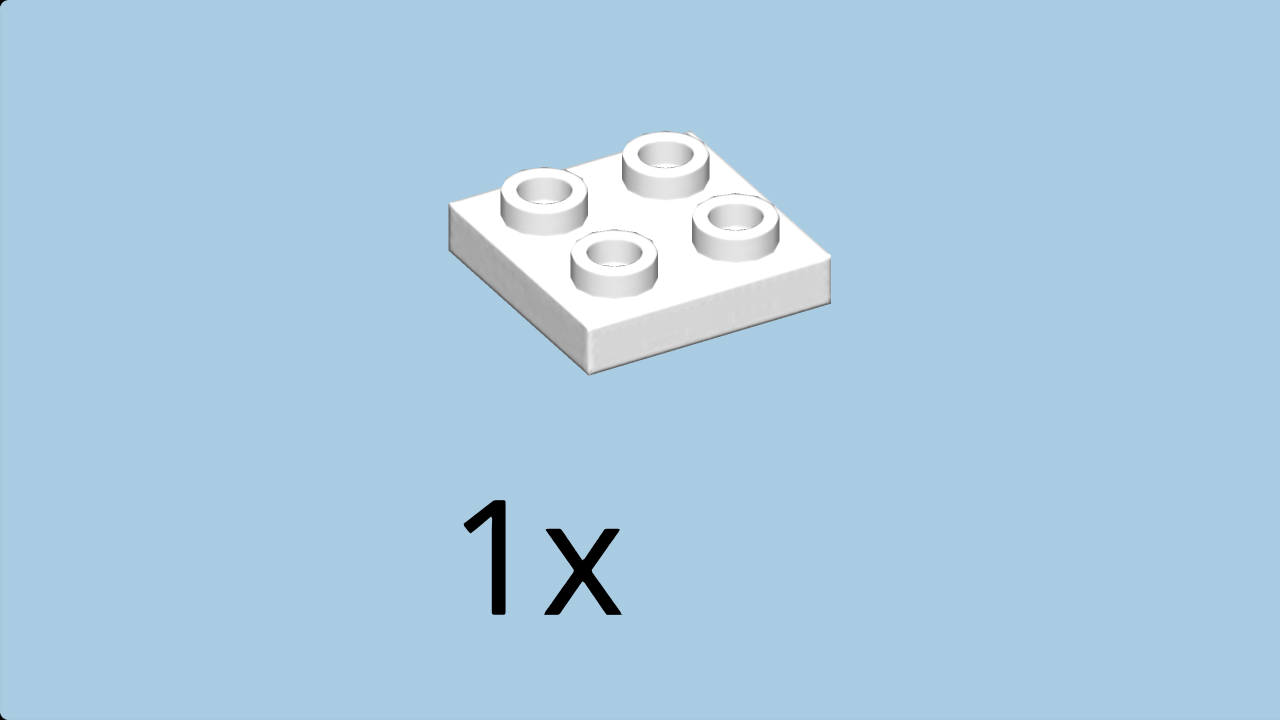
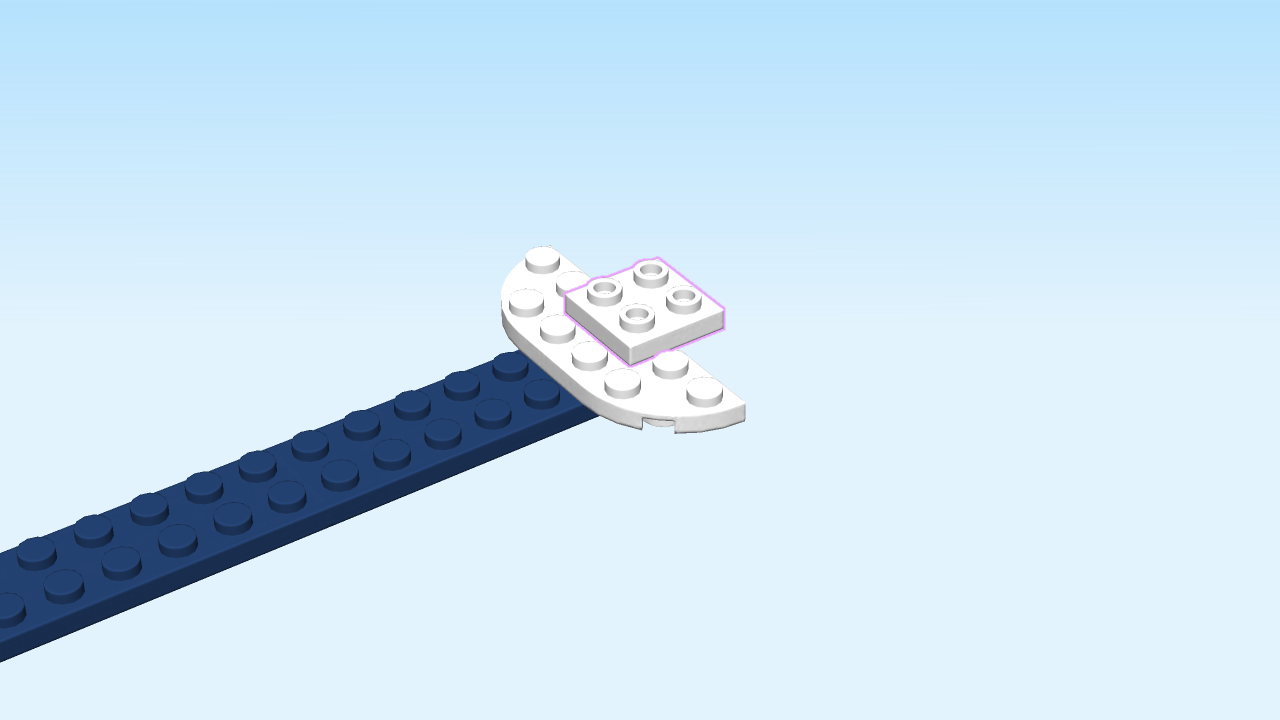
| Find 1 white plate 2x2 with bottom tube. |
| Put it in the middle of the right column of the previous piece, overhanging to the right, tube to the right. |
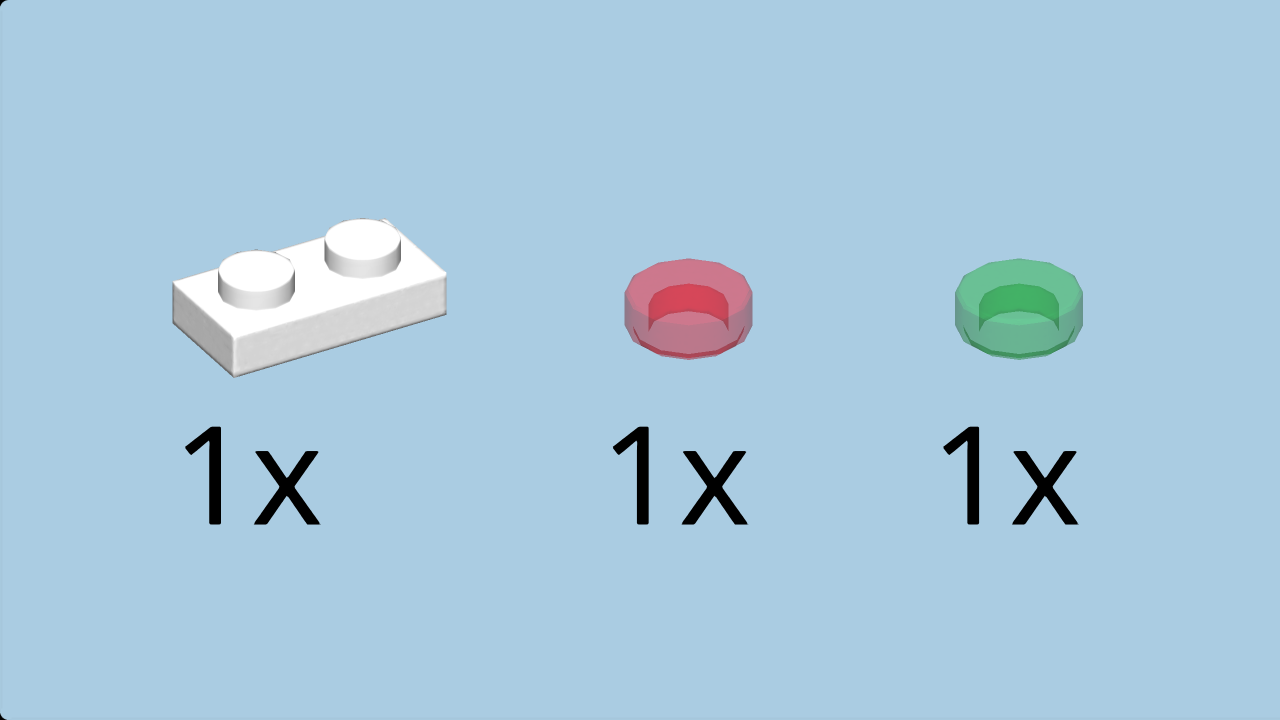
| Collect the following 3 pieces: |
| 1 white plate 1x2, |
| 1 transparent red round flat tile 1x1, |
| and 1 transparent green round flat tile 1x1. |
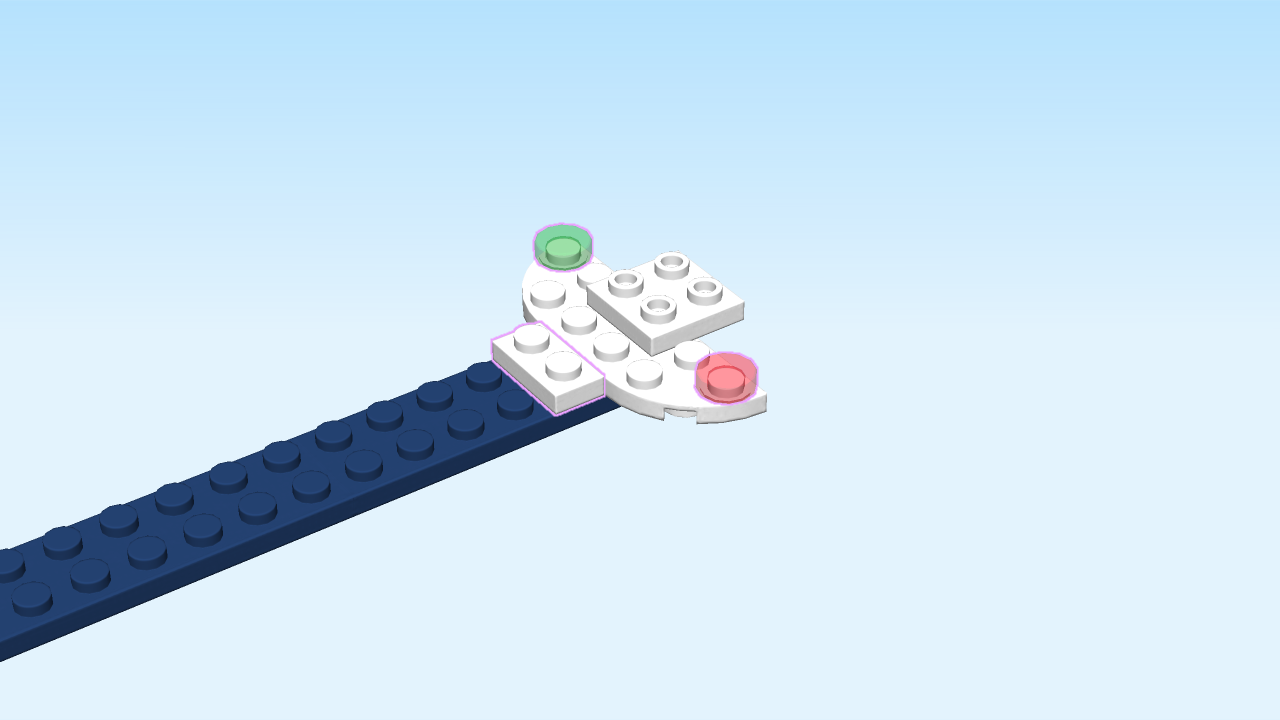
| Put the plate 1x2 vertically to the left of the half-circle plate 2x6. |
| Put the transparent red round flat tile 1x1 on the frontmost knob of the half-circle plate 2x6. |
| Put the transparent green round flat tile 1x1 on the backmost knob. |
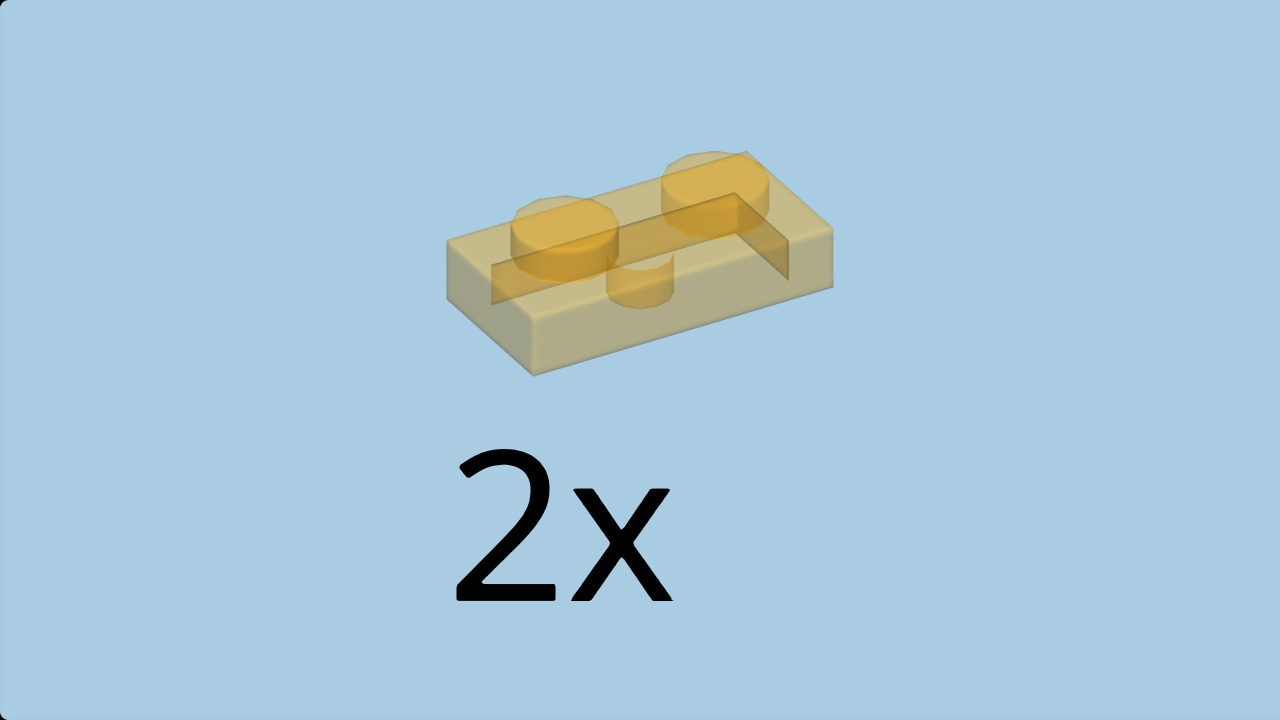
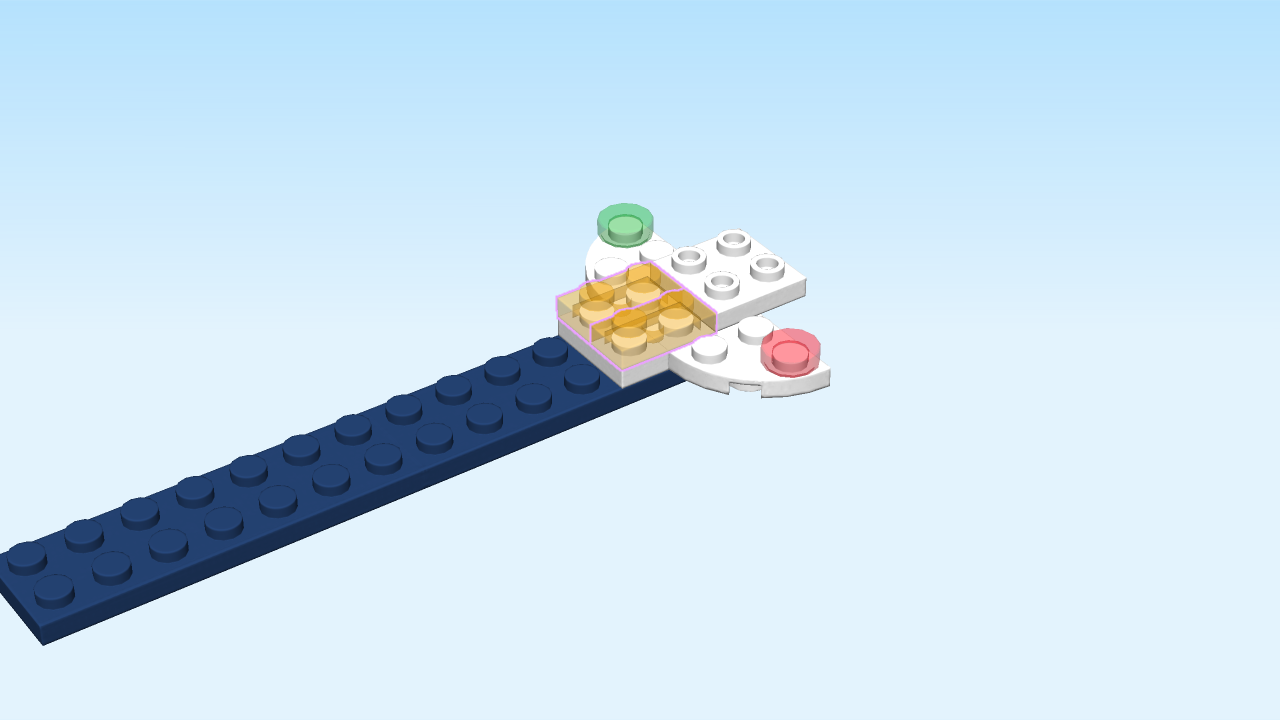
| Find 2 transparent bright orange plates 1x2. |
| Put them horizontally to the left of the plate 2x2 with bottom tube, one on the front row, and one on the back row. |
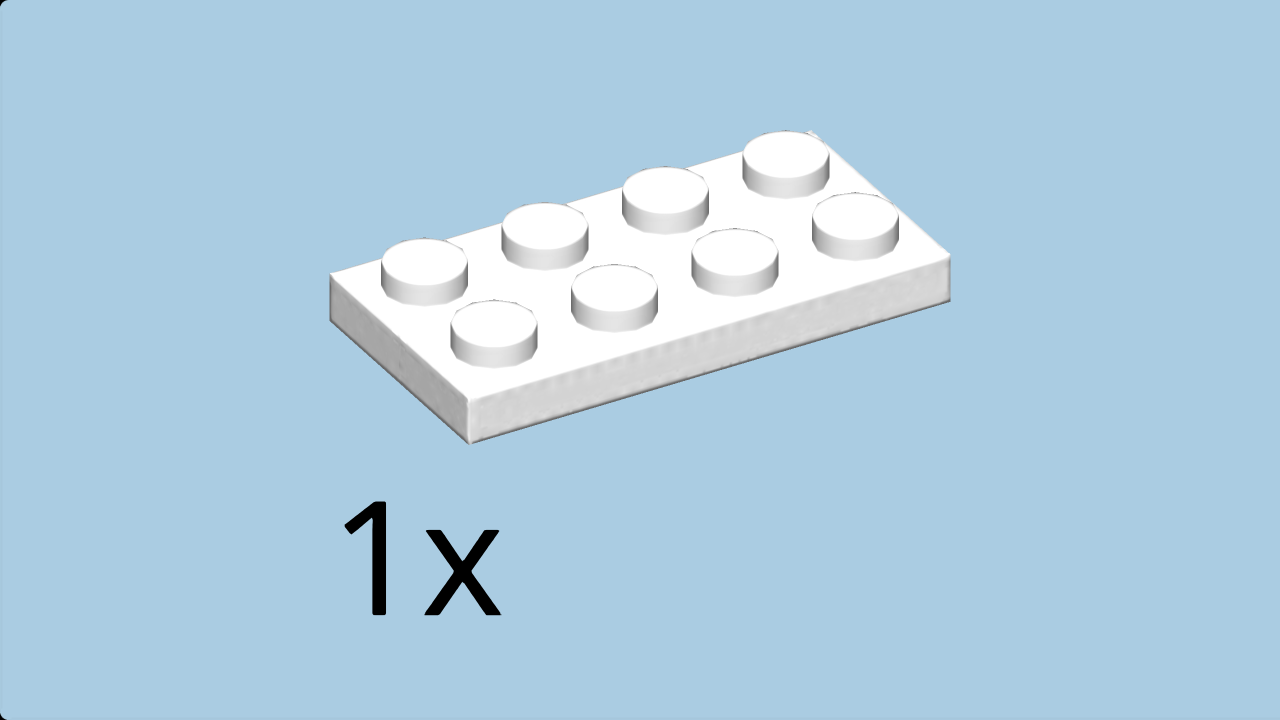
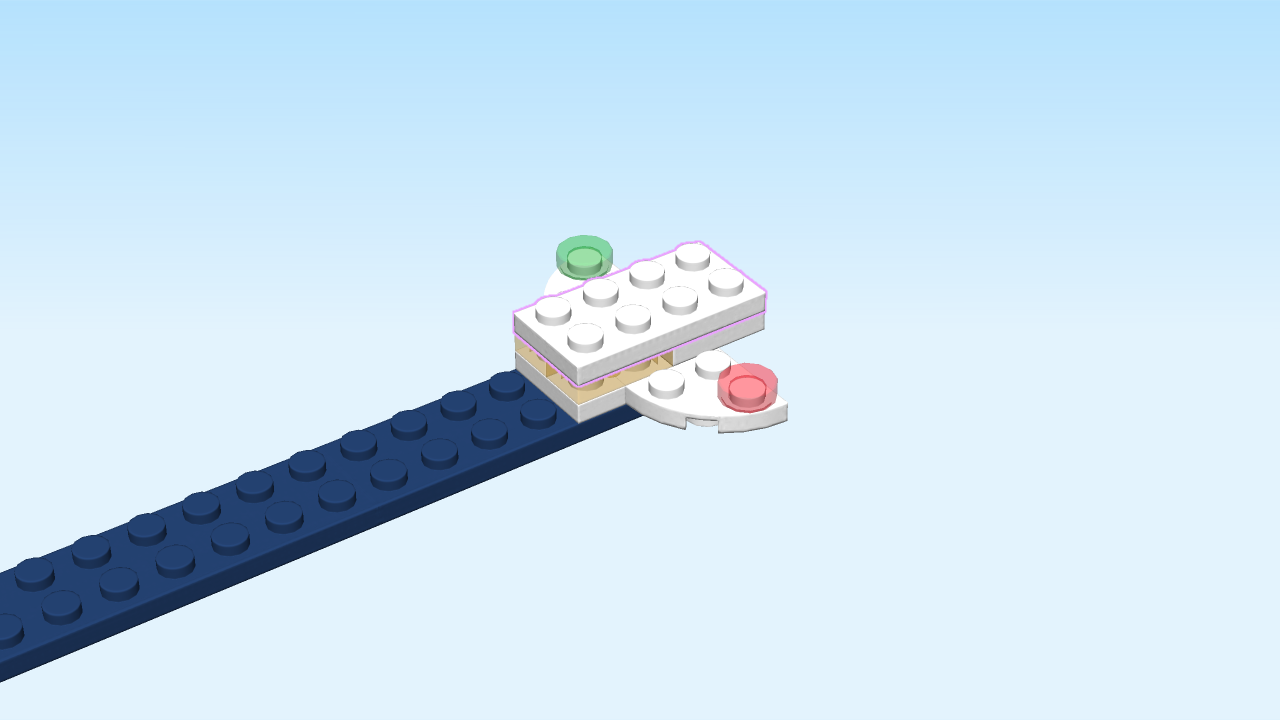
| Find 1 white plate 2x4. |
| Put it horizontally on top. |
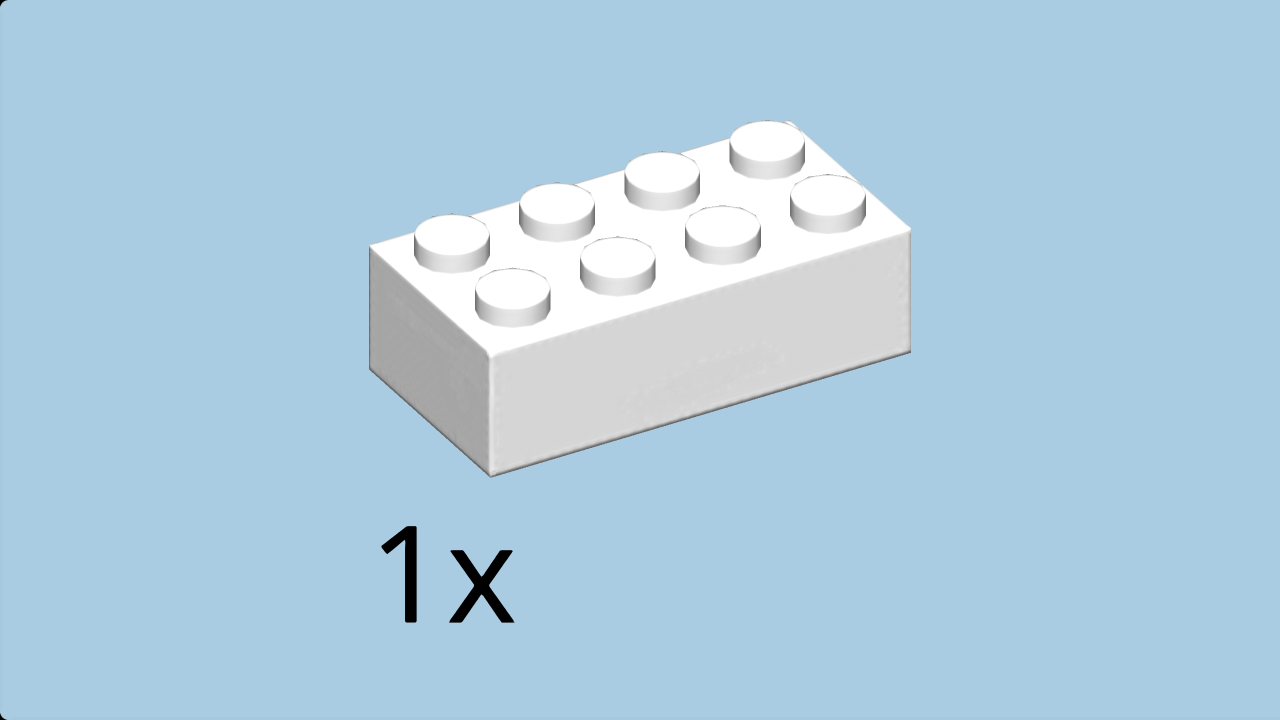
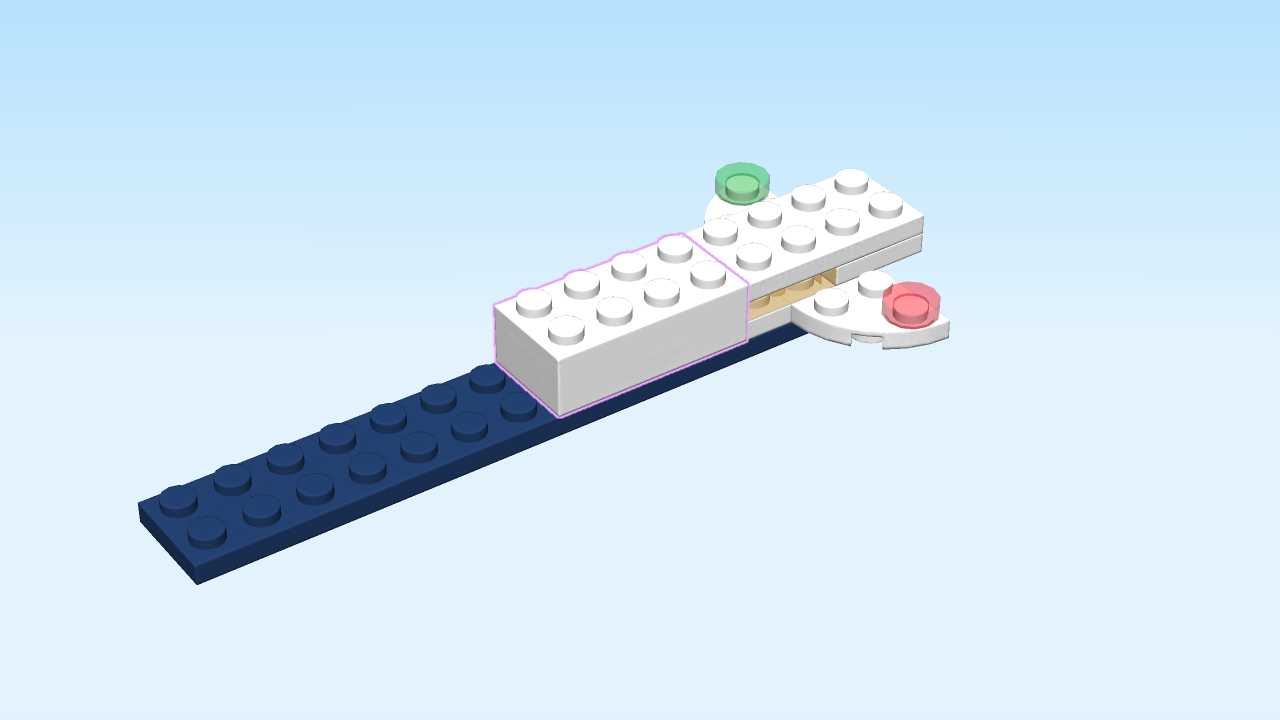
| Find 1 white brick 2x4. |
| Put it horizontally to the left. |
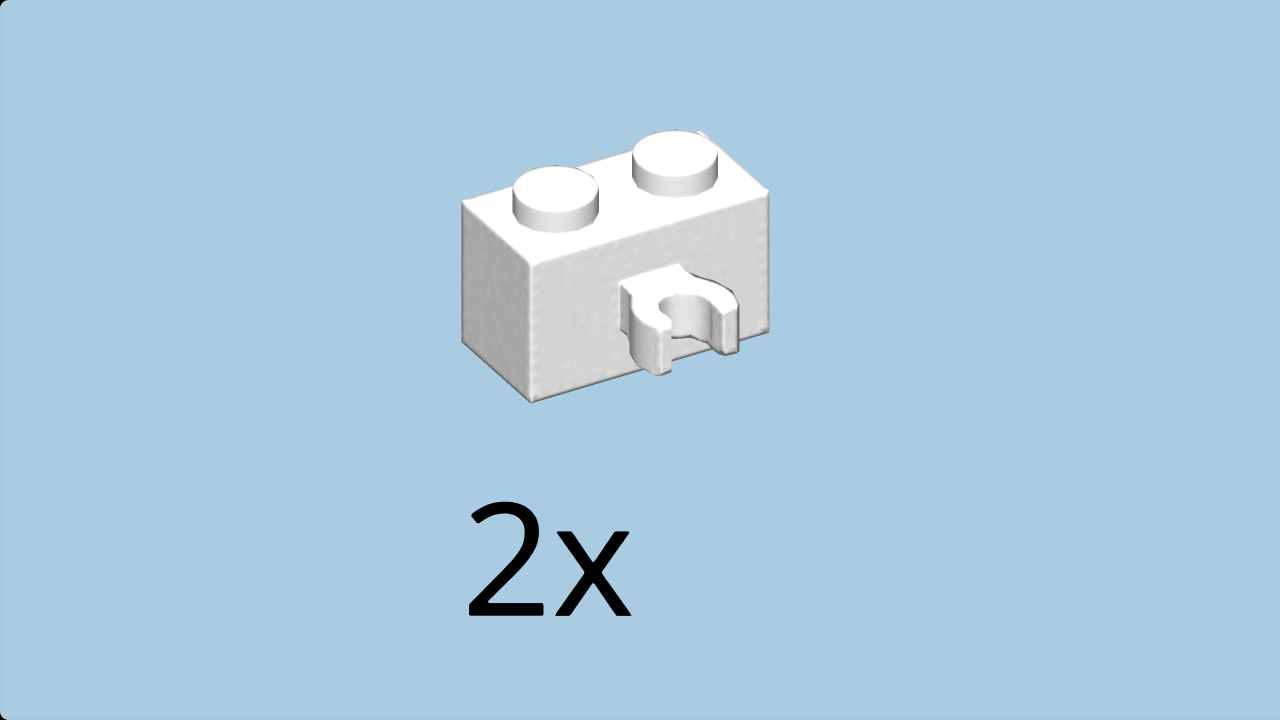
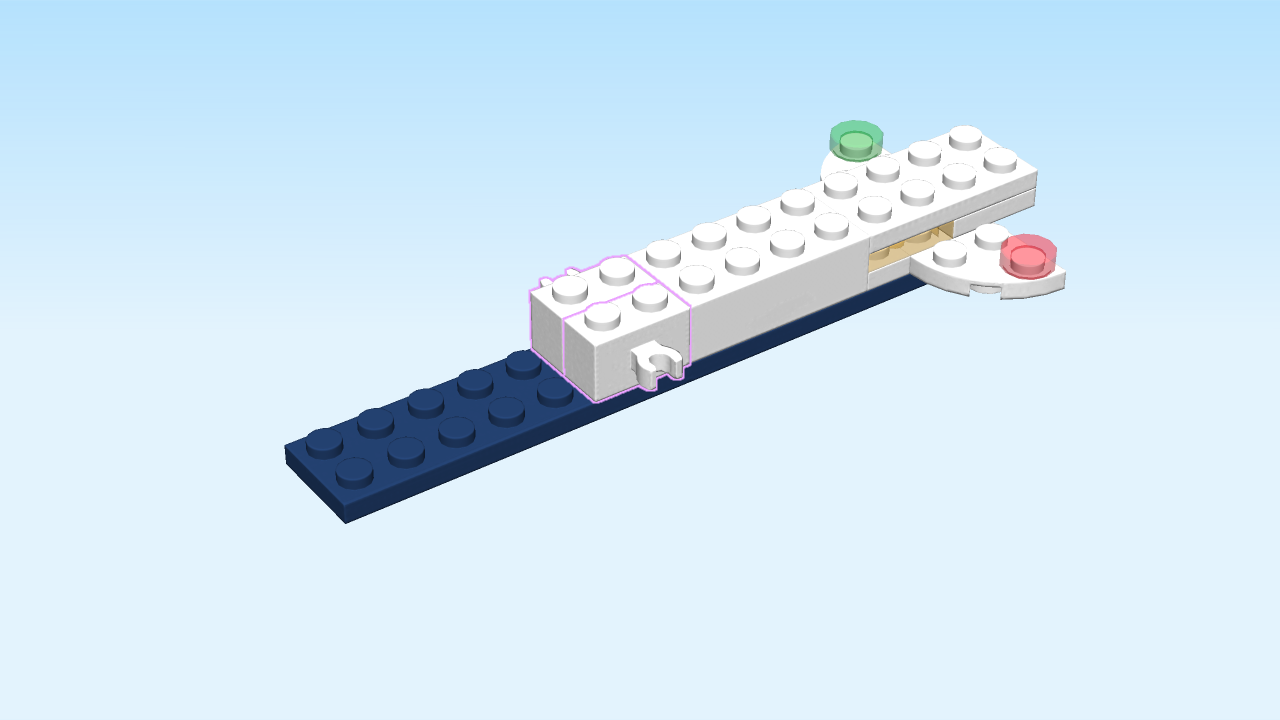
| Find 2 white bricks 1x2 with side clasp. |
| Put them horizontally to the left on the front and back rows, clasps to the front and back. |
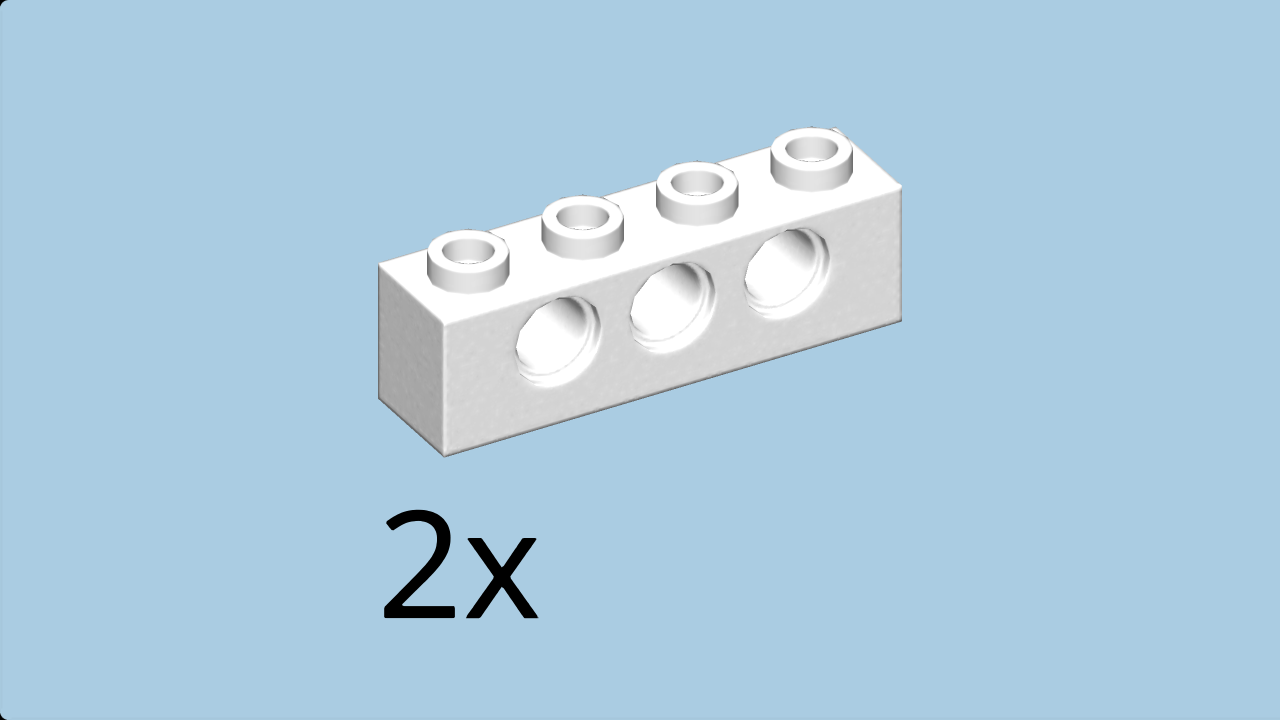
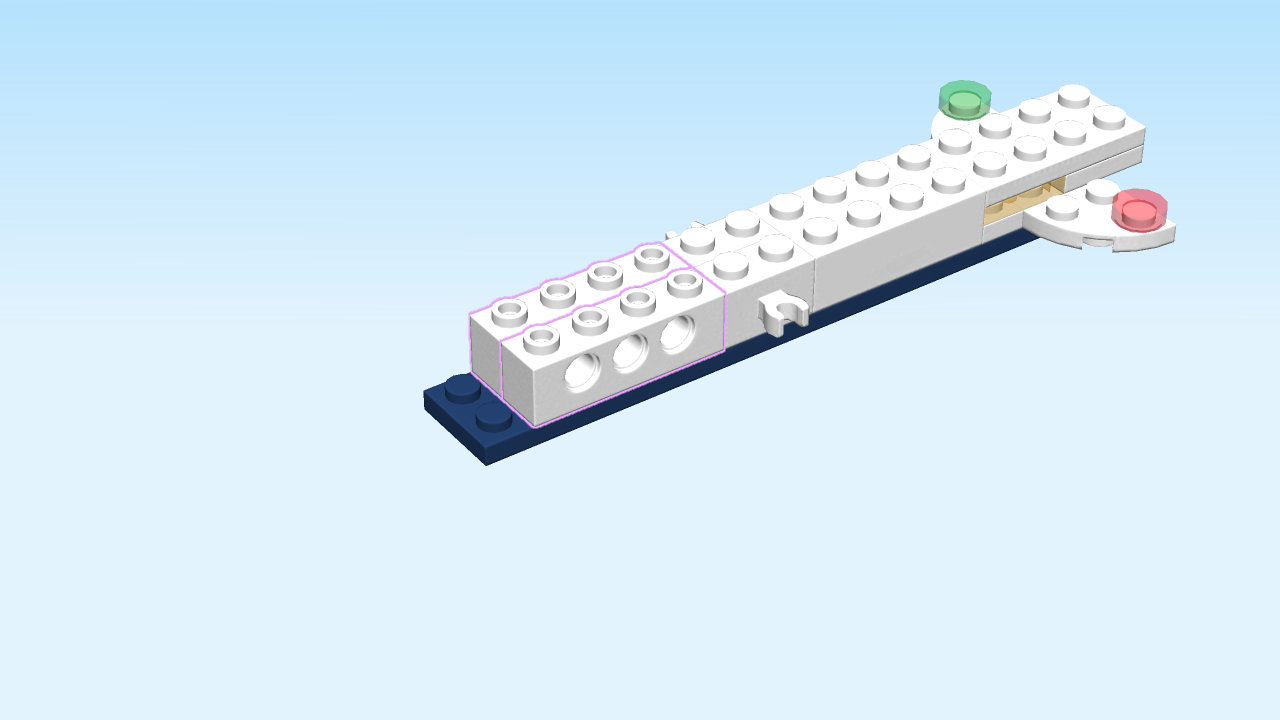
| Find 2 white bricks 1x4 with three side holes. |
| Put them horizontally to the left on the front and back rows. |
| Find 1 earth blue brick 2x3x1 with top and bottom plate. |
| Put it horizontally to the left, top plate on the previous pieces, bottom plate overhanging to the left. |
| Collect the following 2 pieces: |
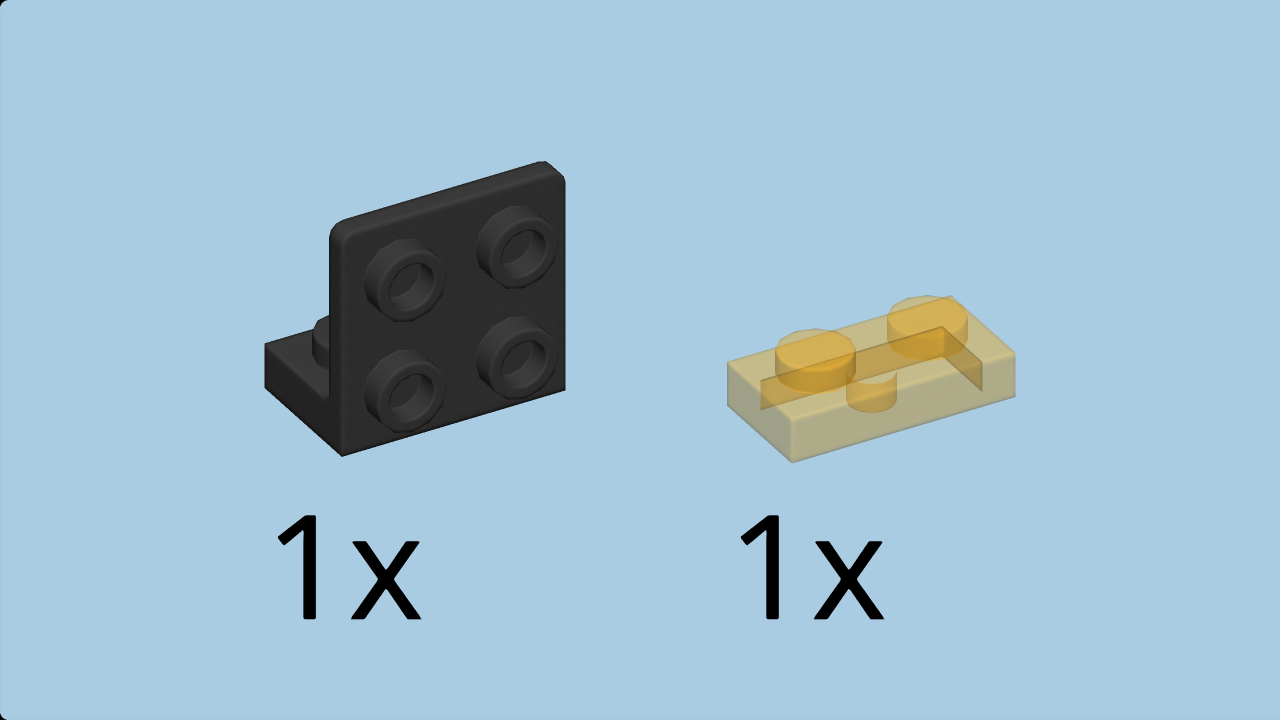
| 1 black bottom angular plate 1x2 - 2x2 with side knobs, |
| and 1 dark stone grey plate 2x2. |
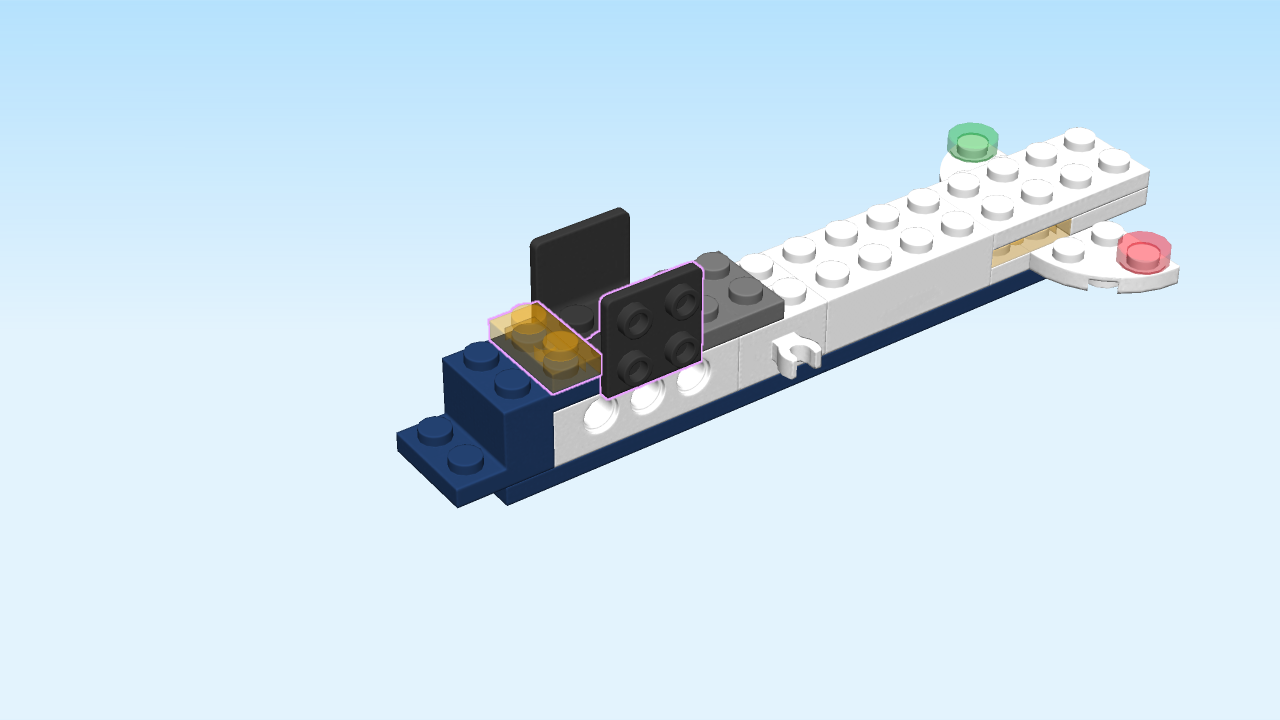
| Put the botttom angular plate 1x2 - 2x2 with side knobs on the back row to the right of the previous piece, side knobs to the back. |
| Put the plate 2x2 to the right. |
| Collect the following 2 pieces: |
| 1 transparent bright orange plate 1x2, |
| and 1 black bottom angular plate 1x2 - 2x2 with side knobs. |
| Put the plate 1x2 vertically on the third column from the left. |
| Put the bottom angular plate 1x2 - 2x2 with side knobs on the front row to the right of the previous piece, side knobs to the front. |
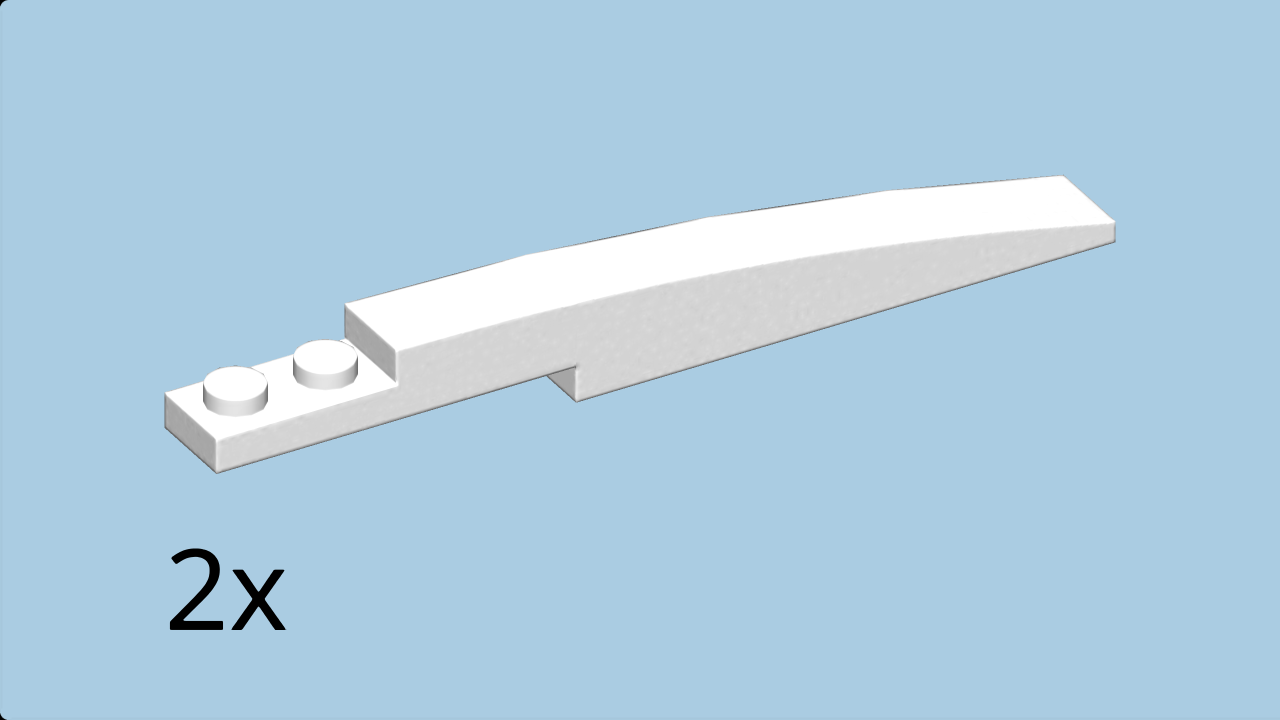
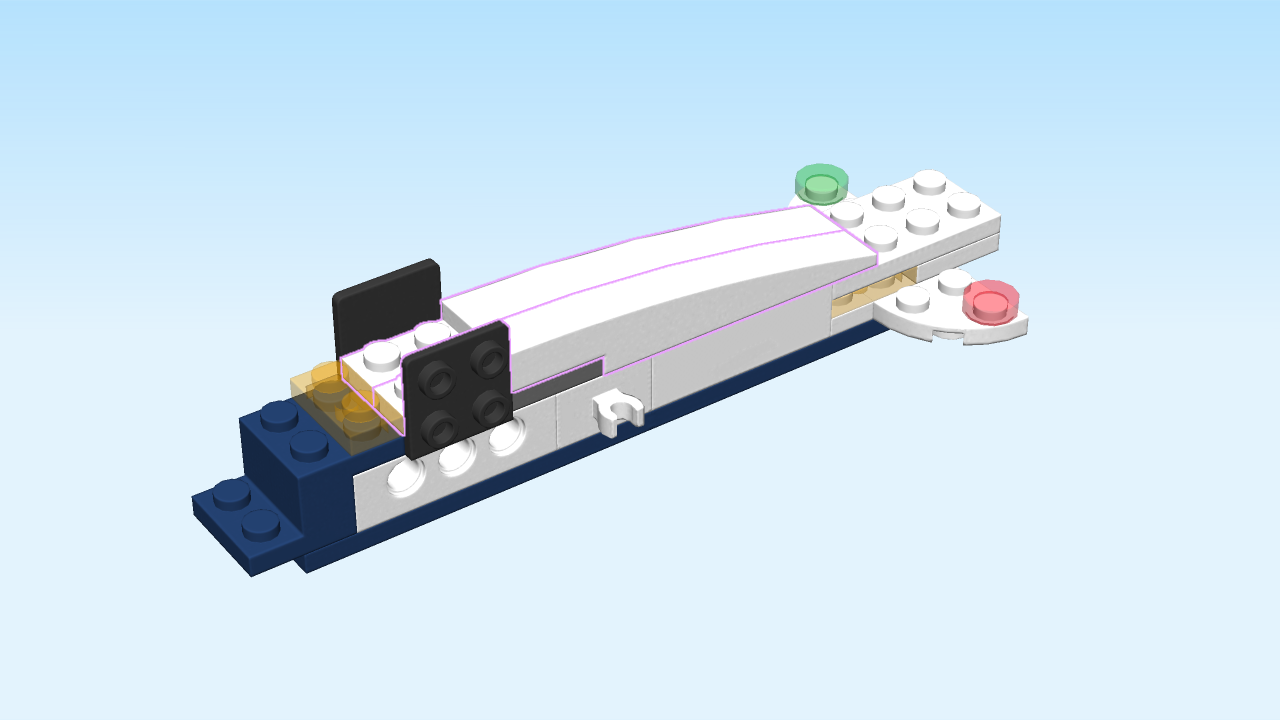
| Find 2 white bricks 1x10 with bow. |
| Put them horizontally to the right of the plate 1x2, bows to the right. |
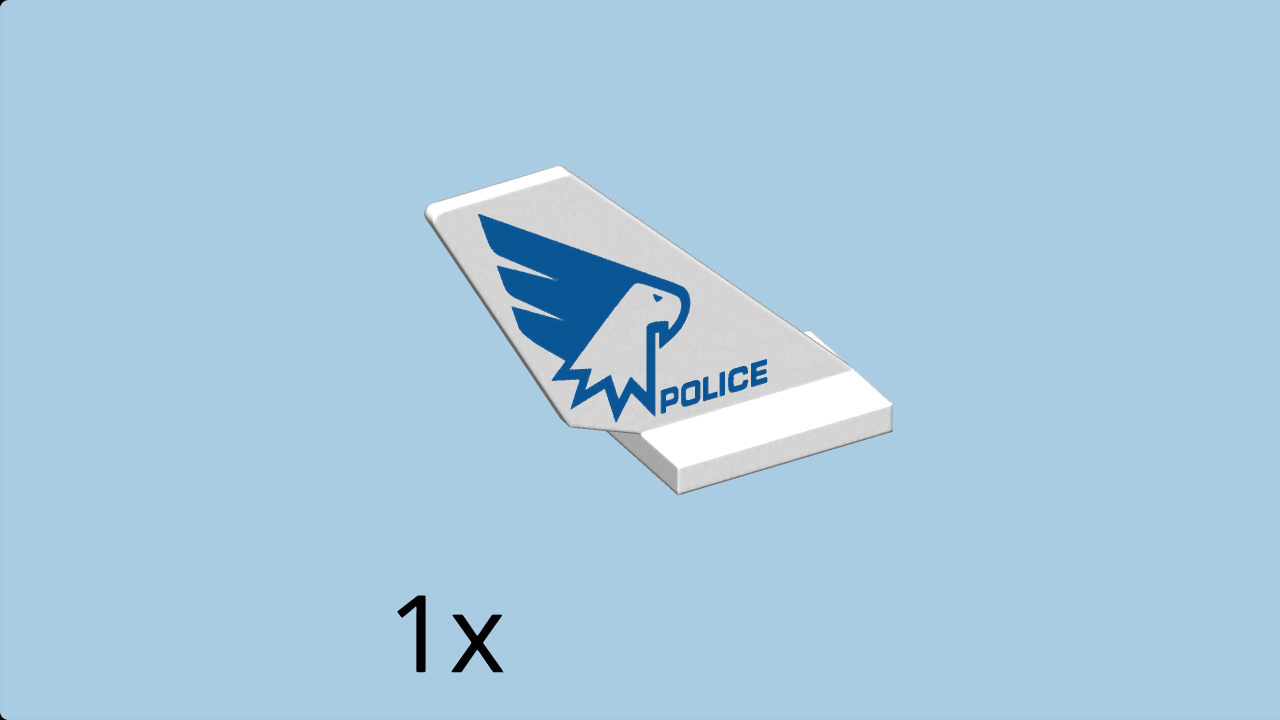
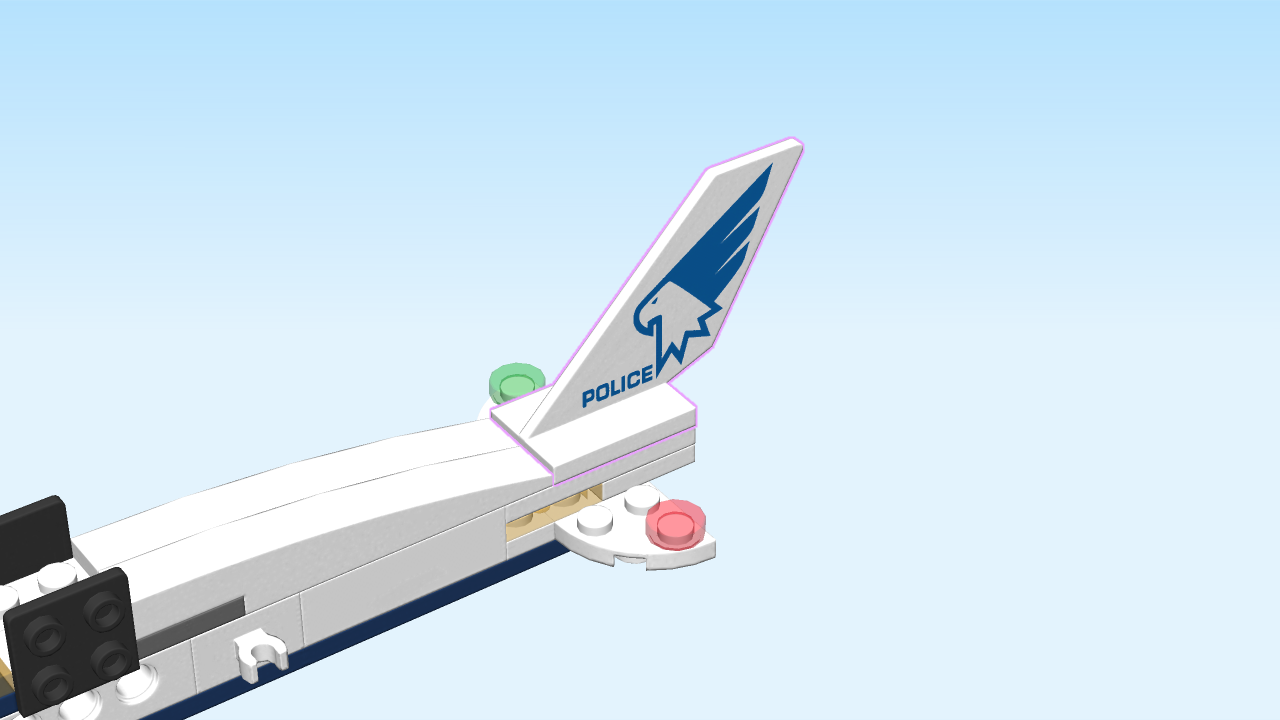
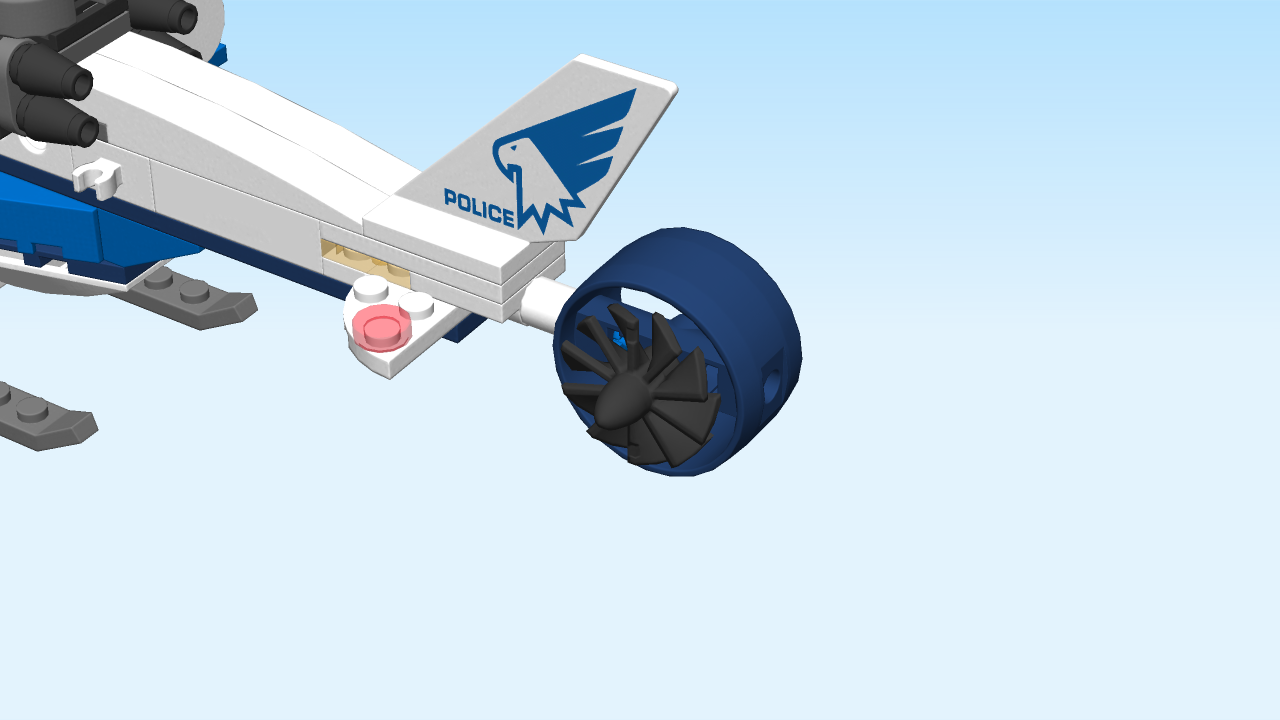
| Find 1 white rudder 2x6x4. |
| Put it horizontally to the right, rudder to the right. |
| (The rudder is white with a blue print: the head of an eagle with a wing, and the word "Police "). |
| The helicopter tail is finished! Well done! |
| Now, mount the helicopter tail horizontally on the helicopter base: put the two knobs on the left edge of the tail to the right of the brick 1x2 in the middle of the helicopter base. |
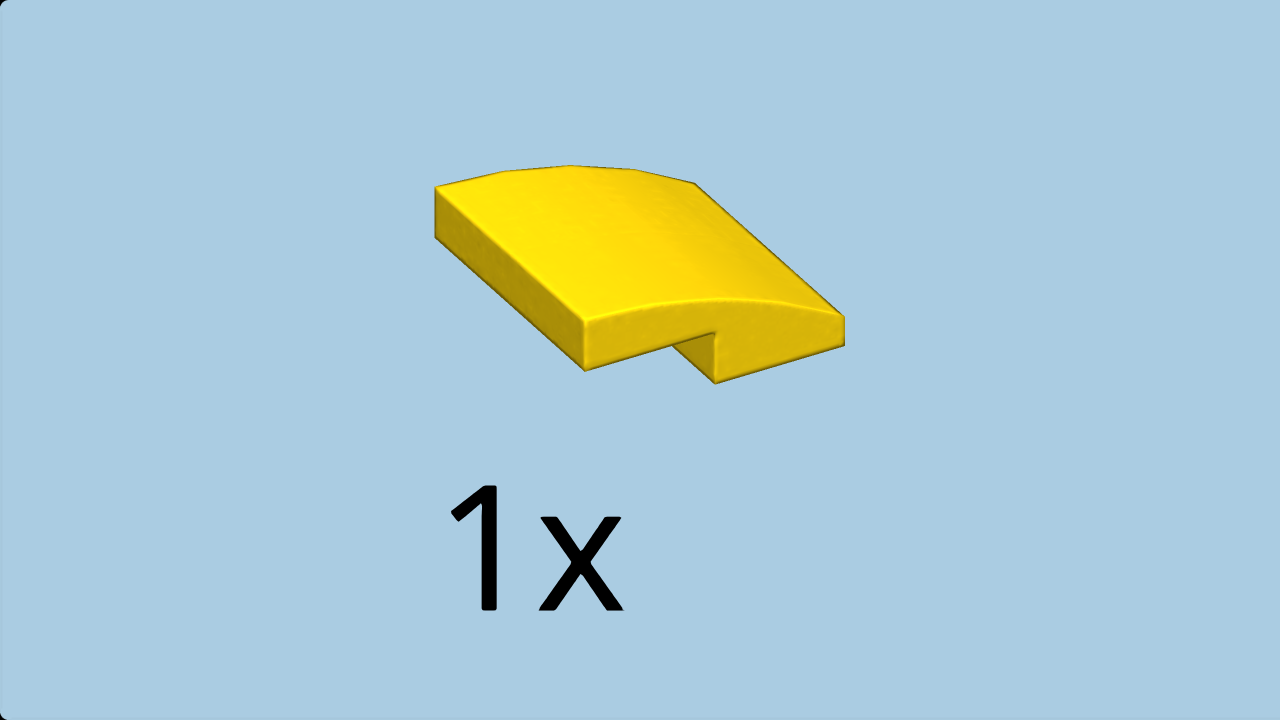
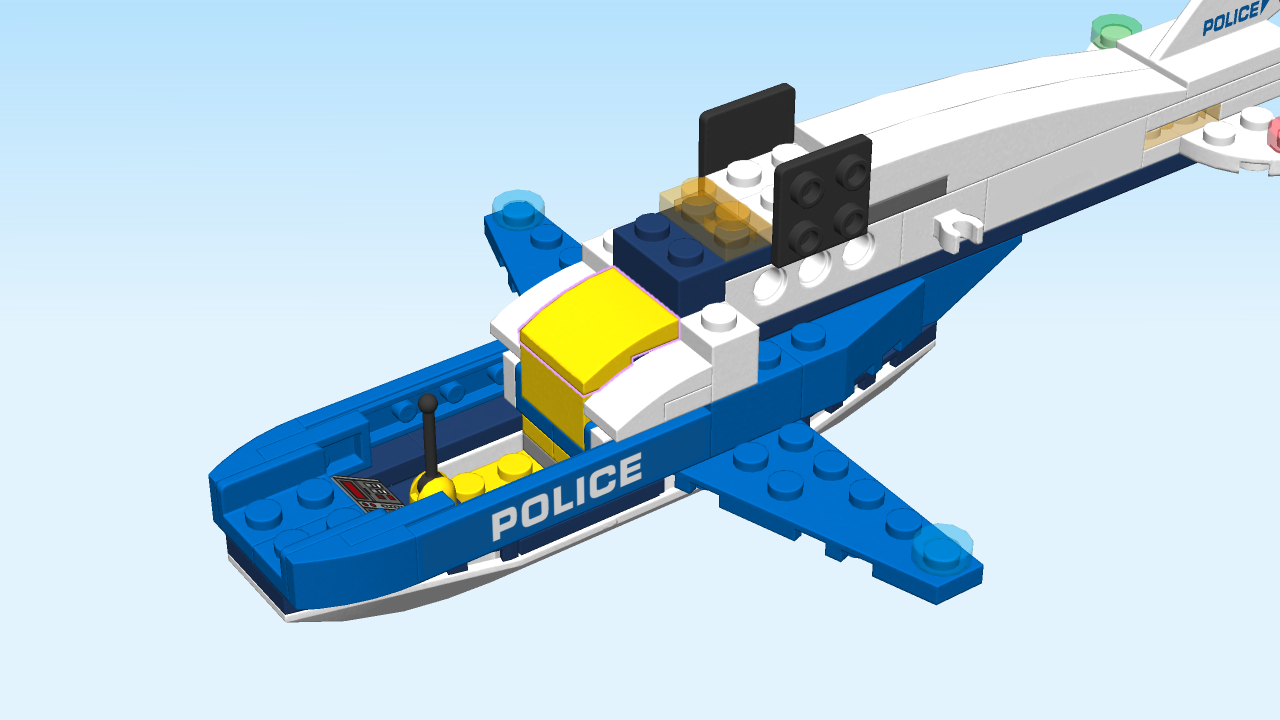
| Find 1 bright yellow curve piece 2x2. |
| Put it on top of the protrusion and the brick 1x2 in the middle of the structure, slide to the left. |
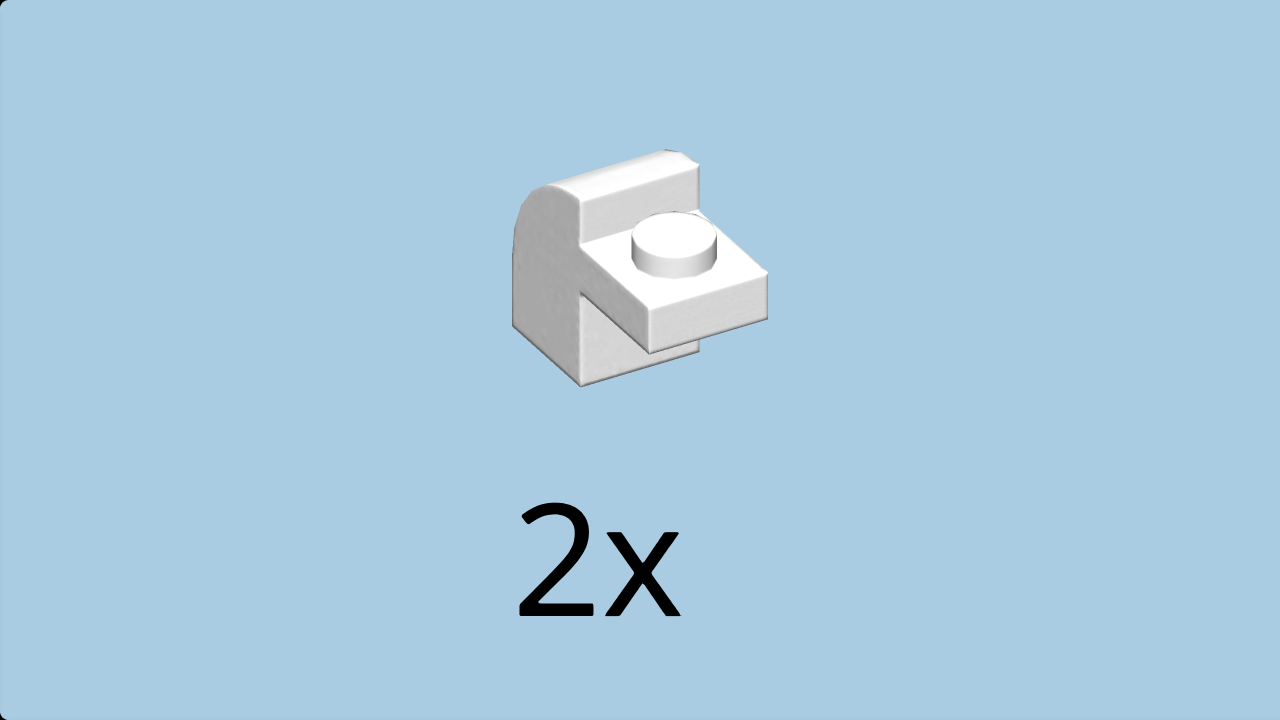
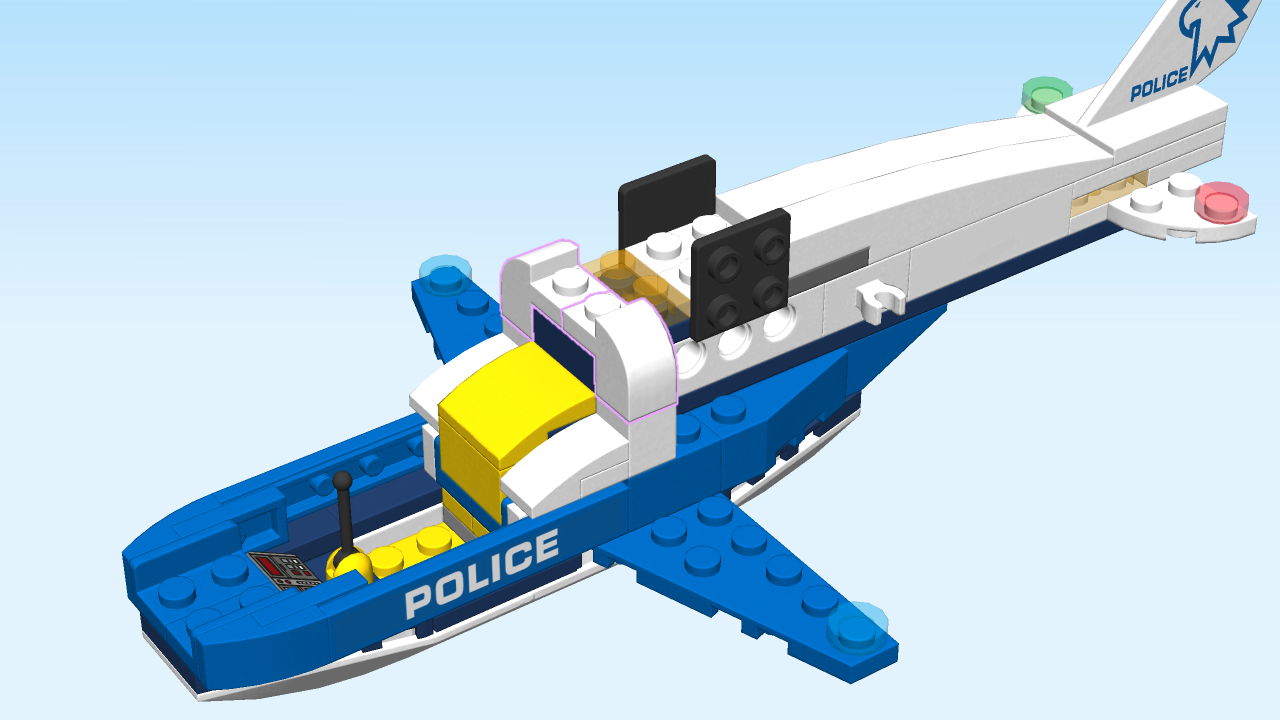
| Find 2 white bricks 1x1 with arch and protruding plate. |
| Put them vertically to the left of the previous piece, arches outwards, protruding plates inwards. |
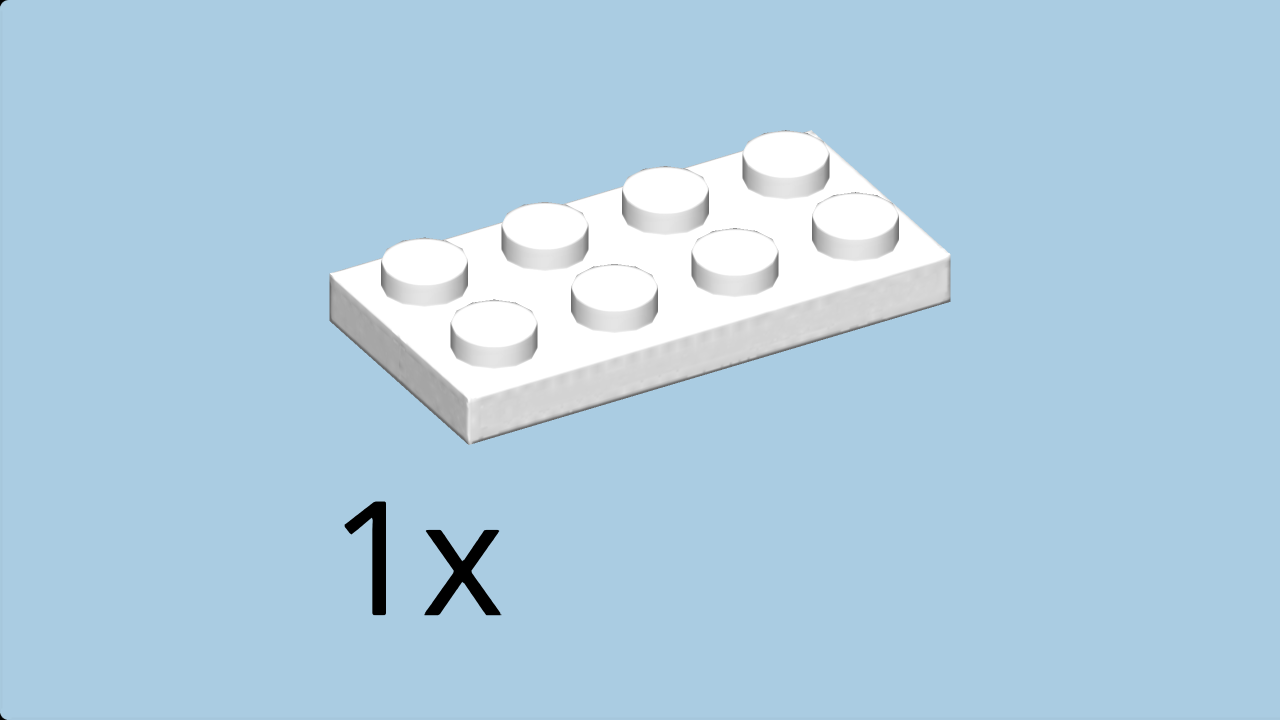
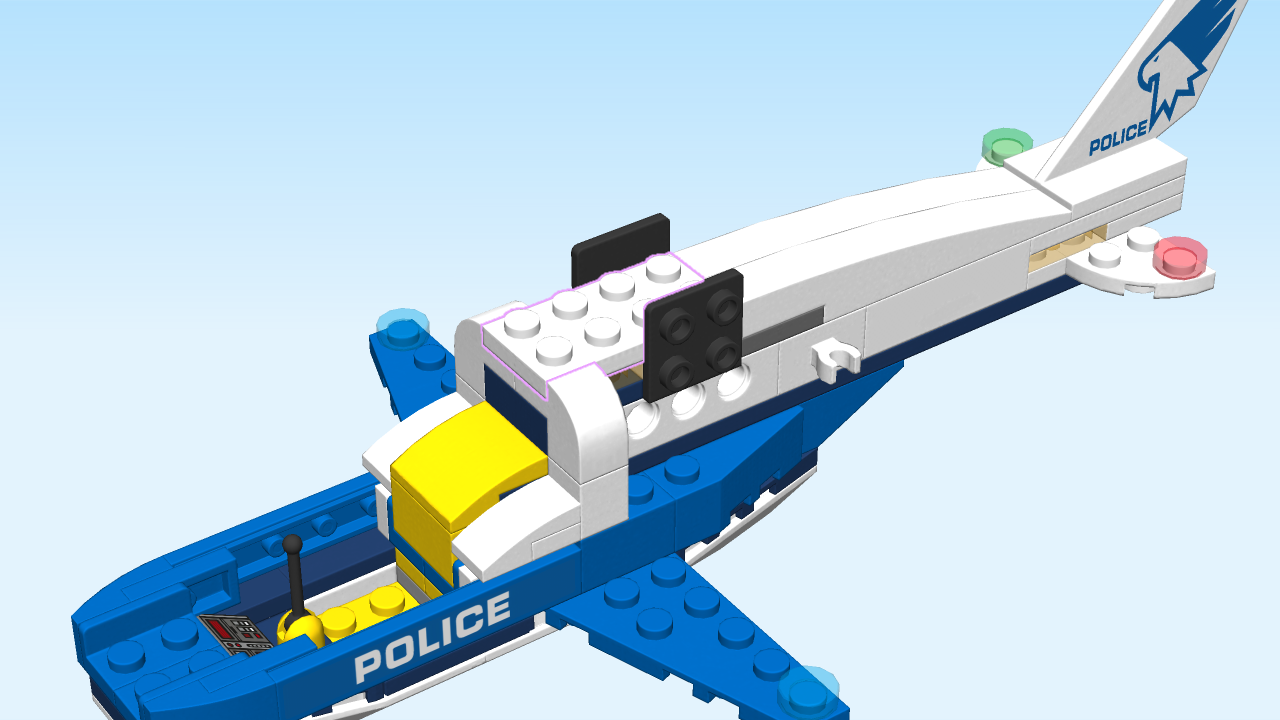
| Find 1 white plate 2x4. |
| Put it horizontally on top, flush with the previous pieces on the left. |
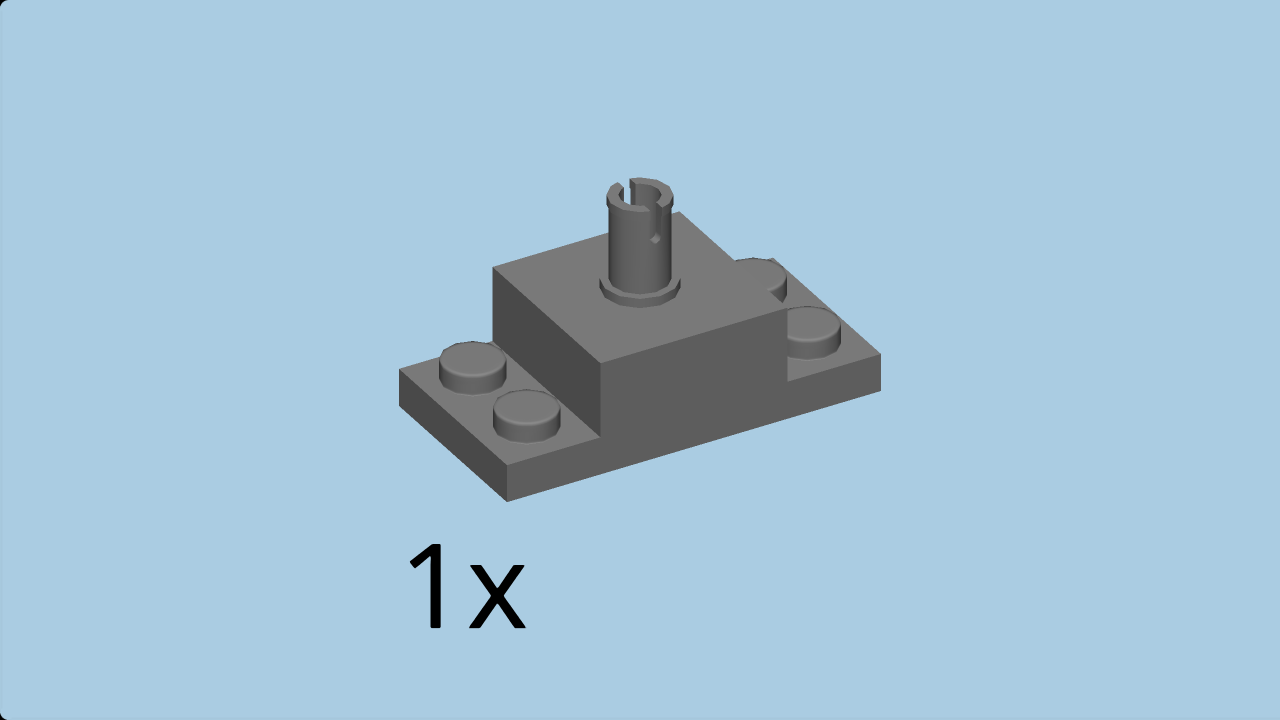
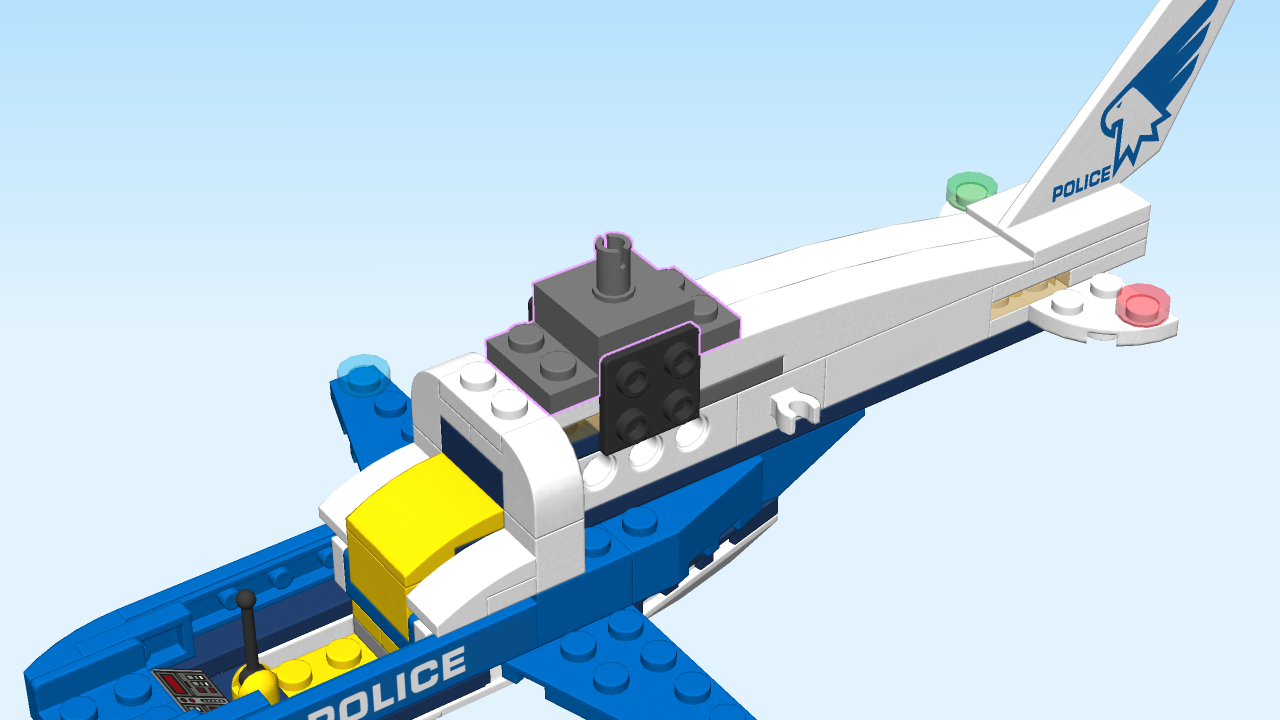
| Find 1 dark stone grey rotor base plate 2x4 with top connector. |
| Put it horizontally on top of the previous piece, skipping its leftmost column. |
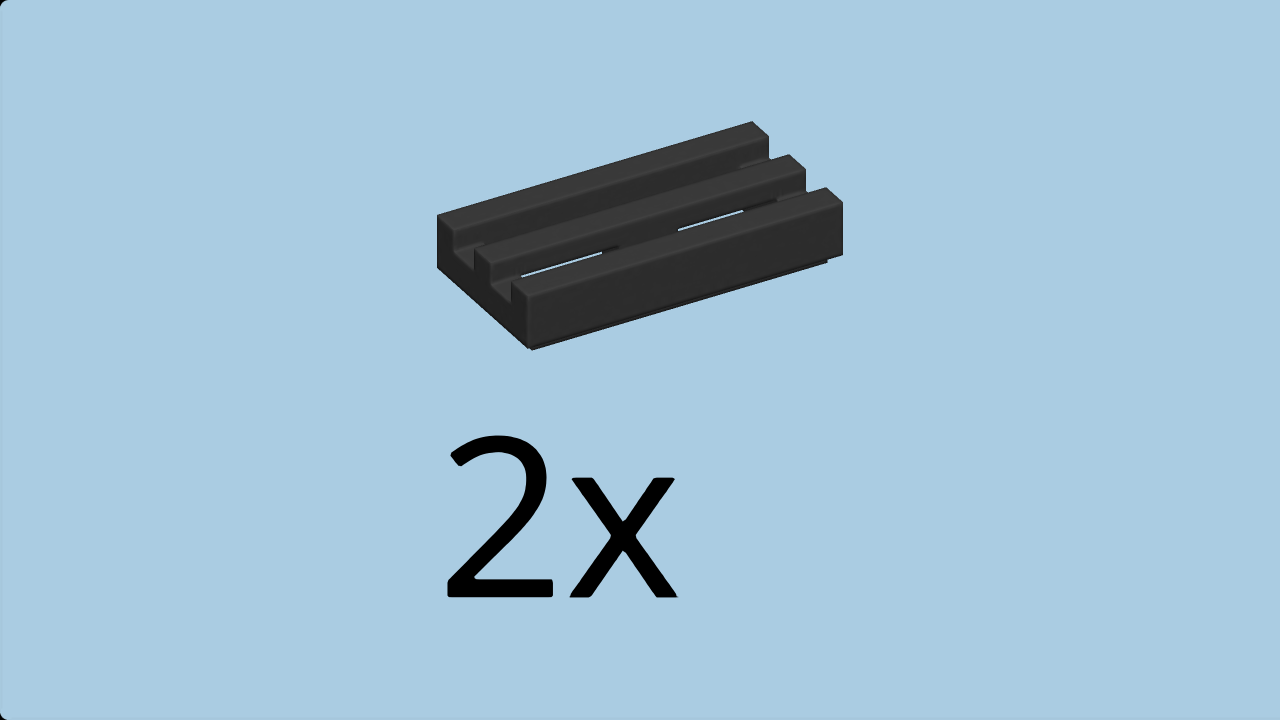
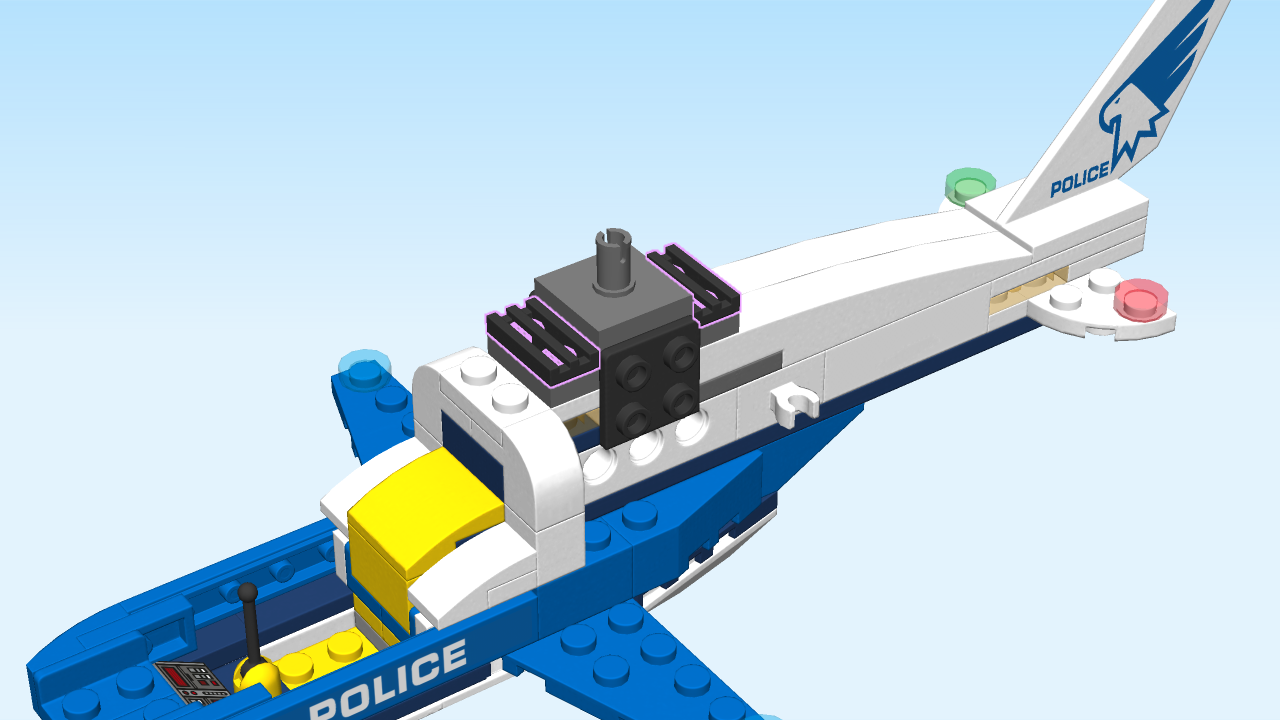
| Find 2 black grill plates 1x2. |
| Put them vertically on the left and right columns of the previous piece. |
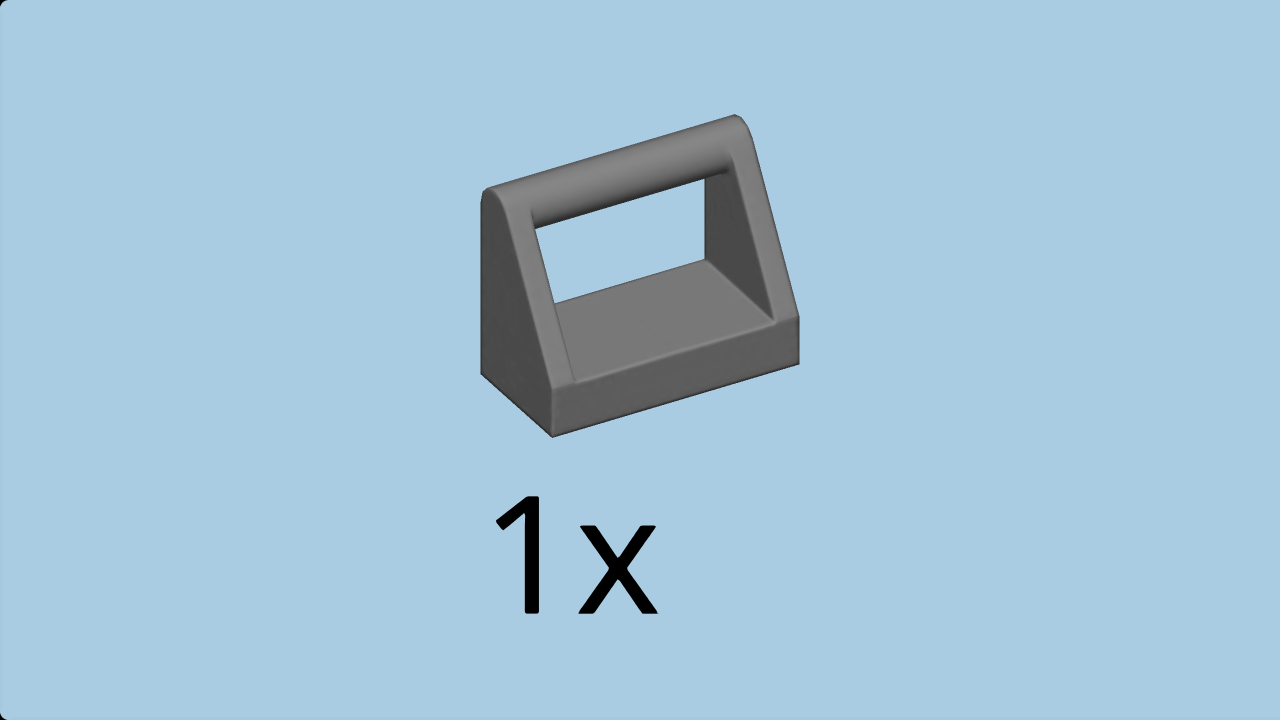
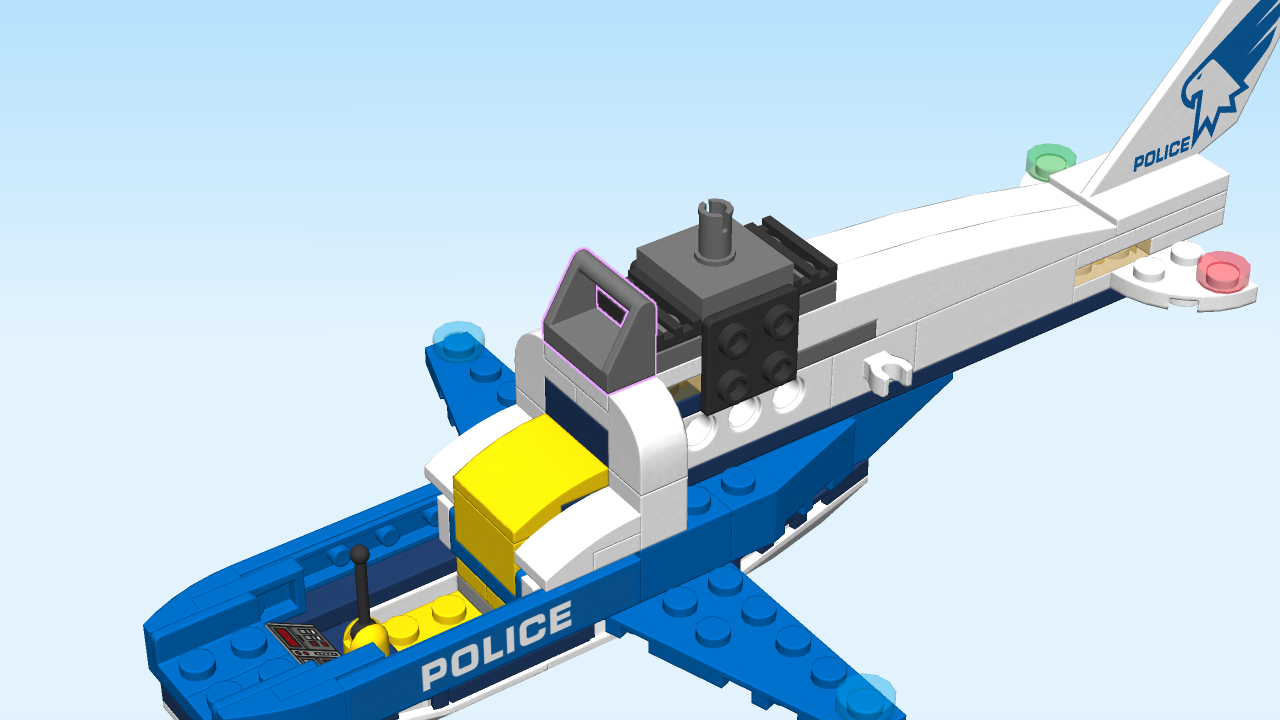
| Find 1 dark stone grey plate 1x2 with angular top handle. |
| Put it vertically to the left, slide to the left. |
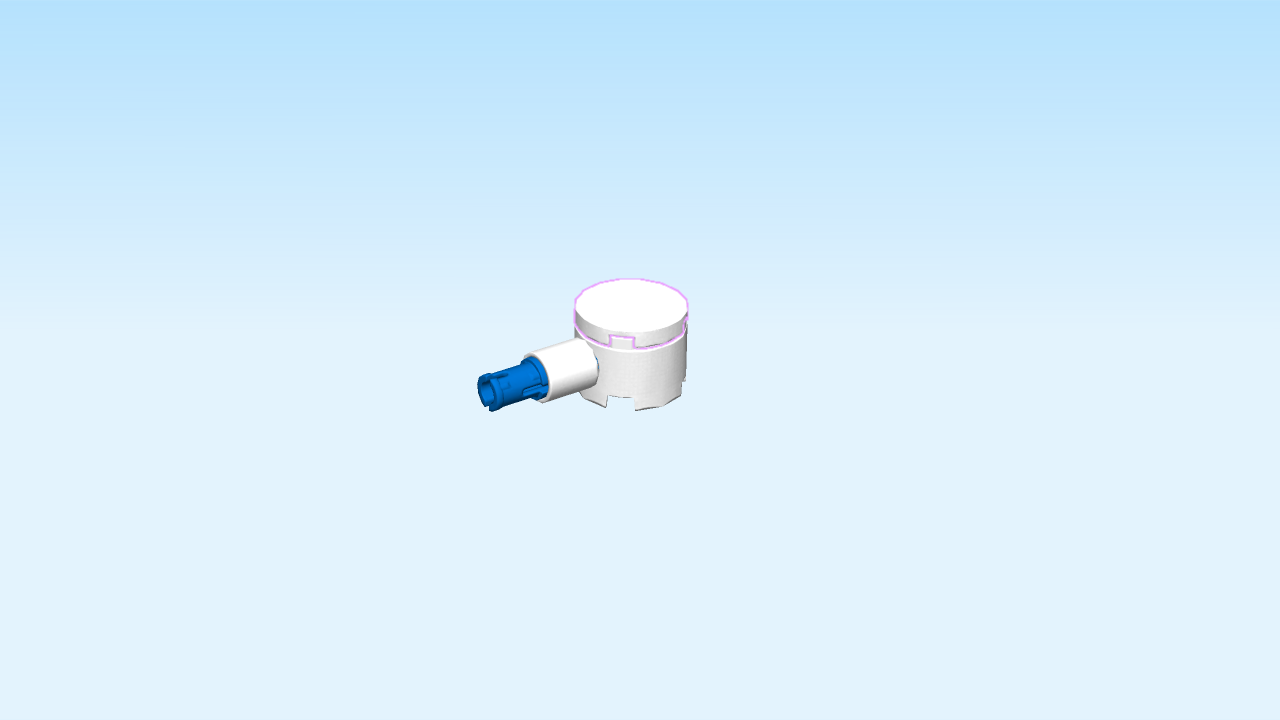
| Now, turn the structure 180 degrees. This means that you keep the horizontal orientation of your building structure, but now the rudder is on the left side. |
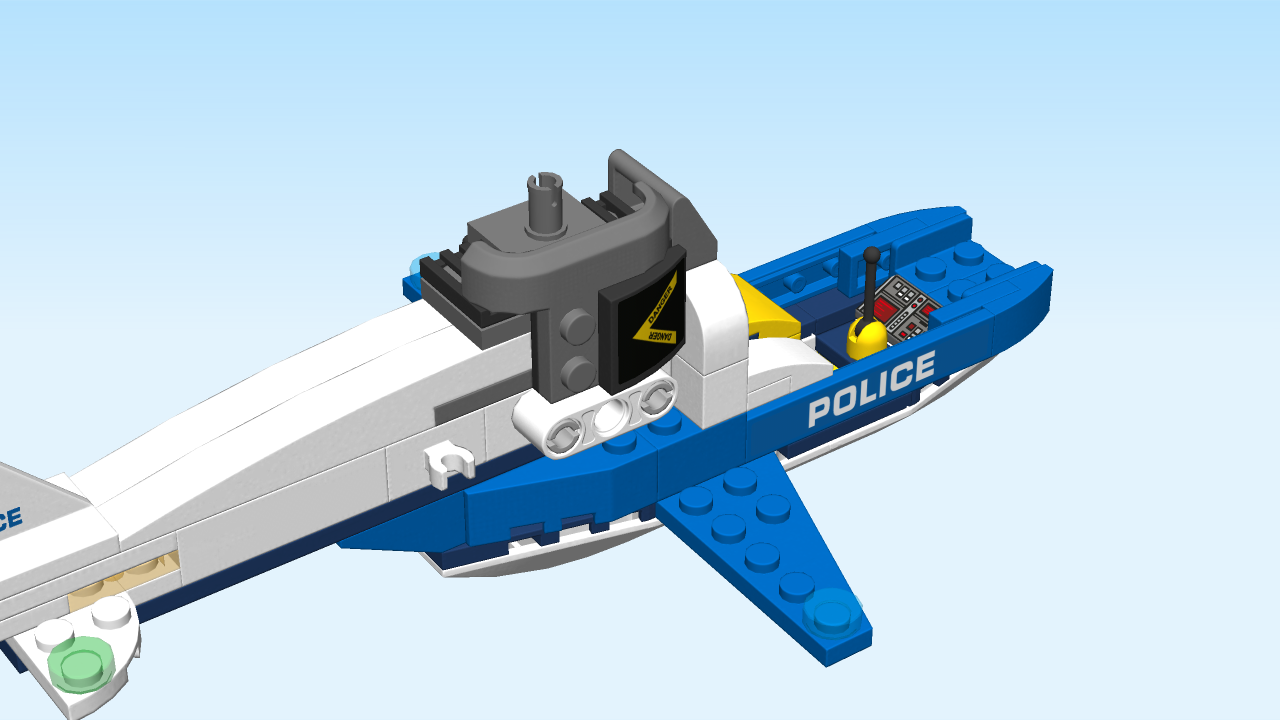
| Careful! The upcoming pieces and parts all have a special orientation. They will be mounted on the side surface of the structure, not on top. |
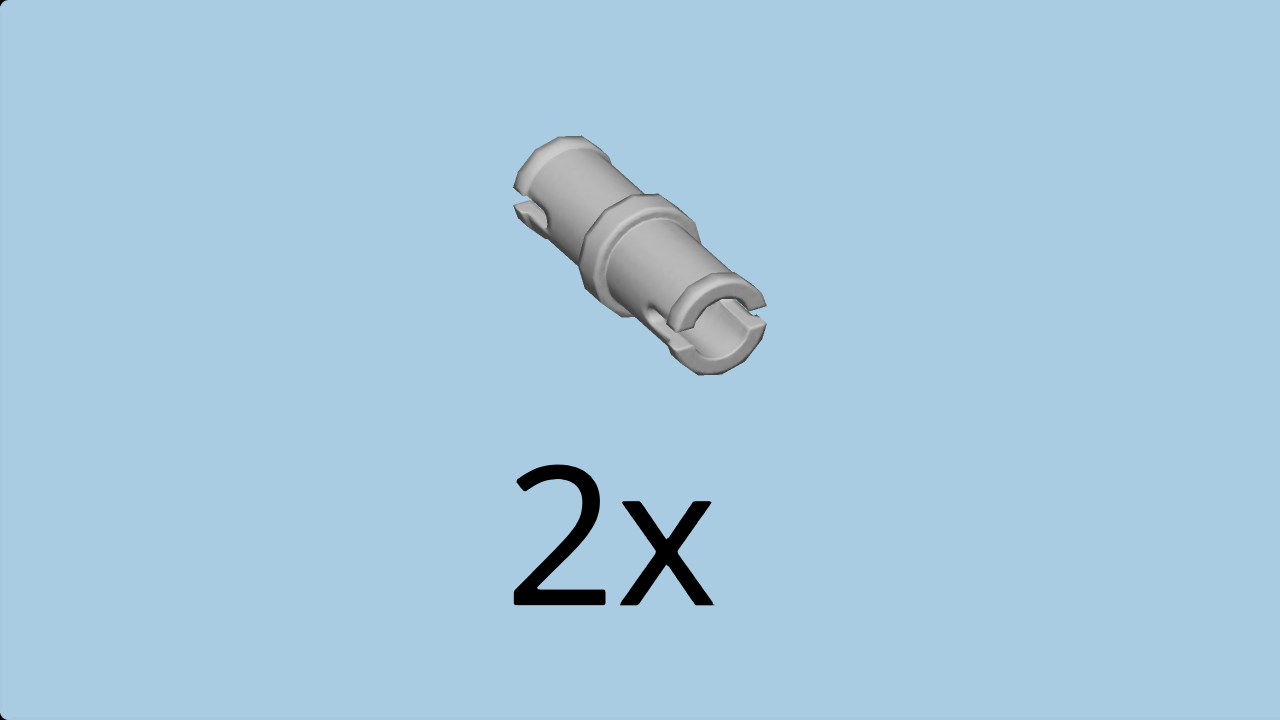
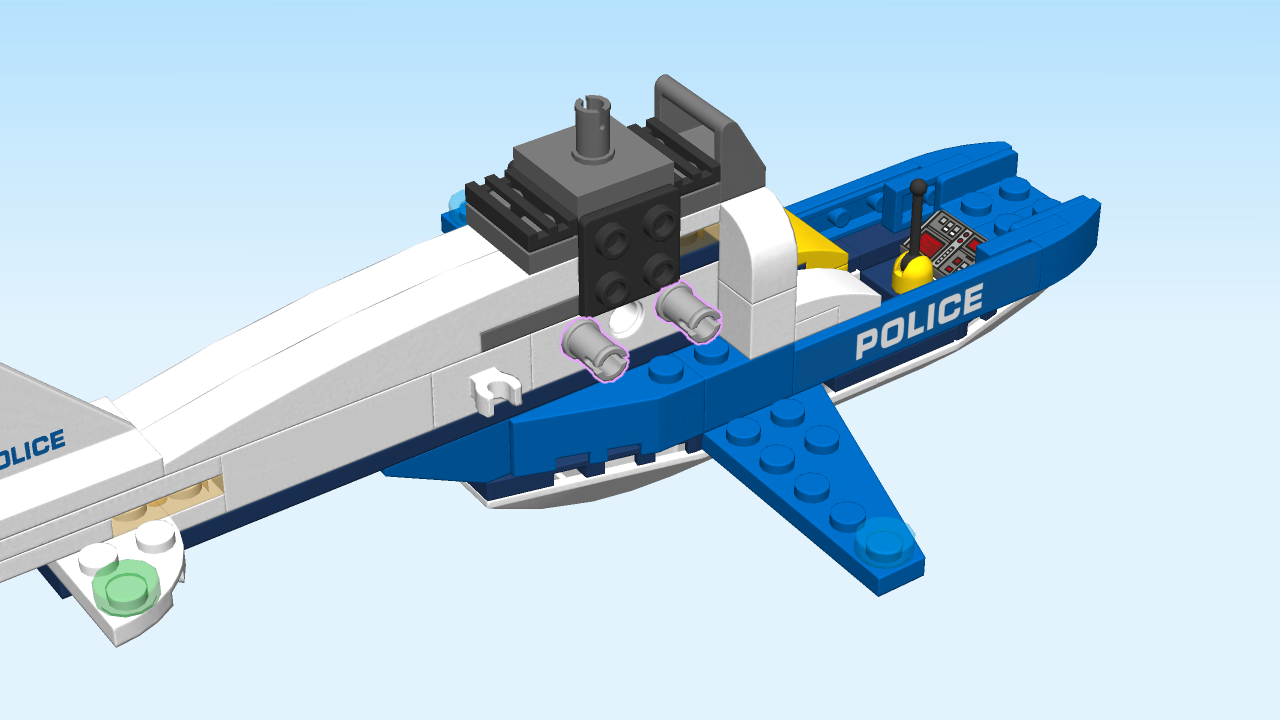
| Find 2 medium stone grey small connector pegs with middle ring. |
| Insert them into the left and right side holes in the middle of the front side of the structure. |
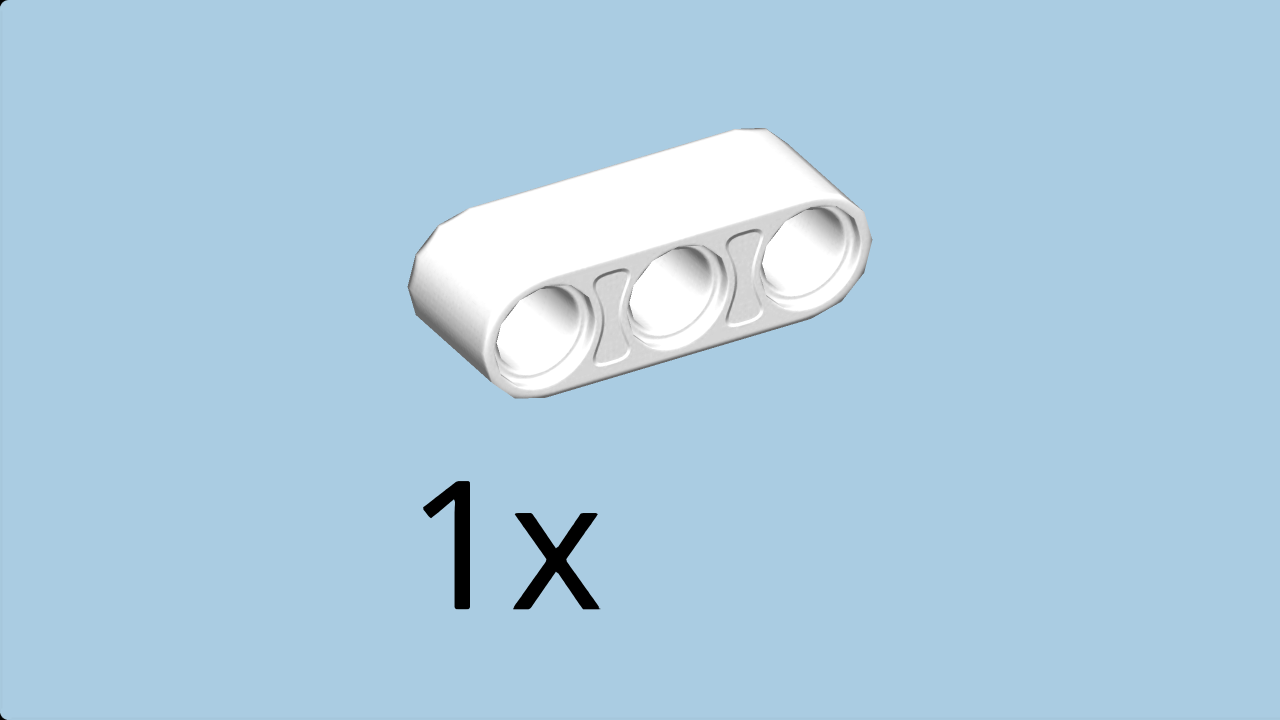
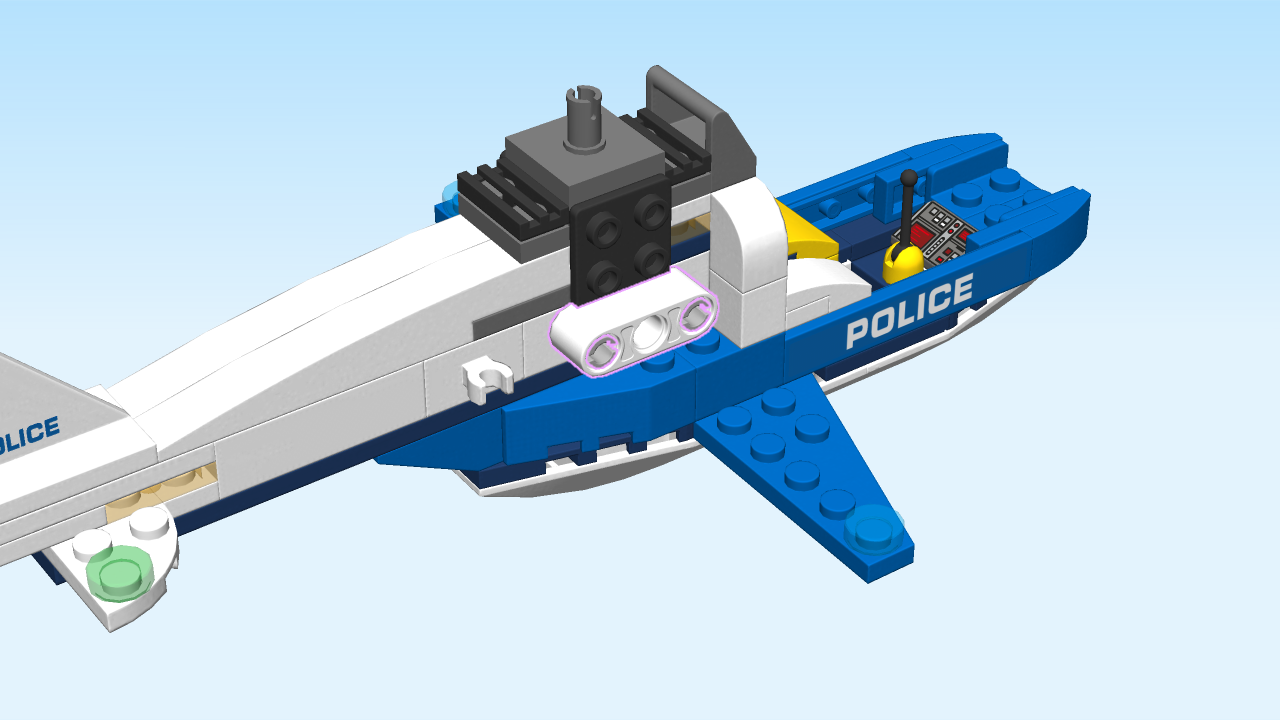
| Find 1 white lift arm 1x3 with three side holes. |
| Put it horizontally on the small connector pegs on the front side. |
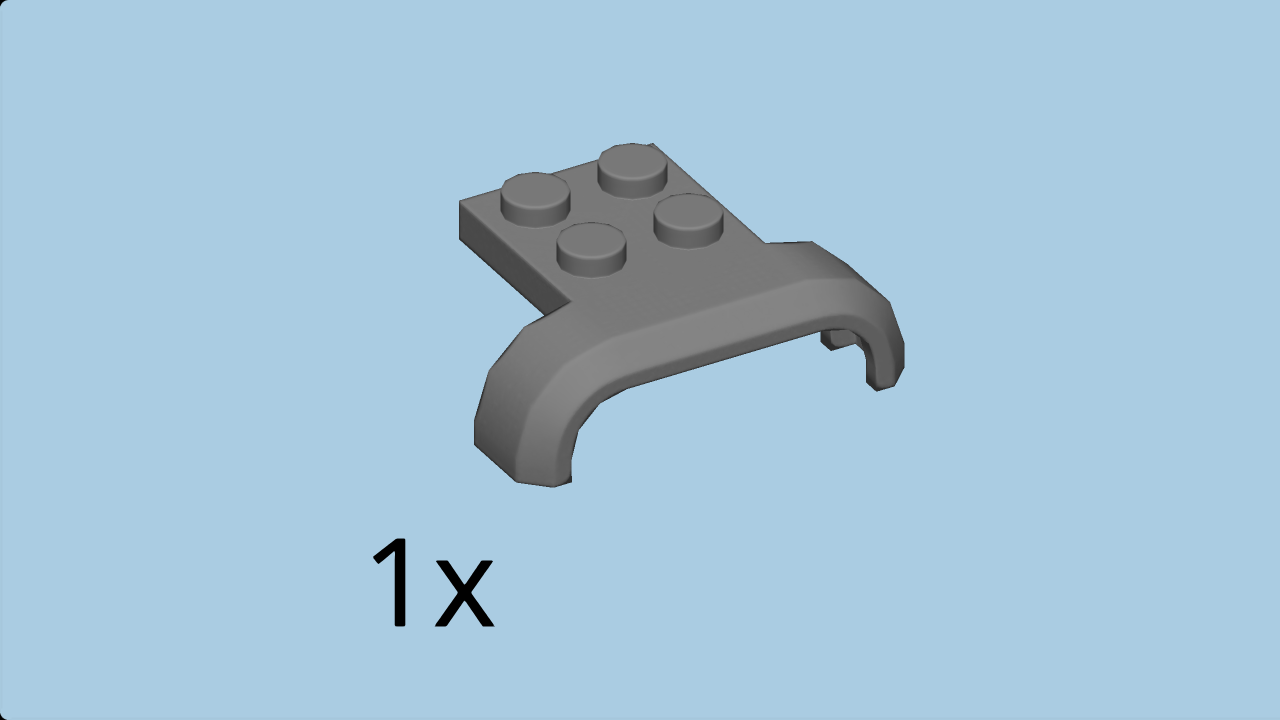
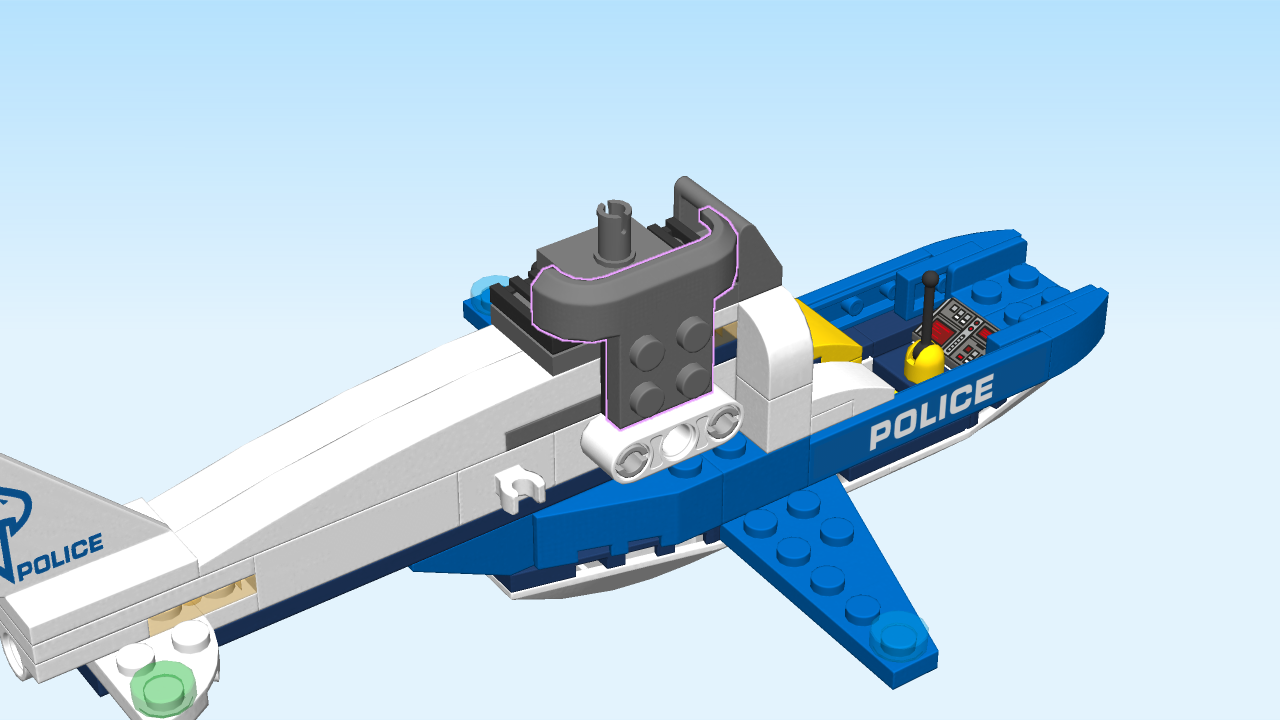
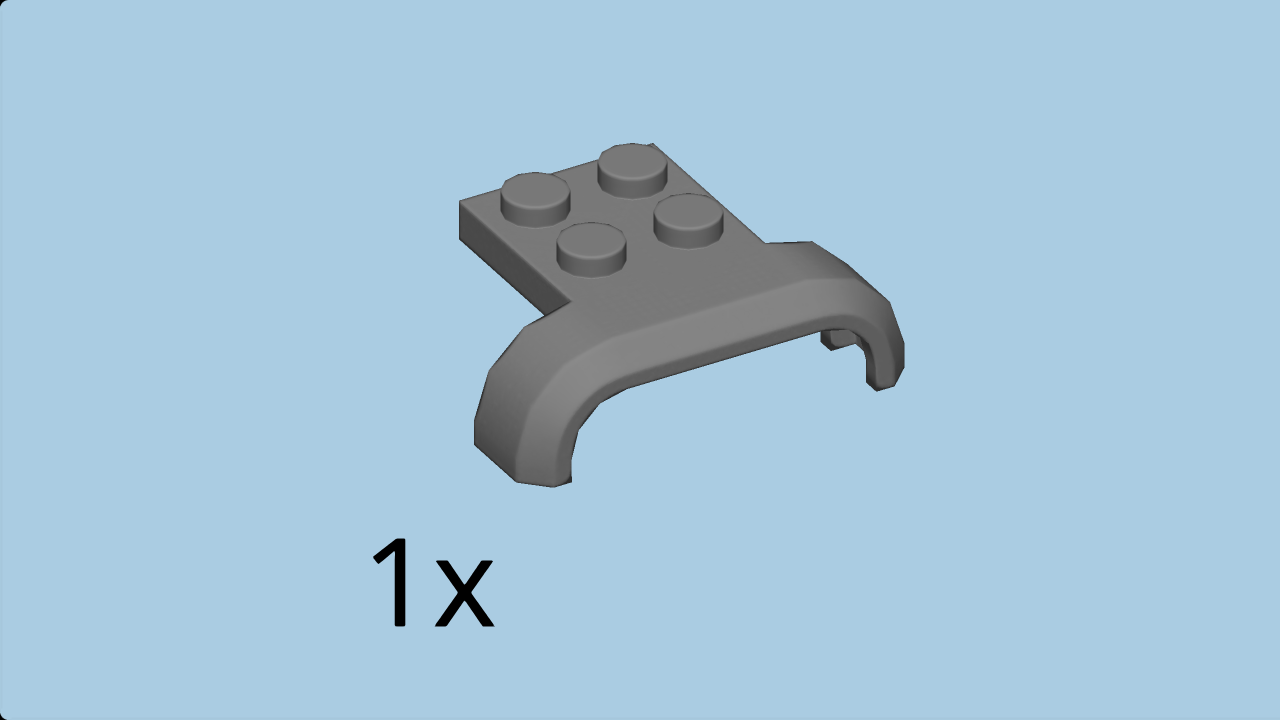
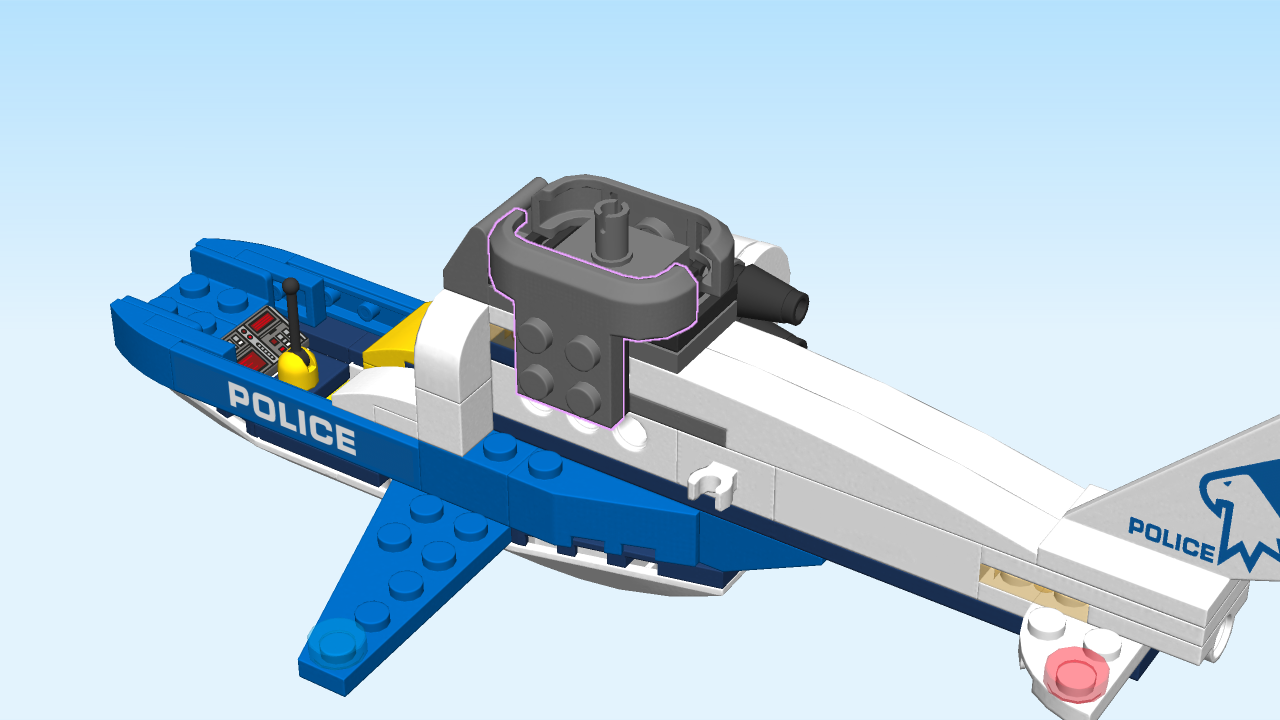
| Find 1 dark stone grey mudguard 3x4 with curved arch. |
| Put it upright on the four side knobs above the previous piece, curved arch to the top. |
| Next, we will decorate a curve piece. |
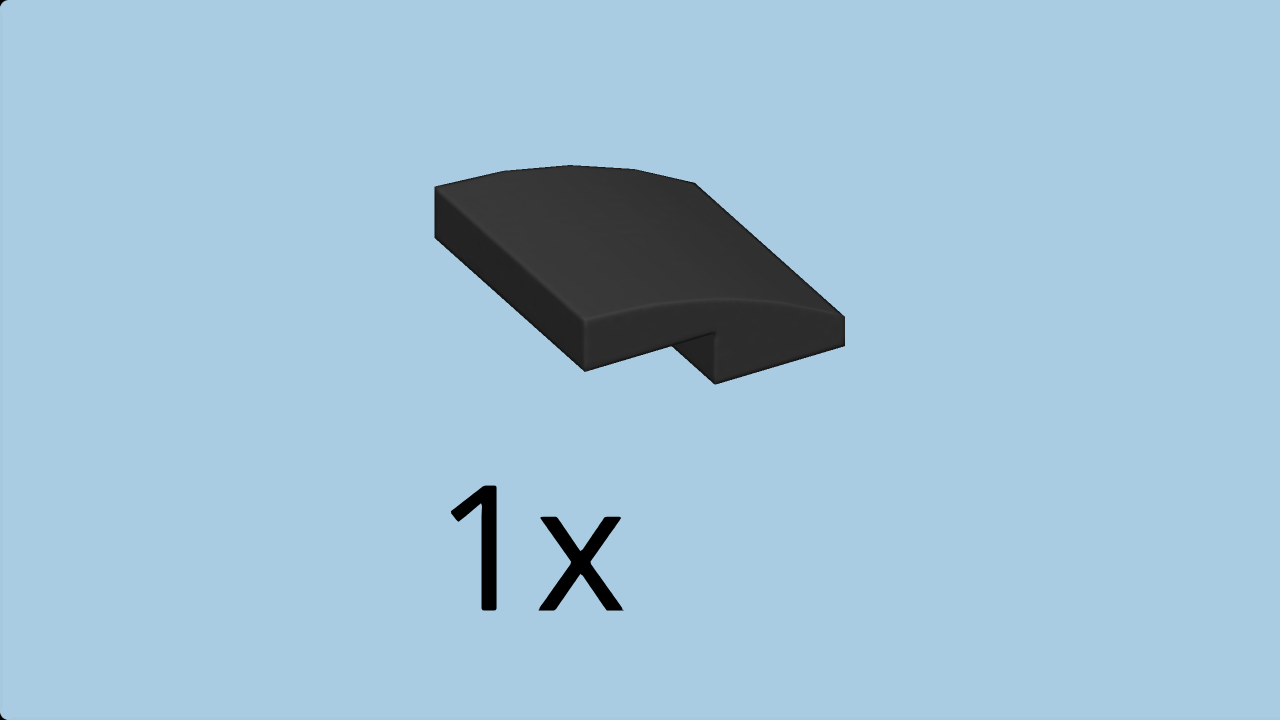
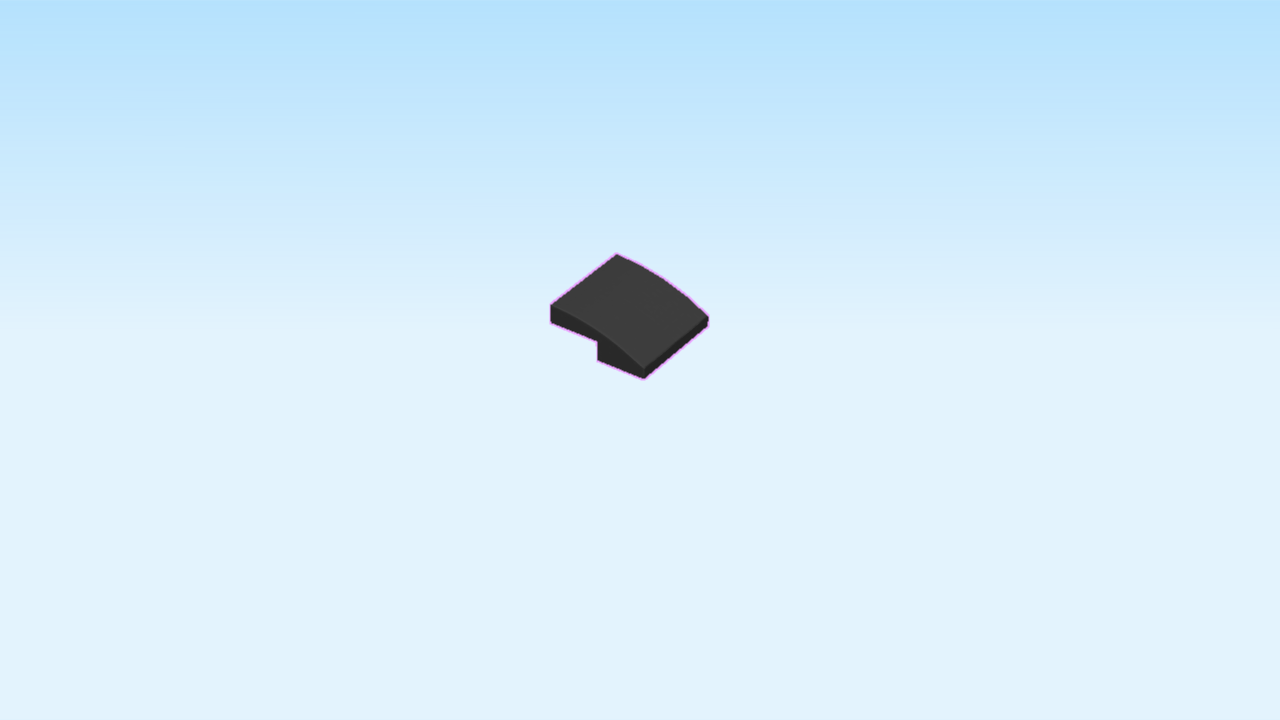
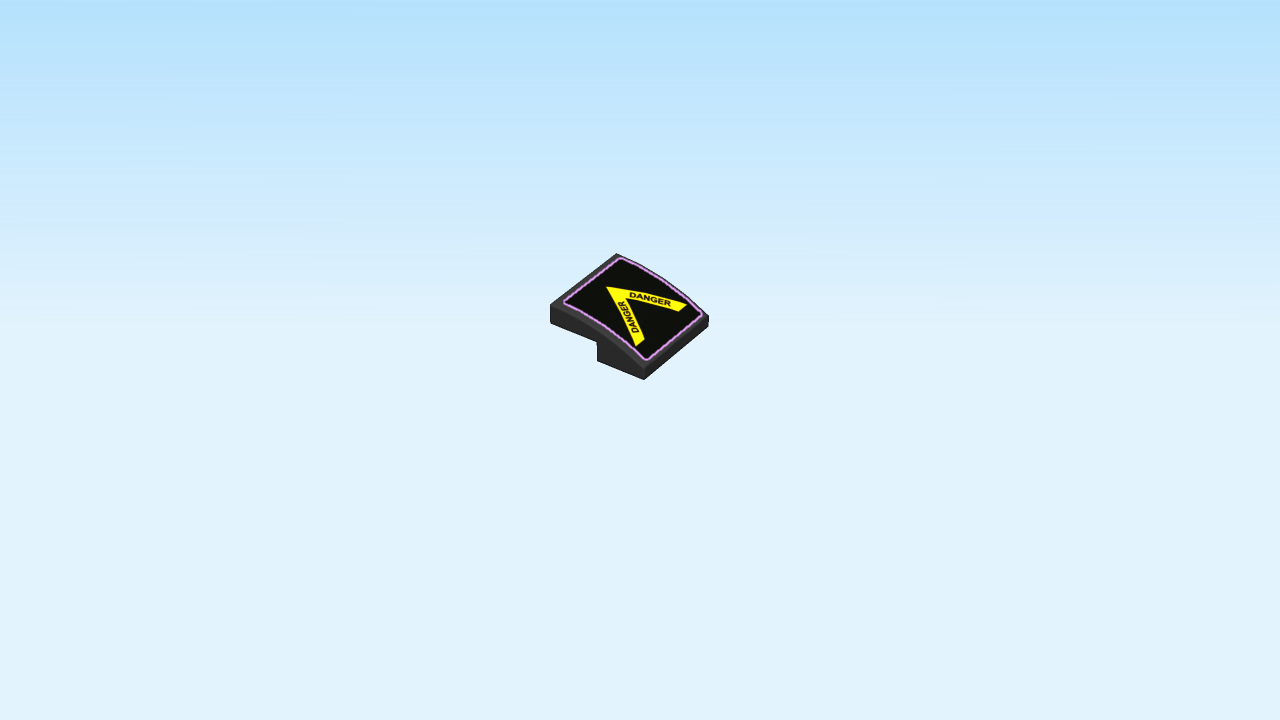
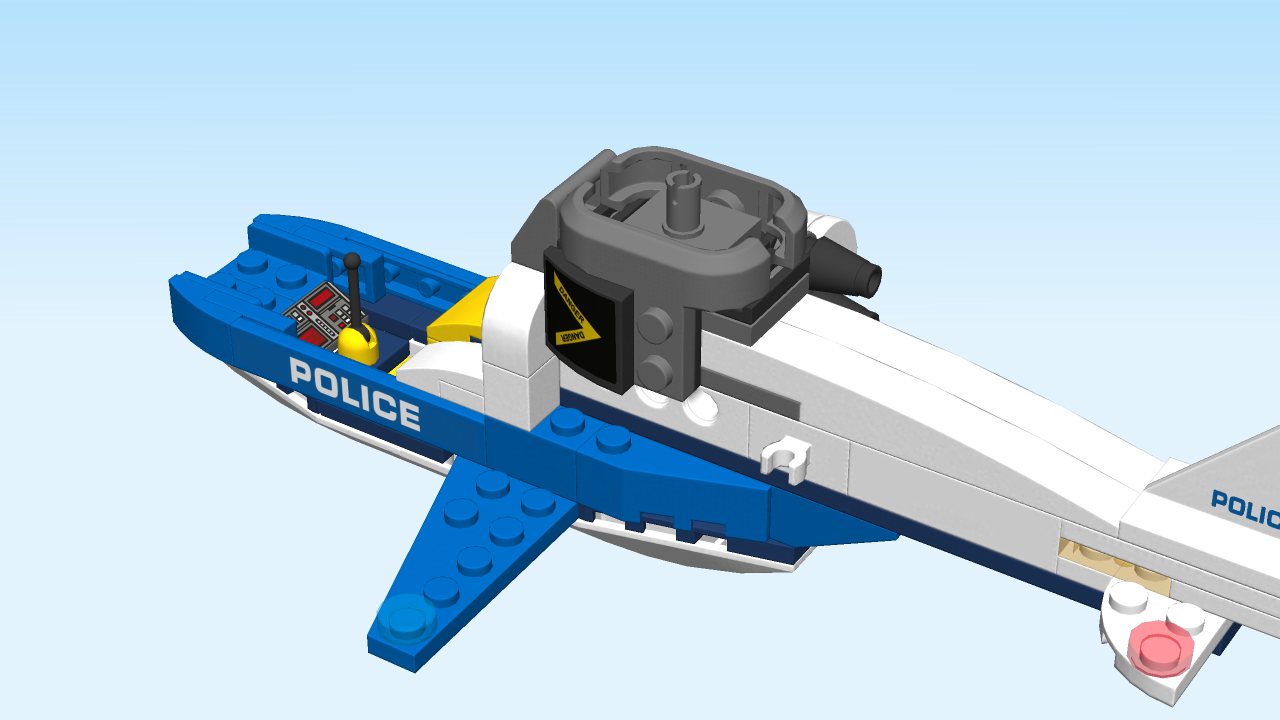
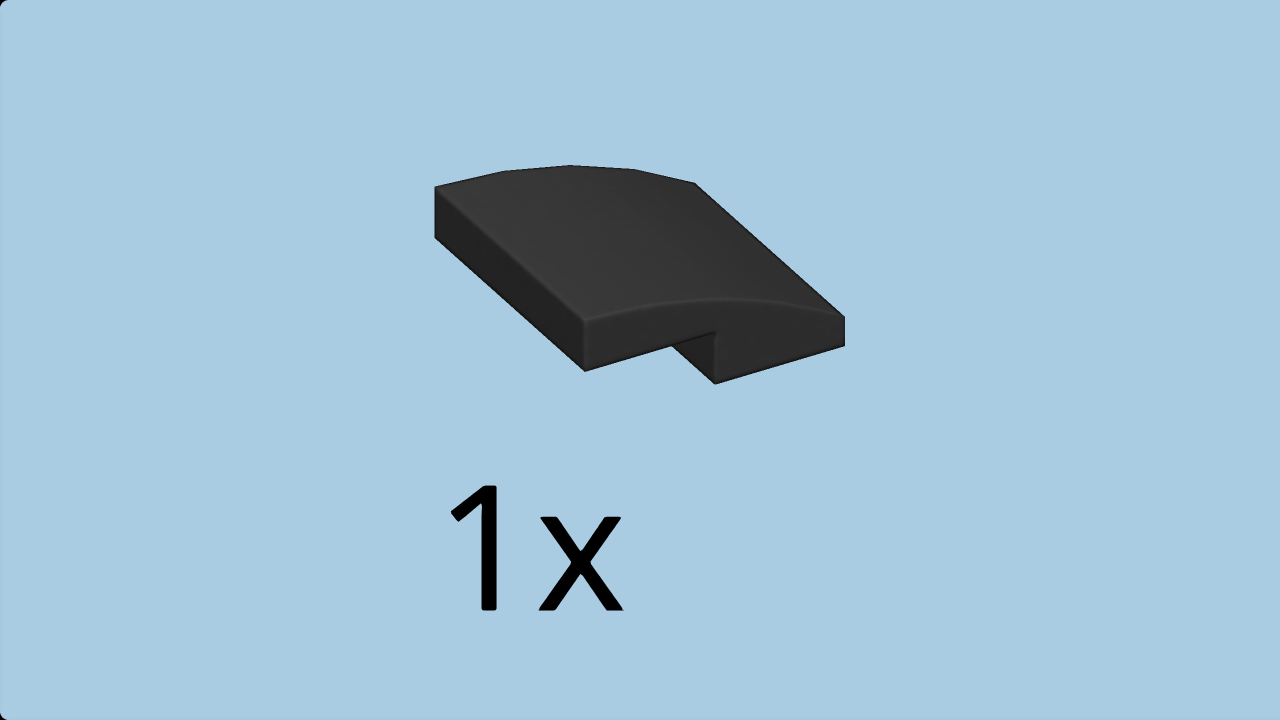
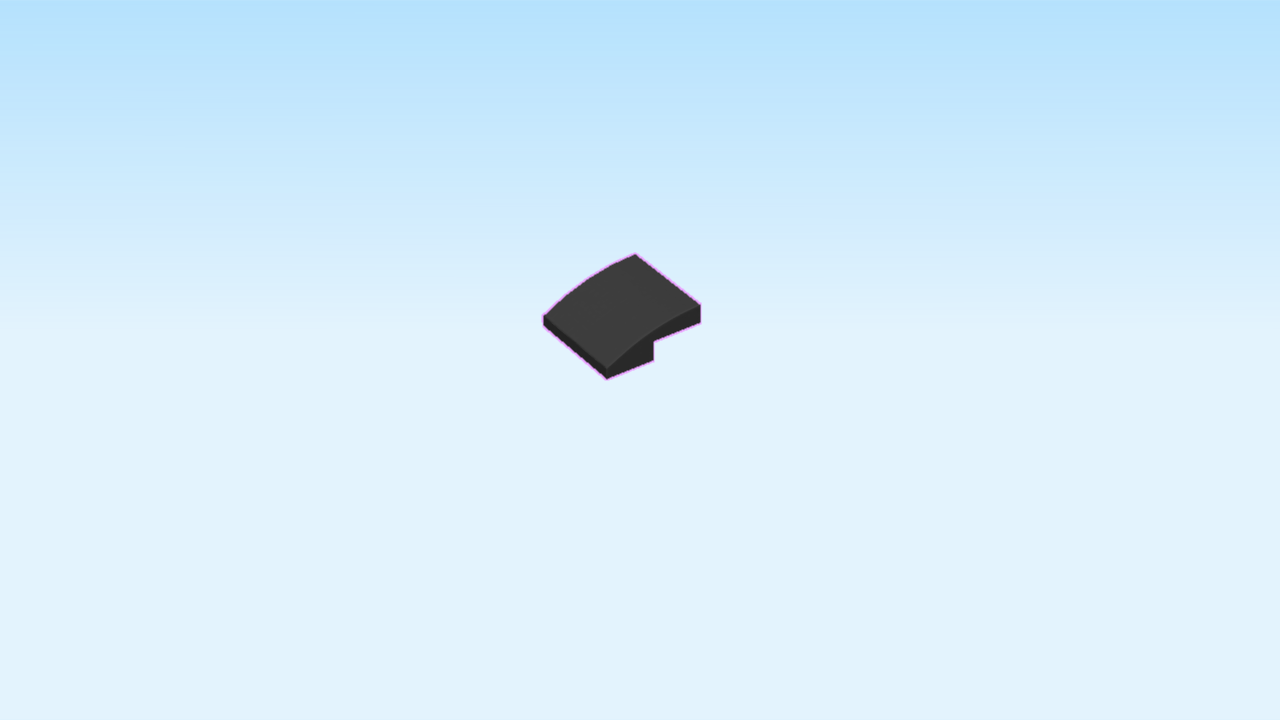
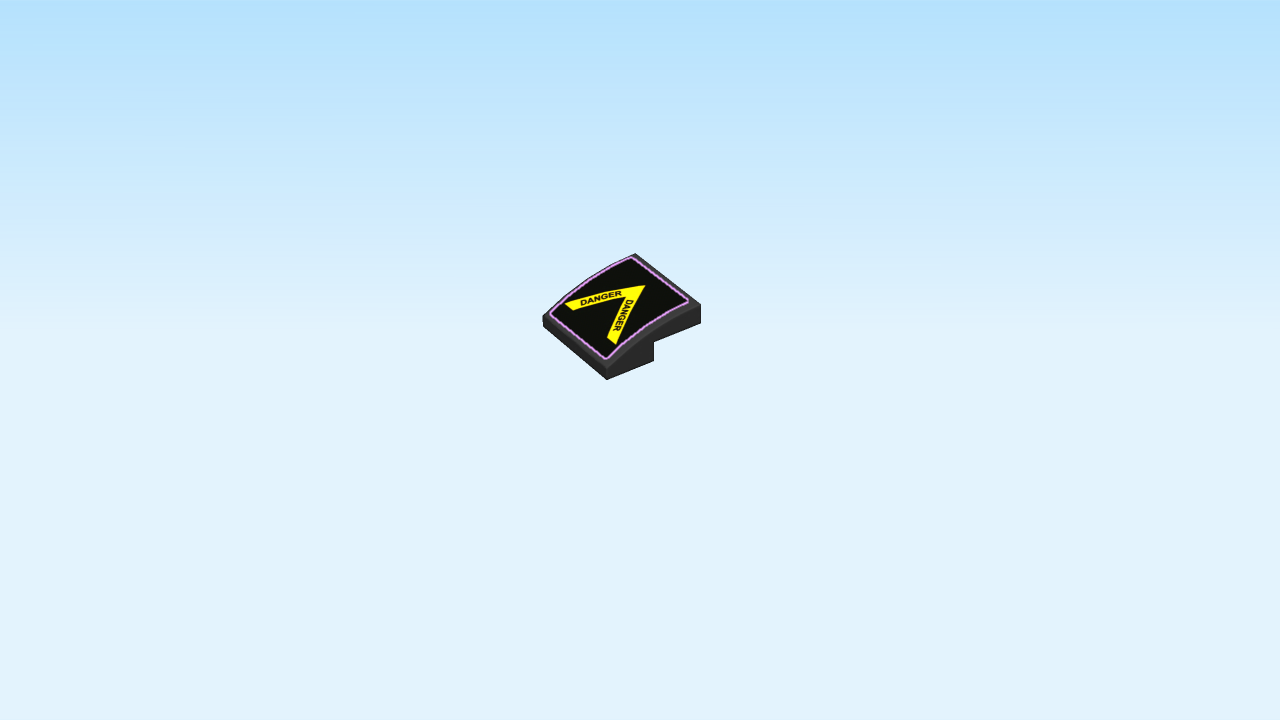
| Find 1 black curve piece 2x2. |
| Continue if you want to decorate it with a sticker now. If not, skip the next four sentences. |
| Put it on the table, curve to the right. |
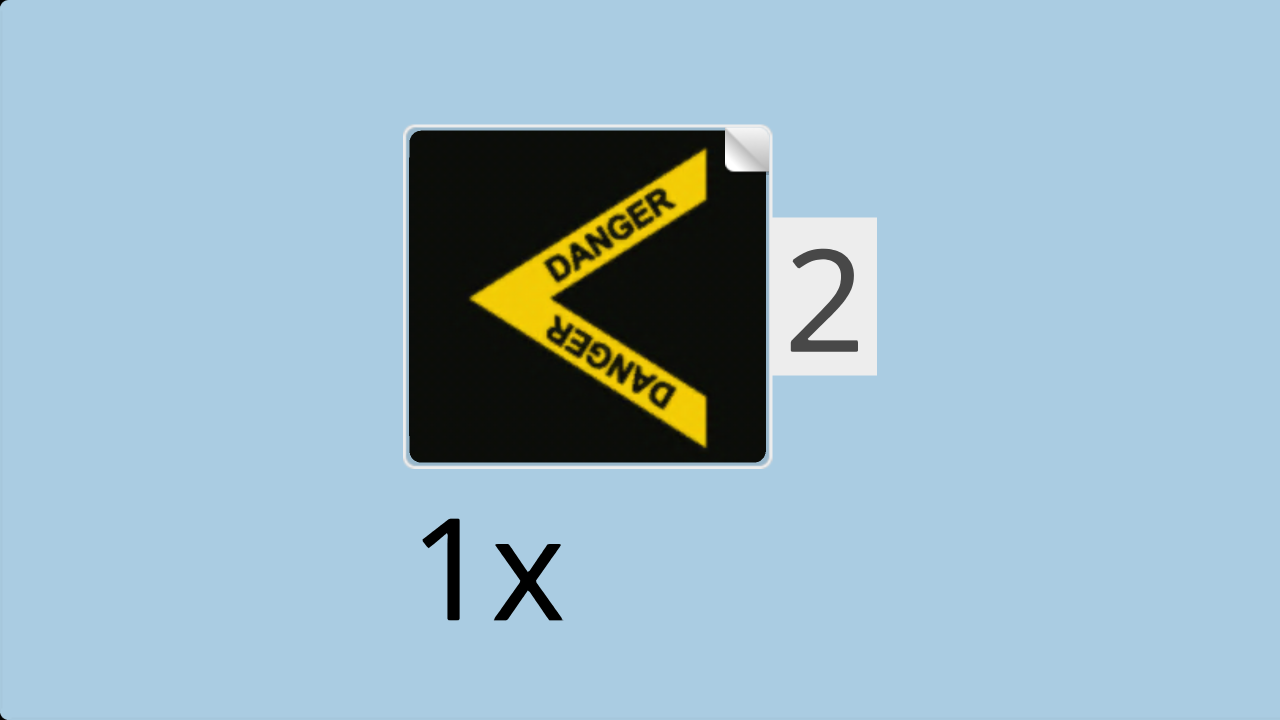
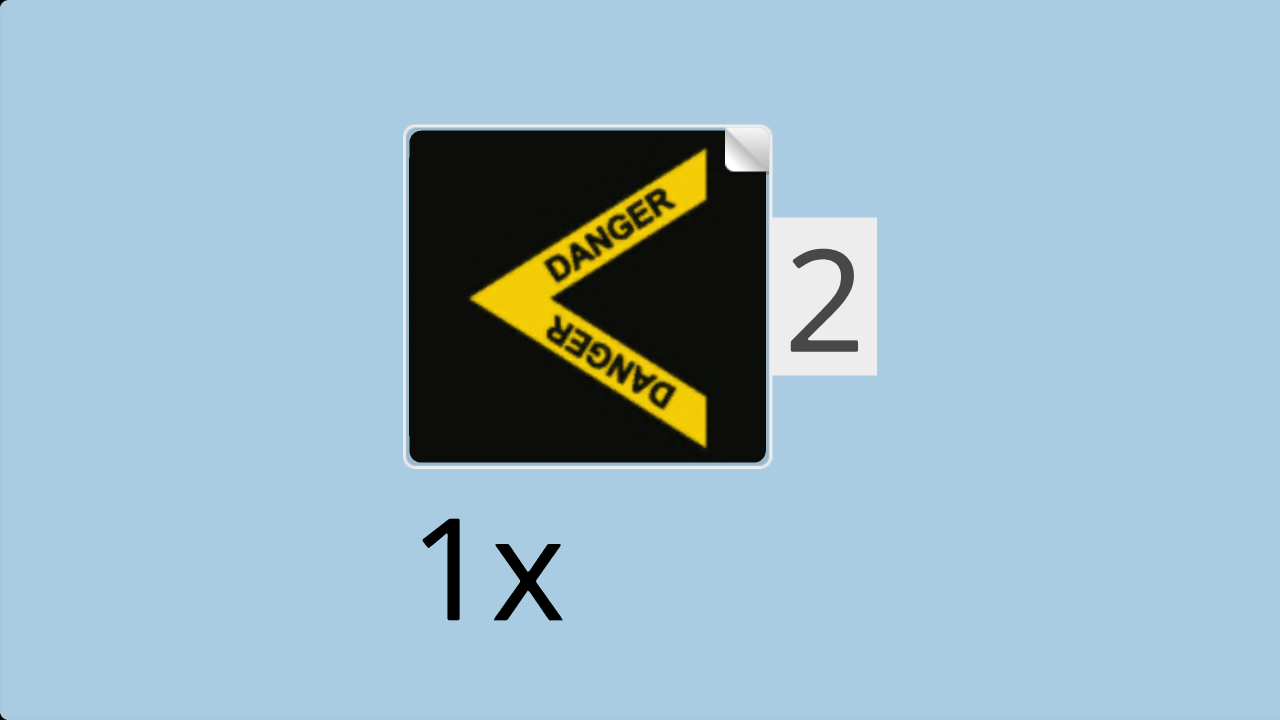
| Find 1 rectangular sticker number 2. Ask a sighted person to help you. |
| Put it on top. |
| (The sticker is black and has a yellow arrow on it. The arrow points to the left, and it has the word "Danger" written on it twice). |
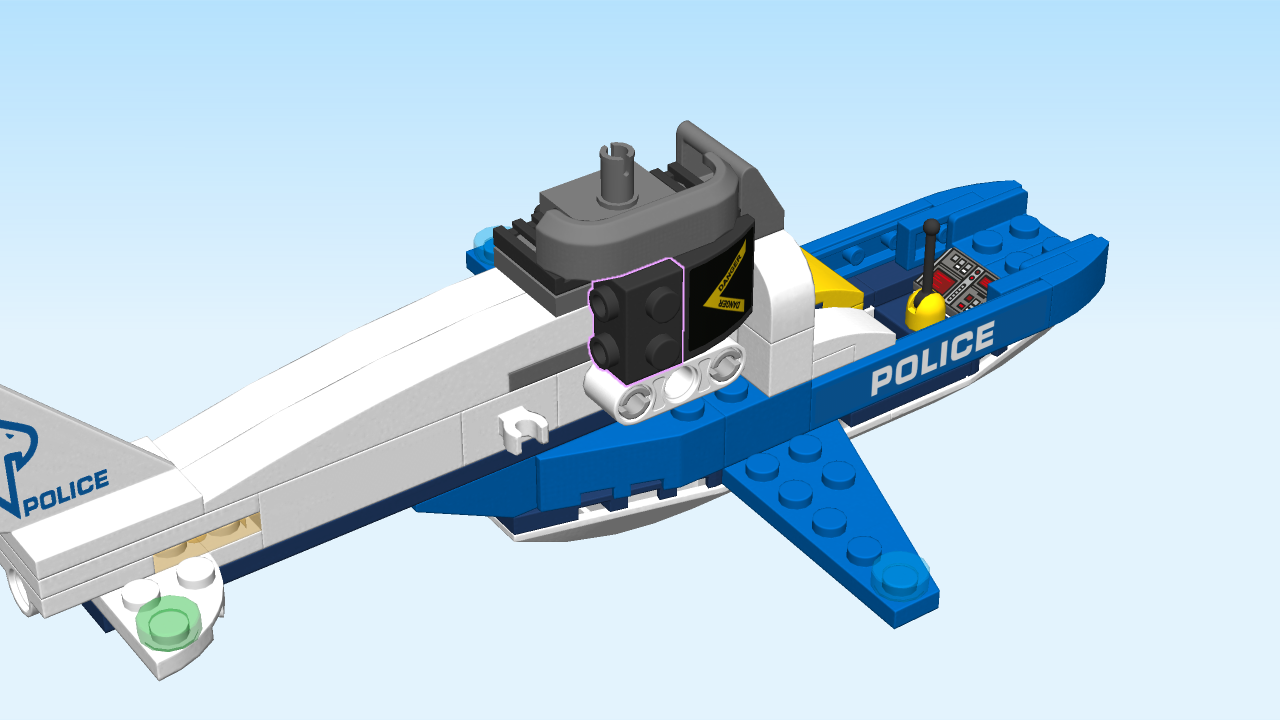
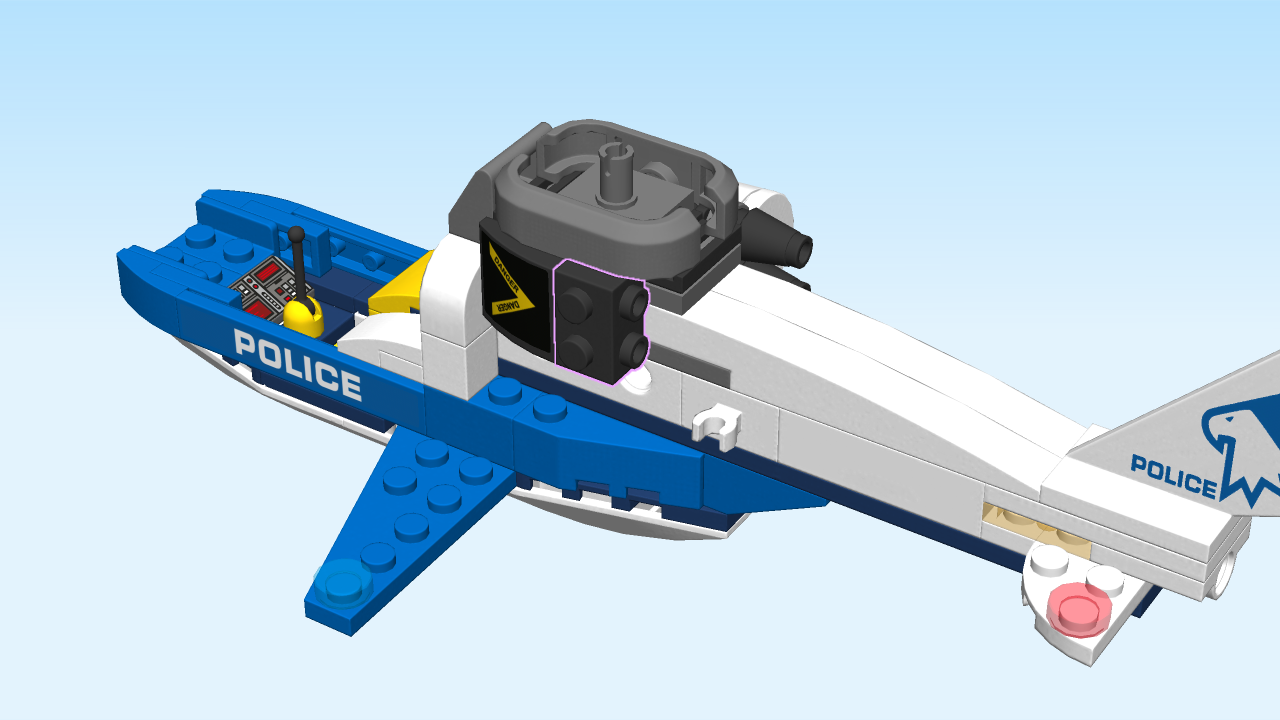
| Mount the curve upright on the right two knobs of the mudguard, curve overhanging to the right, slide to the right. |
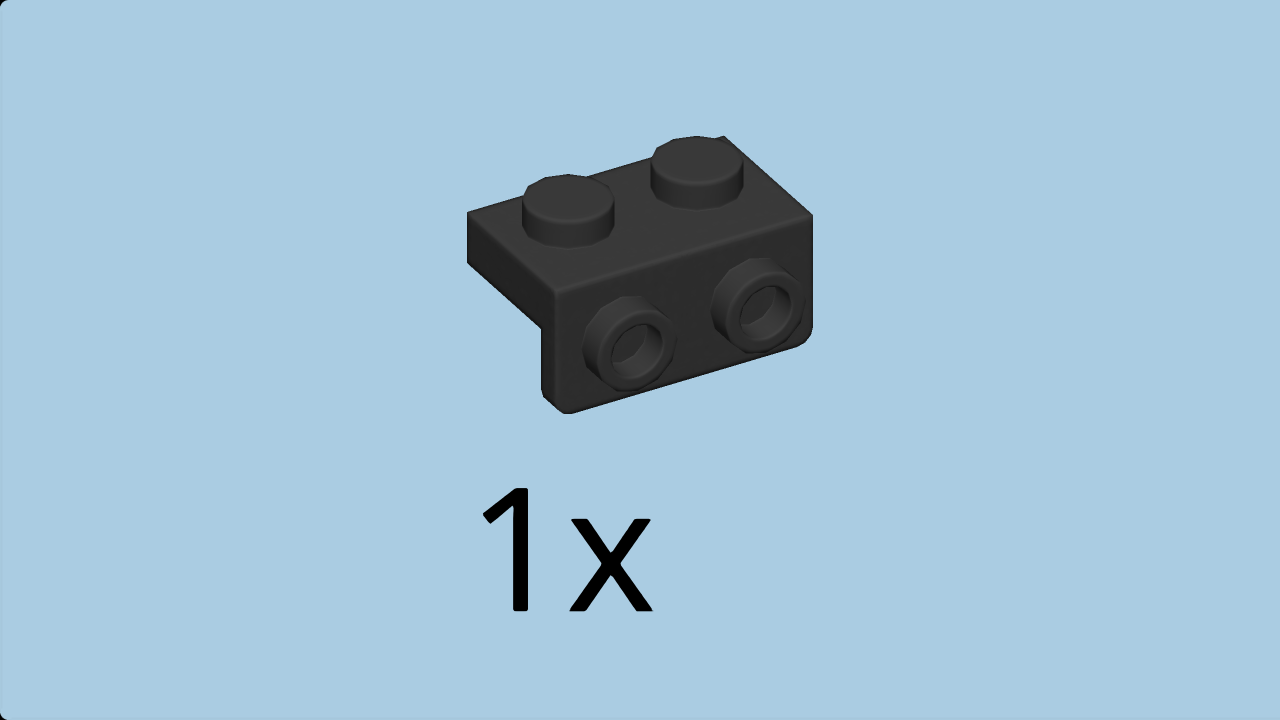
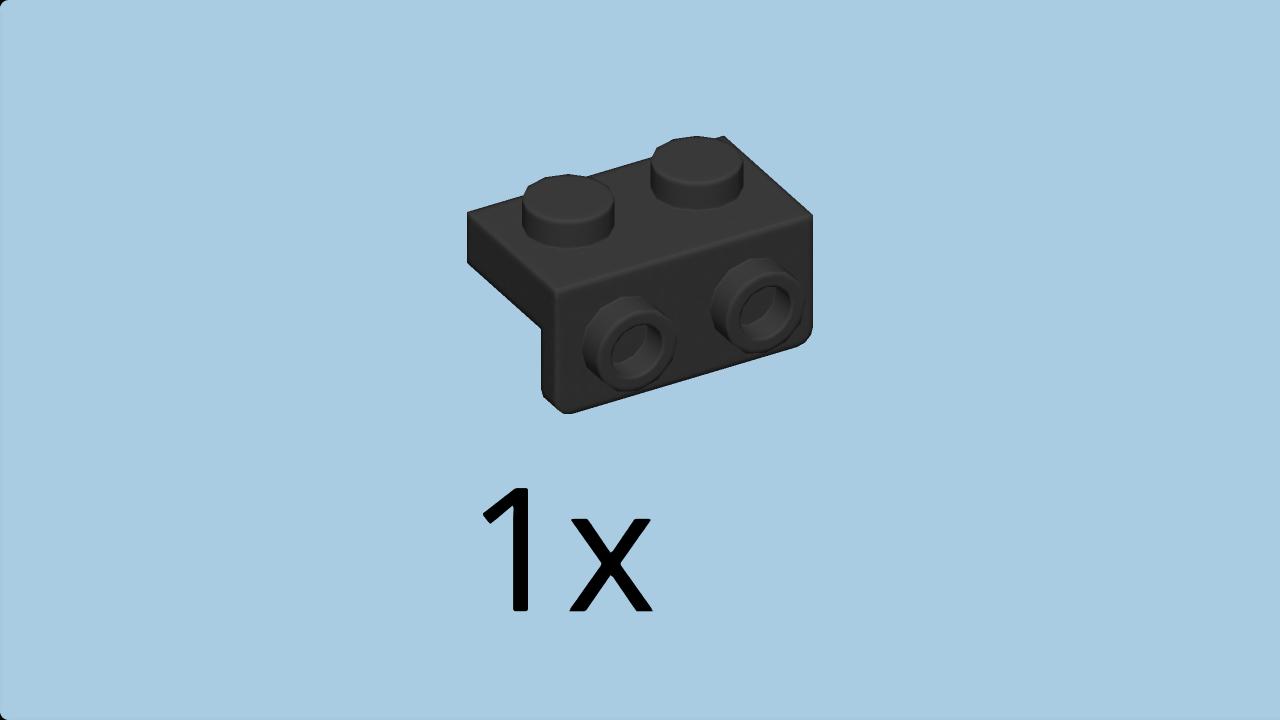
| Find 1 black top angular plate 1x2 - 1x2 with side knobs. |
| Put it upright vertically on the left two knobs of the mudguard, side knobs to the left. |
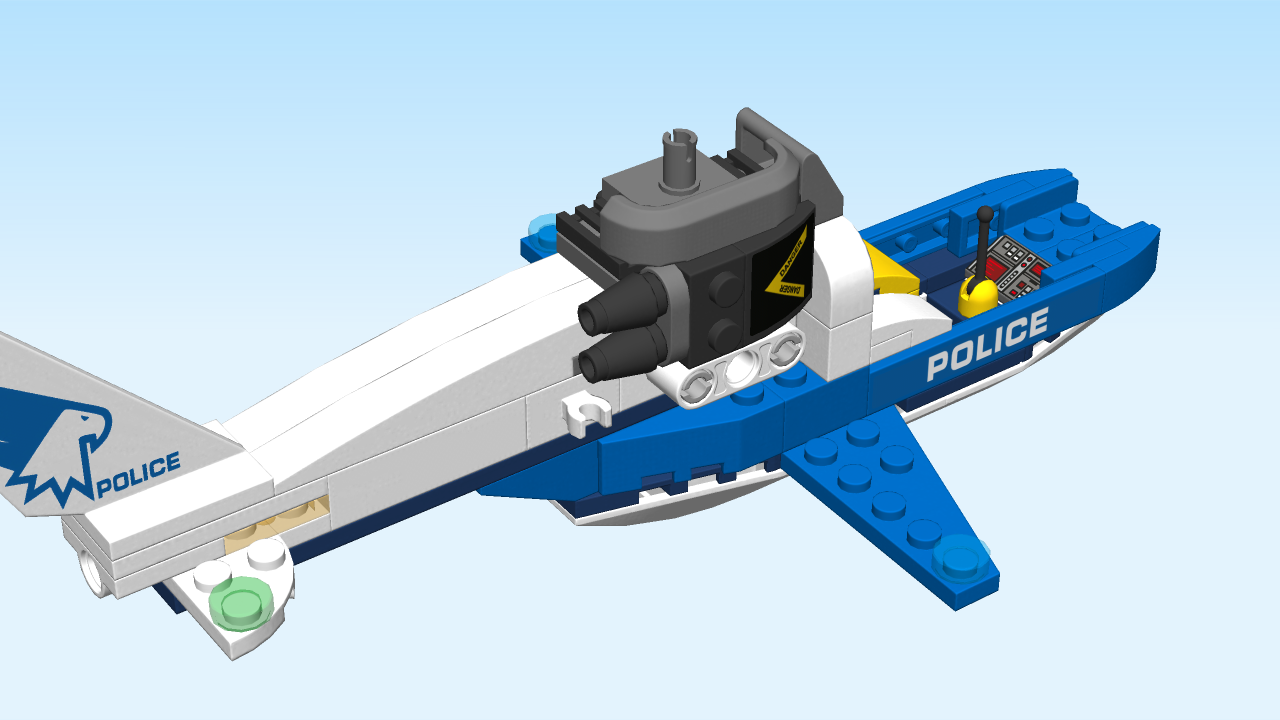
| Next, we will make a small part. |
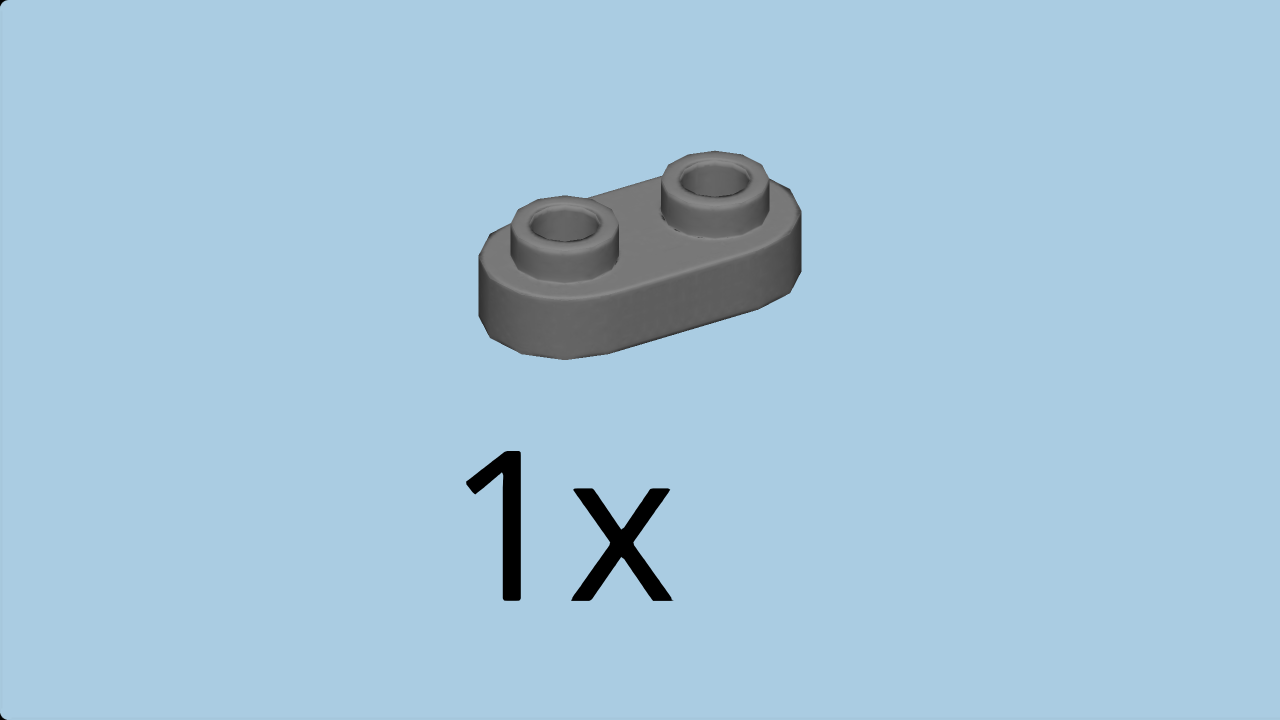
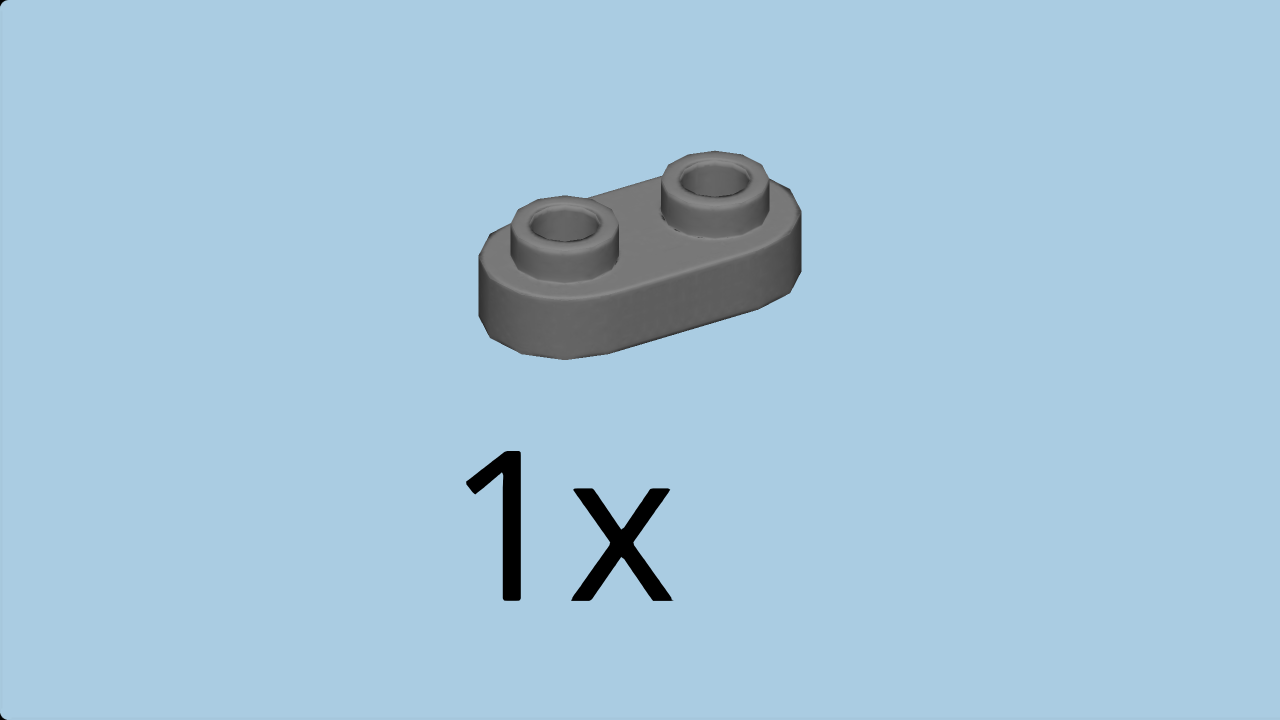
| Find 1 dark stone grey rounded plate 1x2. |
| Put it horizontally on the table. |
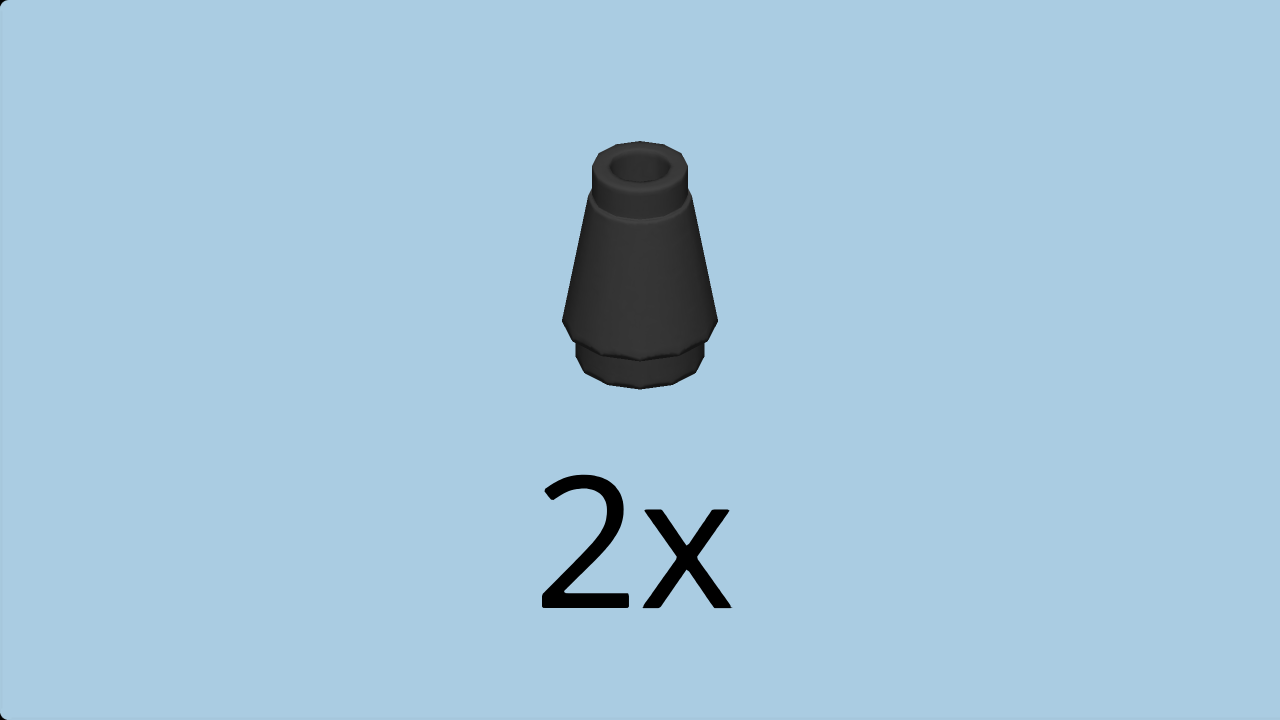
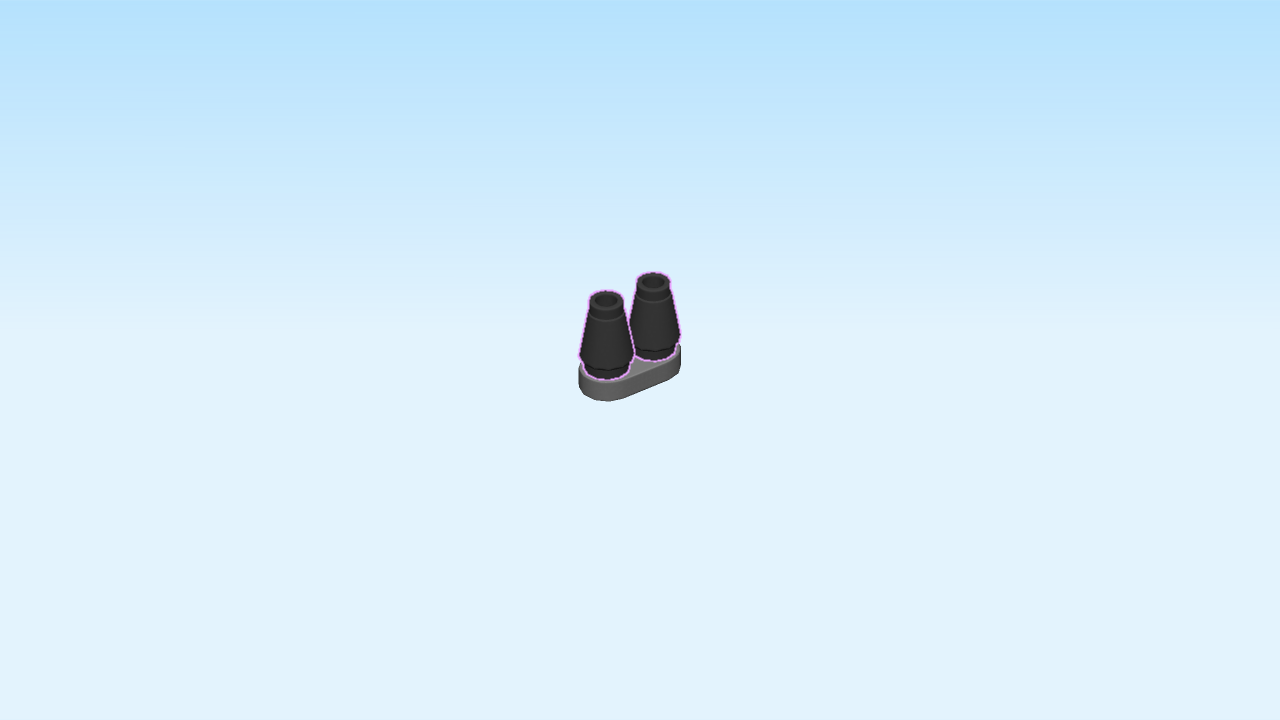
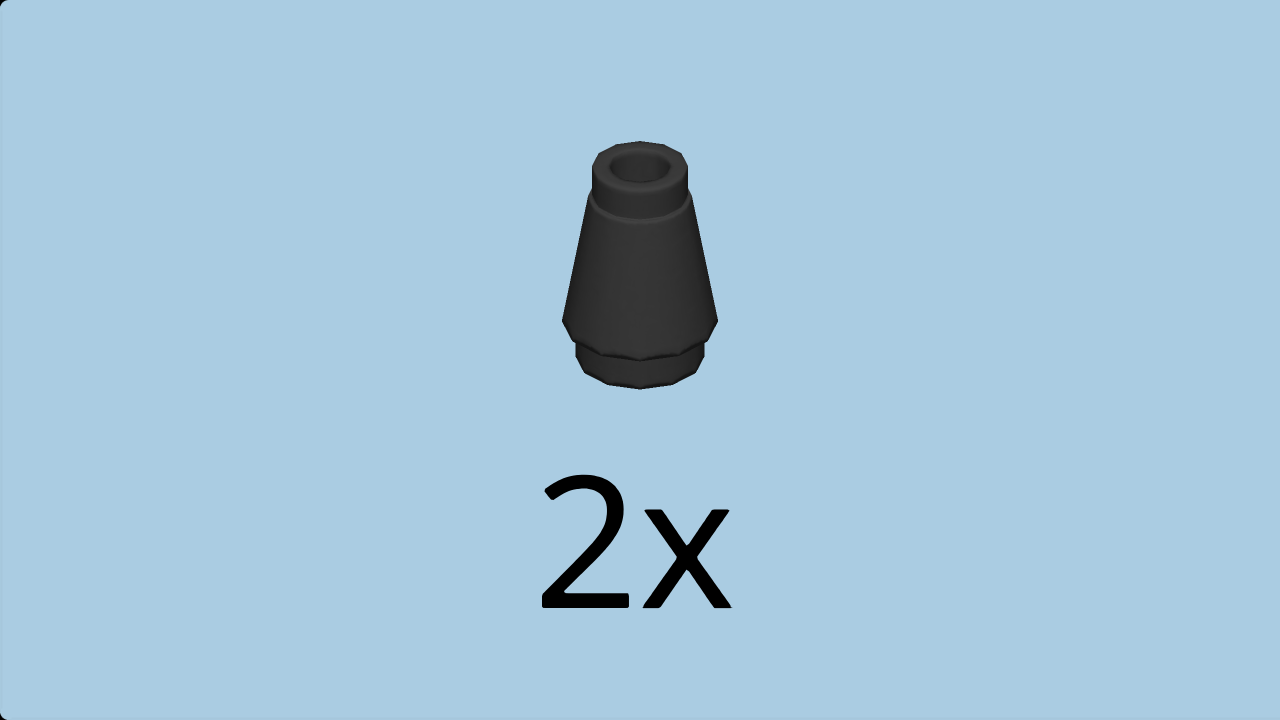
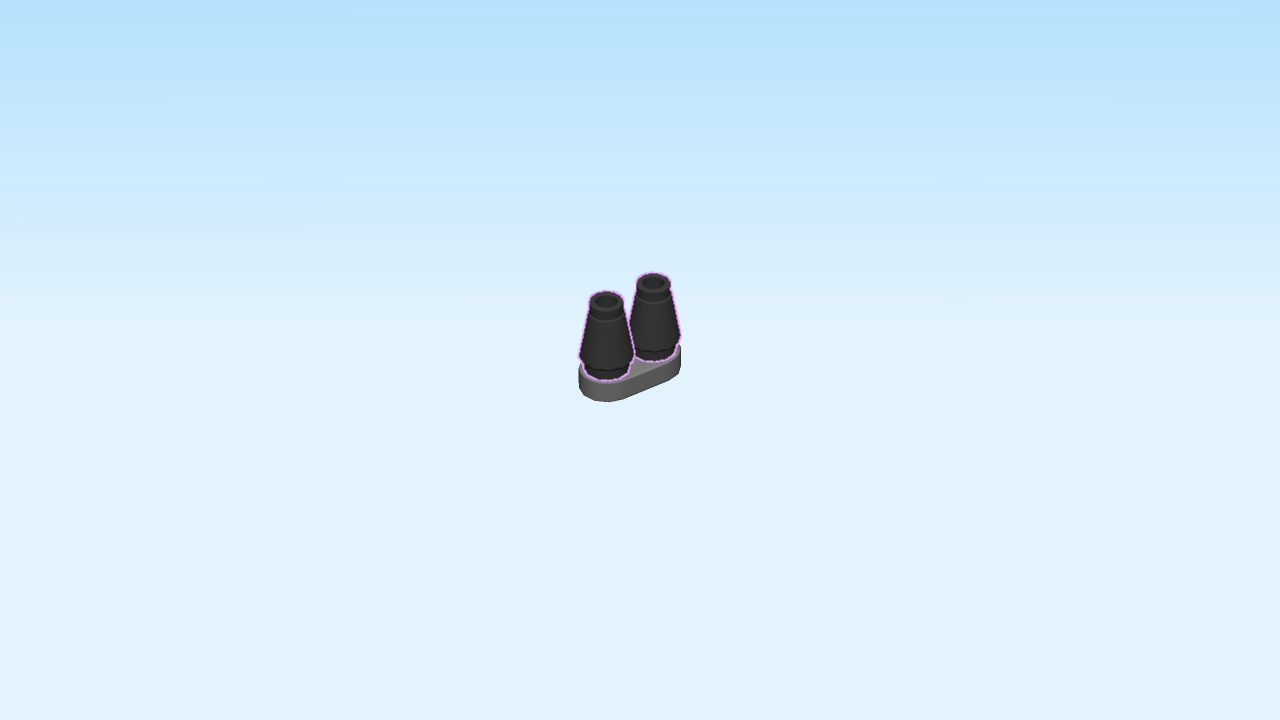
| Find 2 black small nose cones 1x1. |
| Put them on top. |
| Mount the part upright vertically on the side knobs on the left, small nose cones to the left. |
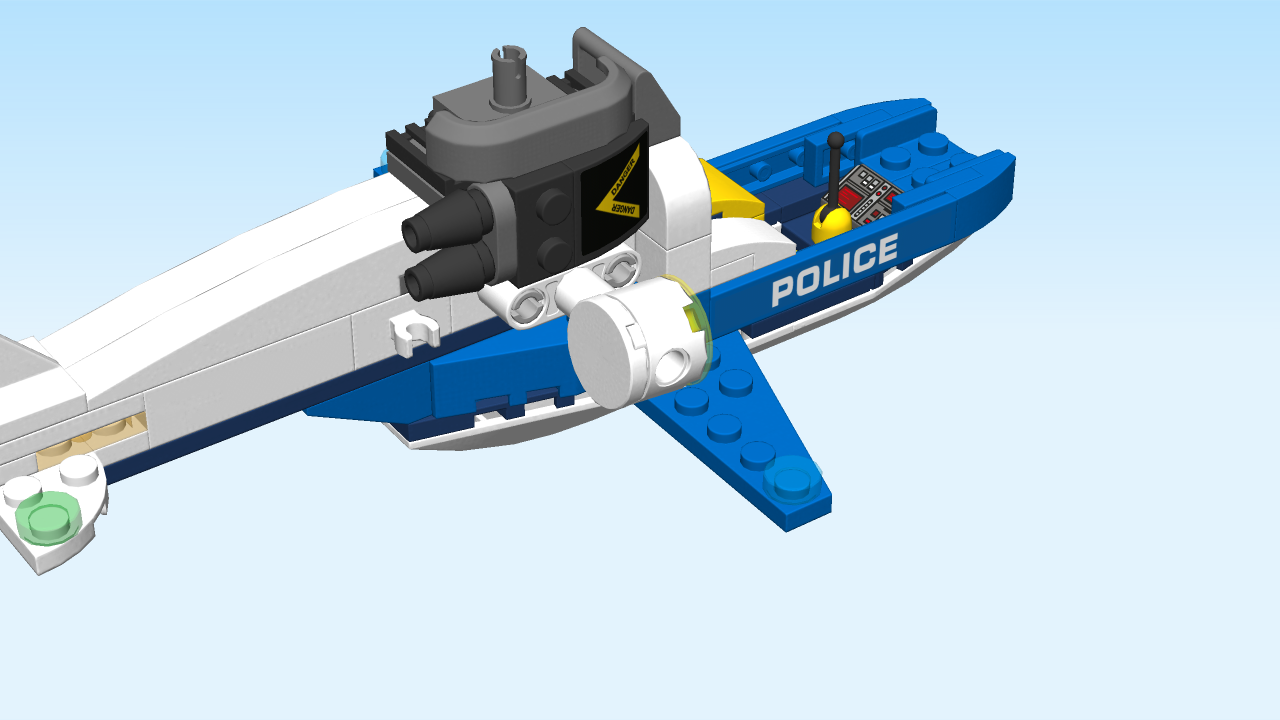
| Next, we will build the helicopter searchlight. |
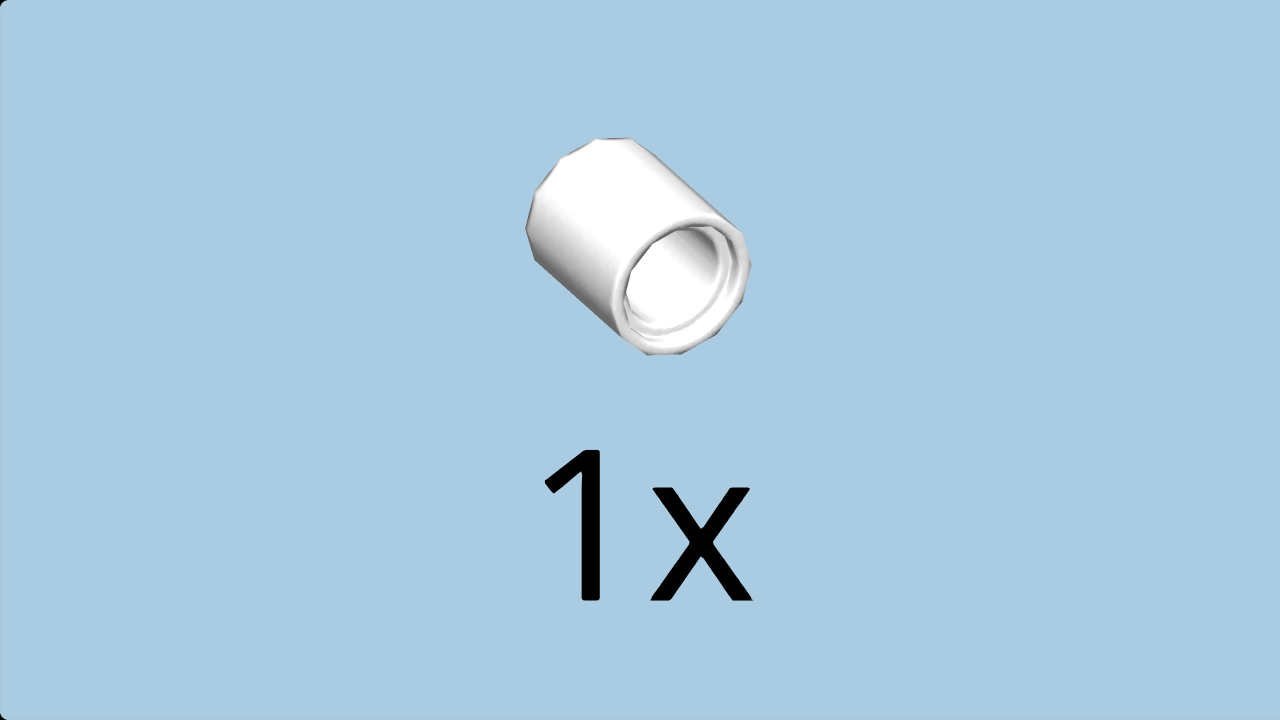
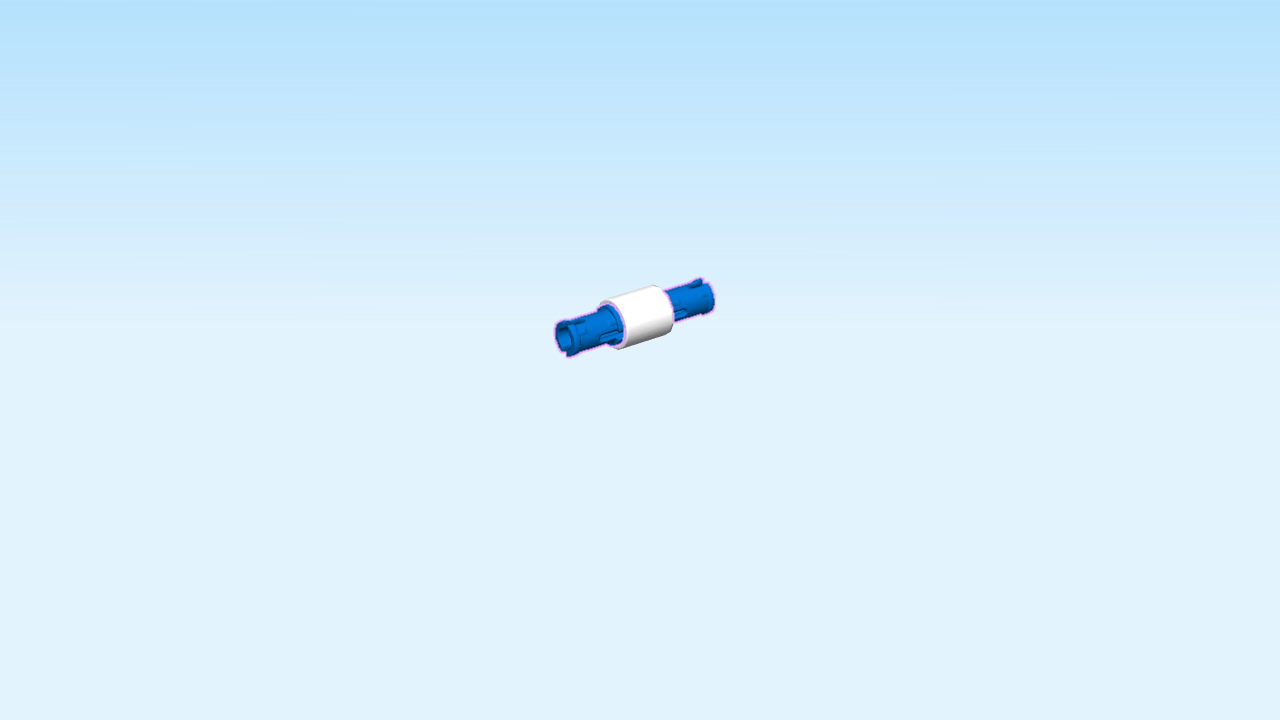
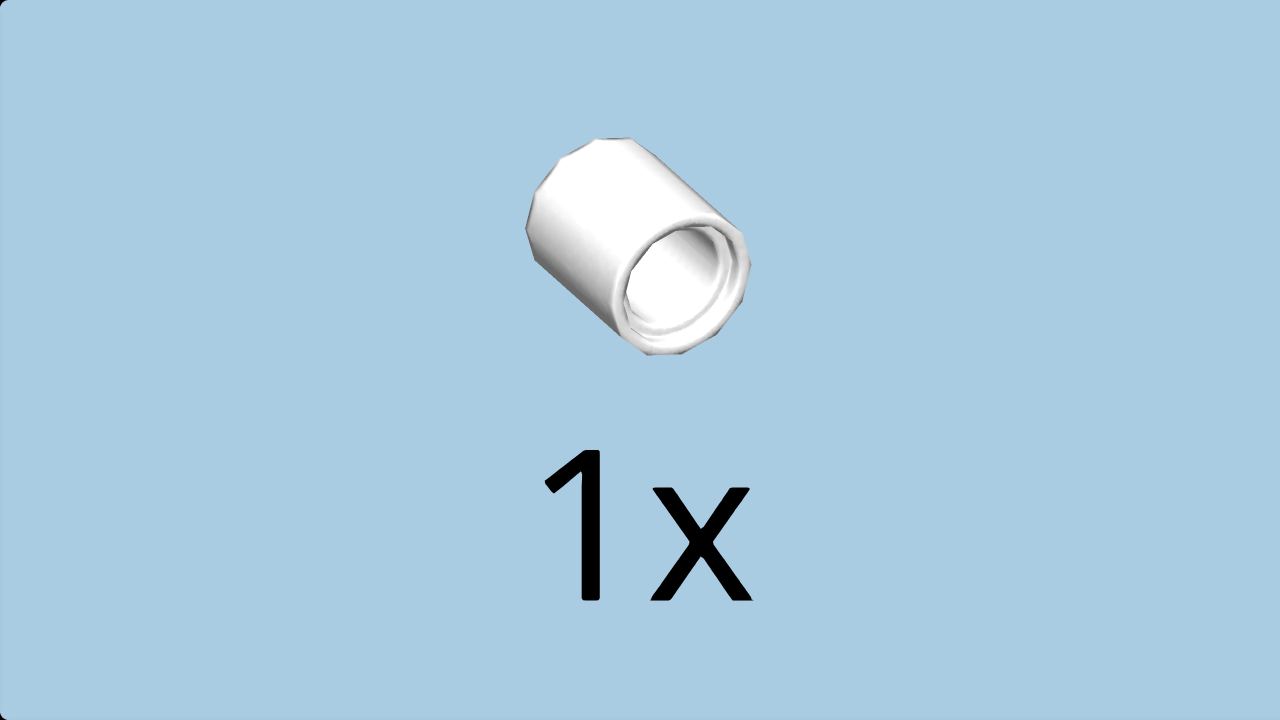
| Find 1 white bushing 1x1. |
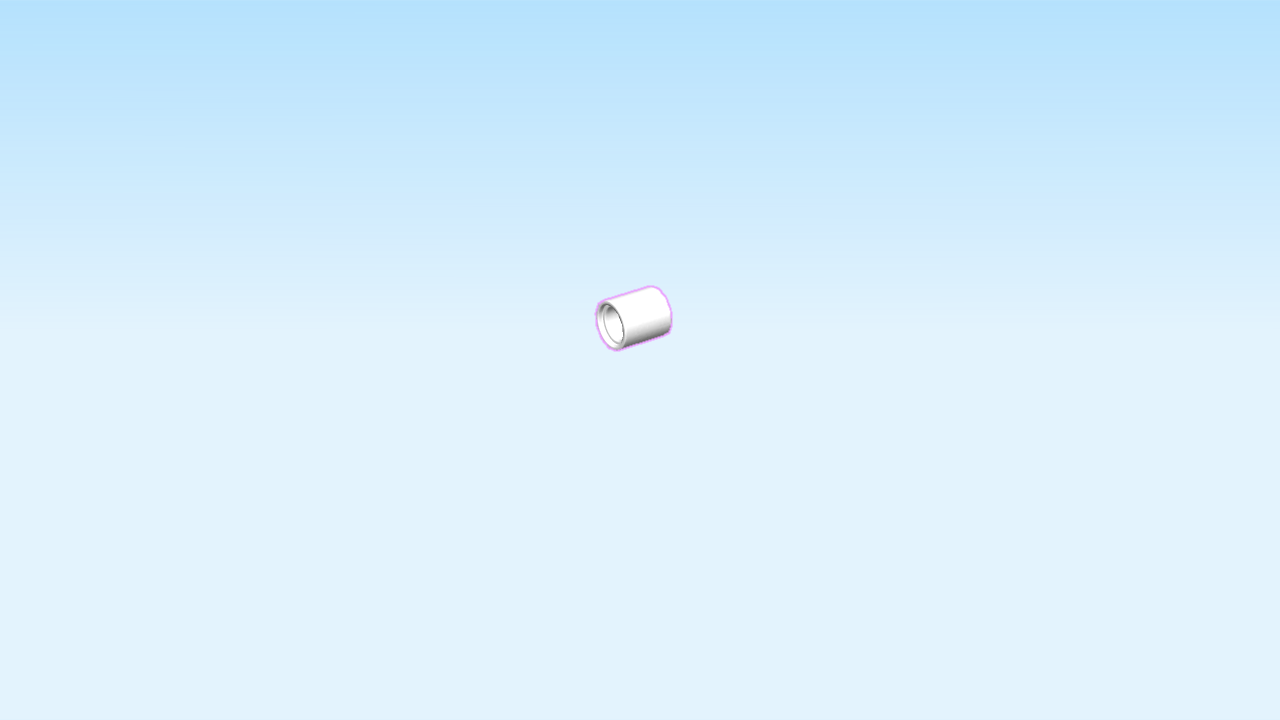
| Put it on the table. |
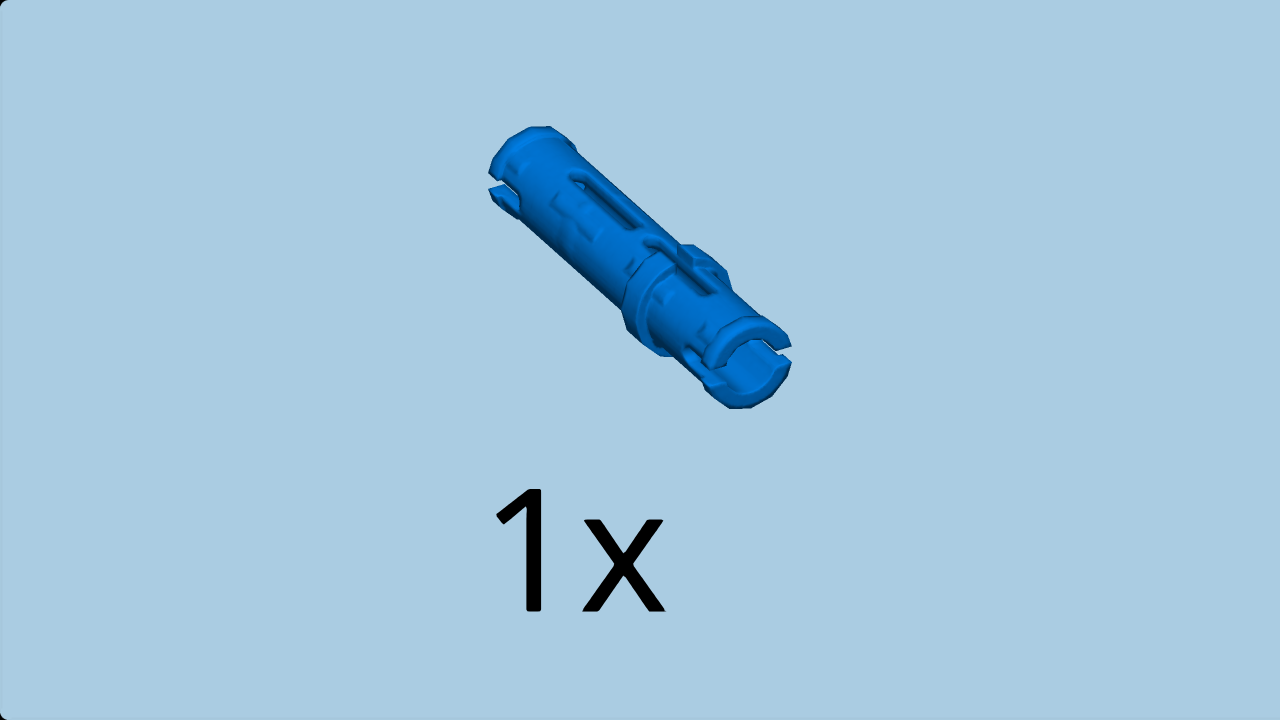
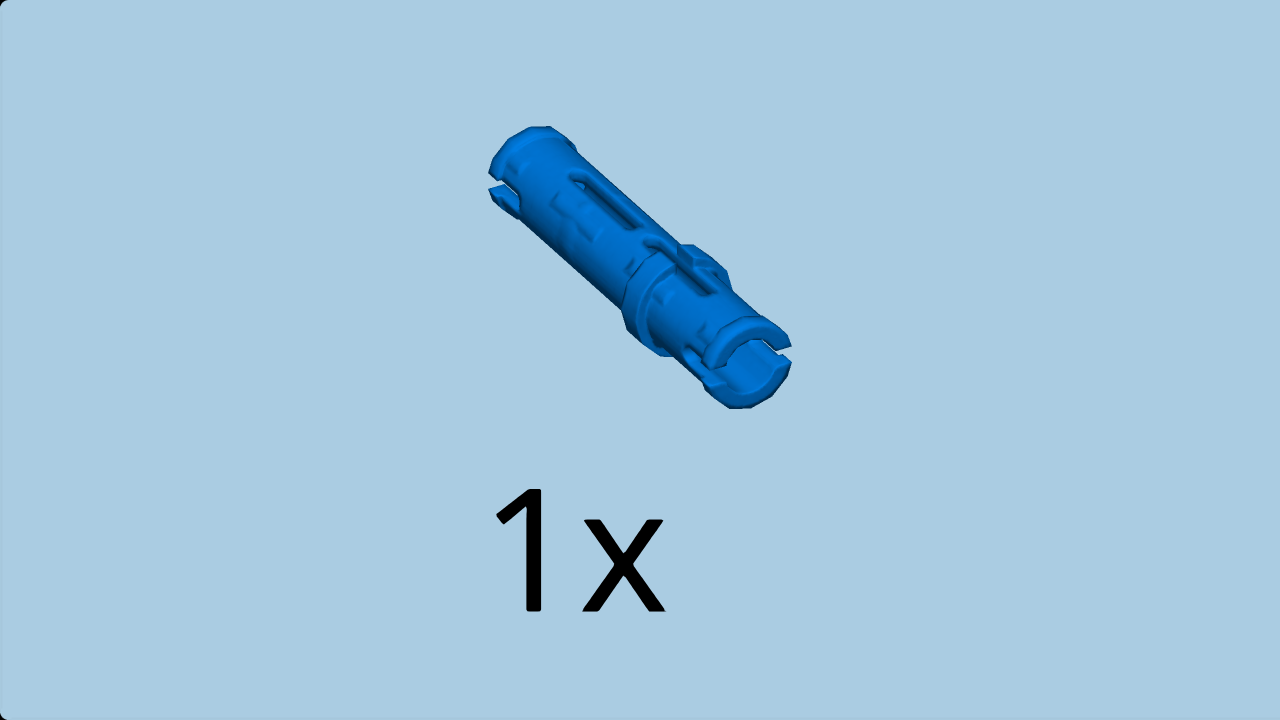
| Find 1 bright blue connector peg with ring, 3 knobs long. |
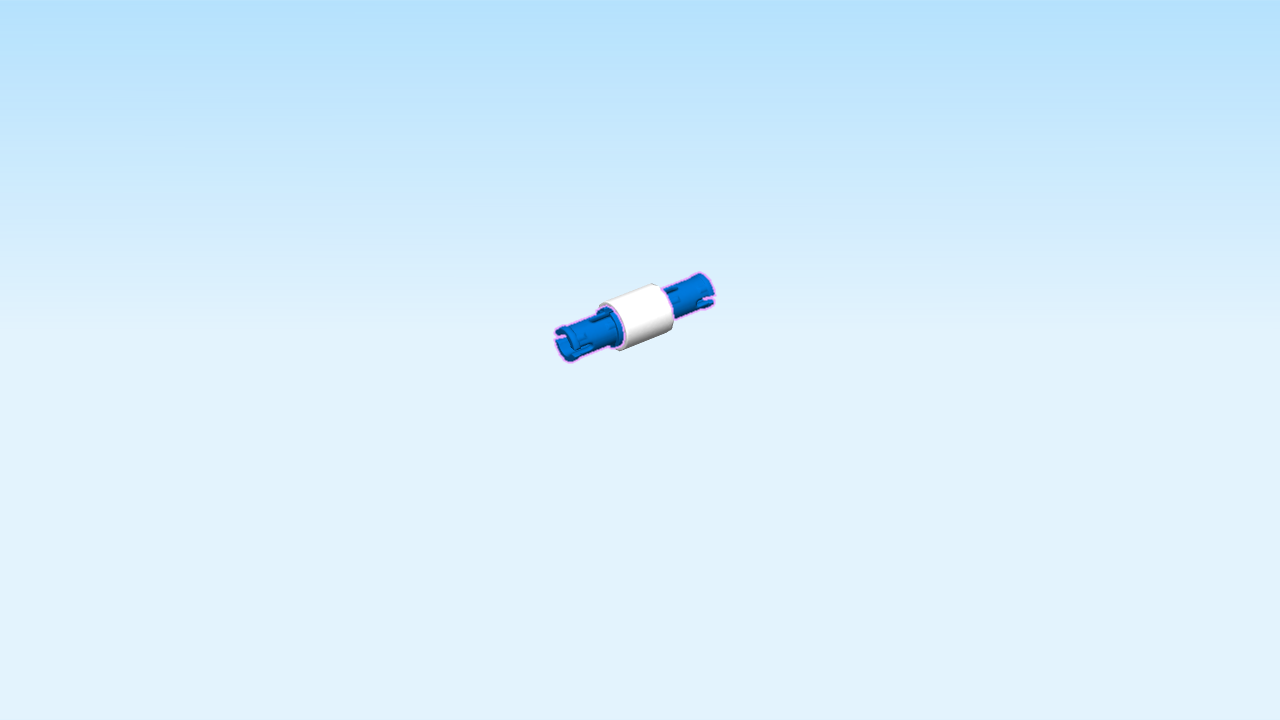
| Insert the longer end of the connector peg into the bushing. Push the bushing all the way to the ring. |
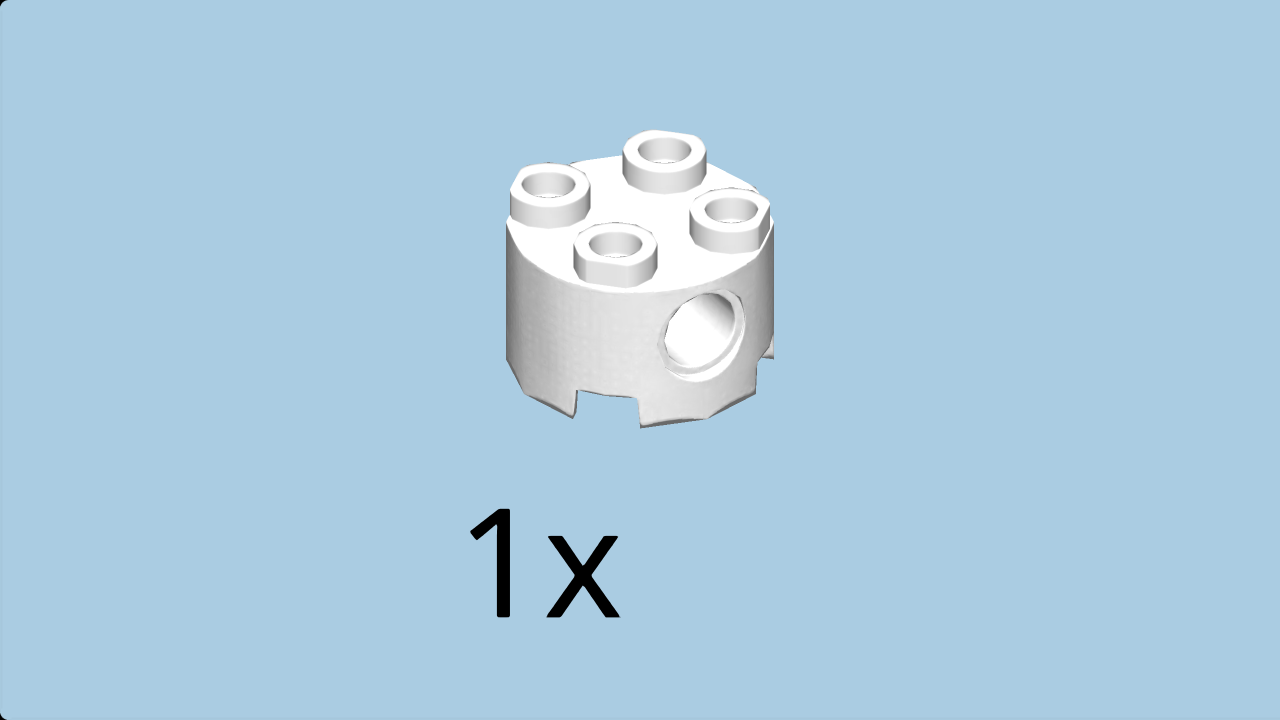
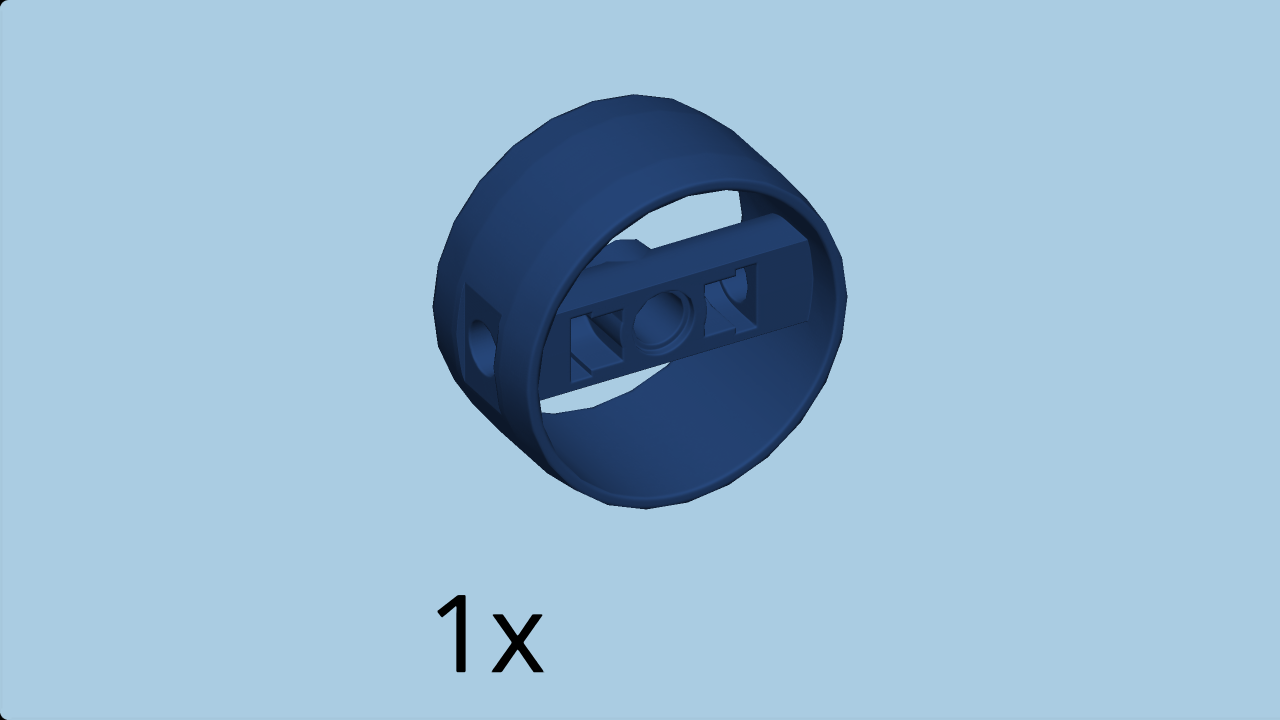
| Find 1 white cylinder 2x2 with side hole. |
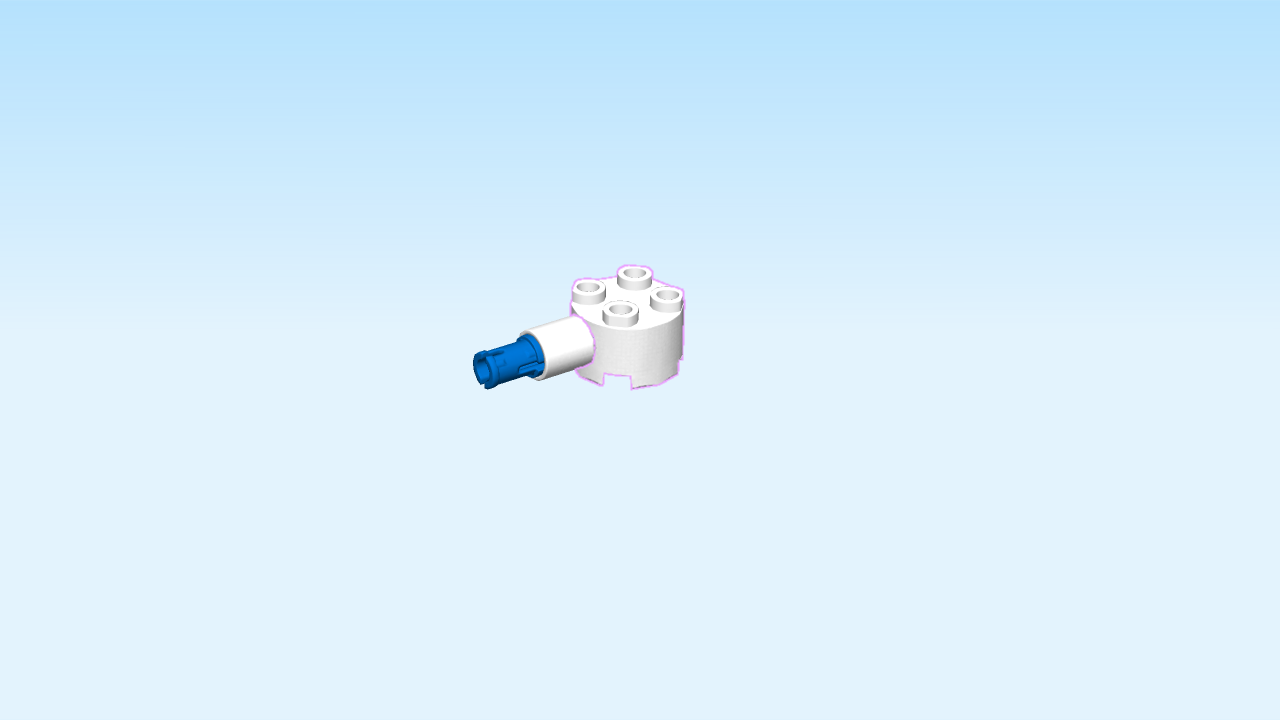
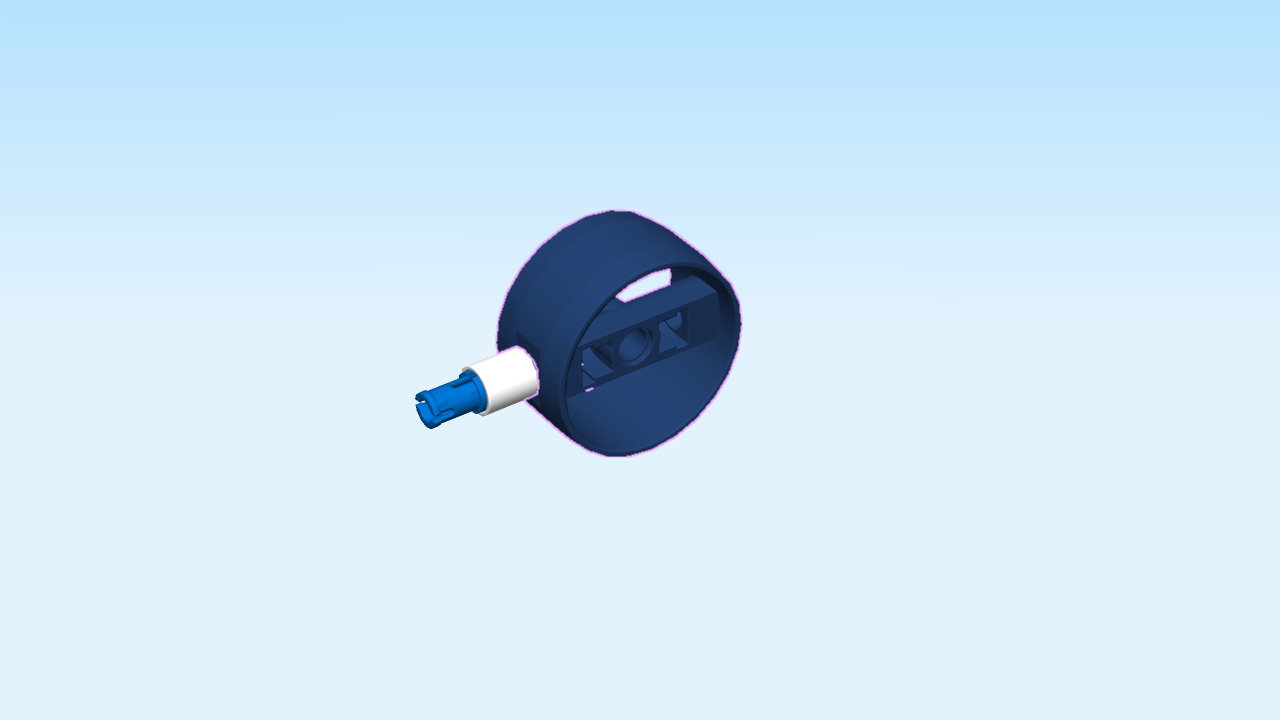
| Insert the longer end of the connector peg into the side hole, bushing touching the cylinder. |
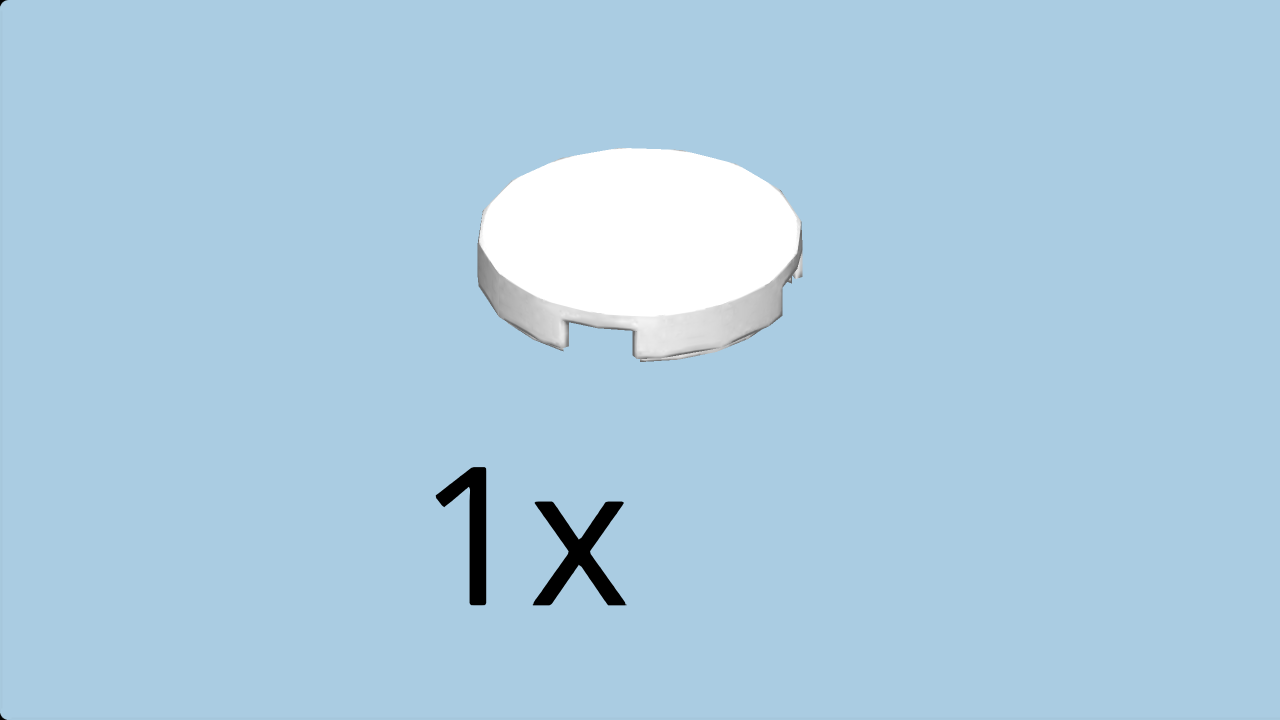
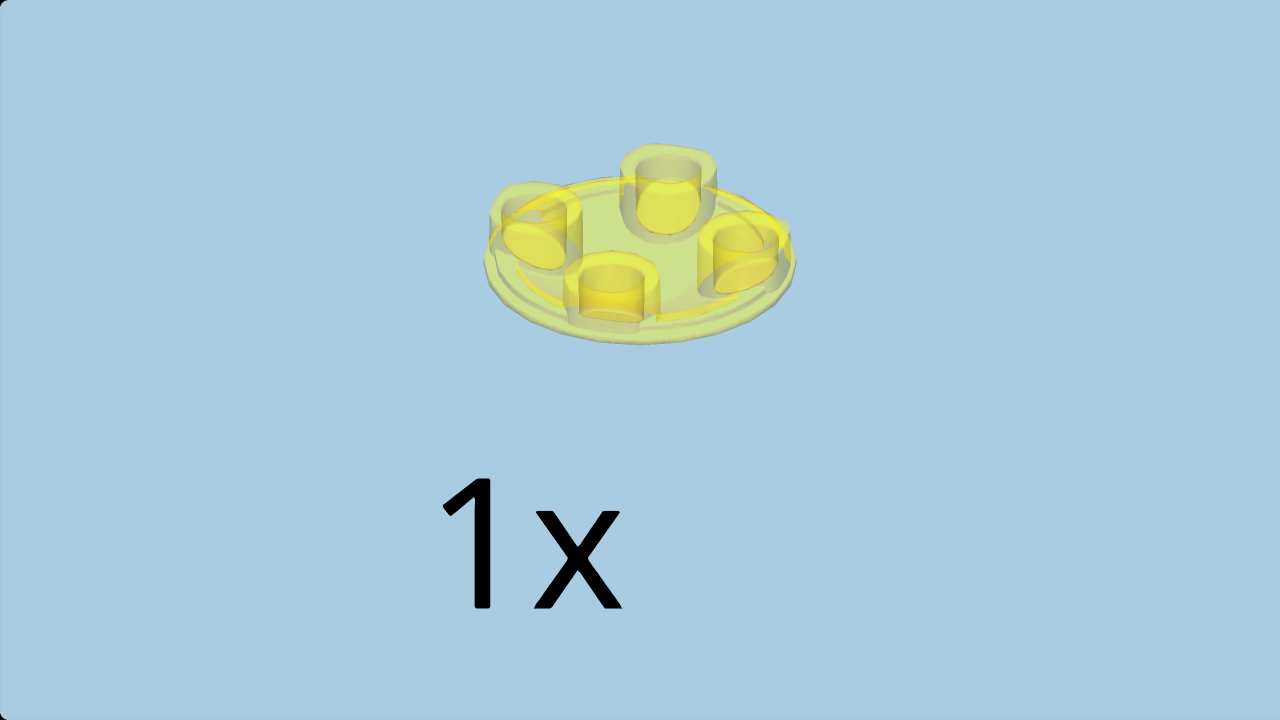
| Find 1 white round flat tile 2x2. |
| Put it on top of the cylinder 2x2 with side hole. |
| Now, flip the structure upside down. |
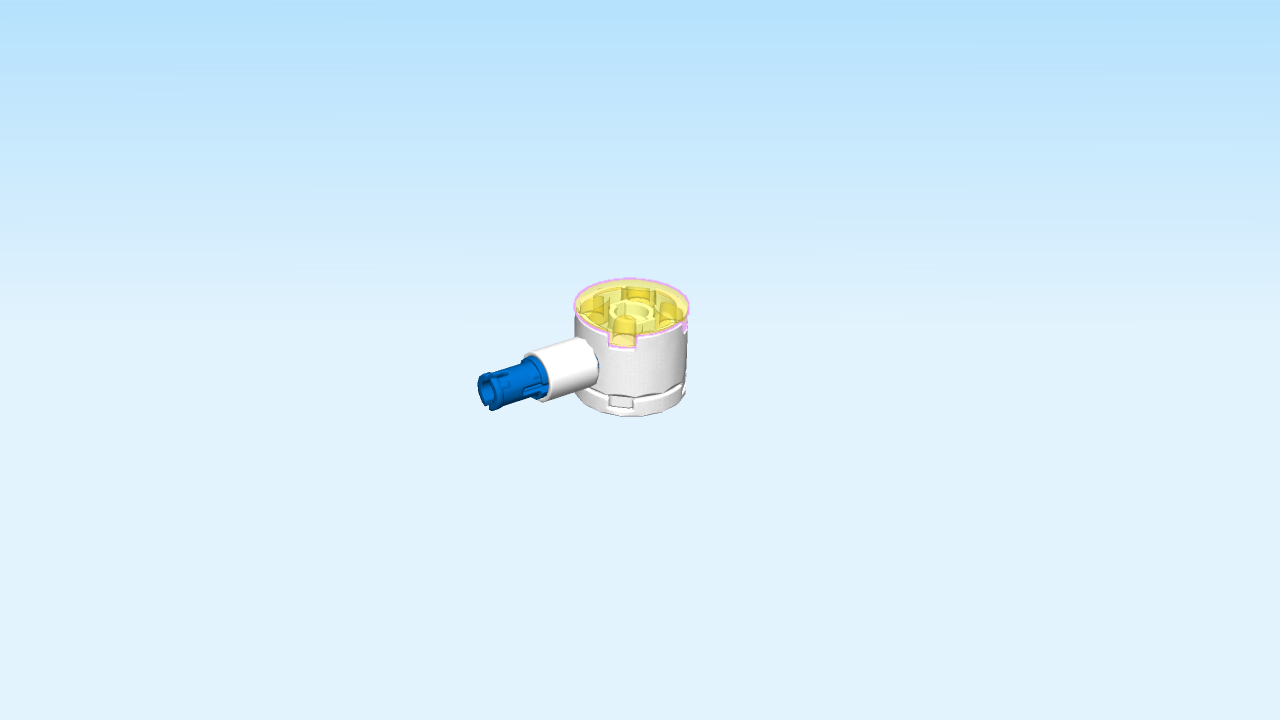
| Find 1 transparent yellow curved disk 2x2. |
| Put it on the cylinder 2x2 with side hole. |
| The helicopter searchlight is finished! Mount it by putting the connector peg into the middle hole on the front side of the structure, curved disk 2x2 to the right. |
| Now, turn the structure 180 degrees again. This means that you keep the horizontal orientation, but the rudder is now on the right side again. |
| We will now repeat the steps on the other side surface of the structure. Remember to pay close attention to the orientation of new pieces. |
| Find 1 dark stone grey mudguard 3x4 with curved arch. |
| Put it upright on the four side knobs on the front side of the structure, curved arch to the top. |
| Next, we will decorate a curve piece. |
| Find 1 black curve piece 2x2. |
| Continue if you want to decorate it with a sticker now. If not, skip the next four sentences. |
| Put it on the table, curve to the left. |
| Find 1 square sticker number 2. Ask a sighted person to help you. |
| Put it on the curve. |
| (The sticker is black and has a yellow arrow on it. The arrow points to the left, and it has the word "Danger" written on it twice). |
| Mount the curve upright on the left two knobs of the mudguard, curve overhanging to the left, slide to the left. |
| Find 1 black top angular plate 1x2 - 1x2 with side knobs. |
| Put it upright vertically on the right two knobs of the mudguard, side knobs to the right. |
| Next, we will make a small part. |
| Find 1 dark stone grey rounded plate 1x2. |
| Put it horizontally on the table. |
| Find 2 black small nose cones 1x1. |
| Put them on top. |
| Mount the part upright vertically on the side knobs on the right, nose cones to the right. |
| Next, we will build the cockpit. |
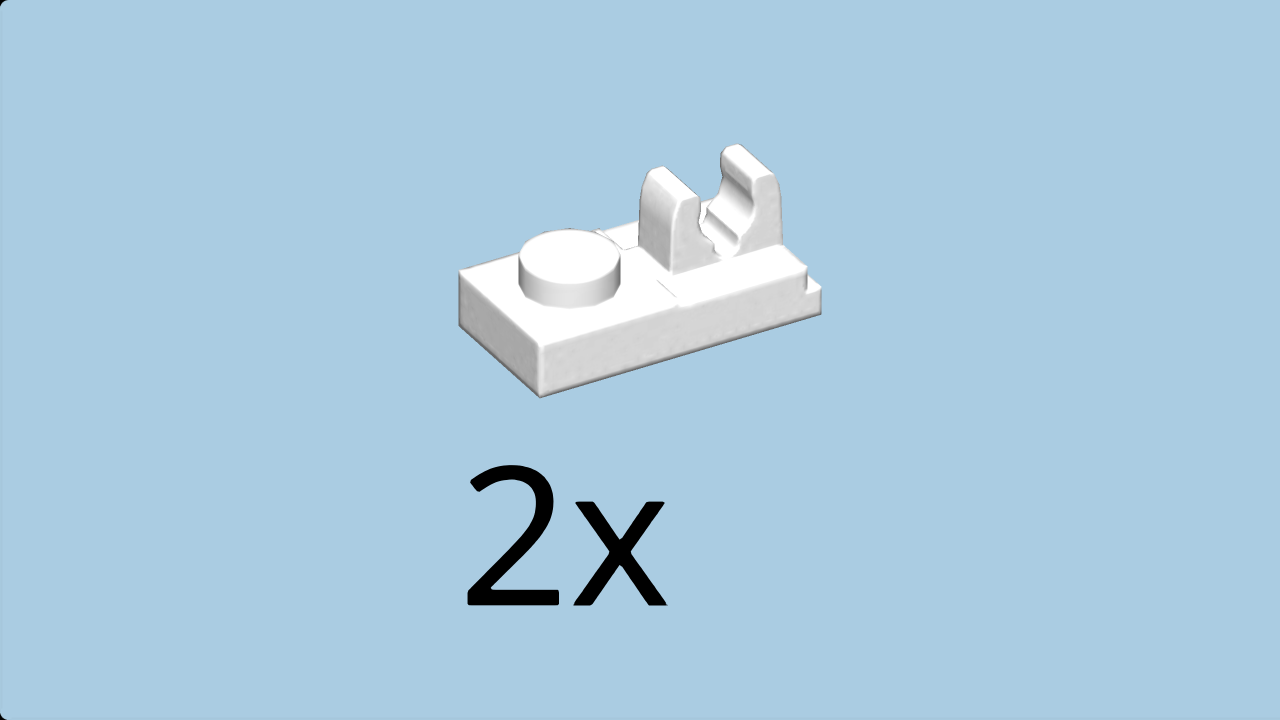
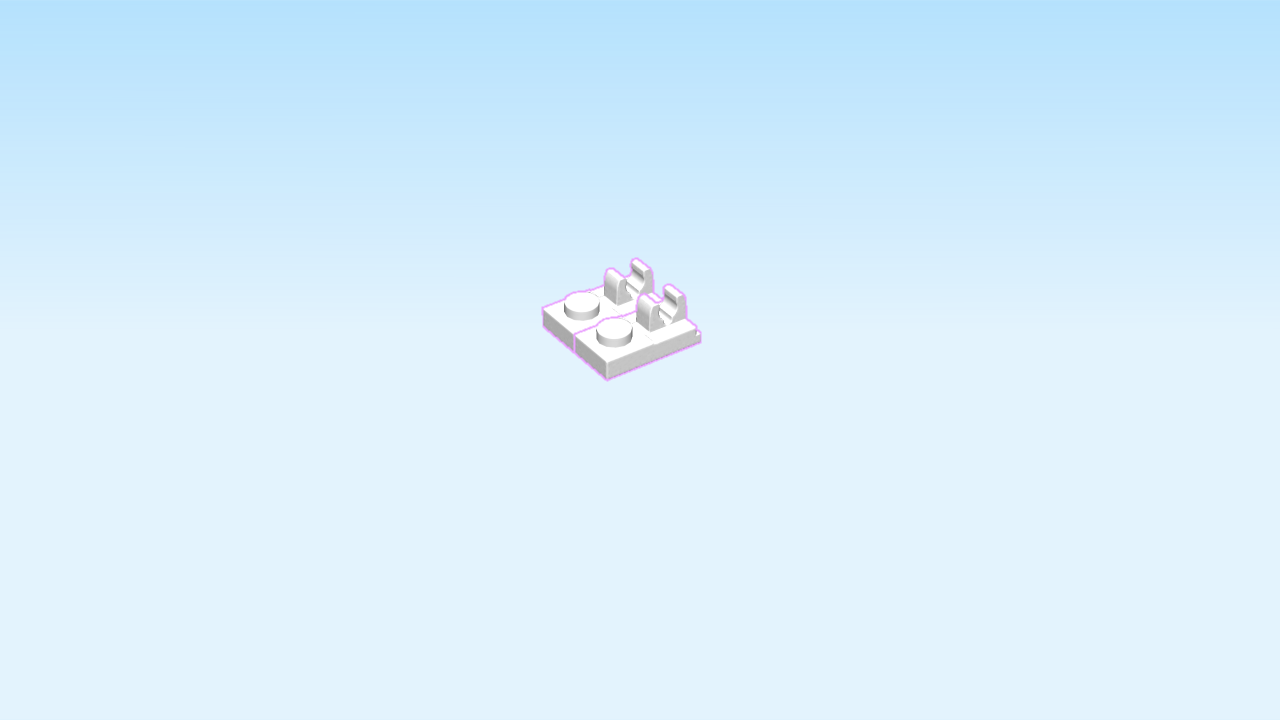
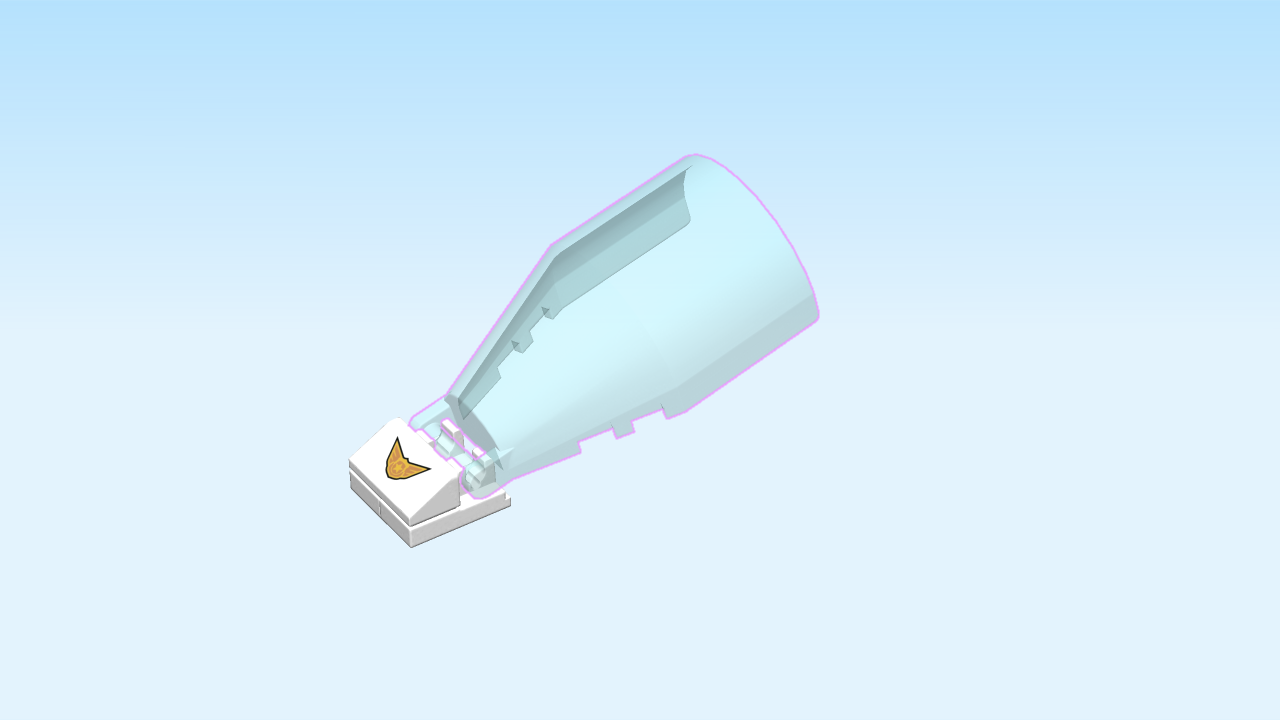
| Find 2 white plates 1x2 with top clasp. |
| Put them horizontally on the table, next to each other. The clasps form a column on the right side. |
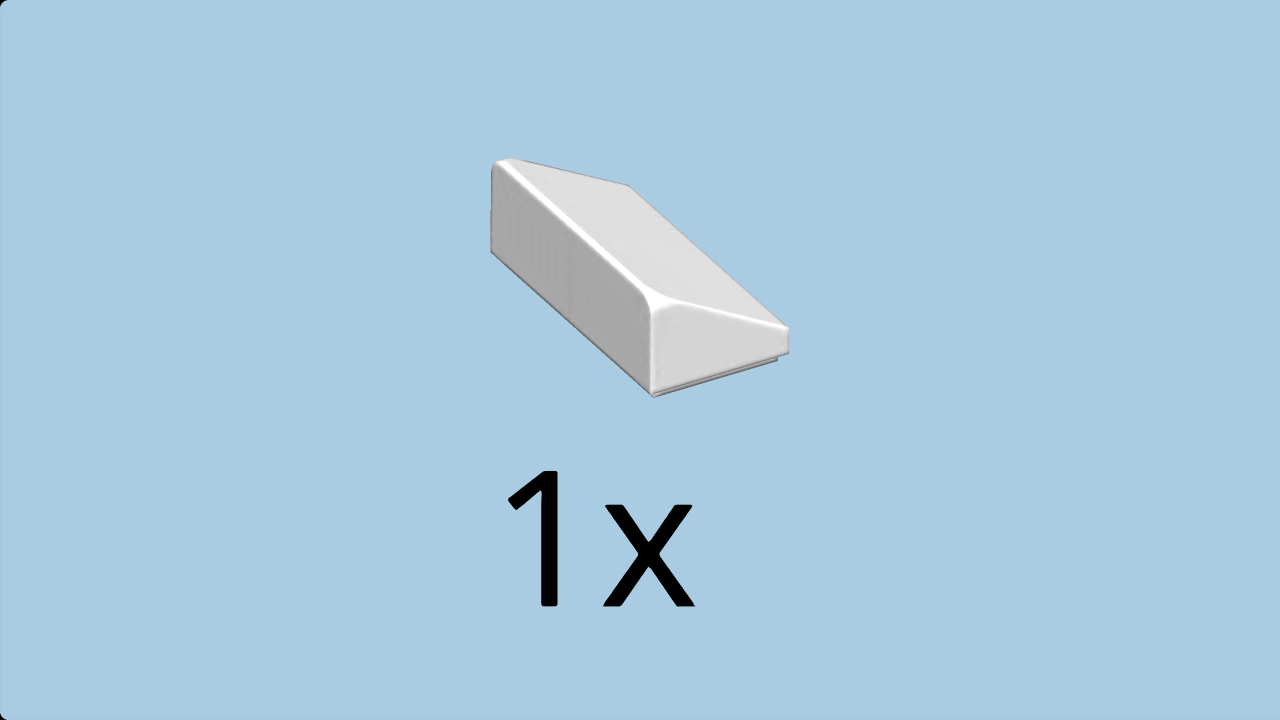
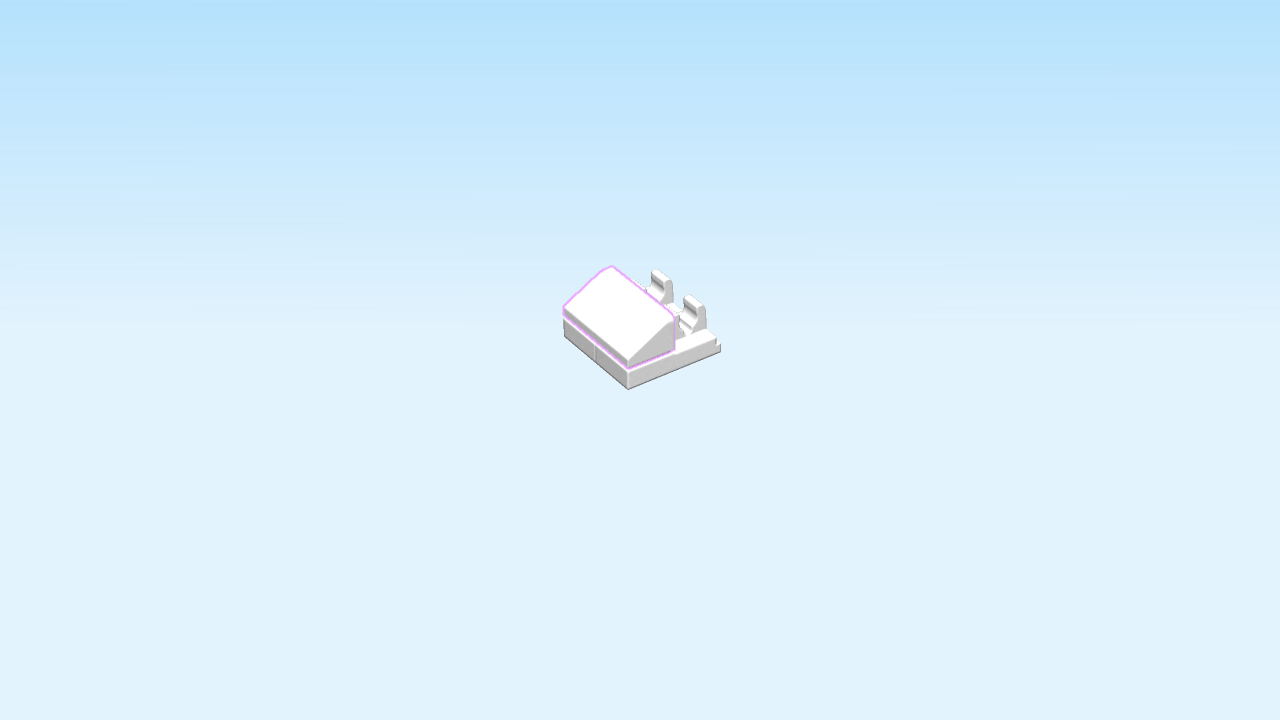
| Find 1 white smooth roof tile 1x2. |
| Put it vertically on the left column, slide to the left. |
| Continue if you want to decorate it with a sticker now. If not, skip the next three sentences. |
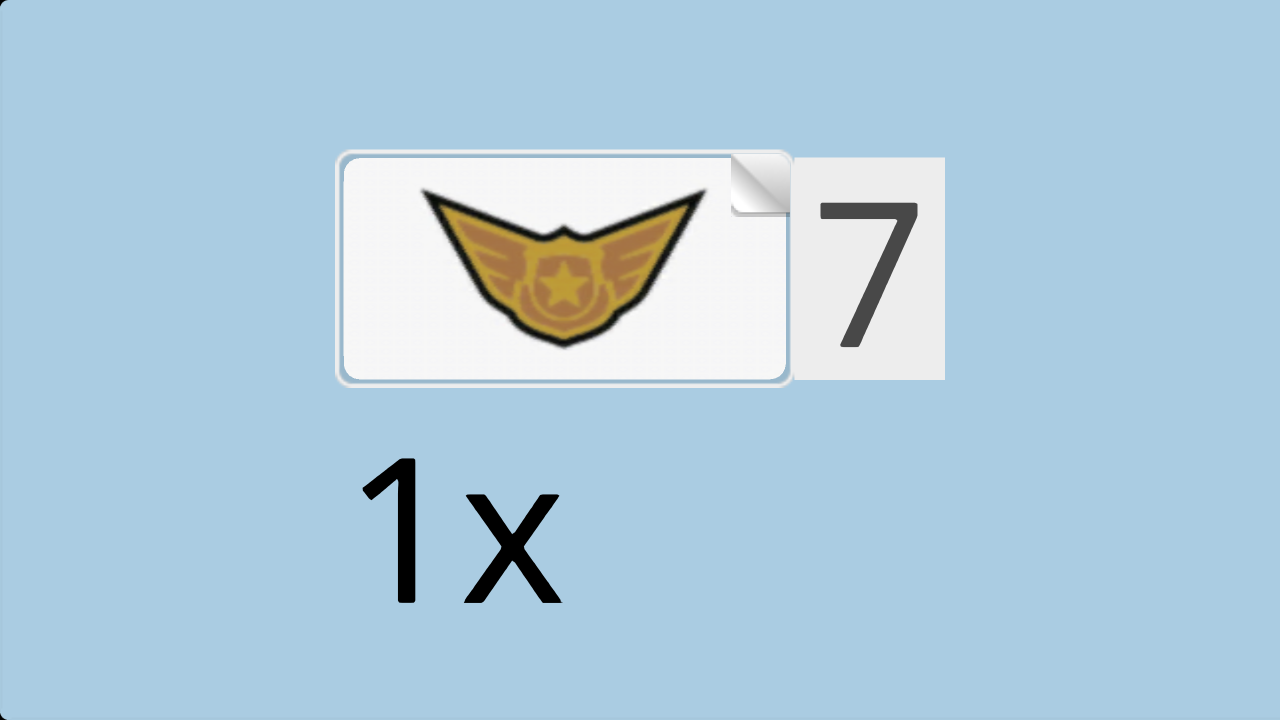
| Find 1 short rectangular sticker number 7. Ask a sighted person to help you. |
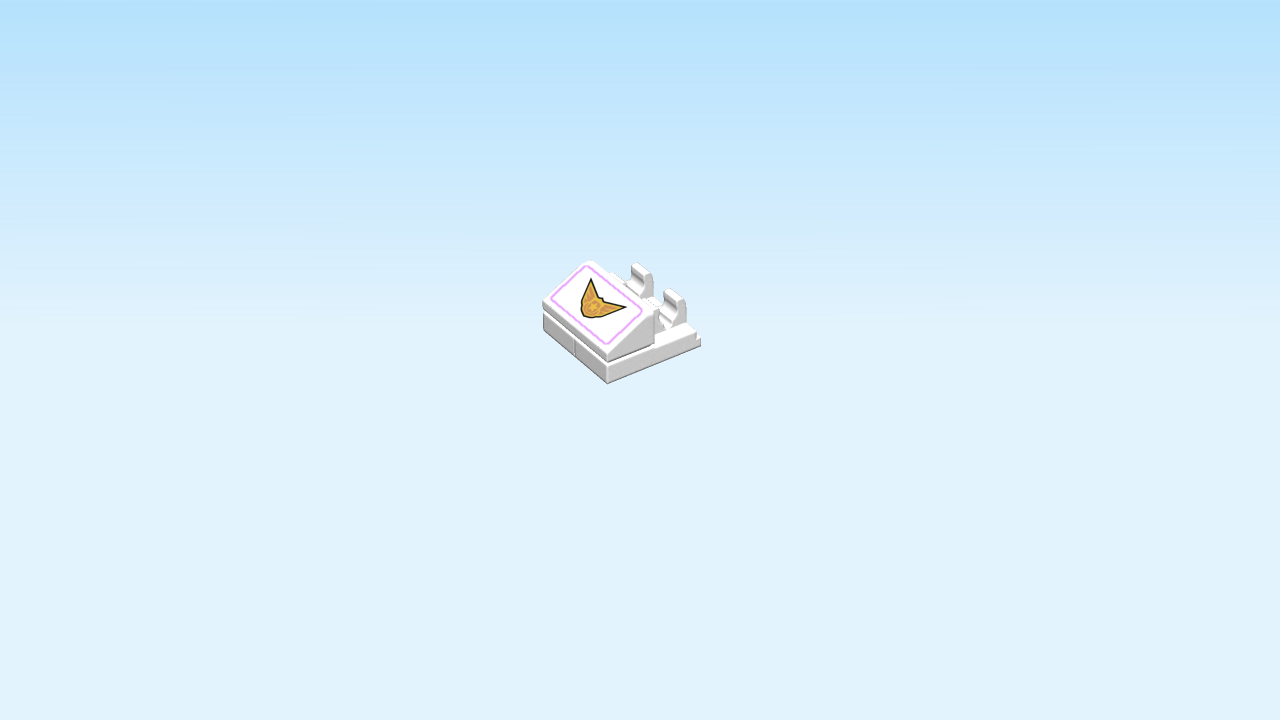
| Put it on the roof tile. |
| (The sticker shows the police emblem: a golden police badge with wings). |
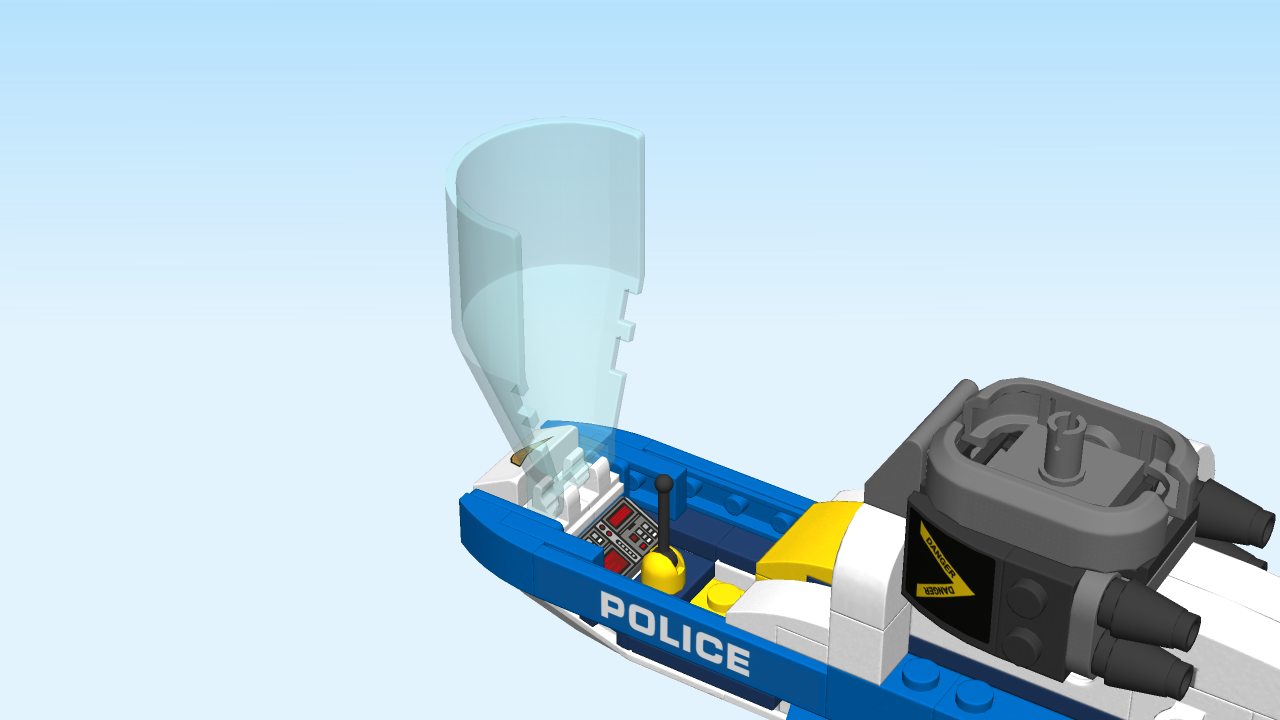
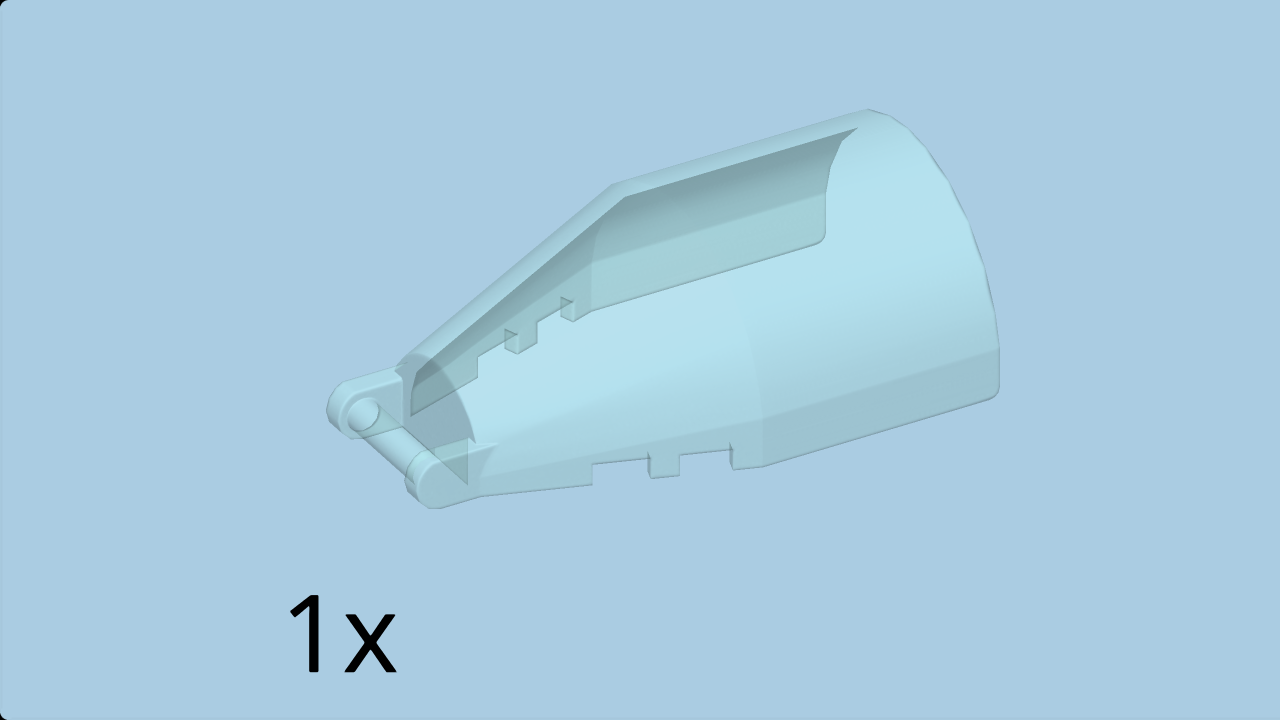
| Find 1 transparent light blue cockpit windscreen 4x6x2 with front shaft. |
| Put it into the clasps, opening to the right. |
| The cockpit is finished! Mount it on the four knobs on the left edge of the structure. Put the helicopter aside for now, we will continue with it later. |
| Next, we will build the landing skids. |
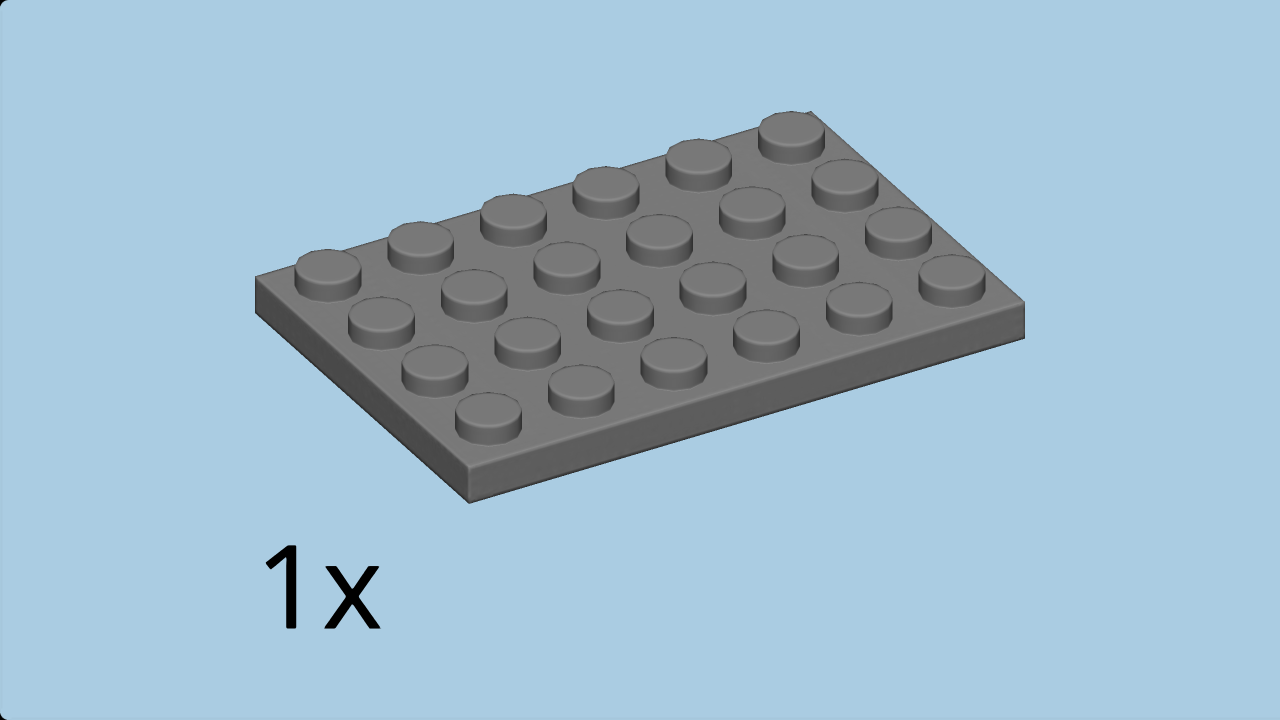
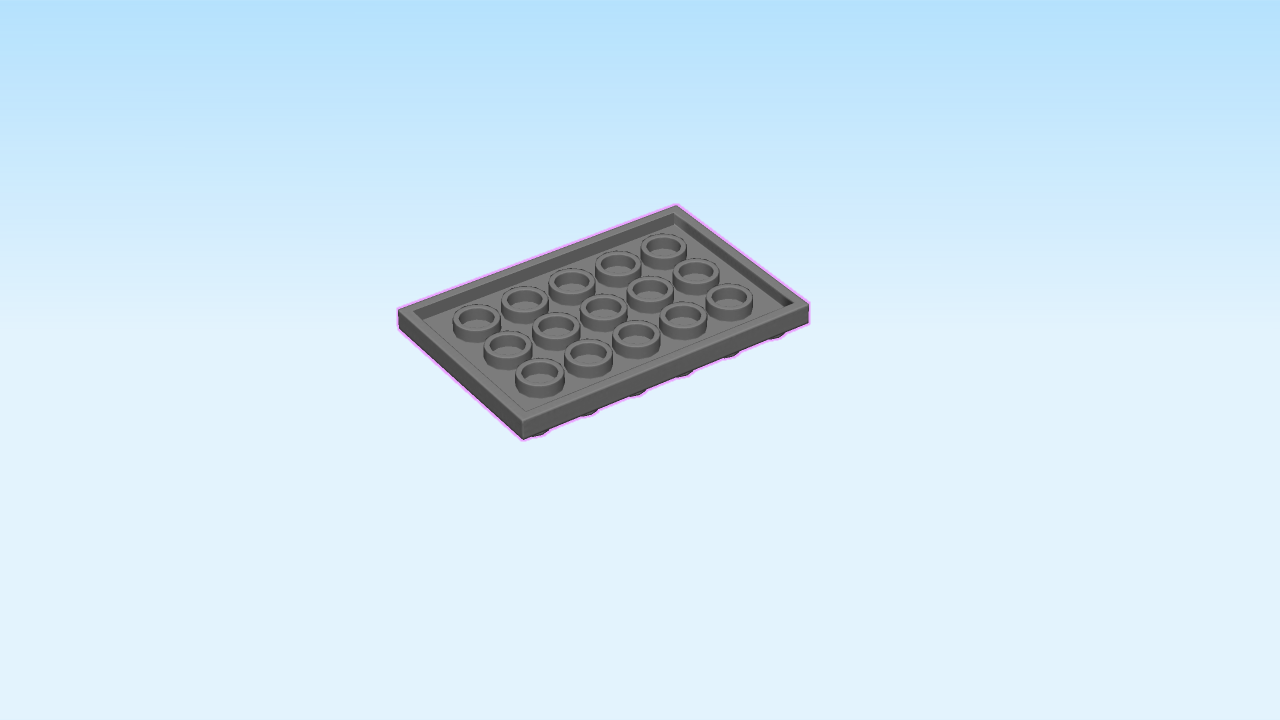
| Find 1 dark stone grey plate 4x6. |
| Careful: this piece has a special orientation! |
| Put it knob-side down horizontally on the table. |
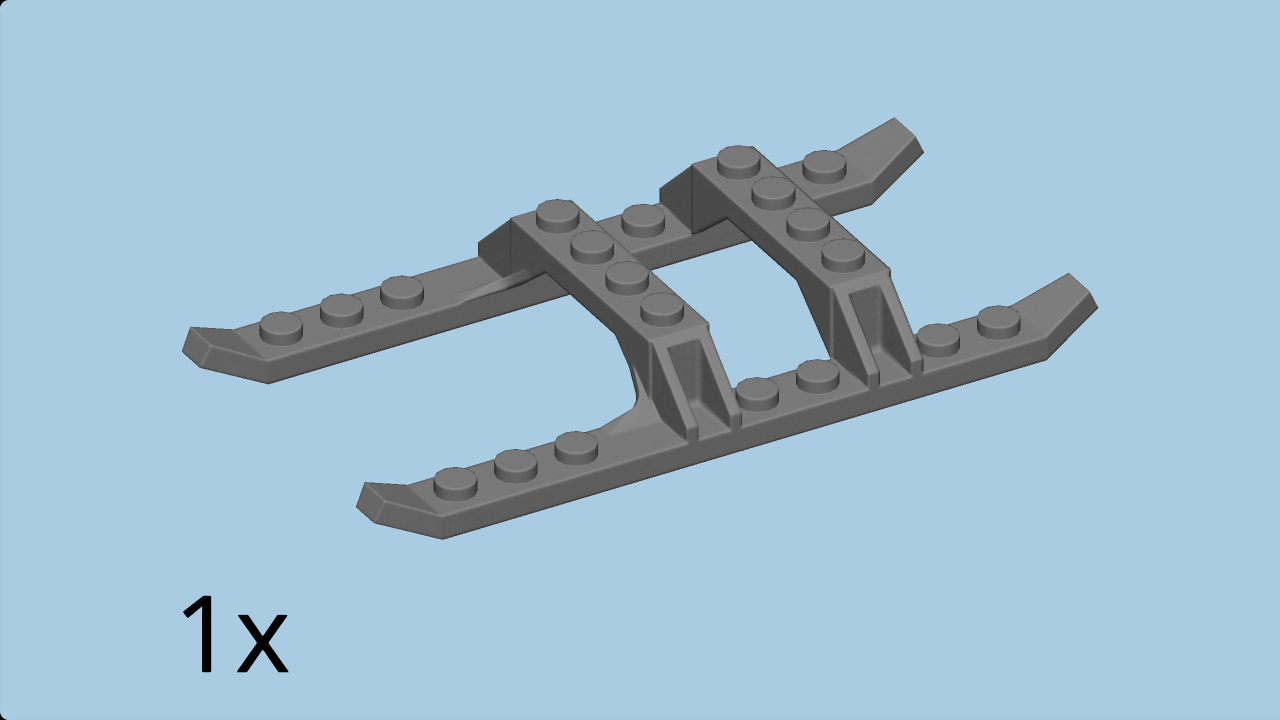
| Find 1 dark stone grey undercarriage 12x6x1. |
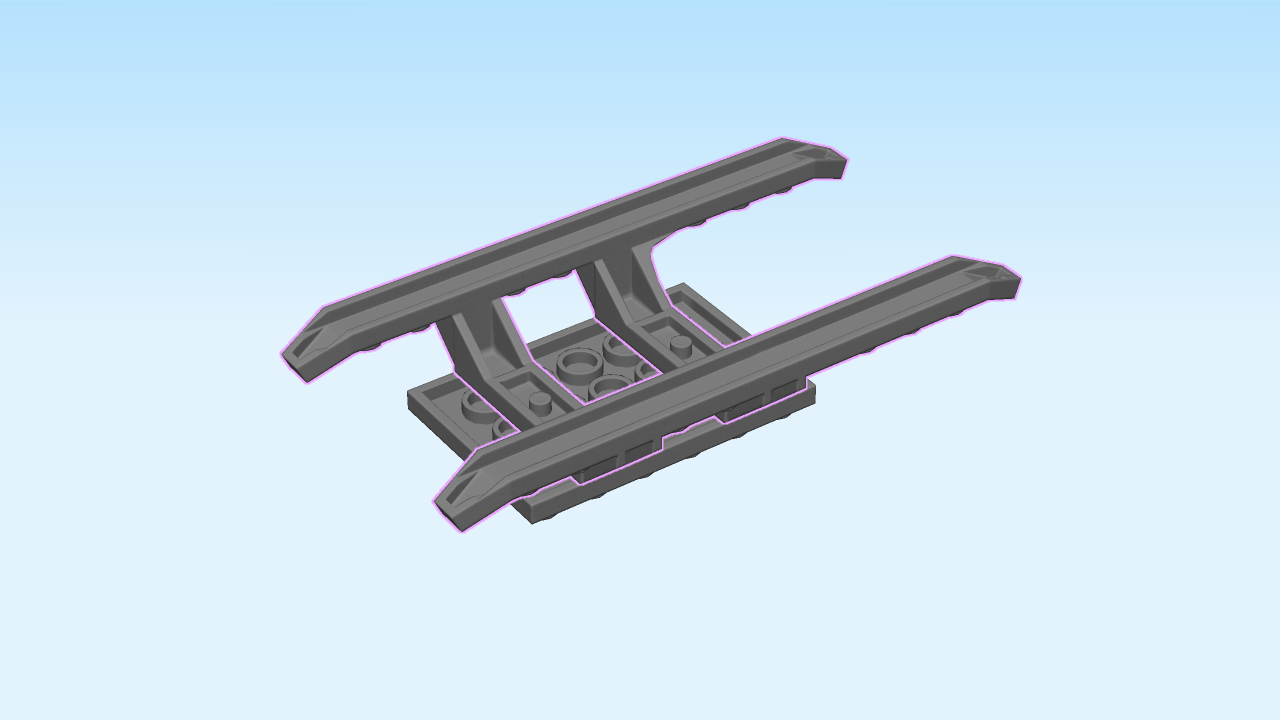
| Put it knob-side down horizontally on top in the middle, shorter skids to the left. |
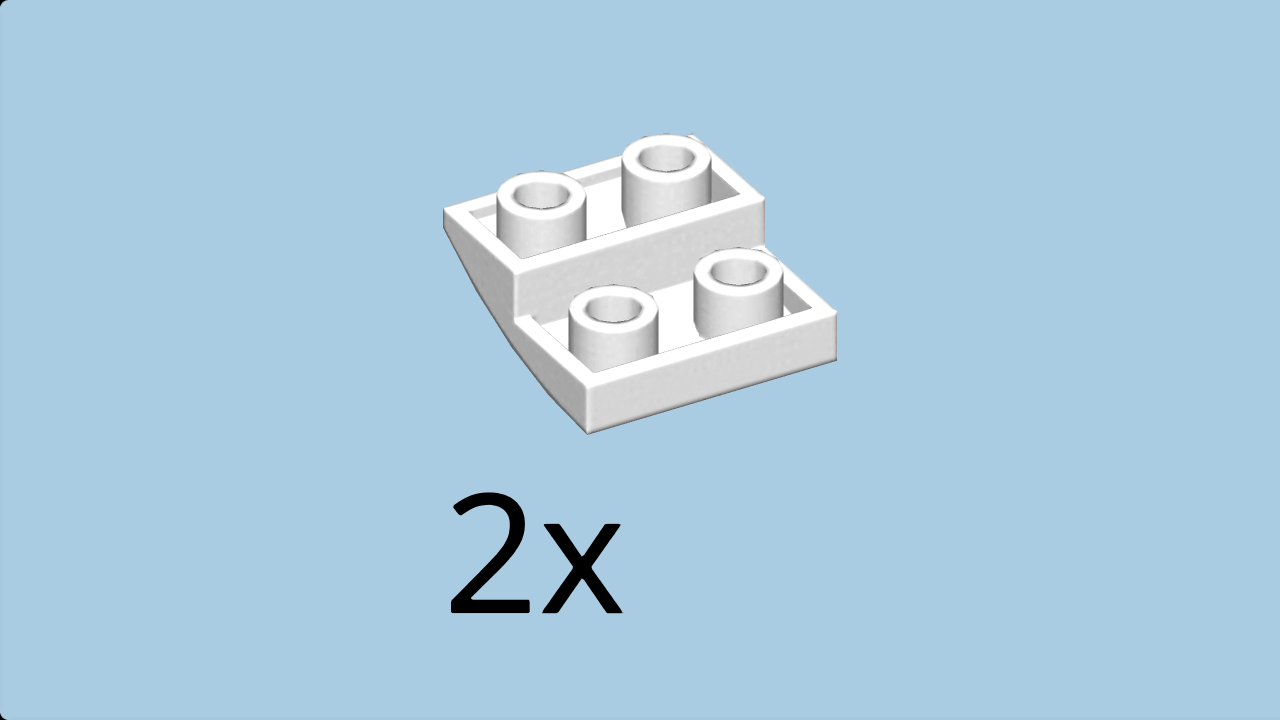
| Find 2 white inverted curve pieces 2x2. |
| Put one knob-side down on the left cross beam of the undercarriage, slide to the left. |
| Repeat symmetrically on the right. |
| The landing skids are finished! Now, flip them right side up again. Mount the helicopter centred on top of the landing skids, short skids to the left, rudder to the right. |
| Next, we will build the tail rotor. |
| Find 1 white bushing 1x1. |
| Put it on the table. |
| Find 1 bright blue connector peg with ring, 3 knobs long. |
| Insert the longer end of the connector peg into the bushing. Push the bushing all the way to the ring. |
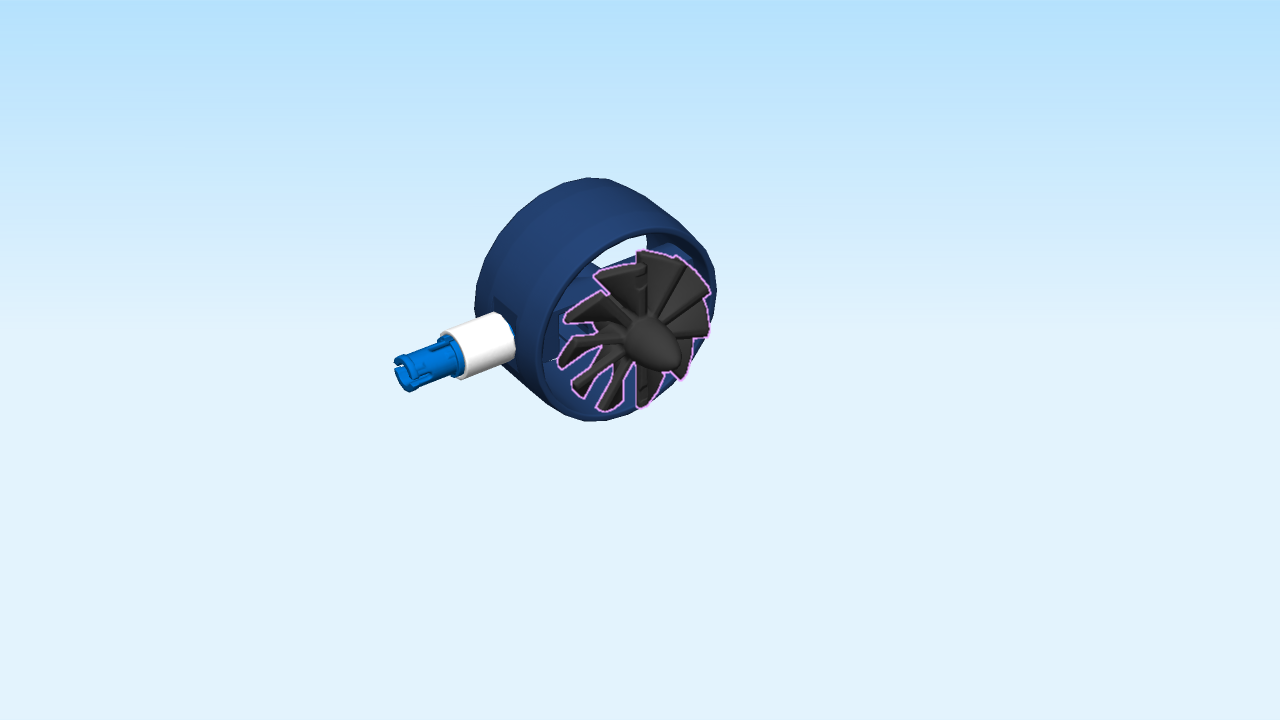
| Find 1 earth blue turbine. |
| Insert the longer end of the connector into one of the side holes of the turbine. The bushing touches the turbine. |
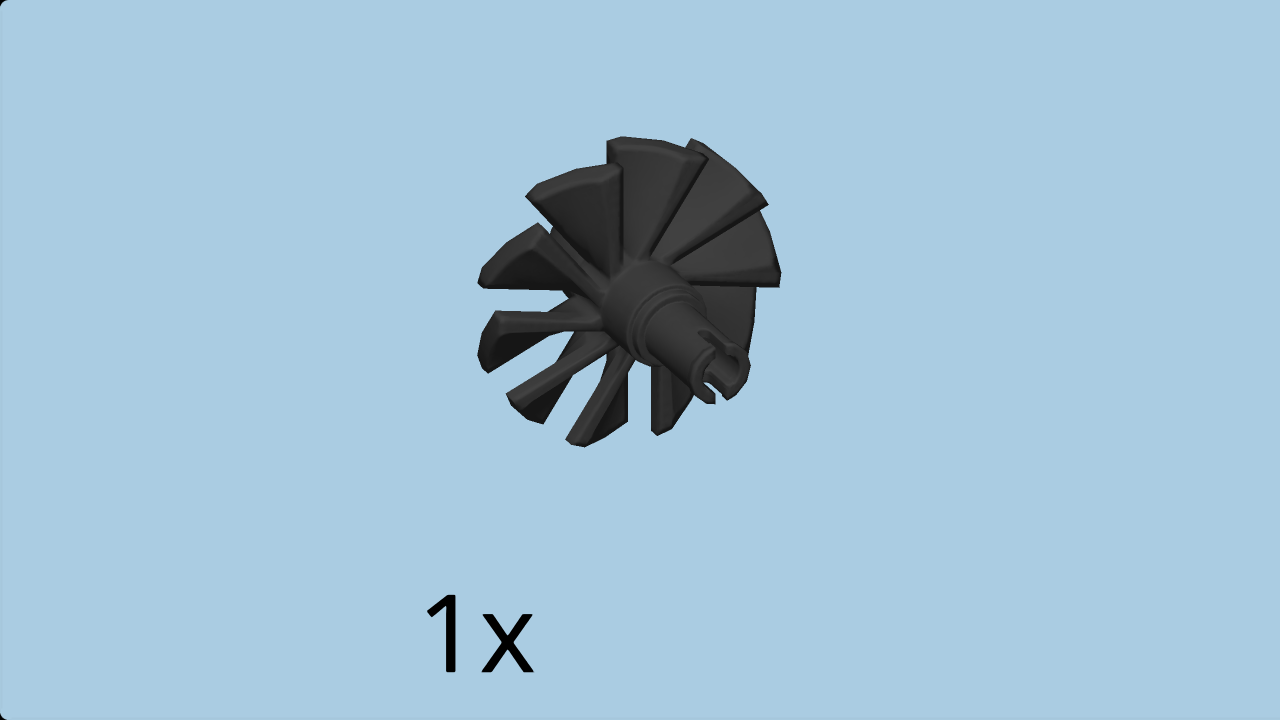
| Find 1 black rotor blade piece with 10 blades and connector. |
| Insert the connector of the rotor blade piece into the middle hole of the turbine. |
| The tail rotor is finished! Mount it by inserting the side connector into the side tube on the right side edge of the helicopter, rotor blades to the front. |
| Put the helicopter momentarily aside. |
| Next, we will build the spinning top rotor. |
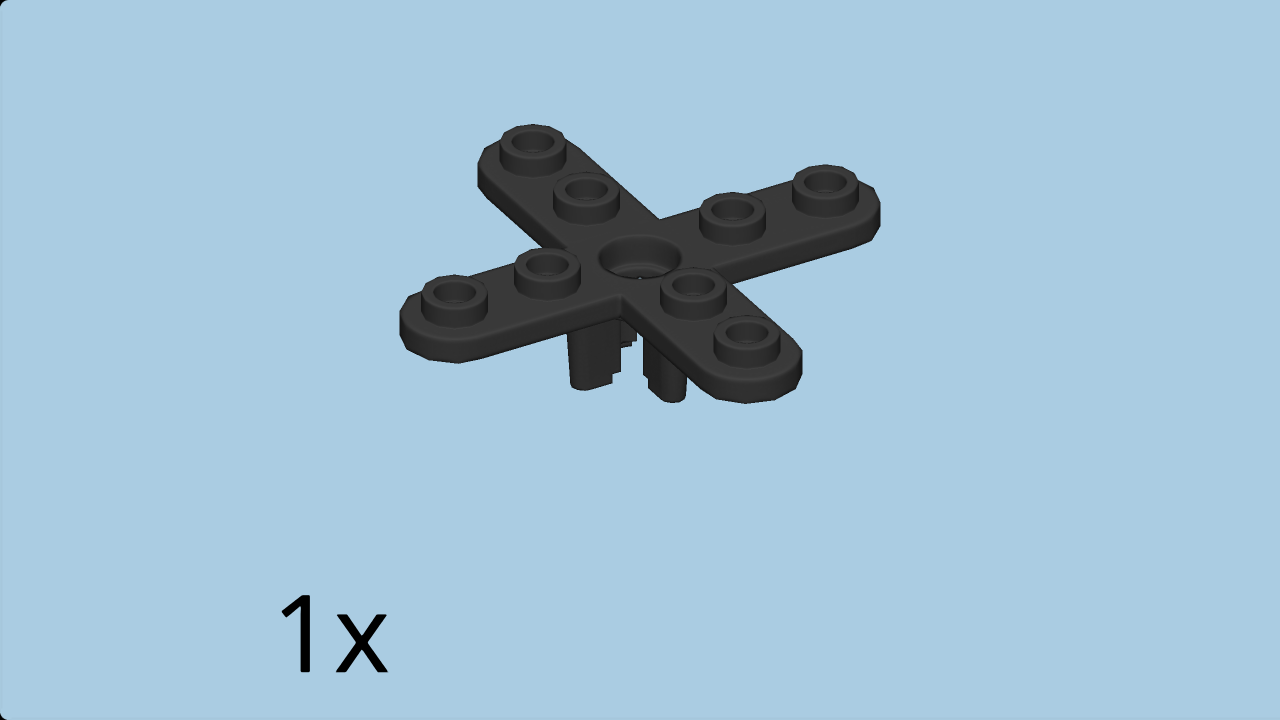
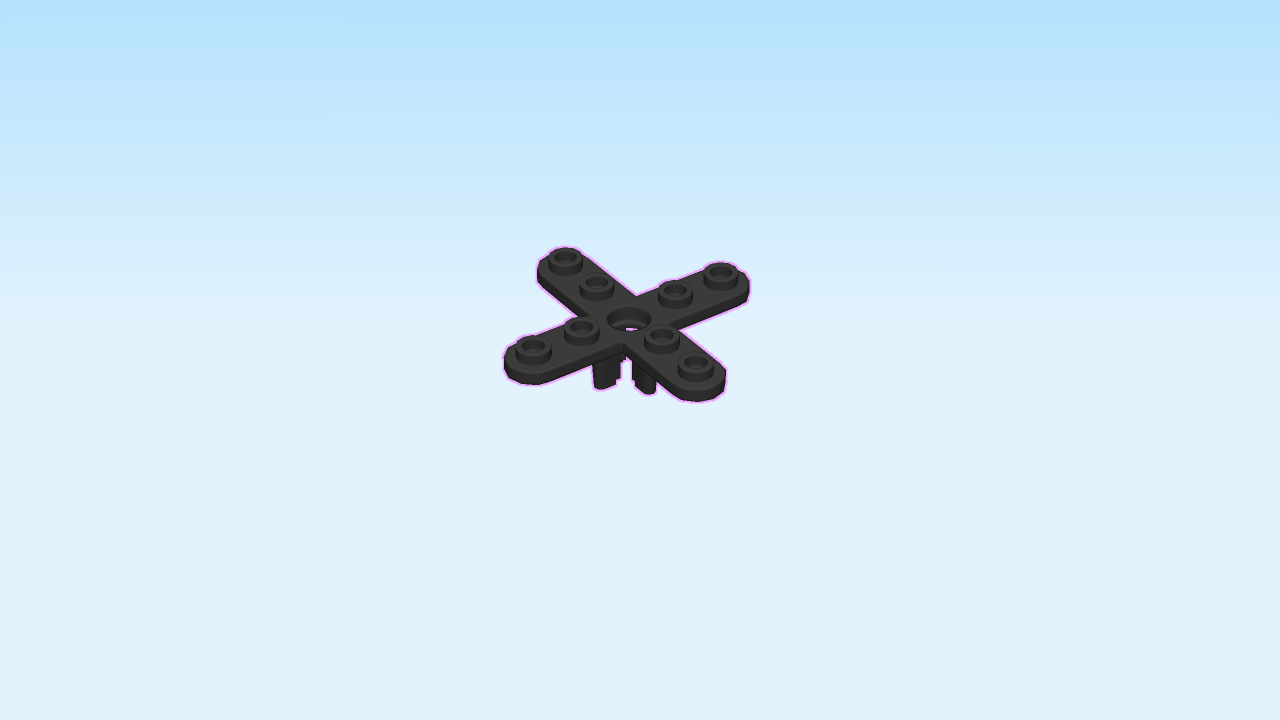
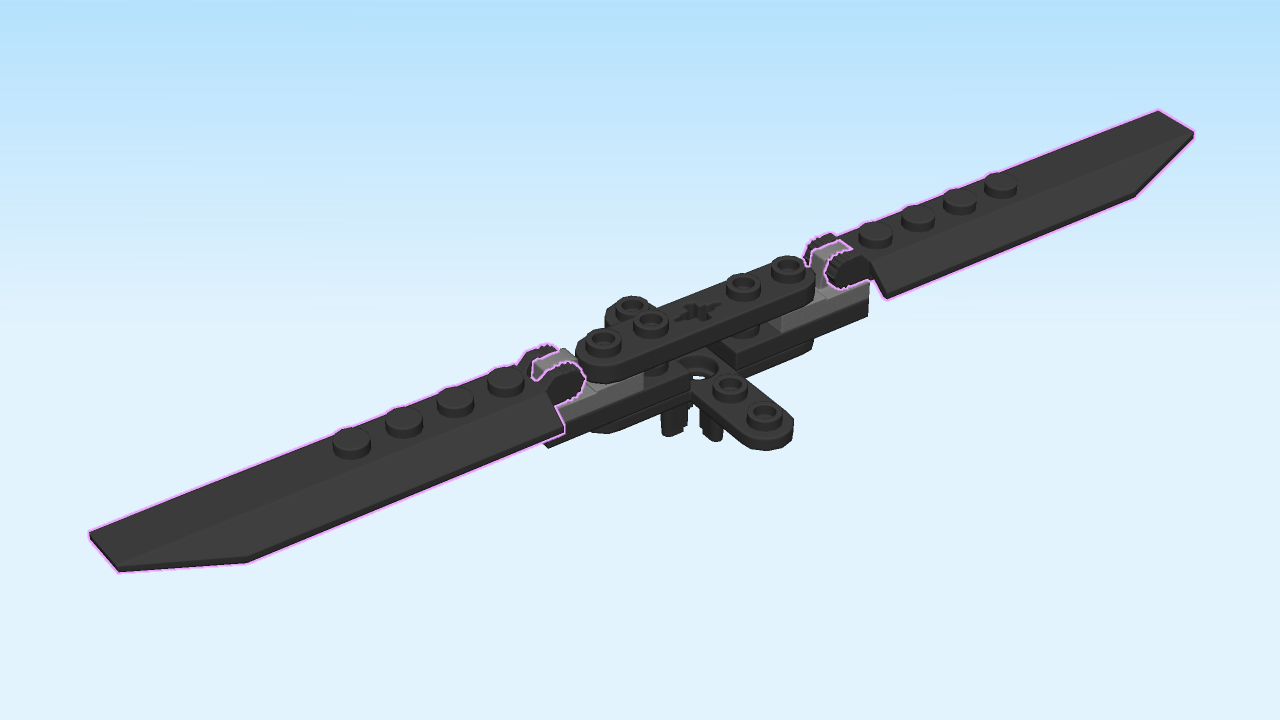
| Find 1 black rotor cross 5x5 with bottom tabs. |
| Put it knob-side up on the table, rotors pointing front and back and left and right. |
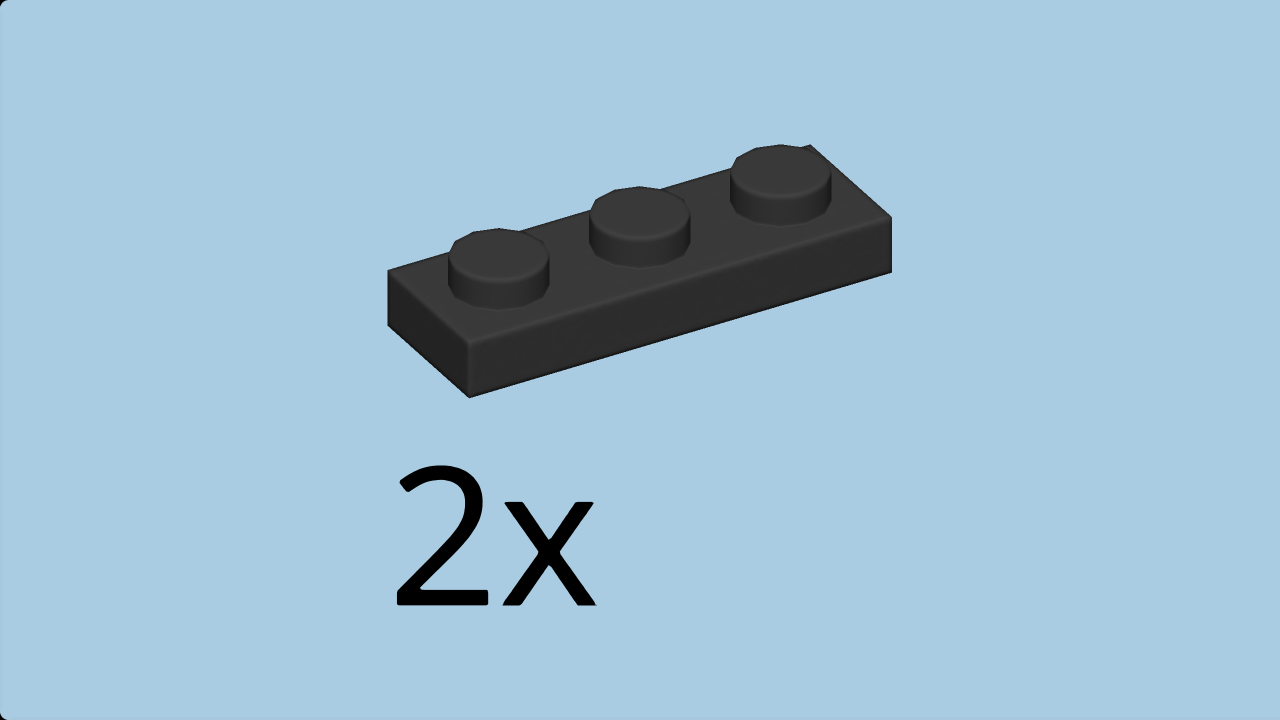
| Find 2 black plates 1x3. |
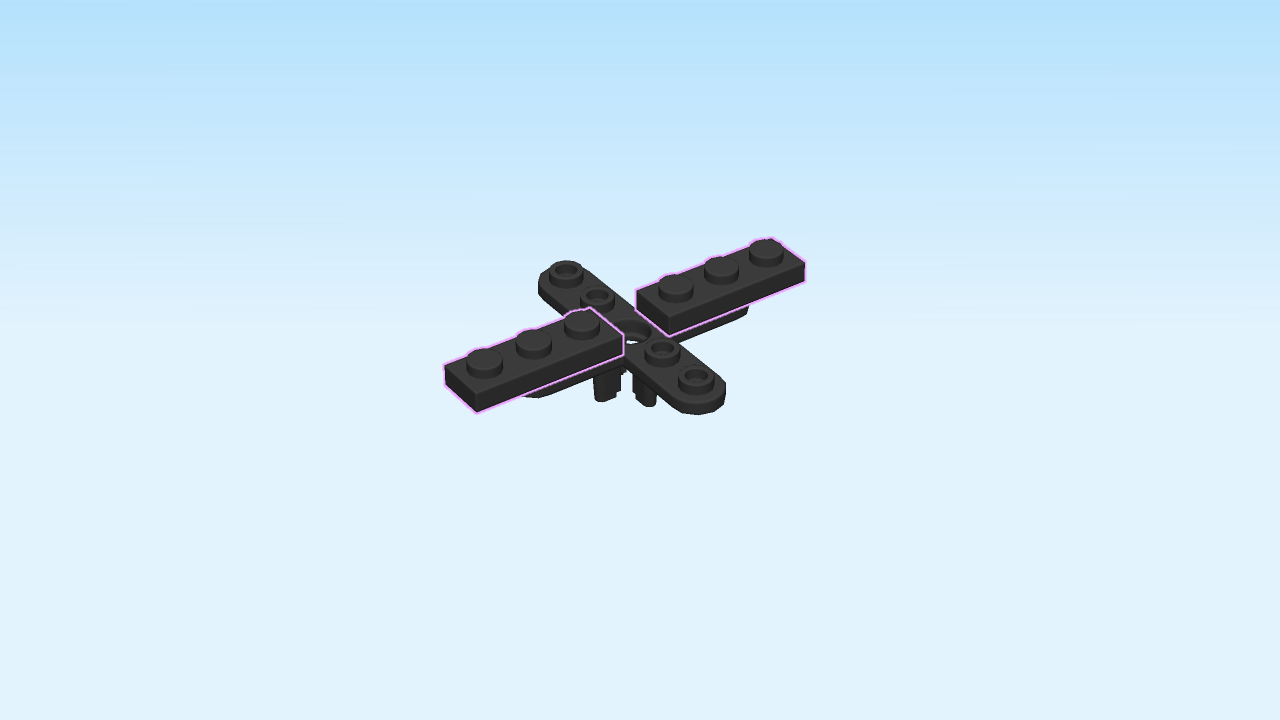
| Put one horizontally on the right rotor, one knob overhanging to the right. |
| Repeat symmetrically on the left. |
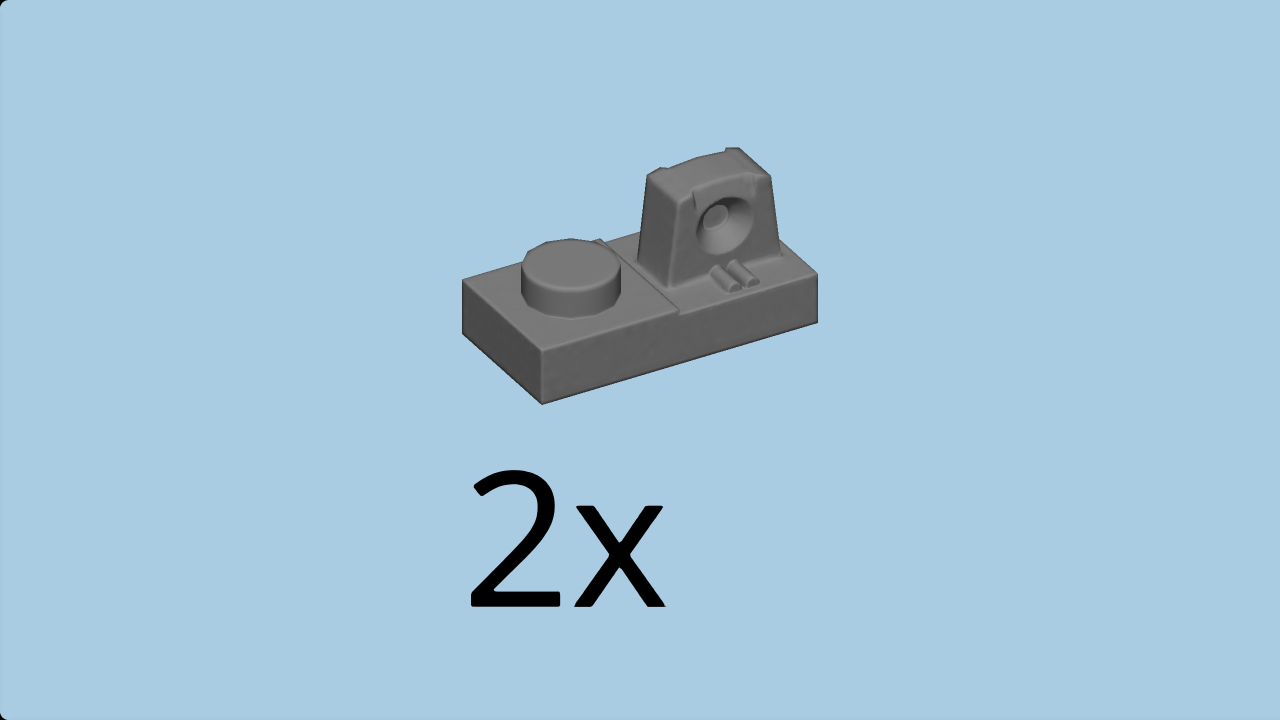
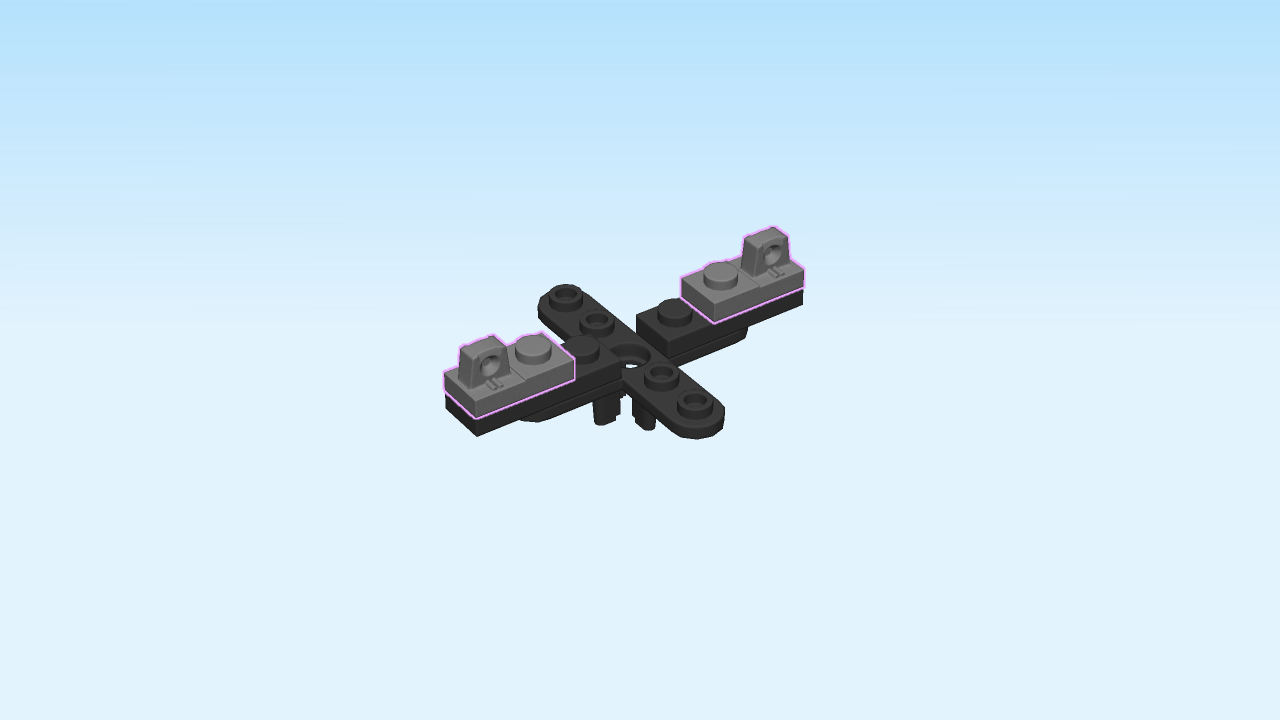
| Find 2 dark stone grey plates 1x2 with top hinge part. |
| Put one horizontally on the right two knobs, hinge to the right. |
| Repeat symmetrically on the left. |
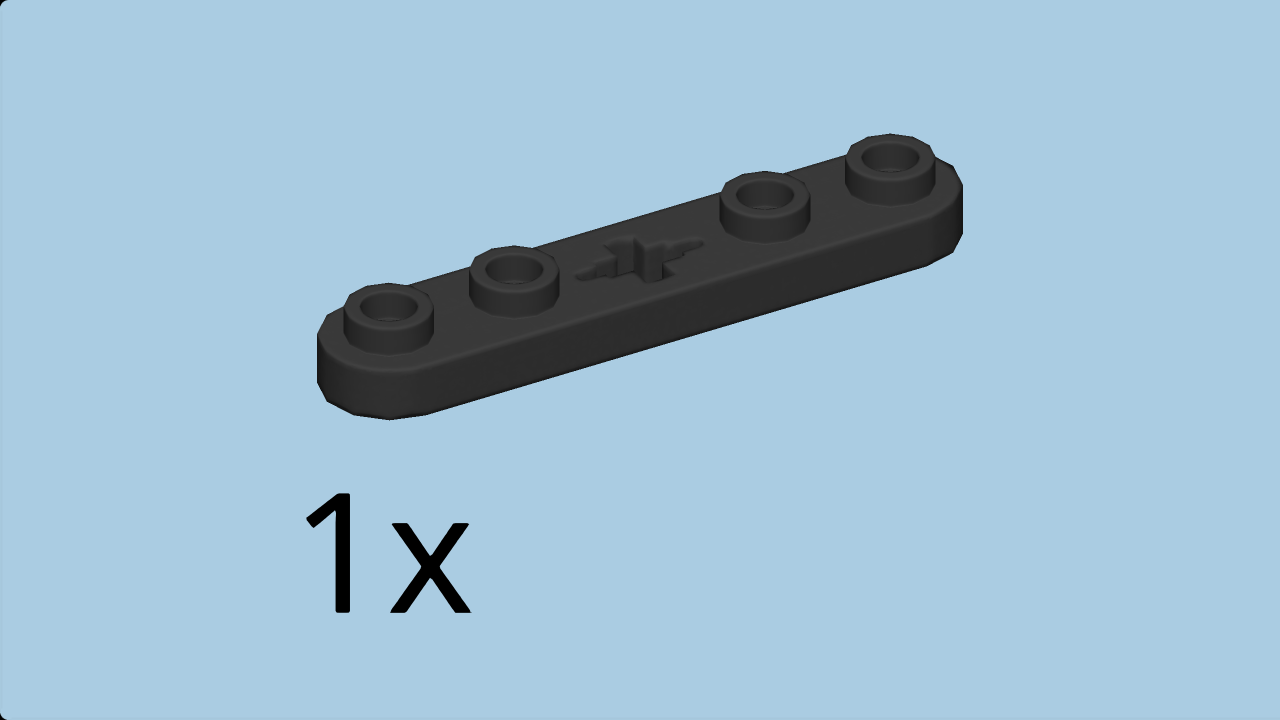
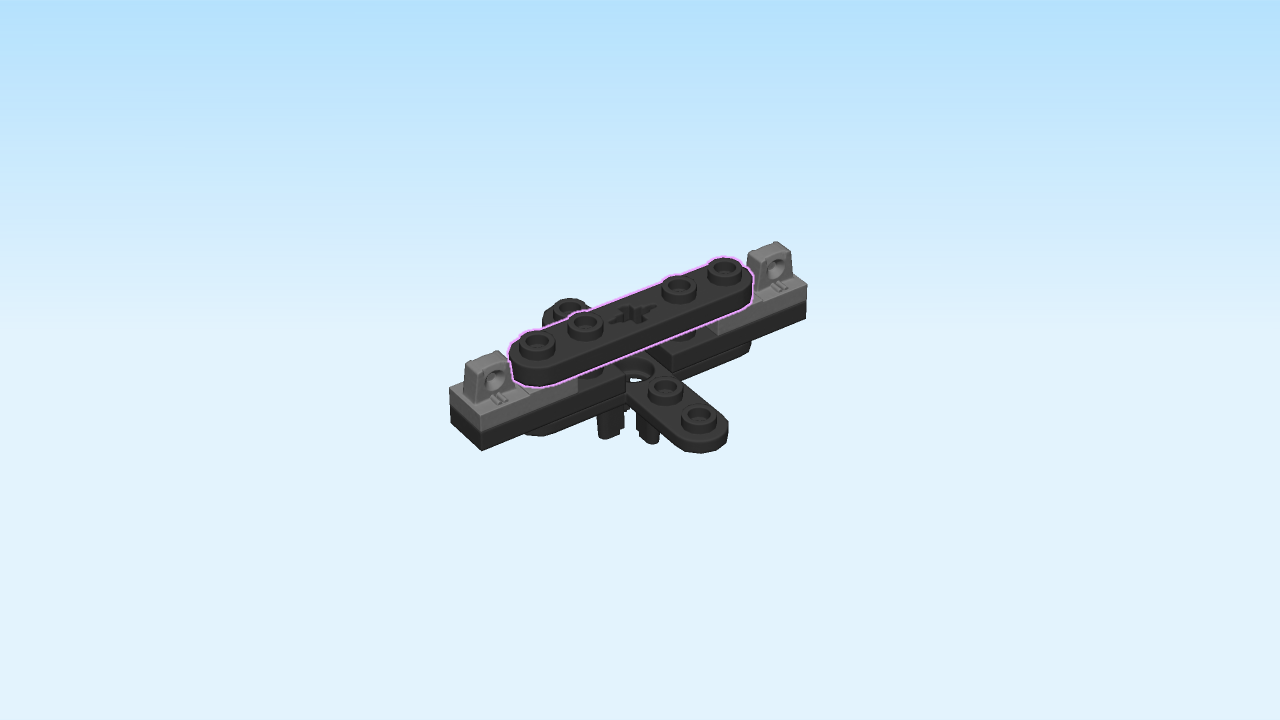
| Find 1 black rounded plate 1x5 with middle cross hole. |
| Put it horizontally on top. |
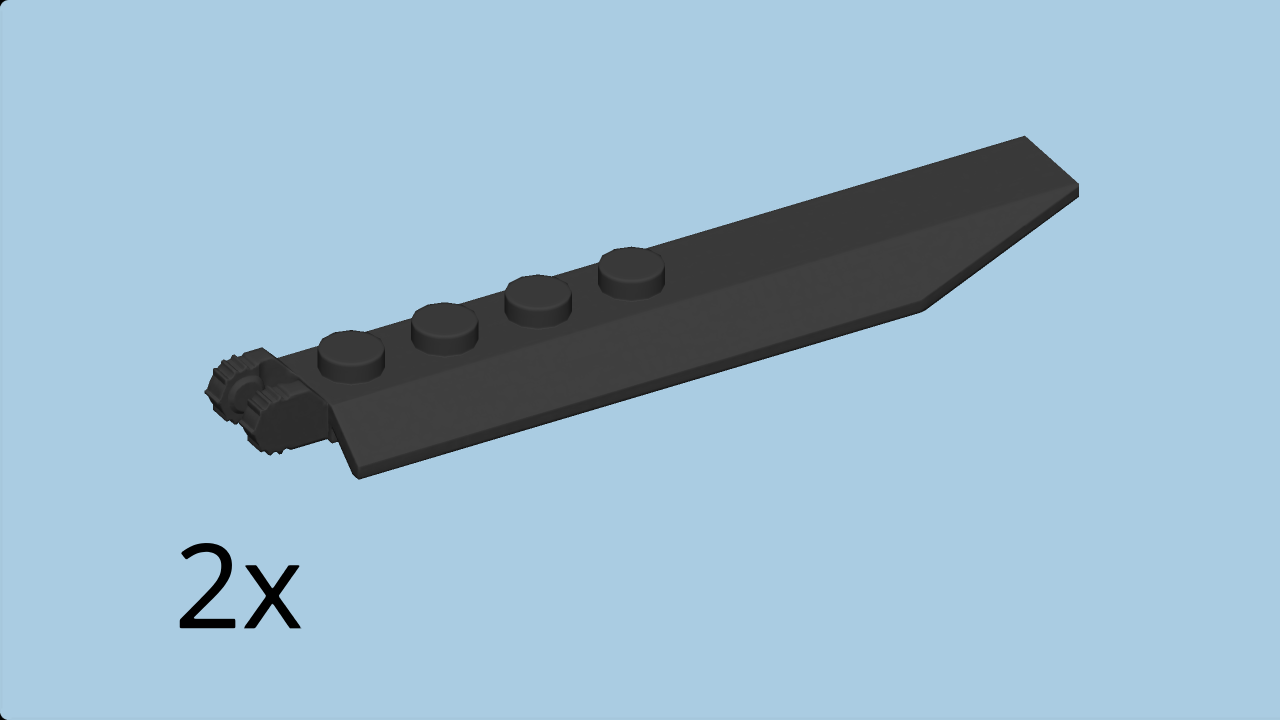
| Find 2 black flaps 2x8 with side hinge fingers. |
| Mount them on the hinges on the right and left. |
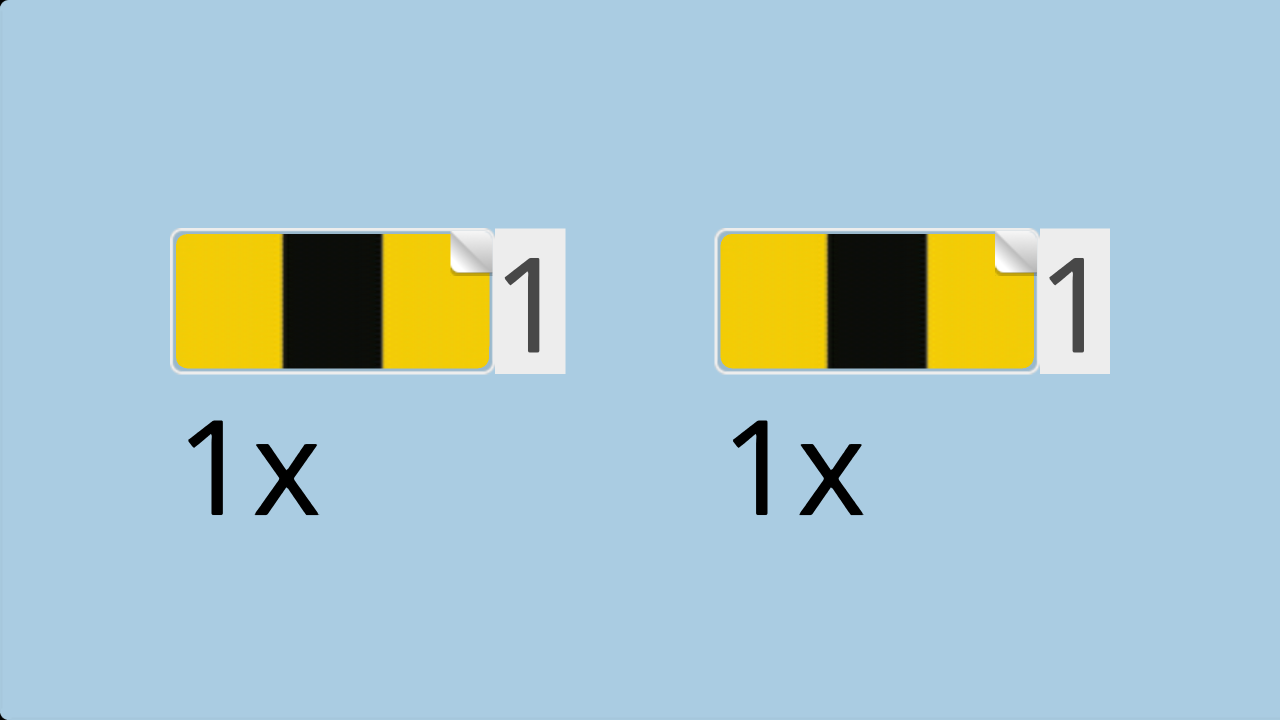
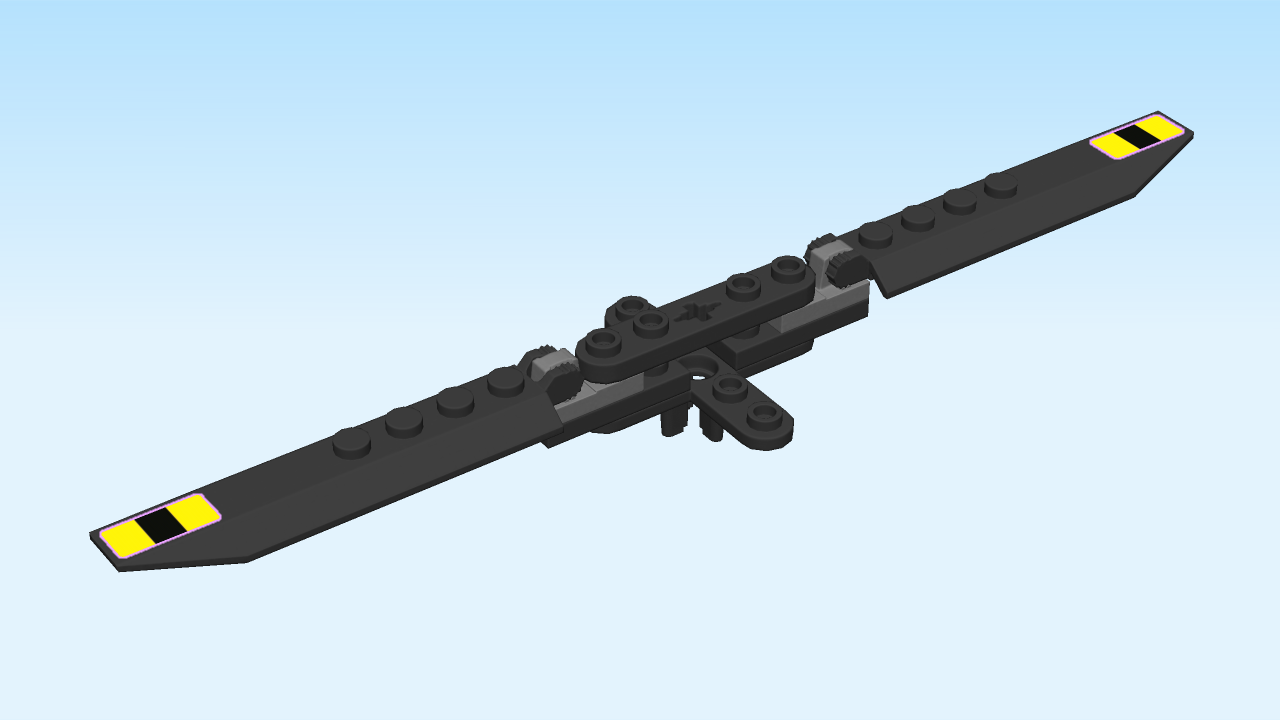
| Continue if you want to decorate them with stickers now. If not, skip the next three sentences. |
| Find 2 small rectangular stickers number 1. Ask a sighted person to help you. |
| Put them horizontally on the outmost ends of the flaps 2x8. |
| (They are bright yellow with a black stripe in the middle). |
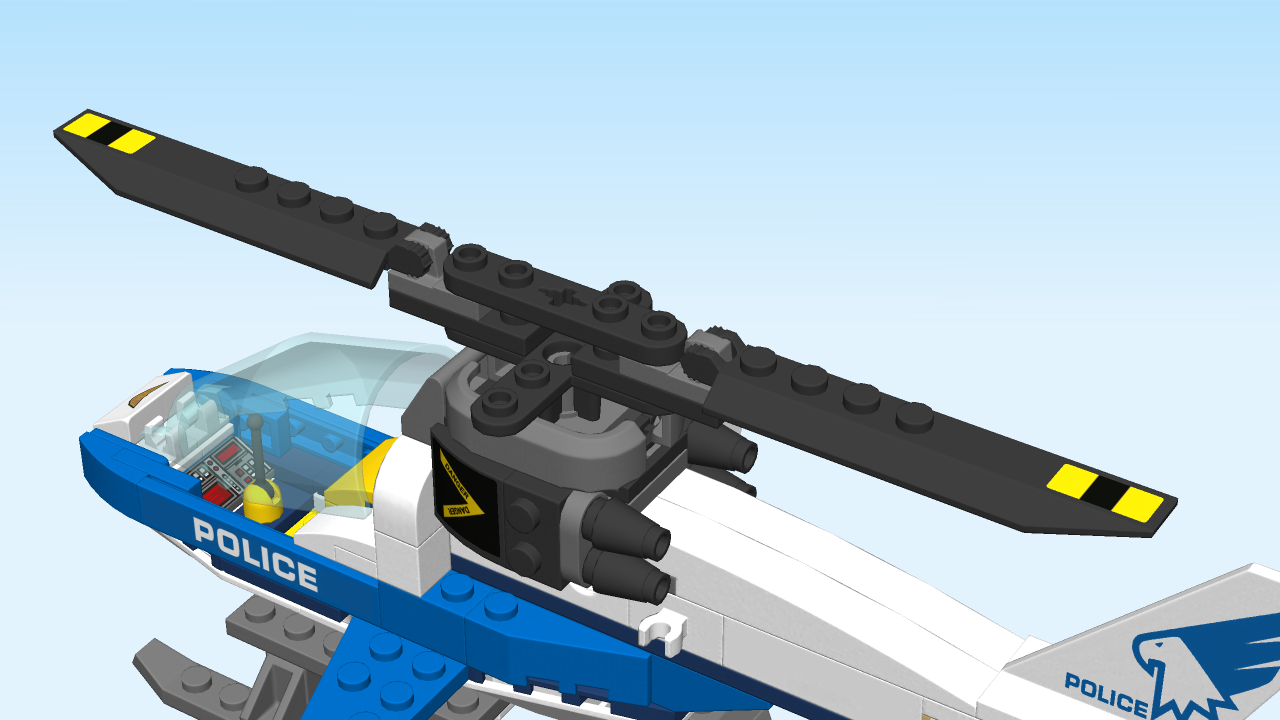
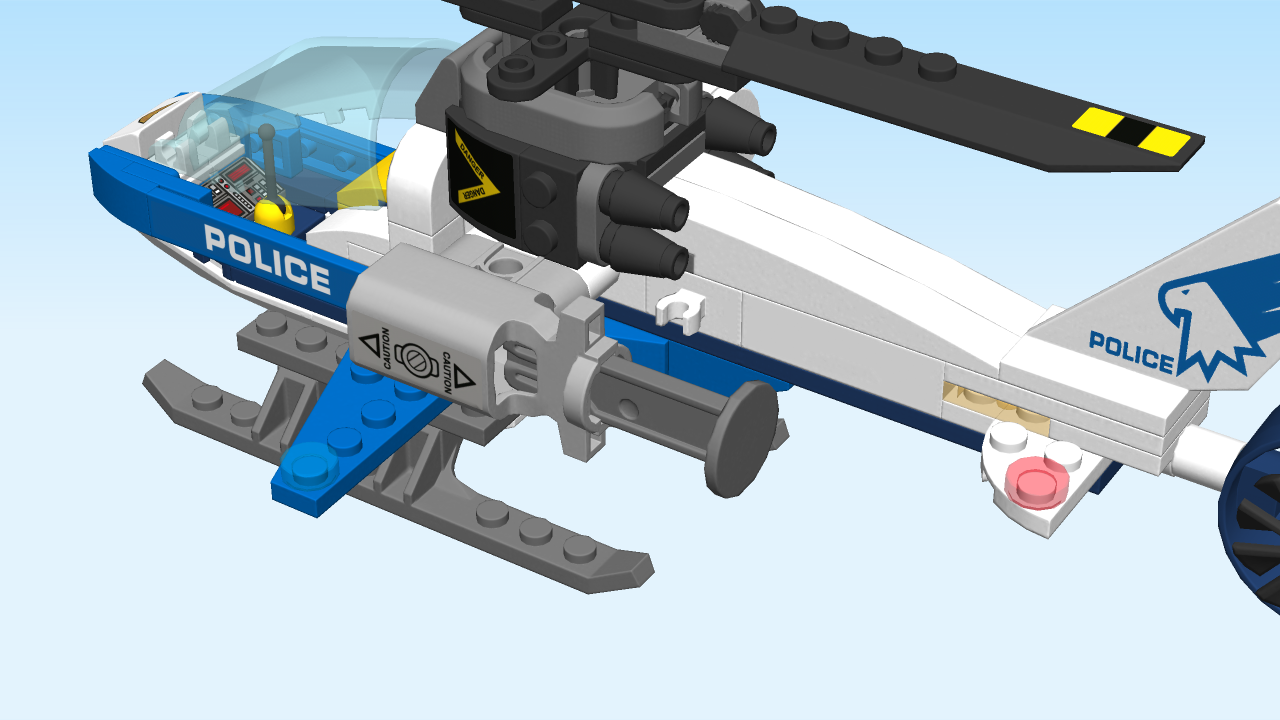
| The top spinning rotor is finished! Mount it on top of the helicopter by inserting the bottom tabs into the top connector of the rotor base. |
| Next, we will build the firing net shooter. |
| Collect the following 2 pieces: |
| 1 dark stone grey trigger for shooter barrel, |
| and 1 medium stone grey shooter barrel with beam 1x3. |
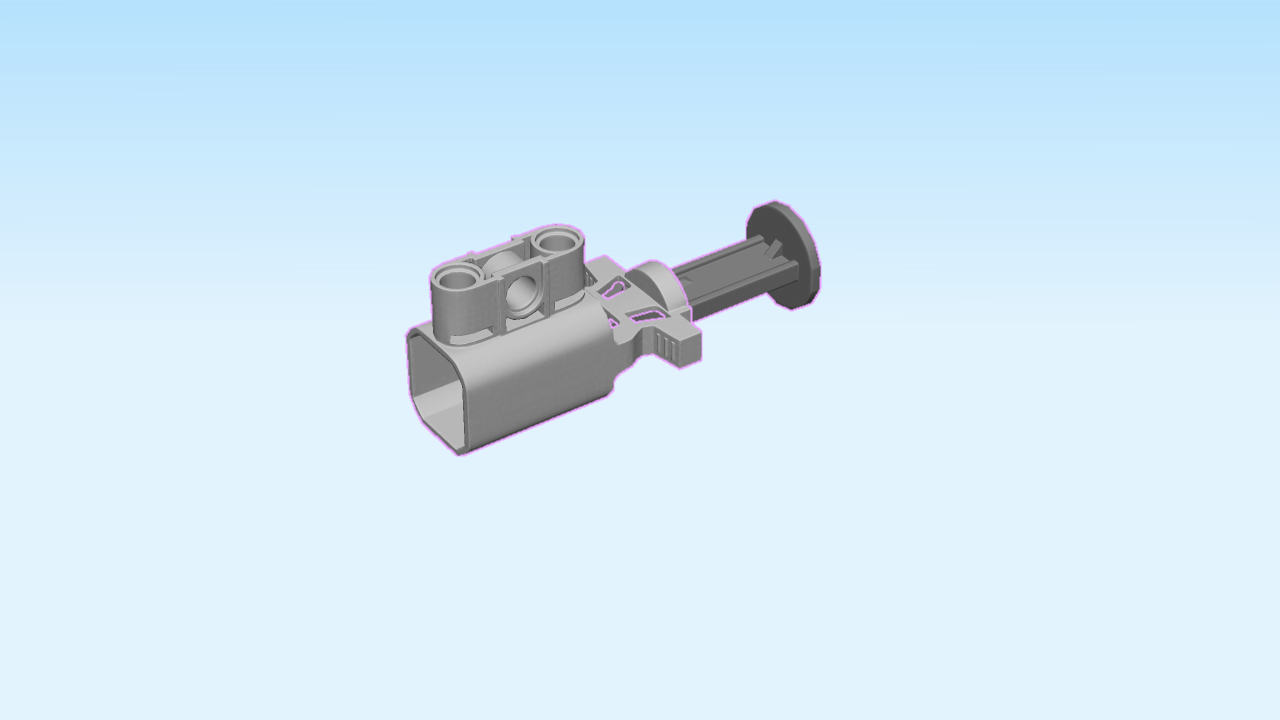
| Insert the trigger into the narrow opening of the shooter barrel. |
| Put the shooter barrel horizontally, trigger to the right, and beam 1x3 to the top. |
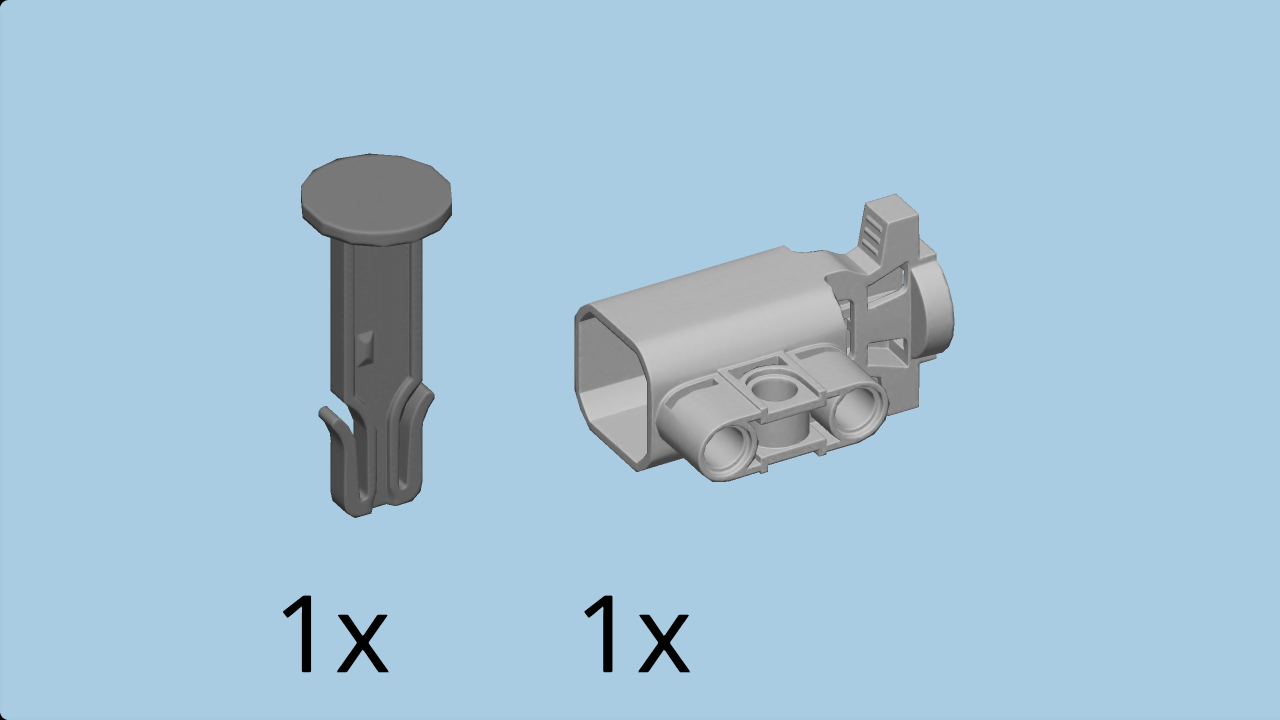
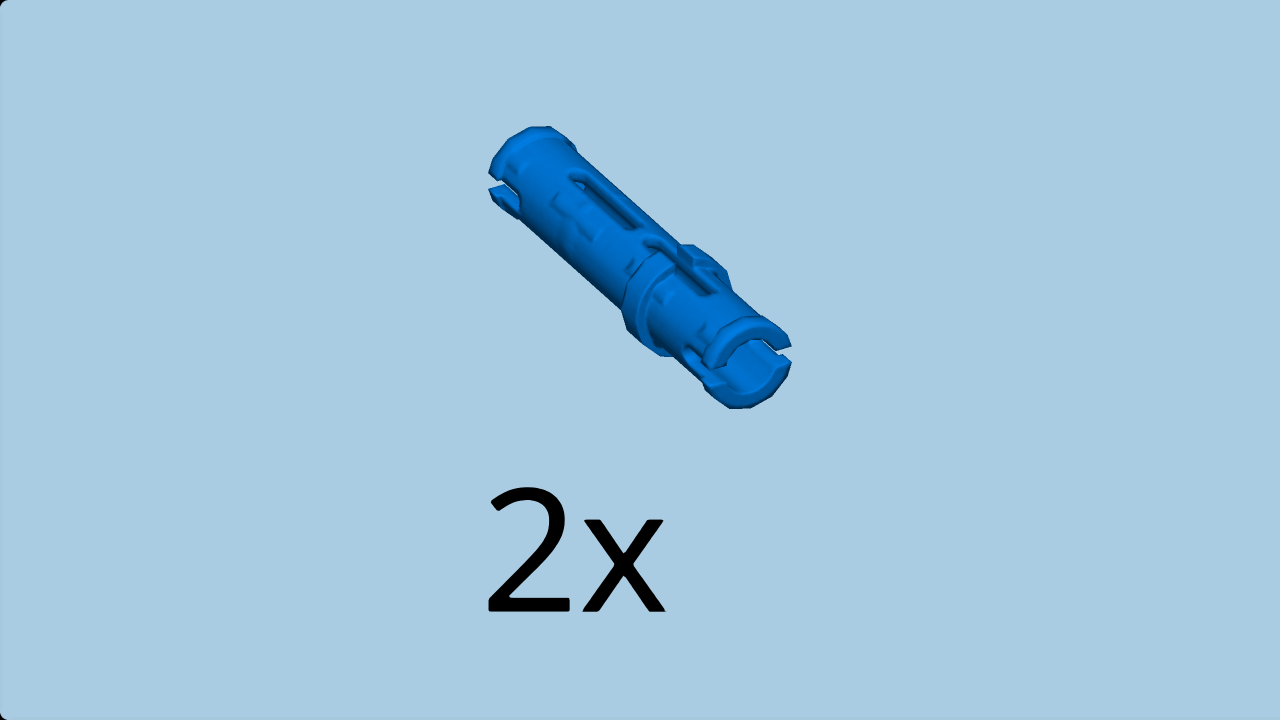
| Find 2 bright blue connector pegs with ring, 3 knobs long. |
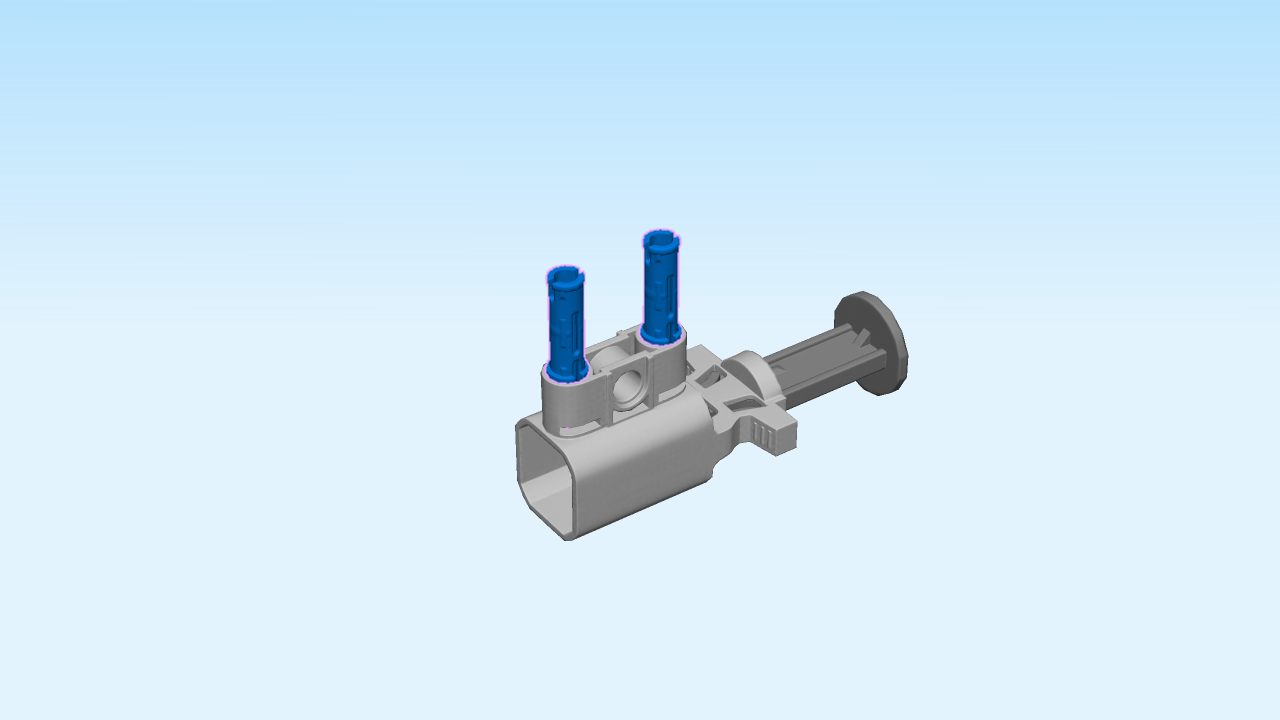
| Insert the shorter ends of the connector pegs into the holes on top of the shooter barrel. |
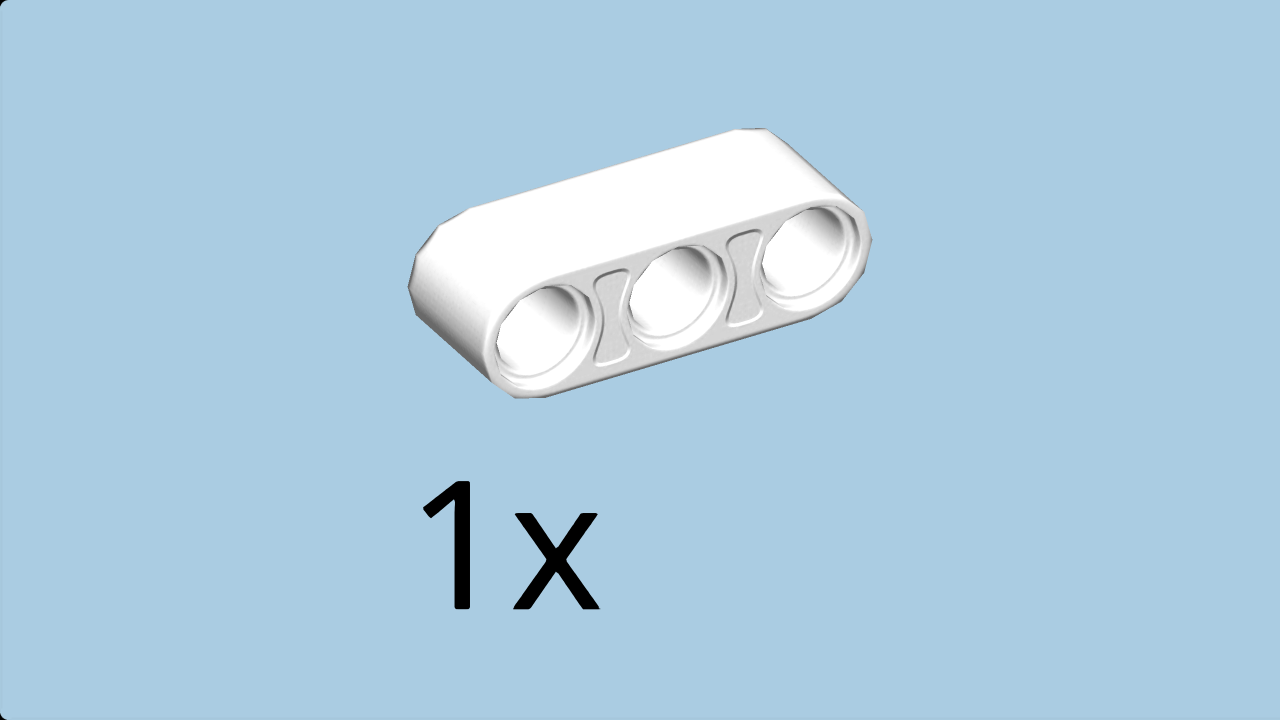
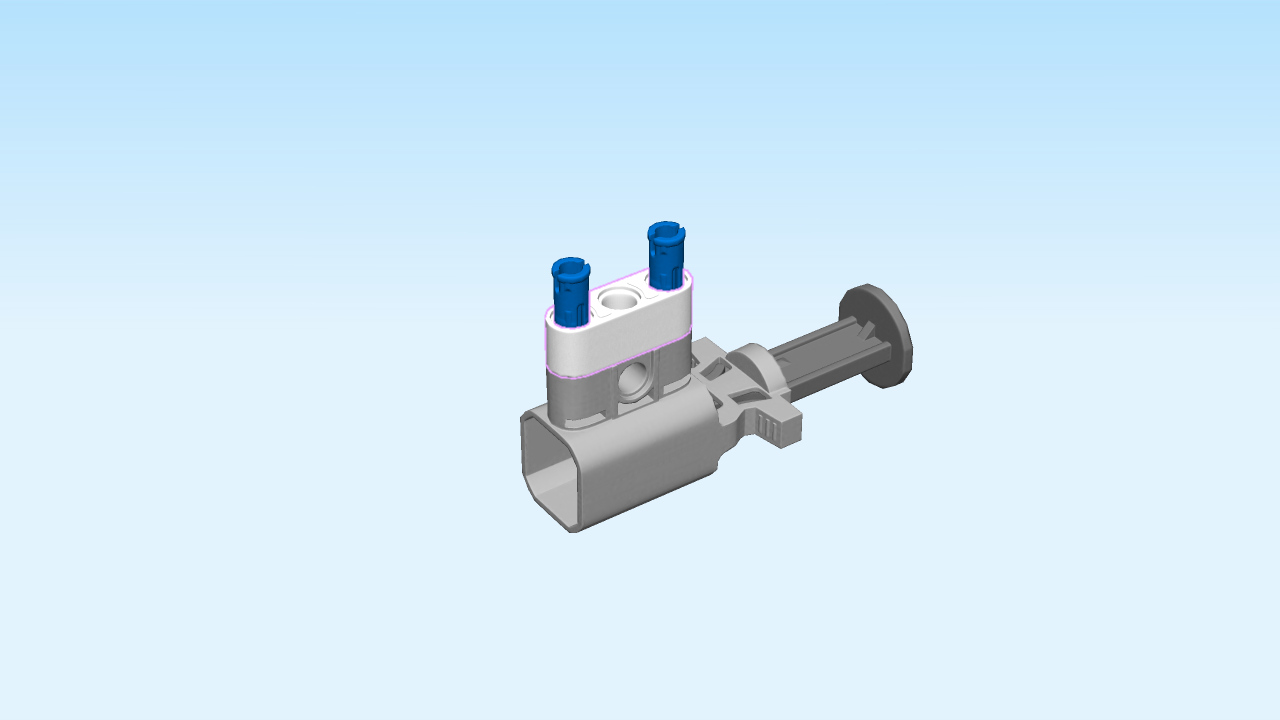
| Find 1 white lift arm 1x3. |
| Insert it horizontally into the connectors on top. |
| Flip the structure 90 degrees to the back. This means that now, the connectors no longer point to the top but to the back side. |
| Continue if you want to decorate the shooter barrel with a sticker now. If not, skip the next 3 sentences. |
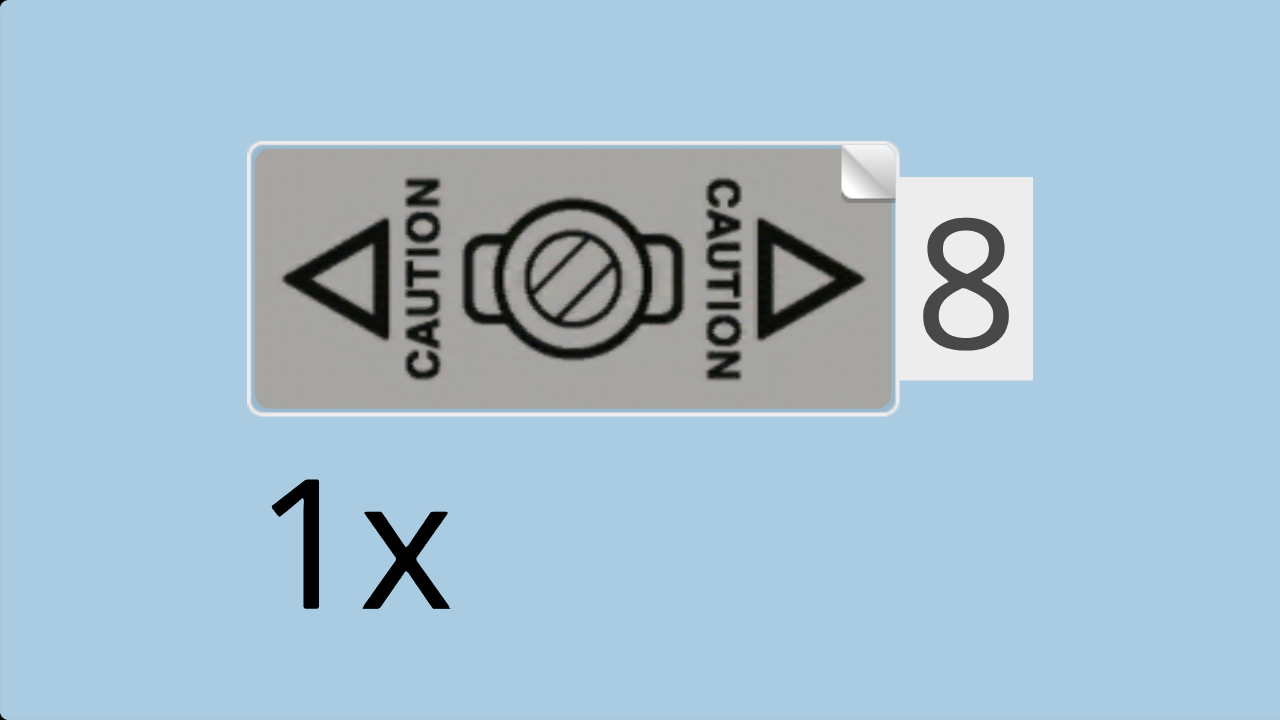
| Find 1 medium-sized rectangle sticker number 8. Ask a sighted person to help you. |
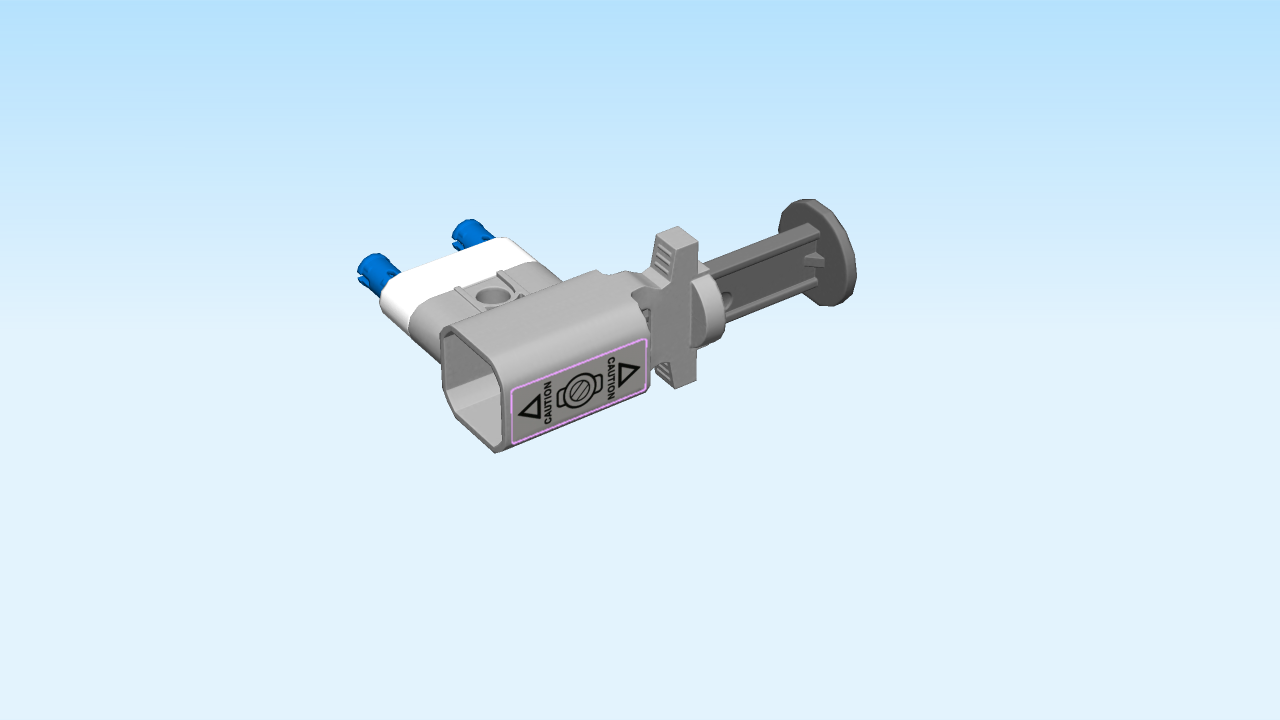
| Put it horizontally on the front side surface. |
| (The sticker is grey and has black arrows pointing to the left and right printed on it. The word "CAUTION" is on there twice, and a net symbol in the middle). |
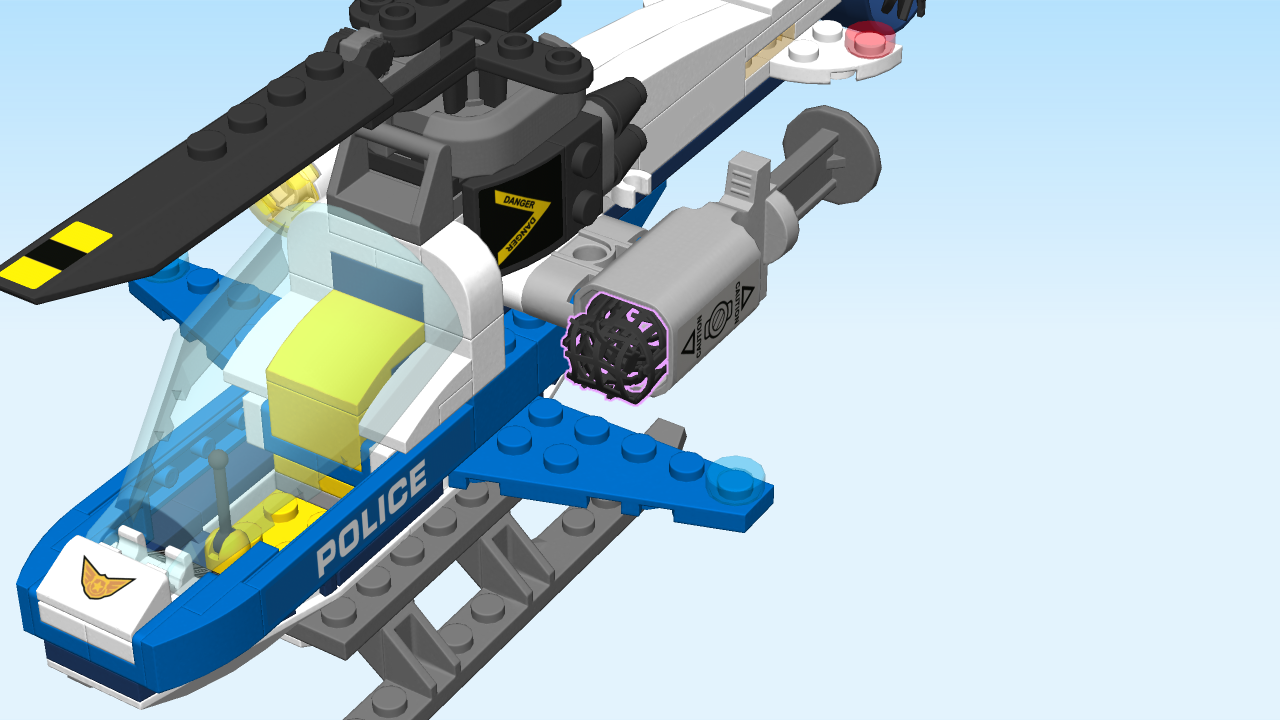
| The firing net shooter is finished! Mount it by inserting the connectors into the left and right holes at the front side of the helicopter, trigger to the right. |
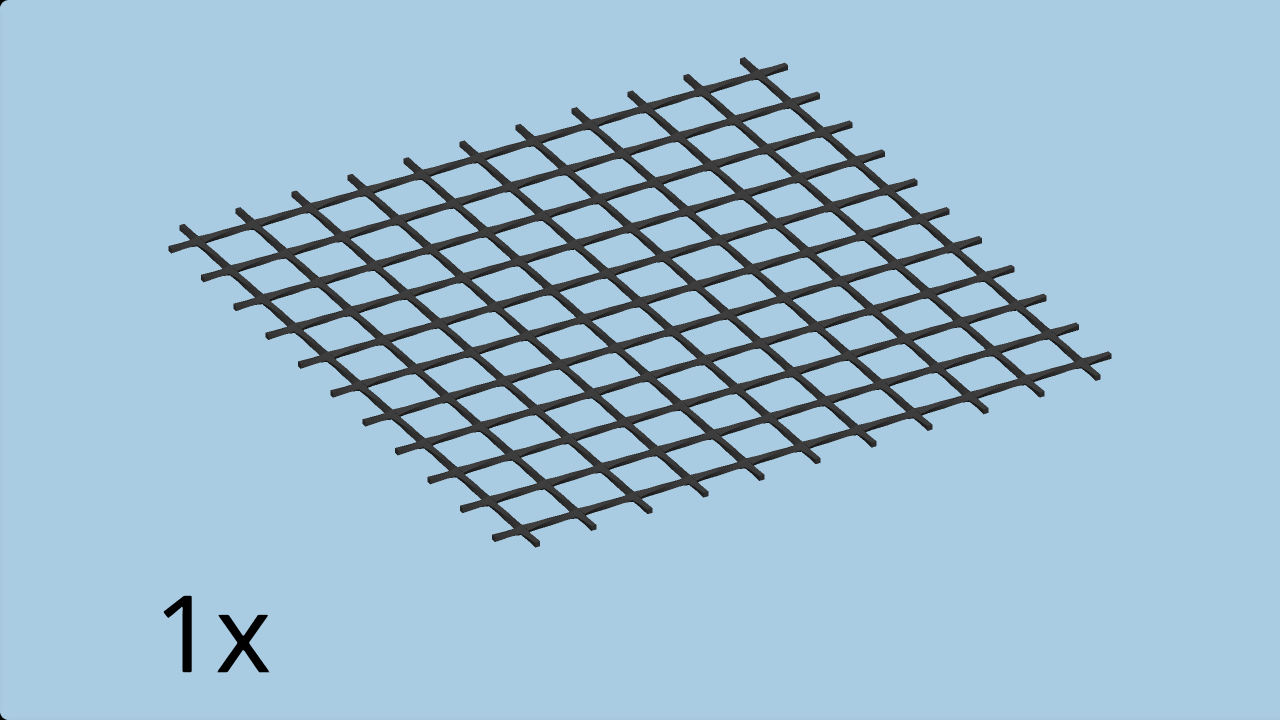
| Take the black net 10x10 out of the little box. |
| Scrunch up the net and put it into the wide opening of the shooter barrel. |
| Pull the trigger back and push it to eject the net. |
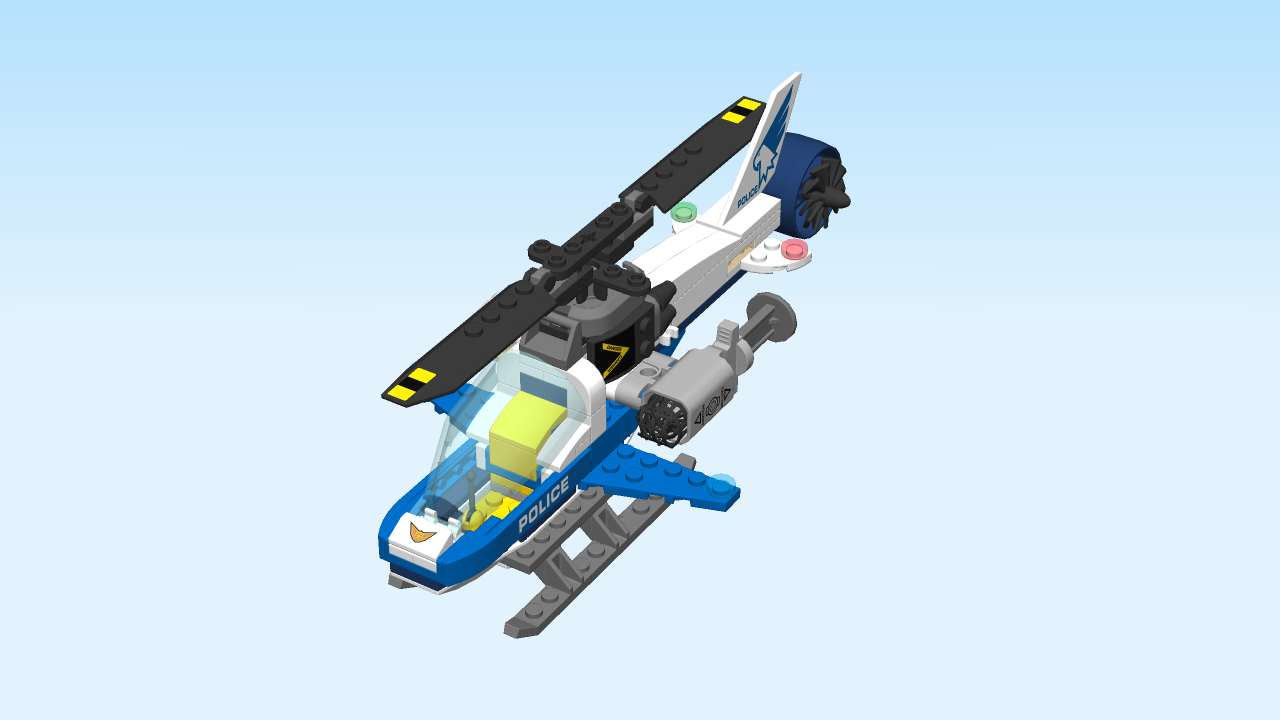
| The helicopter is finished! Well done! Seat the Sky police officer in the cockpit and let him chase after the crook! Maybe he can even catch the crook with the net. |
| Enjoy! |
