| LEGO Audio & Braille Building Instructions for the LEGO Disney set "Anna's Sleigh Adventure". |
| If you would like to access the help menu to find out how to use and navigate these instructions, tap with two fingers or press key "H". |
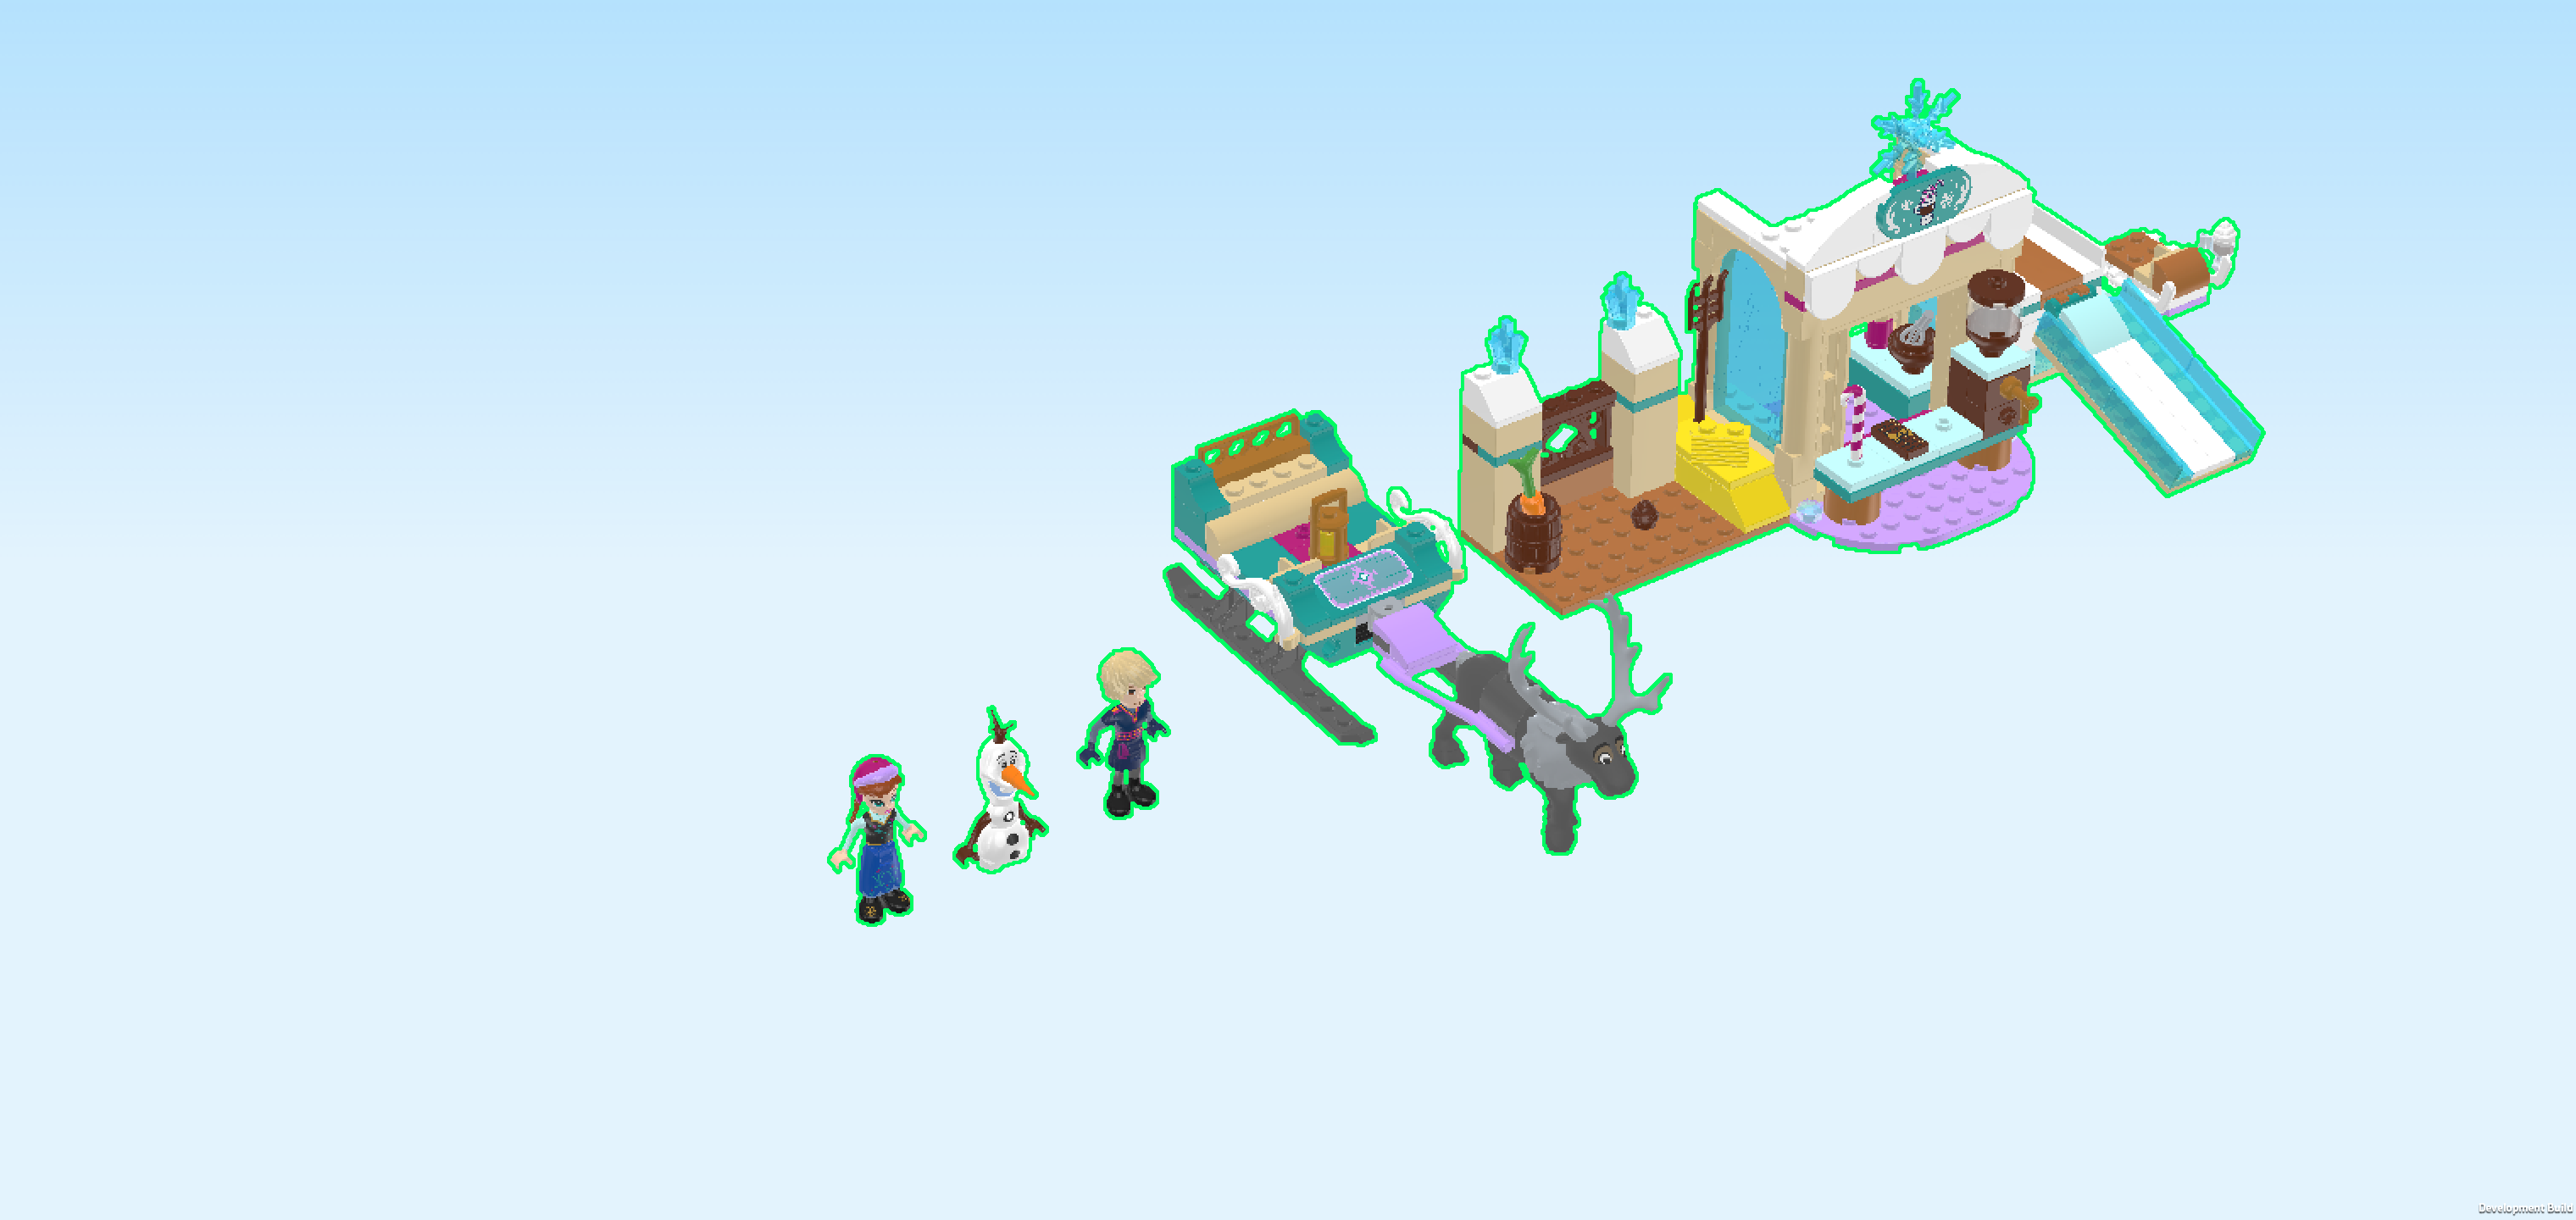
| Join Anna and Kristoff on a magical adventure in a building set full of Disney's Frozen fun! Pack up the big sleigh with a carrot and a candy cane. Hitch Sven to the front and take off. Look, there's a hill for sledding, let's take a ride with Anna. So much fun! Then, head to Olaf's hot chocolate stand and have a cup to warm up. Give Sven a carrot, then it's time for a sleigh ride! |
| The box cover shows a magical winter wonderland in Arendelle! Against a backdrop of snowy trees, hills and rooftops, the scene shows Kristoff riding the reindeer-drawn sleigh, waving to Anna with a box of chocolates in his hand. His reindeer and best friend Sven is hitched to the open two-seater carriage, a beautiful turquoise sleigh. Meanwhile, Anna is sledding down a snowy slope on her small sled. Olaf, her snowman friend, is already waiting at the foot of the hill with a cup of hot chocolate! All of this is happening in front of the beautifully decorated hot chocolate stand and the small stable for Sven complete with a carrot barrel and a few bales of straw. Looking closely, we can even see a pile of reindeer poop! Nothing unusual for a stable of course. But now, let's start building so you can discover all the wonderful wintery details yourself! |
| Open the box. It contains 4 booklets with visual building instructions, 4 numbered bags and 4 loose pieces: 1 plate 10x10 with 2 rounded corners, 1 reindeer, 1 inverted double roof tile 6x8, and 1 helicopter or sleigh undercarriage 12x6x1⅓. We will refer to the bag numbers to guide you through the building process. Please ask a sighted person to help you identify the correct bags! |
| Carefully open bag number 1 and any small sub-bags in it. This bag contains all bricks and pieces for Sven, the reindeer, and the sleigh with harness. |
| If you like, you can ask a sighted person to sort the pieces by color before you start building. We recommend using trays or bowls. This can make finding the correct pieces easier! However, if you would like to build without brick colors entirely, you can also ignore them or turn them off. There are different ways to sort and organize the bricks and your building process. It is up to you! |
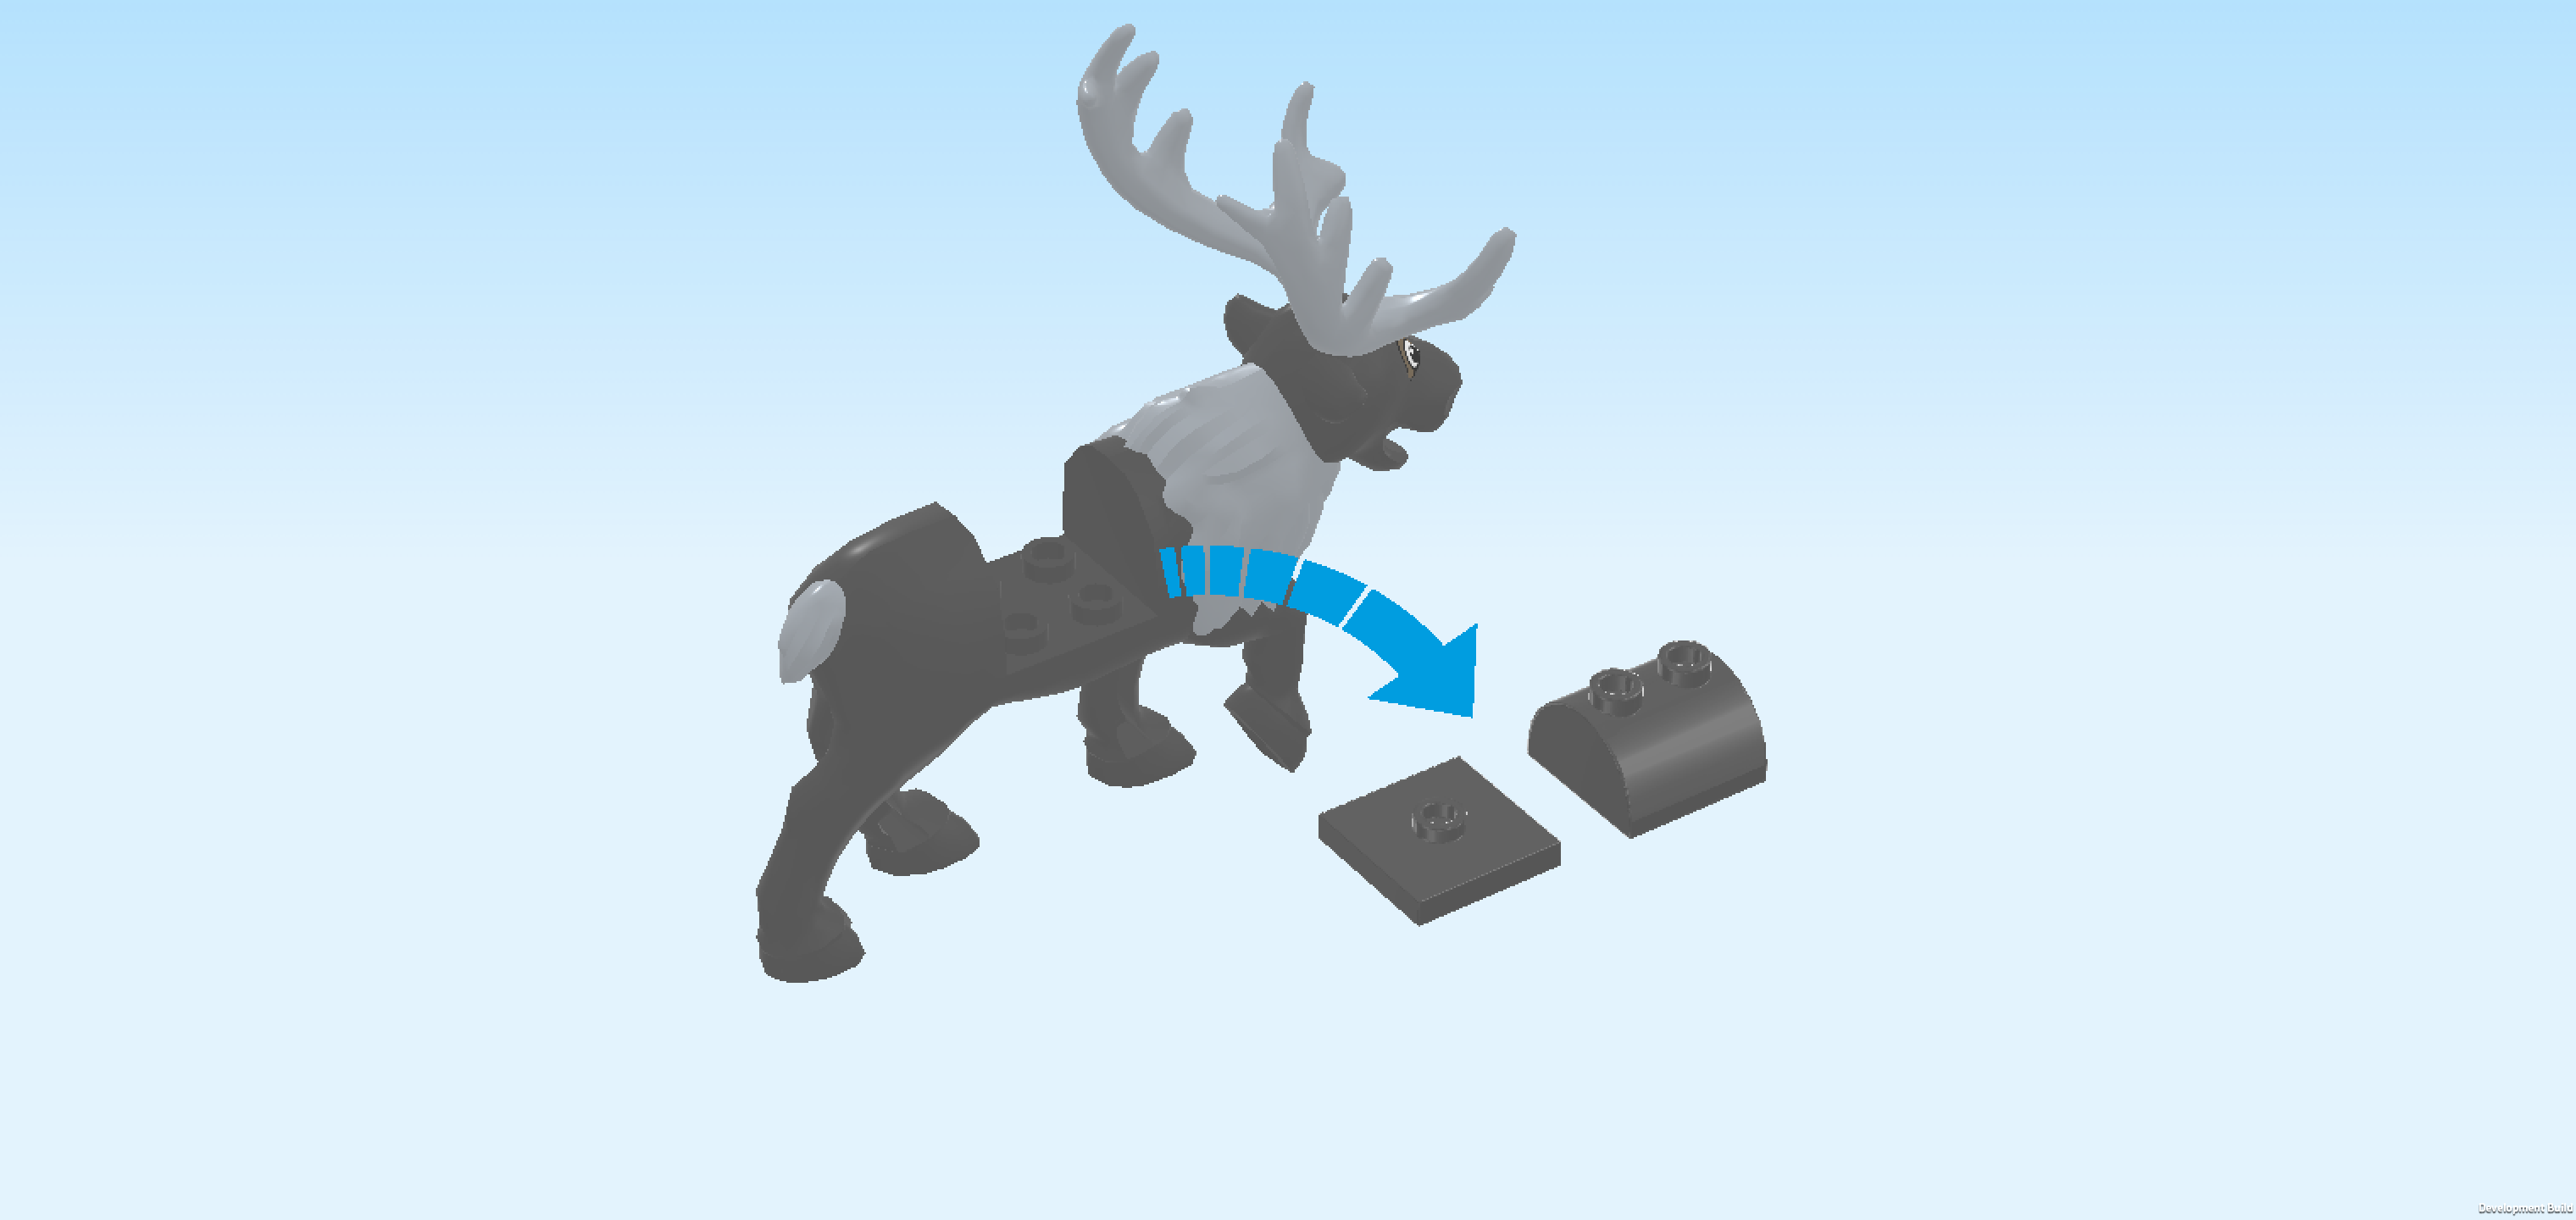
| First, we will assemble Sven, the reindeer. |
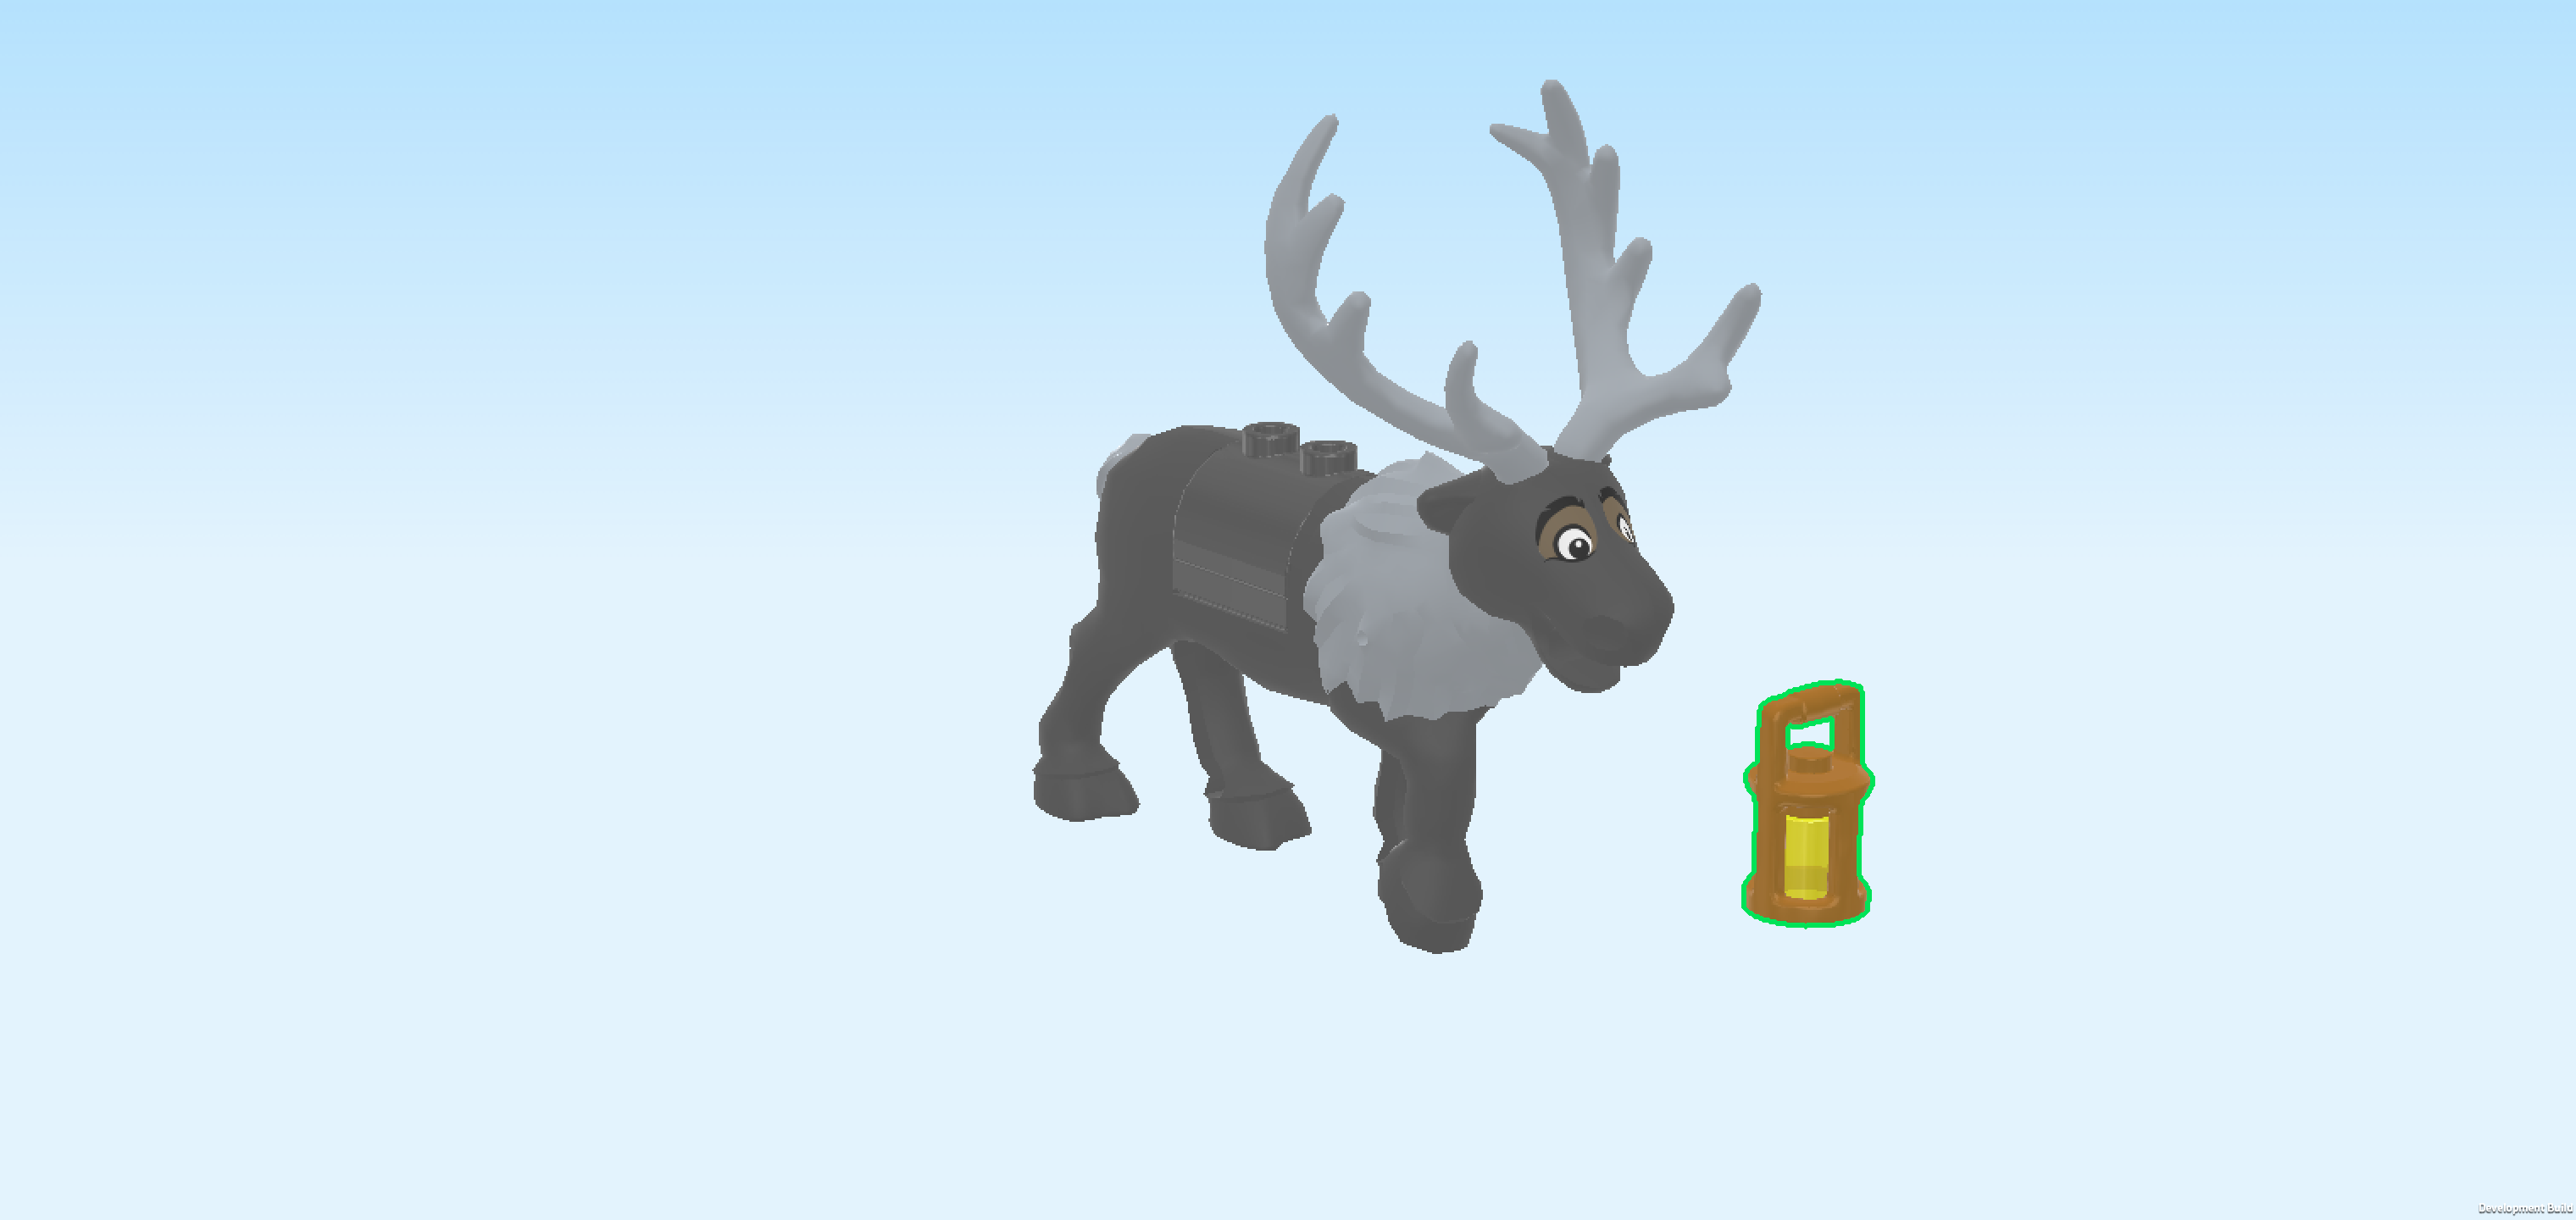
| Collect the following 2 pieces: |
| 1 dark stone grey and medium stone grey reindeer, |
| and 1 dark stone grey plate 2x2 with 1 knob. |
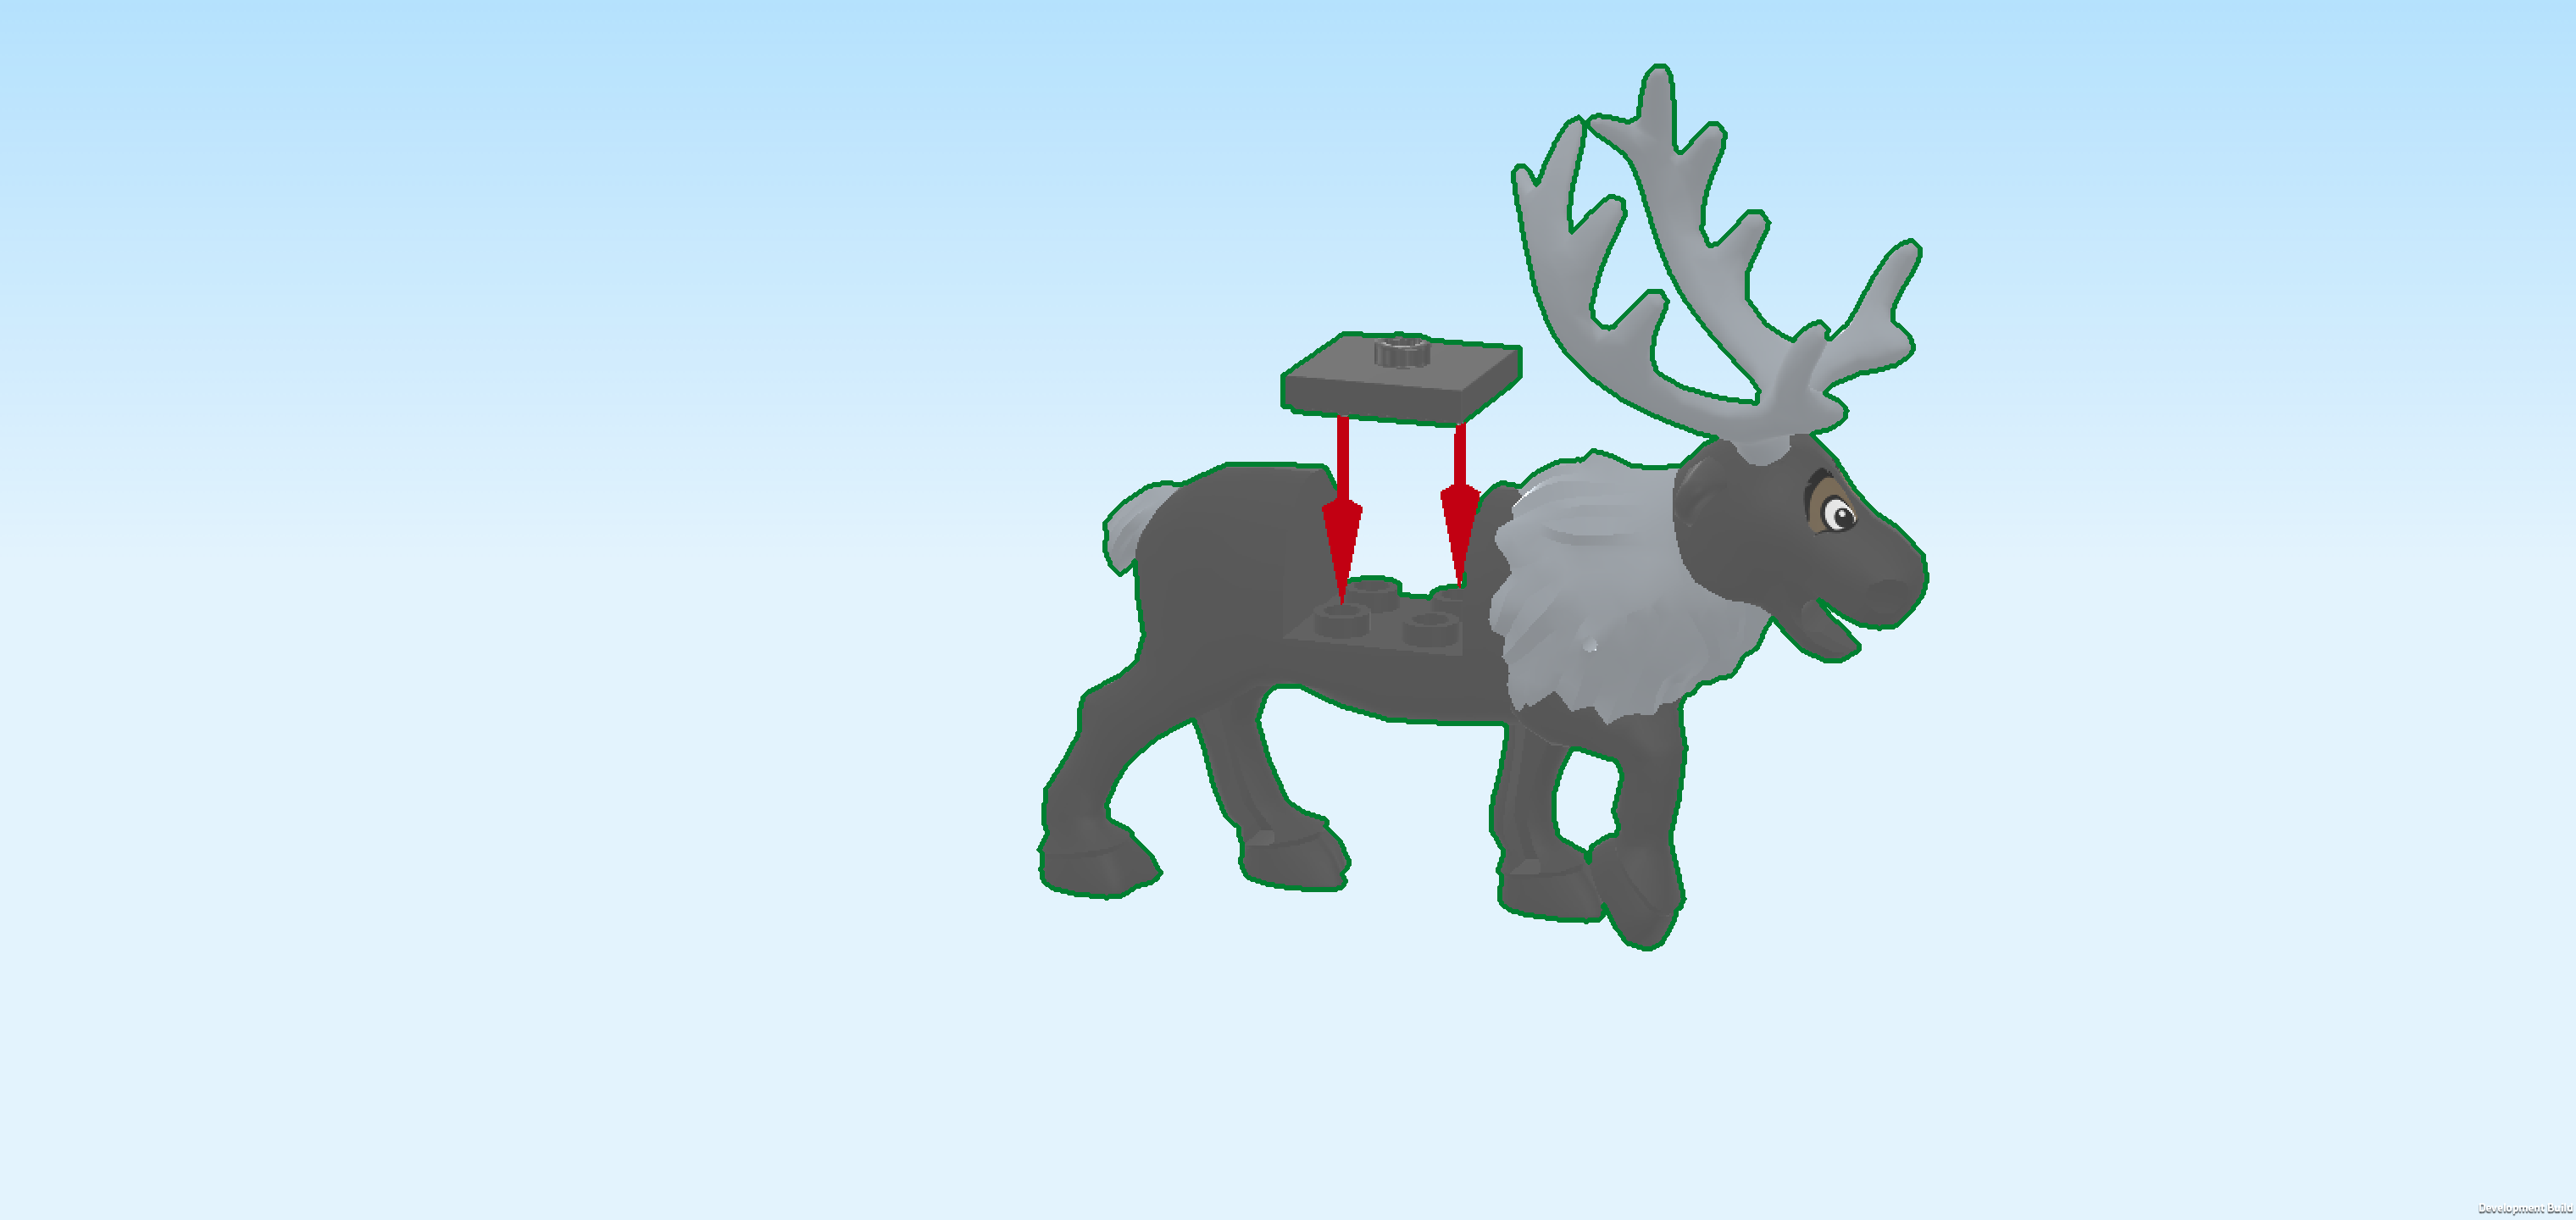
| Put the reindeer horizontally in front of you so that its nose is pointing to the right. |
| Put the plate 2x2 into the recess on the reindeer's back. |
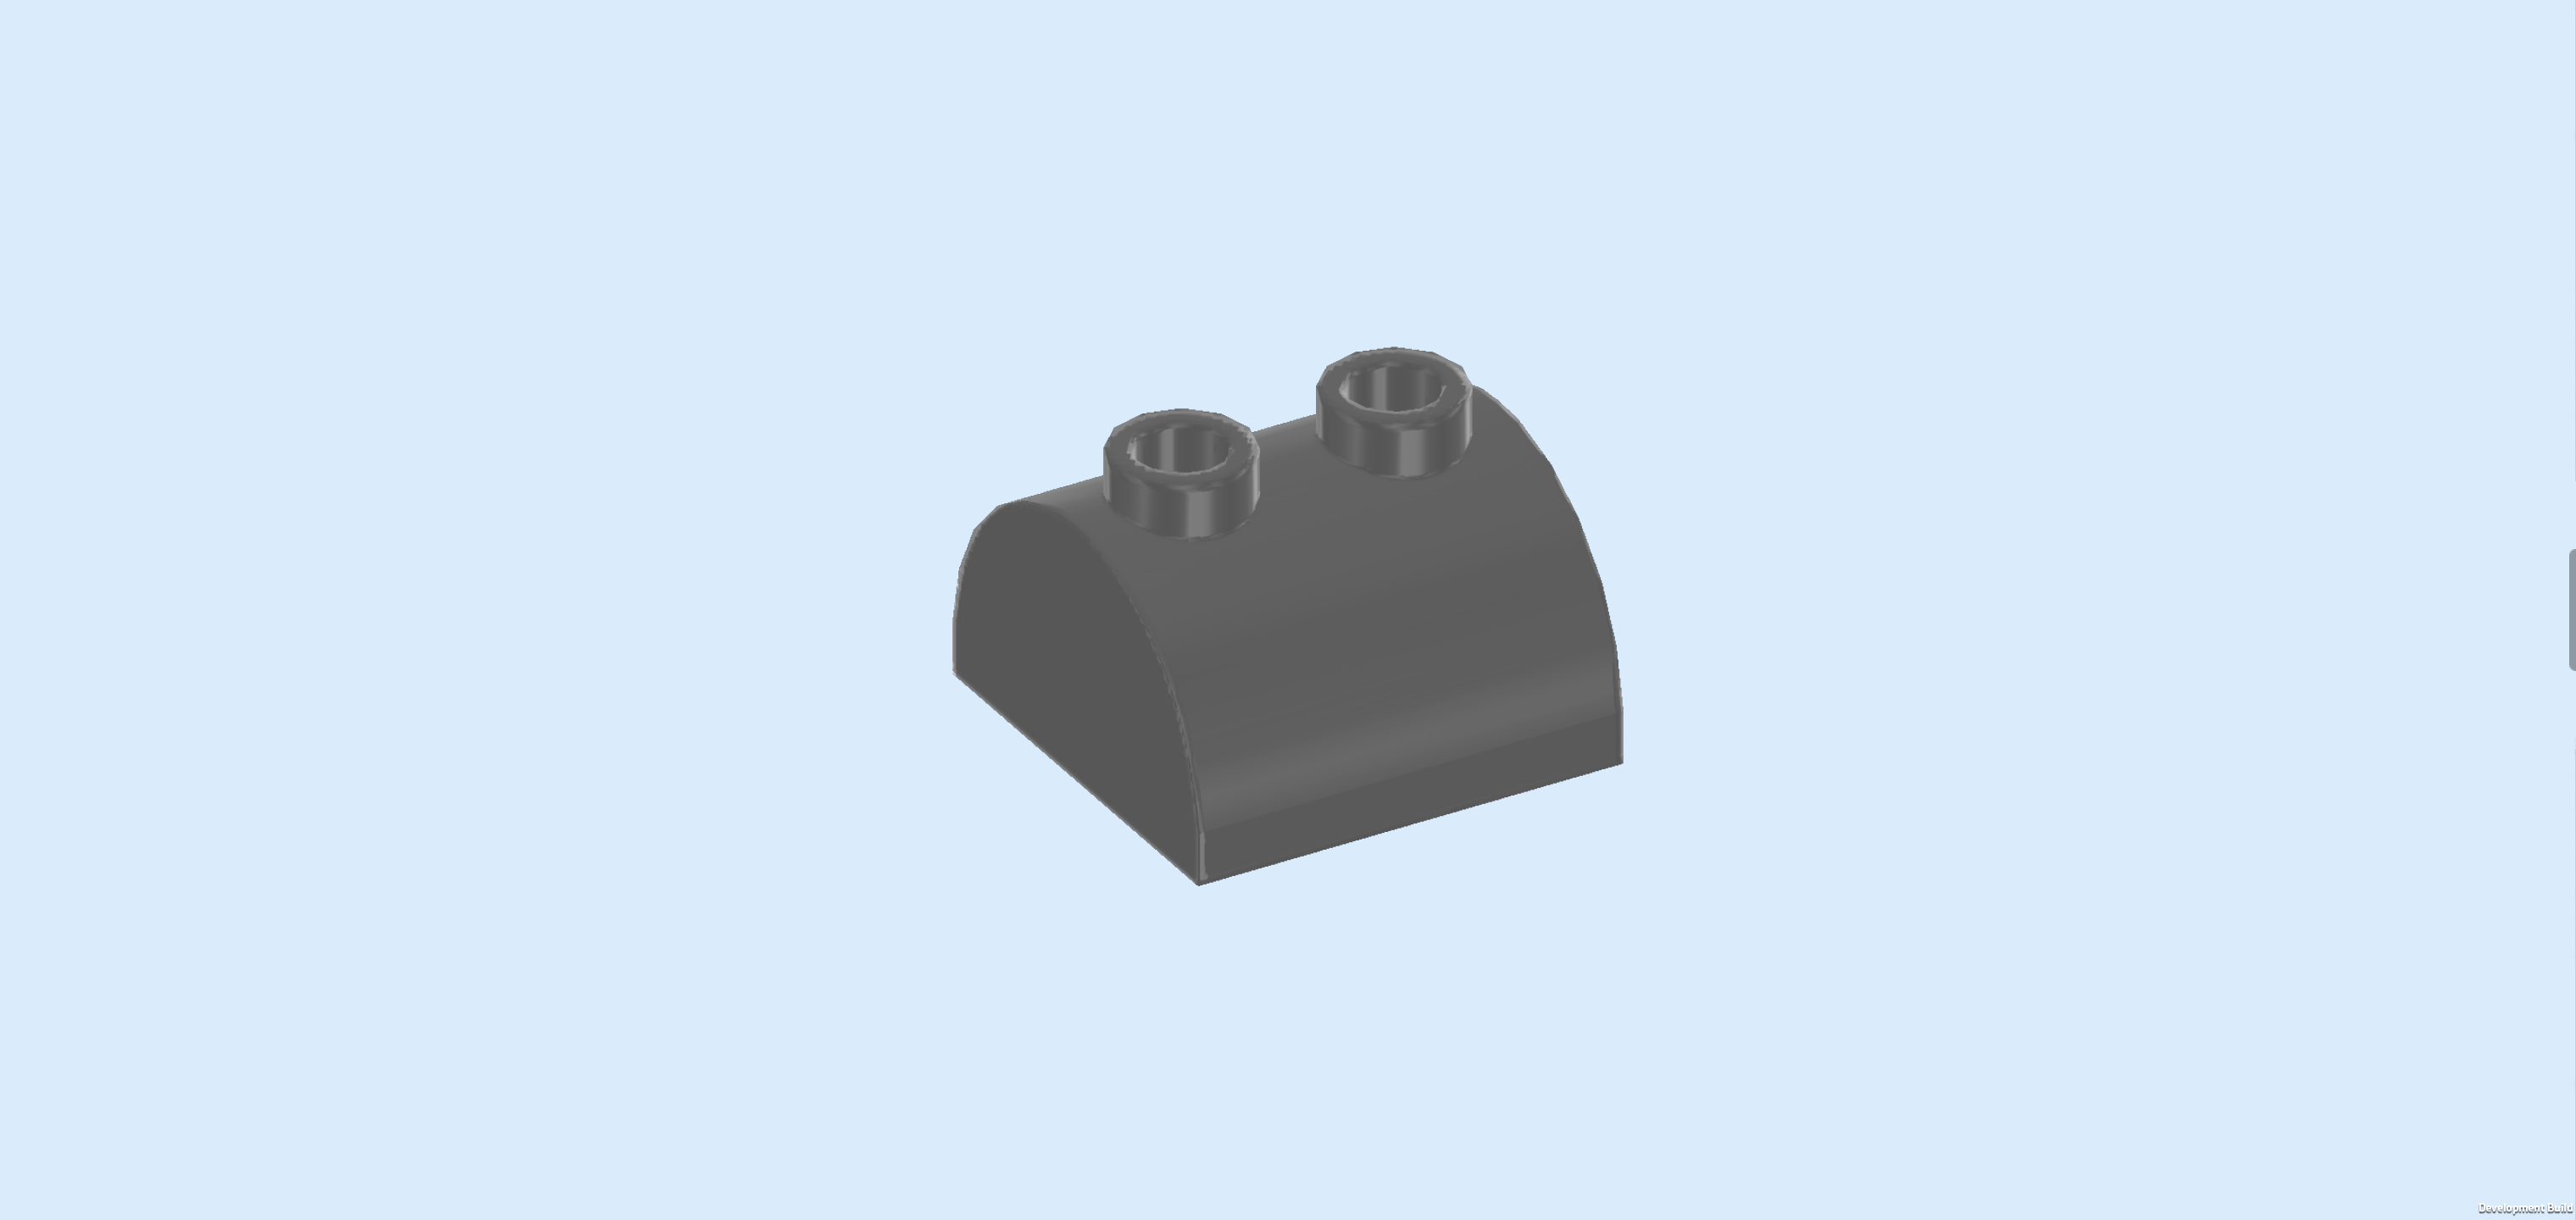
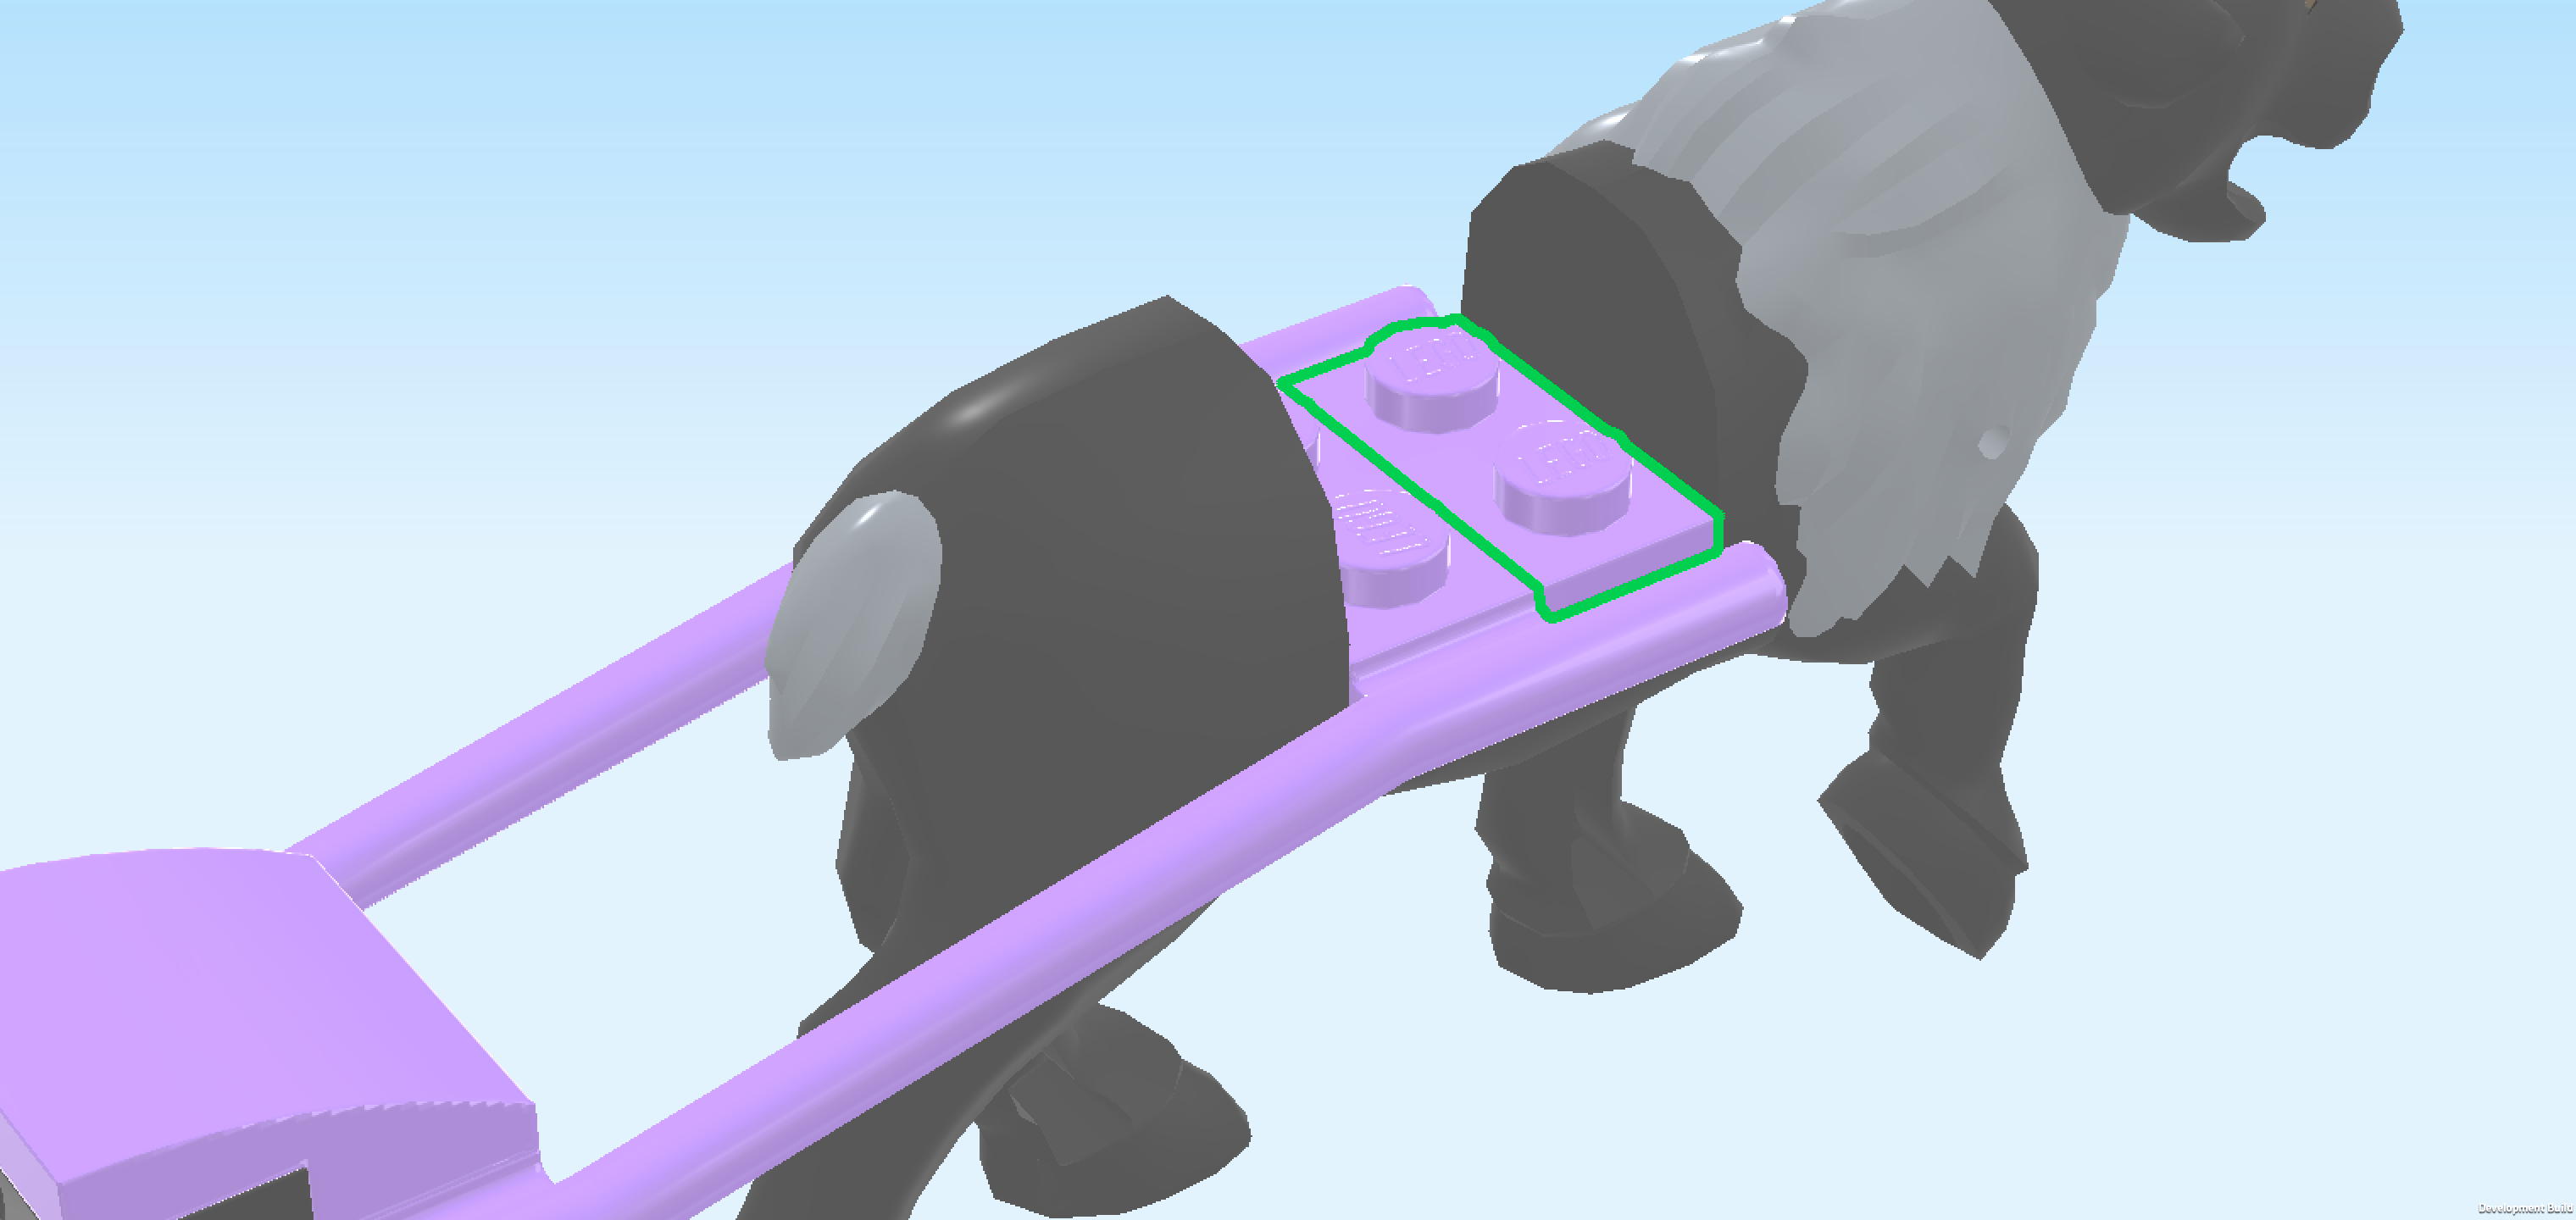
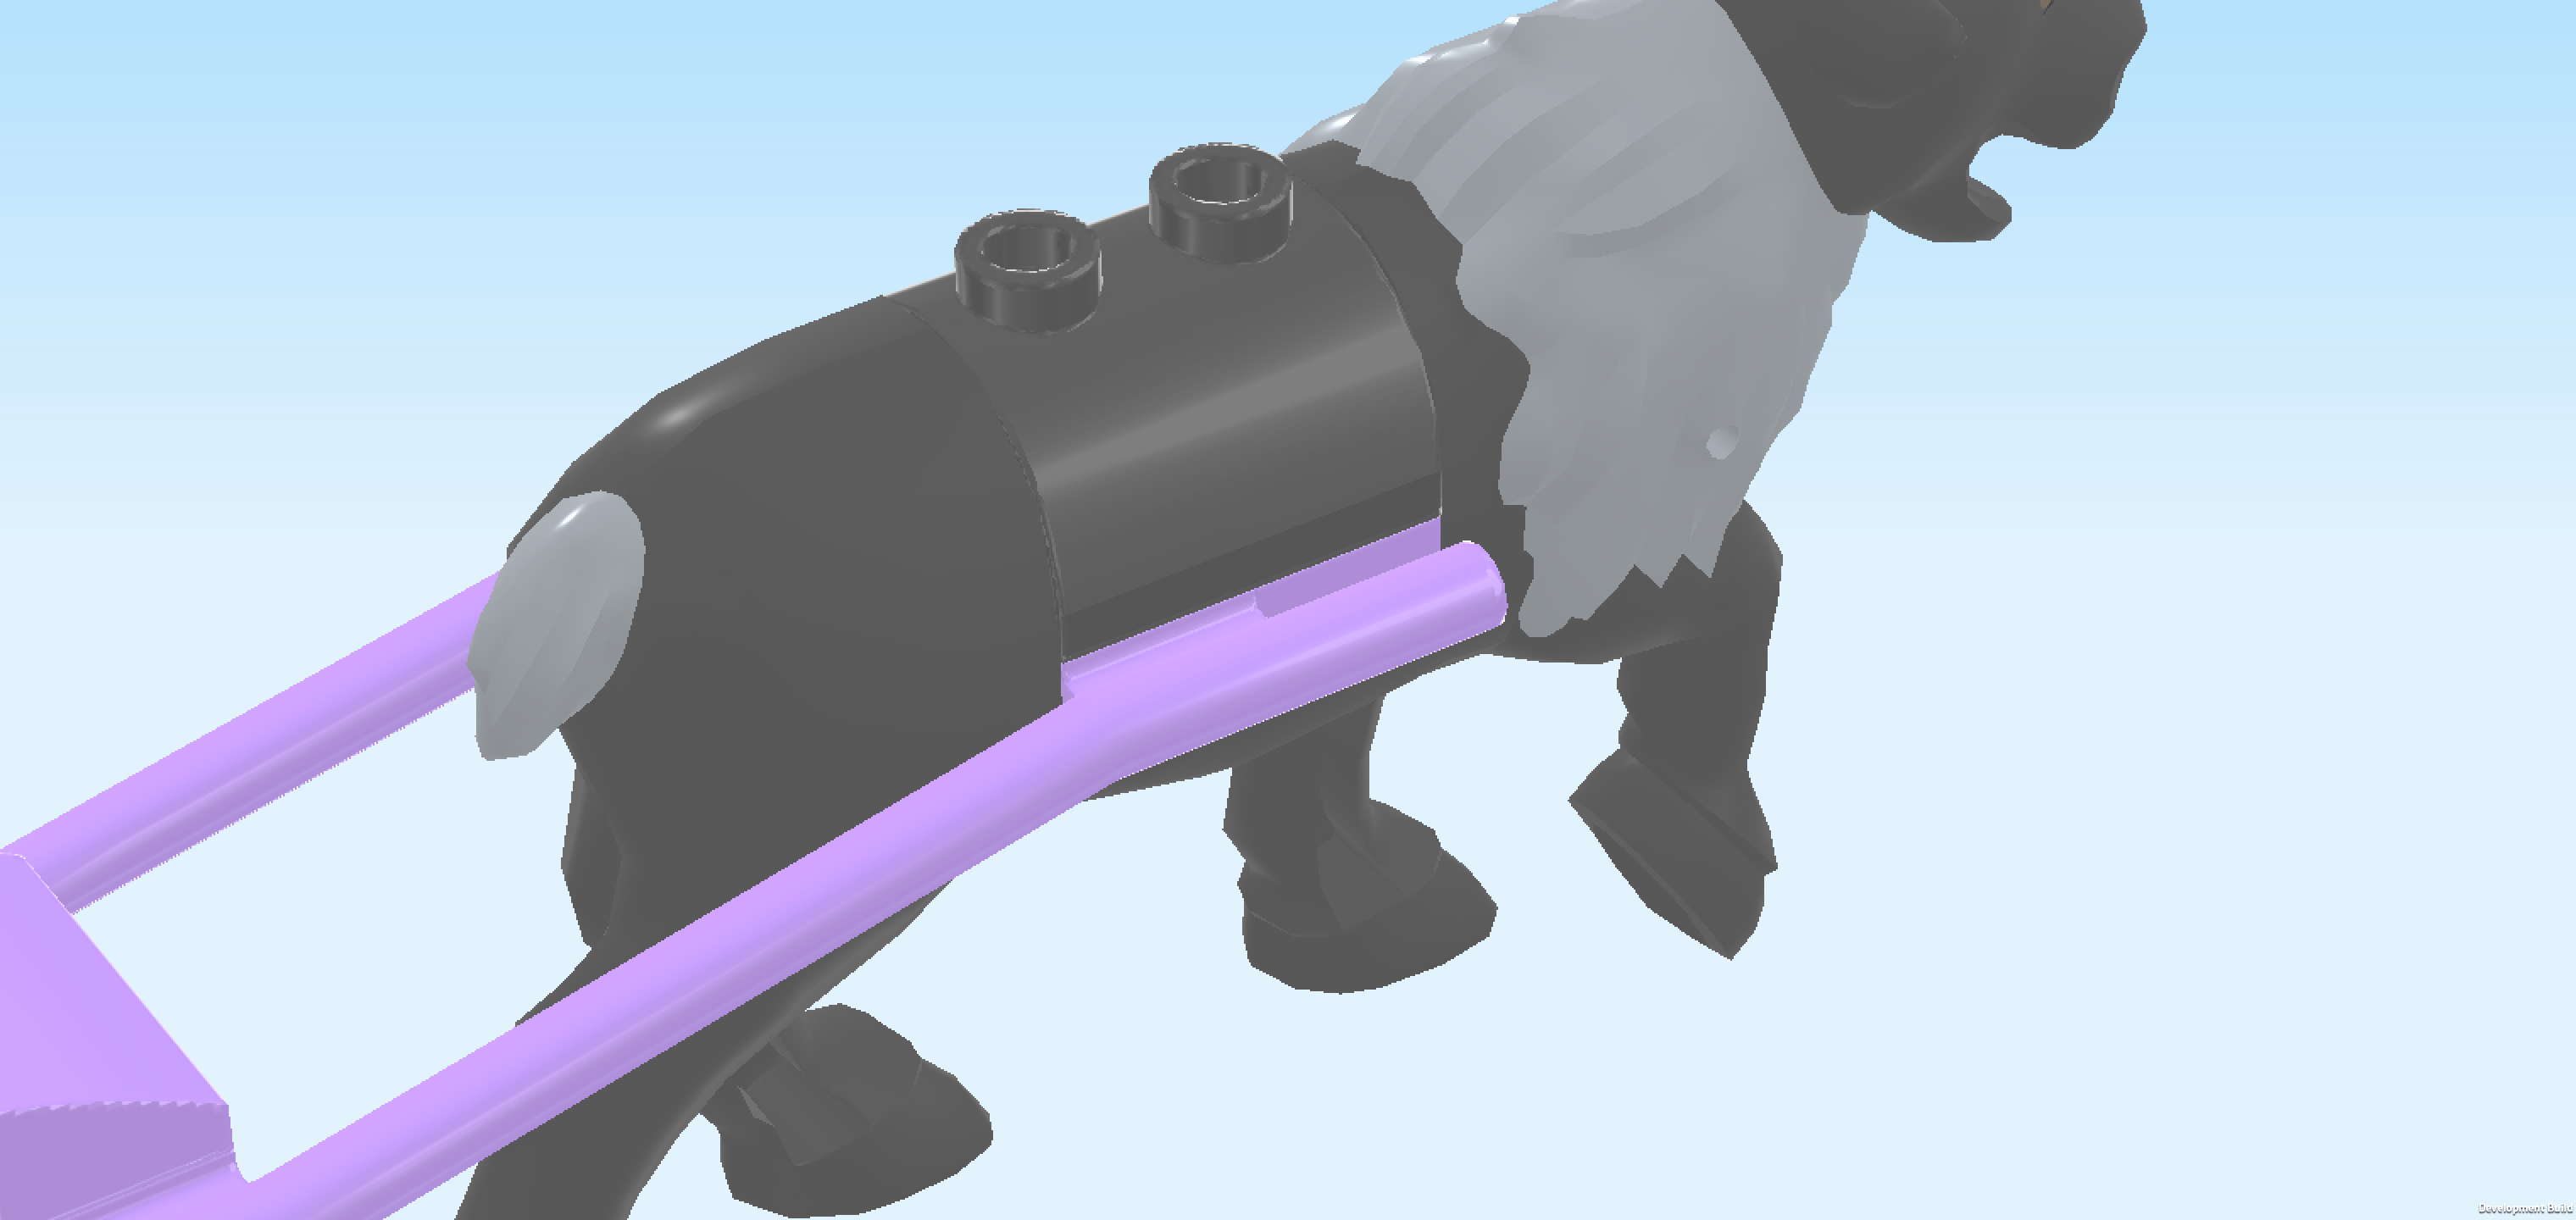
| Find 1 dark stone grey half-cylinder brick 2x2 with 2 knobs. |
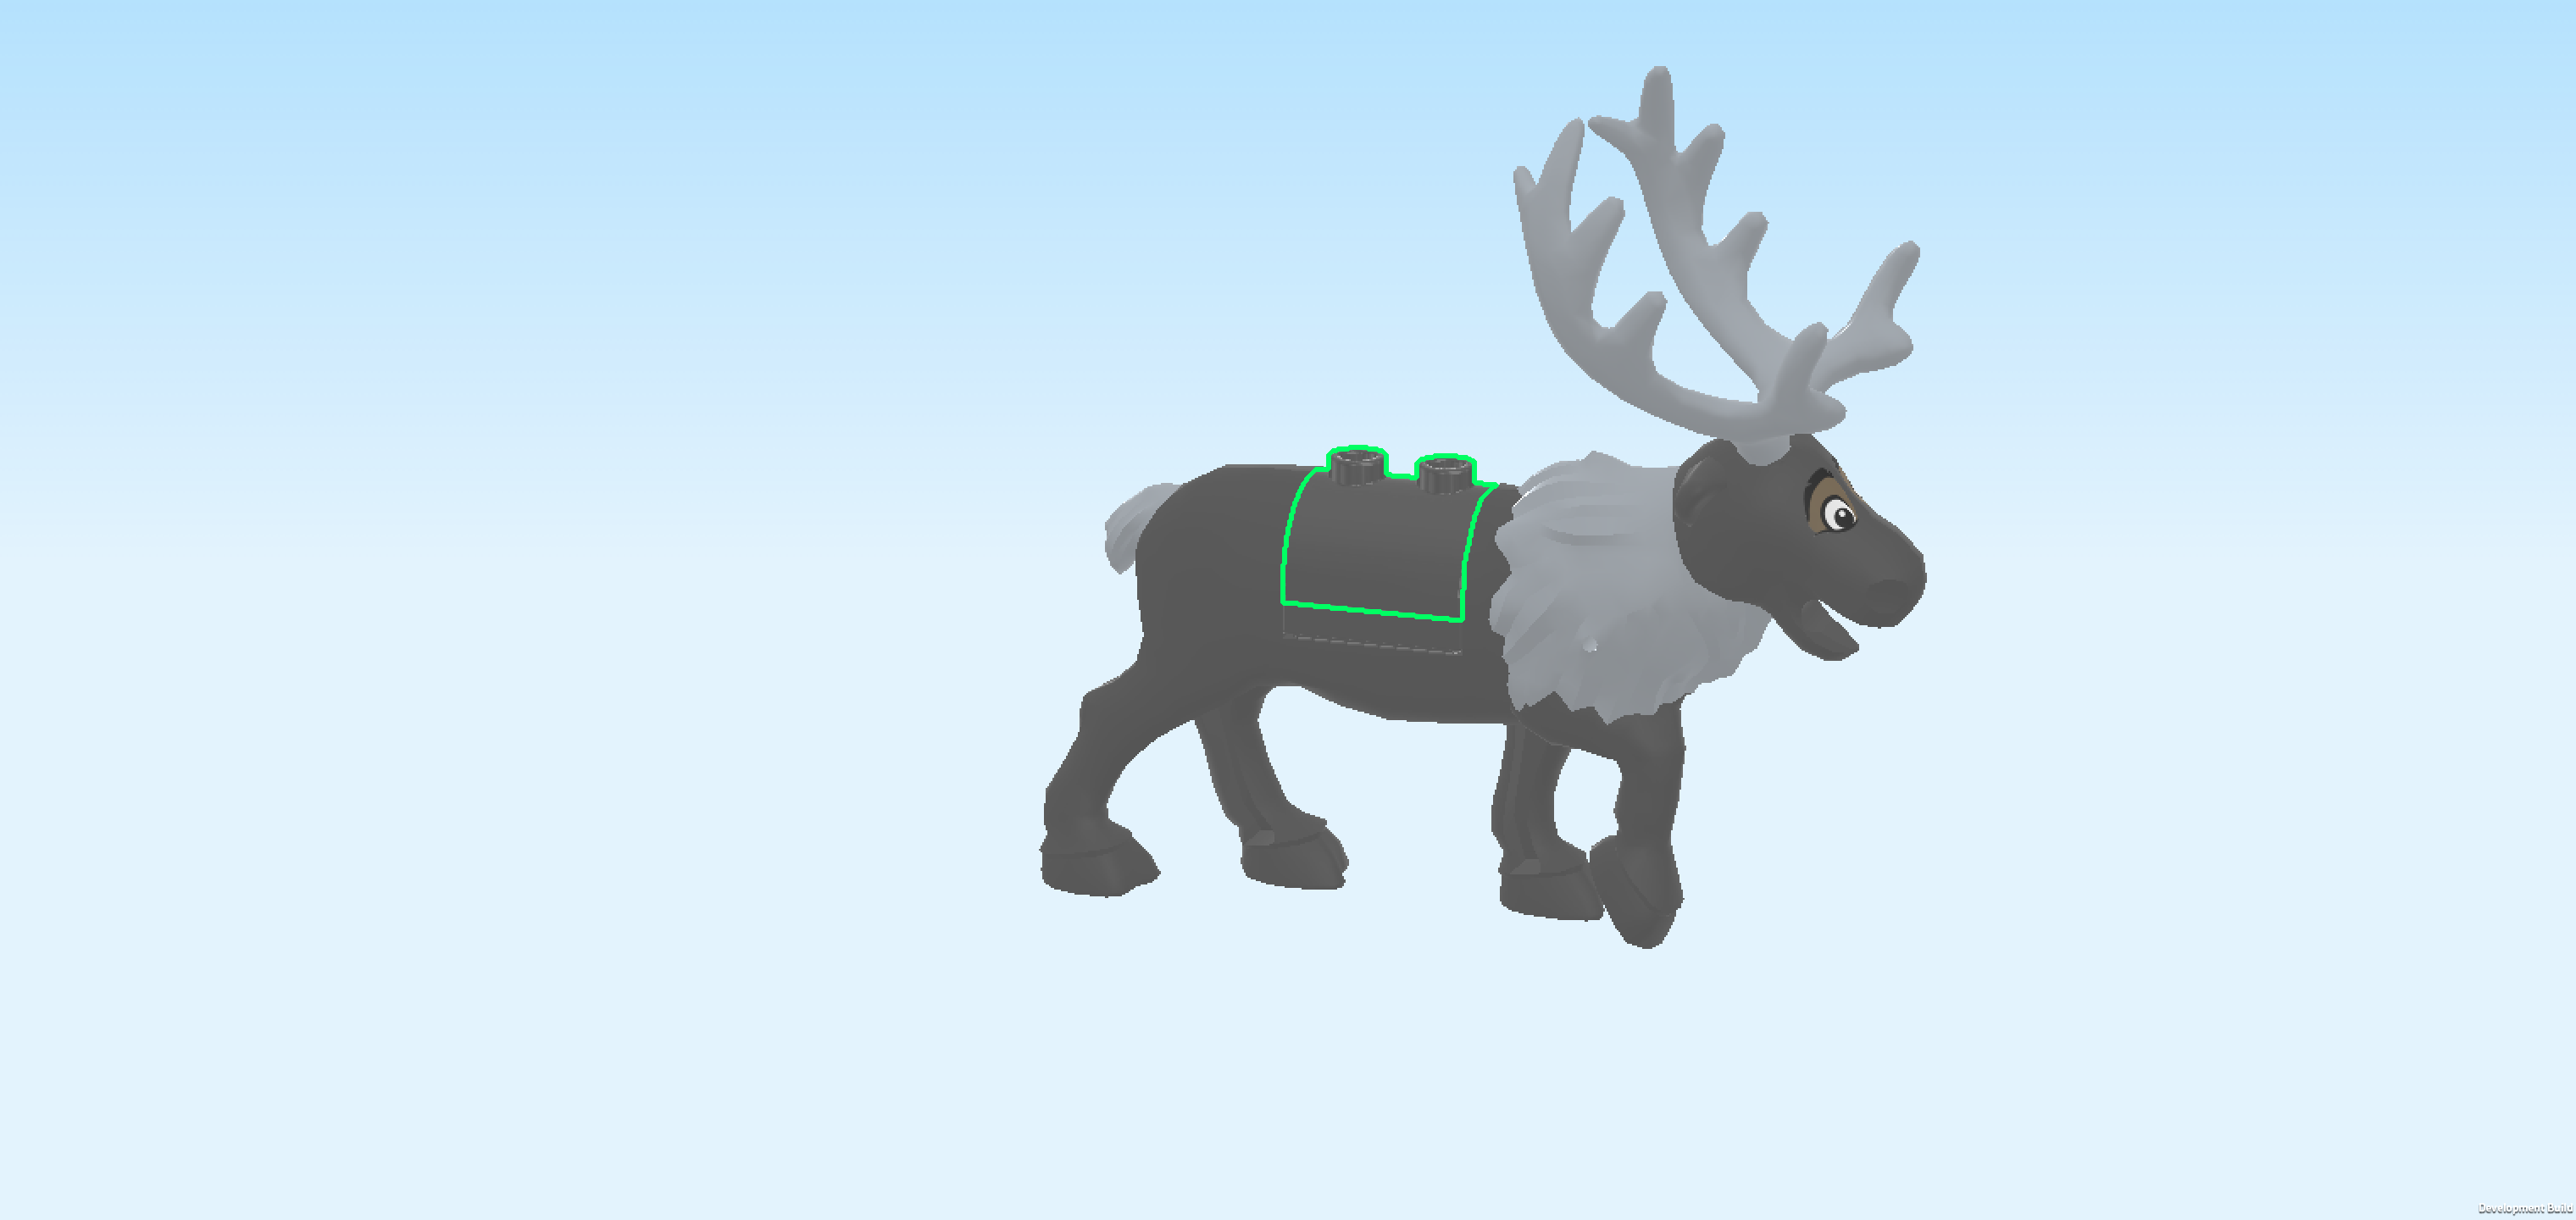
| Put it horizontally on top of the plate 2x2, meaning that its knobs should form a row running from left to right. |
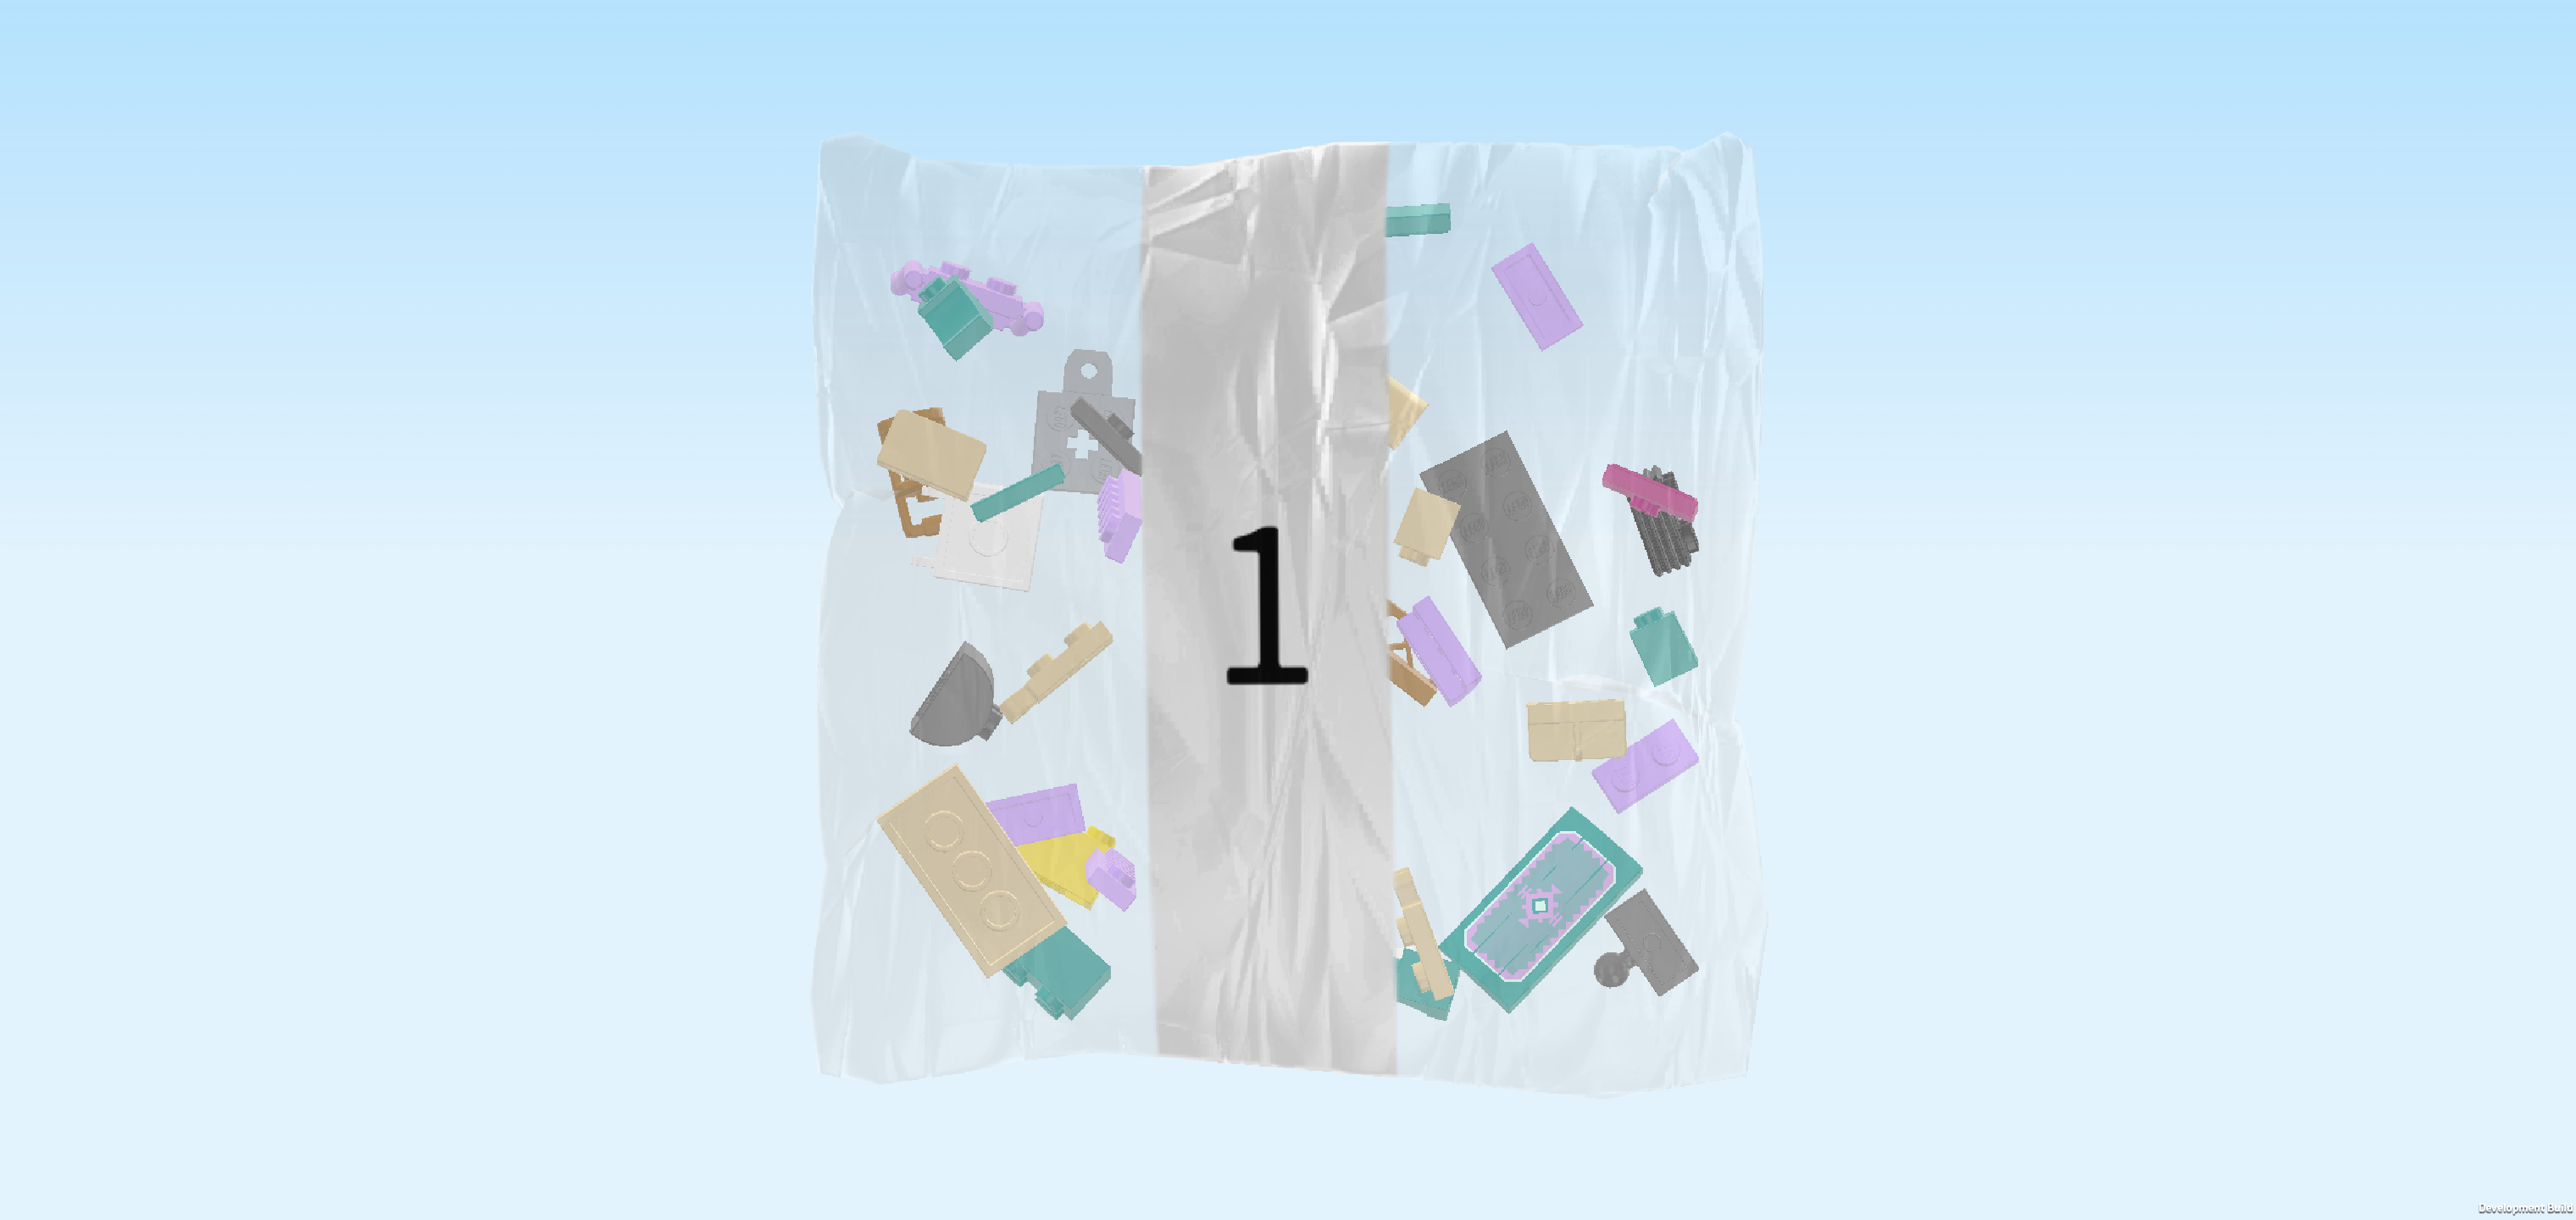
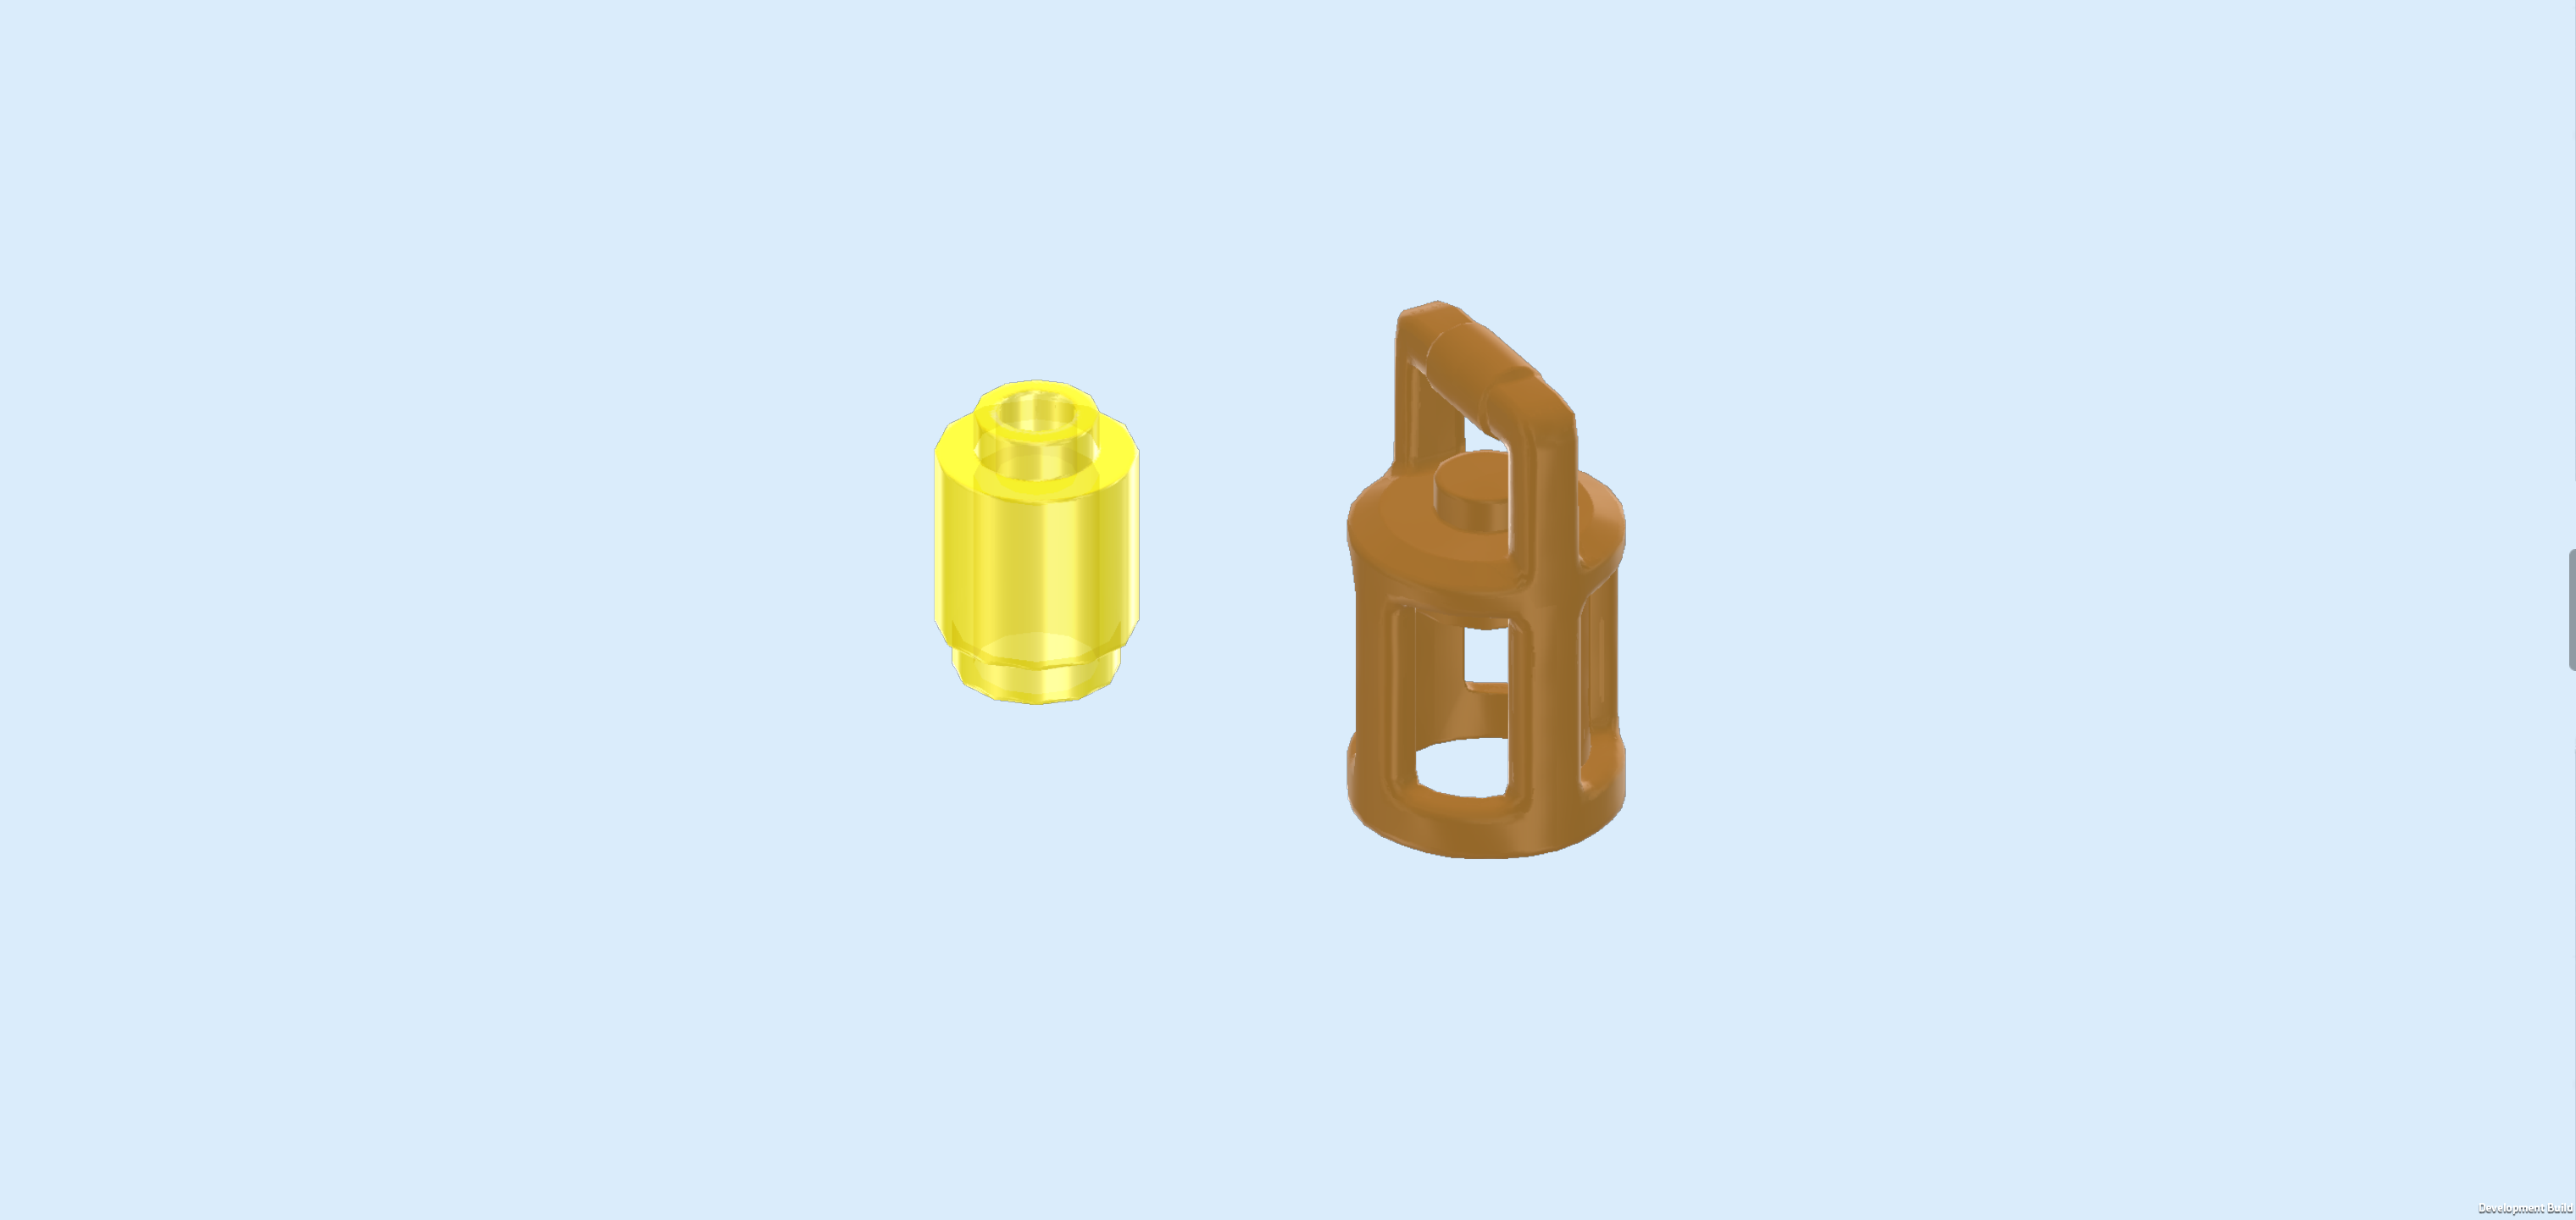
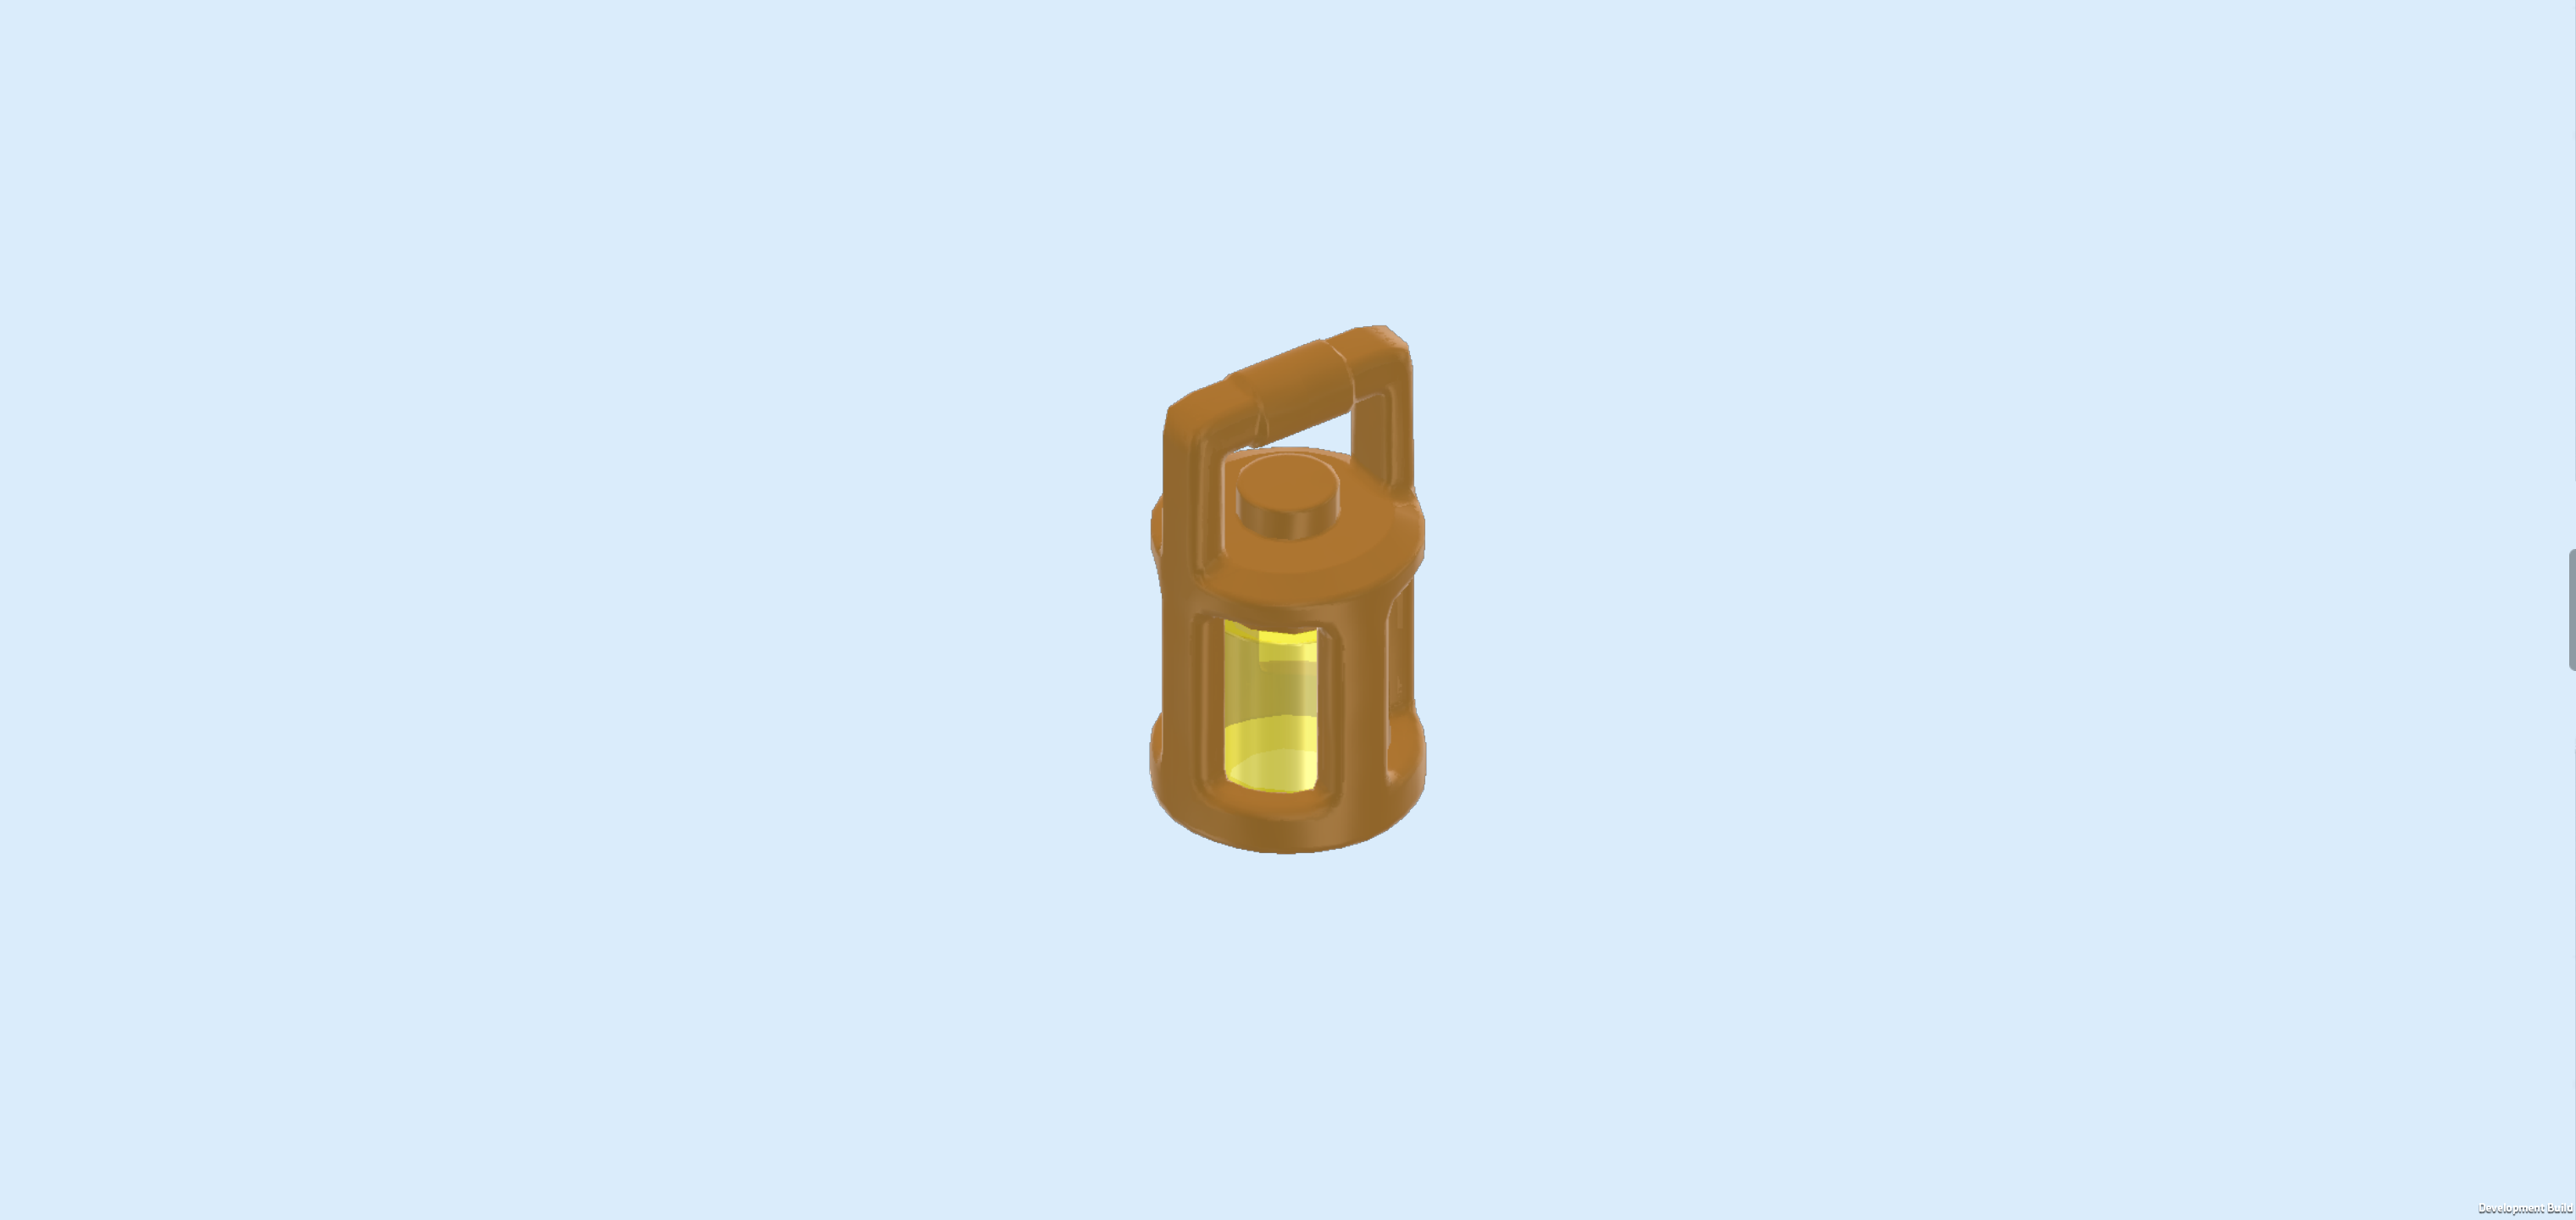
| Now, we will assemble a hand lantern. |
| Collect the following 2 pieces: |
| 1 transparent yellow round brick 1x1, |
| and 1 warm gold lamp body with handle. |
| Put the round brick 1x1 on the table. |
| Put the lamp body on top, meaning that the round brick is fully inserted into the lamp body. This transparent yellow round brick is the light of the lamp! |
| The hand lantern and sven the reindeer are finished! Well done! Sven has a dark grey undercoat of fur and a light grey mane. His impressive antlers are light grey as well! He has a curious and friendly look on his face. He's a great companion! His lamp always helps him find his way home, even in dark winter nights. |
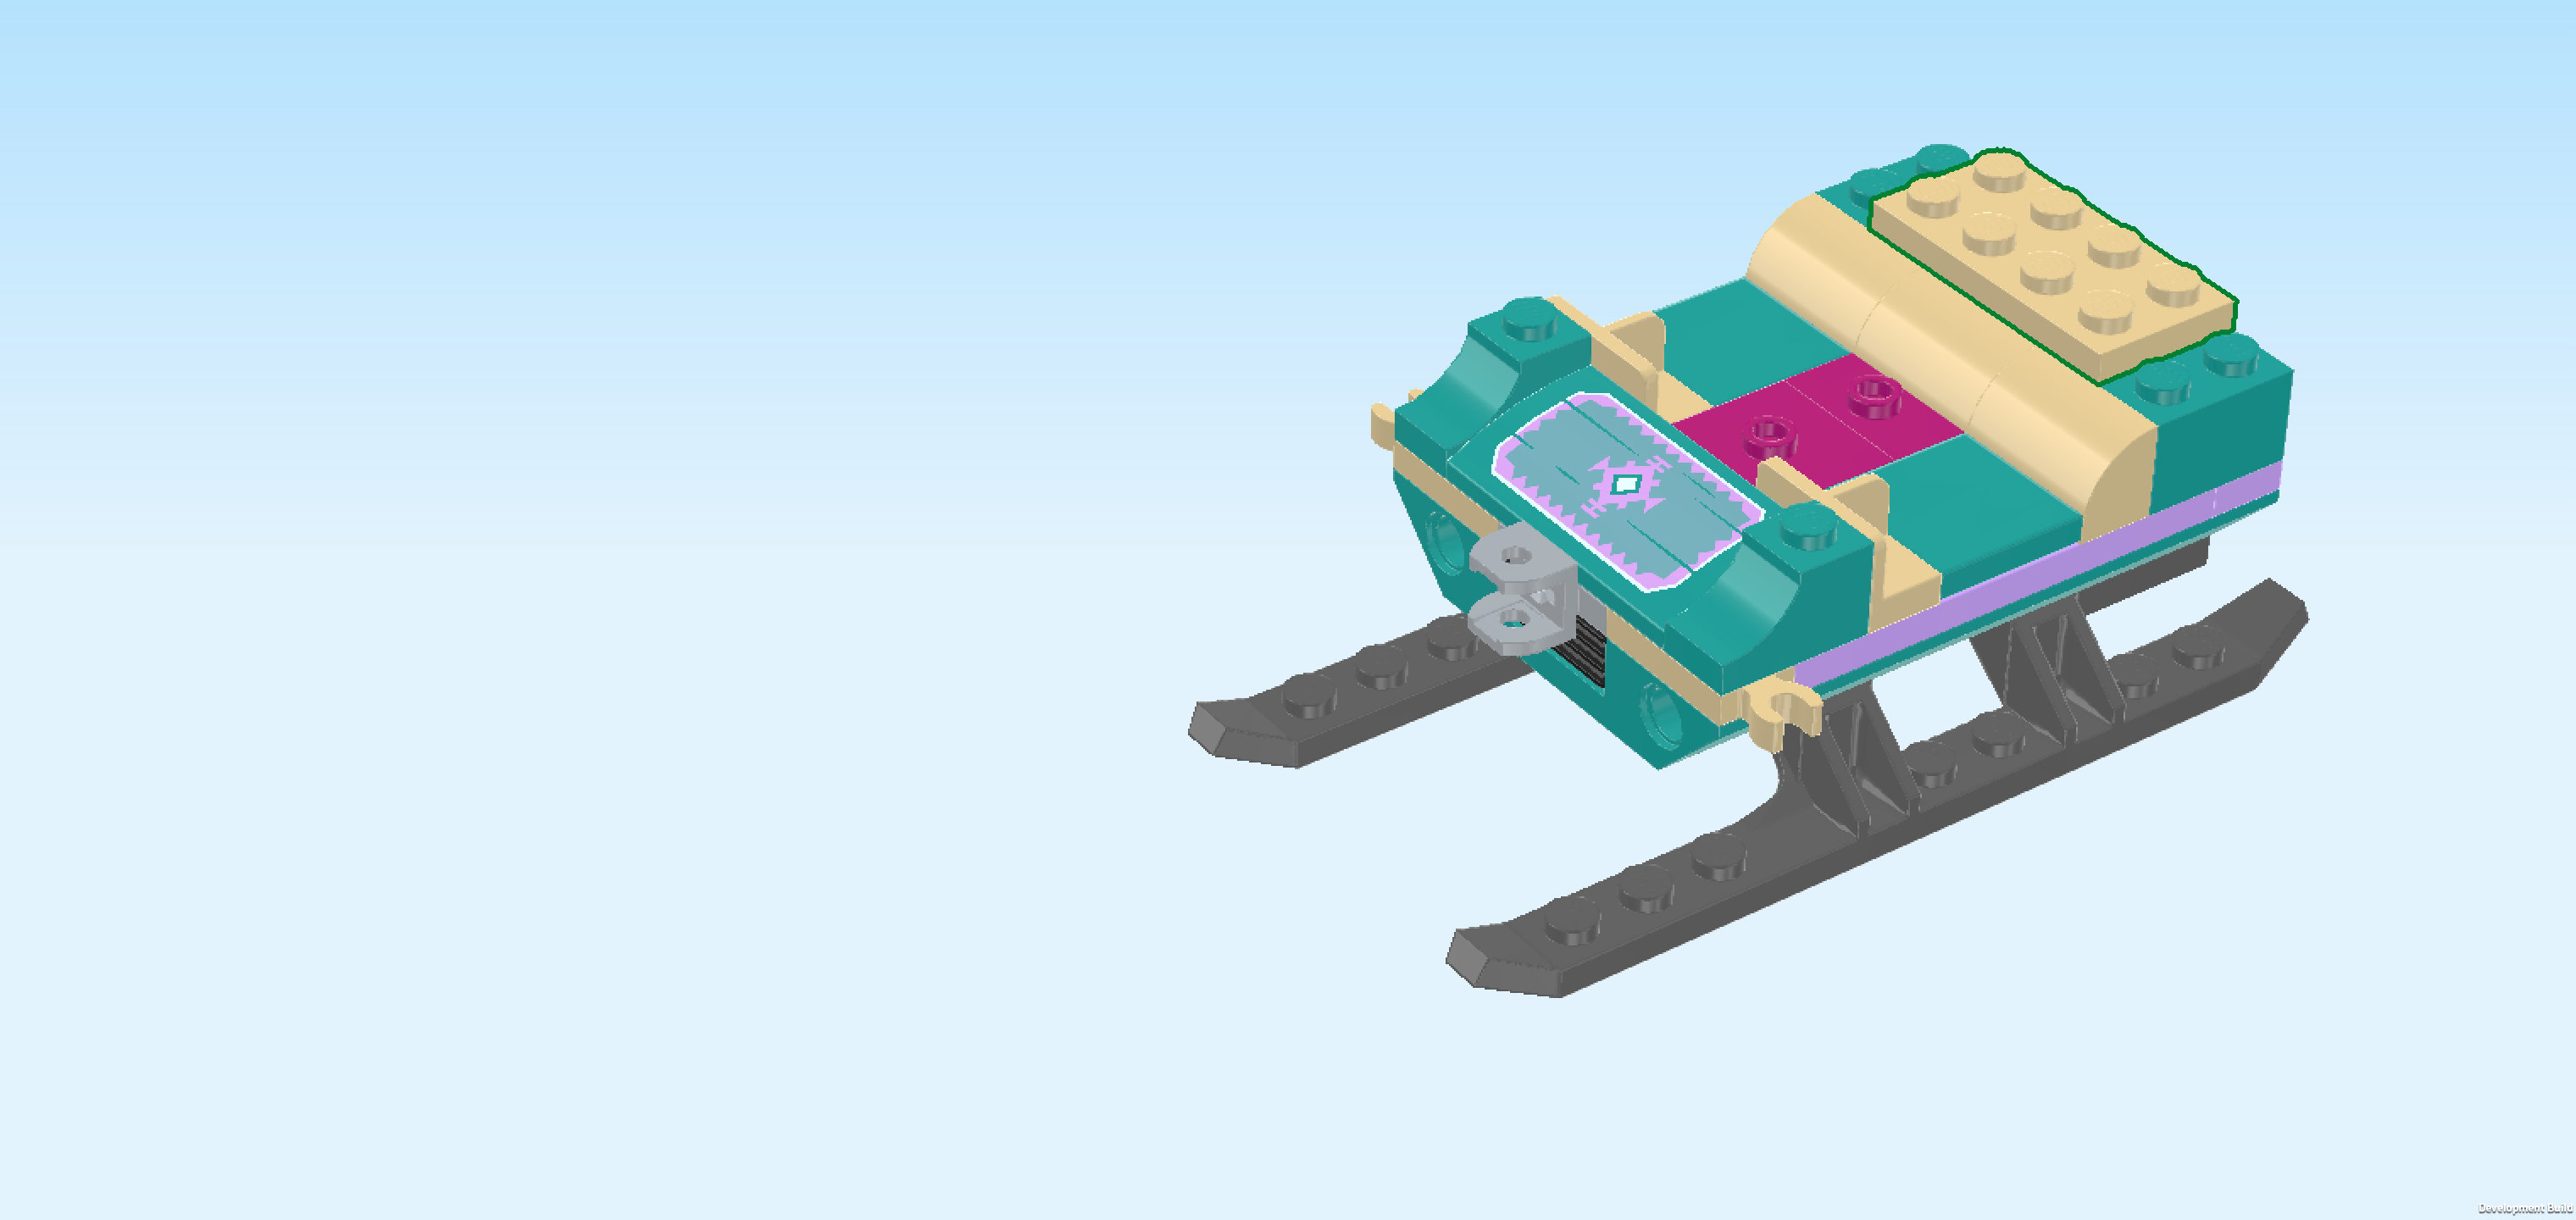
| Next up, we will build the sleigh with harness. |
| Collect the following 2 pieces: |
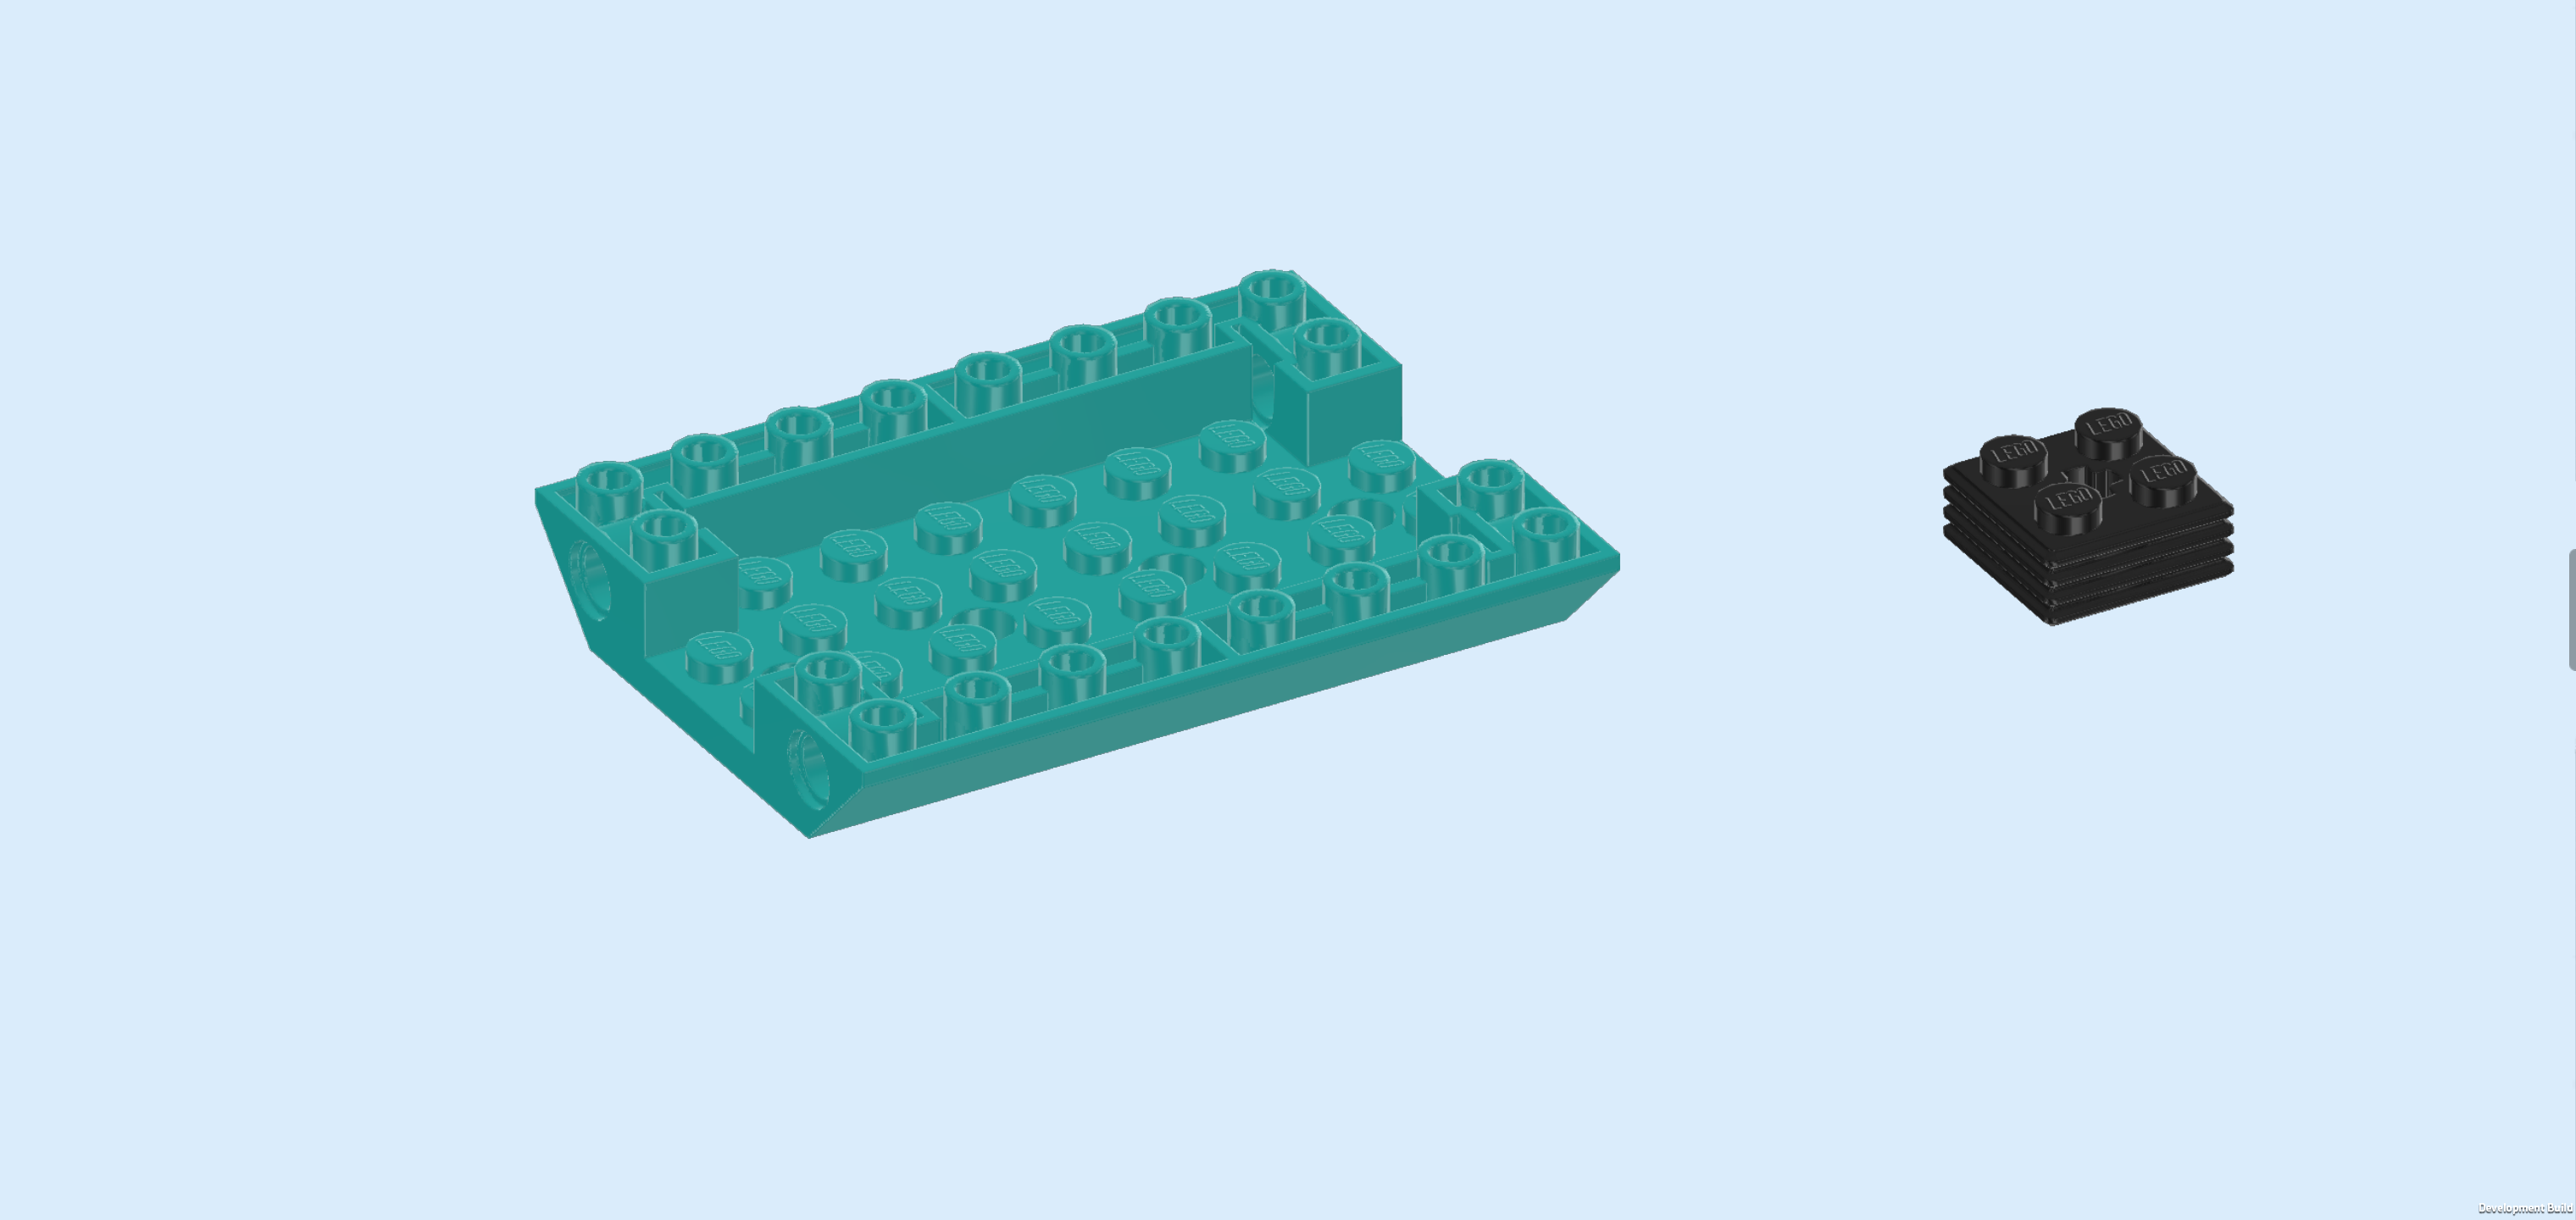
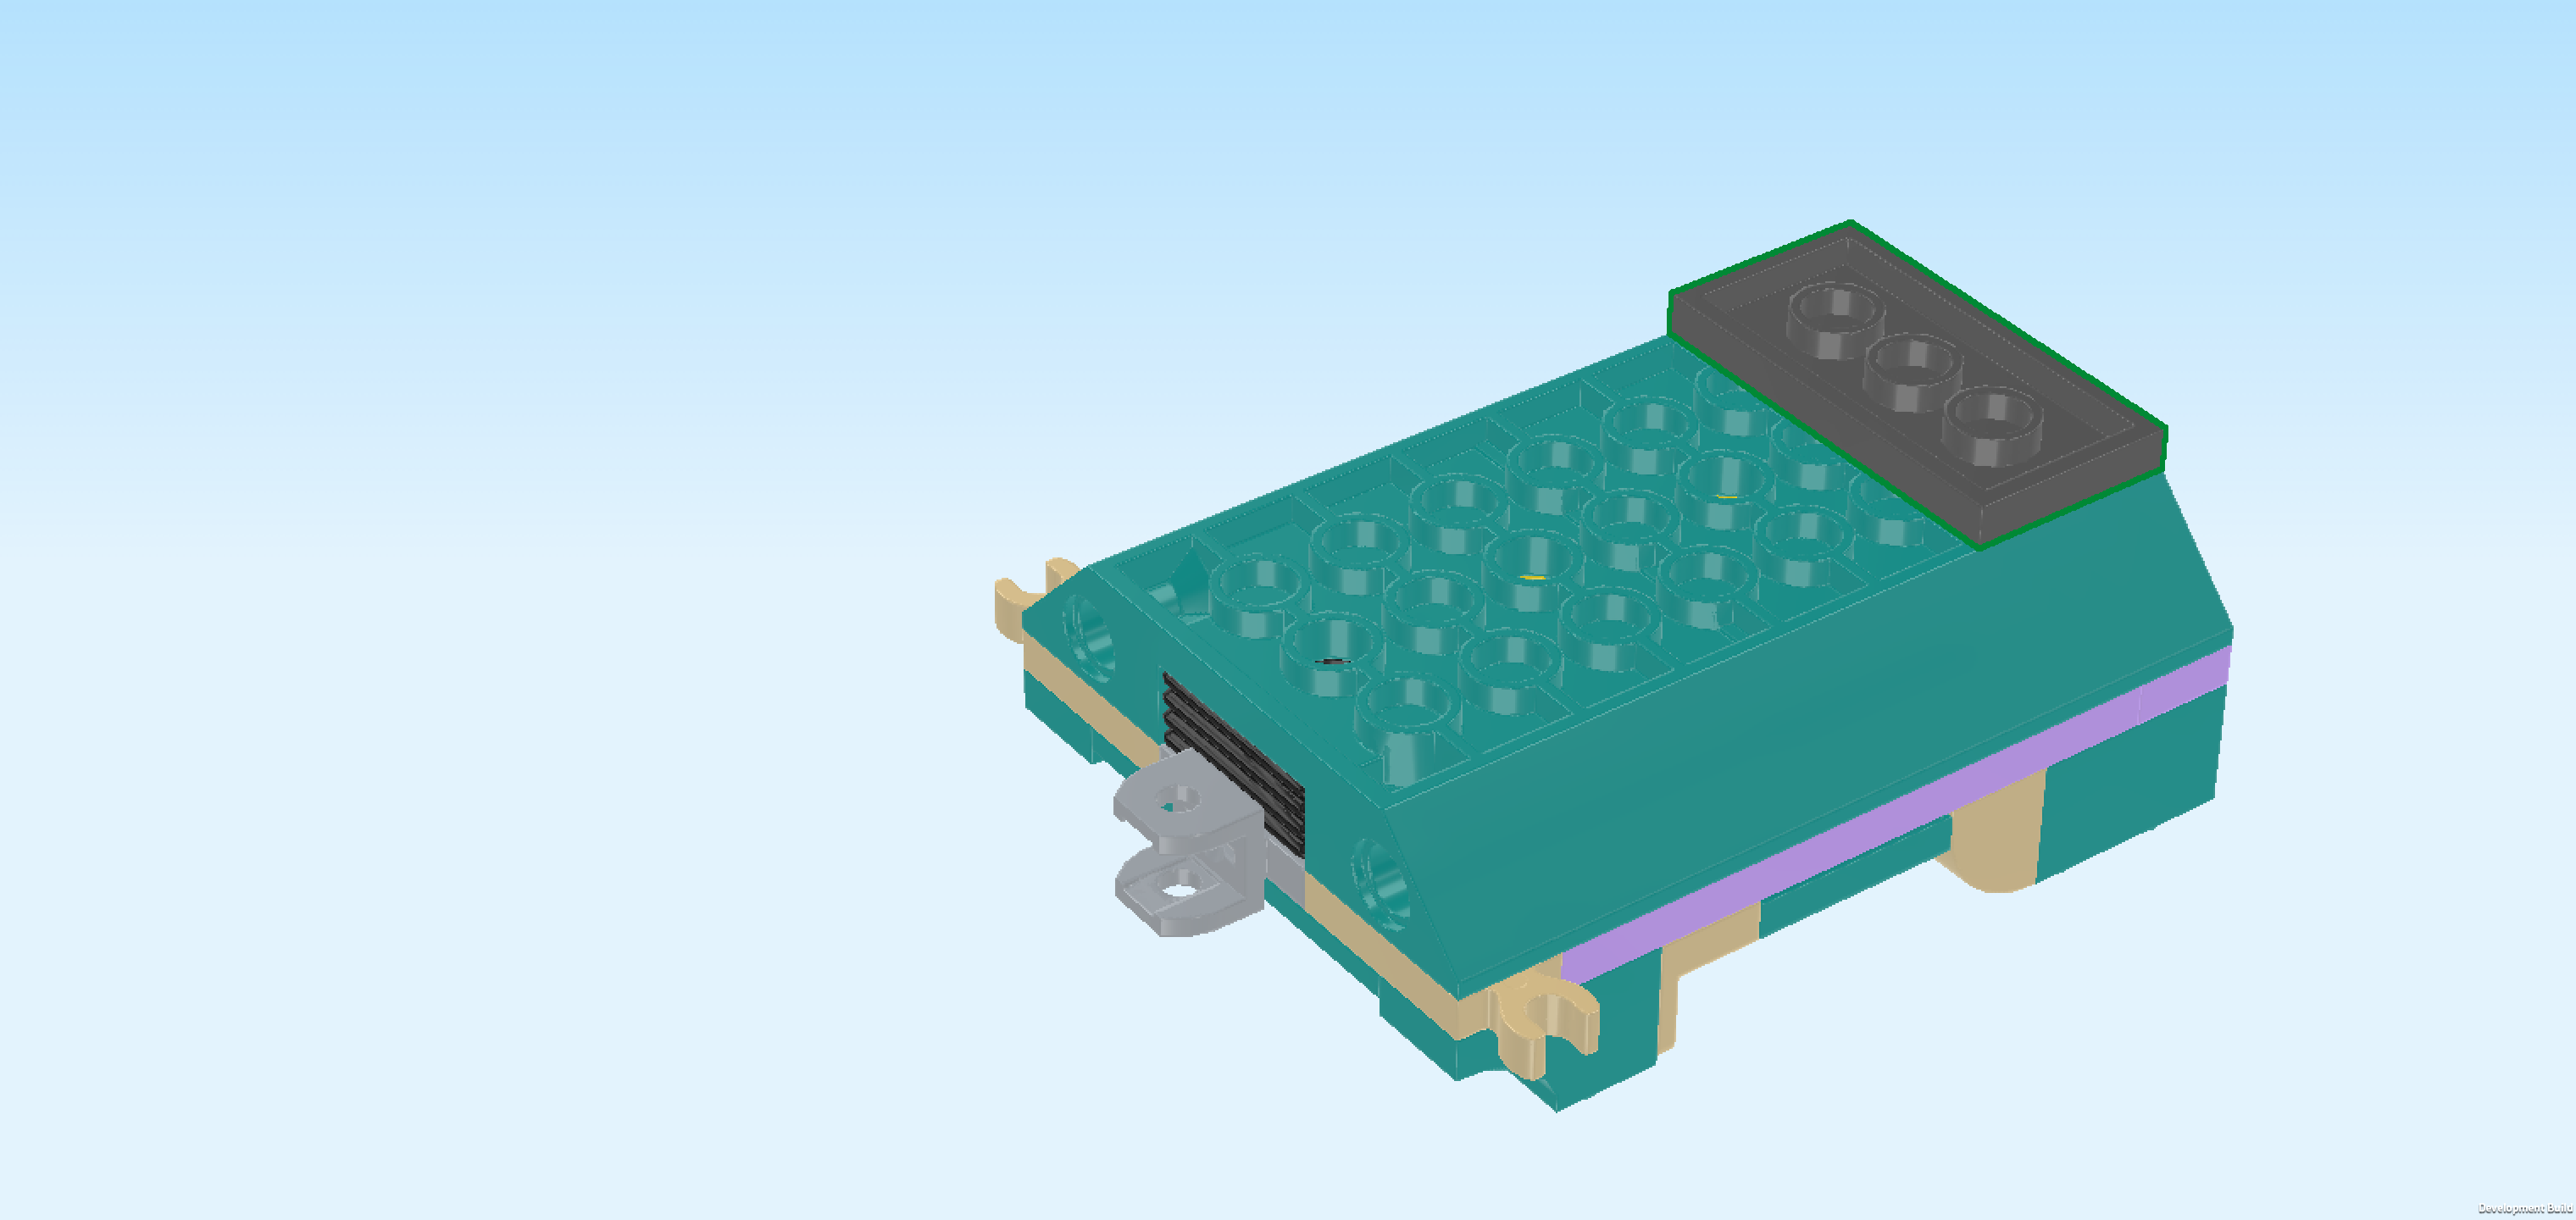
| 1 teal blue inverted double roof tile 6x8, |
| and 1 black low brick 2x2x⅔ with side grooves. |
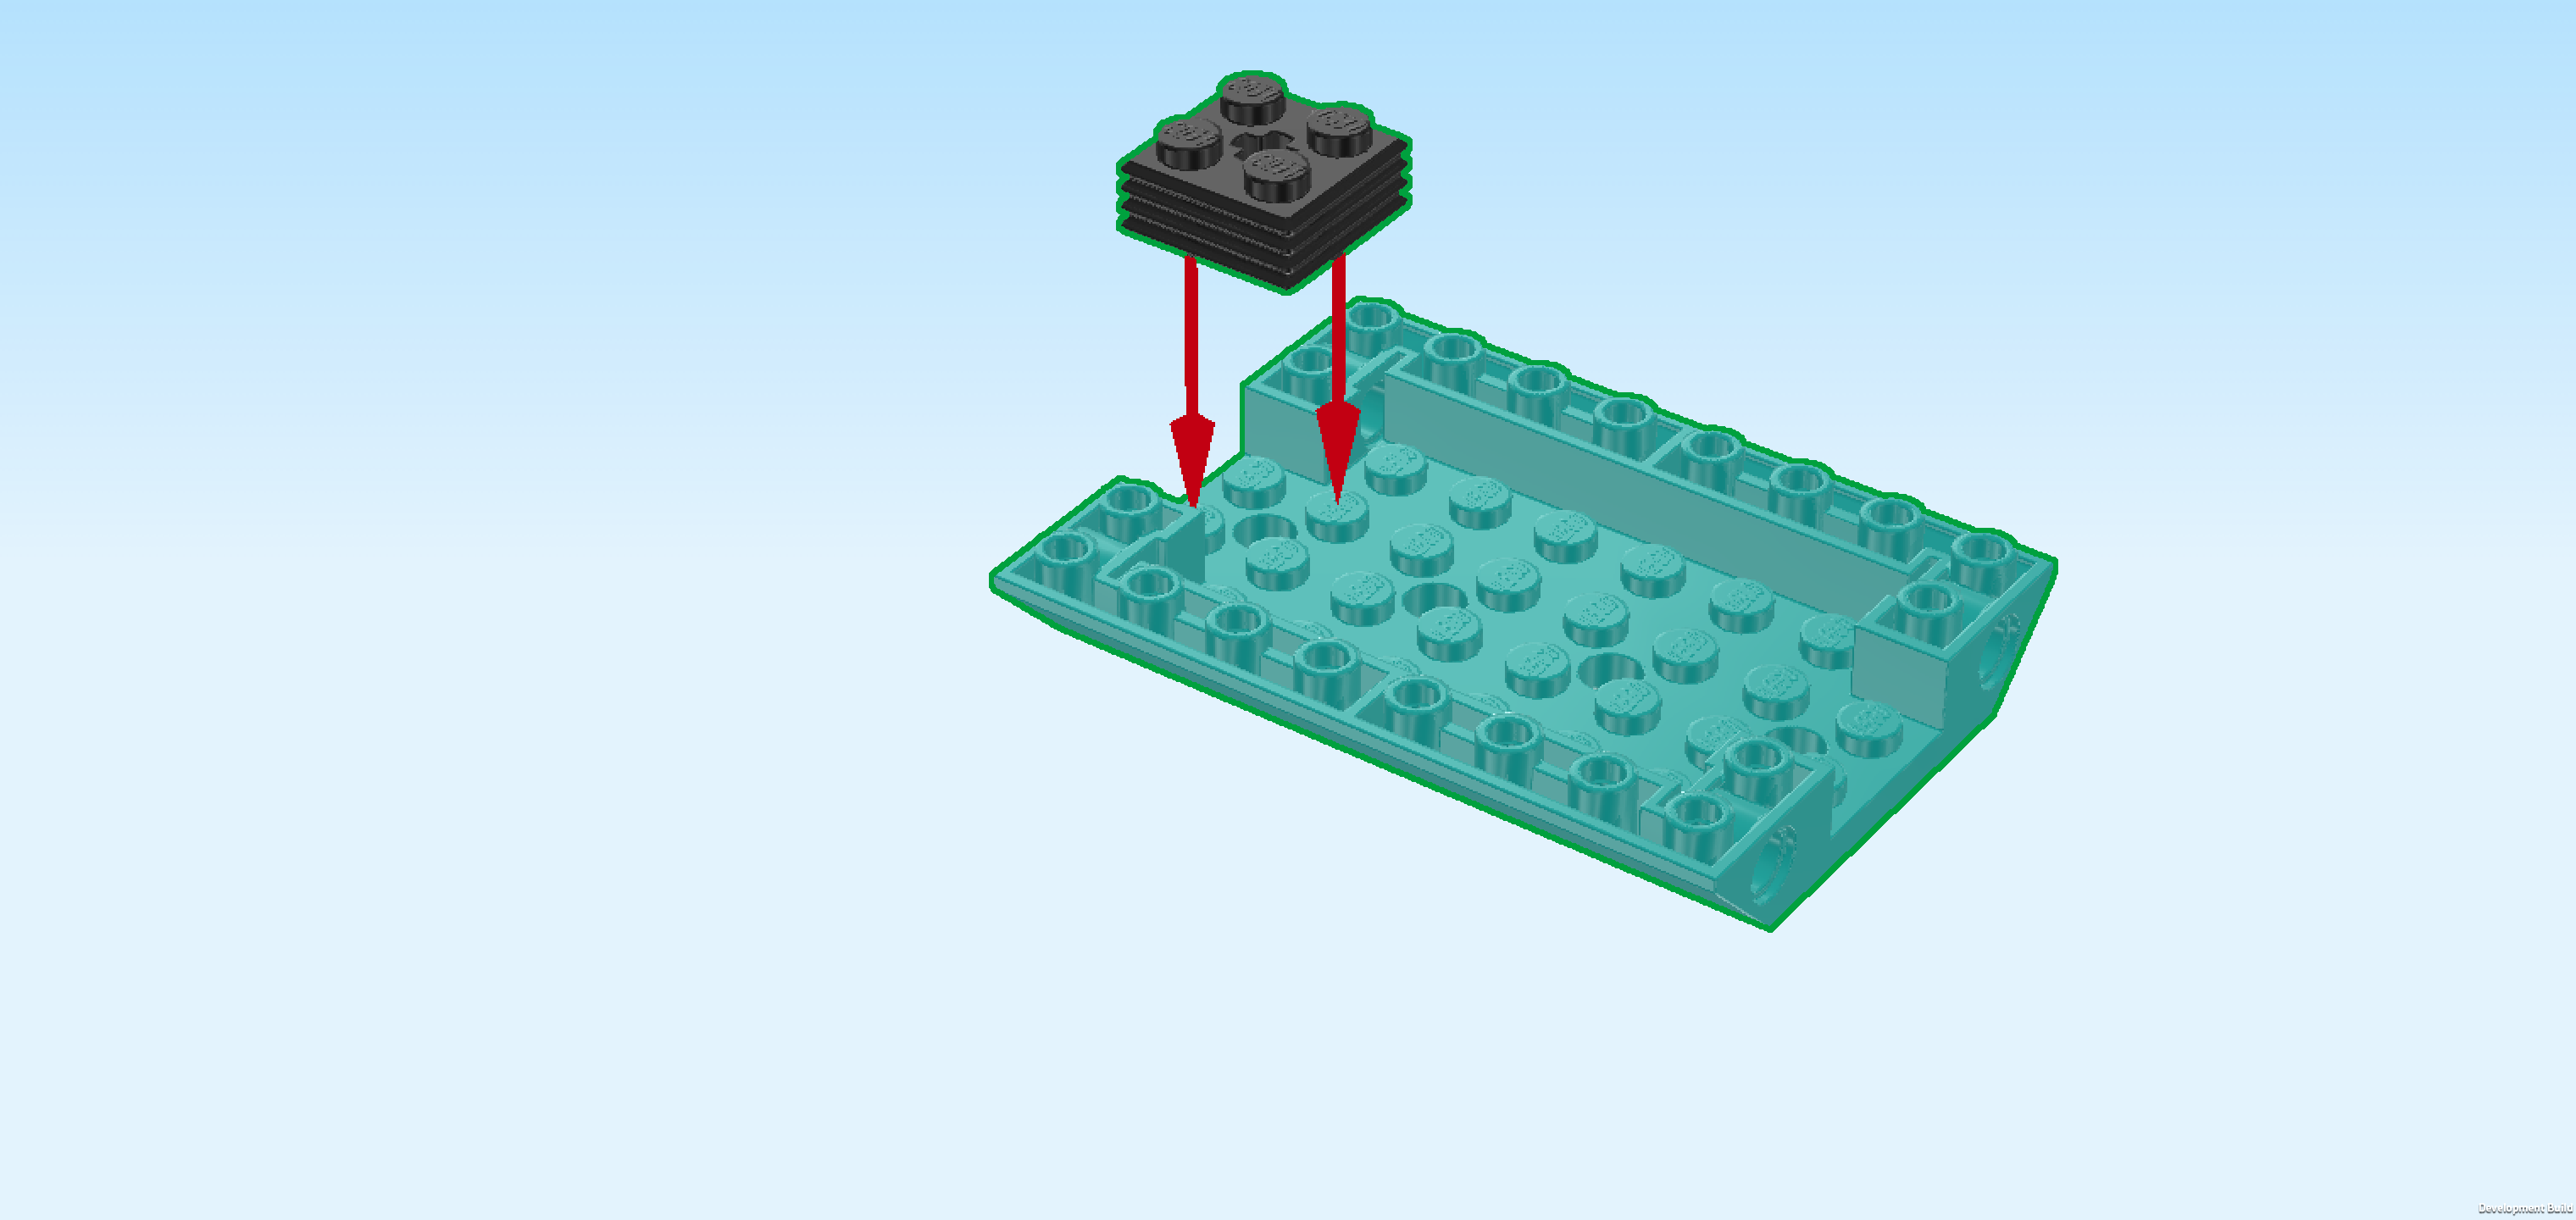
| Put the inverted double roof tile 6x8 horizontally on the table. This means that its long sides are straight in front of you. Make sure that its knobs form straight rows and columns in front of you. |
| Put the low brick centered into the recess on the leftmost edge. |
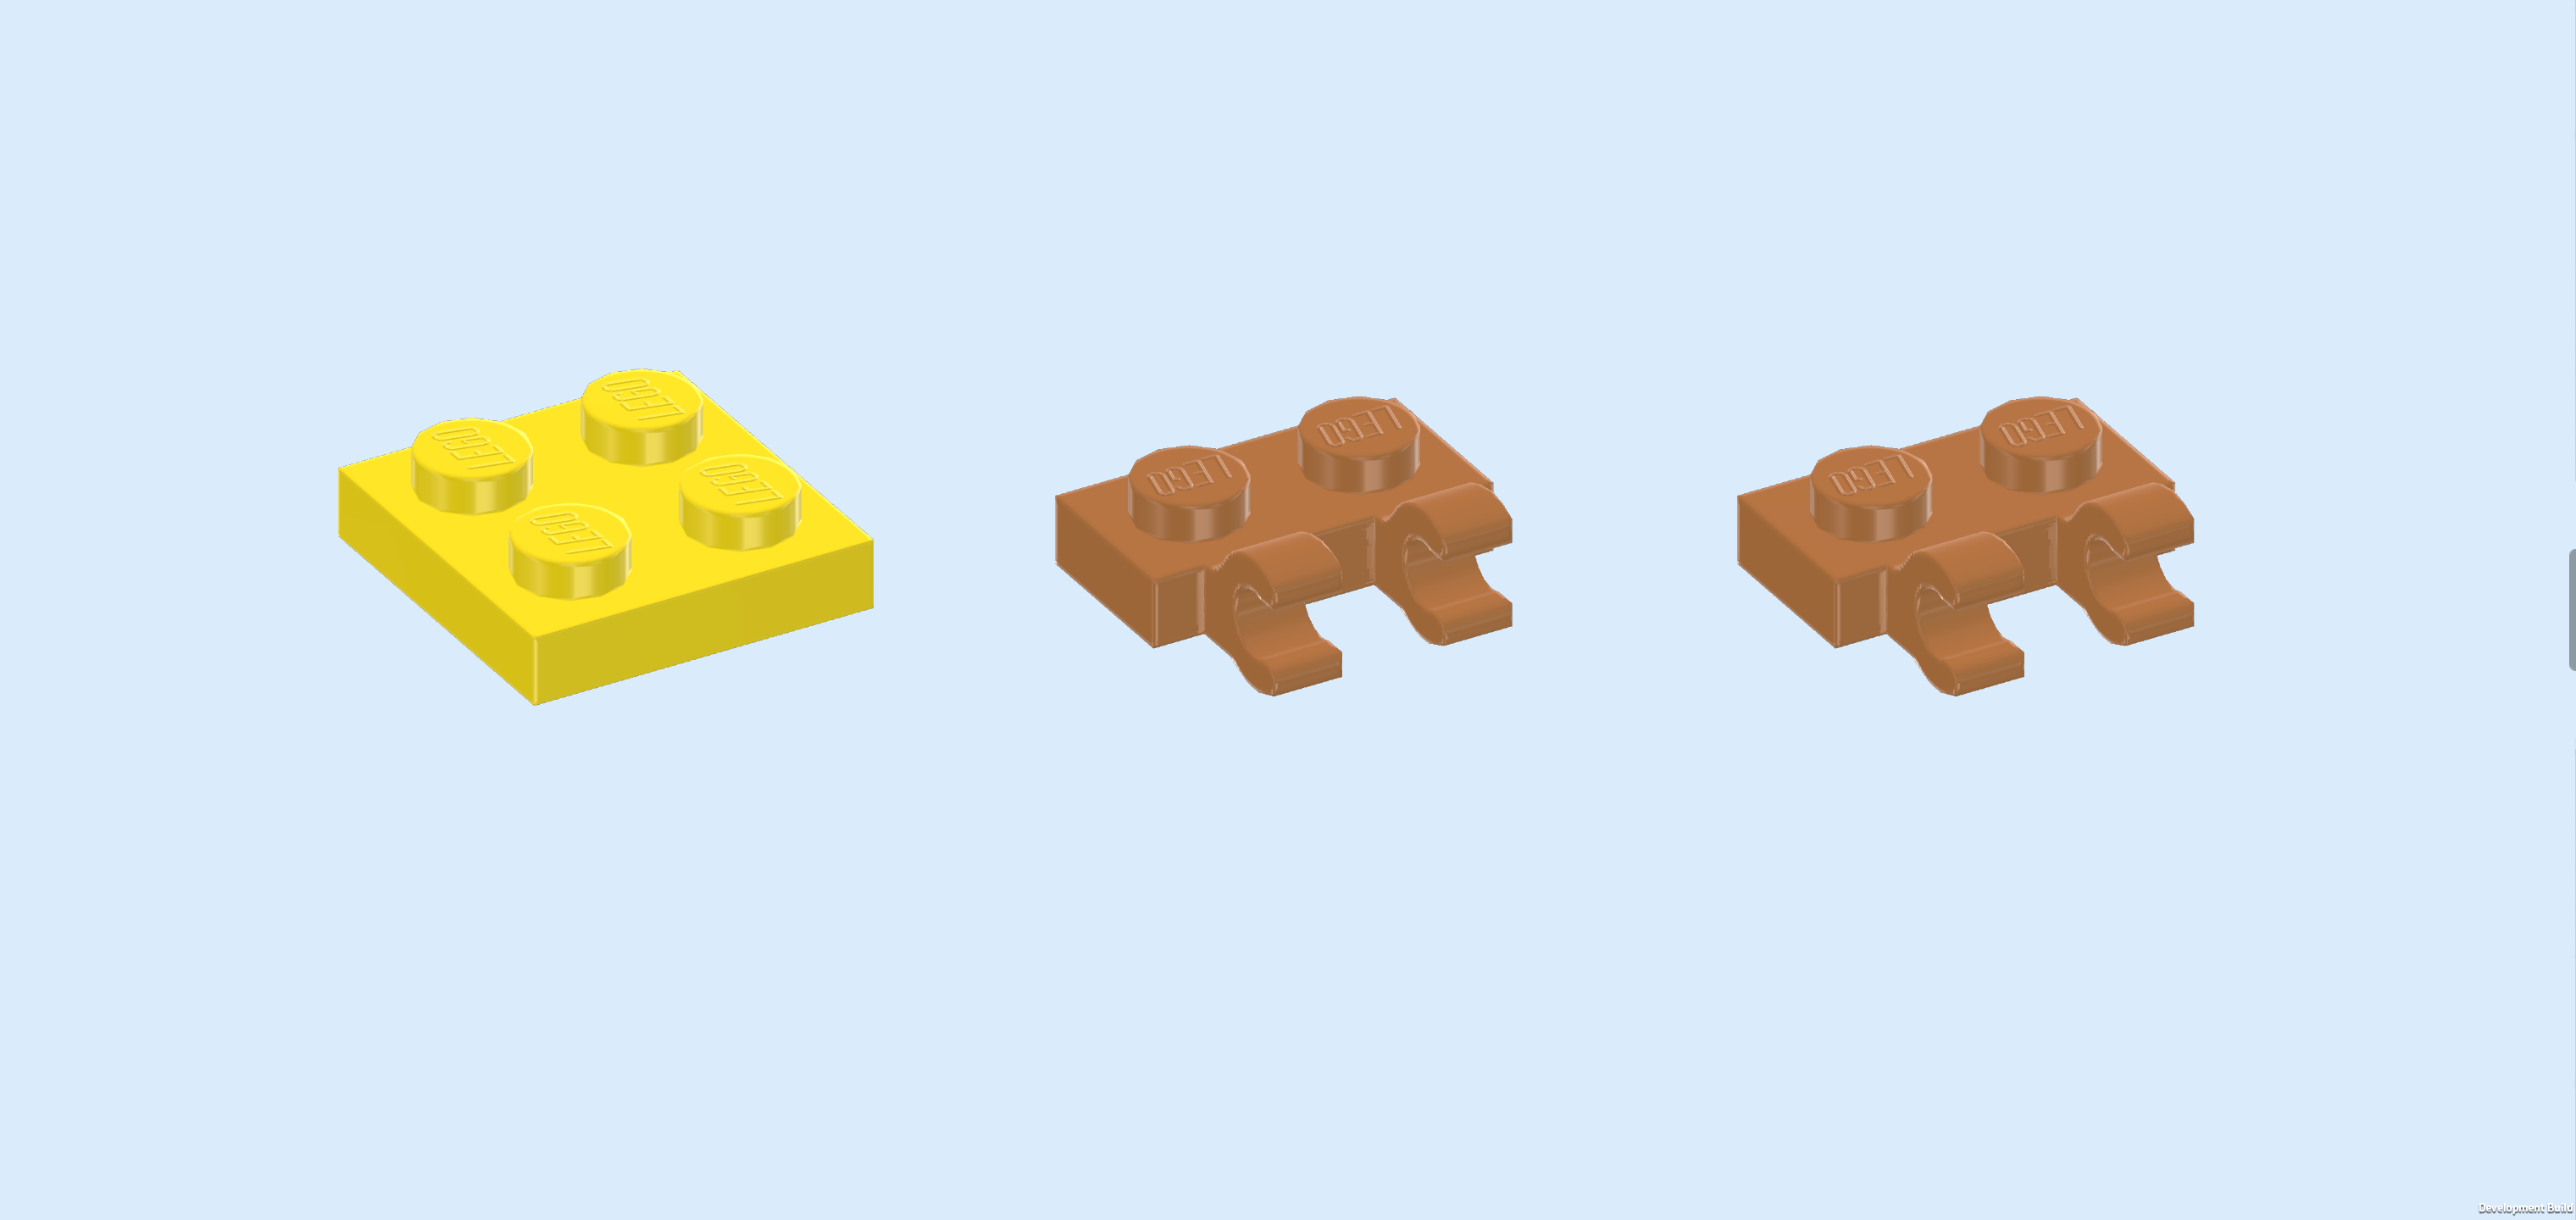
| Collect the following 3 pieces: |
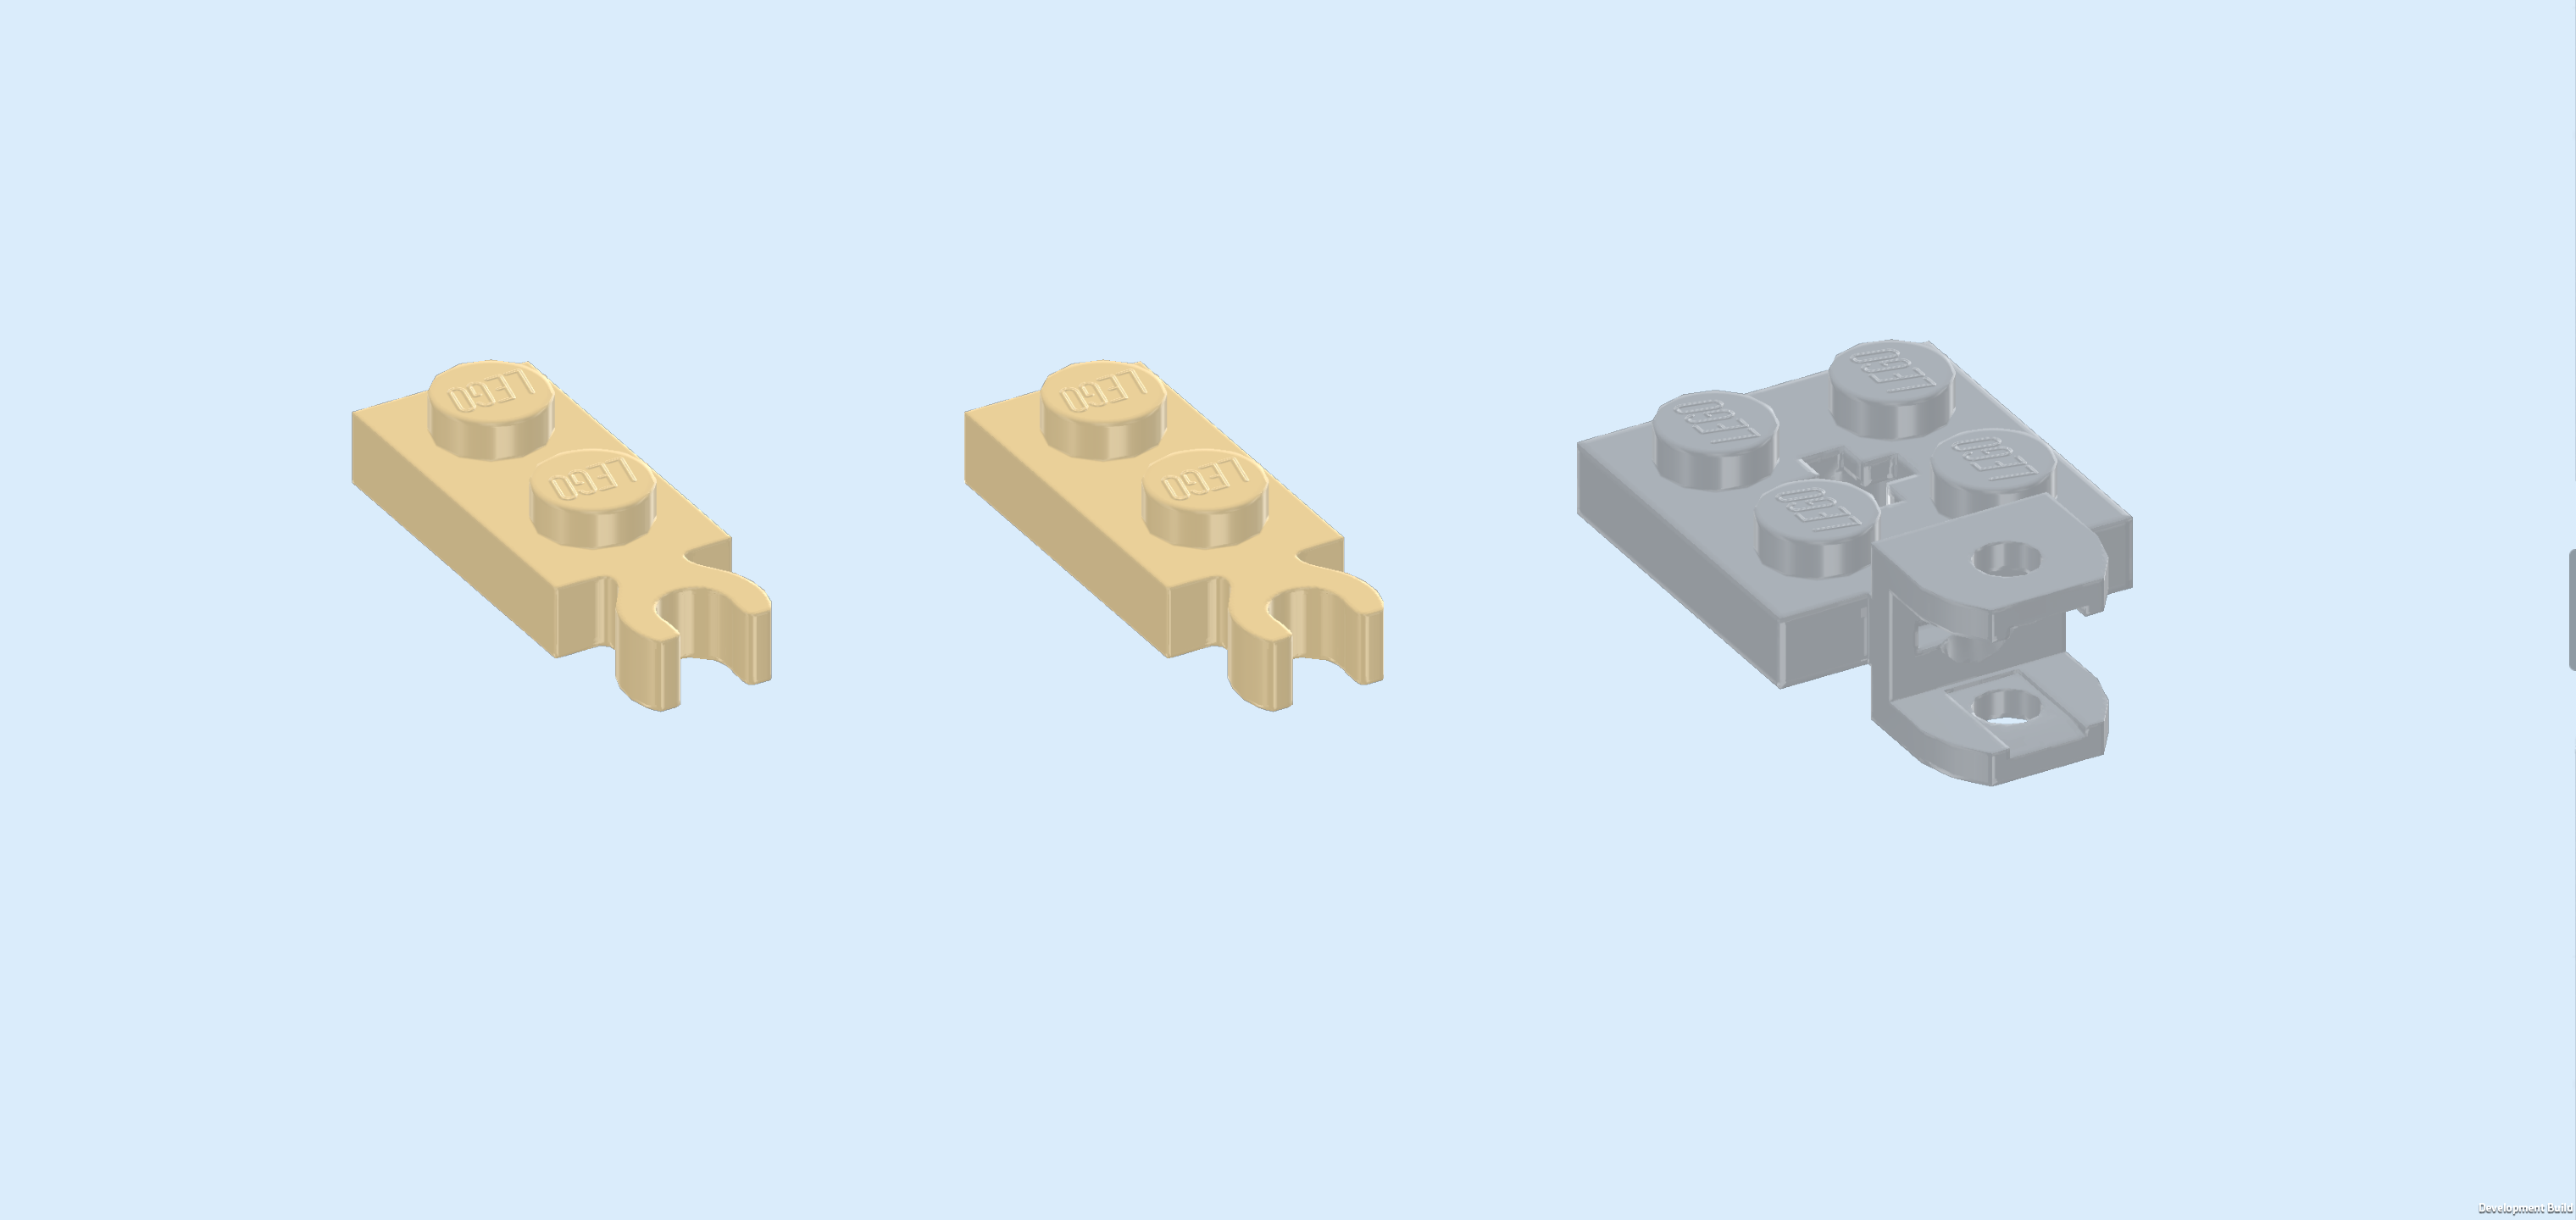
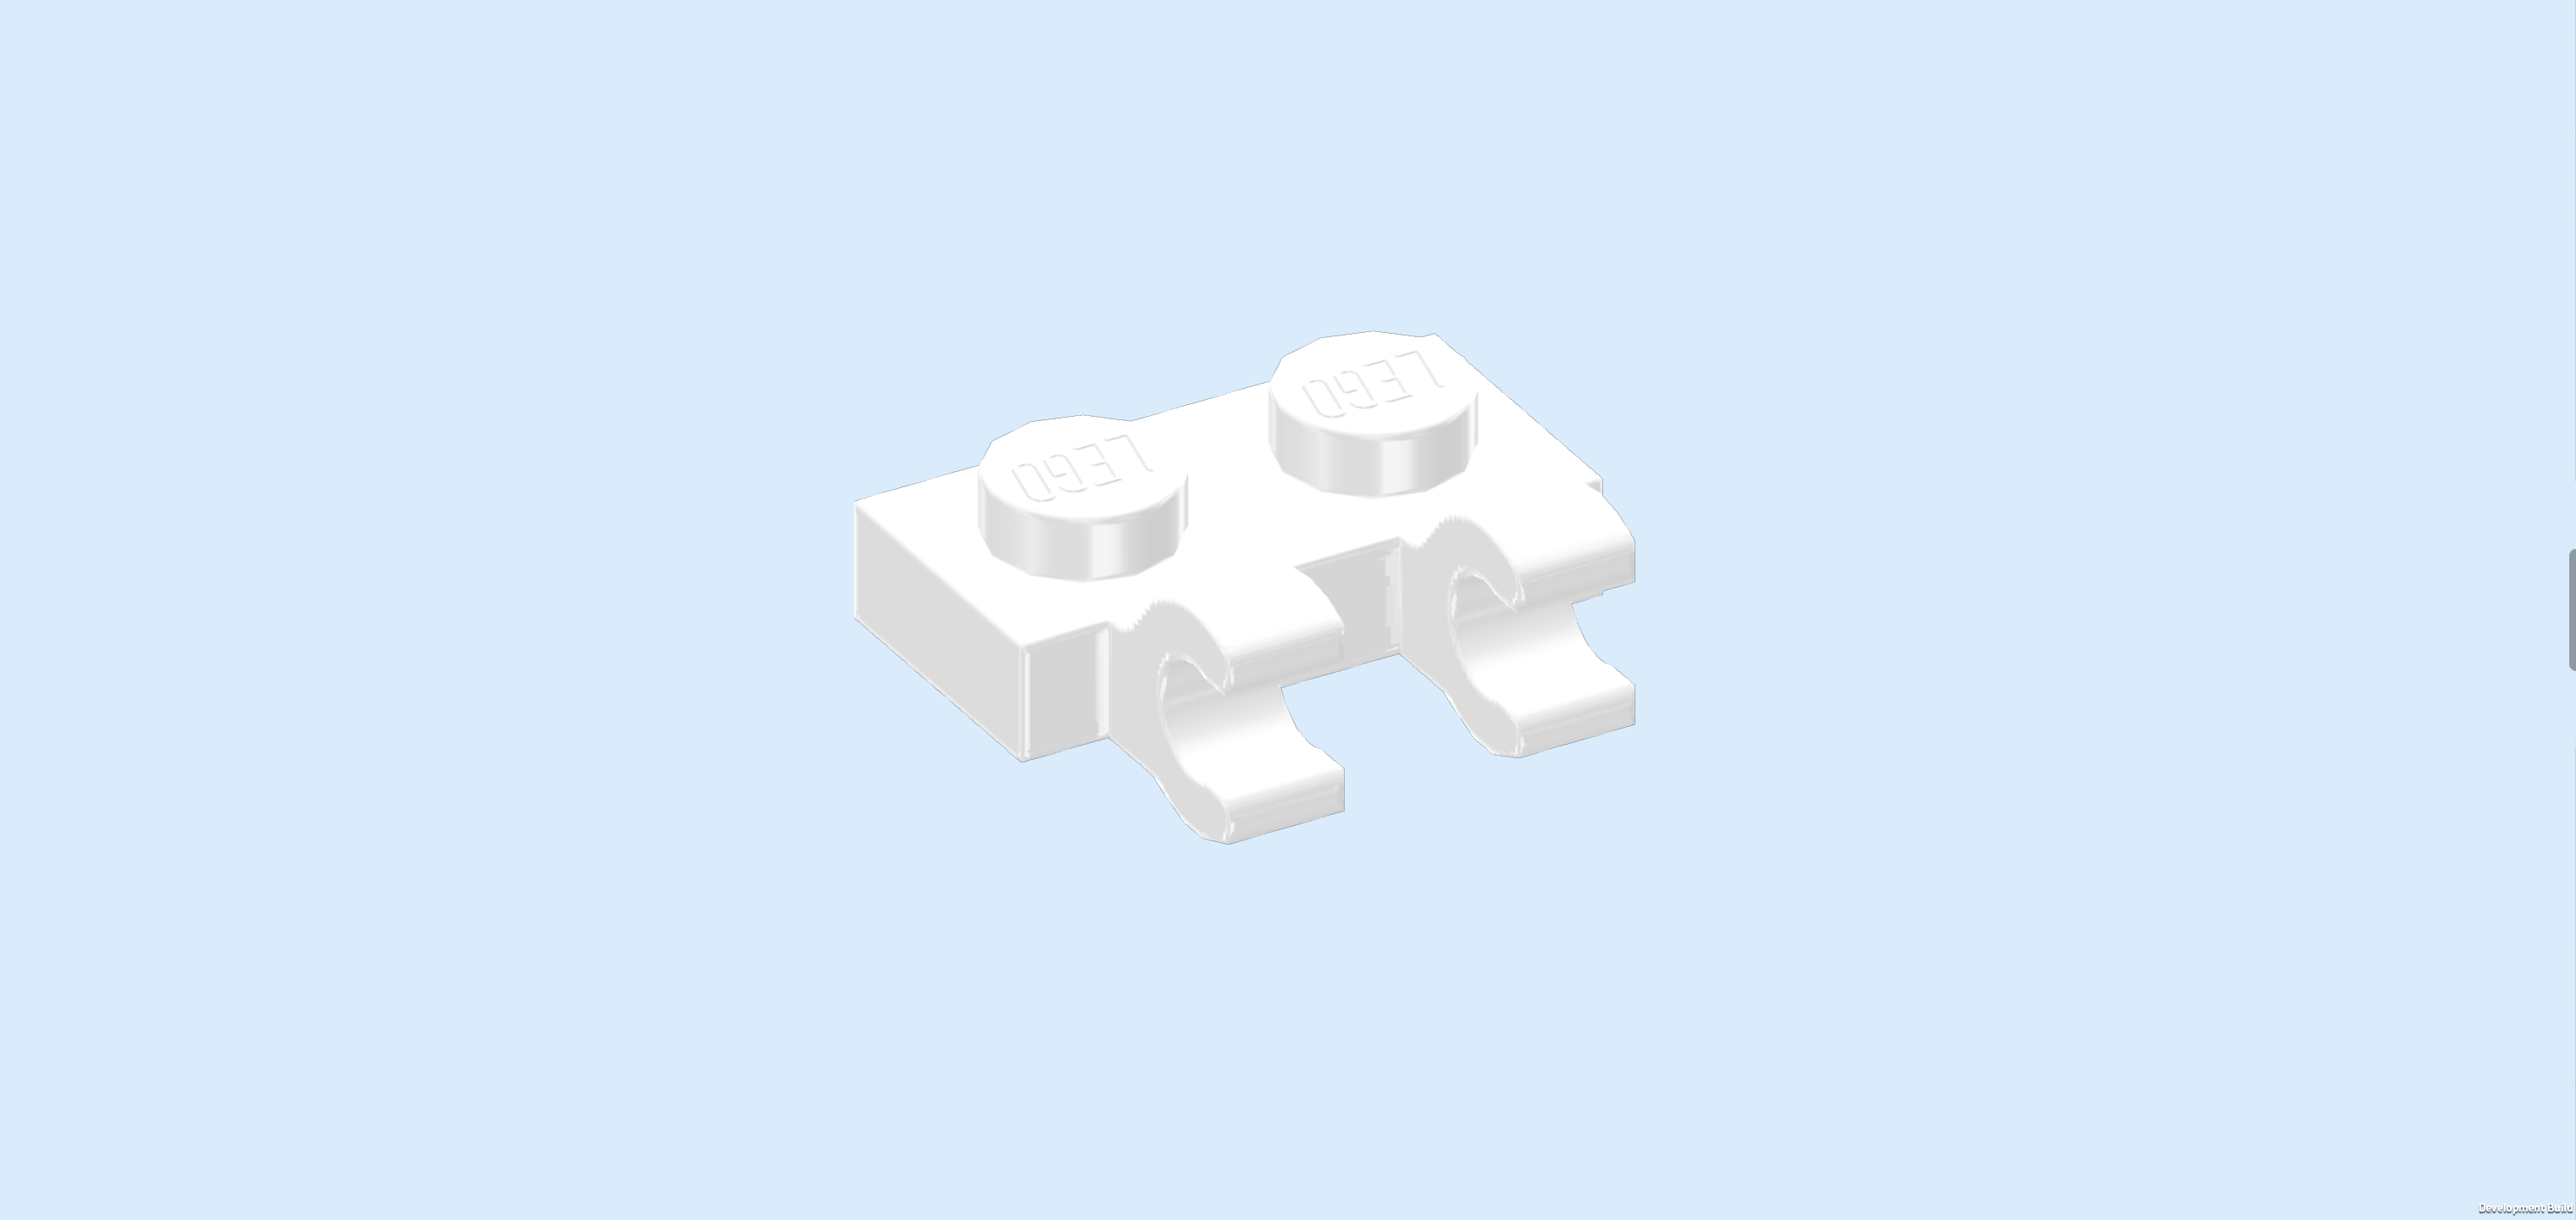
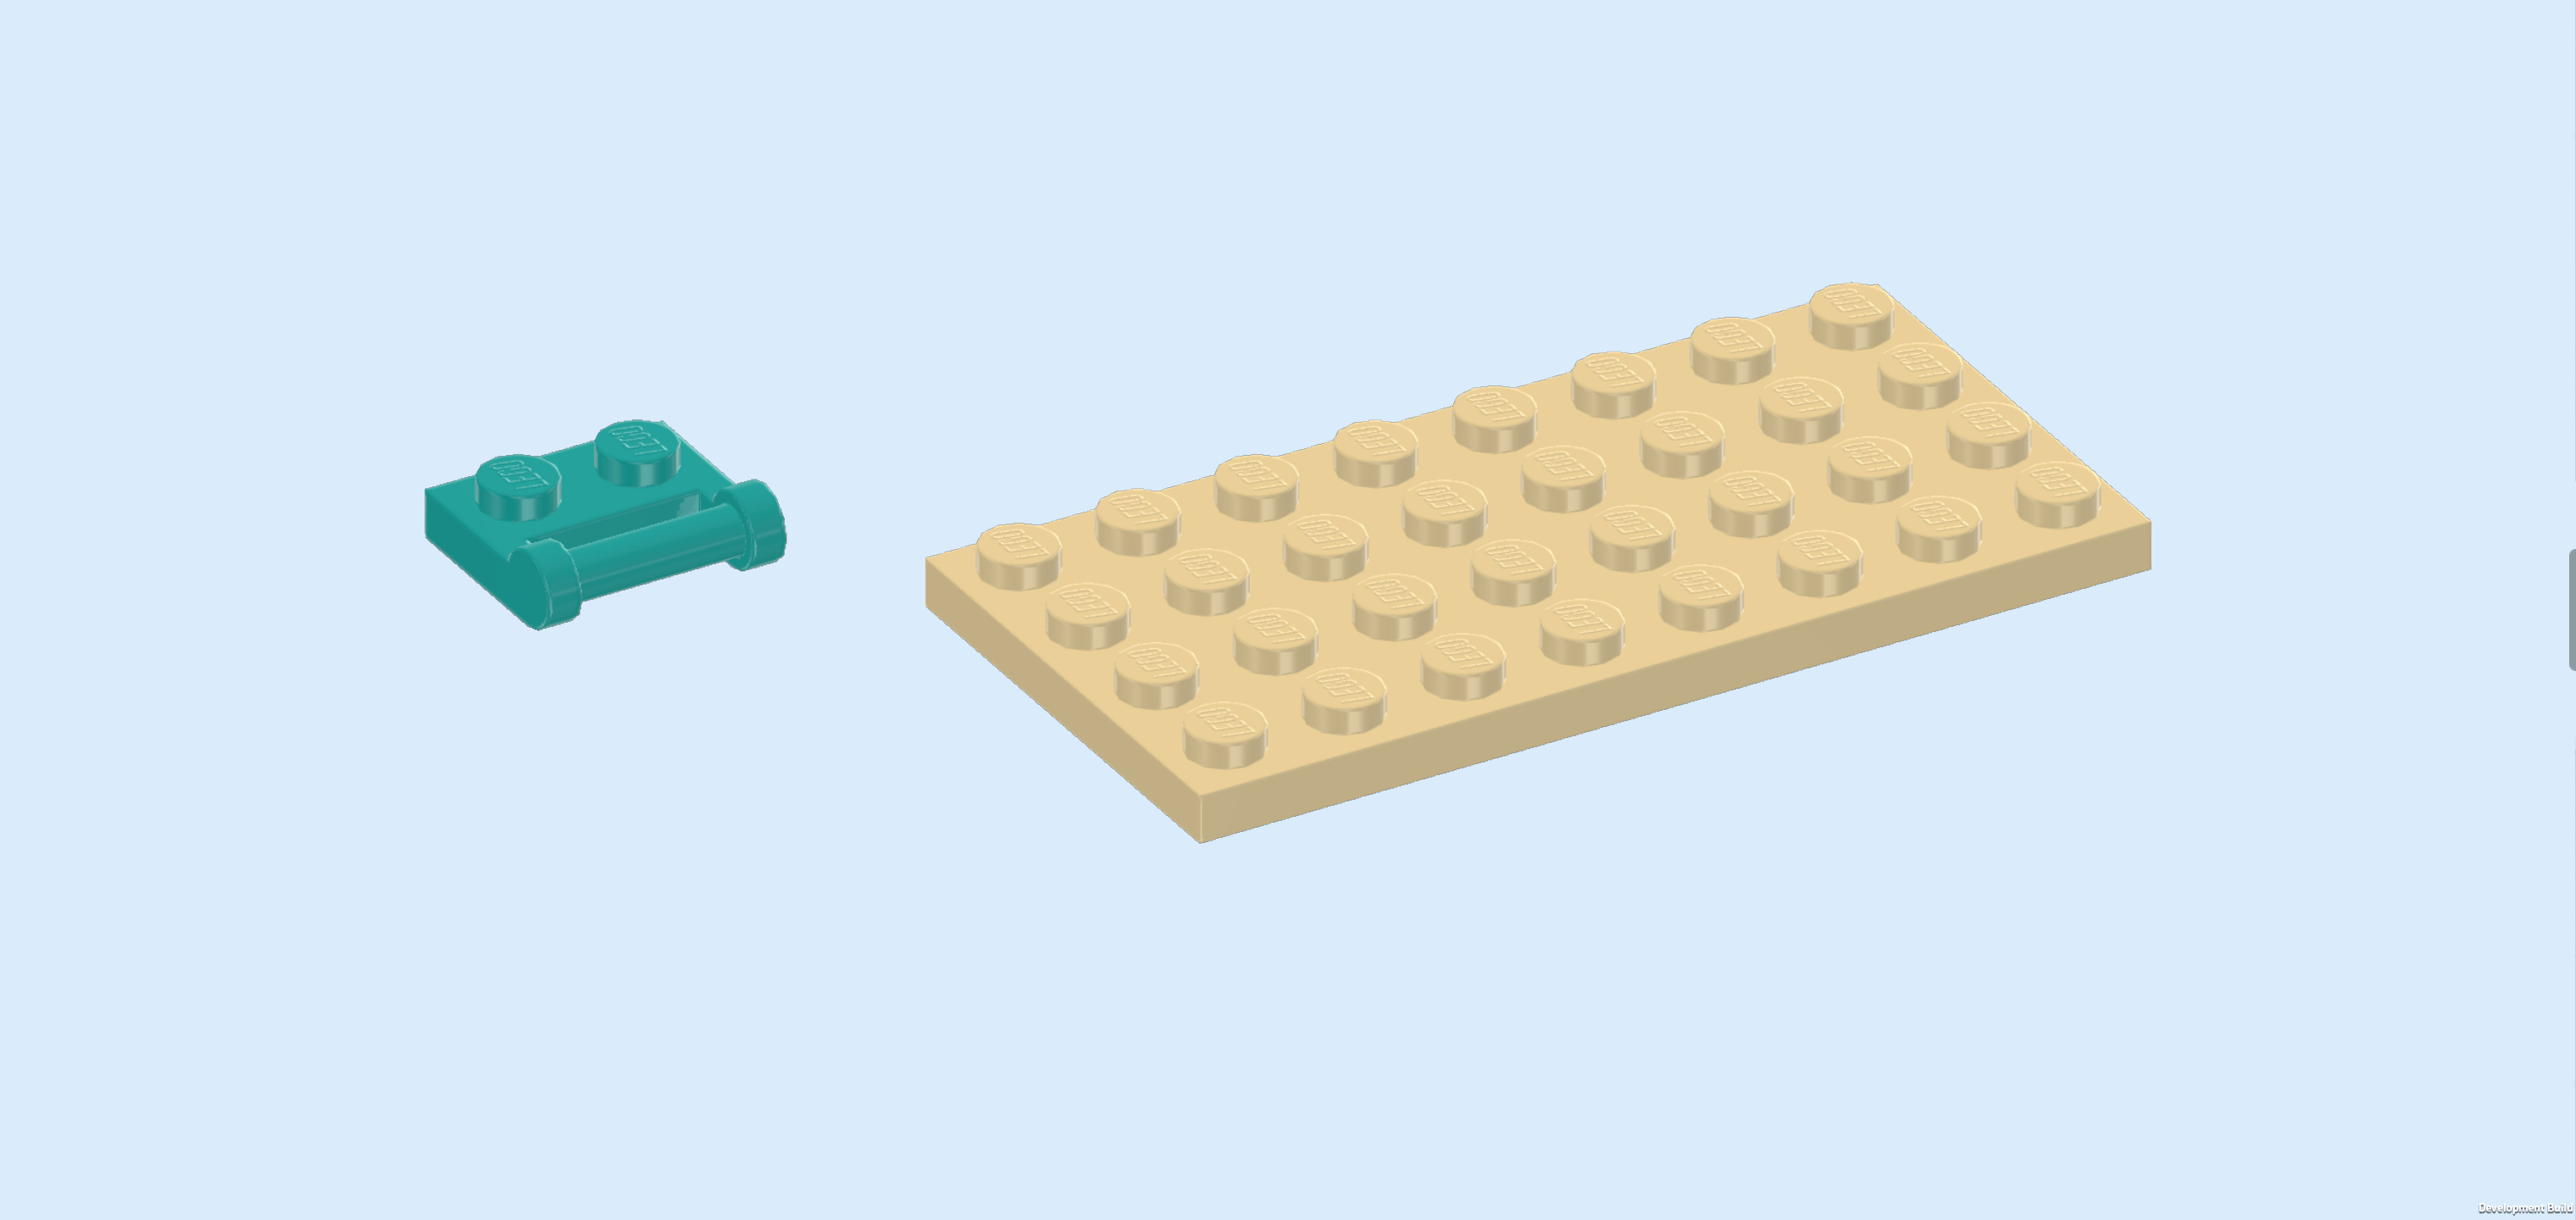
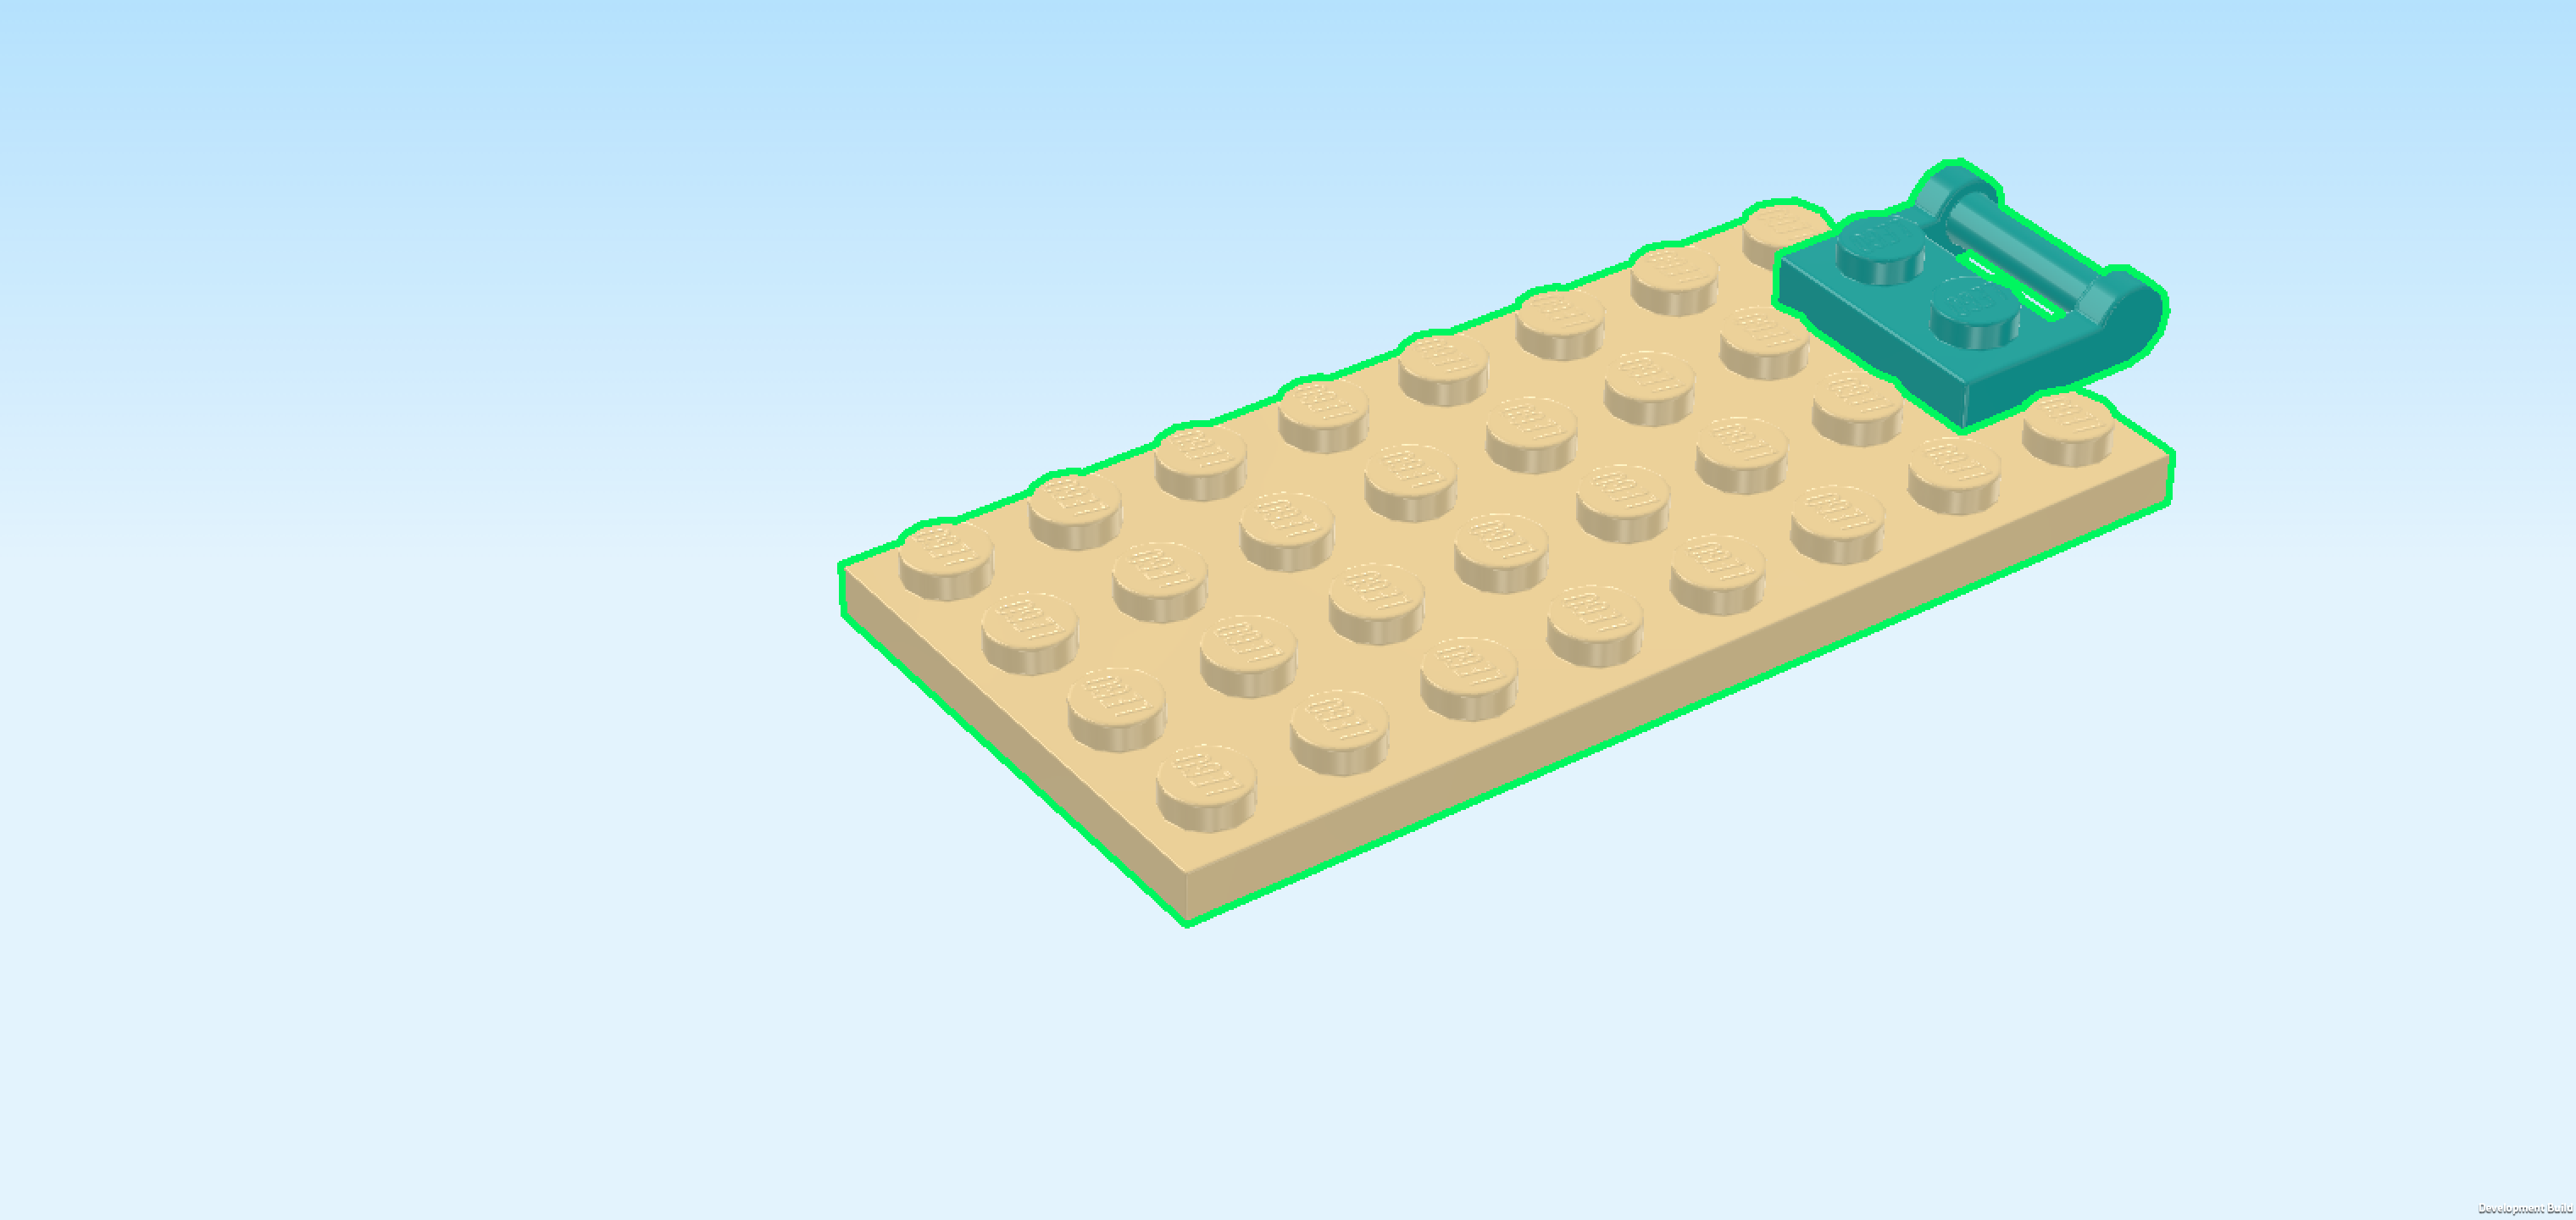
| 2 beige plates 1x2 with horizontal clasp on short side, |
| and 1 medium stone grey plate 2x2 with ball socket and cross hole. |
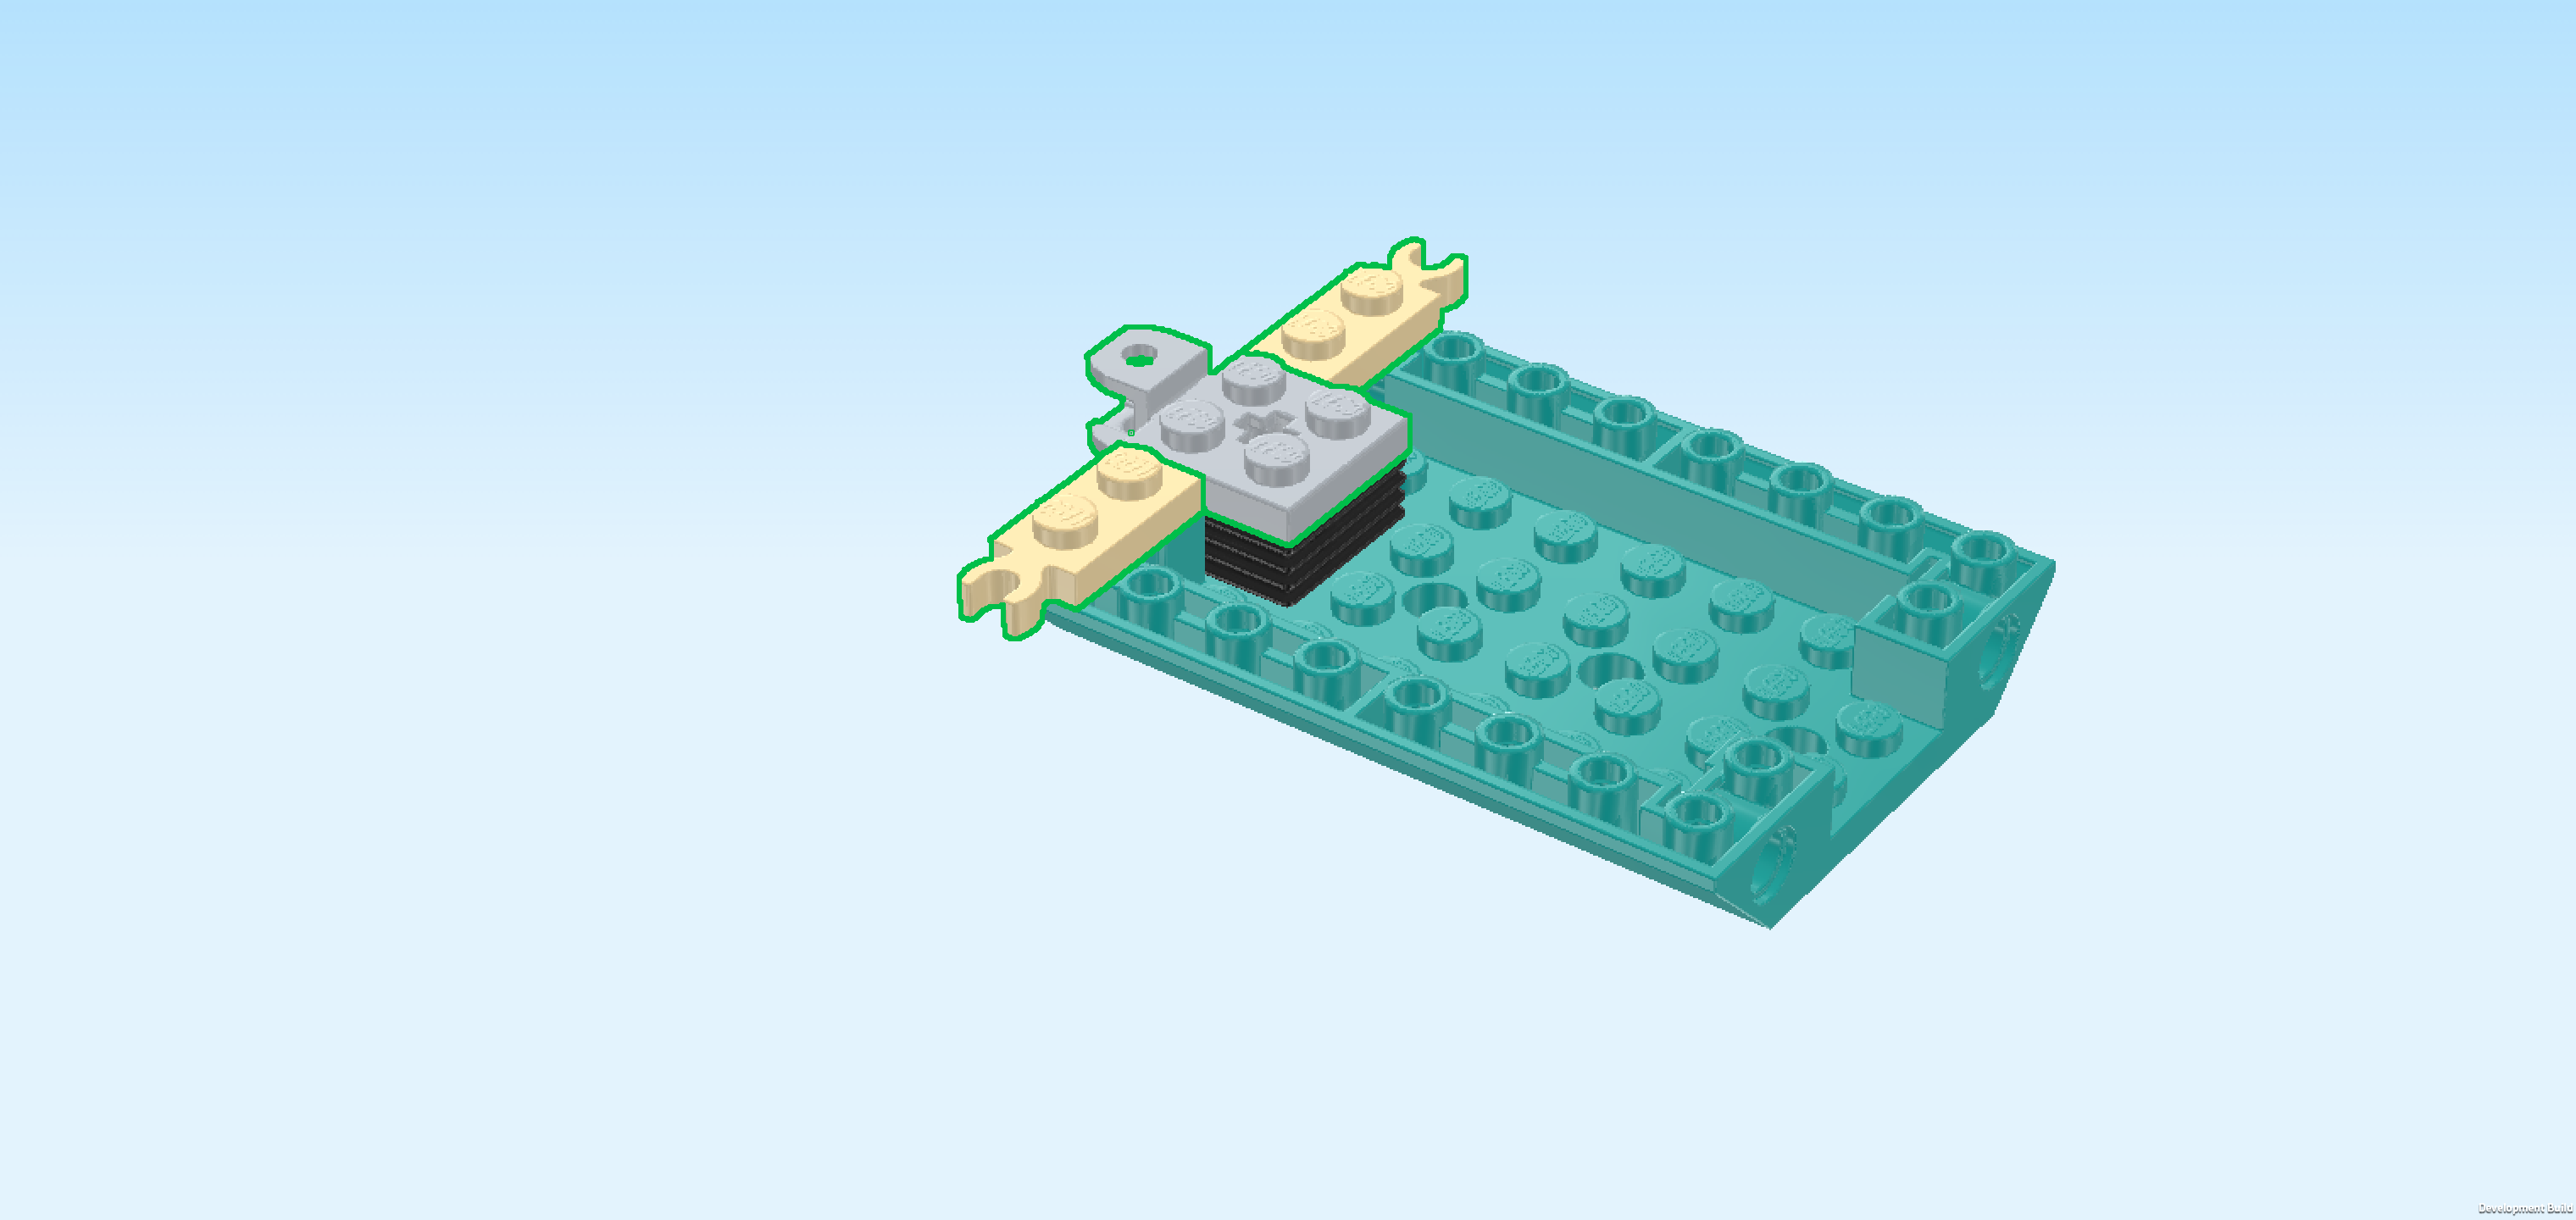
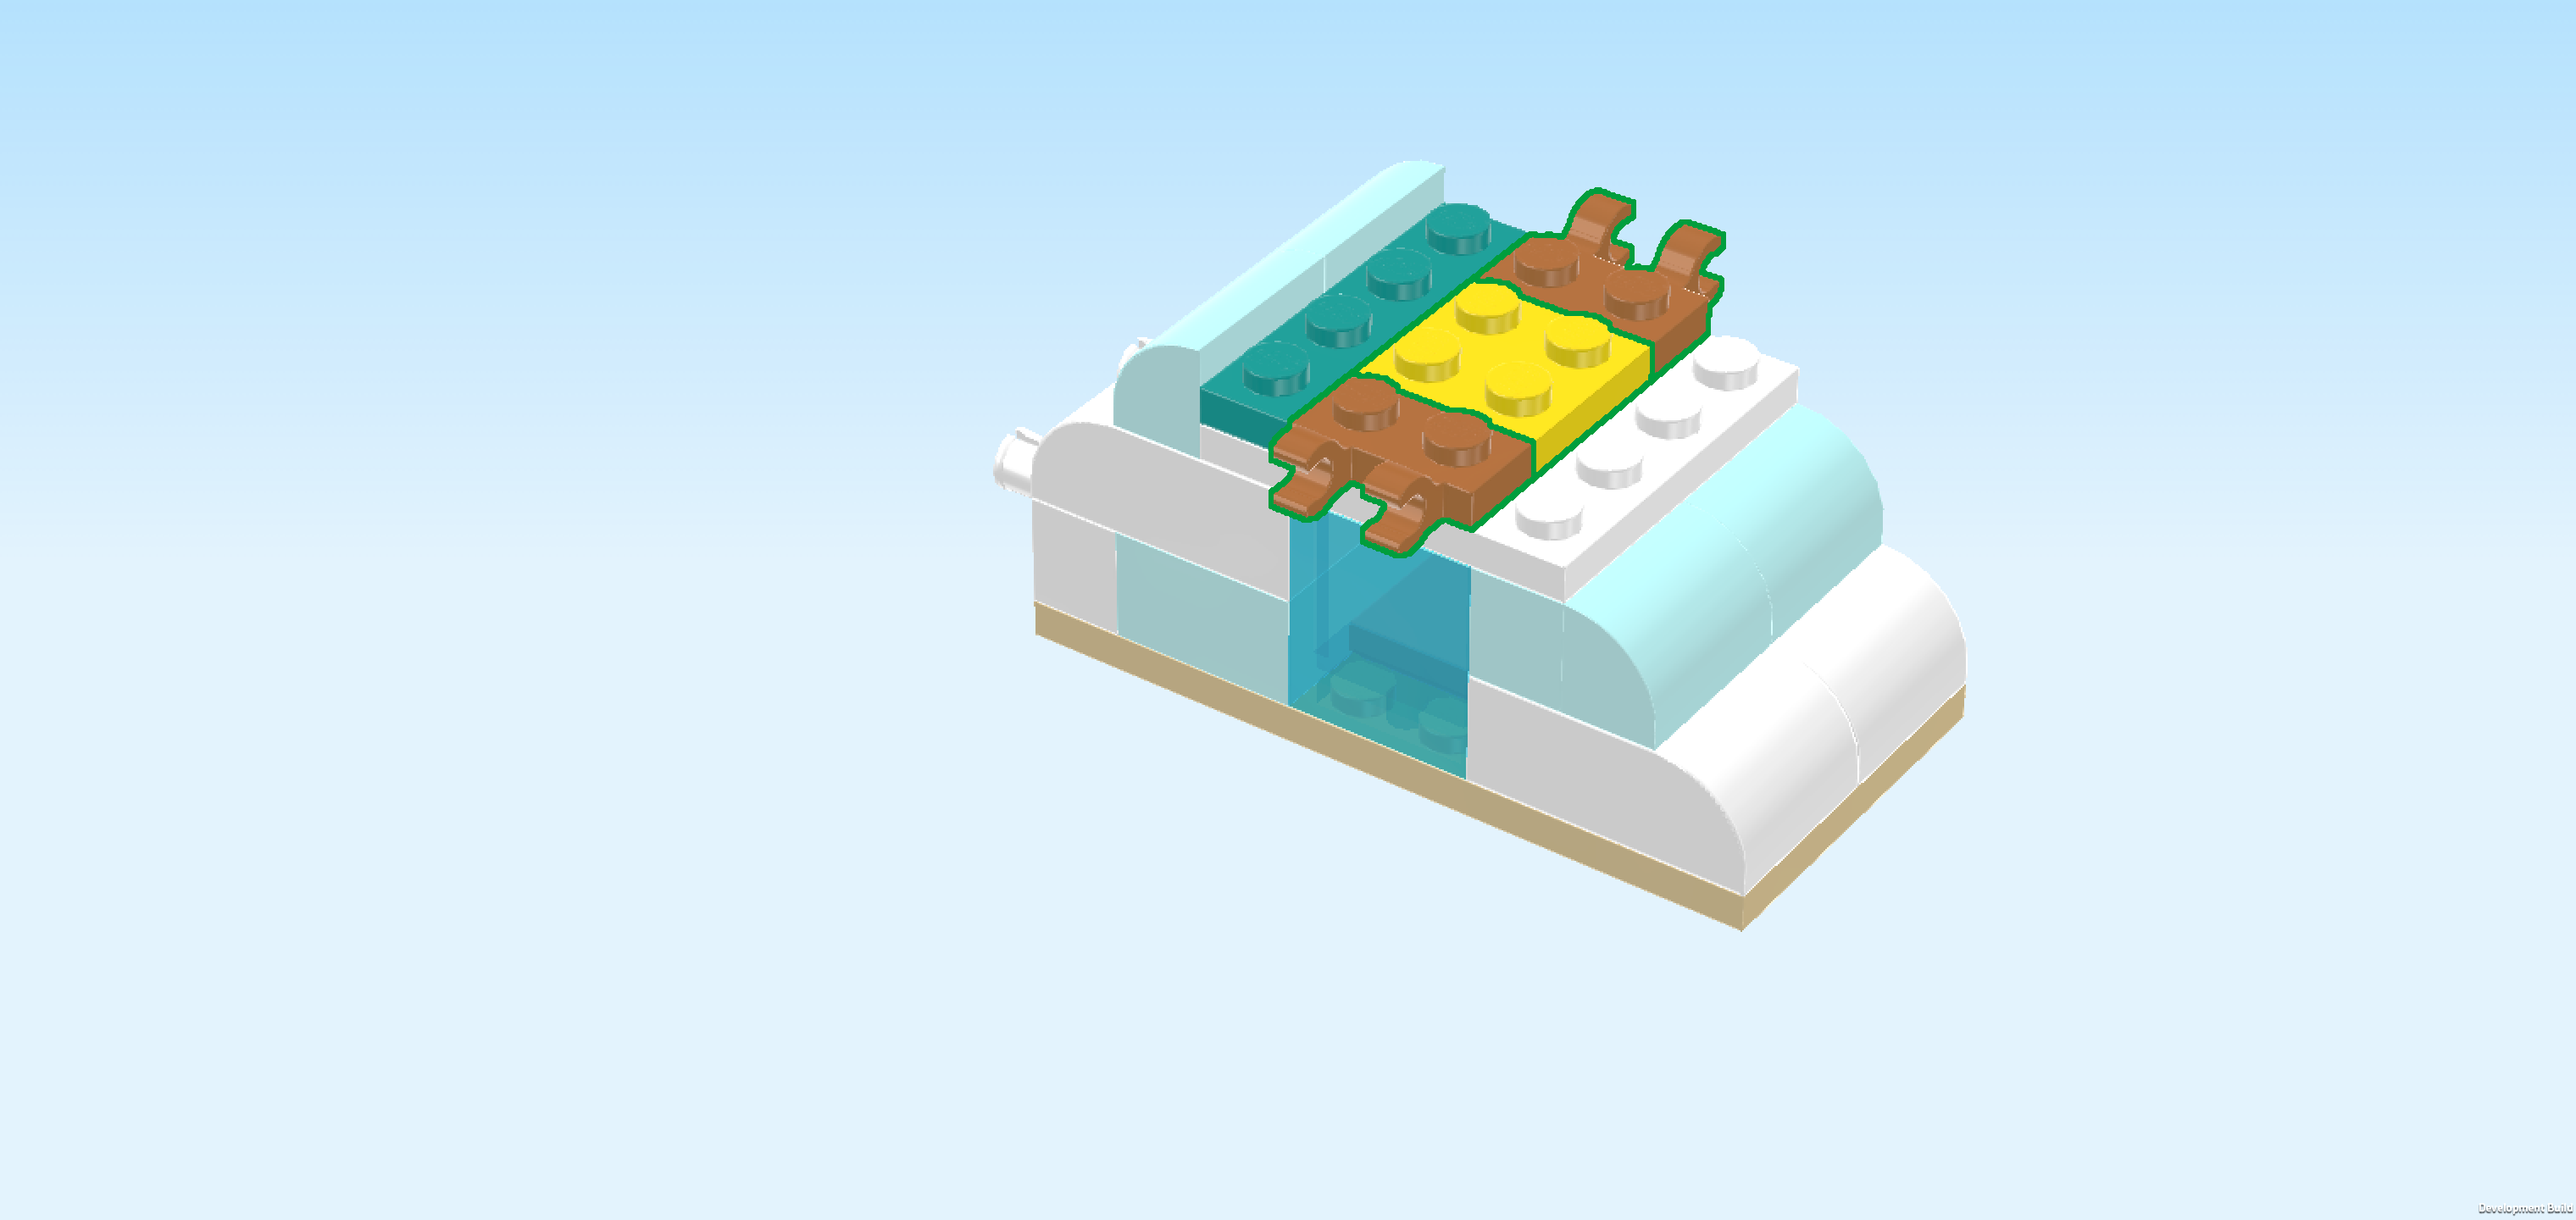
| Put 1 plate 1x2 vertically on the leftmost column behind the previous piece, clasp overhanging to the back. |
| Repeat symmetrically at the front, clasp to the front. |
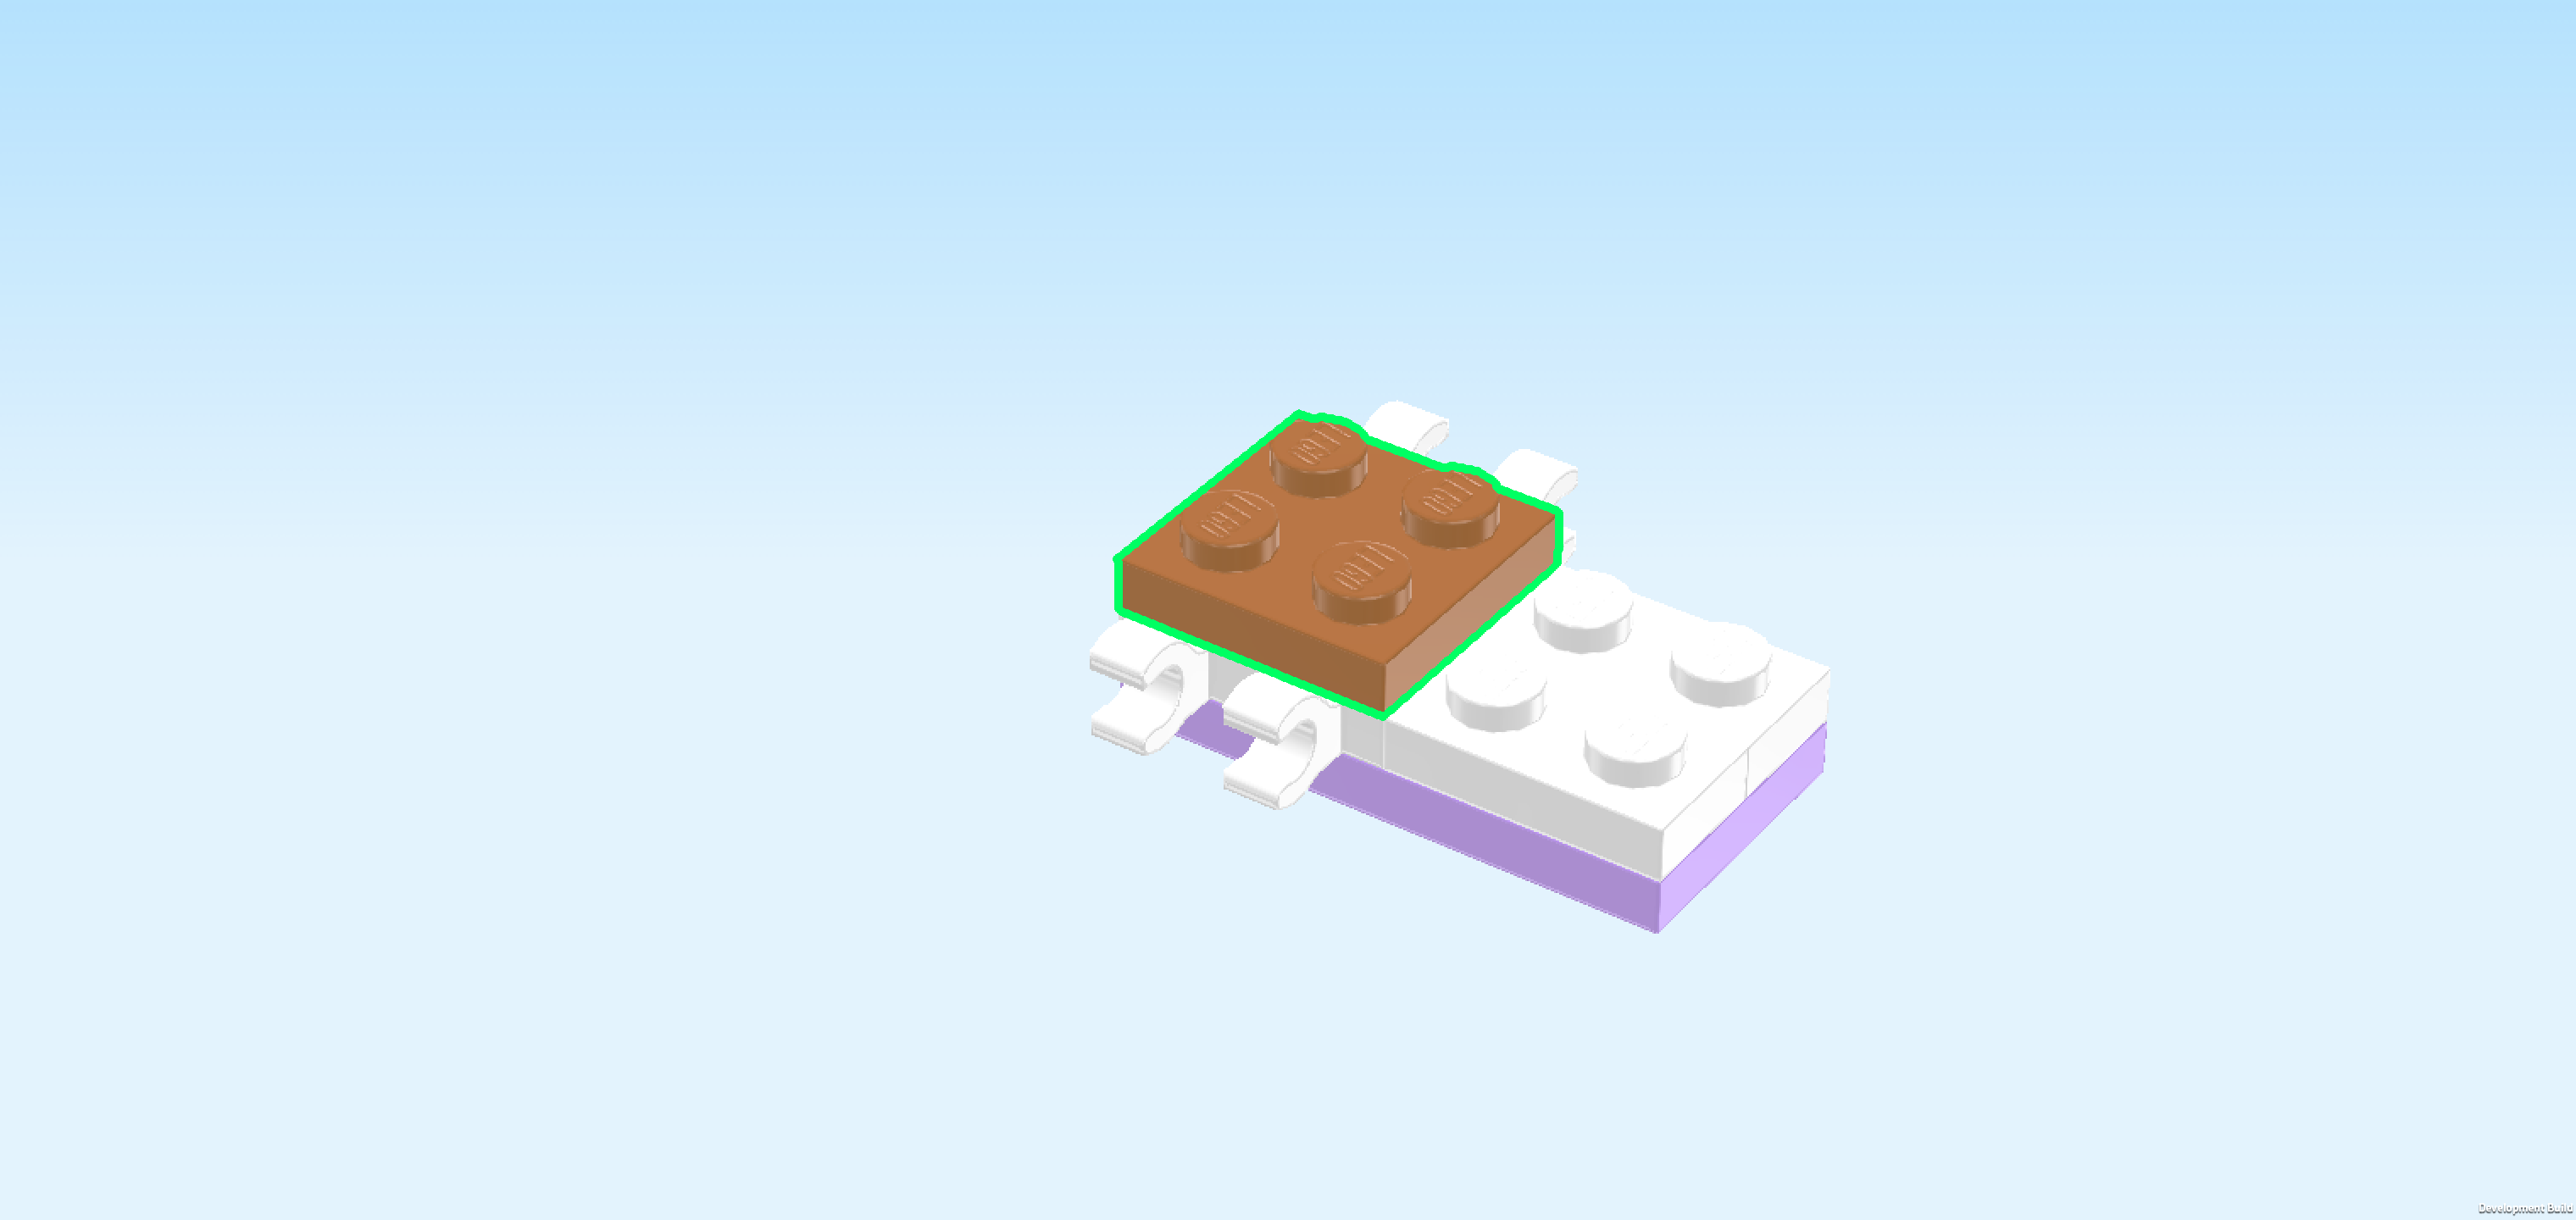
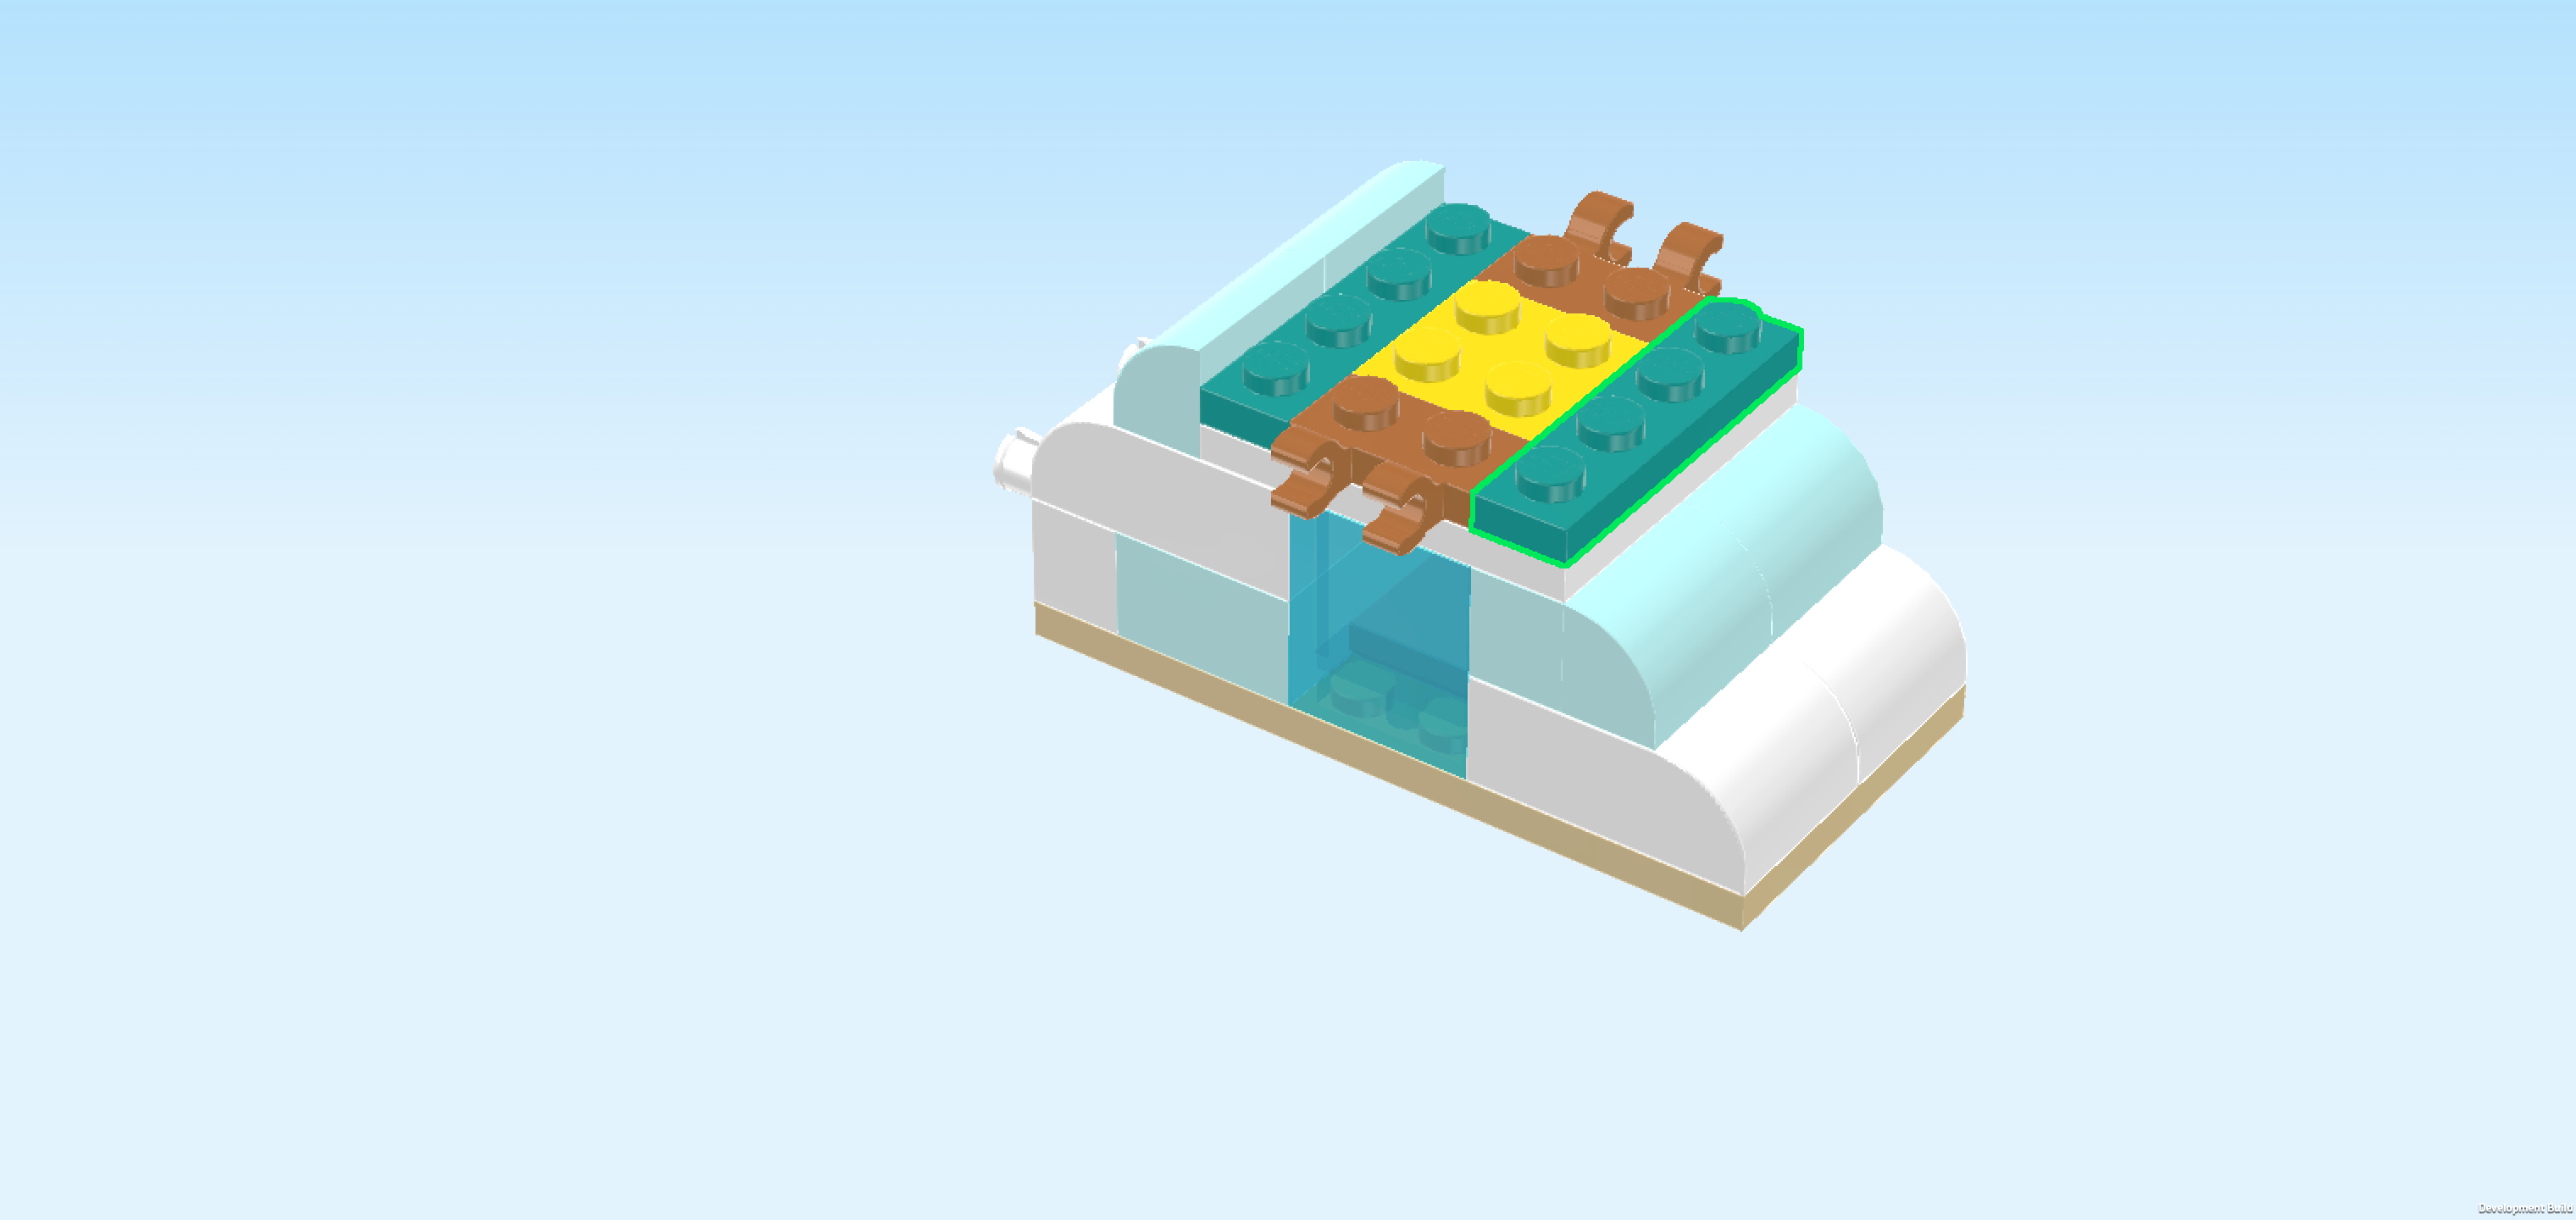
| Put the plate 2x2 on top of the low brick, ball socket overhanging to the left. |
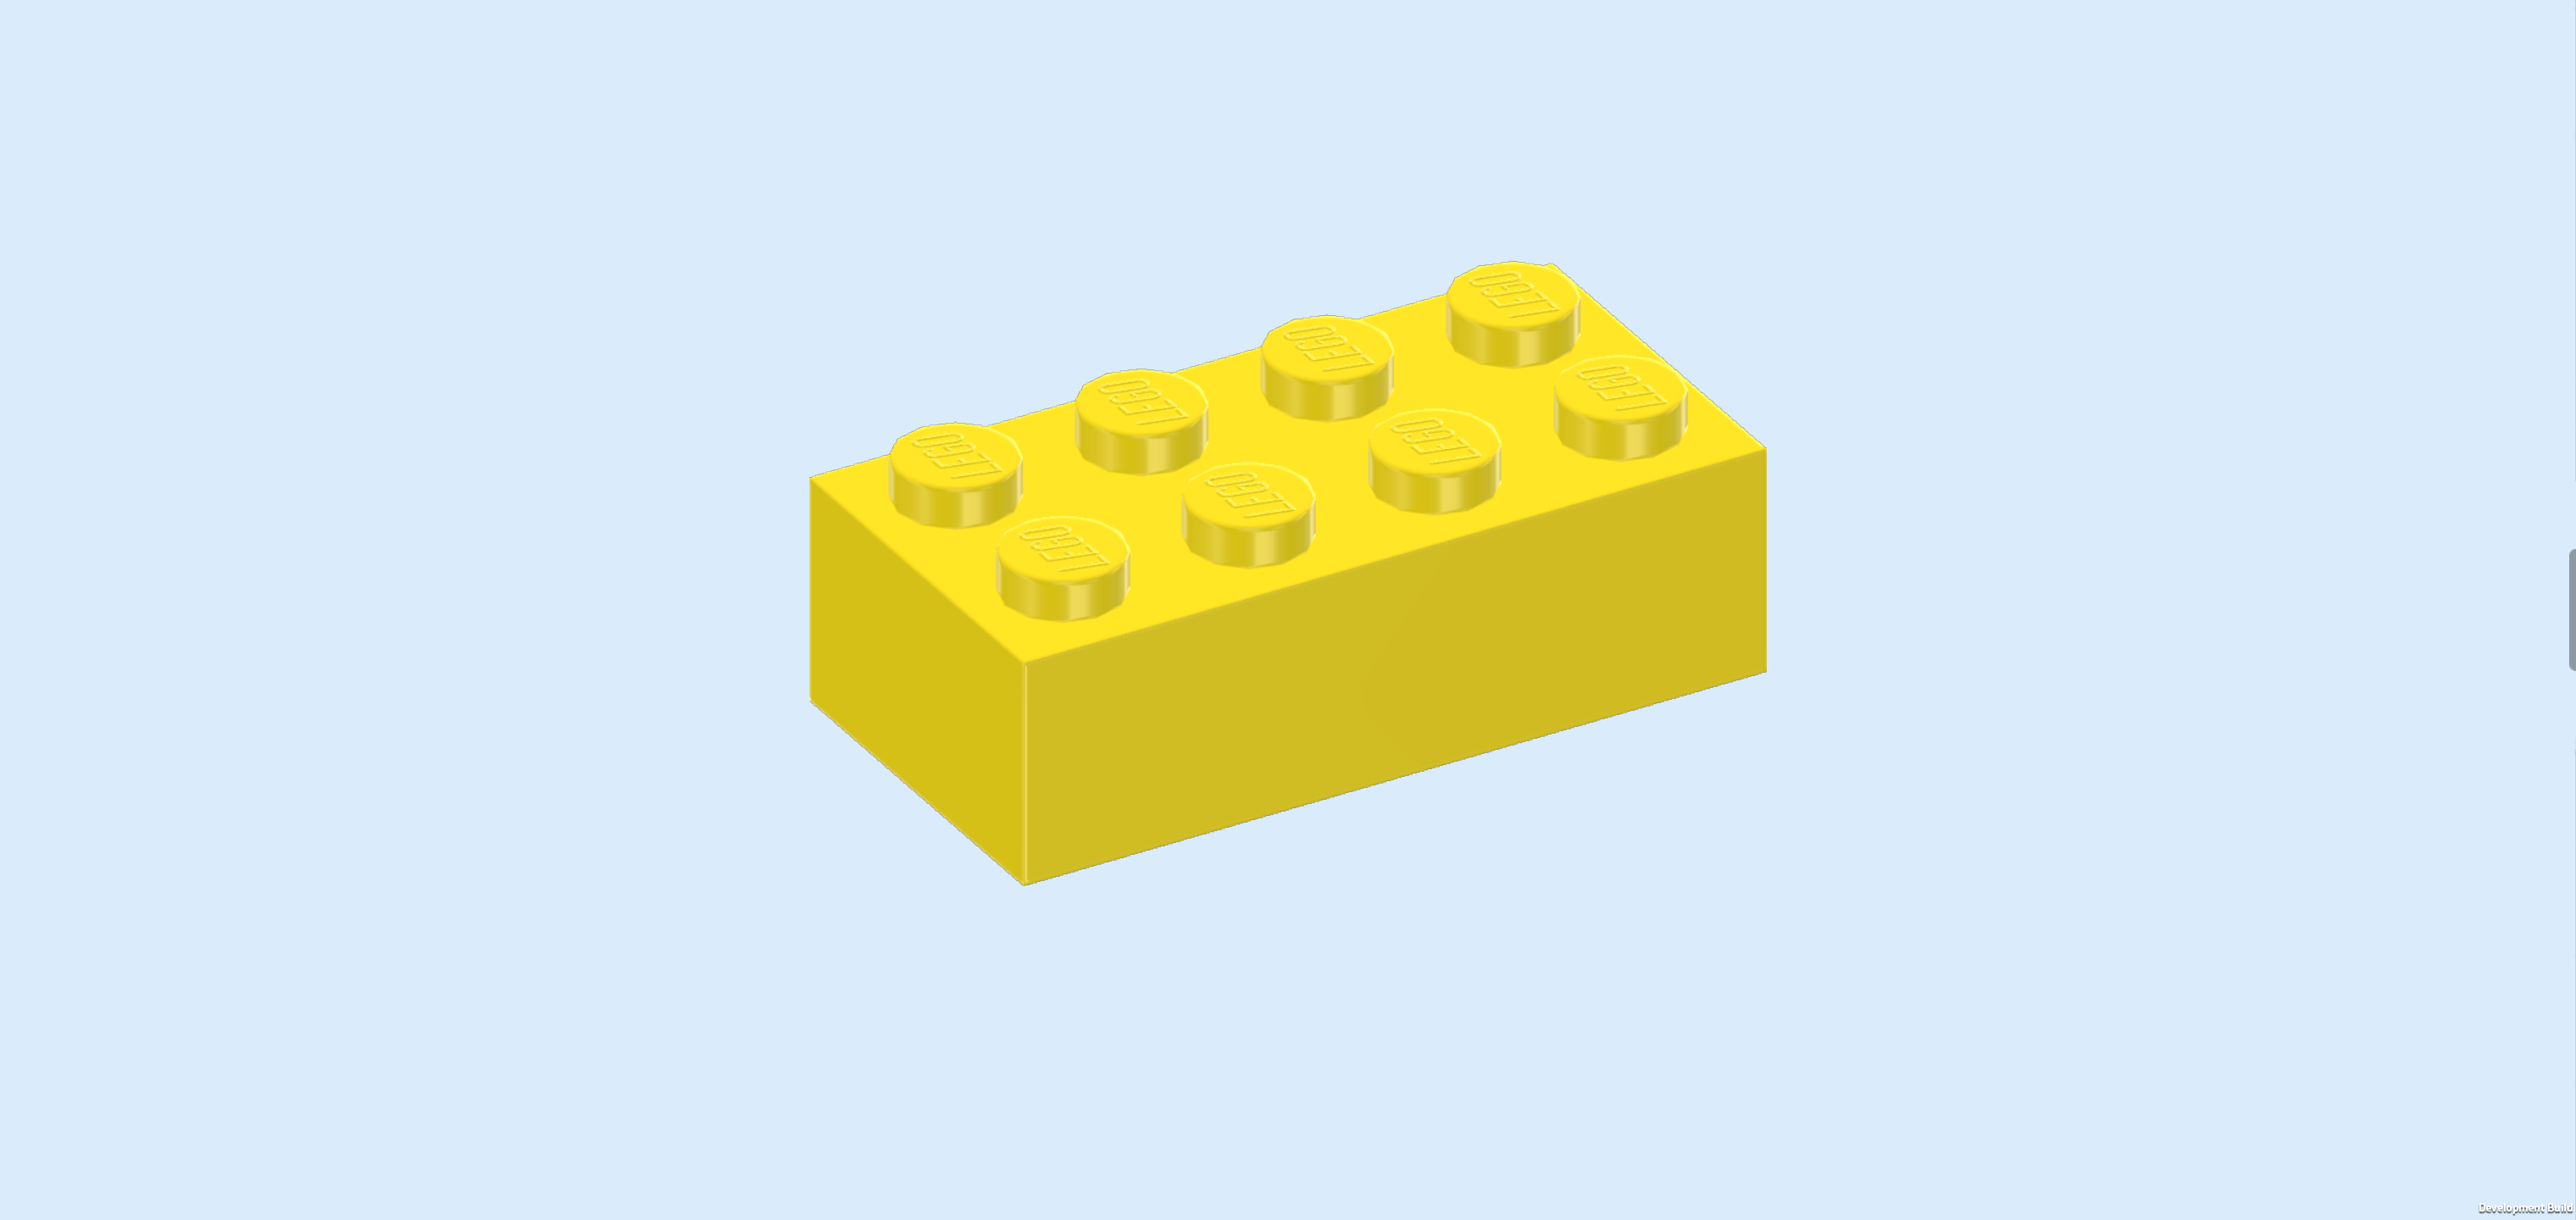
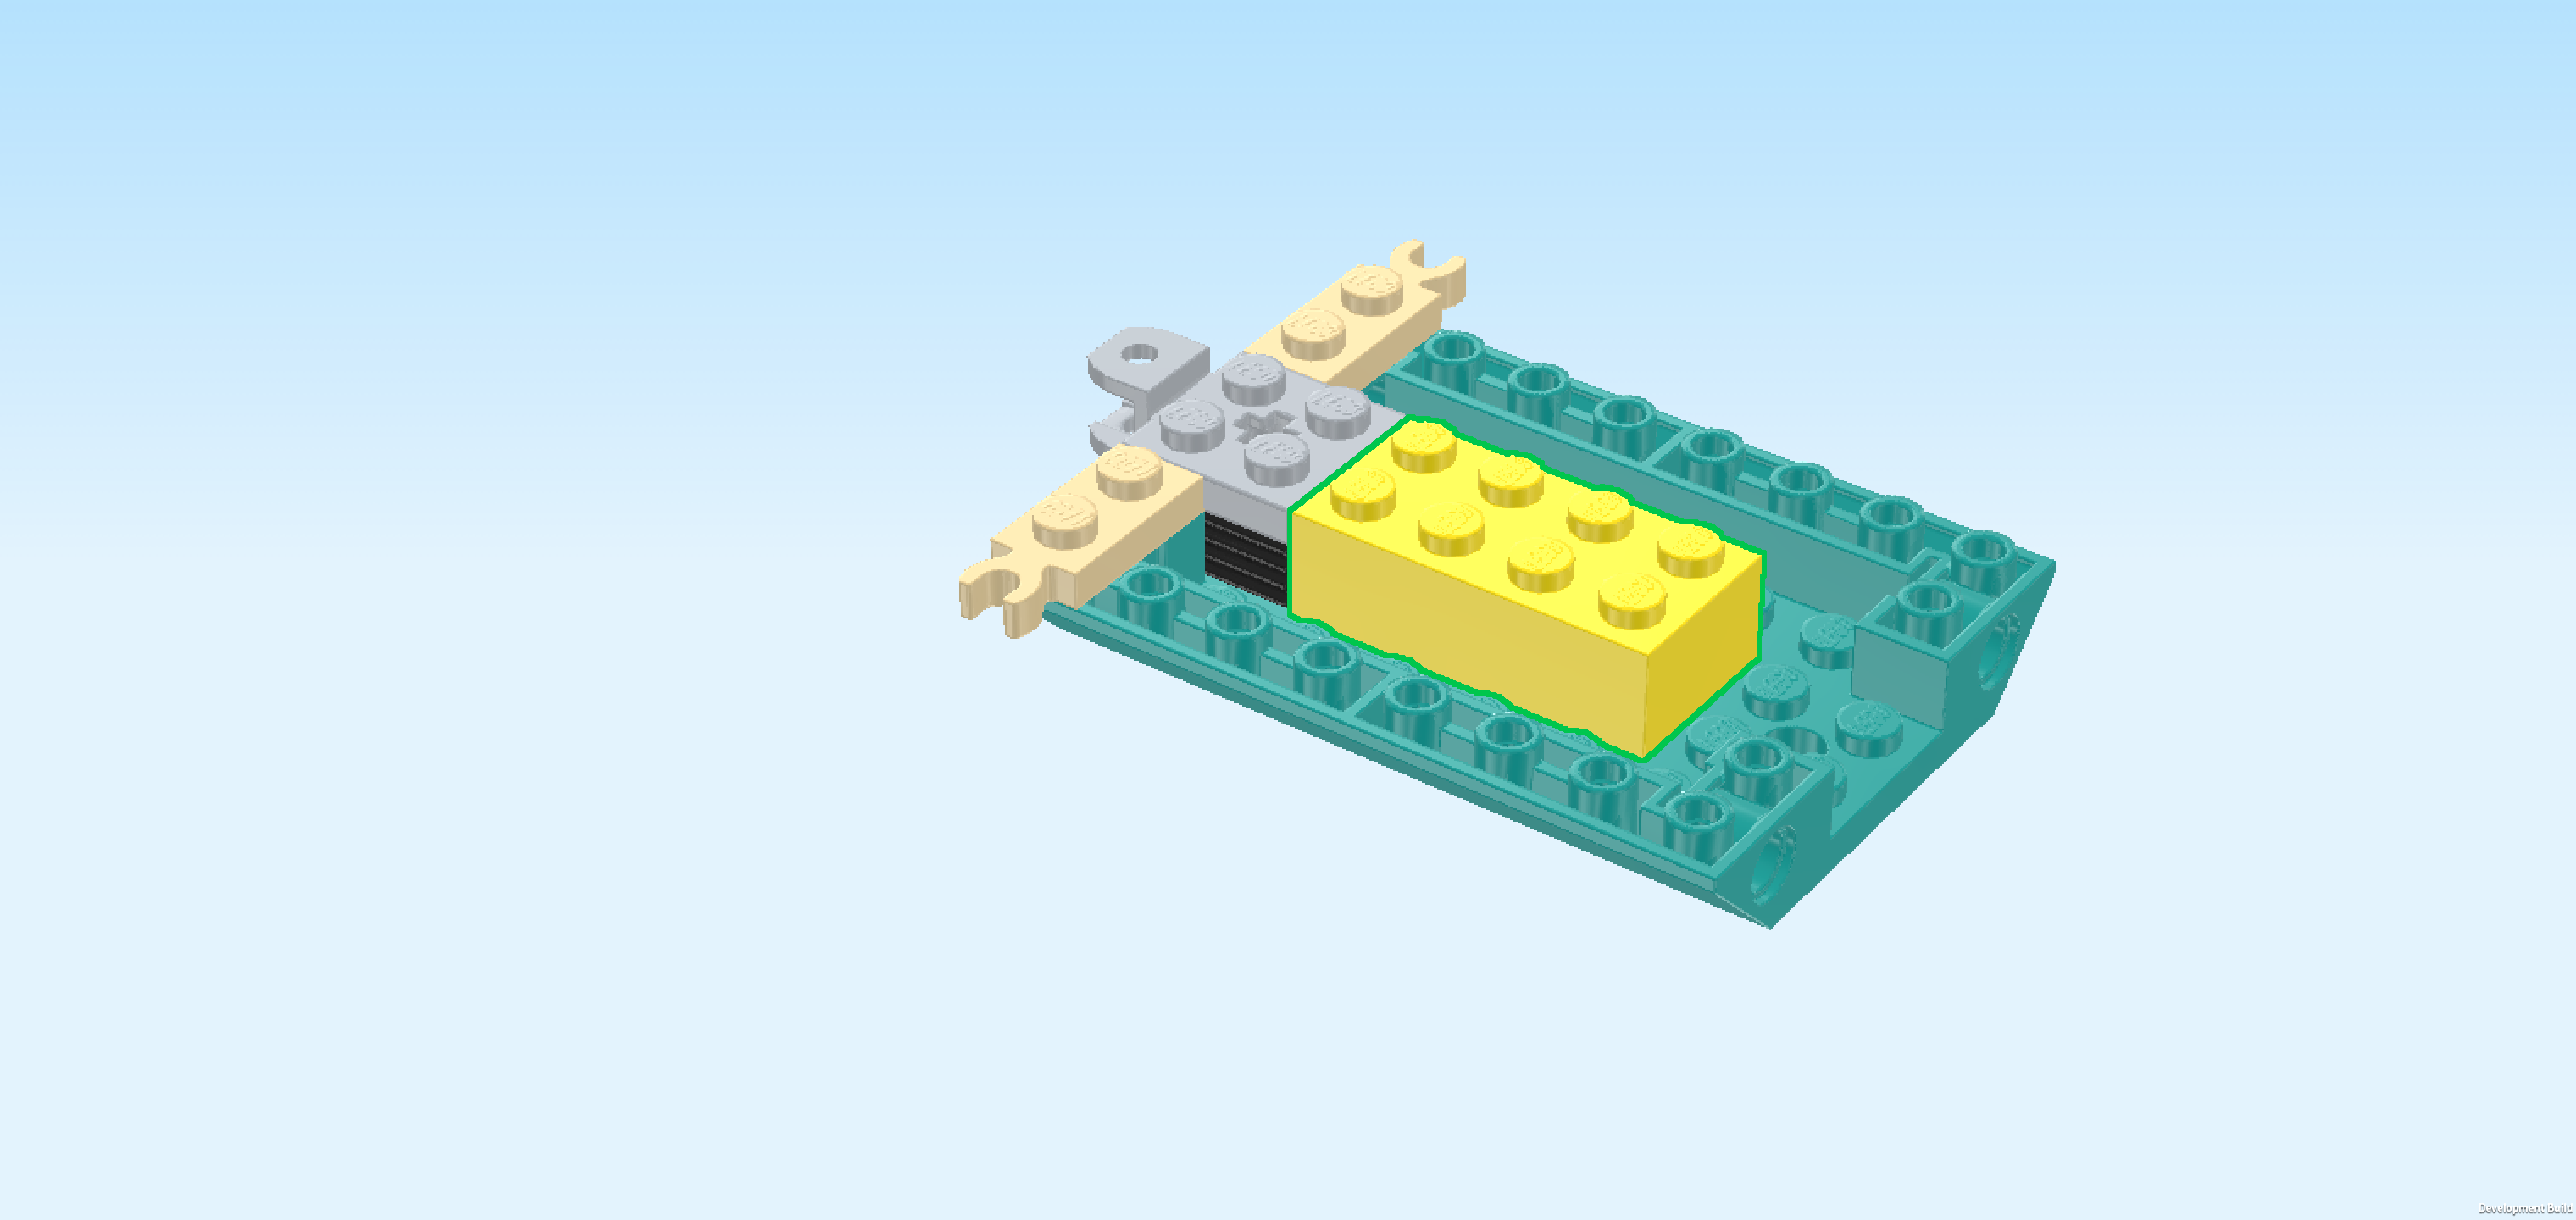
| Find 1 bright yellow brick 2x4. |
| Put it horizontally to the right of the previous piece. This means it will sit on the 2 middle rows. |
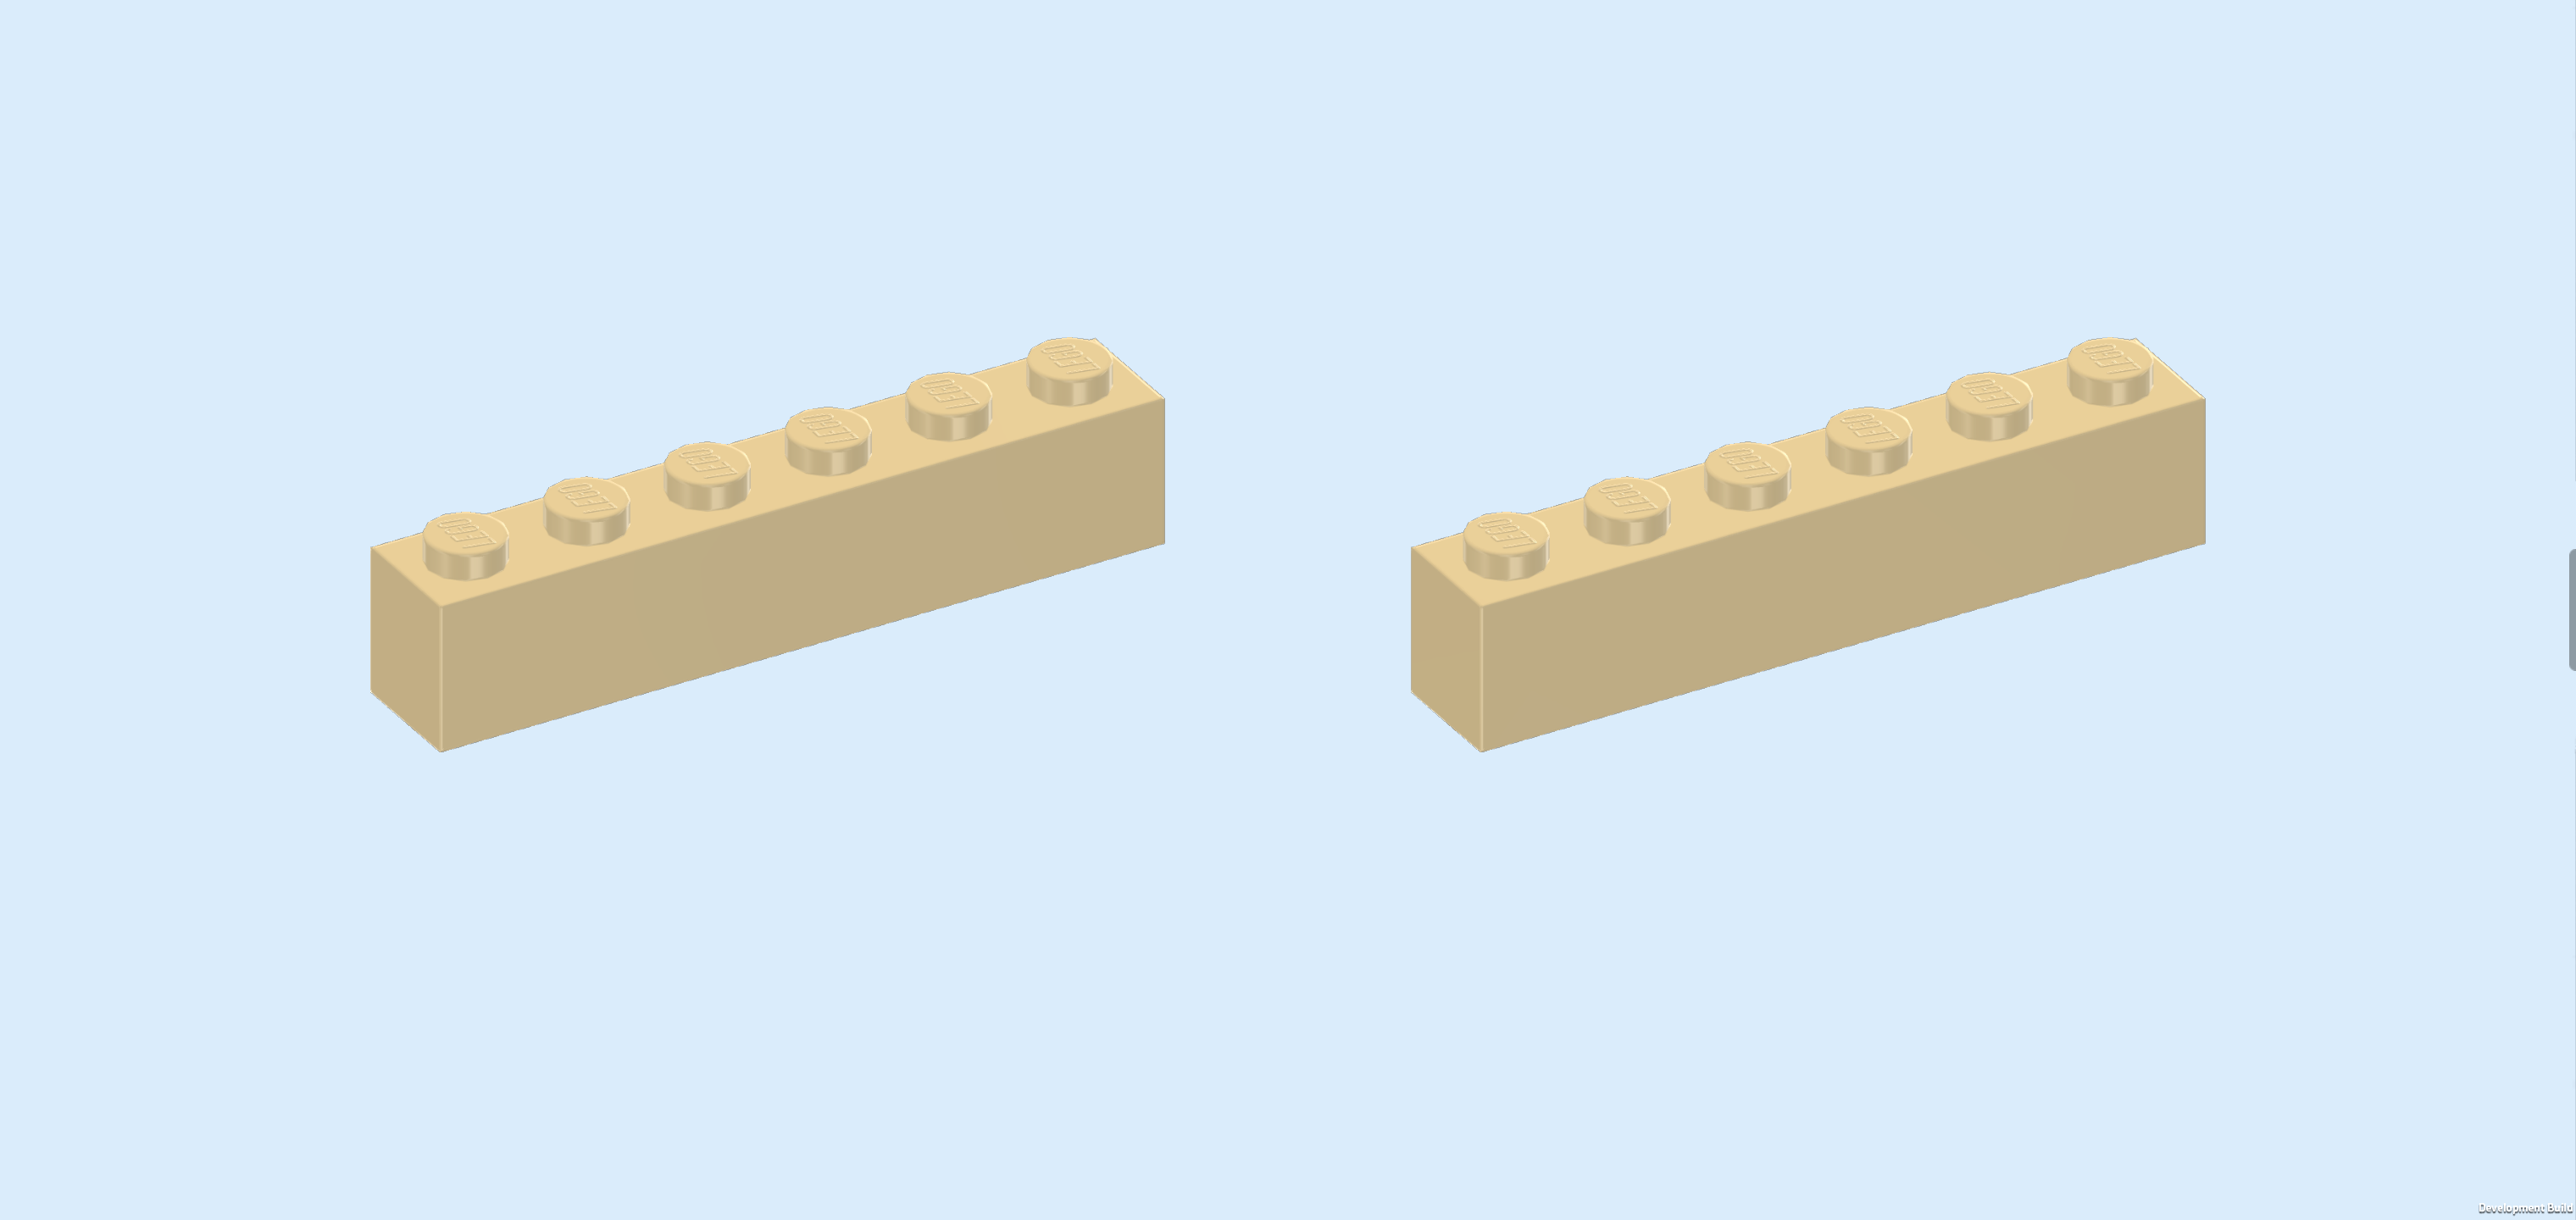
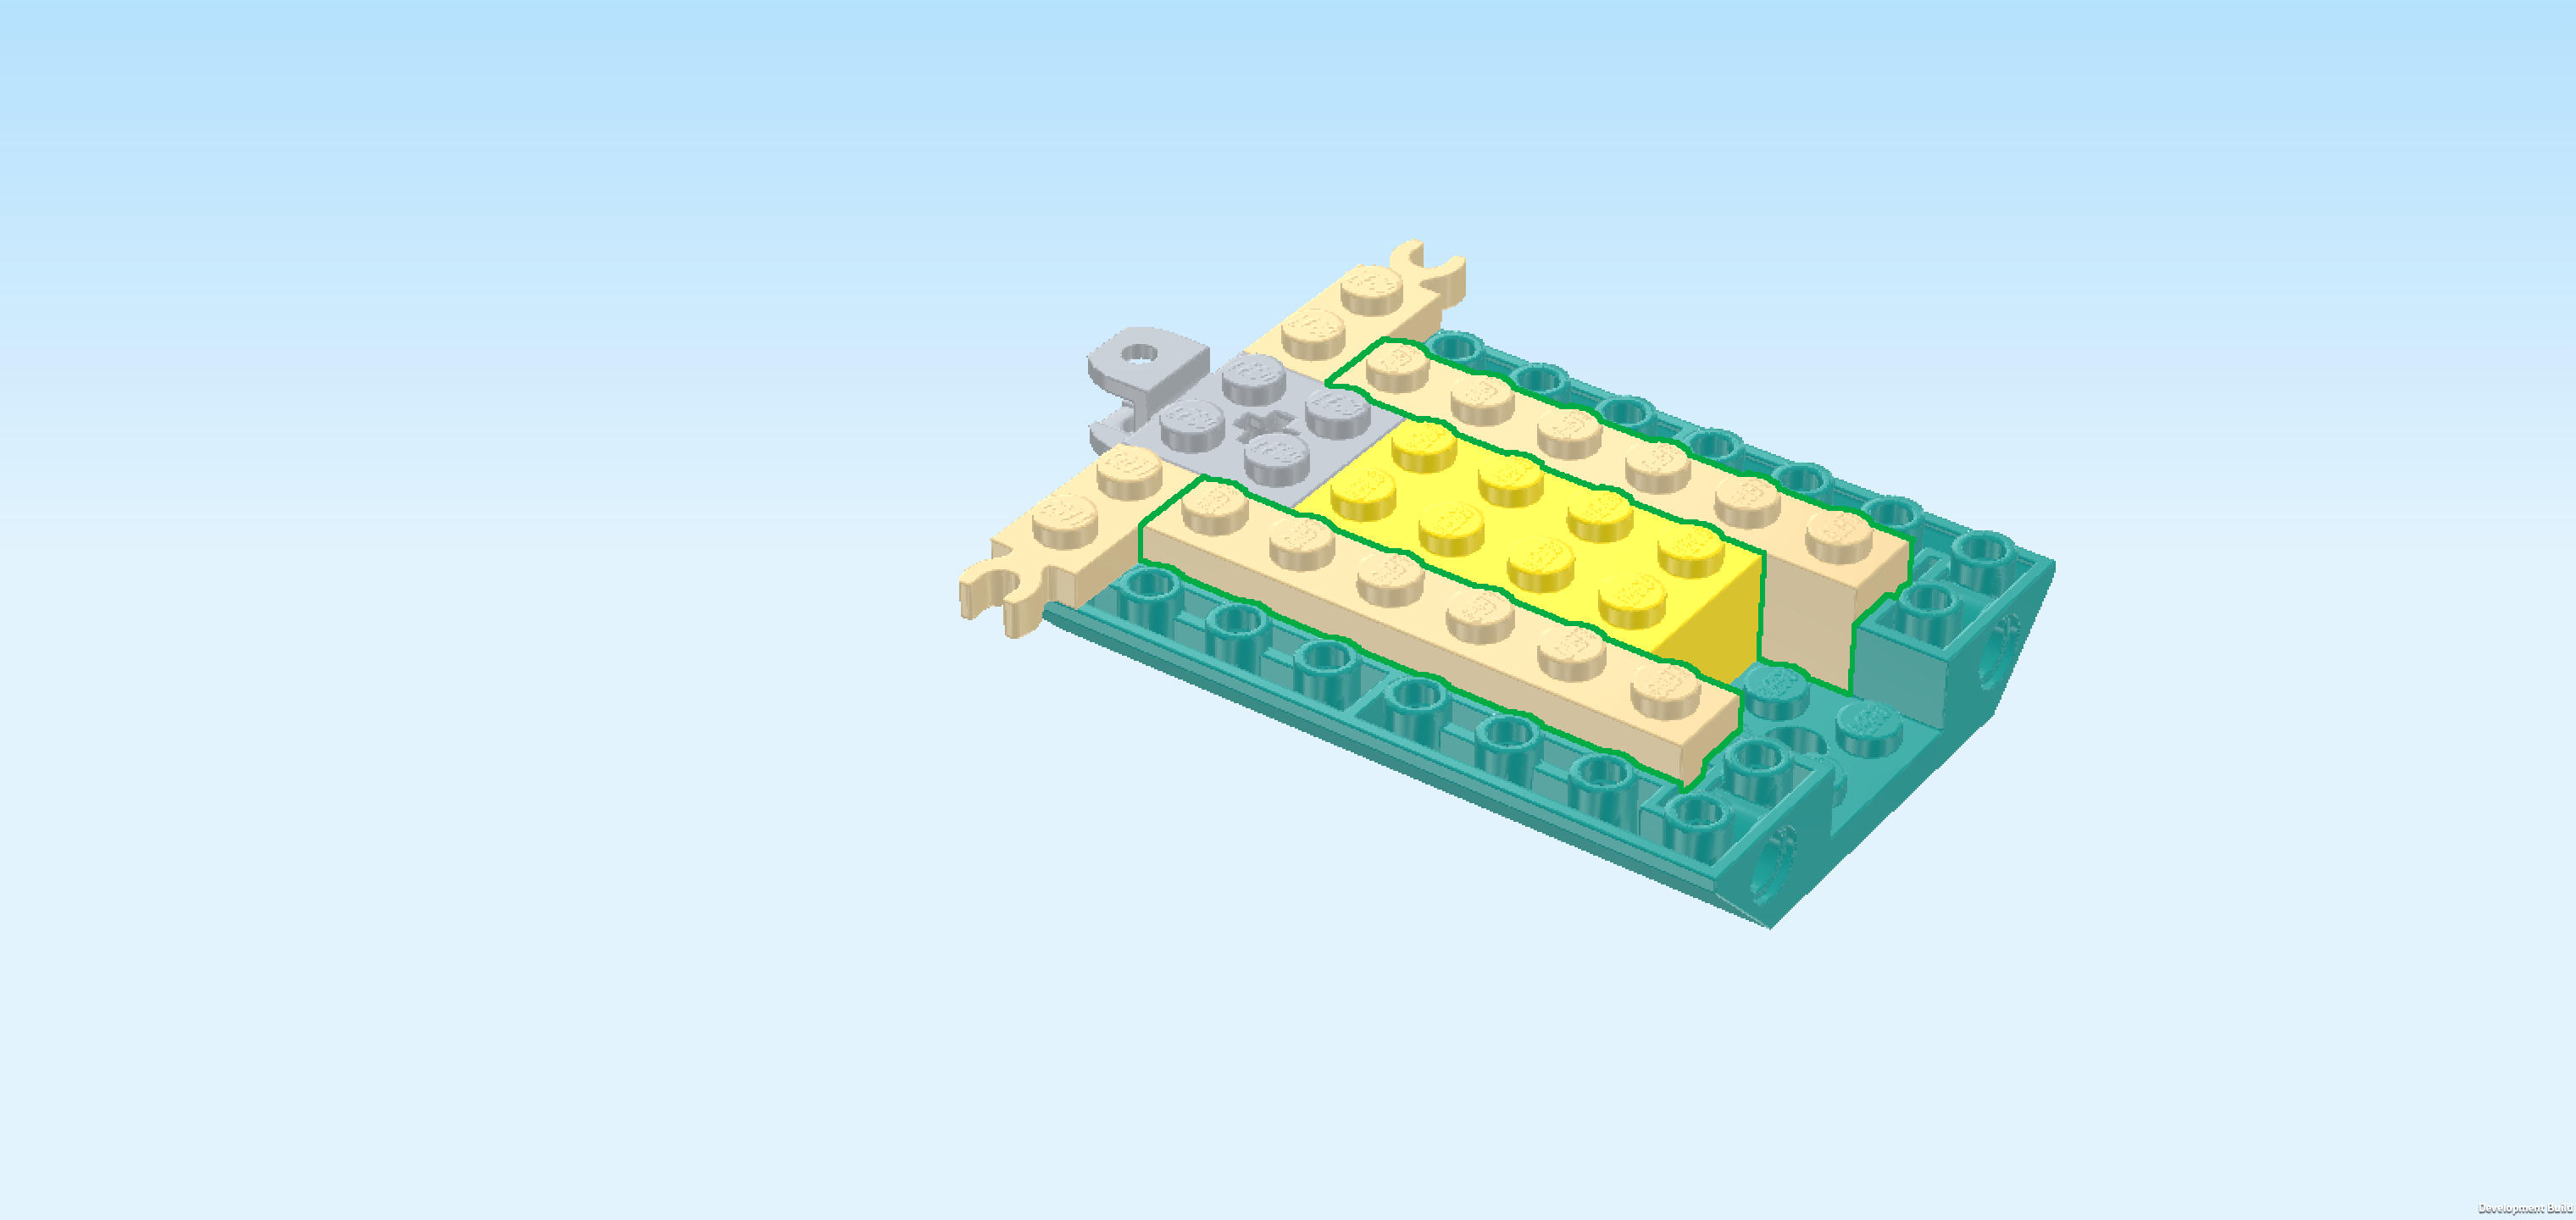
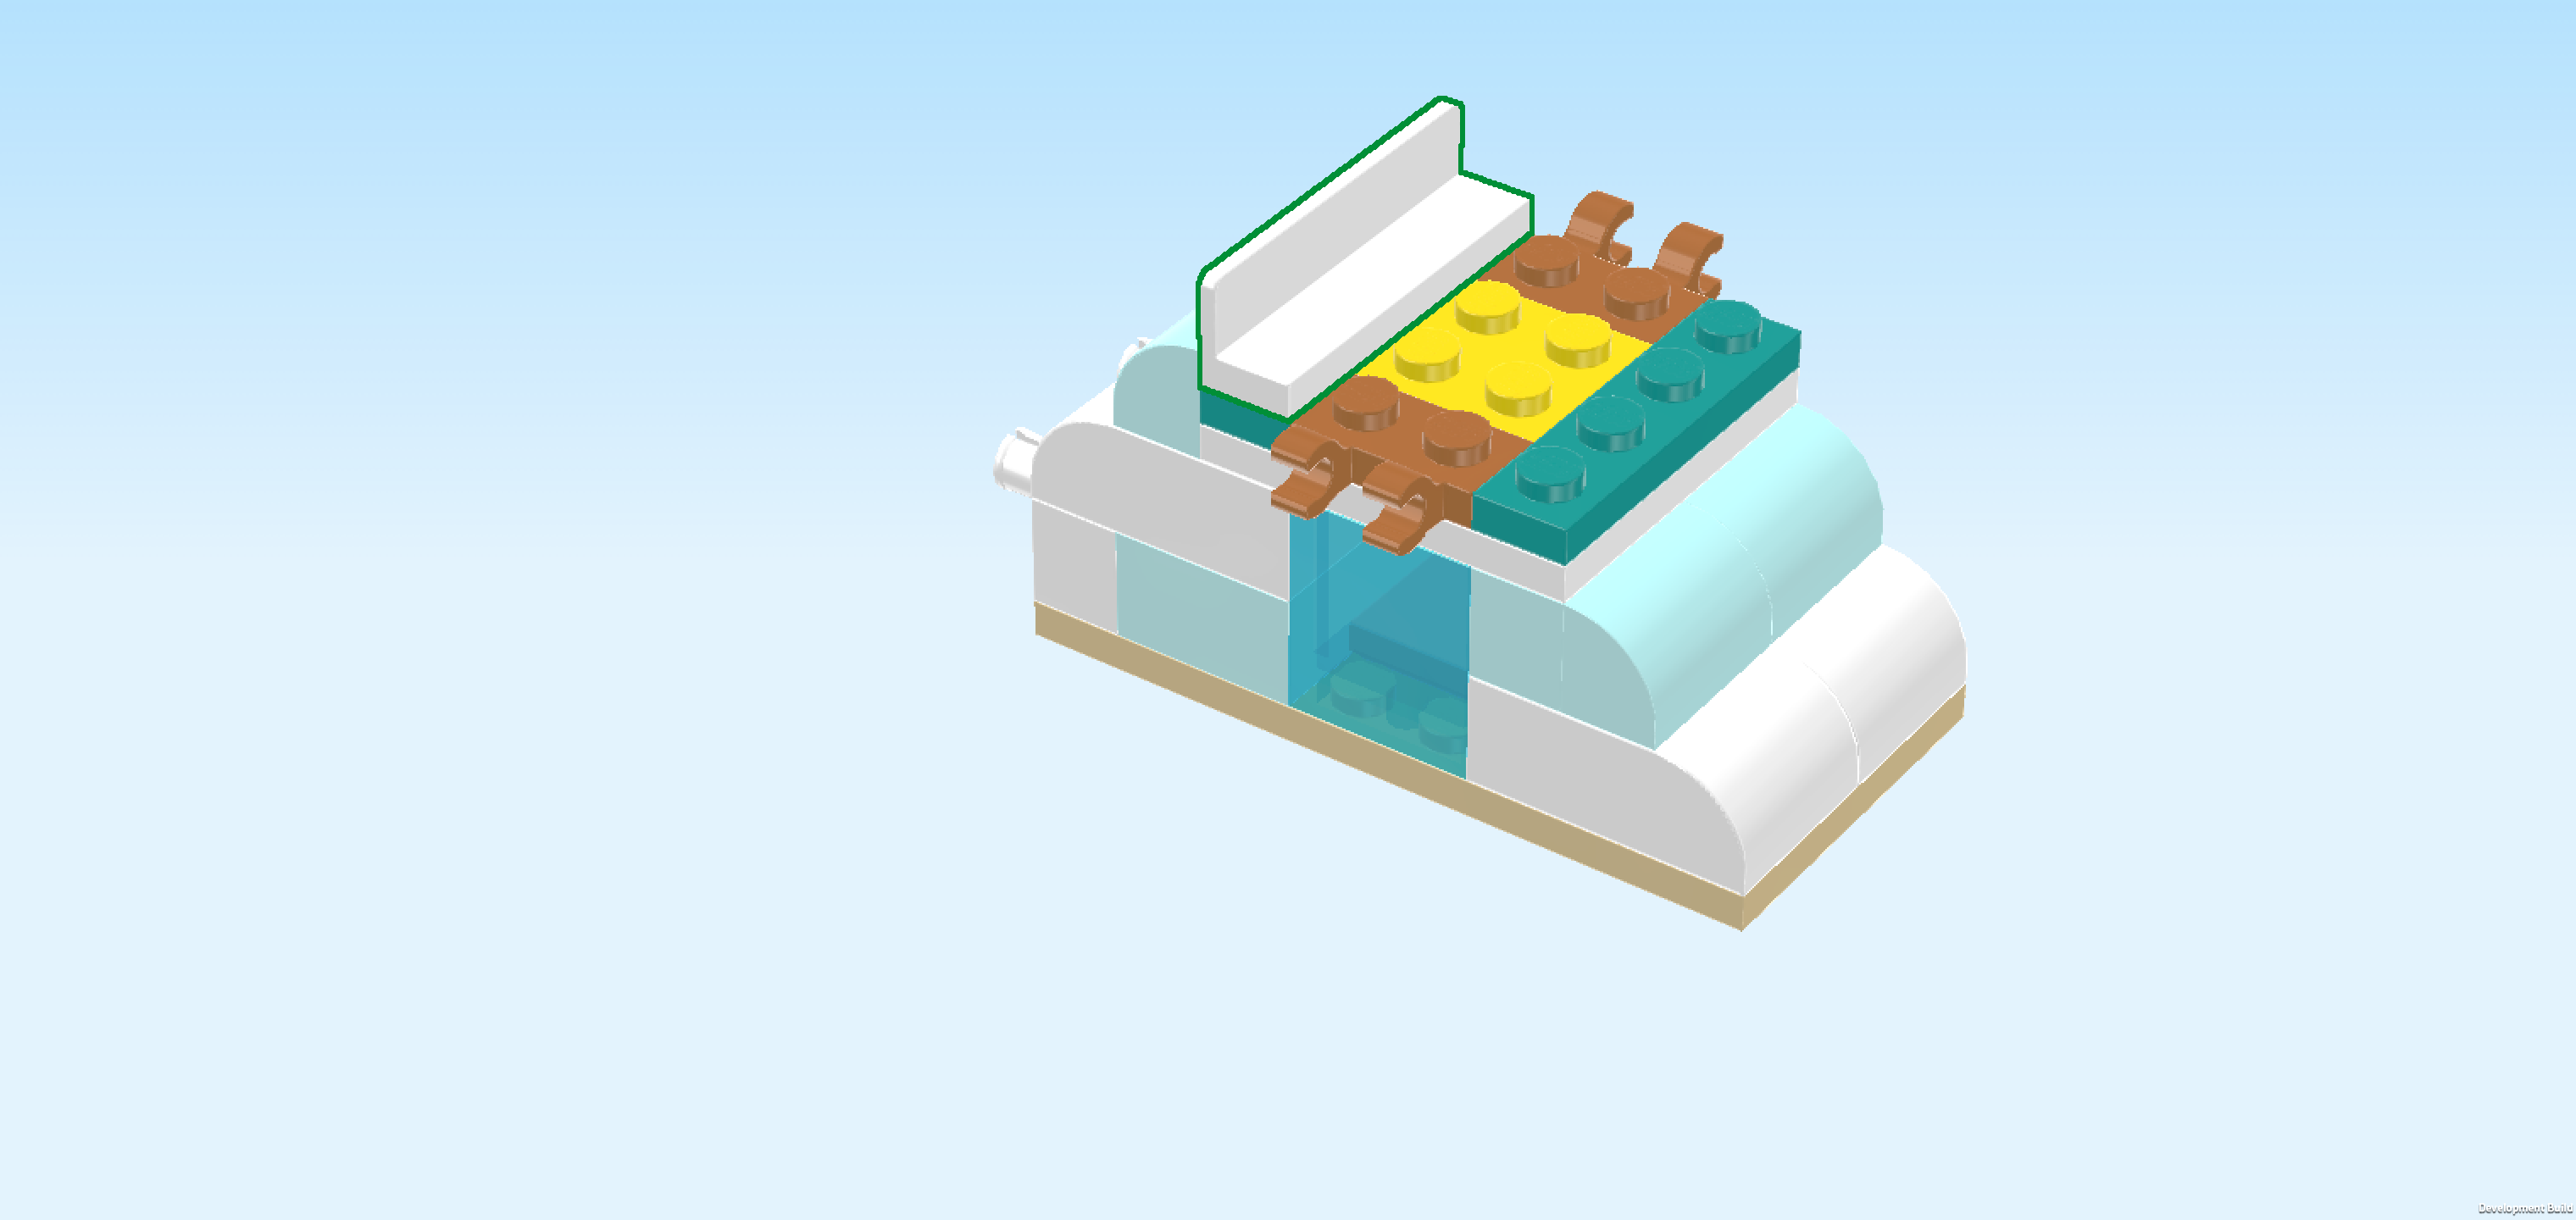
| Find 2 beige bricks 1x6. |
| Put 1 horizontally centered on the second row from the back. This means it sits behind the previous piece. |
| Repeat symmetrically at the front. |
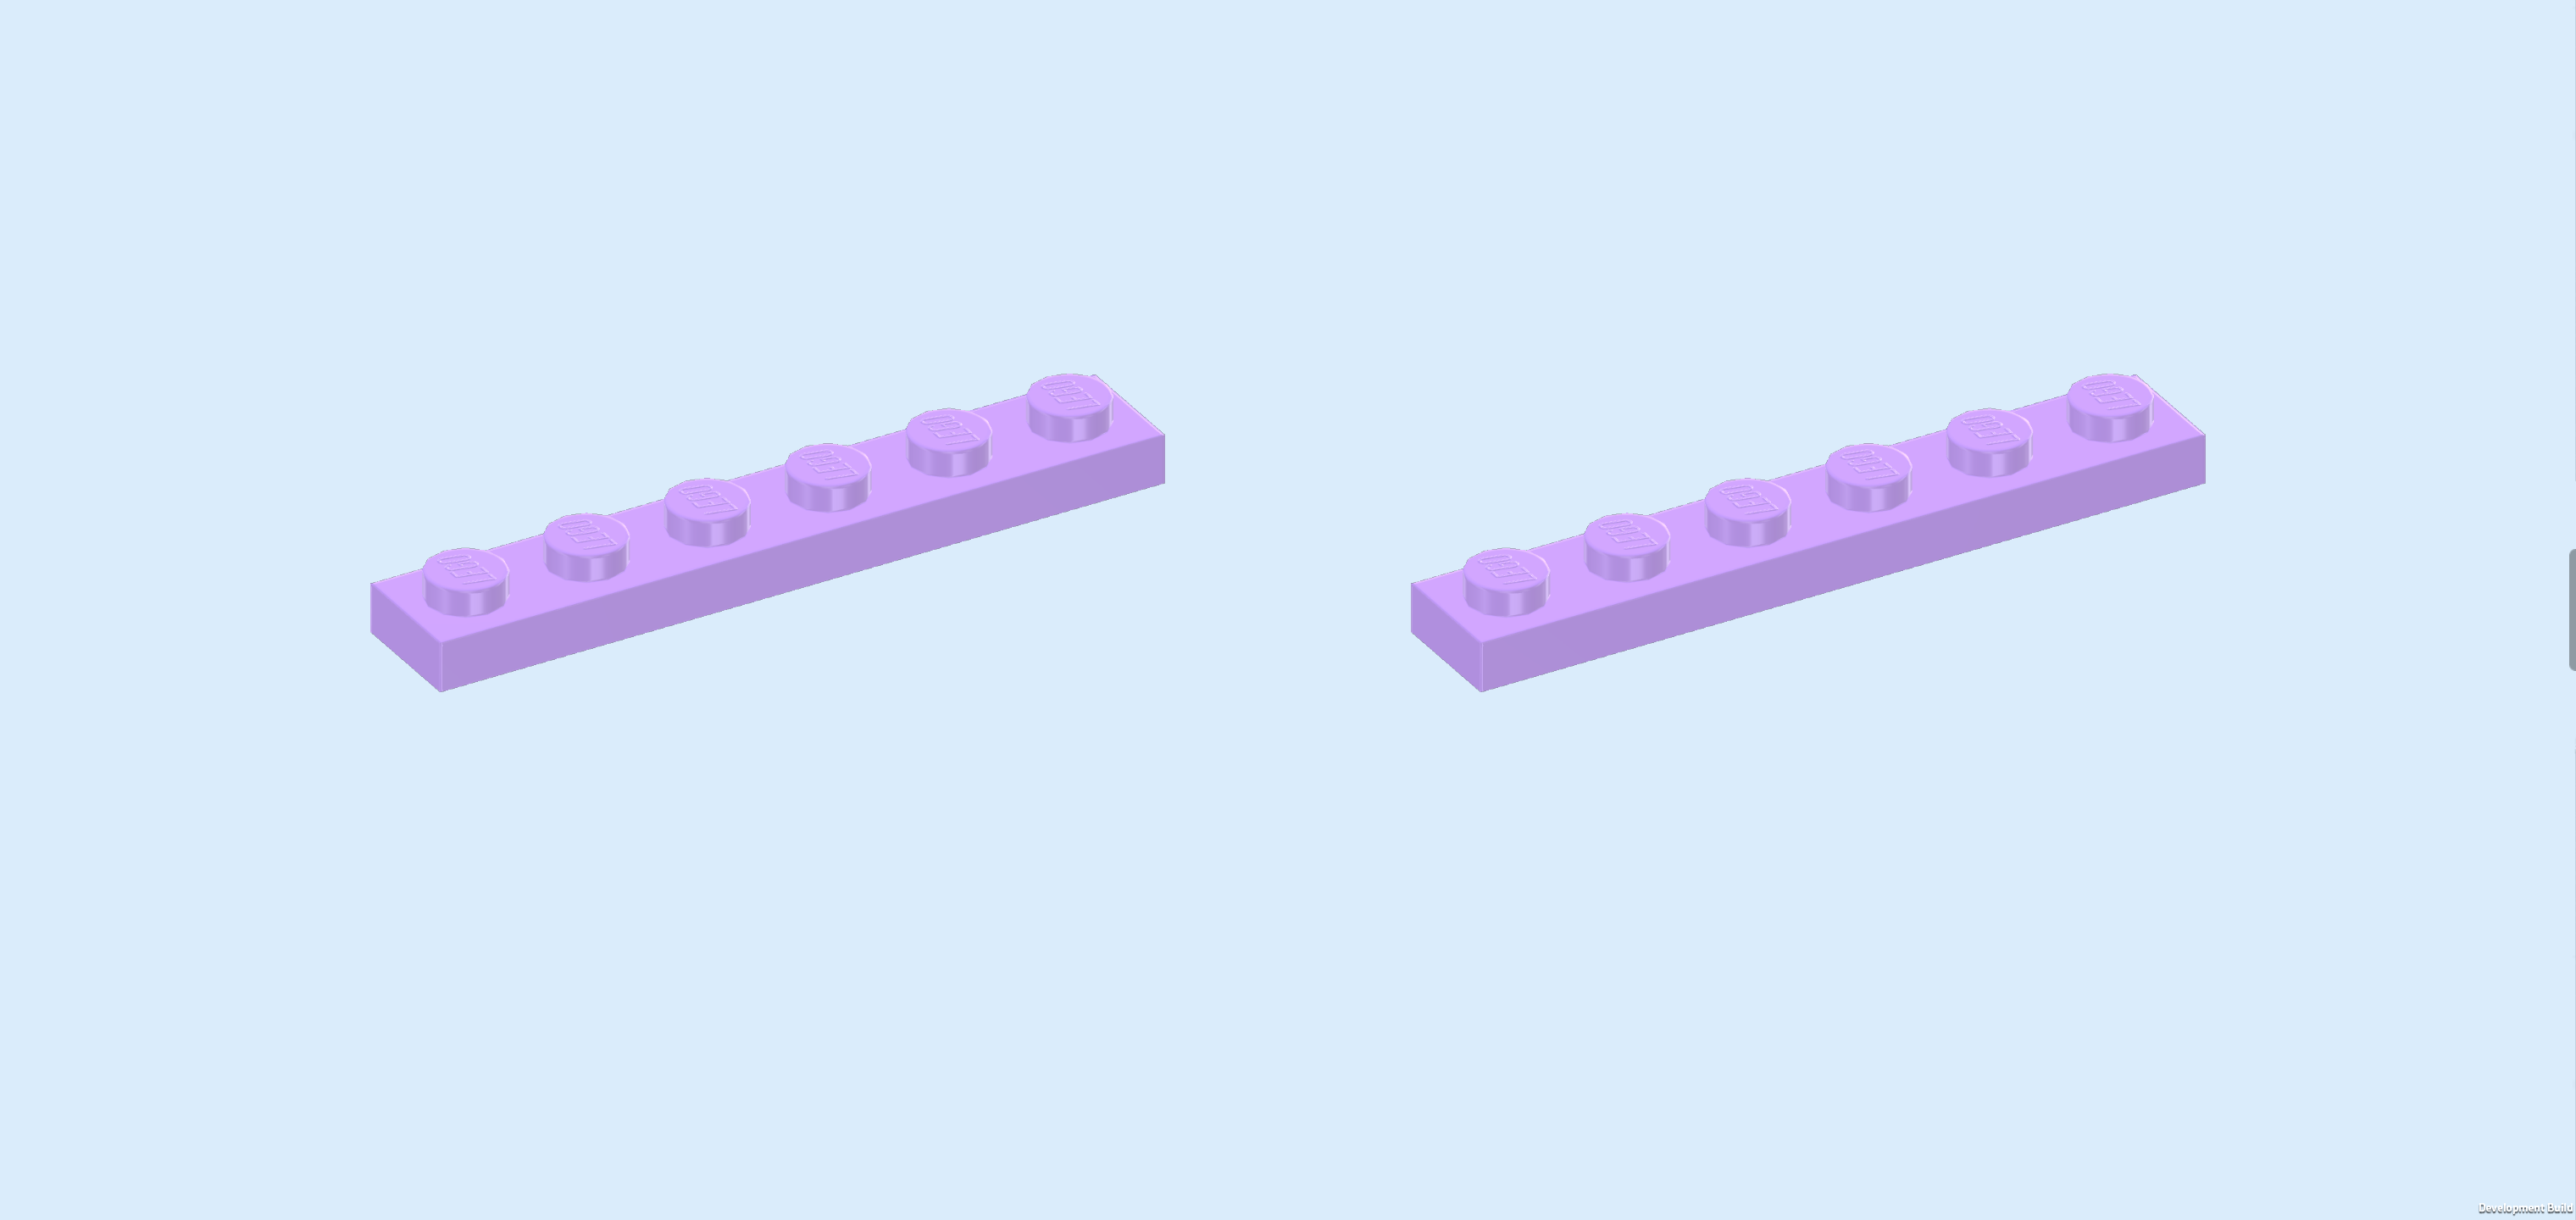
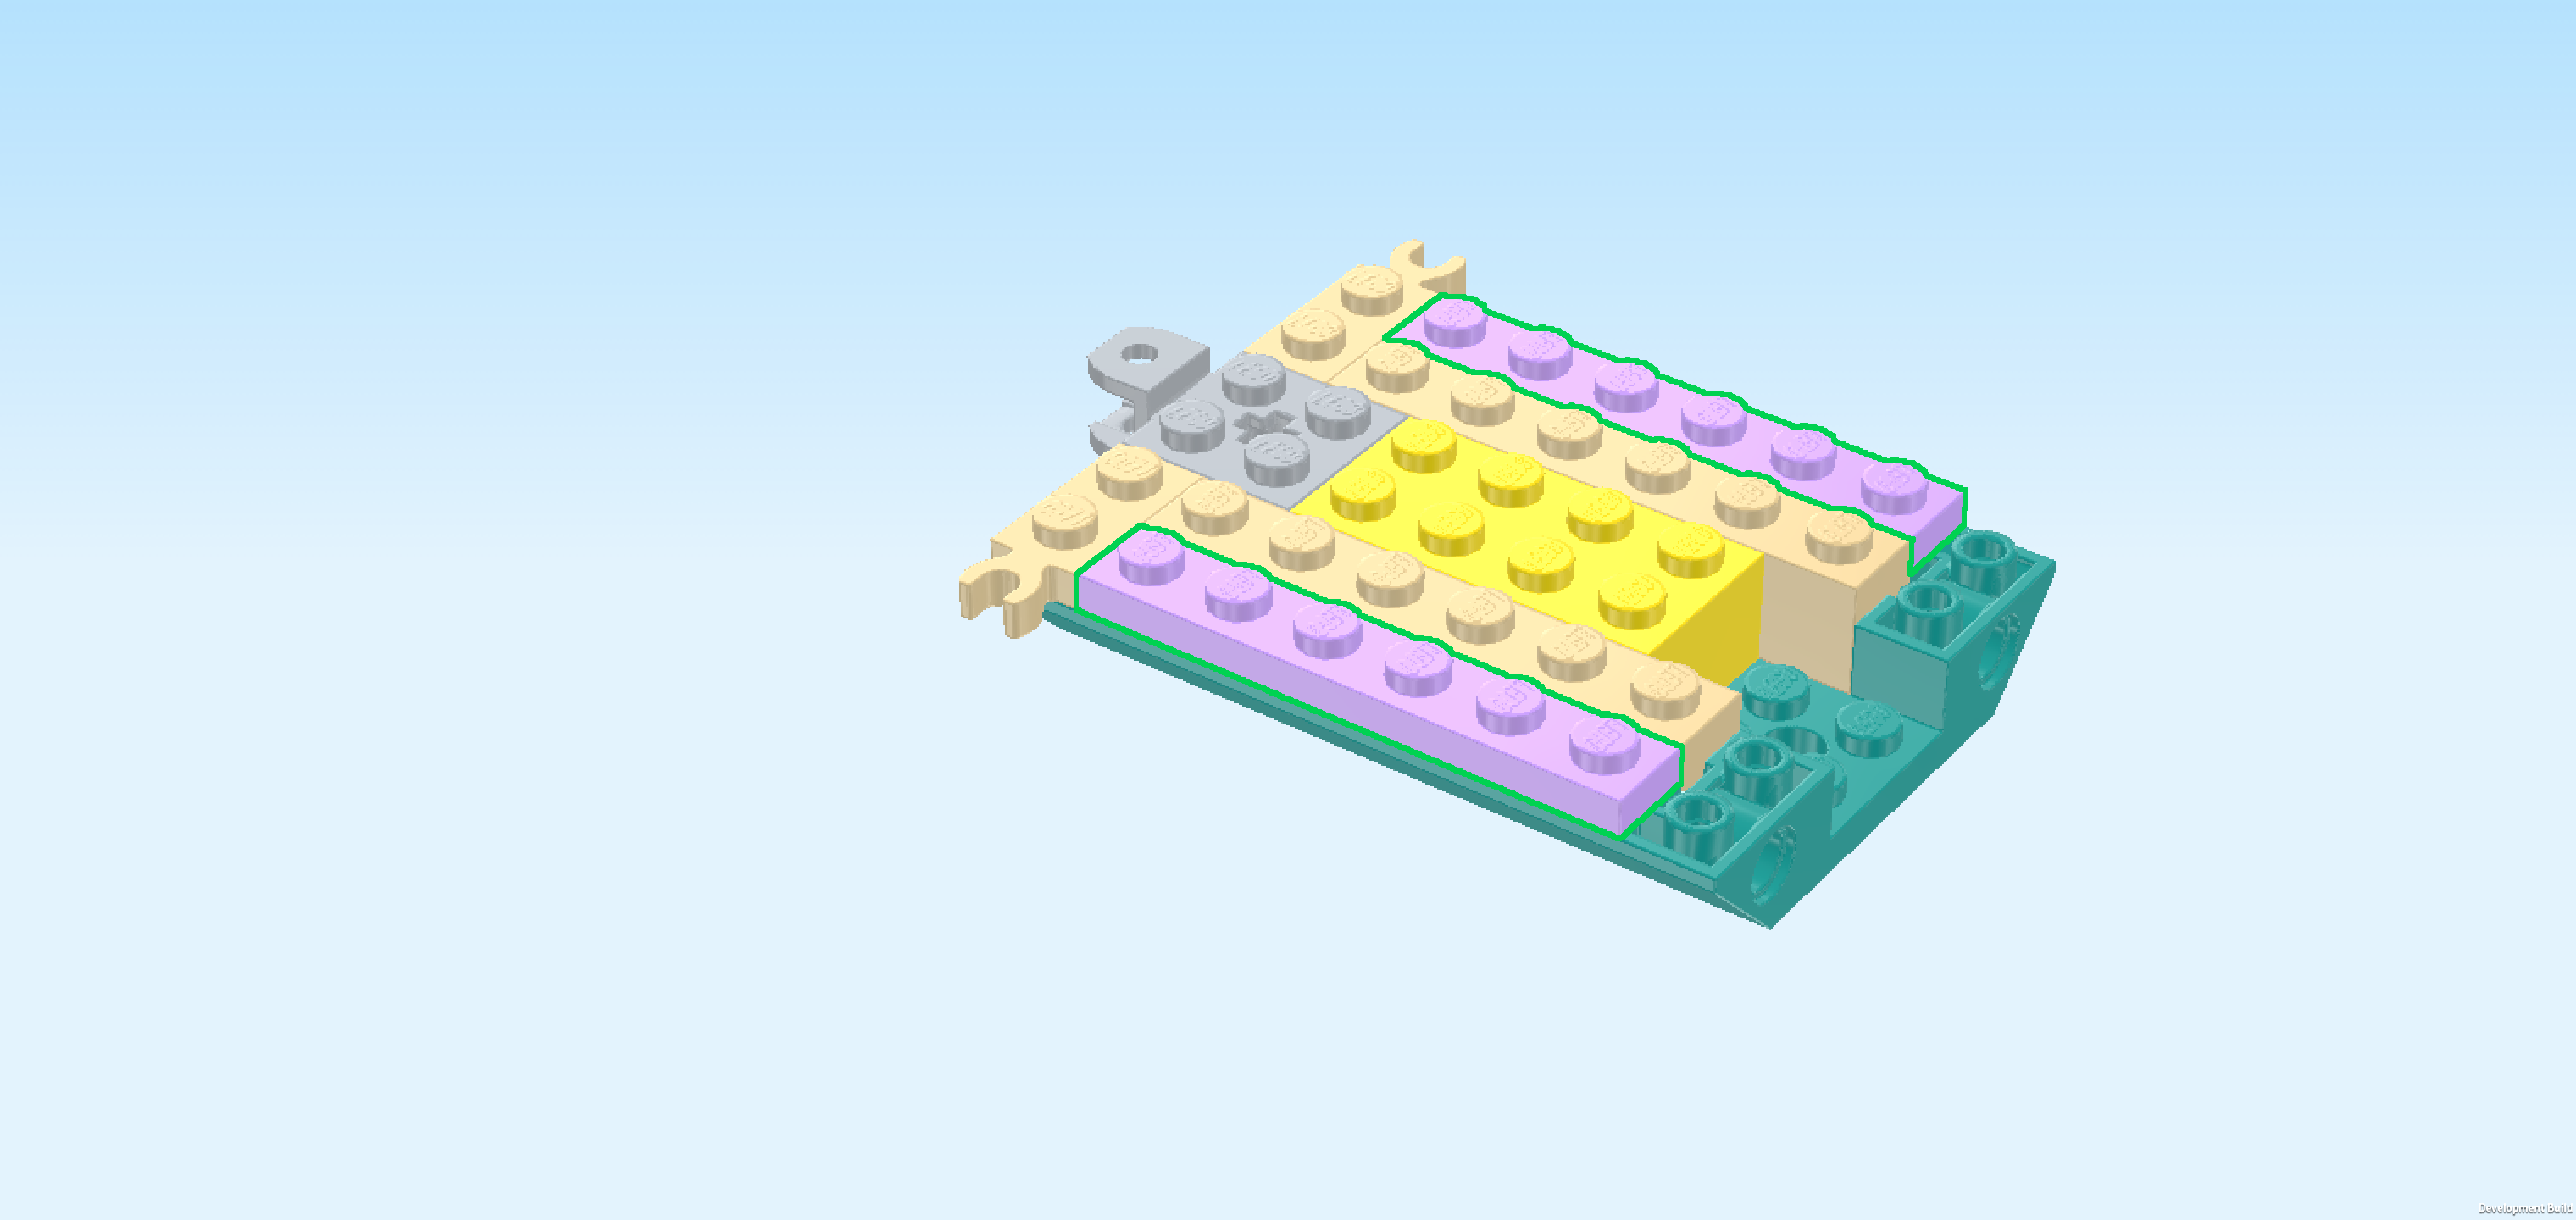
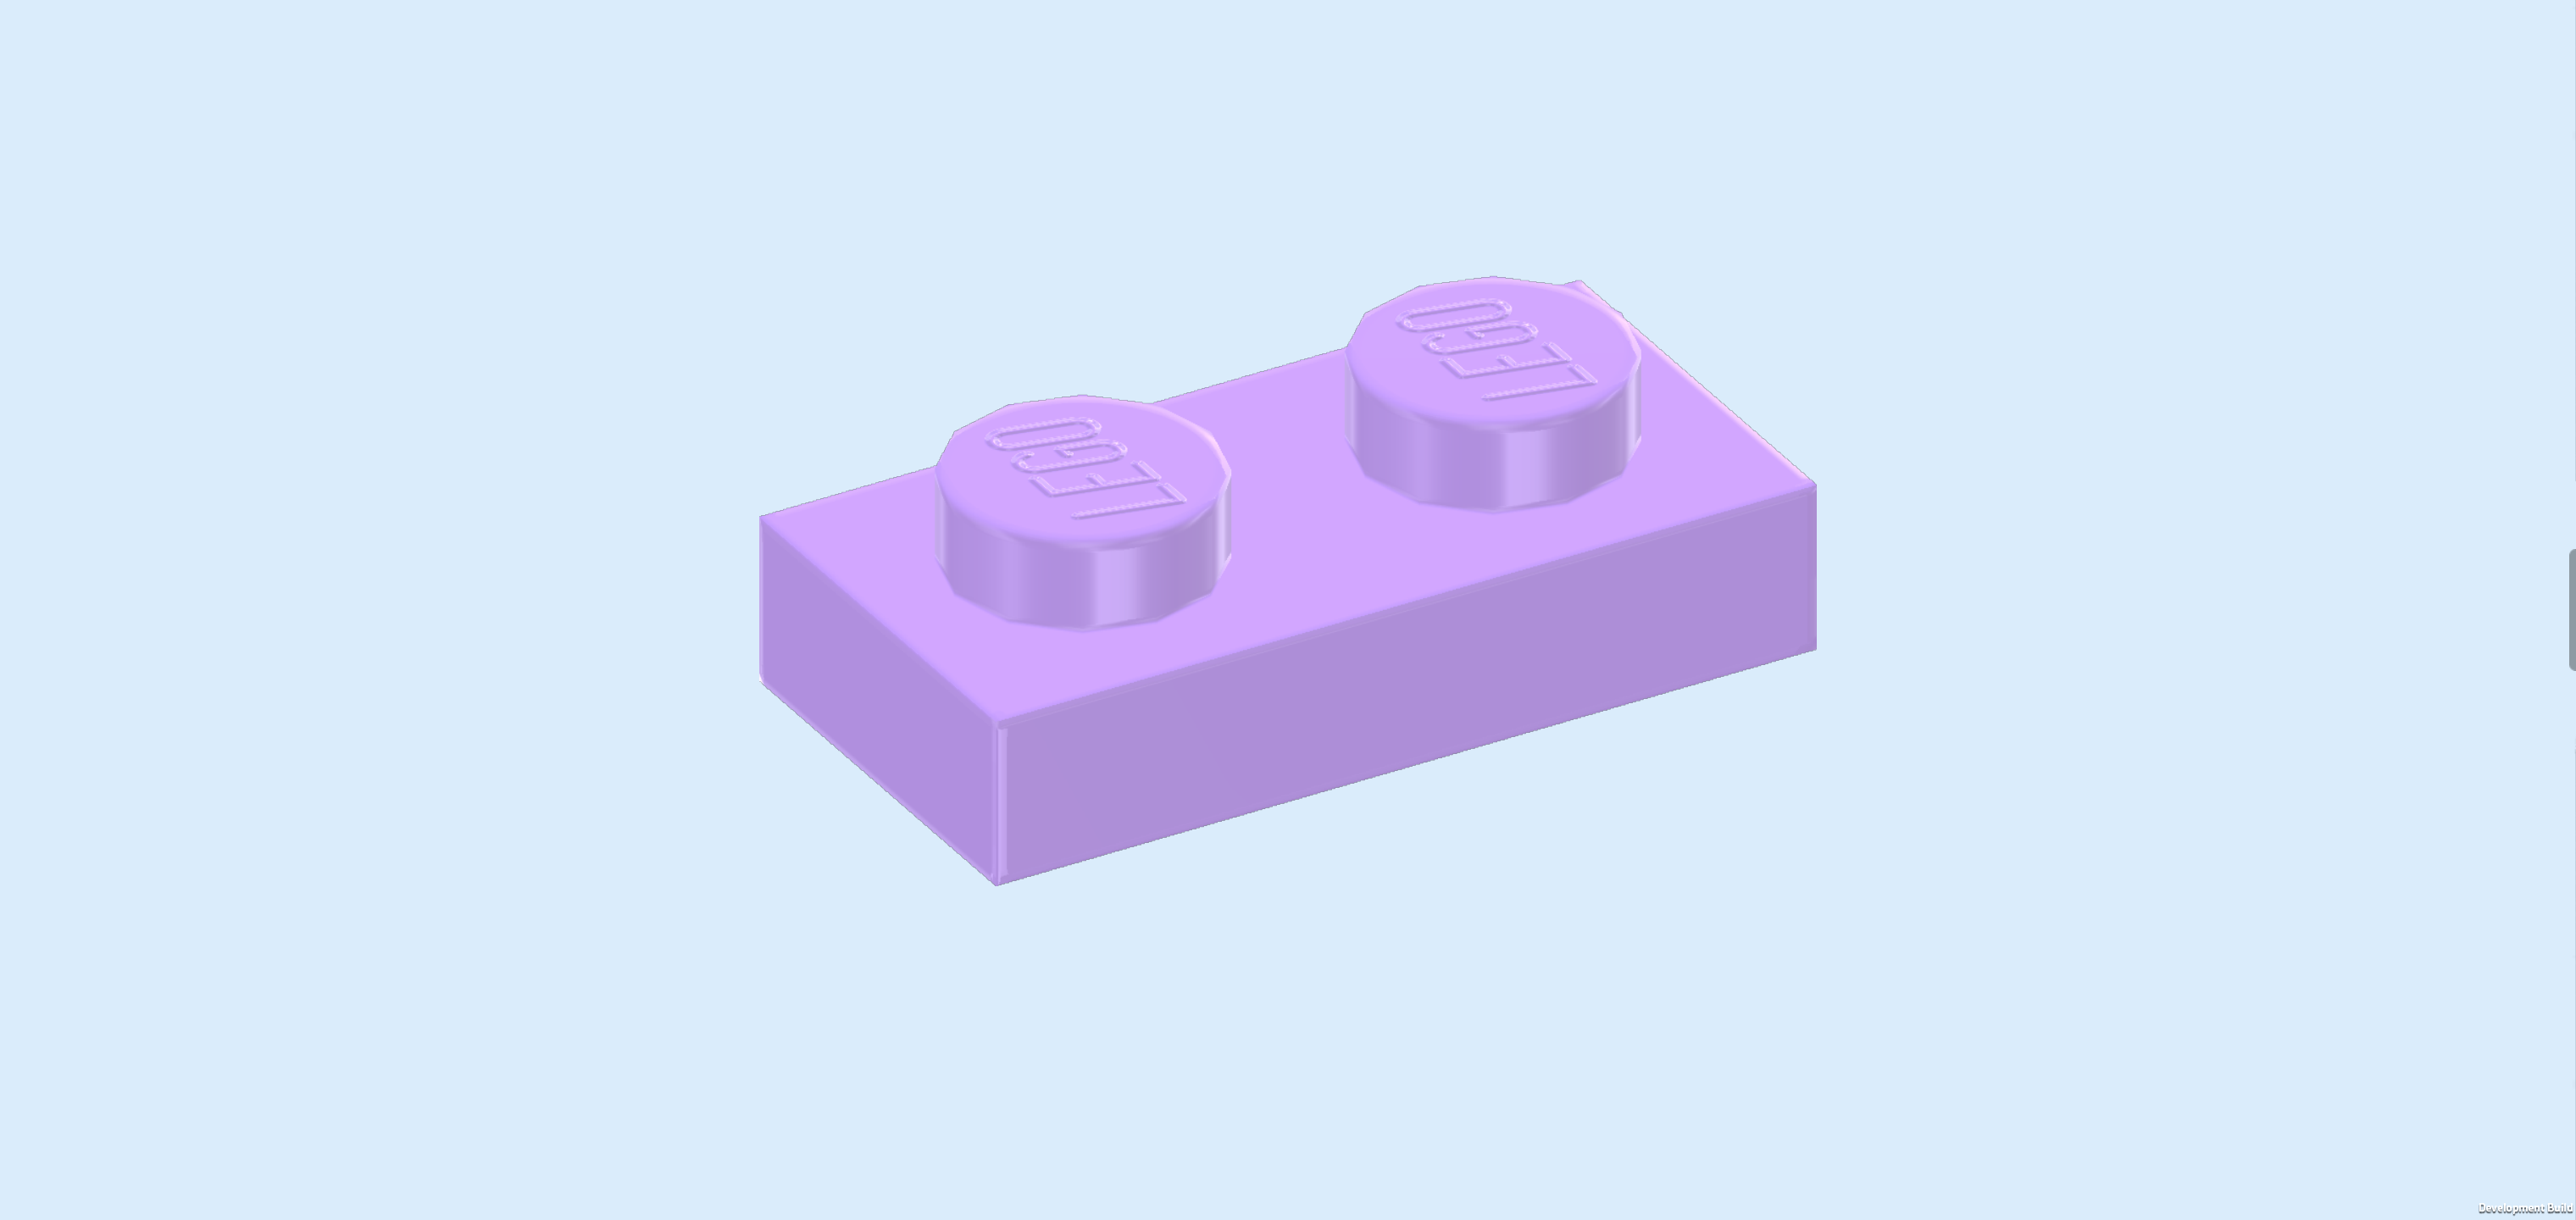
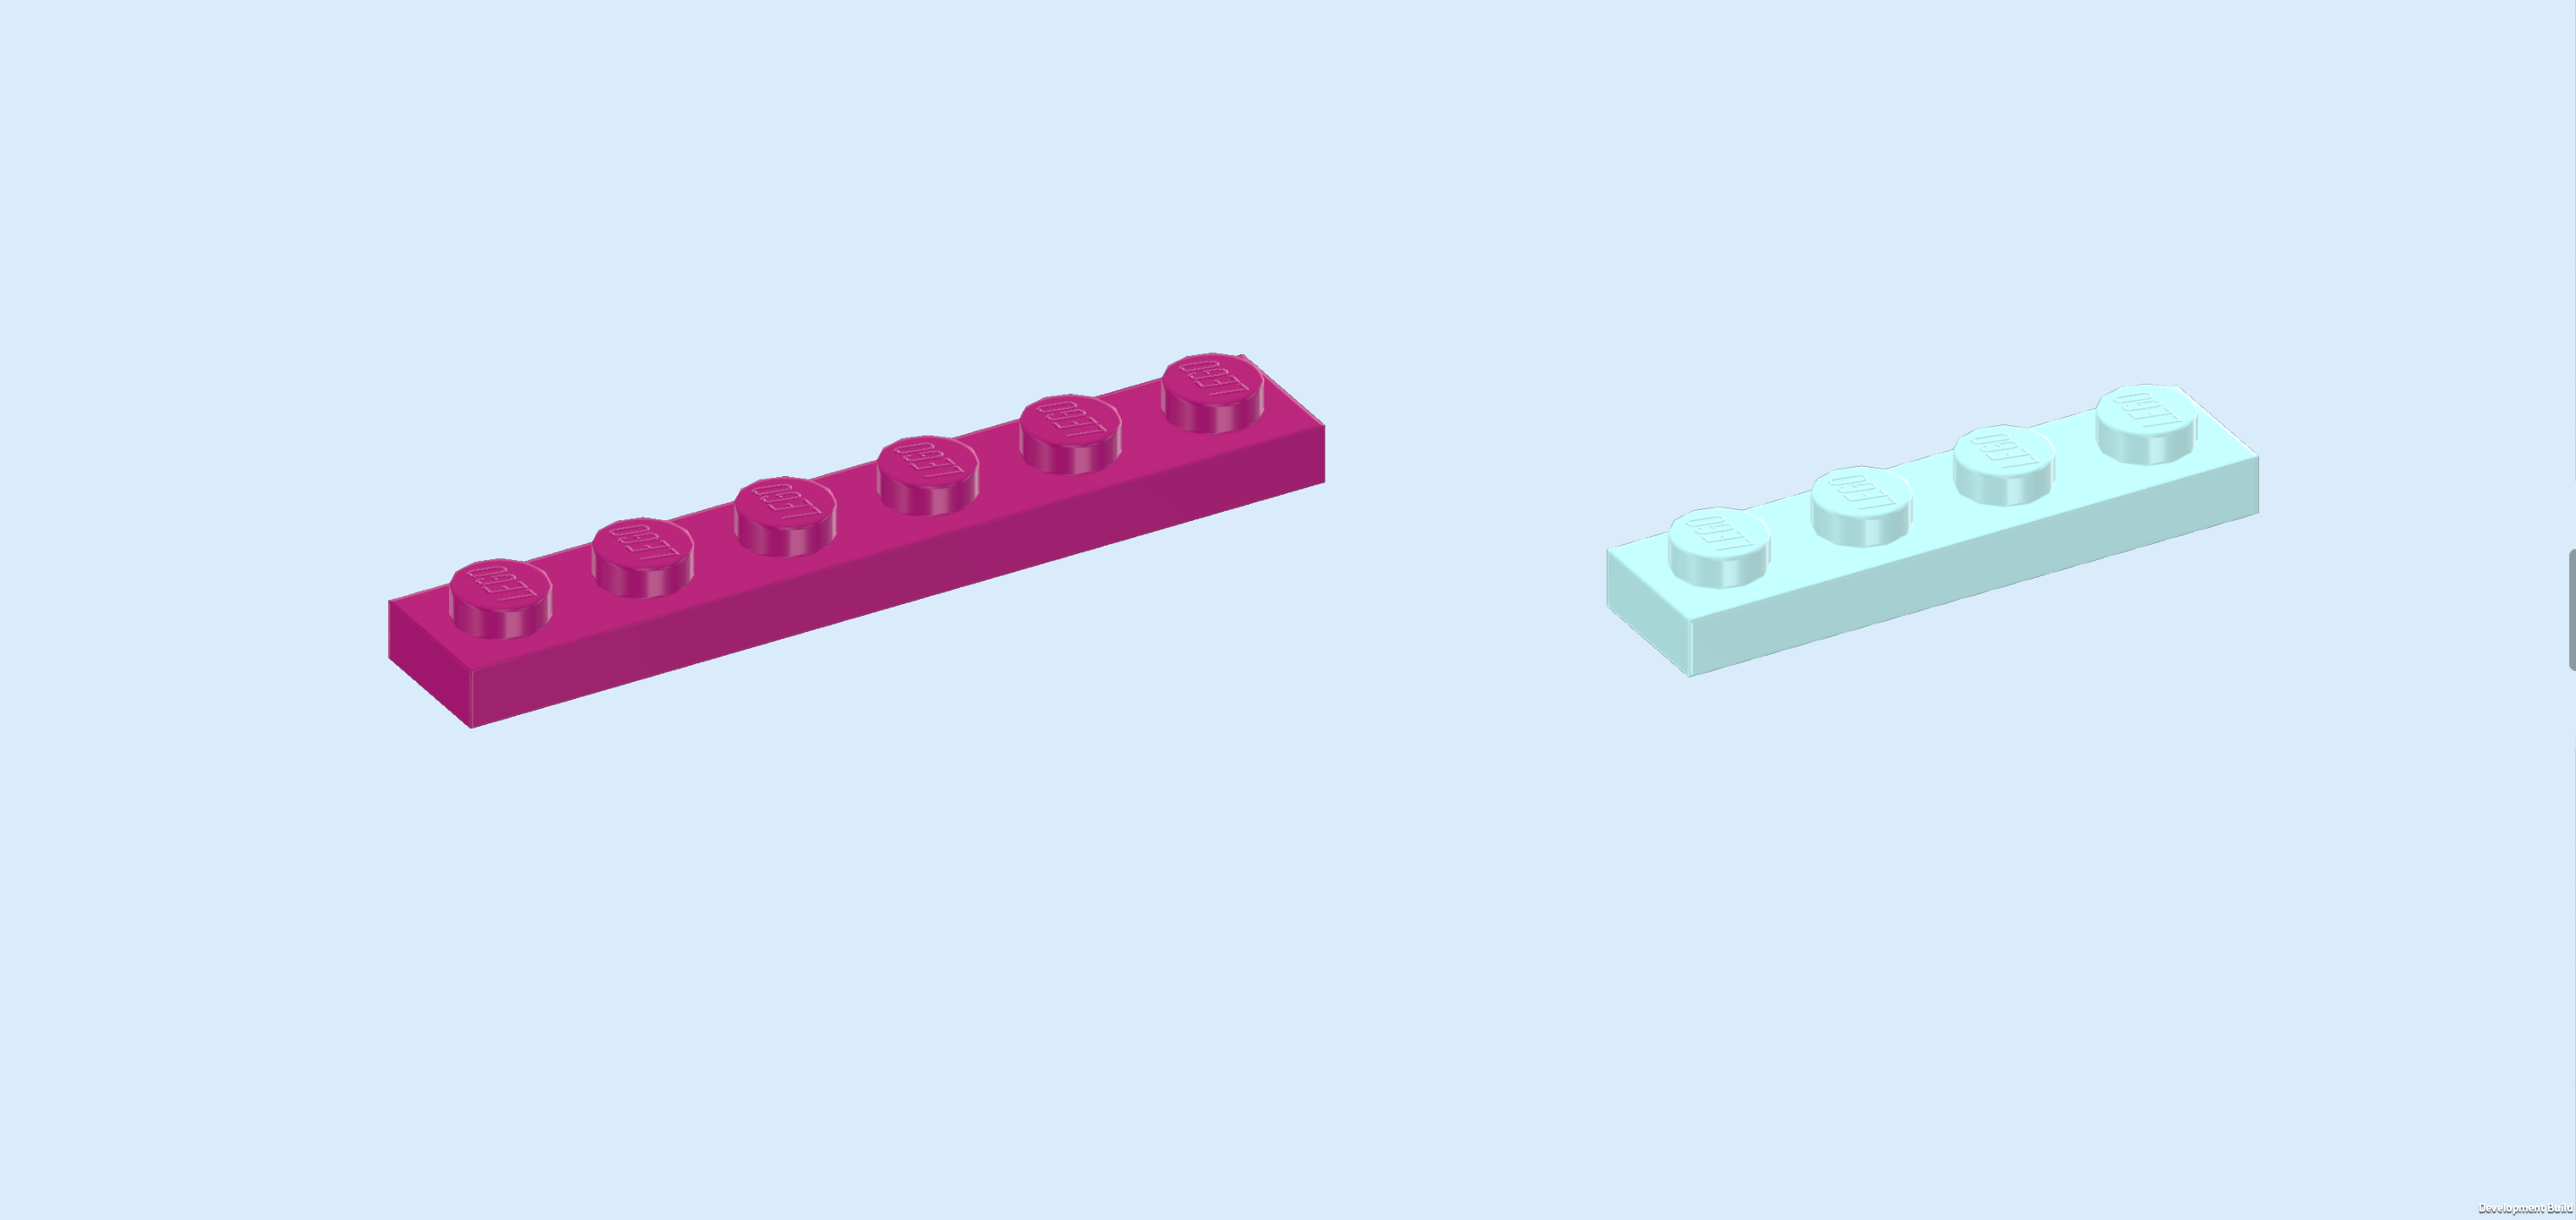
| Find 2 light lavender plates 1x6. |
| Put one horizontally centered in front of the previous piece. This means it will sit on the frontmost row. |
| Repeat symmetrically at the back. |
| Find 2 light lavender plates 1x2. |
| Put 1 vertically on the rightmost column, starting from the back edge. |
| Repeat symmetrically at the front. |
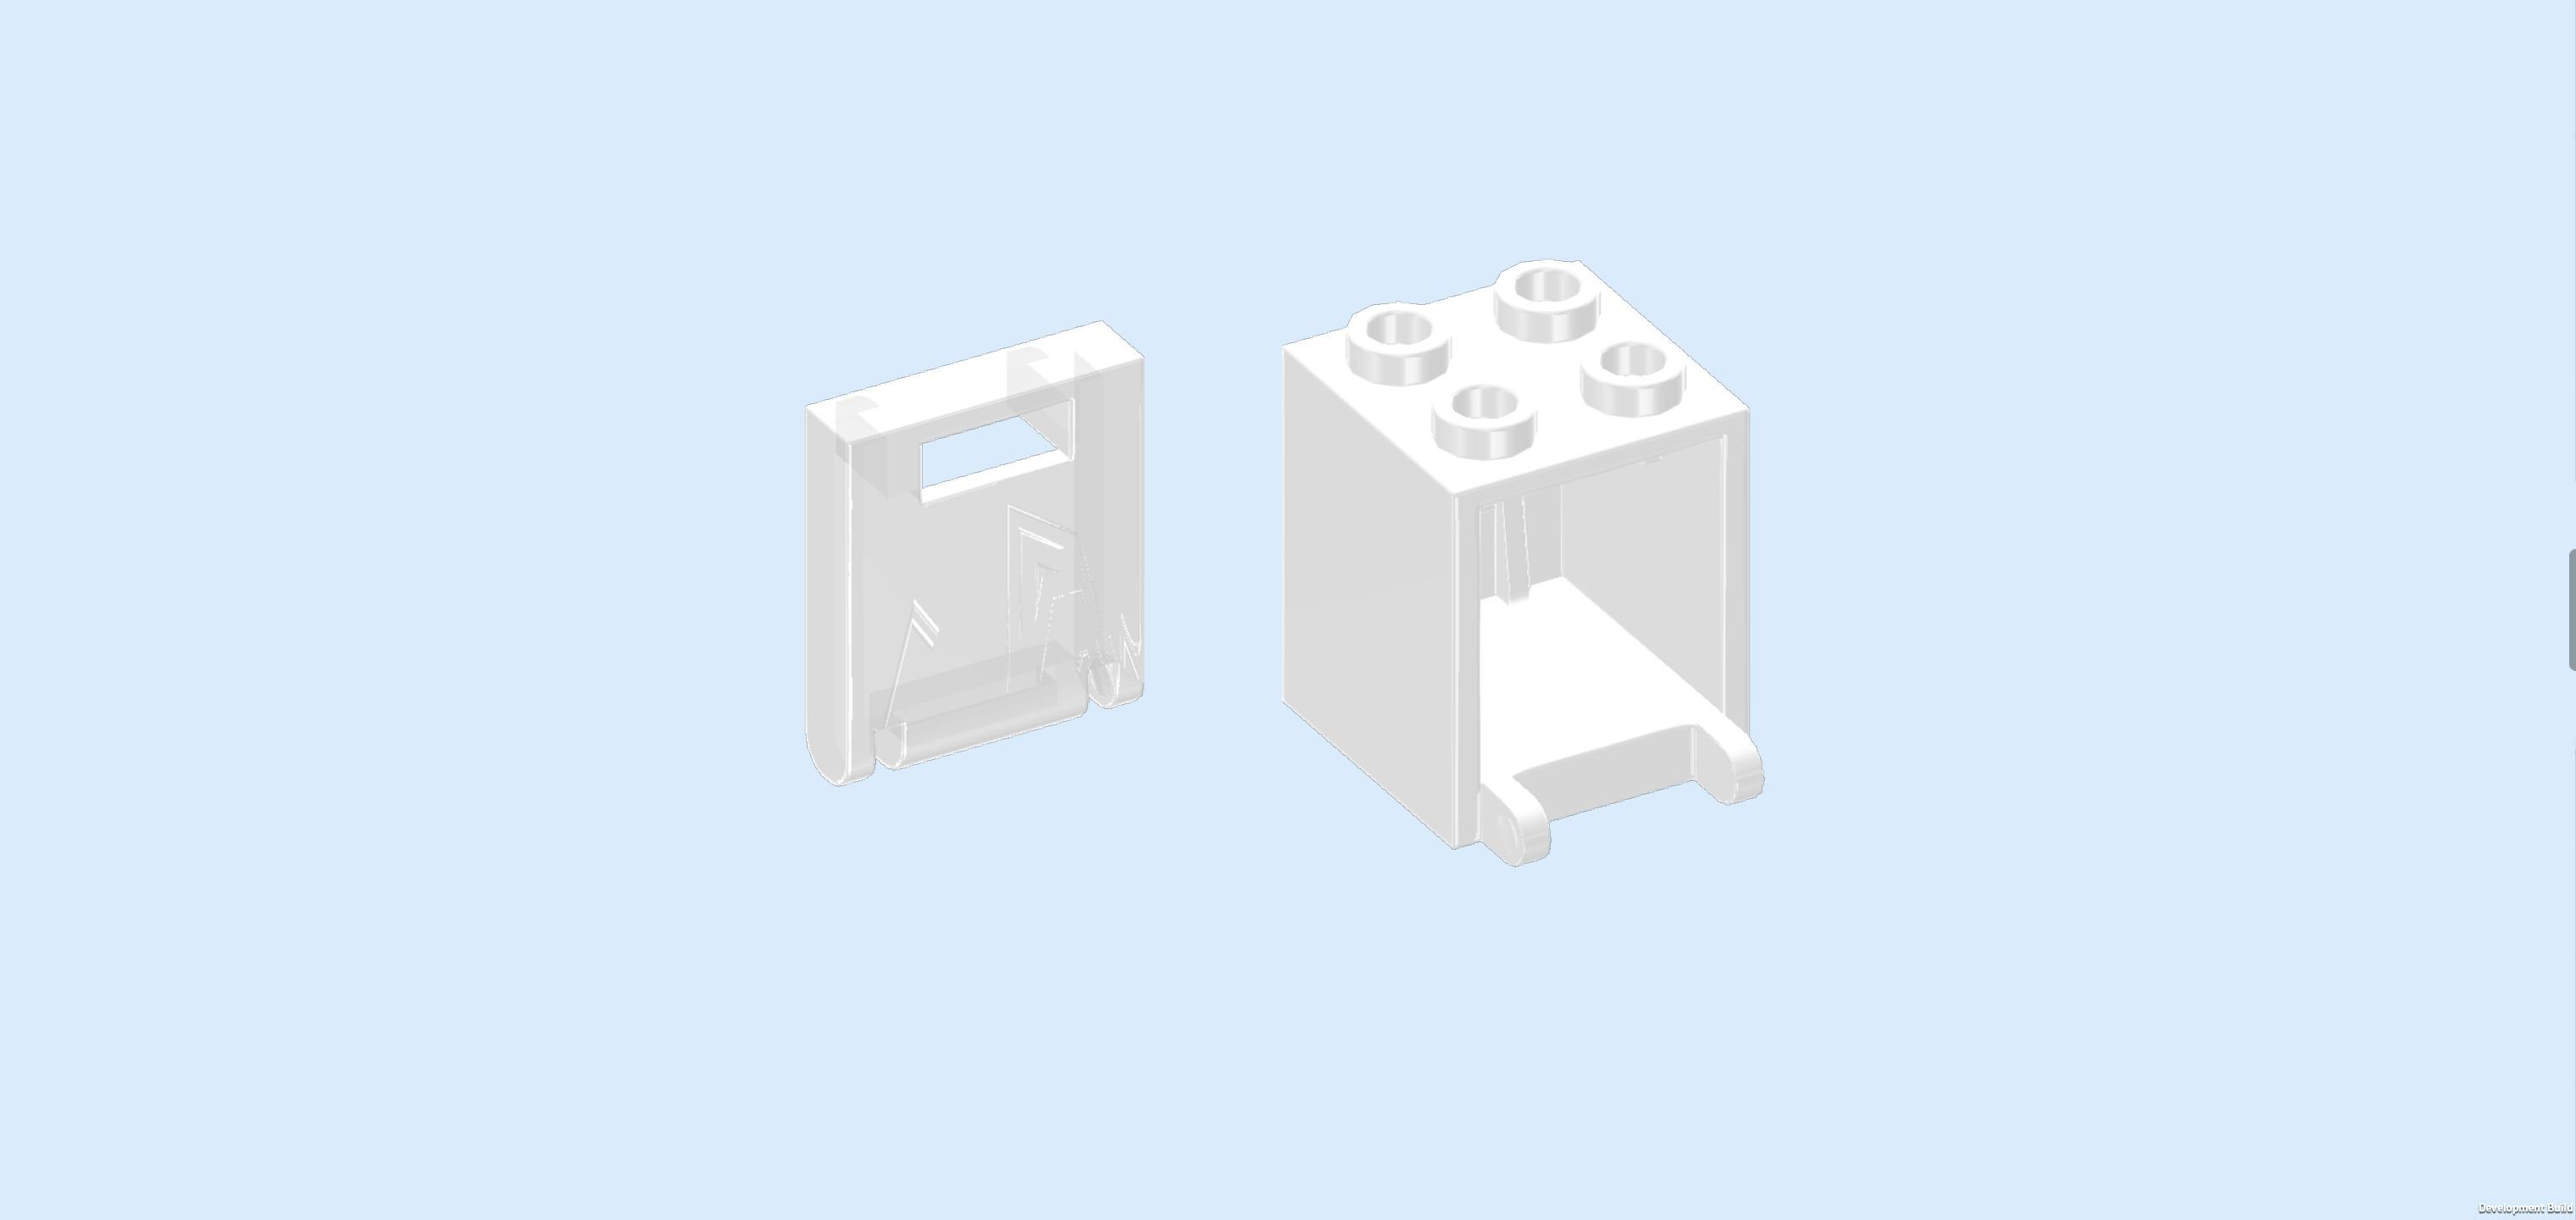
| Next, we will build a cupboard. |
| Collect the following 2 pieces: |
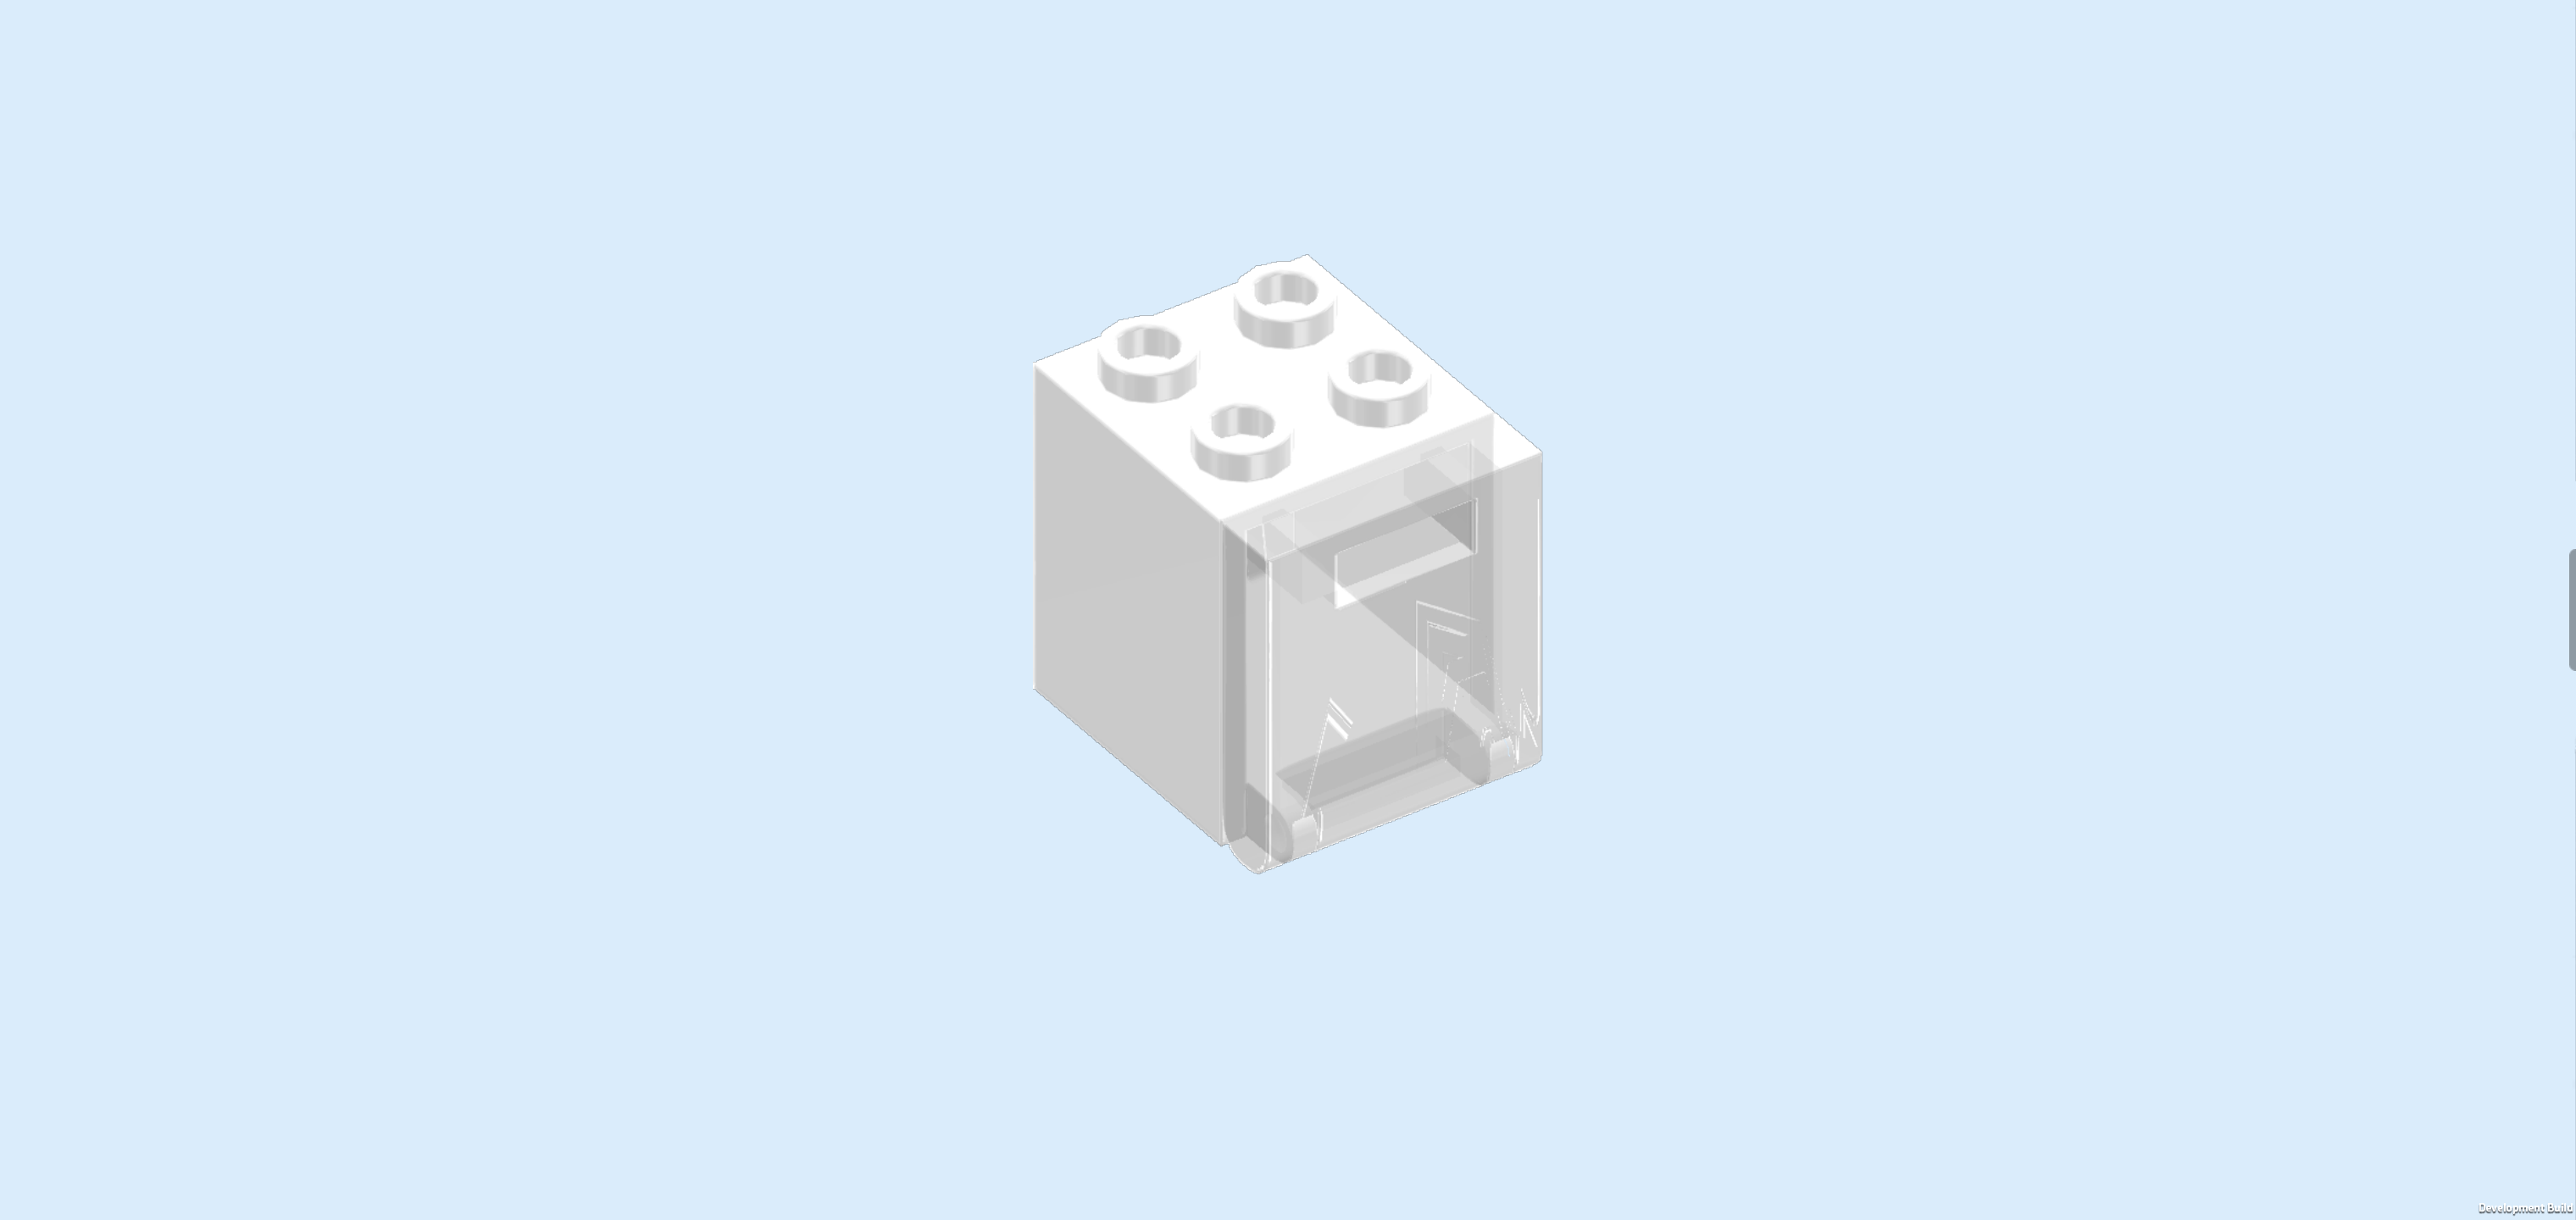
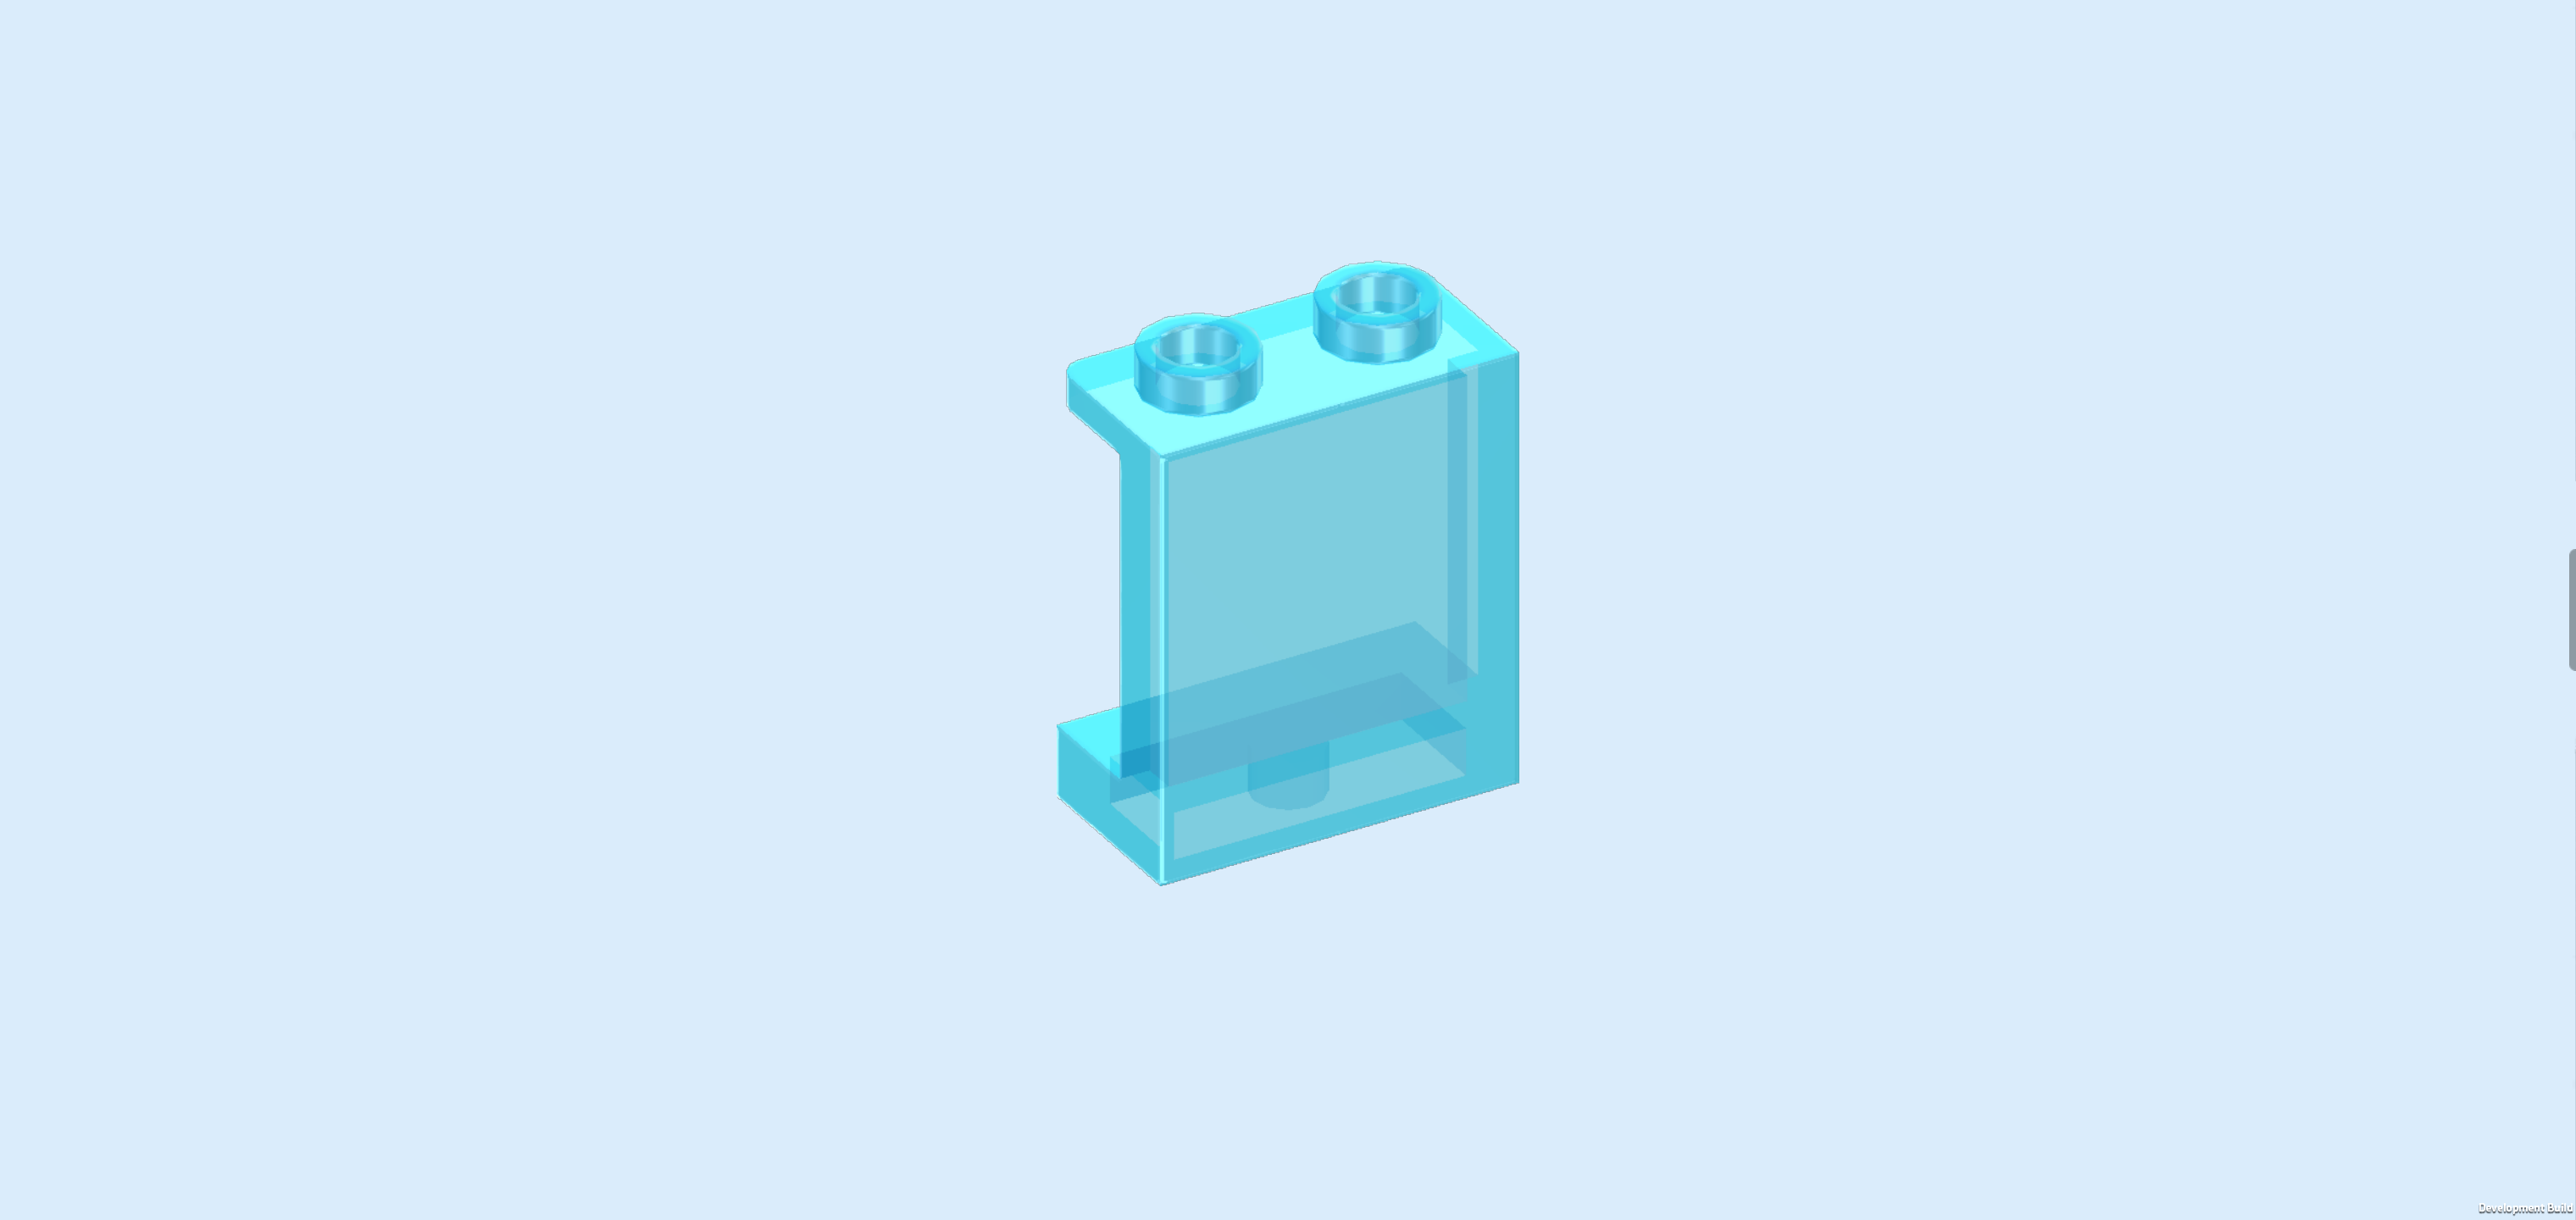
| 1 transparent cupboard door 2x2 with grip, |
| and 1 white cupboard carcass 2x2x2 with bottom hinges. |
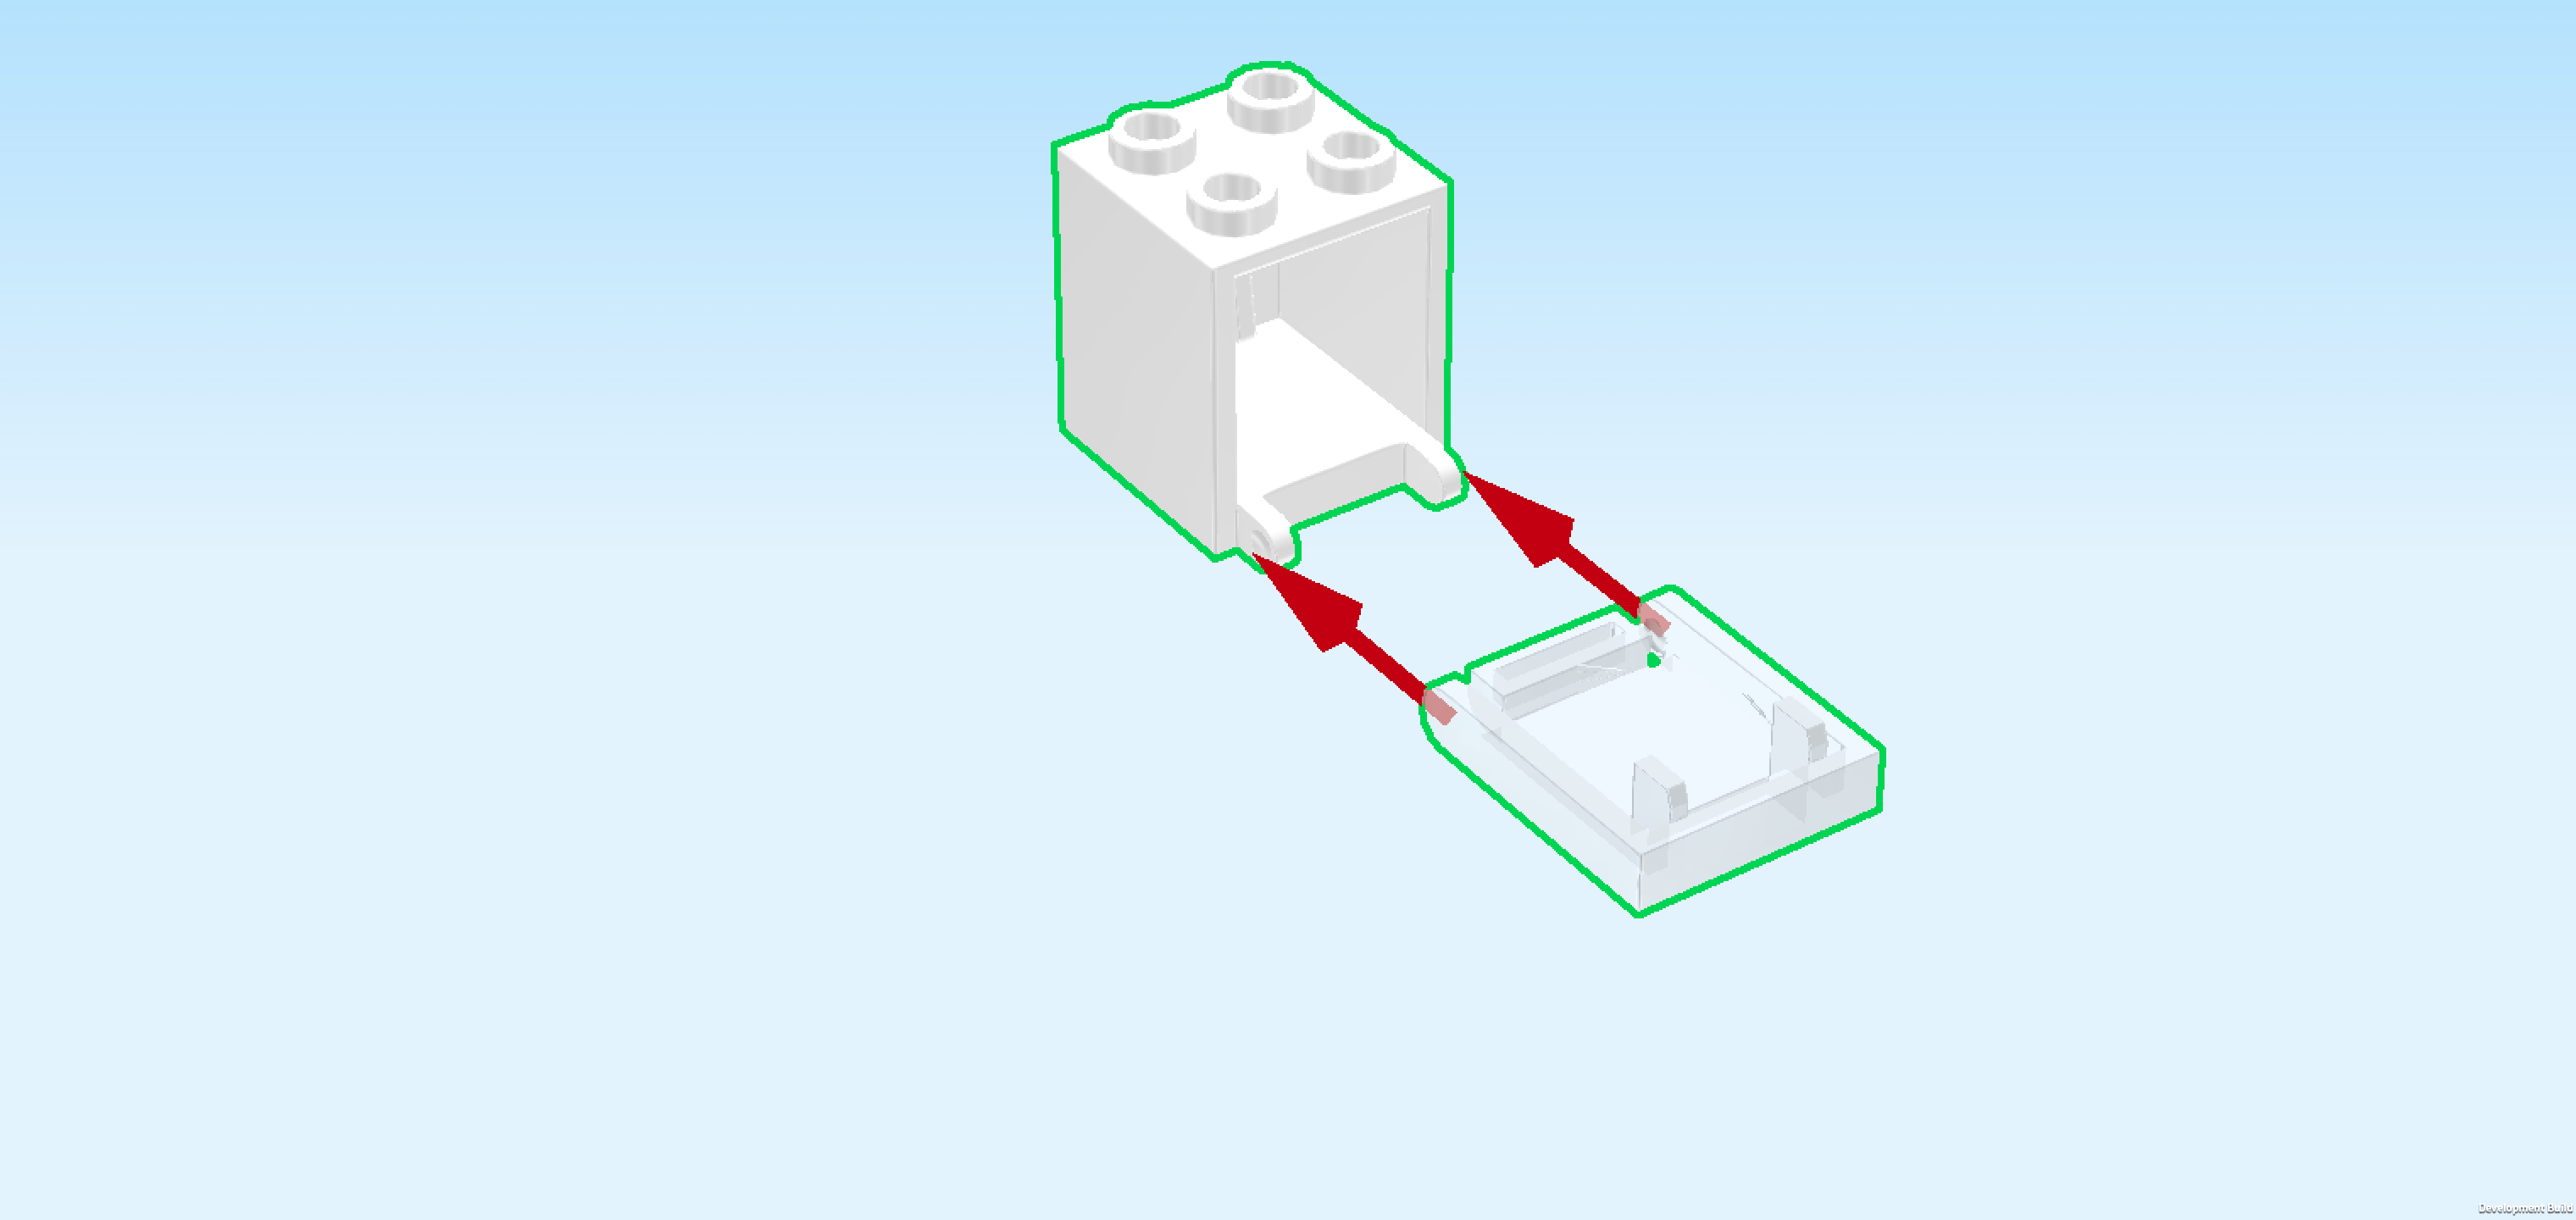
| Put the cupboard carcass on the table, opening to the front. |
| Snap the 2 small hinge slits on the hinges of the carcass. |
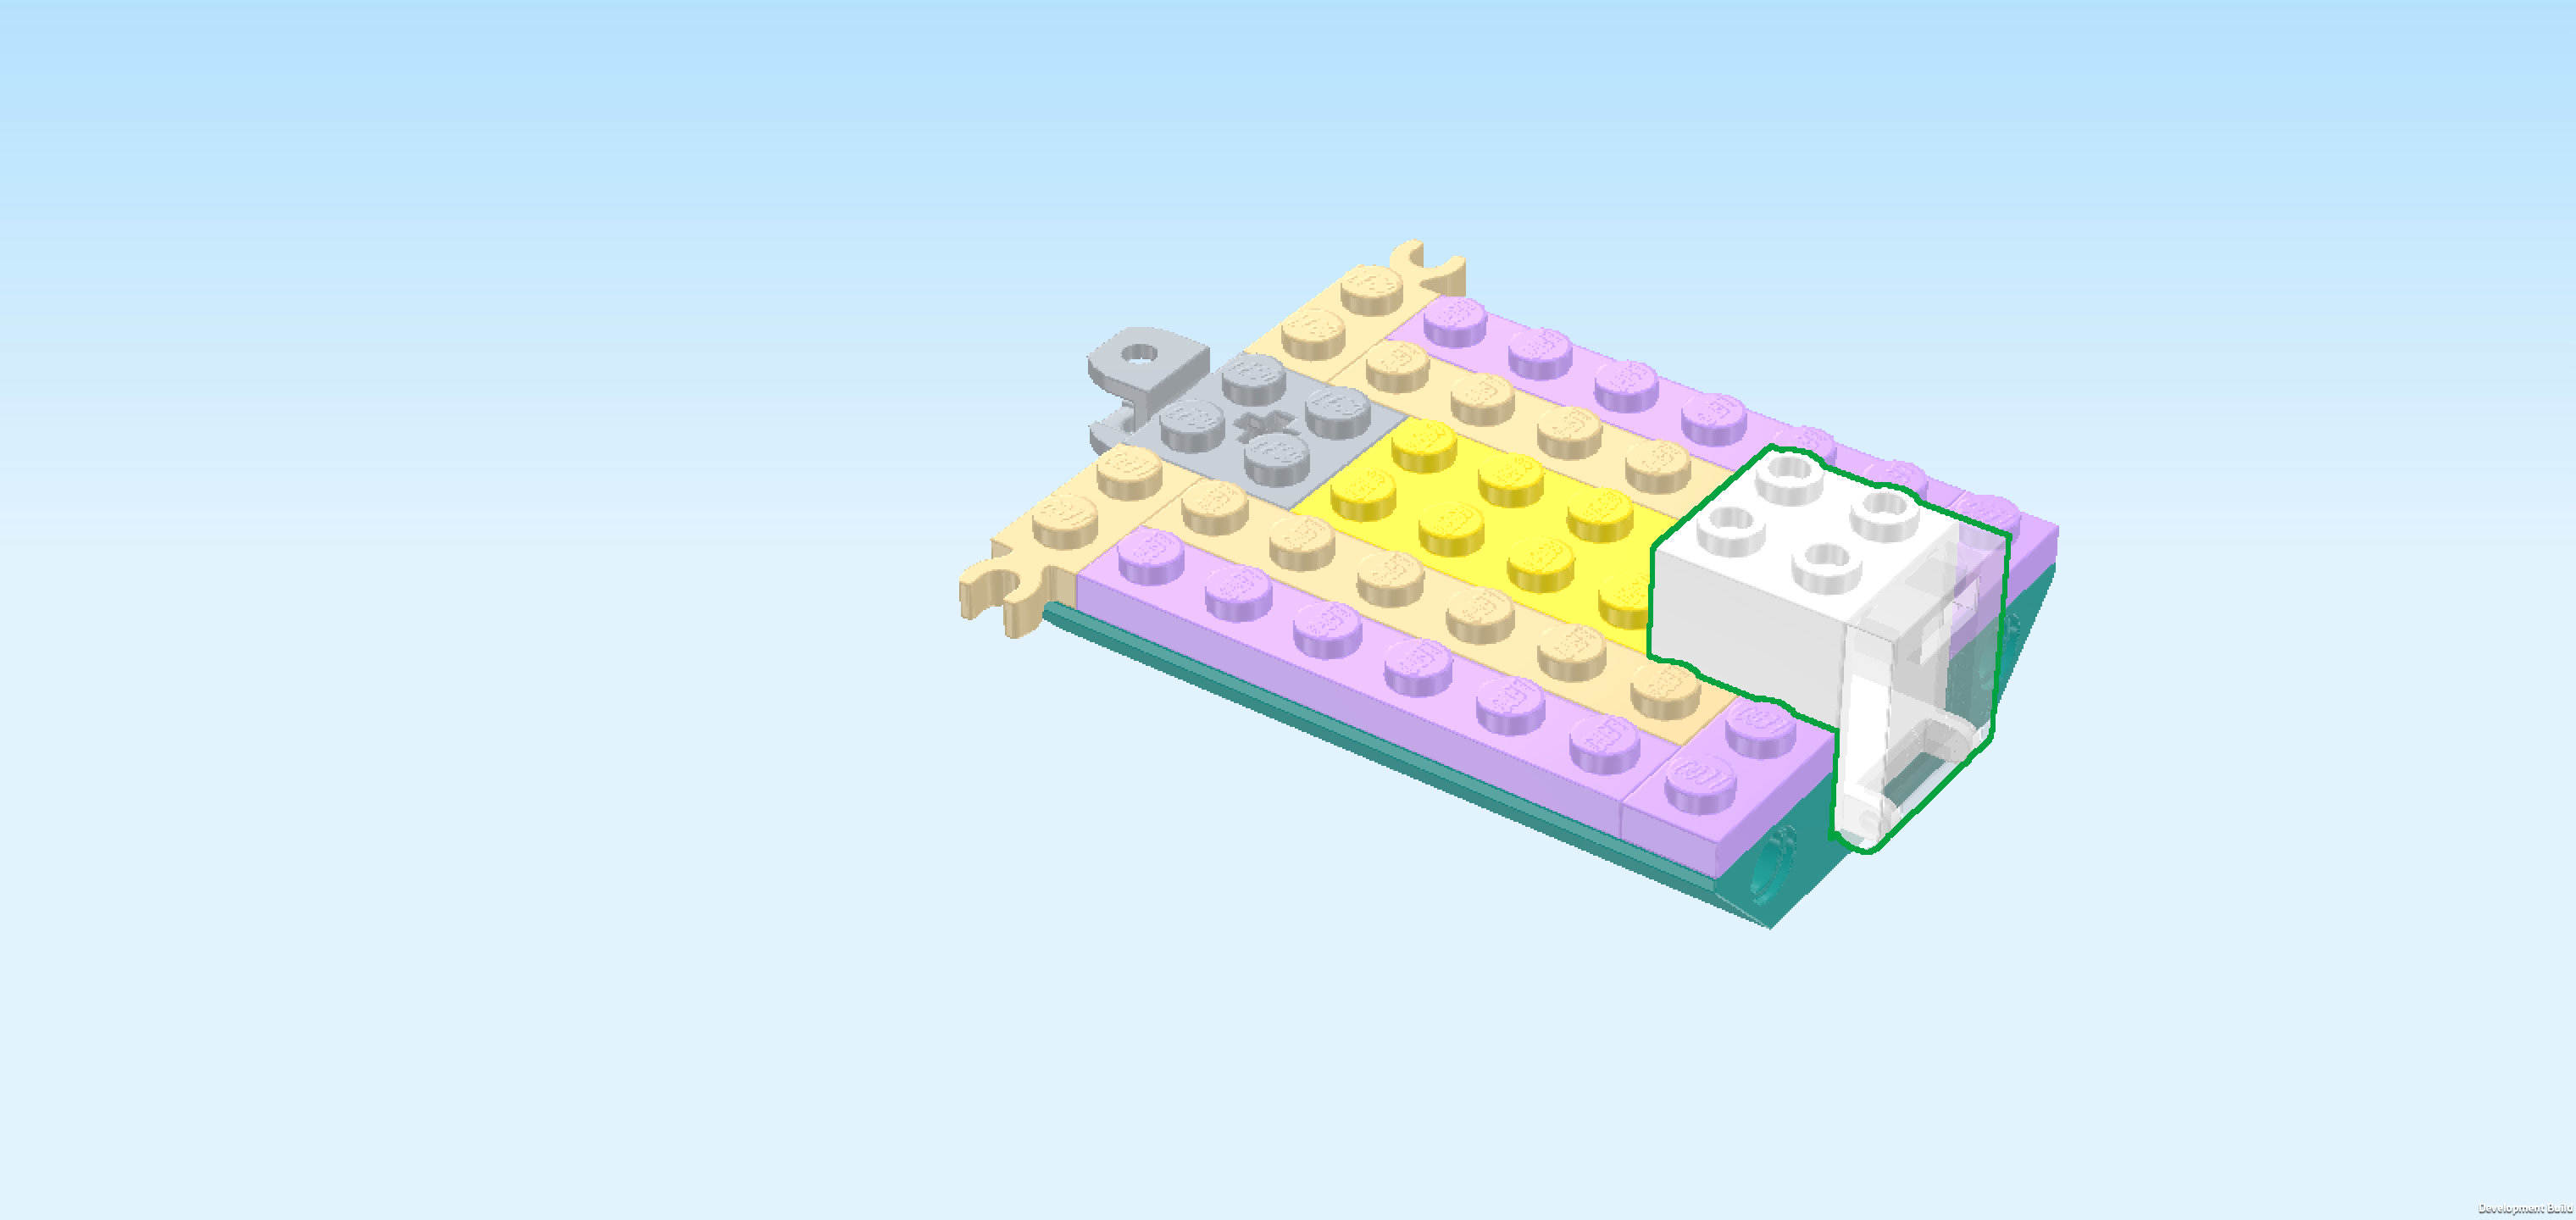
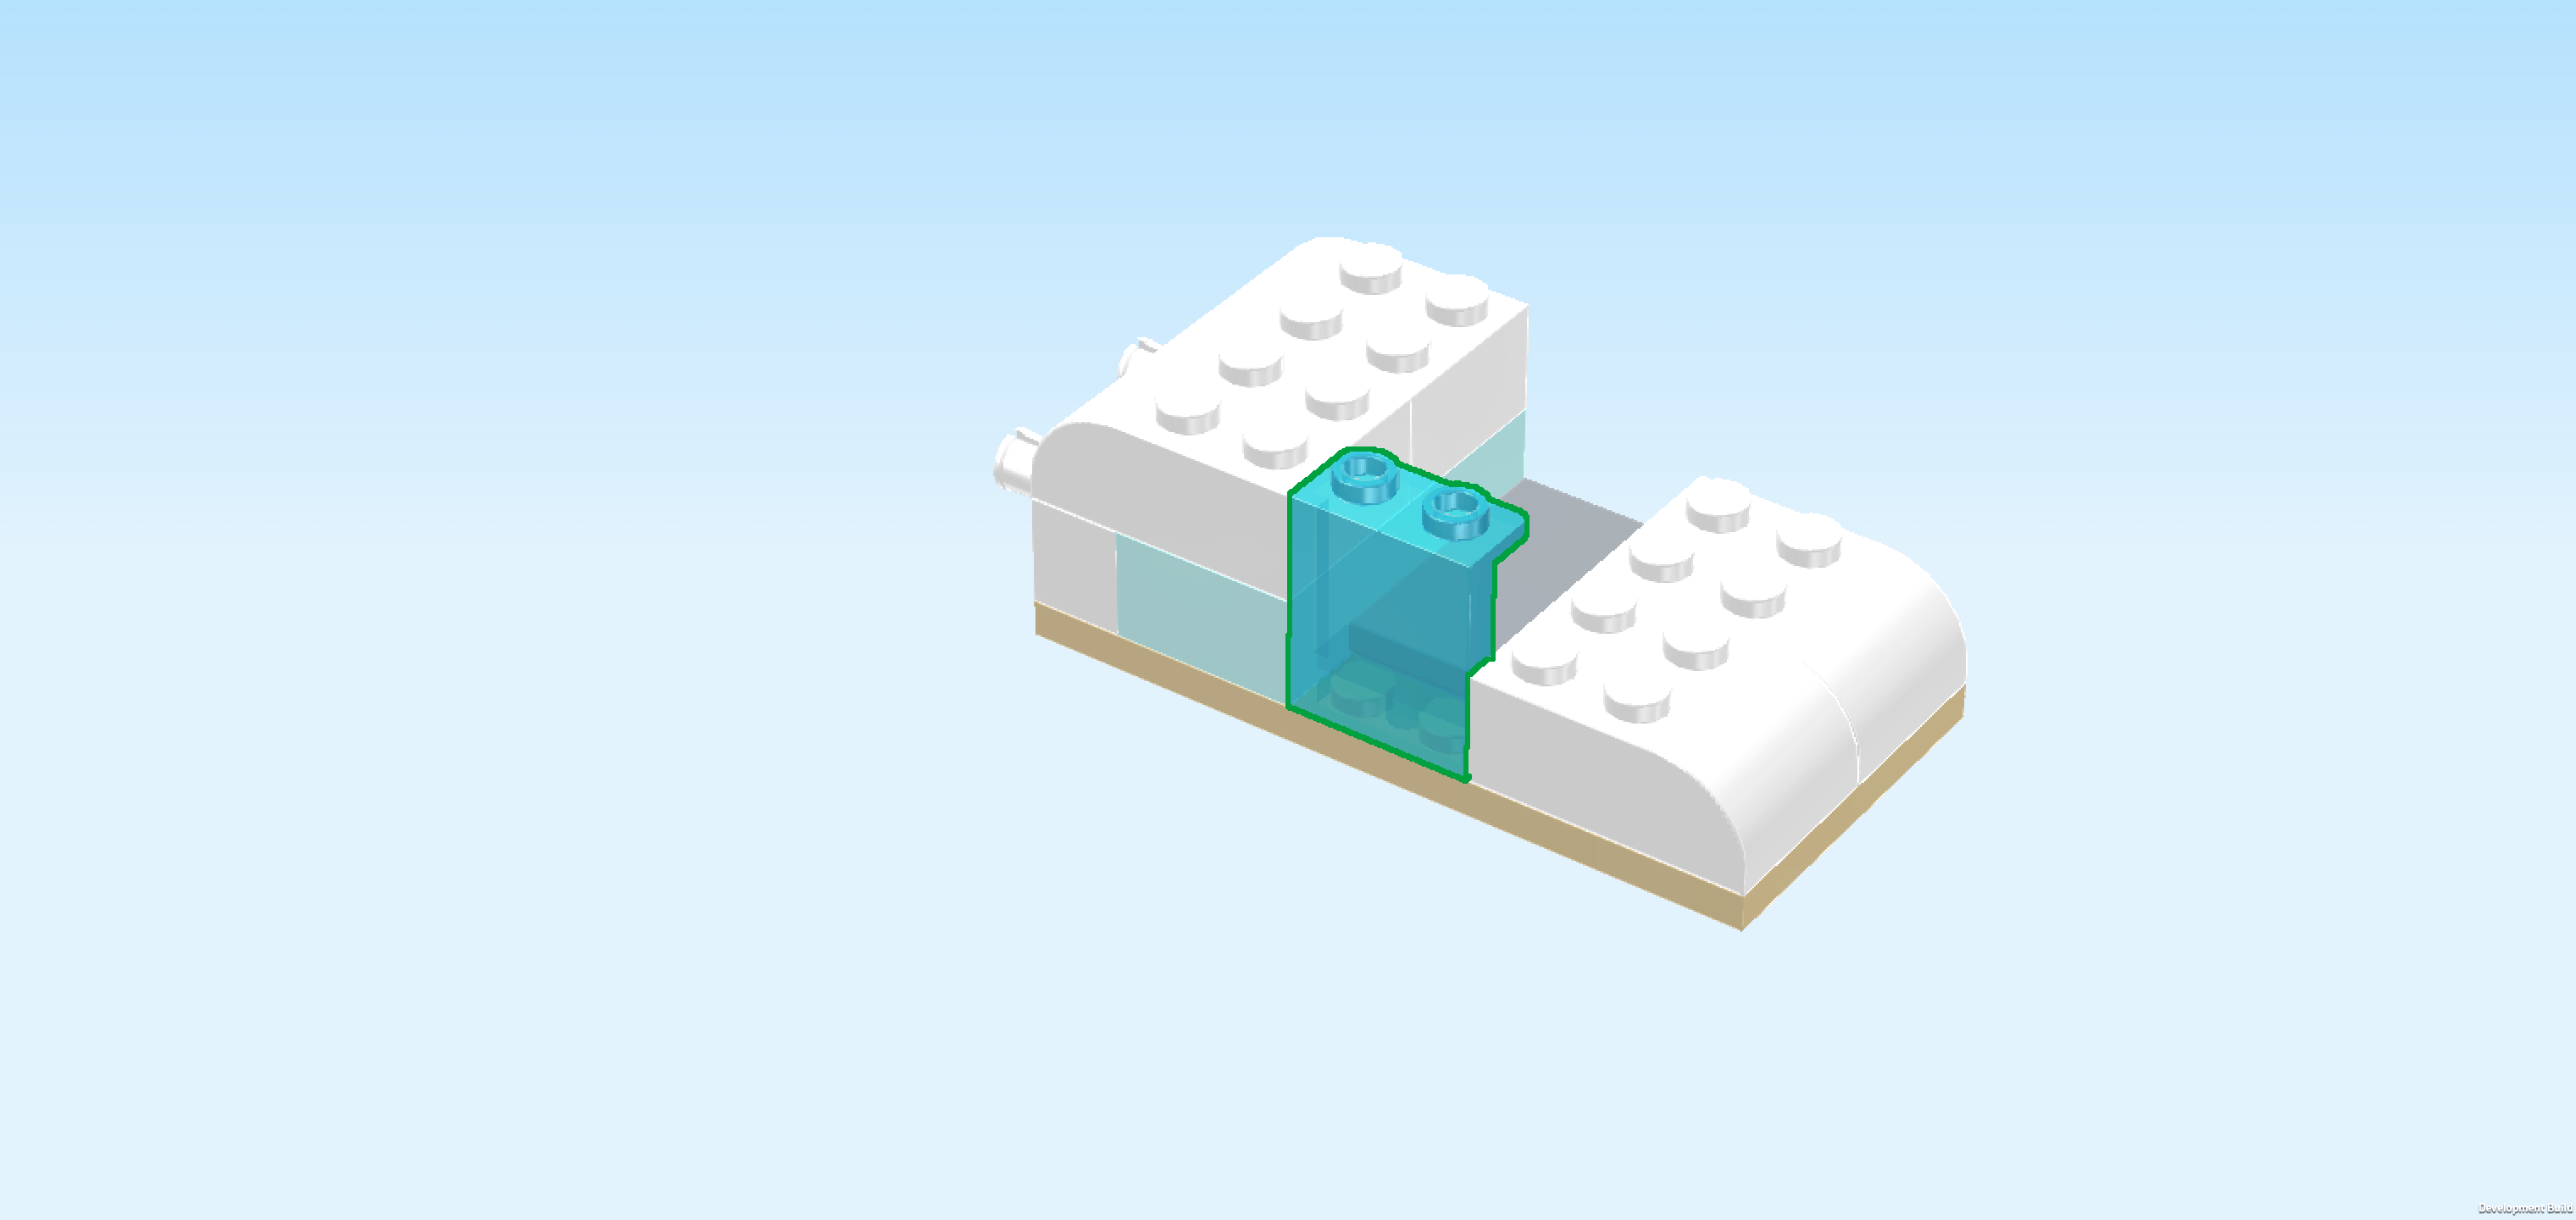
| The cupboard is finished! Well done! Close the door and mount it on the middle recess on the right edge, door towards the right. |
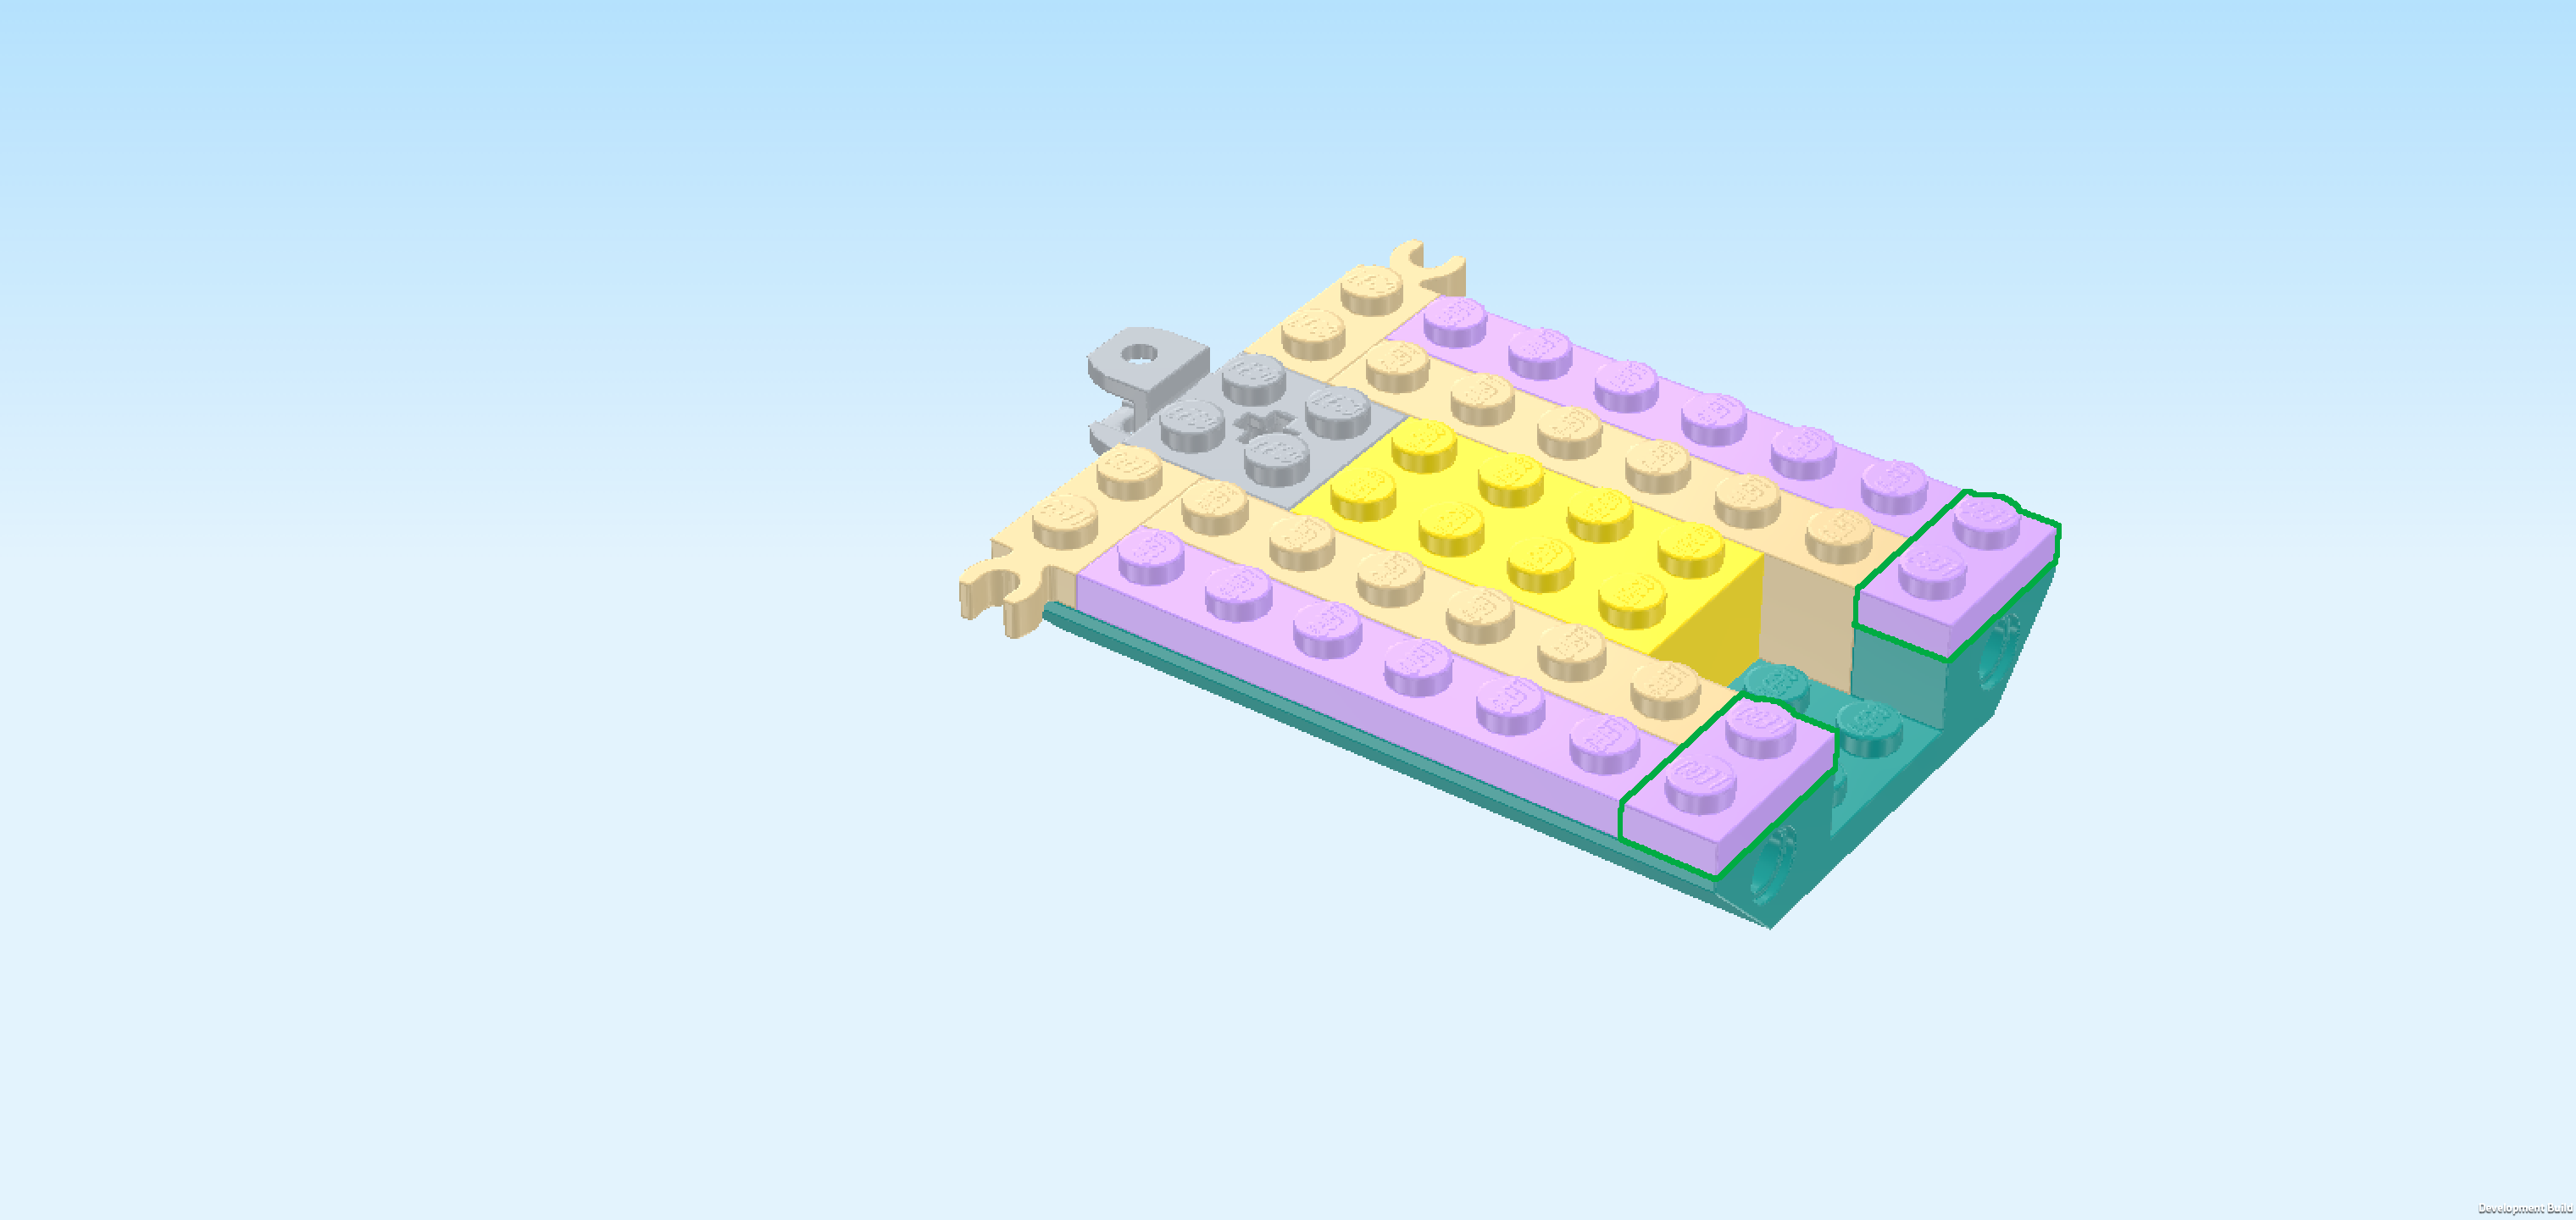
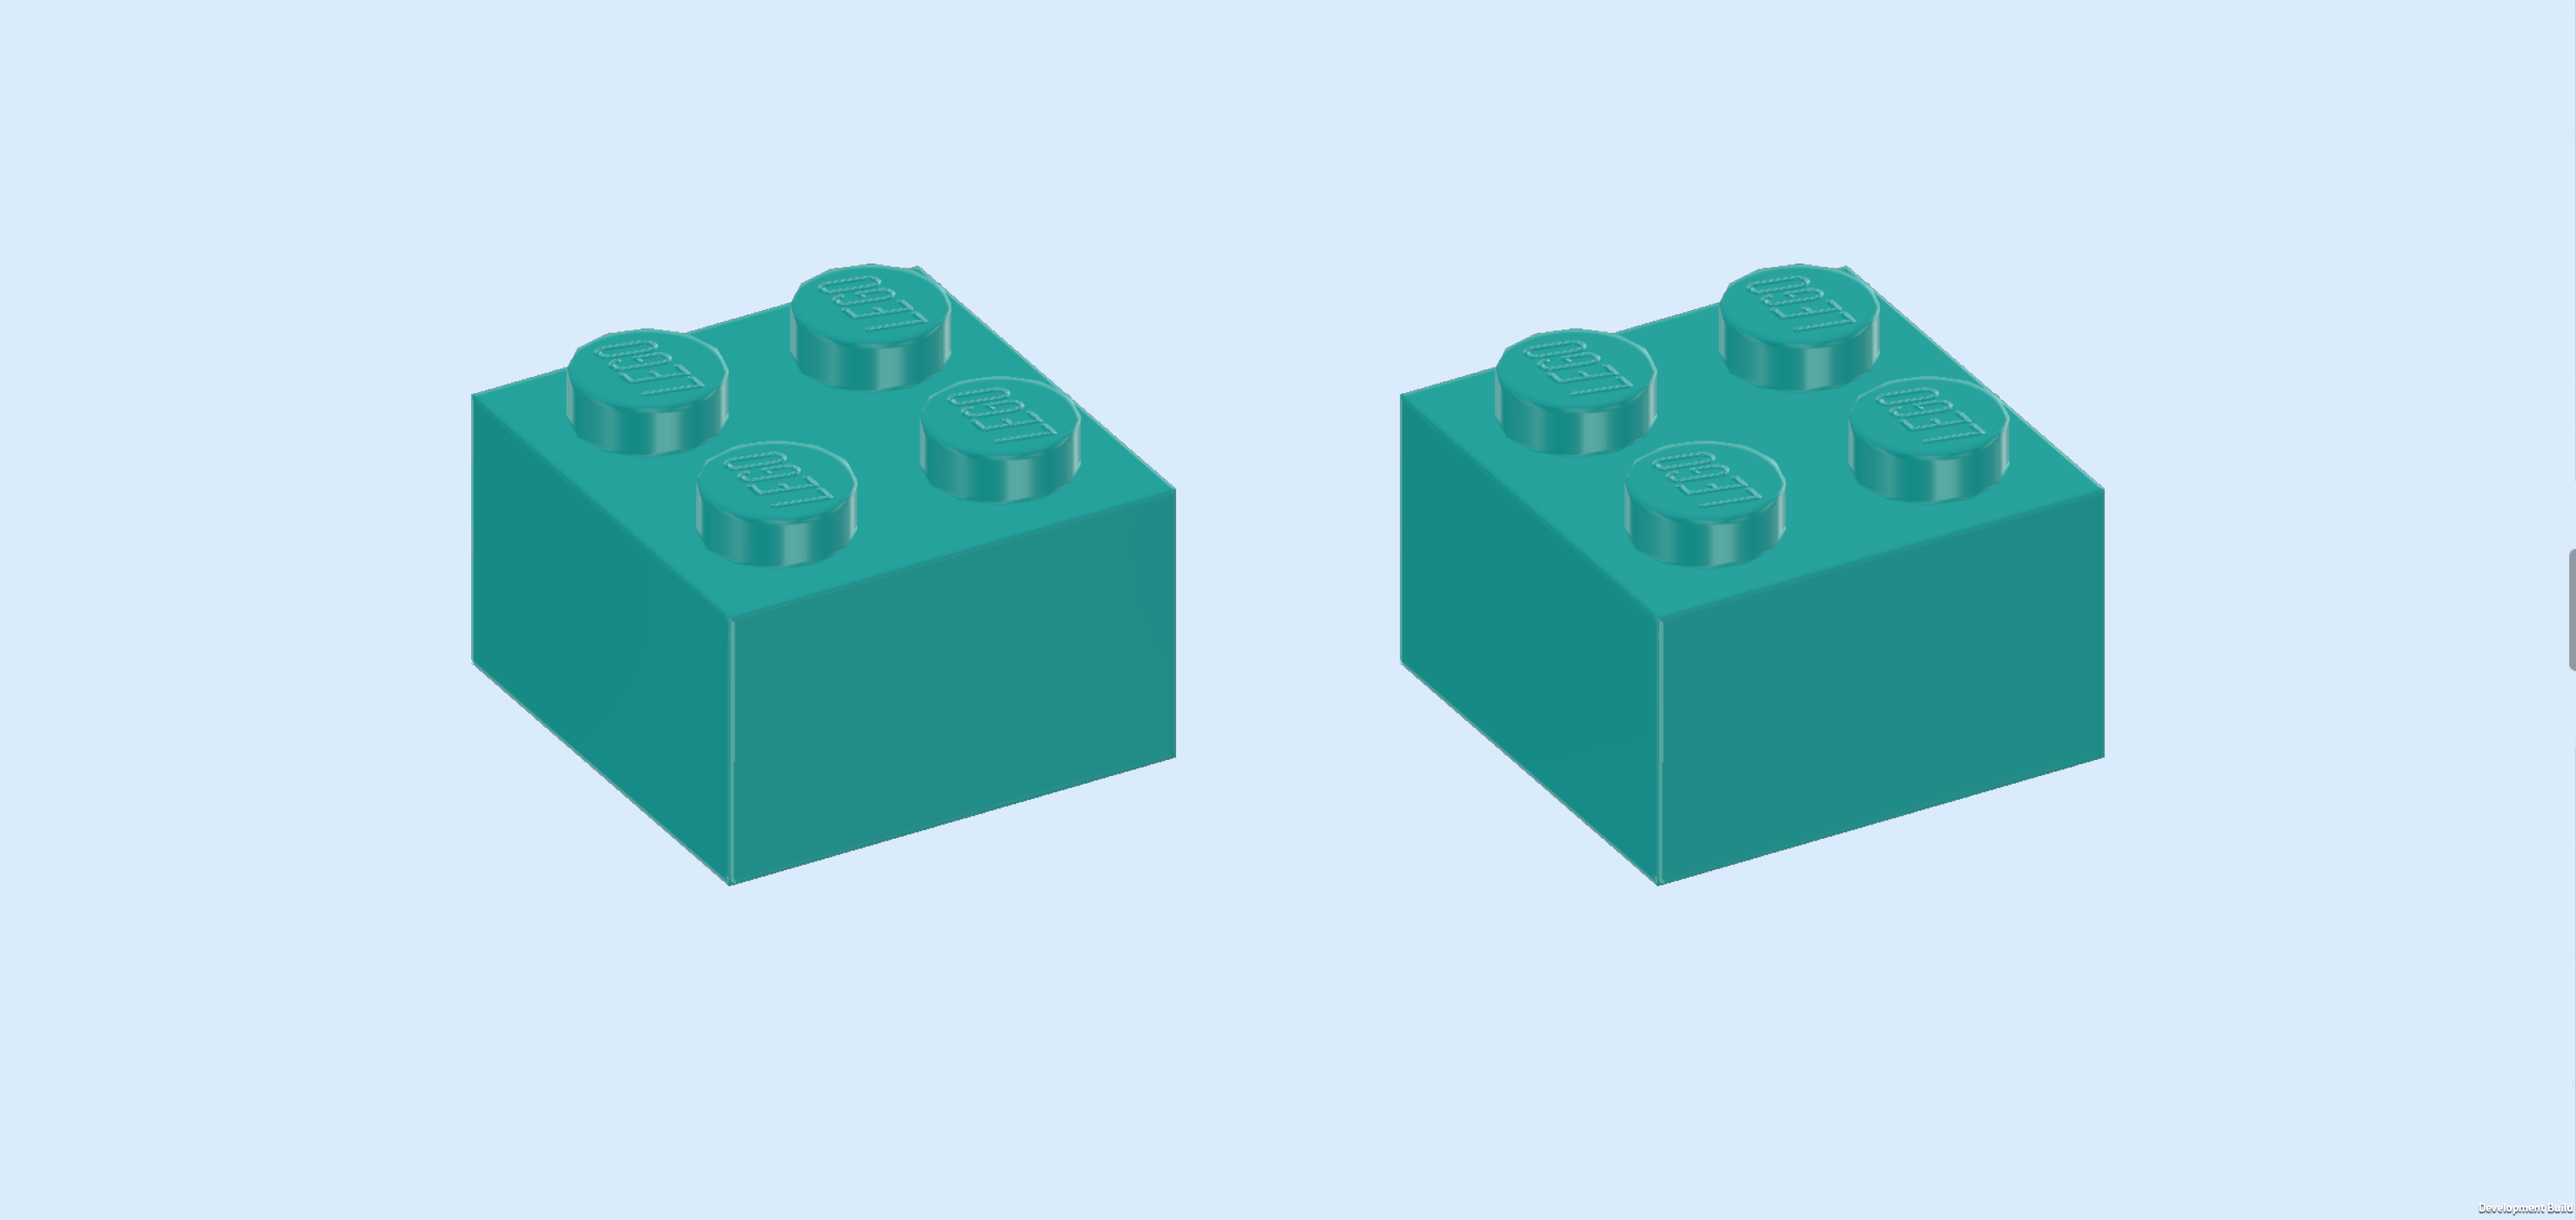
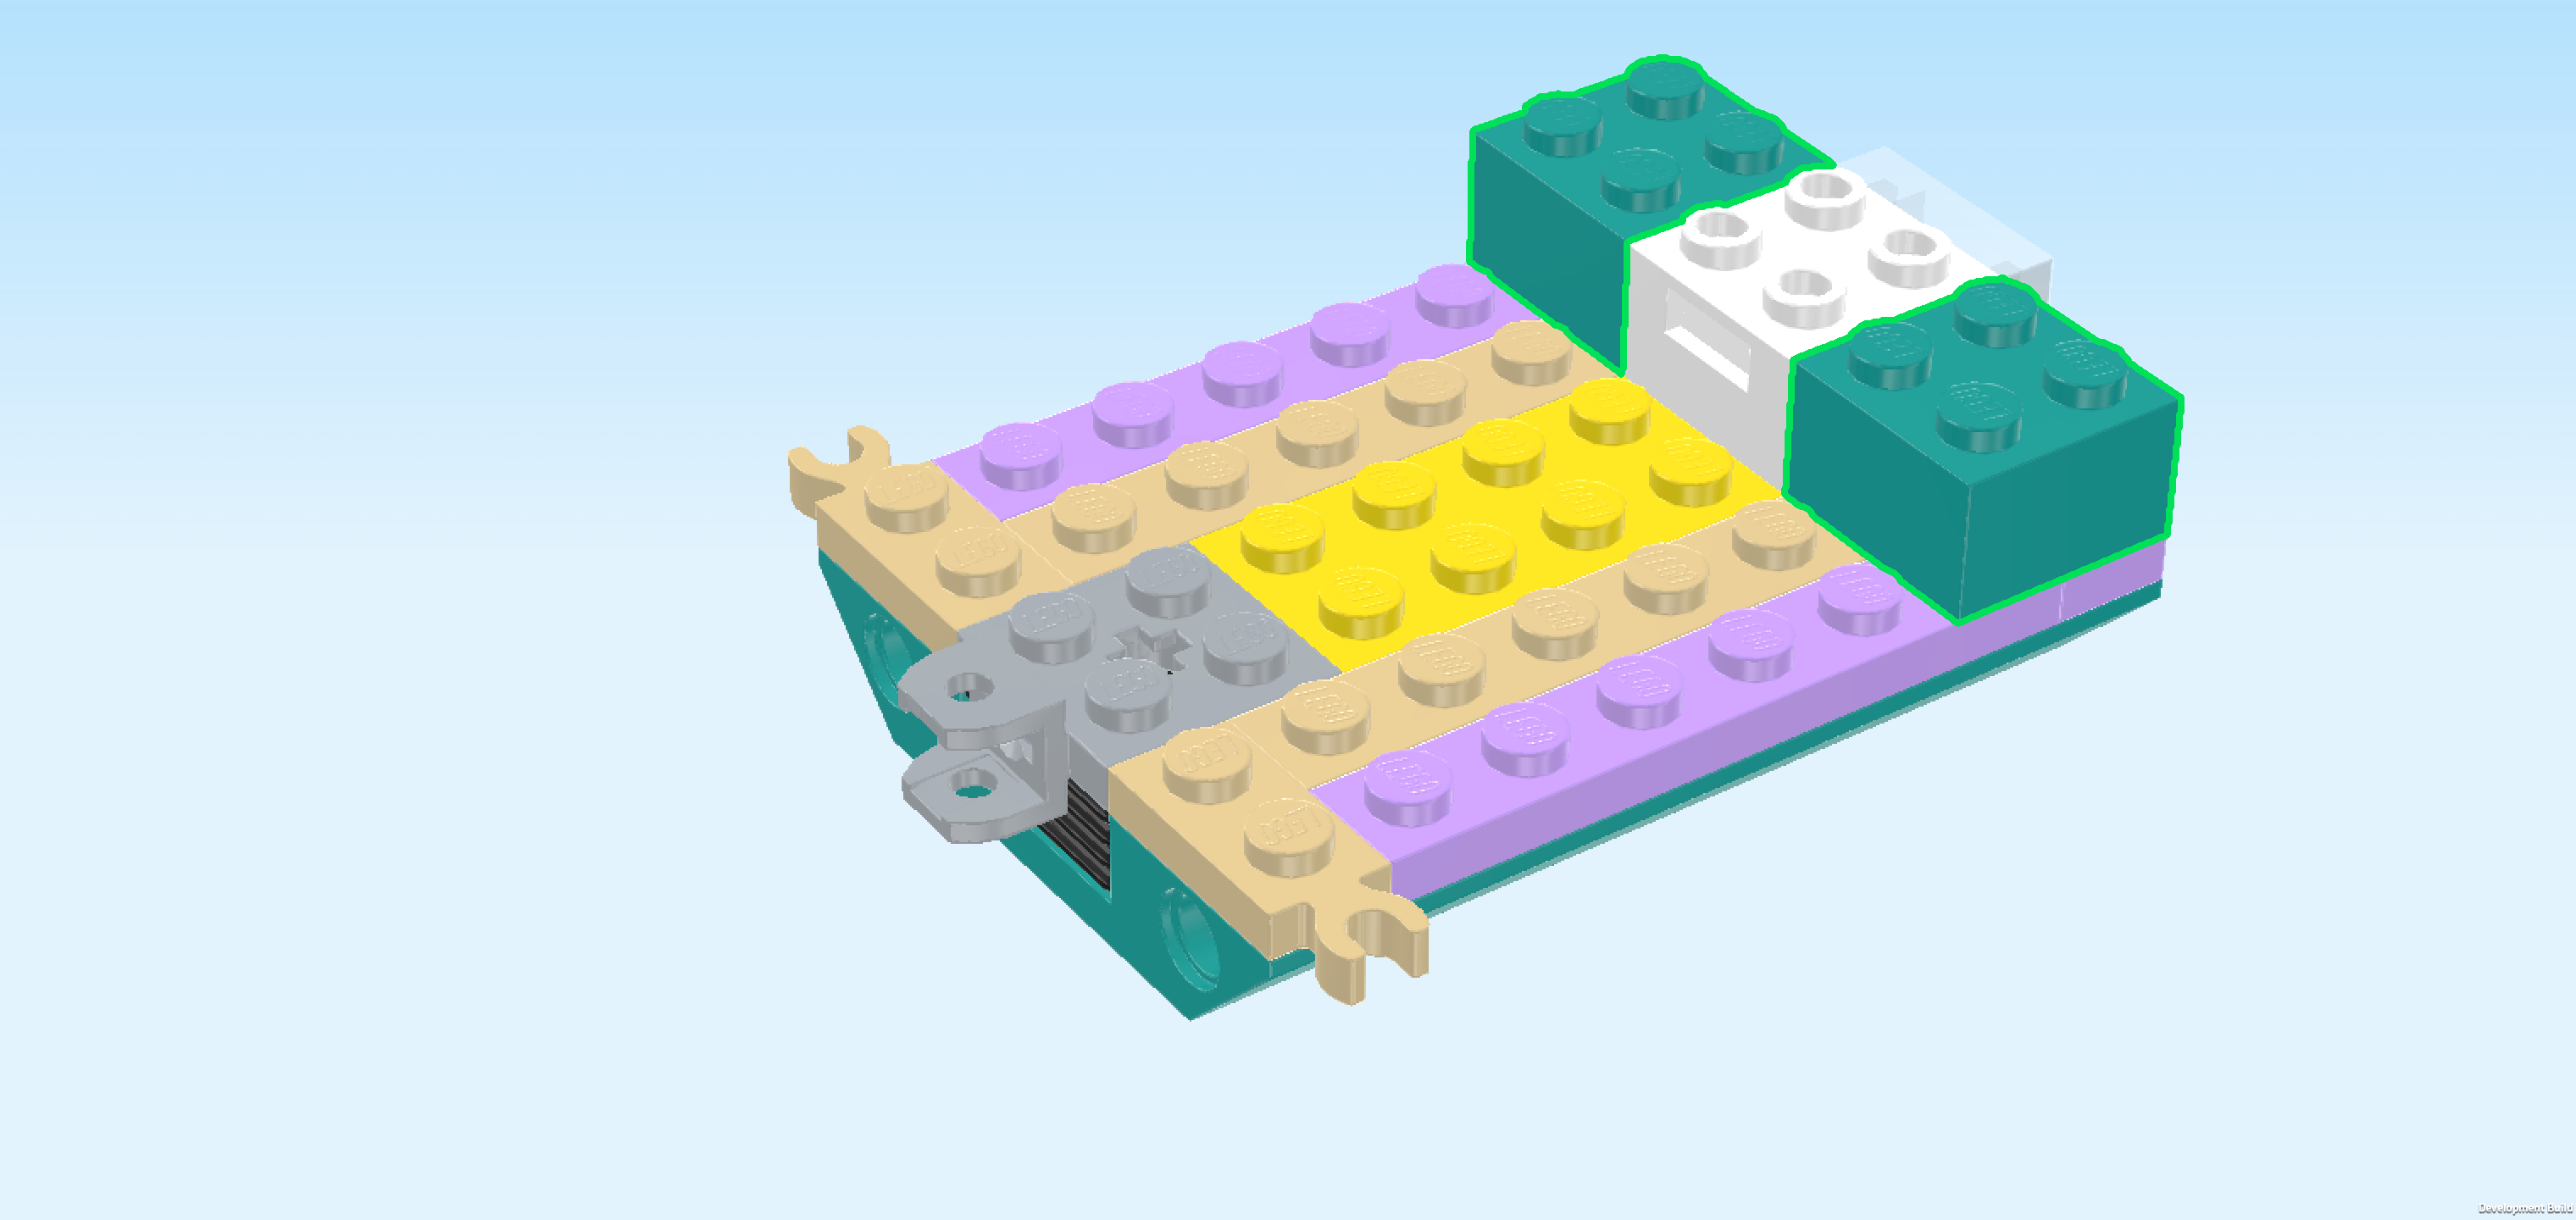
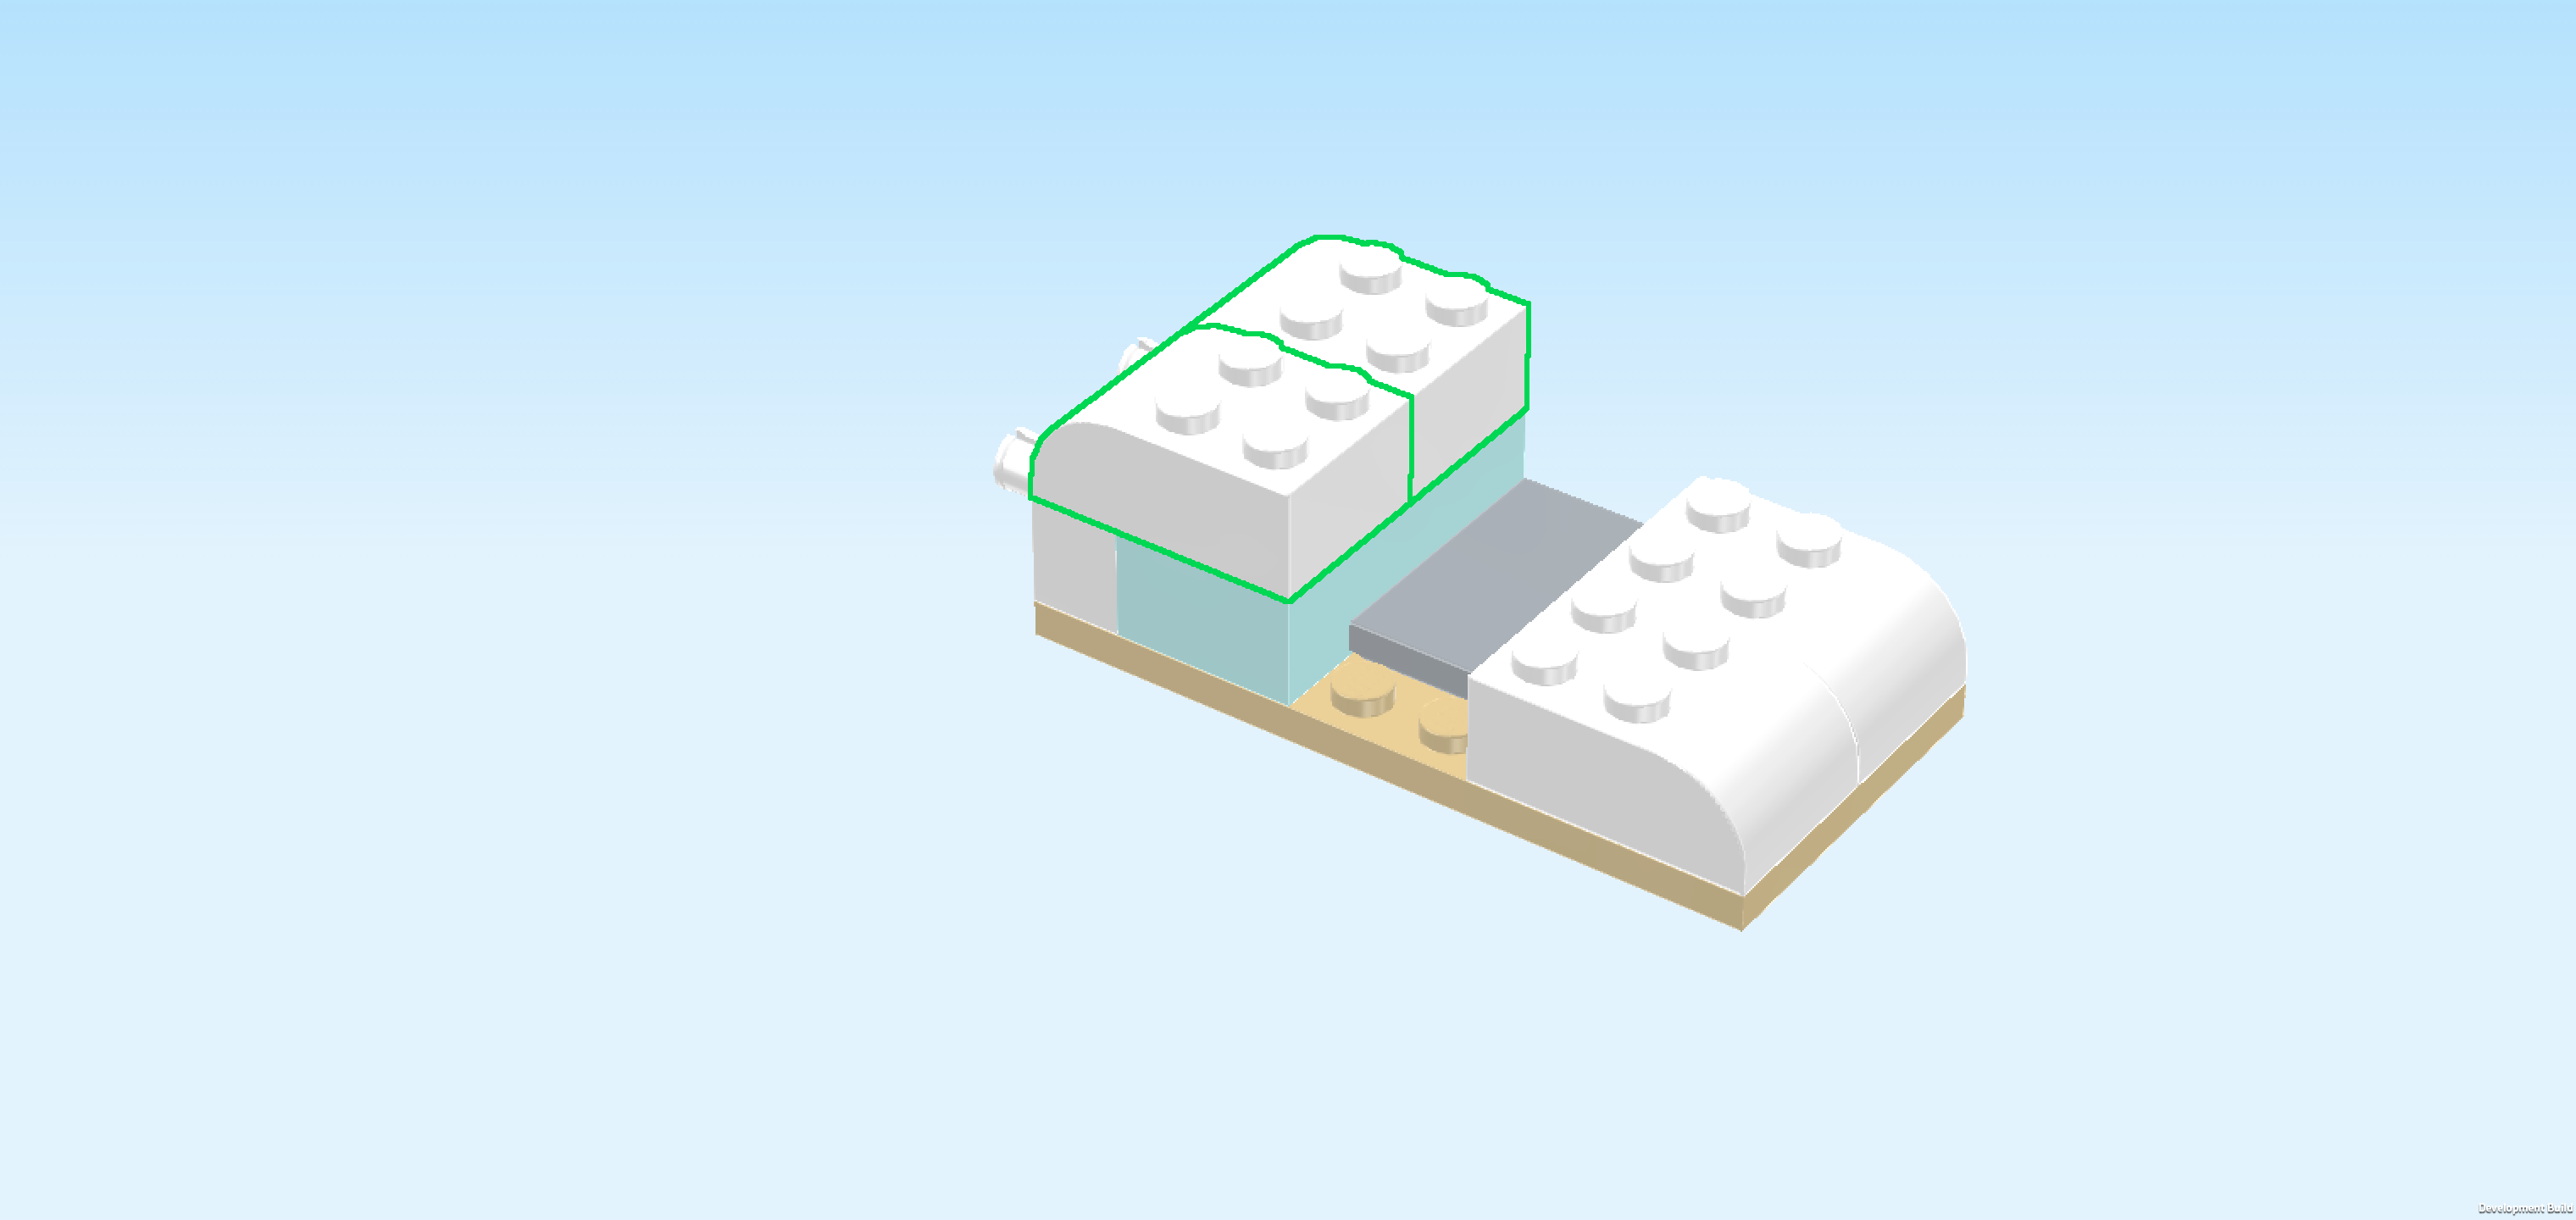
| Find 2 teal blue bricks 2x2. |
| Put 1 behind the cupboard in the 2 backmost rows of the structre, and put the other one symmetrically in front of the cupboard. If done correctly, these two bricks and the cupboard have the same height and form the 2 rightmost columns of the current build. |
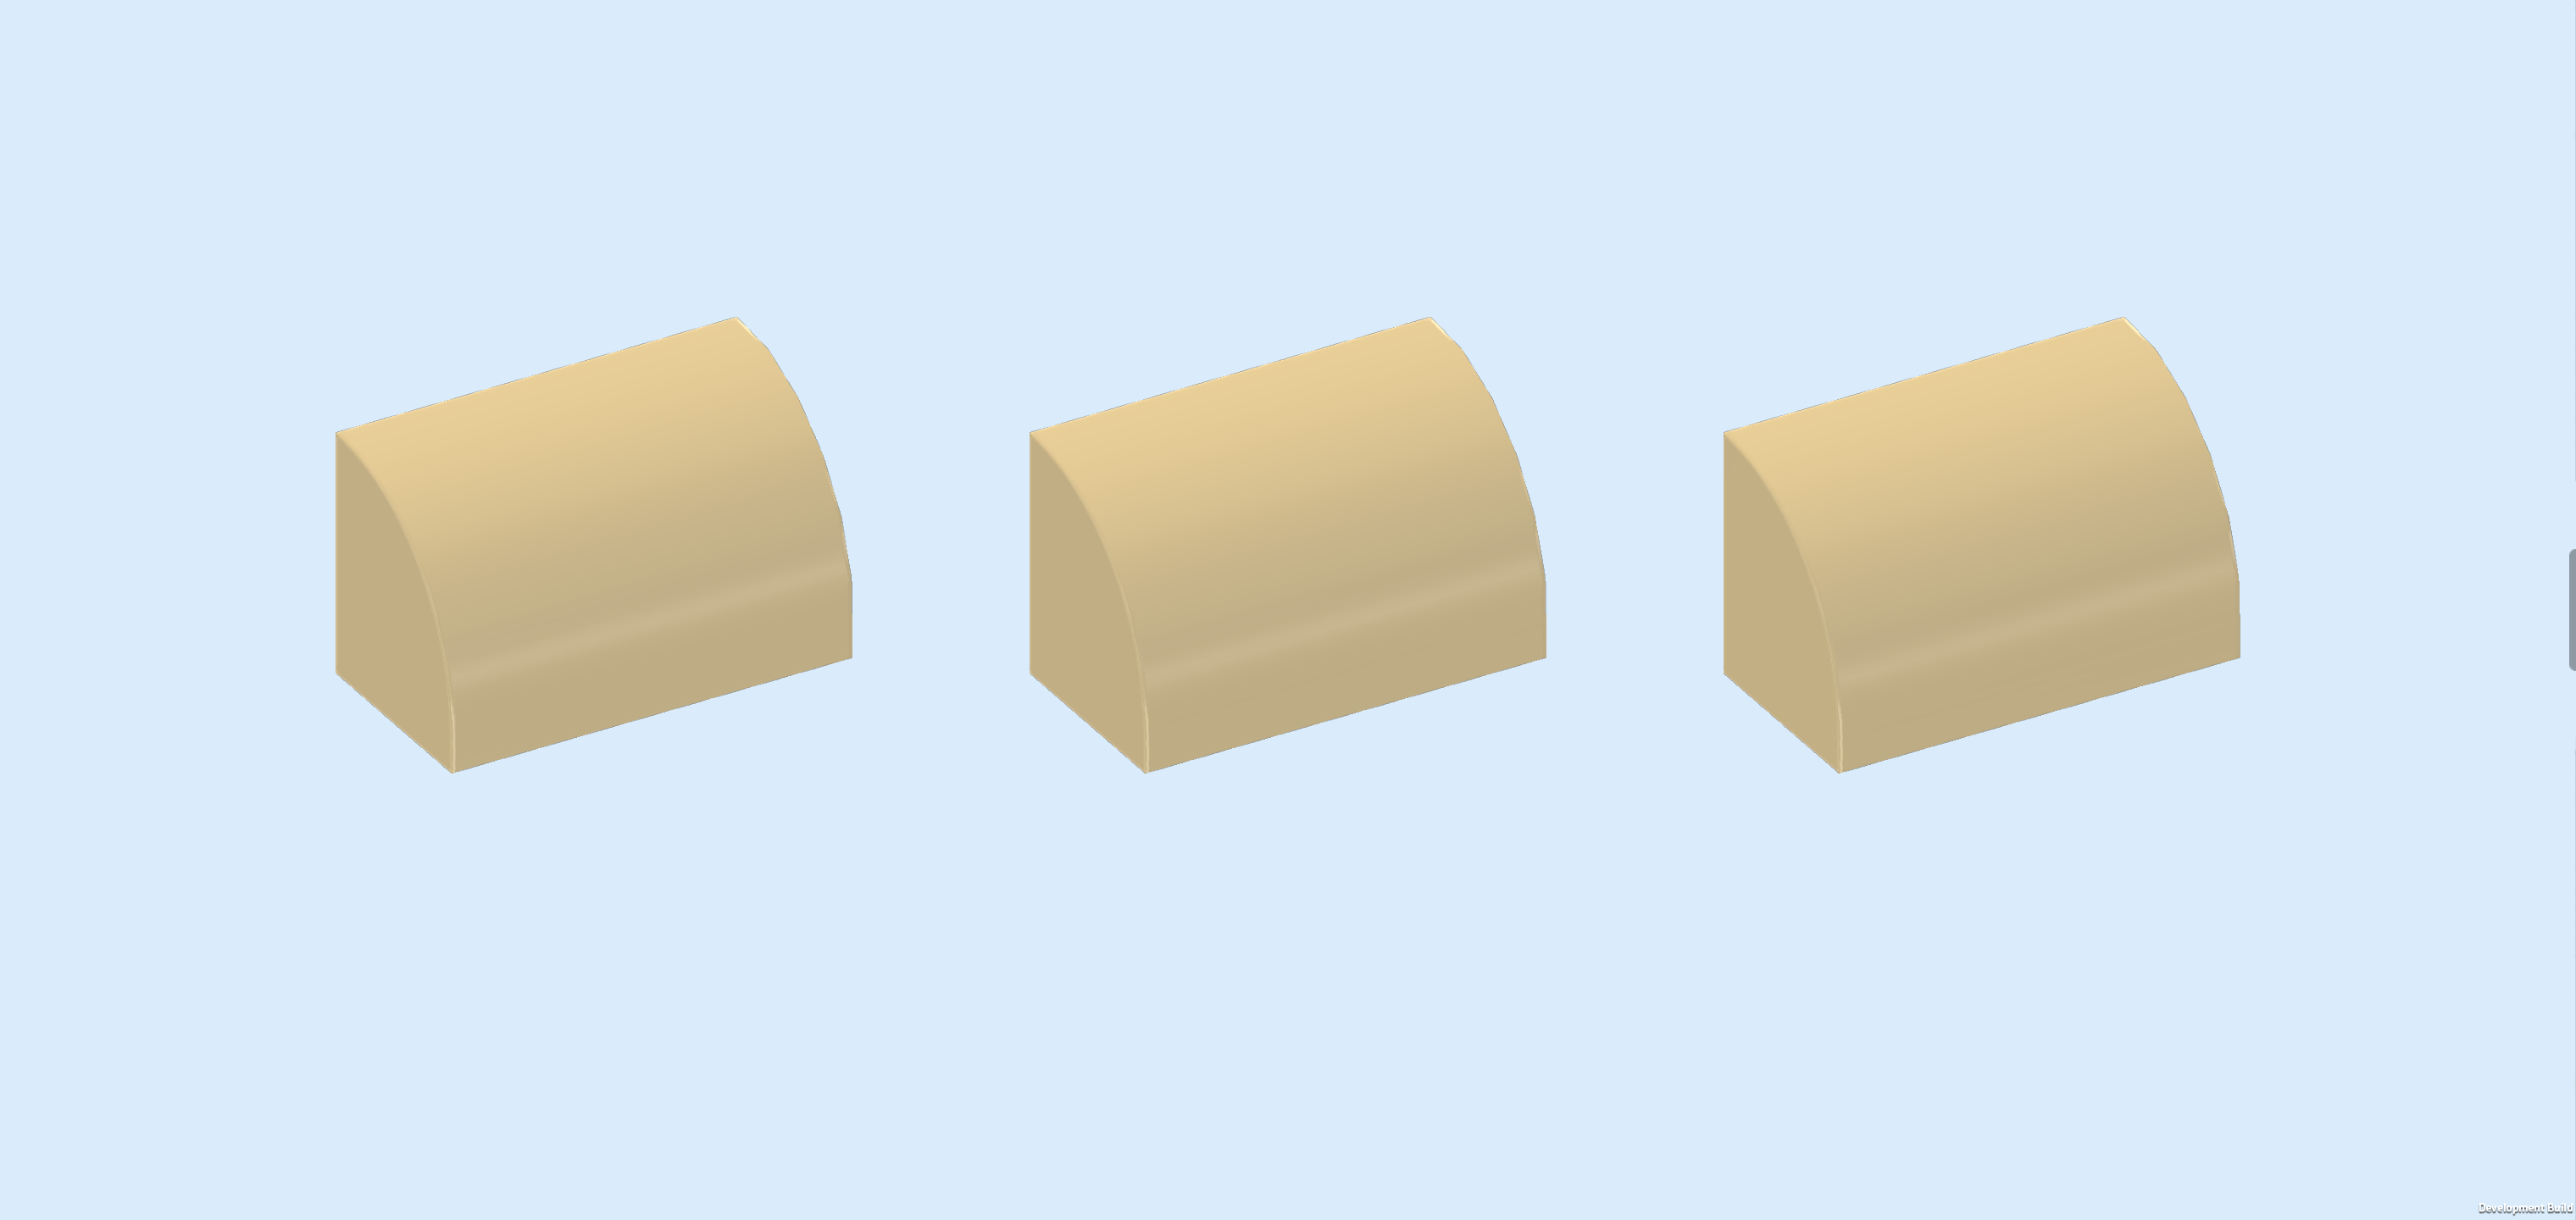
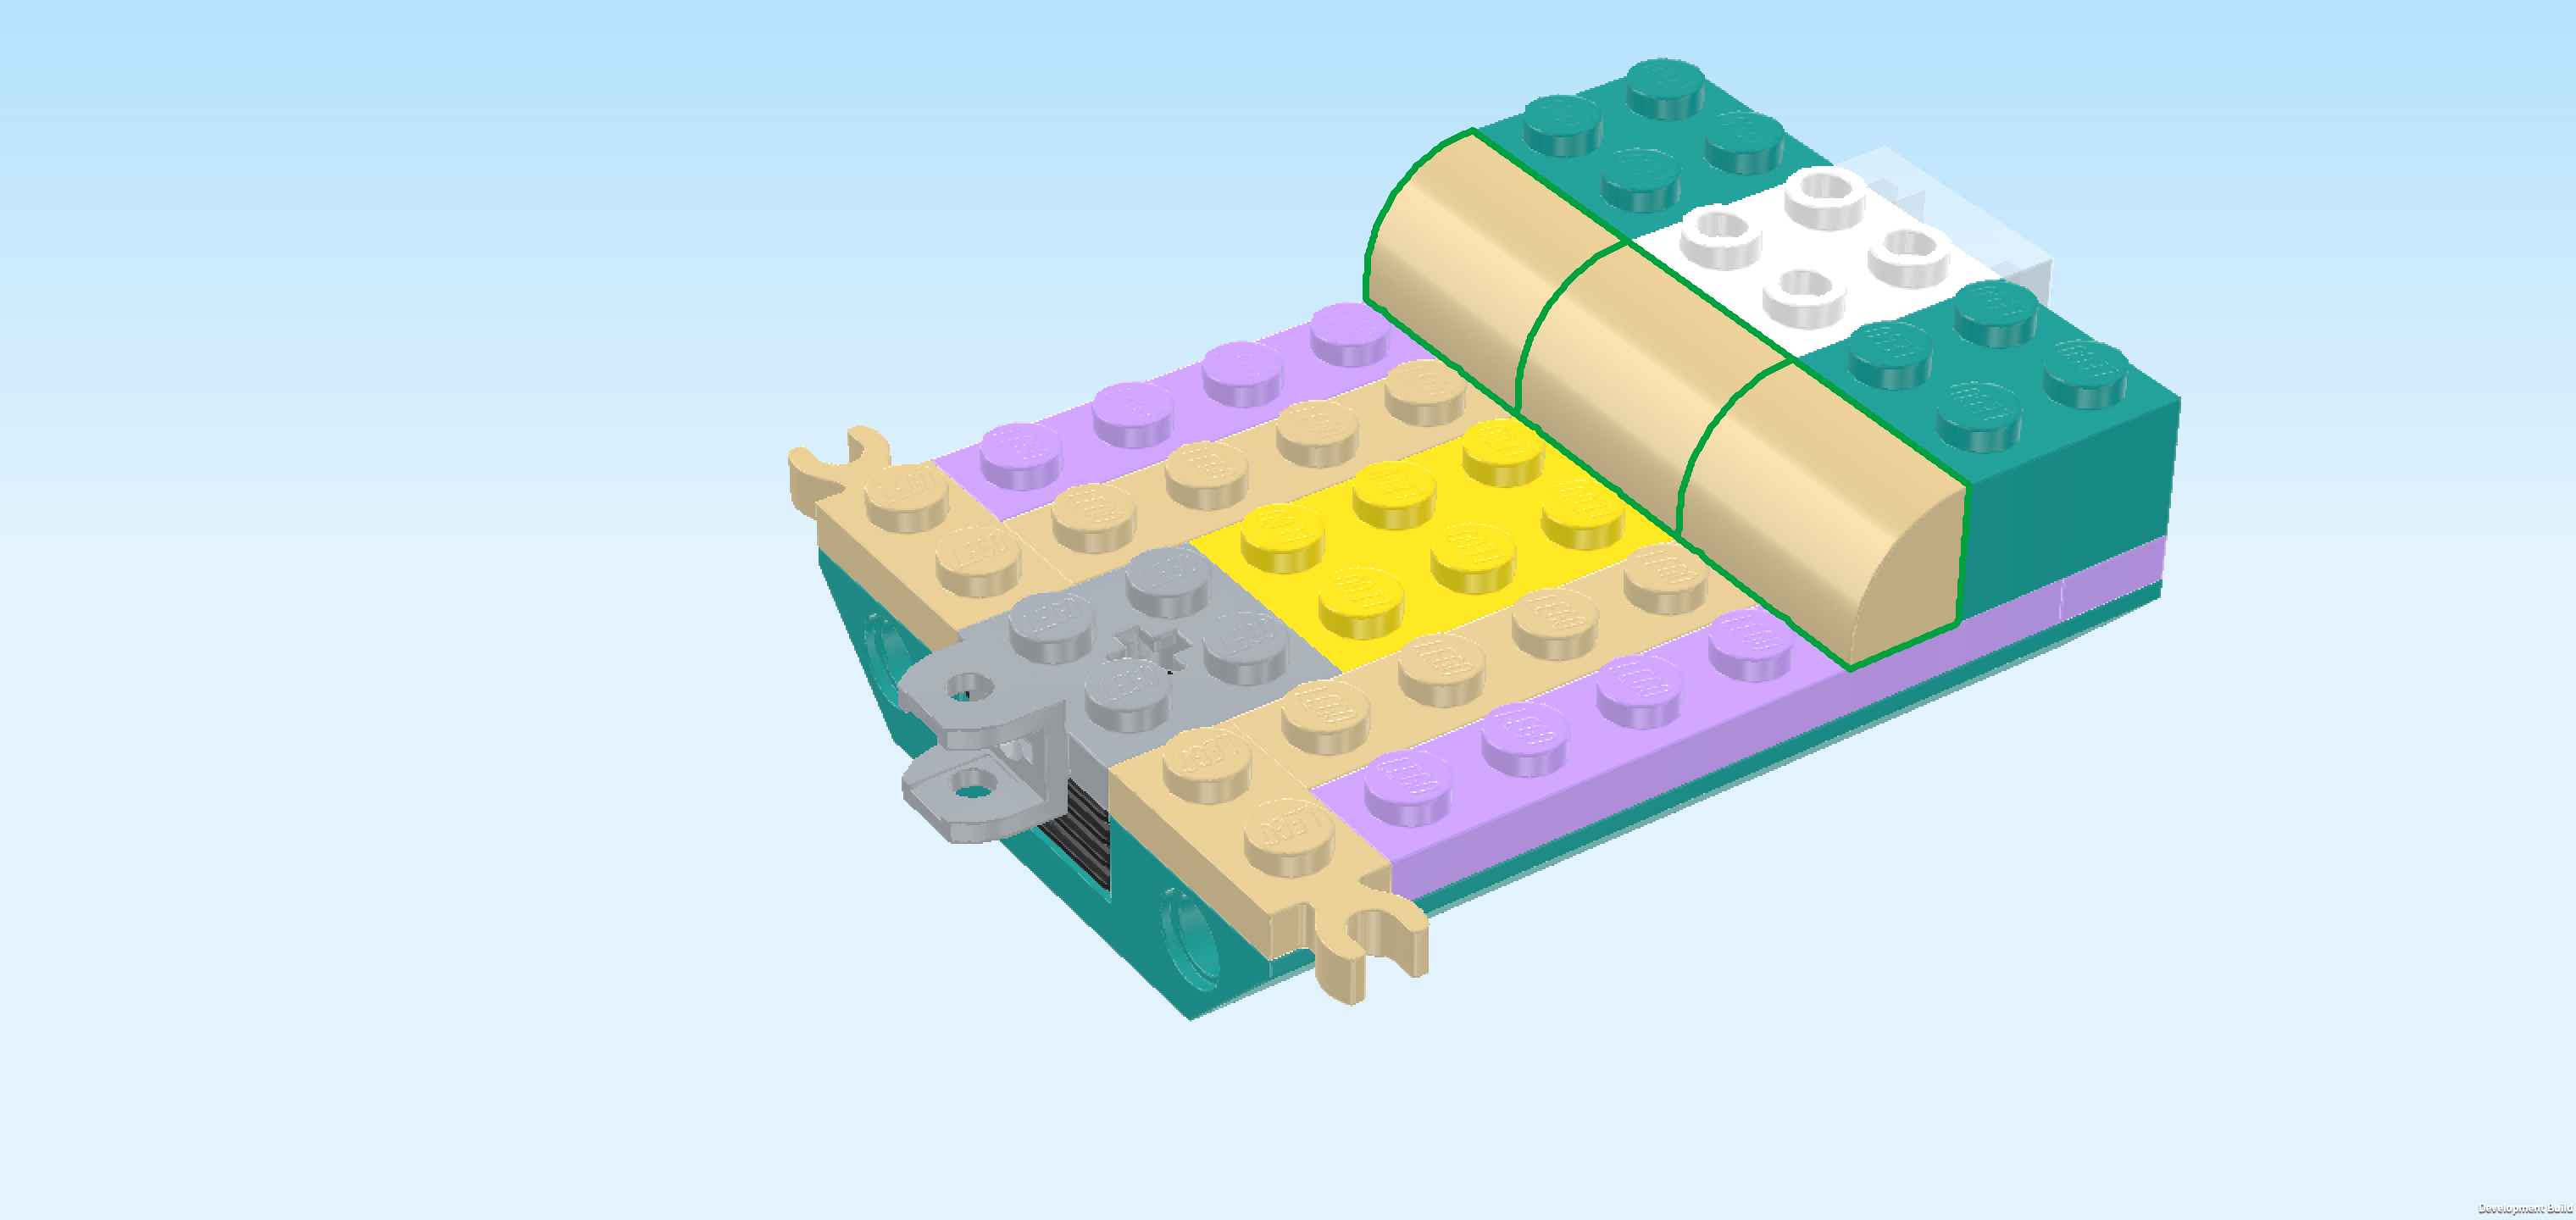
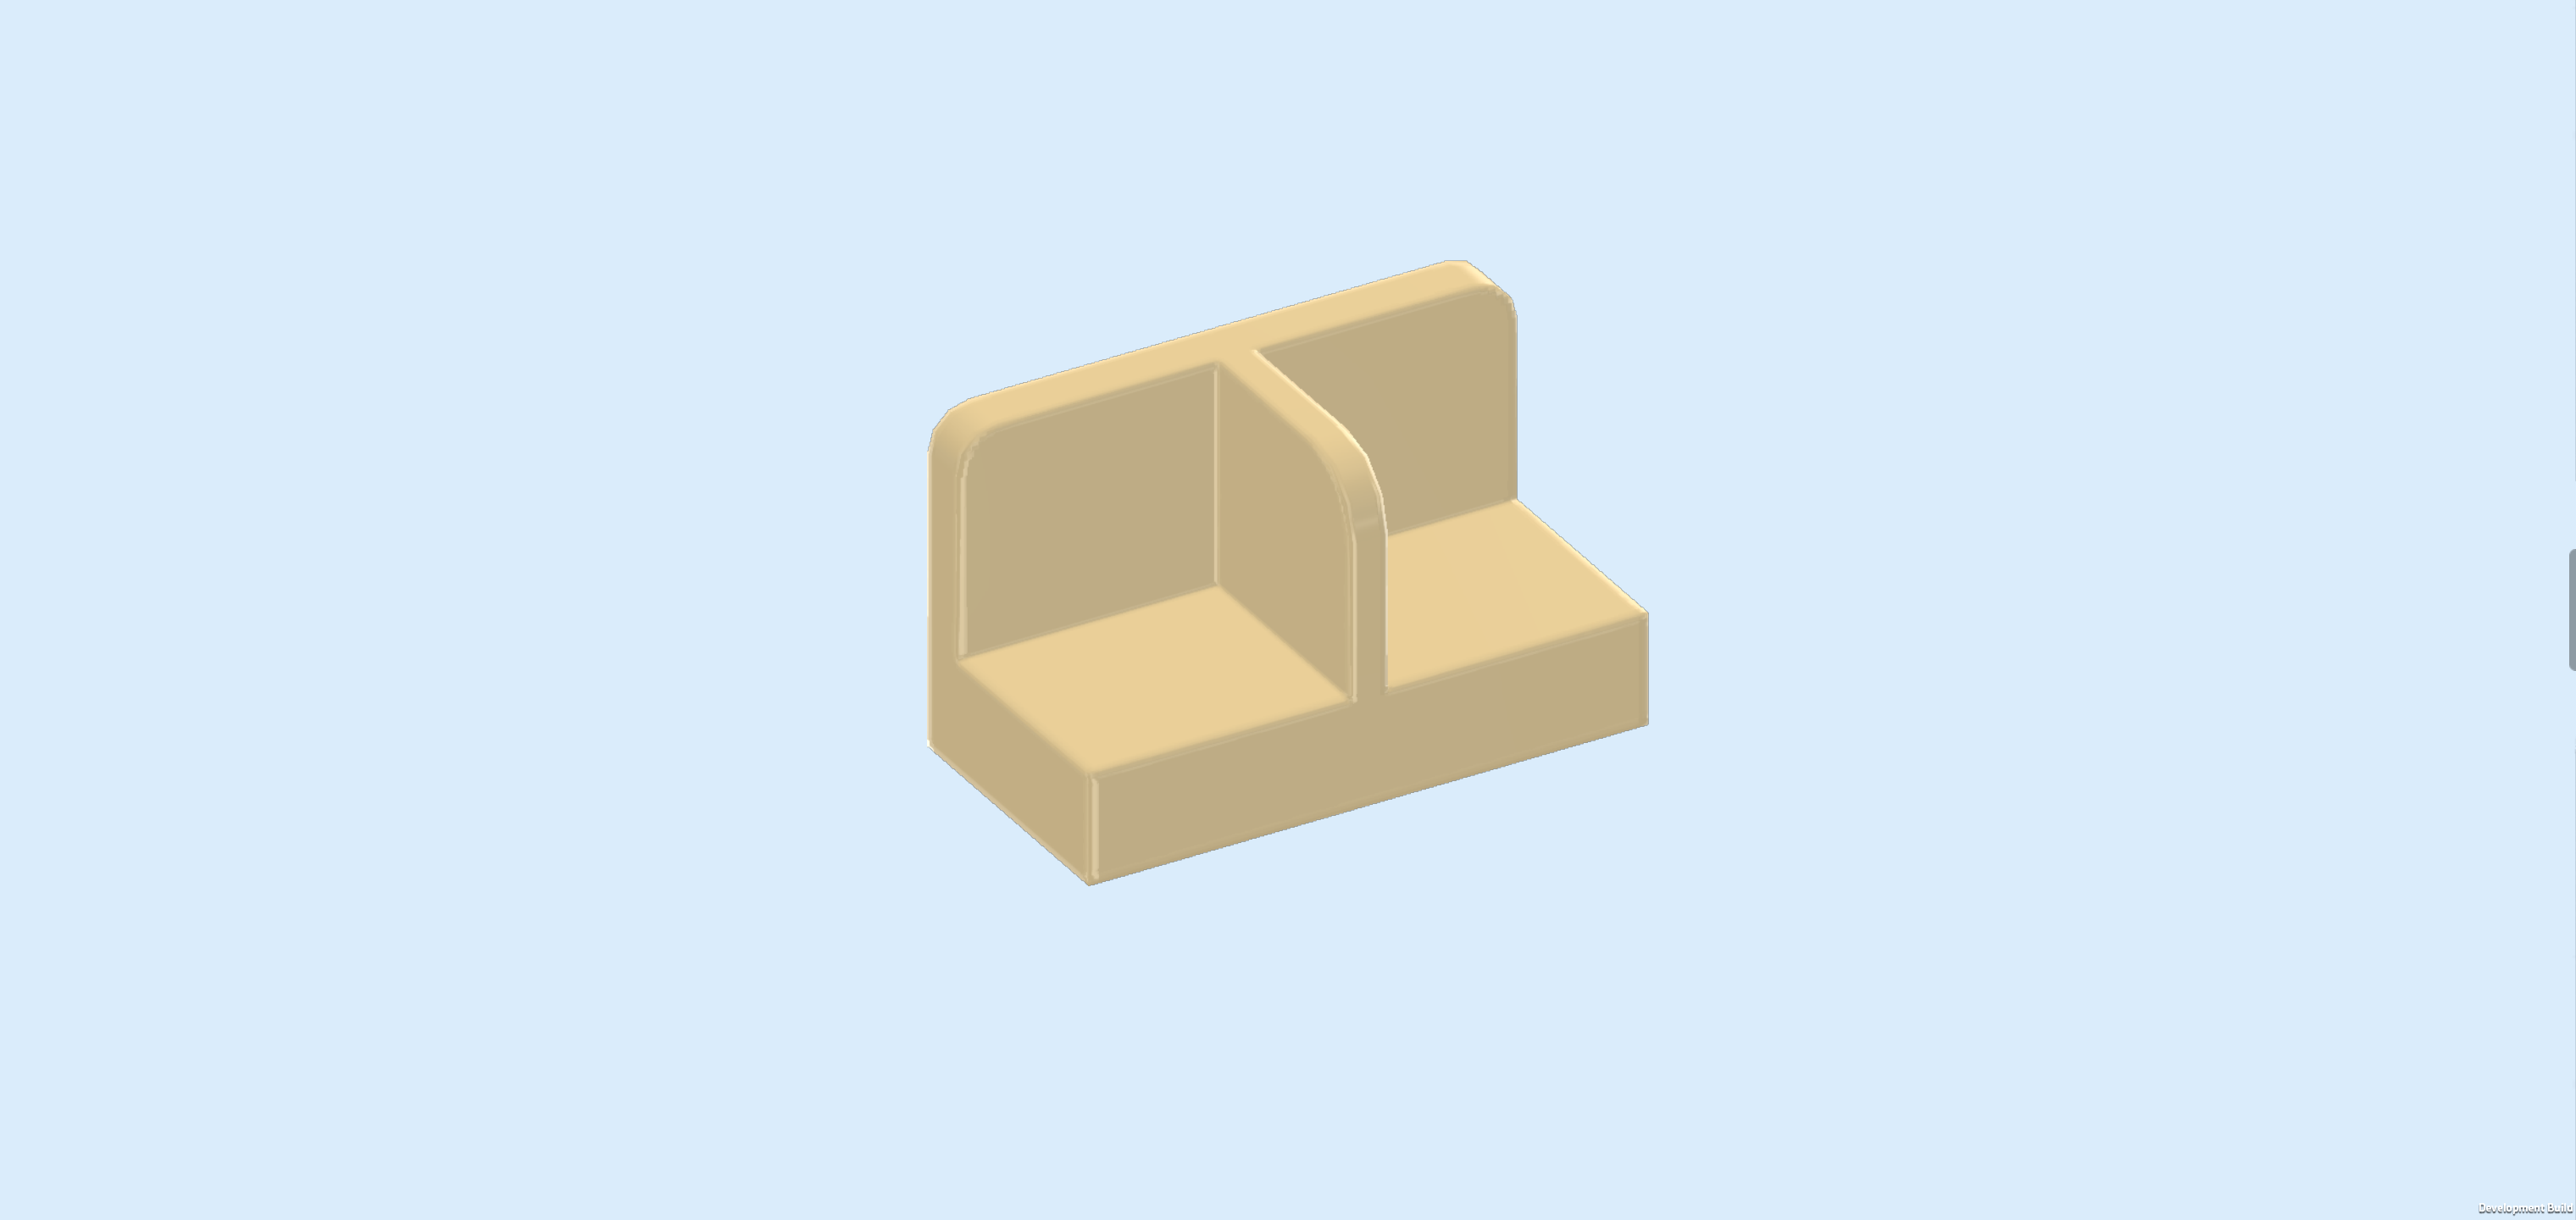
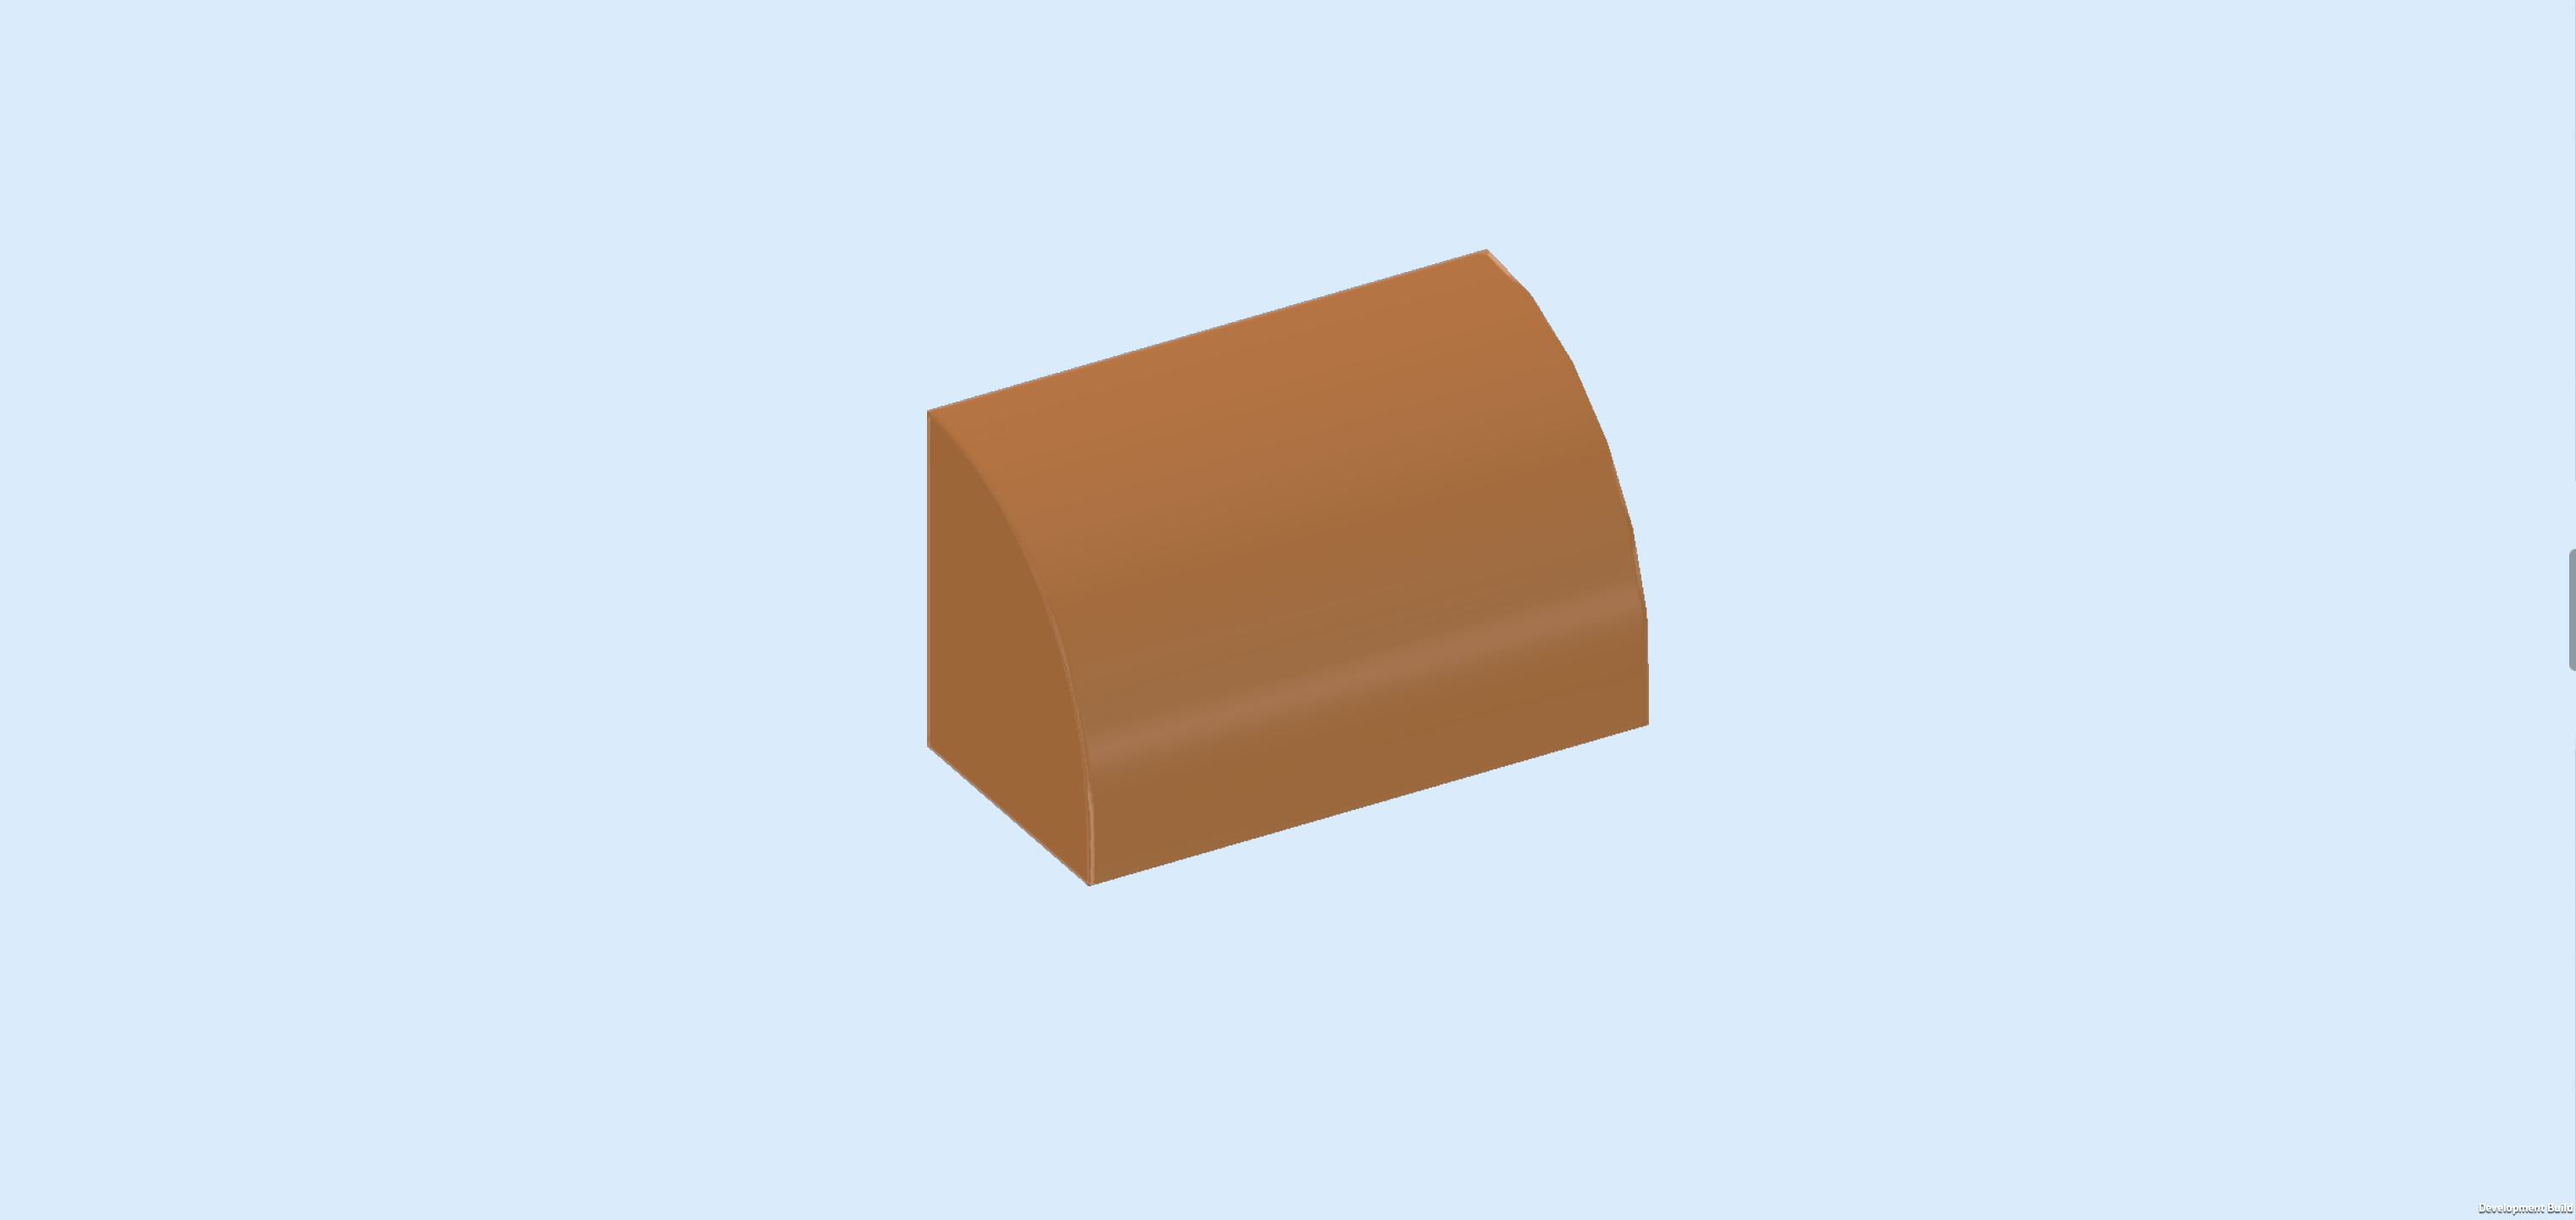
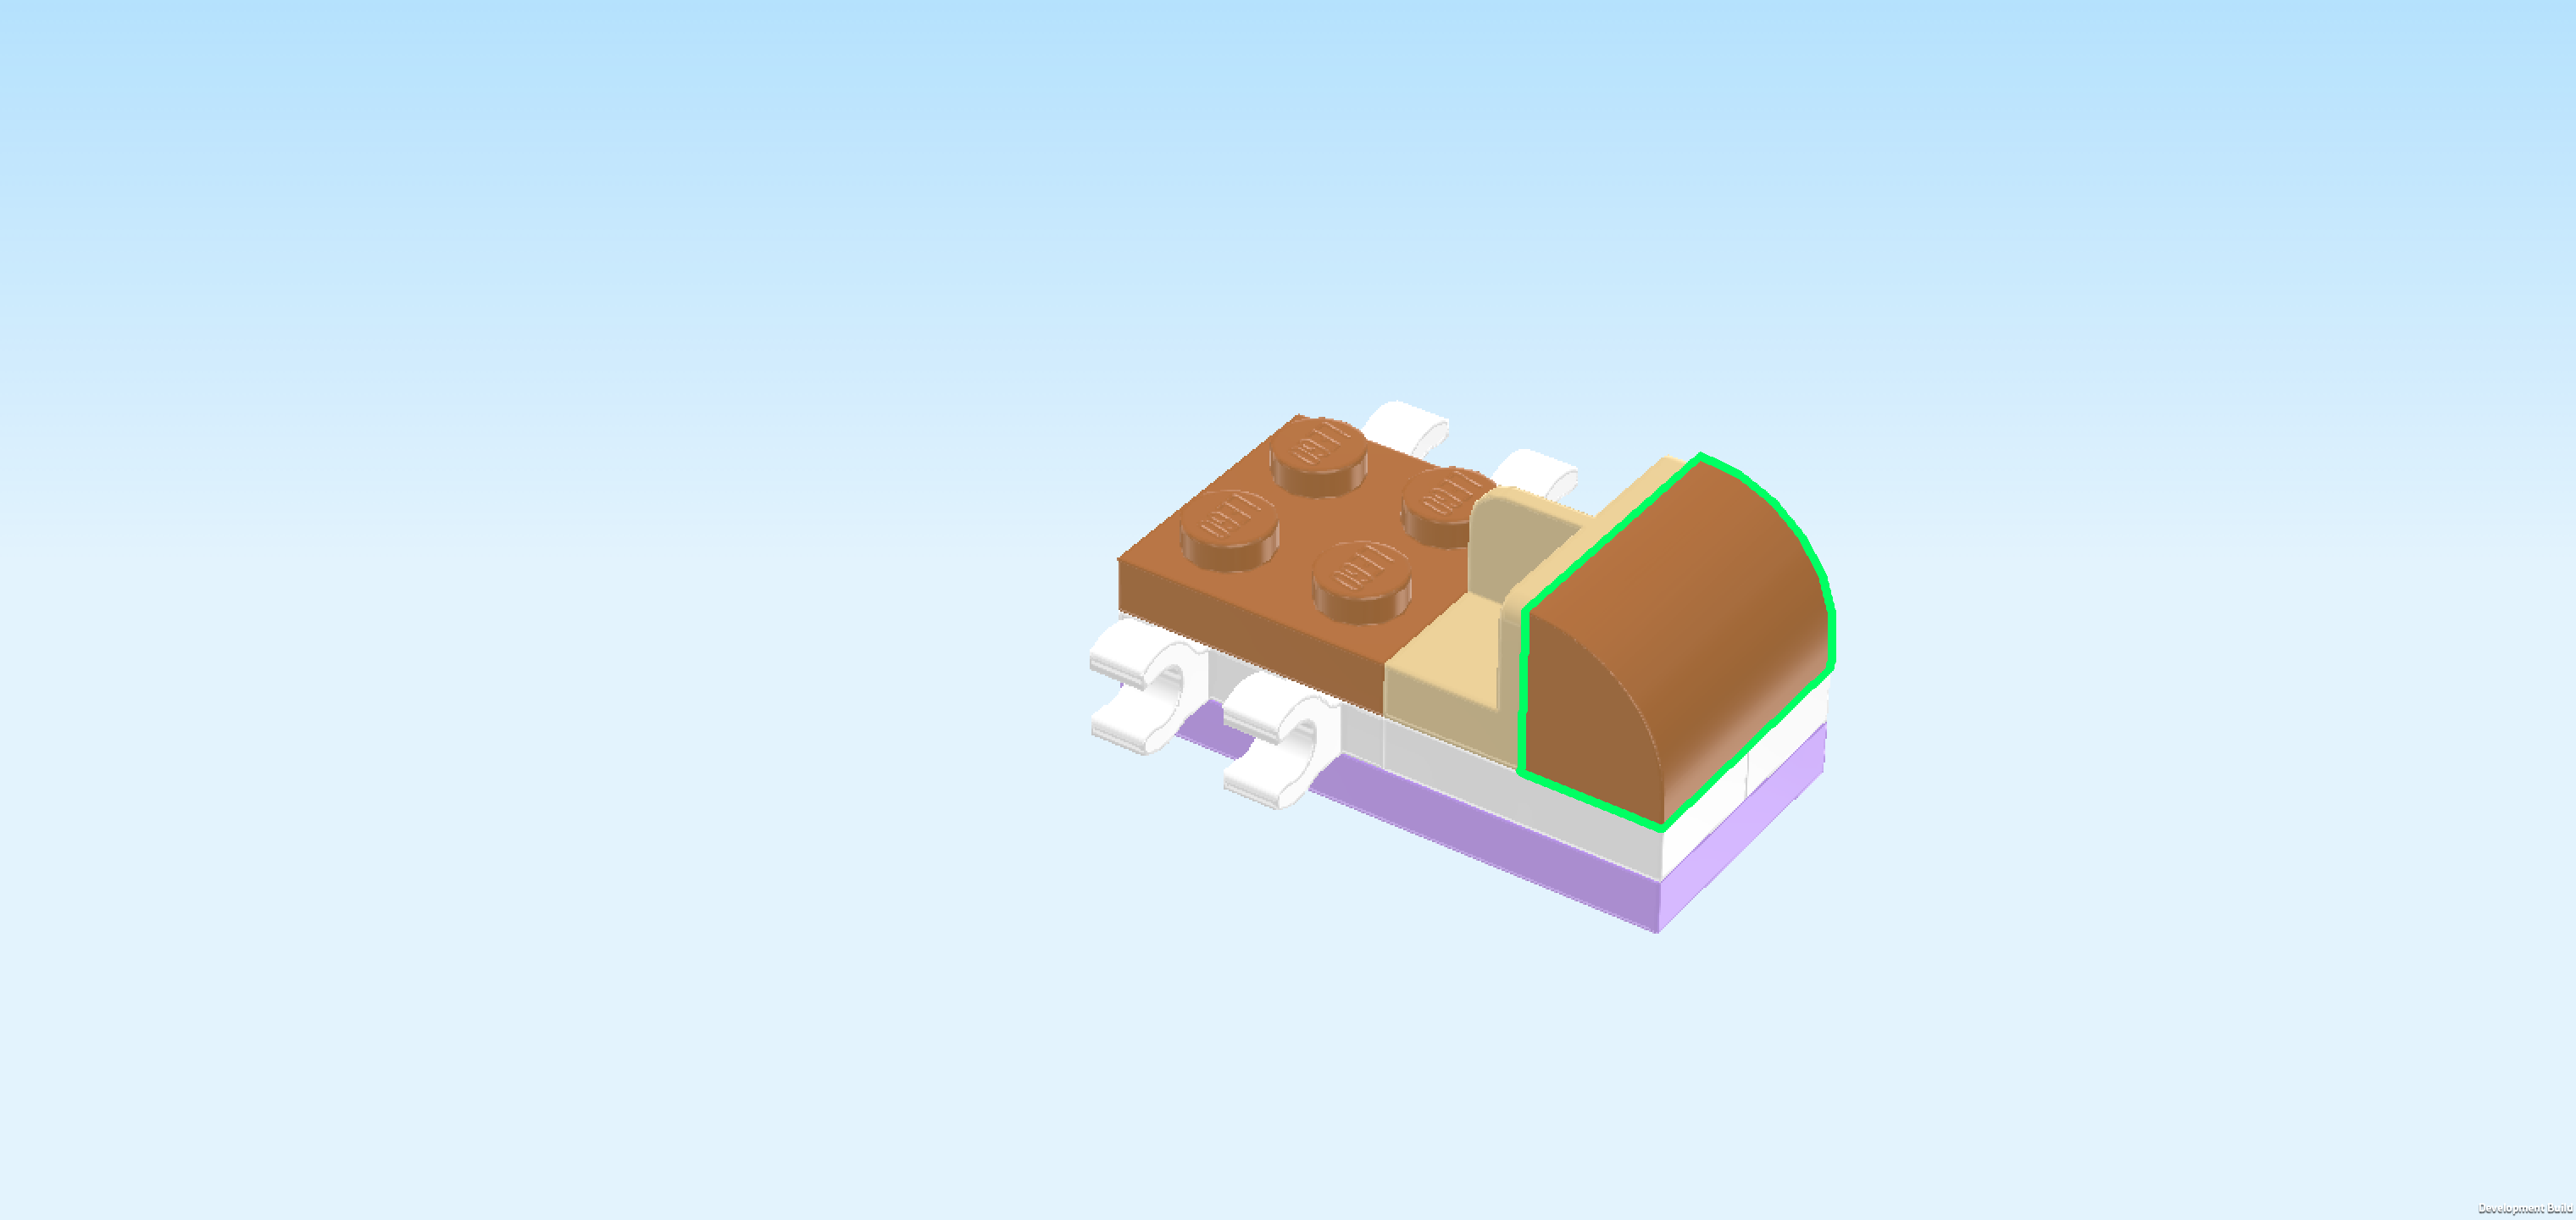
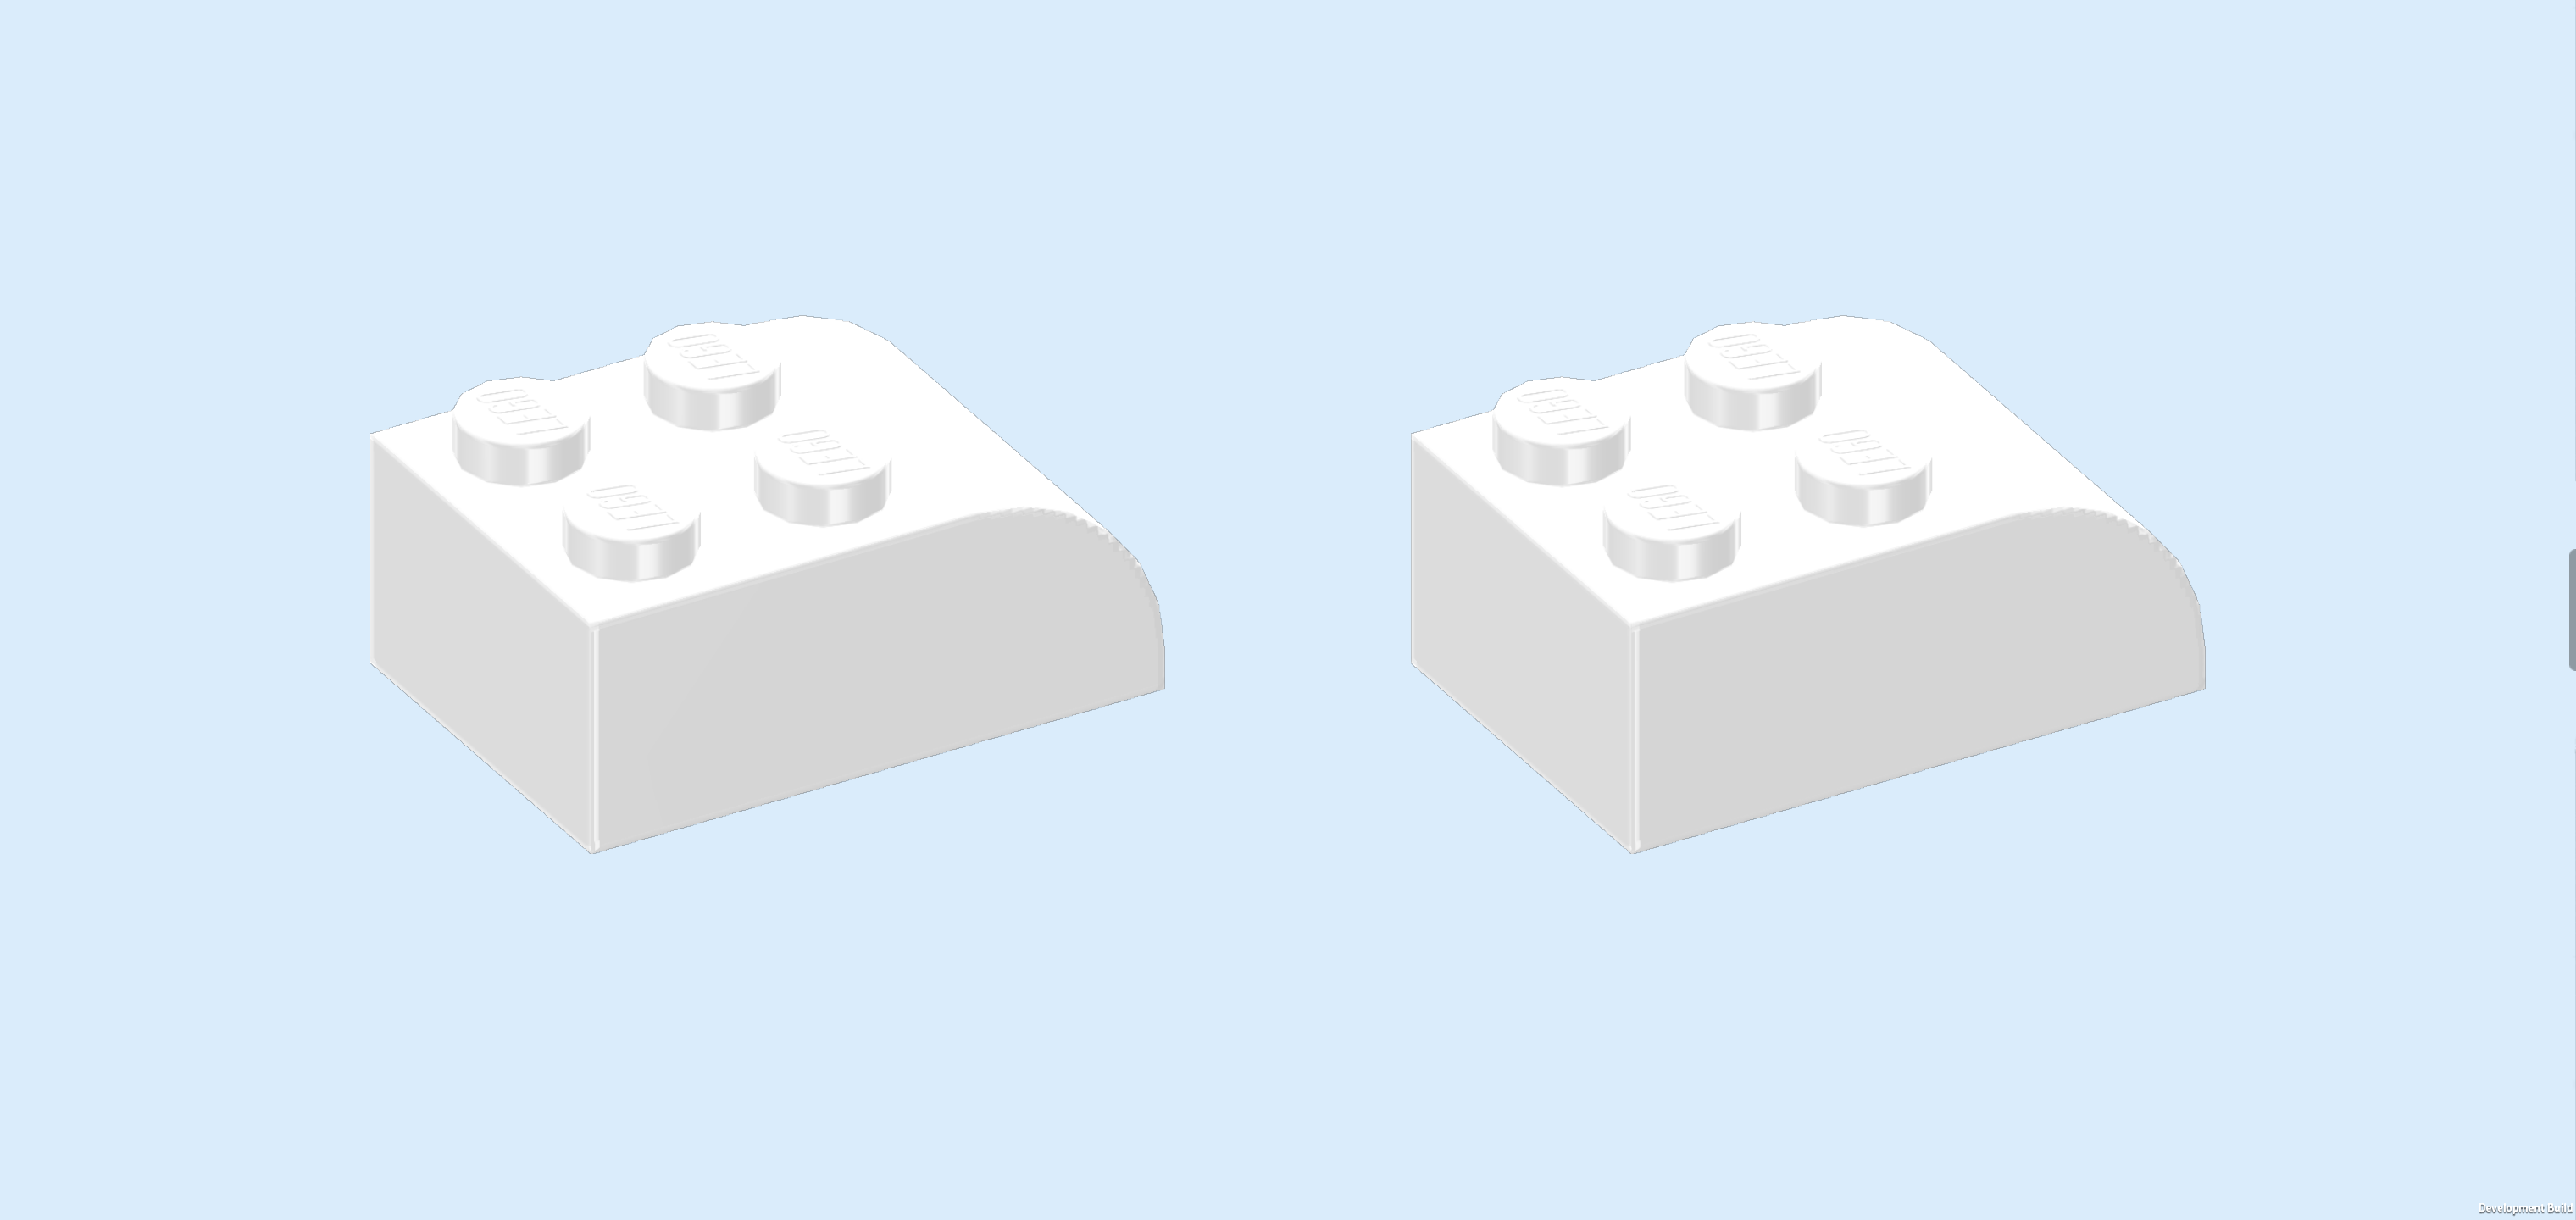
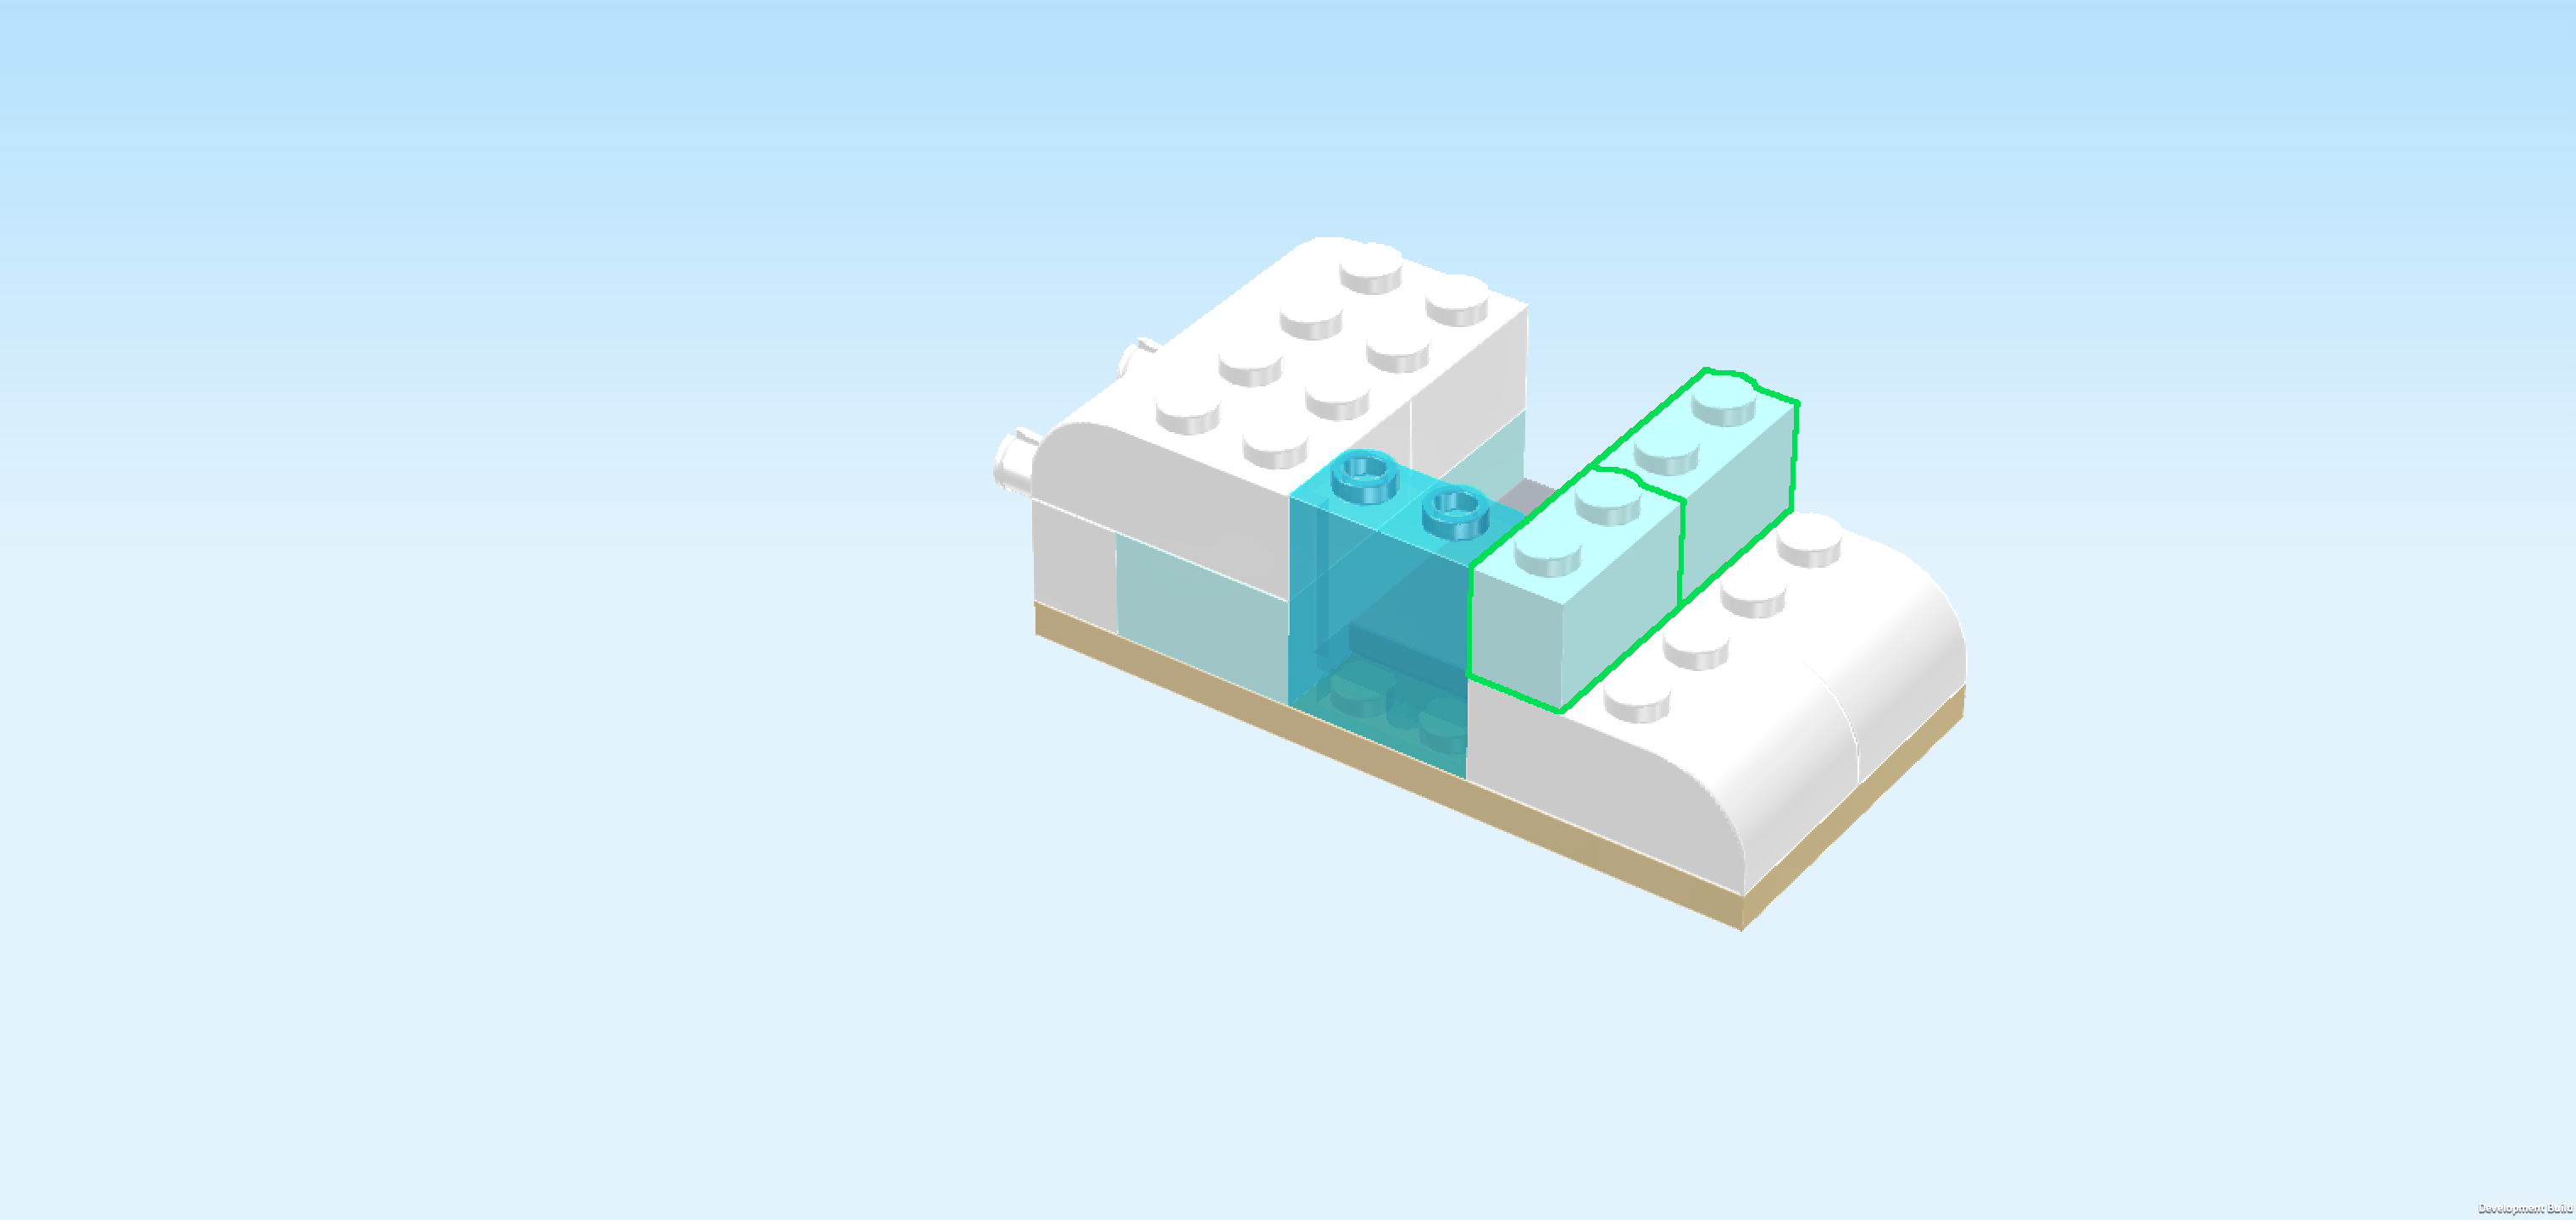
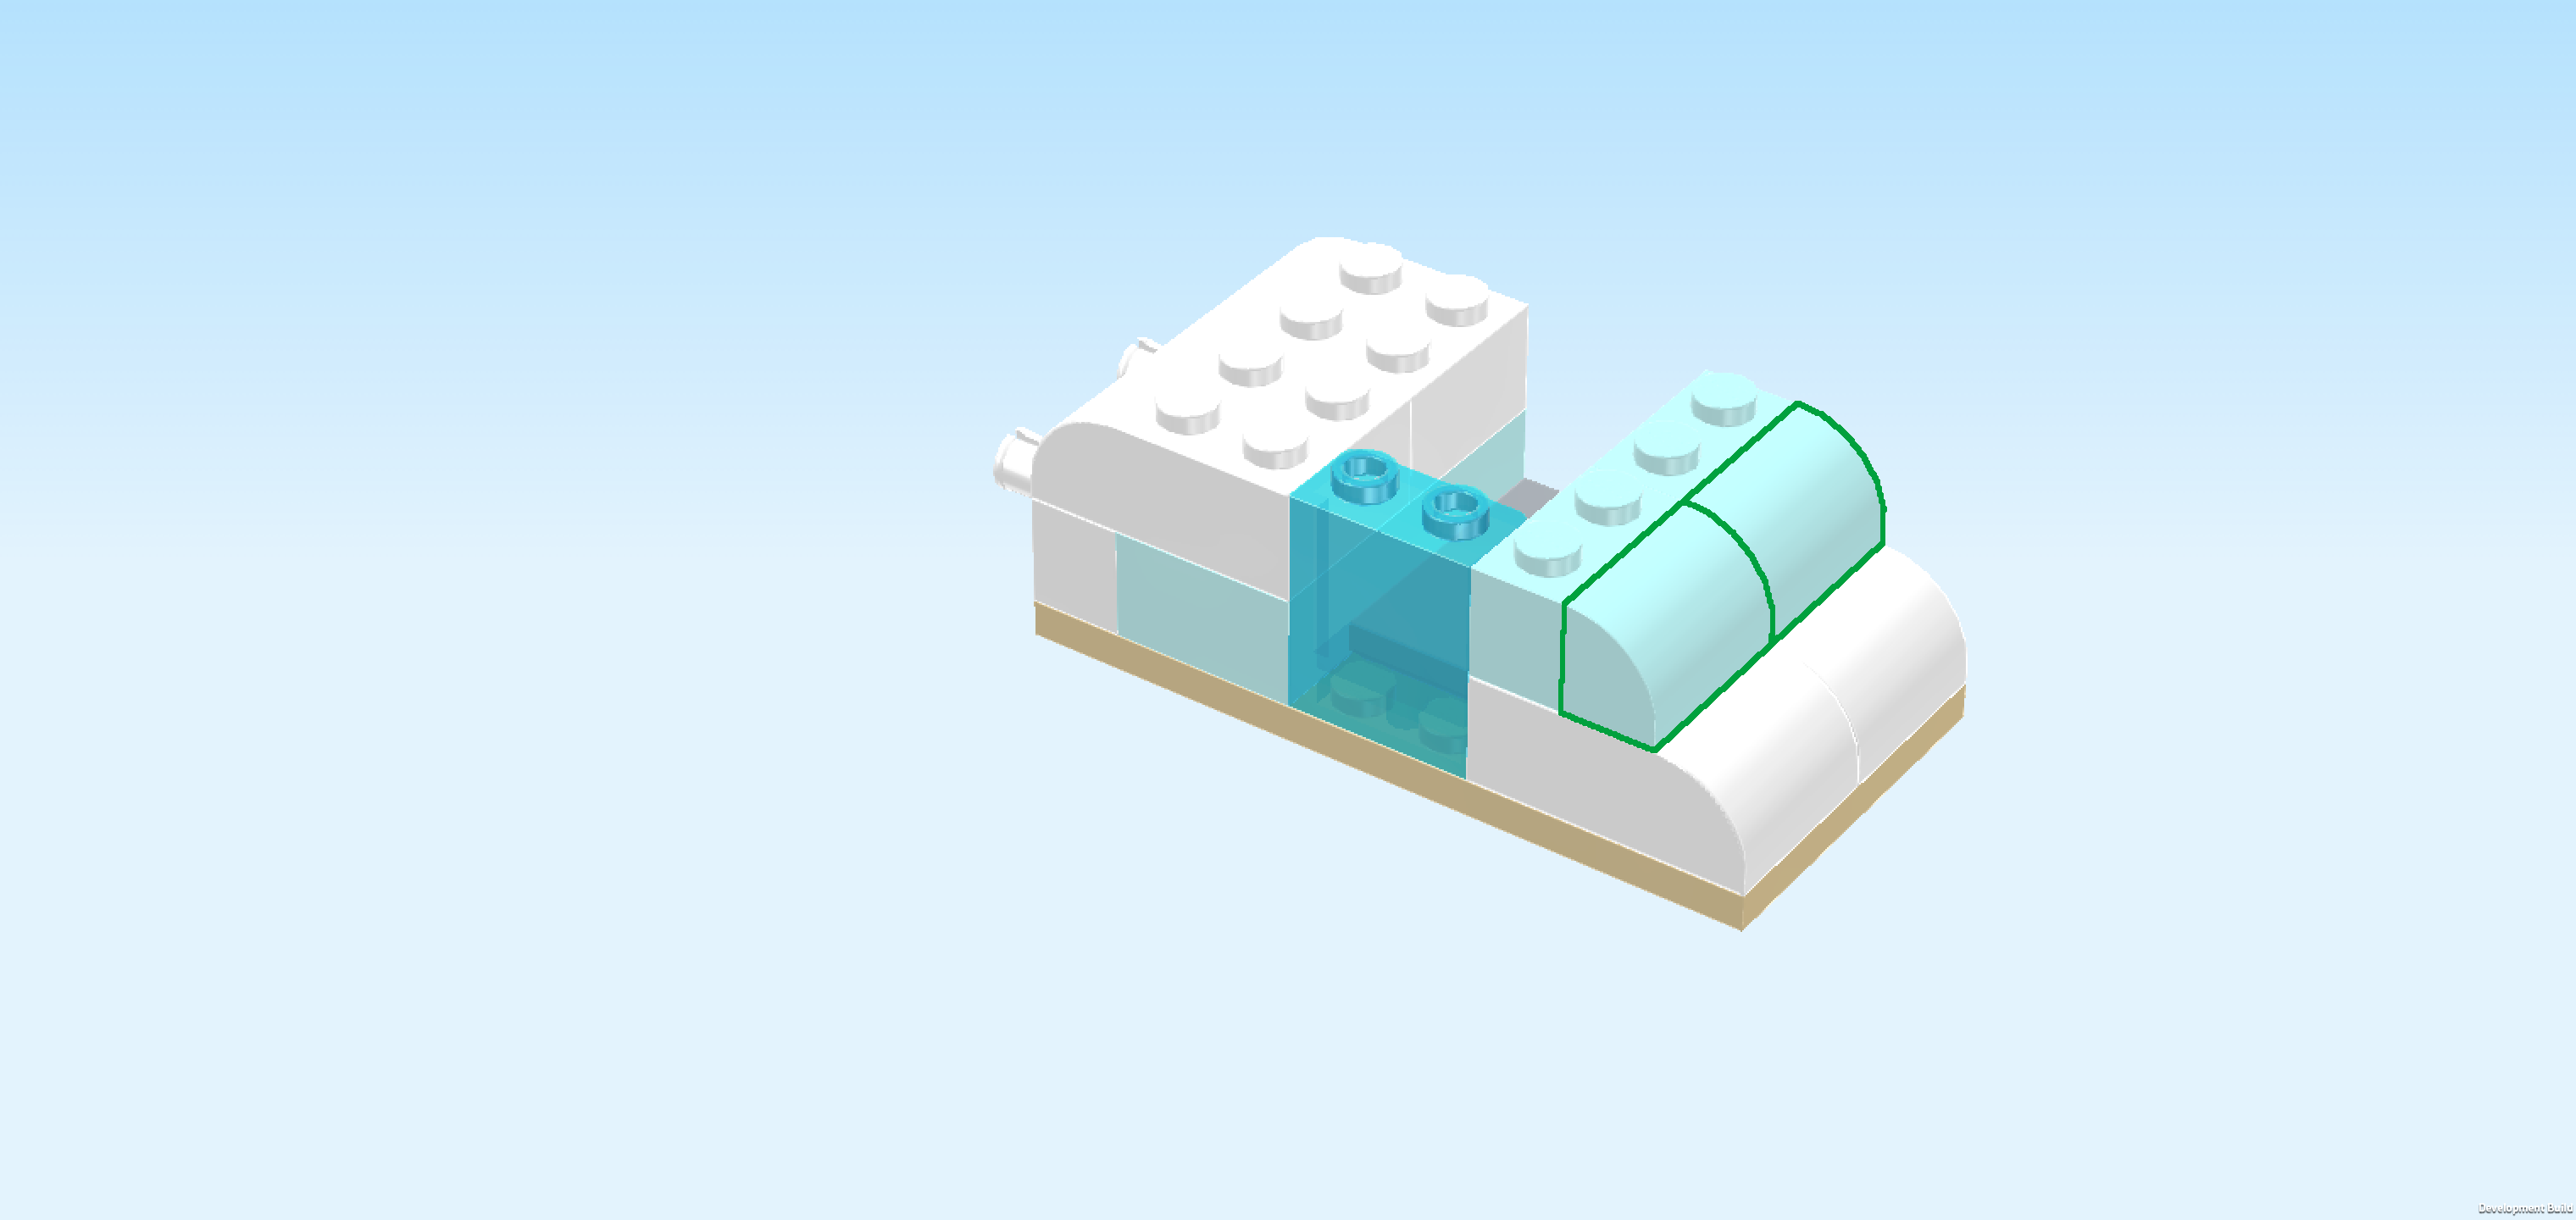
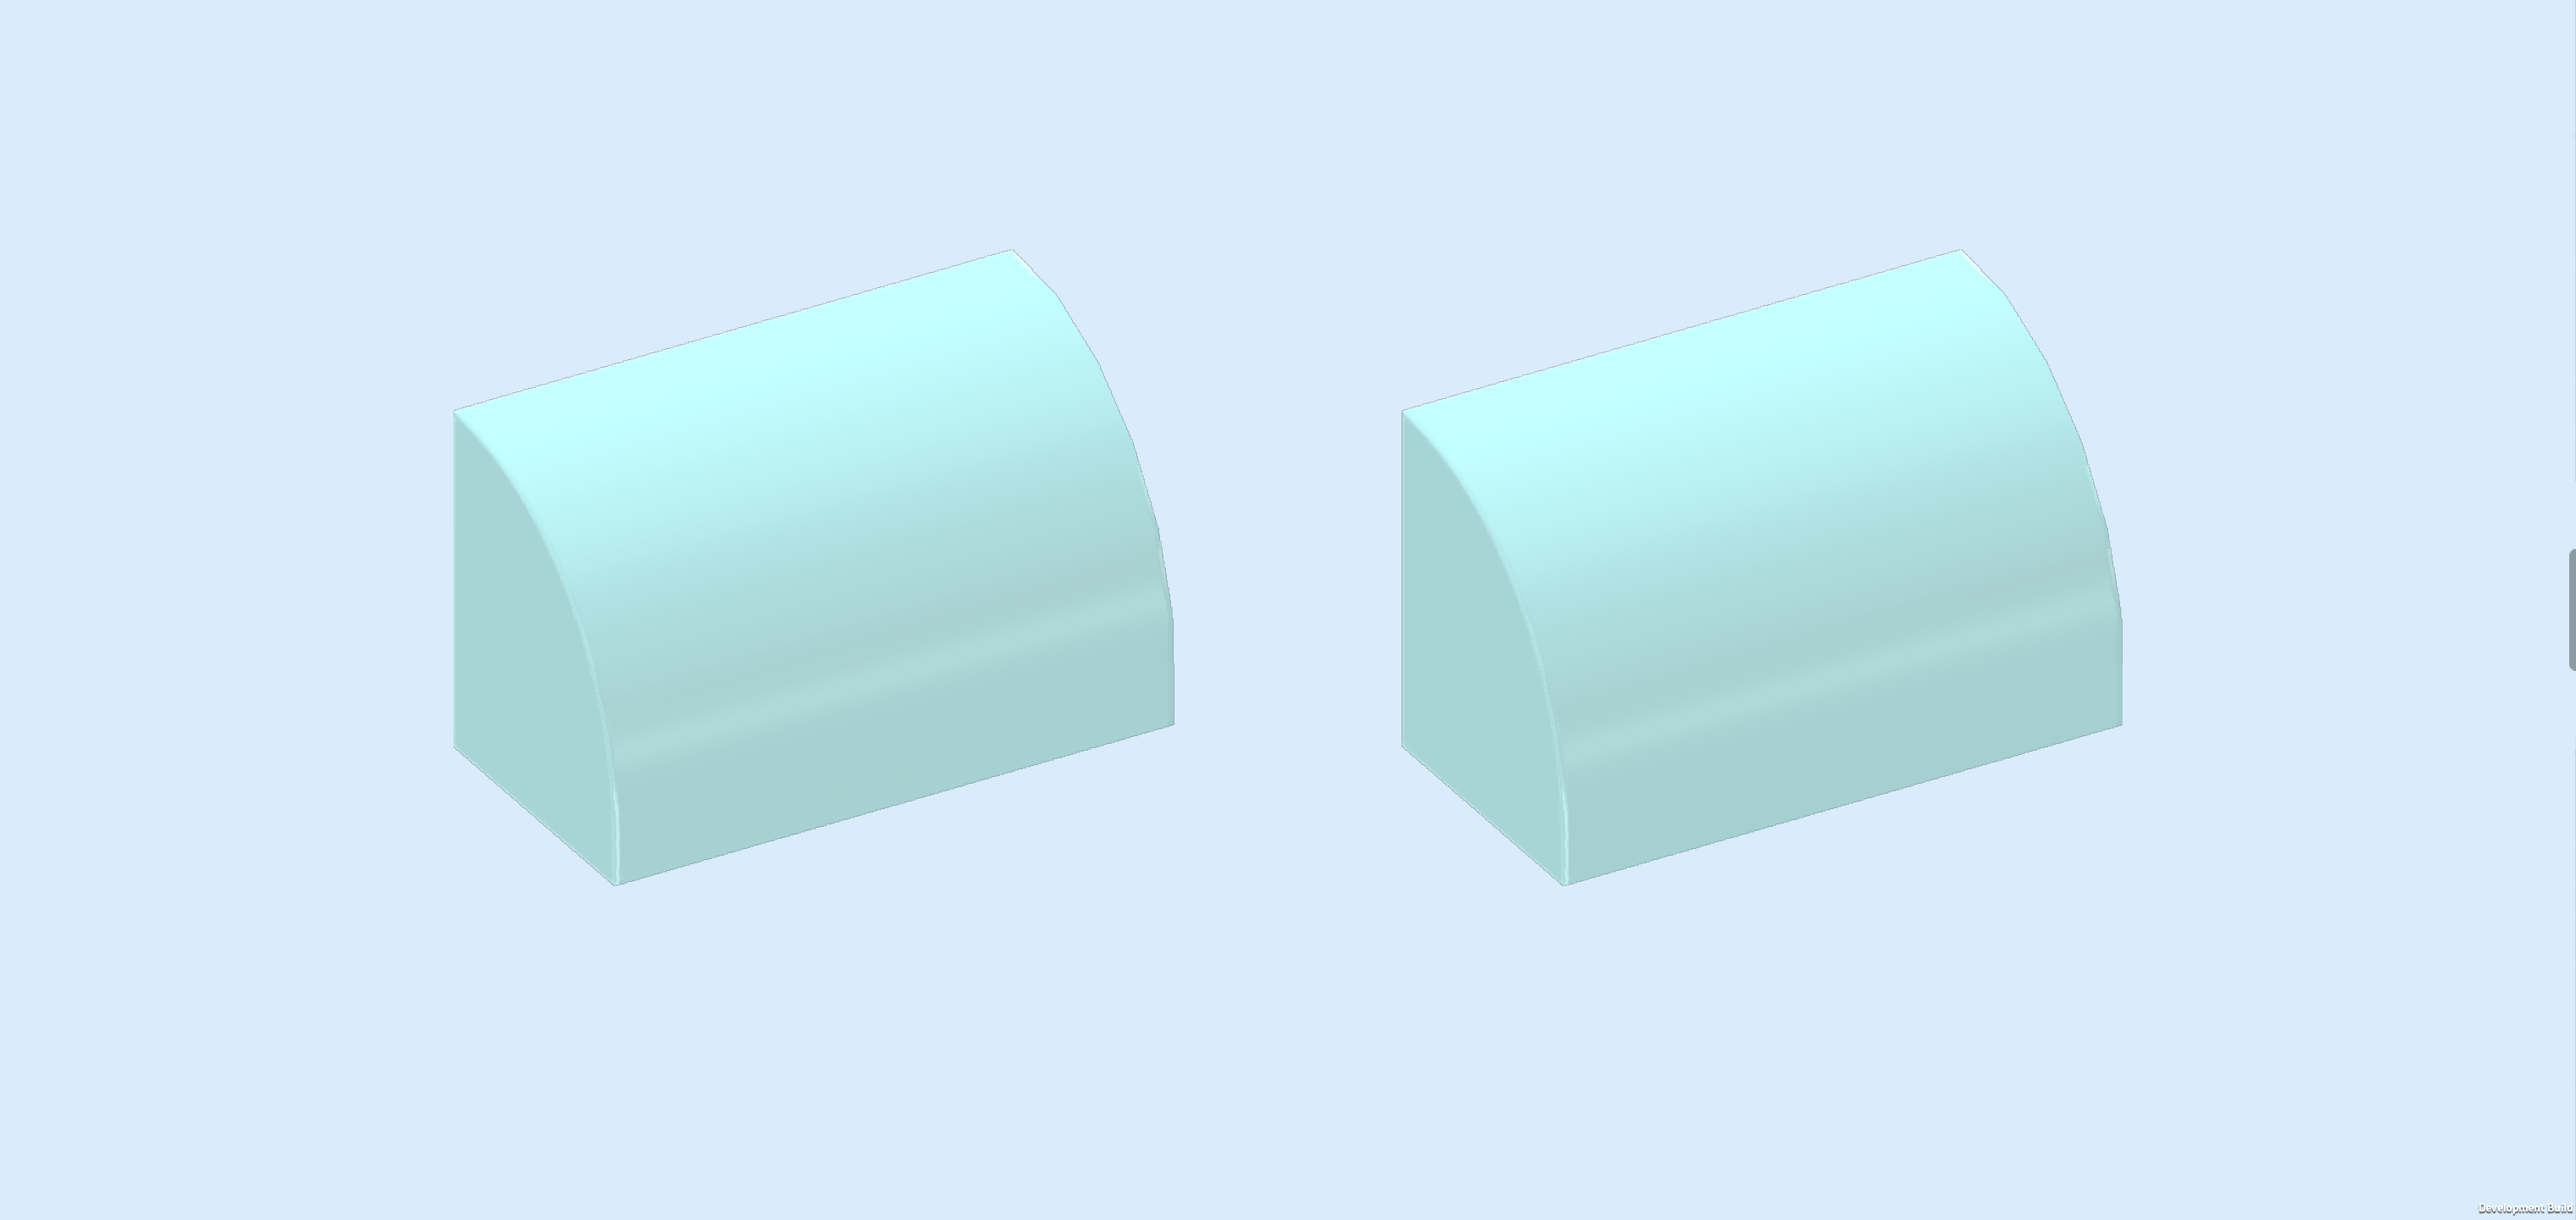
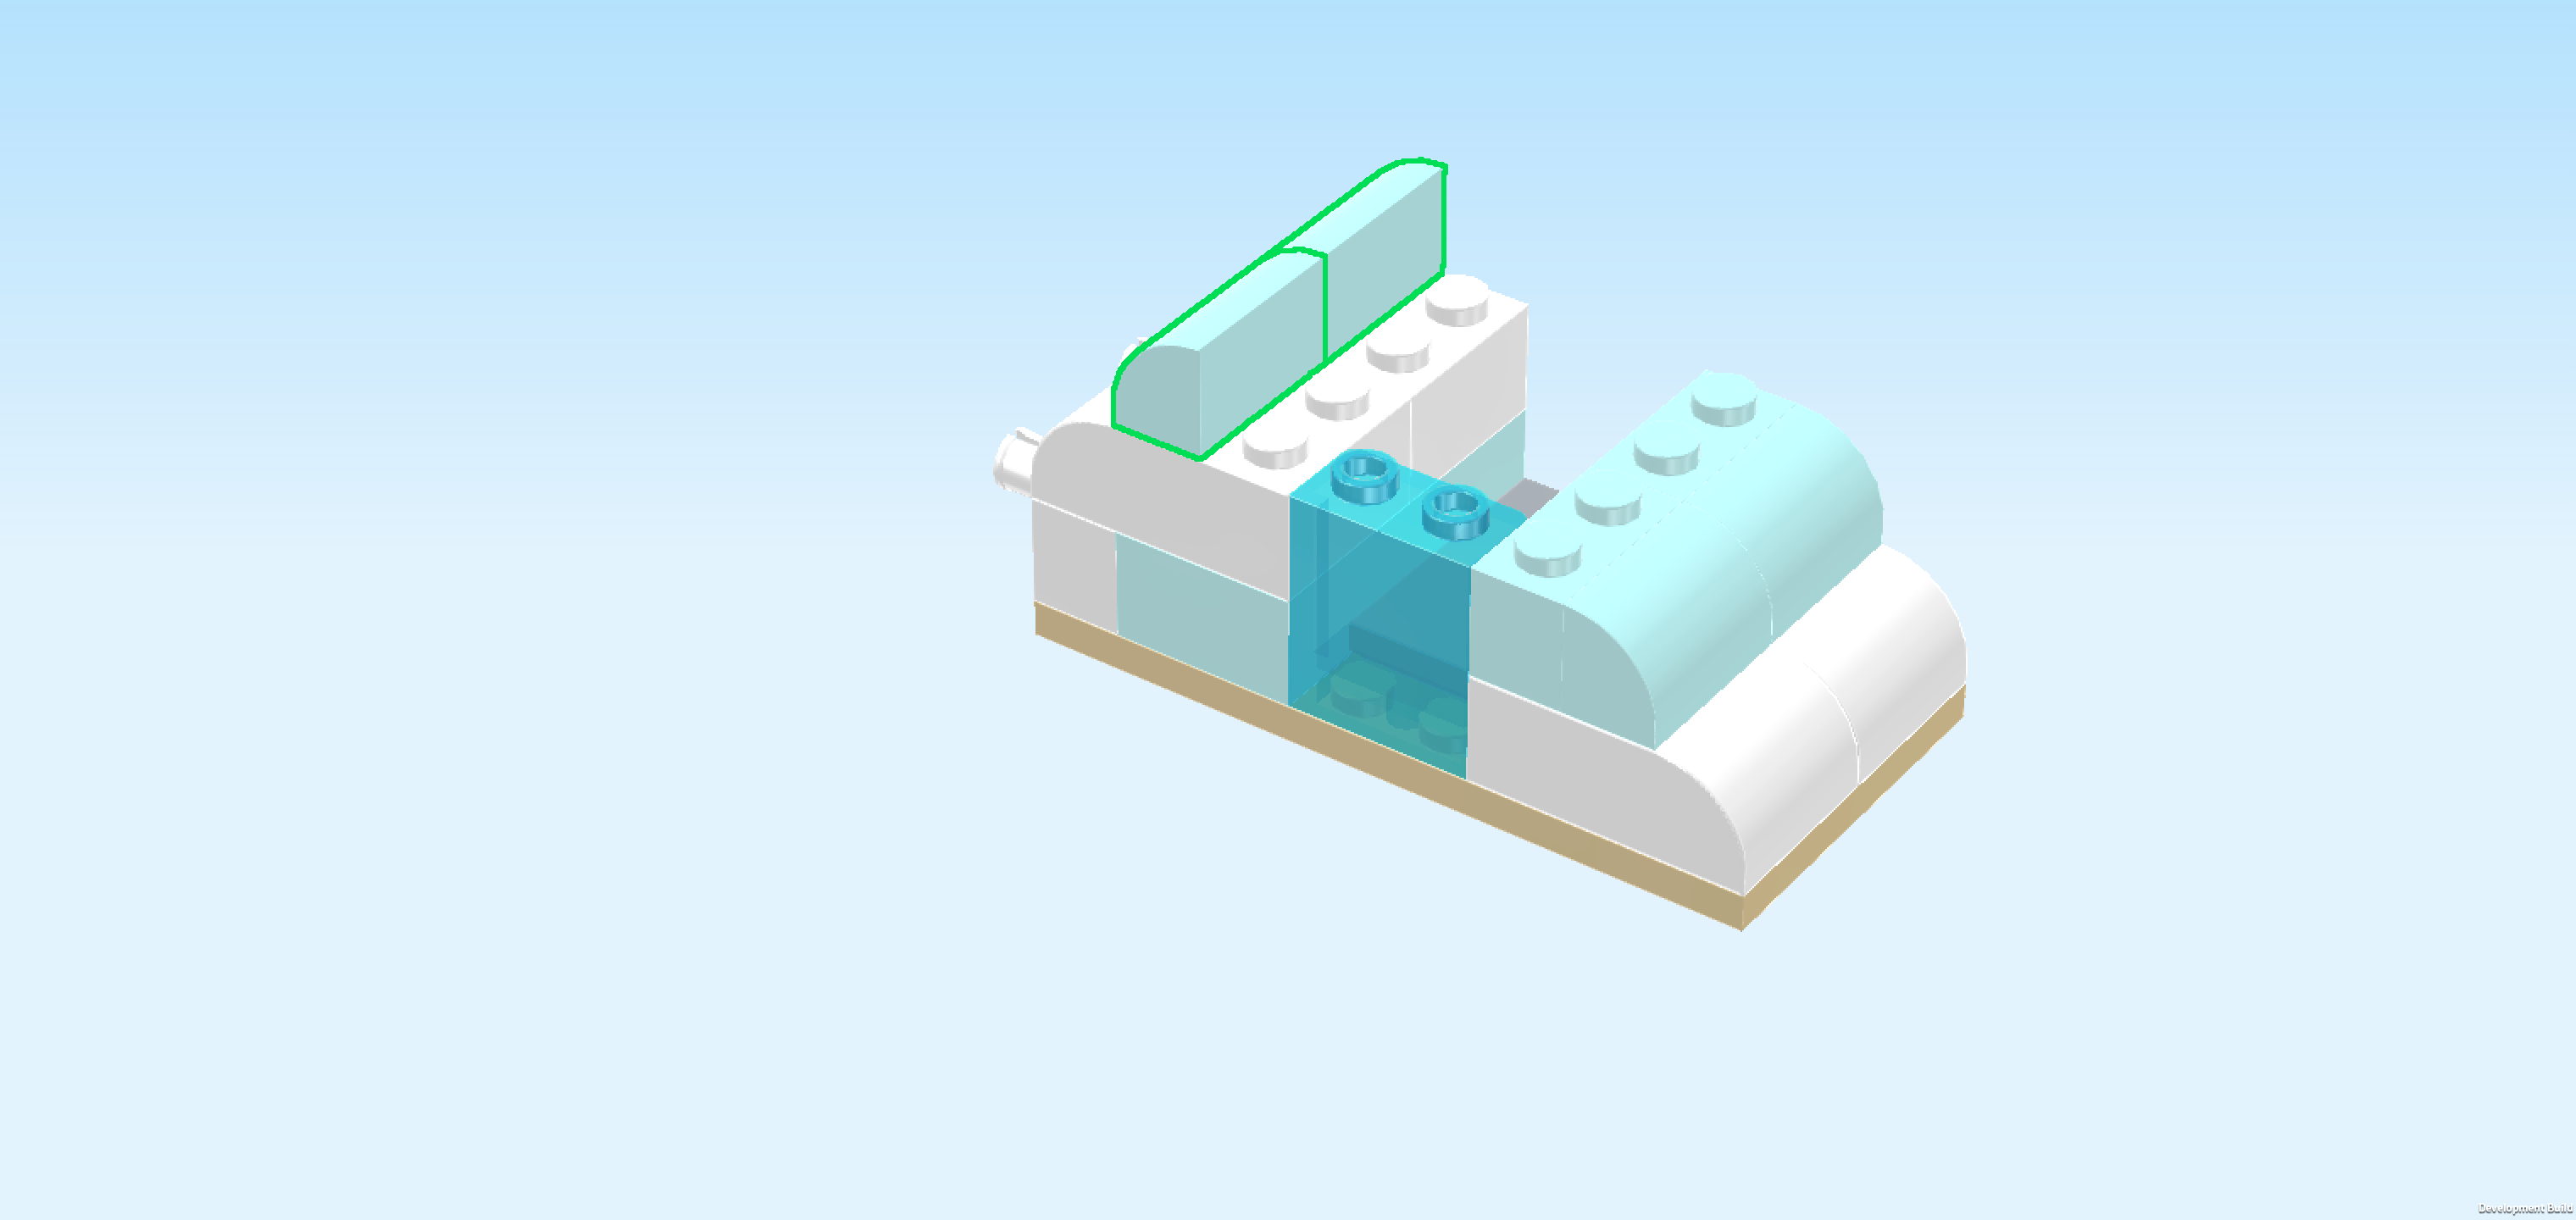
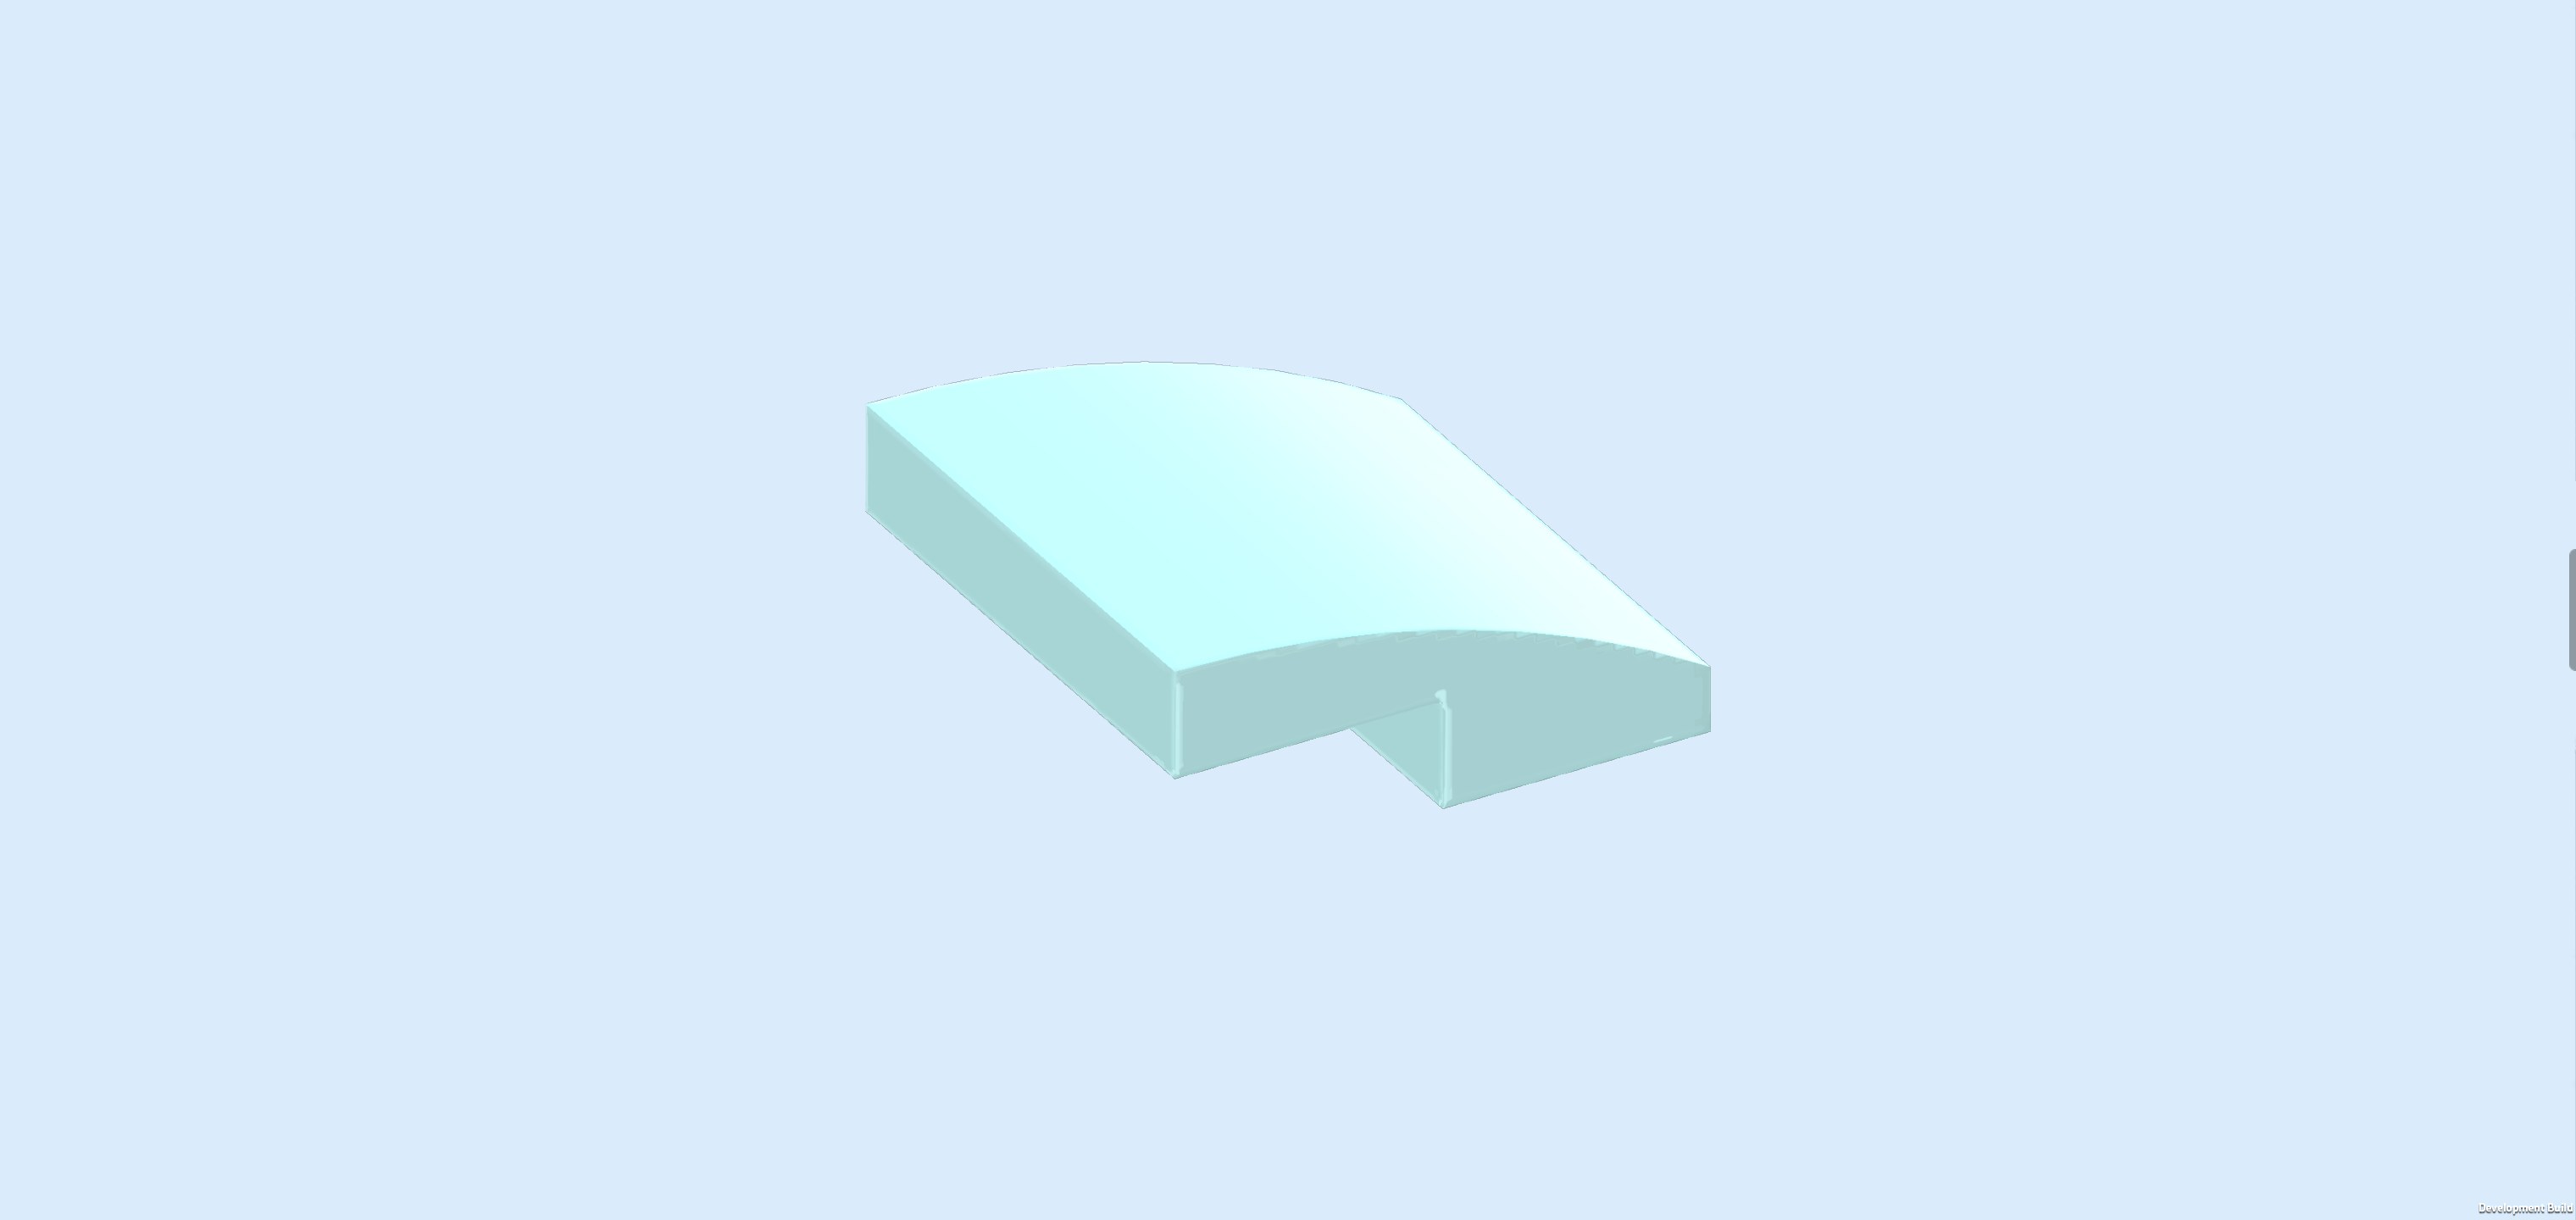
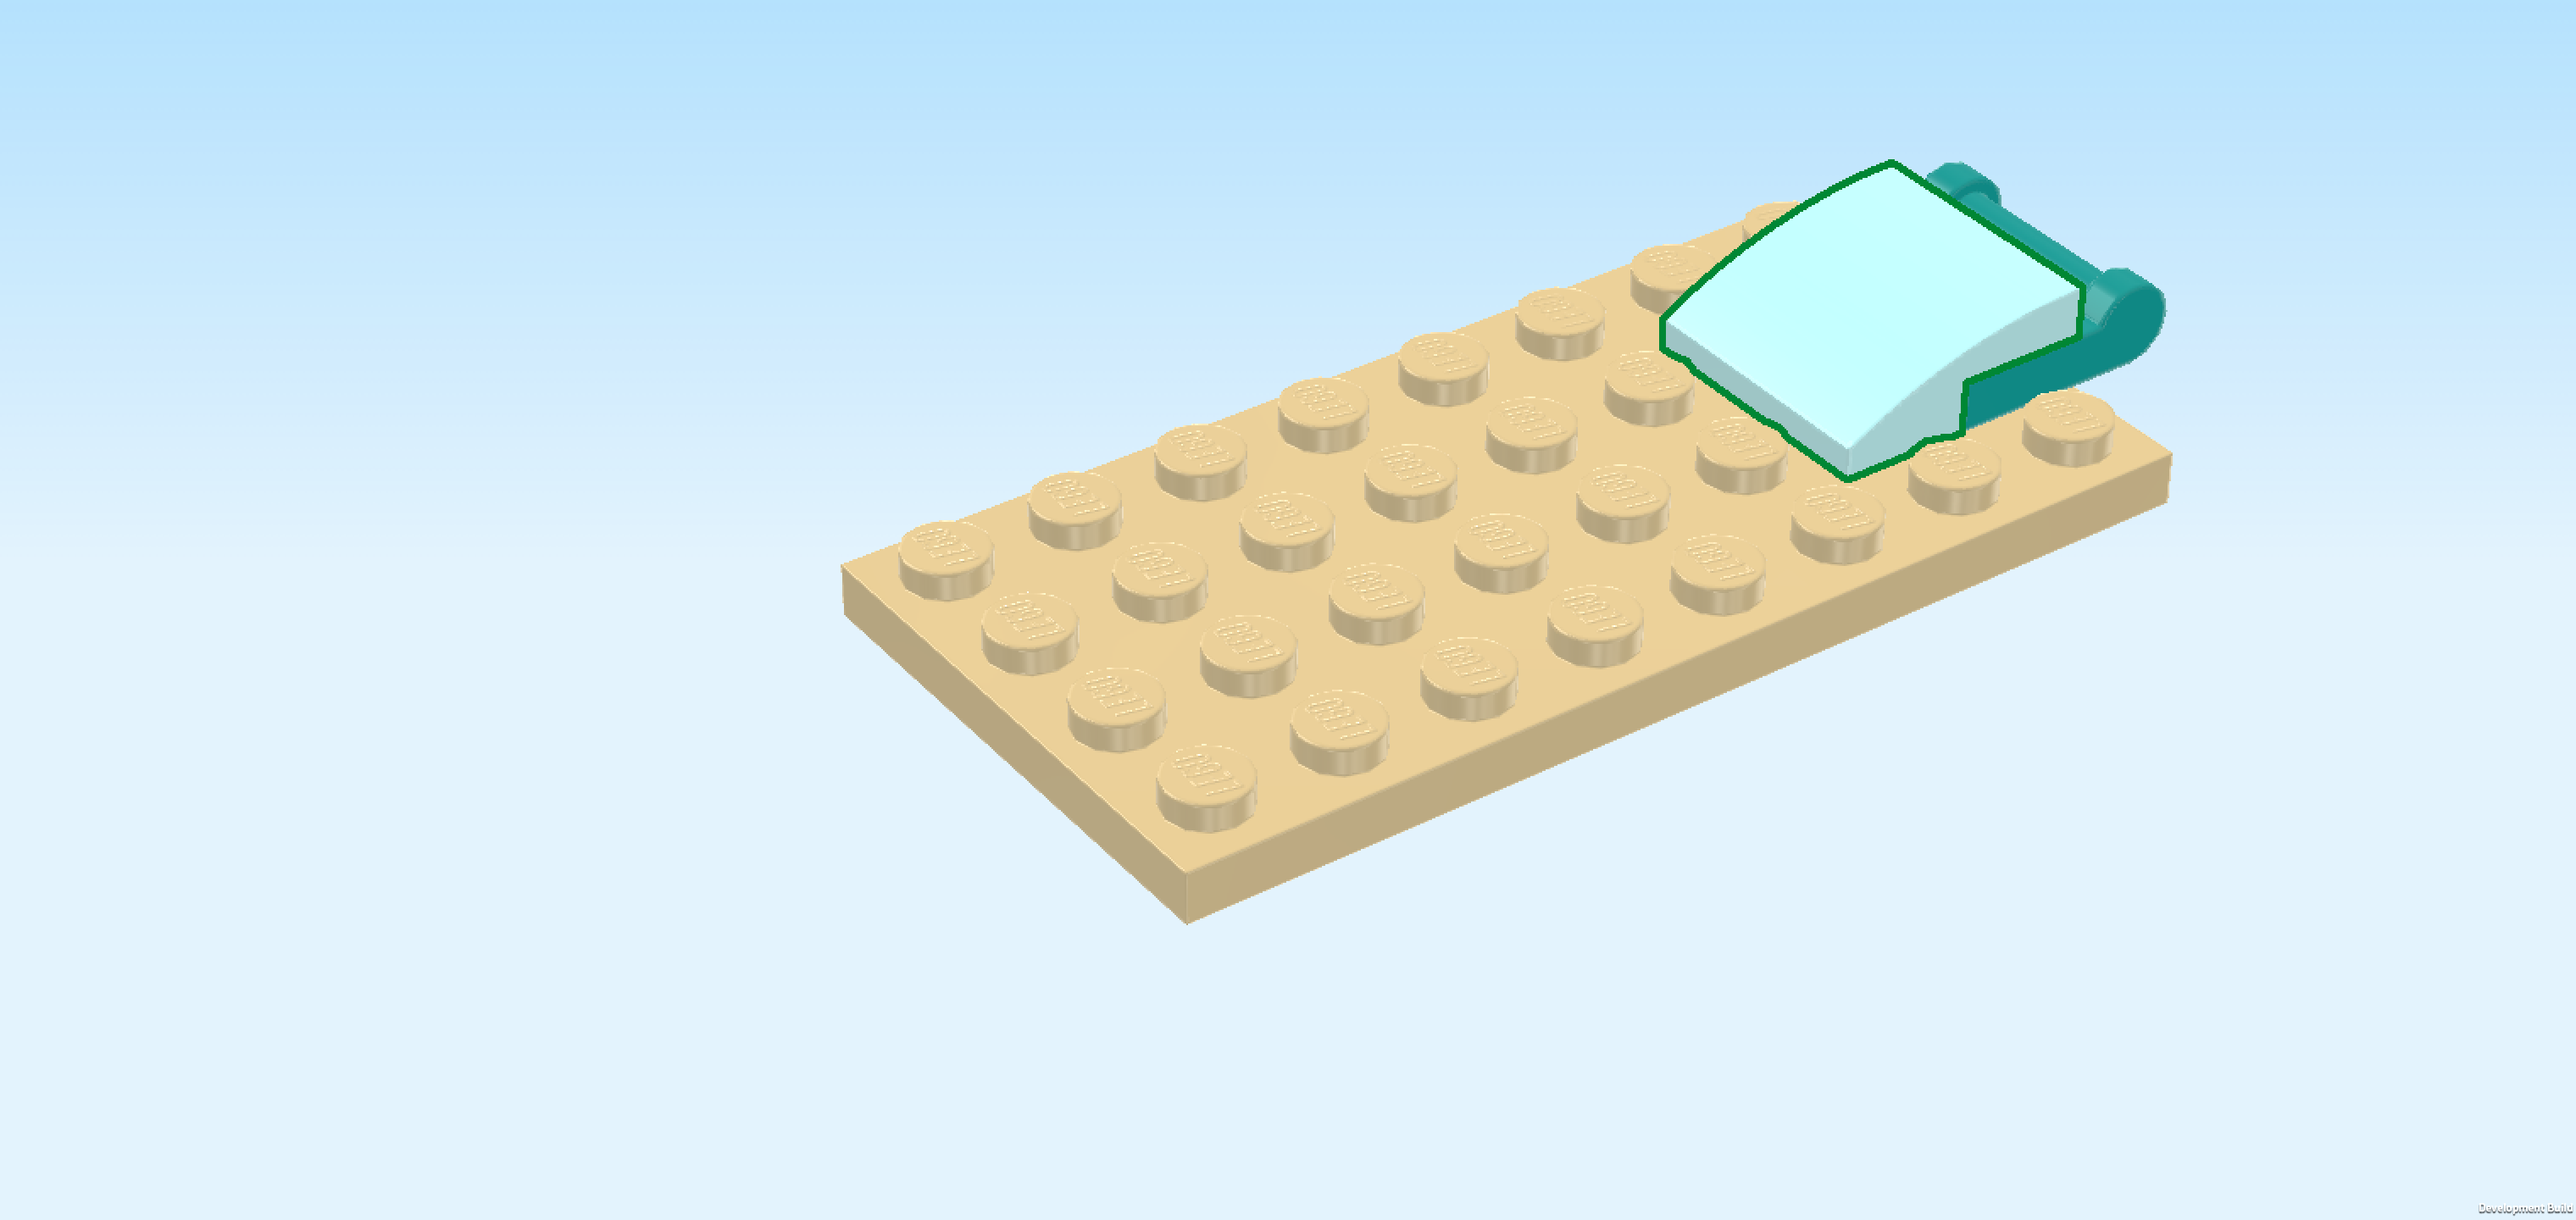
| Find 3 beige smooth curve bricks 1x2. |
| Put them vertically next to each other on the column to the left of the 3 previous pieces, curves to the left. |
| These pieces form the seatback of the sleigh! |
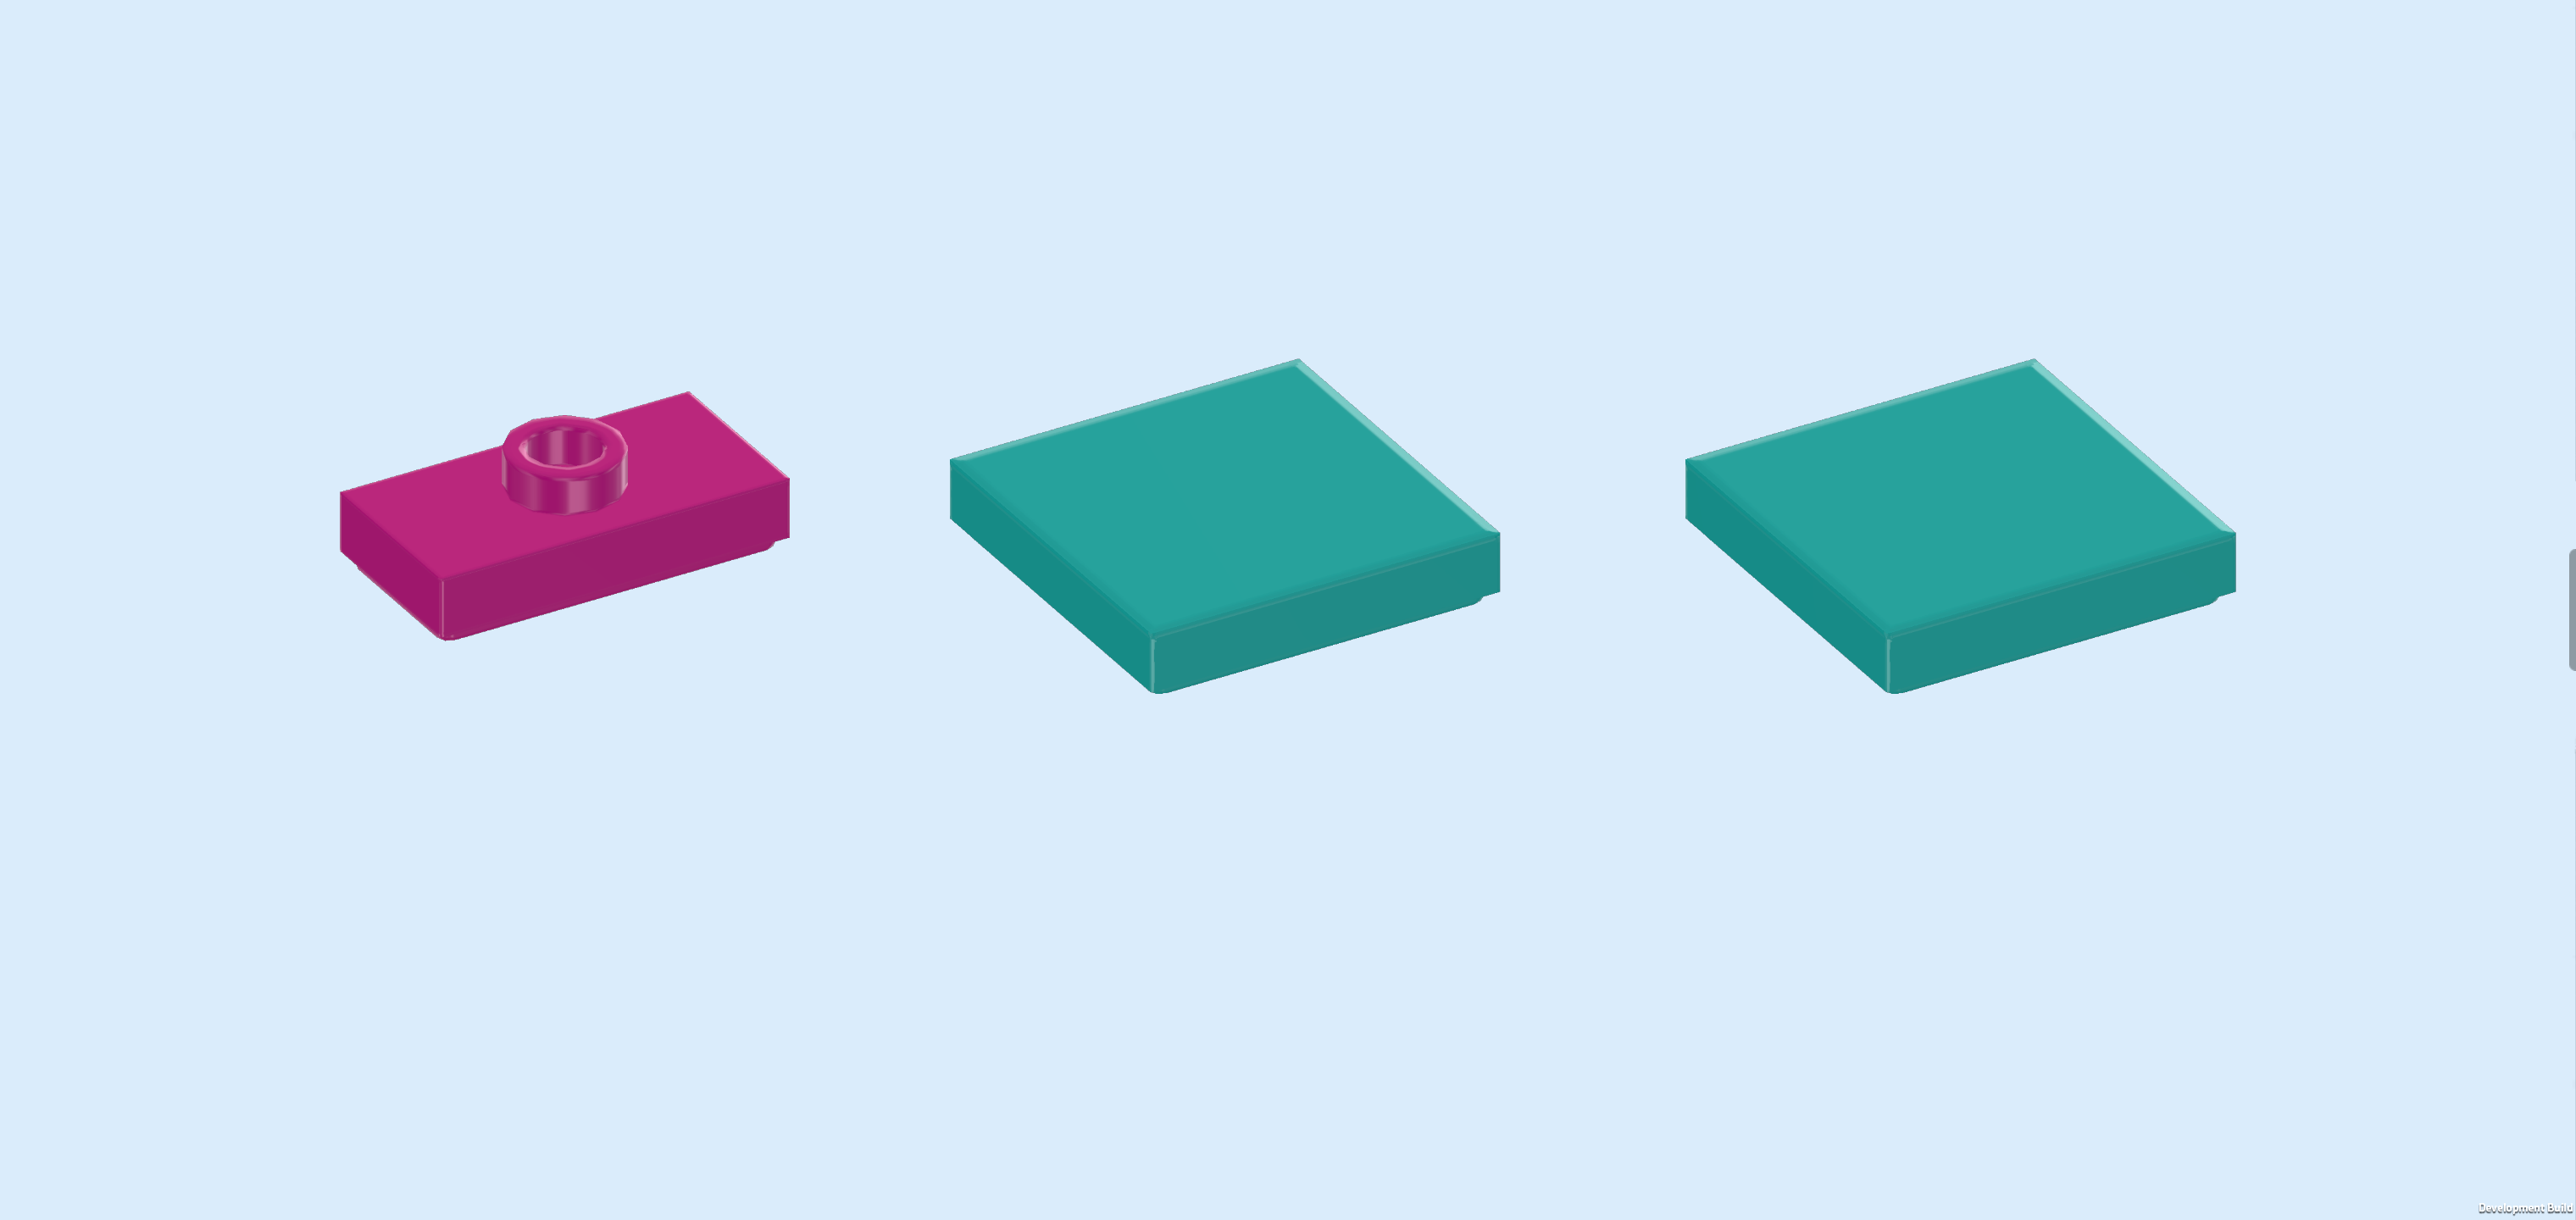
| Collect the following 3 pieces: |
| 1 purple violet plate 1x2 with 1 knob, |
| and 2 teal blue flat tiles 2x2. |
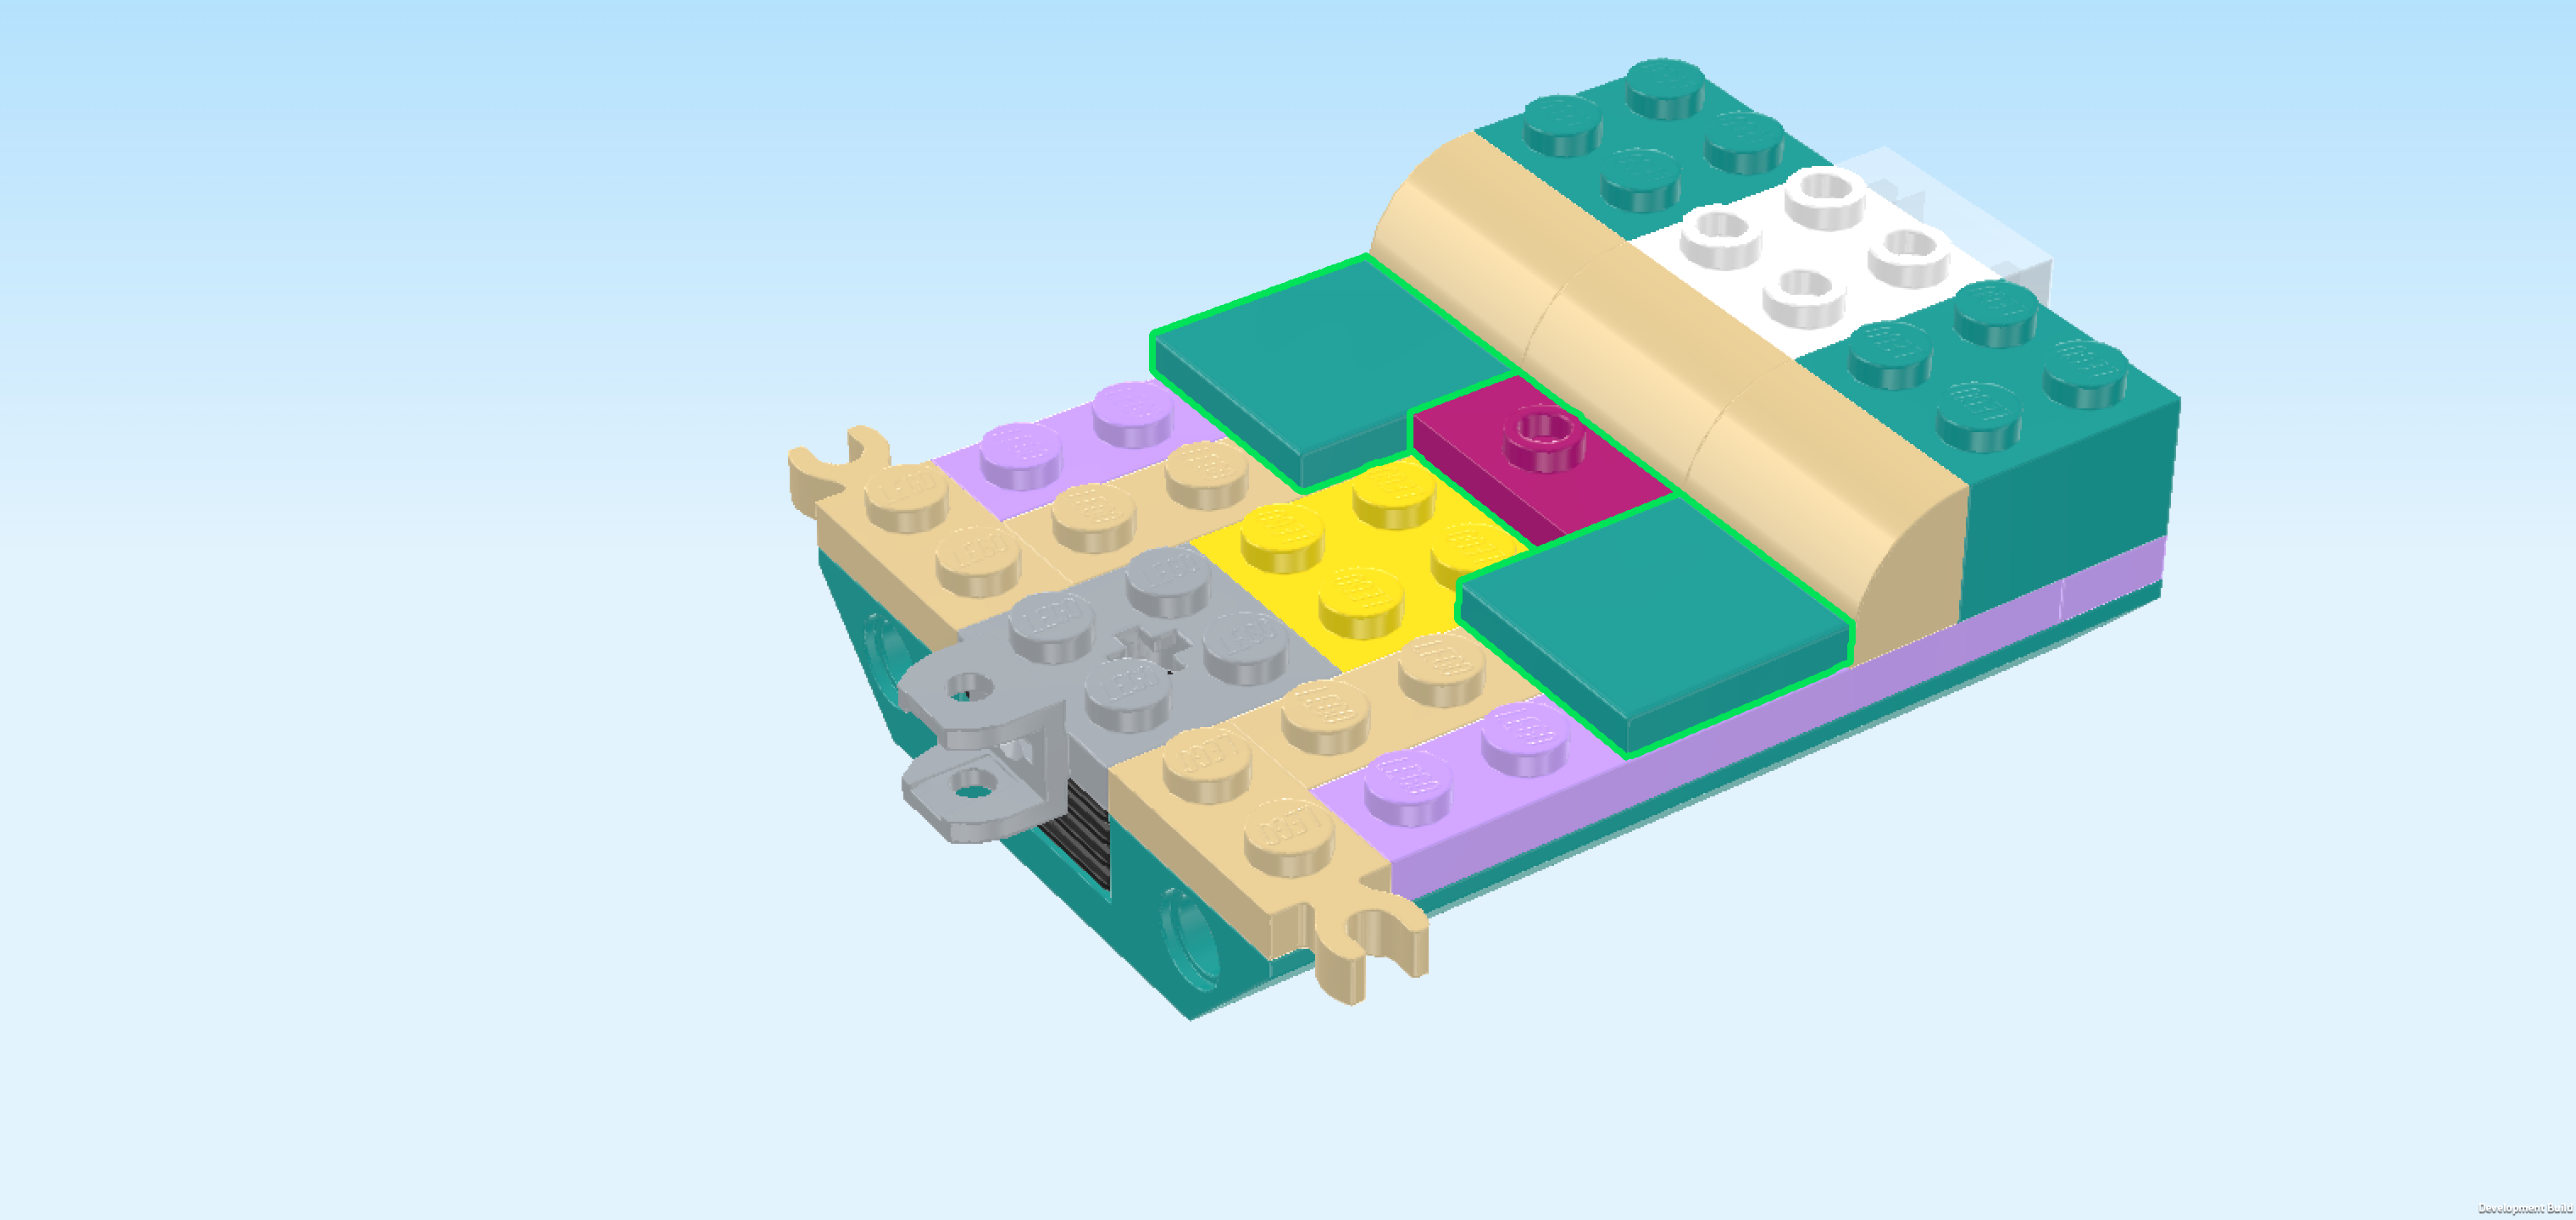
| Put the plate 1x2 vertically centered to the left of the 3 previous pieces. This means it should sit left of the middle curve brick 1x2. |
| Put 1 flat tile 2x2 behind the previous piece. |
| Repeat symmetrically at the front. |
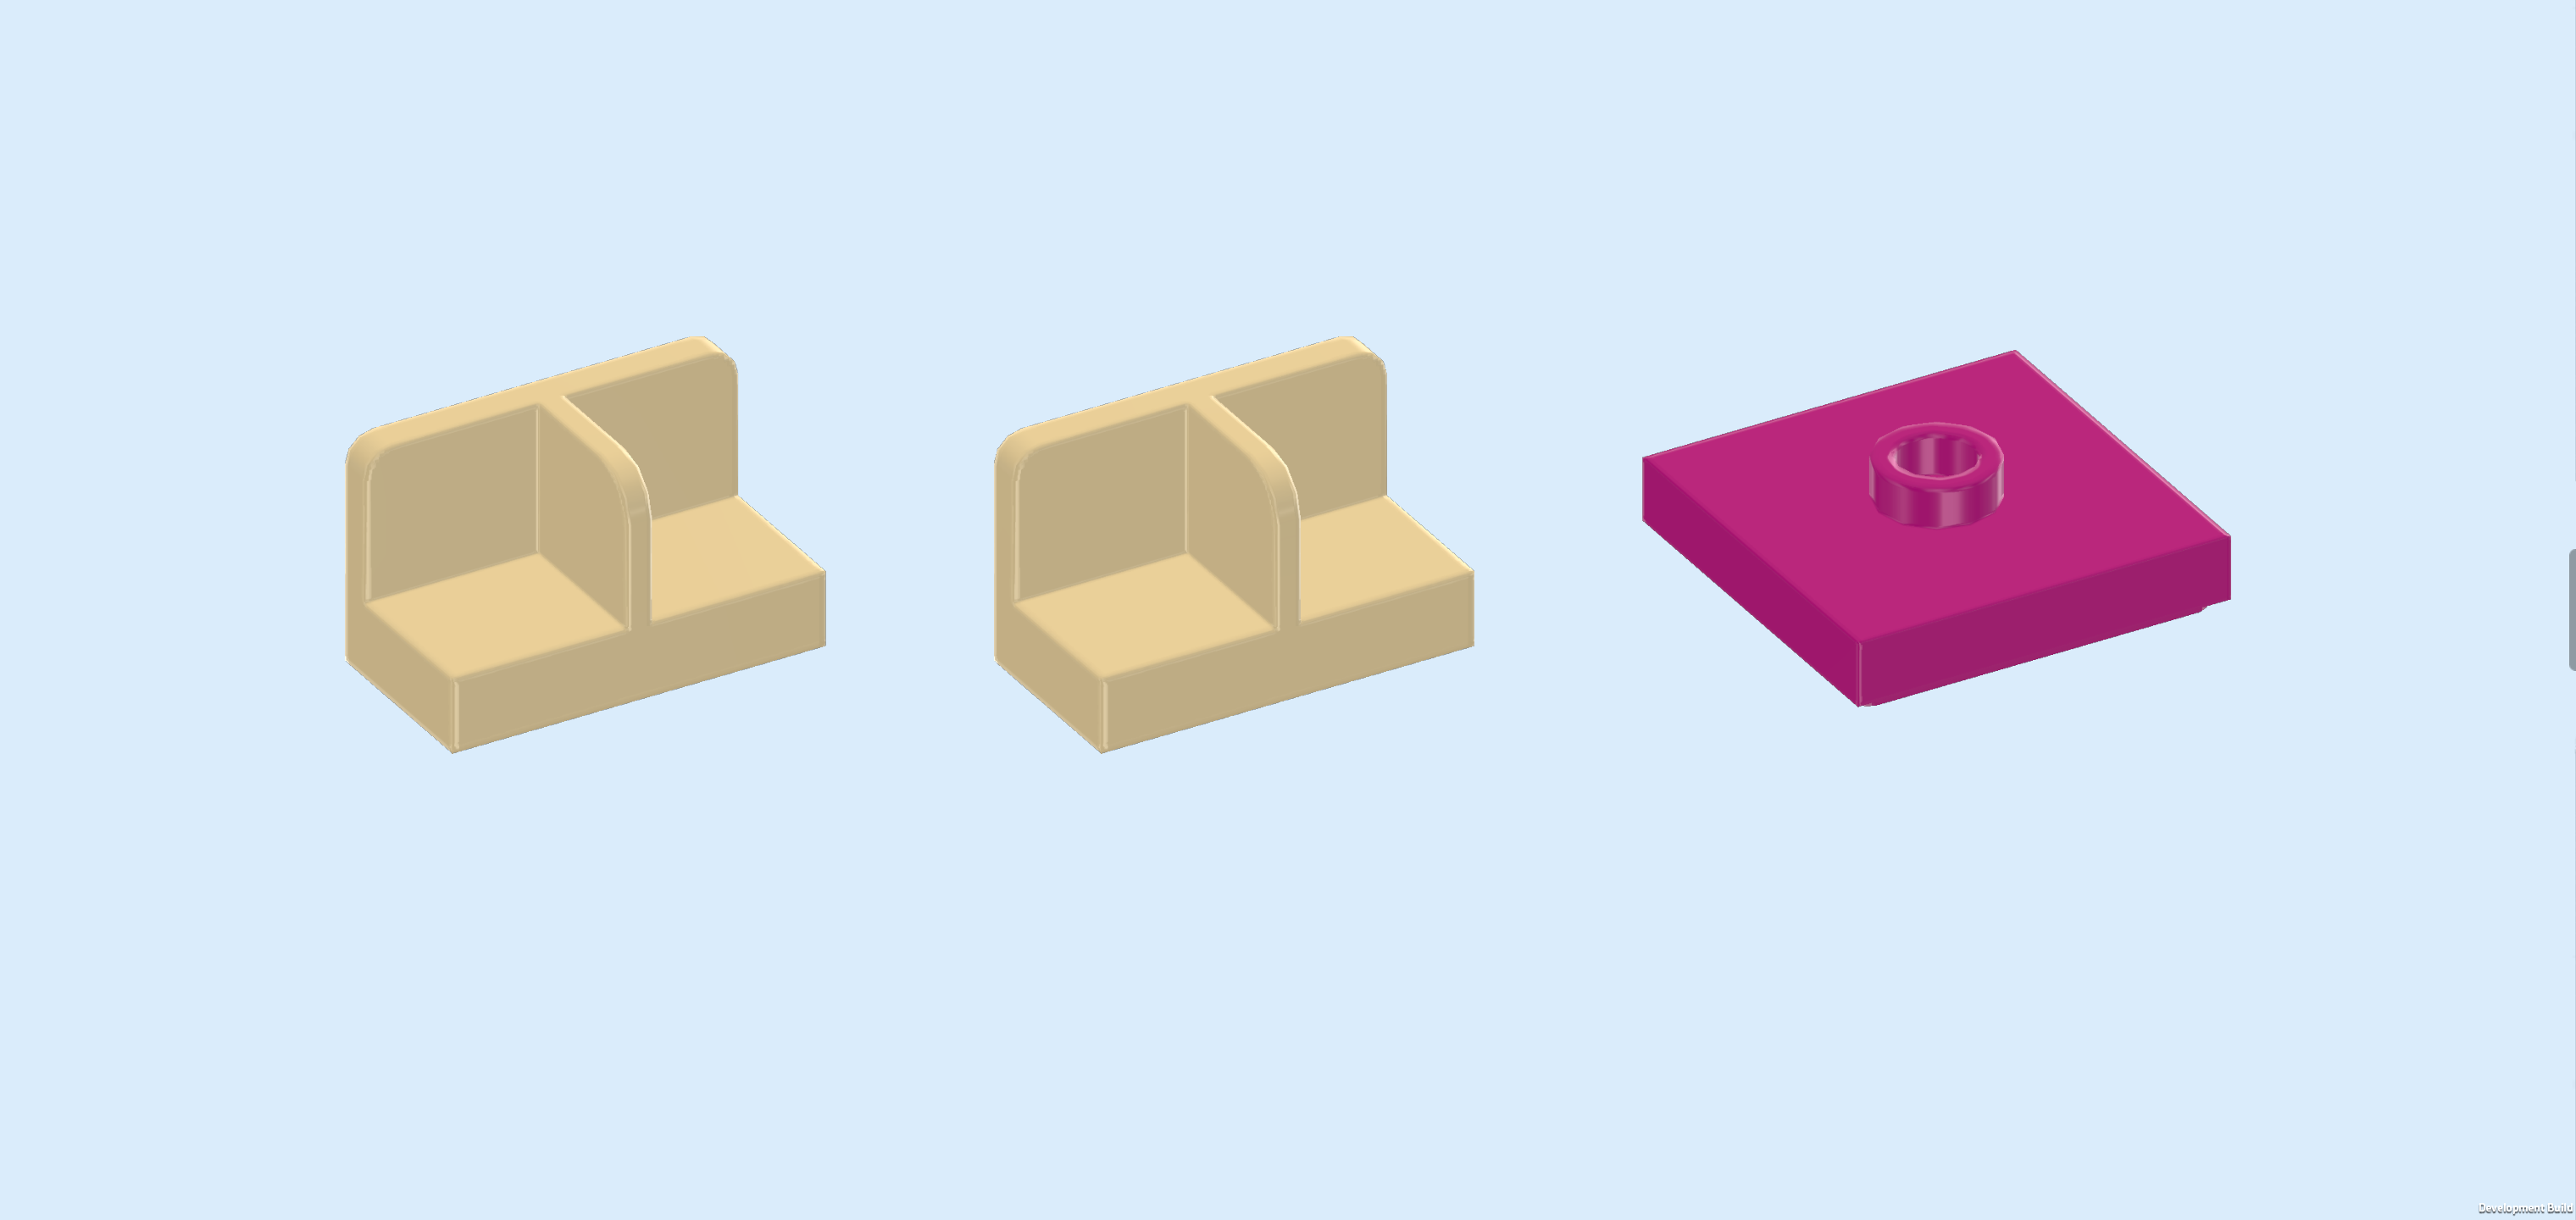
| Collect the following 3 pieces: |
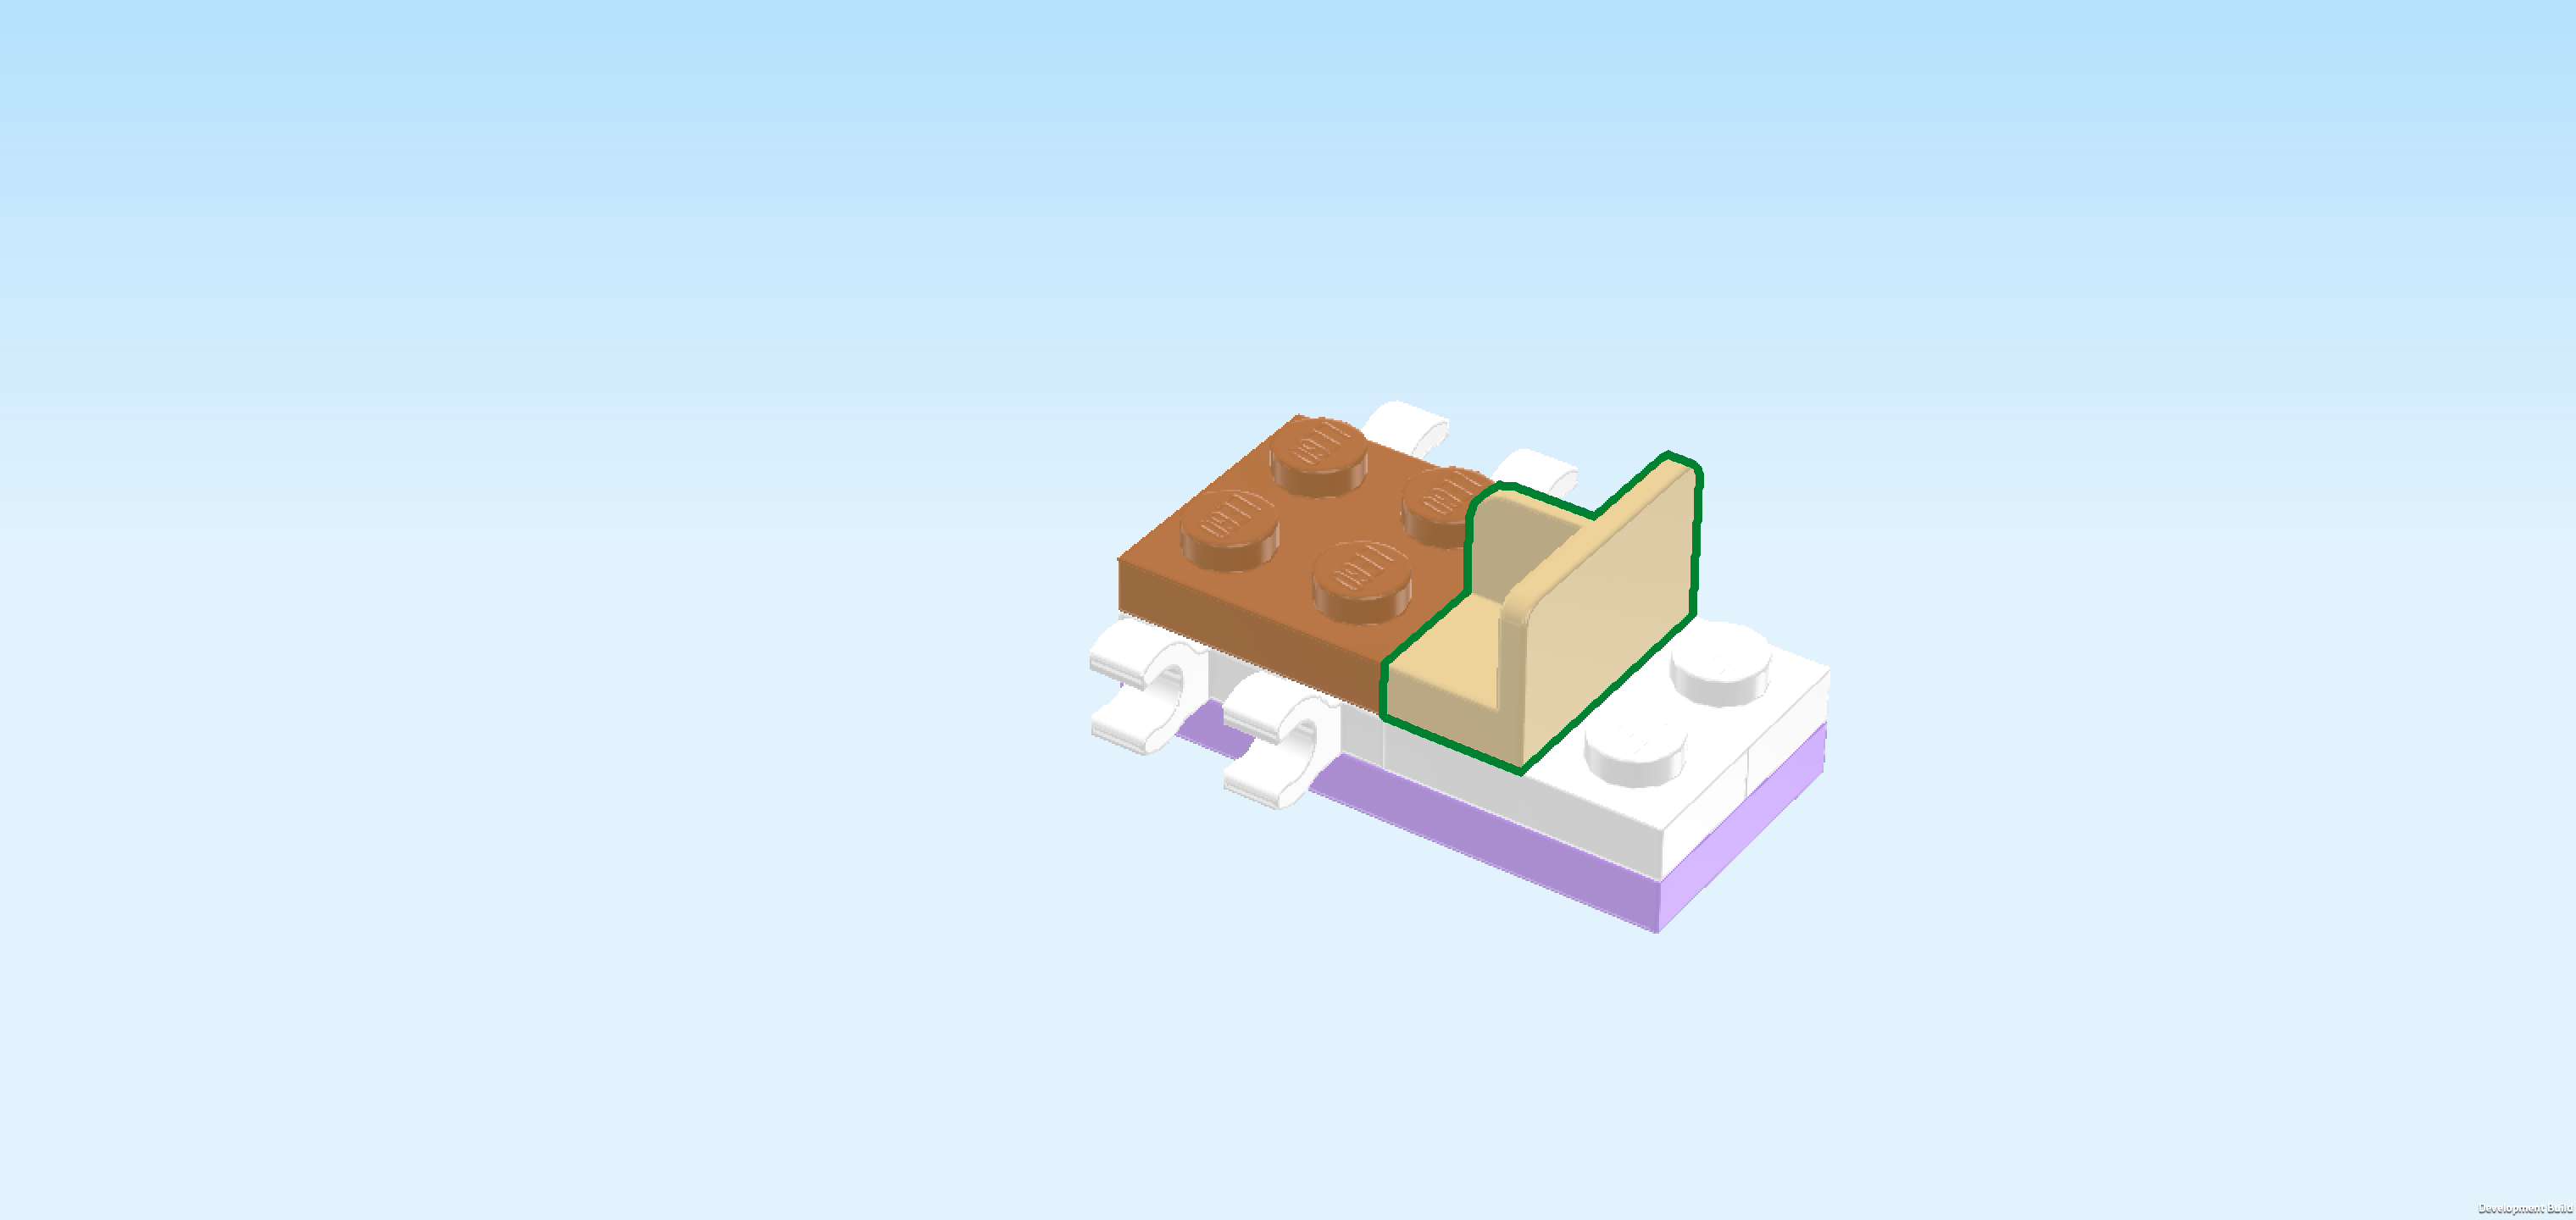
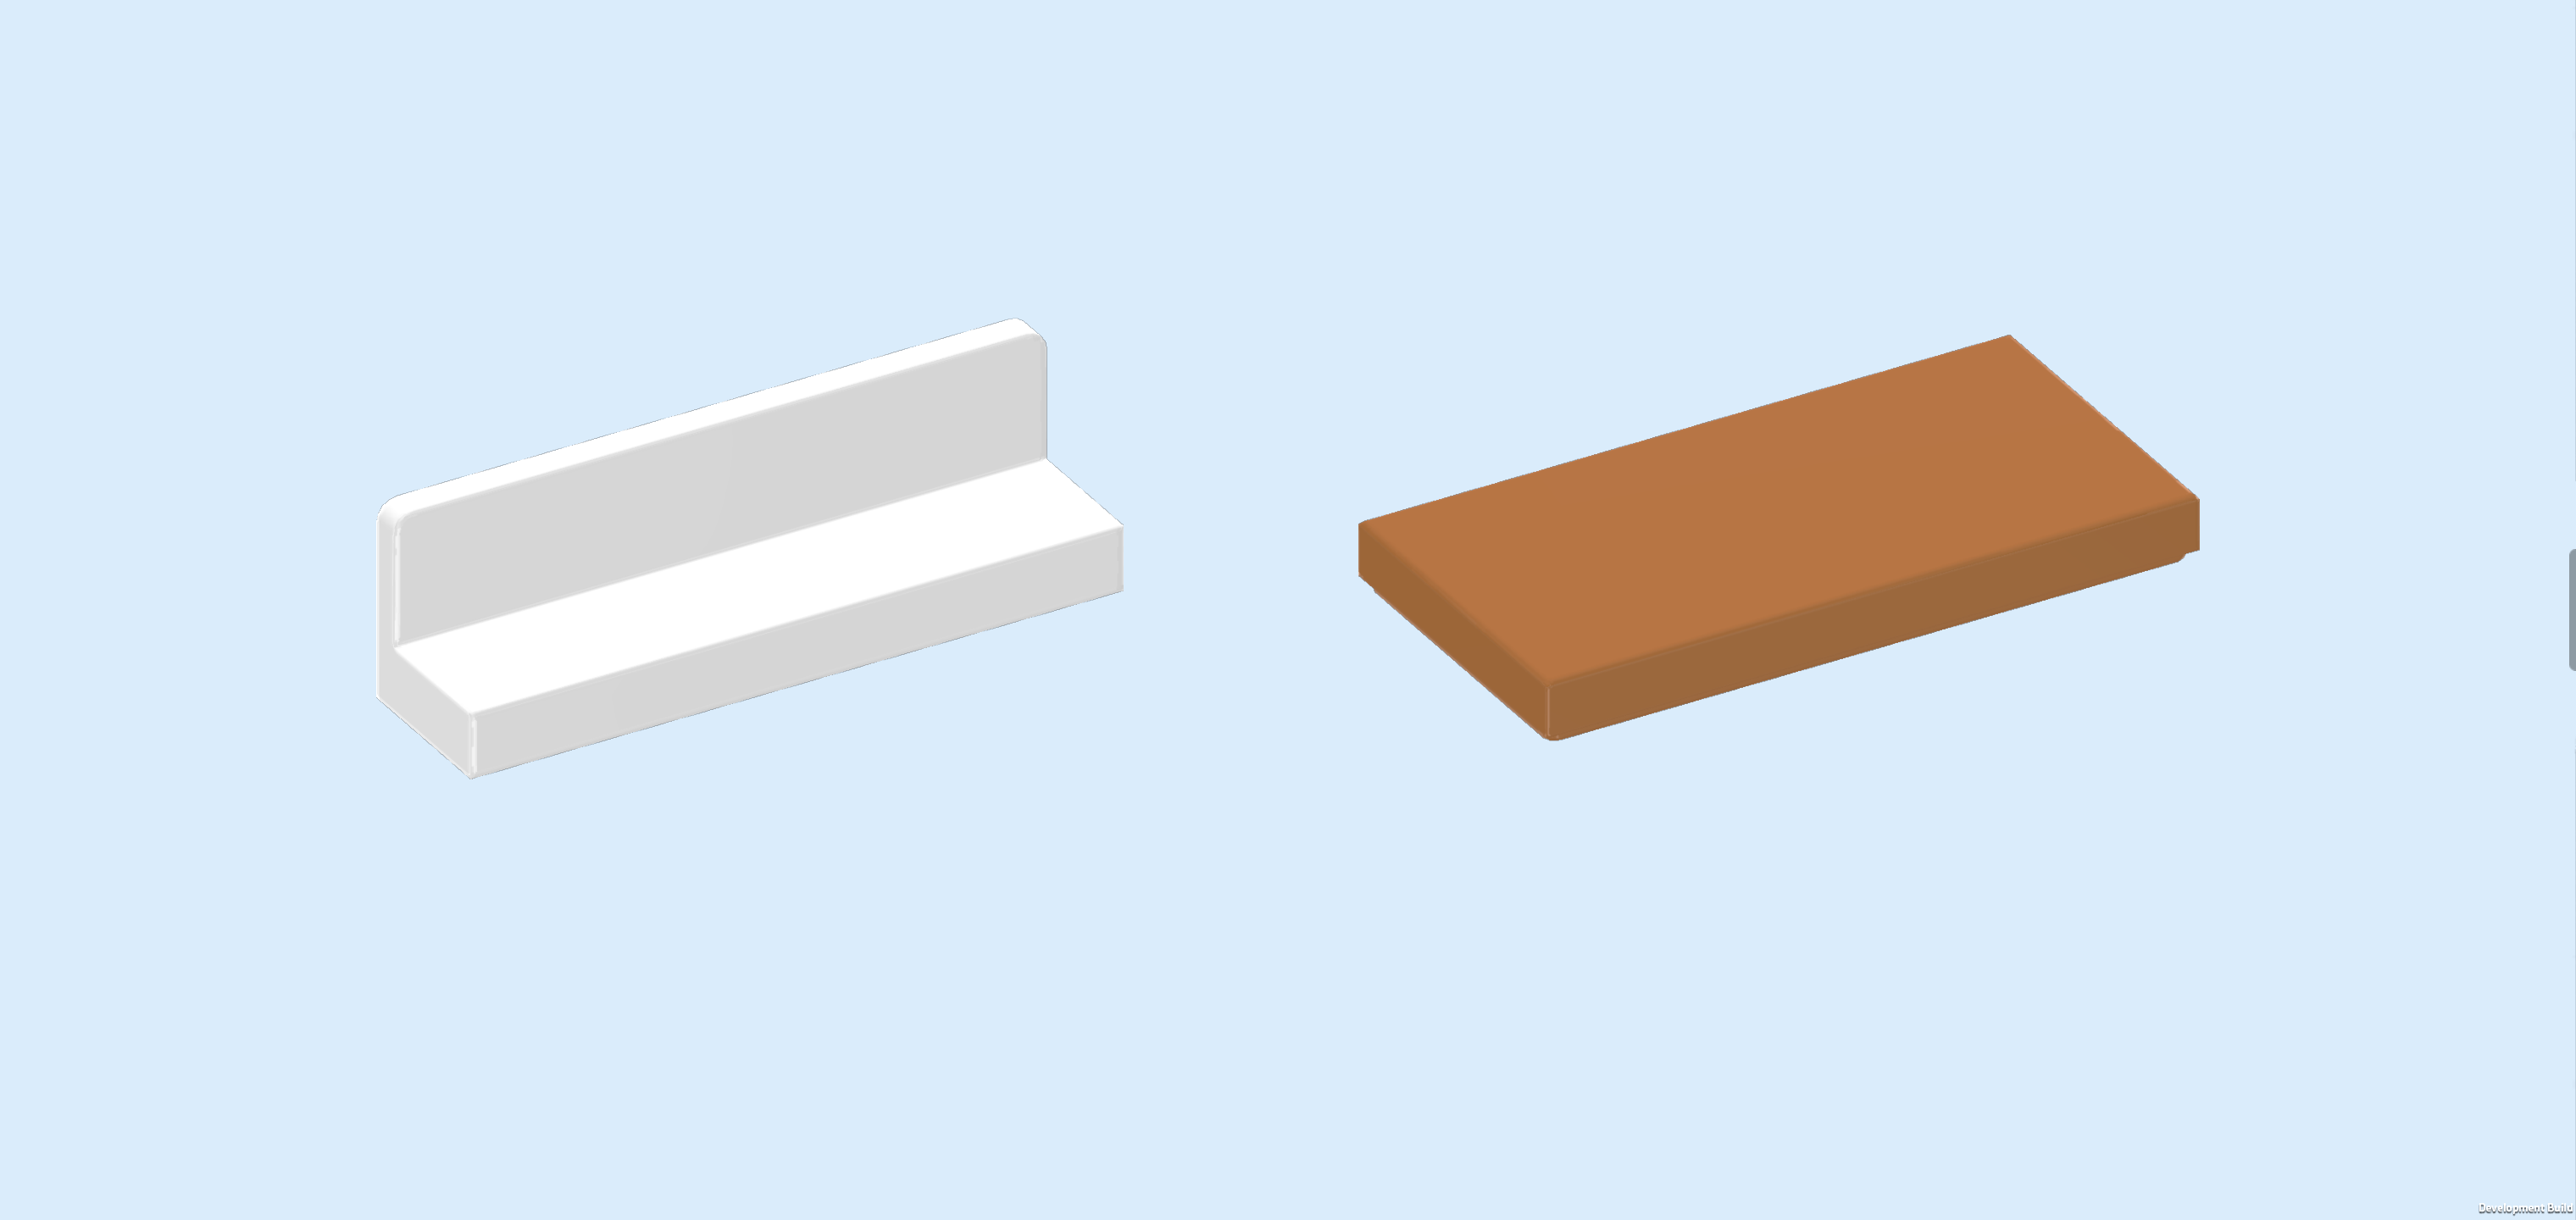
| 2 beige panel elements 1x2x1 with middle partition, |
| and 1 purple violet plate 2x2 with 1 knob. |
| Put 1 panel element 1x2x1 vertically to the left of the previous piece, long back panel to the left. |
| Repeat symmetrically at the back with the other panel element, long back panel to the left. |
| Put the plate 2x2 between the 2 previous pieces. If done correctly their left edges are flush. |
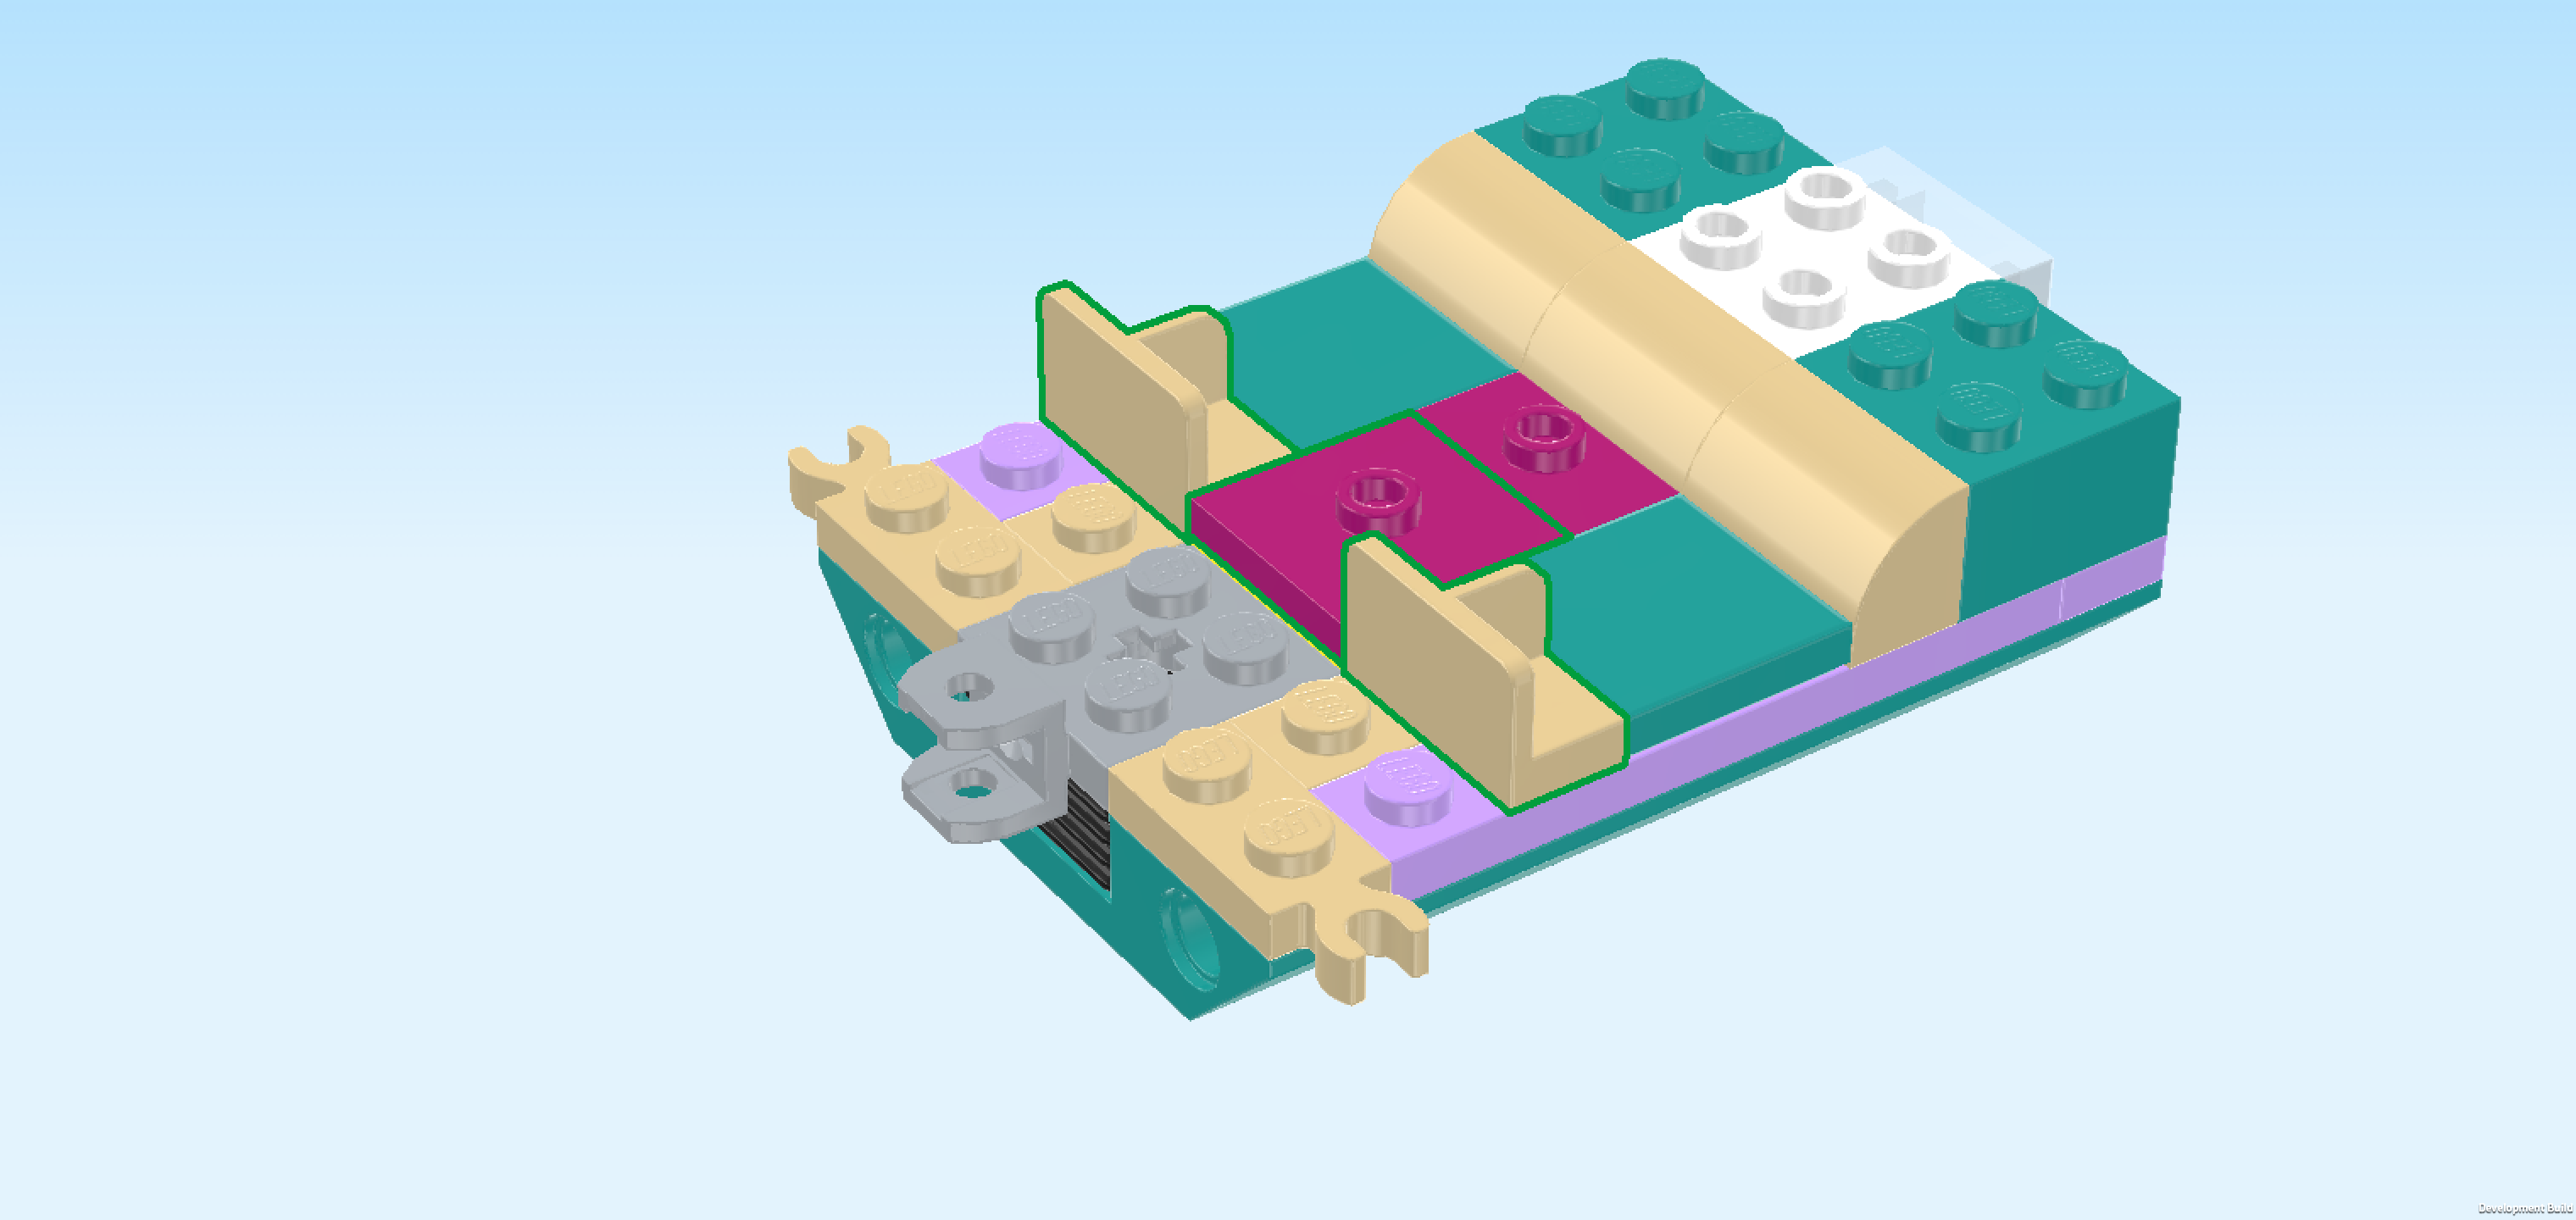
| Collect the following 3 pieces: |
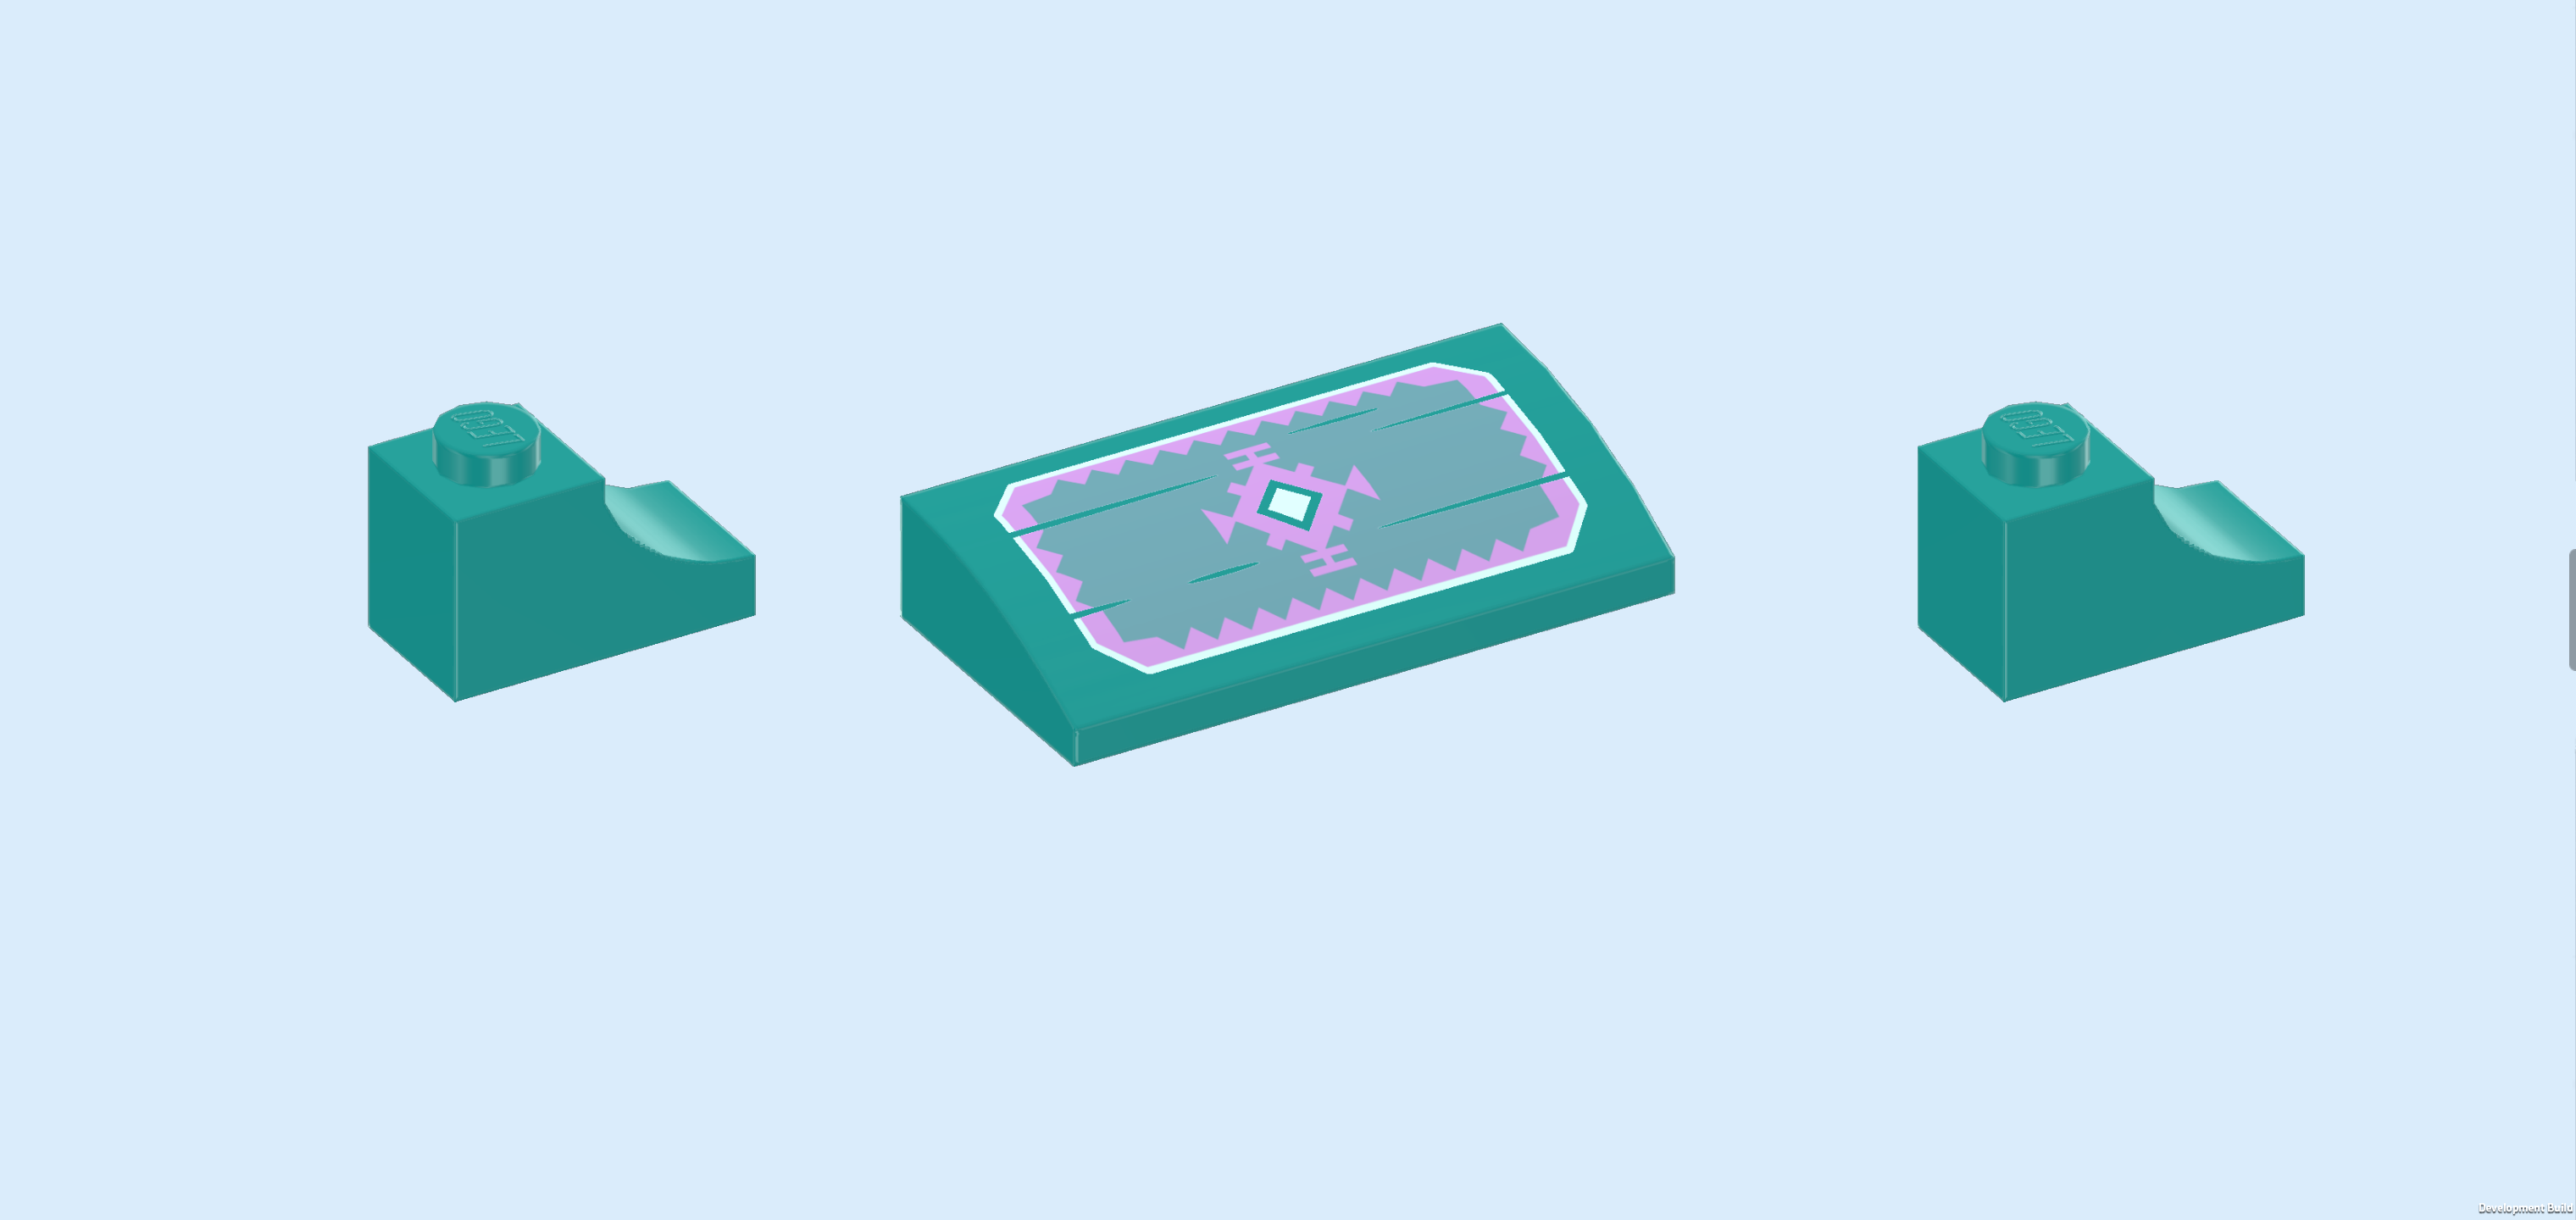
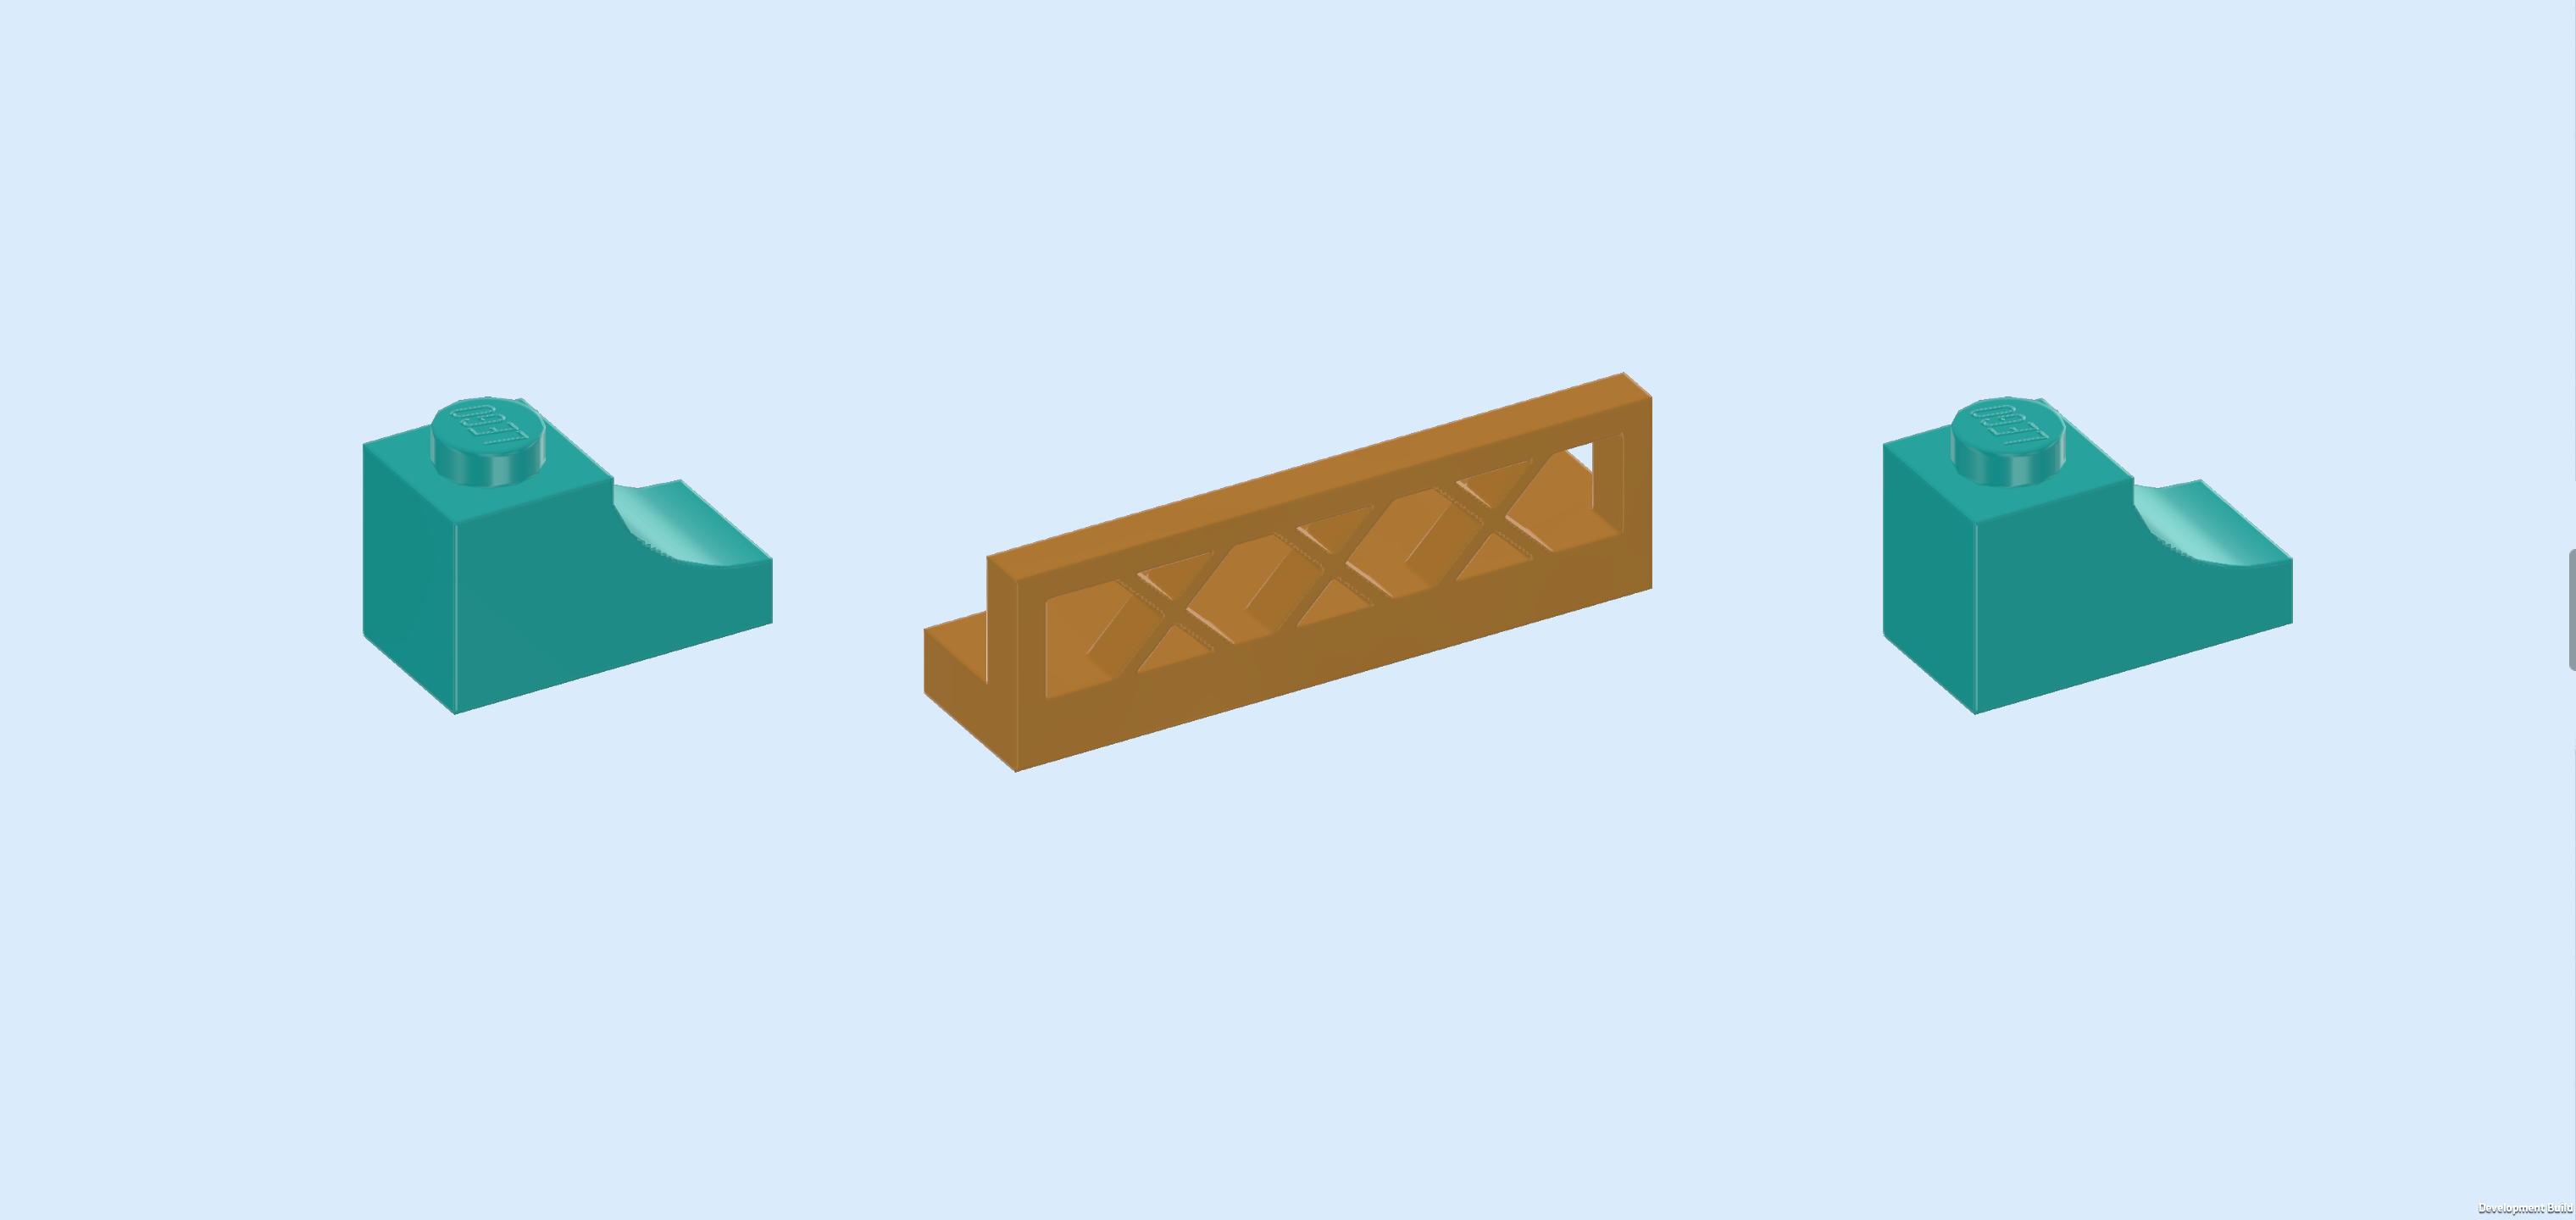
| 2 teal blue bricks 1x2 with downward half arch, |
| and 1 teal blue curve tile 2x4x⅔. |
| Put 1 brick 1x2 horizontally on the backmost row, starting from the left edge, downward arch towards the left. |
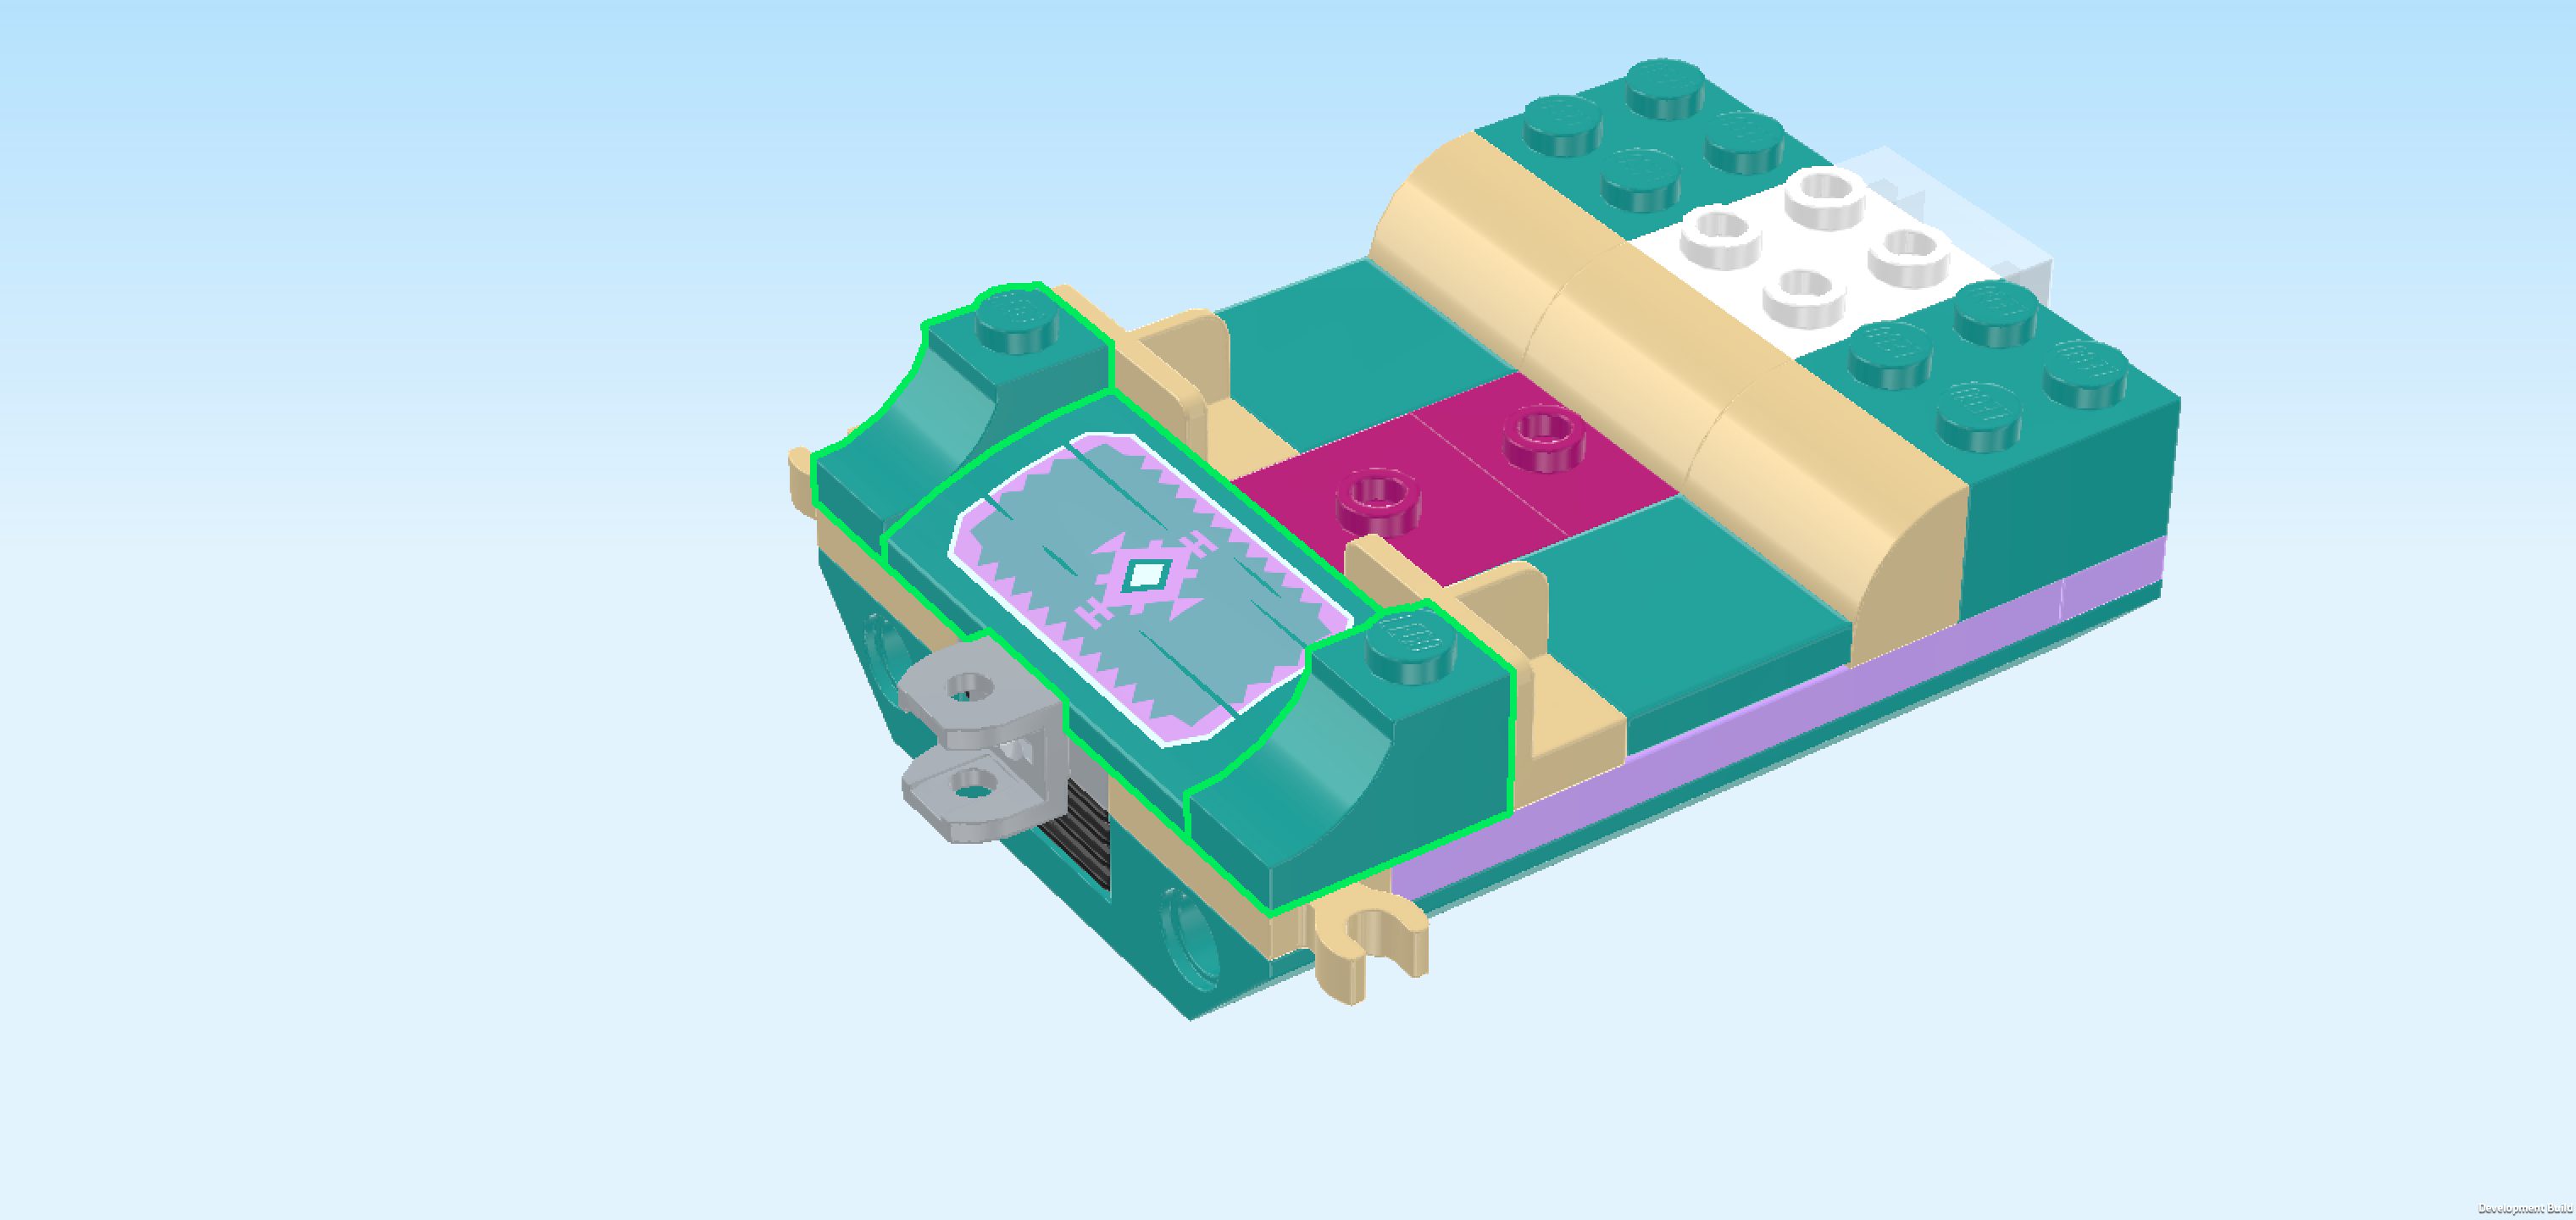
| Put the curve tile 2x4x⅔ vertically in front of the previous piece, curve to the left. |
| This piece is printed with the sleigh's front decoration: it is a shimmering ice blue panel with a lavender-colored zig-zag frame. In its middle, there is a diamond-shaped element with a lavender-colored frame that has 4 T-shaped extensions from each corner. It looks beautiful! |
| Put the other brick 1x2 horizontally on the frontmost row, starting from the left edge, downward arch to the left. |
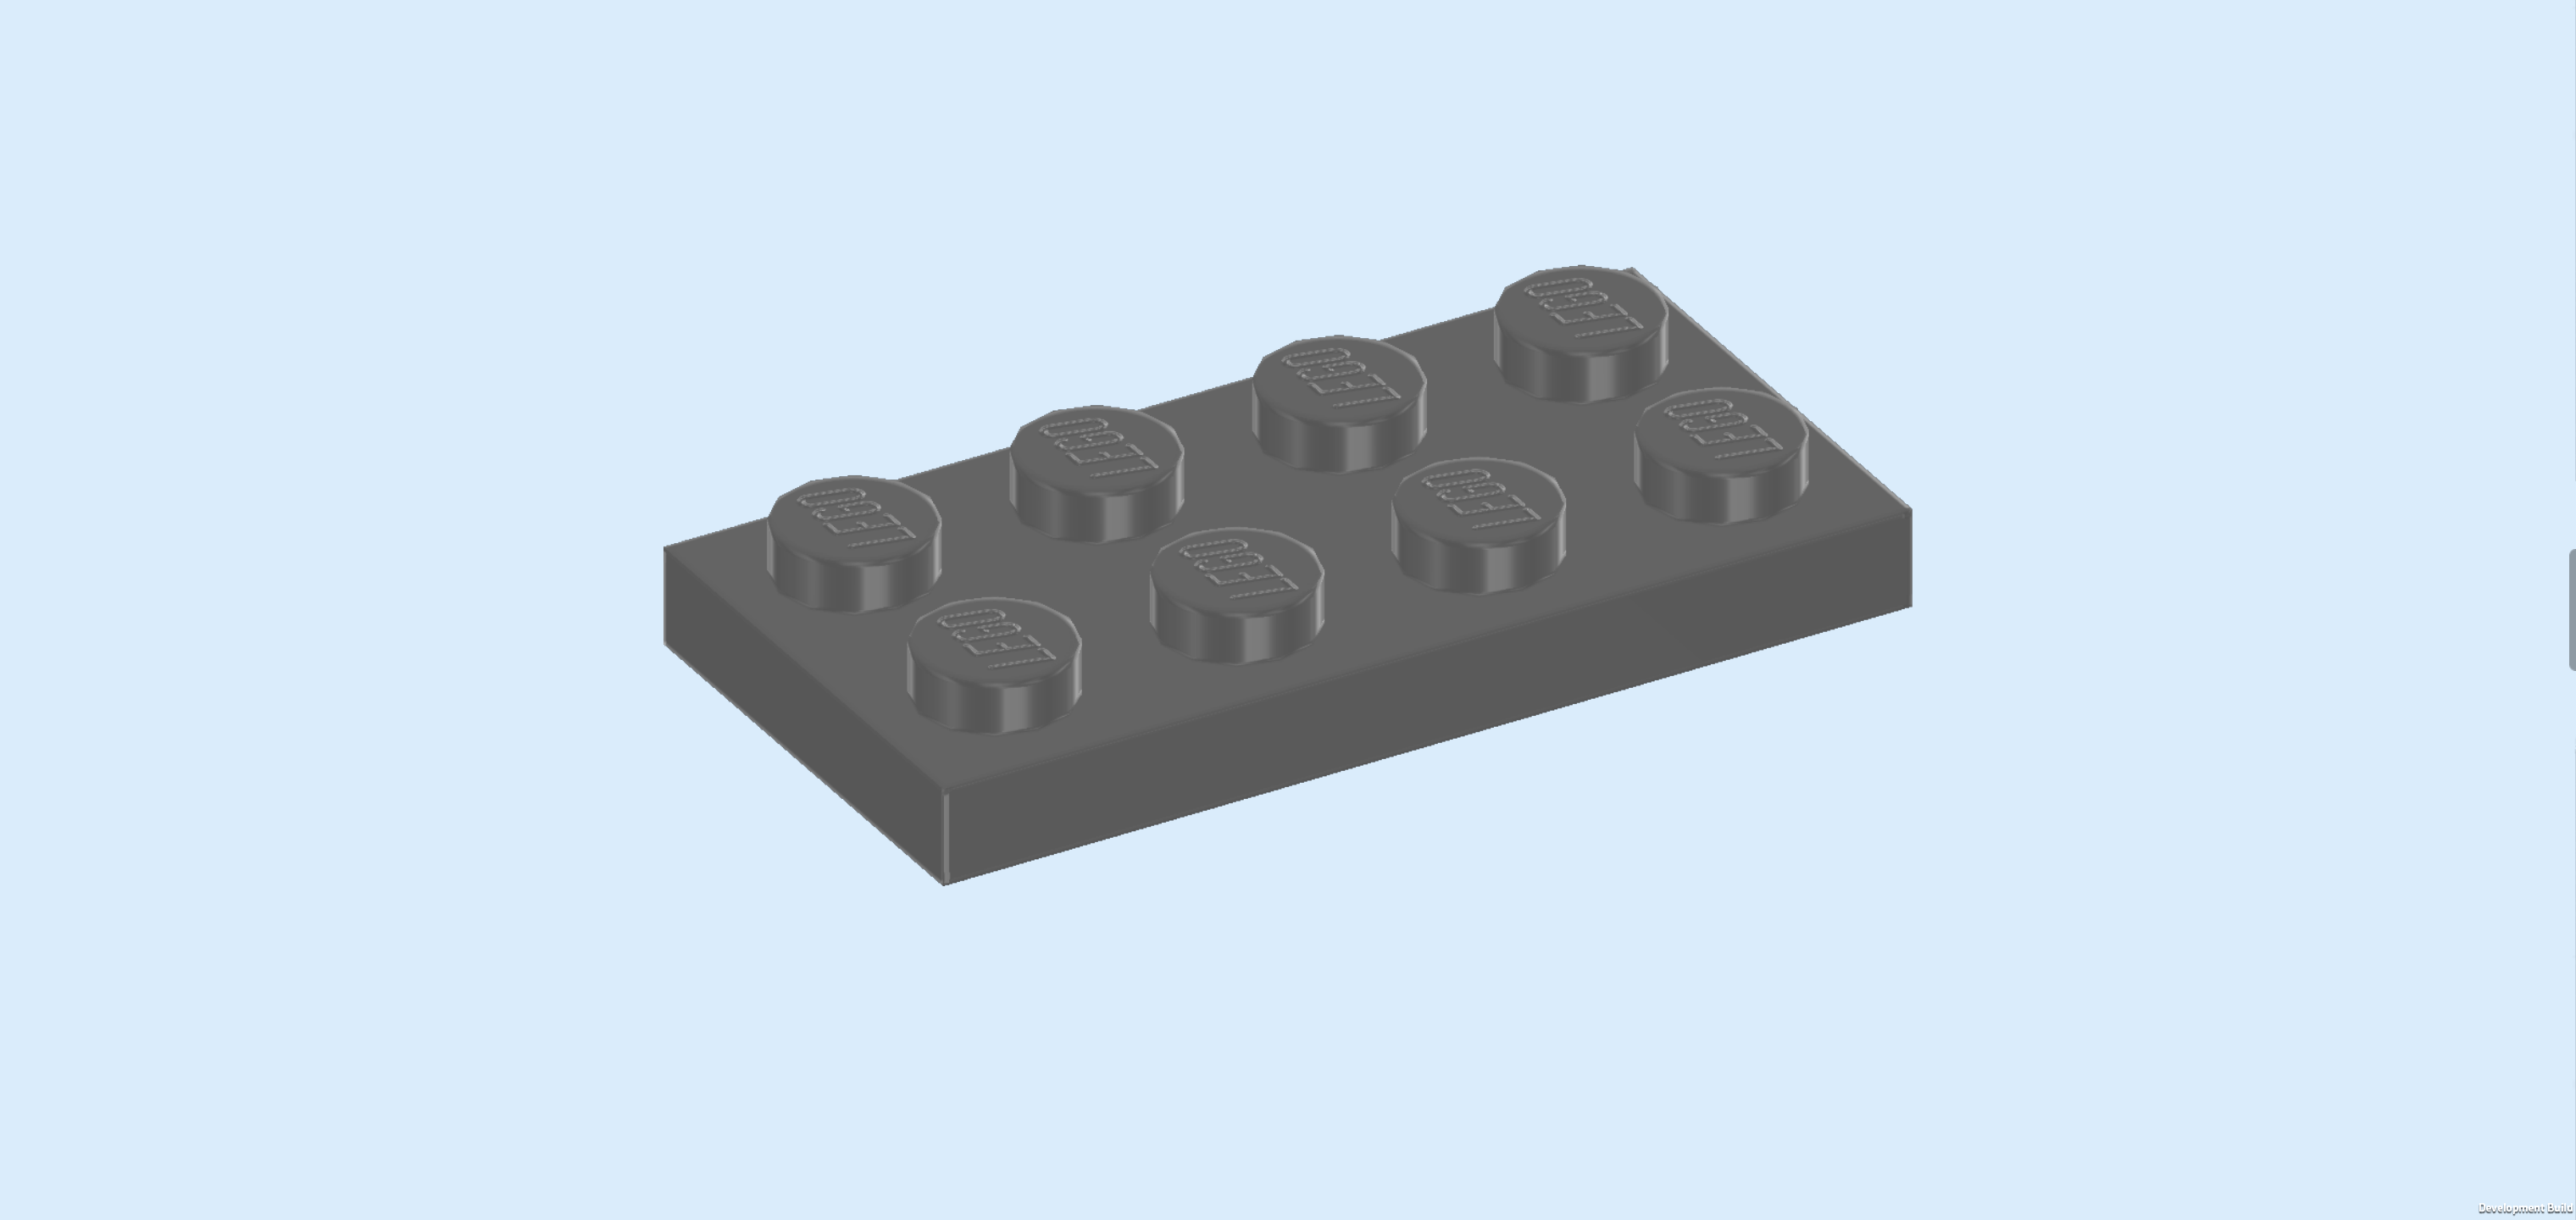
| Find 1 dark stone grey plate 2x4. |
| Before you mount it, flip the whole sleigh structure upside down. Make sure to keep the horizontal orientation, ball cup still pointing to the left. |
| Put the plate vertically on the rightmost edge. |
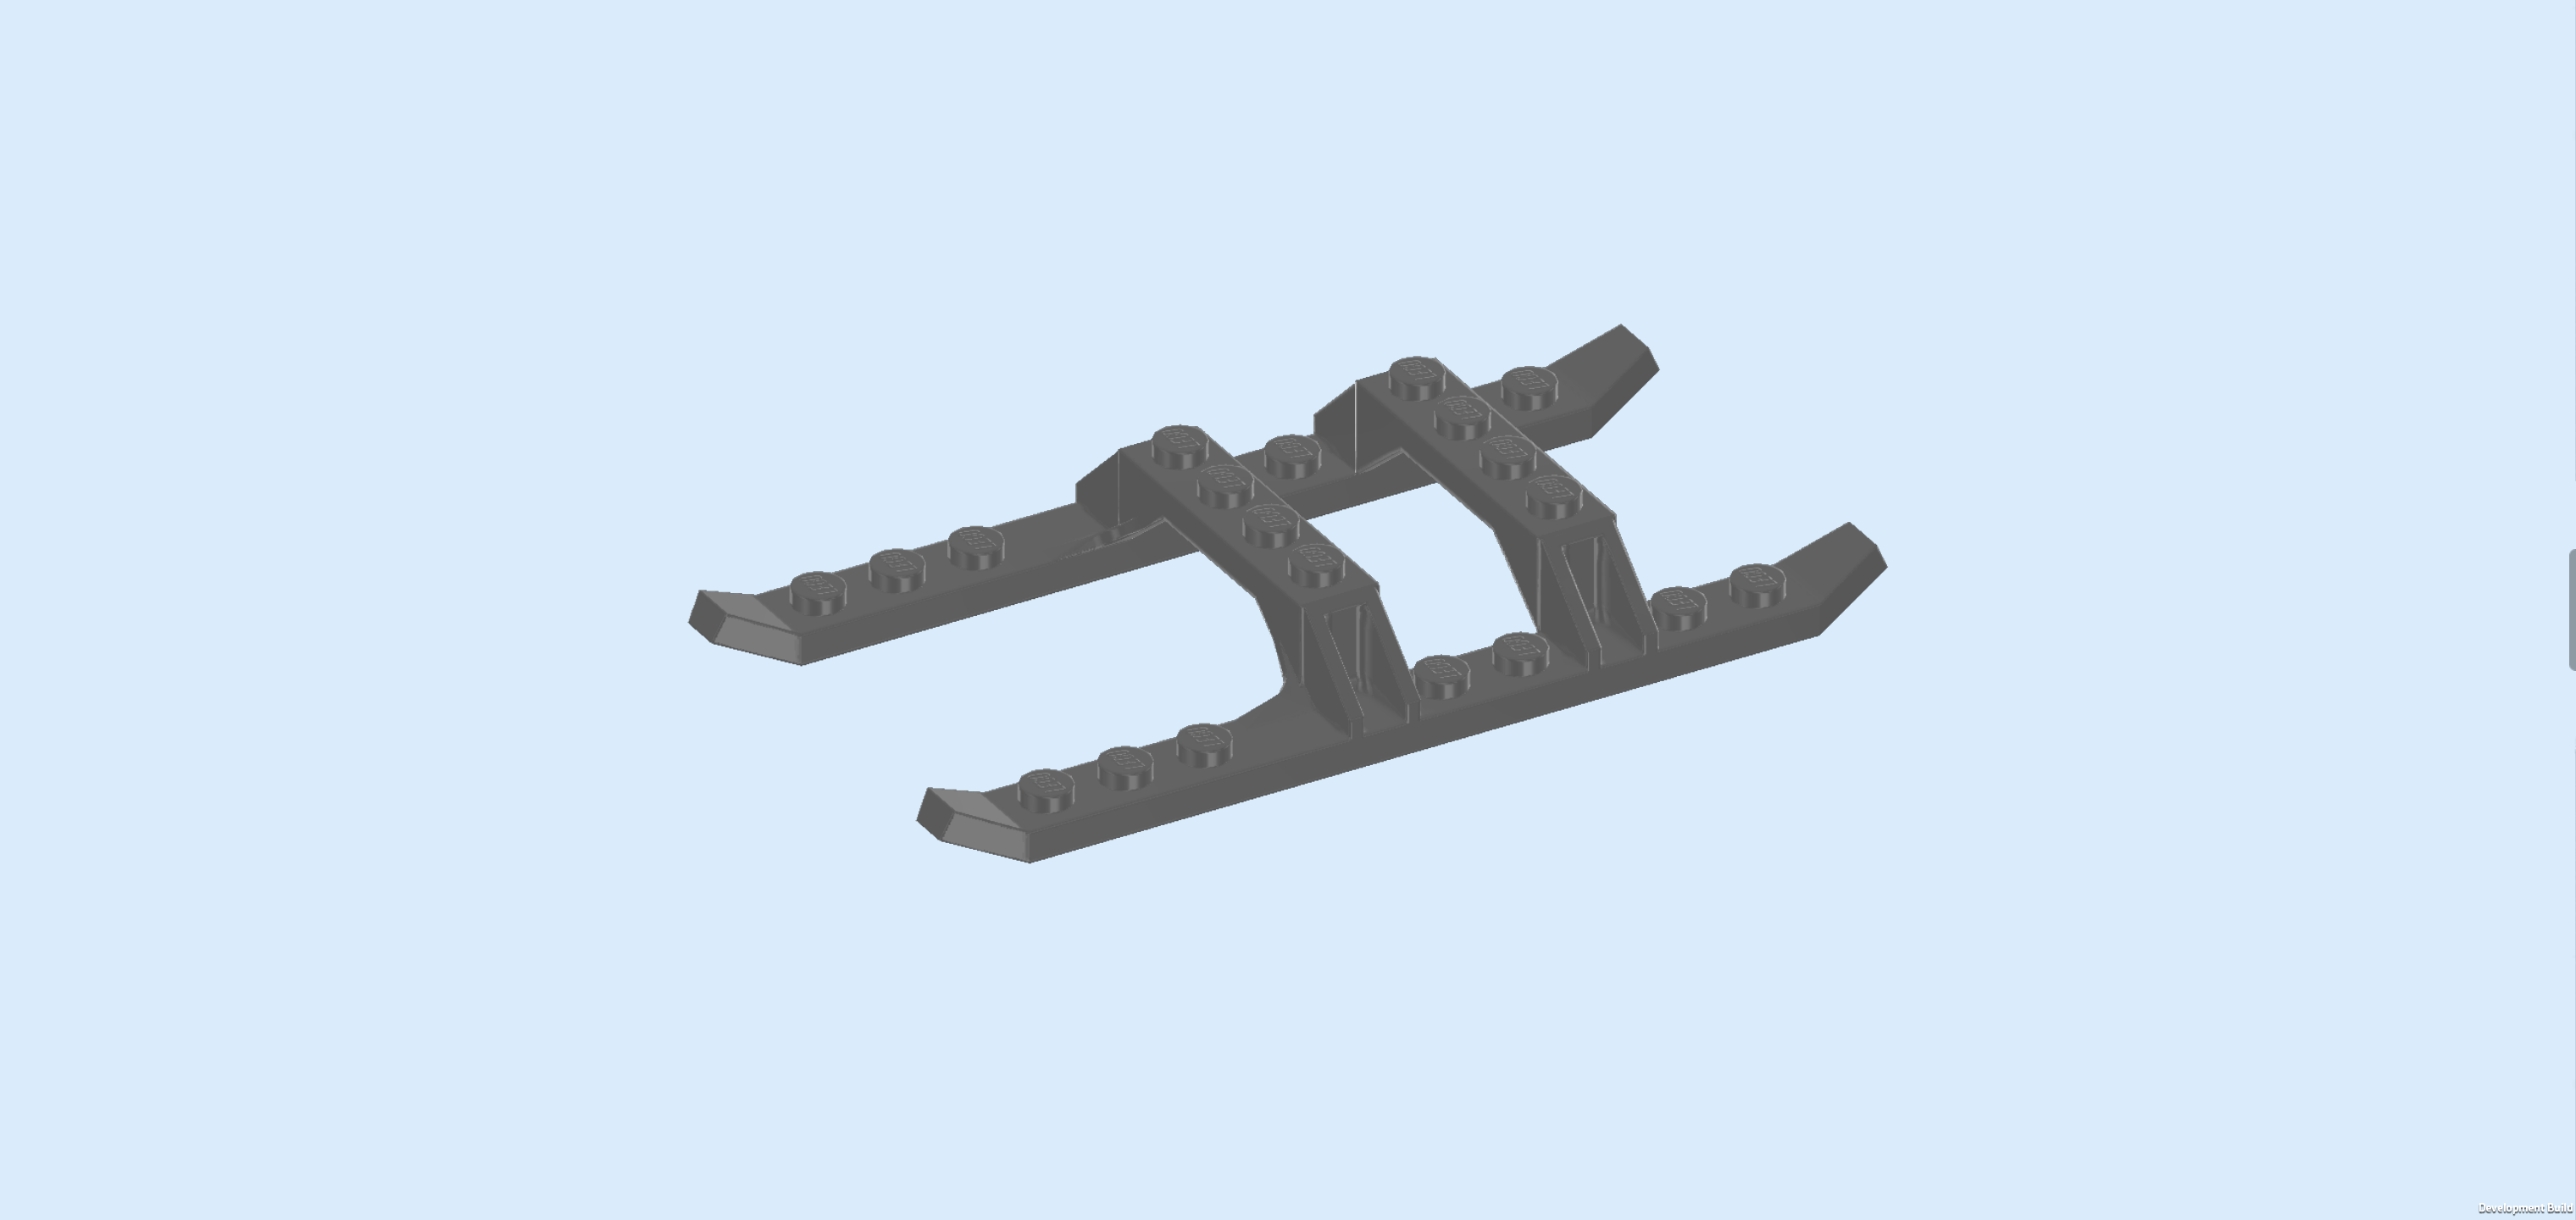
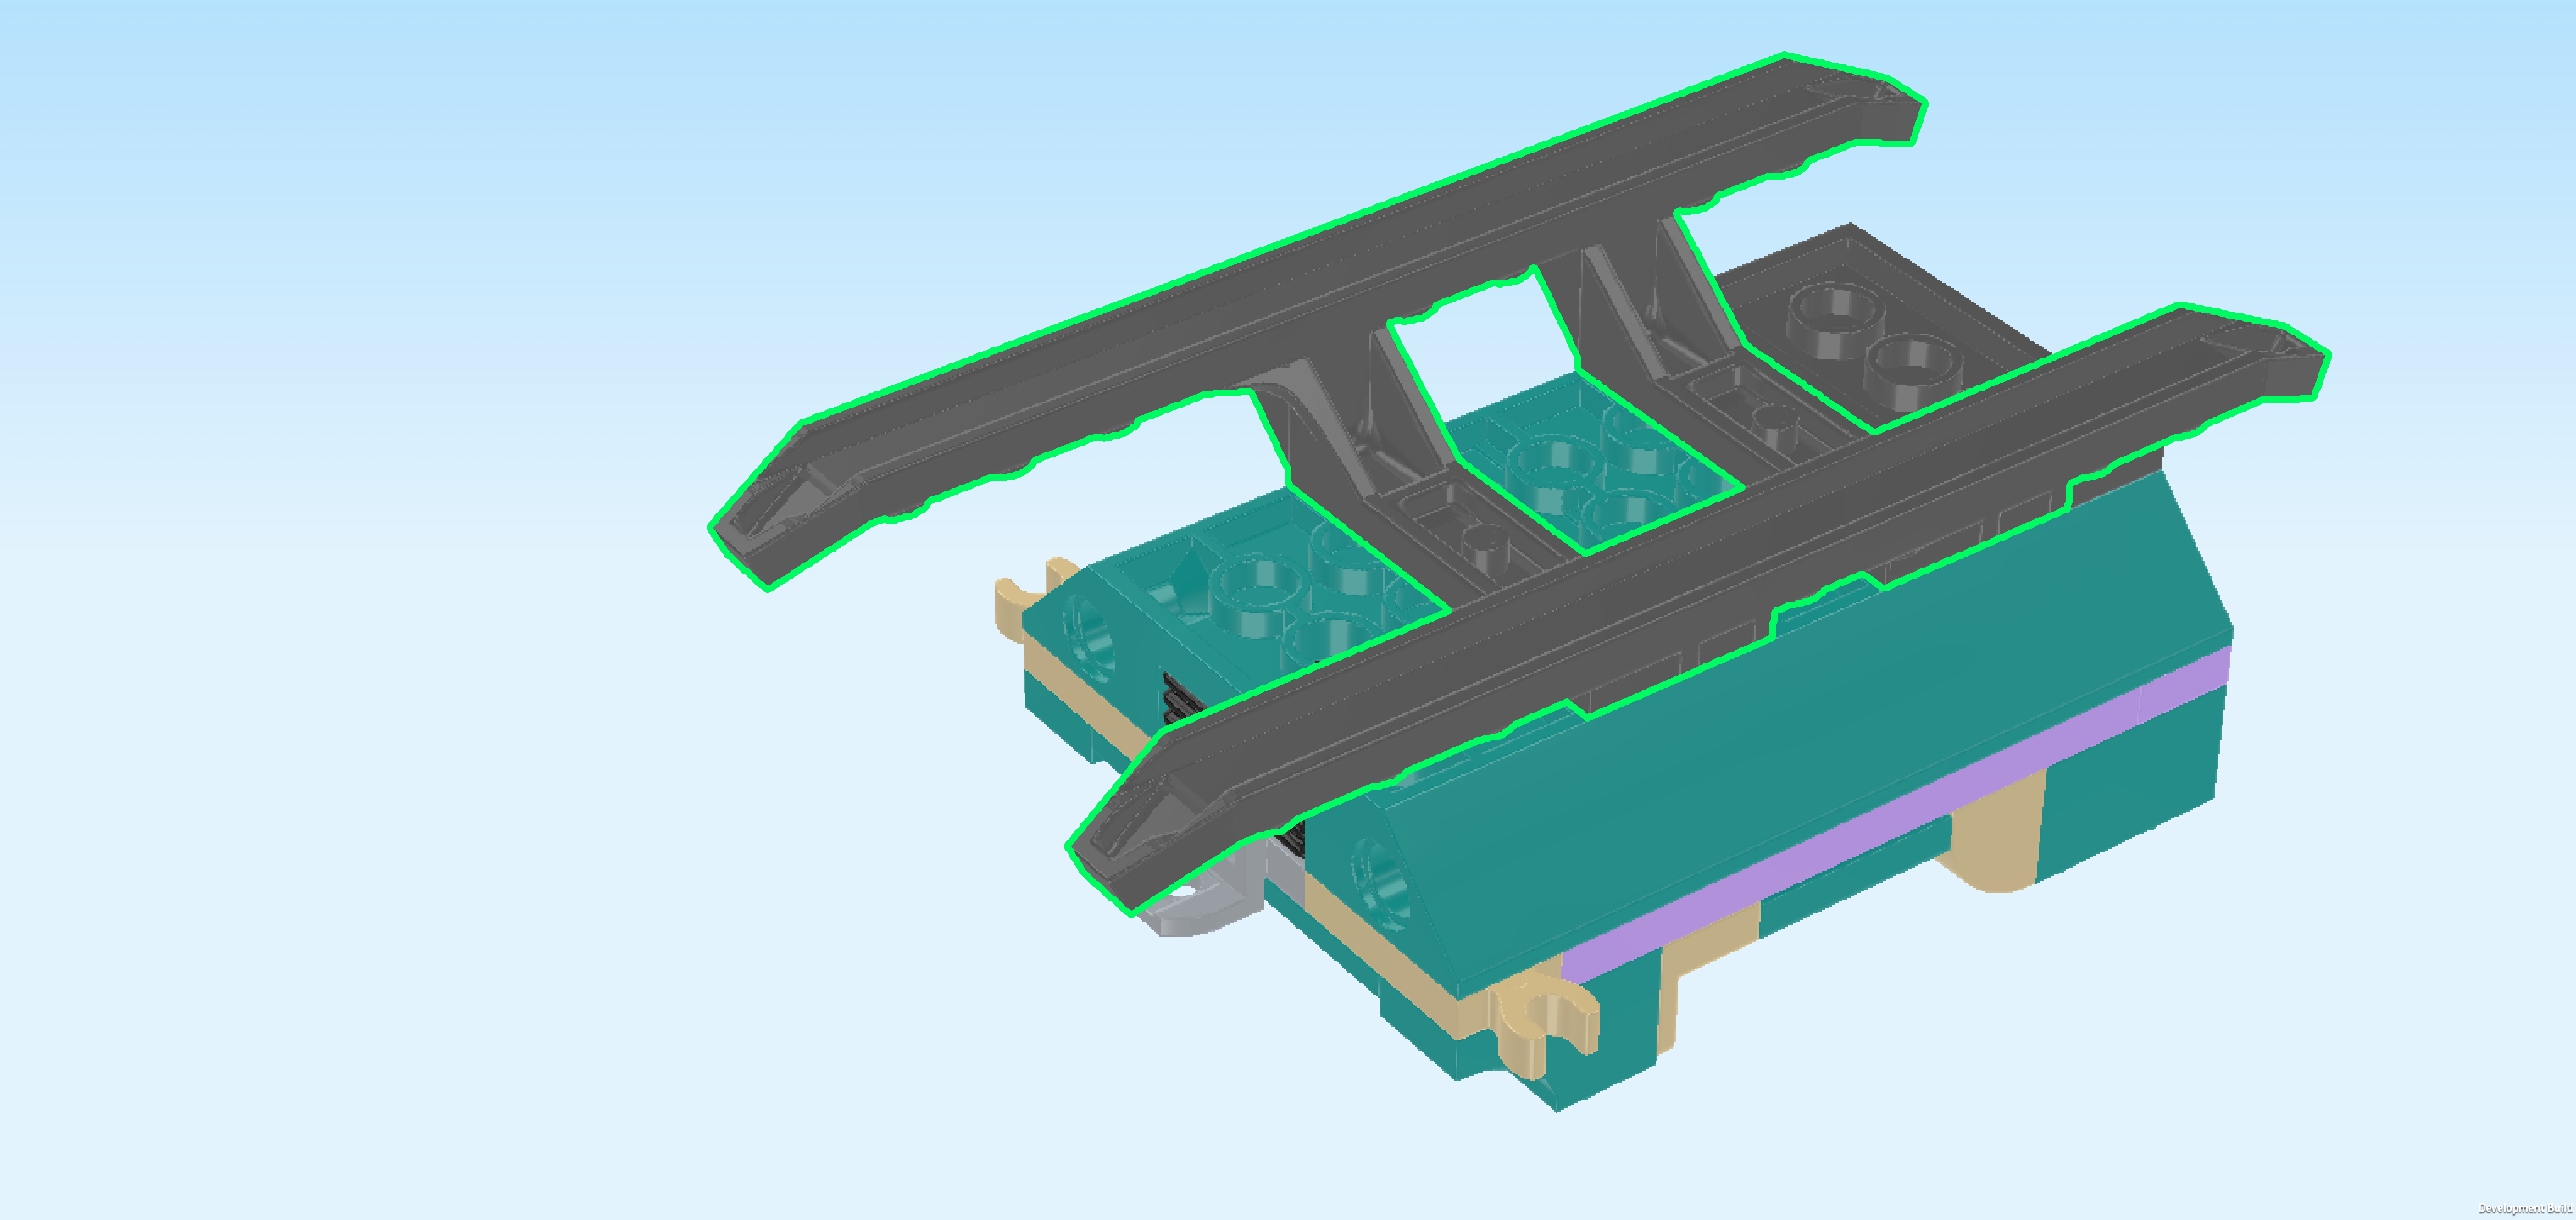
| Find 1 dark stone grey helicopter or sleigh undercarriage 12x6x1⅓. |
| First, flip it upside down so that its knobs are pointing to the bottom. Turn it horizontally and make sure that the shorter skids are pointing to the right. |
| Mount the undercarriage centered to the left of the previous piece. This means that its right mounting strut should touch the plate 2x4. |
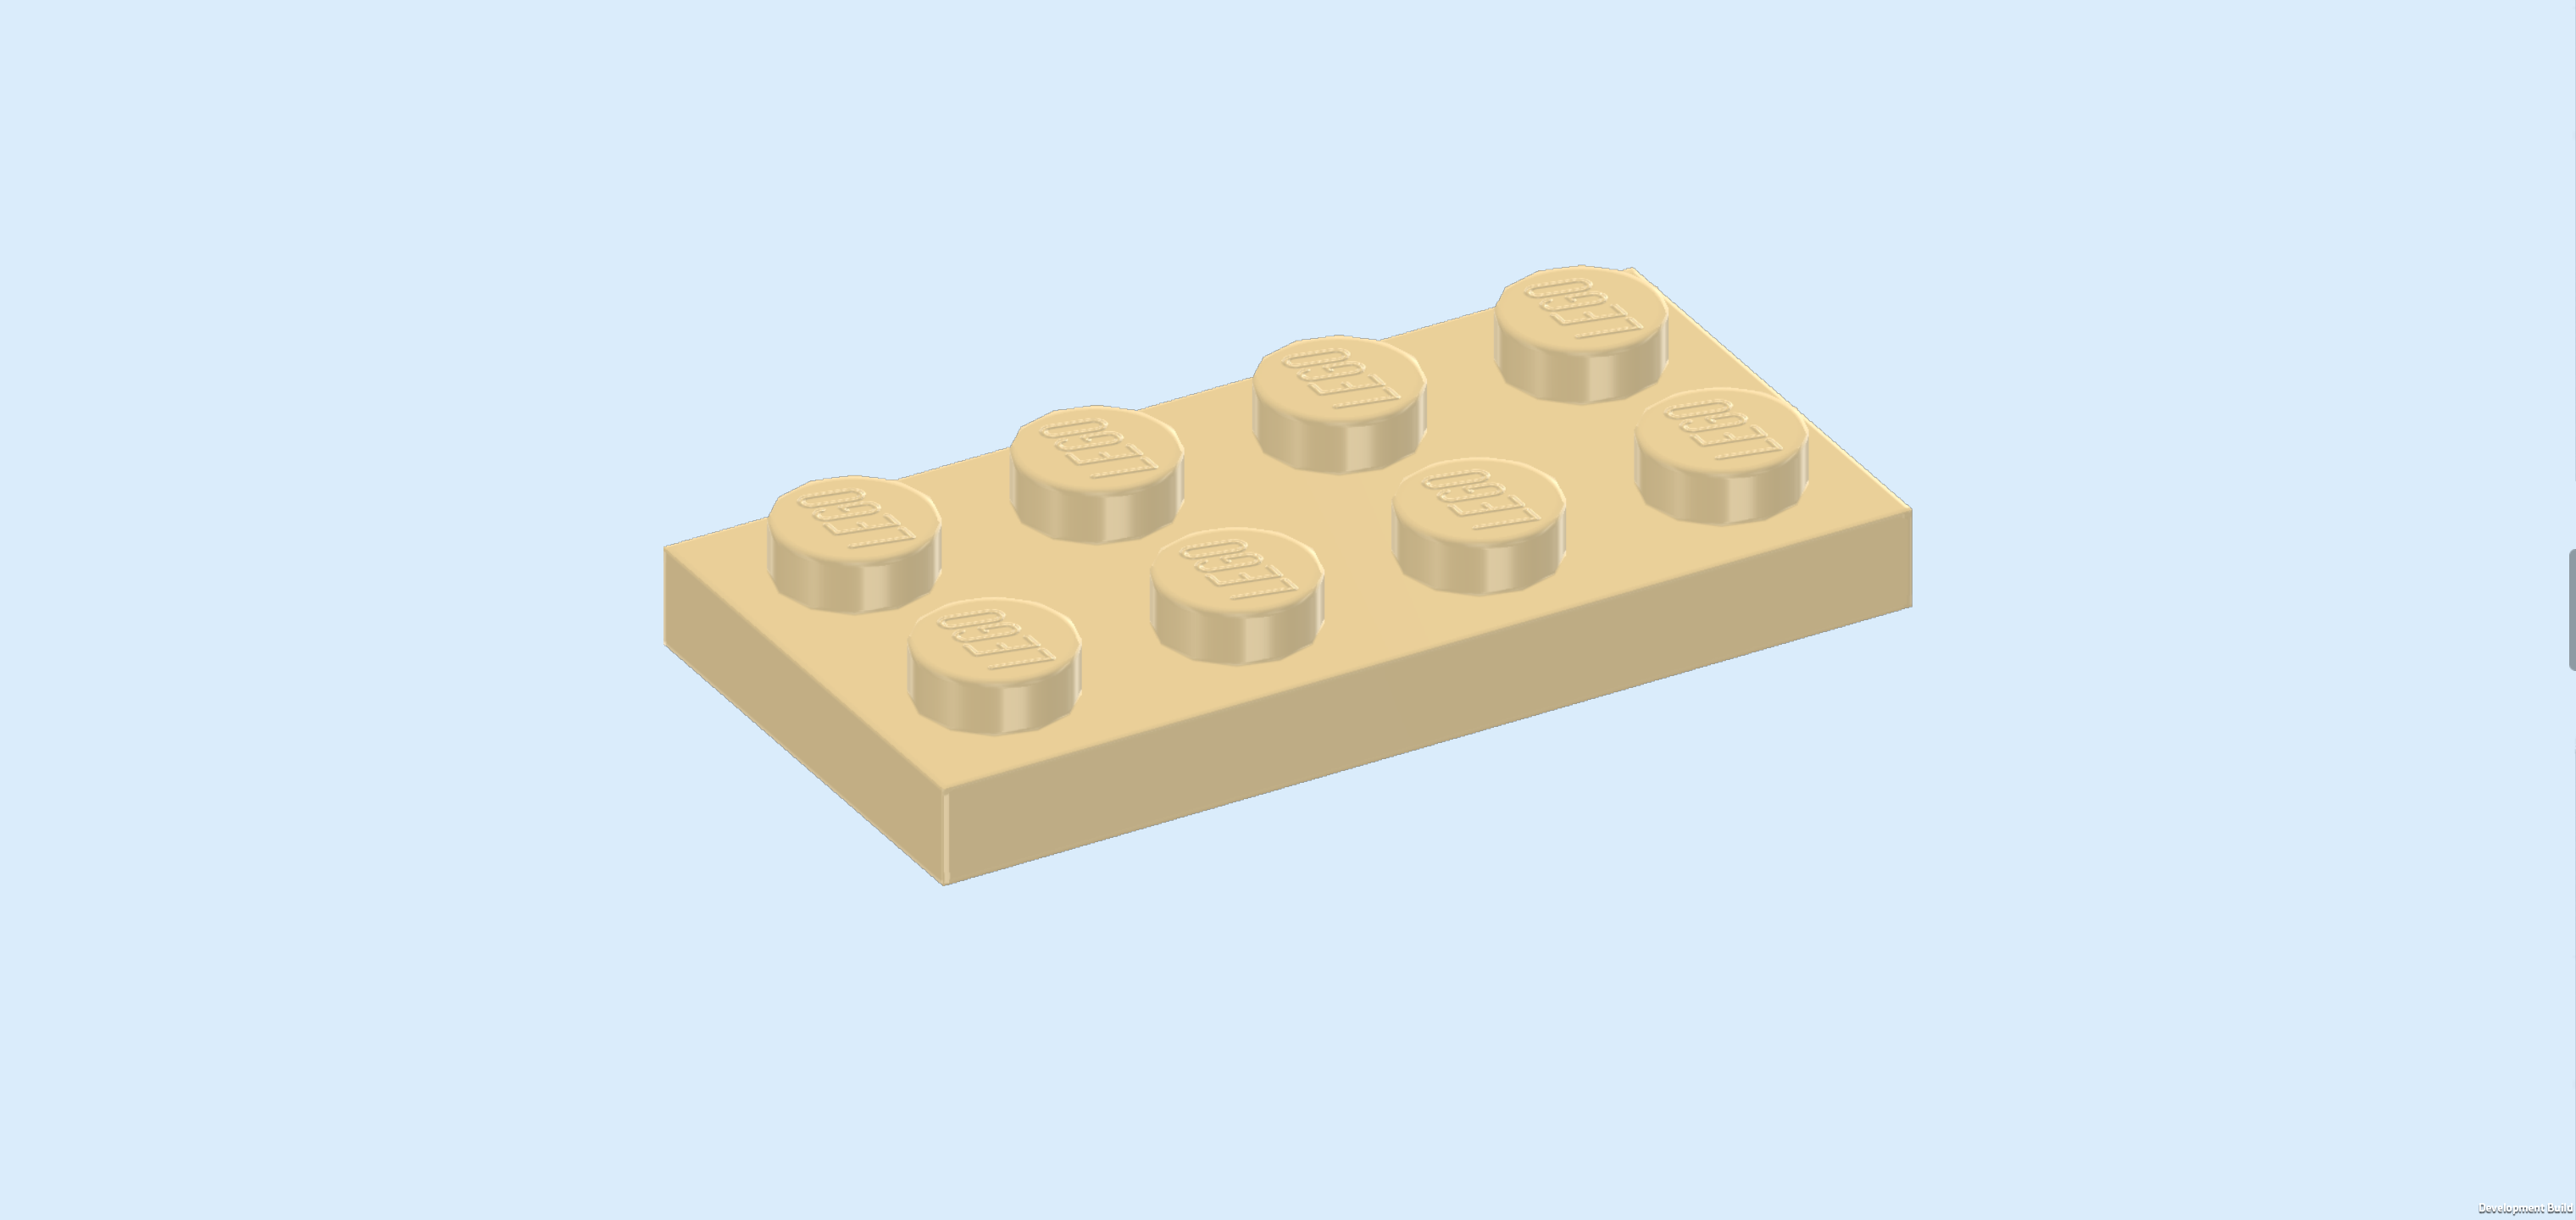
| Find 1 beige plate 2x4. |
| Flip the sleigh right side up again, long skids and ball cup pointing to the left. |
| Put the plate vertically centered on the 2 rightmost columns. |
| Collect the following 3 pieces: |
| 2 teal blue bricks 1x2 with downward half arch, |
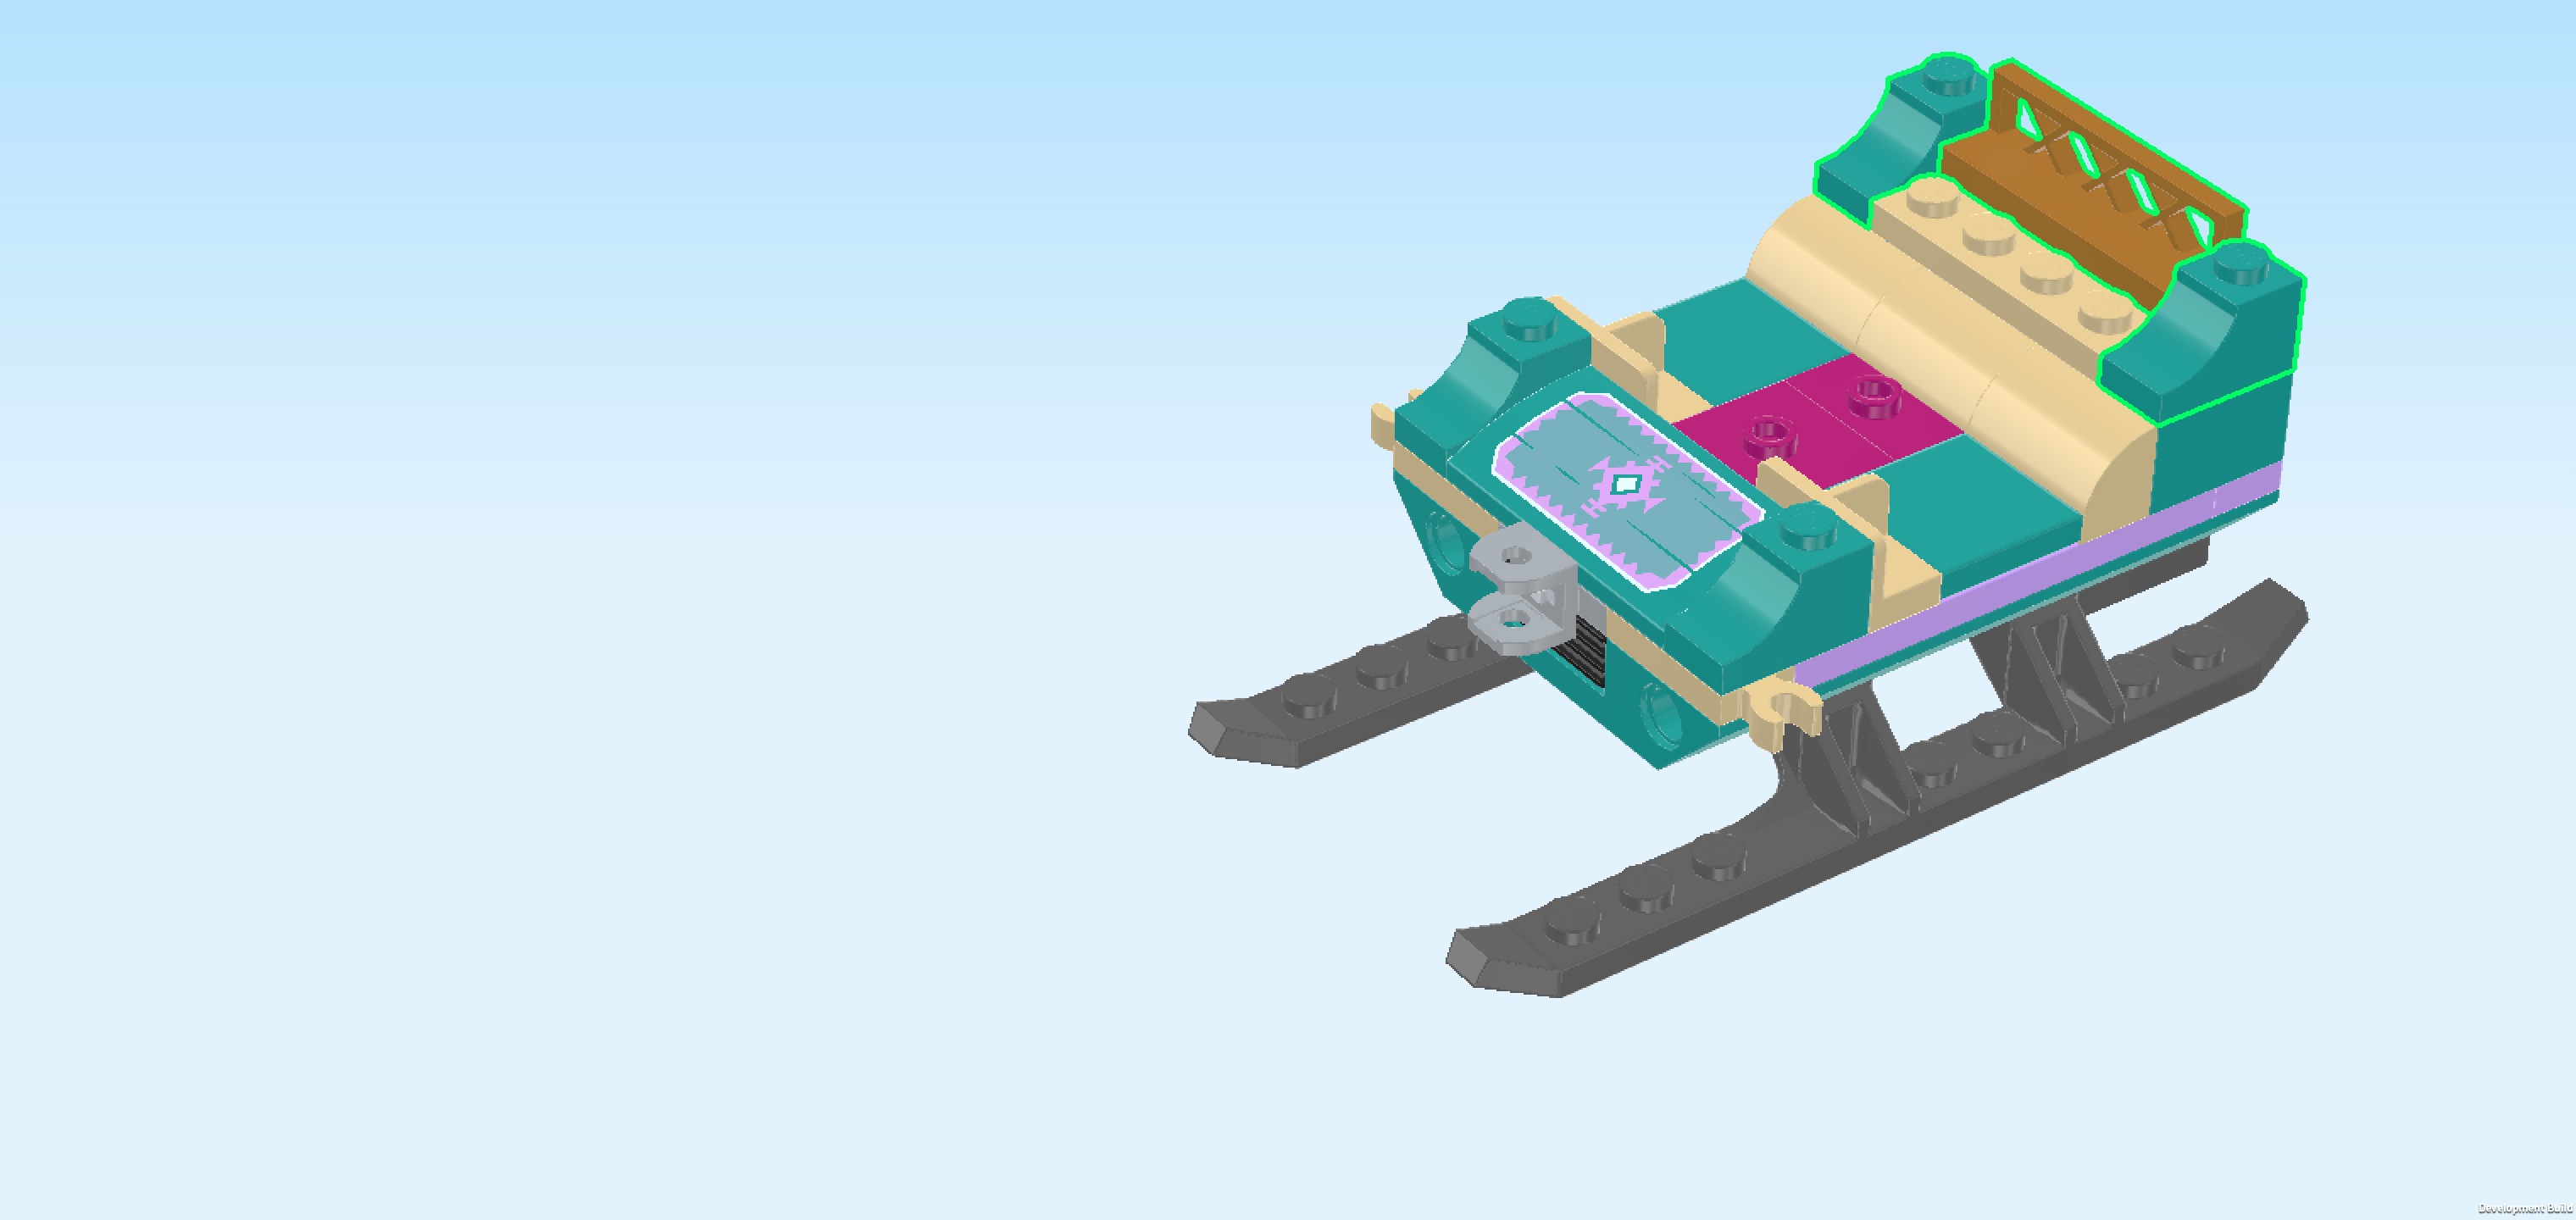
| and 1 warm gold fence element 1x4x1. |
| Put 1 brick 1x2 horizontally behind the previous piece, downward arch to the left. |
| Put the fence element 1x4x1 vertically in front of the previous piece on the rightmost column, fence part to the right. |
| Put the other brick 1x2 horizontally in front of the previous piece, downward arch to the left. |
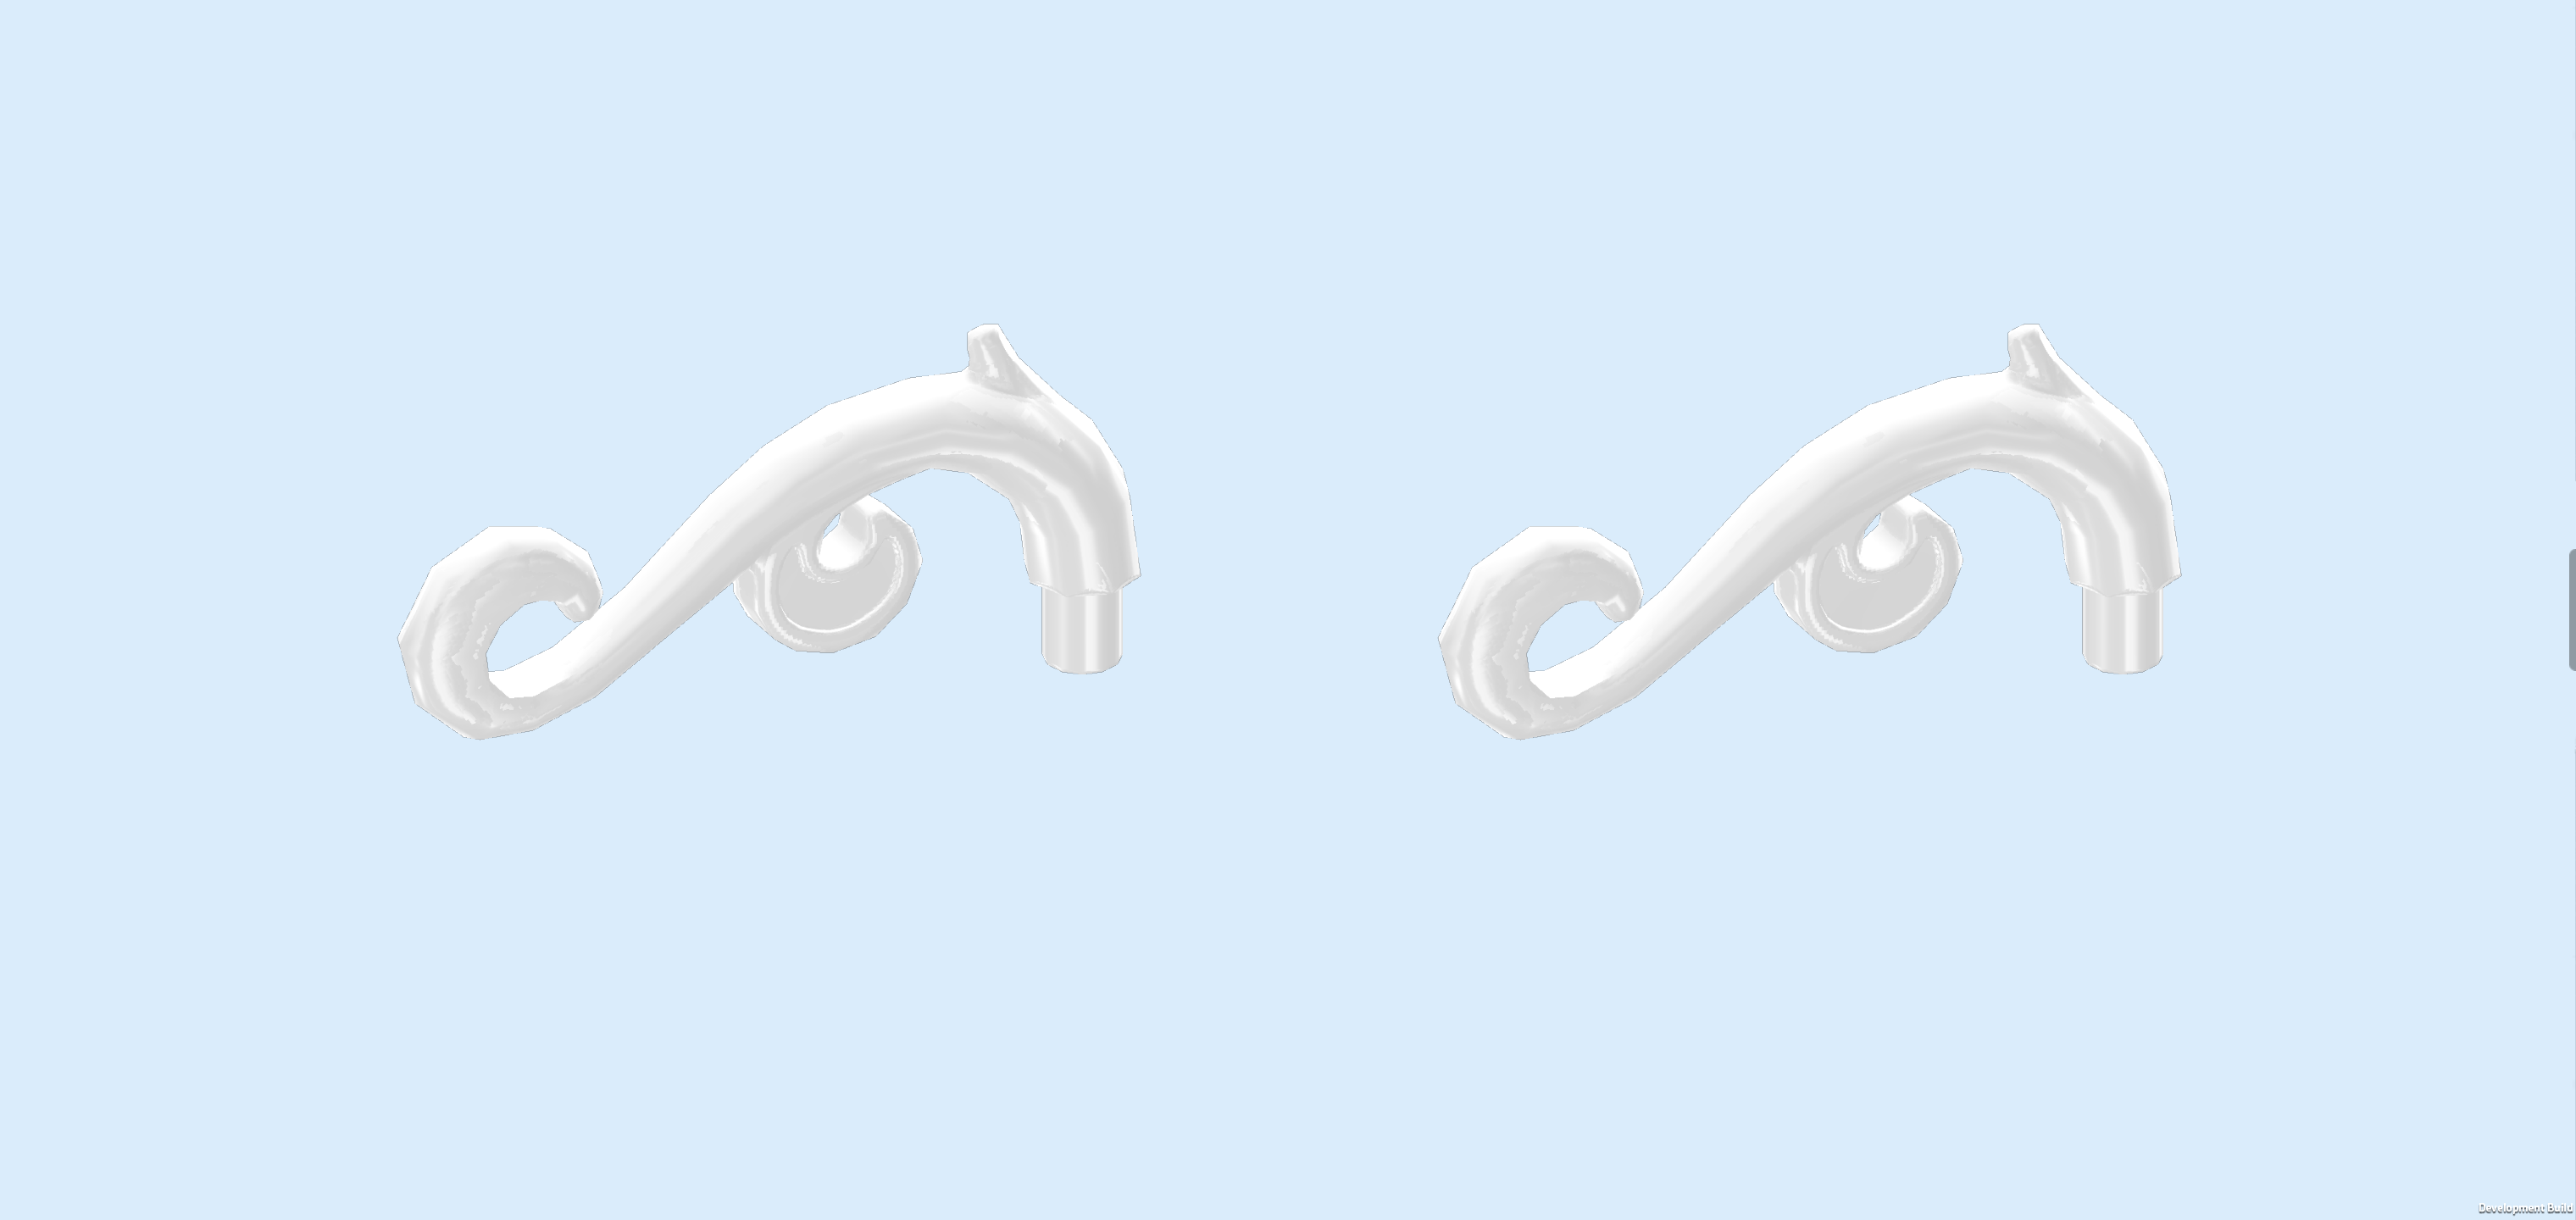
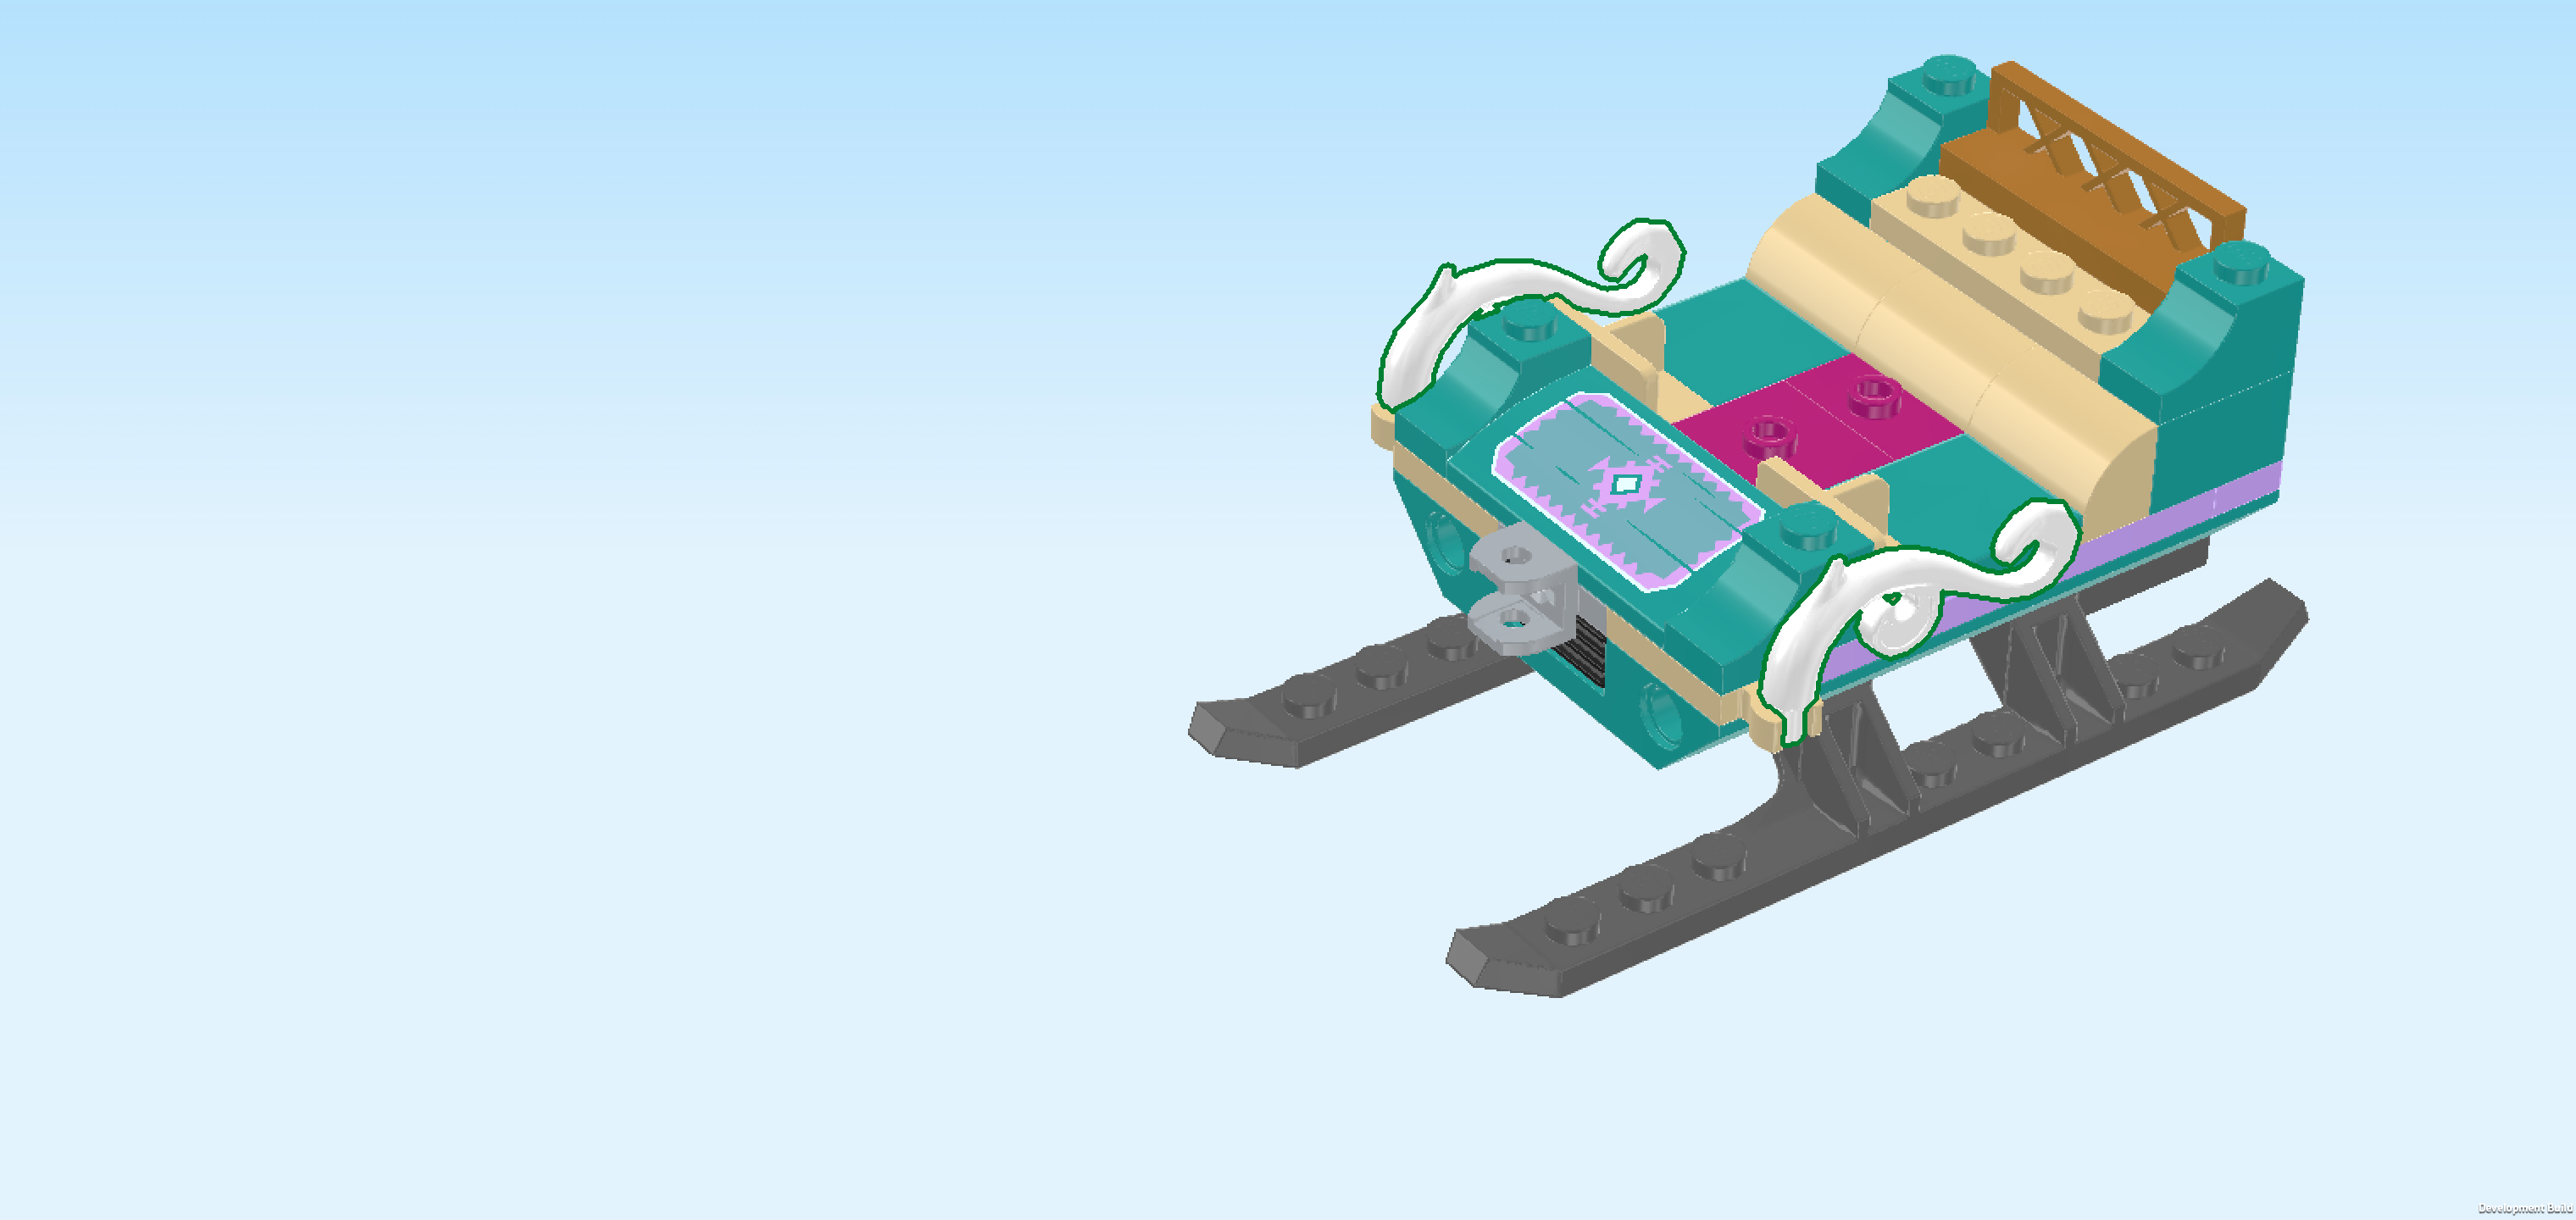
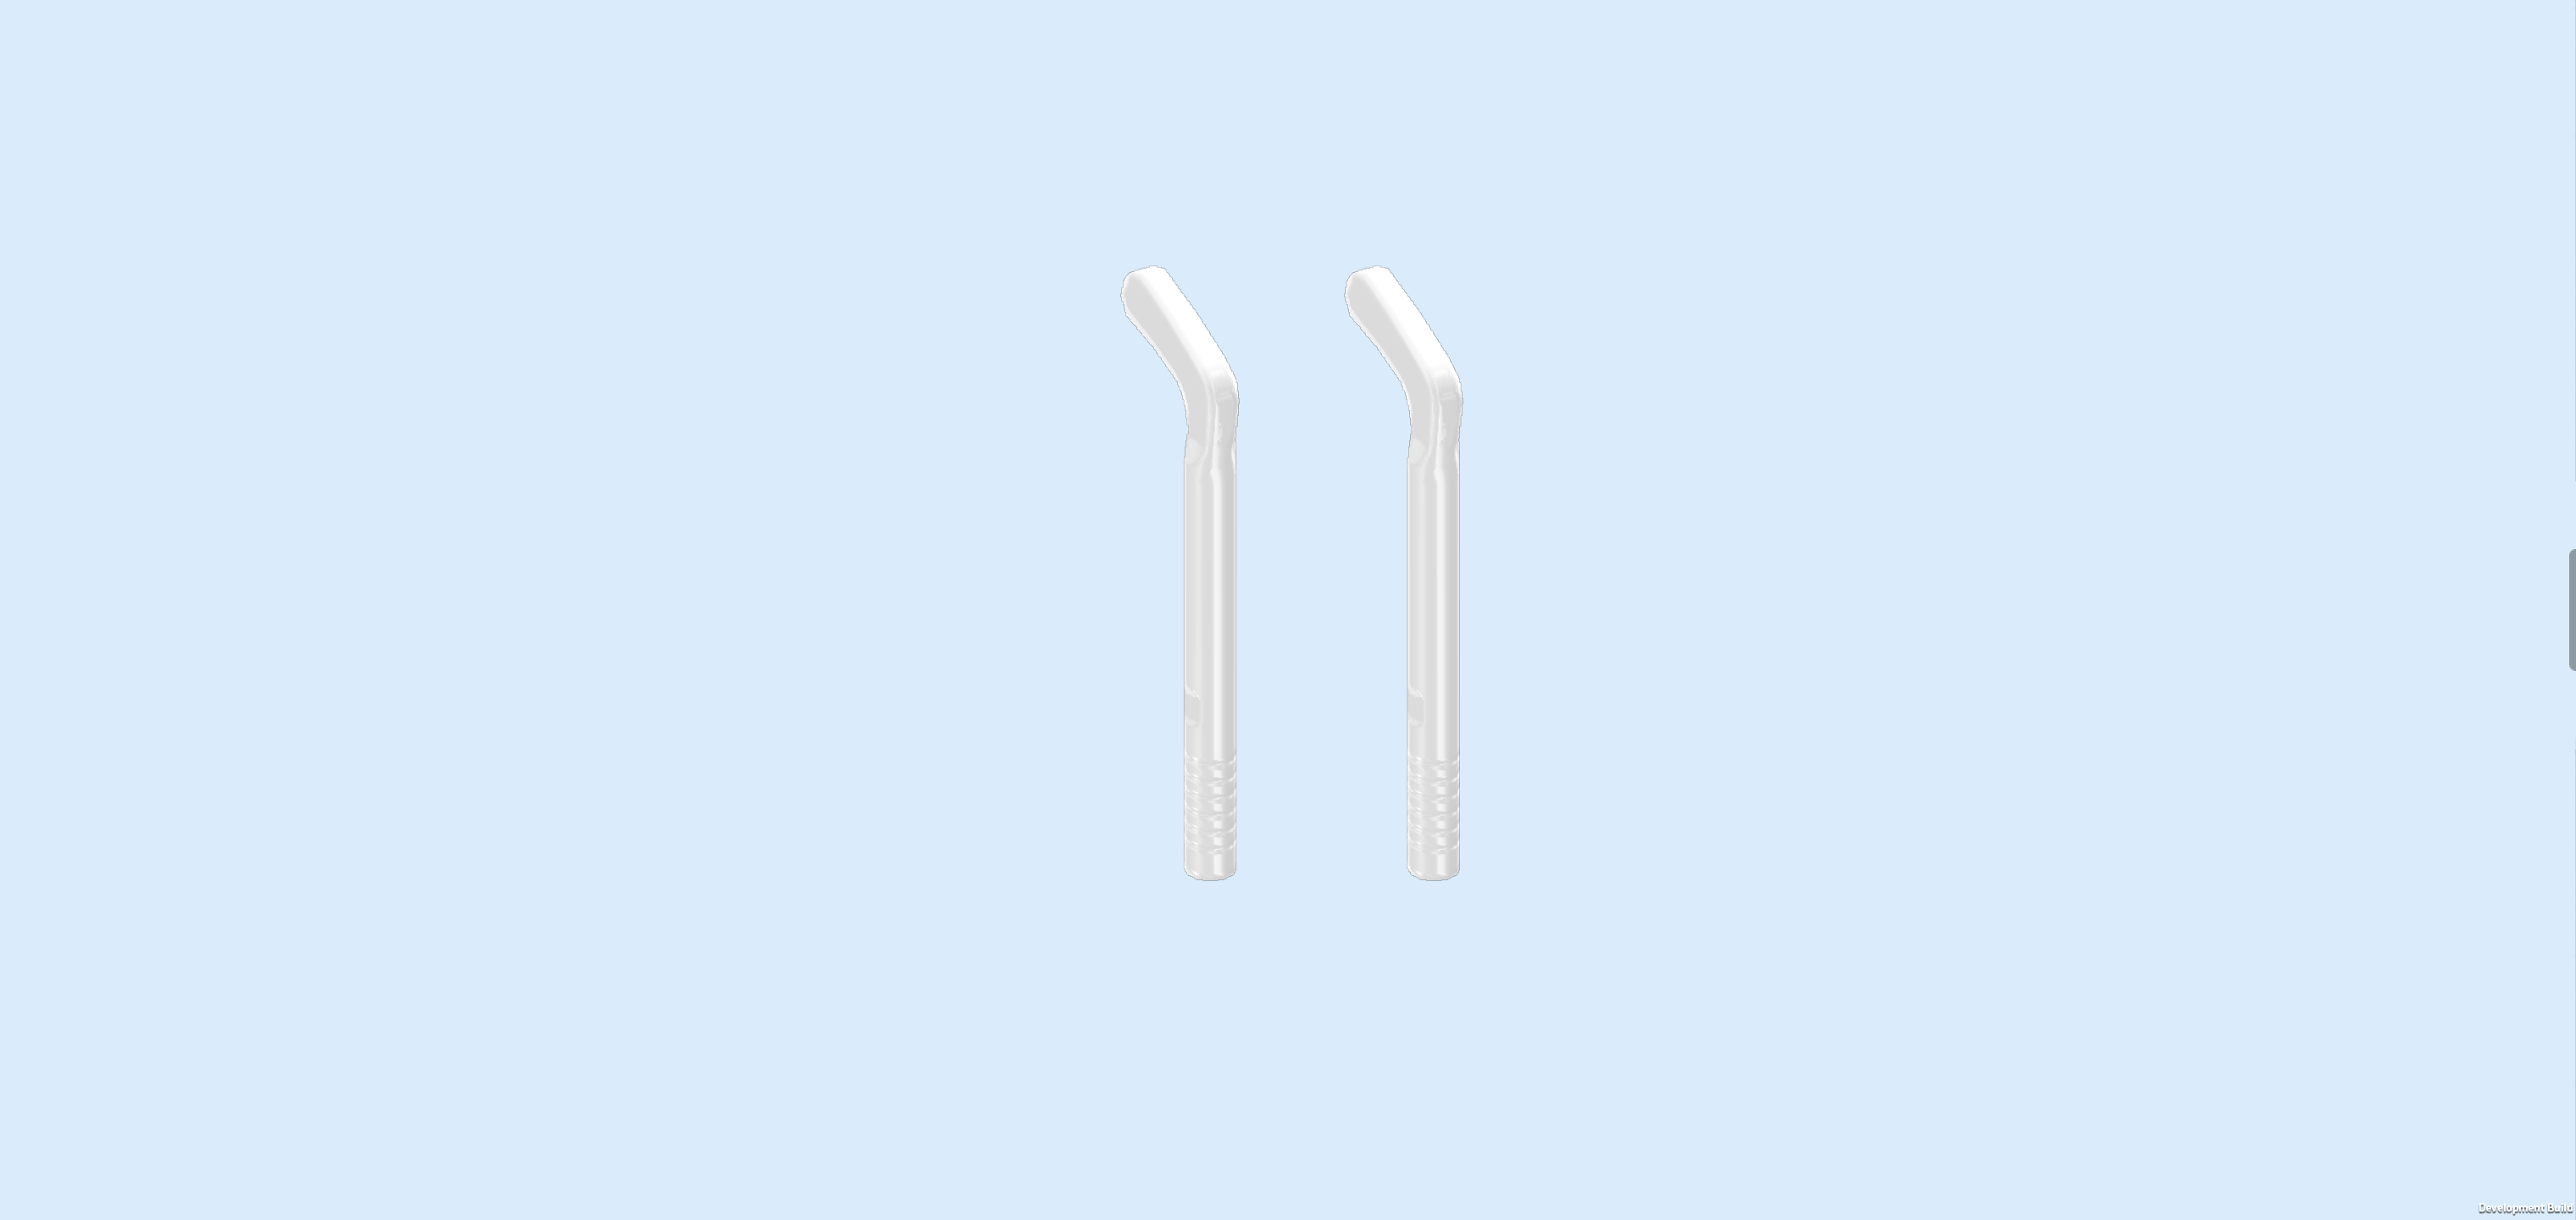
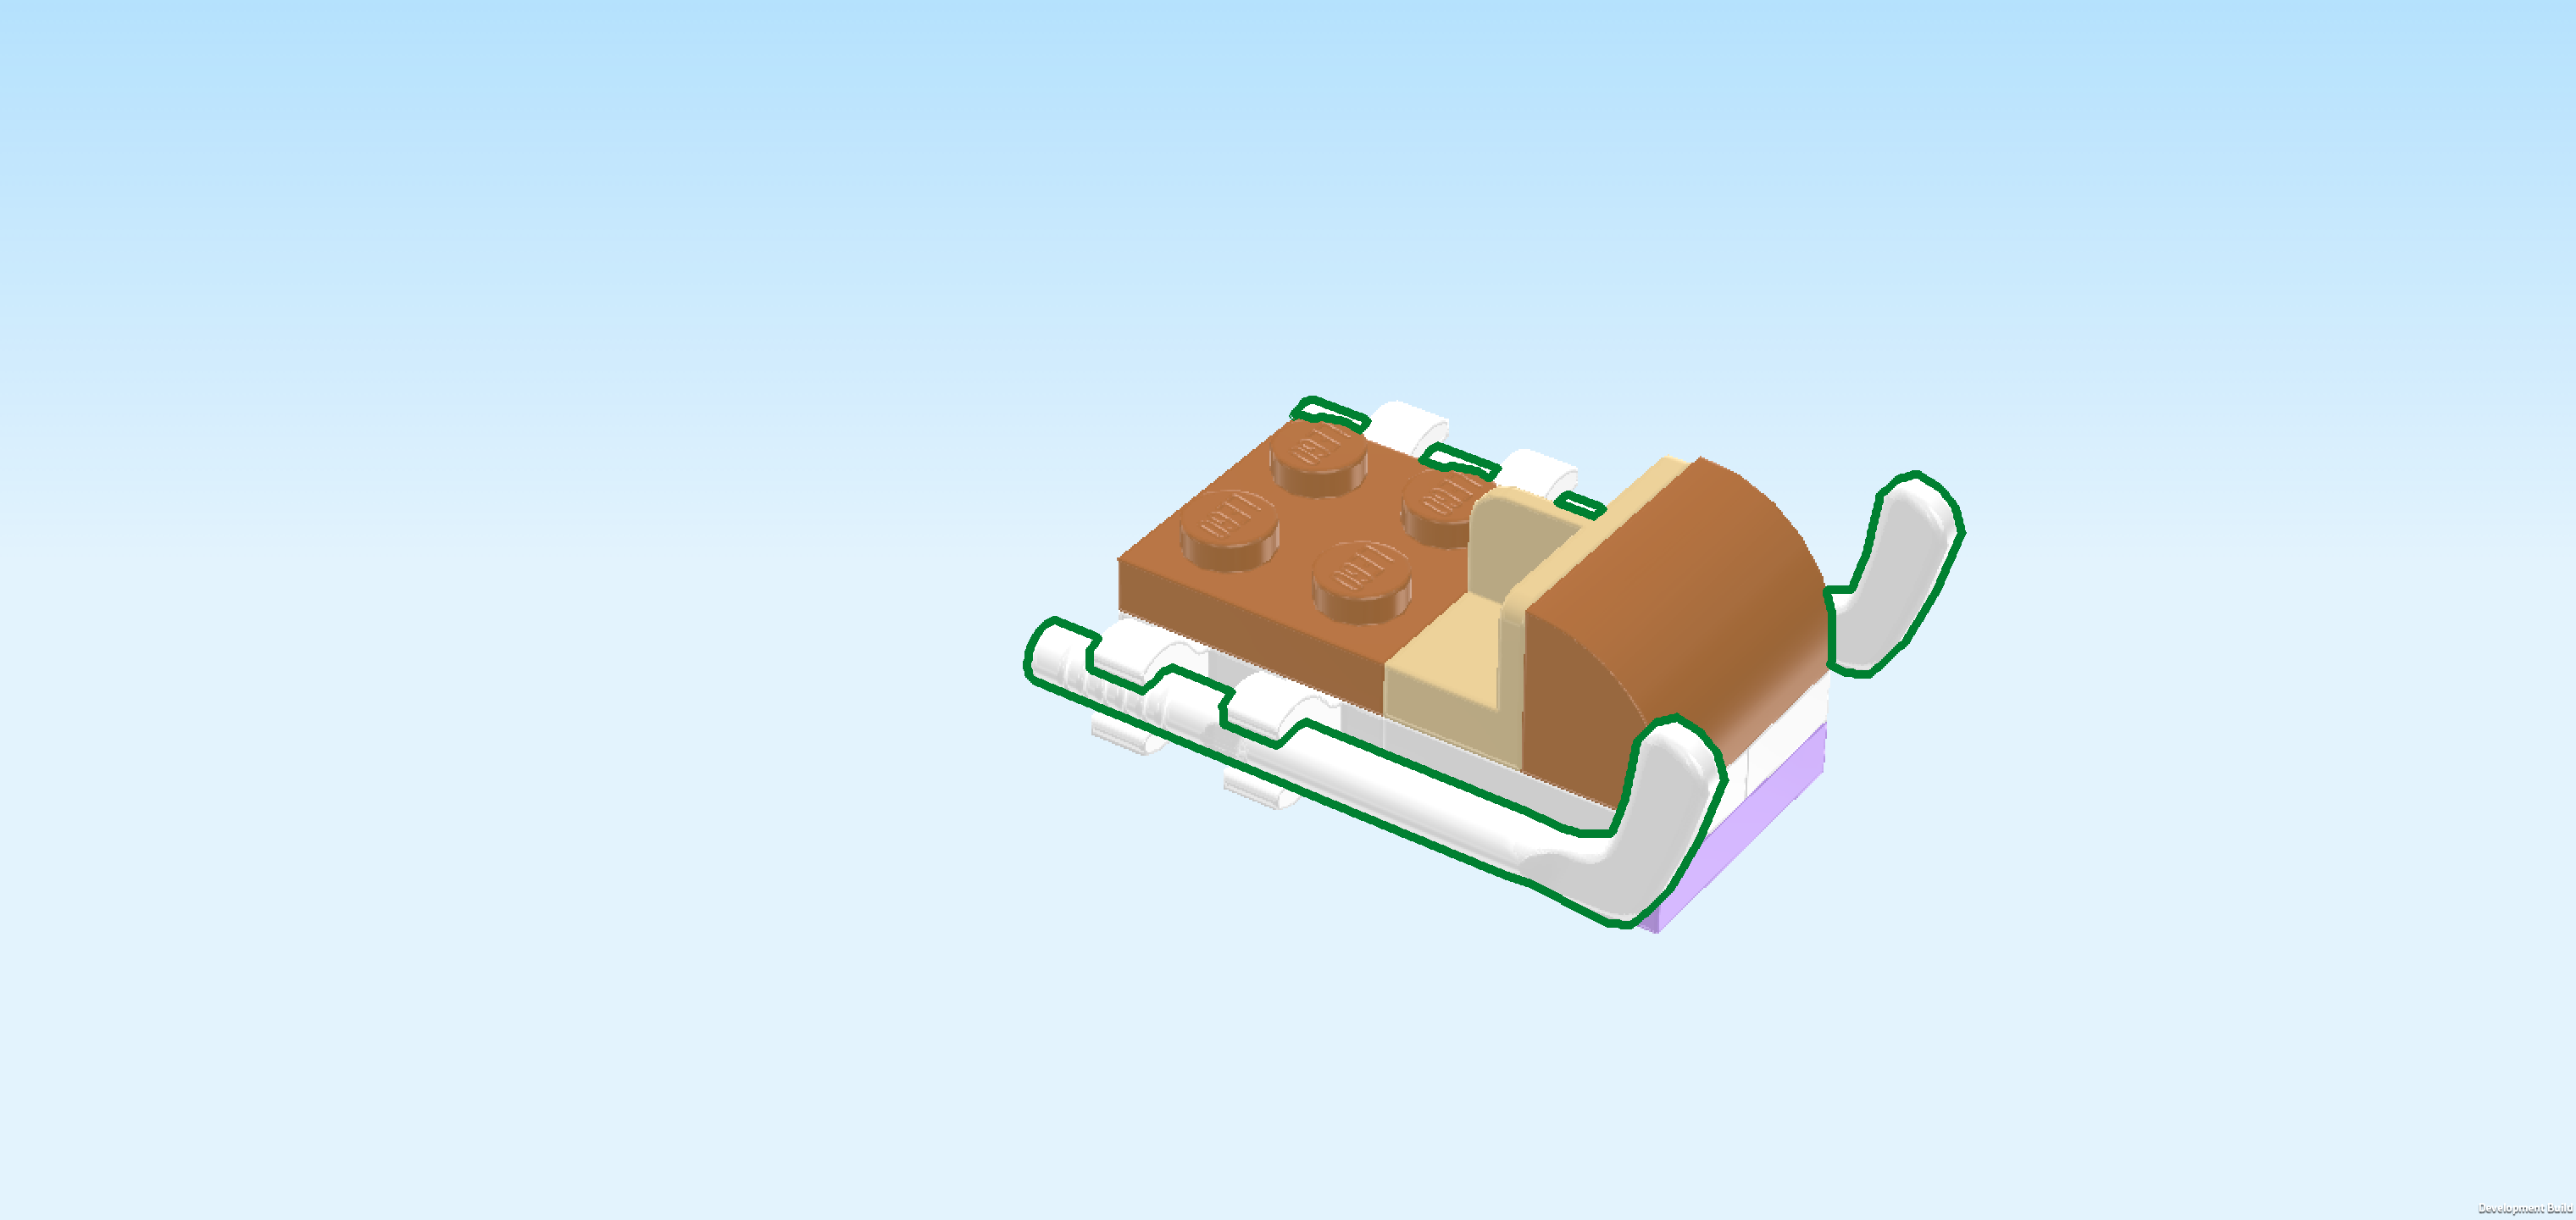
| Find 2 white curly tendrils with shaft. |
| Hold 1 horizontally in front of you, shaft on the left edge and pointing to the bottom. |
| Snap the shaft from the front into the clasp pointing to the front. This clasp is located on the left edge of the front side surface. Make sure that the tendril is extending along the front side surface towards the right, large bend going upwards. |
| Repeat symmetrically at the back. |
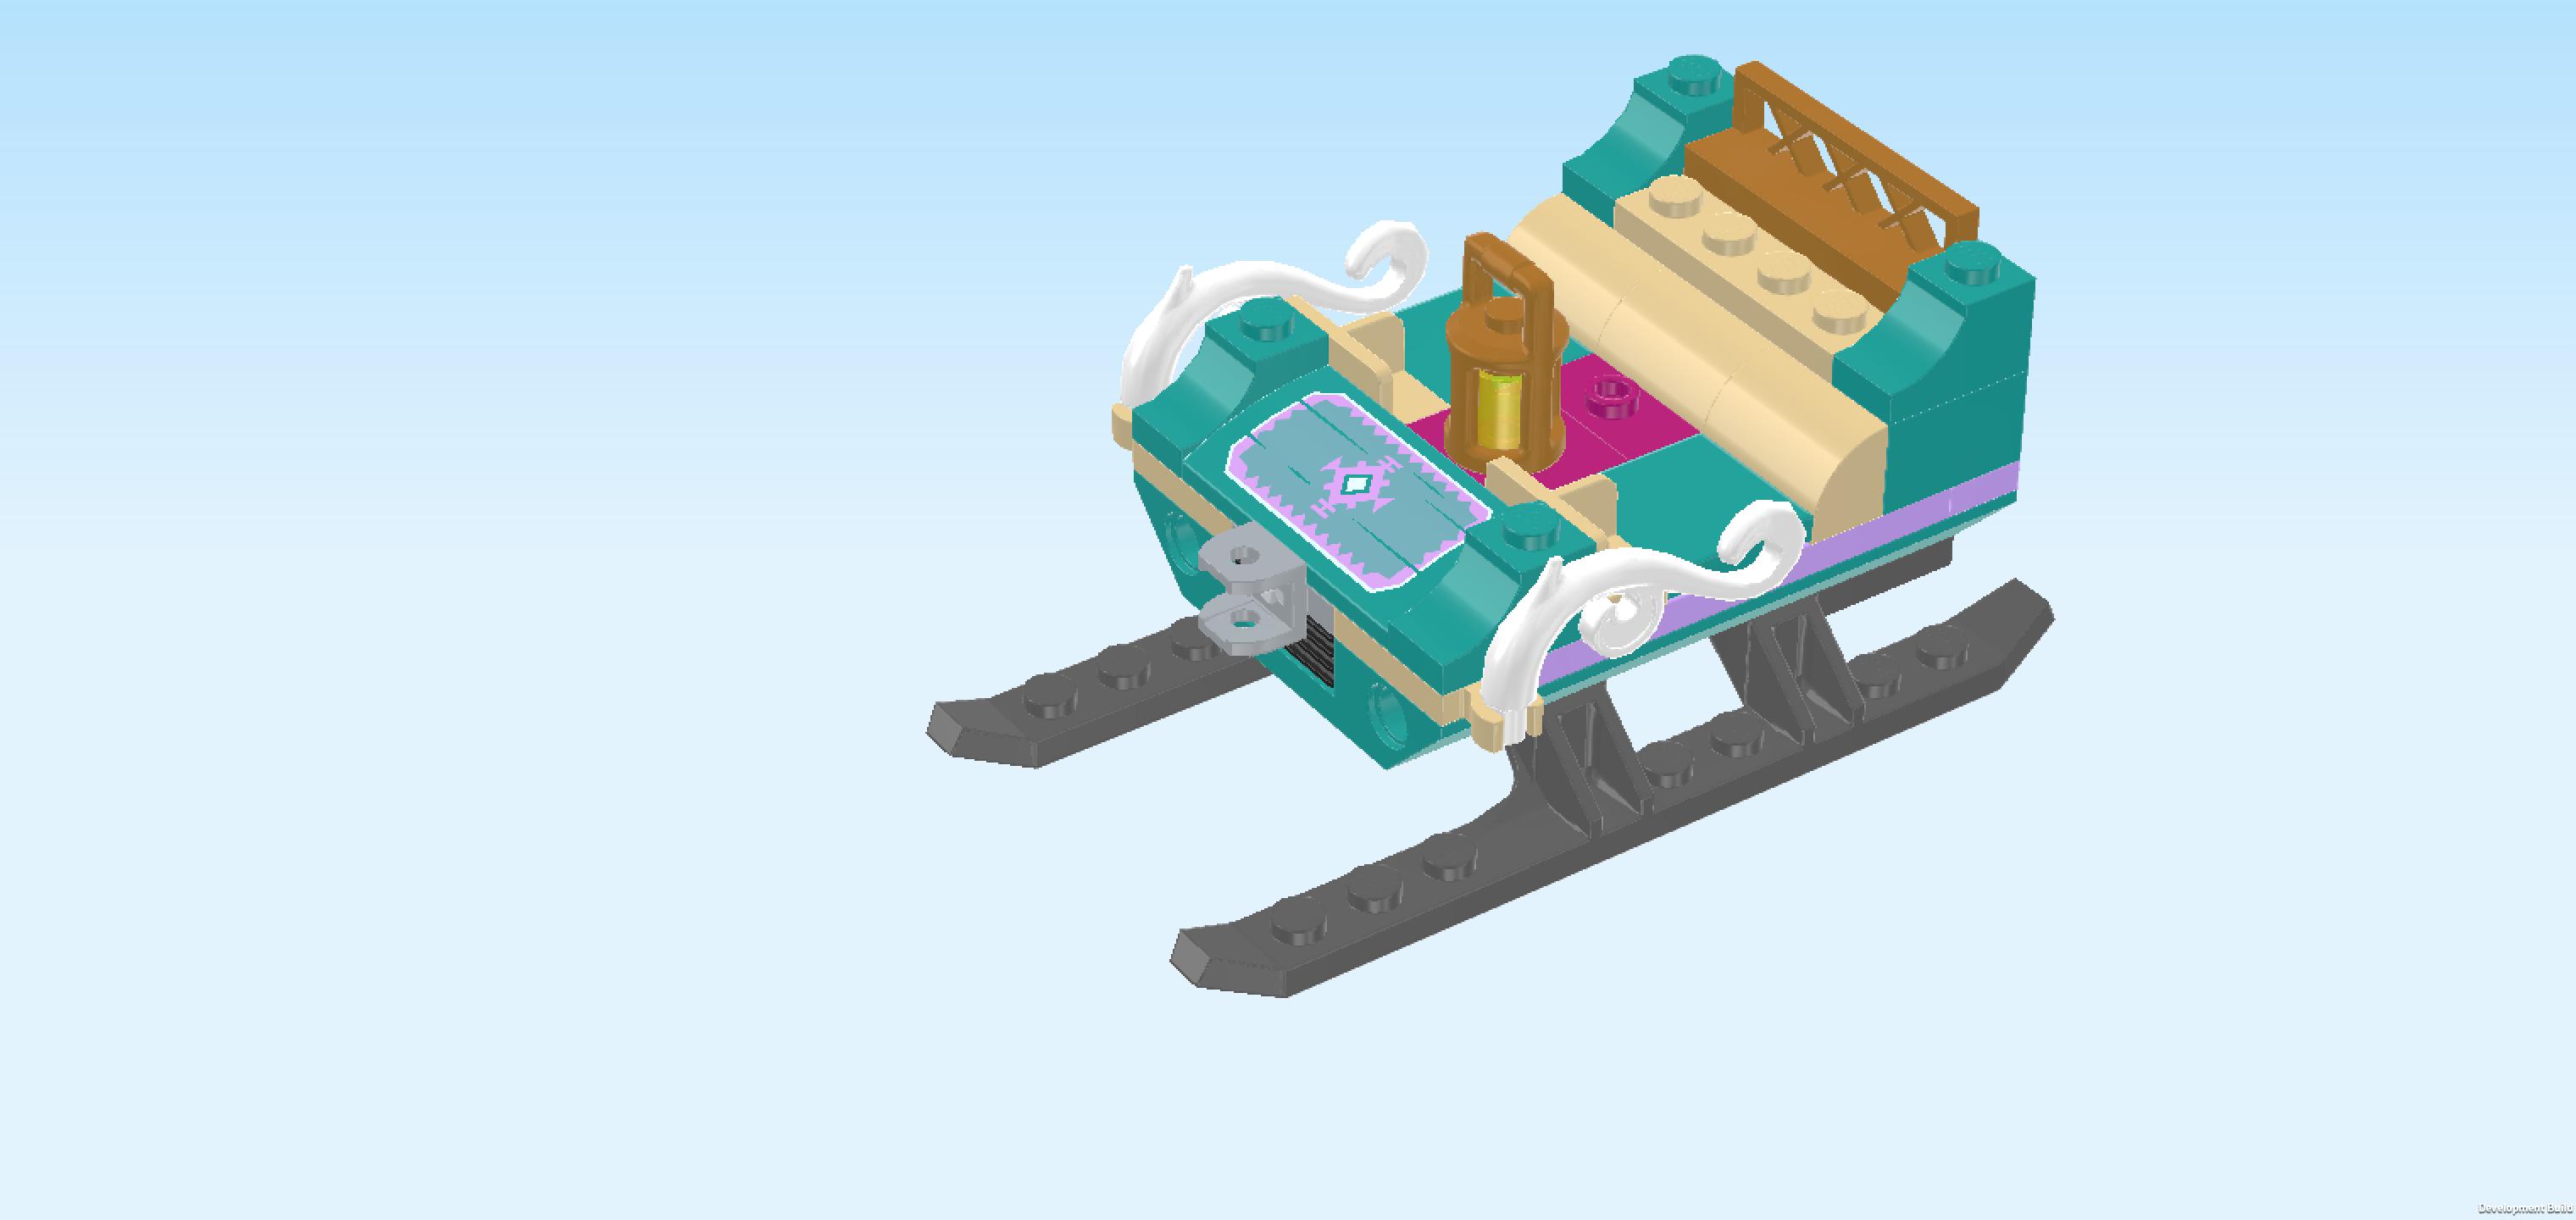
| Now, you can put the hand lantern we have built earlier on the knob directly to the right of the front curve tile with decoration print. |
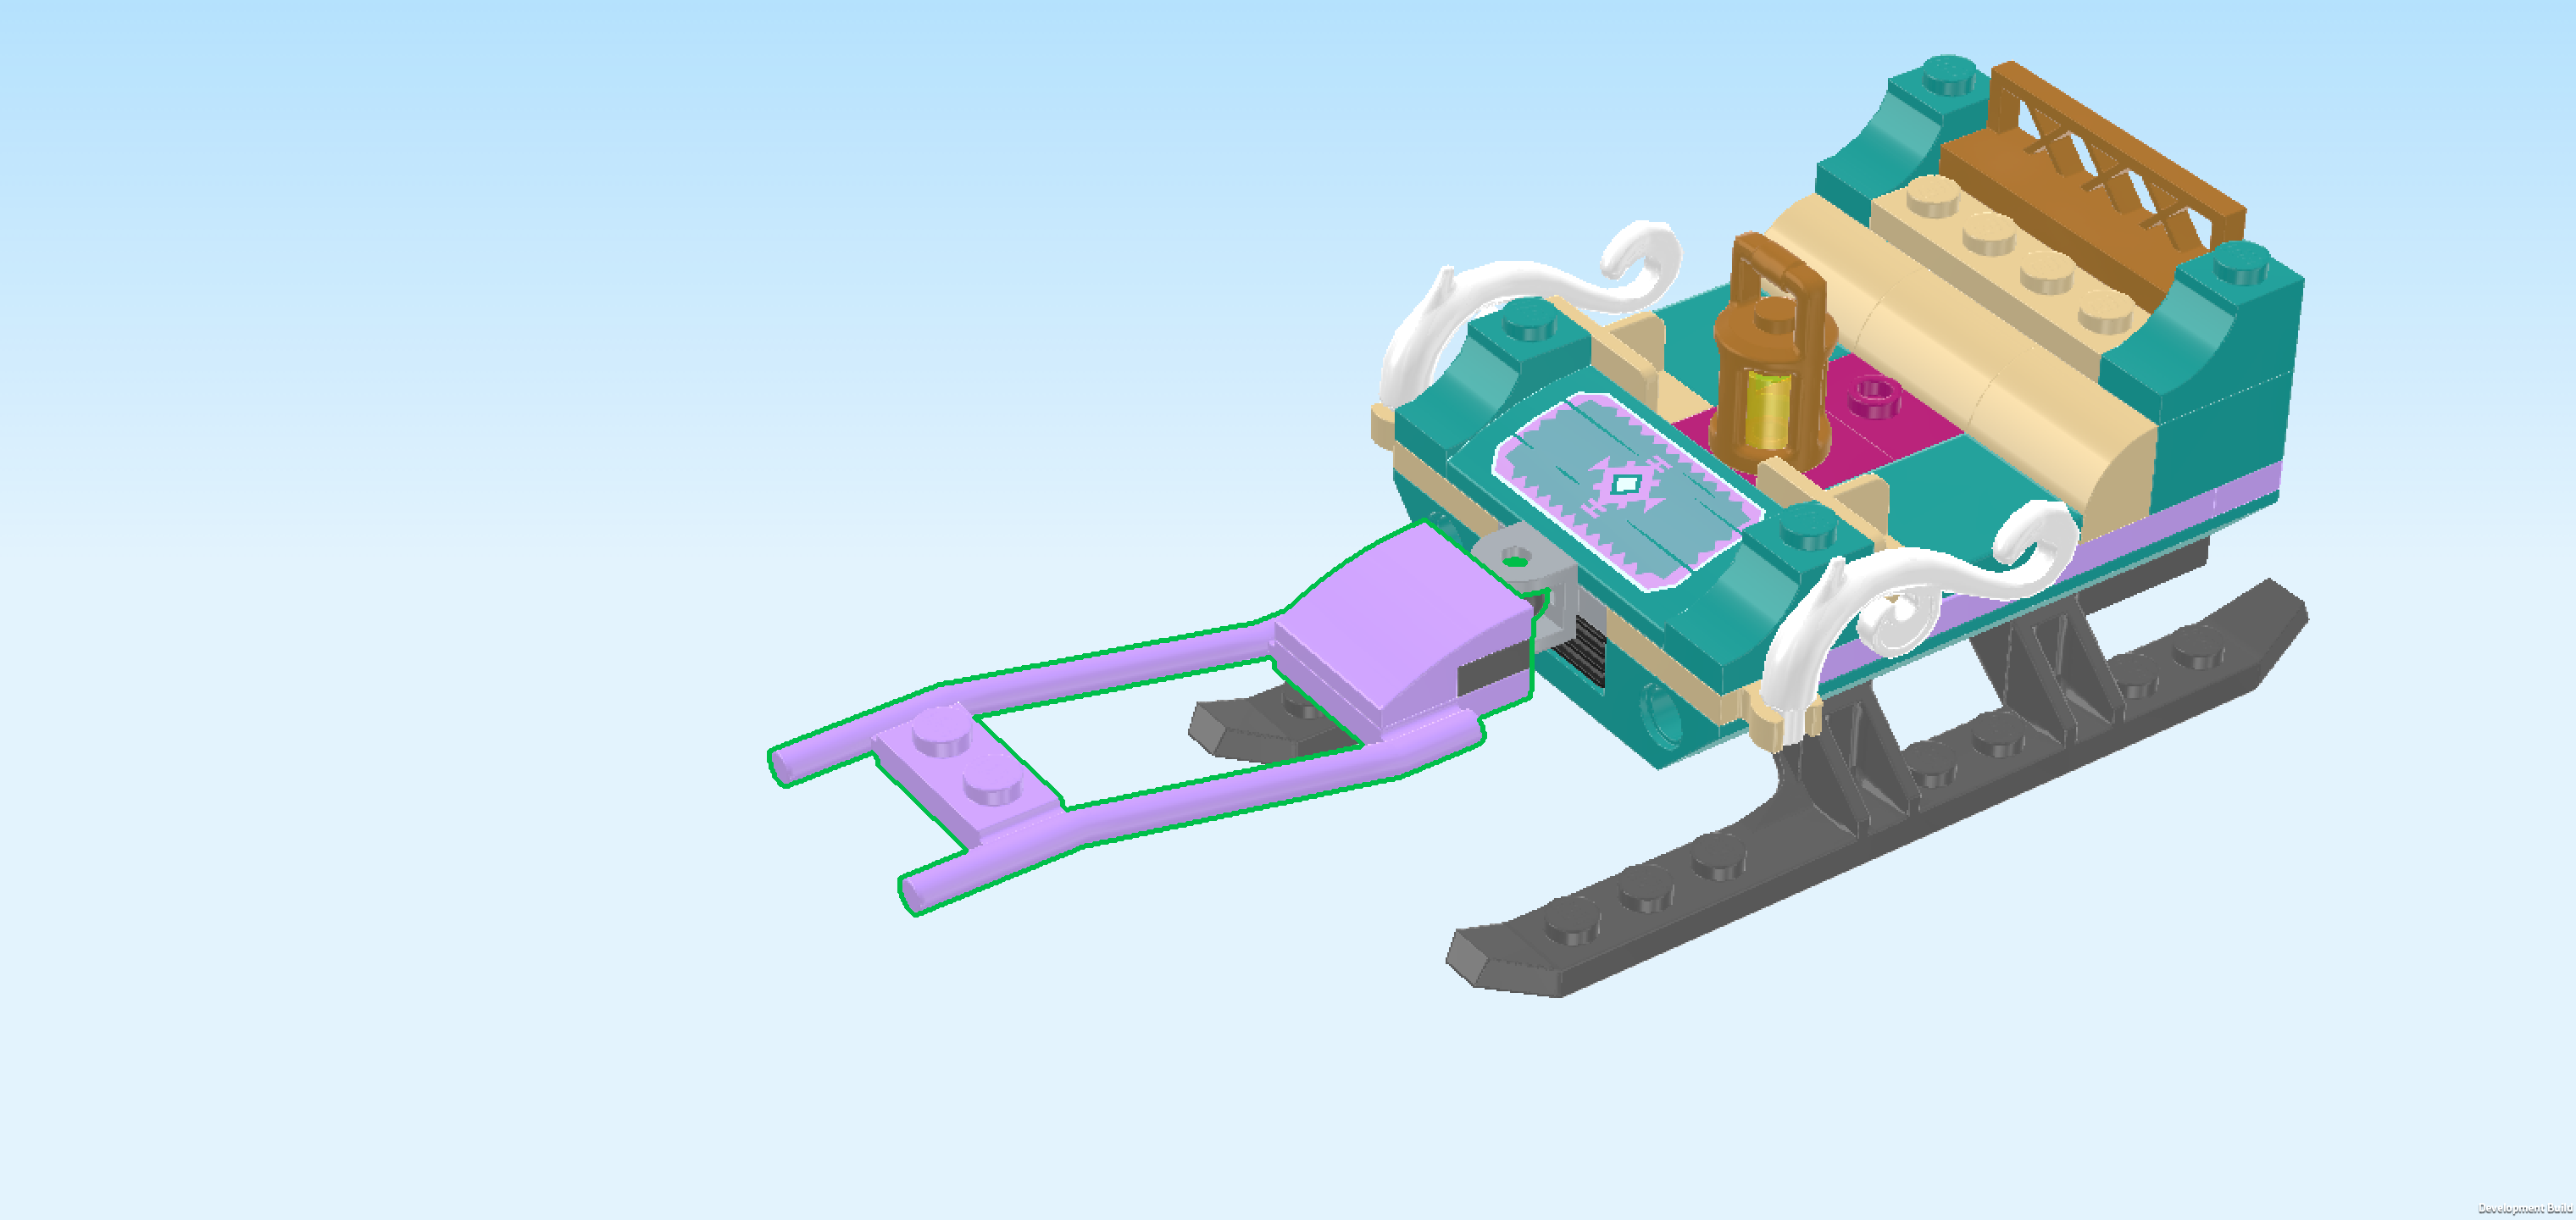
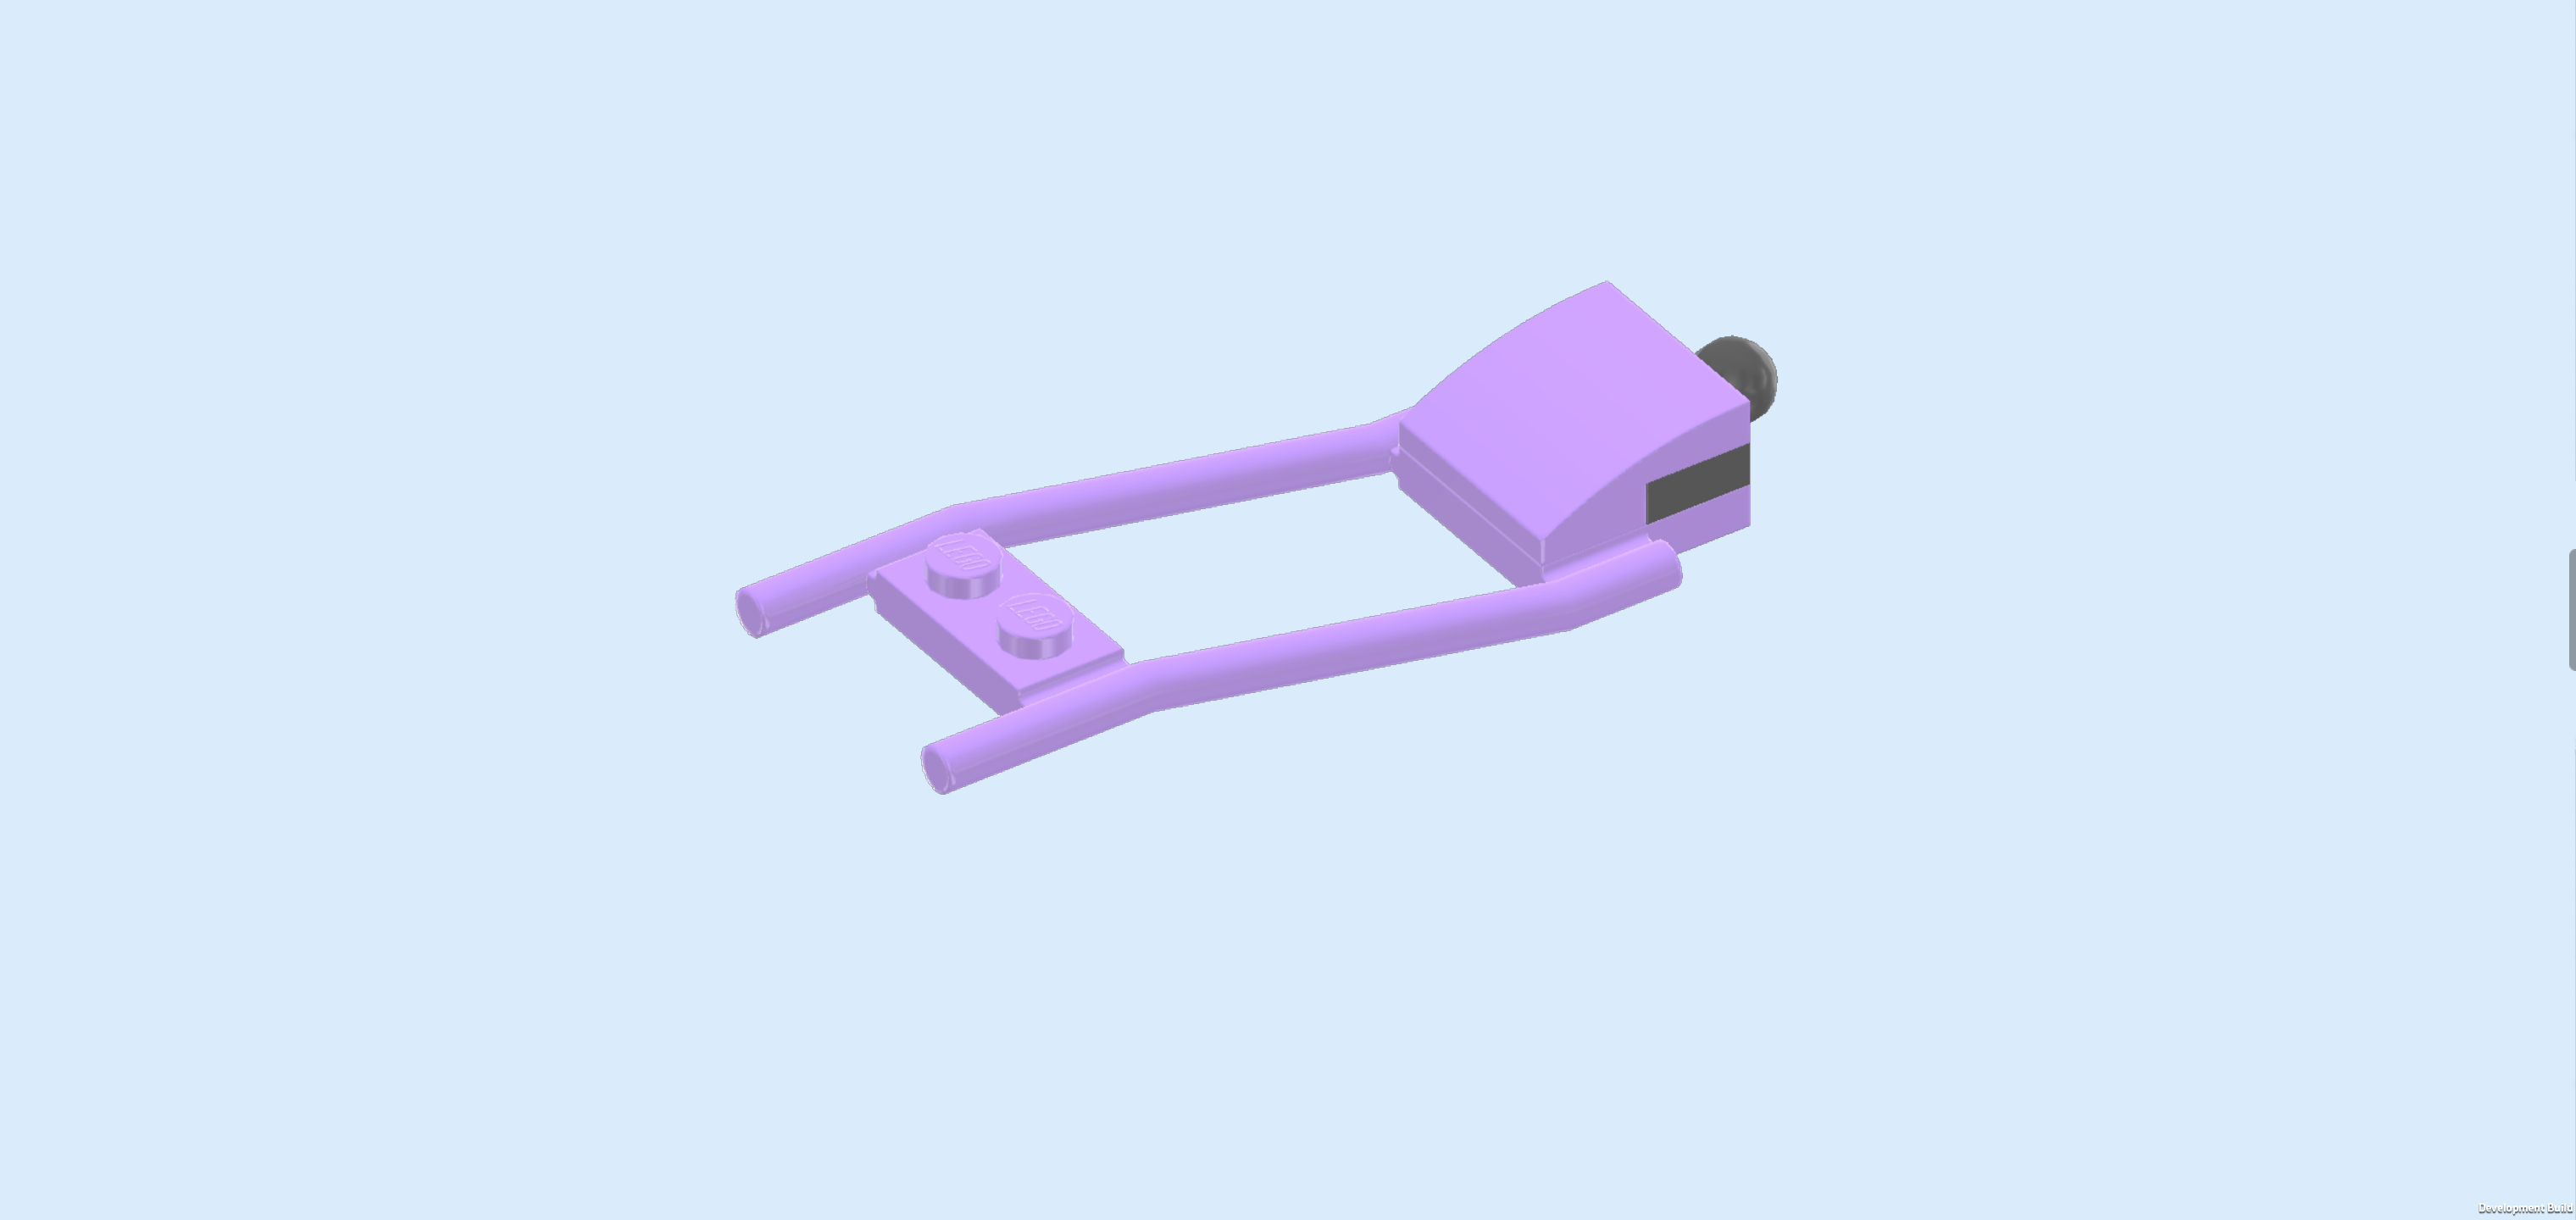
| Next, we will assemble the harness. |
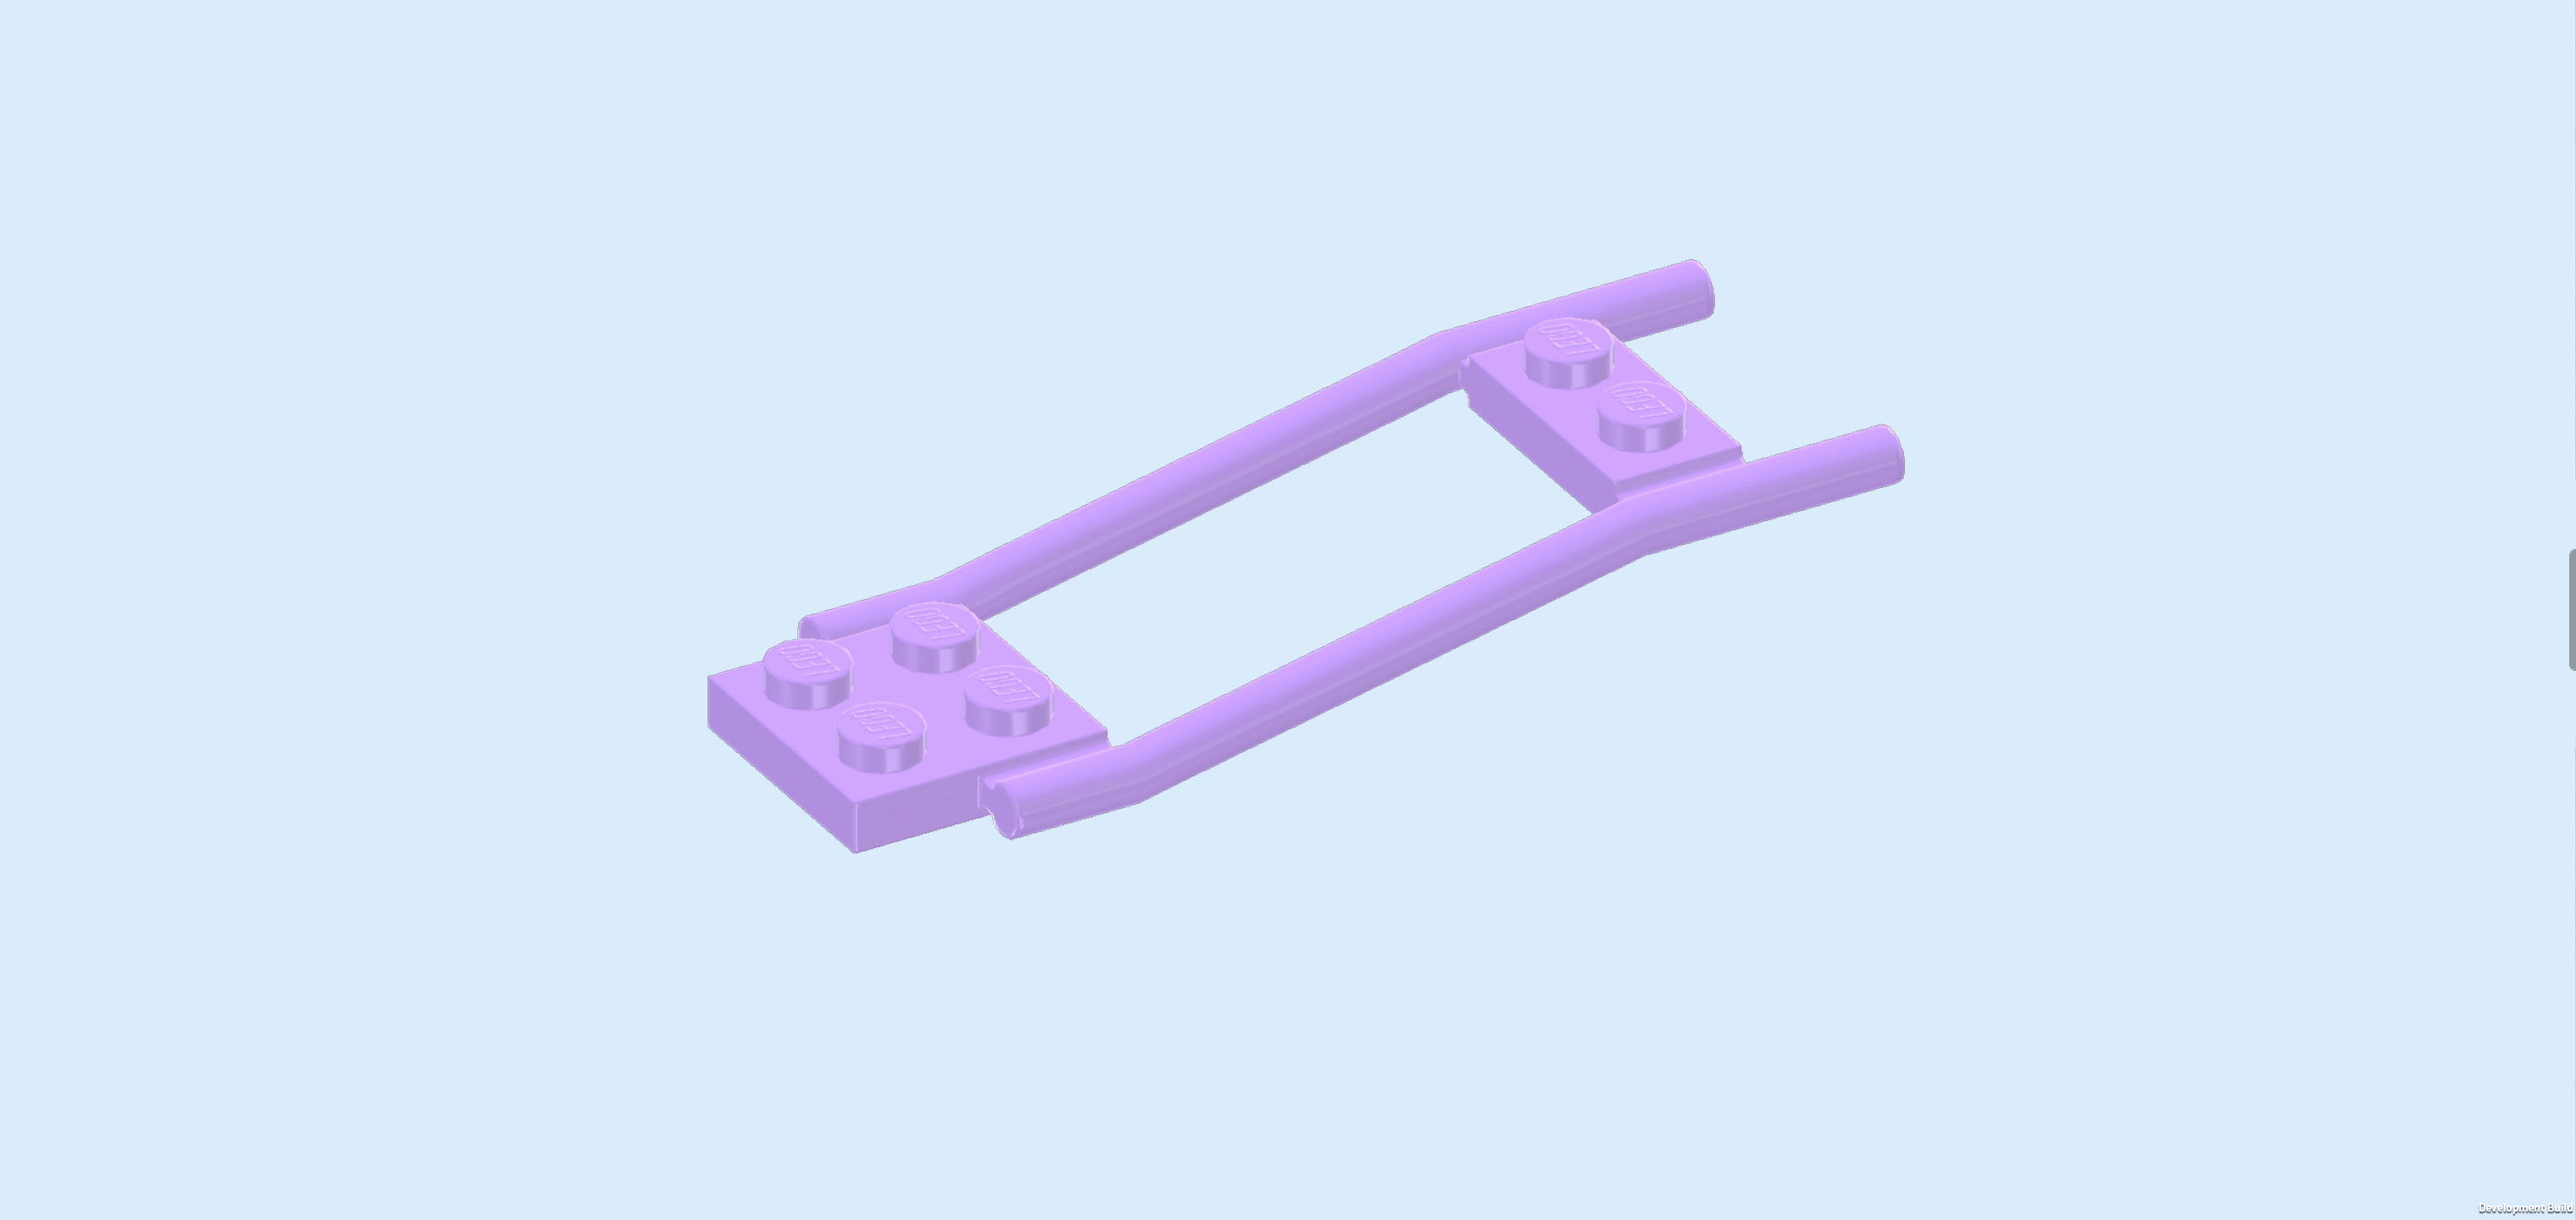
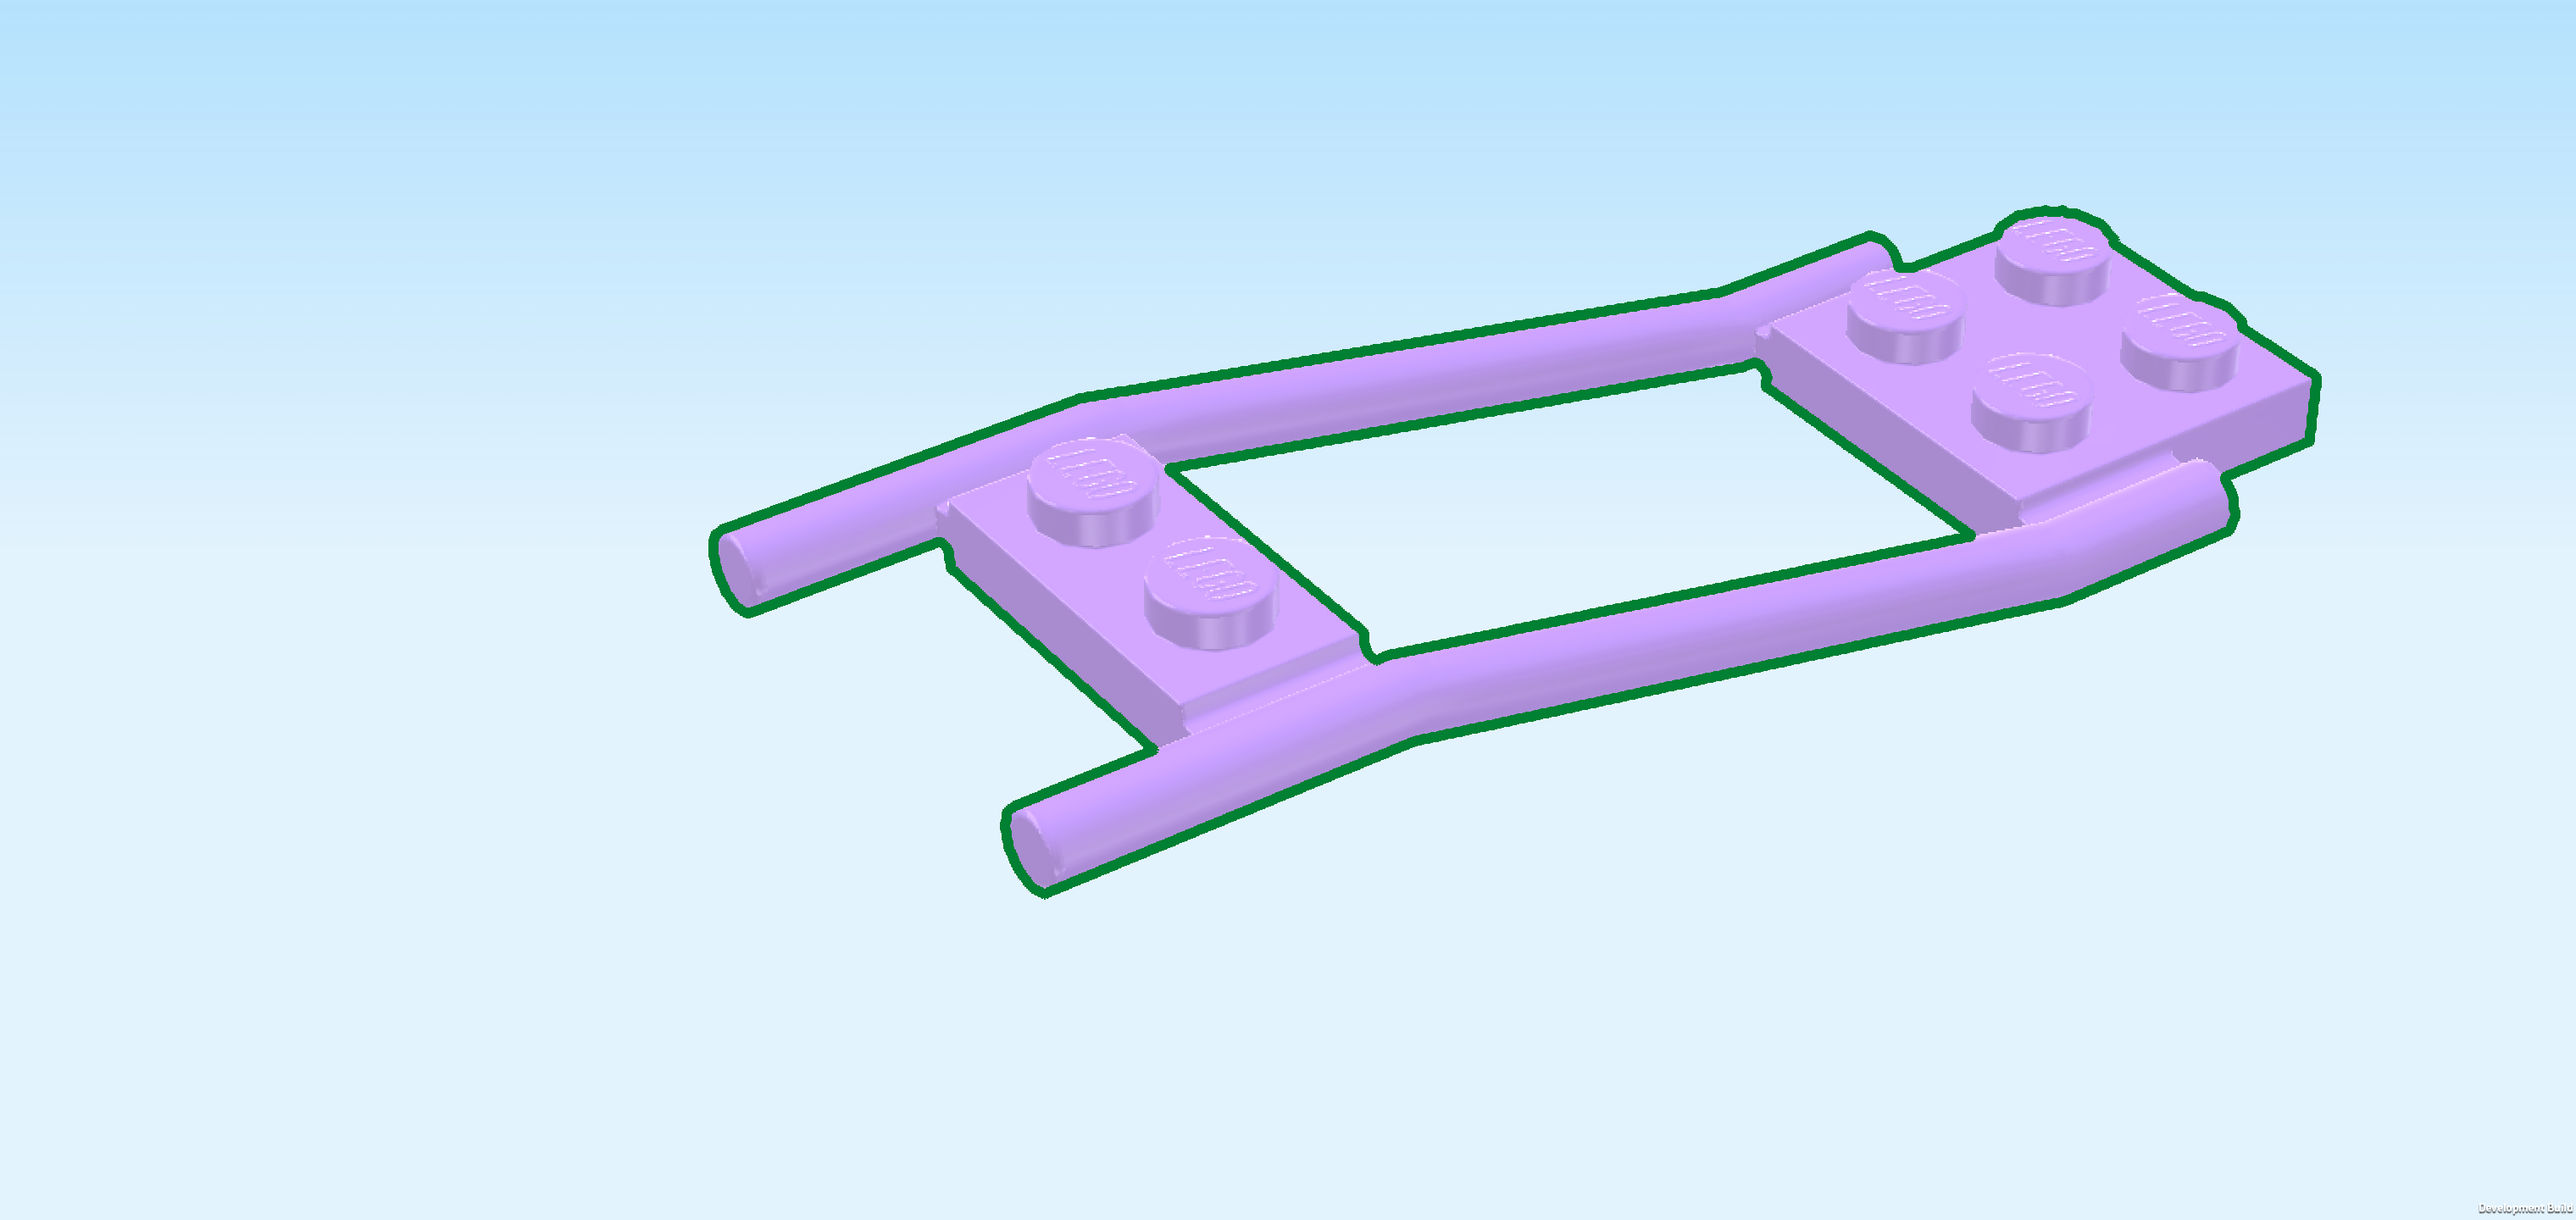
| Find 1 light lavender double drawbar 3x8. |
| Put it horizontally on the table, the end with the plate 2x2 to the right and the end with the plate 1x2 to the left. |
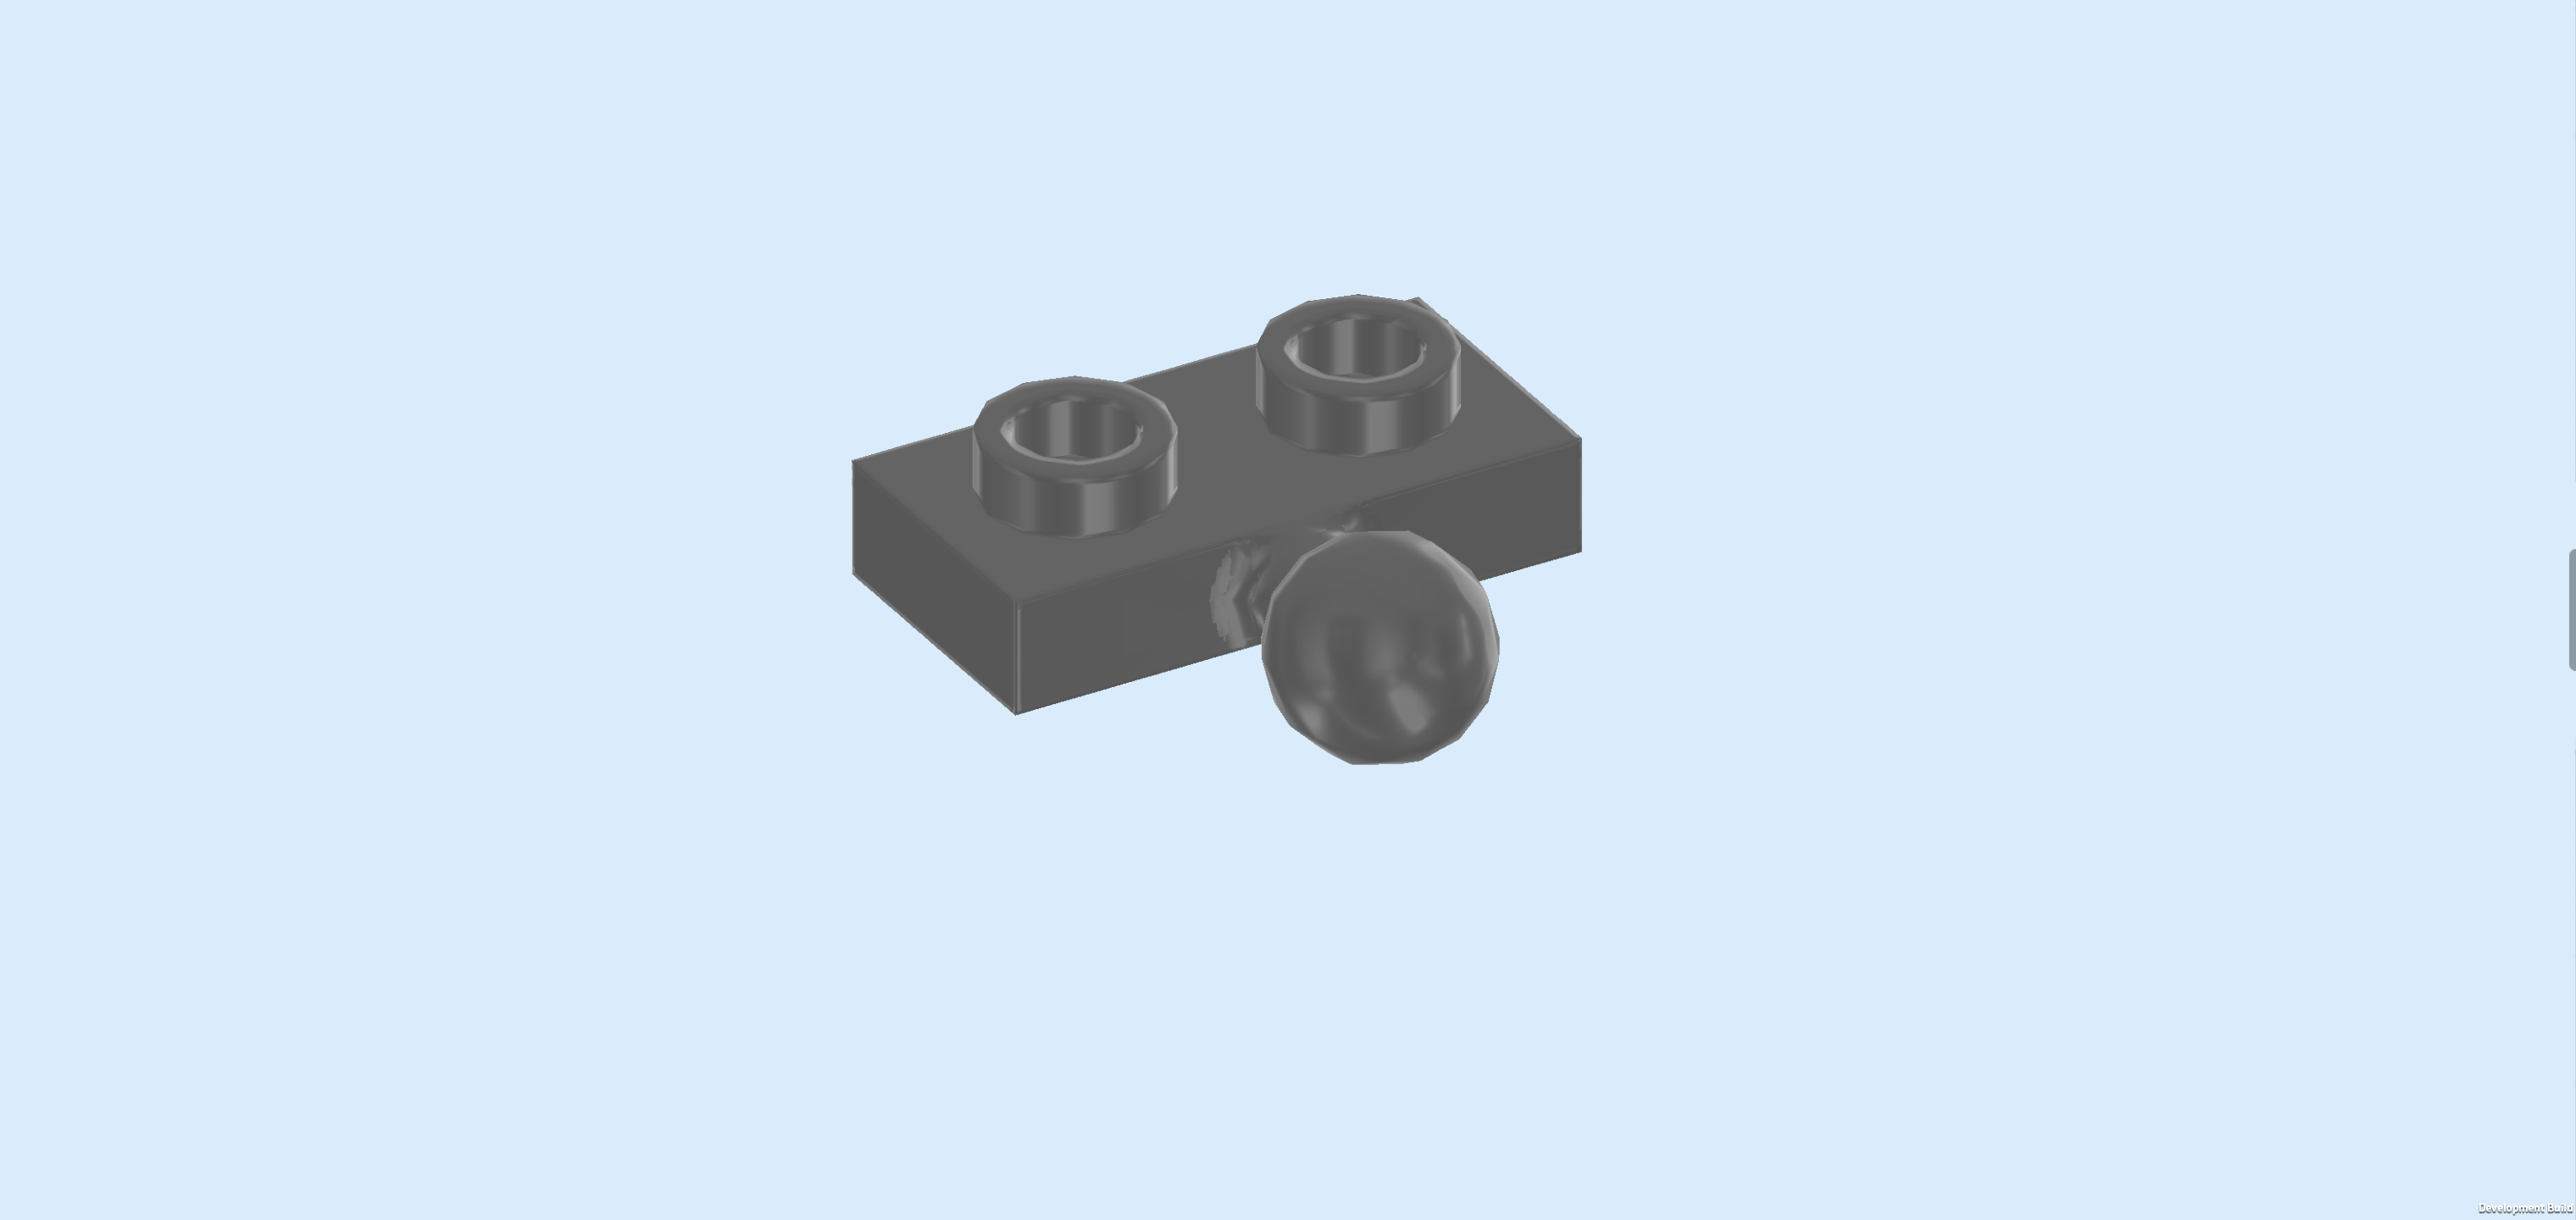
| Find 1 dark stone grey plate 1x2 with ball on long side. |
| Put it vertically on the rightmost edge, so the right column of the plate 2x2, ball overhanging to the right. |
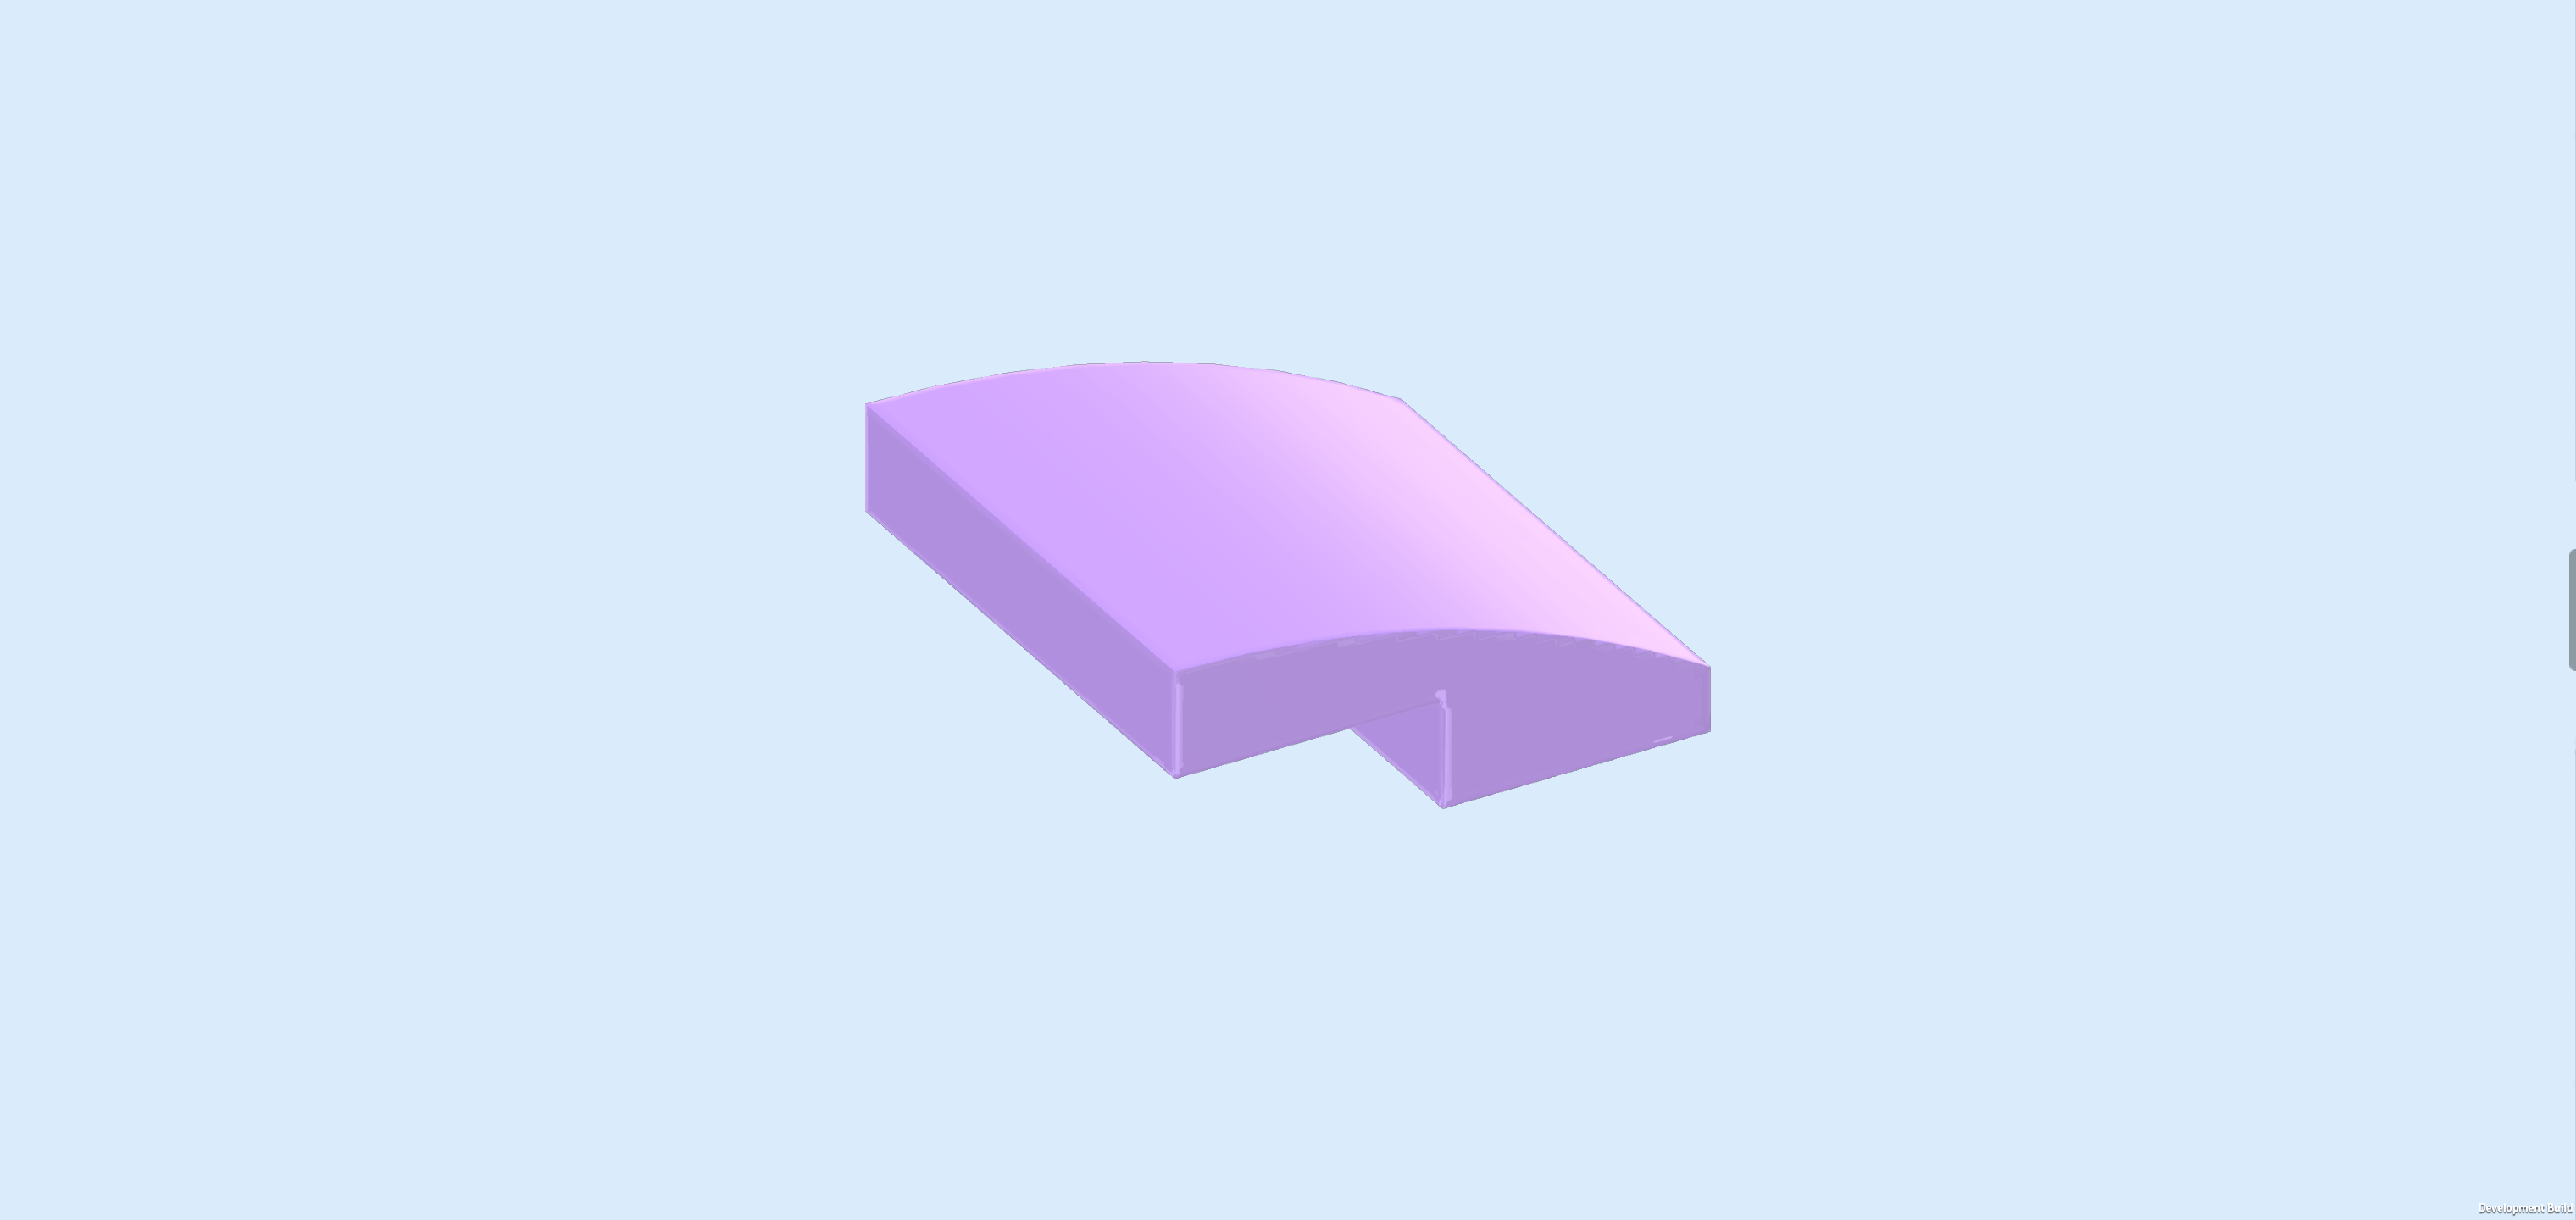
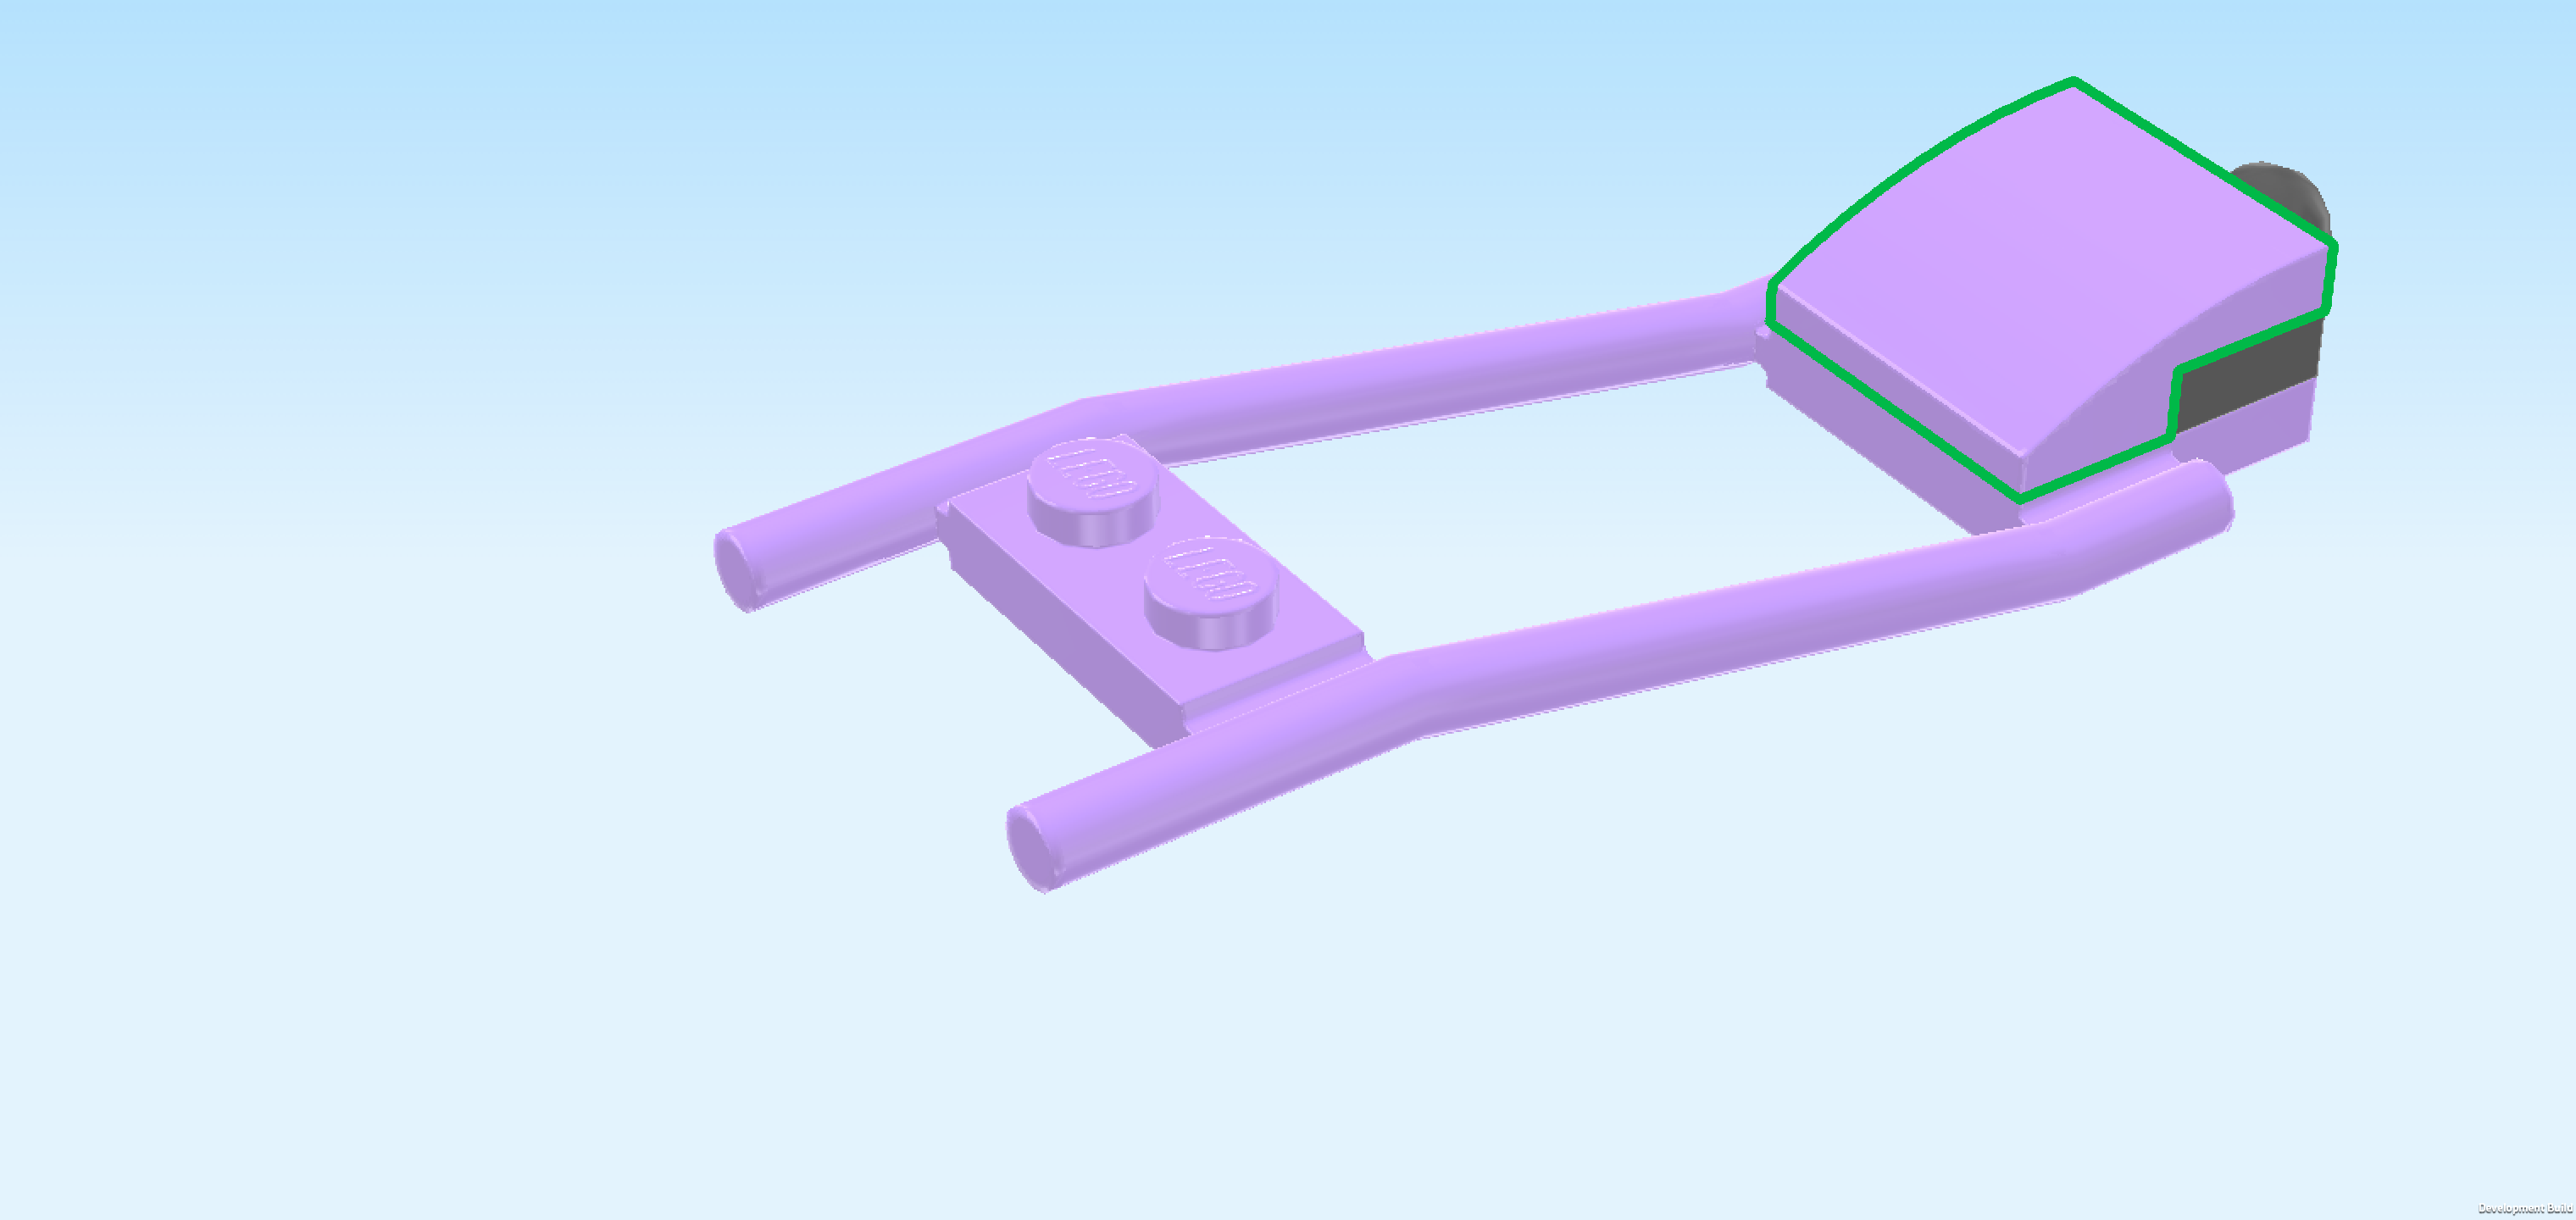
| Find 1 light lavender one-stepped curve tile 2x2. |
| Put it on the 2x2 surface on the right edge, curve to the left. |
| The harness is finished! Well done! Keep its building orientation and snap its ball into the ball cup on the sleigh. |
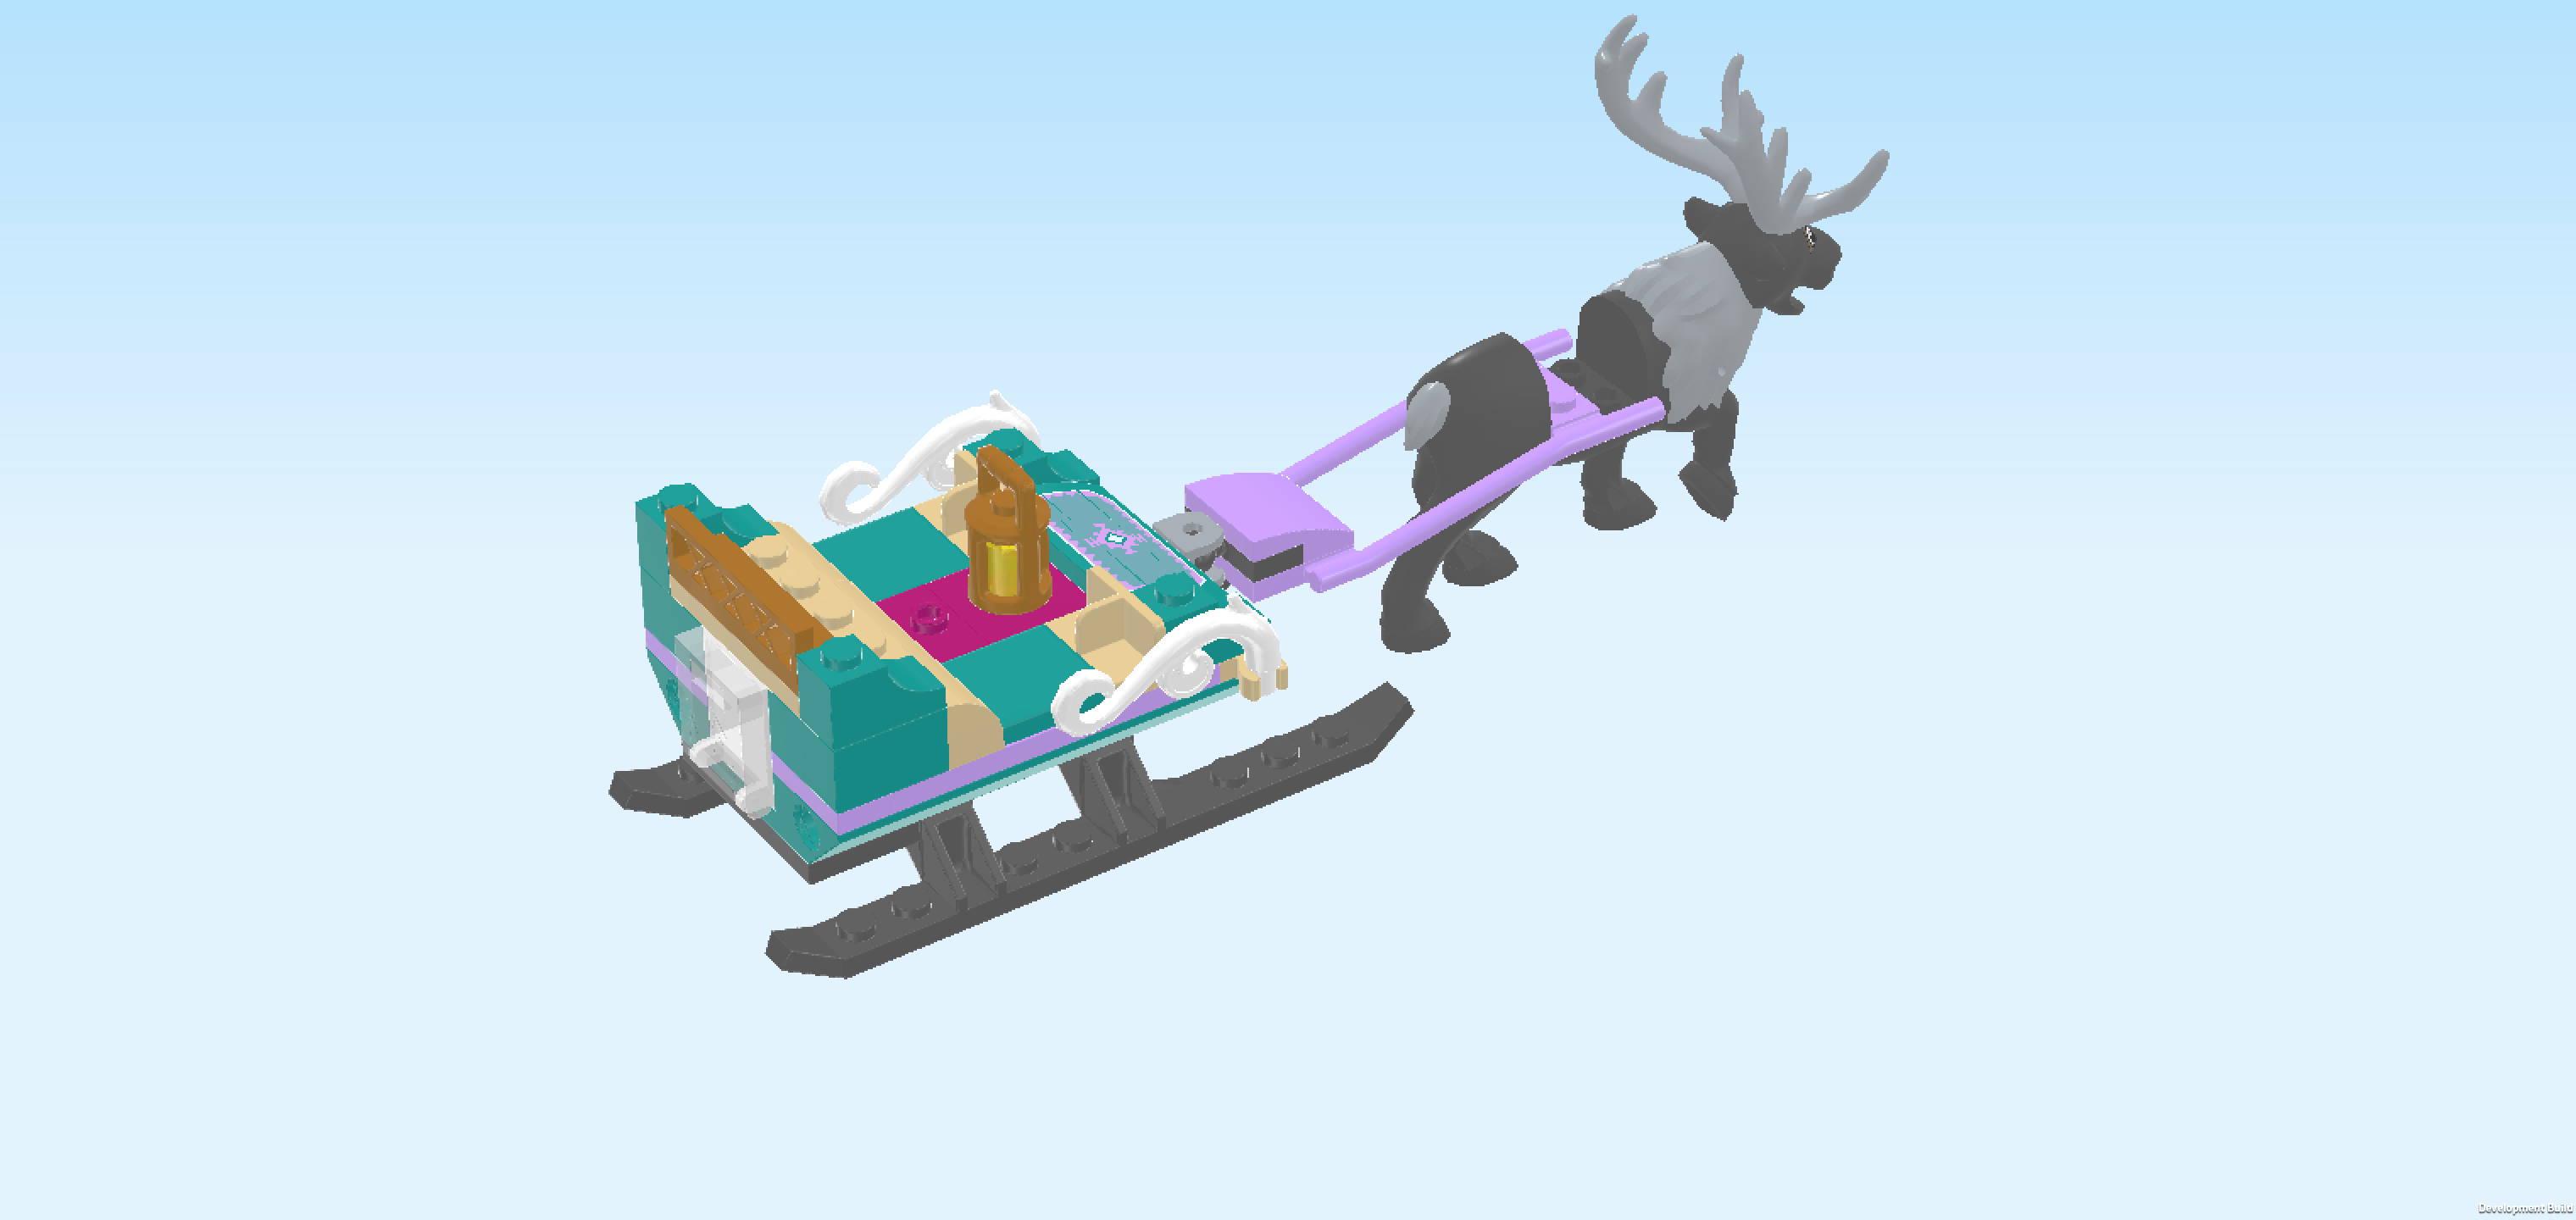
| Now, let's hitch Sven on the sleigh. To do that, you need to remove the cylinder brick 2x2 and the plate 2x2 with 1 knob from his back first. |
| Now, put the 1x2 plate of the drawbar on the 2 back knobs of the recess in Sven's back. |
| Find 1 light lavender plate 1x2. |
| Put it vertically next to the plate 1x2 of the drawbar. |
| Now, reattach the cylinder brick 1x2, its 2 knobs forming a horizontal row on Sven's back. |
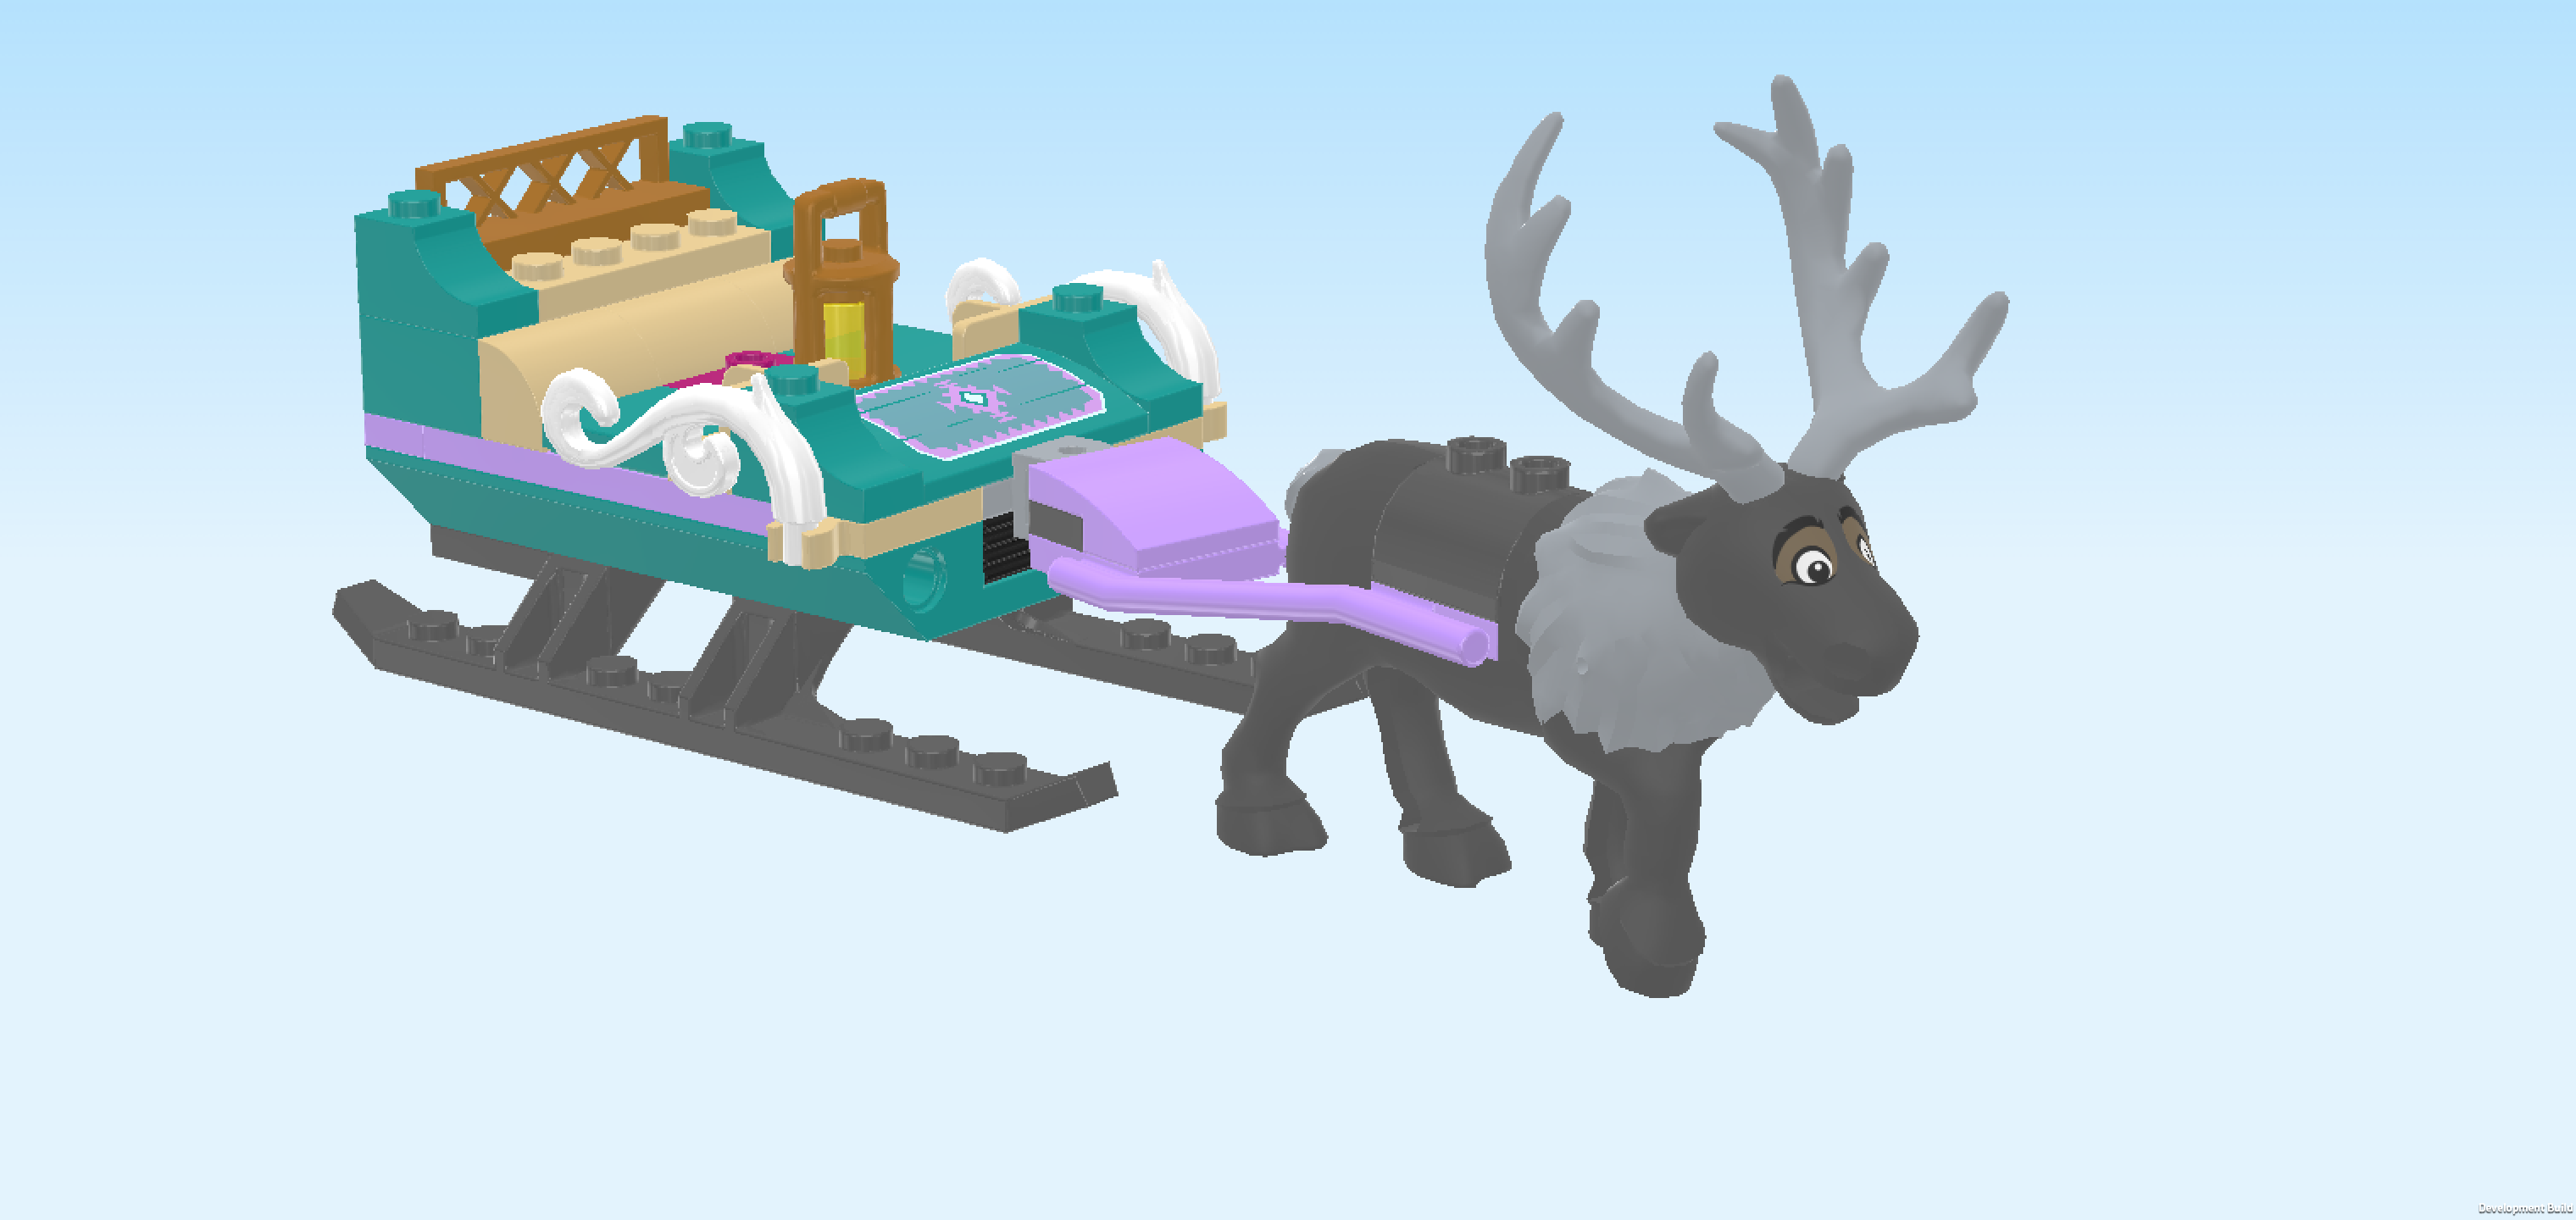
| The sleigh with harness is finished! Well done! It is a beautiful carriage, and sven is an experienced draft animal. Later, your Minidolls will be able to take a seat in the sleigh. We will come back to this once we have built the rest! |
| With this, we have finished building everything from bag 1. Well done! We usually pack a few extra pieces and bricks that are not needed for building this set, so if you still have some pieces left there is no need to worry that you missed something. If you like, you can take a break now and return later by skipping to the section introducing bag 2. If you want to continue building right away, simply move on to the next sentence. |
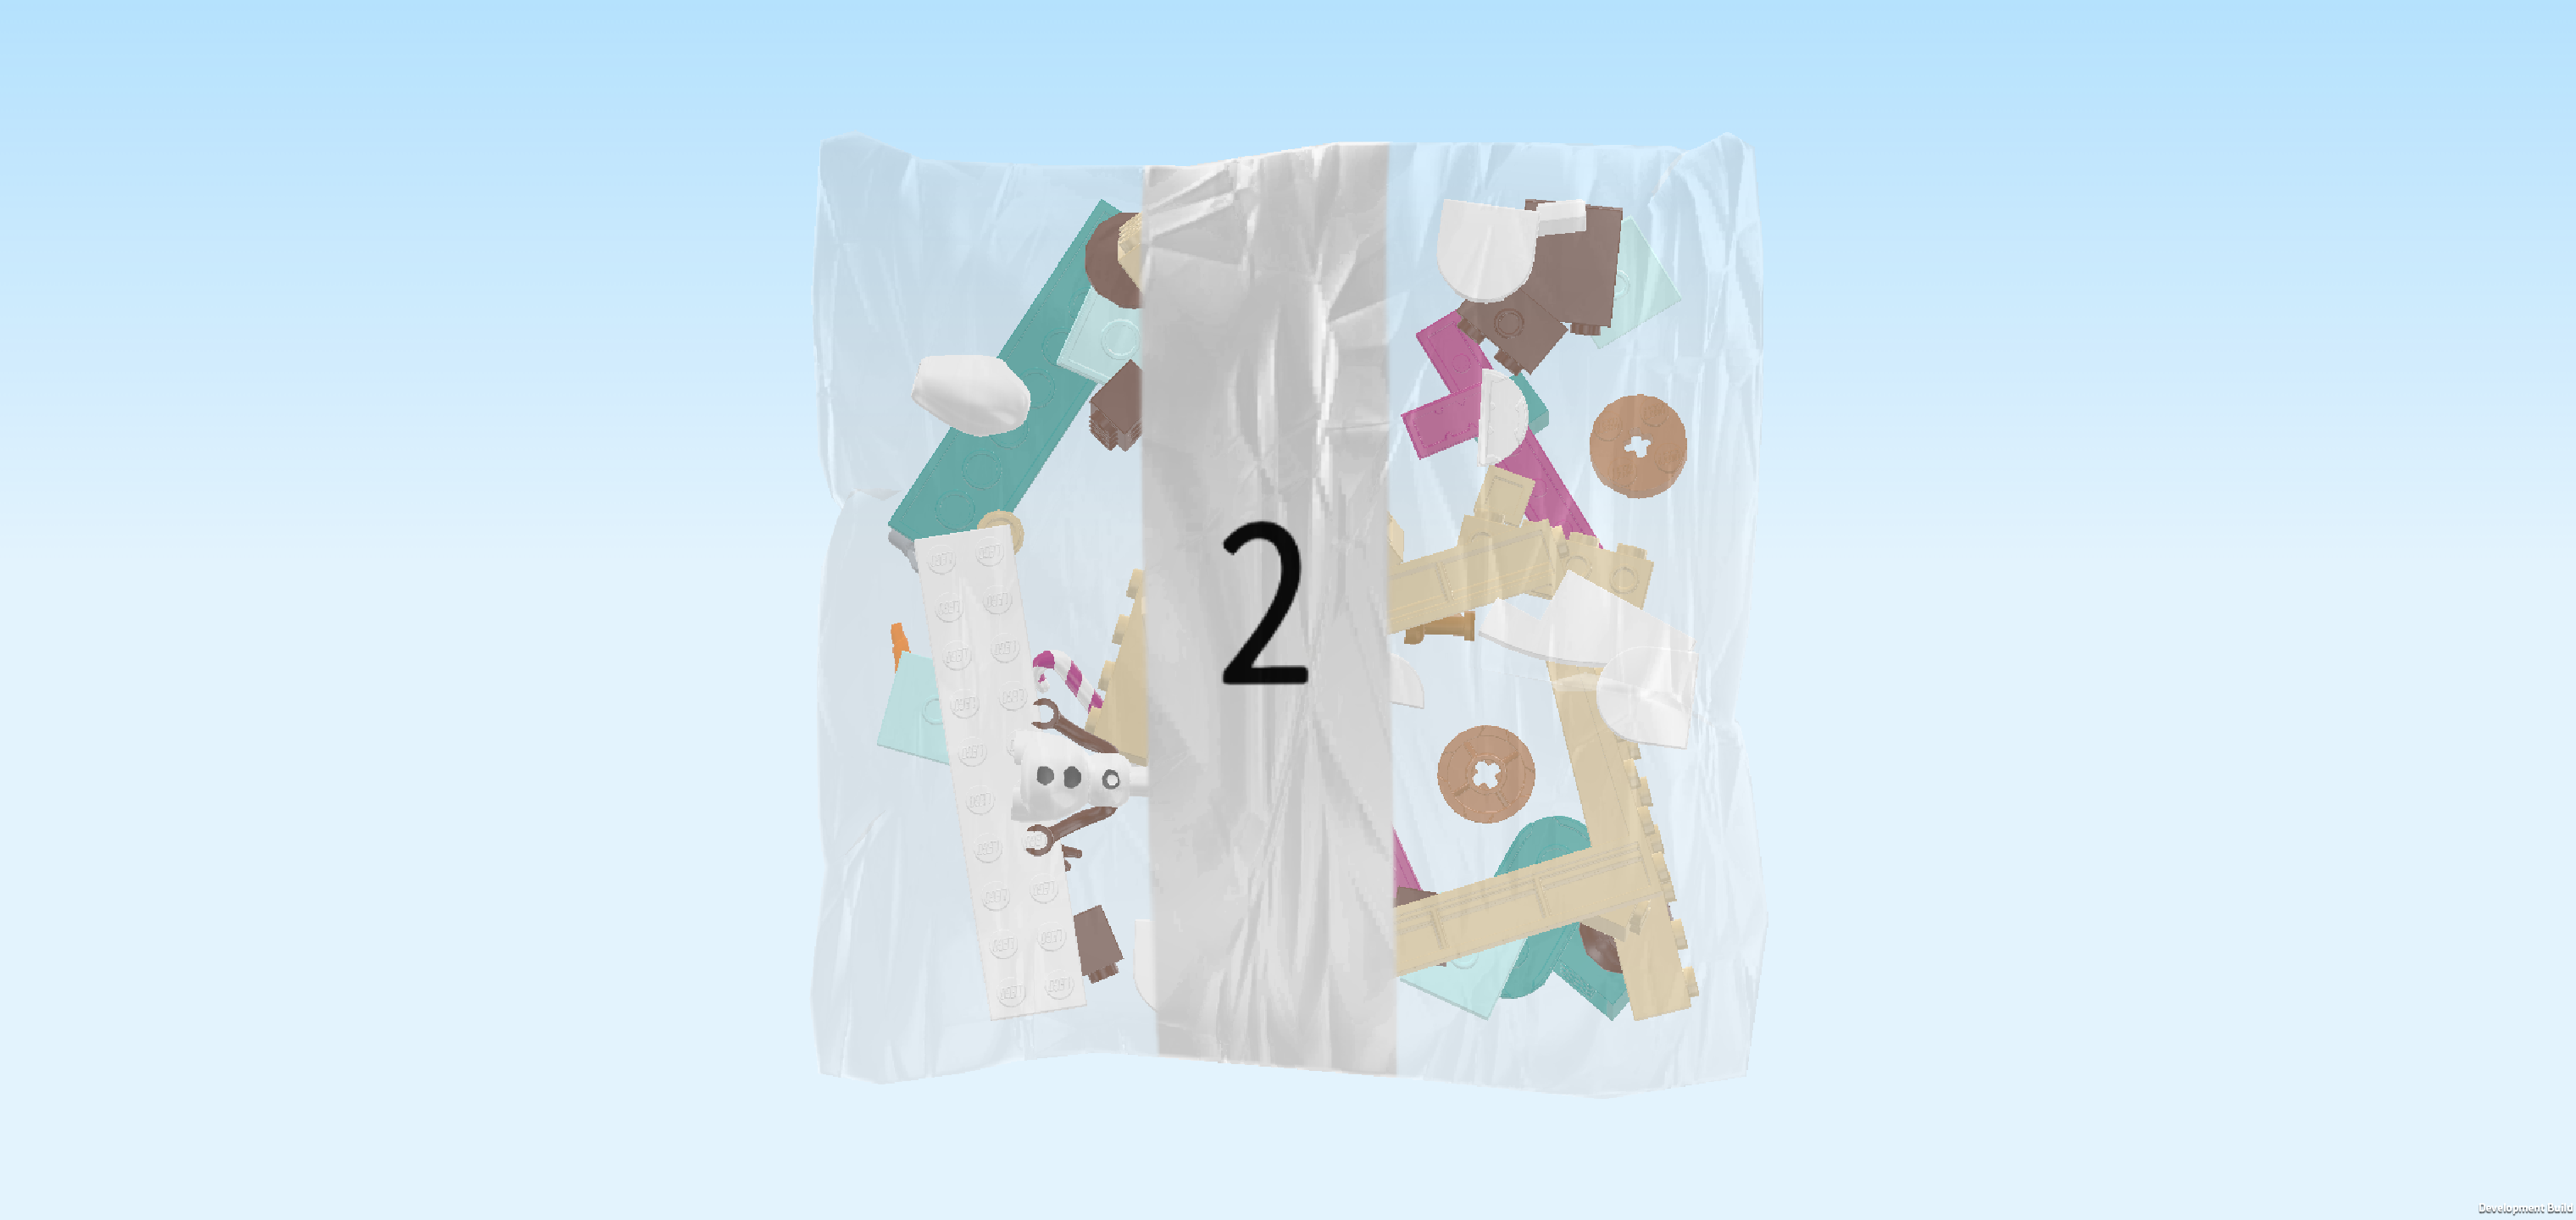
| Open bag number 2. You can choose to have the bricks sorted by color again. This bag contains all bricks and pieces for Olaf the snowman and his hot chocolate stand. |
| Now, we will build Olaf, the snowman. |
| Collect the following 2 pieces: |
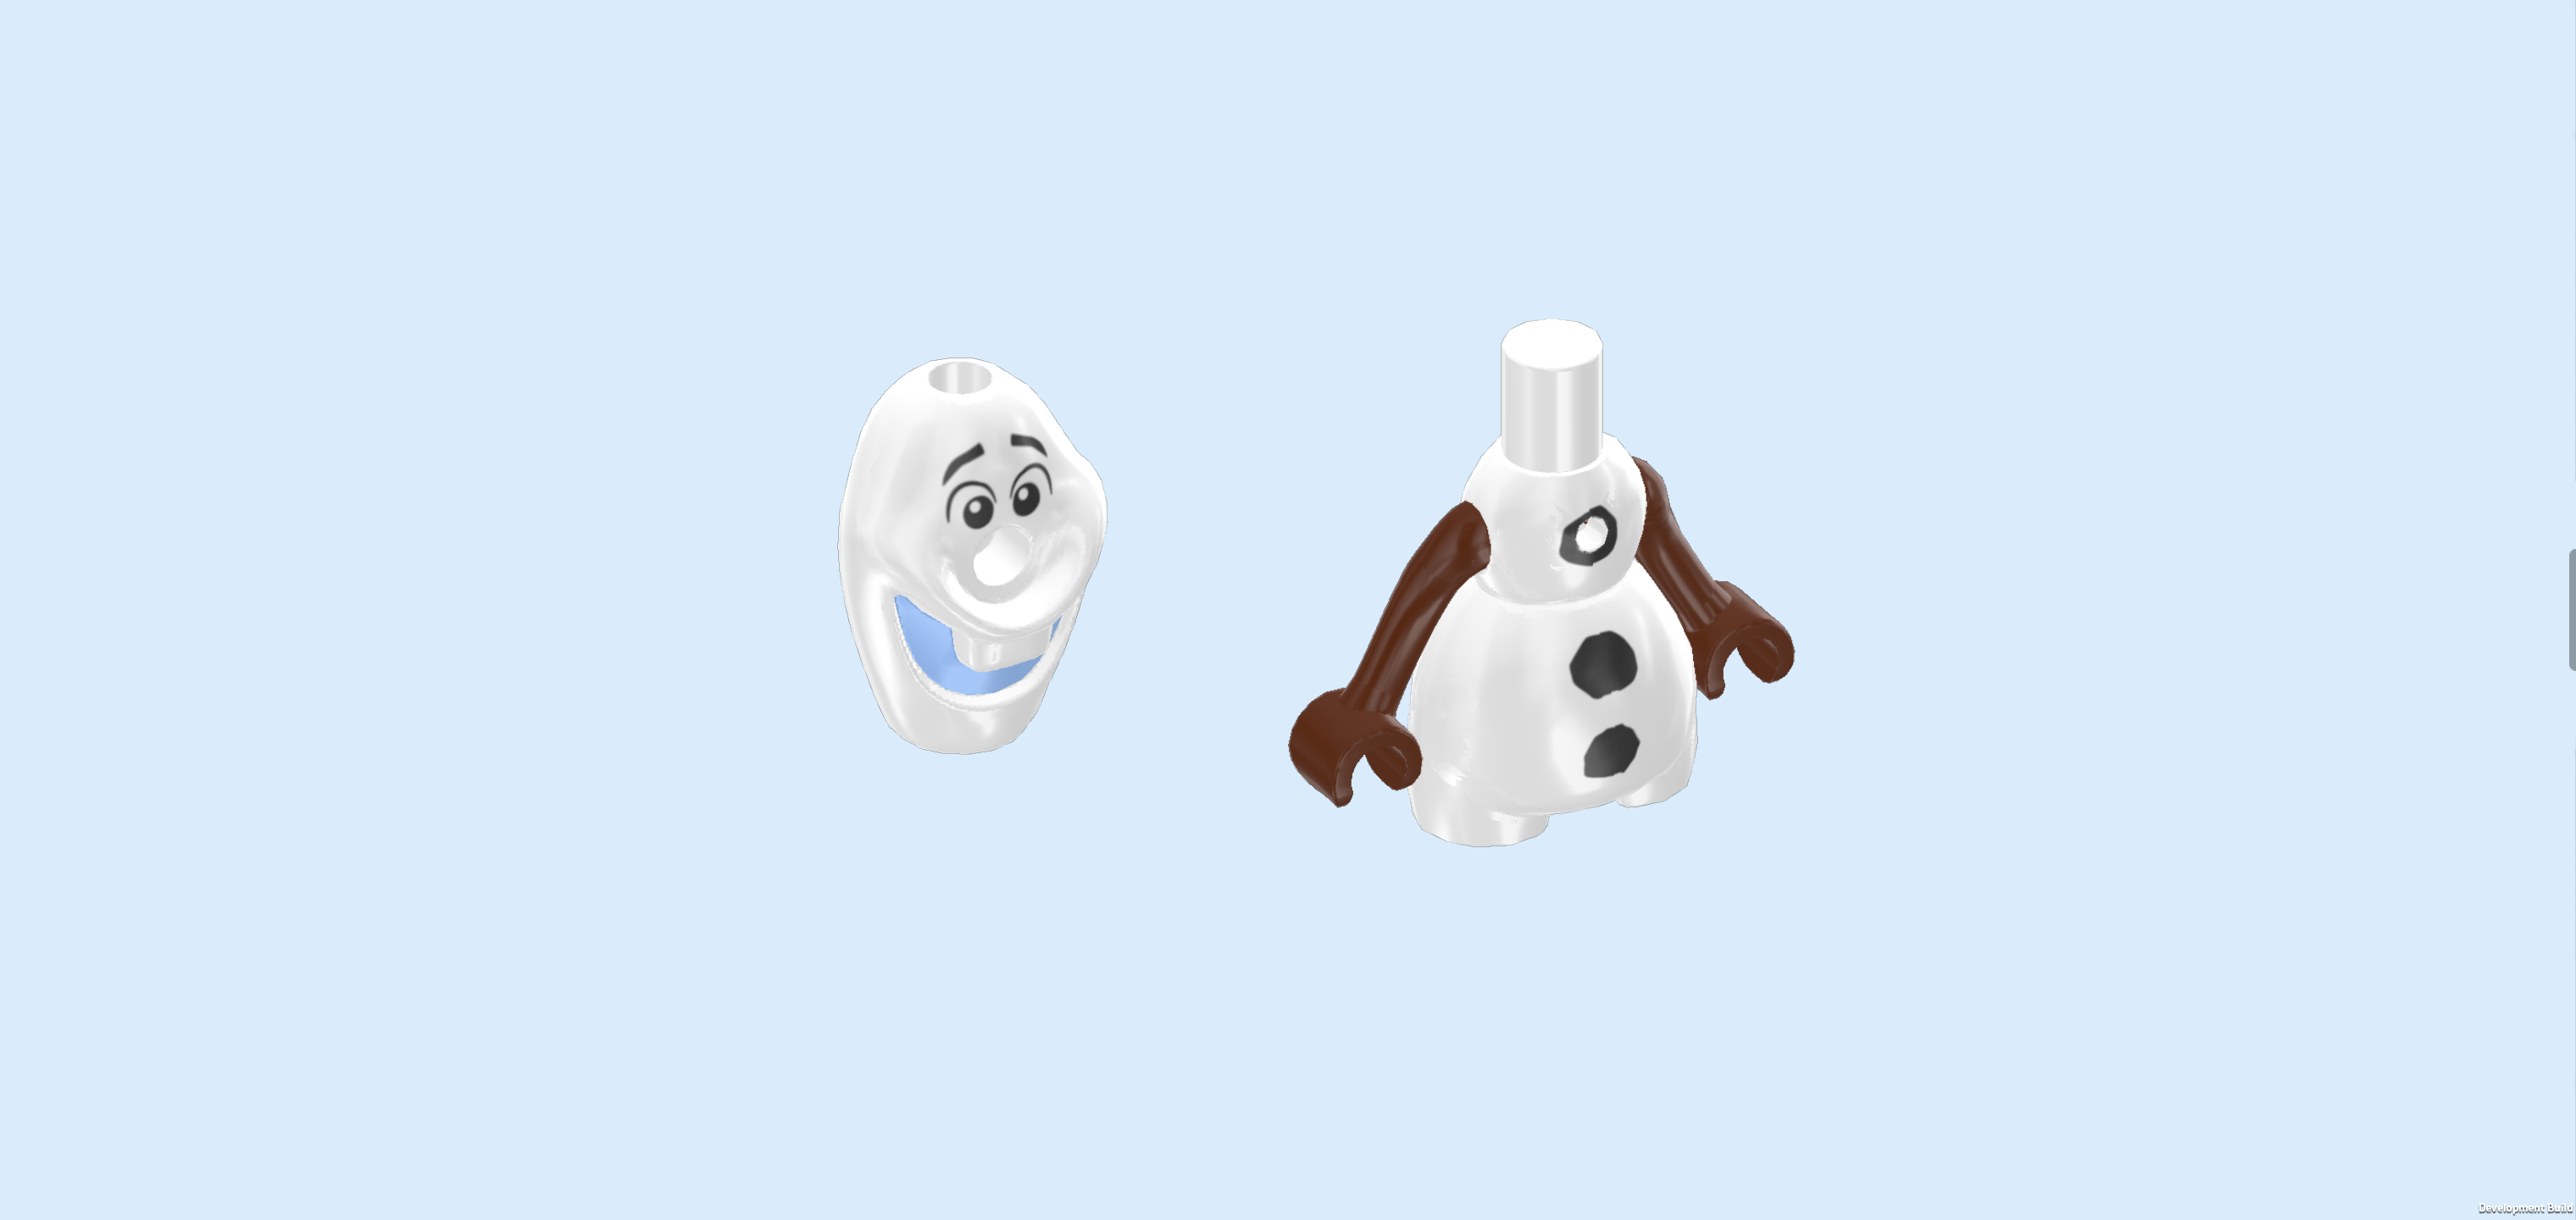
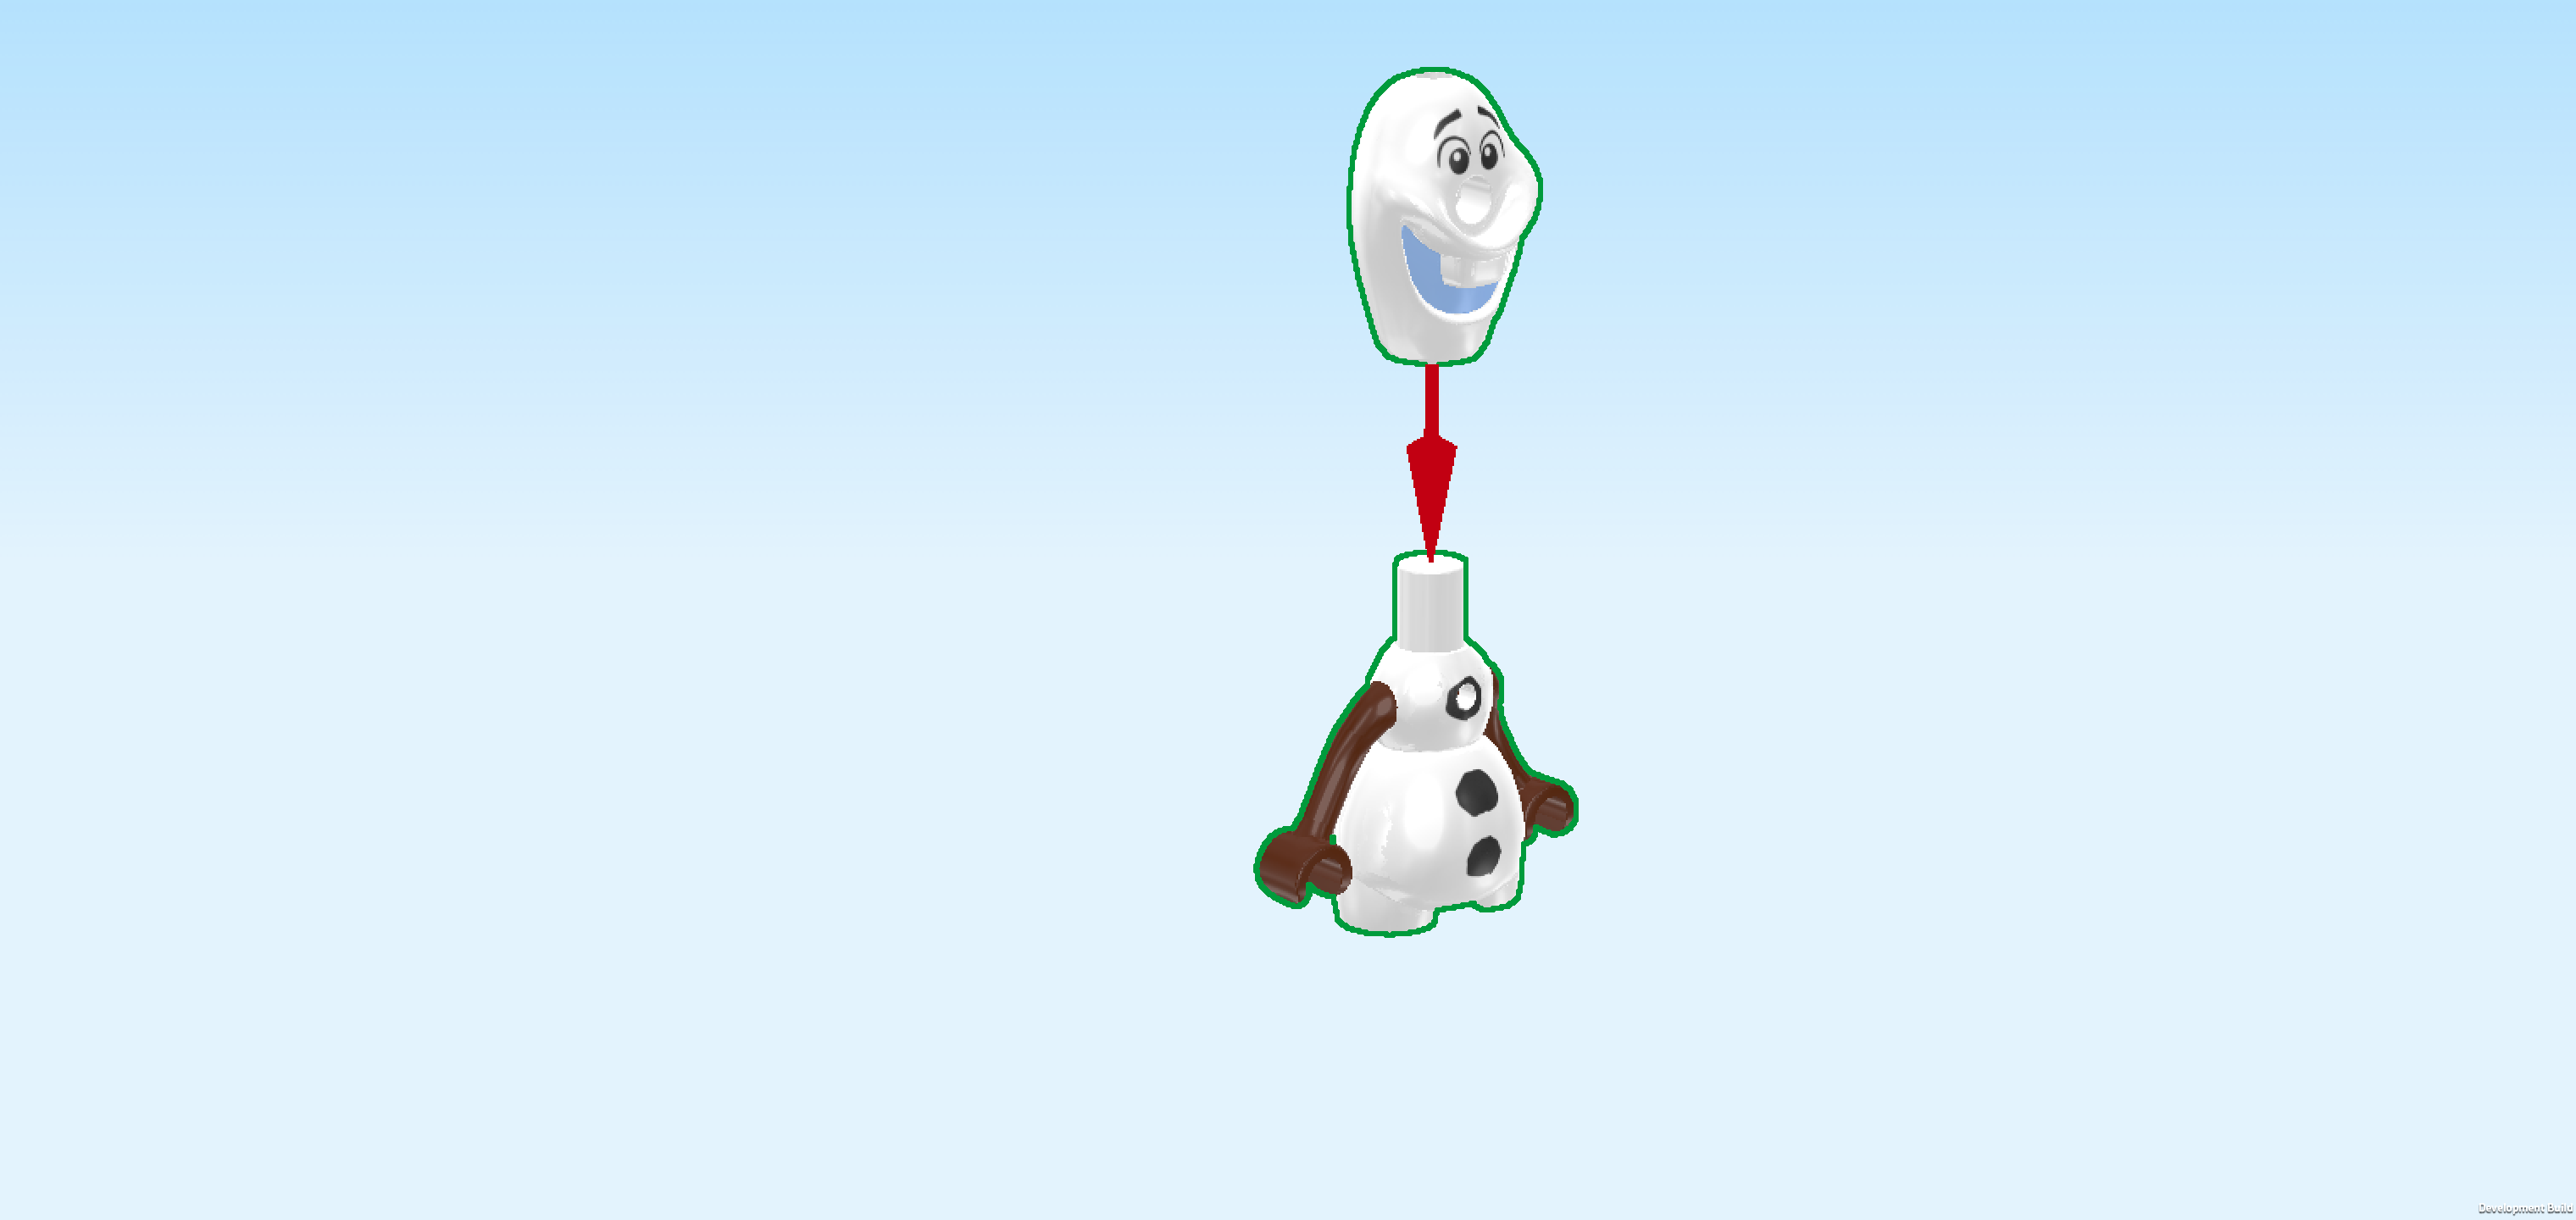
| 1 white and baby blue Olaf head, |
| and 1 white and reddish brown snowman body with arms. |
| Put Olaf's head on the body. |
| Collect the following 2 pieces: |
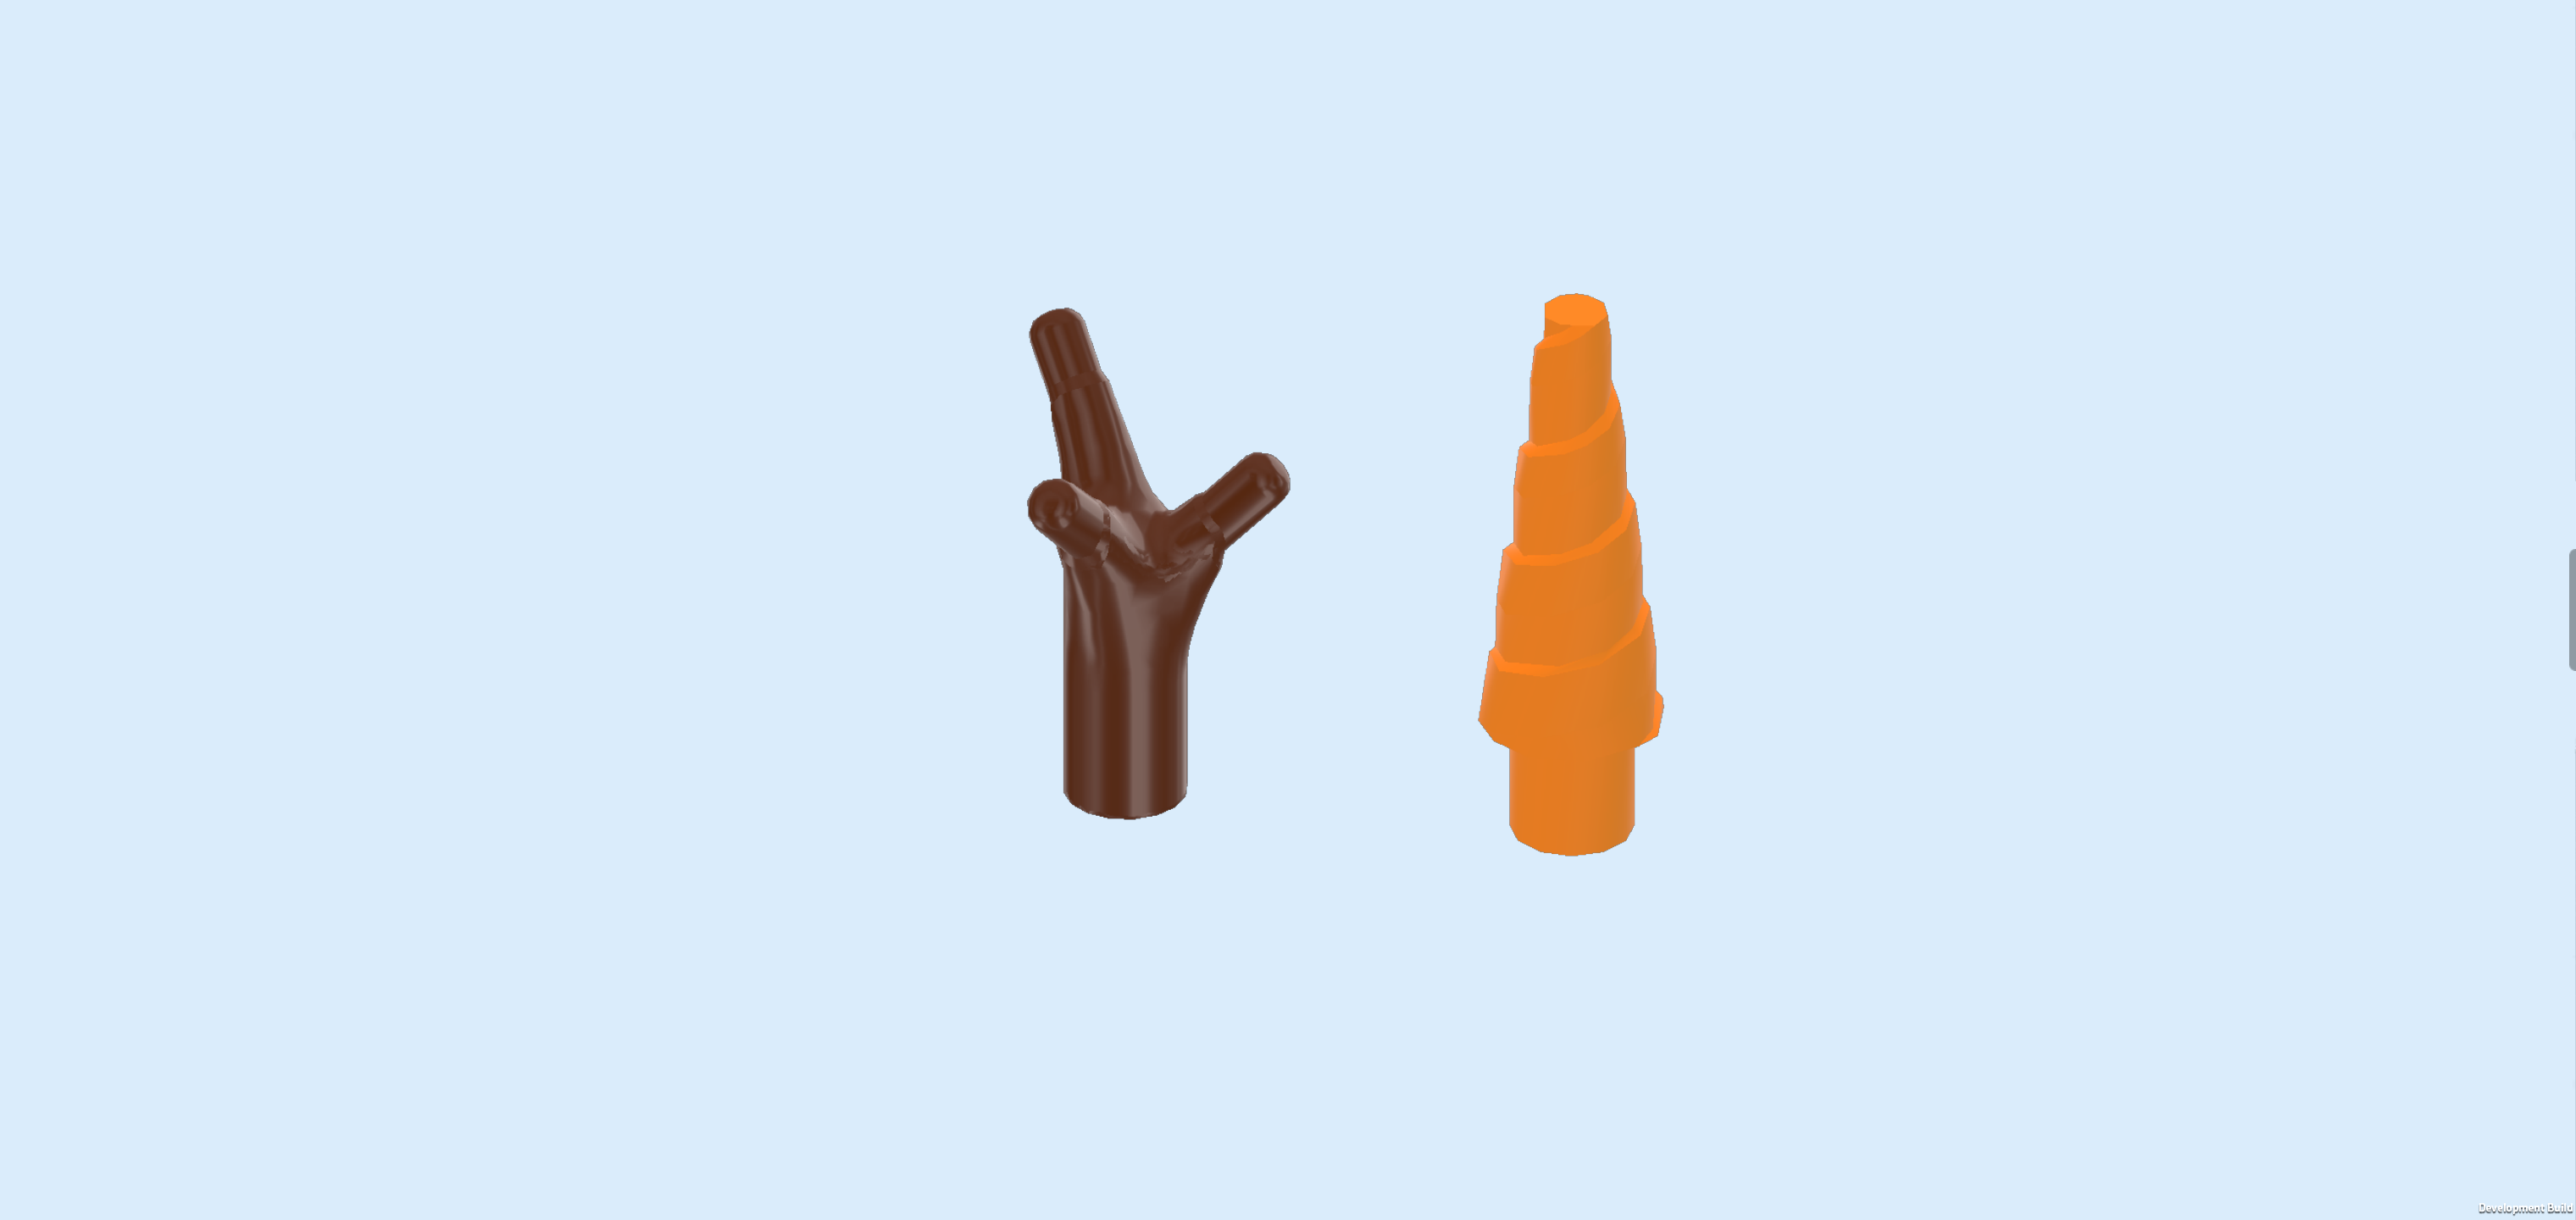
| 1 reddish brown tree branch 1x1 with 3 small twigs, |
| and 1 bright orange twisted cone with small shaft. |
| Put the tree branch 1x1 on the top of the head. |
| Insert the small shaft of the twisted cone into the small hole above the mouth. This is Olaf's carrot nose! |
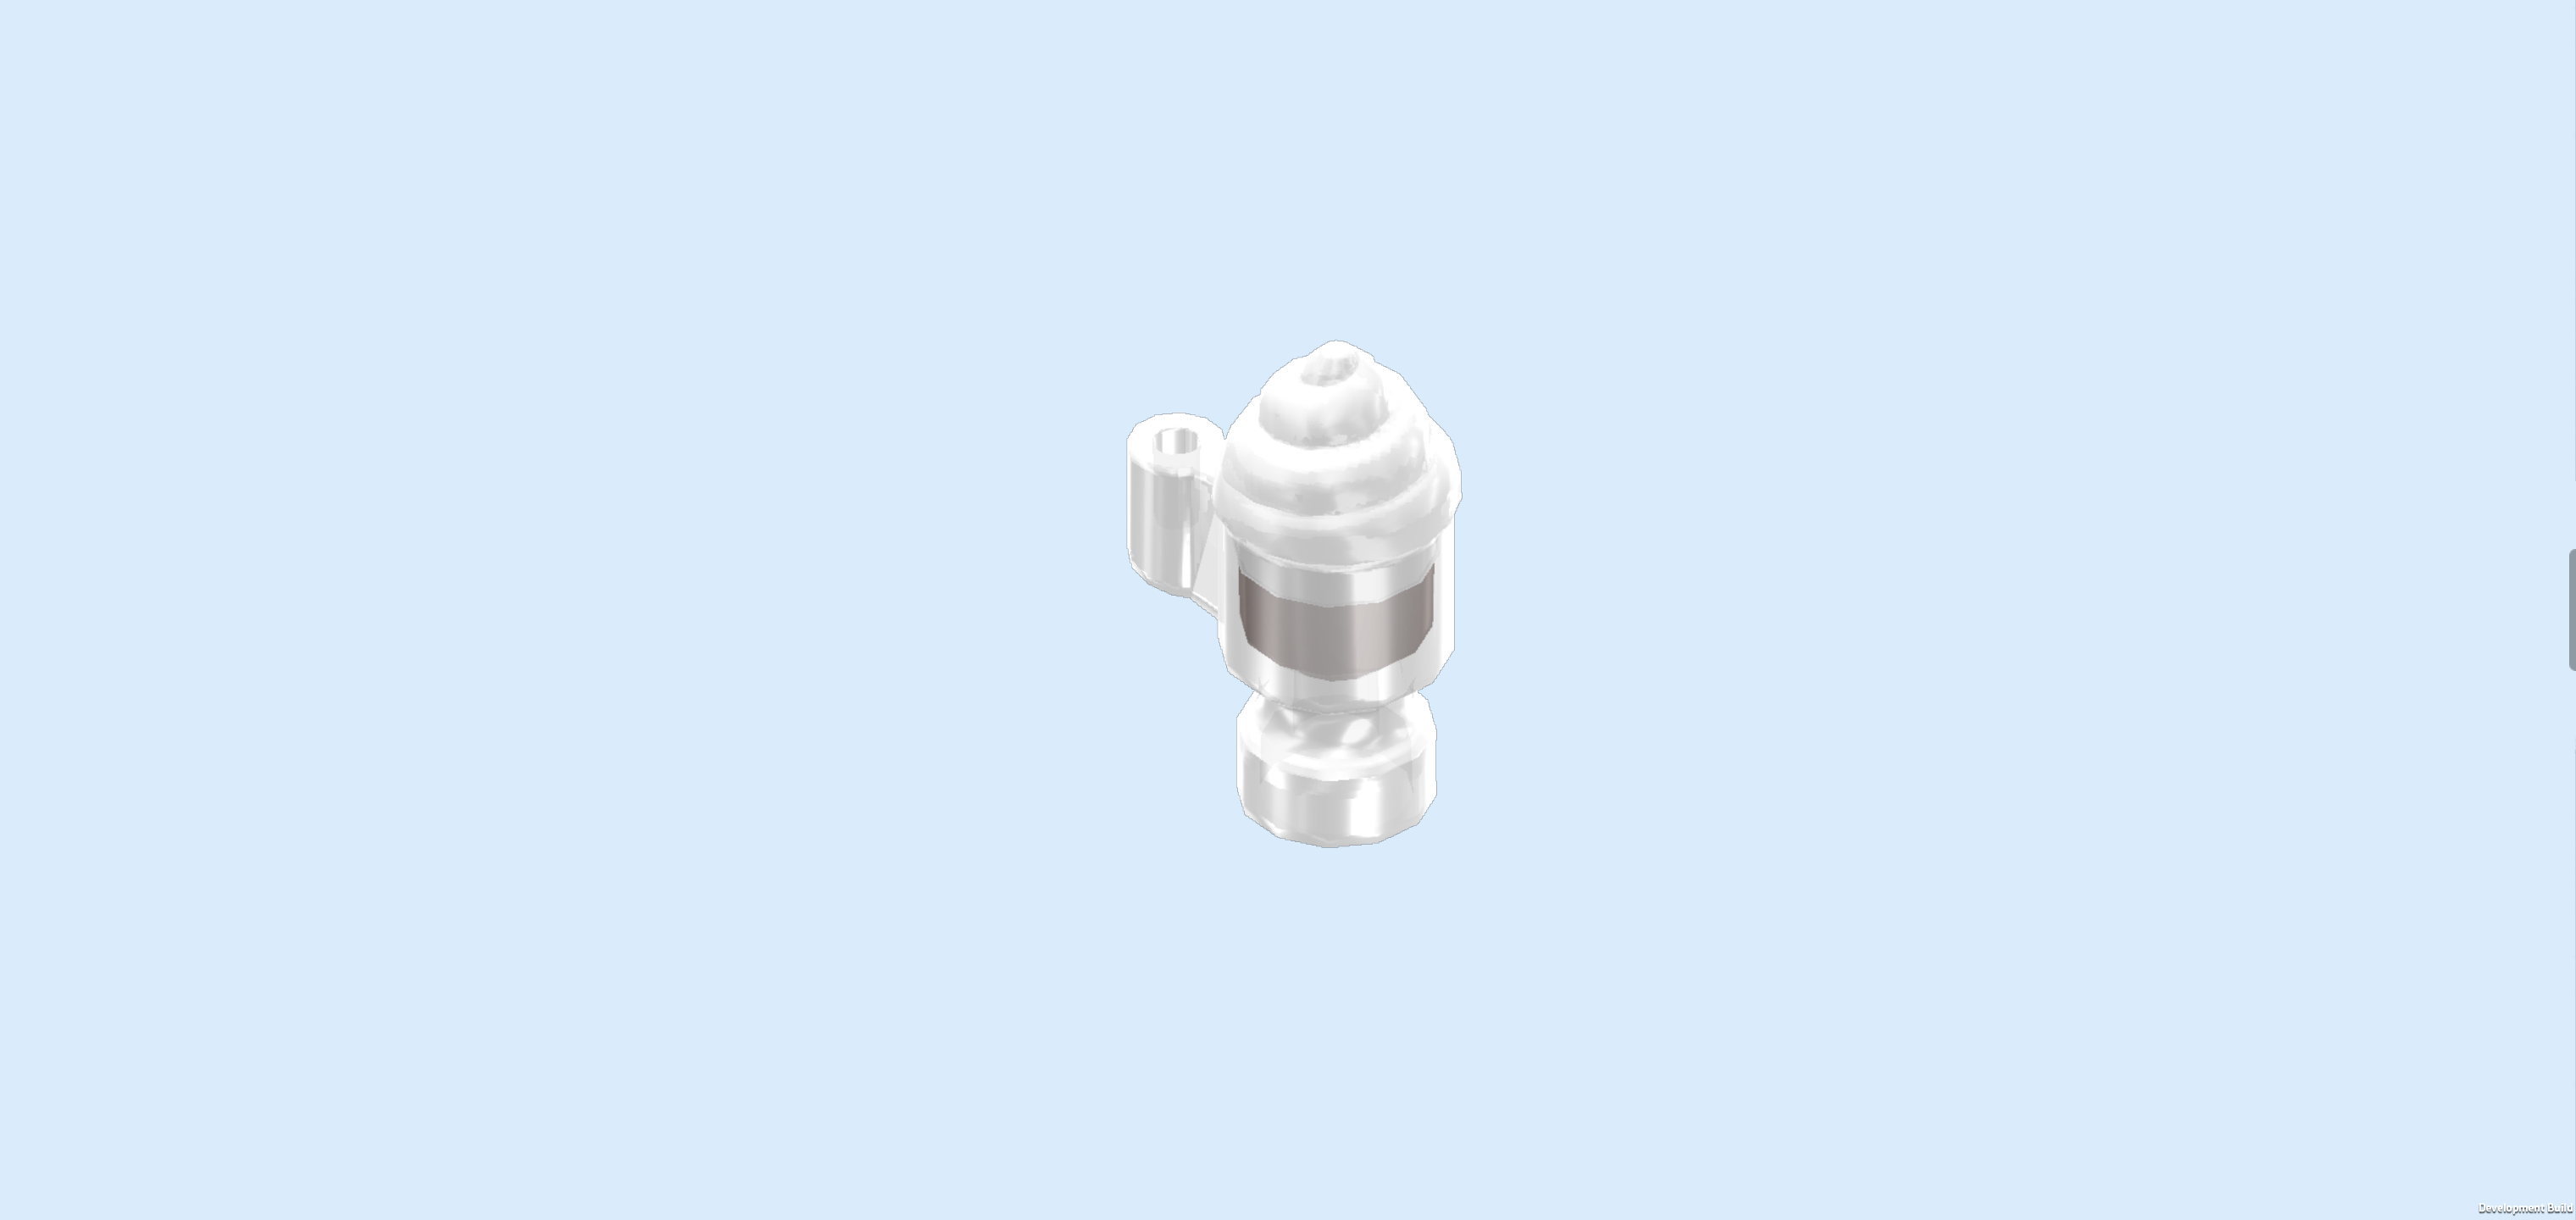
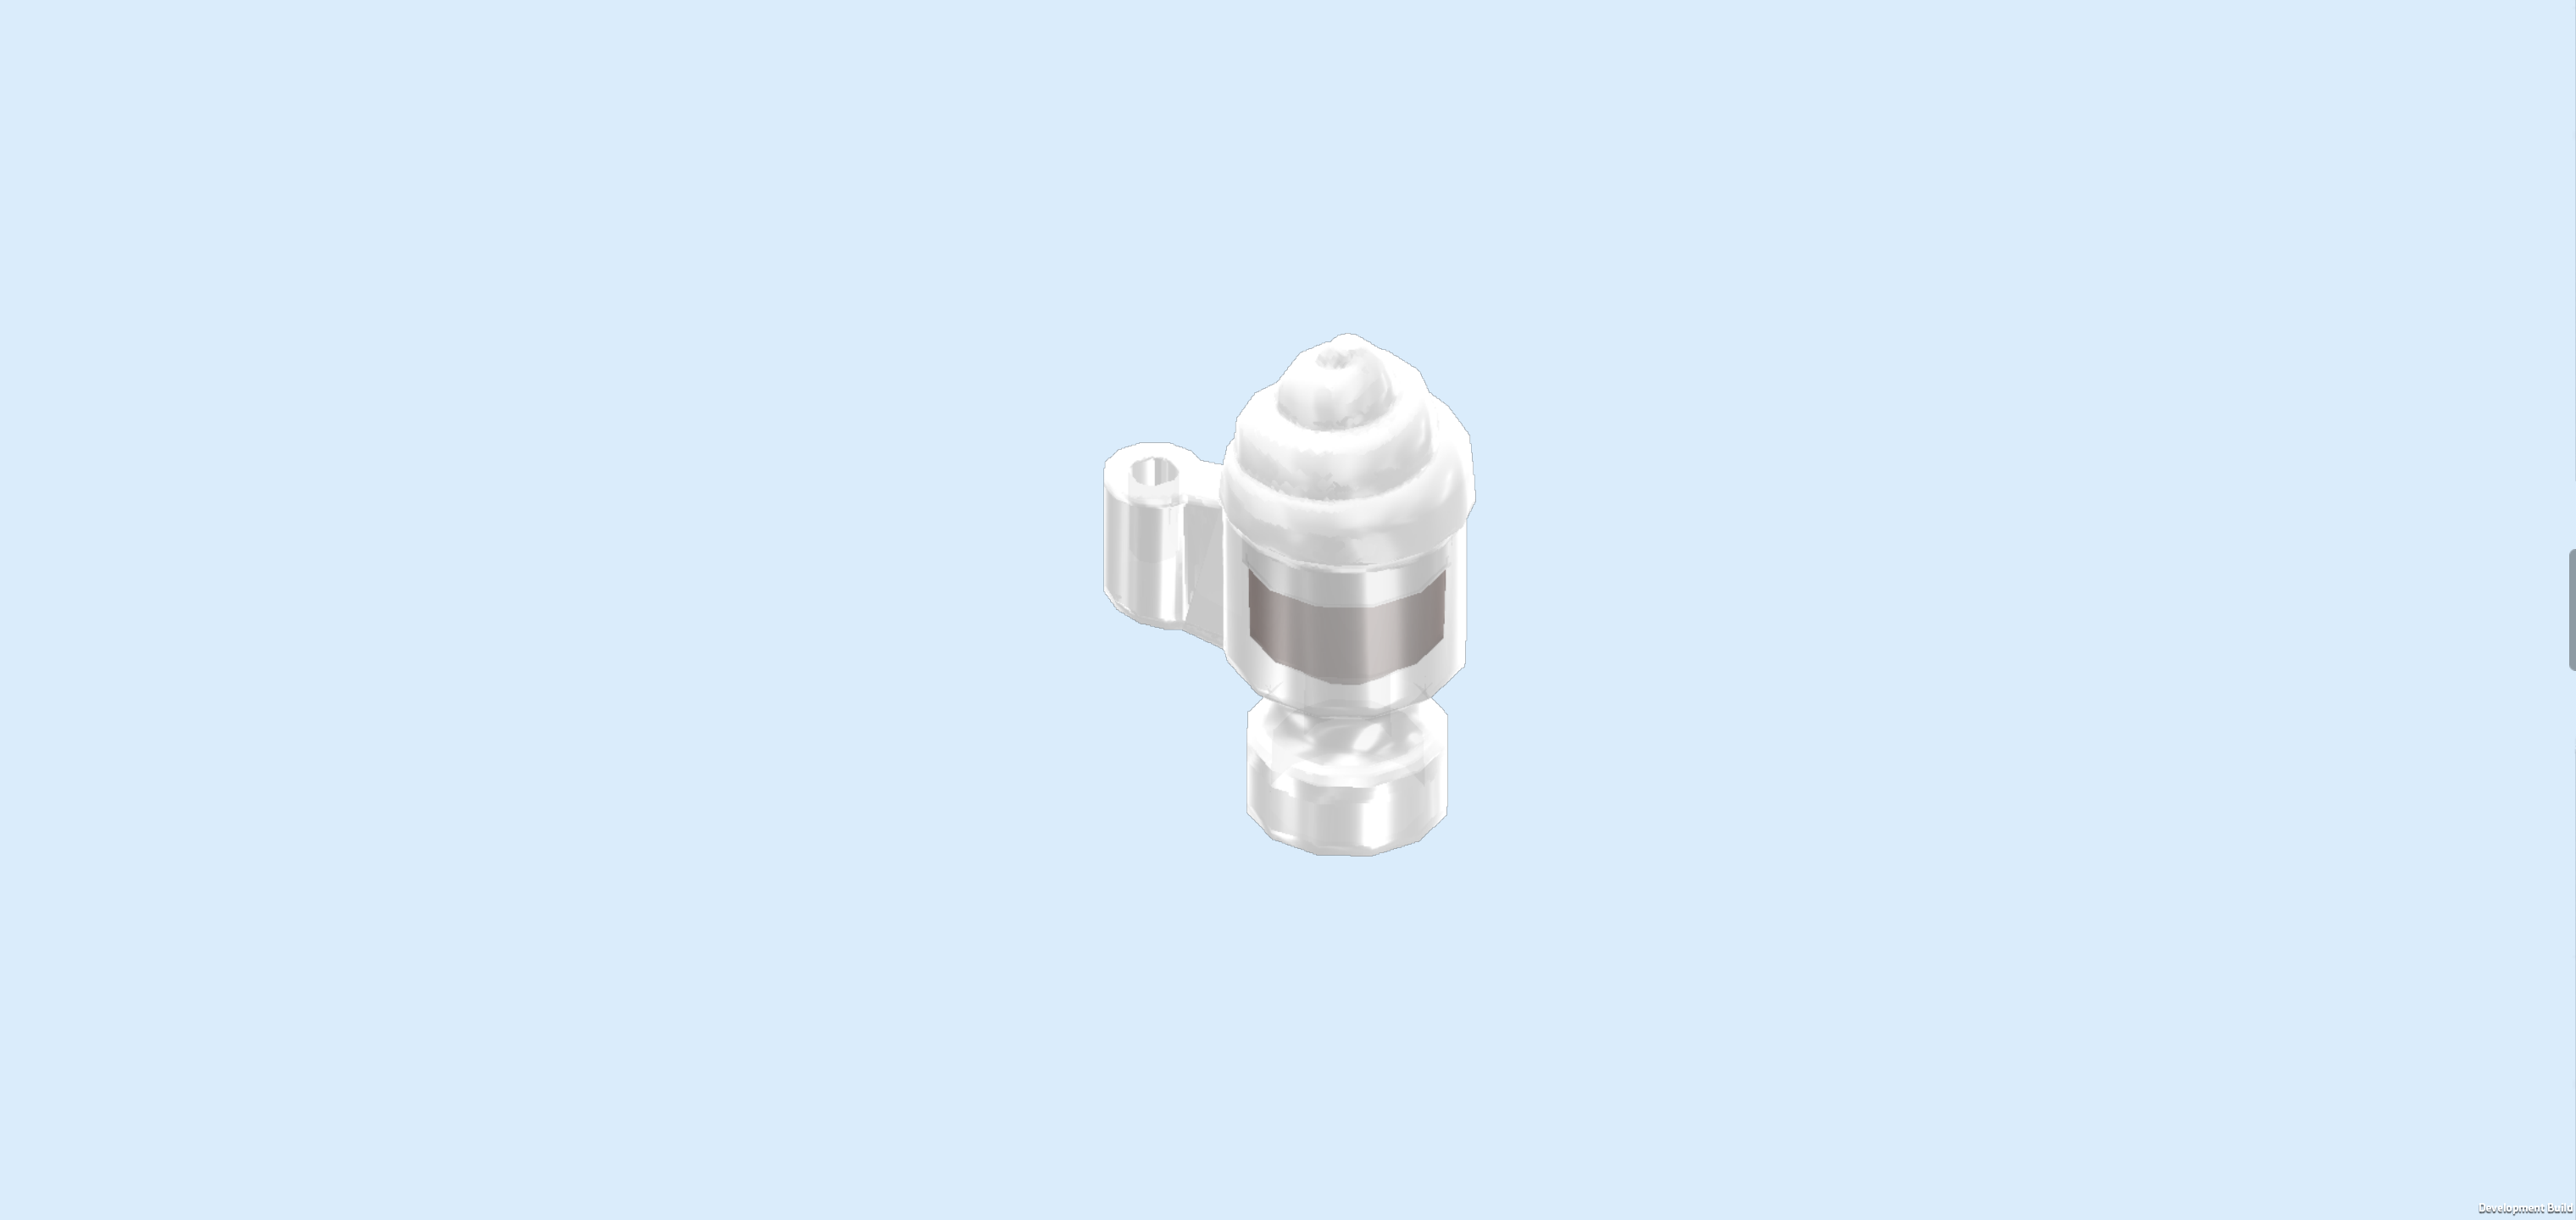
| Next, we will assemble the first cup of hot chocolate. |
| Collect the following 2 pieces: |
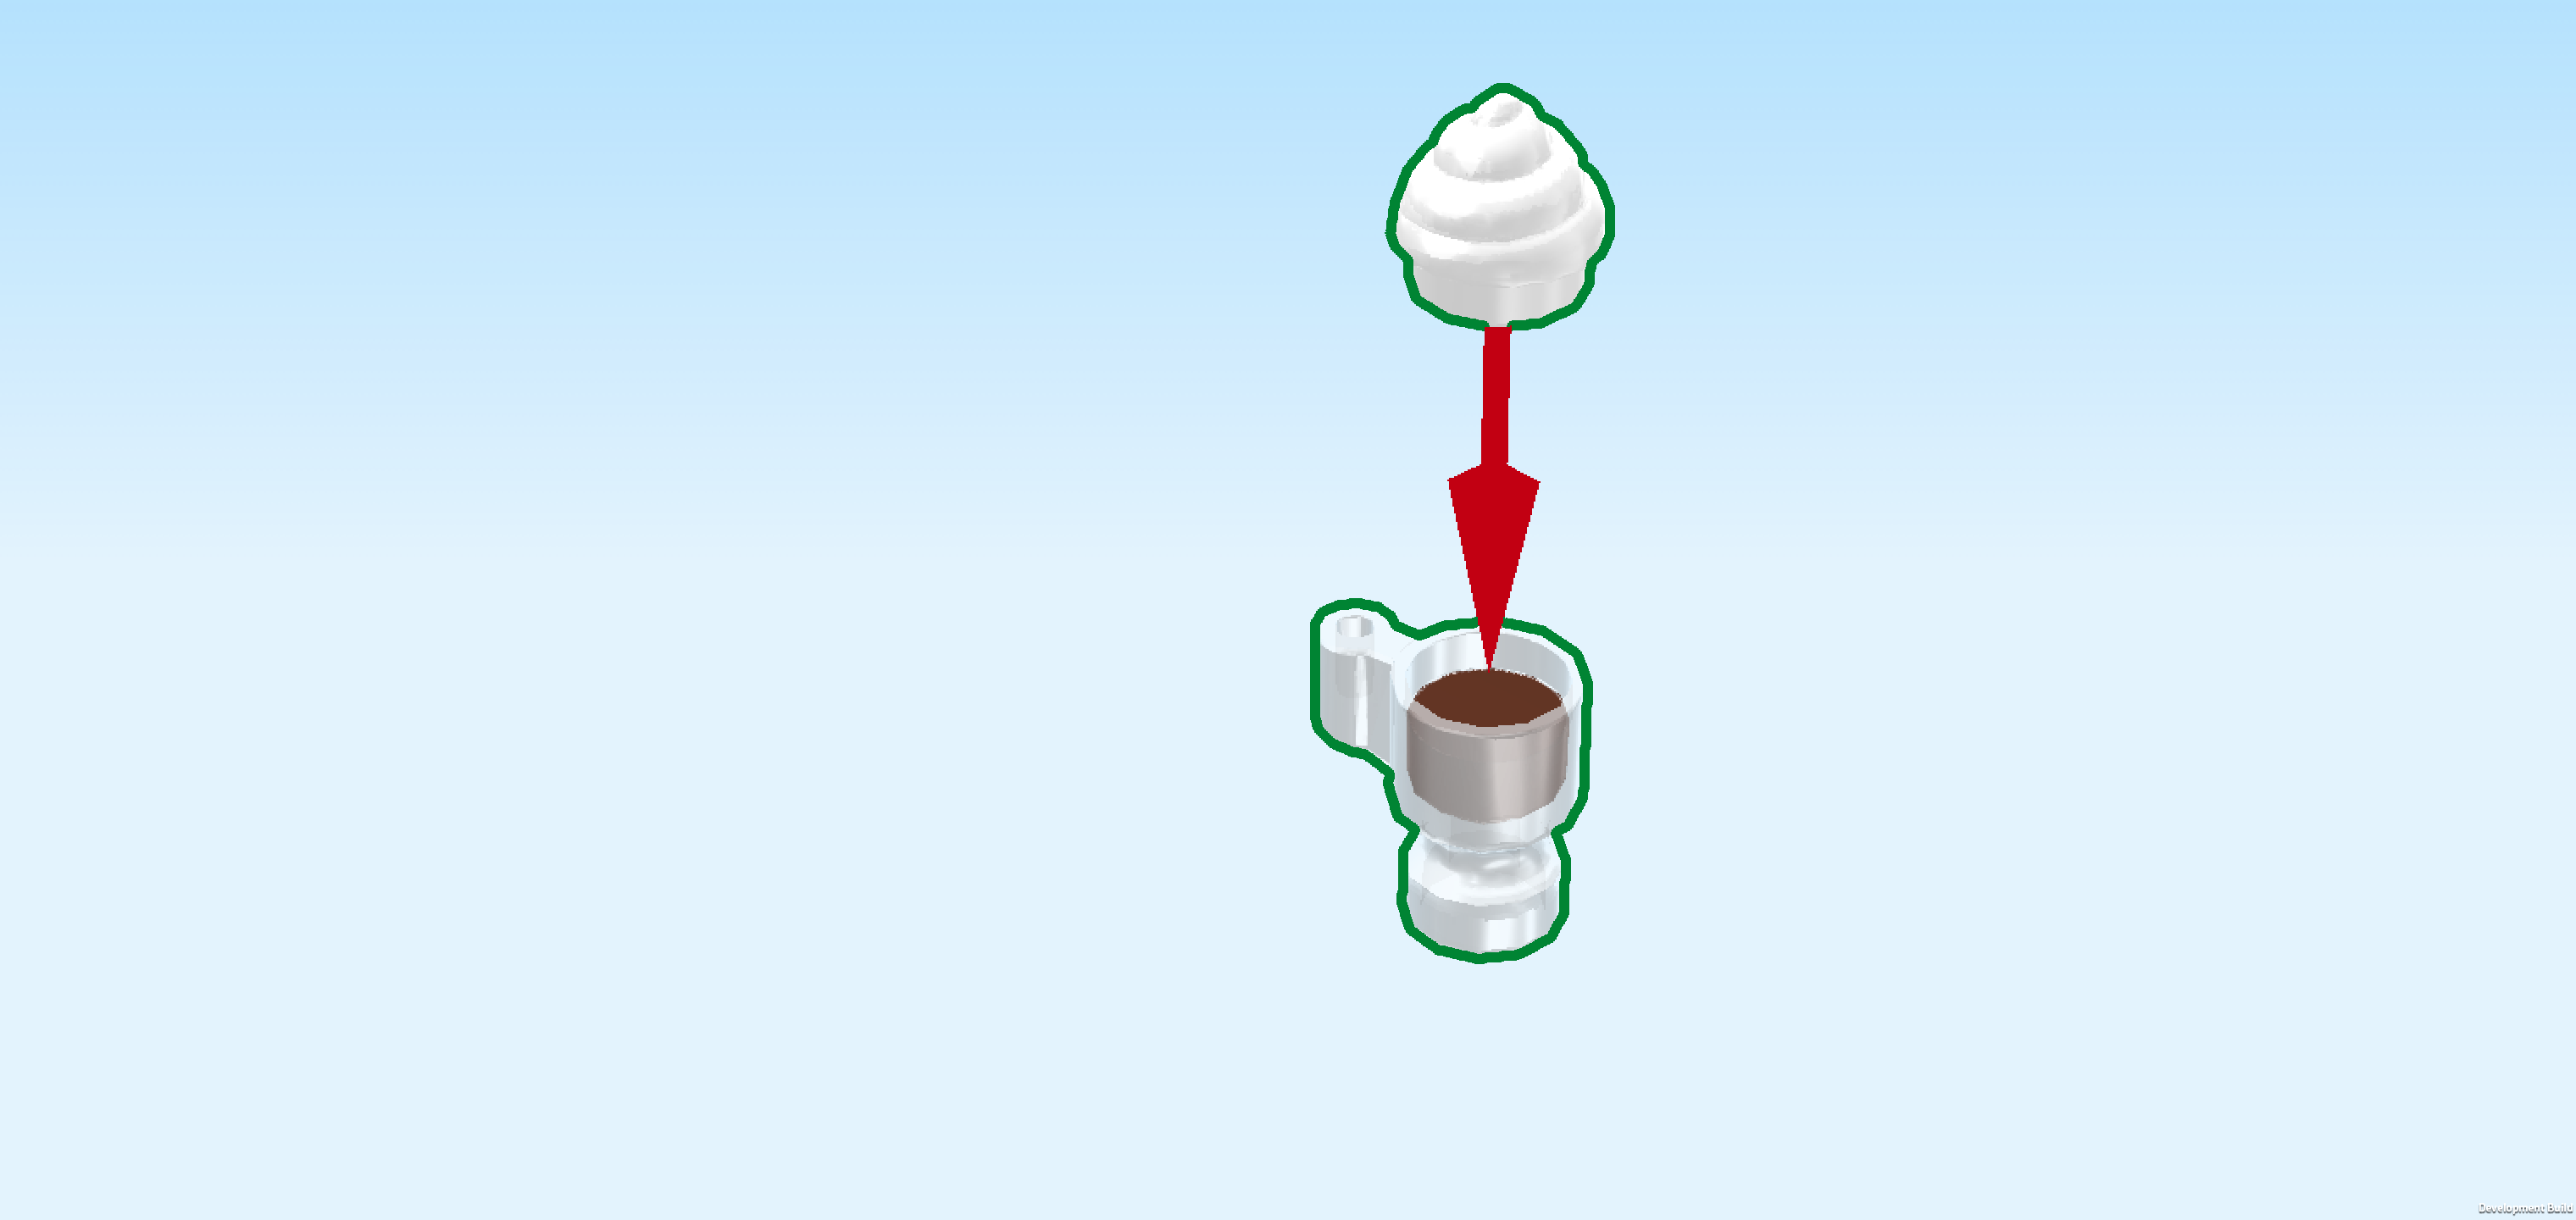
| 1 white swirly whipped cream topping 1x1, |
| and 1 reddish brown and transparent Minifigure cup with stem and handle. |
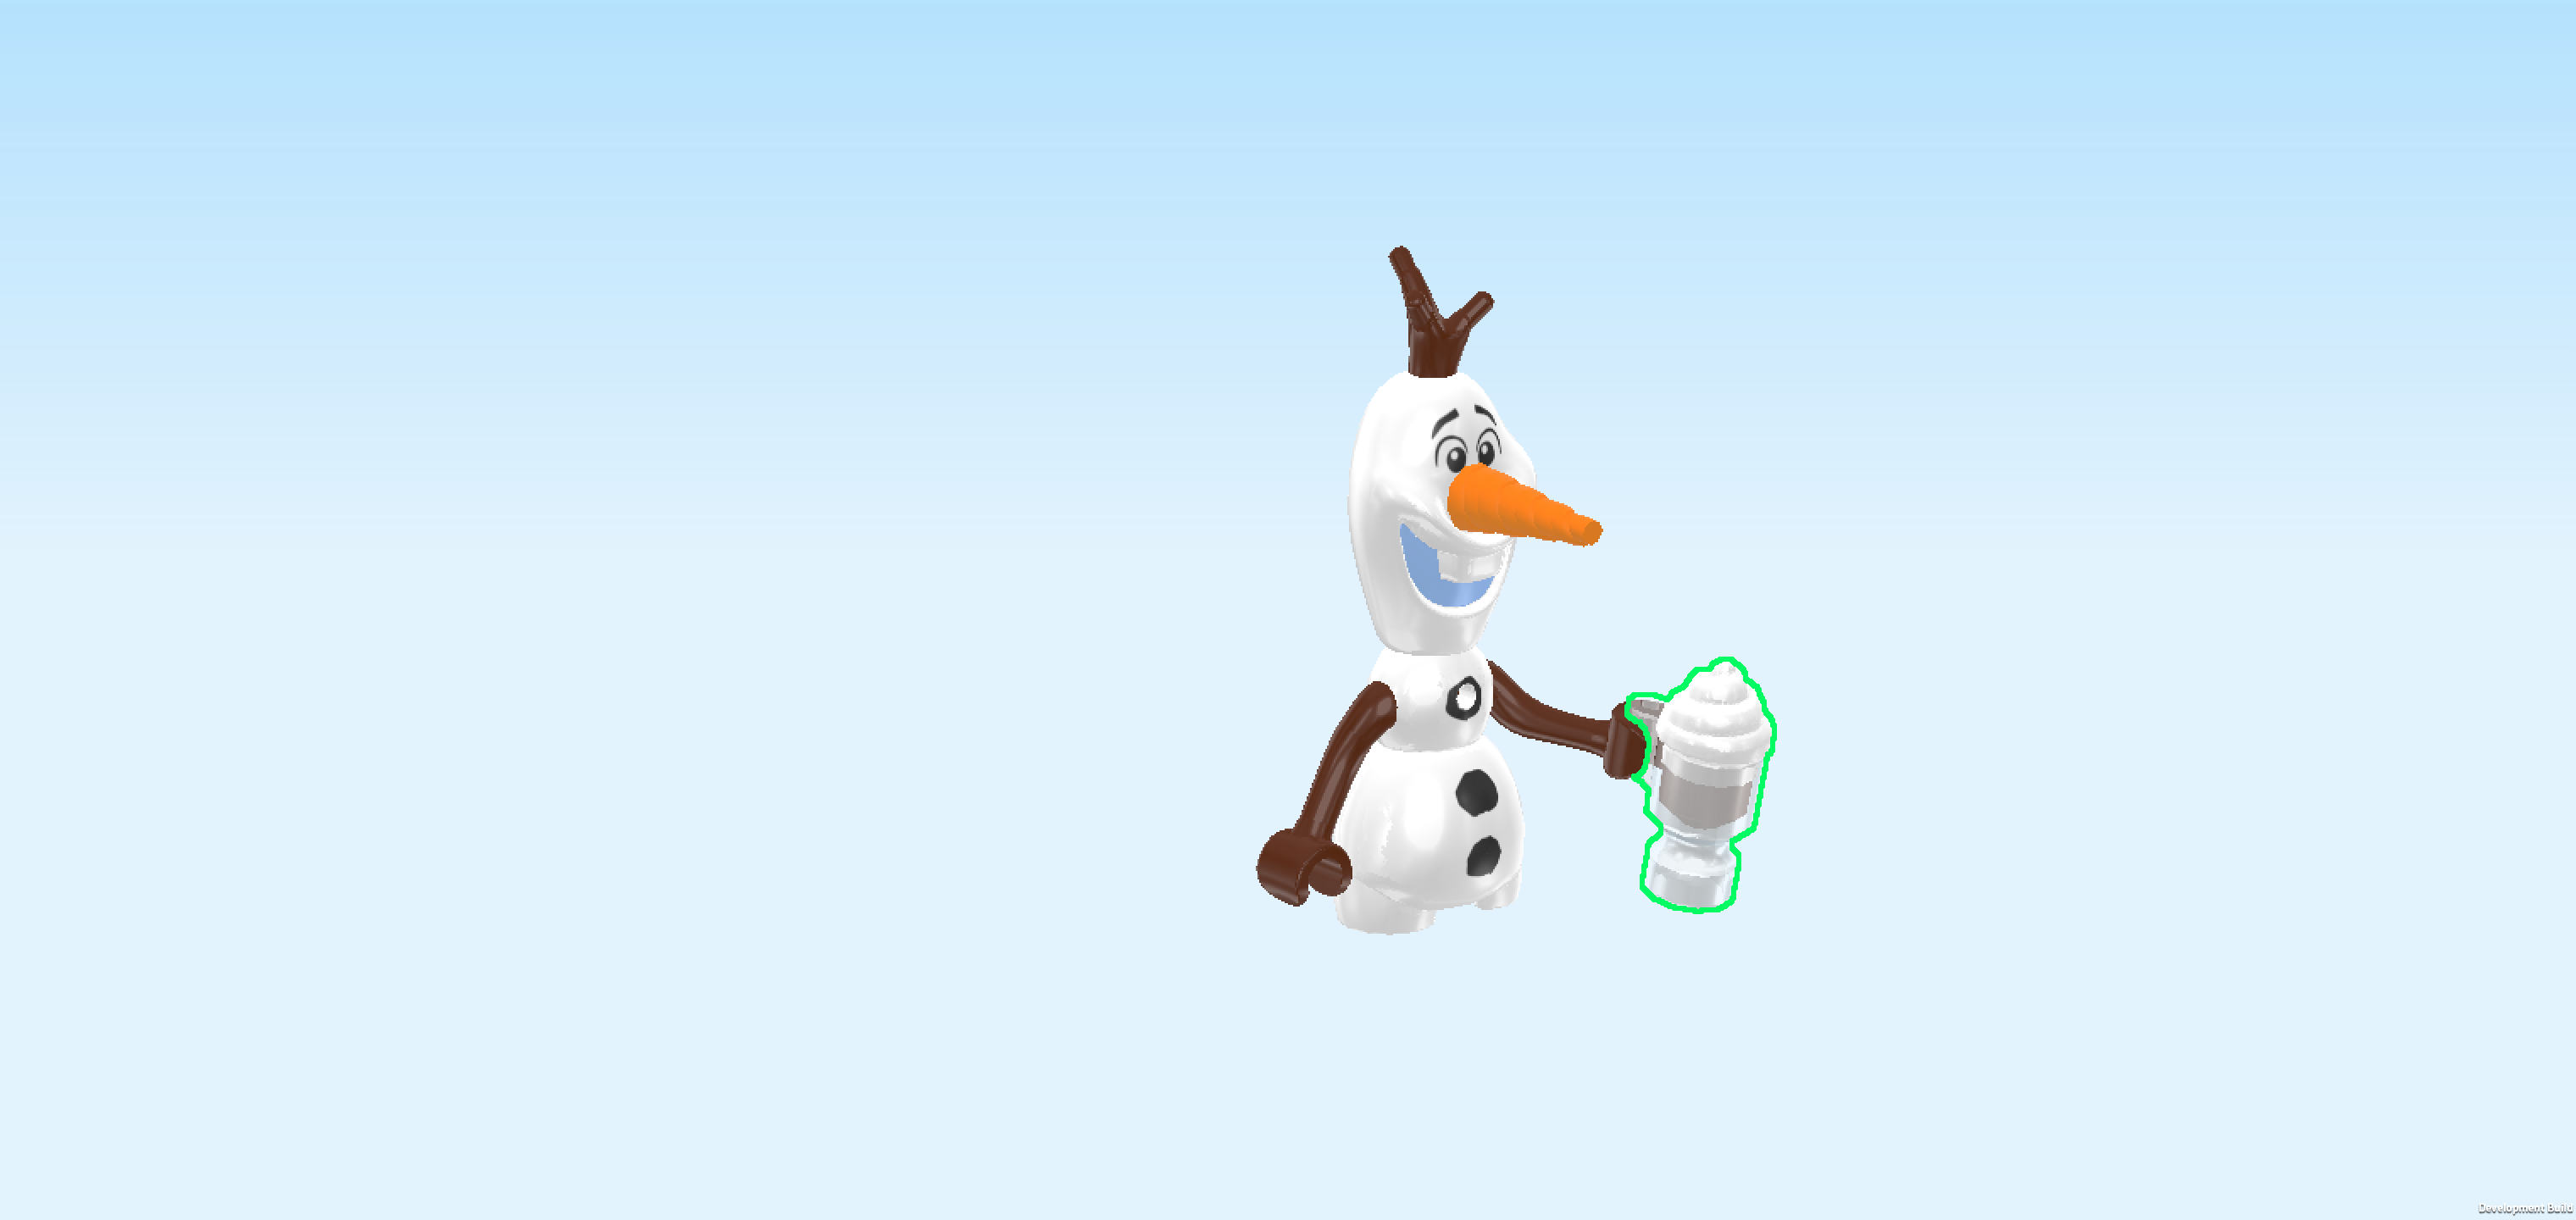
| Put the swirly topping on top of the cup. |
| The hot chocolate is finished! Great job! It's particularly tasty with some whipped cream on top. A great treat on cold winter days! |
| Snap the cup handle into Olaf's left hand. |
| Olaf the snowman is finished! Well done! He has the broadest smile you could imagine and a very happy expression altogether. There are two black dots printed on his belly representing the coals that are usually used on snowpeople as buttons. The third black dot on his chest has a hole that is sometimes used for decorations like bow ties. Olaf can't wait to make some more hot chocolate, so let's continue building! |
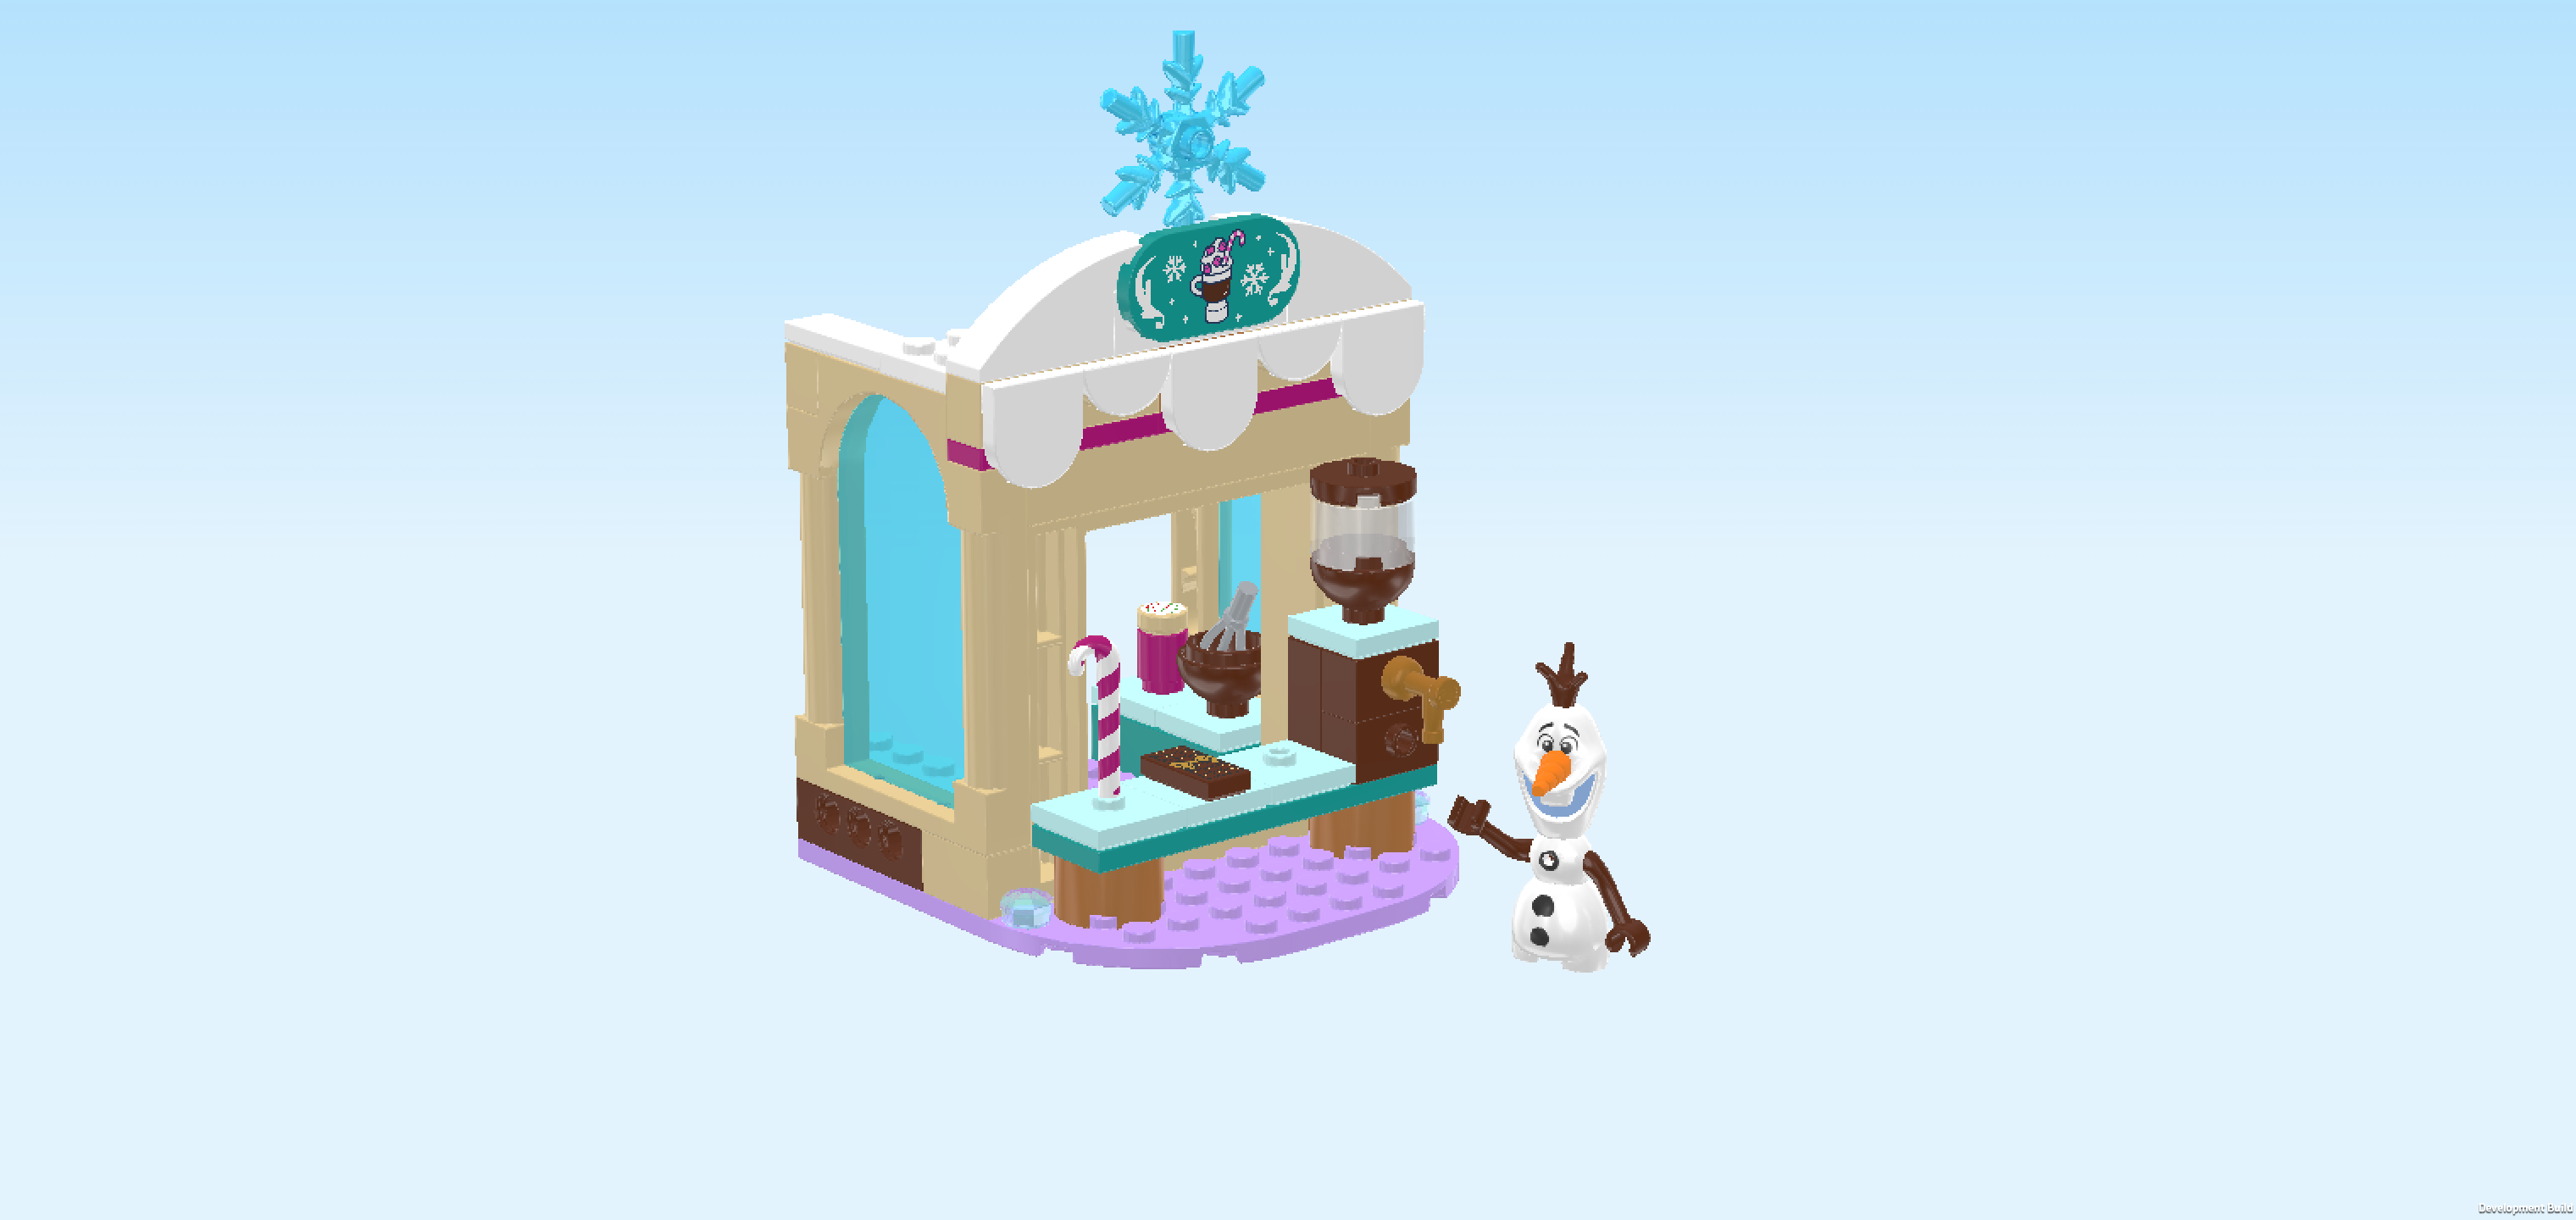
| Next, we will build the hot chocolate stand. |
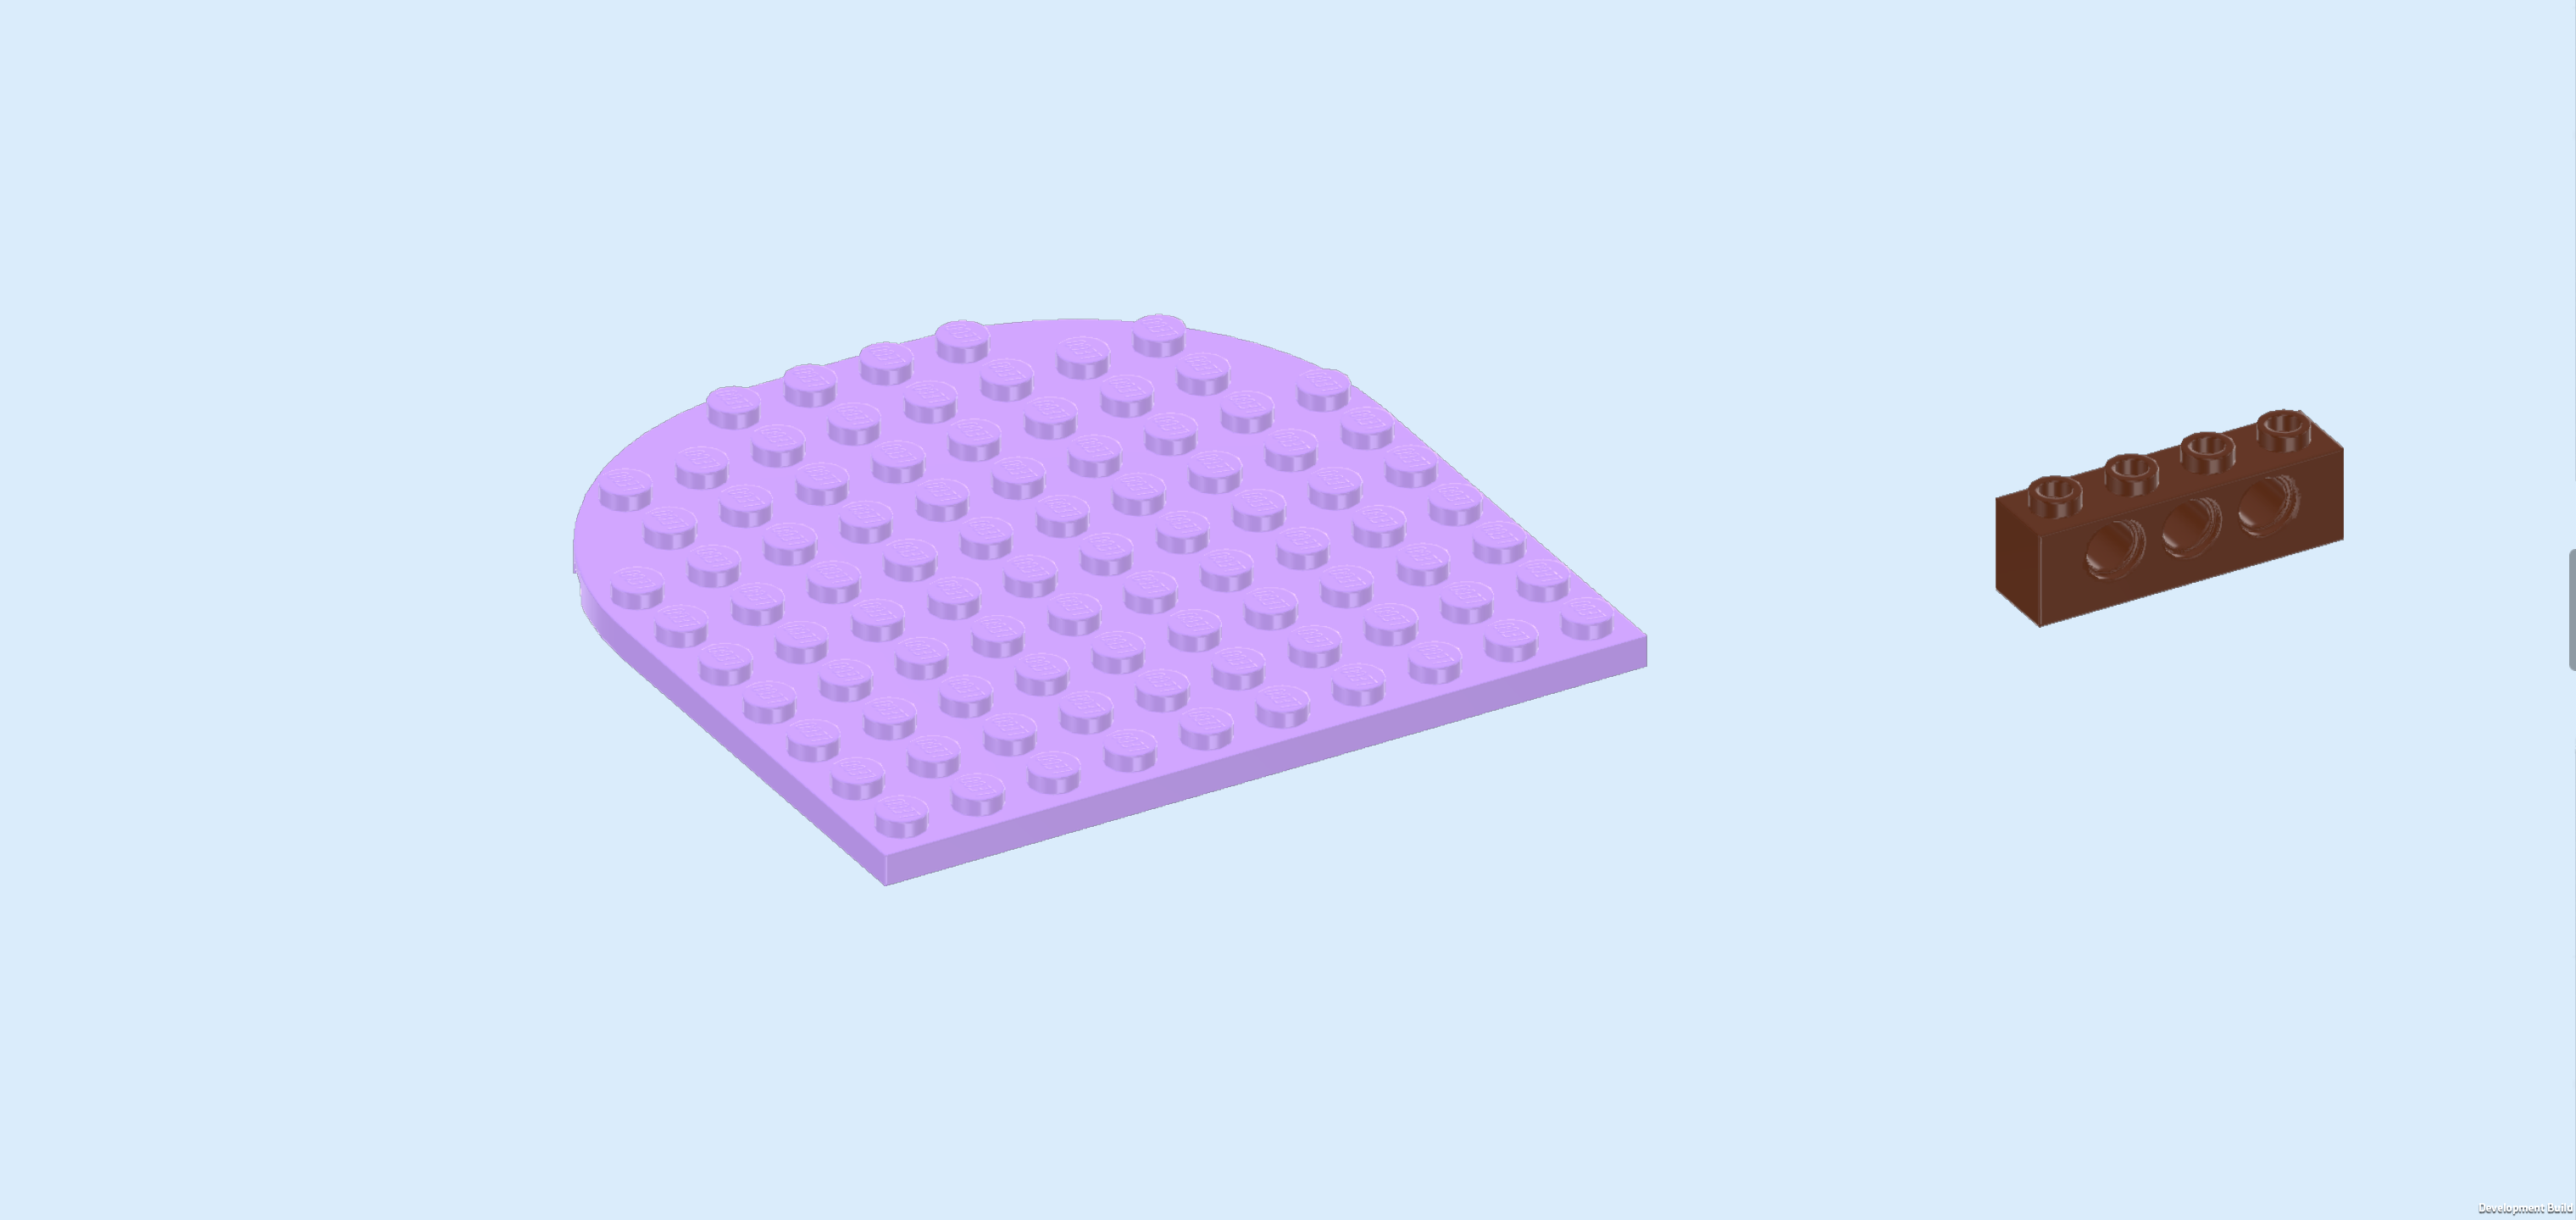
| Collect the following 2 pieces: |
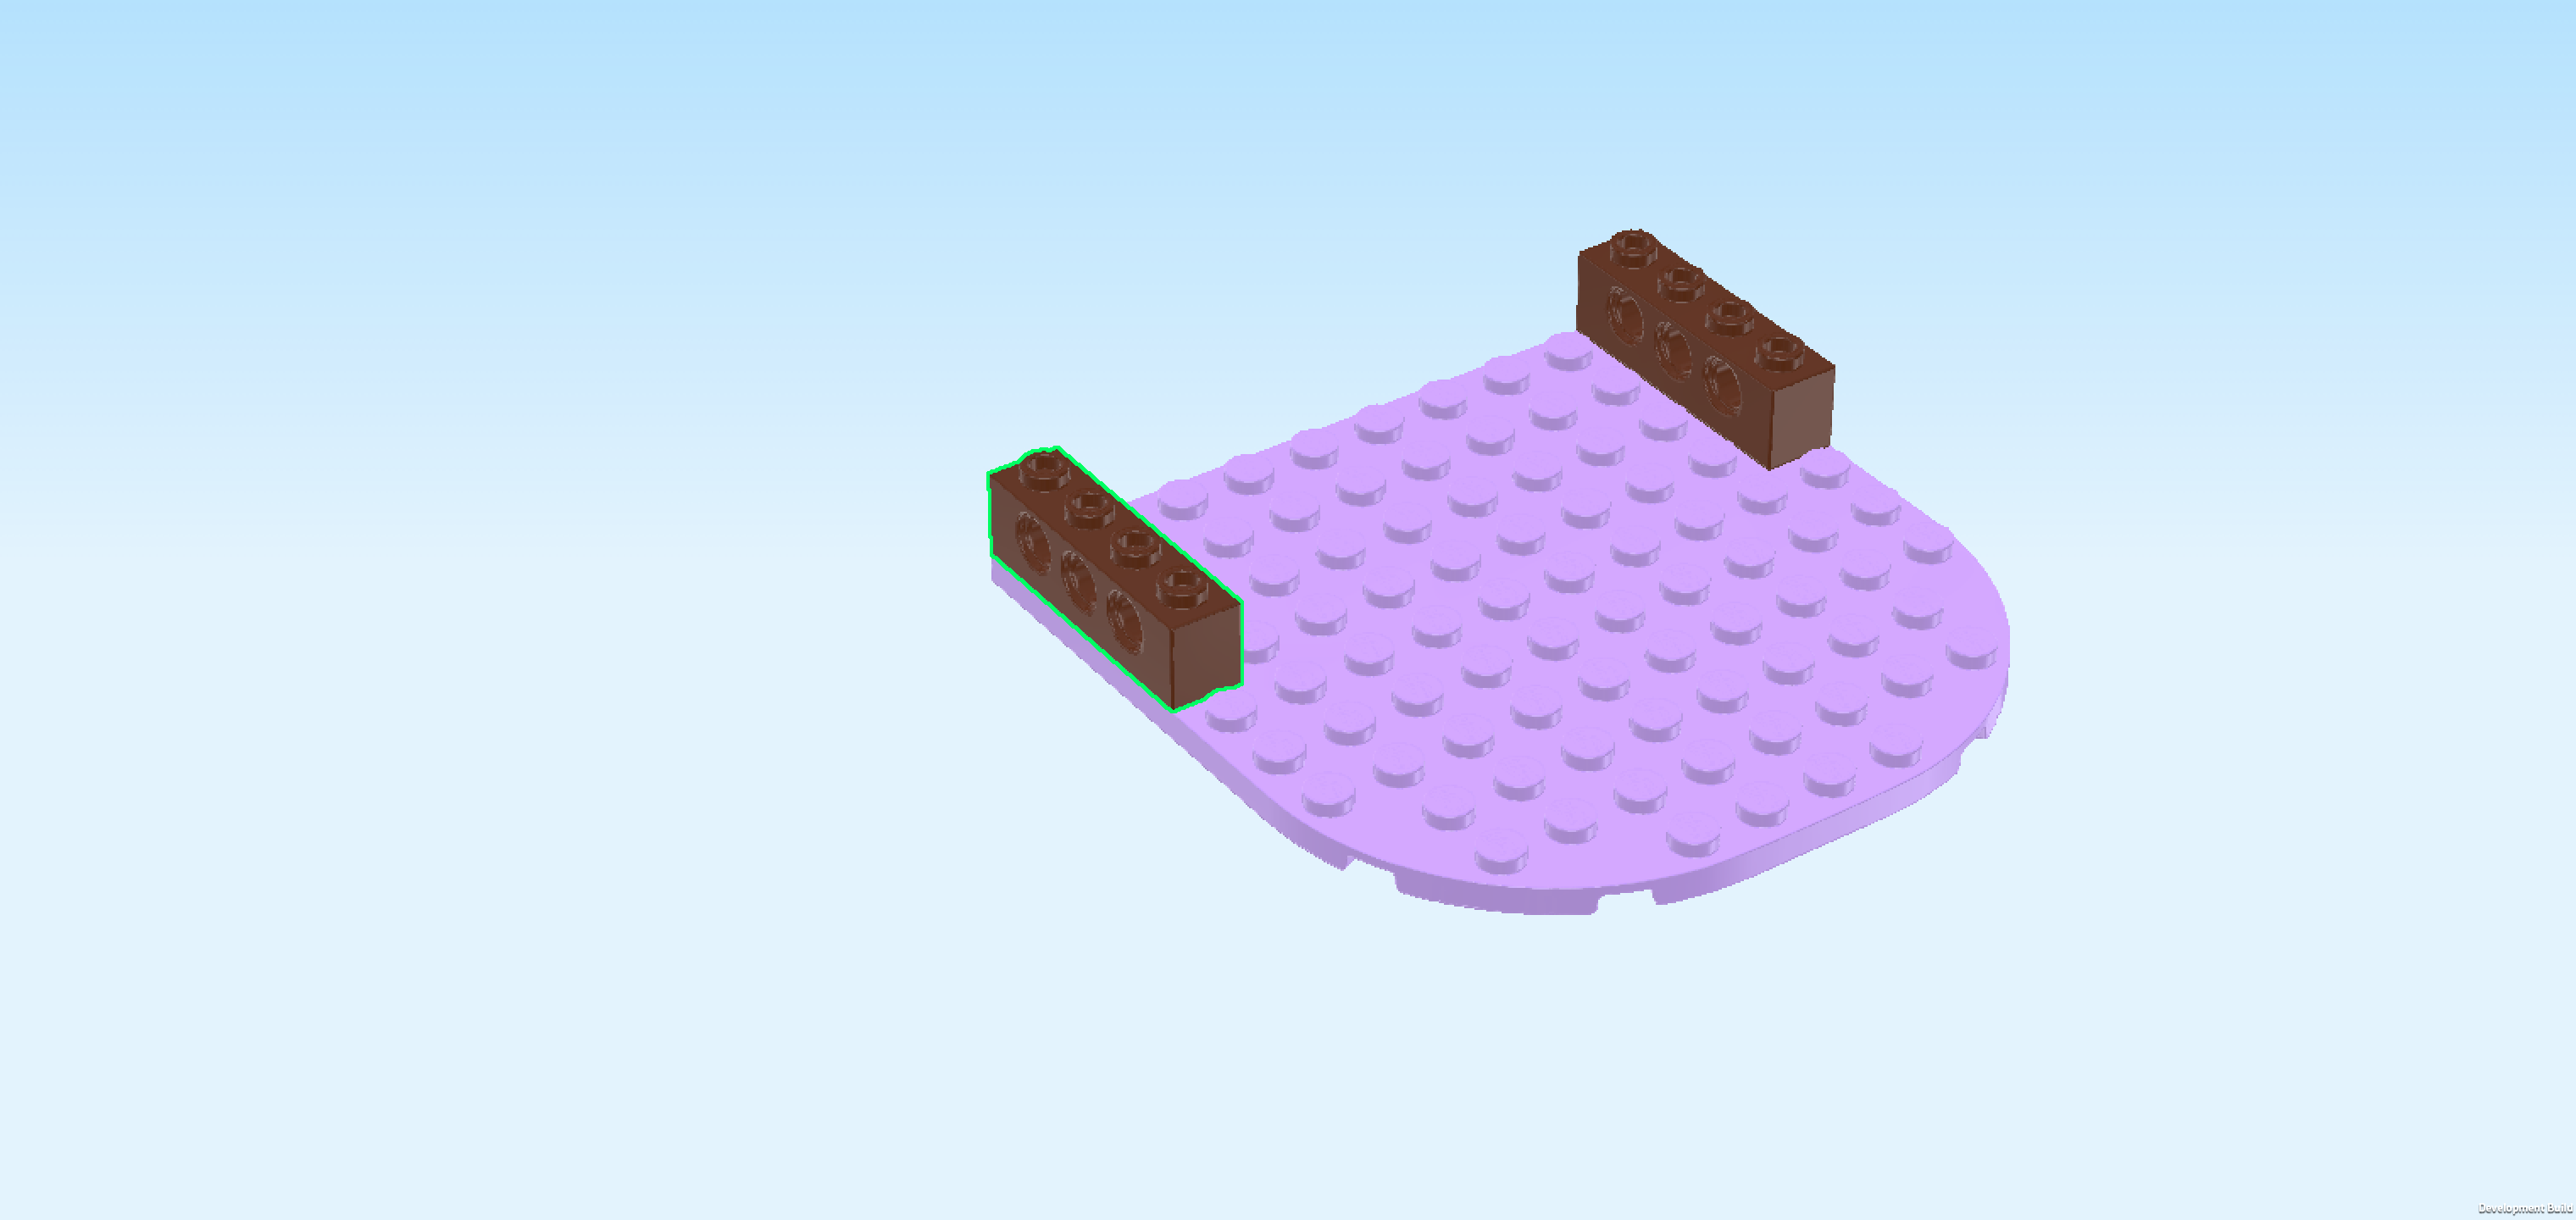
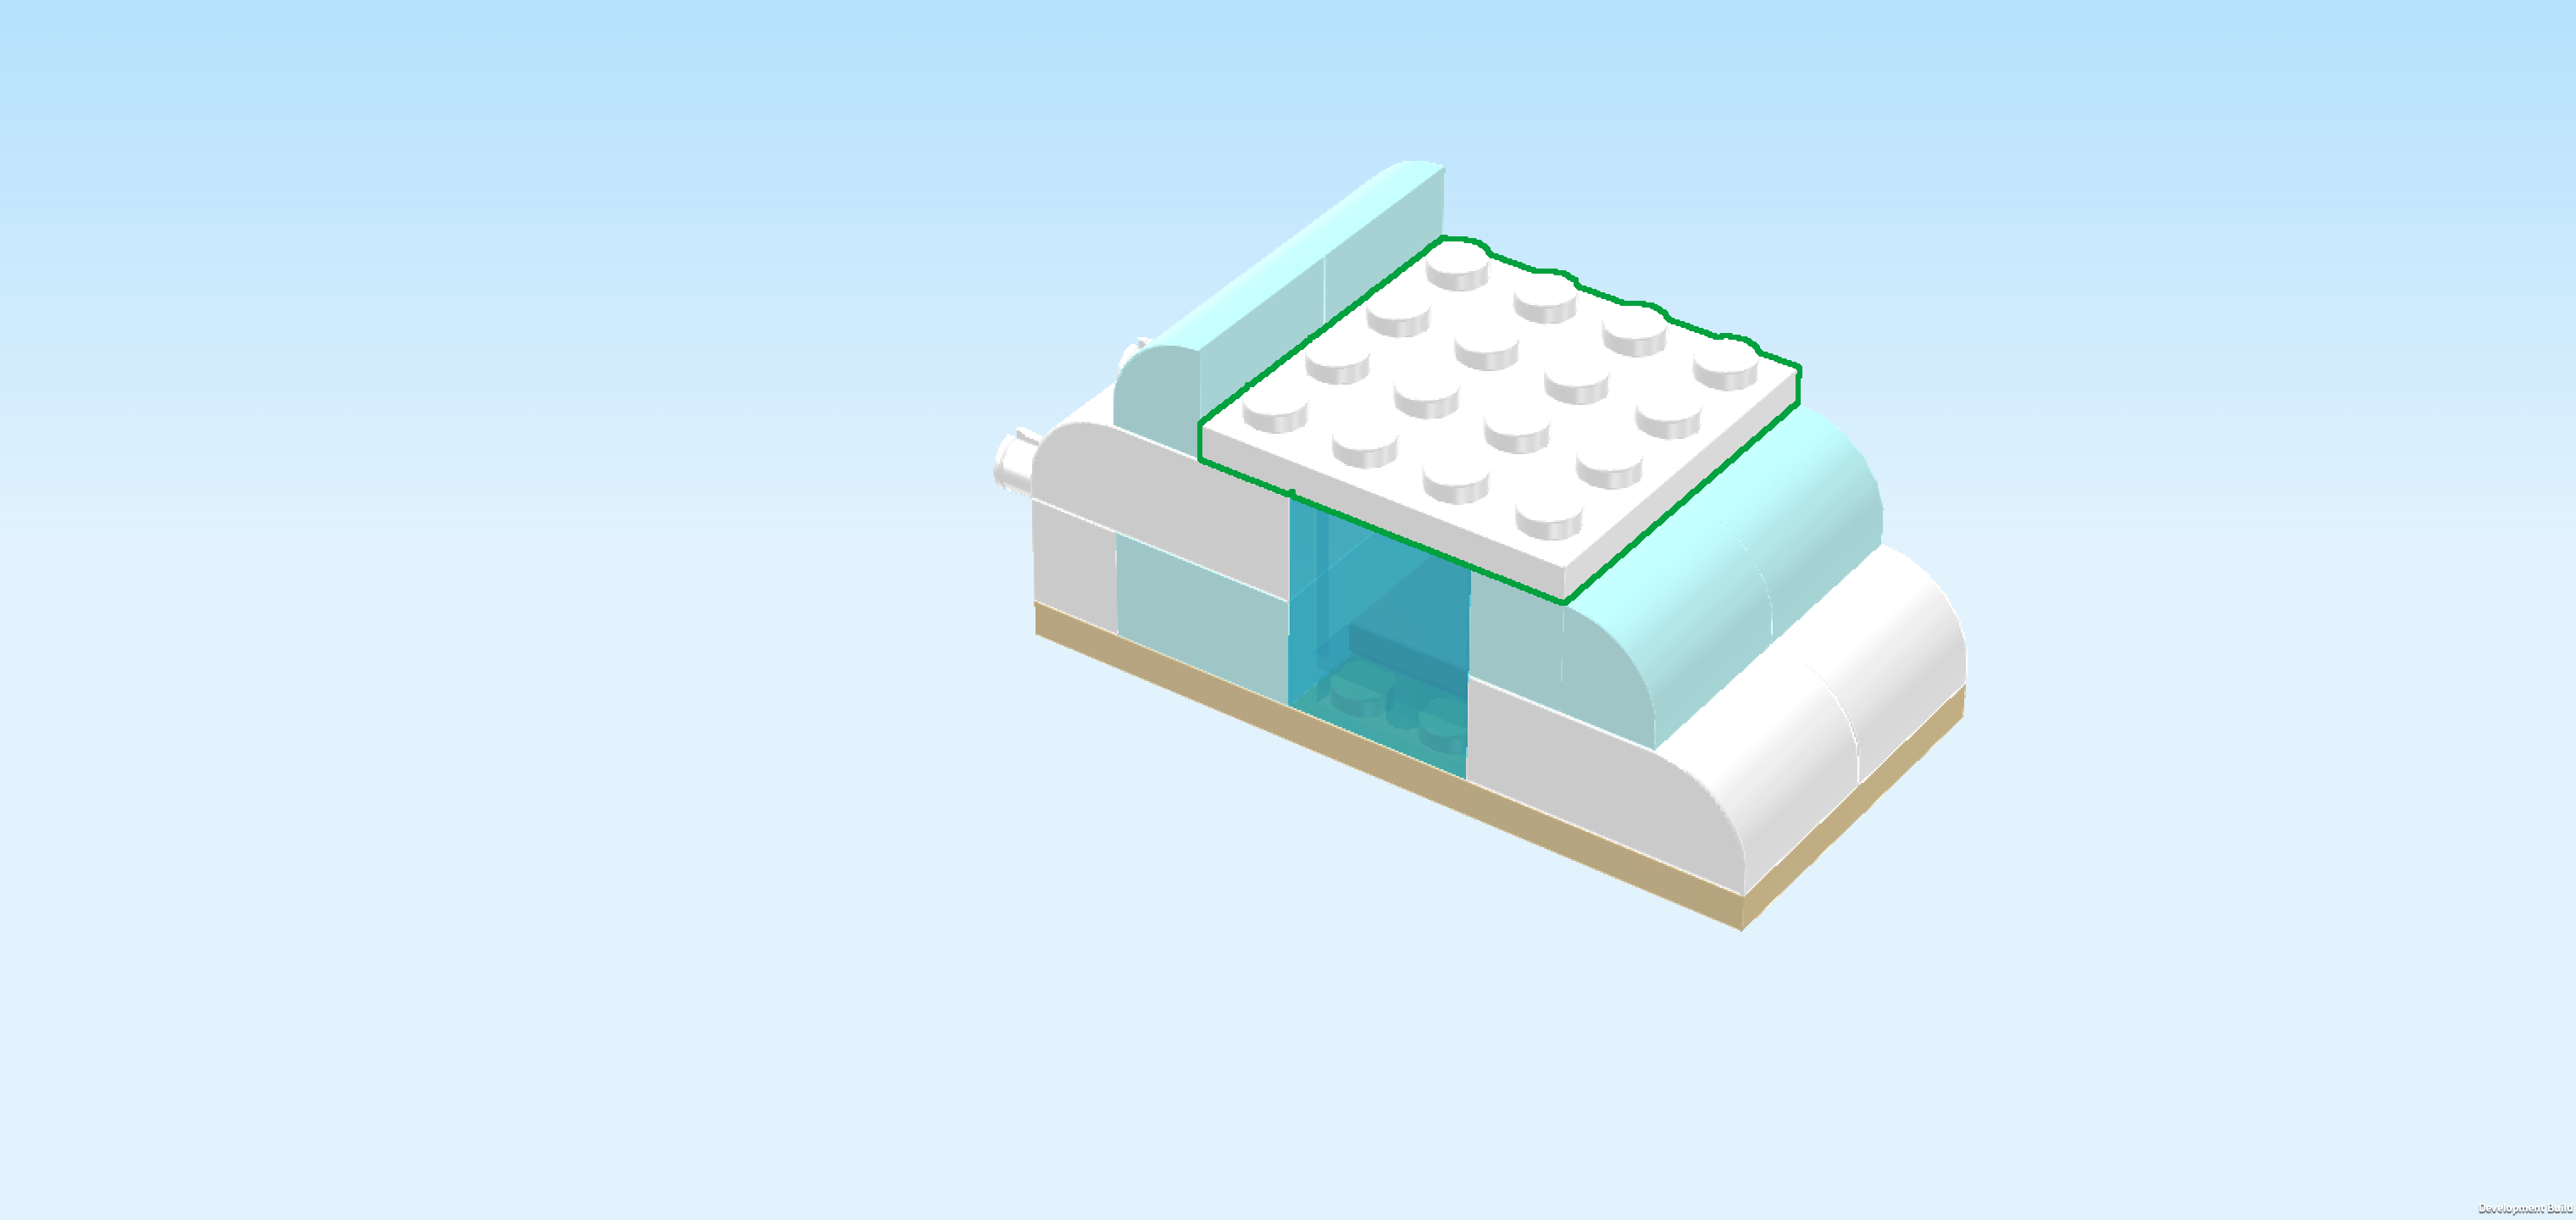
| 1 light lavender plate 10x10 with 2 rounded corners, |
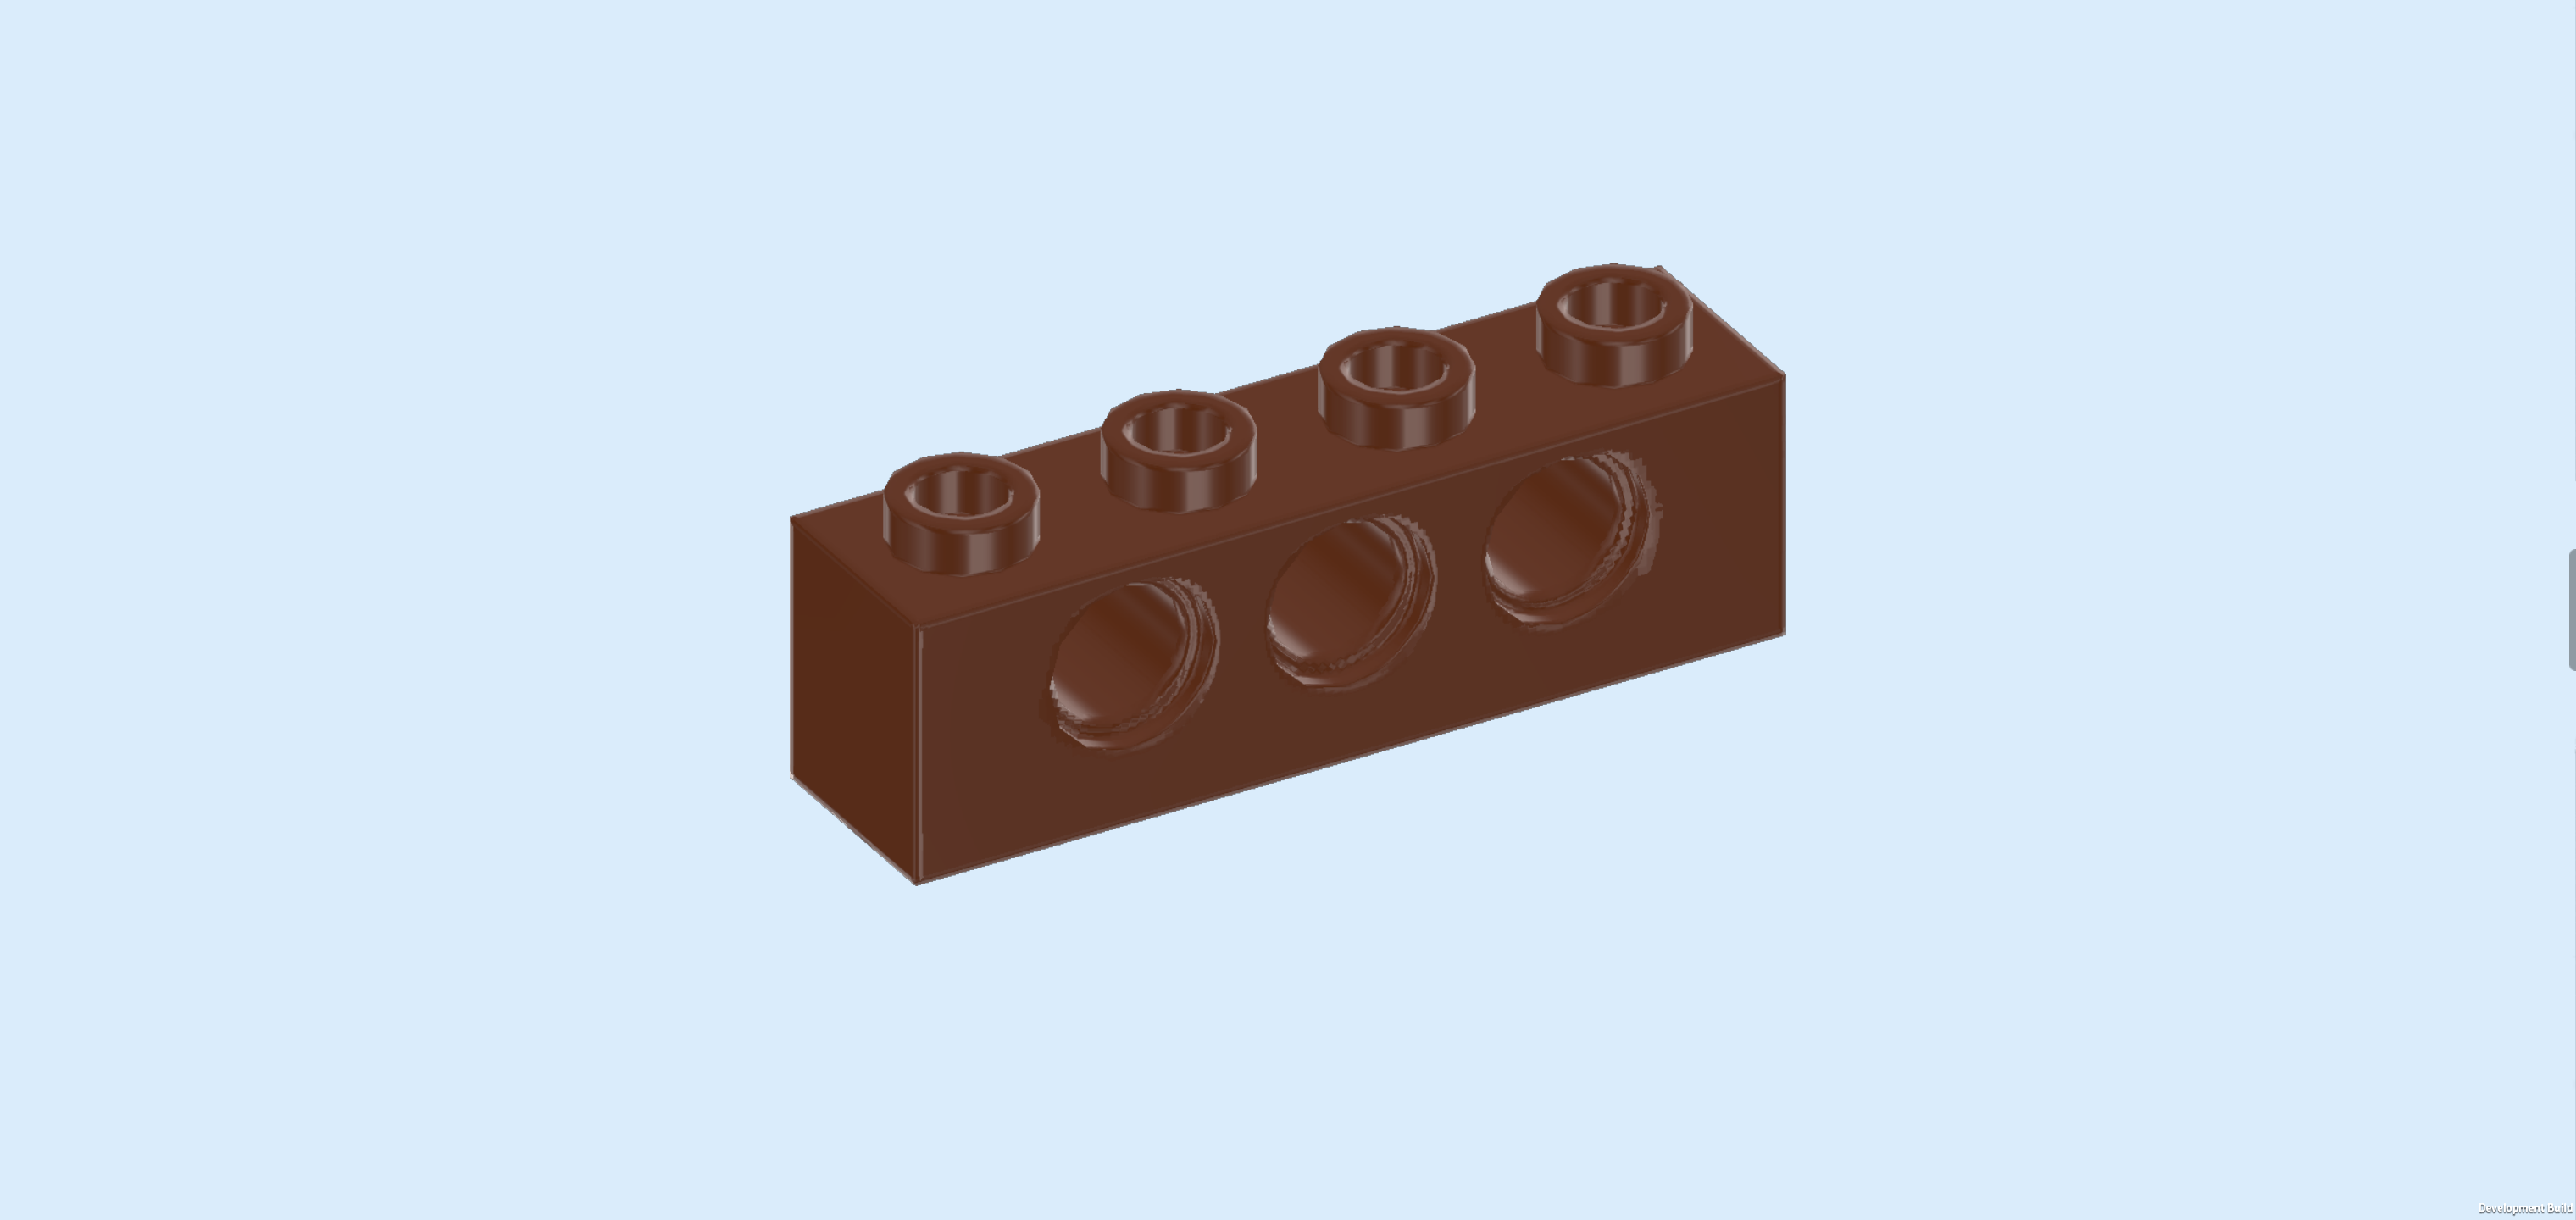
| and 1 reddish brown brick 1x4 with 3 technic holes. |
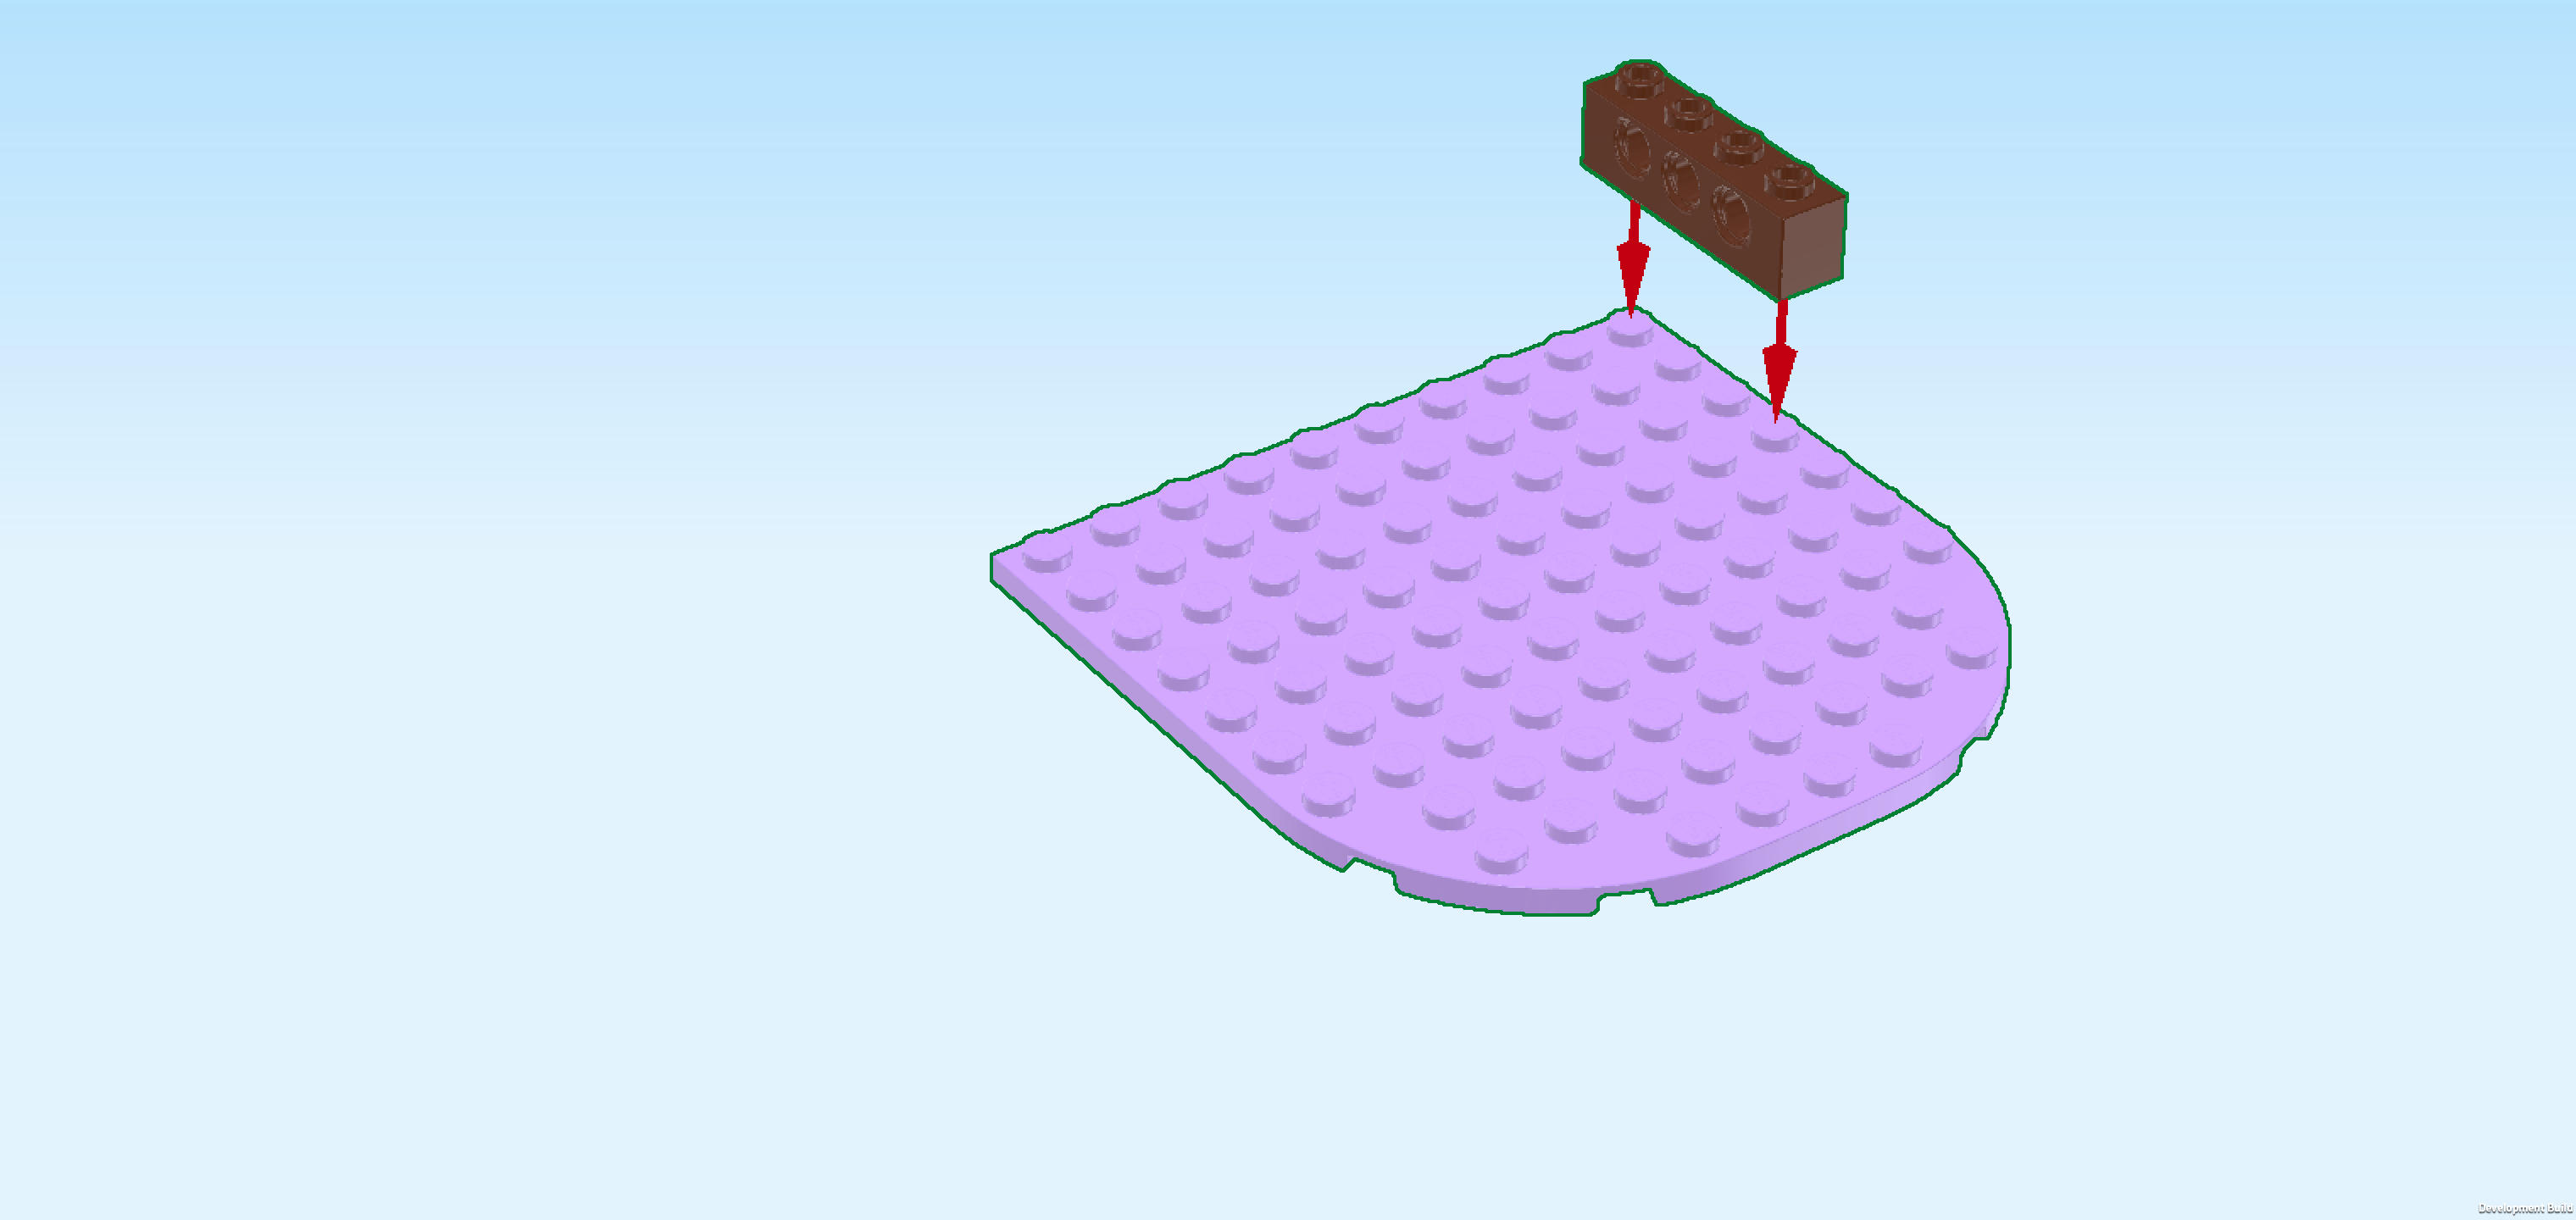
| Put the plate 10x10 on the table, rounded corners to the front. |
| Put the brick 1x4 vertically on the rightmost column, starting from the back edge. |
| Find 1 reddish brown brick 1x4 with 3 technic holes. |
| Put it vertically on the leftmost column, starting from the back edge. |
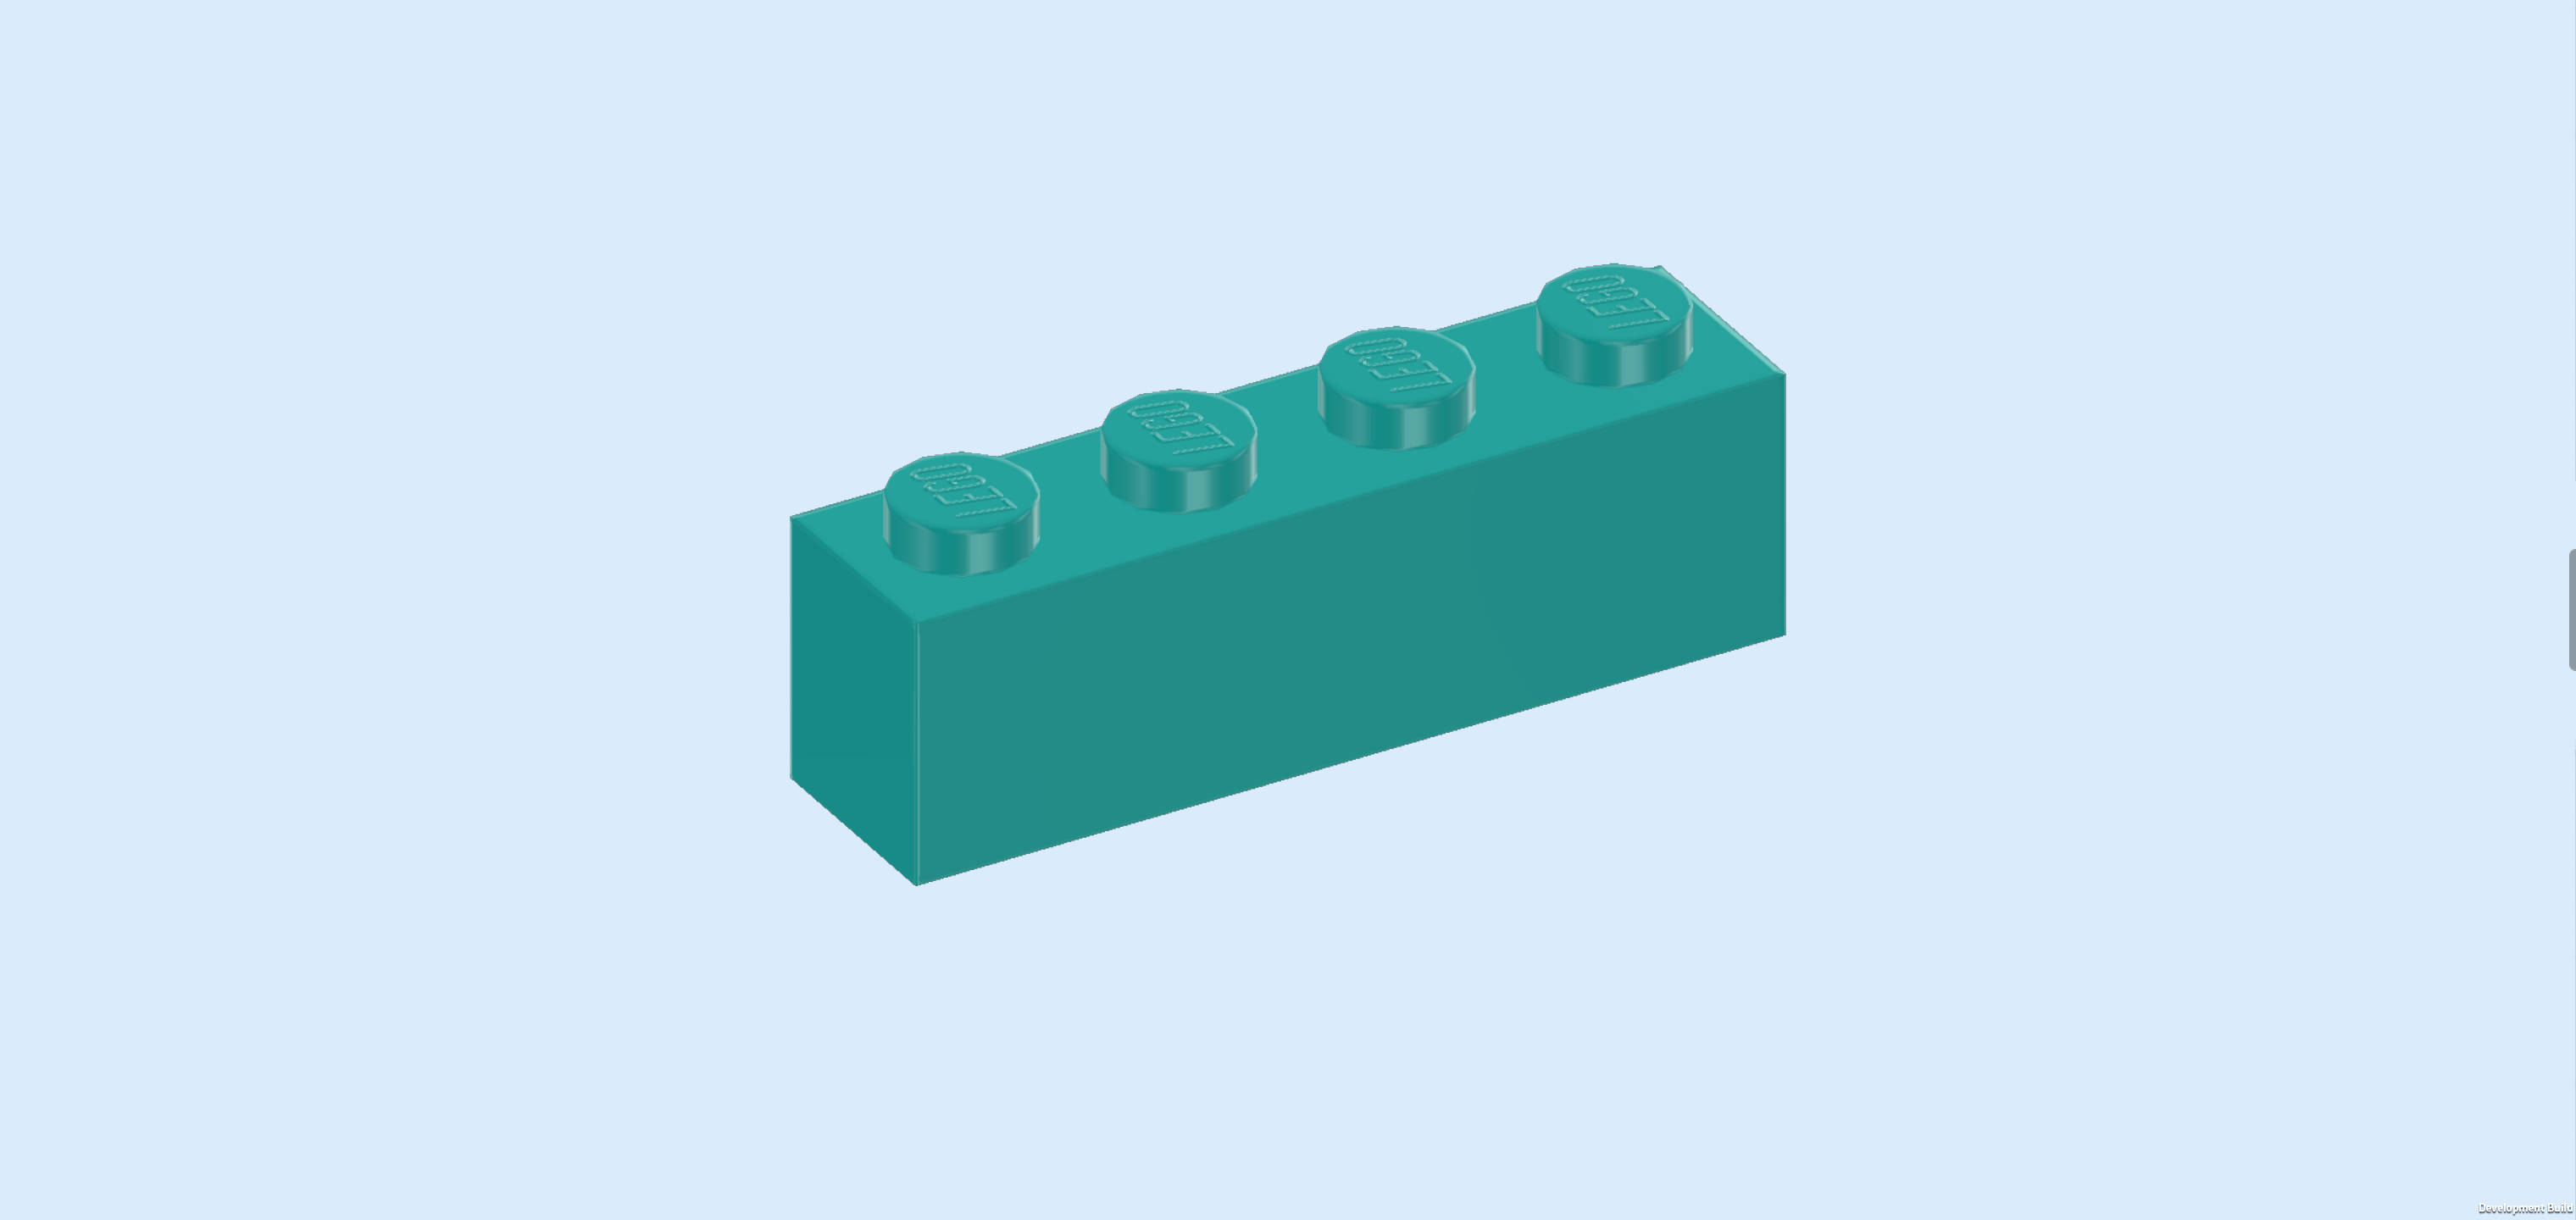
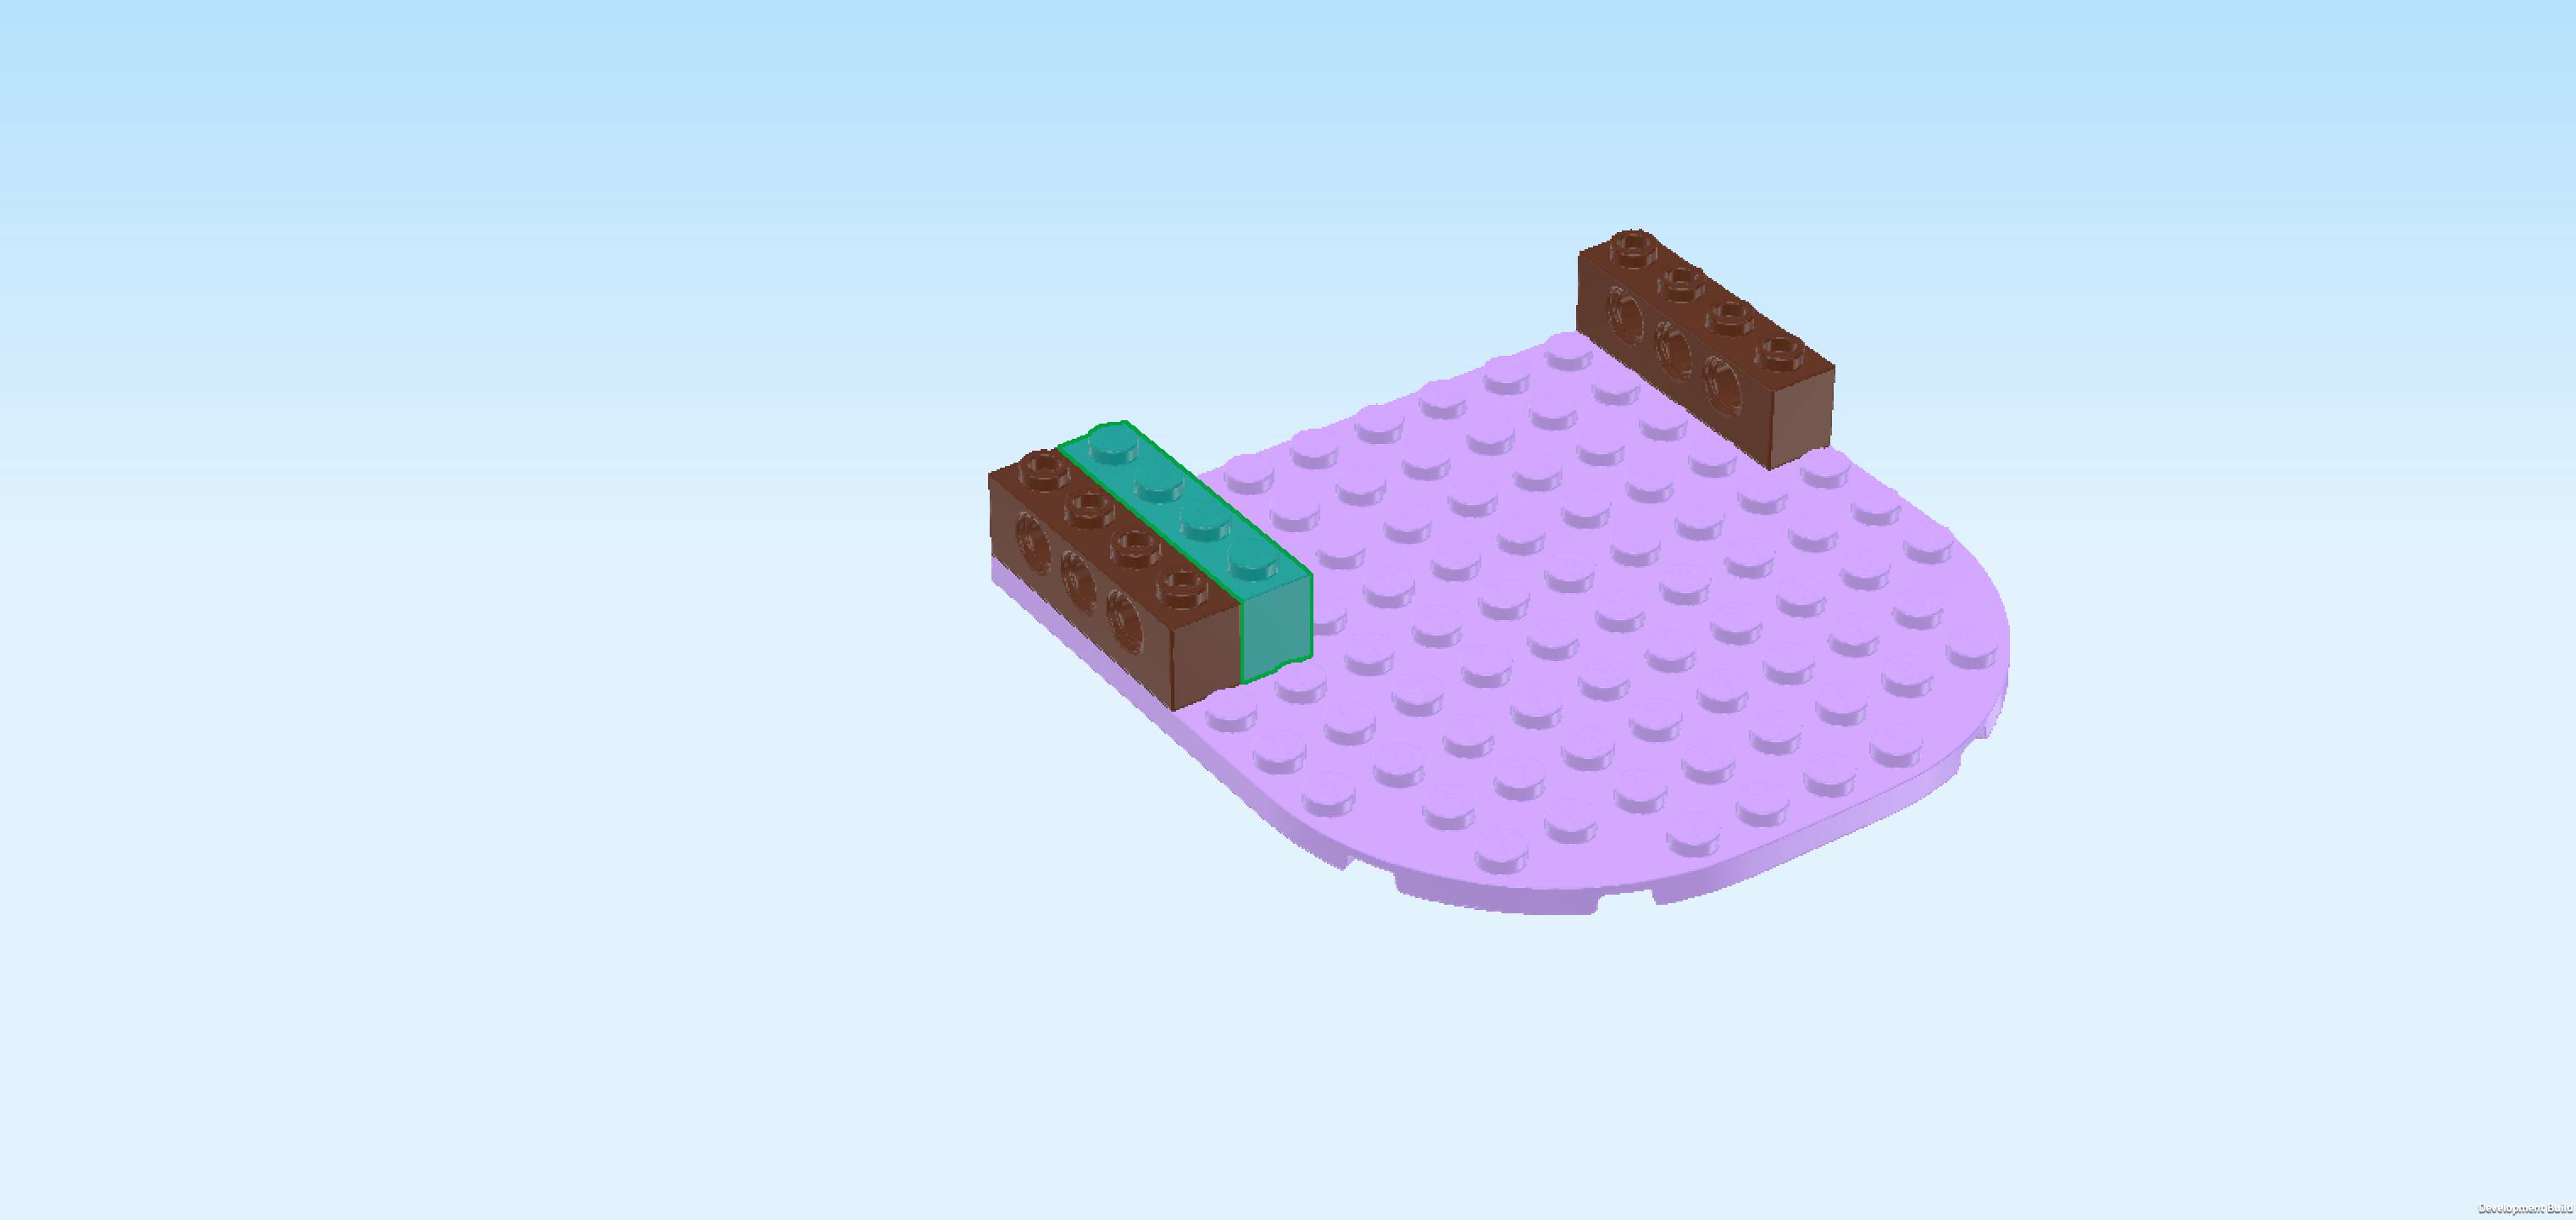
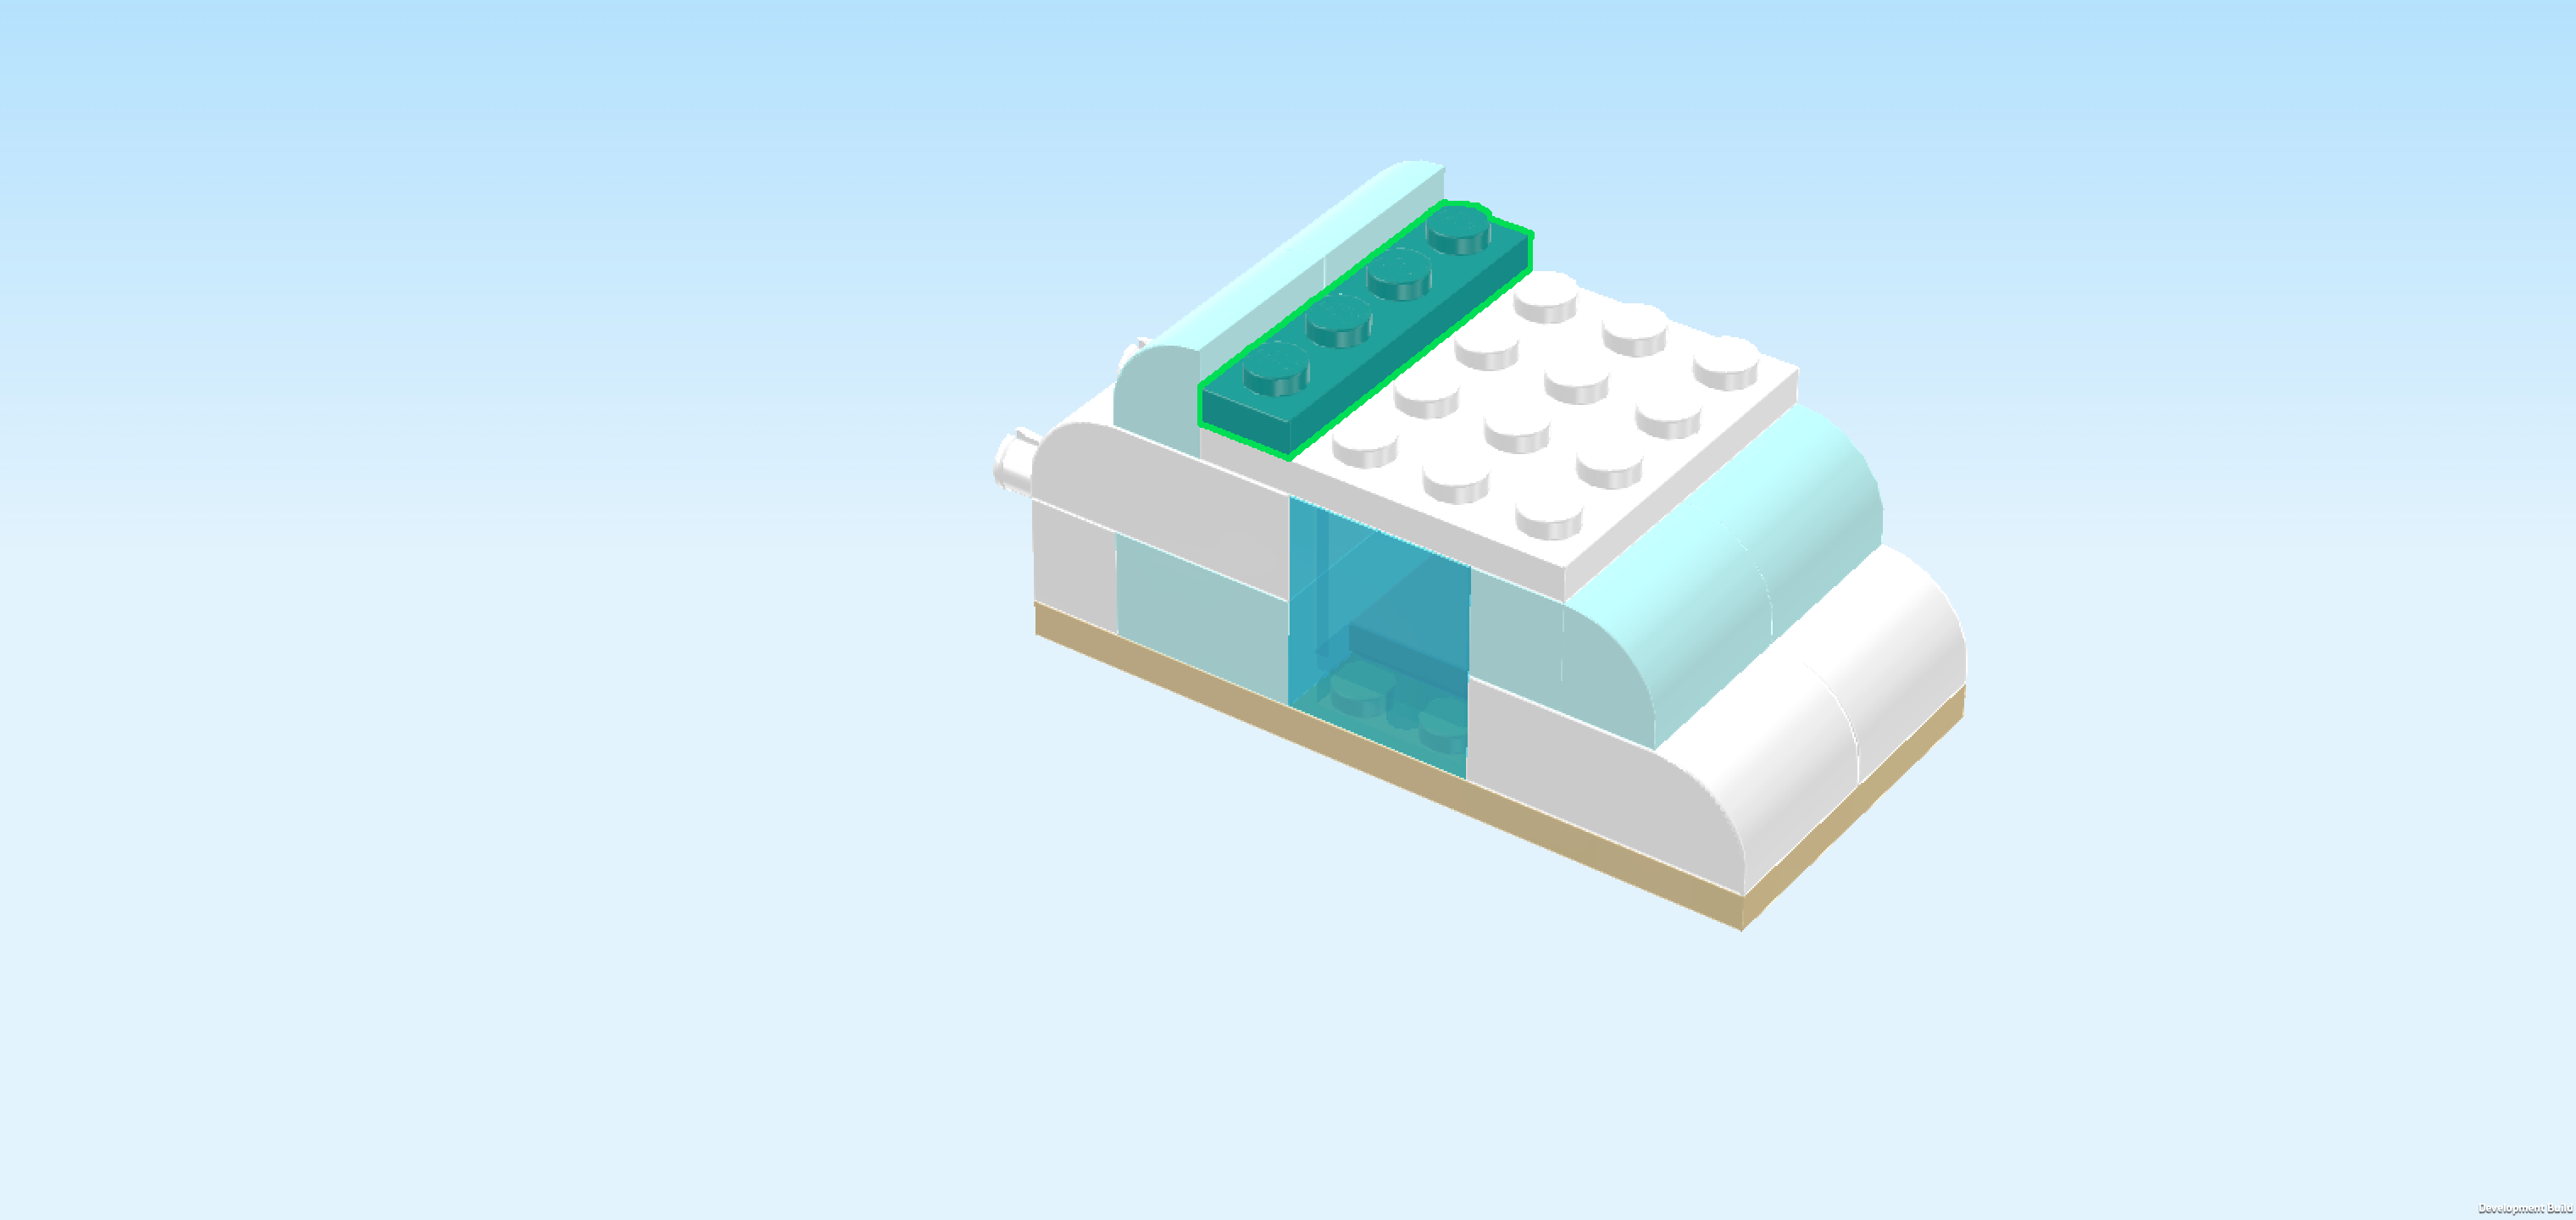
| Find 1 teal blue brick 1x4. |
| Put it vertically to the right of the previous piece. |
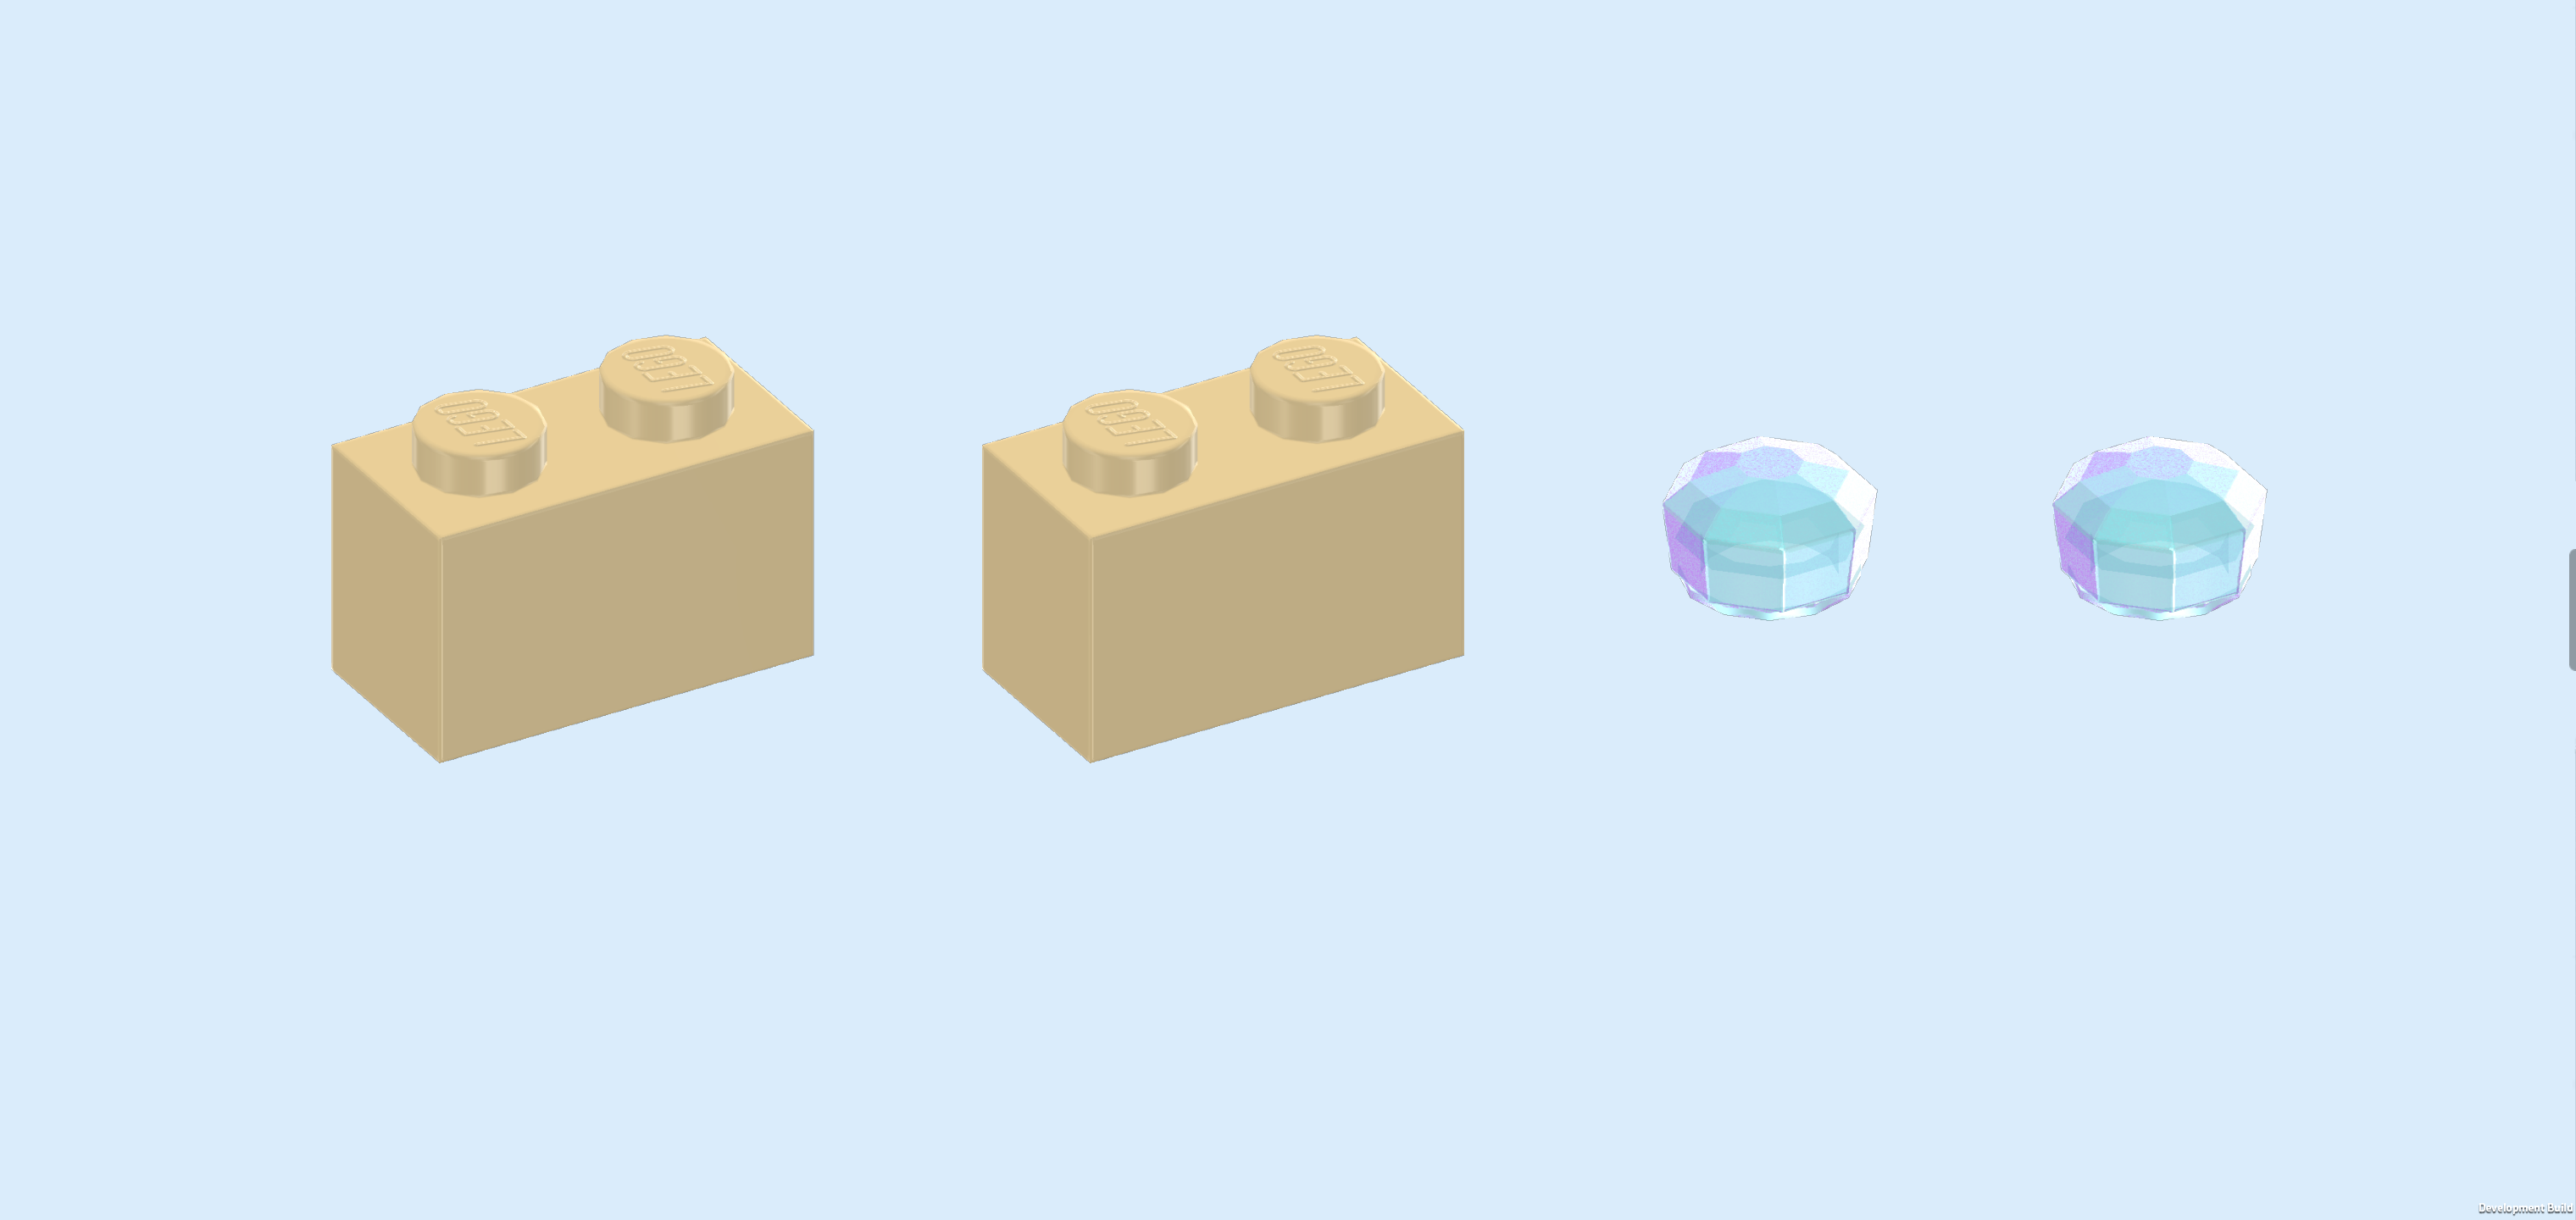
| Collect the following 4 pieces: |
| 2 beige bricks 1x2, |
| and 2 transparent light blue jewel plates 1x1x⅔. |
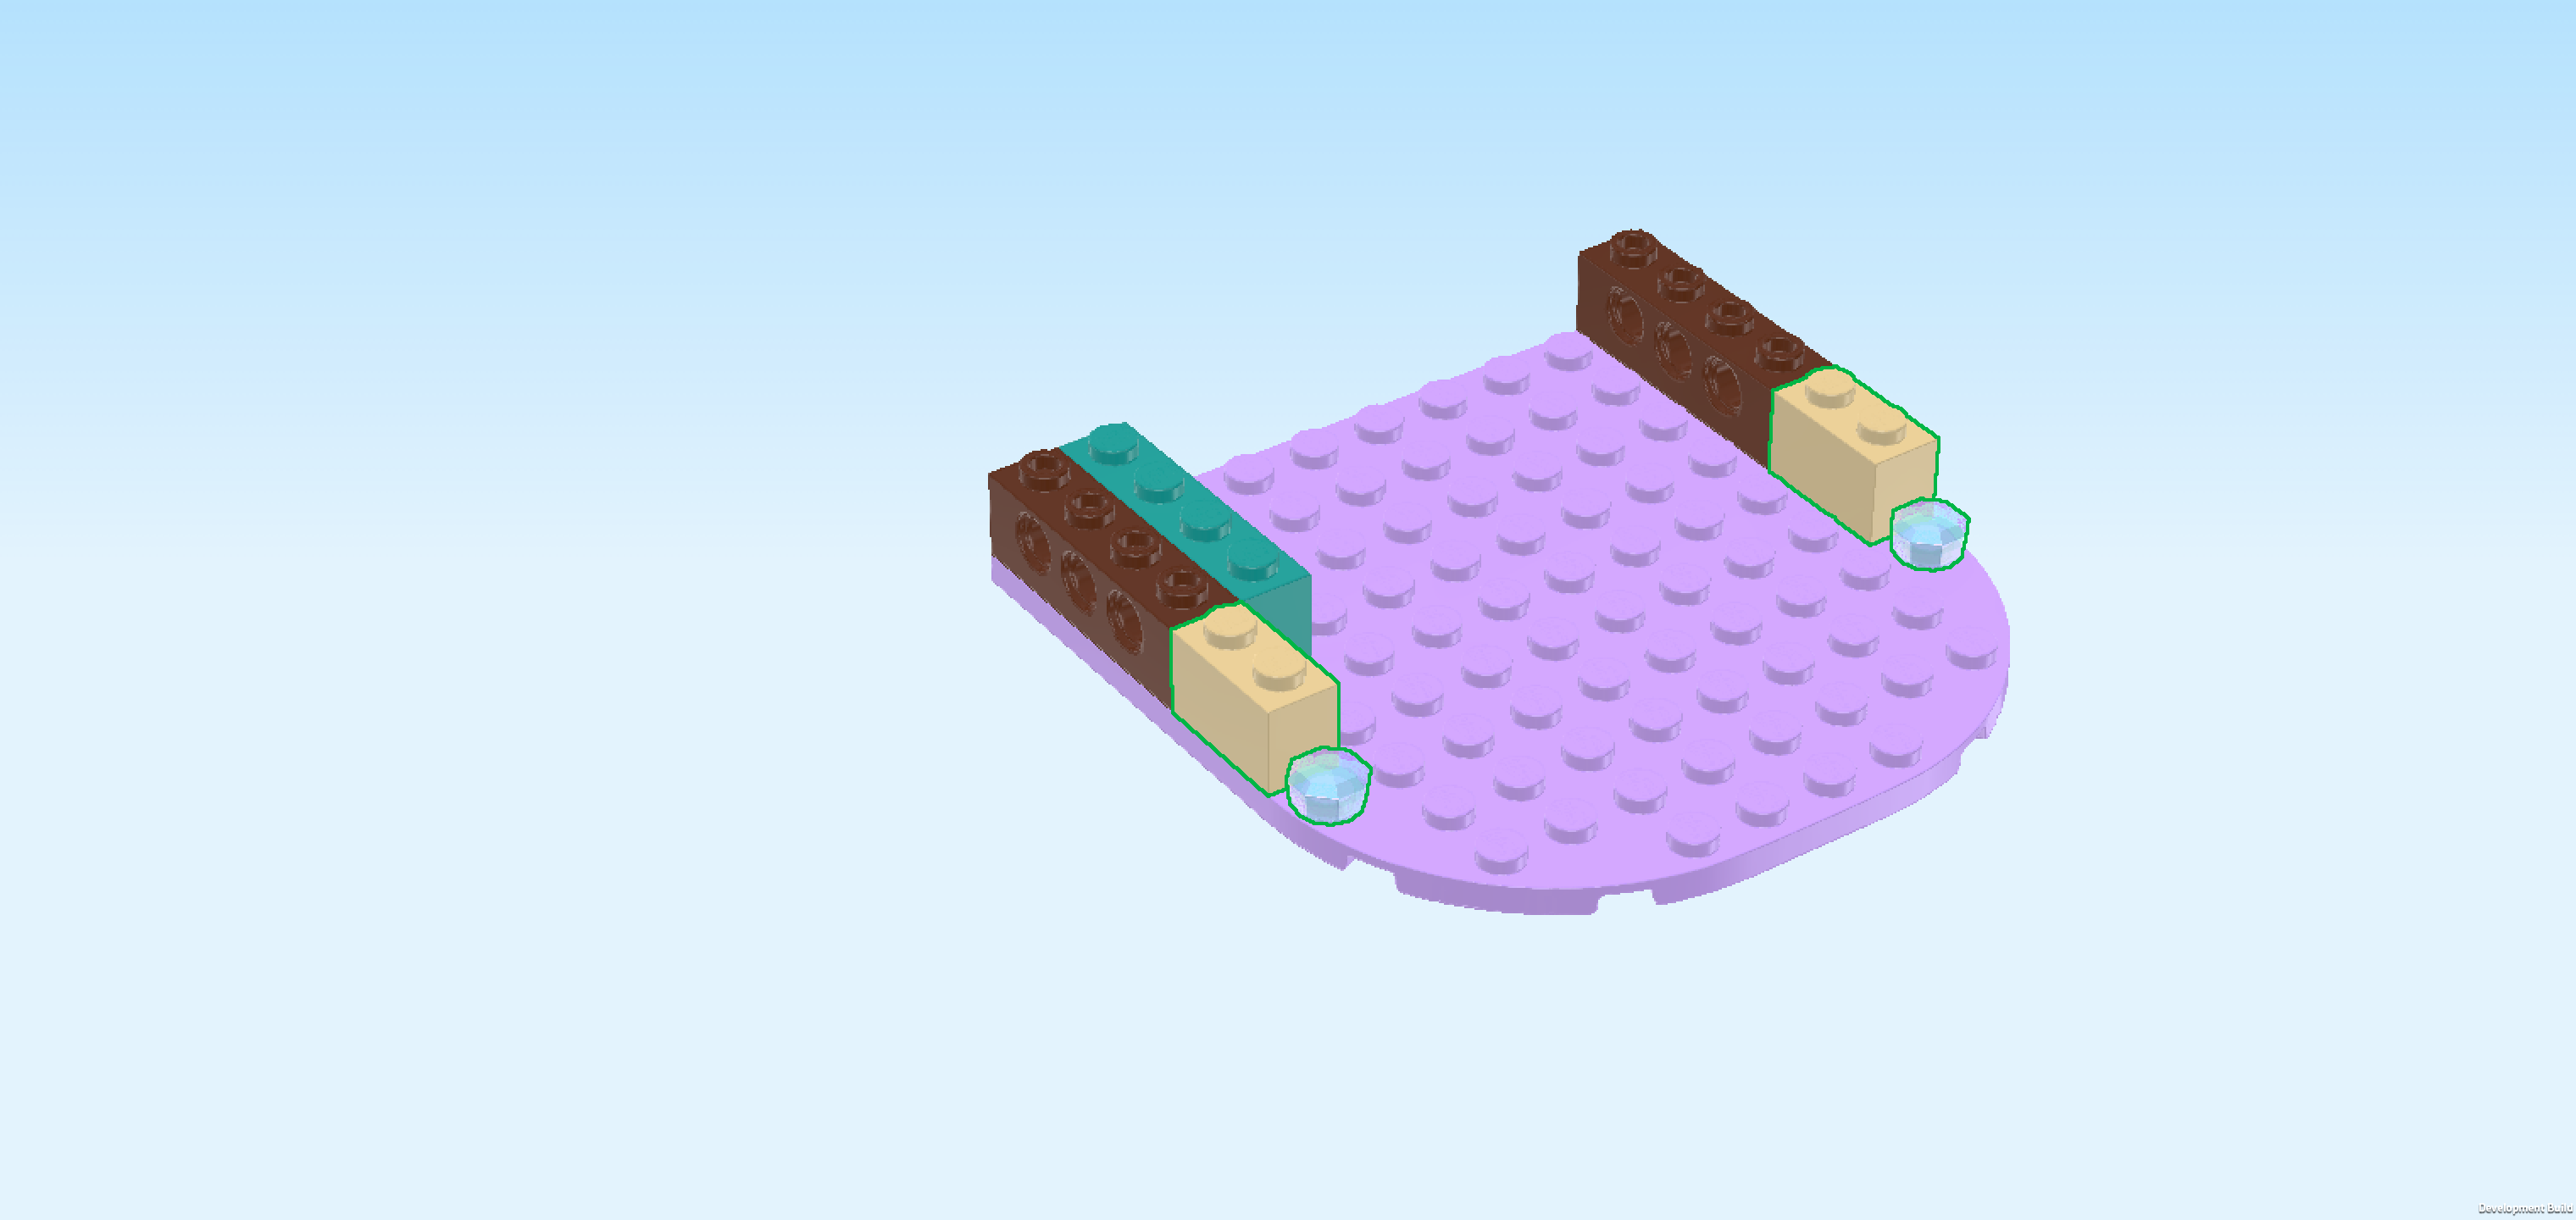
| Put 1 brick 1x2 vertically on the rightmost column, directly in front of the brick 1x4. |
| Put 1 jewel plate 1x1 in front of the previous piece. |
| Repeat symmetrically on the left with the 2 remaining pieces. |
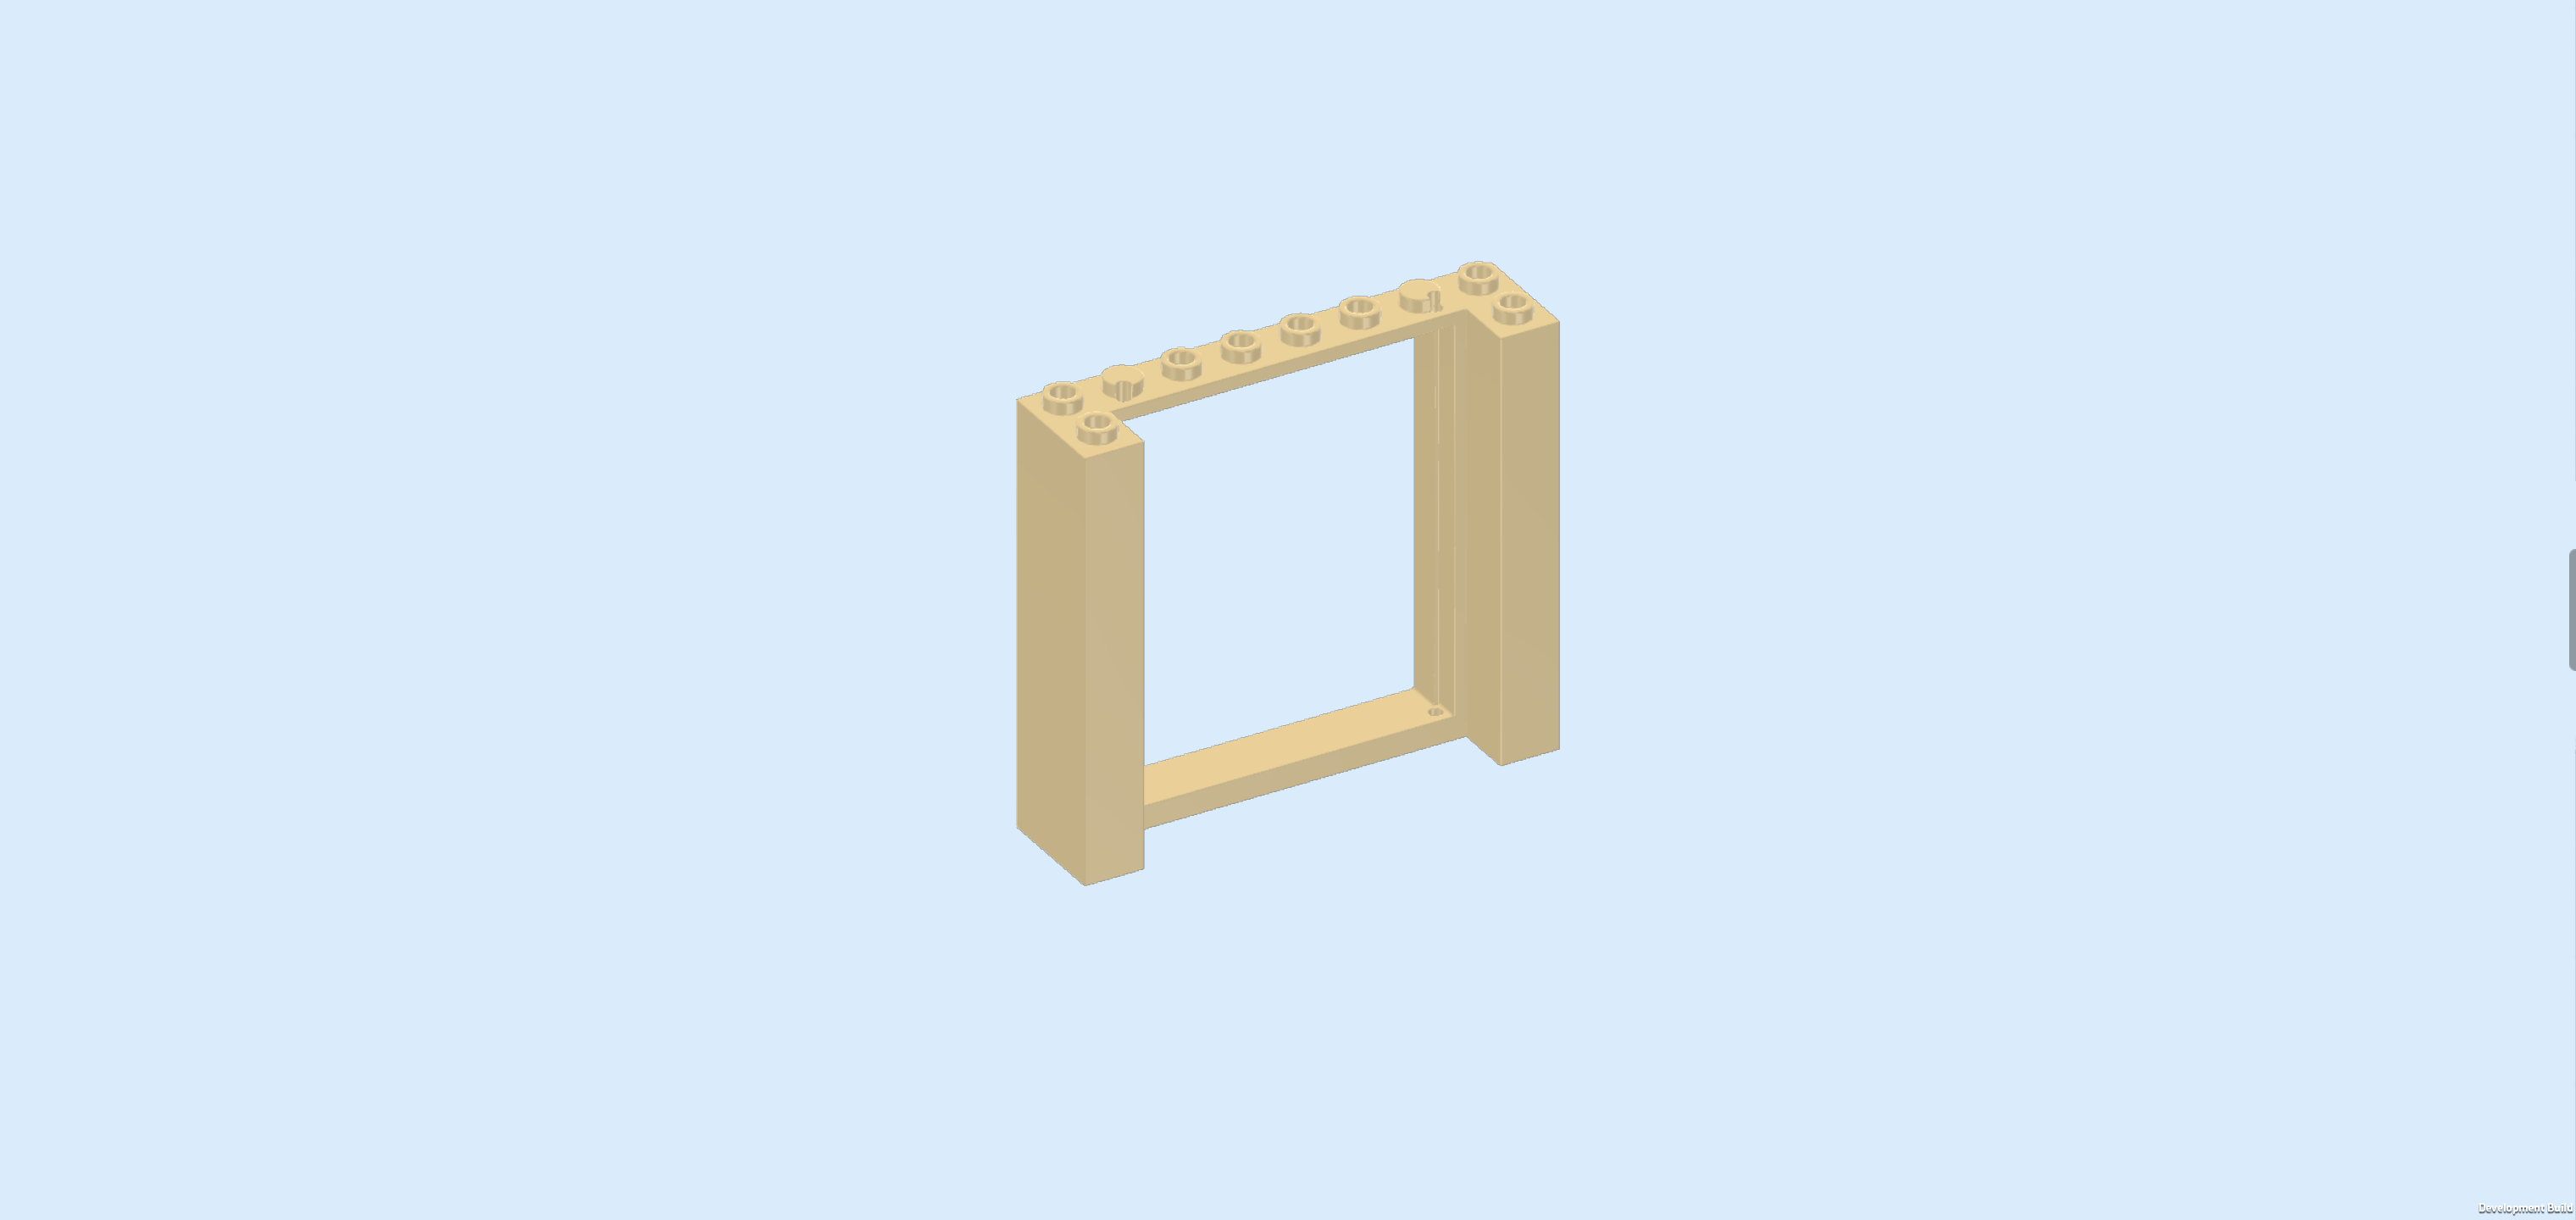
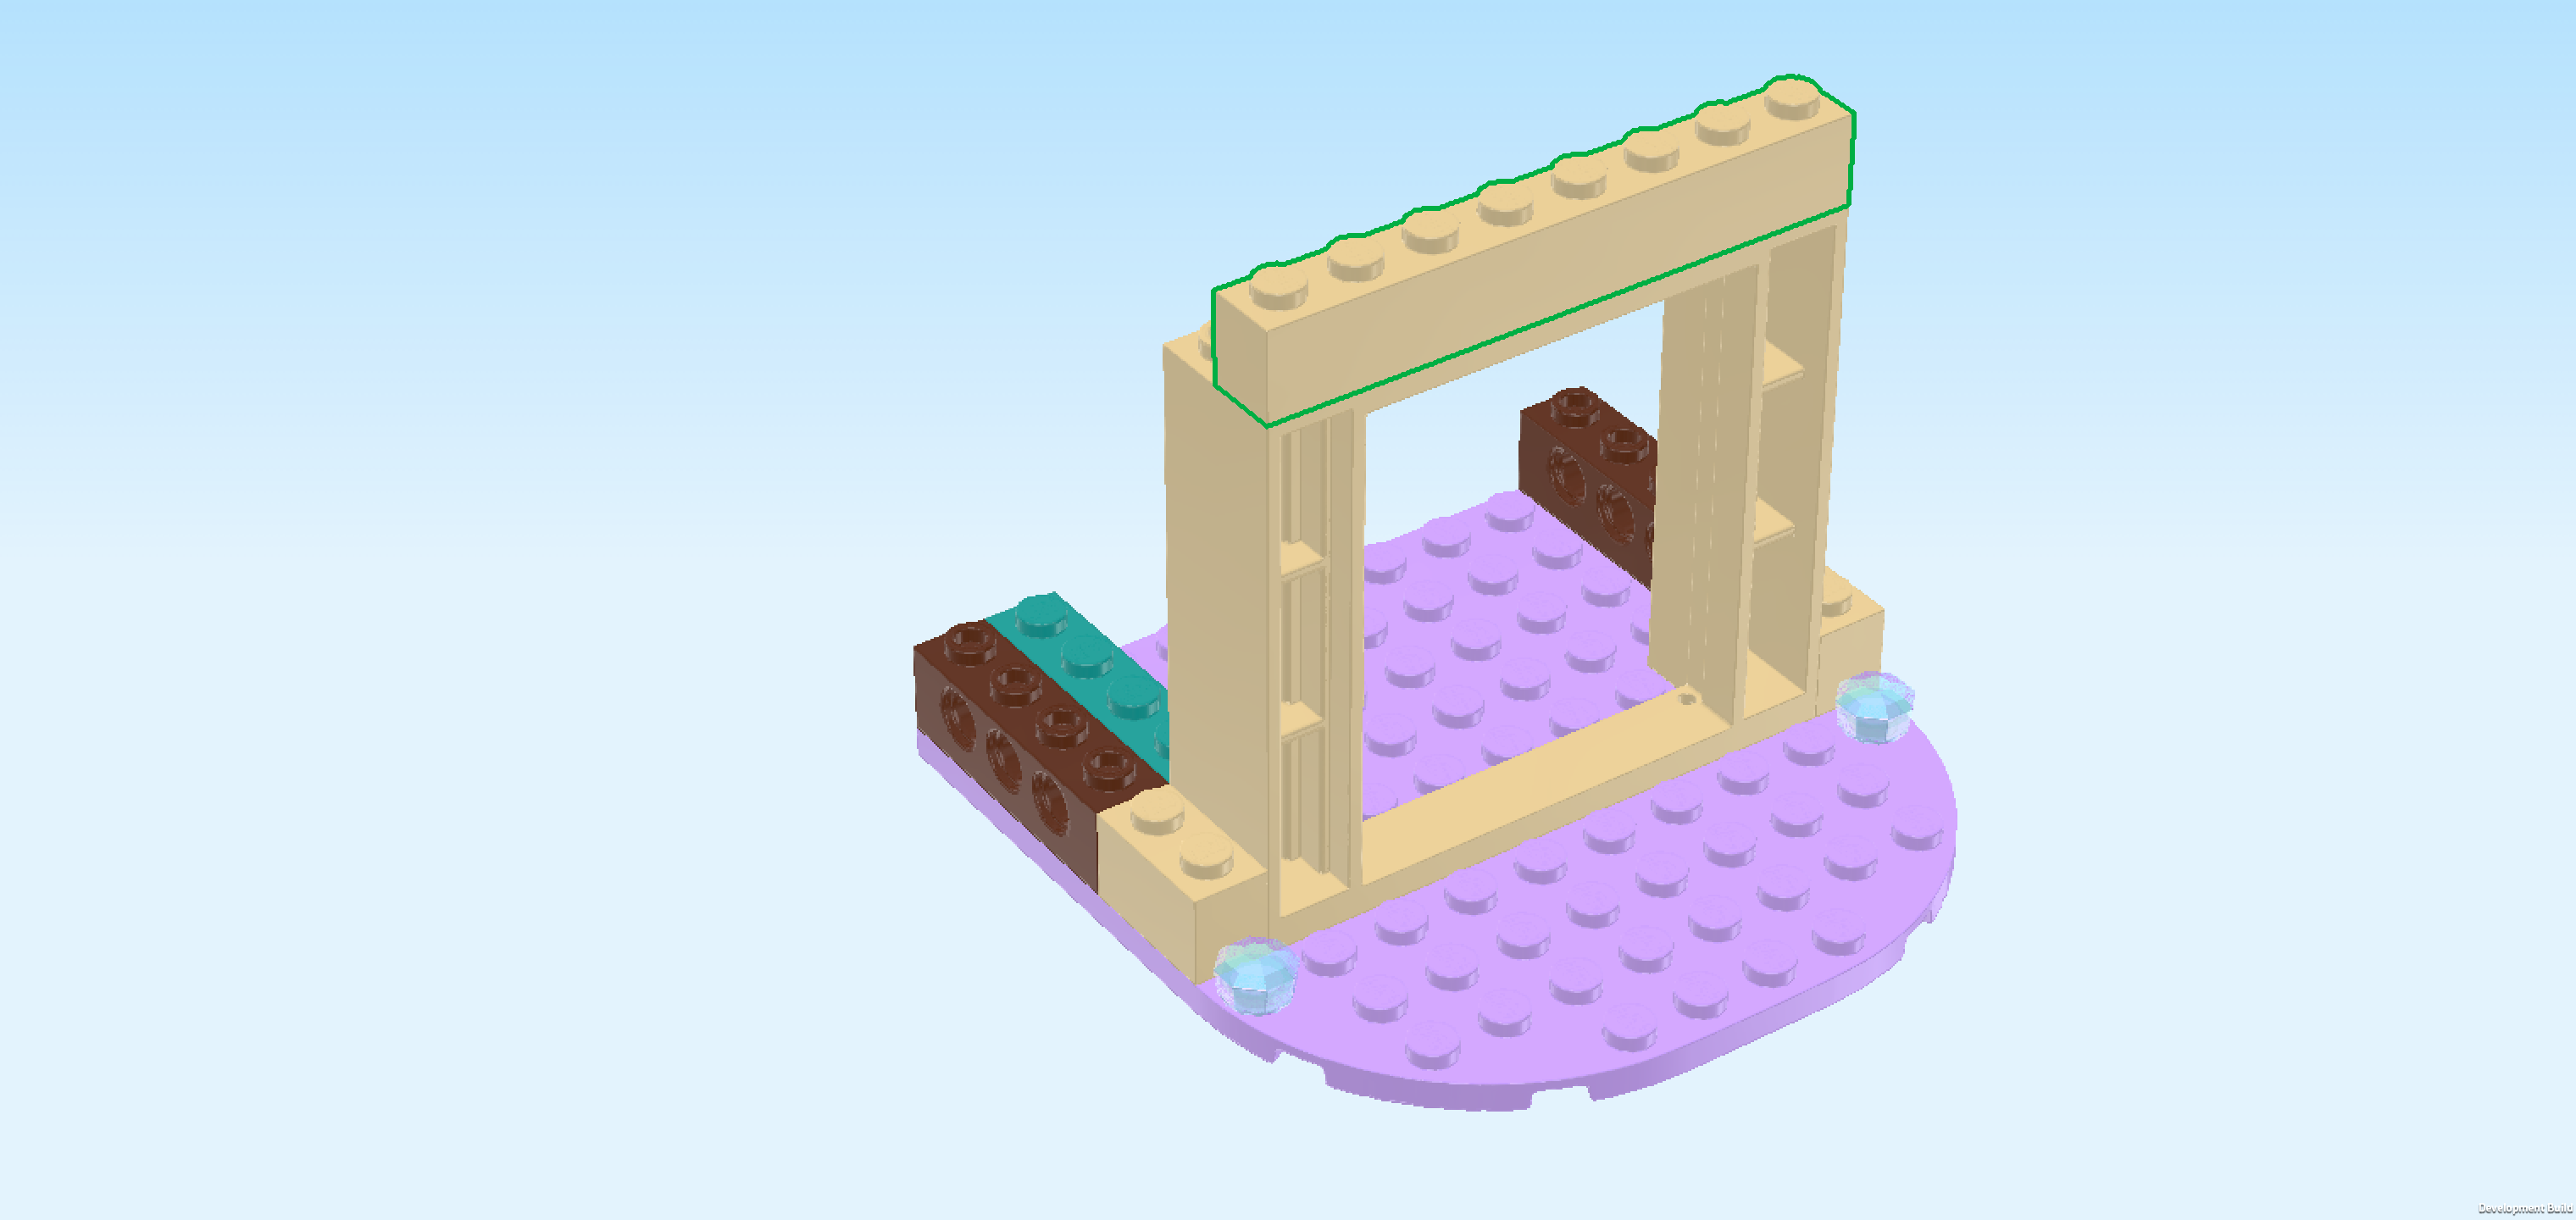
| Find 1 beige double door frame 2x8x6. |
| Put it horizontally between the 2 bricks 1x2 from the previous step. Make sure that its hollow side with shelf boards is towards the front. |
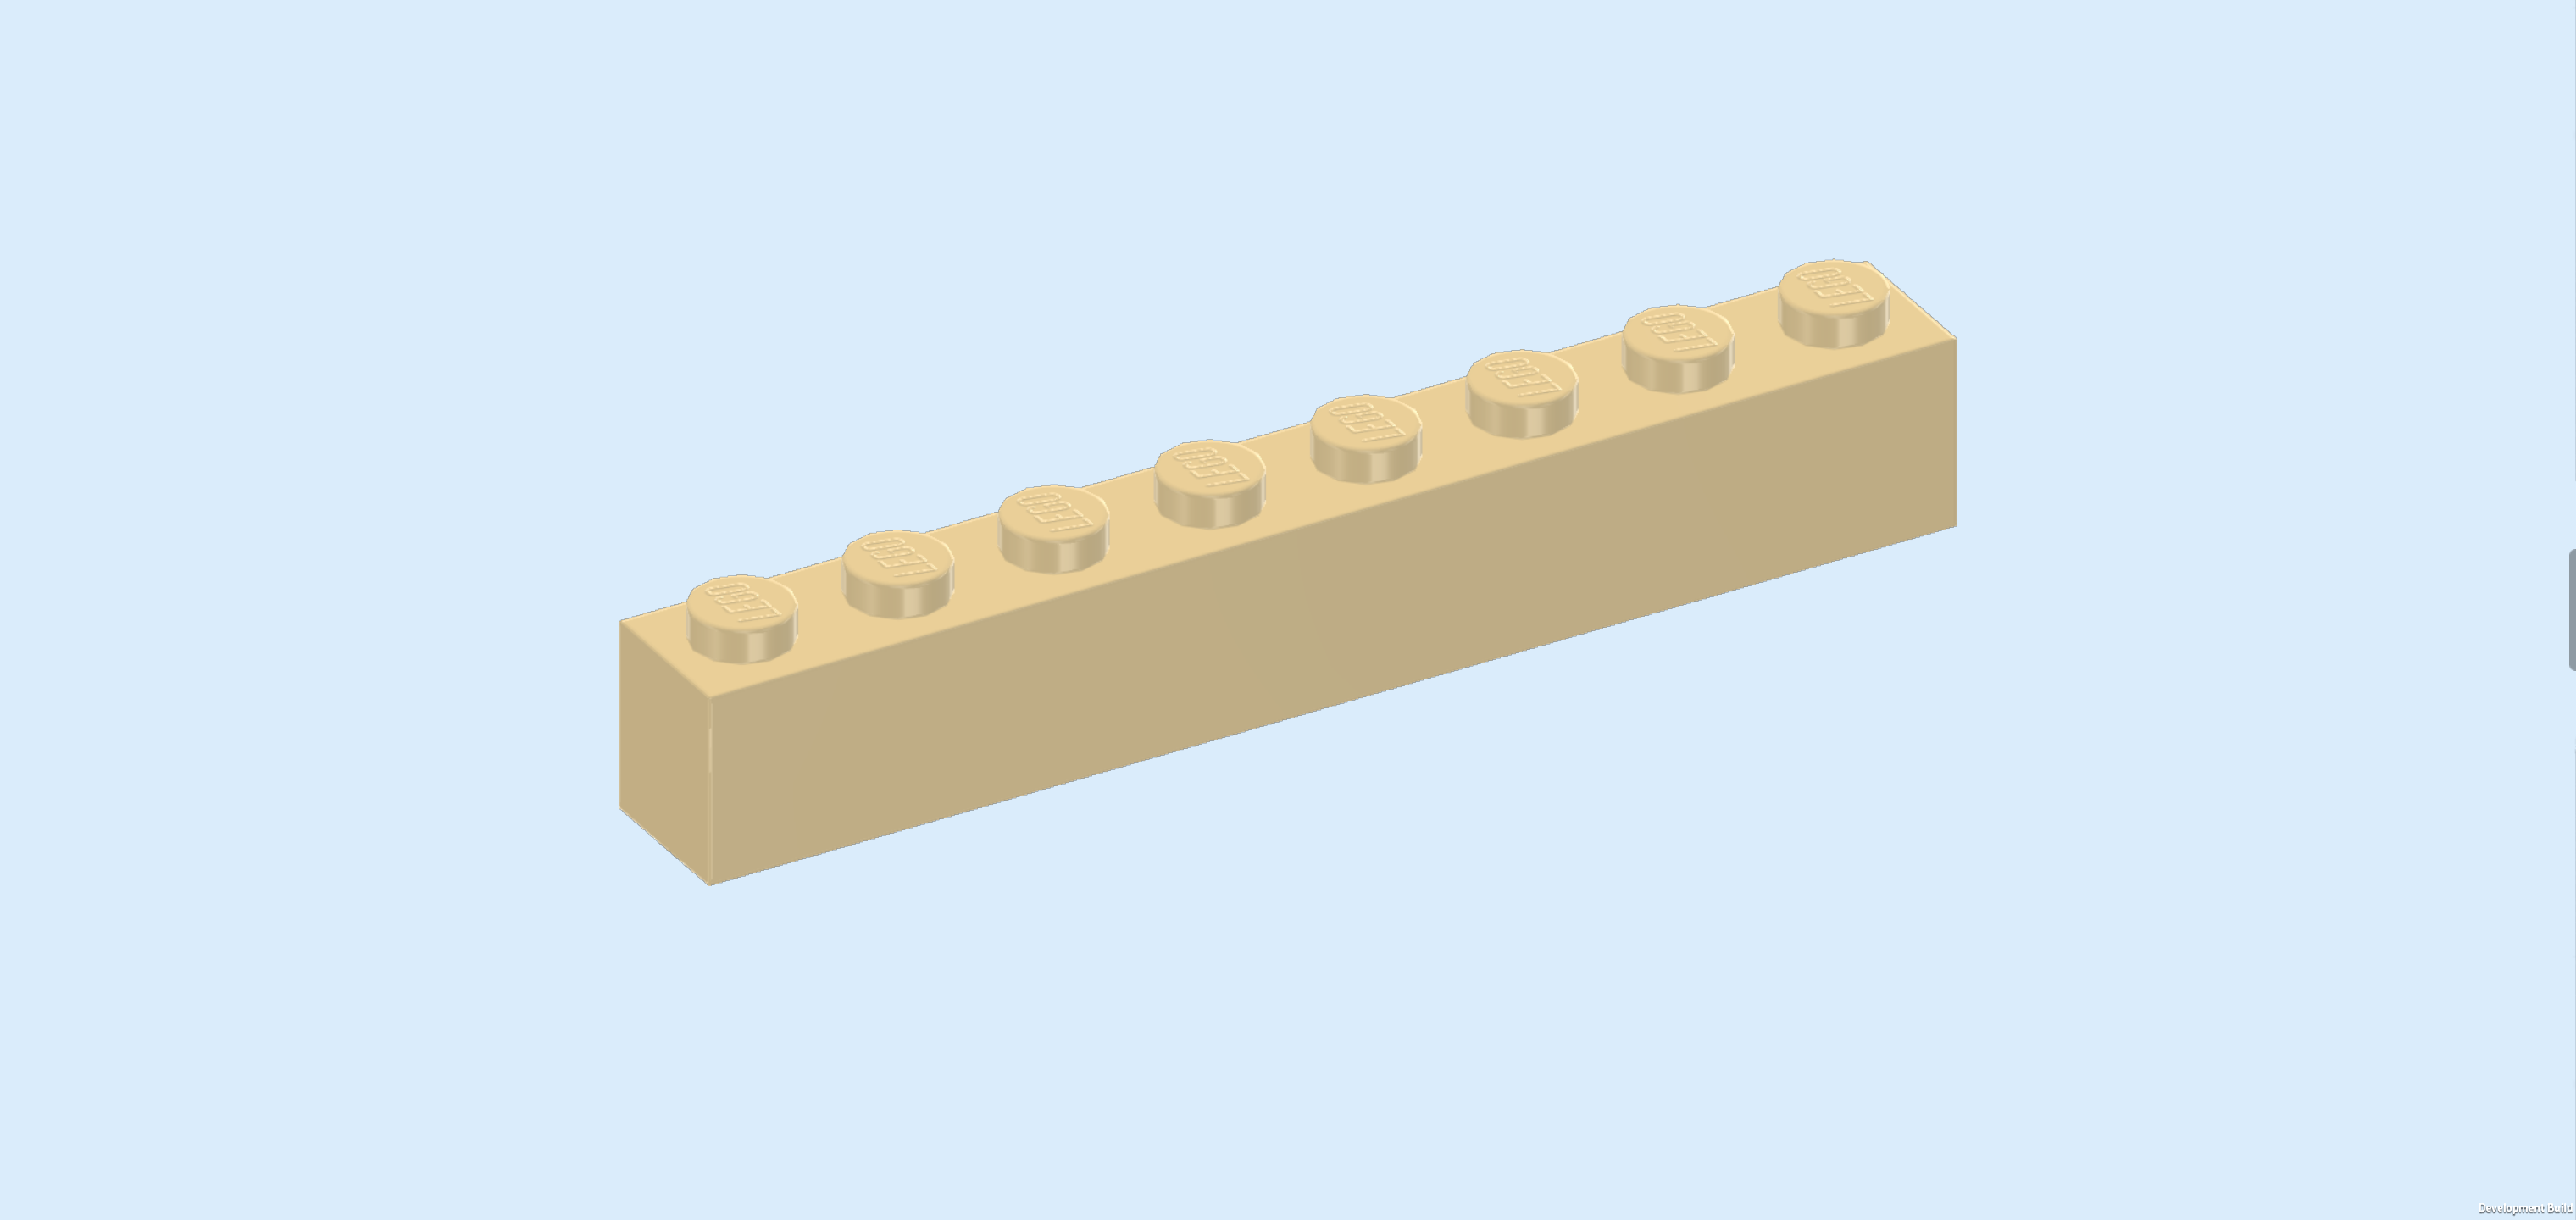
| Find 1 beige brick 1x8. |
| Put it horizontally on the previous piece's front row. |
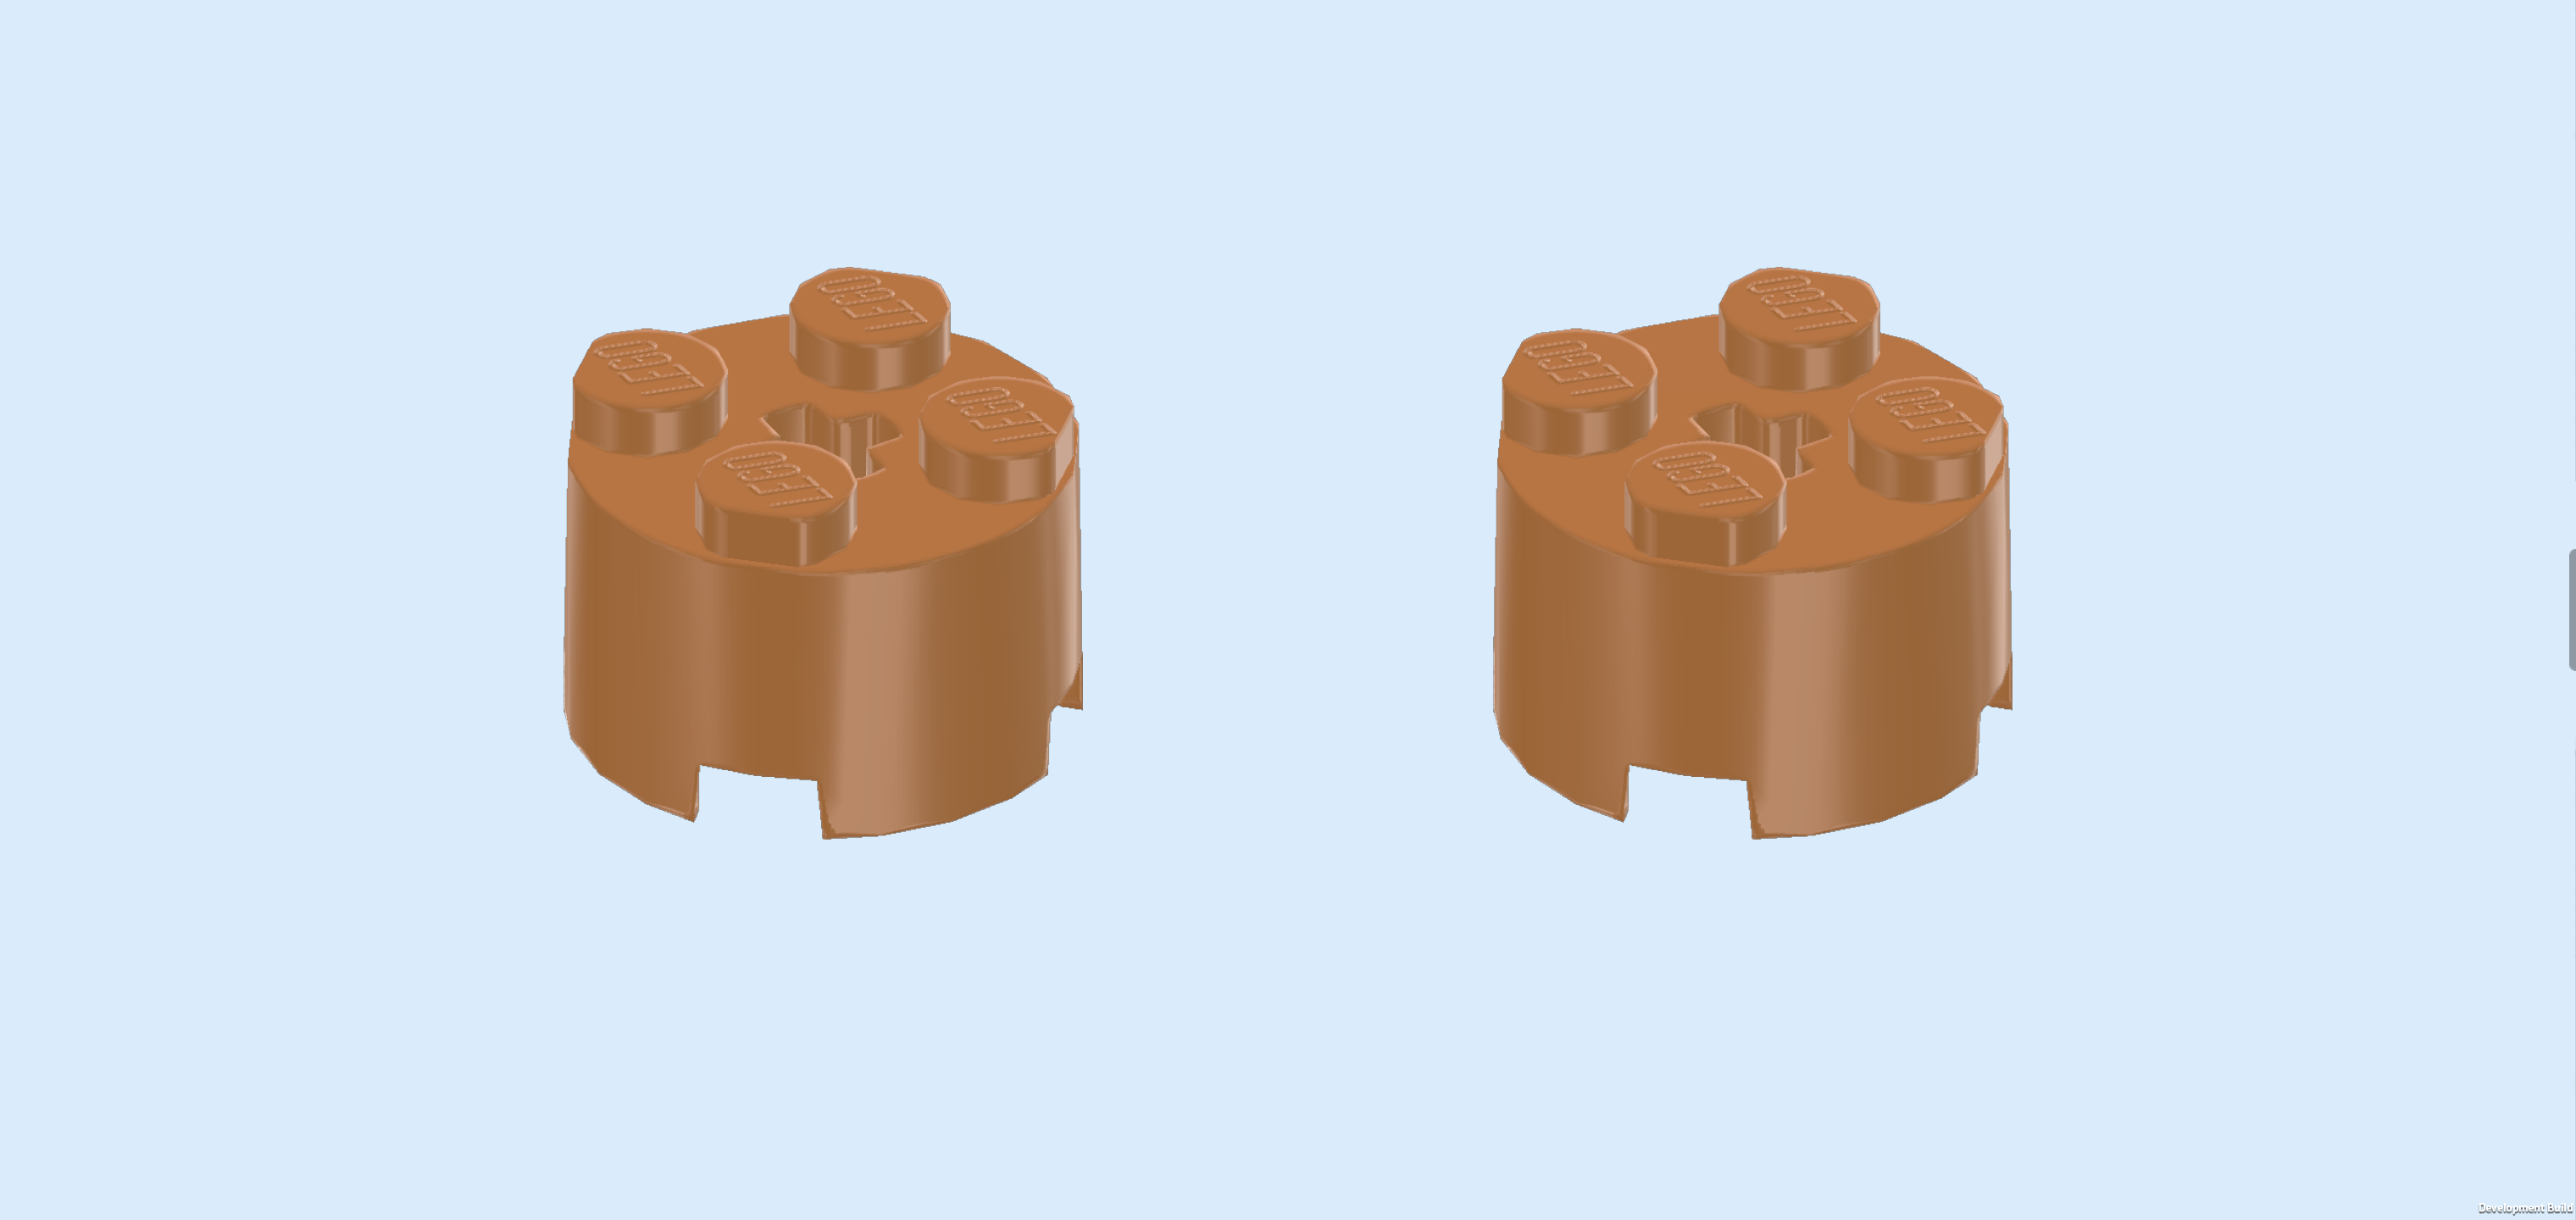
| Find 2 medium nougat brown round bricks 2x2 with top cross hole. |
| Put 1 in front of the right door beam of the door frame. This also means it will sit directly next to the jewel plate mounted on the rightmost edge. |
| Repeat symmetrically on the left. |
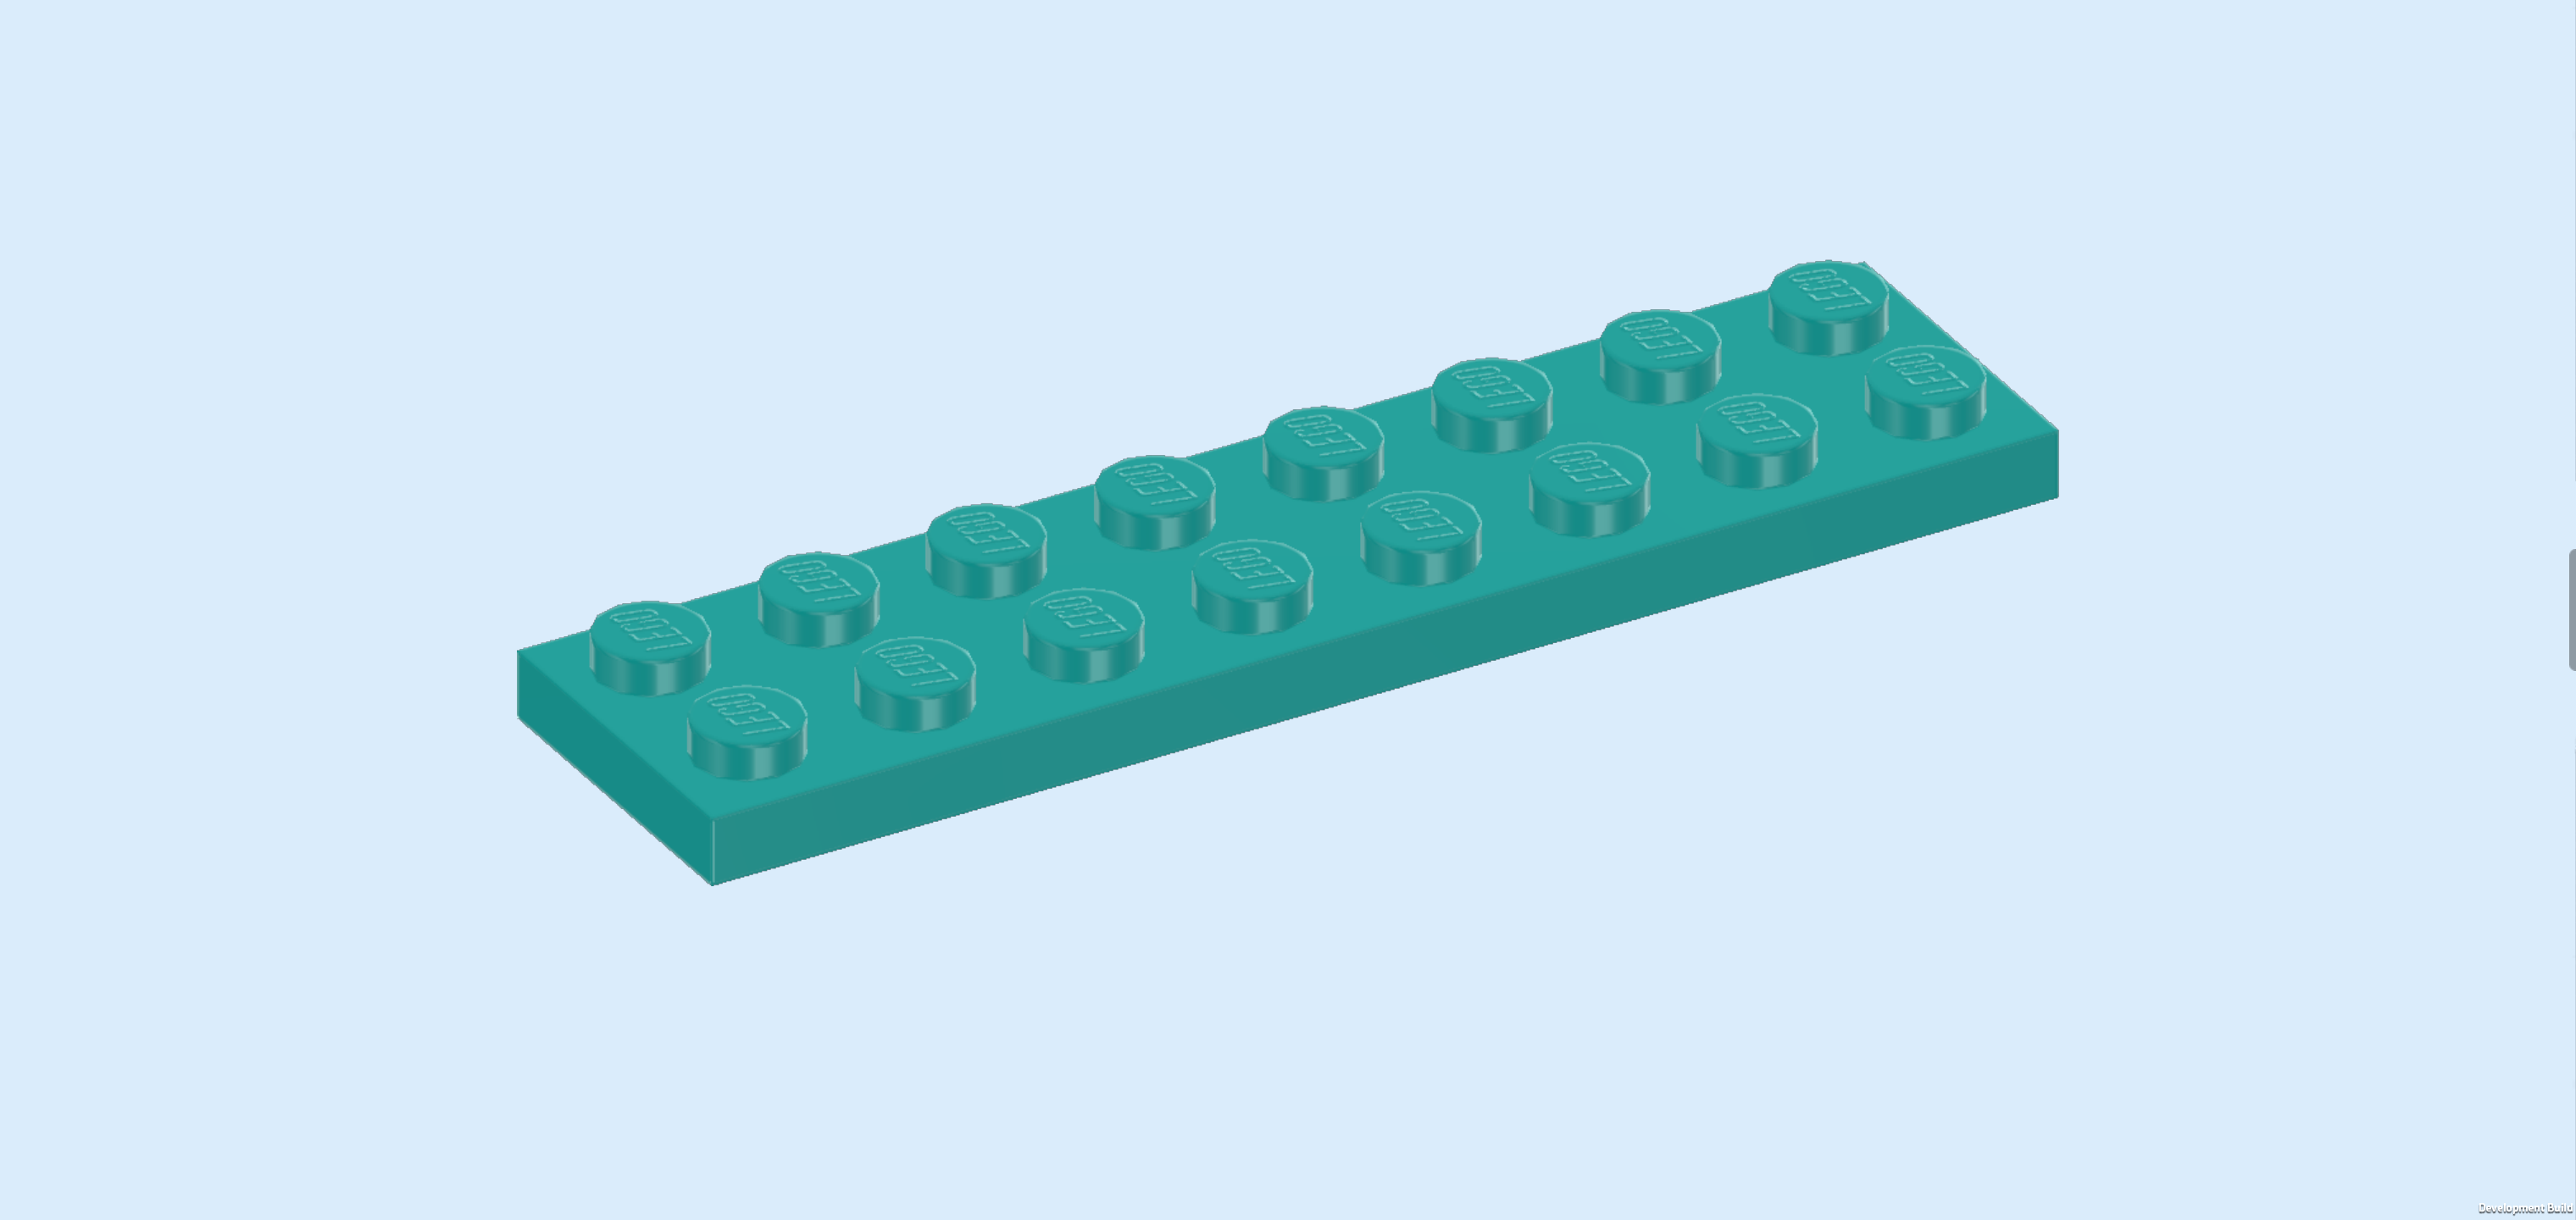
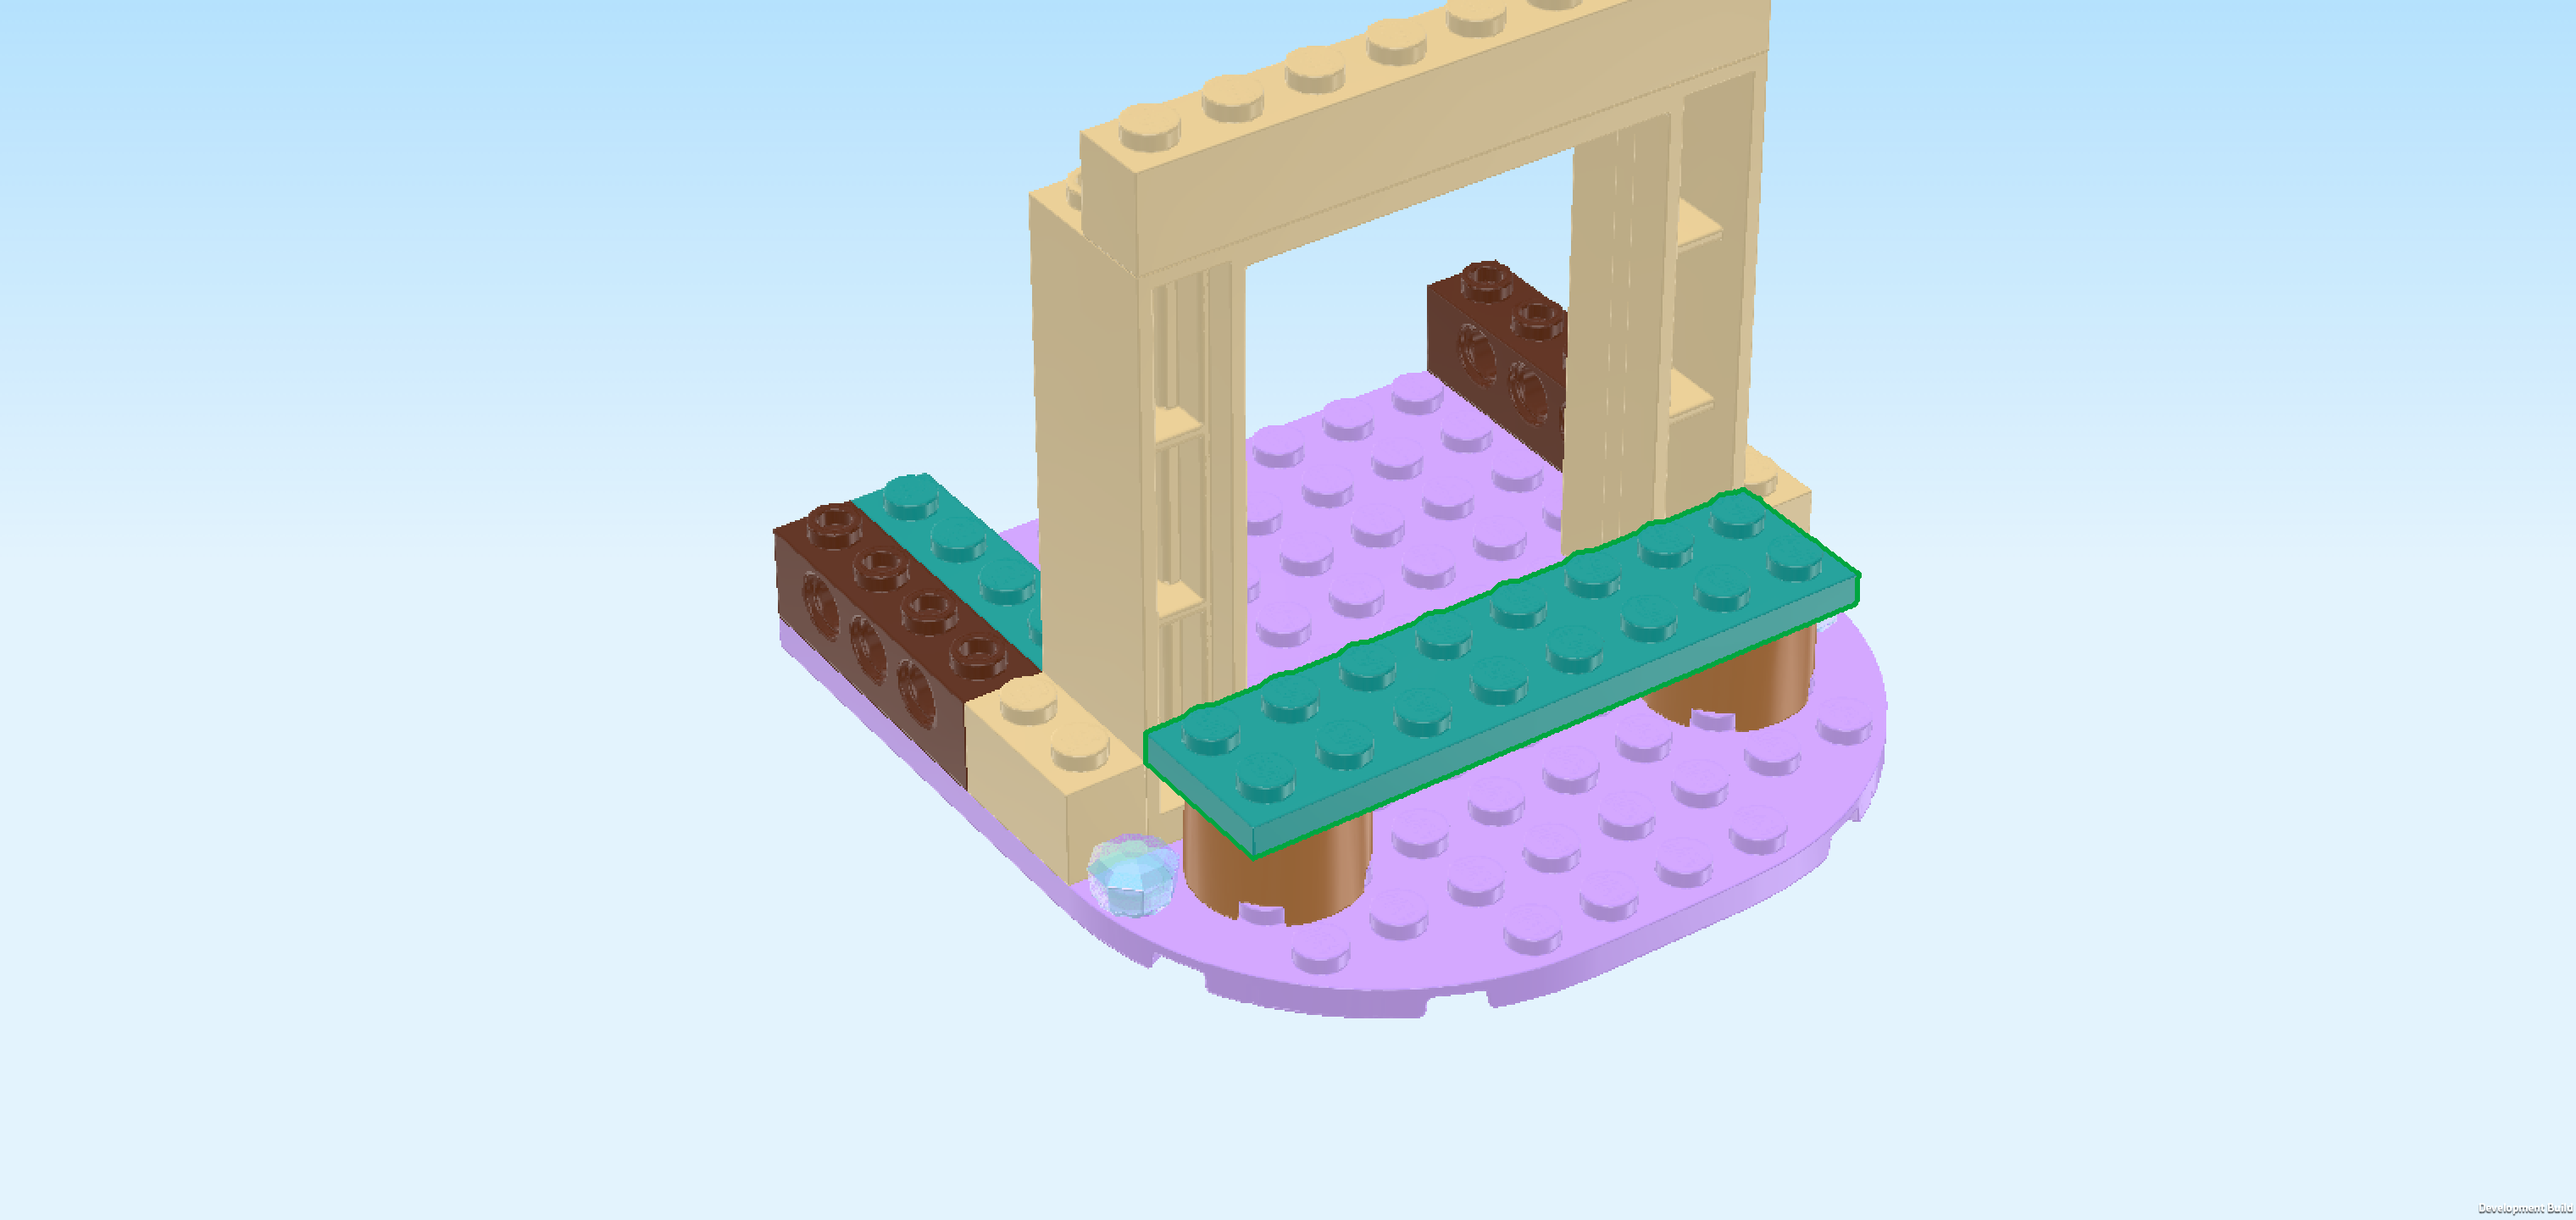
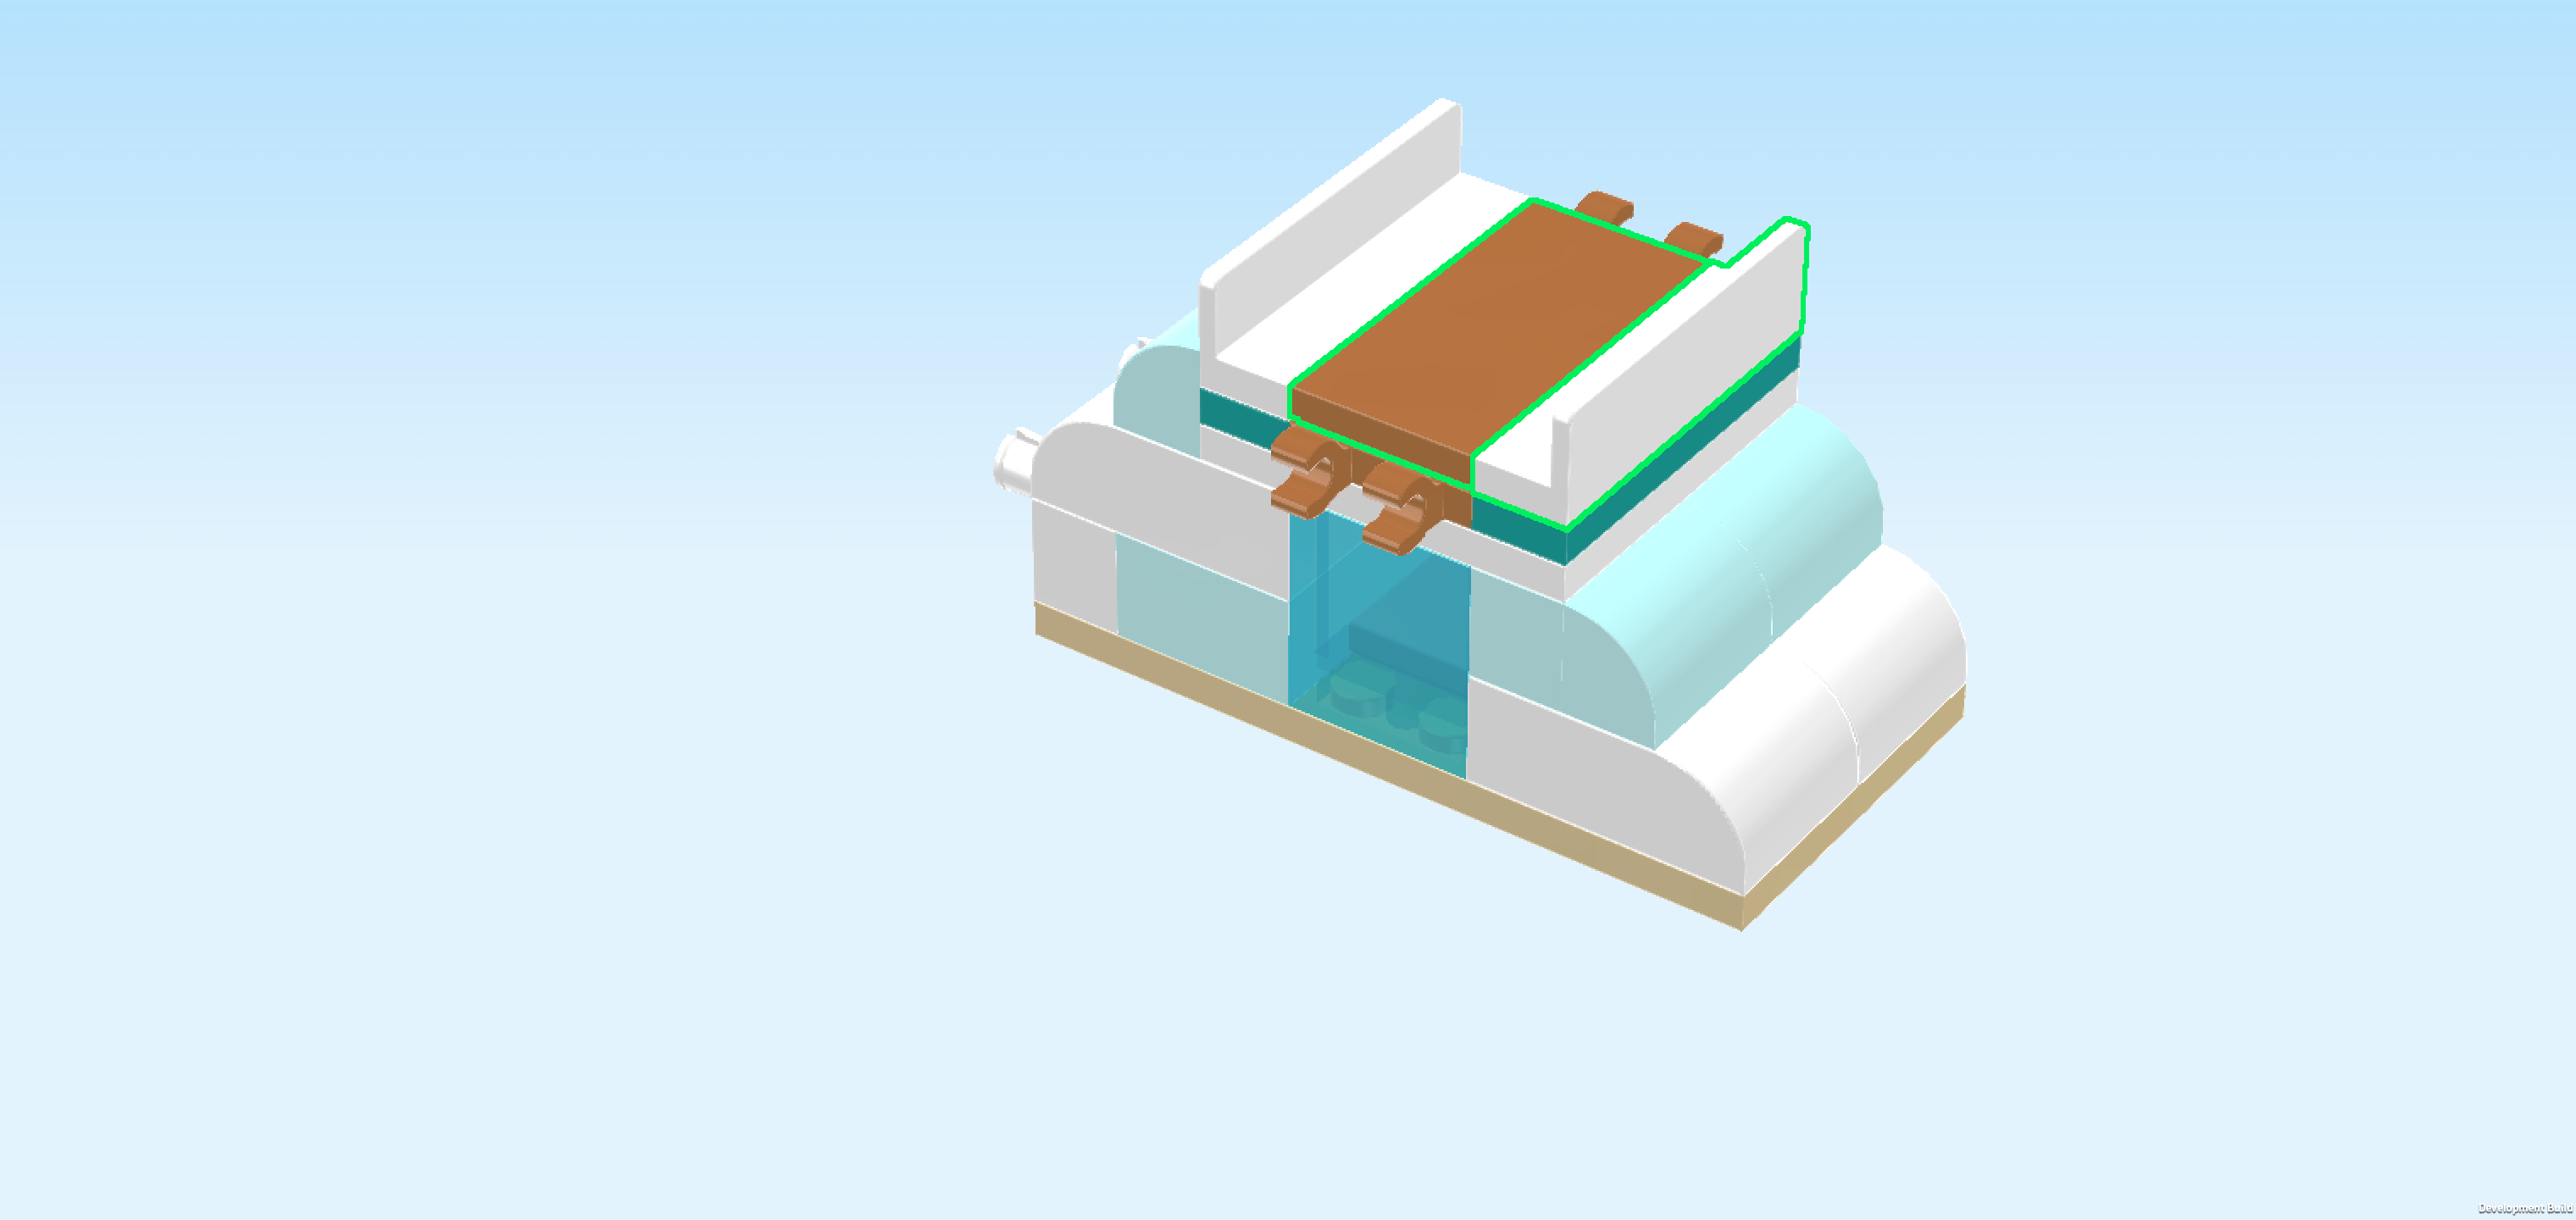
| Find 1 teal blue plate 2x8. |
| Put it horizontally on top of the 2 previous pieces to connect them and build a table. |
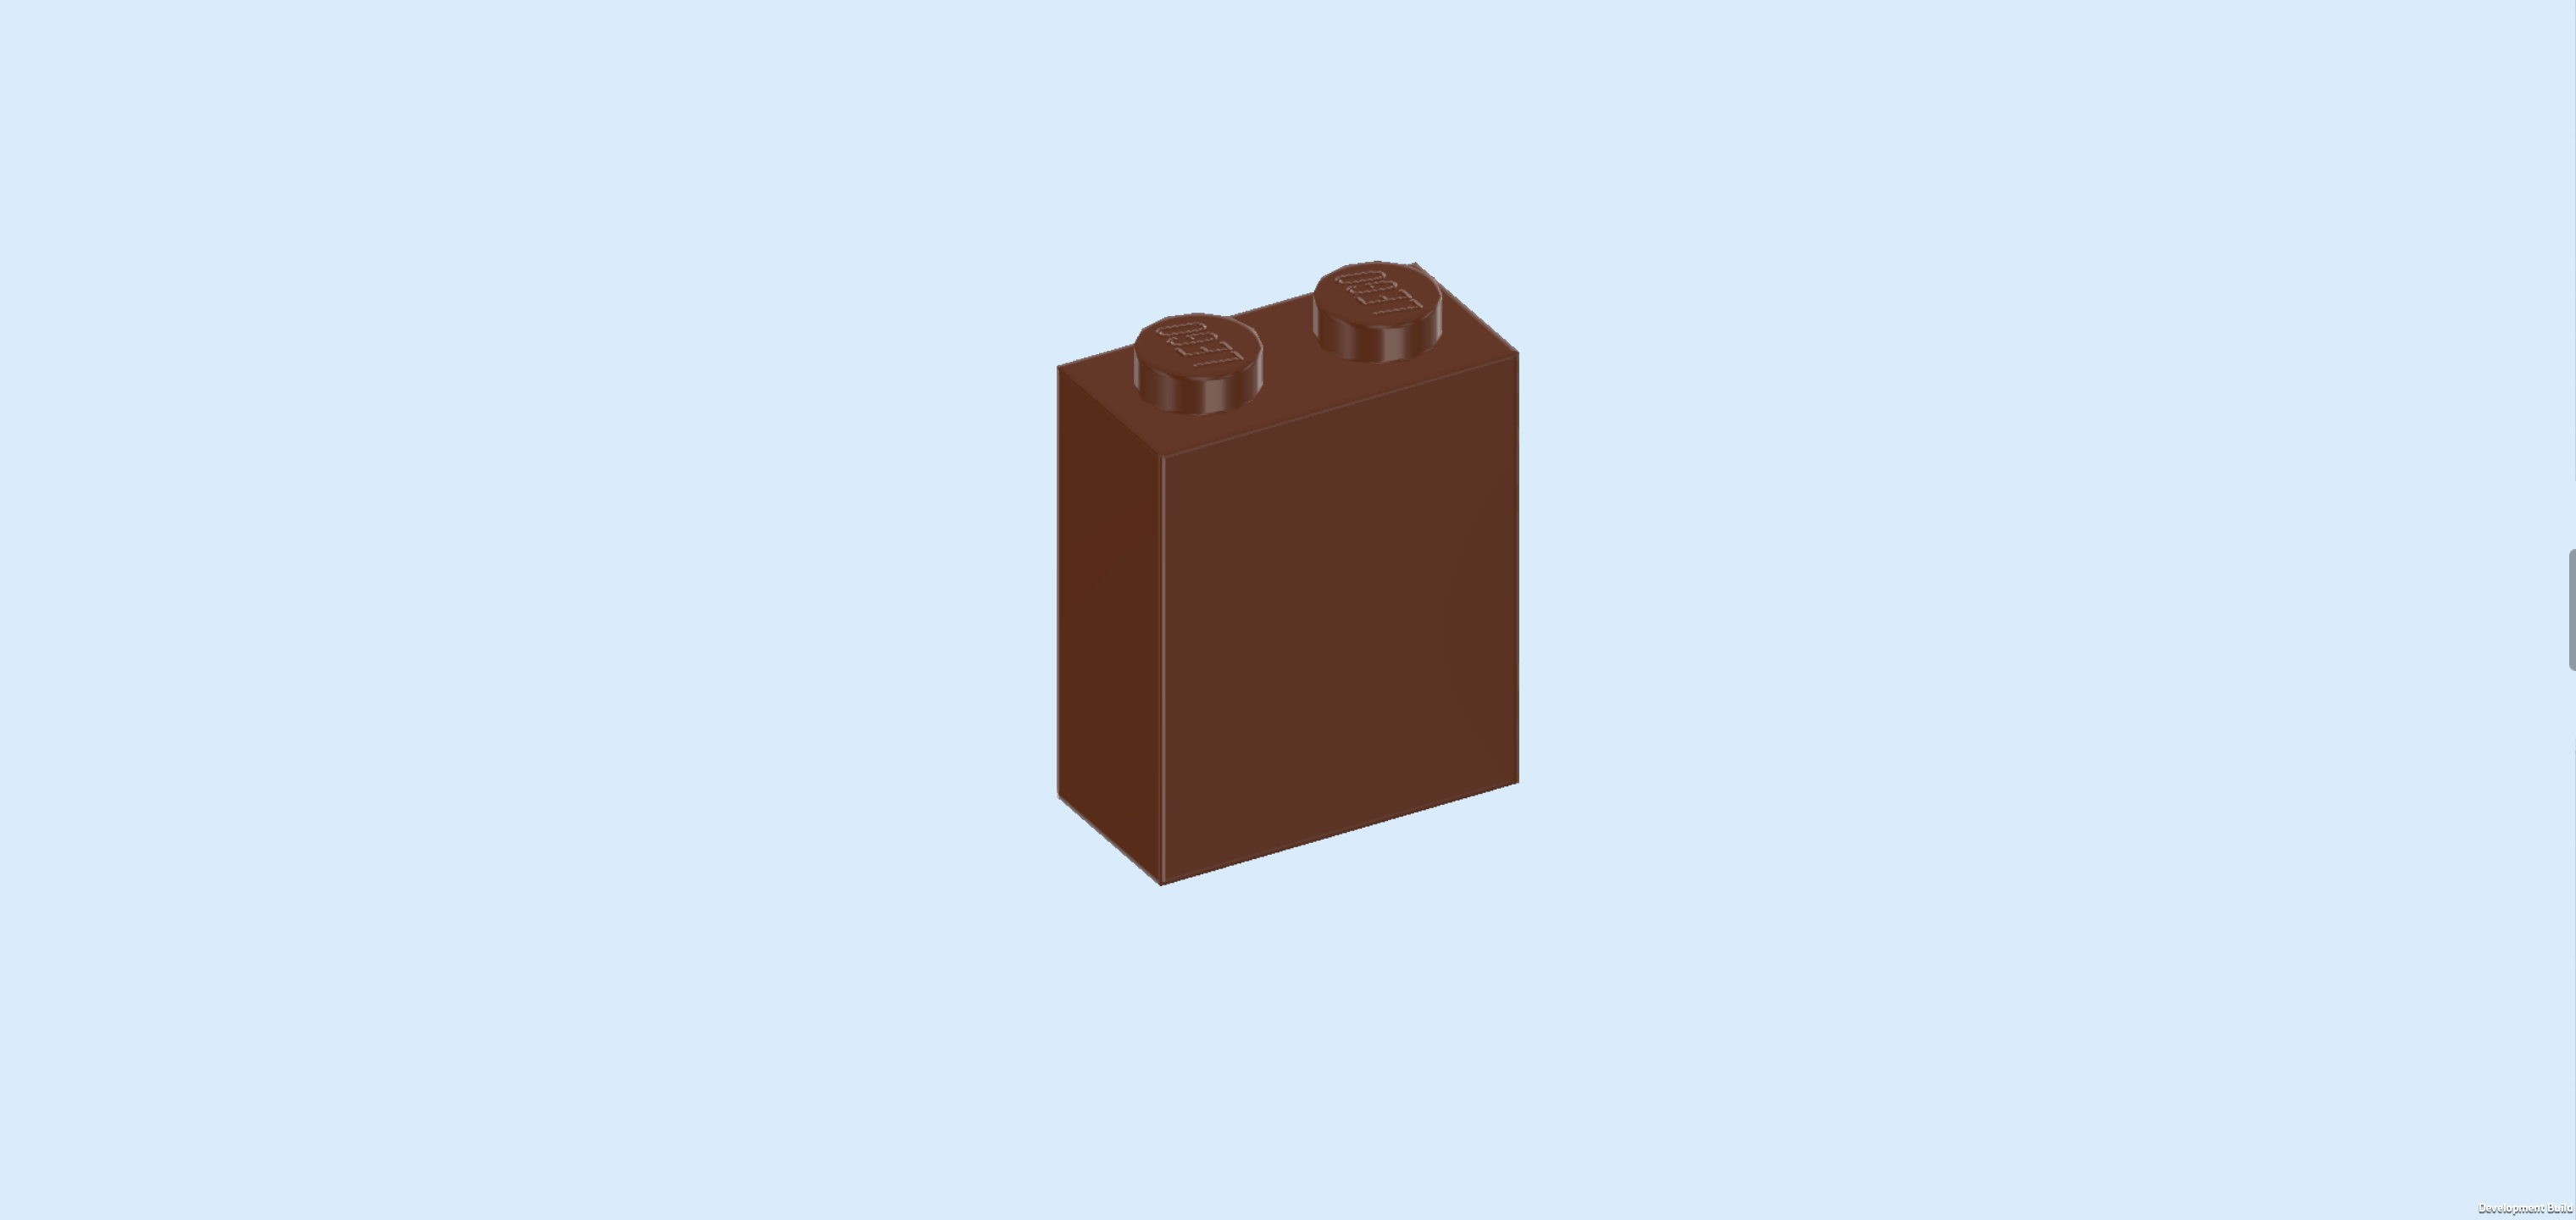
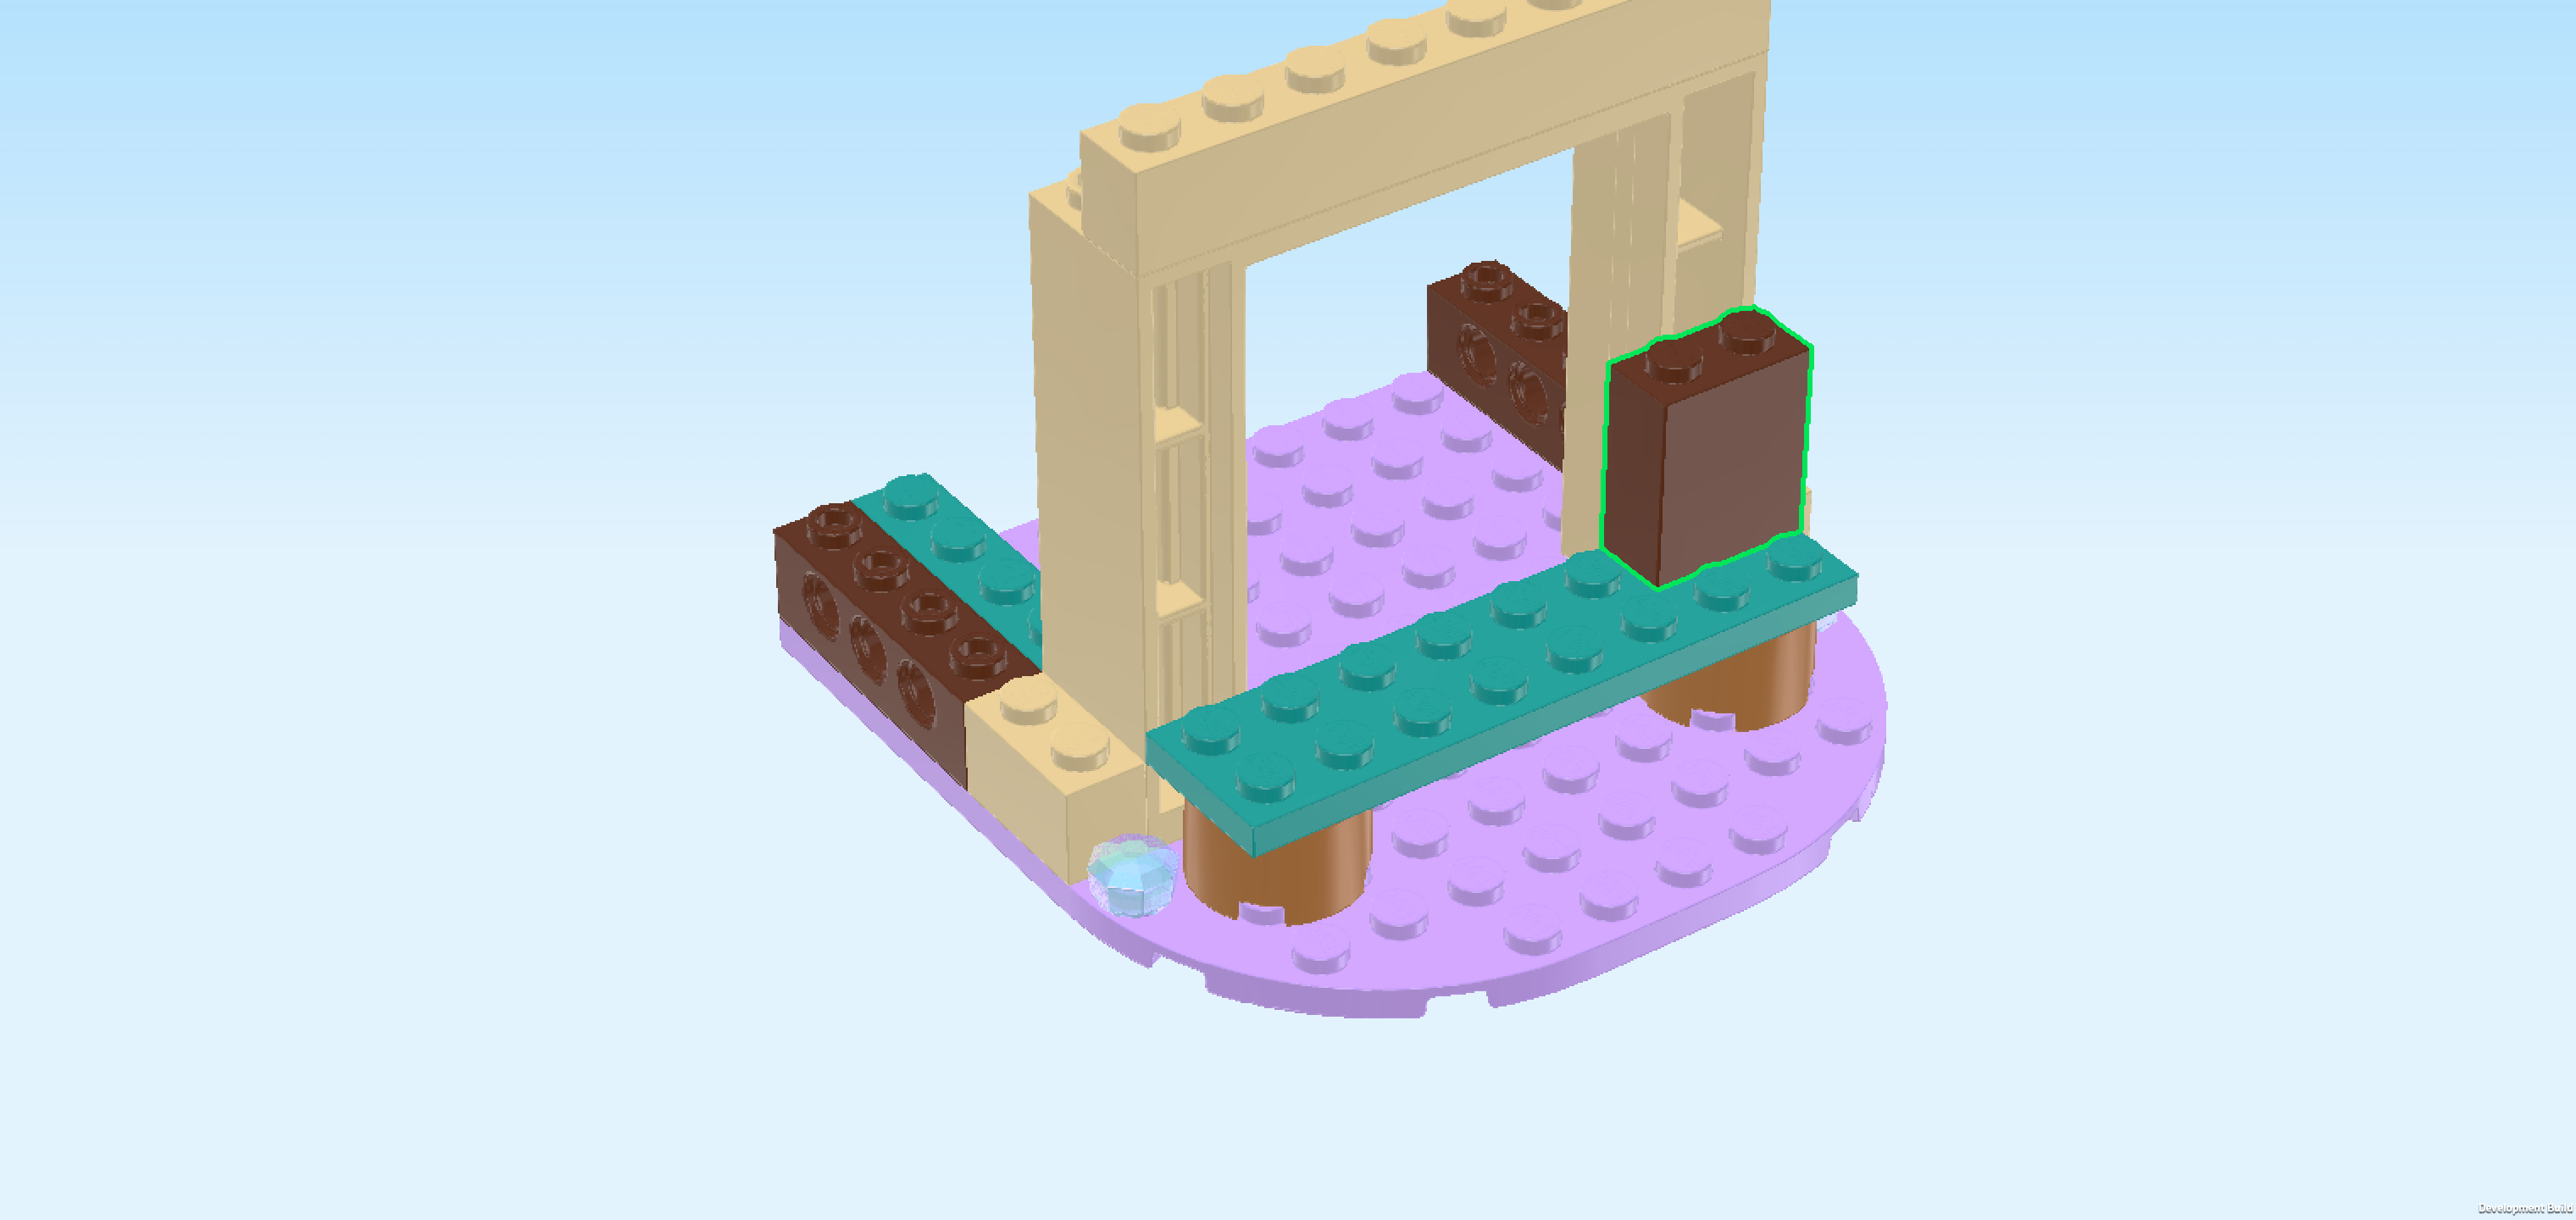
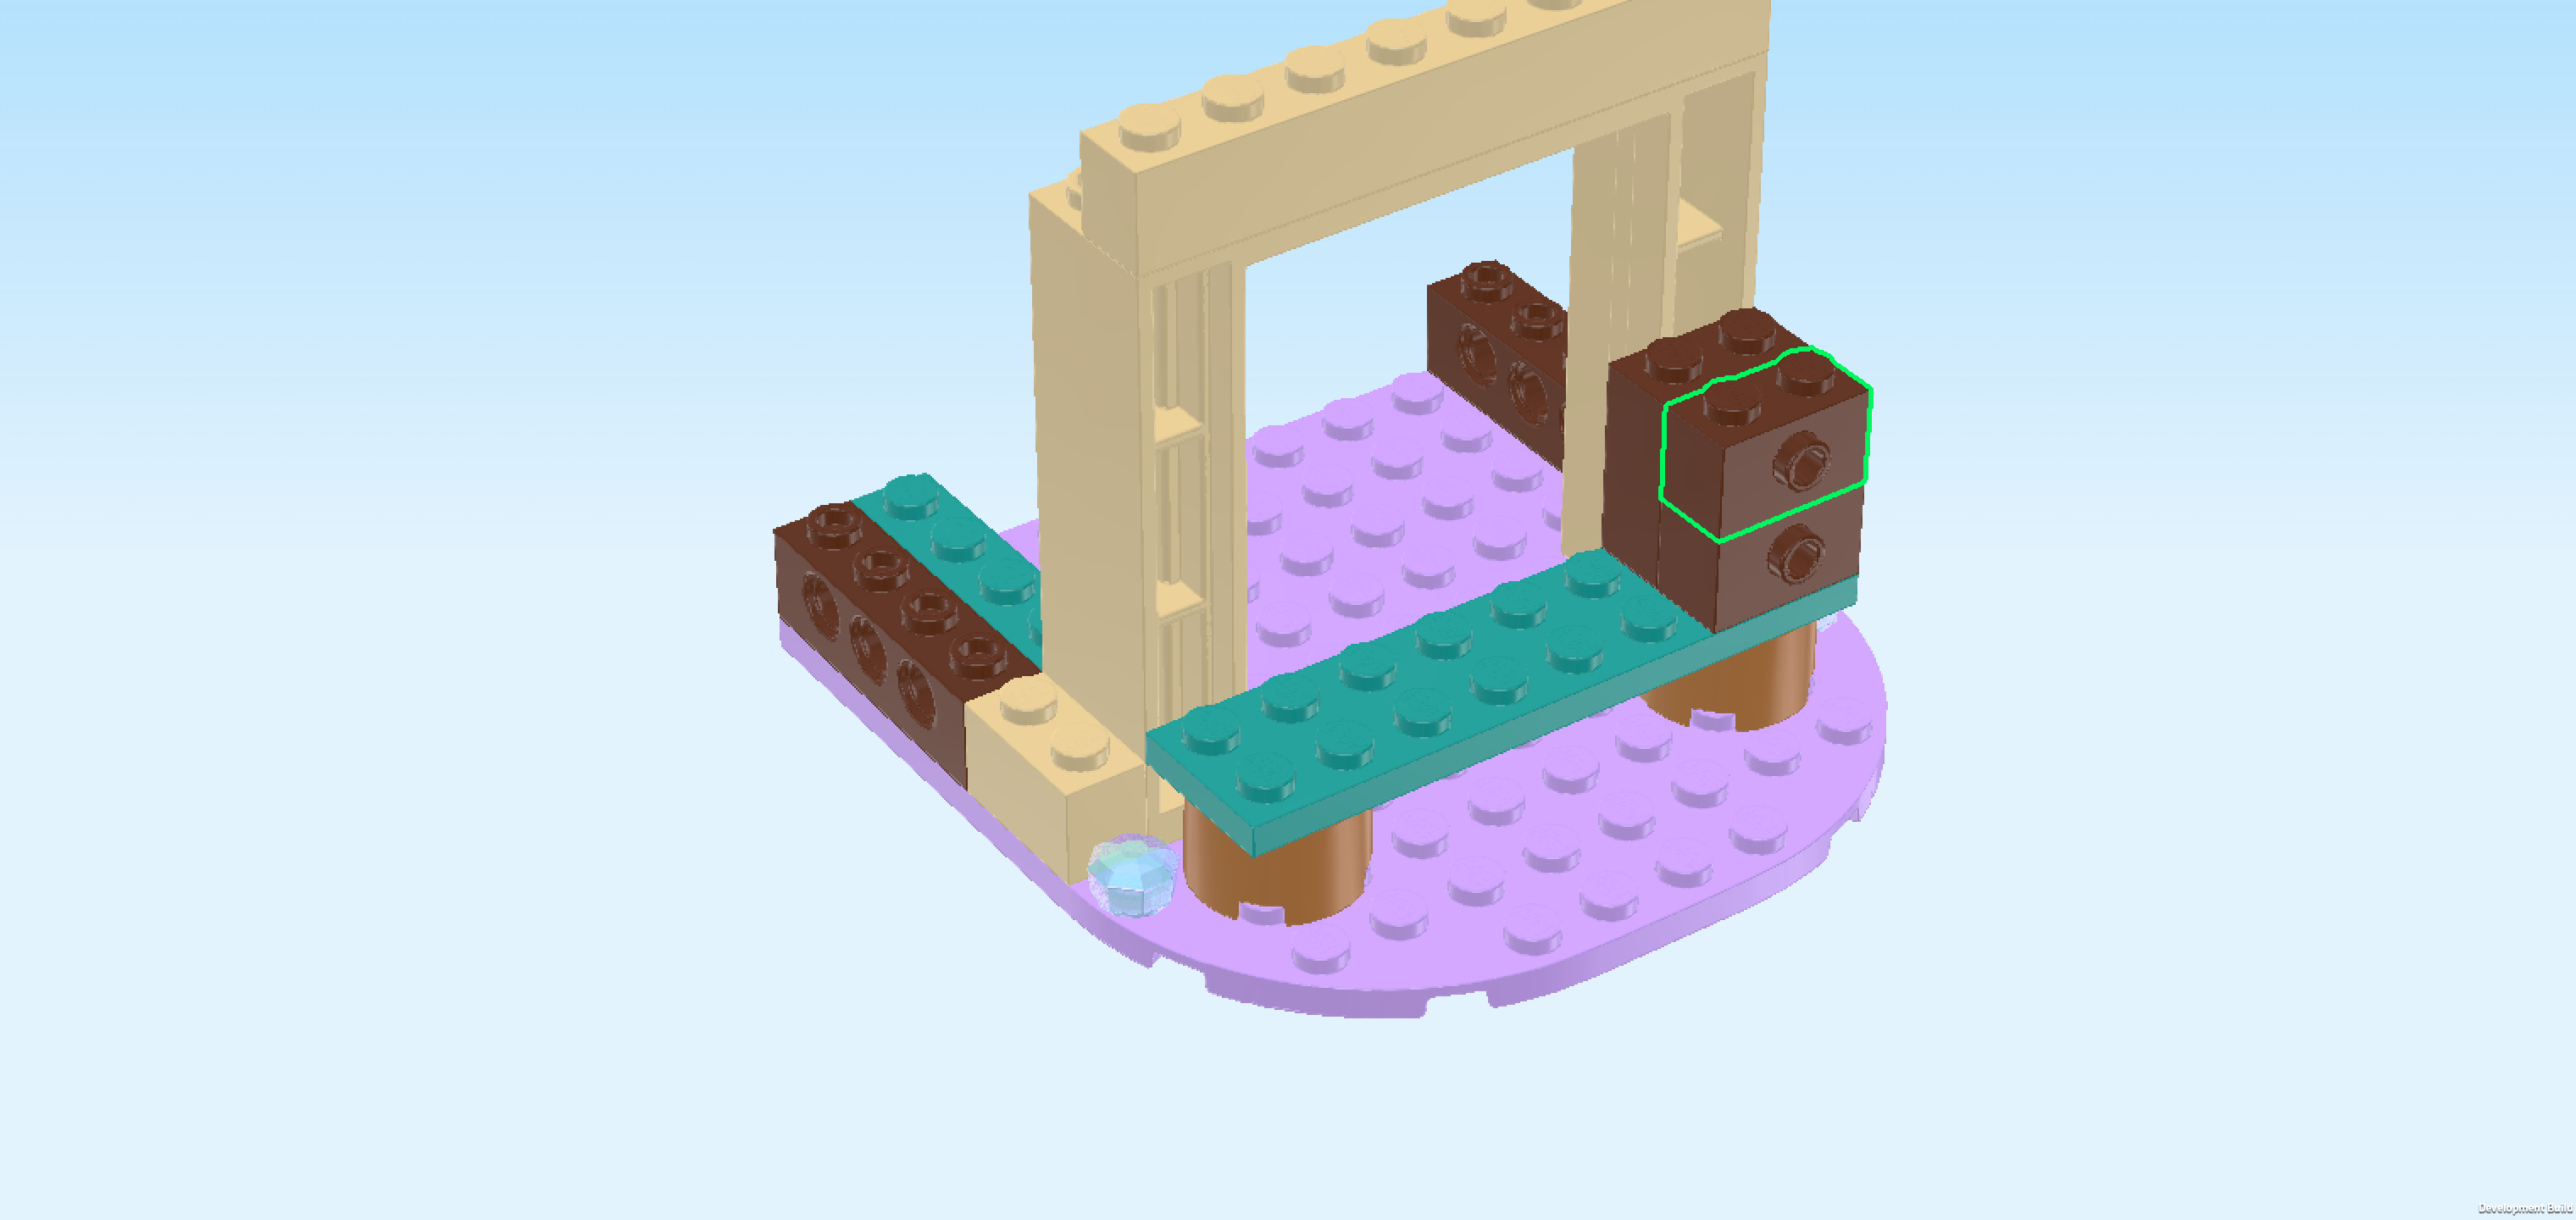
| Find 1 reddish brown brick 1x2x2. |
| Put it on the previous piece's back row, starting from its right edge. |
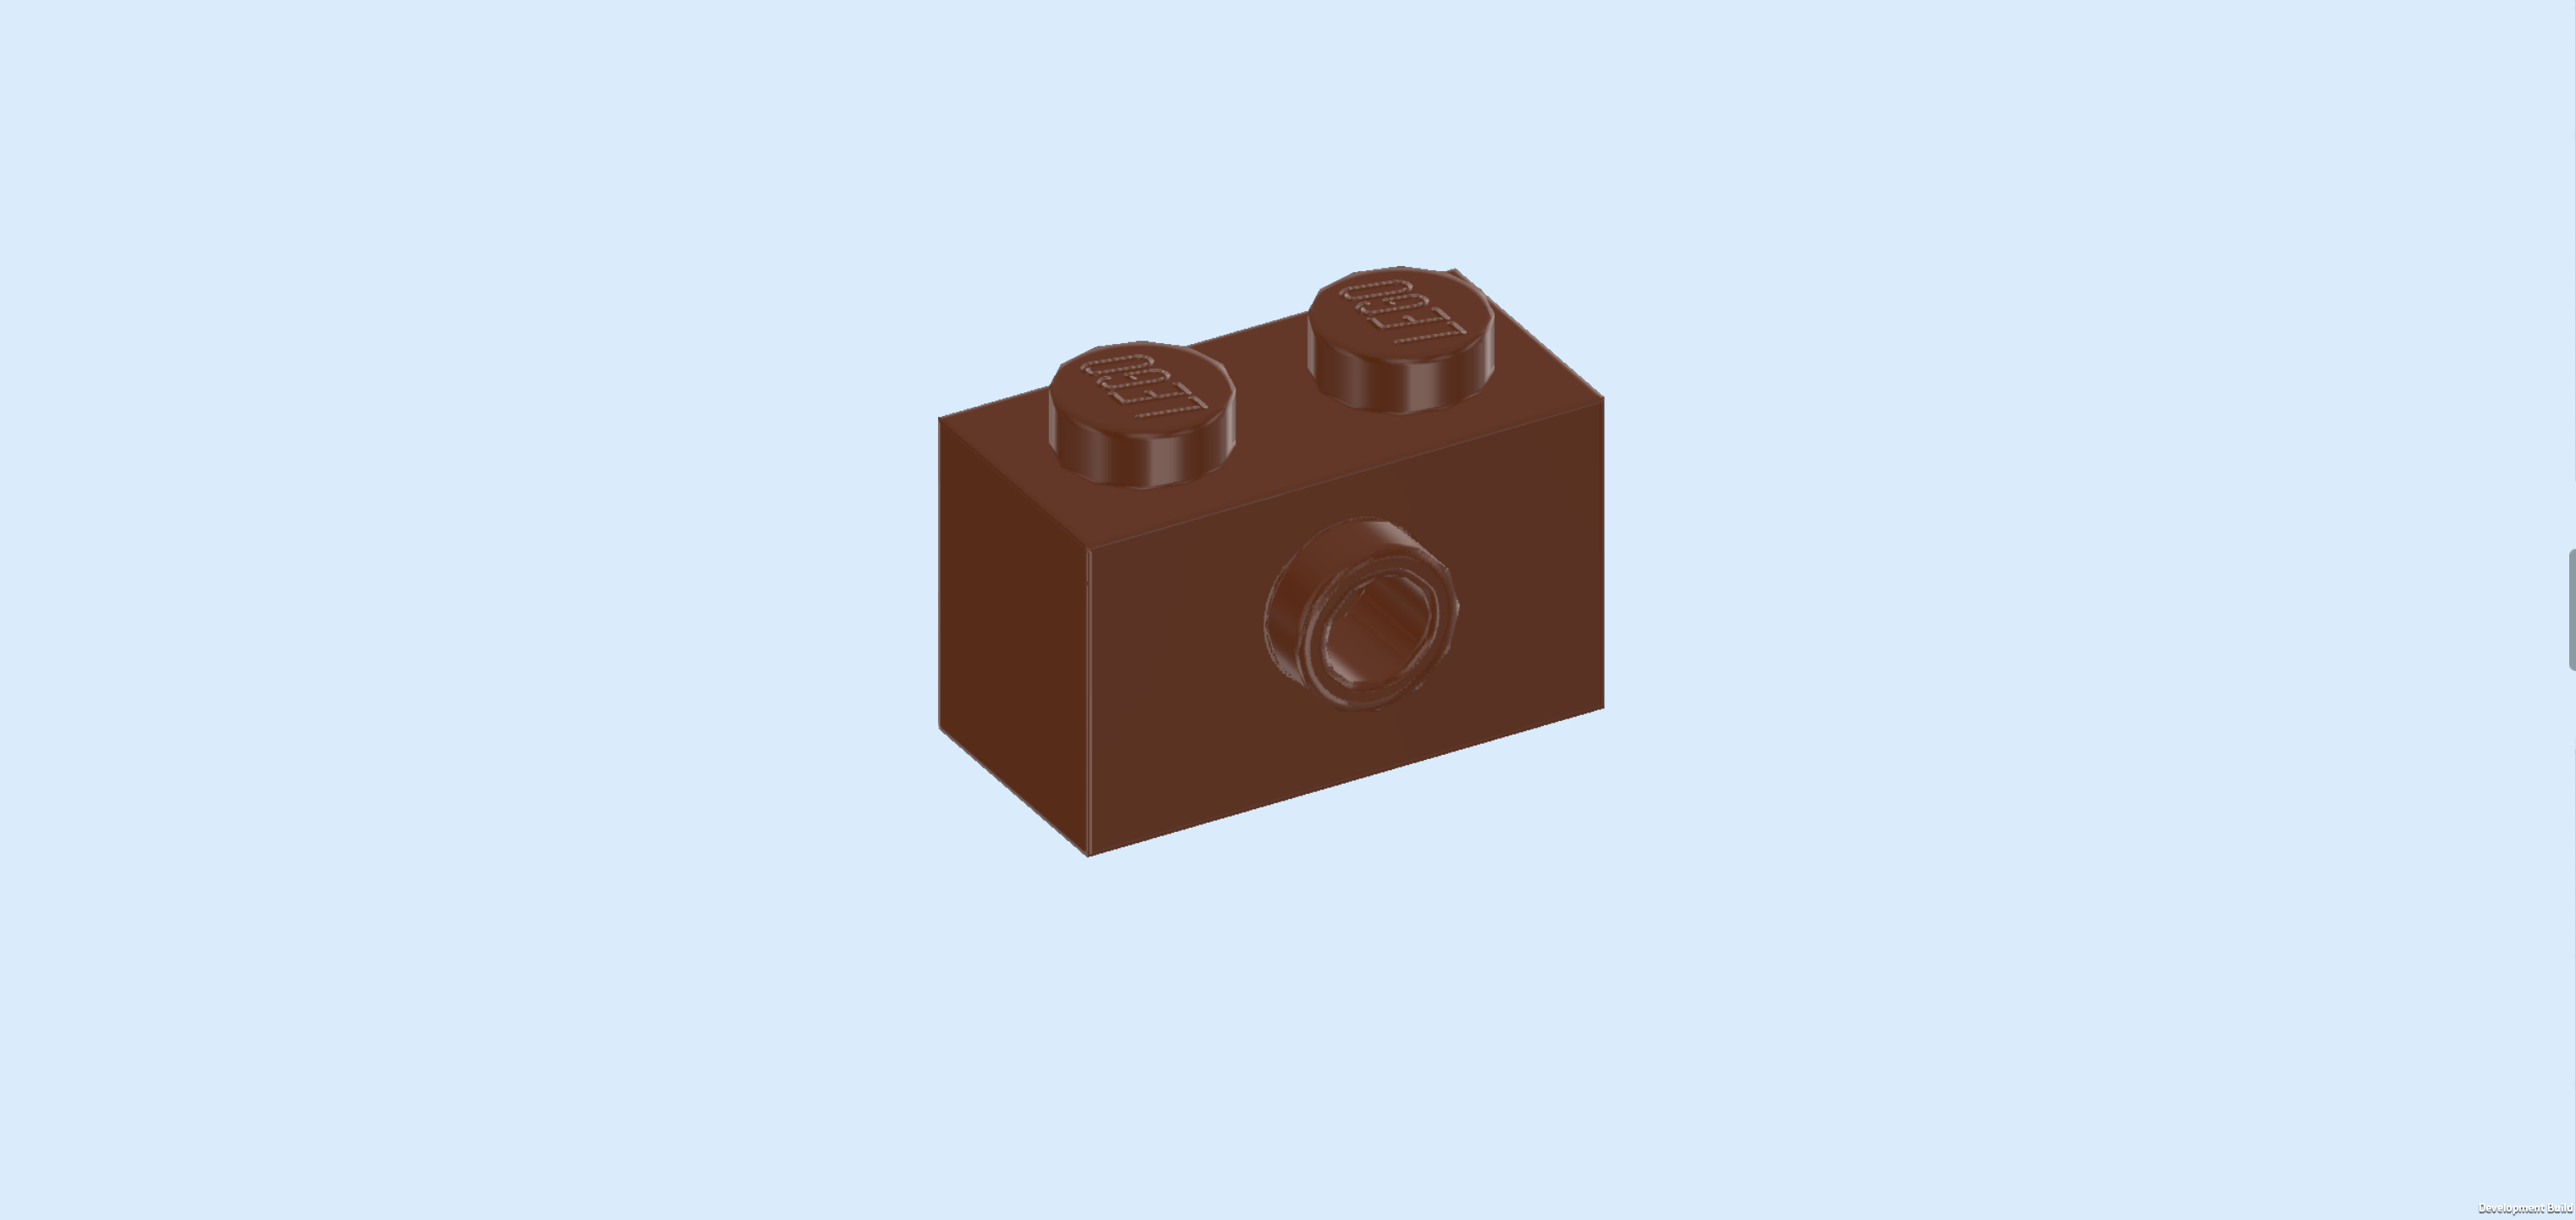
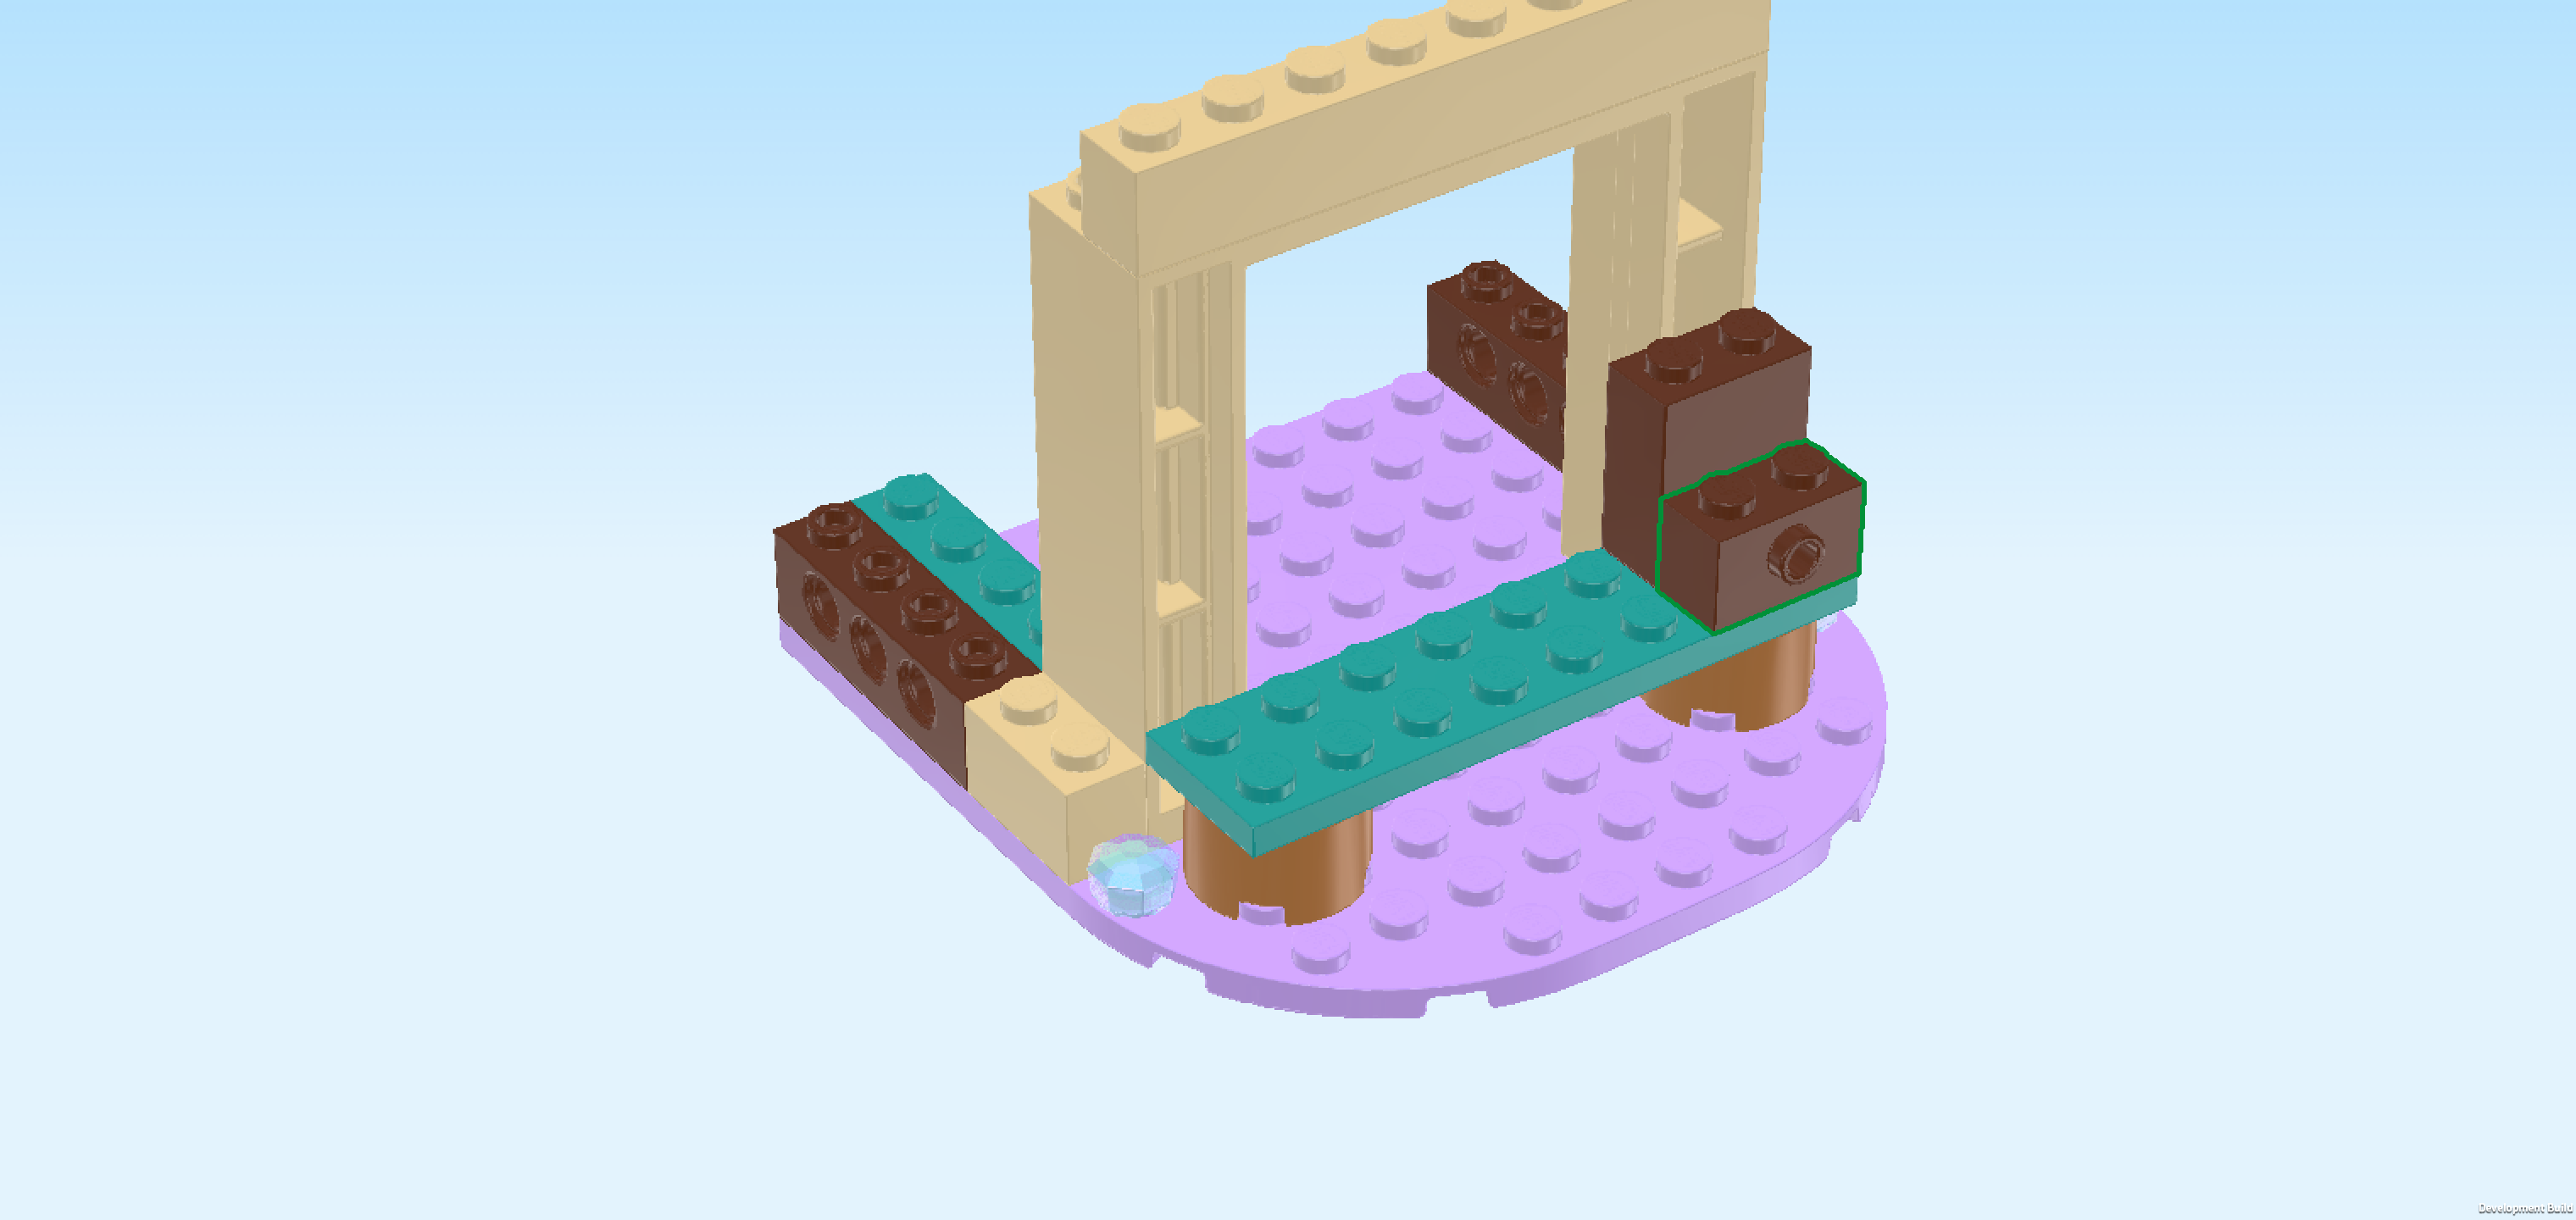
| Find 1 reddish brown brick 1x2 with side knob. |
| Put it horizontally in front of the previous piece, side knob to the front. |
| Find 1 reddish brown brick 1x2 with side knob. |
| Put it horizontally on top of the previous piece, side knob to the front. |
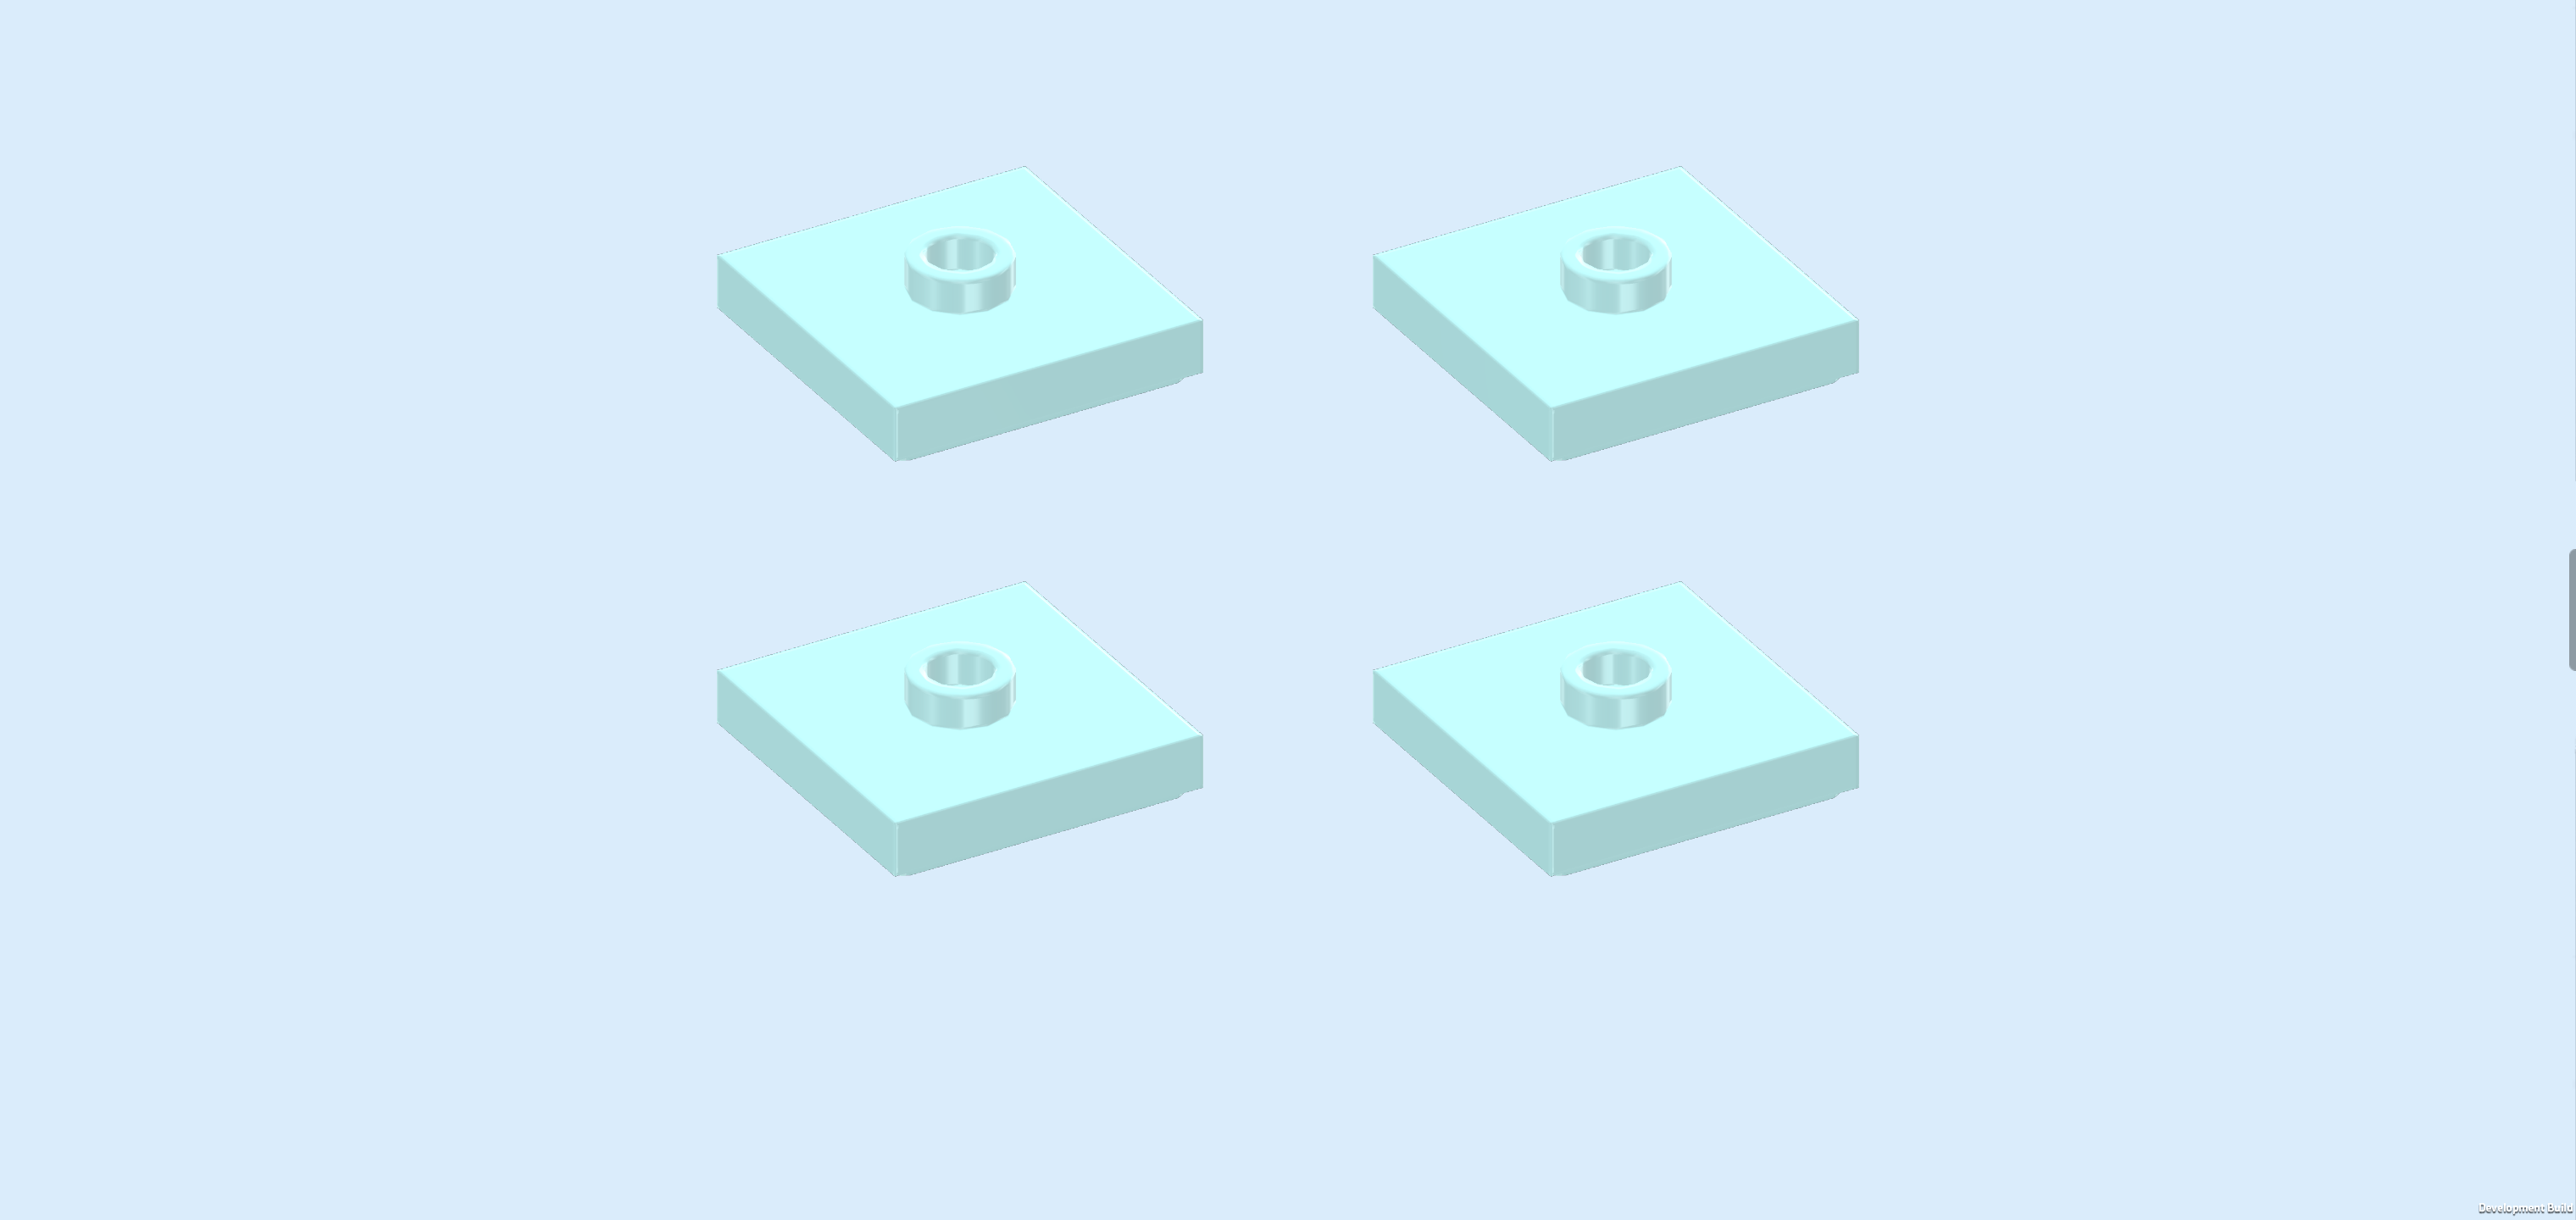
| Find 4 aqua blue plates 2x2 with 1 knob. |
| Put 1 on top of the 2x2 stack you have just built. |
| Put 1 to the left of the previous piece on the plate 2x8. |
| Put another 1 to the left of the previous piece. |
| Put the last one to the left of the previous piece. |
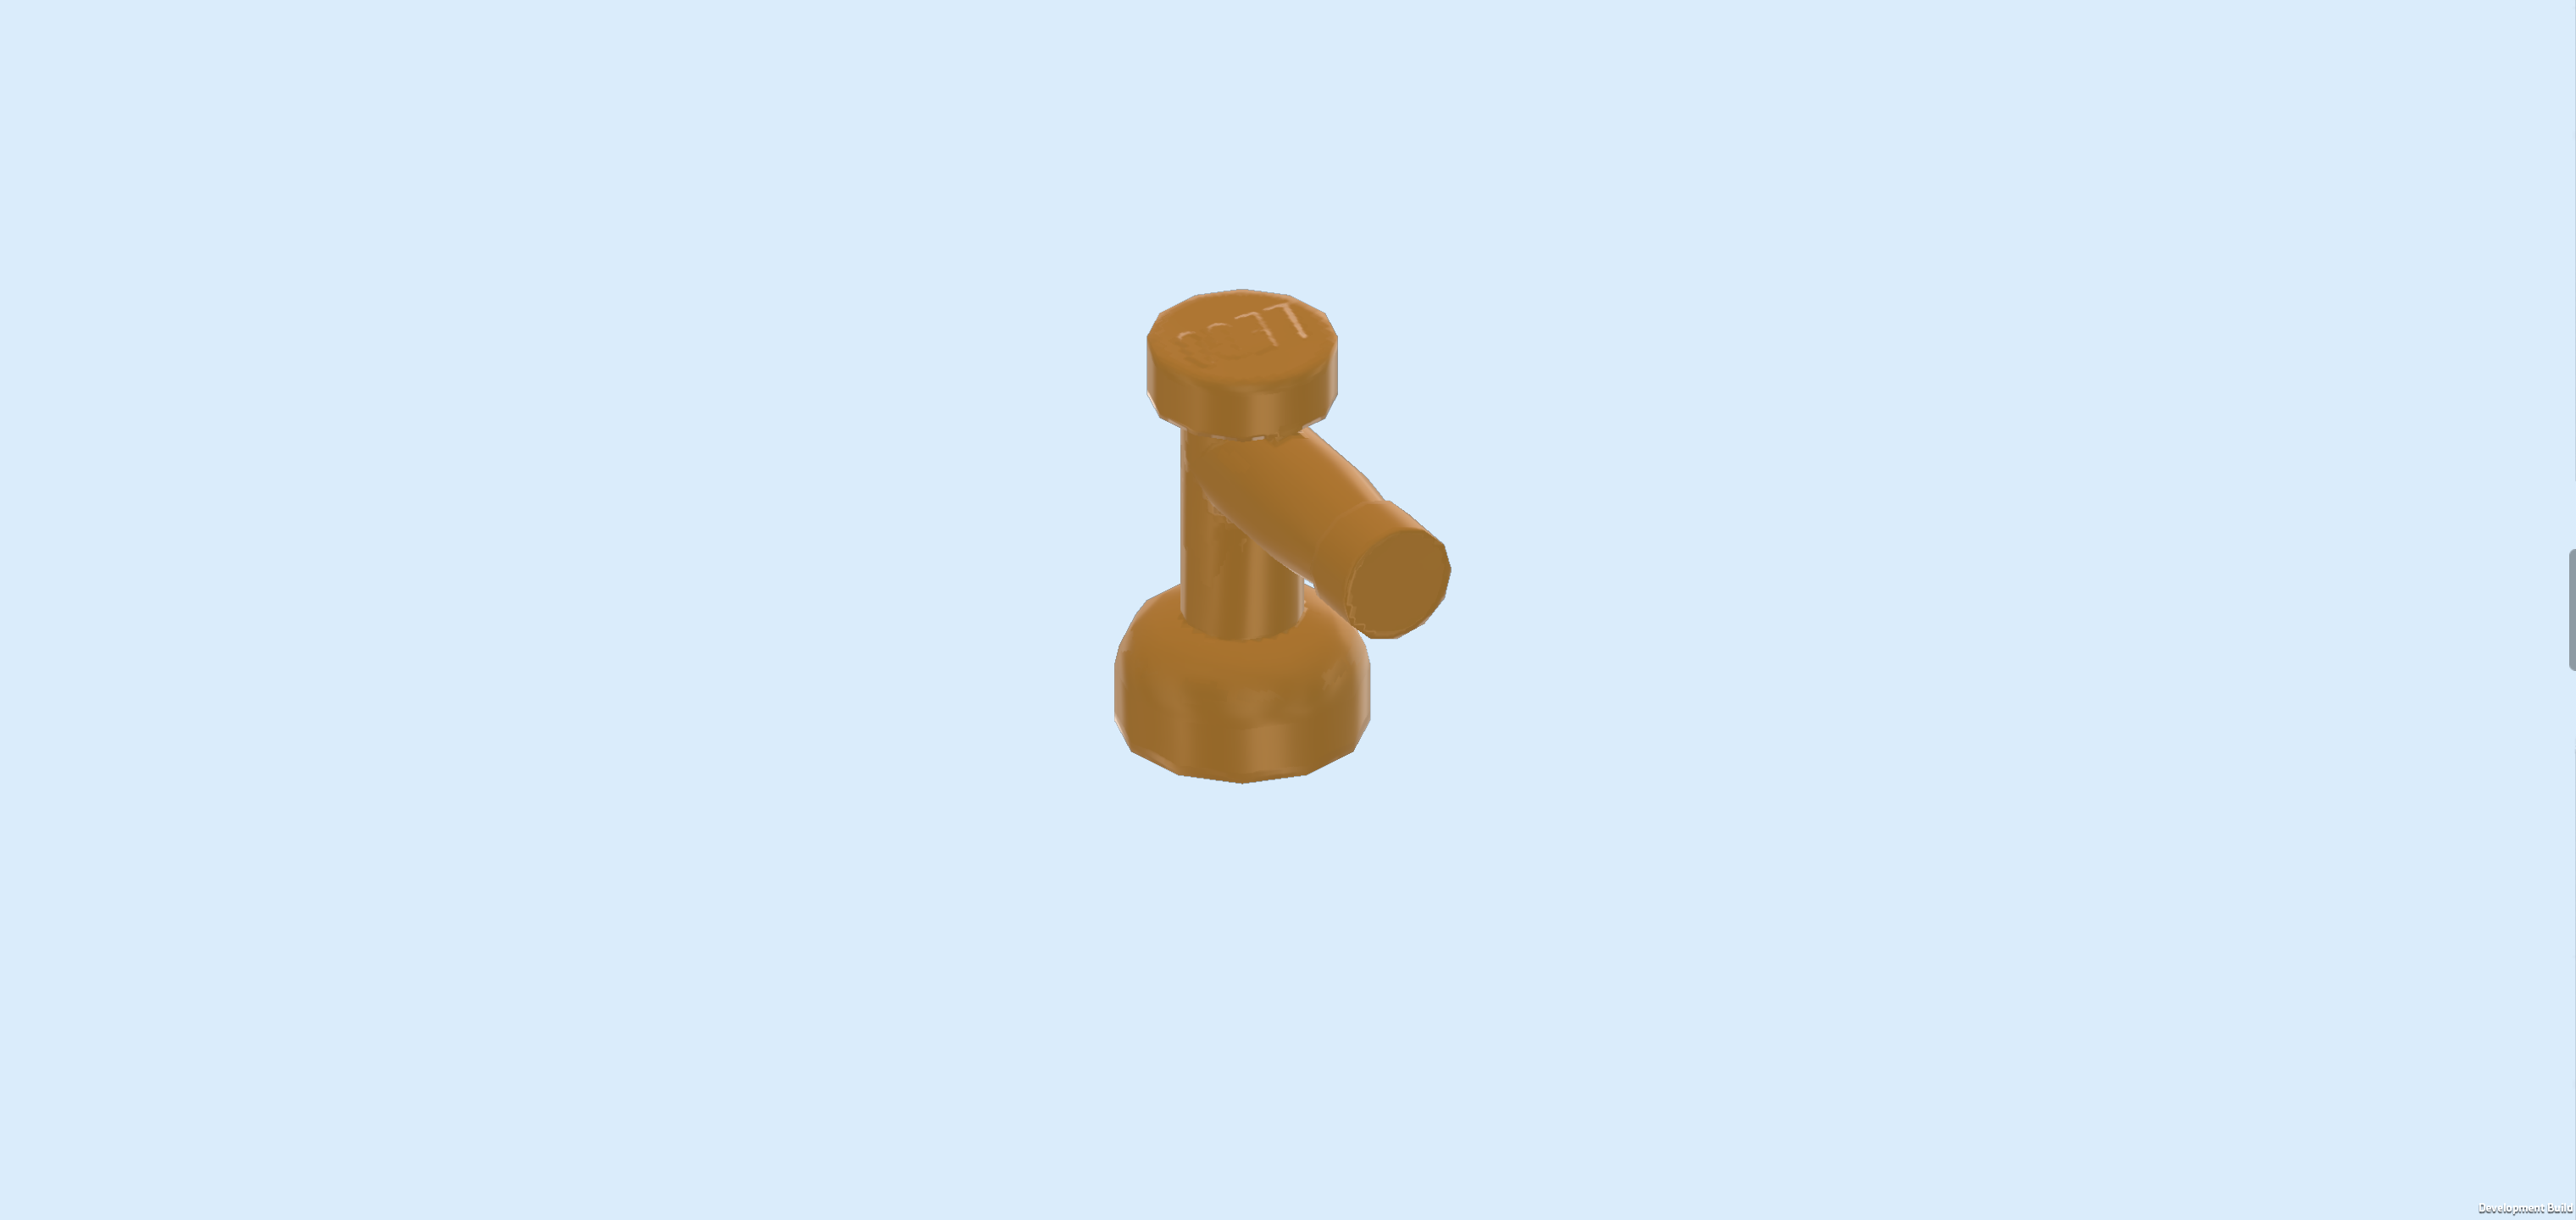
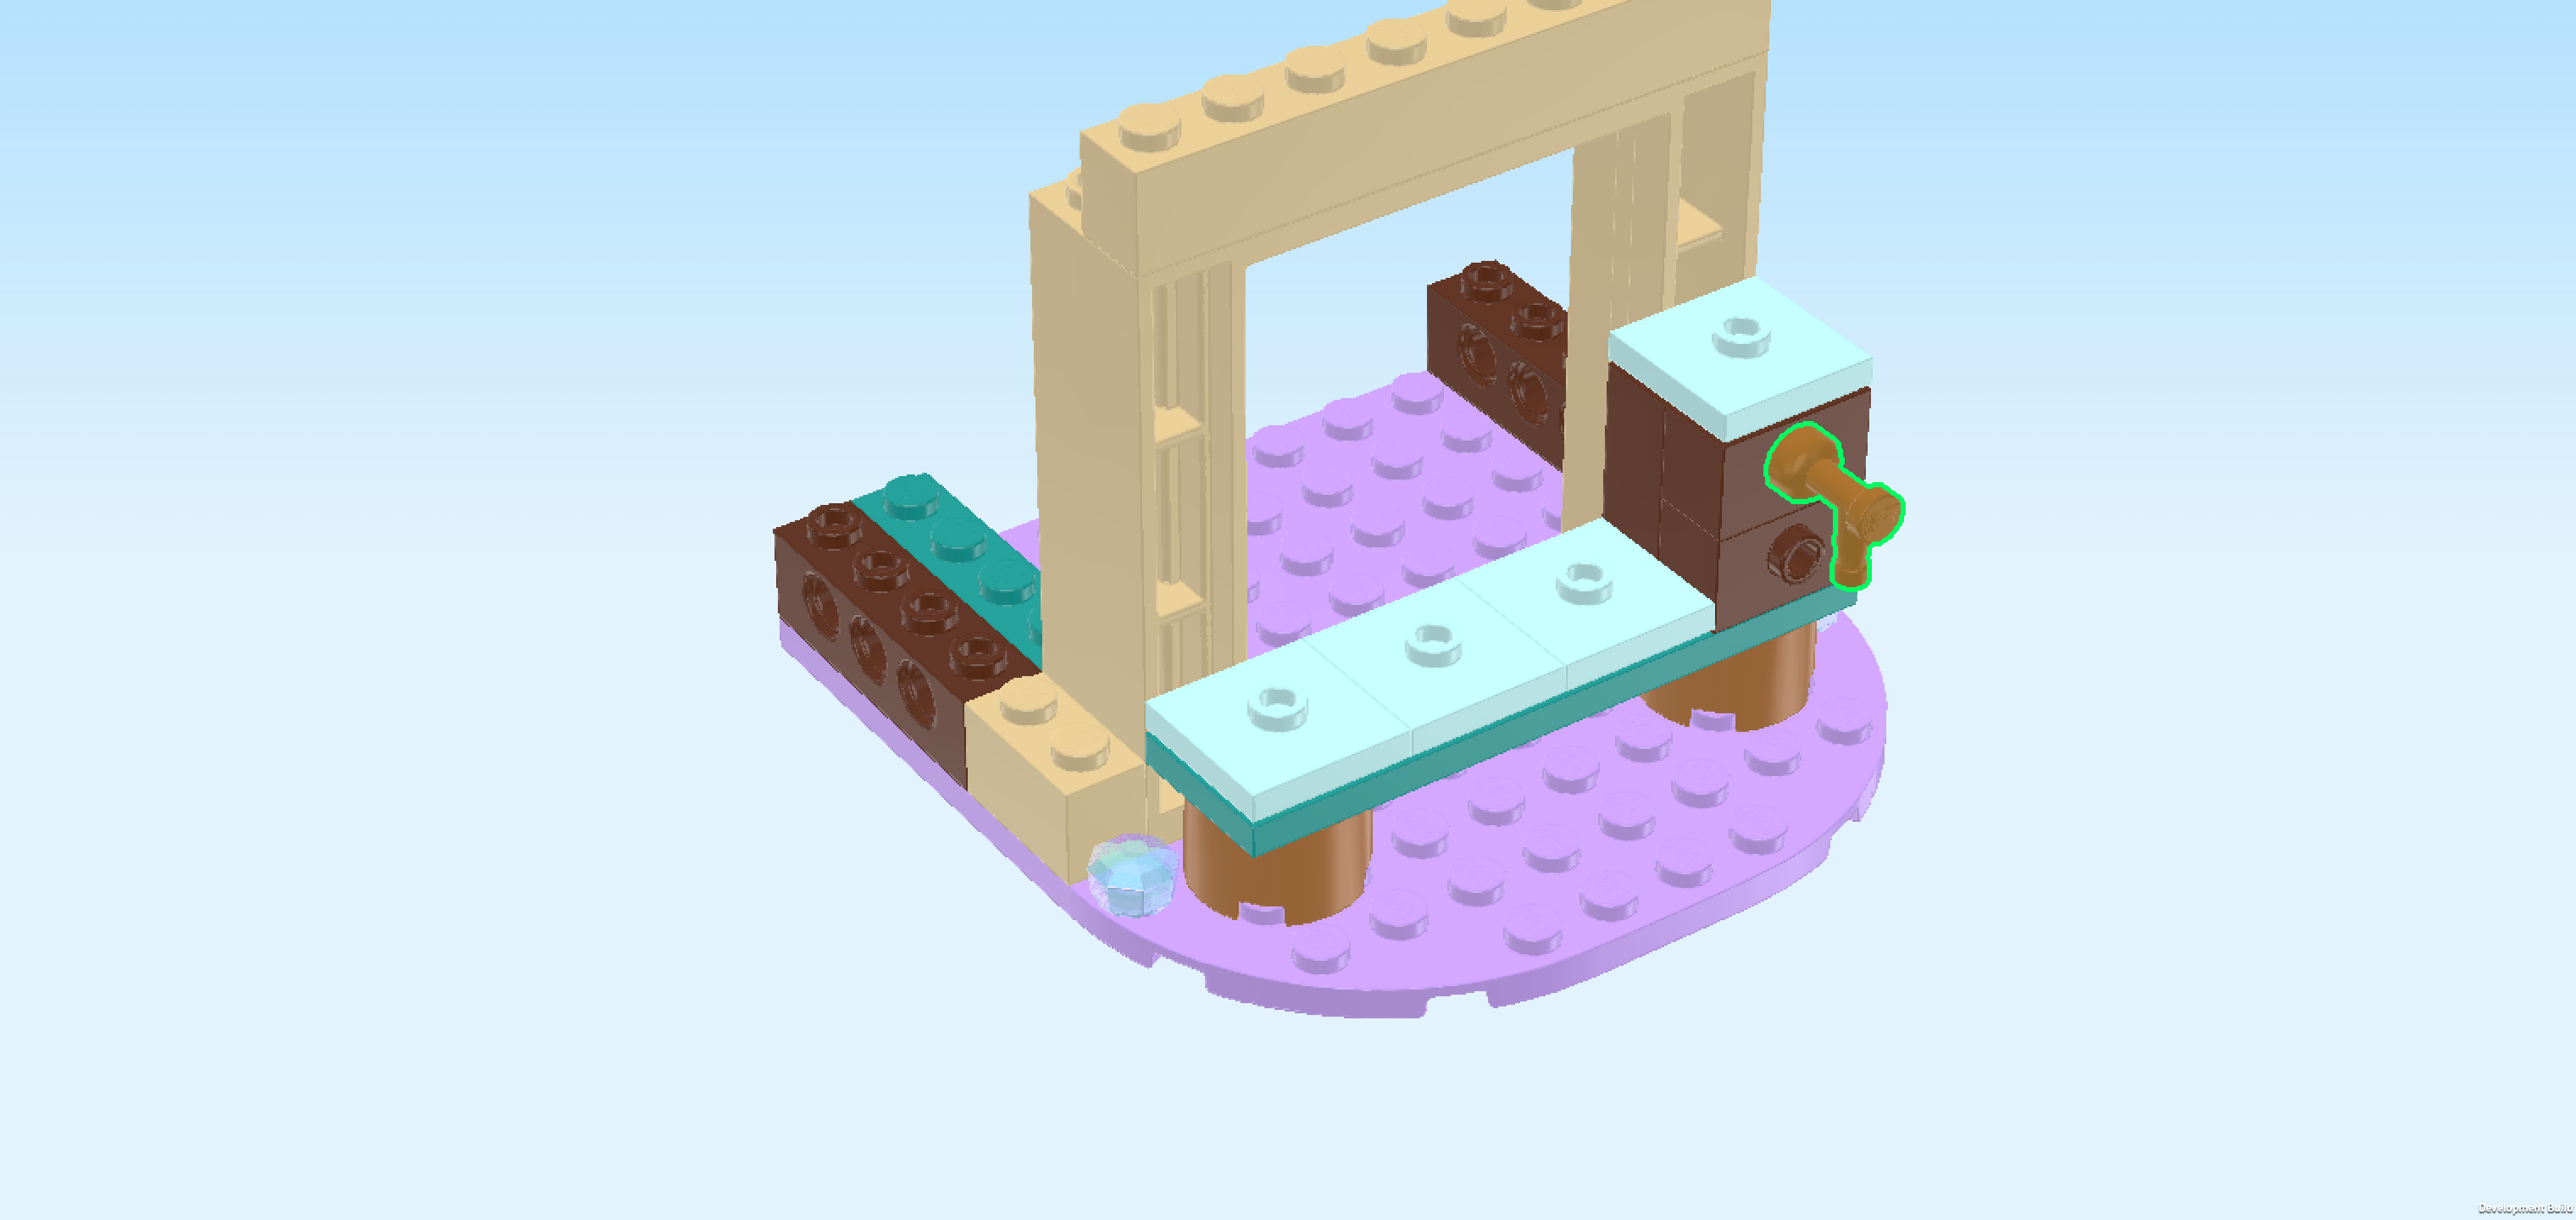
| Find 1 warm gold water tap. |
| Flip it upright so that its connection point is towards the back and the tap is pointing down. |
| Mount it on the top knob of the 2 side knobs pointing to the front. |
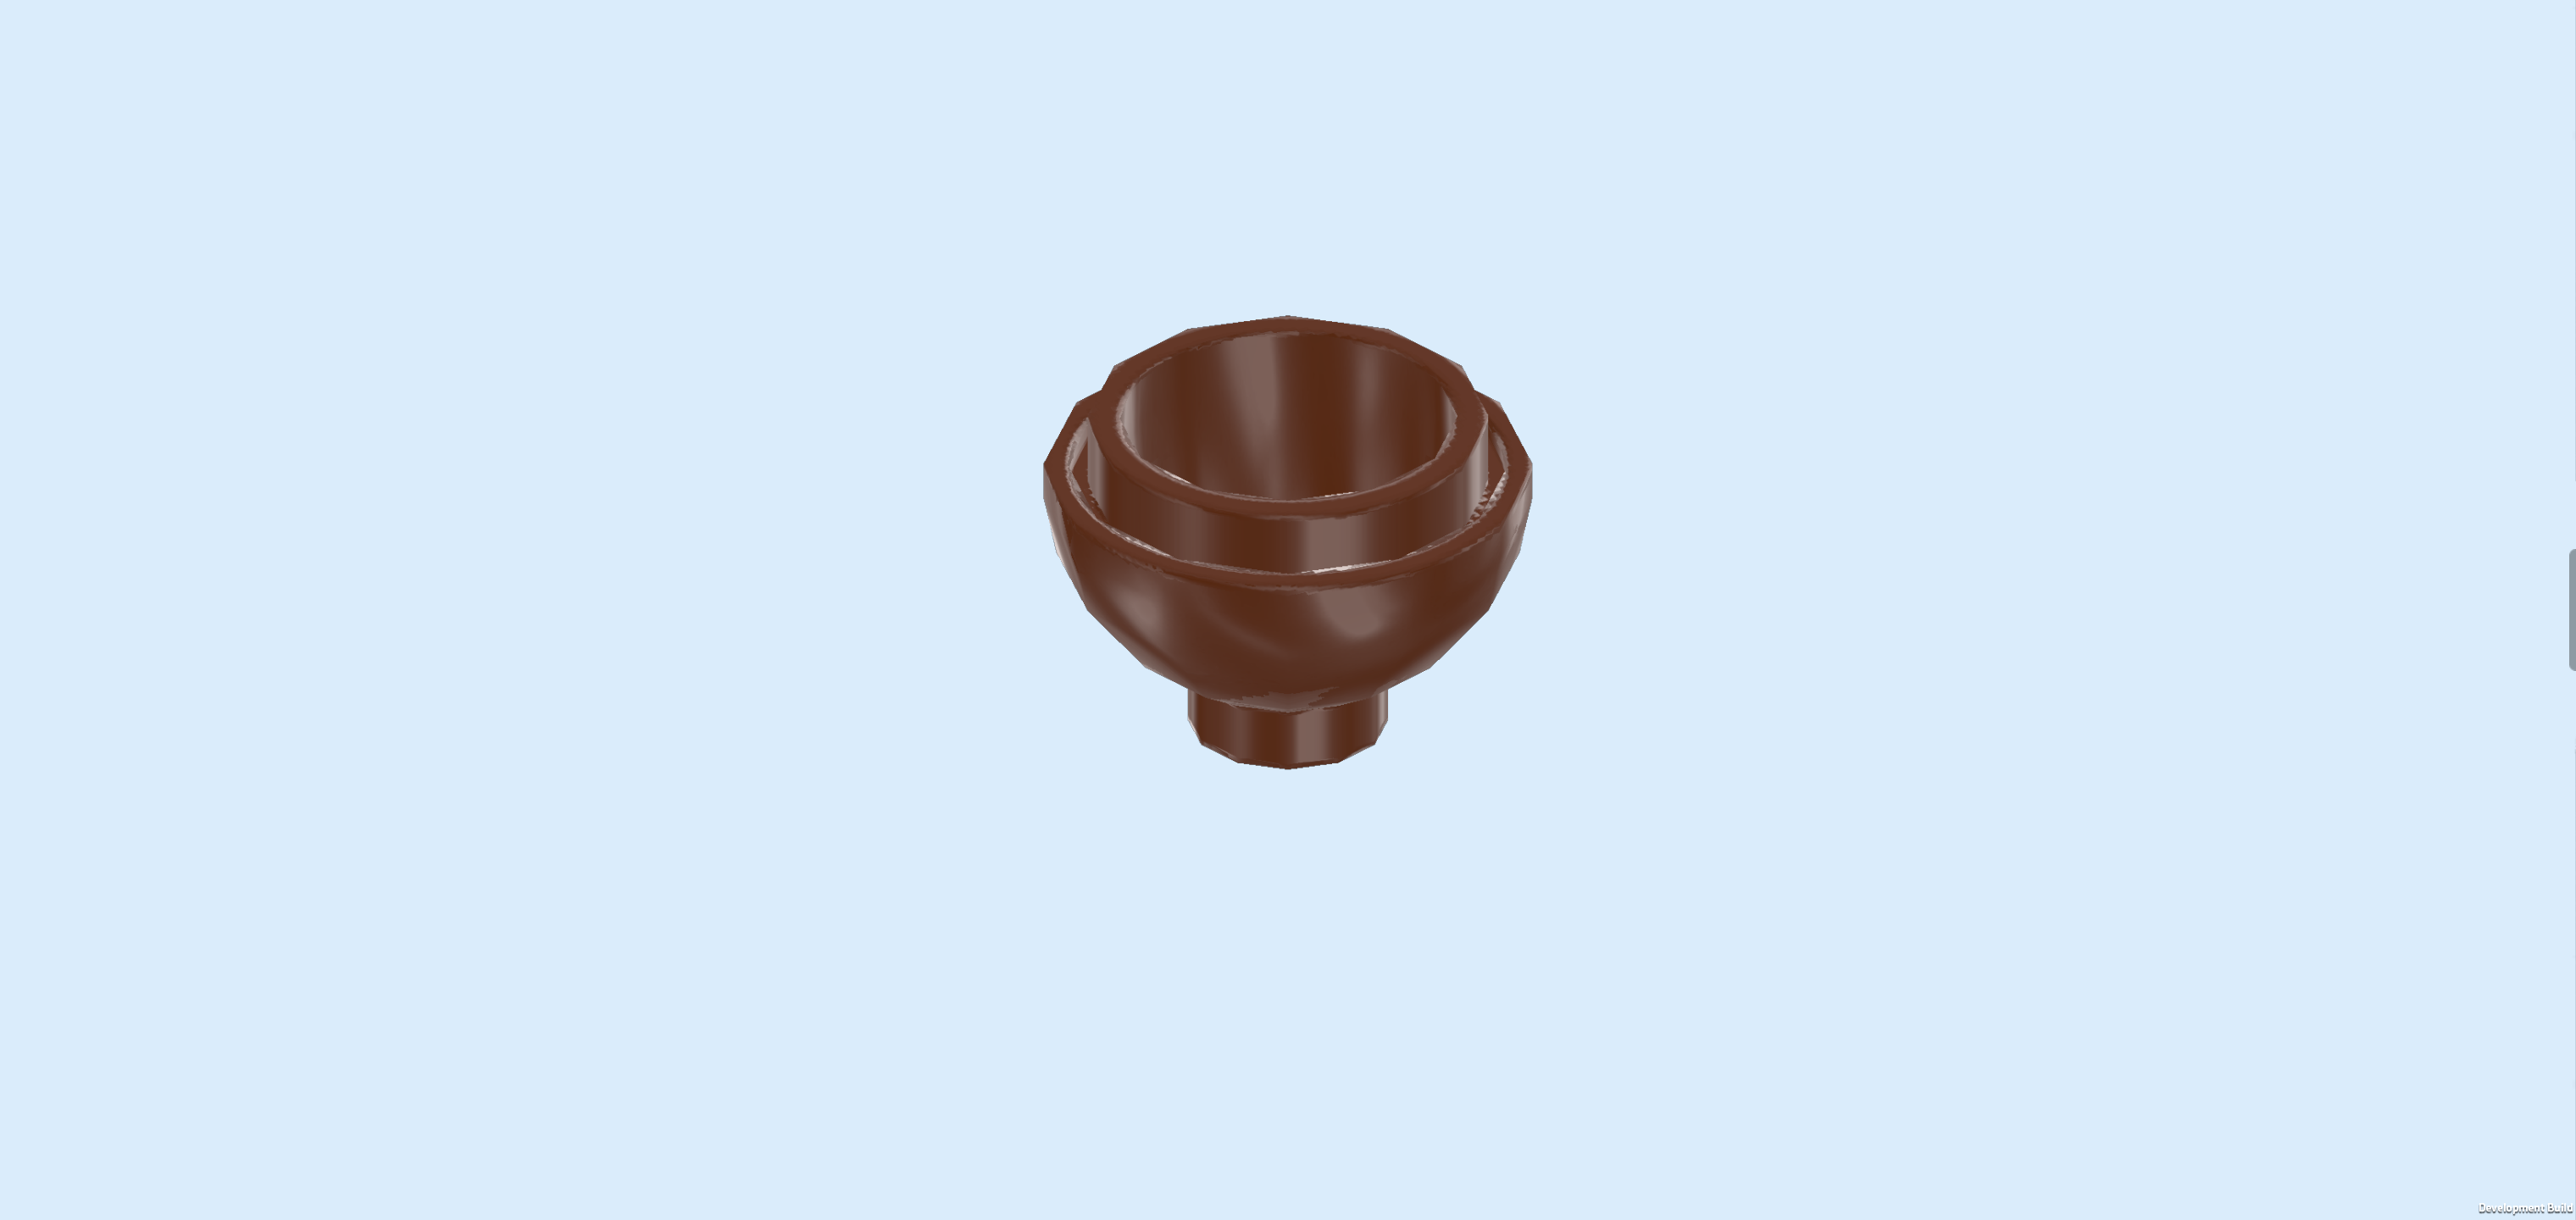
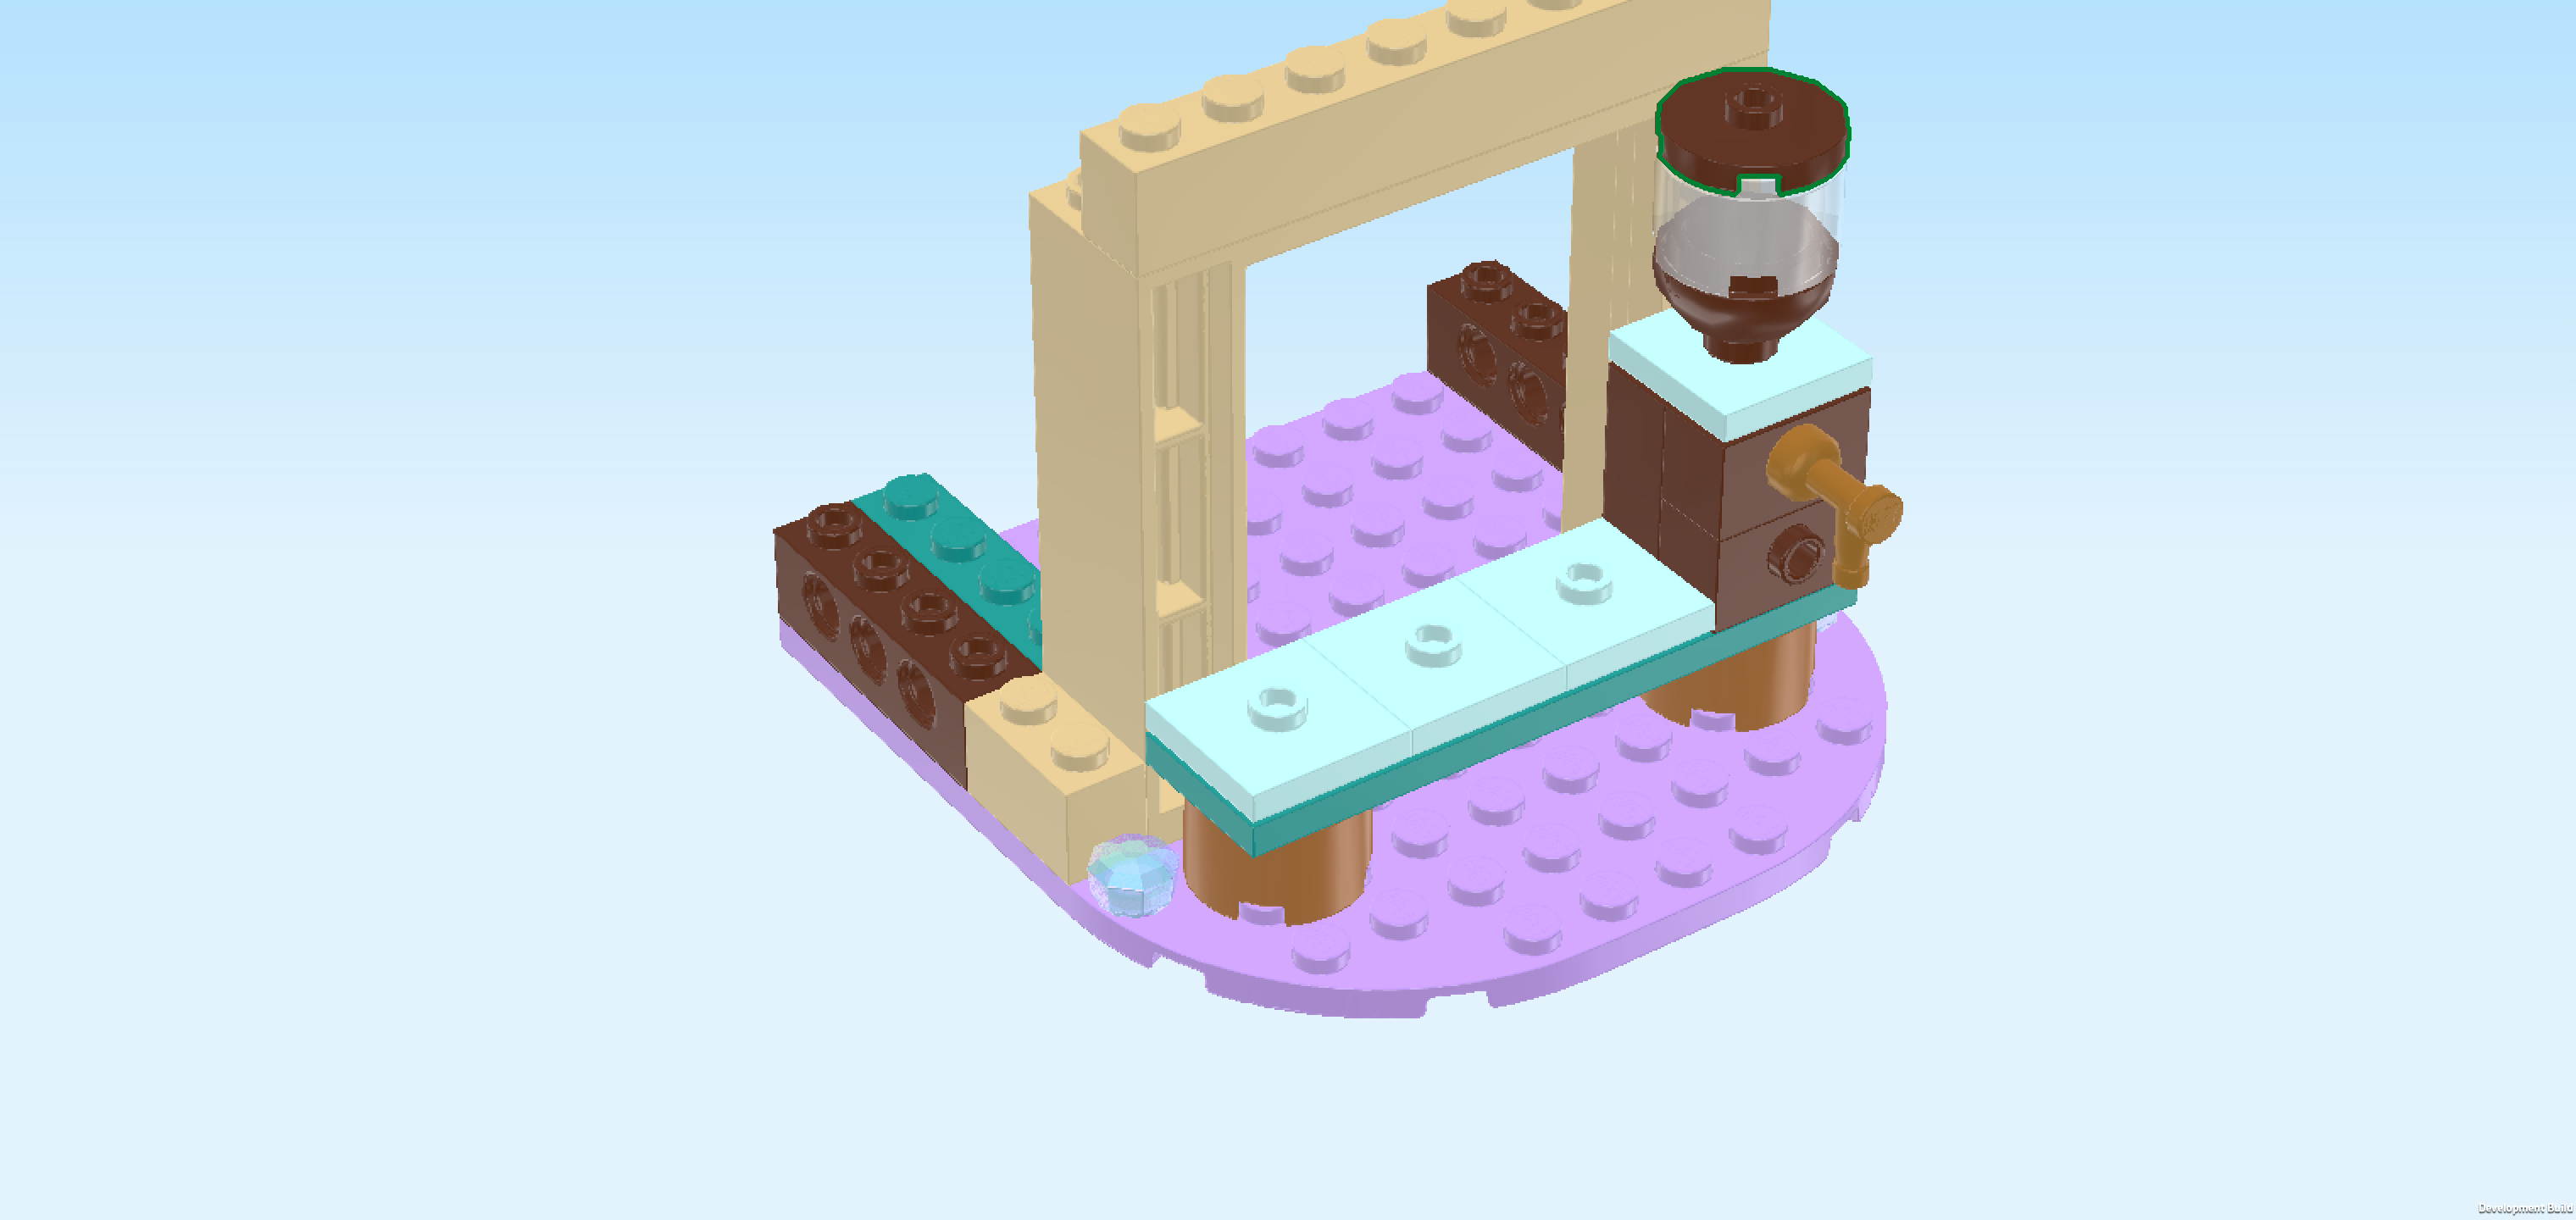
| Find 1 reddish brown inverted dome 2x2 with 1 knob. |
| Put it on the knob at the top of the 2x2 stack. |
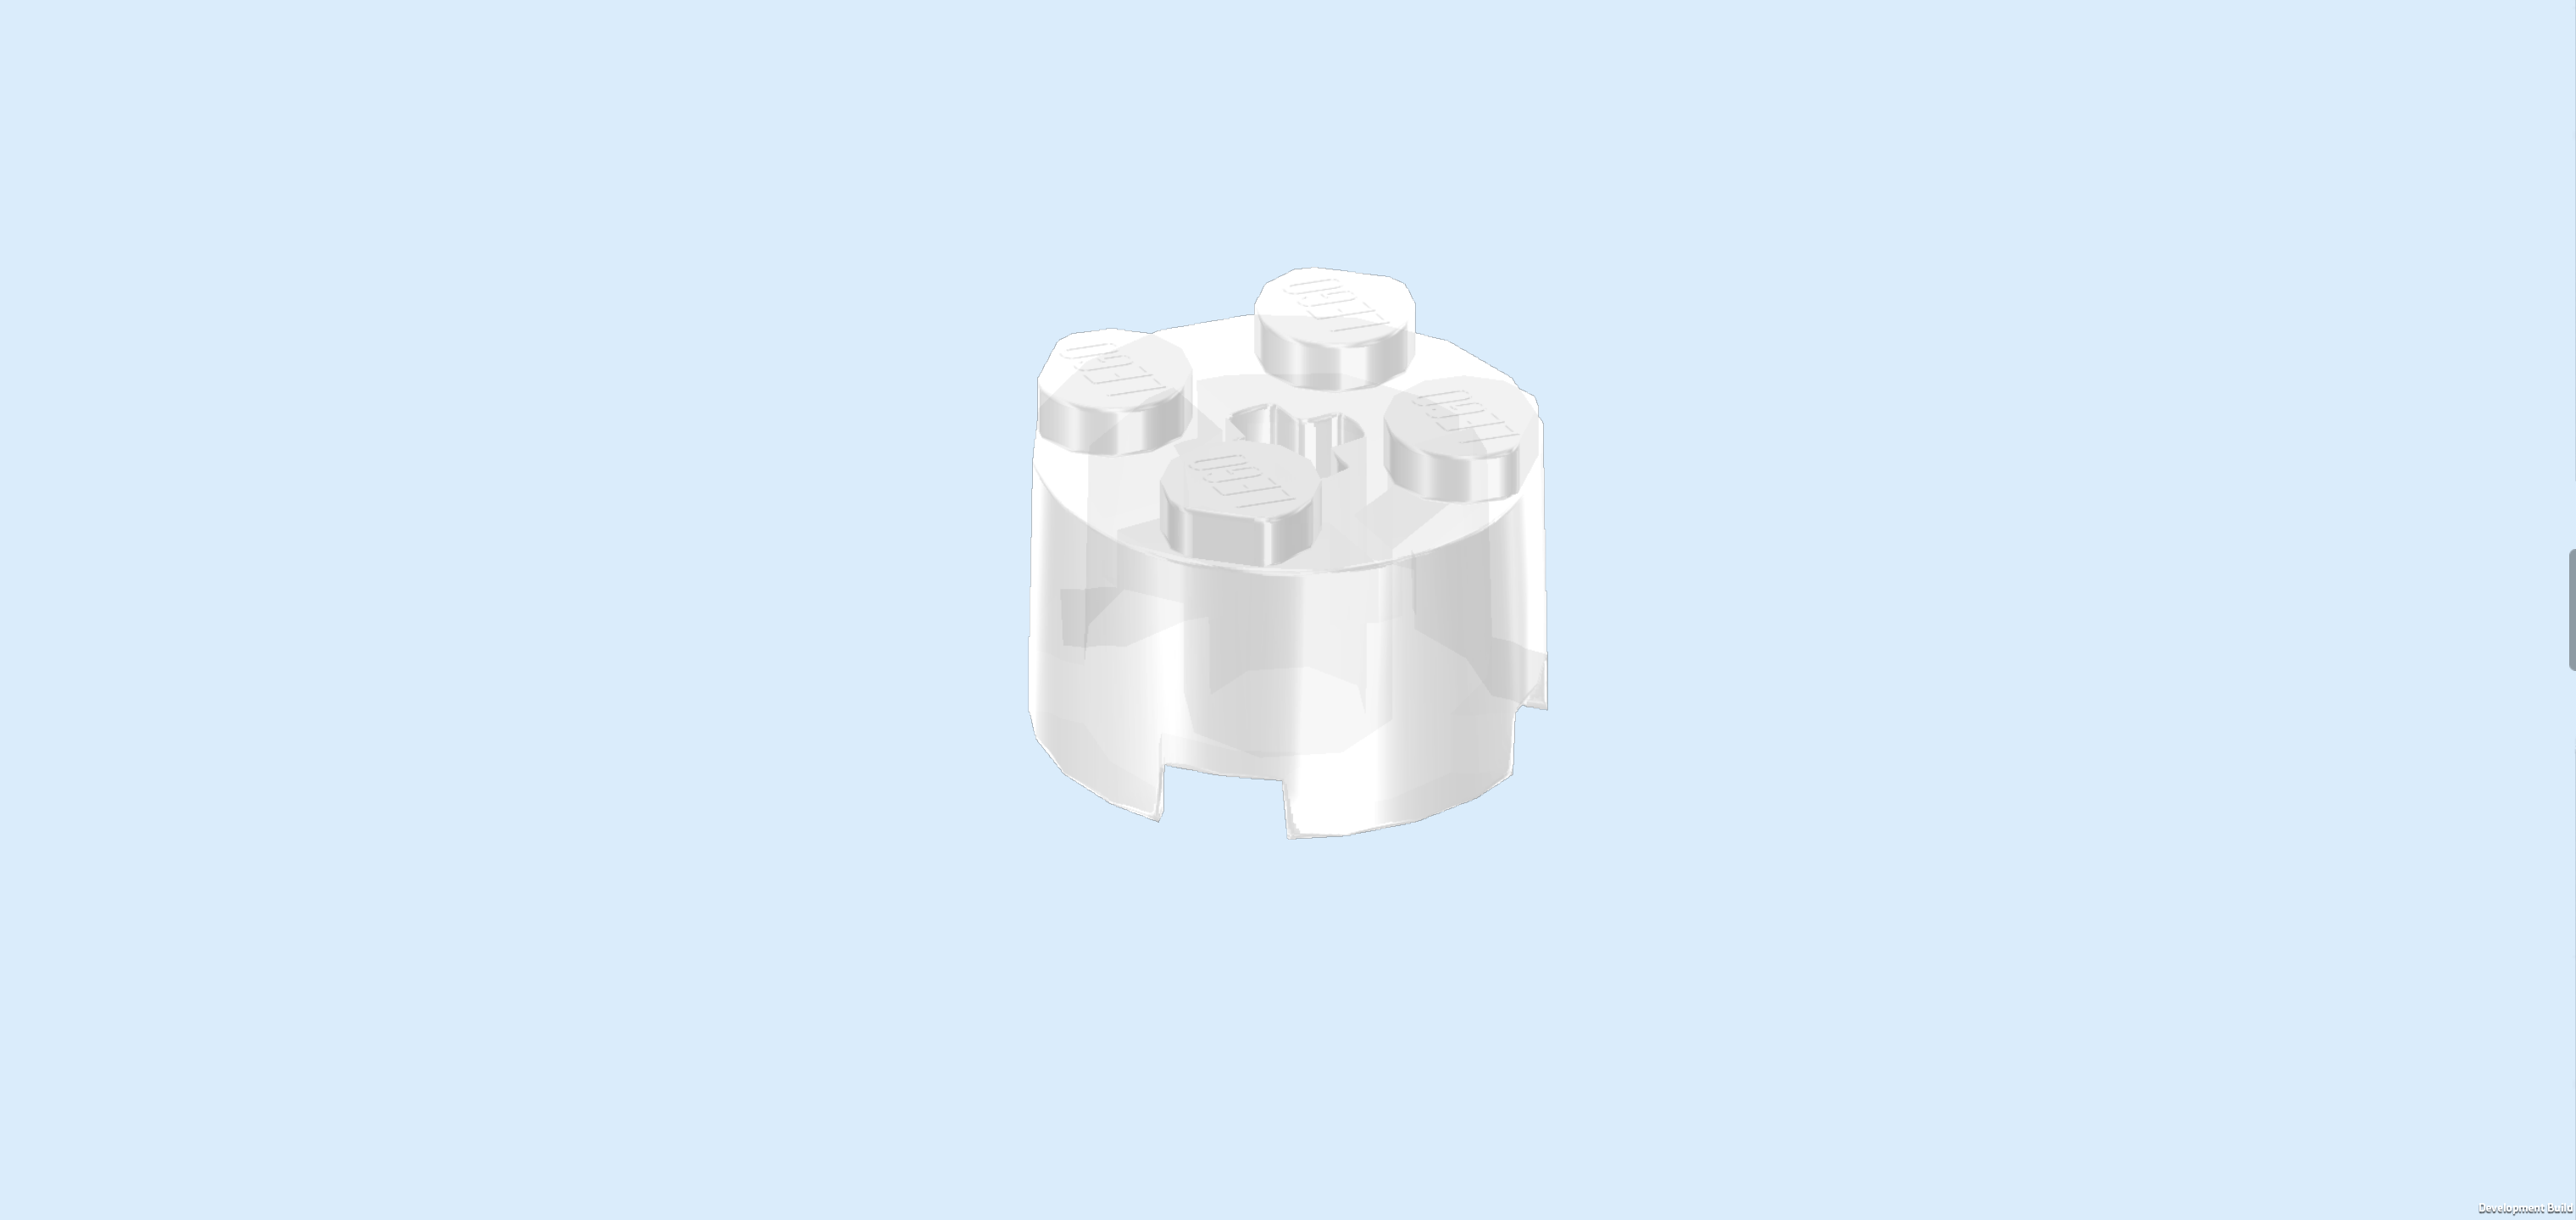
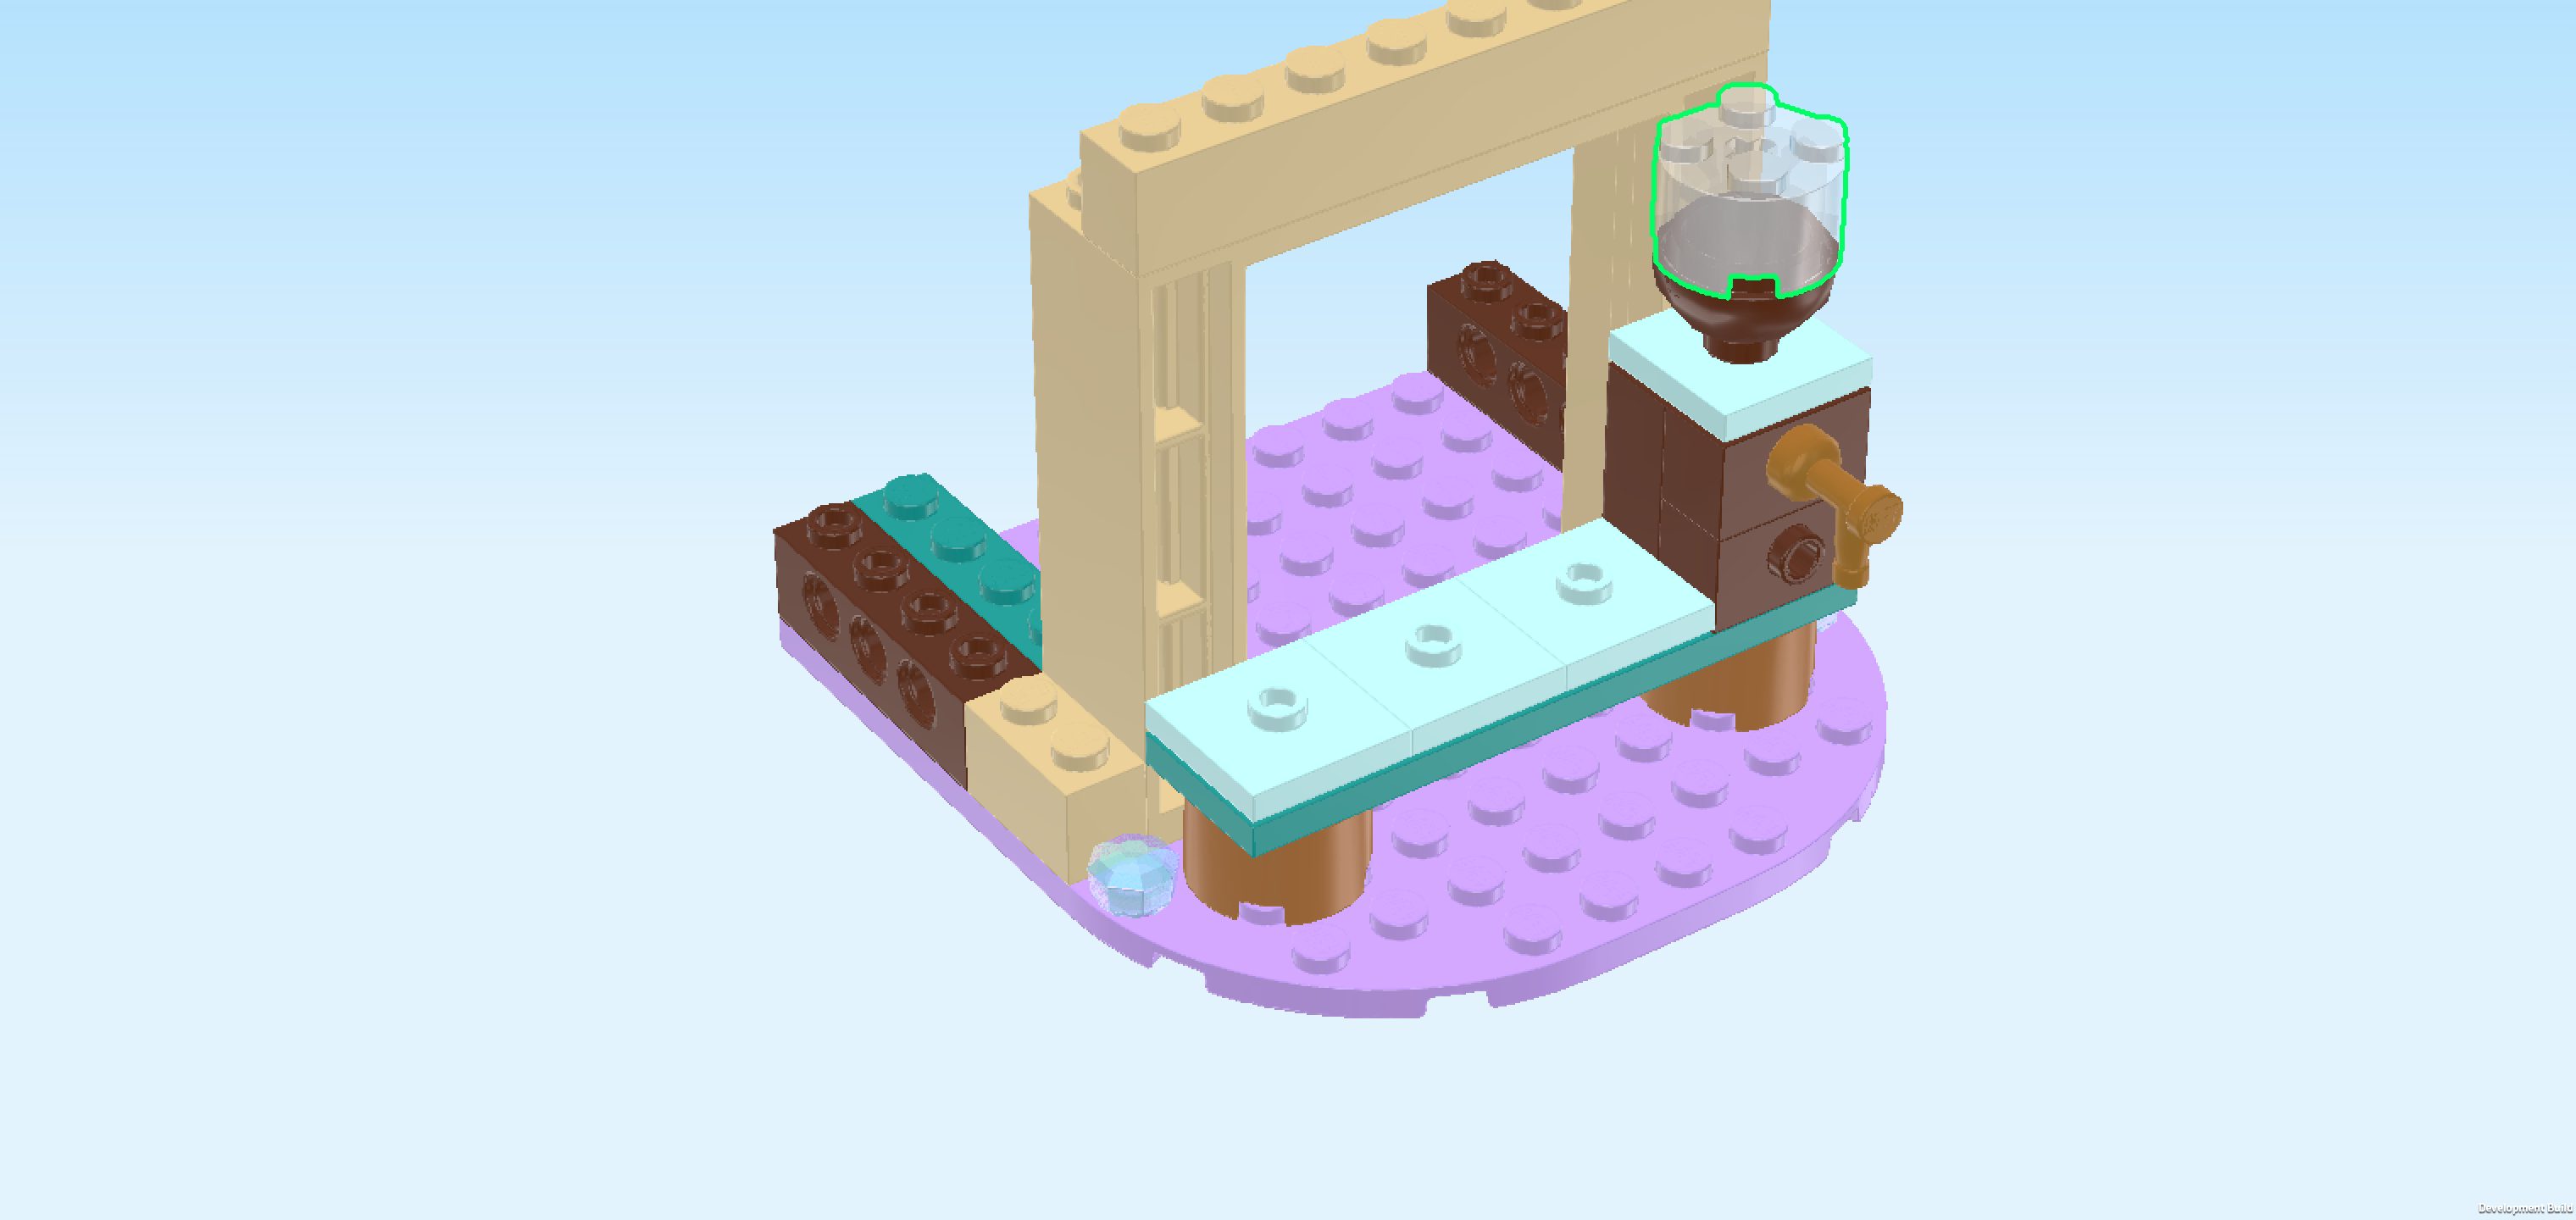
| Find 1 transparent round brick 2x2 with top cross hole. |
| Put it on top of the previous piece. |
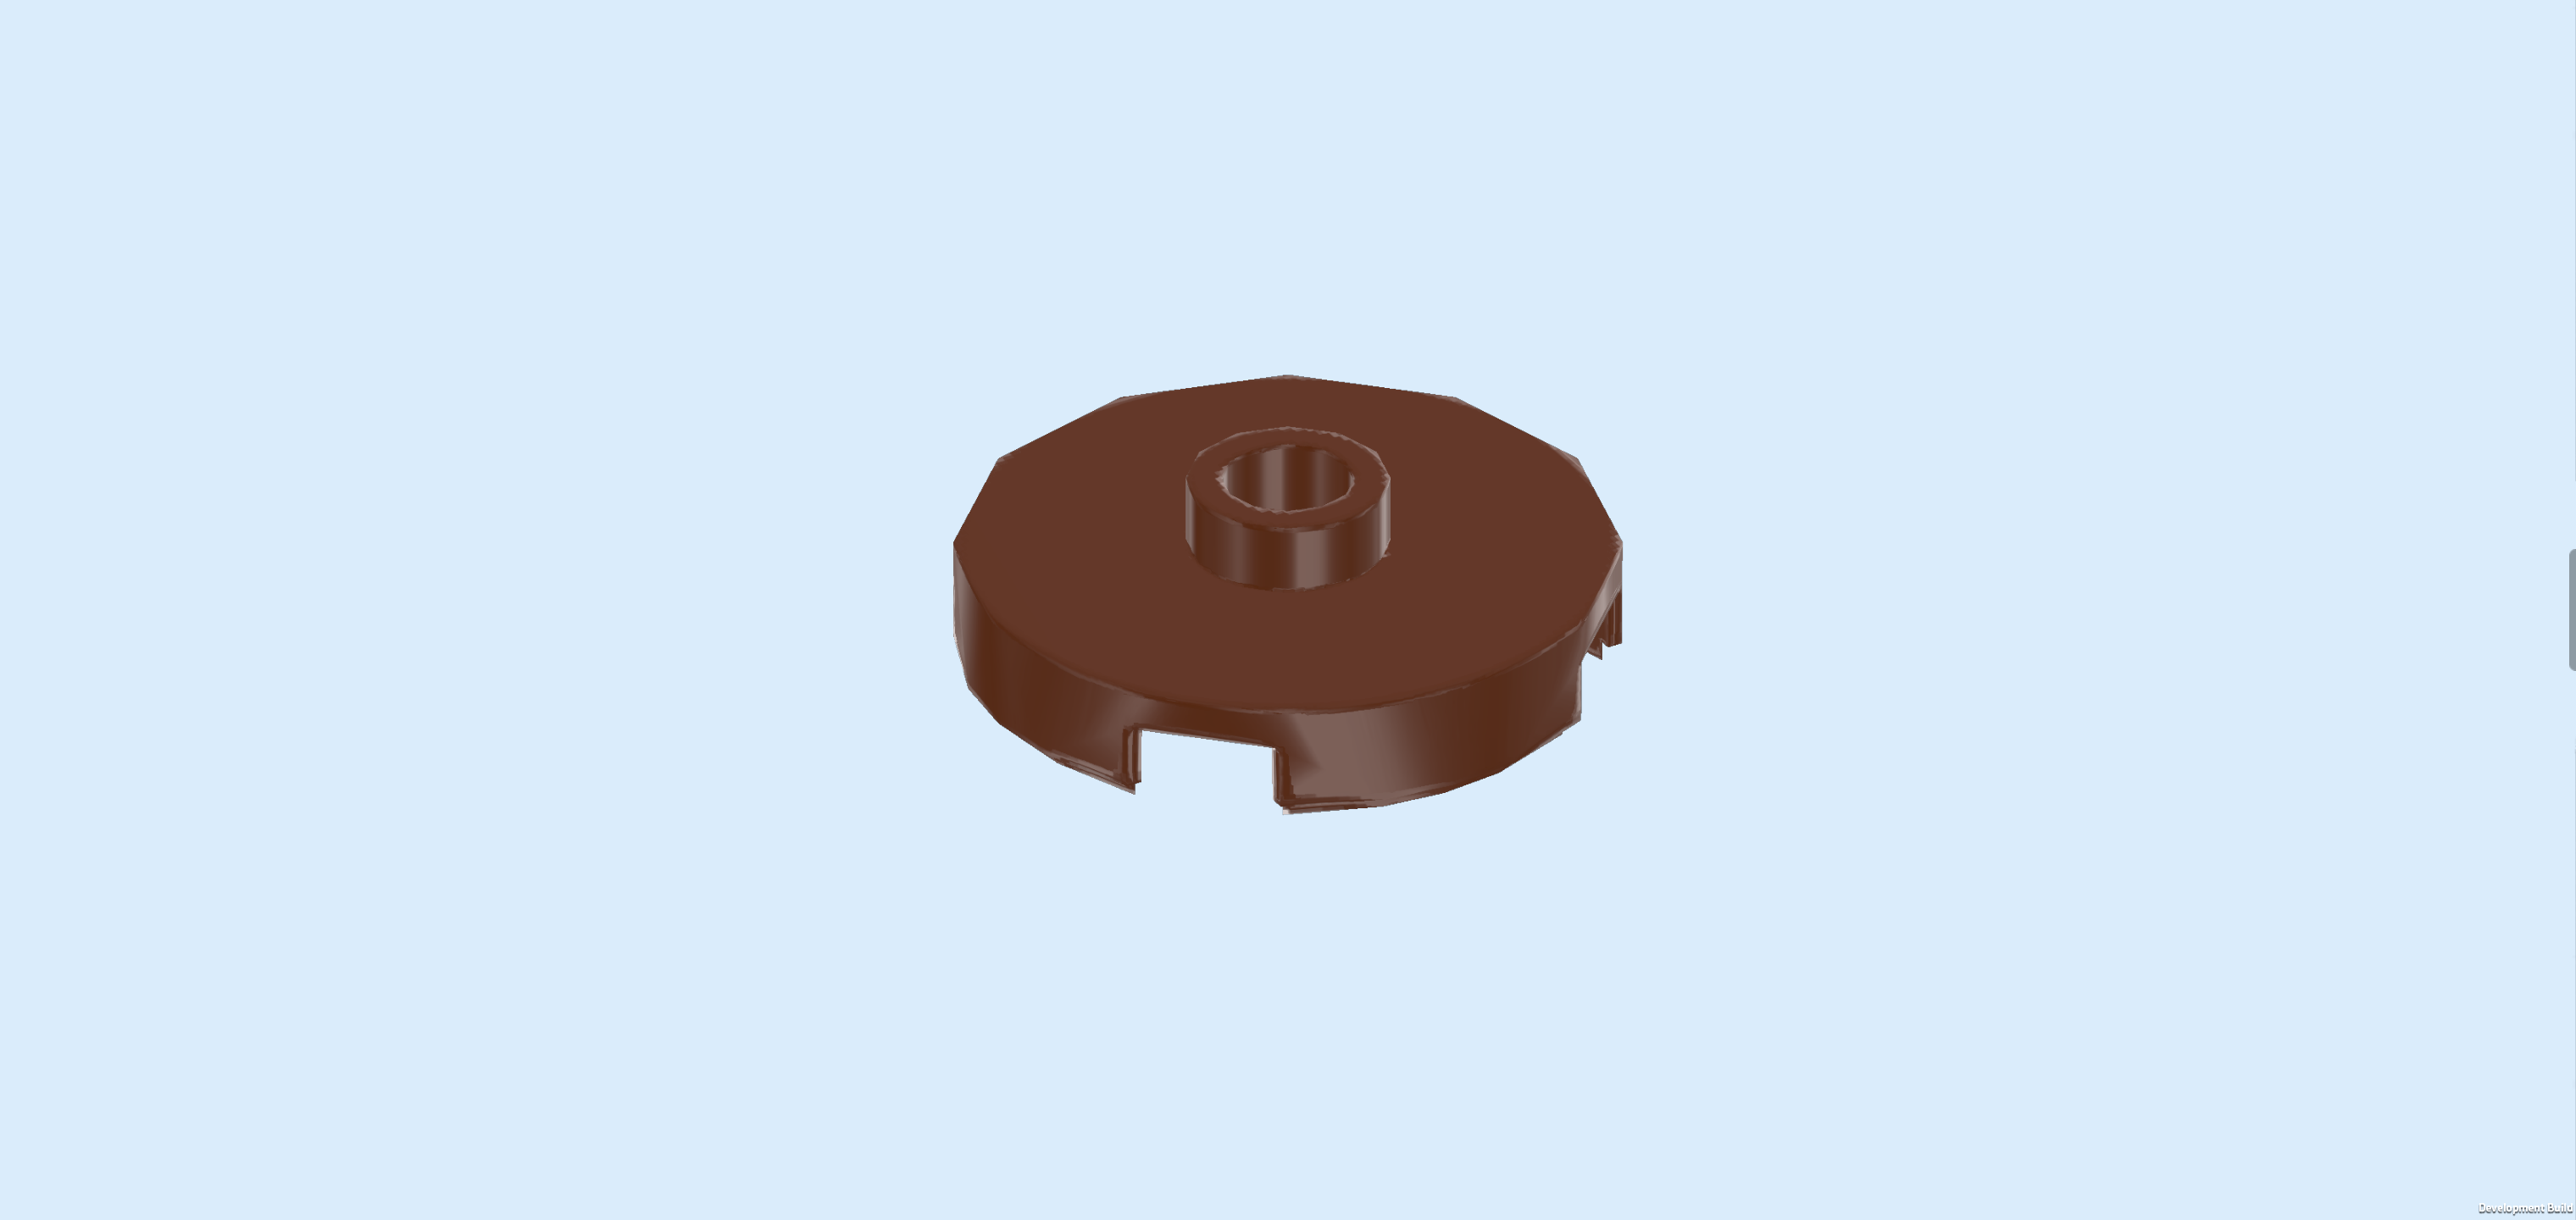
| Find 1 reddish brown round plate 2x2 with 1 knob. |
| Put it on the previous piece. |
| This is the dispenser for the hot chocolate! The barrel on top contains and heats the hot chocolate and you can use the tap to draw hot chocolate from it whenever needed. |
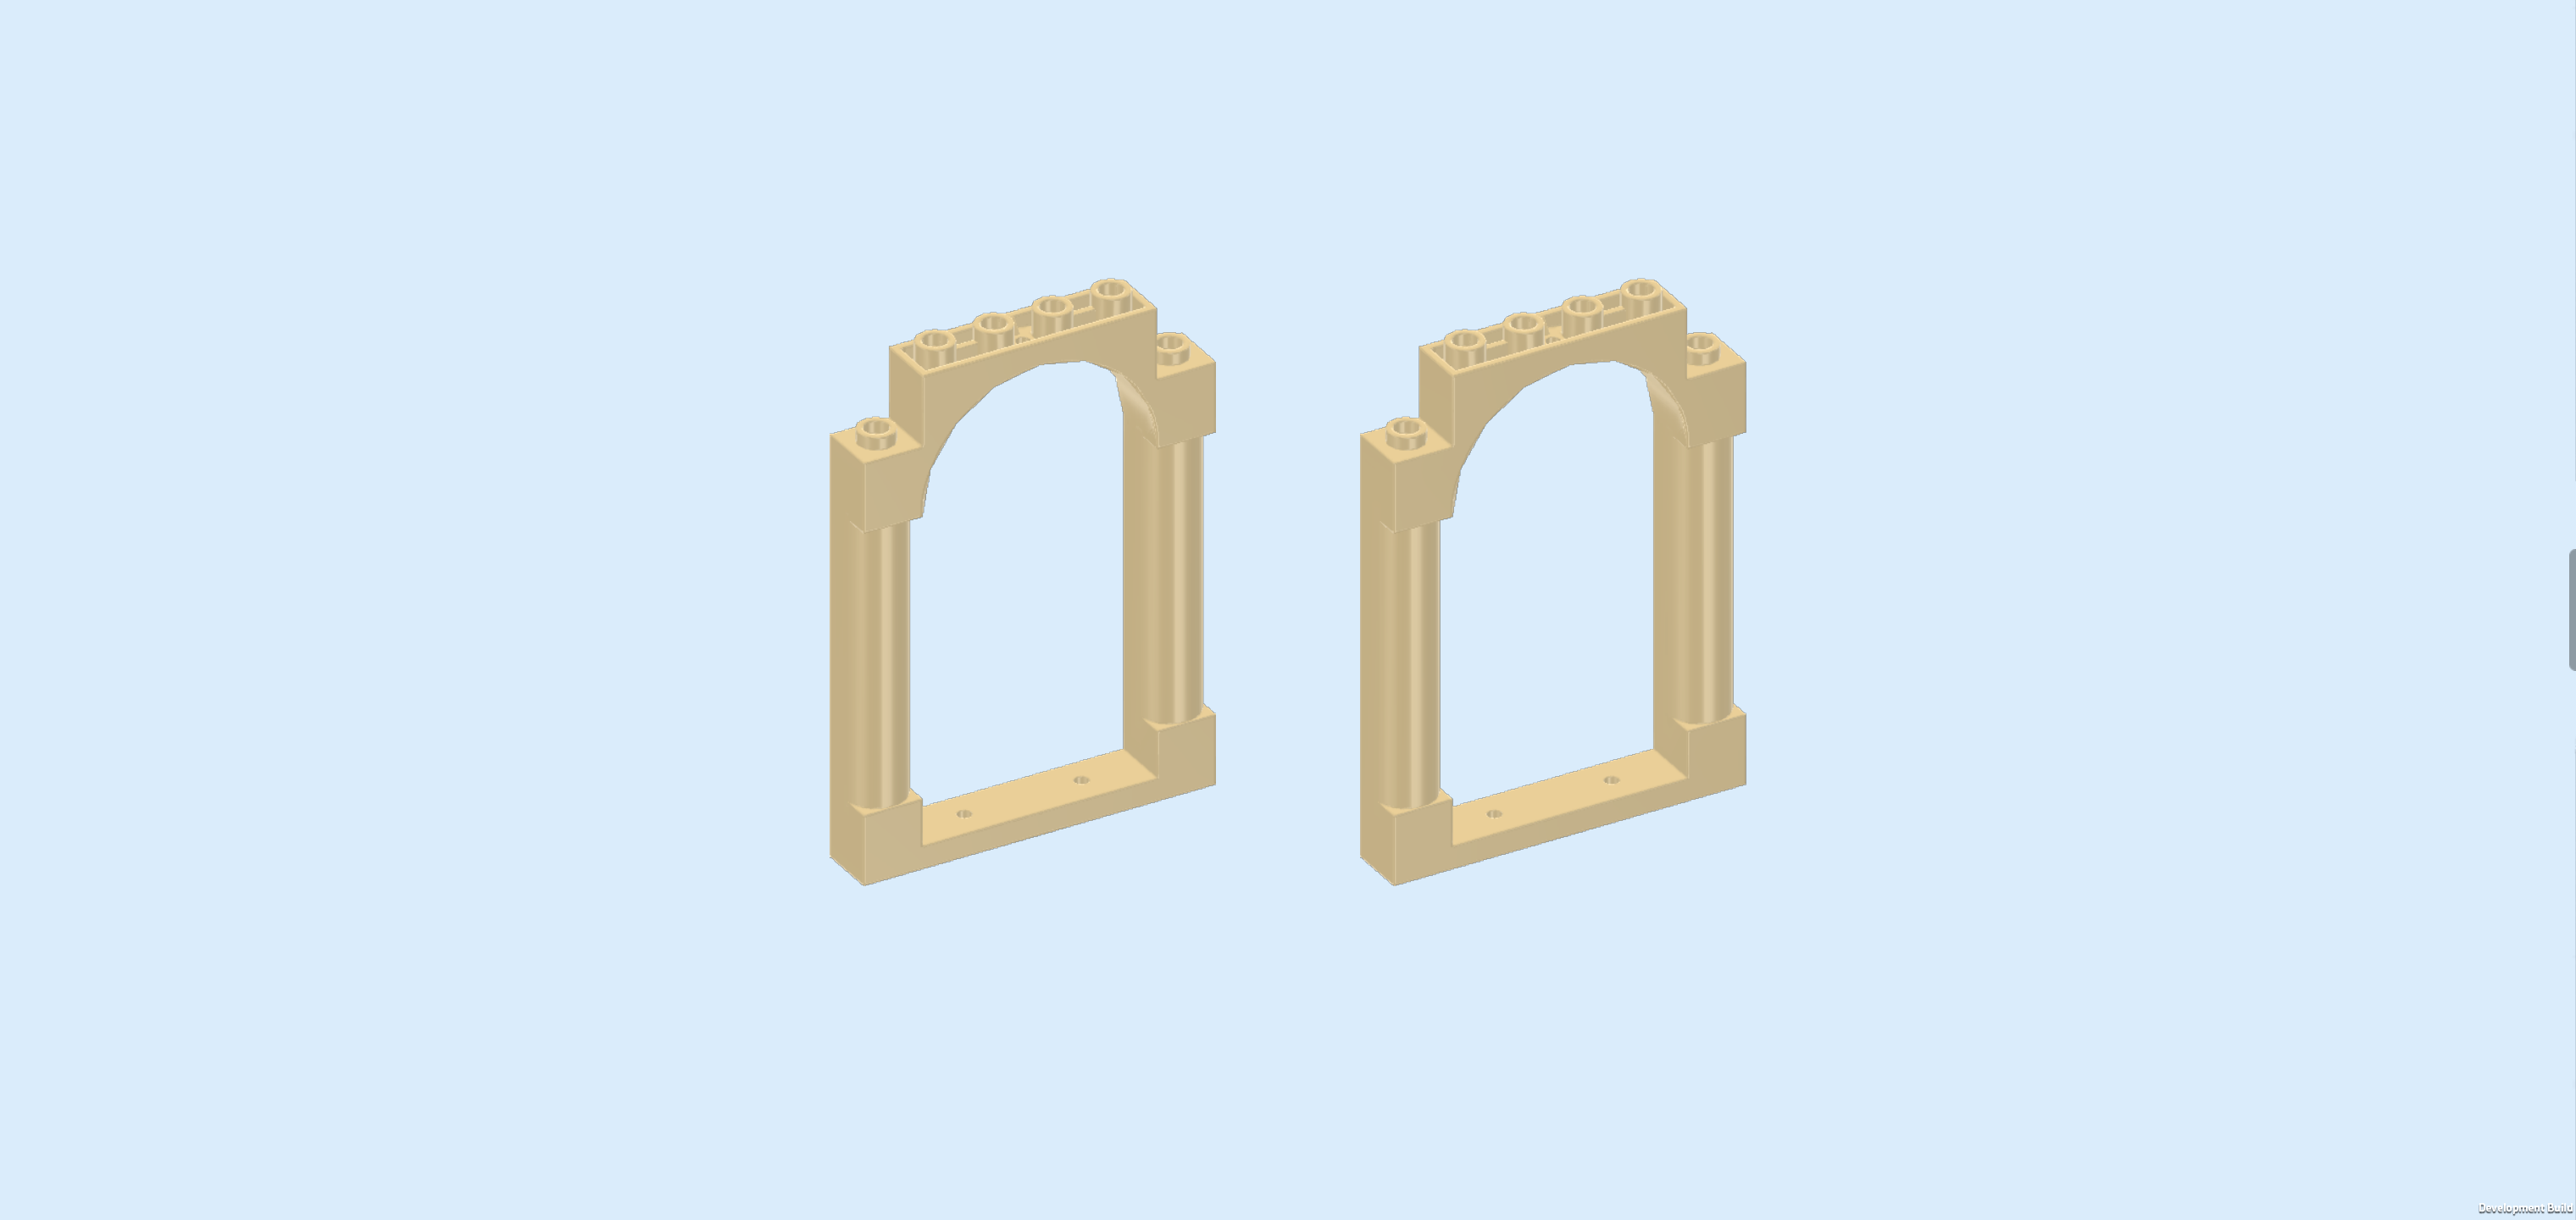
| Next up, we will assemble 2 windows. |
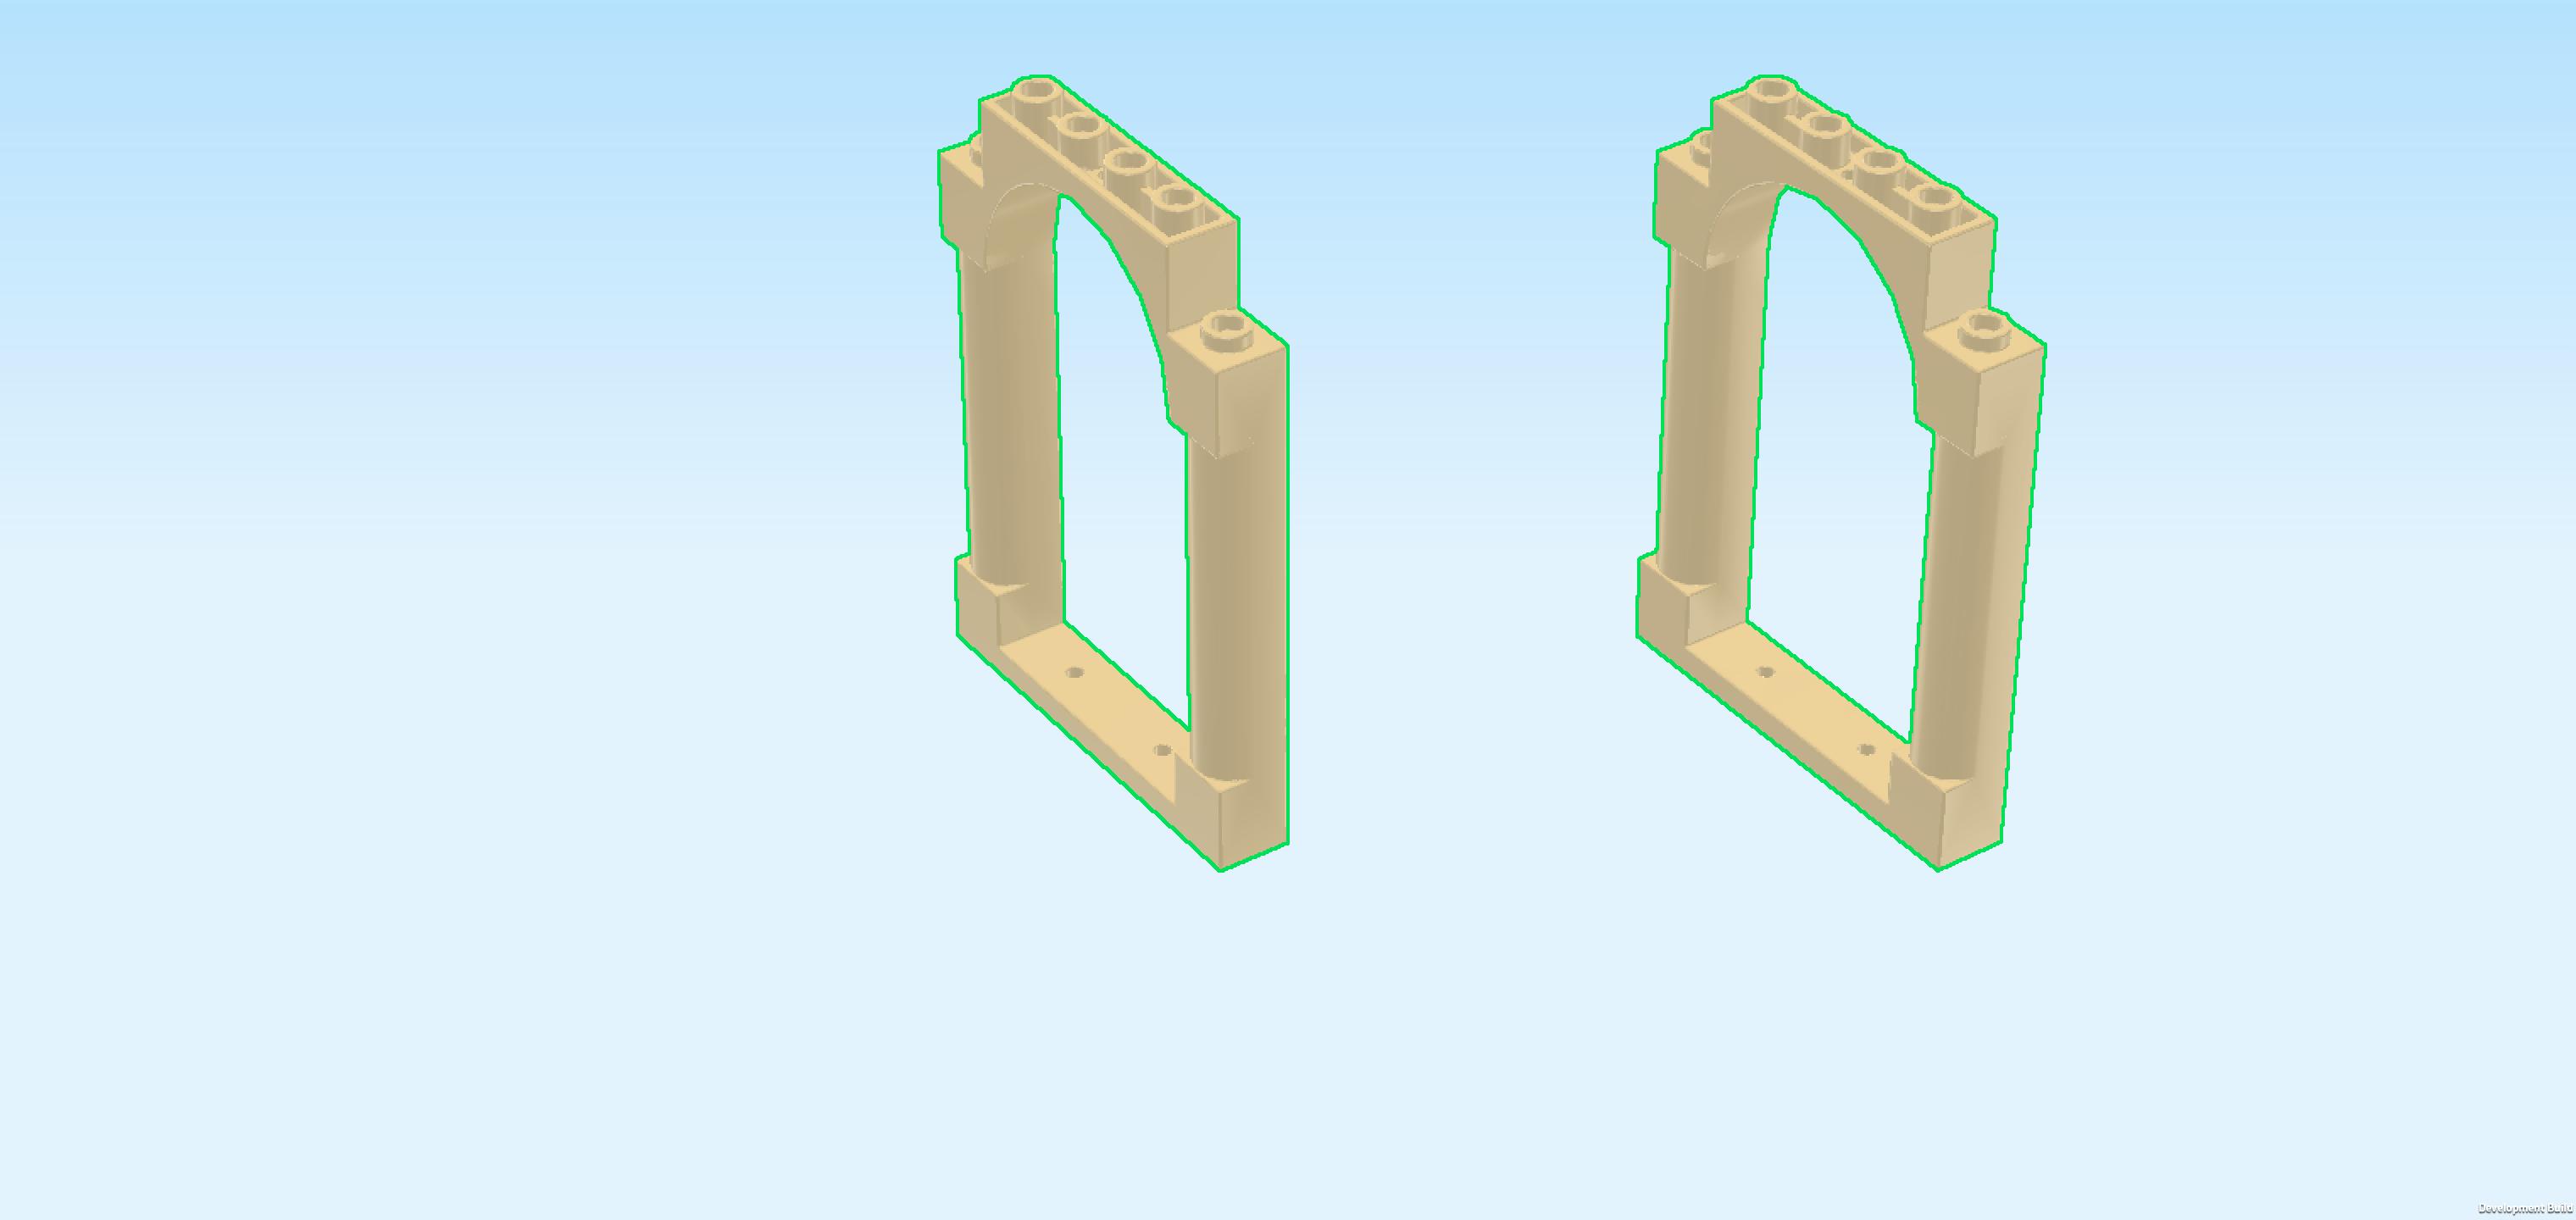
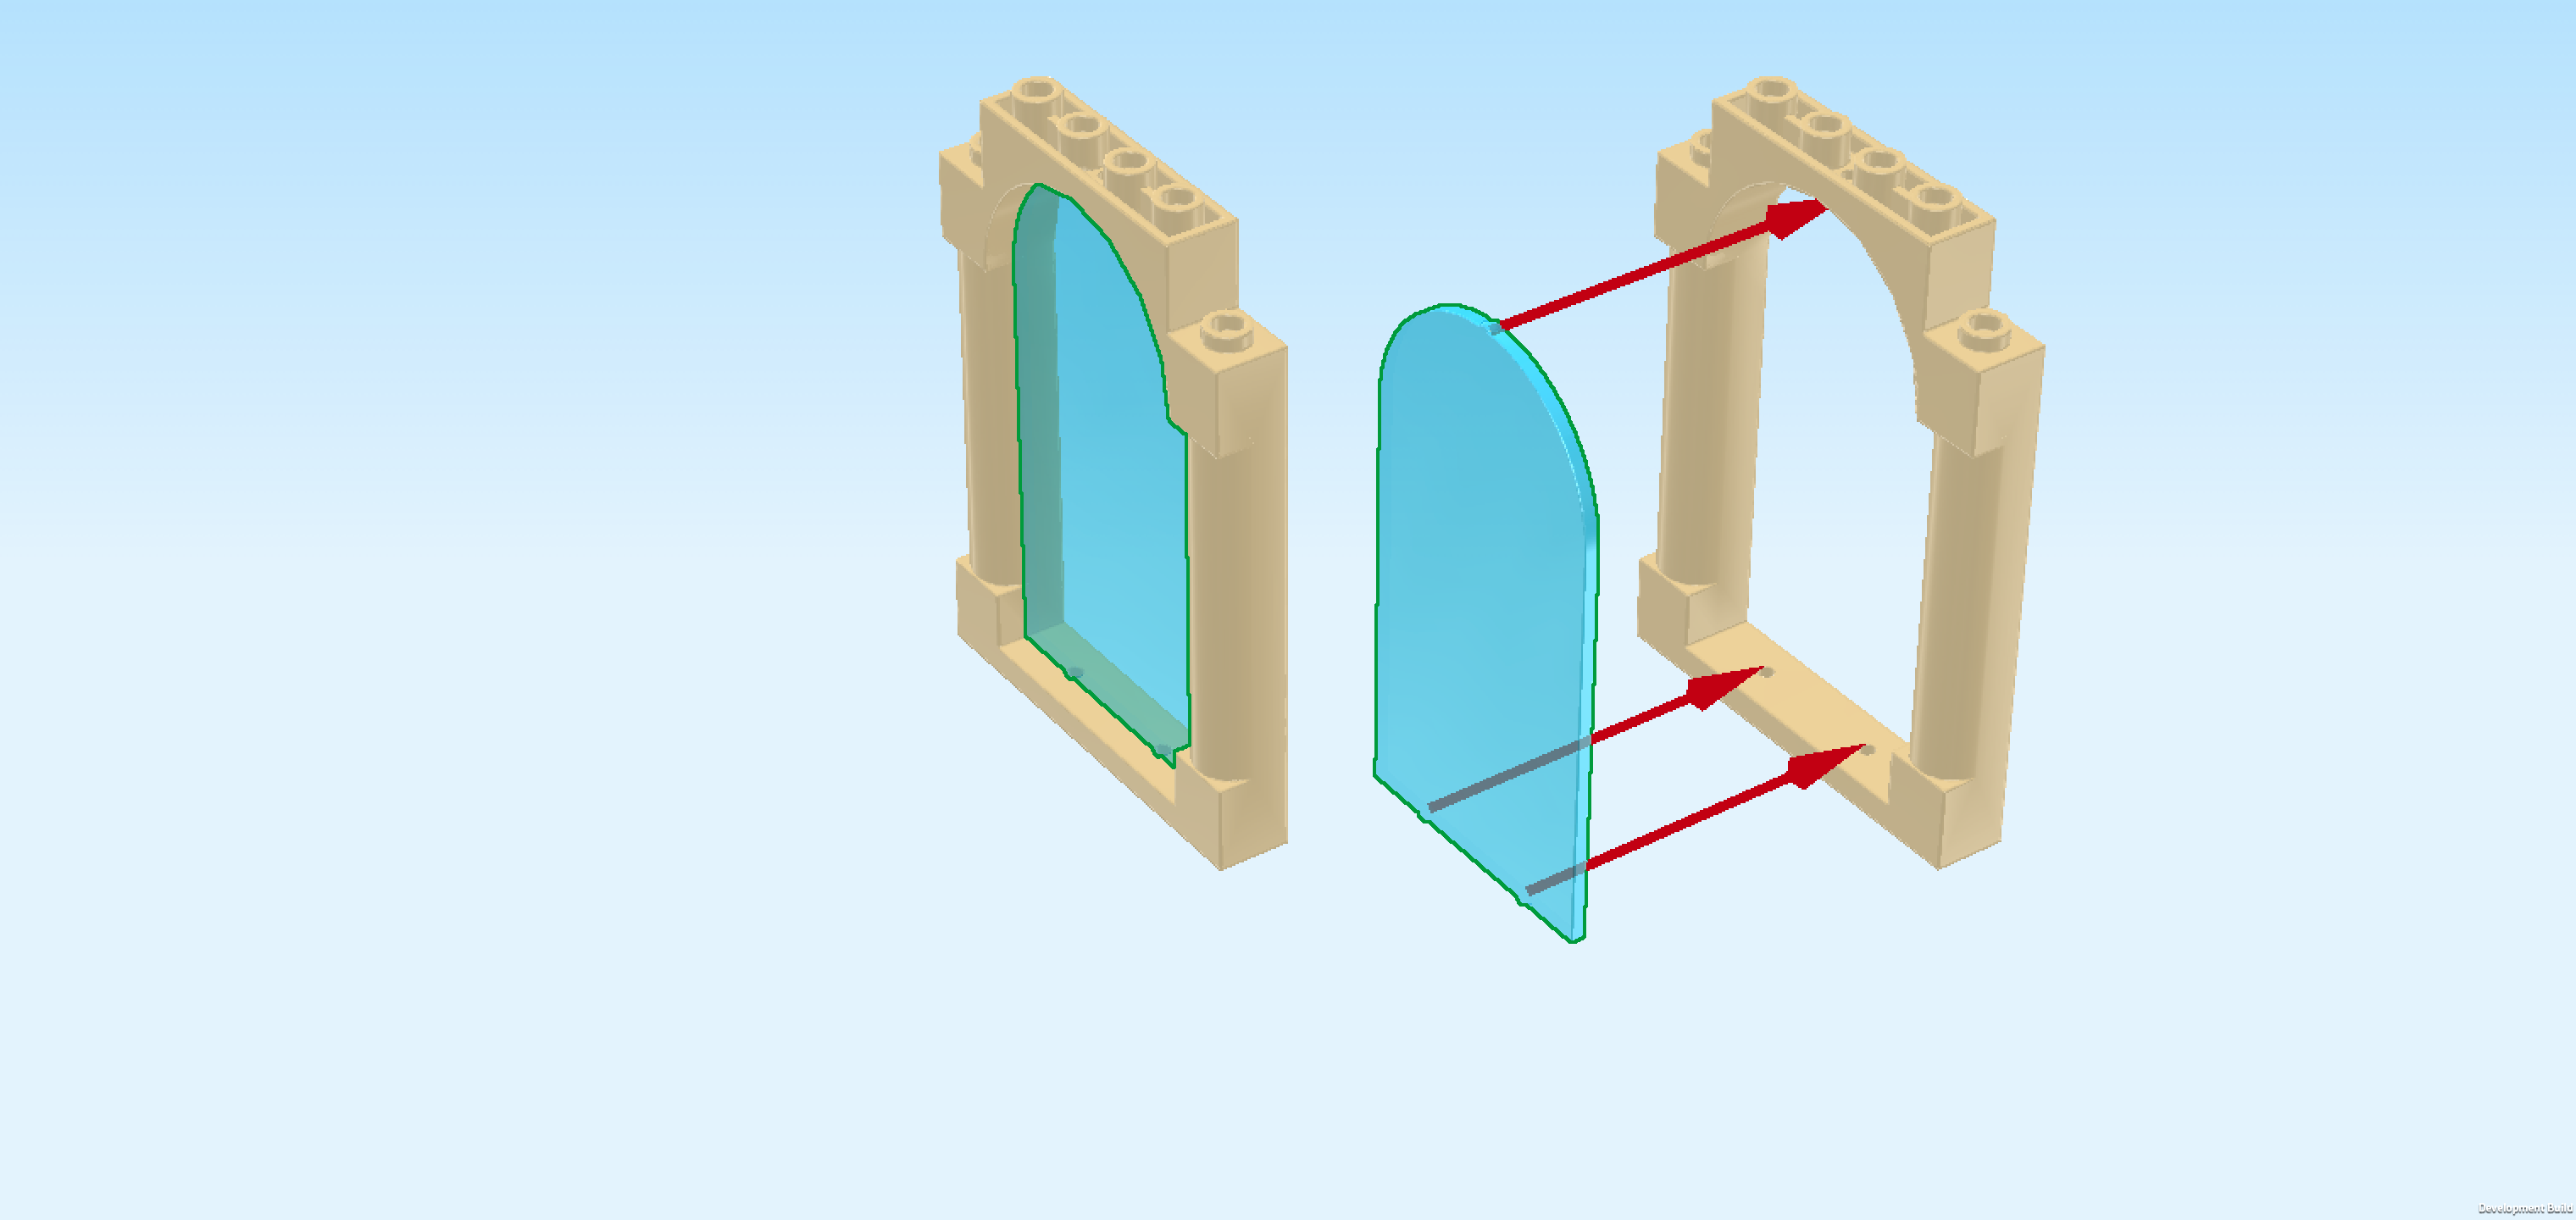
| Find 2 beige arch door frames 1x6x7 with pillars. |
| Put them next to each other flat on the table, knobs pointing to the back, rounded sides of the pillars towards the top. |
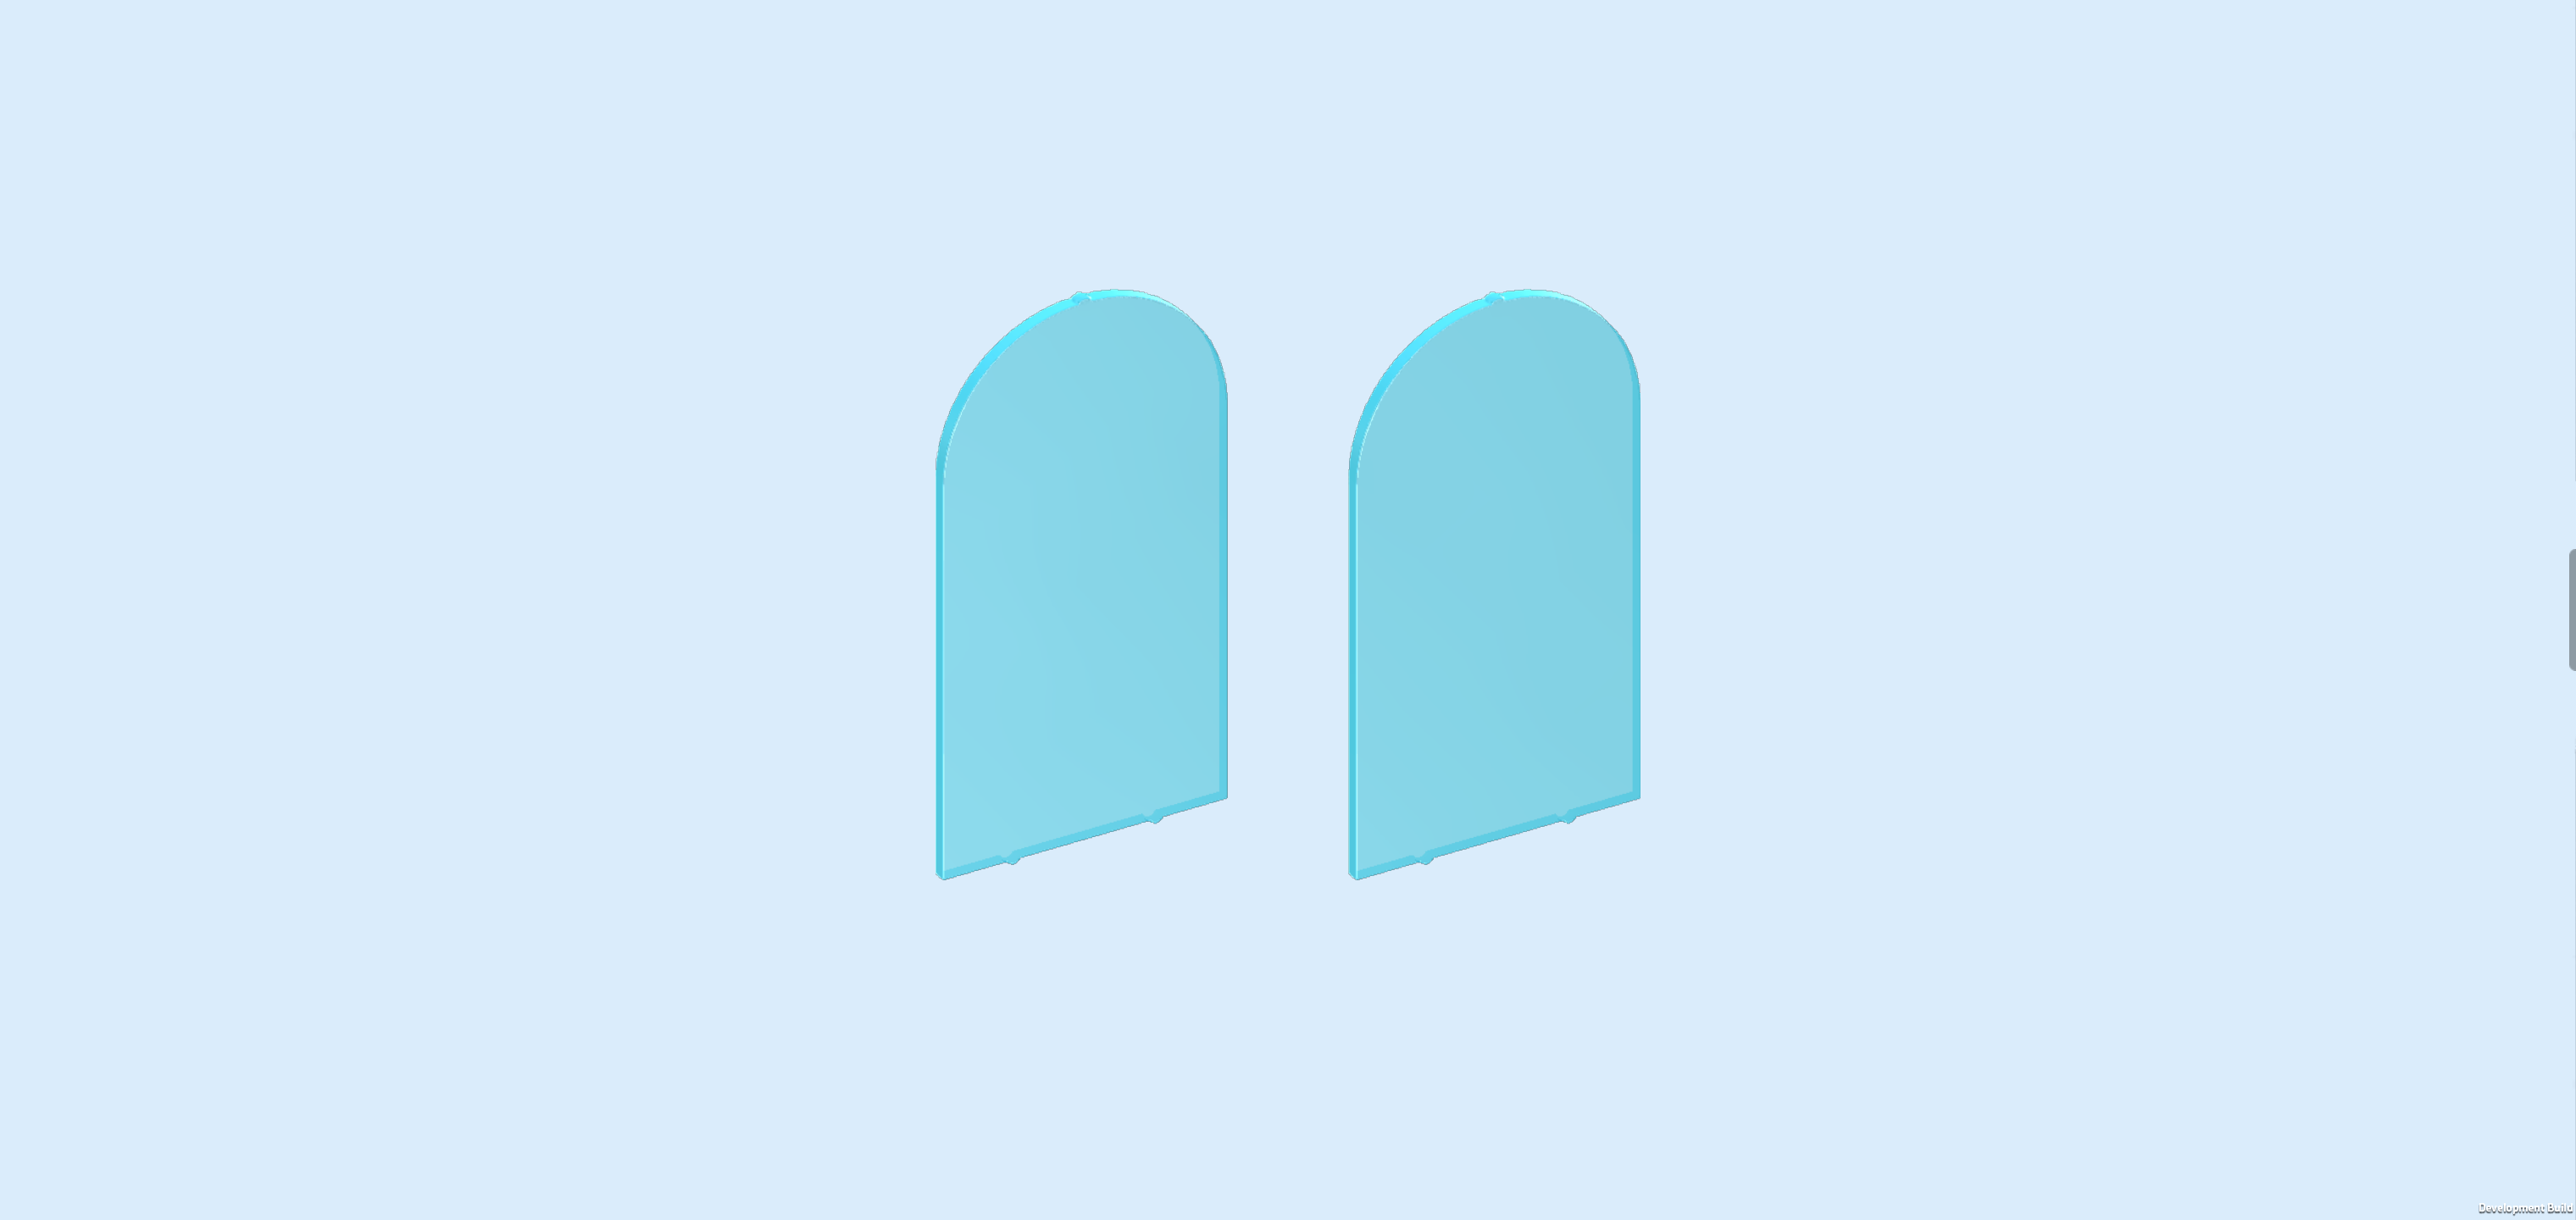
| Find 2 transparent light blue glasses 1x6x7 for door frame. |
| Pick up 1 door frame and snap 1 glass into the frame, matching its shape. The glass has a small nub on its half circle and 2 small nubs on its short straight edge that will fit into corresponding holes on the frame. |
| Repeat with the second glass on the second frame. |
| Mount 1 window vertically on the rightmost column, starting from the back edge, round side of the pillars to the right. |
| Repeat symmetrically on the left, round side of the pillars to the left. |
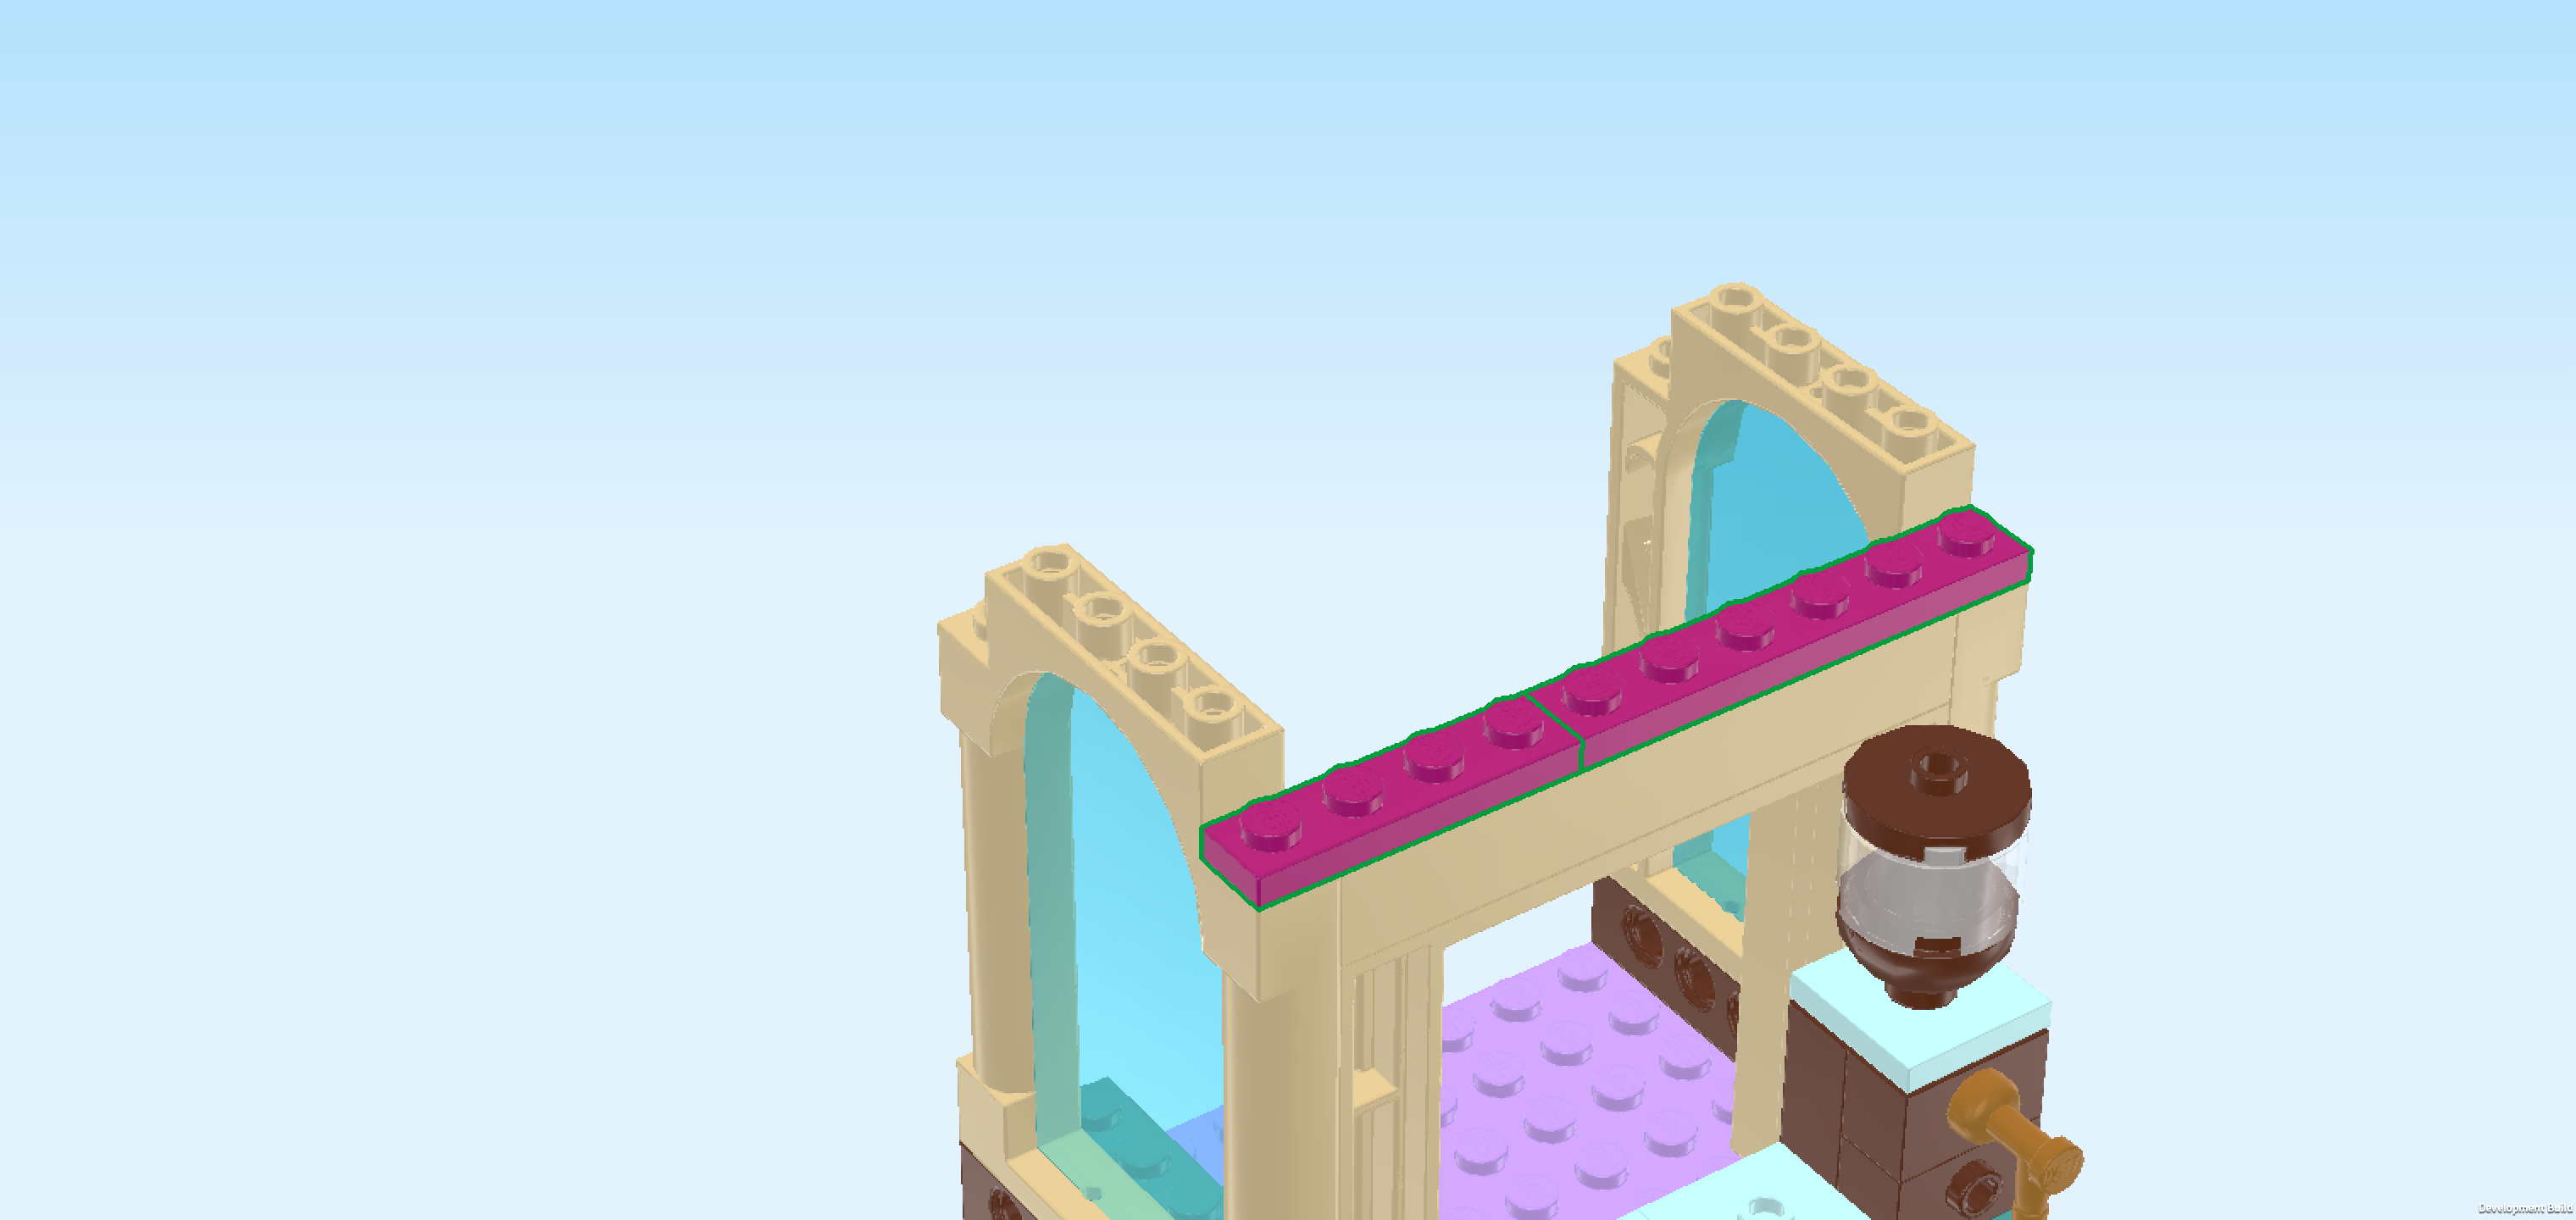
| Collect the following 2 pieces: |
| 1 purple violet plate 1x4, |
| and 1 purple violet plate 1x6. |
| Put the plate 1x4 horizontally on the previous piece's front knob and the knobs to its right to connect the left window with the door frame beam. |
| Put the plate 1x6 horizontally to the right of the previous piece. |
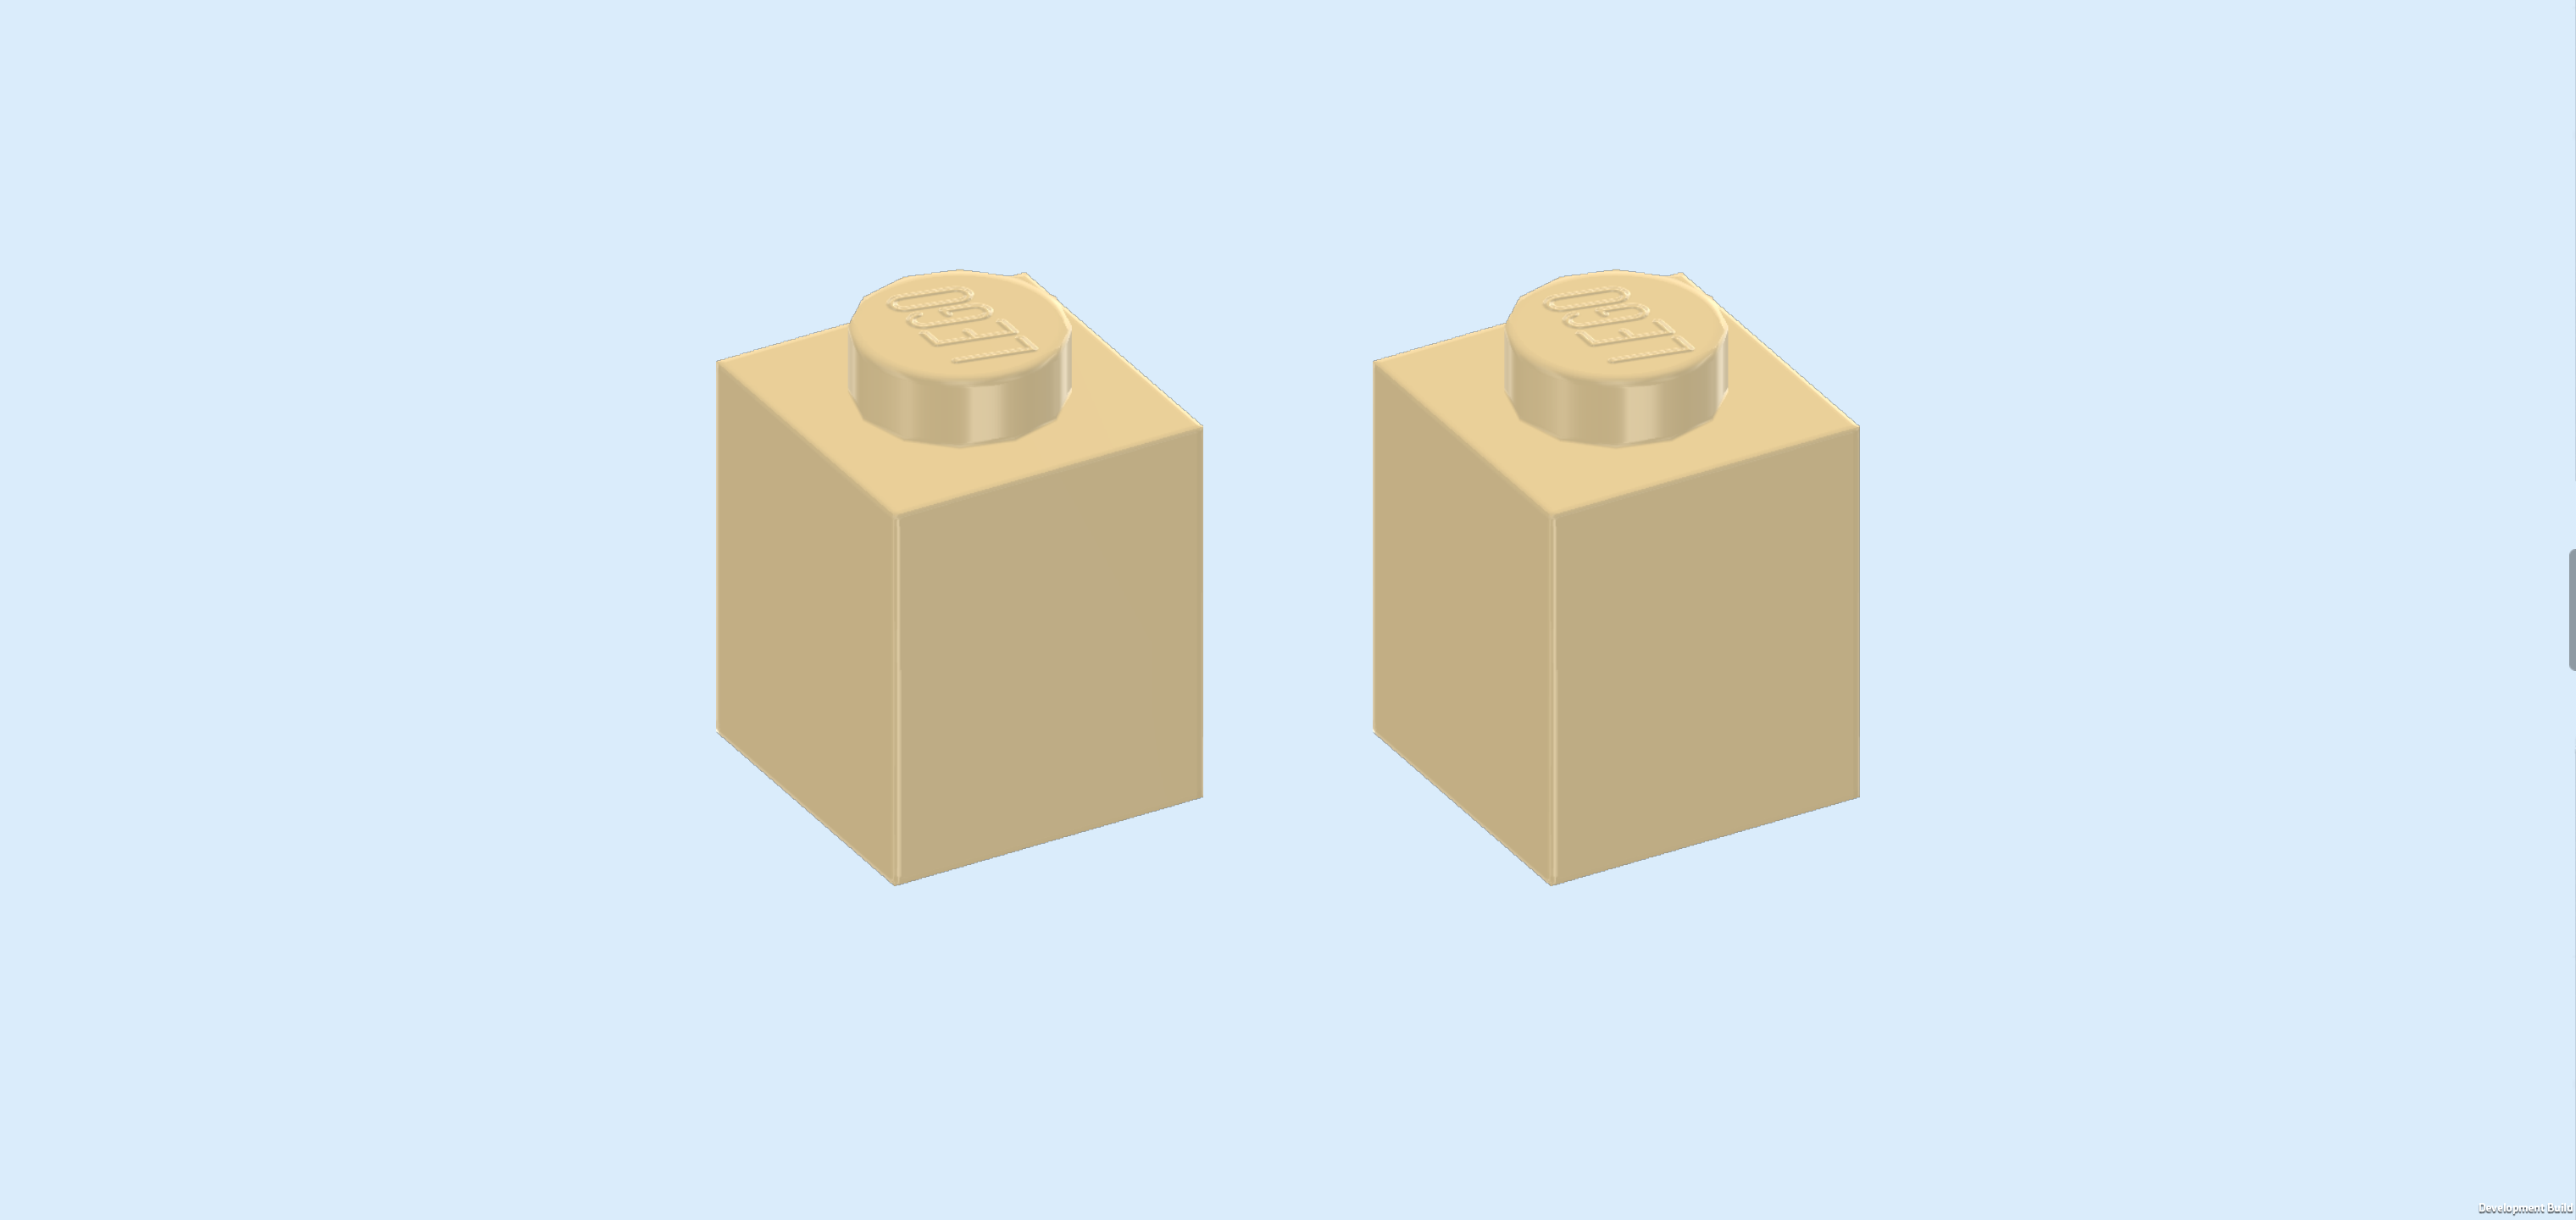
| Find 2 beige bricks 1x1. |
| Put 1 on the backmost knob of the left window frame and the other one on the backmost knob of the right window frame. |
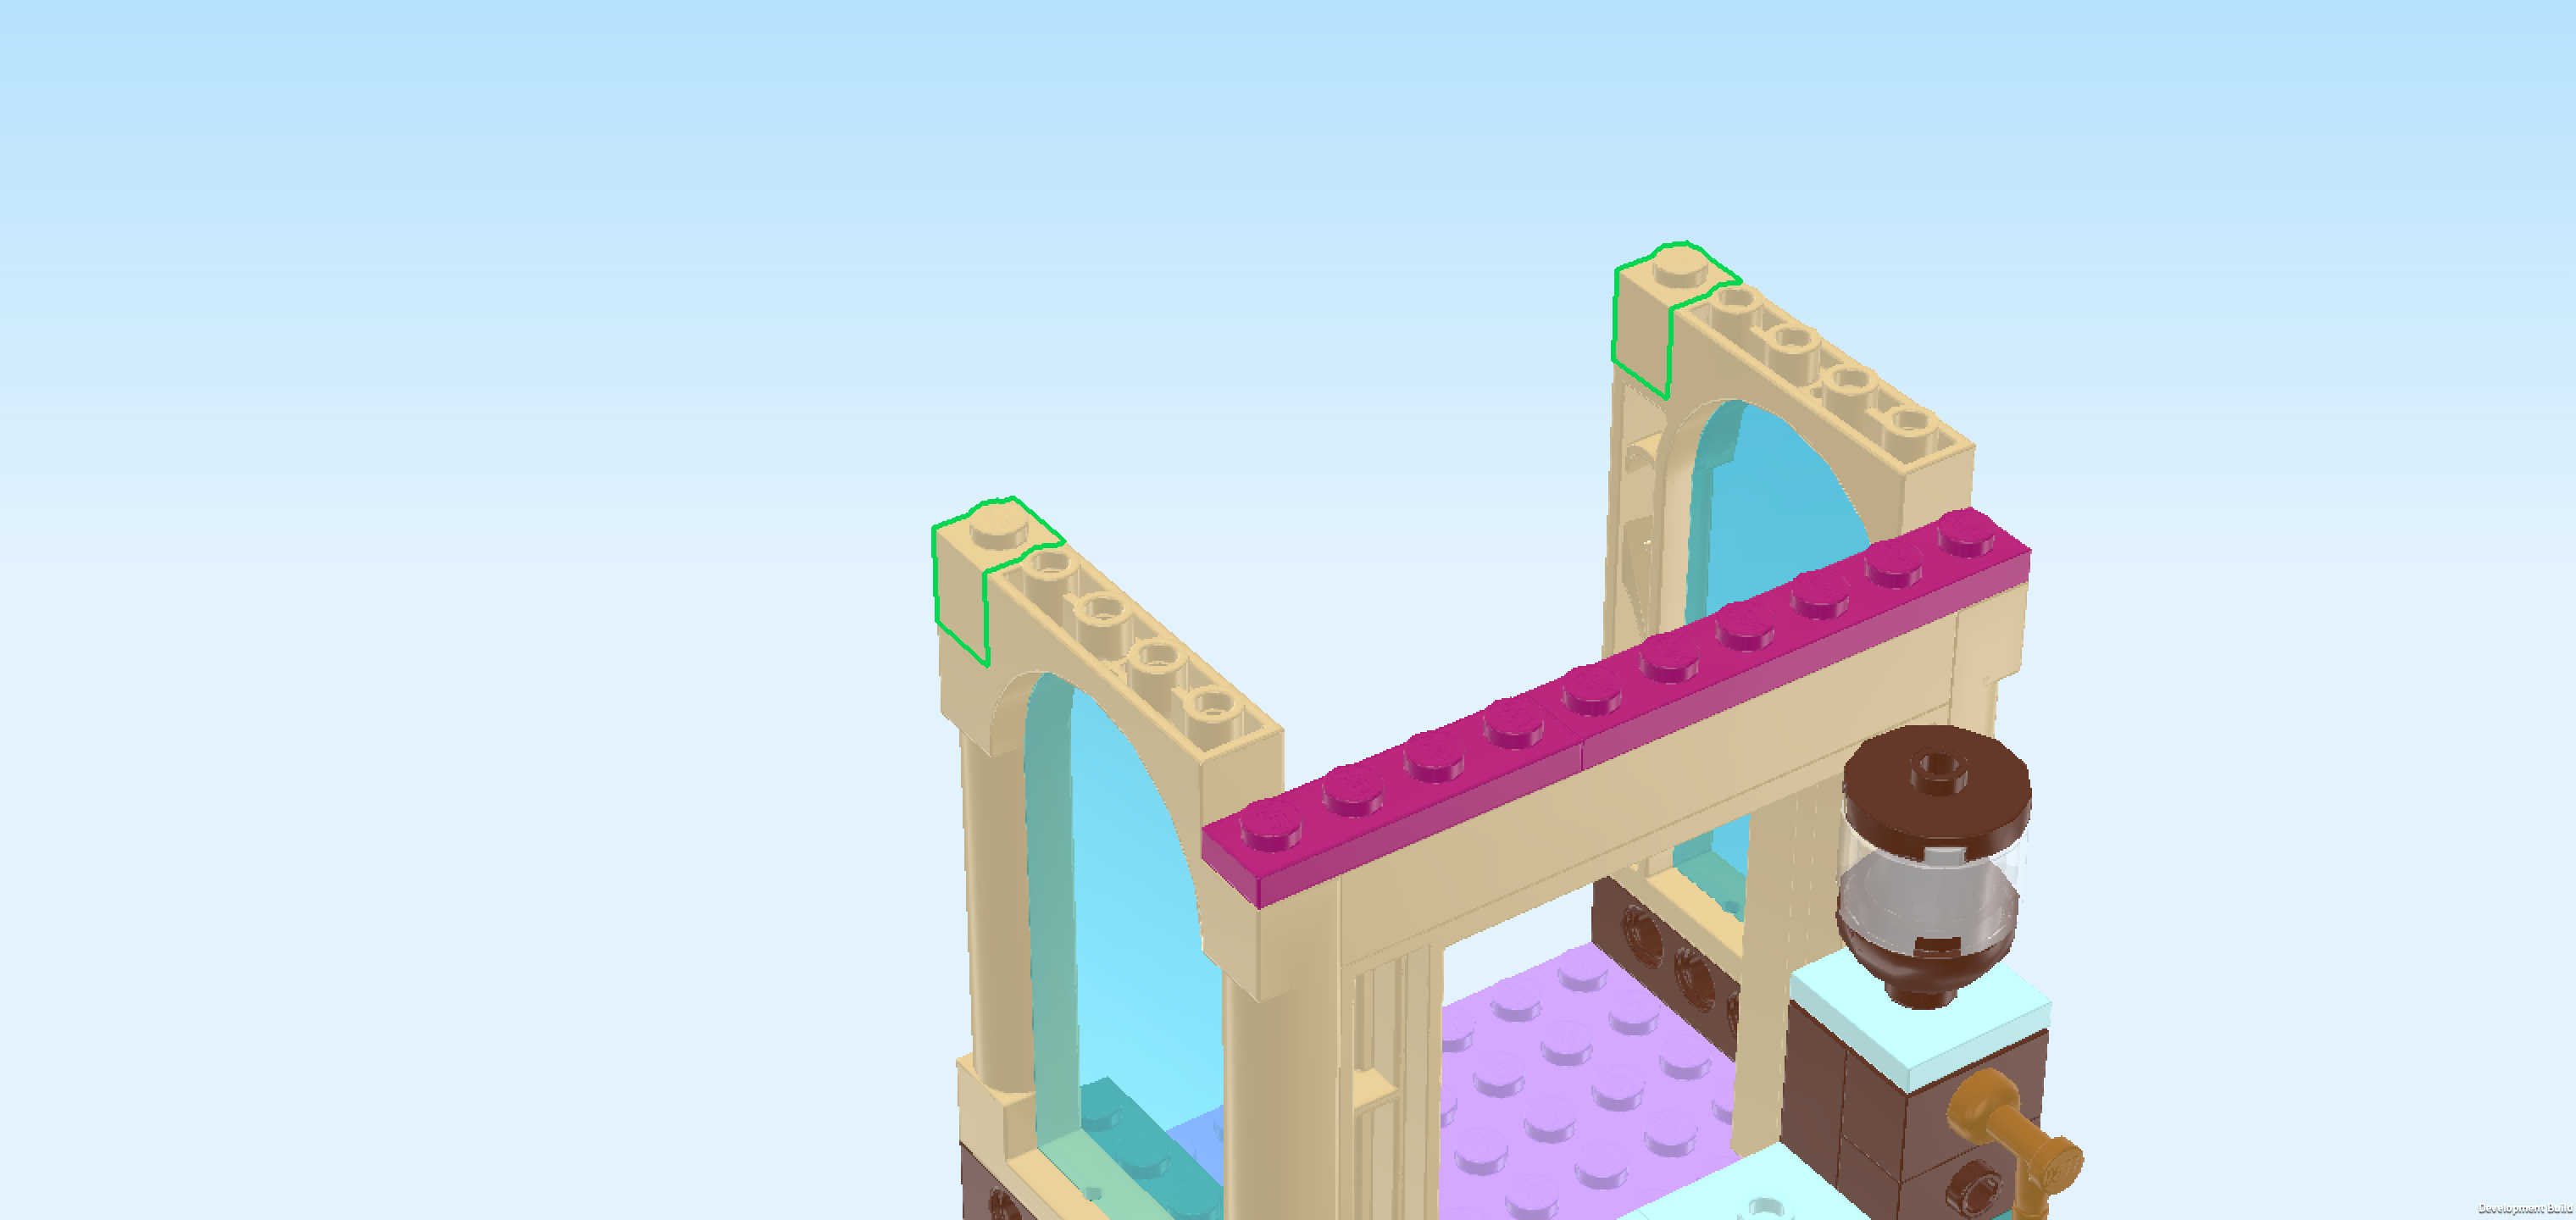
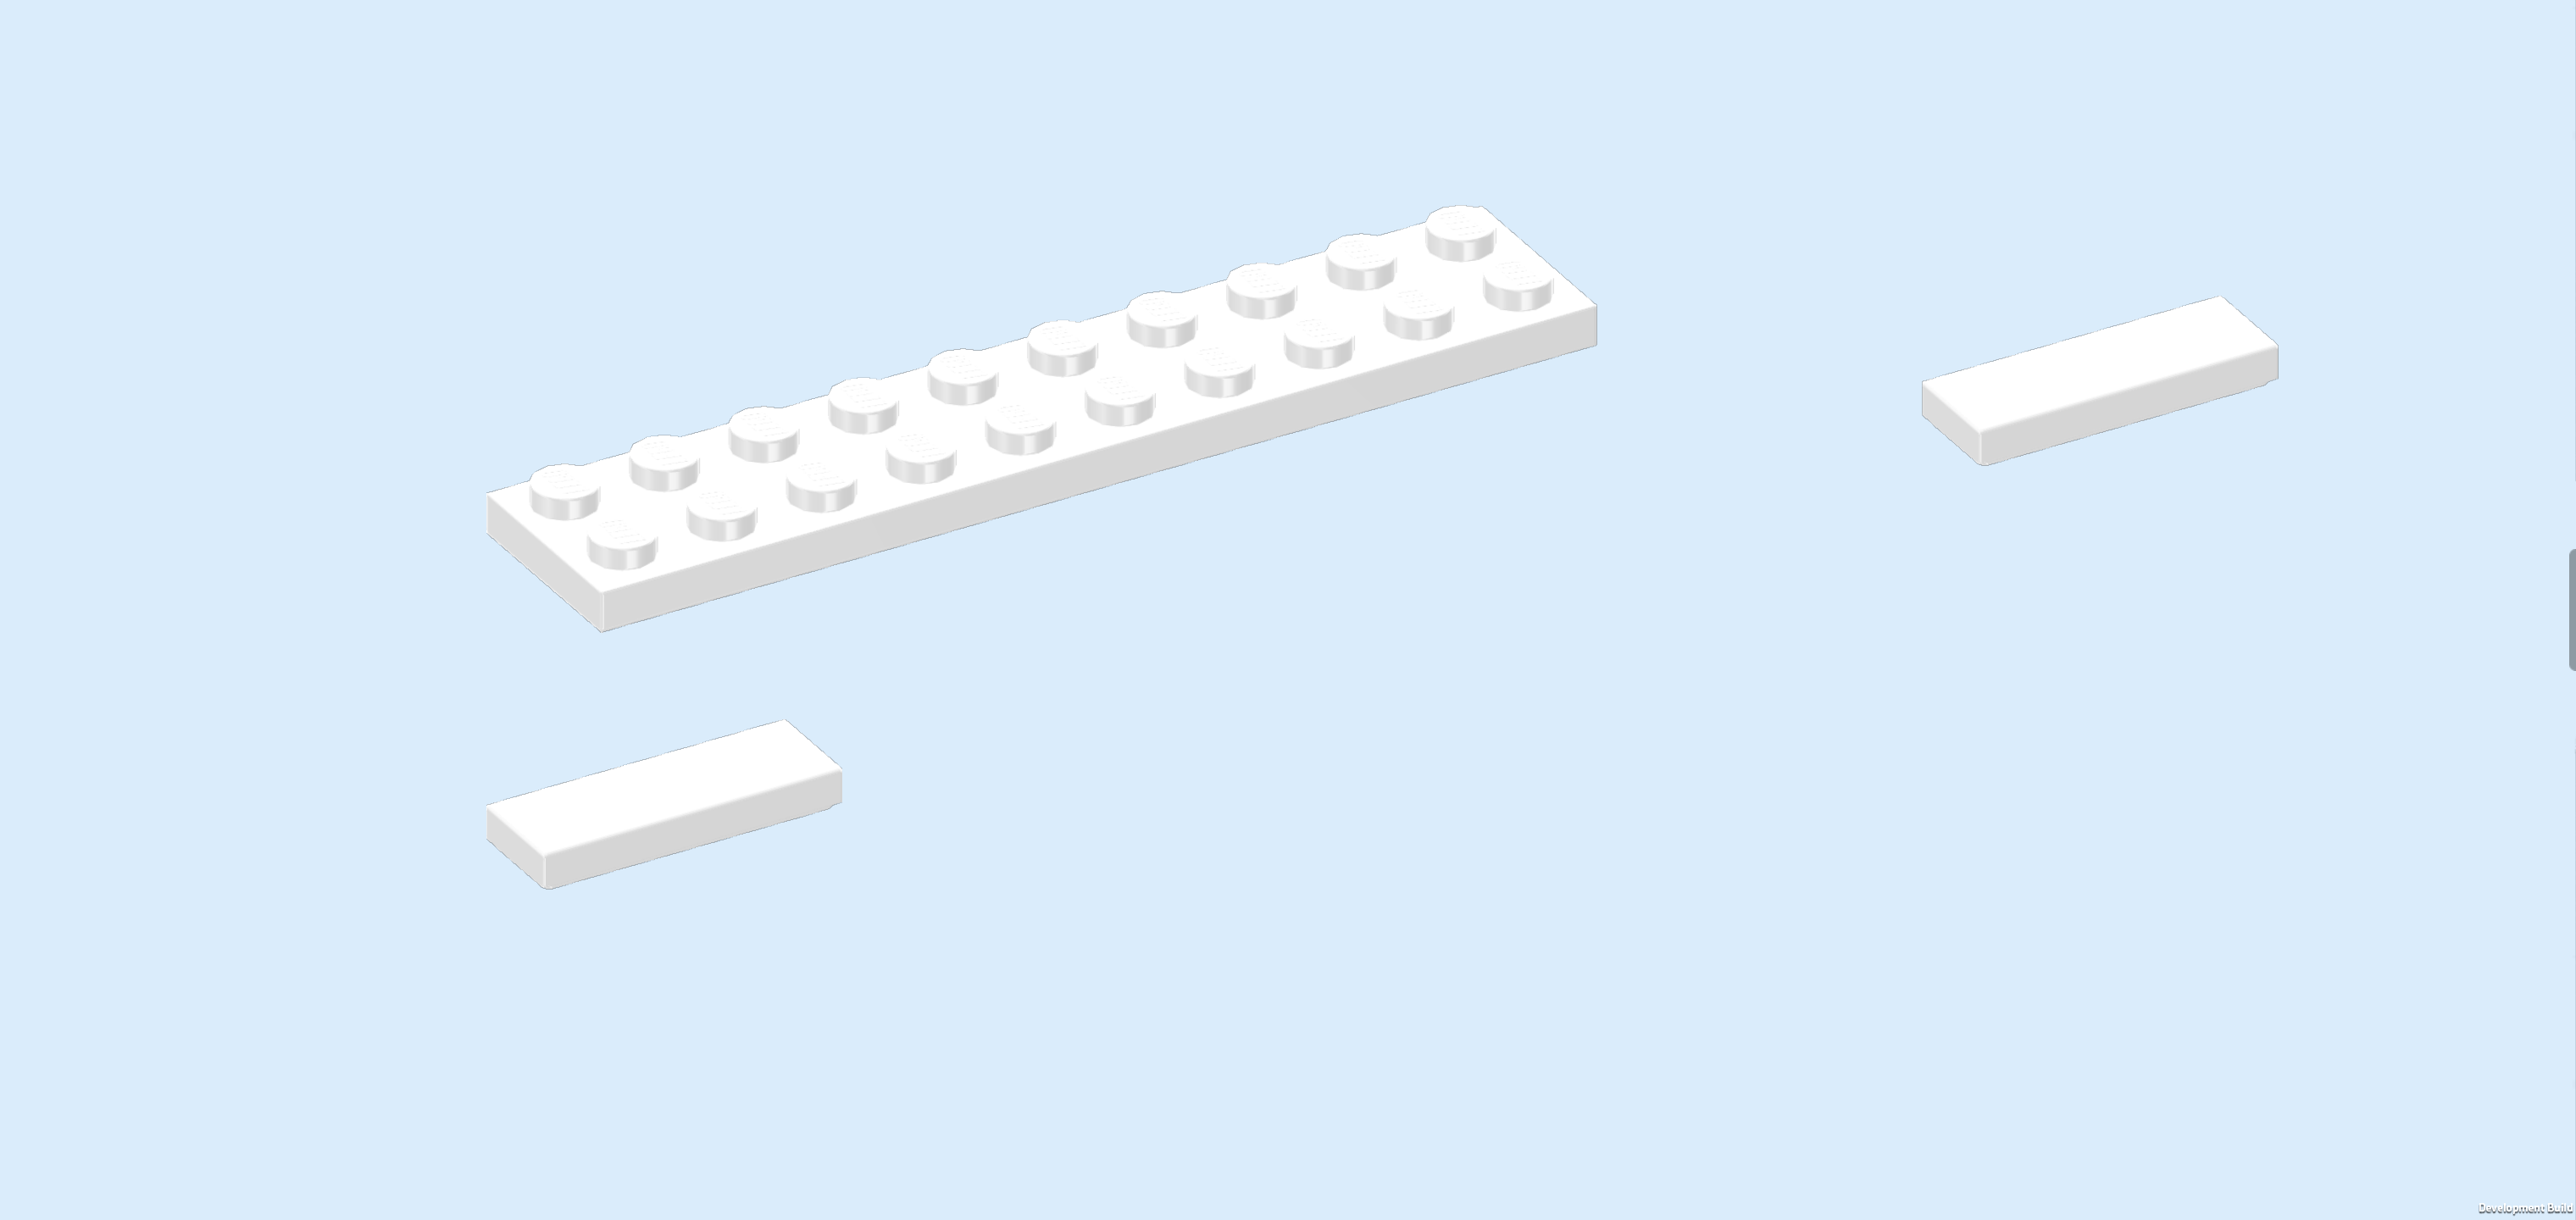
| Collect the following 3 pieces: |
| 1 white plate 2x10, |
| and 2 white flat tiles 1x3. |
| Put 1 flat tile 1x3 vertically on the right window frame, starting from the back edge. |
| Repeat symmetrically on the left. |
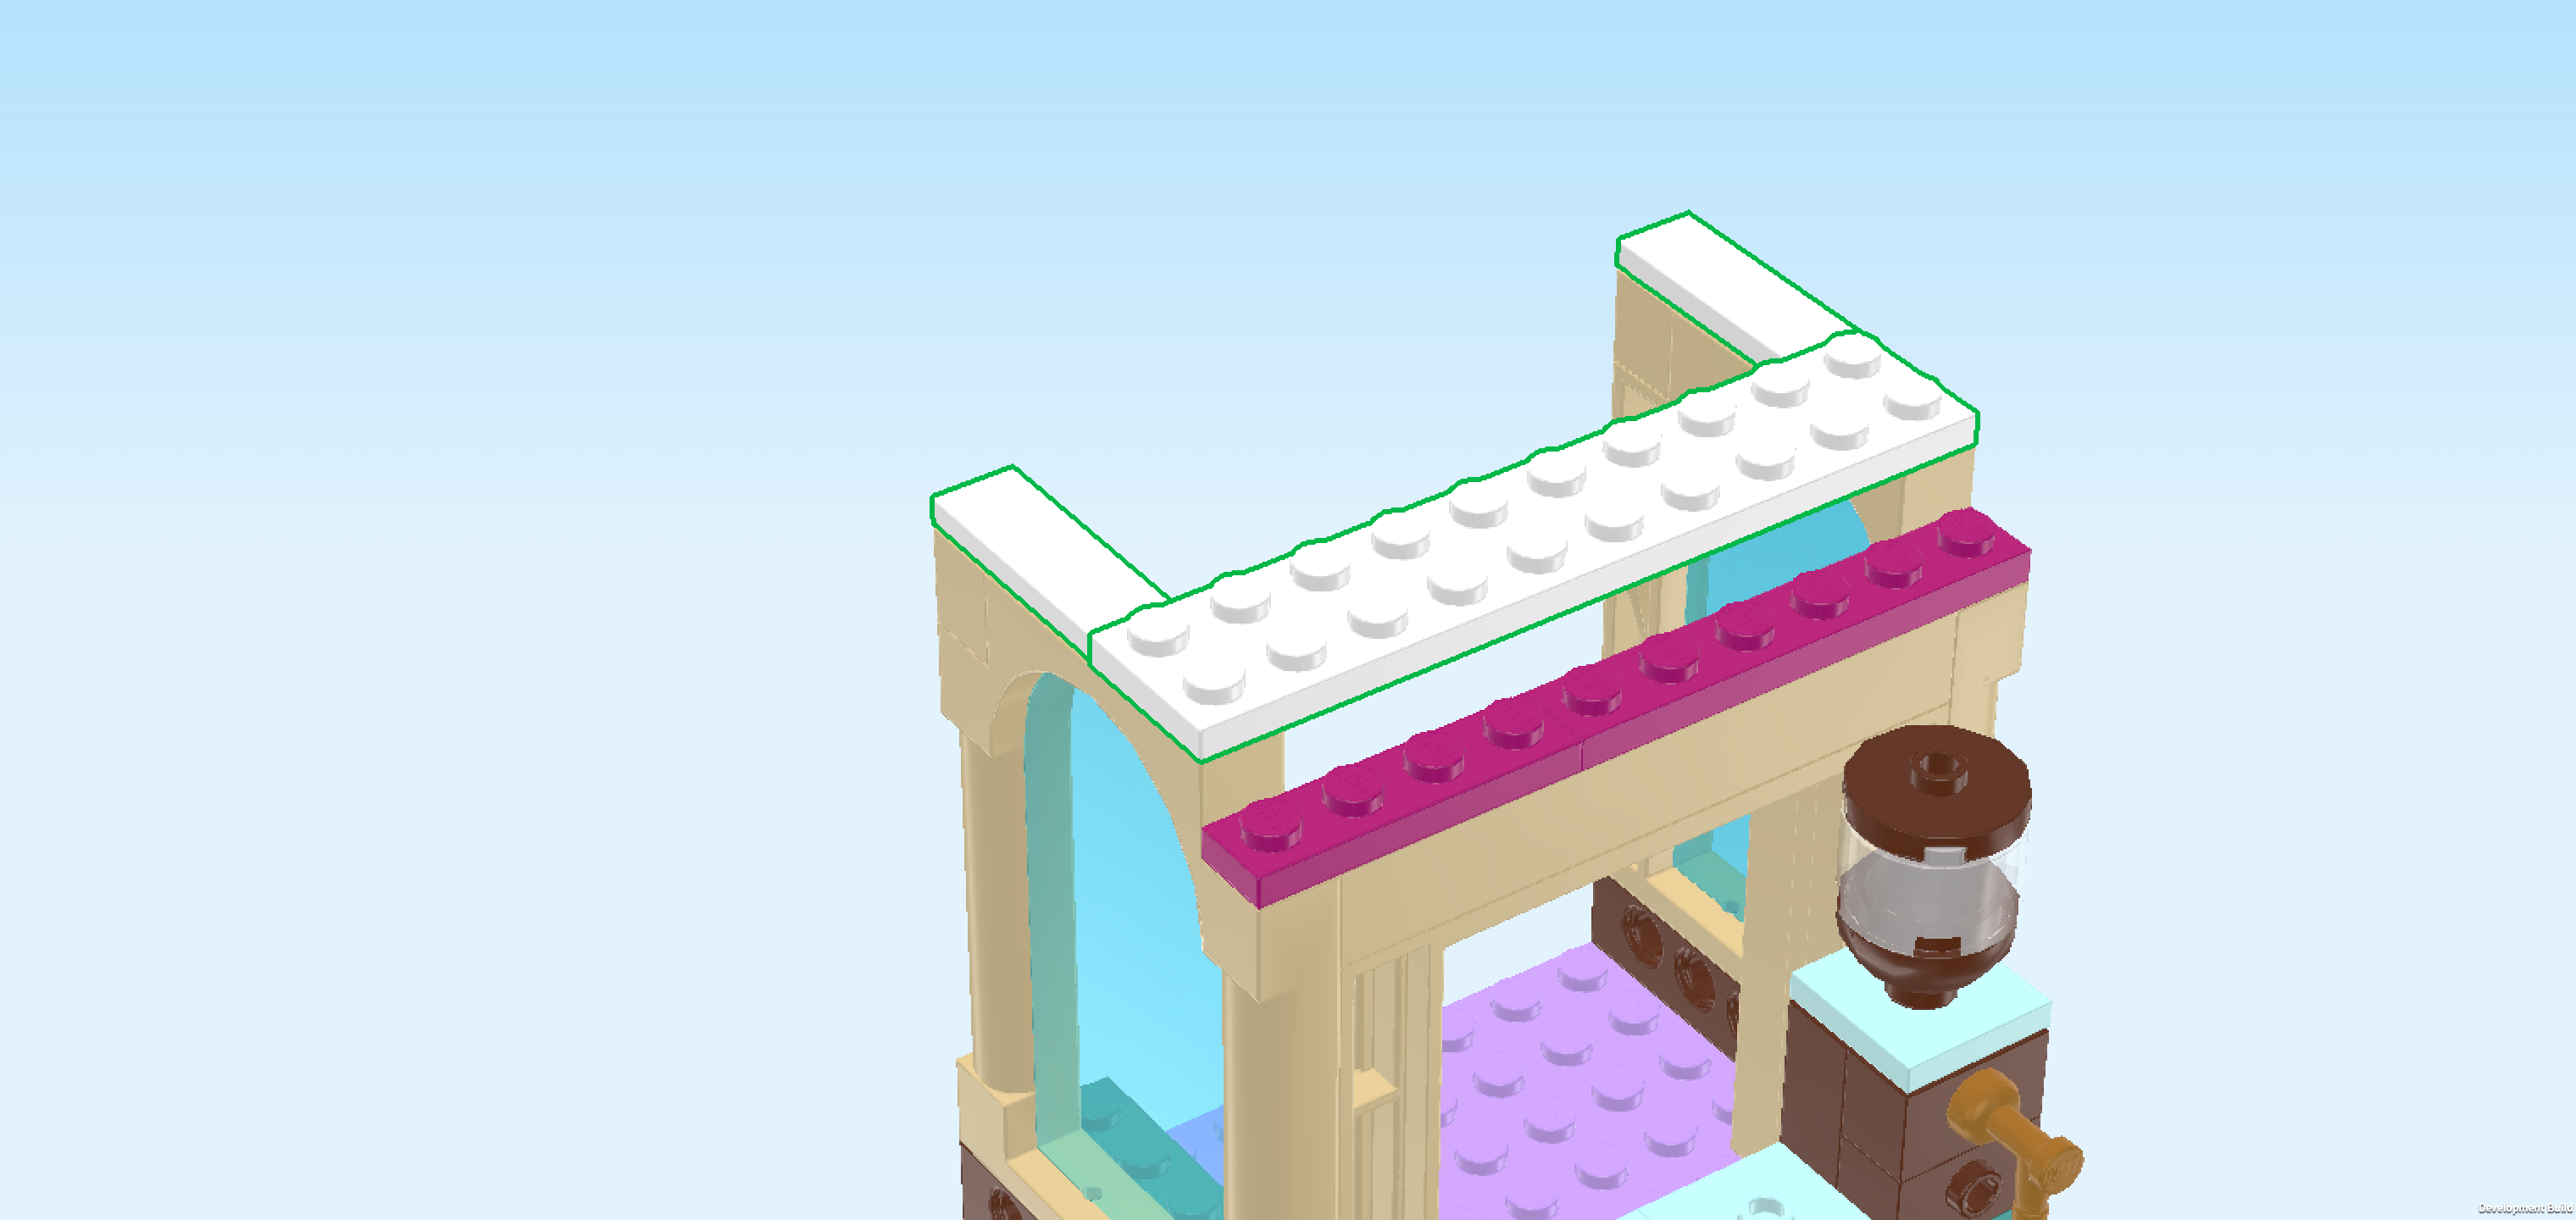
| Put the plate 2x10 horizontally in front of the 2 previous pieces. |
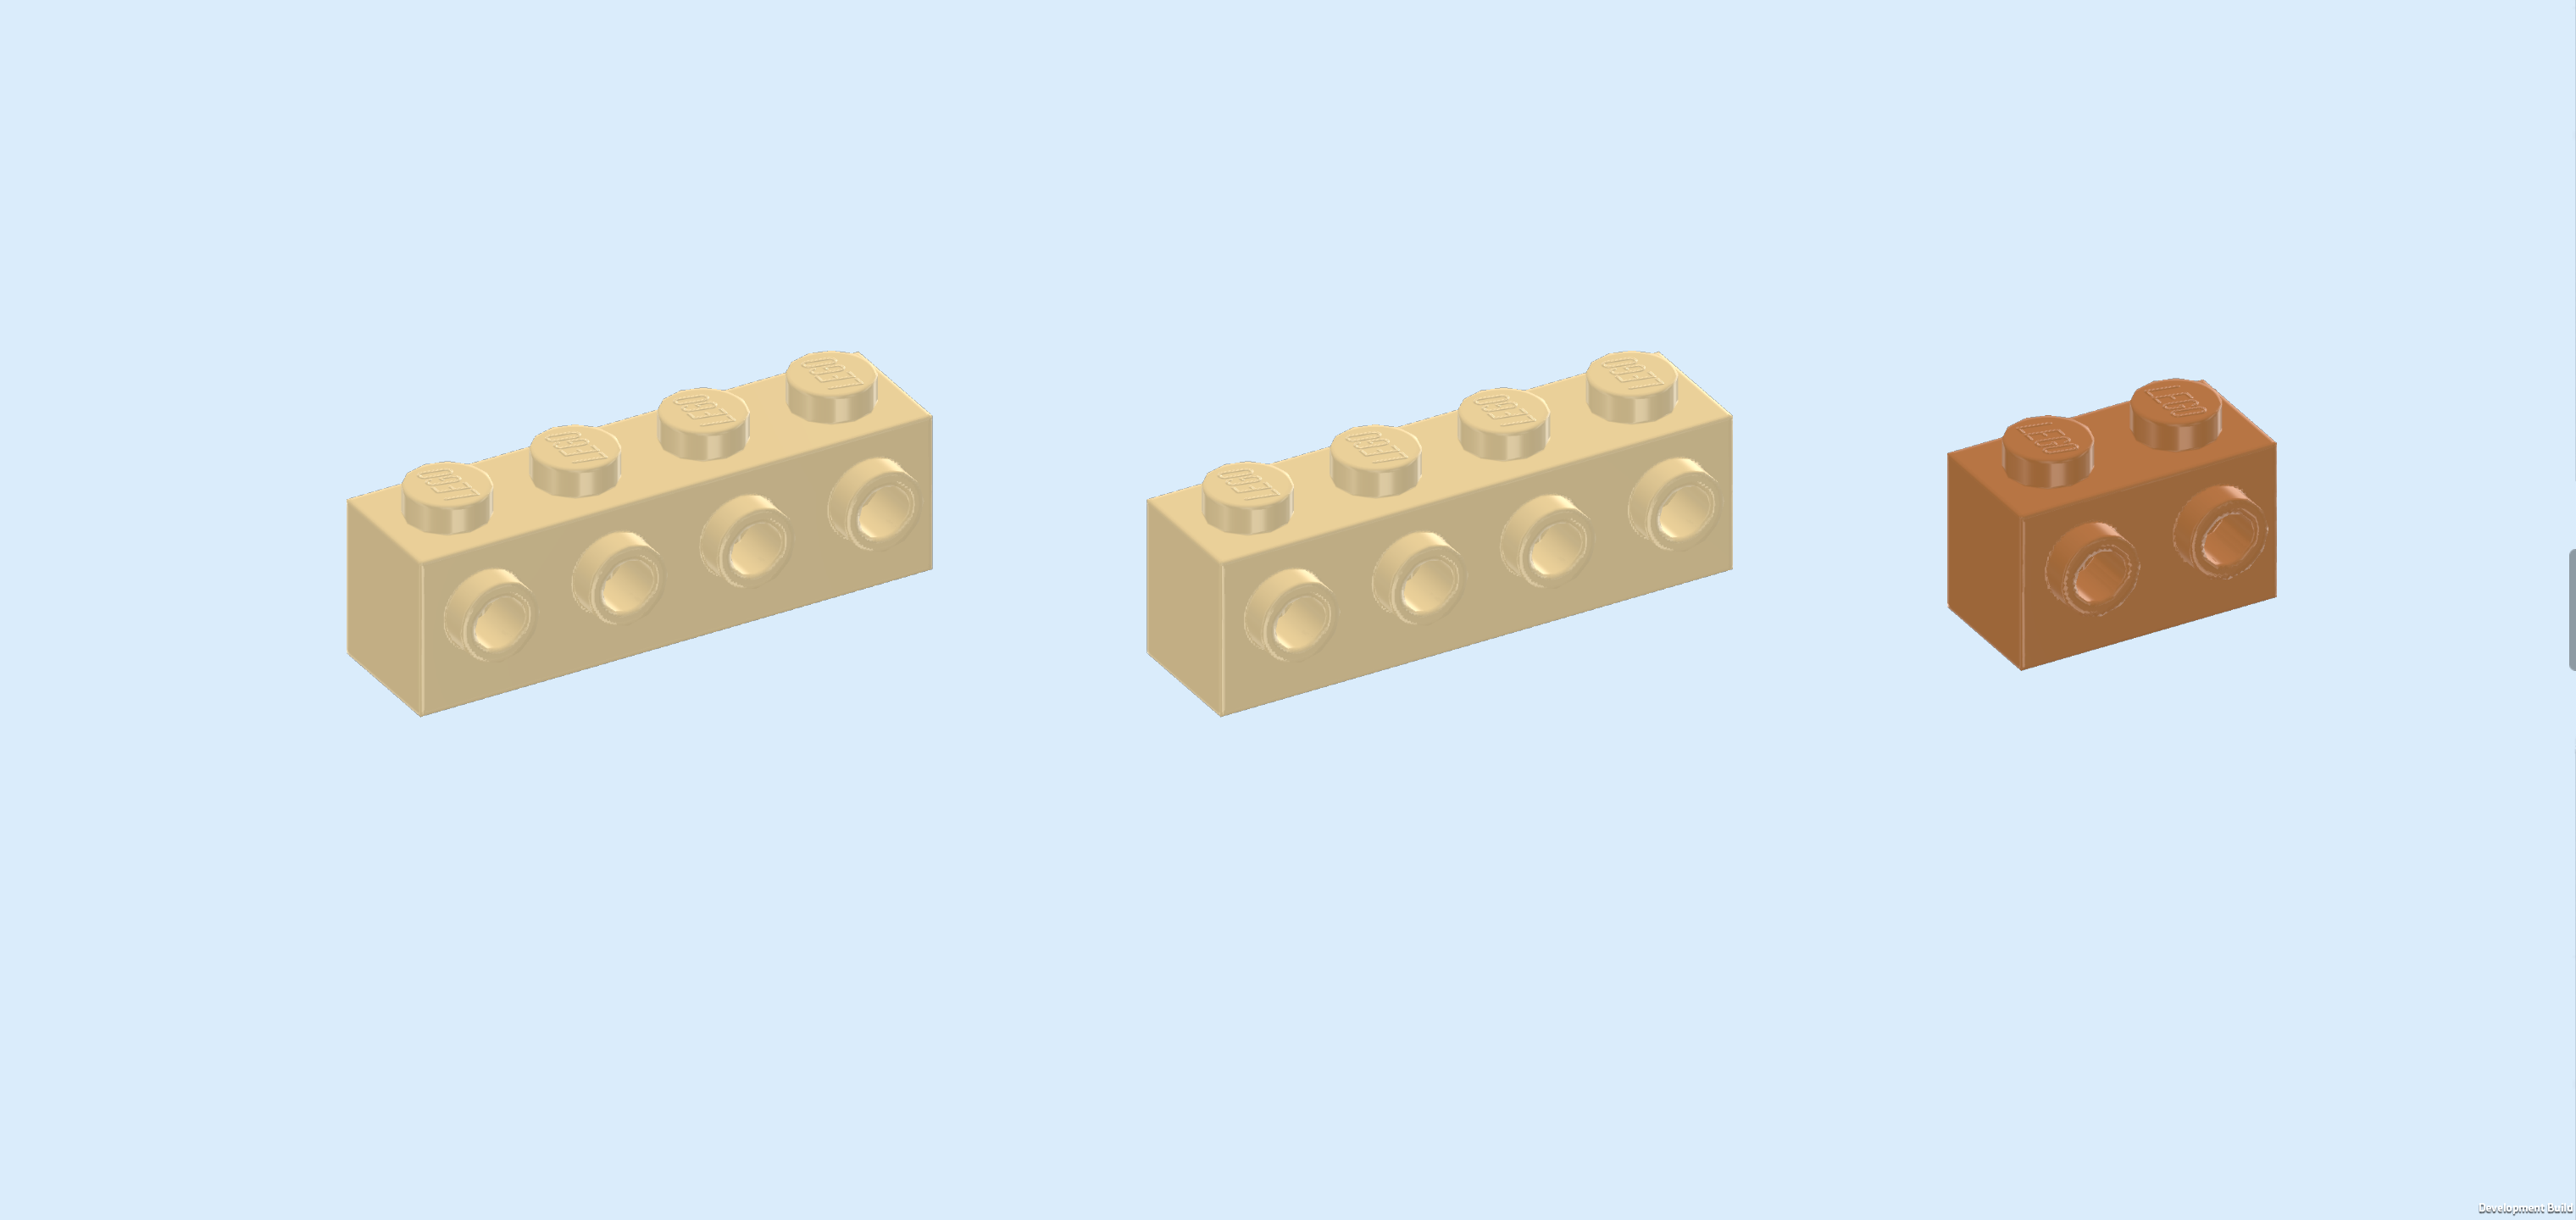
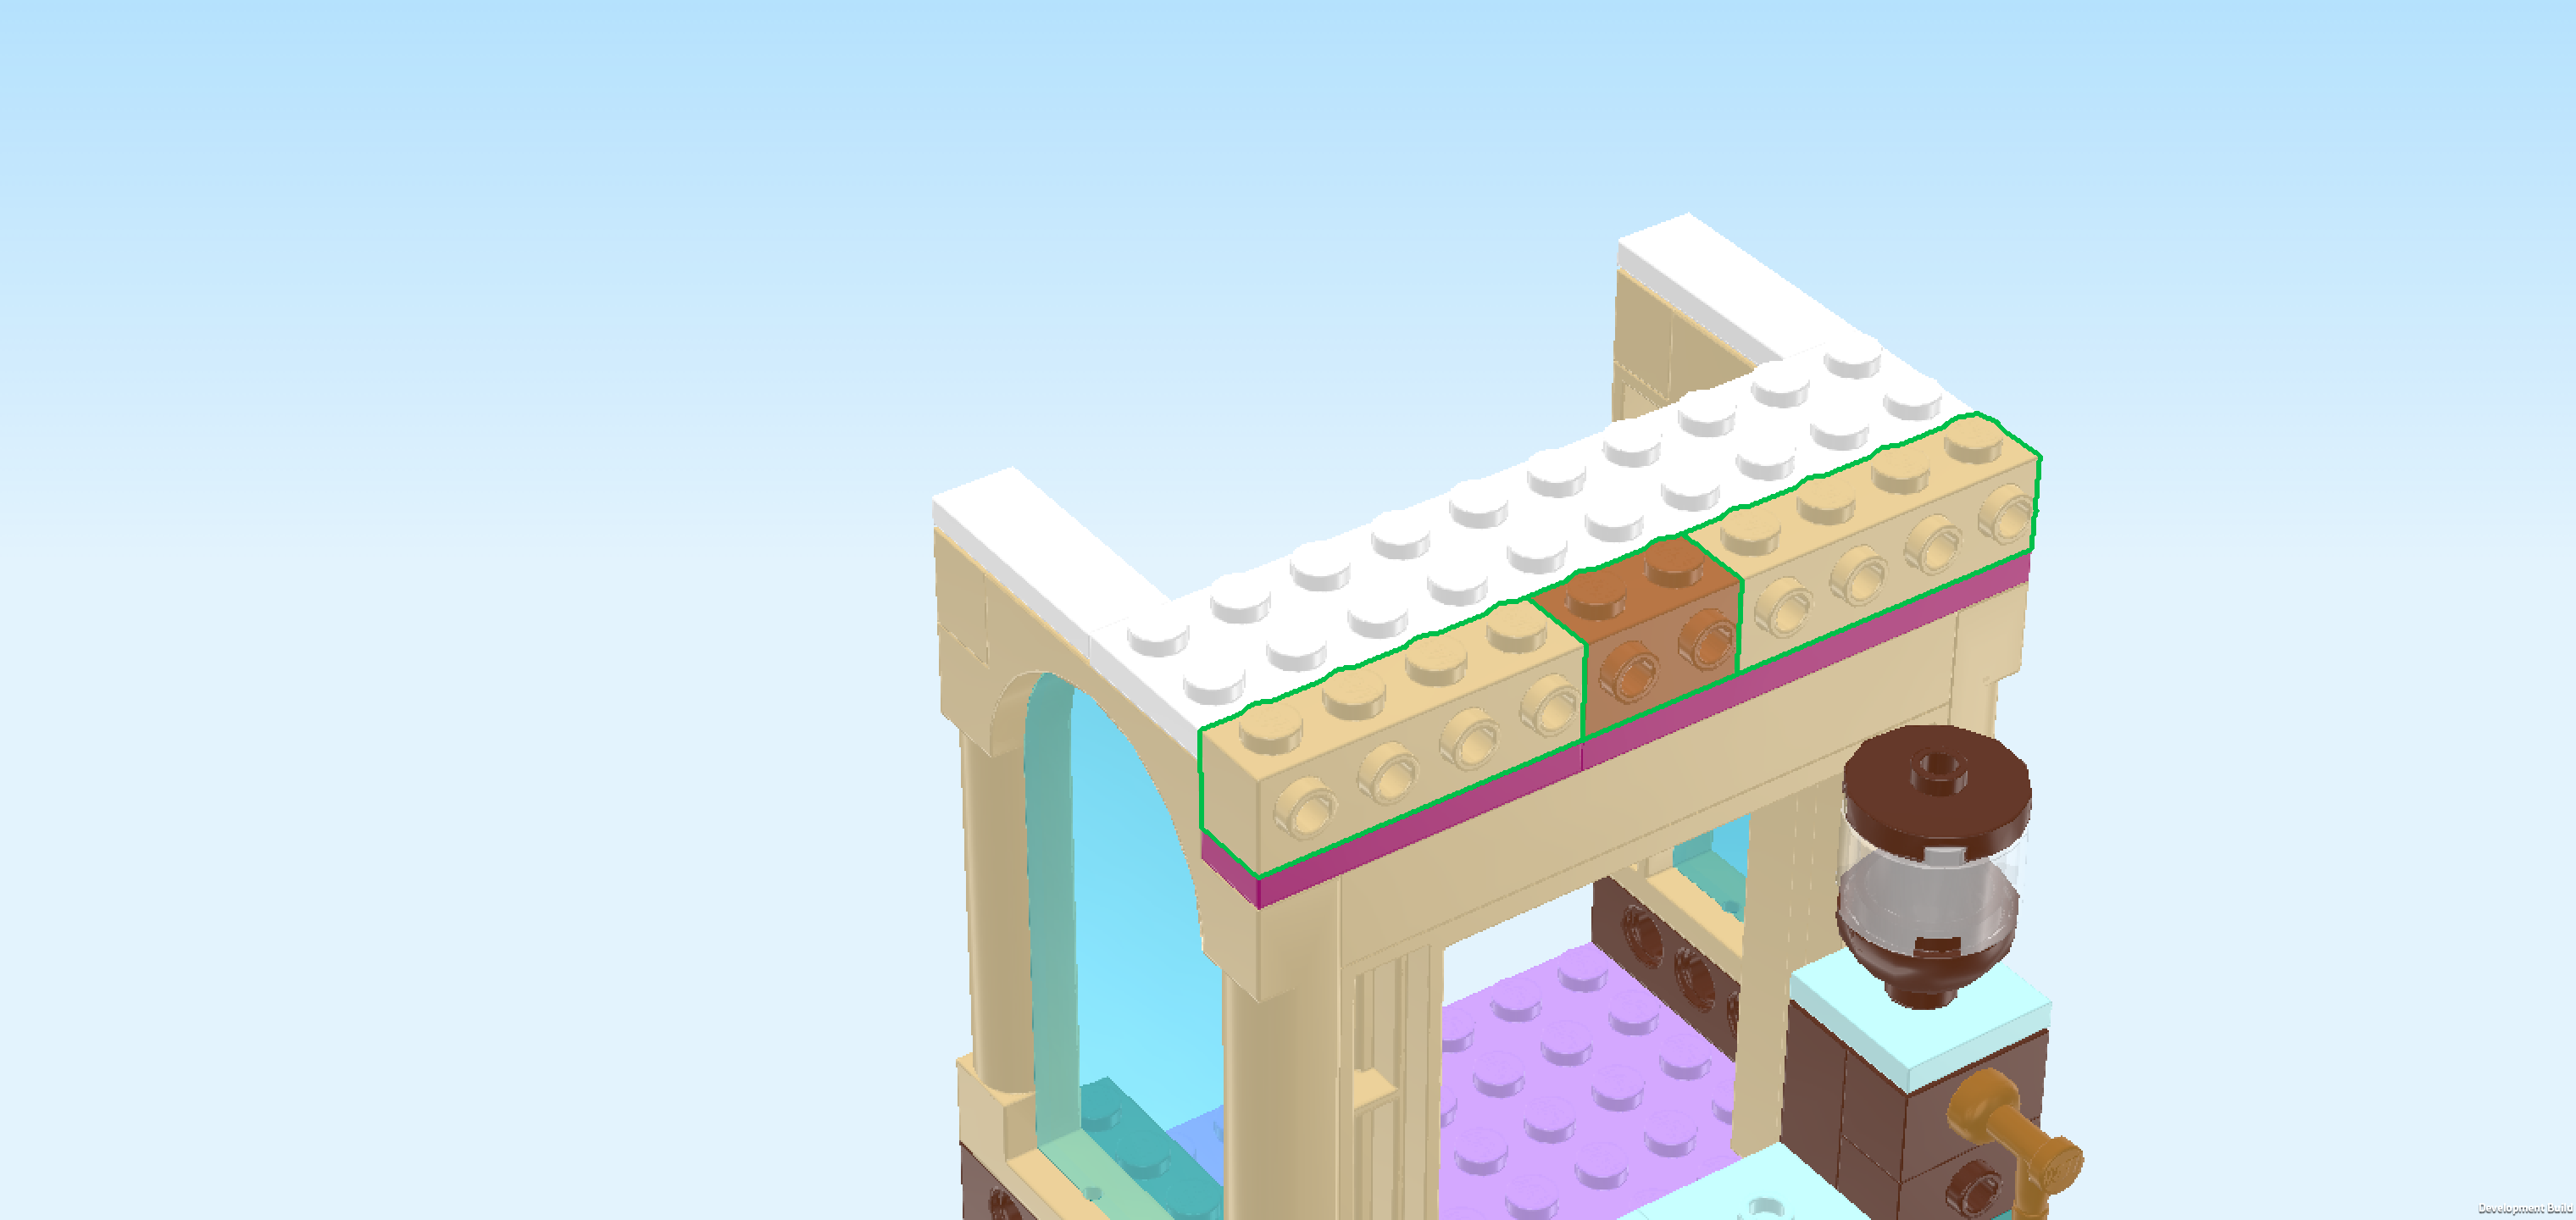
| Collect the following 3 pieces: |
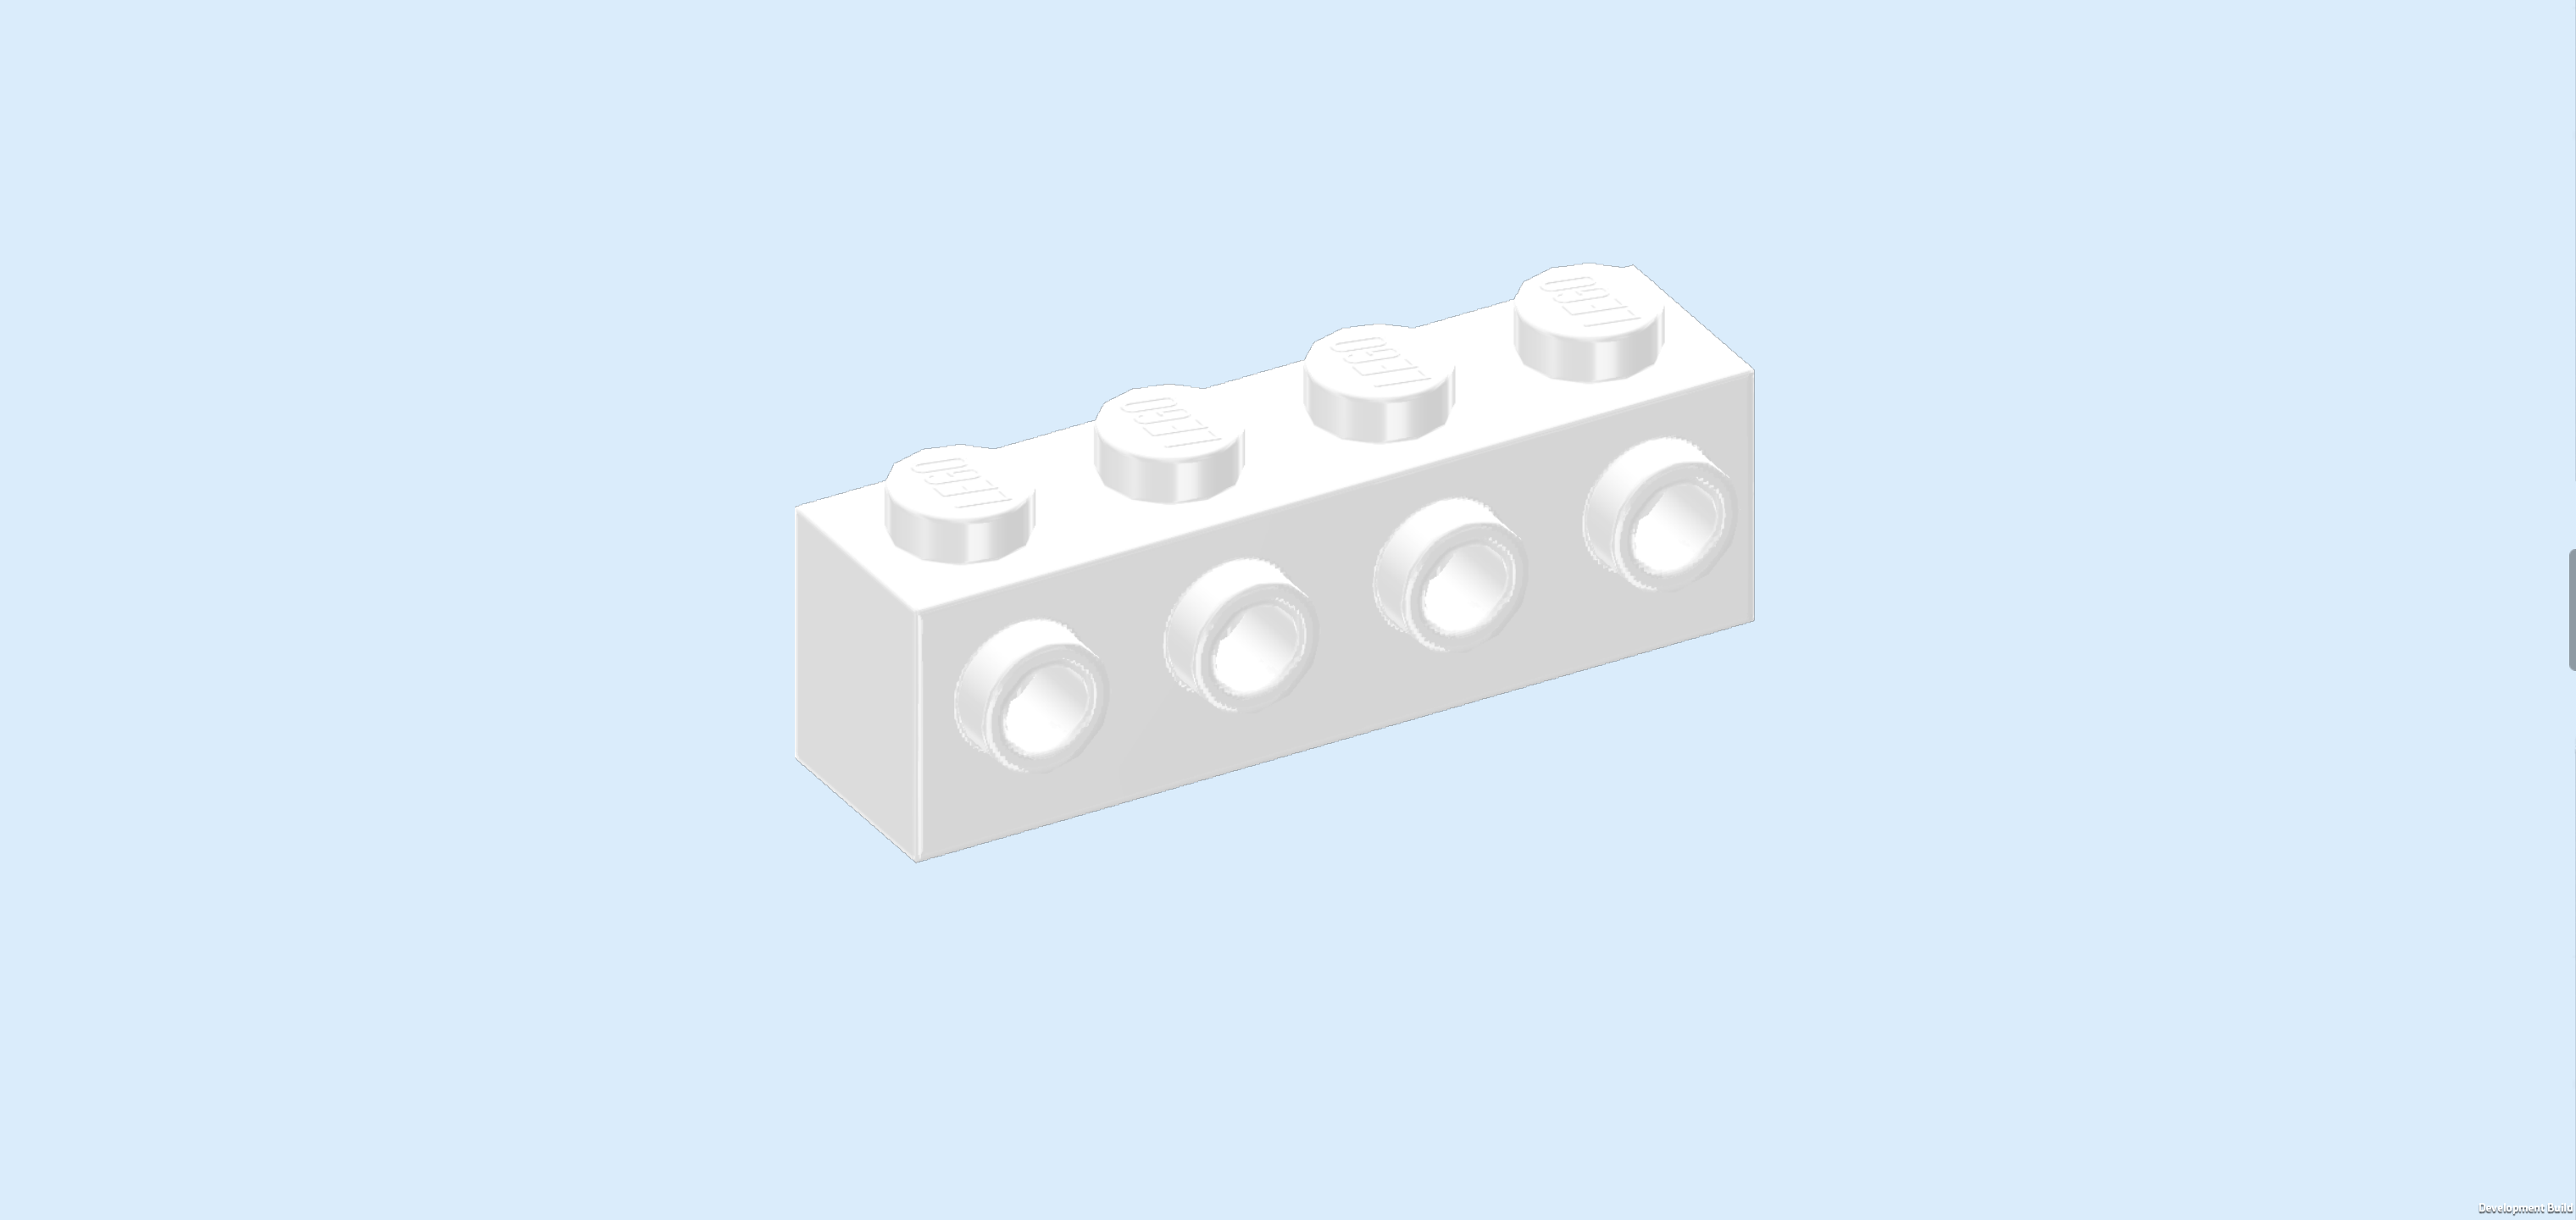
| 2 beige bricks 1x4 with 4 side knobs, |
| and 1 medium nougat brown brick 1x2 with 2 side knobs. |
| Put 1 brick 1x4 horizontally in front of the previous piece, starting from the left edge, side knobs to the front. |
| Put the brick 1x2 horizontally to the right of the previous piece, side knobs to the front. |
| Put the other brick 1x4 horizontally to the right of the previous piece, side knobs to the front. |
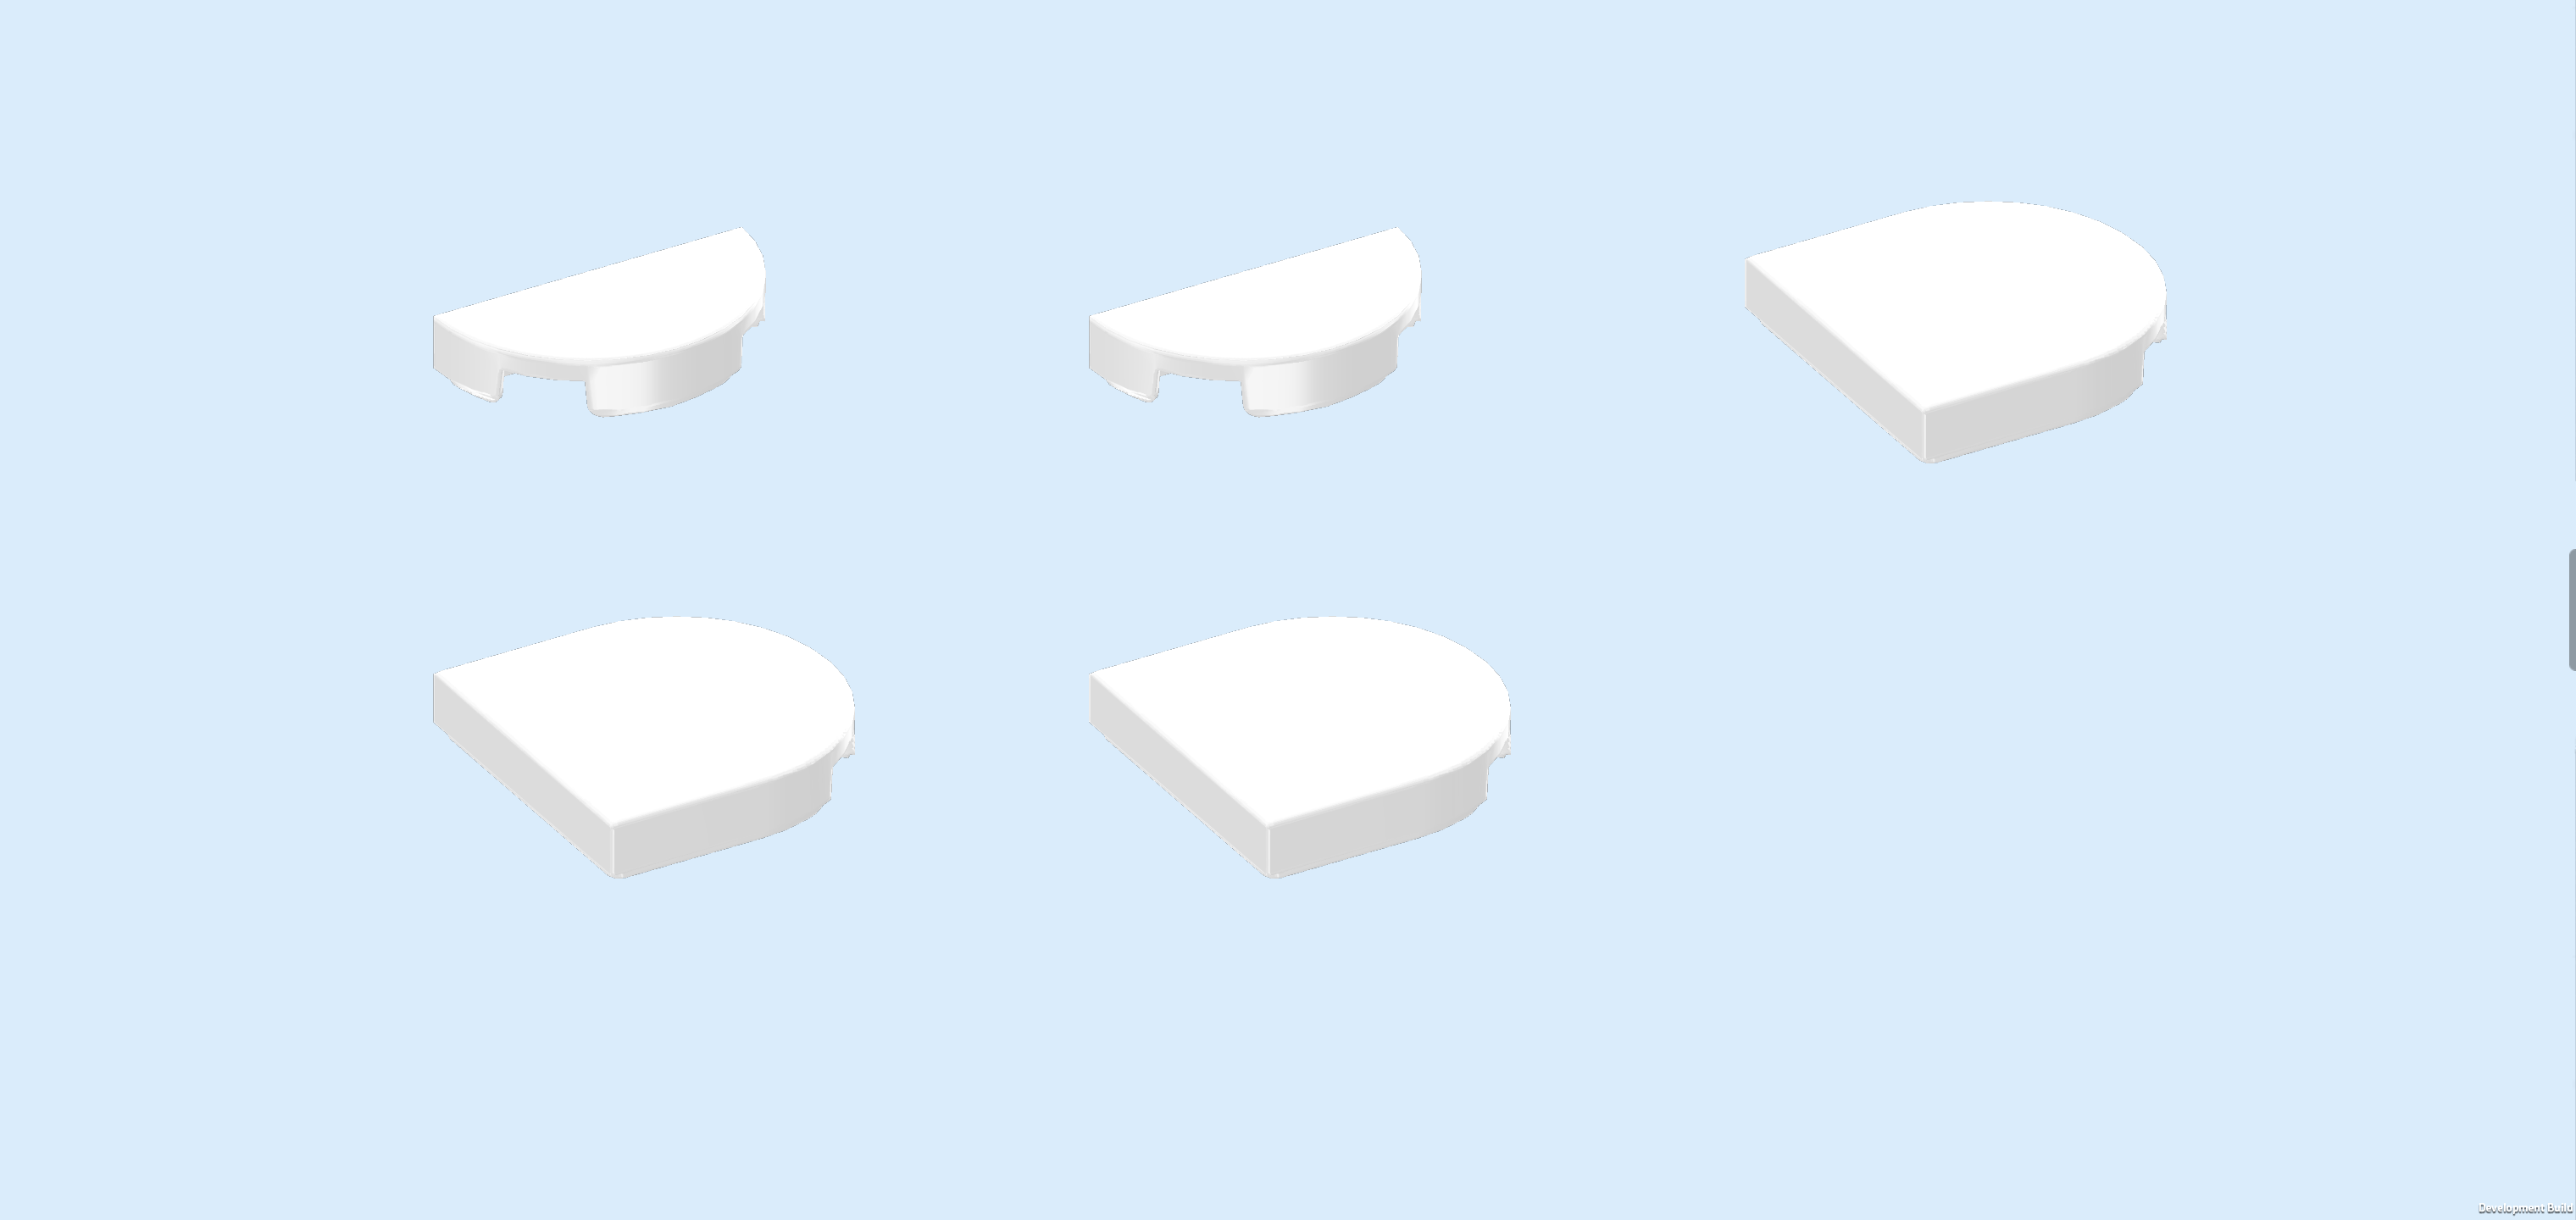
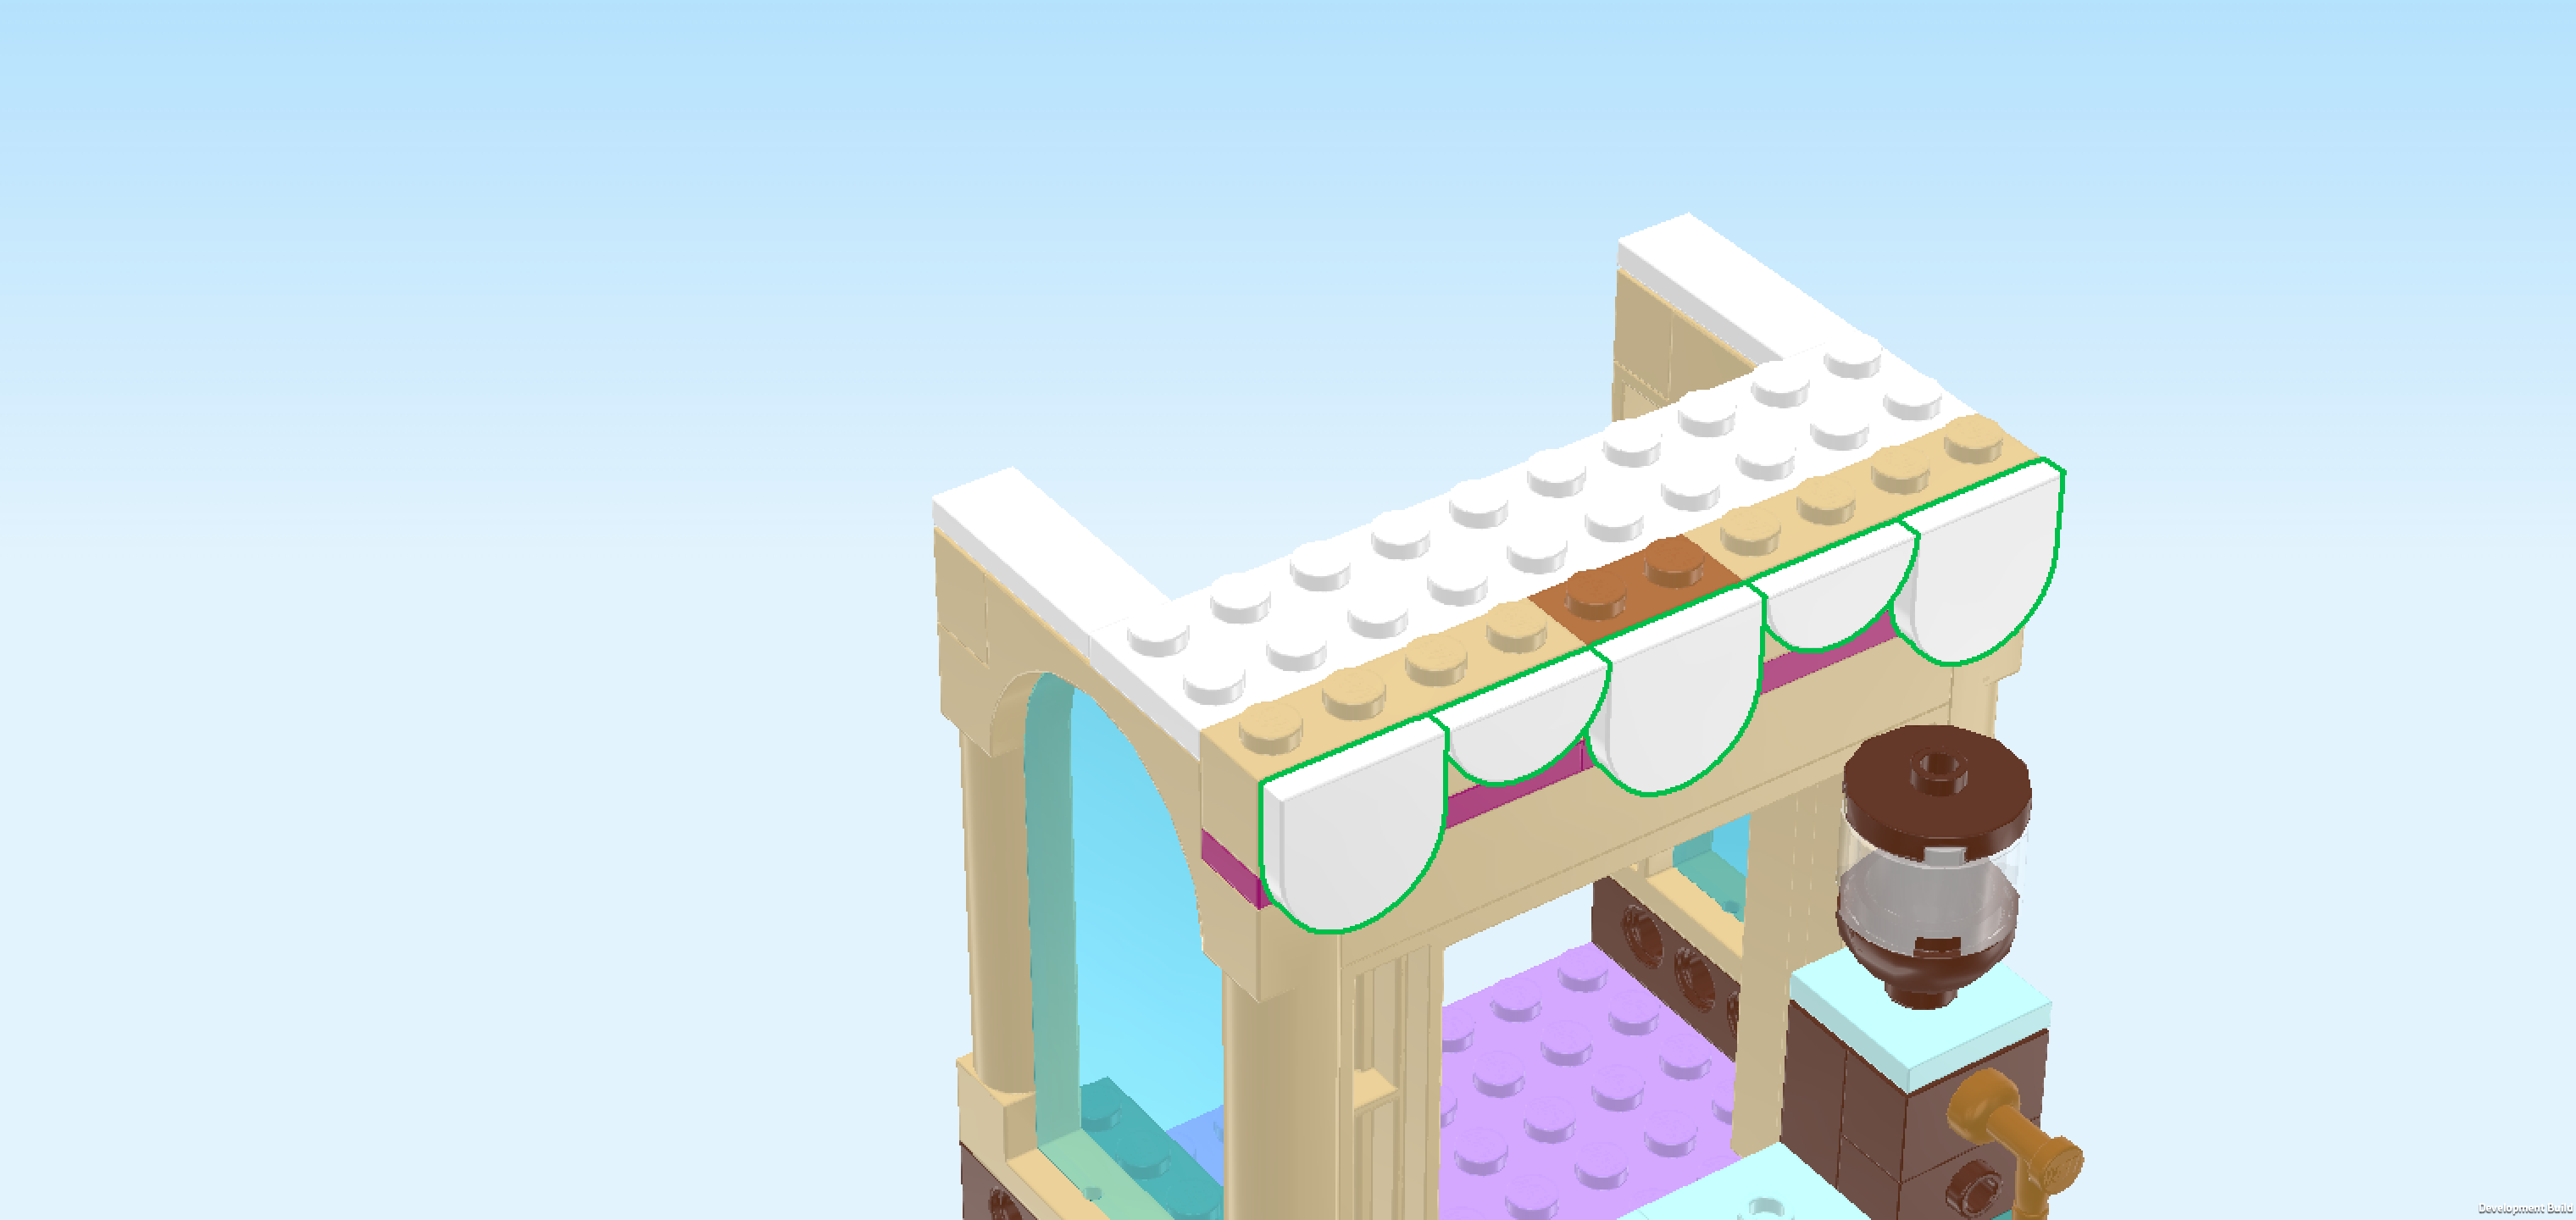
| Collect the following 5 pieces: |
| 2 white half-circle tiles 1x2, |
| and 3 white half-circle tiles 2x2. |
| Put 1 half-circle tile 2x2 upright on the 2 rightmost side knobs of the previous piece, half circle pointing to the bottom. Make sure the top edge is flush with the previous piece. |
| Put 1 half-circle tile 1x2 upright horizontally to the left of the previous piece, half circle to the bottom. |
| Put 1 half-circle tile 2x2 upright to the left of the previous piece, half circle to the bottom. |
| Put the other half-circle tile 1x2 upright horizontally to the left of the previous piece, half circle to the bottom. |
| Put the remaining half-circle tile 2x2 to the left of the previous piece, half circle to the bottom. |
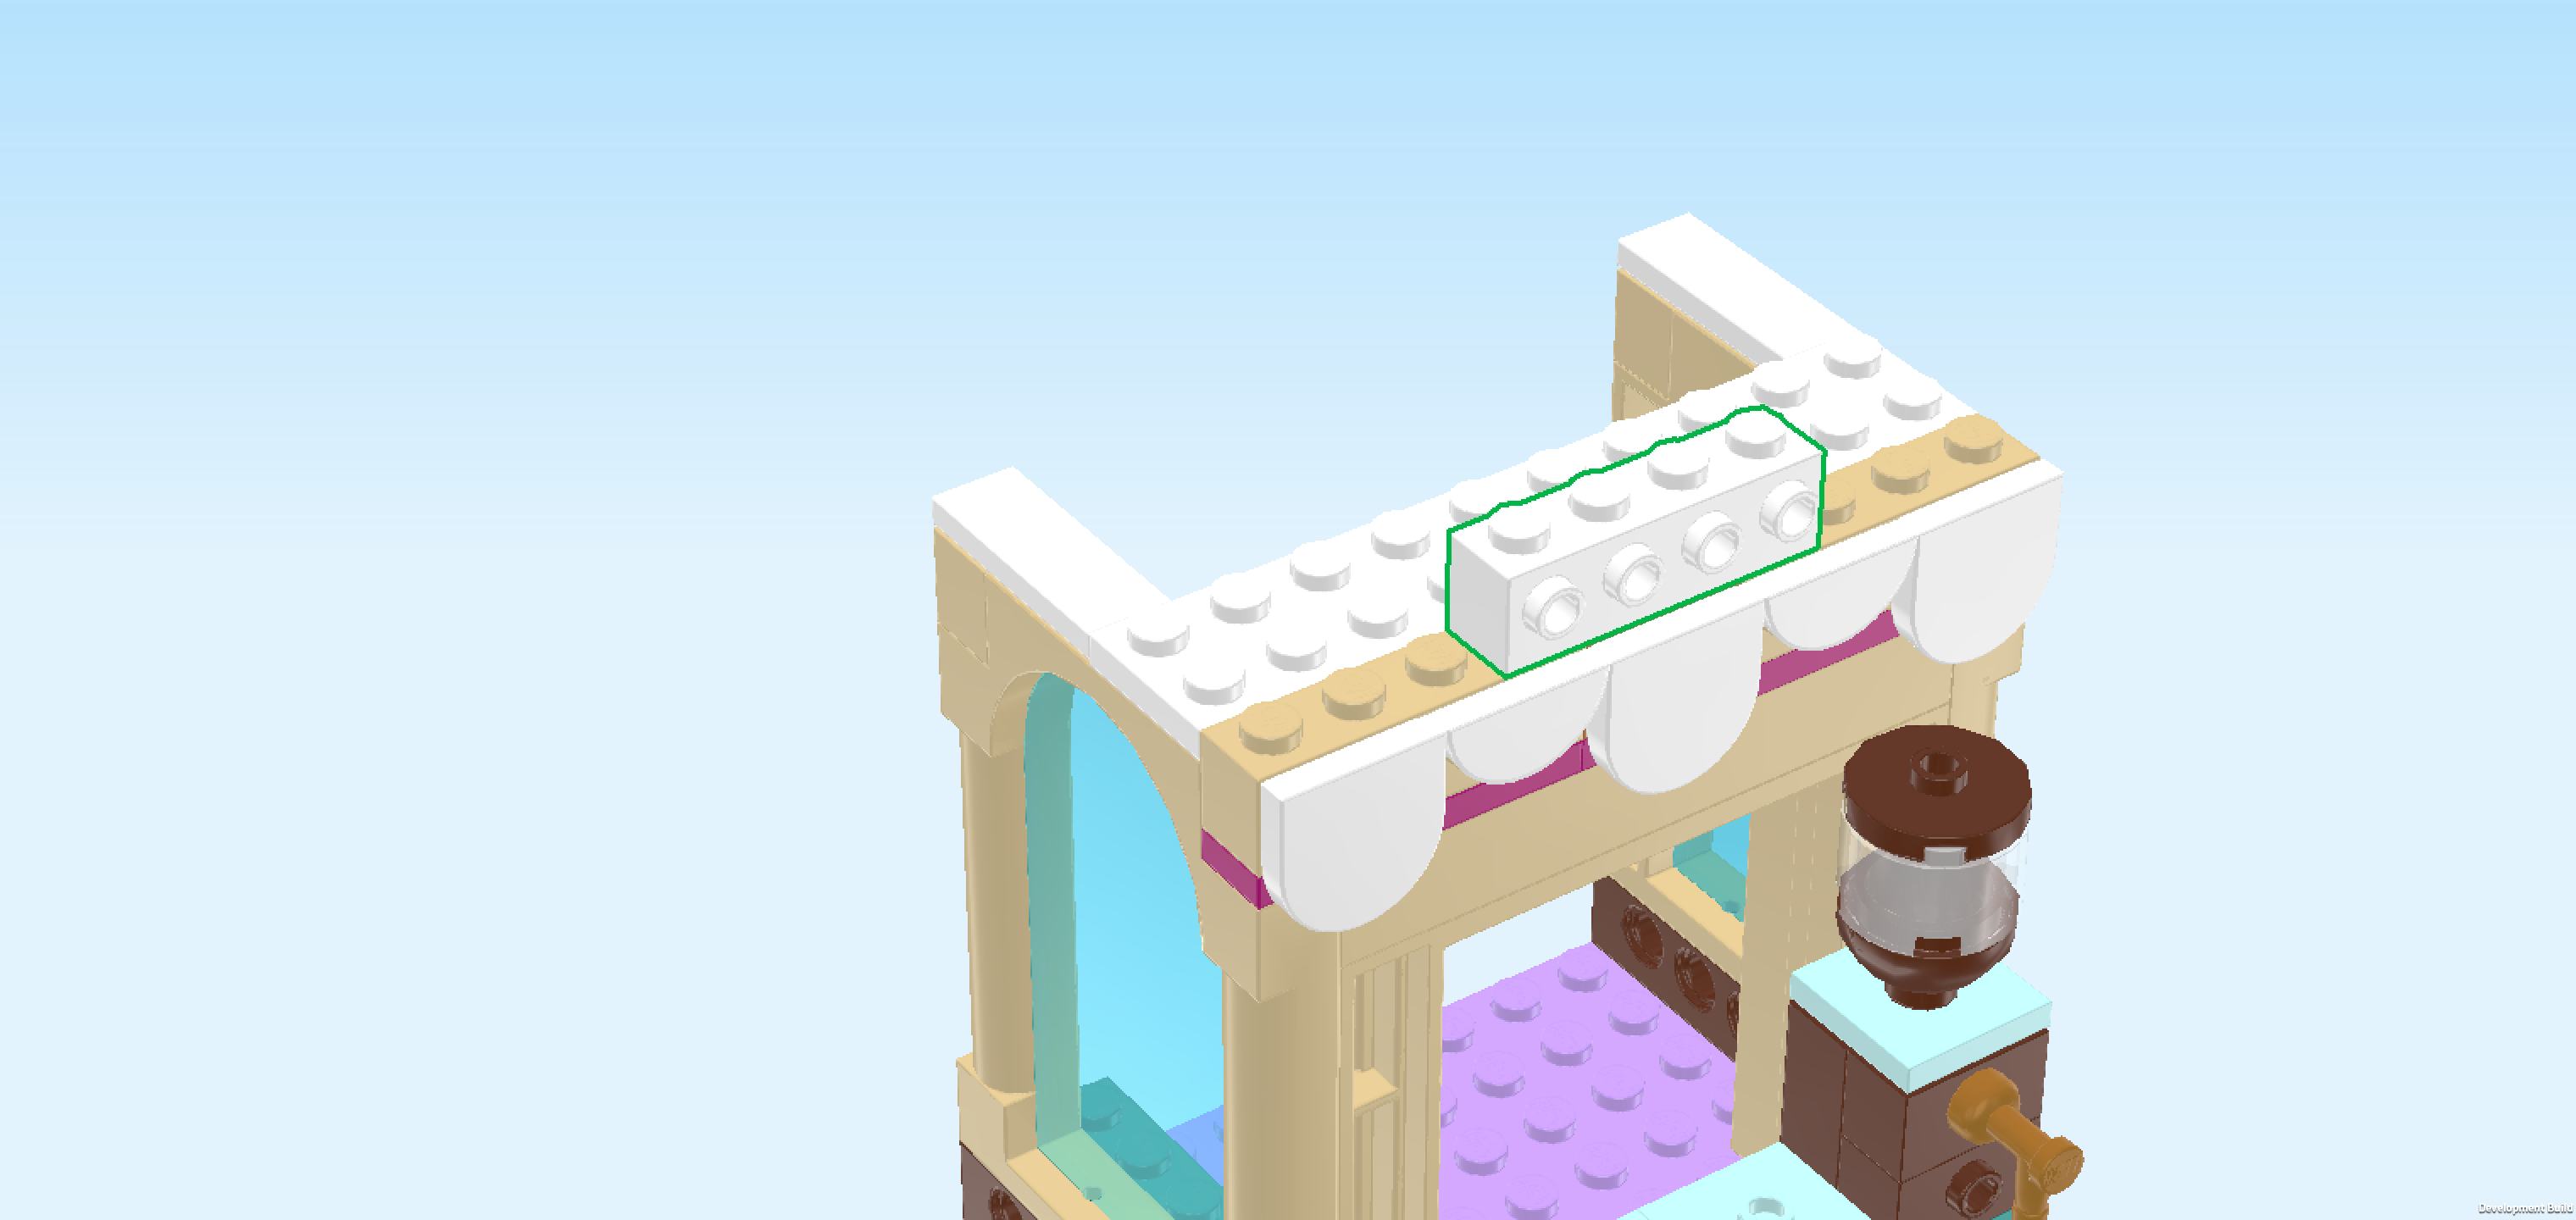
| Find 1 white brick 1x4 with 4 side knobs. |
| Put it horizontally centered on the frontmost row of the roof beams, side knobs to the front. |
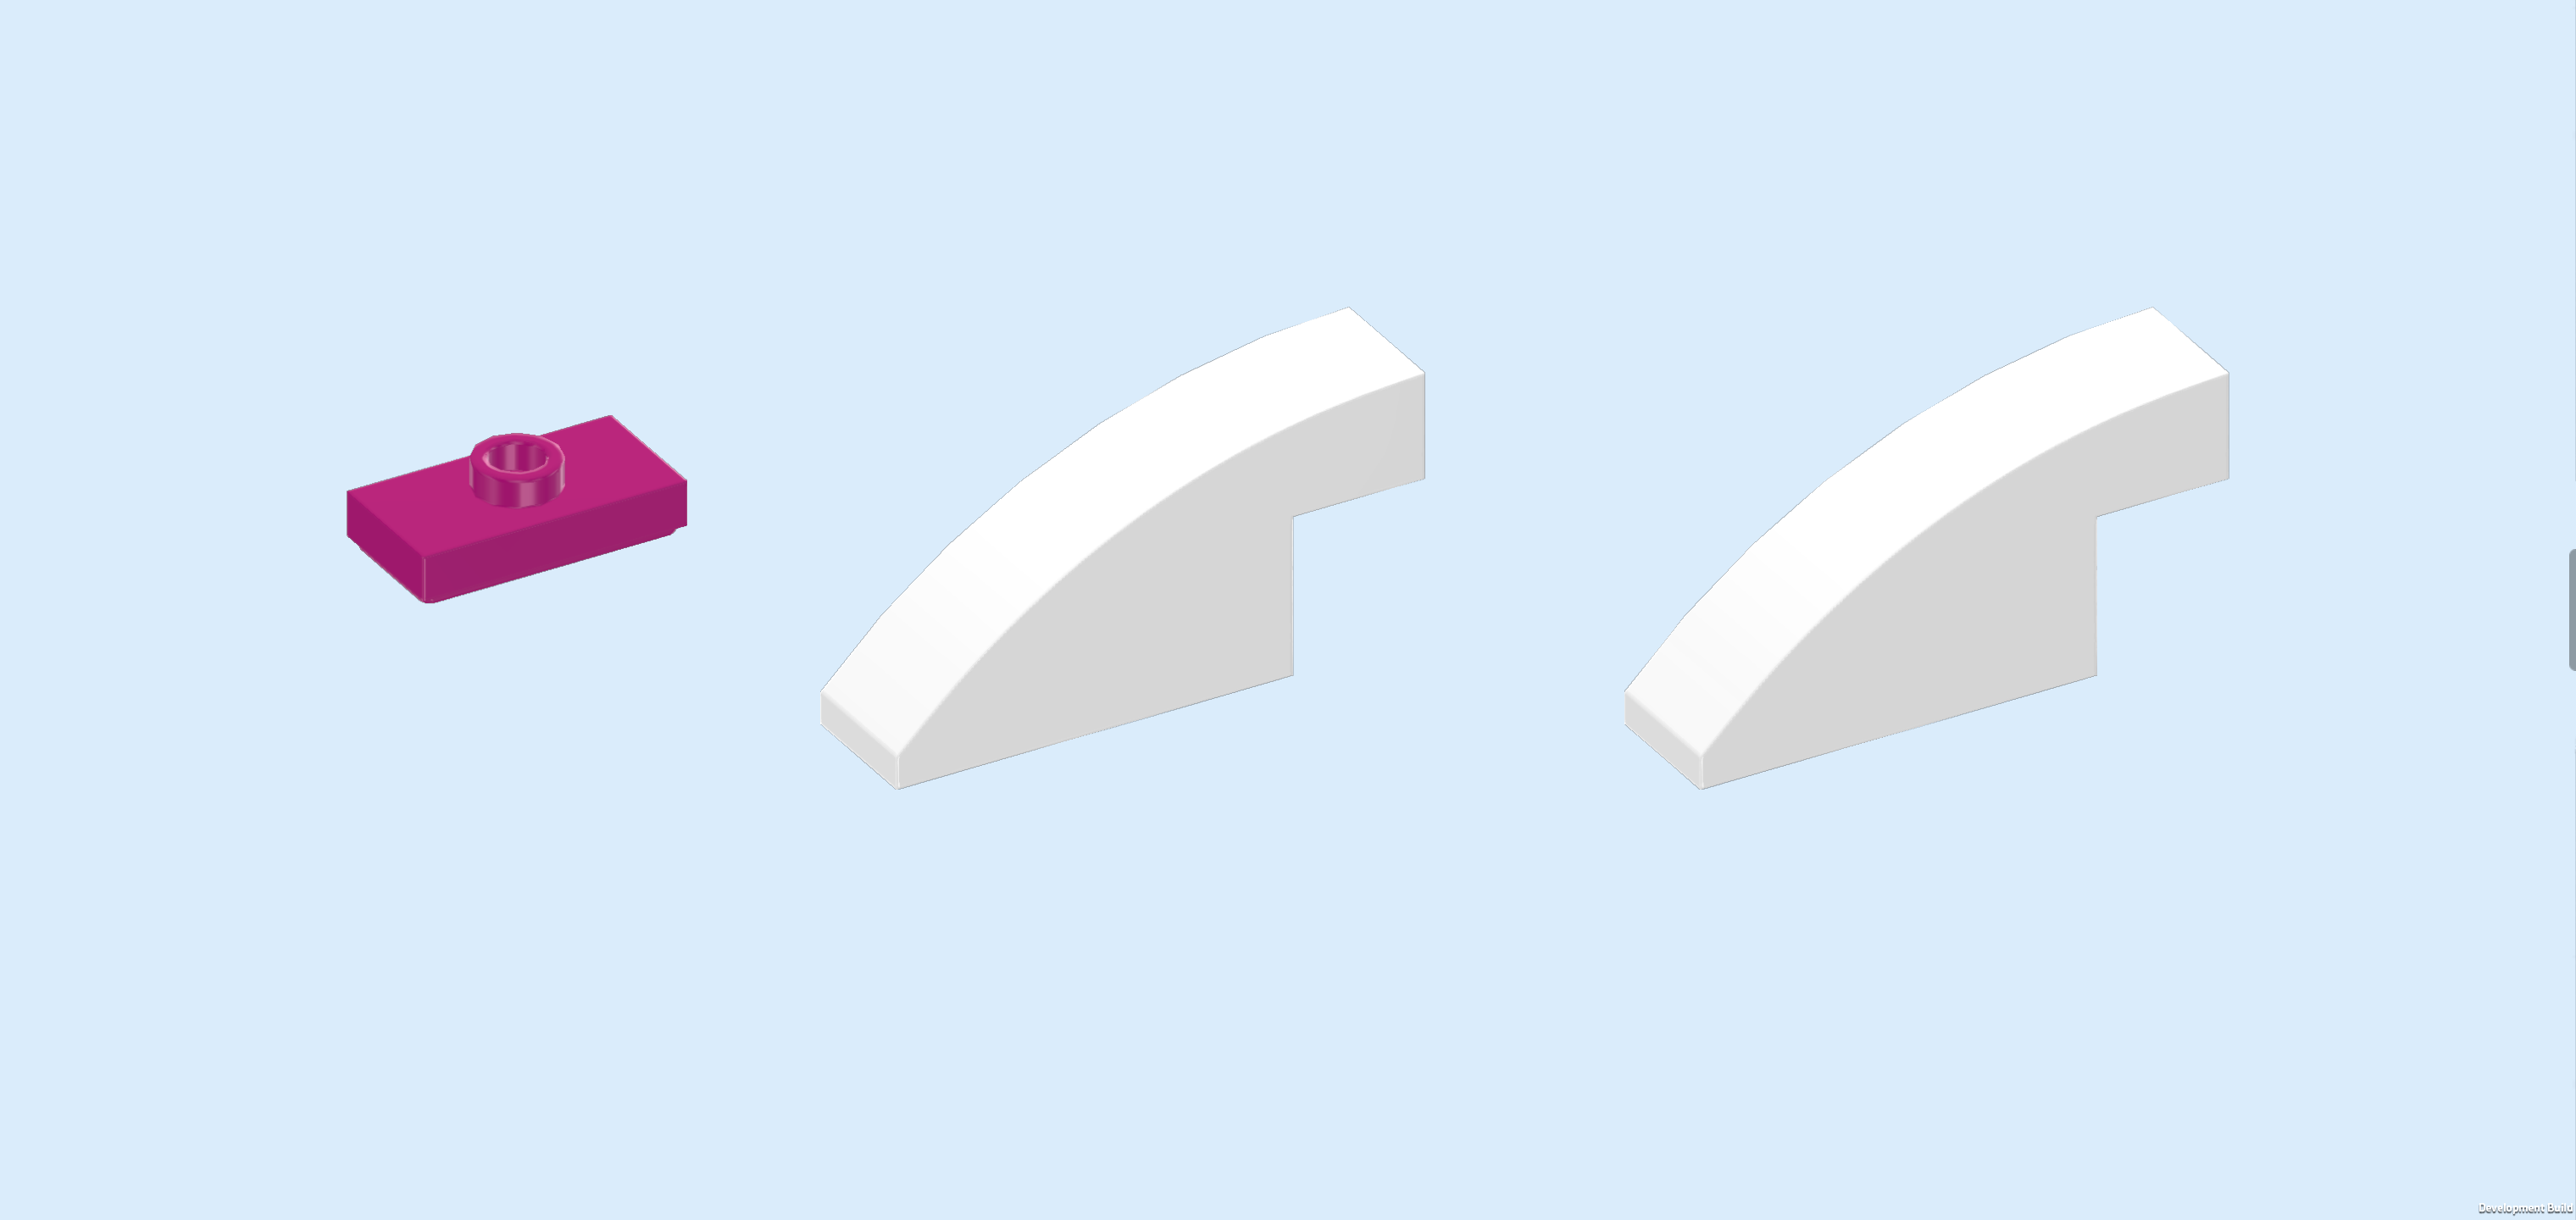
| Collect the following 3 pieces: |
| 1 purple violet plate 1x2 with 1 knob, |
| and 2 white one-stepped curve tiles 4x1x1⅔. |
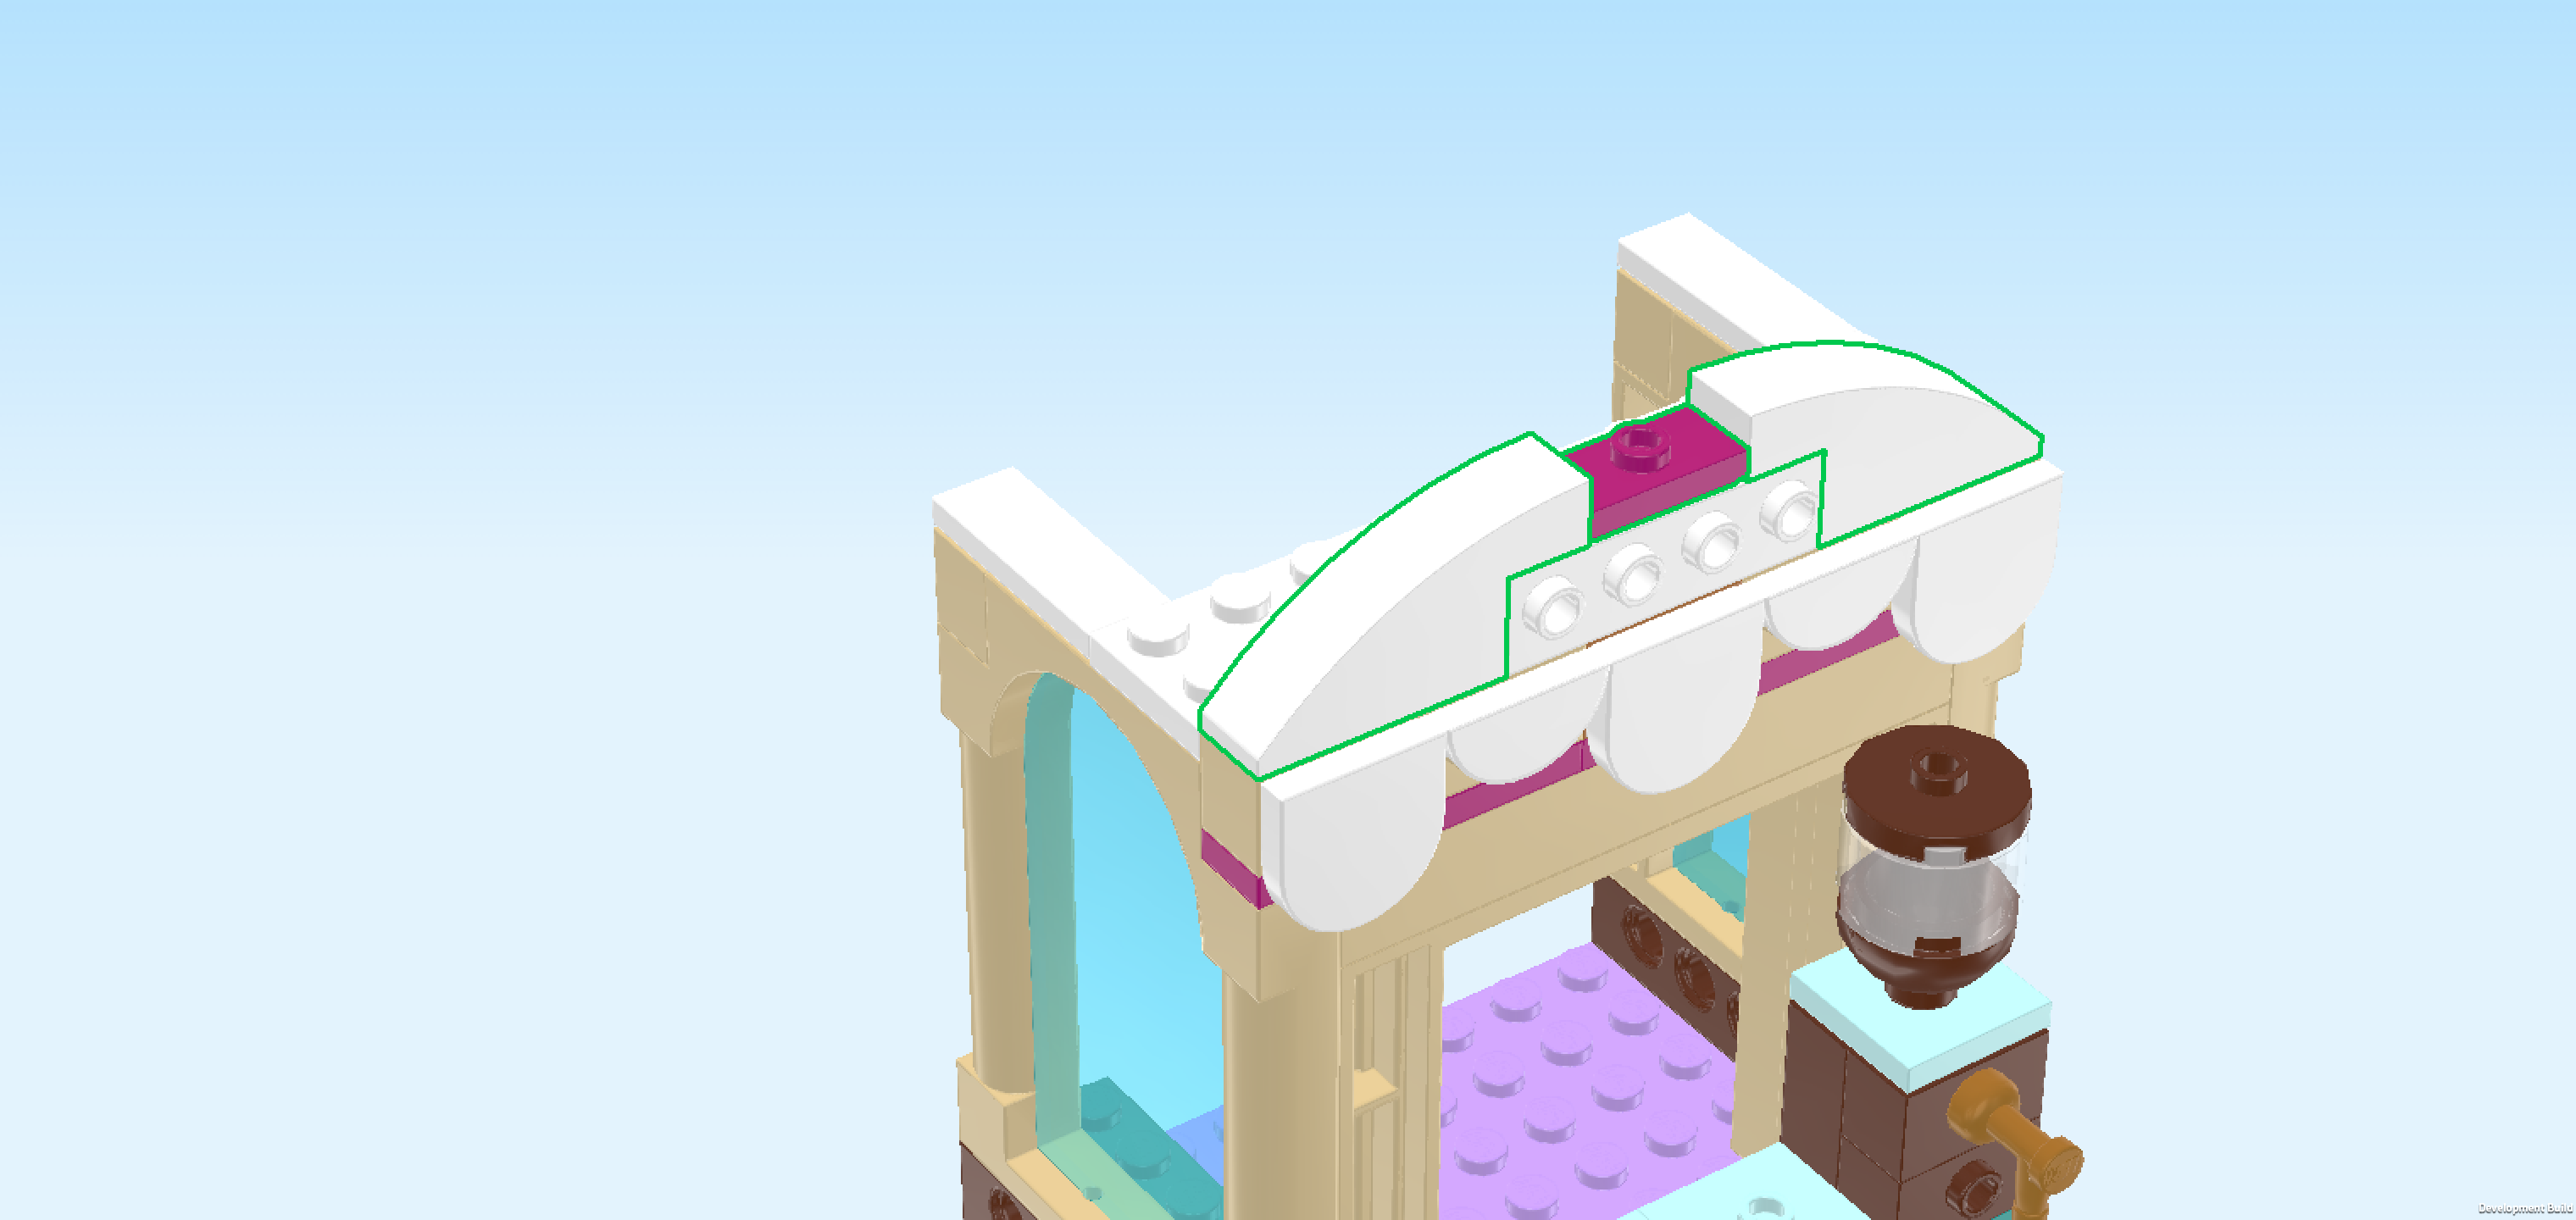
| Put the plate 1x2 horizontally centered on top of the previous piece. |
| Put 1 curve tile 4x1x1⅔ horizontally to the right of the previous piece, curve to the right. |
| Repeat symmetrically on the left. |
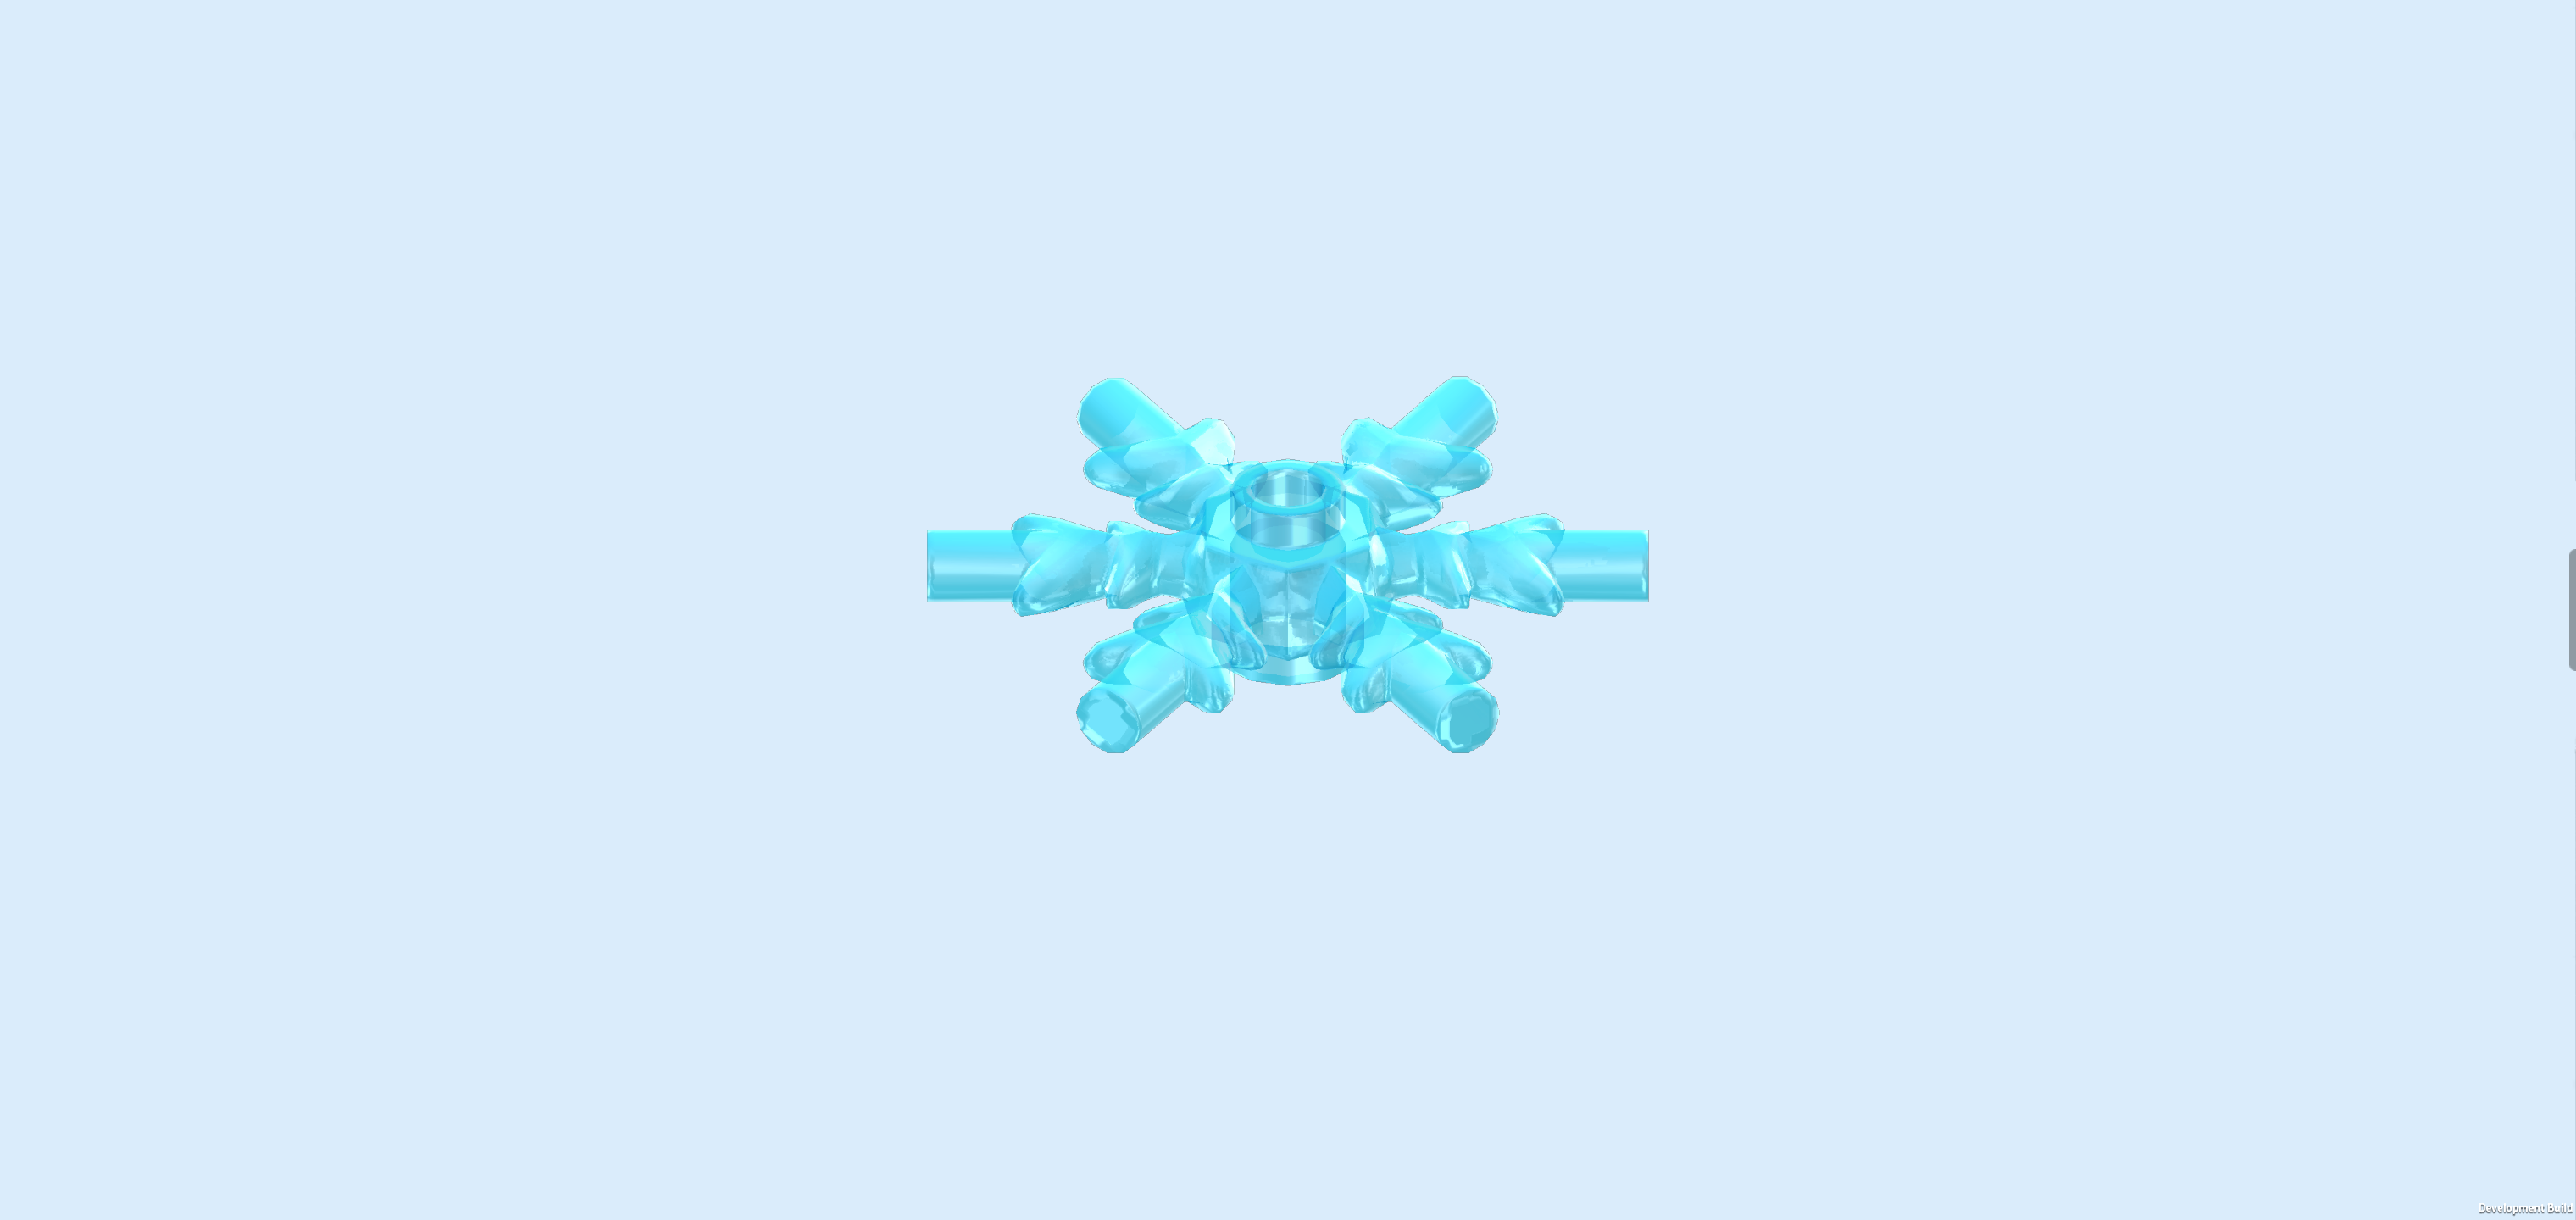
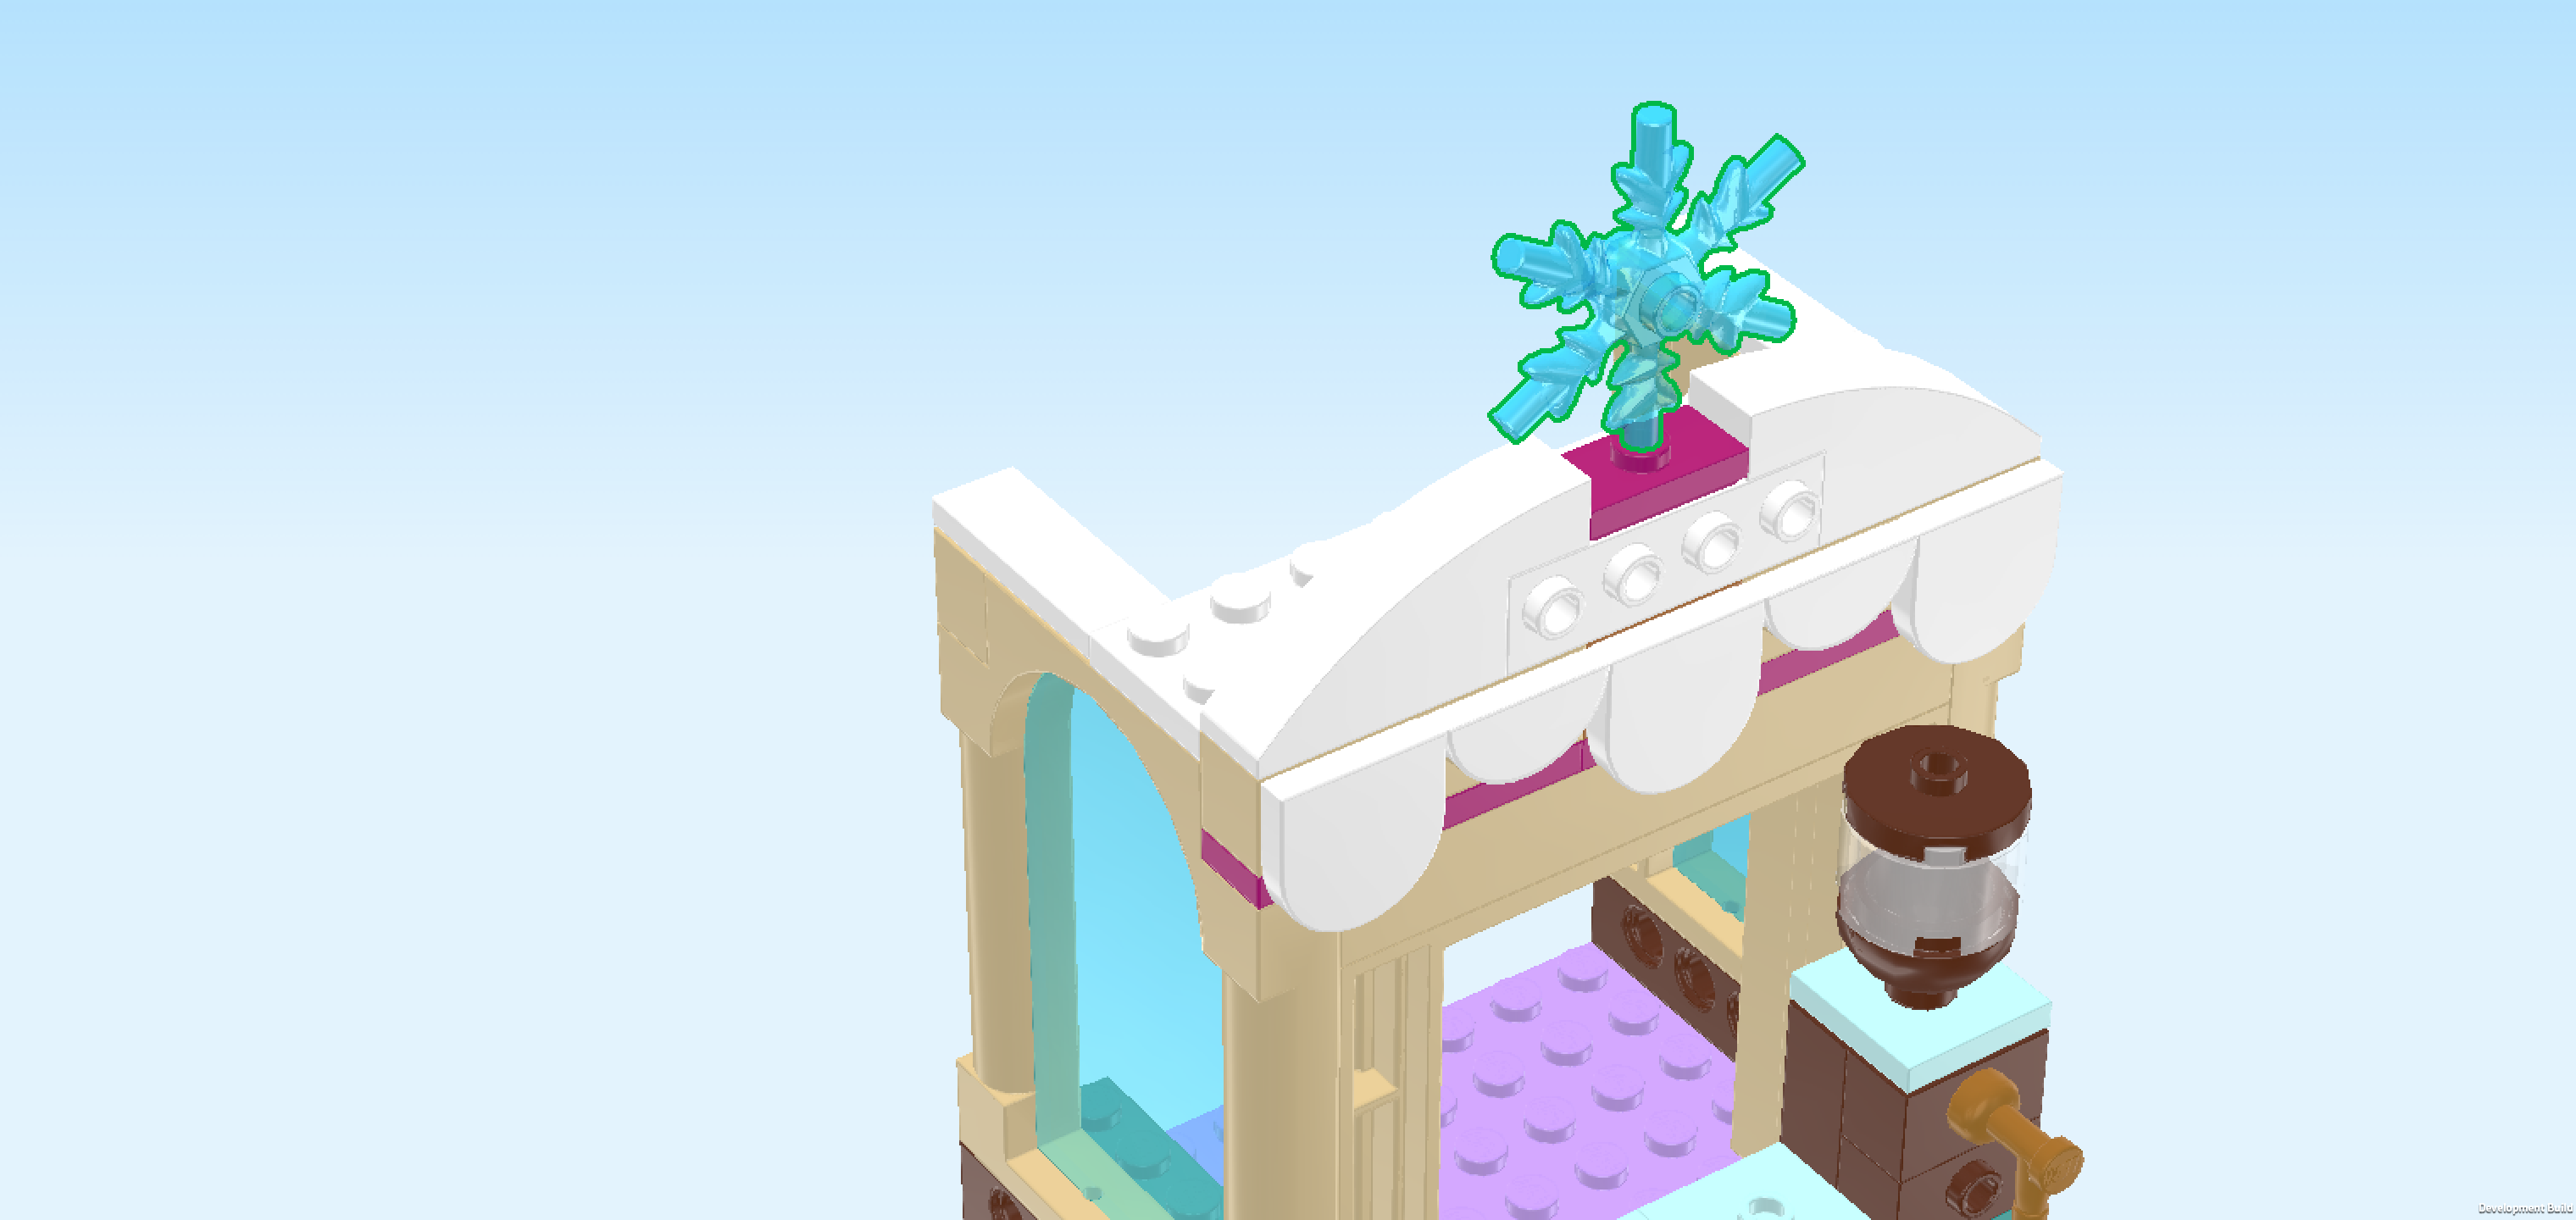
| Find 1 transparent light blue snowflake with 6 shaft ends. |
| Insert one of its shaft ends into the hollow knob of the plate 1x2 from the previous step. Turn it so that it faces you horizontally. |
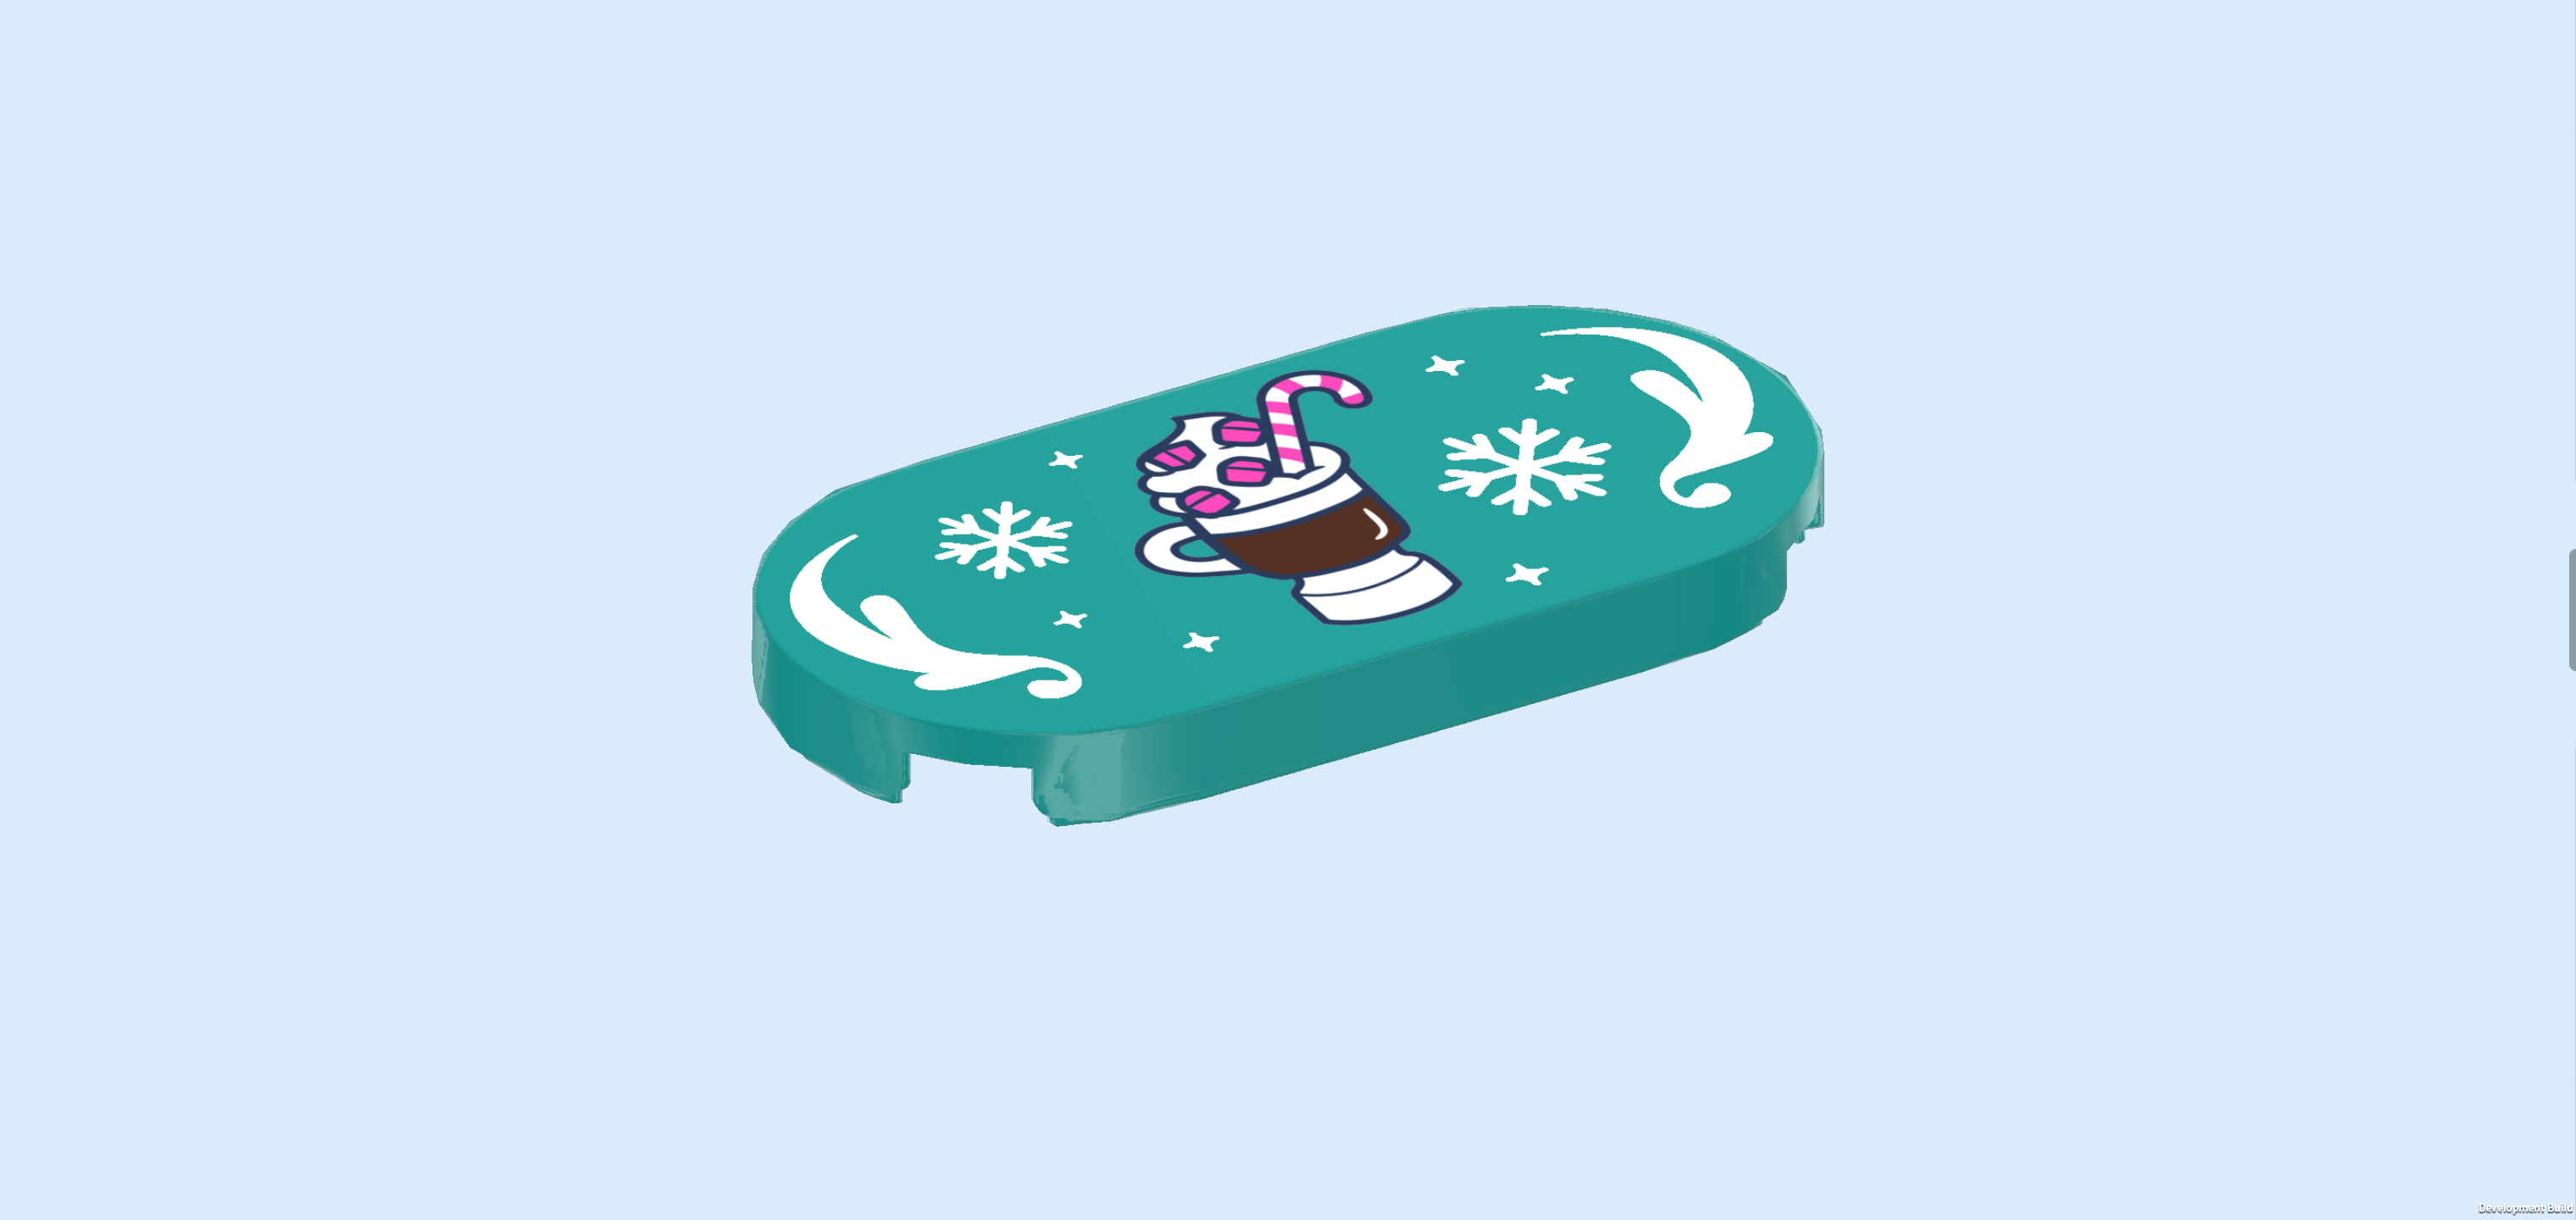
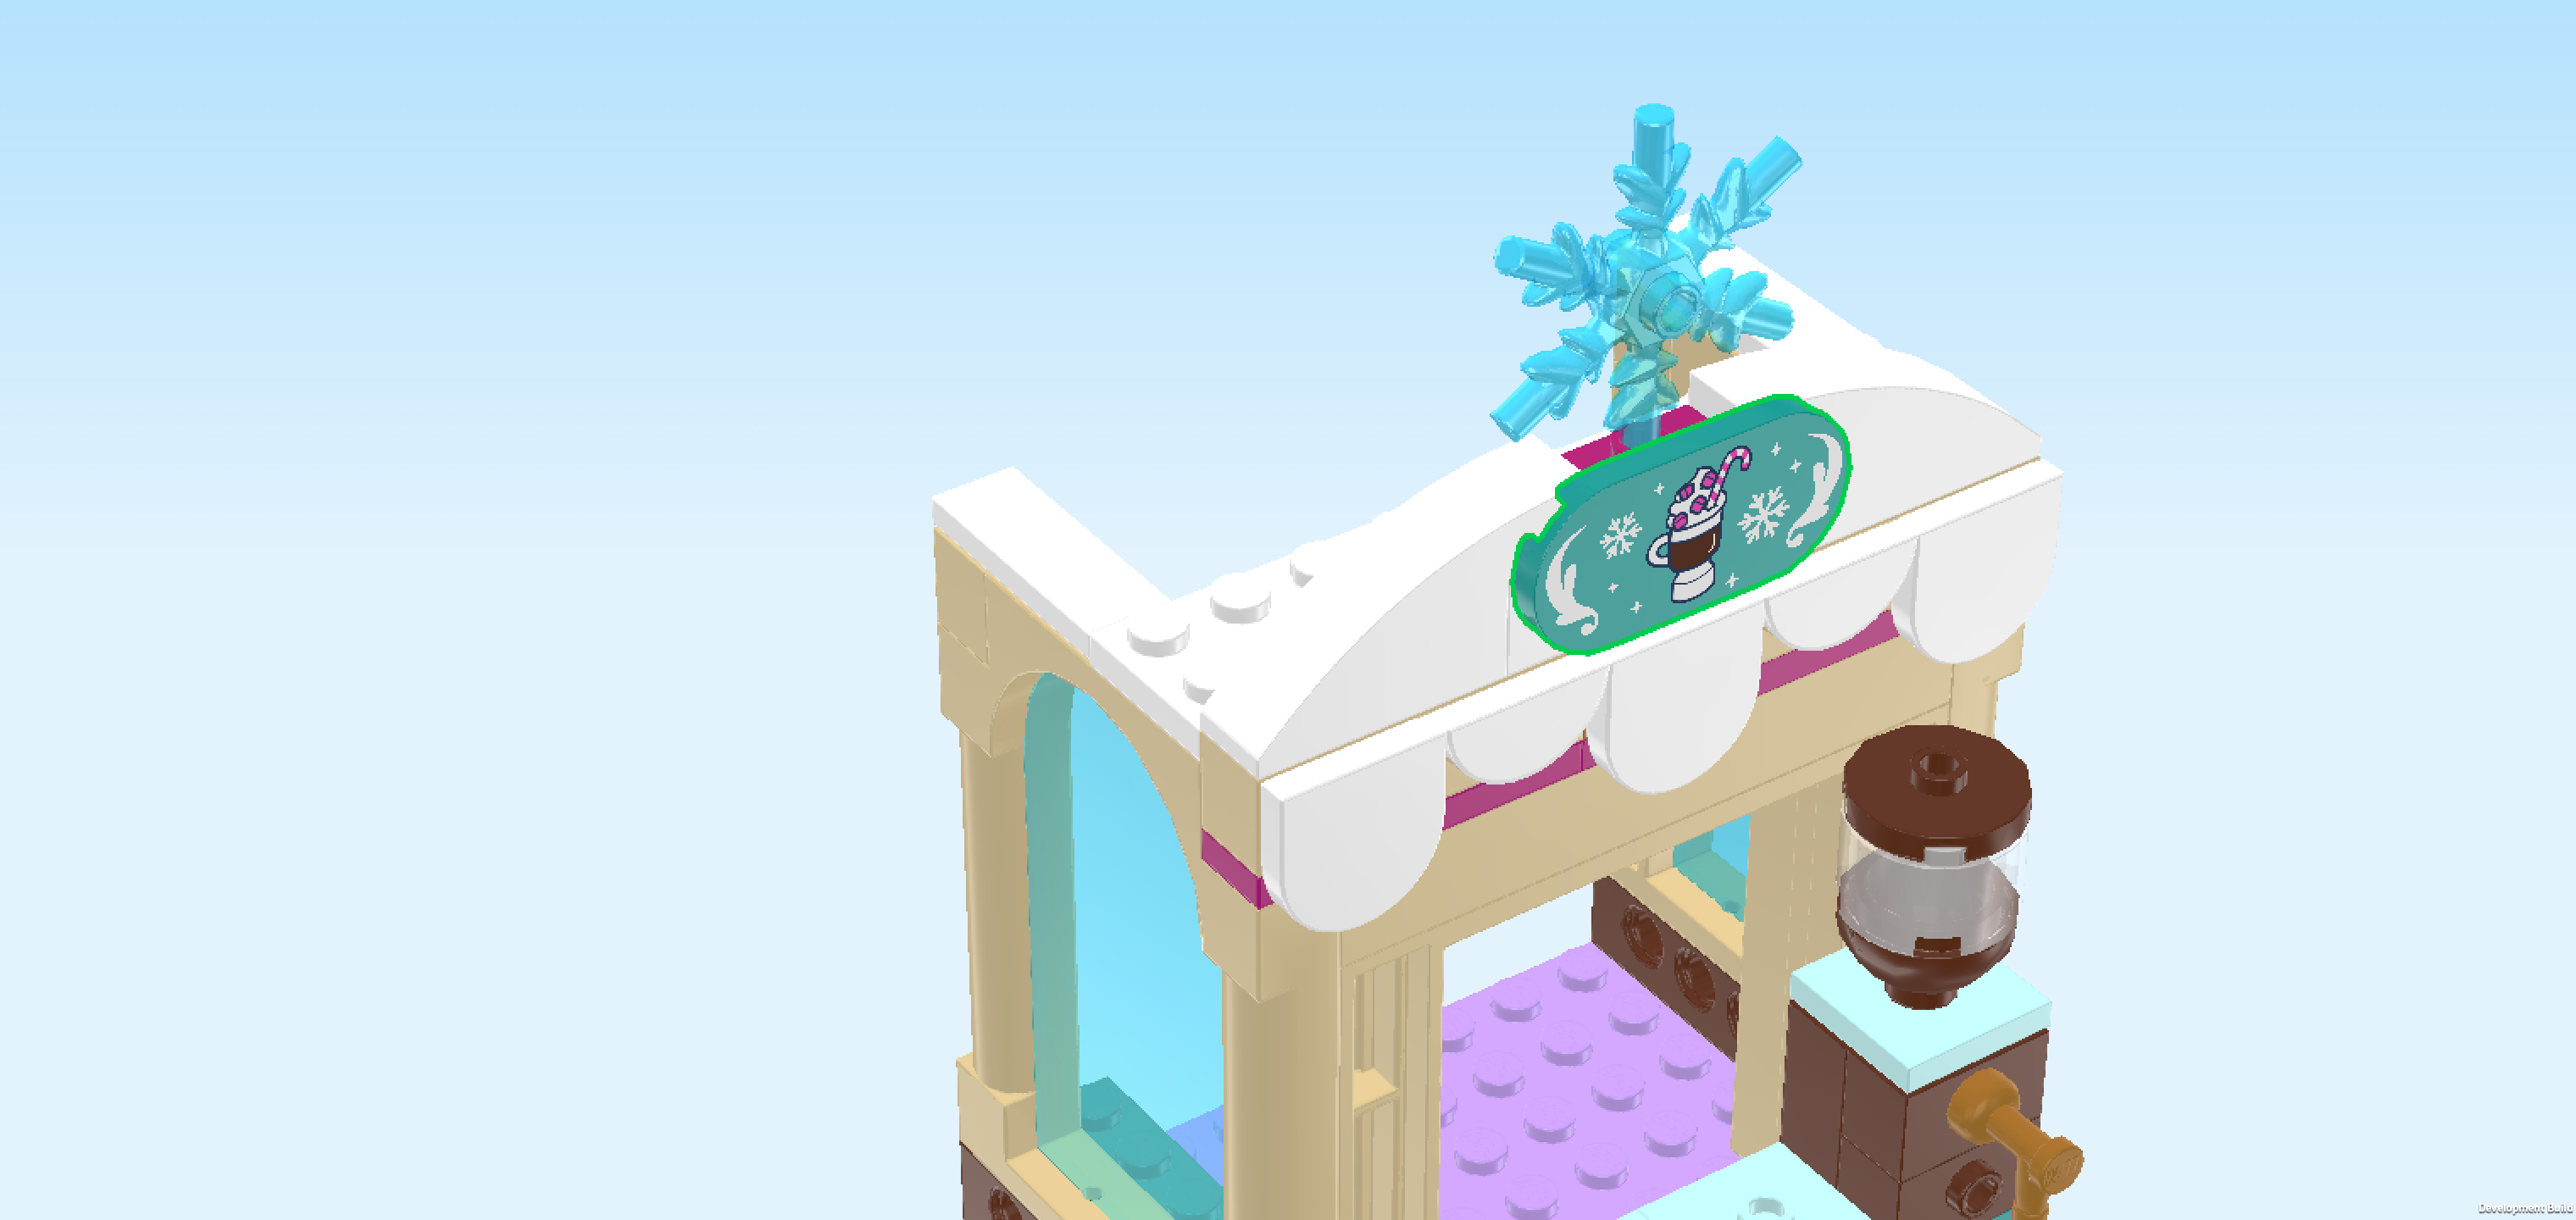
| Find 1 teal blue flat tile 2x4 with round corners. |
| Put it upright horizontally on the 4 side knobs pointing to the front which are located directly below the snowflake. Its top edge should be flush with the top edges of the curve tiles behind it. |
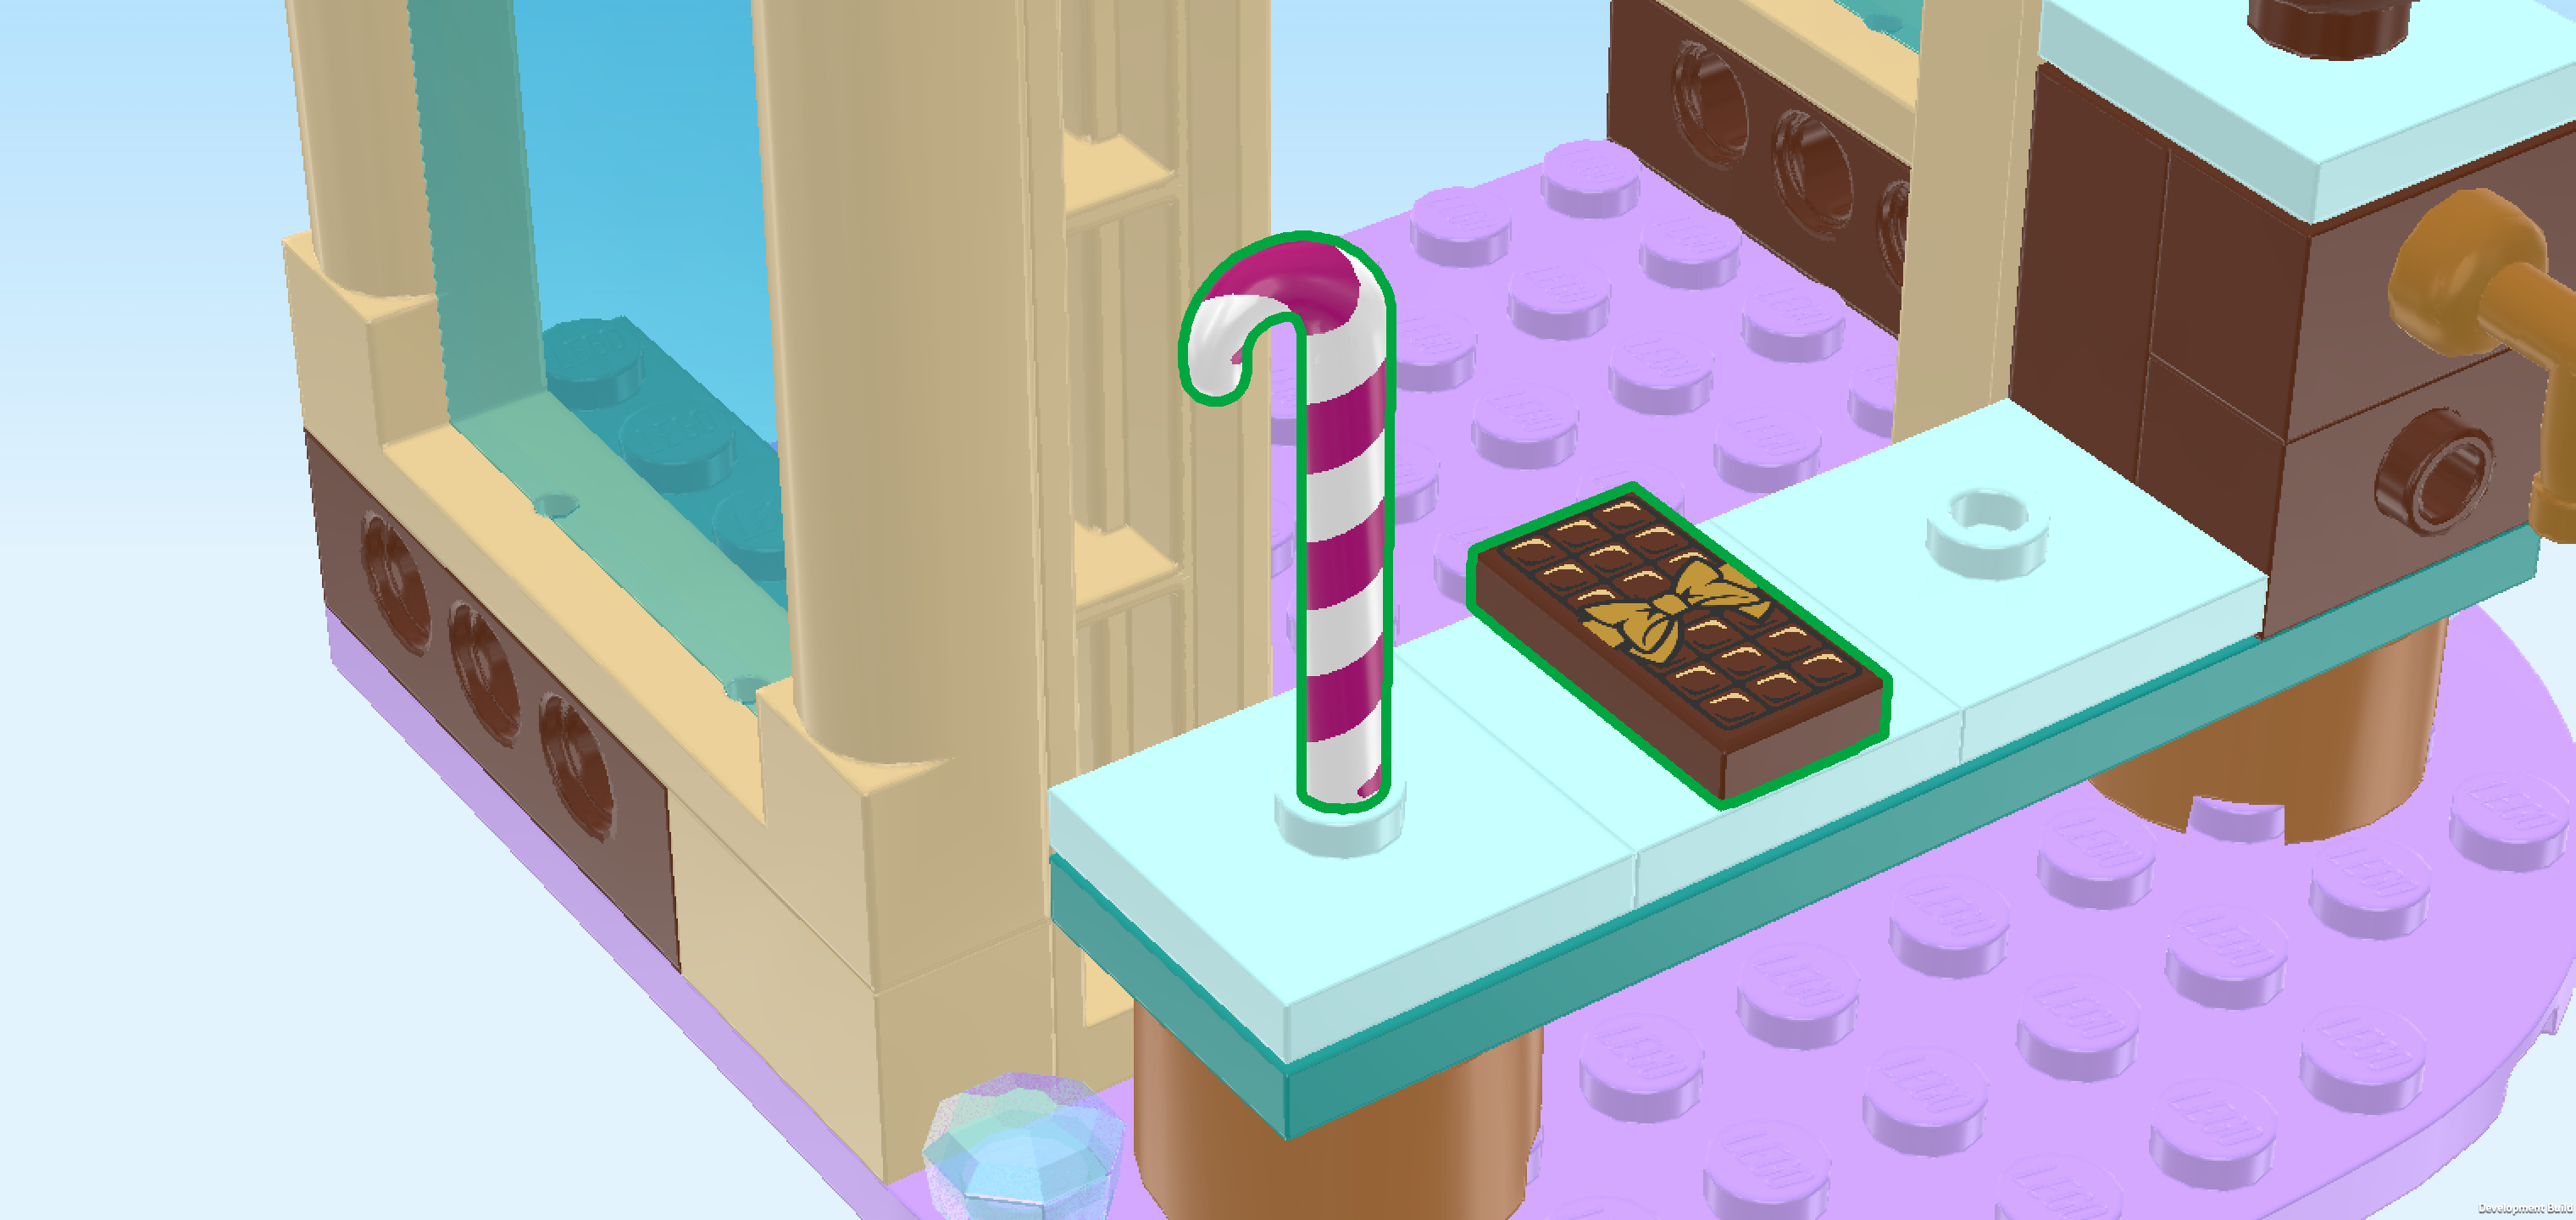
| The middle of this tile is printed with a cup of tasty hot chocolate complete with whipped cream, pink sprinkles and a candy cane! To its left and right are snowflakes and tiny twinkly stars, and there are white ornaments on the round edges. |
| Collect the following 2 pieces: |
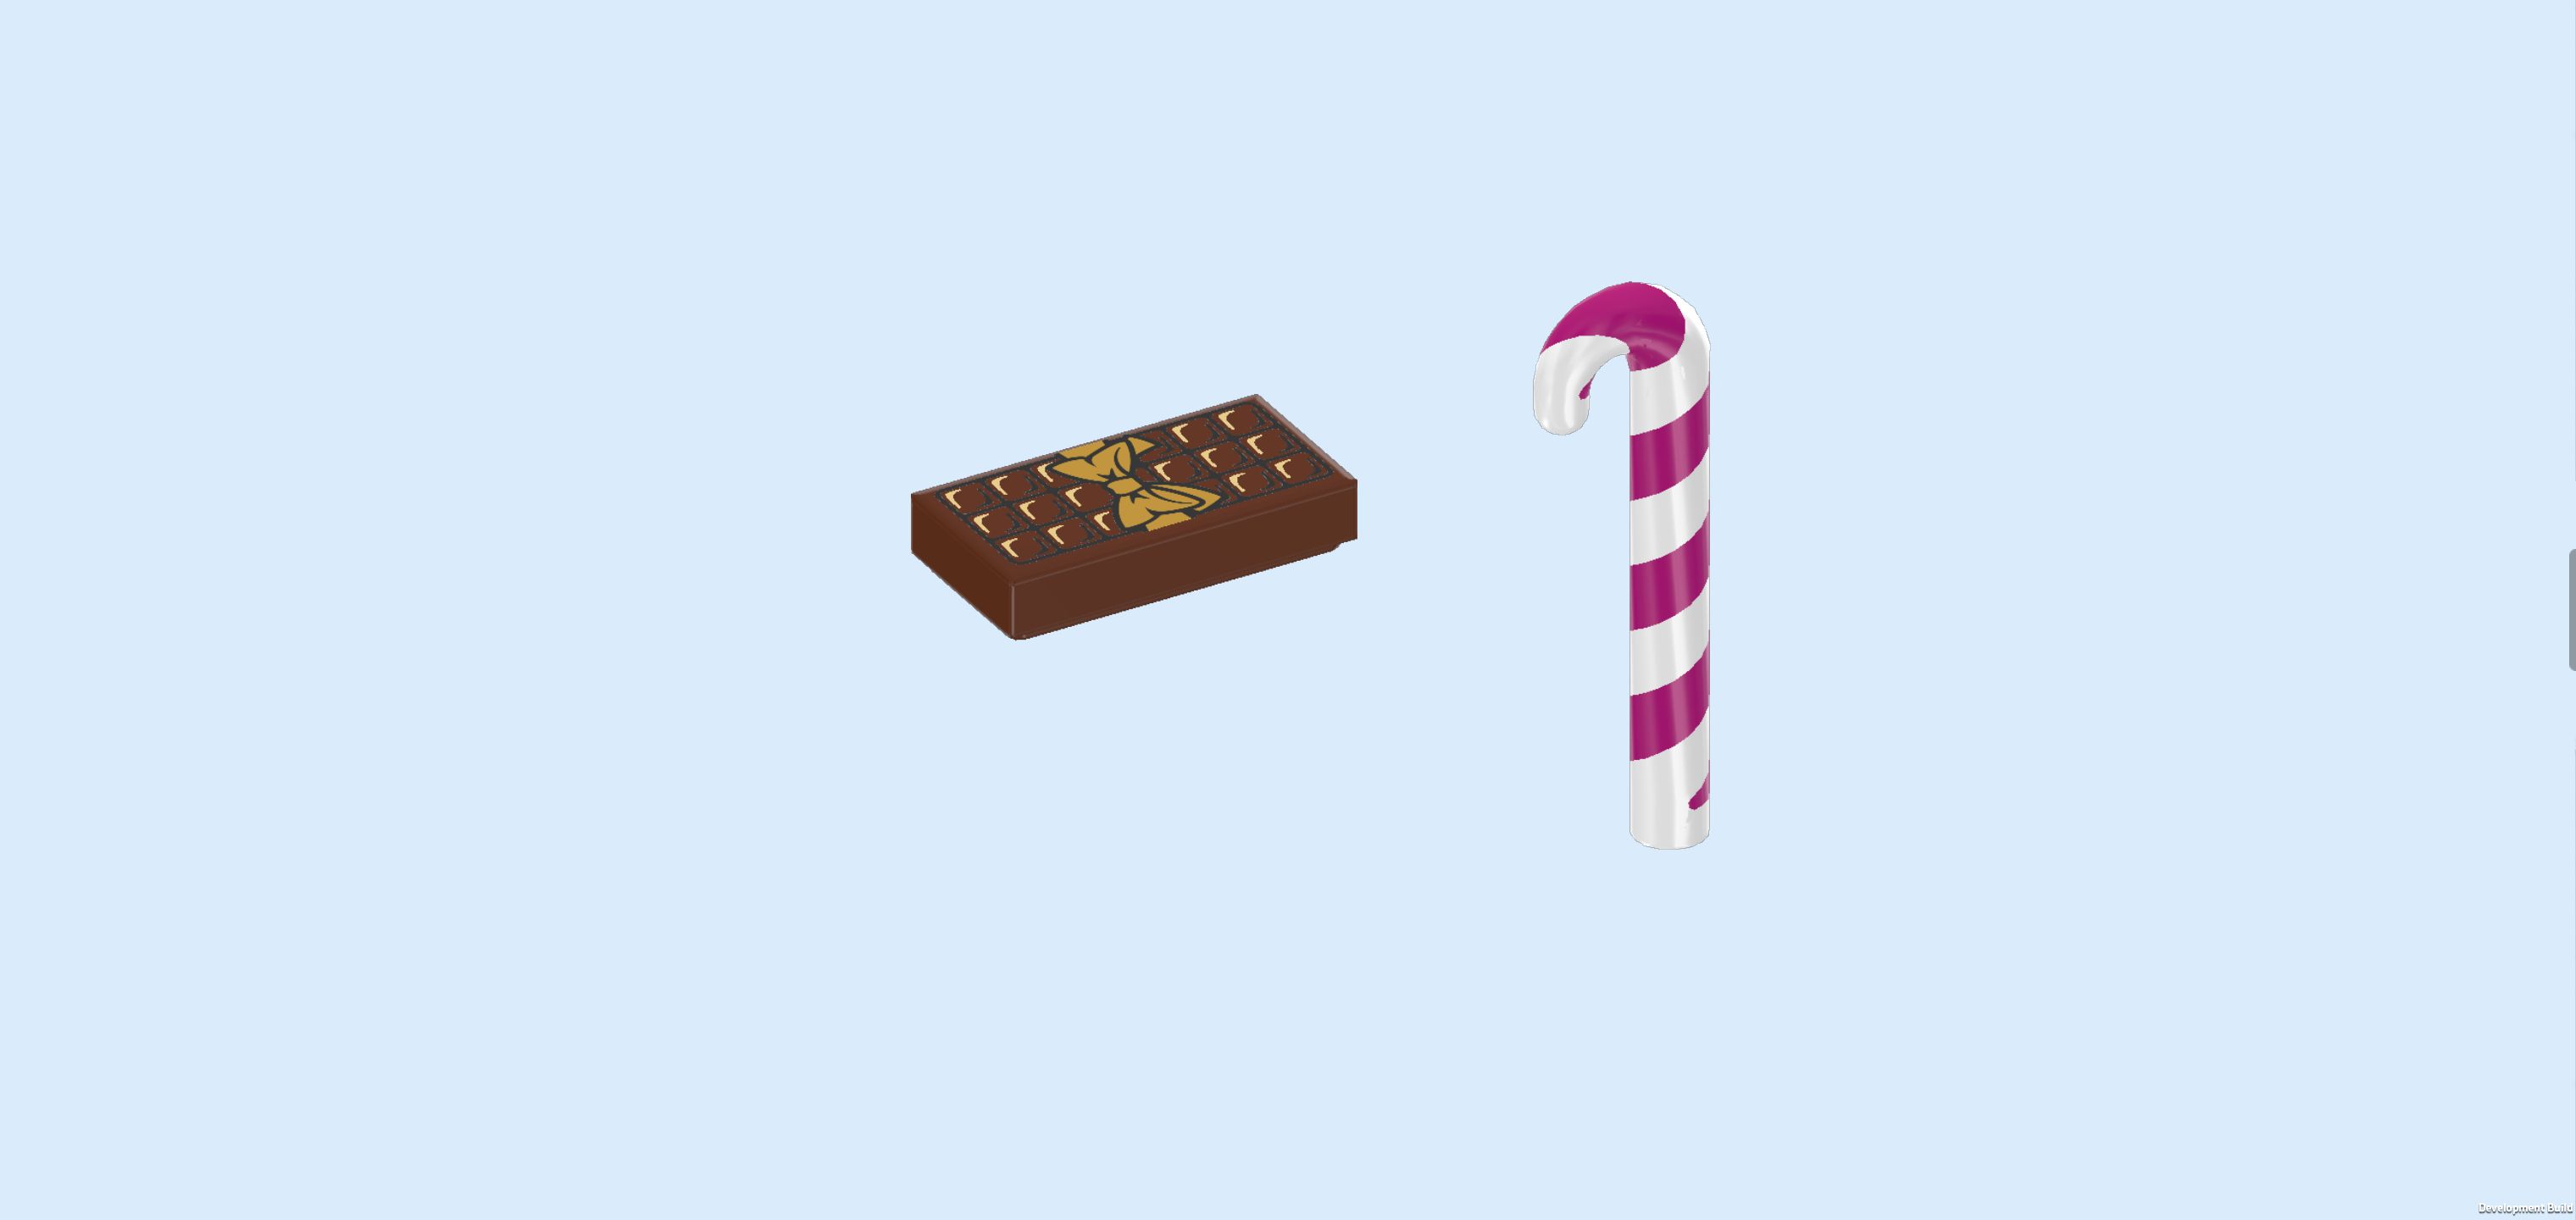
| 1 reddish brown flat tile 1x2, |
| and 1 white and purple violet candy cane. |
| Put the flat tile 1x2 vertically on the stand's table, for instance on its second knob from the left. |
| This piece is printed with a box of chocolates in see-through packaging with a golden ribbon on top! |
| Insert the straight end of the candy cane into the hollow knob to the left of the previous piece, bent end towards the left. |
| Collect the following 2 pieces: |
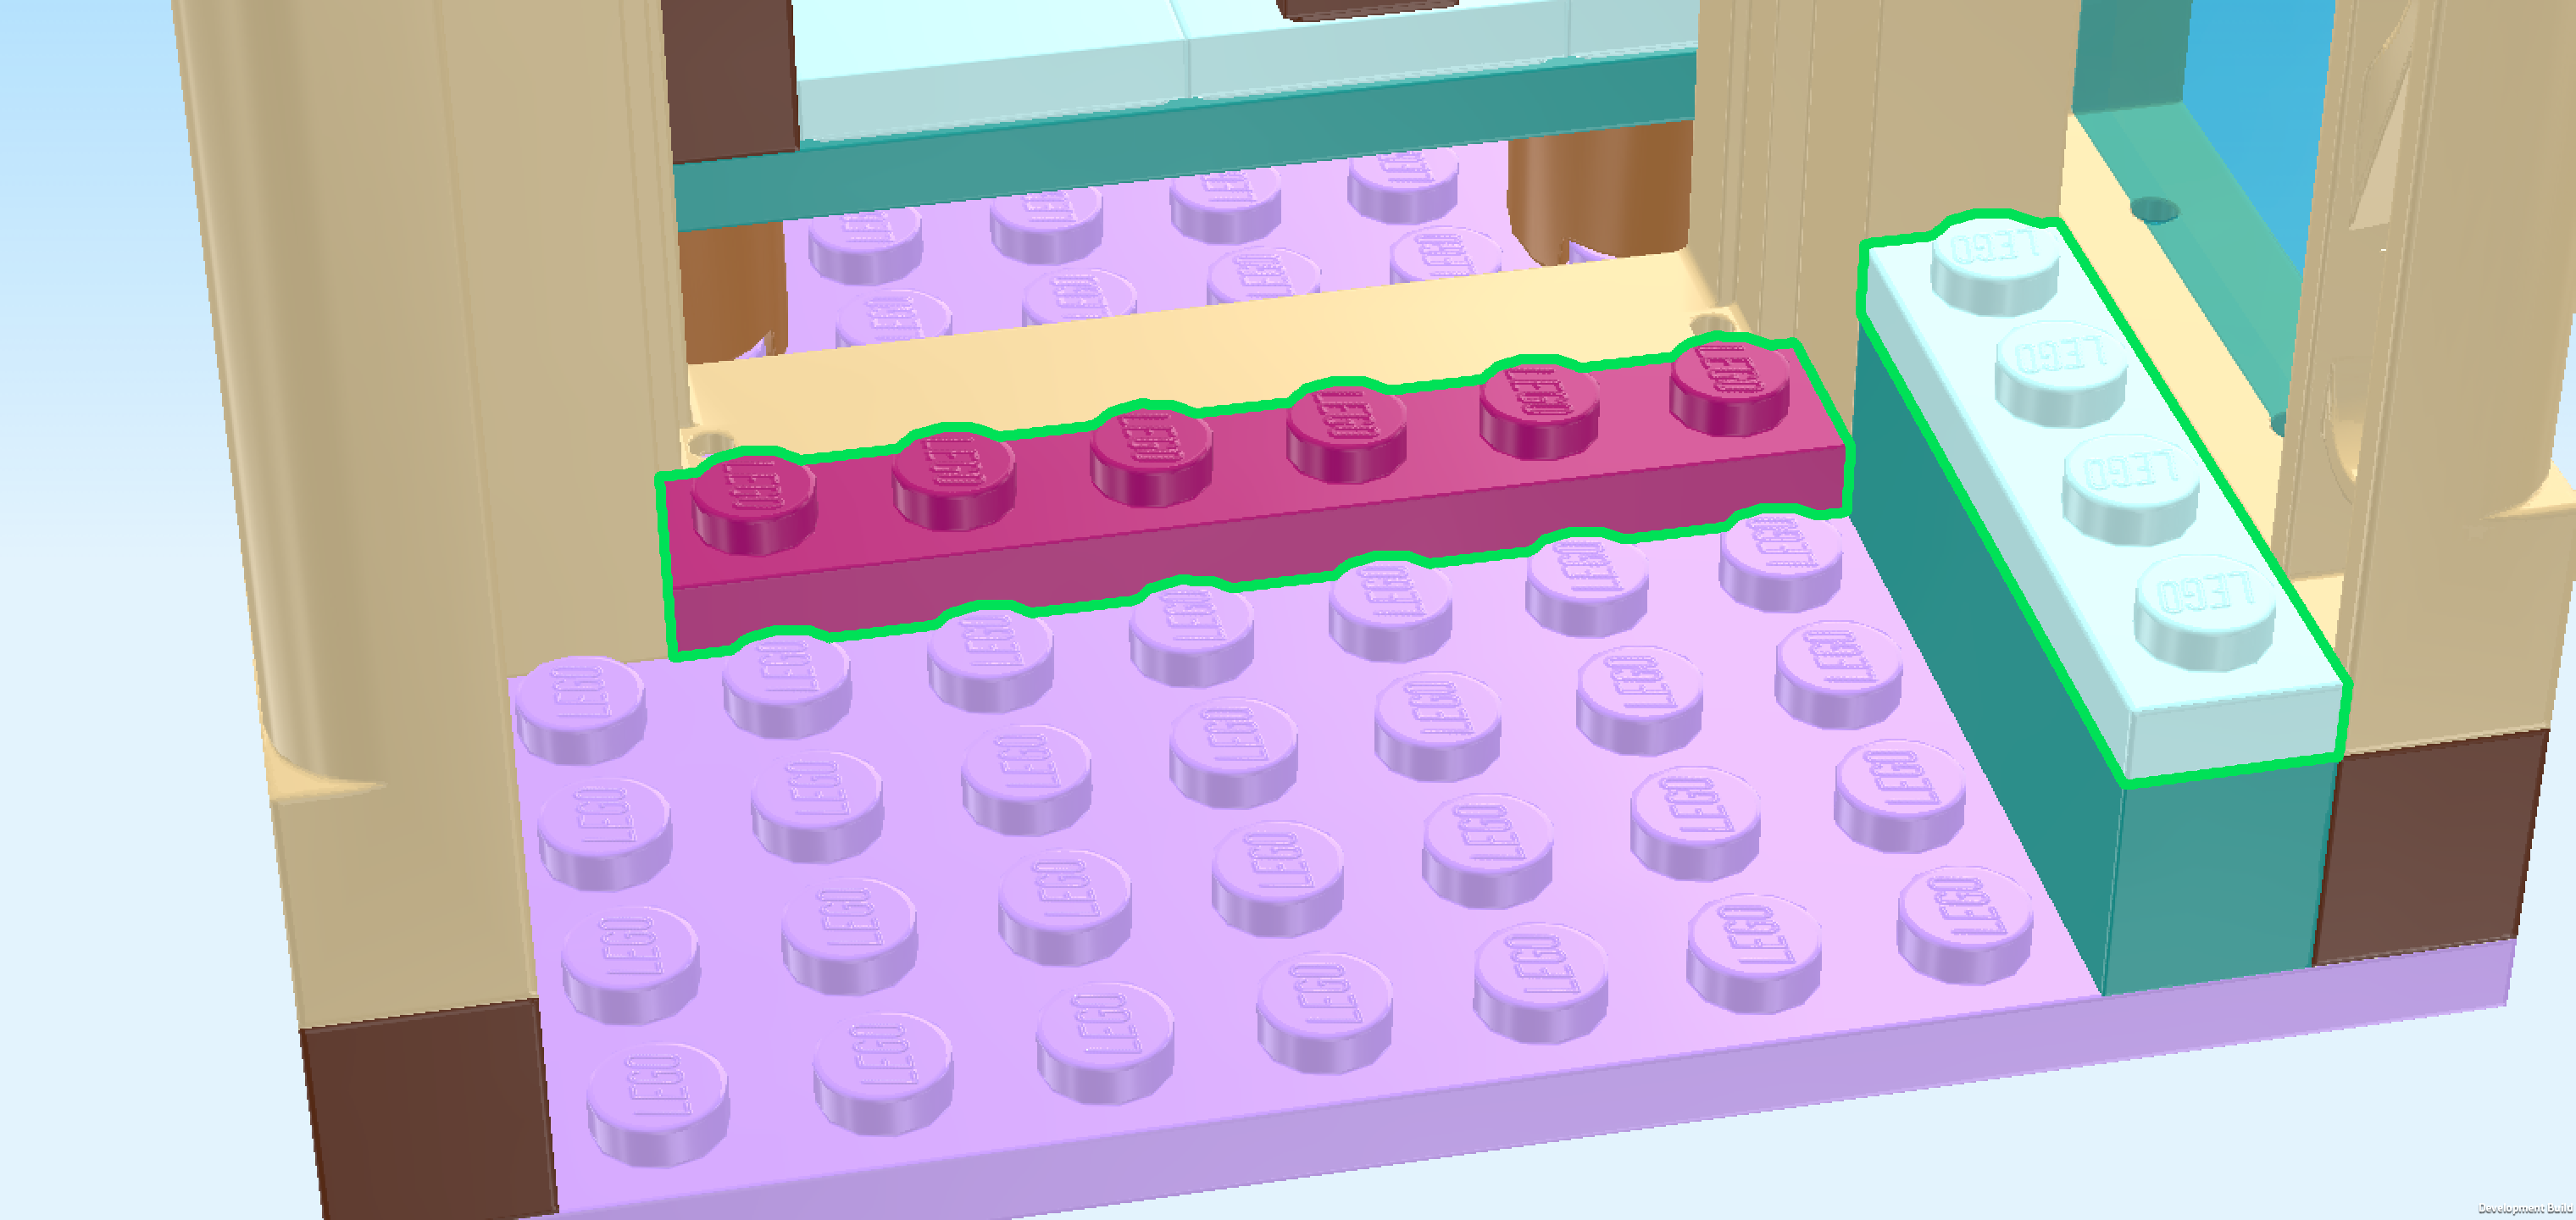
| 1 purple violet plate 1x6, |
| and 1 aqua blue plate 1x4. |
| Before mounting them, turn the hot chocolate stand around so that now the rounded corners of the base plate are towards the back. Make sure the windows are still on the left and right. |
| Put the plate 1x6 horizontally centered in front of the doorstep. This means it will sit on the fifth row from the front. |
| Put the plate 1x4 vertically on the brick 1x4 that is mounted next to the right window. |
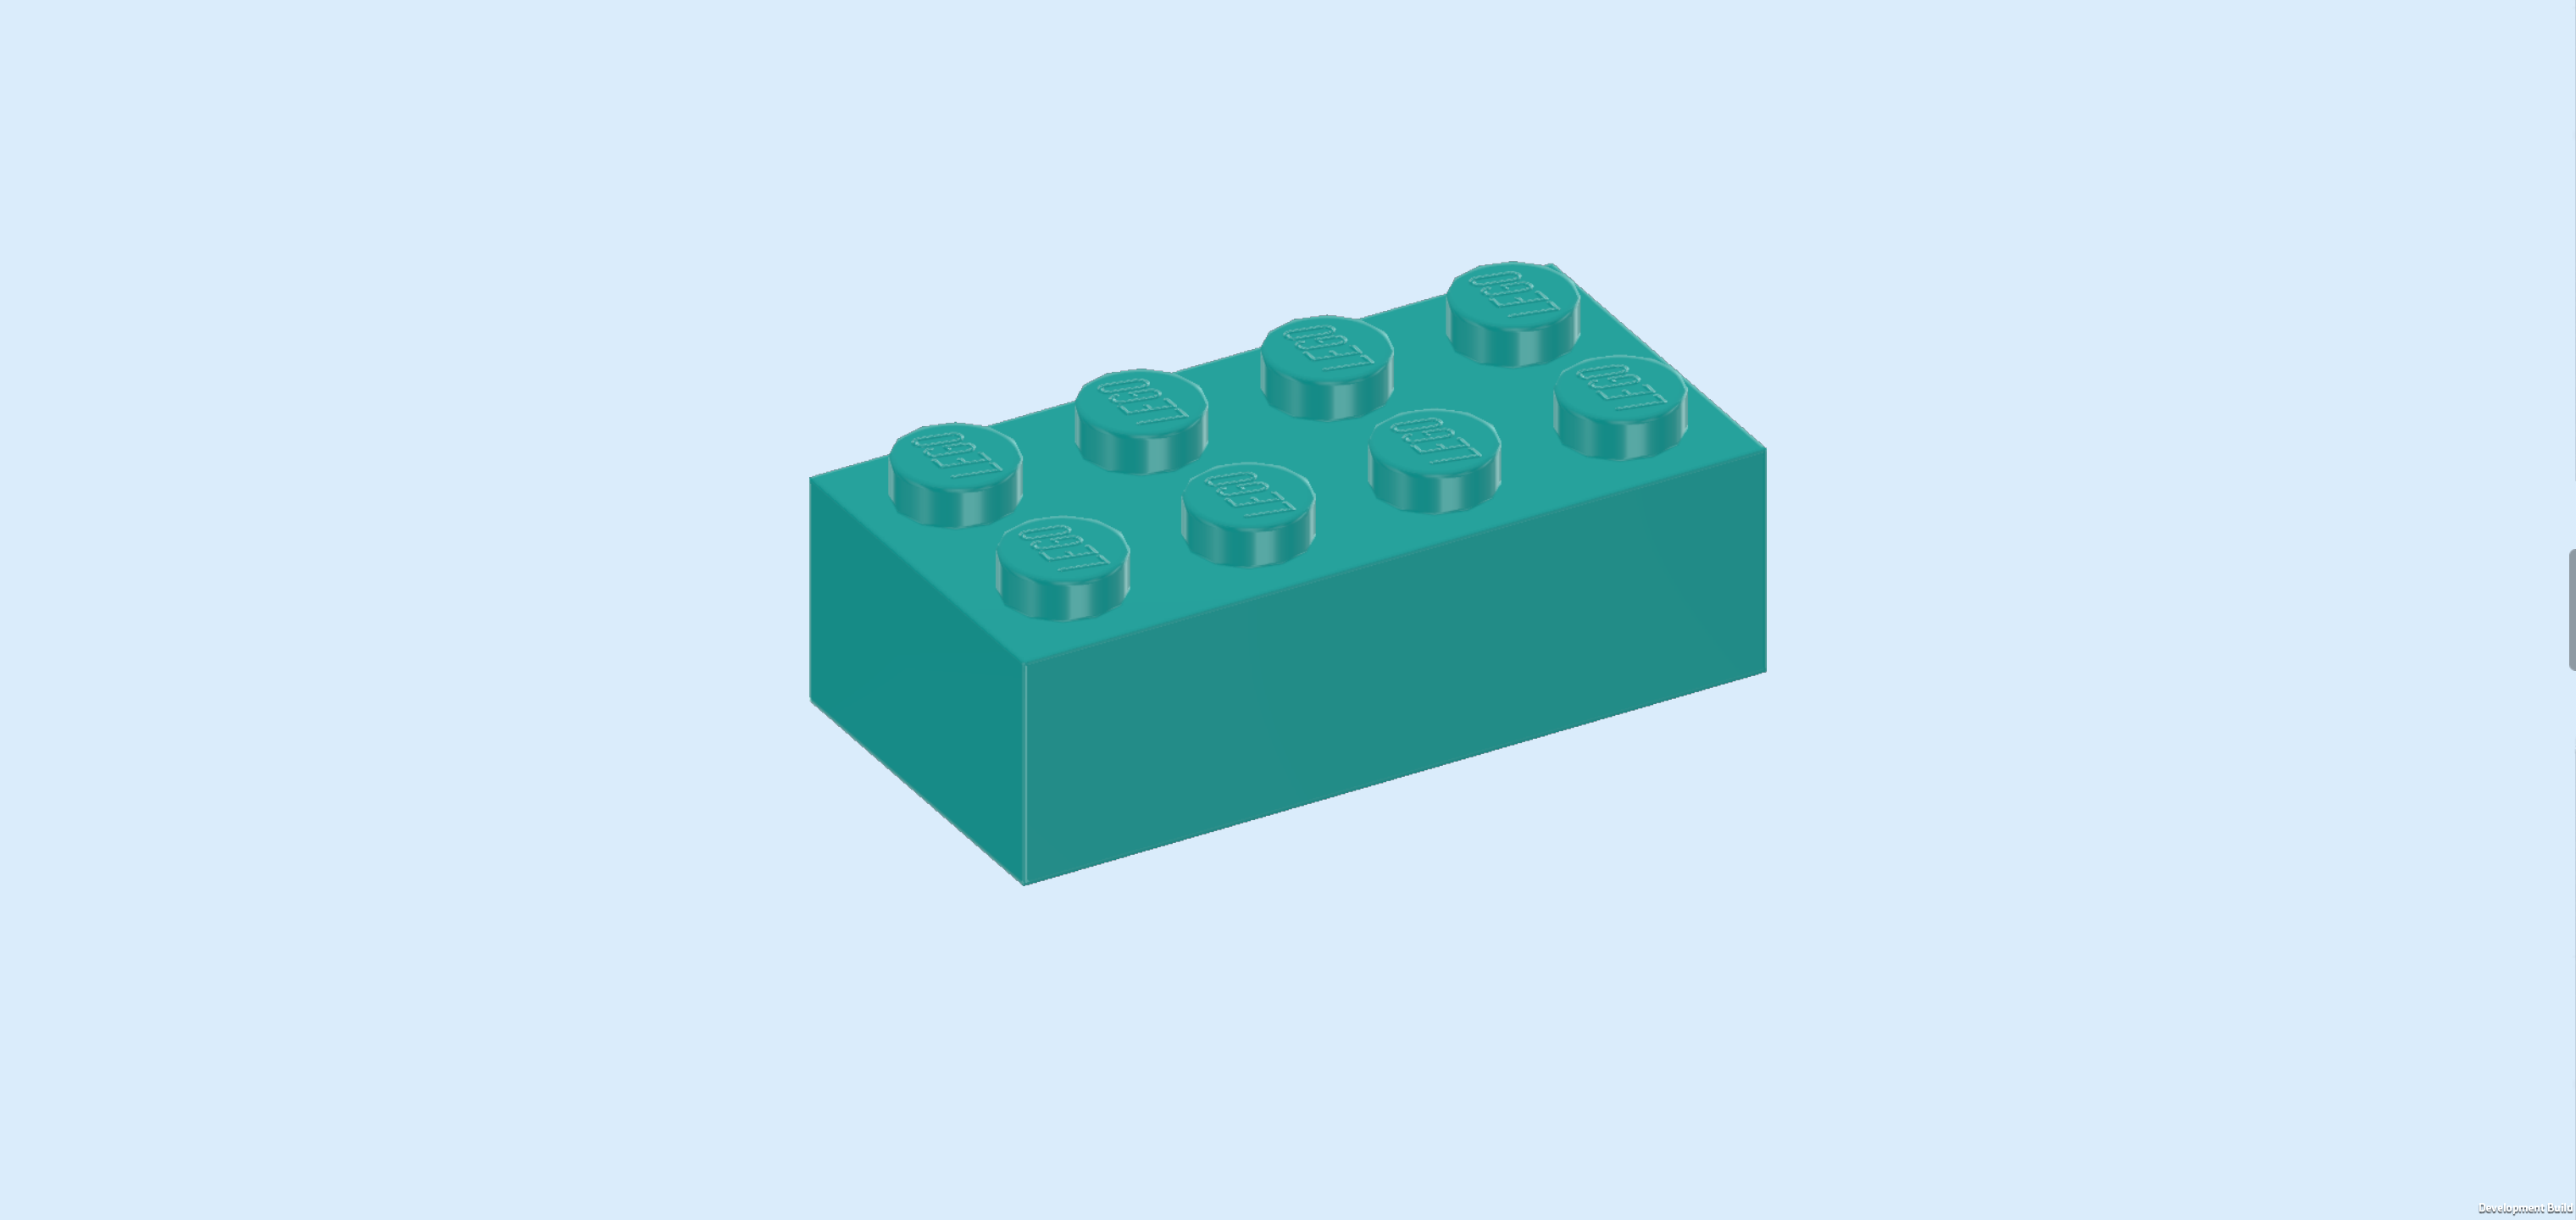
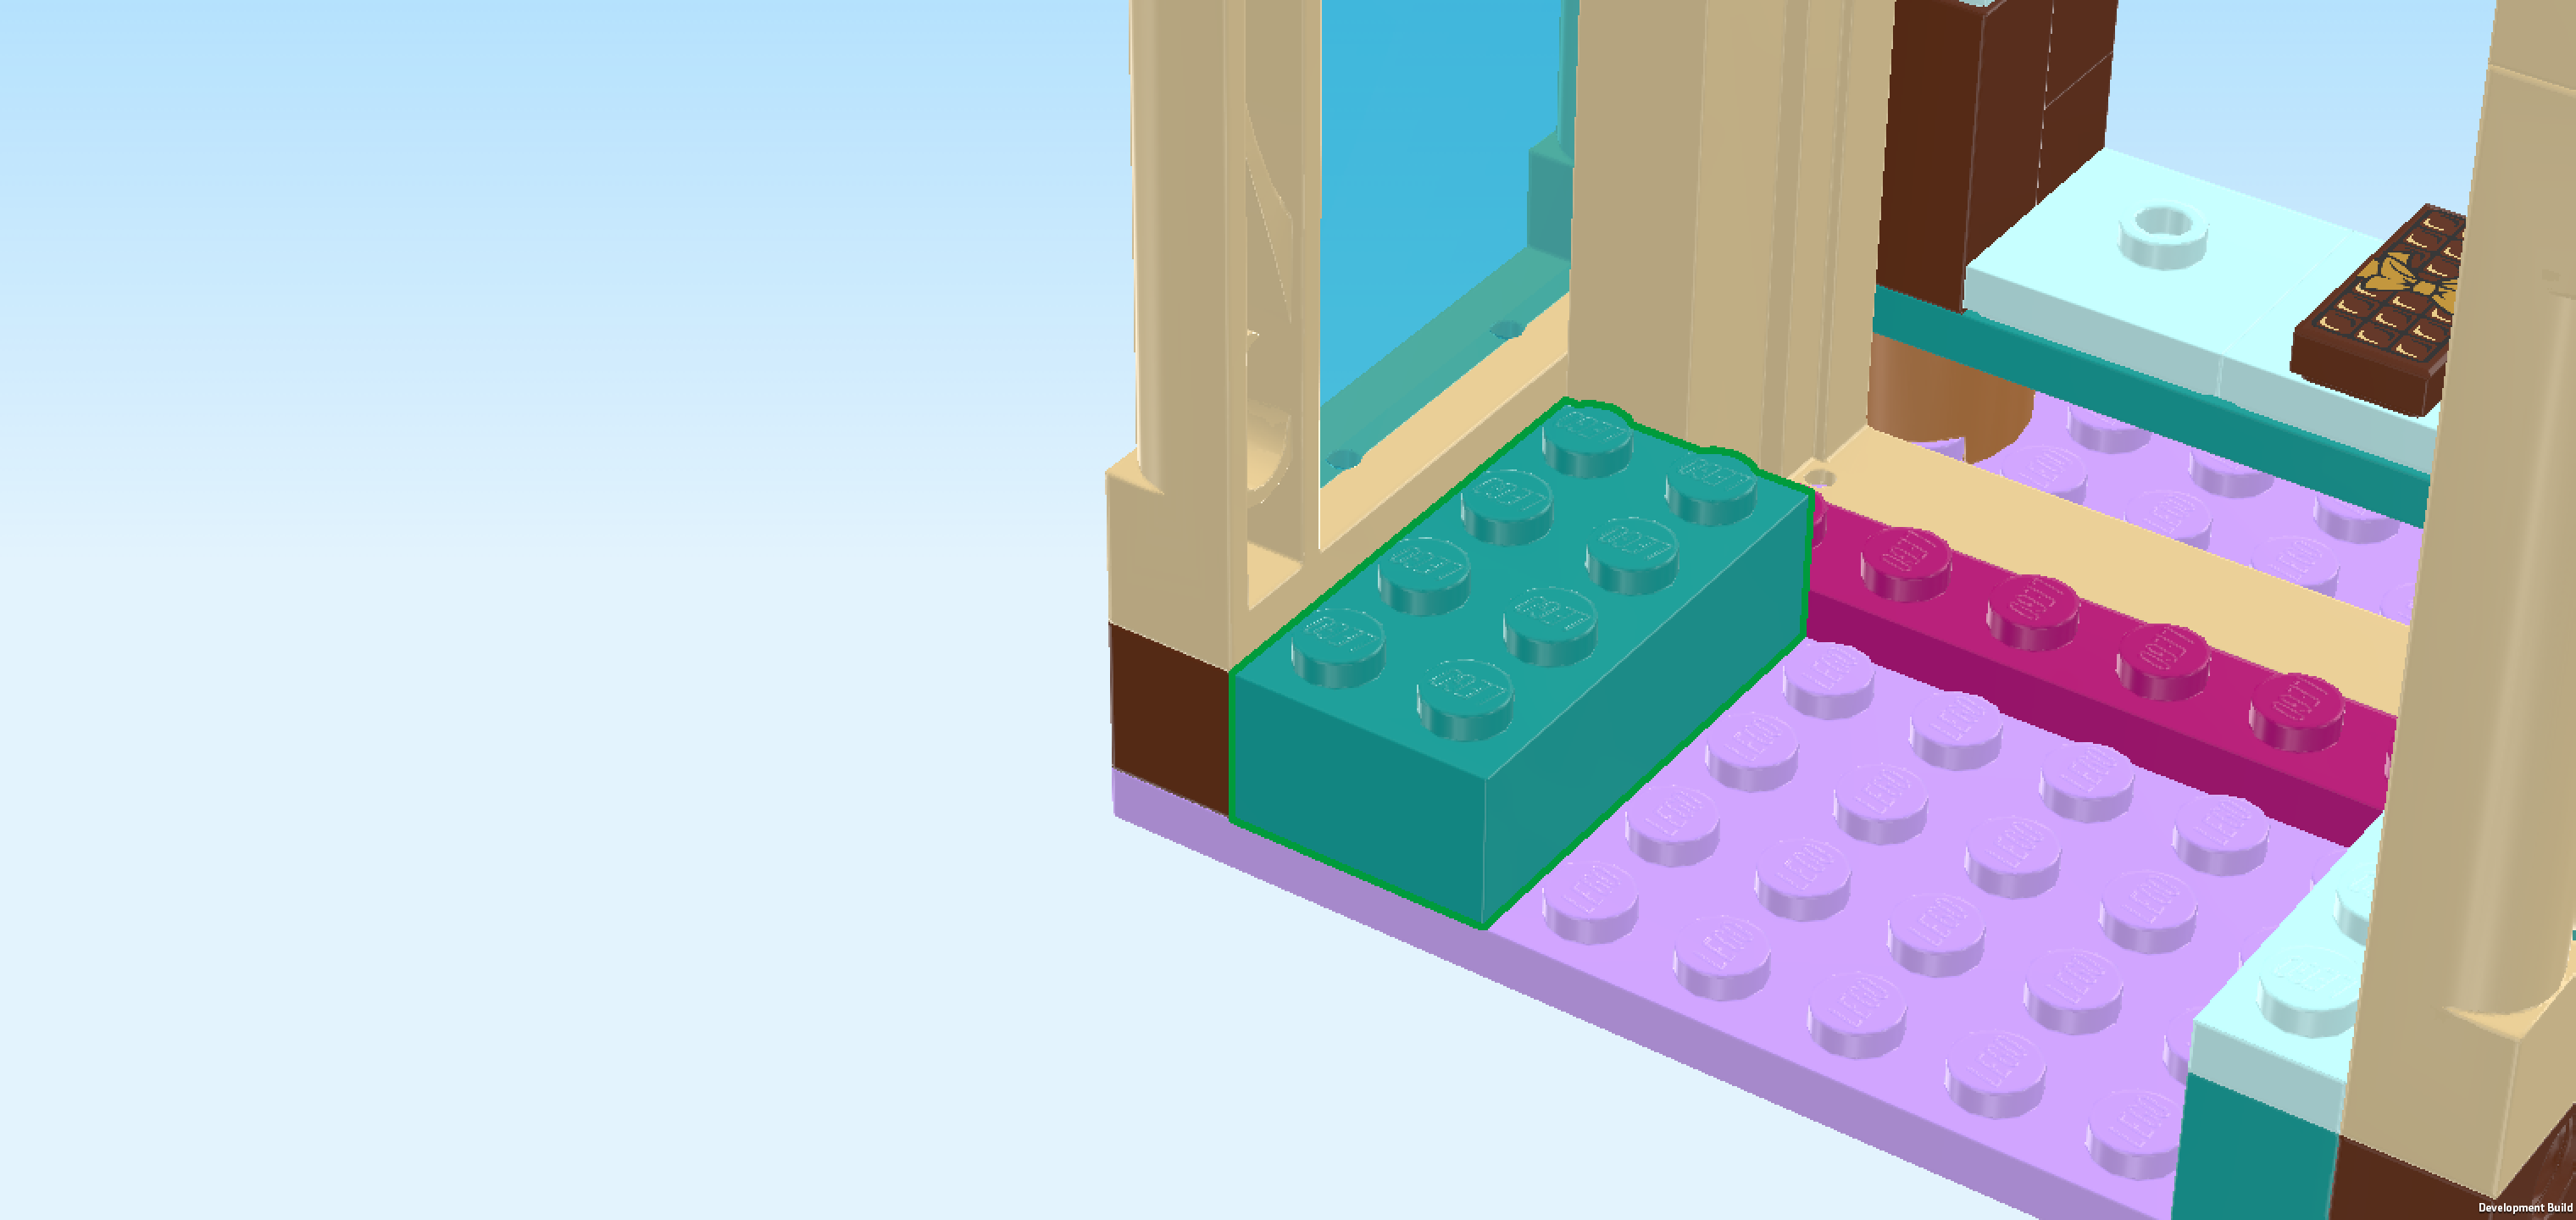
| Find 1 teal blue brick 2x4. |
| Put it vertically next to the left window. |
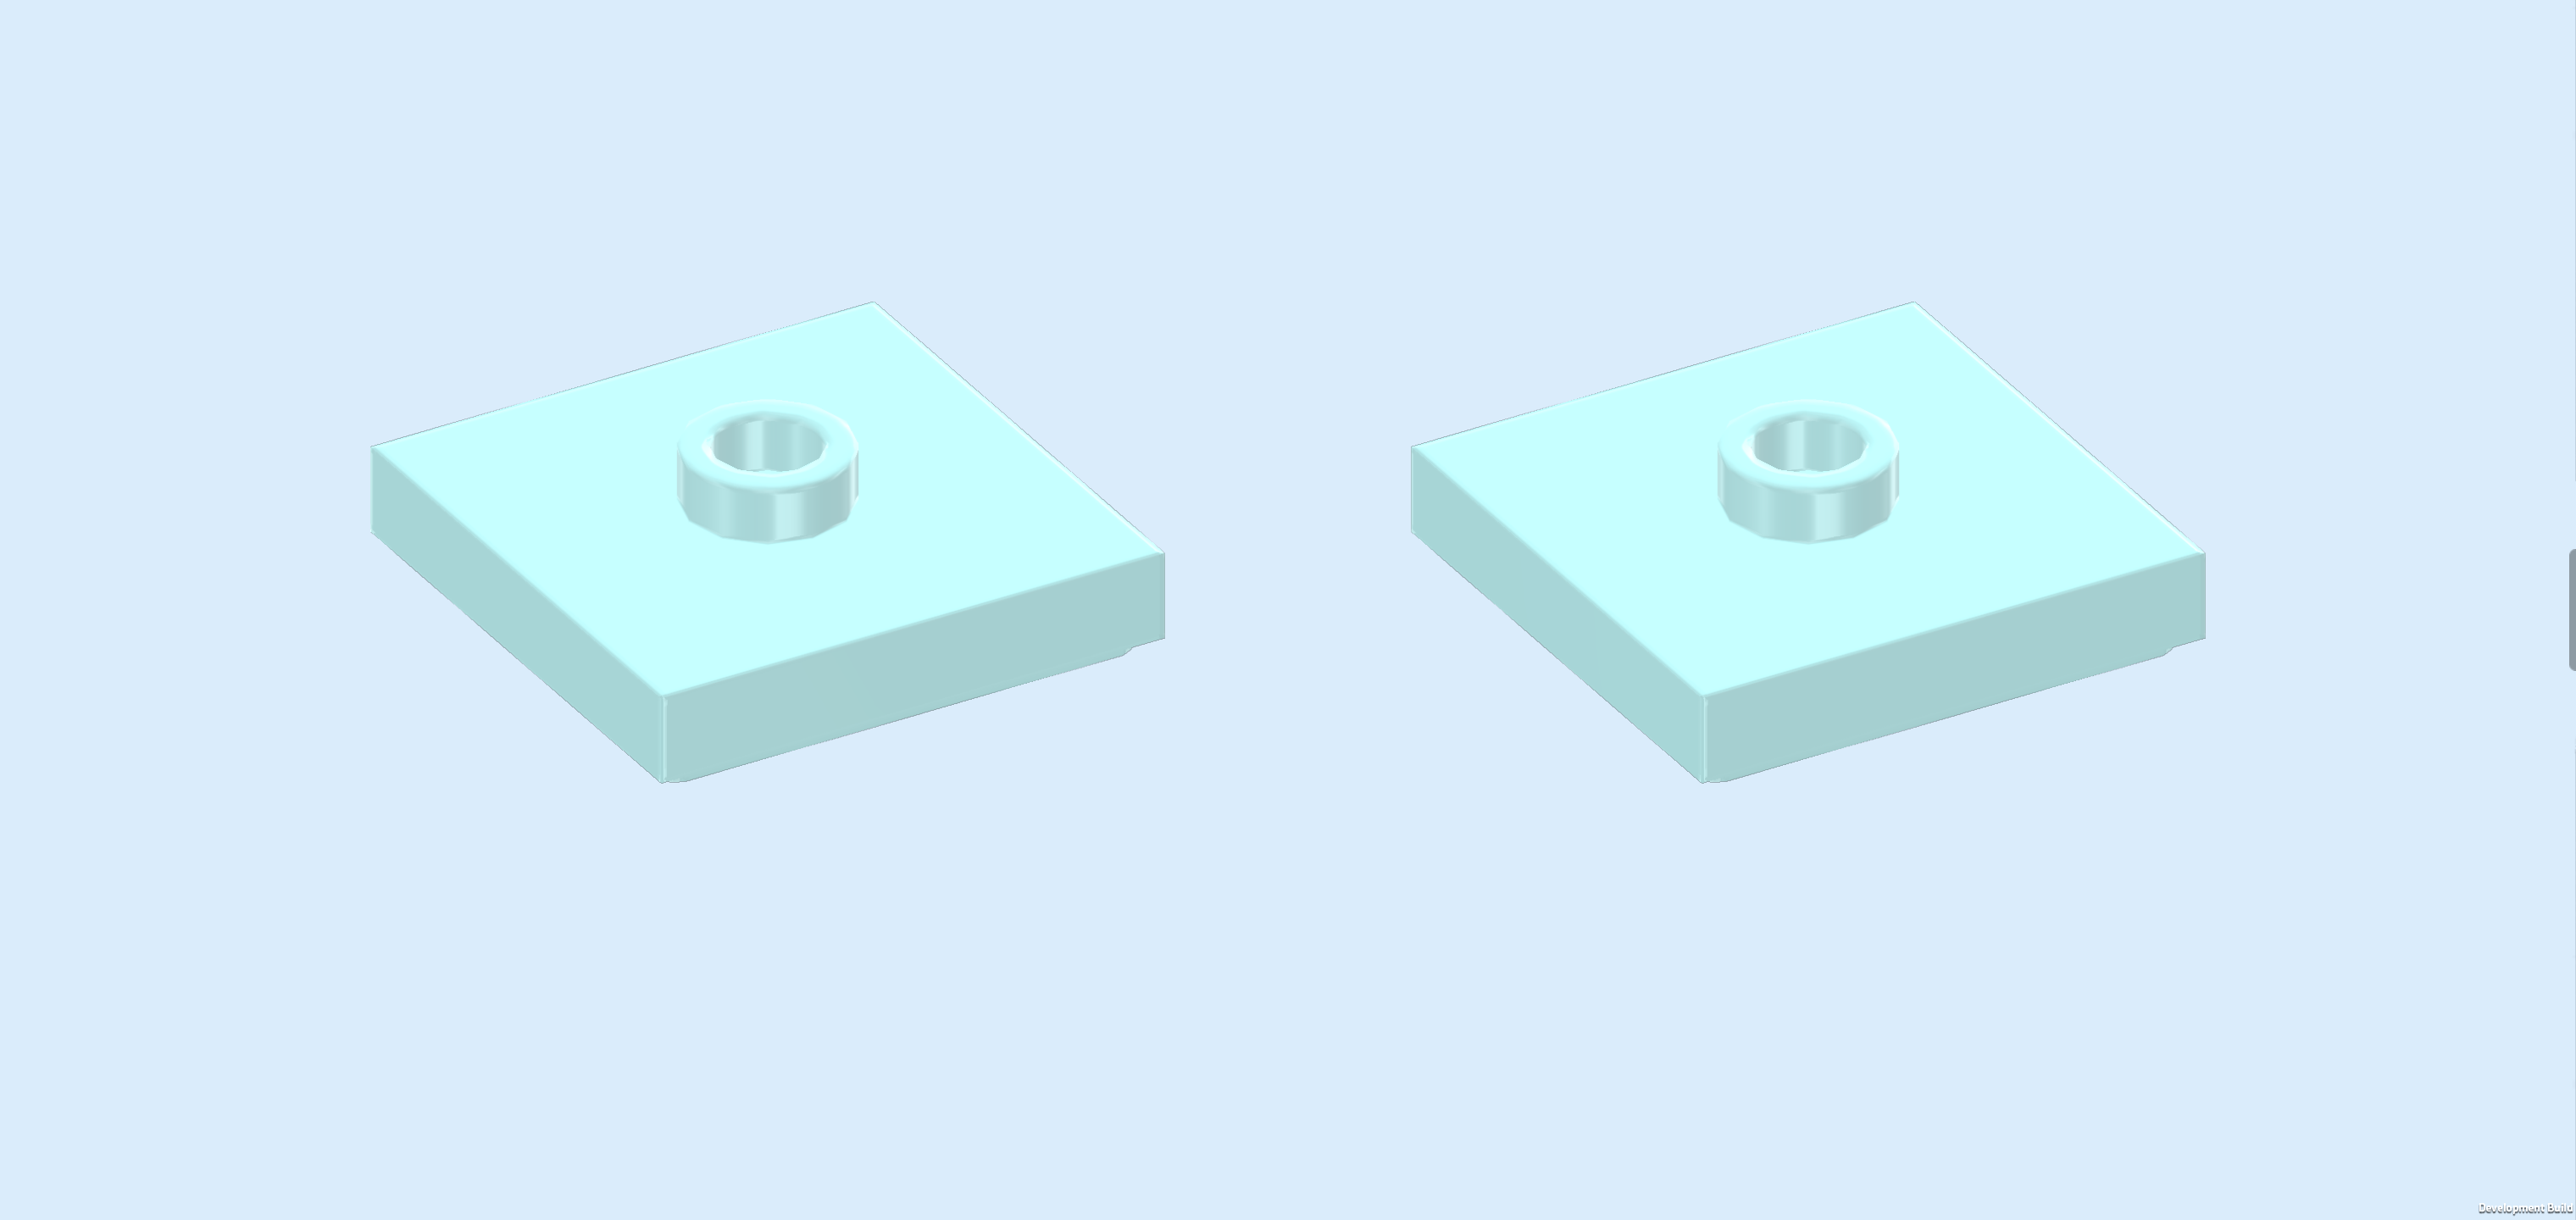
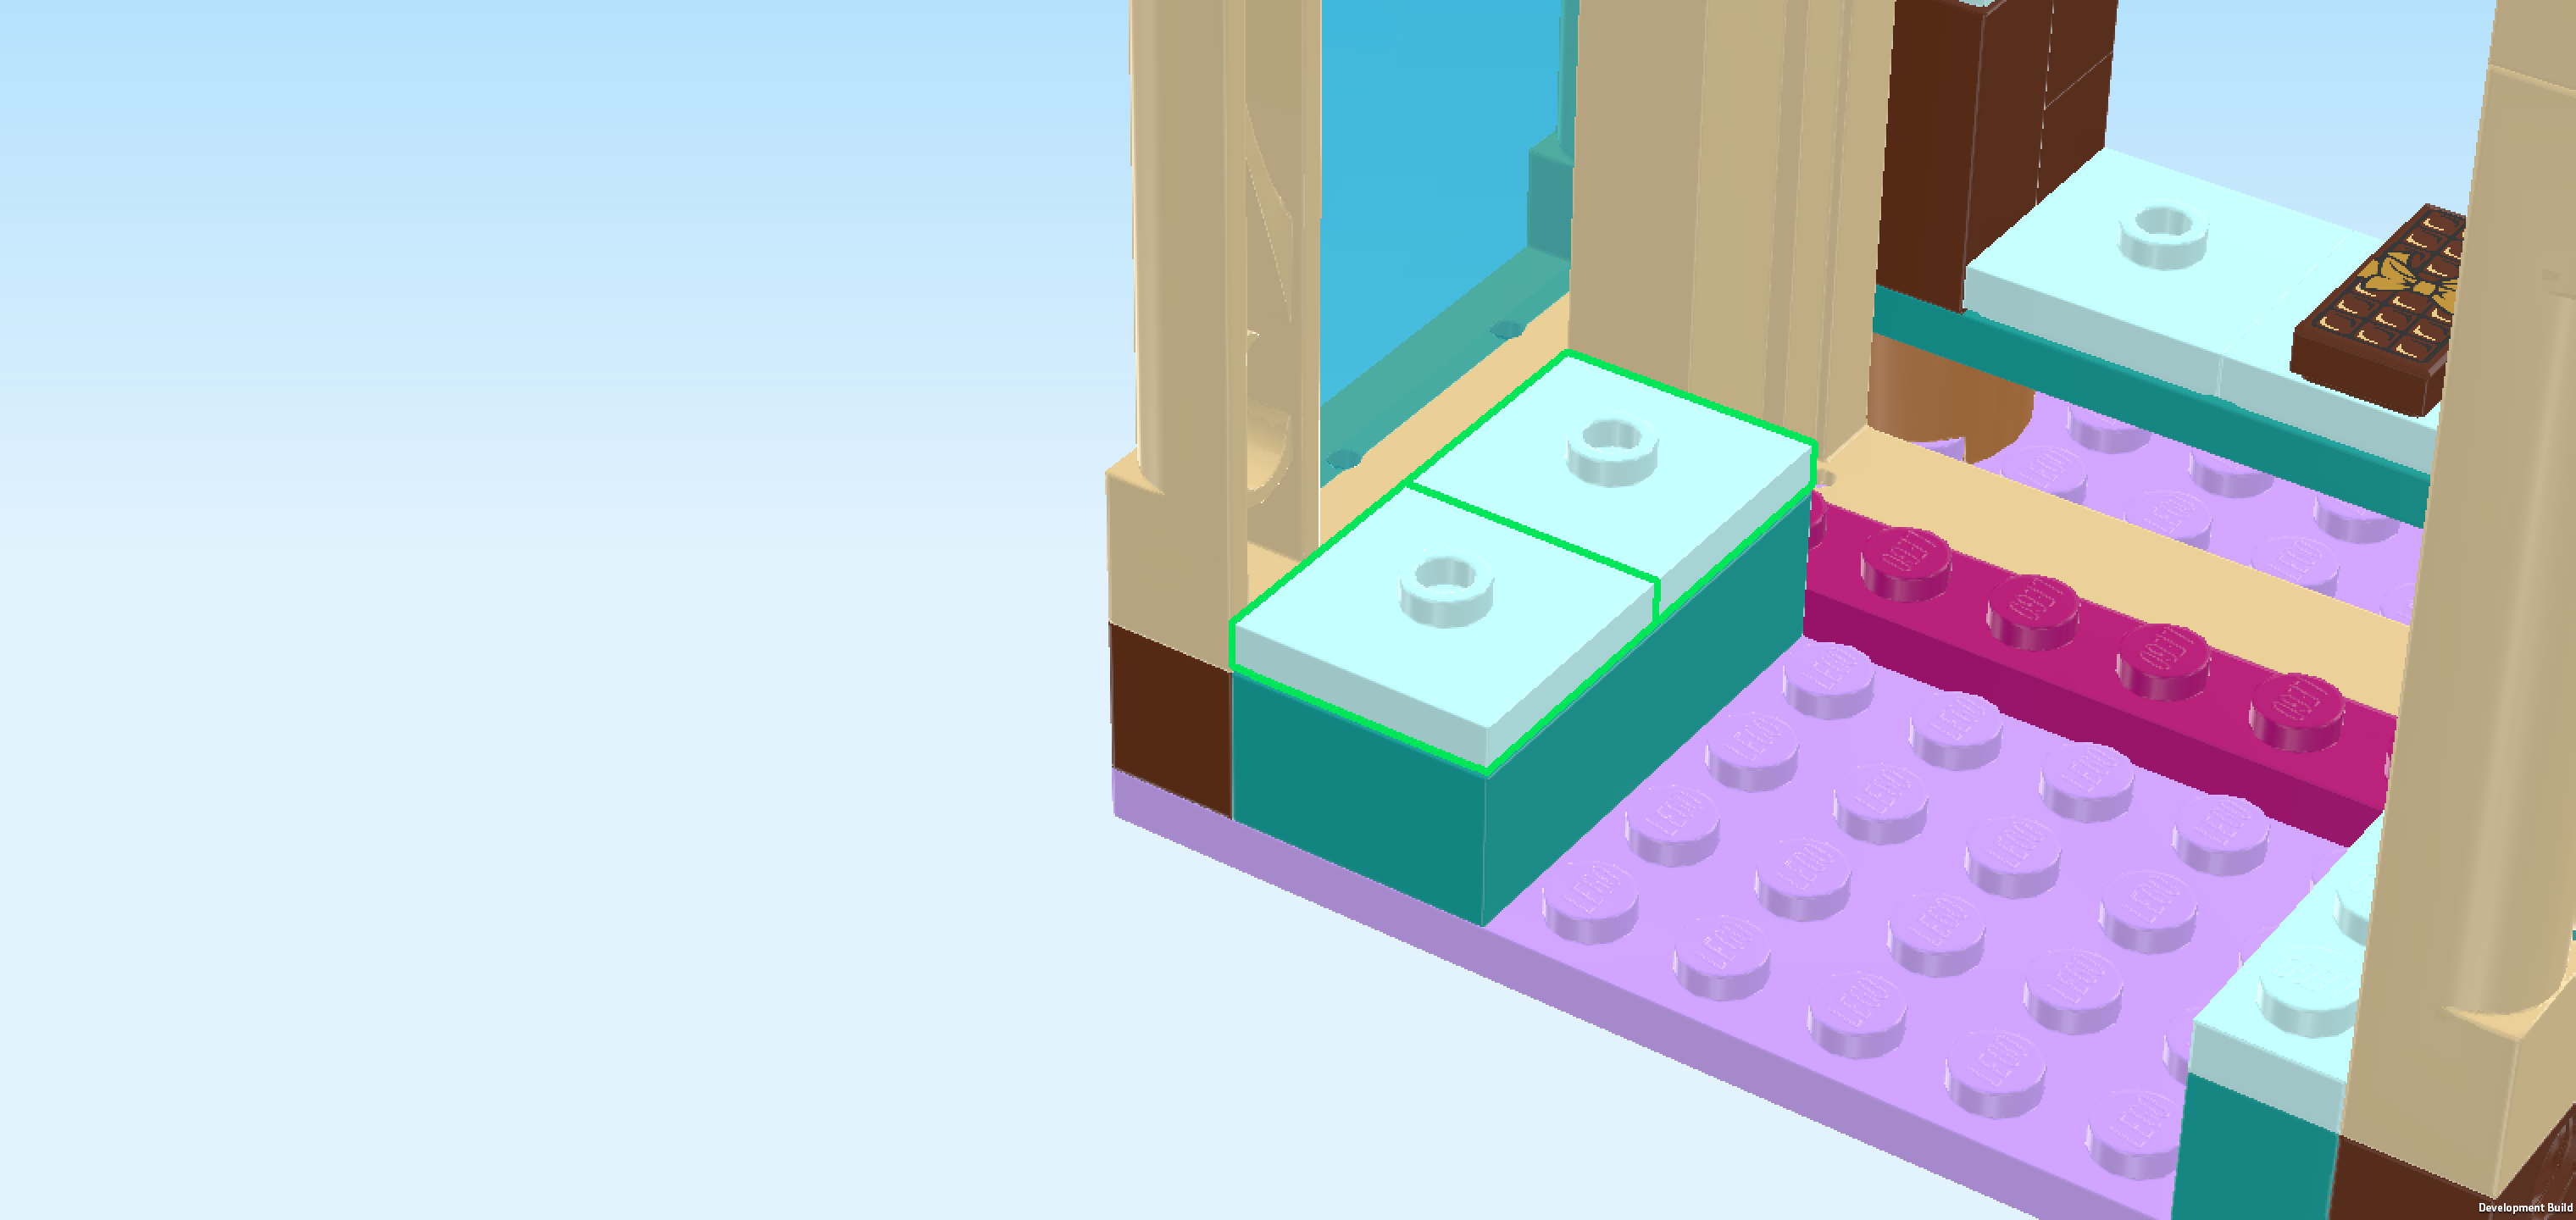
| Find 2 aqua blue plates 2x2 with 1 knob. |
| Put them next to each other on the previous piece to cover it. |
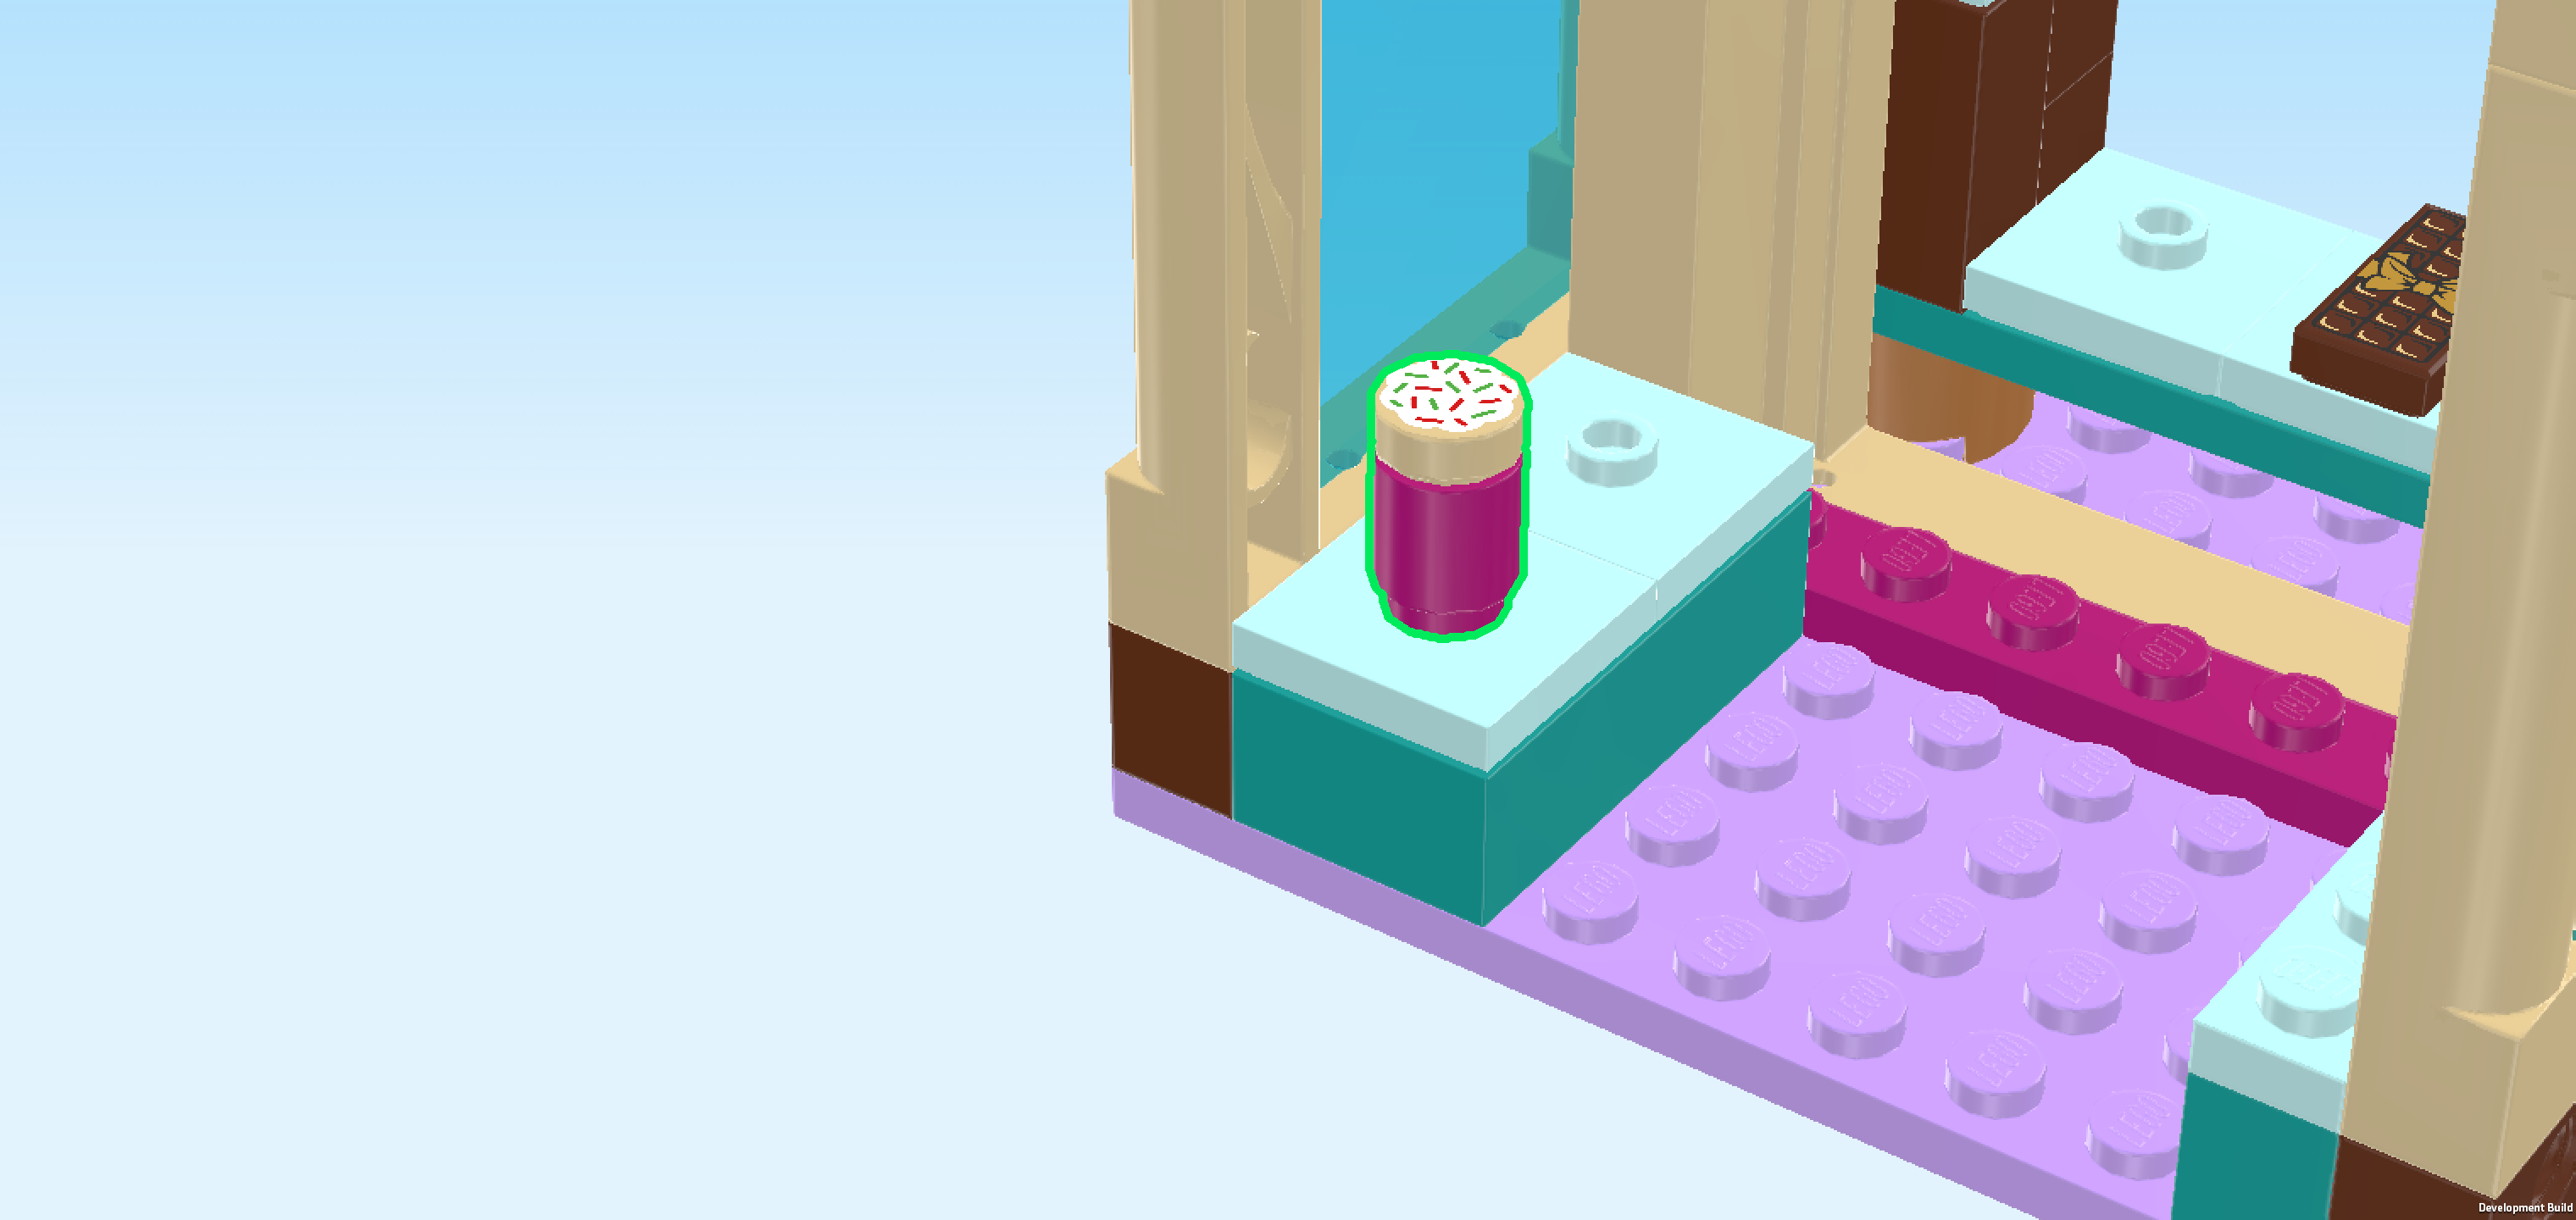
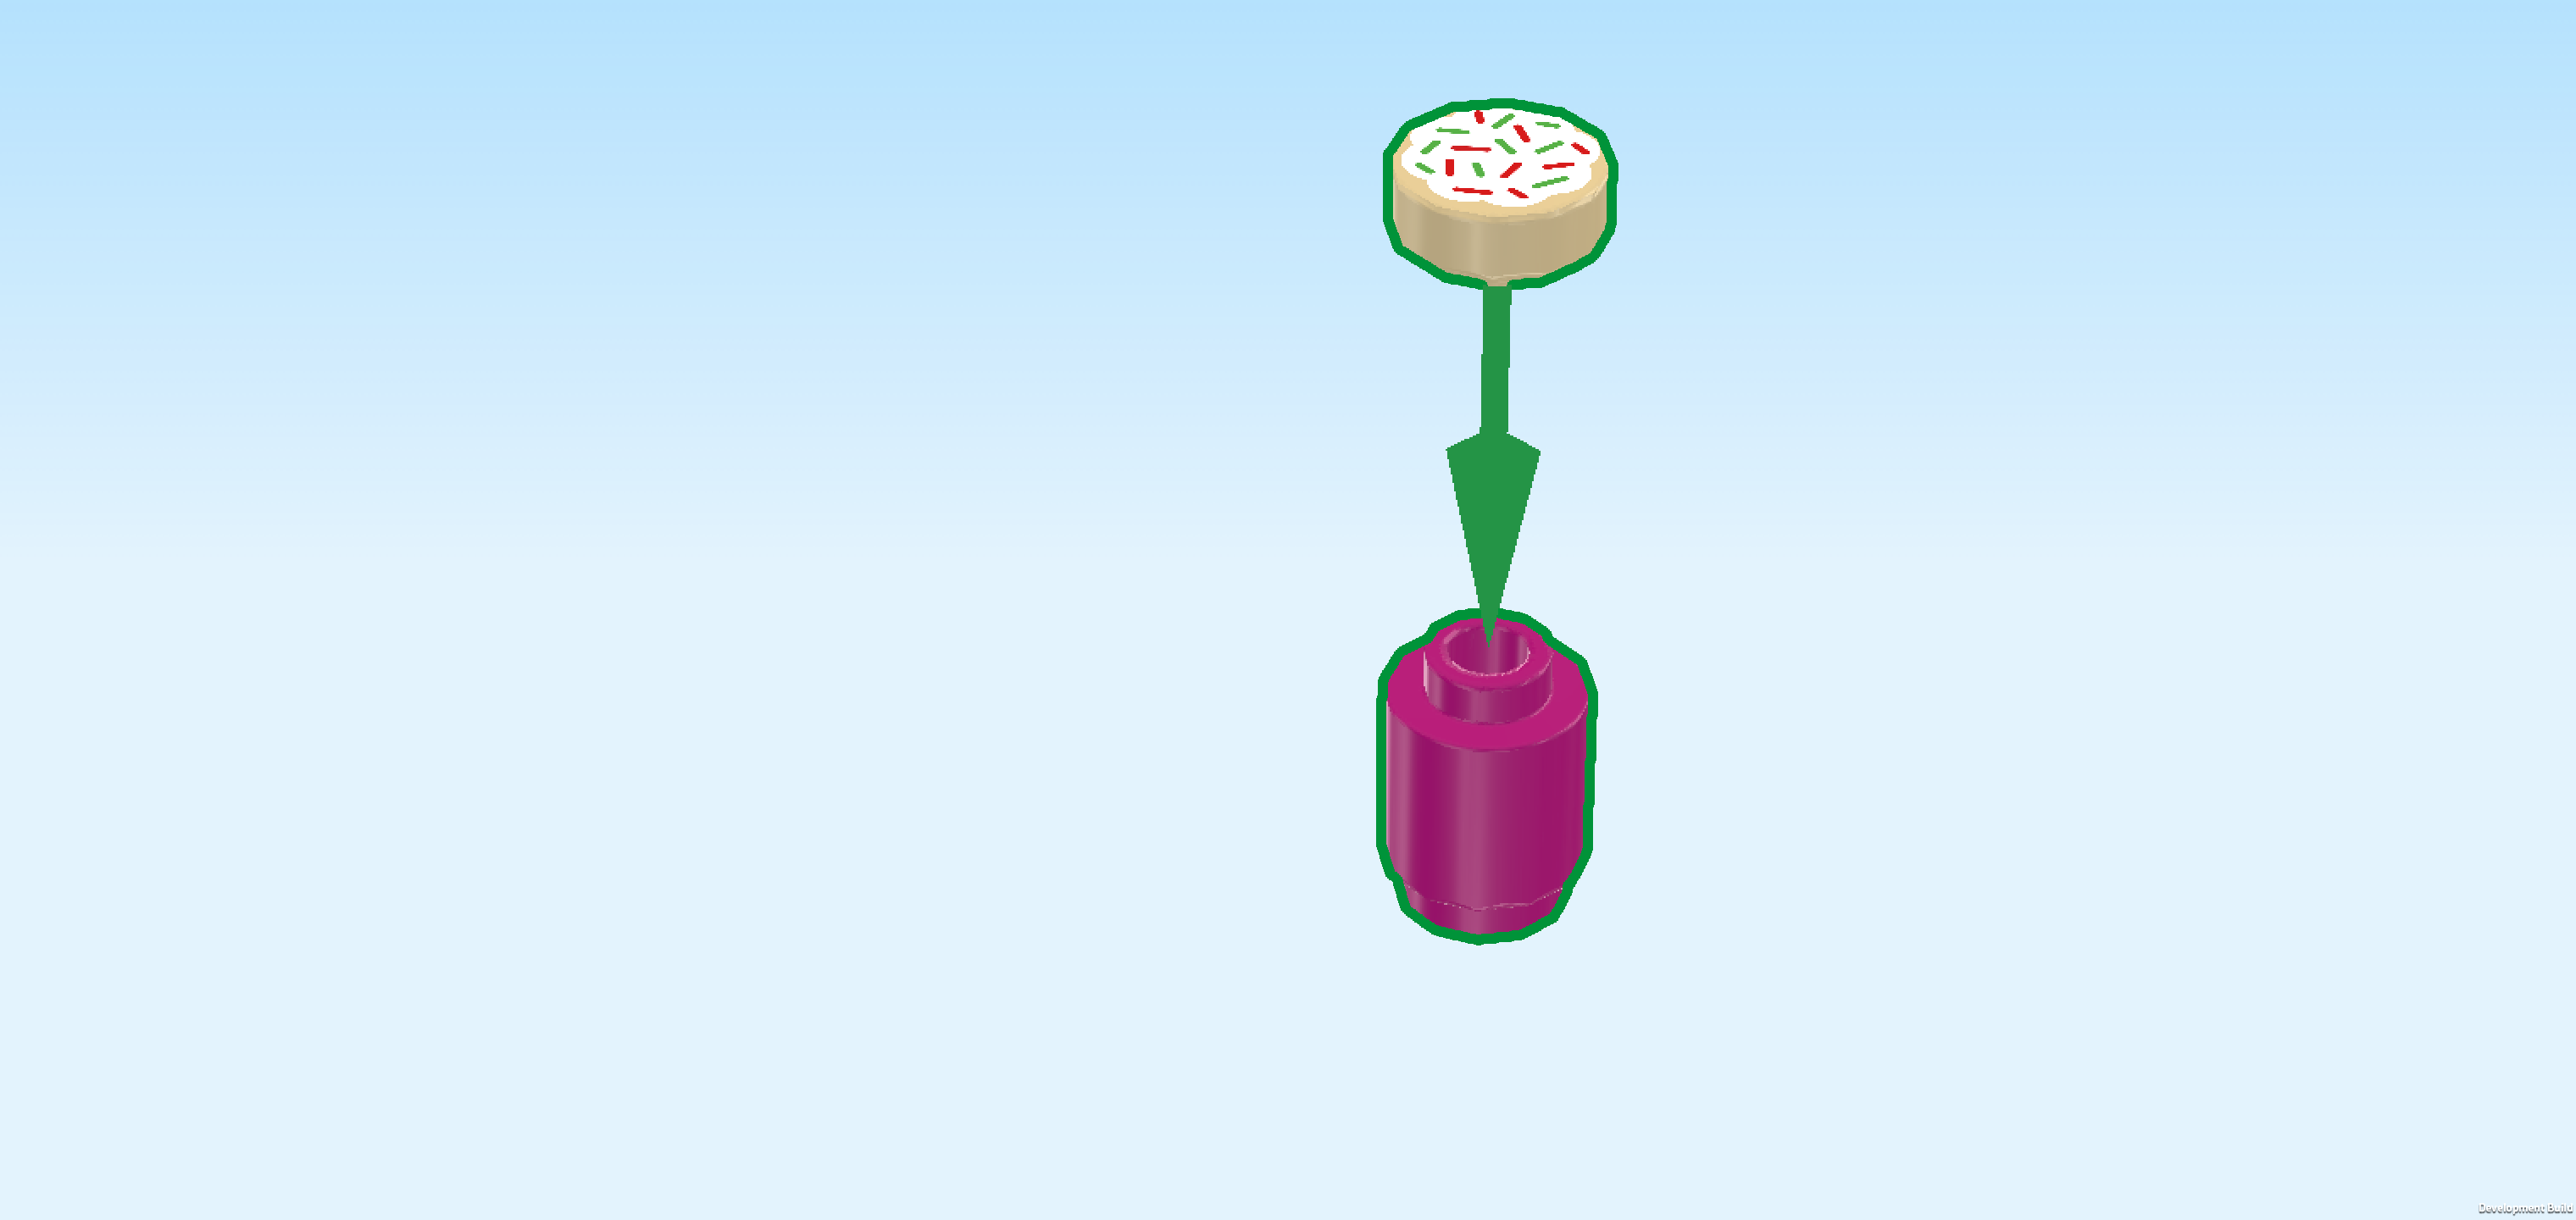
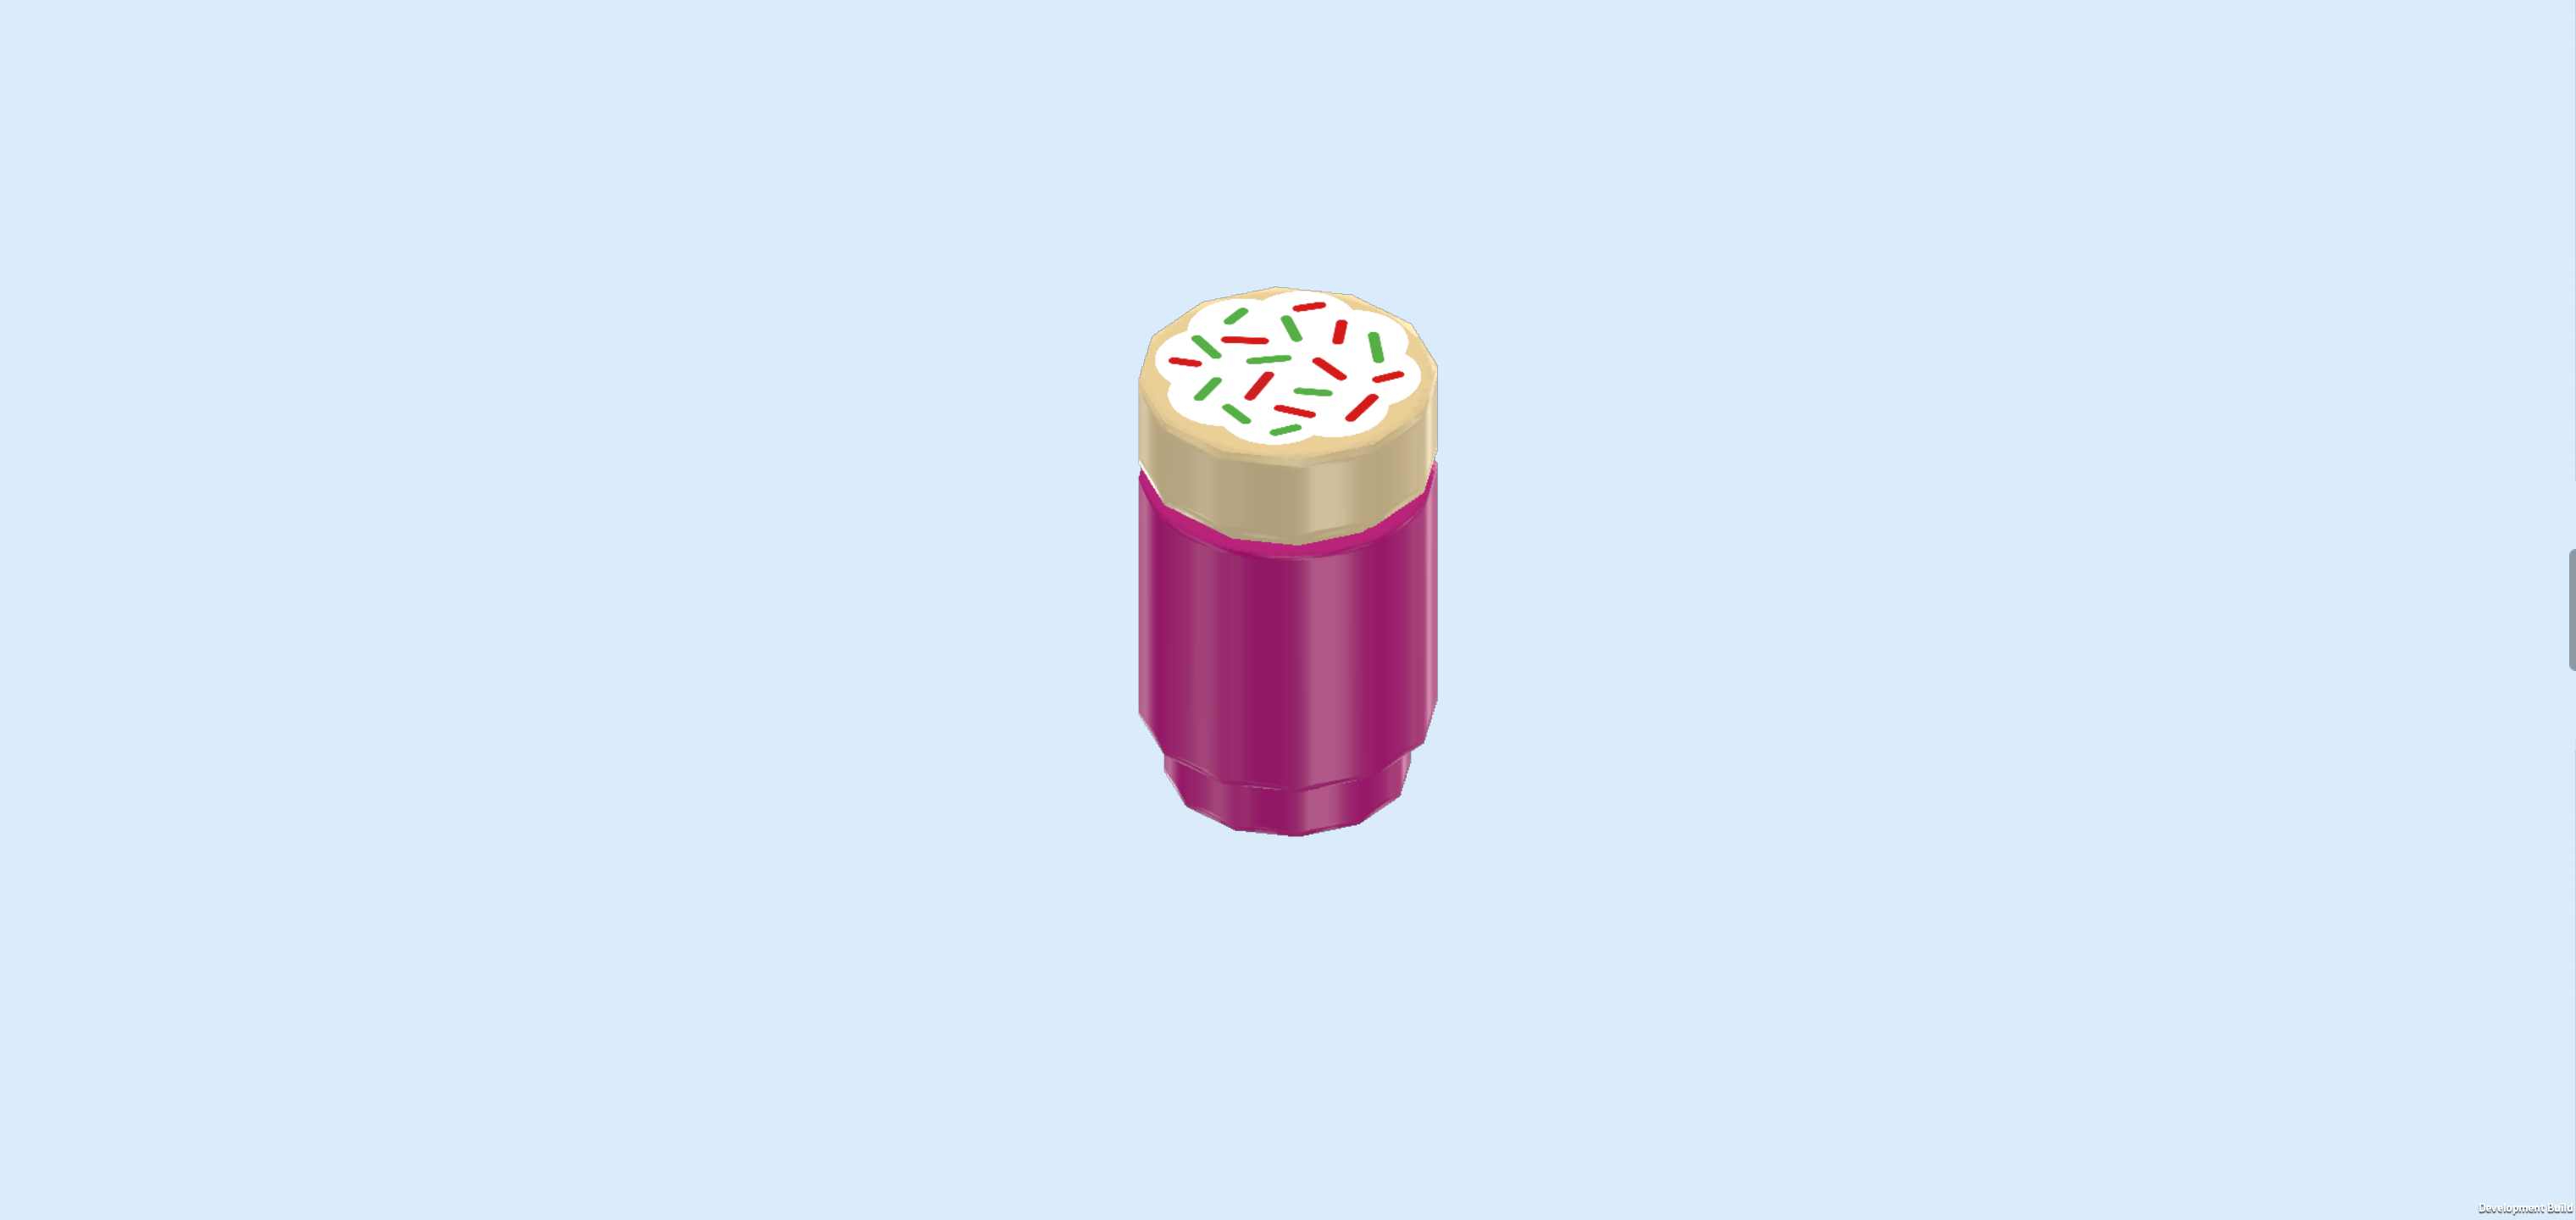
| Next, we will assemble the sprinkle dispenser. |
| Collect the following 2 pieces: |
| 1 purple violet round brick 1x1, |
| and 1 beige round tile 1x1. |
| Put the round brick 1x1 on the table. |
| Put the round tile 1x1 on top. Its print is white with red and green sprinkles. |
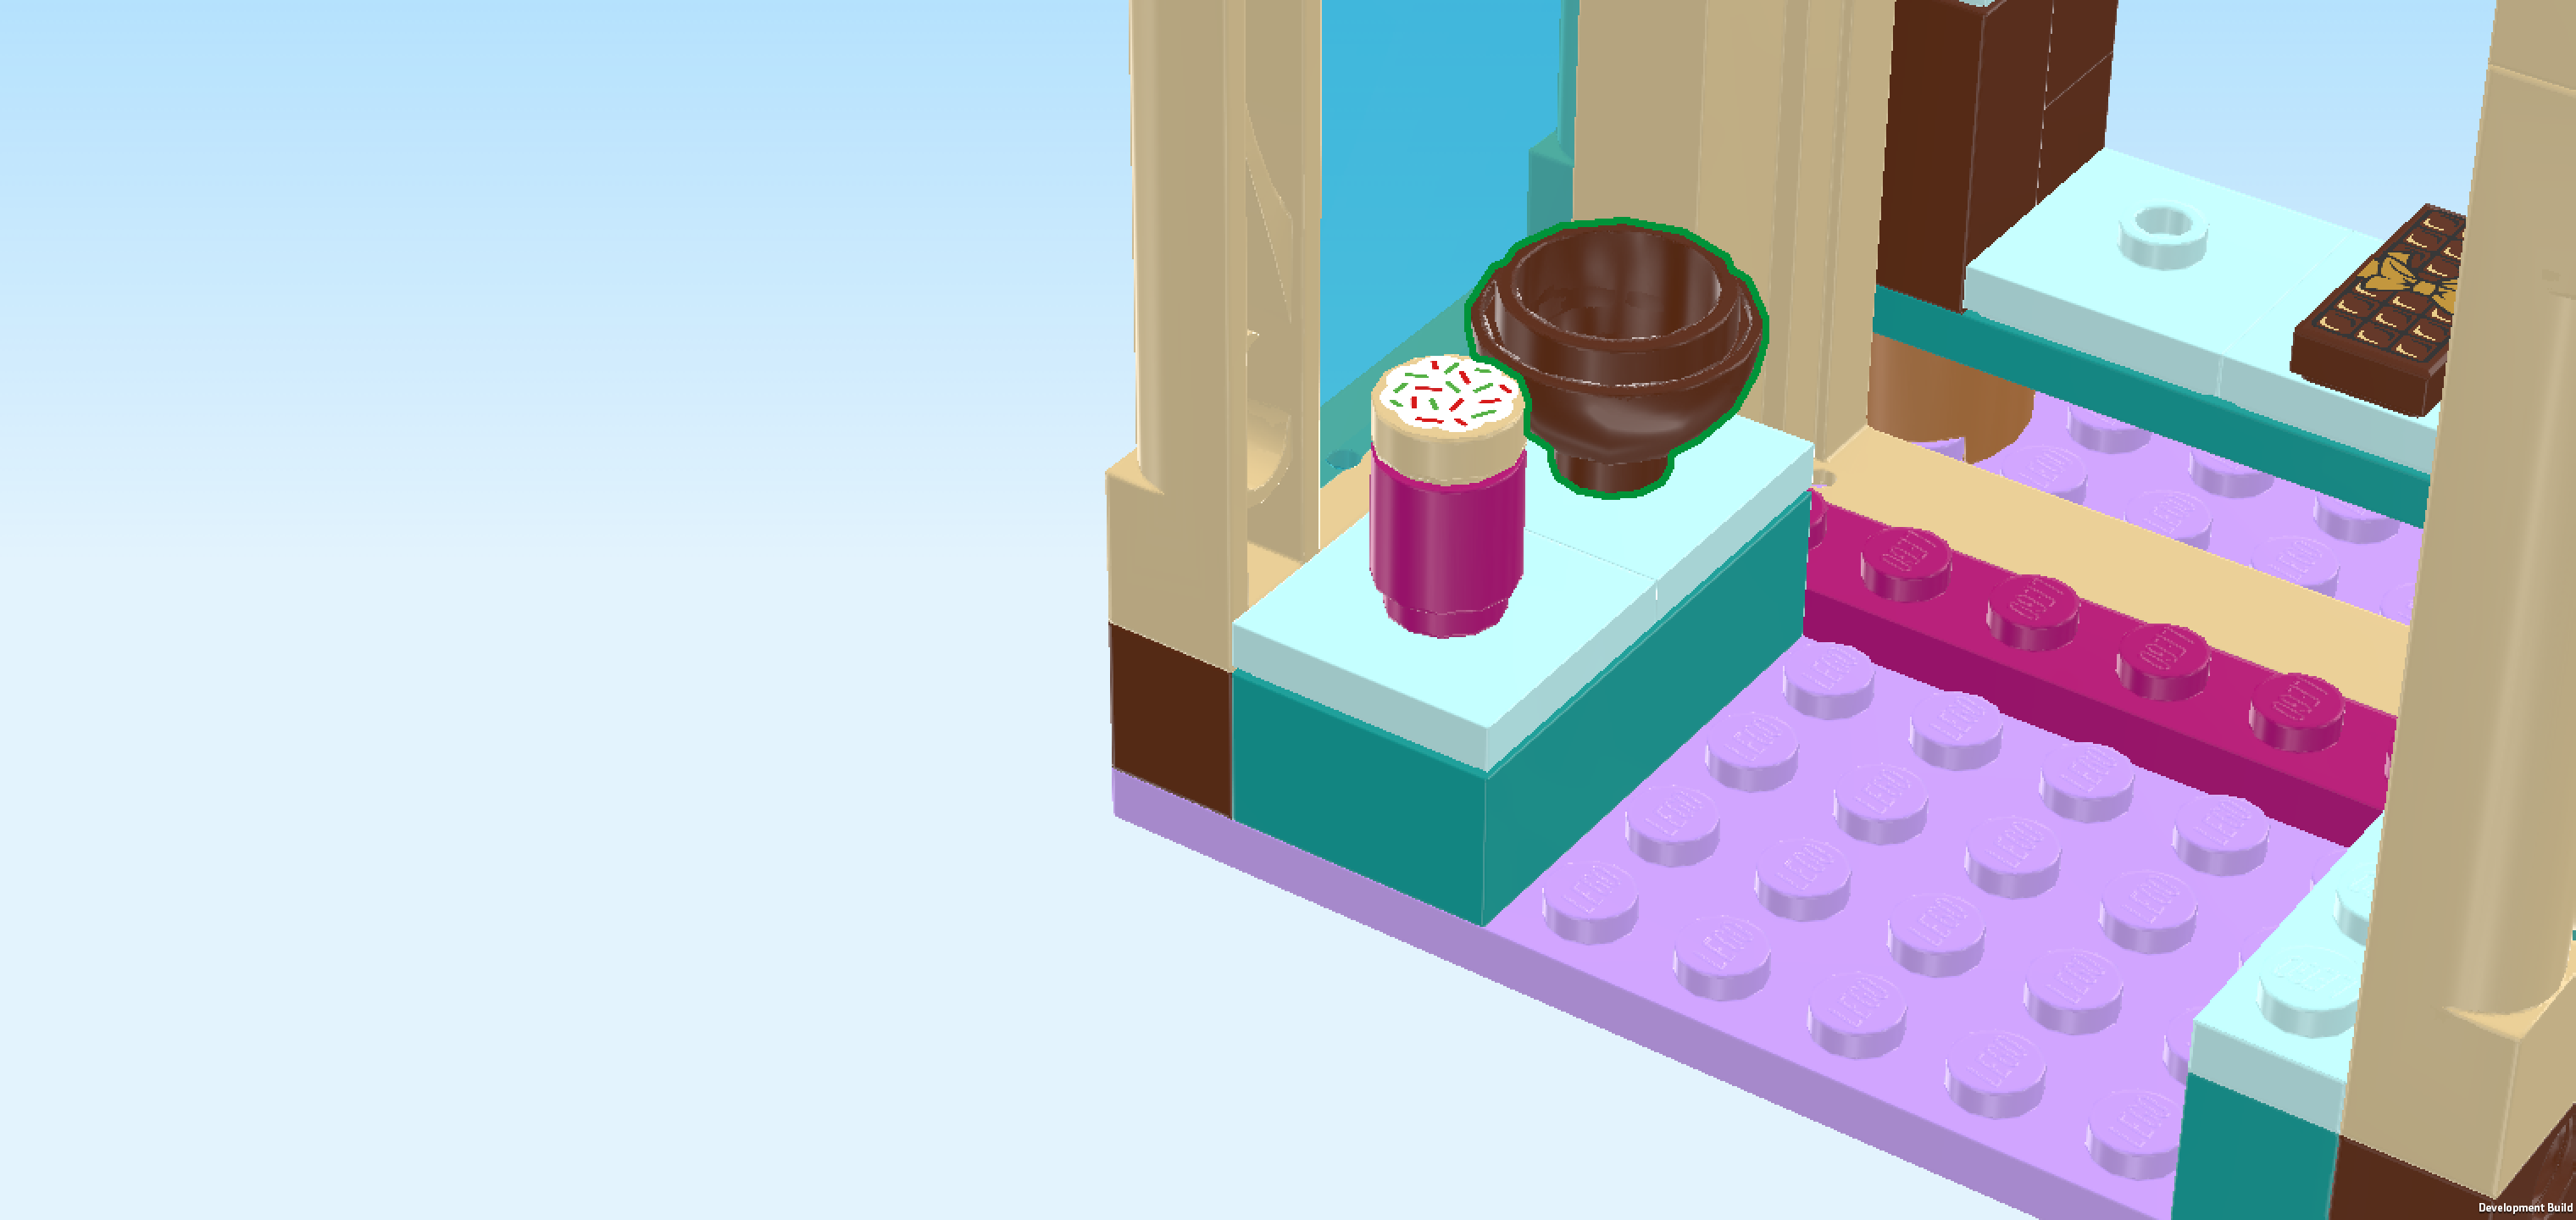
| Mount it on the front knob of the 2 previous pieces. |
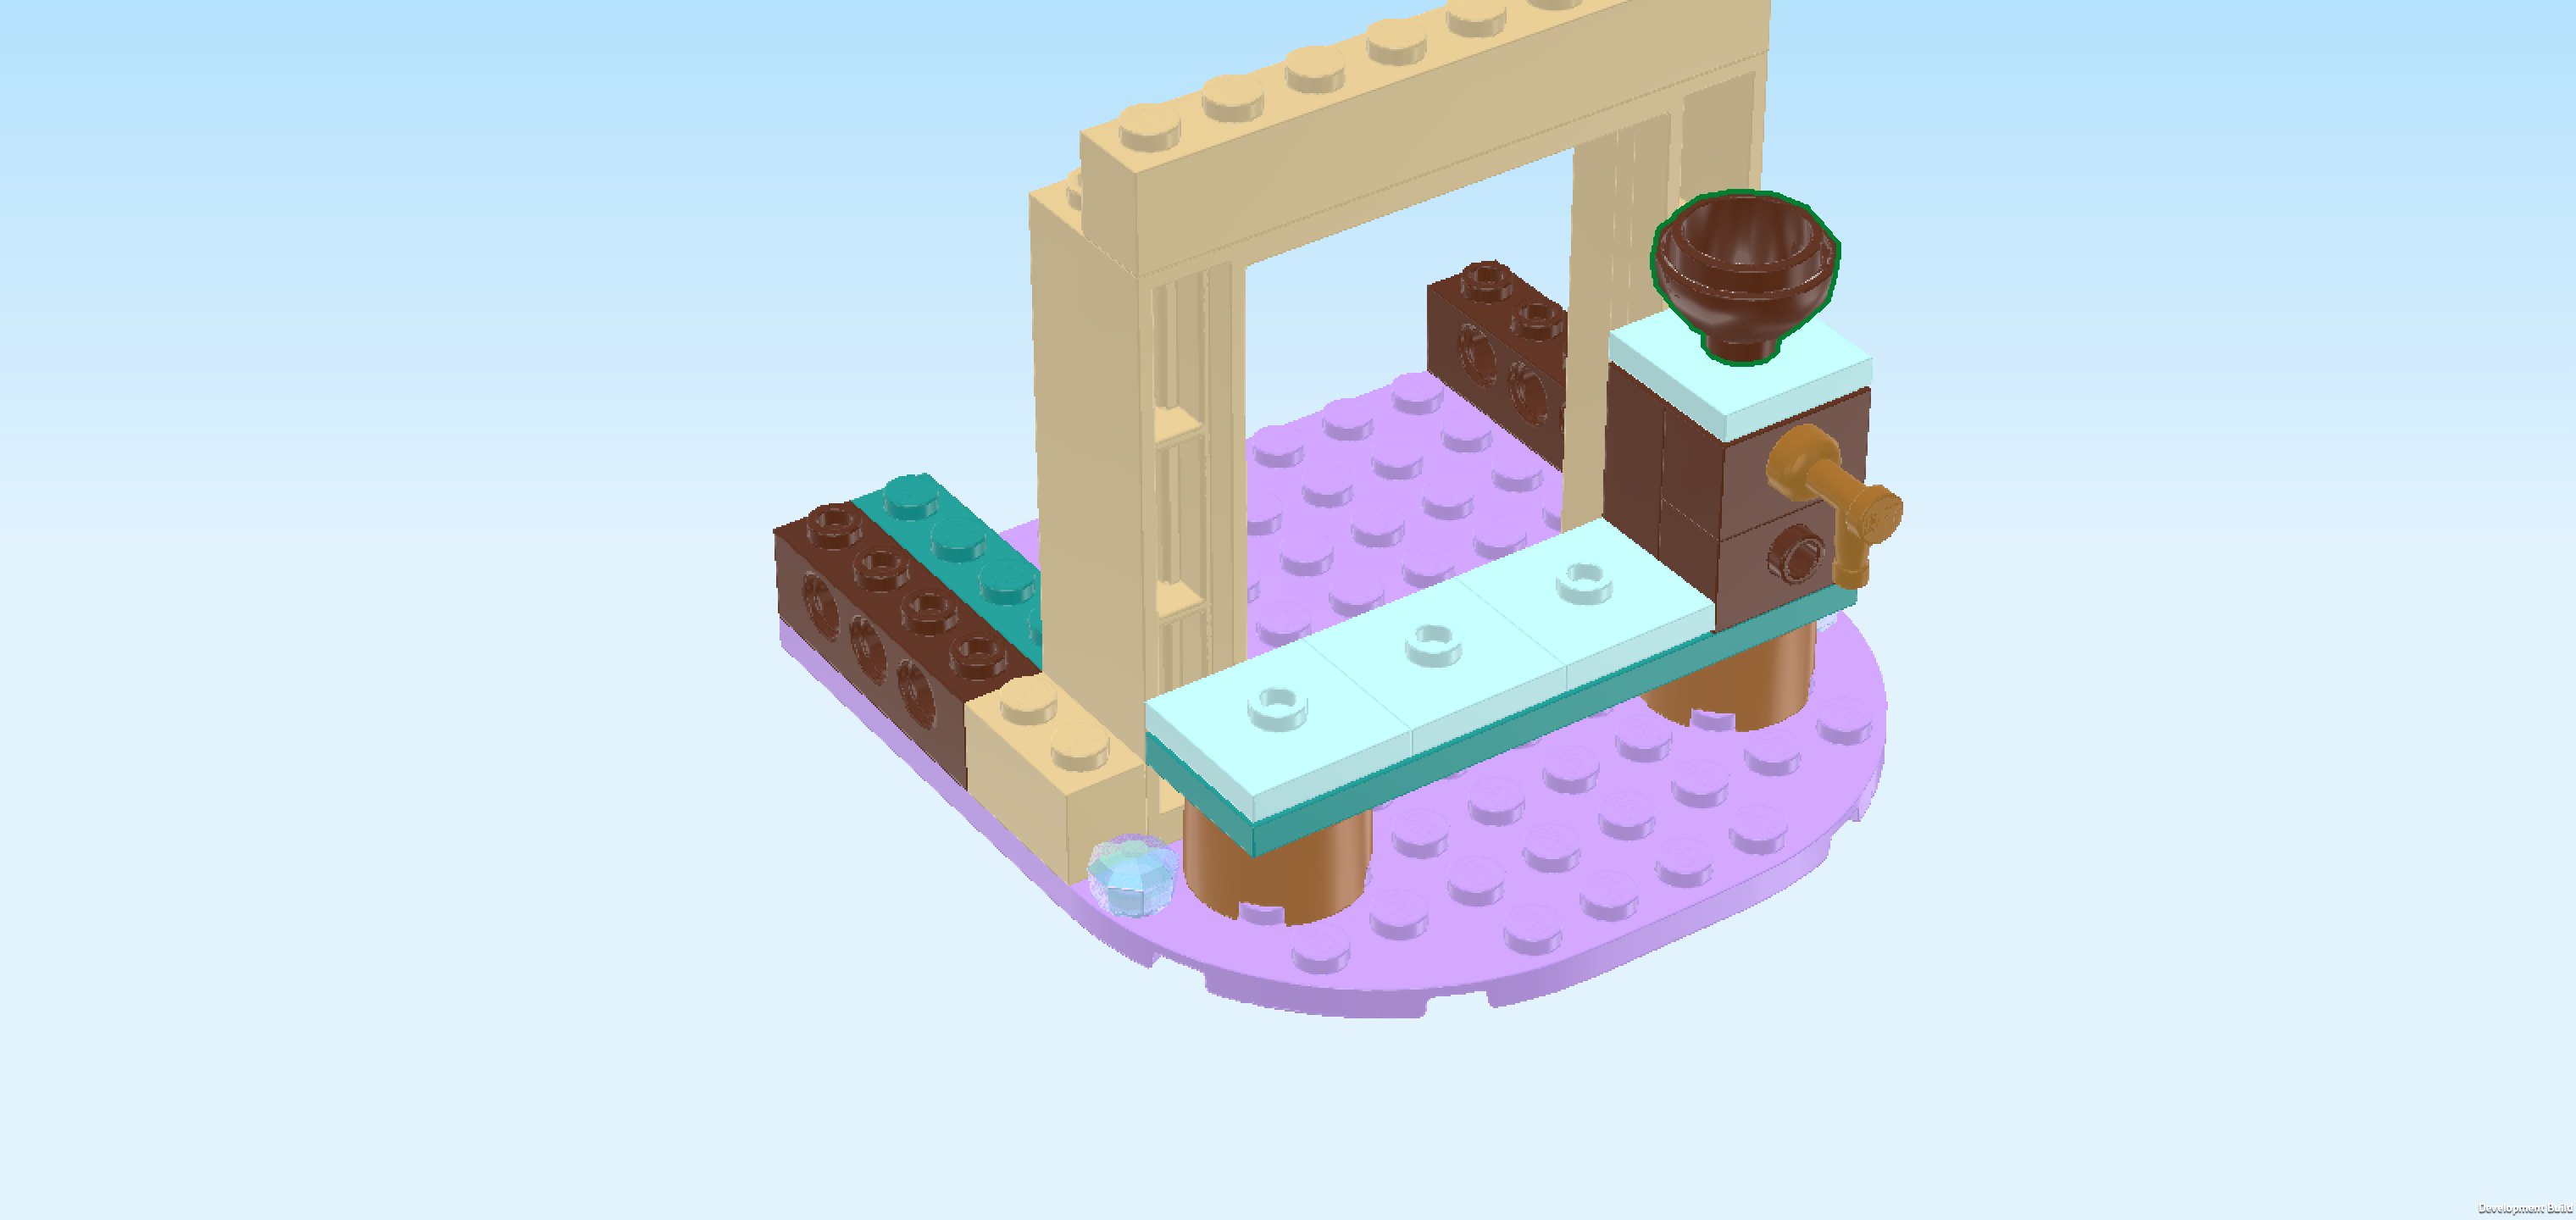
| Find 1 reddish brown inverted dome 2x2 with 1 knob. |
| Put it on the knob behind the sprinkle dispenser. |
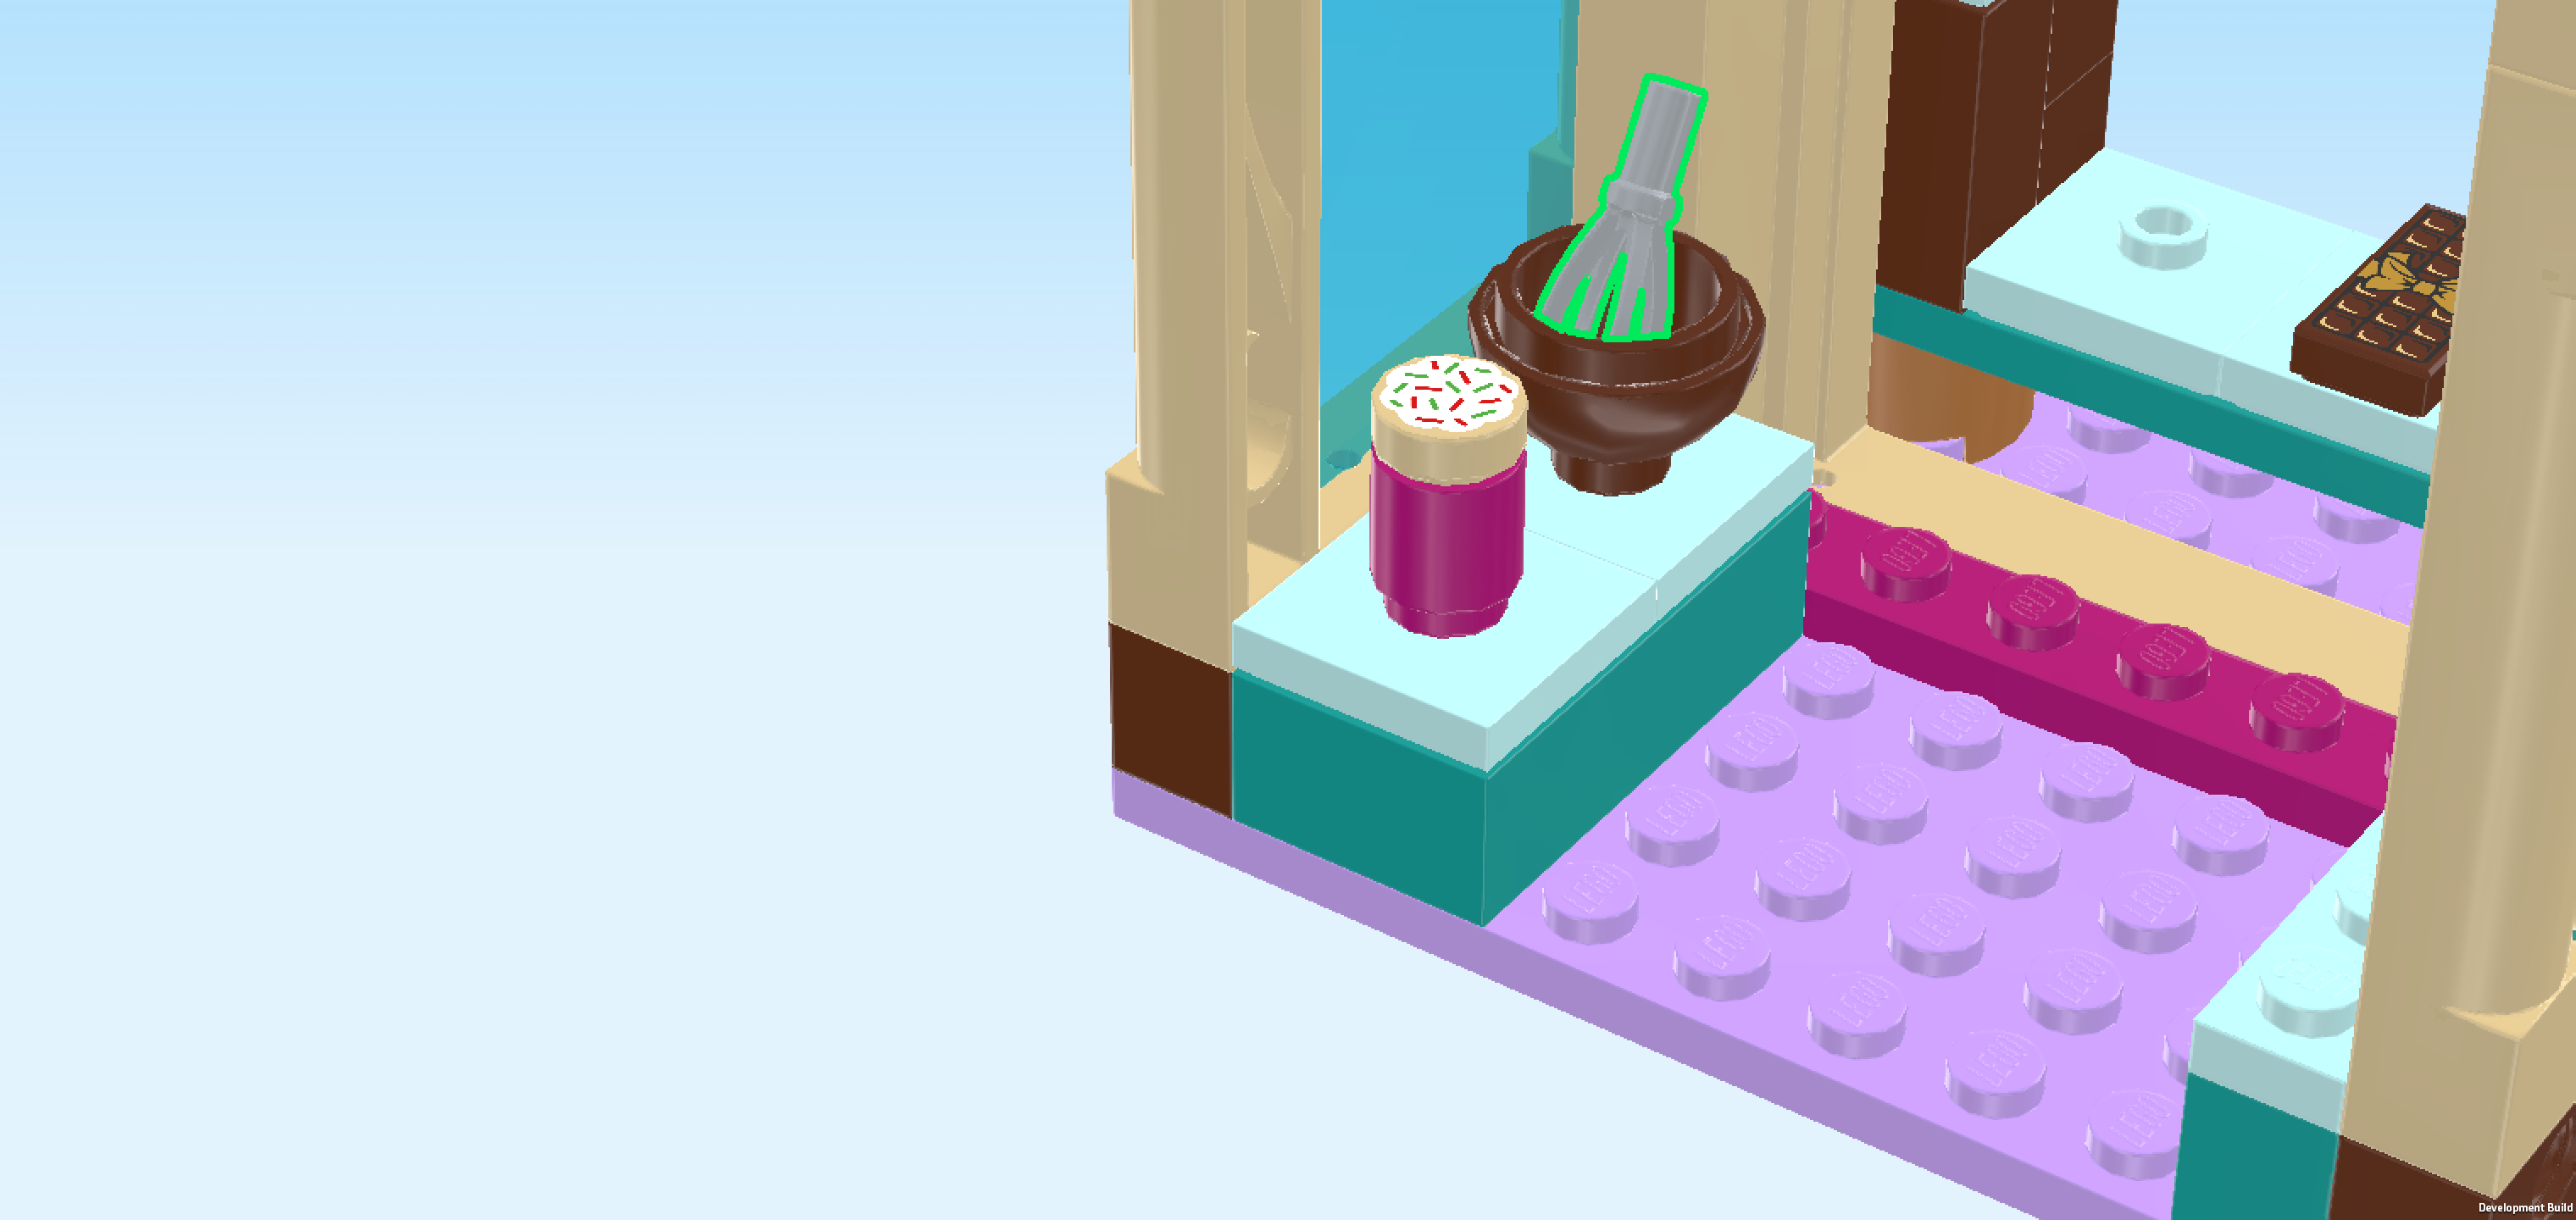
| Find 1 medium stone grey Minifigure egg whisk. |
| Put it into the previous piece. This is the bowl to whip up some delicious whipped cream! |
| The hot chocolate stand is finished! Well done! This is a busy place on cold winter days! Olaf loves handing out hot chocolates to the people of Arendelle. |
| We have finished building bag number 2, great job! You will probably find some extra bricks and pieces again that you can use or stow away as you please. |
| Open bag number 3. You can choose to have the bricks sorted by color again. This bag contains all bricks and pieces for the Kristoff Minidoll and the stable. |
| Next up, we will build the Kristoff Minidoll. |
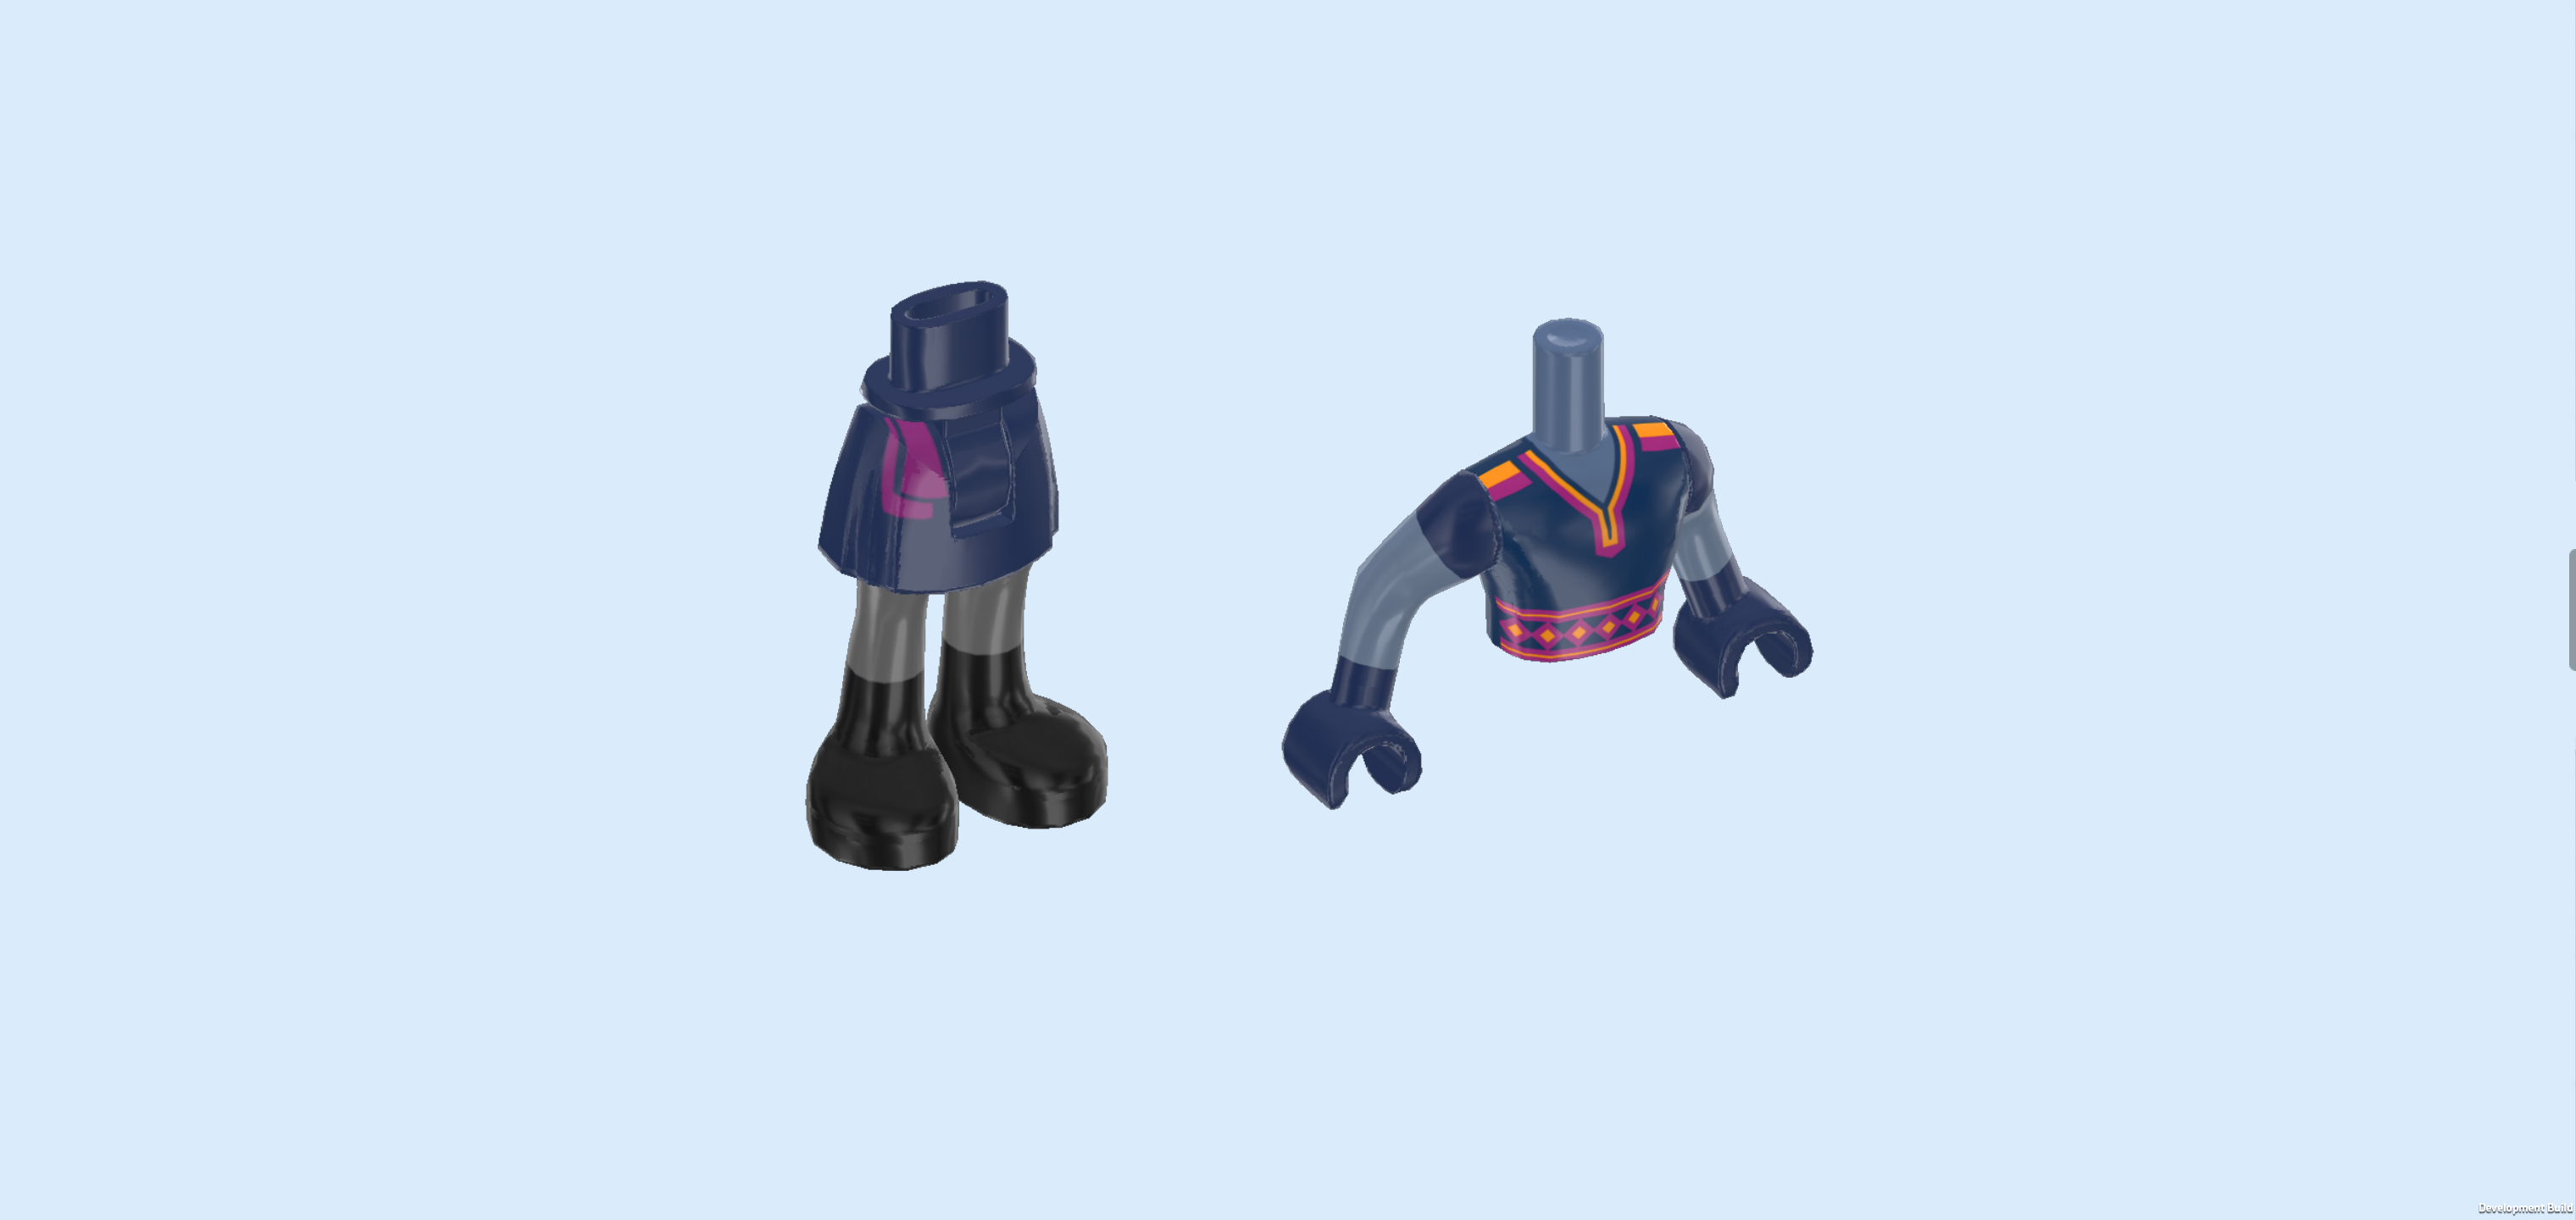
| Collect the following 2 pieces: |
| 1 earth blue and black pair of legs with pleated skirt, |
| and 1 sand blue and earth blue Kristoff upper body. |
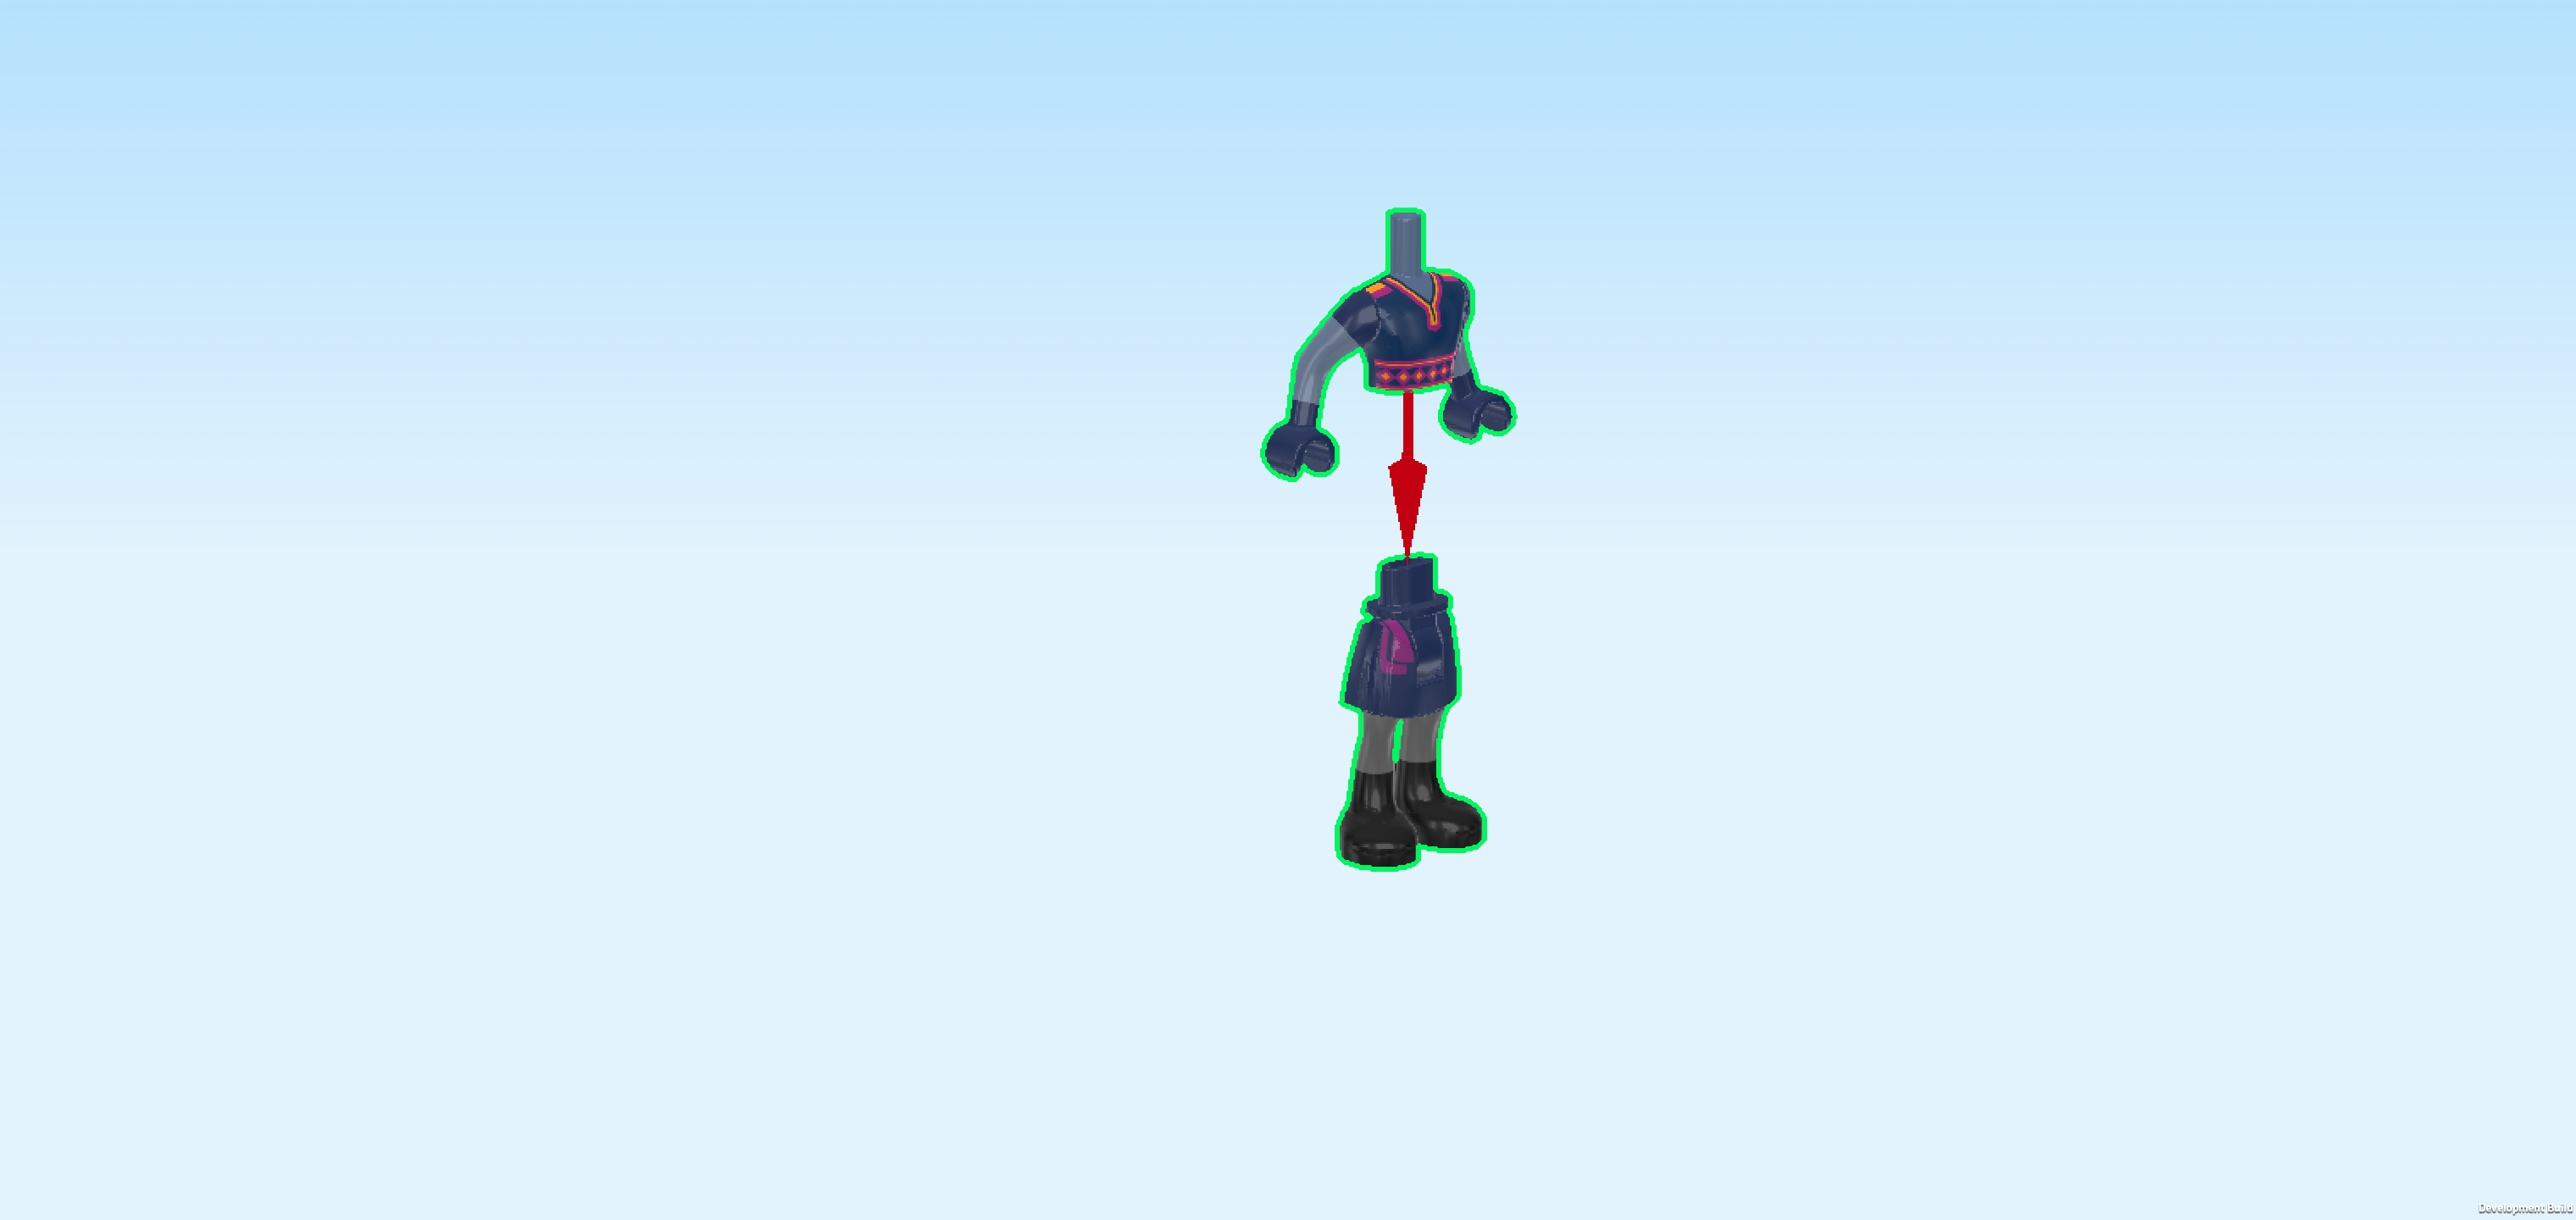
| Put the upper body on the legs. |
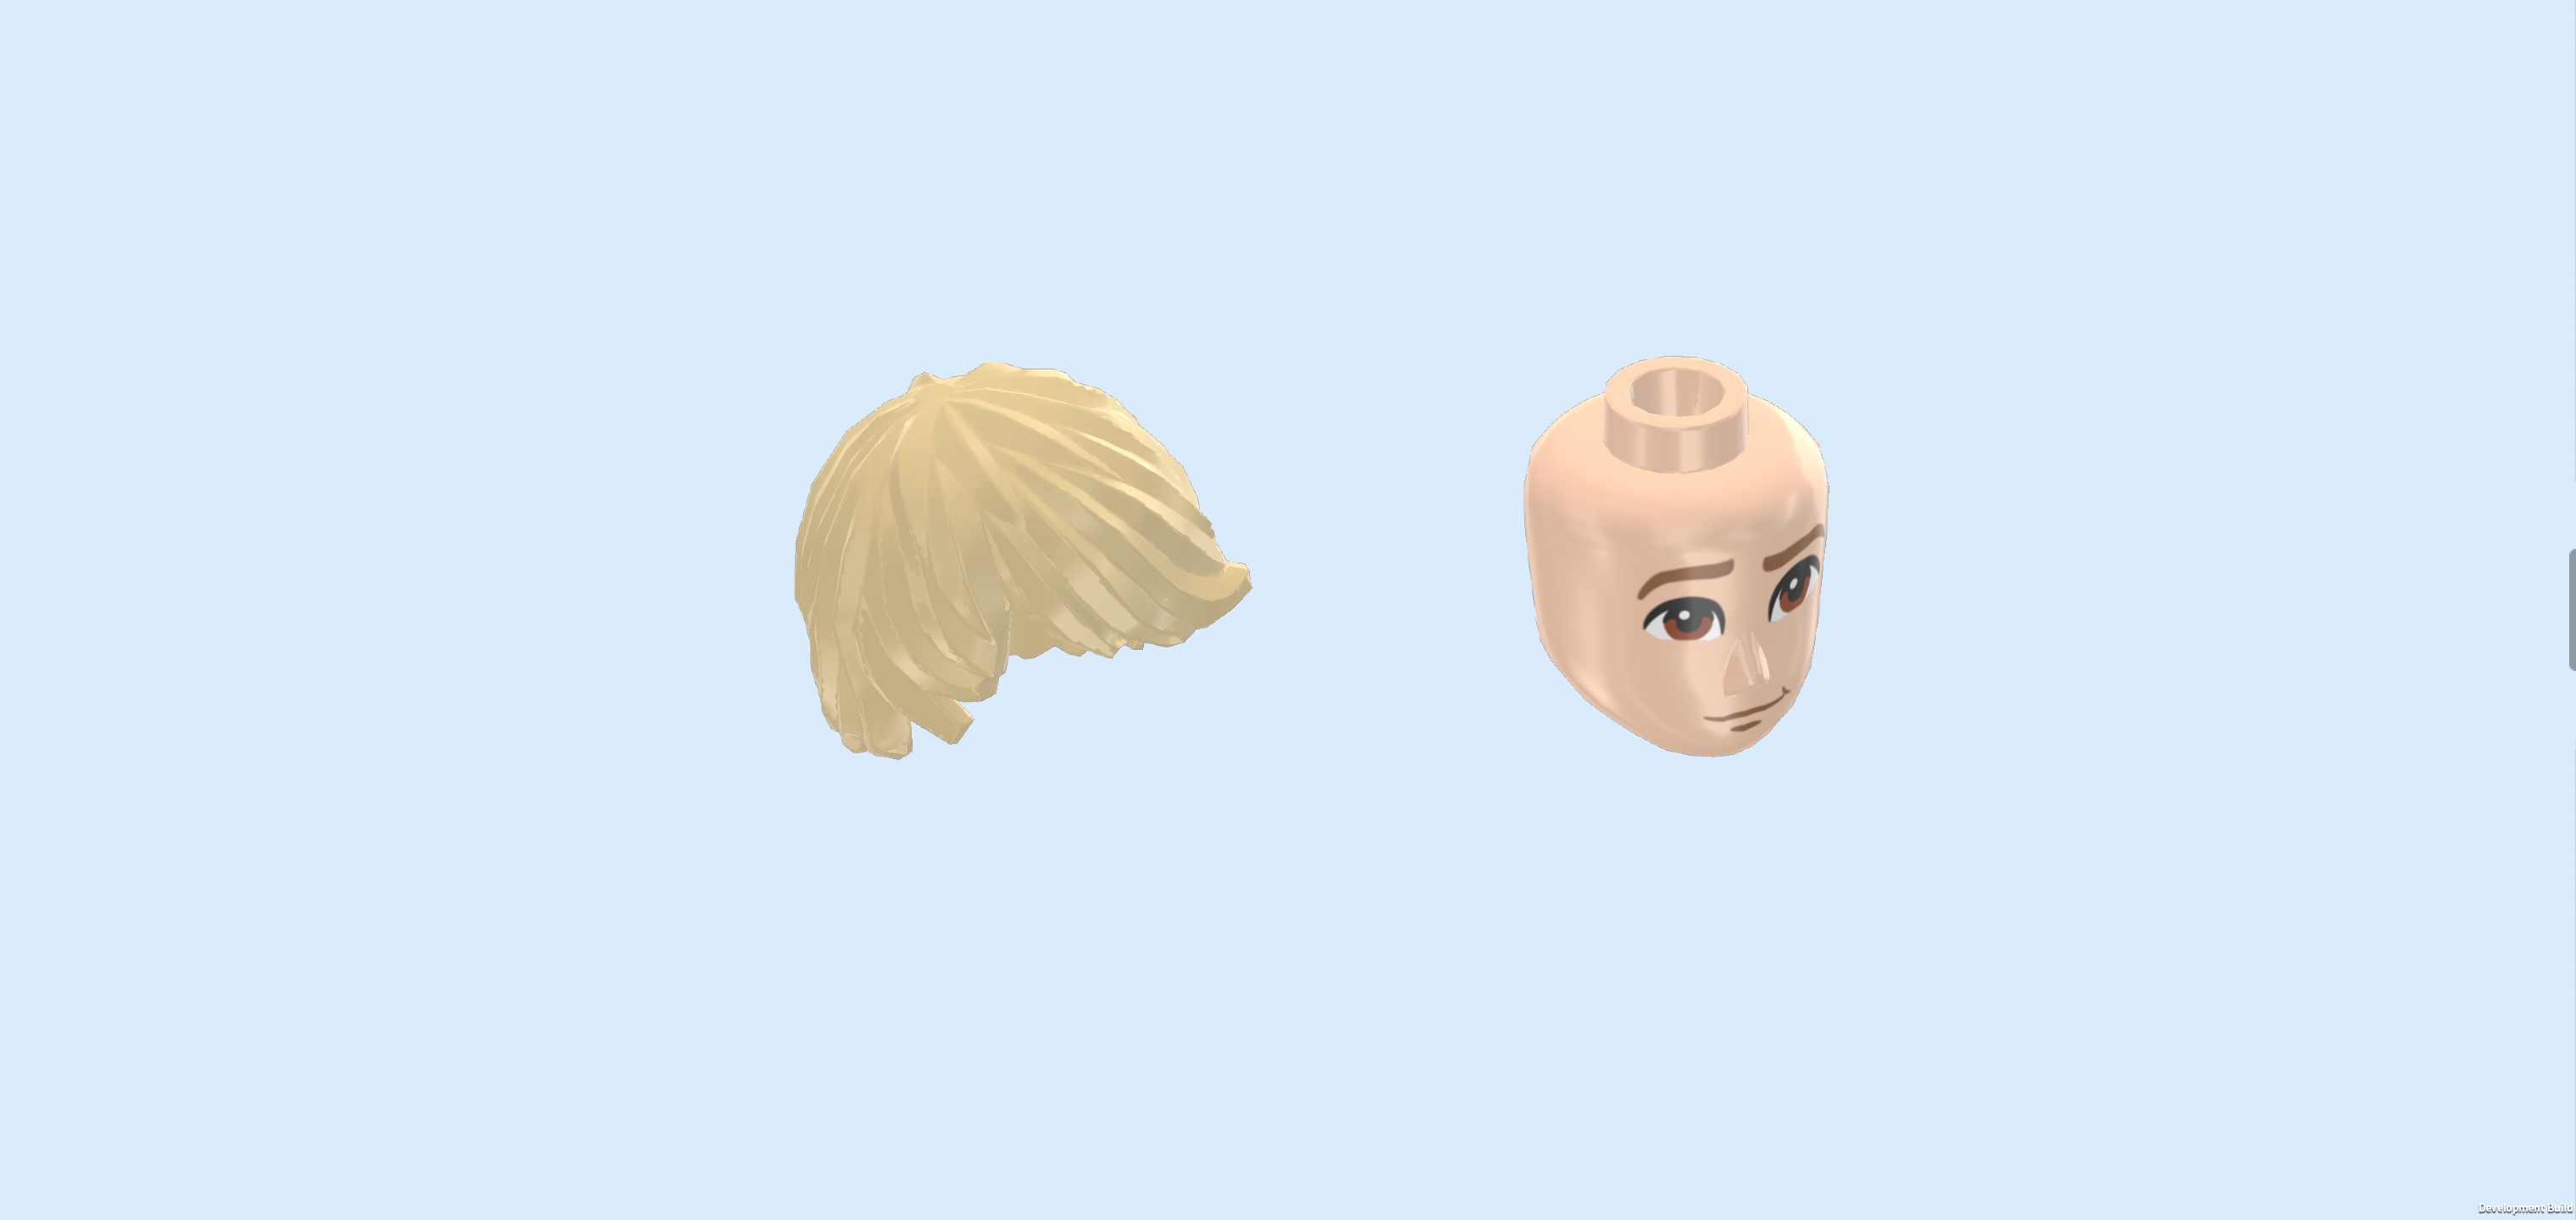
| Collect the following 2 pieces: |
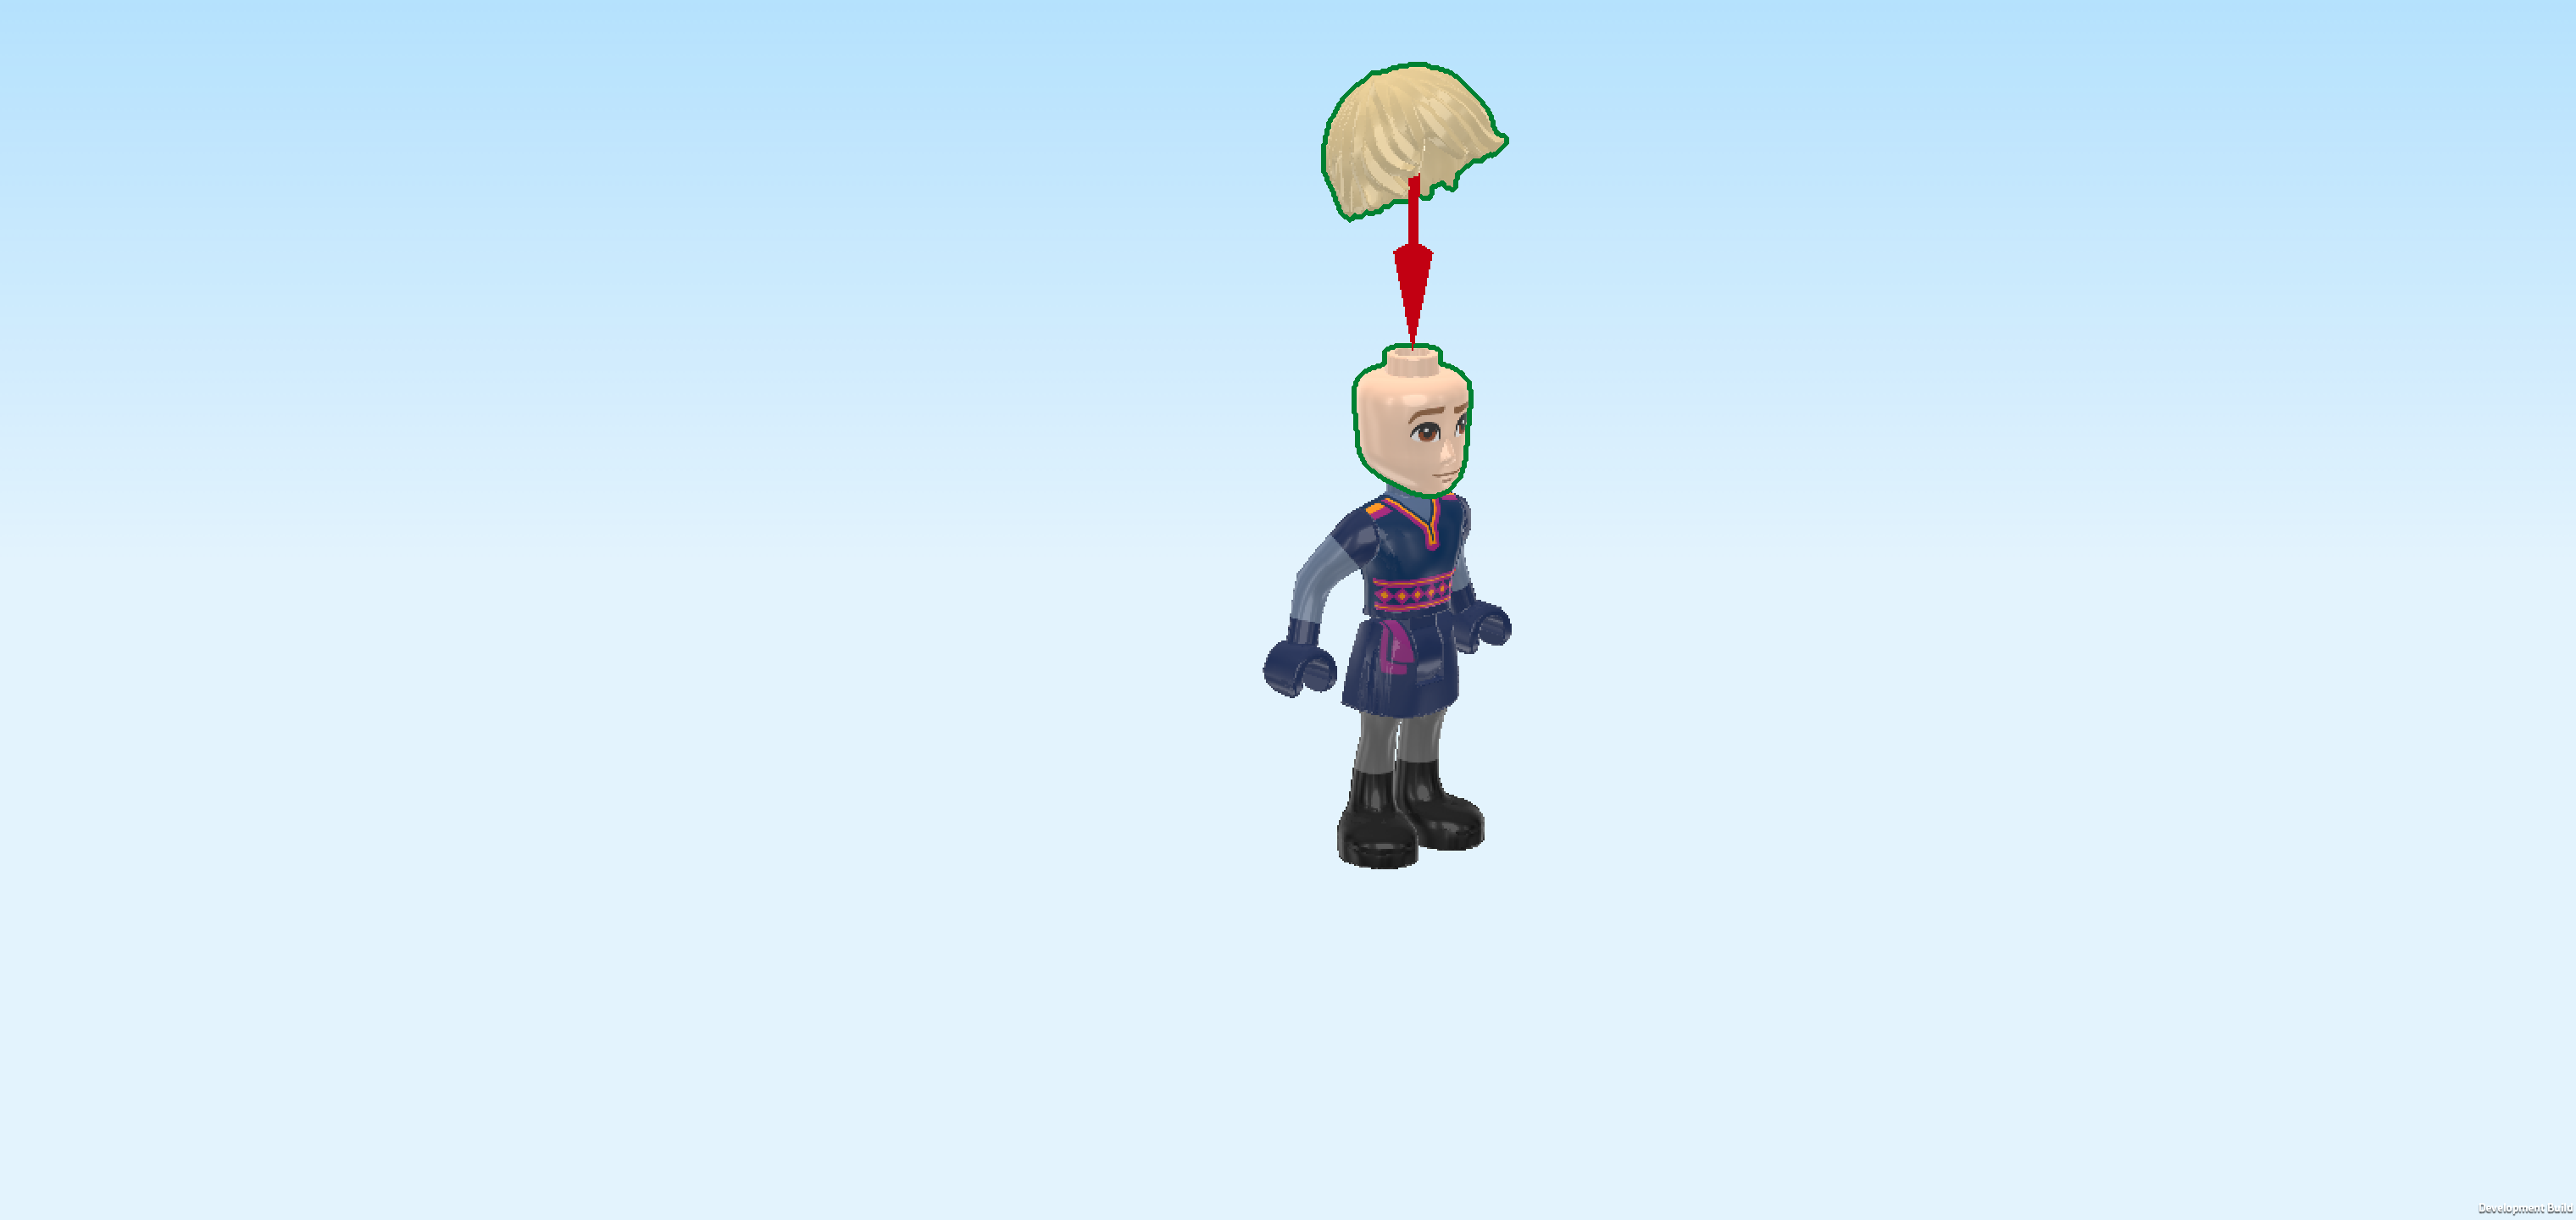
| 1 beige hairpiece with short hair and side fringe, |
| and 1 light nougat brown Minidoll head. |
| Put the head on the body. |
| Put the hair on top. |
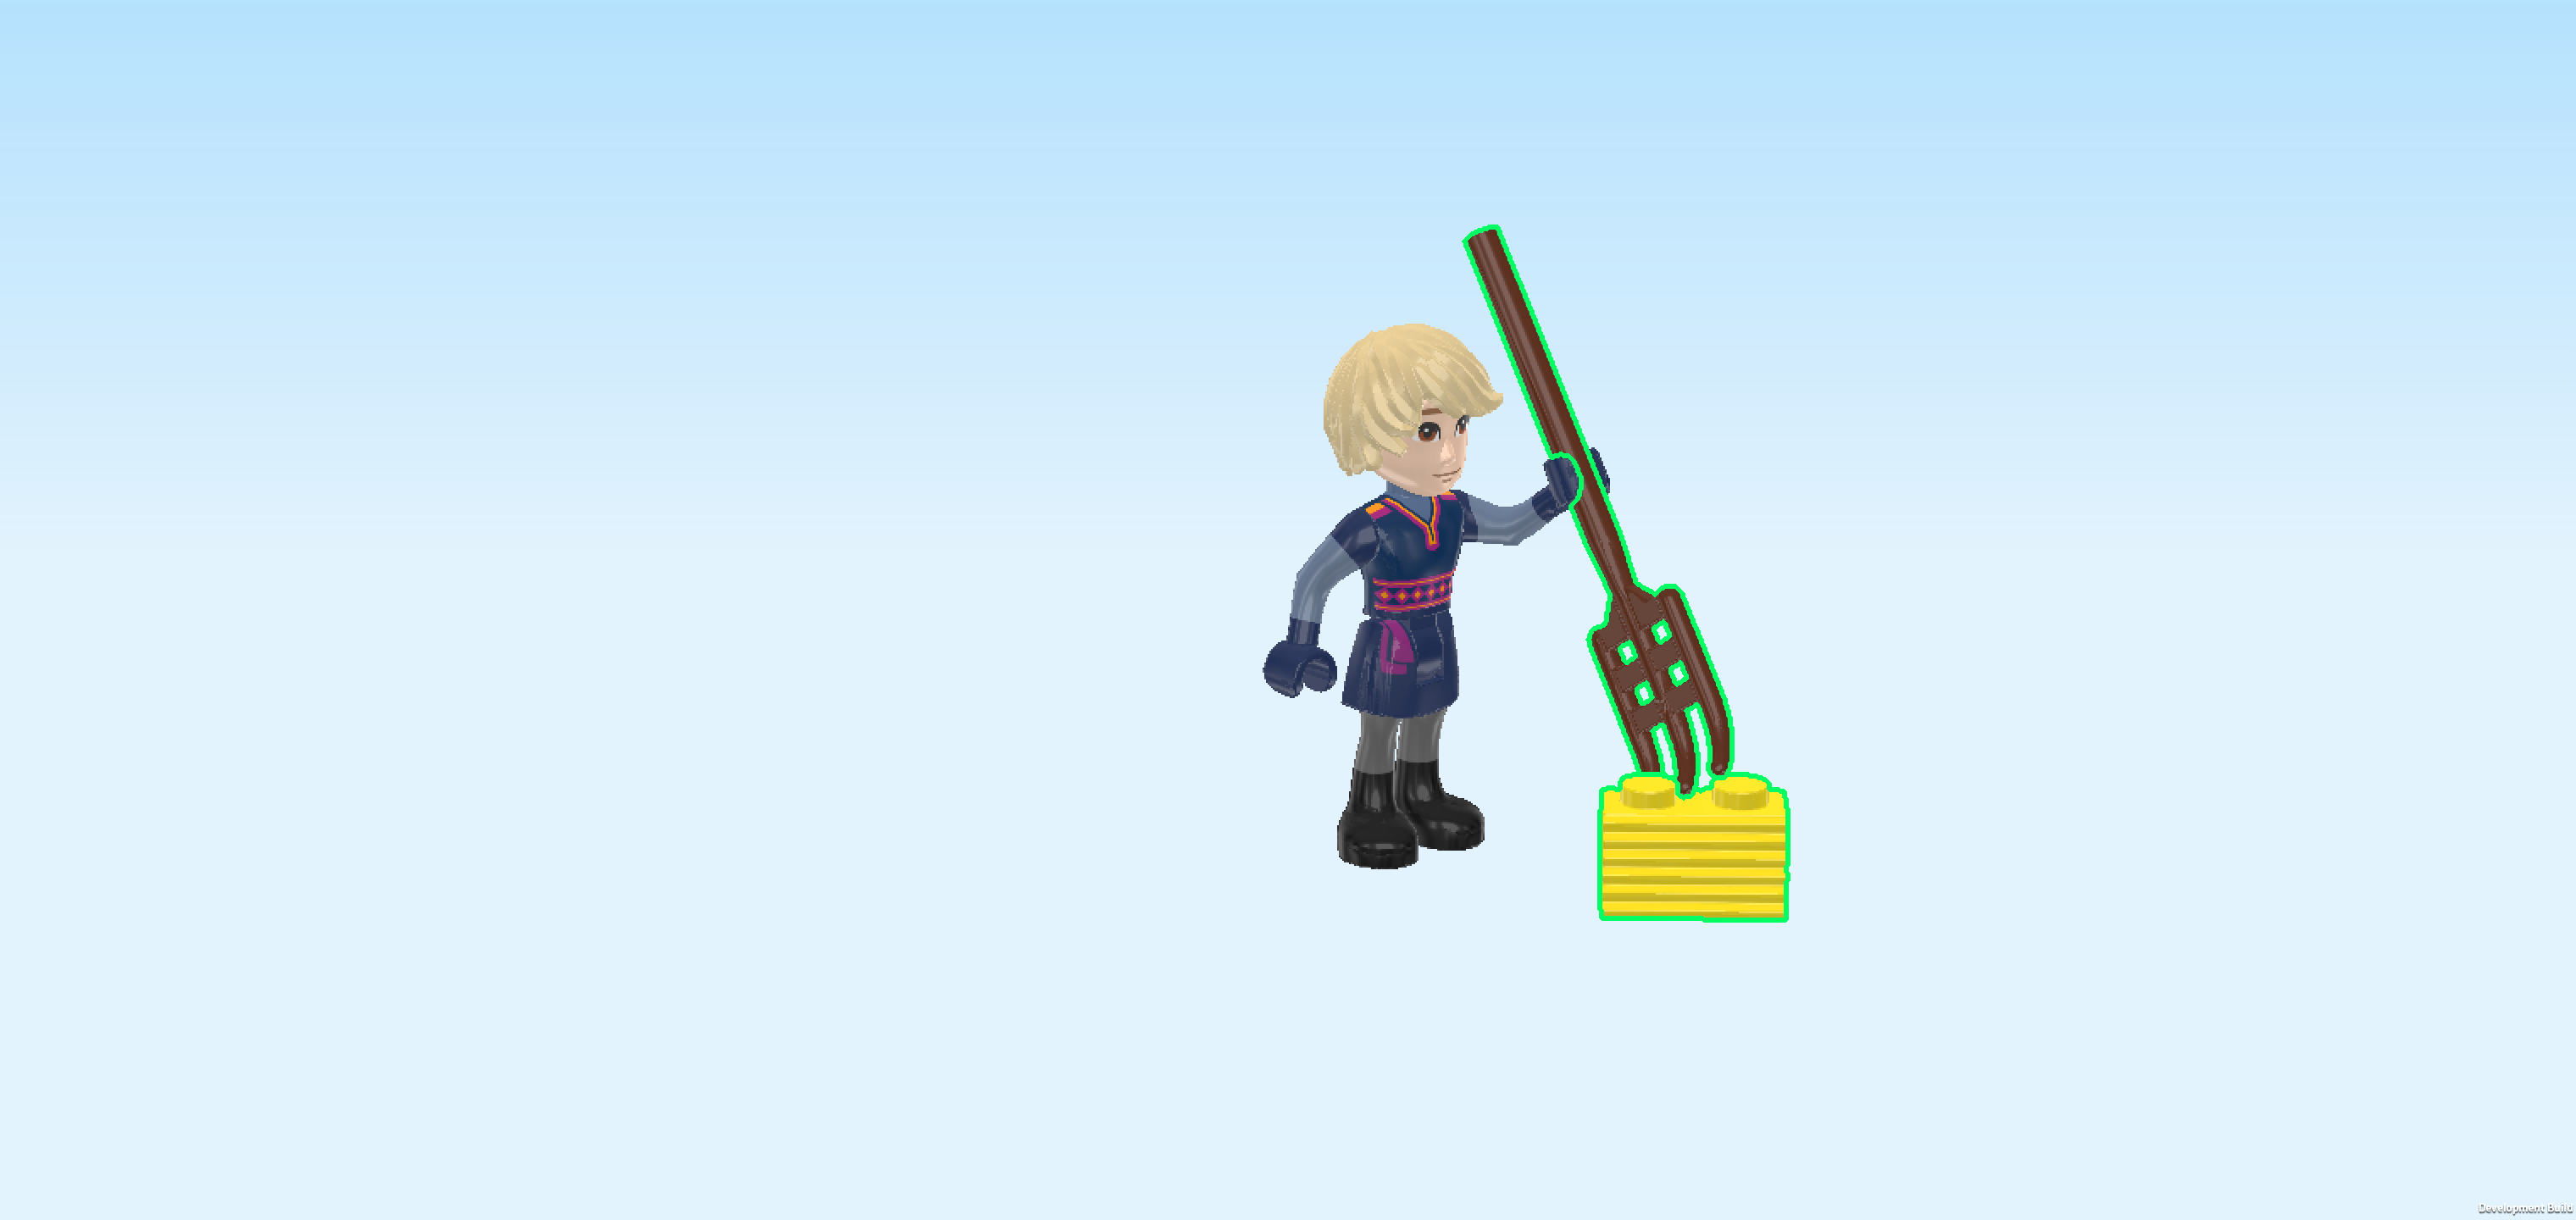
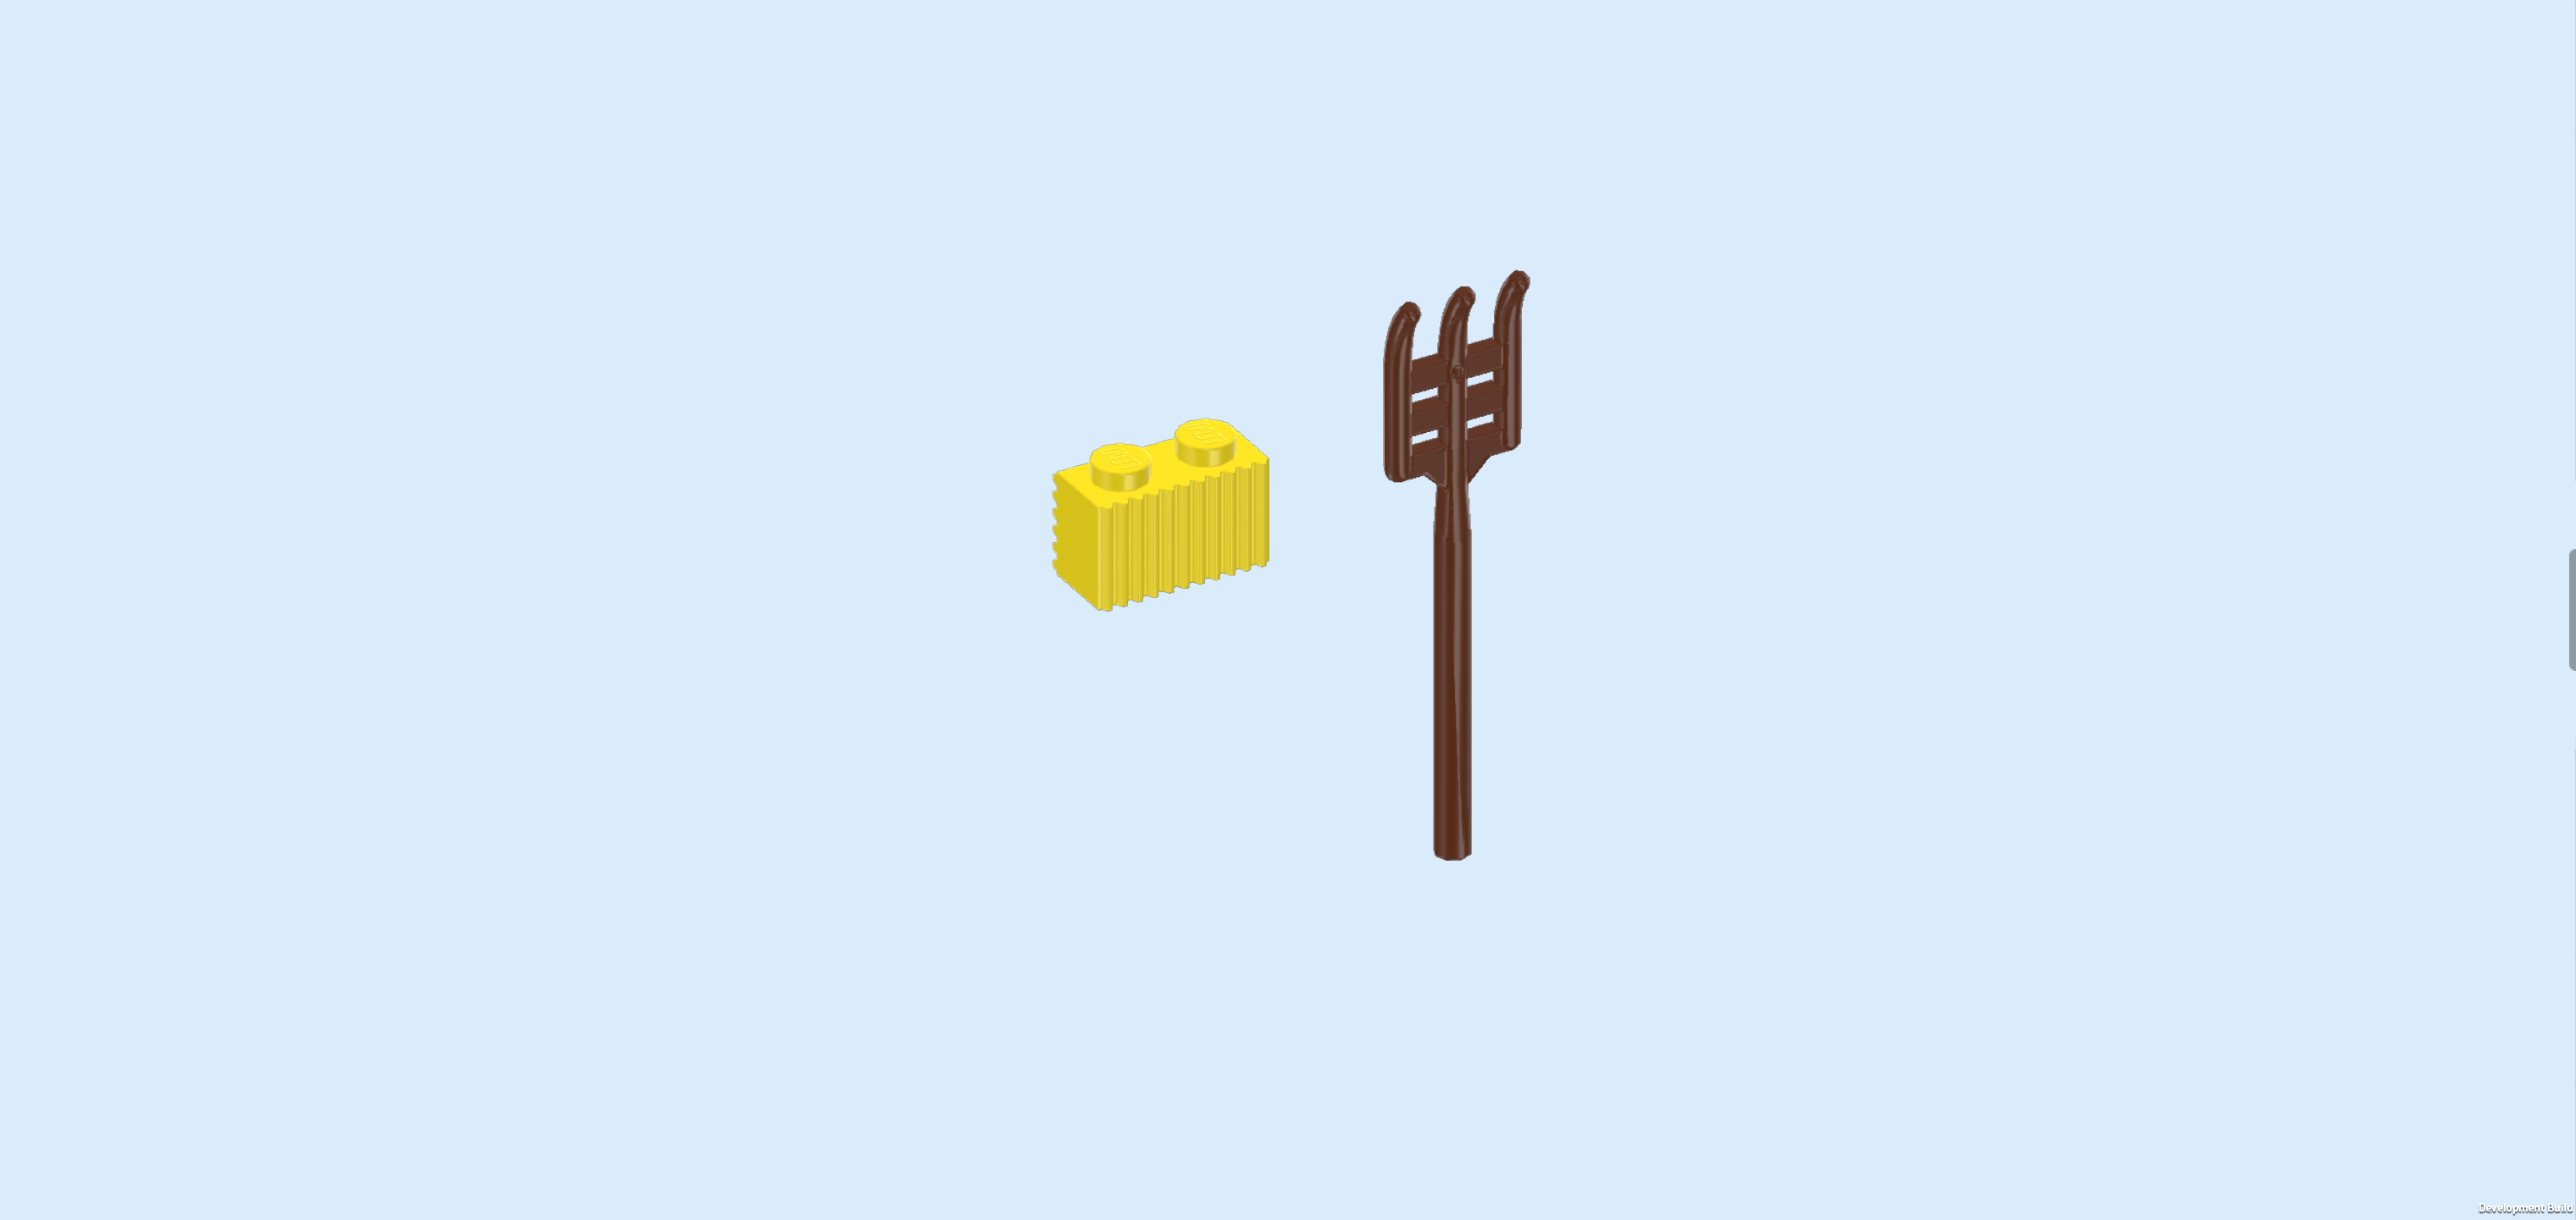
| Collect the following 2 pieces: |
| 1 bright yellow profile brick 1x2, |
| and 1 reddish brown pitchfork. |
| Snap the handle of the pitchfork into Kristoff's left hand, fork teeth pointing down. |
| The yellow profile brick is a bale of straw! You will put it to great use once the stable is built. |
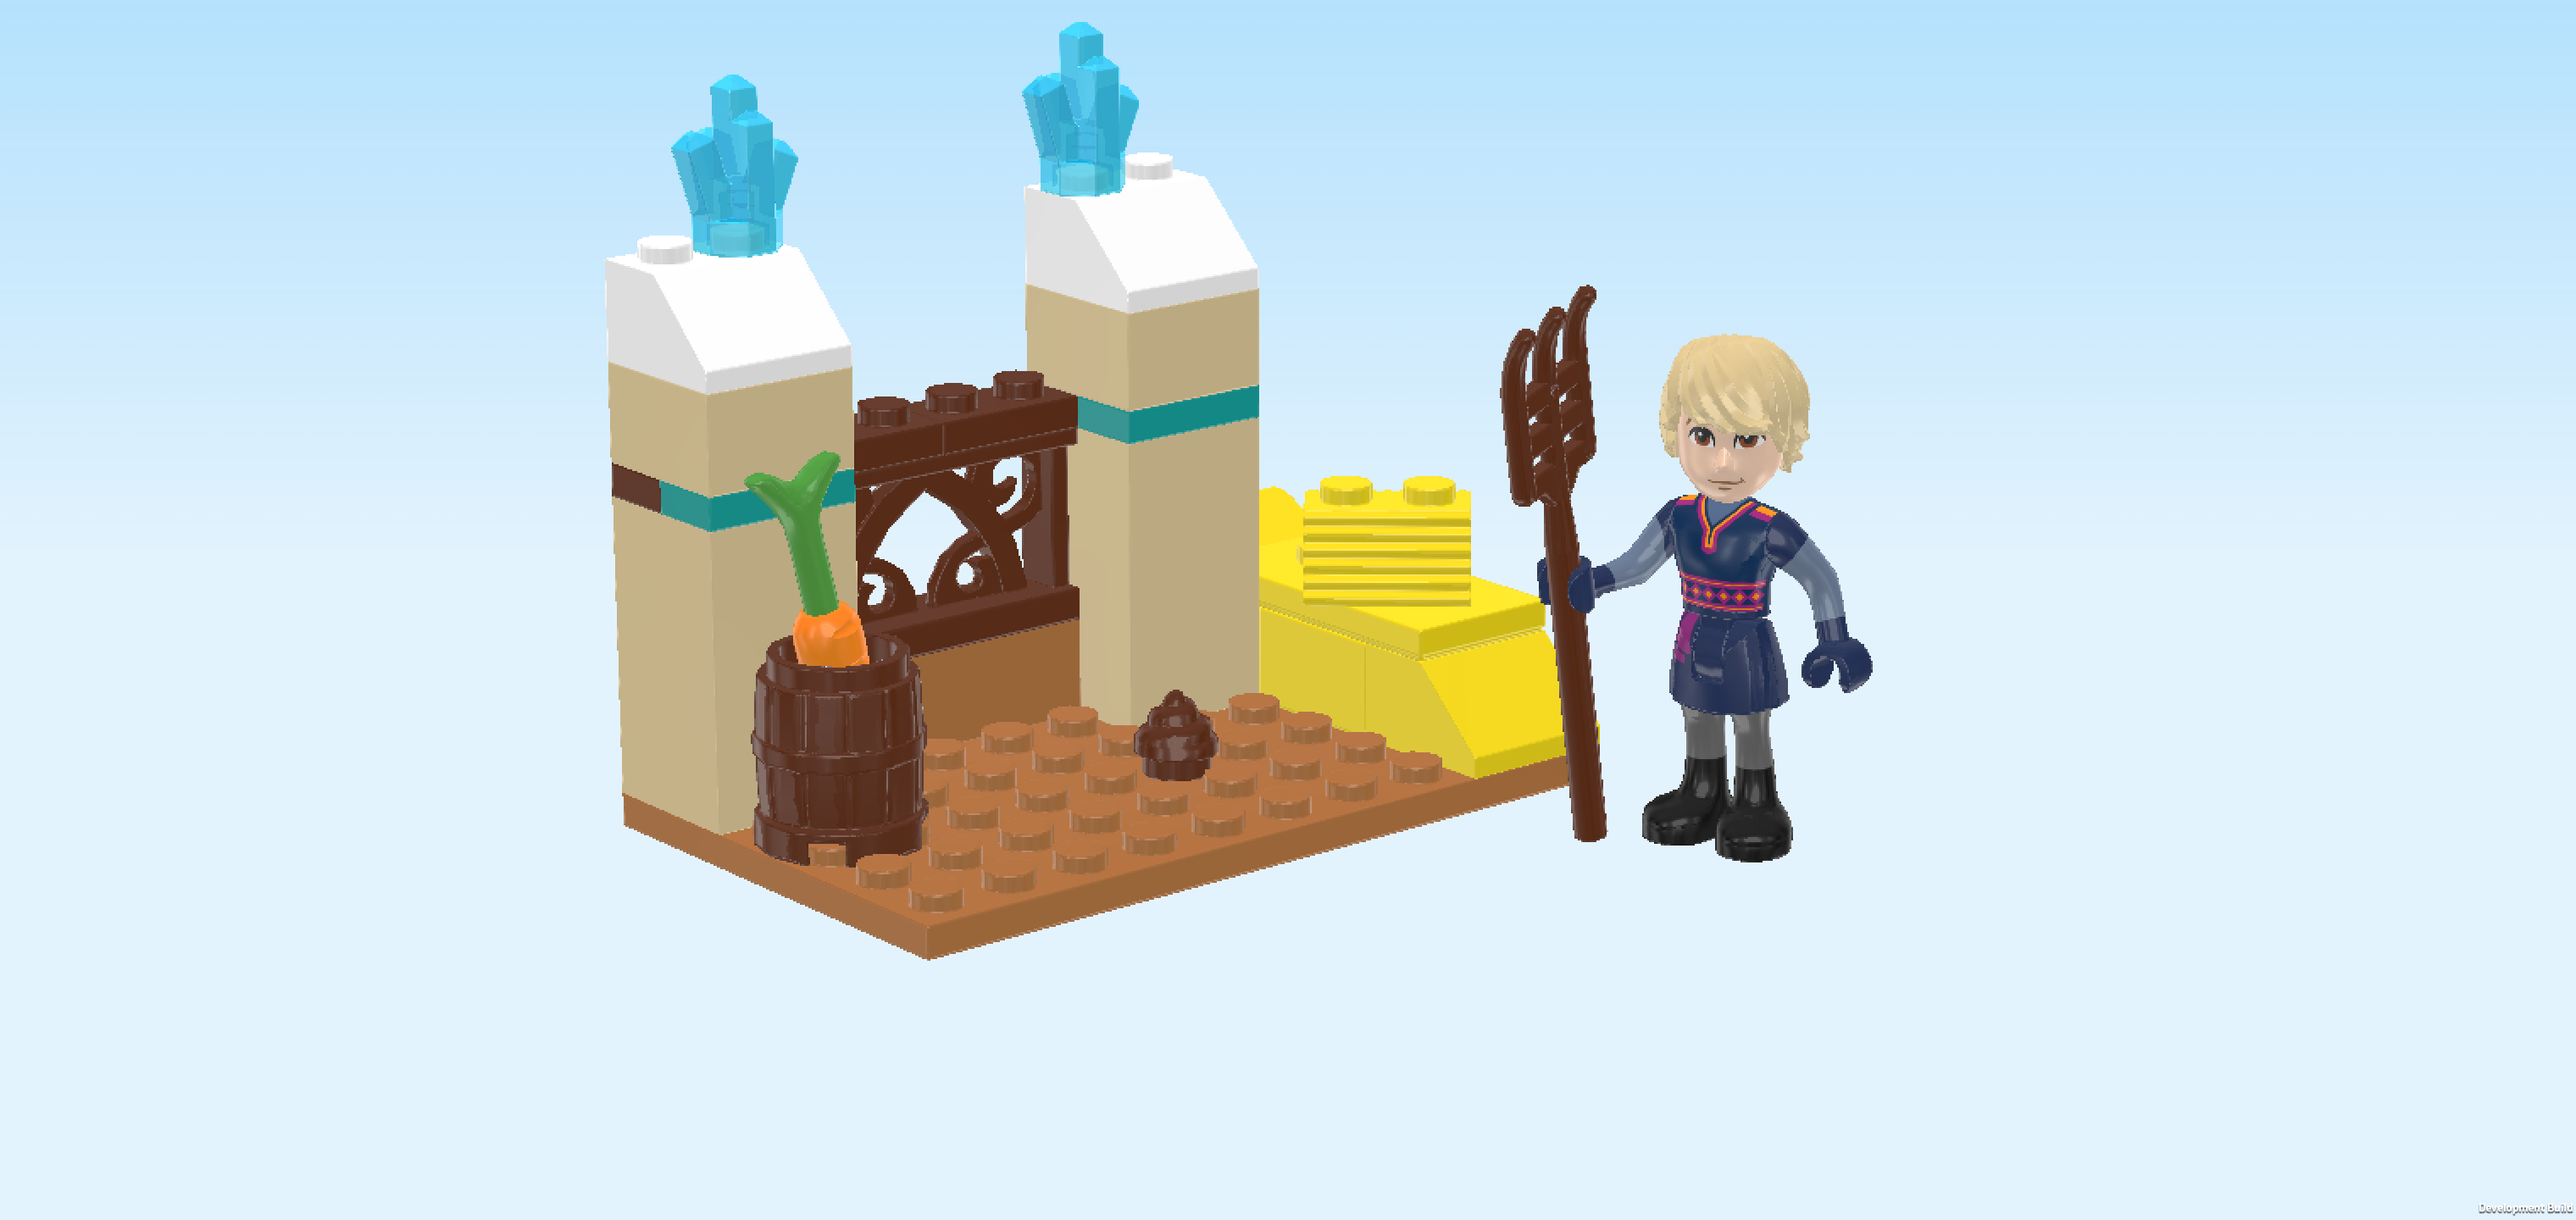
| The Kristoff Minidoll is finished! Well done! Kristoff has a fair skin tone, big brown eyes and ash blonde hair. He has a friendly smirk and a kind look on his face. He is wearing a dark blue short-sleeved tunic with a belt with pink edges and a pink diamond pattern. Underneath, he is wearing grey pants and a grey long-sleeved shirt as well as black gloves and black boots. The collar of his shirt also has a pink edge. Kristoff is a friendly animal-loving person and actually the owner of the sleigh you have built! |
| Now, we will build the stable. |
| Collect the following 2 pieces: |
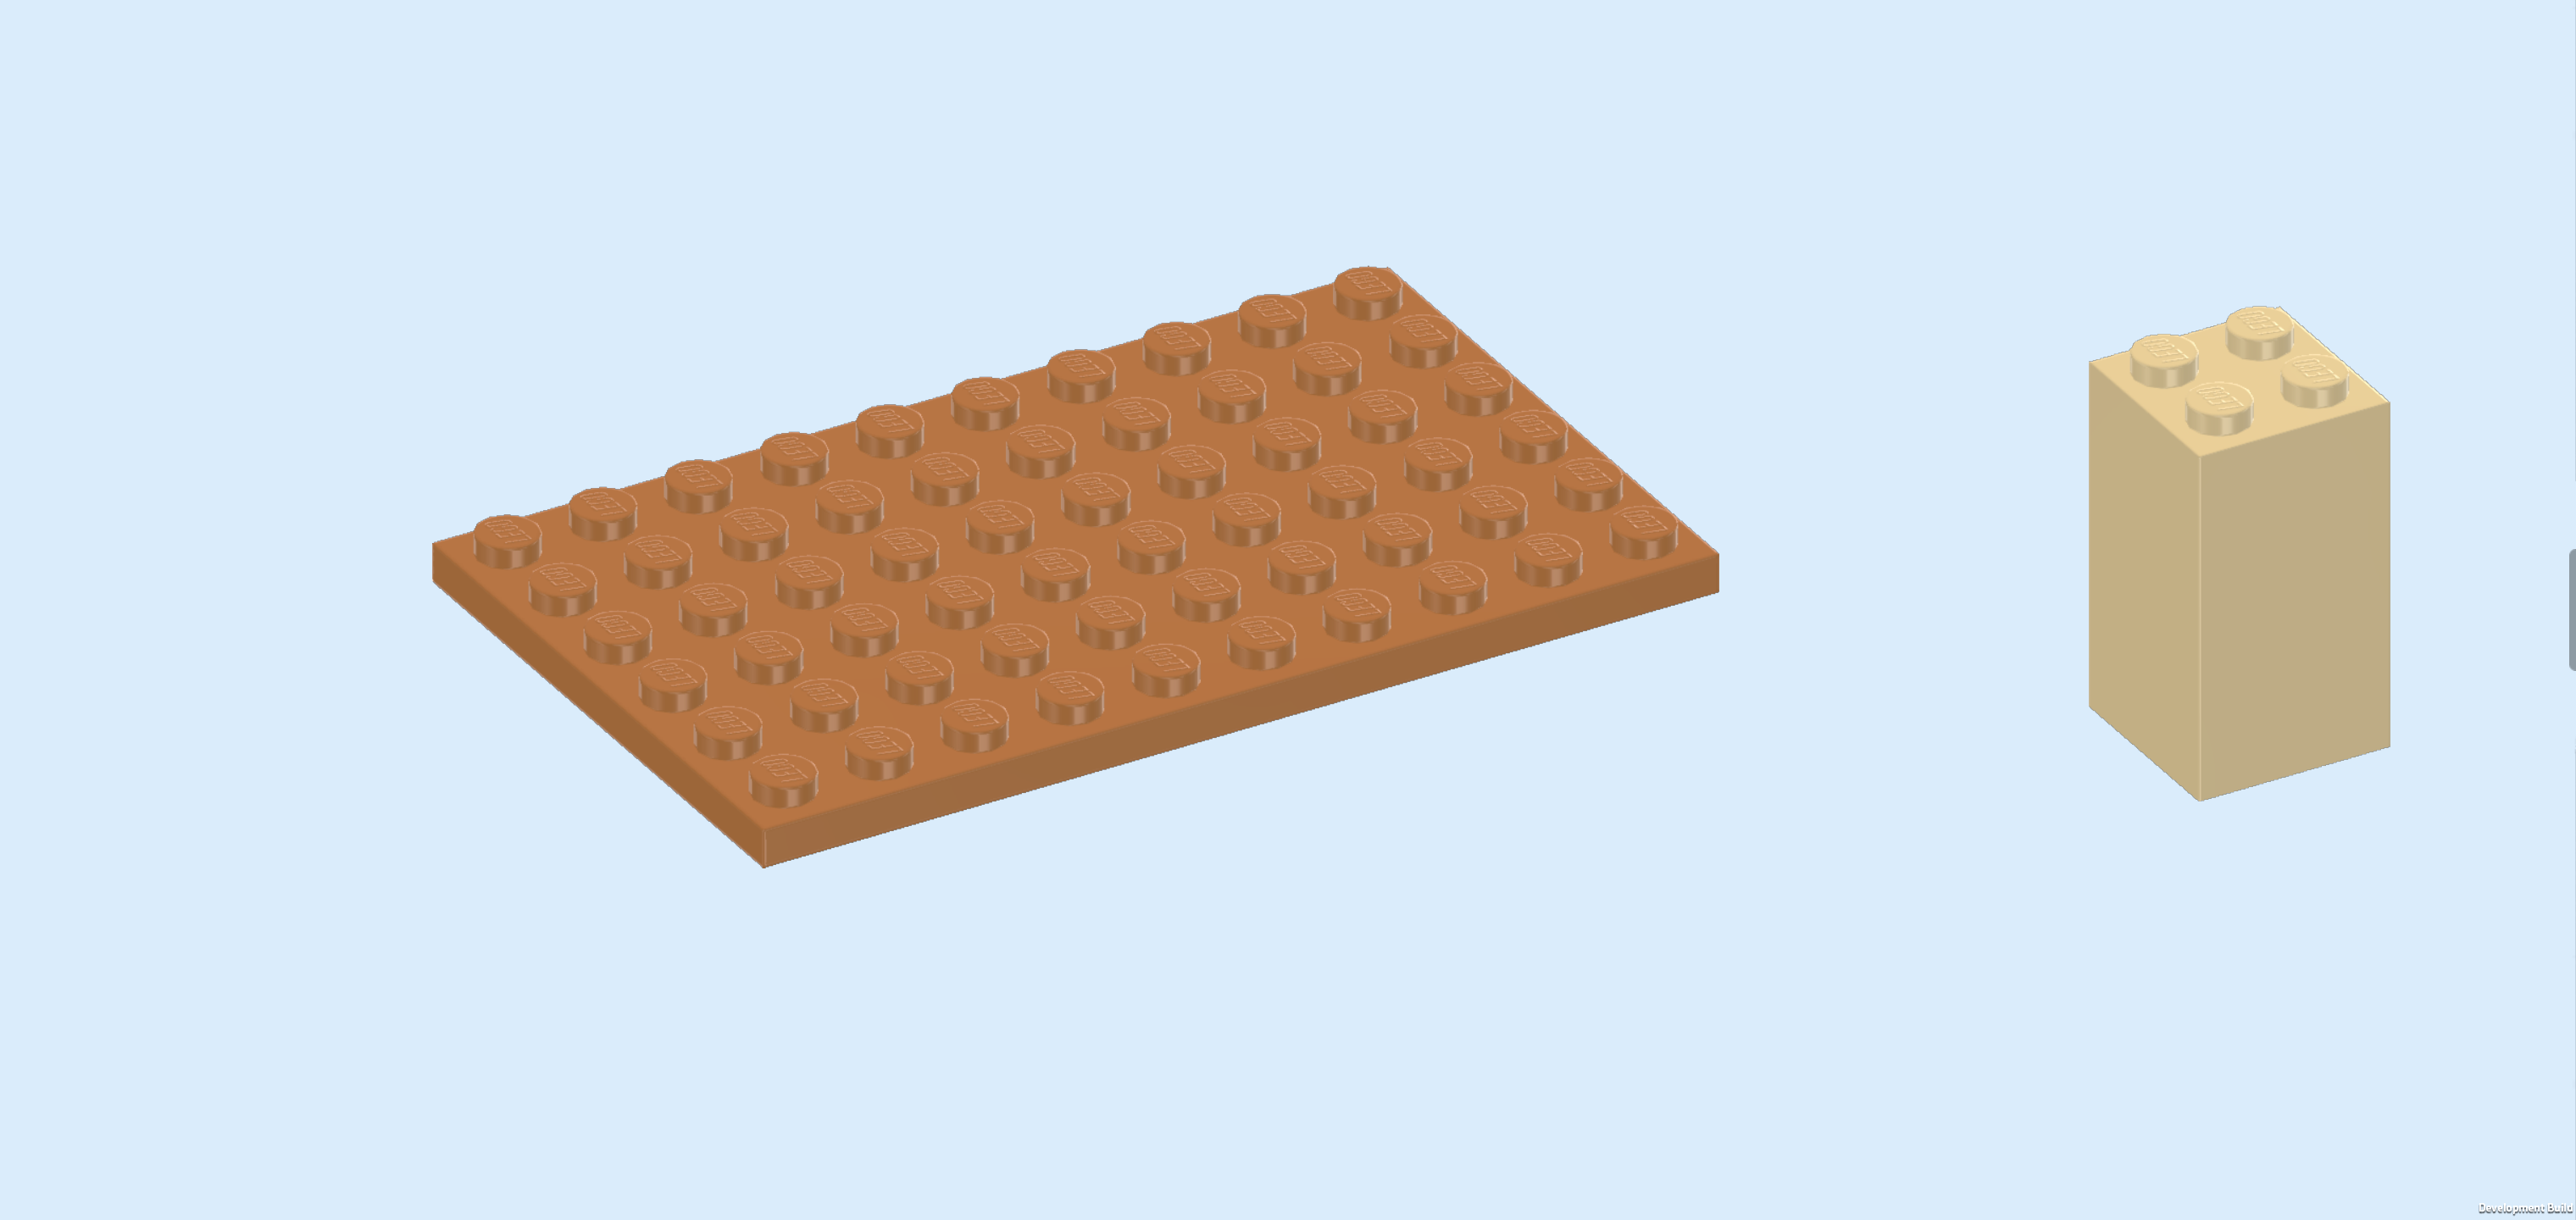
| 1 medium nougat brown plate 6x10, |
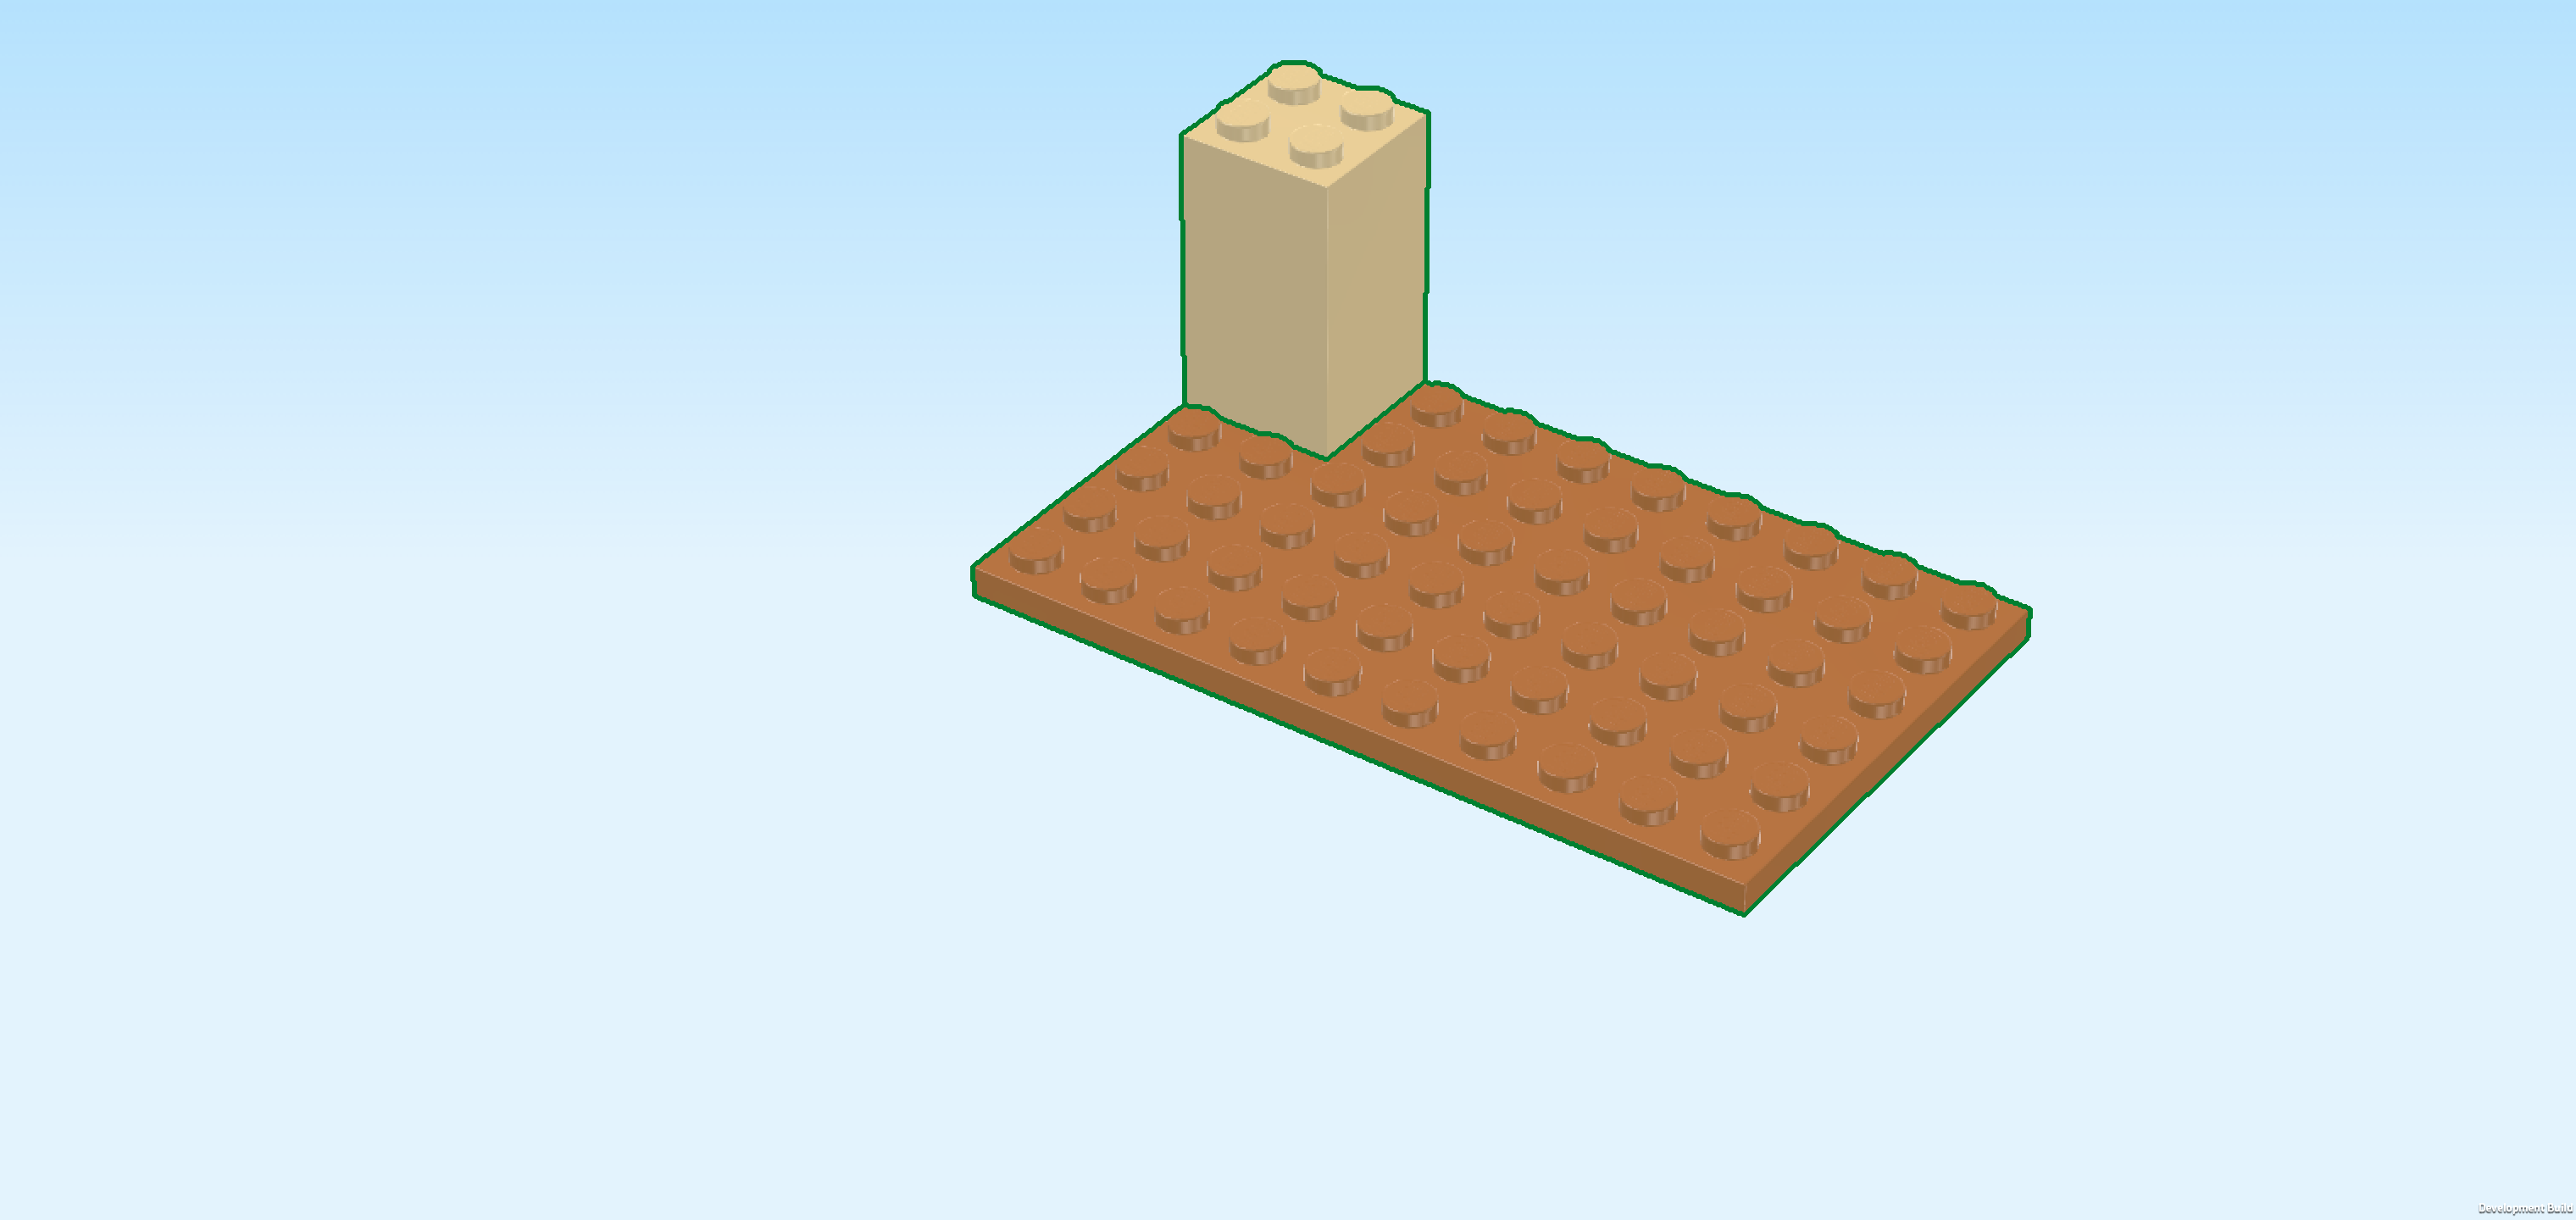
| and 1 beige brick 2x2x3. |
| Put the plate 6x10 horizontally on the table. Make sure its knobs form straight rows and columns in front of you. |
| Put the brick 2x2x3 in the left back corner. This means it will sit on the 2 backmost rows of the 2 leftmost columns. |
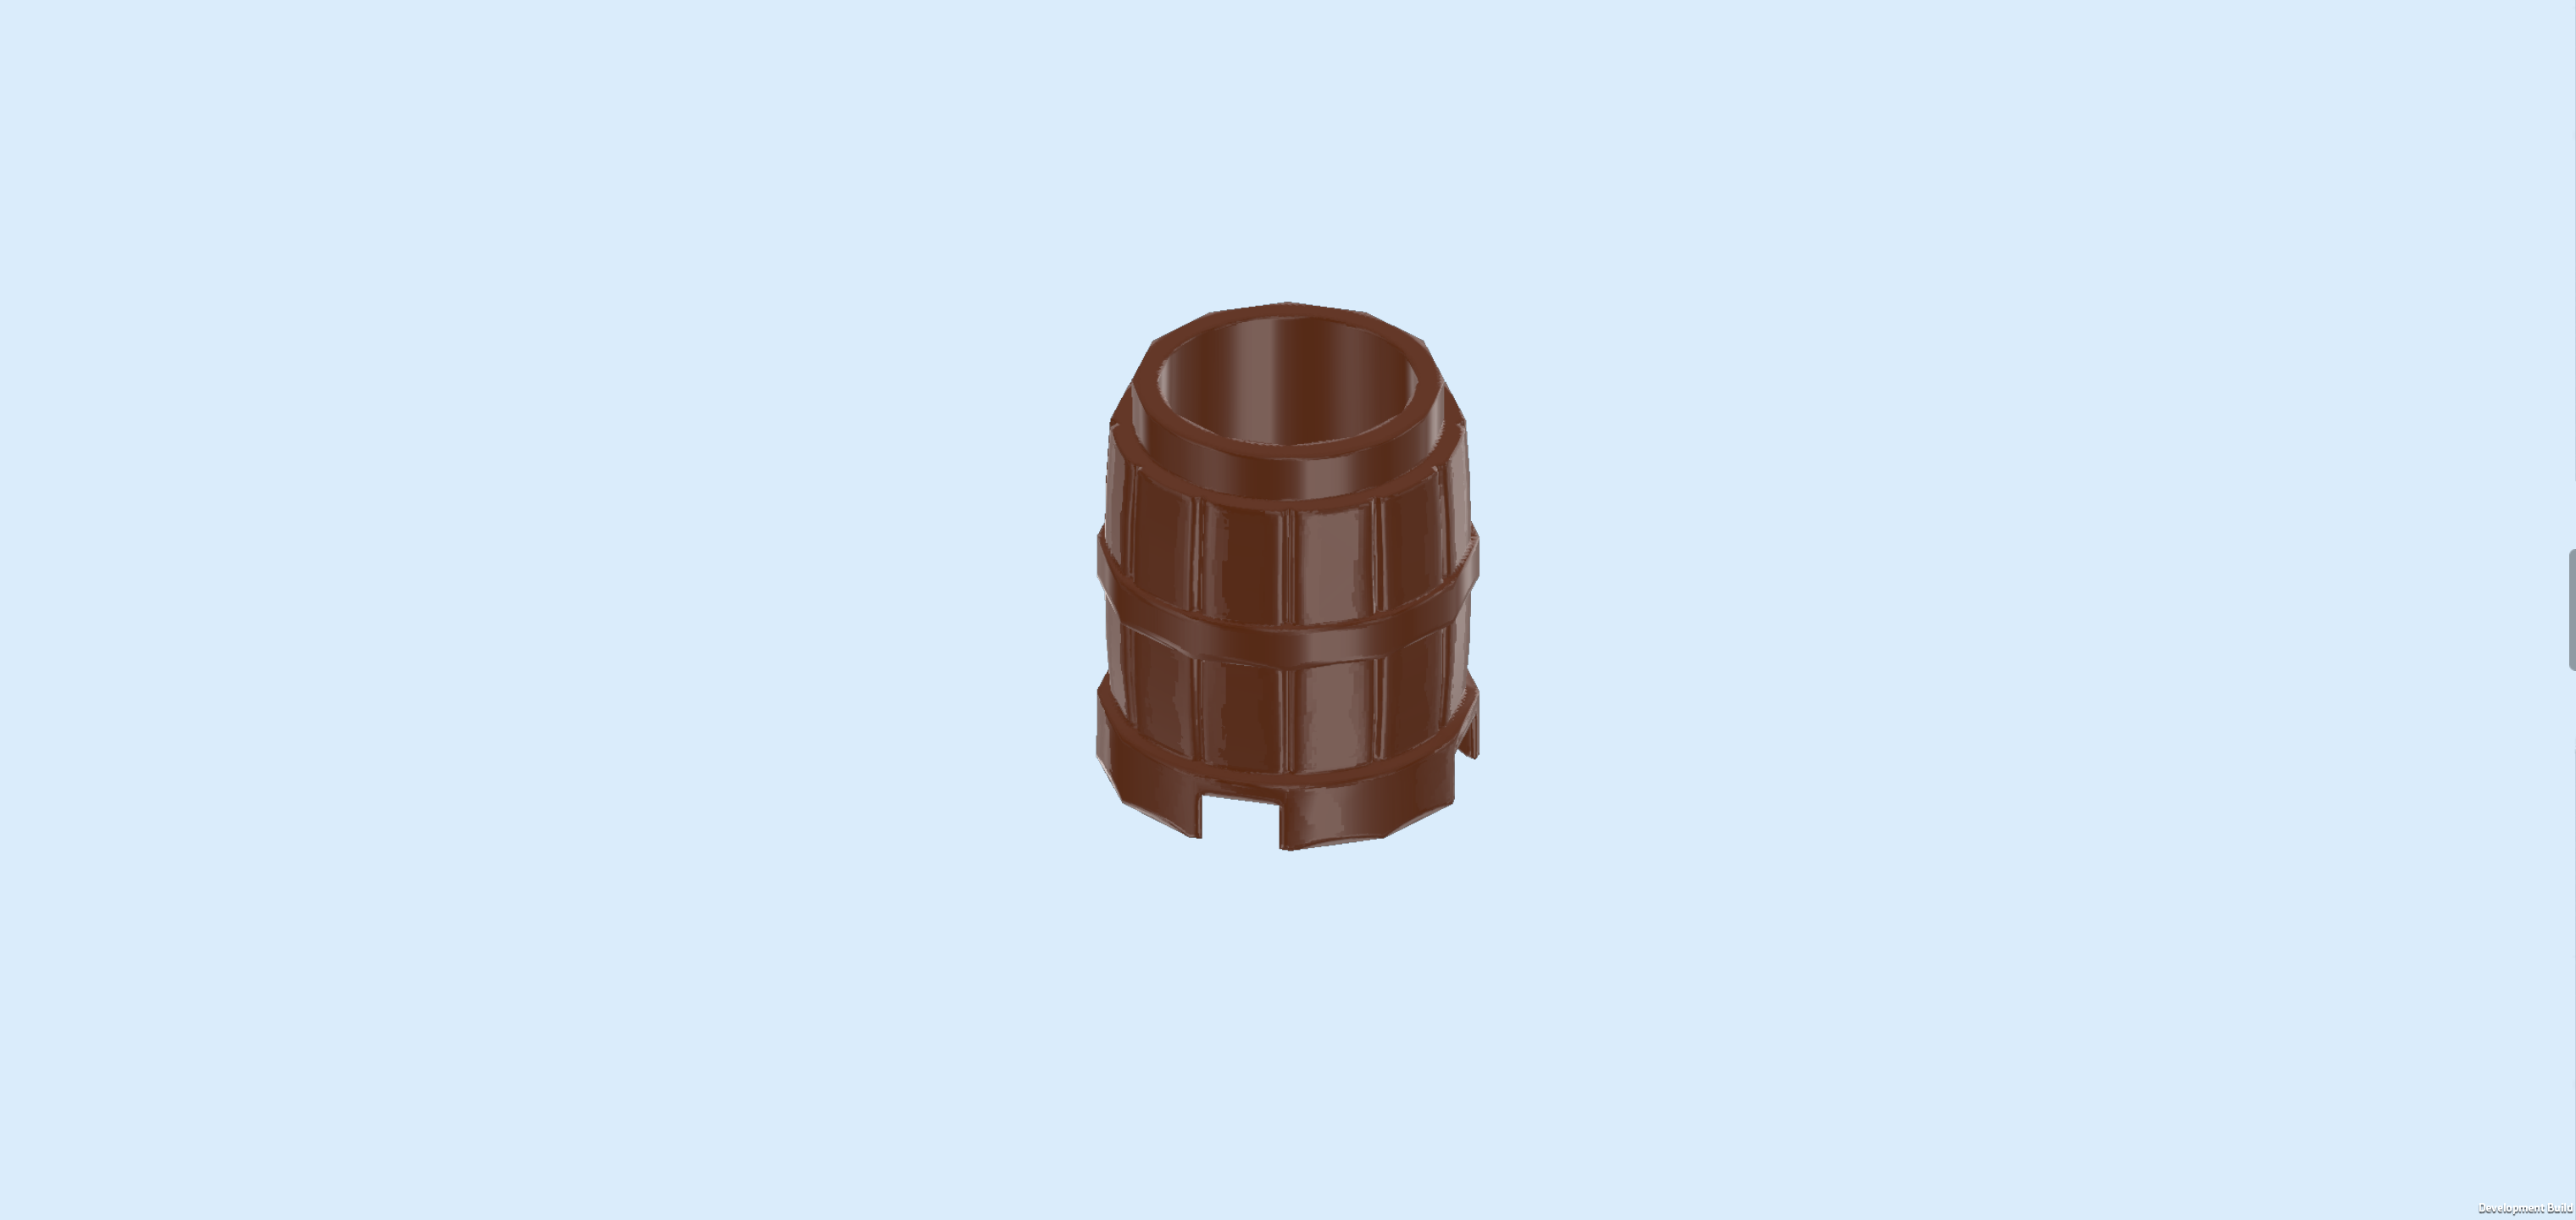
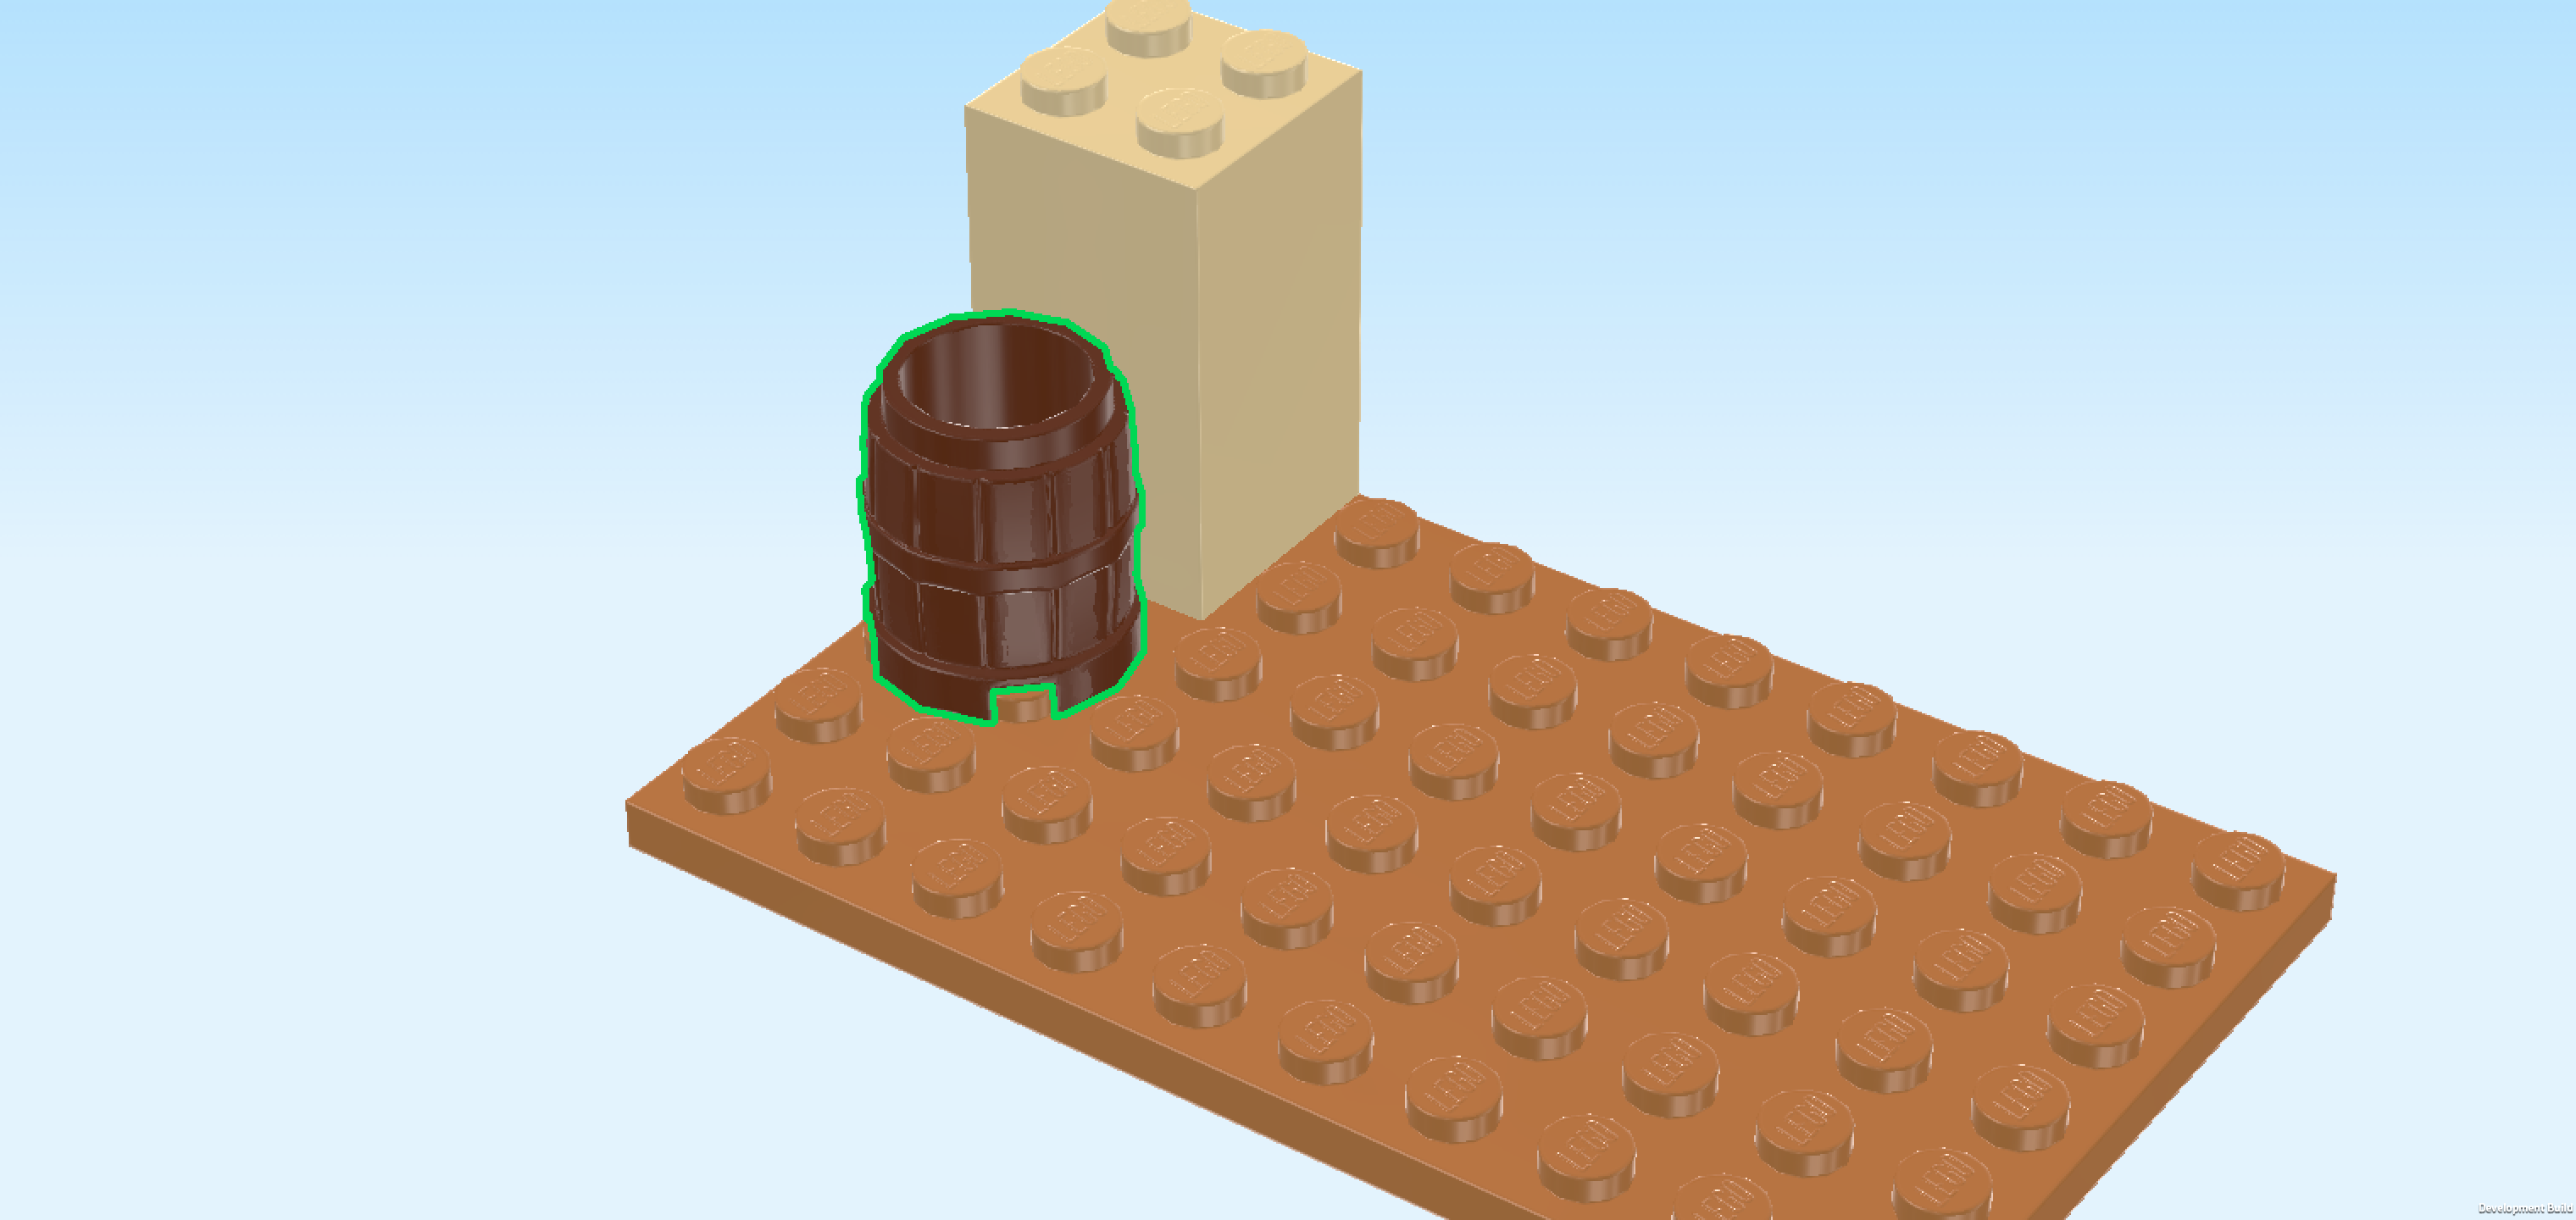
| Find 1 reddish brown barrel 2x2. |
| Put it in front of the previous piece. |
| Collect the following 2 pieces: |
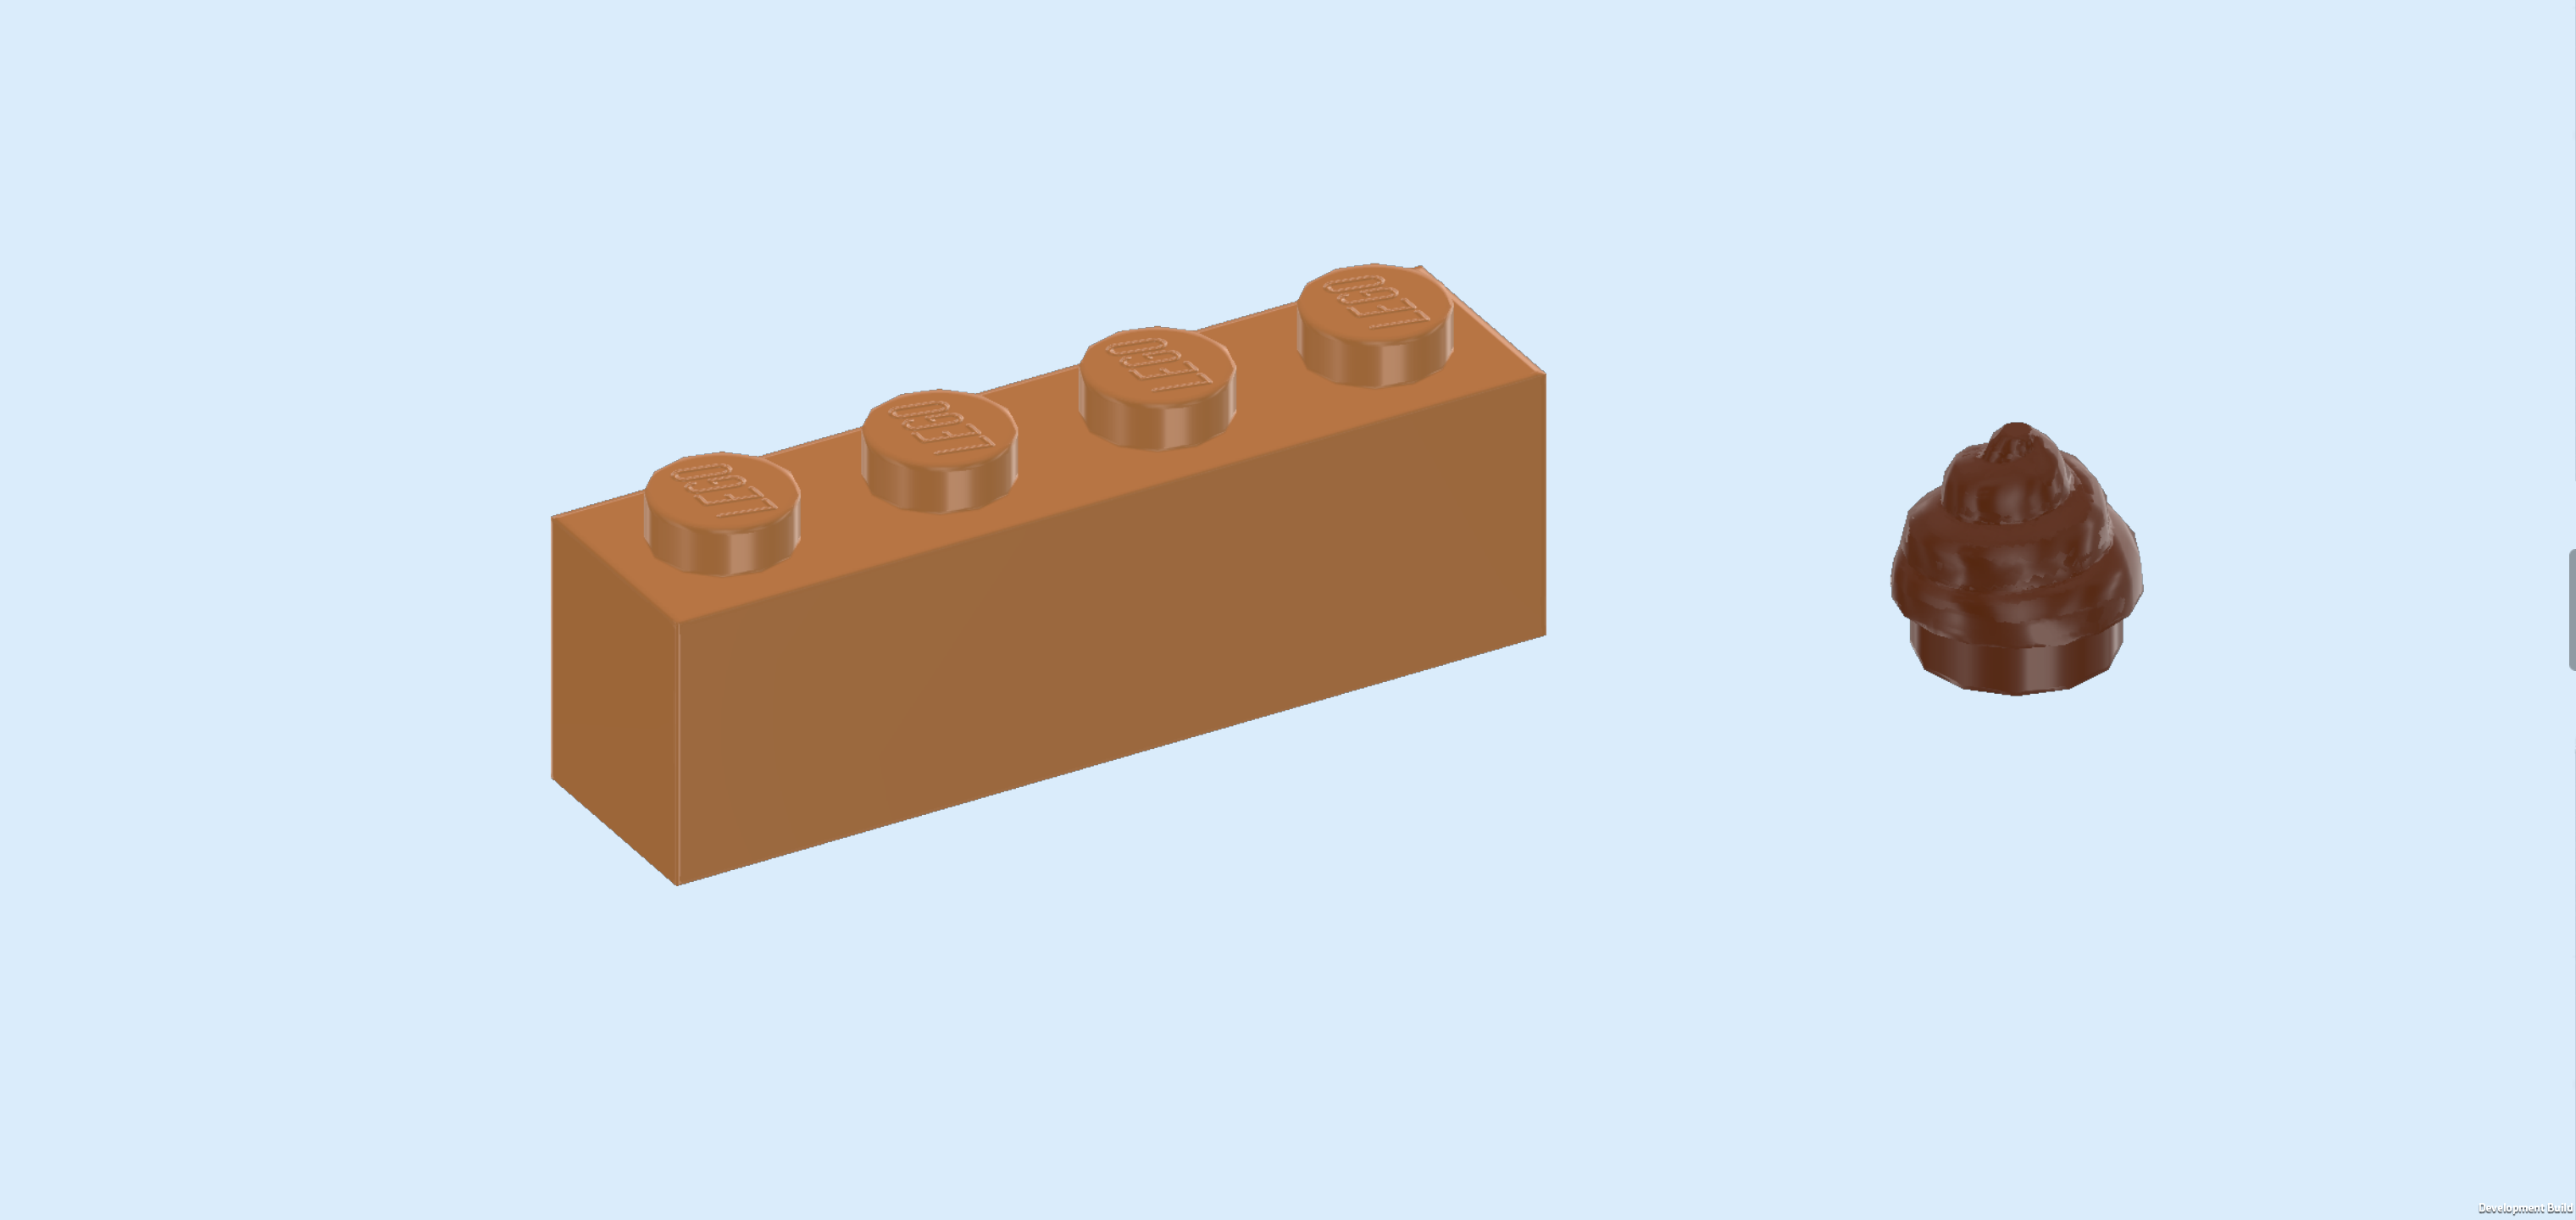
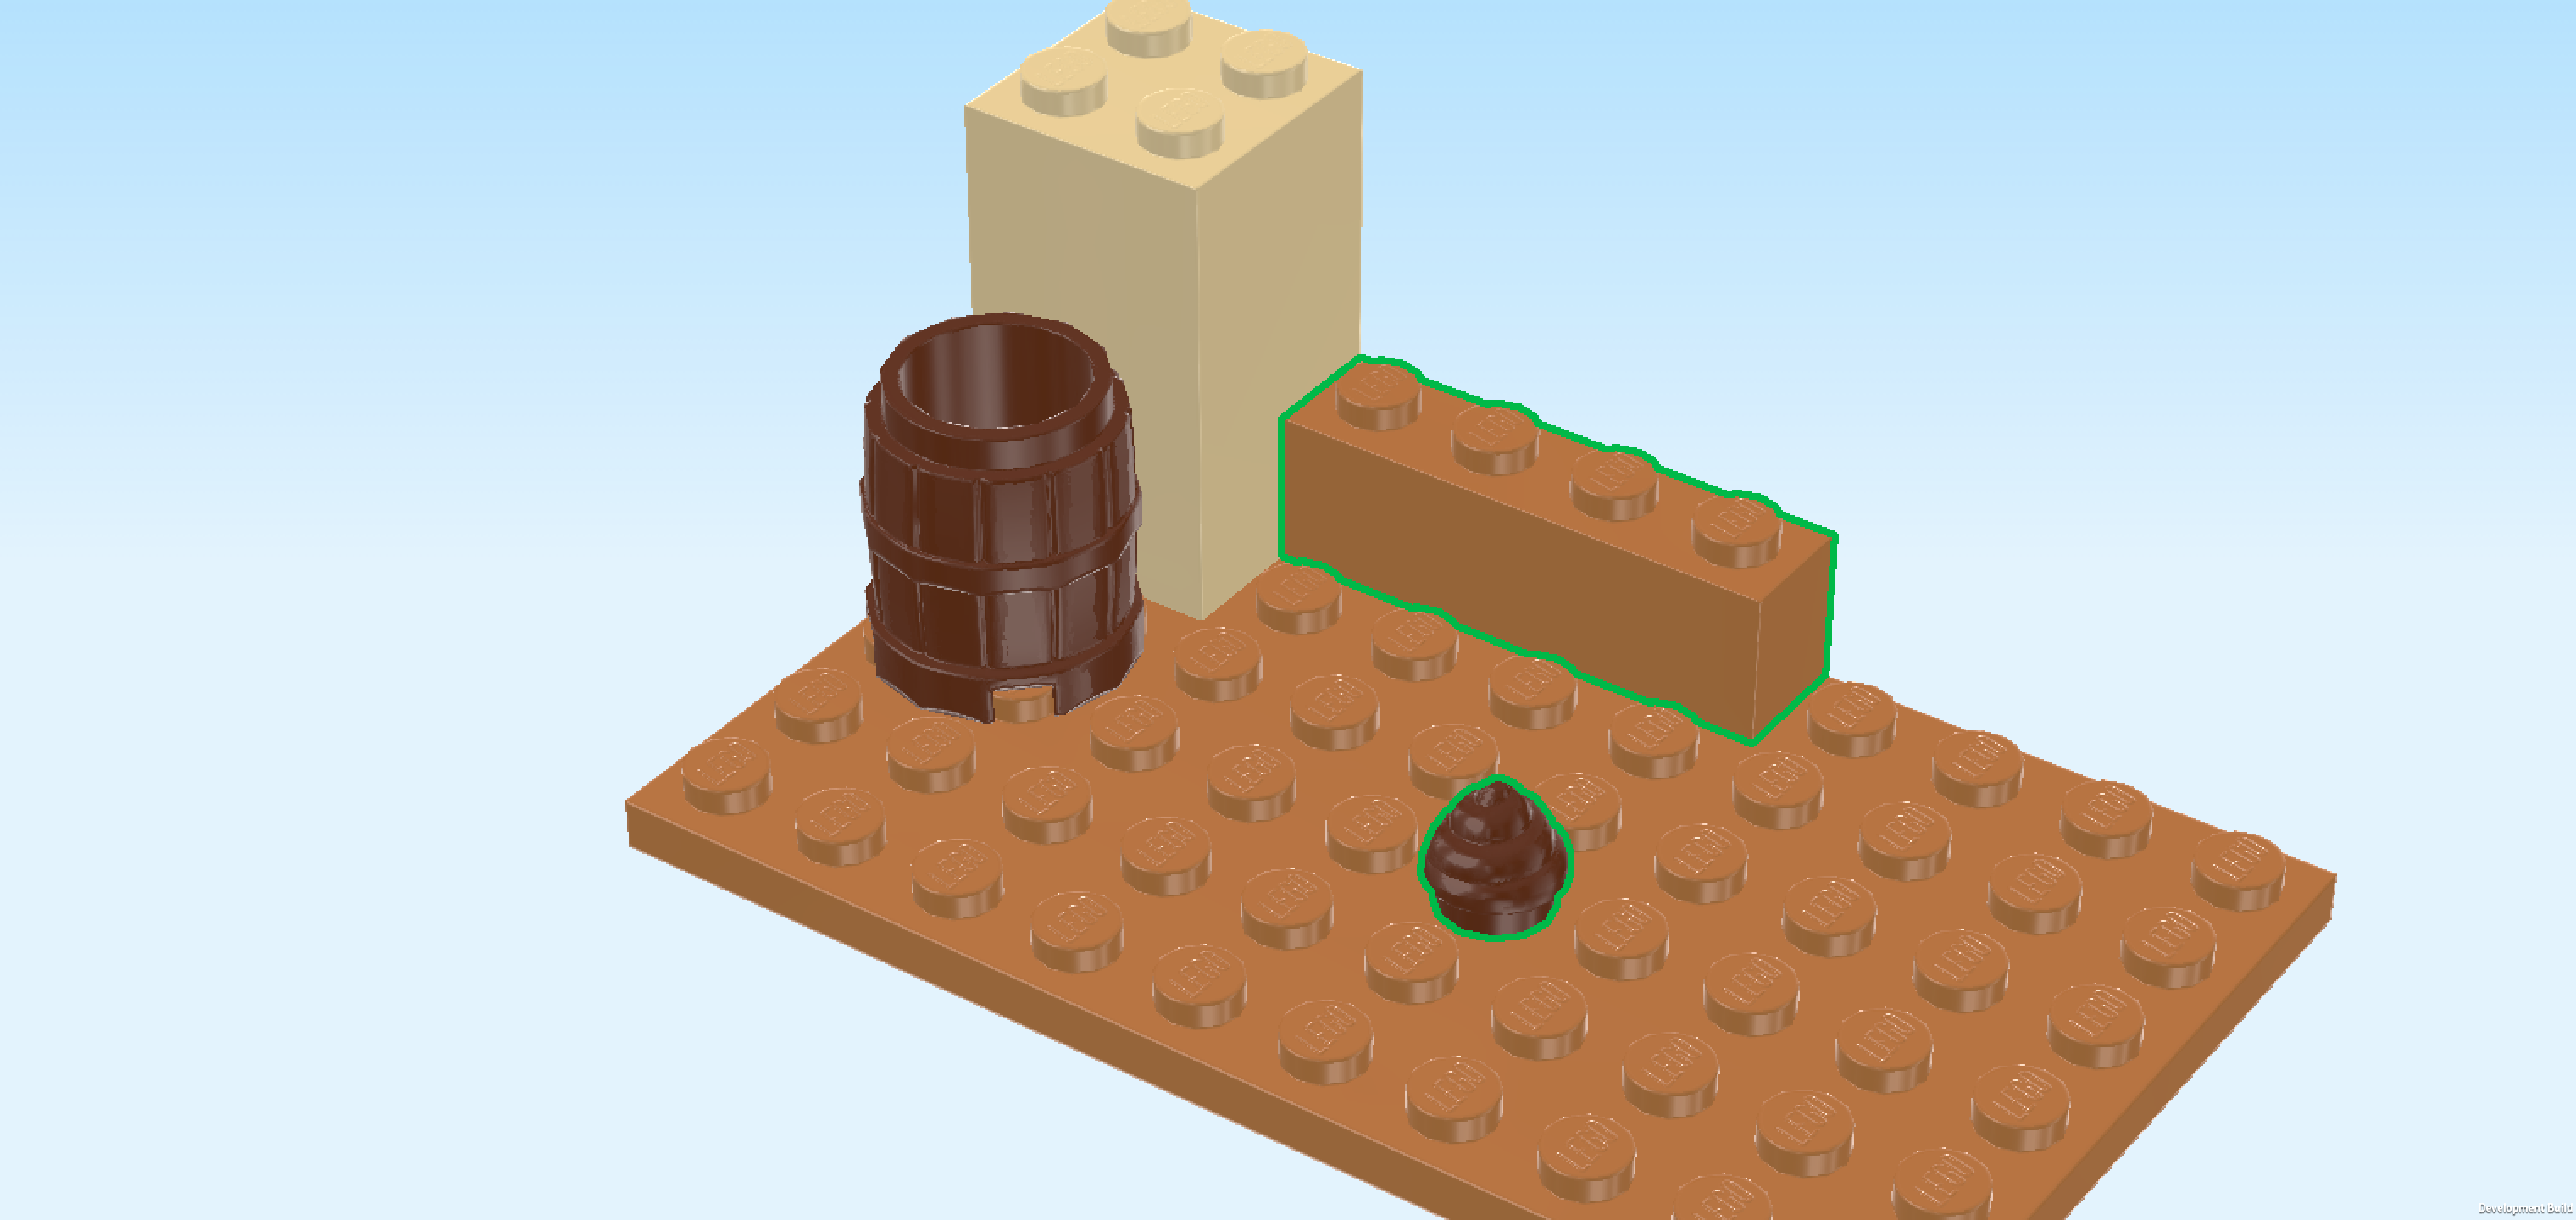
| 1 medium nougat brown brick 1x4, |
| and 1 reddish brown swirly whipped cream topping 1x1. |
| Put the brick 1x4 on the backmost row directly to the right of the brick 2x2x3. |
| Put the swirly whipped cream topping 1x1 in the middle of the third row from the front, for instance on the fifth knob from the right. But it doesn't have to be this exact knob, you can also pick another location. |
| Wait a minute, what is a whipped cream topping doing in the stable? And why is it brown? This is not whipped cream at all! Rather, it is some reindeer poop as you would expect in a stable! |
| Collect the following 2 pieces: |
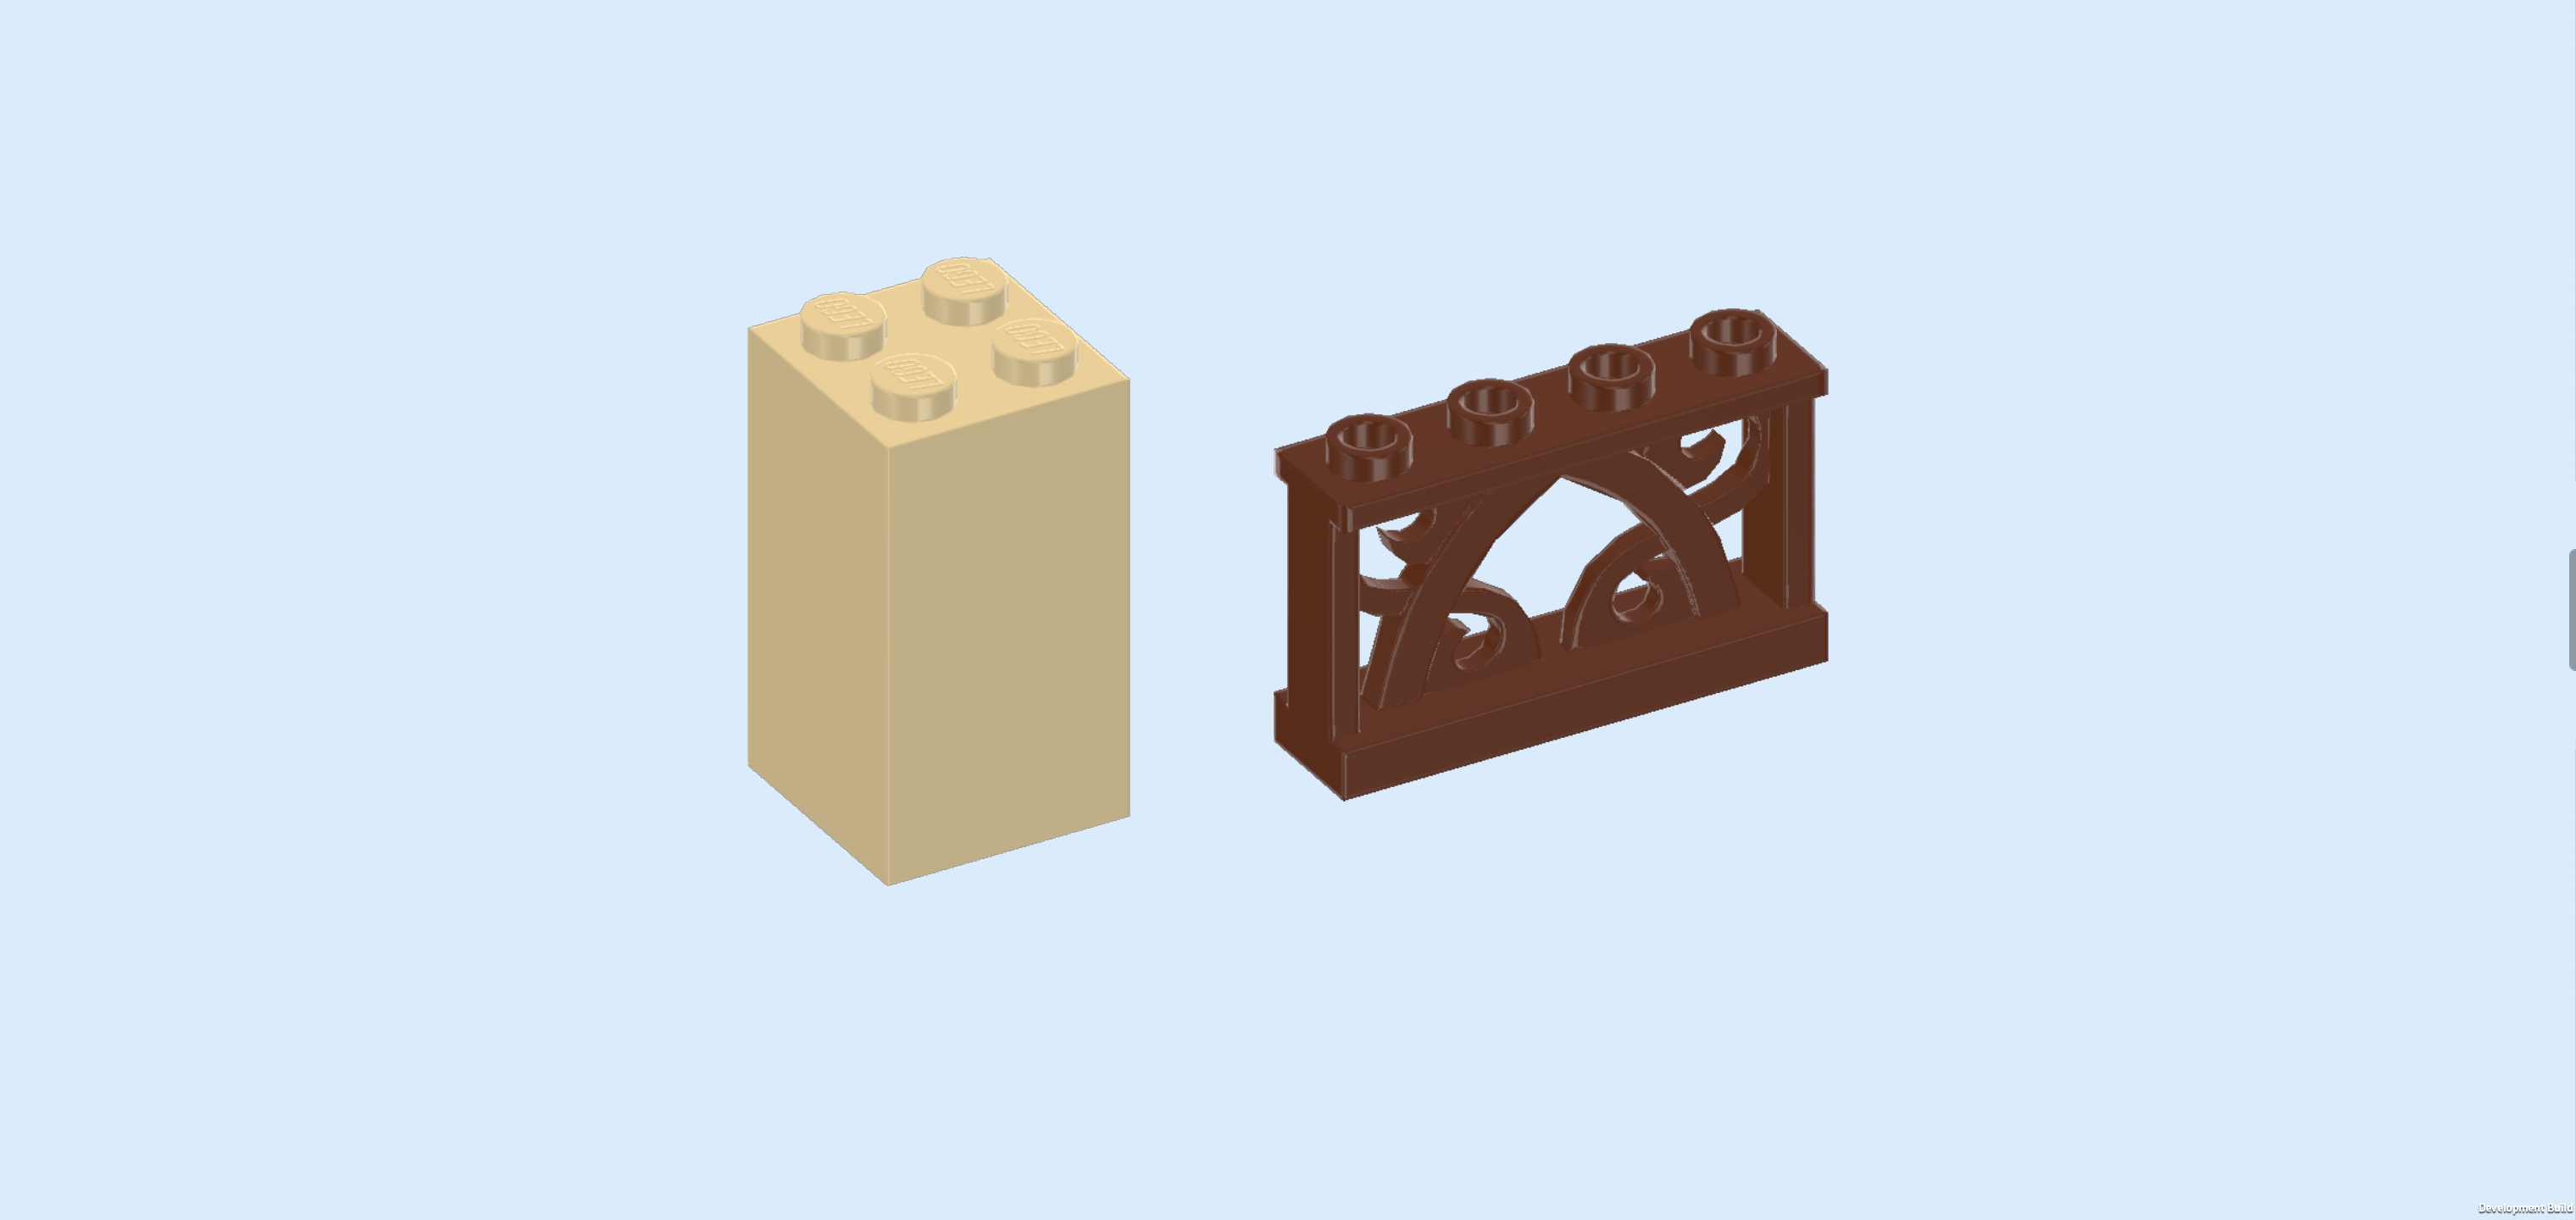
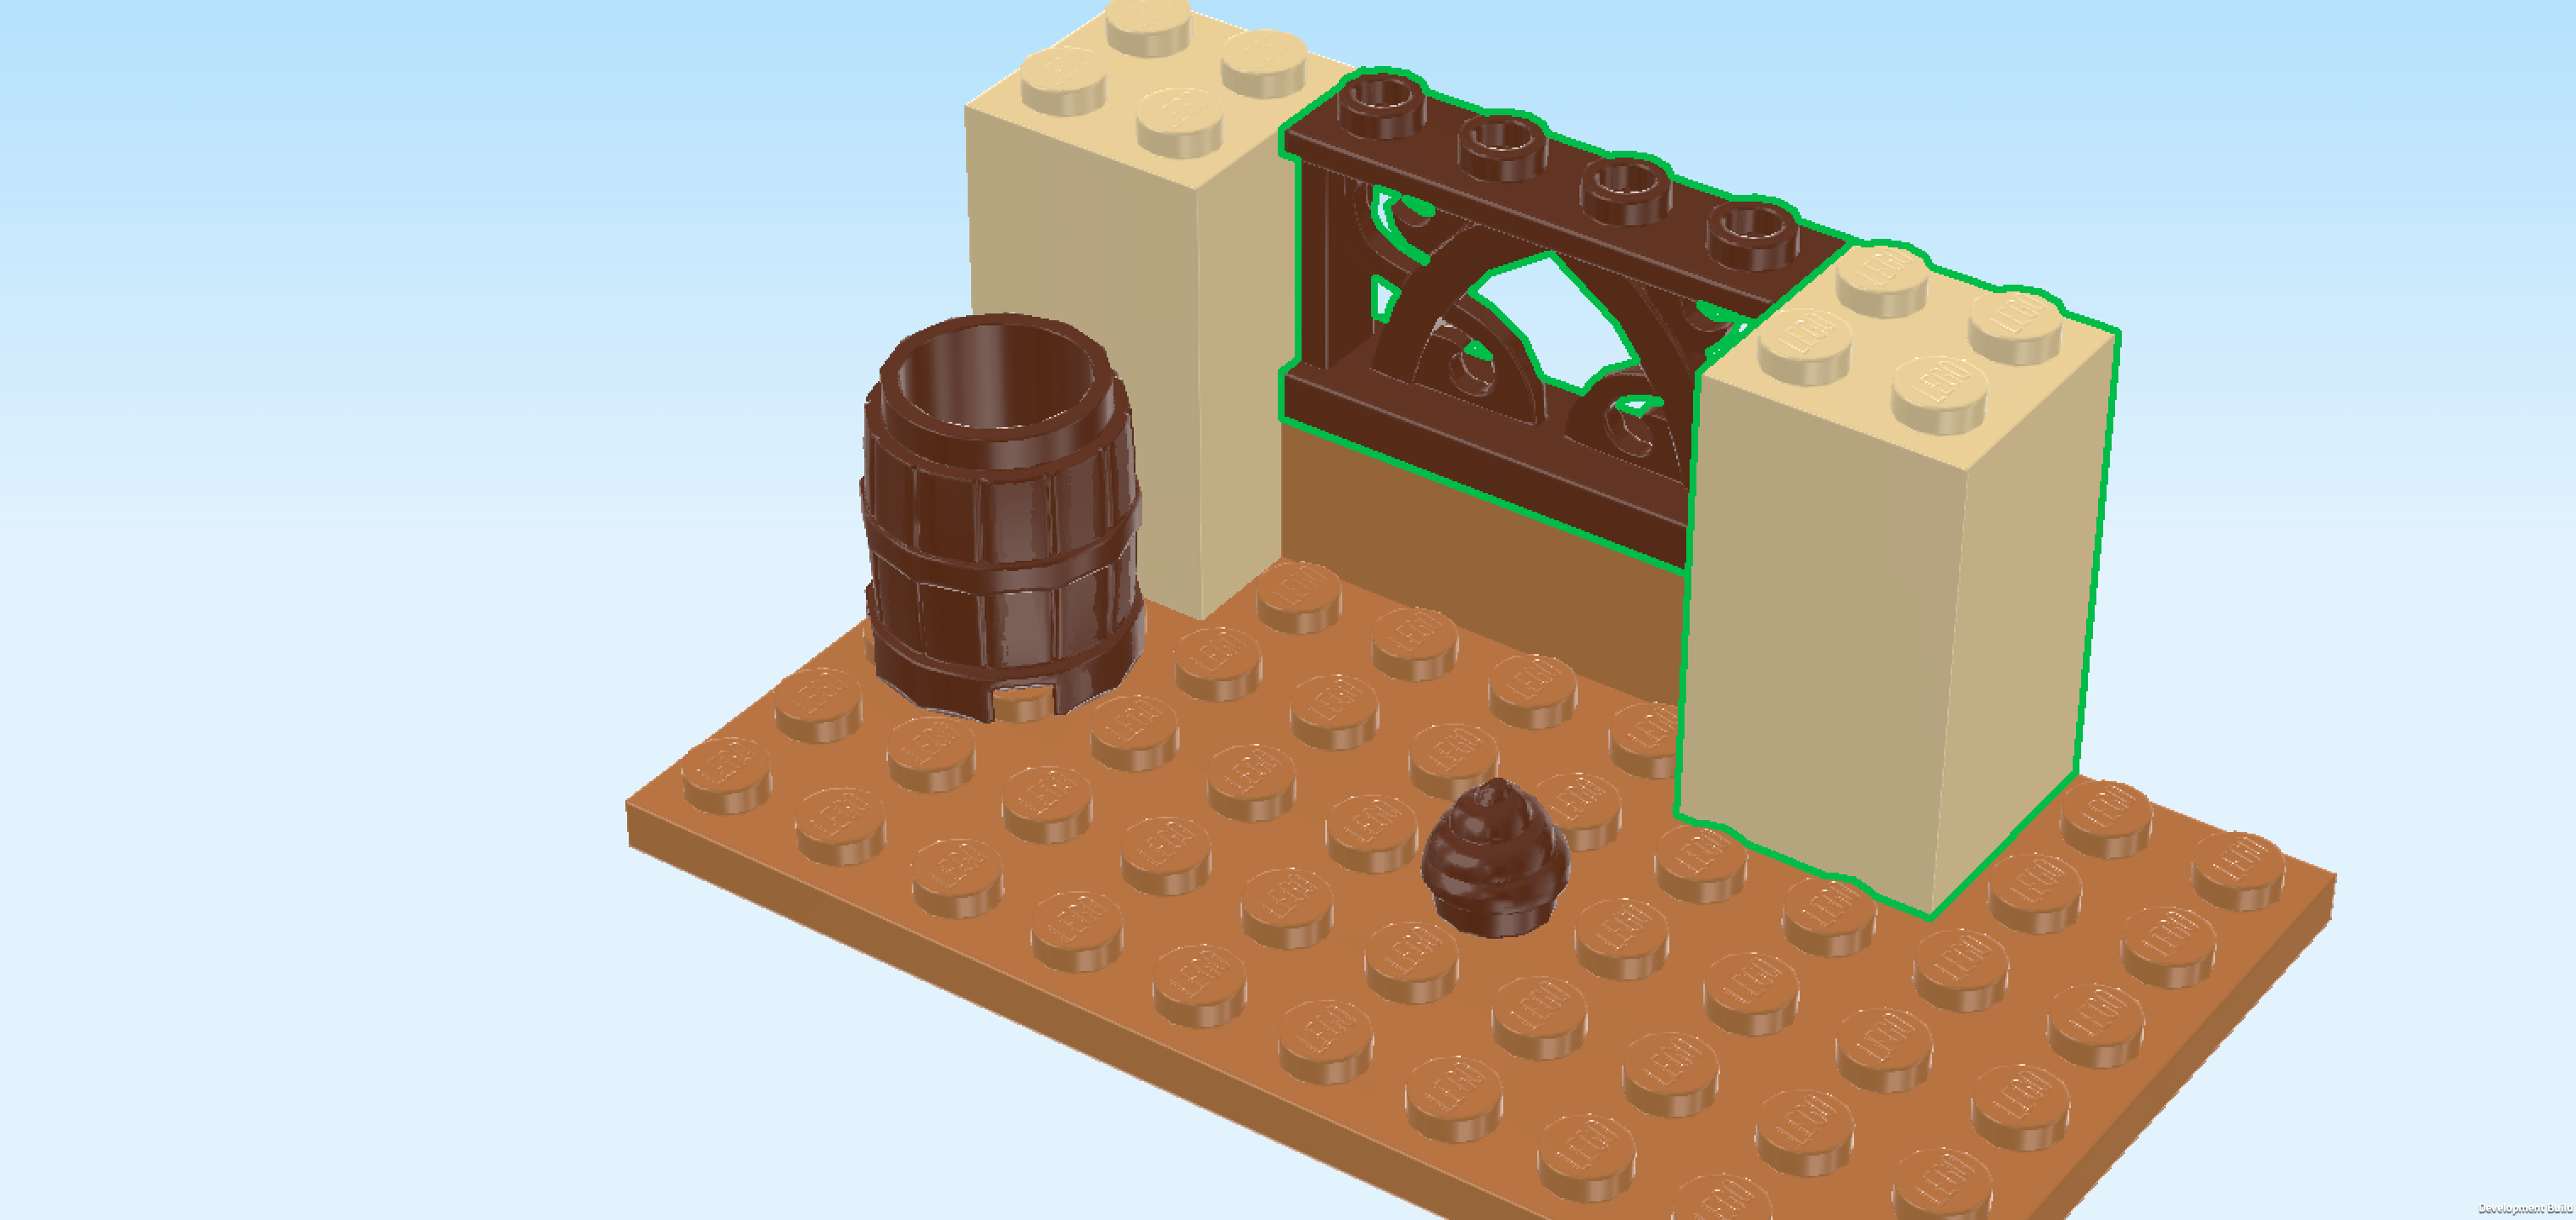
| 1 beige brick 2x2x3, |
| and 1 reddish brown wrought fence element 1x4x2 with 4 knobs. |
| Put the wrought fence element 1x4x2 horizontally on the brick 1x4 on the backmost row. |
| Put the brick 2x2x3 to the right of the previous piece on the 2 backmost rows. |
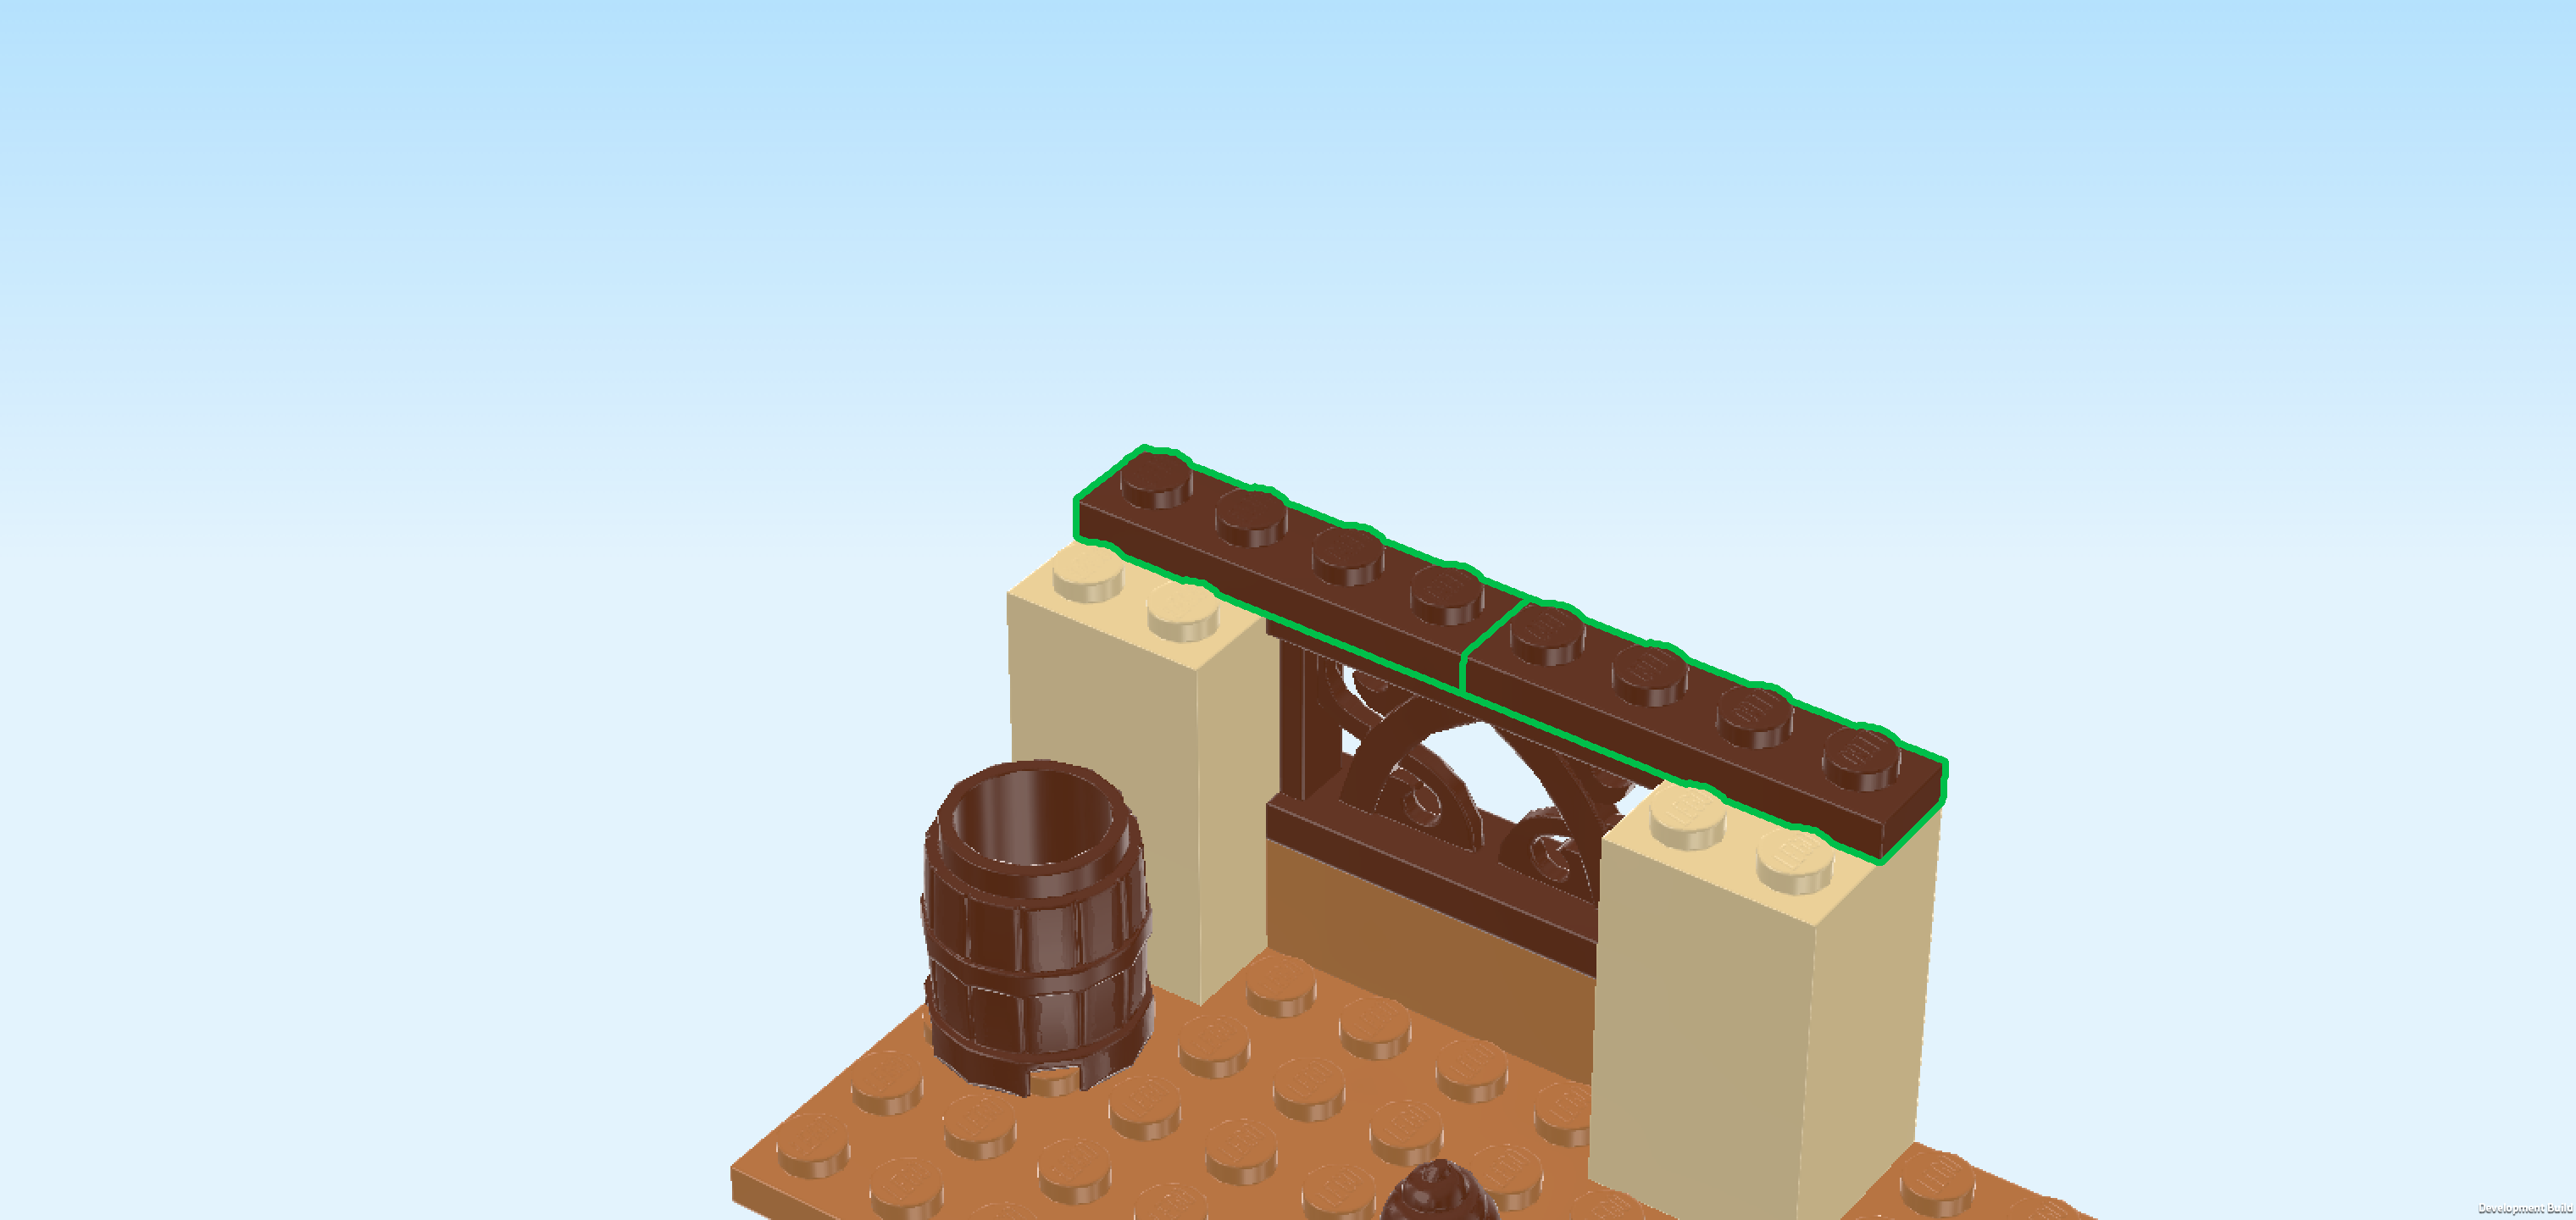
| Find 2 reddish brown plates 1x4. |
| Put 1 horizontally on the backmost row, starting from the left edge. |
| Put the other one horizontally to the right of the previous piece. |
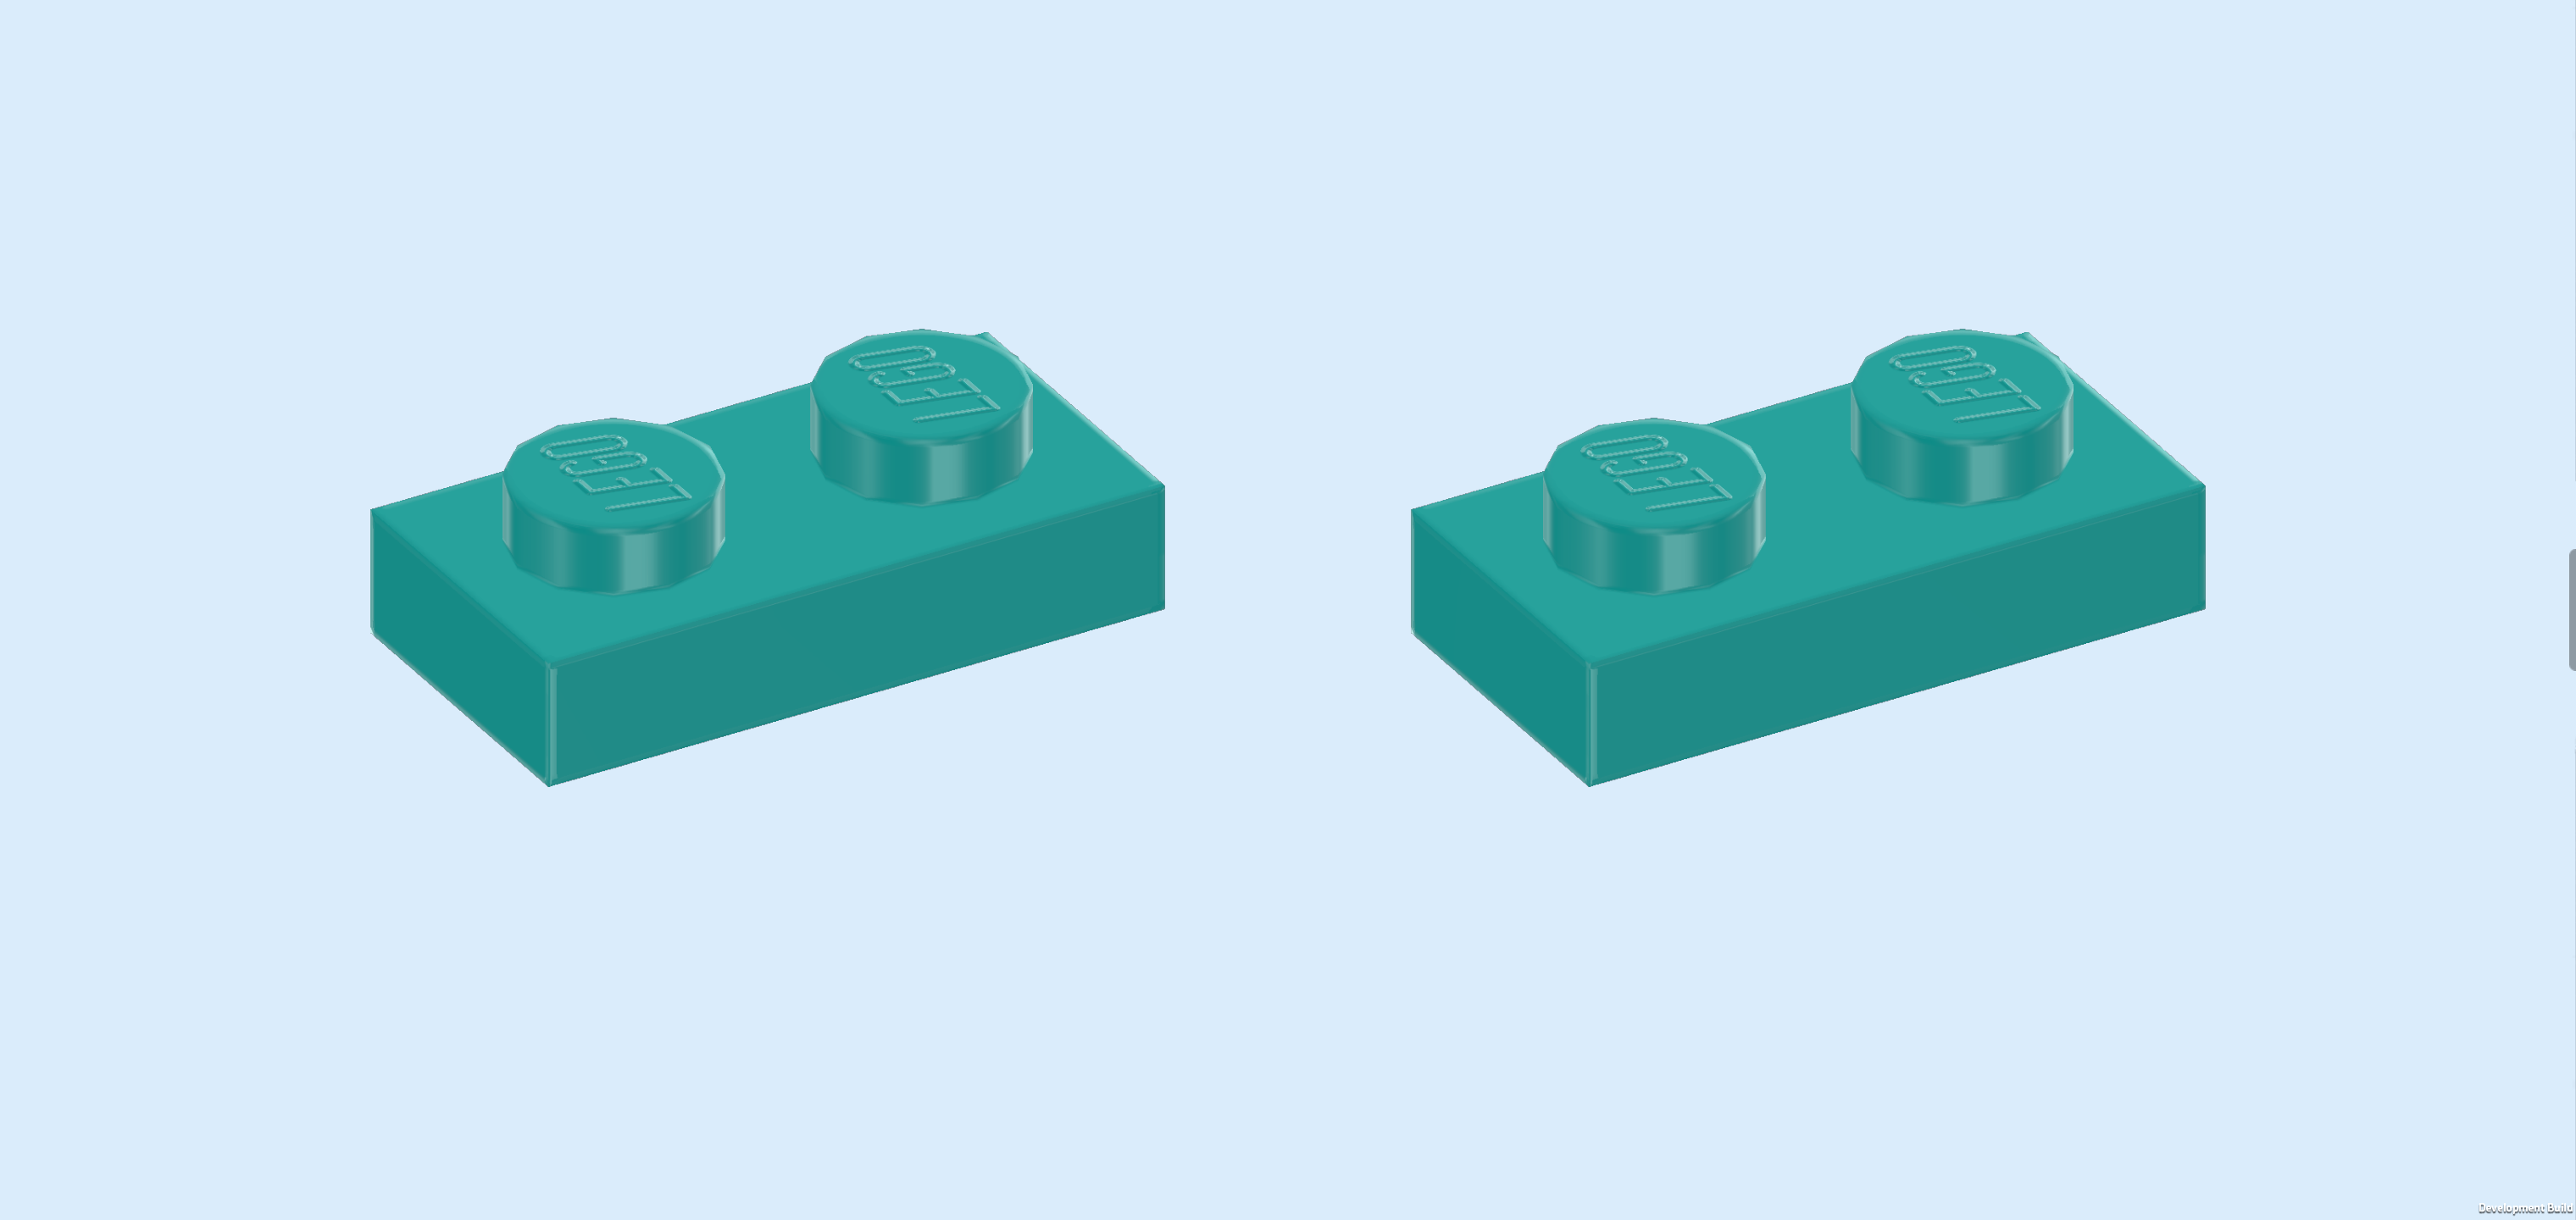
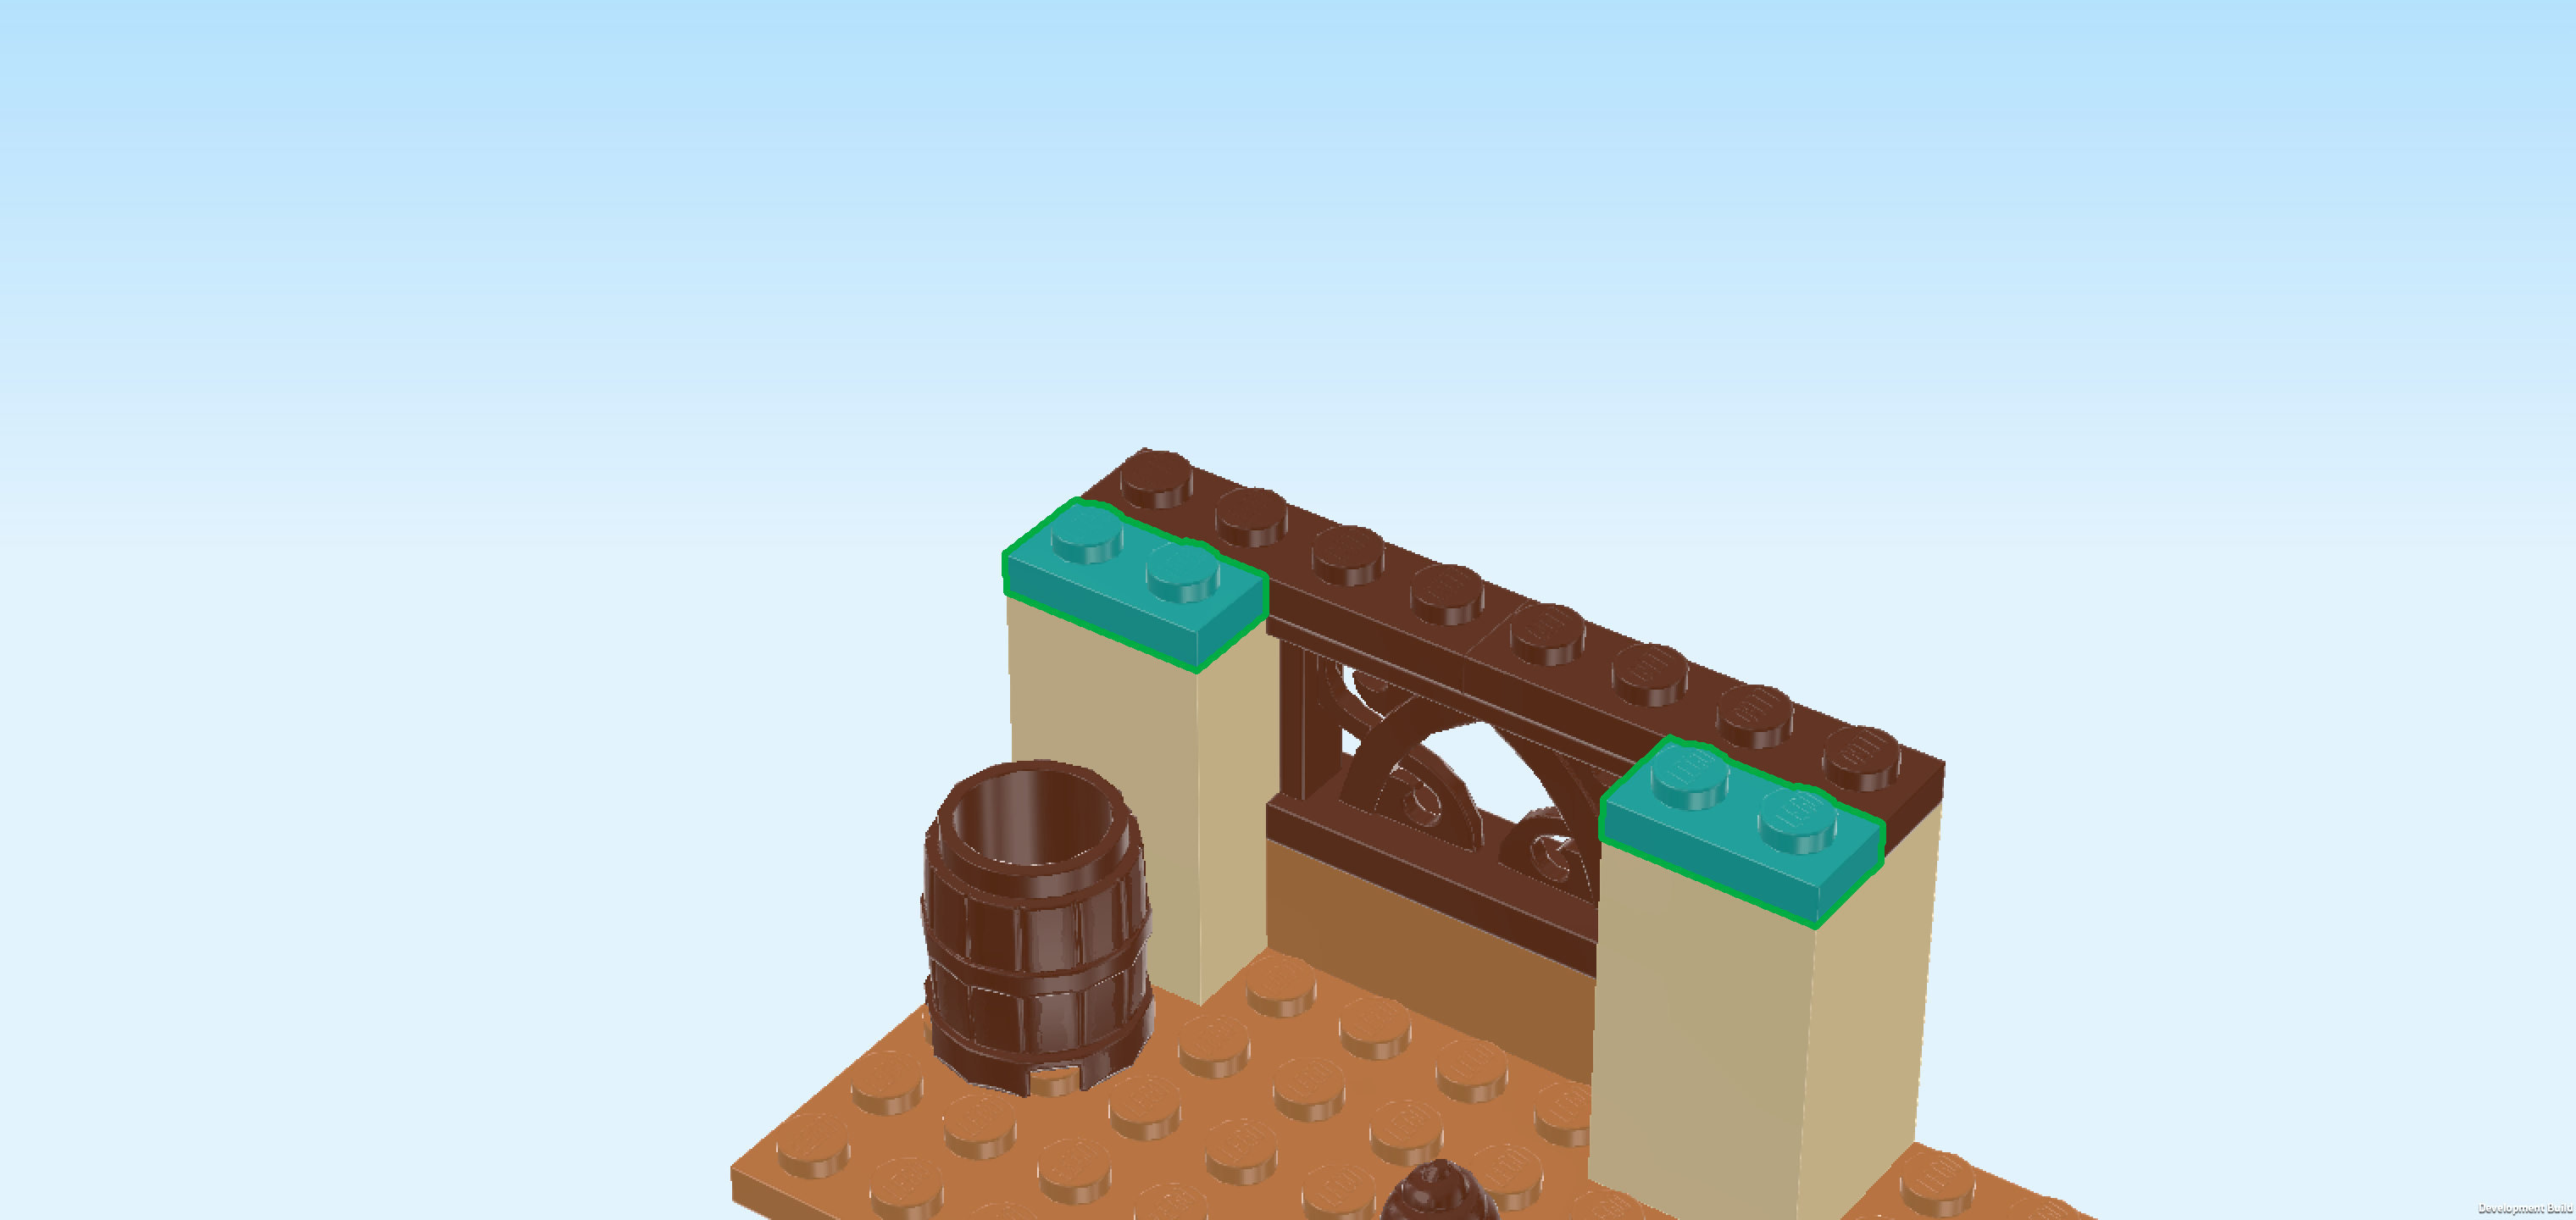
| Find 2 teal blue plates 1x2. |
| Put 1 horizontally in front of the previous piece's right half. This means it will sit on the front row of the brick 2x2x3. |
| Repeat symmetrically on the left. |
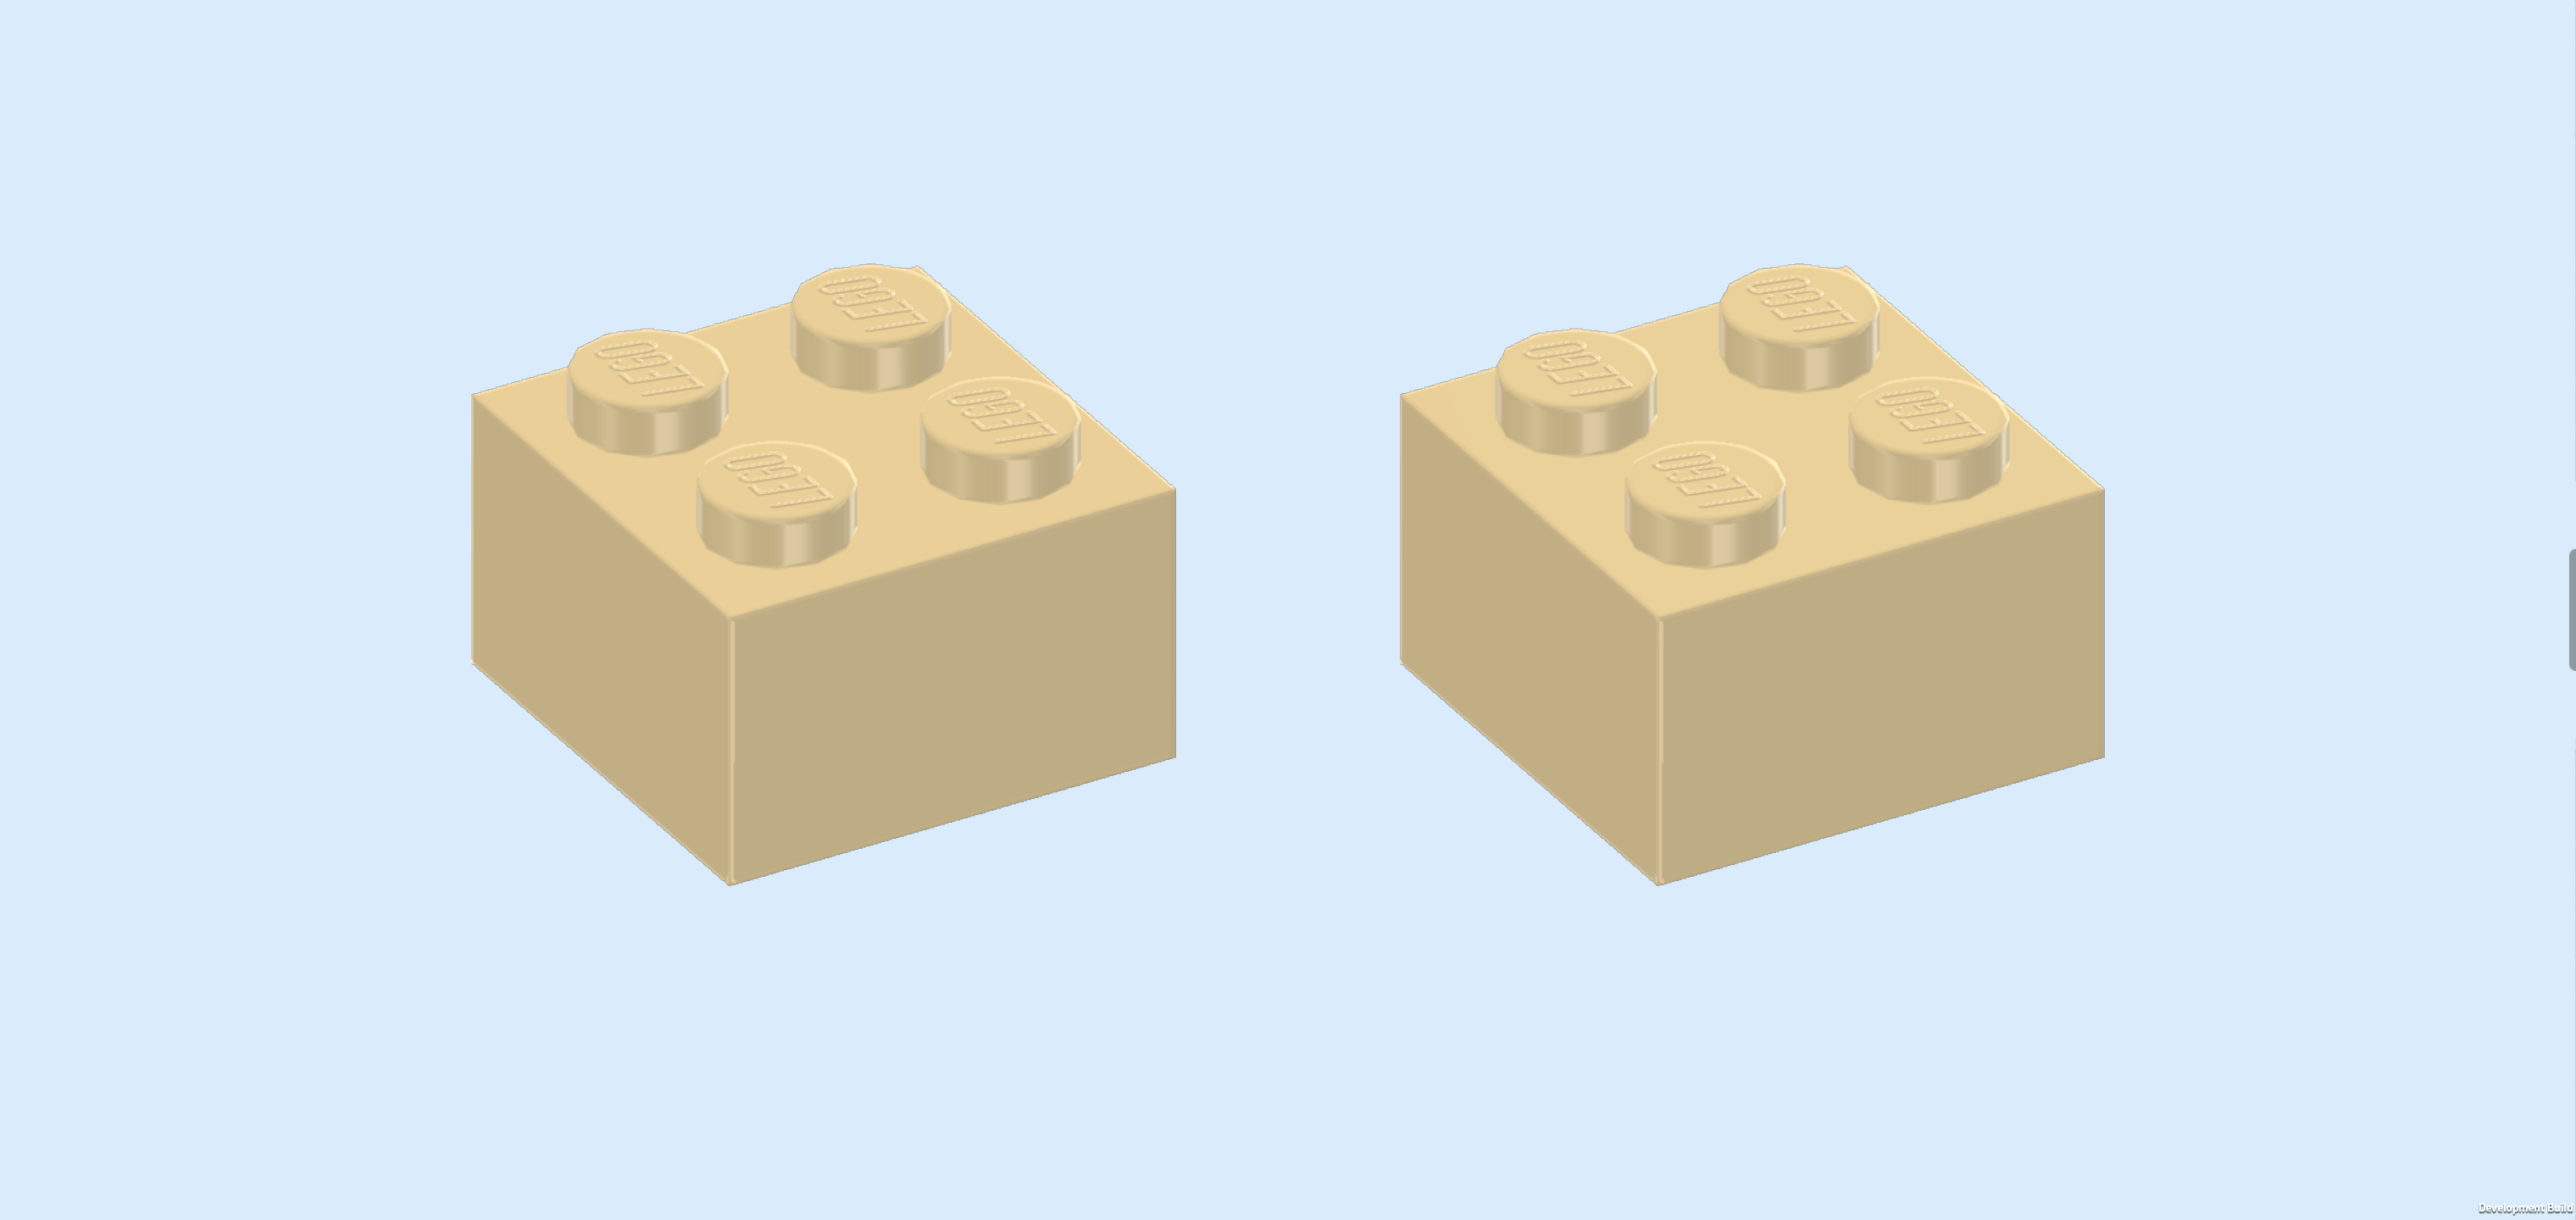
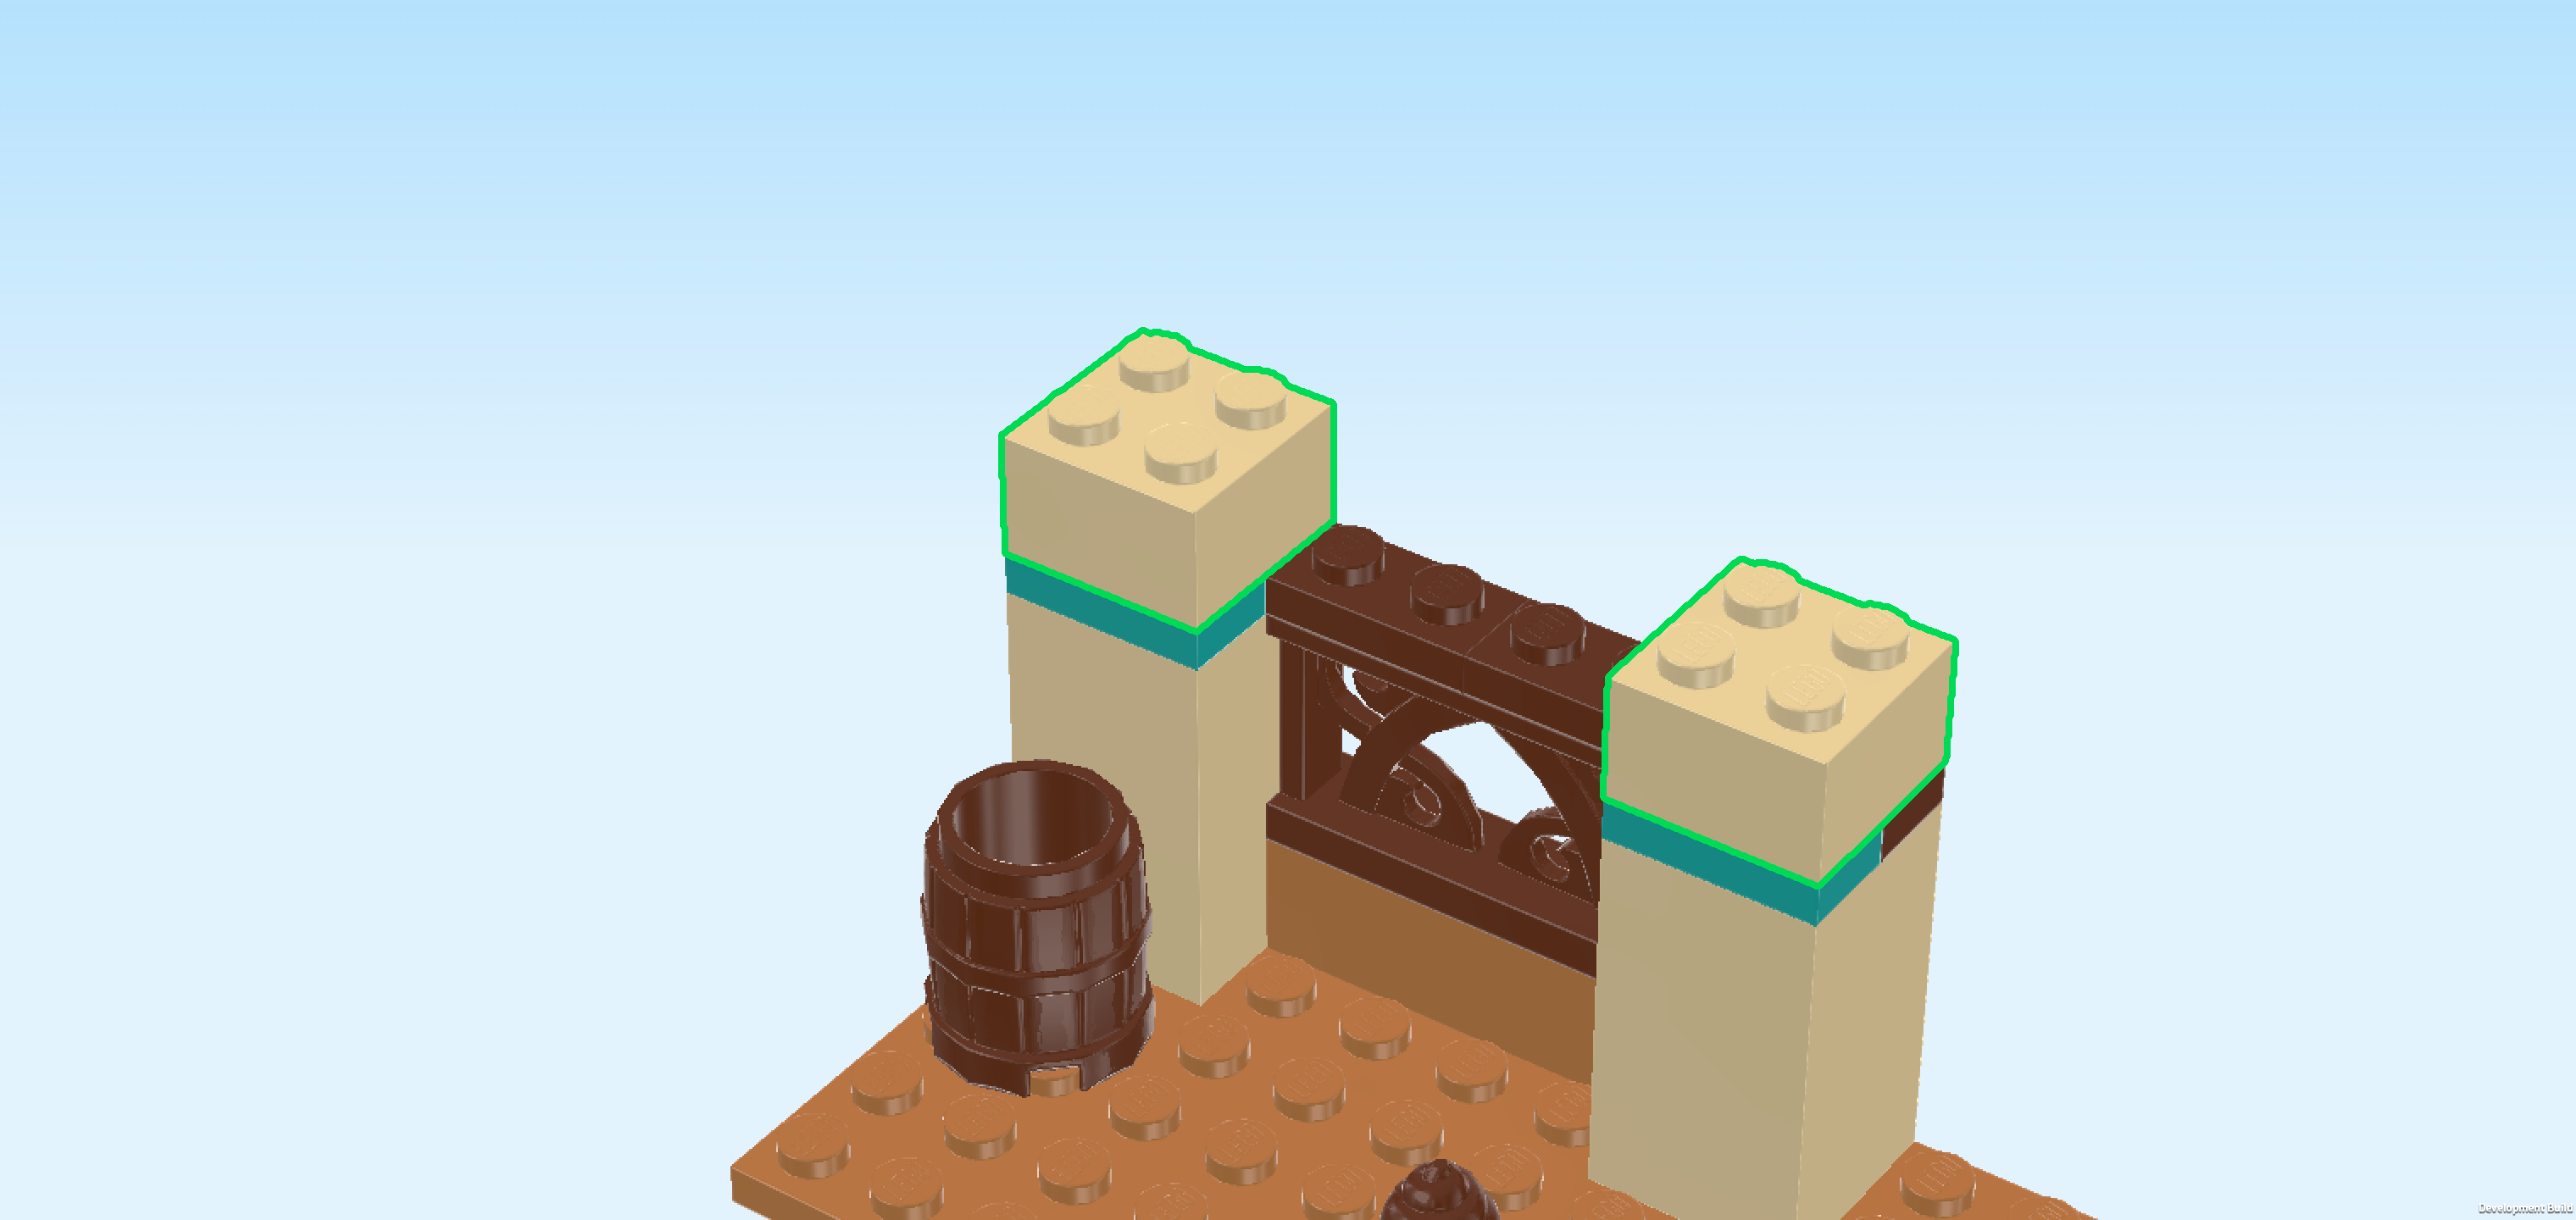
| Find 2 beige bricks 2x2. |
| Put 1 into the back left corner of the stable structure. This means it will sit on top of the previous piece and the row behind it. |
| Repeat symmetrically on the right. |
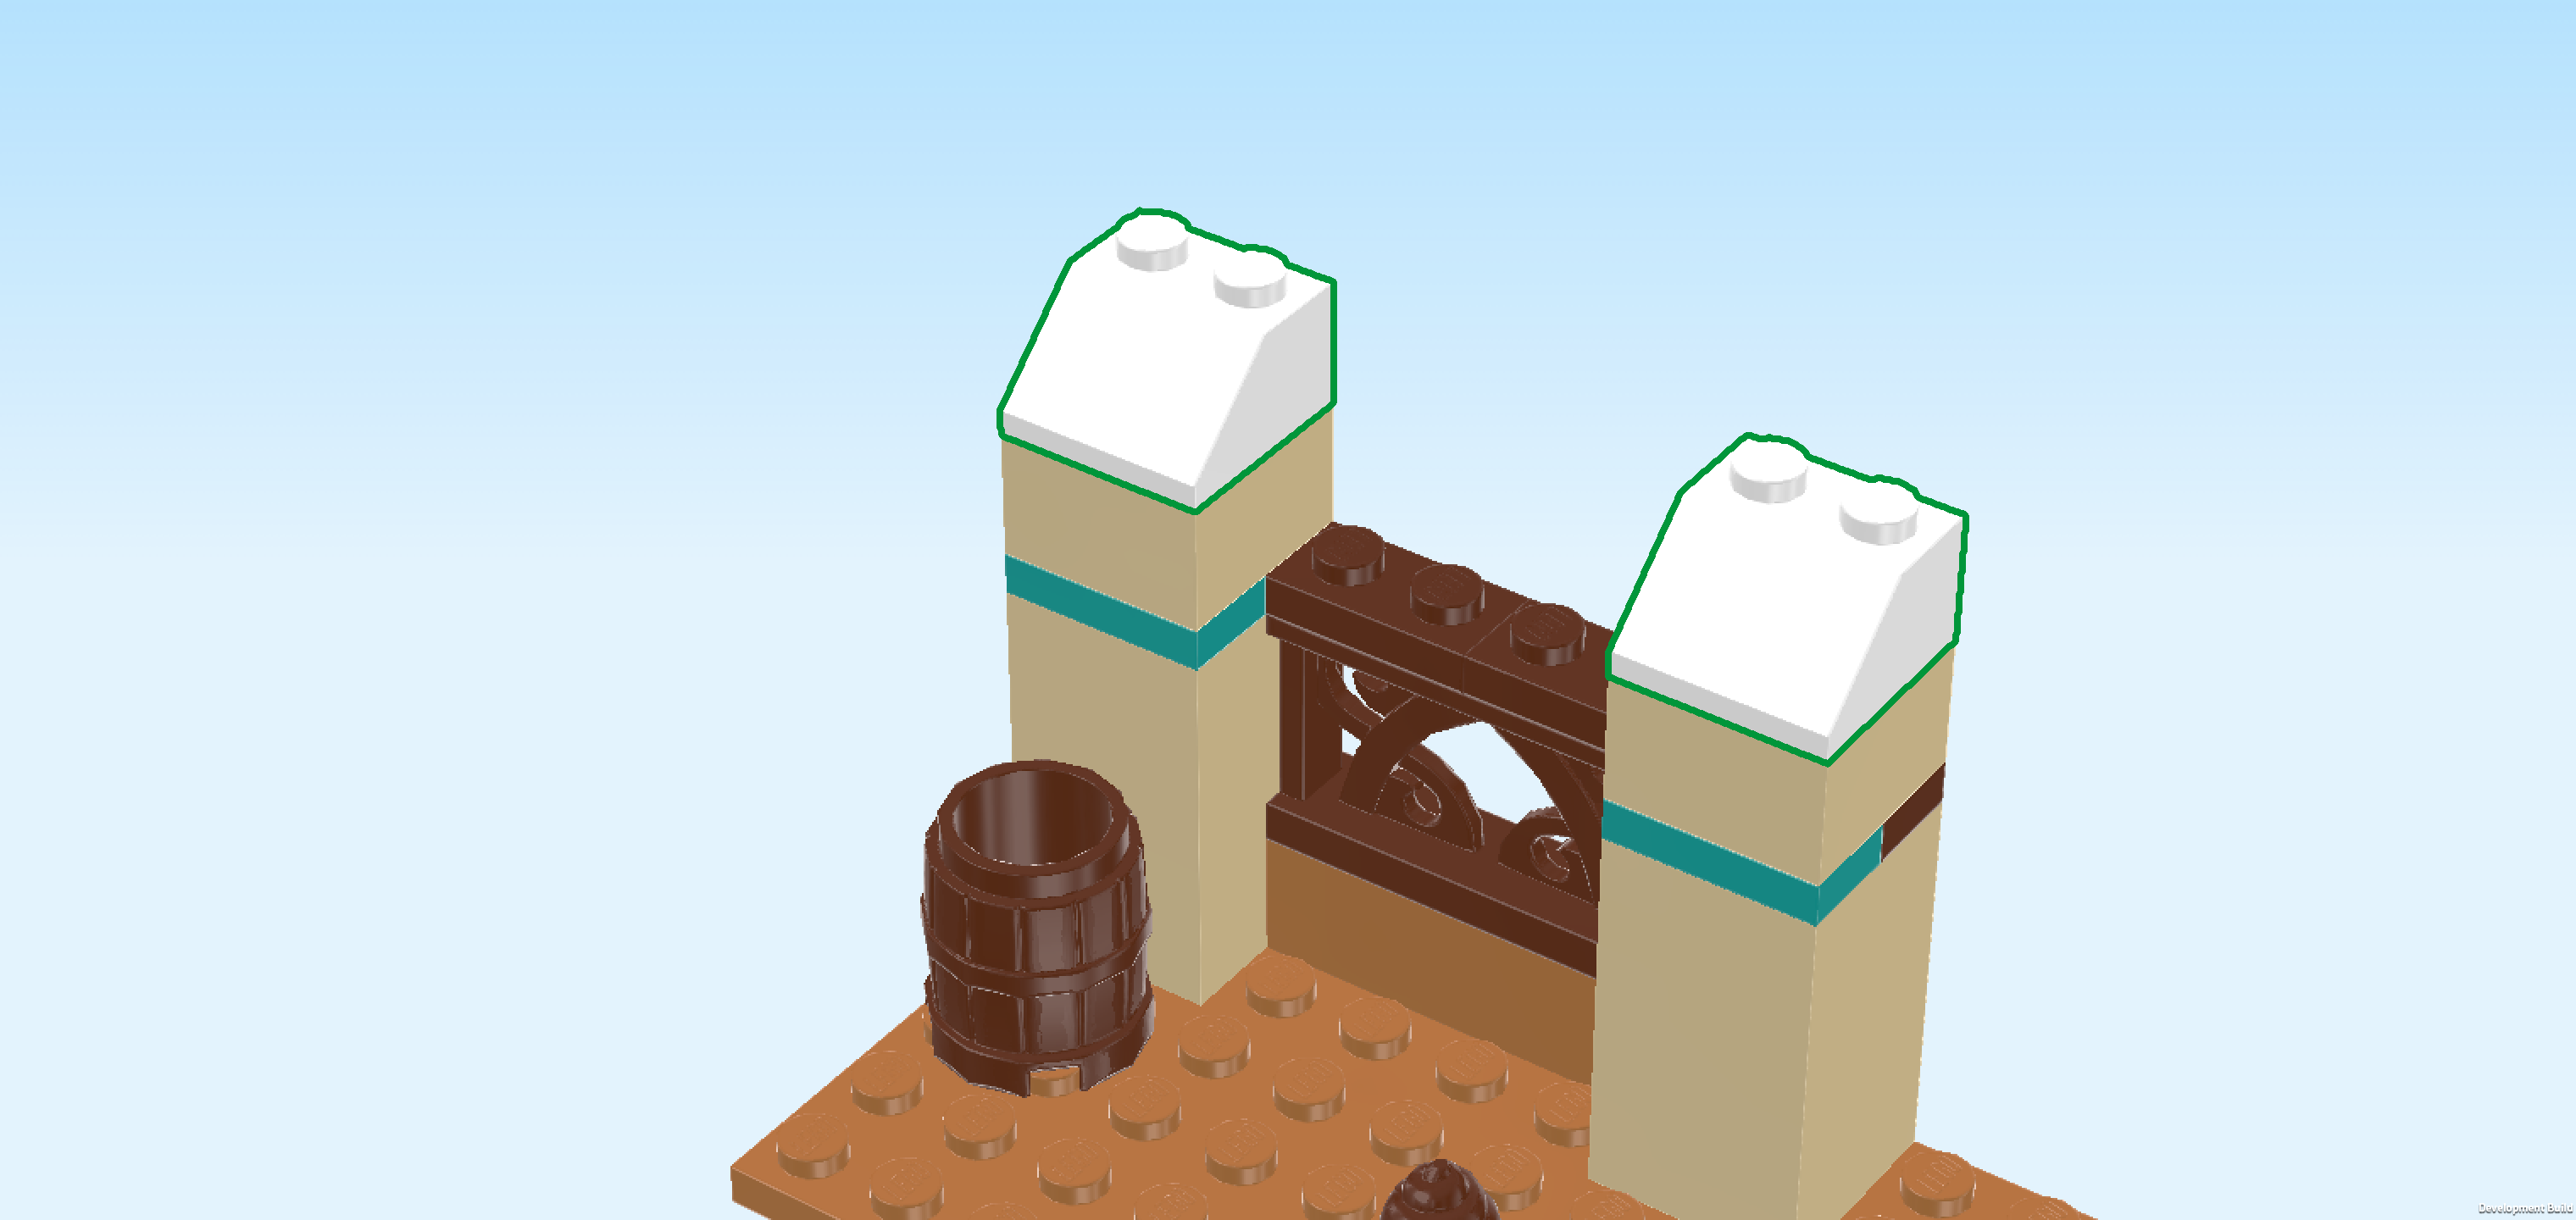
| Find 2 white roof tiles 2x2, 45°. |
| Put 1 on the previous piece, slope to the front. |
| Repeat symmetrically on the left. |
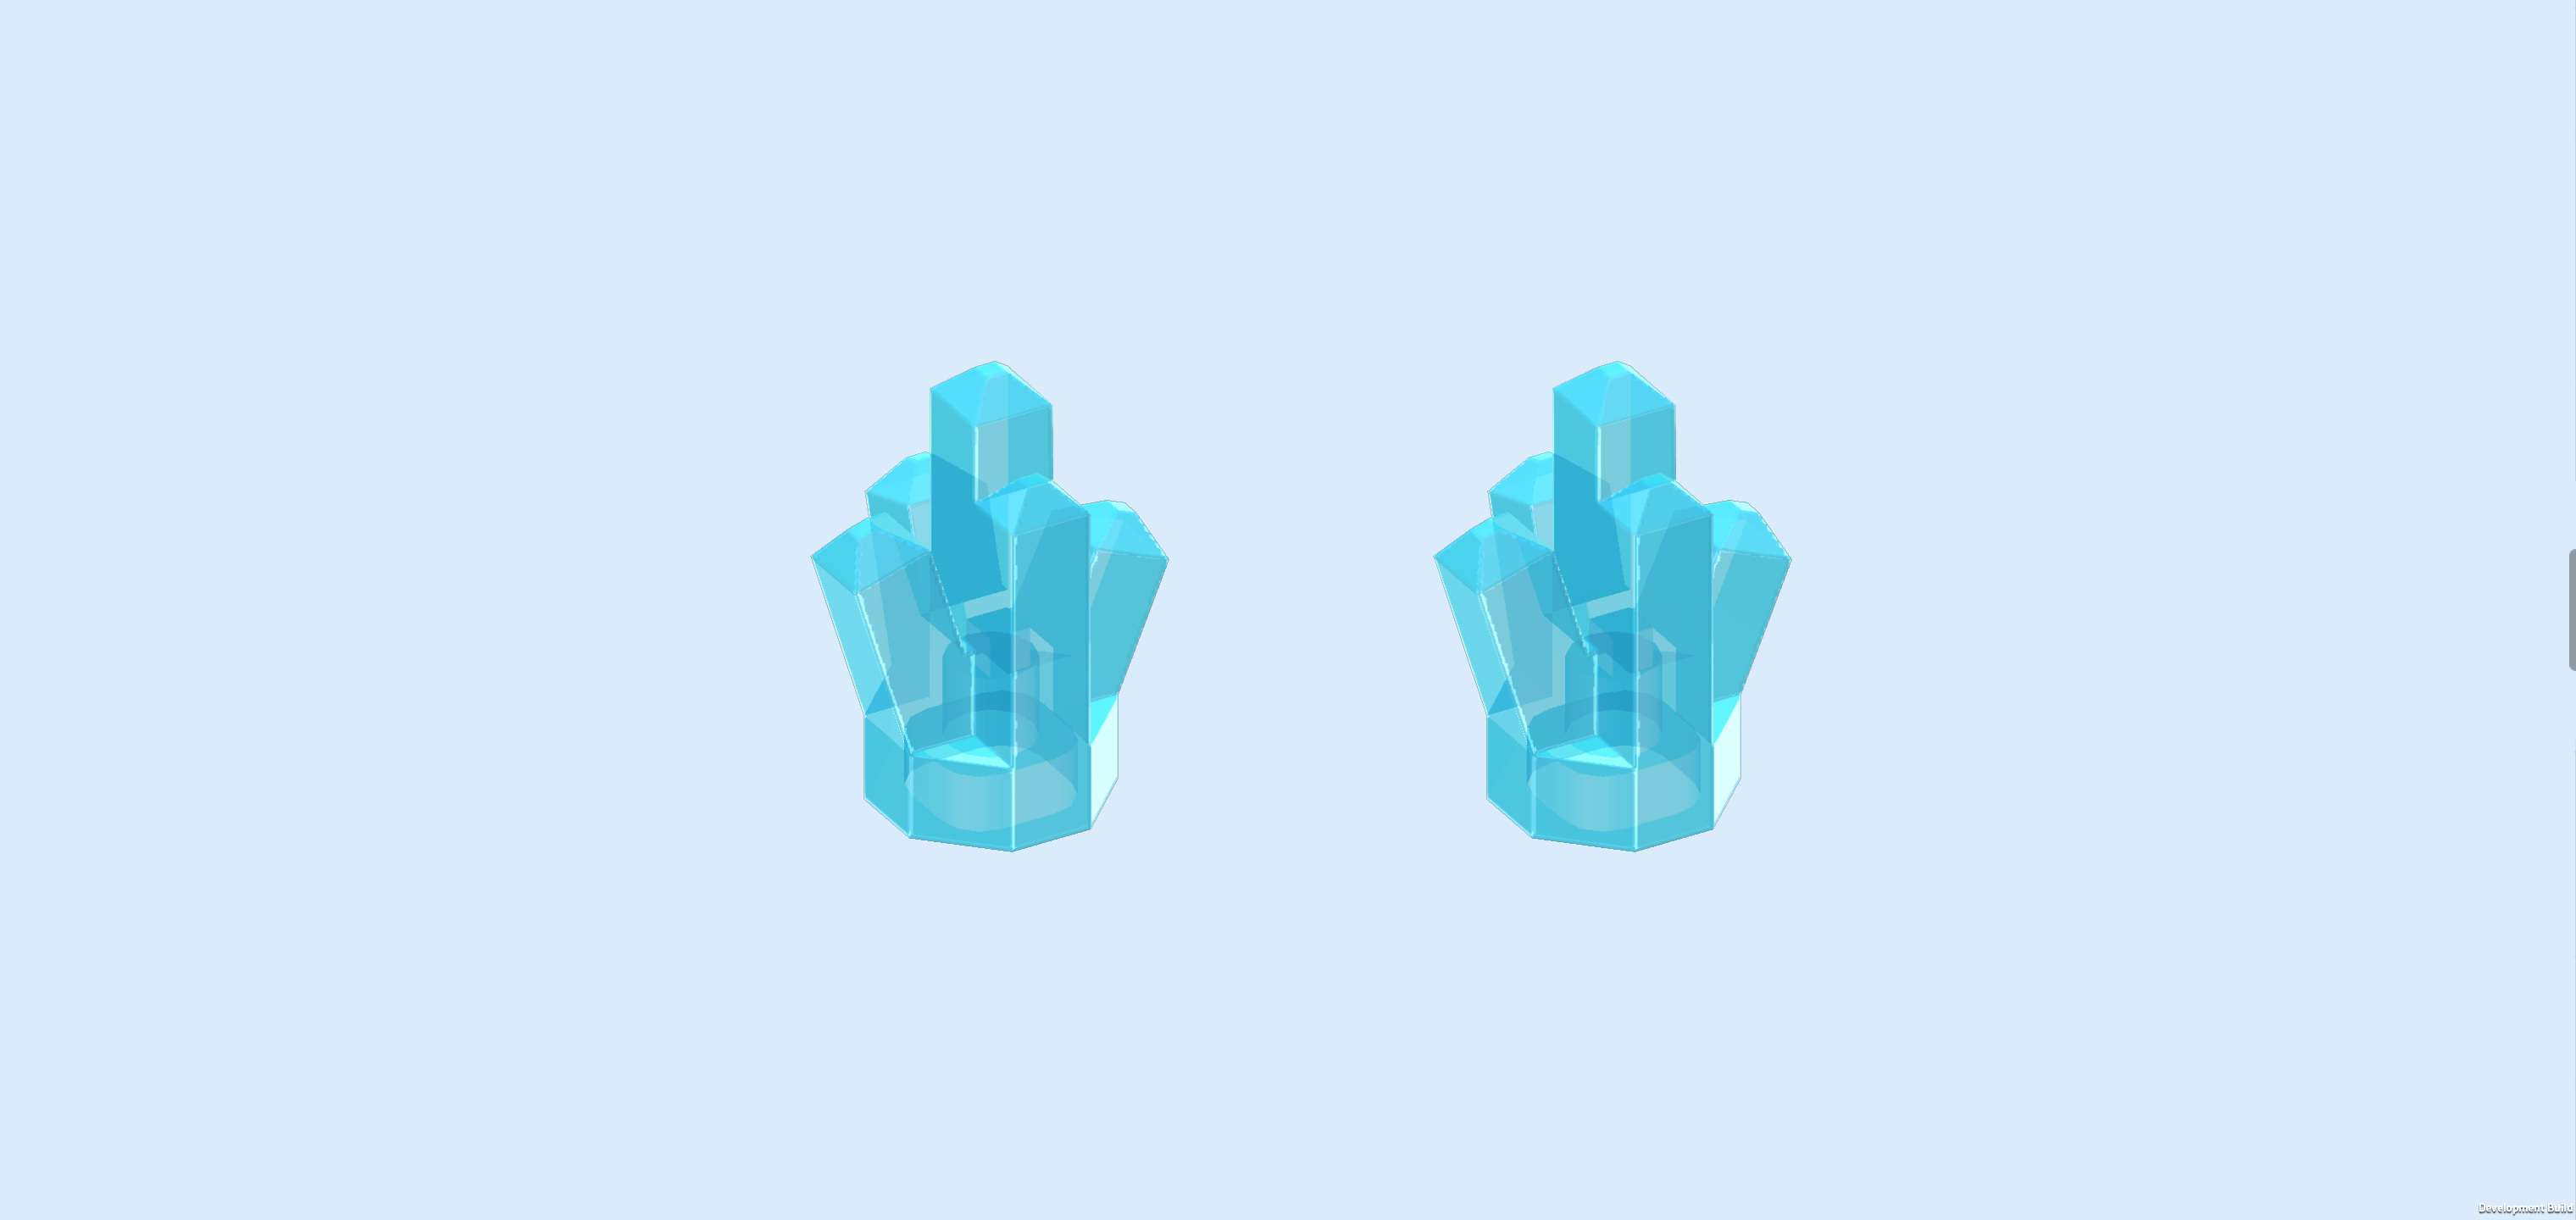
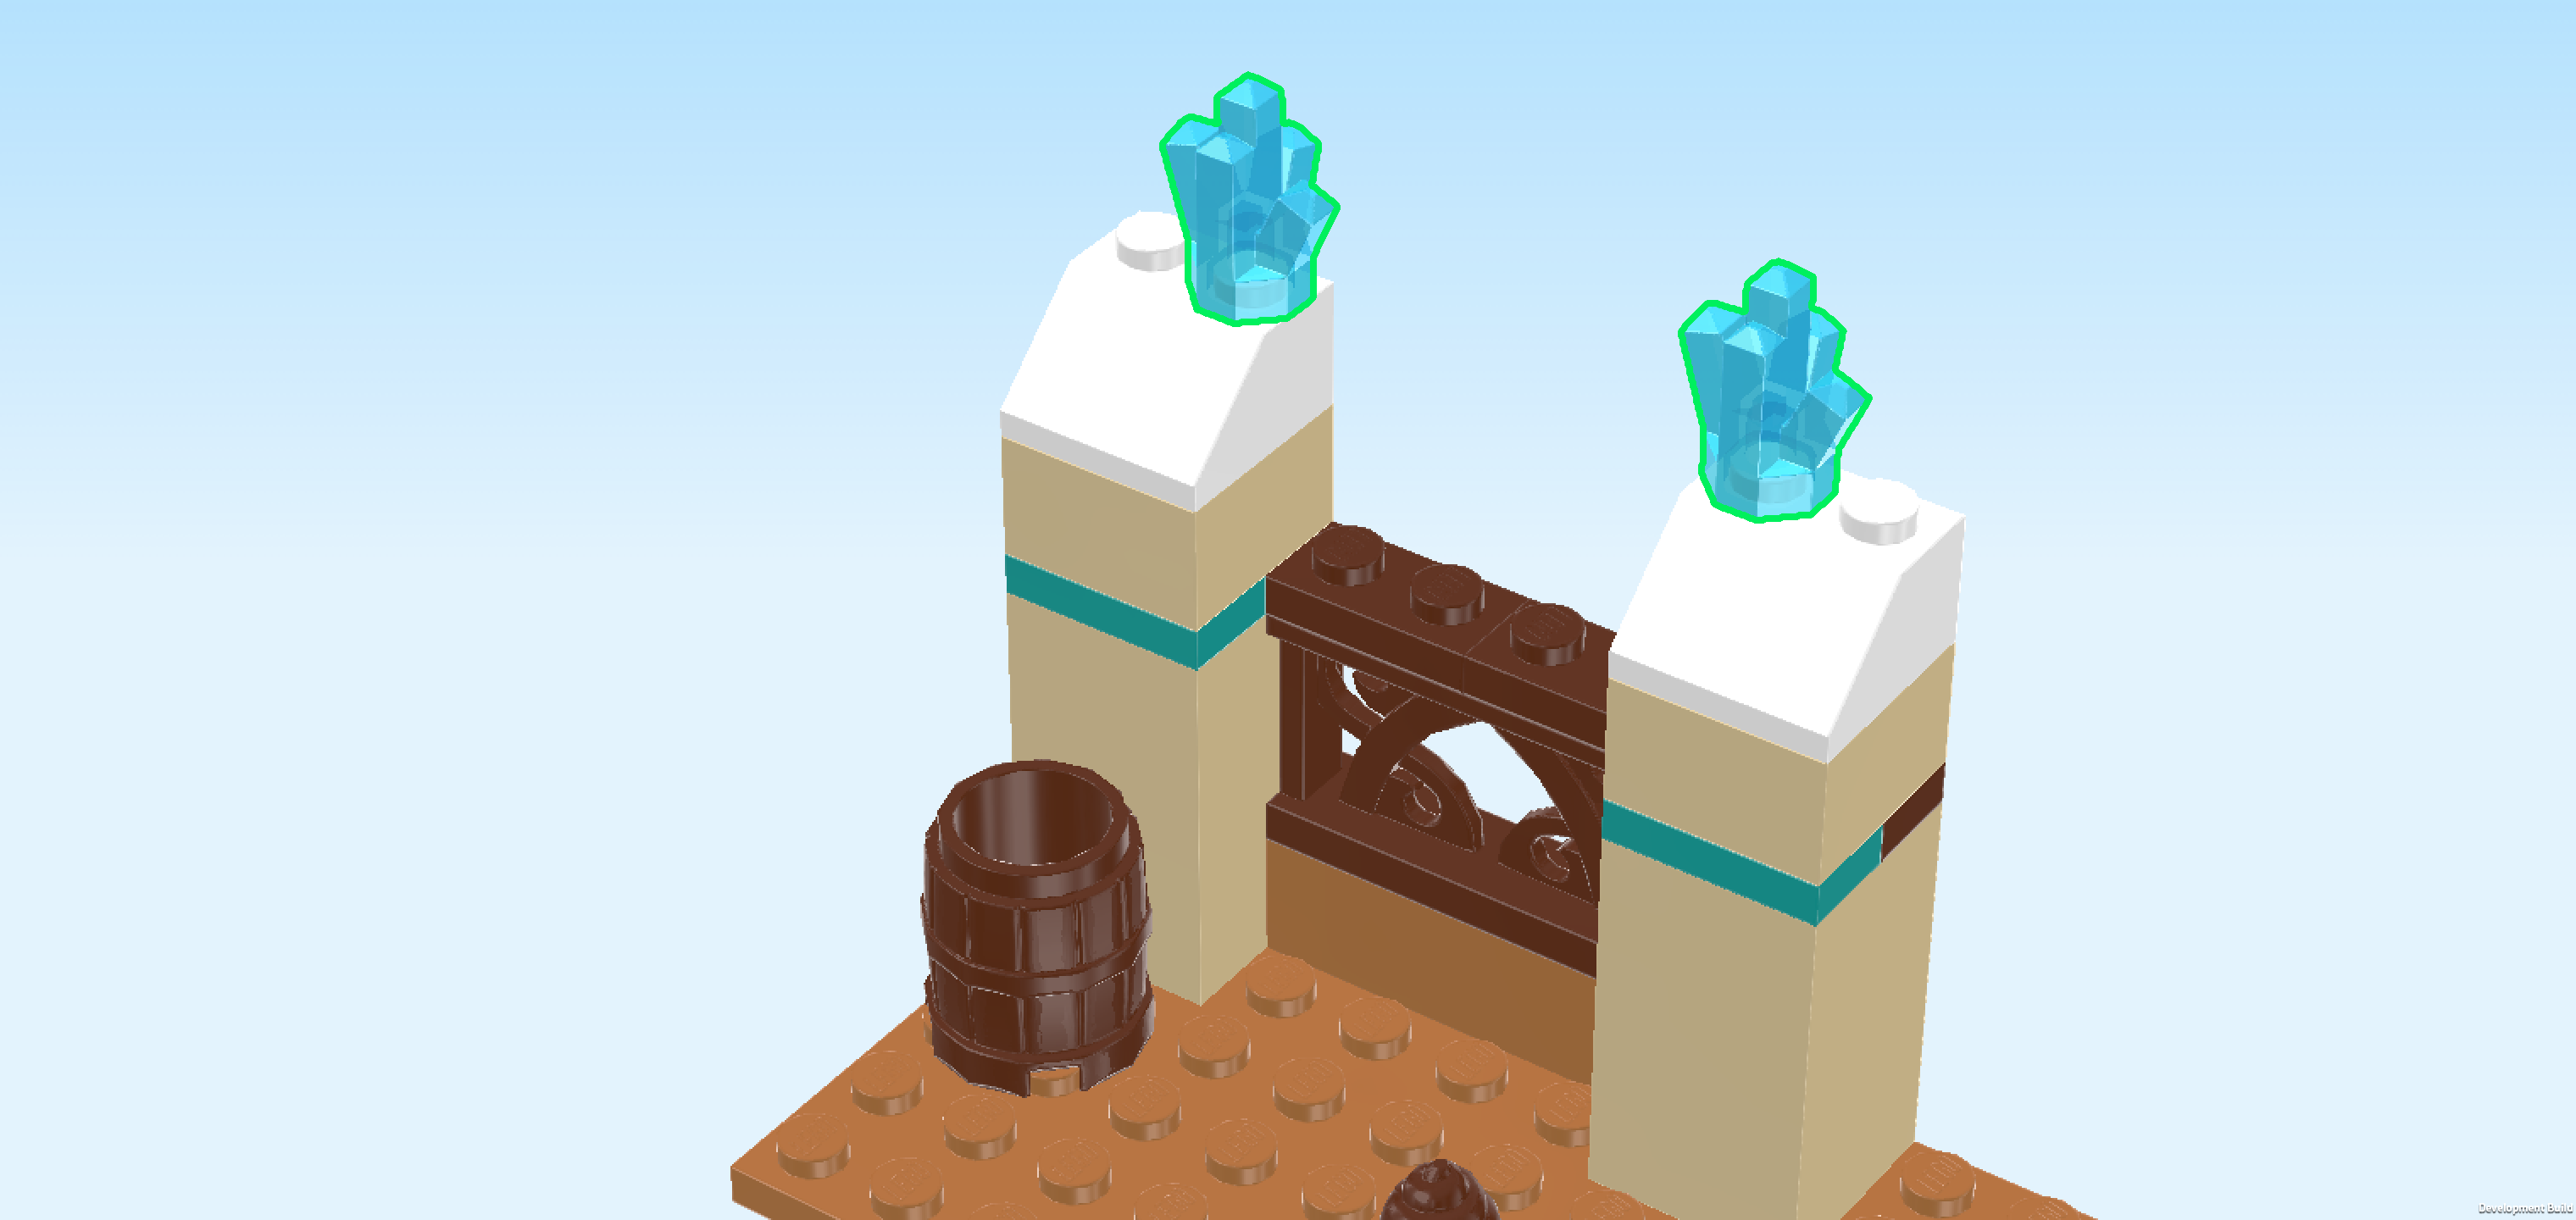
| Find 2 transparent light blue energy crystals. |
| Put 1 on the previous pieces right knob. |
| Repeat symmetrically on the right. Make sure to use the inner knob of the roof tile there, so its left knob. |
| Collect the following 3 pieces: |
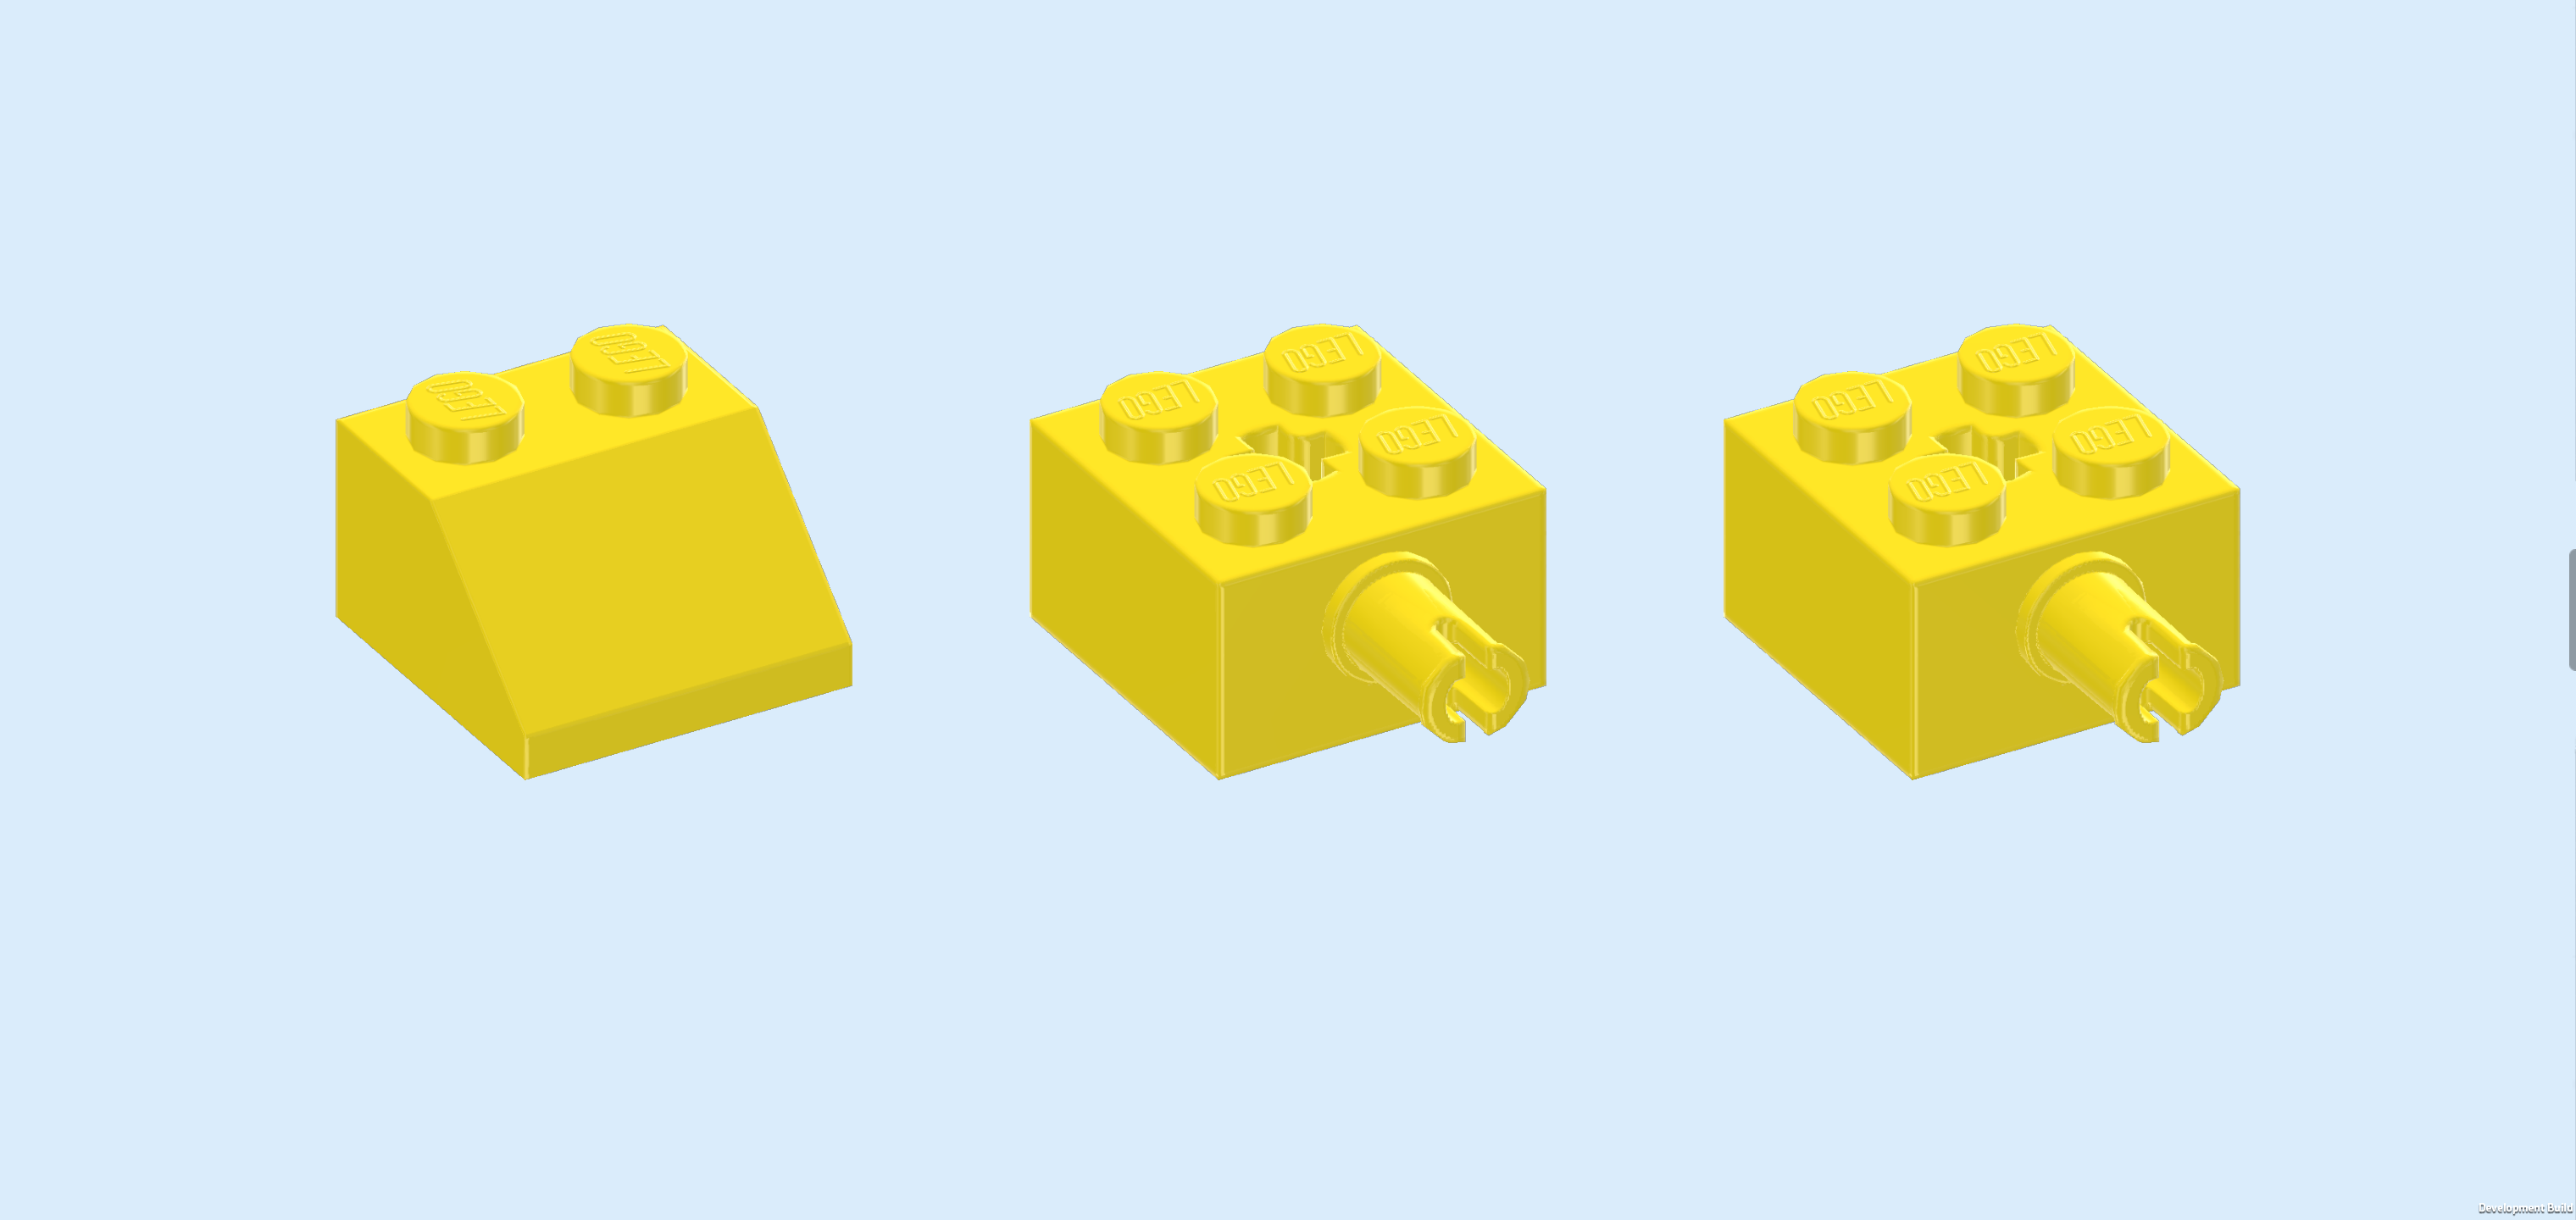
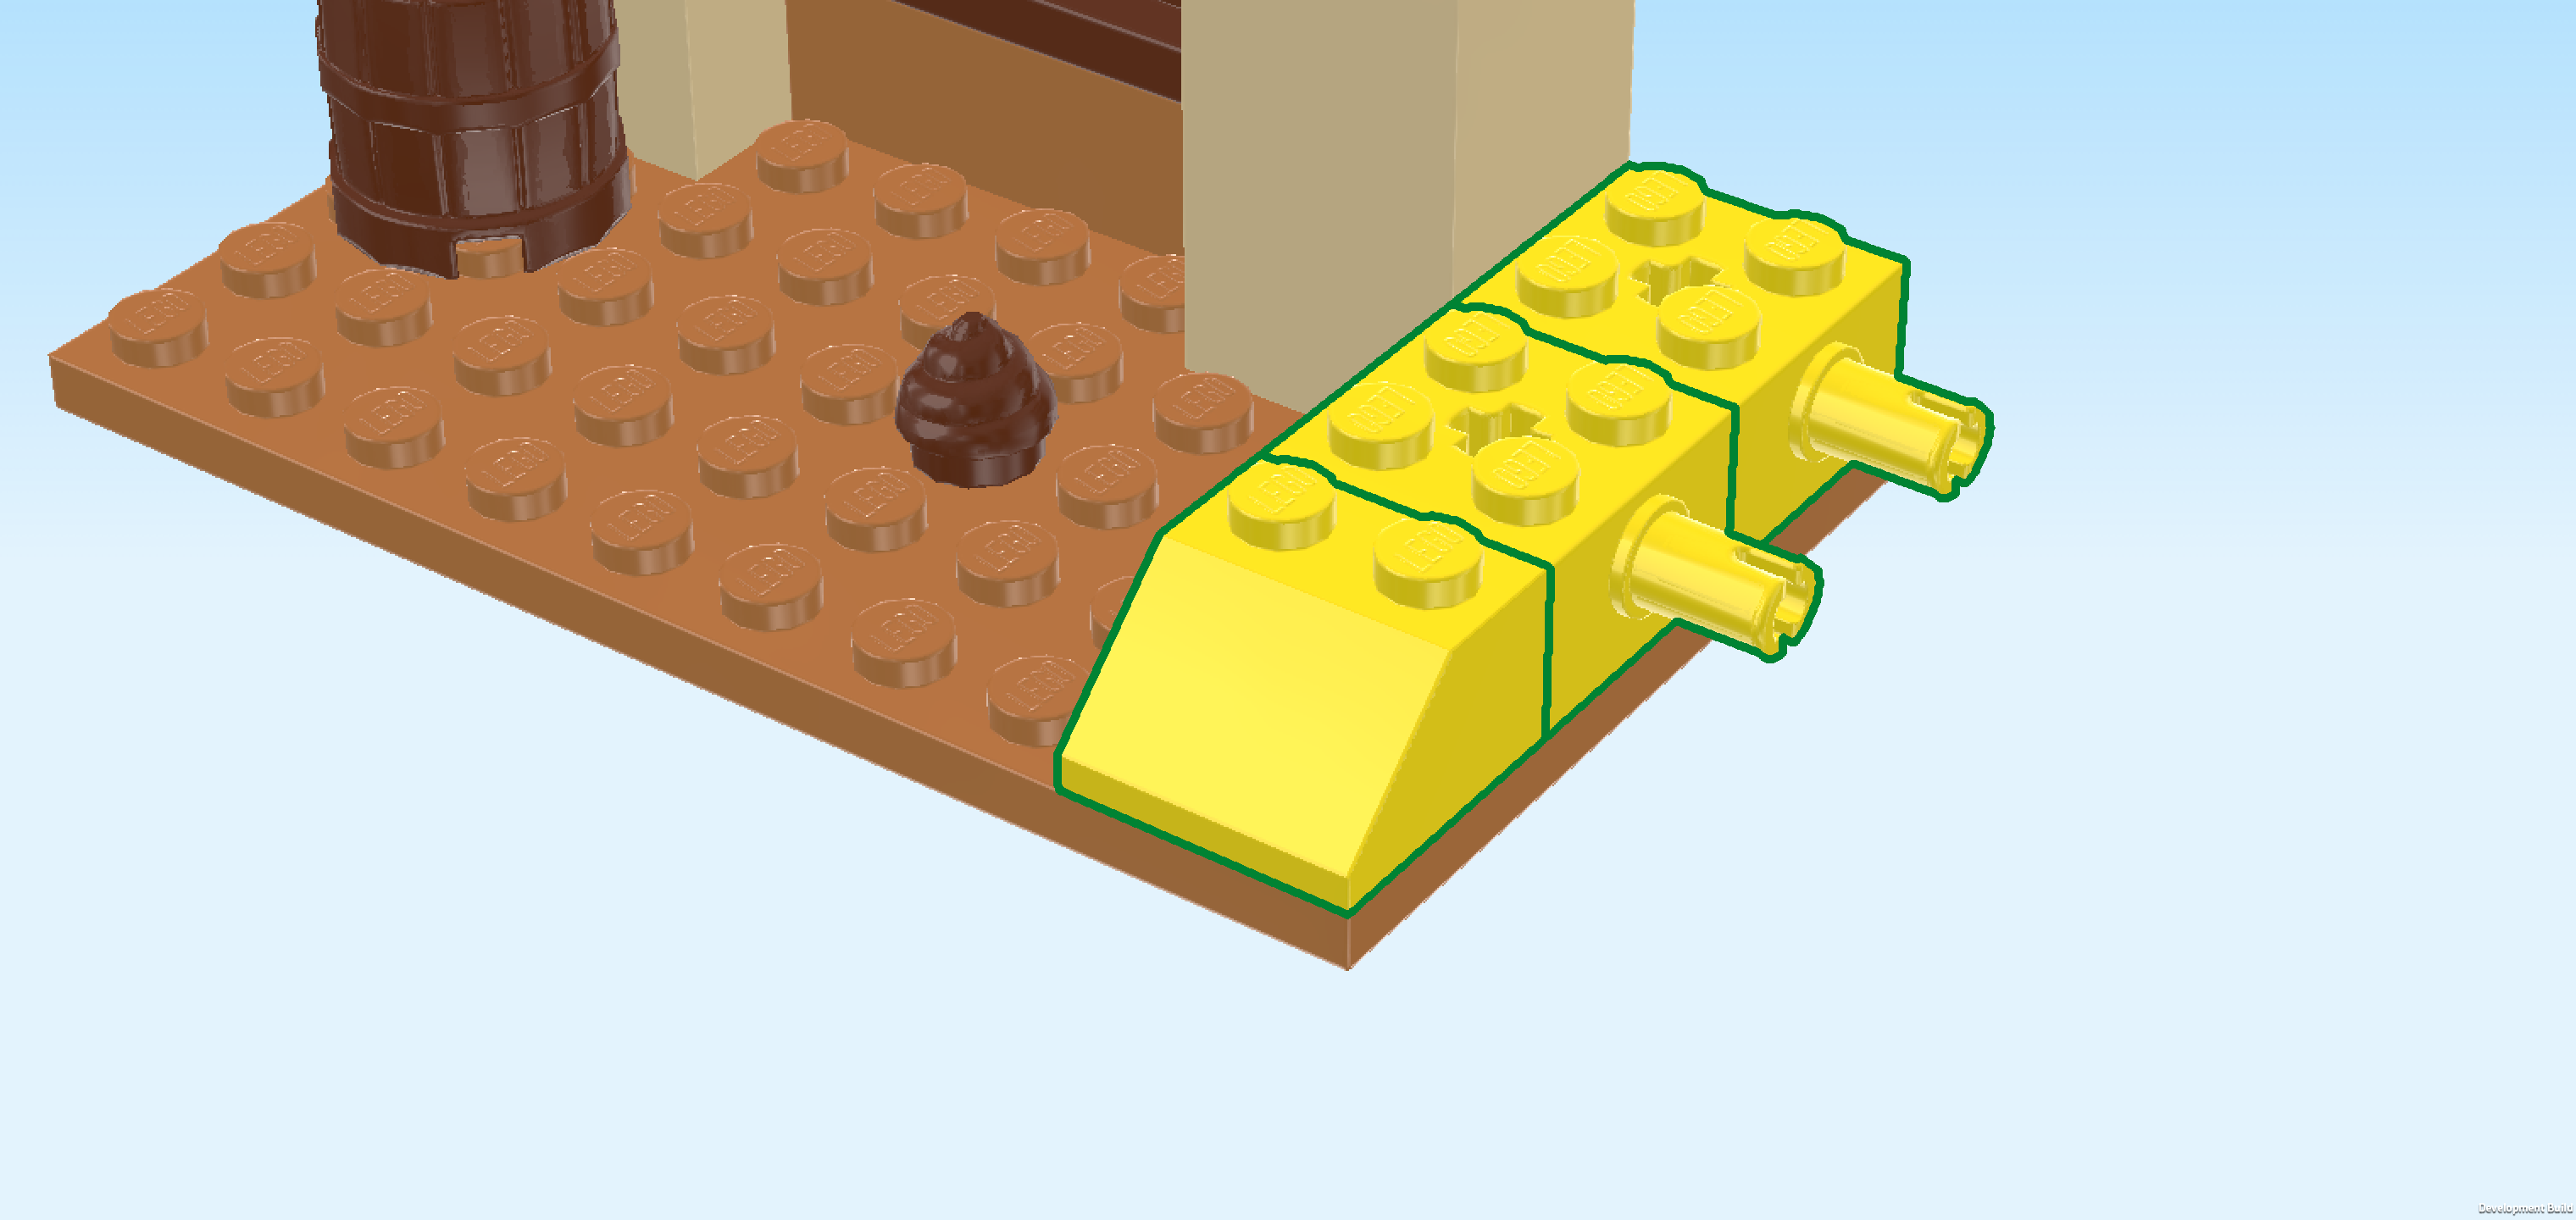
| 1 bright yellow roof tile 2x2, 45°, |
| and 2 bright yellow bricks 2x2 with side connector and top cross hole. |
| Put the roof tile 2x2 on the front right corner of the base plate, slope to the front. |
| Put 1 brick 2x2 behind the previous piece, connector to the right. |
| Put the other brick 2x2 behind the previous piece, connector to the right. |
| Collect the following 2 pieces: |
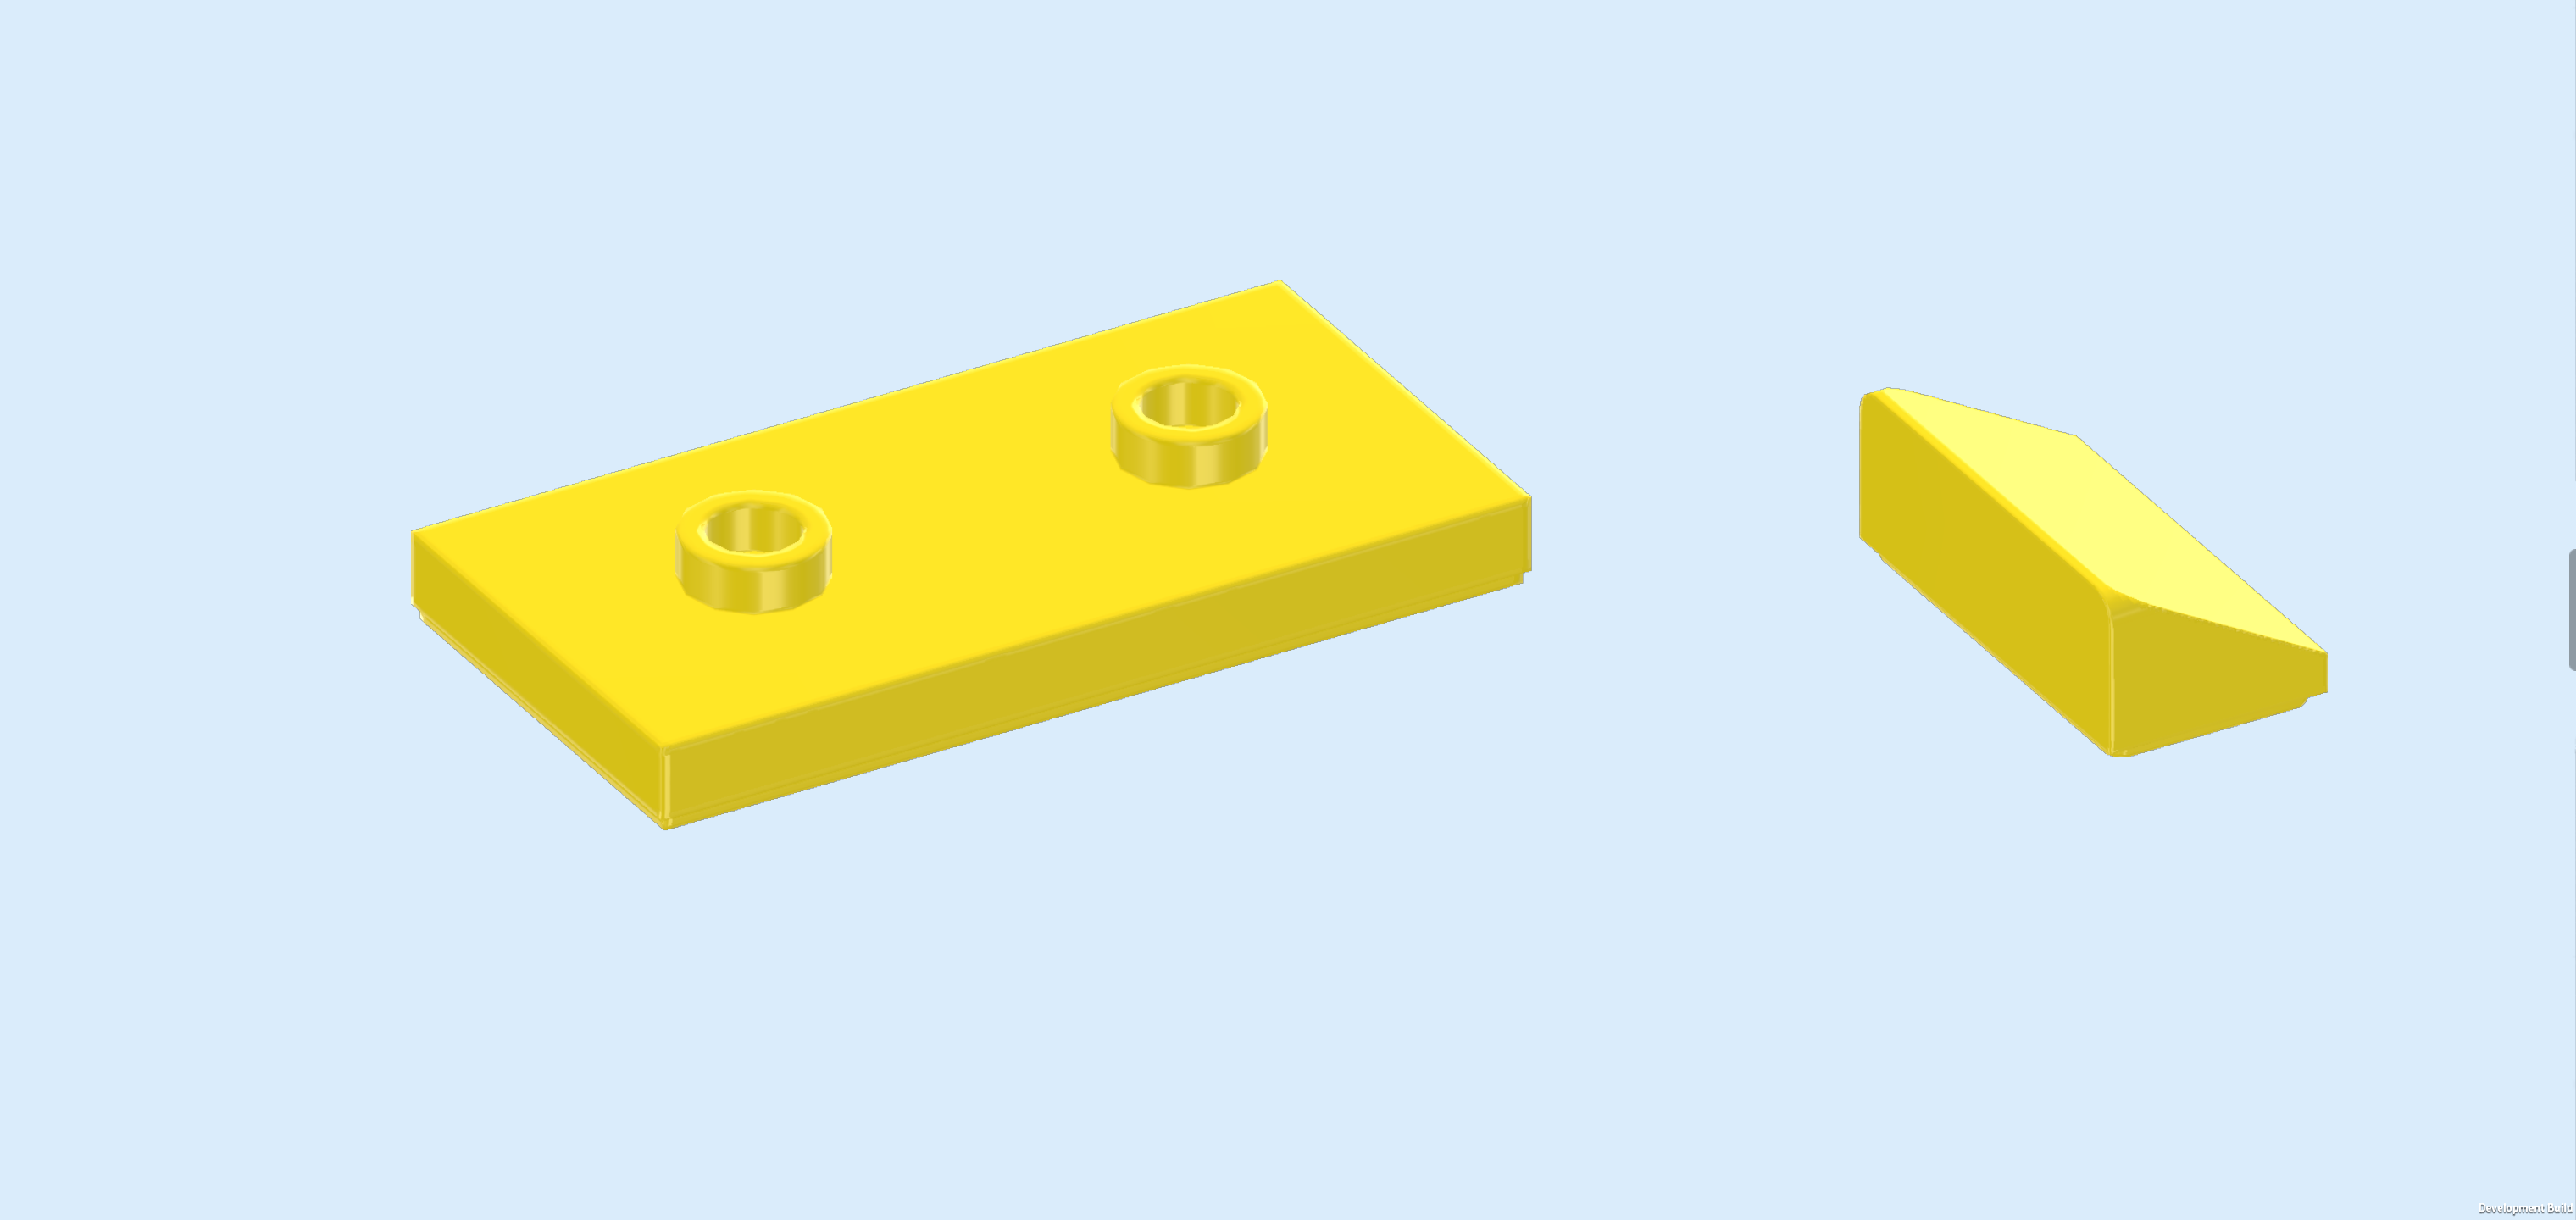
| 1 bright yellow plate 2x4 with 2 knobs, |
| and 1 bright yellow smooth roof tile 1x2x⅔. |
| Put the smooth roof tile 1x2 horizontally on the previous piece's back row, slope to the front. |
| Put the plate 2x4 vertically in front of the previous piece. |
| If you like, you can put Kristoff's straw bale on this plate. |
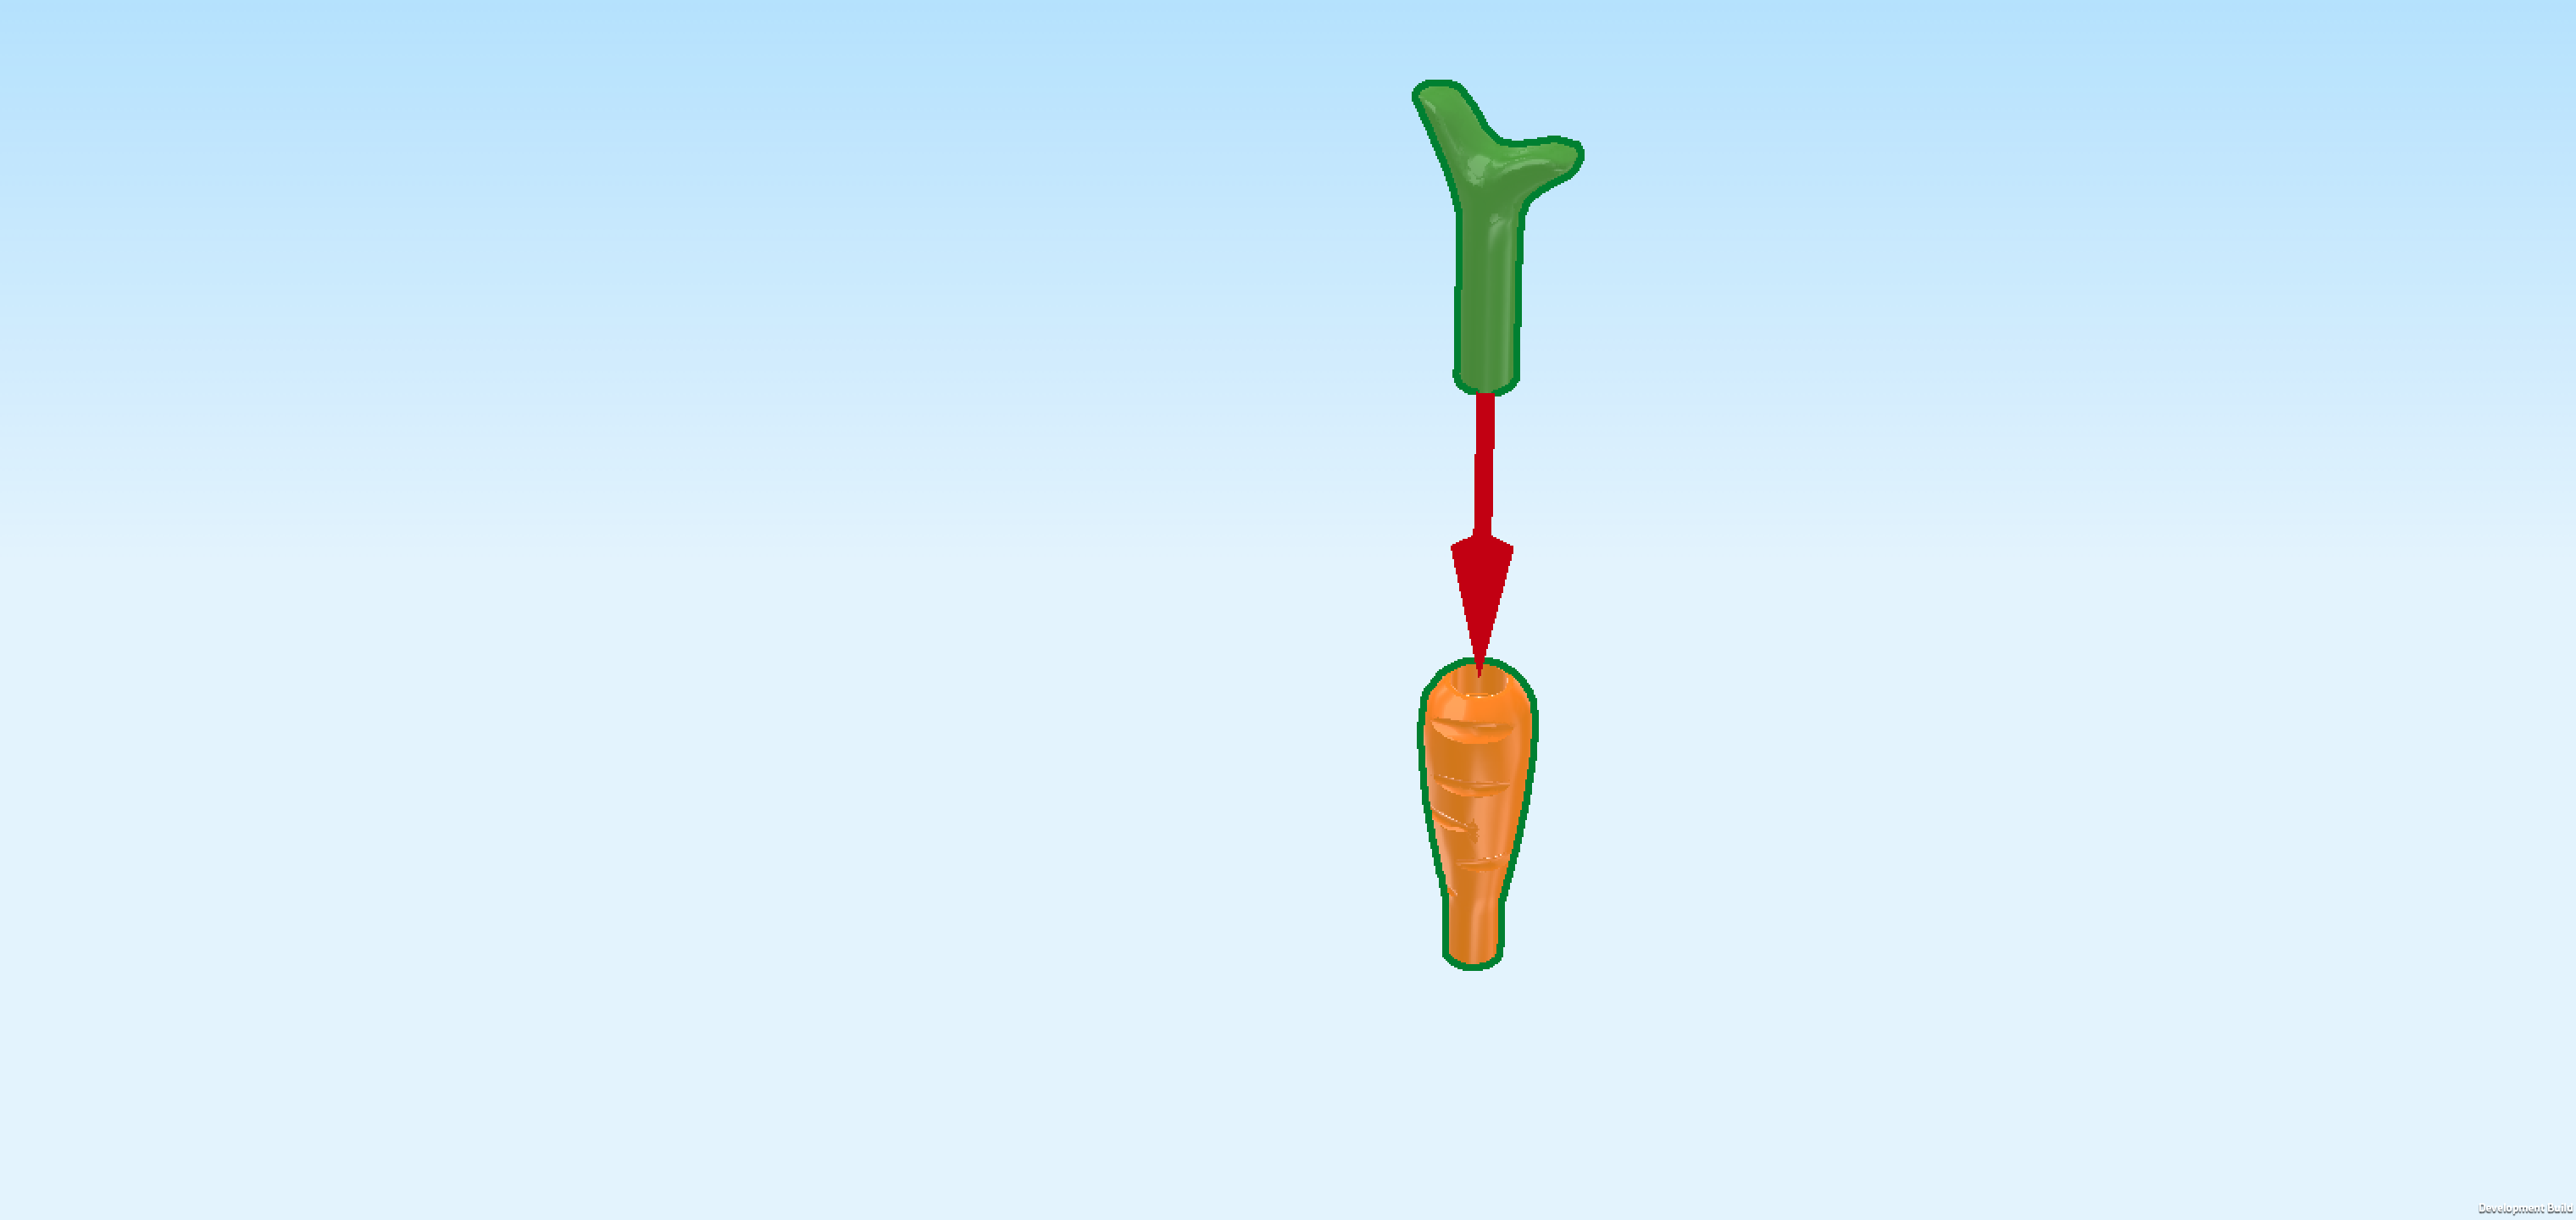
| Collect the following 2 pieces: |
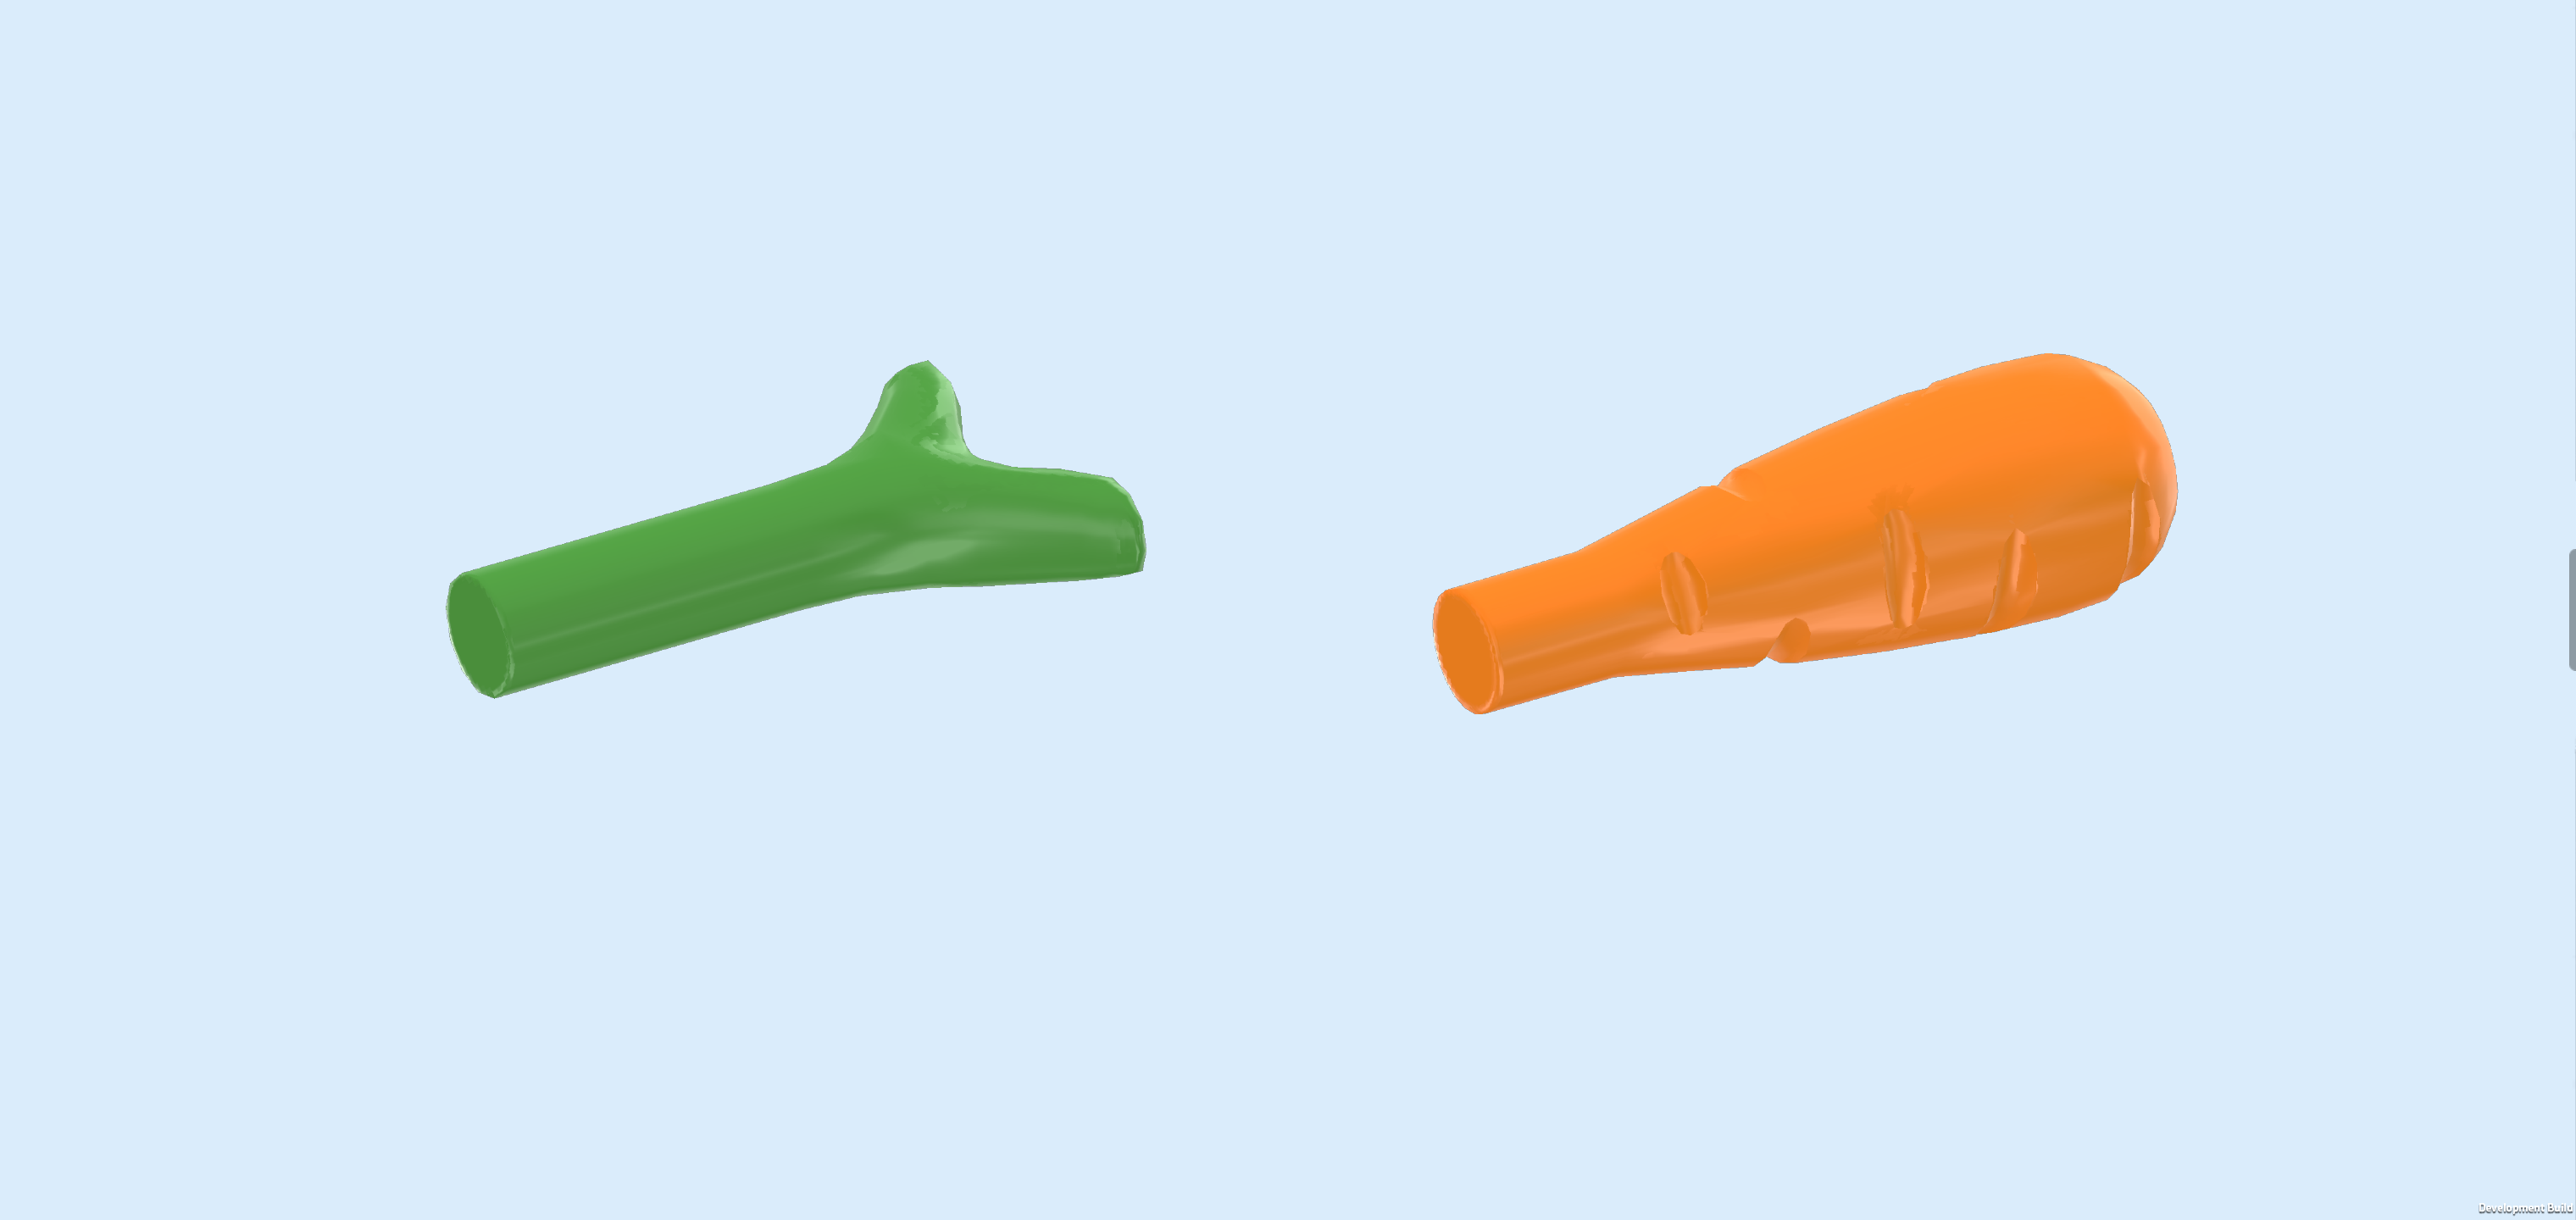
| 1 bright green shaft 2m with twig leaves, |
| and 1 bright orange carrot. |
| Insert the shaft end of the twig into the hole of the carrot. |
| Put the carrot into the barrel on the left edge of the stable. |
| The stable is finished! Well done! This is where Sven lives when he isn't on some adventure with Kristoff. The carrot is for Kristoff's reindeer friend of course. You can use the pitchfork to take care of the reindeer poop when needed! The 2 side connectors on the side of the pile of hay will later be used to connect our different sub-builds. |
| We have finished building everything from bag 3! Great job, only 1 more bag to go! |
| Open bag number 4. You can choose to have the bricks sorted by color again. This bag contains all bricks and pieces for the Anna Minidoll, the small sled and the sledding hill. |
| Next, we will build the Anna Minidoll. |
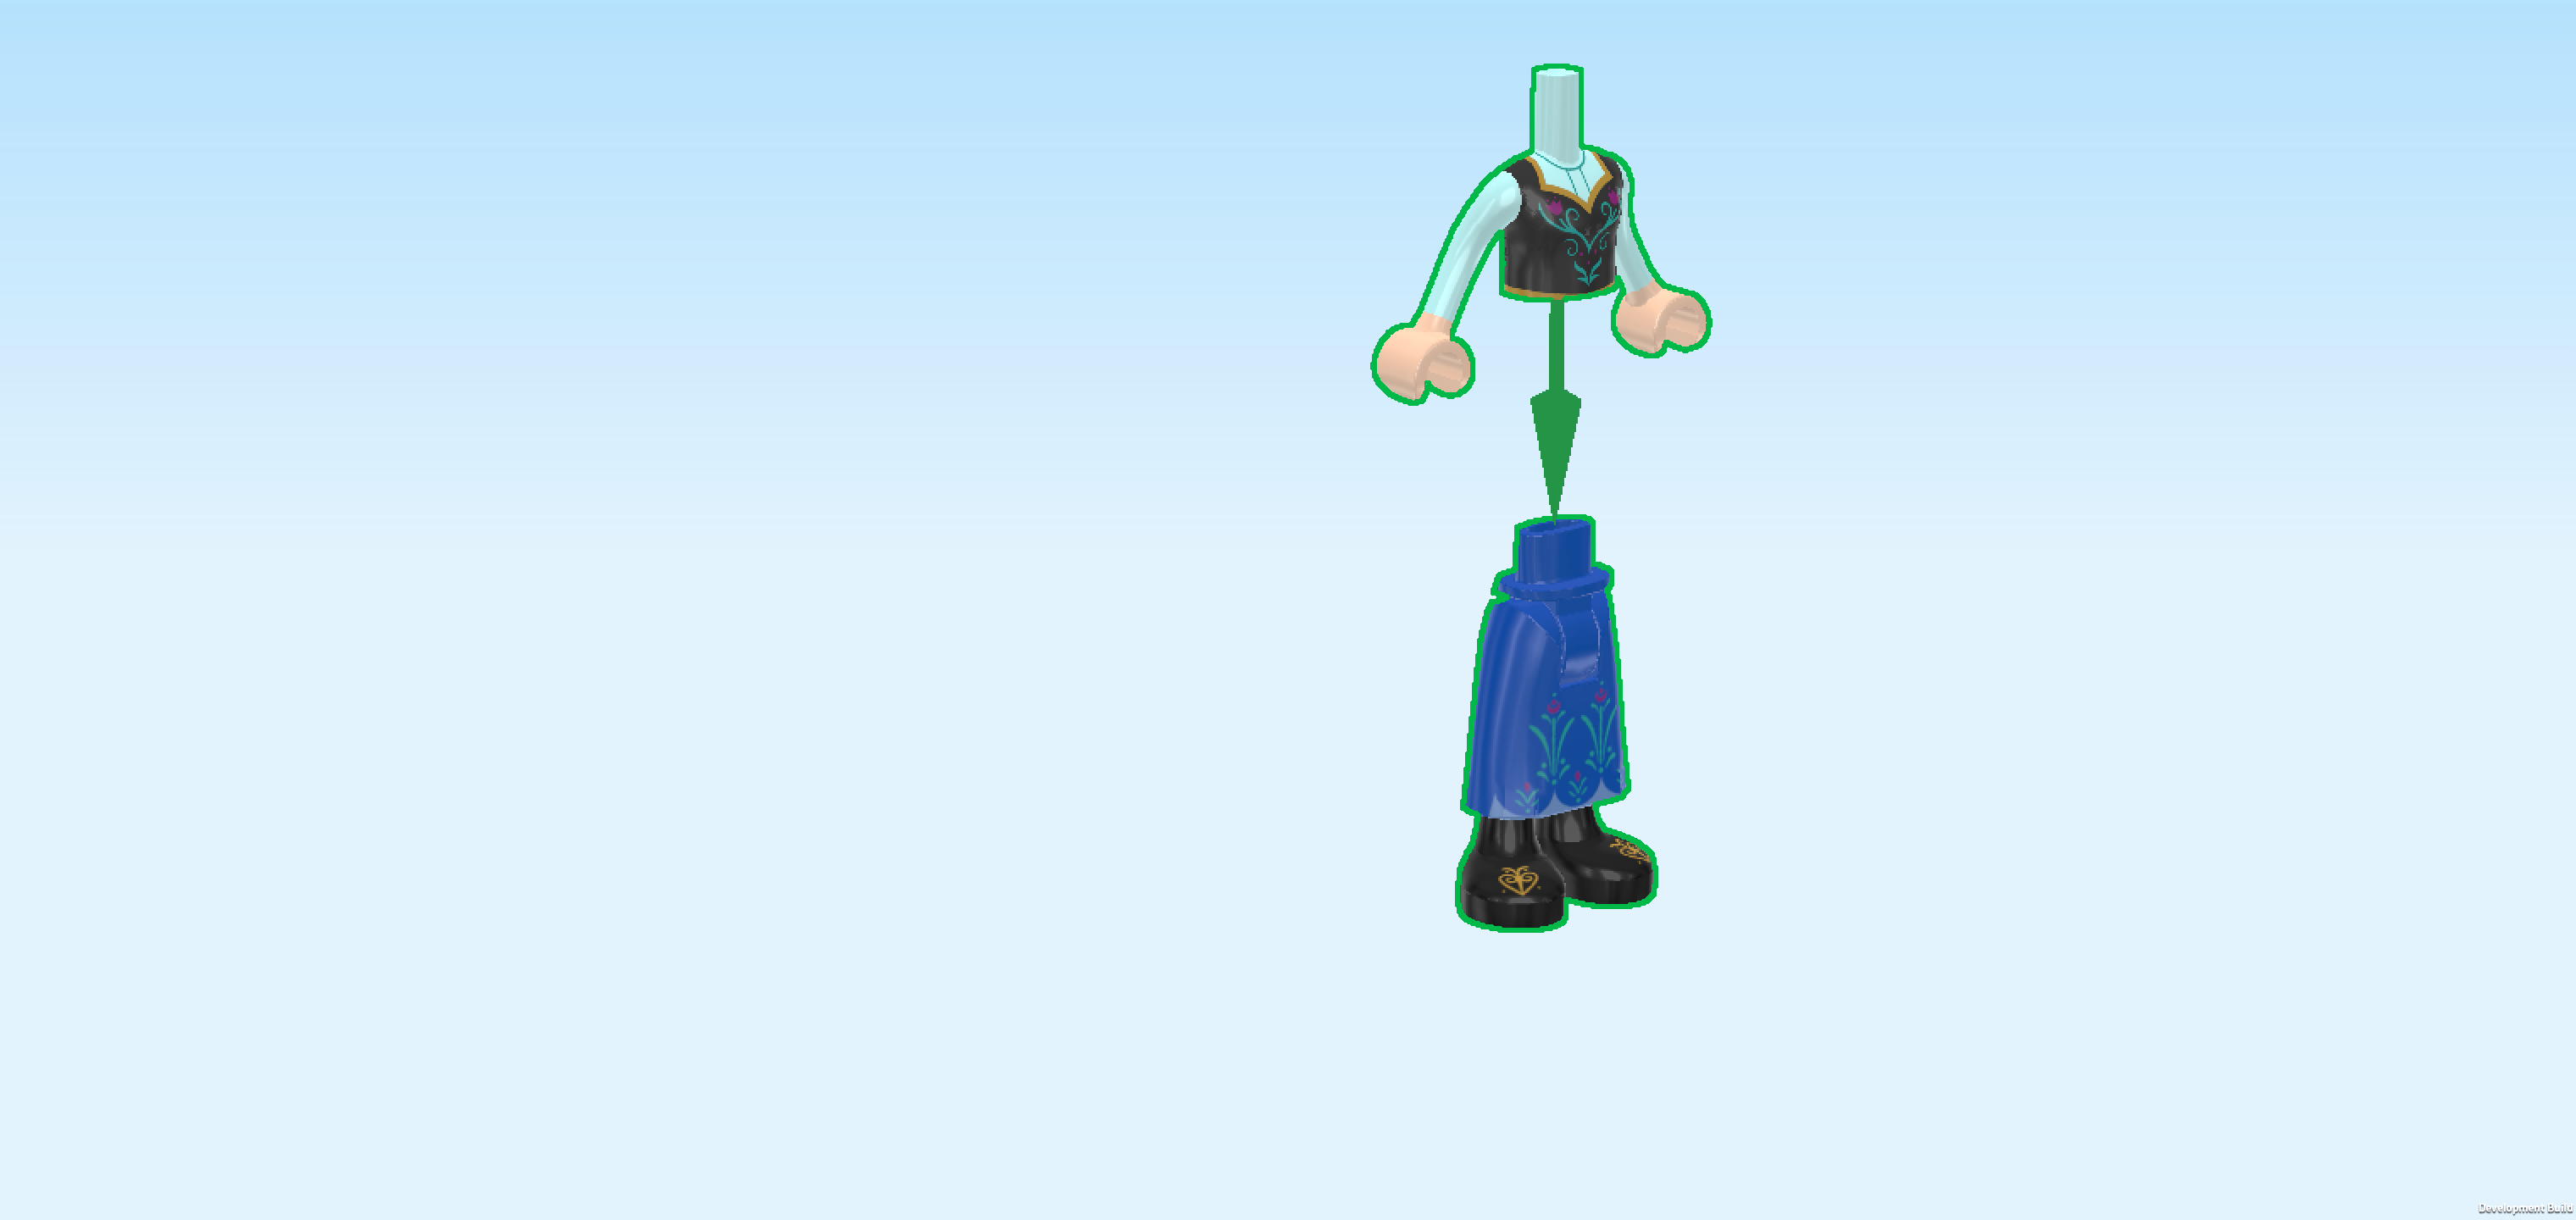
| Collect the following 2 pieces: |
| 1 light nougat brown and aqua blue Minidoll upper body, |
| and 1 bright blue and black pair of Minidoll legs with long skirt. |
| Put the upper body on the legs. |
| Collect the following 2 pieces: |
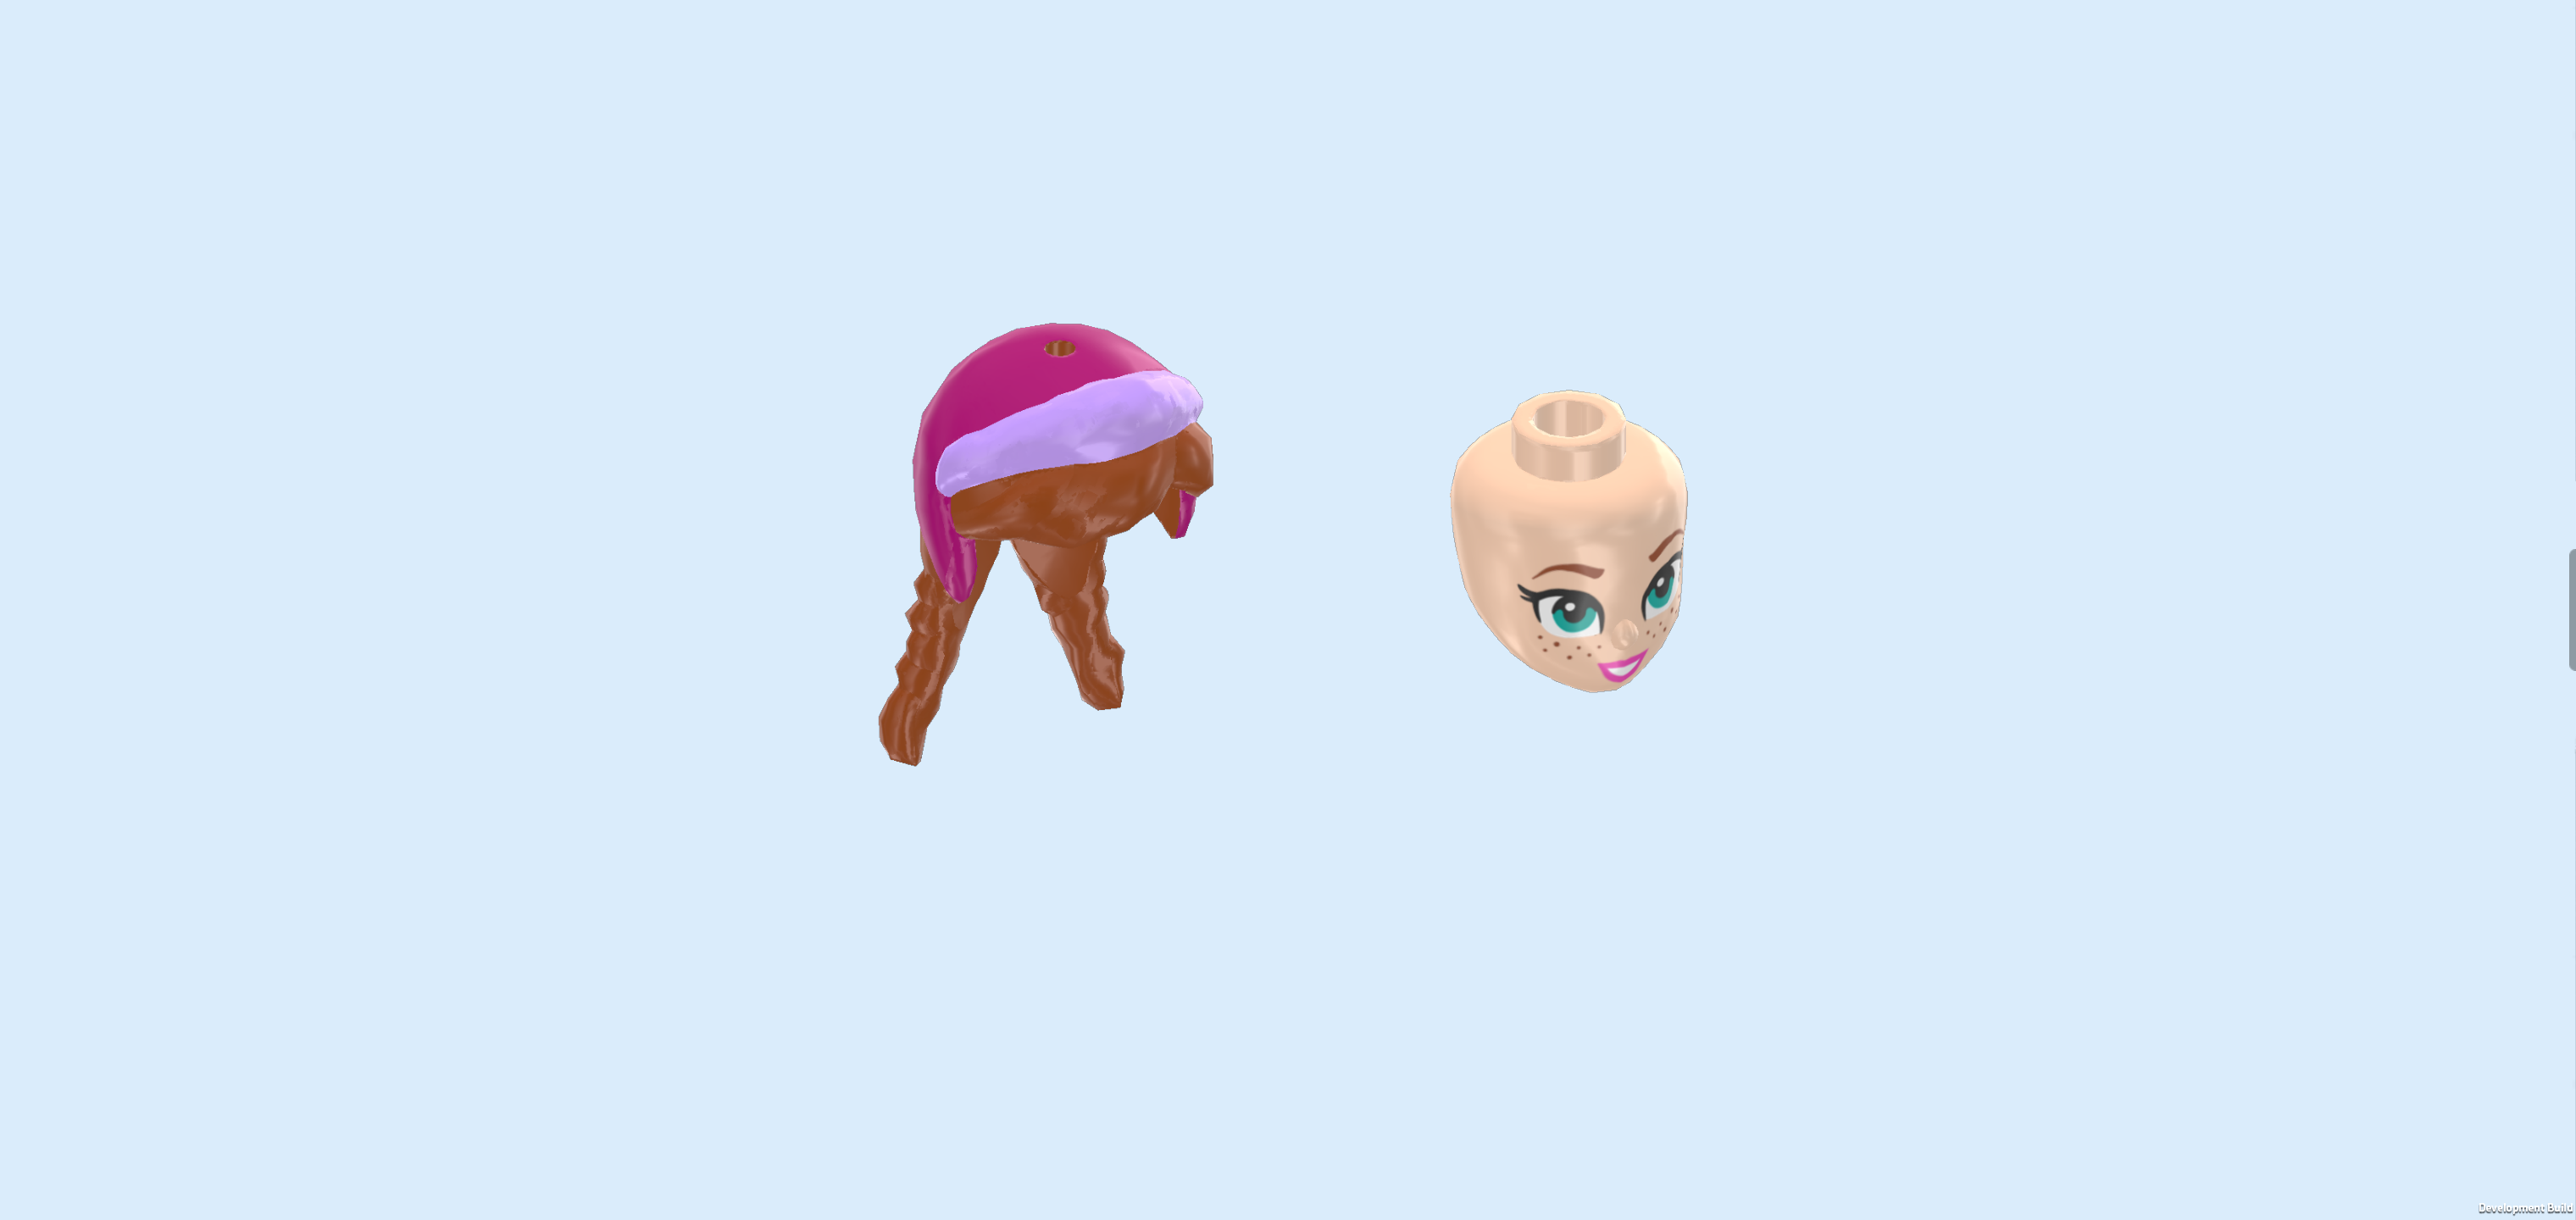
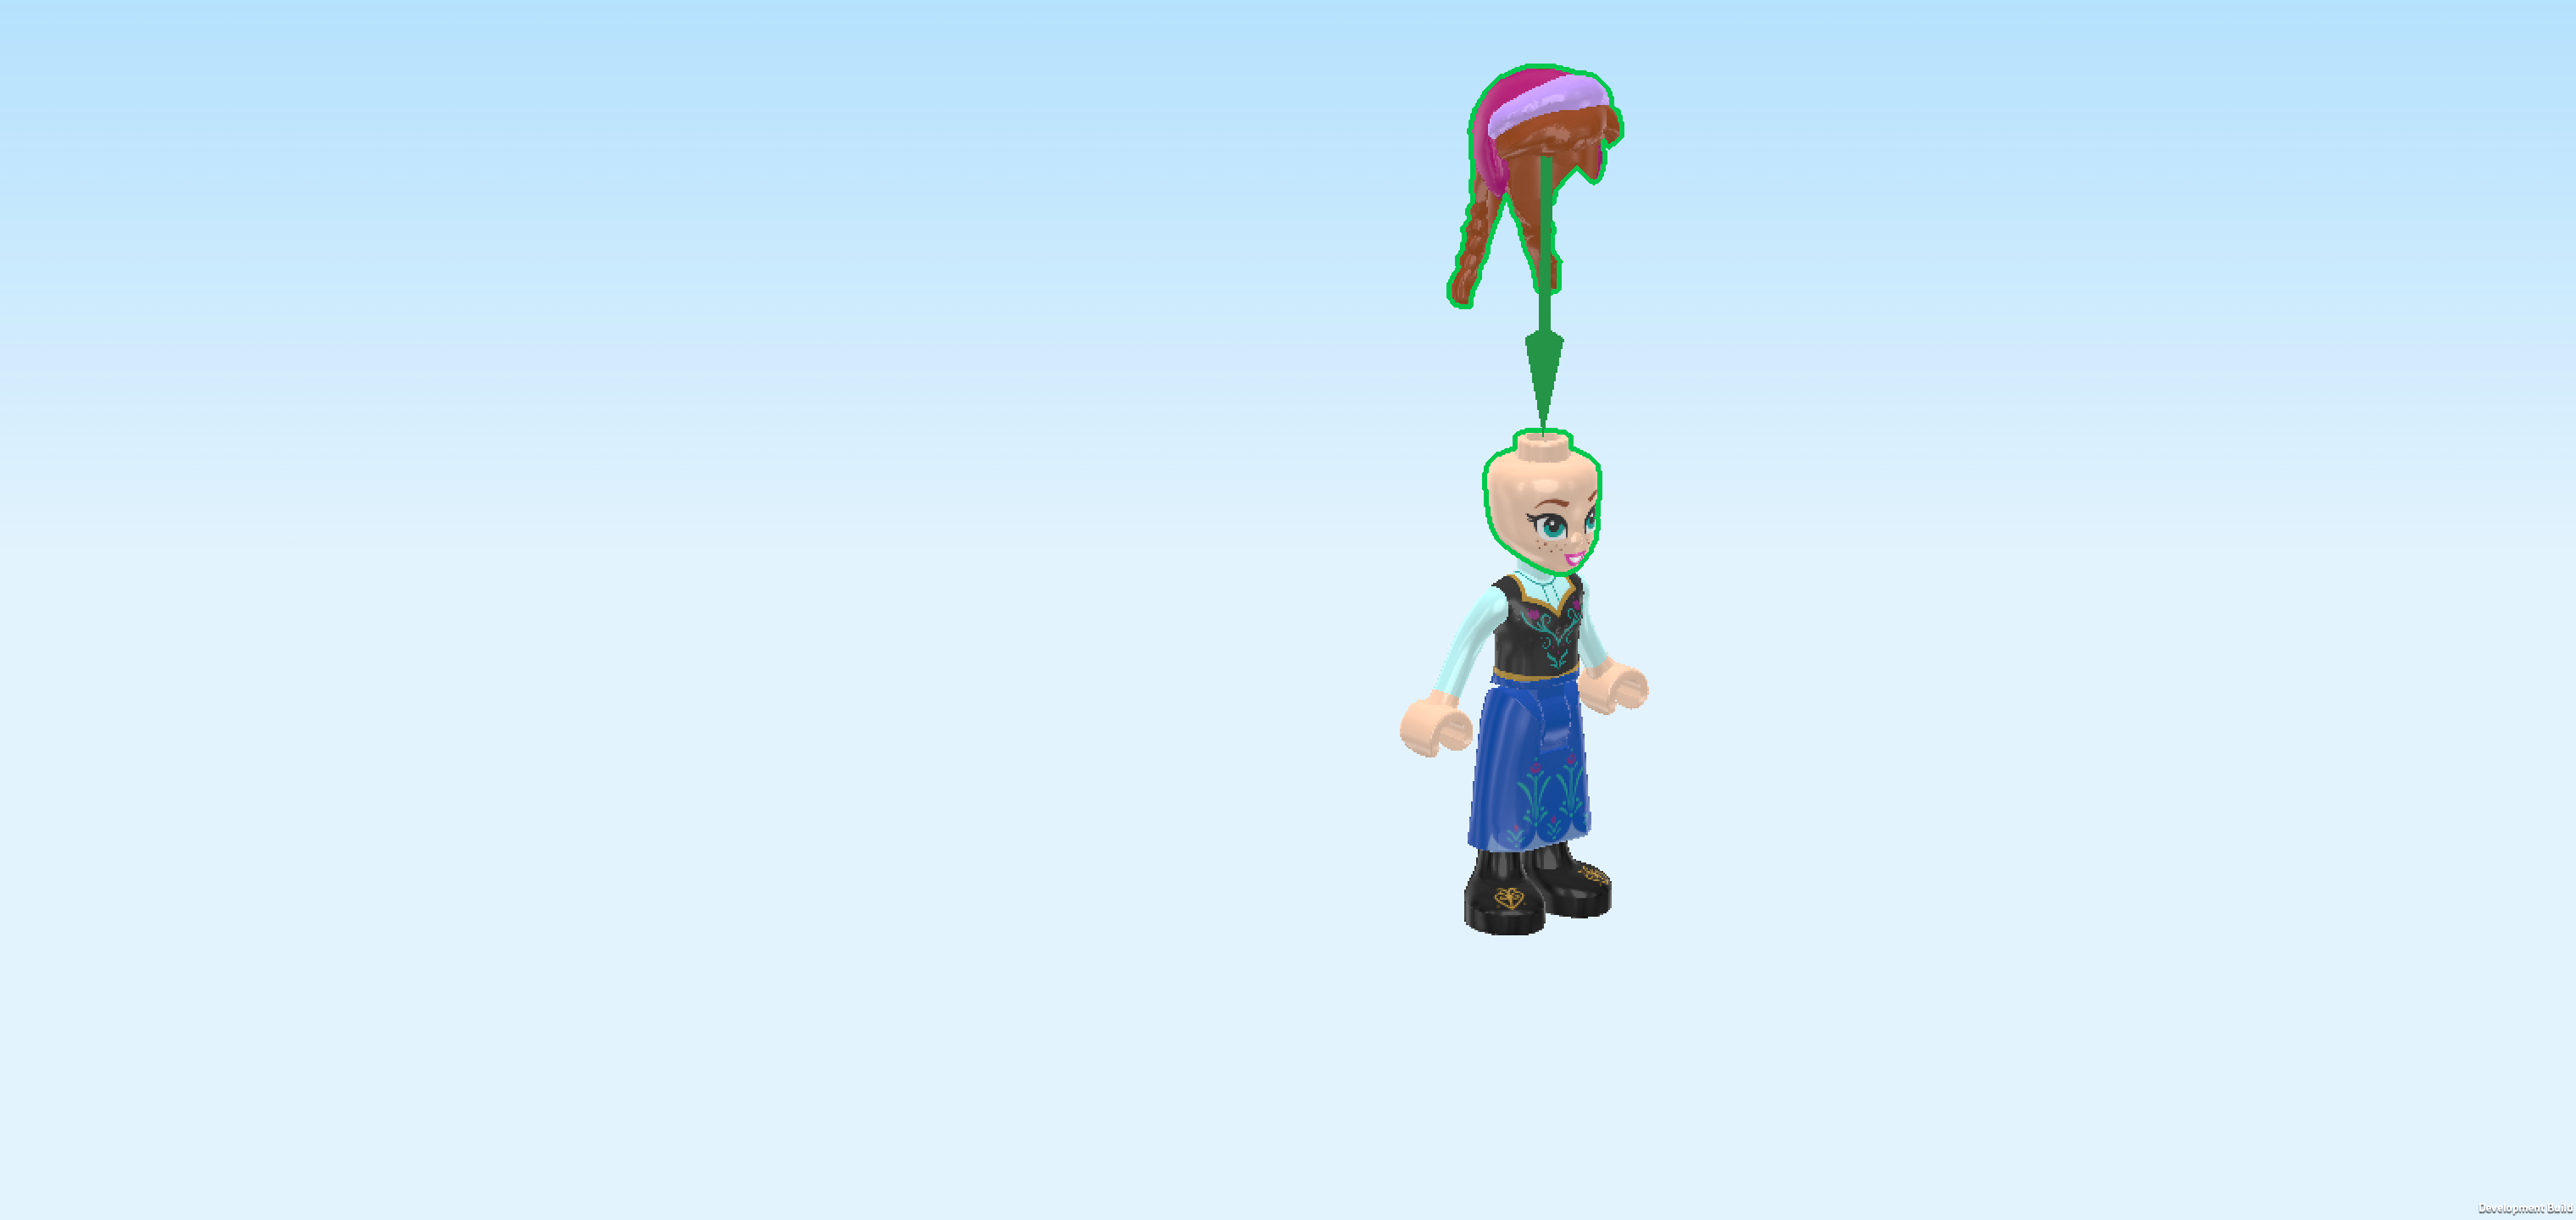
| 1 dark orange, light lavender and purple violet Anna hairpiece with 2 plaits and cap, |
| and 1 light nougat brown Minidoll head. |
| Put the head on the body. |
| Put the hair on the head. |
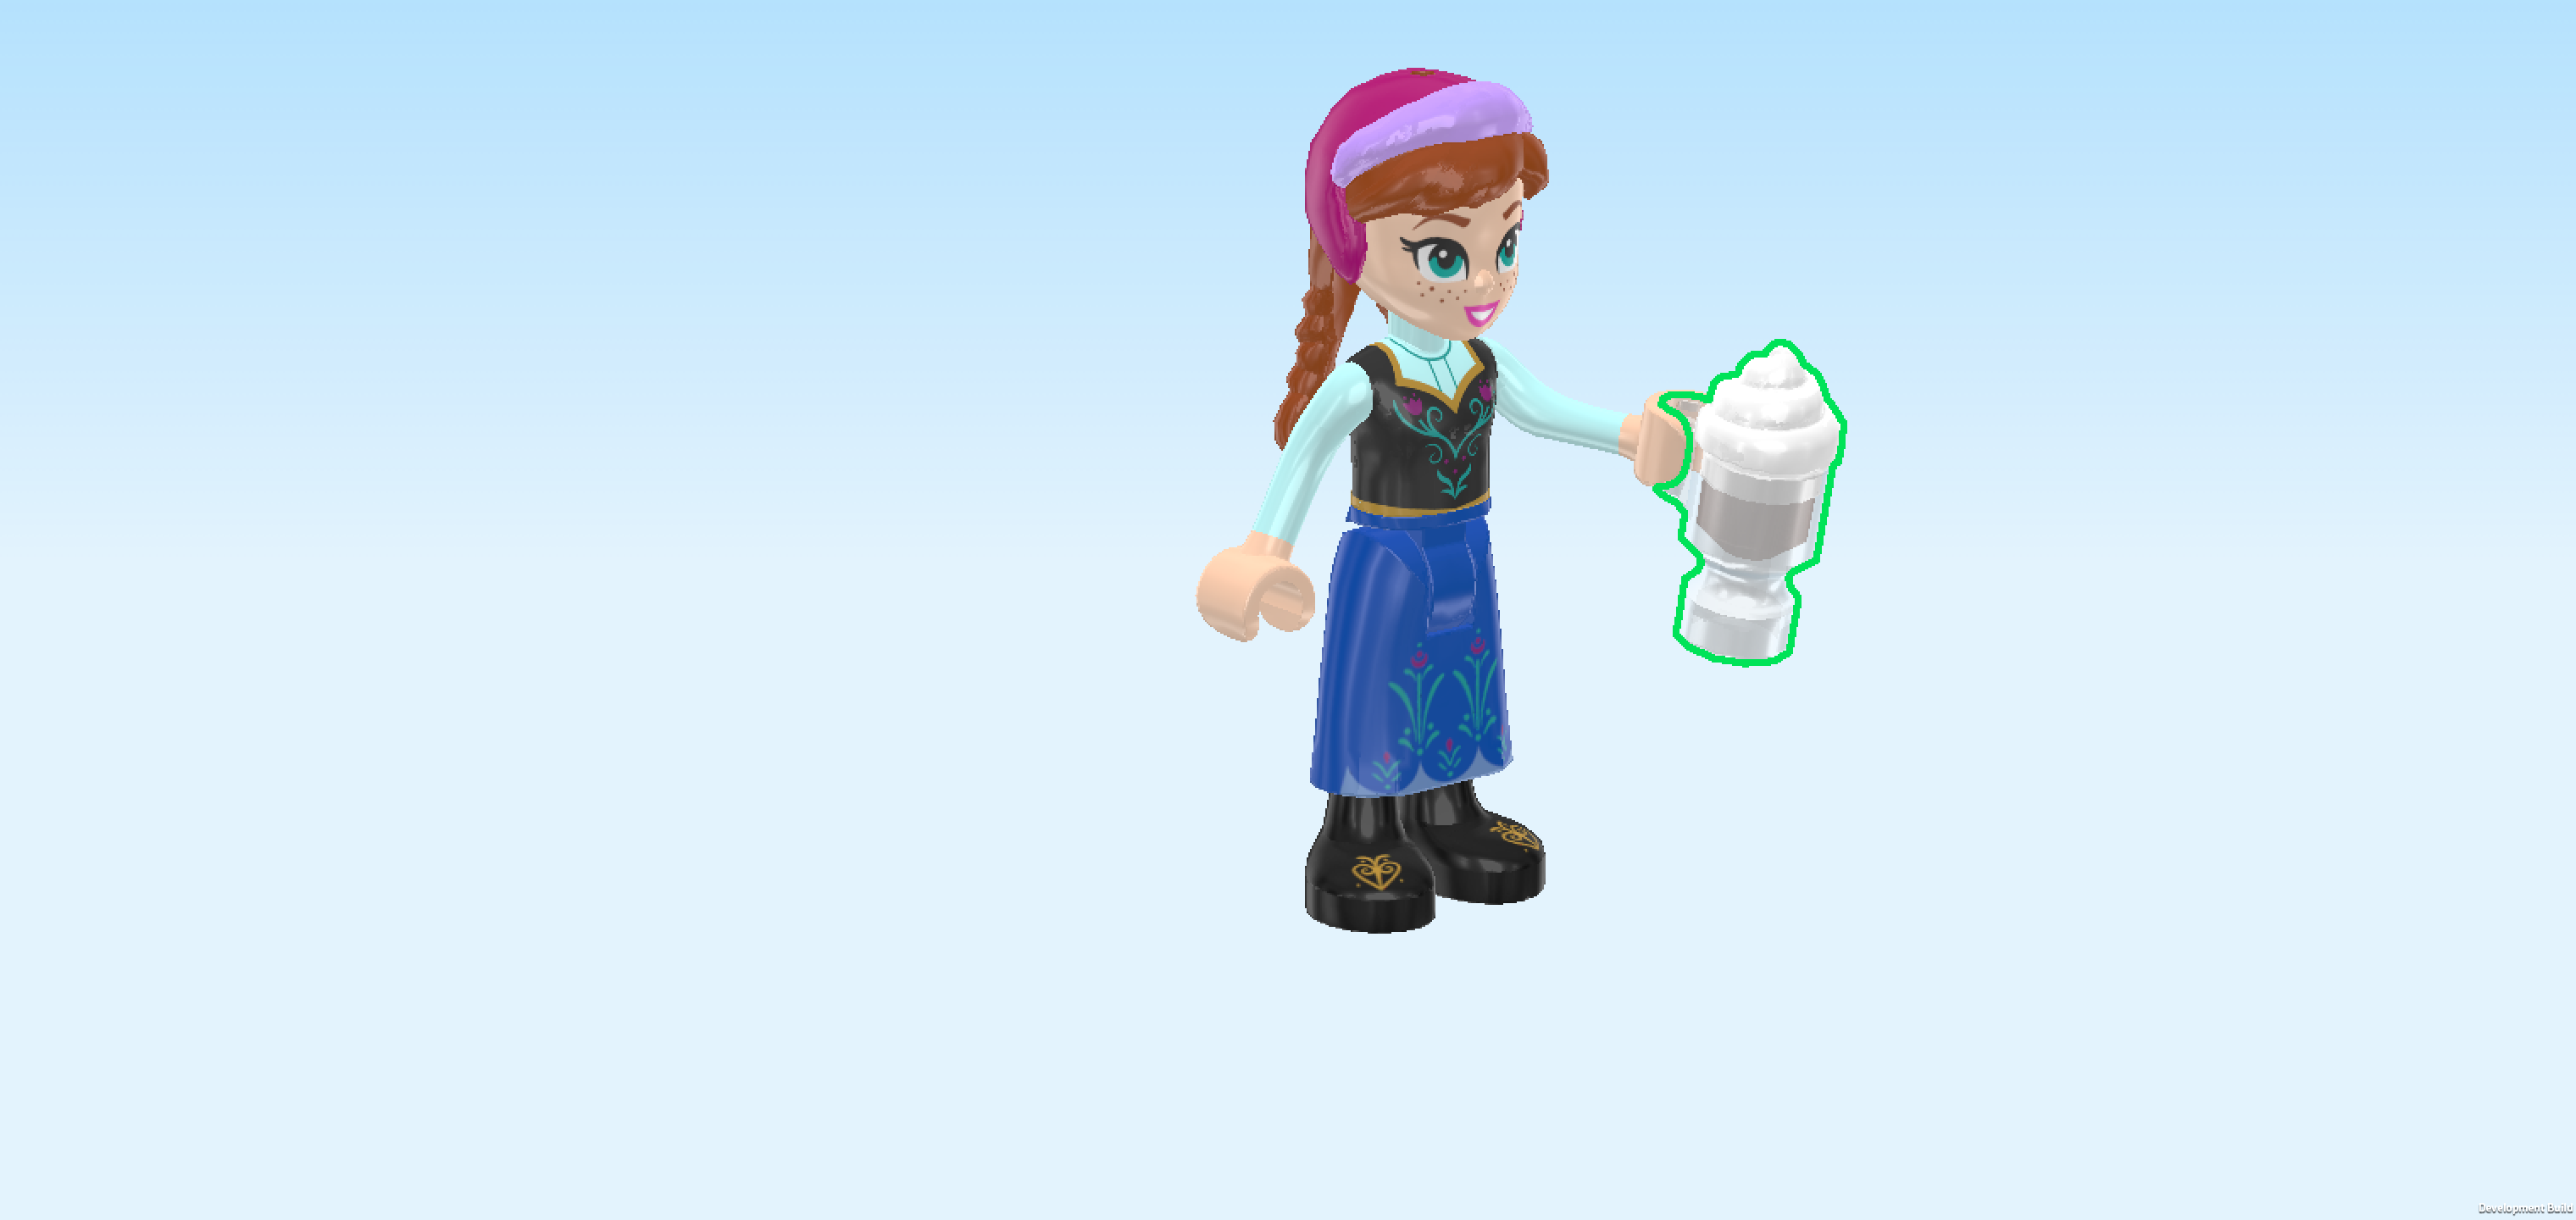
| Now, we will assemble another cup of hot chocolate. |
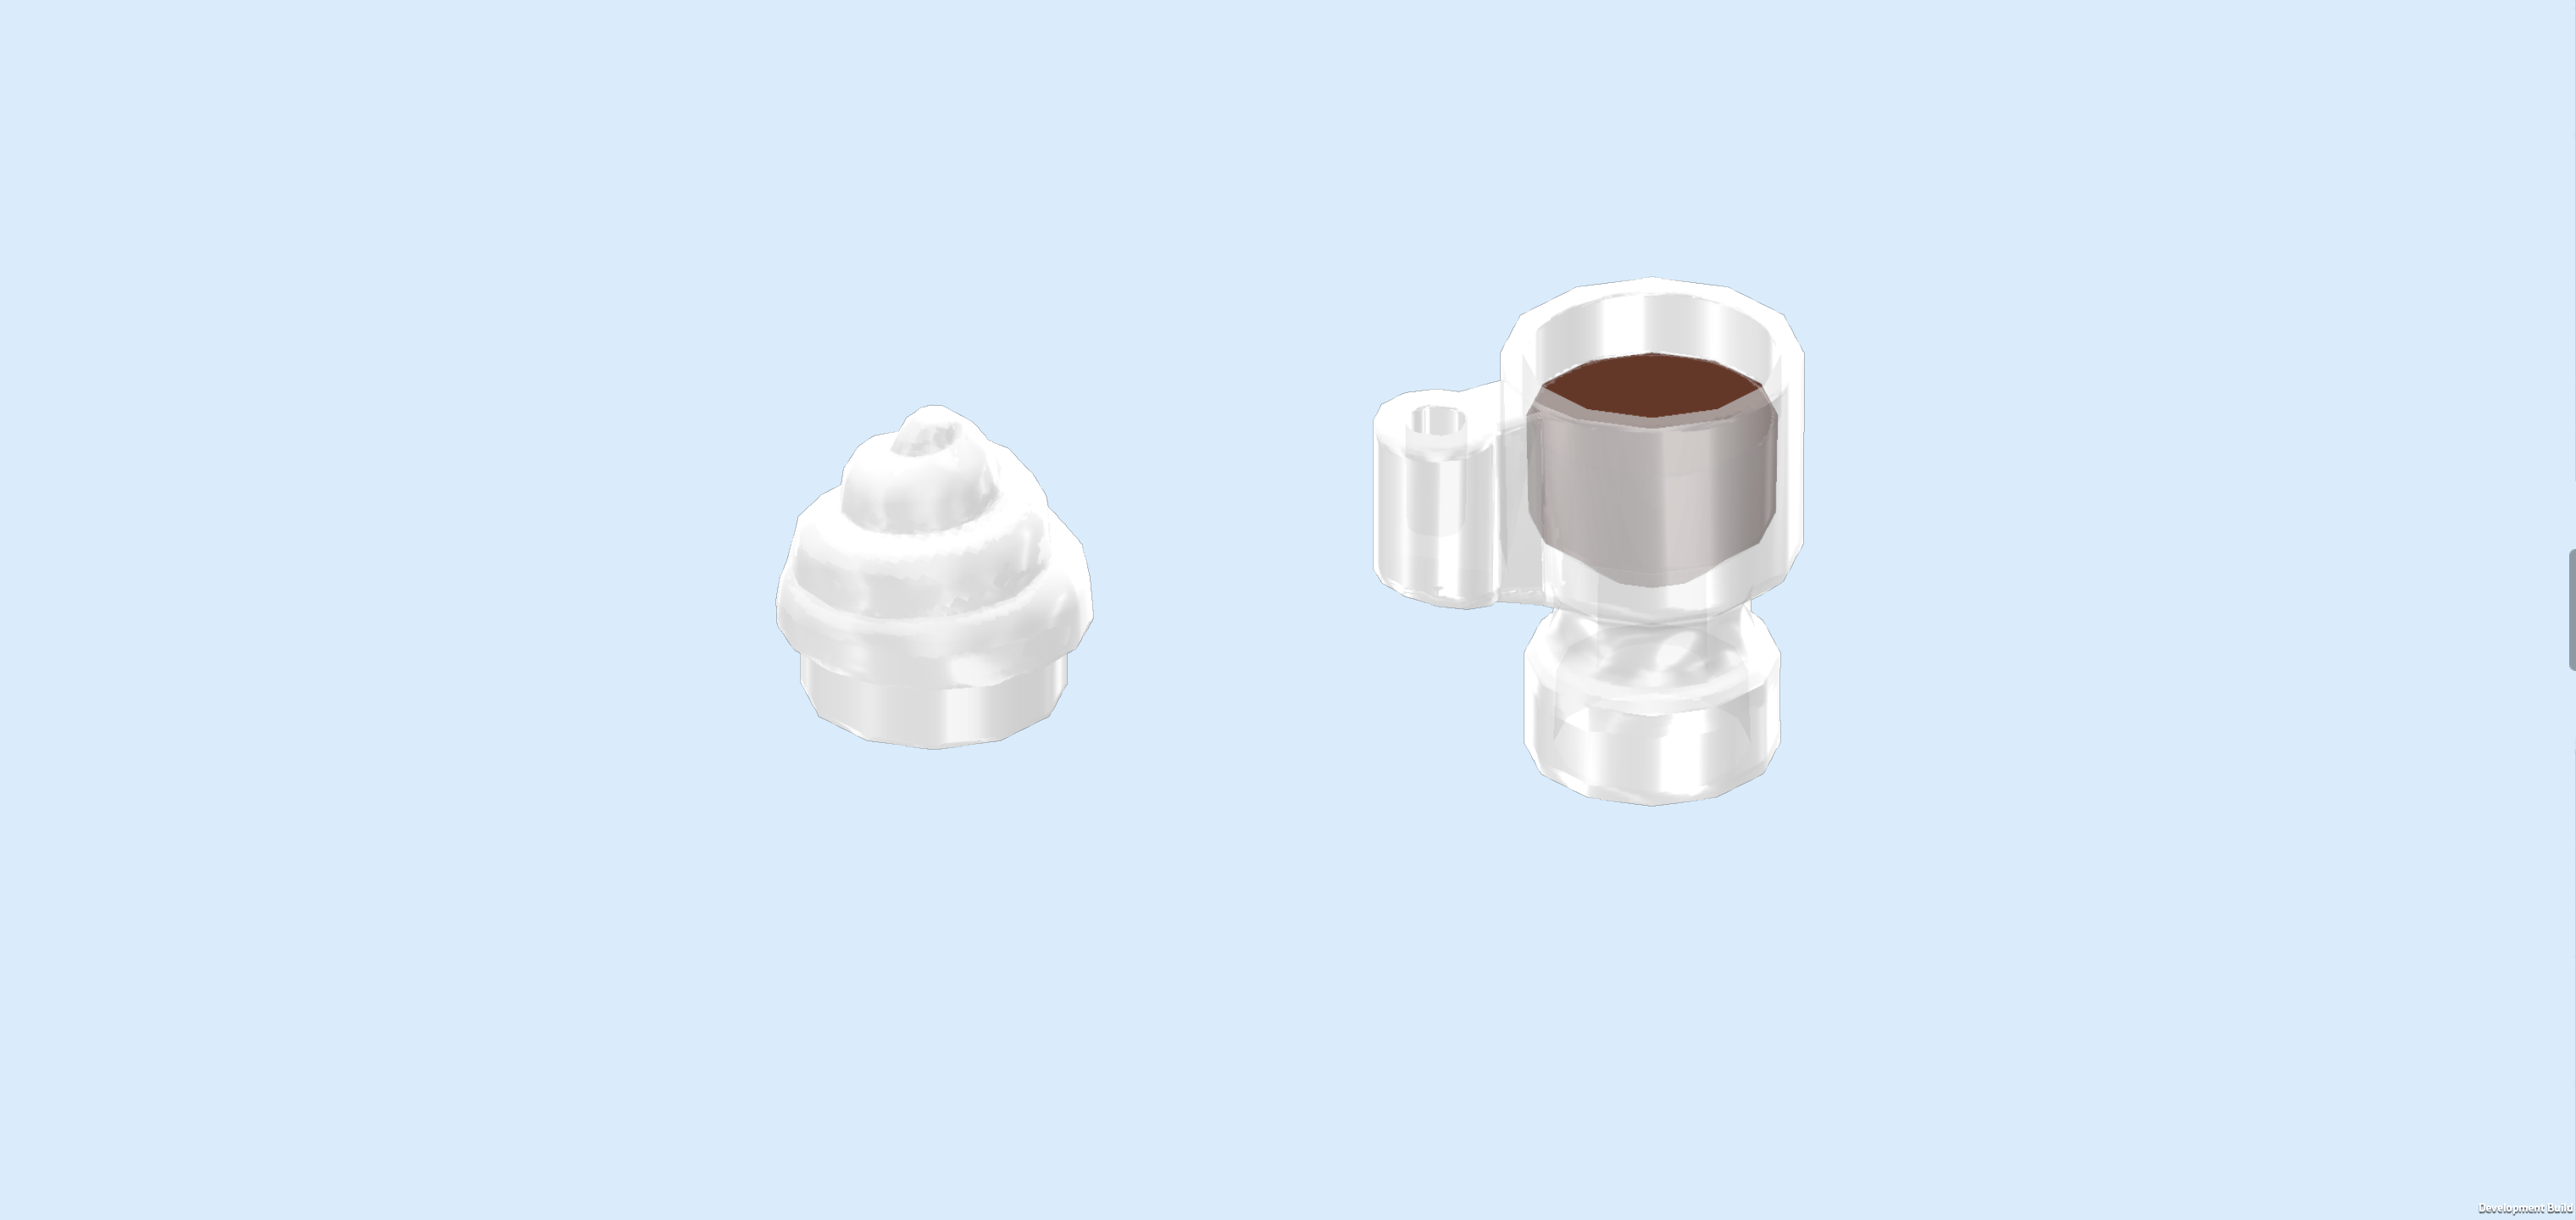
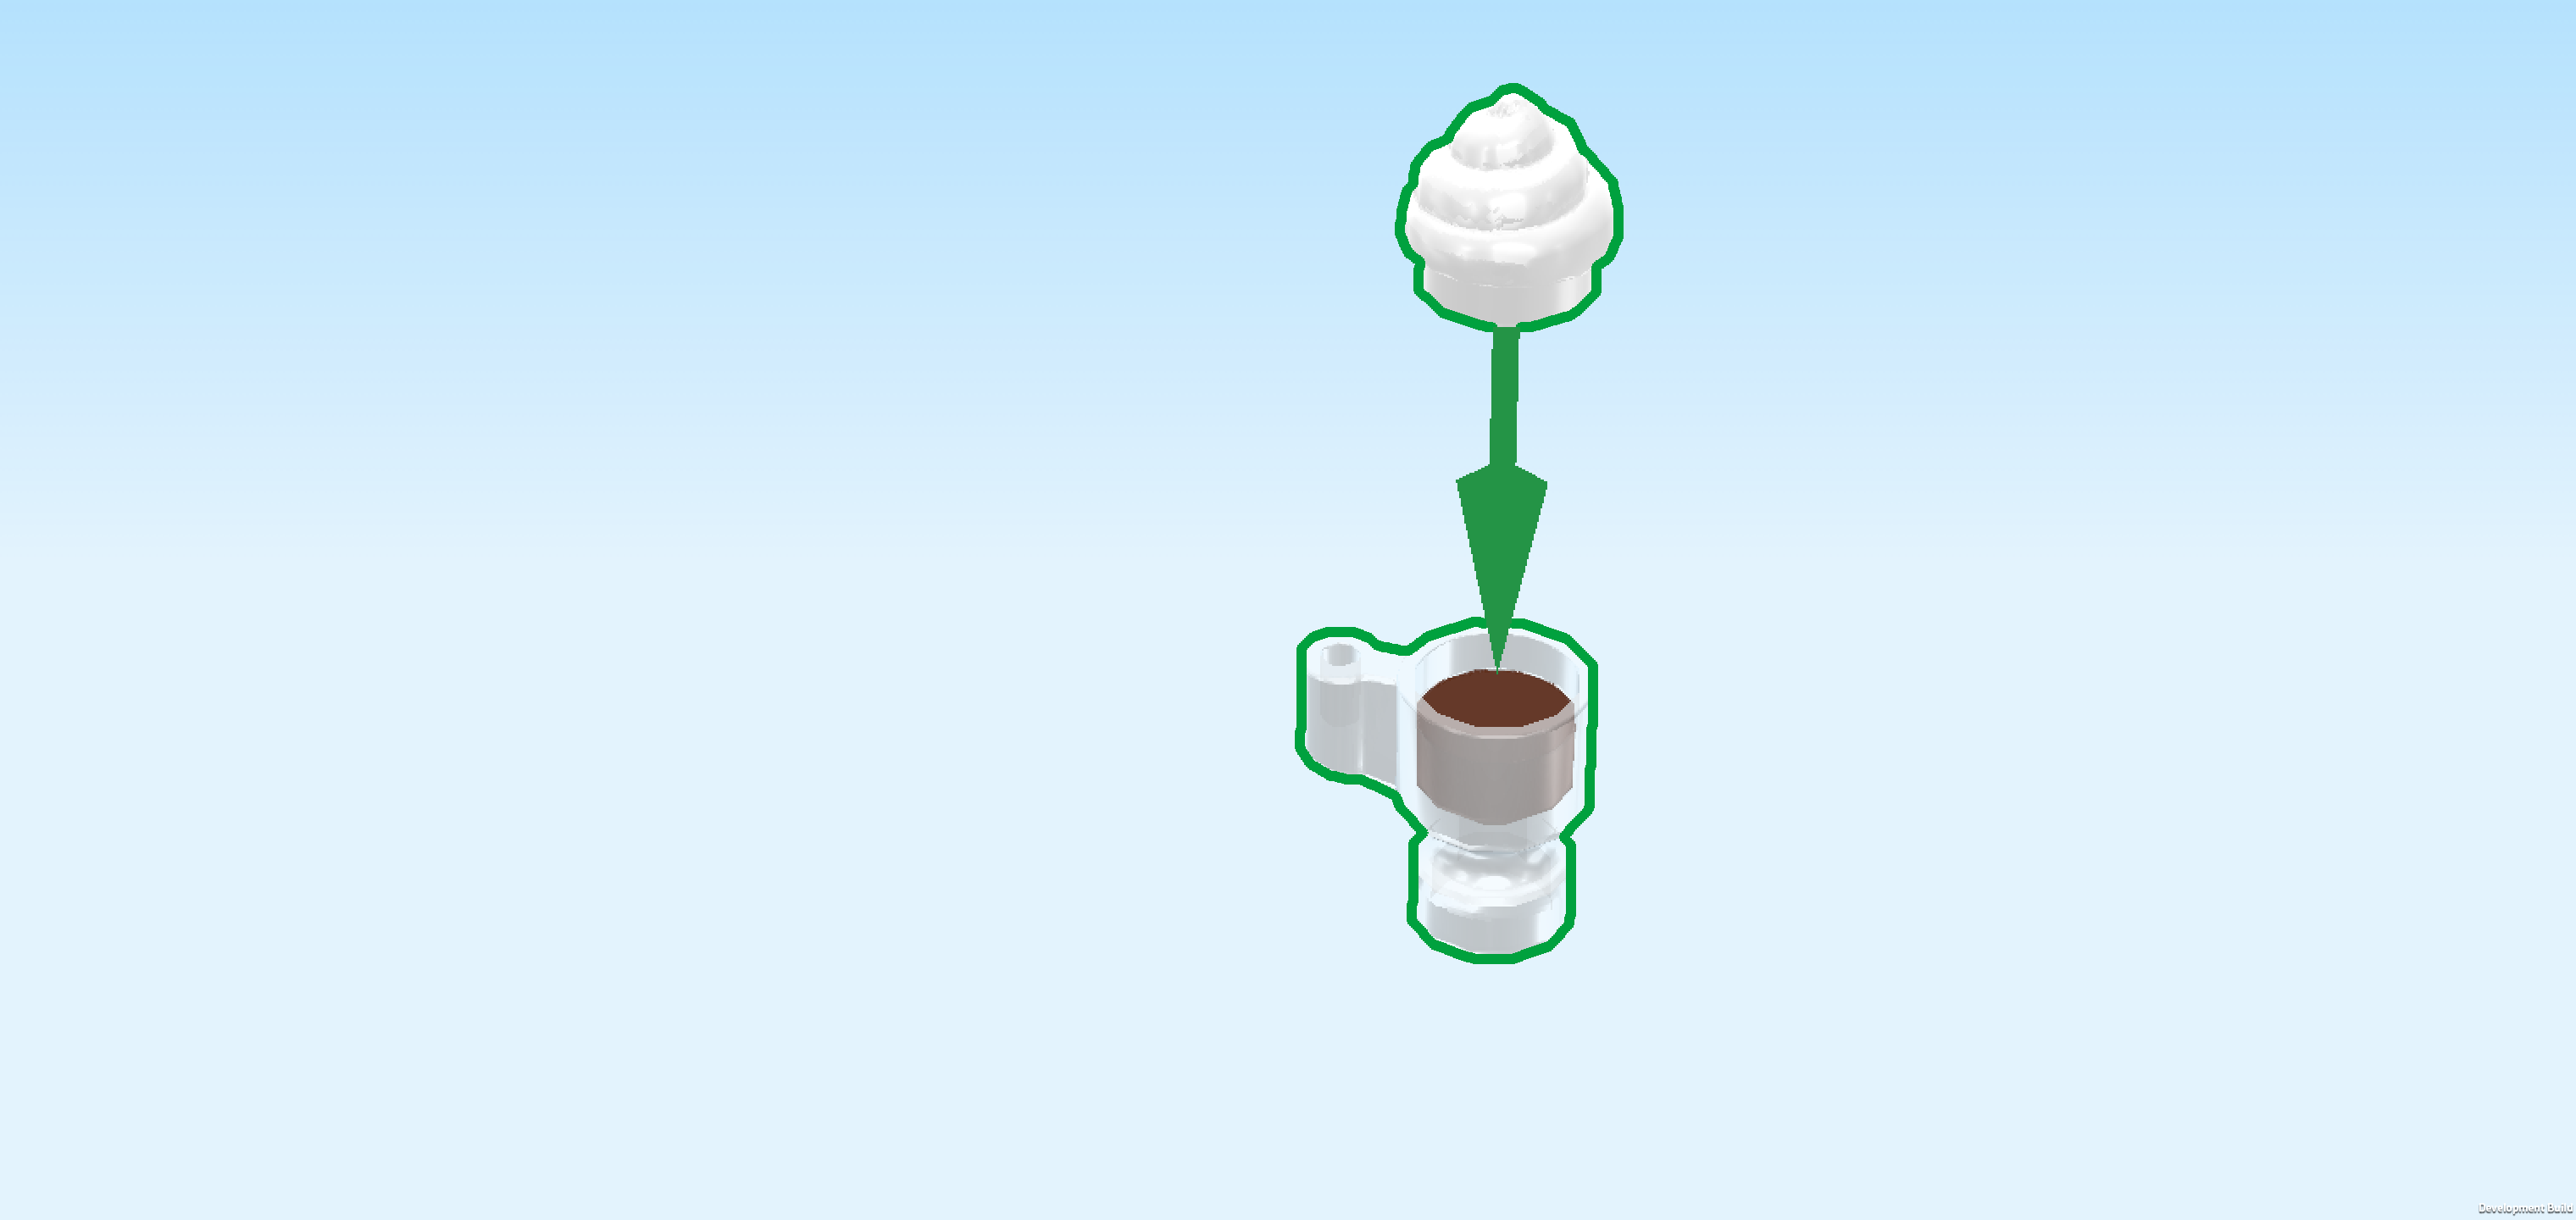
| Collect the following 2 pieces: |
| 1 white swirly whipped cream topping 1x1, |
| and 1 reddish brown and transparent Minifigure cup with stem and handle. |
| Put the whipped cream on the cup. |
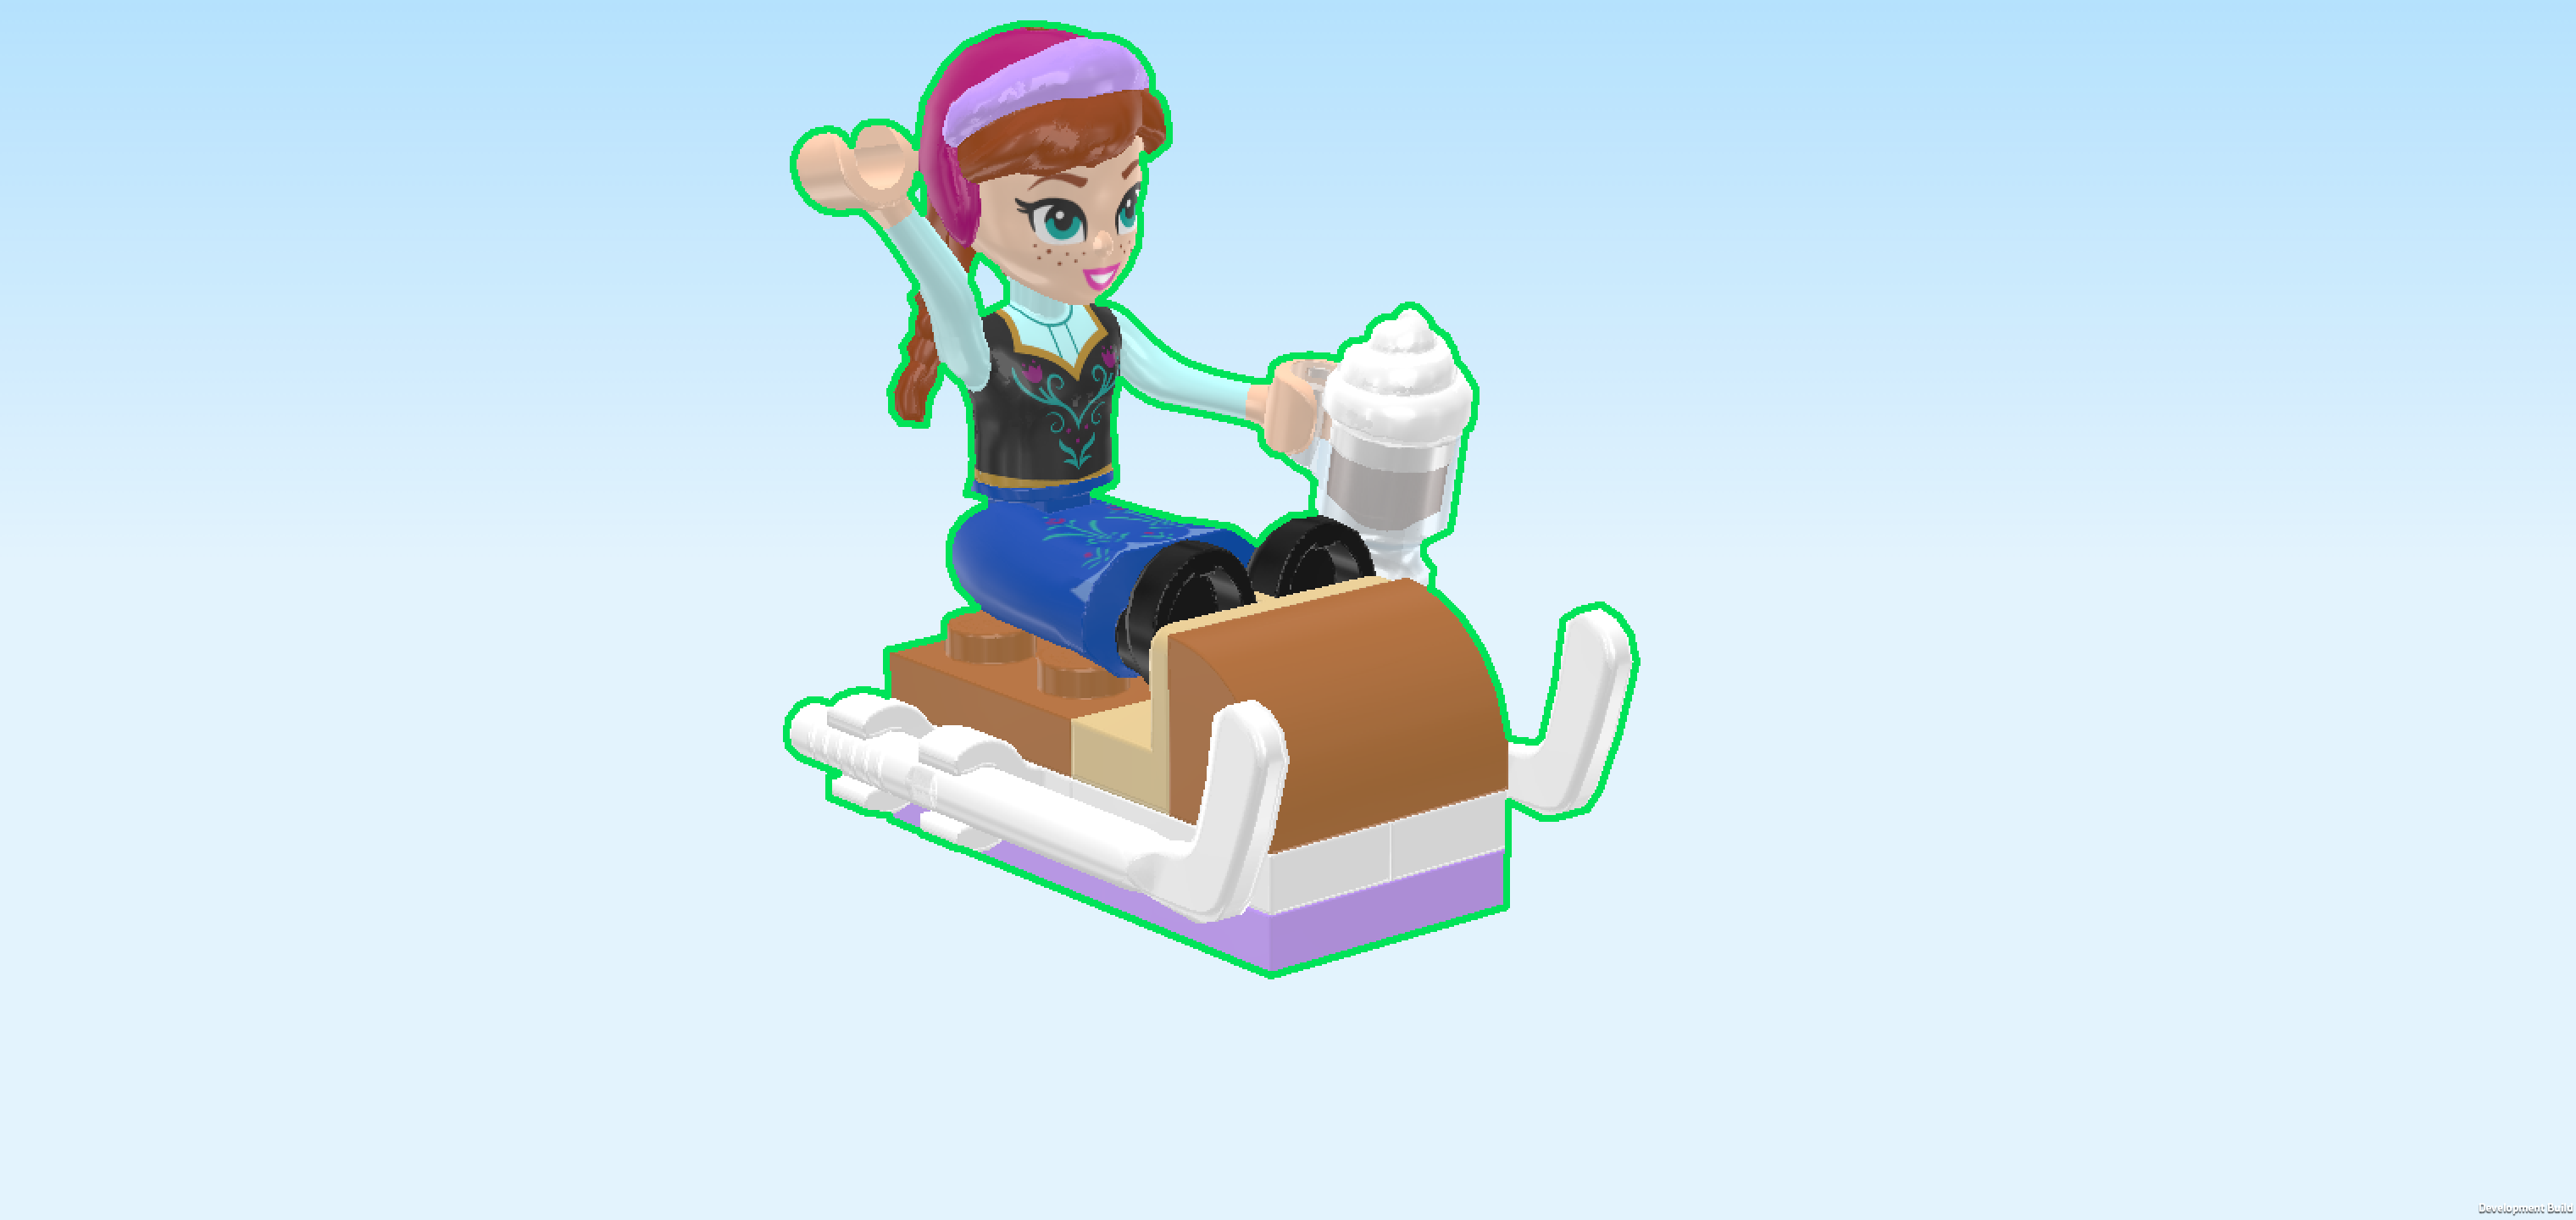
| The Anna Minidoll is finished! Well done! Snap the handle of the cup into her left hand. Anna is wearing her iconic dress from the first Frozen movie: it is a royal blue dress, the skirt has intricate light blue stitching in floral patterns, and the bodice is black velvet with golden and light blue stitching. Underneath it, she is wearing a light blue turtleneck. Anna's ginger hair is plaited, and she is wearing a pink cap with a lavender-colored headband. She has a fair skin tone and green eyes as well as some freckles on her cheeks. Her lips are light red and curled into a lovely smile. |
| Next, we will build the small sled. |
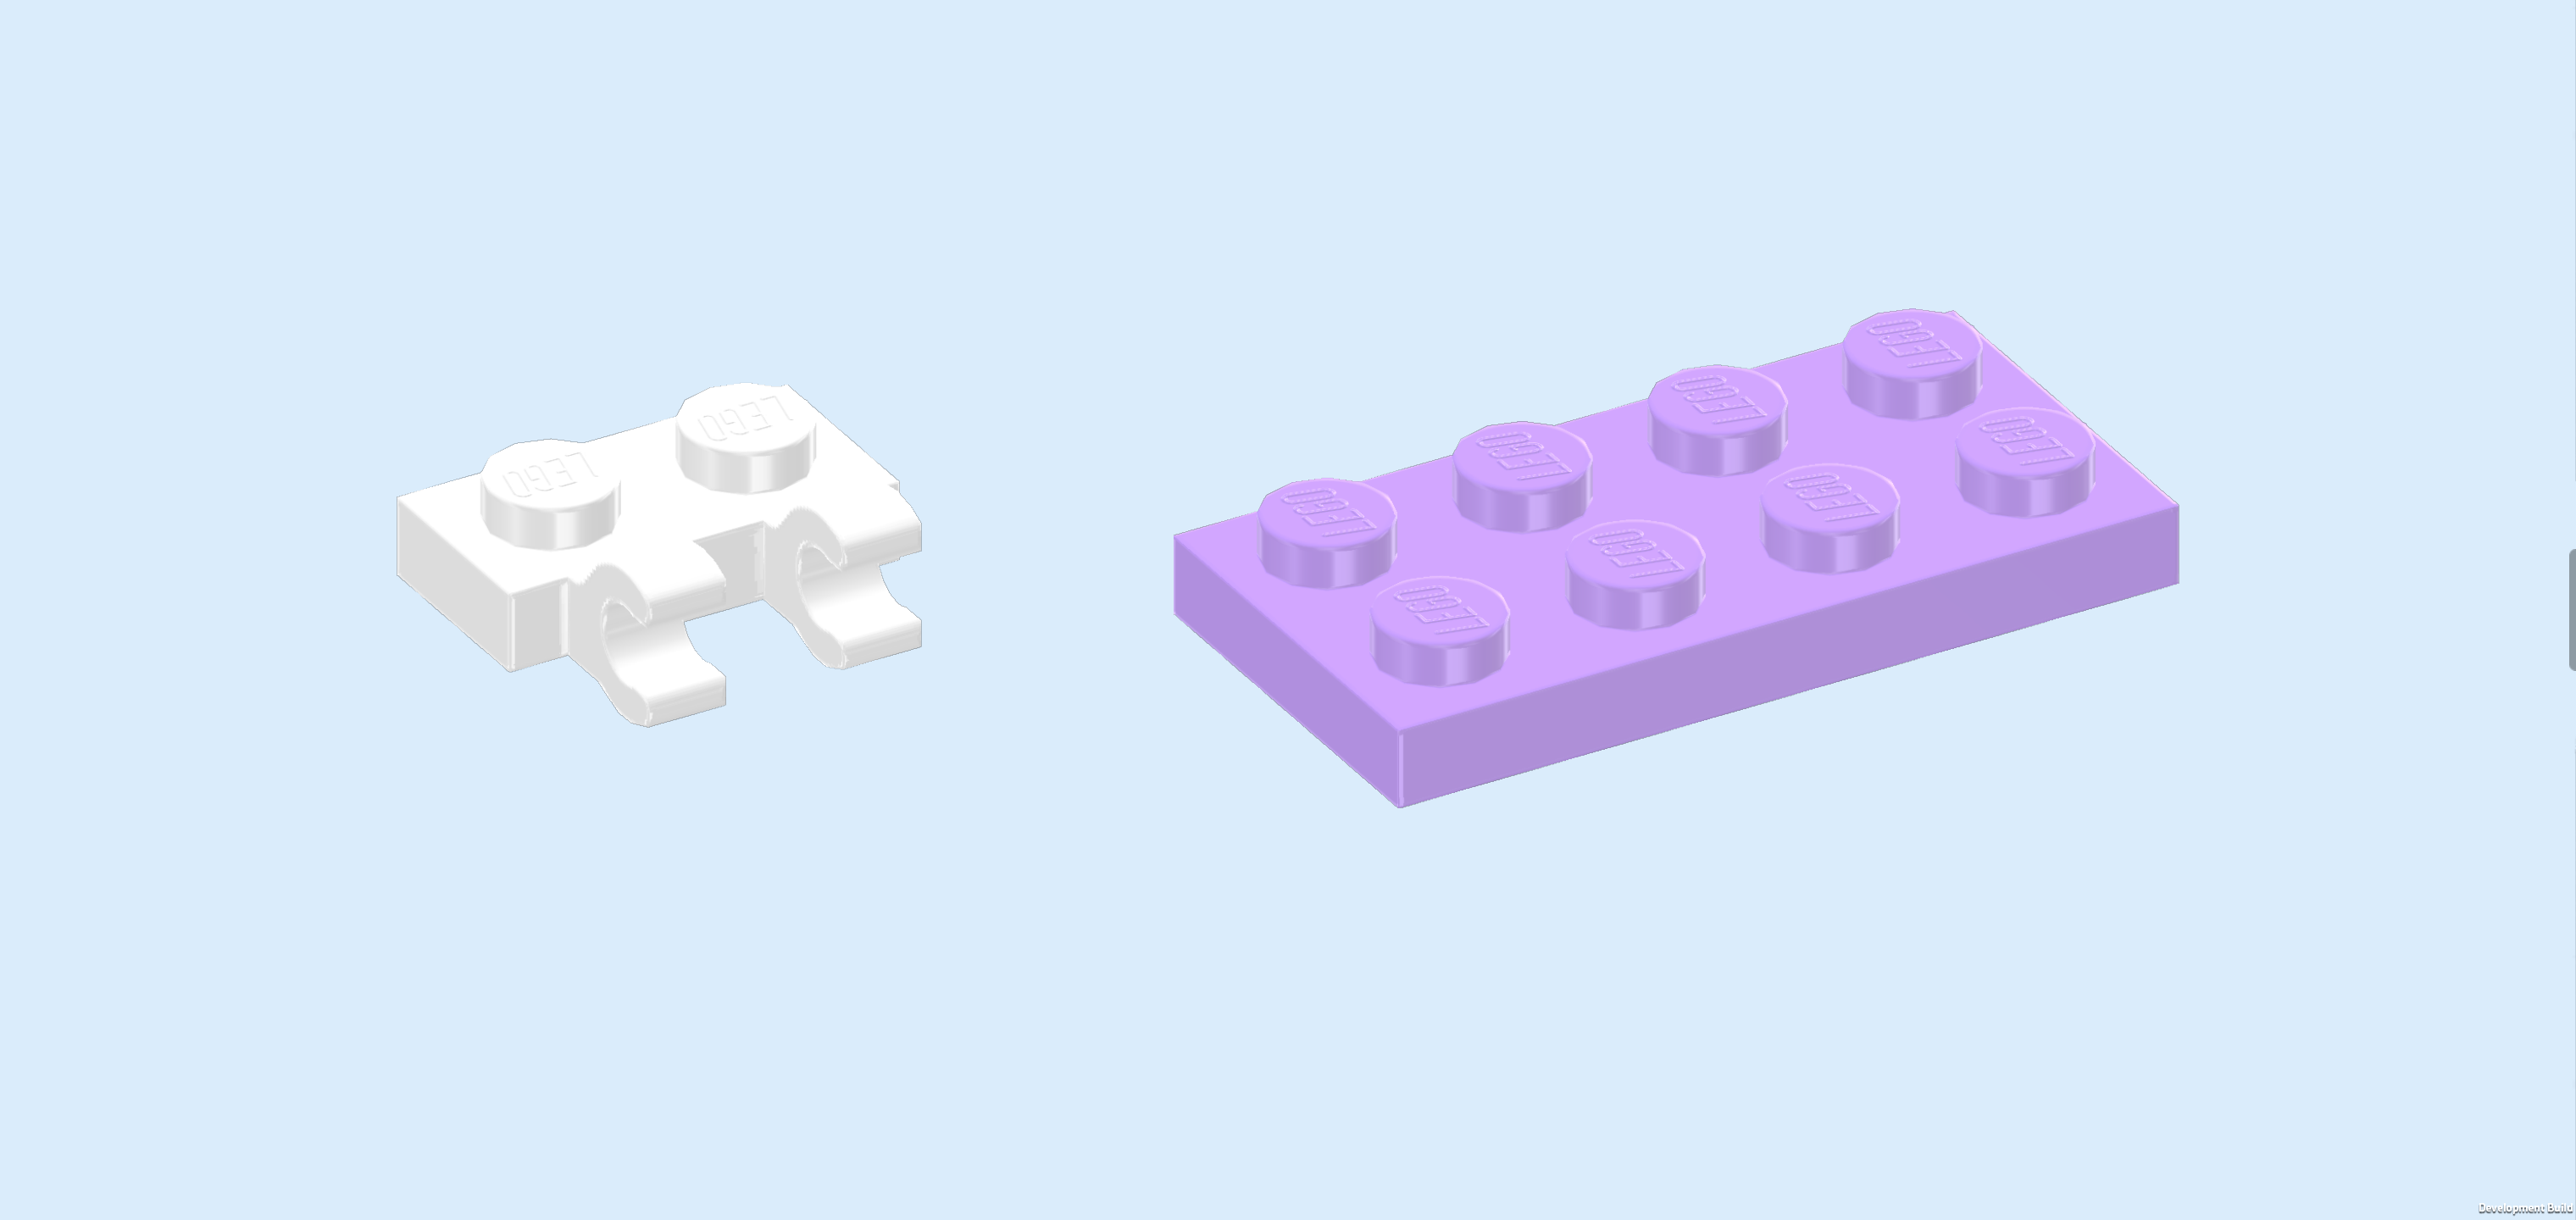
| Collect the following 2 pieces: |
| 1 white plate 1x2 with 2 vertical clasps on long side, |
| and 1 light lavender plate 2x4. |
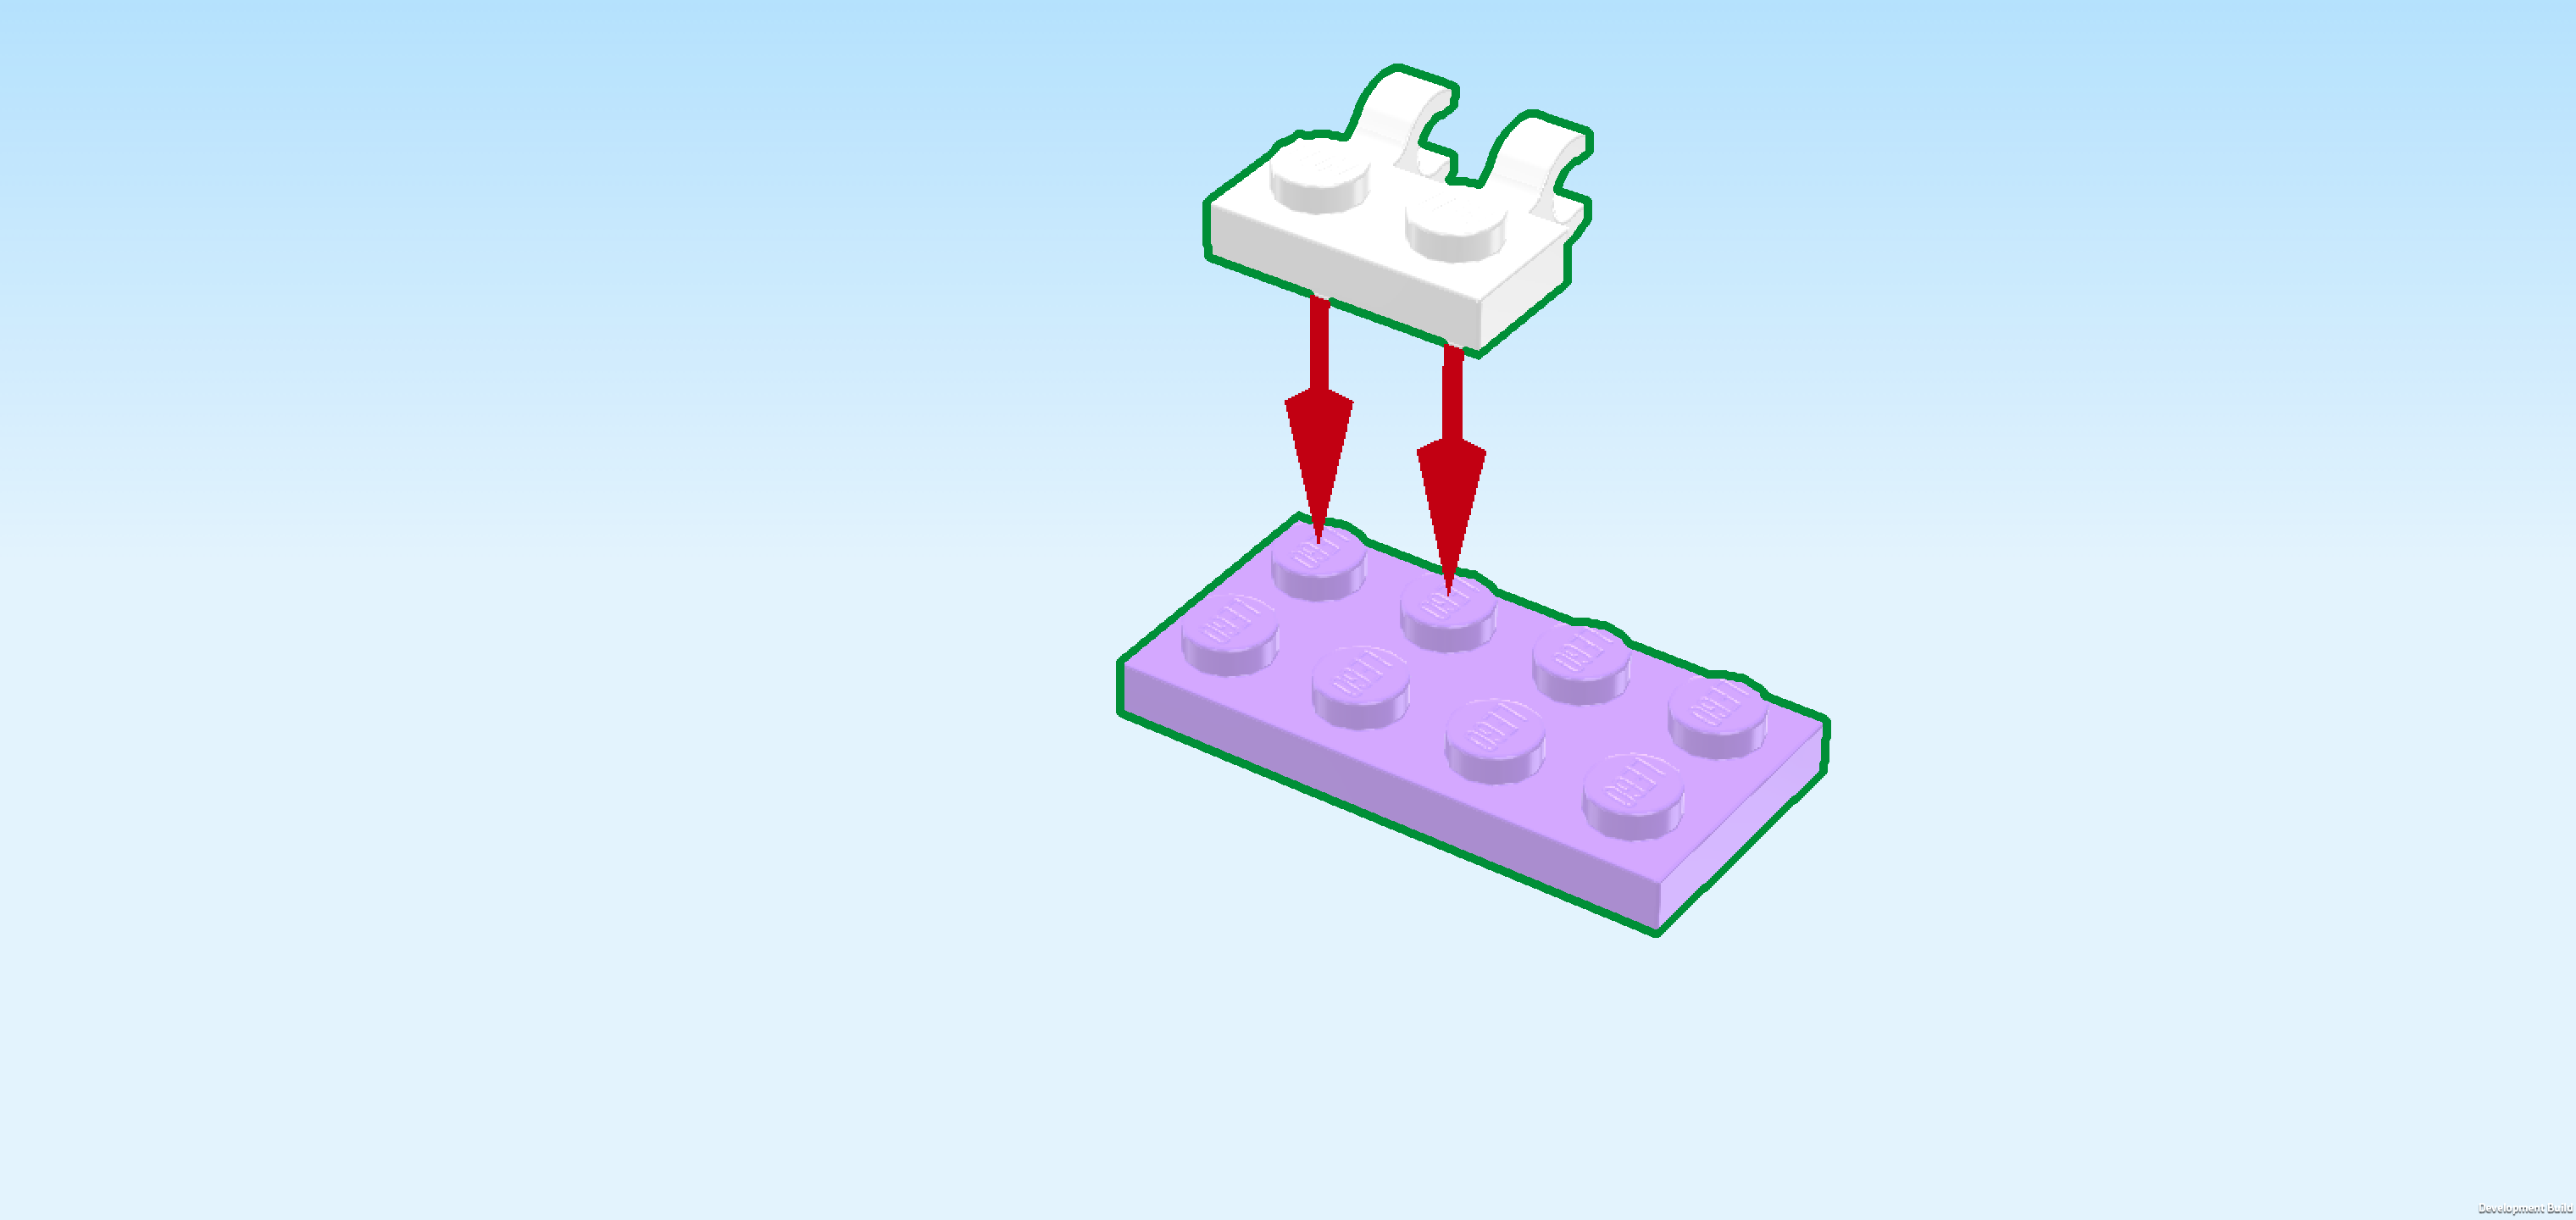
| Put the plate 2x4 horizontally on the table. |
| Put the plate 1x2 horizontally on the back row, starting from the left edge, clasps to the back. |
| Find 1 white plate 1x2 with 2 vertical clasps on long side. |
| Put it horizontally in front of the previous piece, clasps to the front. |
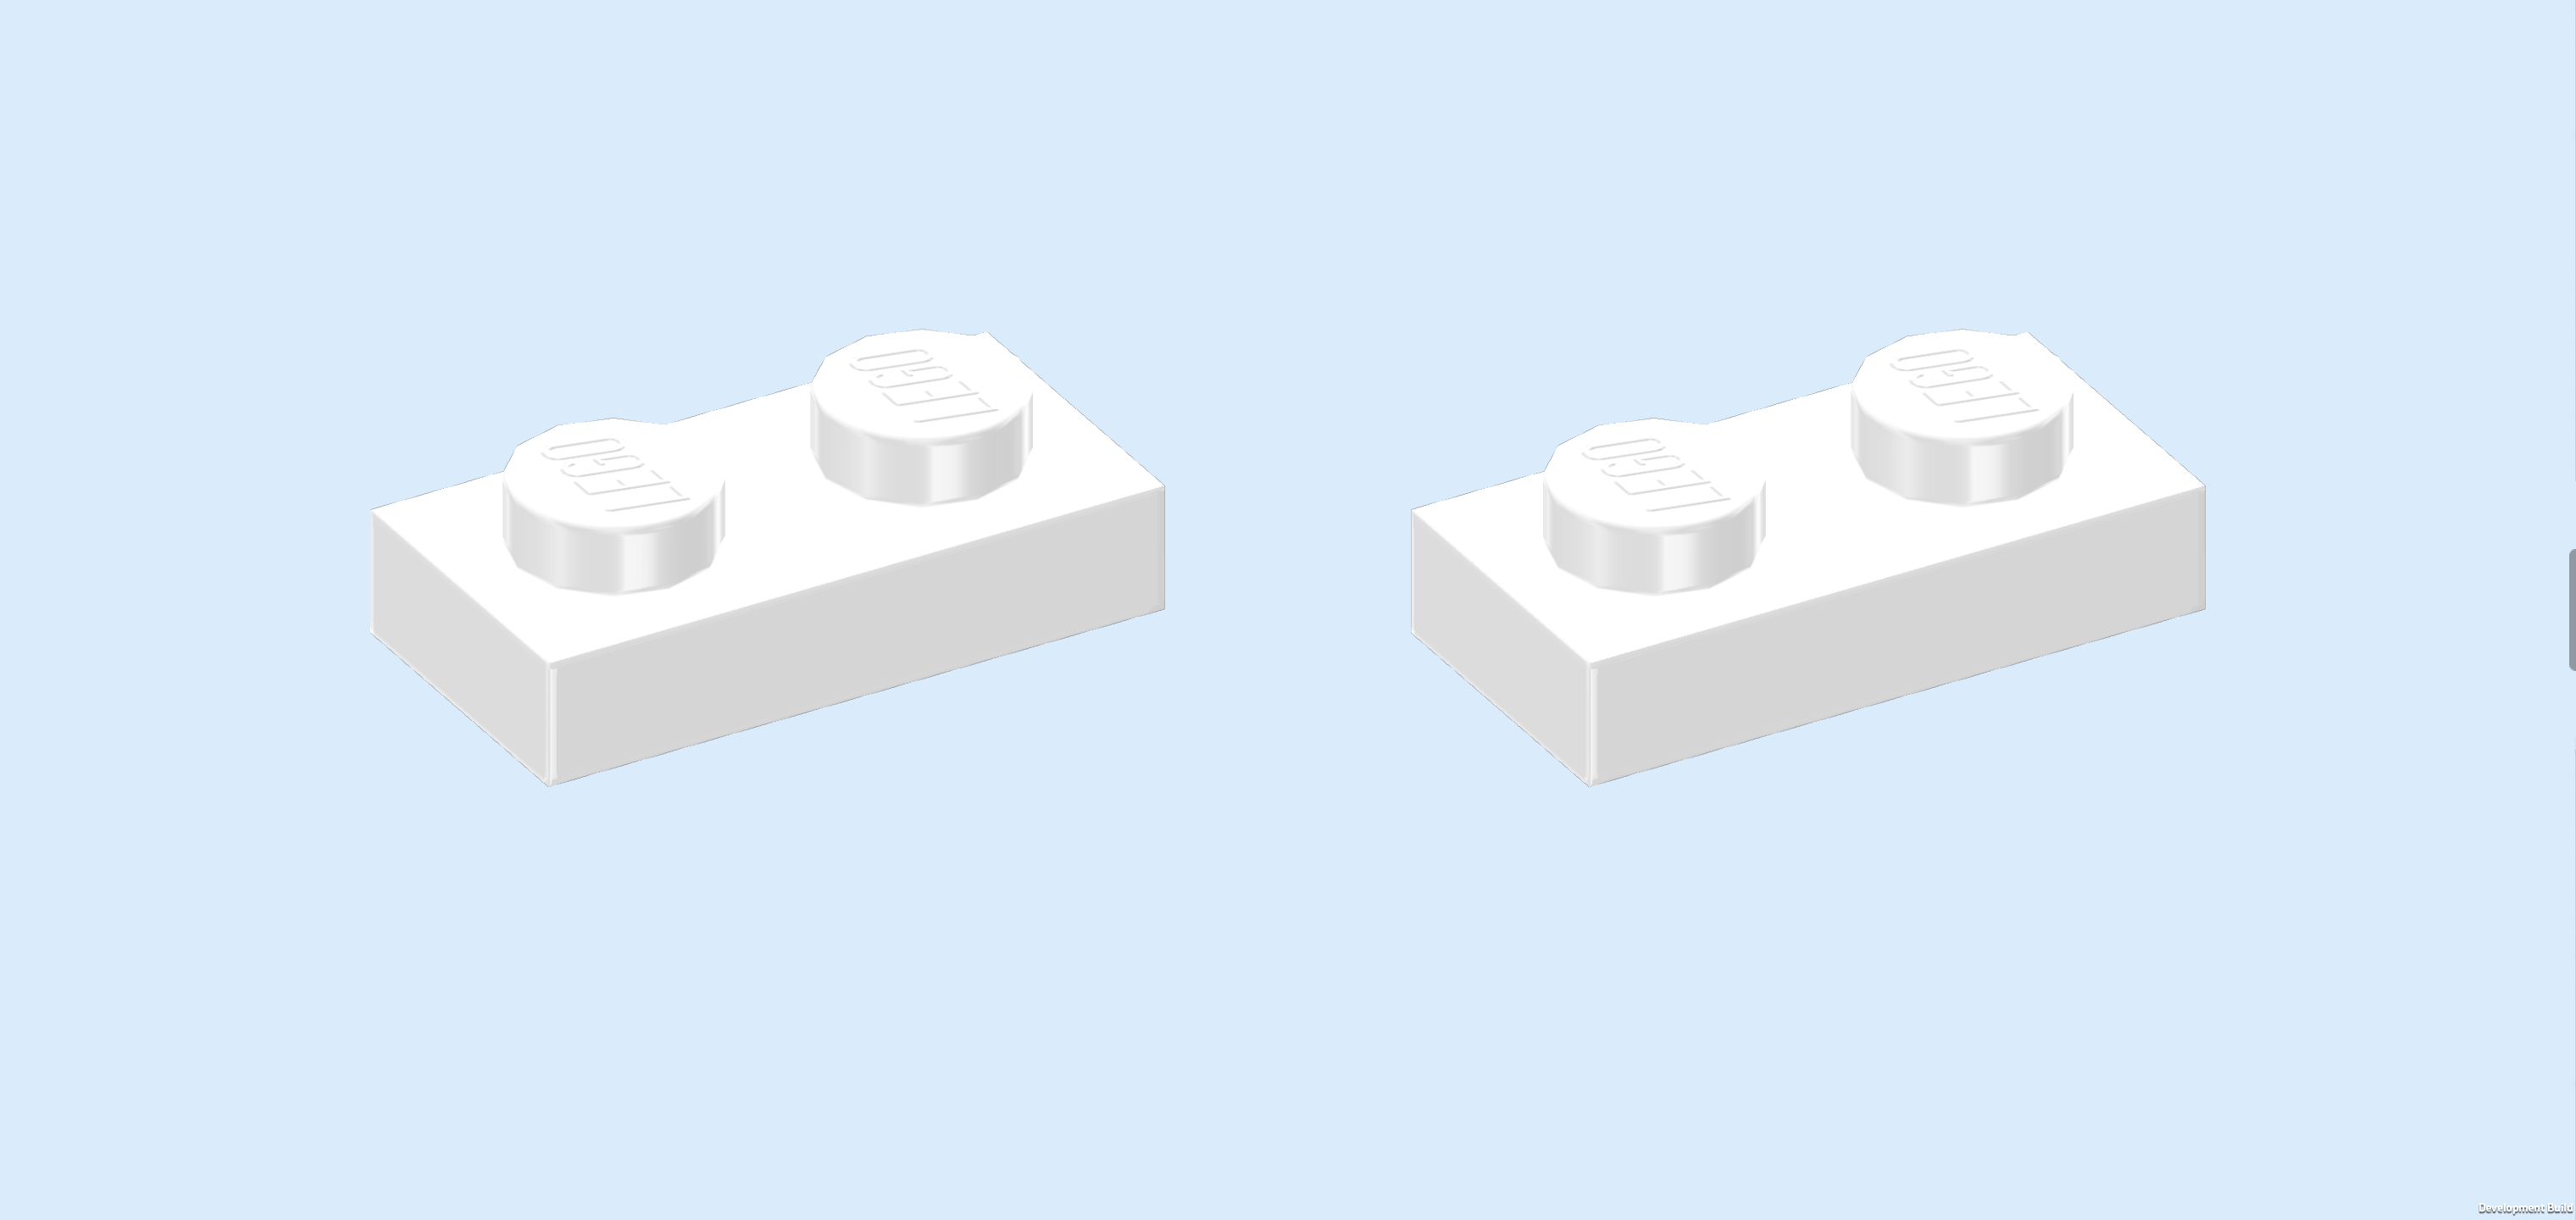
| Find 2 white plates 1x2. |
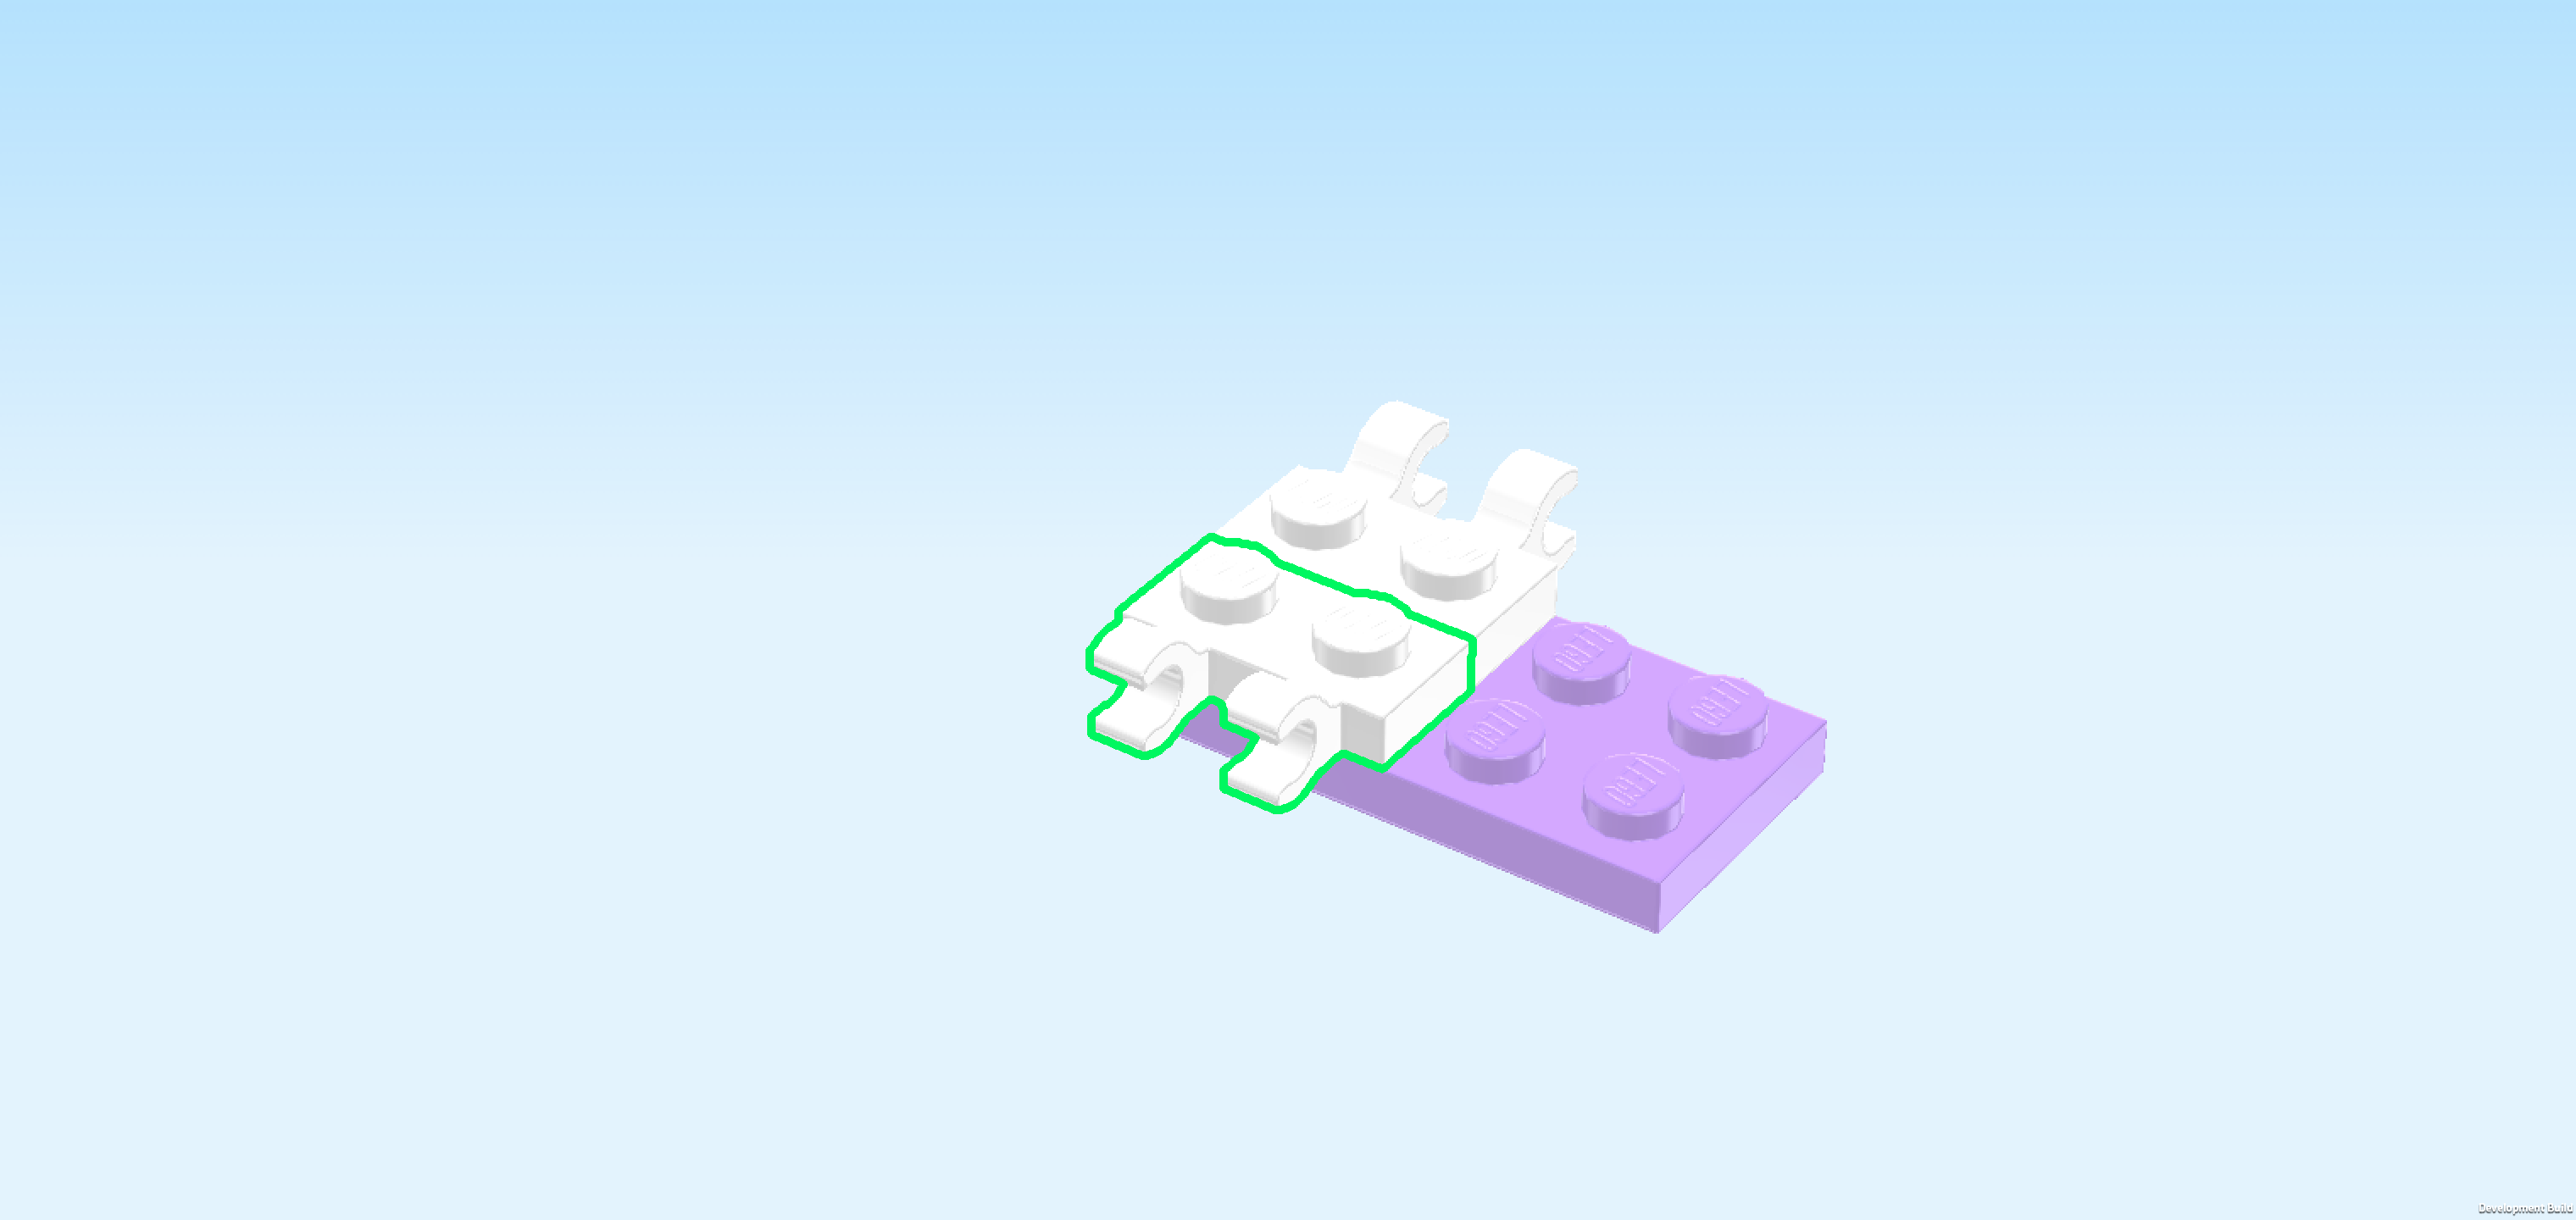
| Put 1 horizontally to the right of the previous piece. |
| Put the other one horizontally behind the previous piece. |
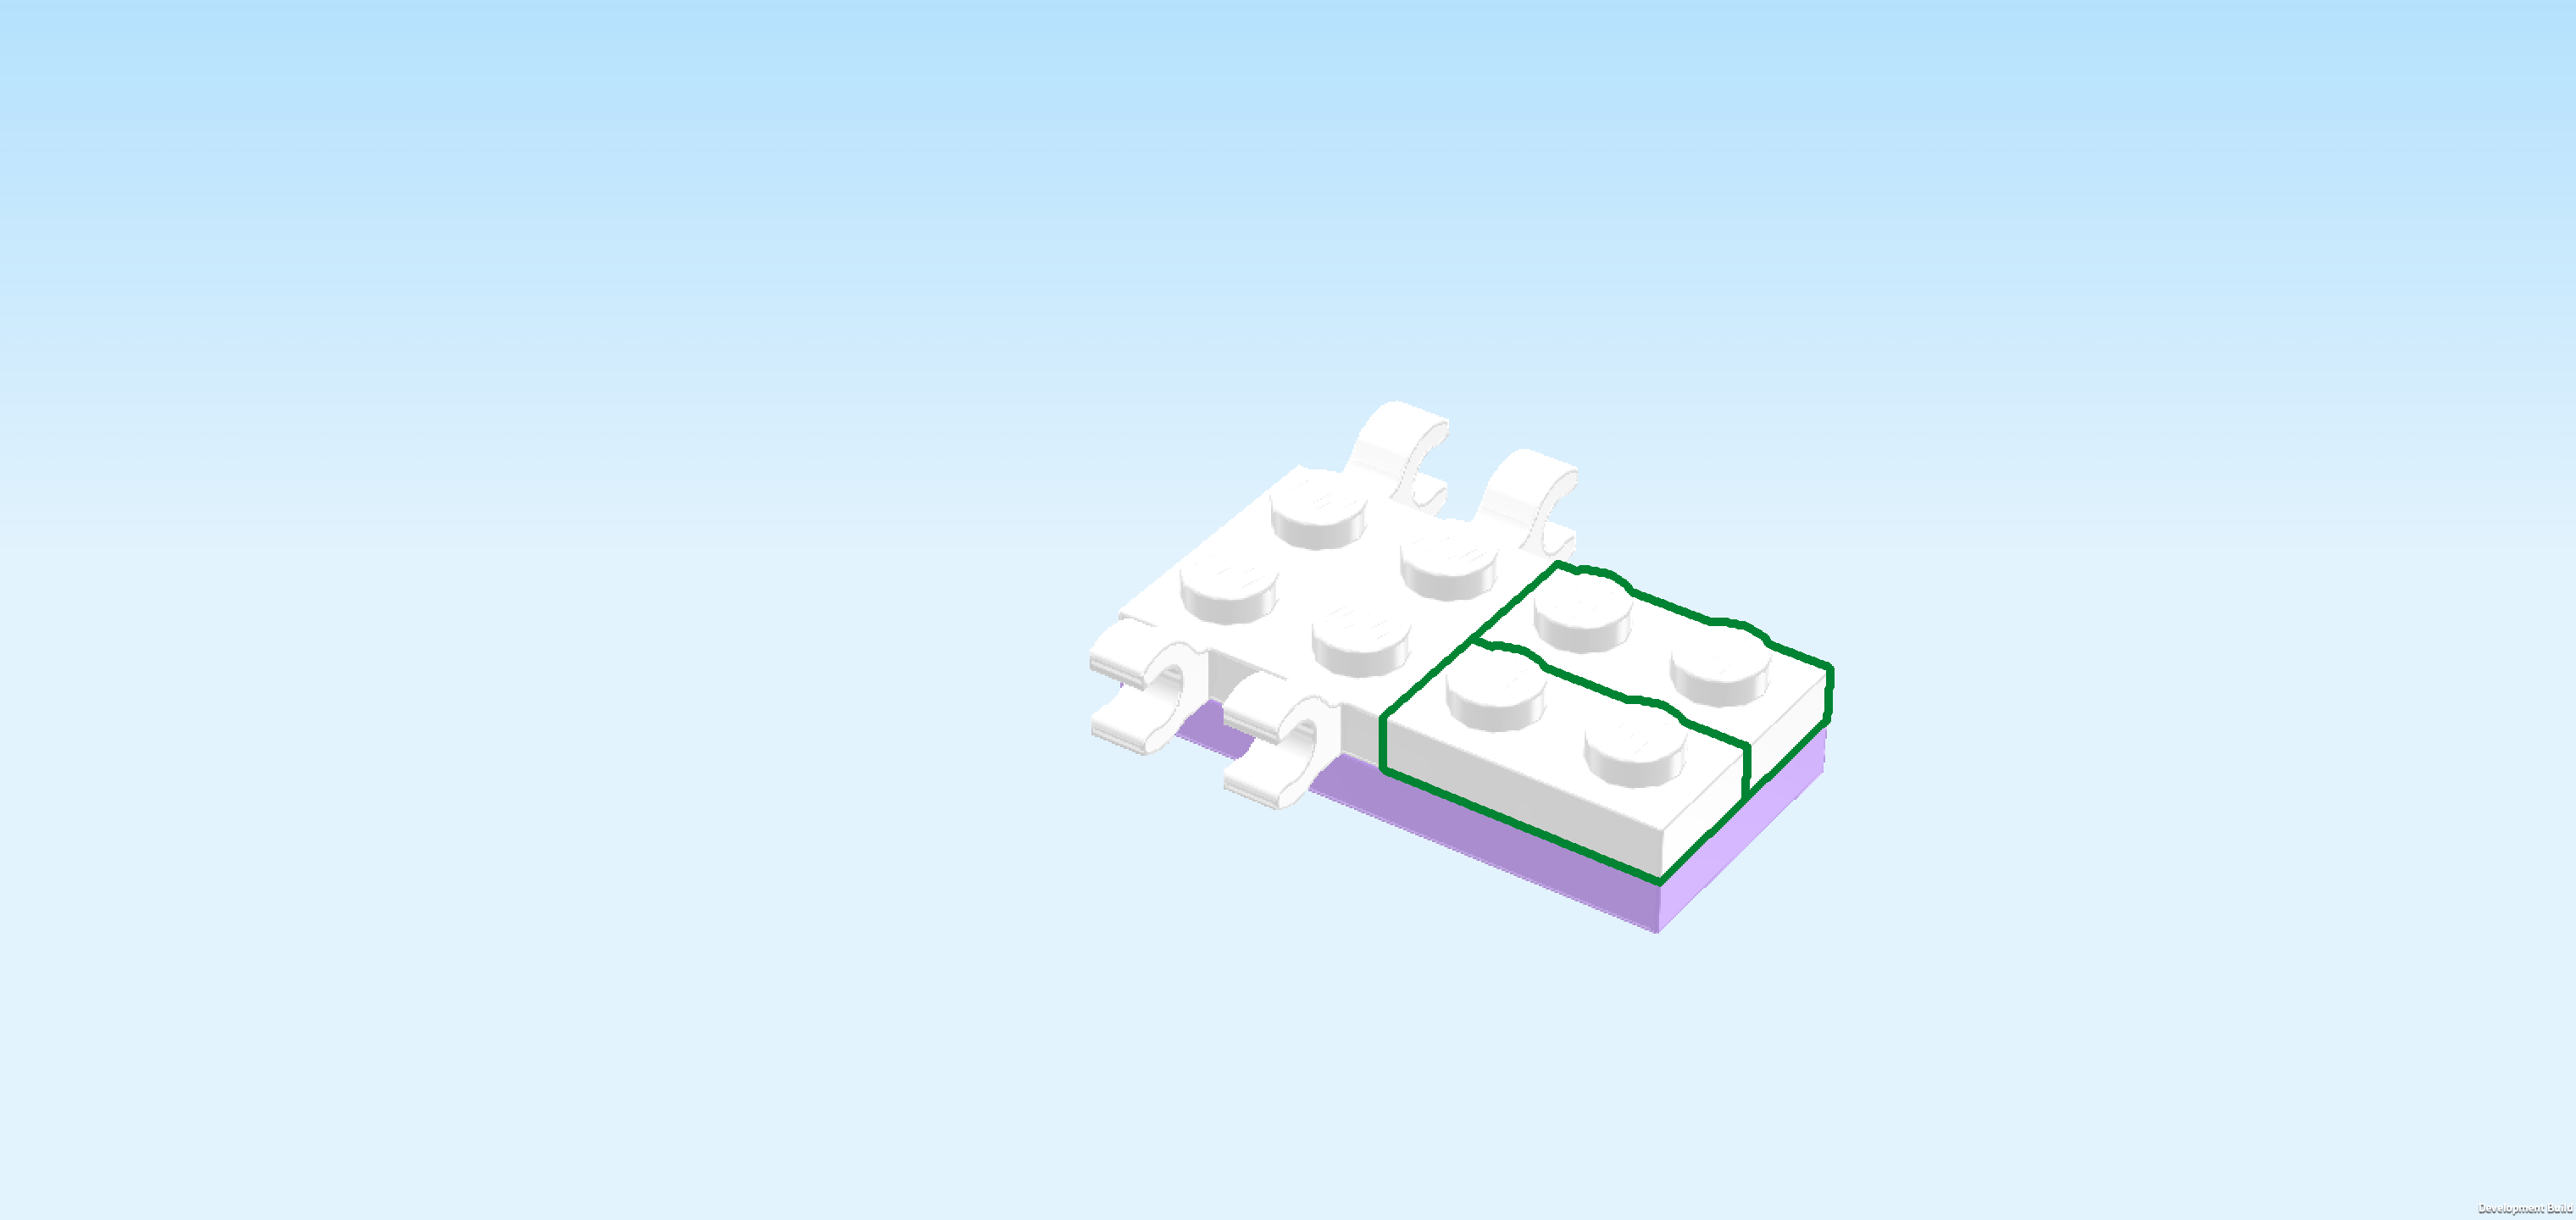
| Find 1 medium nougat brown plate 2x2. |
| Put it on the left half of the build. |
| Find 1 beige panel element 1x2x1 with middle partition. |
| Put it vertically to the right of the previous piece, long back panel to the right. |
| Find 1 medium nougat brown smooth curve brick 1x2. |
| Put it vertically on the rightmost column, curve to the right. |
| Find 2 white Minifigure hockey sticks. |
| Hold 1 horizontally in front of you, wide bent part on the right side and pointing to the top. |
| Snap the left end of the stick into the 2 clasps pointing to the front. |
| Repeat symmetrically at the back. If done correctly, both hockey sticks are pointing to the top at the right edge of the sled structure. These are the runners of the sled! |
| The small sled is finished! Well done! To seat Anna on her sled, bend her legs into a seating position and put her on the left half of the sled. The middle partition fits between her feet, holding her in place. |
| Next up, we will build the sledding hill. |
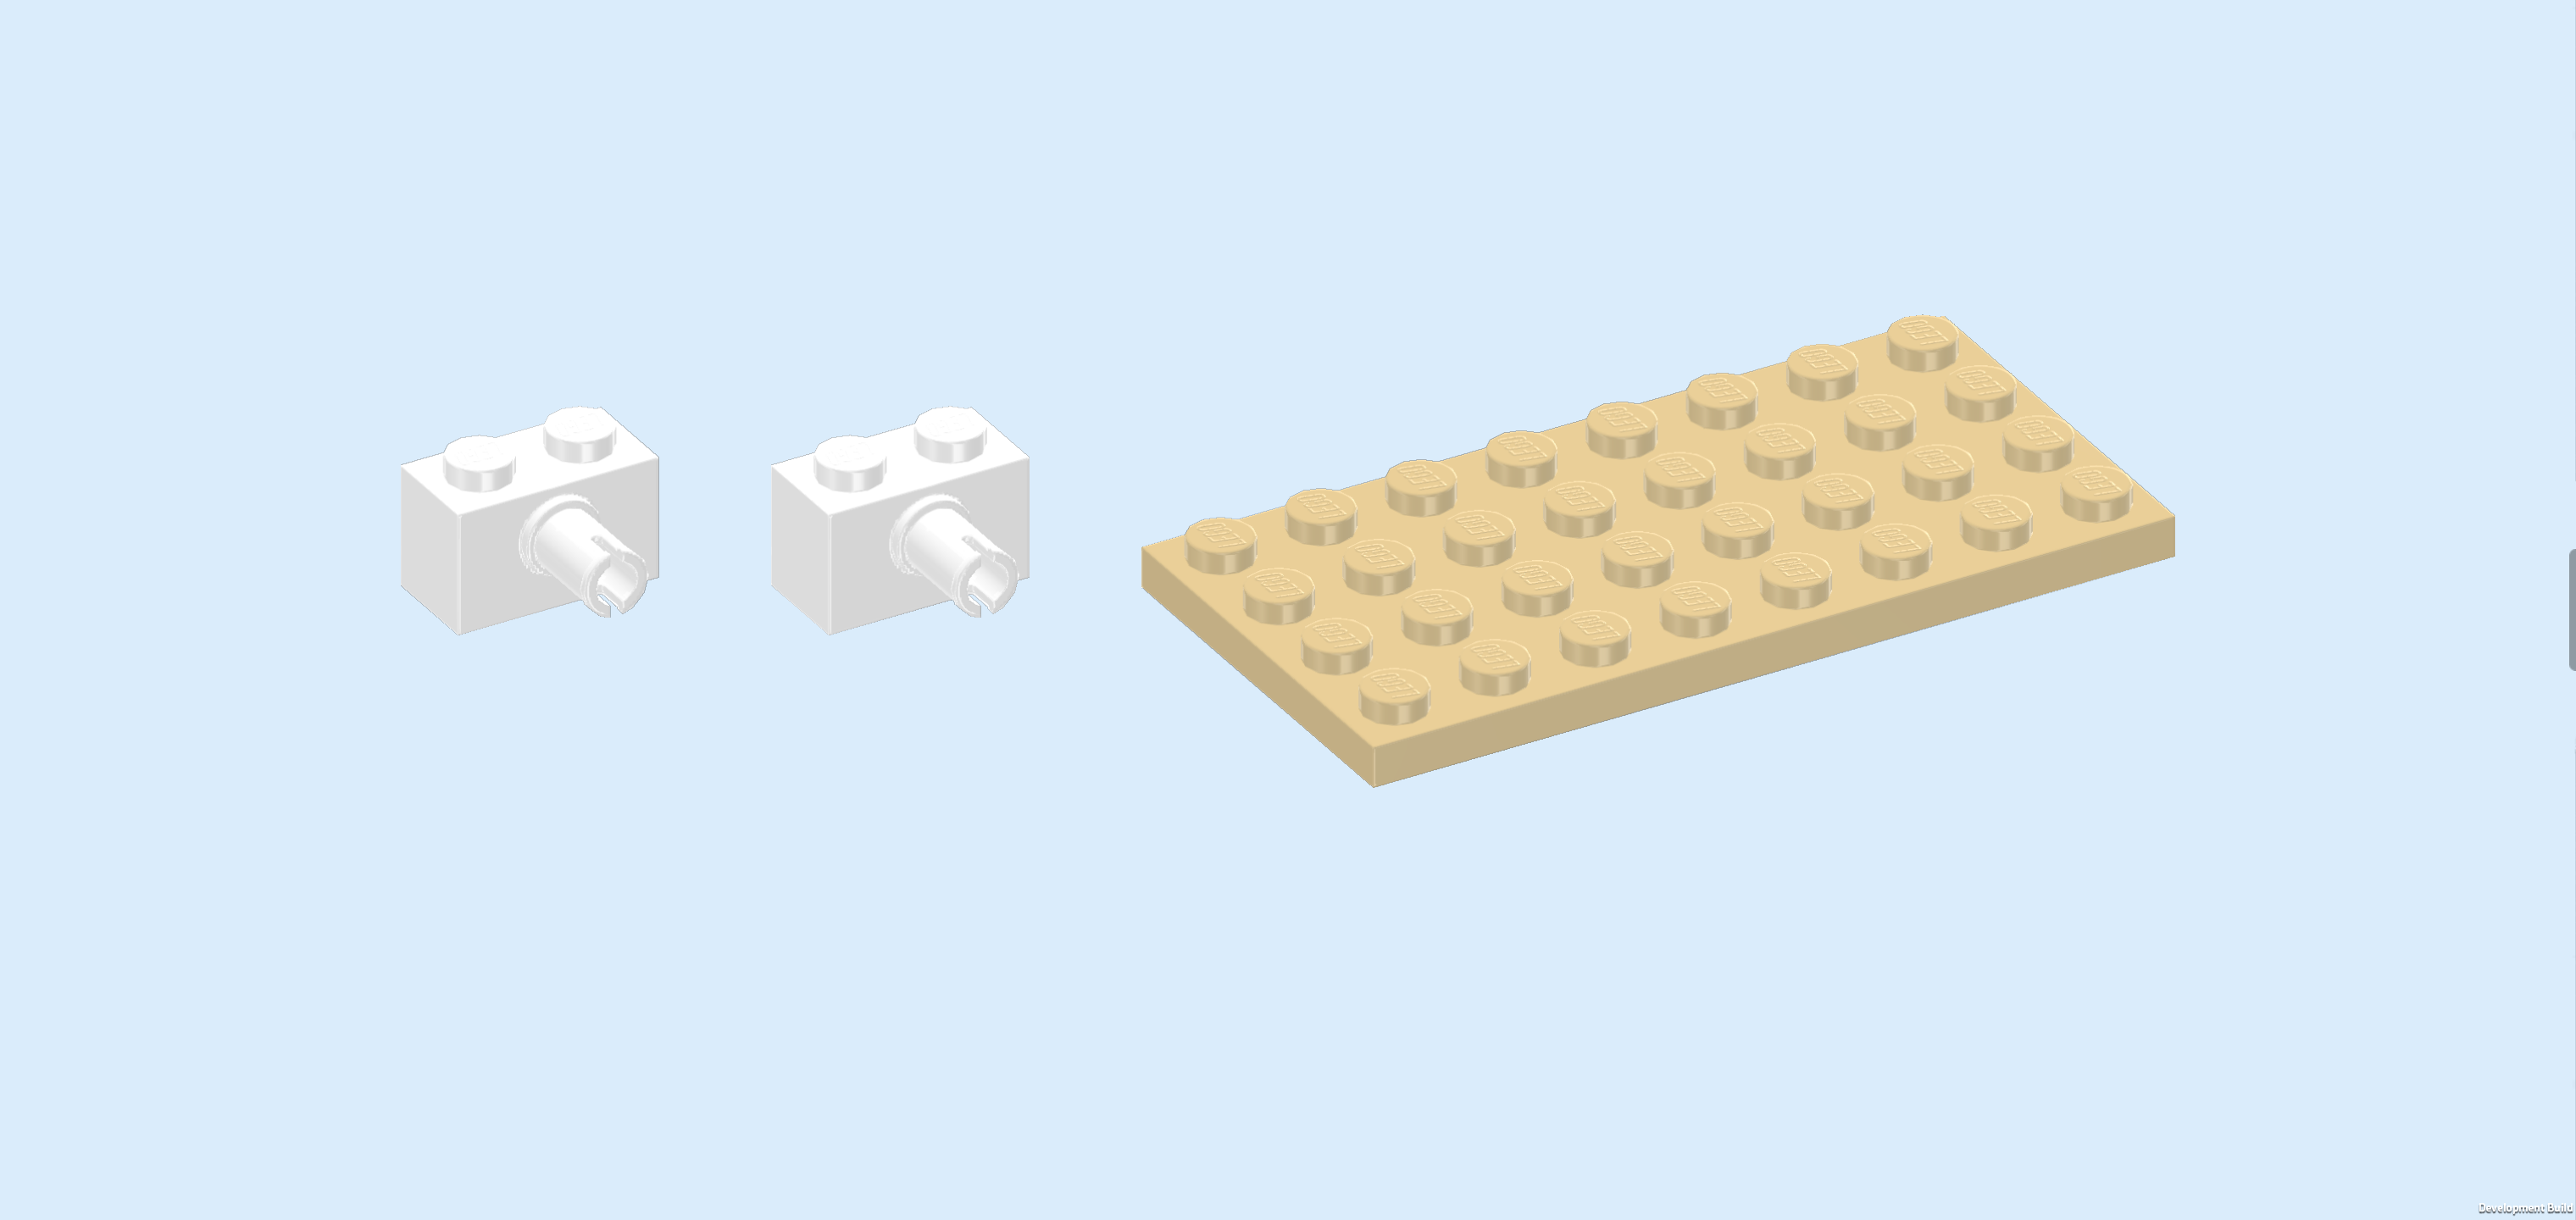
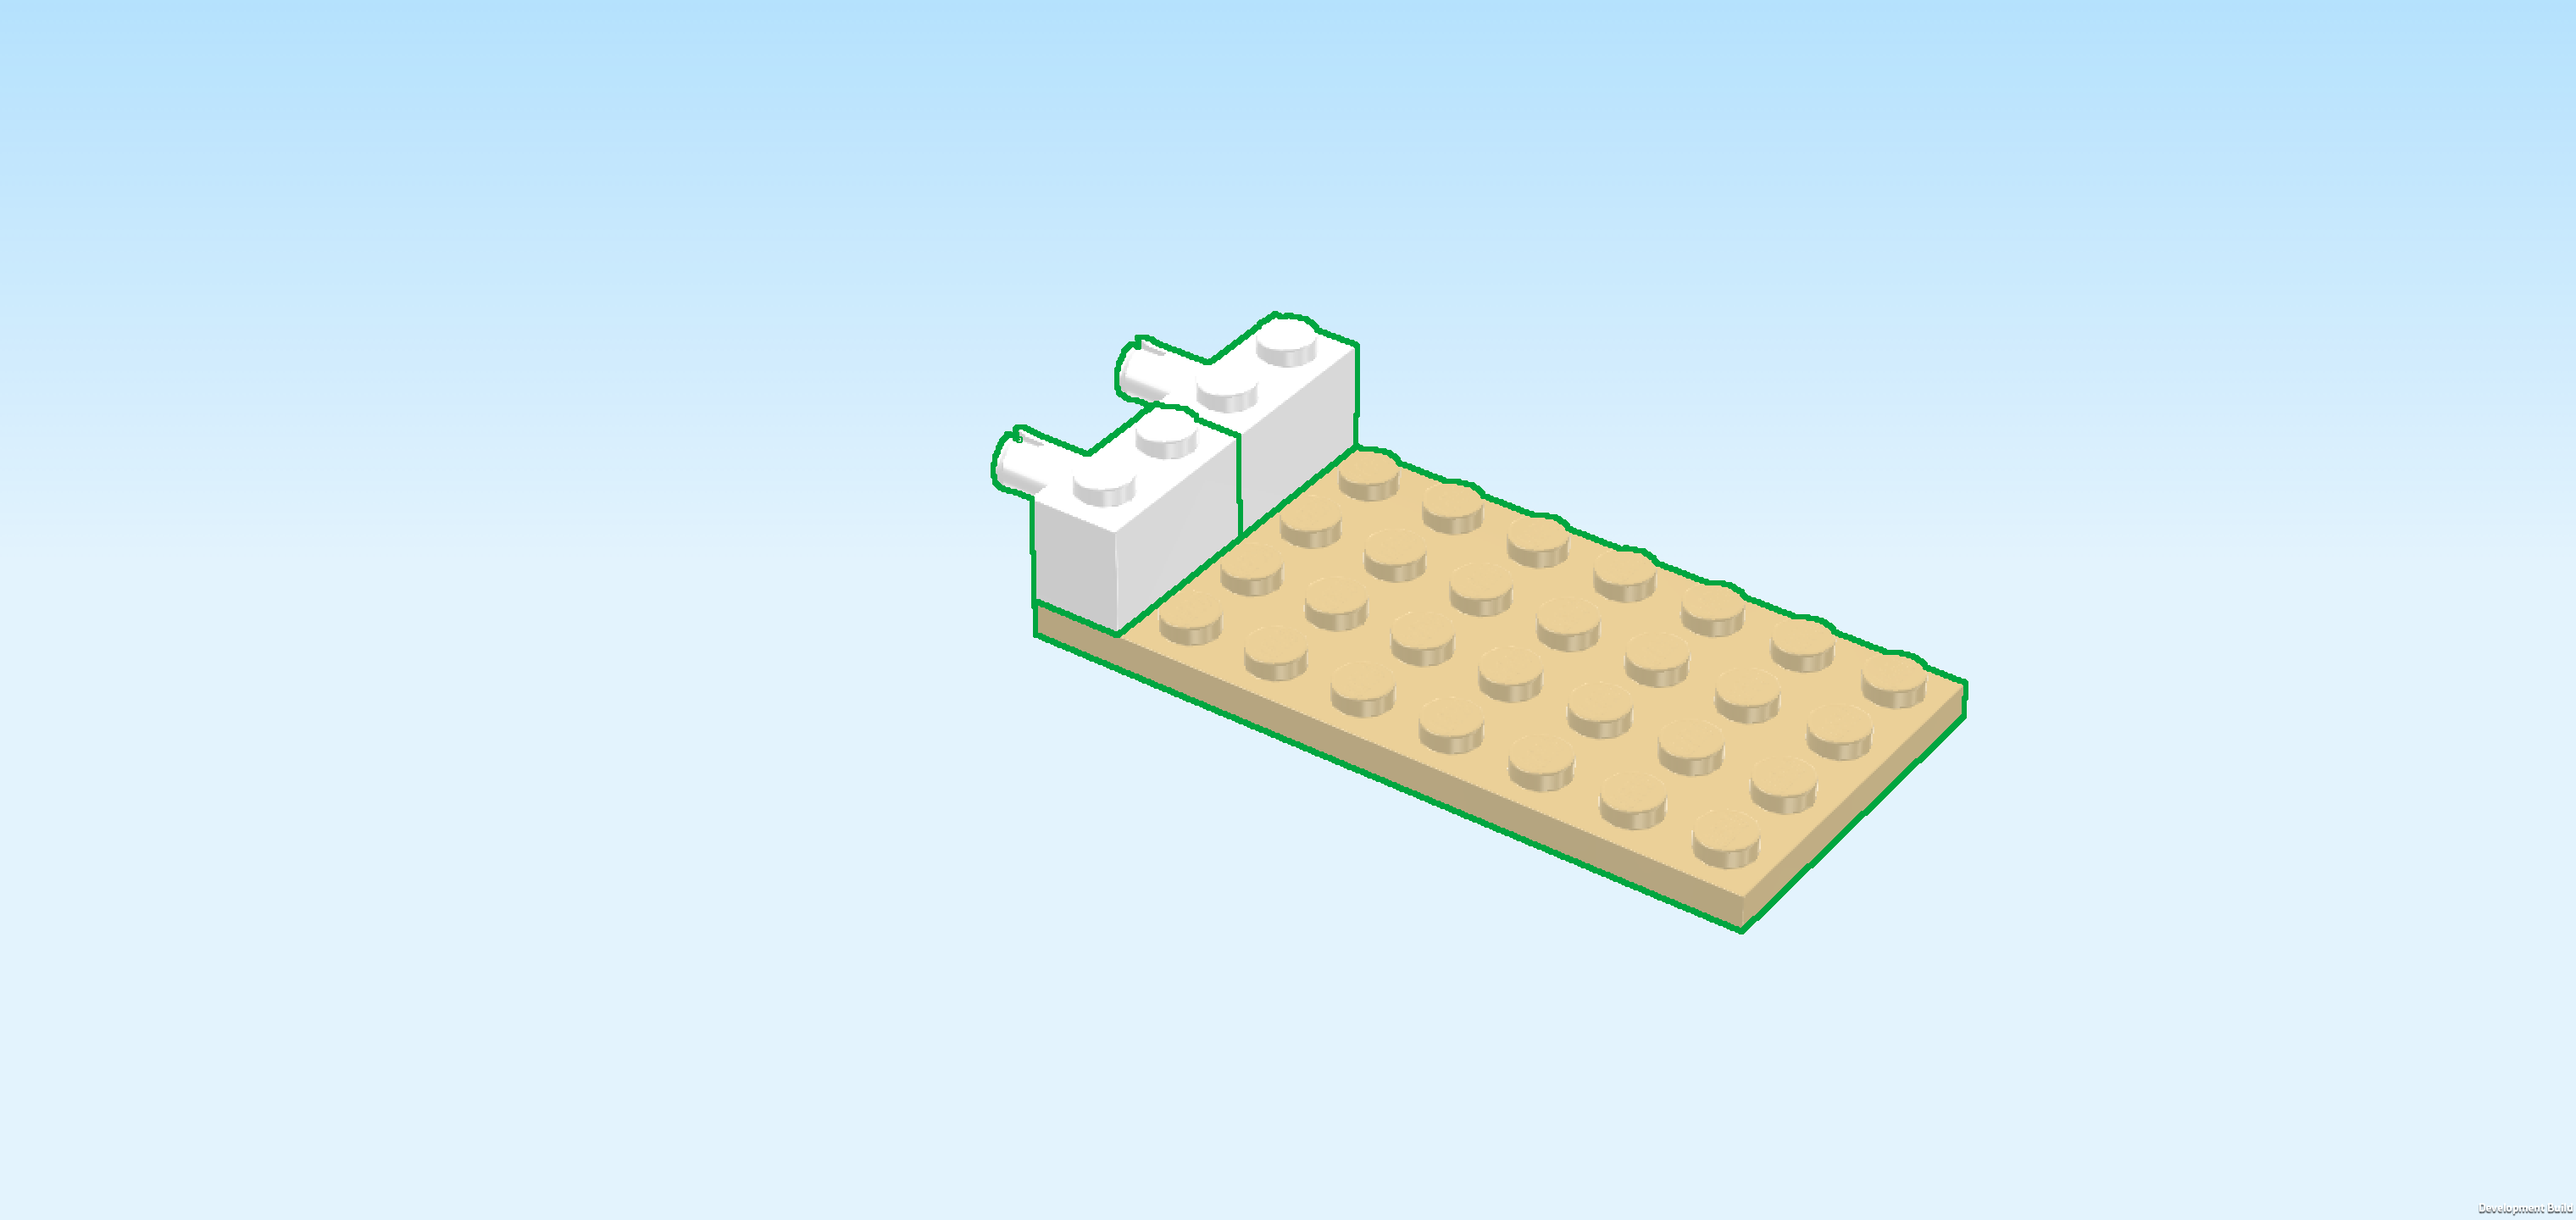
| Collect the following 3 pieces: |
| 2 white bricks 1x2 with side connector, |
| and 1 beige plate 4x8. |
| Put the beige plate 4x8 horizontally on the table. |
| Put 1 brick 1x2 vertically on the leftmost column, starting from the back edge, connector to the left. |
| Put the other brick 1x2 vertically in front of the previous piece, connector to the left. |
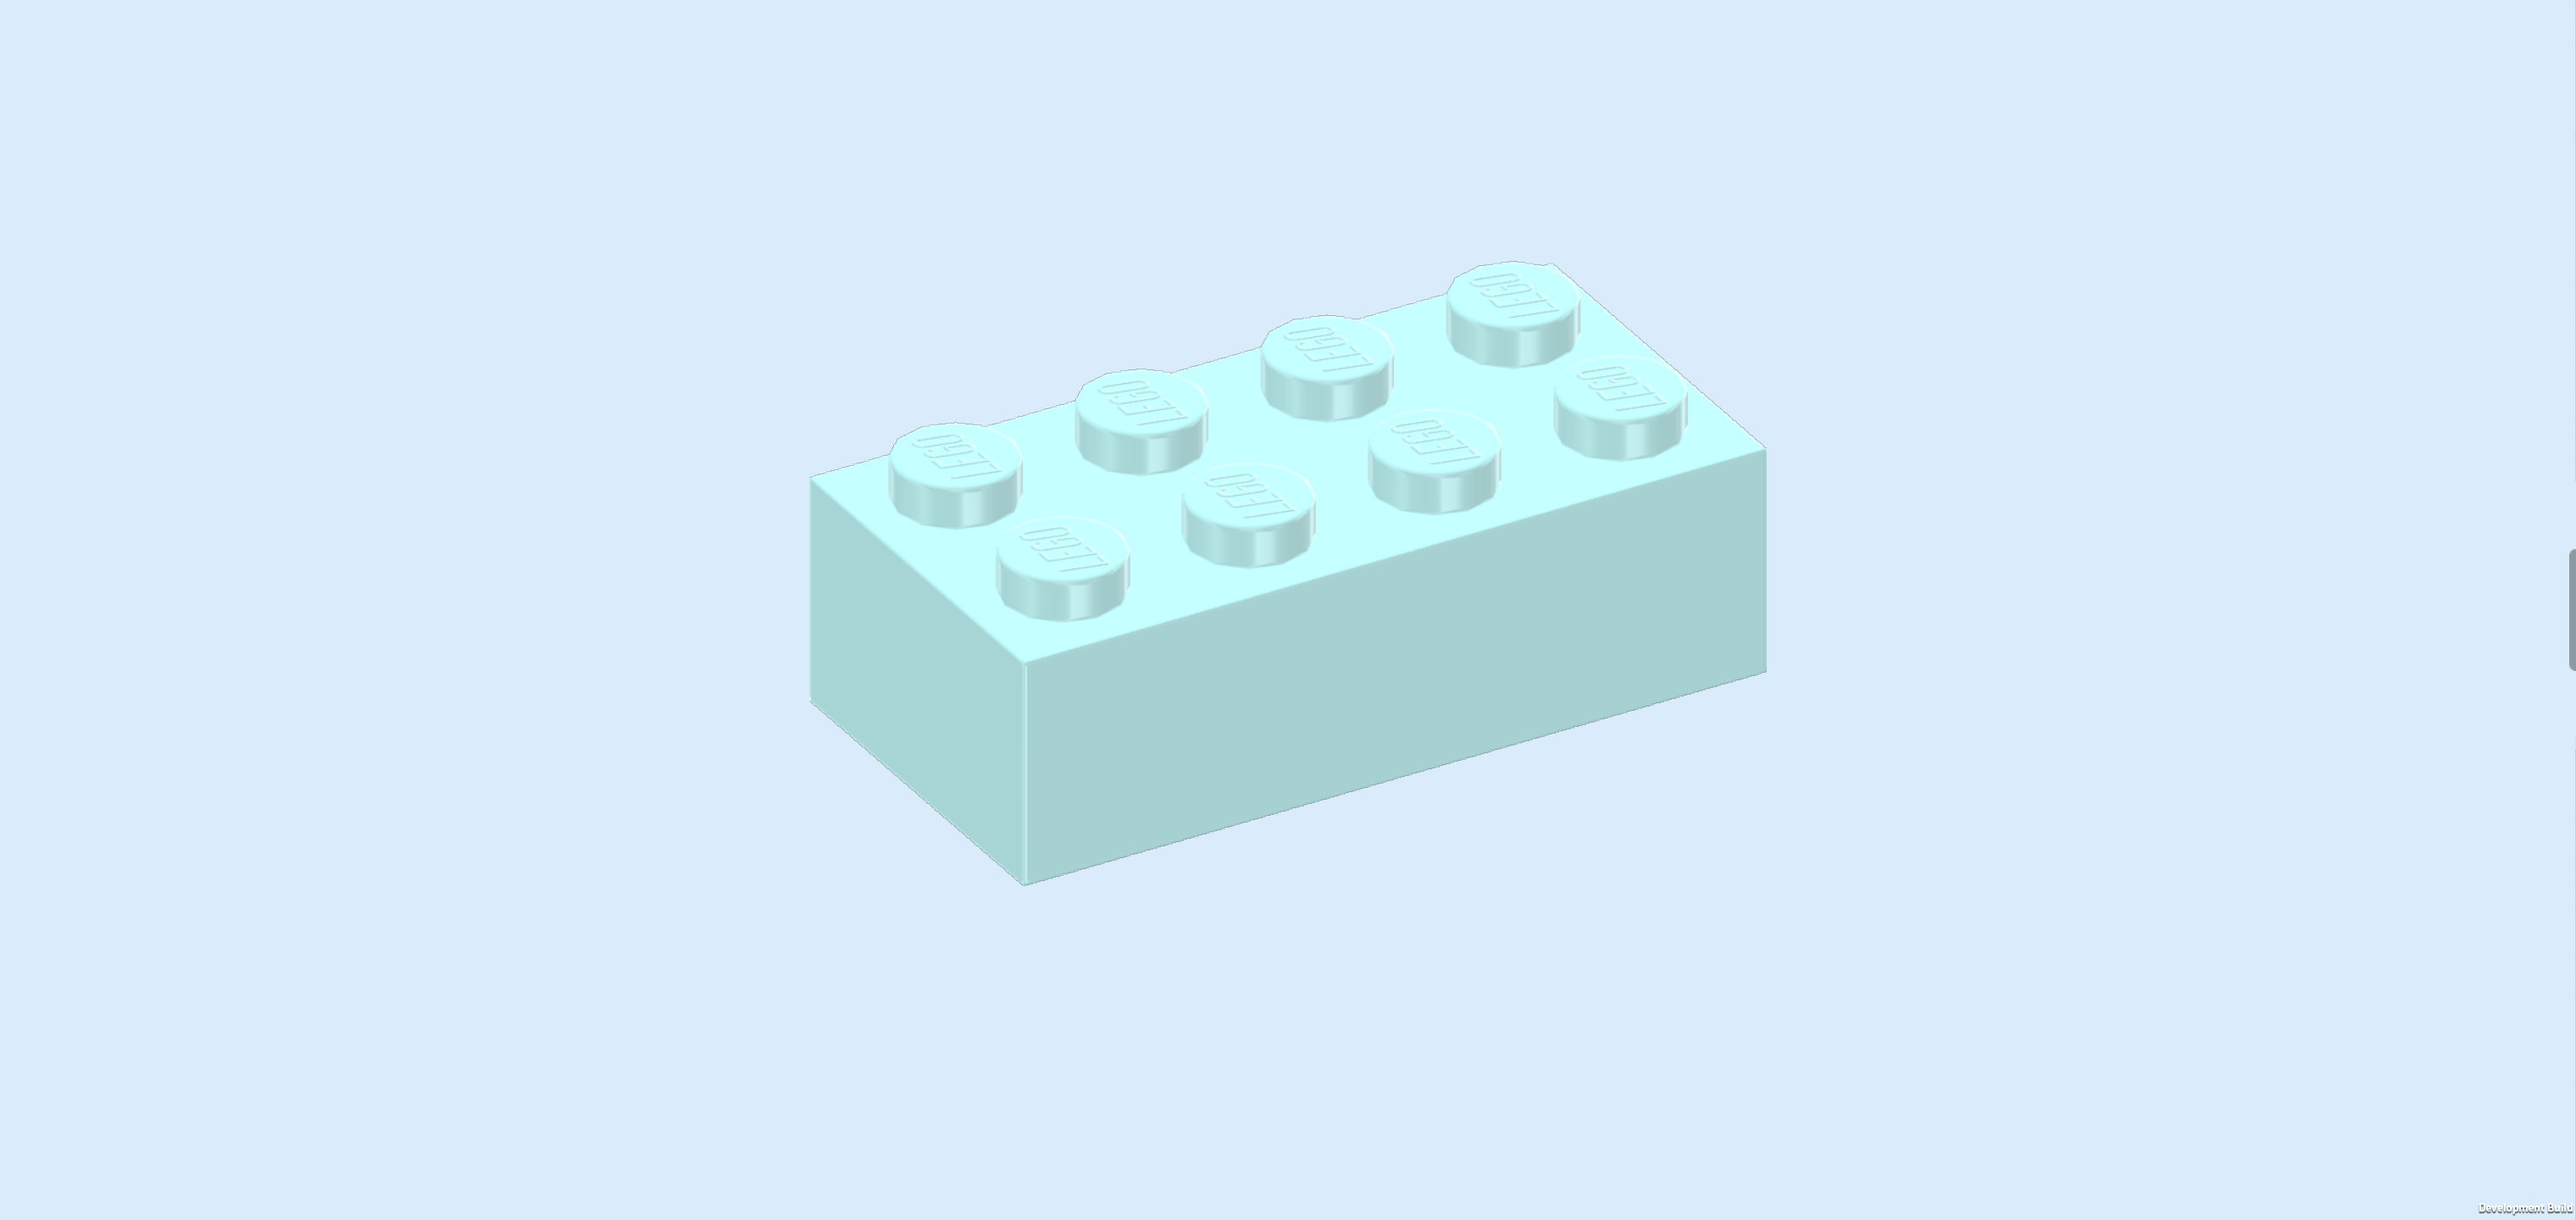
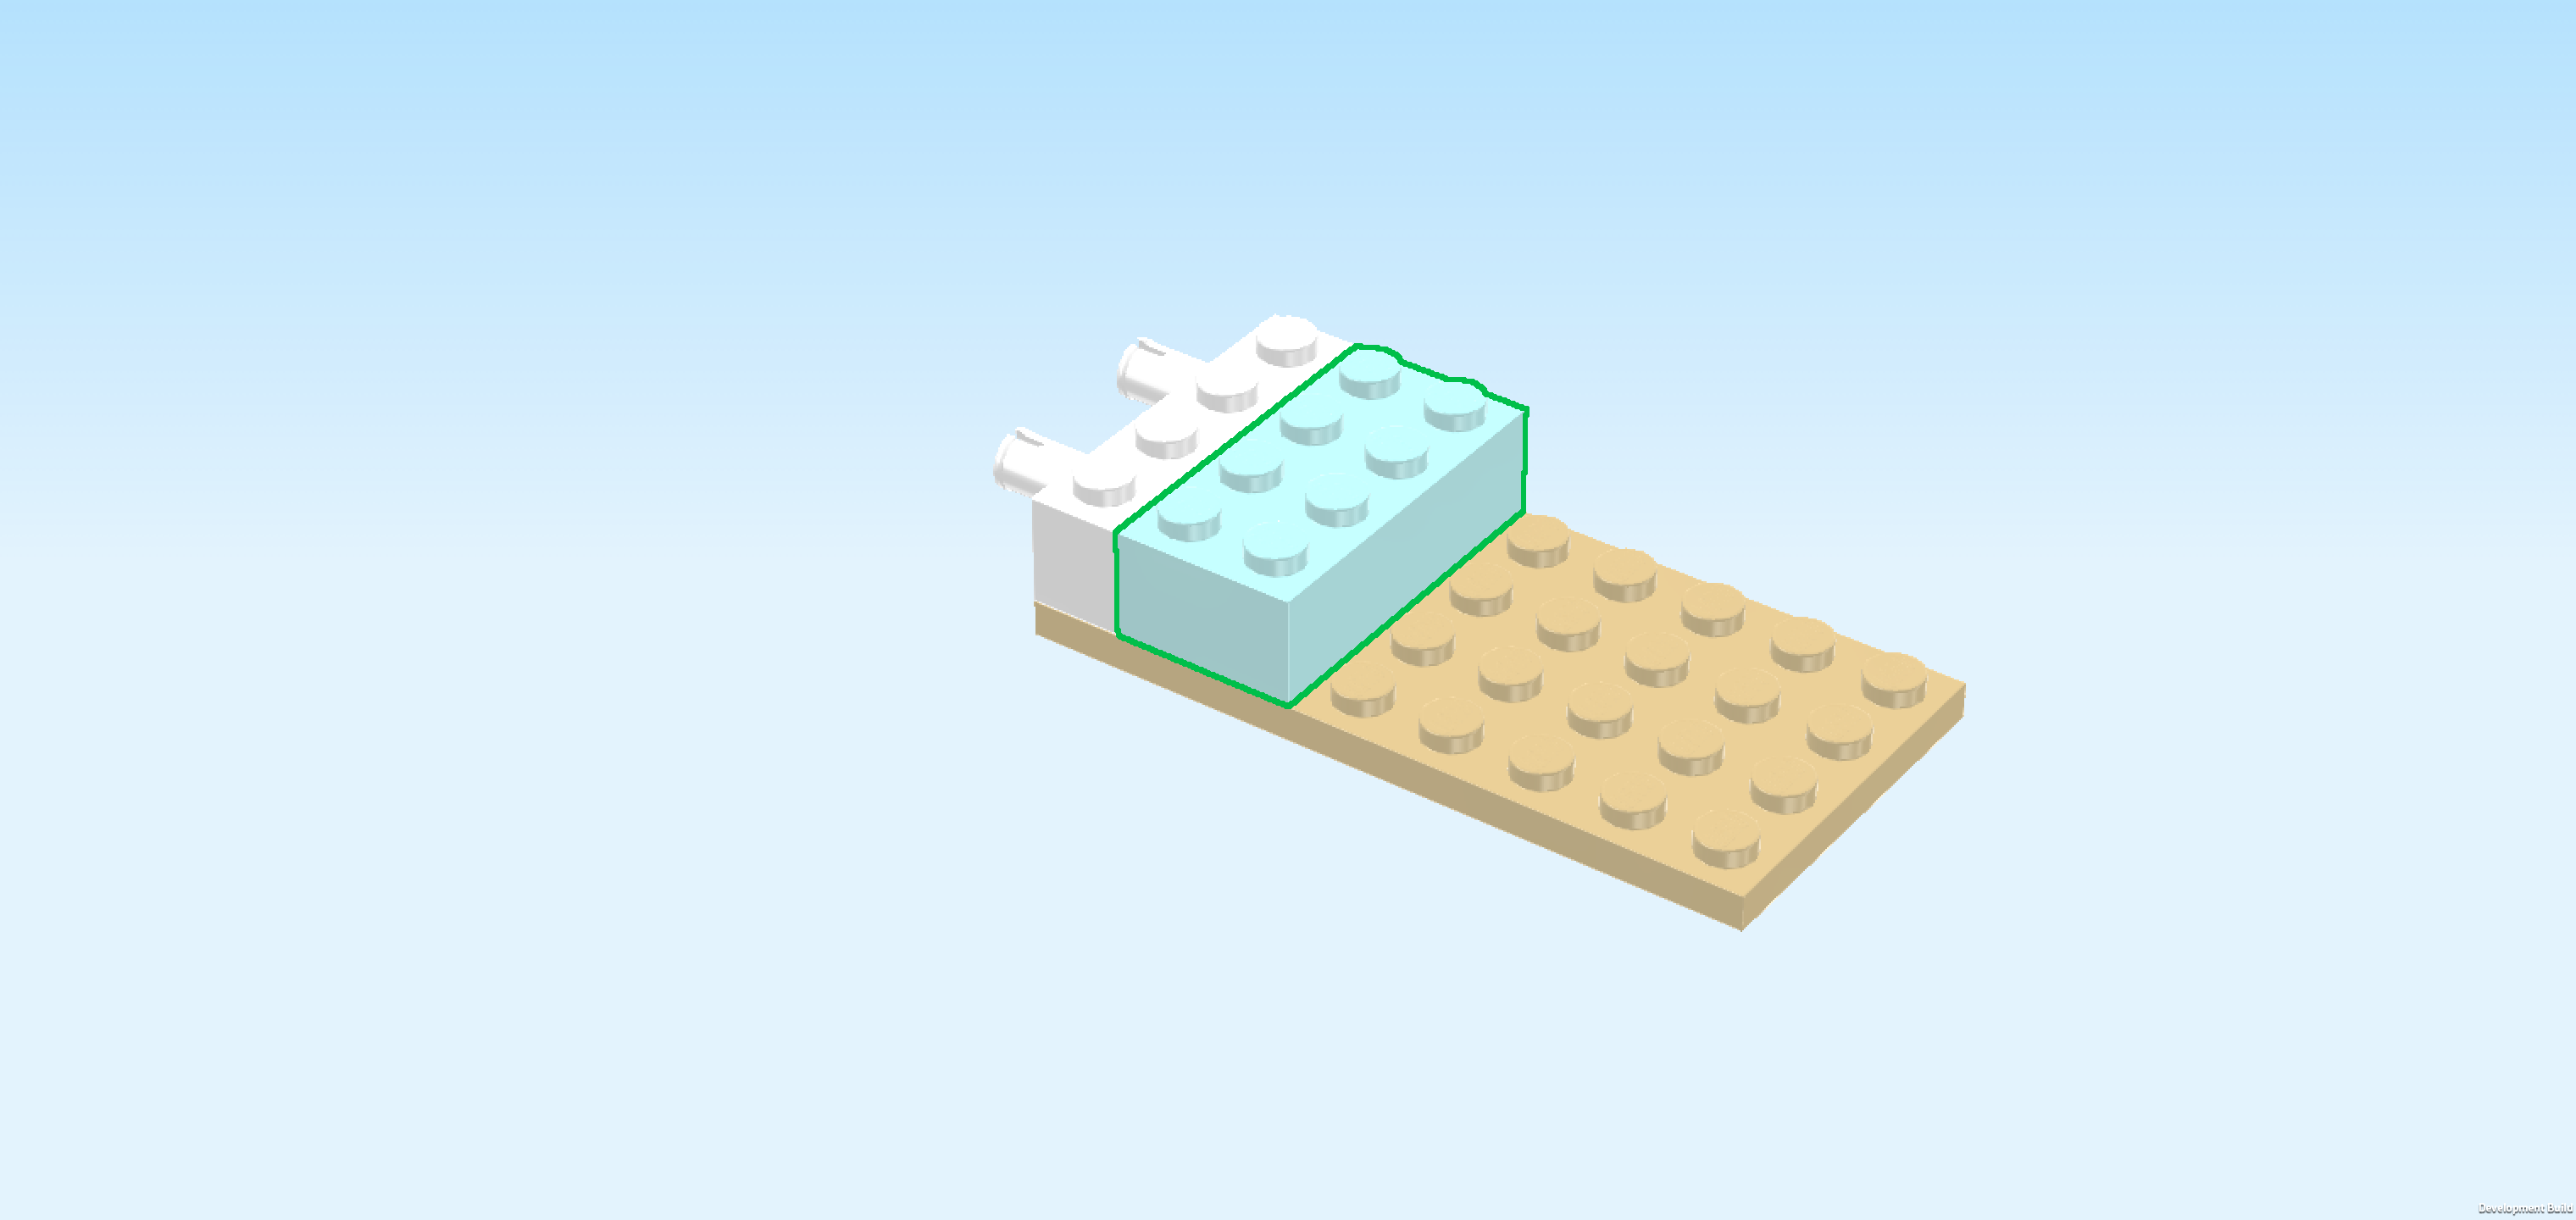
| Find 1 aqua blue brick 2x4. |
| Put it vertically to the right of the 2 previous pieces. |
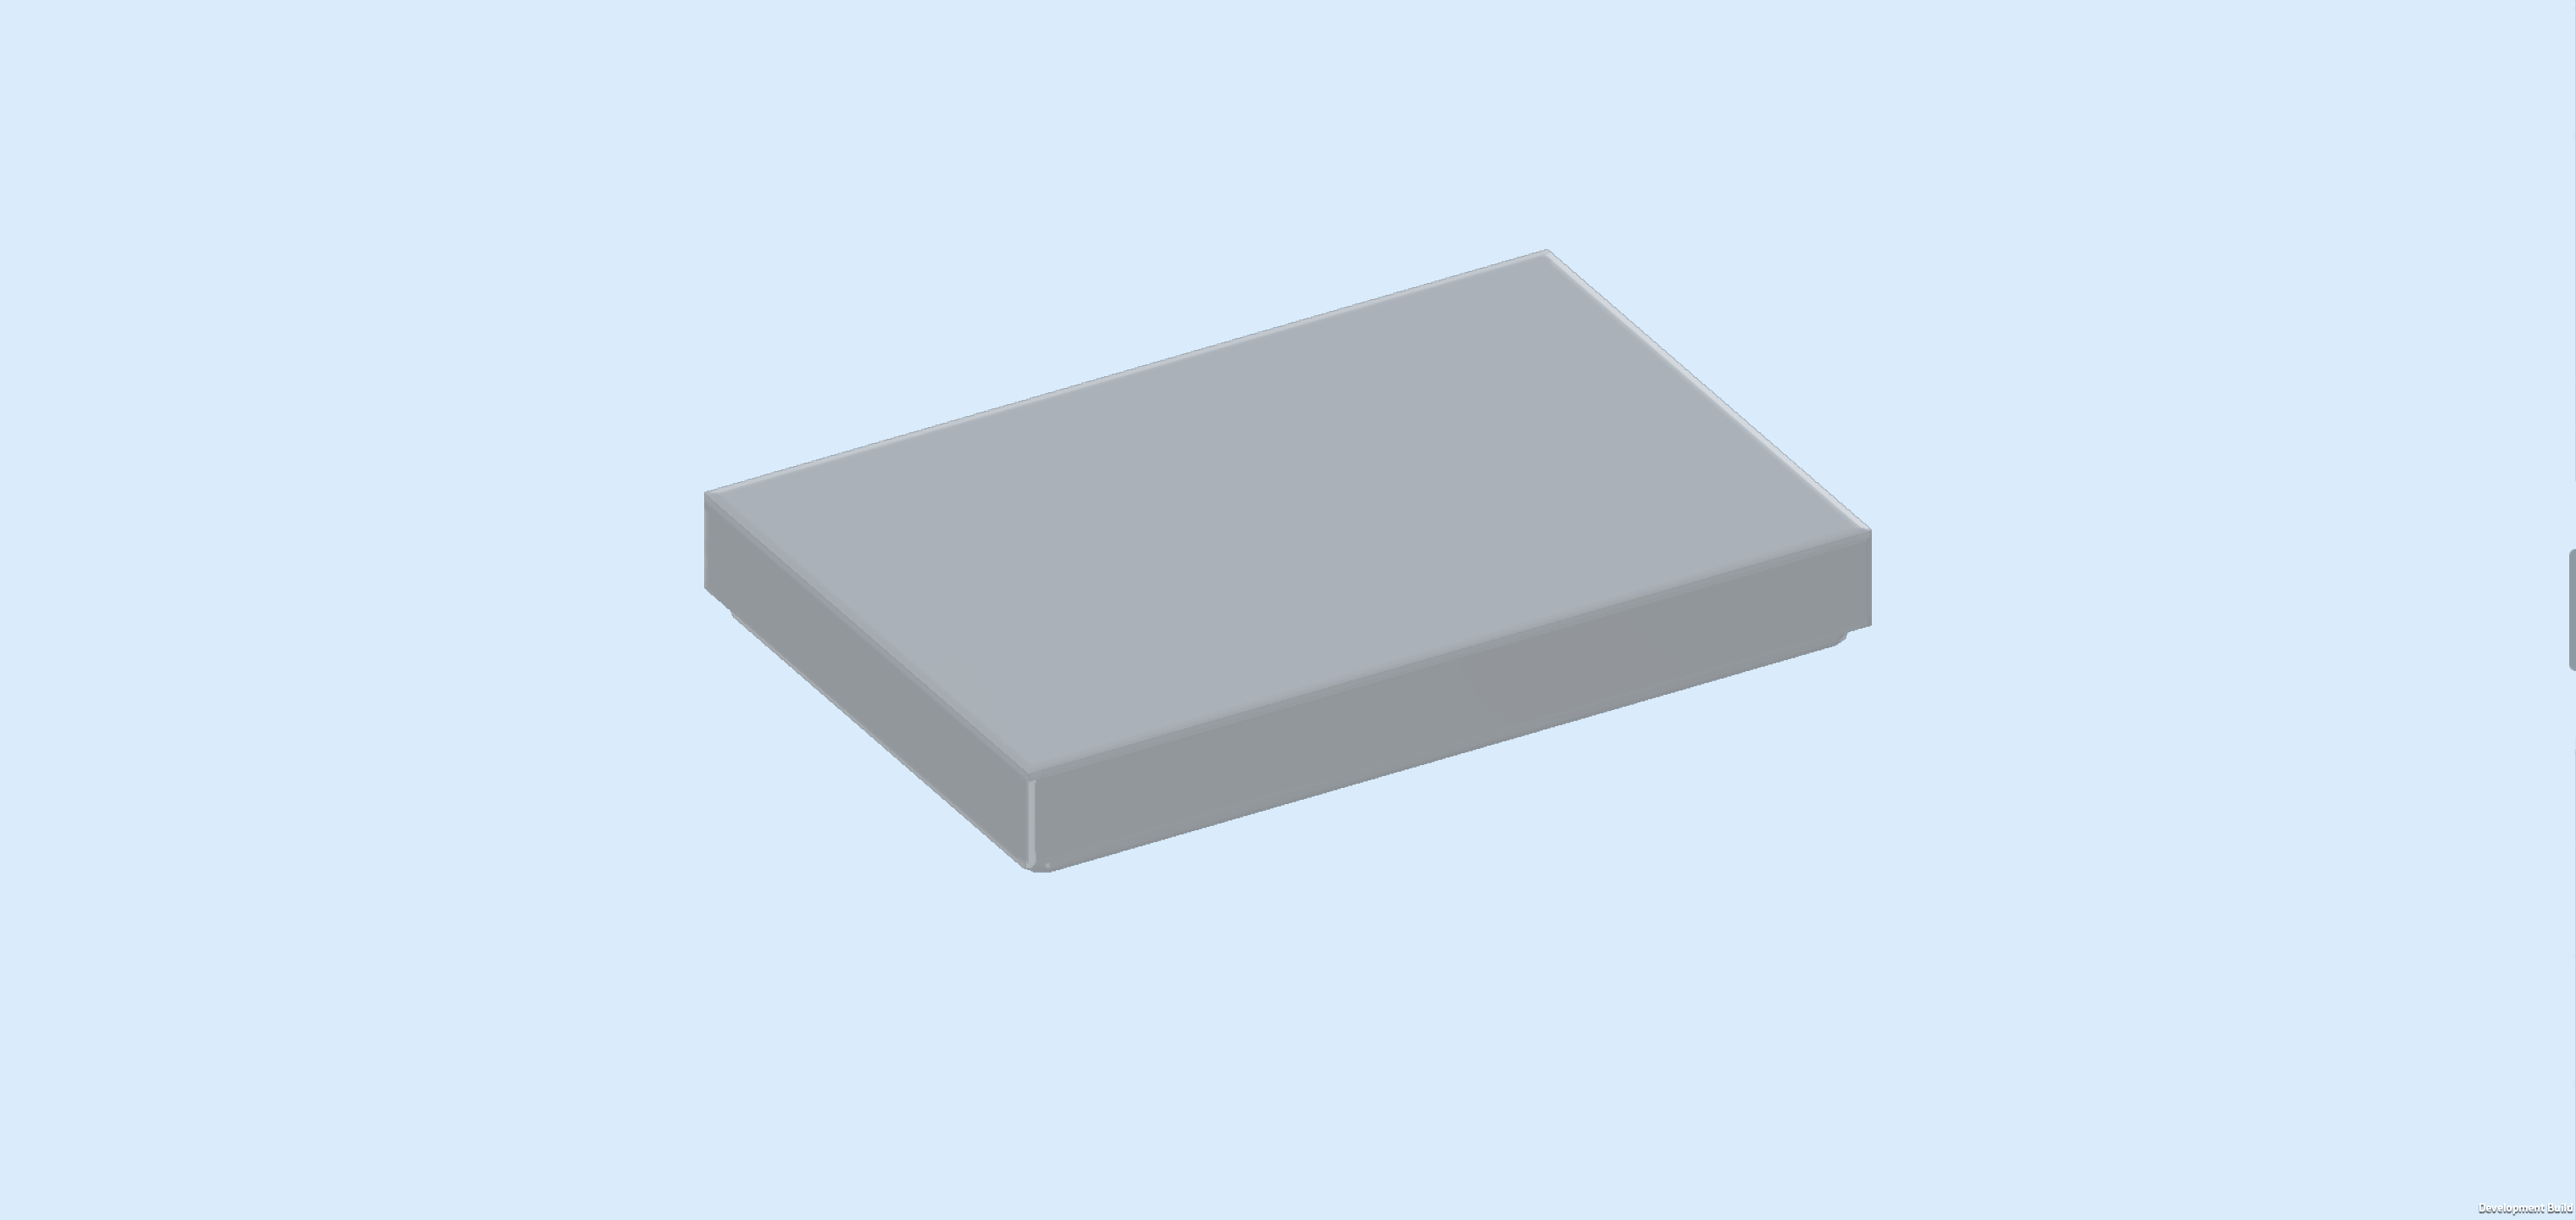
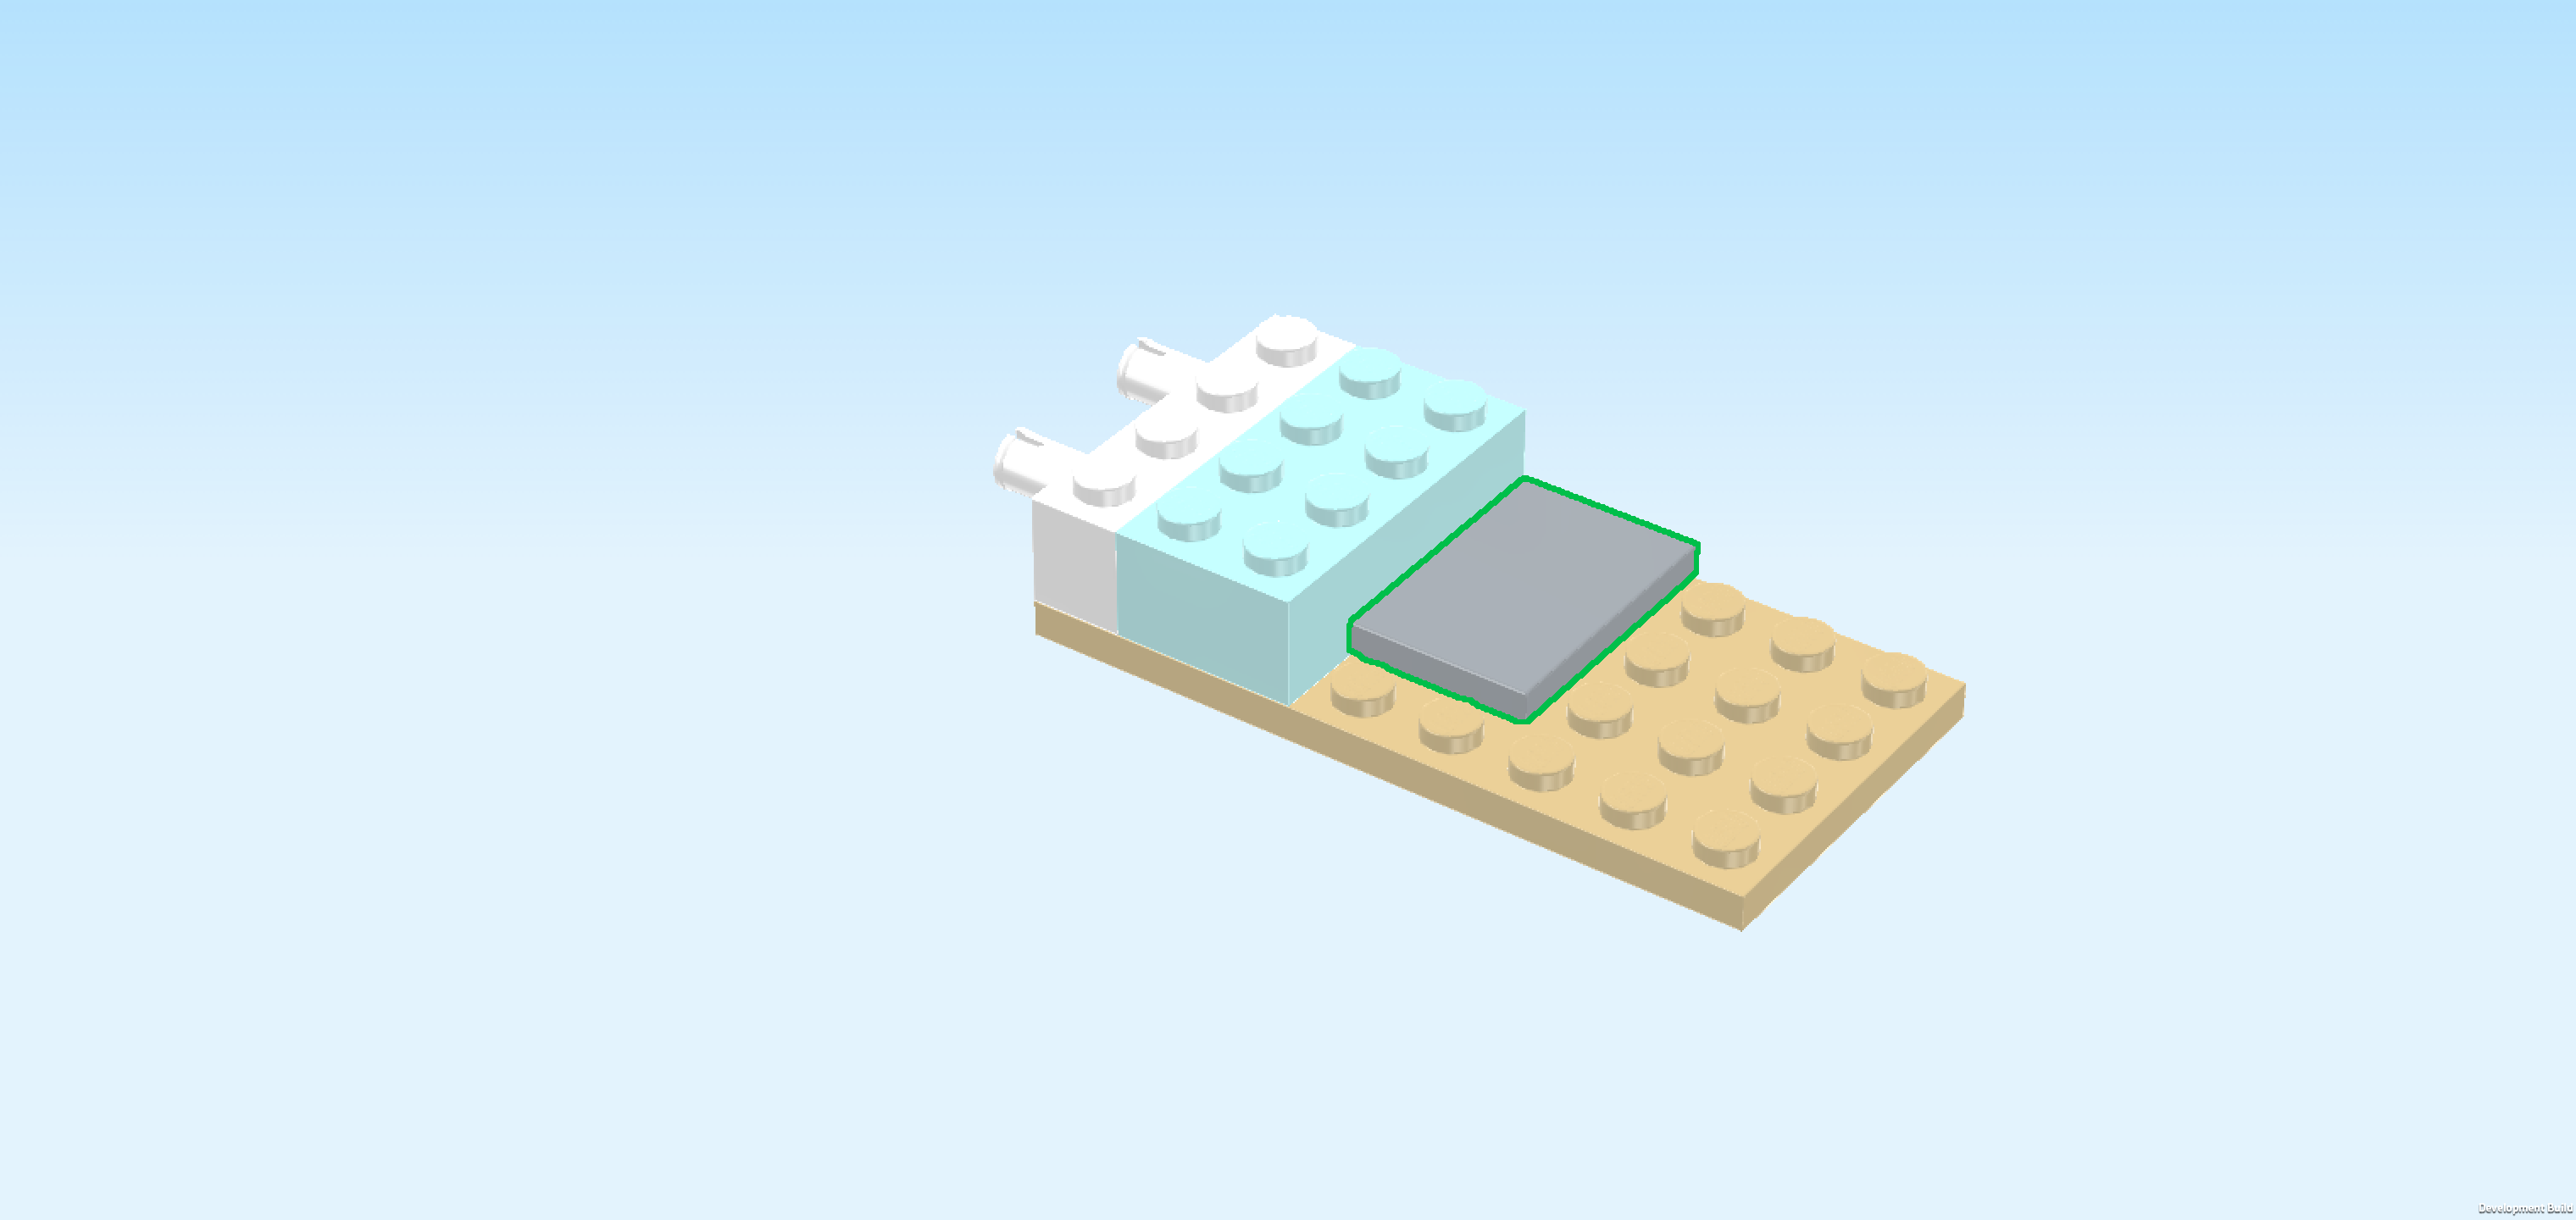
| Find 1 medium stone grey flat tile 2x3. |
| Put it vertically to the right of the previous piece, starting from the back edge. This means it will not cover the frontmost row. |
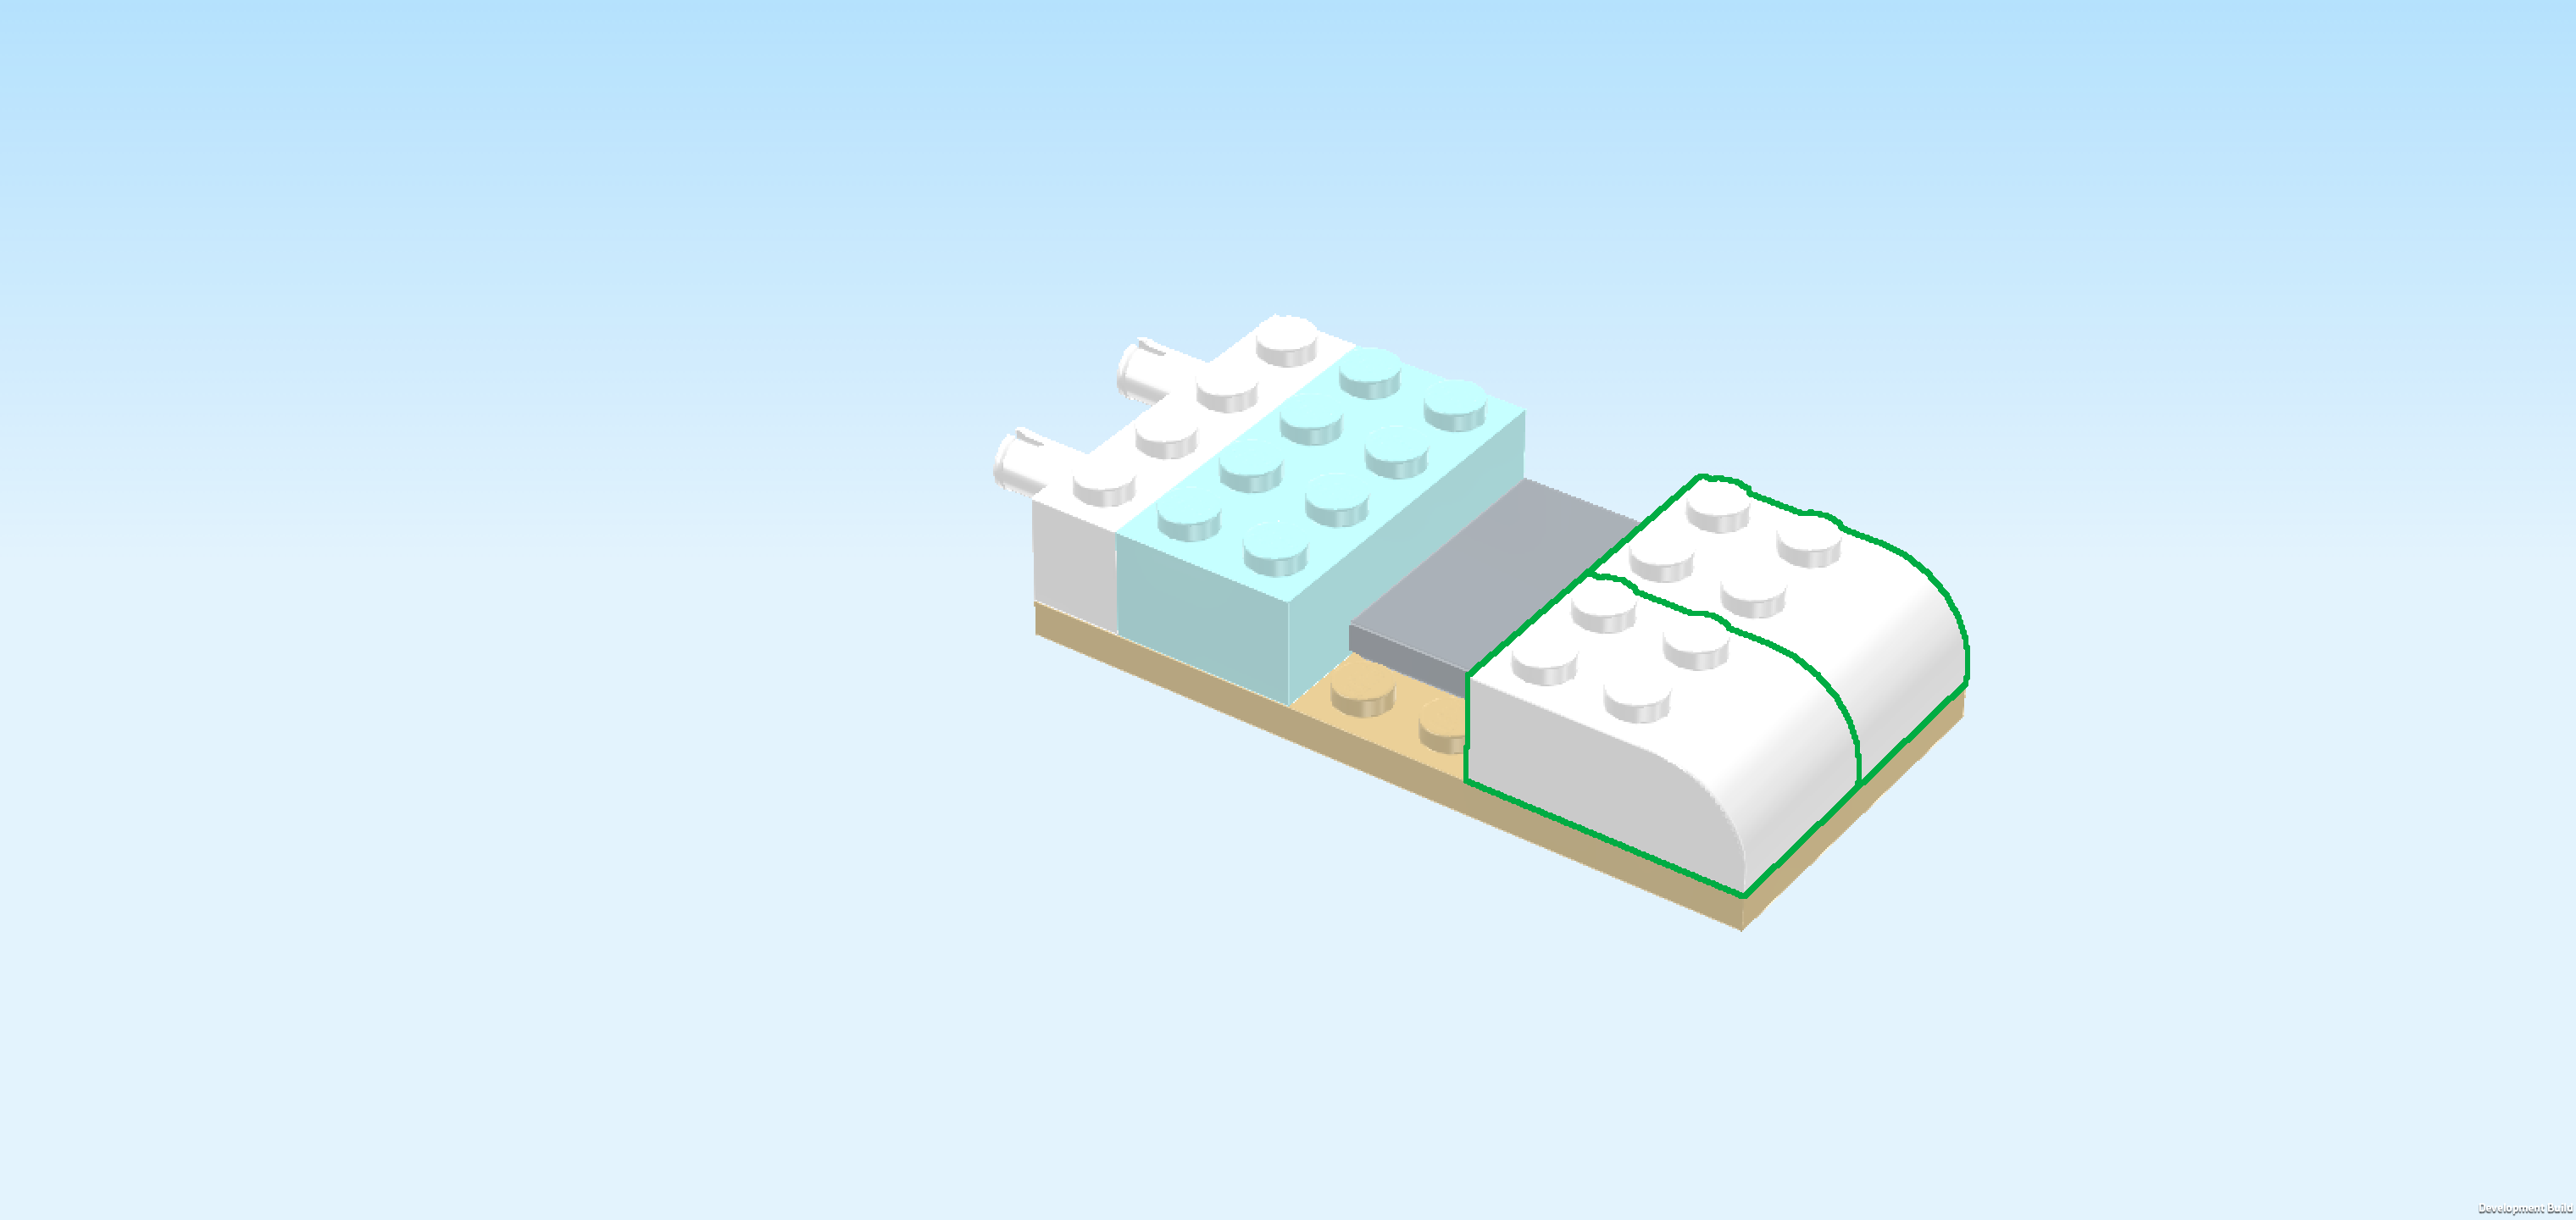
| Find 2 white curve bricks 2x3 with 4 knobs. |
| Put 1 horizontally on the 2 backmost rows to the right of the previous piece, curve to the right. |
| Put the other one horizontally in front of the previous piece, curve to the right. |
| Find another 2 white curve bricks 2x3 with 4 knobs. |
| Put 1 horizontally on the 2 backmost rows on the left edge, curve to the left. |
| Put the other one horizontally in front of the previous piece, curve to the left. |
| Find 1 transparent light blue wall element 1x2x2 with 2 top knobs. |
| Put it horizontally centered on the frontmost row, panel side towards the front. |
| Find 2 aqua blue bricks 1x2. |
| Put 1 vertically on the second row from the right, starting from the back edge. |
| Put the other one vertically in front of the previous piece. |
| Find 2 aqua blue smooth curve bricks 1x2. |
| Put 1 vertically to the right of the previous piece, curve to the right. |
| Put the other one vertically behind the previous piece, curve to the right. |
| Find 2 aqua blue smooth curve bricks 1x2. |
| Put 1 vertically on the leftmost column, starting from the back edge, curve to the left. |
| Put the other one vertically in front of the previous piece, curve to the left. |
| Find 1 white plate 4x4. |
| Put it to the right of the 2 previous pieces, covering the remaining knobs on the top surface. |
| Find 1 teal blue plate 1x4. |
| Put it vertically on the previous piece's leftmost column. |
| Collect the following 3 pieces: |
| 1 bright yellow plate 2x2, |
| and 2 medium nougat brown plates 1x2 with 2 vertical clasps on long side. |
| Put 1 plate 1x2 horizontally on the backmost row directly to the right of the previous piece, clasps to the back. |
| Put the plate 2x2 in front of the previous piece. |
| Put the other plate 1x2 horizontally in front of the previous piece, clasps to the front. |
| Find 1 teal blue plate 1x4. |
| Put it vertically on the rightmost column. |
| Find 1 white panel element 1x4x1 with panel on long side. |
| Put it vertically on the leftmost column, panel to the left. |
| Collect the following 2 pieces: |
| another white panel element 1x4x1 with panel on long side, |
| and 1 medium nougat brown flat tile 2x4. |
| Put the flat tile 2x4 vertically to the right of the previous piece. |
| Put the panel element 1x4x1 vertically to the right of the previous piece, panel to the right. |
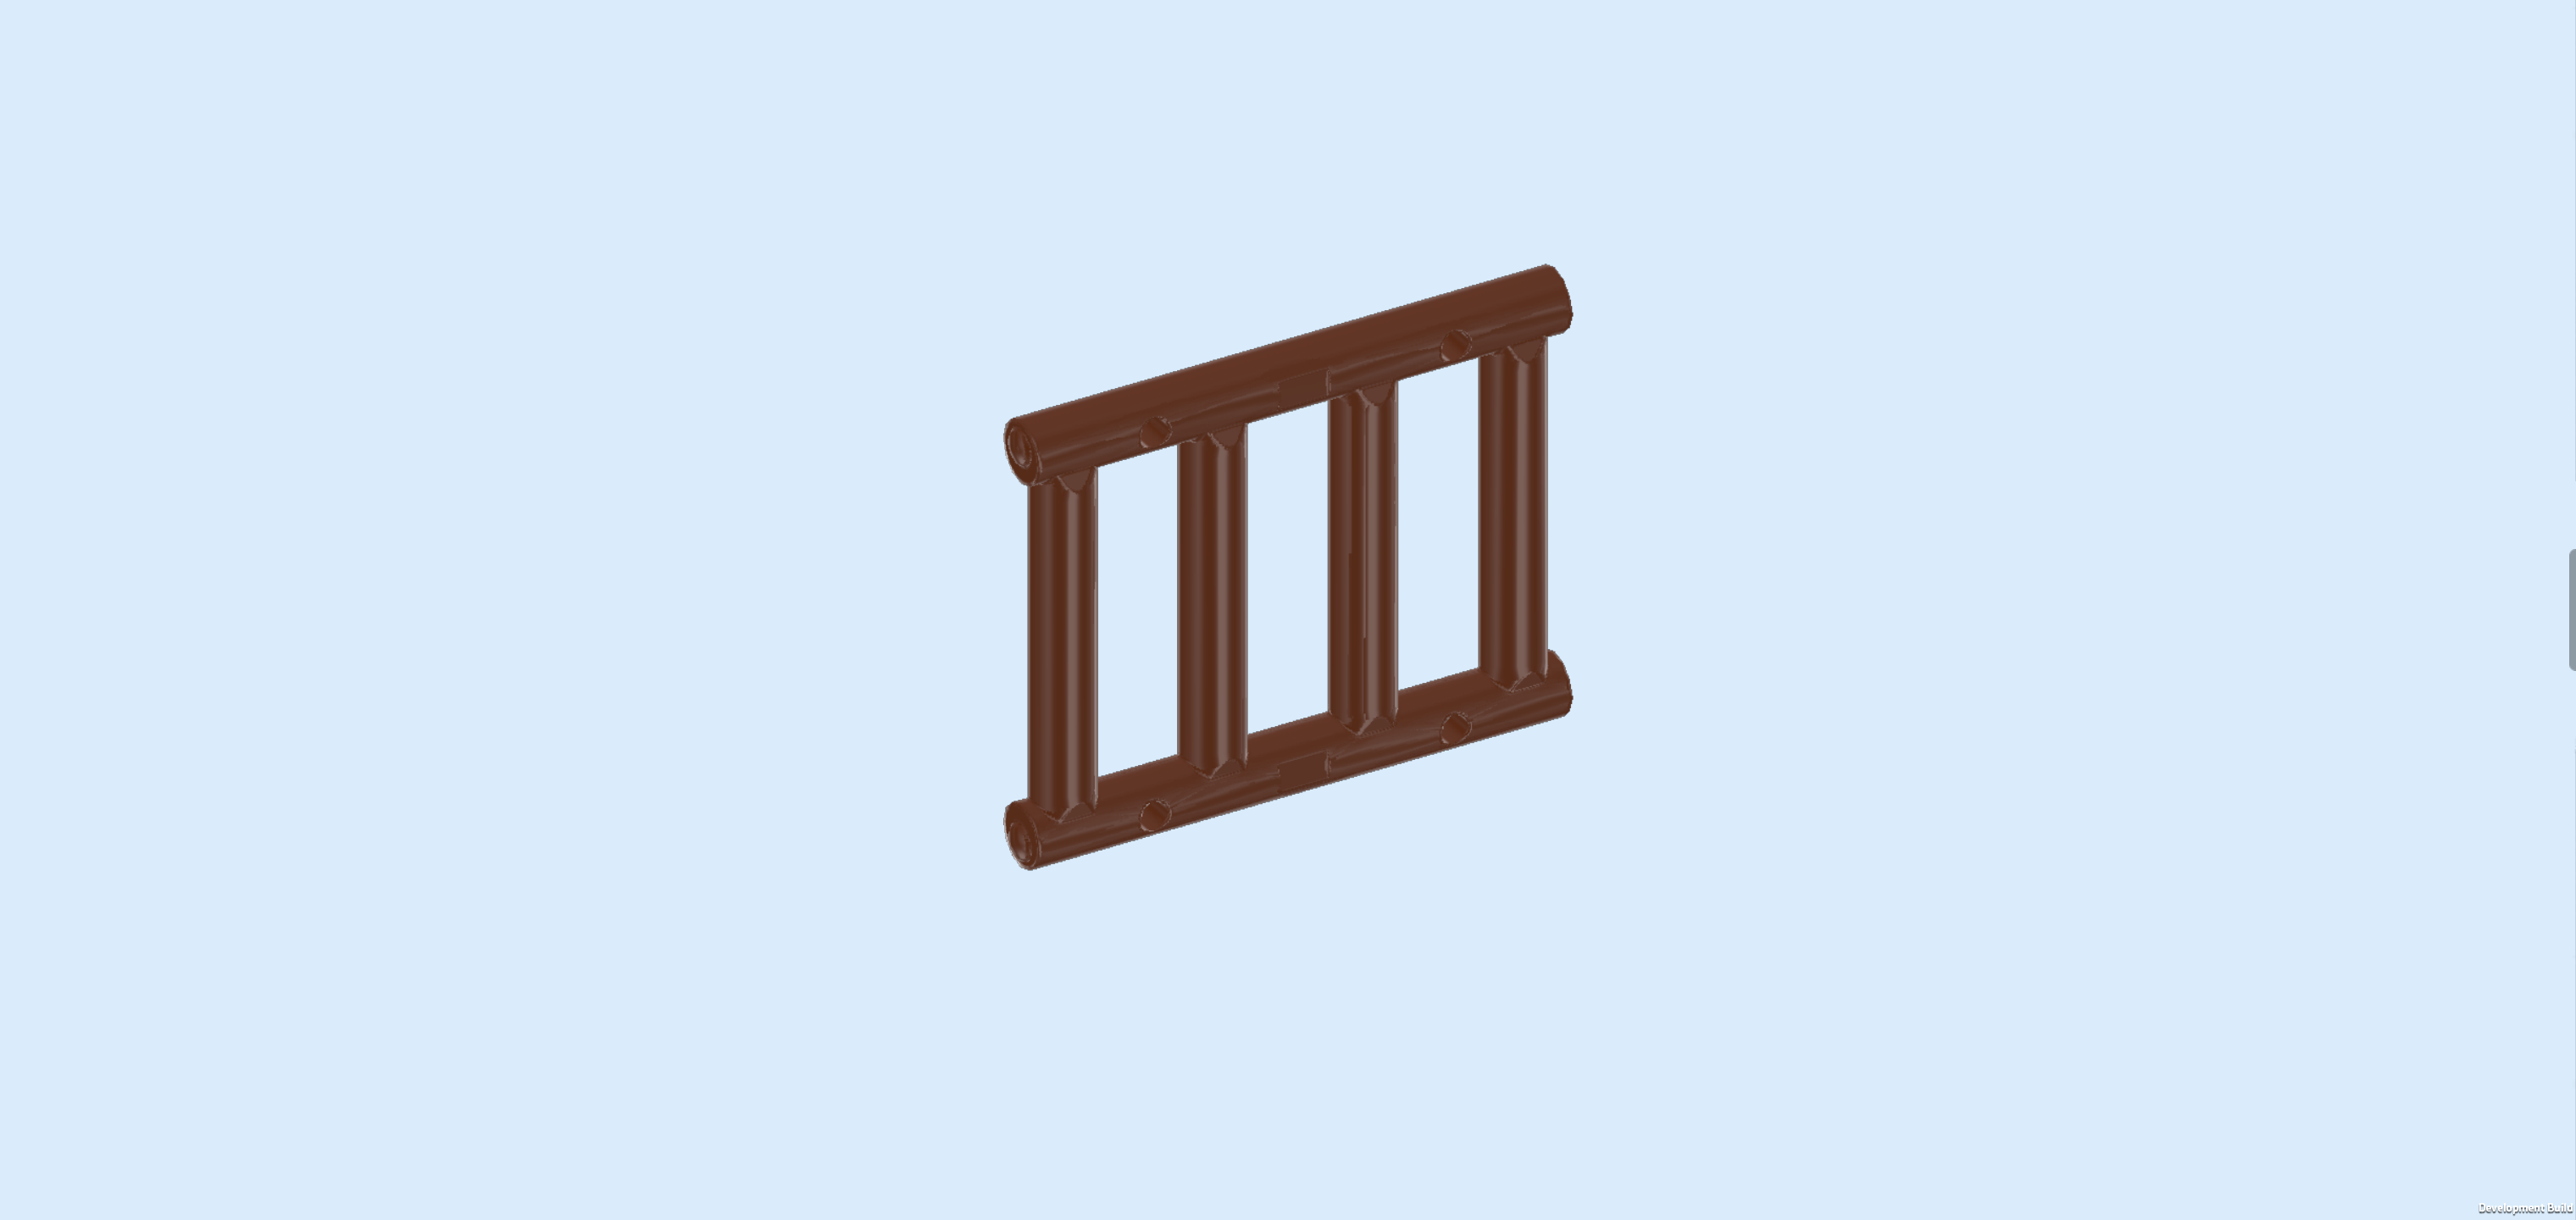
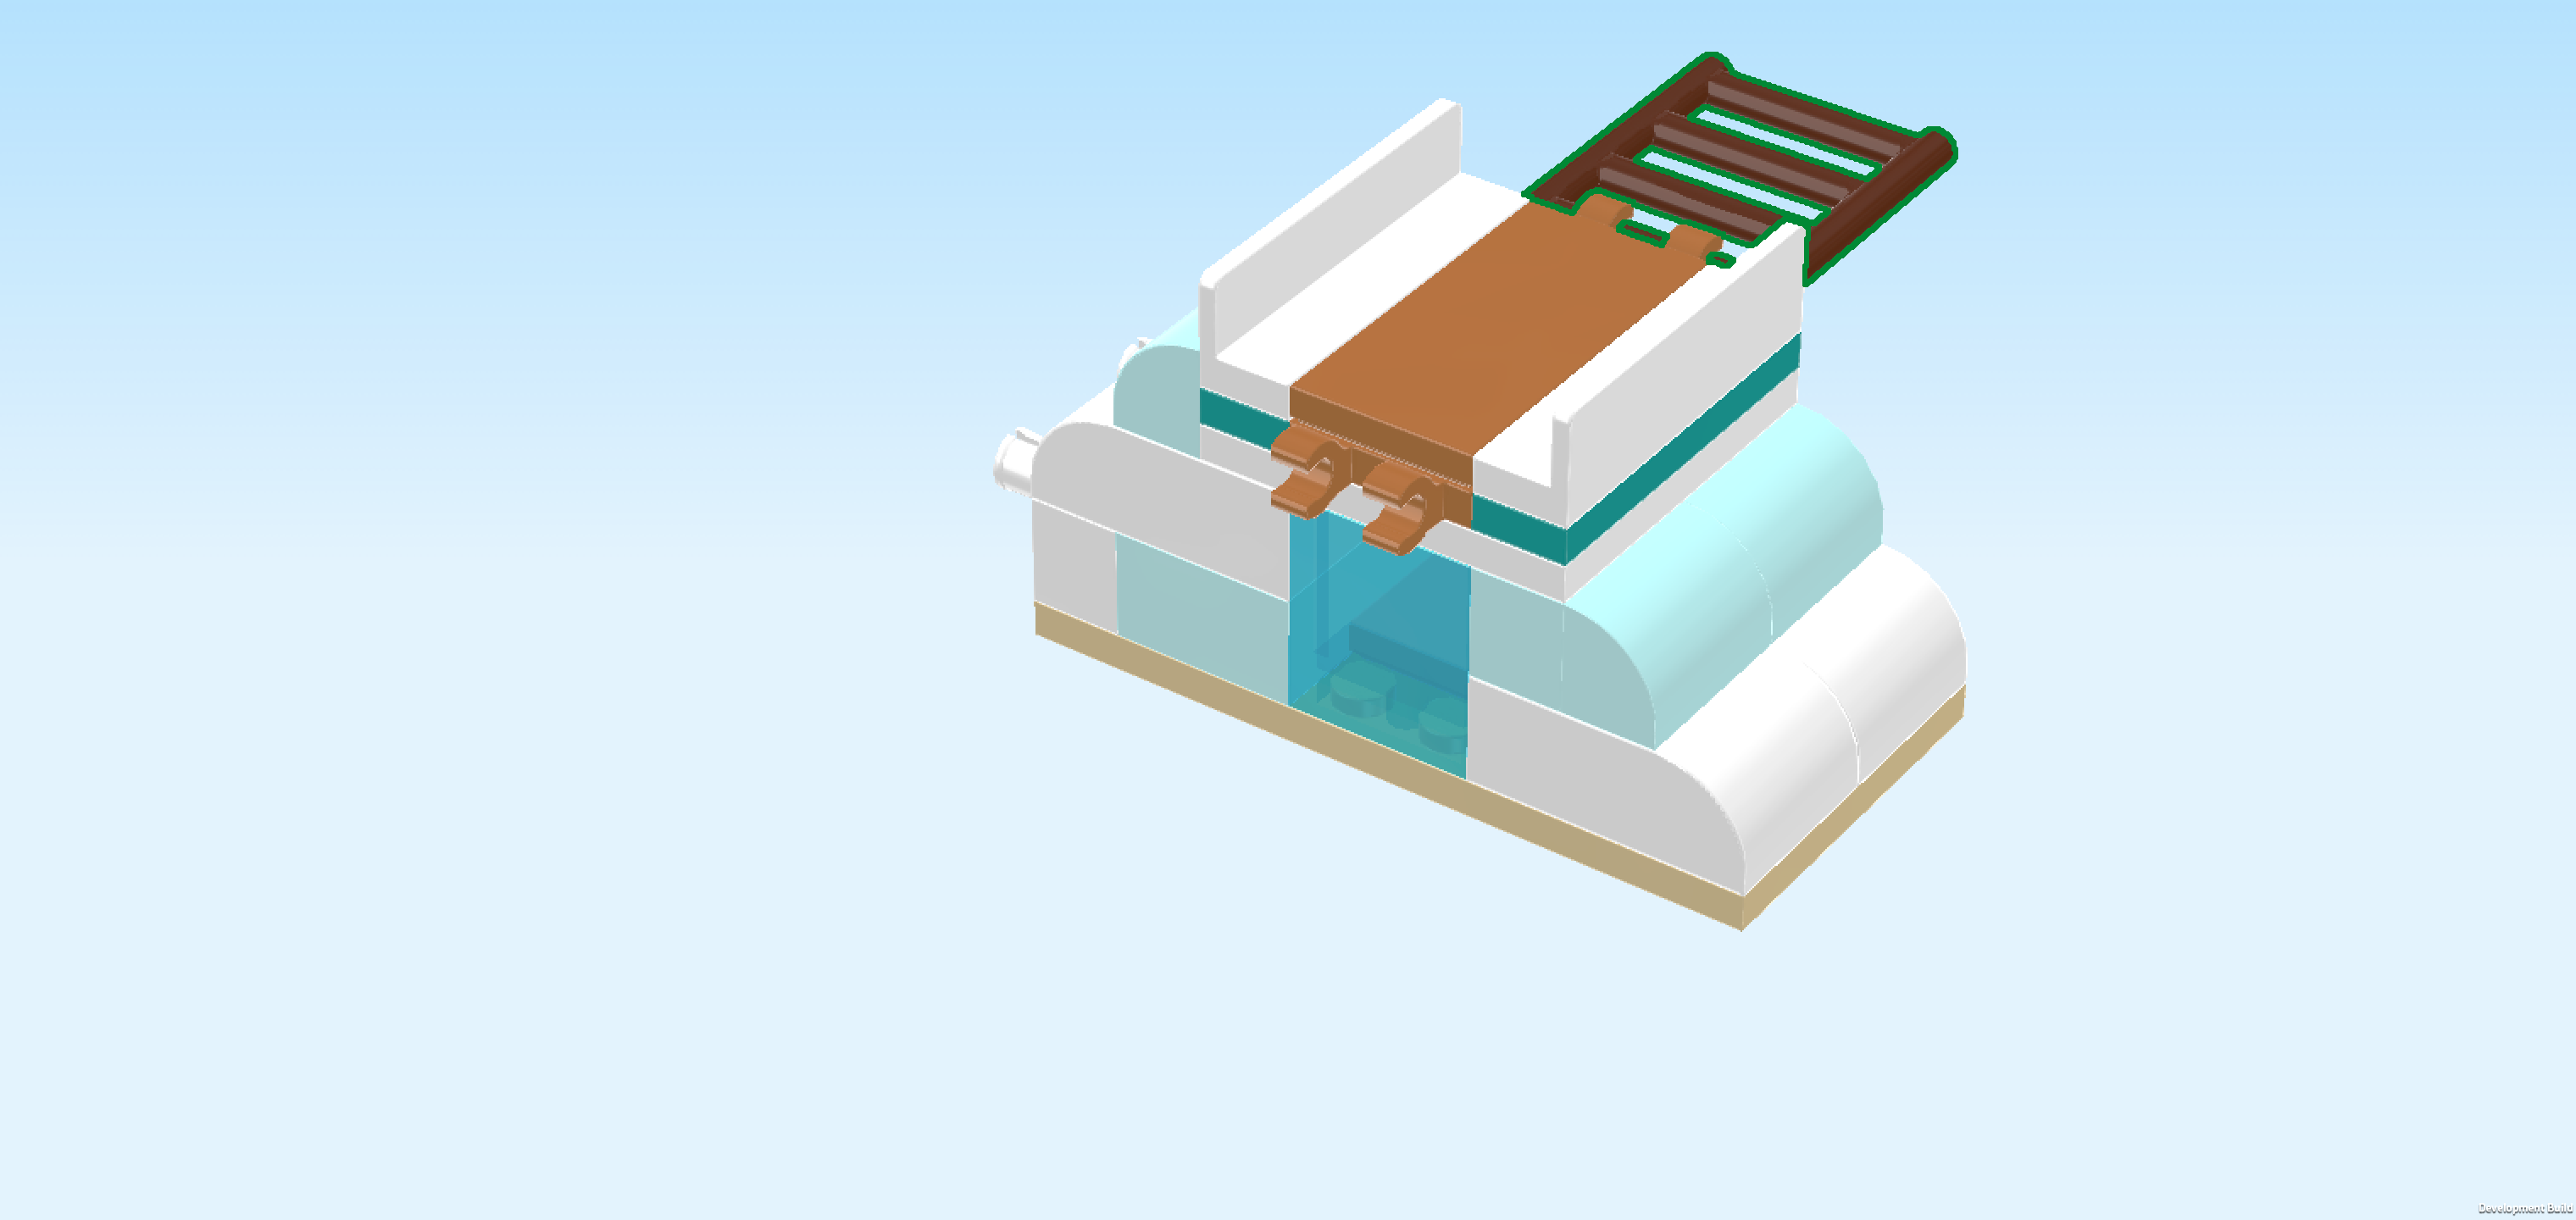
| Find 1 reddish brown lattice element 3x4x1. |
| Hold it vertically and flat in front of you, meaning that its 2 long struts are on the left and right. |
| Snap the frontmost cross strut centered into the 2 clasps at the back and fold the lattice down. This is the ladder to the sledding hill! |
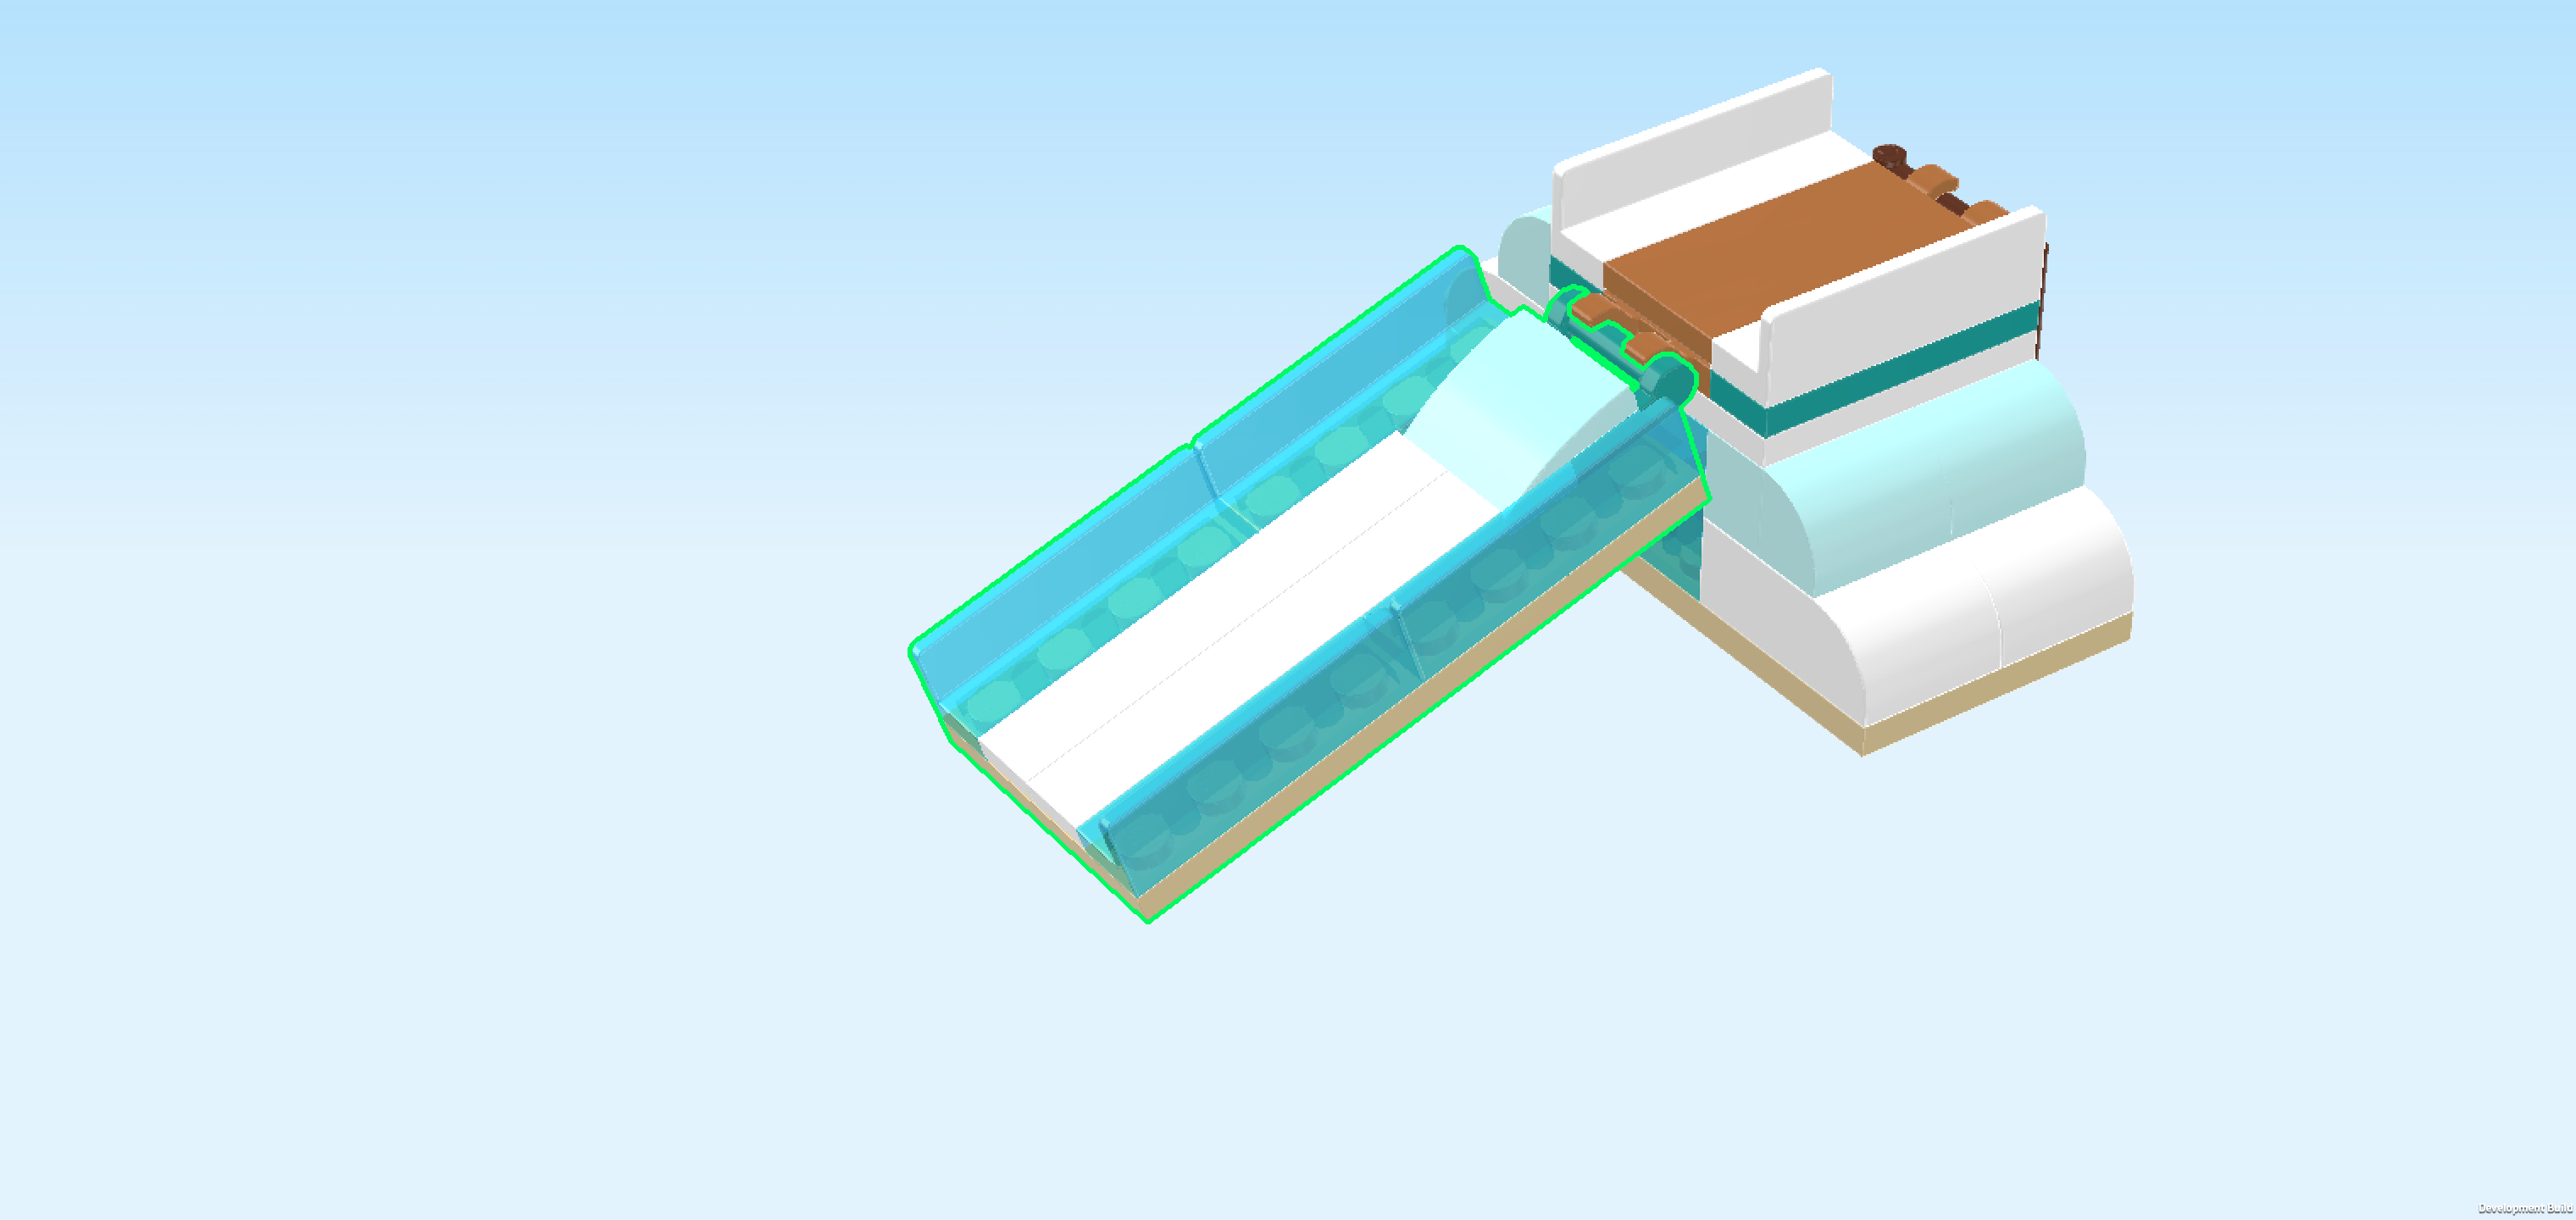
| Next, we will build the sliding surface. |
| Collect the following 2 pieces: |
| 1 teal blue plate 1x2 with handle on long side, |
| and 1 beige plate 4x8. |
| Put the plate 4x8 horizontally on the table. |
| Put the plate 1x2 vertically centered on the rightmost column, handle to the right. |
| Find 1 aqua blue one-stepped curve tile 2x2. |
| Put it on the previous piece and the column to its left, curve to the left. |
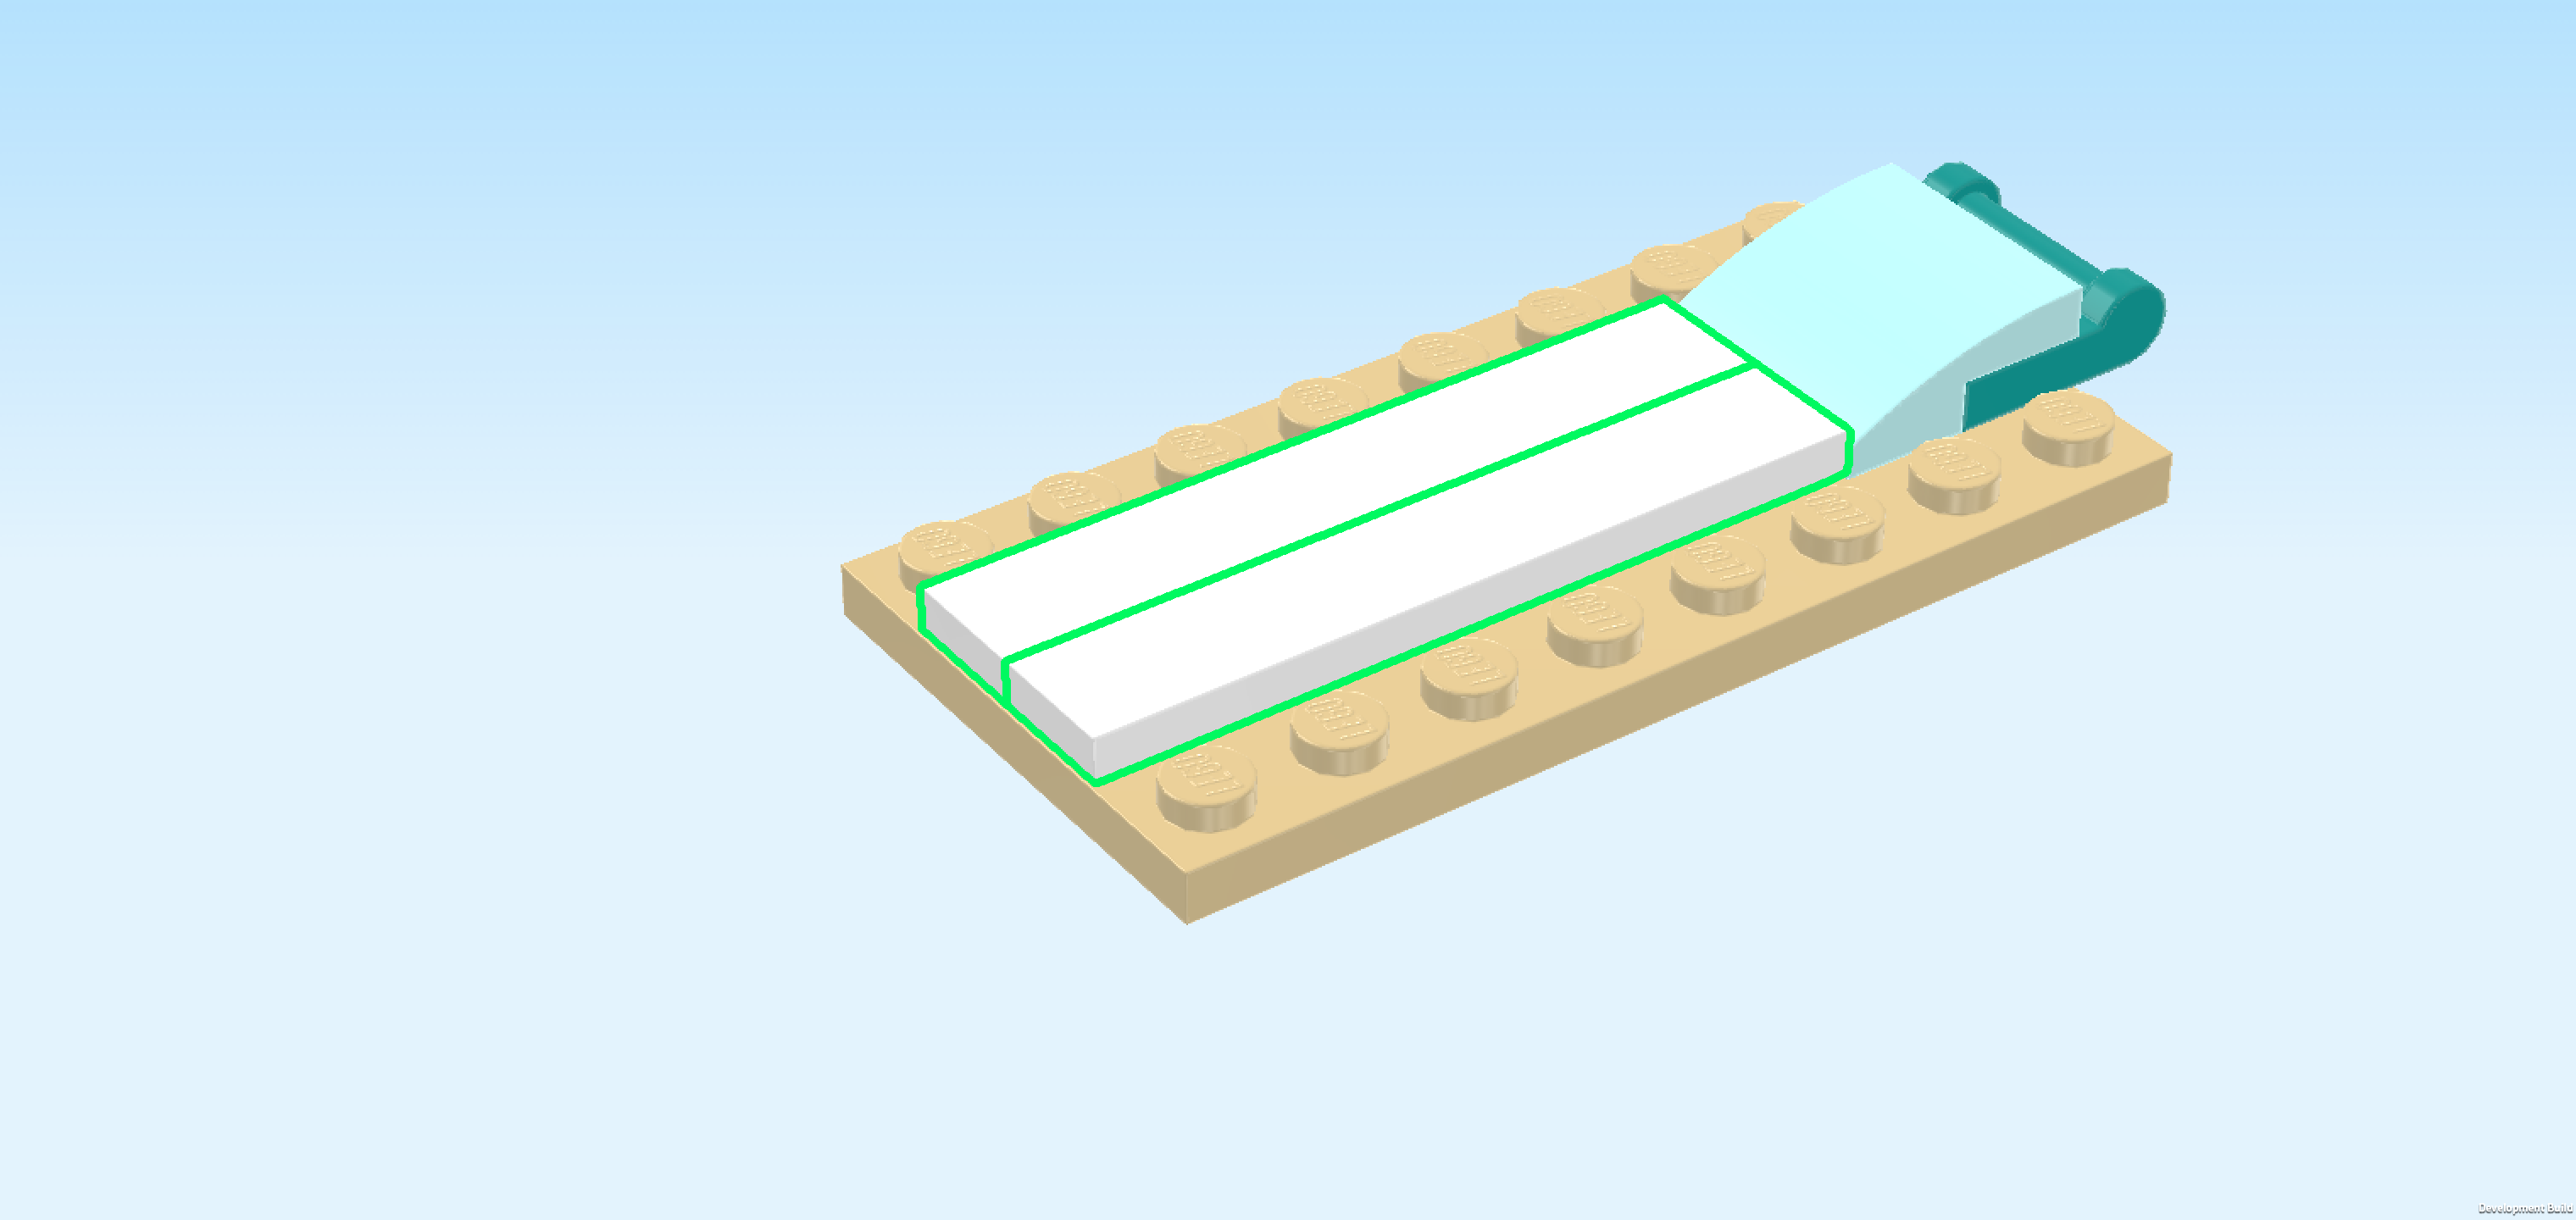
| Find 2 white flat tiles 1x6. |
| Put them horizontally next to each other to the left of the previous piece. This means they will cover the remaining knobs of the 2 middle rows. |
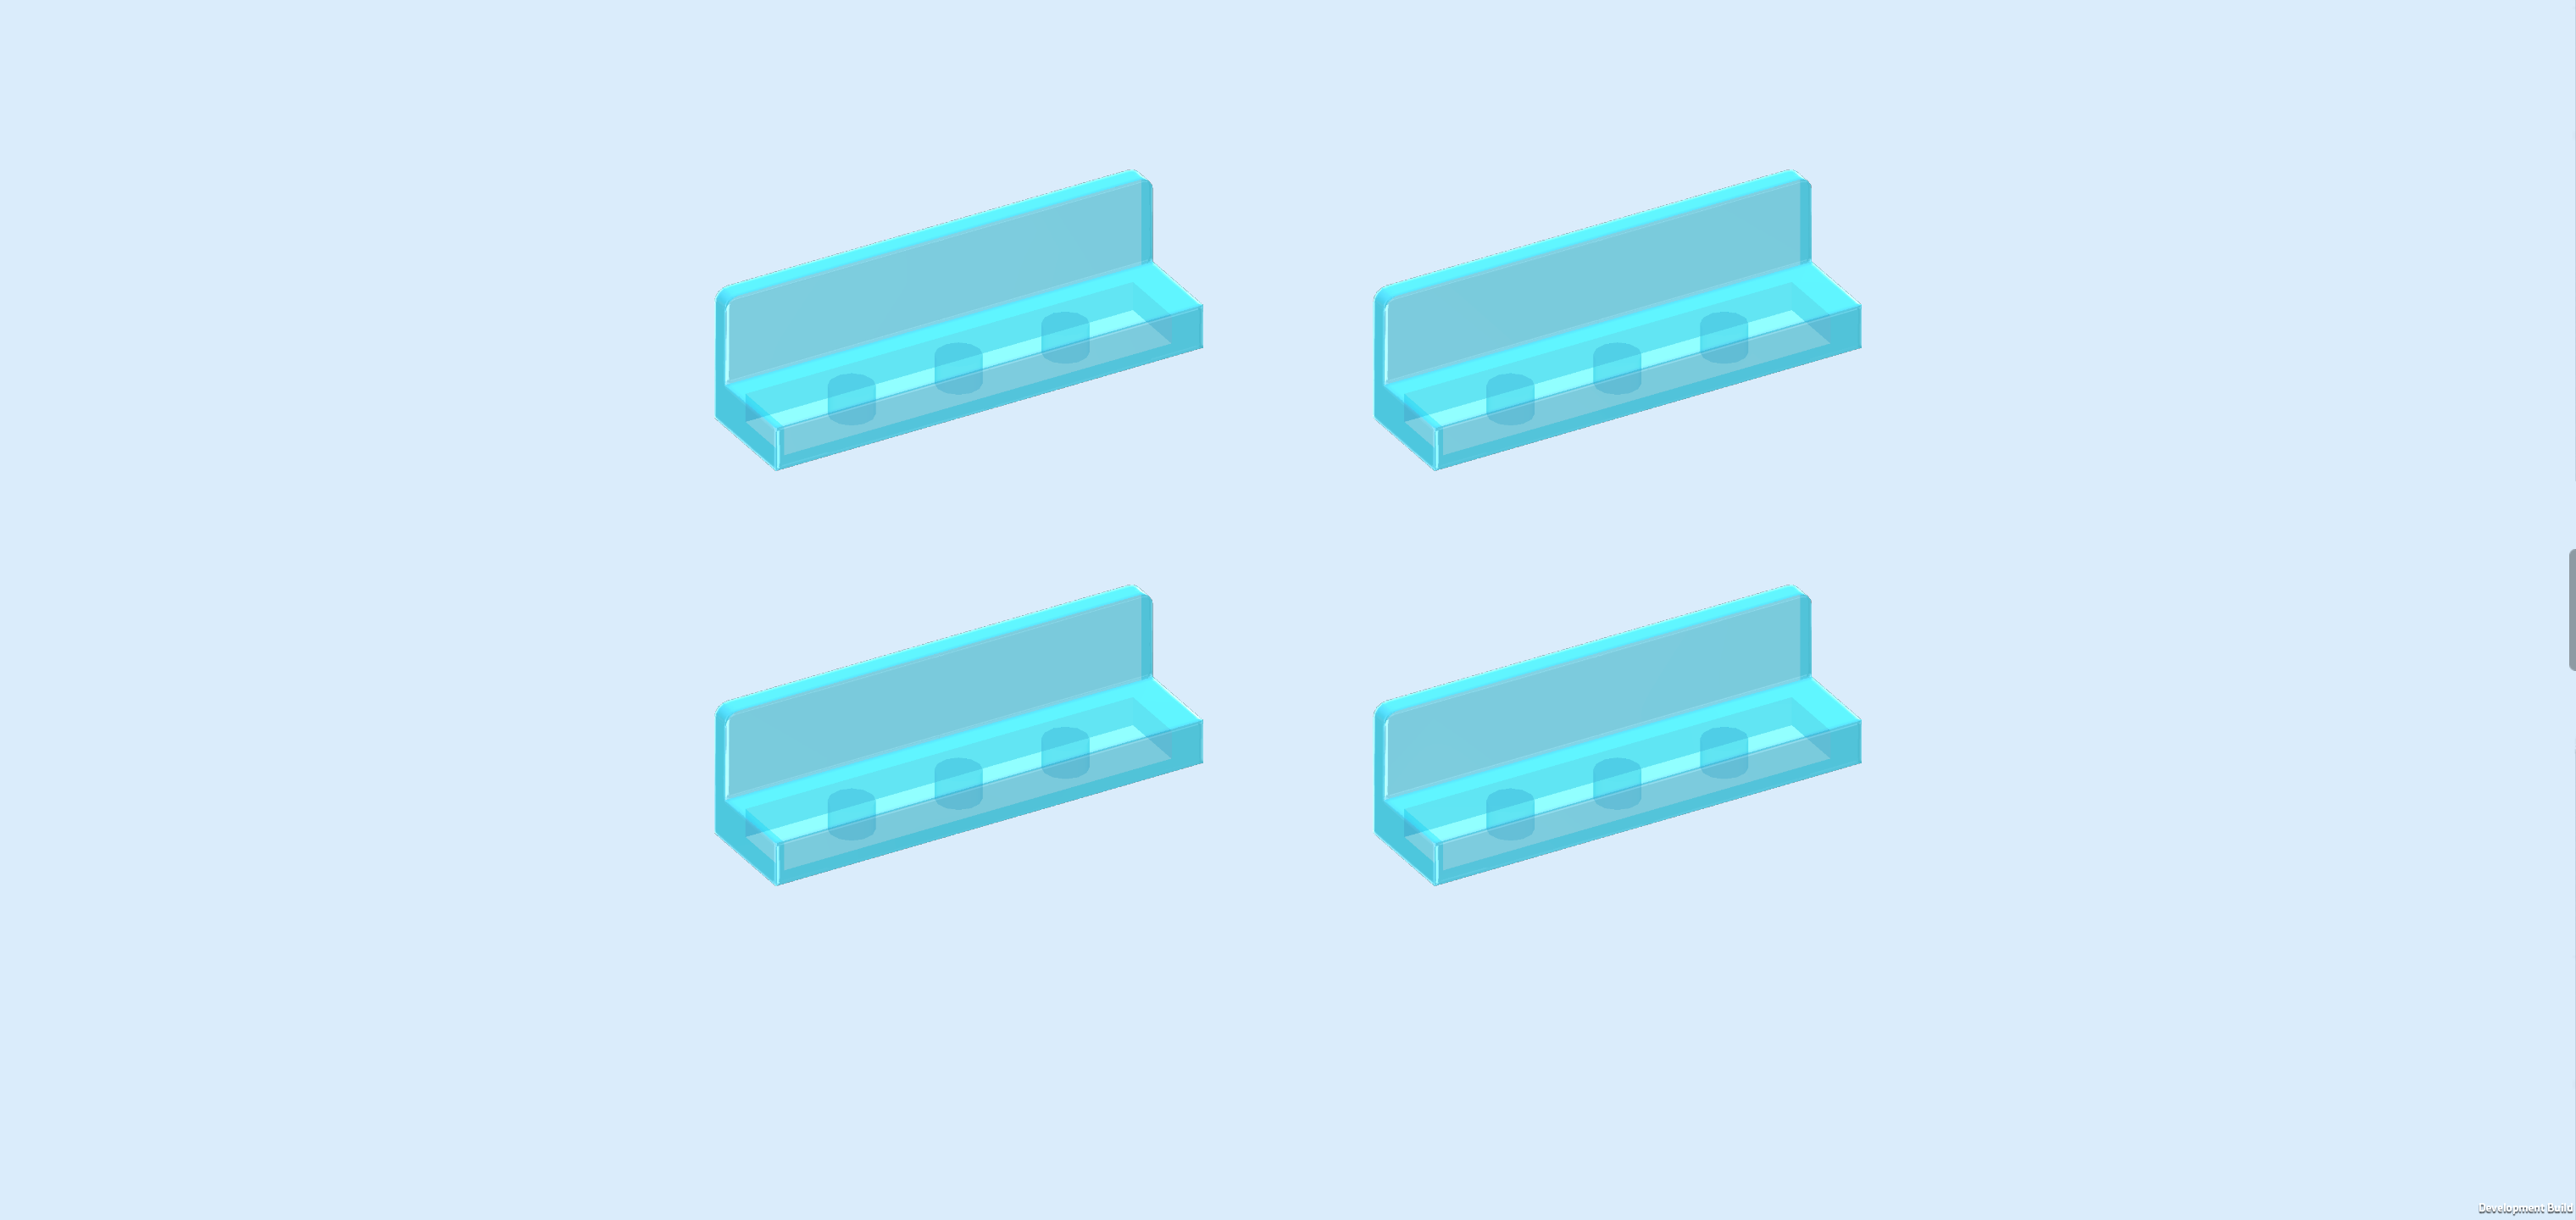
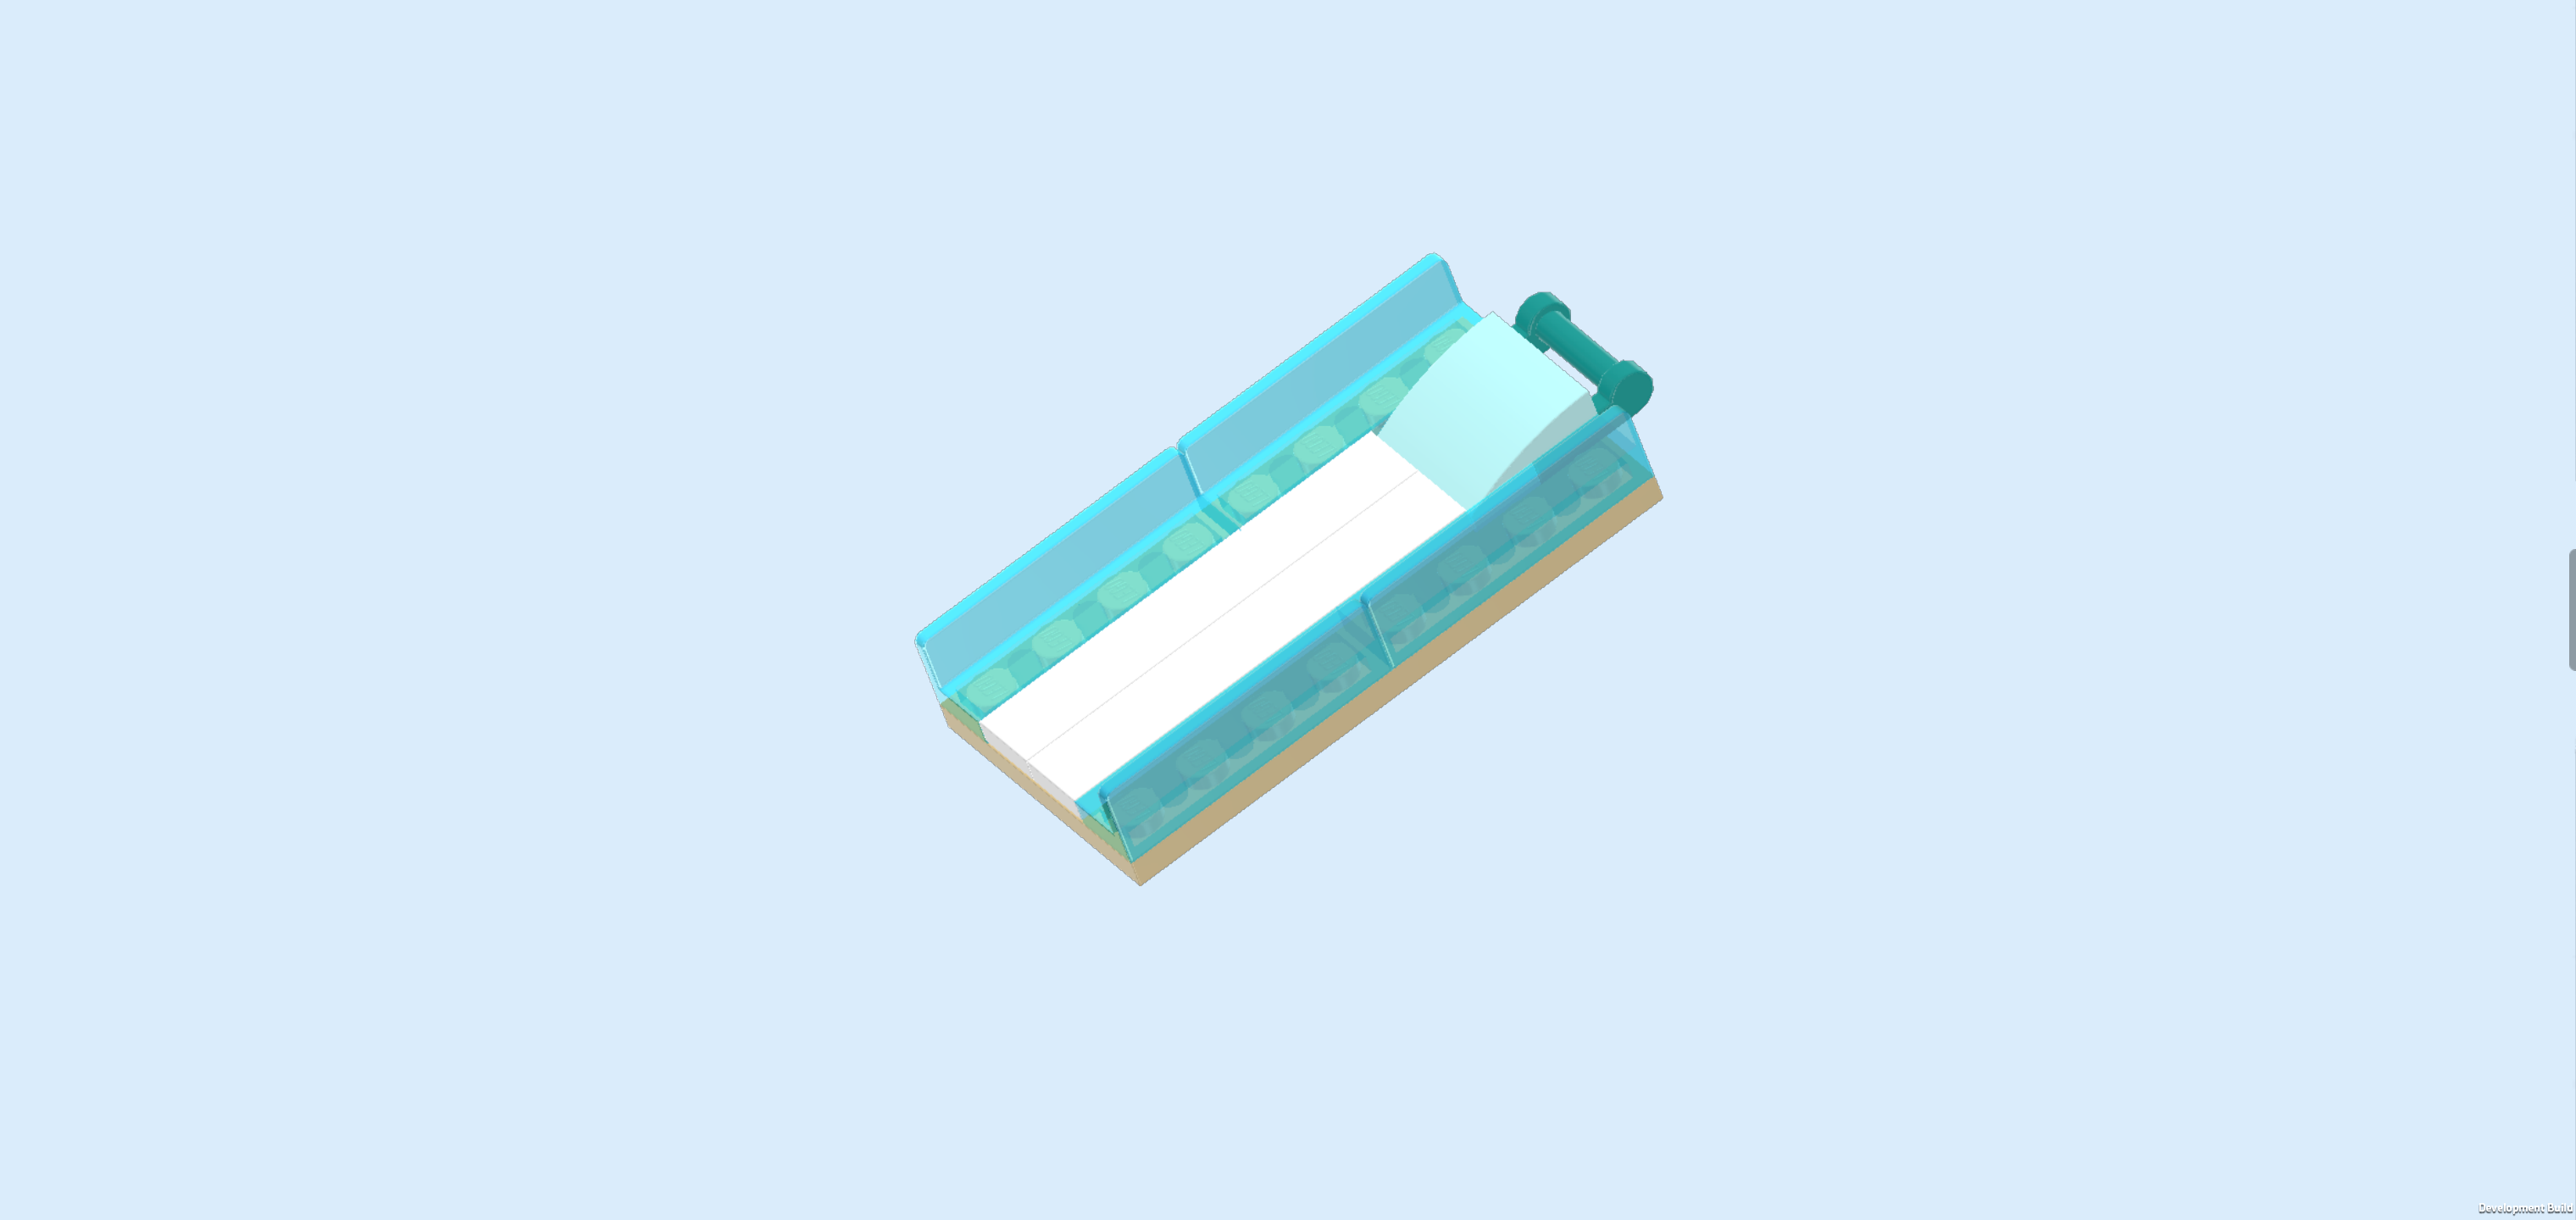
| Find 4 transparent light blue panel elements 1x4x1 with panel on long side. |
| Put 2 horizontally next to each other on the backmost row, both panels to the back. |
| Repeat symmetrically at the front, both panels to the front. |
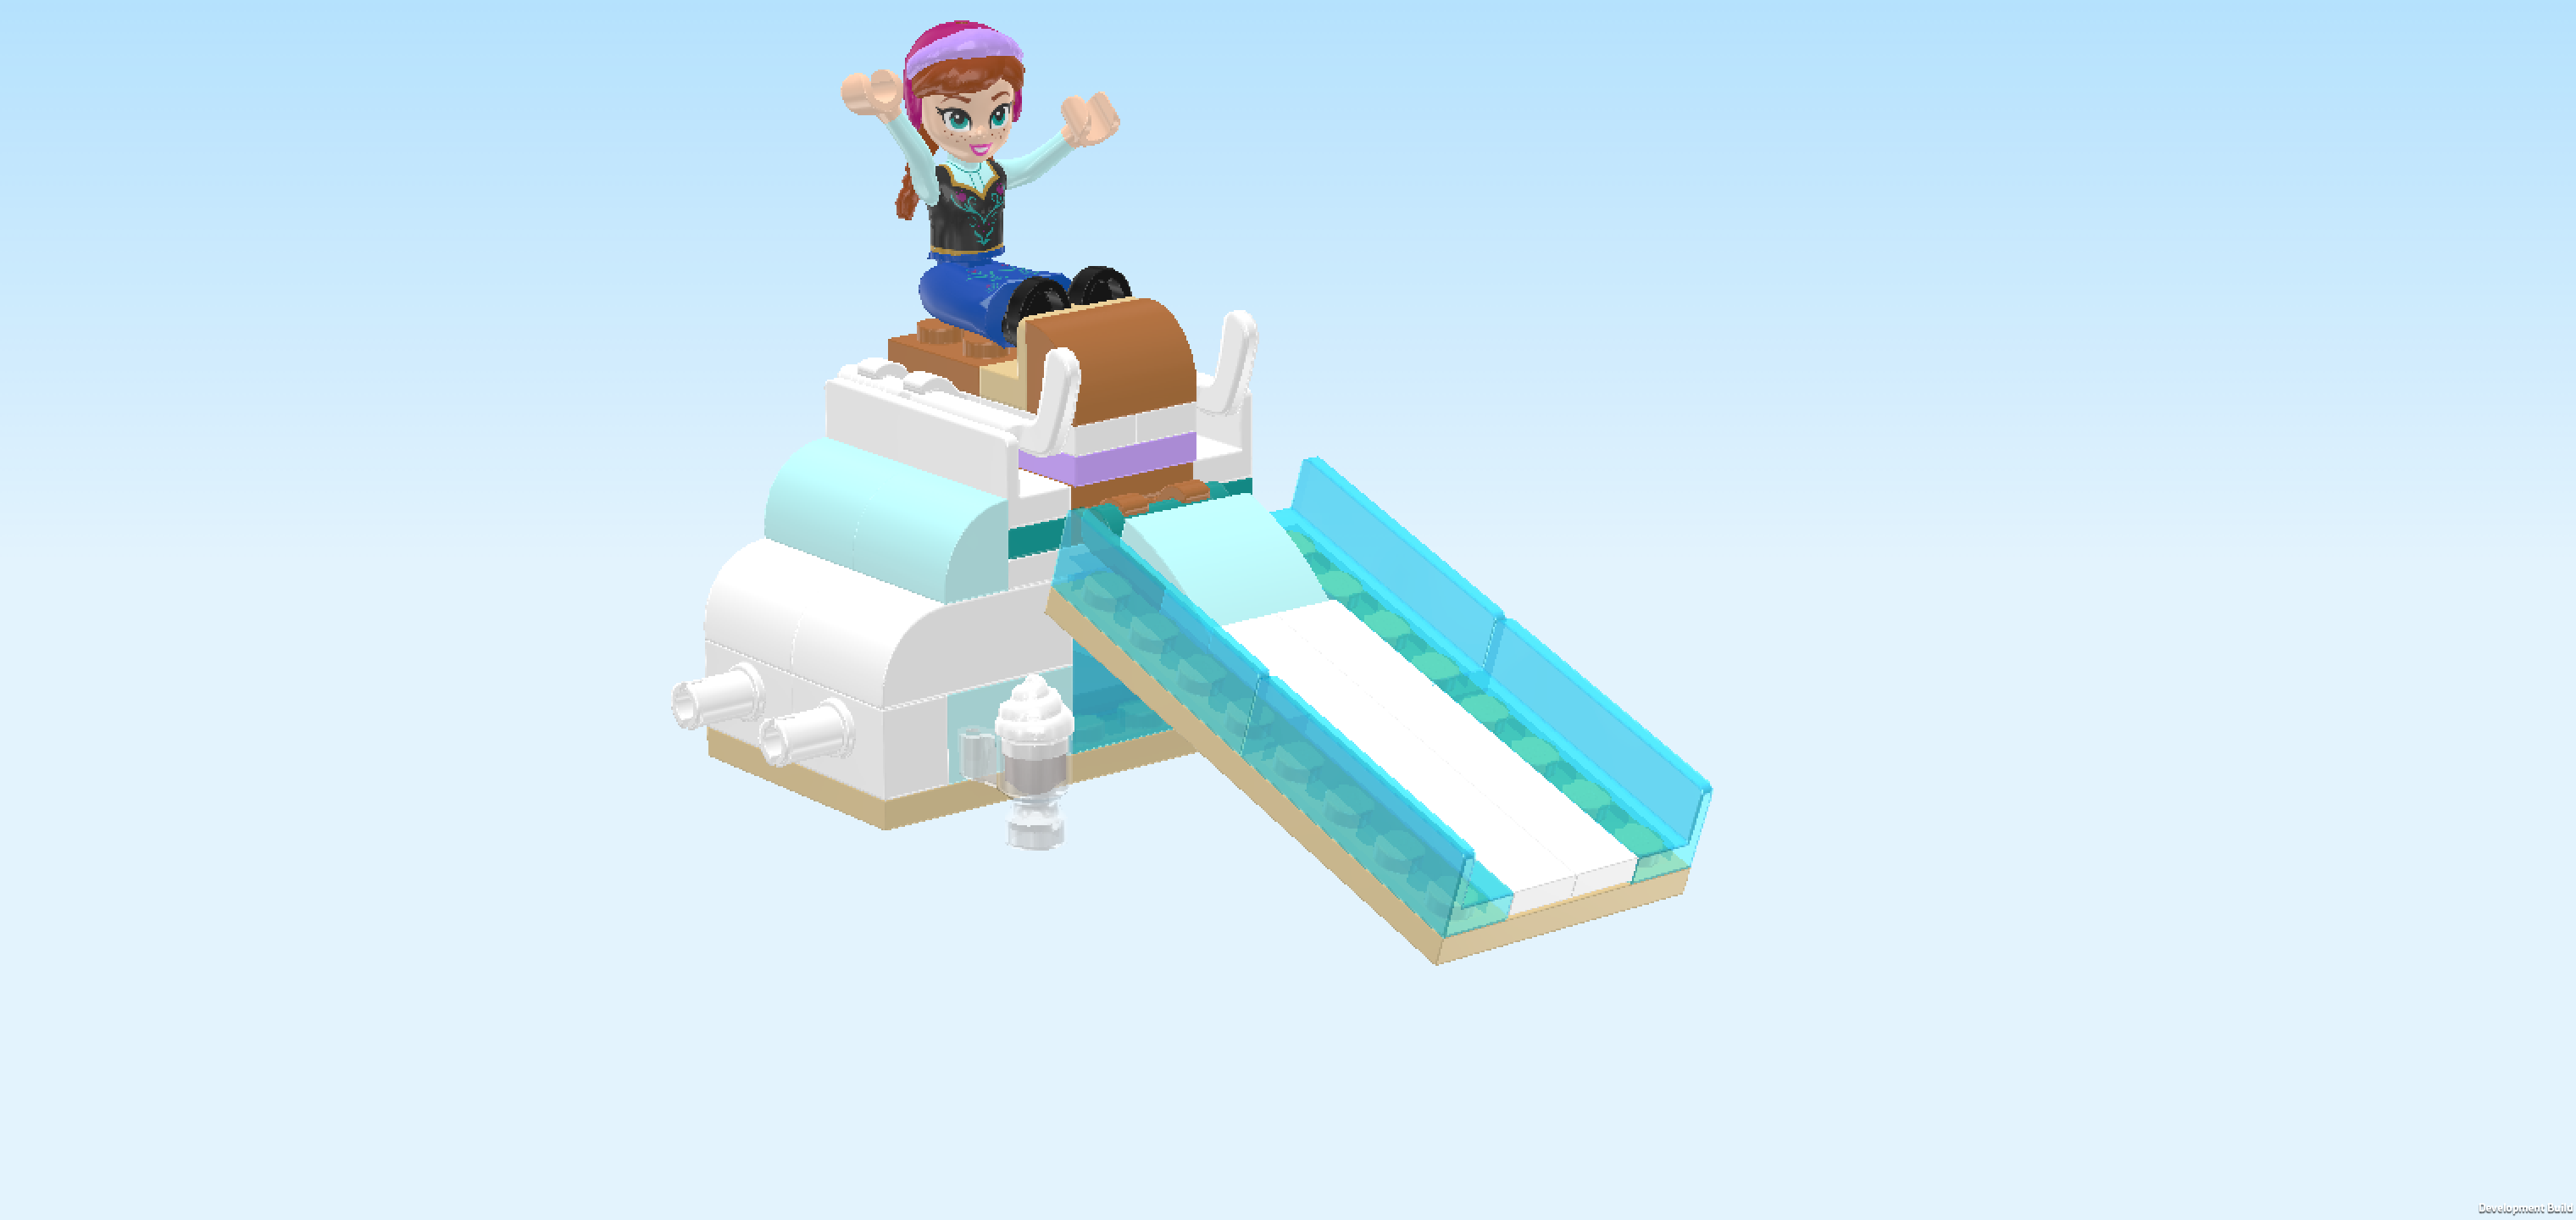
| The sliding surface is finished! Well done! Snap the handle on its right edge into the 2 empty clasps of the sledding structure and fold it down. |
| The sledding hill is finished! Well done! It's time for some sledding fun! Put one of your characters on the sled and slide down the snowy hill! |
| You have finished building the entire set! Fantastic job, what a lovely wintery adventure! Both the sledding hill and the stable have 2 connectors protruding from one of their sides. You can insert those connectors into the corresponding holes on the left and right side surfaces of the hot chocolate stand if you like. This way, all your buildings are connected. But of course you can also use them independently. It is up to you! Now, the Arendelle friends can enjoy a lovely sleighing and sledding day in the wintery landscape! |
| Enjoy! |