LEGO 43209 Elsa and Nokk's Ice Stable 

LEGO Audio & Braille Building Instructions for the LEGO Disney set "Elsa and Nokk's Ice Stable".

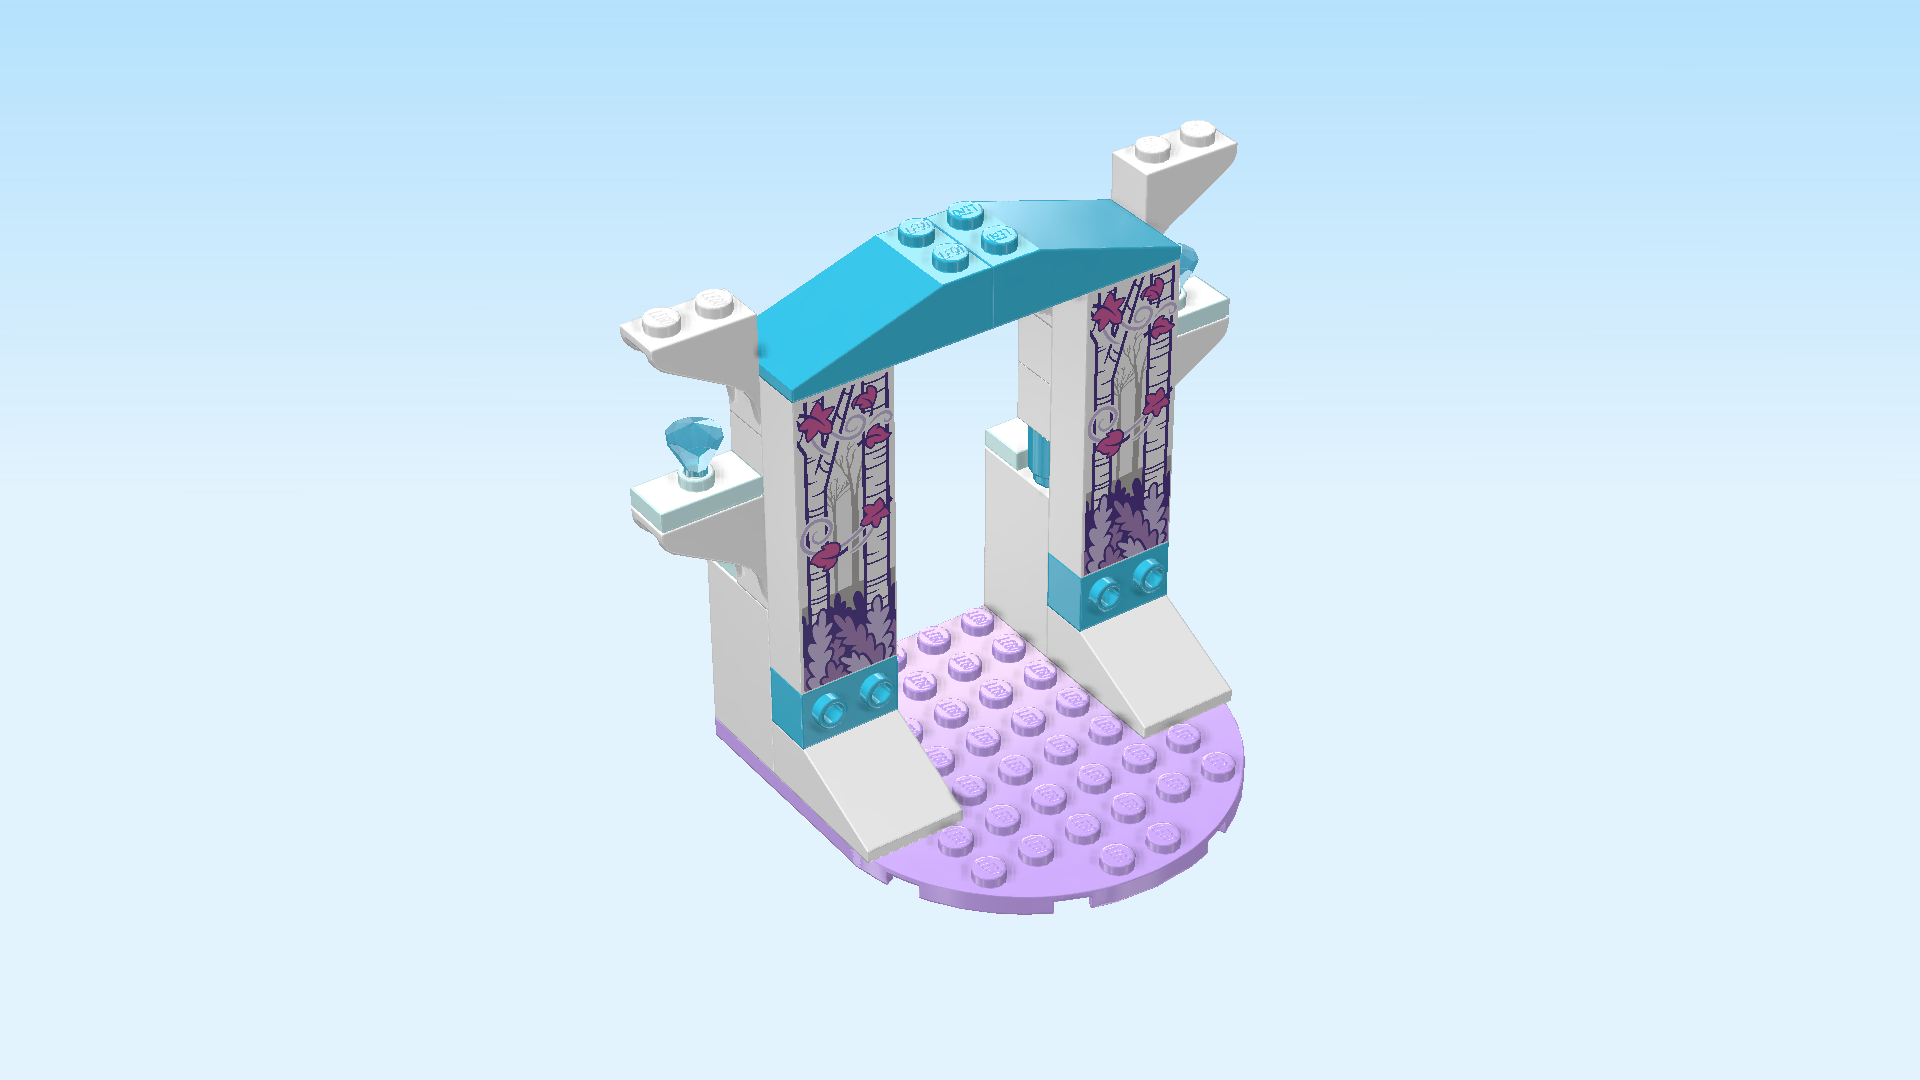
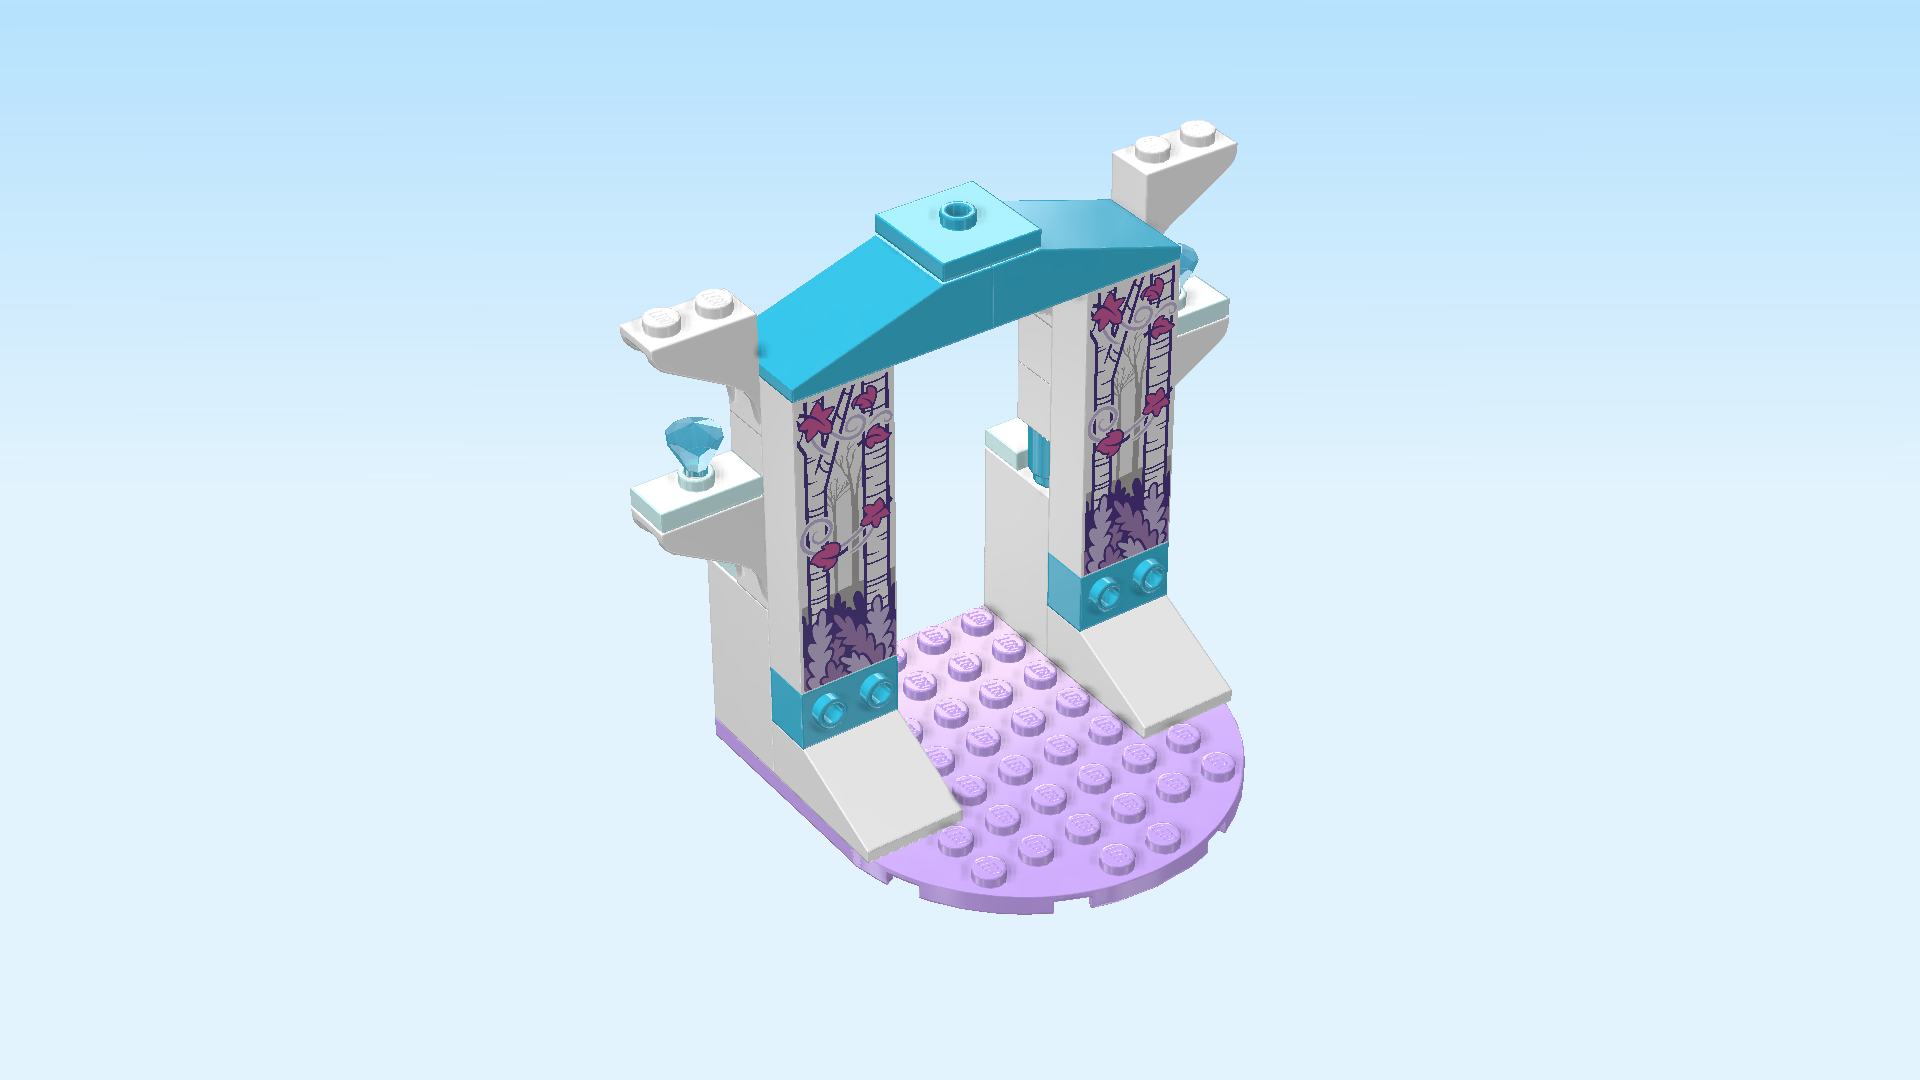
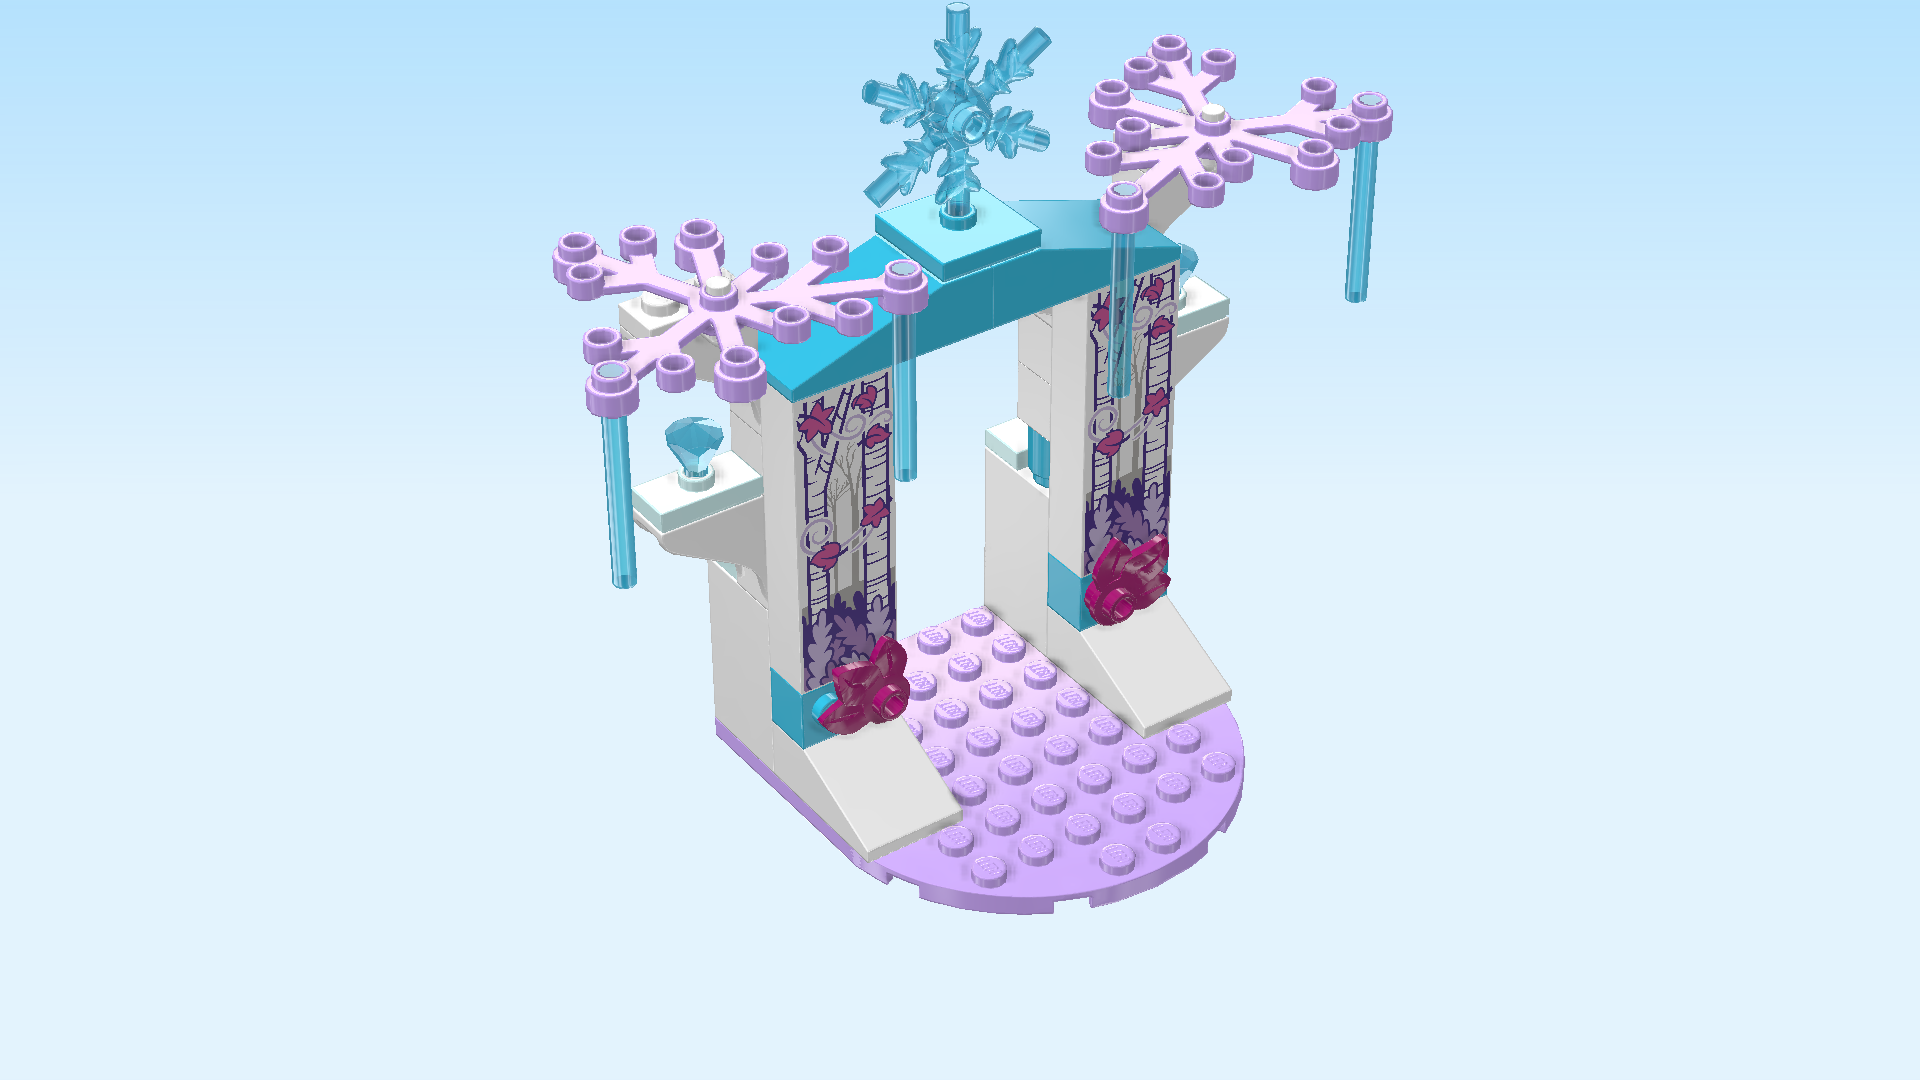
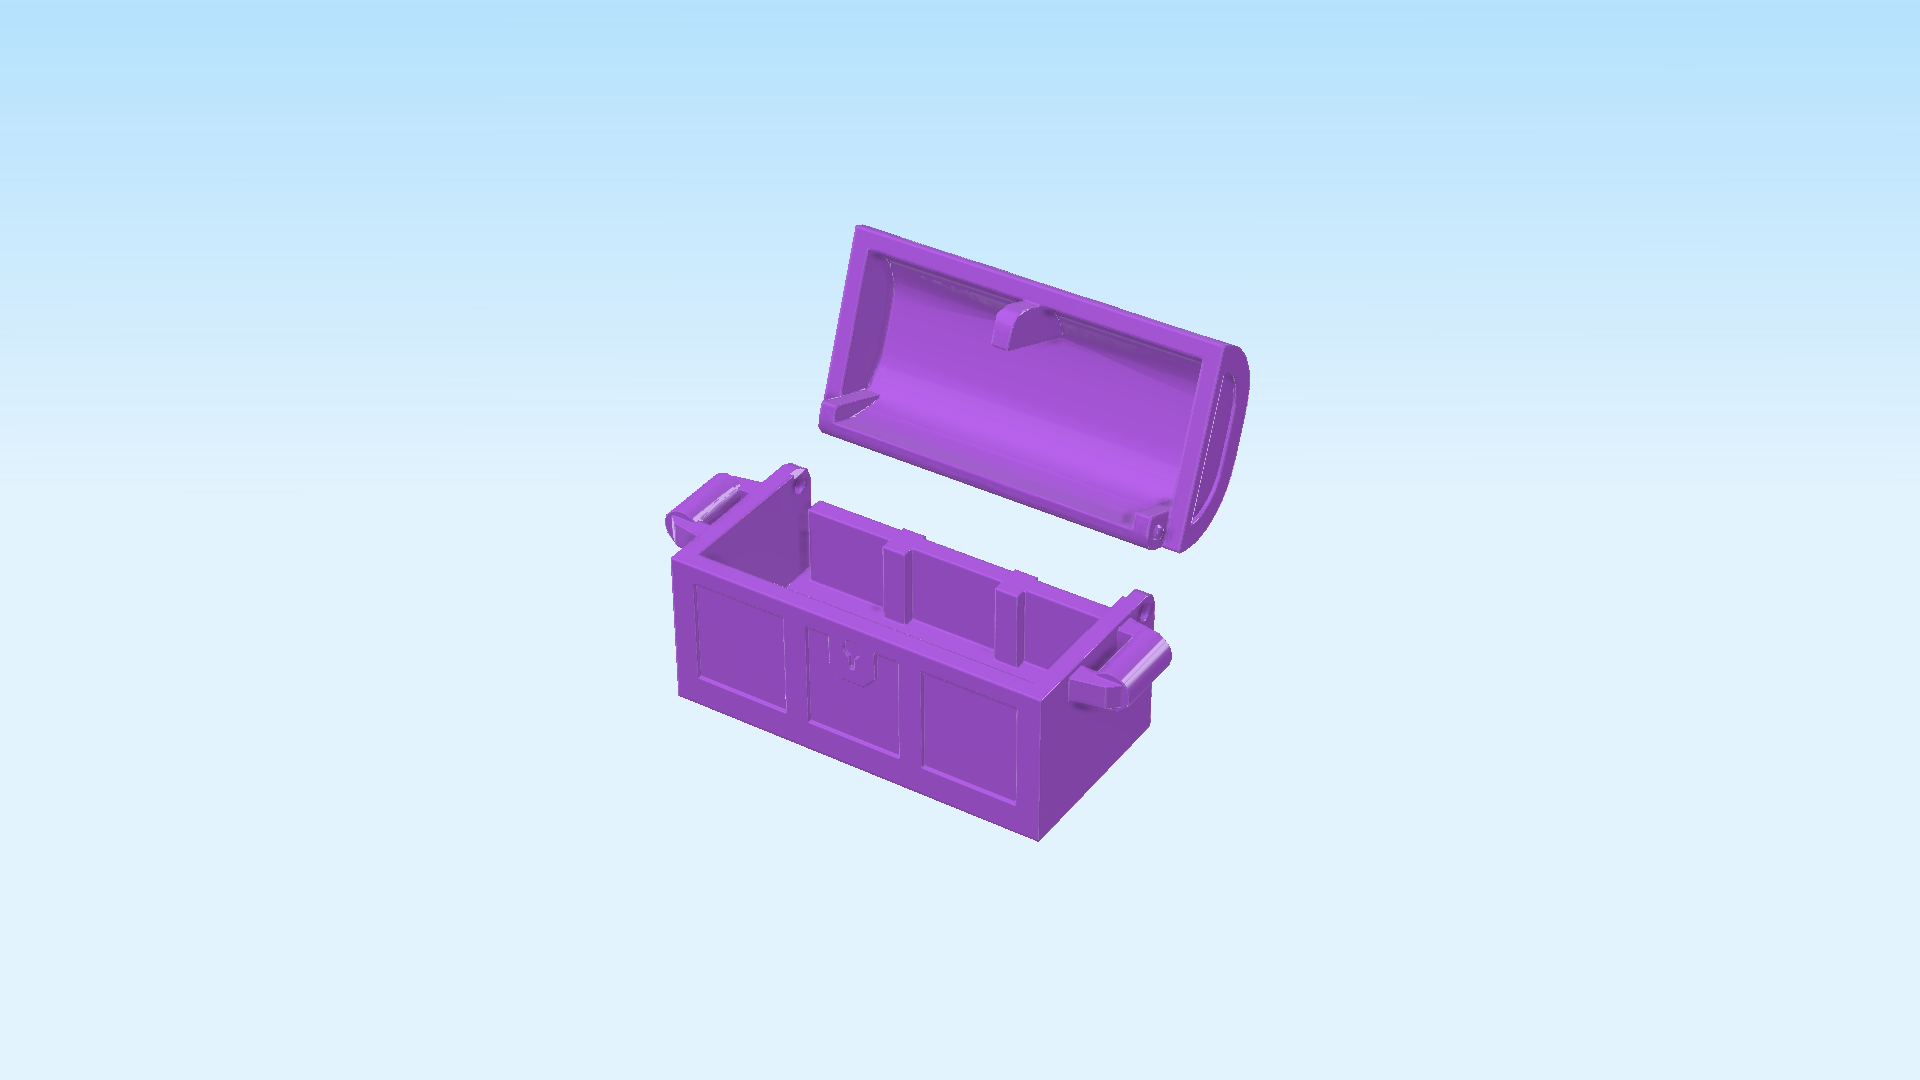
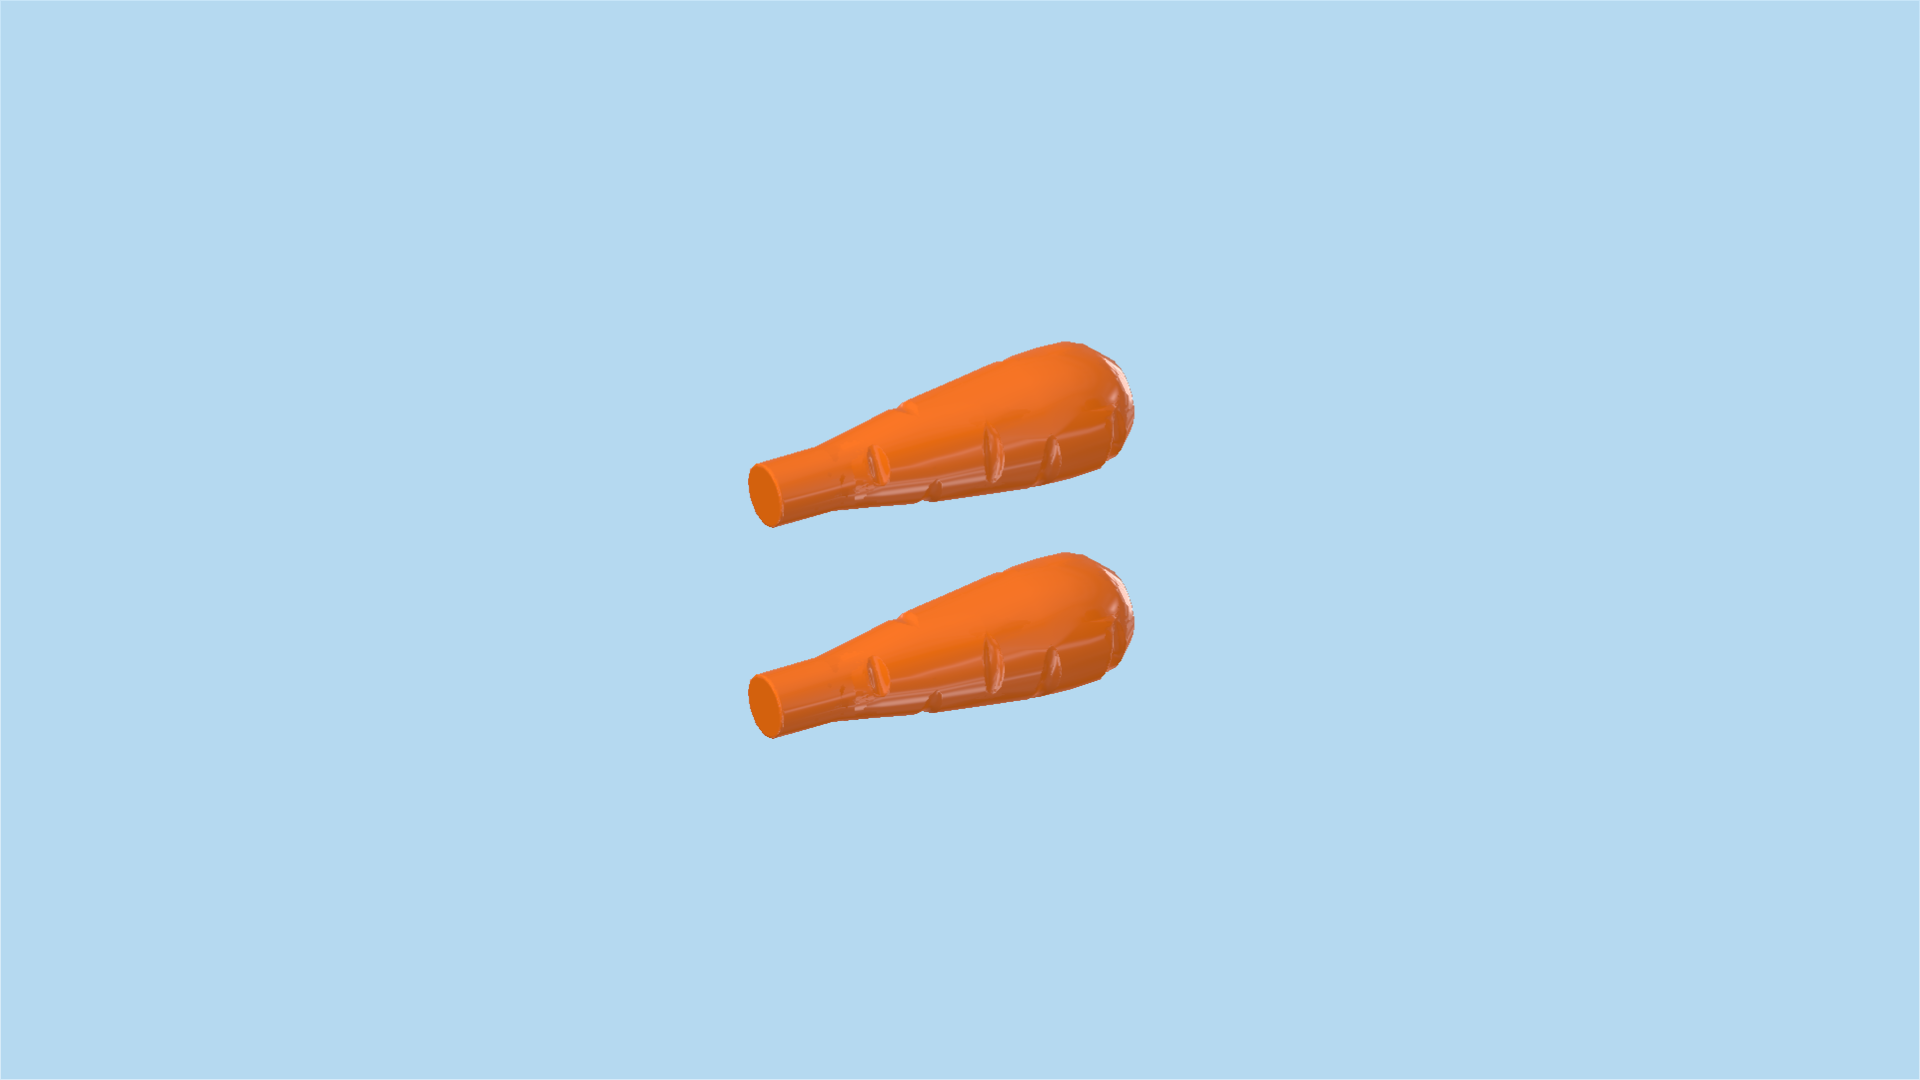
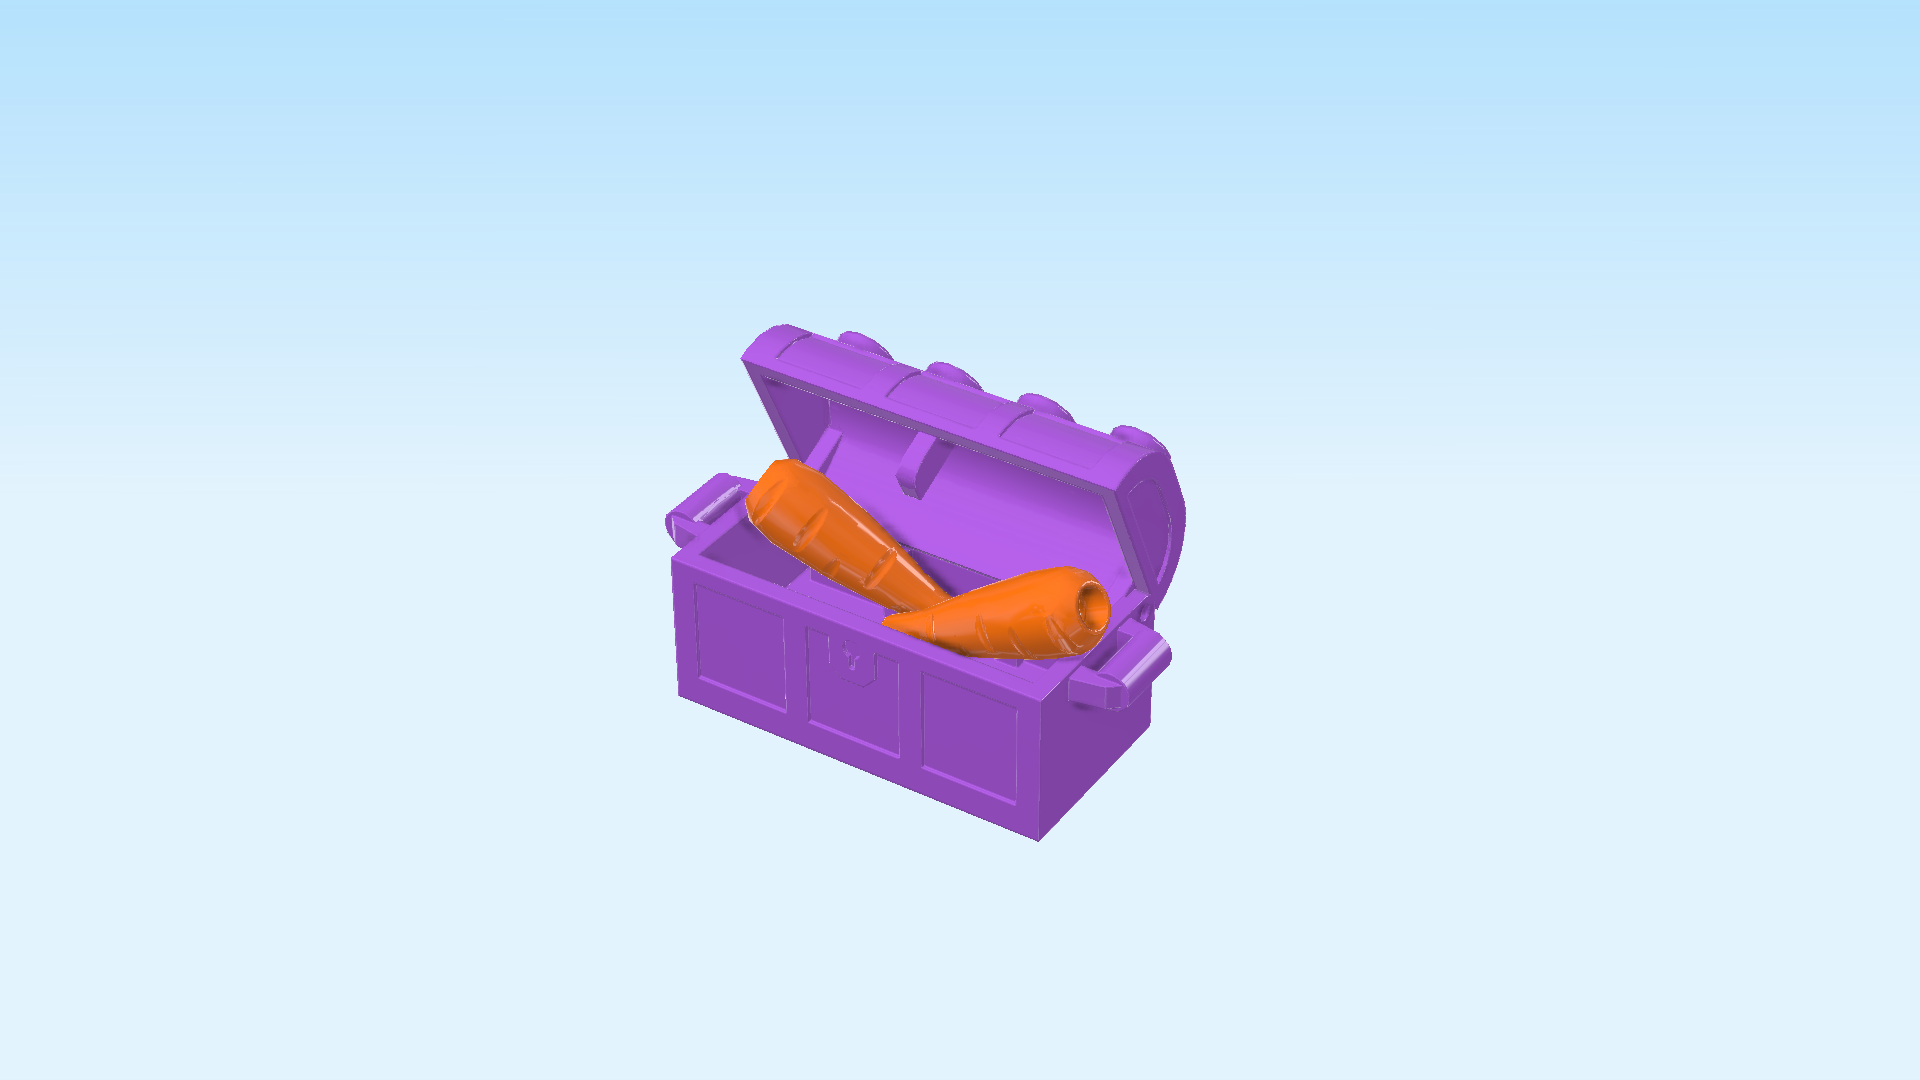
Take care of the Nokk with Disney’s Elsa! Visit the forest with Elsa and discover Nokk’s ice stable, nestled in the trees. Look at the icicles and gems hanging from the branches. On top of the stable is a sparkling snowflake. Open the chest and find some carrots to feed the Nokk. Help Elsa brush the Nokk, then go for an exciting ride through the snow!

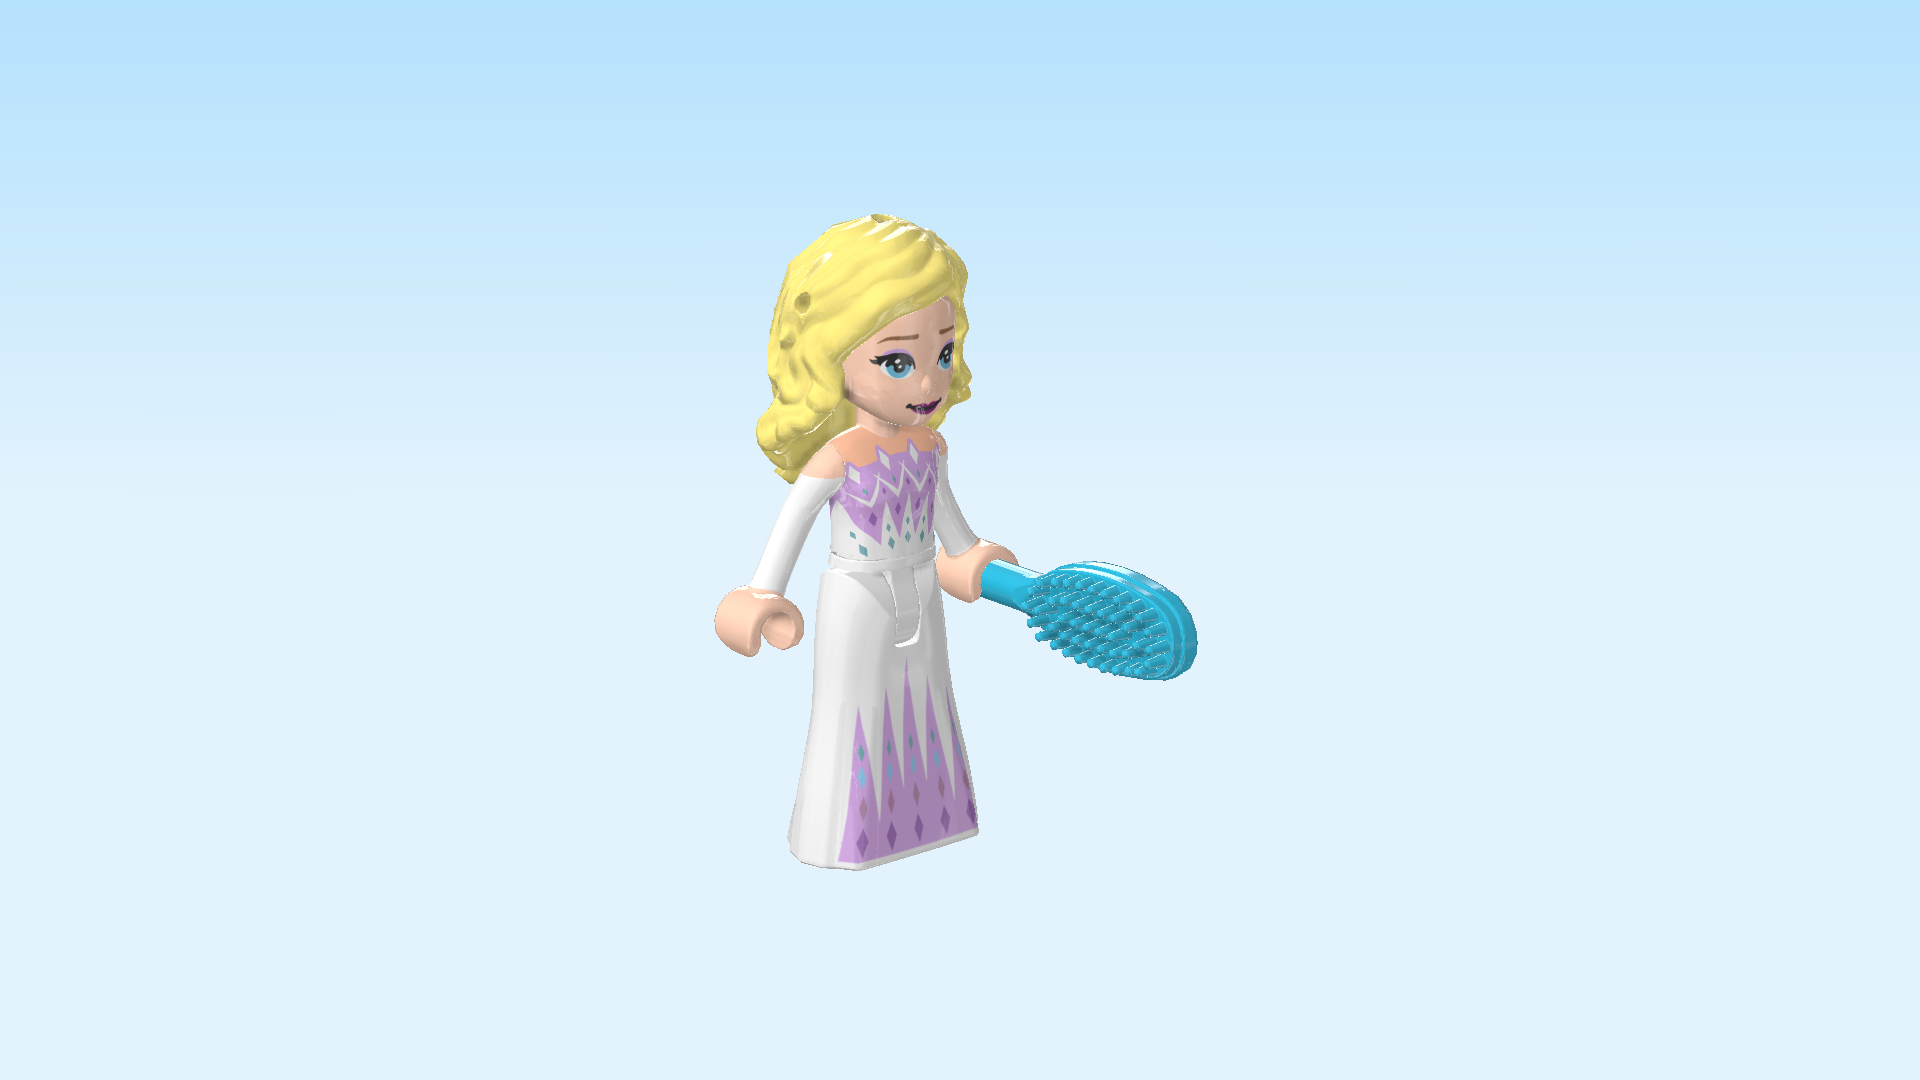
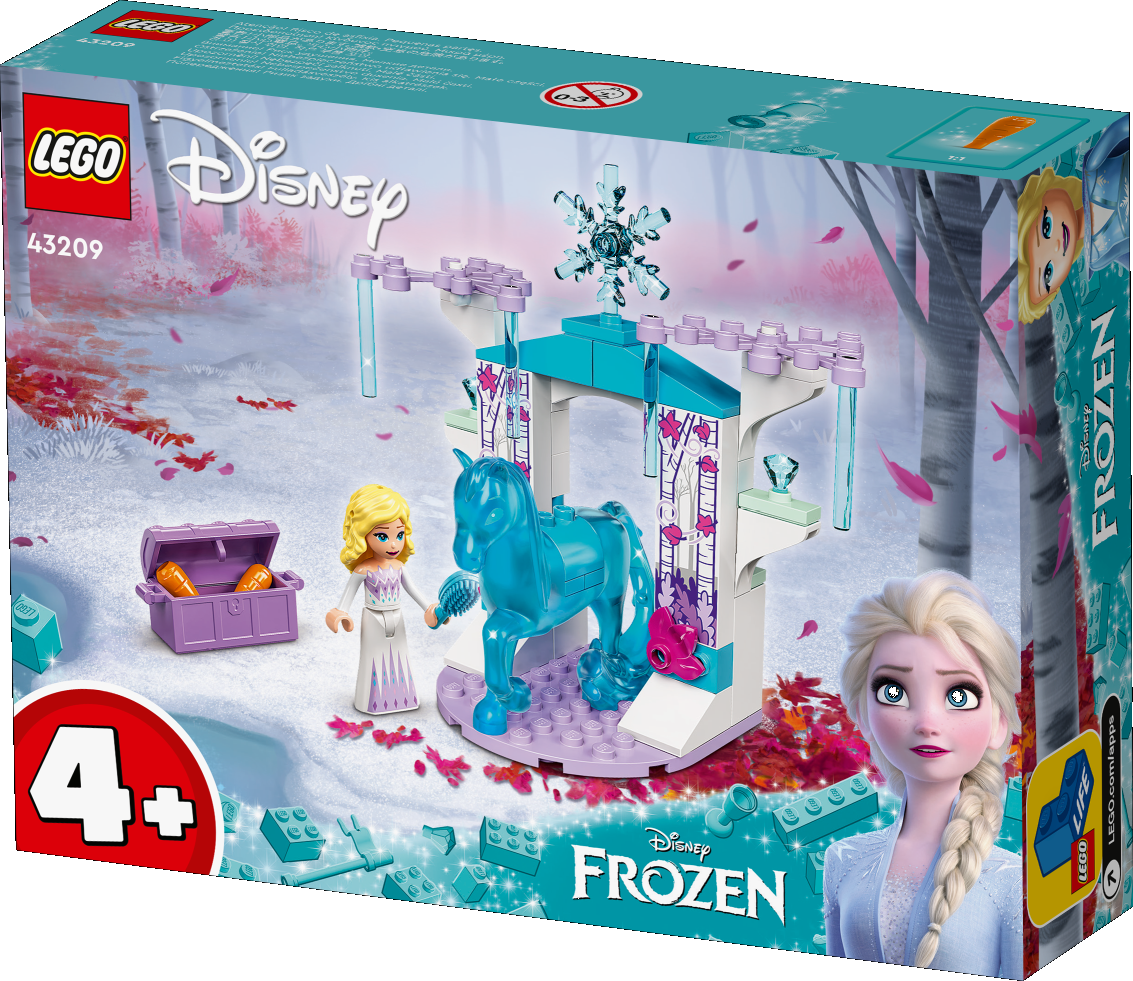
The box cover shows the Enchanted Forest. It is winter there, so the ground is covered in snow, and in the foreground, you can see the bank of an icy river or lake. A lot of different ice-blue LEGO bricks and pieces are floating in the icy water. There are a few red leaves on the ground, and several trees in the background. In the middle, the Nokk is standing in its ice stable while Elsa is gently brushing its mane. A chest filled with carrots is waiting for the Nokk. It definitely likes these yummy treats! In the right bottom corner of the box cover is a portrait of Elsa in a beautifully embroidered pale blue dress, her platinum blonde hair plaited in her signature hairstyle.

Open the box. This can be tricky; ask someone to help you!

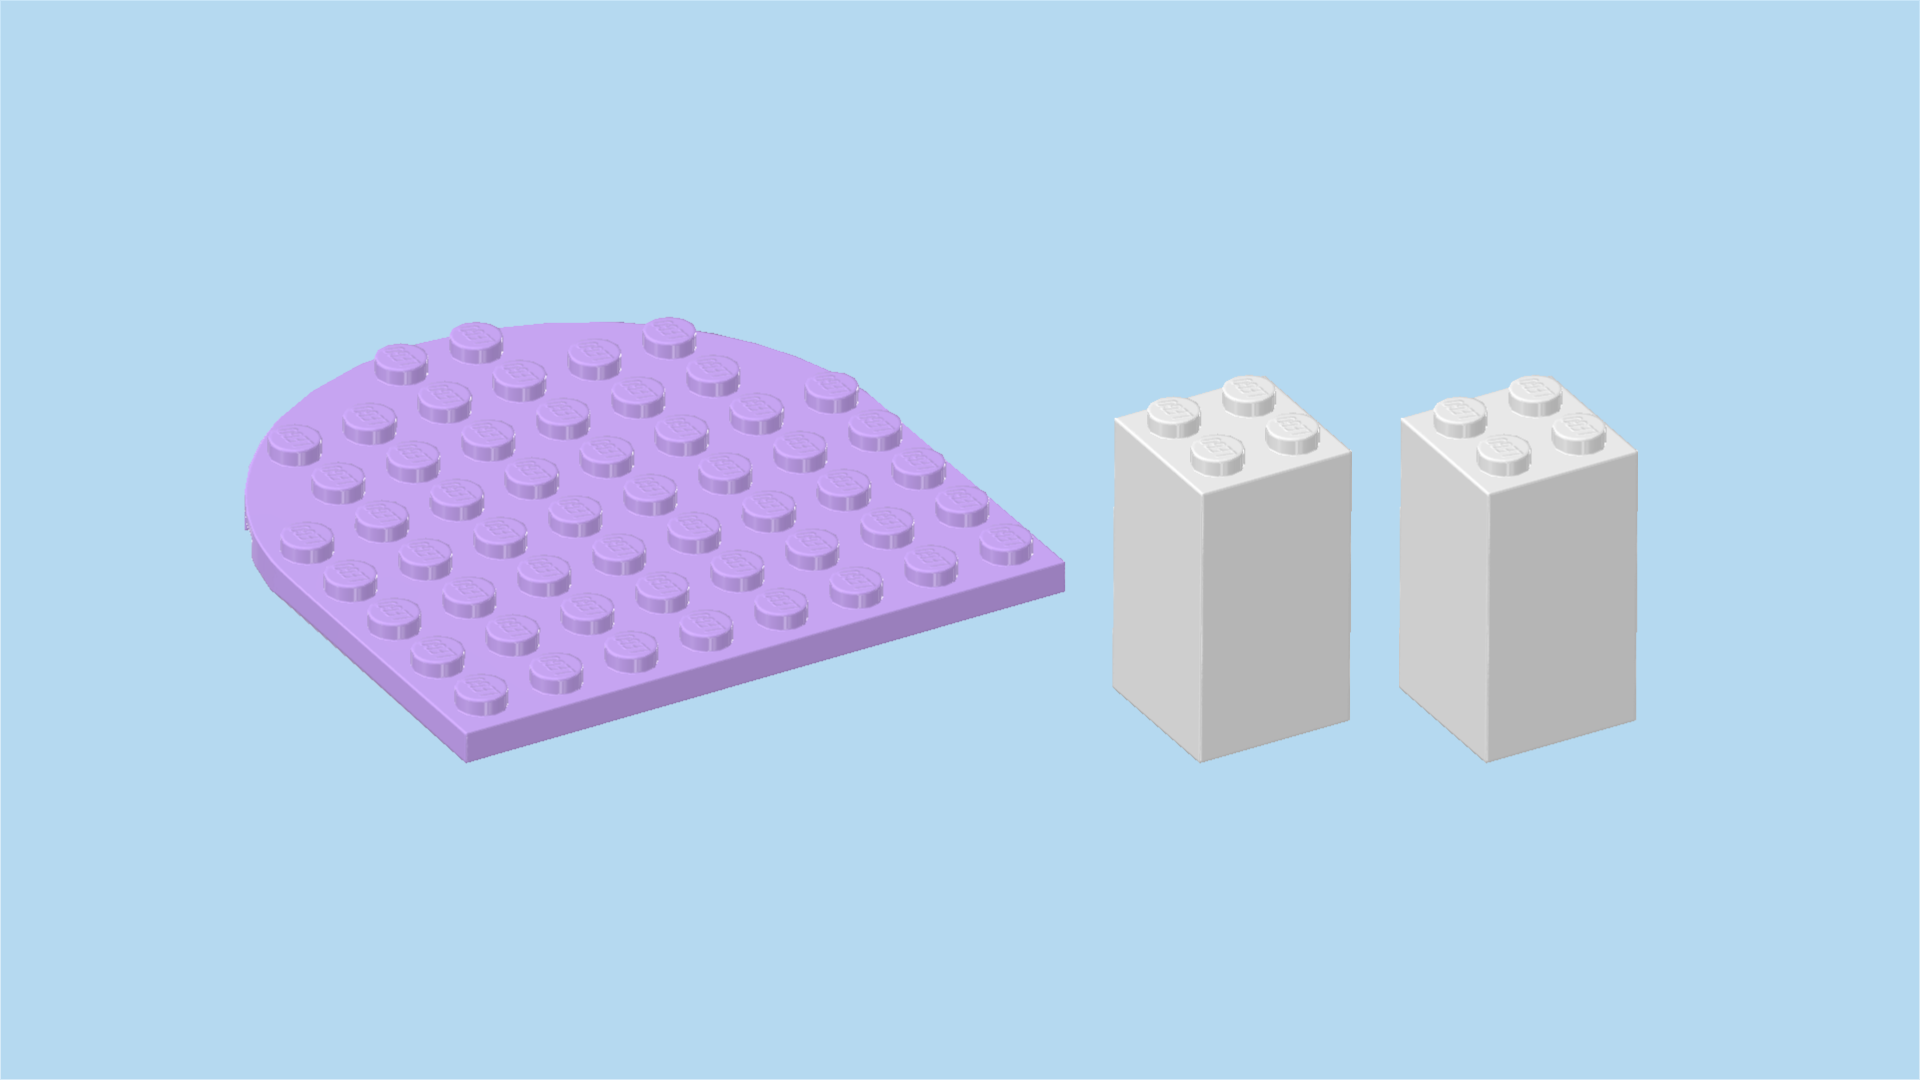
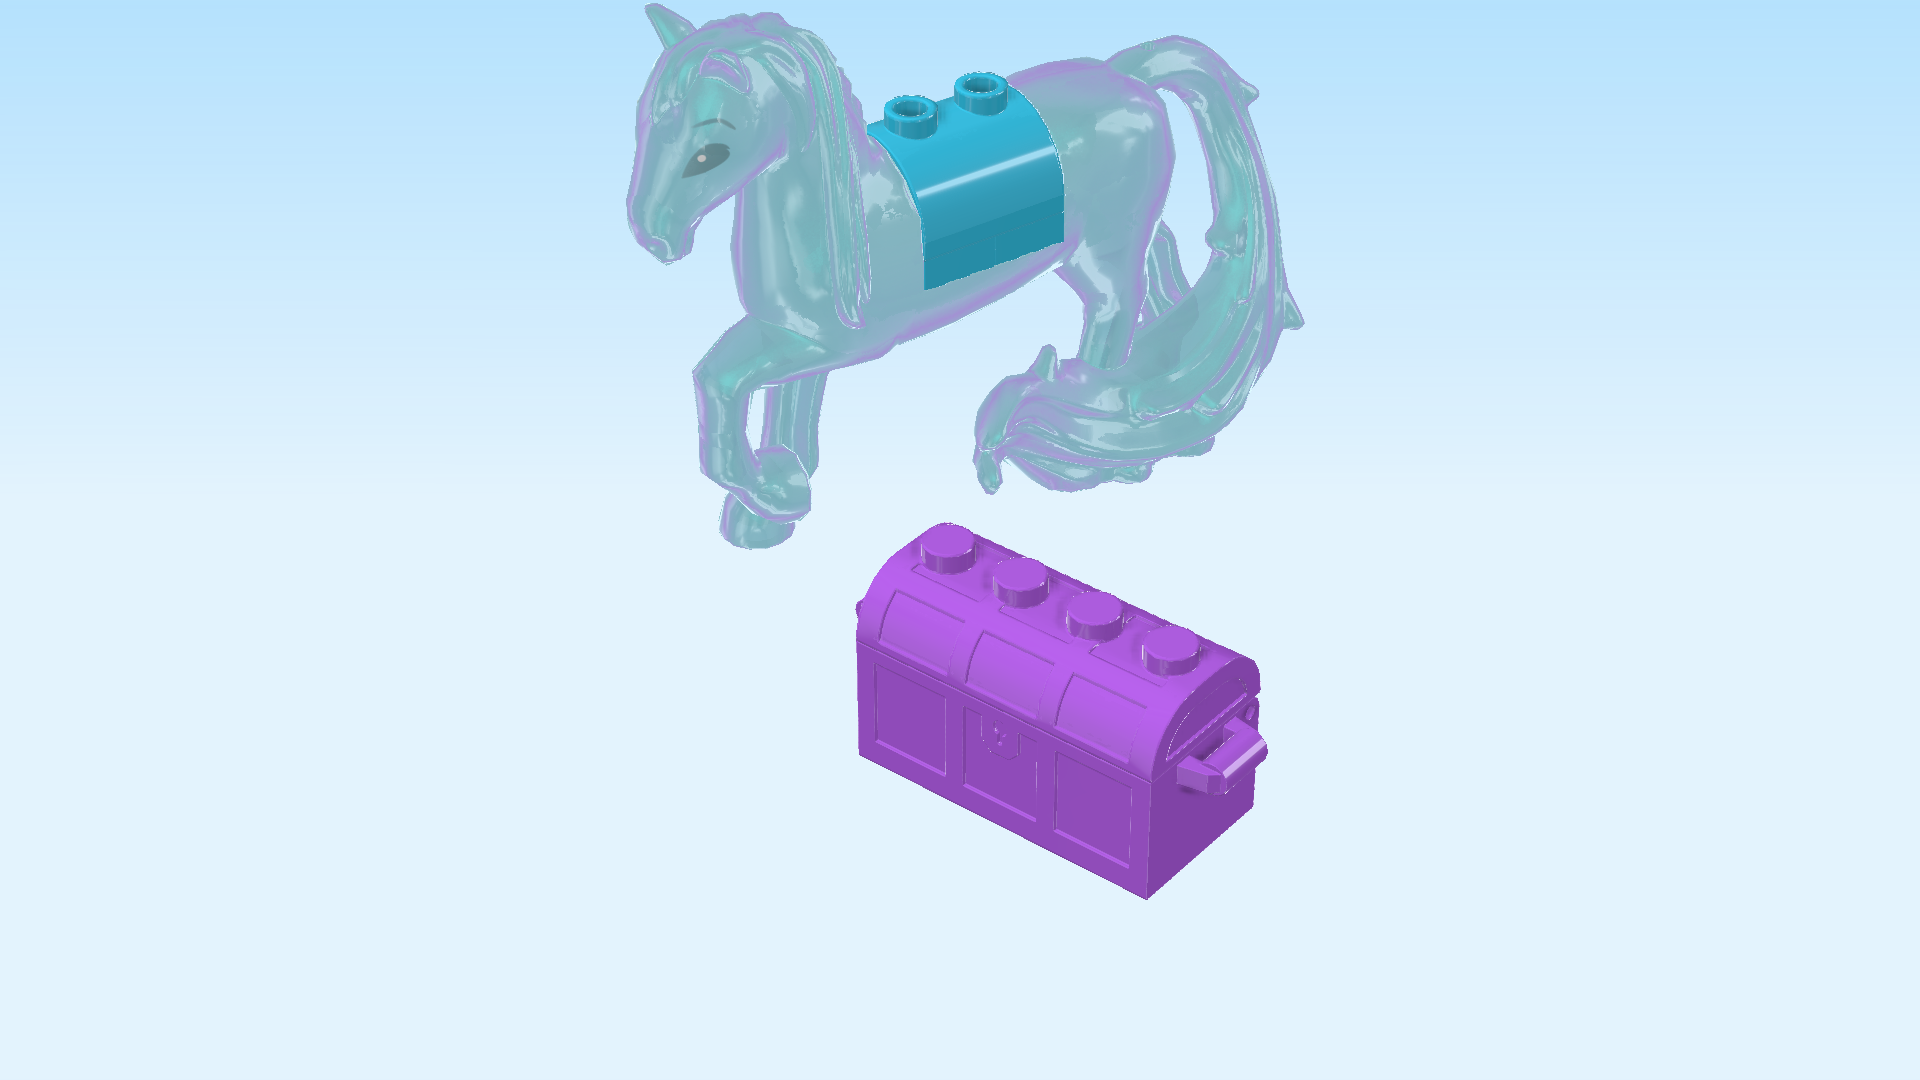
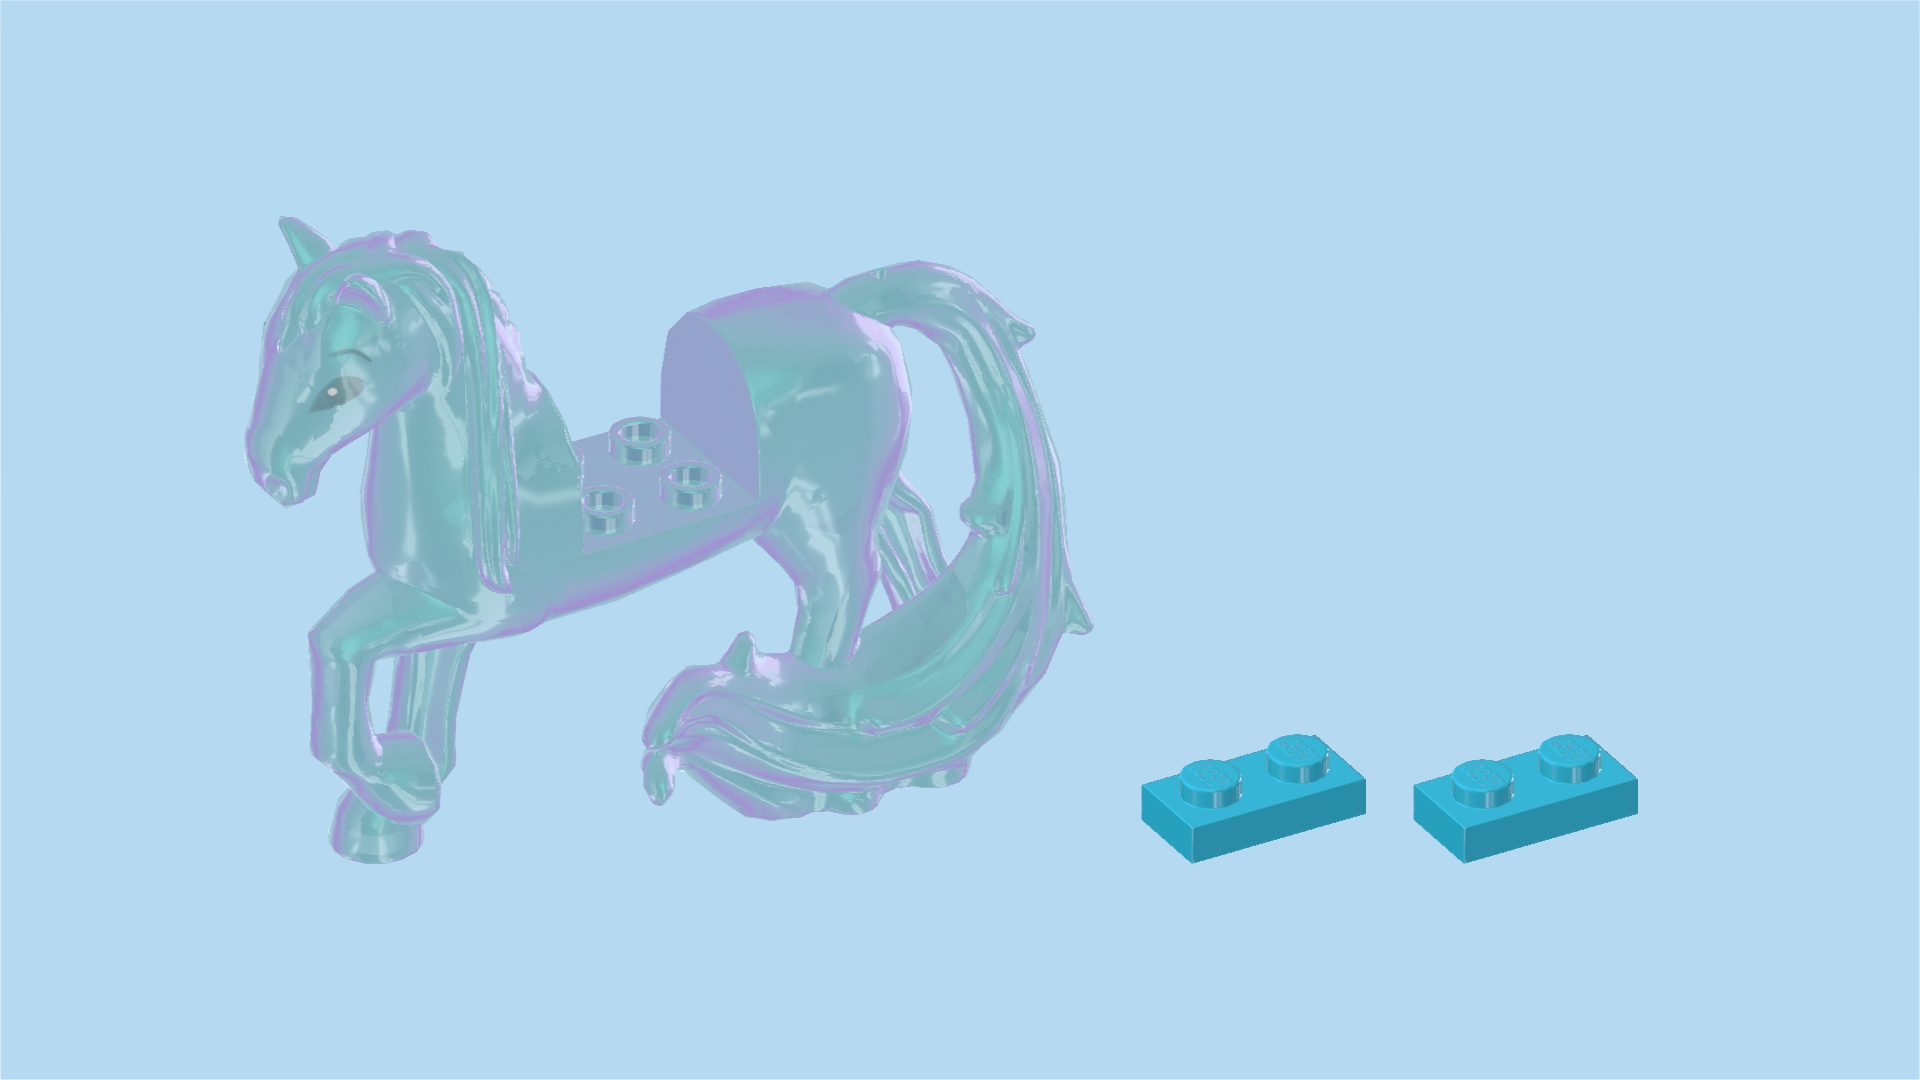
The box contains 1 booklet with visual building instructions, 1 plastic bag, and 2 loose pieces: one plate 8x8 with half circle, and 1 horse frame.

Carefully open the plastic bag.

Before you start building, ask a sighted person to help you sort the pieces by color. This makes finding the correct pieces even easier!

First, we will build the ice stable.

Collect the following 3 pieces:

2 white bricks 2x2x3,

and 1 light lavender plate 8x8 with half circle.

Put the plate 8x8 on the table. Make sure the round side is facing you, and the straight edge is at the back.

Put 1 brick 2x2x3 into the back right corner.

Repeat symmetrically on the left.

Find 2 white roof tiles 2x3, 25°.

Put 1 vertically in front of the previous piece, slope to the front.

Repeat symmetrically on the right.

Find 2 medium azure blue bricks 1x2 with 2 side knobs.

Put 1 horizontally on top of the previous piece, side knobs pointing to the front.

Repeat symmetrically on the left.

Find 2 aqua blue plates 1x2 with 1 knob.

Put 1 horizontally on the backmost row of the whole build, starting from the left edge. This means that it is placed on the brick 2x2x3 in the left corner.

Repeat symmetrically on the right.

Find 2 medium azure blue round bricks 1x1.

Put 1 in front of the previous piece on the left knob. This means that the knob to the right of this piece remains empty.

Repeat symmetrically on the left. In this case, the knob on the left will remain empty.

Find 2 white stepped bricks 1x3x2 with half arch.

Put 1 horizontally to the left of the previous piece, arch overhanging to the left.

Repeat symmetrically on the right.

Find 2 white bricks 1x2.

Put 1 horizontally on the lowest knob of the previous piece and on the knob to its left.

Repeat symmetrically on the left.

Find 2 white bricks 1x2.

Put 1 horizontally on top of the previous piece.

Repeat symmetrically on the right.

Find 1 white brick 1x6 with inside arch.

Put it horizontally on the inner knobs of the two previous pieces, connecting the two pillars on the left and right.

Find 2 aqua blue plates 1x2 with 1 knob.

Find the arch protruding to the left. Put 1 plate 1x2 horizontally on the 2 knobs of that arch.

Repeat symmetrically on the right.

Find 2 transparent light blue diamonds with stick.

Insert the small stick of 1 diamond into the knob of the previous piece.

Repeat symmetrically on the left.

Find 2 white stepped bricks 1x3x2 with half arch.

Put 1 horizontally to the right of the previous piece, arch to the left. This means that the arch is now roofing the diamond on the left side of the structure.

Repeat symmetrically on the right.

Find 2 white bricks 1x2x5. (These pieces are printed.)

First, identify the 2 knobs pointing to the front on the left side of the structure.

Now, put 1 brick horizontally on the 2 knobs exactly above those 2 front side knobs. Make sure the print is to the front.

Repeat symmetrically on the right, print to the front.

The pieces are each printed with the stems of two trees with white bark, probably birch trees, and red falling leaves, surrounded by swirls of wind. On the ground, there are leaves in different shades of lilac.

Find 2 medium azure blue roof tiles 2x4, 18°.

Put 1 roof tile horizontally on the previous piece and the row behind it, slope to the right.

Repeat symmetrically on the left. The two roof tiles meet in the middle.

Find 1 medium azure blue plate 2x2 with 1 knob.

Put it on top of the two previous pieces.

Find 2 white plates 1x2 with upward hook on long side.

Put 1 horizontally on the topmost arch that is protruding towards the left, and make sure the hook is to the front.

Repeat symmetrically on the right, hook to the front.

Collect the following 3 pieces:

2 purple violet round plates 1x1 with 3 leaves,

and 1 transparent light blue snowflake.

Insert one shaft of the snowflake into the knob on top of the roof.

The two round plates with leaves have a special orientation. They will be mounted on the side knobs pointing to the front. Continue to find out how.

Put 1 it on the second side knob from the left edge. Make sure the leaves point to the left and to the top, which means that they will cover the neighboring knob.

Repeat symmetrically on the right. Make sure the leaves point to the right and to the top, covering the neighboring side knob.

Now, we will build one of two roof decorations.

Collect the following 3 pieces:

1 light lavender plant element with 14 knobs,

and 2 transparent light blue shafts 4m. (4m means that the shafts are about 4 knobs long.)

This decoration only consists of those three pieces, but they can be a bit tricky to put together. Listen to the instructions carefully or feel free to pick your own placement! You can also always ask for help. But first, let's give it a try!

Hold the plant element horizontally in your hand, knobs to the top. This element is kind of shaped like a triangle where one branch is a bit longer. Try to identify the knob that is at the end of the longest branch.

Make sure the longest branch is pointing to the right. Now, insert one shaft into said knob from the bottom.

Make sure that the shaft is not sticking out at the top, but only towards the bottom. This will be an icicle!

Insert the second shaft from below into the leftmost knob closest to you.

Again, make sure the icicle is not sticking out at the top.

The first roof decoration is finished! That was quite tricky, well done! To mount it, first try to find the middle knob of the plant element.

Now, put the middle knob on the hook sticking out to the top on the left side of the structure.

Your icicles are now beautifully decorating the ice stable. Lovely!

Next, we will build the second roof decoration.

It is not exactly the same as the previous decoration, but it is very similar, so it will be easier to build.

Collect the following 3 pieces:

1 light lavender plant element with 14 knobs,

and 2 transparent light blue shafts 4m.

Hold the plant element horizontally in your hand. Make sure the longest branch is pointing to the left this time.

Insert 1 shaft from the bottom into the leftmost hole.

Insert the other shaft from the bottom into the rightmost knob closest to you.

Make sure again that both shafts are only sticking out towards the bottom.

The second roof decoration is finished, too! Good job! Put the middle knob of the plant element on the right hook sticking out towards the top.

The ice stable is finished! Very well done, this had a few really tricky steps! It will be a lovely home for the Nokk where Elsa can come by for a visit. Let's continue!

Now, we will assemble the Elsa Minidoll.

Collect the following 2 pieces:

1 light nougat brown and white minidoll upper body,

and 1 white minidoll long skirt.

Put the upper body on the skirt element.

Collect the following 2 pieces:

1 light nougat brown minidoll head,

and 1 lemon yellow hairpiece with long wavy hair.

Put the head on the body.

Put the hairpiece on the head.

Find 1 medium azure blue hairbrush.

Snap its handle into one of Elsa's hands.

The Elsa Minidoll is finished! Well done! Elsa has blonde wavy hair. She is wearing her spirit dress which is a white dress with five lavender-colored spikes ascending from the bottom of the dress towards the middle, with the middle spike being the longest. The spikes are embellished with 5 rows of glistening diamonds in different shades of blue and lilac. The bust of the dress is decorated with an intricate pattern of lavender spikes, embroidery, and diamonds. The dress is strapless, but Elsa is wearing translucent white long gloves. At the back, the dress is decorated with a beautiful lavender-colored snowflake embroidery.

Next, we will build the Nokk.

The Nokk is a beautiful transparent blue water spirit in the form of a horse. It has a long wavy mane and an equally wavy tail. Elsa and the Nokk are good friends, and Elsa likes to visit the water spirit regularly at its stable. Sometimes she grooms the Nokk's magnificent mane with her brush!

Collect the following 3 pieces:

2 medium azure blue plates 1x2,

and 1 transparent light blue horse frame.

Place the horse horizontally so that its head is to the left.

Put 1 plate 1x2 vertically on the two left knobs of the horse frame.

Put the other plate 1x2 vertically to the right.

Find 1 medium azure blue half-cylinder brick 2x2 with 2 knobs.

Put it on top of the two previous pieces. Make sure the two knobs are left to right, not front to back. The roundness of the half cylinder should fit perfectly into the horse's body.

The Nokk is finished! Great job! It can now take a rest in its stable while we continue building.

Now, we will build the treasure chest.

Collect the following 2 pieces:

1 lavender treasure chest bottom 2x4,

and 1 lavender treasure chest lid 2x4.

Put the chest bottom on the table. The wall on one long side is lower than the other three side walls. This is where the chest lid will go.

Take the chest lid and find the two little studs on one long side. Snap those studs into the notches inside the chest, fitting the lid into the lower side wall of the chest.

Find 2 bright orange carrots.

Put them into the chest.

The chest is finished! Well done! You can open and close it as needed. It is a great storage place for the Nokk's treats, but you can keep all kinds of things in this chest.

You have finished building the entire set! Very good job! Now, Elsa and the Nokk can roam the Enchanted Forest together or stay at the stable for some treats and a grooming session. You get to choose!

Enjoy!