LEGO 43204 Anna and Olaf's Castle Fun 

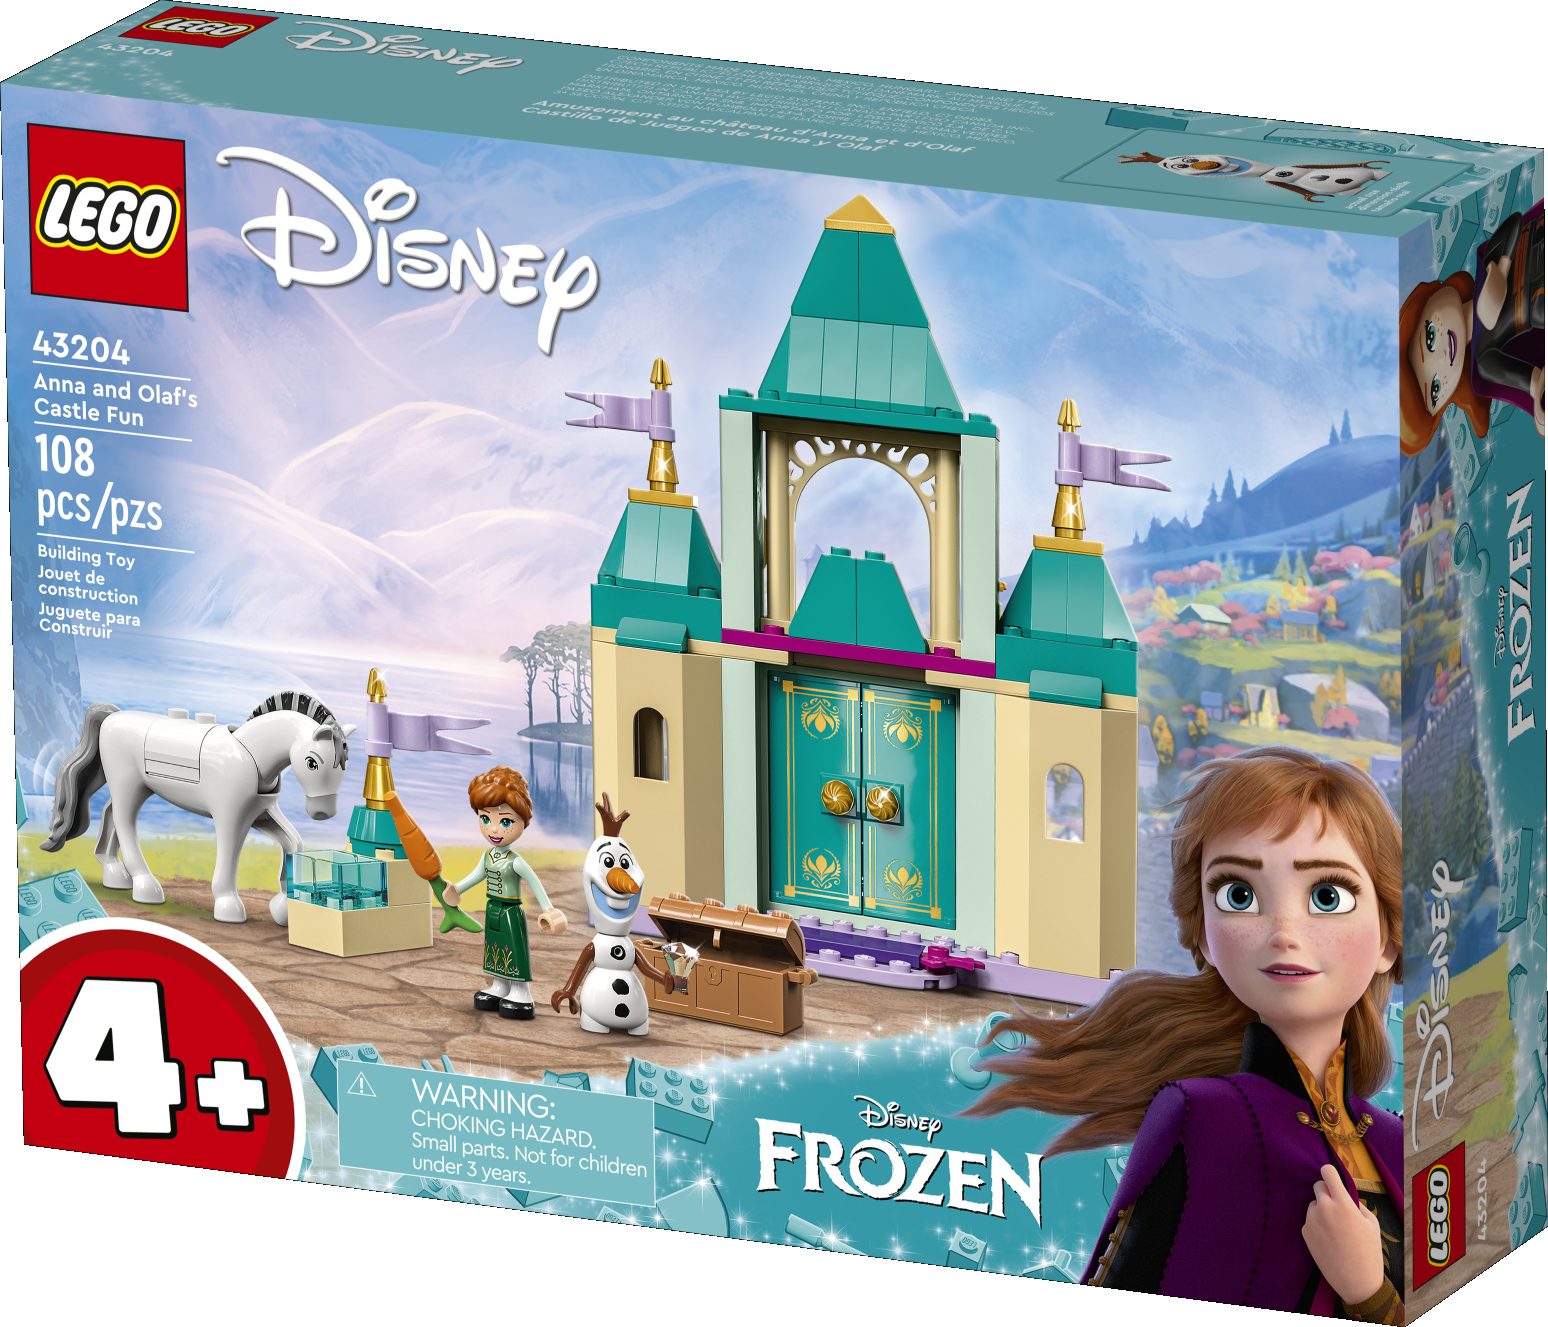
LEGO Audio & Braille Building Instructions for the LEGO Disney set "Anna and Olaf's Castle Fun".

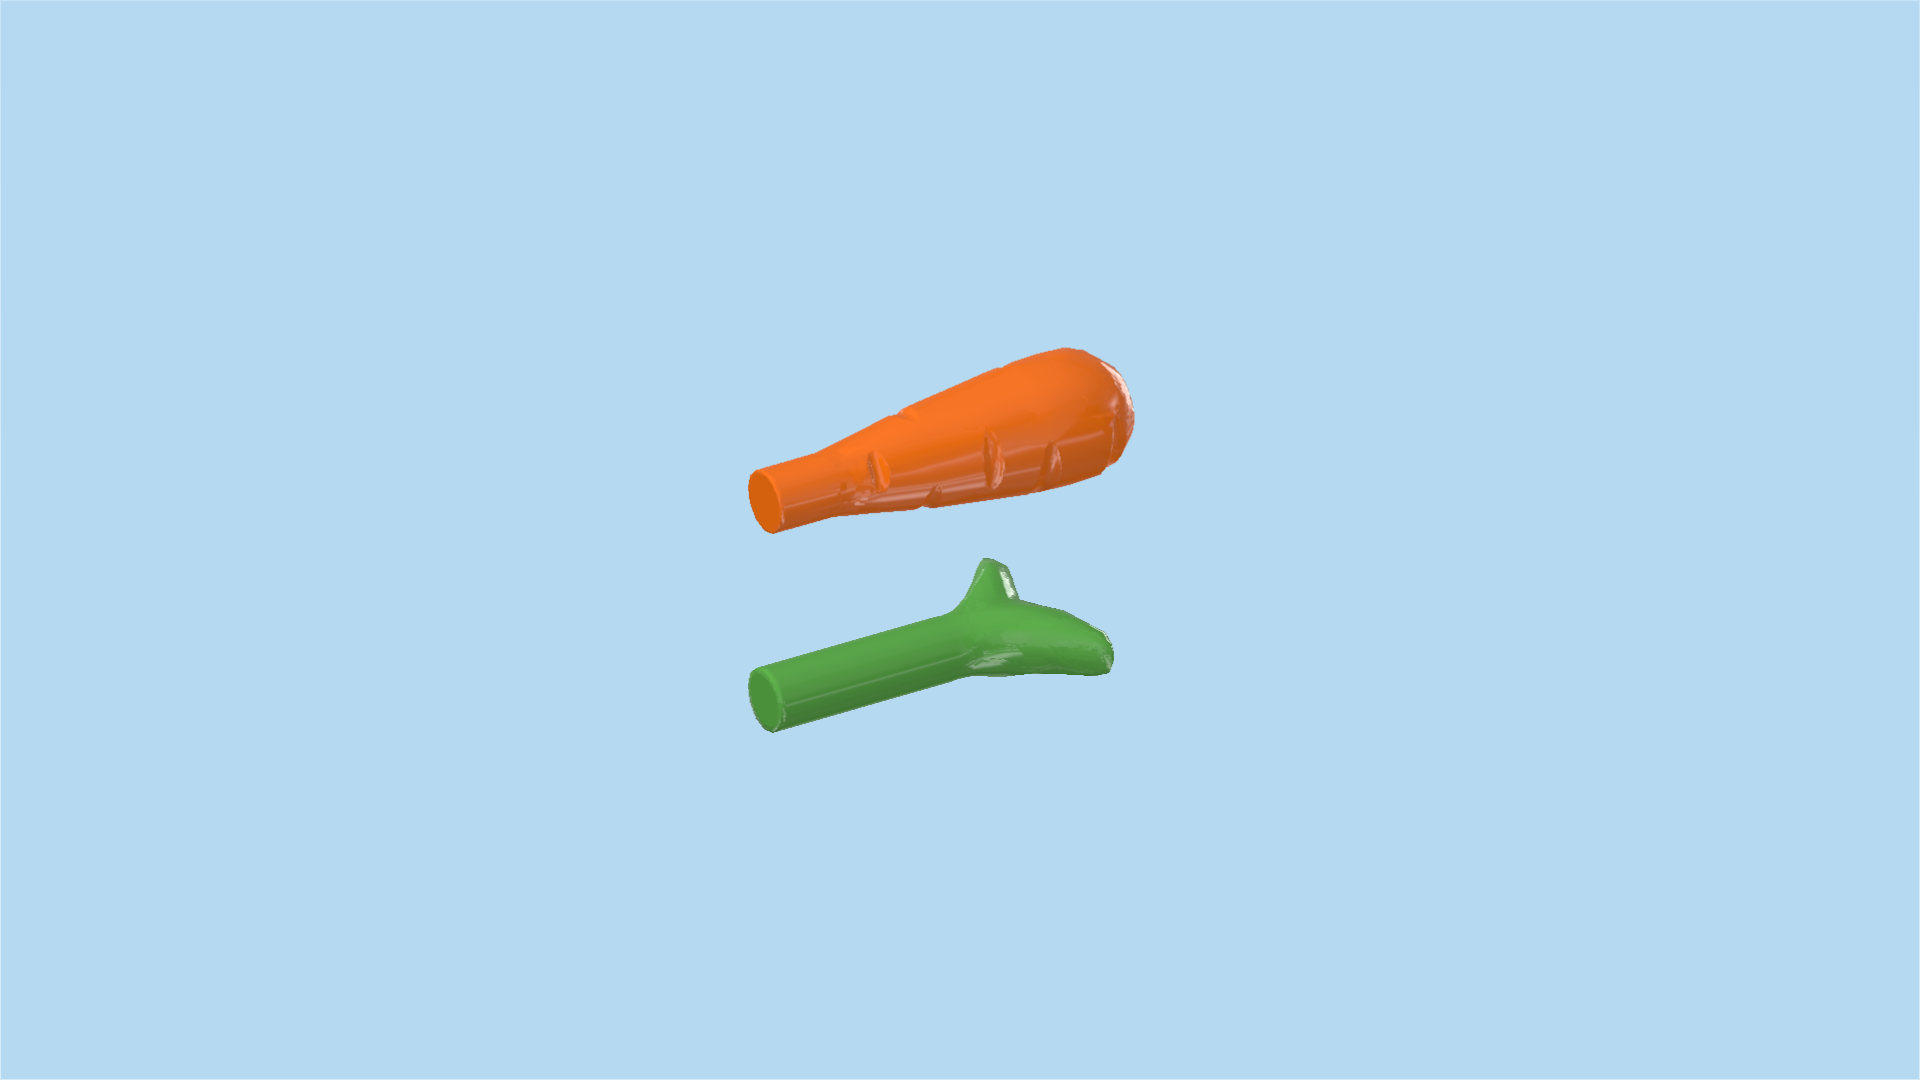
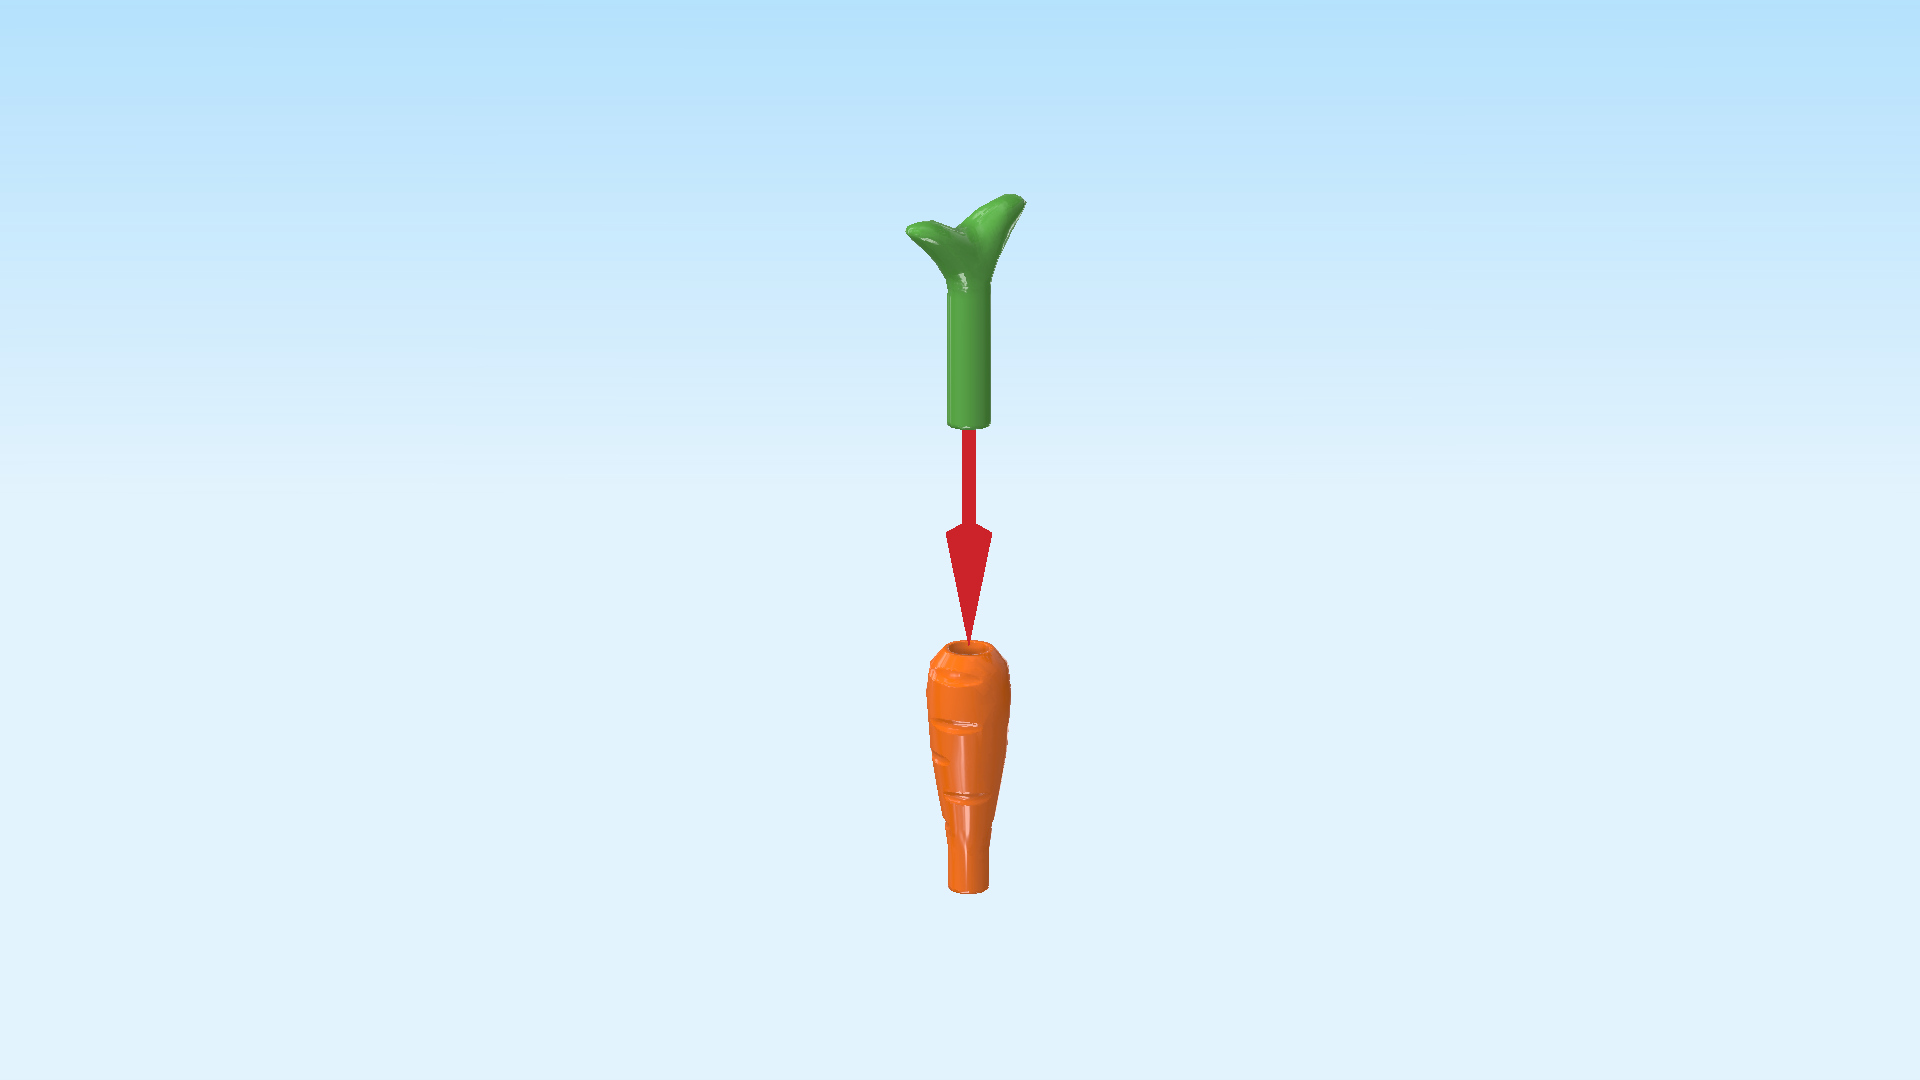
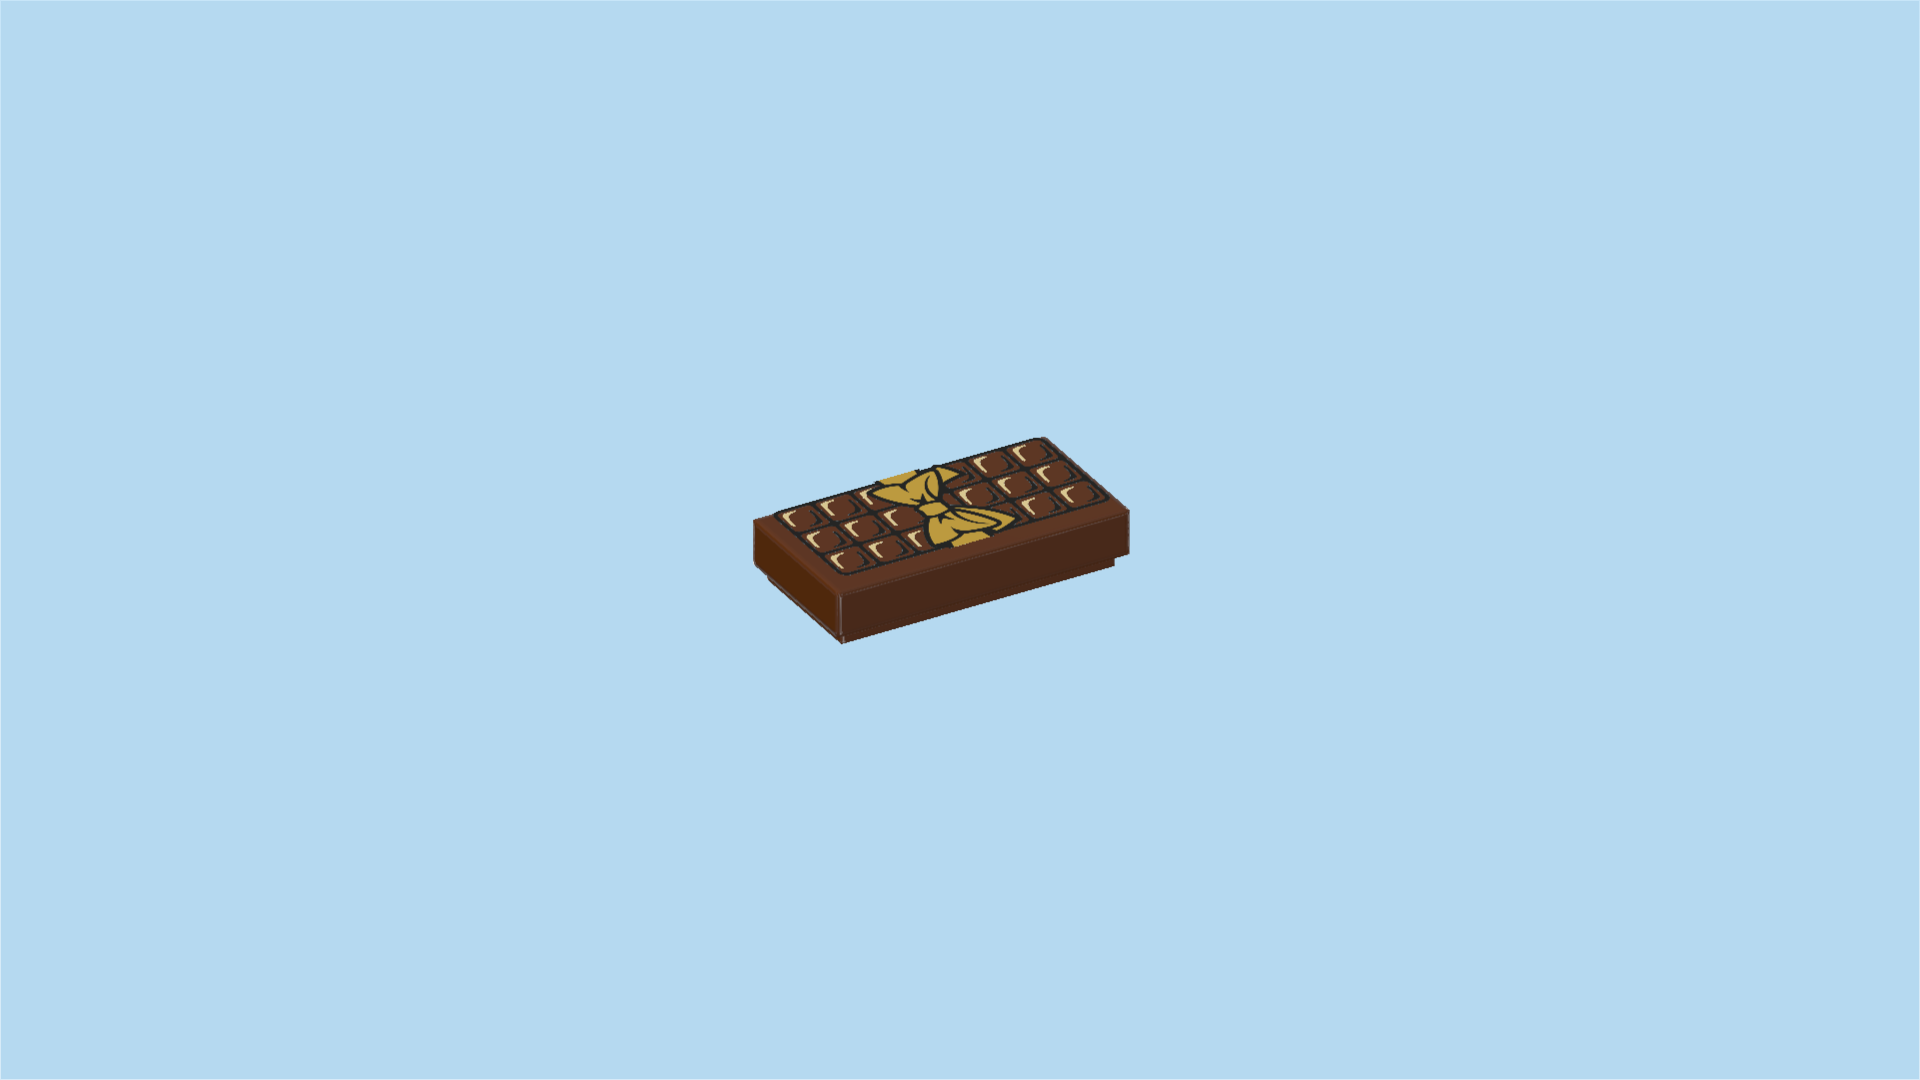
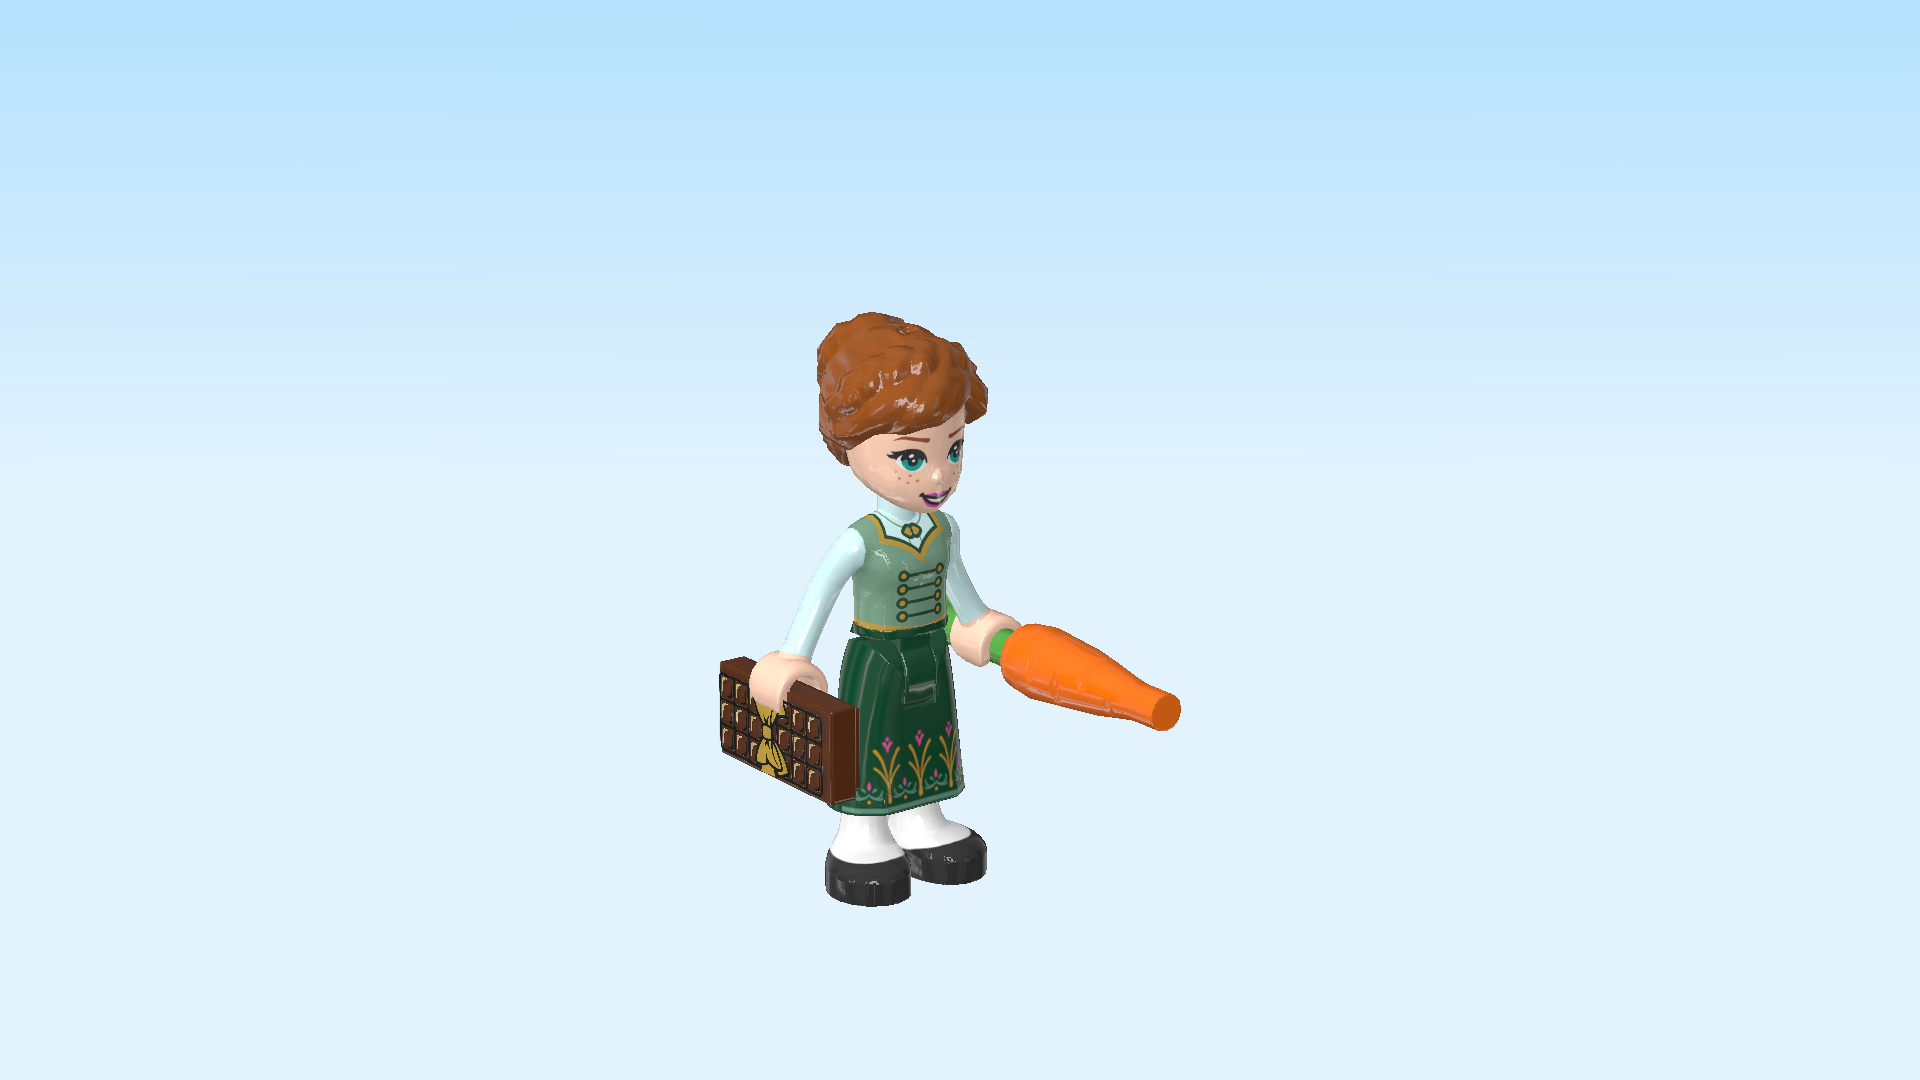
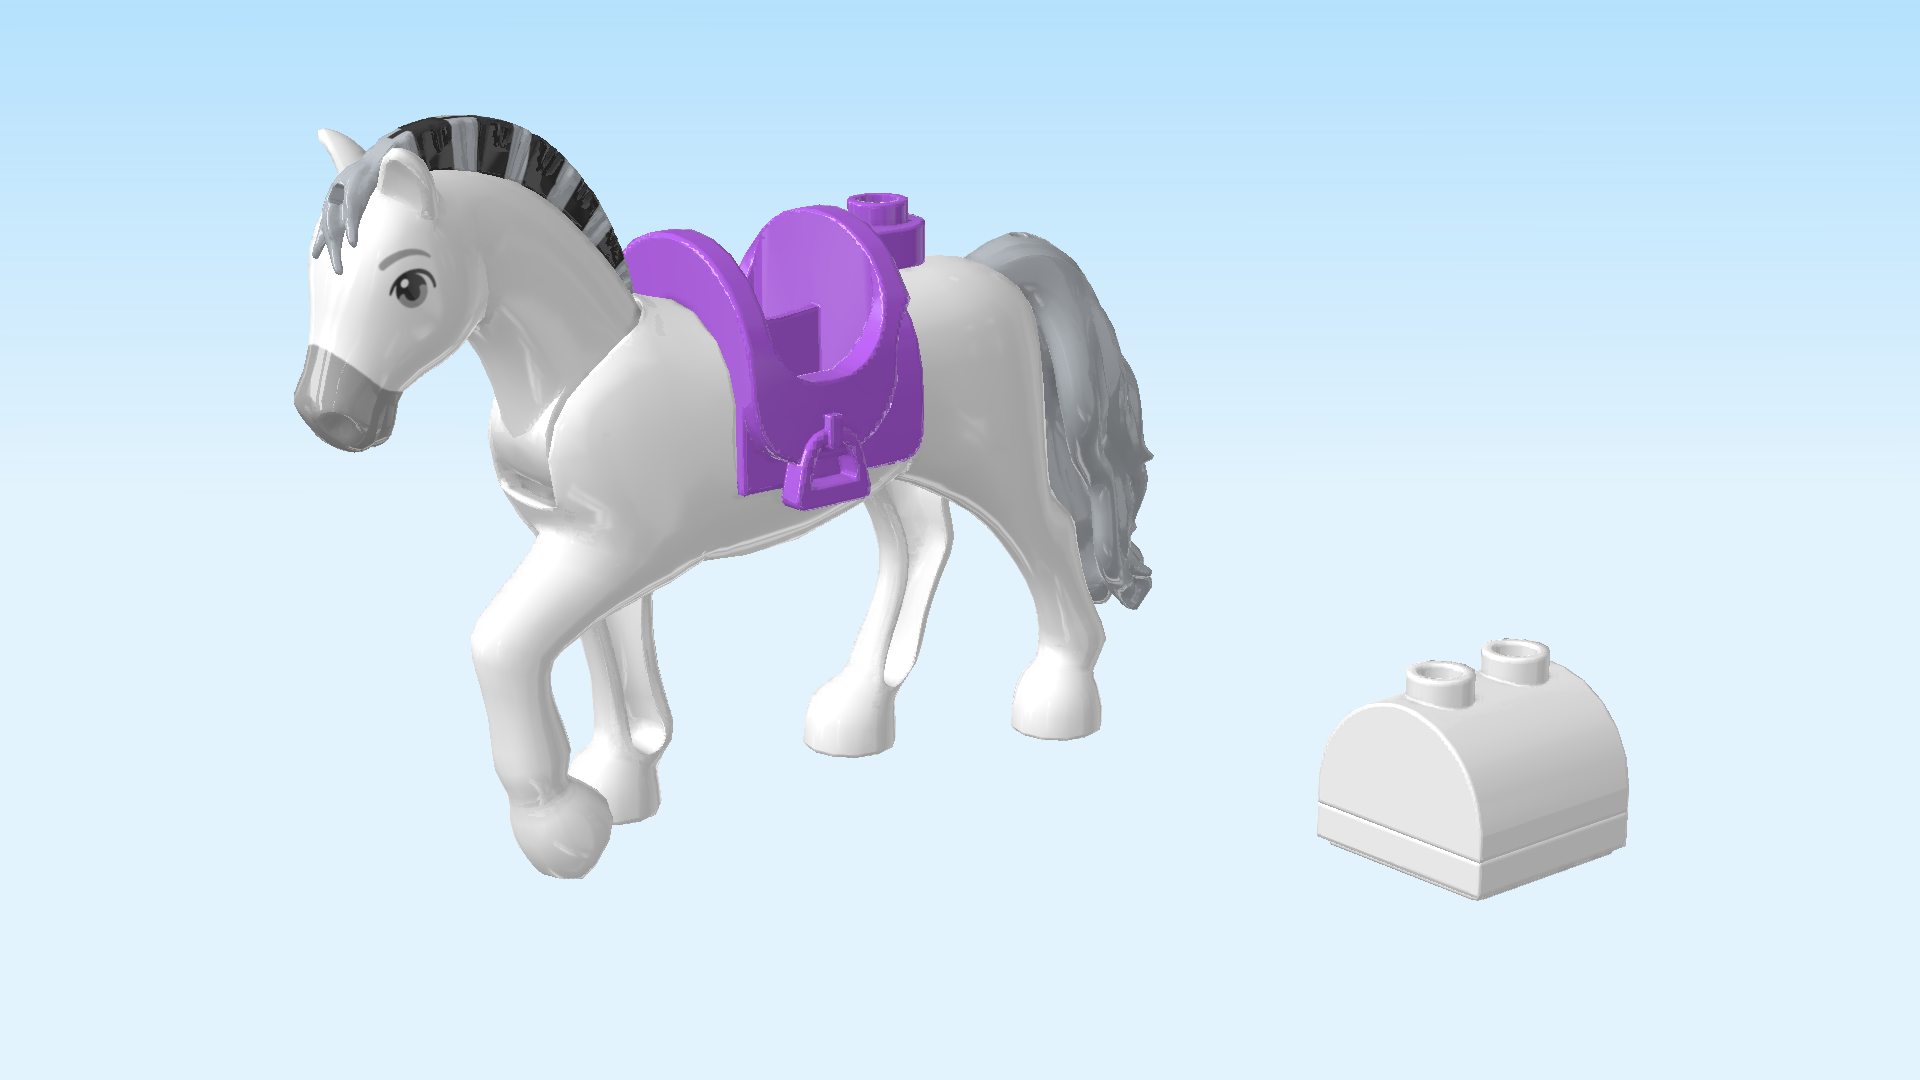
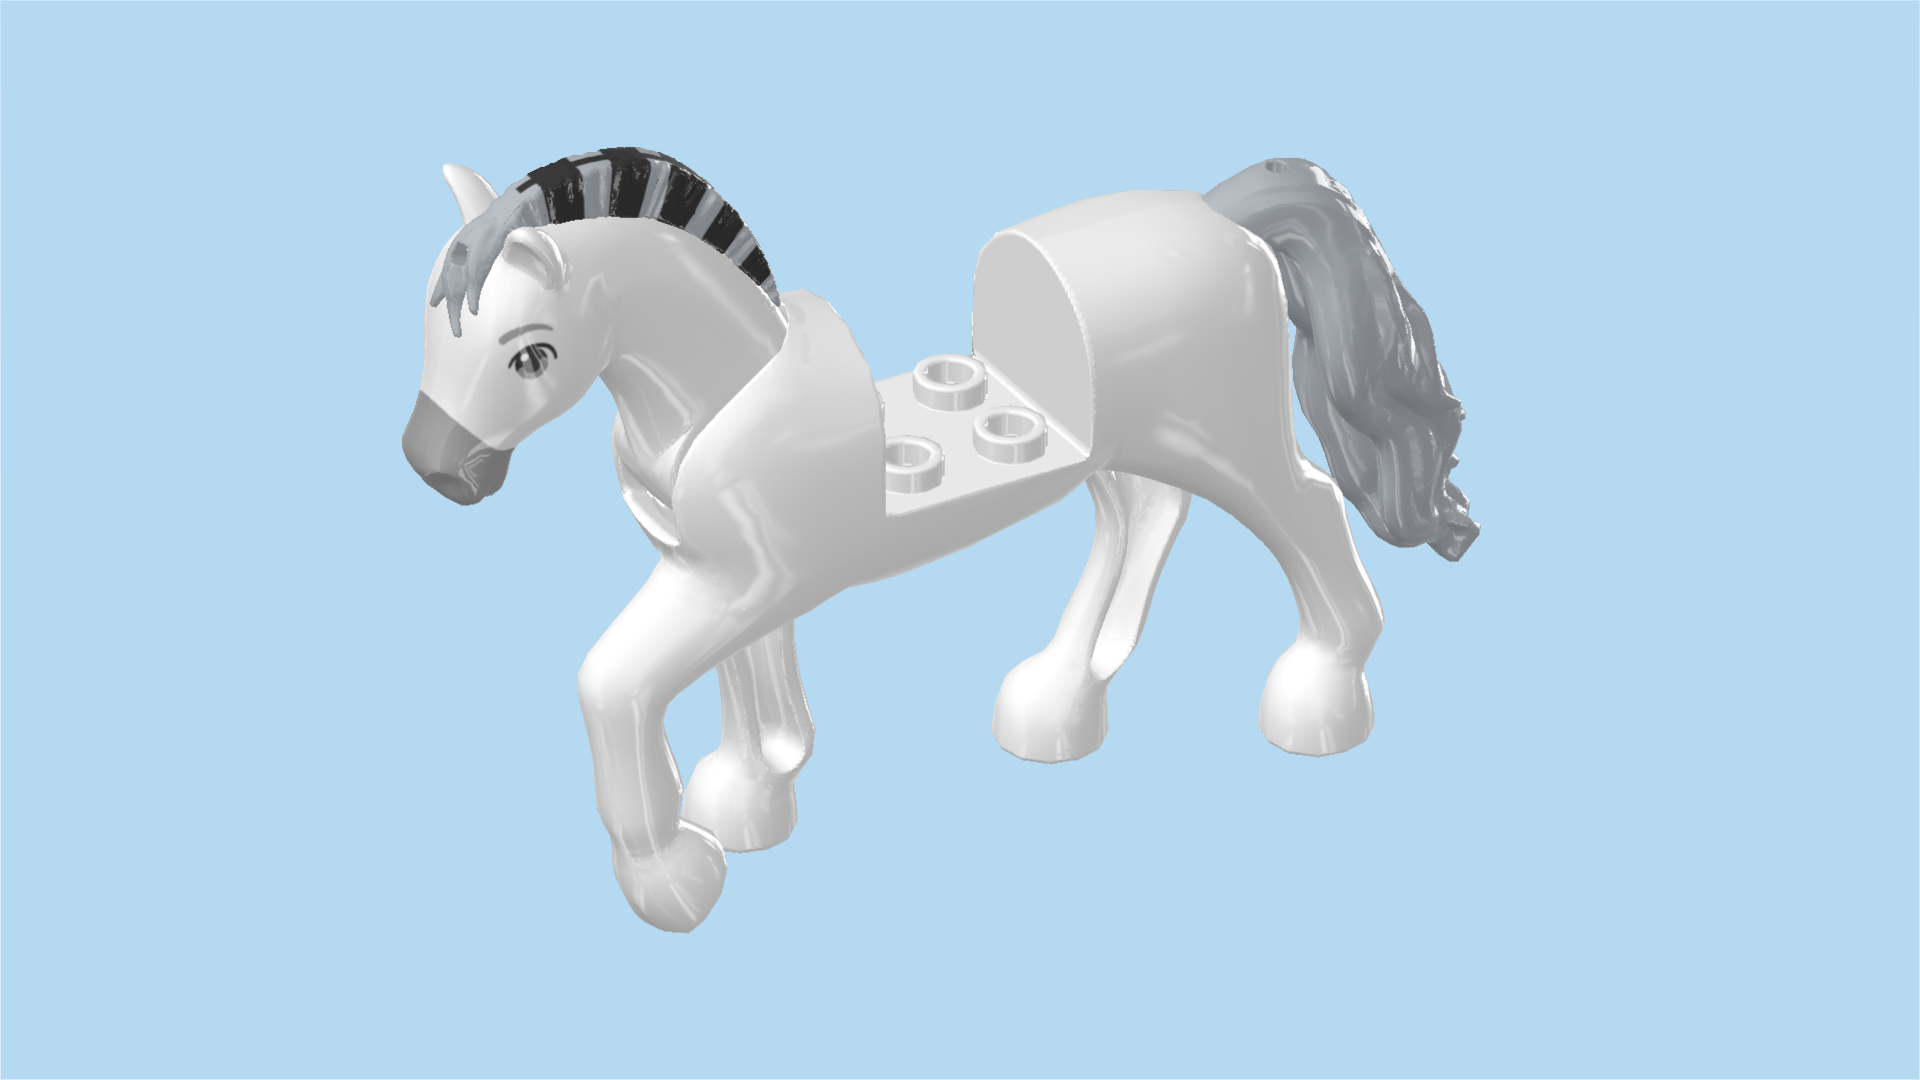
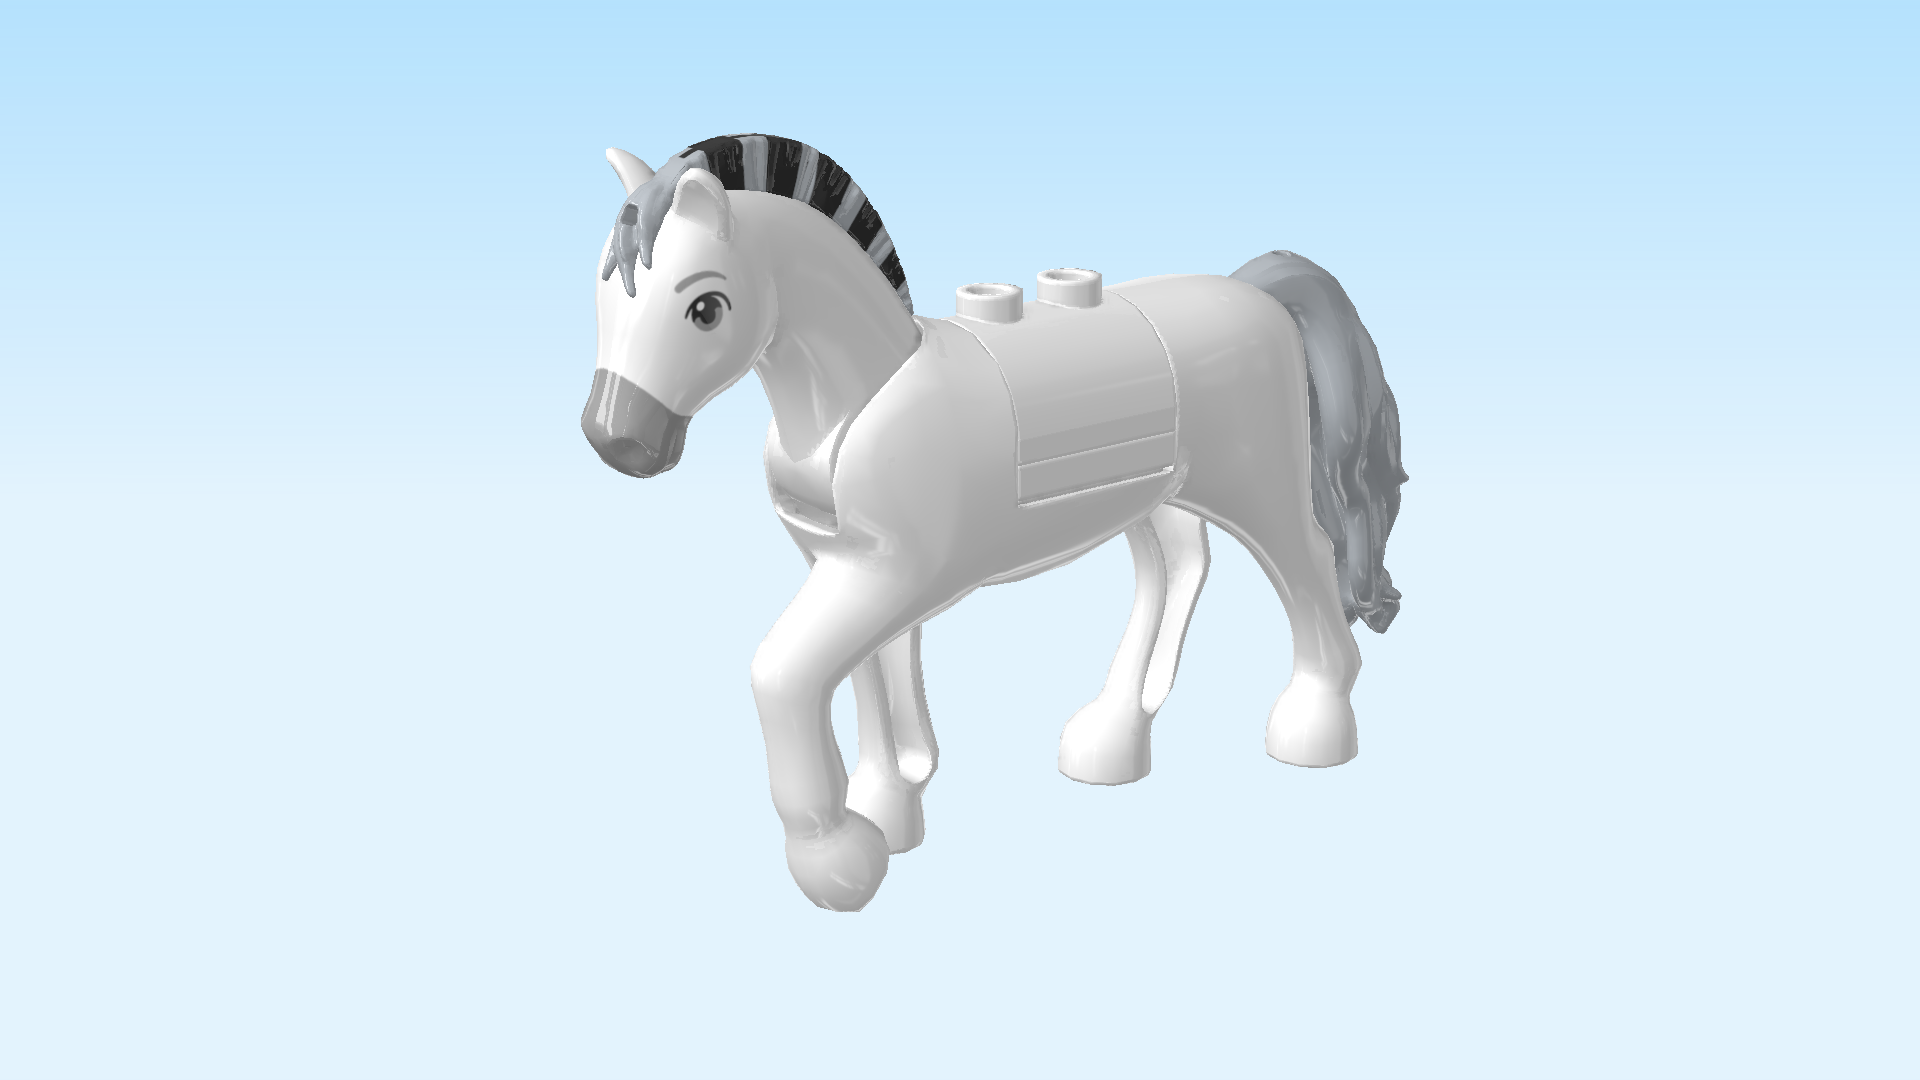
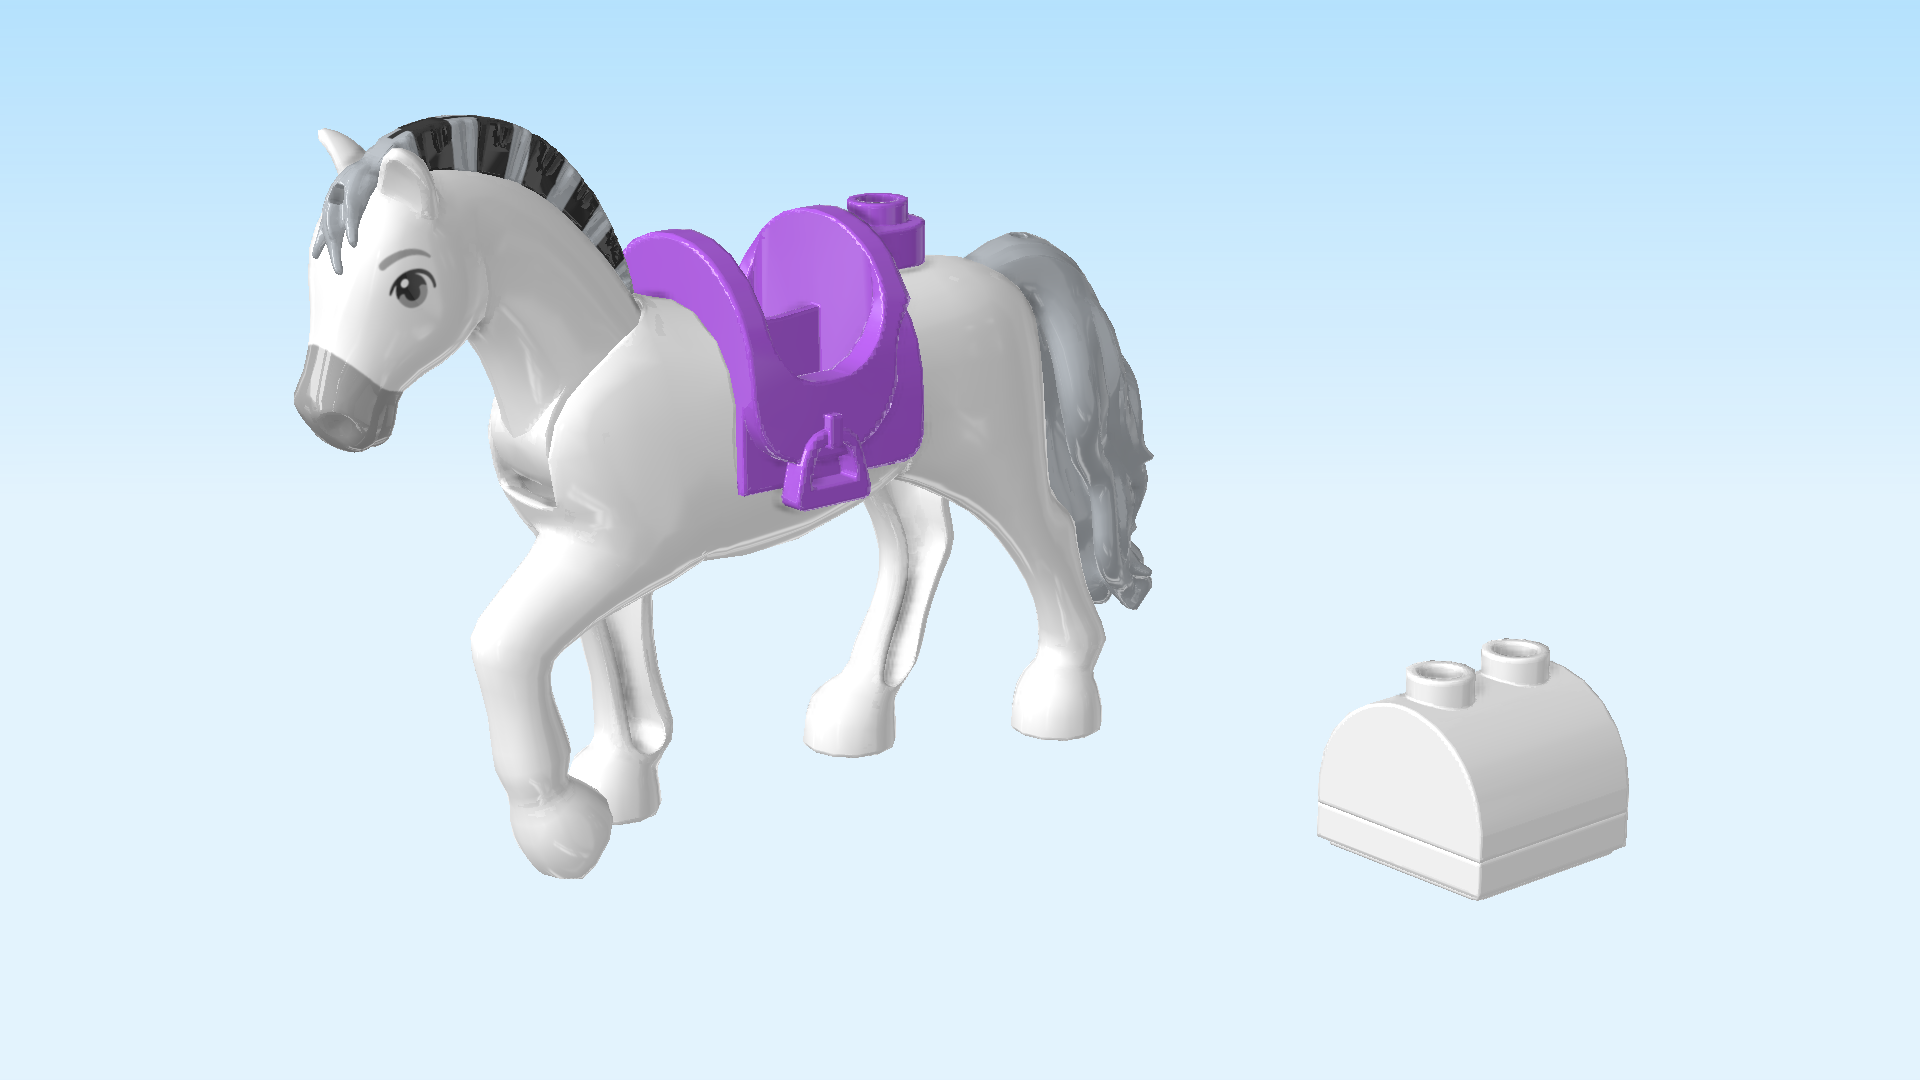
Visit Disney's Anna in Arendelle Castle! Come inside and check the time on the big grandfather clock. Have a snack before dancing with Anna and Olaf in the ballroom. Tired? Head to Anna's bedroom and have a nap. There's more fun to be had, so rest up! Feed Kjekk a carrot while Anna brushes him, then put his saddle on to go for a ride. When you're back, it's time to see what else you can find!

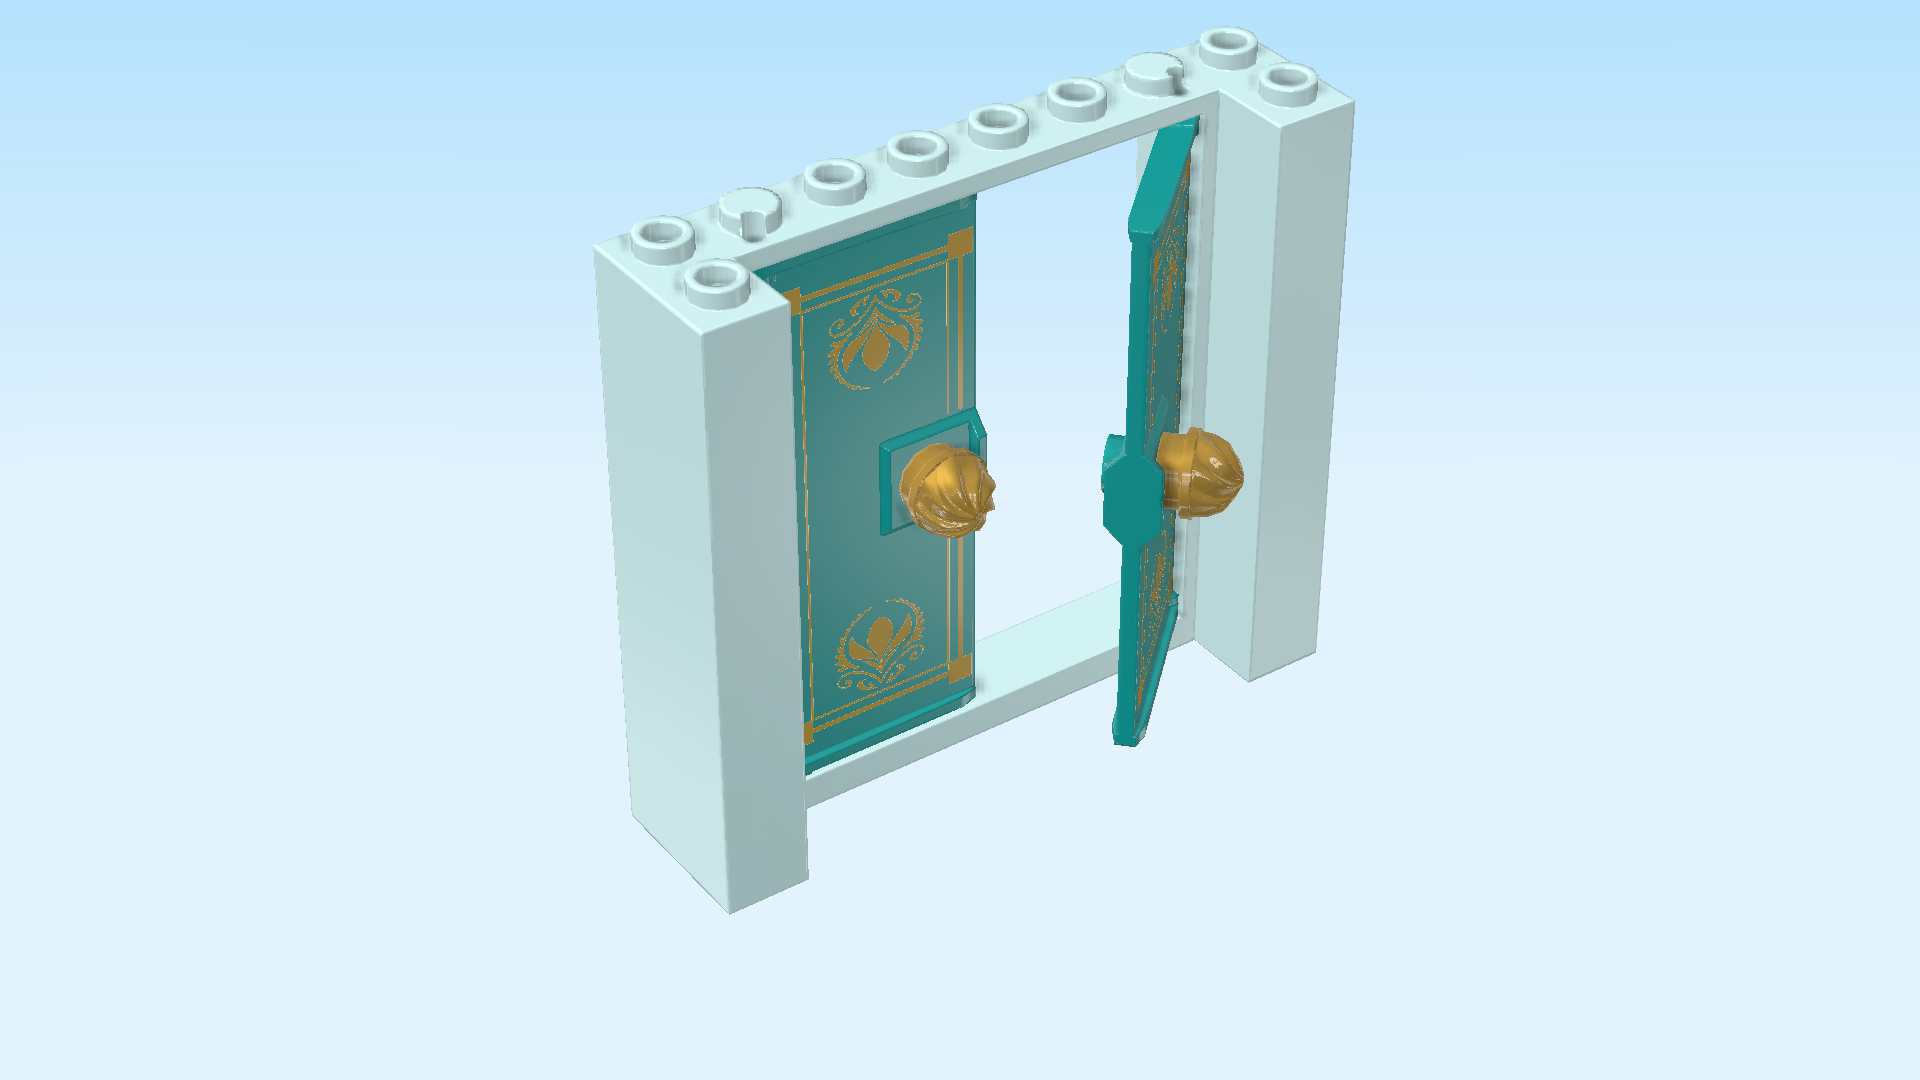
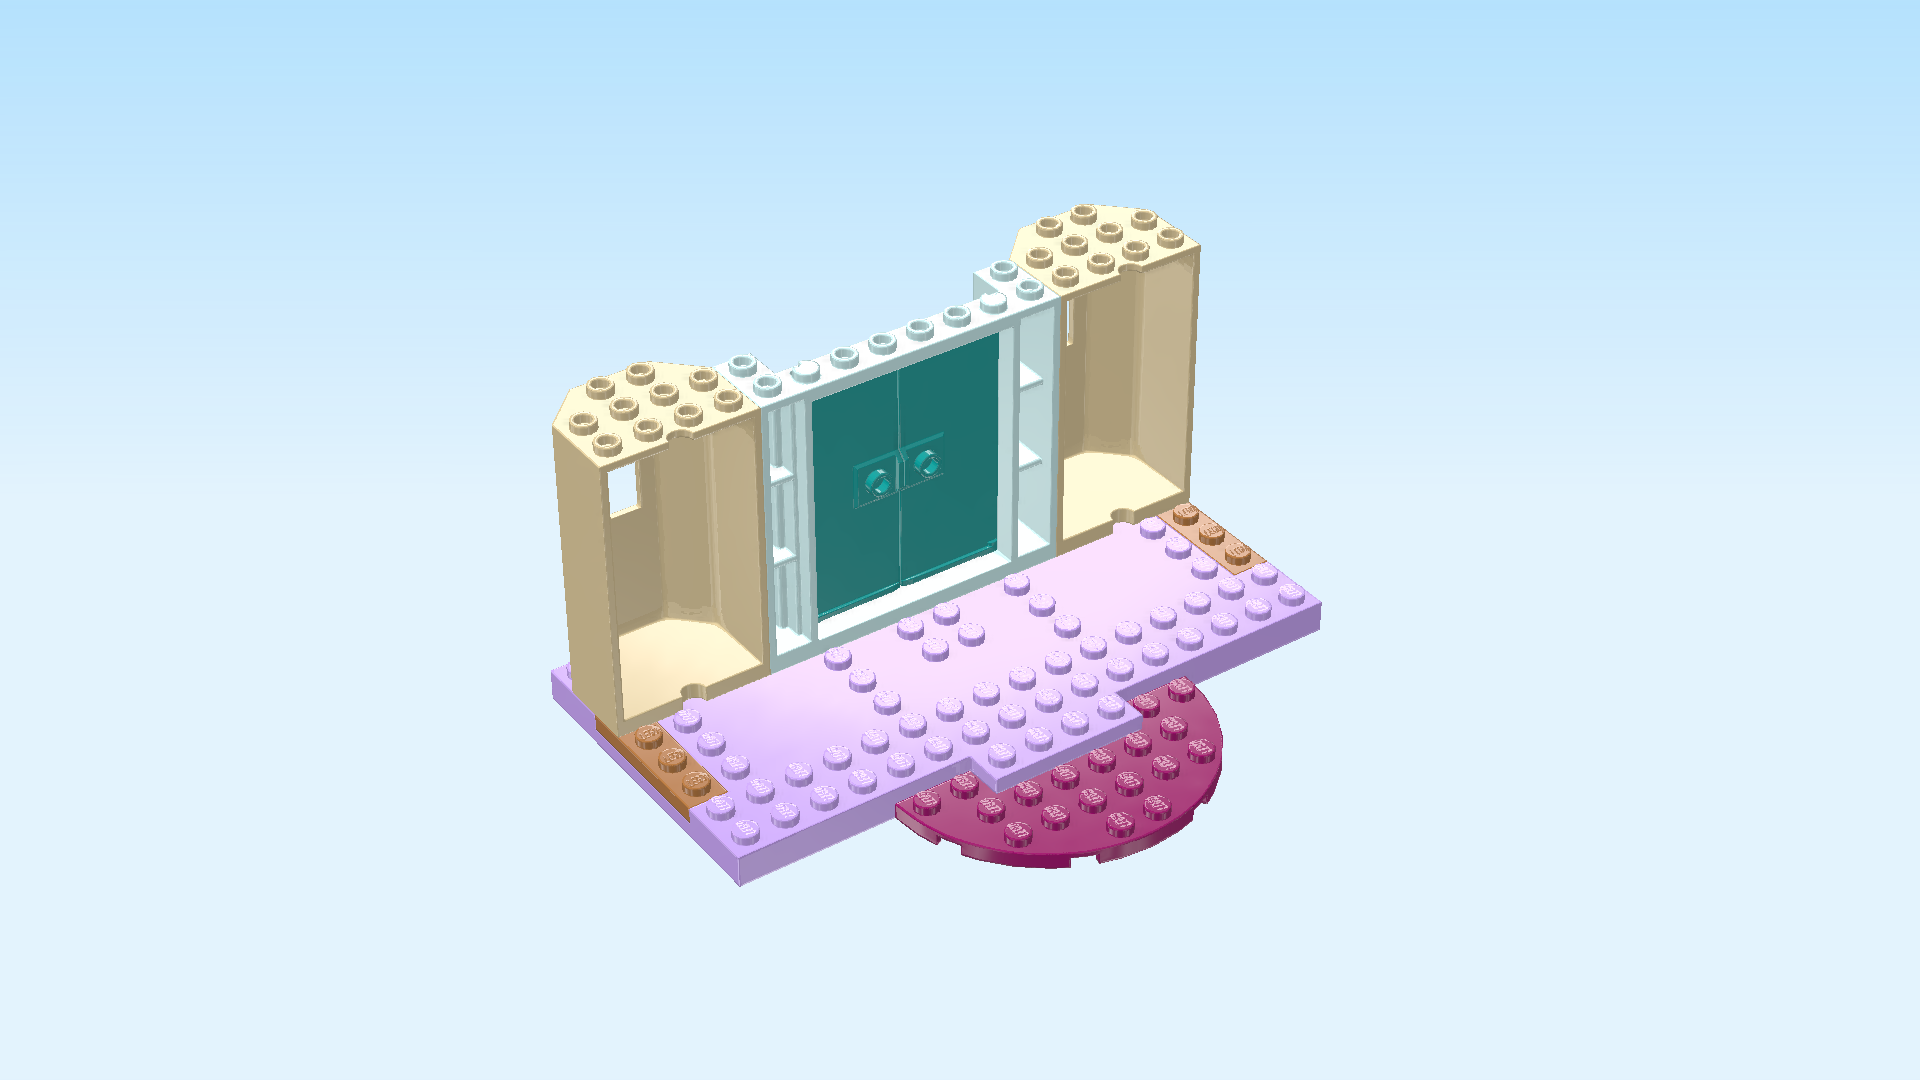
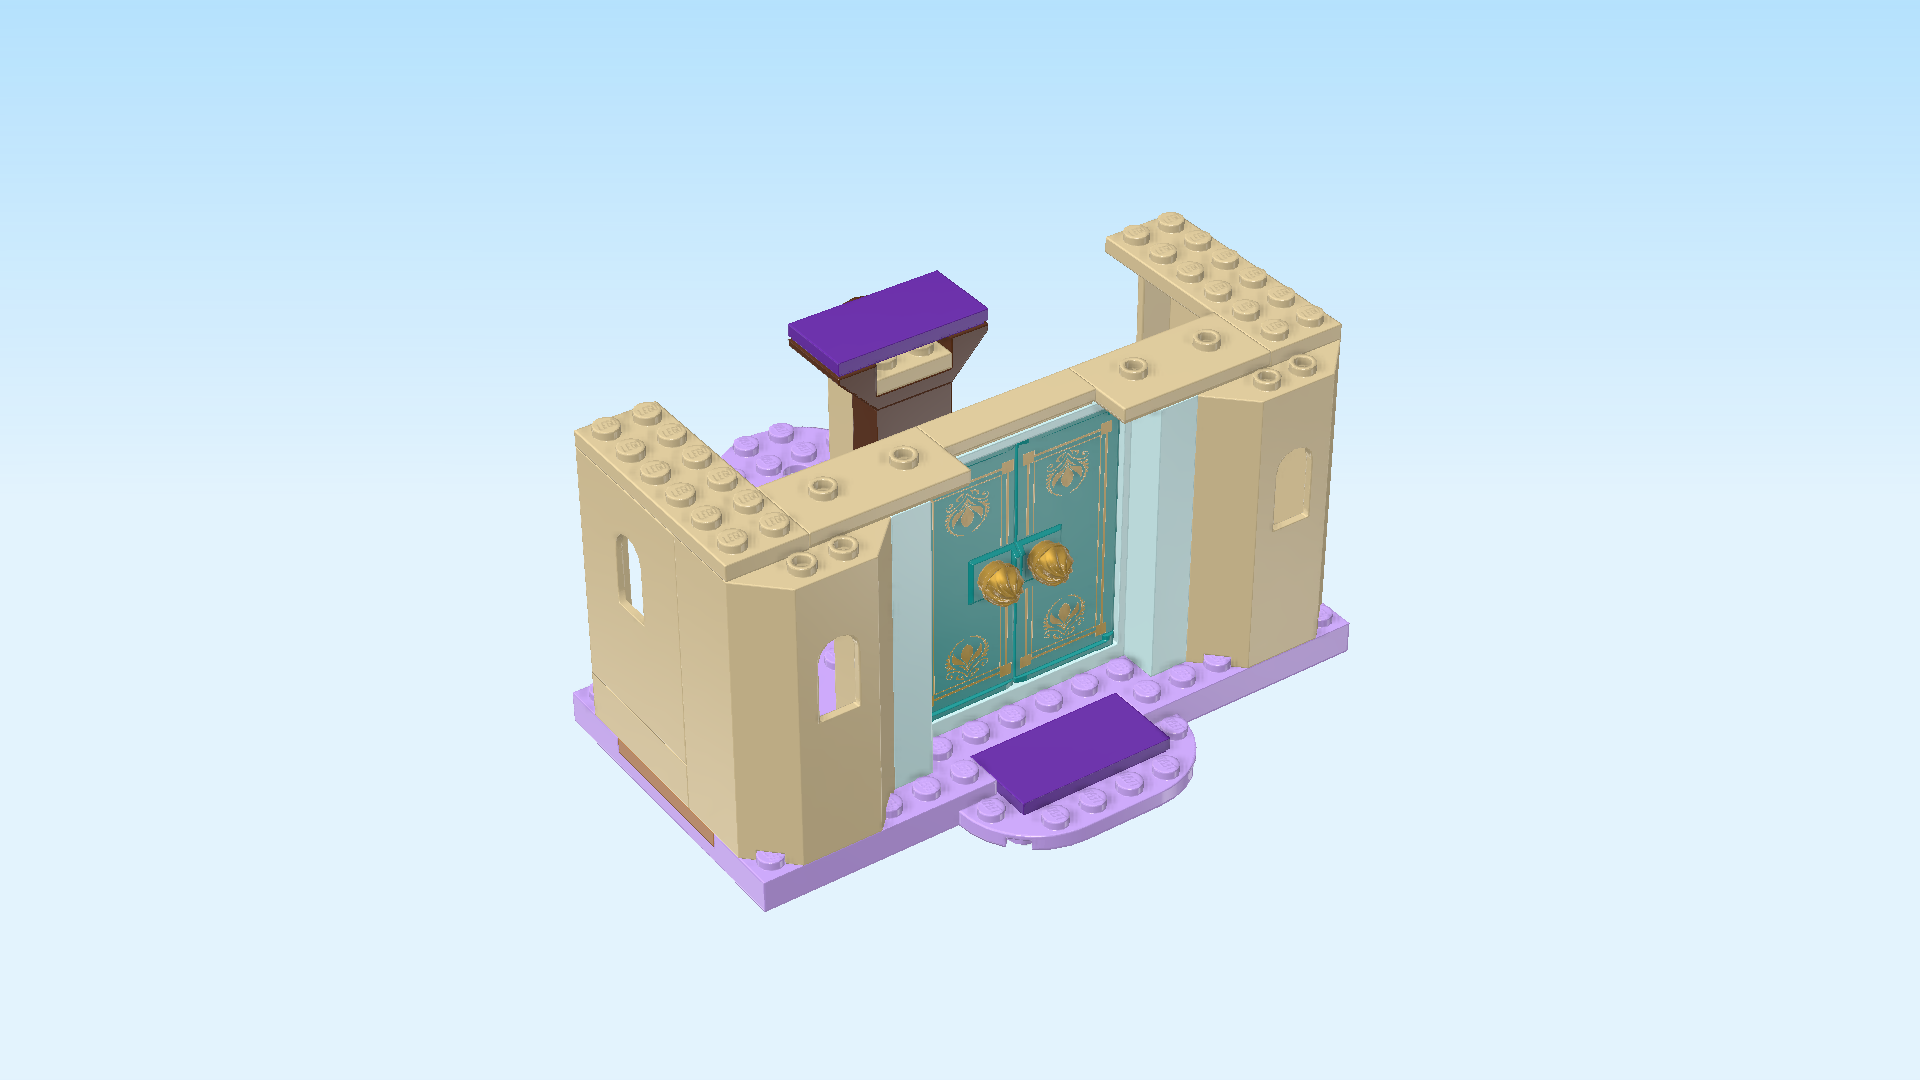
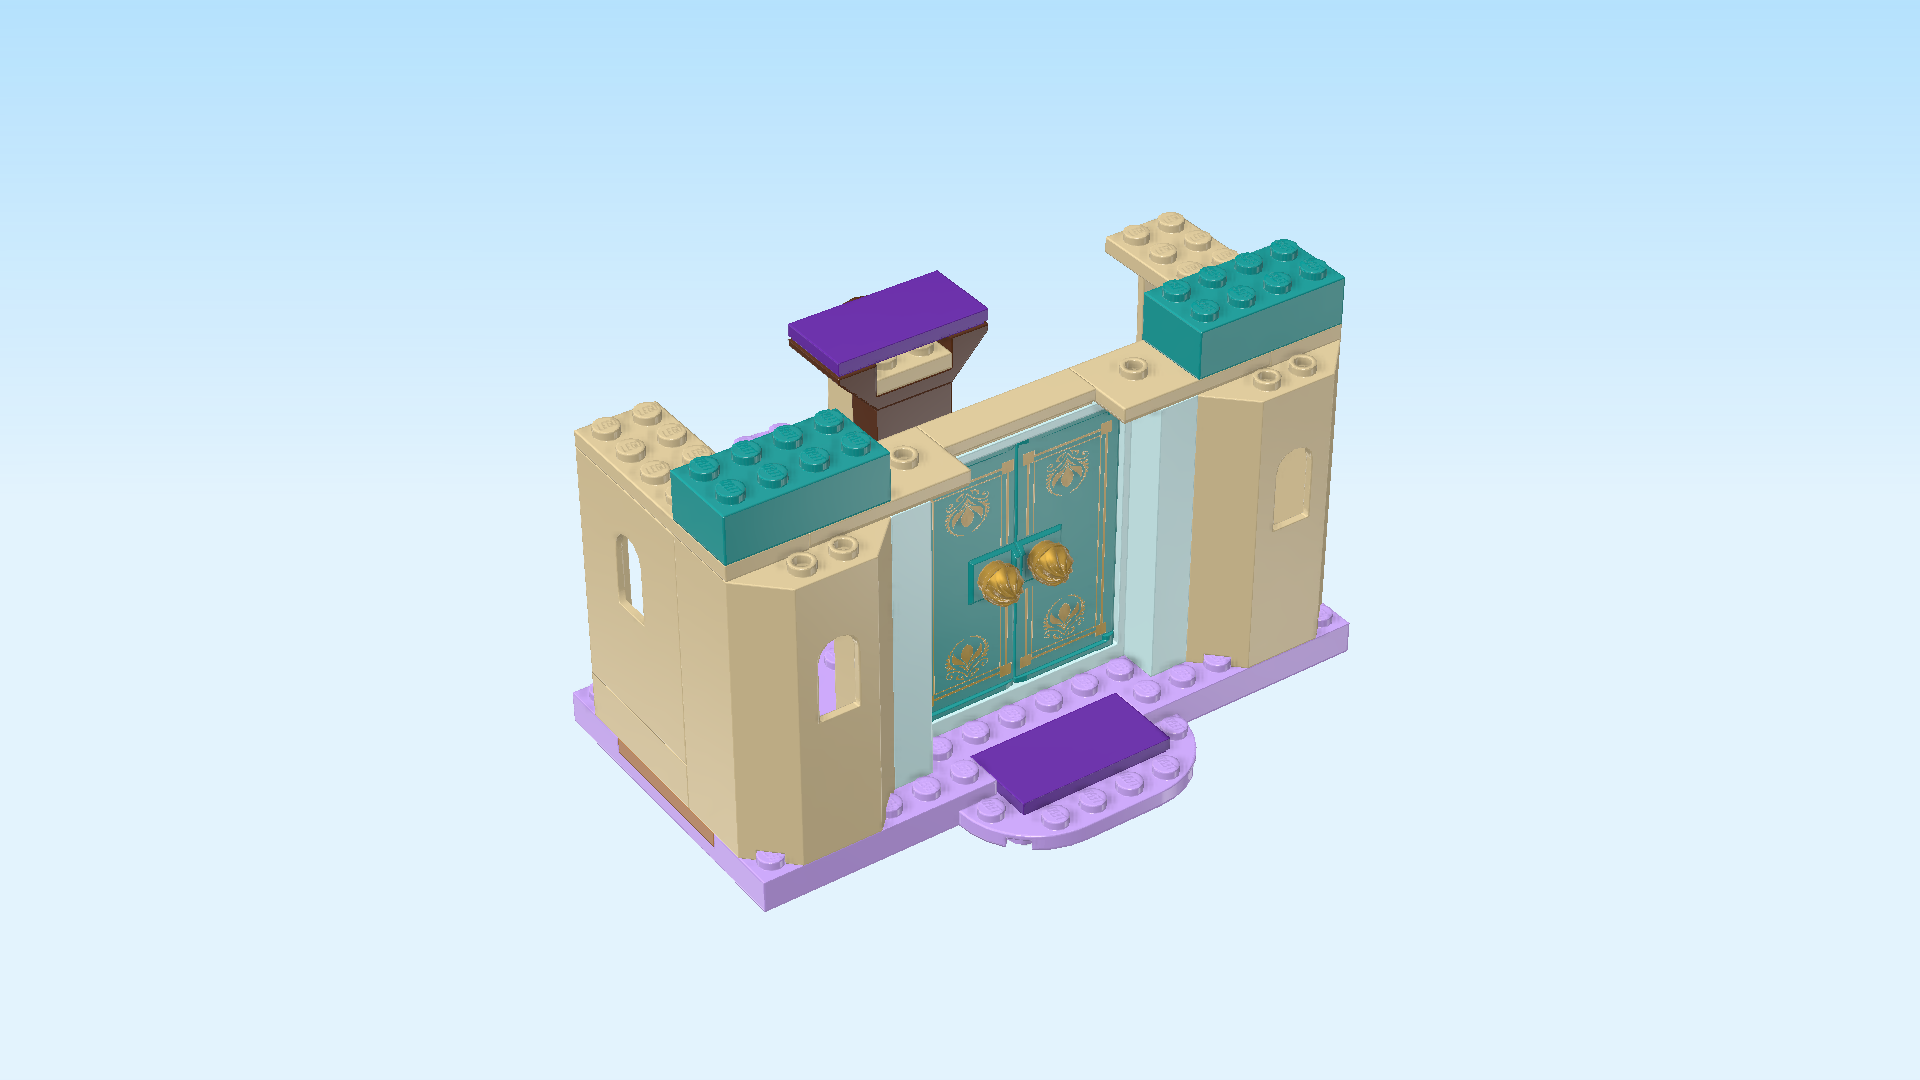
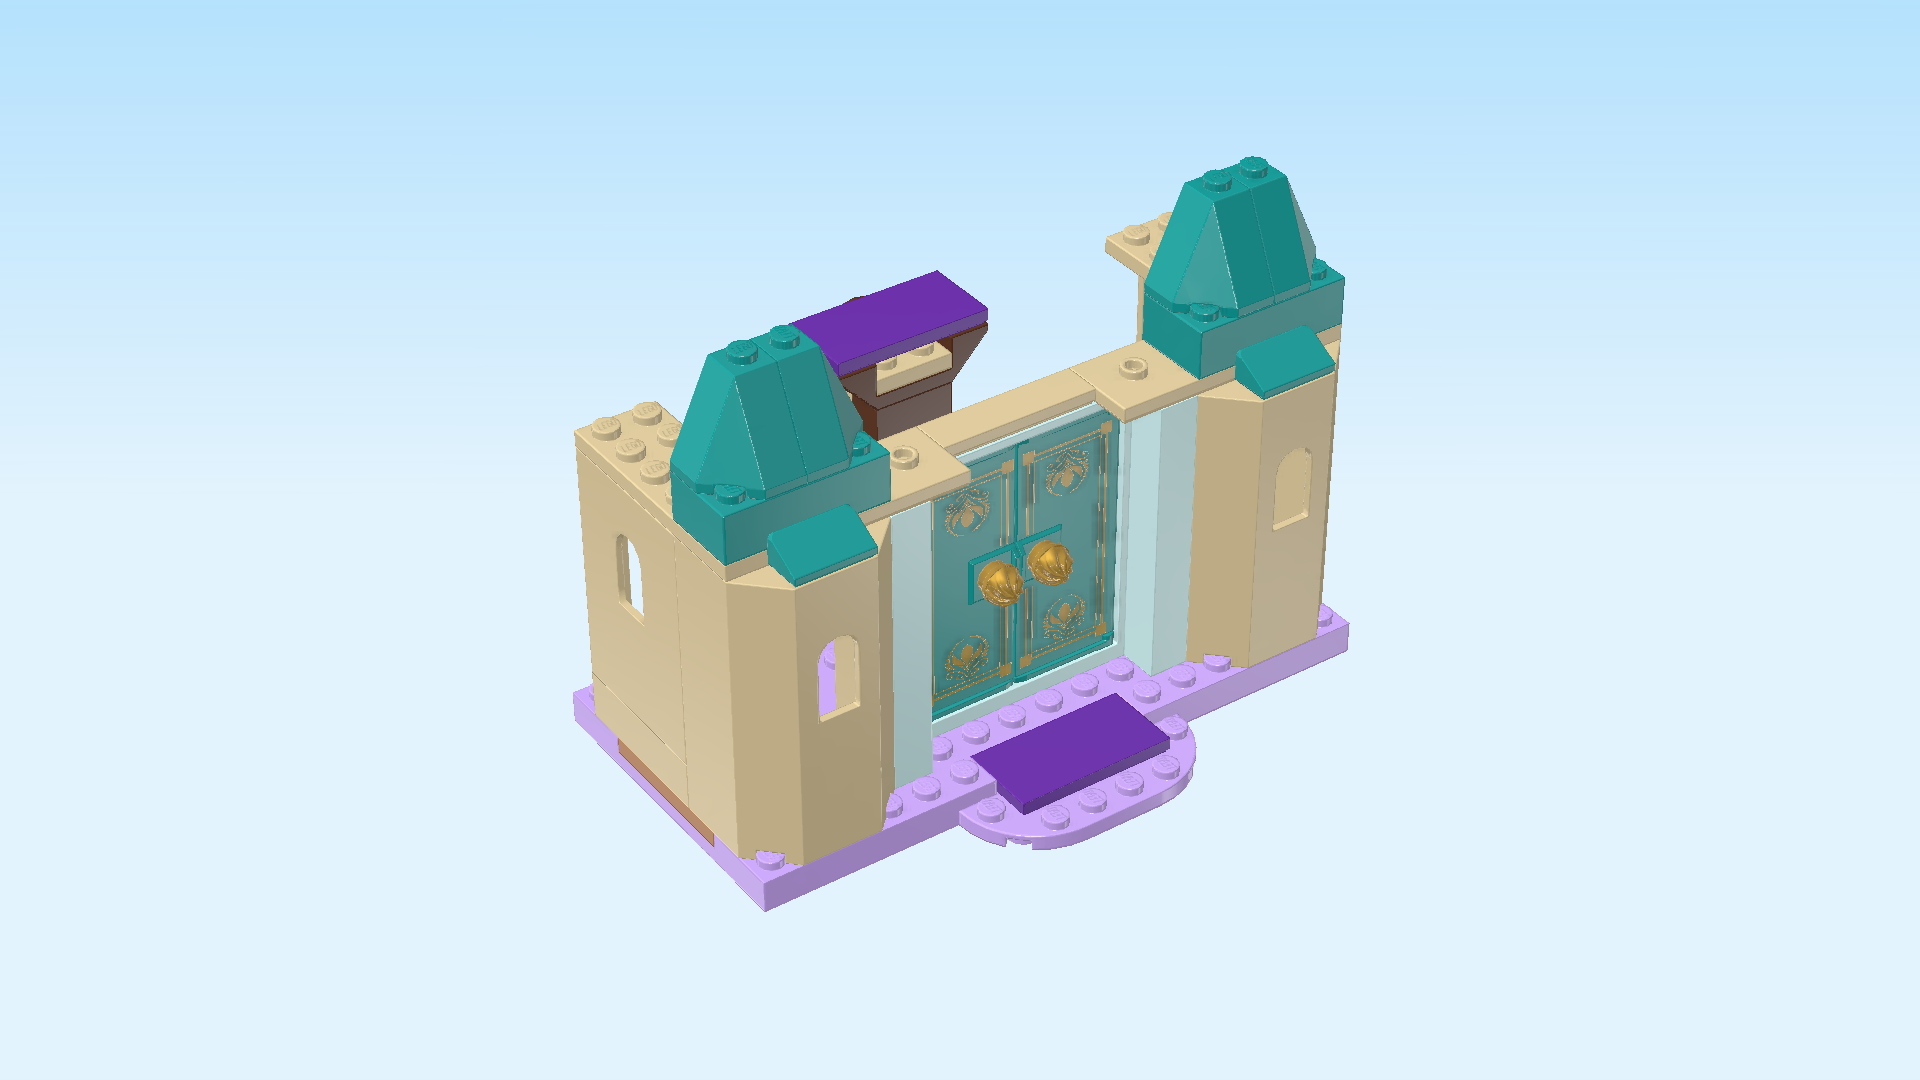
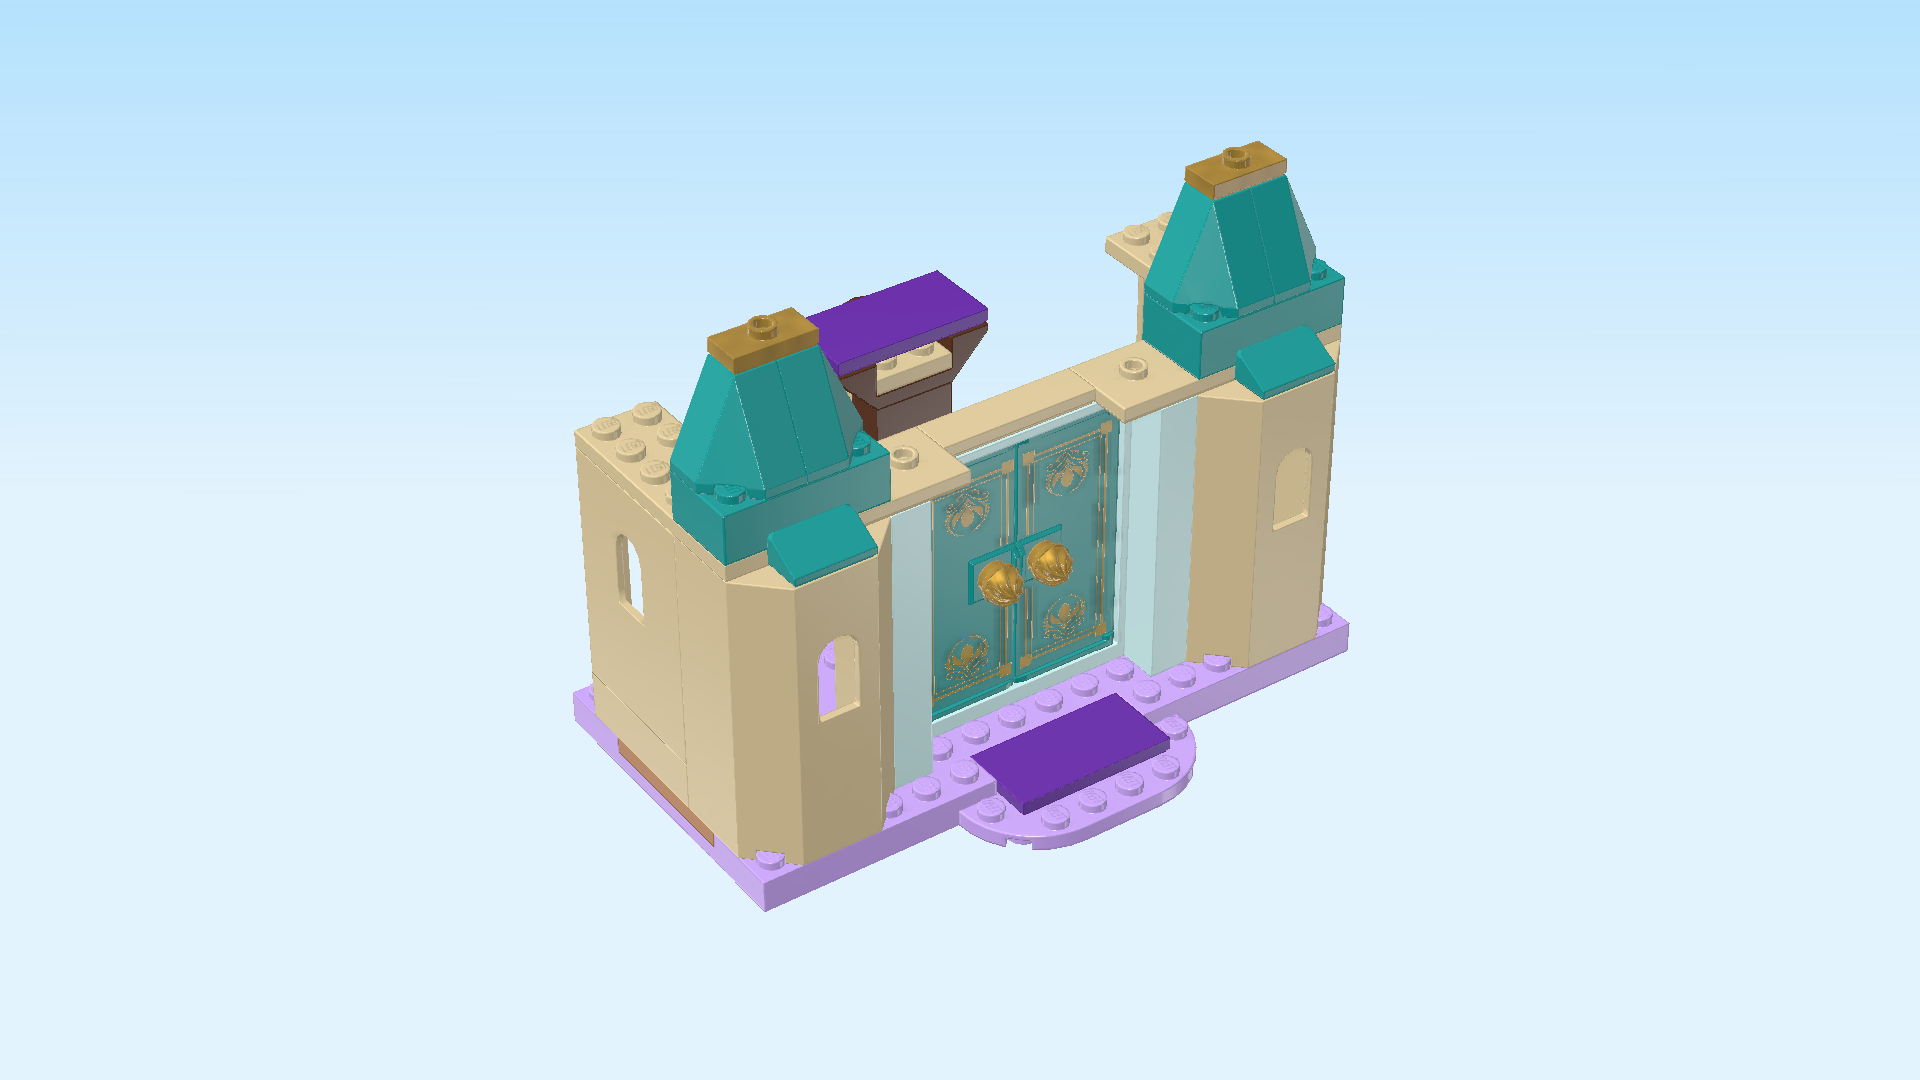
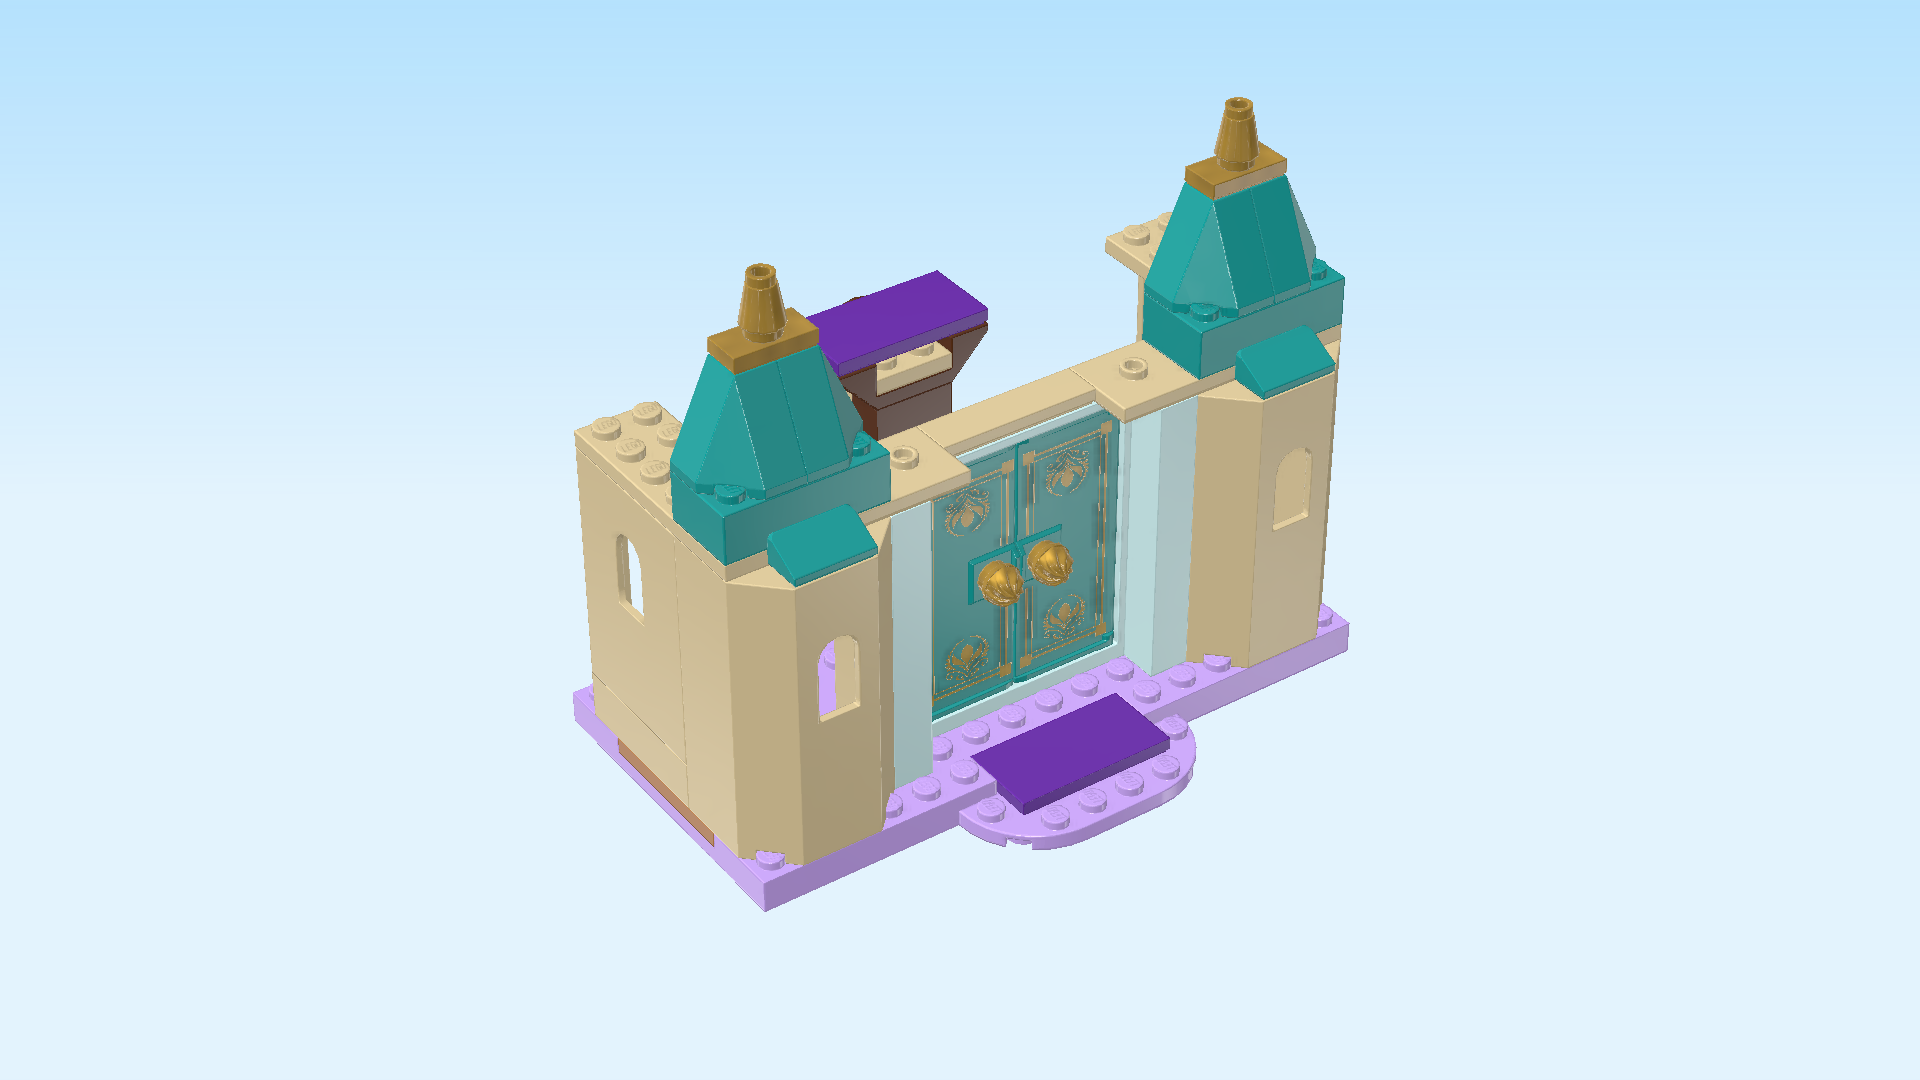
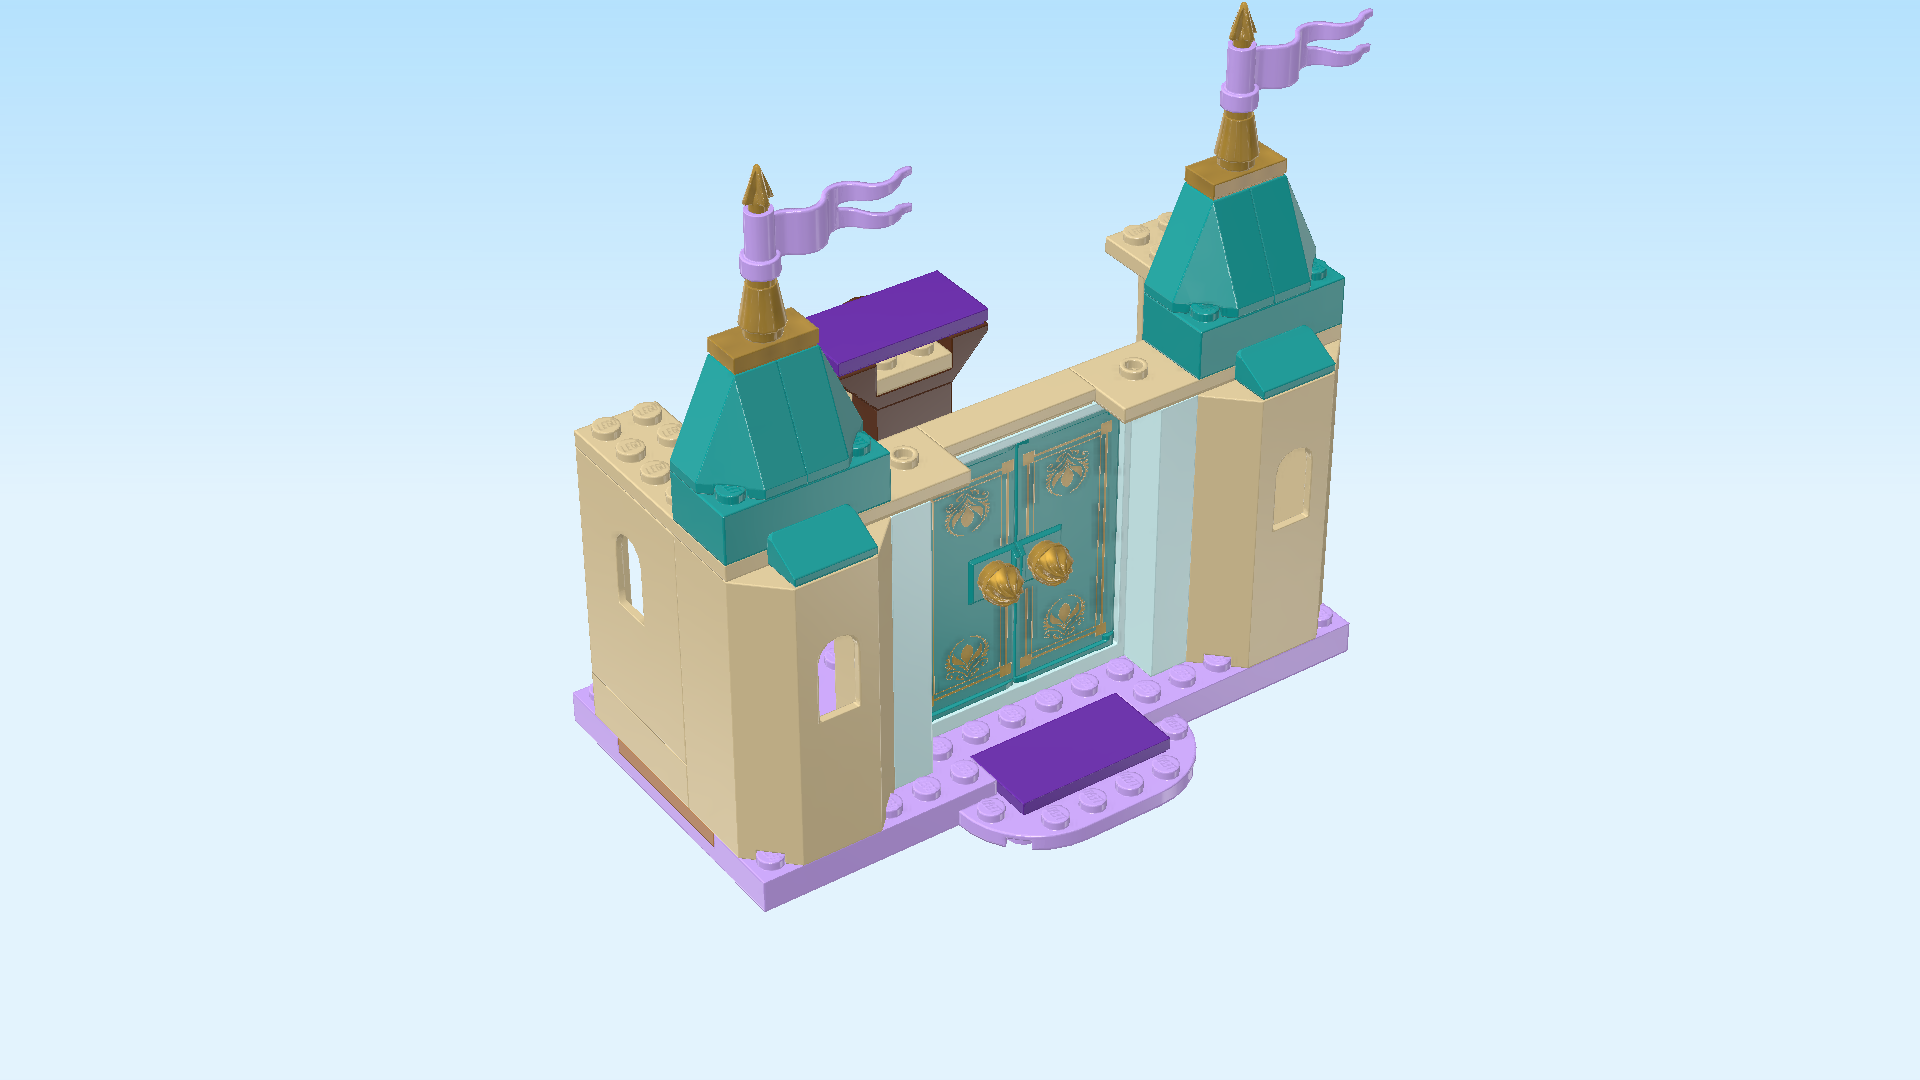
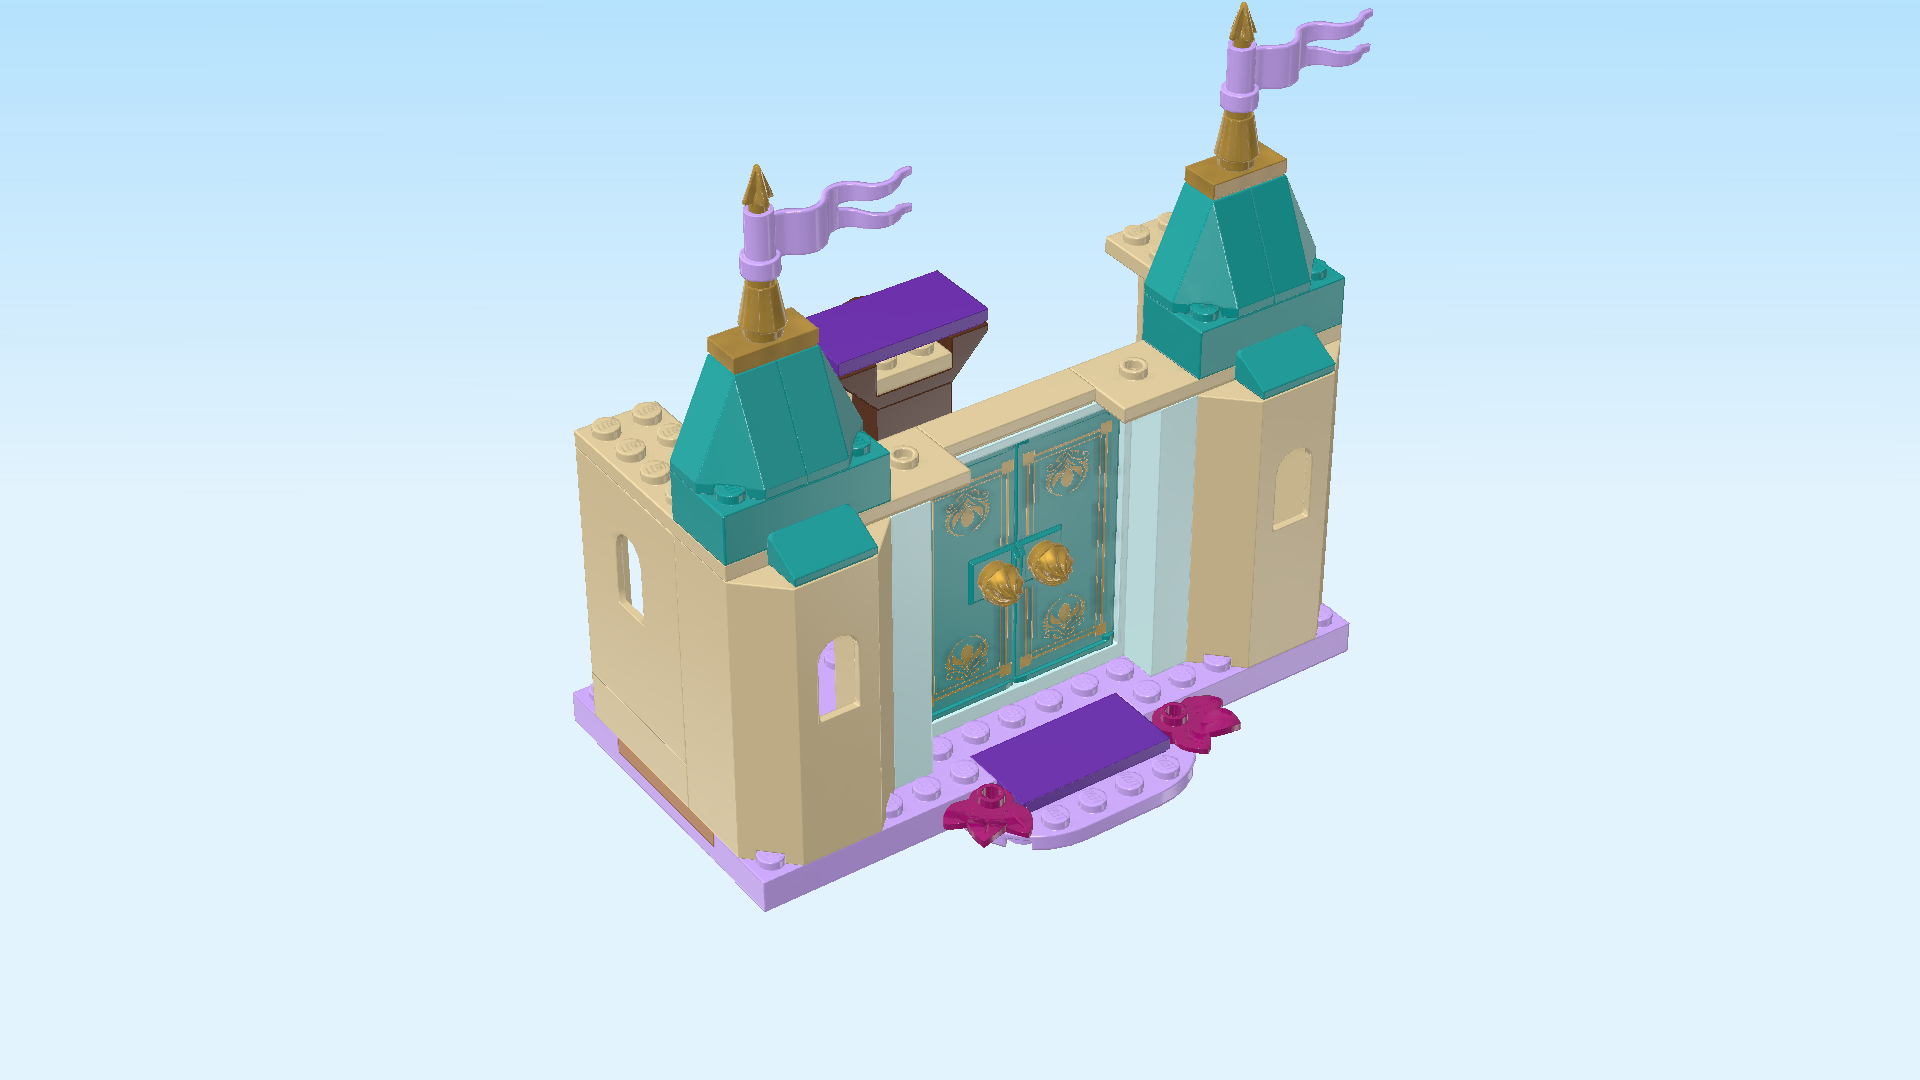
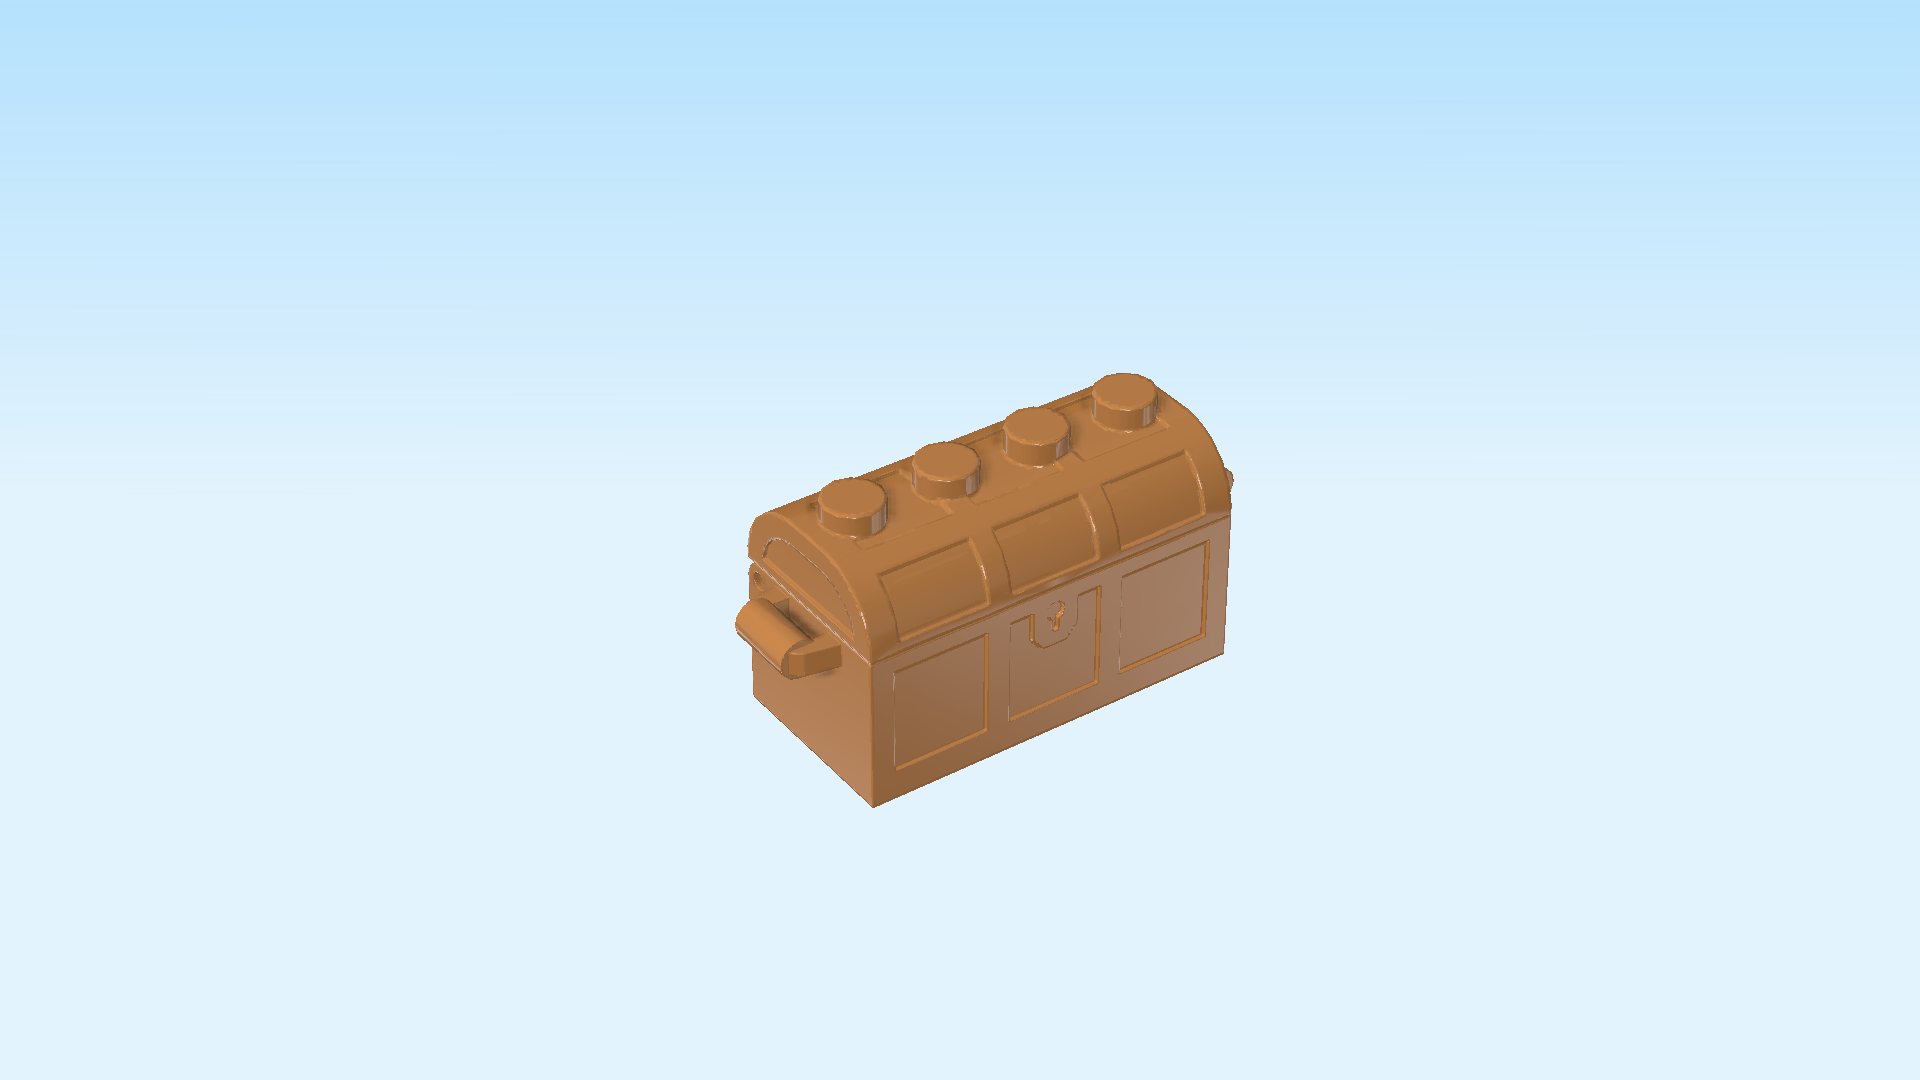
The box cover shows the ocher and teal blue castle in the magical scenery of Arendelle. In the background, there are sunlit mountains and lake Arendelle. On the right side in the back are the hills and meadows of the town, a few houses and trees. Judging from the foliage, it must be fall. The two-story castle in the center of the scene has 1 main tower and 2 smaller towers and a magnificent double door with golden ornaments and door knobs. It stands on a pebbled path. Anna and Olaf are standing in front of the castle next to a treasure chest and the drinking trough for Anna's horse Kjekk. The white horse with grey mane is actually standing on the left edge quenching his thirst as we speak! In the bottom right corner, there is a detailed portrait of cartoon Anna wearing her purple cloak, her hair loosely blowing in the wind. The bottom of the box cover is of a glistening ice blue with ice blue LEGO bricks and pieces mimicking an icy river. Let's get started!

Open the box. This can be tricky; ask someone to help you!

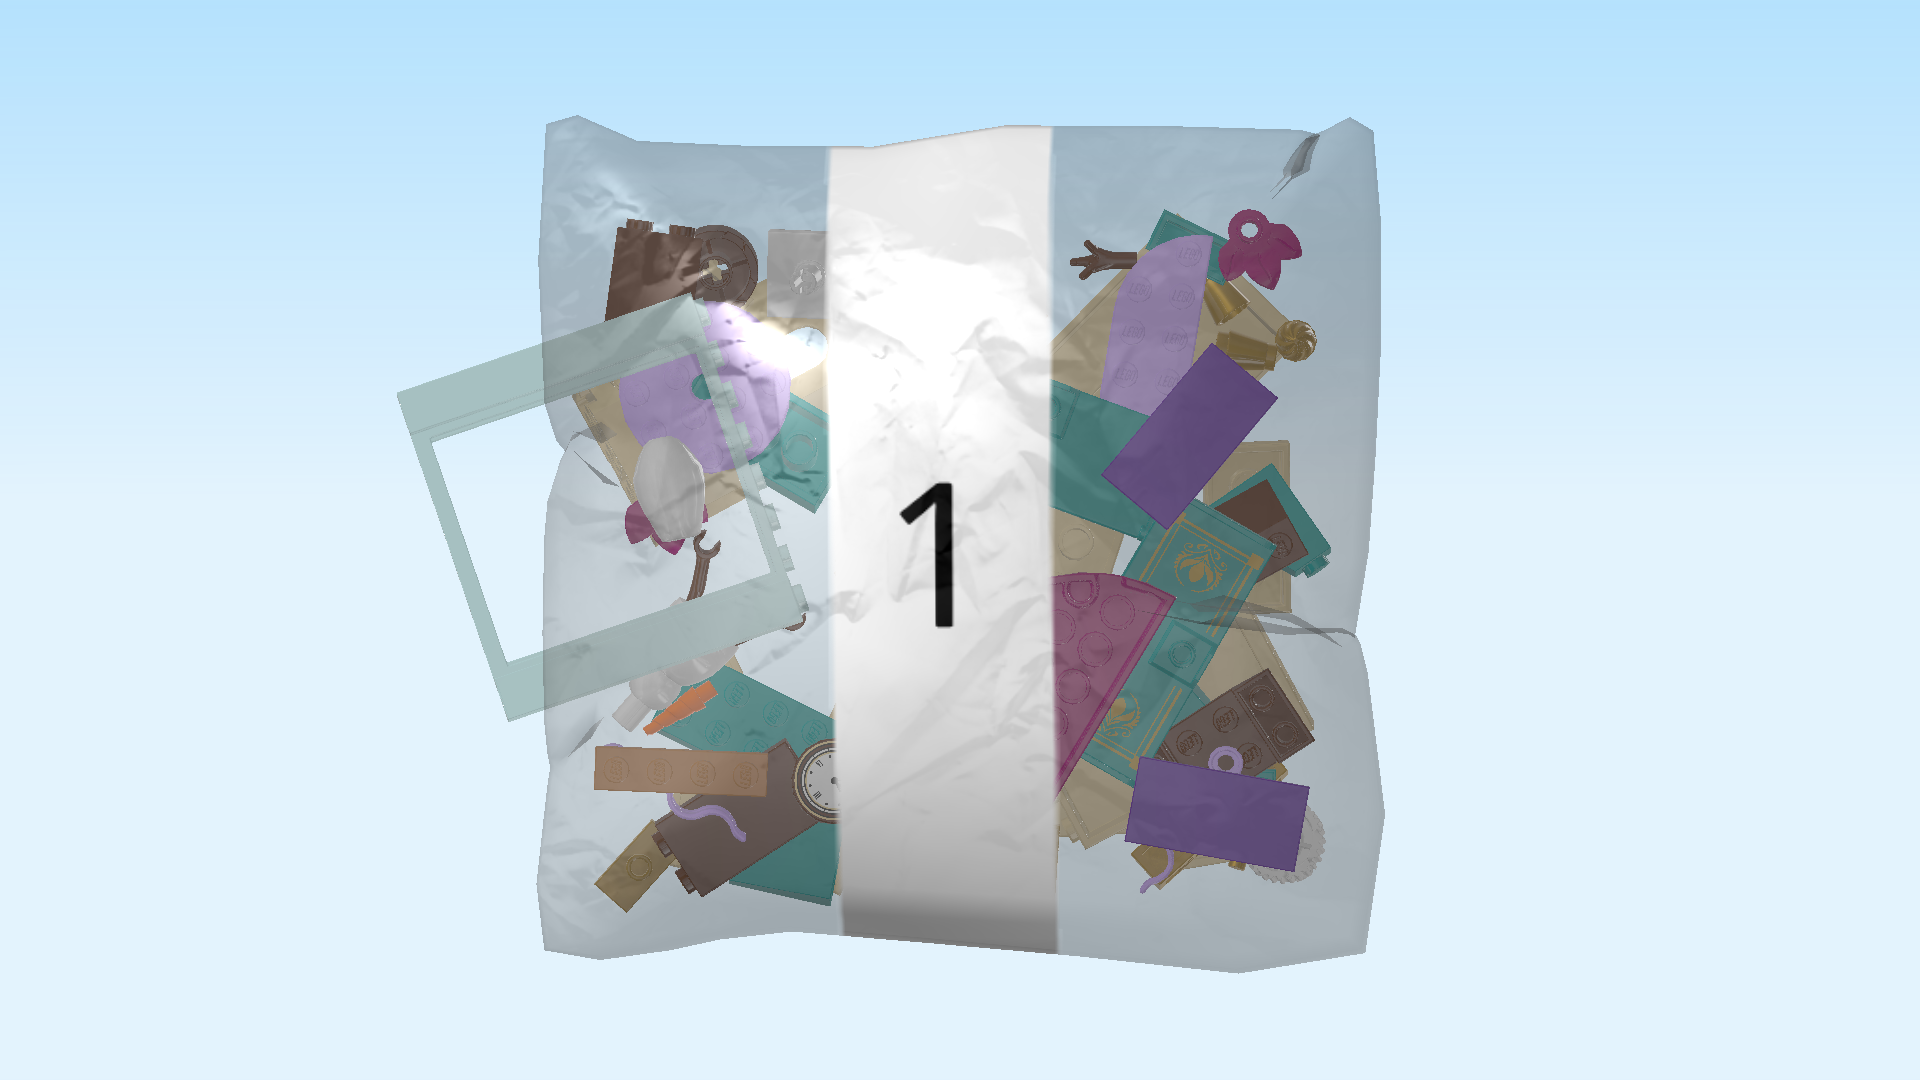
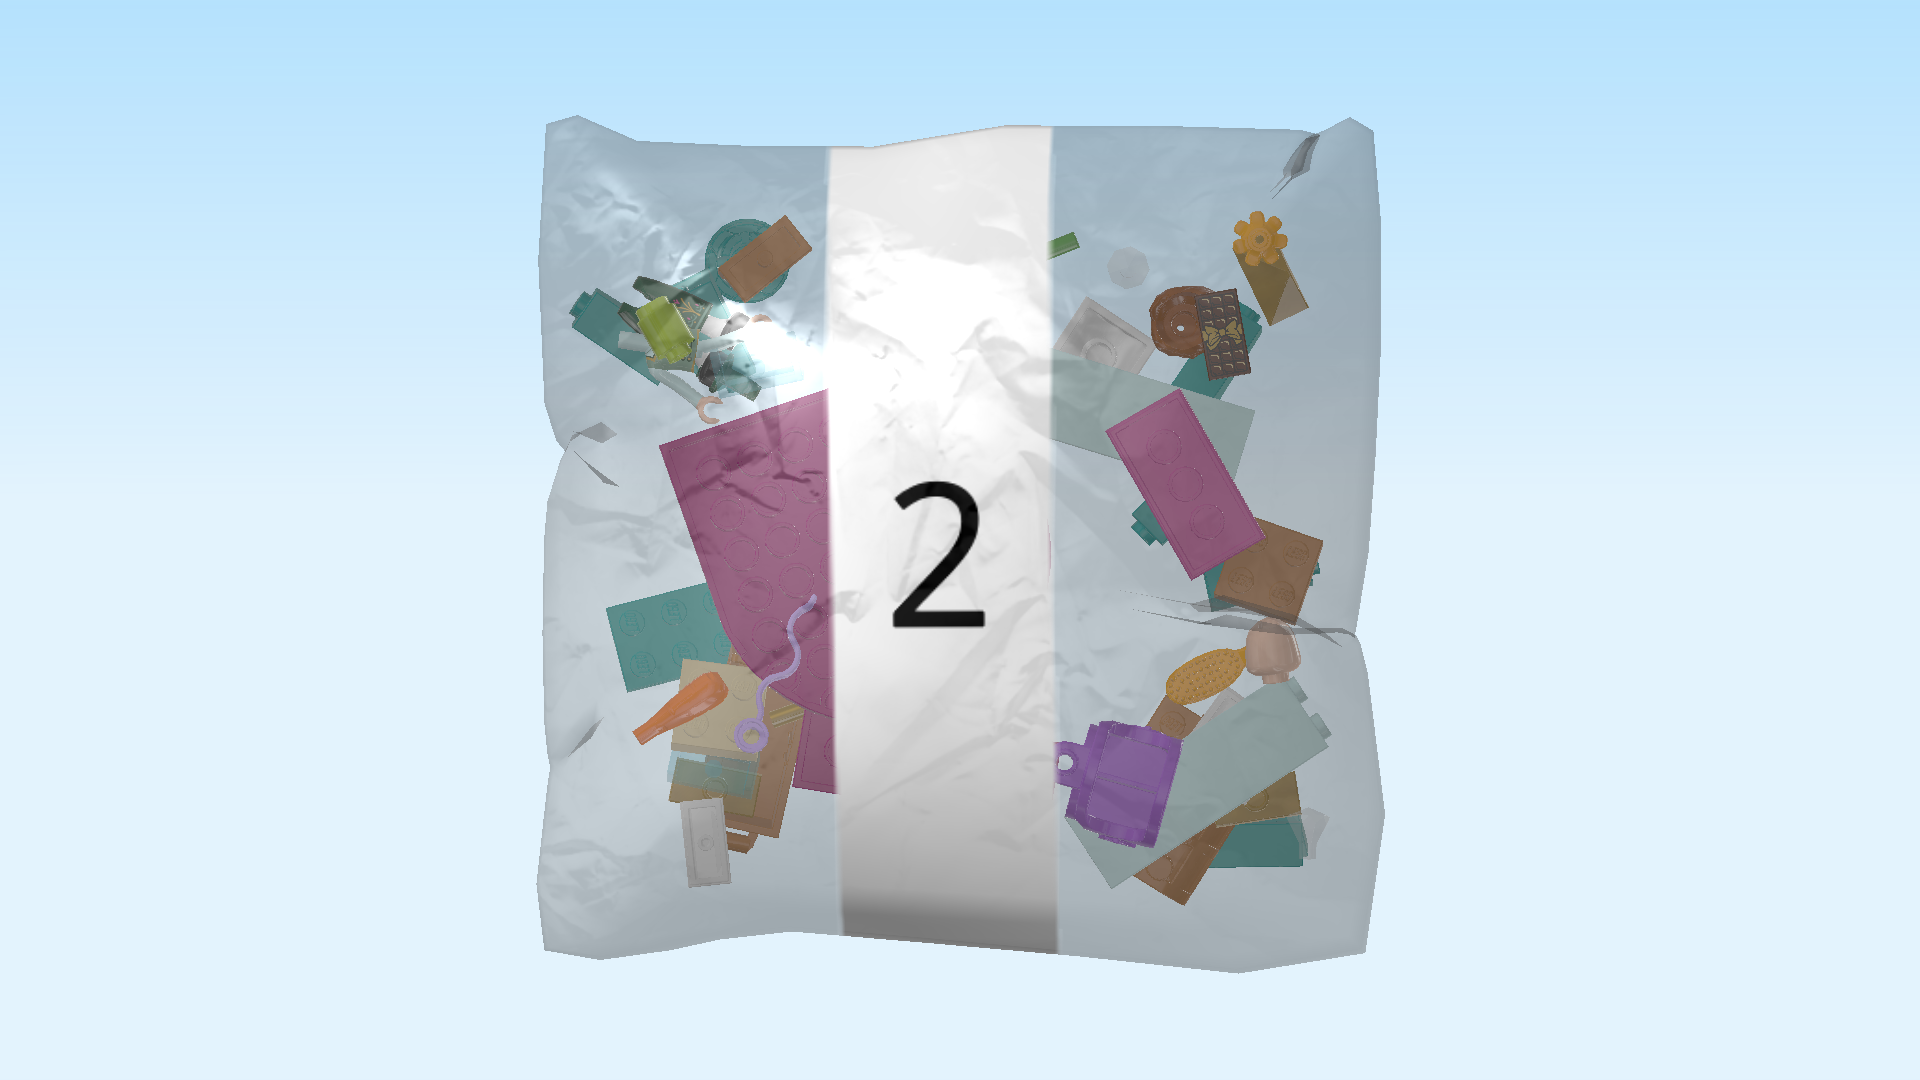
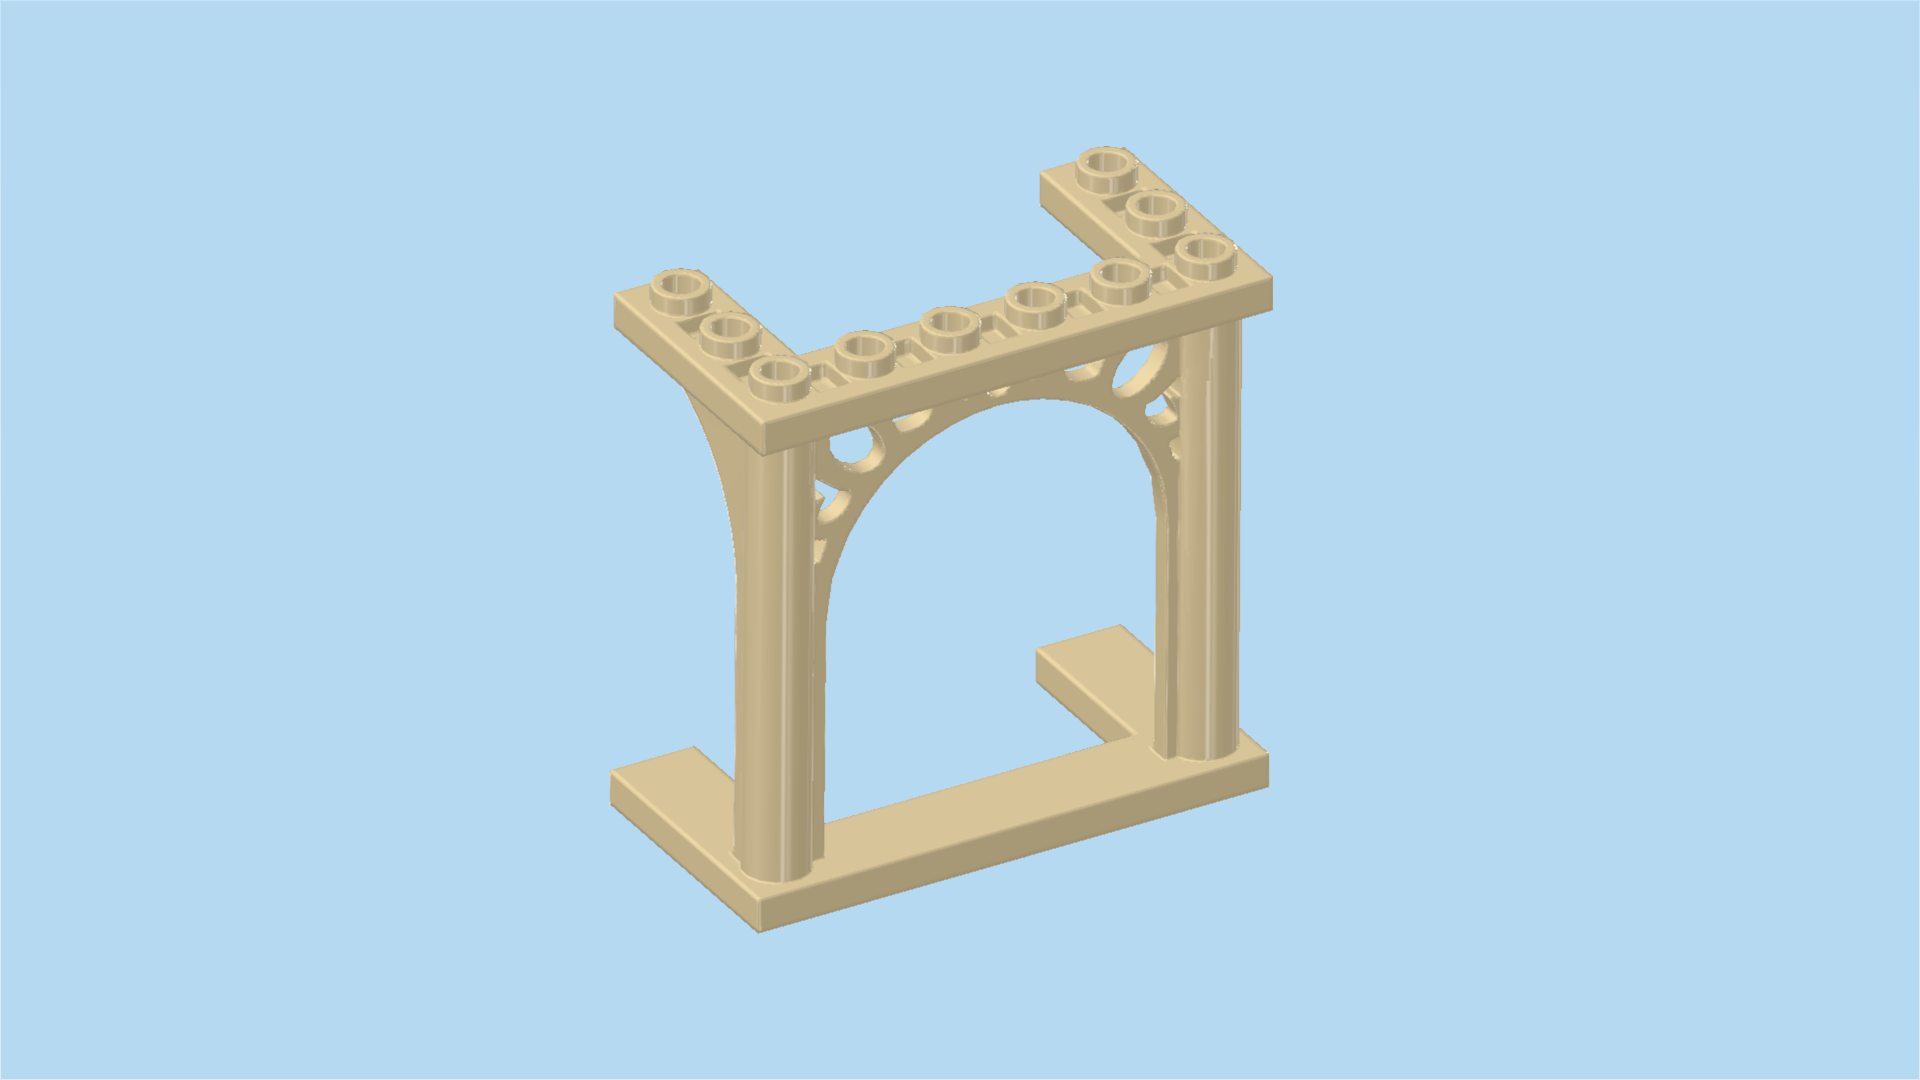
The box contains 2 booklets with visual building instructions, 2 bags with numbers printed on them, and 3 loose pieces: a horse figurine, the base plate for the castle and an ornate archway. Ask a sighted person to help you find the correct bag!

Carefully open bag number 1 and any small sub-bags in it. This bag contains all bricks and pieces for the Olaf Minifigure, the table with chocolate cake and the first floor of the castle with grandfather clock and revolving ballroom floor.

Before you start building, ask a sighted person to help you sort the pieces by color. This makes finding the correct pieces even easier!

First, we will build the Olaf Minifigure.

Collect the following 2 pieces:

1 white and medium blue Olaf head,

and 1 white and reddish brown snowman body with arms.

Put the head on the snowman body.

Collect the following 2 pieces:

1 reddish brown tree branch 1x1 with 3 small twigs,

and 1 bright orange twisted horn with small shaft. (This piece resembles a carrot.)

Insert the plant with 3 twigs into the hole on top of Olaf's head.

Insert the shaft of the horn into the small hole in Olaf's face. It is his carrot nose!

Find 1 warm gold wine glass 1x1x2.

Snap the glass into Olaf's right hand.

The Olaf Minifigure is finished! Well done! Olaf is a happy snowman with a big smile on his face. He has a twig crown, a carrot nose and 3 buttons on his body. He is one of Anna's best friends, the two love going on adventures together!

Next up, we will build the table with chocolate cake.

Collect the following 2 pieces:

1 white round profile brick 2x2 with top cross hole. (This piece has a lot of thin vertical grooves on its side.)

and 1 pale ocher yellow plate 2x4 with 2 knobs.

Put the plate 2x4 horizontally on the table.

Put the plate 2x4 on the left knob.

Find 1 reddish brown round plate 2x2 with melting edges.

Put it on top of the previous piece. This is the chocolate cake!

Find 1 reddish brown round brick 2x2 with top cross hole.

Put it centered underneath the plate 2x4. It is the base of the table.

The table with chocolate cake is finished! Great job! The cake looks tasty, it's the perfect treat after a day of castle fun!

Next, we will build the first floor of the castle with grandfather clock and revolving ballroom floor as well as 2 side towers.

Collect the following 3 pieces:

1 light lavender castle base plate 8x16,

and 2 medium nougat brown plates 1x4.

Put the base plate 8x16 horizontally on the table, 4 protruding knobs to the front.

Put 1 plate 1x4 vertically centered on the leftmost column. There is a recess that matches the plate perfectly.

Repeat symmetrically on the right.

Find 1 purple violet half-circle plate 4x8.

Put it horizontally centered underneath the 4 protruding knobs at the front, half circle to the front.

If done correctly, there are 2 empty knobs each on the left and right side of its backmost row, and 3 empty rows are protruding towards the front.

Find 1 pale ocher yellow castle tower 4x3x6 with arched window cut-out.

Put it horizontally in the back right corner, cut-out window to the back, open side to the front. If done correctly, the rightmost knob of the back row remains partly empty.

Next, we'll build the castle gate.

Collect the following 4 pieces:

2 warm gold swirly cupcake tops 1x1, (they will serve as the ornate door knobs)

and 2 teal blue doors 3x6 with knob for handle. (These pieces are printed with golden ornaments on one side each.)

Put 1 swirly cupcake top on each outside door knob. Since each door has a knob on the front and the back each, you have to make sure to use the sides with the golden ornaments. The ornament print could be quite difficult to feel, so if you are not sure if you have the correct side of the door, ask a sighted person for help.

Find 1 aqua blue double door frame 2x8x6. (Do not confuse this piece with the ornate archway which has slightly different measurements and has ornaments on it.)

Put it horizontally on the table, the 2 side pillars 1x2 protruding to the front.

Snap the 2 doors into the door frame, door knobs pointing to the front. The doors have 2 small stubs each, and the door frame has corresponding notches.

The castle gate is finished! Great job! Turn it left to right so that the door knobs and 2 side pillars are pointing to the back. Mount it to the left of the castle tower on the 2 backmost rows. This means that the 2 pillars do not protrude over the base plate.

Find 1 pale ocher yellow castle tower 4x3x6 with arched window cut-out.

Put it horizontally to the left of the castle gate, big opening to the back. Again, the leftmost knob of the back row remains partly empty.

Find 2 pale ocher yellow bricks 1x4.

Put 1 vertically in front of the previous piece on the leftmost column.

Repeat symmetrically on the right.

Find 2 pale ocher yellow wall elements 1x4x5 with arched window cut-out.

Put 1 vertically on top of the previous piece, panel and cut-out to the right.

Repeat symmetrically on the left, panel and cut-out to the left.

Find 2 pale ocher yellow plates 2x6.

Put 1 vertically on top of the previous piece, aligning the two pieces on the front and left edges. The 6 front knobs of the right column will overhang to the right.

Repeat symmetrically on the right, aligning the front and right edges with those of the wall. The 6 front knobs of the left column will overhang to the left.

Collect the following 3 pieces:

2 pale ocher yellow plates 2x4 with 2 knobs,

and 1 pale ocher yellow flat tile 1x4.

Put 1 plate 2x4 horizontally to the left of the previous piece, aligning it with the 2 backmost rows of the previous piece.

Put the flat tile 1x4 horizontally to the left of the previous piece, aligning their front edges. This piece will sit centered on top of the castle gate.

Put the other plate 2x4 horizontally to the left of the previous piece, aligning their front edges.

Collect the following 3 pieces:

1 warm gold fence element 1x4x1,

and 2 reddish brown roof tiles 2x2x2, 65°.

These elements will be the base of the grandfather clock.

Put the fence element 1x4x1 horizontally centered on the fourth row from the front.

Put 1 roof tile 2x2x2 behind the previous piece aligned with its right half, slope to the right.

Put the other roof tile 2x2x2 to the left of the previous piece, slope to the left.

Find 1 reddish brown brick 1x2x3.

Put it horizontally on the back row of the 2 previous pieces.

Find 1 pale ocher yellow panel element 1x2x3 with rectangular window cut-out.

Put it horizontally in front of the previous piece, panel with cut-out to the back.

Find 1 reddish brown inverted double roof tile 2x4, 45°.

Put it horizontally on top of the 2 previous pieces, slopes to the left and right.

Find 1 pale ocher yellow one-stepped plate 2x2x⅔ with 2 side knobs.

Put it horizontally centered in the middle of the previous piece, side knobs pointing to the front.

Find 1 medium lilac flat tile 2x4.

Put it horizontally on top of the 2 previous pieces.

Collect the following 2 pieces:

1 reddish brown round tile 2x2, (this piece is printed)

and 1 white plate 2x2 with vertical top connector.

Put the round tile 2x2 upright on the 2 side knobs pointing to the front. It is printed with a white clock face with black clock hands and digits and a golden and brown framing.

Put the plate with connector centered on the 4 frontmost knobs of the half circle plate, connector pointing to the top.

Find 1 light lavender round brick 4x4 with top hole.

Put its middle hole on the connector of the previous piece. This is the revolving ballroom floor!

Find 1 medium lilac flat tile 2x4.

First, turn the entire castle structure left to right. The clock and ballroom floor are now to the back, the castle gate and towers are at the front.

Put it horizontally centered on the recess on the frontmost row, 1 half overhanging to the front.

Find 1 light lavender plate 2x6 with 2 round corners.

Put it horizontally centered underneath the previous piece, 1 row protruding to the front, 1 knob each protruding to the left and right.

Find 2 teal blue bricks 2x4.

Put 1 horizontally on the left tower, starting from the leftmost edge, but leaving the 2 frontmost knobs empty.

Repeat symmetrically on the right tower.

Collect the following 6 pieces:

2 teal blue smooth roof tiles 1x2x⅔,

and 4 teal blue corner roof tiles 2x2x2 with 3 sloped sides.

Put 1 smooth roof tile 1x2 horizontally in front of the previous piece, slope to the front. This means it will be mounted on the 2 frontmost knobs of the right tower.

Repeat symmetrically on the frontmost 2 knobs of the left tower.

Mount 1 corner roof tile 2x2x2 on the left half of brick 2x4 on top of the left tower. Make sure the slopes are to the left, to the front left and to the front.

Put another corner roof tile to the right of the previous piece, this time slopes to the front, to the front right and to the right.

Repeat symmetrically on the right tower.

Find 2 warm gold plates 1x2 with 1 knob.

Put 1 horizontally on top of the 2 previous pieces on the right tower.

Repeat symmetrically on top of the left tower.

Find 2 warm gold nose cones 1x1.

Put them on the previous 2 pieces.

Next, we will make 2 castle streamers.

Collect the following 4 pieces:

2 warm gold harpoon spikes,

and 2 light lavender streamer flags.

Insert 1 harpoon spike from the top into the hole of 1 streamer, spiky end to the top.

Repeat with the other harpoon spike and streamer.

Now, insert the bottom end of 1 castle streamer into the hollow knob of the plate 1x2 on top of the left tower.

Repeat symmetrically with the second castle streamer on the right tower.

The streamers will align with the wind. You can decide where the wind comes from today and which way the streamers are pointing accordingly!

Find 2 purple violet round plates 1x1 with 3 leaves.

Put 1 on the left knob of the second row from the front, leaves to the front left. This means it will be mounted to the left of the flat tile 2x4's front edge.

Repeat symmetrically on the right, leaves pointing to the front right.

The first floor of the castle with grandfather clock and revolving ballroom floor are finished! Well done! Olaf can already try out his best dance moves on the ballroom floor.

Open bag number 2. You can choose to have the bricks sorted by color again. This bag contains all bricks and pieces for the Anna Minidoll, the Kjekk figure, the treasure chest, the drinking trough and the top floor of the castle.

Next, we will build the Anna Minidoll.

Collect the following 2 pieces:

1 mossy green and white Minidoll skirt with hip and feet,

and 1 light nougat brown and aqua blue Minidoll upper body.

Put the upper body on the skirt.

Collect the following 2 pieces:

1 dark orange hairpiece with bun,

and 1 light nougat brown Minidoll head.

Put the head on the body.

Put the hair on the head.

Now, we make a carrot for Kjekk.

Collect the following 2 pieces:

1 bright green shaft 2m with twig leaves,

and 1 bright orange carrot with top hole.

Insert the shaft into the top hole of the carrot, twig leaves sticking out to the top.

Snap the rest of the shaft into Anna's left hand. She always has a tasty treat for her horse!

Find 1 reddish brown flat tile 1x2. (This piece is printed.)

Snap it into Anna's right hand. This piece is printed with a chocolate bar! Can you guess what Anna and her sister Elsa's favorite snack in the whole wide world is?

The Anna Minifigure is finished! Well done! She is wearing the beautiful green gown with golden embroidery and corsage that she also wore to Elsa's coronation. She is also wearing white tights and black ballet flats. Her hair is tied up in a knot so that it doesn't get tangled during dancing, horseback riding and all her other adventures with Olaf! Anna has green eyes, some lovely freckles on her cheeks and a warm smile on her face.

Now, we'll build the Kjekk figure.

Find 1 medium stone grey and white horse figurine.

Now, we will build the horse back attachment.

Collect the following 2 pieces:

1 white plate 2x2 with 1 knob,

and 1 white half-cylinder brick 2x2 with 2 knobs.

Put the plate 2x2 on the table.

Put the half-cylinder brick 2x2 on top. Make sure the knobs are forming a horizontal row in front of you.

Mount the attachment on the horse back. Make sure the curvature of the half-cylinder brick aligns neatly with the shape of the horse's back.

Find 1 lavender saddle 2x2 with 1 knob.

If Anna wants to go for a ride, swap the attachment for the saddle. When mounting the saddle, make sure the knob is towards the horse tail.

The Kjekk figure is finished! Time for Kjekk to roam Arendelle or the magic forest, or snatch a tasty carrot from Anna.

Now, we will build the treasure chest.

Collect the following 2 pieces:

1 medium nougat brown treasure chest bottom 2x4,

and 1 medium nougat brown treasure chest lid 2x4.

Snap the lid on the chest bottom. On its lower side, the bottom has 2 inside notches. The 2 small stubs on the lid fit into these notches.

Find 2 transparent diamonds with shaft.

Put them into the treasure chest and close the lid.

The treasure chest is finished! Well done! This is the perfect place for Anna and Olaf to store their valuables. Find a place for it in the castle!

Next, we will build the drinking trough.

Collect the following 2 pieces:

1 pale ocher yellow brick 2x4,

and 1 transparent light blue panel element 1x2x1 with back and side panels.

Put the brick 2x4 horizontally on the table.

Put the panel element 1x2x1 horizontally on the back row, starting from the left edge, back panel to the back.

Find another transparent light blue panel element 1x2x1 with back and side panels.

Put it horizontally in front of the previous piece, back panel to the front. The two pieces should form an open container together.

Find 1 pale ocher yellow brick 2x2.

Put it to the right of the 2 previous pieces.

Find 1 teal blue round brick 2x2 with sloped sides and 1 knob.

Put it on top of the previous piece.

Find 1 warm gold nose cone 1x1.

Put it on top of the previous piece.

Now, we will make a streamer for the drinking trough.

Collect the following 2 pieces:

1 light lavender streamer flag,

and 1 warm gold harpoon spike.

Like before, insert the harpoon from the top into the bushing of the streamer, spiky end to the top.

Insert the bottom end of the harpoon into the nose cone on the drinking trough.

The drinking trough is finished! Great job! Whenever Kjekk is thirsty, he can take a refreshing sip in this trough. Make sure to align the streamer with the wind again!

Now, we will build the top floor of the castle.

Collect the following 3 pieces:

2 teal blue roof tiles 1x2x2, 65°,

and 1 purple violet plate 8x8 with half circle.

Put the plate 8x8 on the table, half circle to the front.

Put 1 roof tile 1x2x2 horizontally on the backmost row on its third and fourth knob from the left, slope to the left.

Put the other roof tile 1x2x2 horizontally to the right of the previous piece, slope to the right.

Find 1 aqua blue brick 1x2x5.

Put it vertically on the rightmost column, starting from the back edge.

Find 1 pale ocher yellow ornate archway 3x6x5.

Put it horizontally centered in front of the 2 roof tiles, the side extensions 1x3 pointing to the front, archway to the back.

Find 1 aqua blue brick 1x2x5.

Put it vertically on the leftmost column, starting from the back edge.

Find 1 teal blue plate 2x8.

Put it horizontally on top of the previous piece, connecting it to the identical piece on the right side.

Find 2 warm gold plates 1x2 with 1 knob.

Put 1 vertically on the leftmost column in front of the brick 1x2x5. This means it will be mounted directly on the base plate 8x8 with half circle.

Repeat symmetrically on the rightmost column.

Find 2 medium nougat brown bricks 2x2.

Put 1 on the 4 frontmost knobs in the middle of the half circle.

Put the other one centered in front of the archway. This means that there will be 4 empty knobs between the frontmost brick 2x2 and this one.

Collect the following 2 pieces:

1 white smooth roof tile 1x2x⅔,

and 1 medium nougat brown panel element 1x2x1. (This is shaped like a tiny bench without armrests.)

Put the smooth roof tile 1x2 horizontally on the back row of the previous piece, slope to the front.

Put the panel element 1x2 horizontally on the frontmost row on the brick 2x2 at the front, back panel to the front.

Find 1 bright purple flat tile 2x4.

Put it vertically between the 2 previous pieces. This is Anna's bed, the smooth roof tile 1x2 is the pillow and the panel element is the footboard!

Find 1 purple violet plate 2x6.

Put it horizontally on top of the 2 top extensions of the archway.

Next, we'll build the flower vase.

Collect the following 2 pieces:

1 bright yellowish green round brick 1x1,

and 1 flame yellowish orange decoration flower with small shaft.

Insert the shaft of the decoration flower into the hollow knob of the round brick.

Put the flower vase on the plate 1x2 with 1 knob on the left edge of the structure.

Find 1 flame yellowish orange hairbrush.

Insert its handle into the knob of the plate 1x2 on the right edge of the structure.

Find 2 teal blue roof tiles 1x2x2, 65°.

We will start to build the roof now. Continue for detailed instructions.

Put them vertically next to each other on the 2 middle columns of the archway, starting from its back edge, slopes to the back.

Find 2 teal blue corner roof tiles 2x2x2 with 3 sloped sides.

Put 1 to the right of the 2 previous pieces, slopes to the back, to the back right and to the right.

Repeat symmetrically to the left of the 2 roof tiles, this time slopes to the back, to the back left and to the left.

If done correctly, the 4 roof tiles form 1 straight edge towards the front, while all their slopes are joined together at the back.

Find 2 teal blue roof tiles 1x2x2, 65°.

Put 1 horizontally on the 2 right knobs on top of the 4 previous pieces, slope to the right.

Put the other one horizontally to the left of the previous piece, slope to the left.

Find 1 warm gold triple-sloped roof tile 1x2, 45°.

Put it horizontally on top of the 2 previous pieces, slopes to the back, to the left and to the right.

The top floor of the castle is finished! Well done!

Mount it on top of the first floor of the castle. The roof of the top floor is mounted between the left and right tower at the castle front, while the bed is extending towards the rear of the castle where the grandfather clock and the revolving ballroom floor are.

You have finished building the entire set! Fantastic job! Now it's time to get the party started. Have some cake, whirl around in the ballroom, take Kjekk for a ride, and don't forget to take a rest time and again. The options are endless in Arendelle and Anna and Olaf's beautiful castle!

Enjoy!