| LEGO Audio & Braille Building Instructions for the LEGO Disney set "Bruni the Salamander Buildable Character". |
| Discover and charm an adorable creature! Bruni, a feisty fire spirit from Disney’s "Frozen 2" who spreads his flame when tensions rise, loves cooling off with Elsa’s magic. Show him you’re a friend, then have some fun. Chase snowflakes or toast marshmallows by a cozy fire. Go on adventures with the cute salamander and discover his identity as the elemental fire spirit from the Enchanted Forest! |
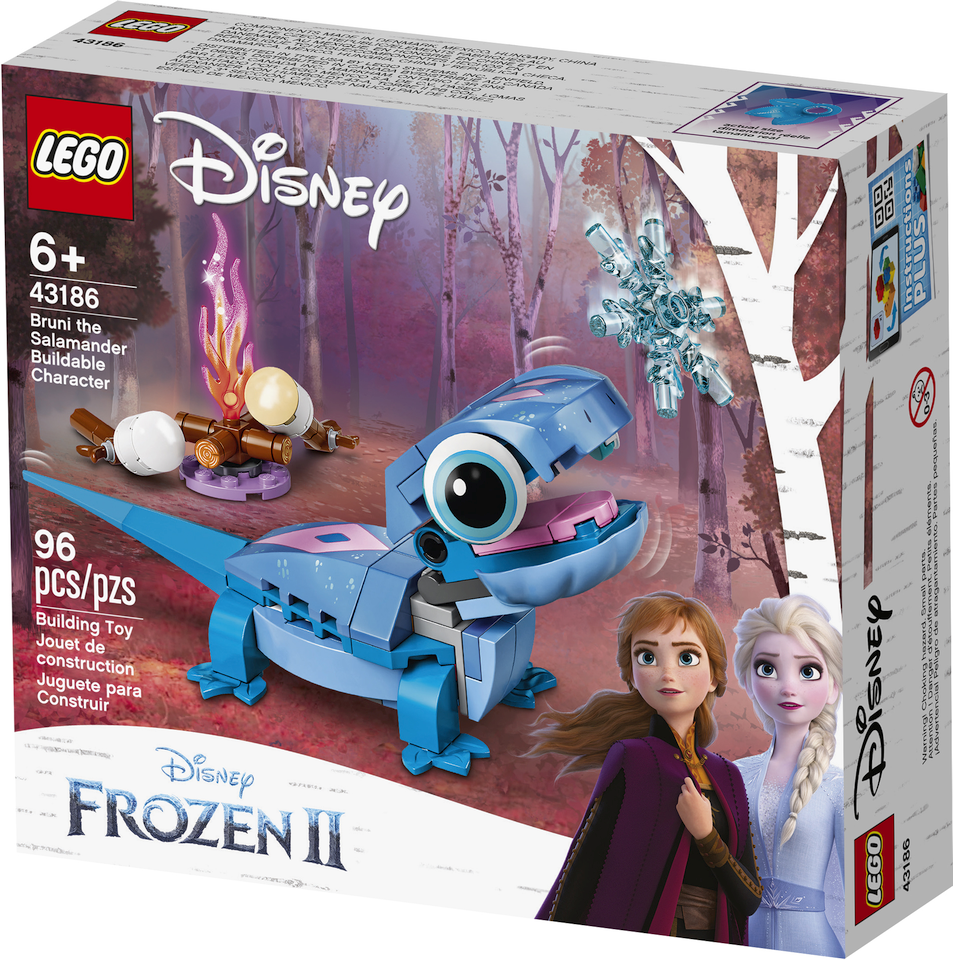
| In the very center of the box cover, there is our little hero Bruni in the middle of the Enchanted Forest. The salamander is shown from the side looking right. His mouth is open as he is trying to catch the beautiful ice blue snowflake that is floating right in front of his snout, and he seems to be wiggling with joy. Bruni is different shades of blue and lilac with a large pale purple diamond on his back and three small pale purple diamonds on his head. Bruni has big ice blue eyes and a pink tongue. In the bottom right corner of the box cover, there is an image of Elsa in her ice blue dress and Anna in her dark purple cape. In the background on the left, there is a crackling campfire; 1 marshmallow on a stick is already slowly toasting in the cozy fire, and another one is waiting for you. The fire's flame is red, but its tips are bright purple, so it must be Bruni's doing! Centered at the bottom of the box, there is the ice blue Disney Logo on a white background and the "FROZEN II" writing beneath it. |
| Open the box. This can be tricky; ask someone to help you! |
| The box contains a booklet with visual building instructions, and two plastic bags. |
| Carefully open both plastic bags, but before you start building, ask a sighted person to help you sort the pieces by color. This makes finding the correct pieces even easier! |
| First, we will build the Bruni buildable character. |
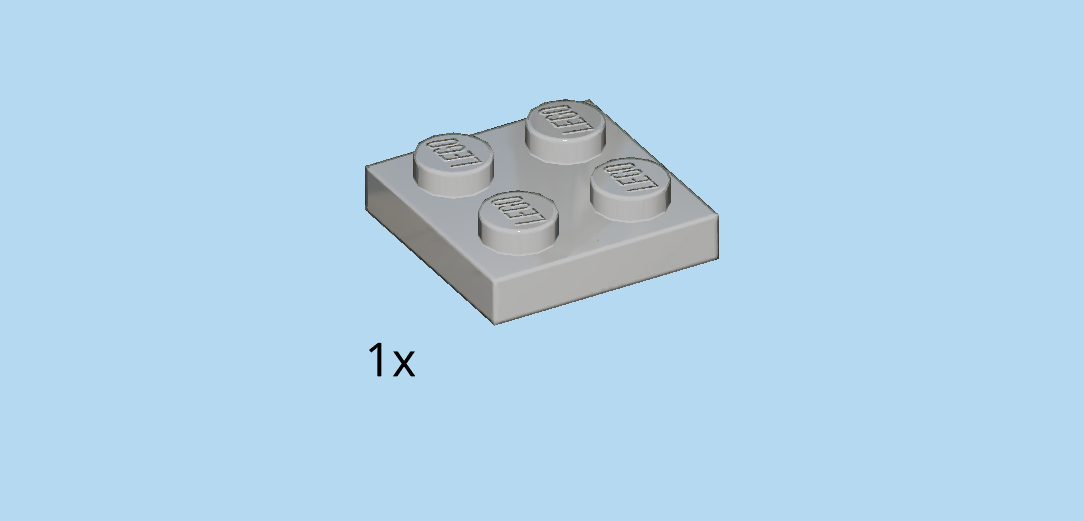
| Find 1 medium stone grey plate 2x2. |
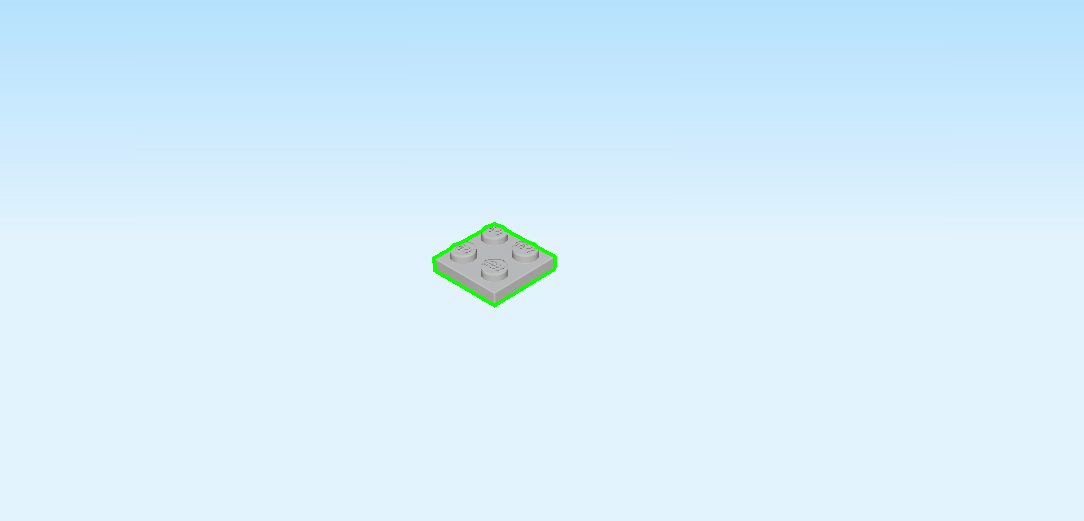
| Put it on the table. |
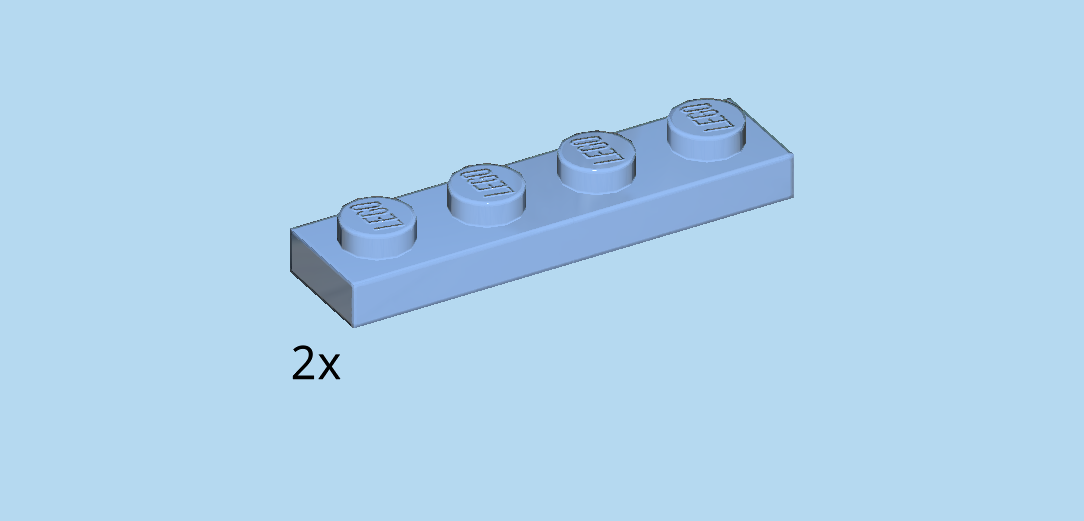
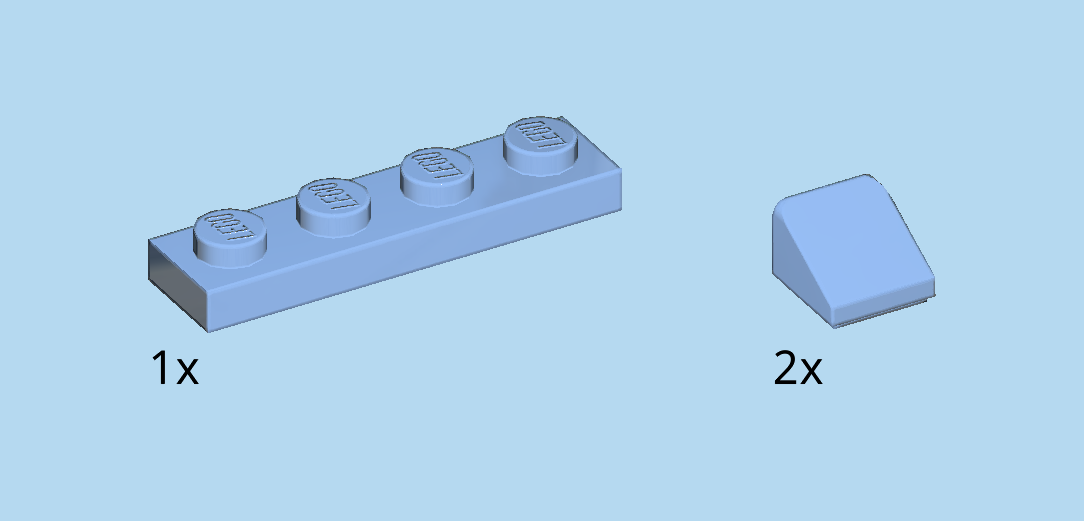
| Find 2 medium blue plates 1x4. |
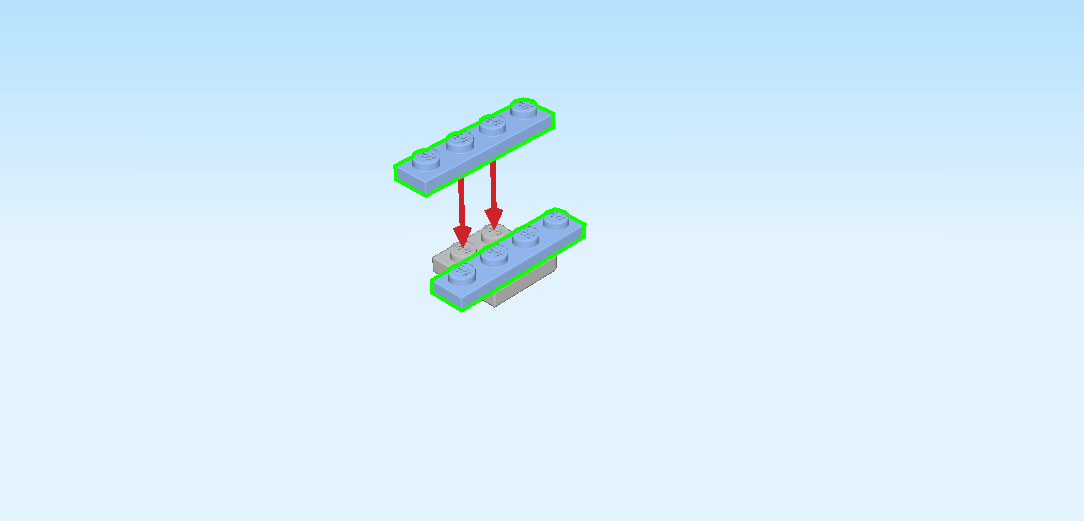
| Put 1 horizontally centered on the back row, symmetrically overhanging to the left and right. |
| Repeat symmetrically on the front row. |
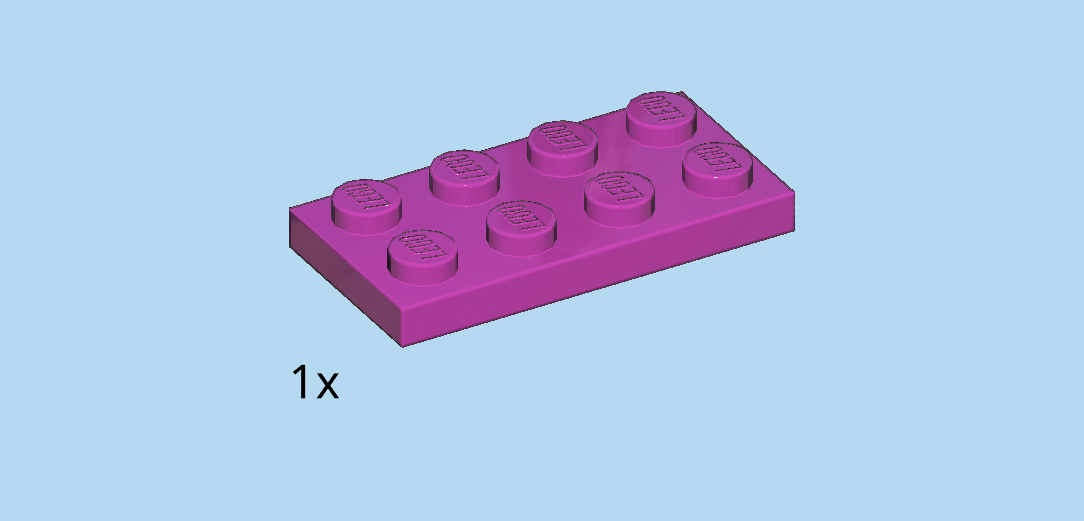
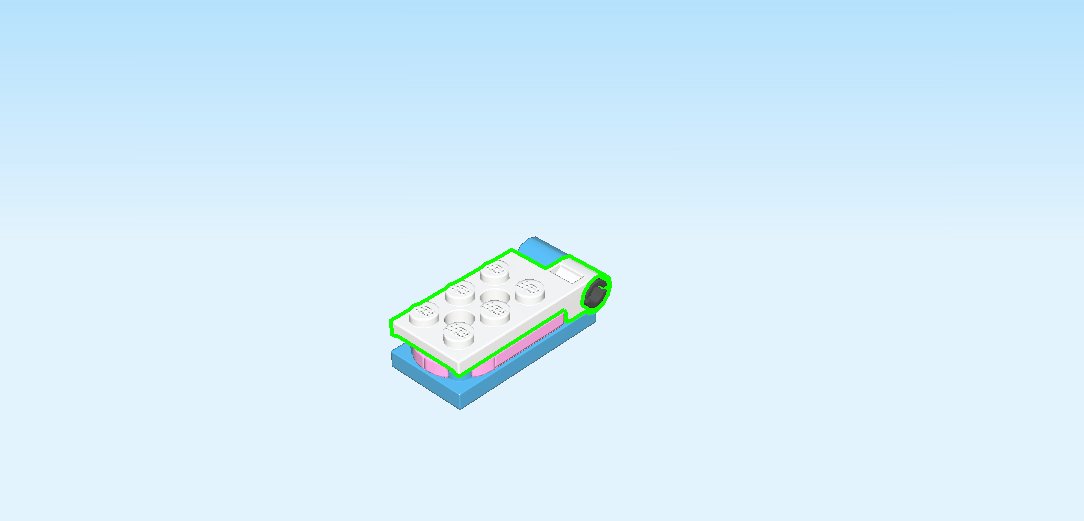
| Find 1 purple violet plate 2x4. |
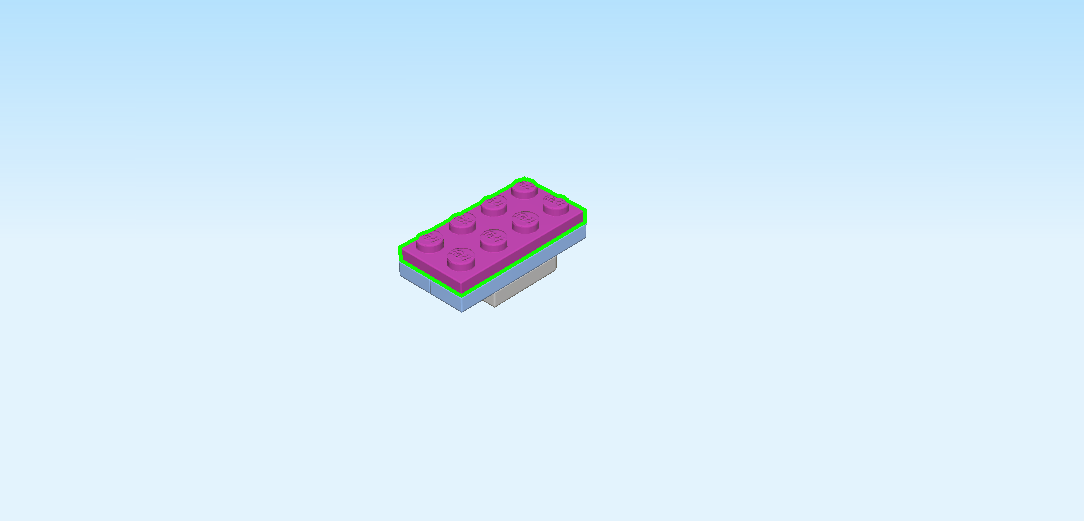
| Put it horizontally on top of the two previous pieces. |
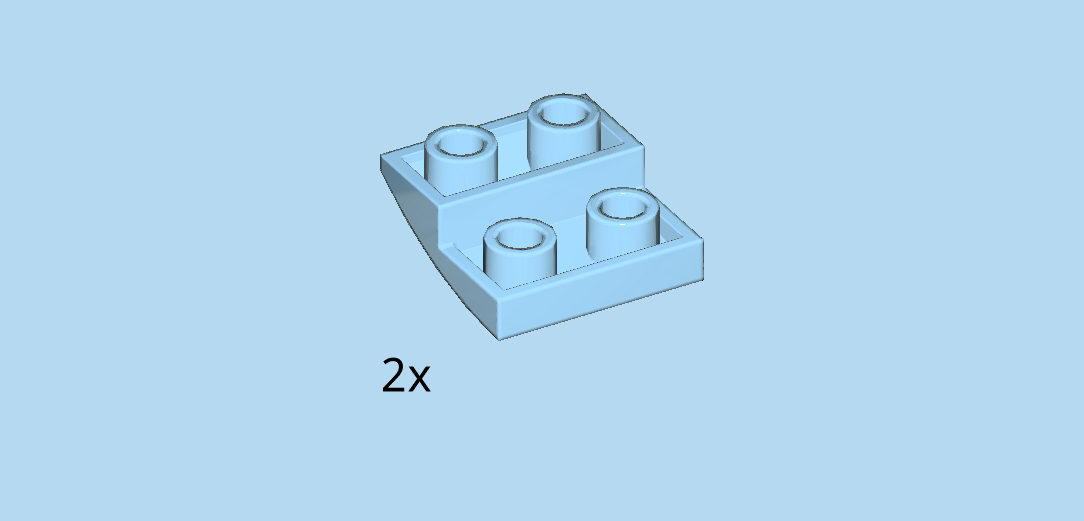
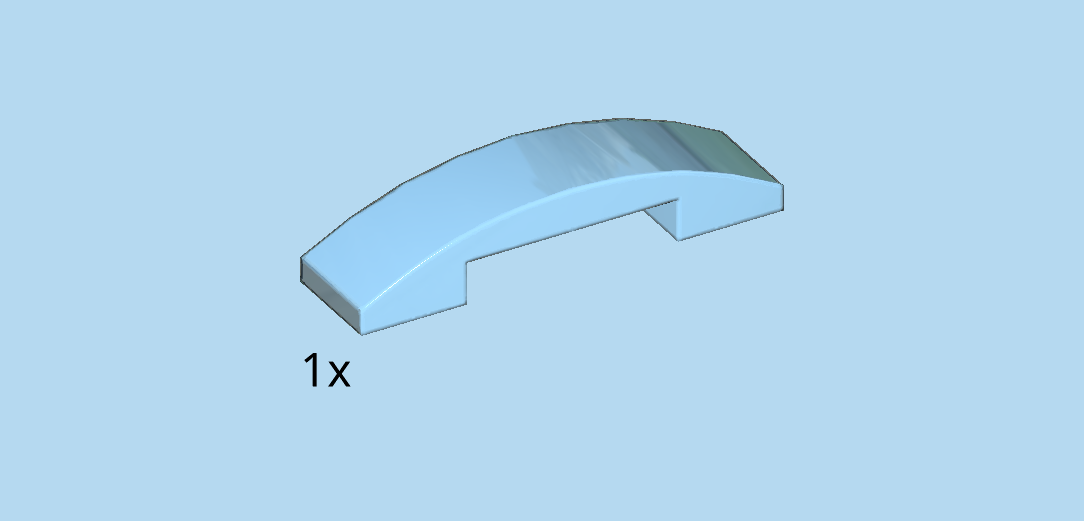
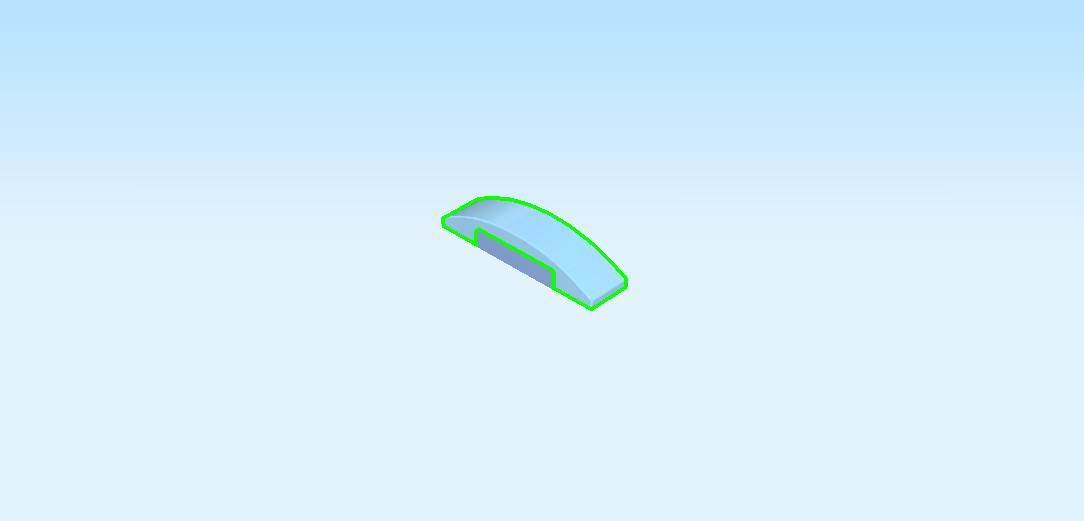
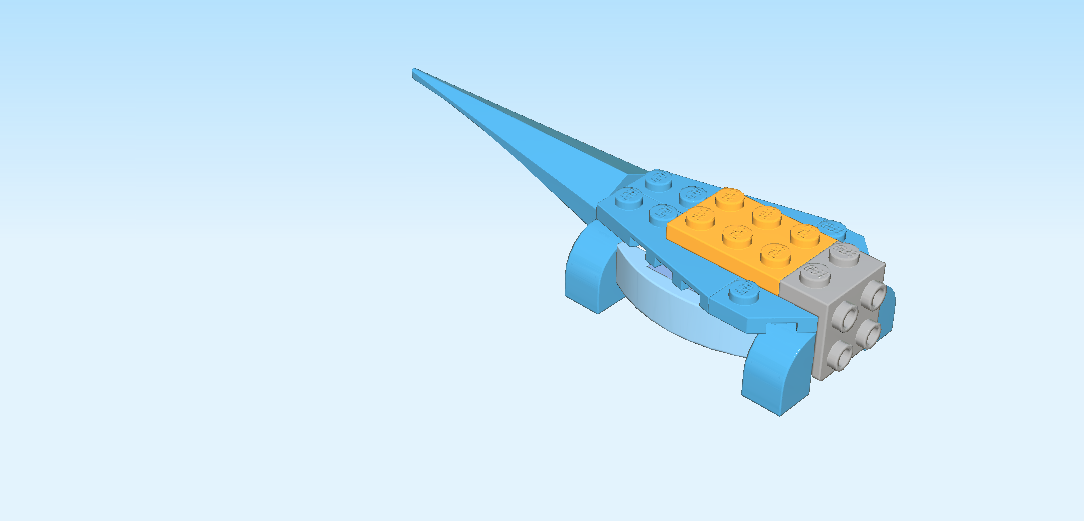
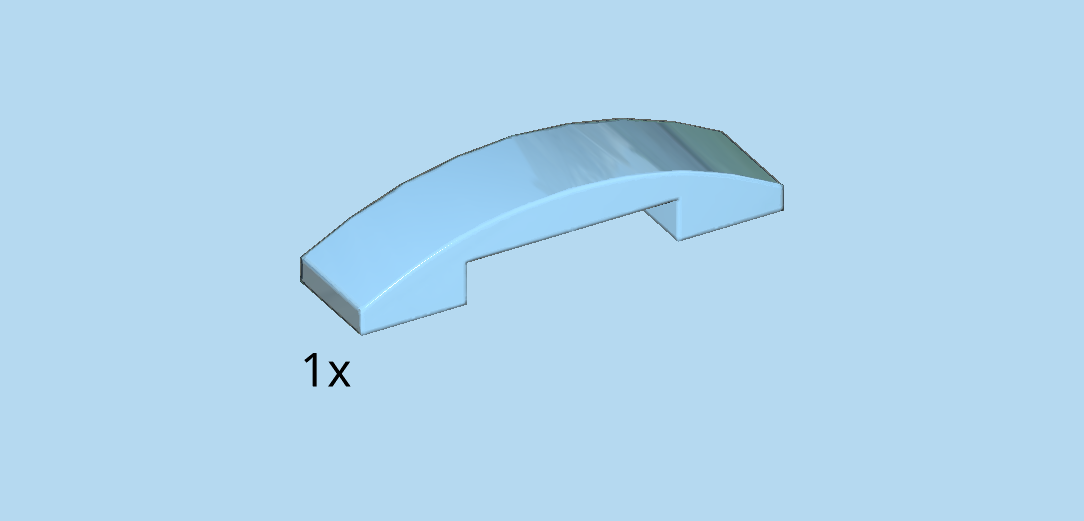
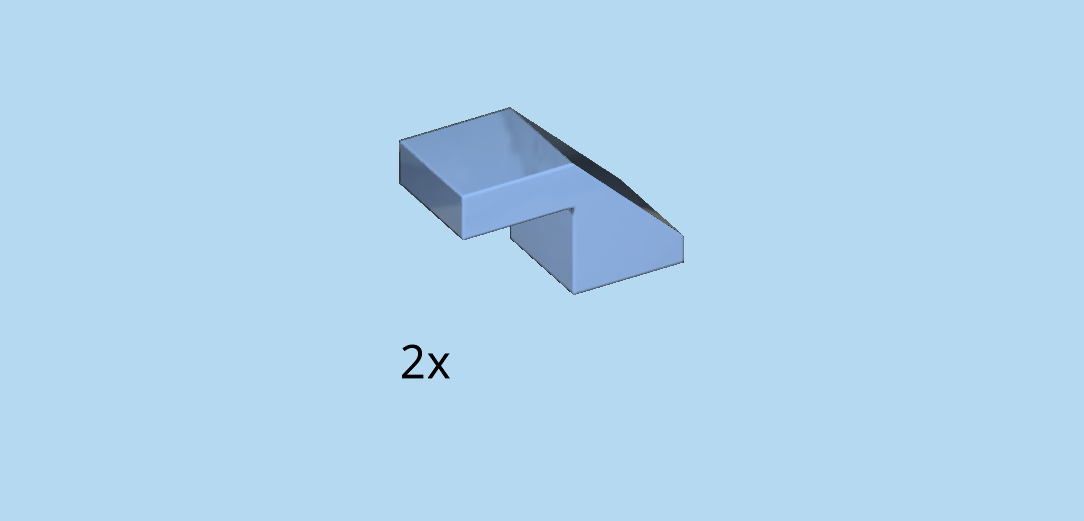
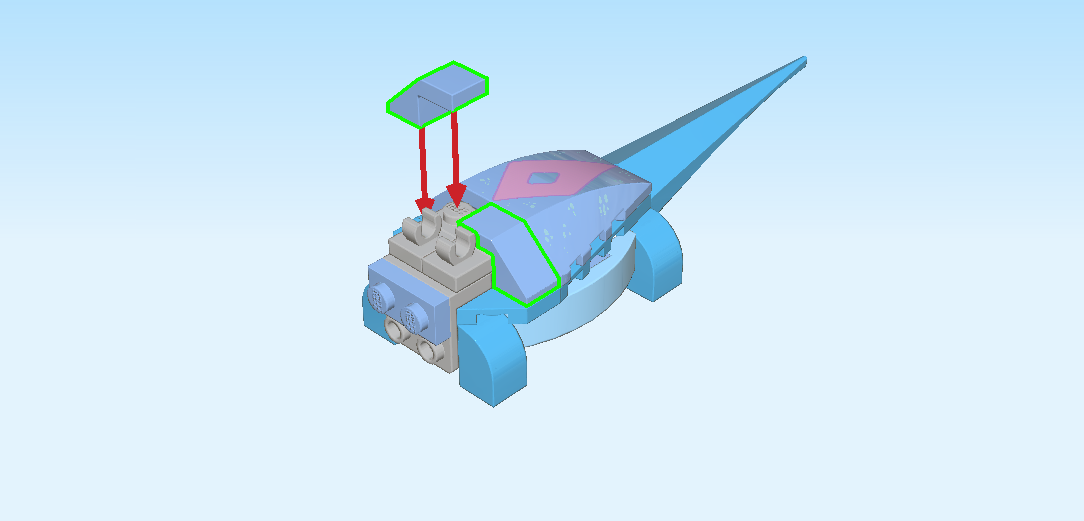
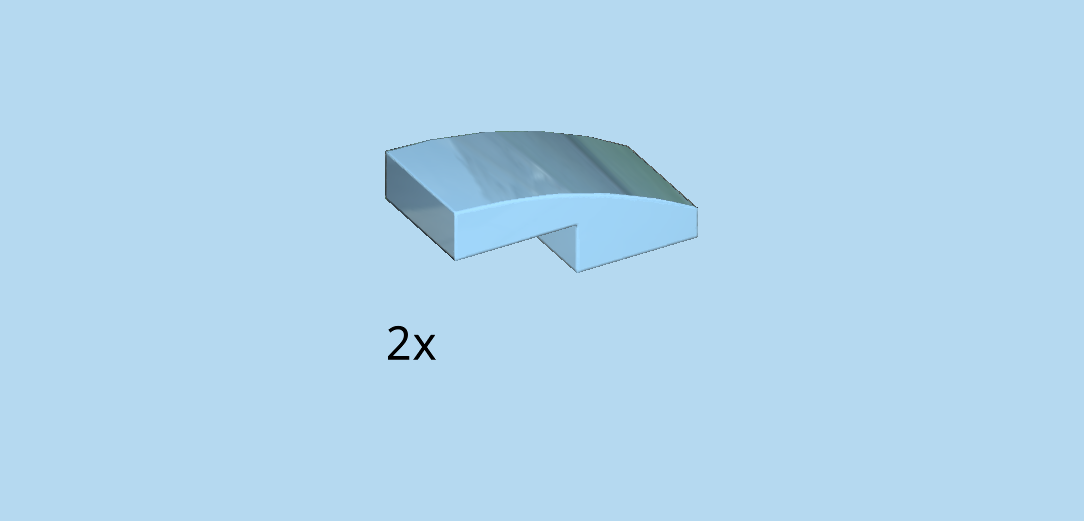
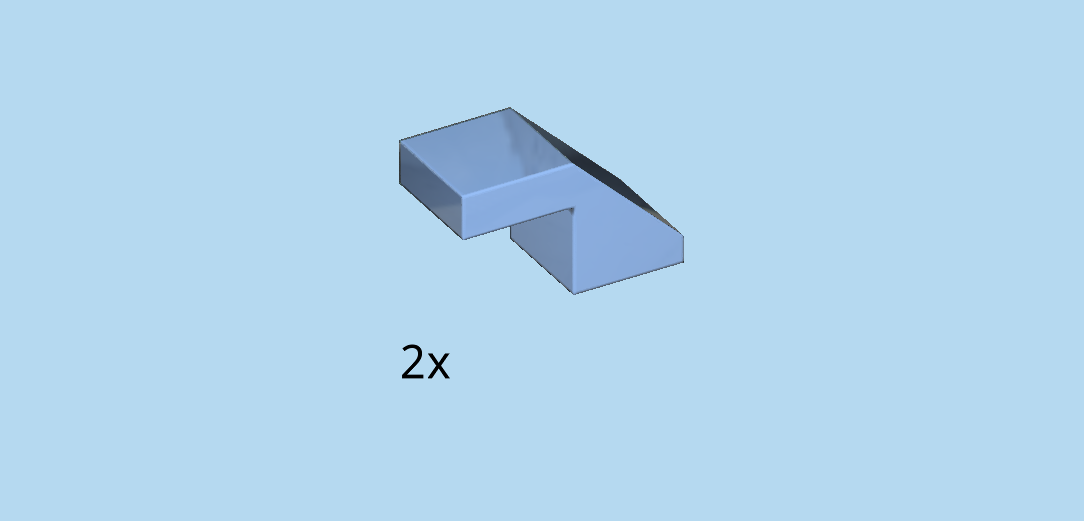
| Find 2 baby blue inverted one-stepped curve tiles 2x2x⅔. |
| Careful! These pieces are mounted in a special location. |
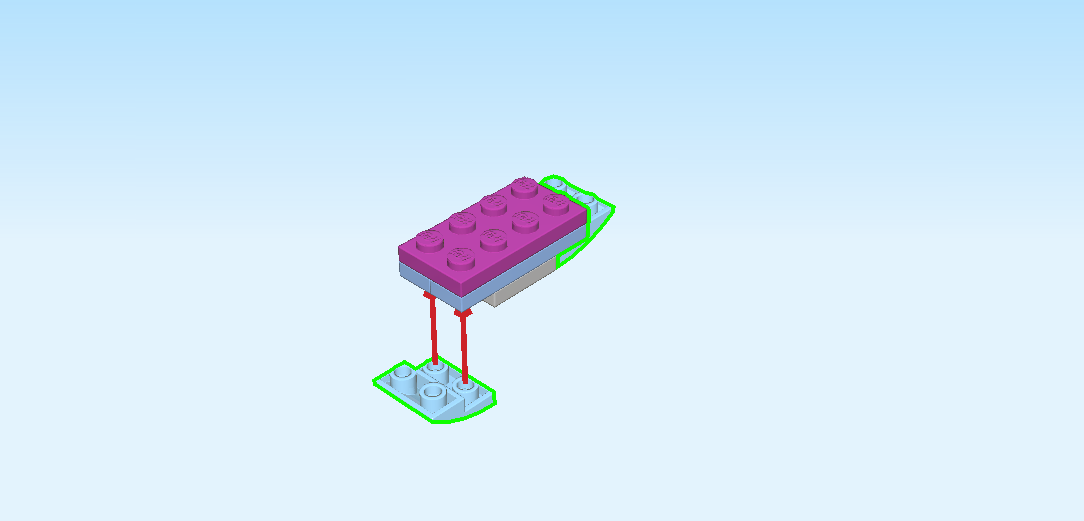
| Turn 1 so that its higher knobs are on the right, and the curve is at the bottom. |
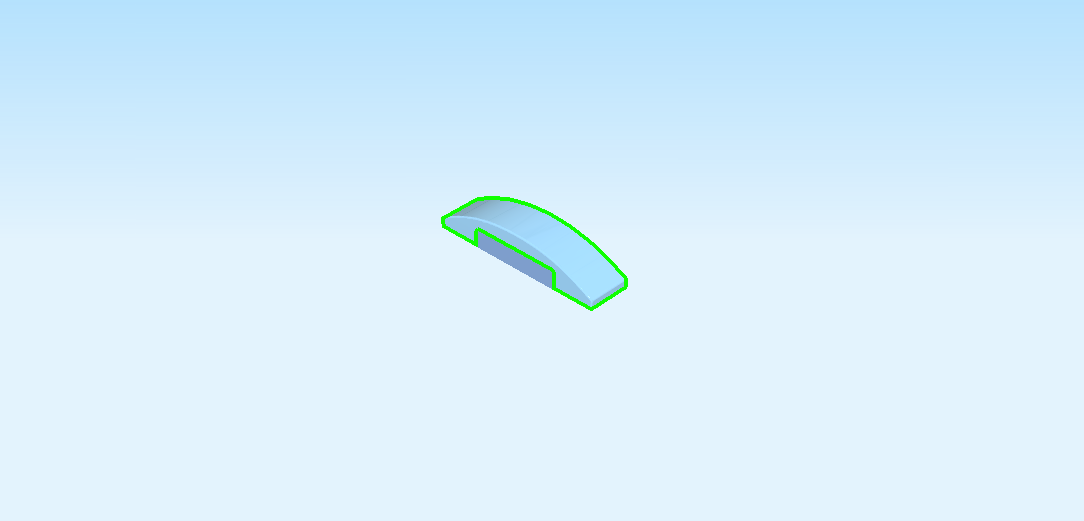
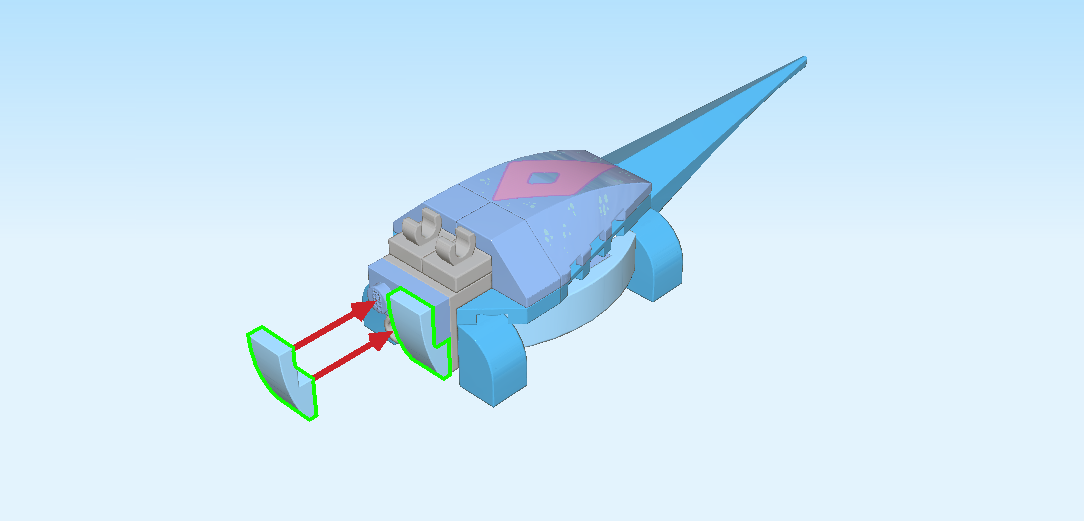
| Now mount it underneath the structure on the right side. The 2 higher knobs are protruding on the right. |
| Repeat symmetrically on the left. |
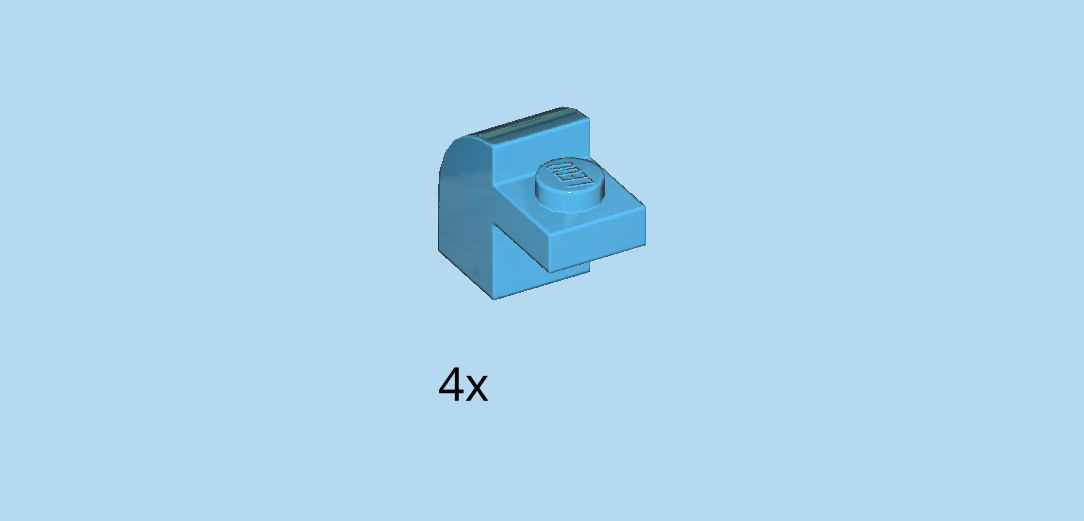
| Find 4 dark azure blue arched bricks 1x1 with protruding plate. |
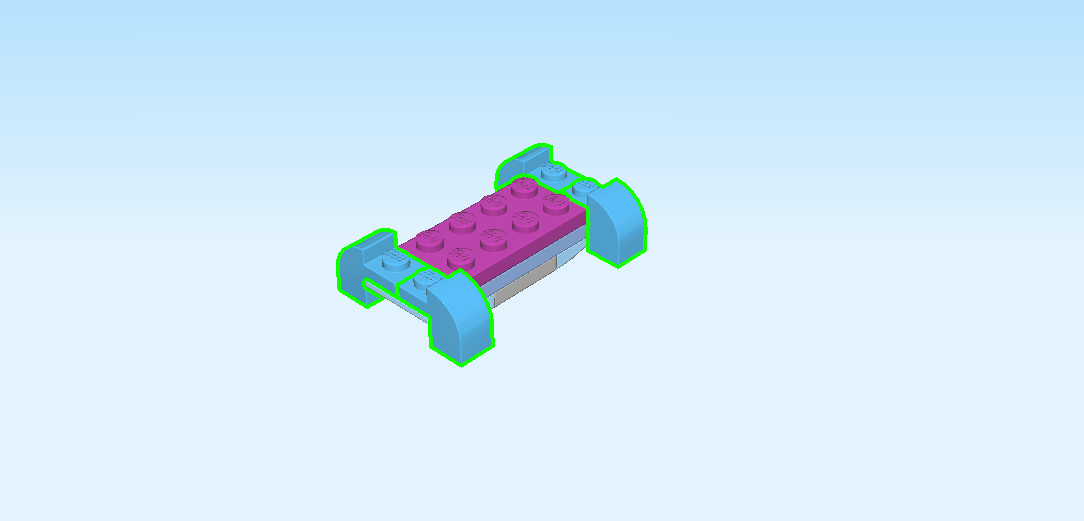
| Turn 1 vertically so that the protruding plate is pointing to the front. Then connect the protruding plate to the rightmost knob of the back row. The arched part of the brick is overhanging to the back. |
| Repeat symmetrically on the left. |
| Put another one in front of the rightmost knob of the front row, protruding plate to the back. |
| Repeat symmetrically on the left. |
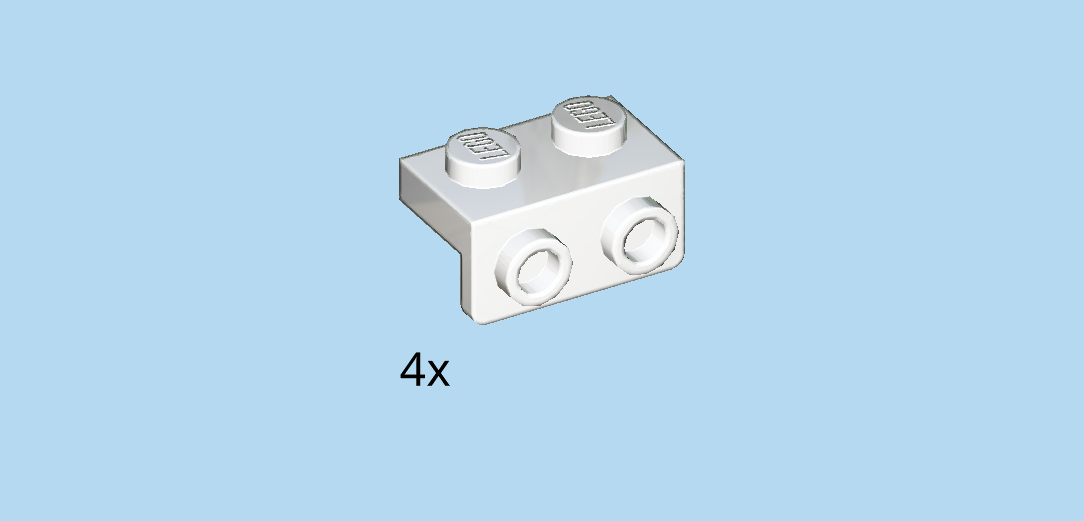
| Find 4 white top angle plates 1x2 - 1x2 with 2 side knobs. |
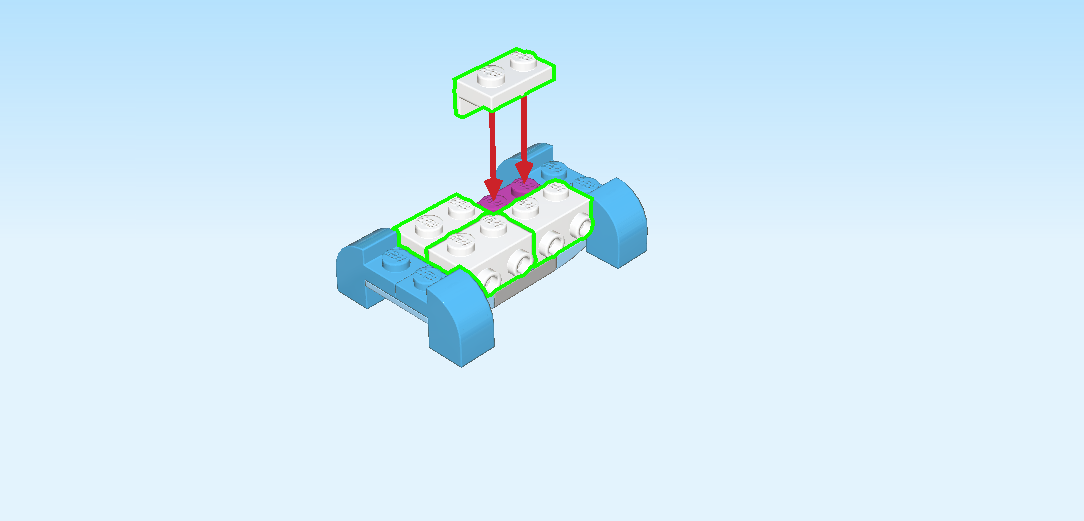
| Put 2 horizontally next to each other on the back row in the middle, side knobs to the back. |
| Repeat symmetrically at the front. |
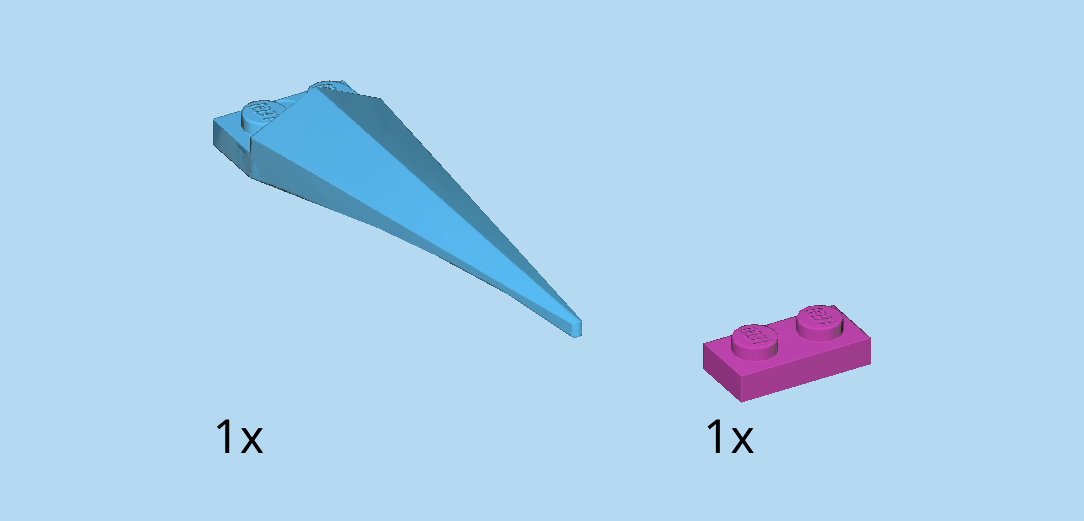
| Collect the following 2 pieces: |
| 1 purple violet plate 1x2, |
| and 1 dark azure blue spike 2x8. |
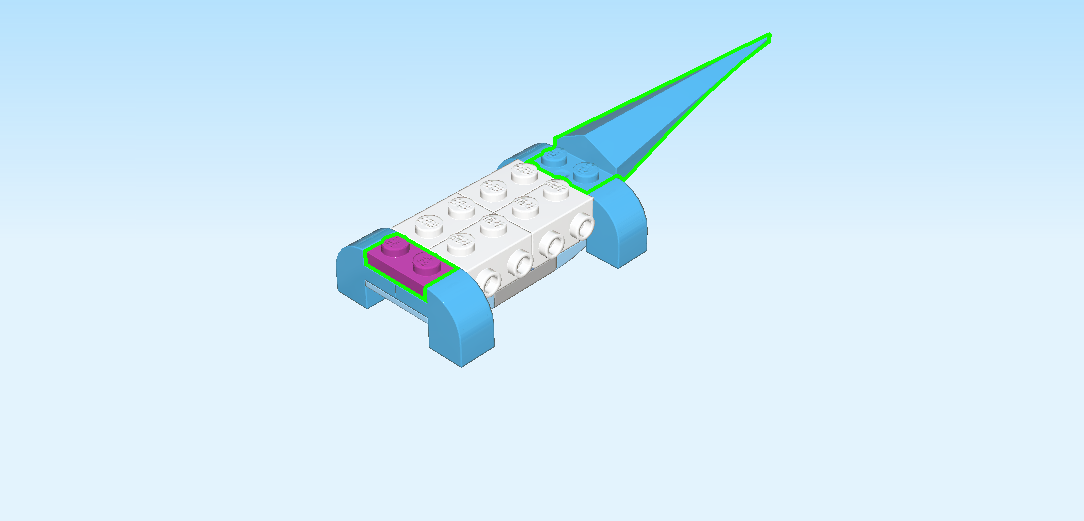
| Put the plate 1x2 vertically on the leftmost column. |
| Put the spike 2x8 on the rightmost column, spike pointing to the right. |
| Collect the following 2 pieces: |
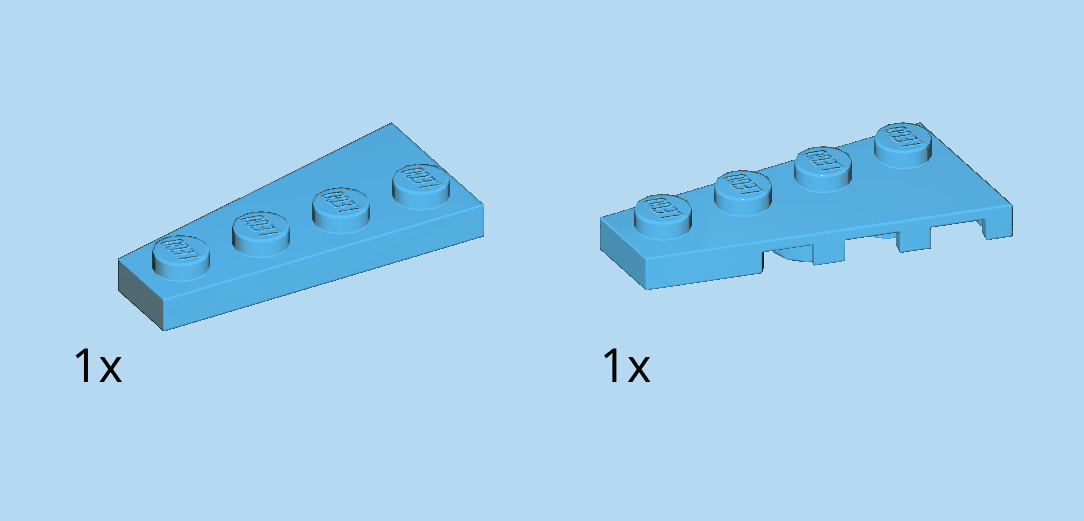
| 1 dark azure blue right wedge plate 2x4 with angle, |
| and 1 dark azure blue left wedge plate 2x4 with angle. |
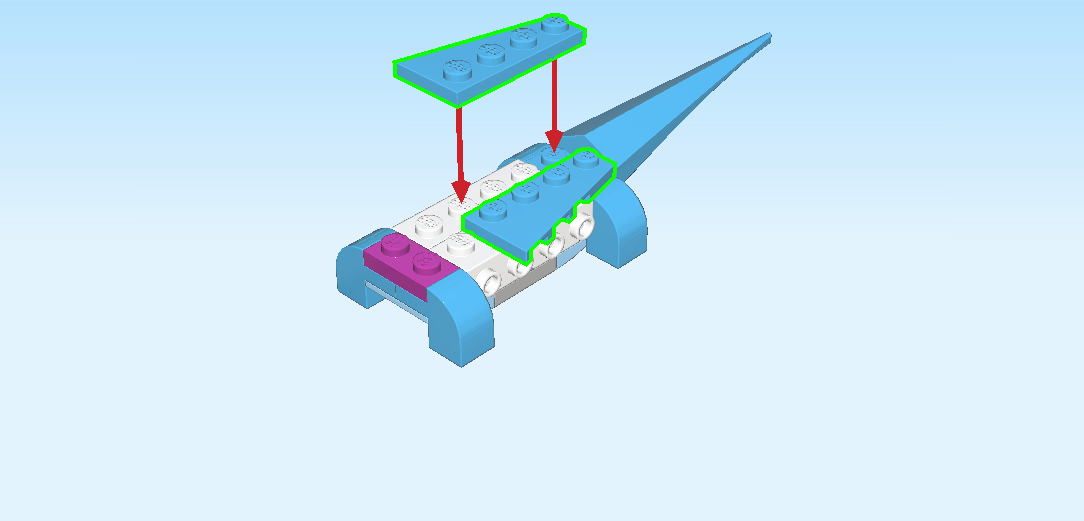
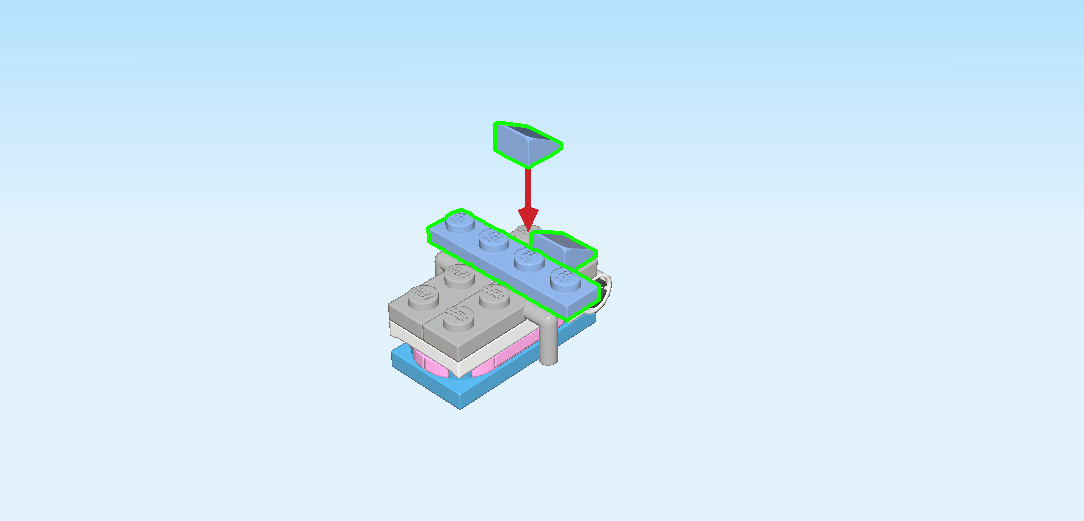
| Put the right wedge plate horizontally on the back row on the right edge, narrow end to the right and angled side to the back. If this does not add up, you might have the wrong wedge plate. Try again with the other one. |
| Repeat symmetrically on the front row. |
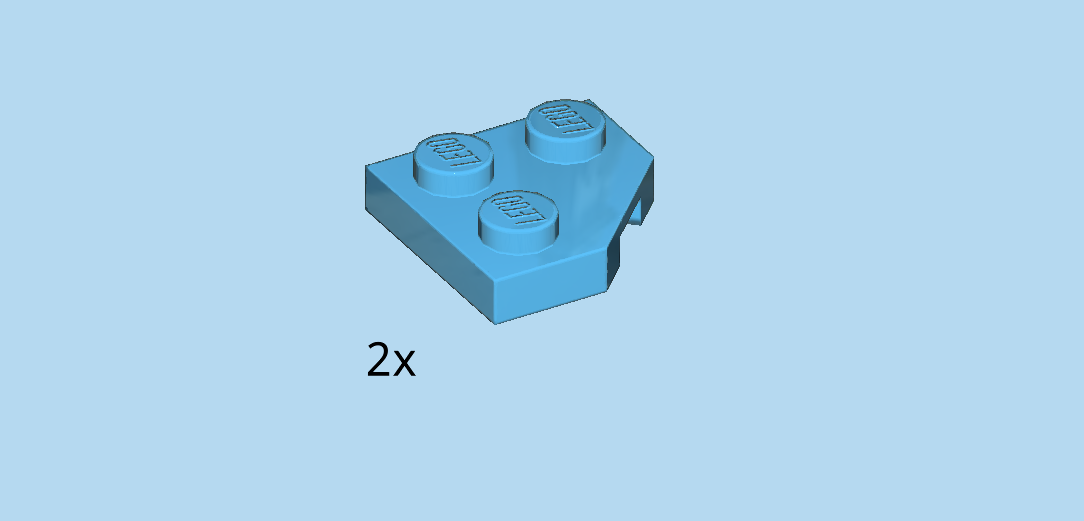
| Find 2 dark azure blue wedge plates 2x2 with 45° corner and 3 knobs. |
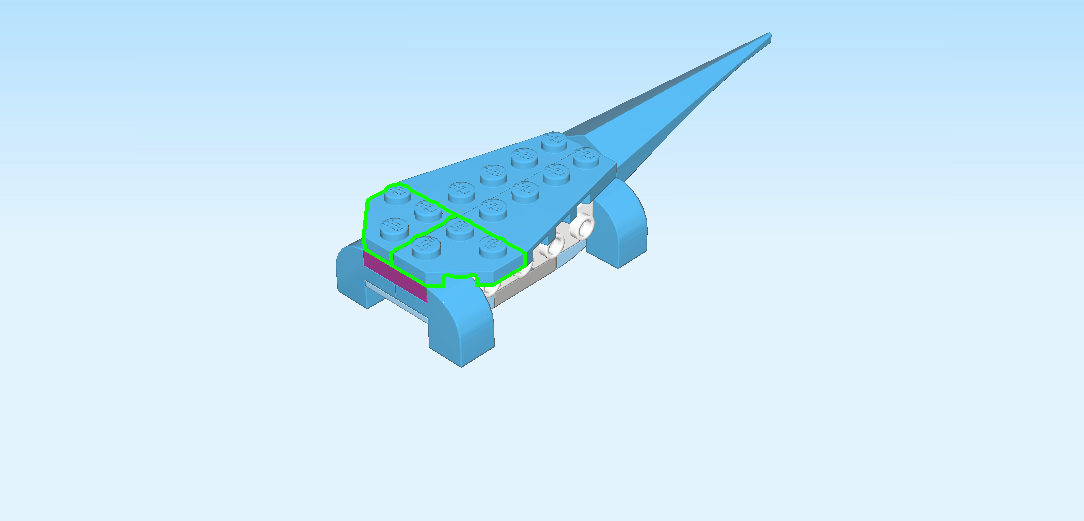
| Put 1 on the back row, cut-off corner to the back left. |
| Put 1 on the front row, cut-off corner to the front left. |
| Collect the following 2 pieces: |
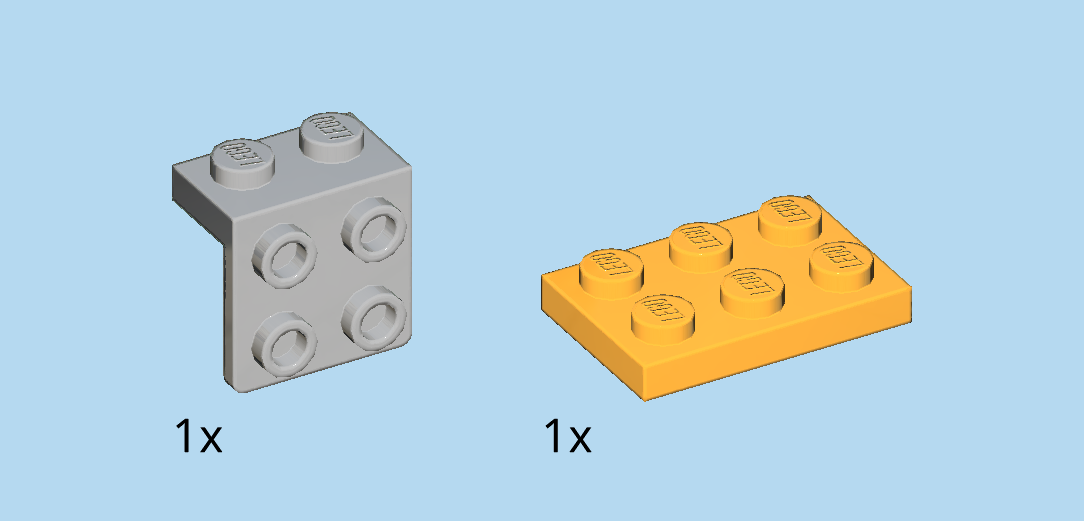
| 1 medium stone grey top angle plate 1x2 - 2x2 with 4 side knobs, |
| and 1 flame yellowish orange plate 2x3. |
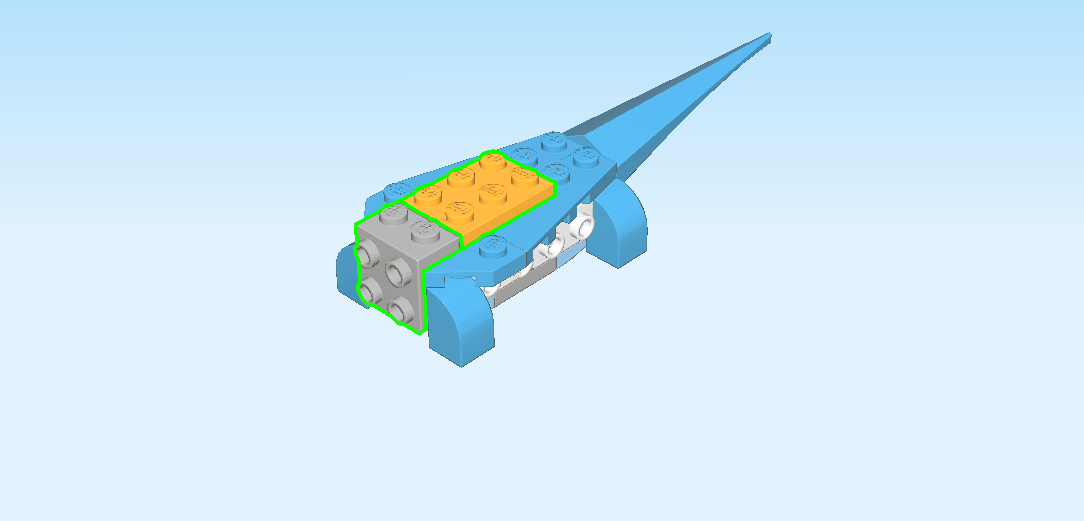
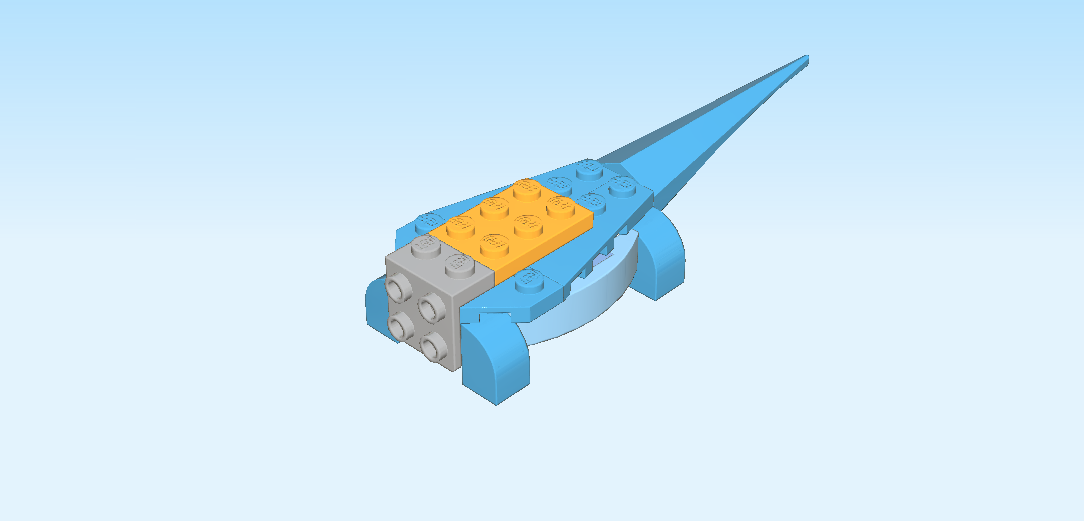
| Put the angle plate vertically on the leftmost column, 4 side knobs overhanging to the left. |
| Put the plate 2x3 horizontally to the right. |
| Now, we will make Bruni's left flank. |
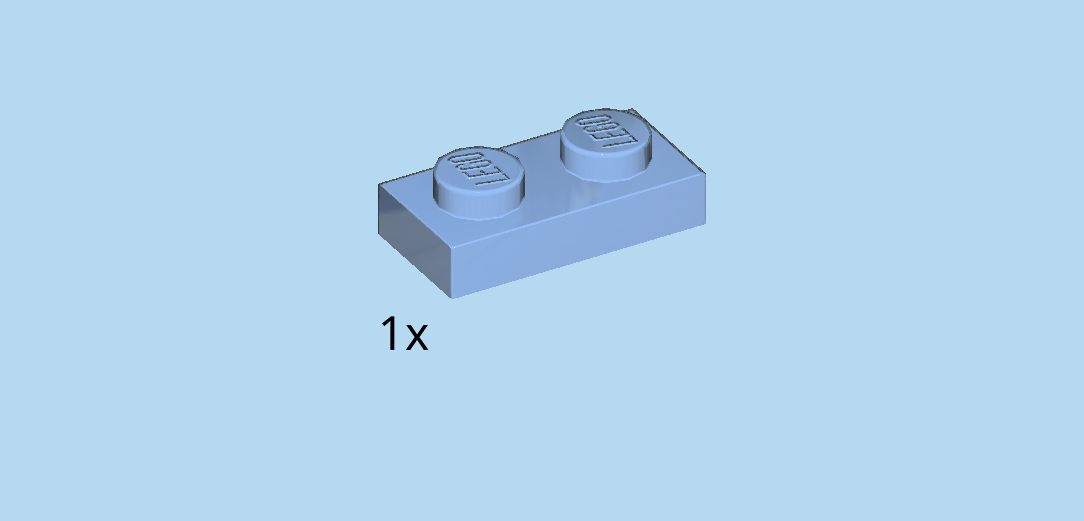
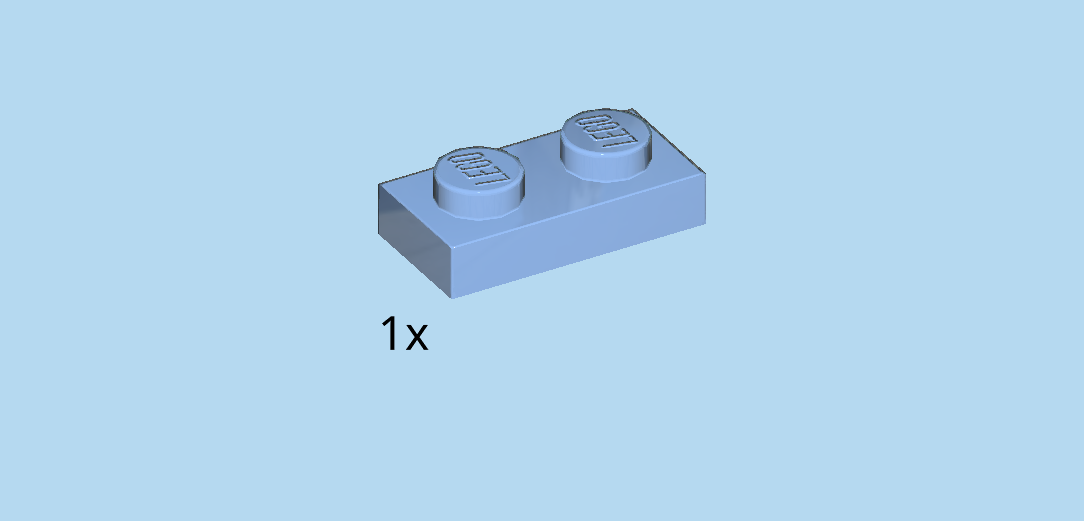
| Find 1 medium blue plate 1x2. |
| Put it horizontally on the table. |
| Find 1 baby blue bow tile 1x4x⅔. |
| Put it horizontally on top. |
| Bruni's left flank is finished! Great! |
| Now, turn it upright so that the curved part is facing you and the hollow is to the back. Mount this part horizontally on the side knobs at the front side directly below the wedge plate. |
| Next, let's make Bruni's right flank. |
| Find 1 medium blue plate 1x2. |
| Put it horizontally on the table. |
| Find 1 baby blue bow tile 1x4x⅔. |
| Put it horizontally on top. |
| Great! First, turn the structure left to right so that the spike is pointing to the left. Then, turn the flank upright and mount it horizontally on the side knobs pointing towards you directly below the wedge plate. |
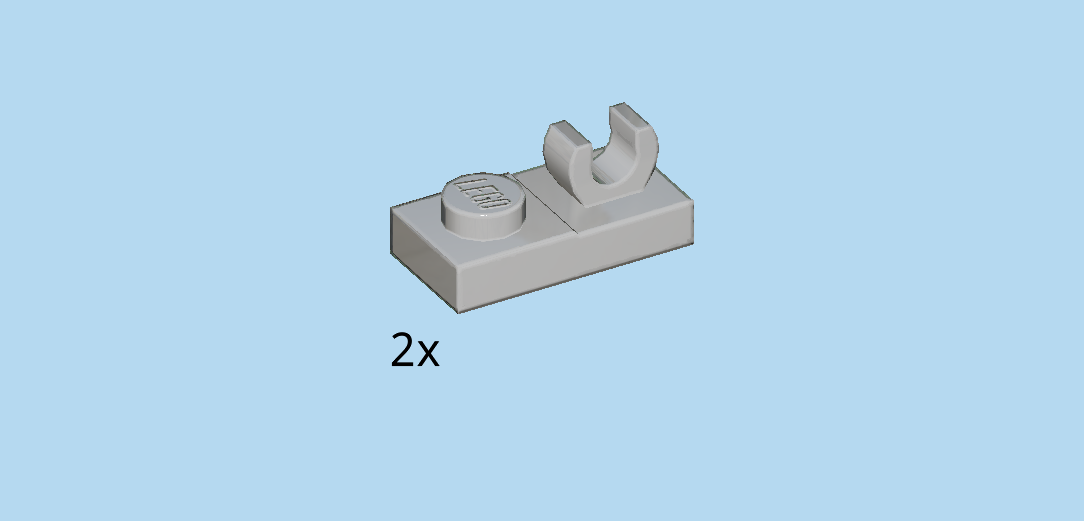
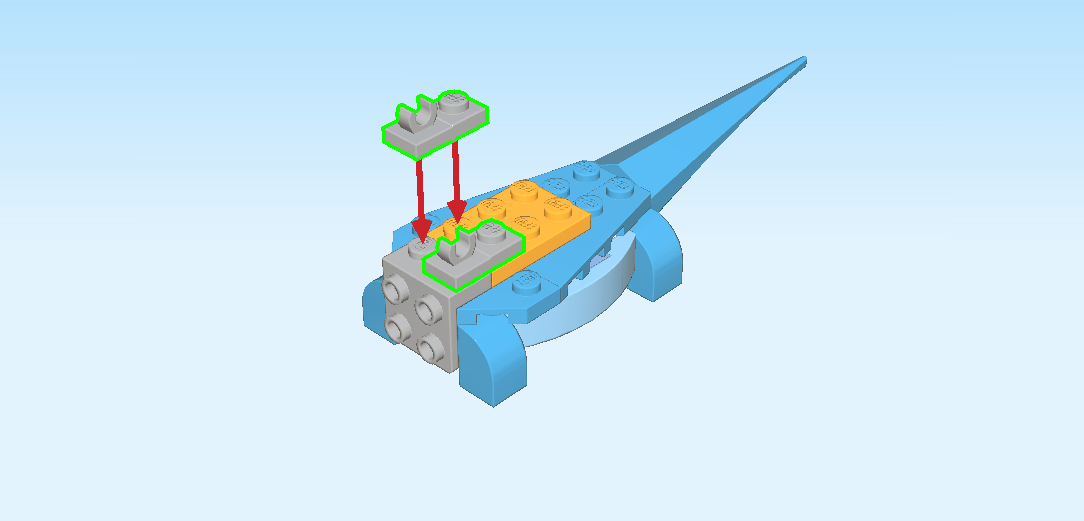
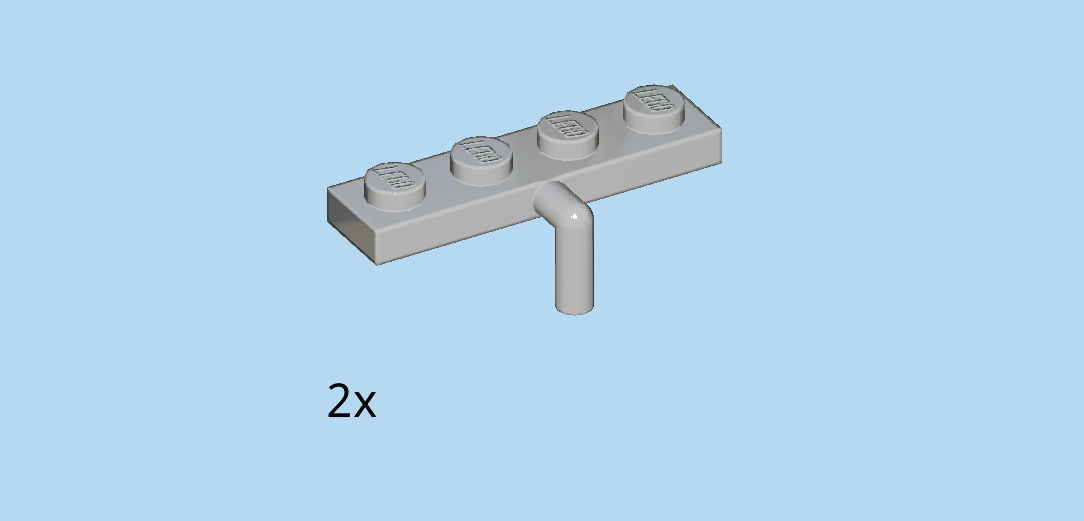
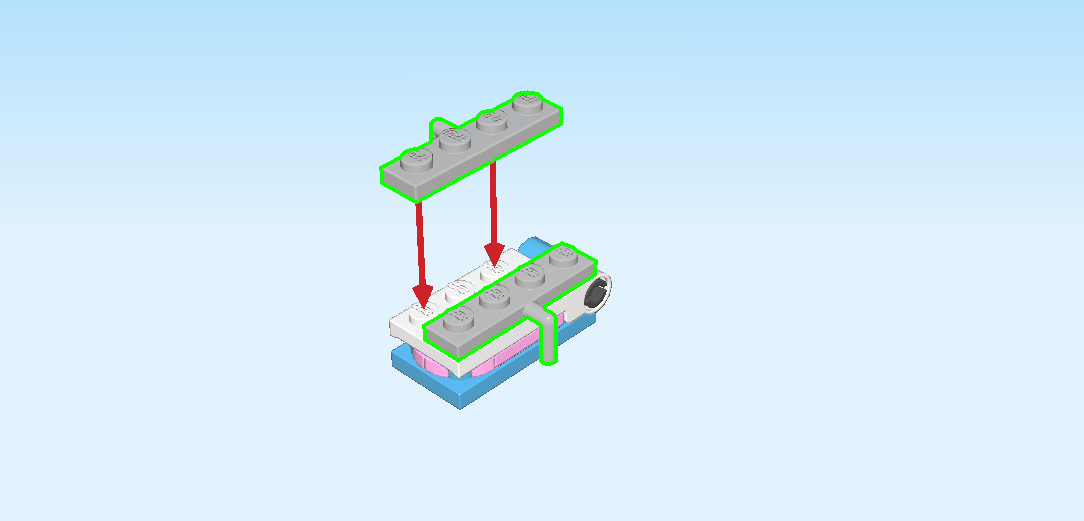
| Find 2 medium stone grey plates 1x2 with top clasp. |
| Turn the structure left to right again so that the spike is pointing to the right. |
| Put 1 plate with top clasp horizontally on the back row on the left edge, clasp to the left. |
| Repeat symmetrically on the front row. |
| Collect the following 2 pieces: |
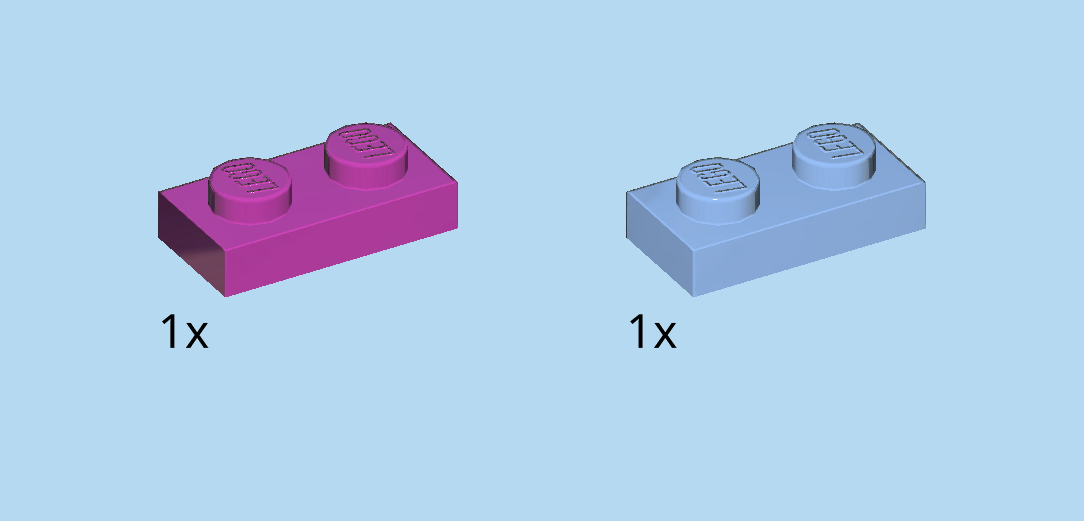
| 1 purple violet plate 1x2, |
| and 1 medium blue plate 1x2. |
| Put the purple violet plate 1x2 vertically to the right of the two previous pieces. |
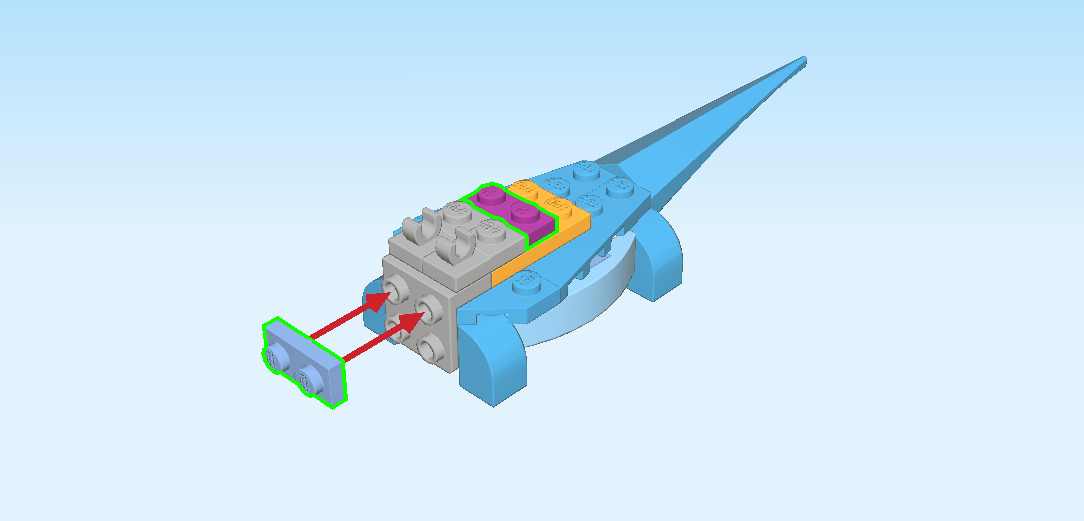
| Turn the medium blue plate 1x2 upright, and put it horizontally on the top side knobs on the left side, knobs to the left. |
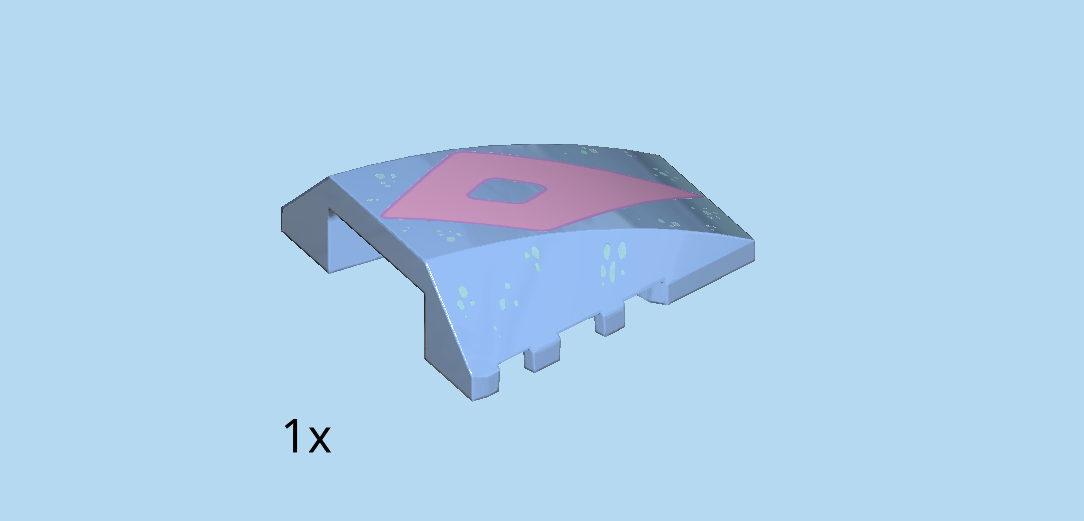
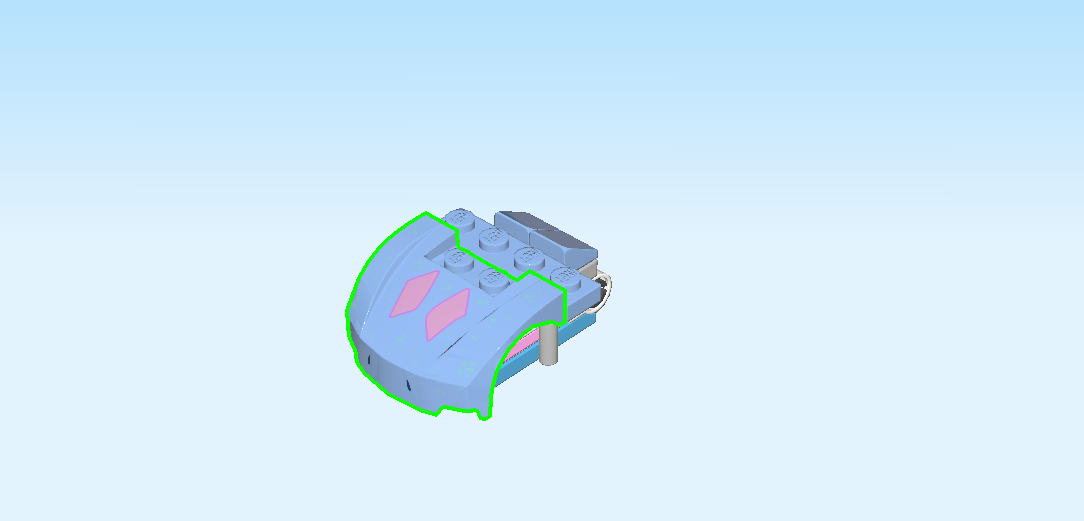
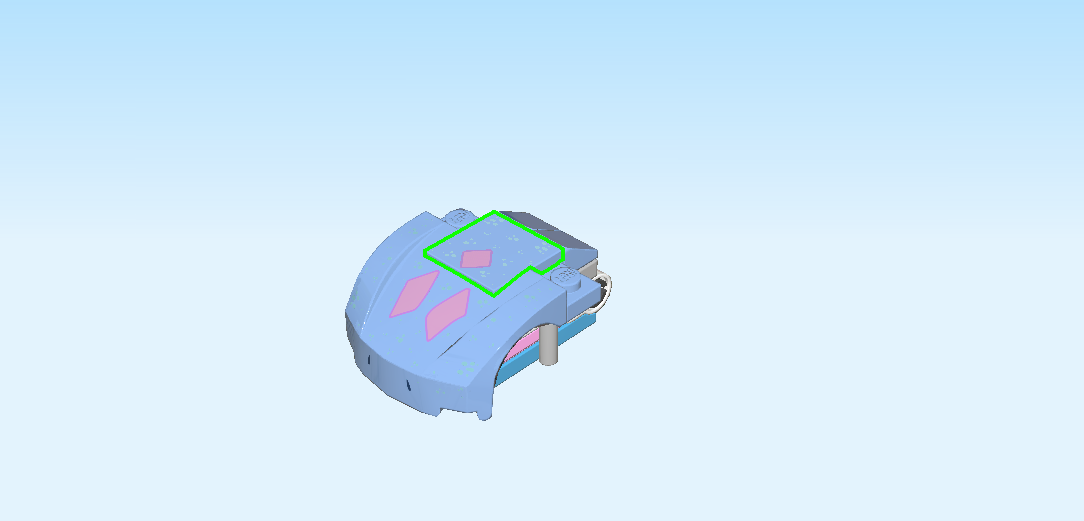
| Find 1 medium blue curve piece 4x4 with 3 sloped sides. |
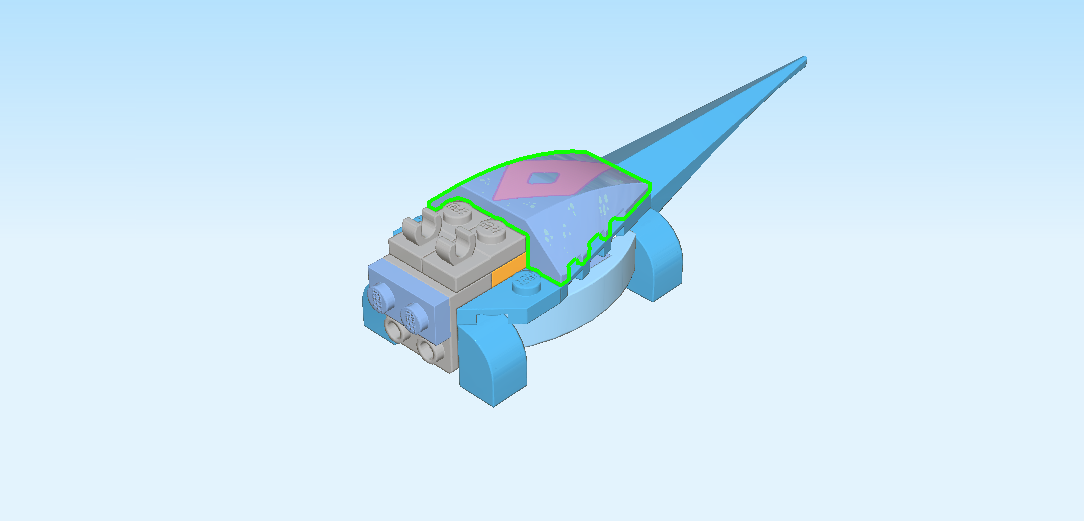
| Put it on top of the structure starting from the right, flatter end to the right and higher end to the left. |
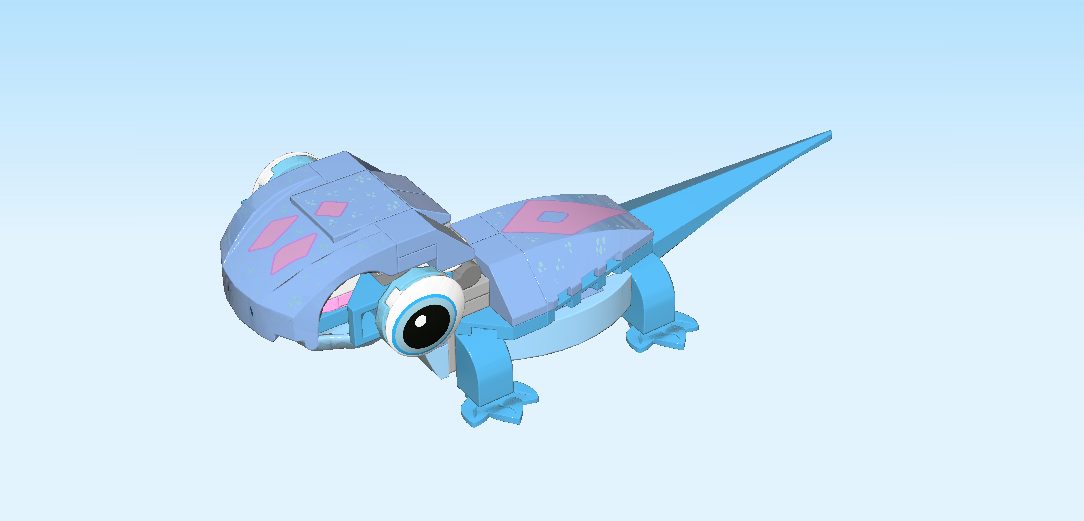
| This is Bruni's back. It is printed with small light green sprinkles all over, and with one large pale purple diamond in the middle, which has a small blue diamond in its middle. |
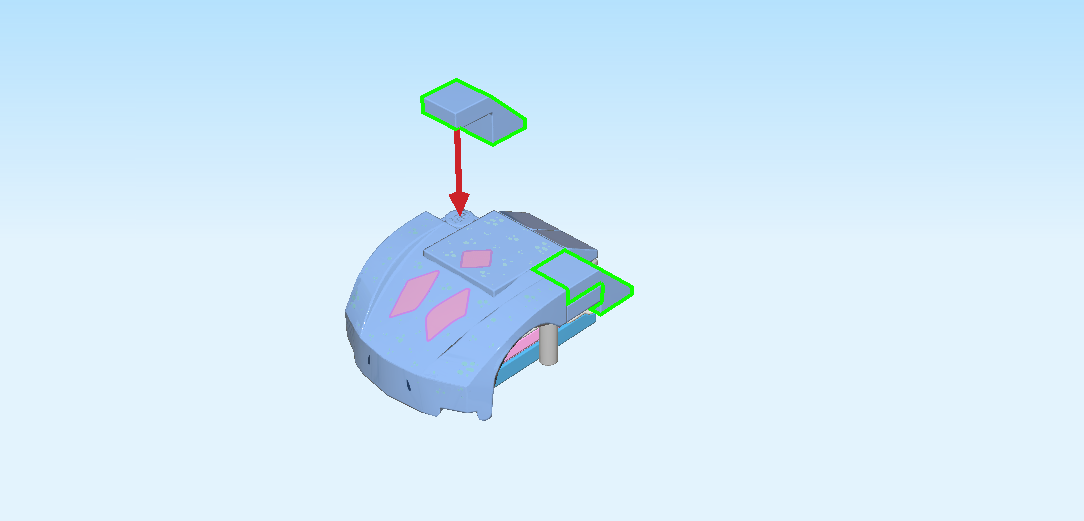
| Find 2 medium blue smooth roof tiles 1x1 with protruding top tile. |
| Put 1 vertically on the backmost knob on the left, protruding plate to the front. |
| Repeat symmetrically at the front. |
| Find 2 baby blue one-stepped curve tiles 1x2x⅔. |
| Turn 1 upright, curve to the left and pointing to the bottom. Mount it vertically on the two backmost side knobs on the left side. |
| Repeat symmetrically at the front. |
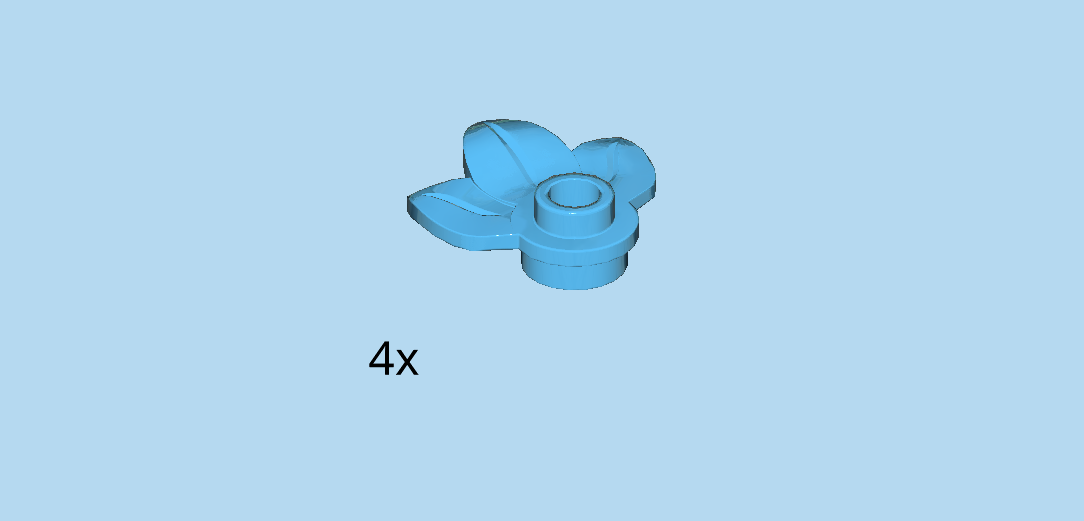
| Find 4 dark azure blue plants with plate 1x1. |
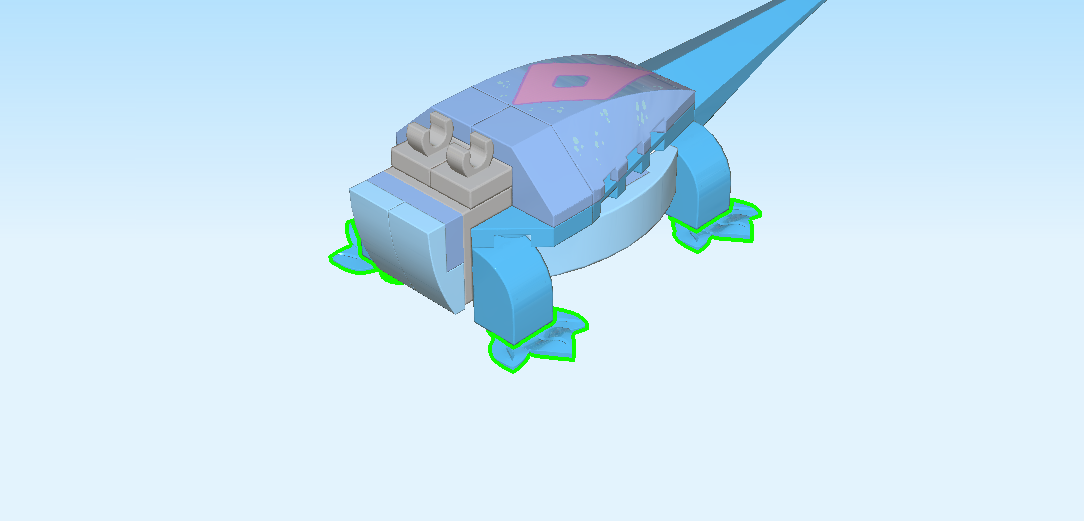
| Put them underneath the four arched bricks in the four outmost corners of the structure. The tips of the leaves at the front are pointing to the front, and the leaves at the back are pointing to the back. |
| These are Bruni's toes! Well done! You are making great progress! |
| Now, we will build Bruni's head. |
| Collect the following 2 pieces: |
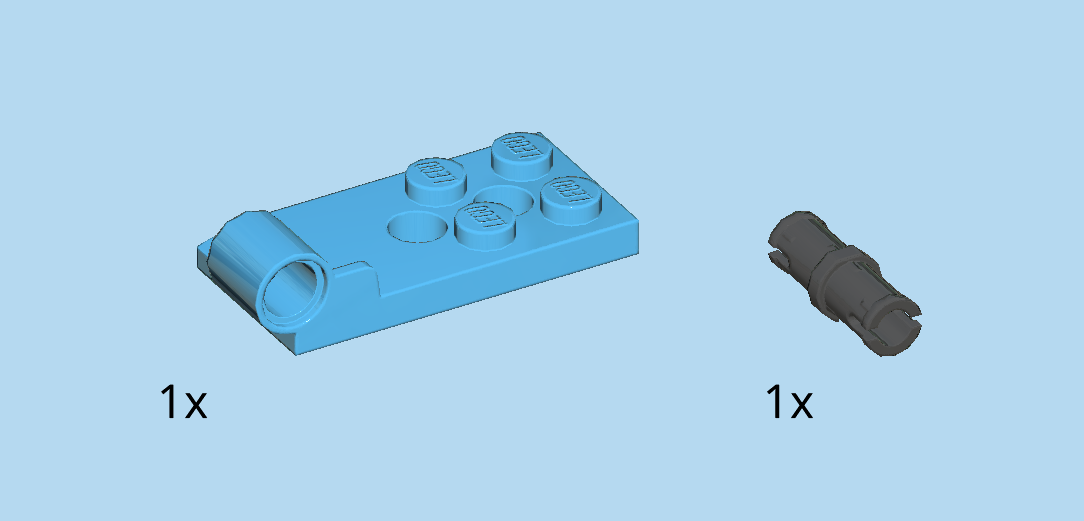
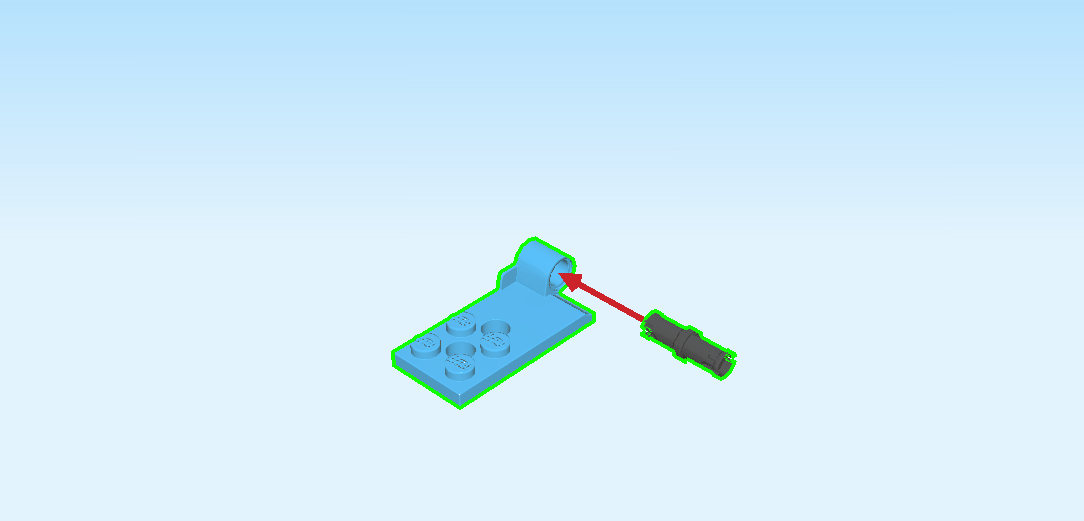
| 1 dark azure blue plate 2x4 with lateral top tube and 4 knobs, |
| and 1 black connector peg 2m with middle ring. |
| Put the plate 2x4 horizontally on the table, top tube in the back right corner. |
| Insert the connector peg front-to-back into the top tube. |
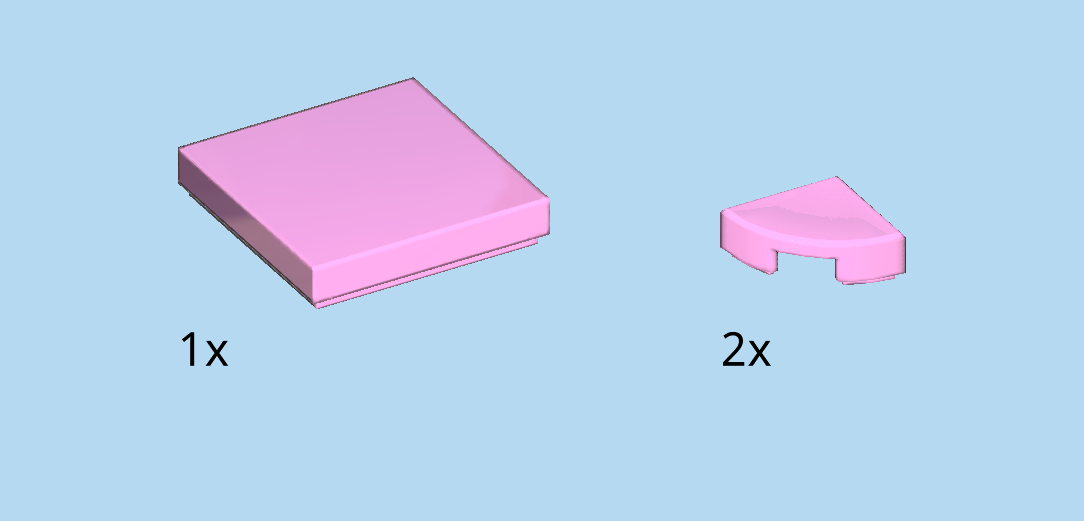
| Collect the following 3 pieces: |
| 2 light purple quarter-circle tiles 1x1, |
| and 1 light purple flat tile 2x2. |
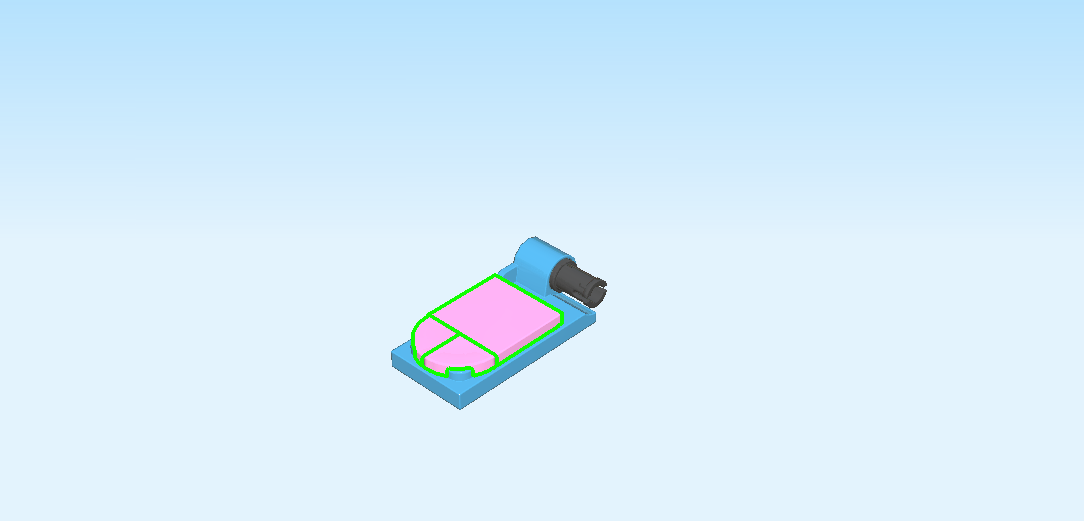
| Put the flat tile 2x2 to the left of the connector and top tube. |
| Put 1 quarter-circle tile 1x1 on the leftmost knob at the back, quarter circle to the back left. |
| Repeat symmetrically on the front knob. Combined, these three elements should now form the shape of a tongue. |
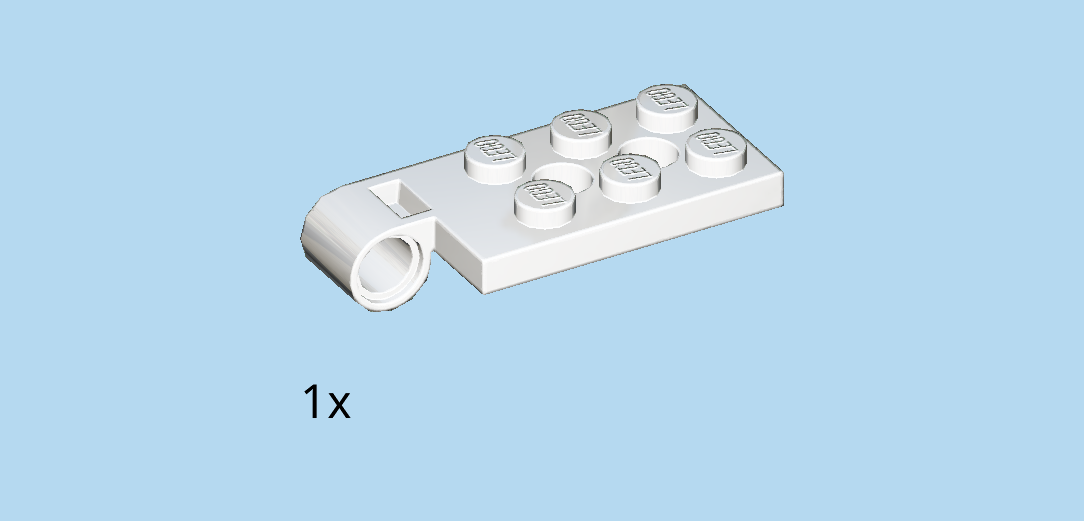
| Find 1 white plate 2x4 with lateral side tube and 6 knobs. |
| This can be a bit tricky to mount. Listen carefully! |
| Turn it horizontally so that the side tube is on the right front. Then push the side tube onto the connector peg at the right. |
| If done correctly, you will be able to open and close this piece just like a mouth! |
| Find 2 medium stone grey plates 1x4 with downward hook on long side. |
| Put 1 horizontally on the back row, hook overhanging to the back. |
| Repeat symmetrically at the front. |
| Collect the following 3 pieces: |
| 2 medium blue smooth roof tiles 1x1x⅔, |
| and 1 medium blue plate 1x4. |
| Put 1 roof tile 1x1x⅔ on the rightmost knob of the back row, slope to the right. |
| Repeat symmetrically at the front. |
| Put the plate 1x4 vertically to the left of the two previous pieces, symmetrically overhanging to the front and back. |
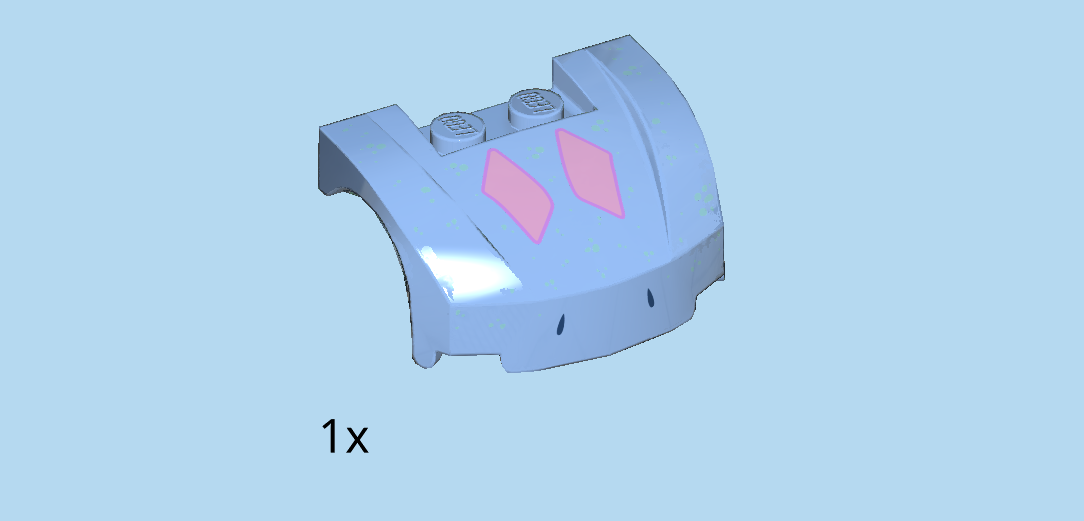
| Find 1 medium blue curved vehicle front 3x4x1⅔. |
| Put it vertically to the left of the previous piece, two top knobs on the right, and piece overhanging on the left. |
| This piece has a decorative print on it: on the left side curve, there are two small black dots indicating Bruni's nostrils. On the top curve in the middle there are two pale purple diamond shapes, and the whole piece is covered with small light green sprinkles. |
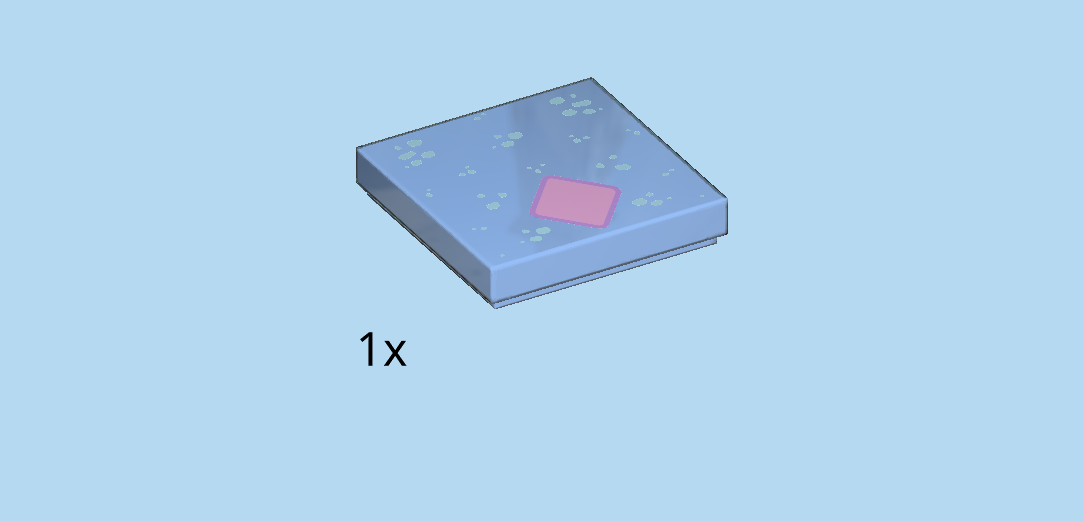
| Find 1 medium blue flat tile 2x2. |
| Put it on the two knobs of the previous piece and the two knobs to the right of that. |
| This piece is printed with small light green sprinkles and one pale purple diamond. For the correct orientation of the printed pattern, ask a sighted person for help. |
| Find 2 medium blue smooth roof tiles 1x1 with protruding top tile. |
| Turn 1 horizontally so that the protruding tile is pointing to the left. Then connect the protruding tile to the remaining knob of the back row from the right. |
| Repeat symmetrically on the front row. |
| Now, we will build Bruni's lower jaw. |
| Collect the following 2 pieces: |
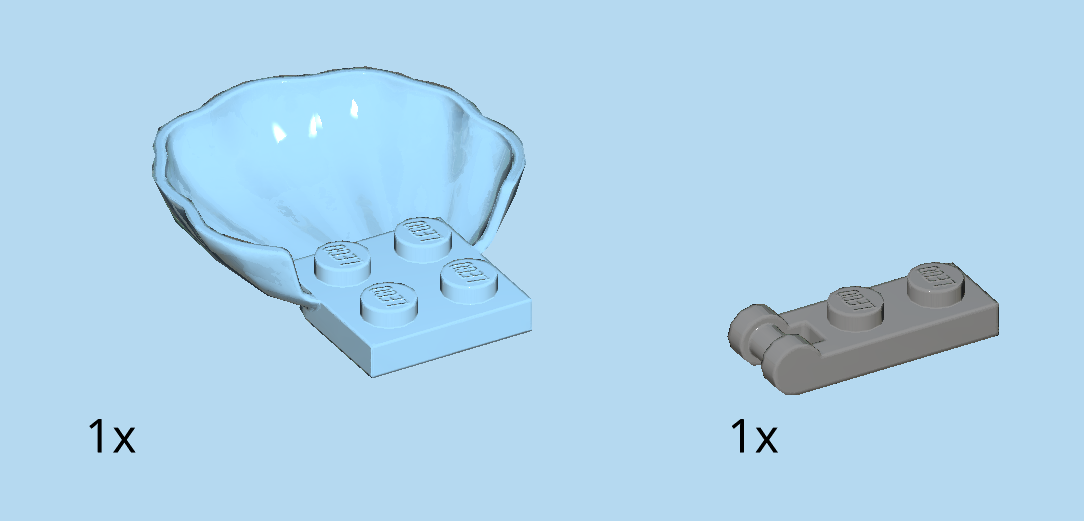
| 1 baby blue shell bottom half, |
| and 1 dark stone grey plate 1x2 with shaft on short side. |
| Put the shell bottom half on the table, knobs to the right. |
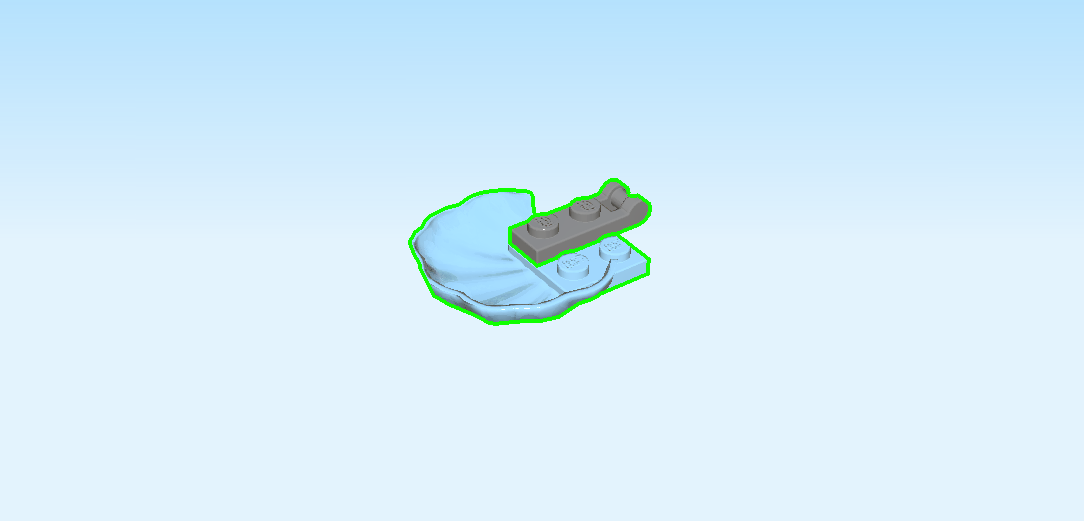
| Put the plate 1x2 horizontally on the back row, shaft to the right. |
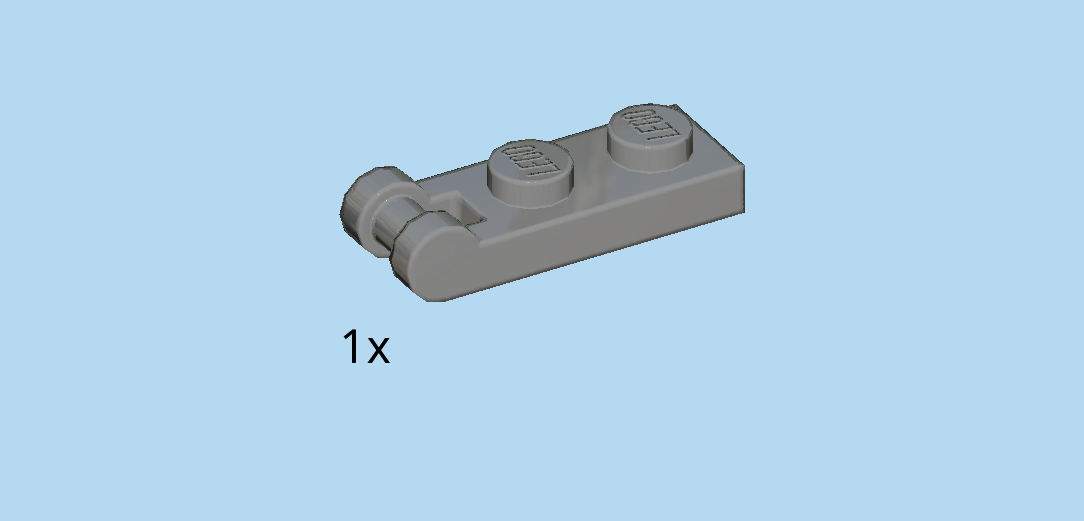
| Find 1 dark stone grey plate 1x2 with shaft on short side. |
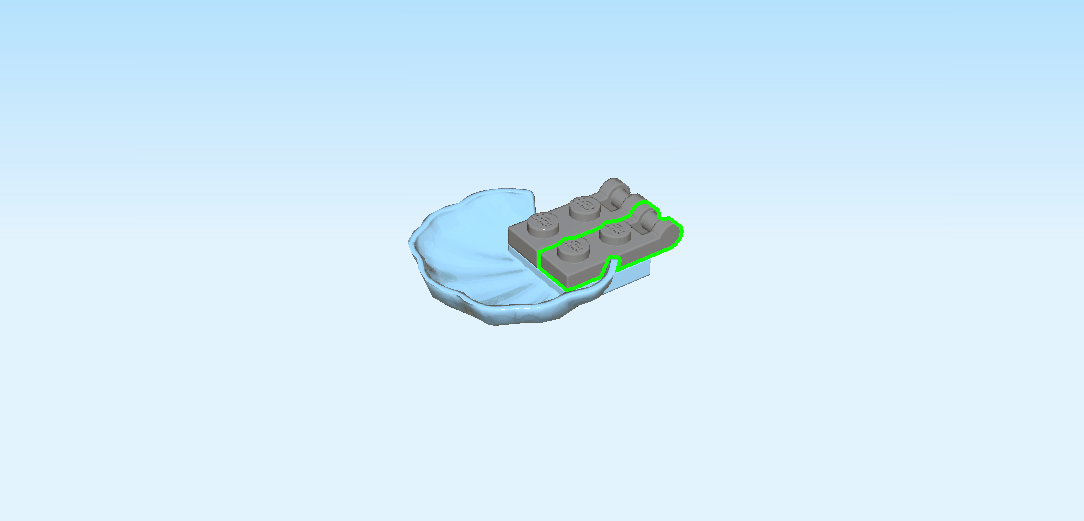
| Put it horizontally on the front row, shaft to the right. |
| Bruni's lower jaw is finished! Well done! Now put it underneath the rest of the head structure. Make sure the 4 knobs of the lower jaw attach on the right edge of the top jaw. |
| Next, we will build Bruni's eyes. |
| Collect the following 2 pieces: |
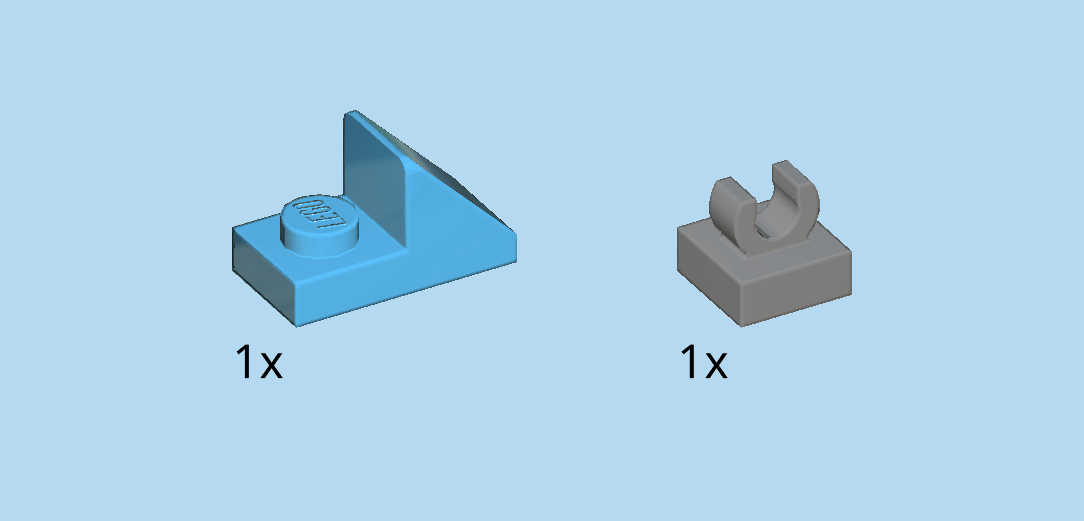
| 1 dark azure blue plate 1x2 with top roof tile, 45°, |
| and 1 dark stone grey plate 1x1 with top clasp. |
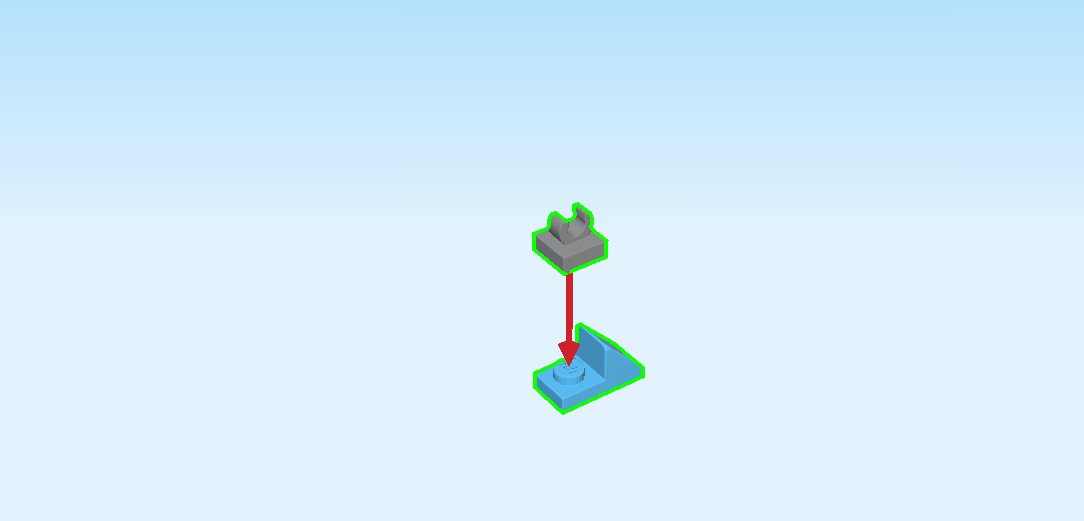
| Put the plate with top roof tile horizontally on the table, roof tile to the right. |
| Turn the plate 1x1 with clasp so that the clasp is oriented horizontally. This means the tips of the clasp are left and right. |
| Mount it on the knob of the plate 1x2. |
| Now, let's assemble the eyeball. |
| Collect the following 2 pieces: |
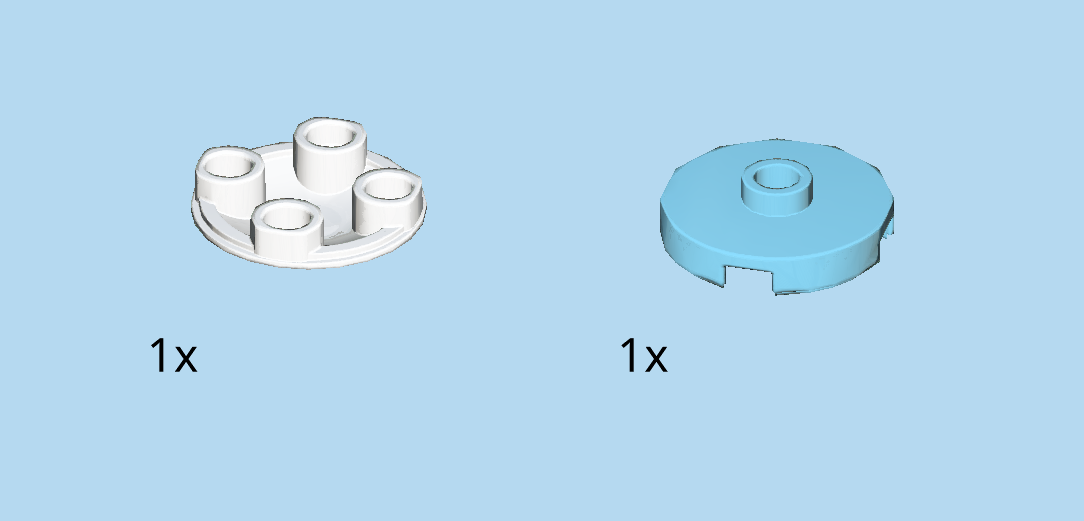
| 1 white inverted curve disk 2x2, |
| and 1 medium azure blue round plate 2x2 with 1 knob. |
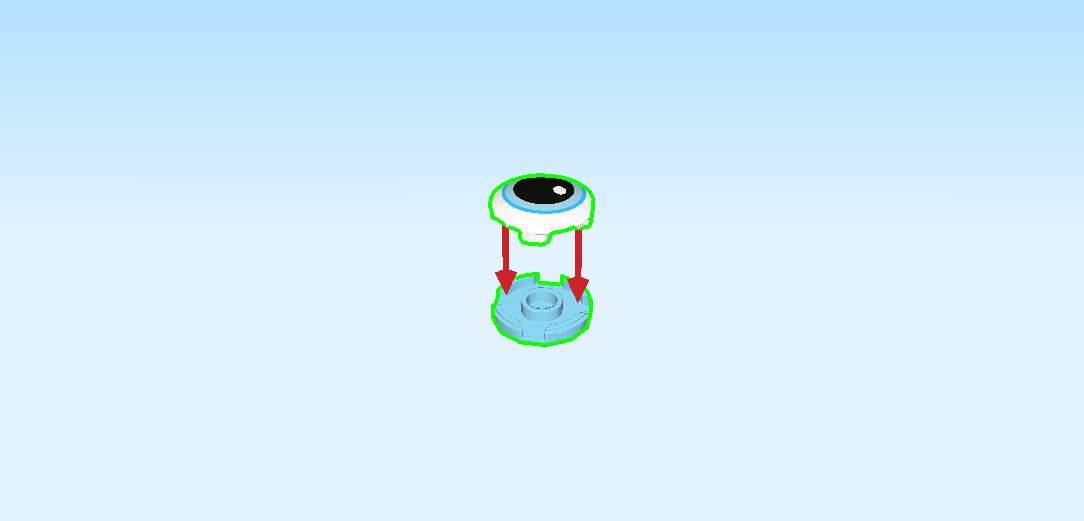
| Put the round plate with 1 knob upside down on the table. This means that the top knob is now at the bottom. |
| Put the inverted curve disk on top. |
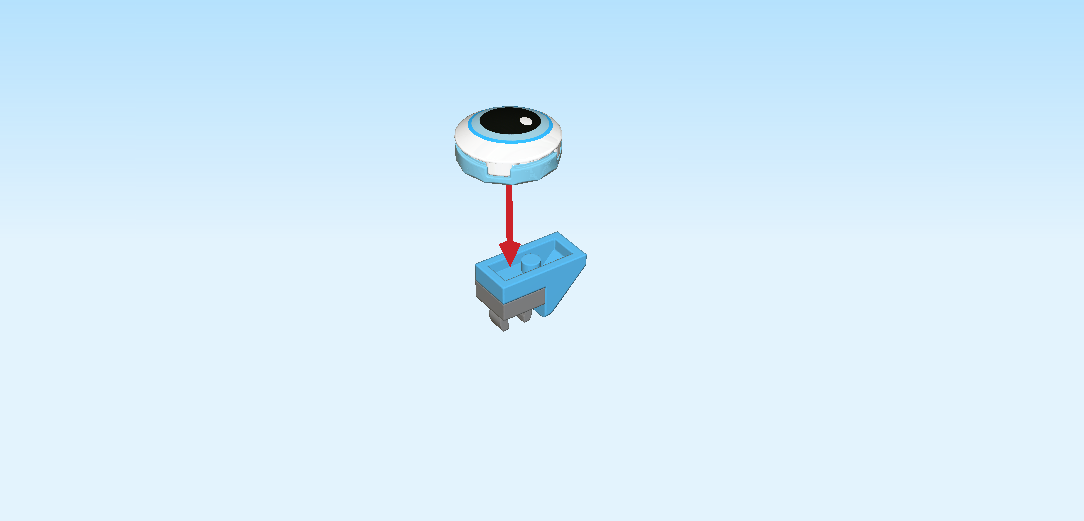
| The inverted curve disk is printed with Bruni's eye: it is ice blue with a large black pupil. |
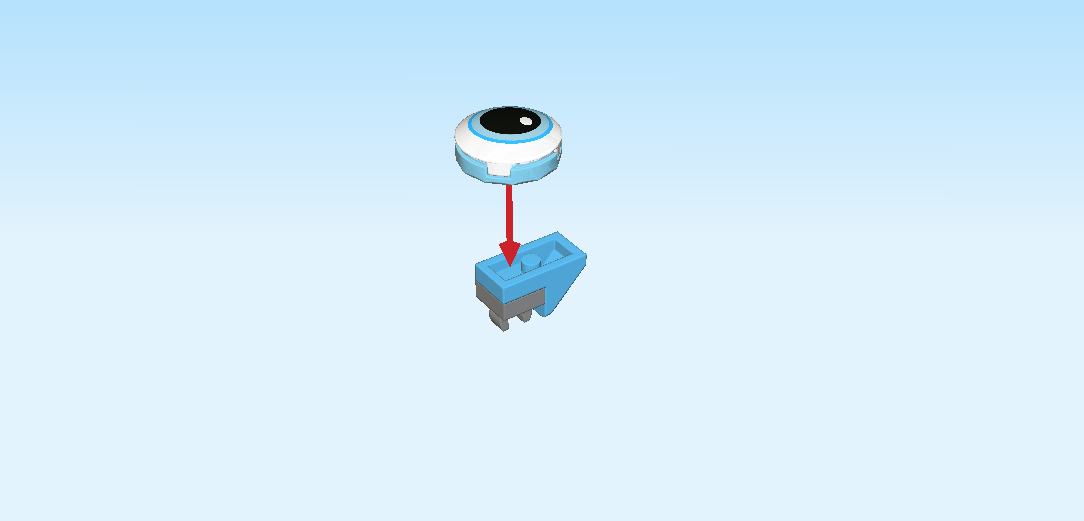
| Time to mount the eyeball: turn the structure upside down. This means the clasp and the roof tile are pointing to the bottom. |
| Put the eyeball on top on the left side. |
| Bruni's first eye is finished! Well done! To mount it, snap the clasp of the eye on the downward hook at the front side of the head. |
| Now, let's make the second eye. |
| Find another dark azure blue plate 1x2 with top roof tile, 45°, and another dark stone grey plate 1x1 with top clasp. |
| Put the plate with roof tile horizontally on the table, roof tile to the left. |
| Put the plate with clasp on the knob at the right. Make sure the tips of the clasp are on the left and right. |
| Find another white inverted curve disk 2x2, and another medium azure blue round plate 2x2 with 1 knob. |
| Put the round plate with 1 knob upside down on the table, top knob to the bottom. |
| Put the inverted curved disk on top. |
| Now, turn the structure upside down so that the roof tile and clasp are pointing to the bottom. |
| Put the eyeball on top on the right side. |
| The second eye is finished! Turn it upright, and snap its clasp onto the downward hook at the back of the head. |
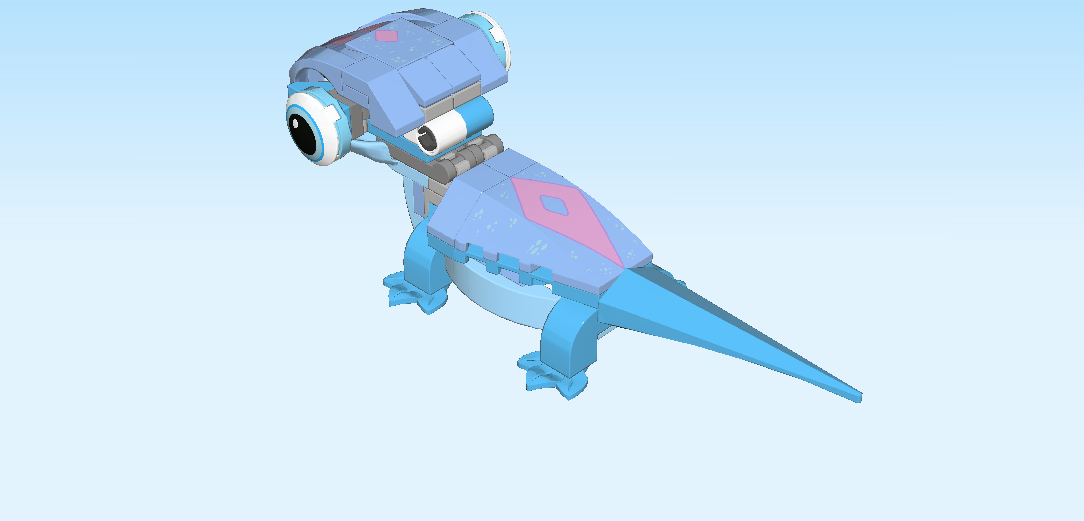
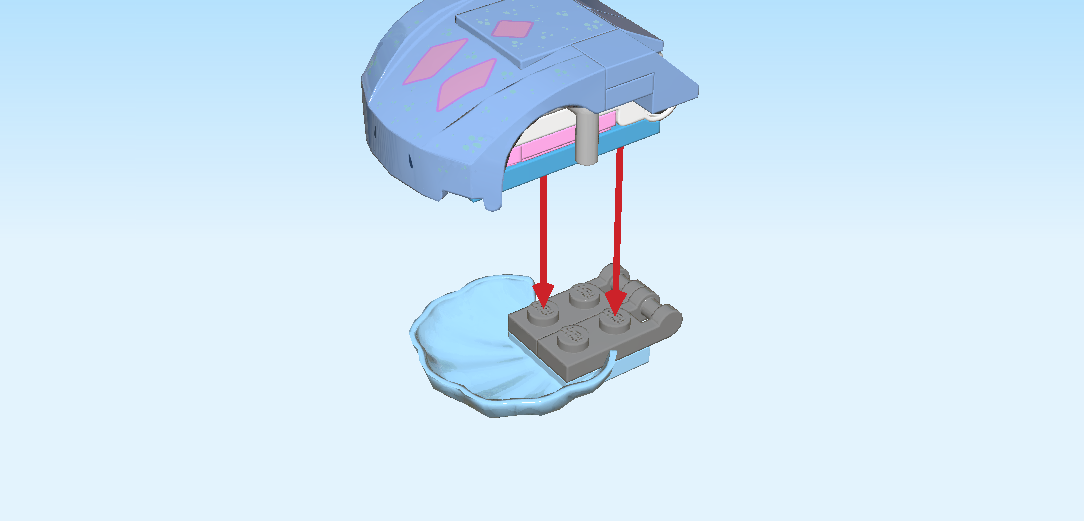
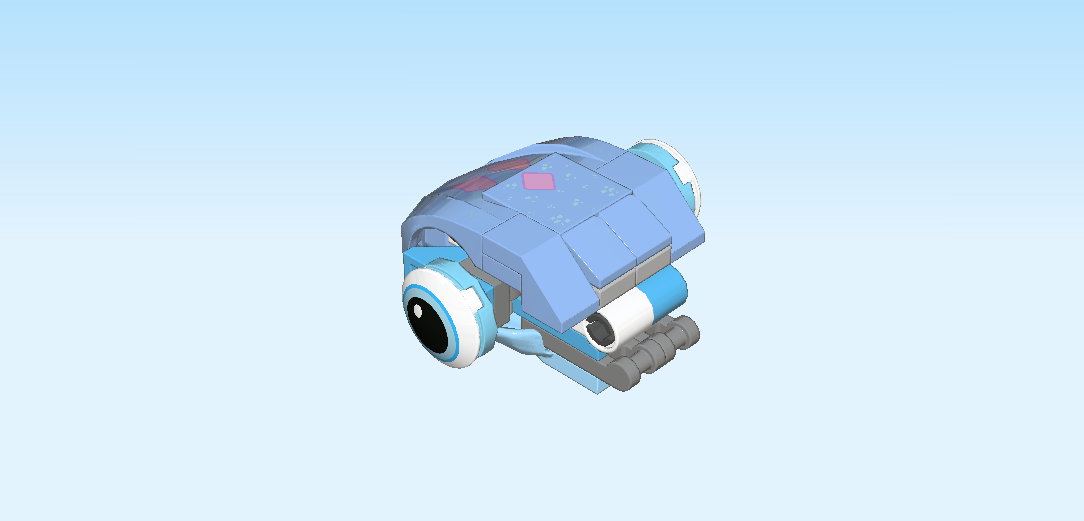
| Bruni's head is finished! That was quite tricky, really well done! To mount the head, snap the two shafts on the right bottom of the head onto the two clasps on the top left of the body. |
| The Bruni buildable character is finished! Fantastic job! He is ready to roam the Enchanted Forest and catch snowflakes. |
| Next, we will build the enchanted campfire. |
| Collect the following 2 pieces: |
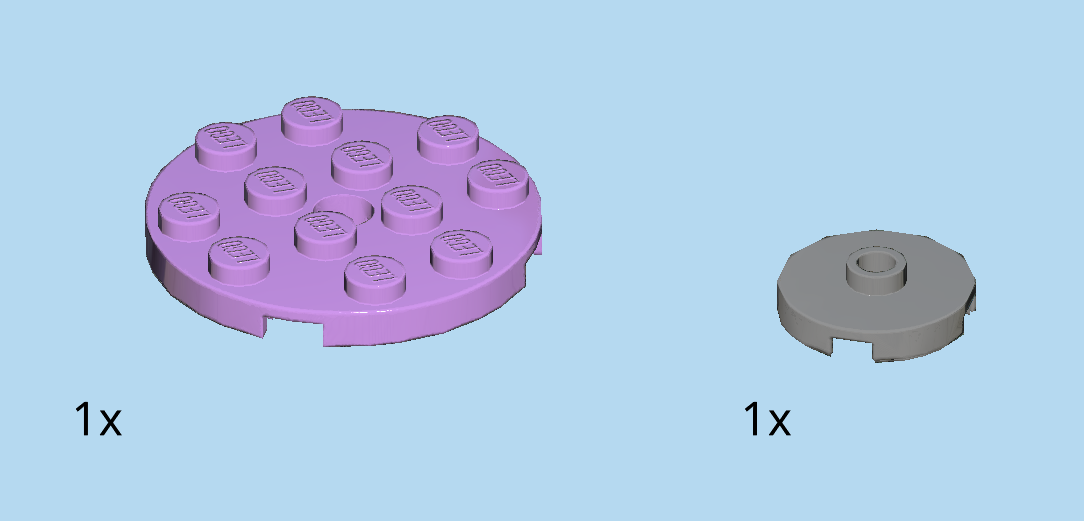
| 1 lavender round plate 4x4 with middle hole, |
| and 1 dark stone grey round plate 2x2 with 1 knob. |
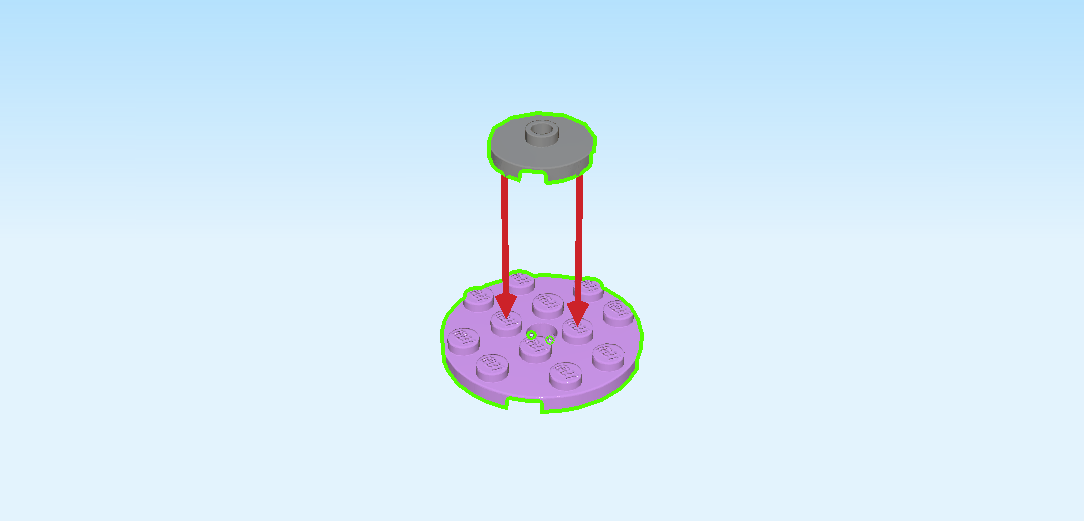
| Put the round plate 4x4 on the table. |
| Put the round plate with 1 knob on top in the middle. |
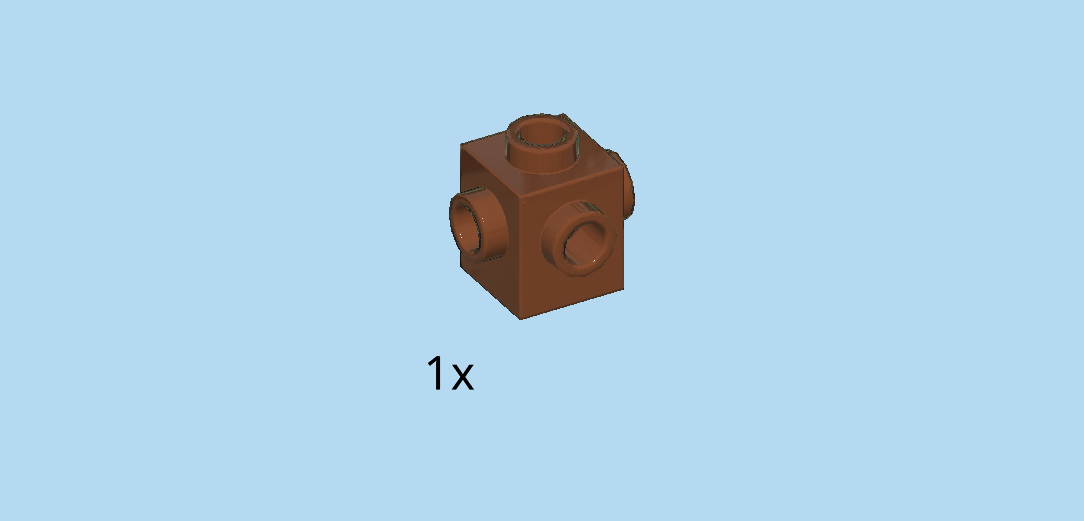
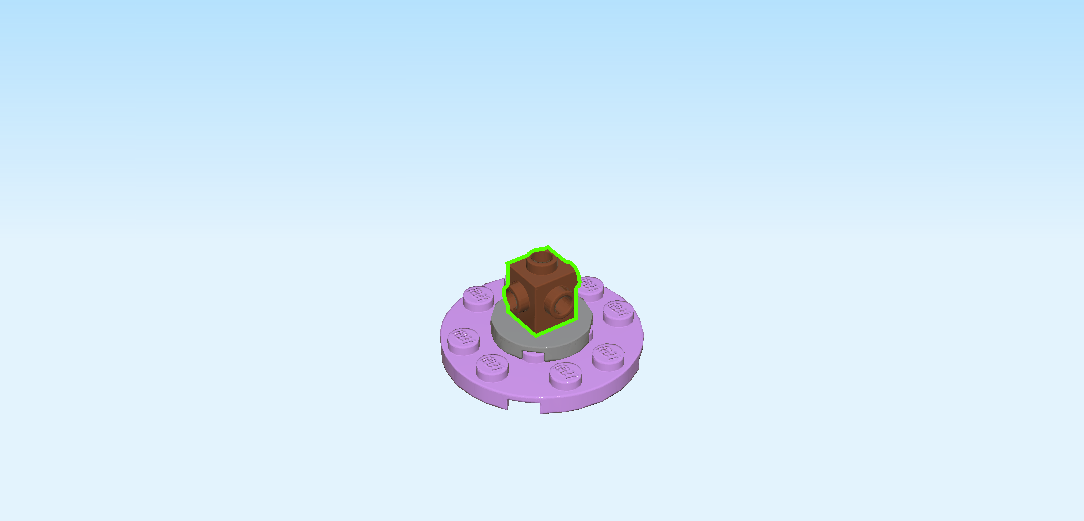
| Find 1 reddish brown brick 1x1 with 4 side knobs. |
| Put it on top in the middle. |
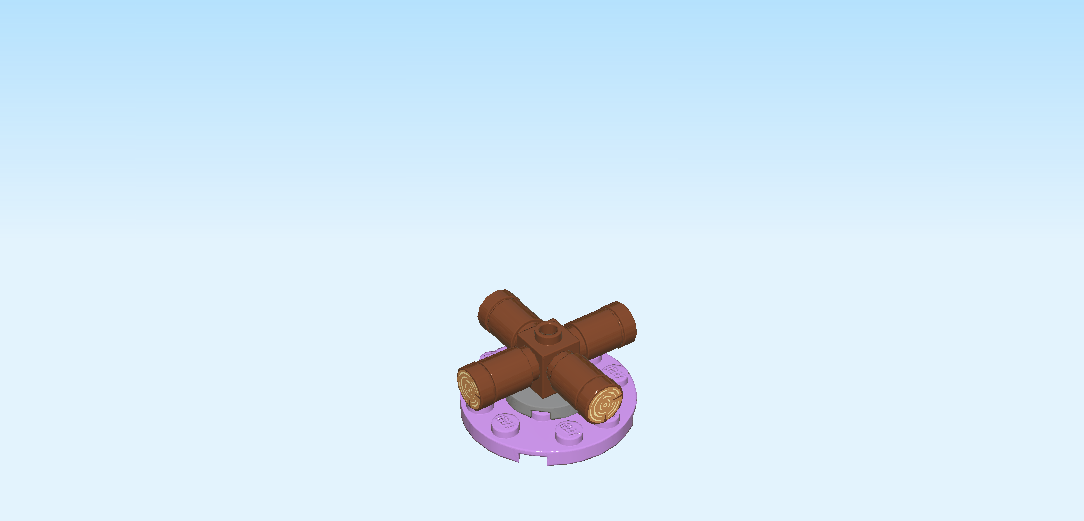
| Now, we will build 4 fire logs. |
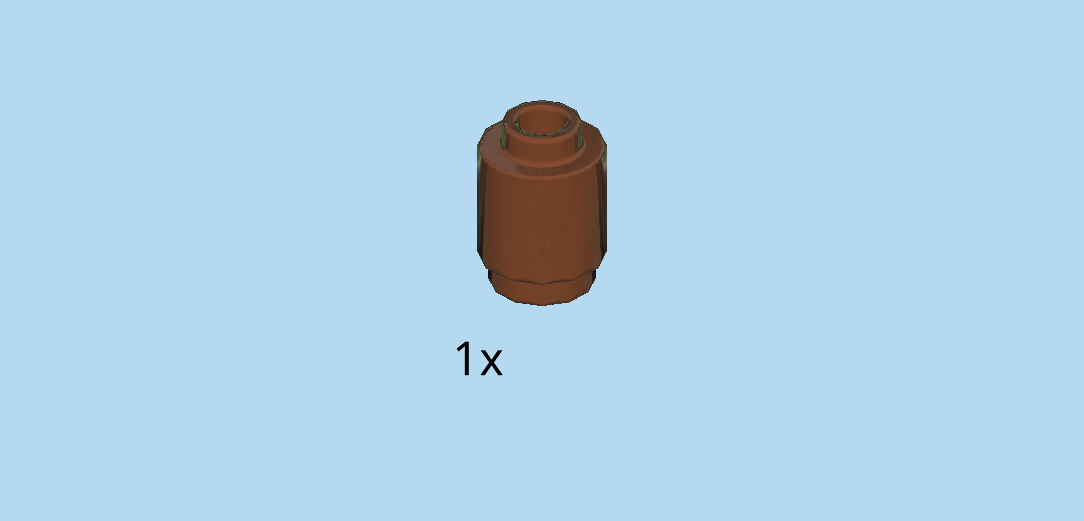
| Find 1 reddish brown round brick 1x1. |
| Put it on the table. |
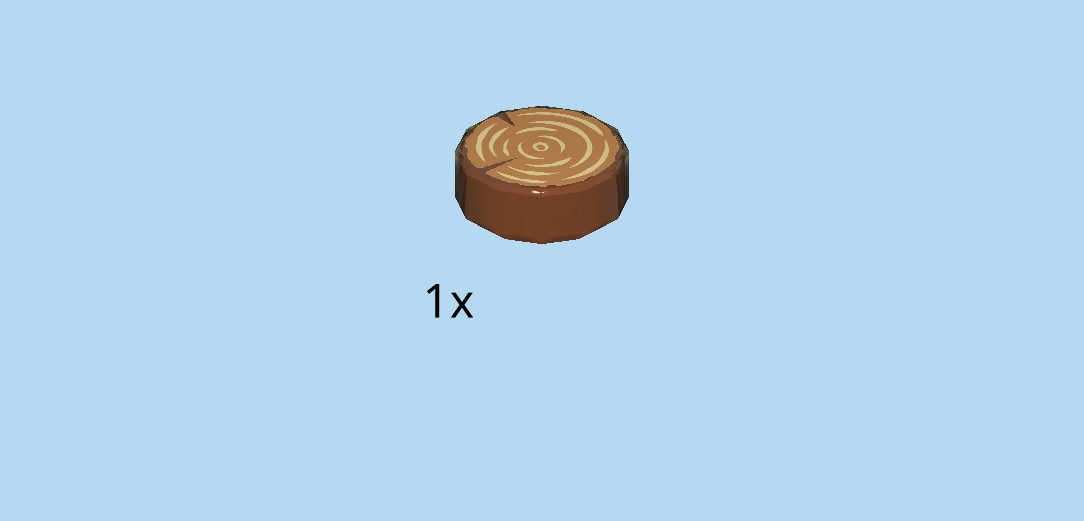
| Find 1 reddish brown round tile 1x1. |
| Put it on top. It is printed with light brown and middle brown tree rings to make it look like a cut off log. |
| Find another 3 reddish brown round bricks 1x1, and another 3 reddish brown round tiles 1x1. |
| Assemble them just like the first log. |
| Time to mount the logs: turn each log upright, and attach each log to one of the 4 side knobs on the brick 1x1 in the middle of the campfire. |
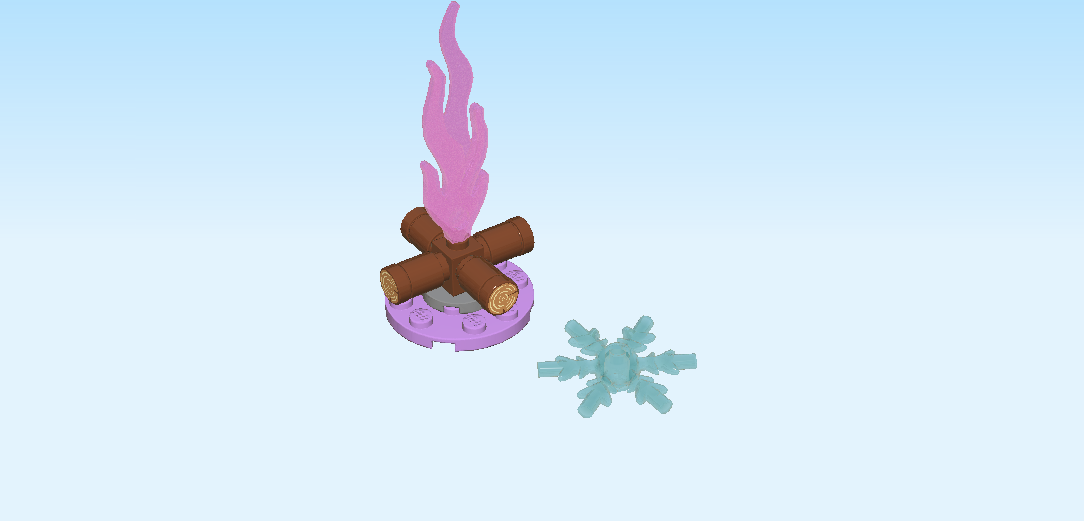
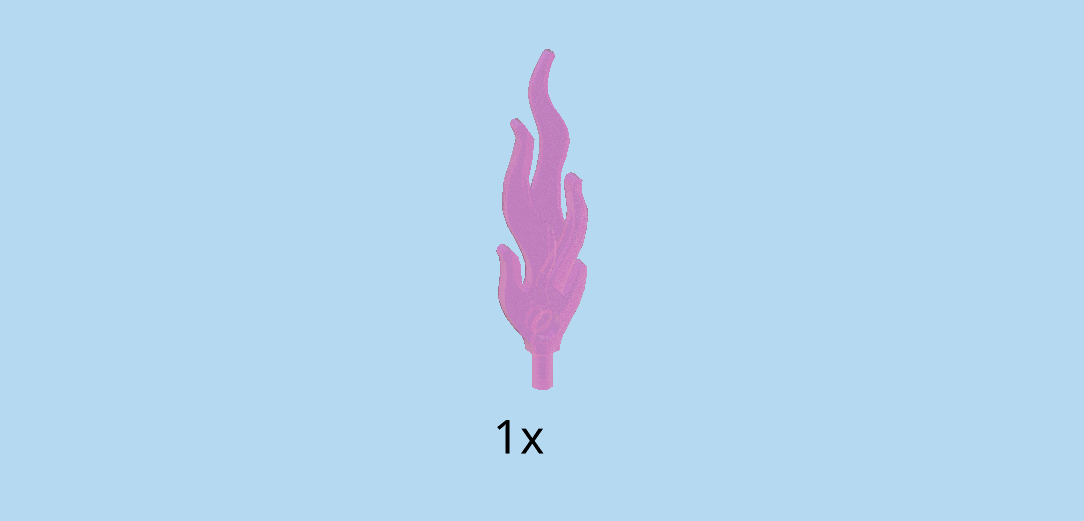
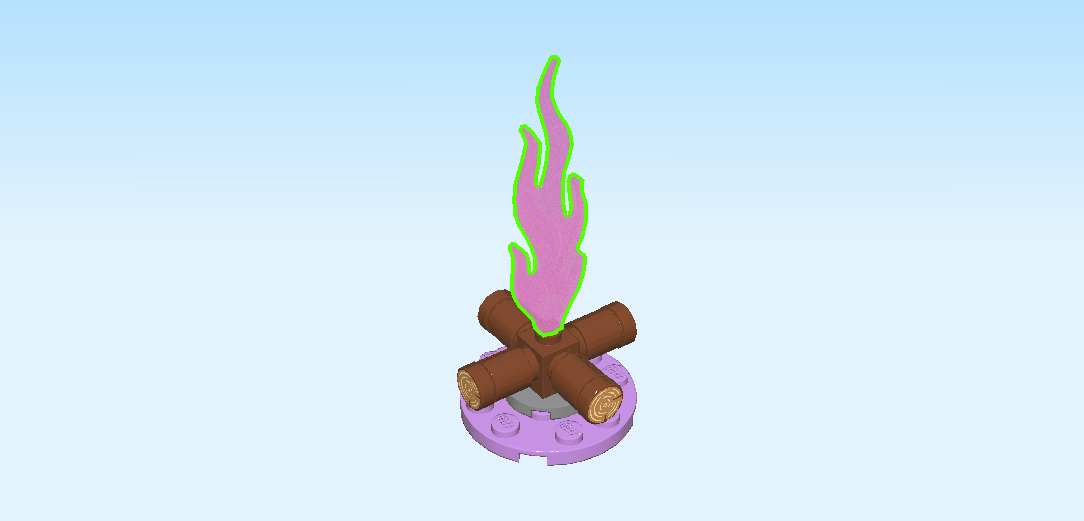
| Find 1 pale pink flame 7m with shaft. |
| Insert the shaft into the top knob in the middle of the campfire. |
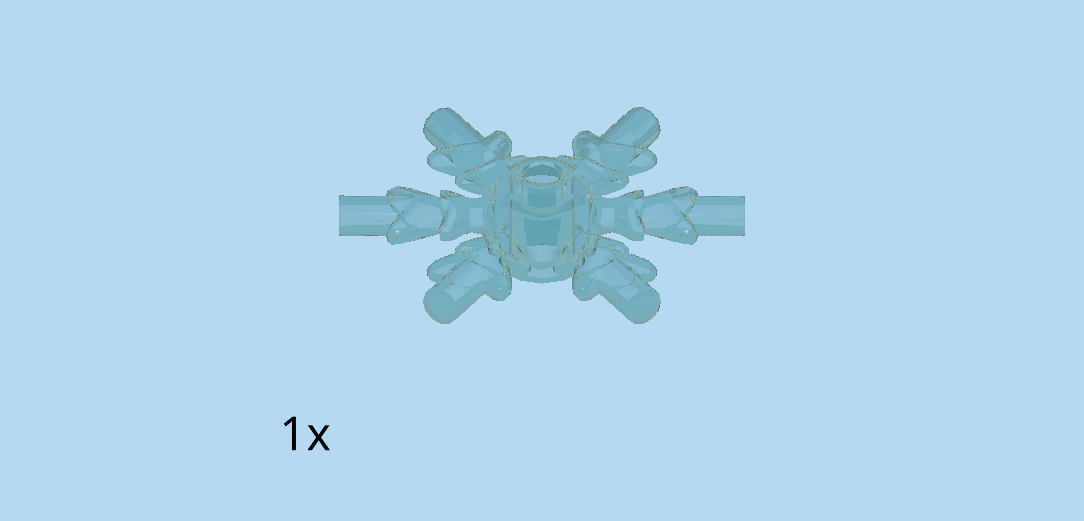
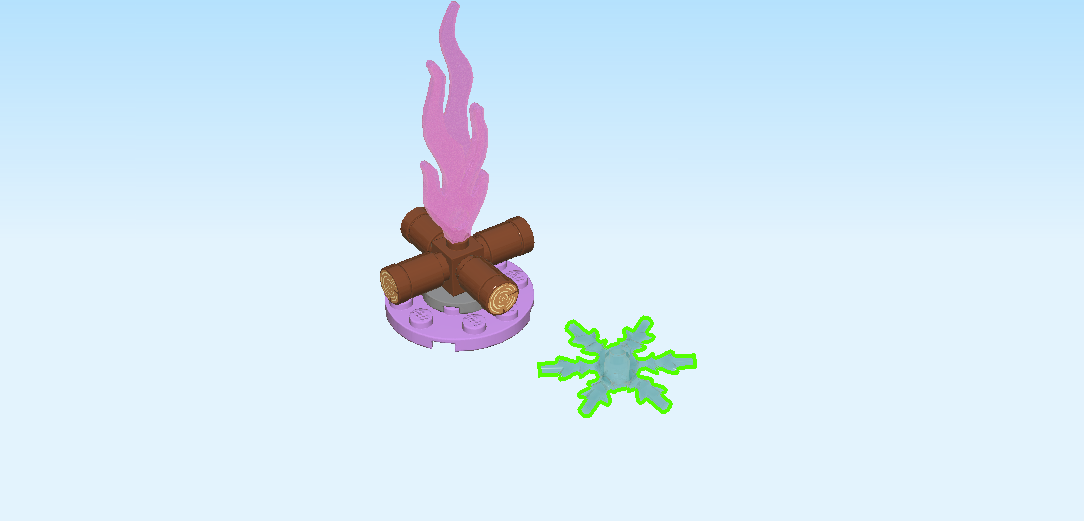
| Find 1 transparent light blue snowflake. |
| Put it next to the campfire, or let Bruni play with it. |
| The enchanted campfire is finished! Excellent! It will give your Enchanted Forest a cozy atmosphere. |
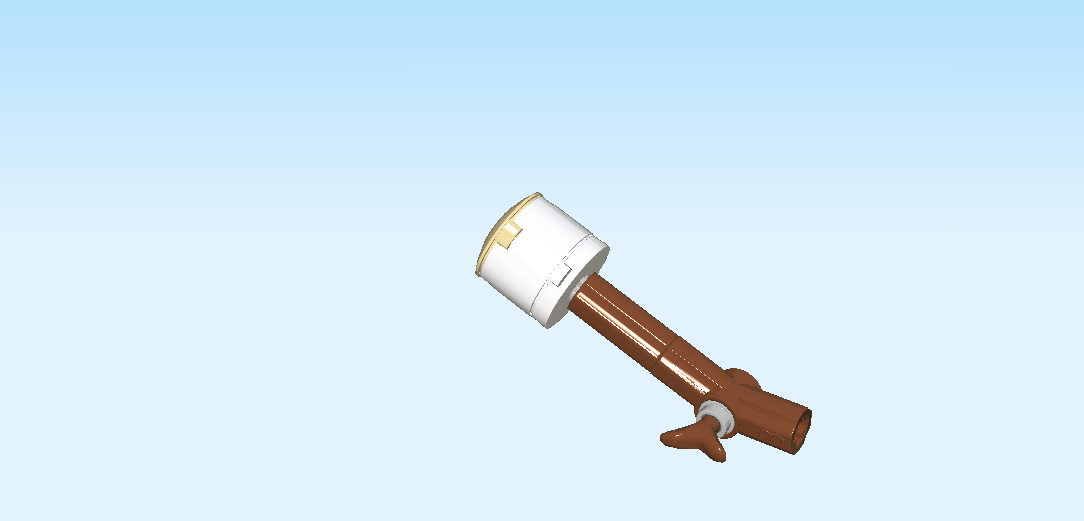
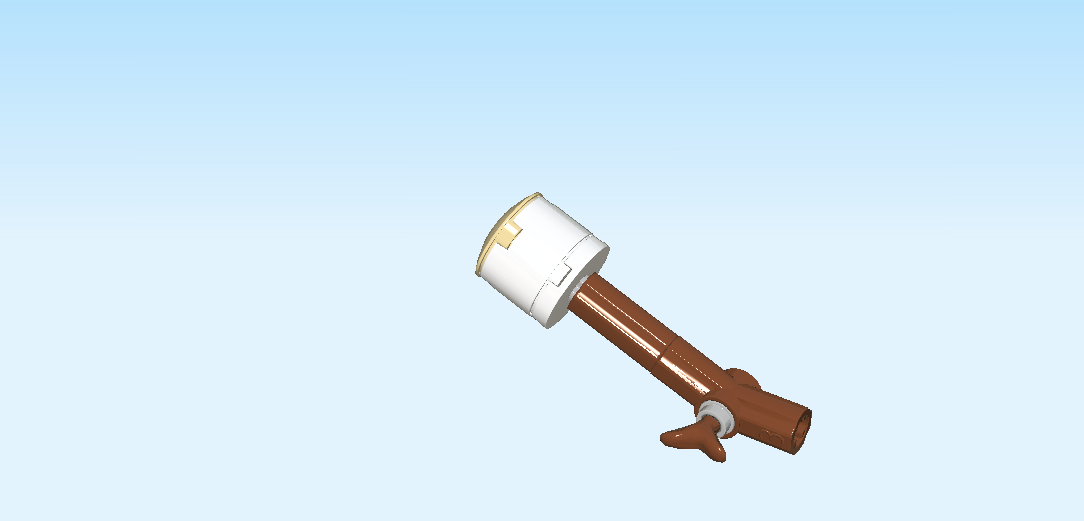
| Next, we will build one branch with marshmallow. |
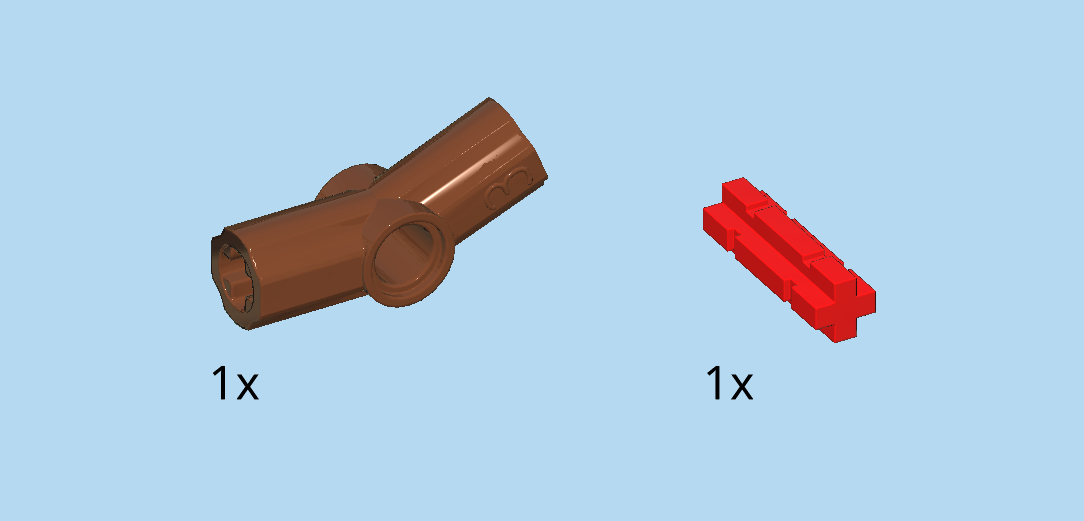
| Collect the following 2 pieces: |
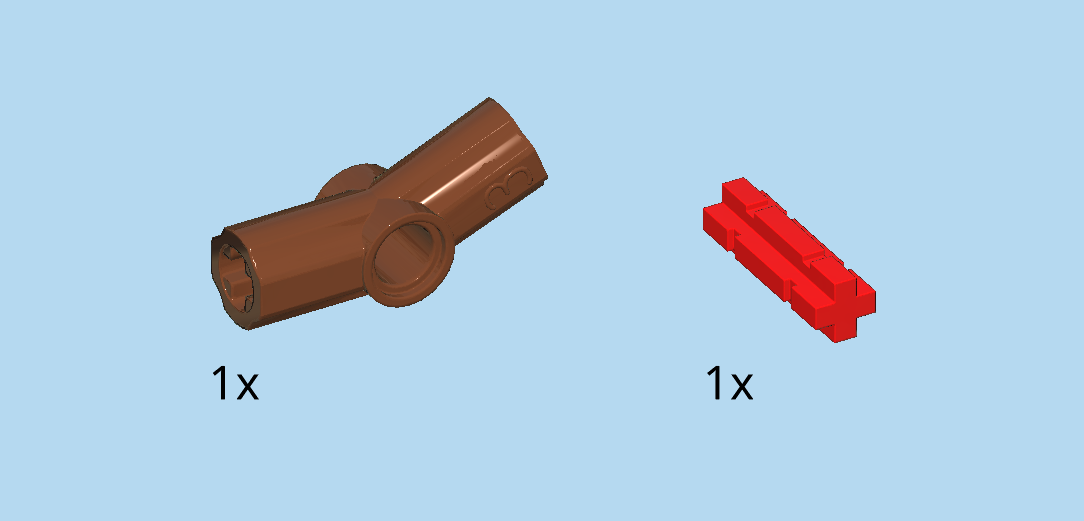
| 1 reddish brown angled cross axle extension 3m with bushing hole (this piece is 3 knobs long), |
| and 1 bright red cross axle 2m with 2 grooves (this piece is 2 knobs long). |
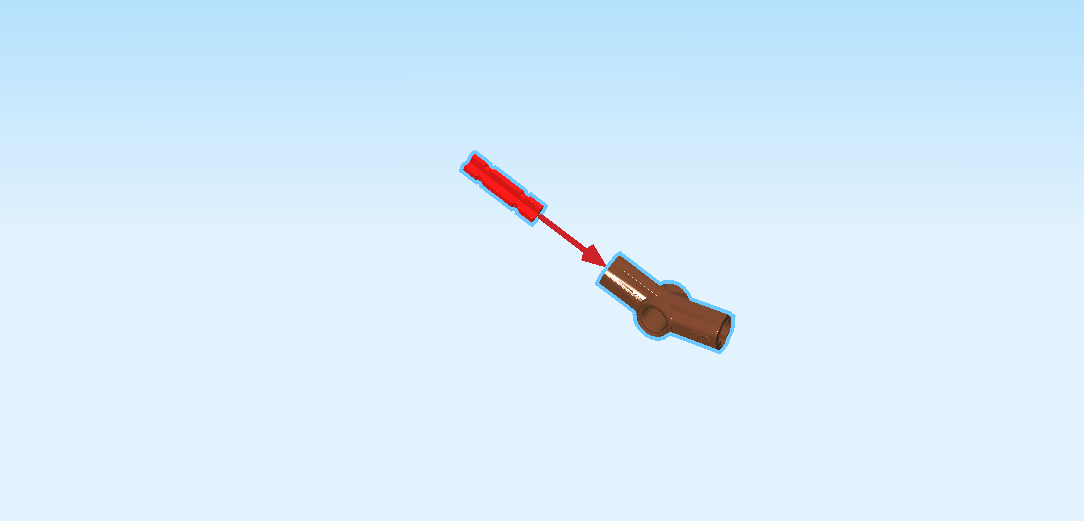
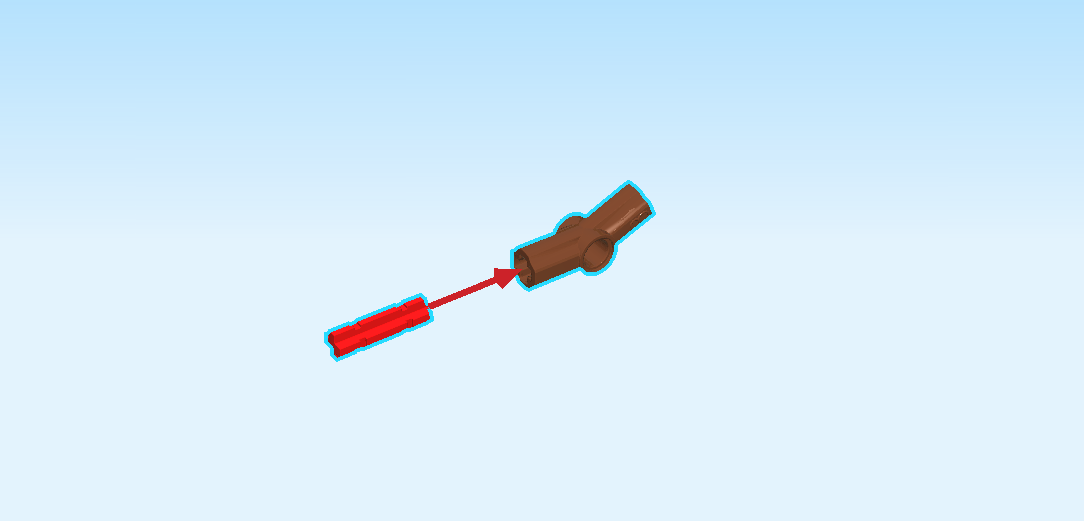
| Put the angled cross axle extension horizontally on the table. |
| Insert the cross axle into the left cross hole. |
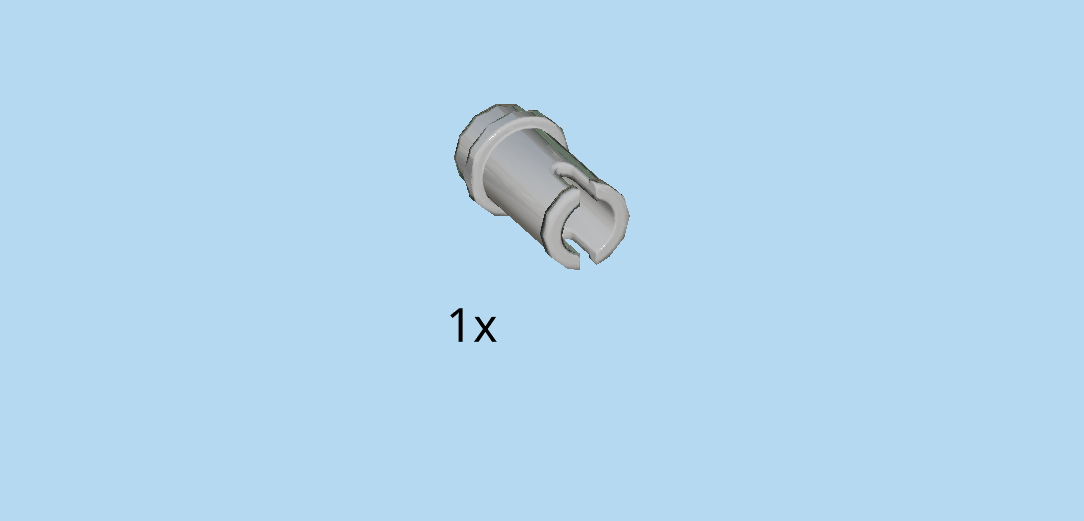
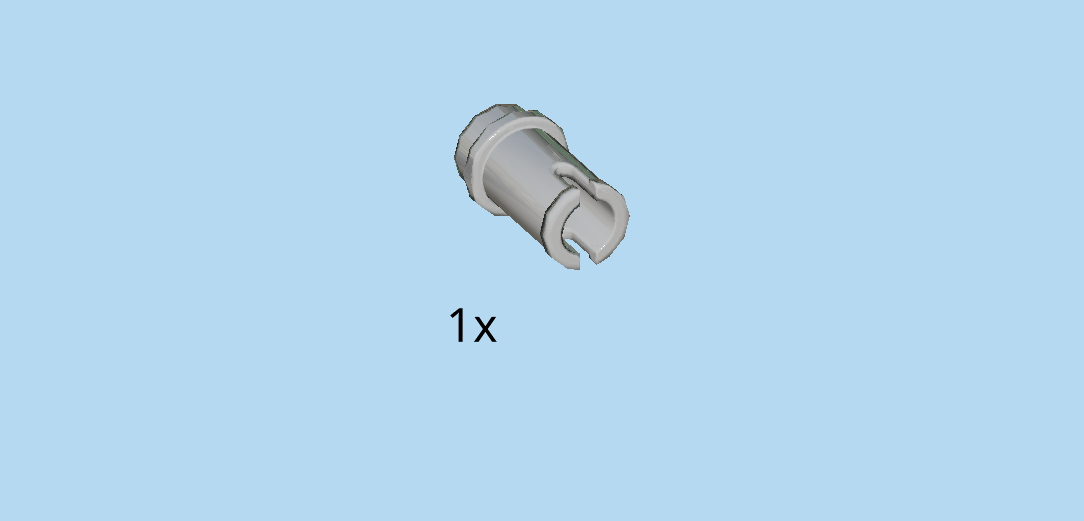
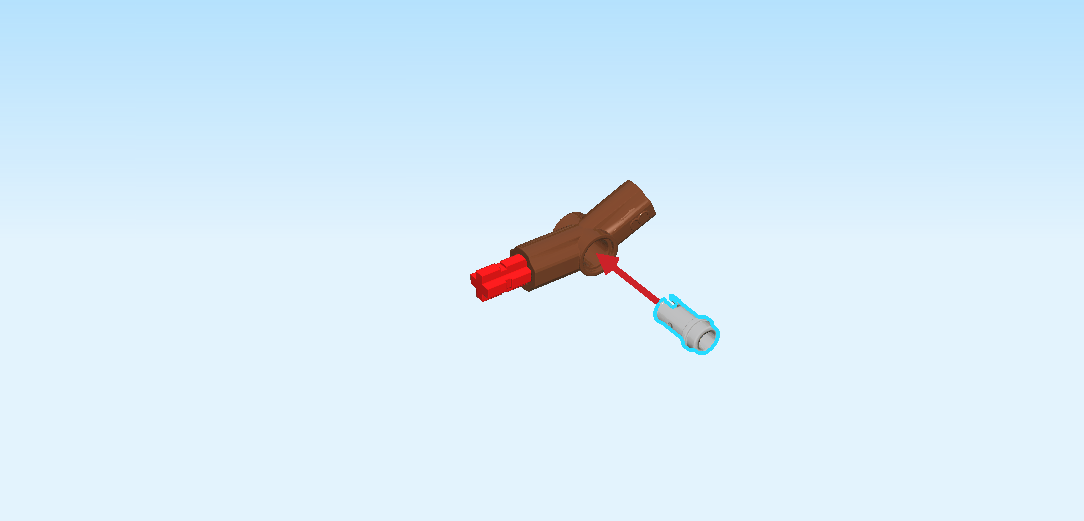
| Find 1 medium stone grey connector peg 1m with knob. |
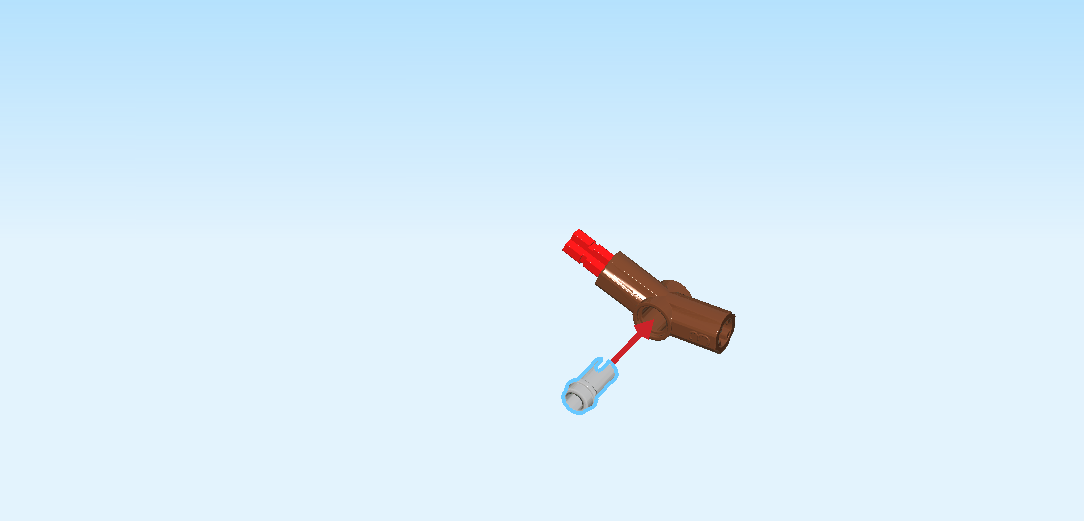
| Insert the connector peg from the front into the bushing hole in the middle. |
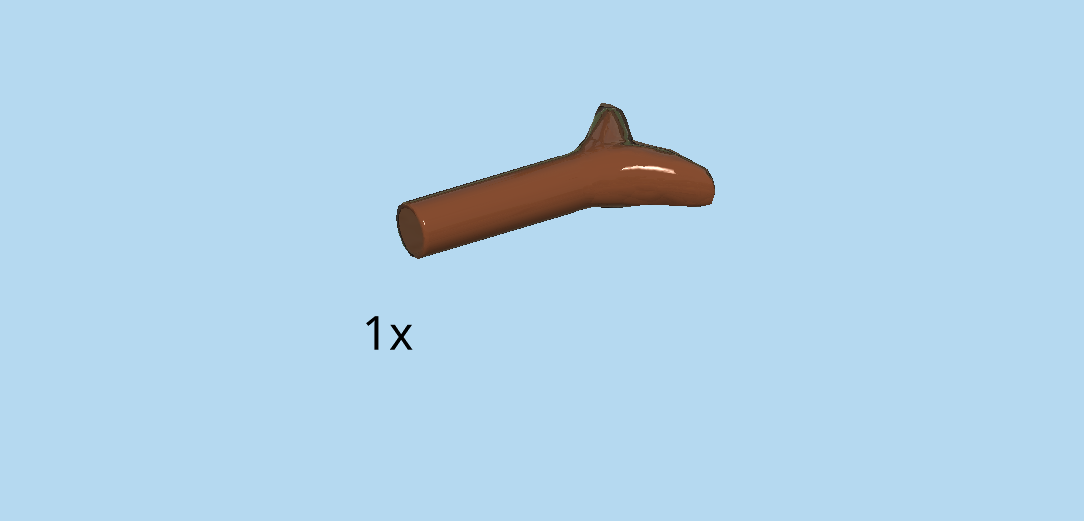
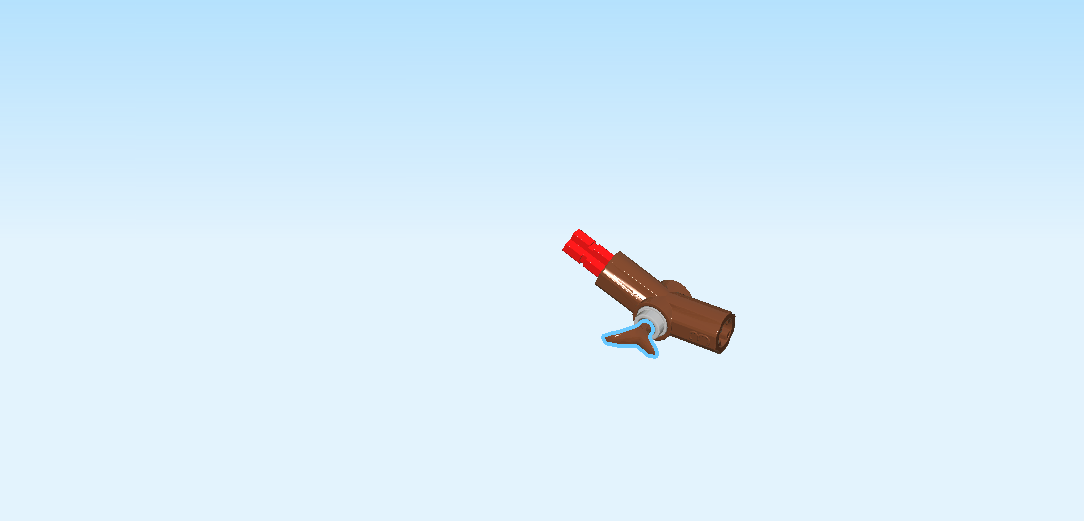
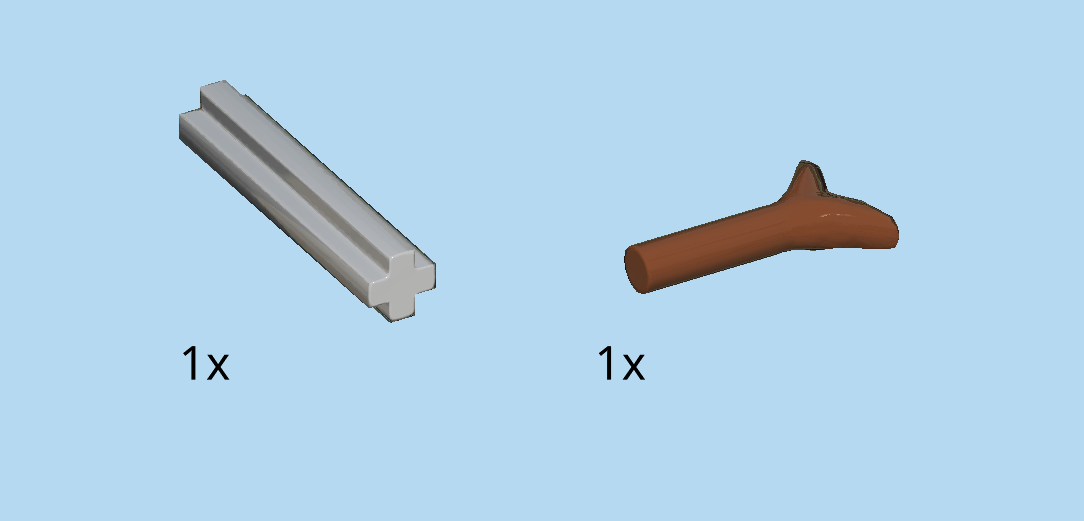
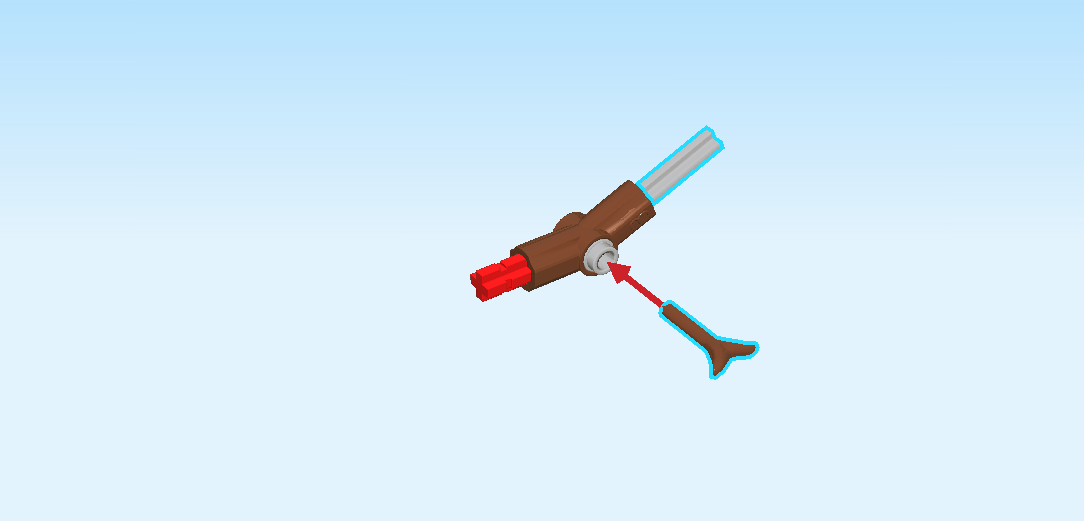
| Find 1 reddish brown shaft 2m with twig leaves. |
| Insert the shaft into the knob of the connector peg from the front. |
| Collect the following 2 pieces: |
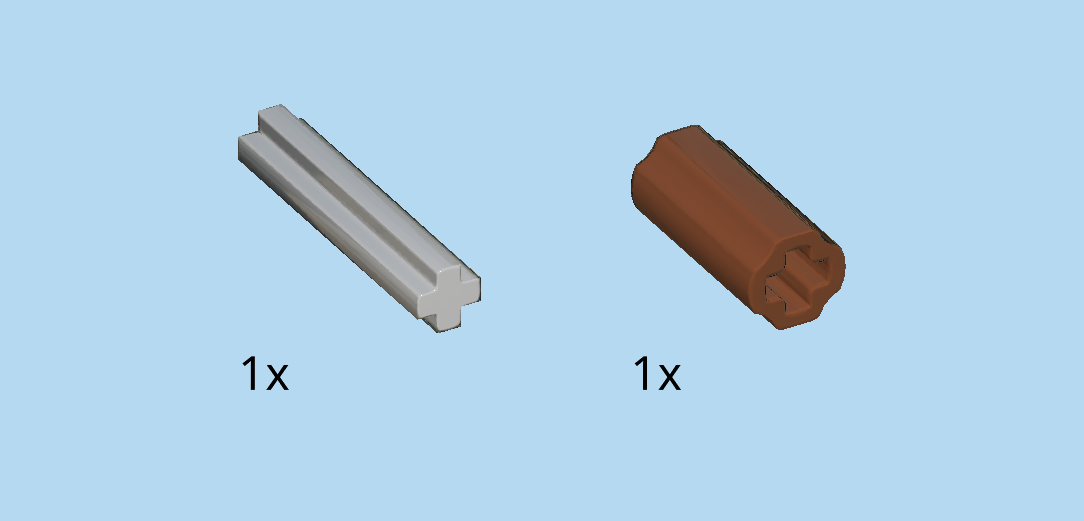
| 1 medium stone grey cross axle 3m (this piece is 3 knobs long), |
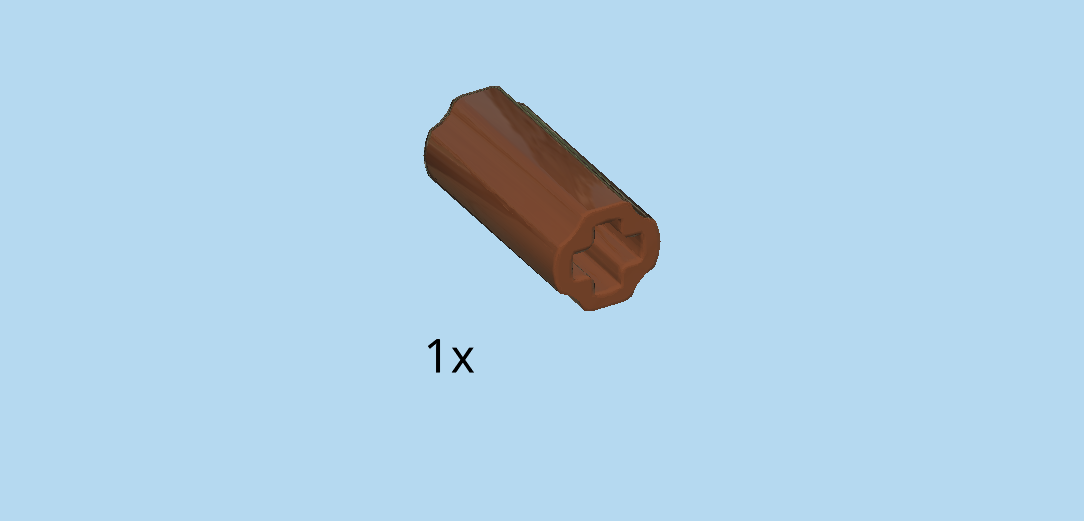
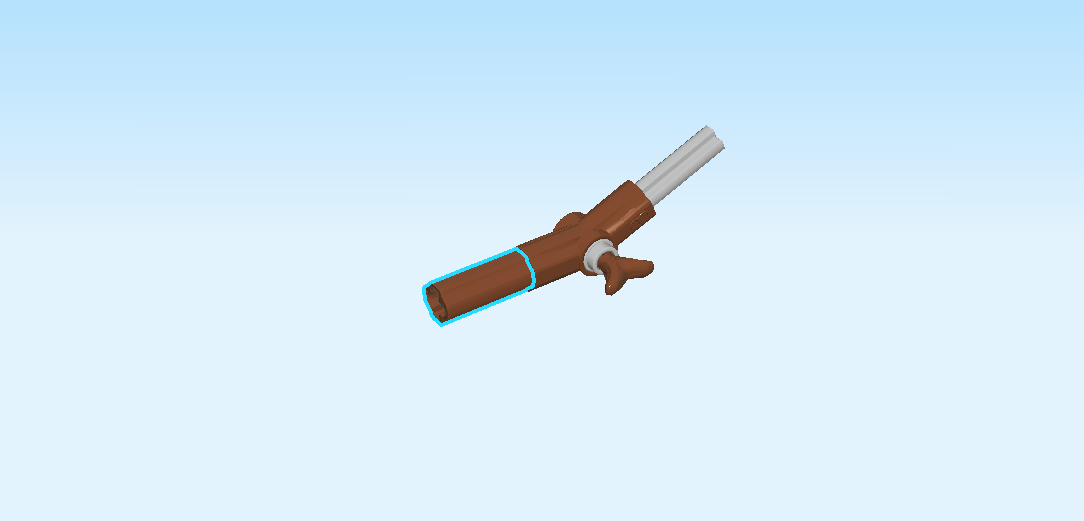
| and 1 reddish brown cross axle extension 2m (this piece is 2 knobs long). |
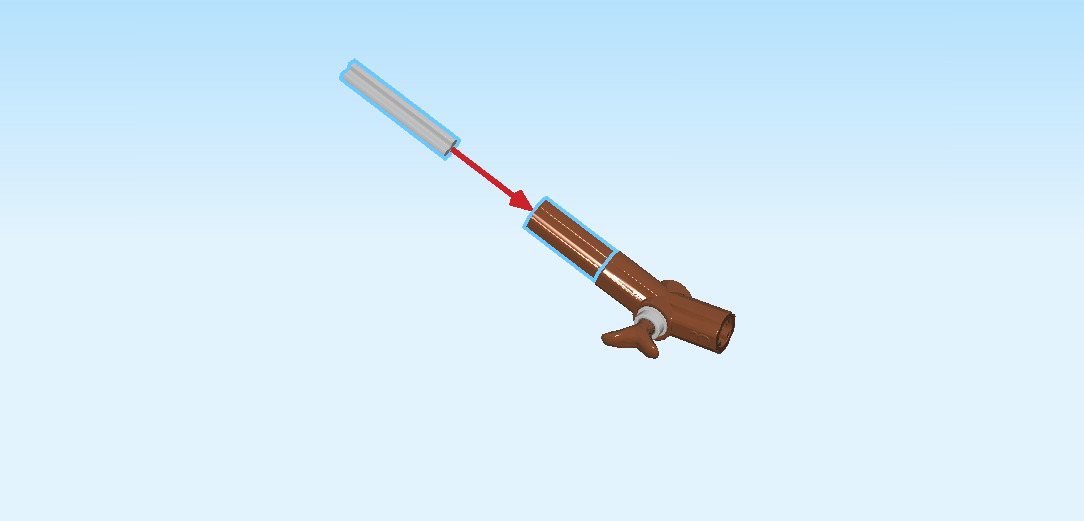
| Put the cross axle extension on the cross axle on the left. |
| Insert the cross axle 3m into the previous piece on the left. |
| Now, let's make the marshmallow part. |
| Collect the following 2 pieces: |
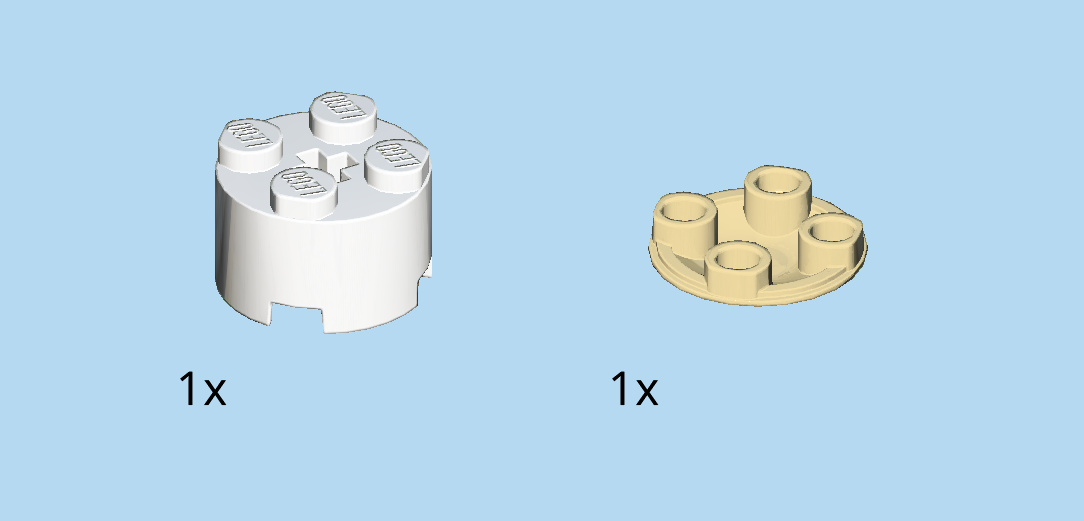
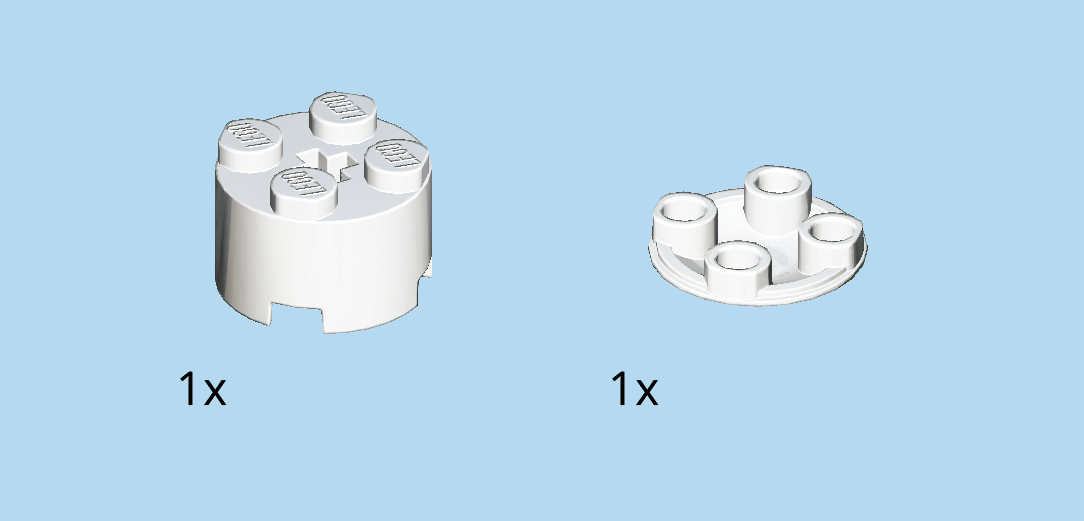
| 1 white round brick 2x2 with top cross hole, |
| and 1 pale ocher yellow inverted curve disk 2x2. |
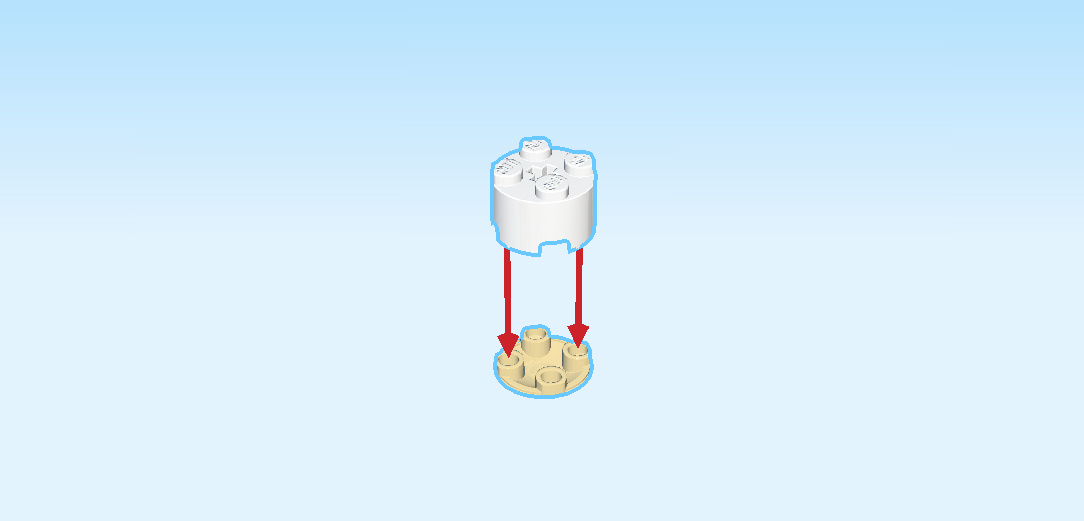
| Put the inverted curve disk on the table, knobs to the top. |
| Put the round brick 2x2 on top. |
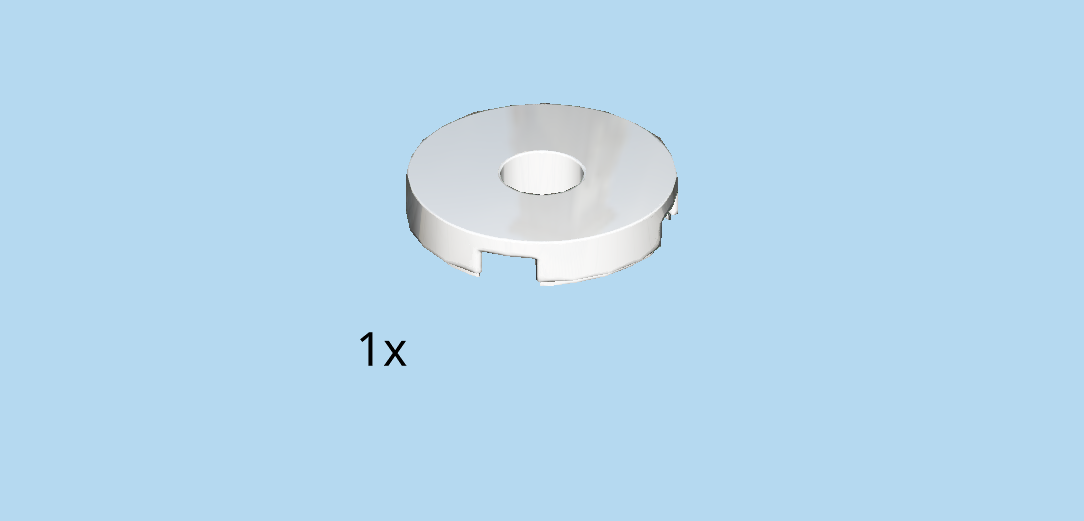
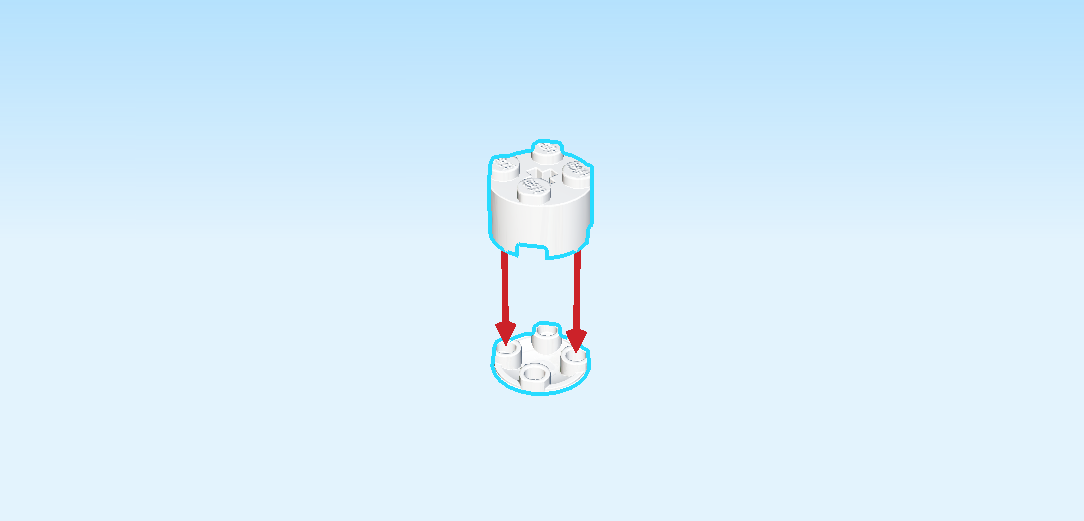
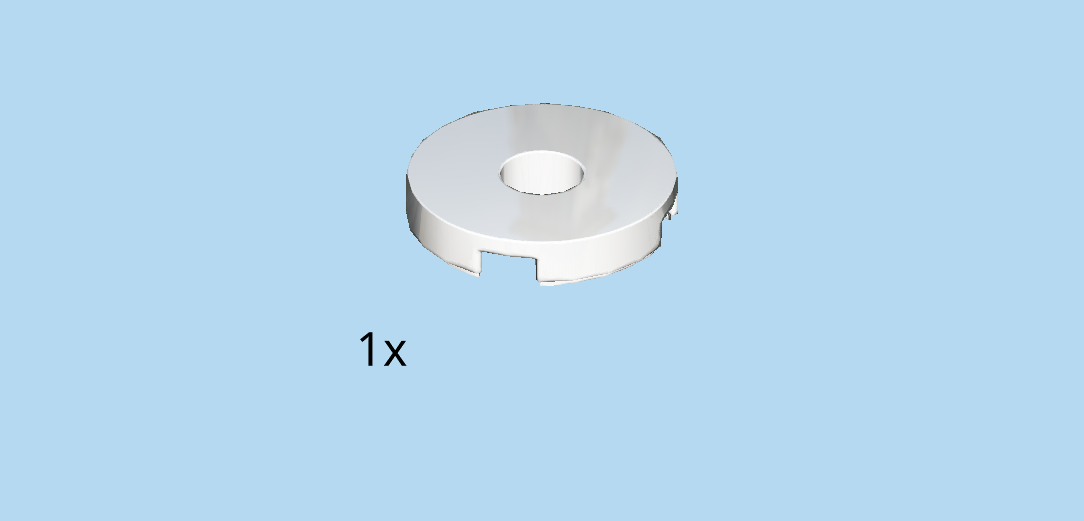
| Find 1 white round tile 2x2 with middle hole. |
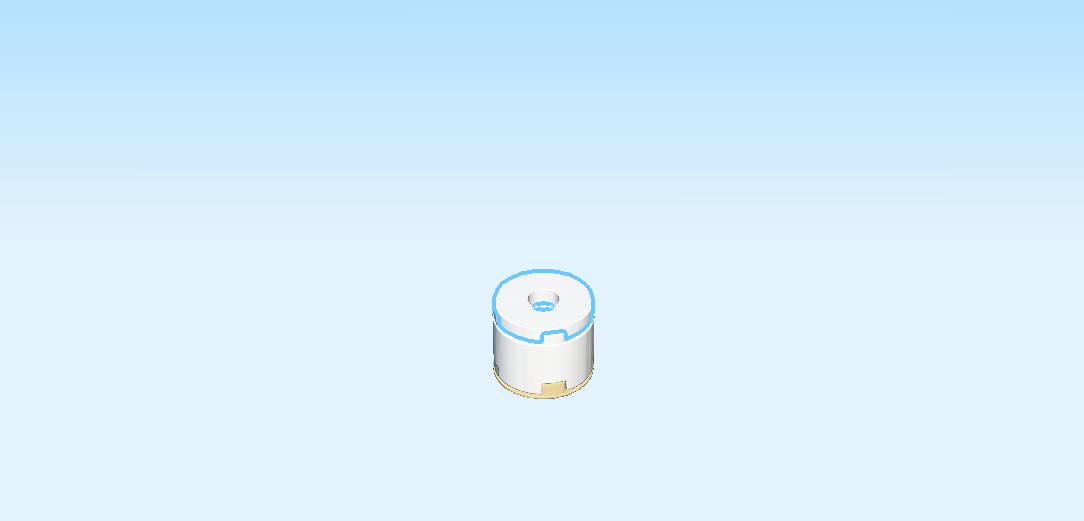
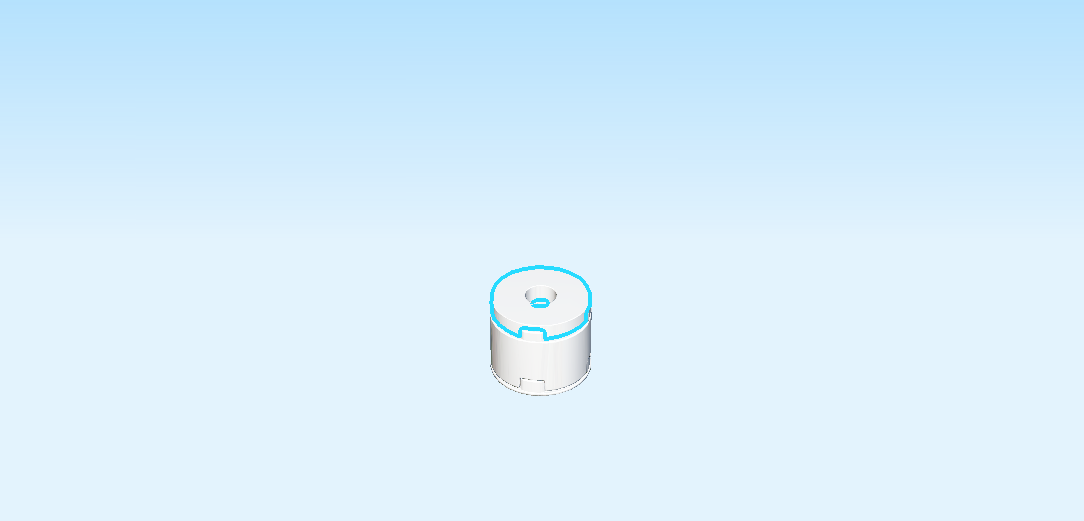
| Put it on top. |
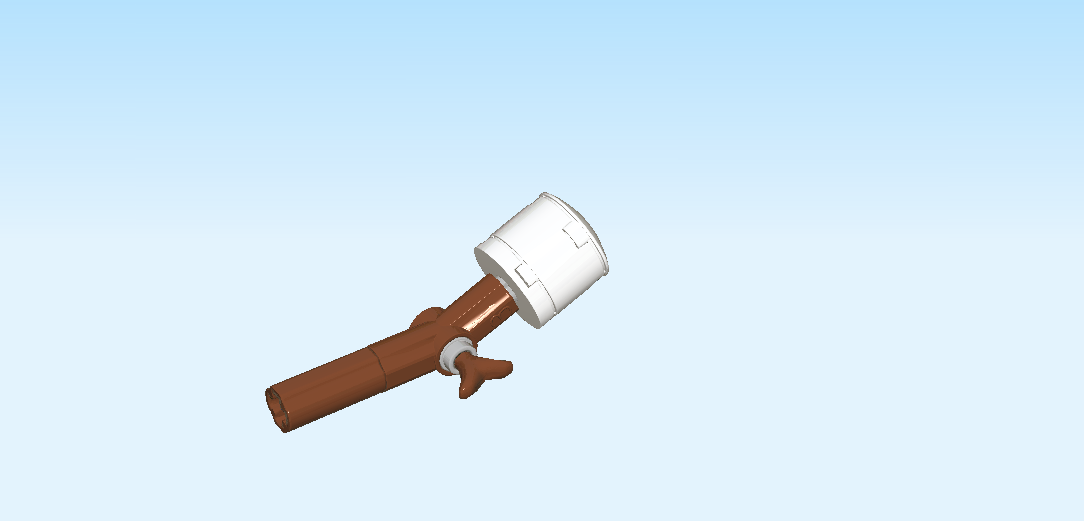
| Now, put the marshmallow part on the cross axle on the left. Use the bottom middle hole for that. |
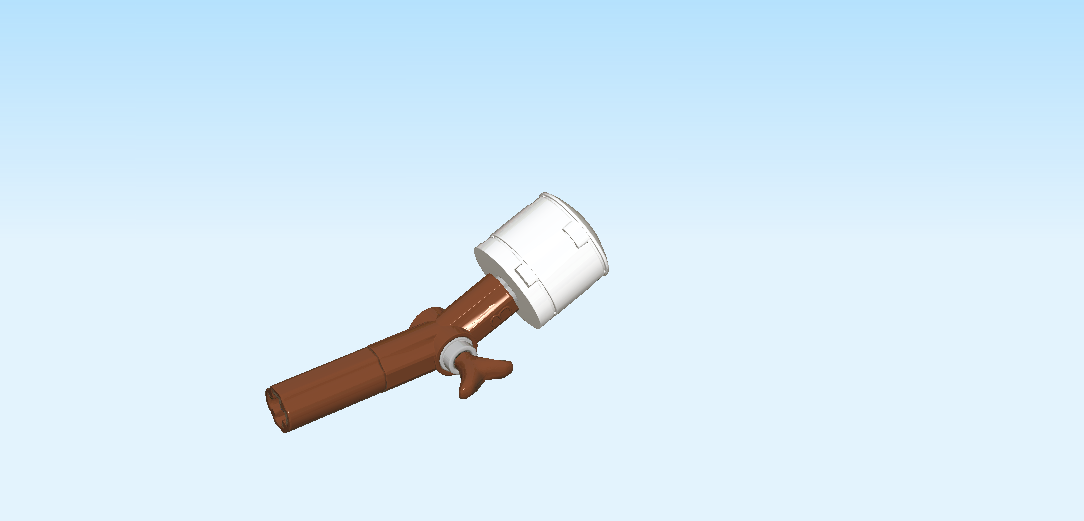
| The branch with marshmallow is finished! Great! |
| Now, let's build another branch with marshmallow. |
| Collect the following 2 pieces: |
| 1 reddish brown angled cross axle extension 3m with bushing hole, |
| and 1 bright red cross axle 2m with 2 grooves. |
| Put the angled cross axle extension horizontally on the table. |
| Insert the cross axle into the cross hole on the left. |
| Find 1 medium stone grey connector peg 1m with knob. |
| Insert the connector peg into the bushing hole from the front. |
| Collect the following 2 pieces: |
| 1 reddish brown shaft 2m with twig leaves, |
| and 1 medium stone grey cross axle 3m. |
| Insert the shaft with twig leaves into the knob at the front in the middle. |
| Insert the cross axle into the cross hole on the right. |
| Find 1 reddish brown cross axle extension 2m. |
| Put it on the cross axle at the left. |
| Next, we will make the marshmallow part. |
| Collect the following 2 pieces: |
| 1 white inverted curve disk 2x2, |
| and 1 white round brick 2x2 with top cross hole. |
| Put the inverted curve disk 2x2 on the table, knobs to the top. |
| Put the round brick 2x2 on top. |
| Find 1 white round tile 2x2 with middle hole. |
| Put it on top. |
| Now, mount the marshmallow part on the cross axle on the right. Use the bottom hole in the middle. |
| The second branch with marshmallow is finished! Well done! |
| You are all done, the Bruni the Salamander Buildable Character set is finished! It's finally time to explore the Enchanted Forest with Bruni, chase after snowflakes, play with the enchanted fire, and, after all these adventures, have a tasty marshmallow by the campfire. |
| Enjoy! |
