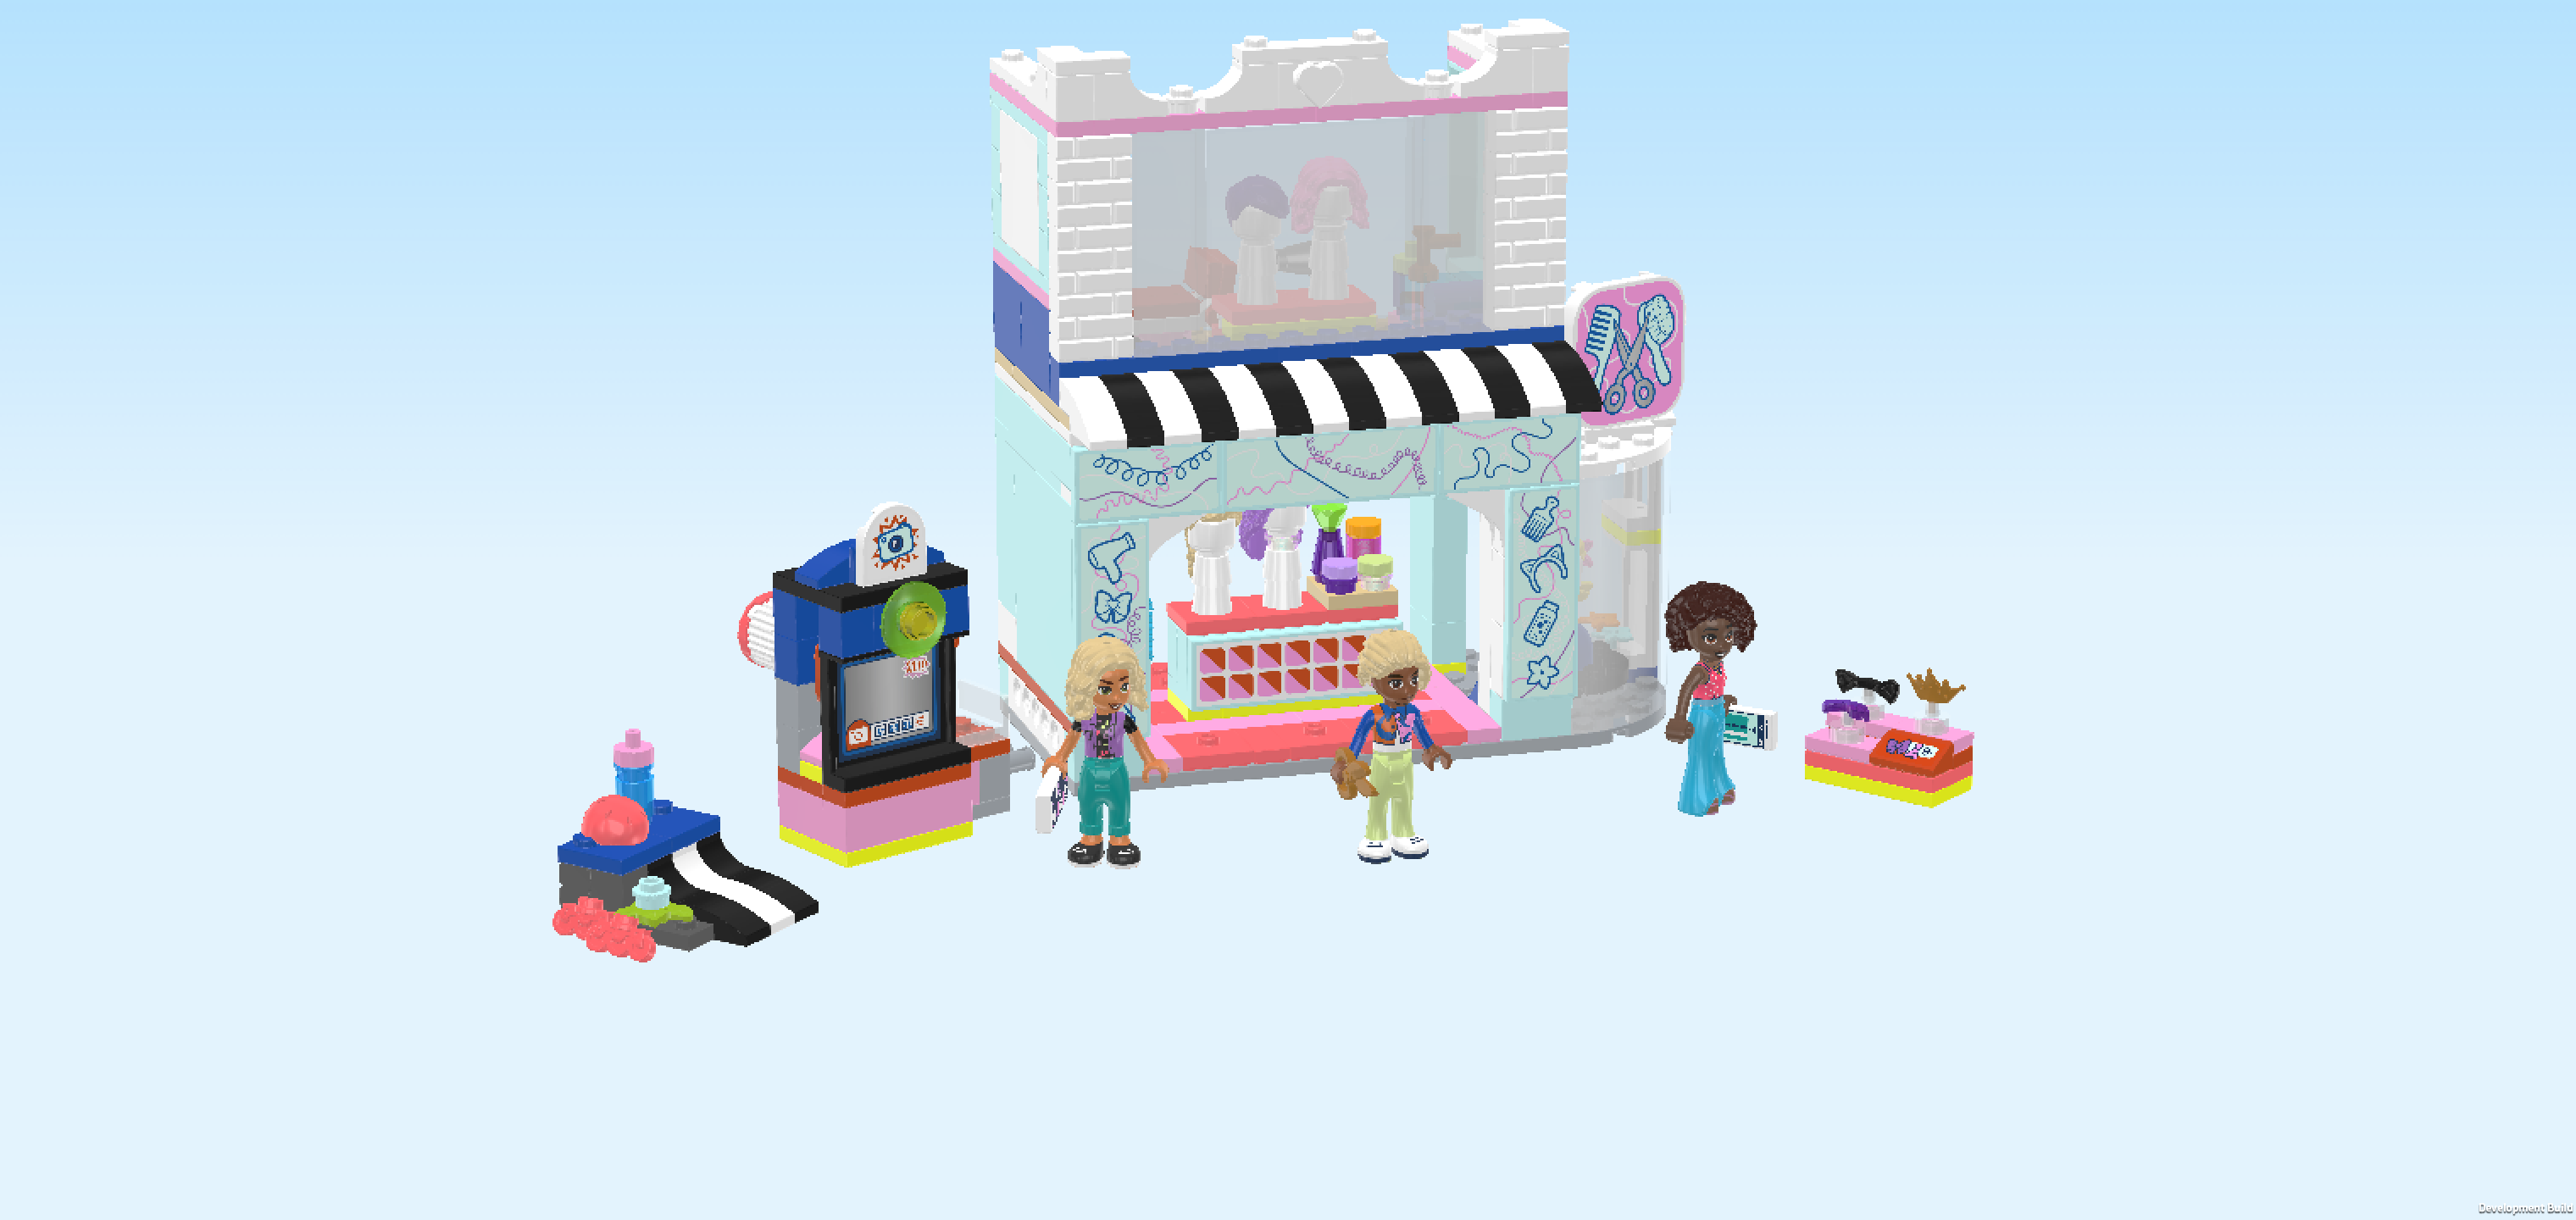
| LEGO Audio & Braille Building Instructions for the LEGO Friends set "Hair Salon and Accessories Store". |
| If you would like to access the help menu to find out how to use and navigate these instructions, tap with two fingers or press key "H". |
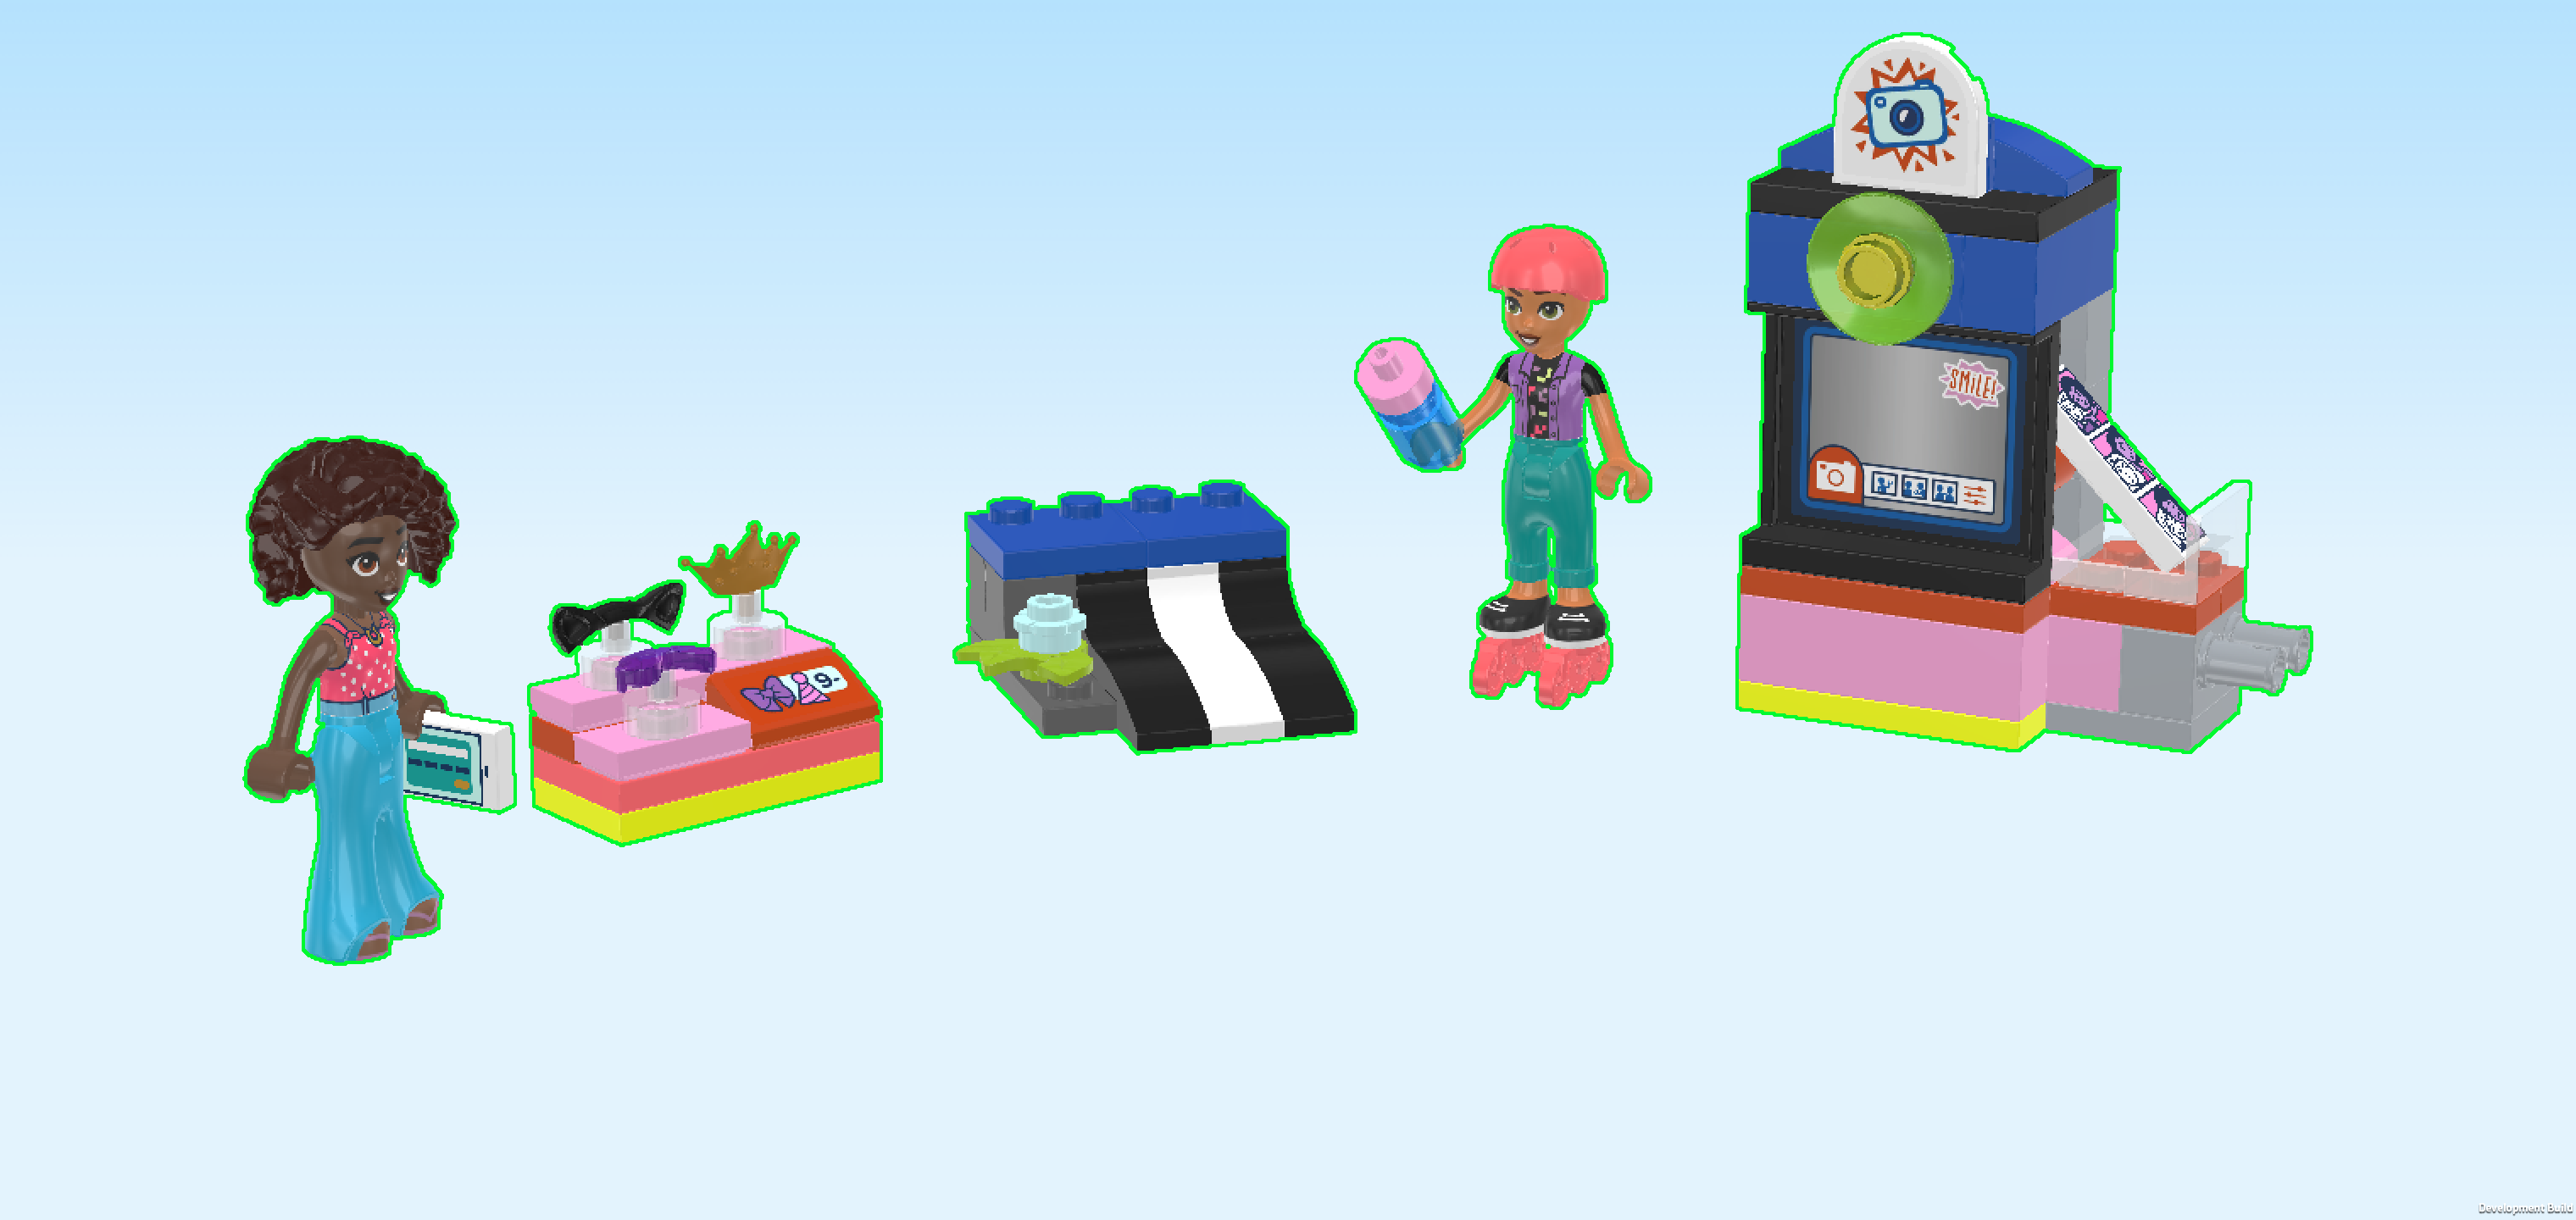
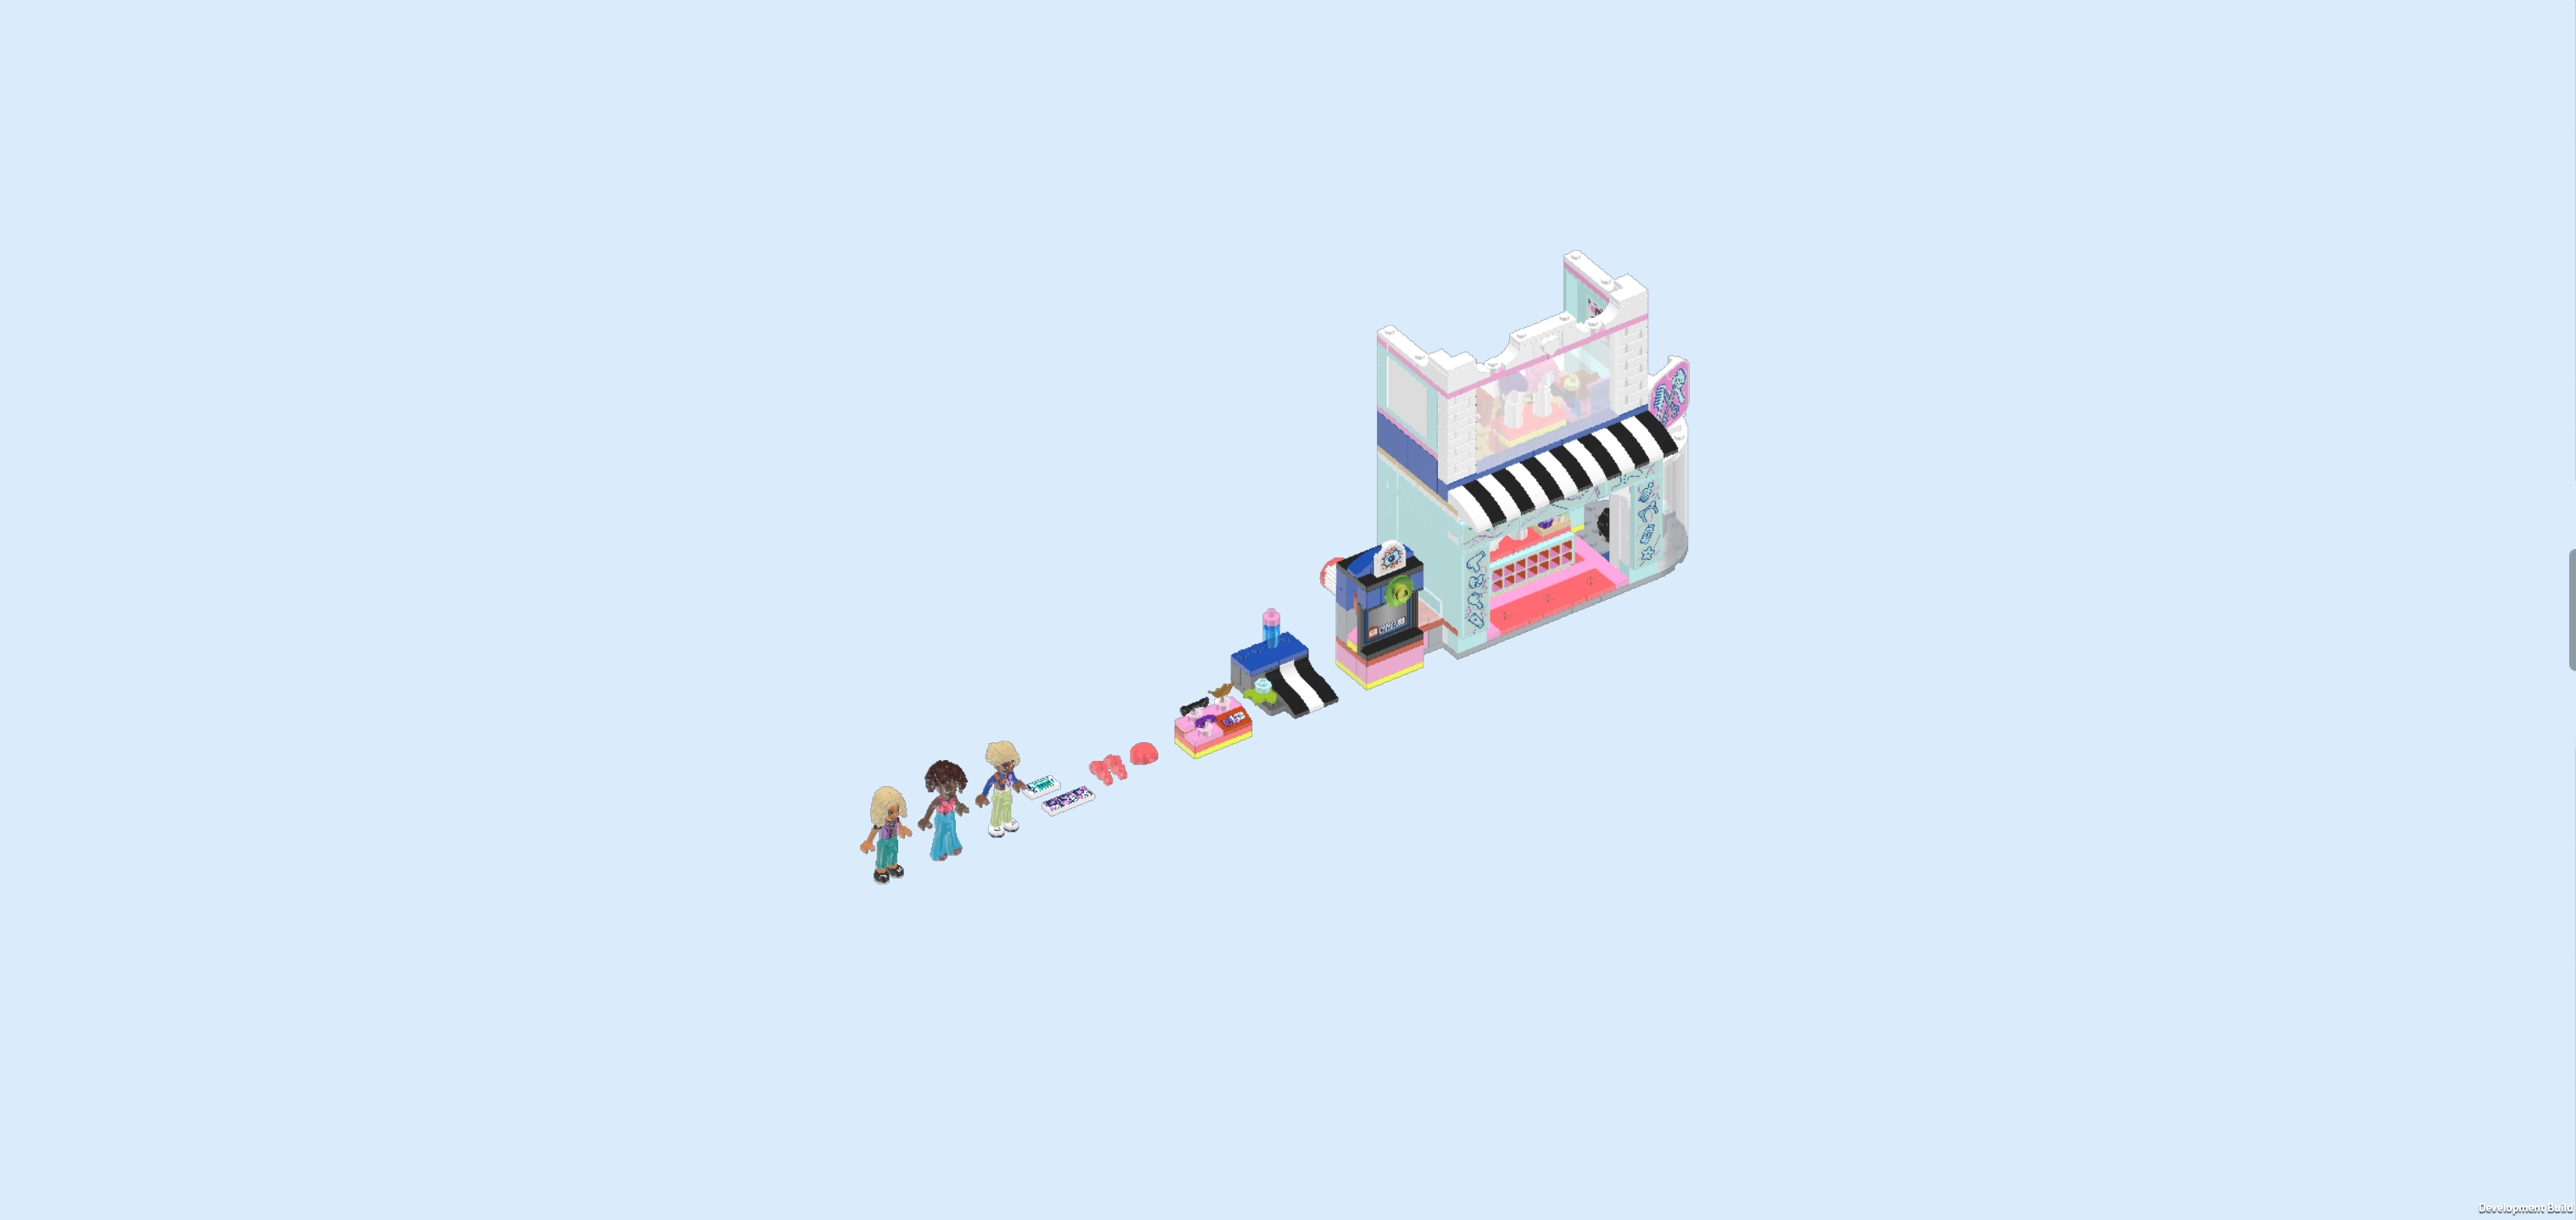
| Nova and Aliya are having a day of fun trying out new looks with hair stylist Faraji. First, they head upstairs to the salon to get their hair styled and try on wigs. Then they visit the accessories store, where there are more wigs and accessories to complete their new look. The friends visit the photo booth, then have fun together at the skate ramp. What a hair-tastic way to spend the day! |
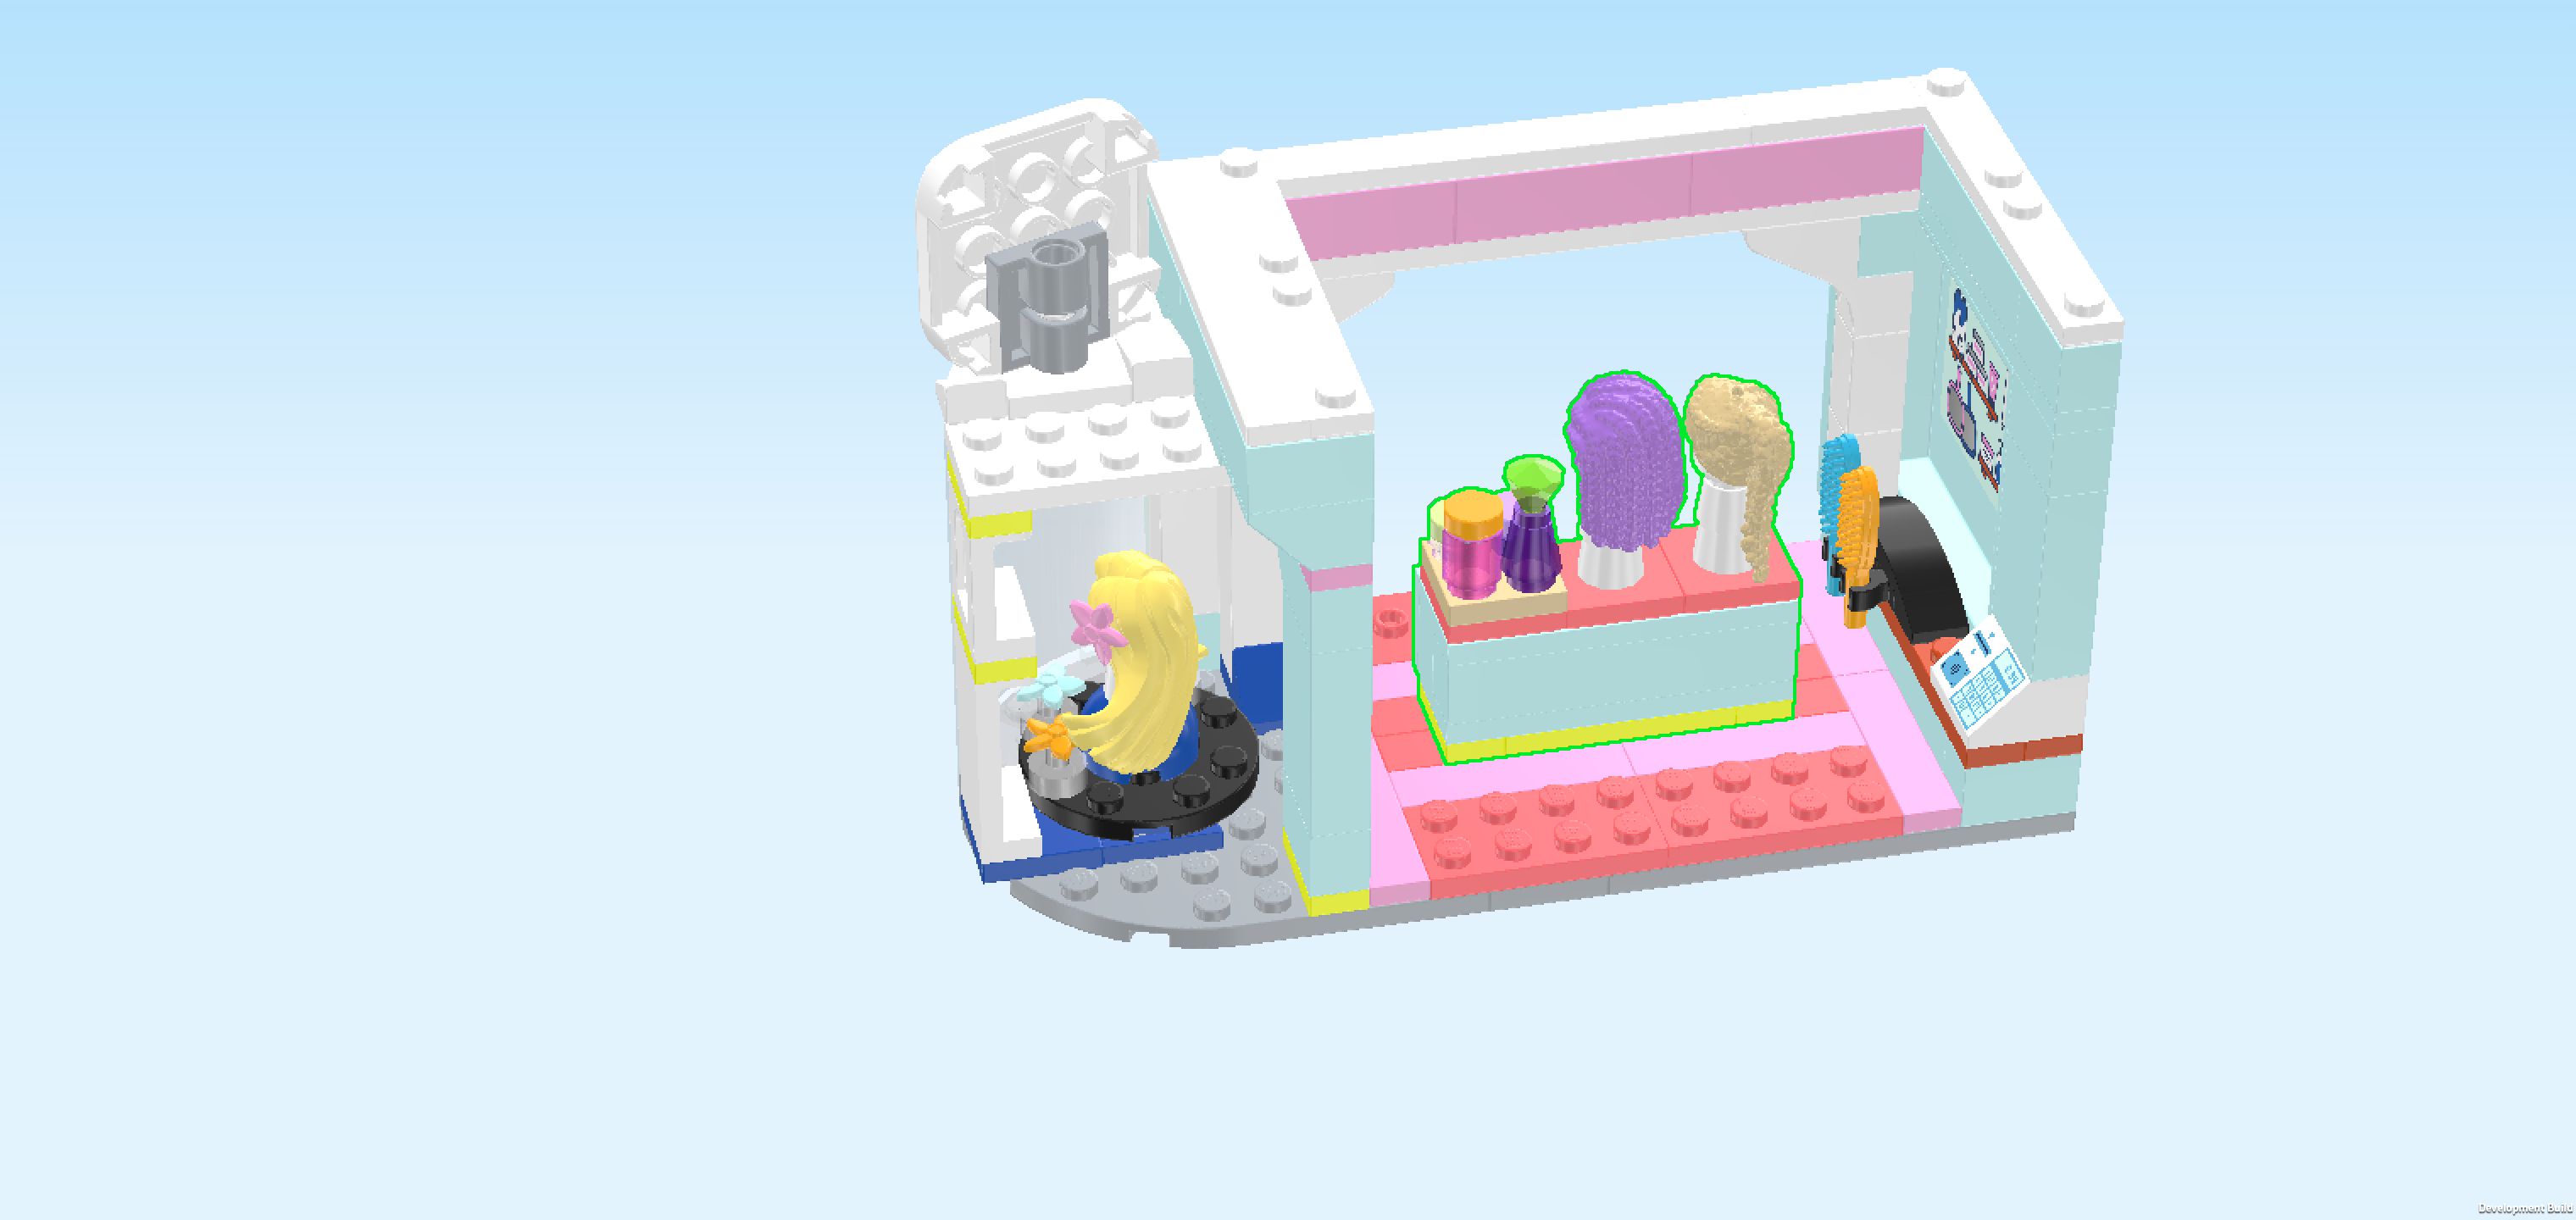
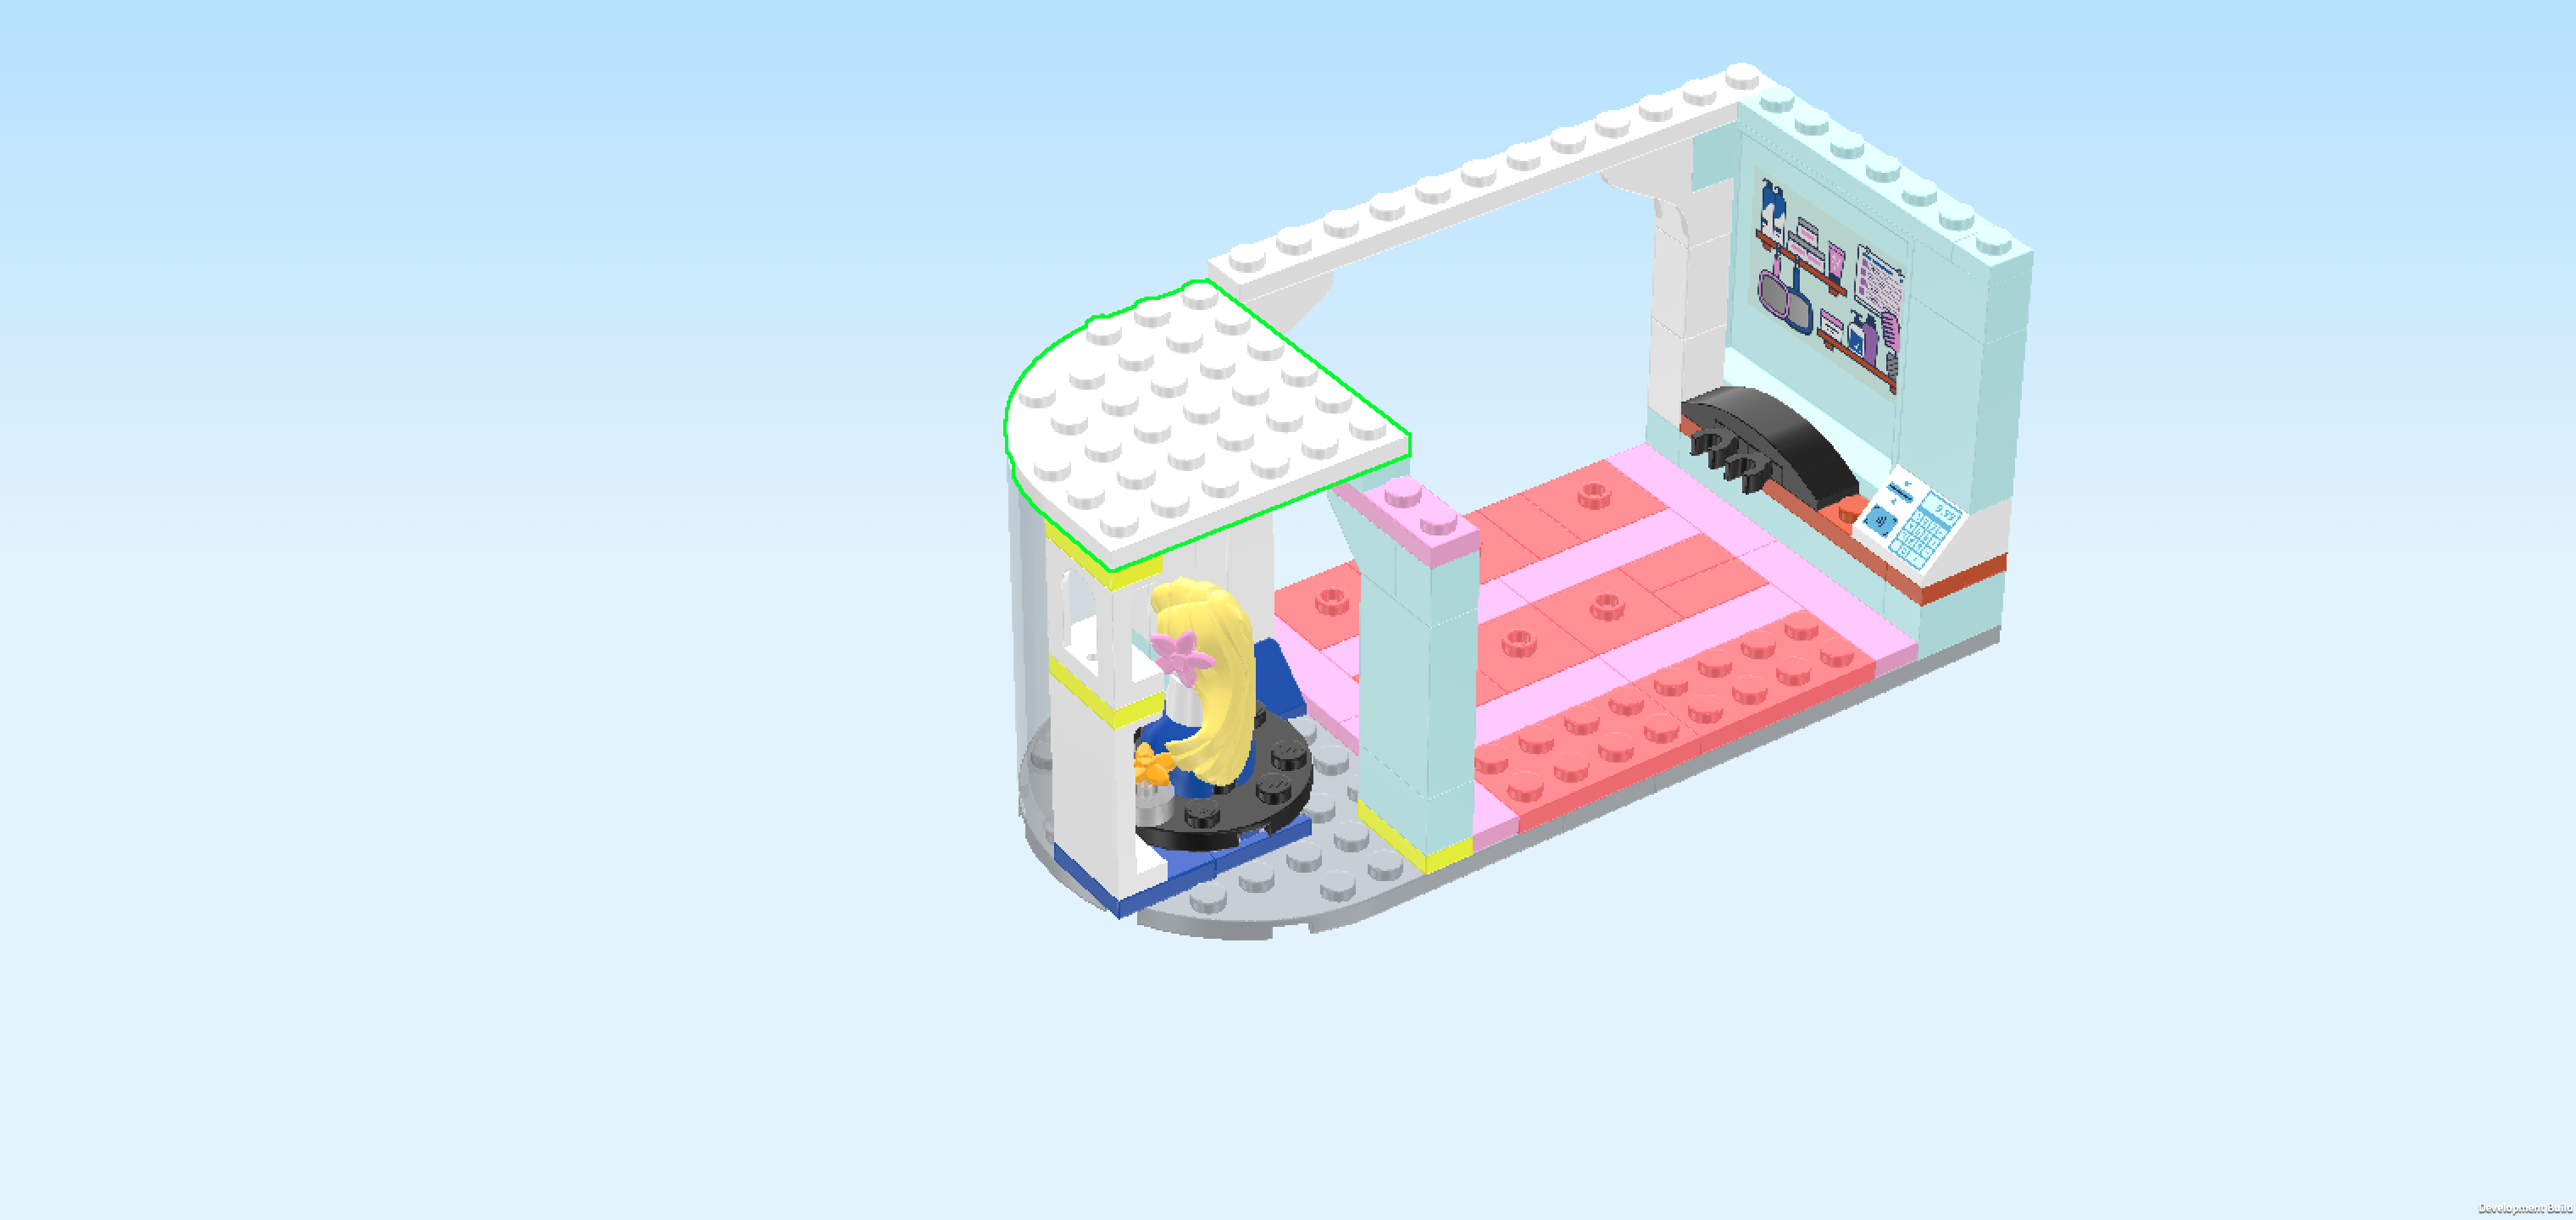
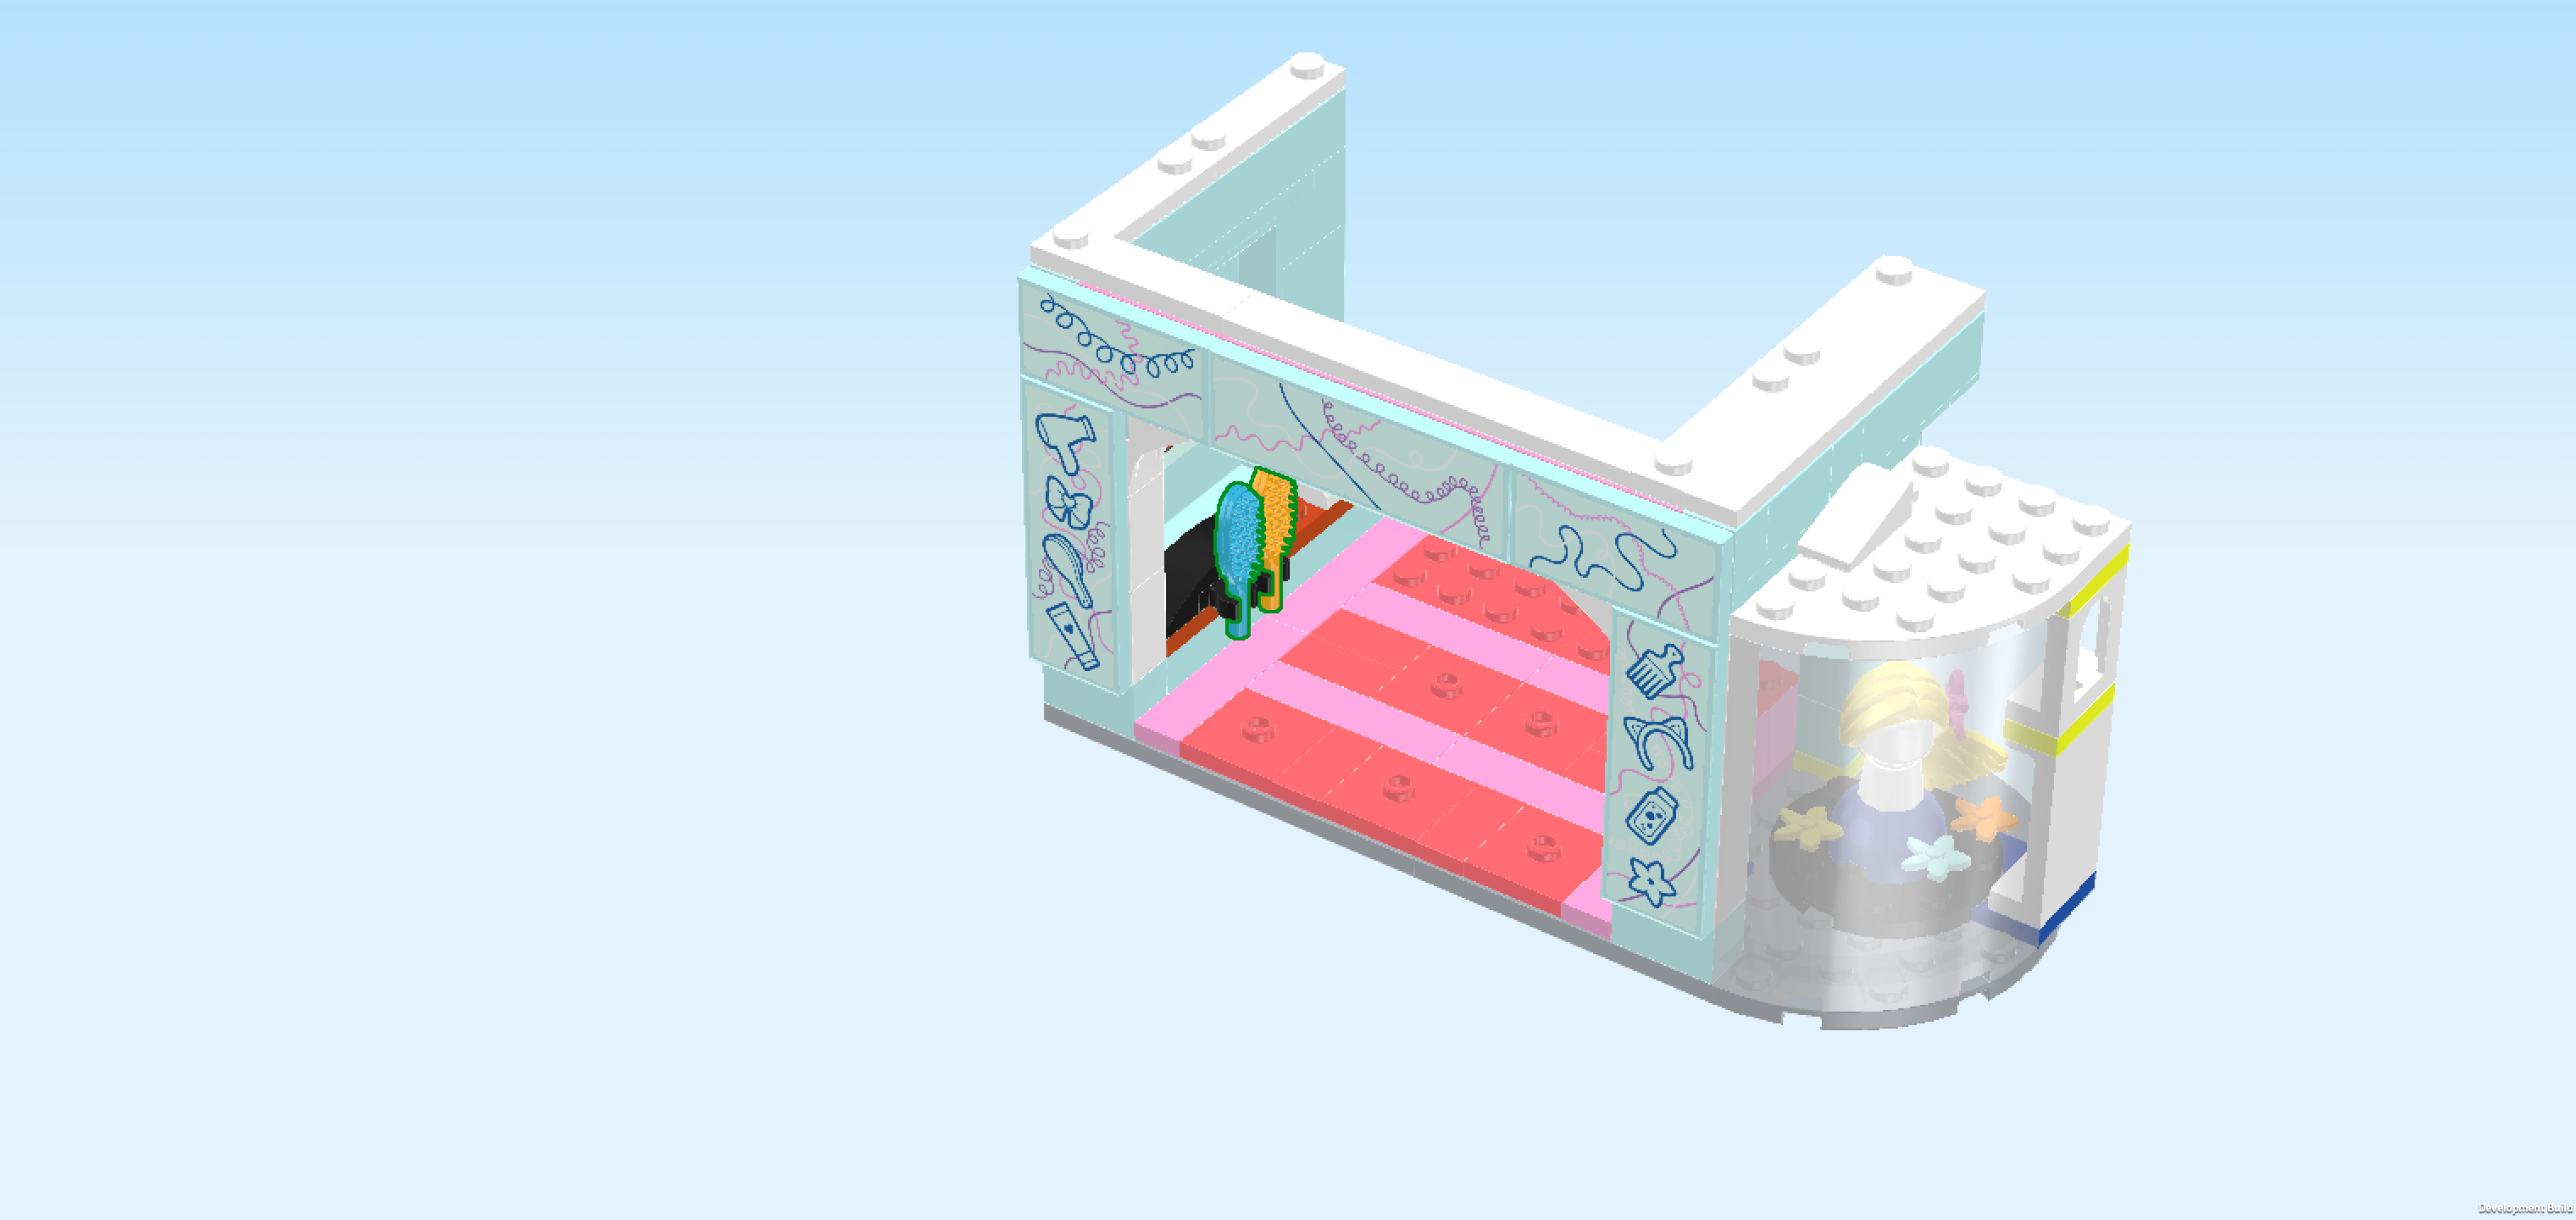
| The box cover shows the Hair Salon and Accessories Store from the front on a lovely day in Heartlake City. The building has two floors, with the accessories shop downstairs and the salon upstairs. The facade of the ground floor is light blue with cool decorations while the top floor is a white brick wall with a large window. There is a black-and-white awning atop the ground floor. The accessories display has been positioned outside in front of the salon today to invite customers in. On the right side of the ground floor there is an extension with a large quarter-arched shop window with a beautiful wig display. On the roof of this section of the salon, the salon's sign is mounted: it is a pink sign with a pair of scissors, a brush and a comb combined into a cool logo. On the left side of the ground floor, a photobooth with mirror and flash is attached! Nova is standing in front of the photobooth, waving to Aliya and Faraji with a strip of photos in her hand. Her hair is pink today! Meanwhile, Aliya is using her phone to pay for the latest purchases while Faraji is holding a light lilac wig with long hair in cornrows for her. In the back left on the street there is a skate ramp with water bottle, helmet and inline skates. Whenever the friends feel like getting some exercise, they can have fun on the ramp! The salon stands on a paved area with yellow bricks. Behind it, there is a skate park and lots of green bushes and colorful flowers, and in the far back there are hazy silhouettes of houses and apartment buildings of Heartlake City. Let's start building! |
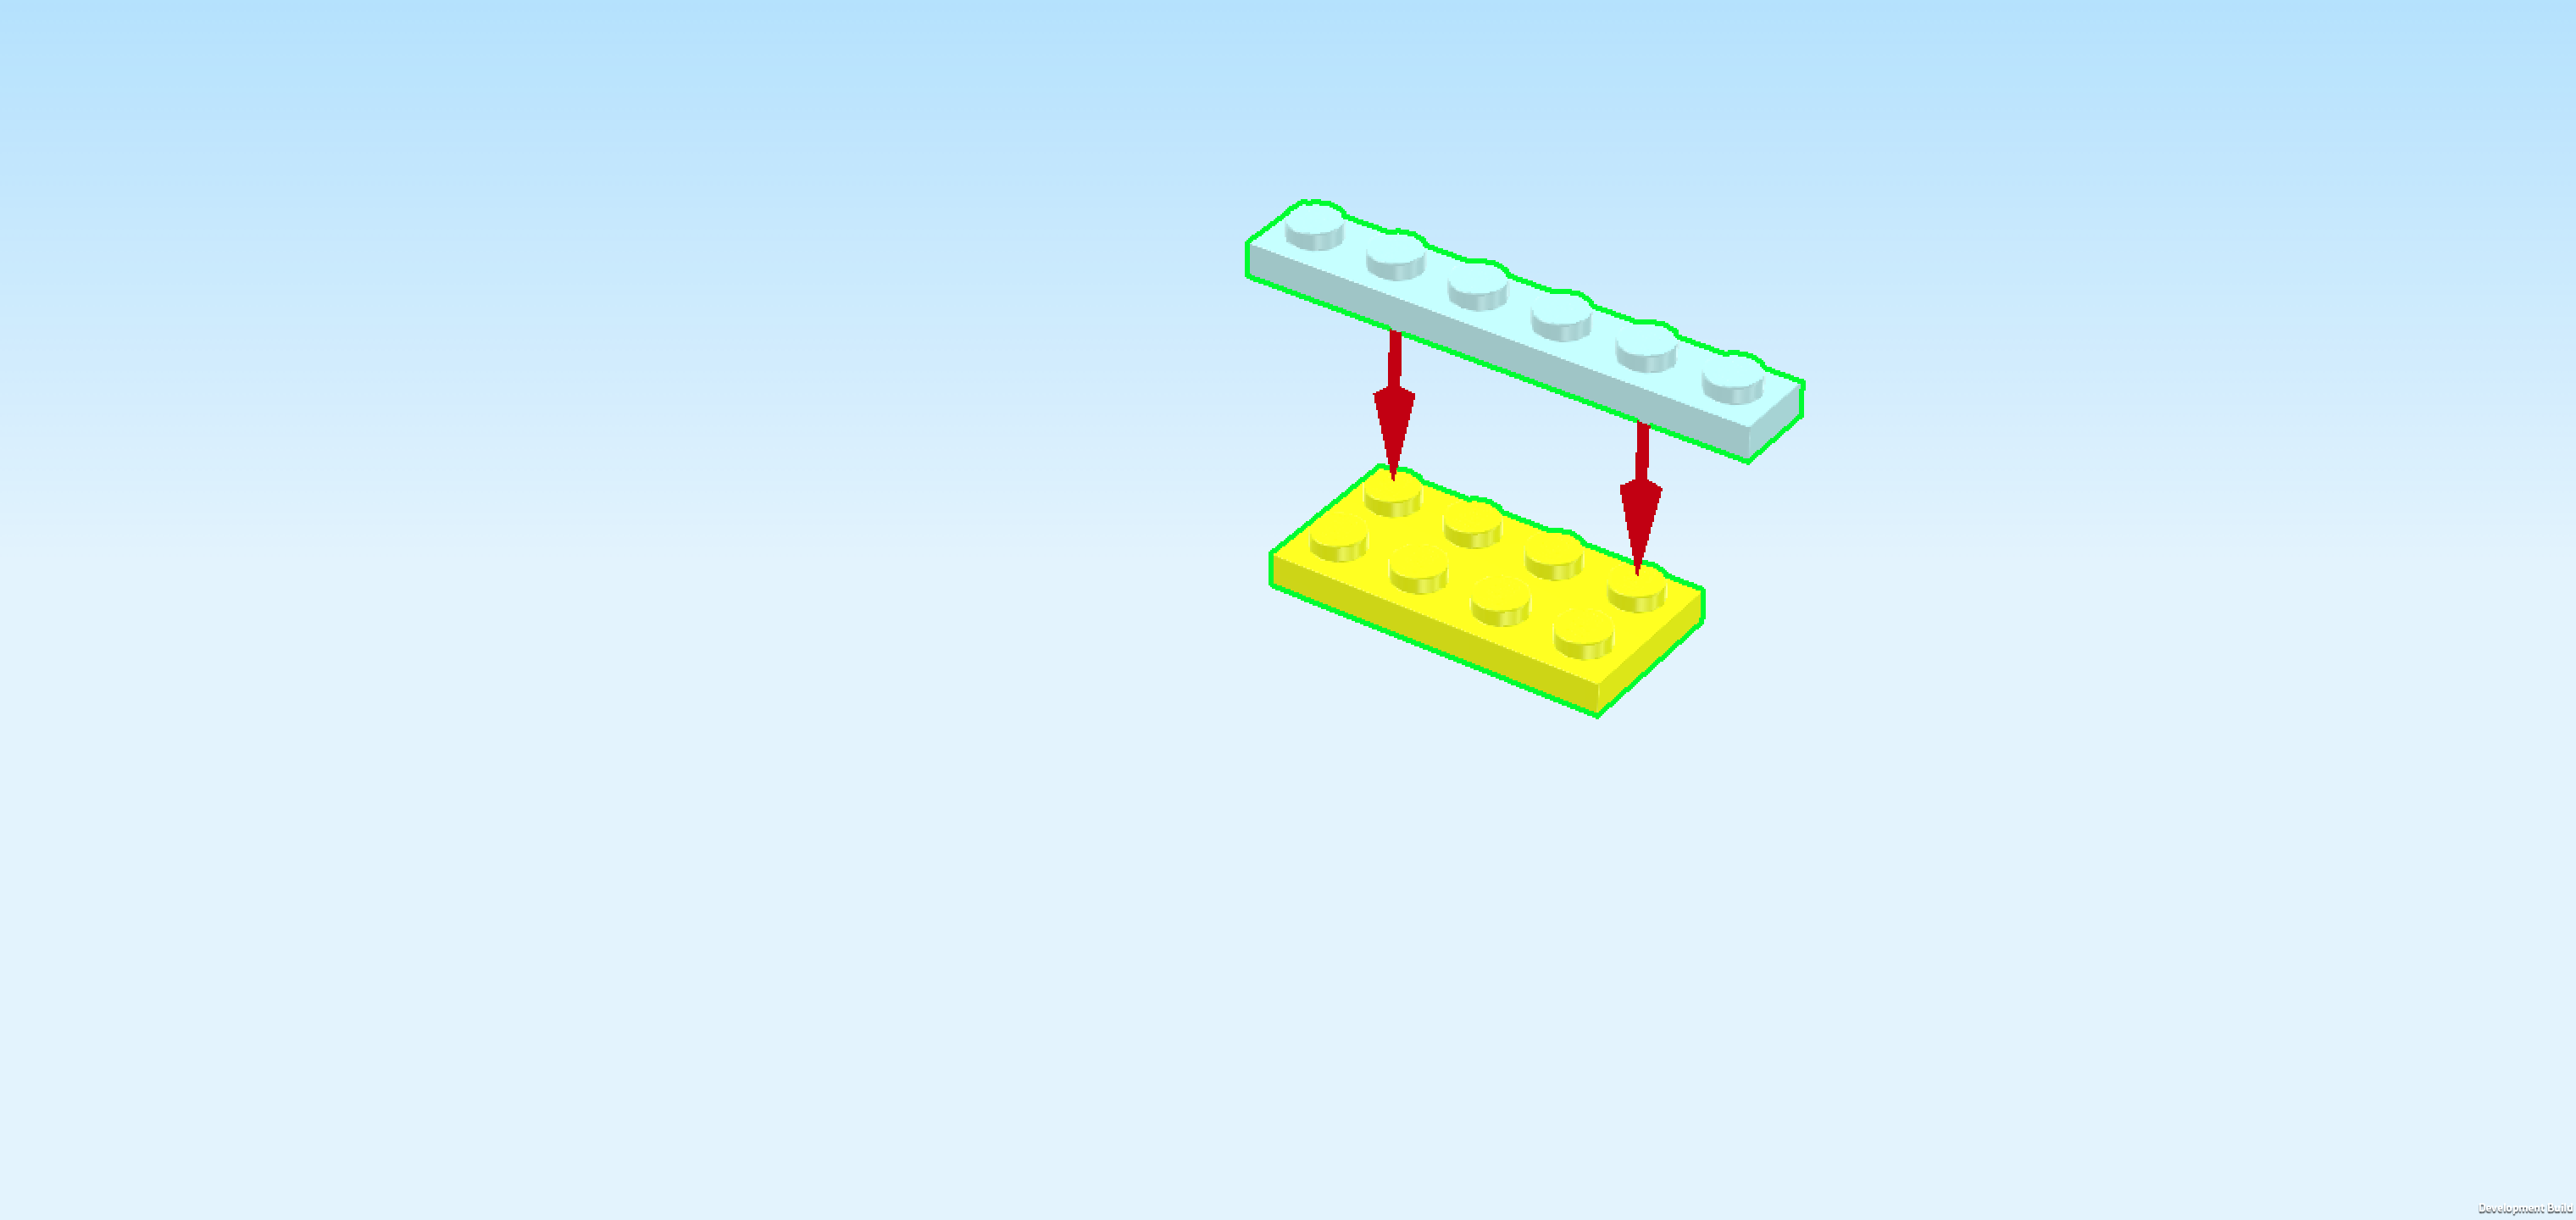
| Open the box. It contains visual building instructions, 4 numbered bags, 1 sticker sheet and 1 loose piece: 1 plate 6x14. We will refer to the bag numbers to guide you through the building process. Please ask a sighted person to help you identify the correct bags! |
| The sticker sheet has 11 stickers. Some of them have identical shapes, so if you would like to find and attach the stickers yourself, these are your options: You can try to feel the outlines of the stickers and search for the sticker in the set that has the dimensions 3x5. Turn the sticker sheet so that this sticker is in the top right corner. If you prefer, you can also ask a sighted person to orientate the sticker sheet such that the bold black line is on the left edge. We will refer to both the shape and the location of the sticker on the sticker sheet during the building process. However, of course you can also decide to skip the stickers in the building process for now or ask a sighted person to help you attach them if you like. |
| Carefully open bag number 1 and any small sub-bags in it. This bag contains all bricks and pieces for the Nova Minifigure, the Aliya Minifigure, the hair accessory display, the skate ramp and the photobooth. |
| If you like, you can ask a sighted person to help you sort the pieces by color before you start building. We recommend using trays or bowls. This can make finding the correct pieces easier! However, if you would like to build without brick colors entirely, you can also ignore them or turn them off. There are different ways to sort and organize the bricks and your building process. It is up to you! |
| First, we will build the Nova Minifigure. |
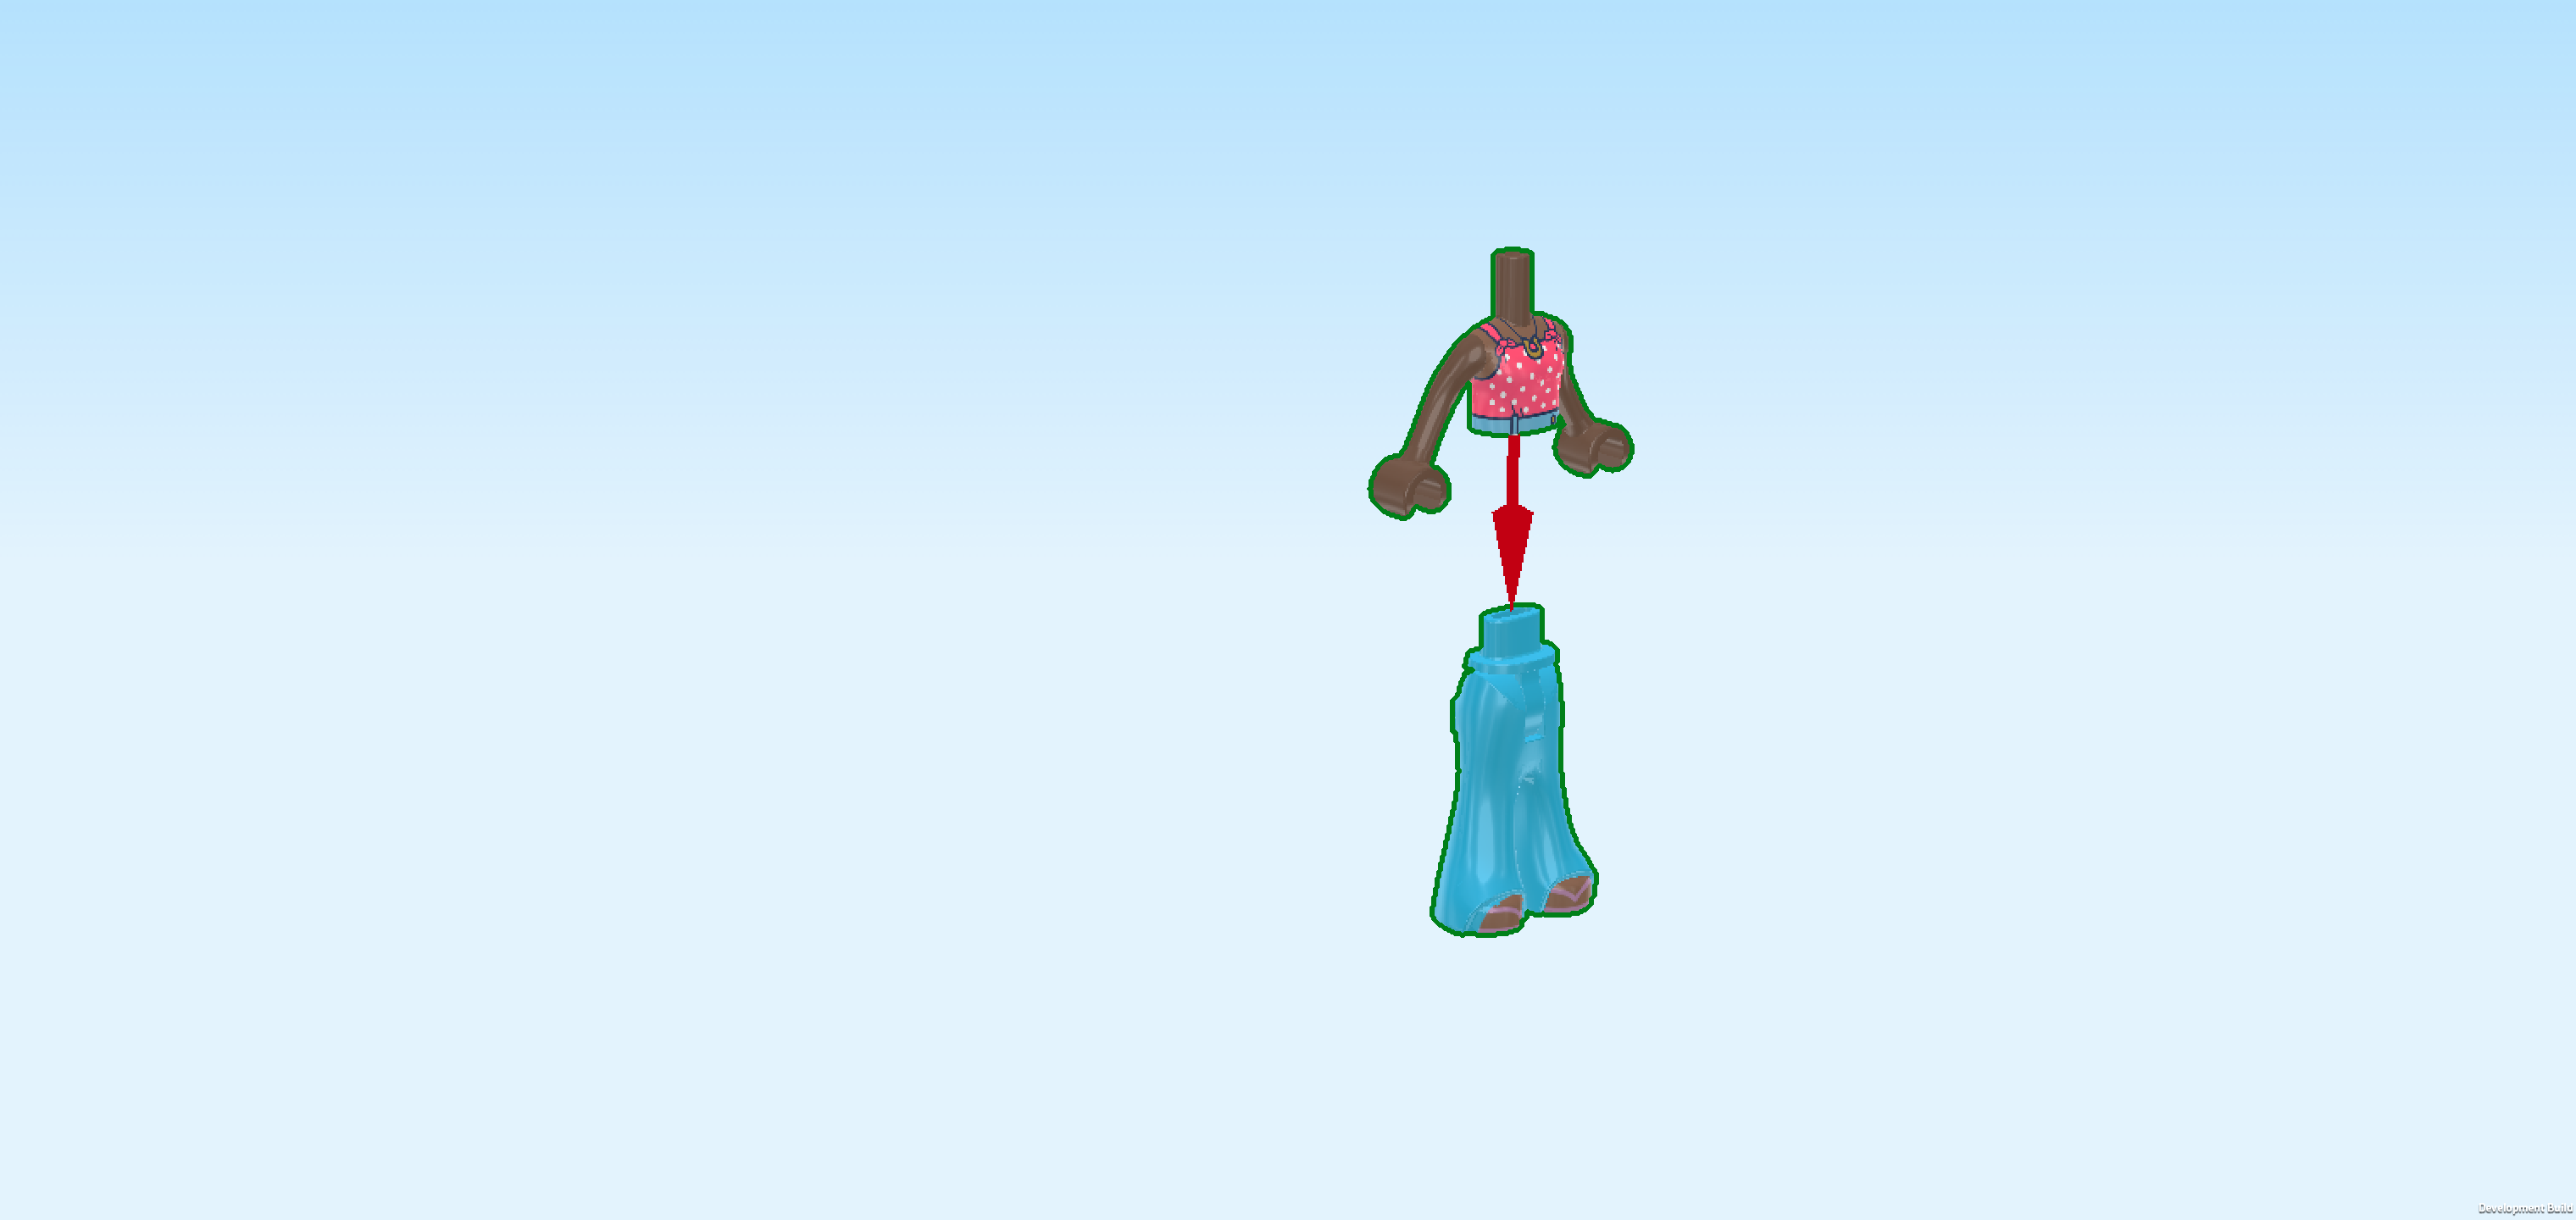
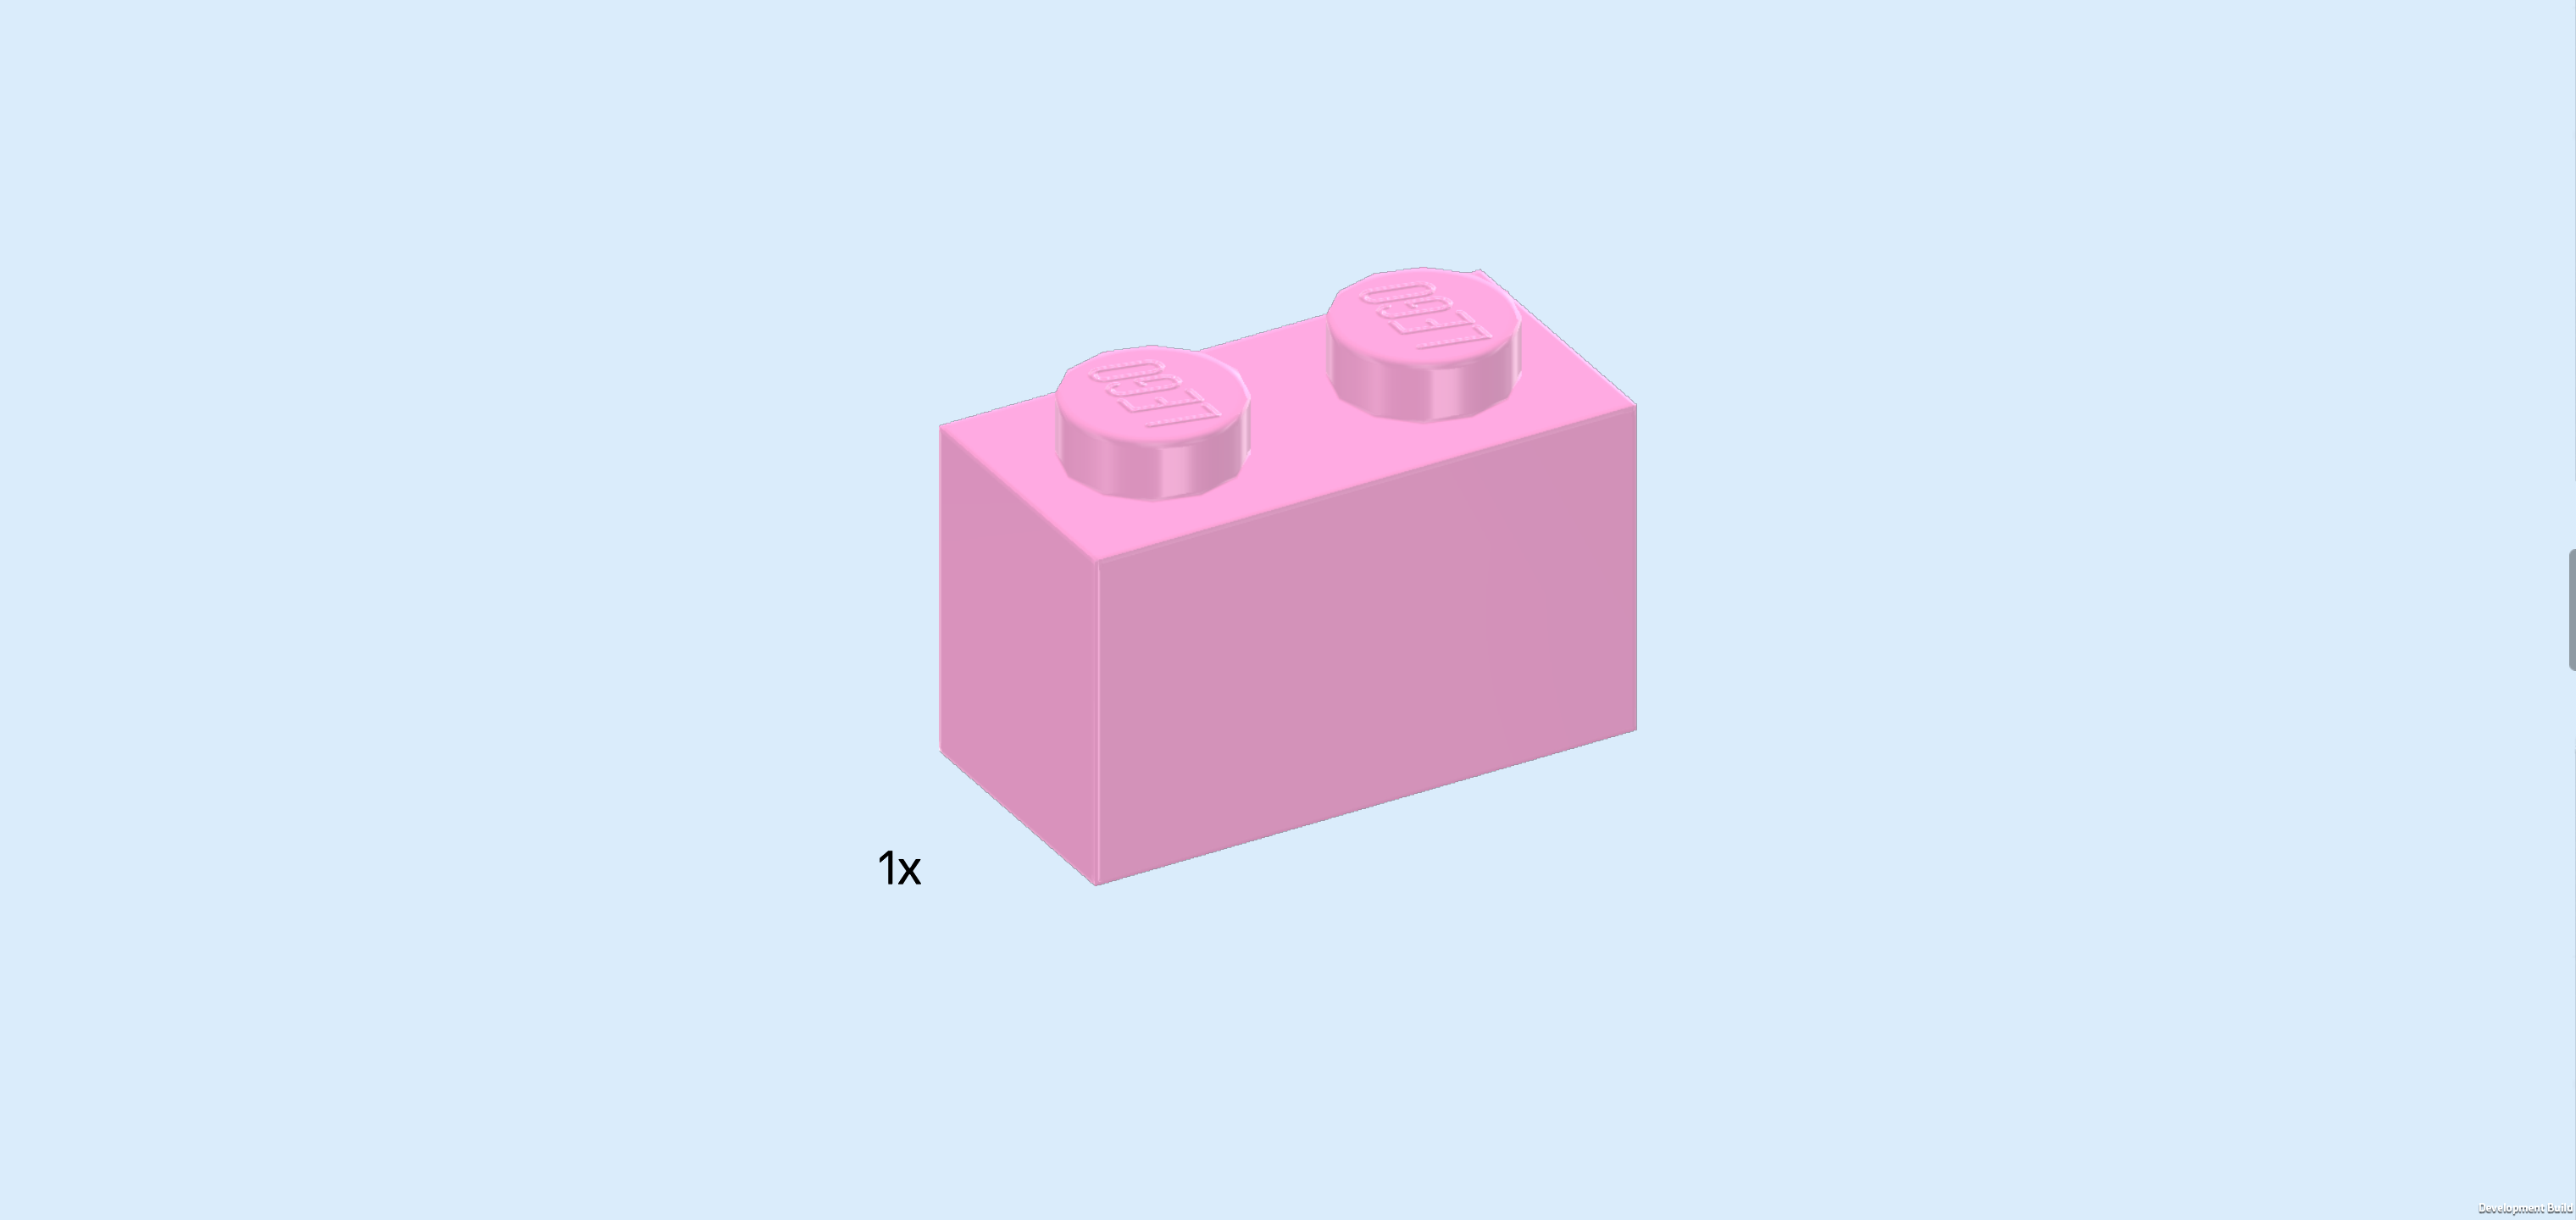
| Collect the following 2 pieces: |
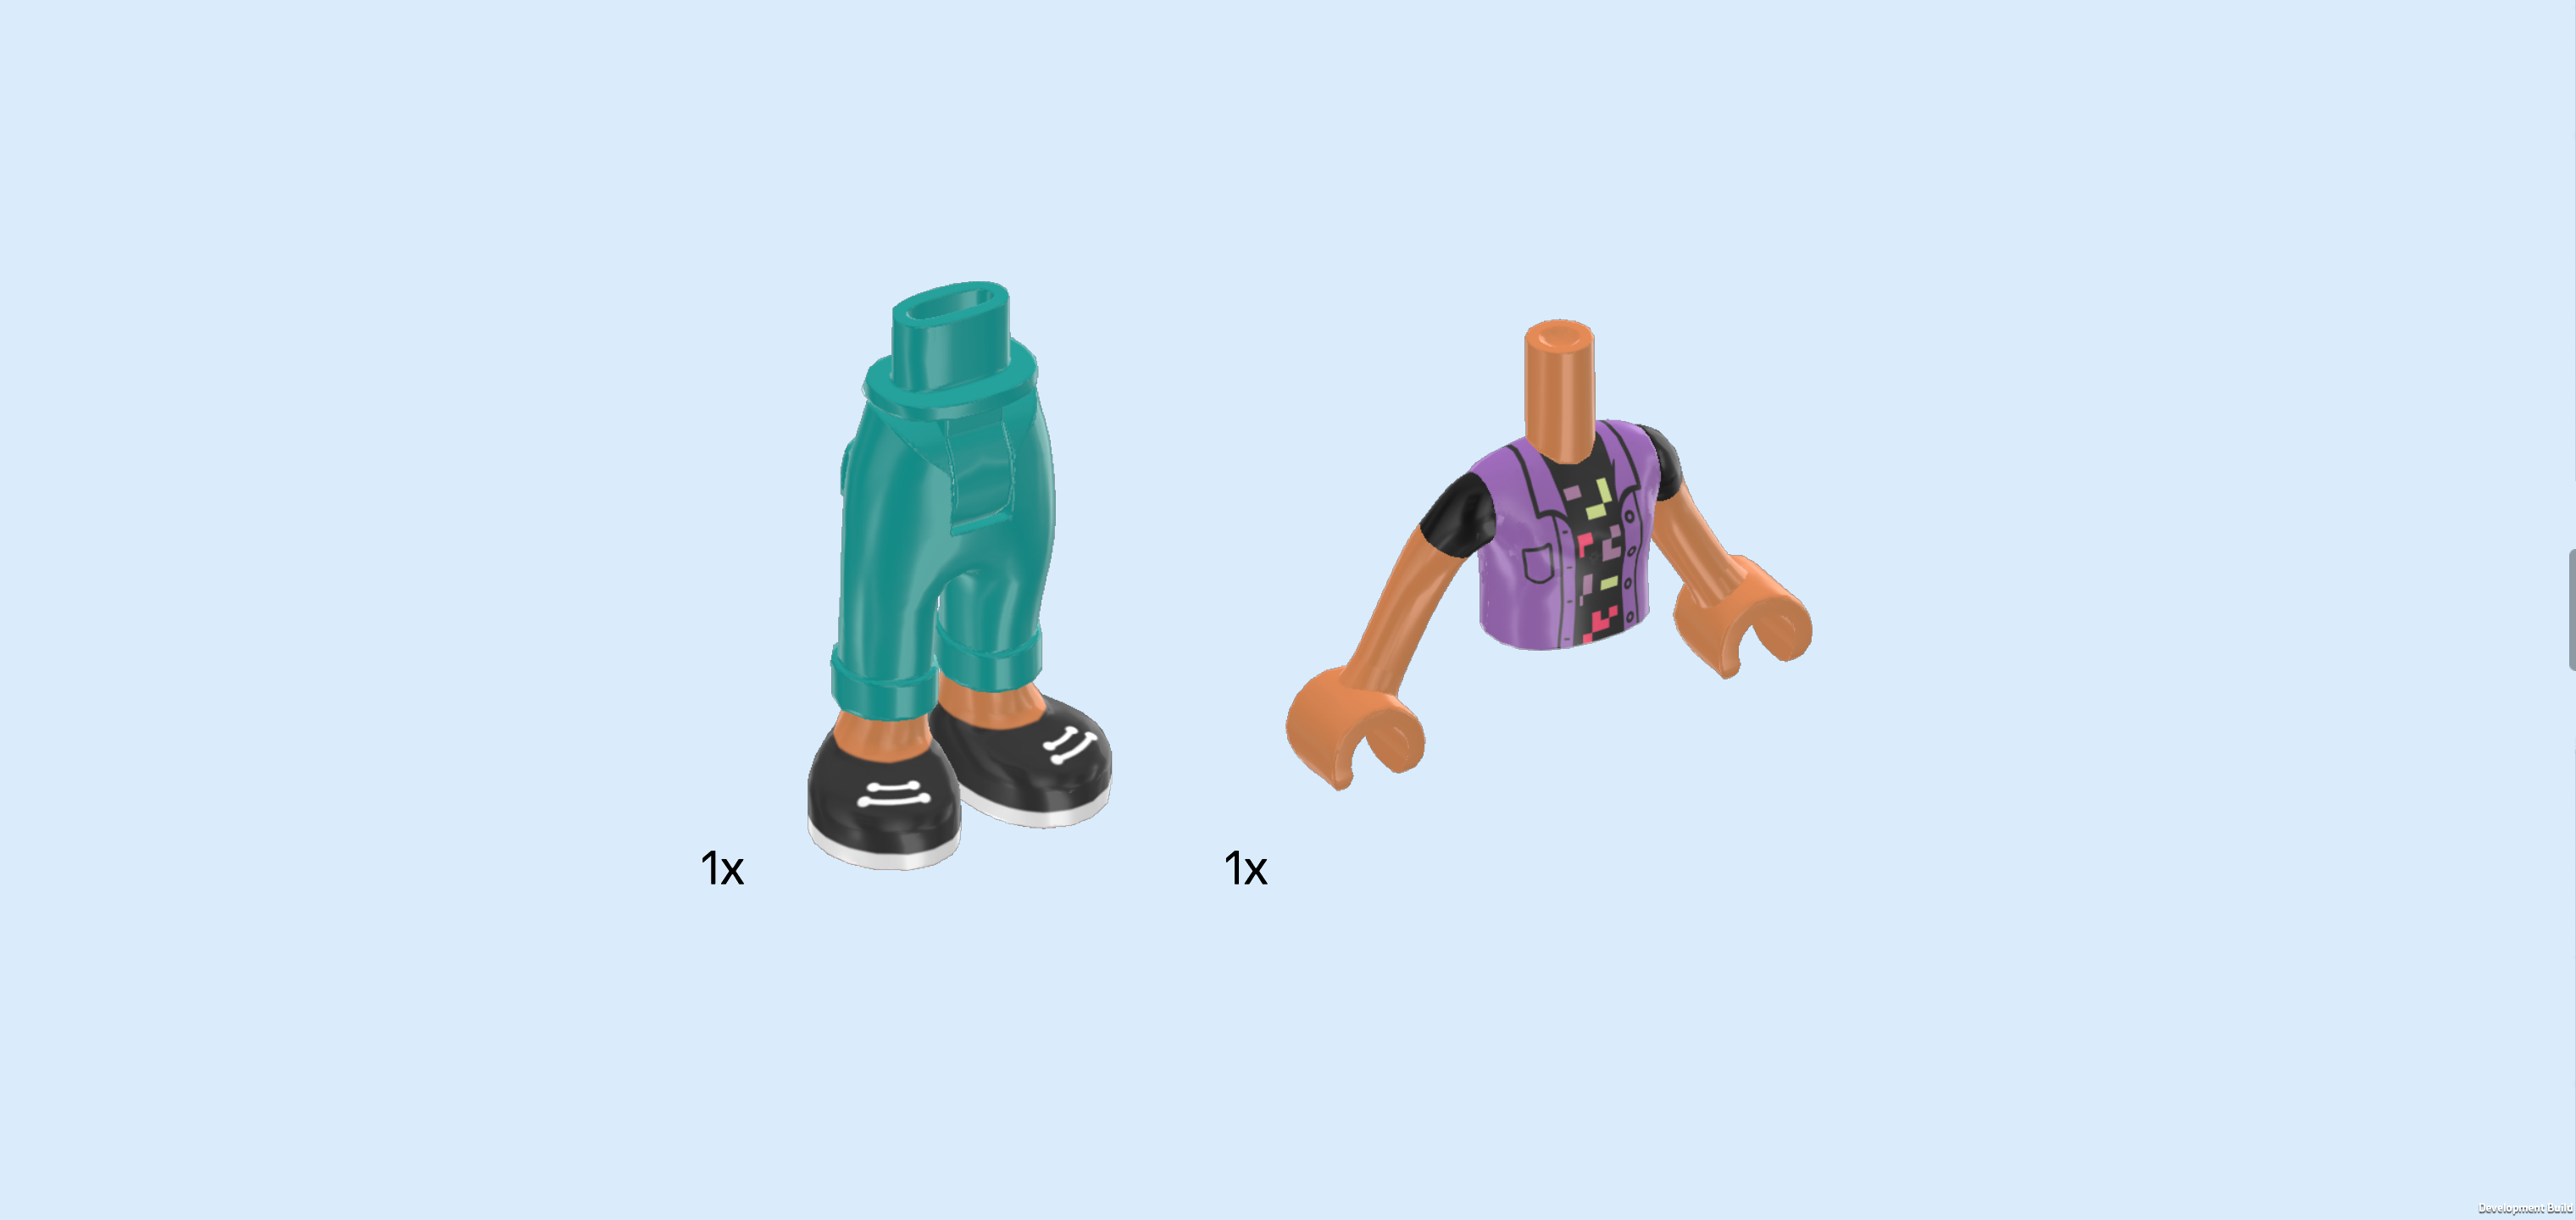
| 1 teal blue and nougat brown pair of legs with long pants and turned up cuffs, |
| and 1 nougat brown, black and white Minidoll upper body. |
| Put the upper body on the legs. |
| Collect the following 2 pieces: |
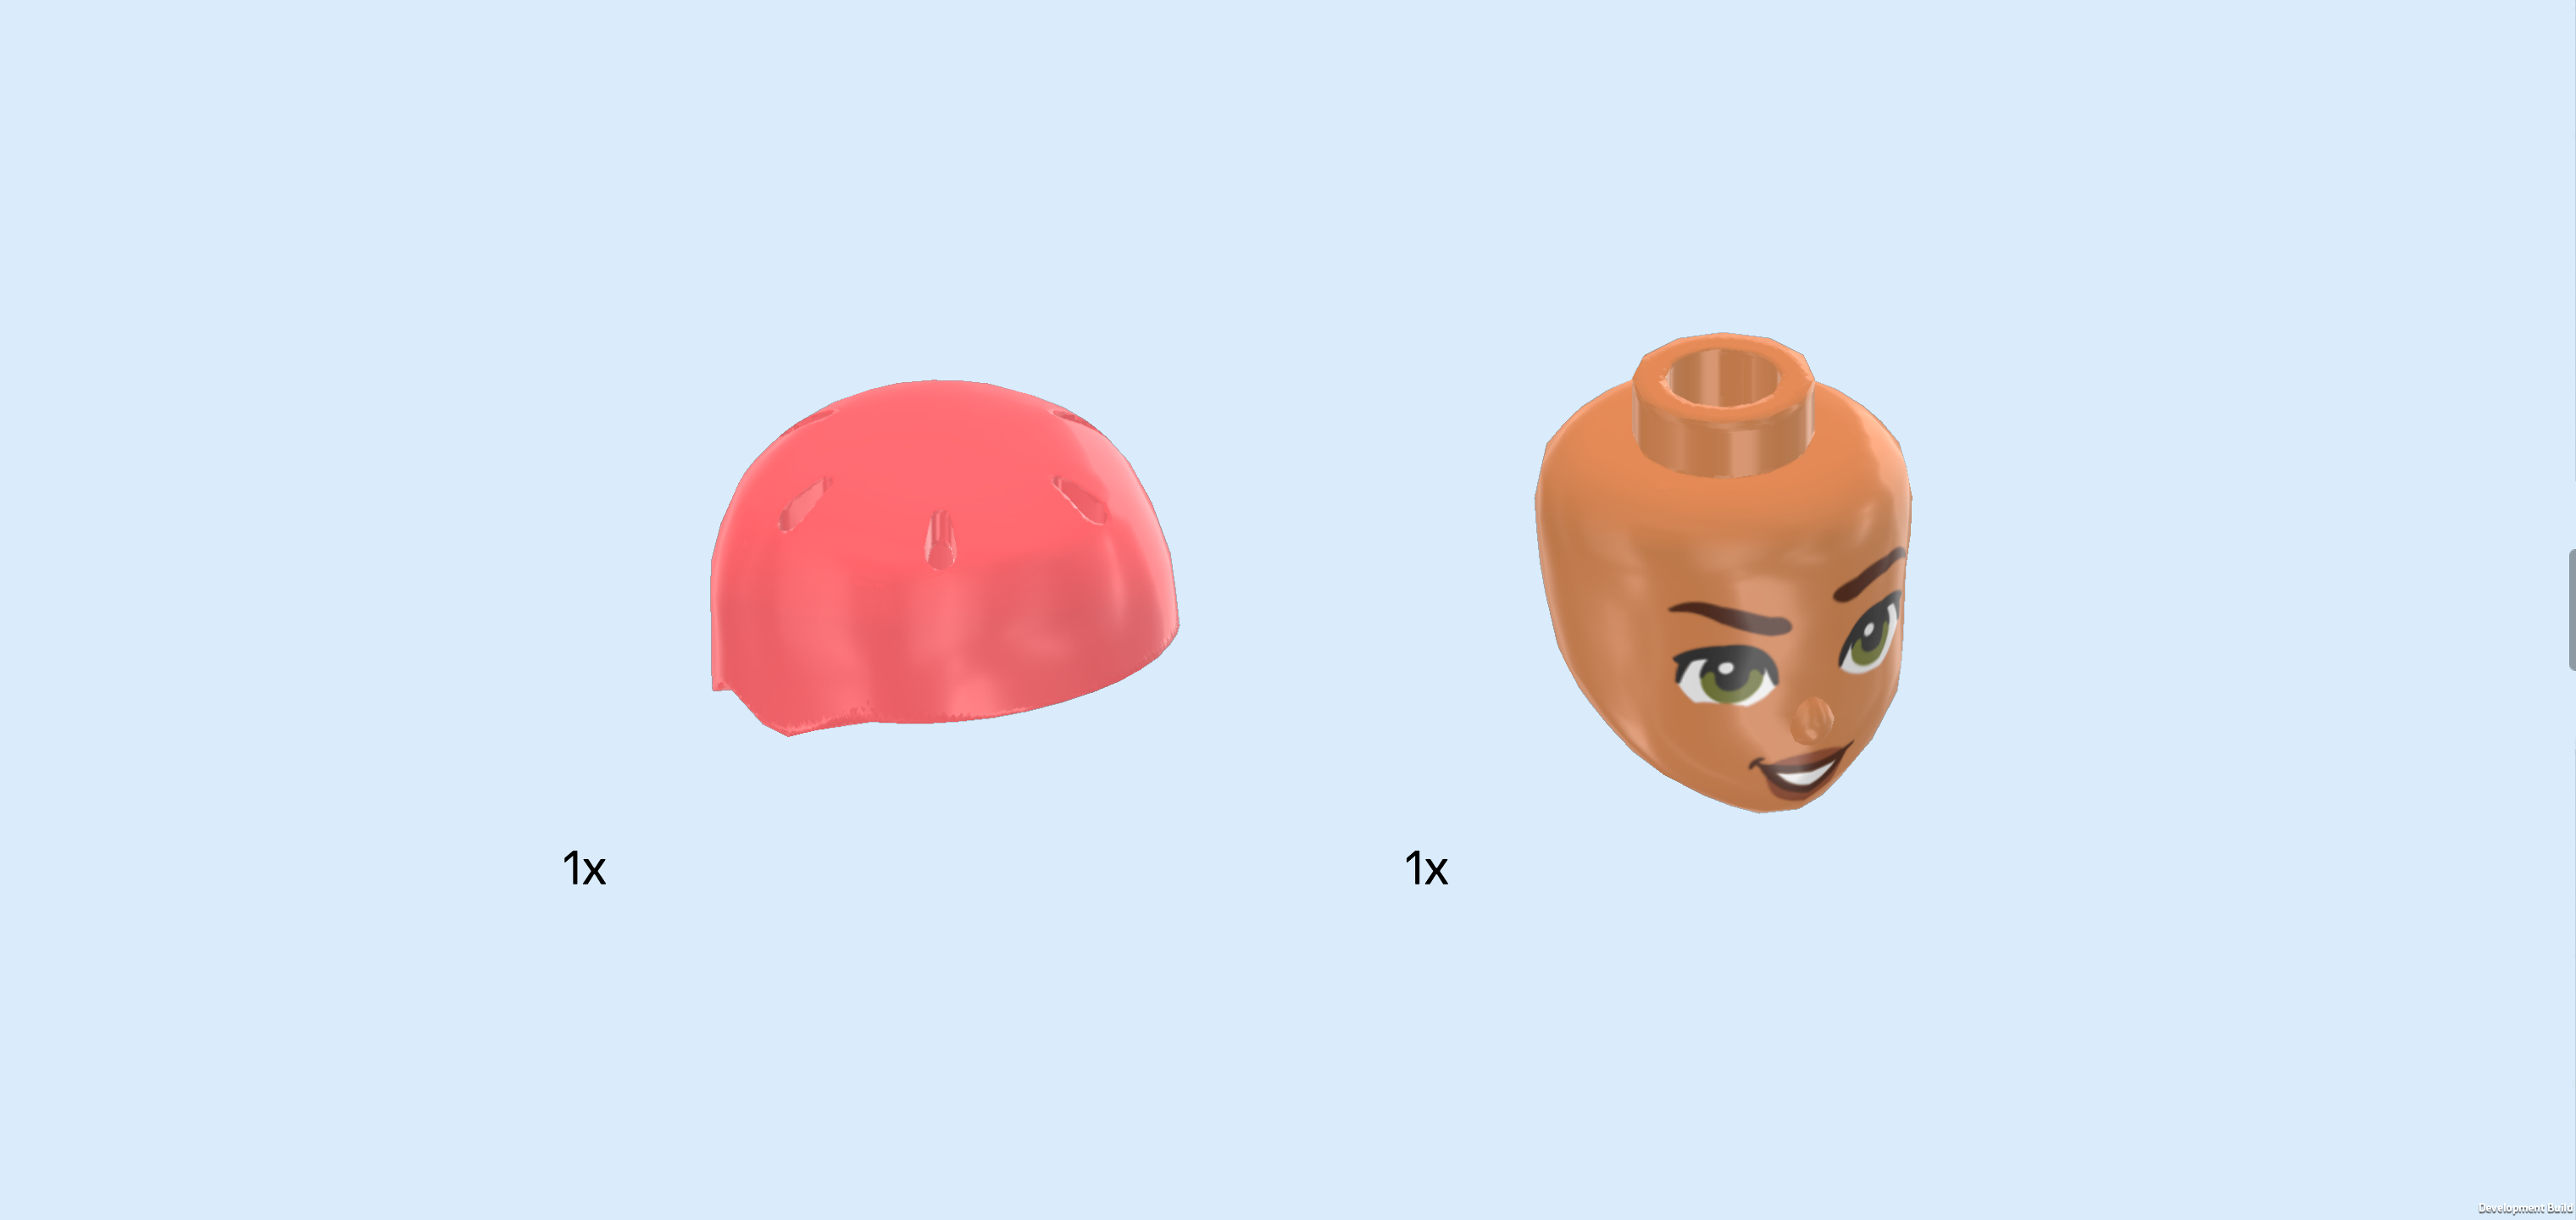
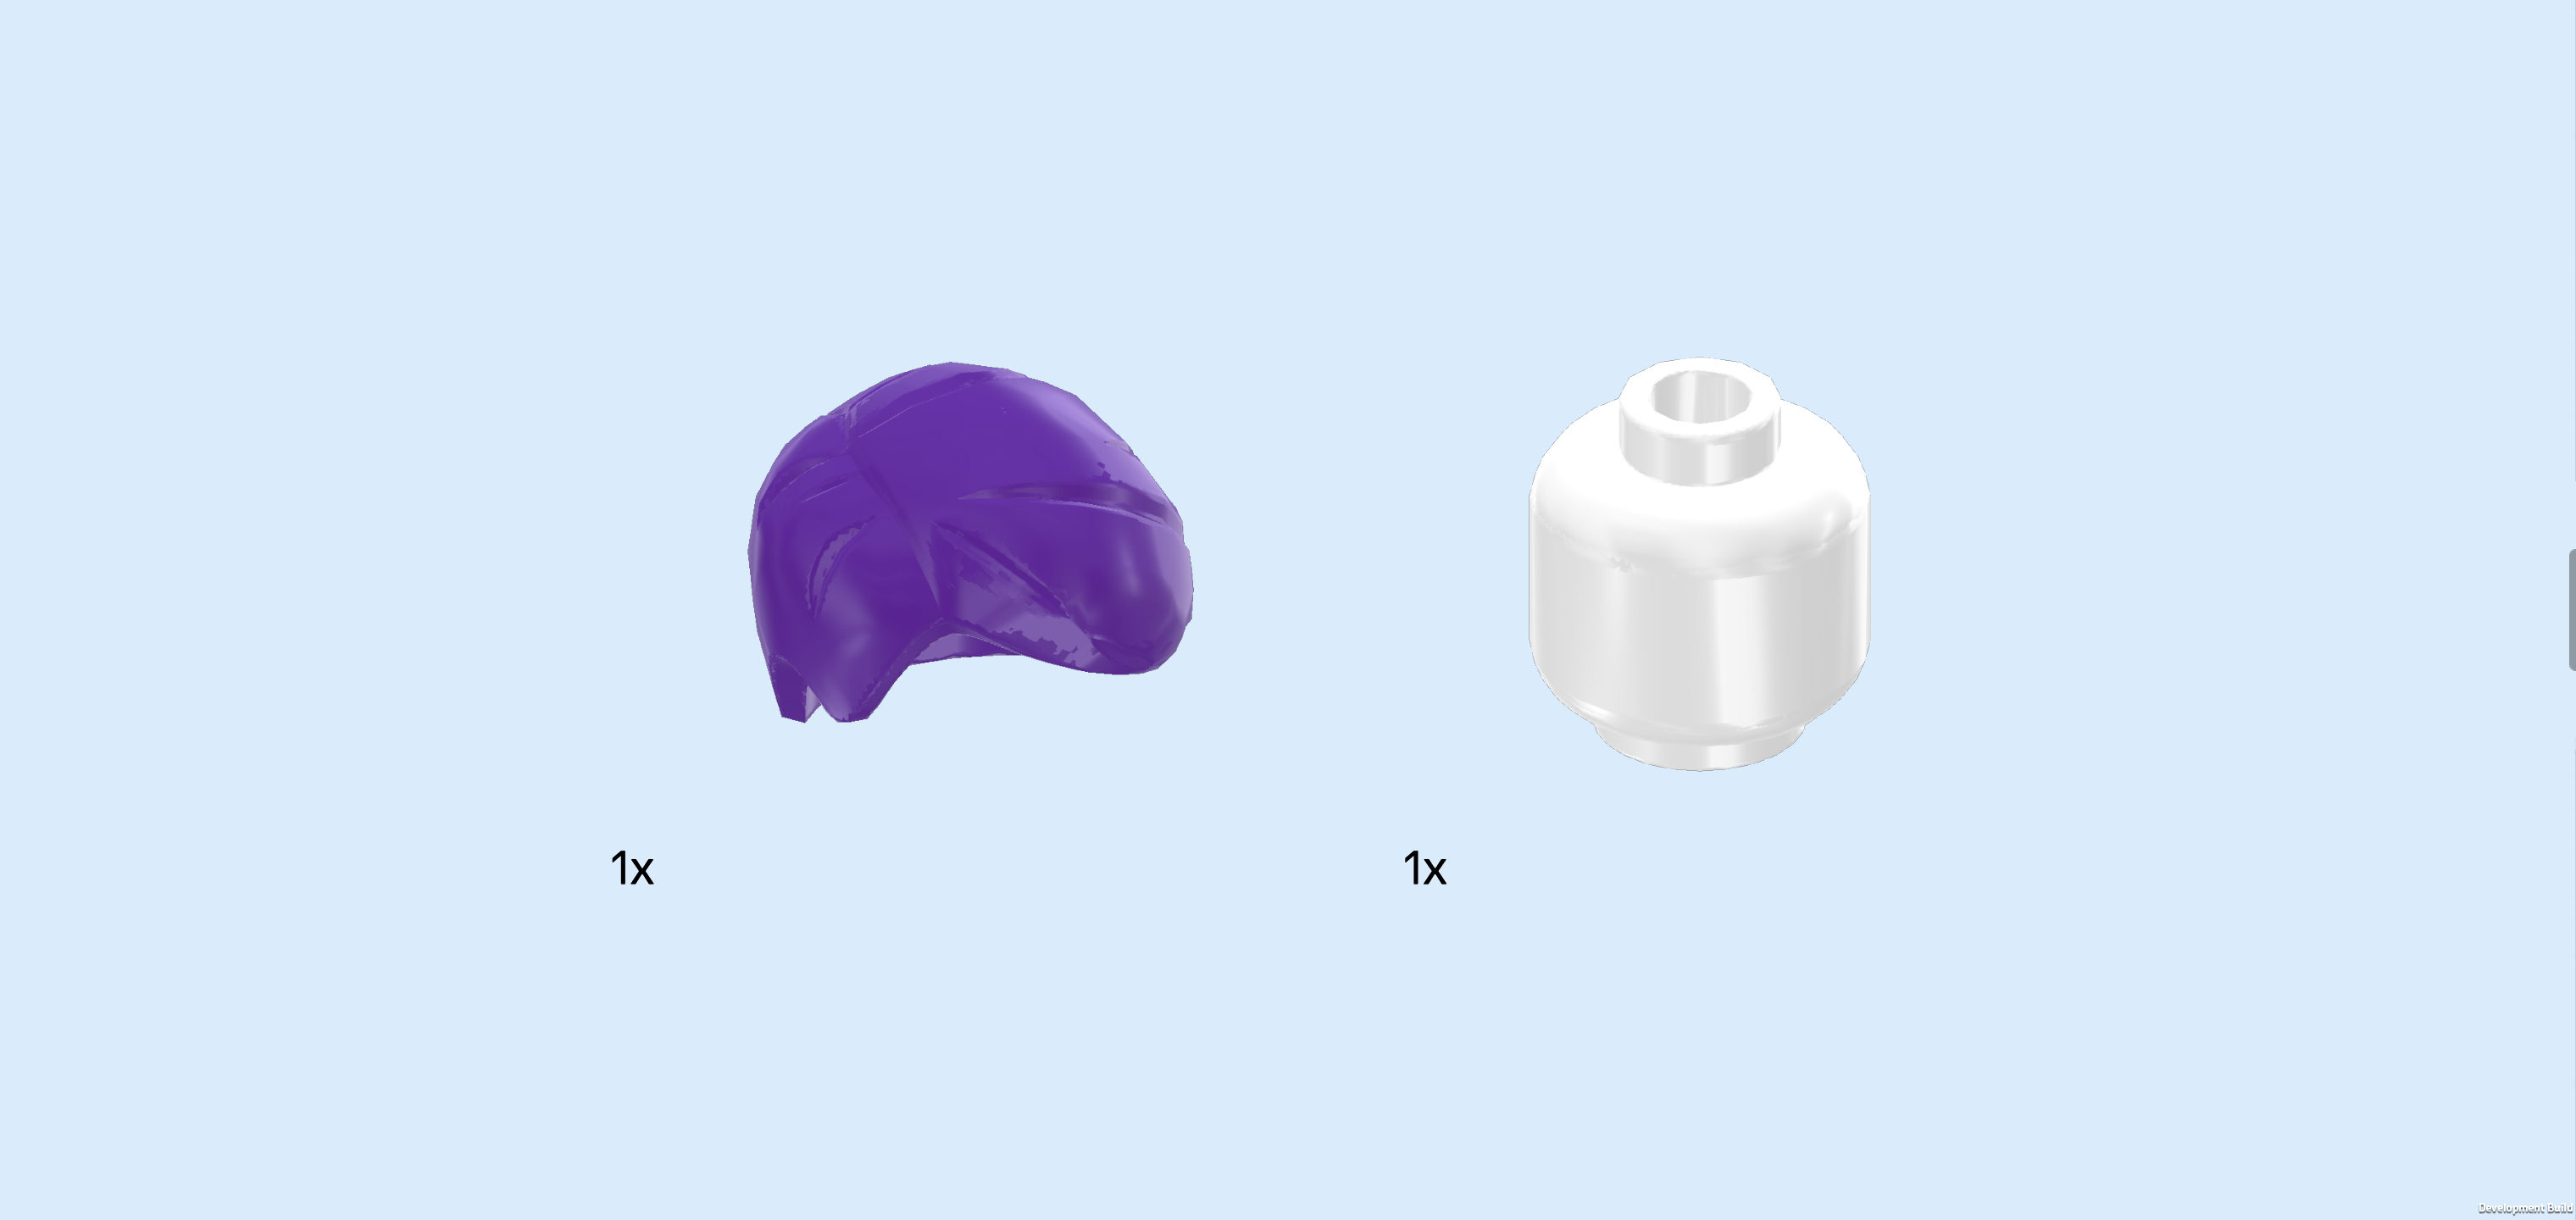
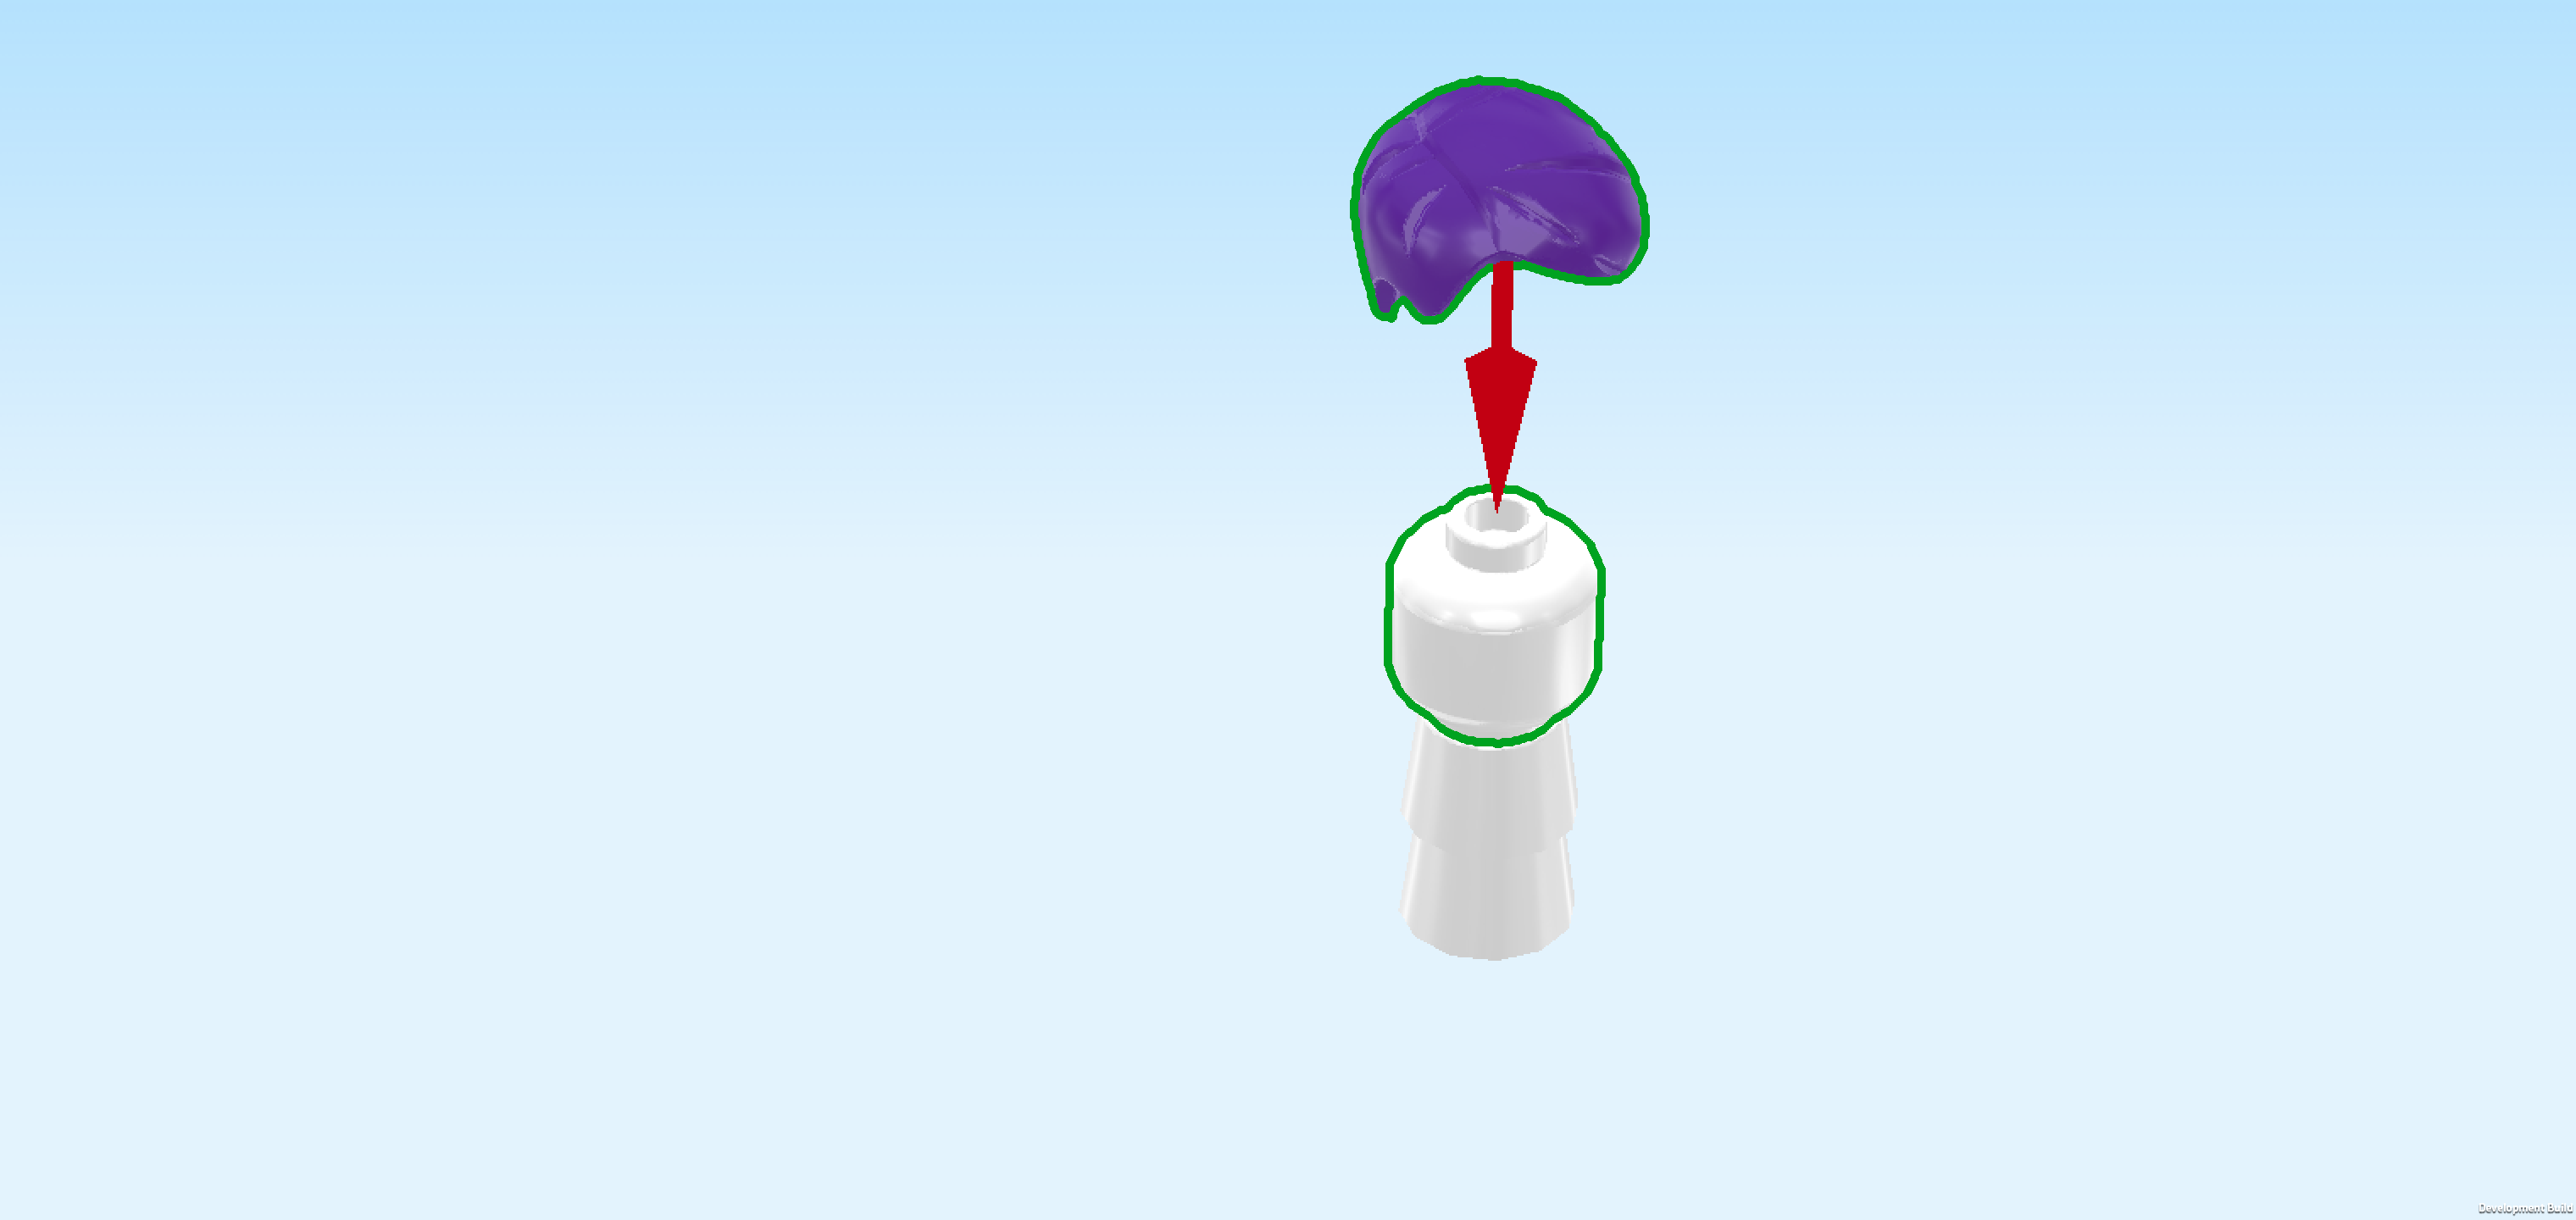
| 1 salmon pink bike helmet, |
| and 1 nougat brown Minidoll head. |
| Put the head on the body. |
| Put the helmet on the head. |
| Collect the following 3 pieces: |
| 1 beige shoulder-length wavy hairpiece with middle parting, |
| and 2 salmon pink roller blades. |
| Put the roller blades vertically on Nova's feet pointing to the front and back. |
| You can put the hairpiece on Nova's head when she is not wearing her helmet! |
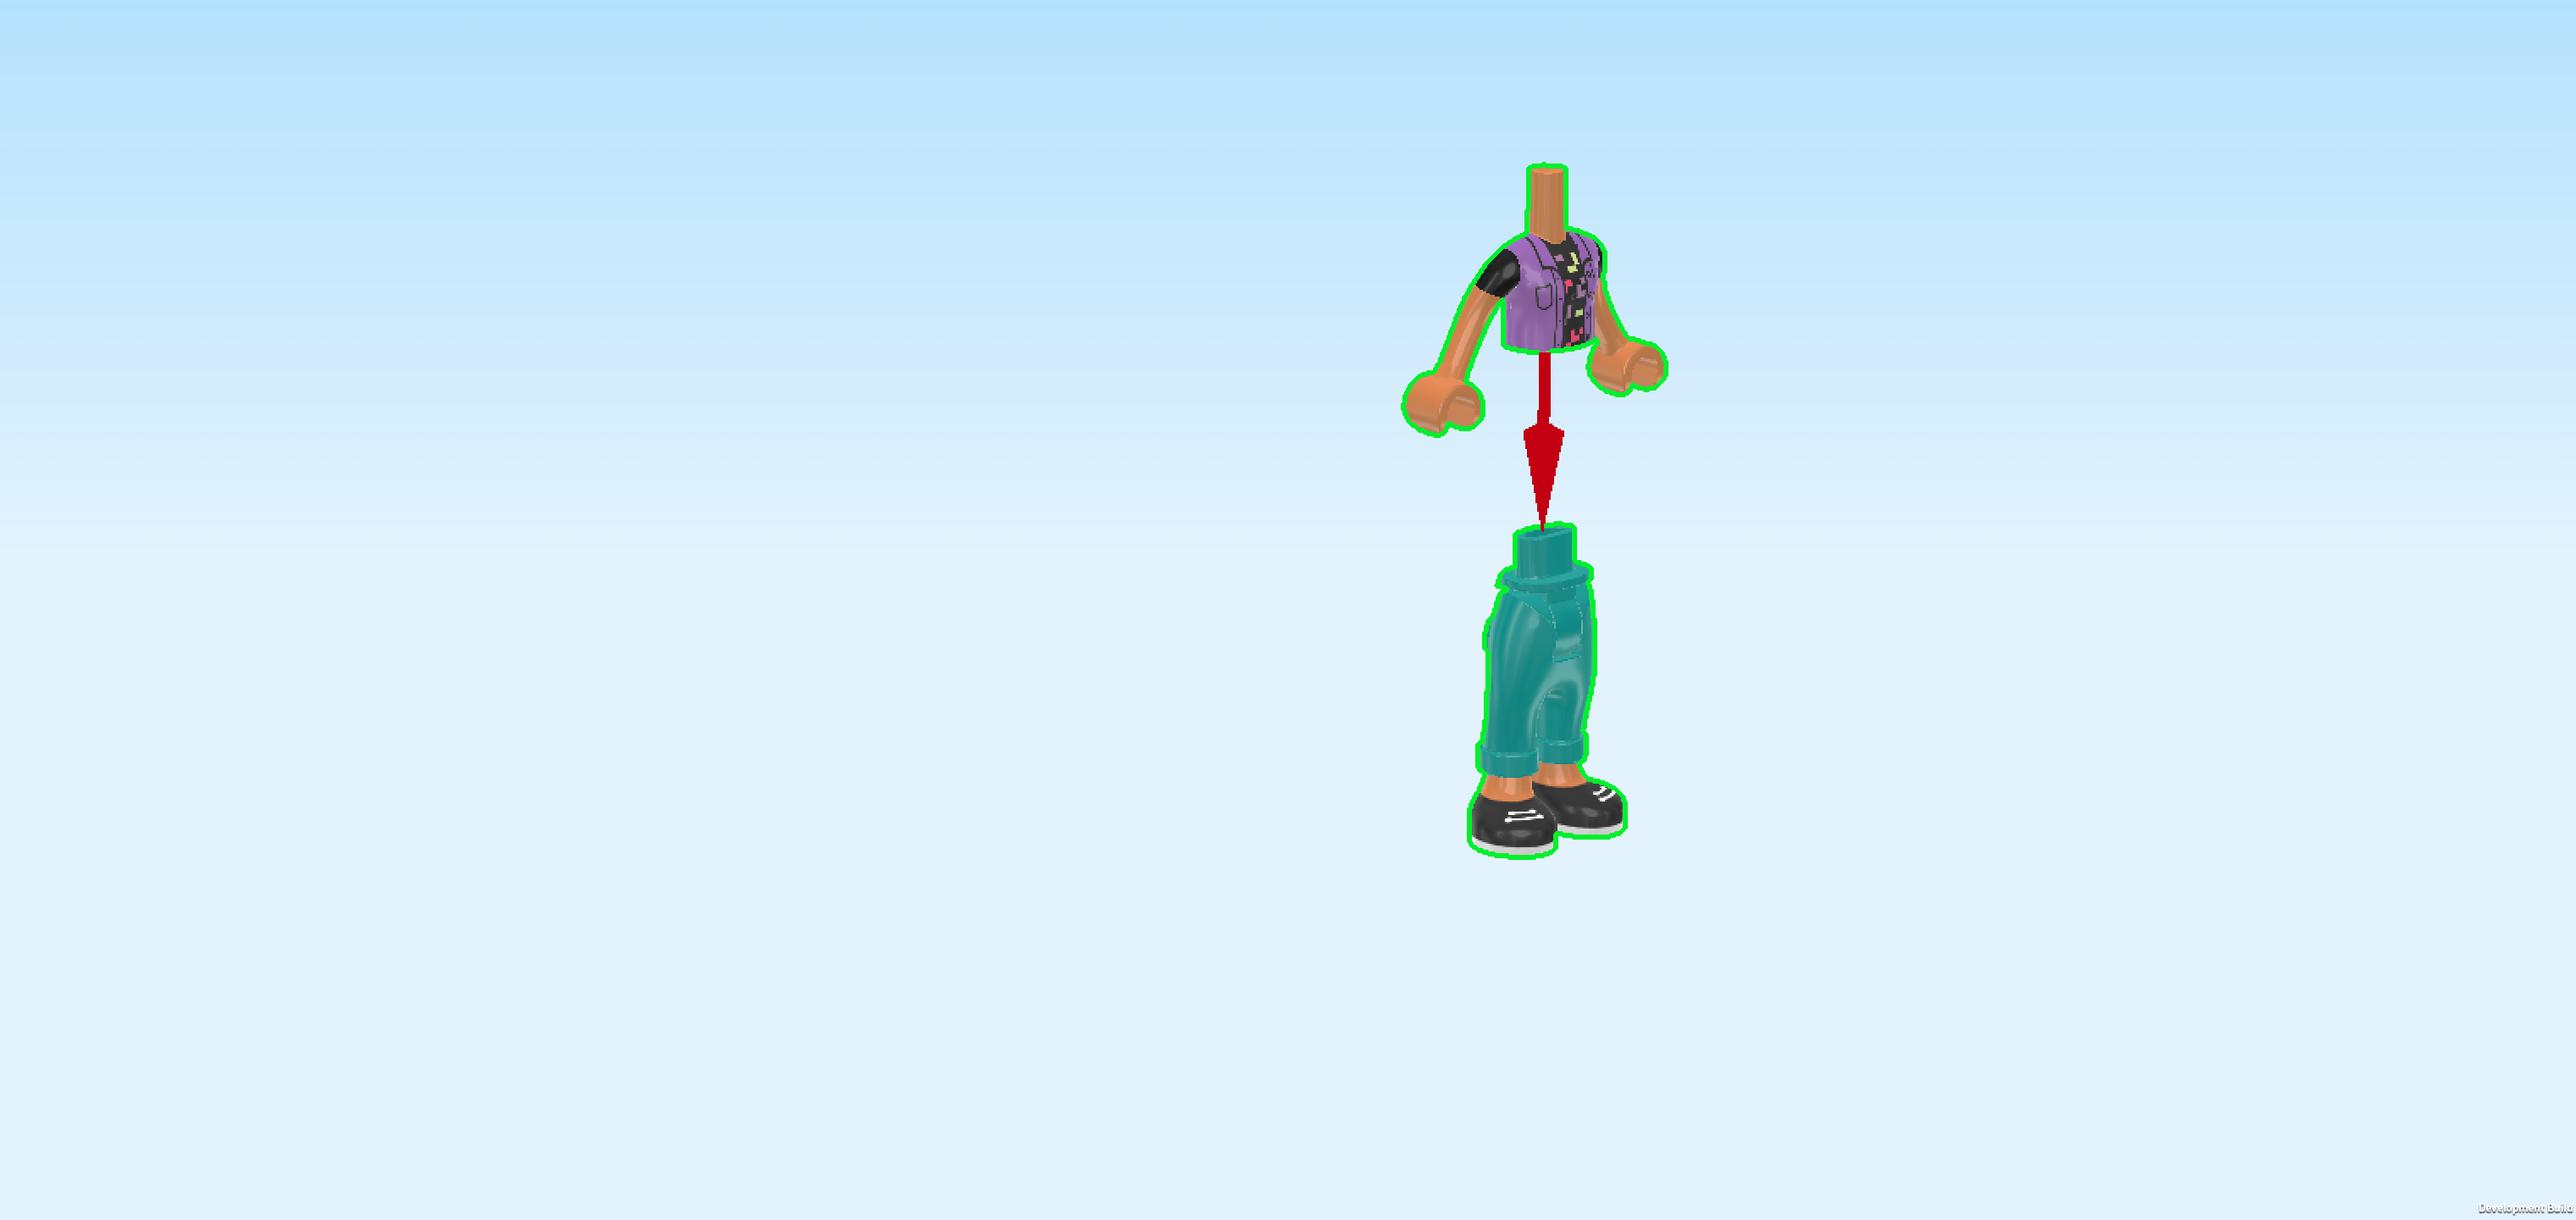
| The Nova Minidoll is finished! Well done! Nova has a bright coral helmet and matching coral roller skates, ready for action. She wears a black T-shirt with a colorful pixelated pattern under a lilac sleeveless jacket, paired with teal trousers rolled at the cuffs and black trainers. Nova has a cool, laid-back style that fits her favorite hobbies, gaming and skating, so let's see what styles we can match up with her personality today! |
| Next up, we will build the Aliya Minidoll. |
| Collect the following 2 pieces: |
| 1 medium azure blue pair of Minidoll legs with bell-bottomed pants, |
| and 1 medium brown and white Minidoll upper body. |
| Put the upper body on the legs. |
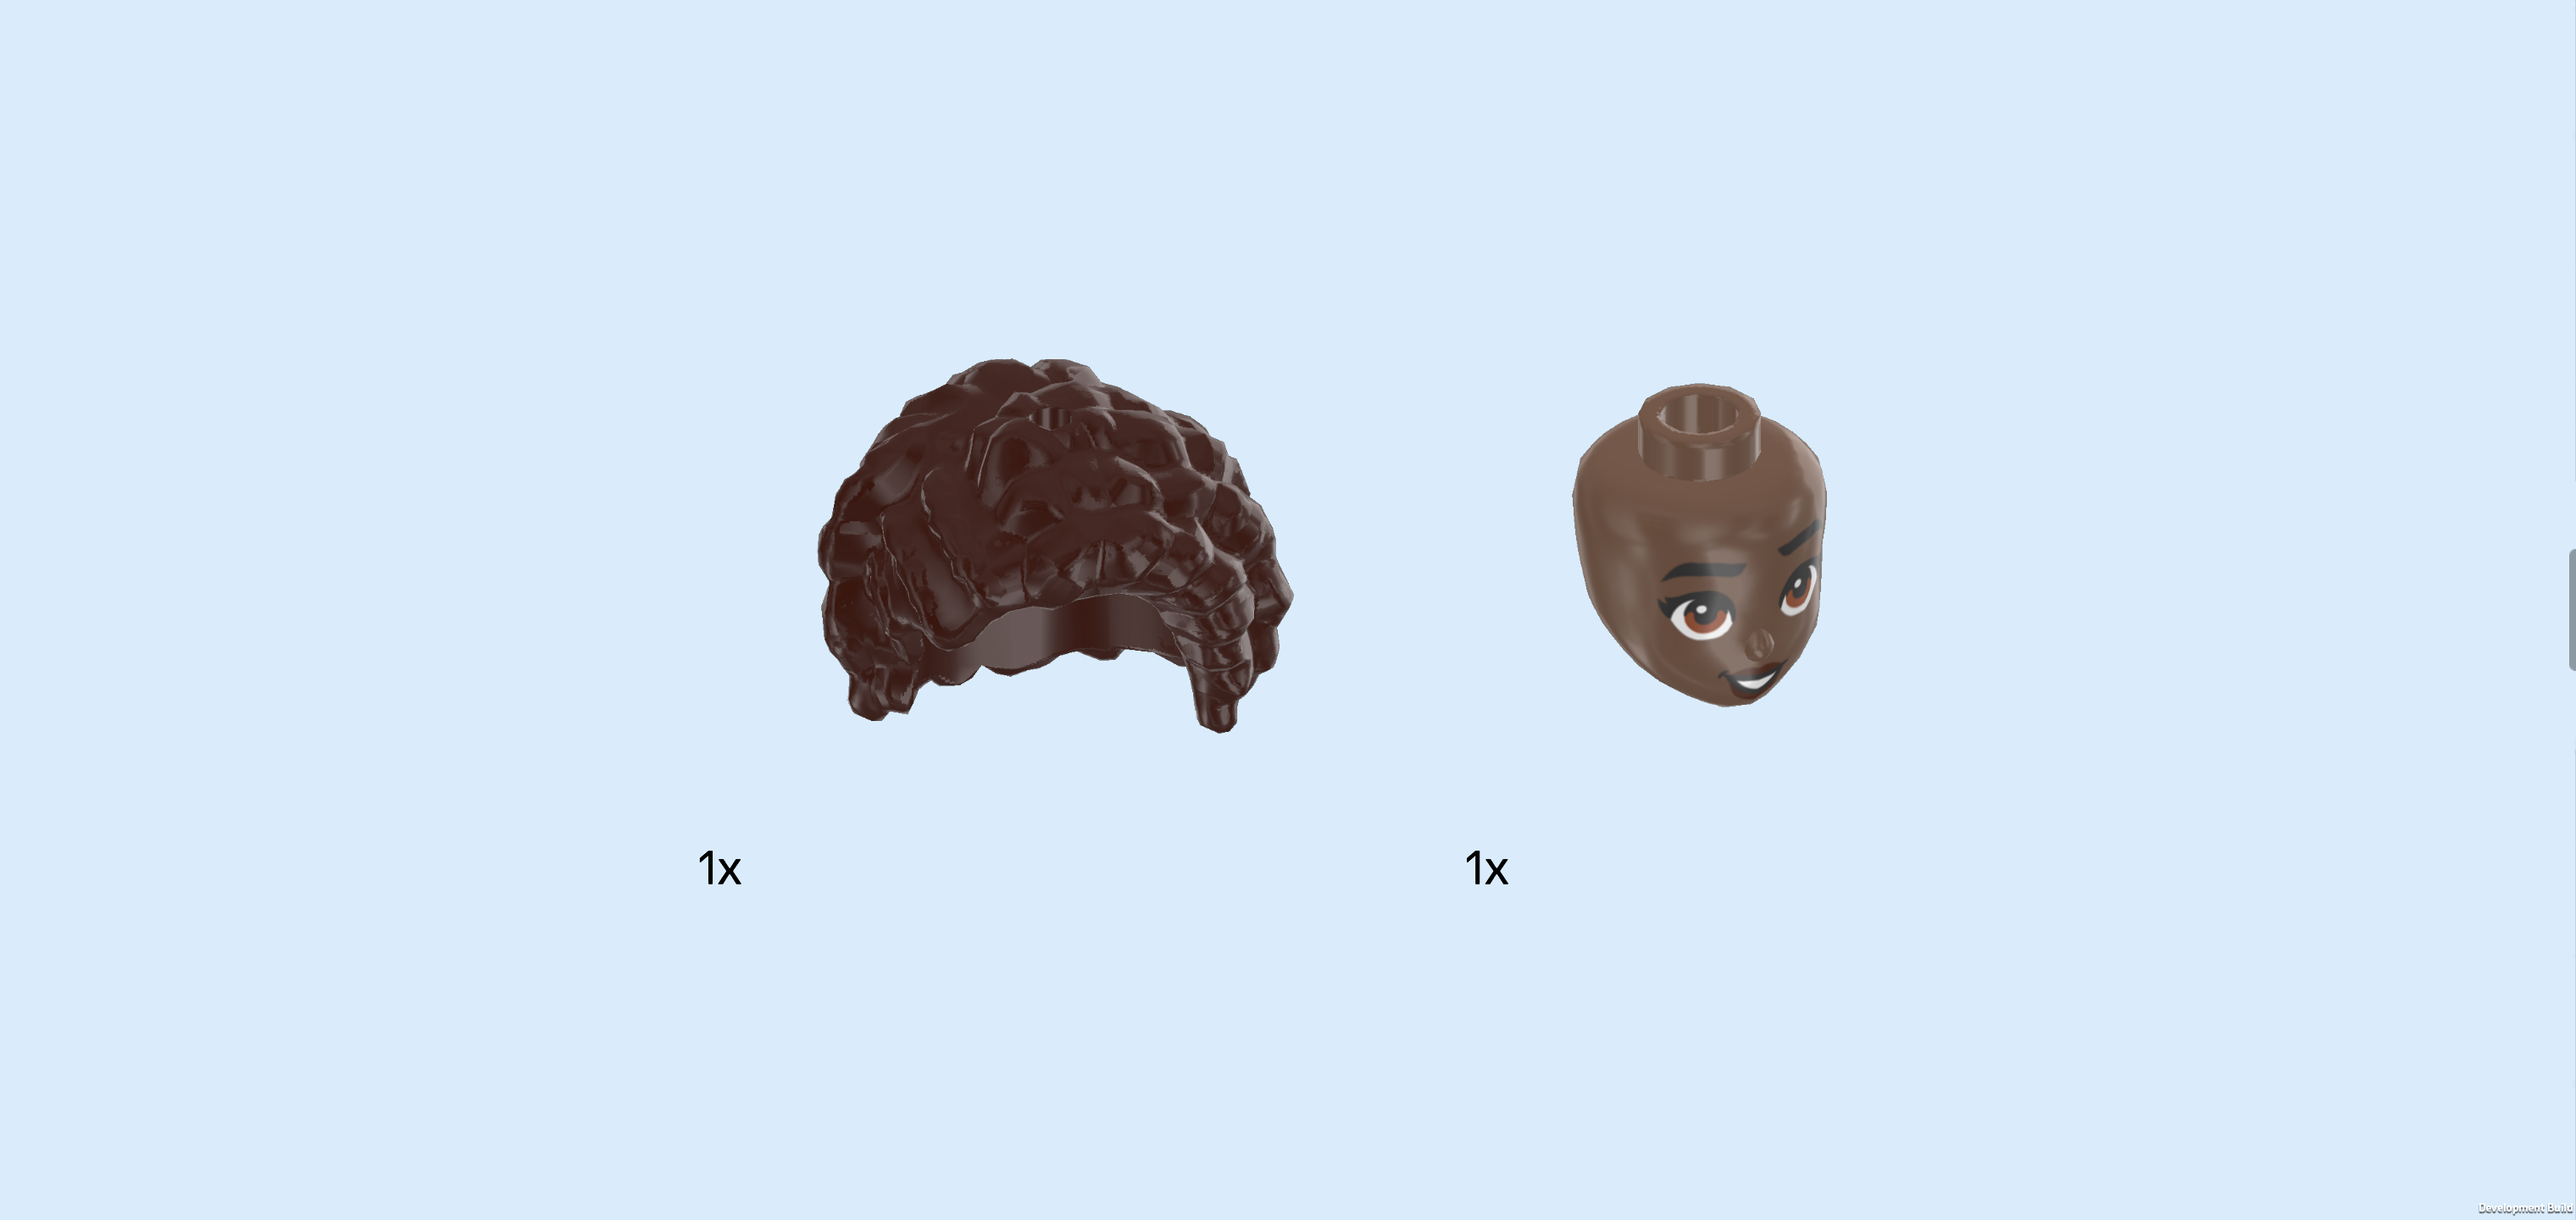
| Collect the following 2 pieces: |
| 1 dark brown curly hairpiece with a bob hairstyle, |
| and 1 medium brown Minidoll head. |
| Put the head on the body. |
| Put the hair on the head. |
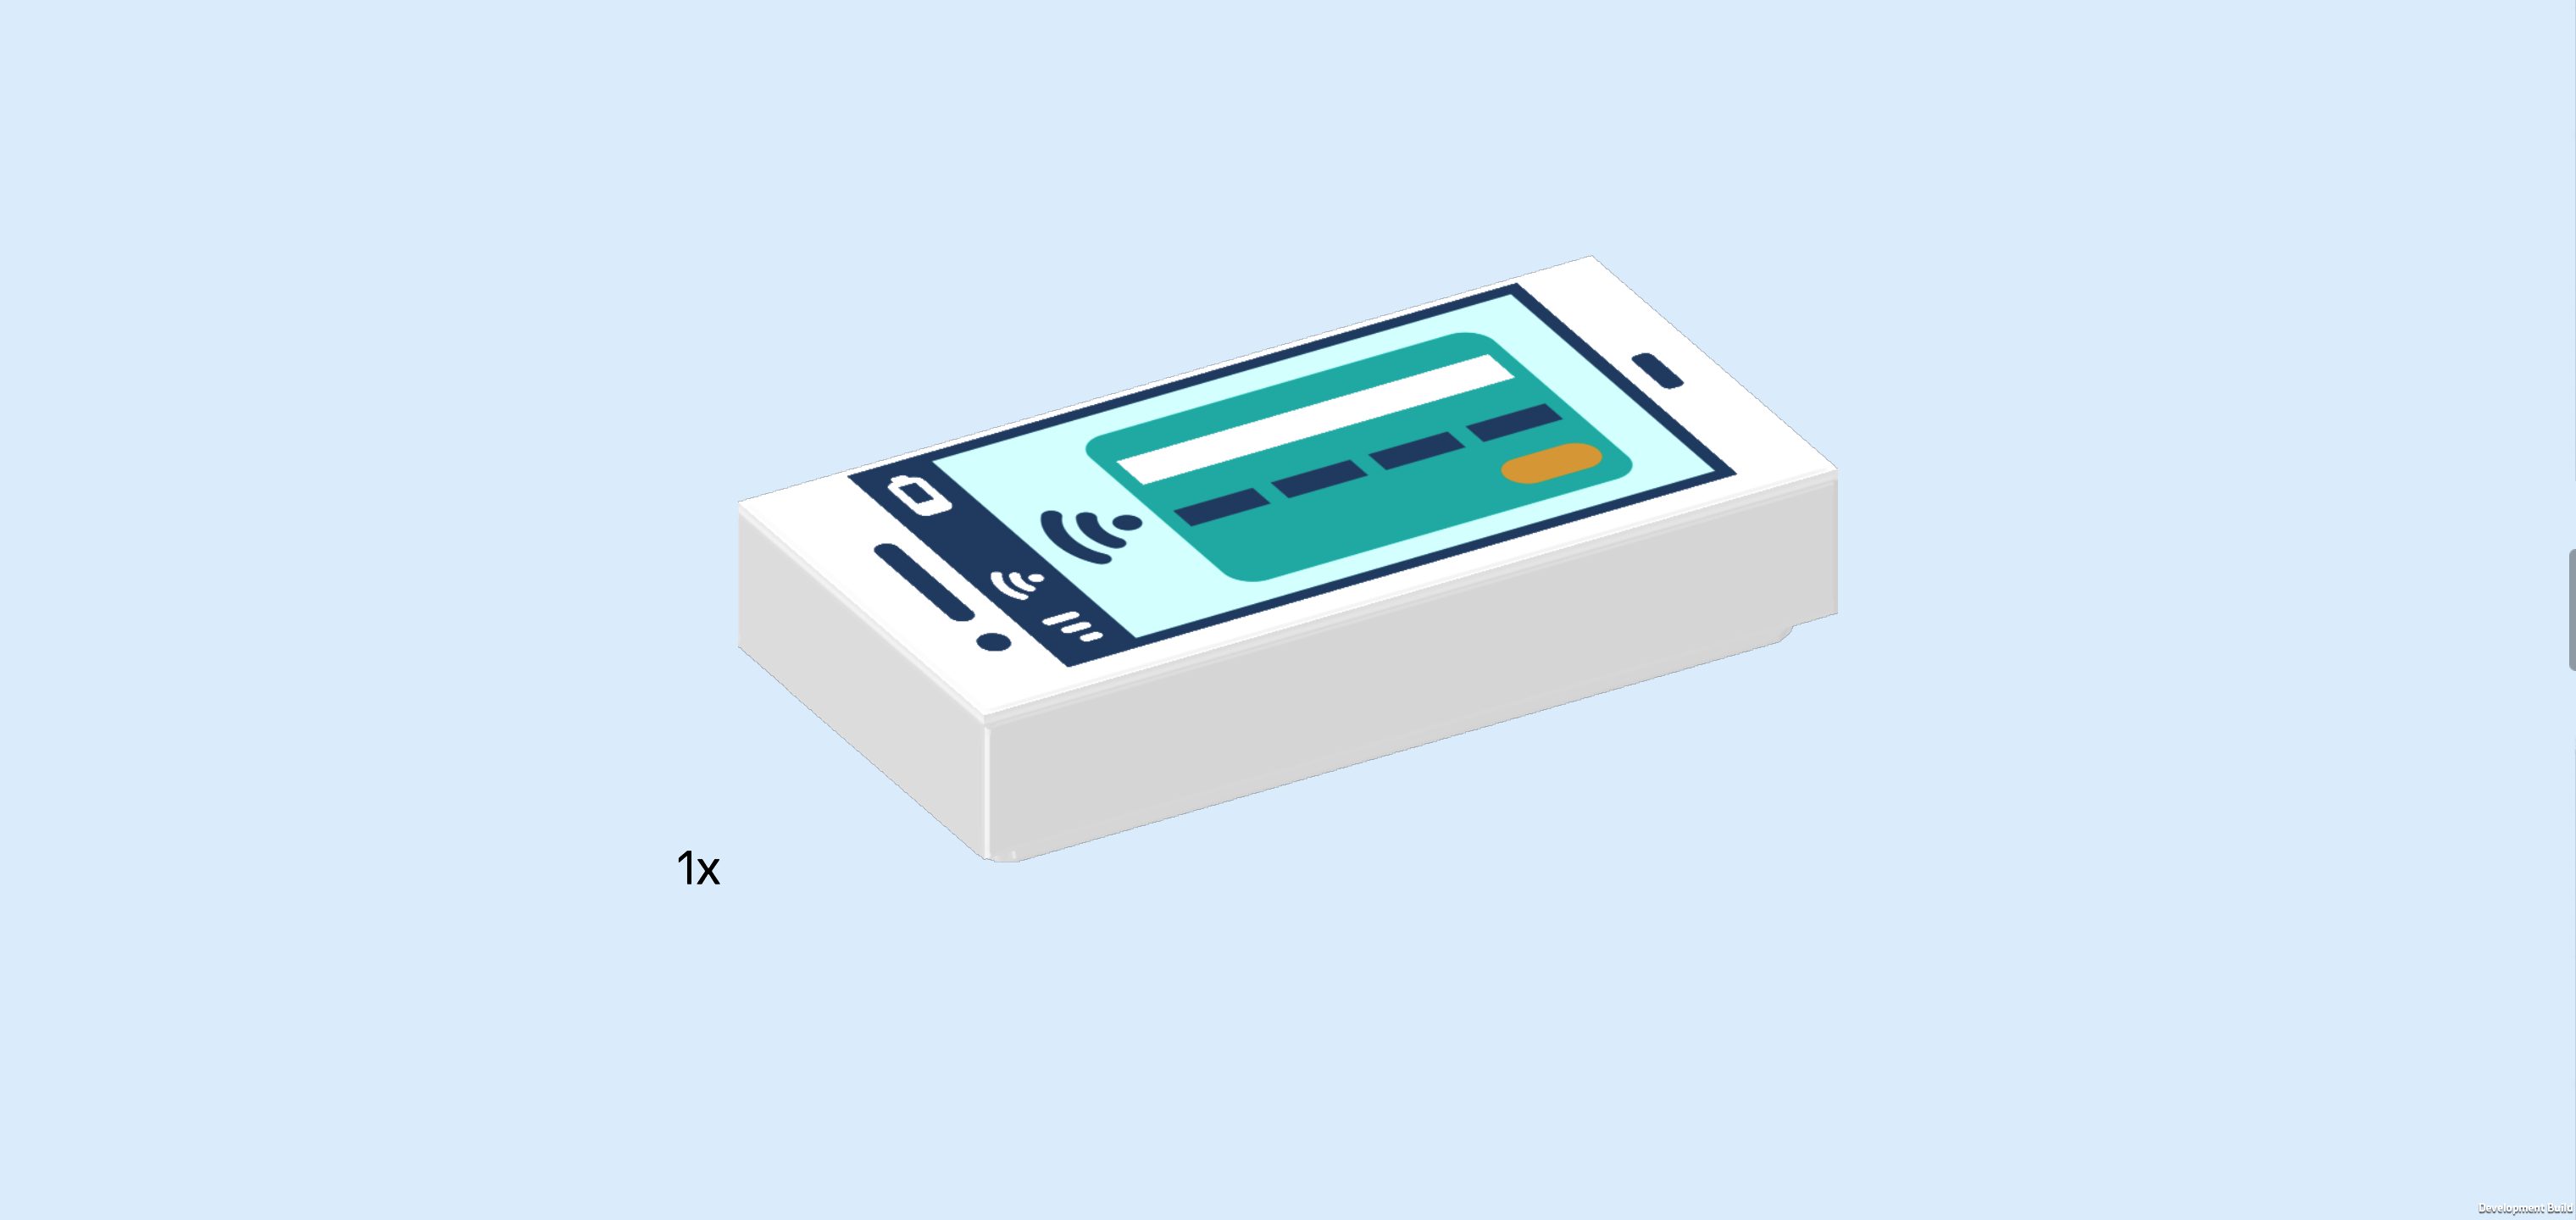
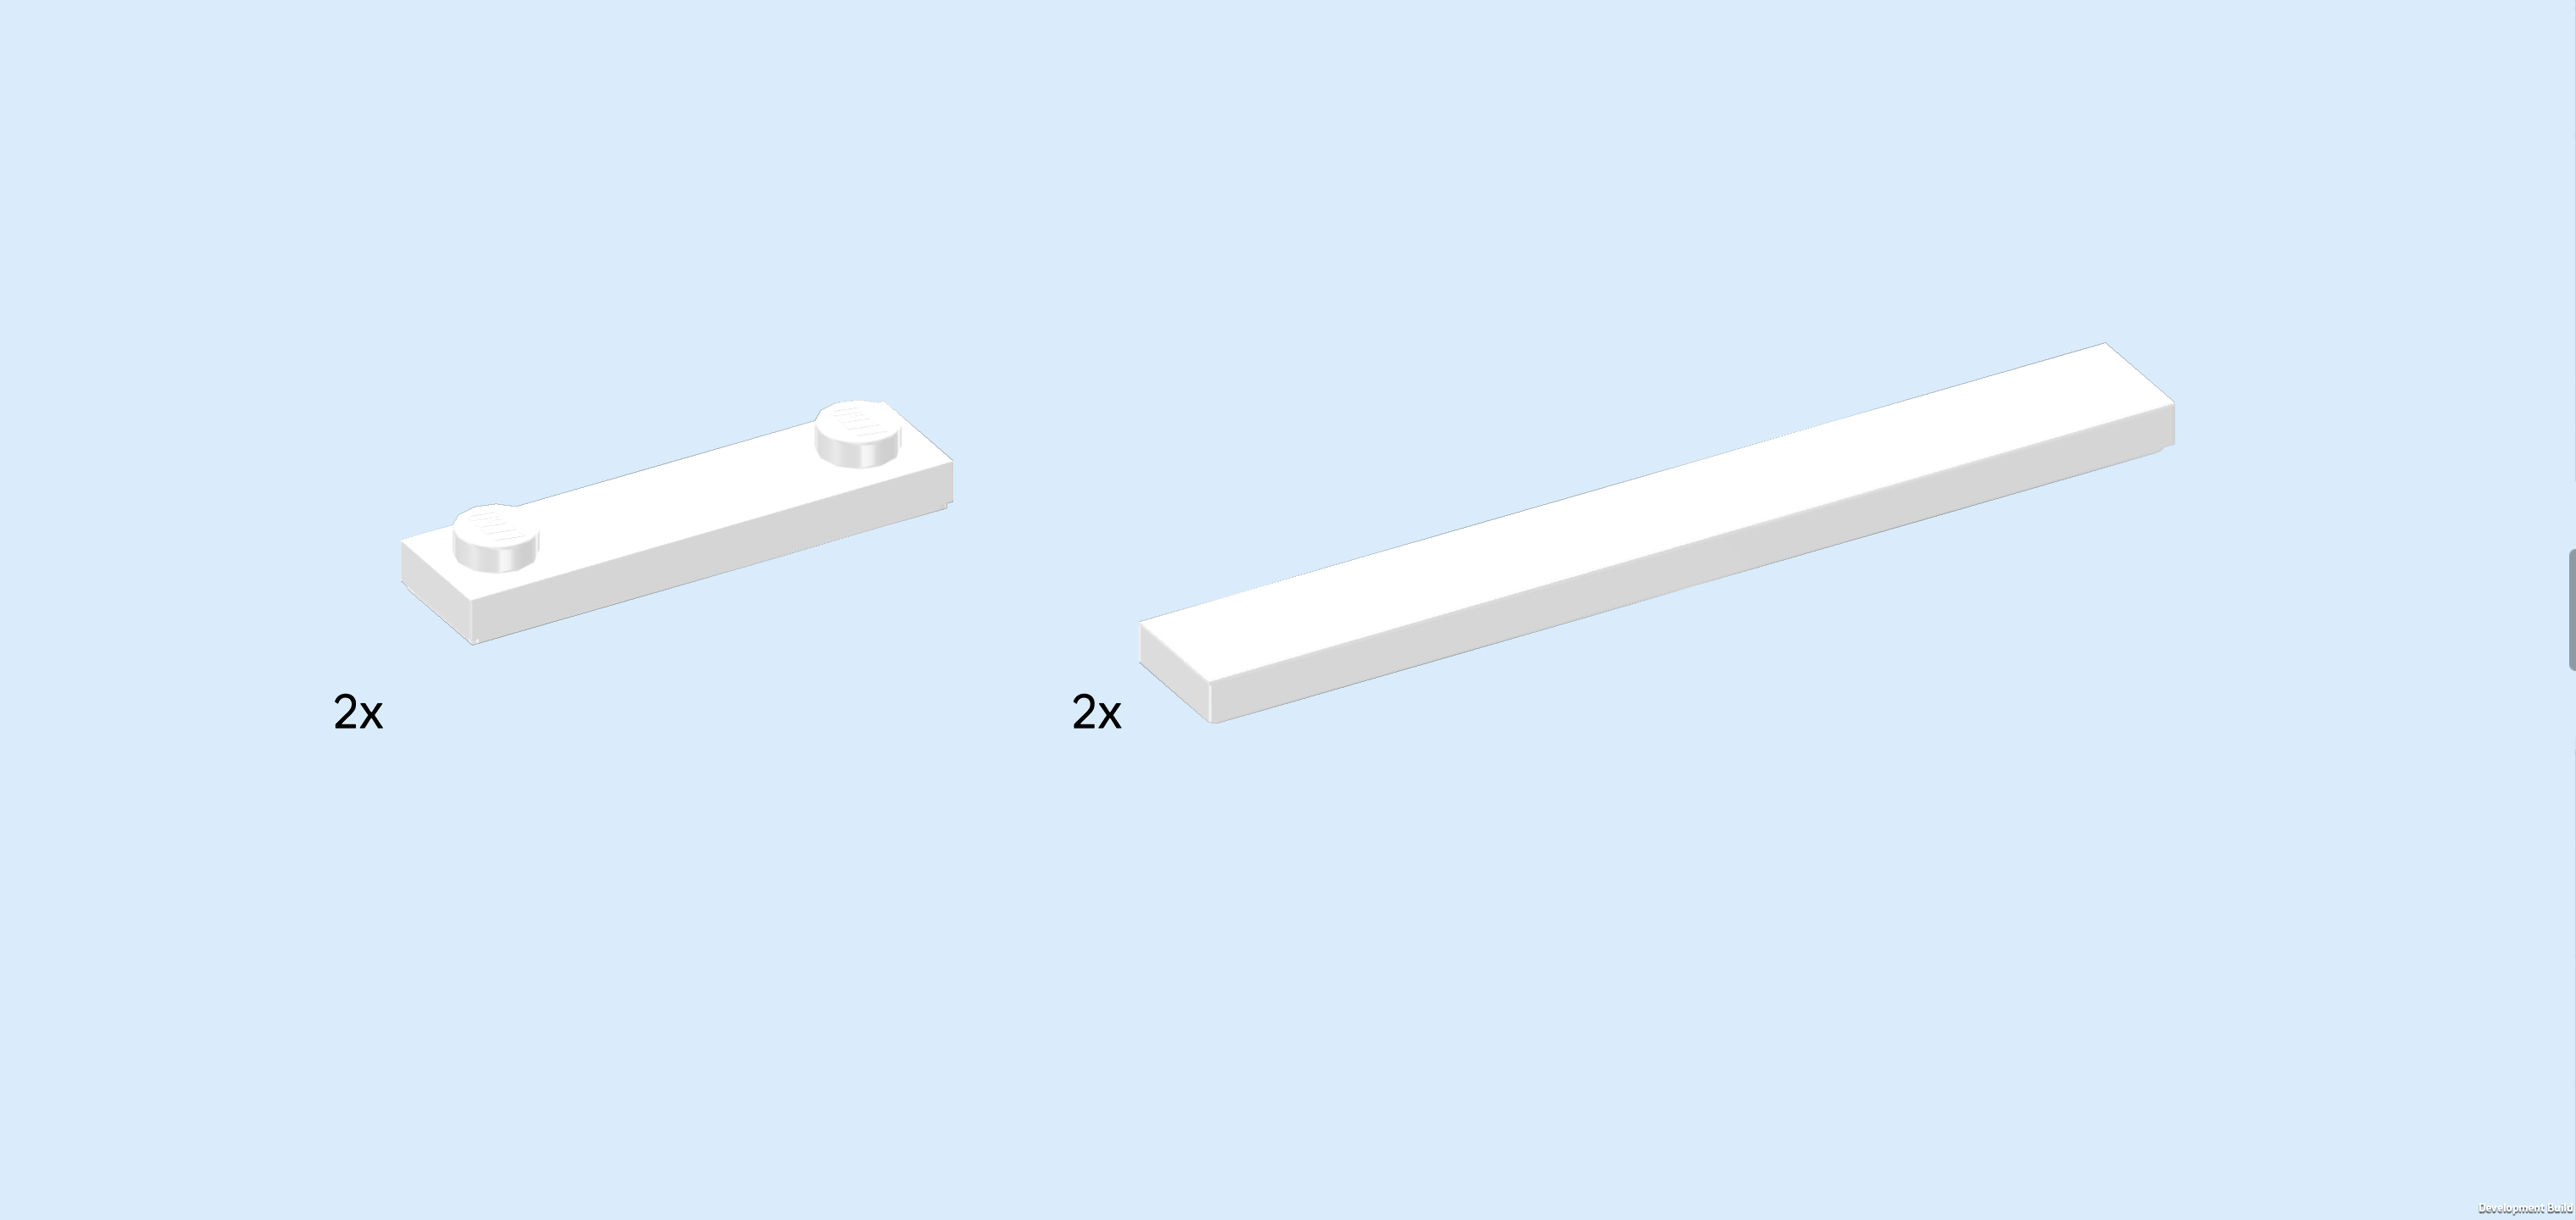
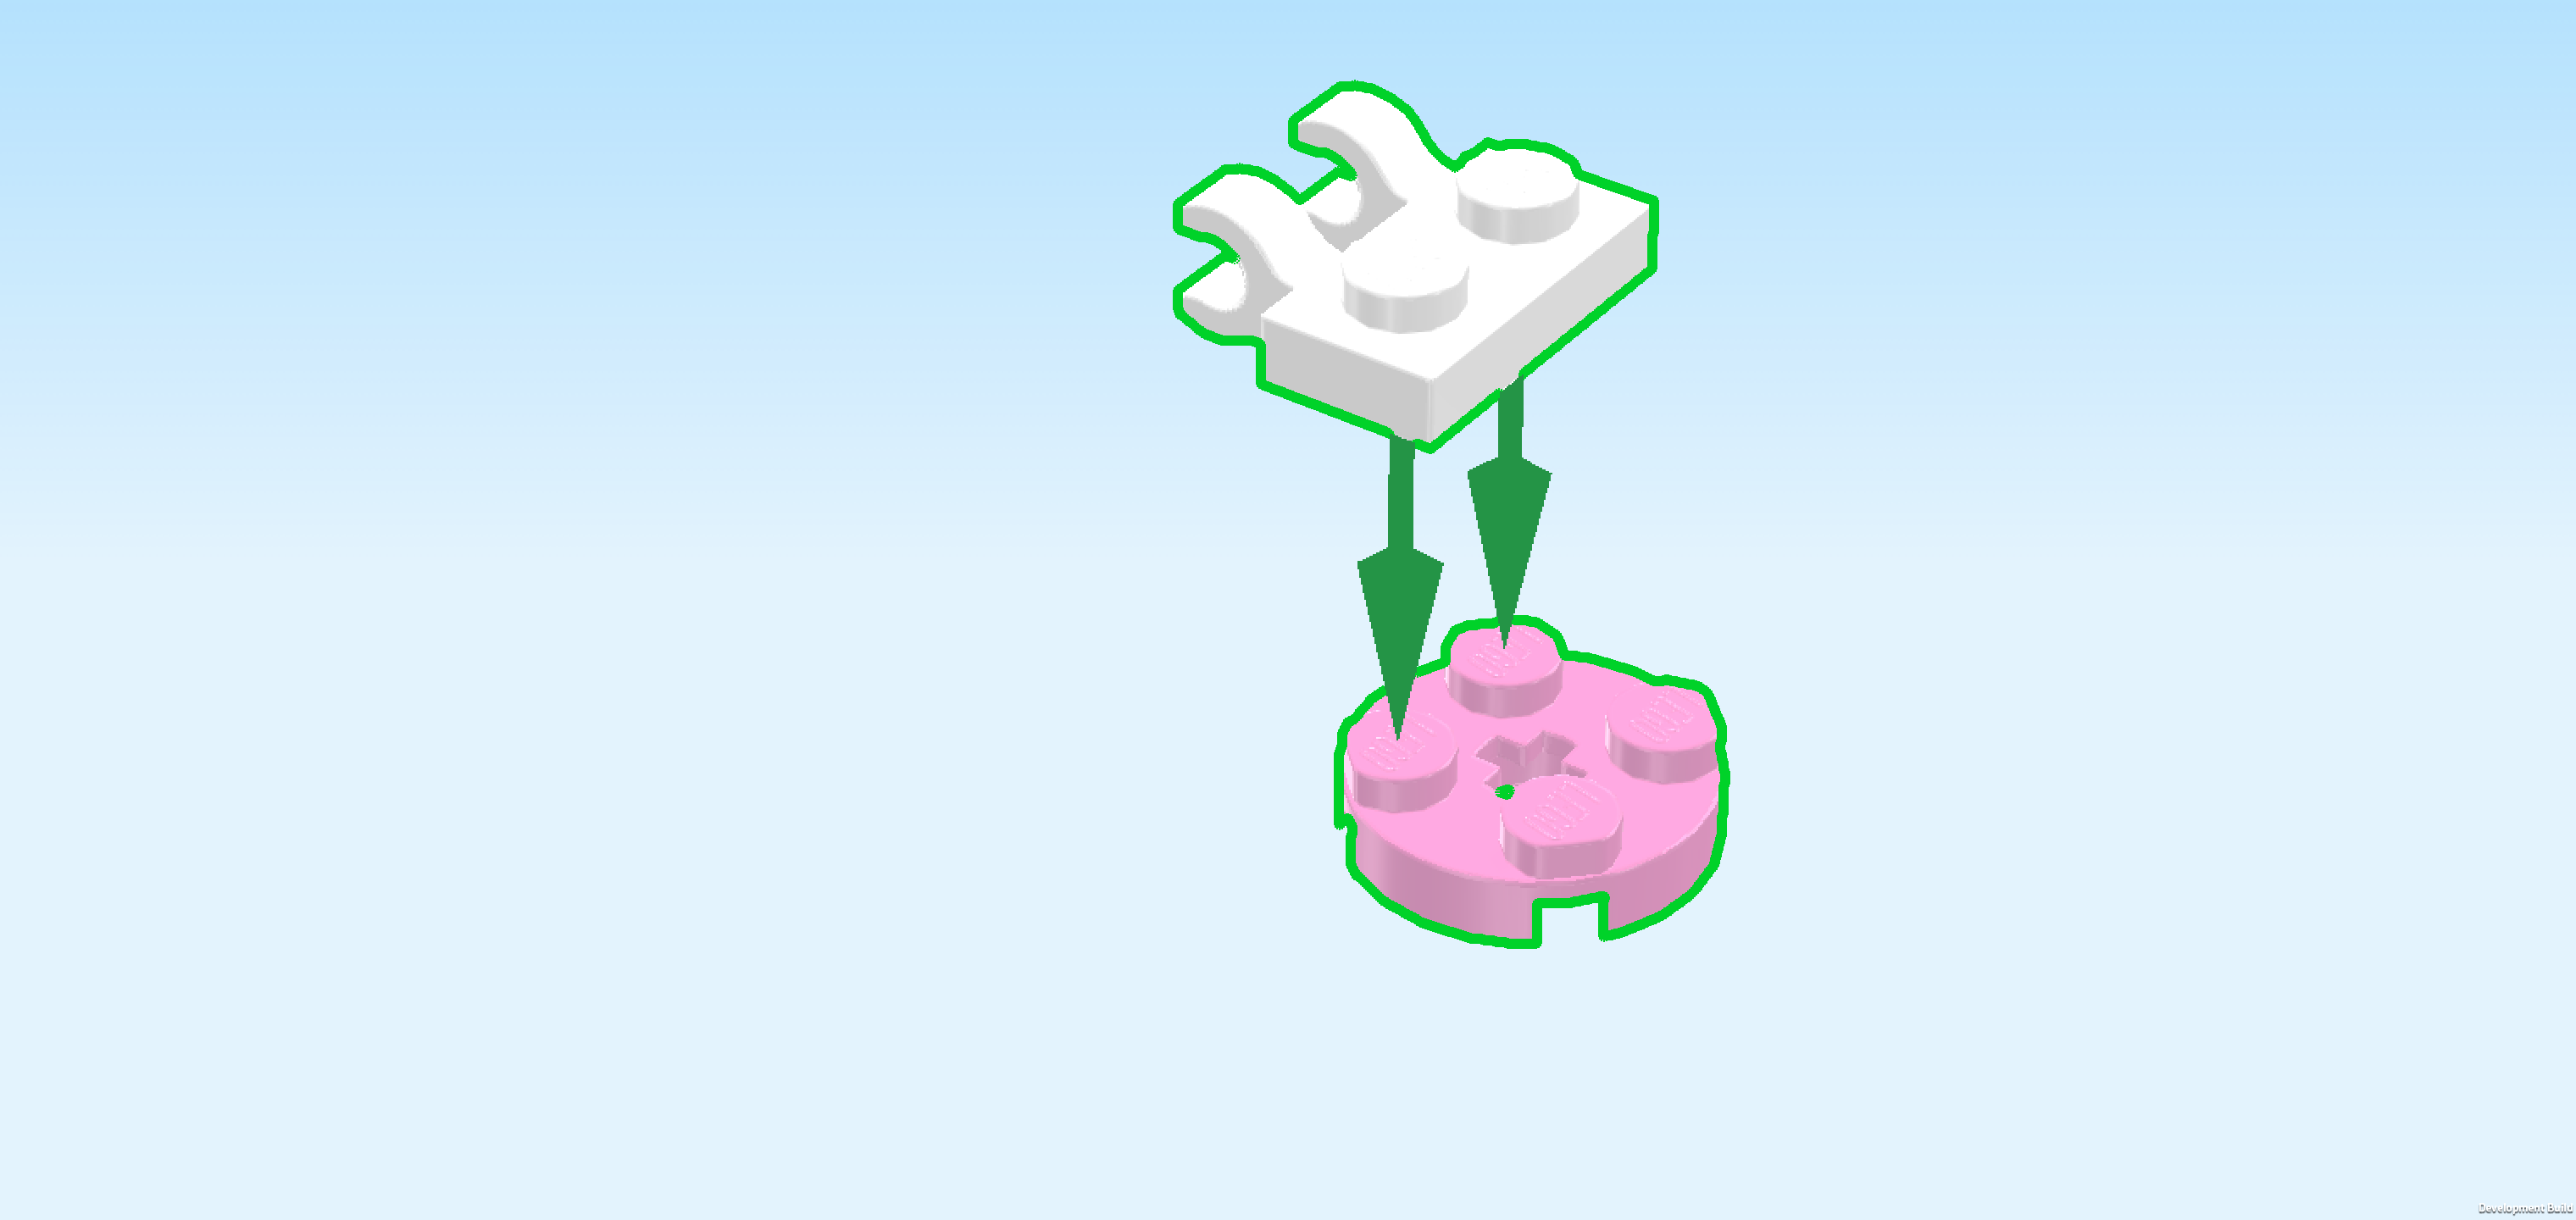
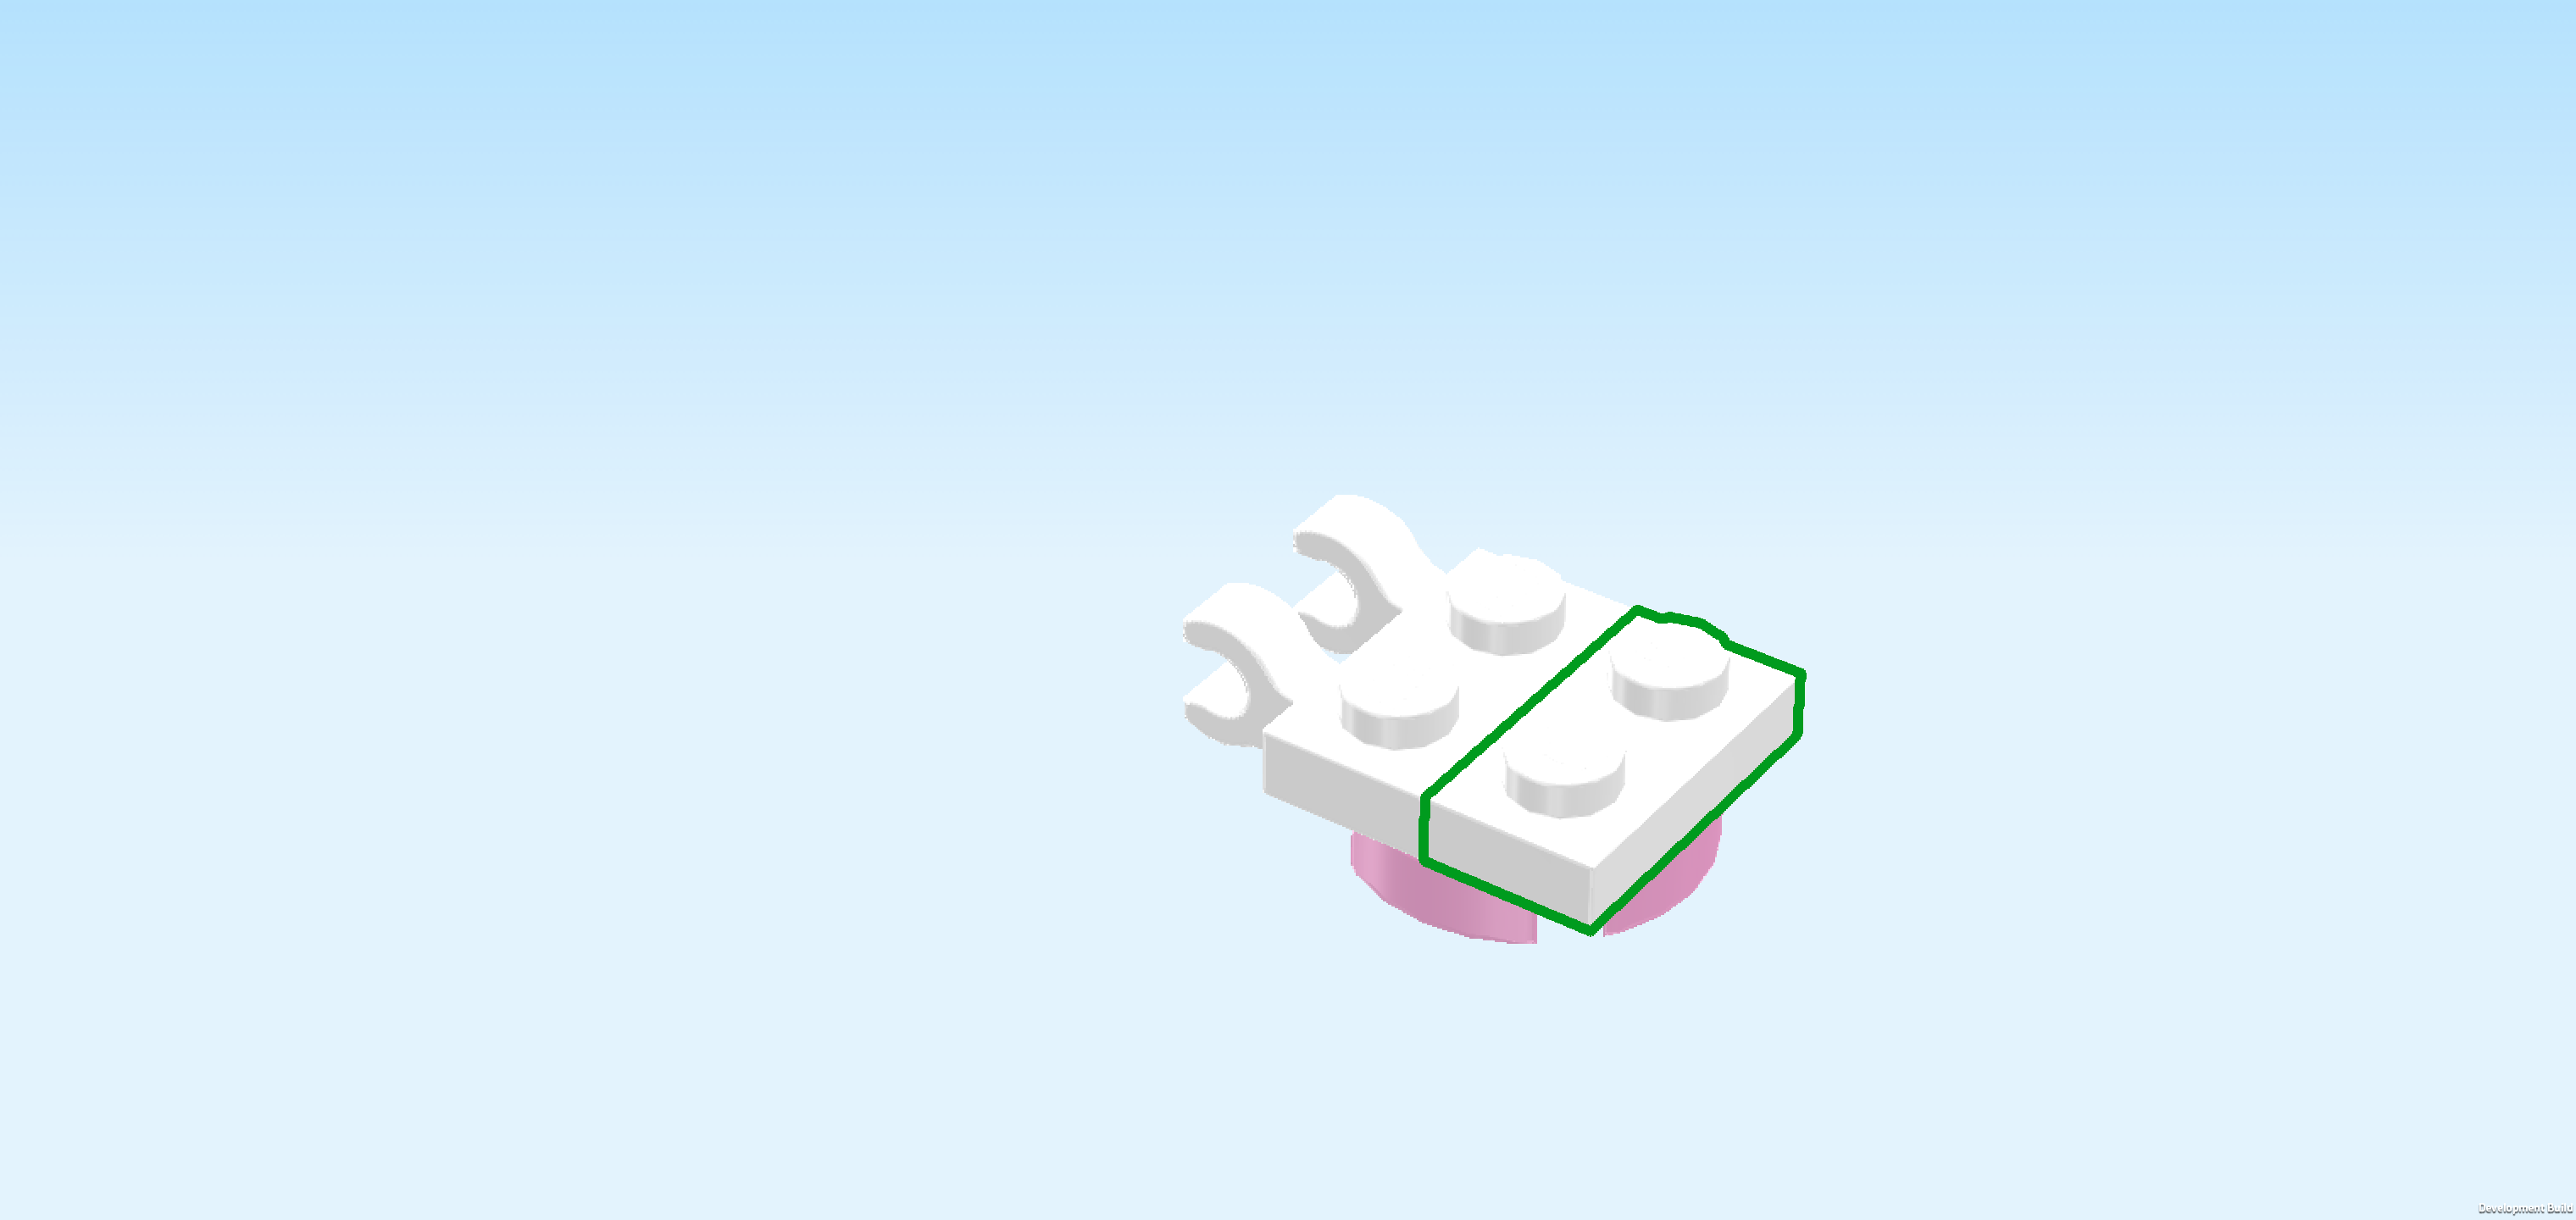
| Find 1 white flat tile 1x2. |
| Snap one of its long sides into Aliya's left hand. |
| This tile is printed to look like a smartphone screen. The screen shows a payment app interface: it shows a green credit card with a contactless payment icon. At the top are the camera lens and the icons for signal bars and battery status. |
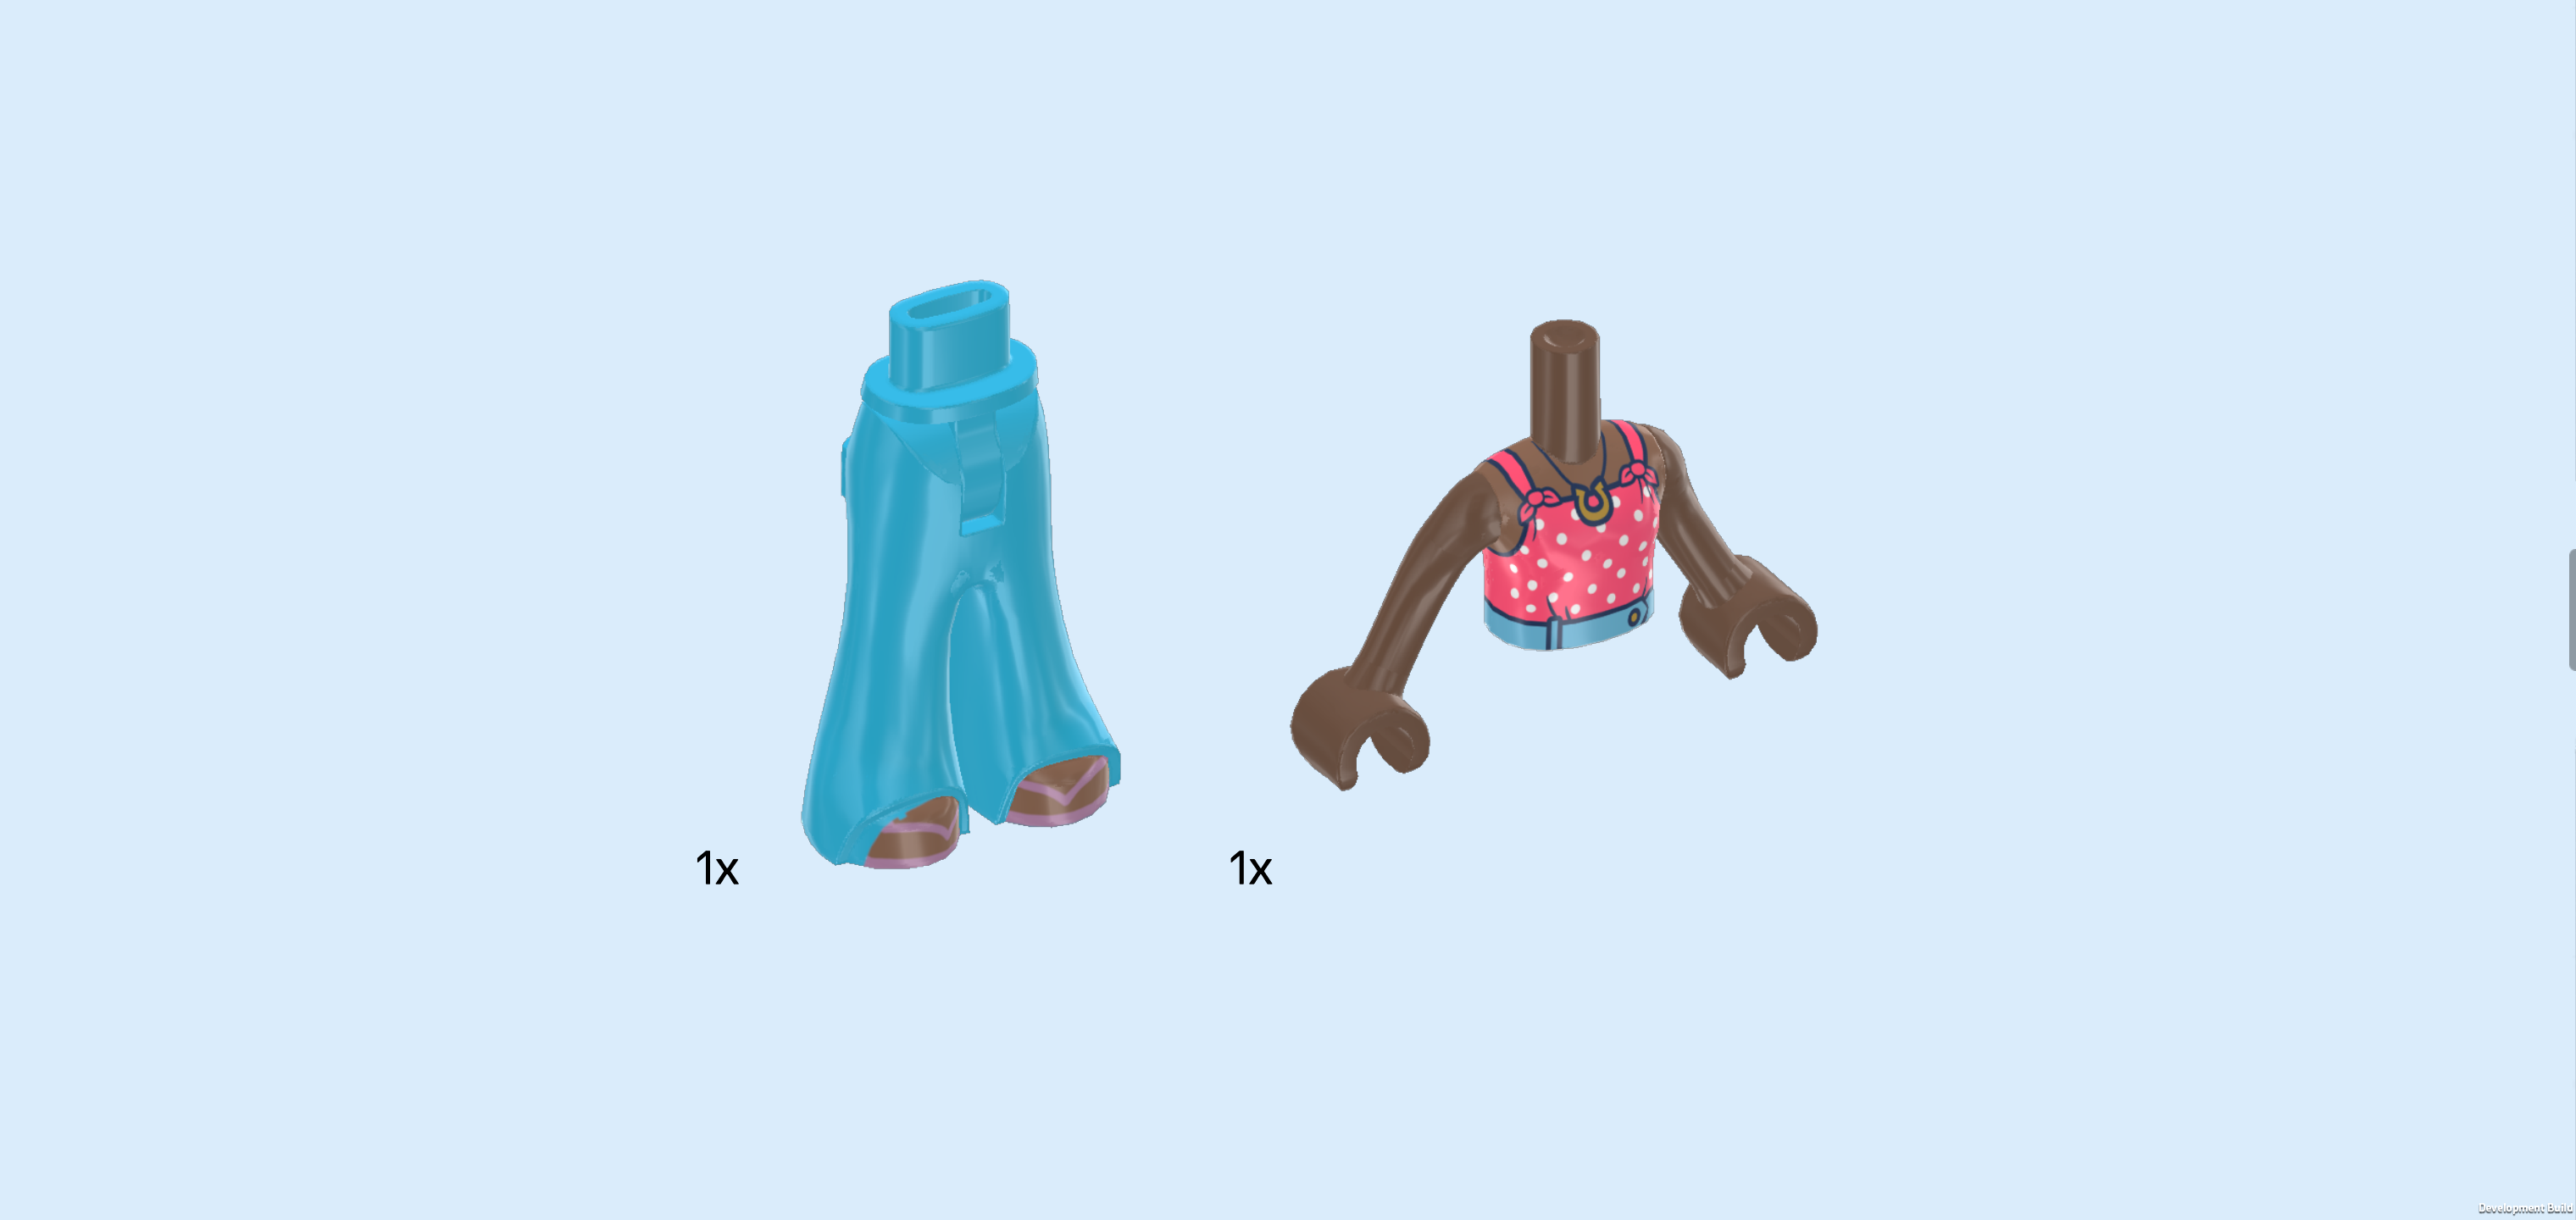
| The Aliya Minidoll is finished! Well done! Aliya has a full head of voluminous dark brown curls framing her smiling face. She wears a coral sleeveless top with white polka dots, decorated with a small bow detail at the neckline. Her bright blue high-waisted trousers have flared legs, a printed belt, and front pockets, paired with metallic lilac flipflops. Let's see if we can find some new hairstyles for her today! |
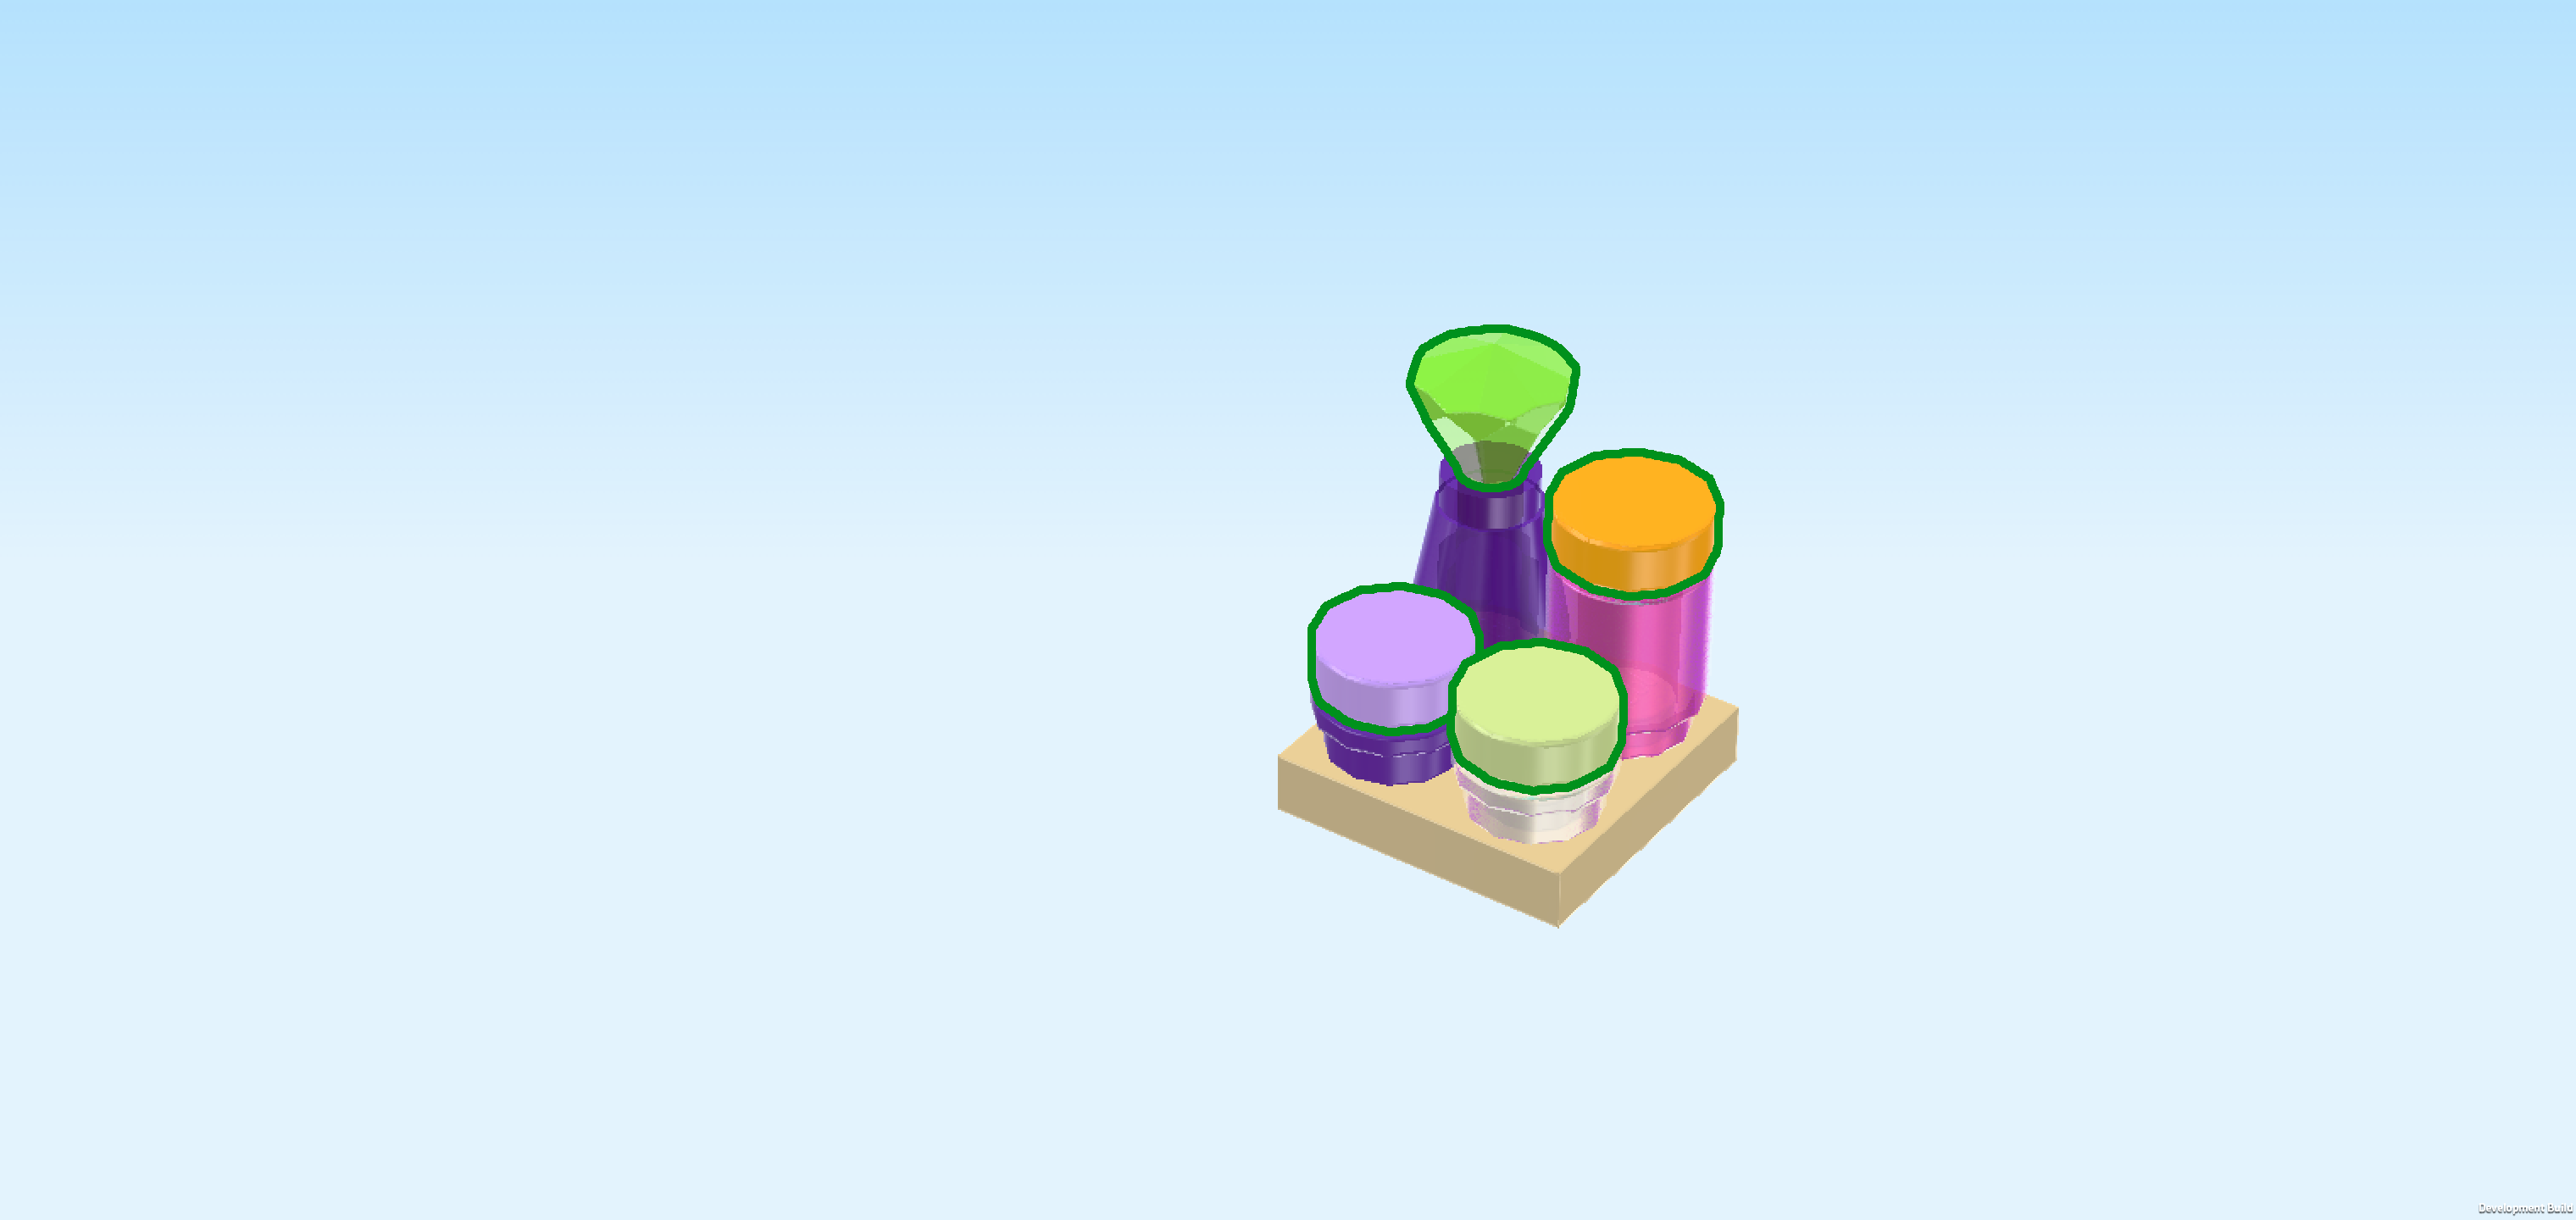
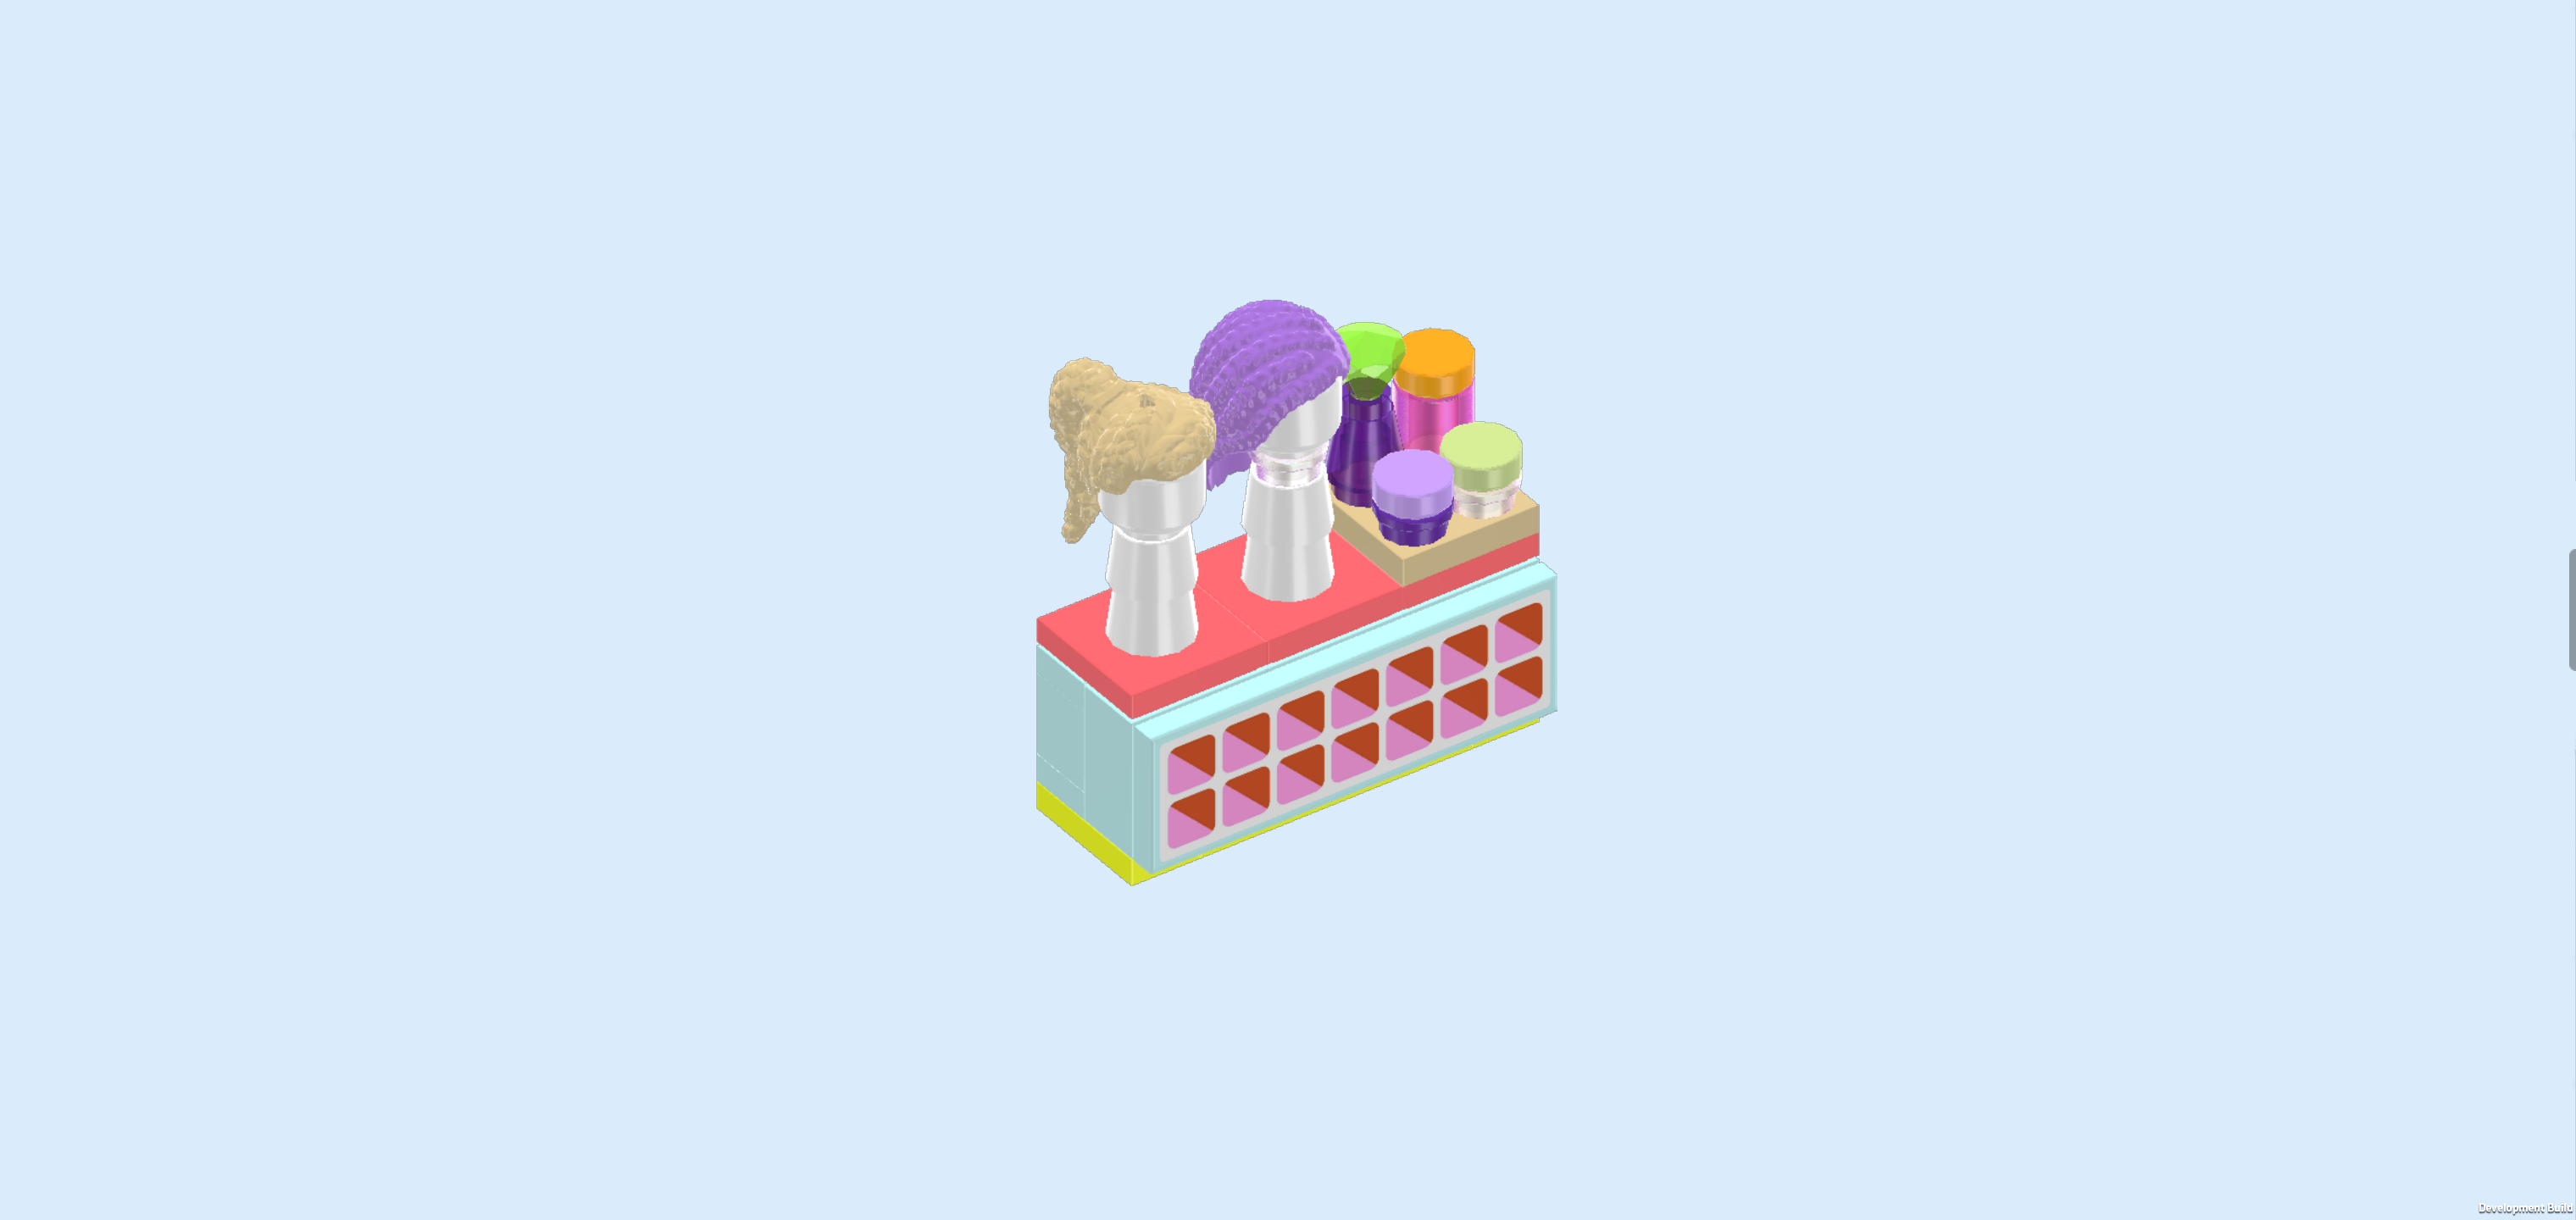
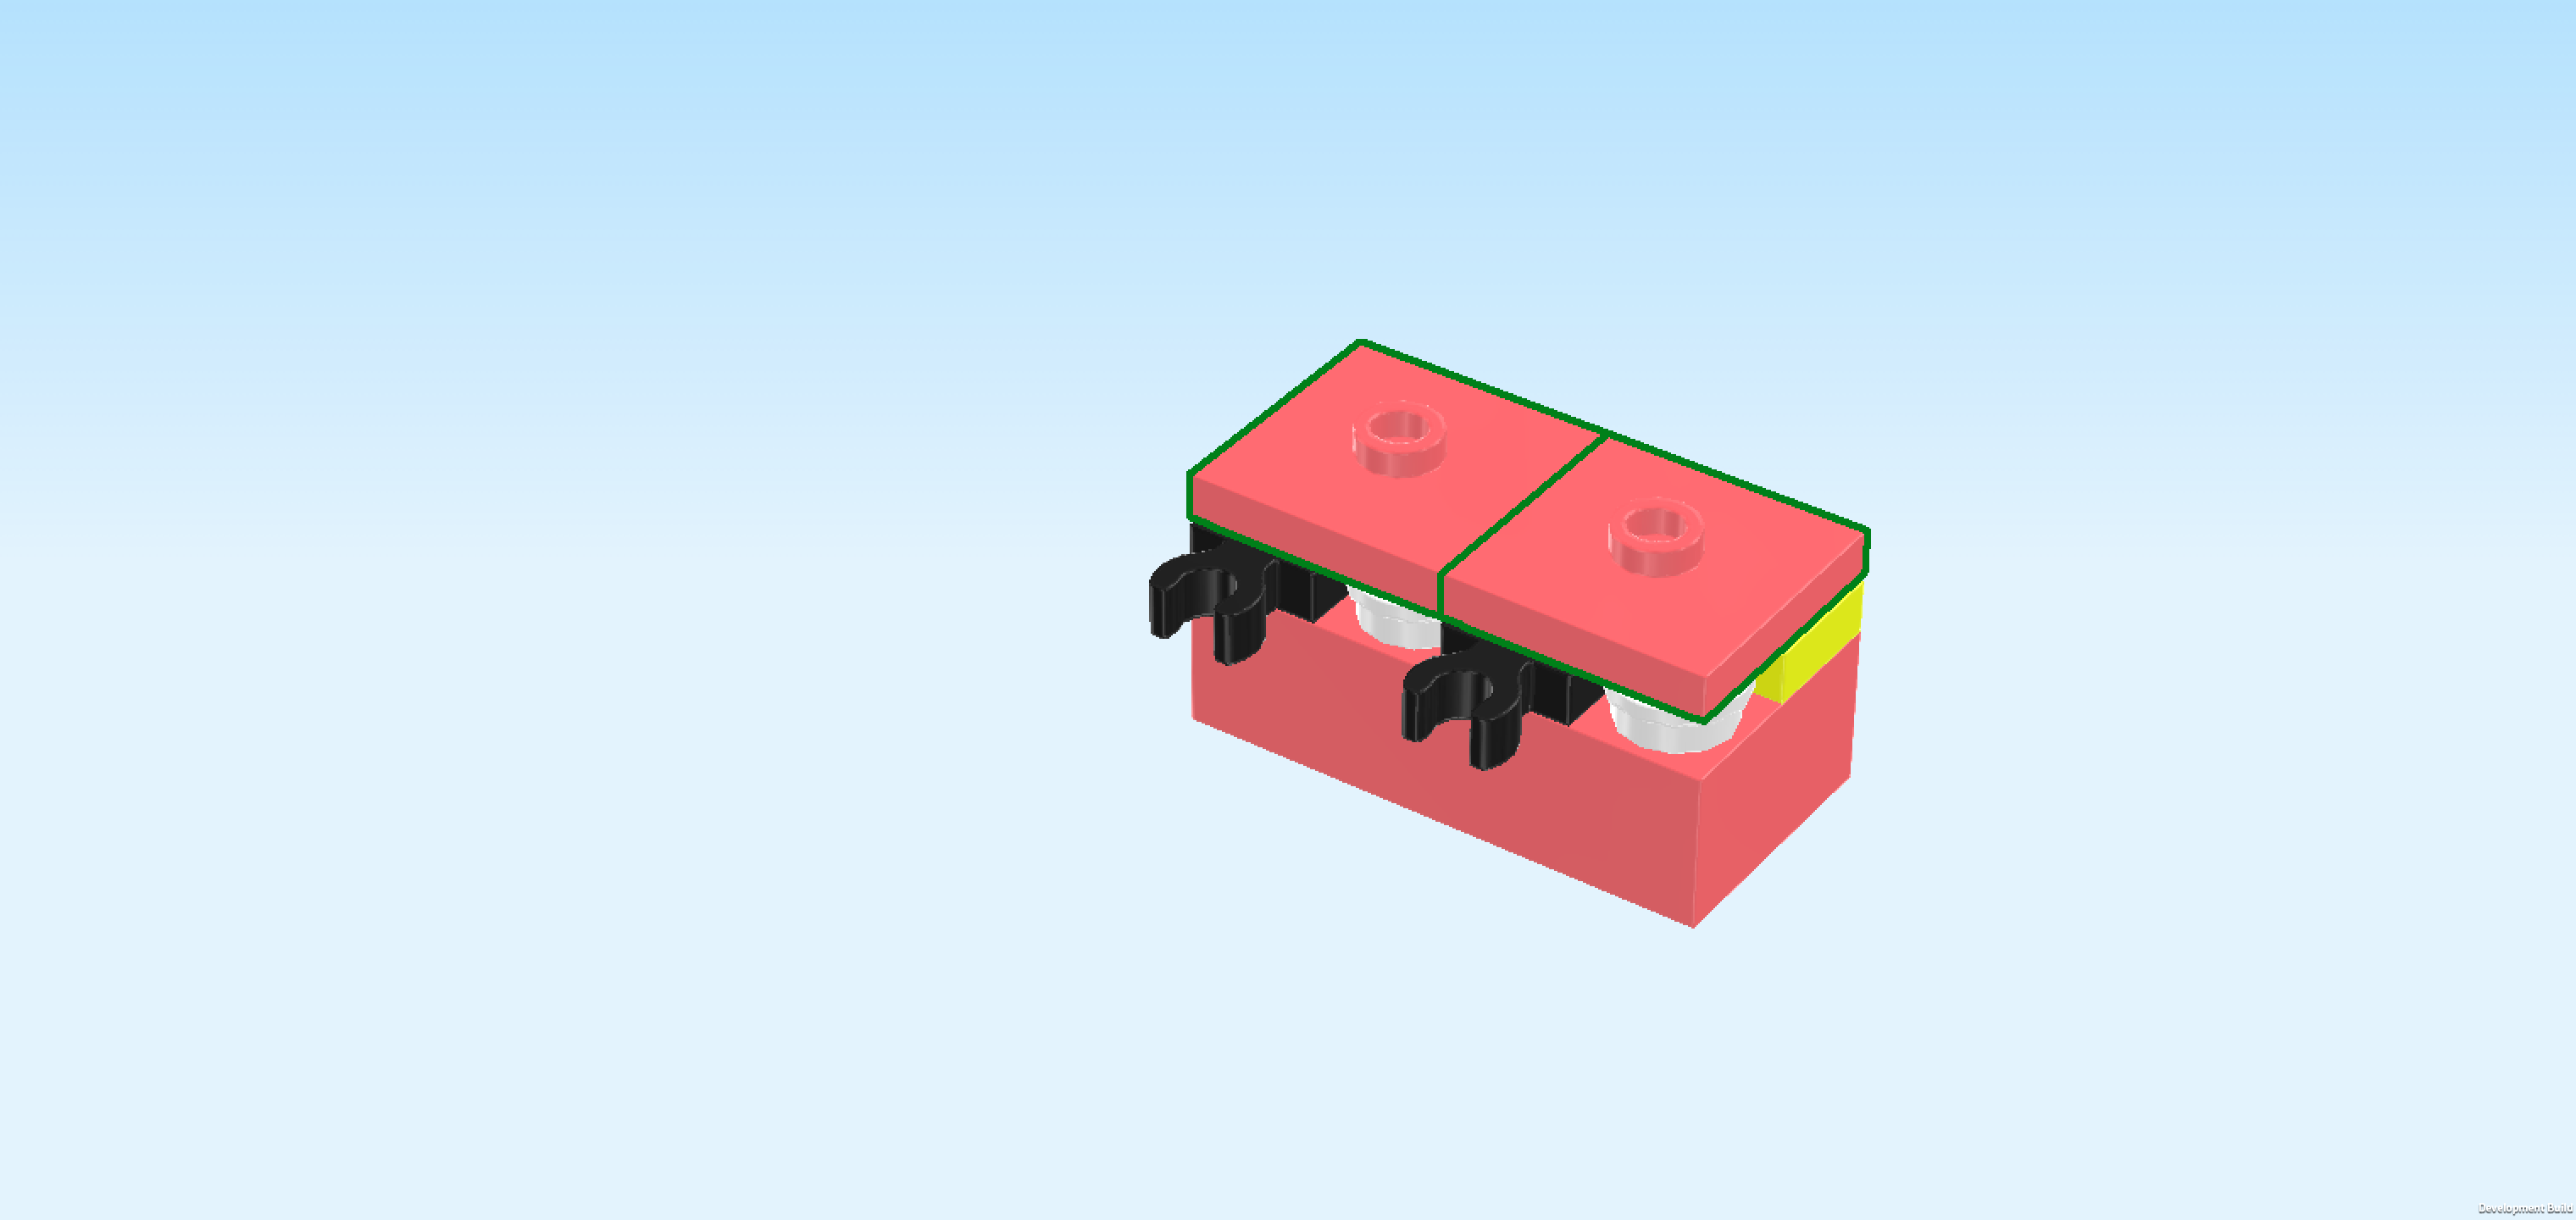
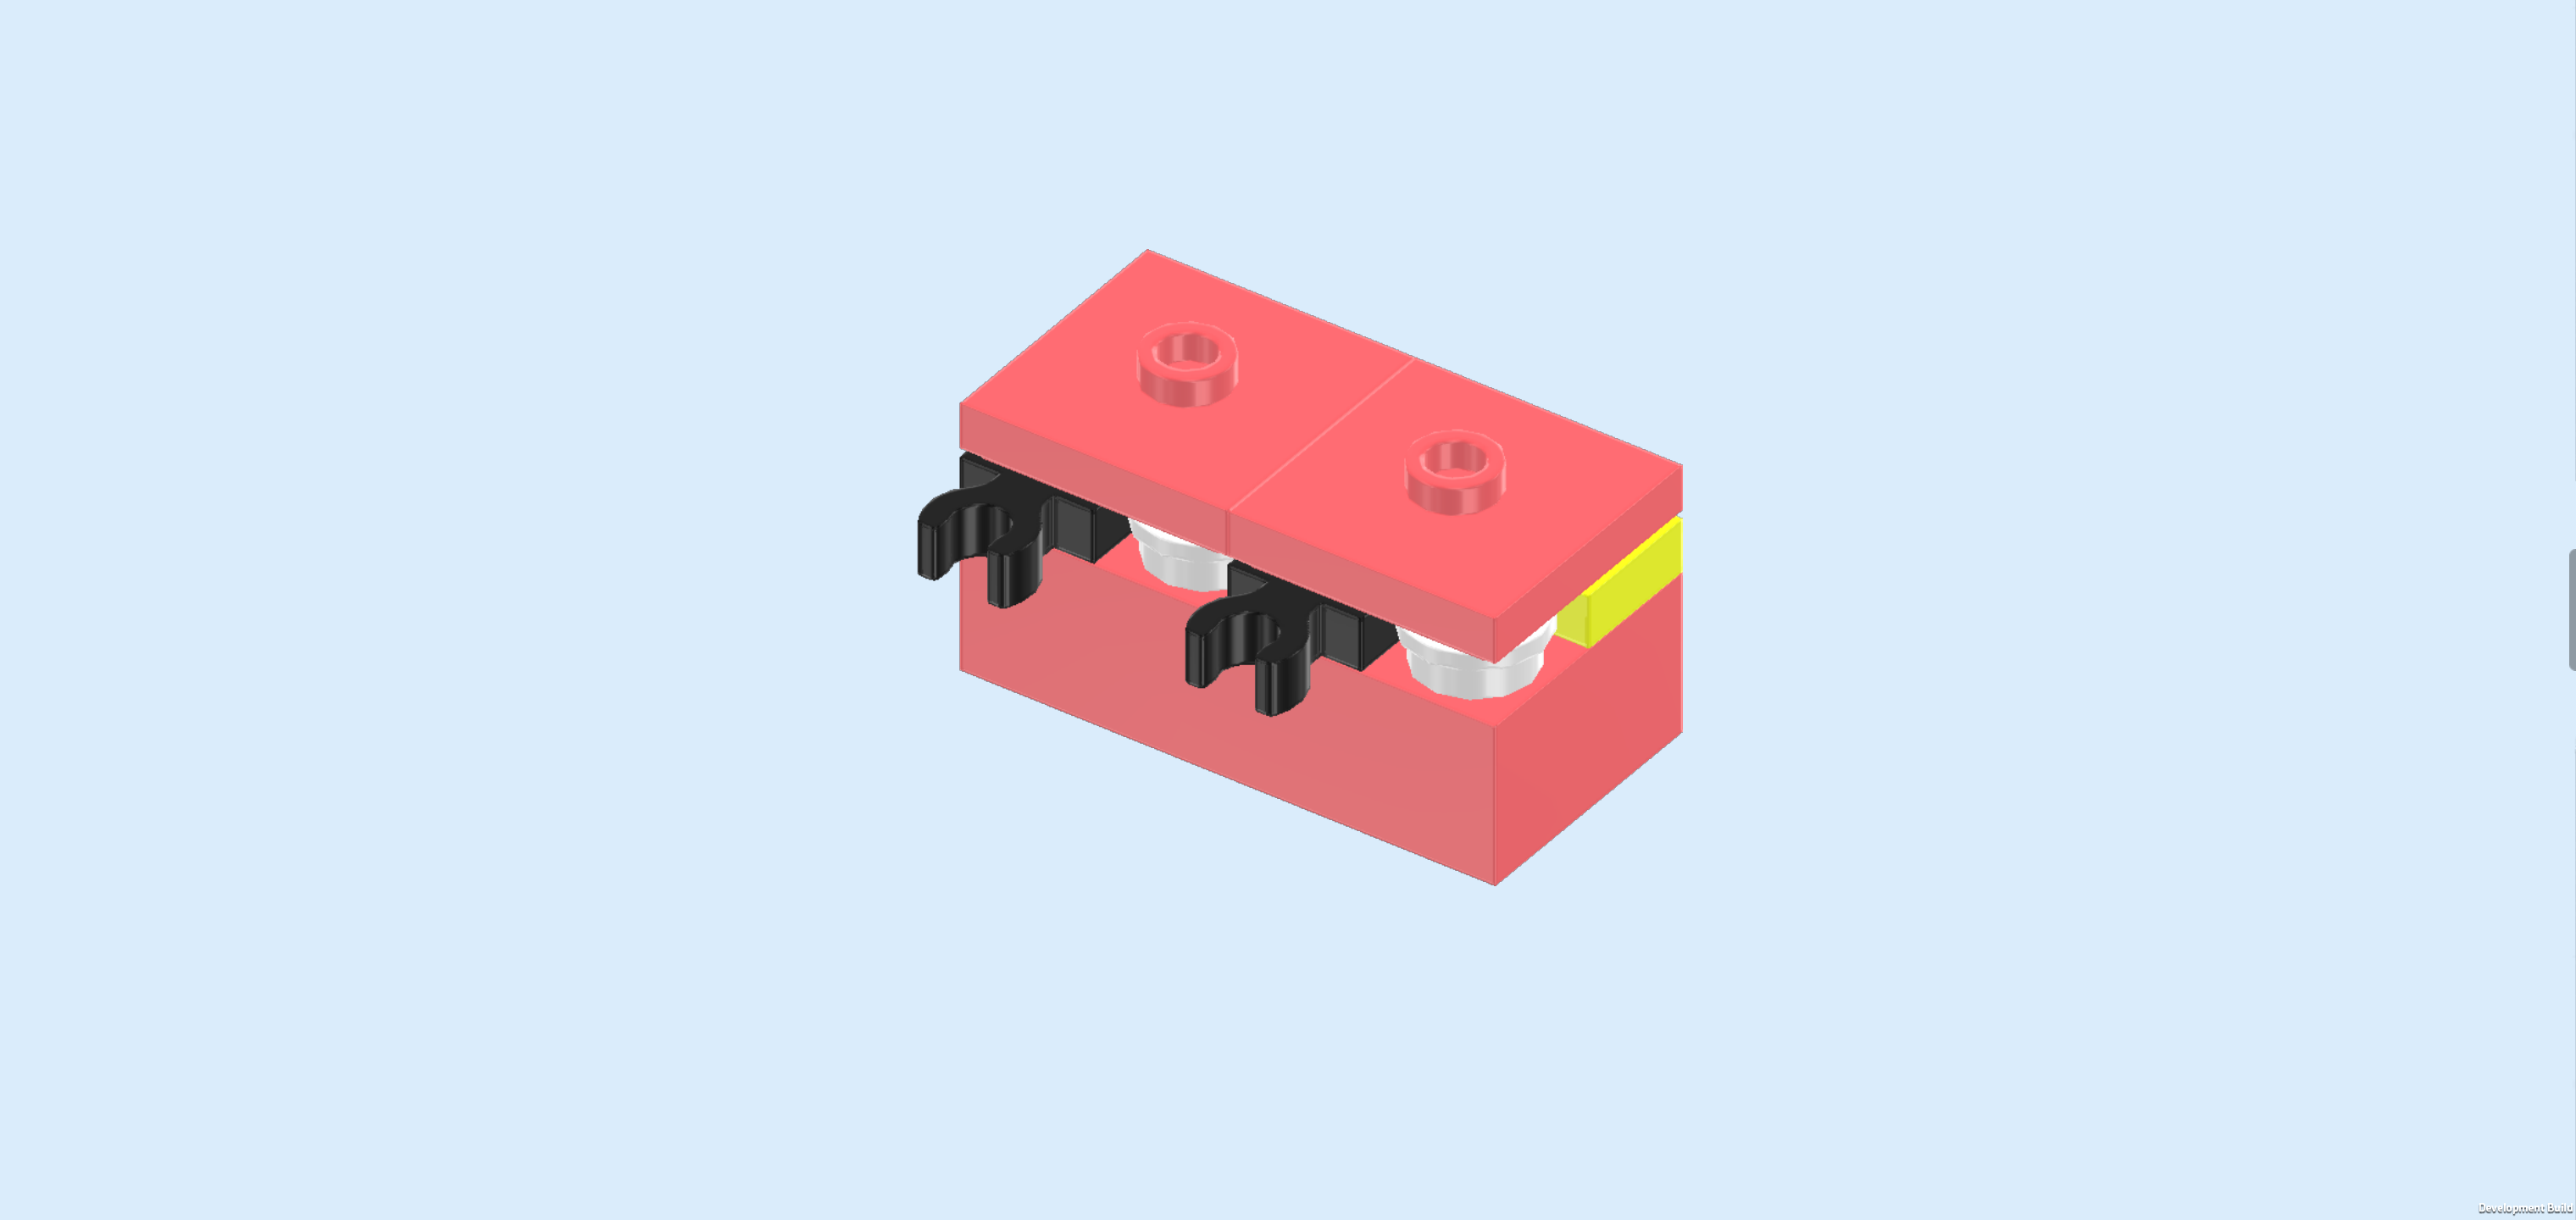
| Now, we will build the hair accessory display. |
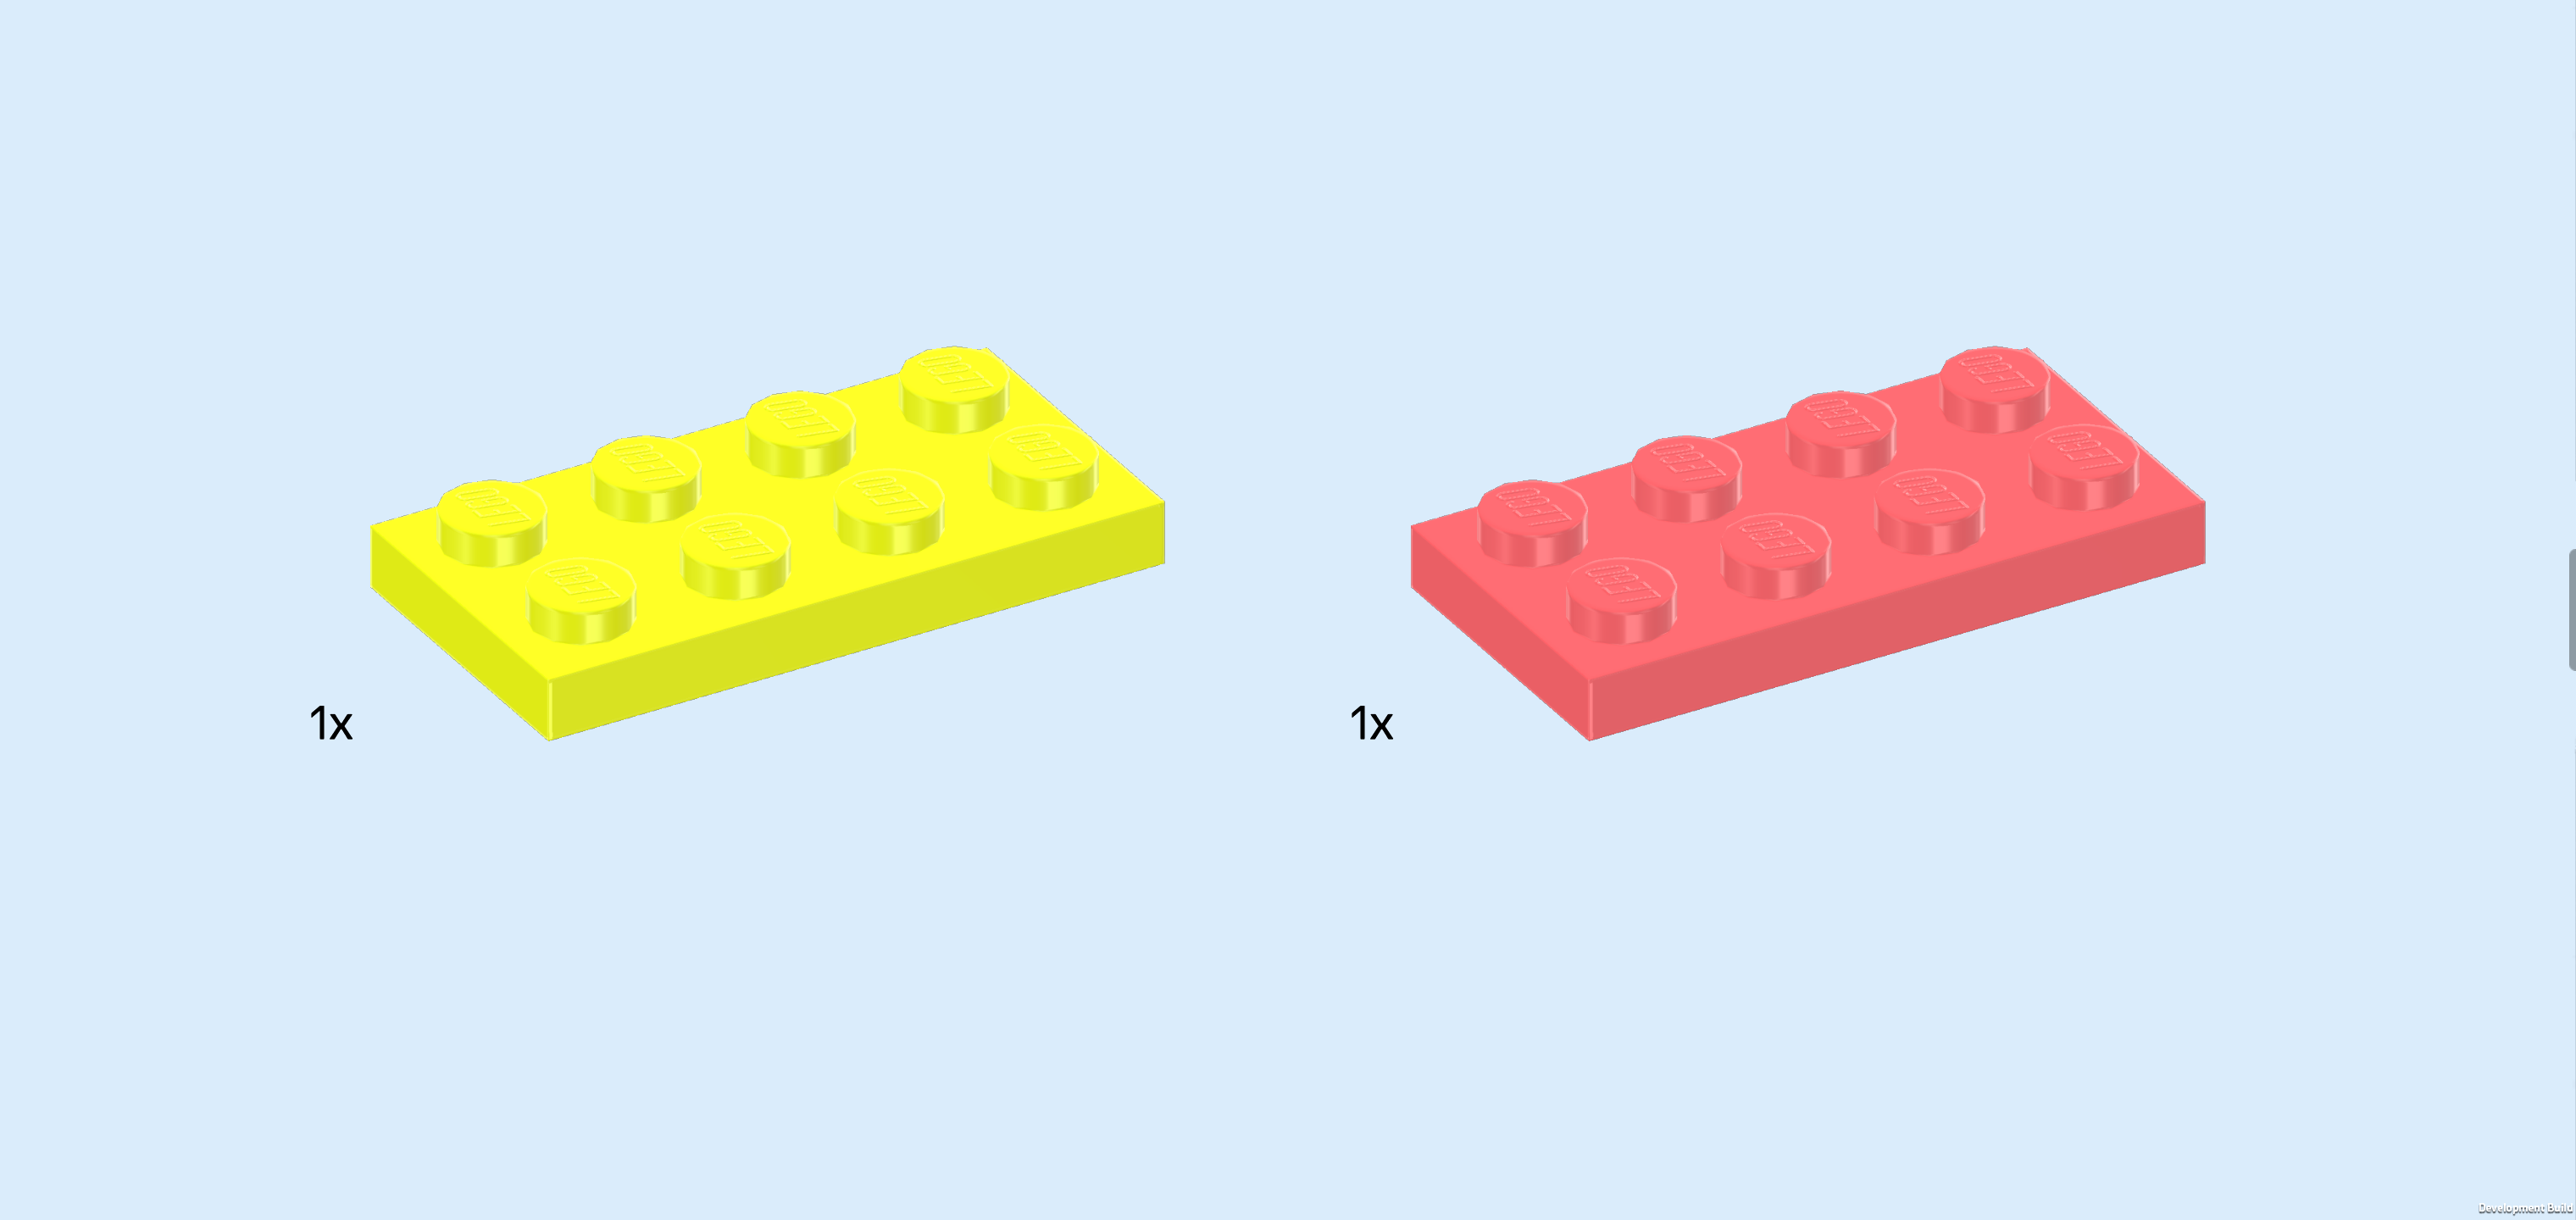
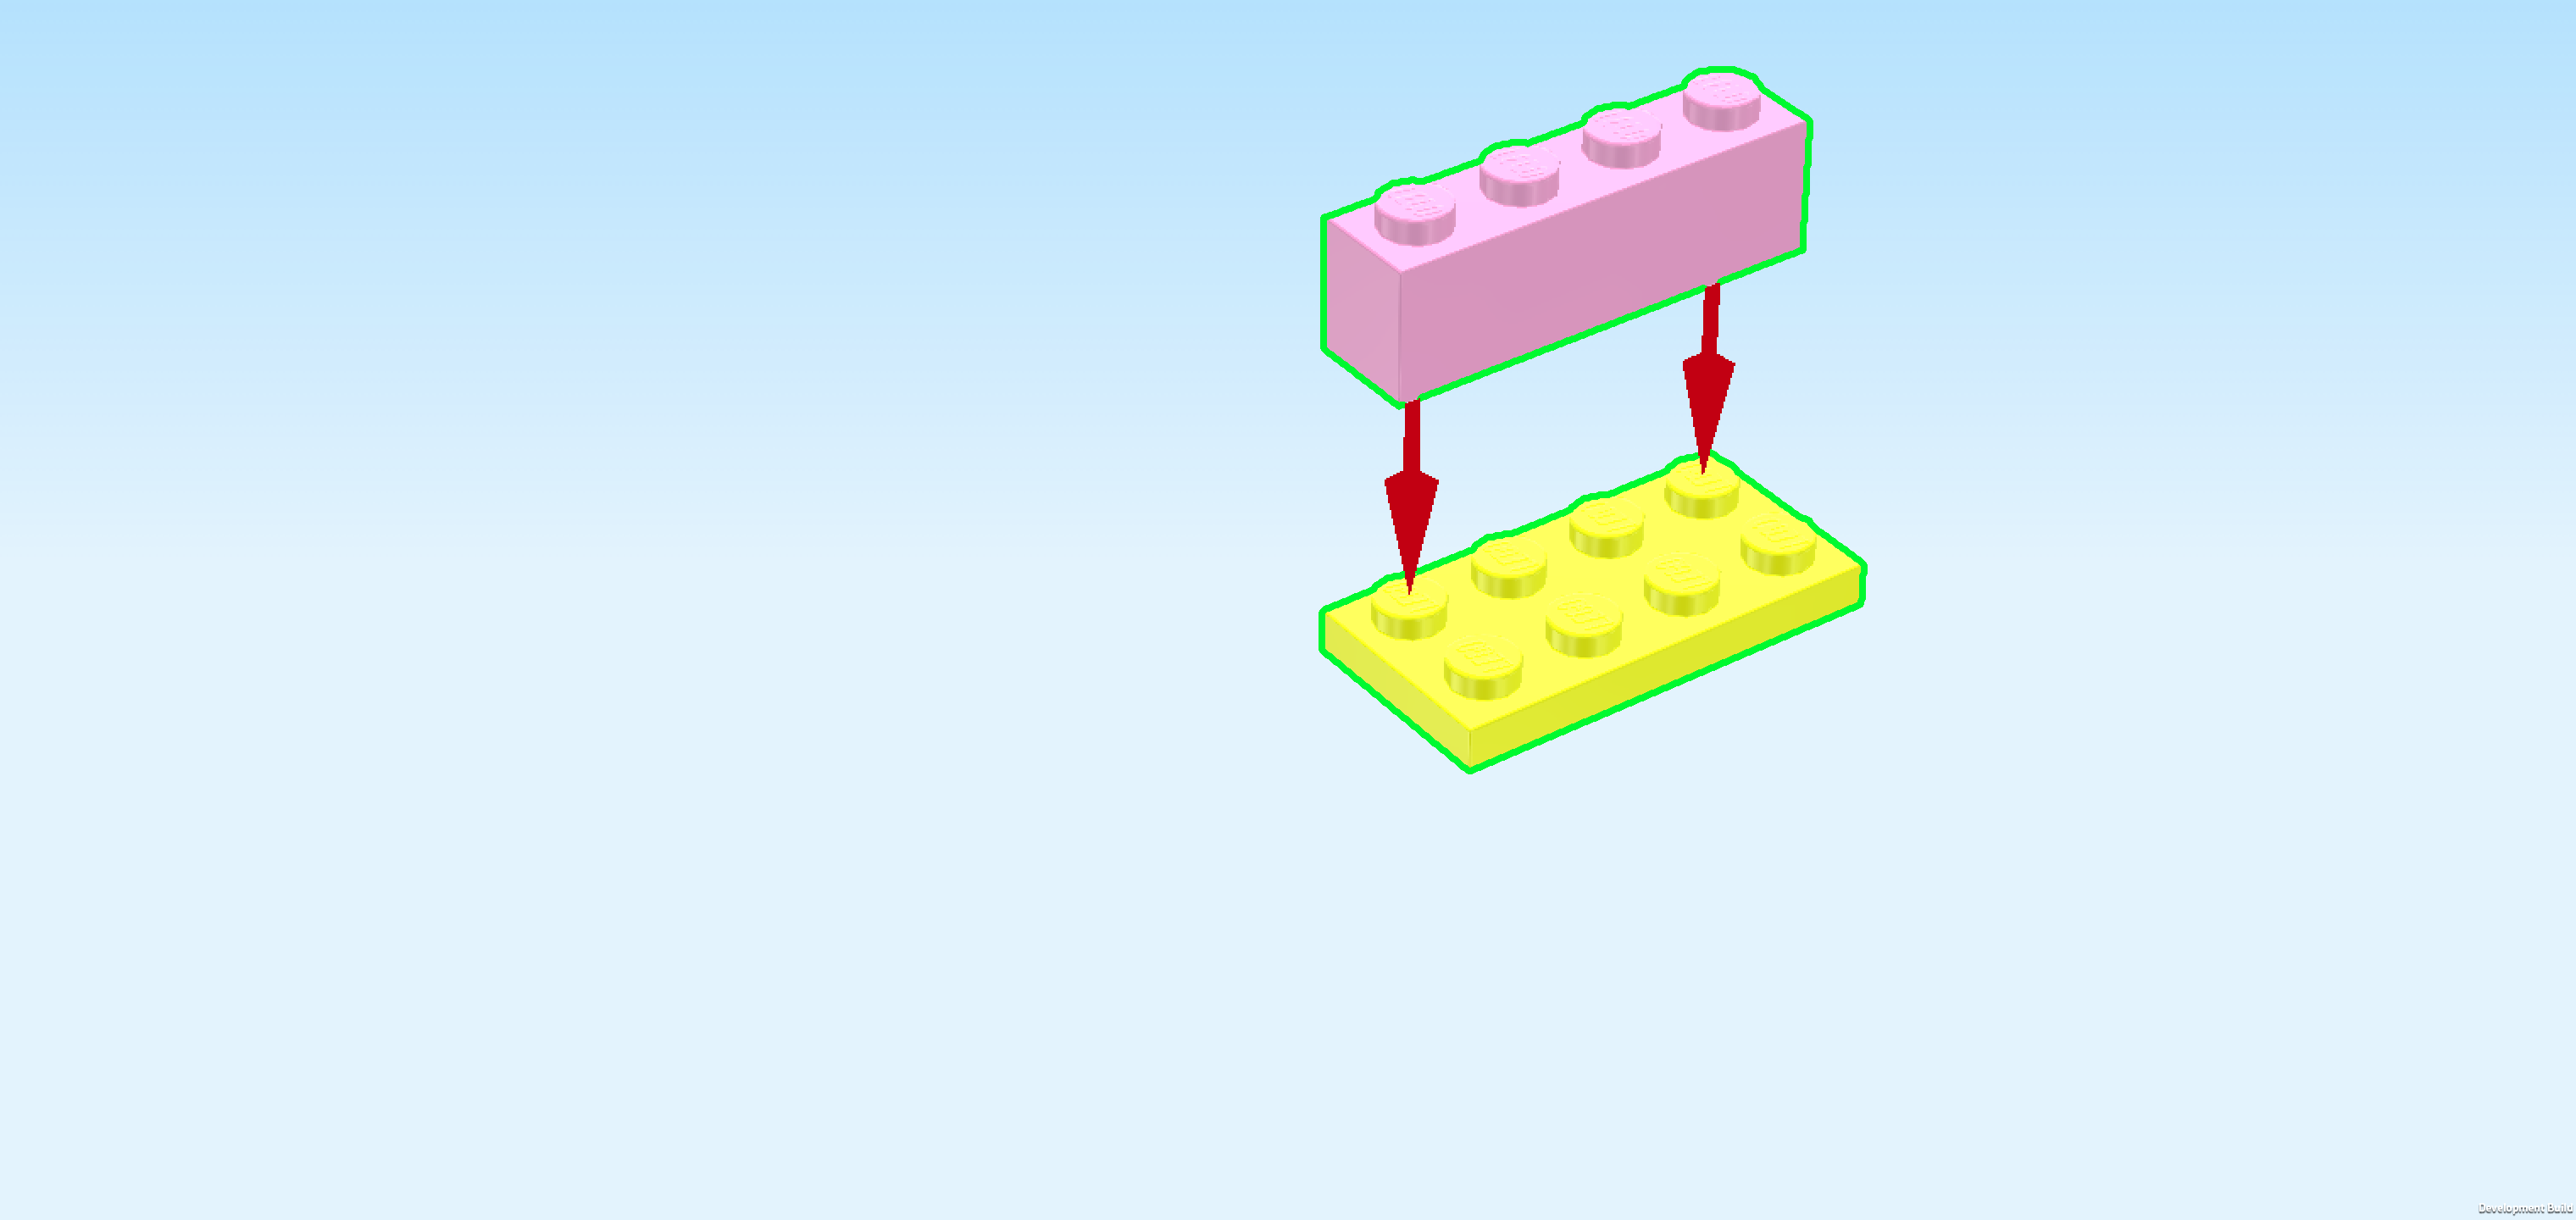
| Collect the following 2 pieces: |
| 1 vibrant yellow plate 2x4, |
| and 1 salmon pink plate 2x4. |
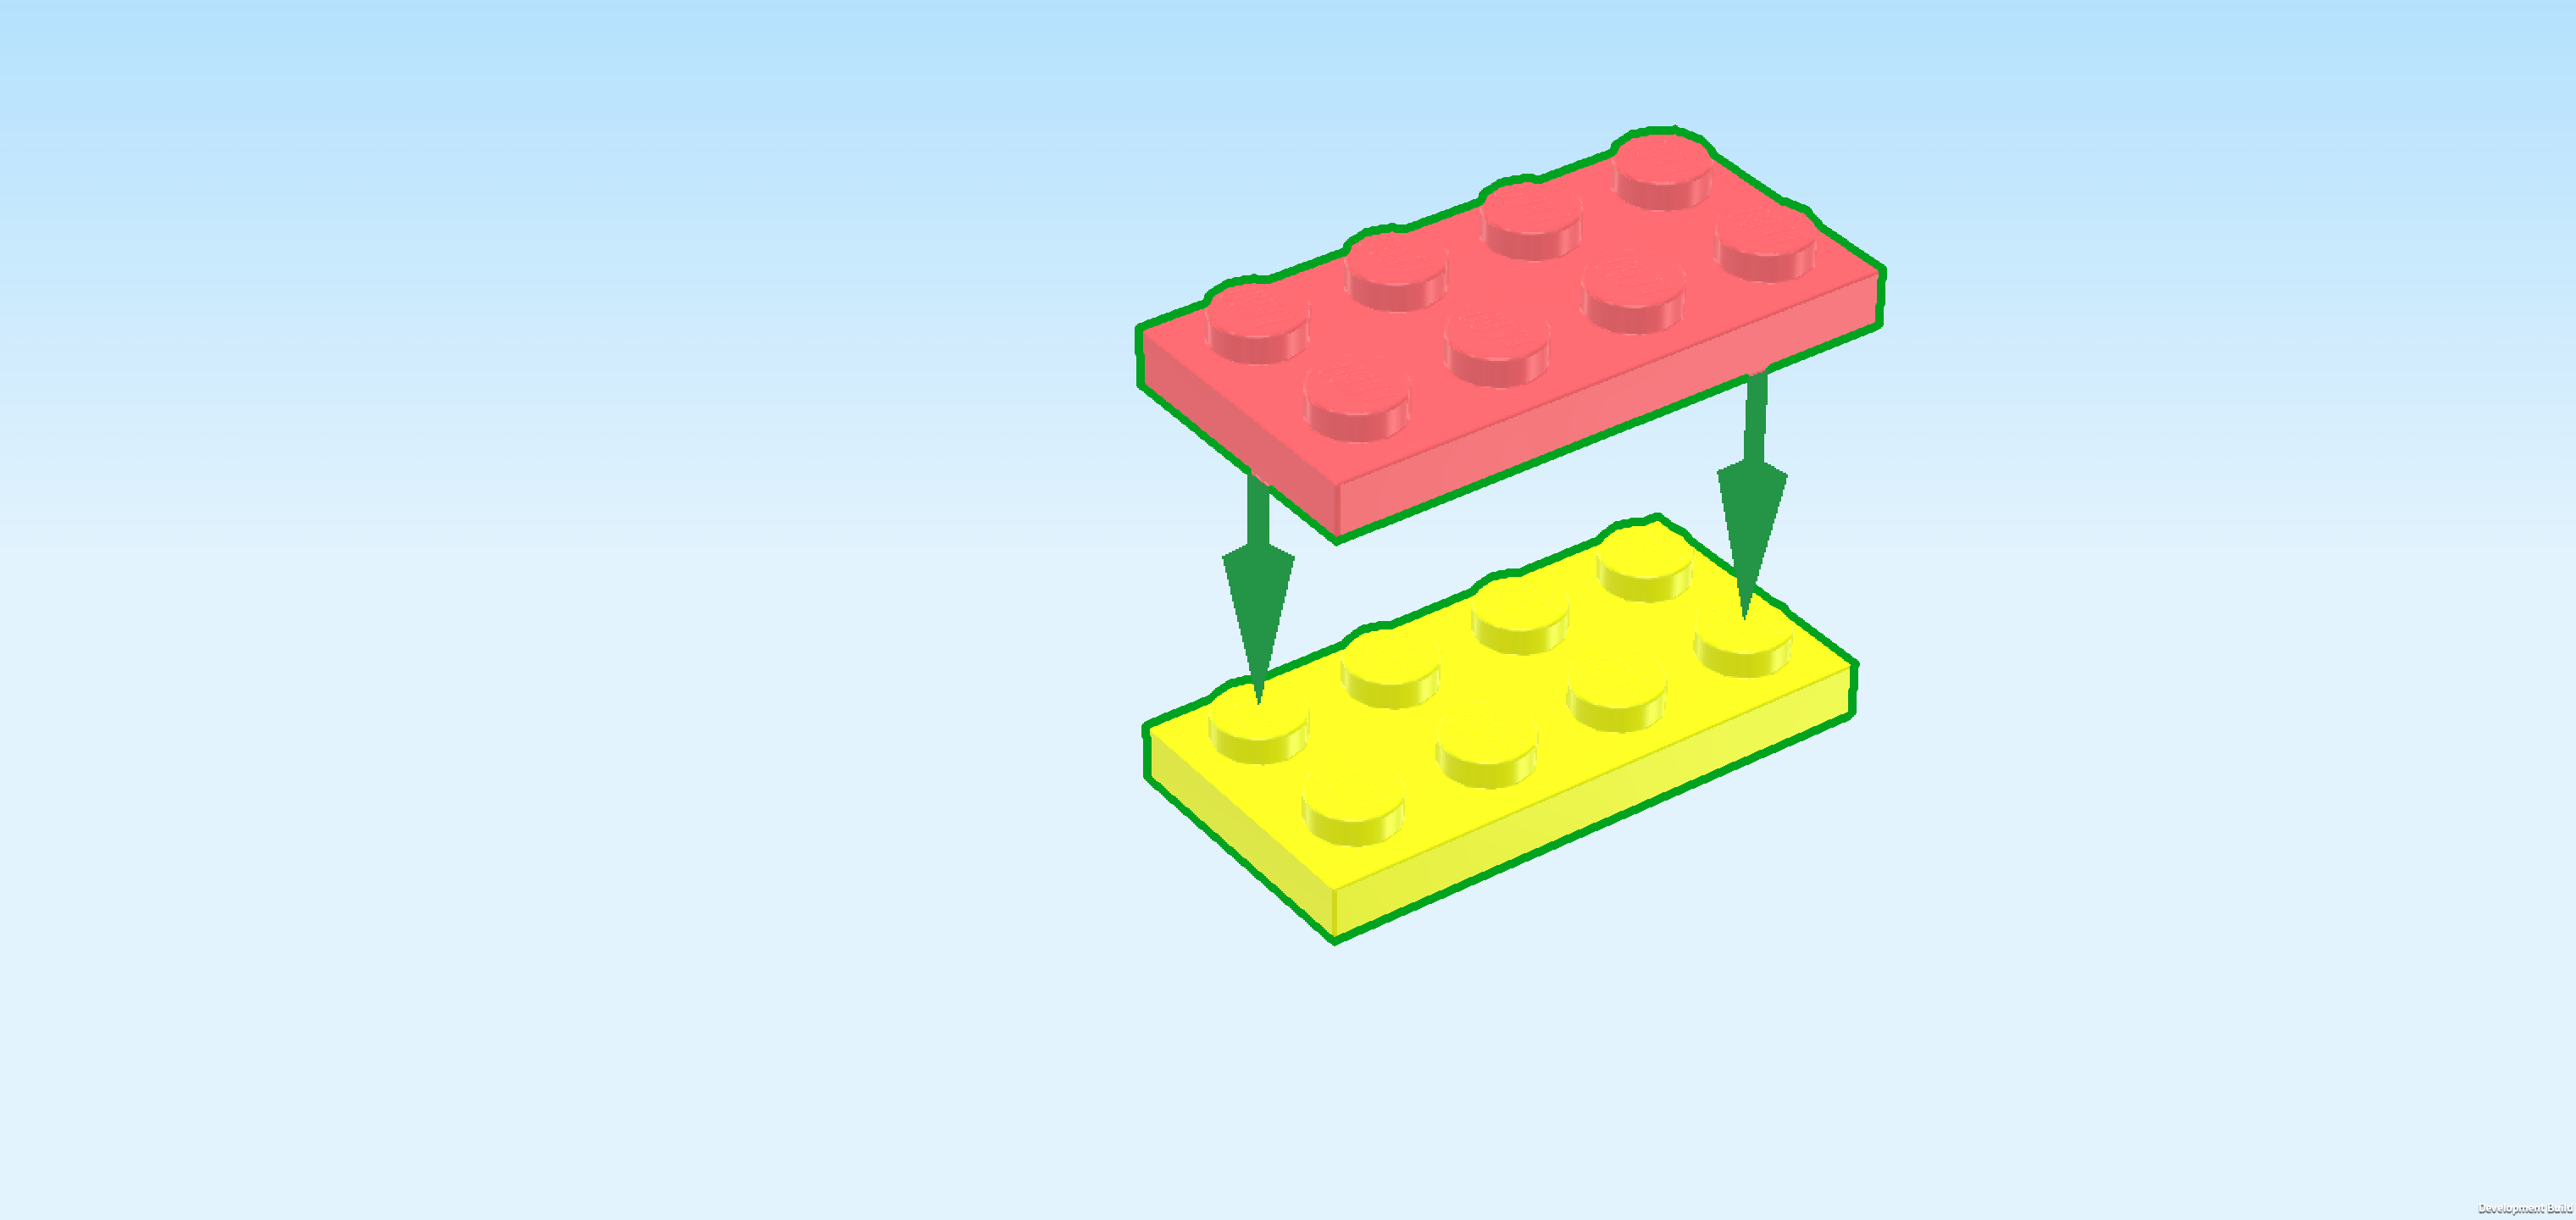
| Put the vibrant yellow plate 2x4 horizontally on the table. Make sure its knobs form straight rows and columns in front of you. |
| Put the salmon pink plate 2x4 horizontally on top. |
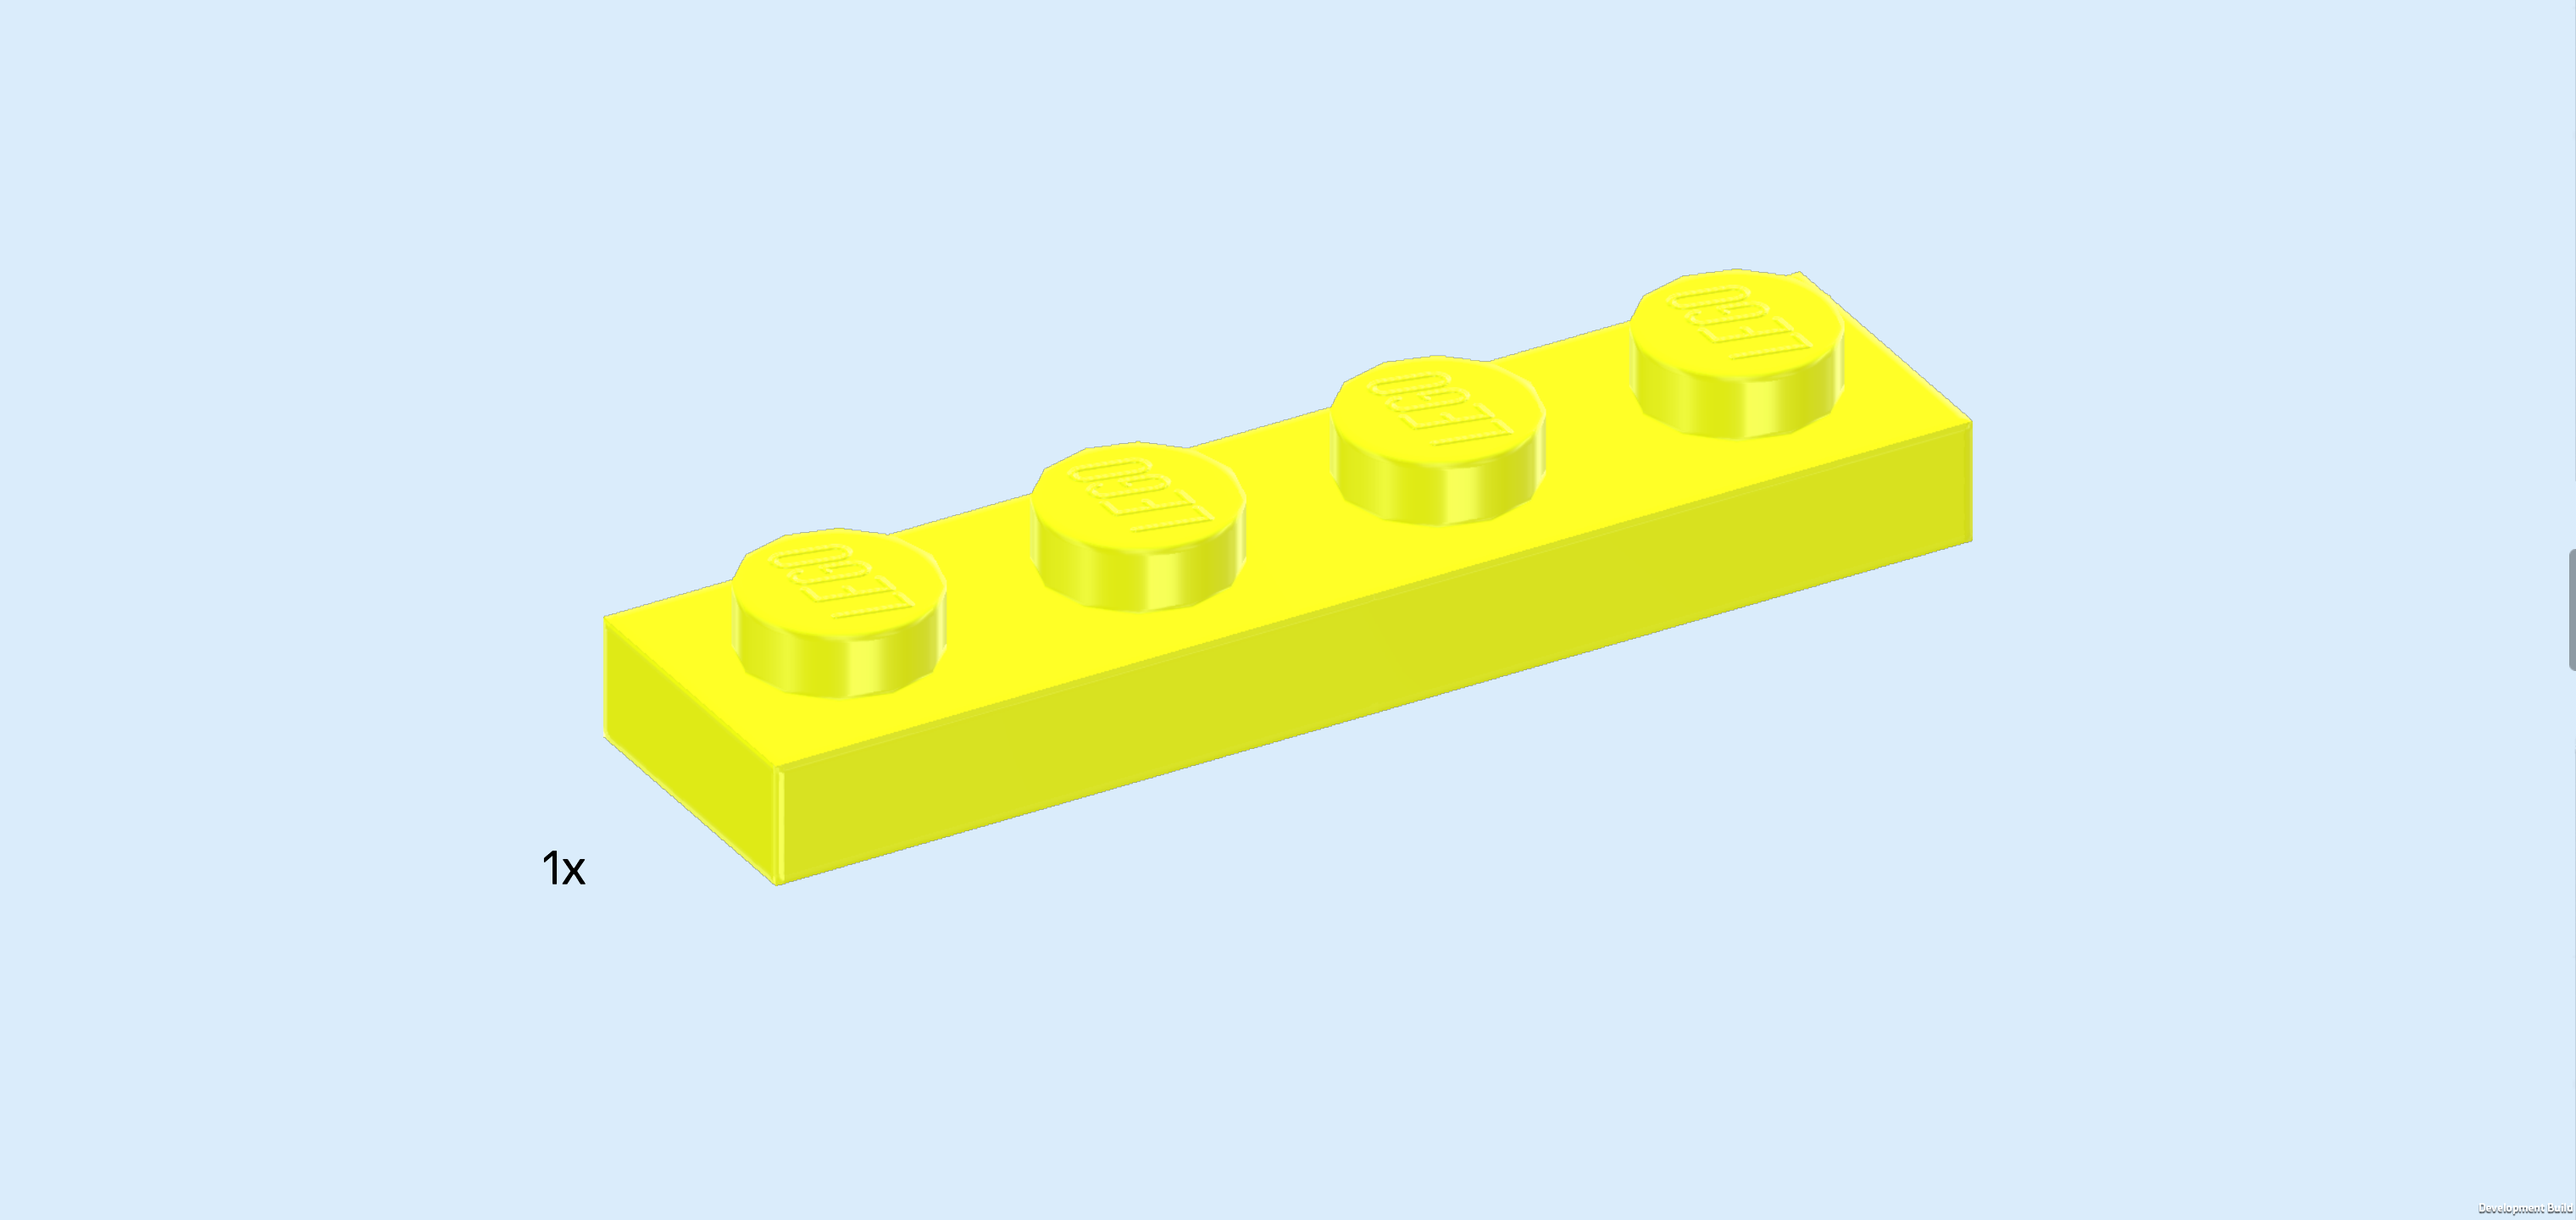
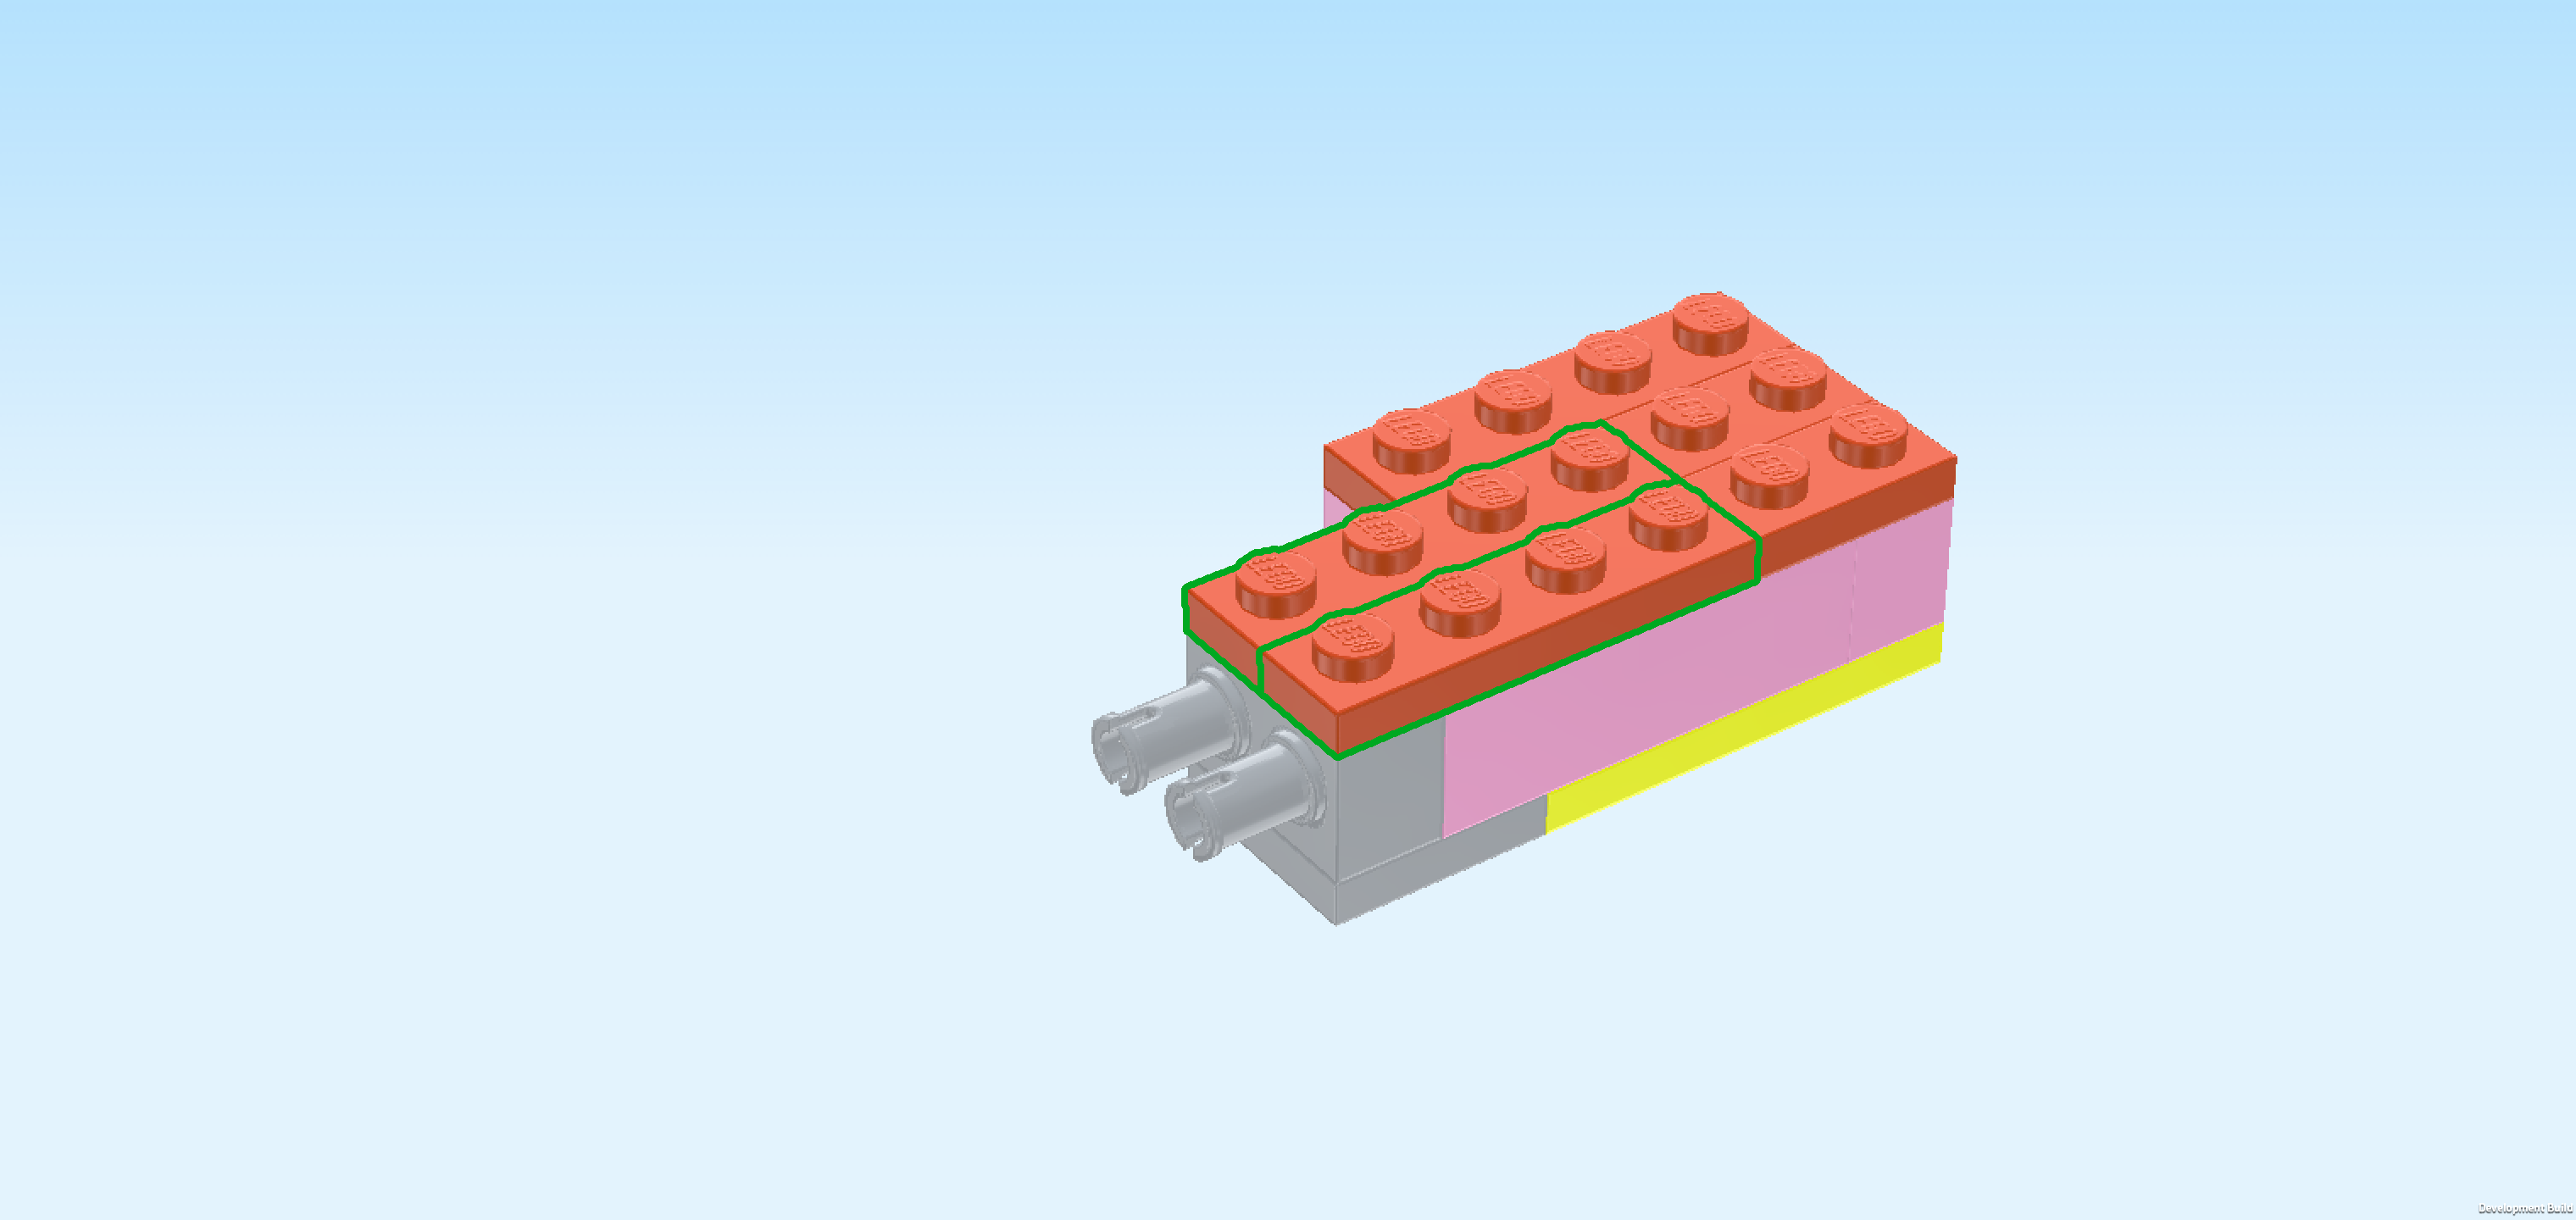
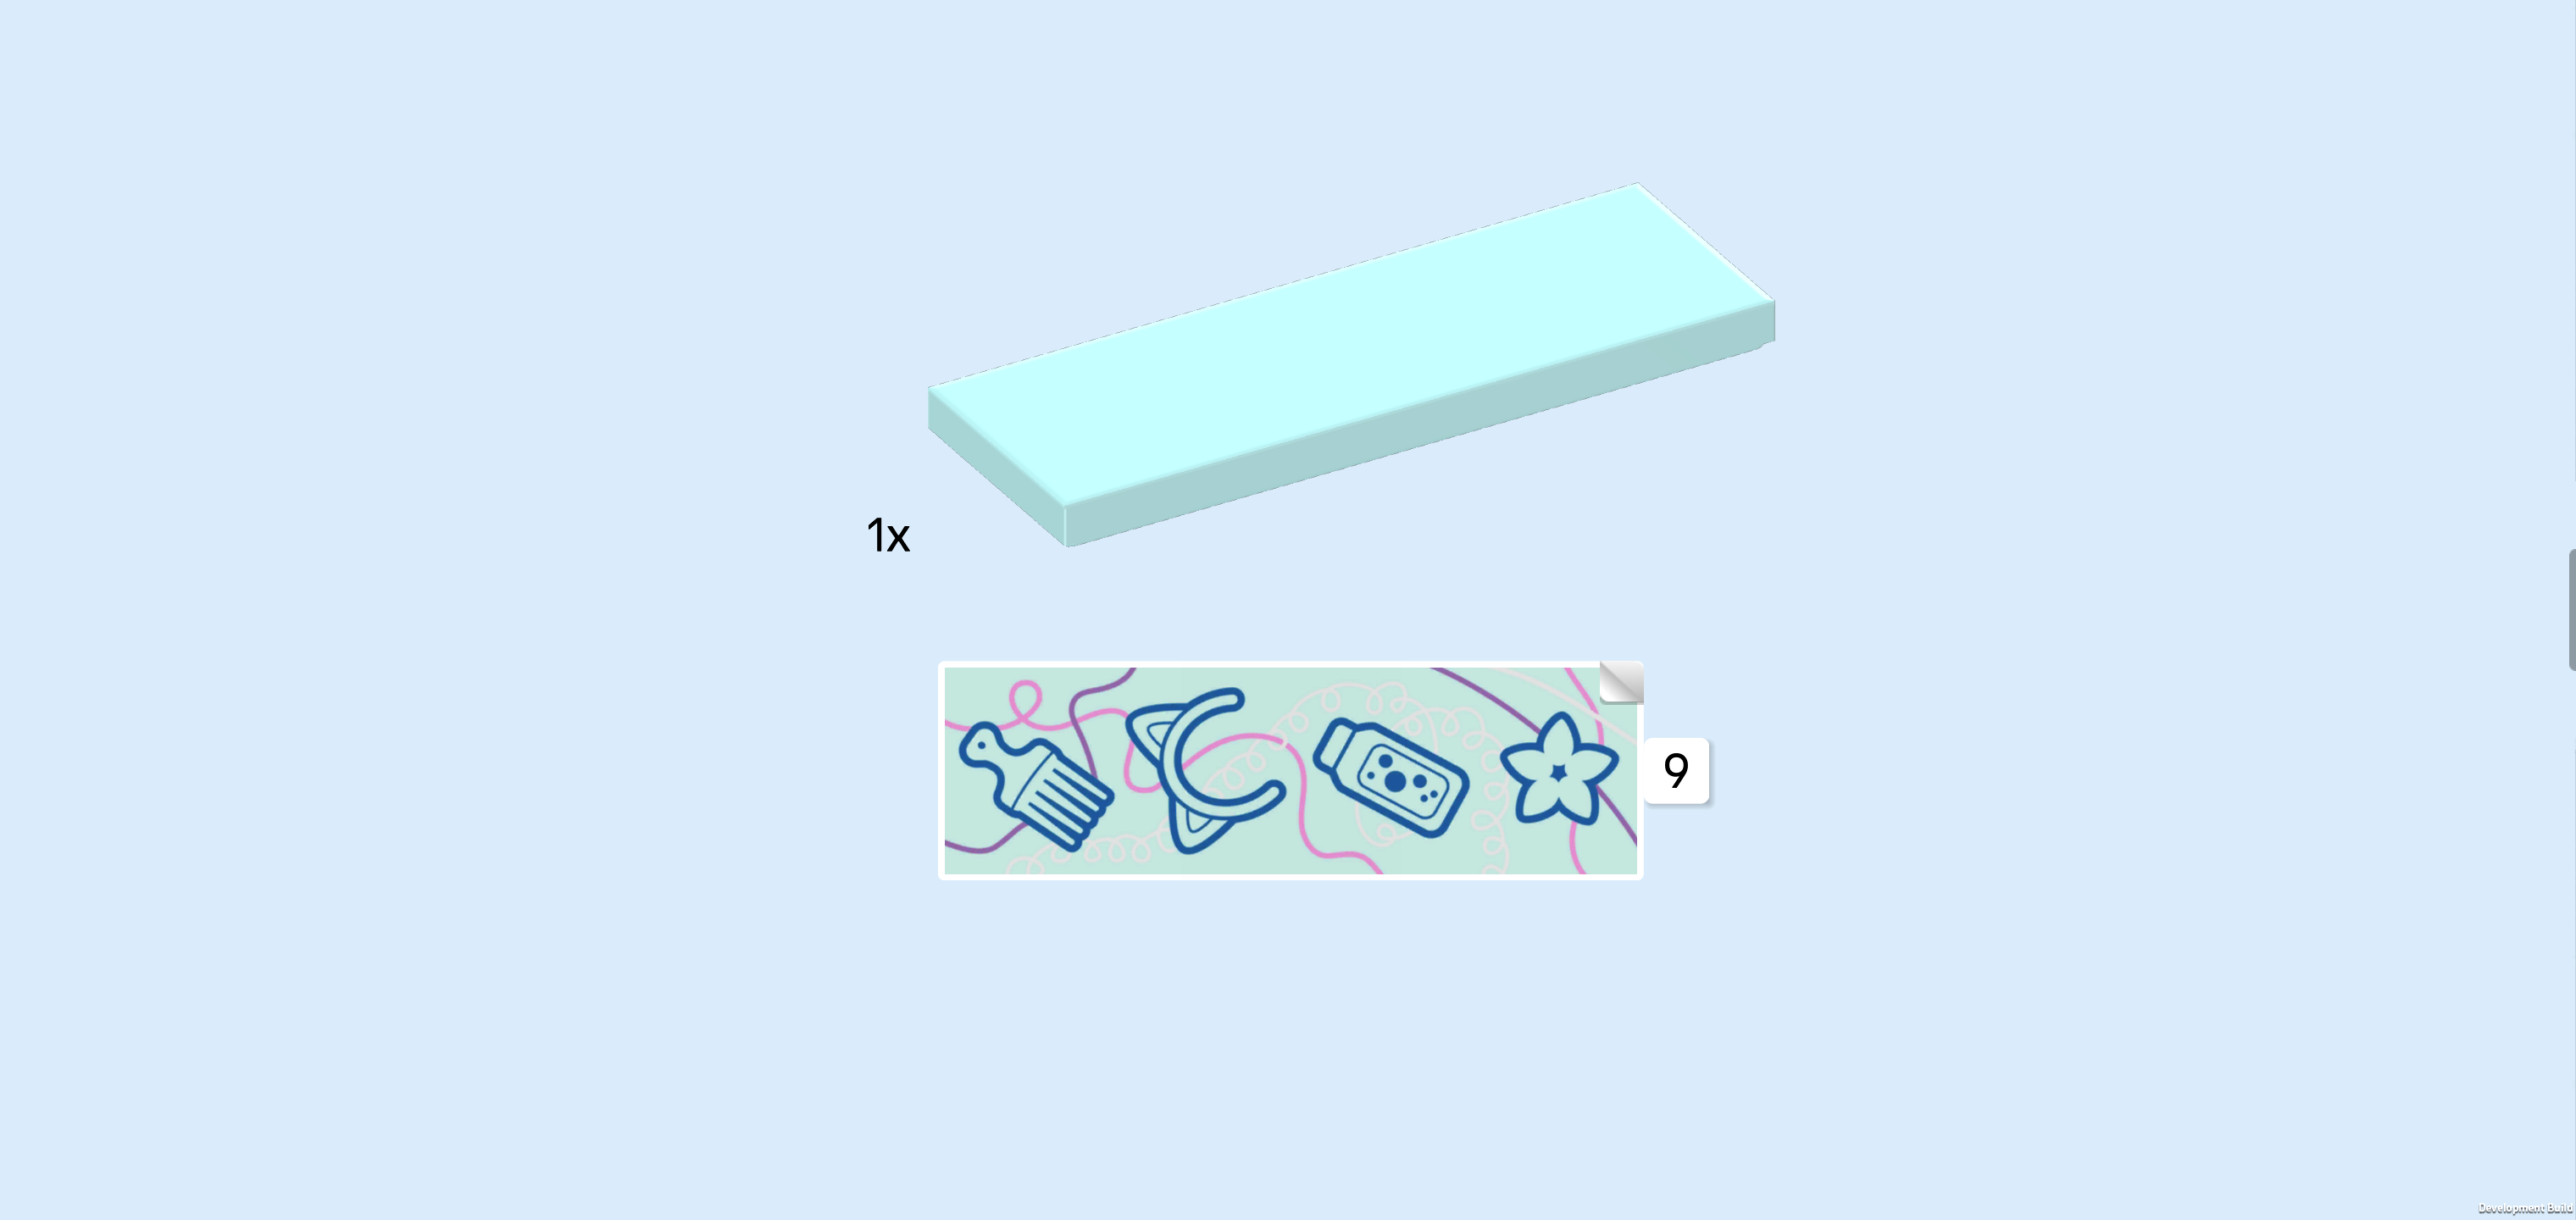
| Find 1 reddish orange plate 1x4. |
| Put it horizontally on the back row. |
| Find 3 light purple plates 1x2 with 1 knob. |
| Put 2 horizontally next to each other on the previous piece to fully cover it. |
| Put 1 horizontally on the left half of the front row. |
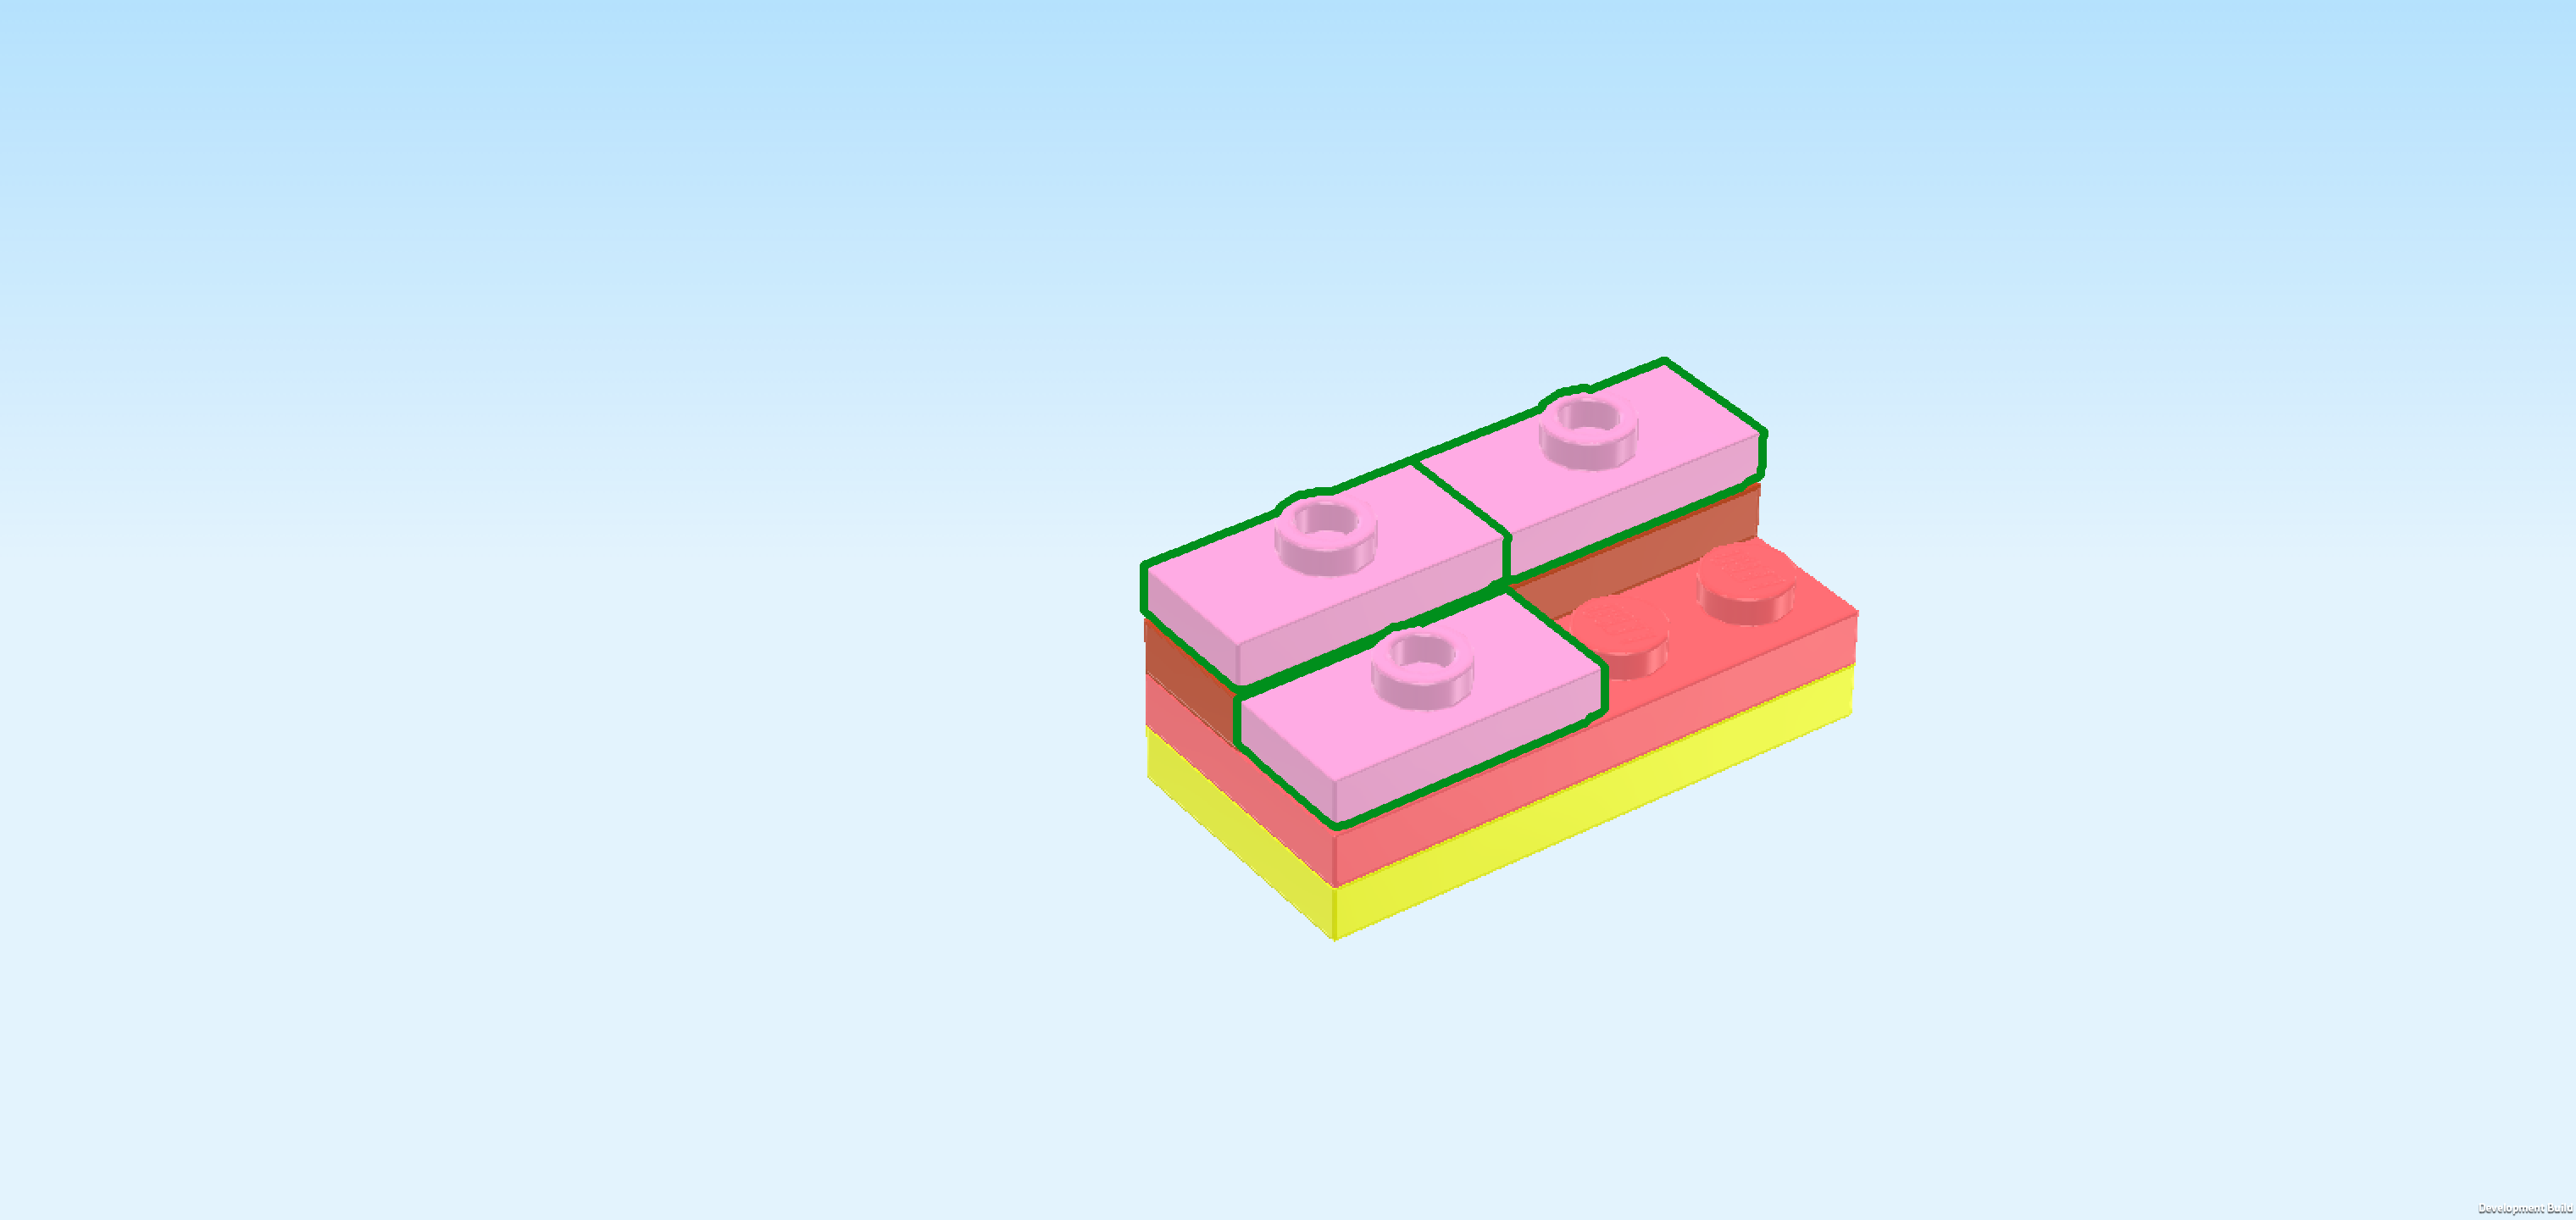
| Collect the following 2 pieces: |
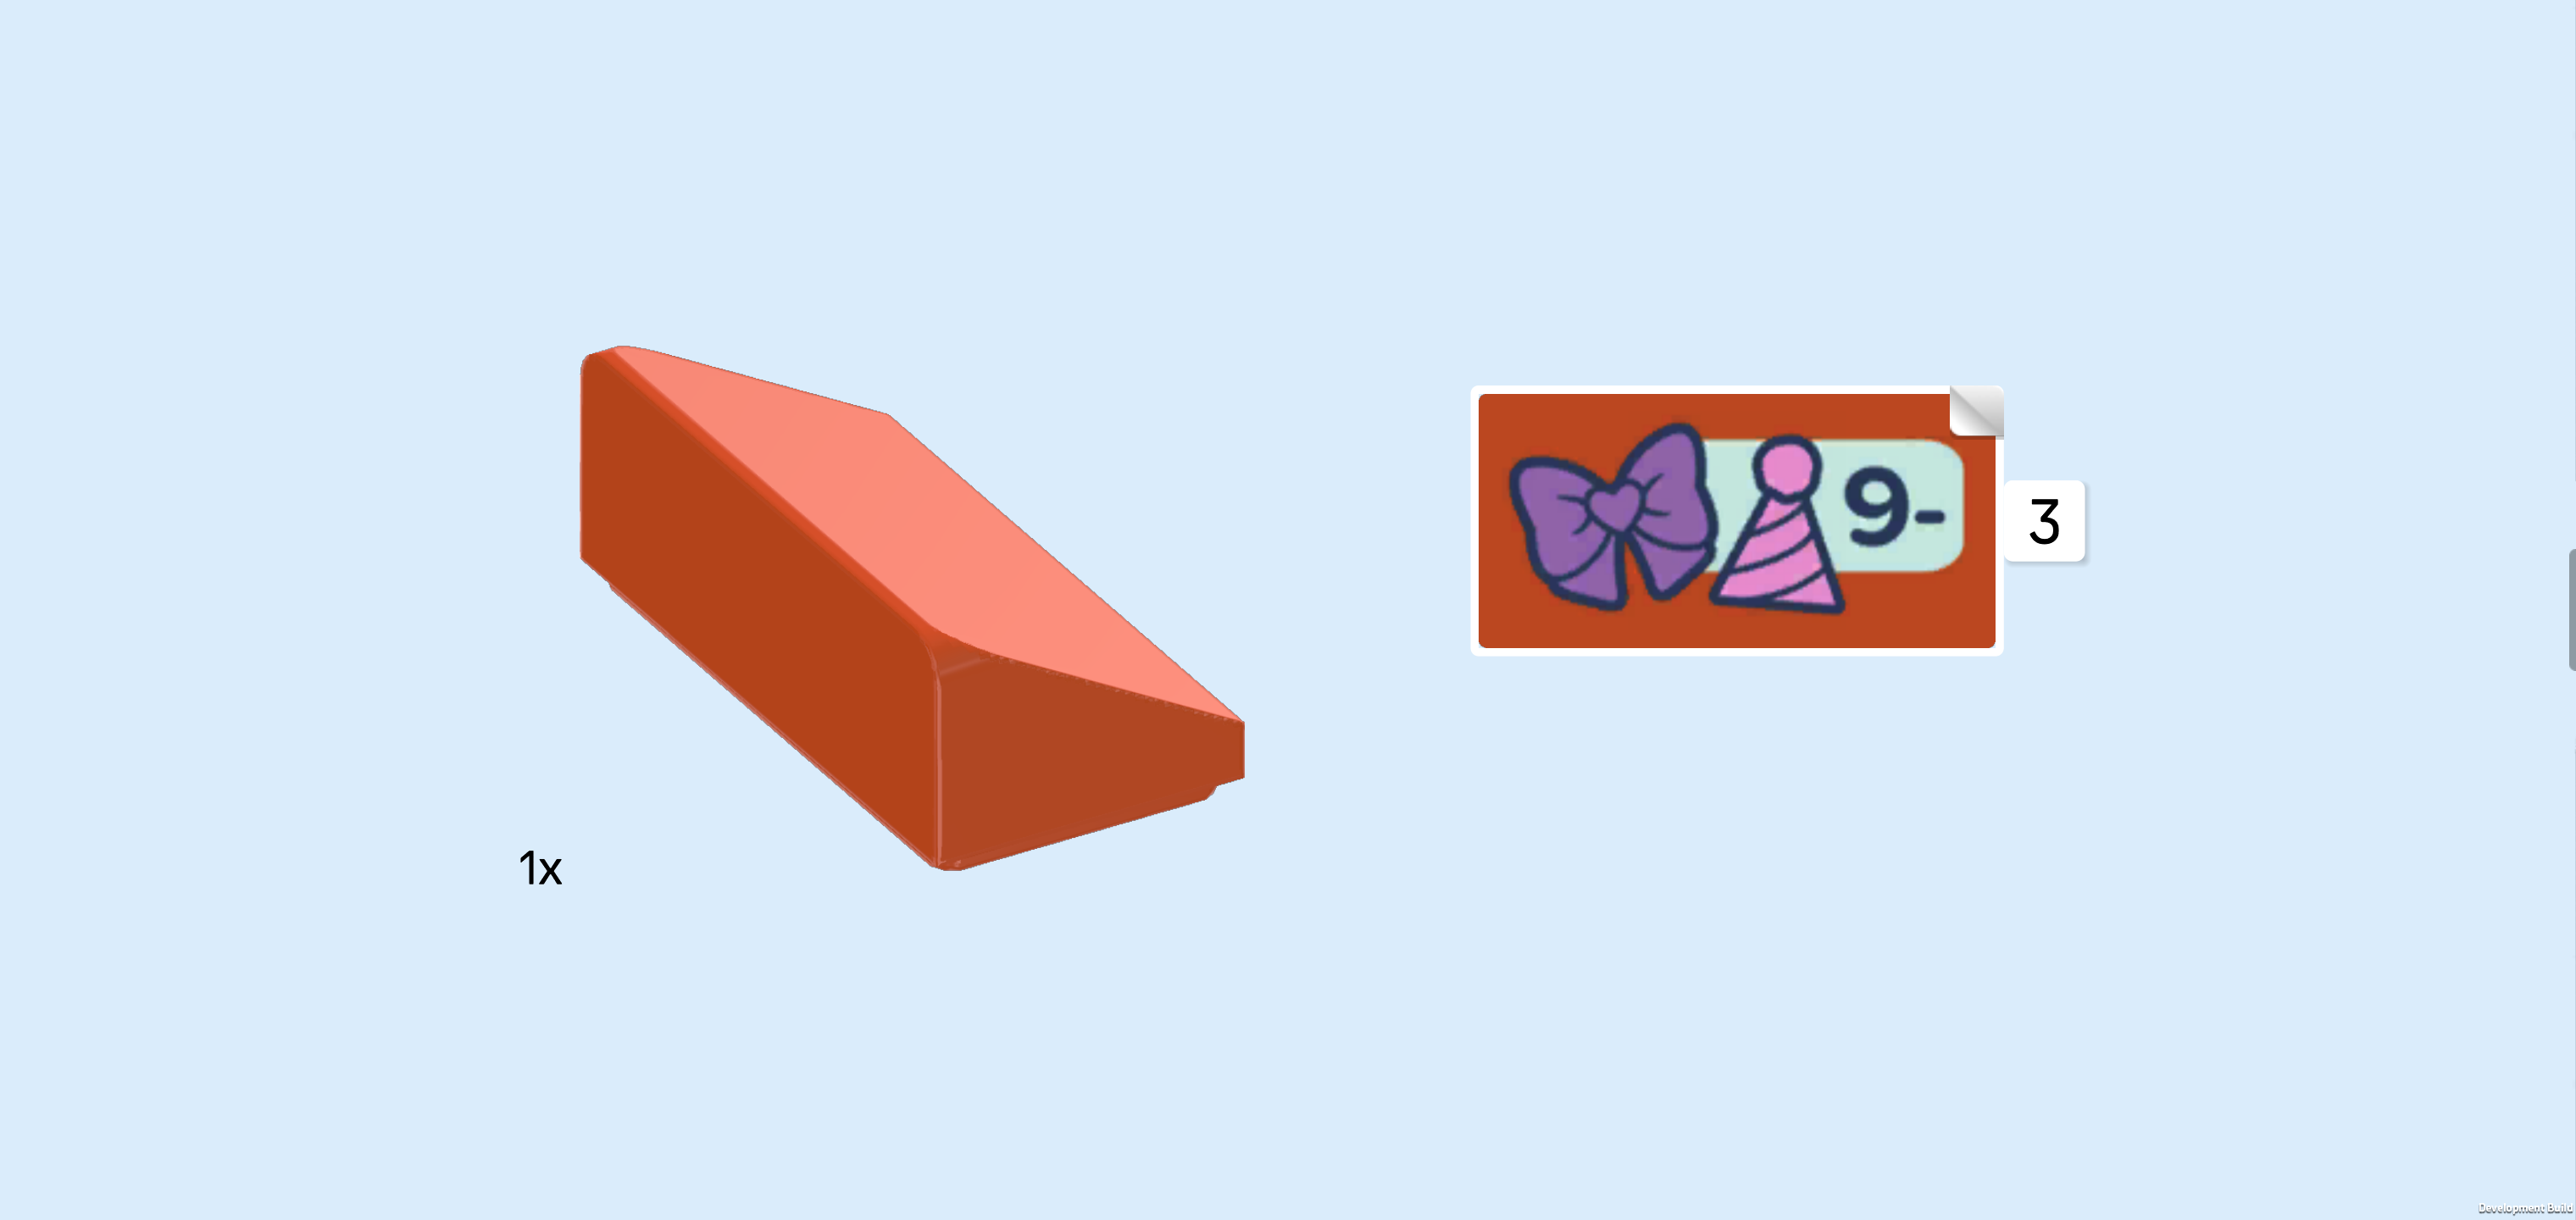
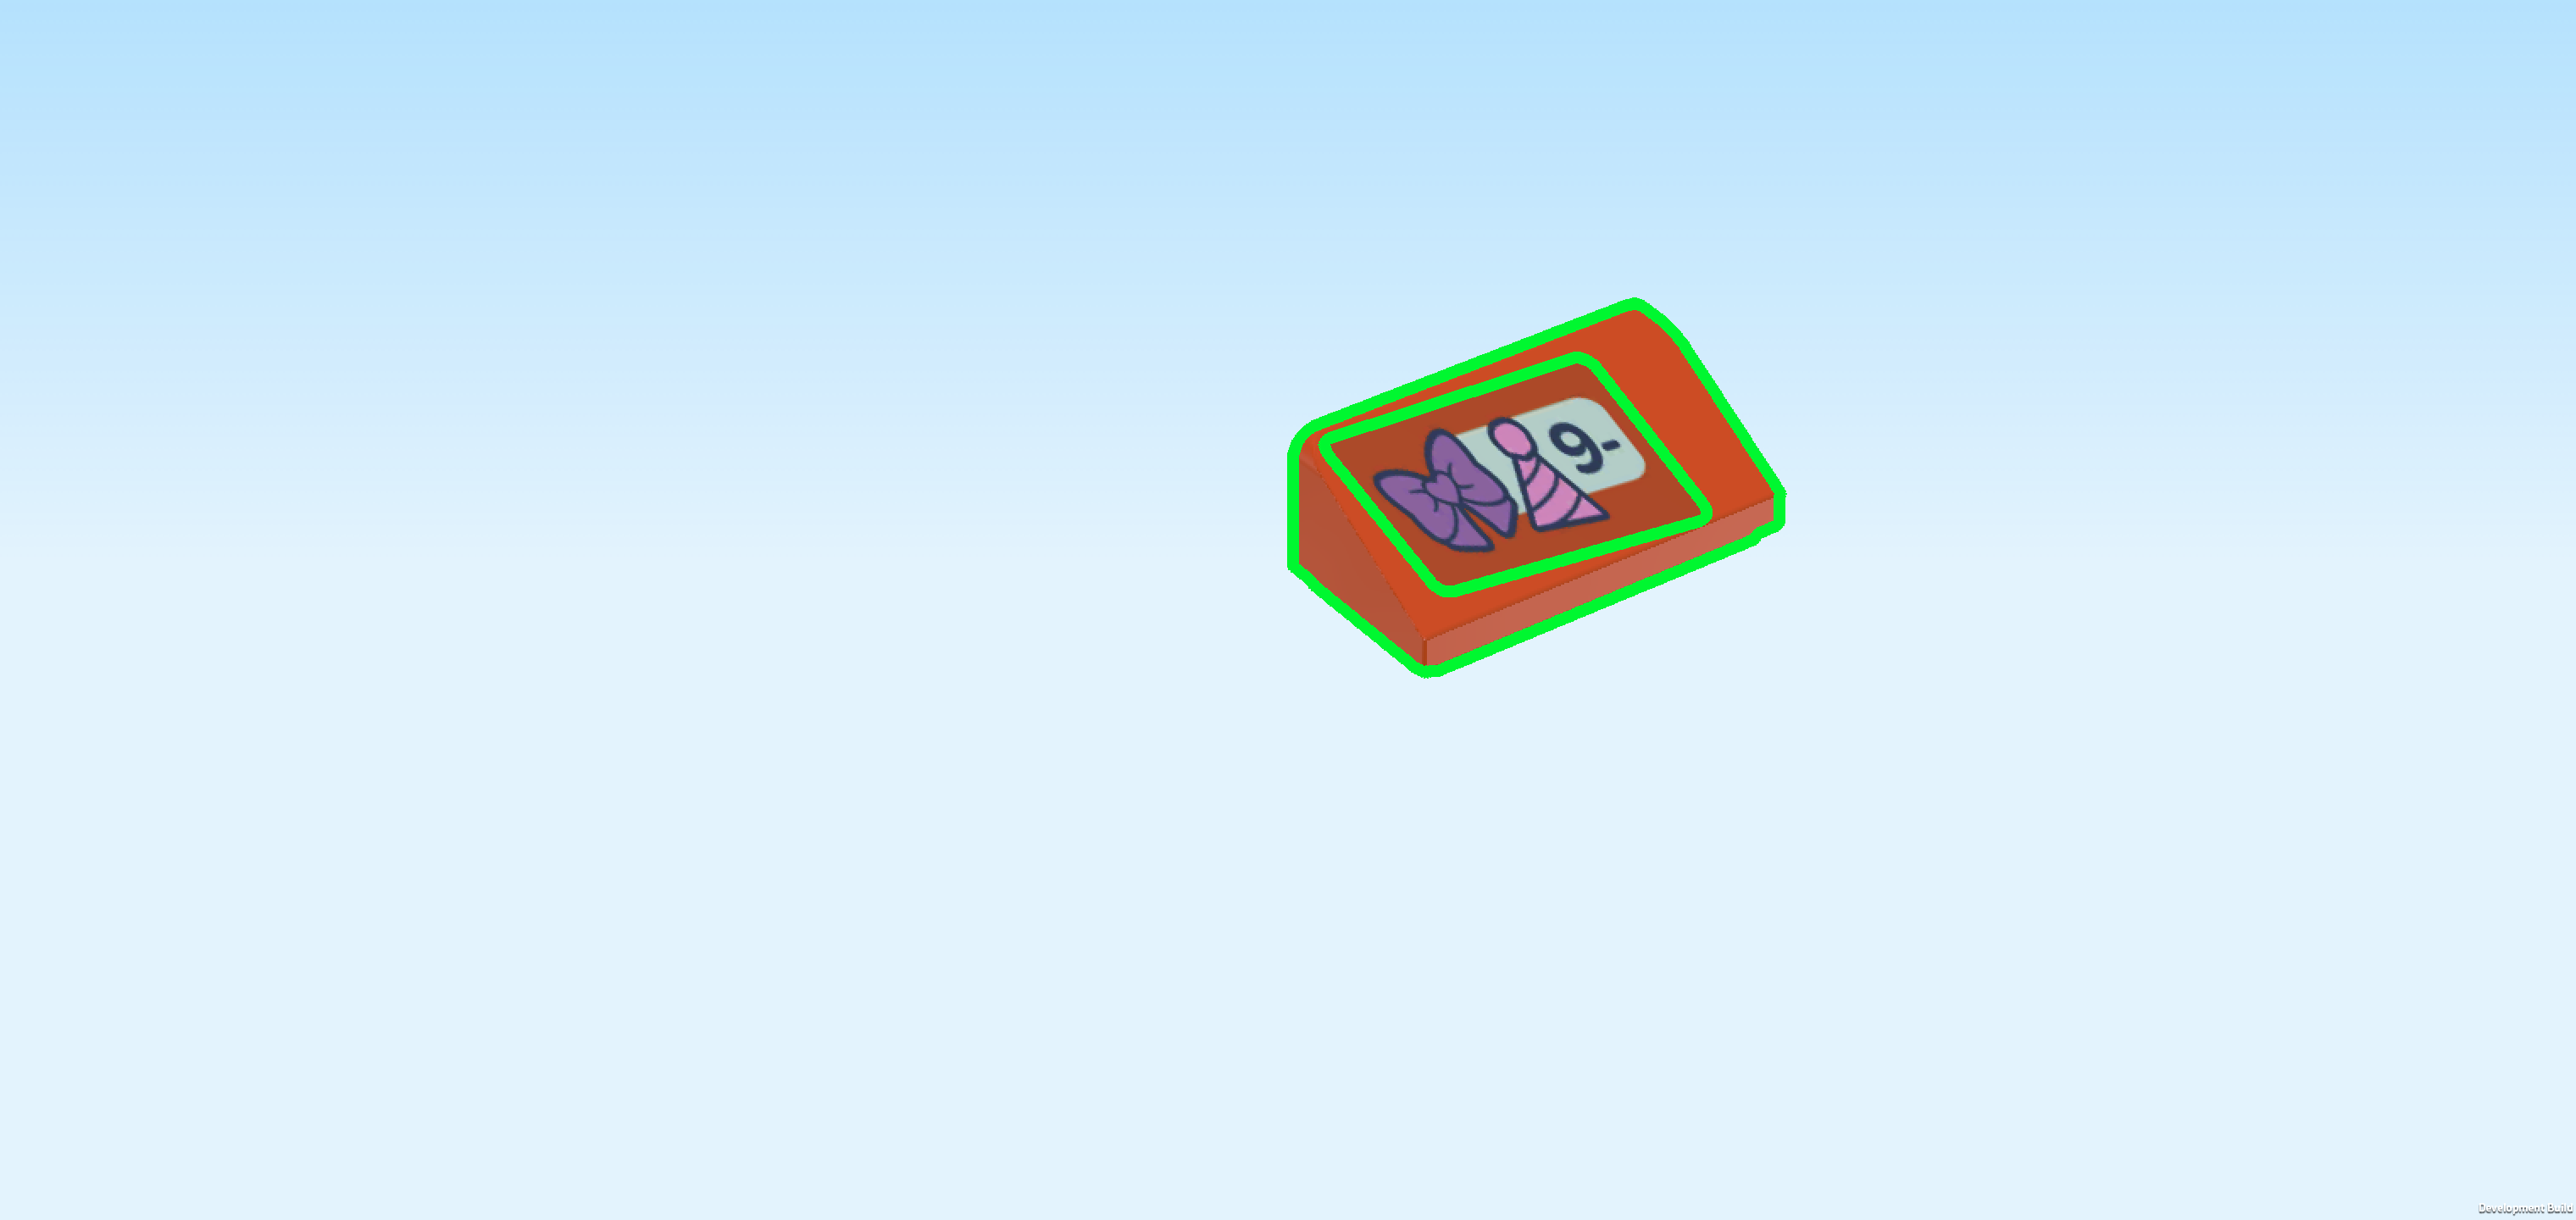
| 1 reddish orange smooth roof tile 1x2x⅔, |
| and 1 rectangular sticker 1x2 with accessory price tag. |
| Attach the sticker on the sloped surface of the roof tile. The sticker has an orange-red background just like the brick itself and there are icons of a lilac bow and a pink party hat on it. The price for these items is 9 each. |
| Put the roof tile 1x2 horizontally on the right half of the front row, slope towards the front. |
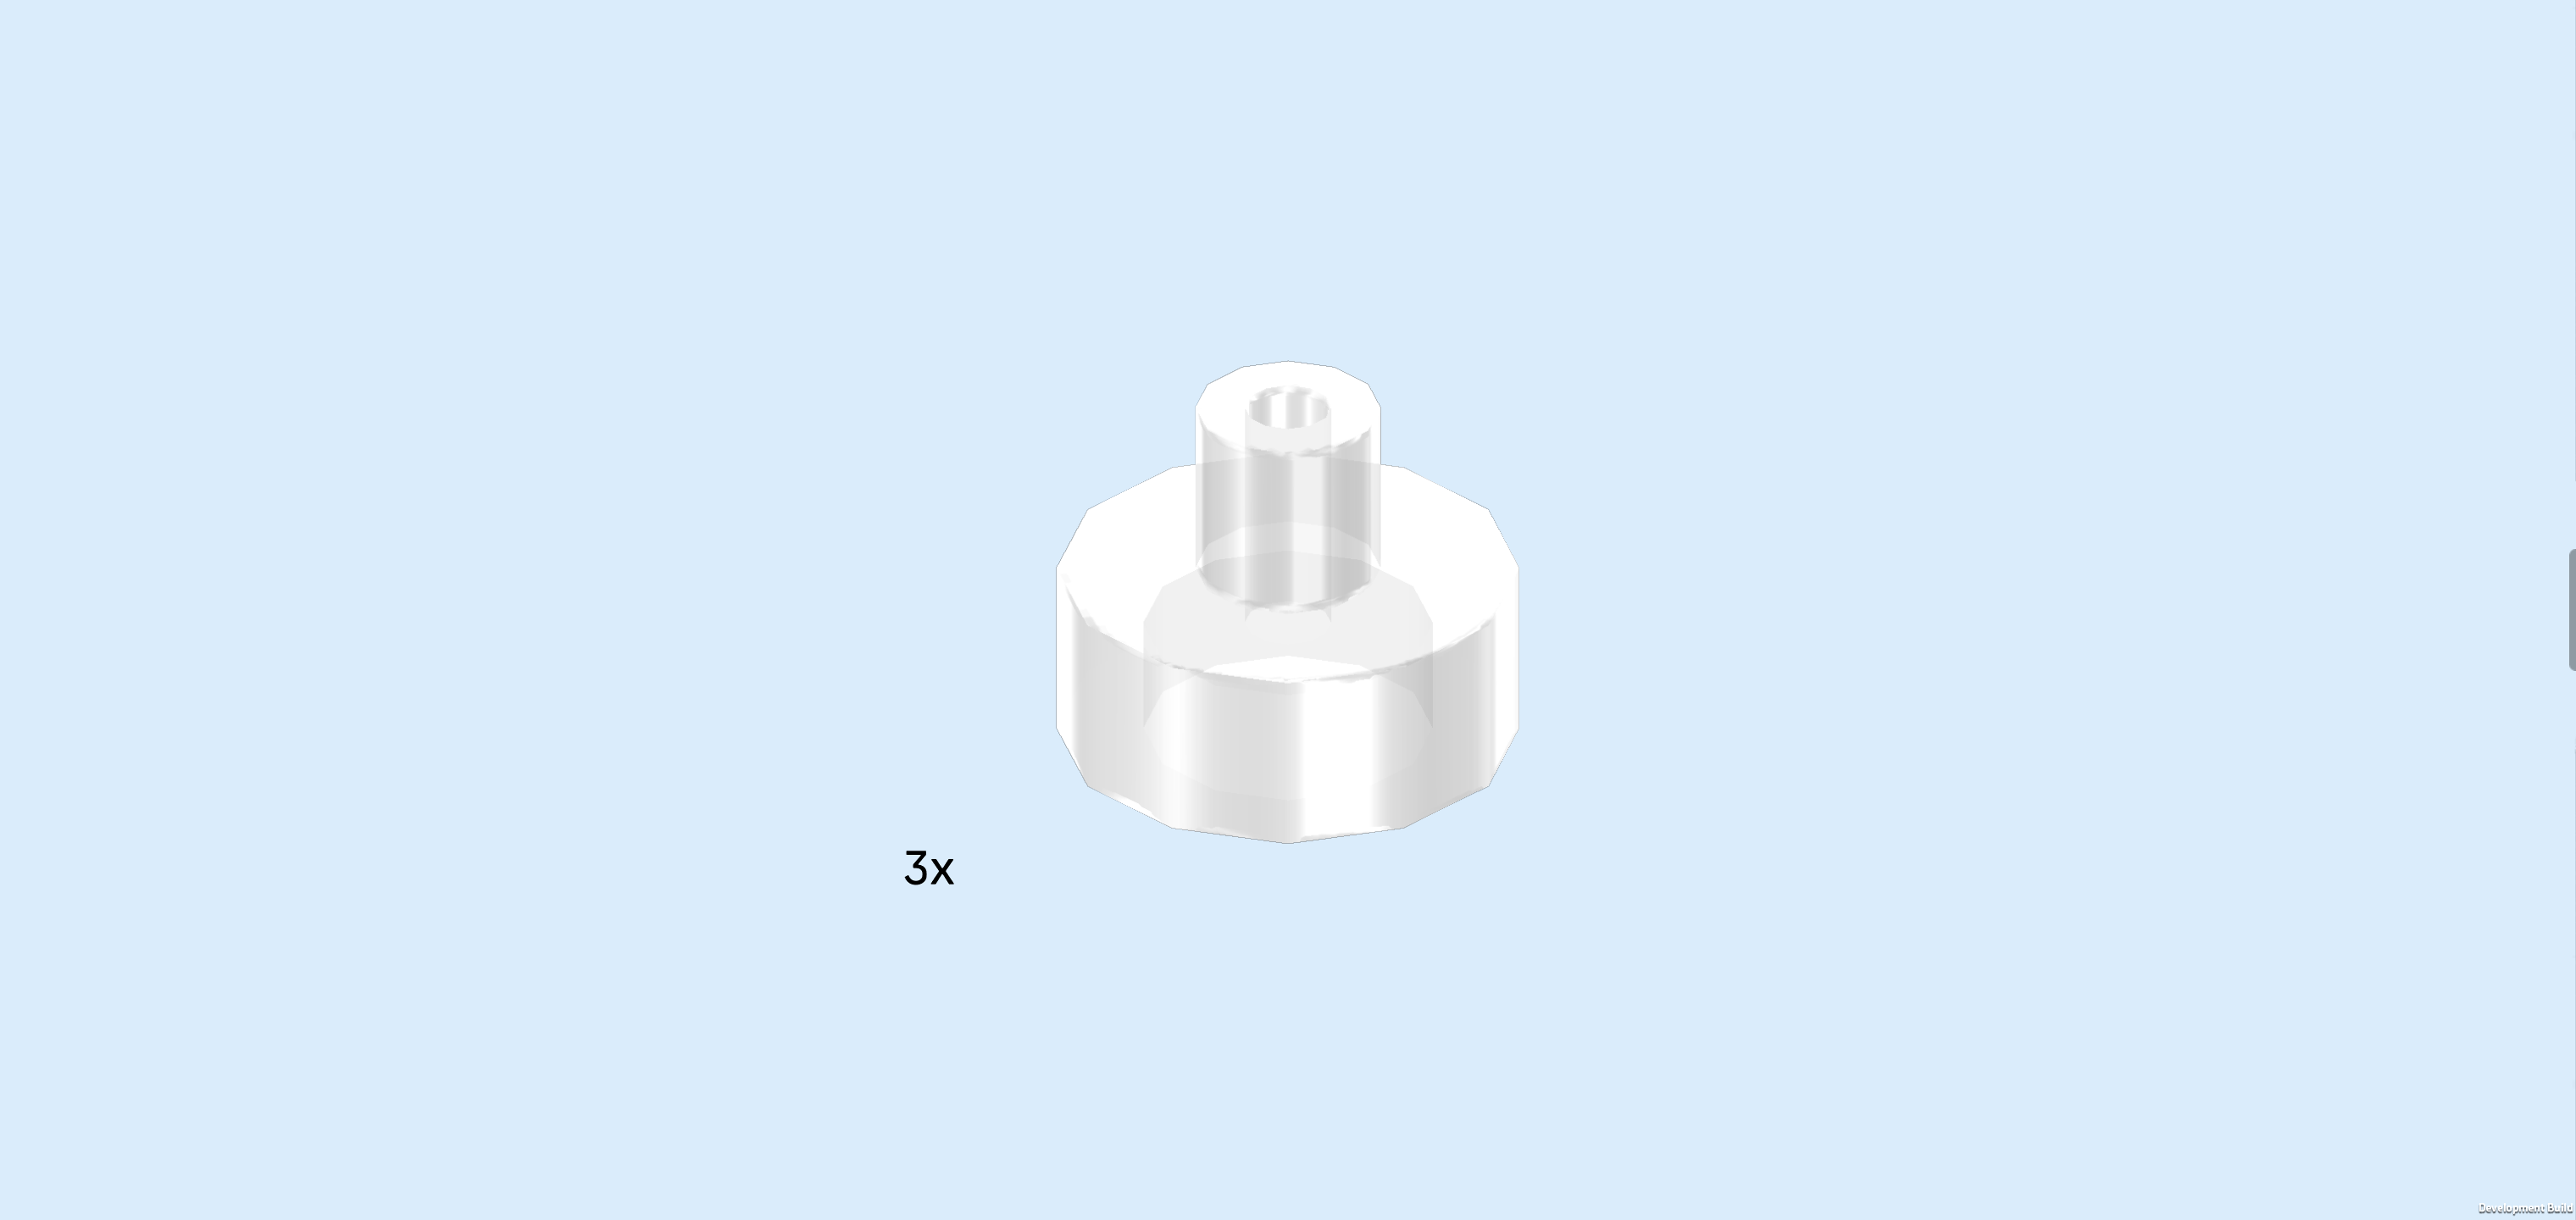
| Find 3 transparent round tiles 1x1 with small top shaft. |
| Put them on the 3 knobs that are remaining on the top surface of the structure. |
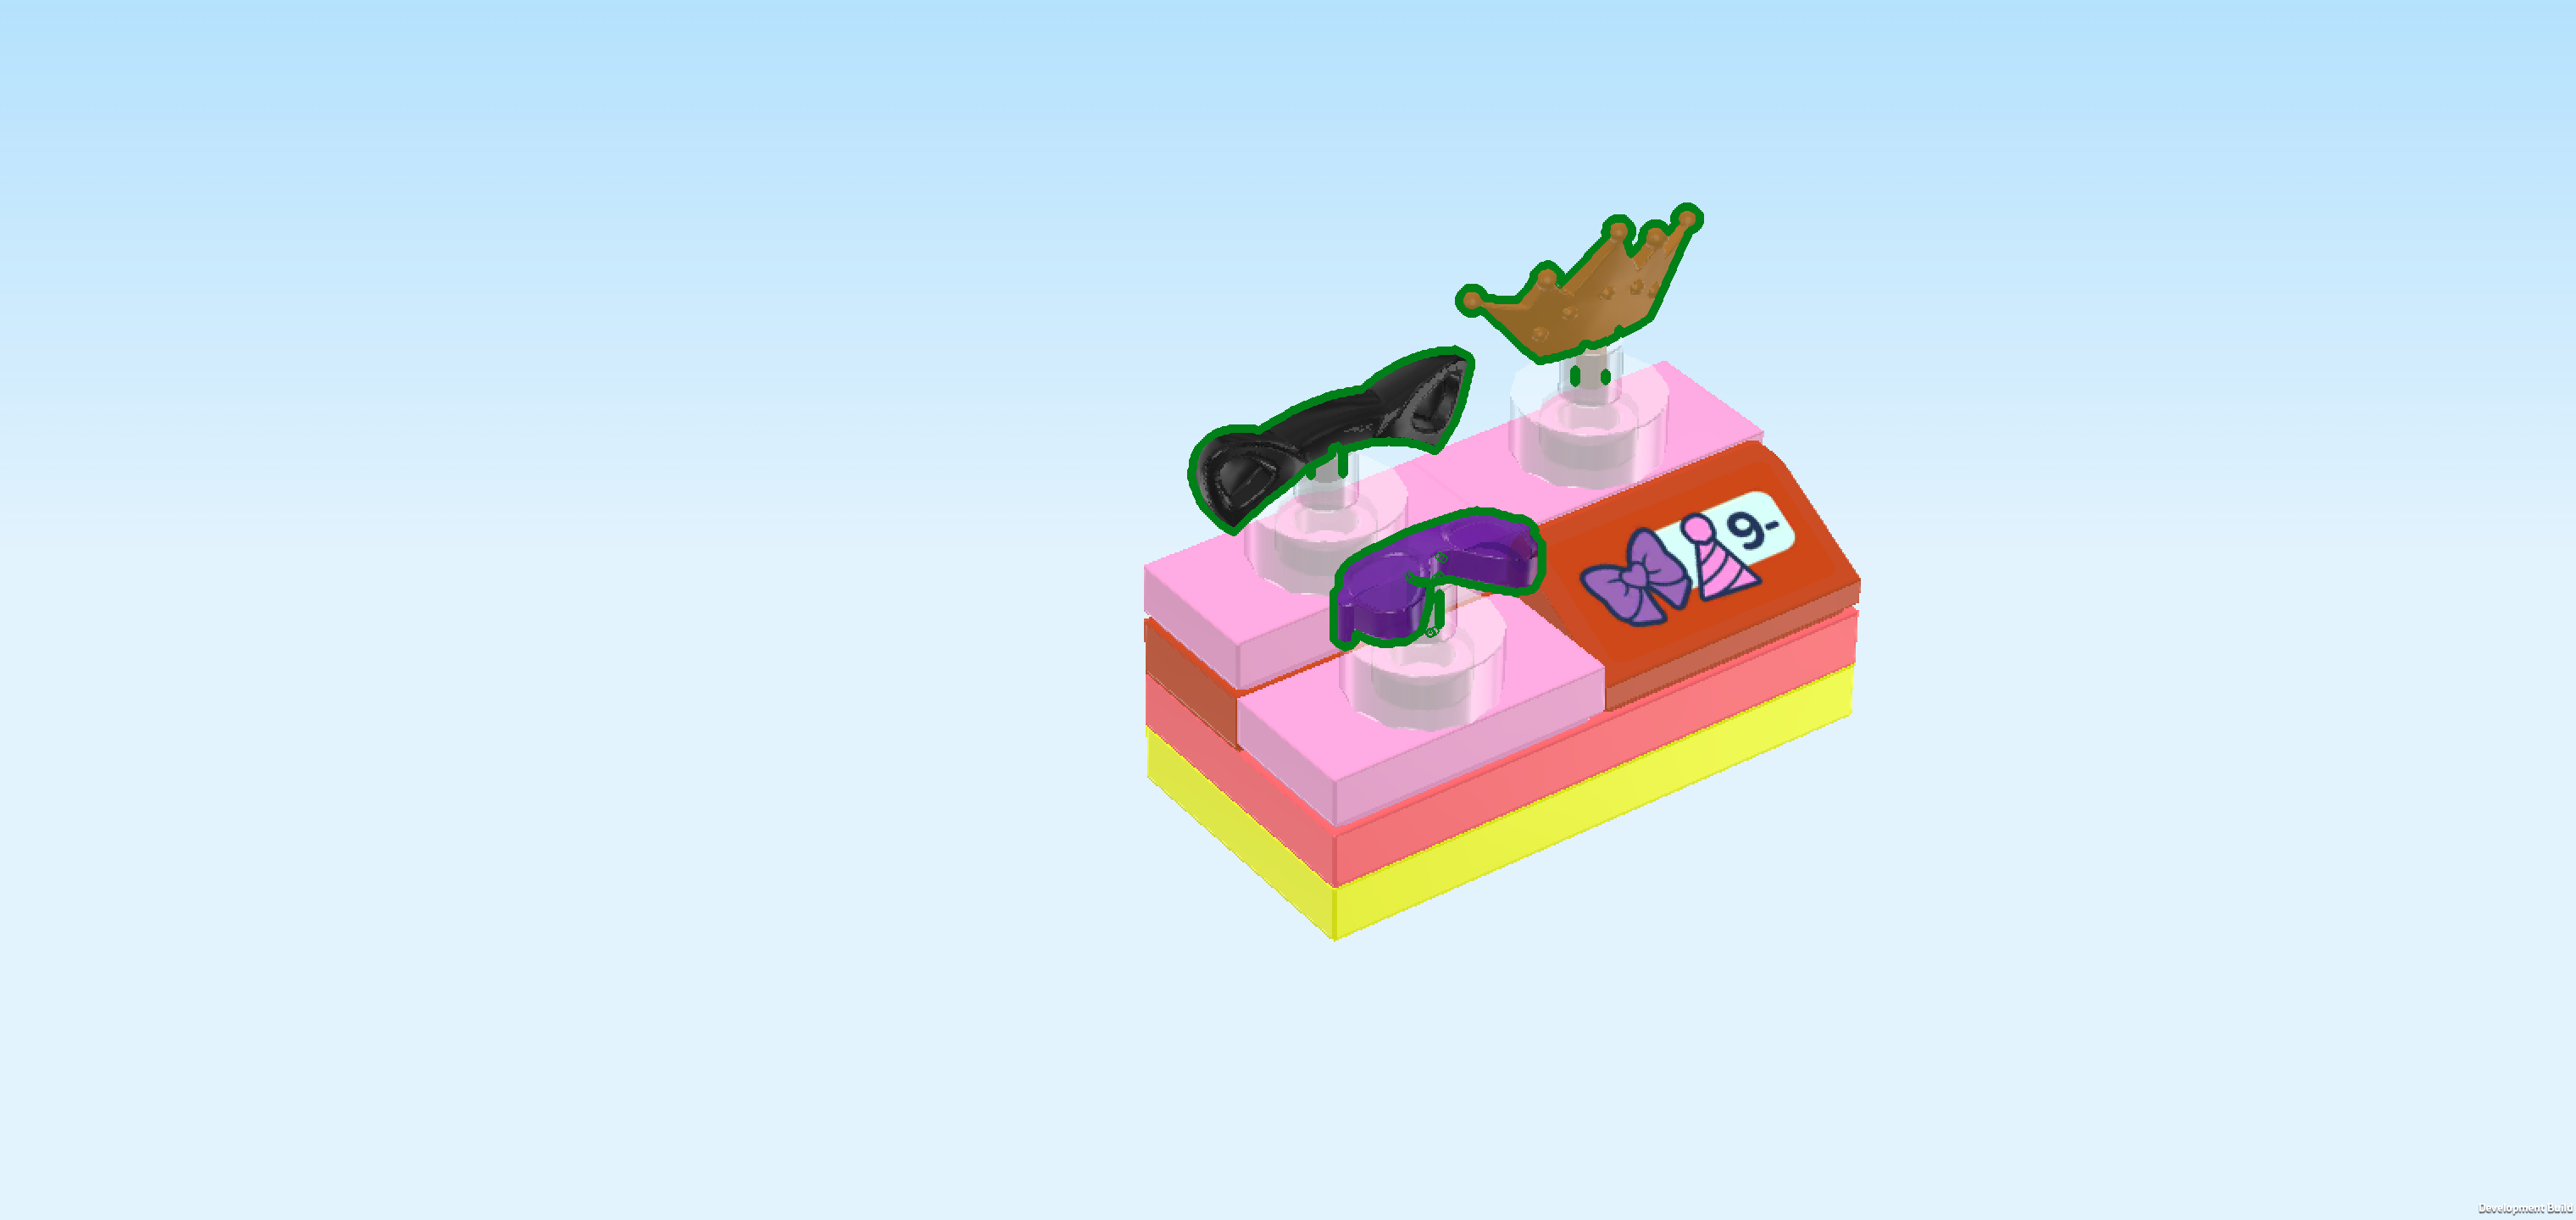
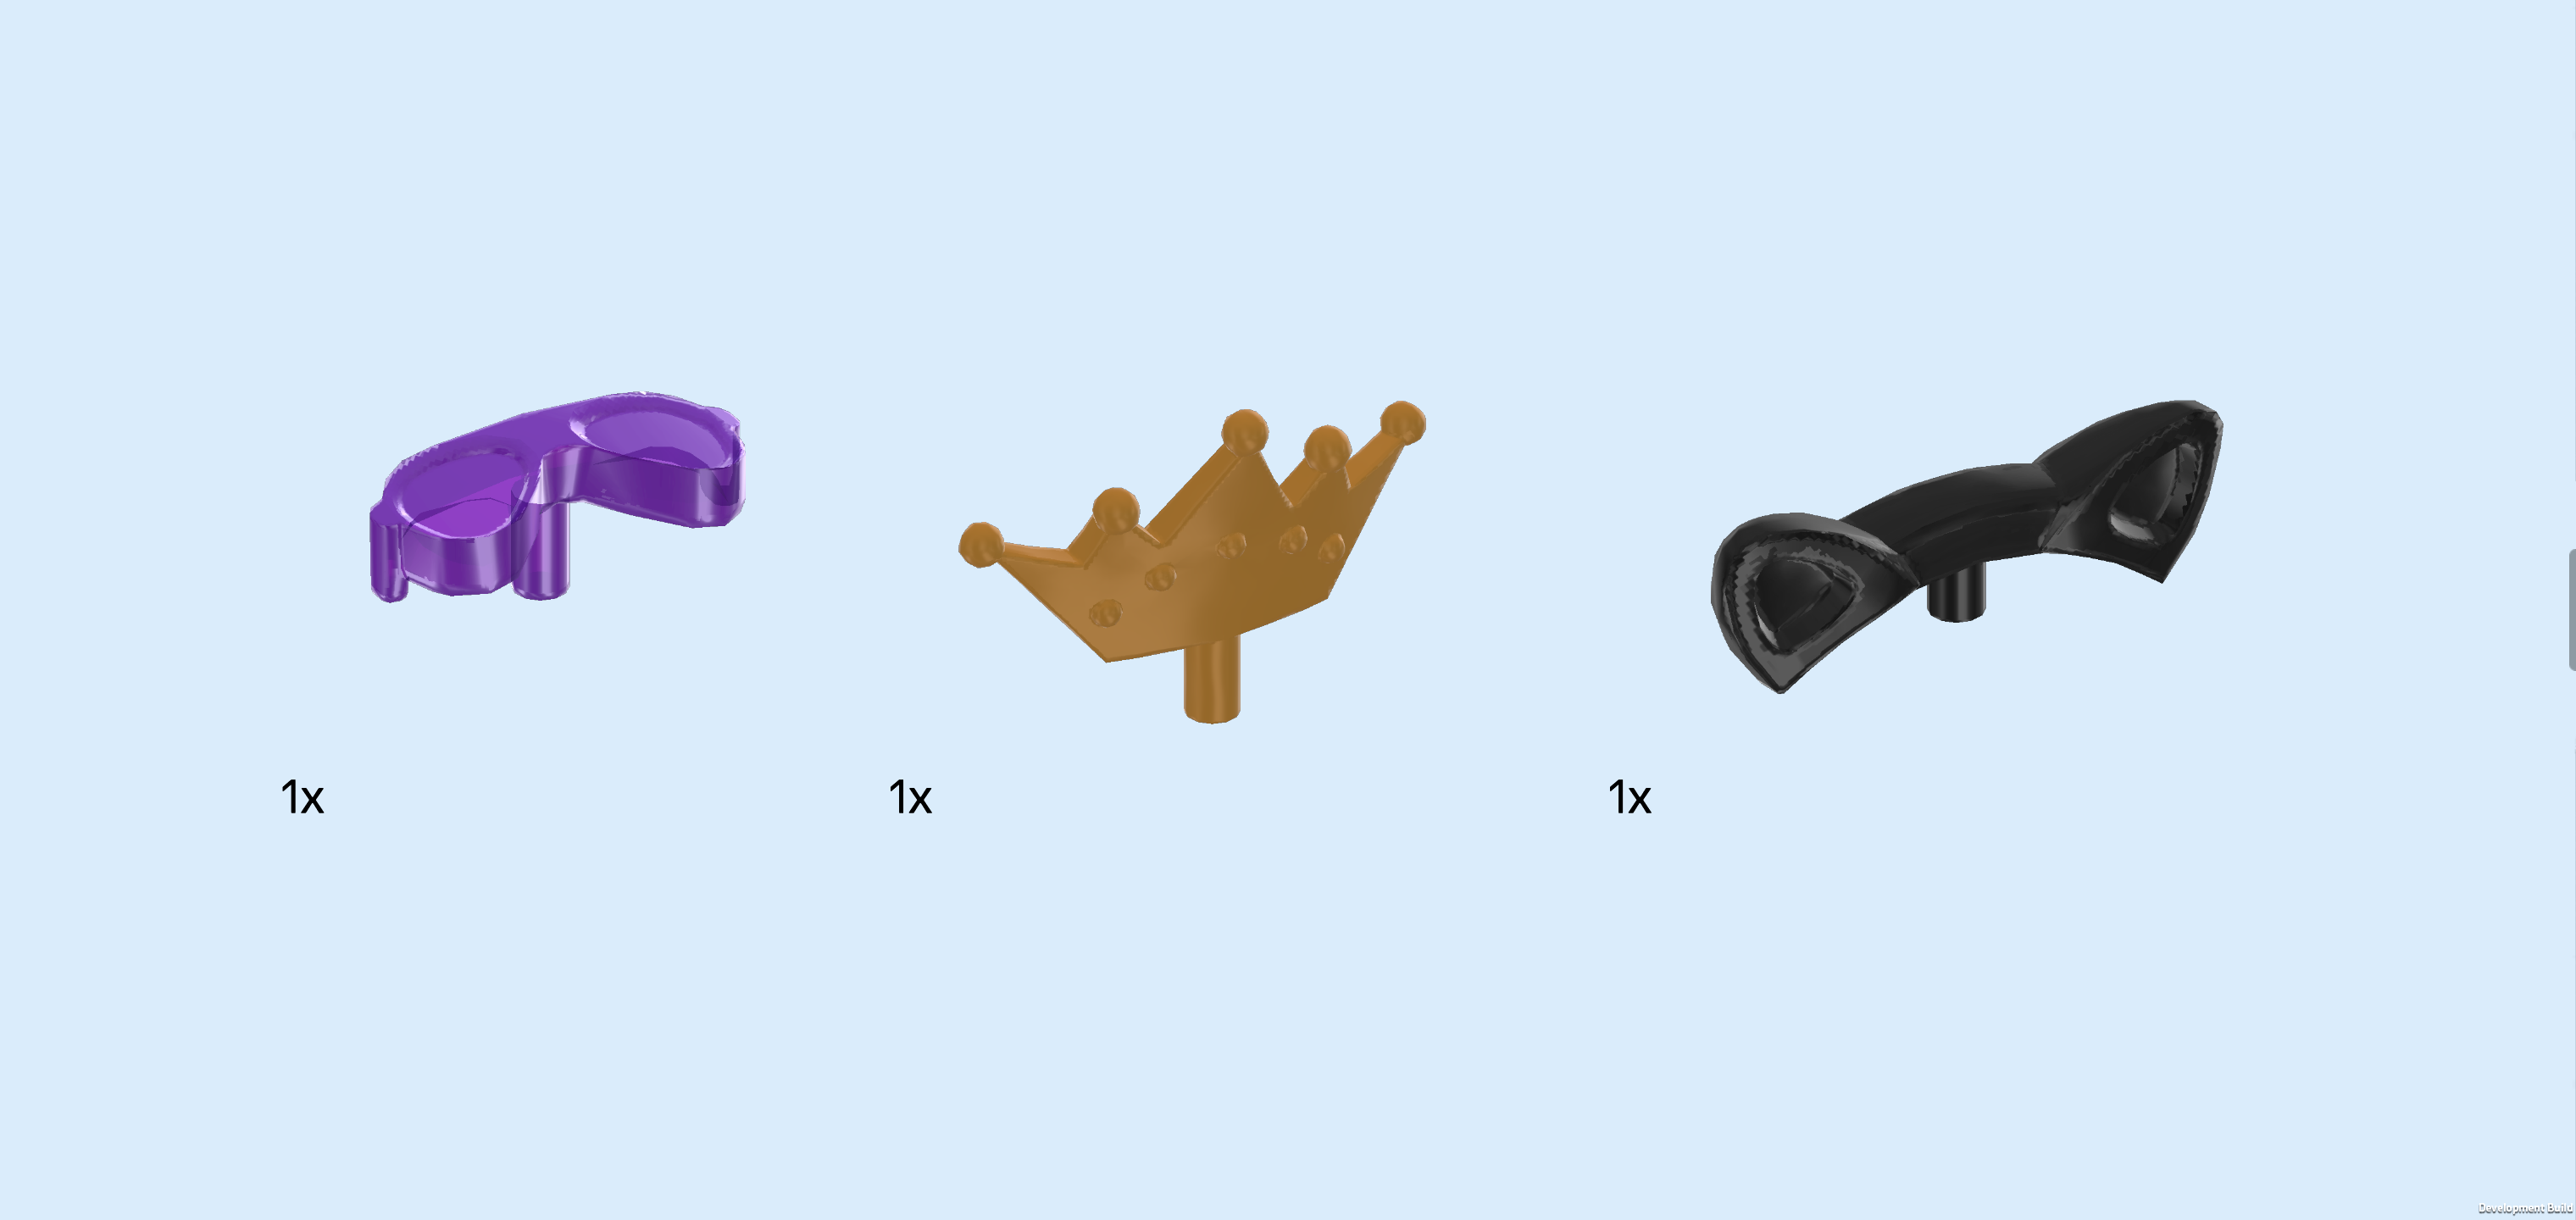
| Collect the following 3 pieces: |
| 1 transparent bright bluish violet pair of sunglasses with pin, |
| 1 warm gold tiara with pin, |
| and 1 black headband with cat ears and pin. |
| Insert the pins of these 3 items into the holes of the small top shafts of the 3 previous pieces. You can arrange them as you please. In our version, the tiara is in the back right location, the cat ears are in the back left location and the sunglasses are in the front left location. |
| Turn them horizontally so they are optimally presented the customers. |
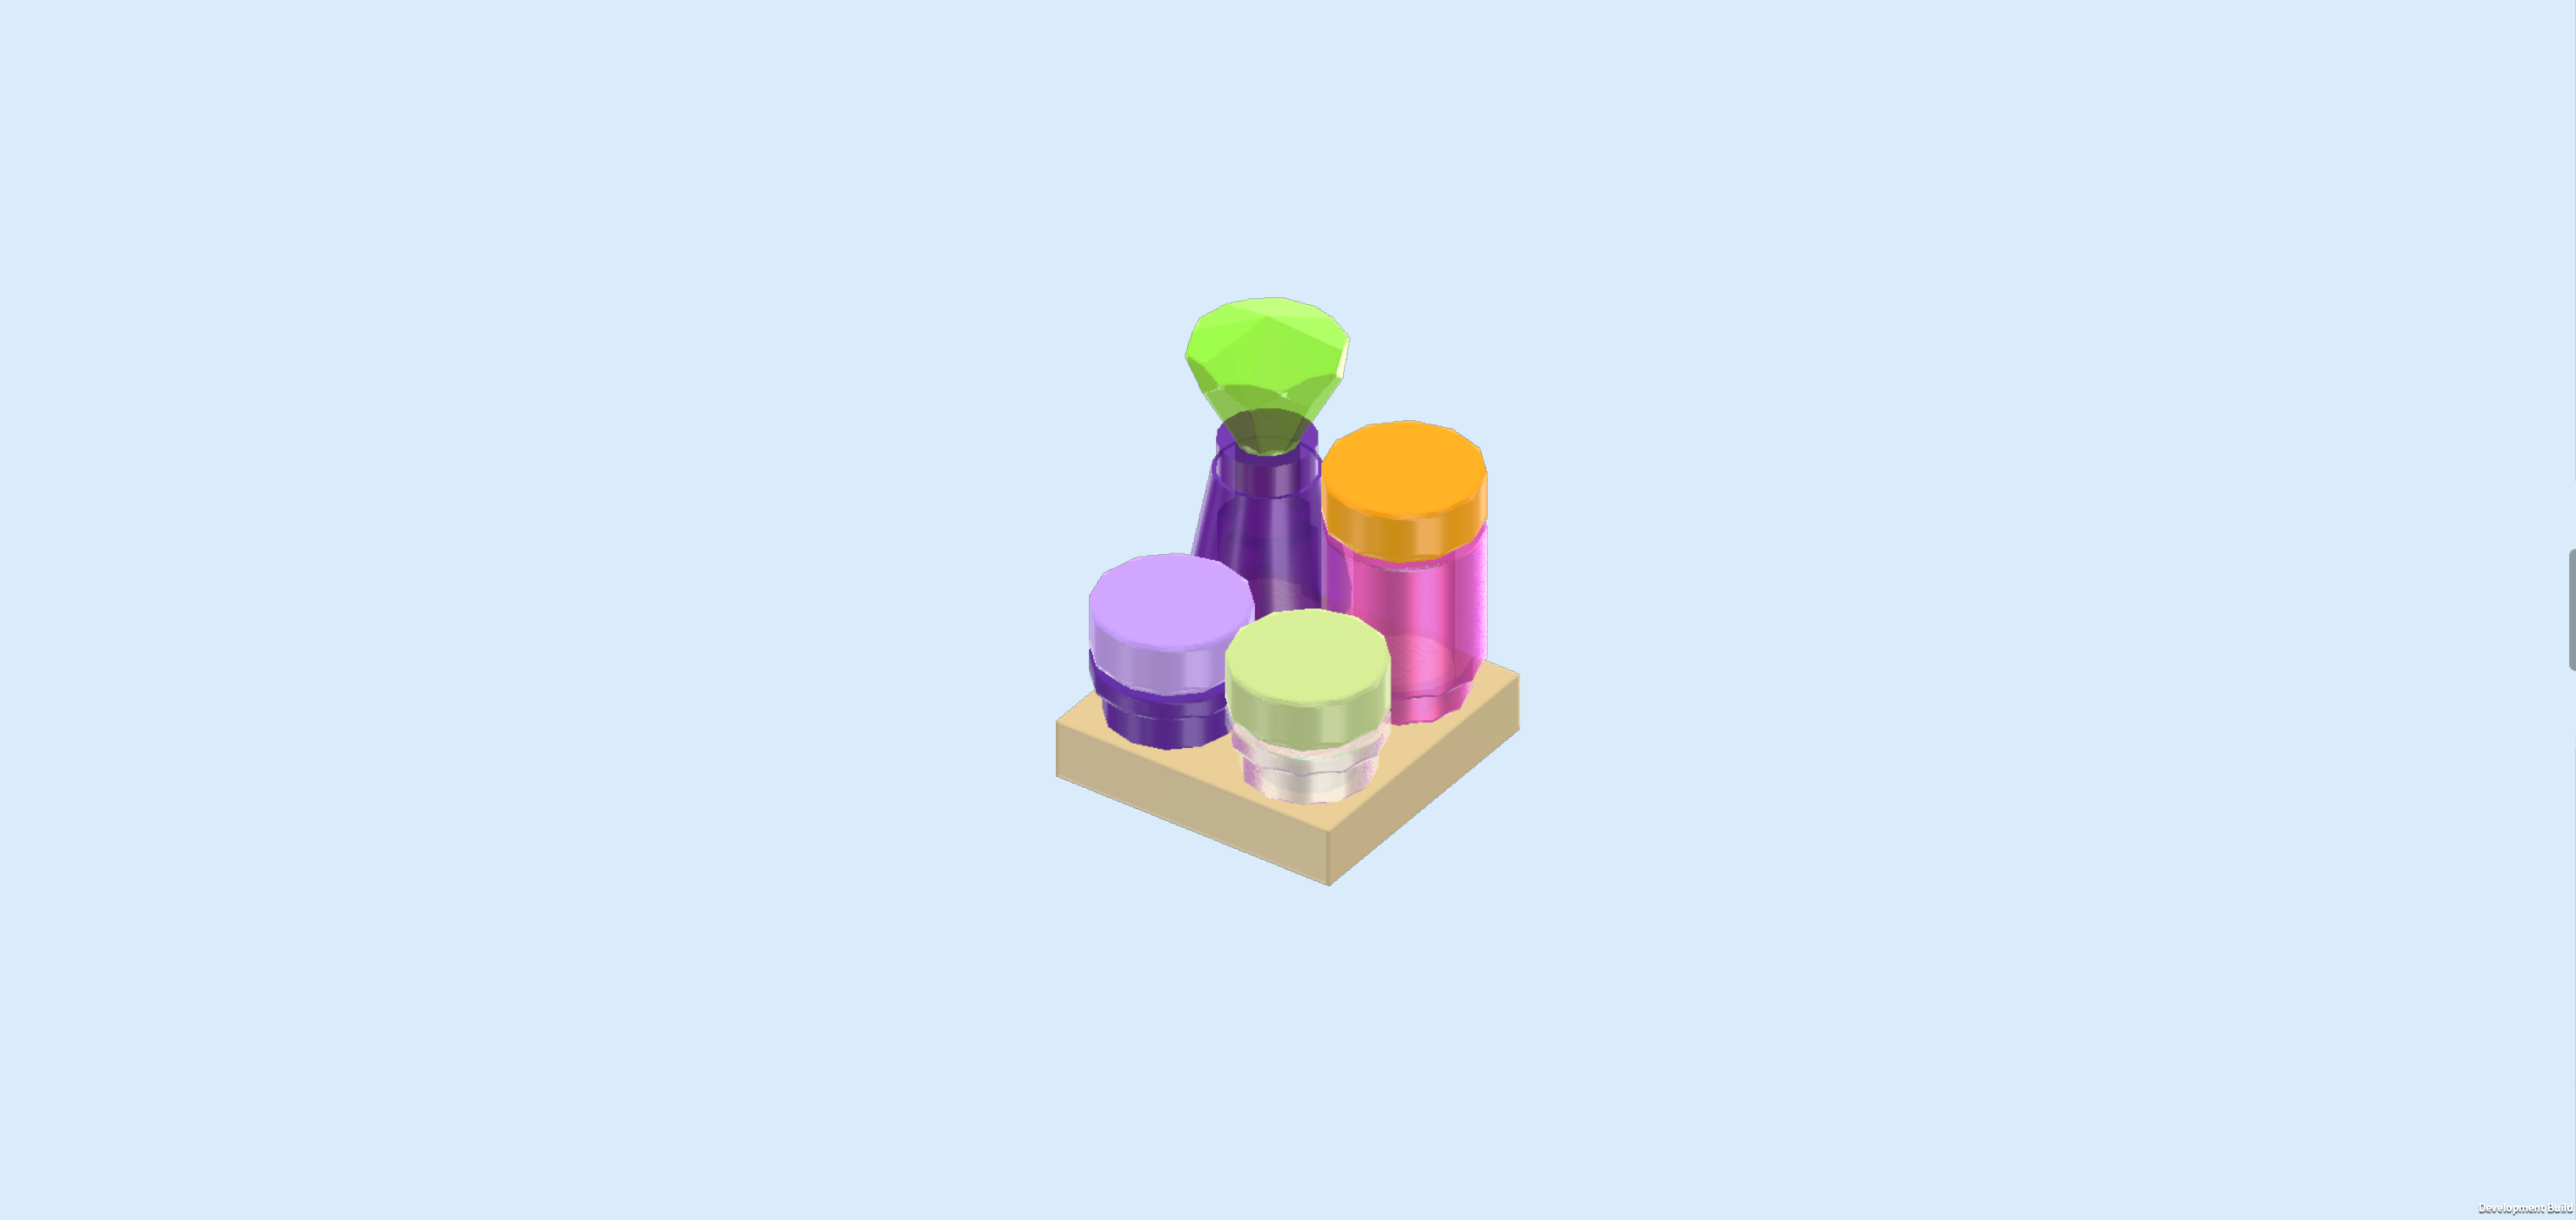
| The hair accessory display is finished! Great job! This works as a take-out display as well as a fixture in the shop. We will later tell you where you can mount it within the shop if you want. |
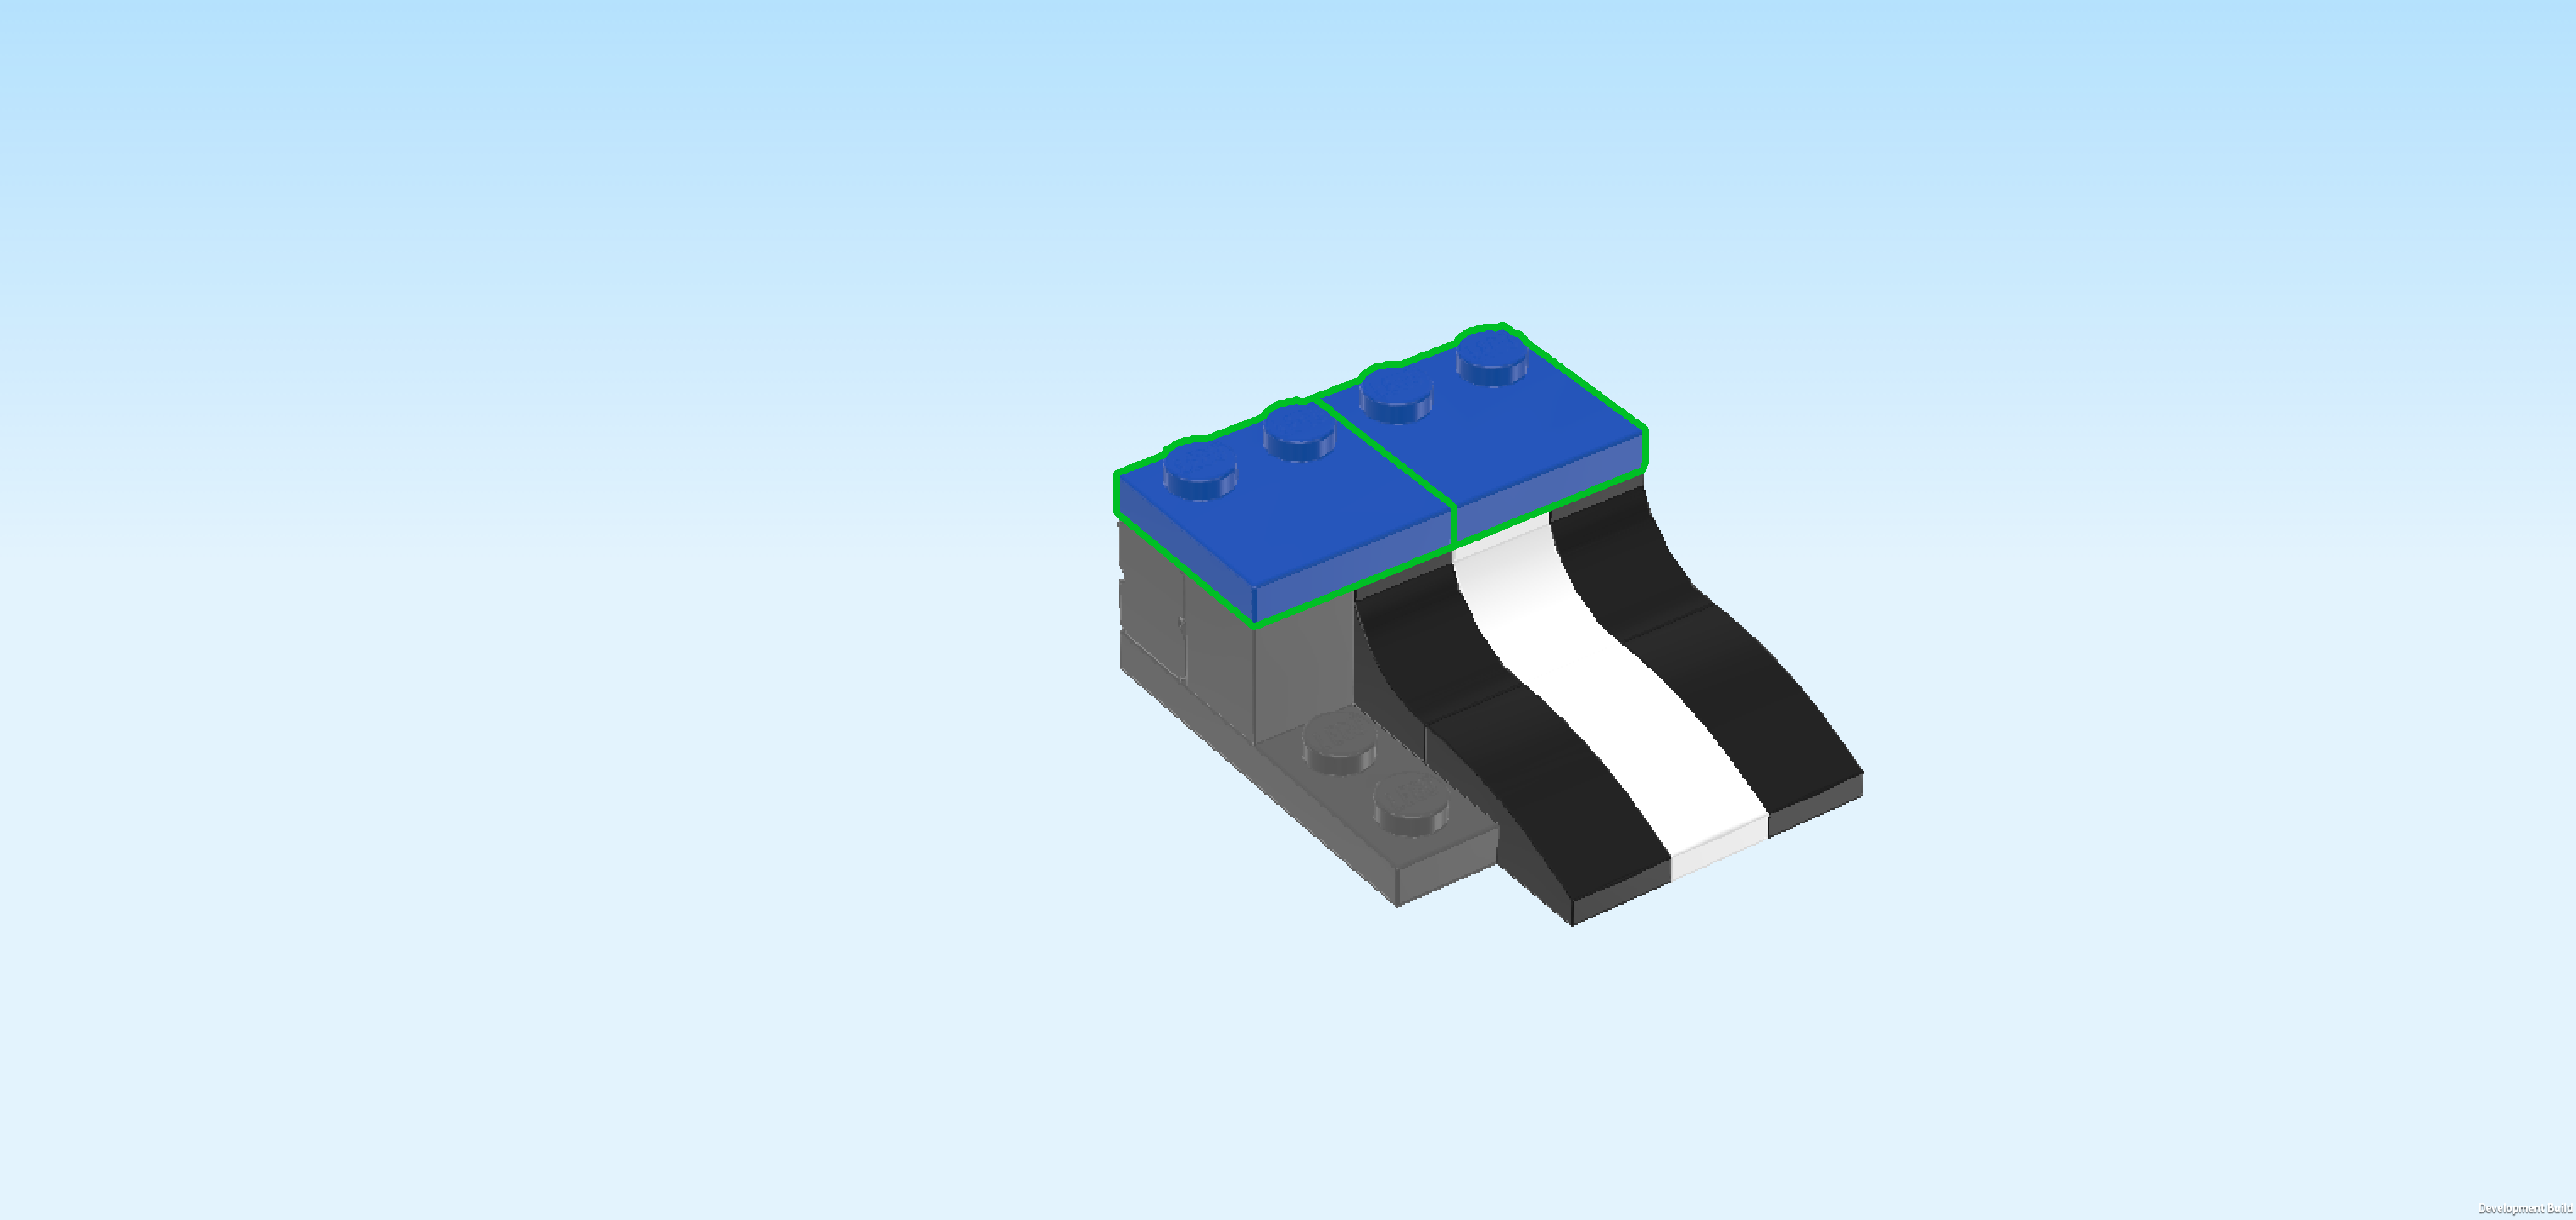
| Next, we will build the skate ramp. |
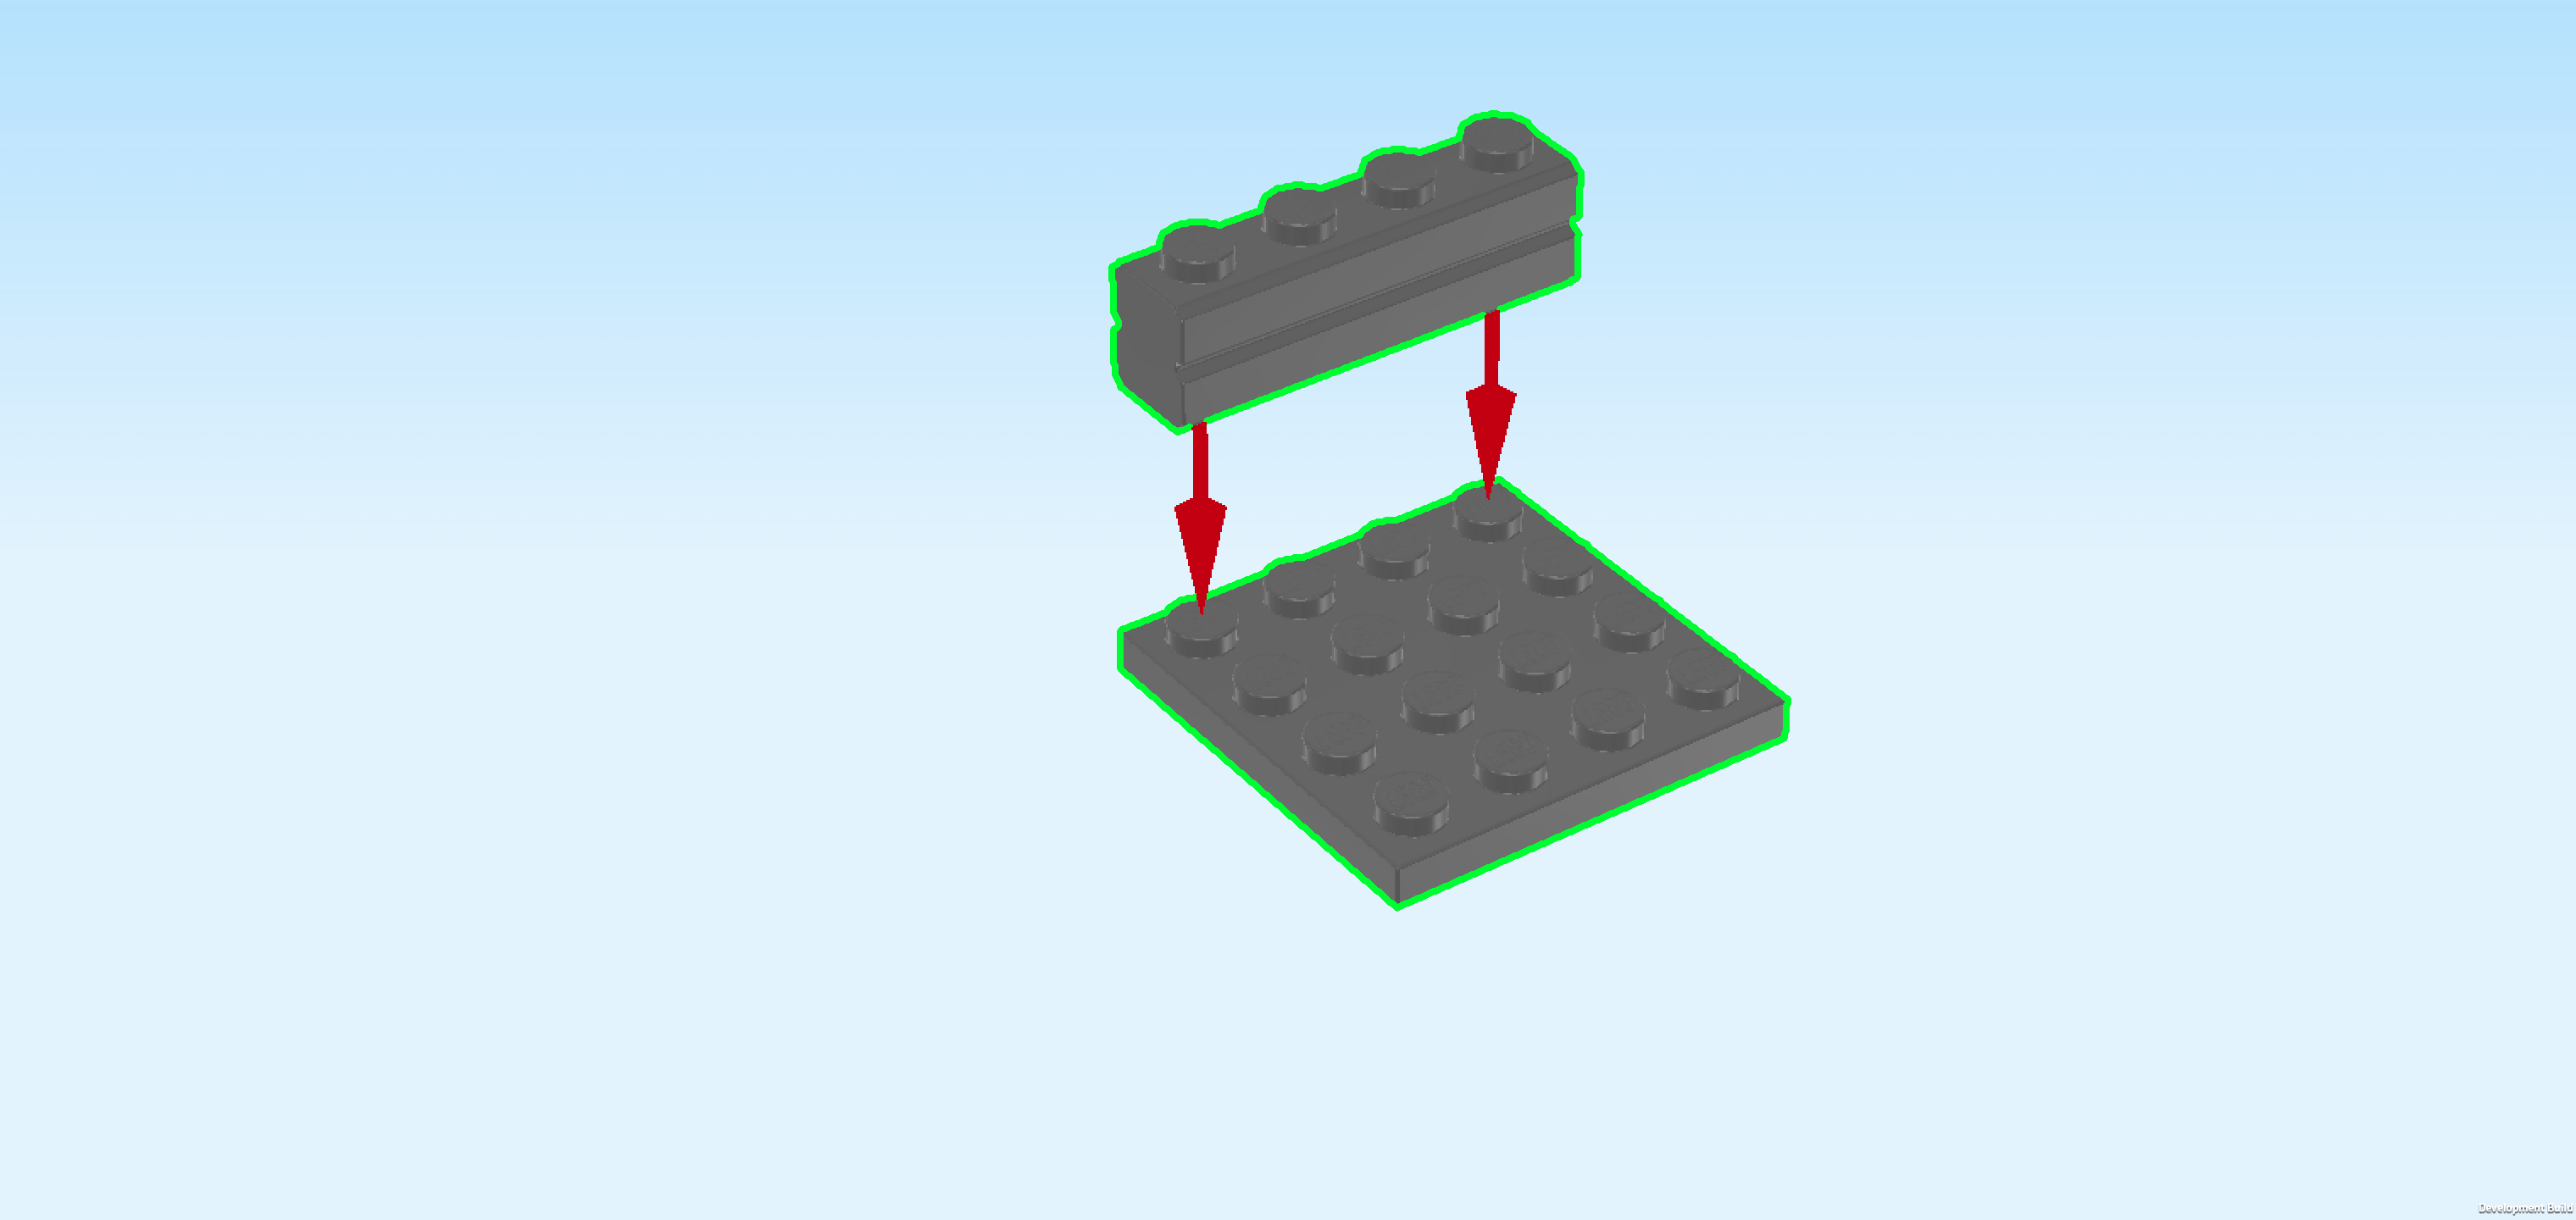
| Collect the following 2 pieces: |
| 1 dark stone grey plate 4x4, |
| and 1 dark stone grey profile brick 1x4 with brick carvings. |
| Put the plate 4x4 on the table. Make sure its knobs form straight rows and columns in front of you. |
| Put the profile brick 1x4 horizontally on the backmost row, brick carvings to the back. |
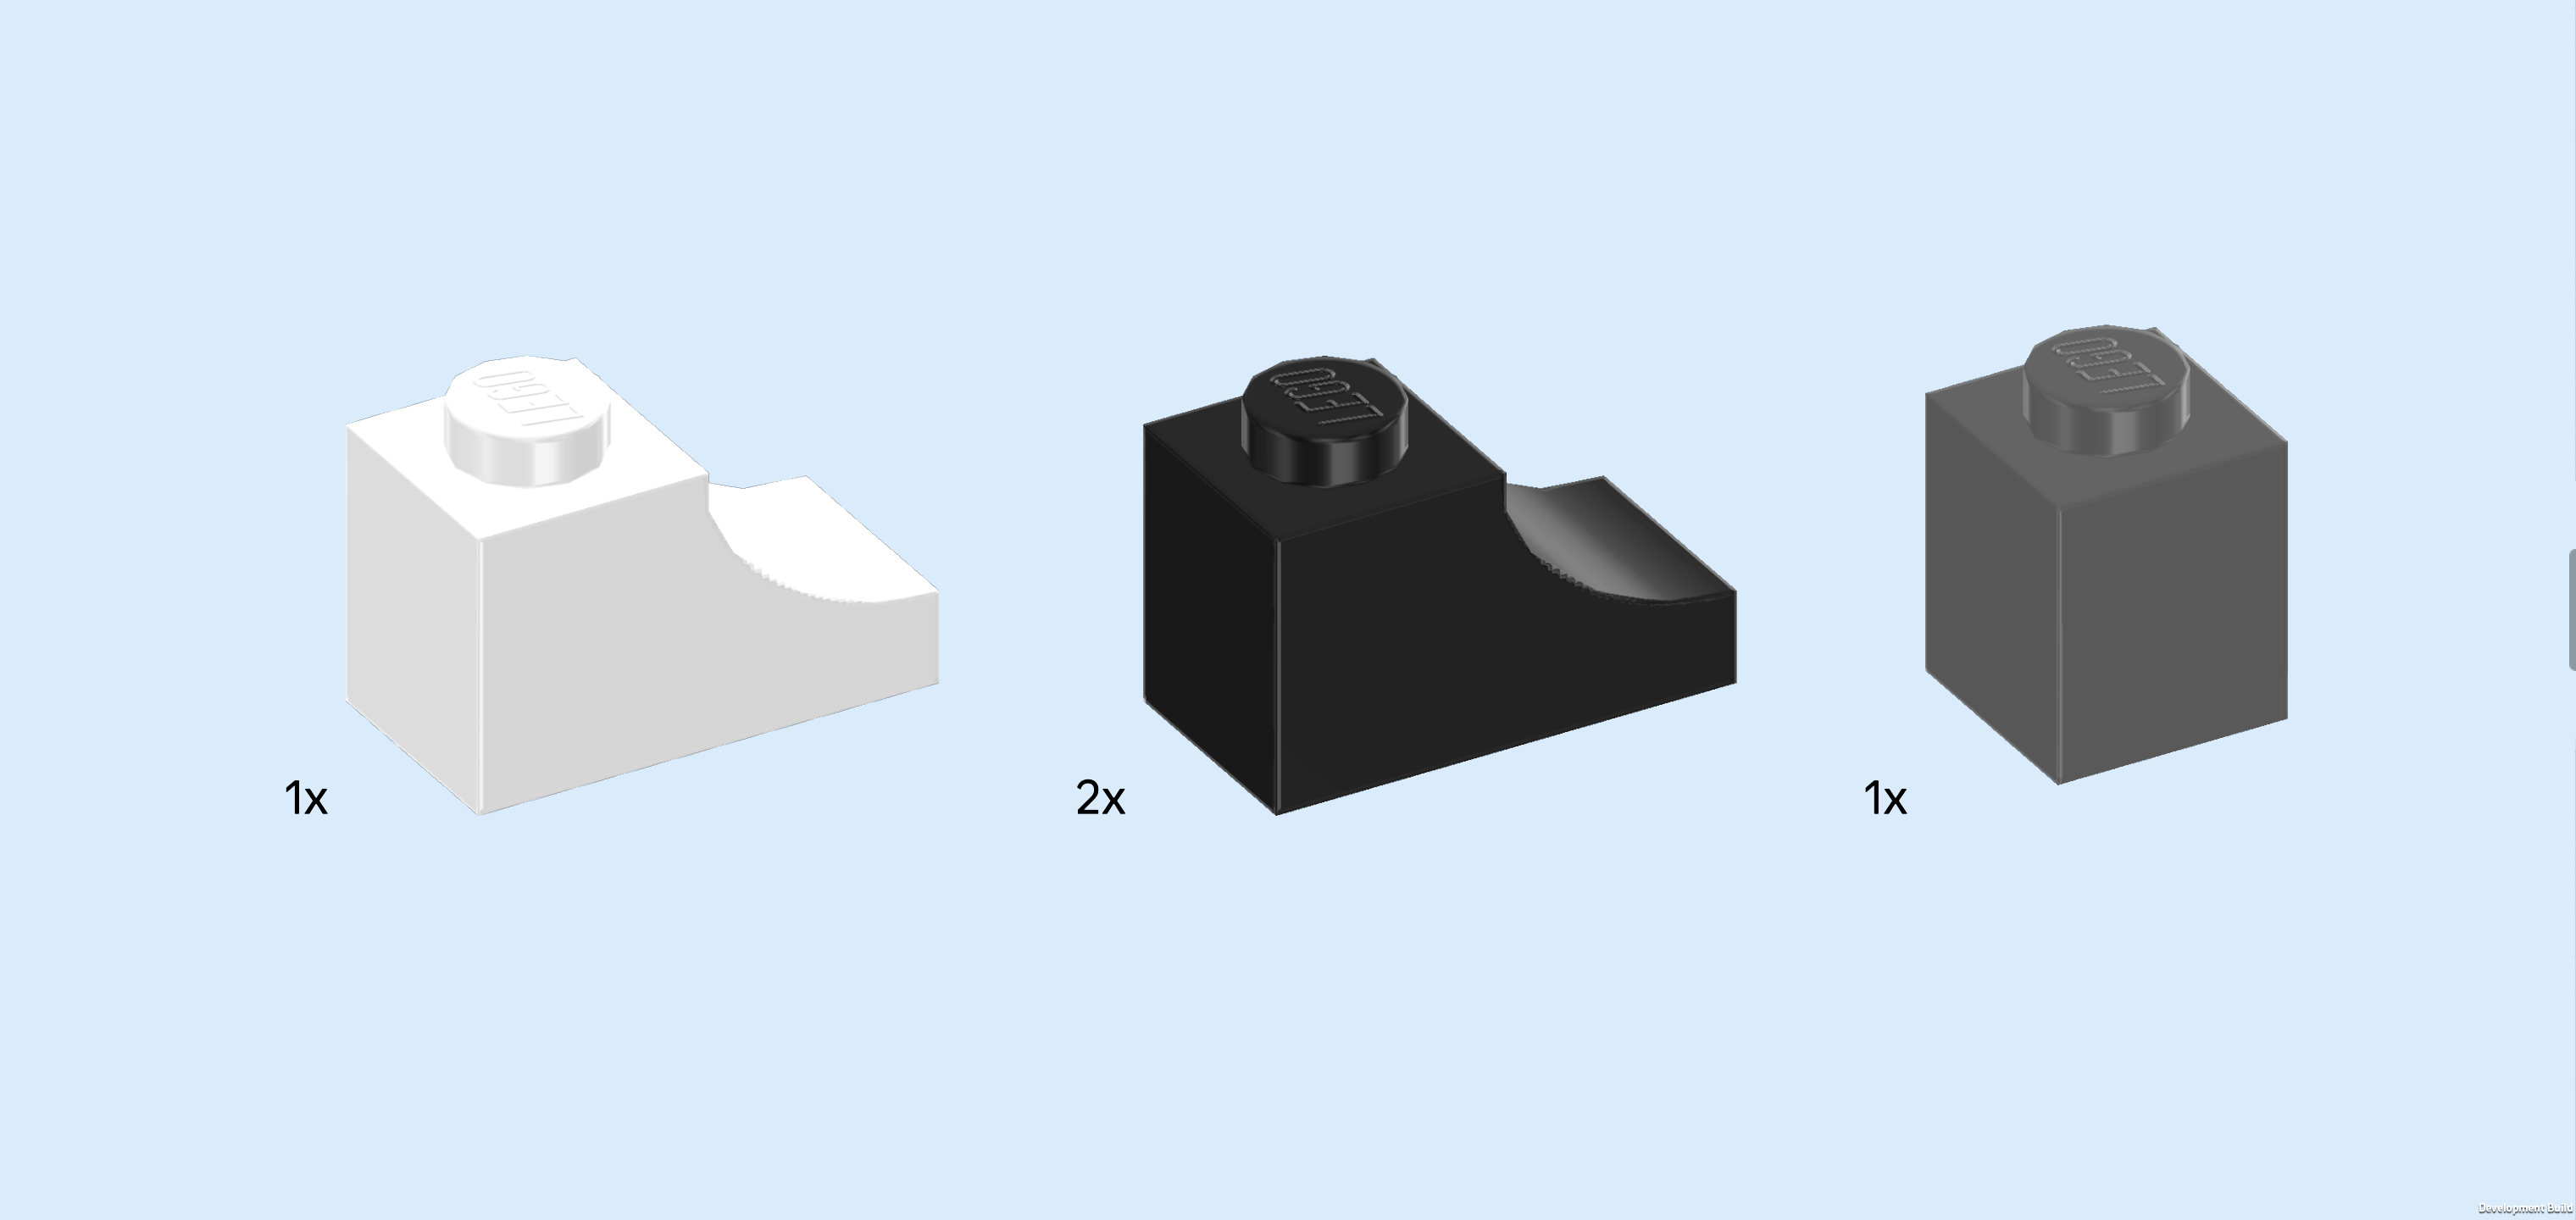
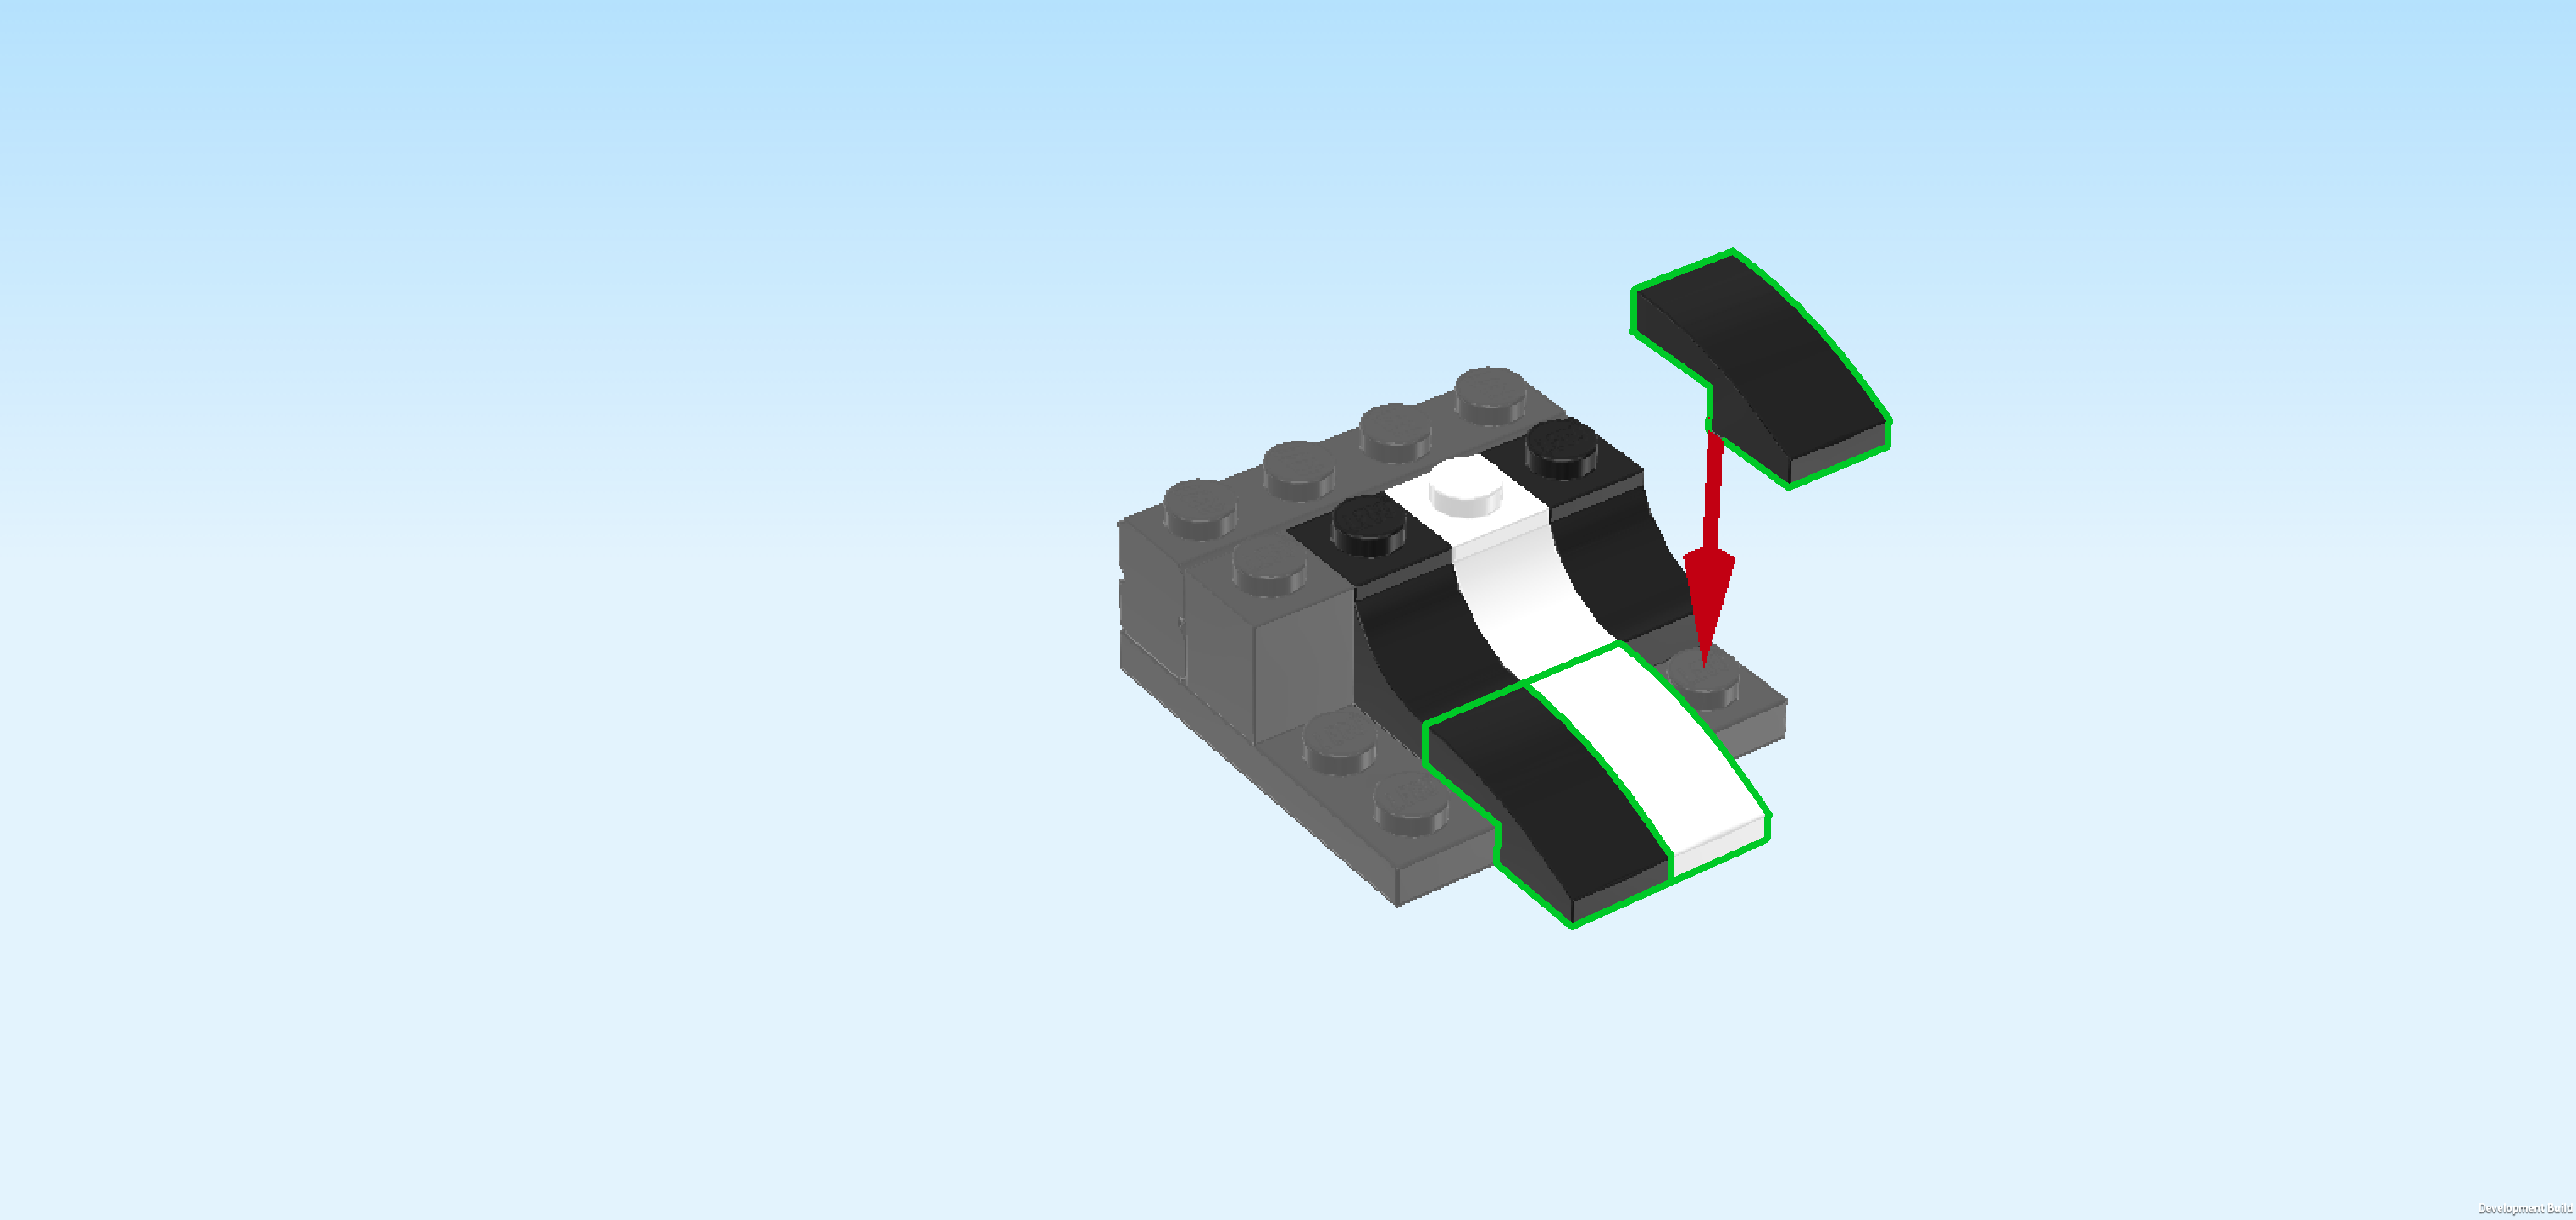
| Collect the following 4 pieces: |
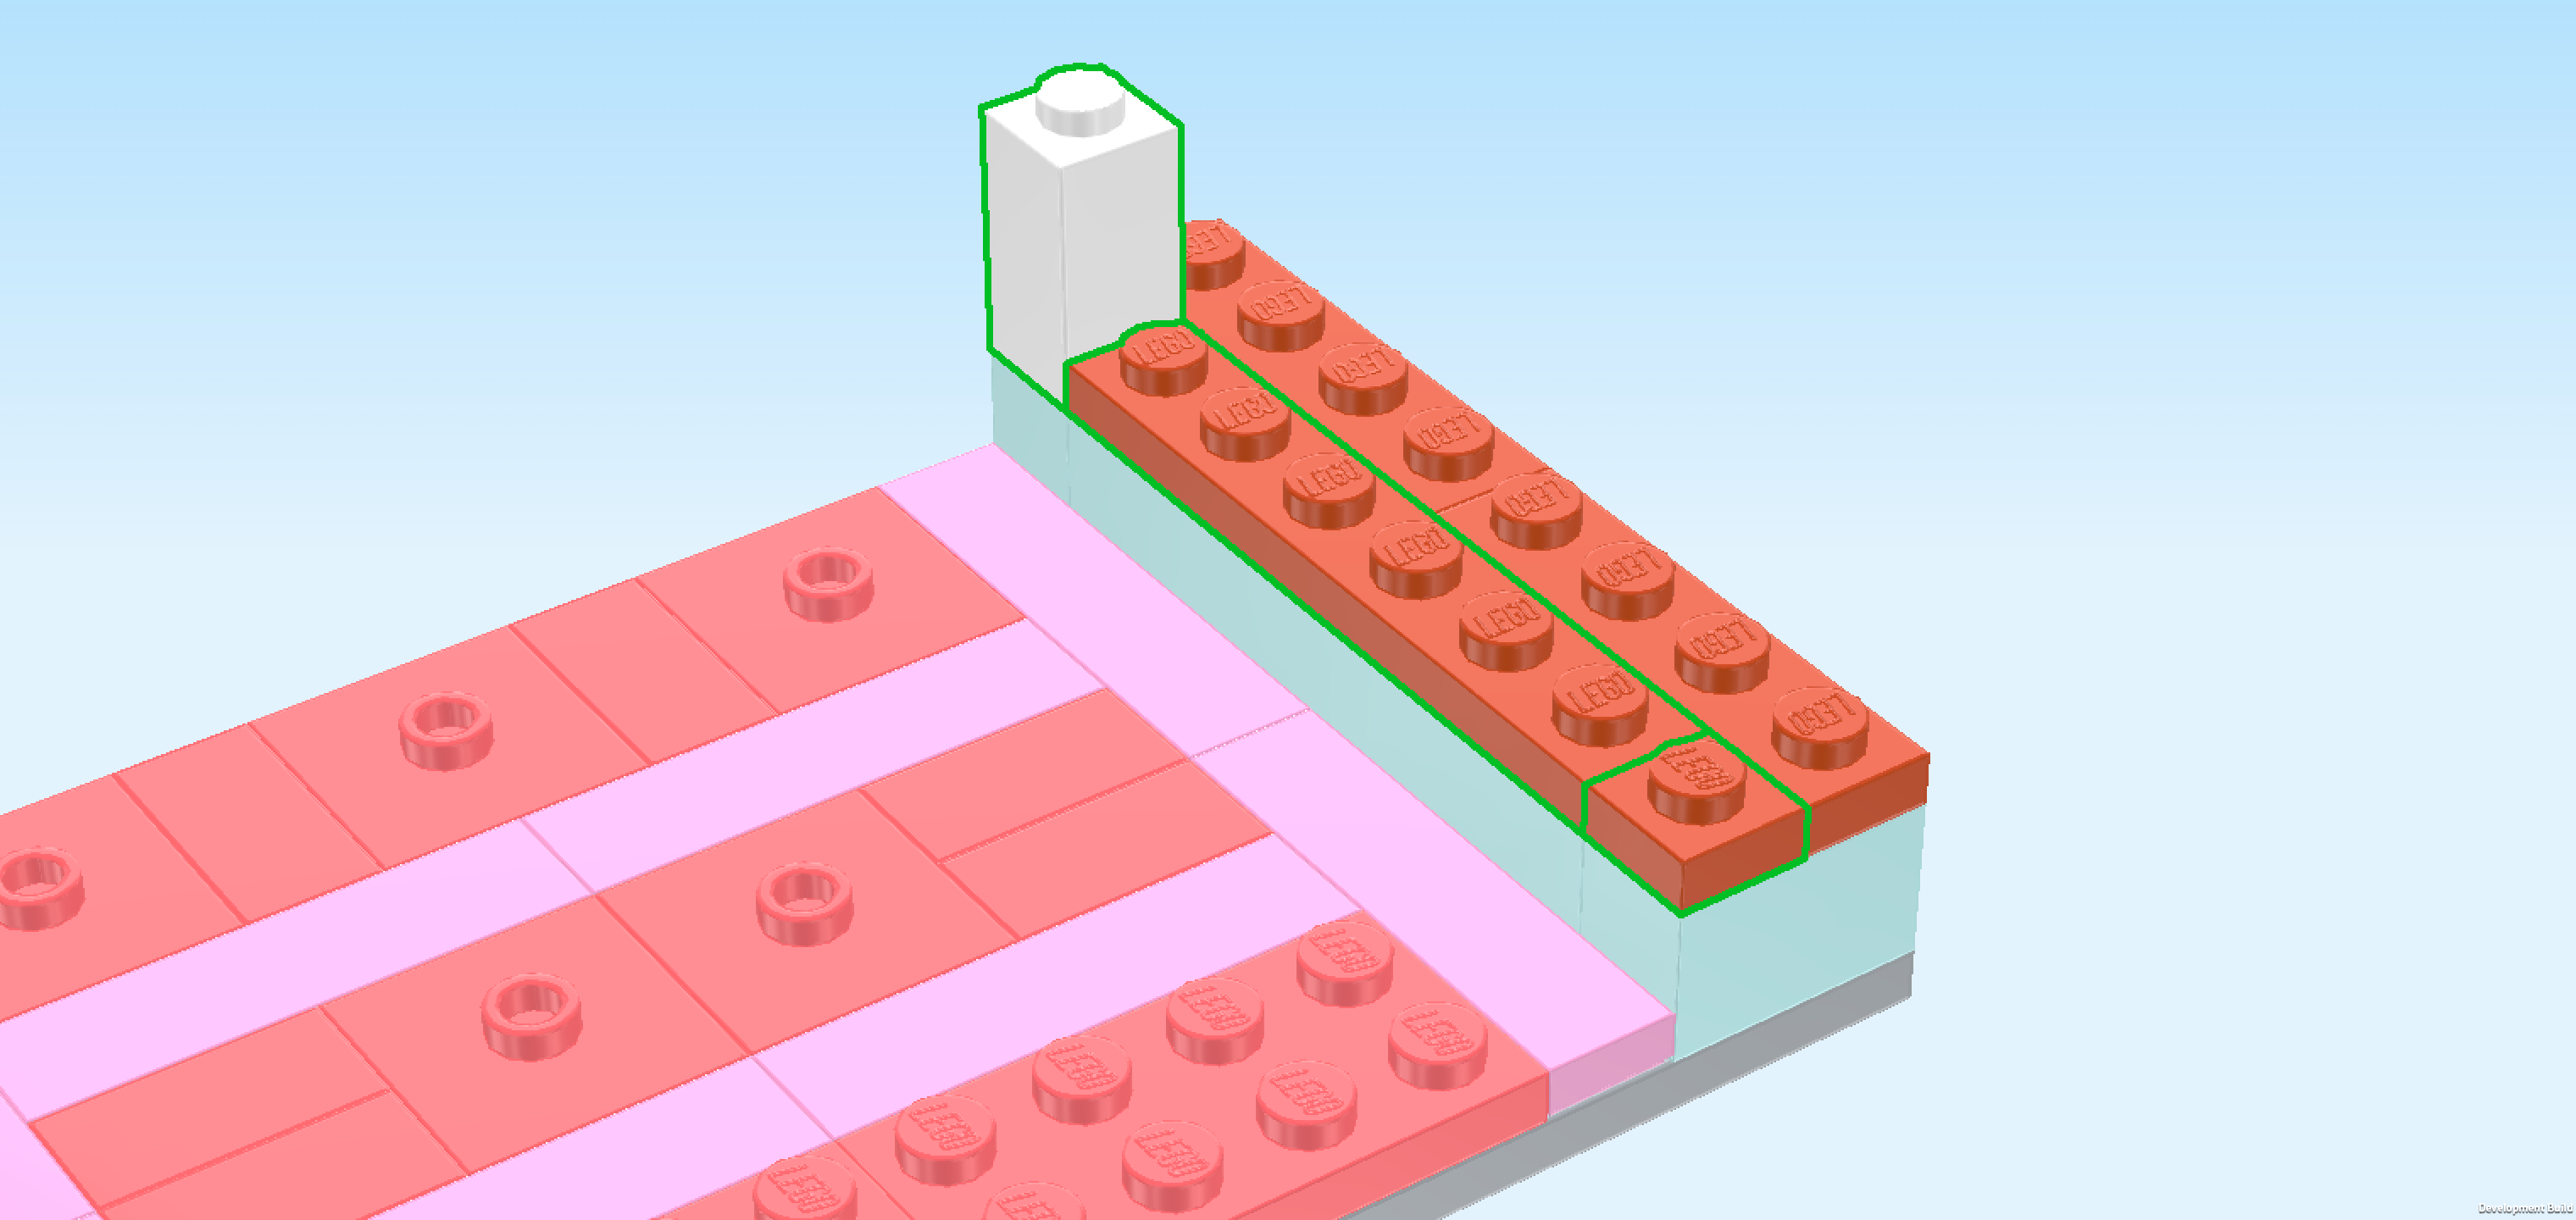
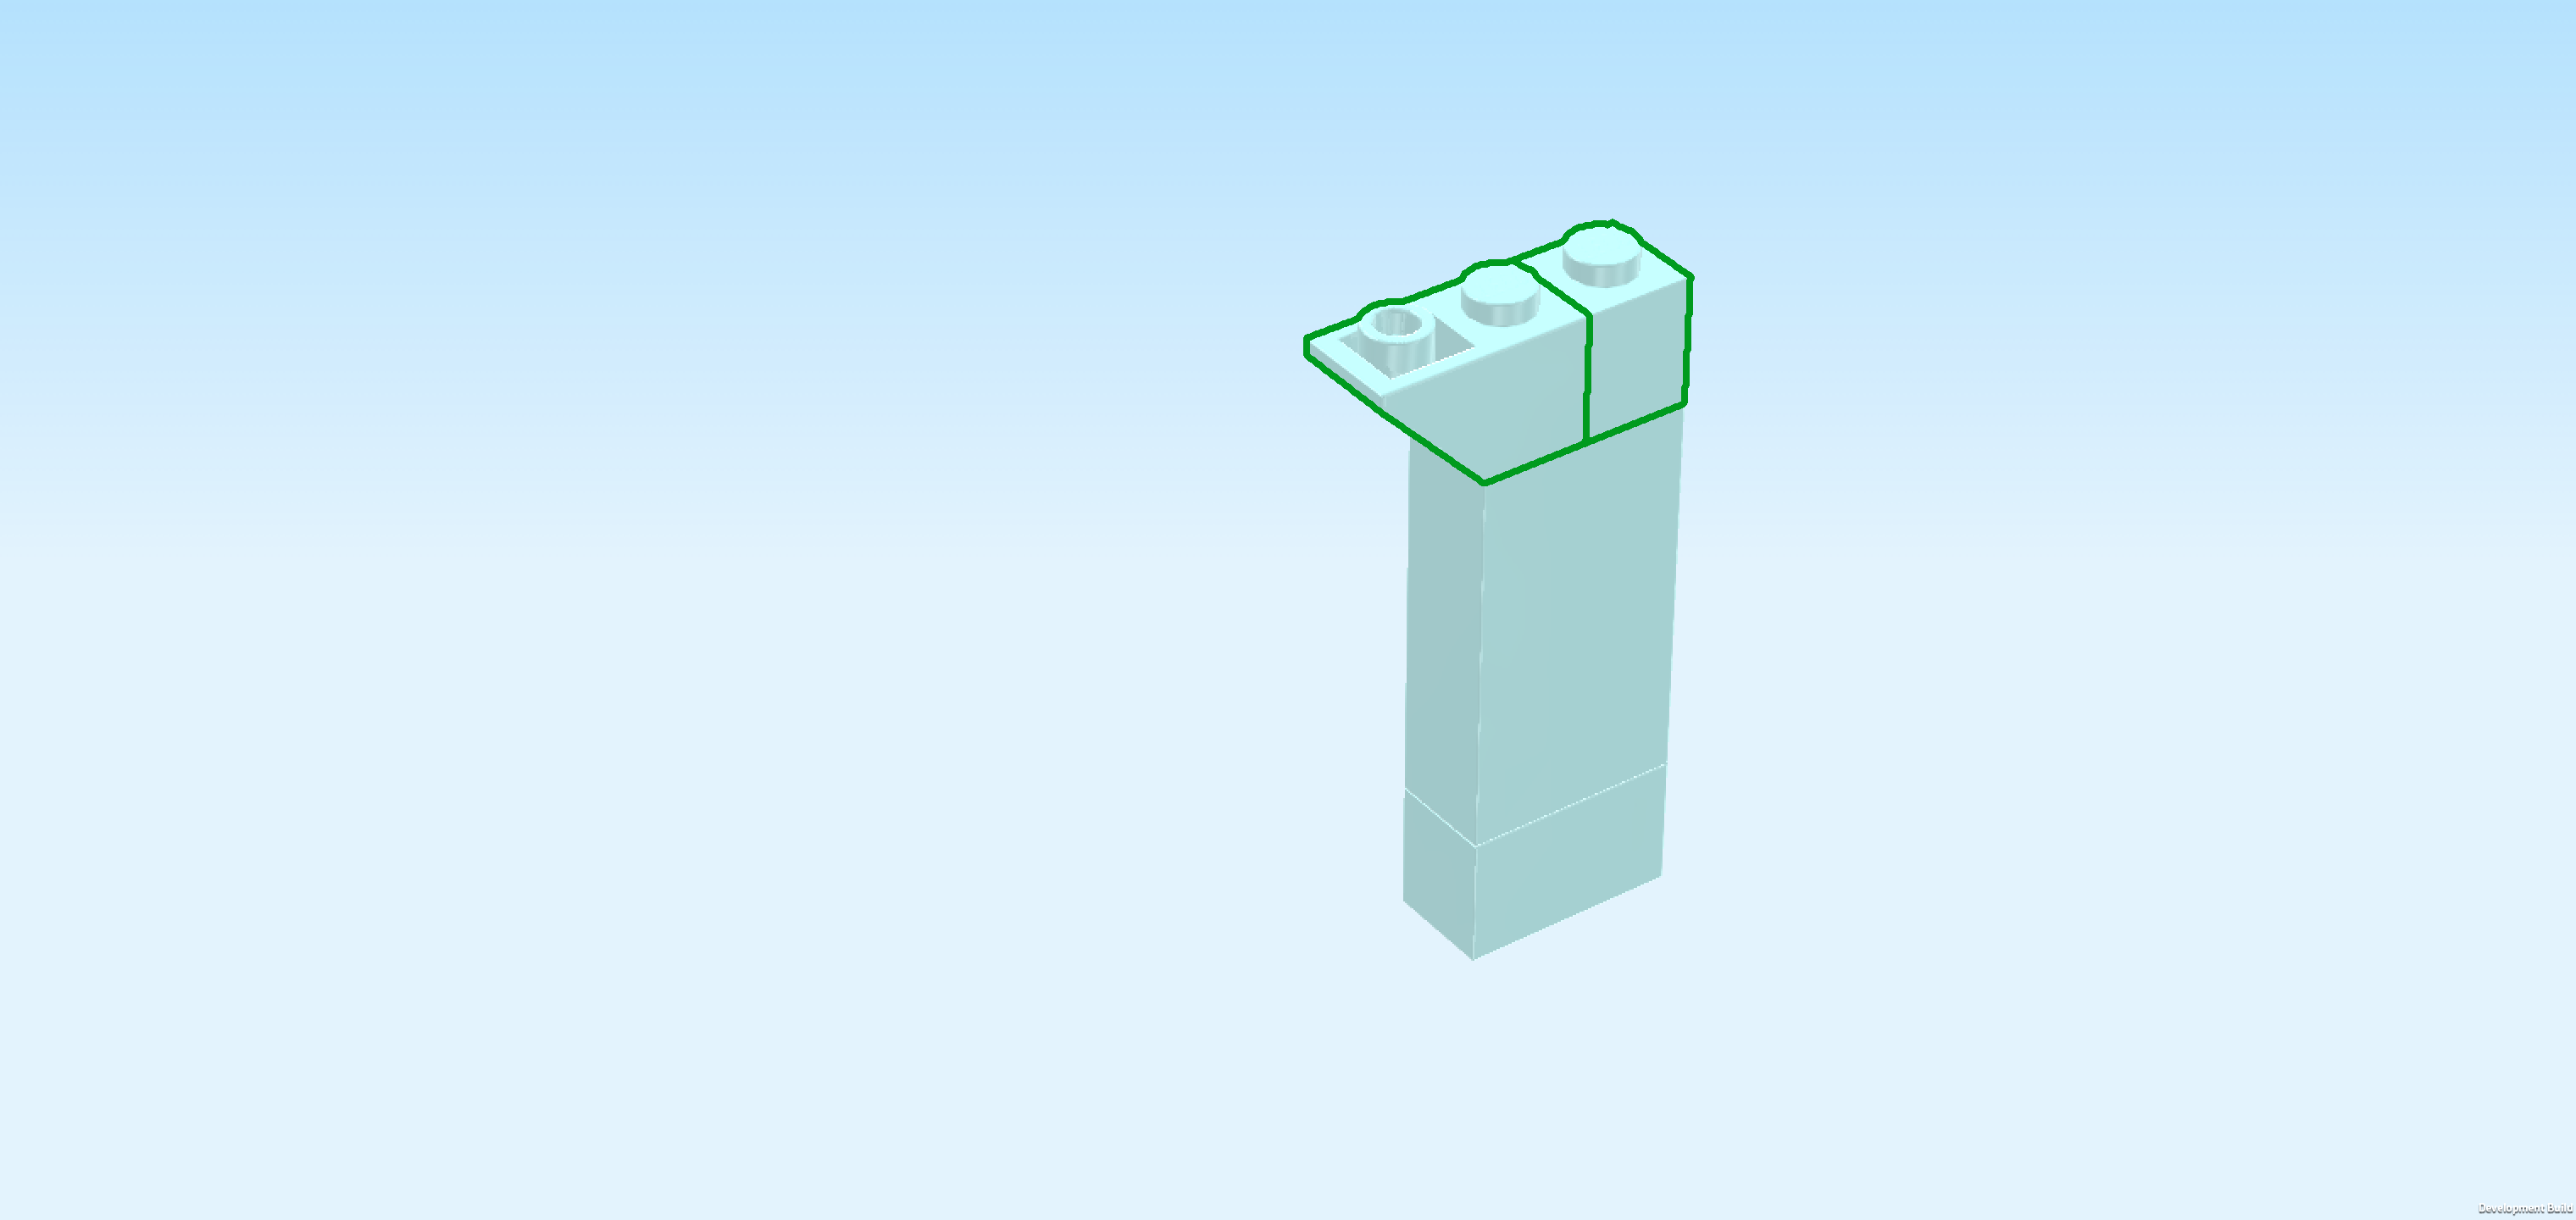
| 1 white brick 1x2 with downward half arch, |
| 2 black bricks 1x2 with downward half arch, |
| and 1 dark stone grey brick 1x1. |
| Put the brick 1x1 in front of the previous piece on the leftmost knob. |
| Put 1 black brick 1x2 vertically to the right of the previous piece, half arch towards the front. |
| Put the white brick 1x2 vertically to the right of the previous piece in the same orientation. |
| Put the other black brick 1x2 vertically to the right of the previous piece in the same orientation. |
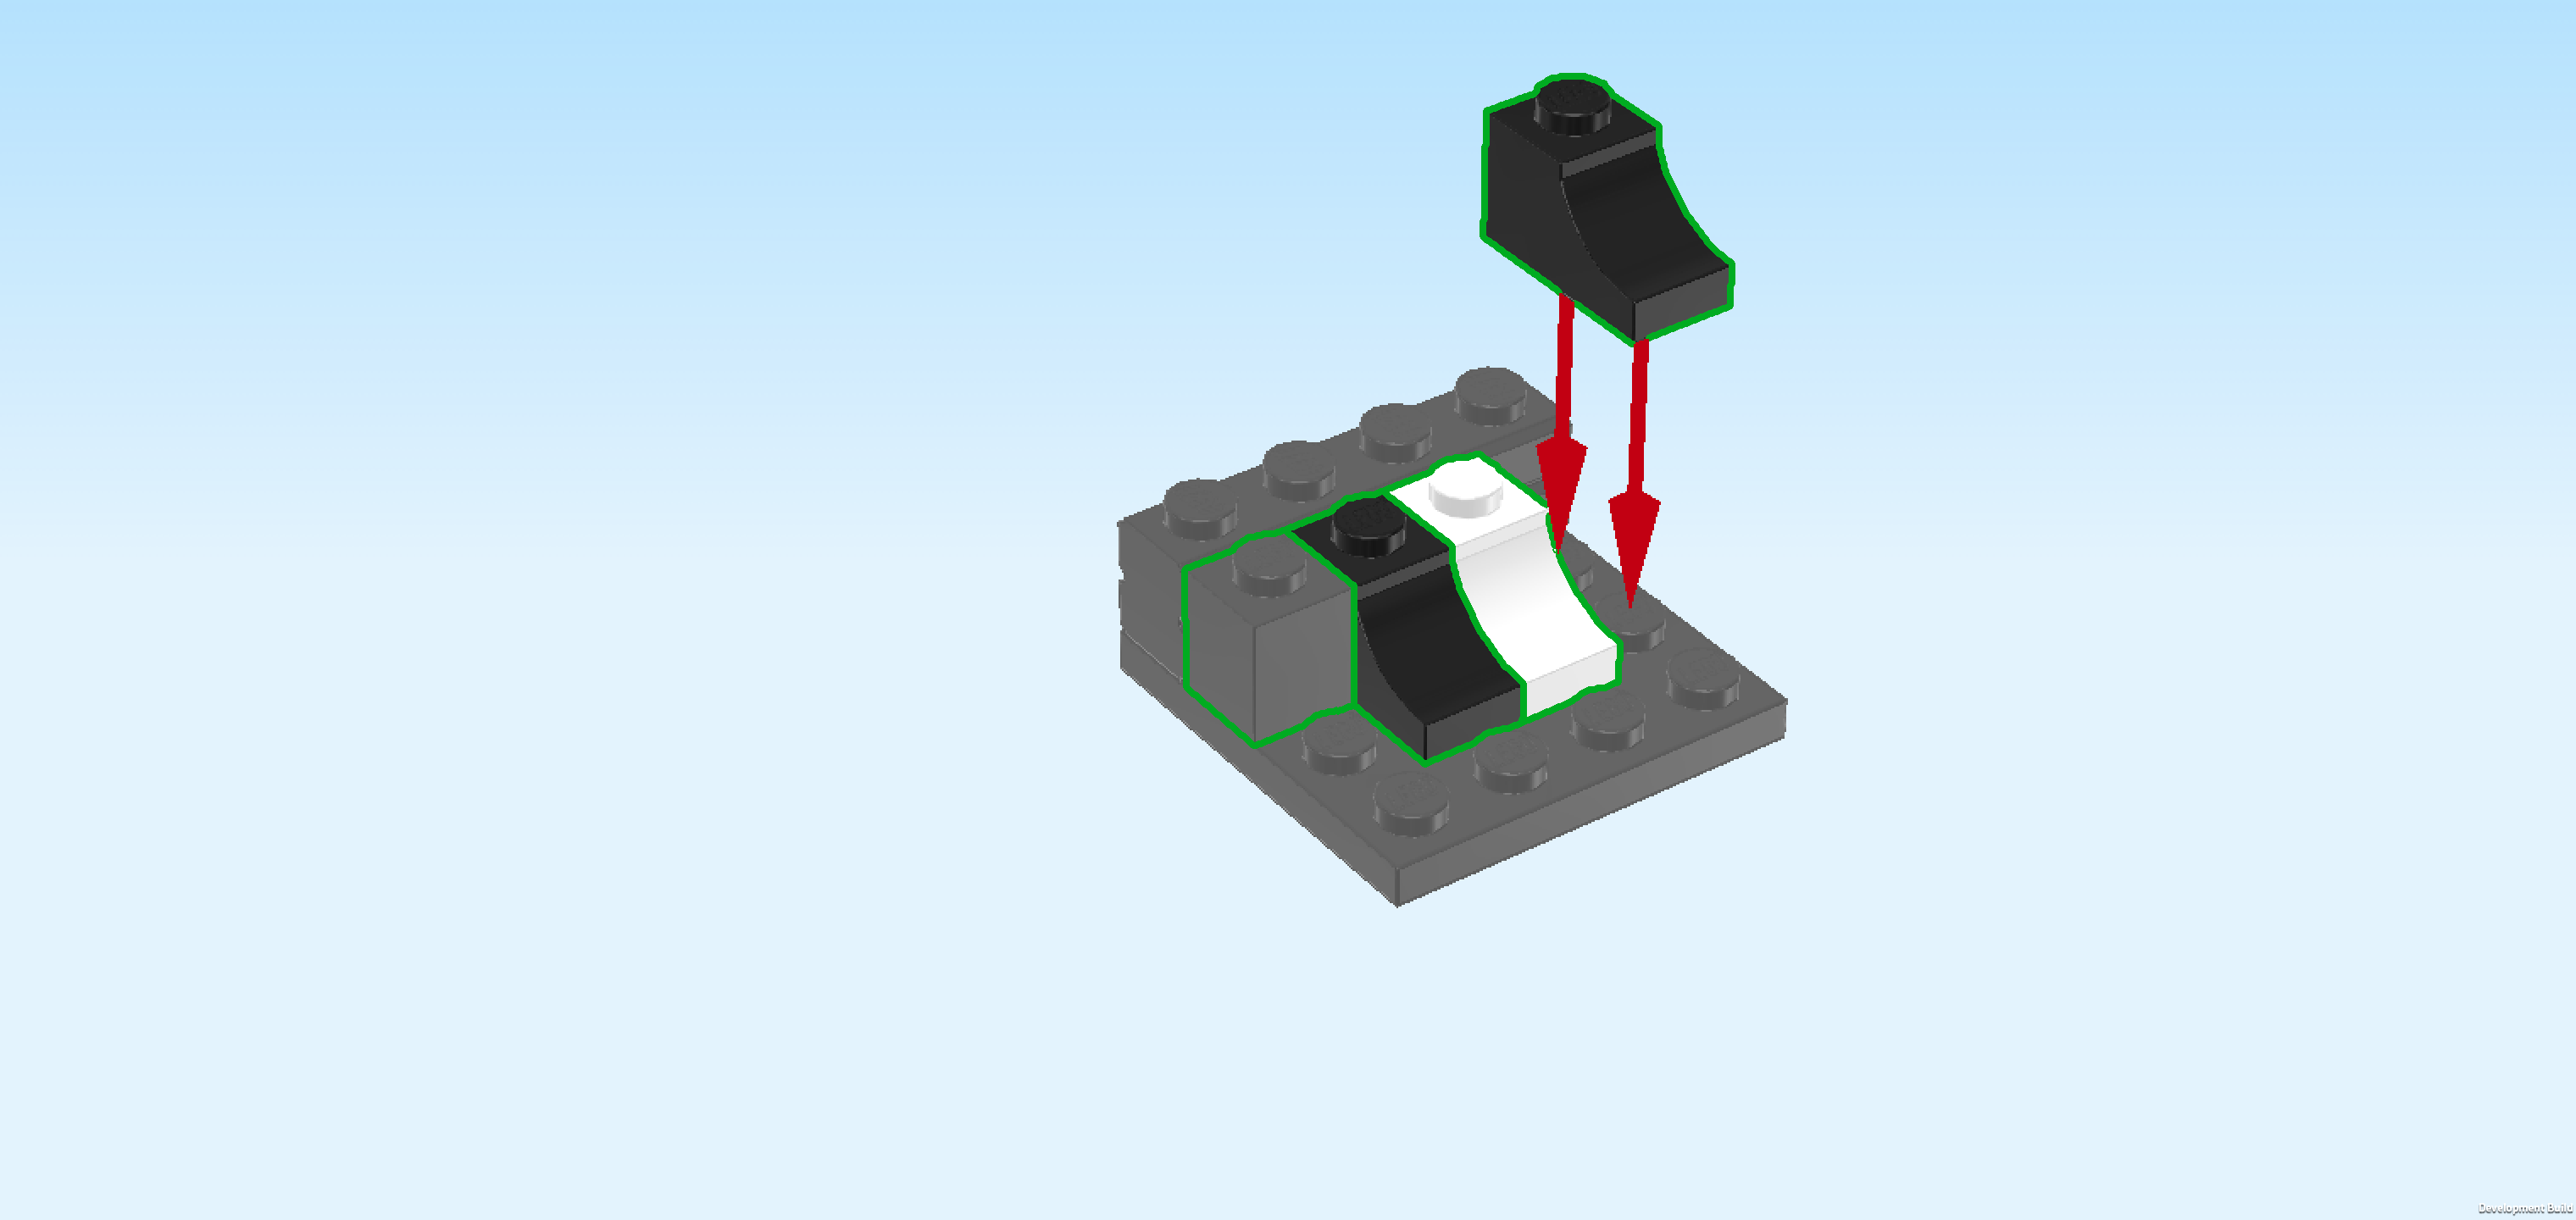
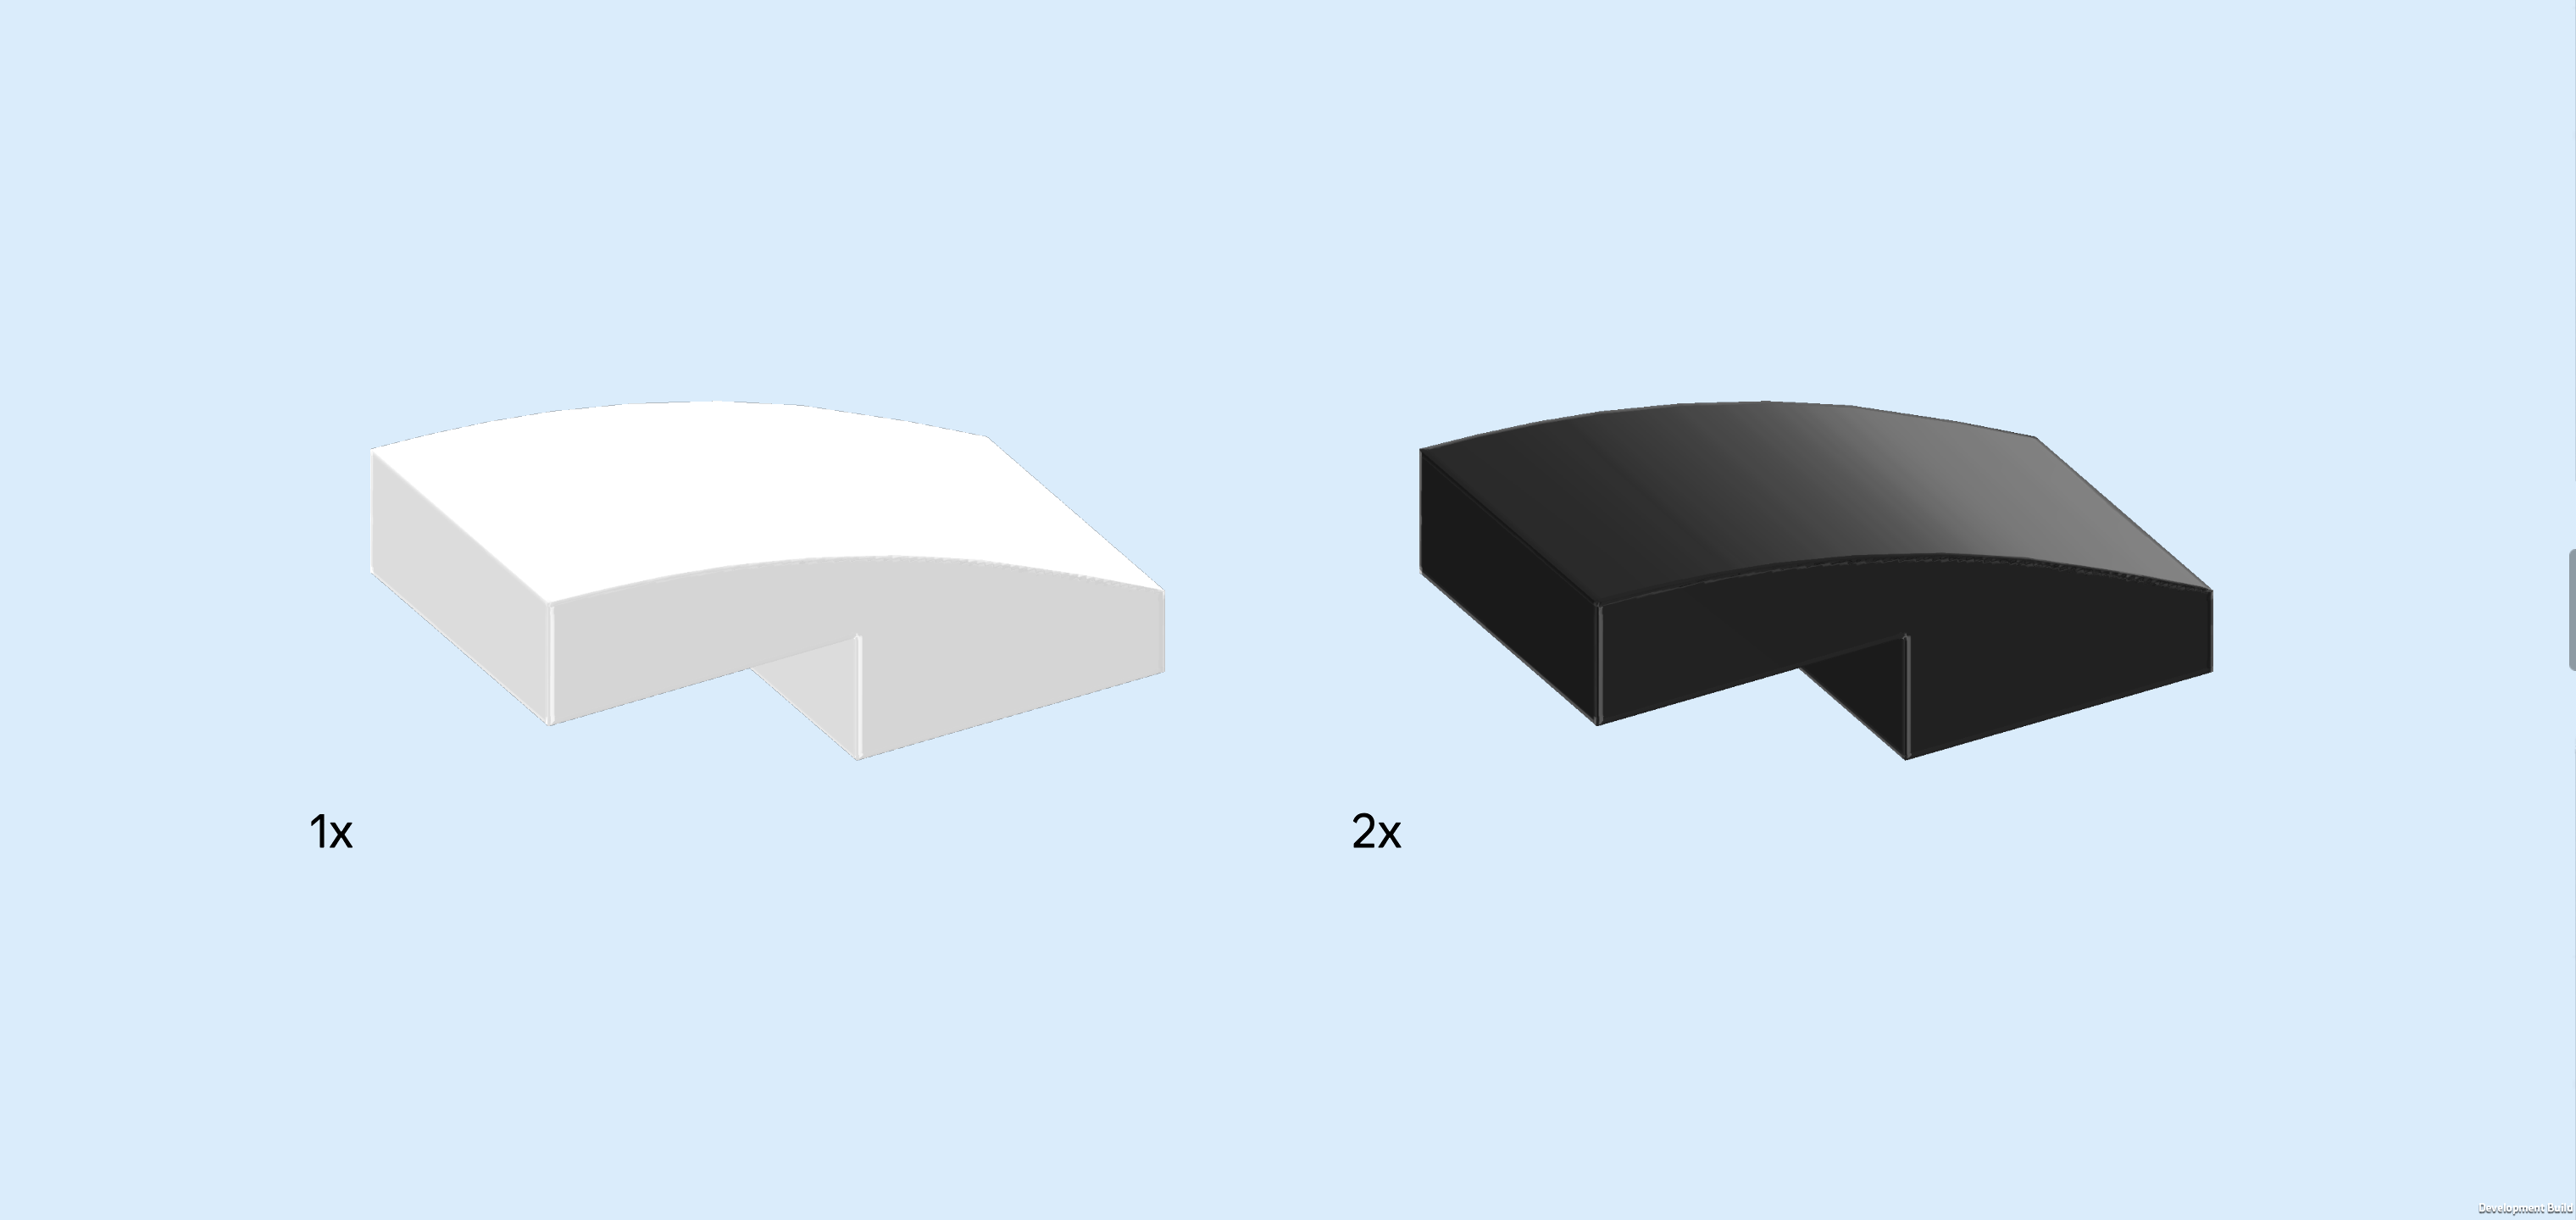
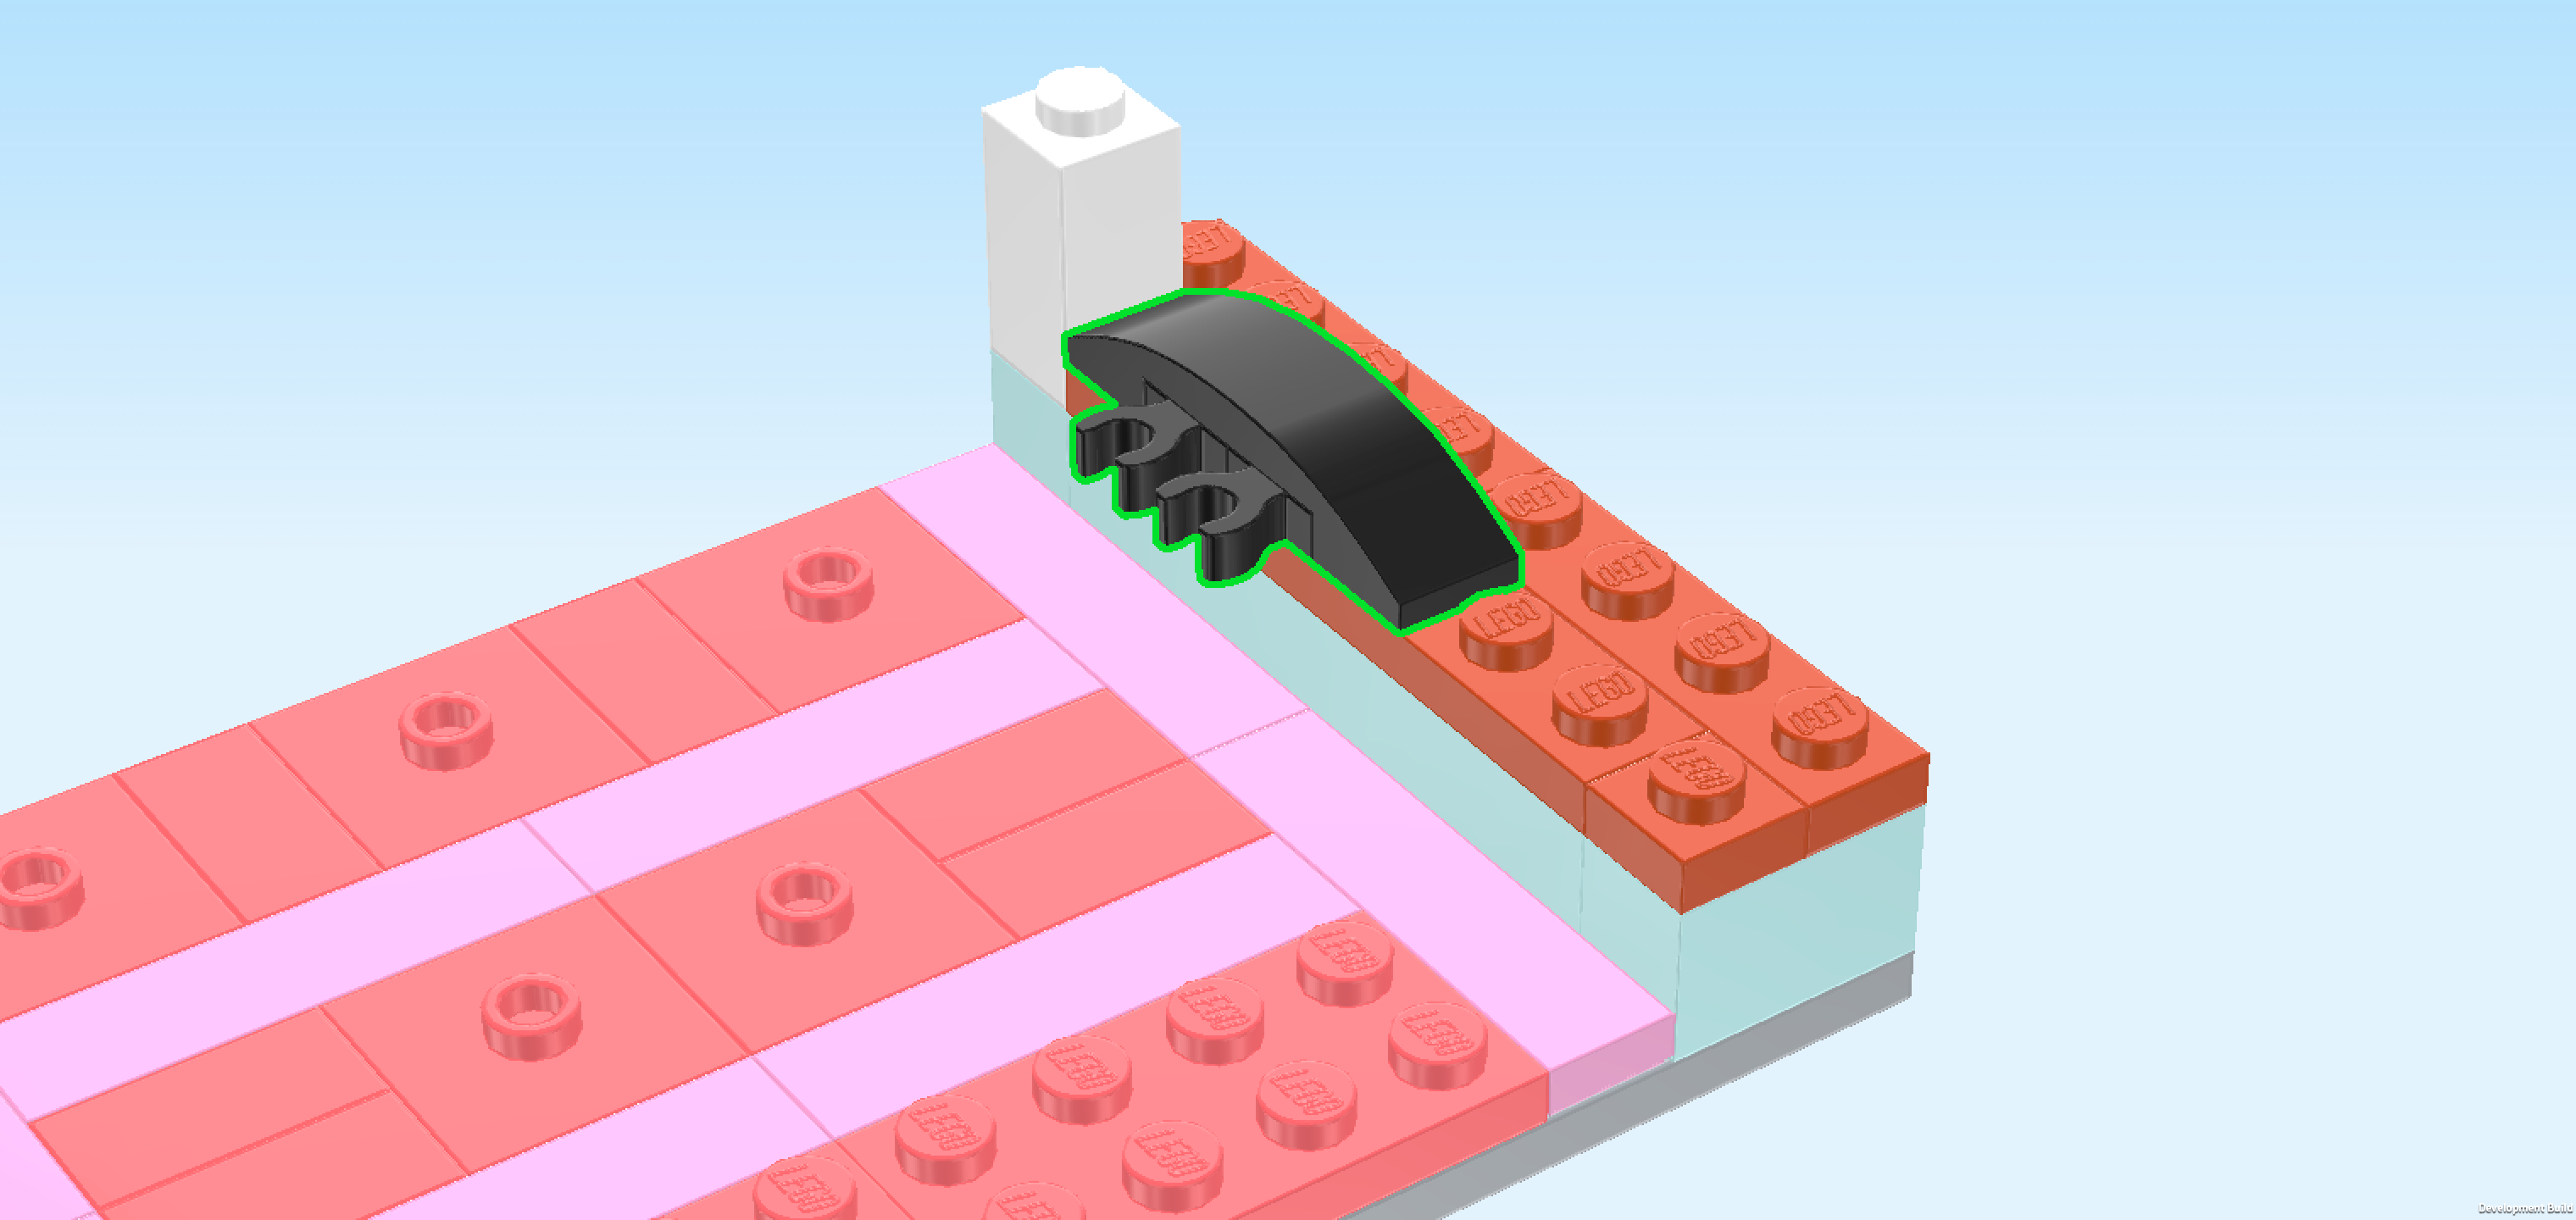
| Collect the following 3 pieces: |
| 1 white one-stepped curve tile 1x2, |
| and 2 black one-stepped curve tiles 1x2. |
| Put the black curve tile vertically in front of the previous piece, 1/2 overhanging to the front, curve to the front. |
| Put the white curve tile vertically to the left of the previous piece in the same orientation. |
| Put the other black curve tile vertically to the left of the previous piece in the same orientation. |
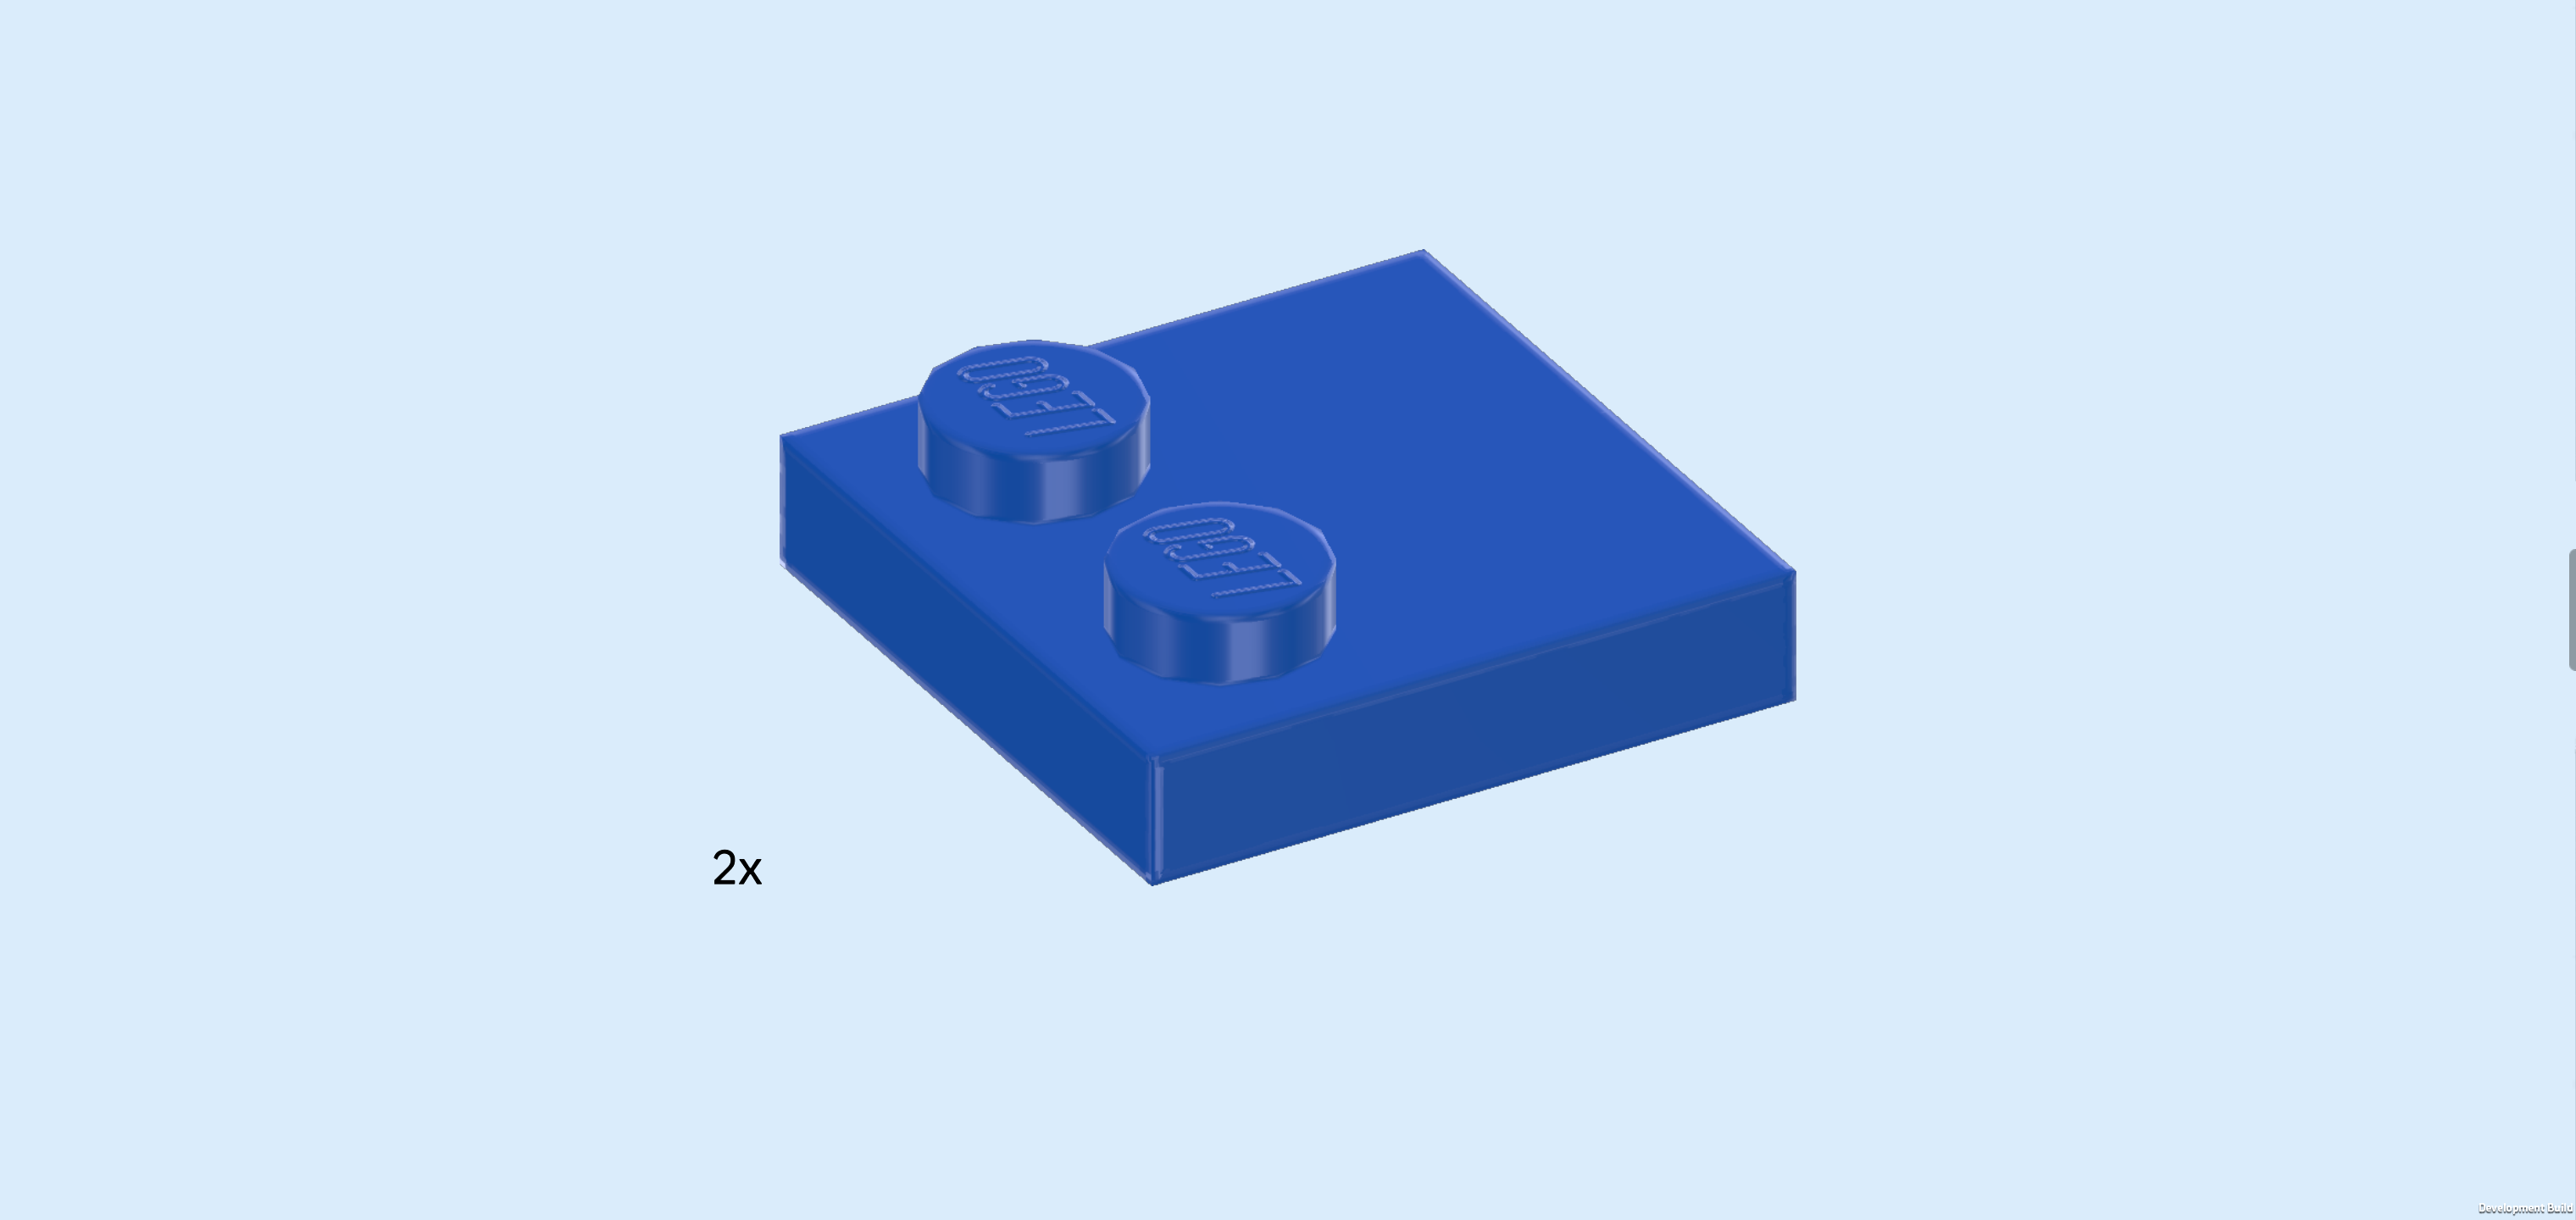
| Find 2 bright blue plates 2x2 with 2 knobs. |
| Put 1 on the 2 backmost rows in the right back corner, its 2 knobs forming a row at the back. |
| Put the other one to the left of the previous piece, its knobs forming a row at the back. |
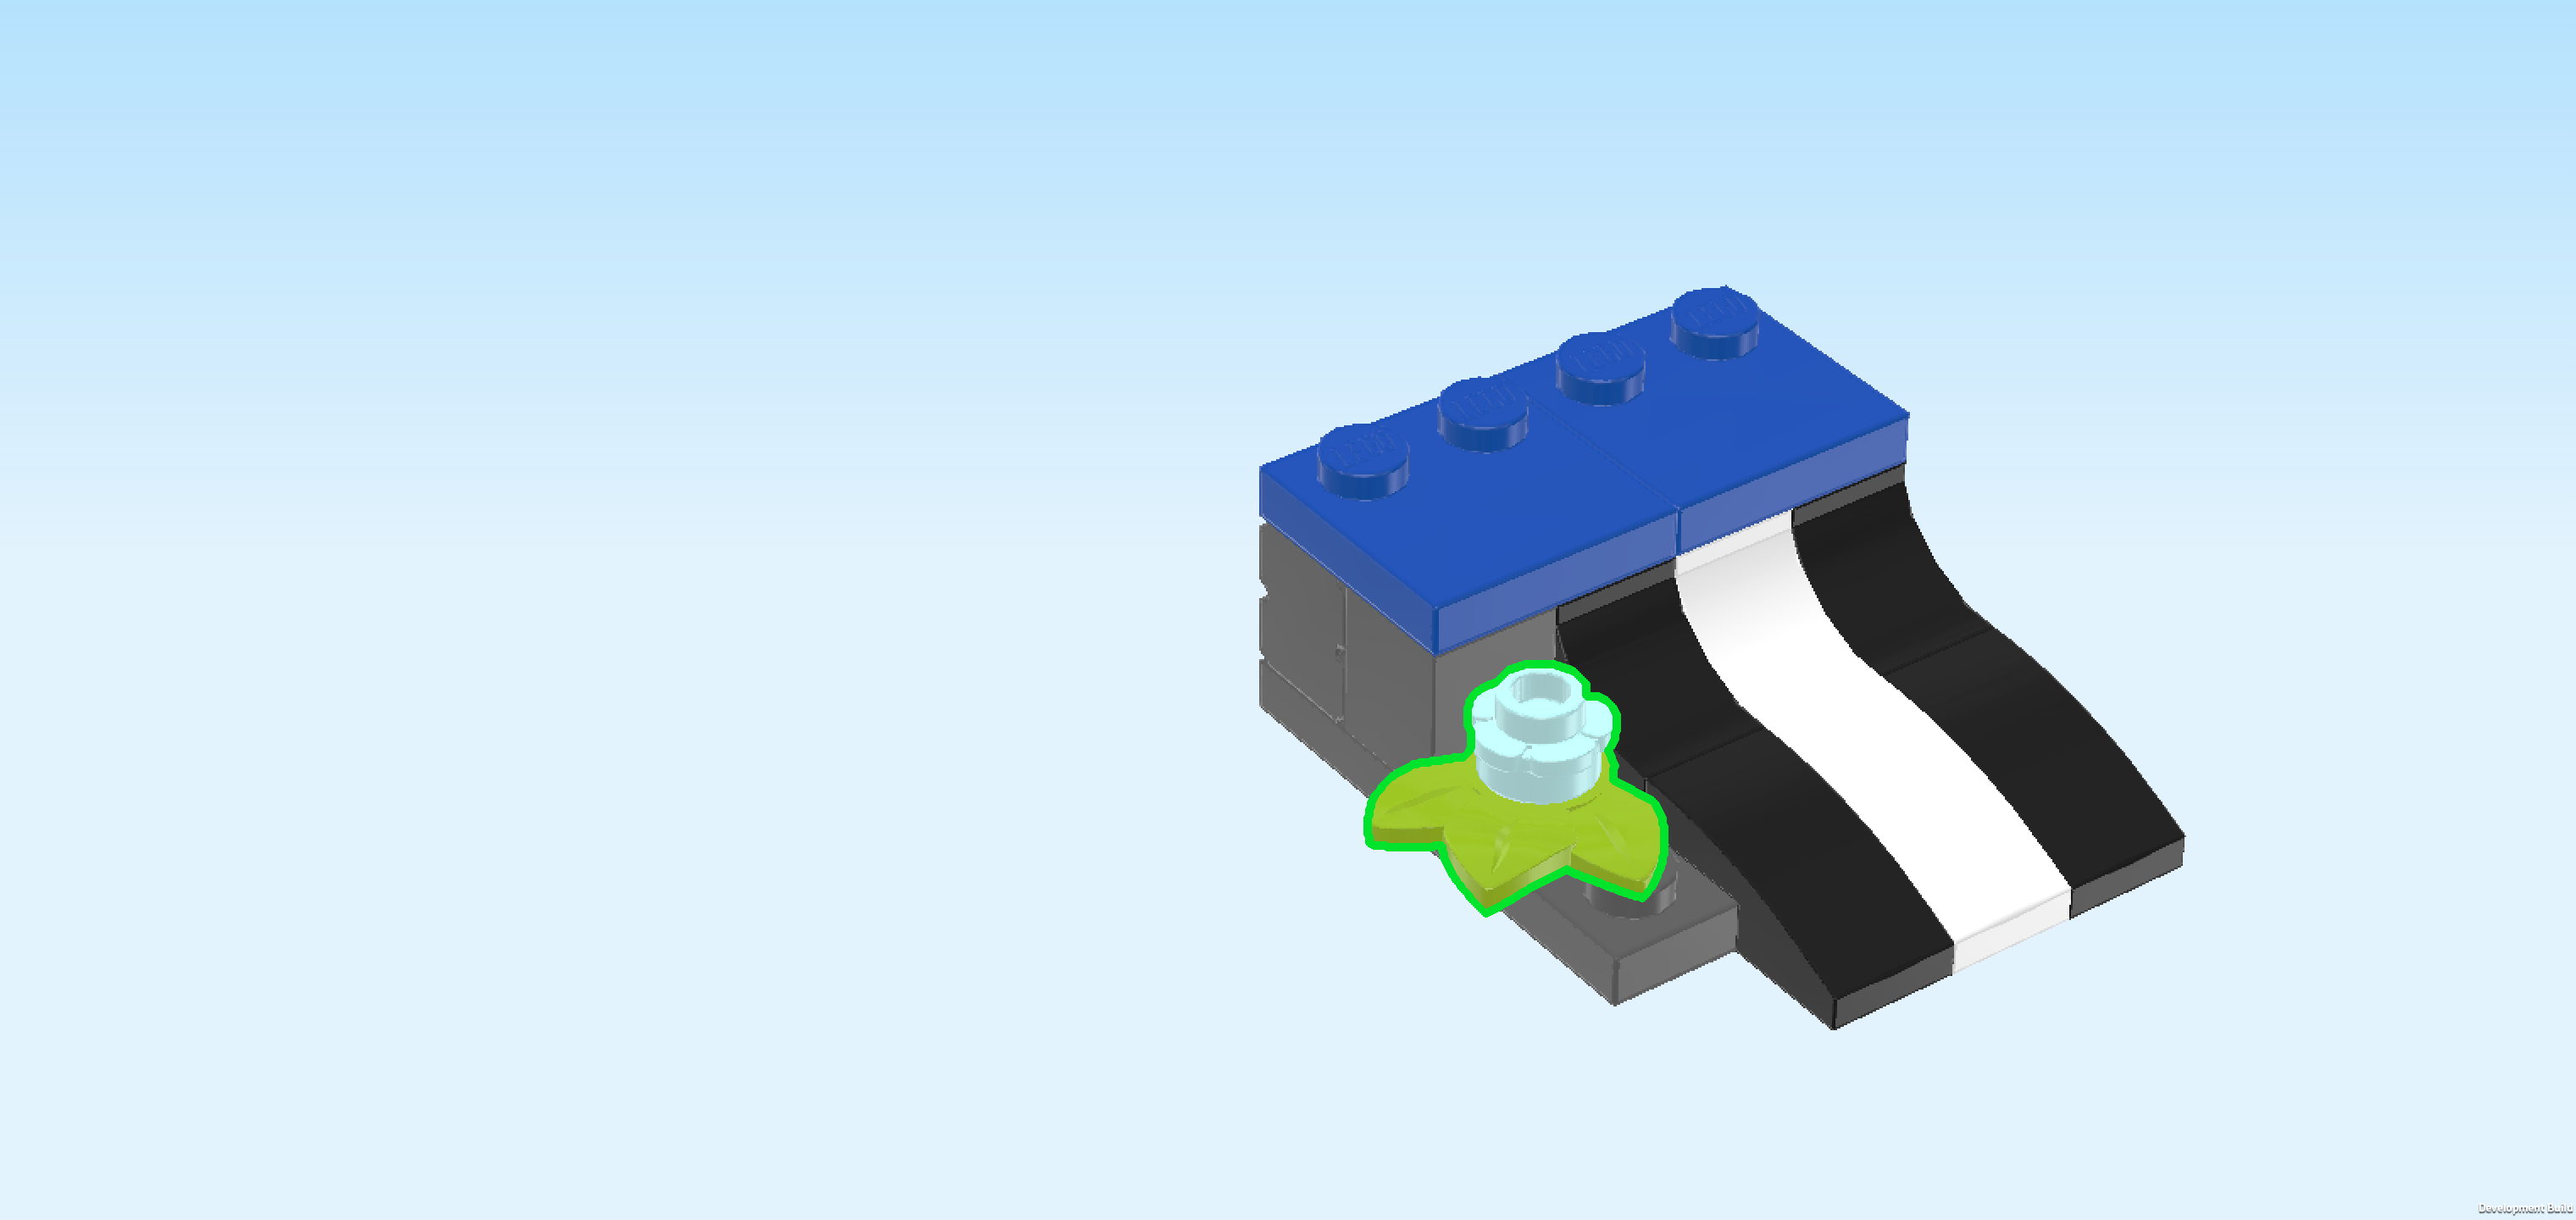
| Next, we will build a small flower. |
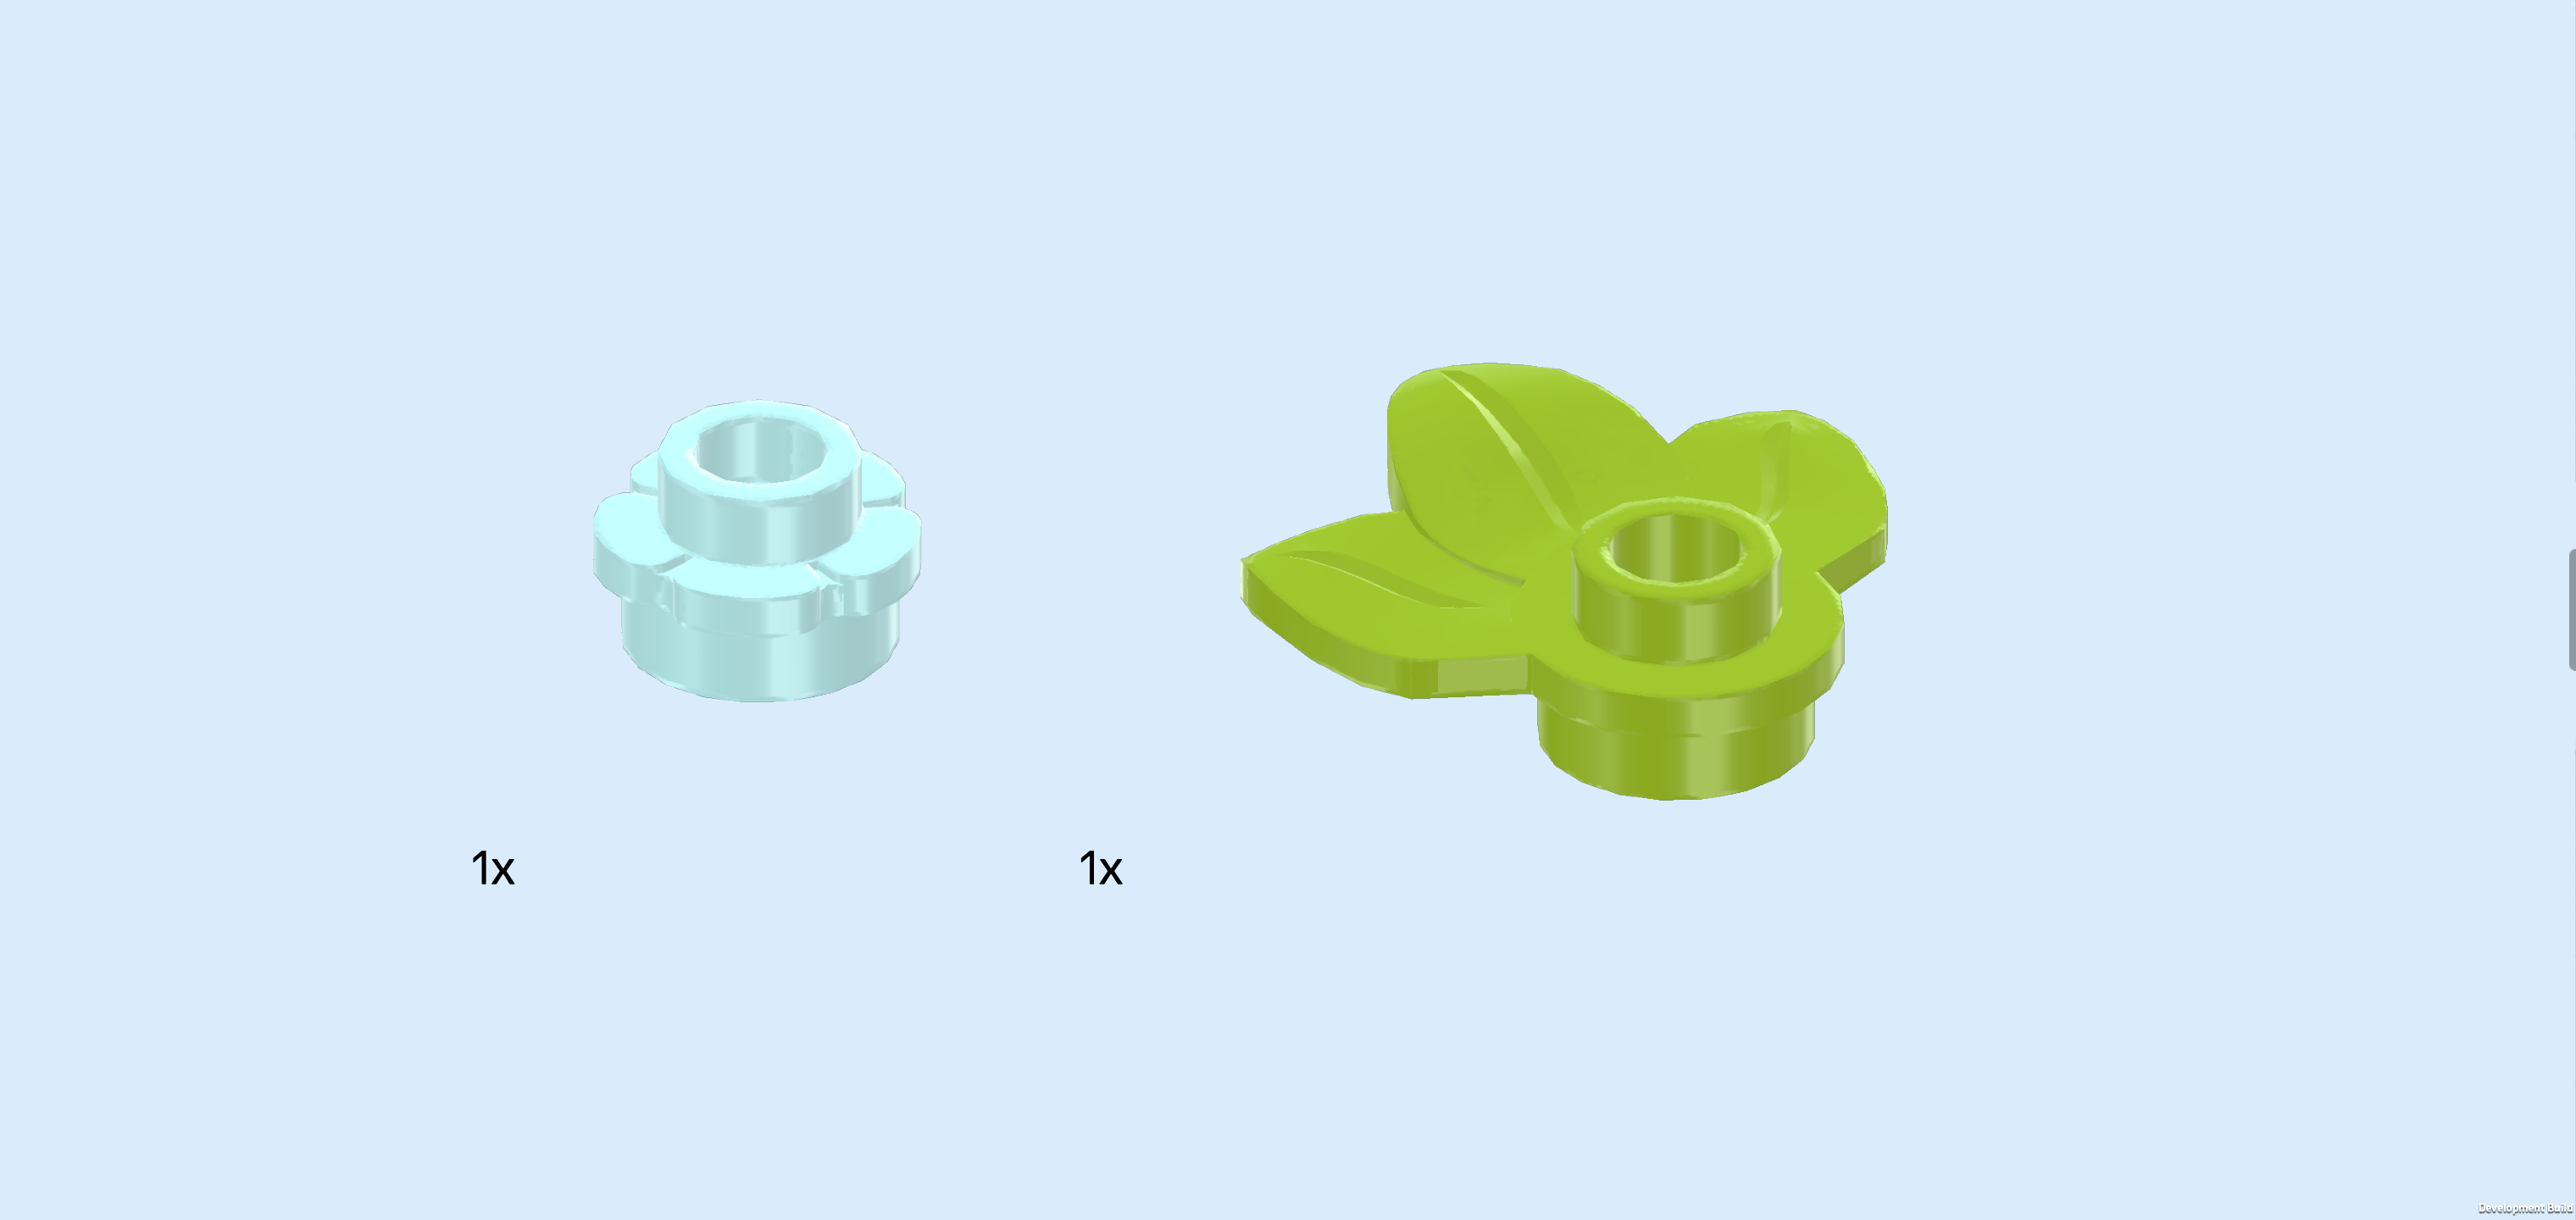
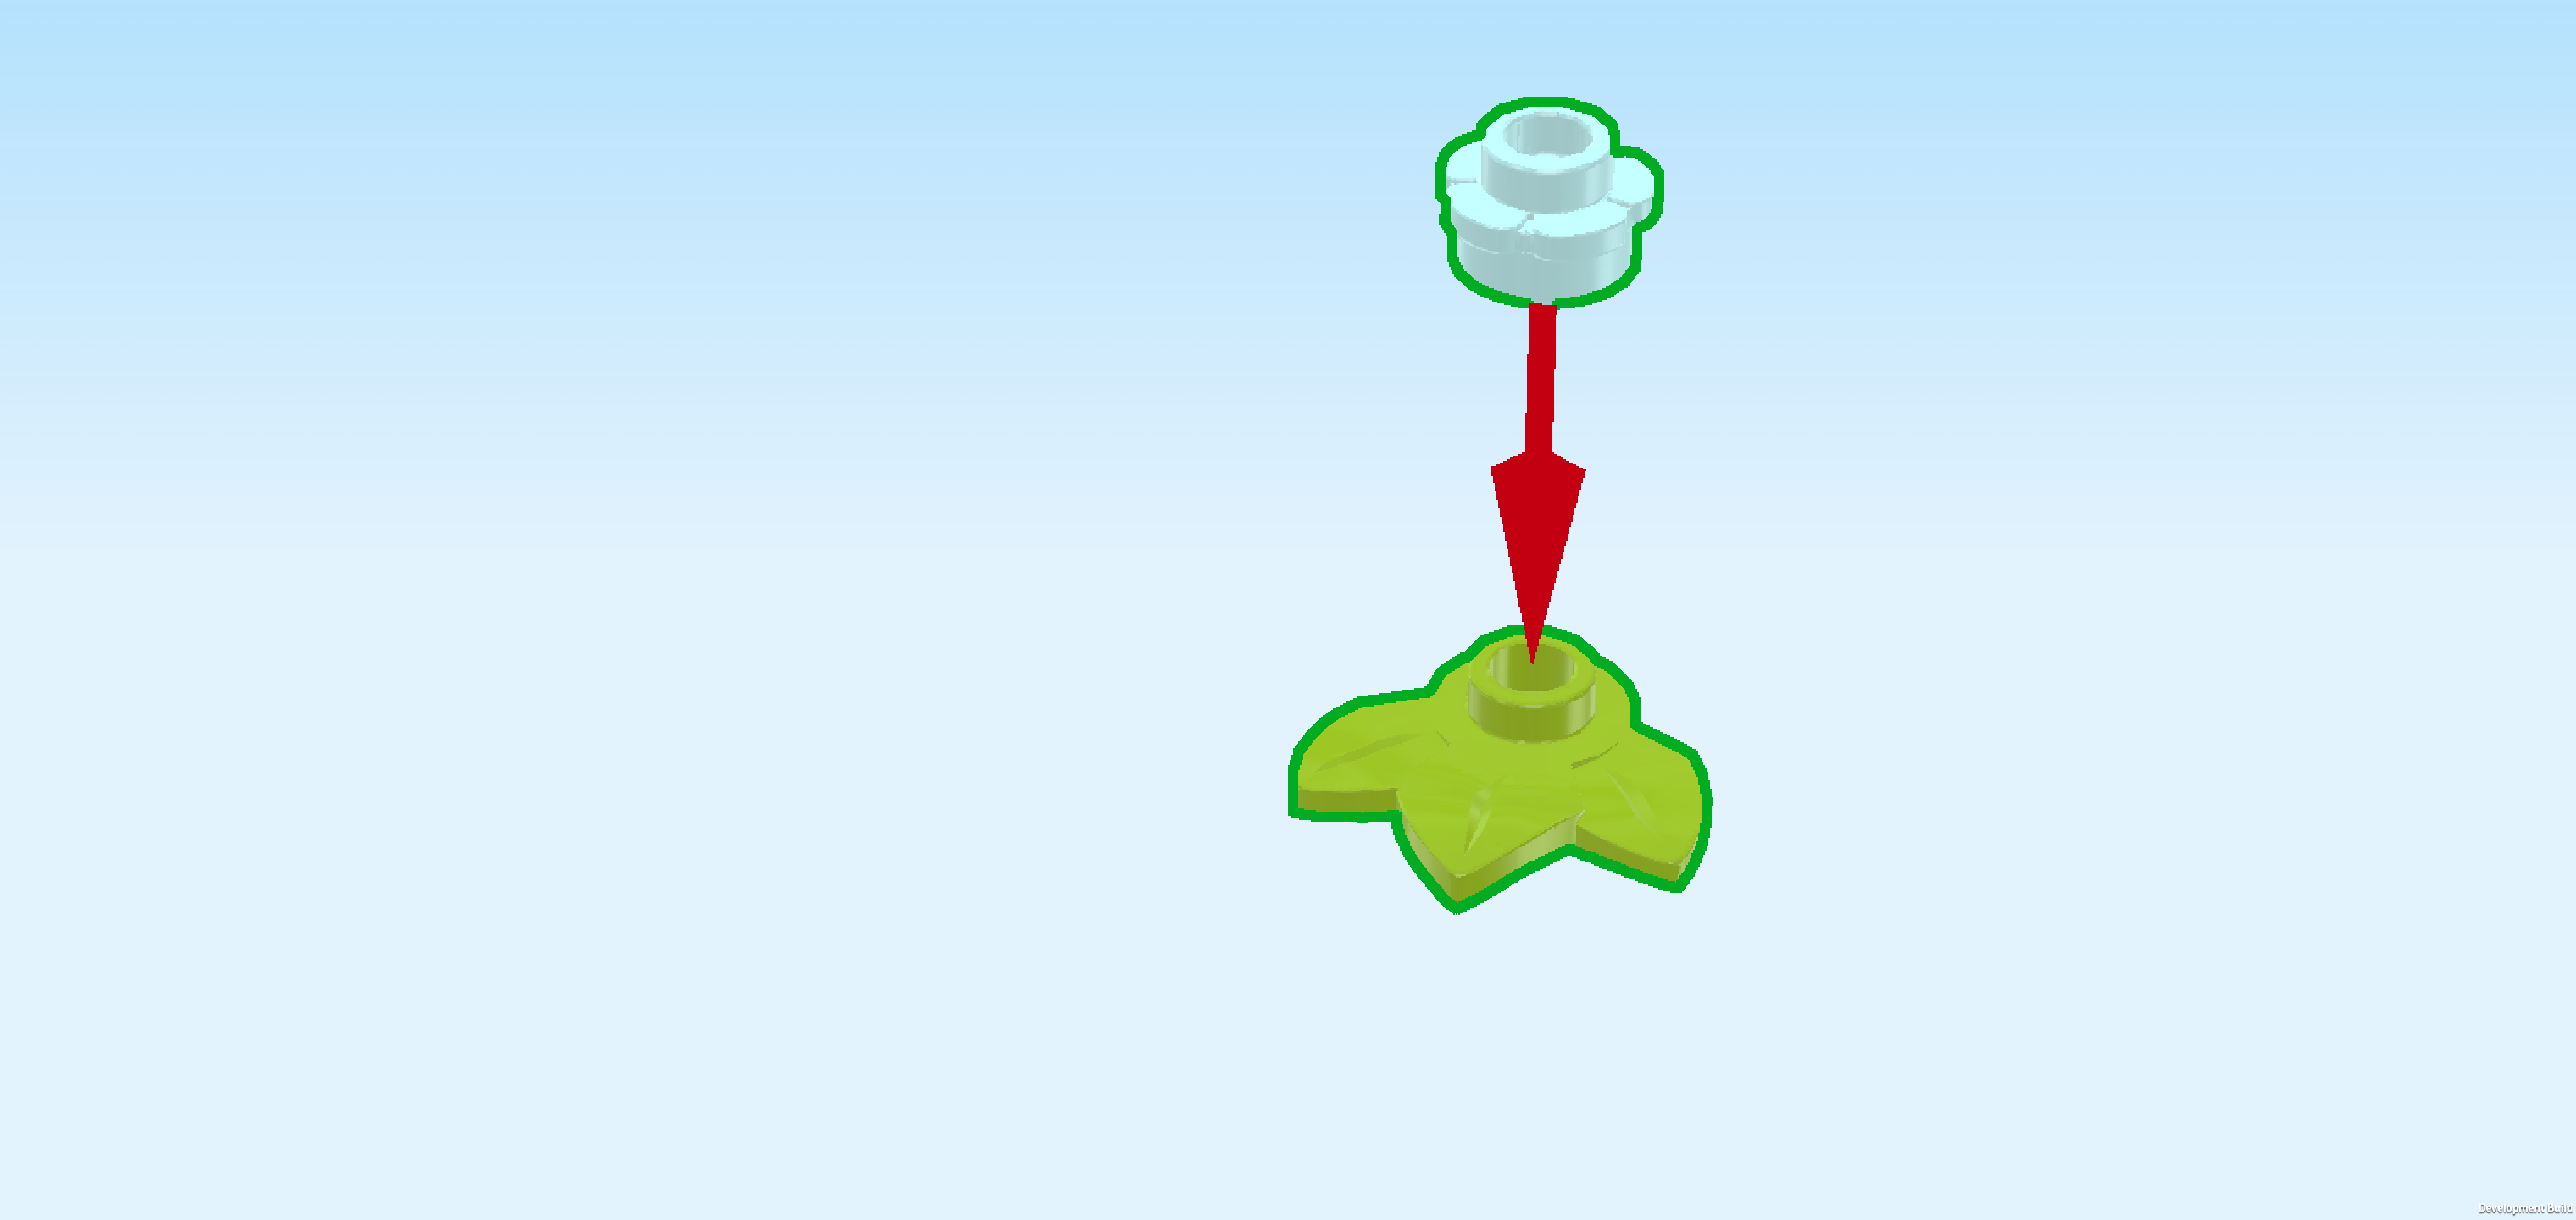
| Collect the following 2 pieces: |
| 1 aqua blue flower piece 1x1 with through-hole, |
| and 1 yellowish green round plate 1x1 with 3 small leaves. |
| Put the flower piece on the knob of the round plate with leaves. |
| Mount the small flower on the leftmost column on its second knob from the front, leaves pointing to the front left. |
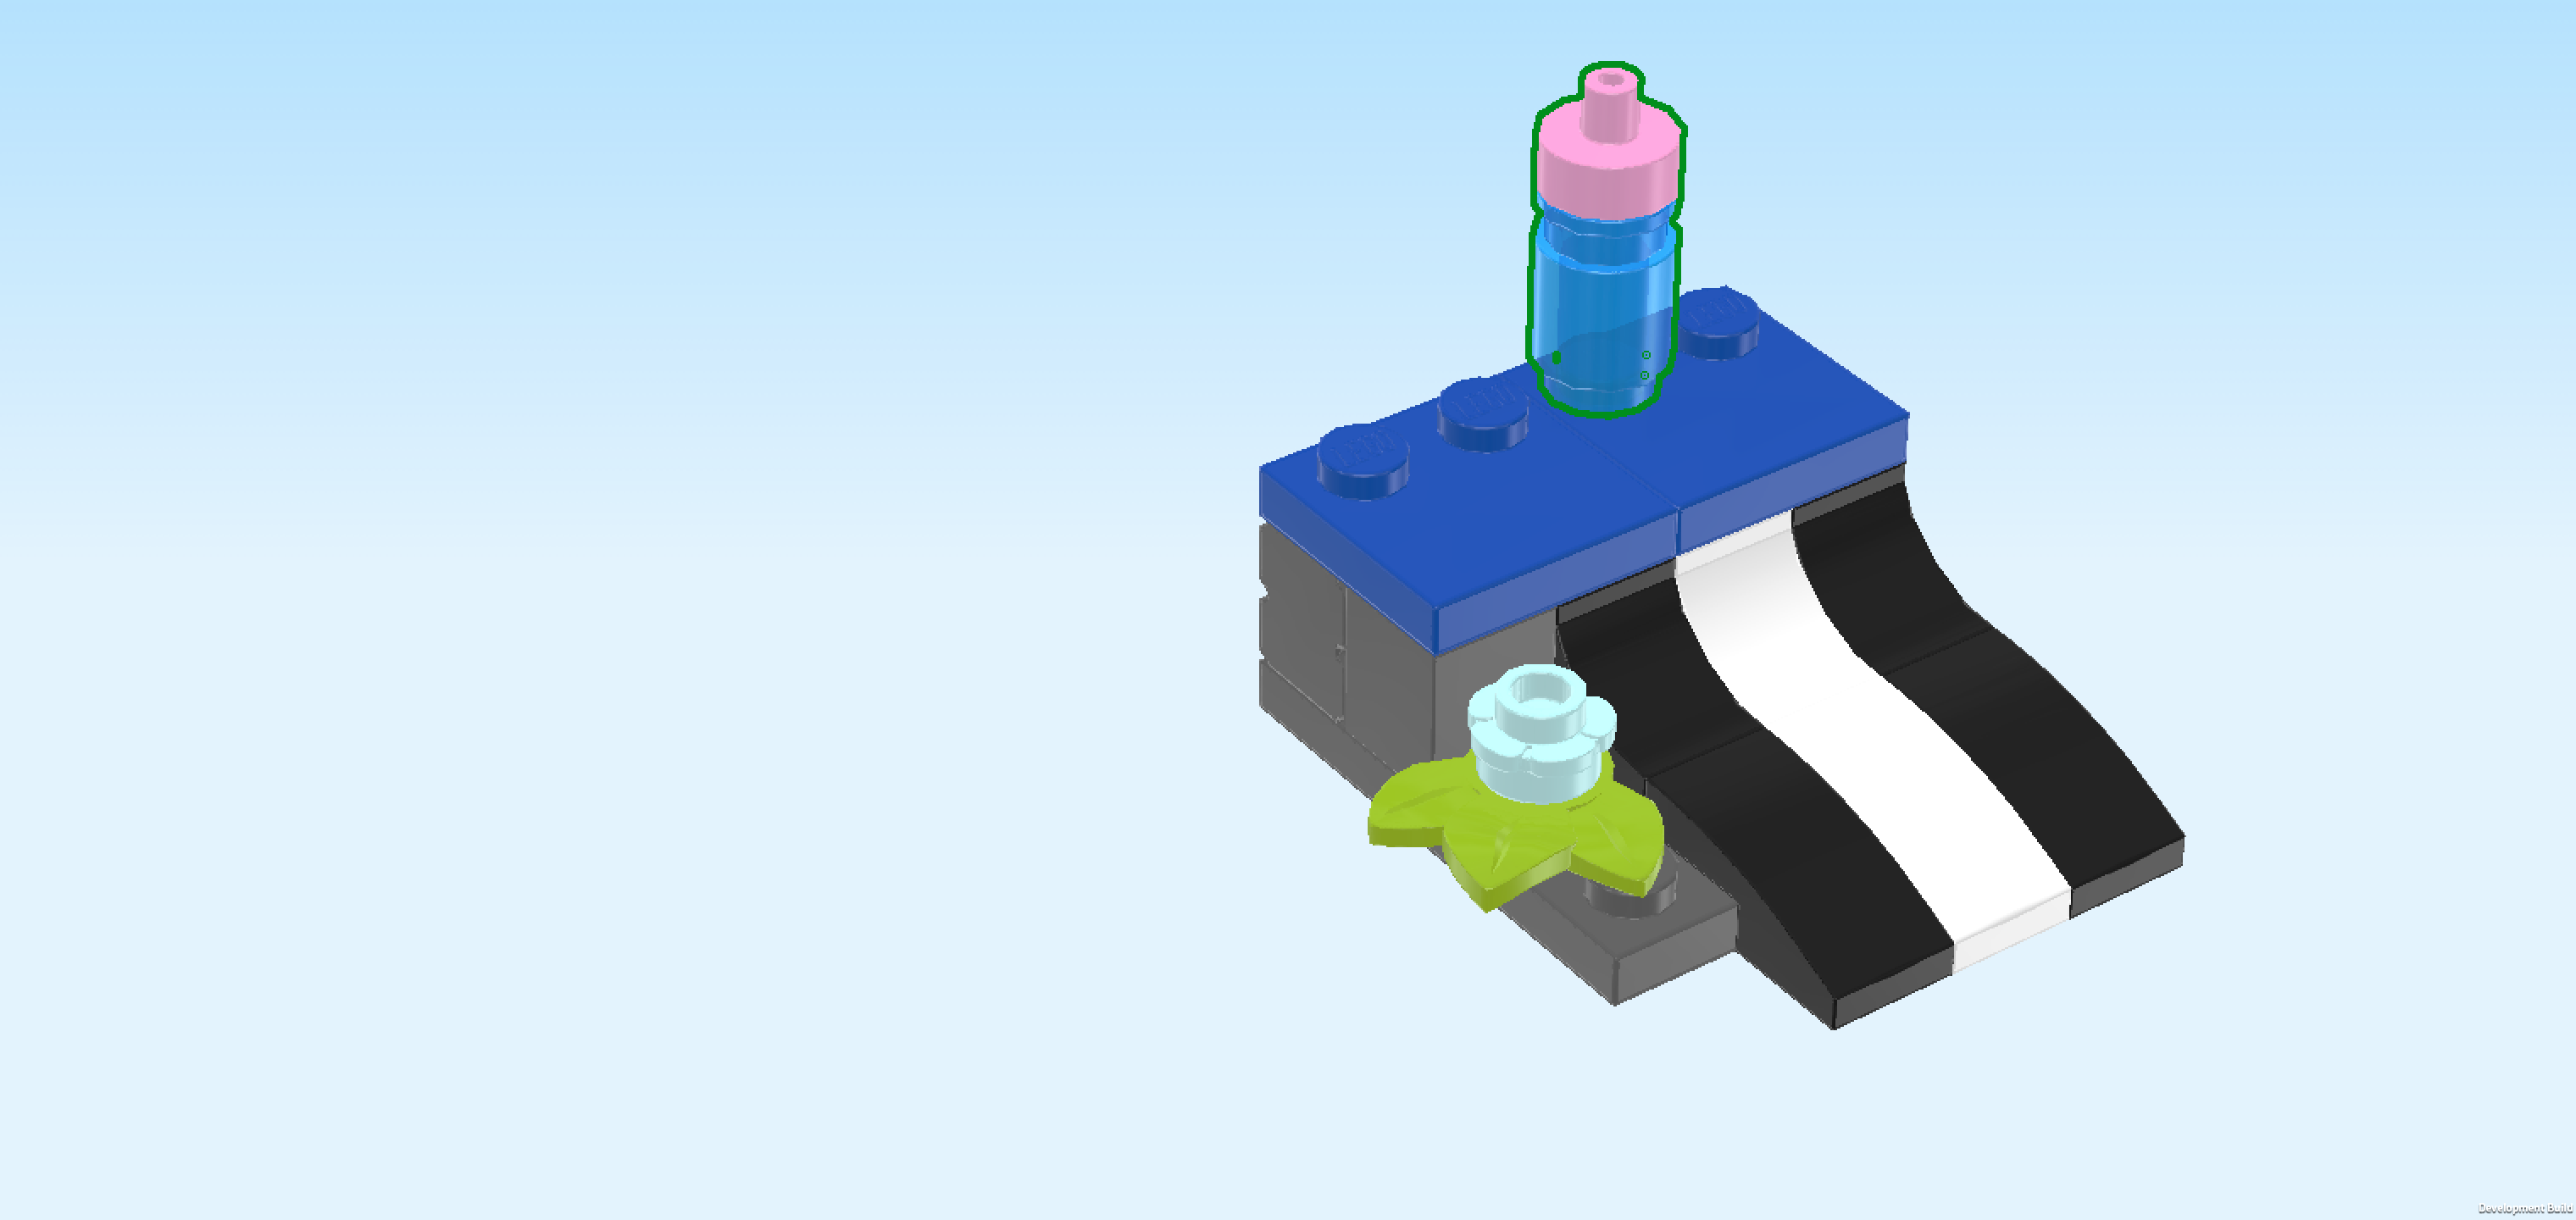
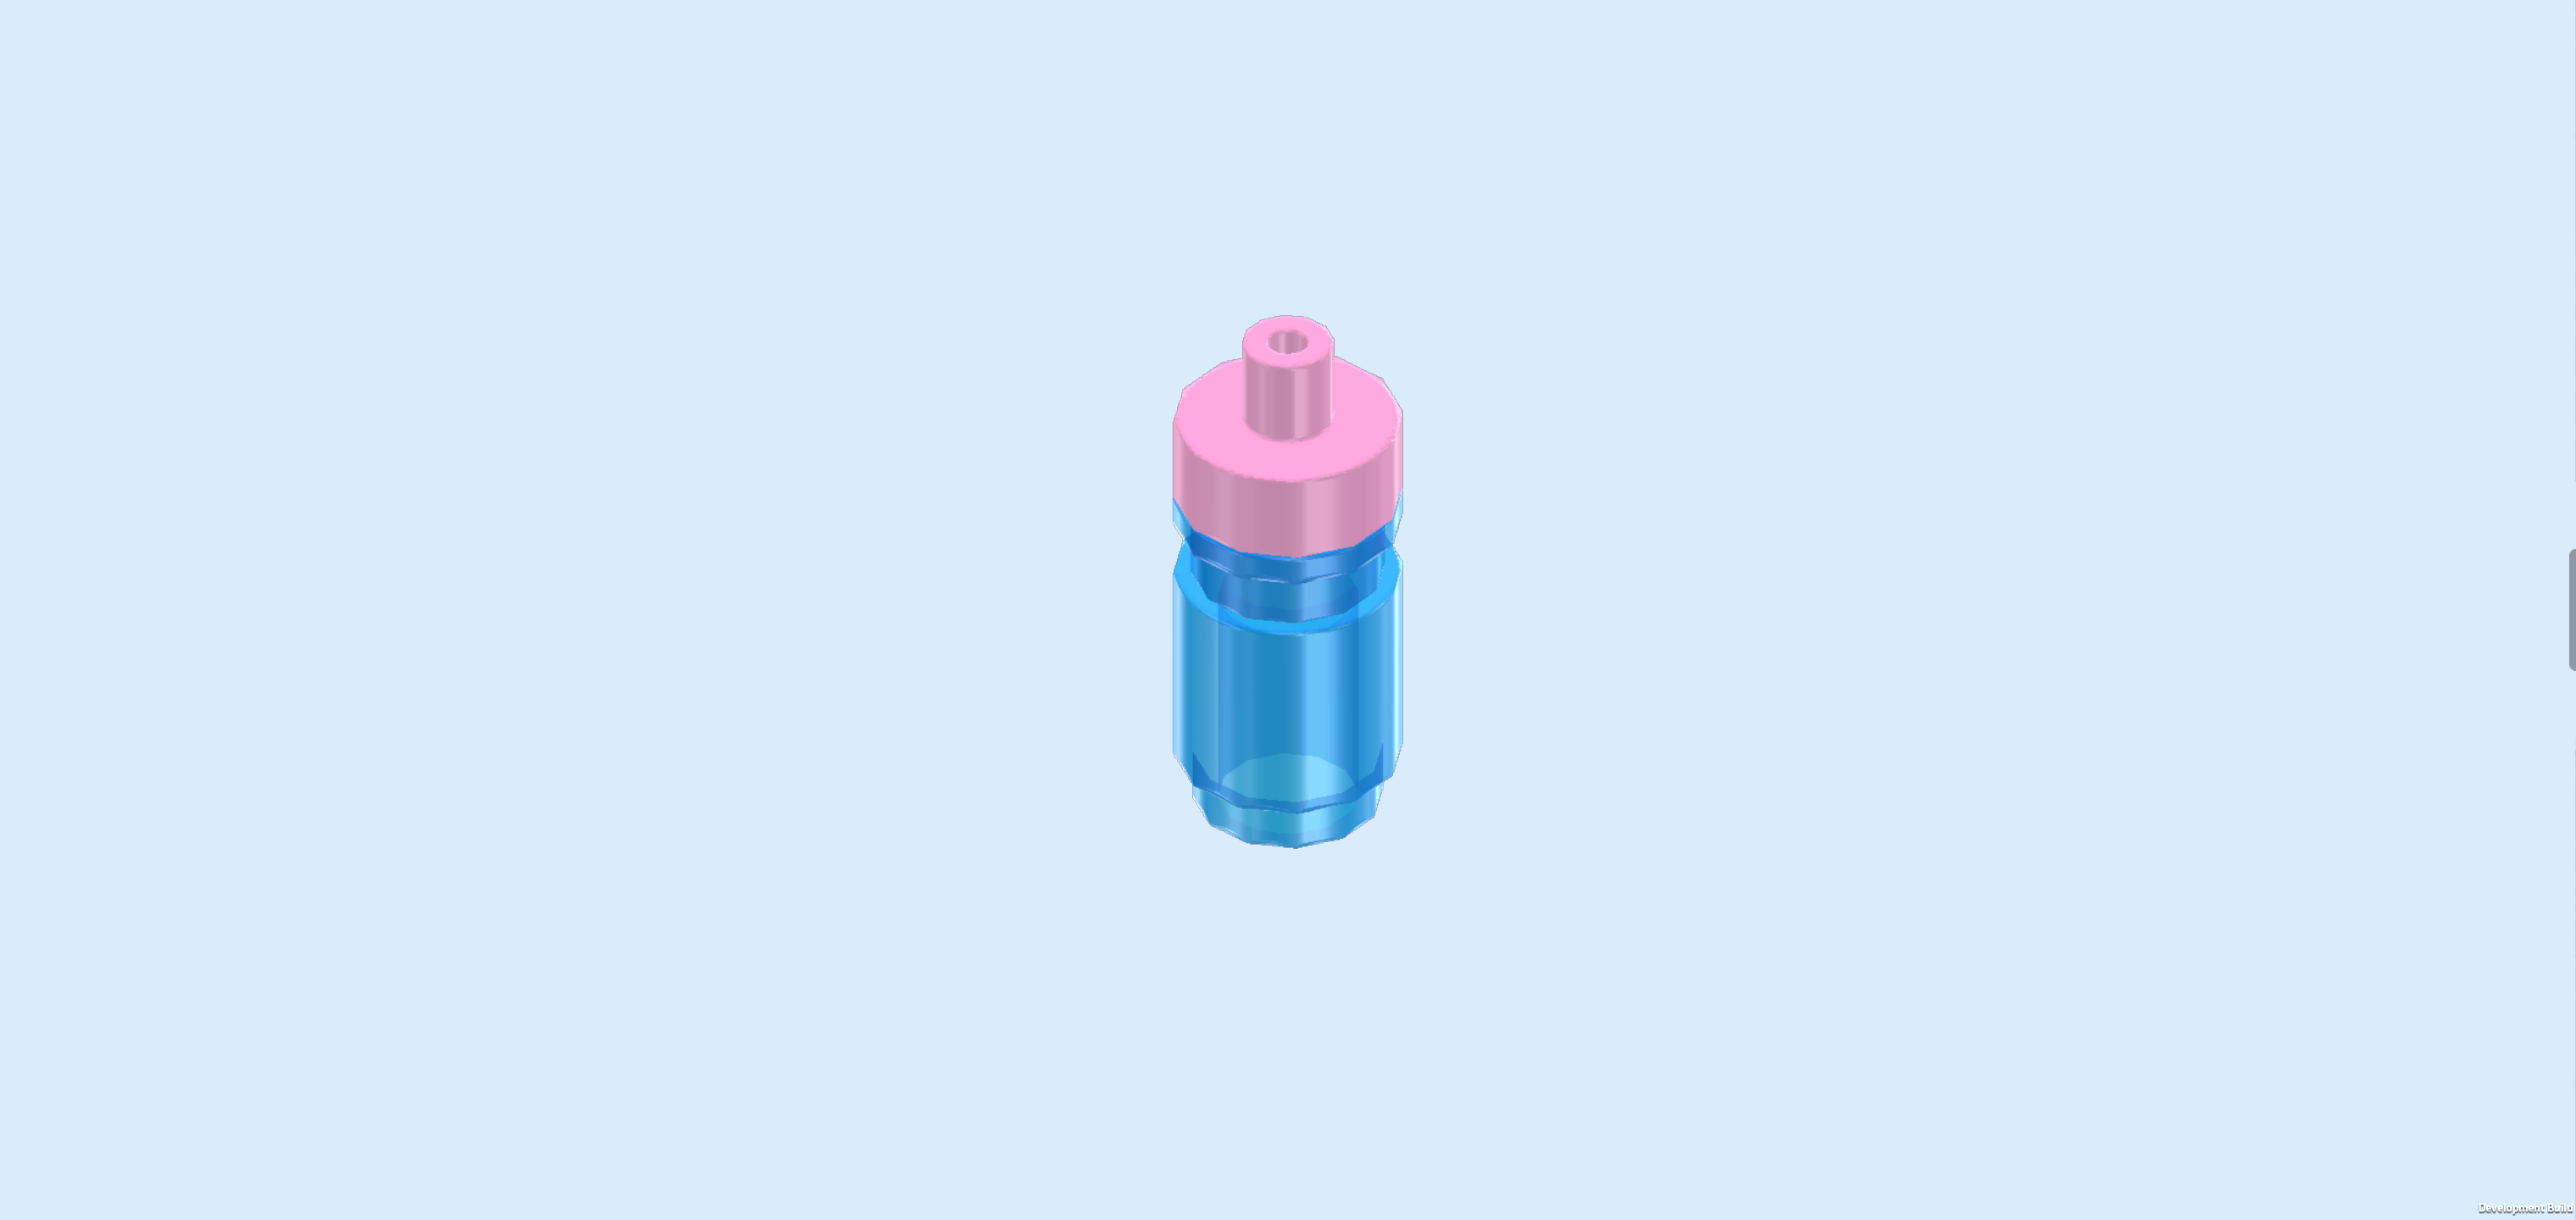
| Next, we will build a water bottle. |
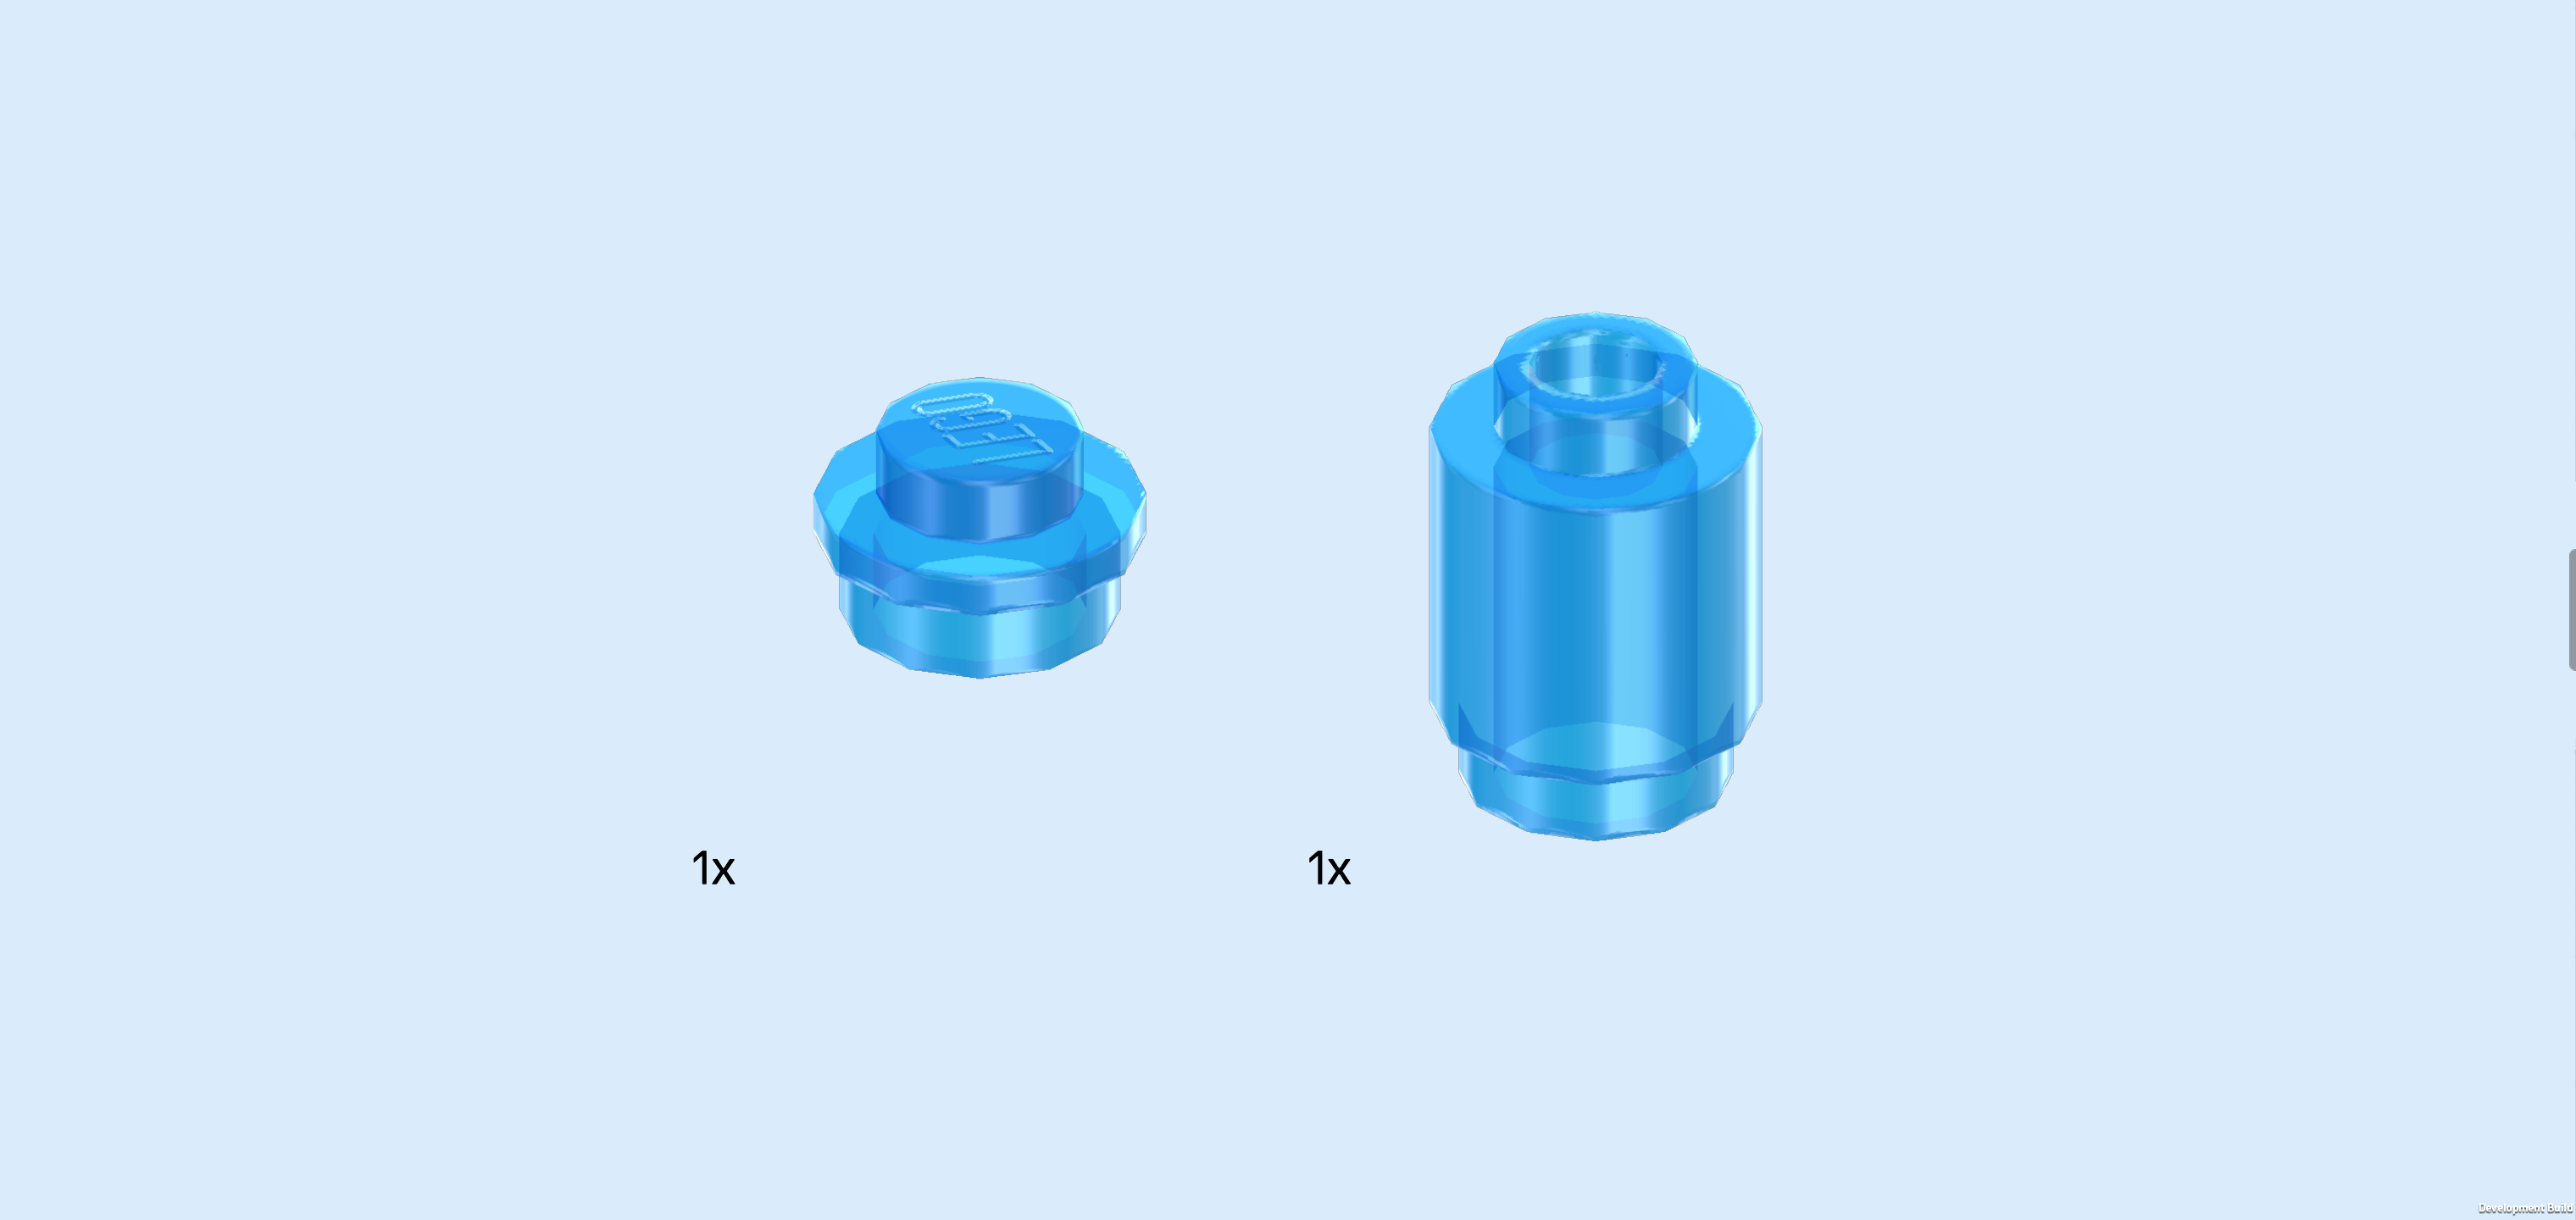
| Collect the following 2 pieces: |
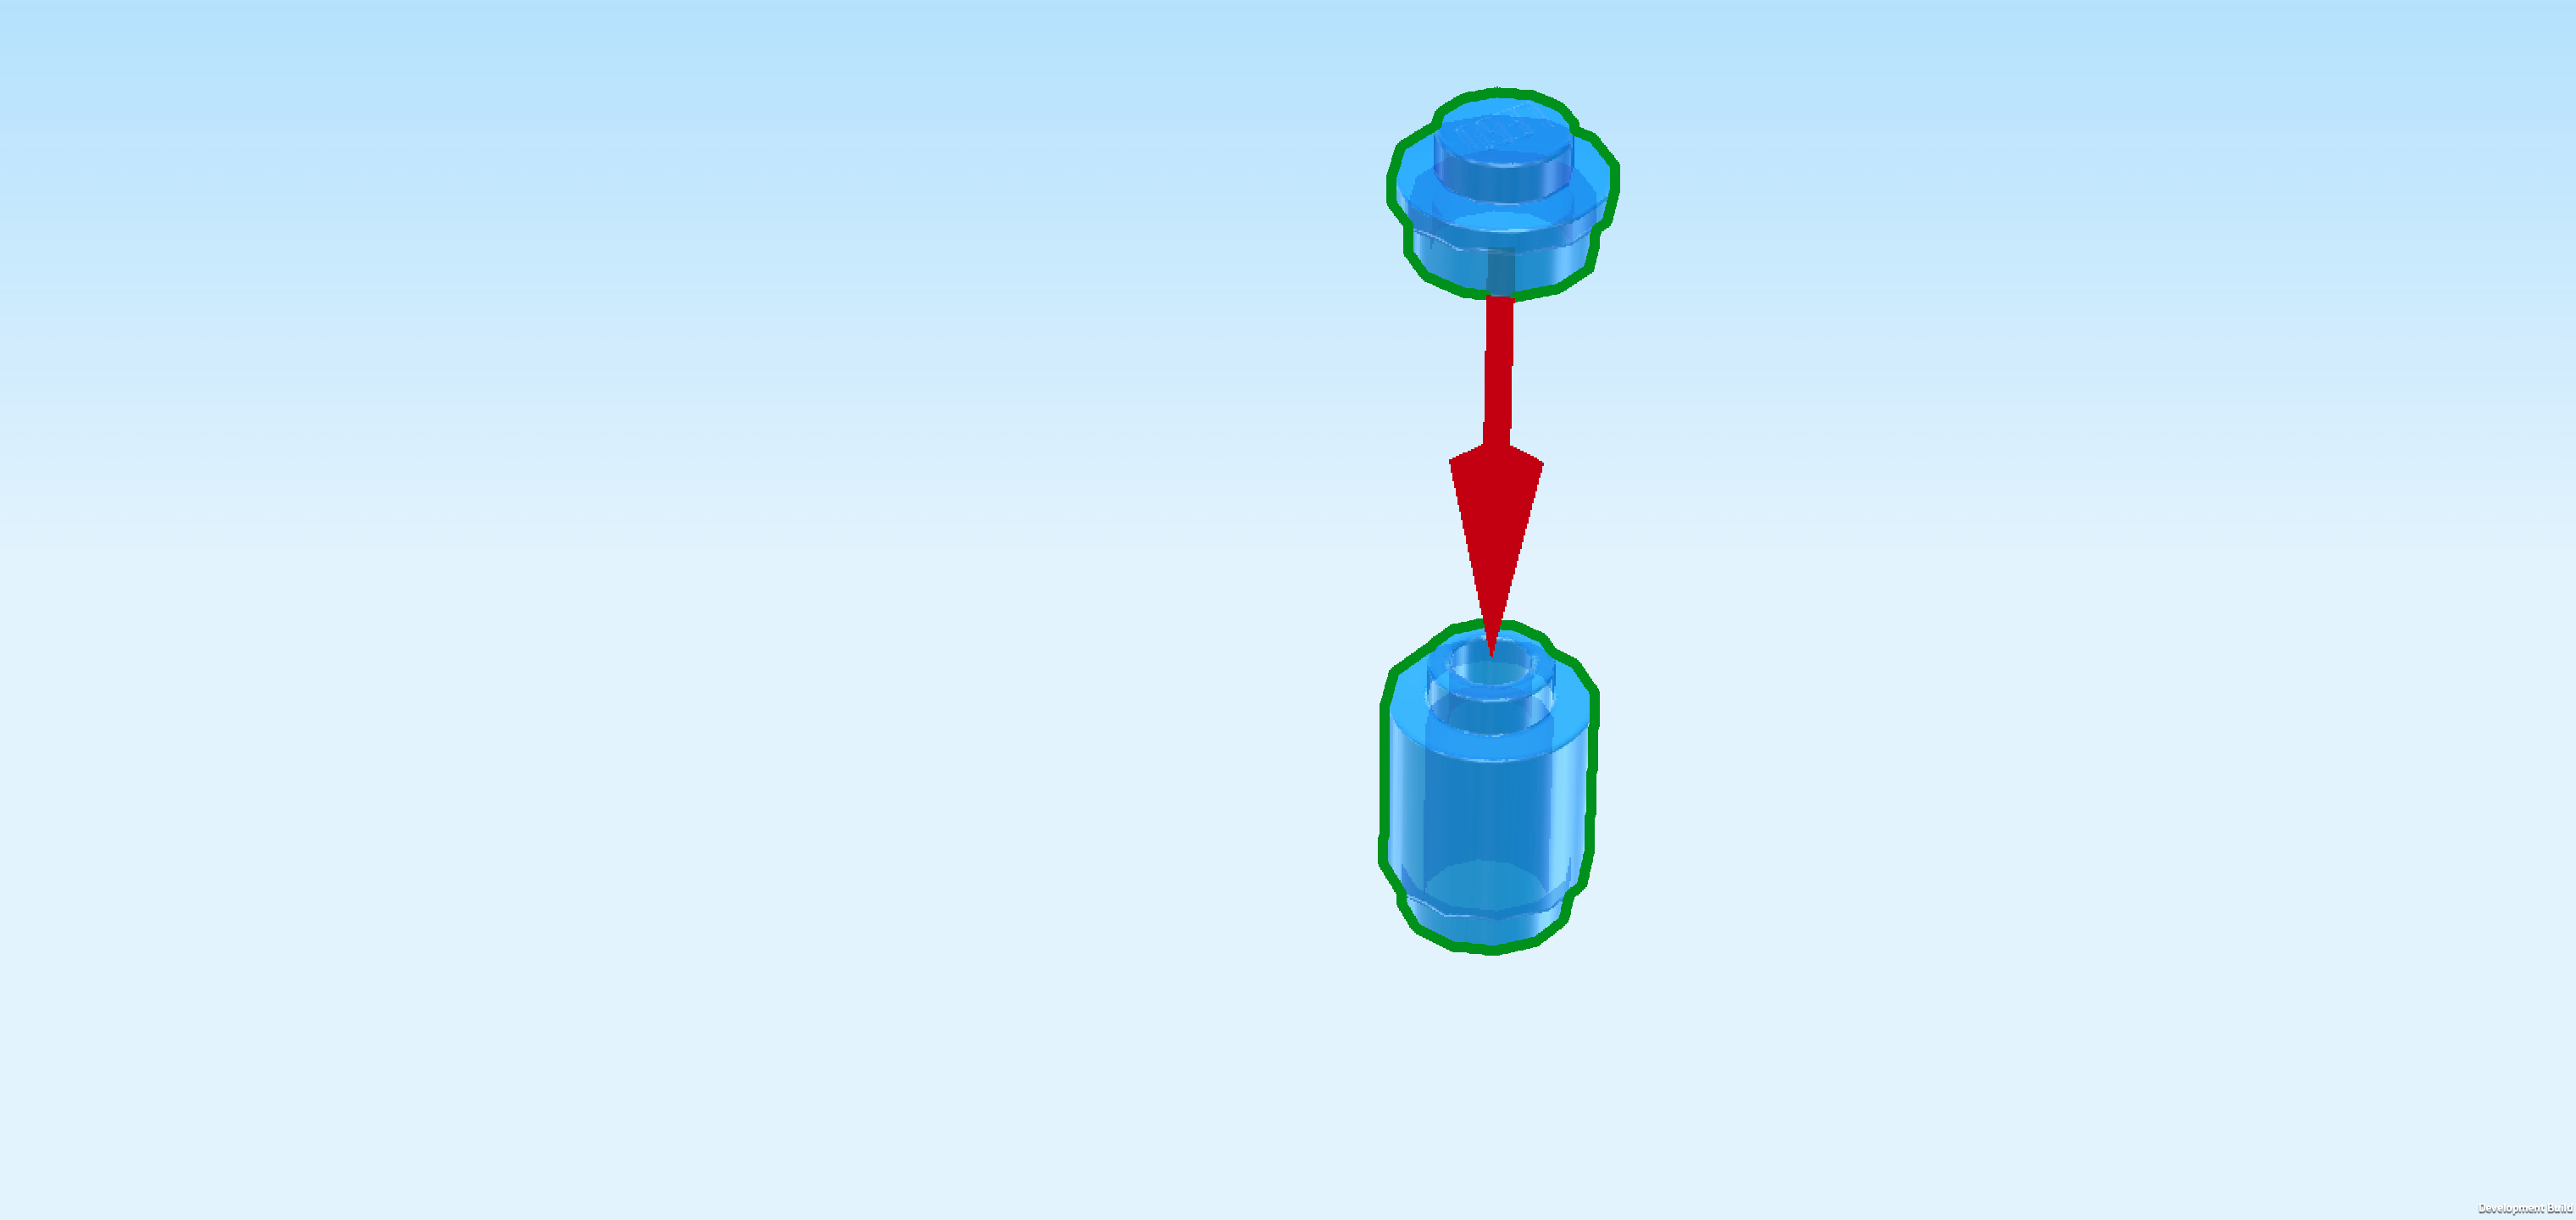
| 1 transparent blue round plate 1x1, |
| and 1 transparent blue round brick 1x1. |
| Put the round plate on the knob of the round brick. |
| Find 1 light purple round tile 1x1 with small top shaft. |
| Put it on top of the previous piece. |
| The water bottle is finished! Great job! Put it on the backmost row on its second knob from the right. |
| The skate ramp is finished! Well done! As a skateboard fan, Nova will love to try her newest tricks and flips on this stylish ramp. But Aliya can also give it a try, definitely with an experienced skater like Nova by her side! Don't forget to put on the helmet first though! |
| Next, we will build the photobooth. |
| Collect the following 2 pieces: |
| 1 vibrant yellow plate 2x4, |
| and 1 light purple brick 1x4. |
| Put the plate 2x4 horizontally on the table. |
| Put the brick 1x4 horizontally on the back row. |
| Find 1 light purple brick 1x2. |
| Put it vertically in front of the previous piece on the rightmost column, 1/2 overhanging to the front. |
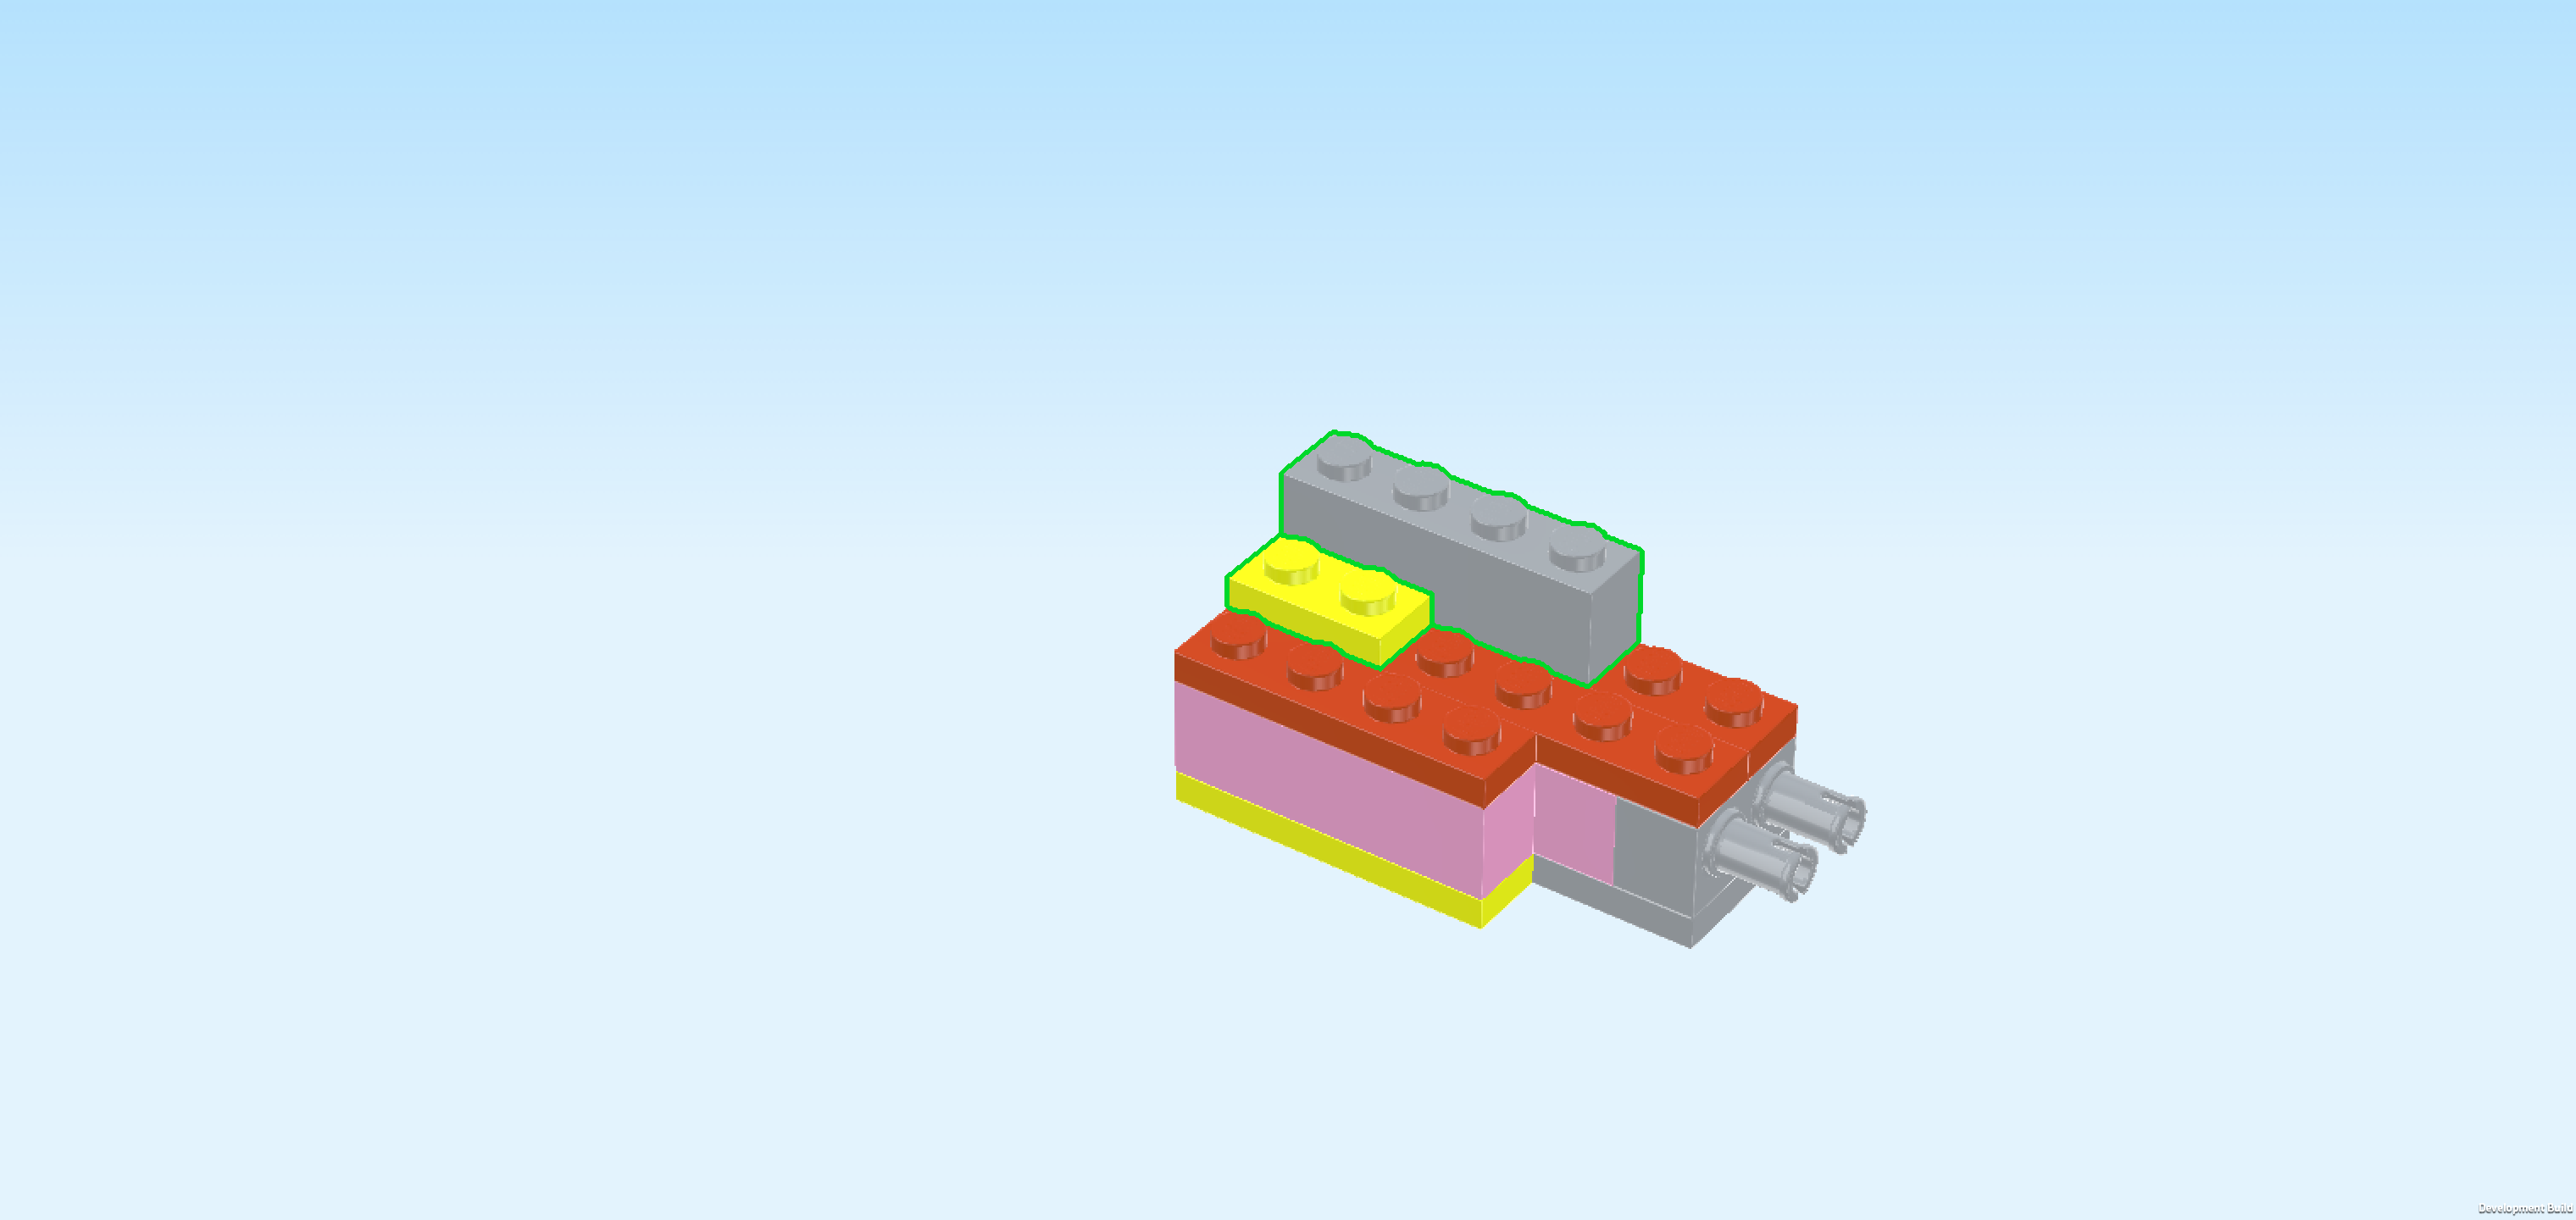
| Find 1 vibrant yellow plate 1x4. |
| Put it horizontally underneath the overhang of the previous piece, aligning this plate with the front edge of the plate 2x4. |
| Find 1 light purple brick 2x4. |
| Put it horizontally to the left of the brick 1x2, 1 column overhanging to the left. |
| Find 1 medium stone grey plate 2x2. |
| Put it underneath the previous piece's overhang, 1 column protruding to the left. |
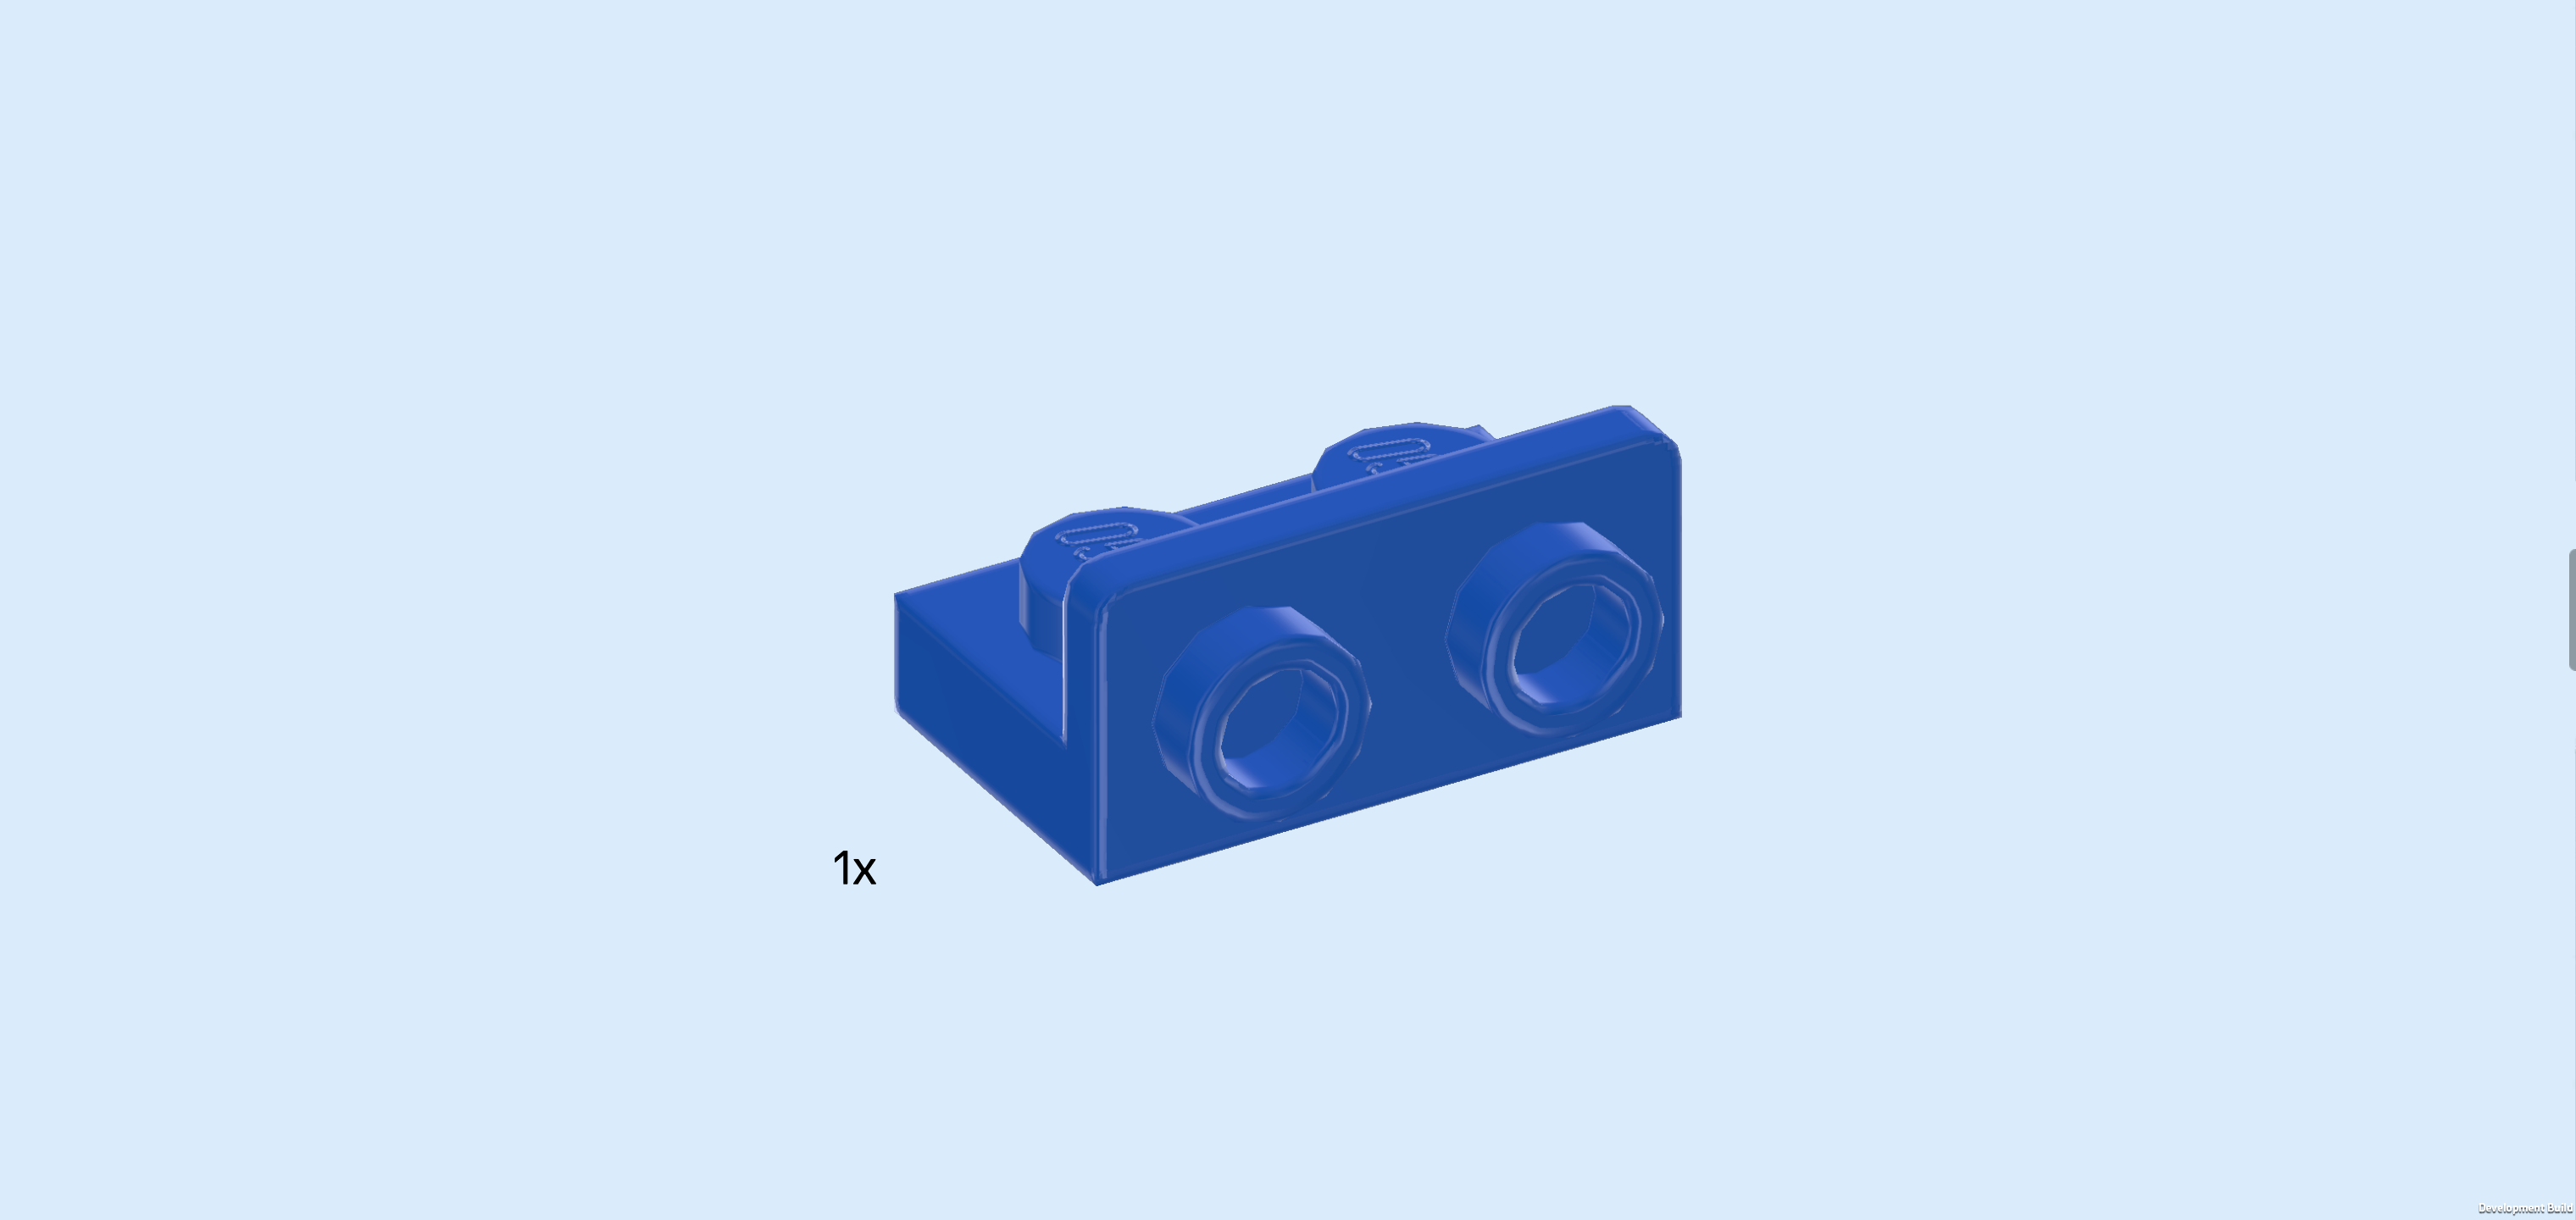
| Find 1 medium stone grey brick 1x2 with two connectors on long side. |
| Put it vertically on the previous piece's overhang, connectors to the left. |
| Find 1 reddish orange plate 1x4. |
| Put it horizontally on the backmost row of the build. |
| Find 2 reddish orange plates 1x2. |
| Put 1 horizontally in front of the previous piece on the 2 rightmost knobs. |
| Put the other one horizontally in front of the previous piece. |
| Find 2 reddish orange plates 1x4. |
| Put them horizontally to the left of the 2 previous pieces. |
| Collect the following 2 pieces: |
| 1 vibrant yellow plate 1x2, |
| and 1 medium stone grey brick 1x4. |
| Before you mount them, turn the structure around so that the 2 connectors are now pointing to the right. |
| Put the brick 1x4 horizontally on the backmost row, starting from the left edge. |
| Put the plate 1x2 horizontally in front of the previous piece on the 2 leftmost knobs. |
| Collect the following 2 pieces: |
| 1 light purple smooth roof tile 1x1x⅔, |
| and 1 light purple one-stepped curve tile 1x3. |
| Put the smooth roof tile 1x1 on the previous piece's left knob, slope to the left. |
| Put the one-stepped curve tile 1x3 horizontally to the right of the previous piece, curve to the right. |
| Collect the following 2 pieces: |
| 1 transparent panel element 1x2x1 with back panel, |
| and 1 transparent flat tile 1x2. |
| Put the flat tile 1x2 vertically to the right of the previous piece, covering the second column from the right. |
| Put the panel element 1x2x1 vertically to the right of the previous piece, panel to the right. |
| Find 1 medium stone grey brick 1x4. |
| Put it horizontally on the backmost row on top of the identical piece. |
| Find 1 medium stone grey brick 1x2. |
| Put it horizontally on the previous piece's right half. |
| Next, we will build the toy photo printing mechanism. |
| Collect the following 2 pieces: |
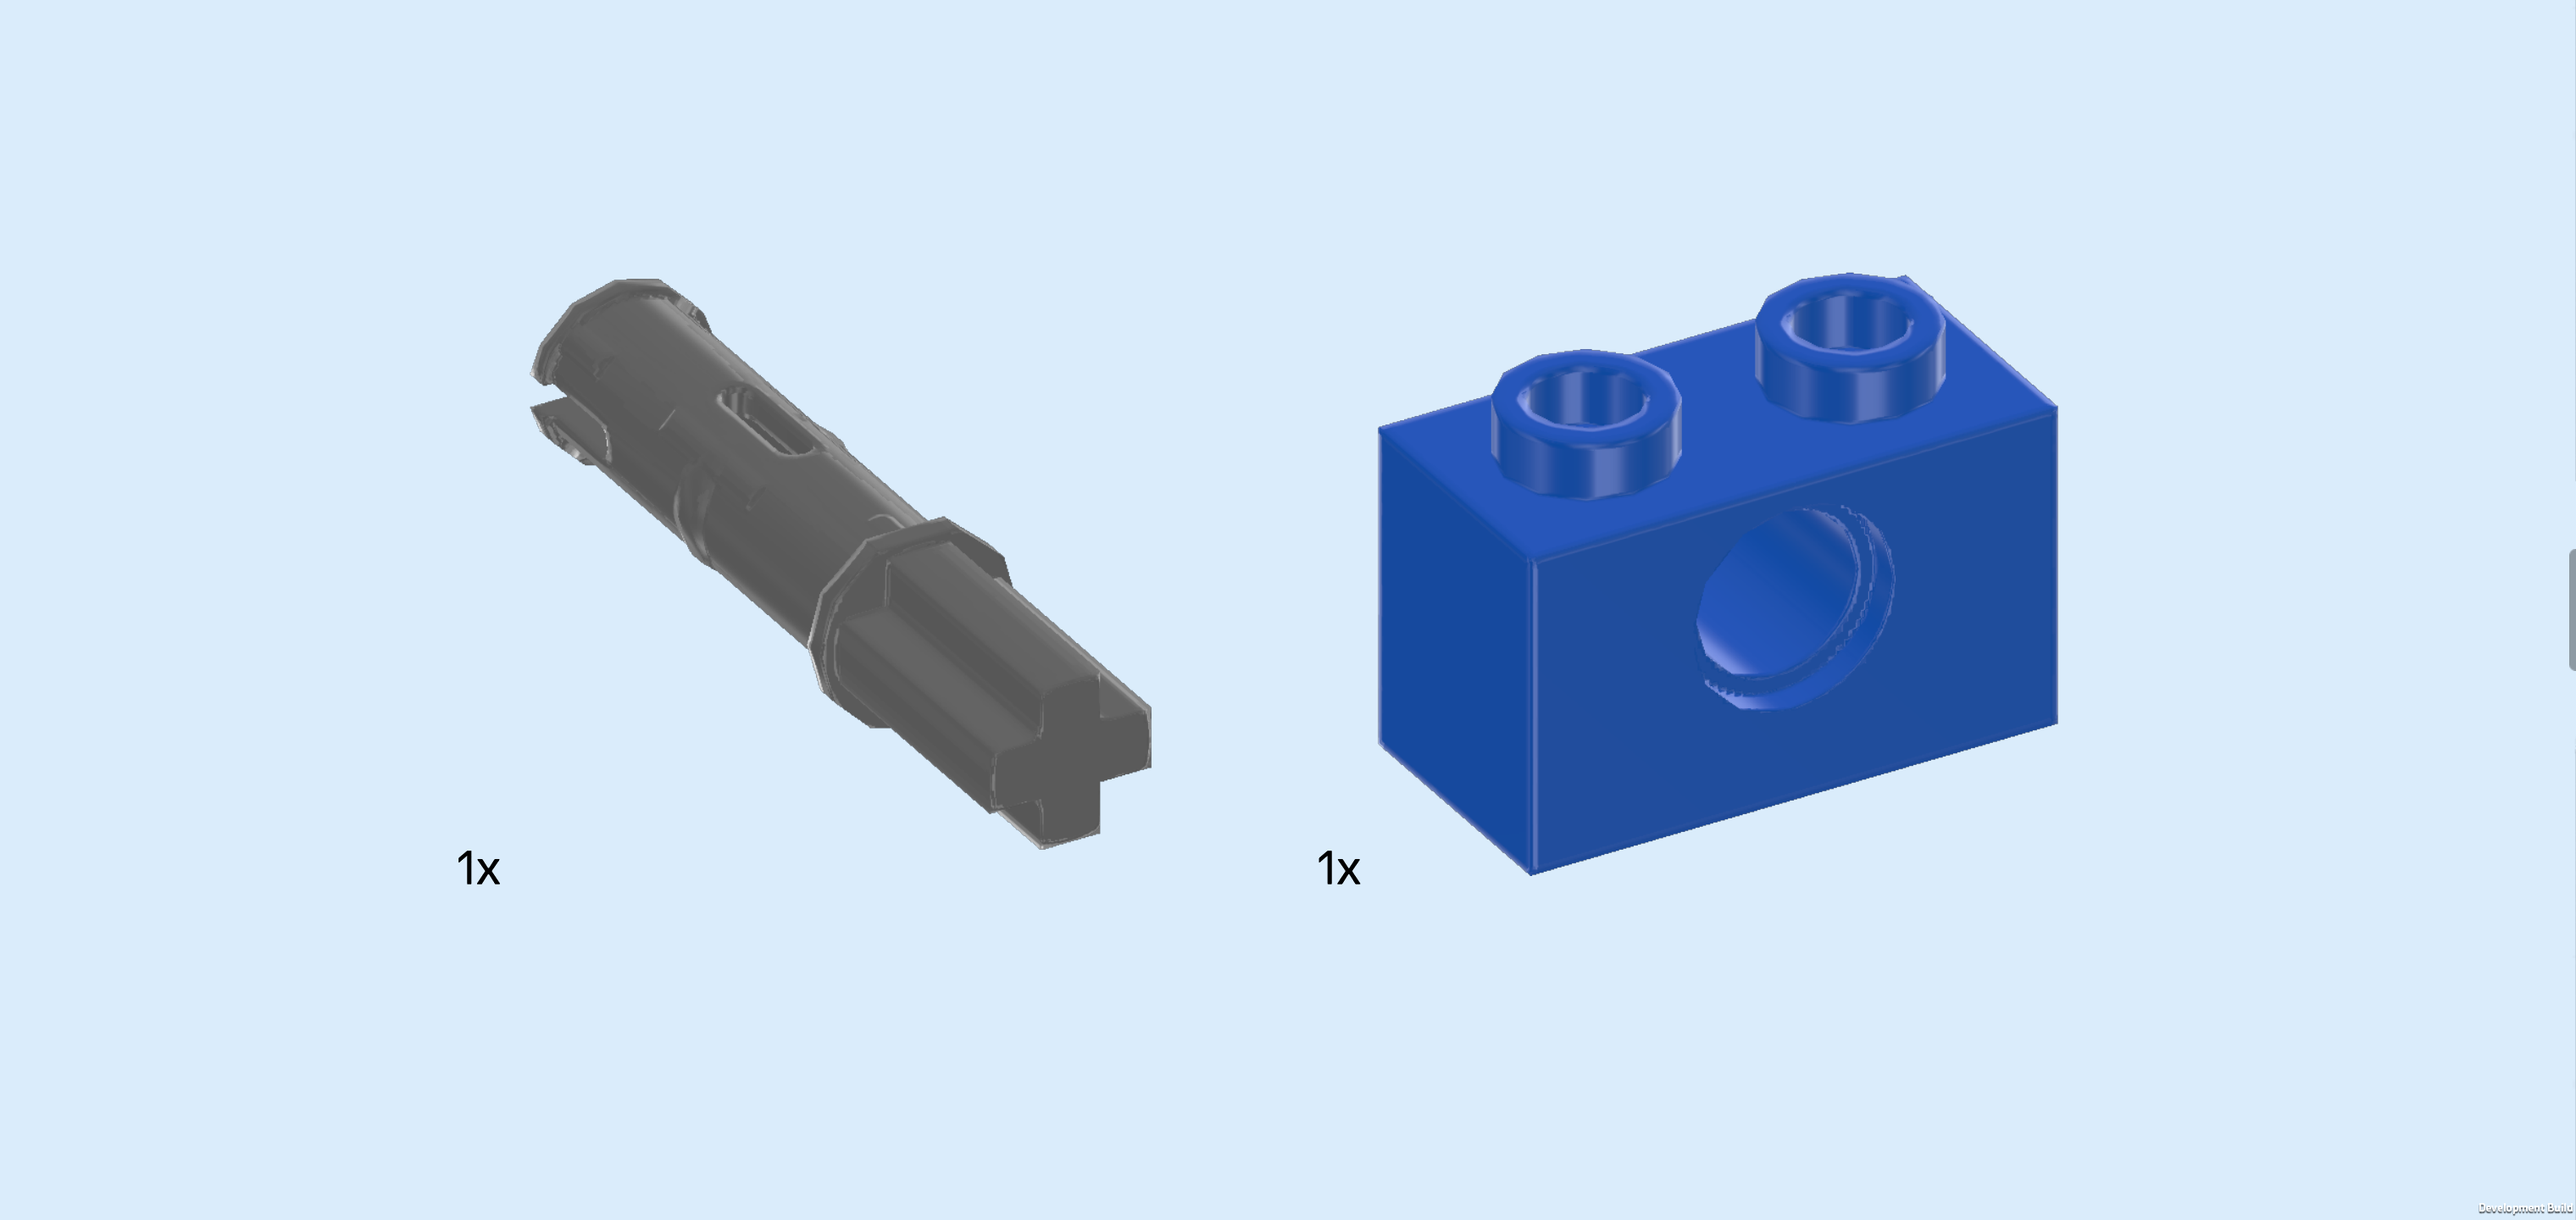
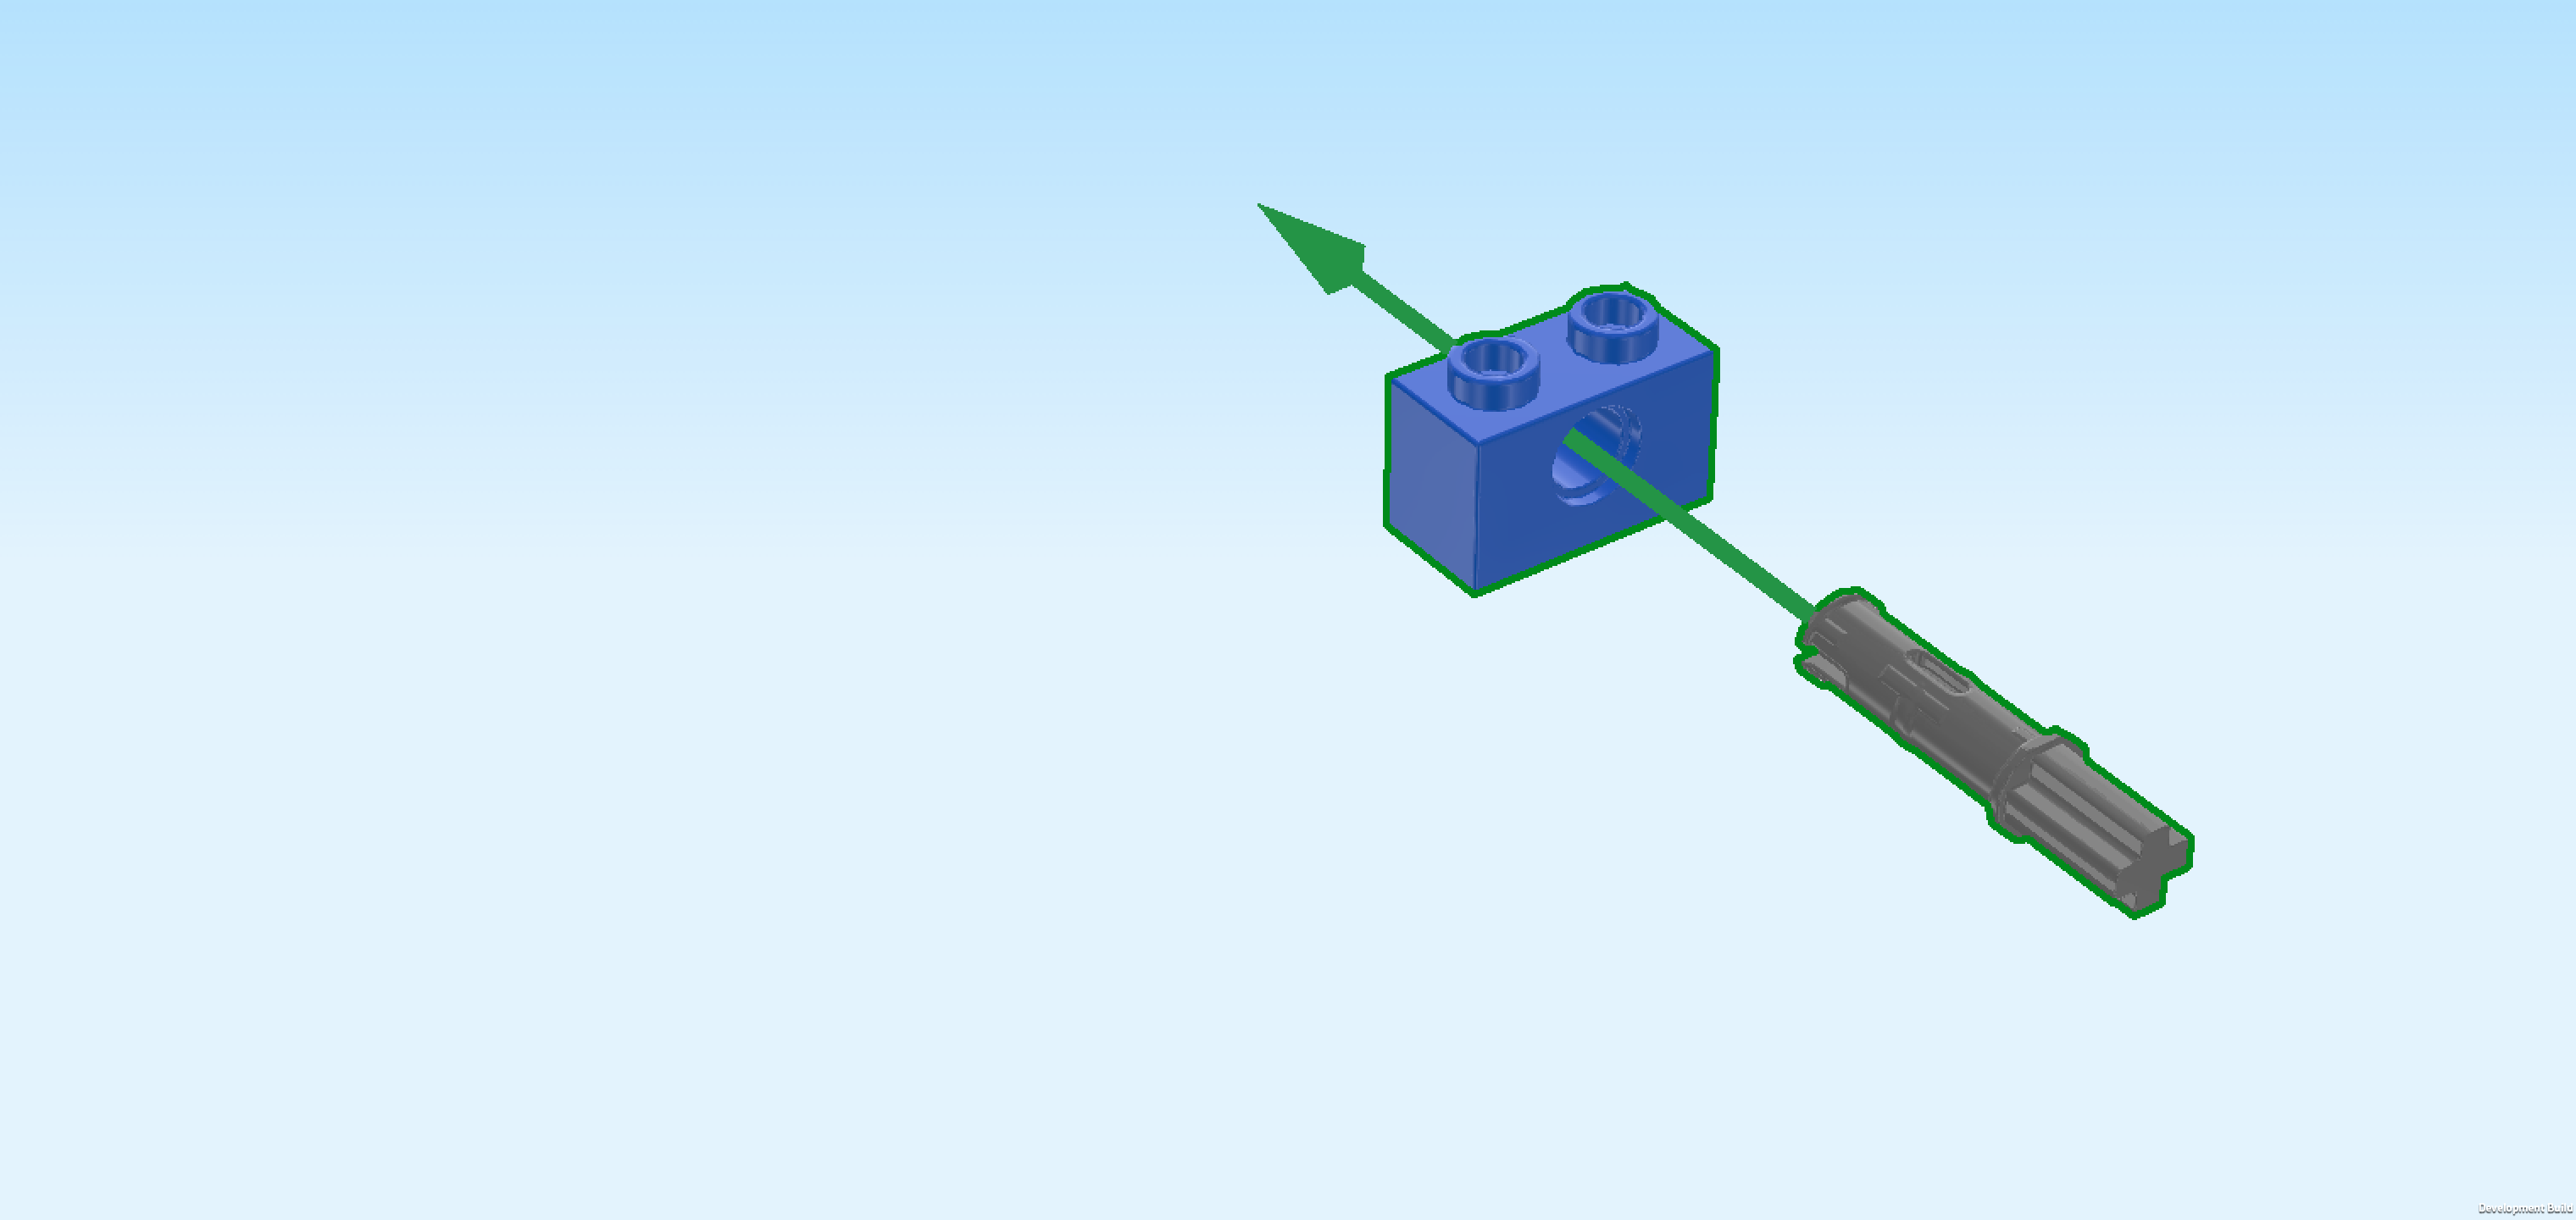
| 1 dark stone grey connector peg 3m with cross axle end, |
| and 1 bright blue brick 1x2 with technic hole. |
| Put the brick 1x2 horizontally on the table. |
| Insert the connector peg from the front into the brick's hole, cross axle end protruding to the front, connector peg protruding to the back. |
| Collect the following 2 pieces: |
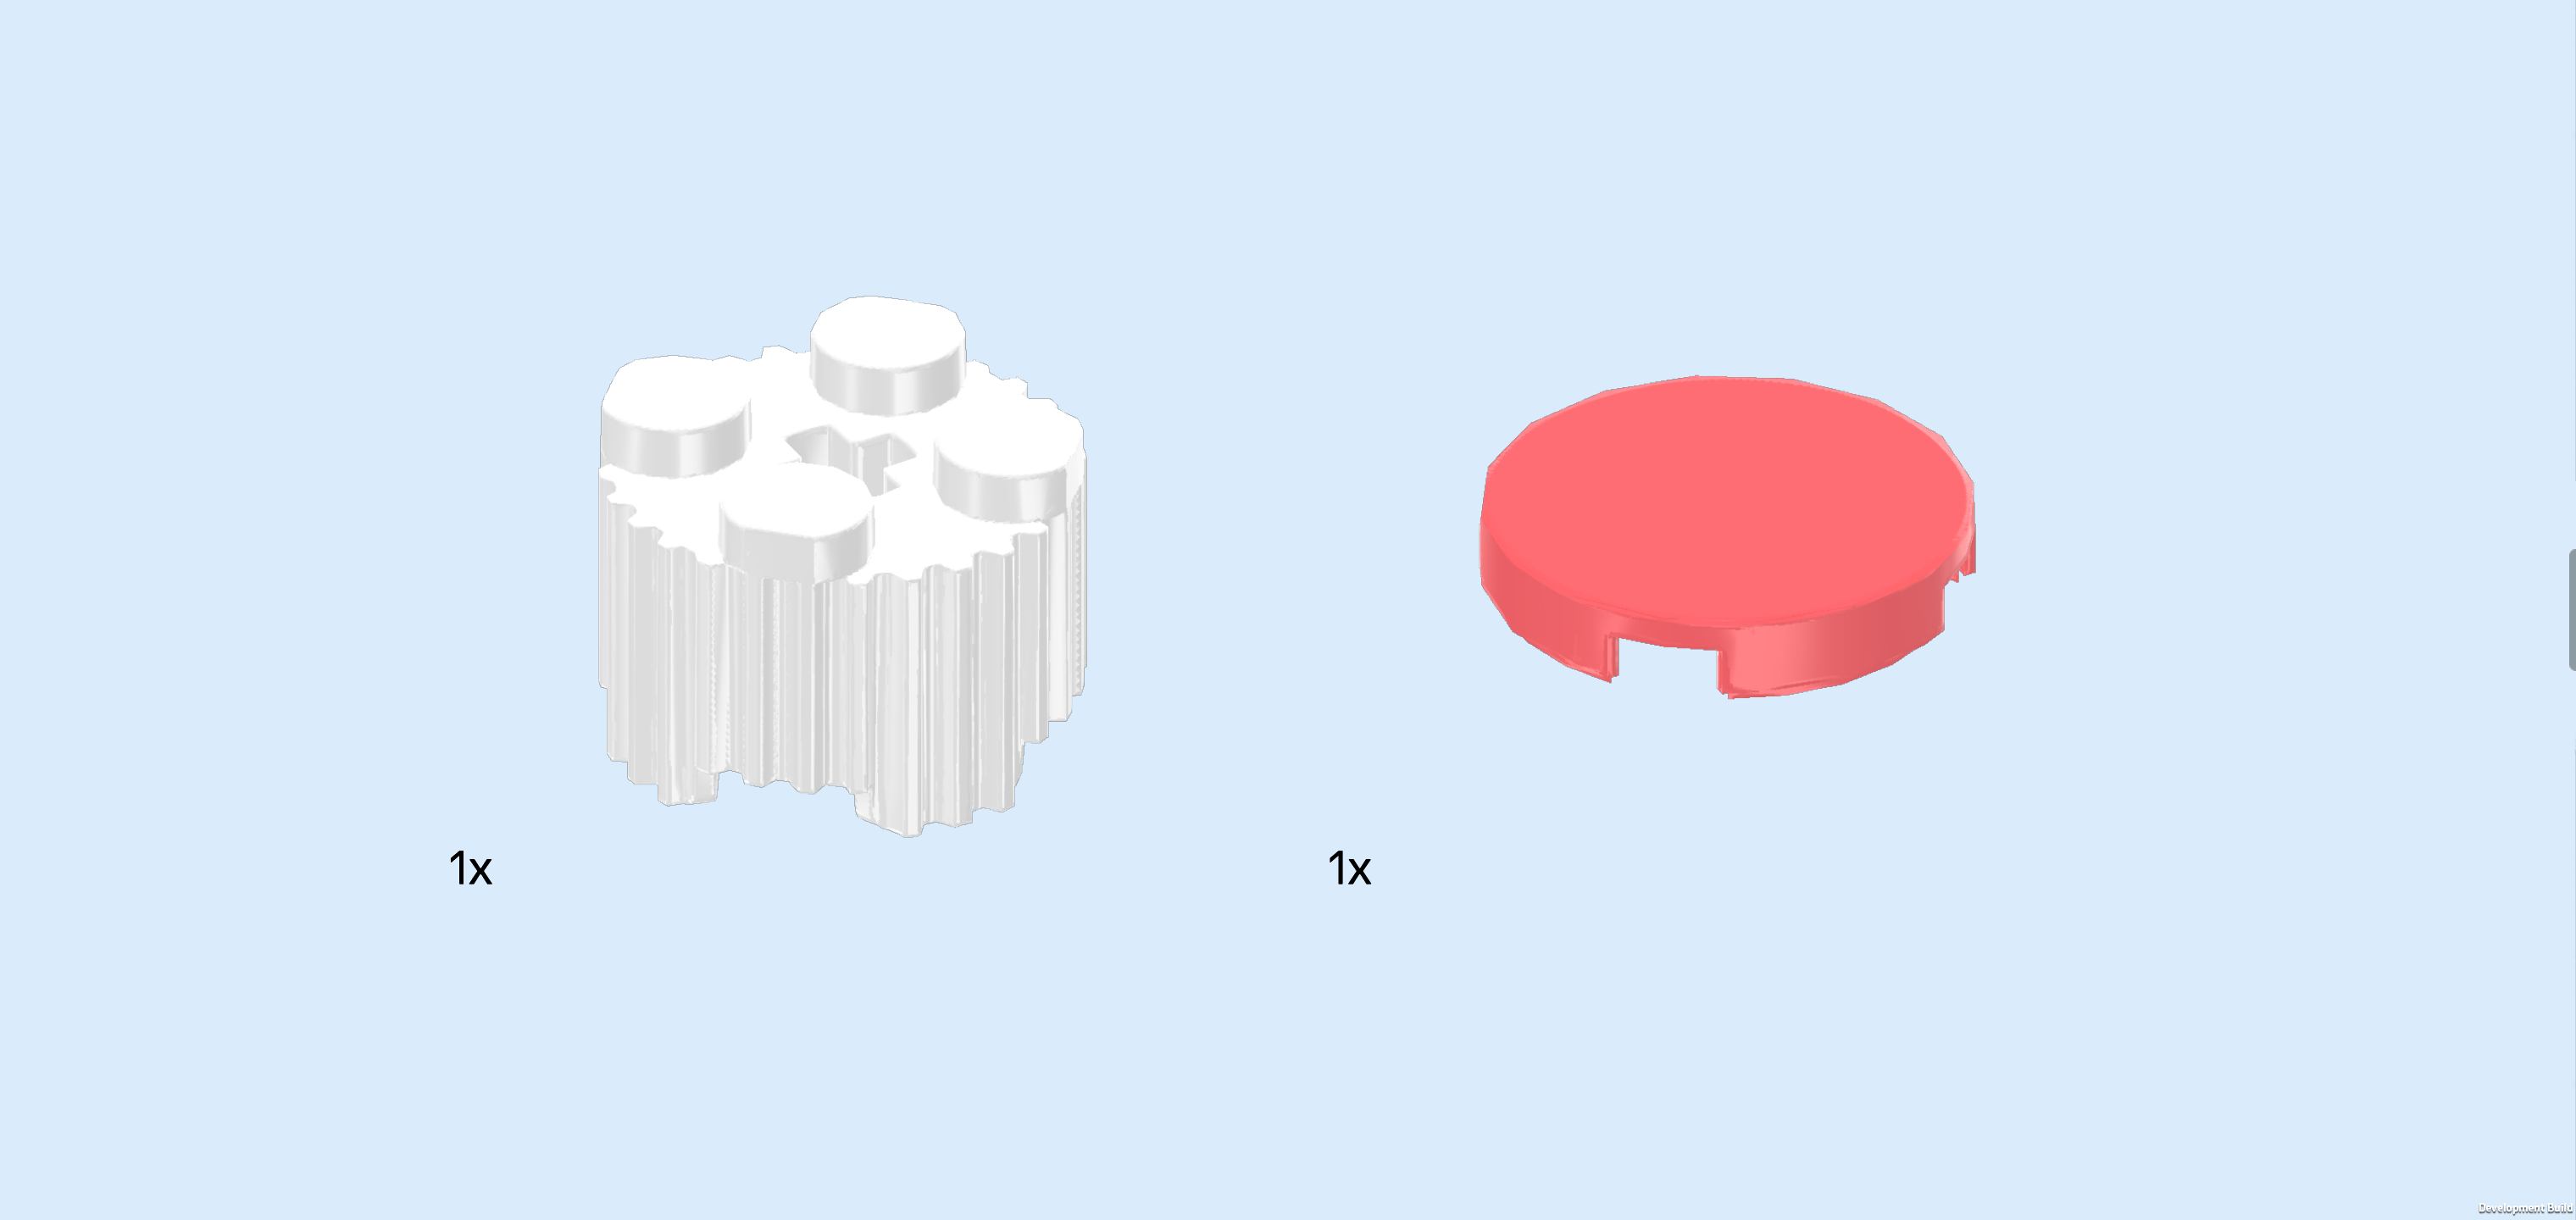
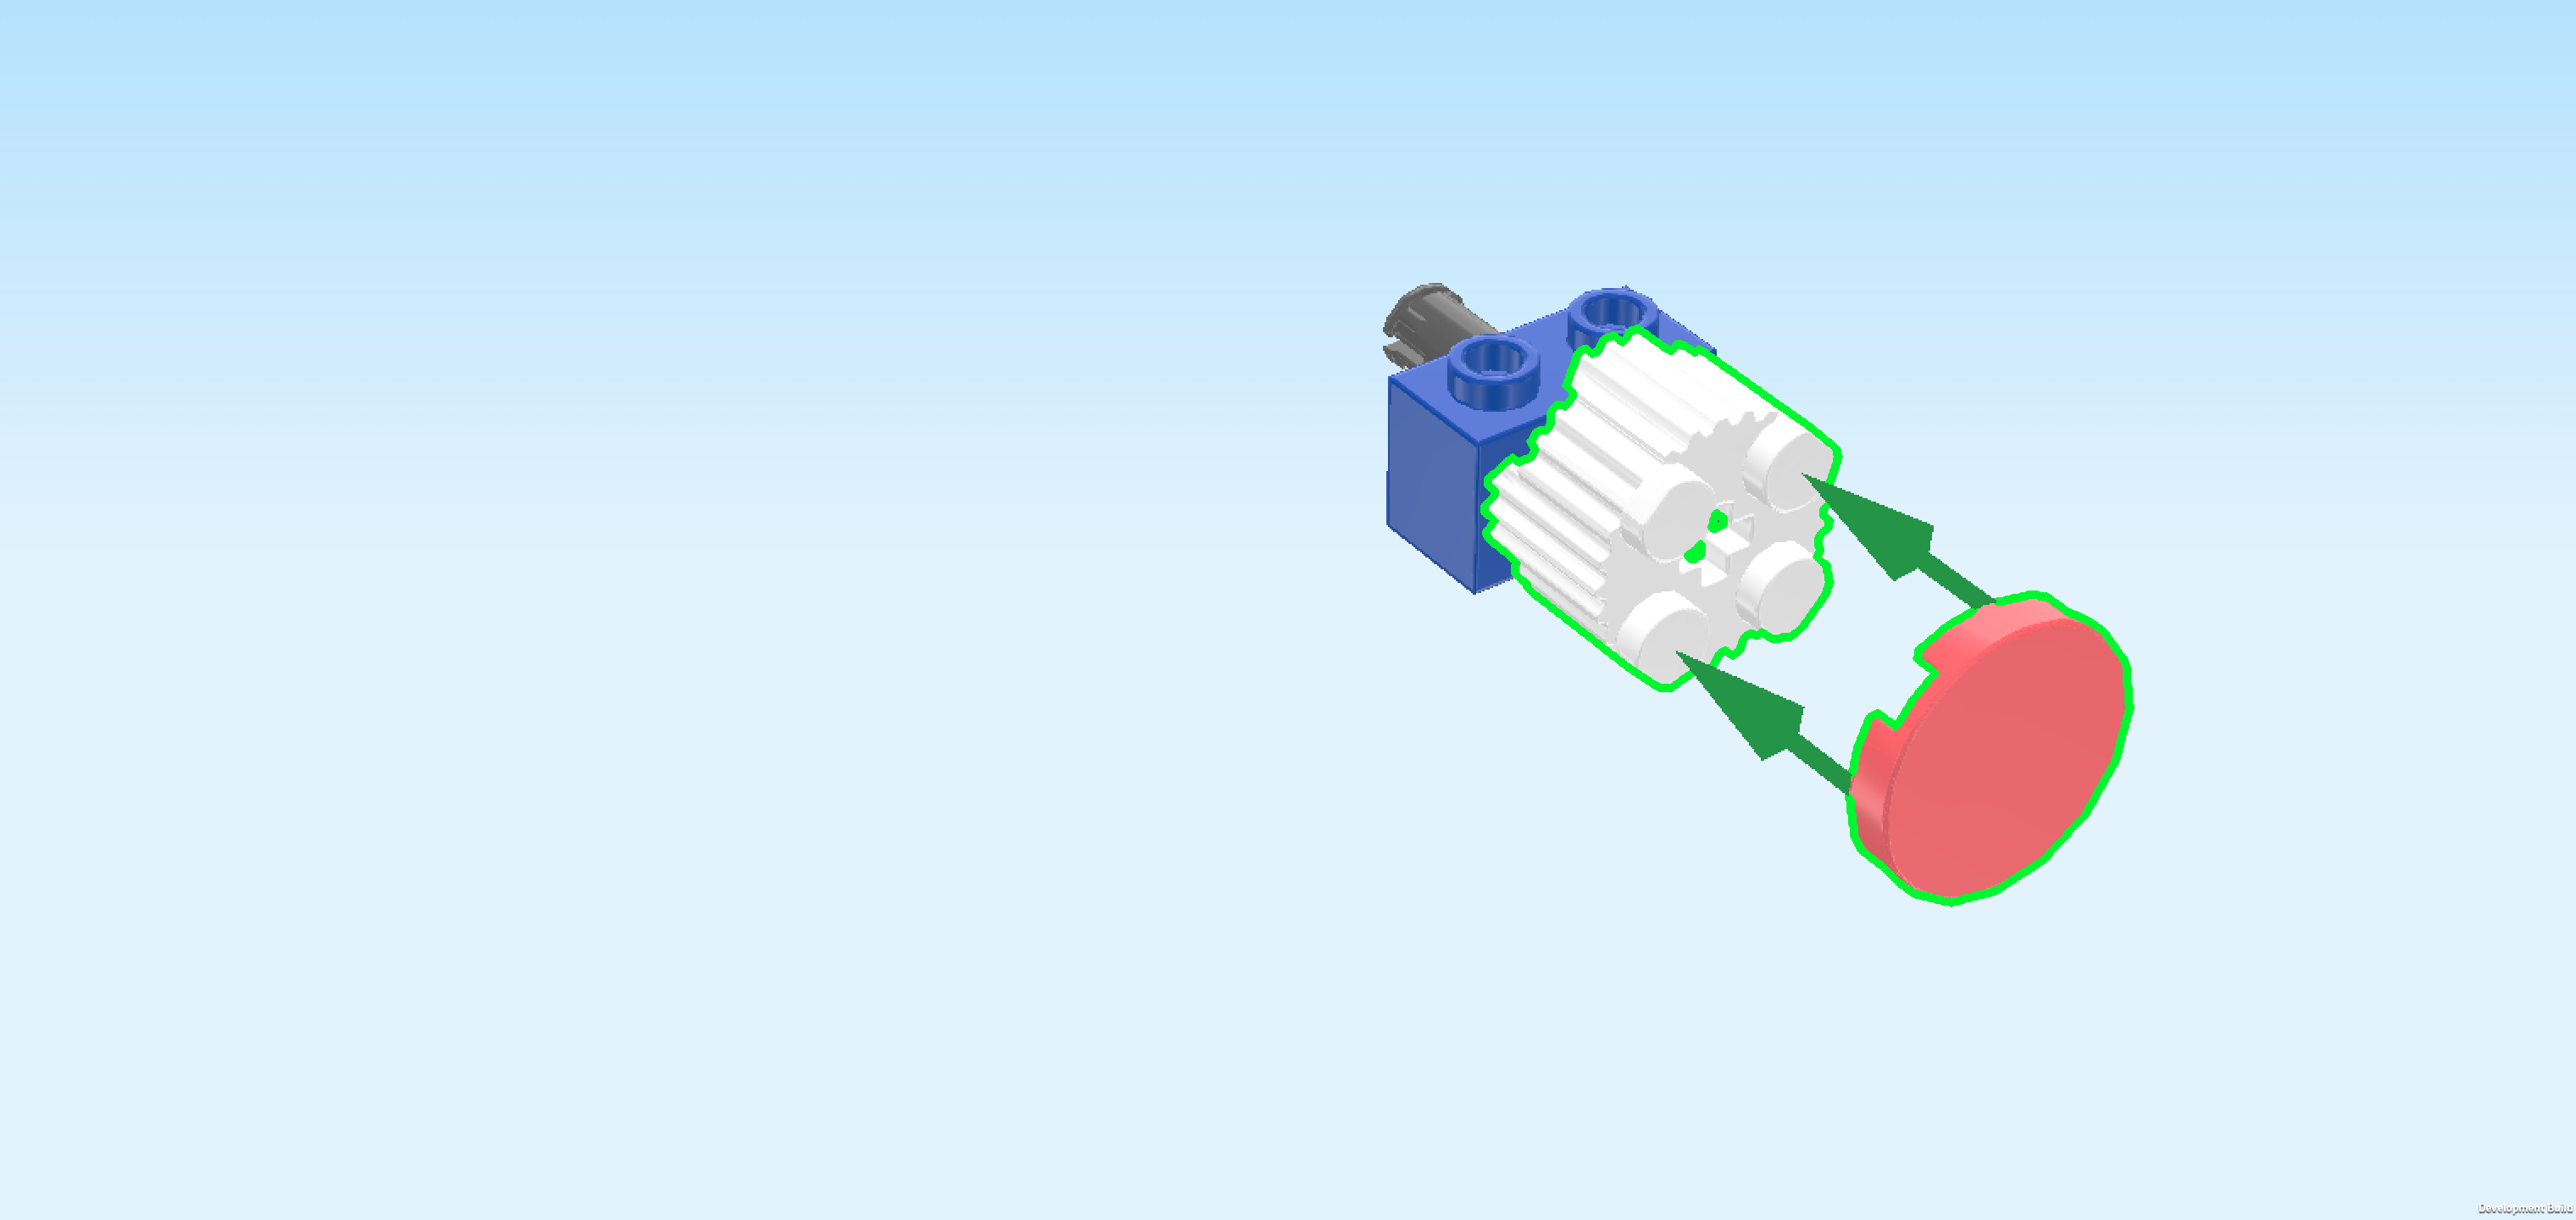
| 1 white round brick 2x2 with vertical side grooves, |
| and 1 salmon pink round tile 2x2. |
| Flip the round brick 2x2 upright so that its knobs are pointing towards you. Then, put it on the cross axle that is pointing to the front. This means that you will insert the cross axle into the brick's cross hole from its bottom surface. |
| Put the round tile 2x2 upright on the previous piece. |
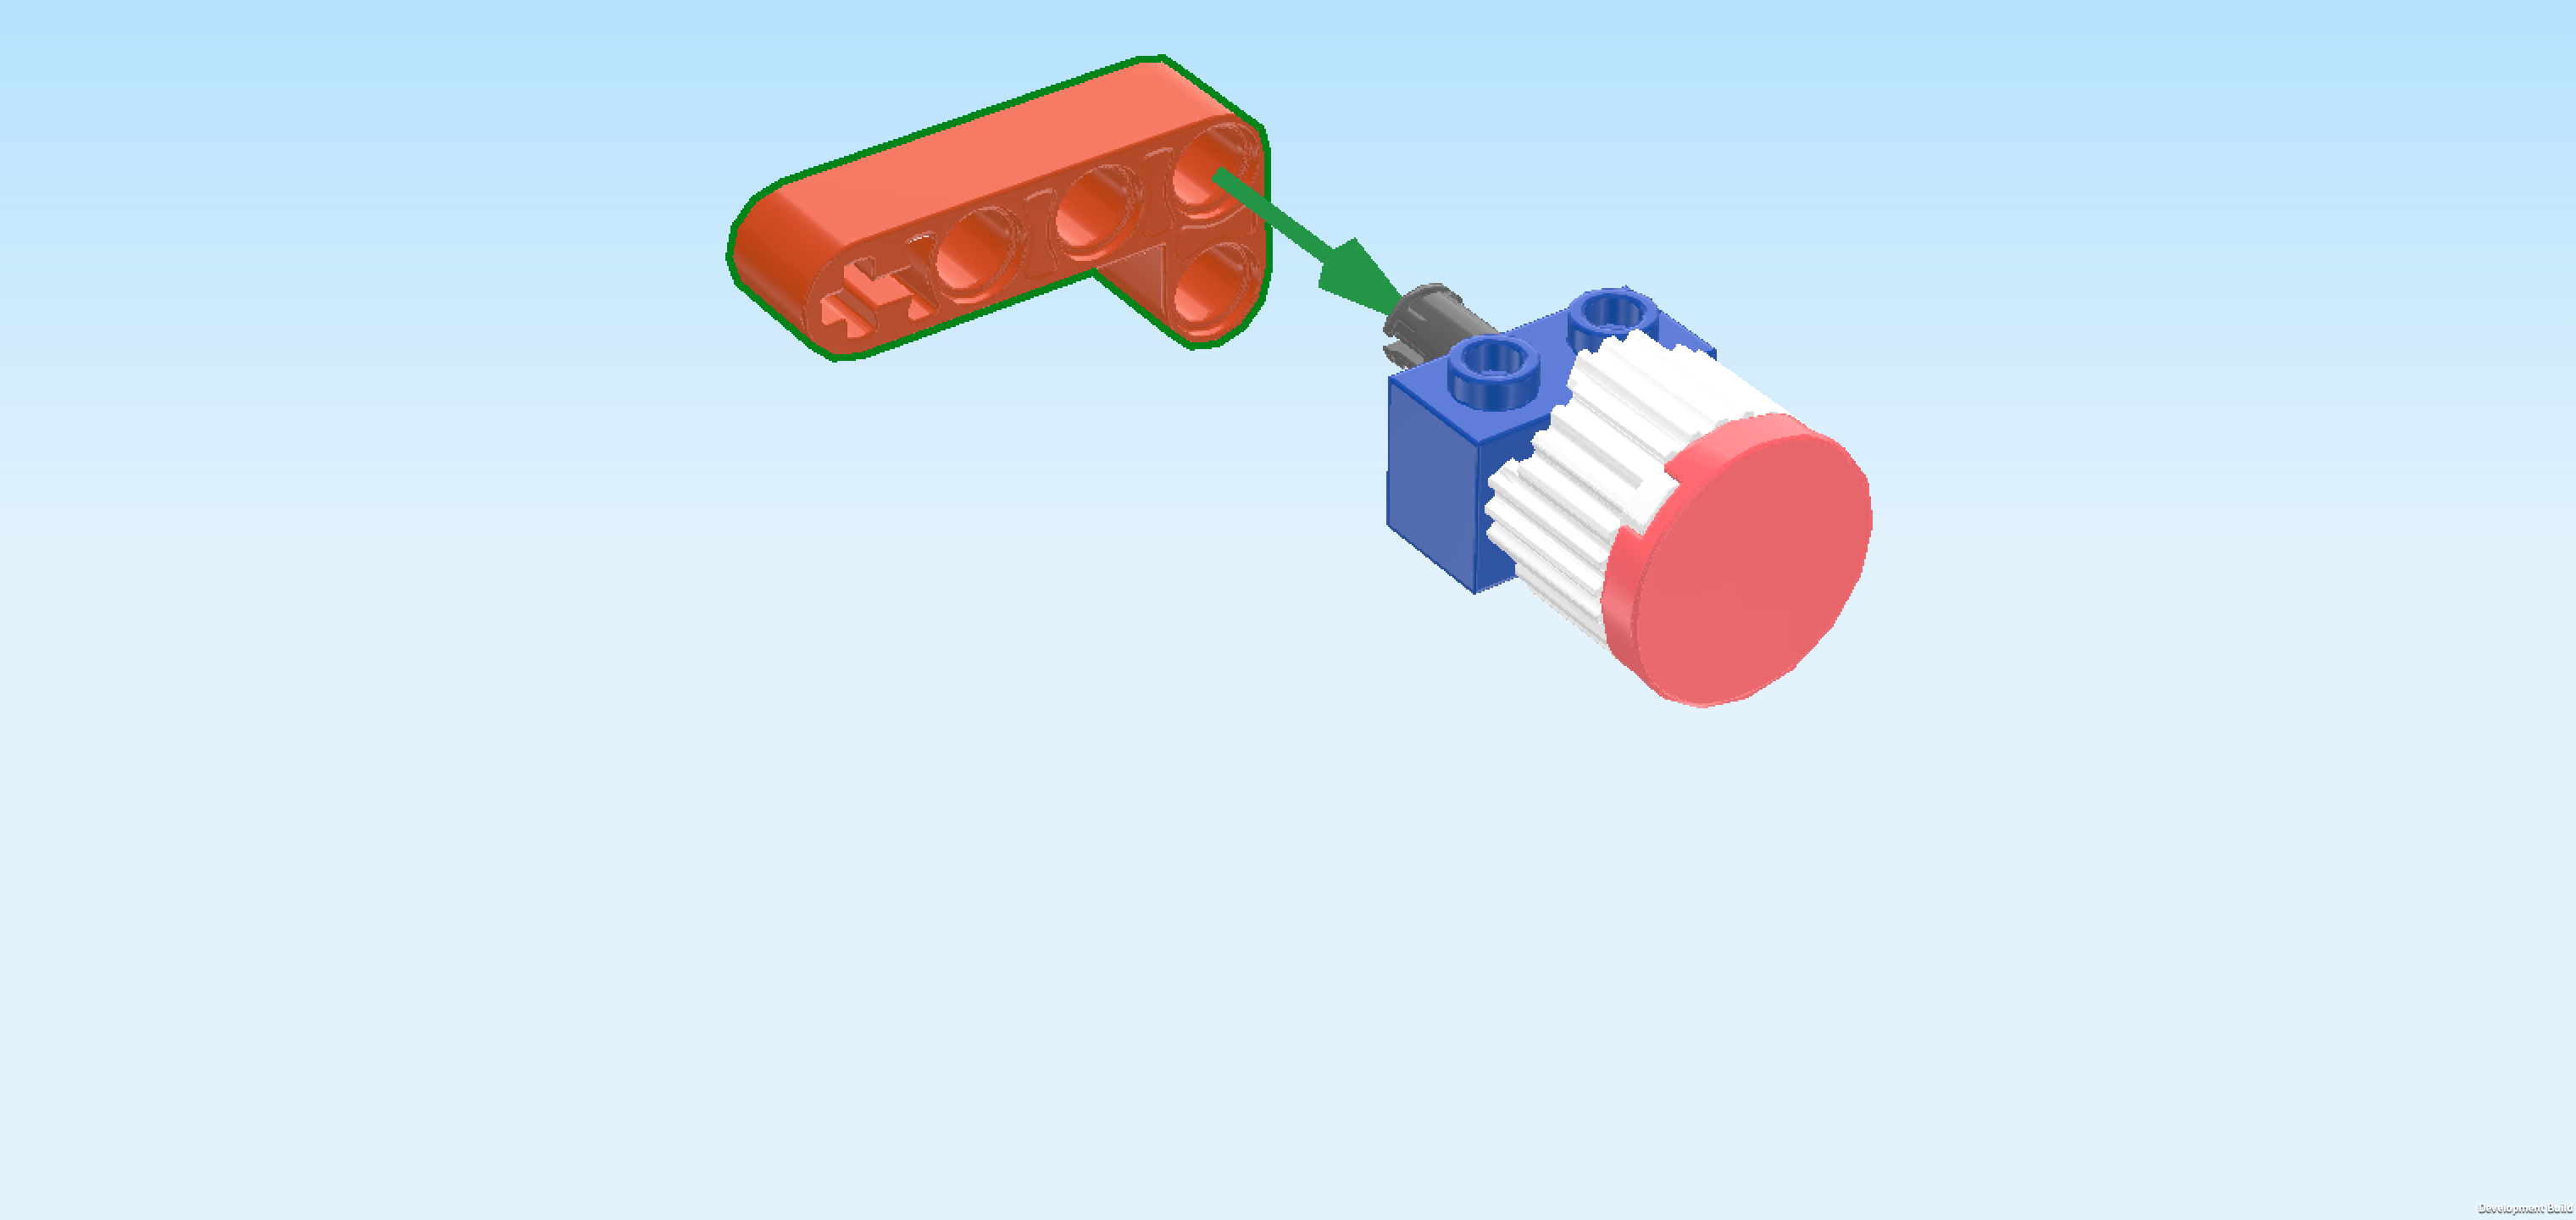
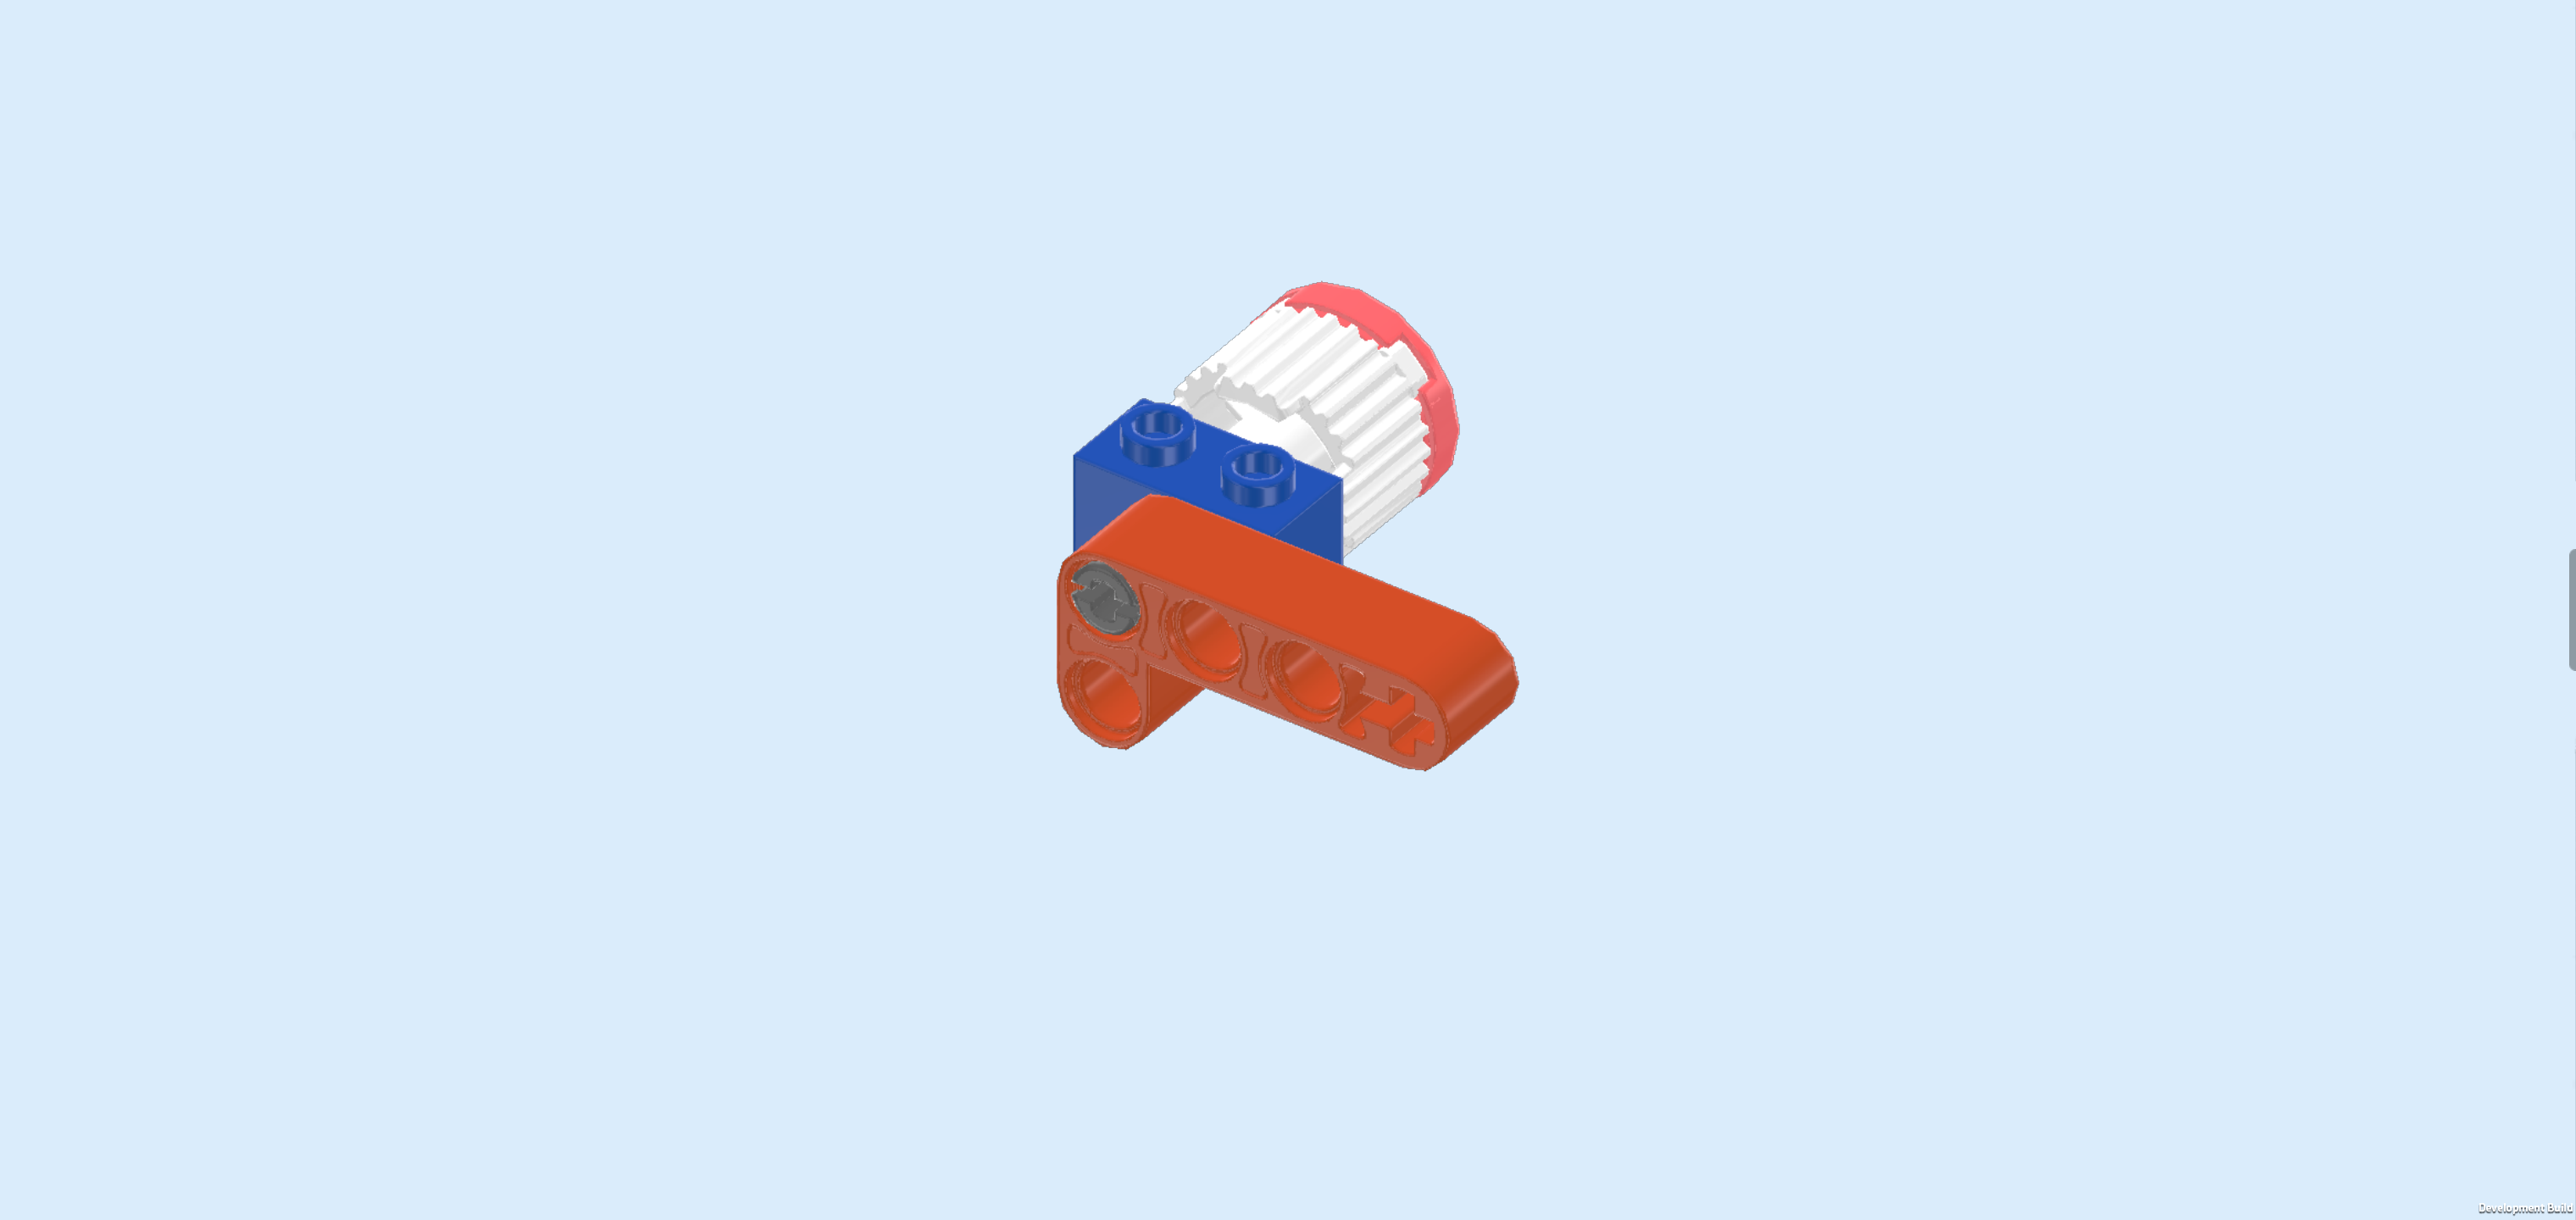
| Find 1 reddish orange rectangular technic beam 2m x 4m with 1 cross hole. |
| Hold it horizontally in front of you, holes running from front to back, short end pointing to the bottom on the right edge. |
| Coming from the back, put its top right hole on the connector peg that is pointing to the back. |
| The toy photo printing mechanism is finished! Before you mount it, turn it around so it is still oriented horizontally but now the rectangular technic beam is at the front. |
| Mount it on the backmost row of the photobooth structure on its 2 leftmost knobs, grooved brick protruding to the back, technic beam at the front. |
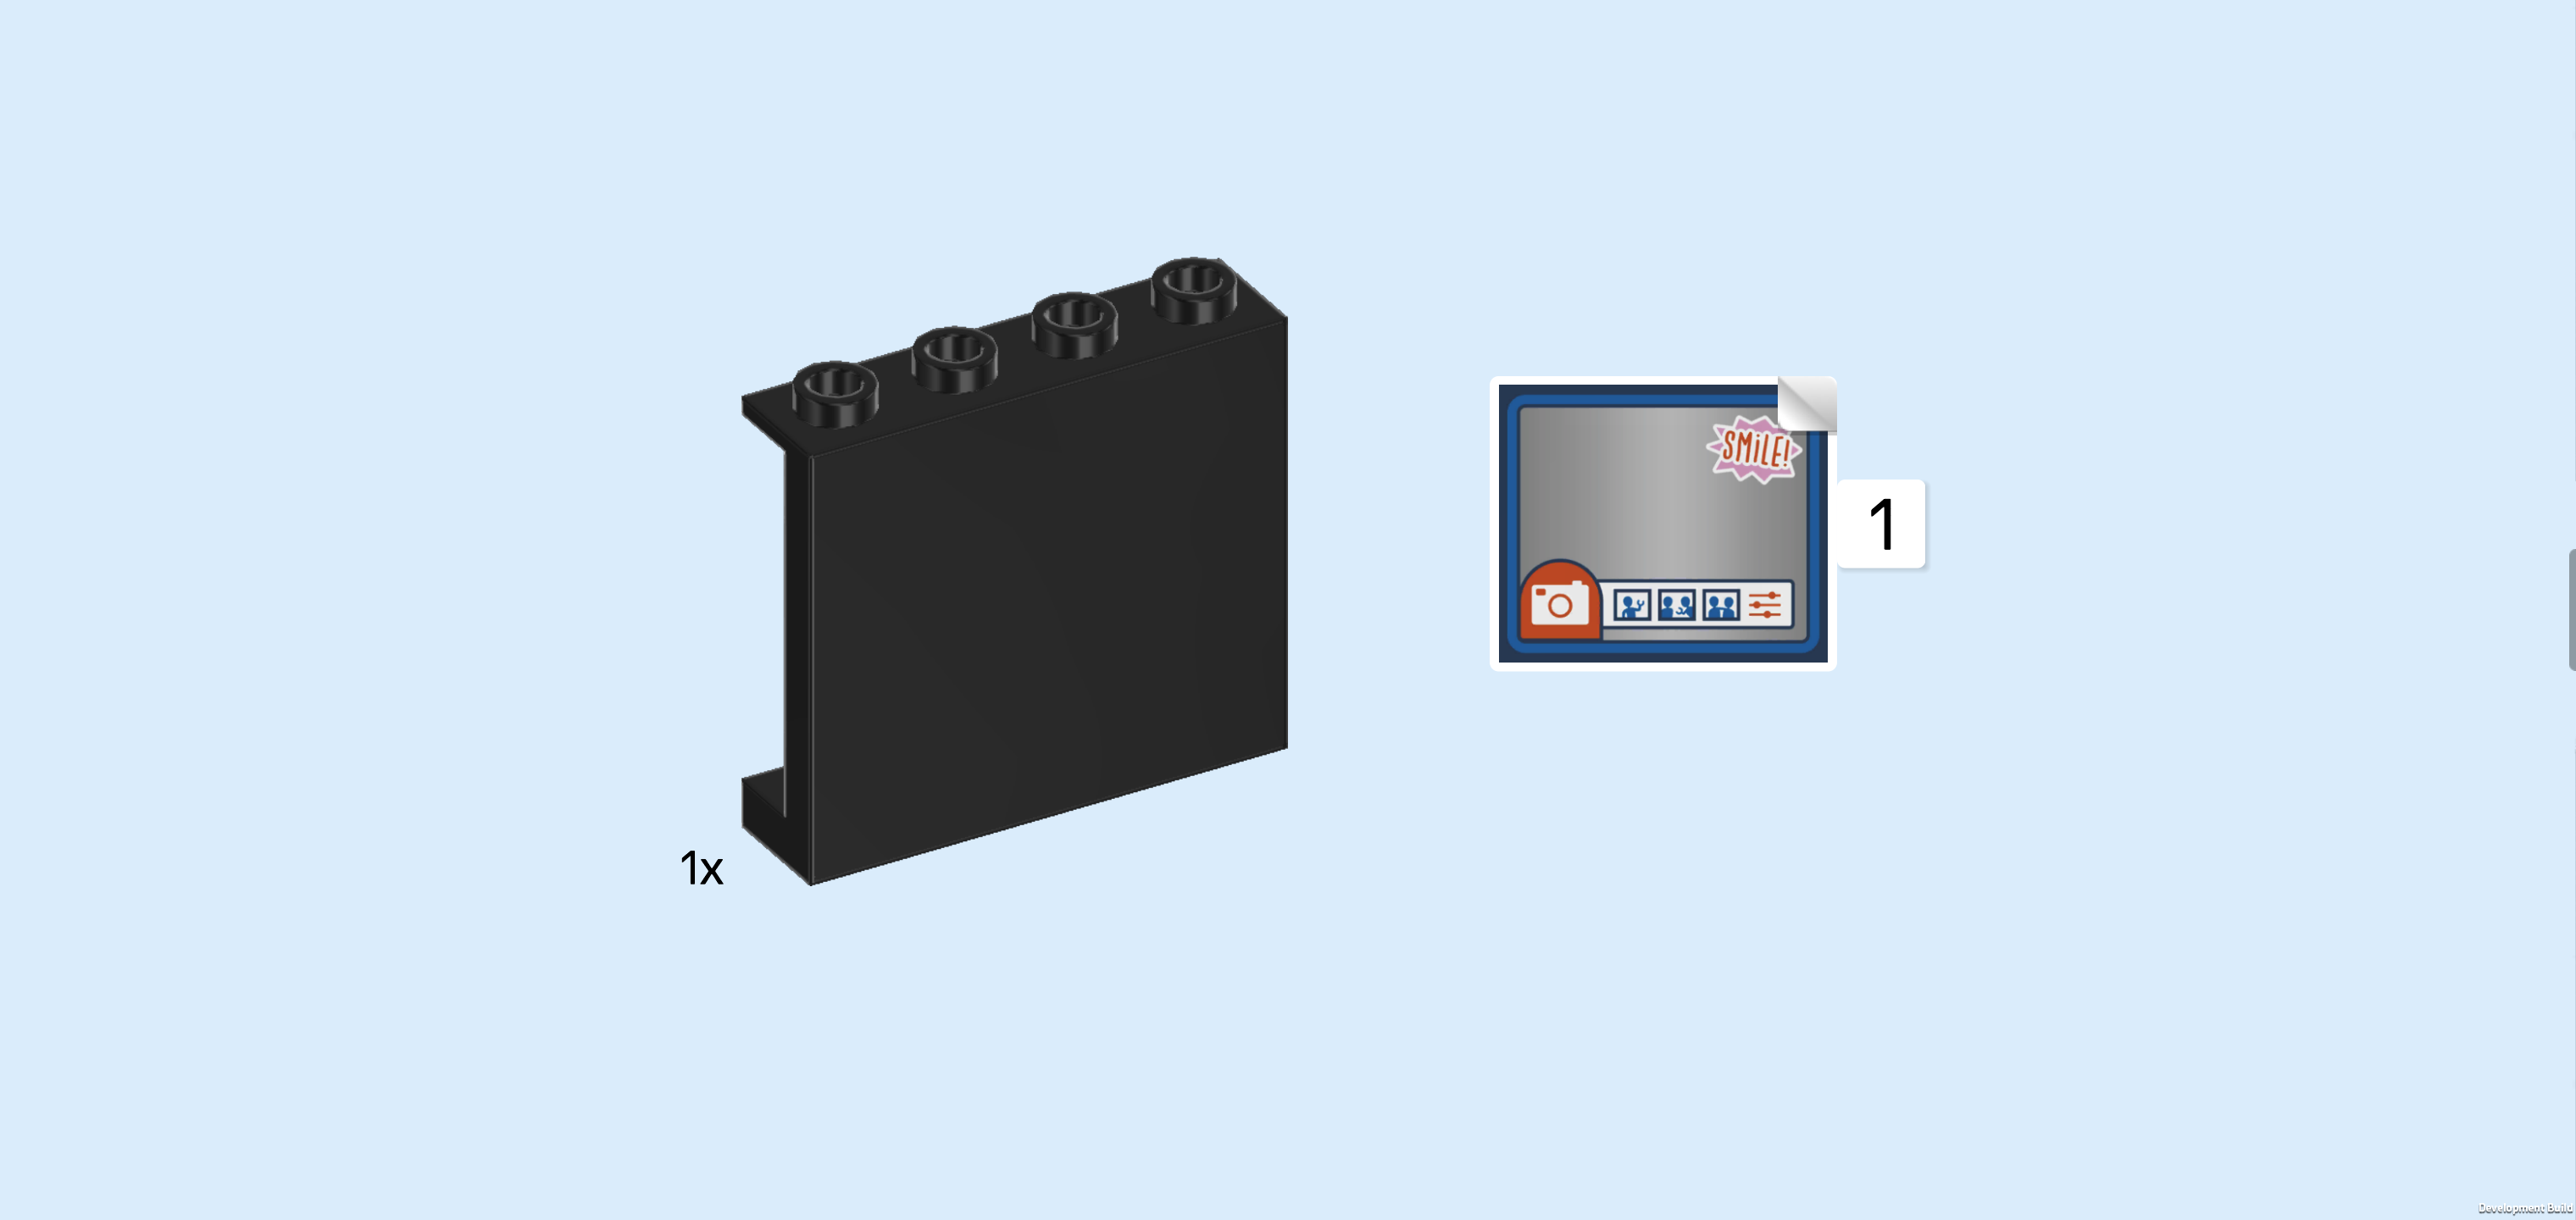
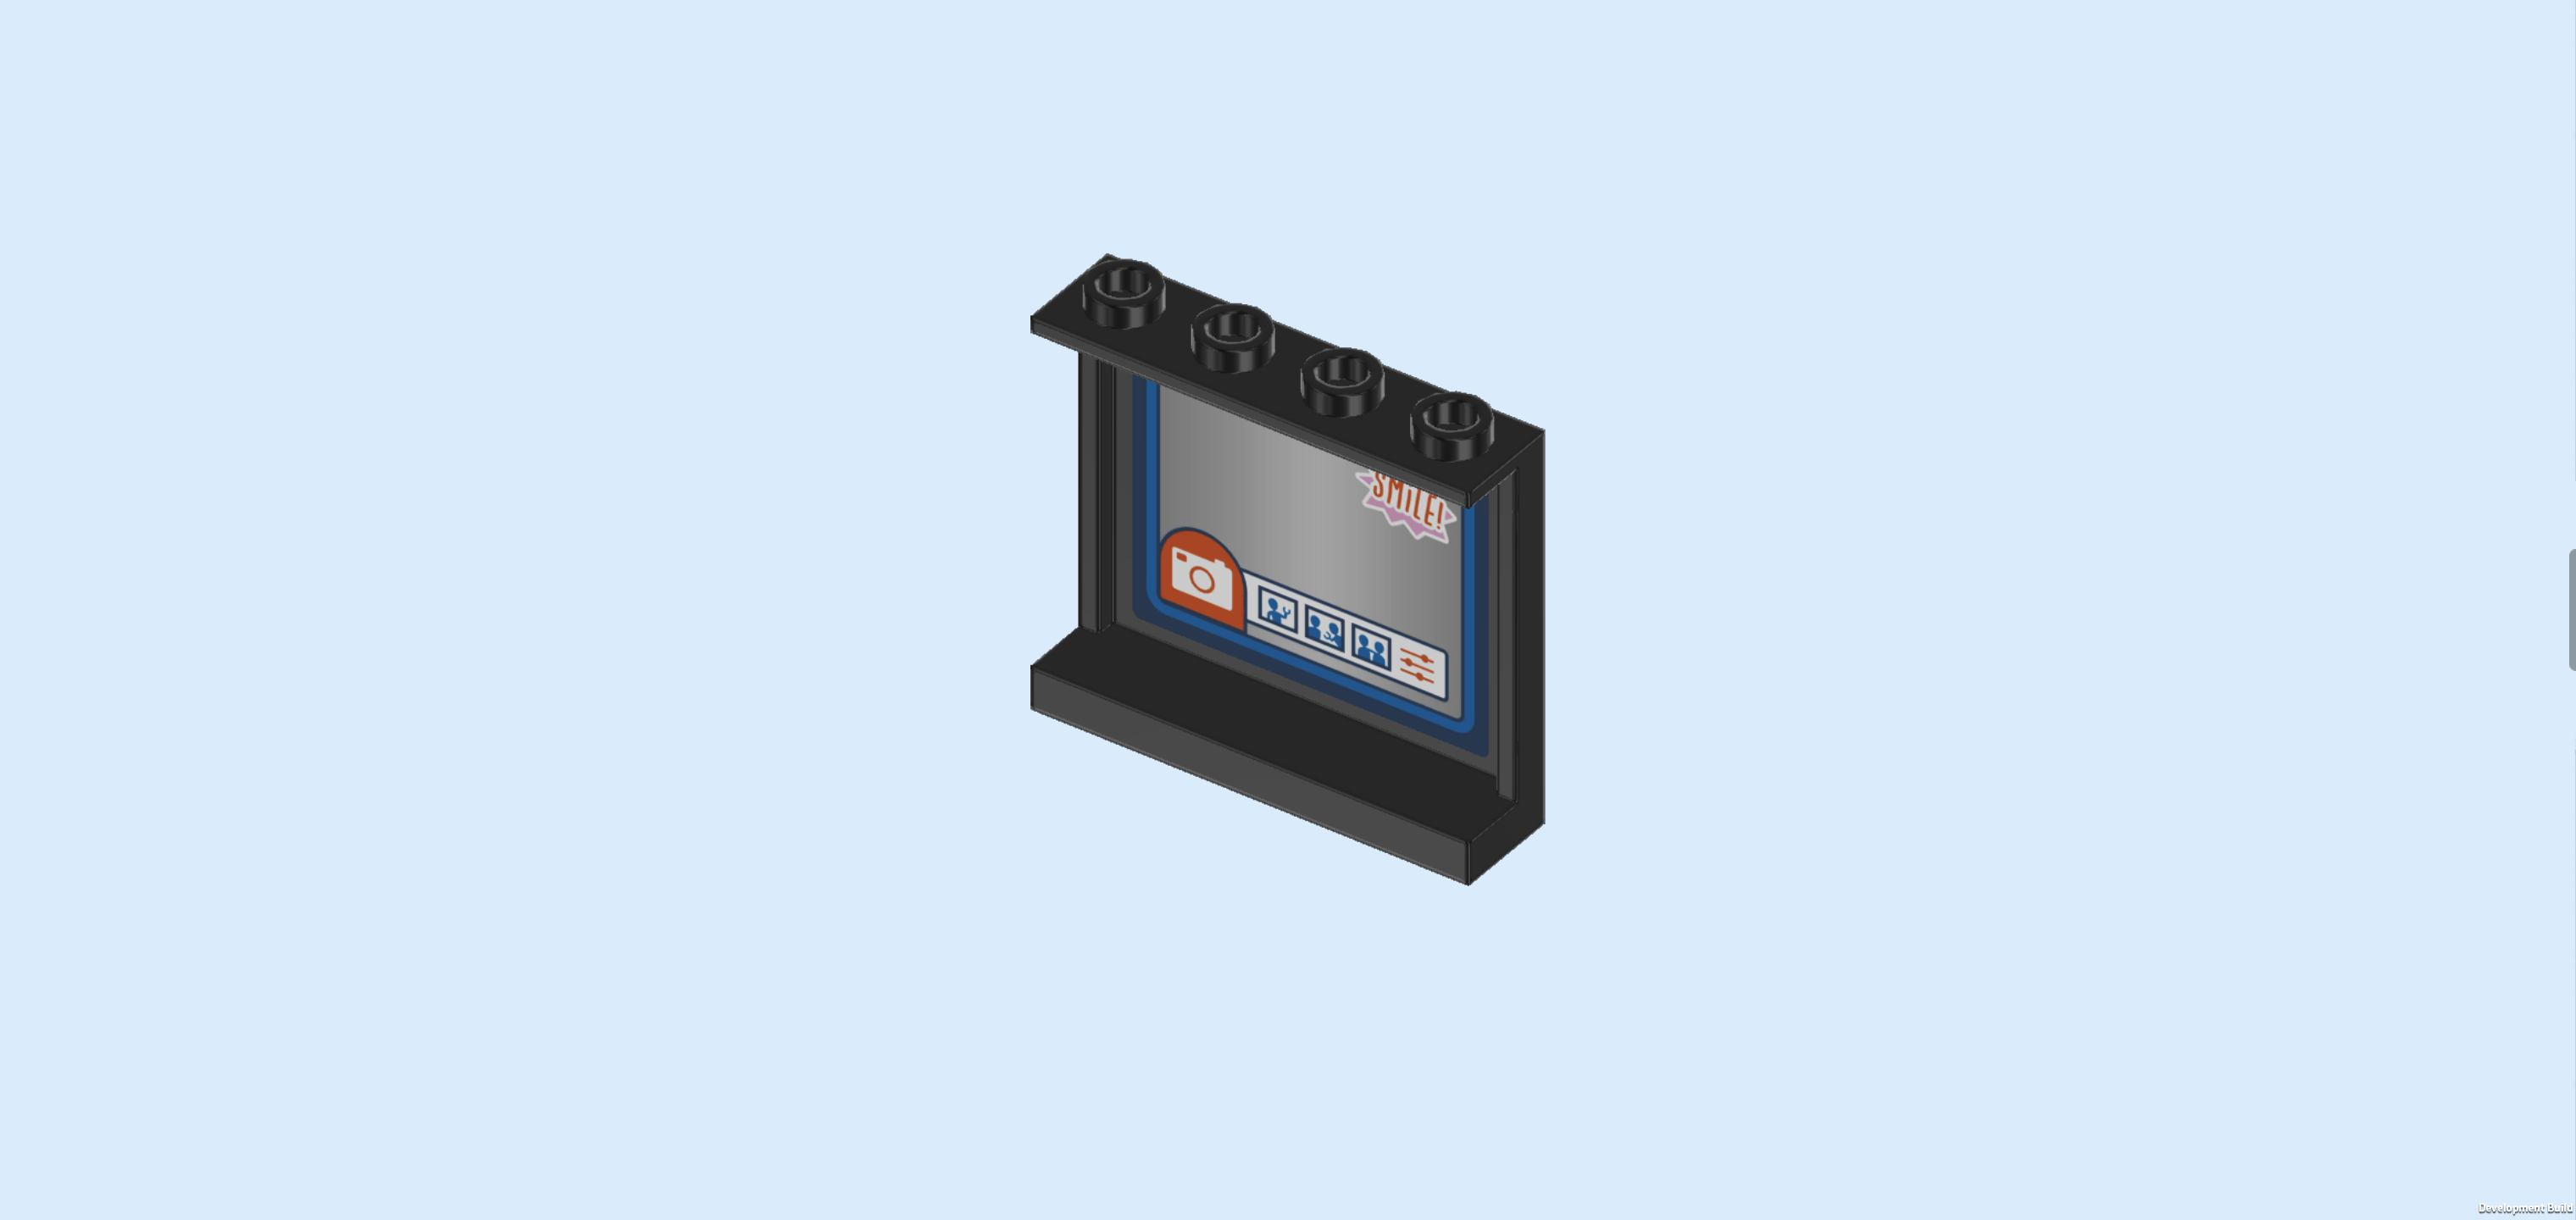
| Collect the following 2 pieces: |
| 1 black wall element 1x4x3 with 4 top knobs, |
| and 1 sticker 3x4 with photobooth mirror. |
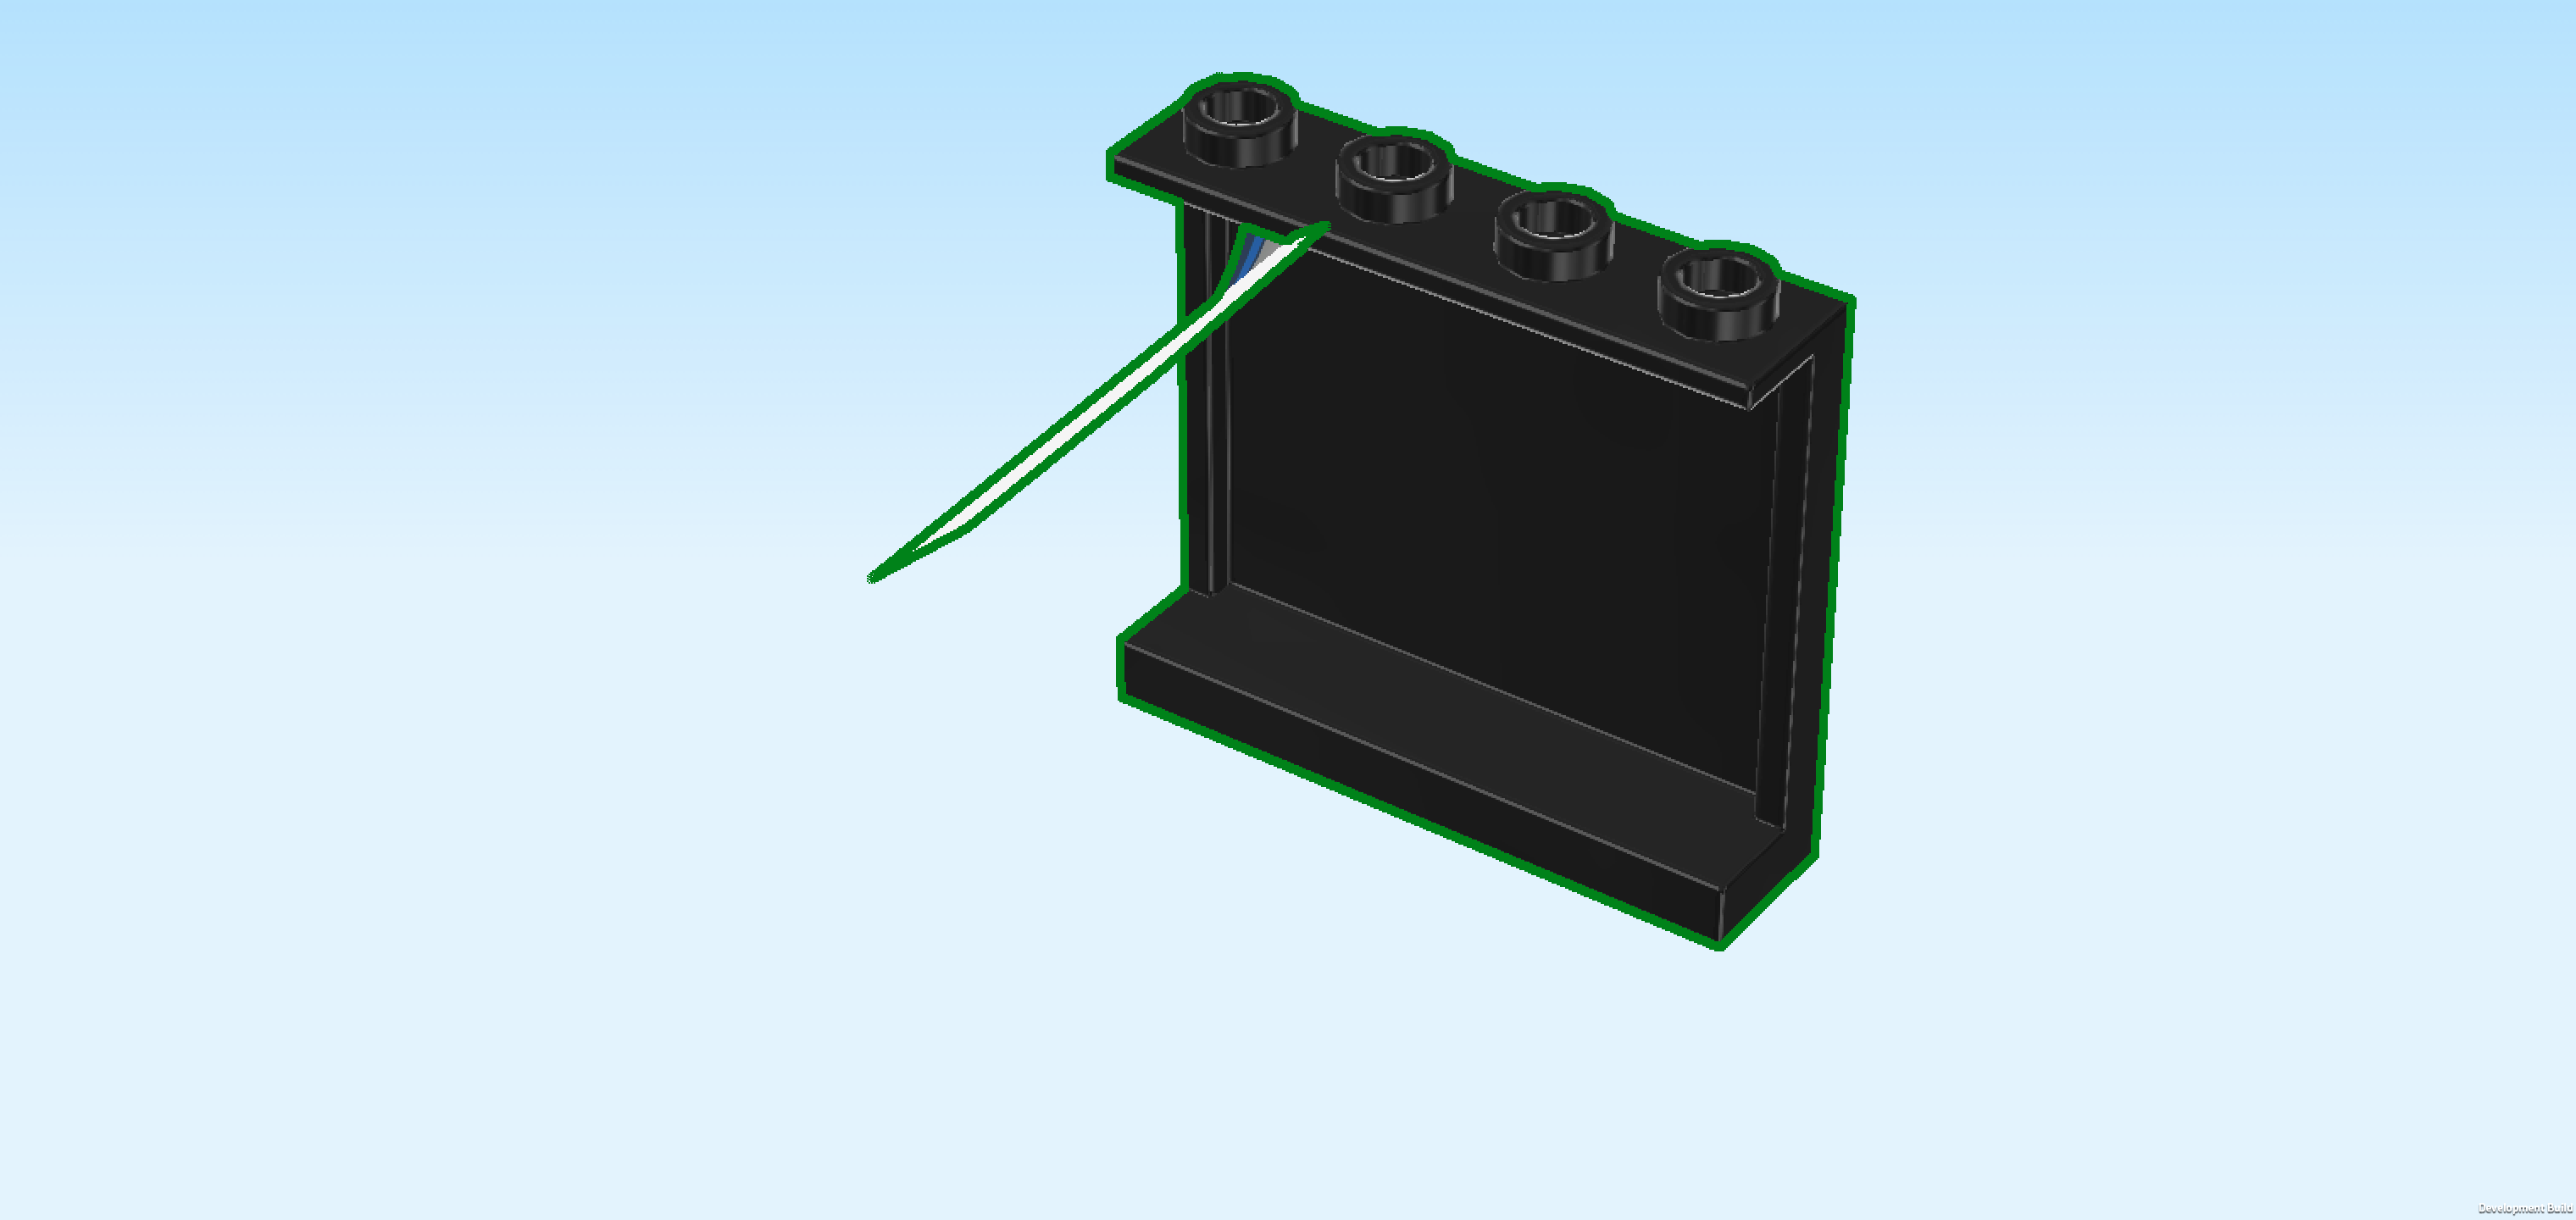
| Put the wall element 1x4x3 horizontally on the table. Make sure that its hollow is towards you, meaning that the outer panel surface is towards the back. |
| Apply the sticker centered on the inside surface of the hollow portion of the wall element. This sticker is made of shiny reflective sheeting like an actual mirror! The bottom edge is printed with a red camera icon, a preview of the last 3 pictures taken and a filter settings button. In the top right corner, there is a pink jagged speech bubble with the text "SMILE!" in red lettering. |
| Mount the wall element horizontally on the frontmost row of the photobooth build, stickered side towards the front. |
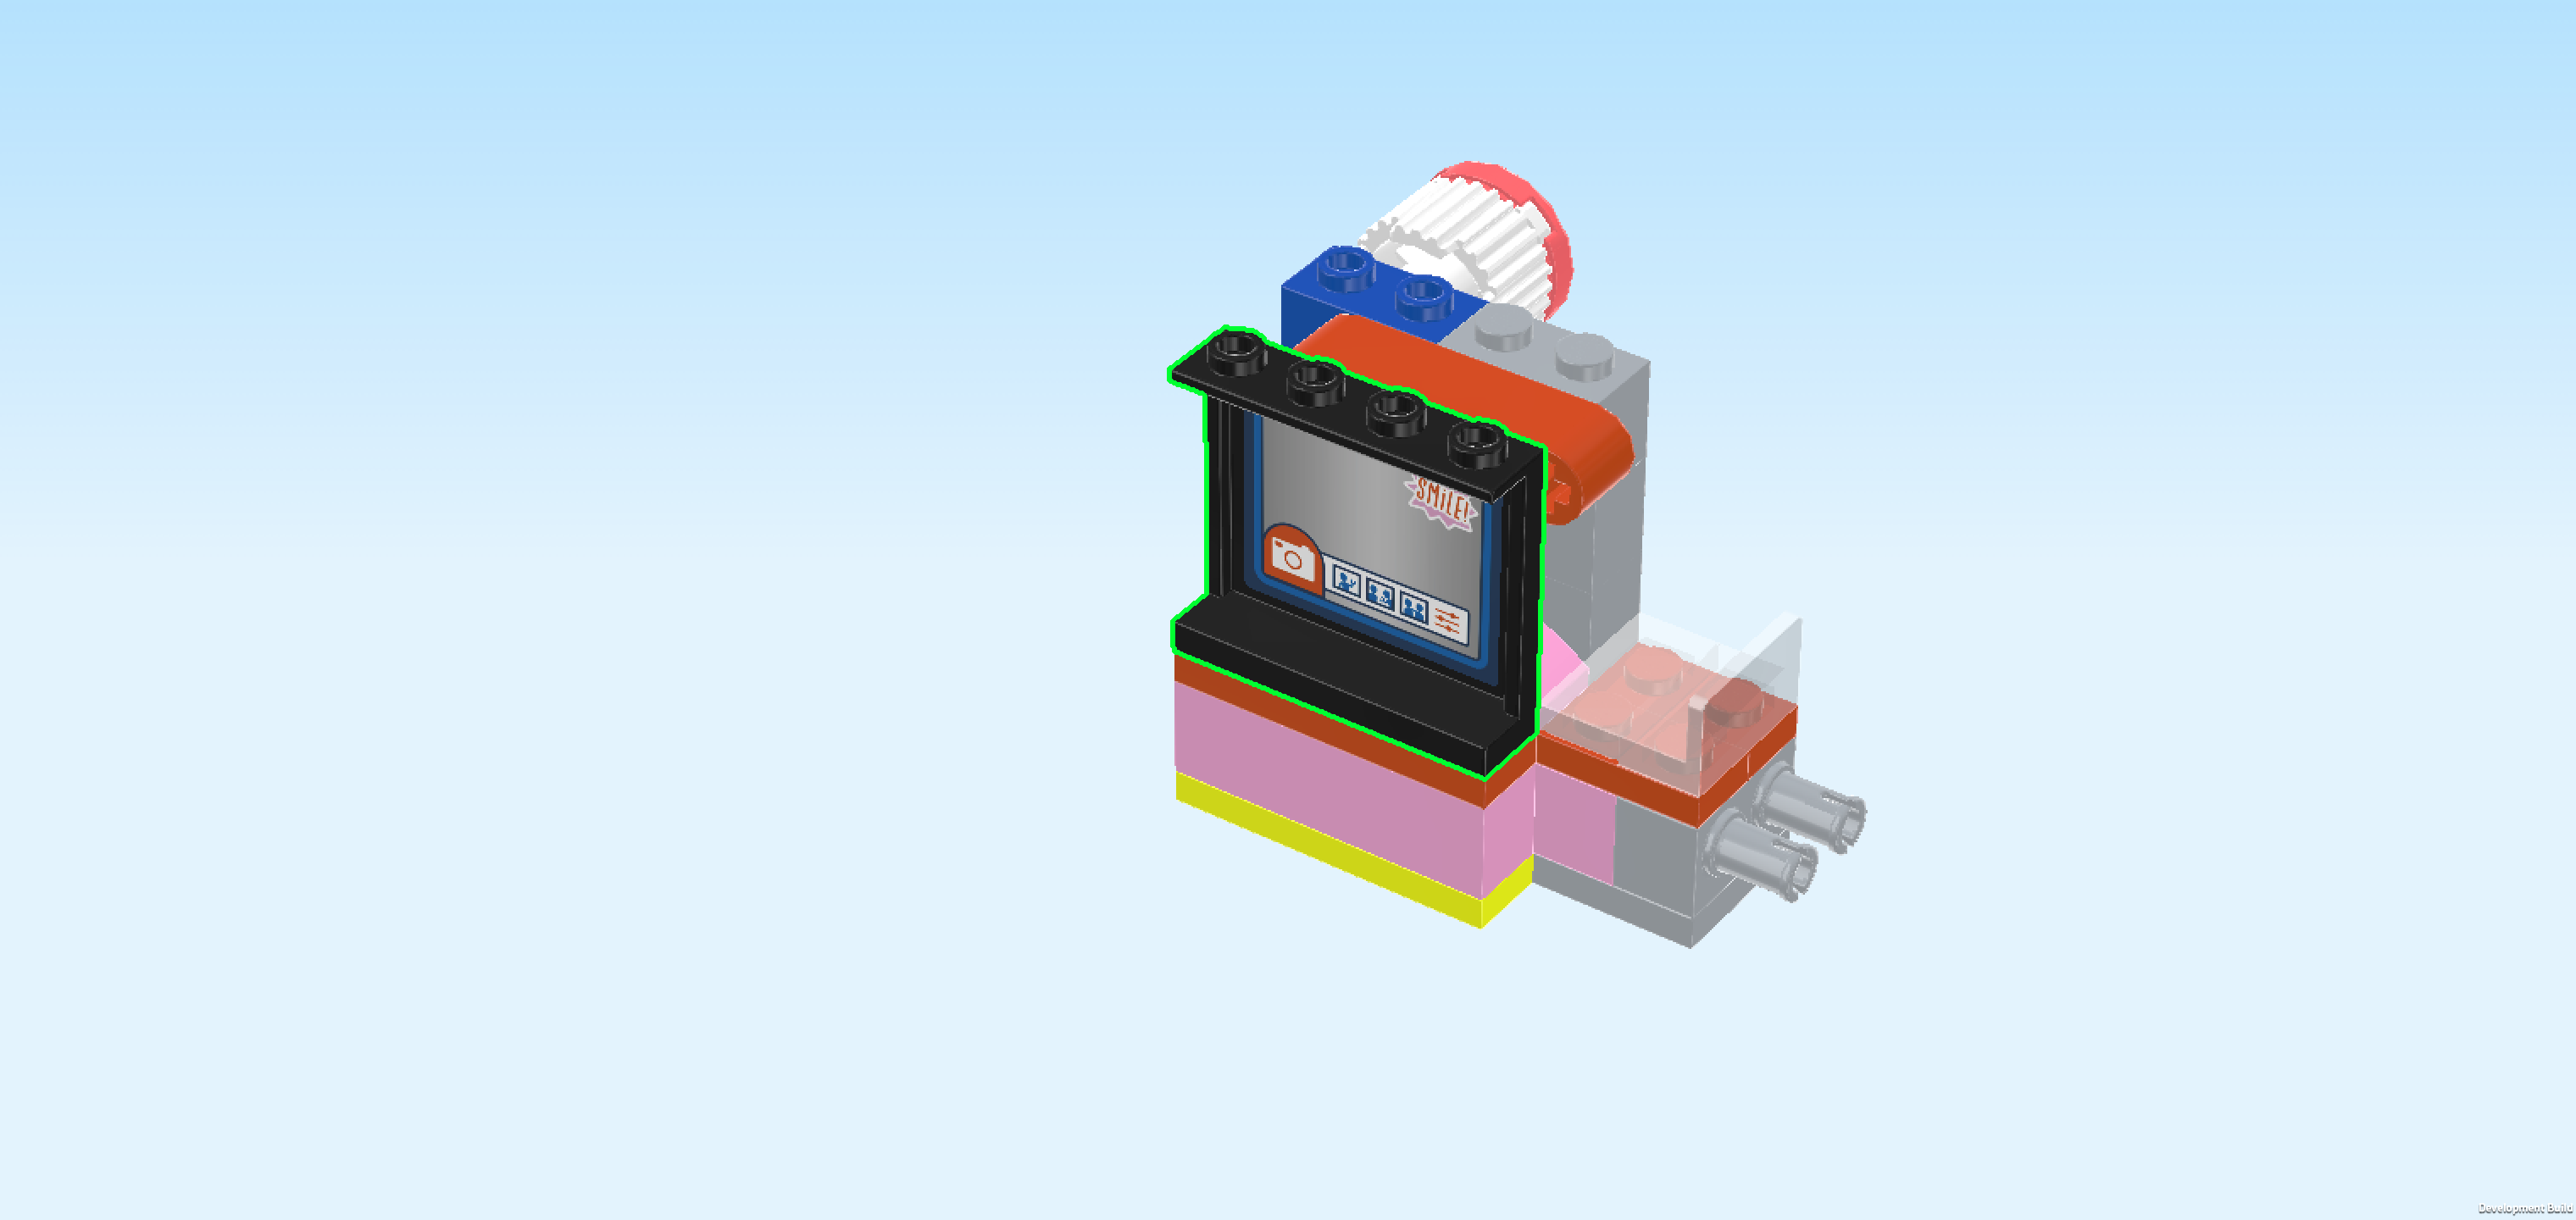
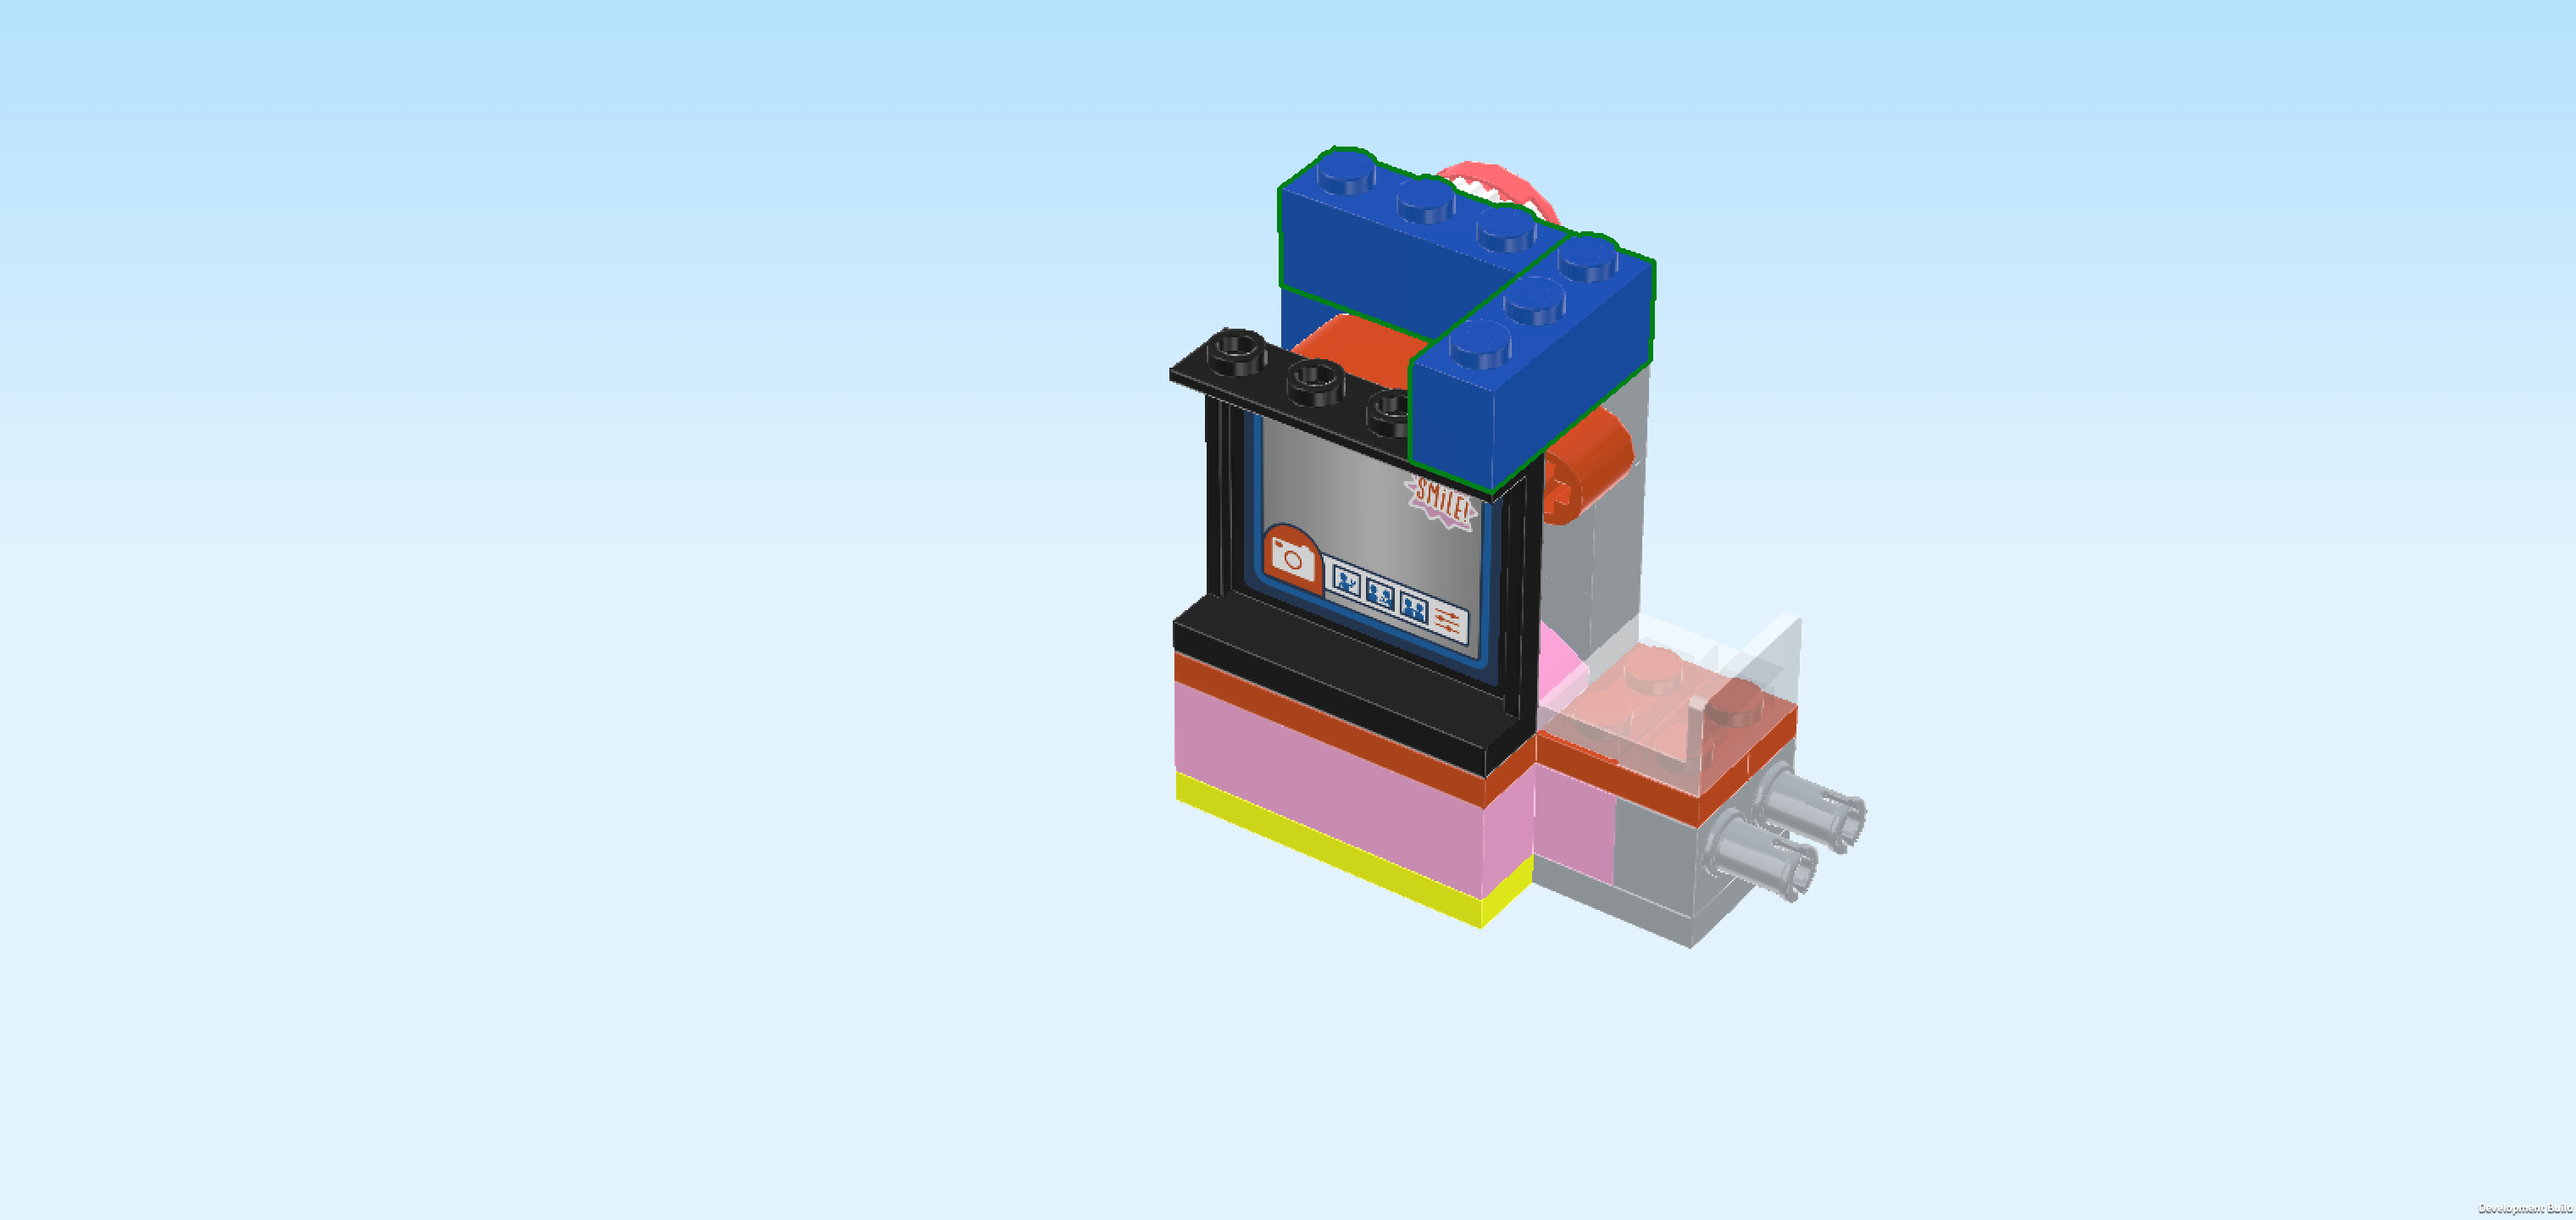
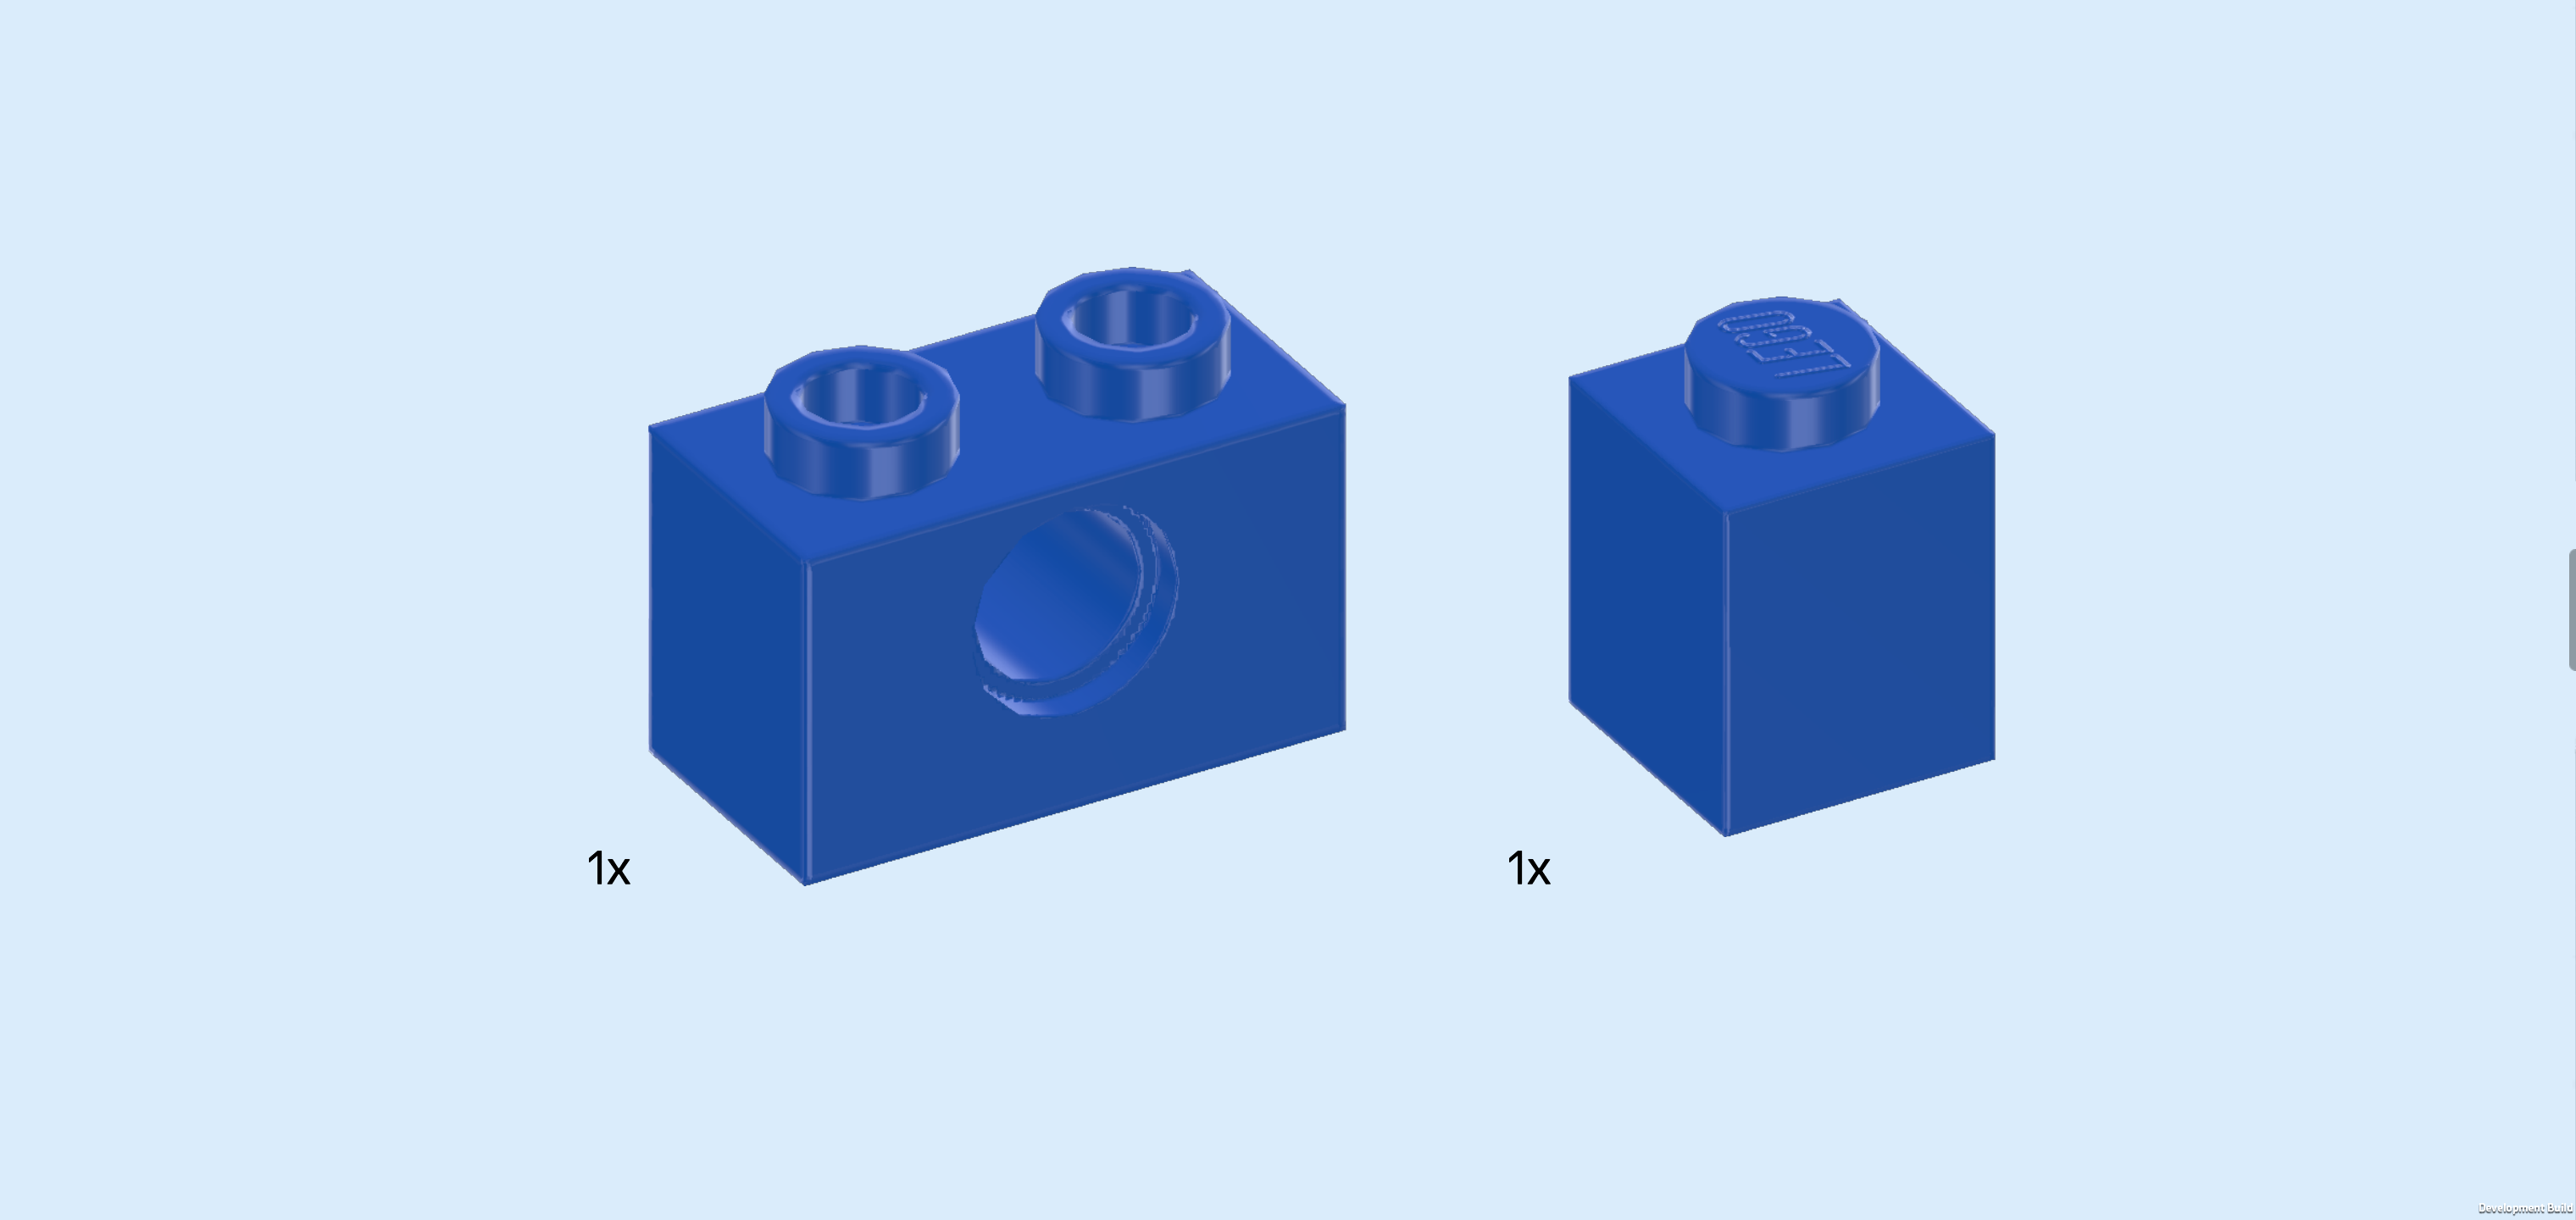
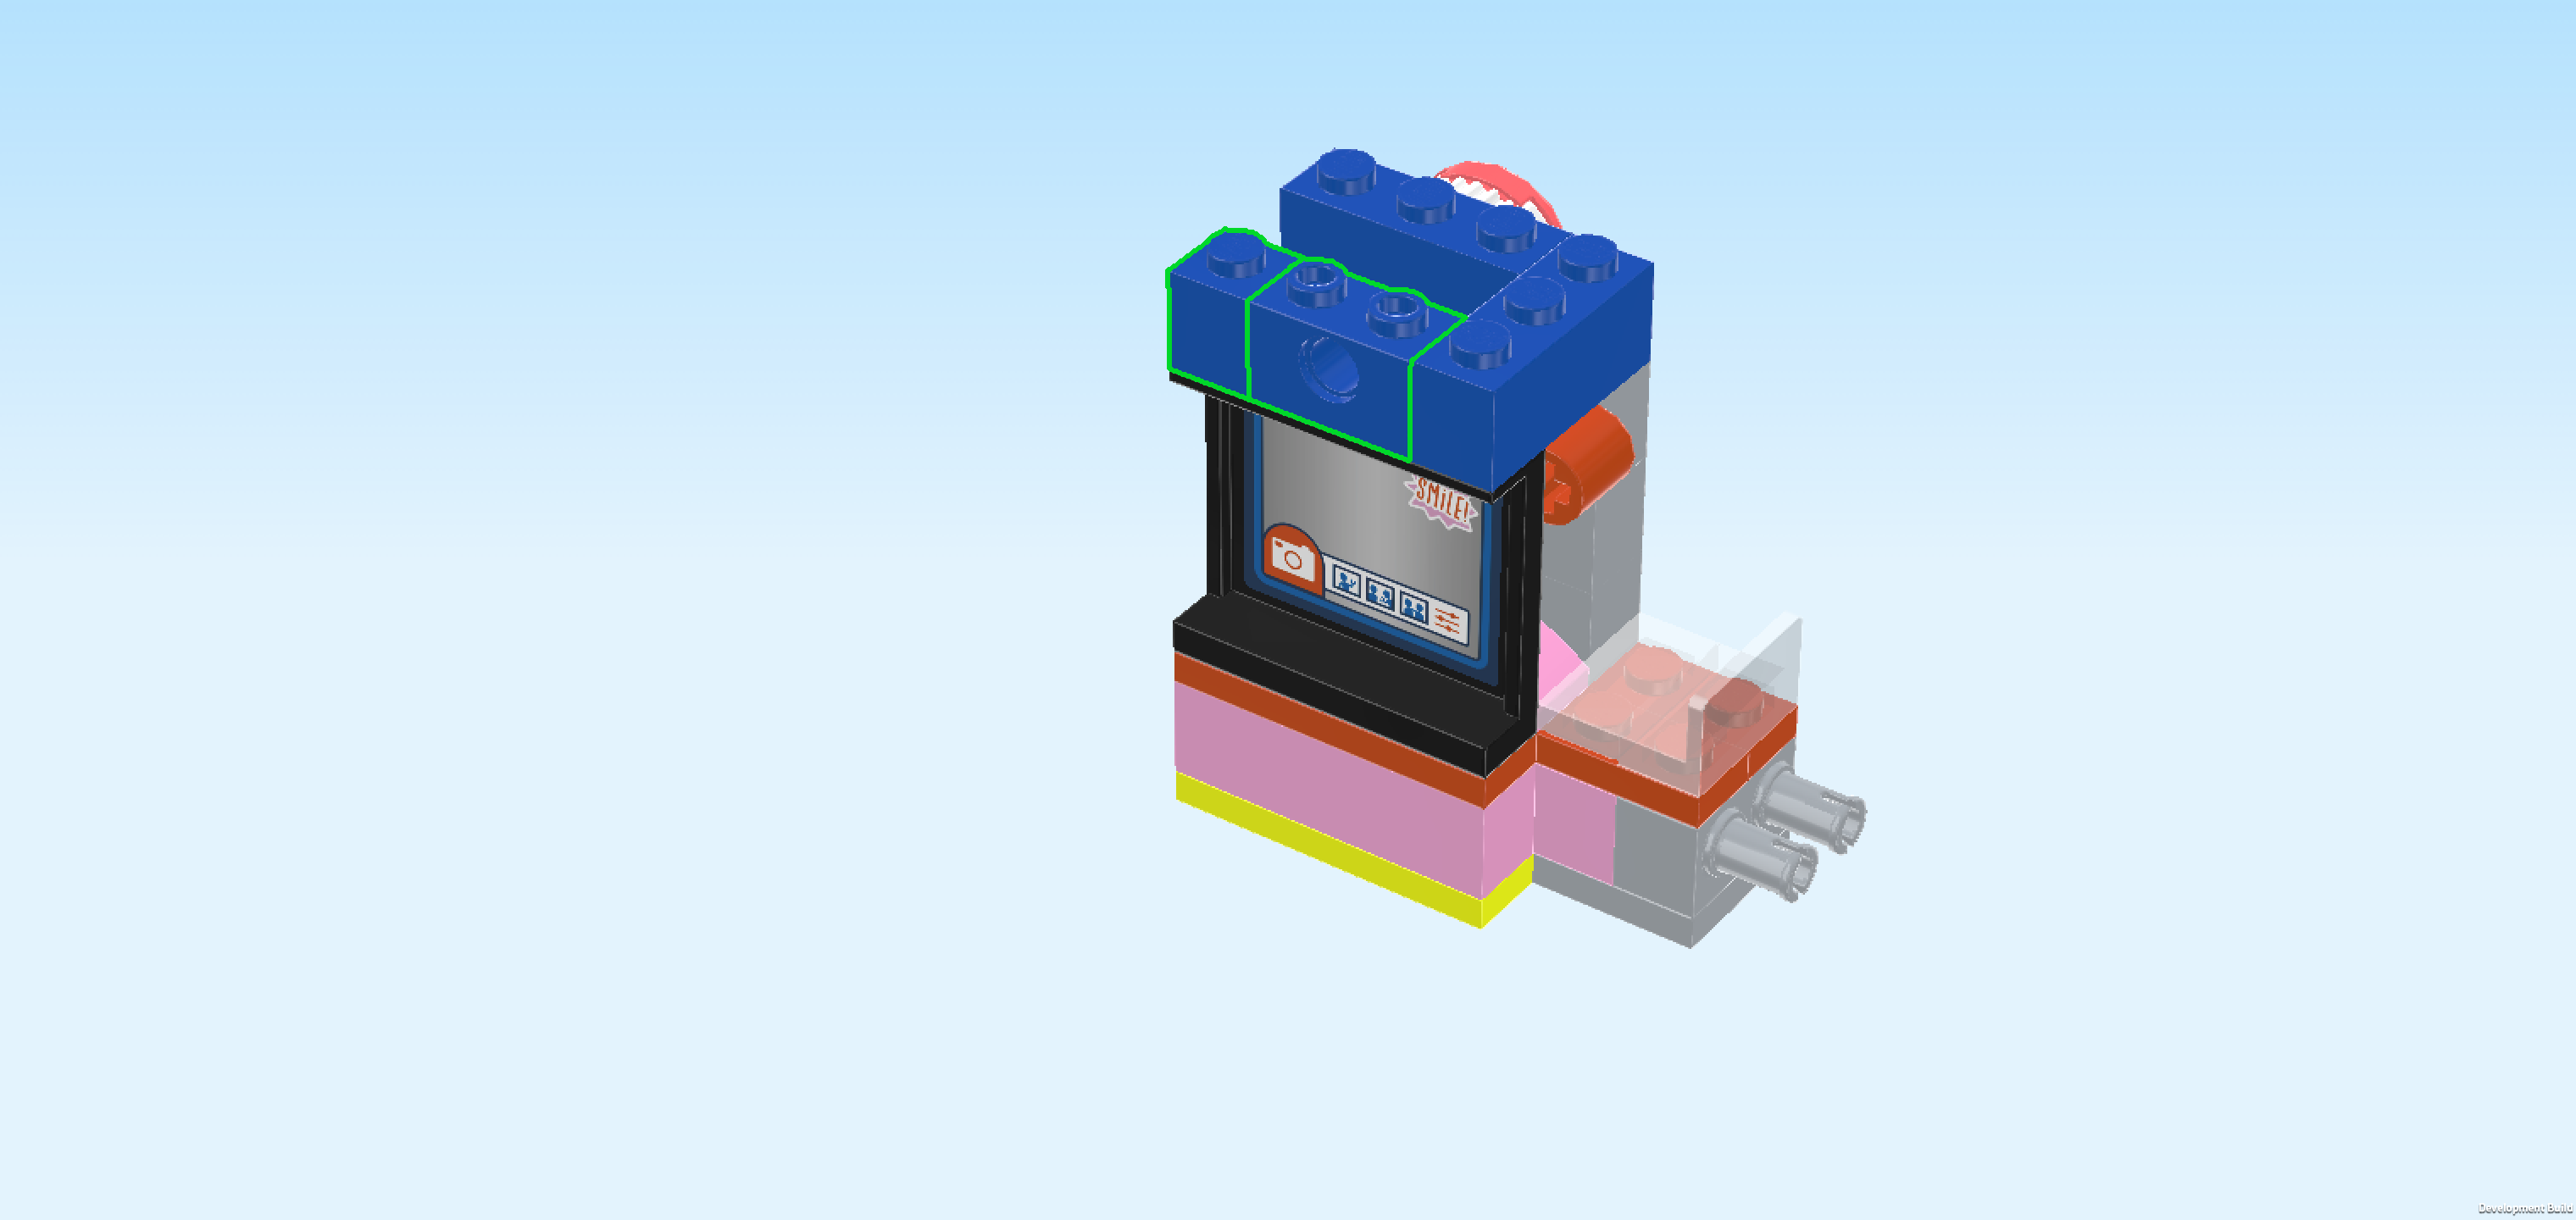
| Find 2 bright blue bricks 1x3. |
| Put 1 vertically on the previous piece's rightmost knob and the rightmost knob of the backmost row. |
| Put the other one horizontally to the left on the backmost row. |
| Collect the following 2 pieces: |
| 1 bright blue brick 1x2 with technic hole, |
| and 1 bright blue brick 1x1. |
| Put the brick 1x2 horizontally on top of the wall element directly to the left of the brick 1x3. |
| Put the brick 1x1 to the left of the previous piece. |
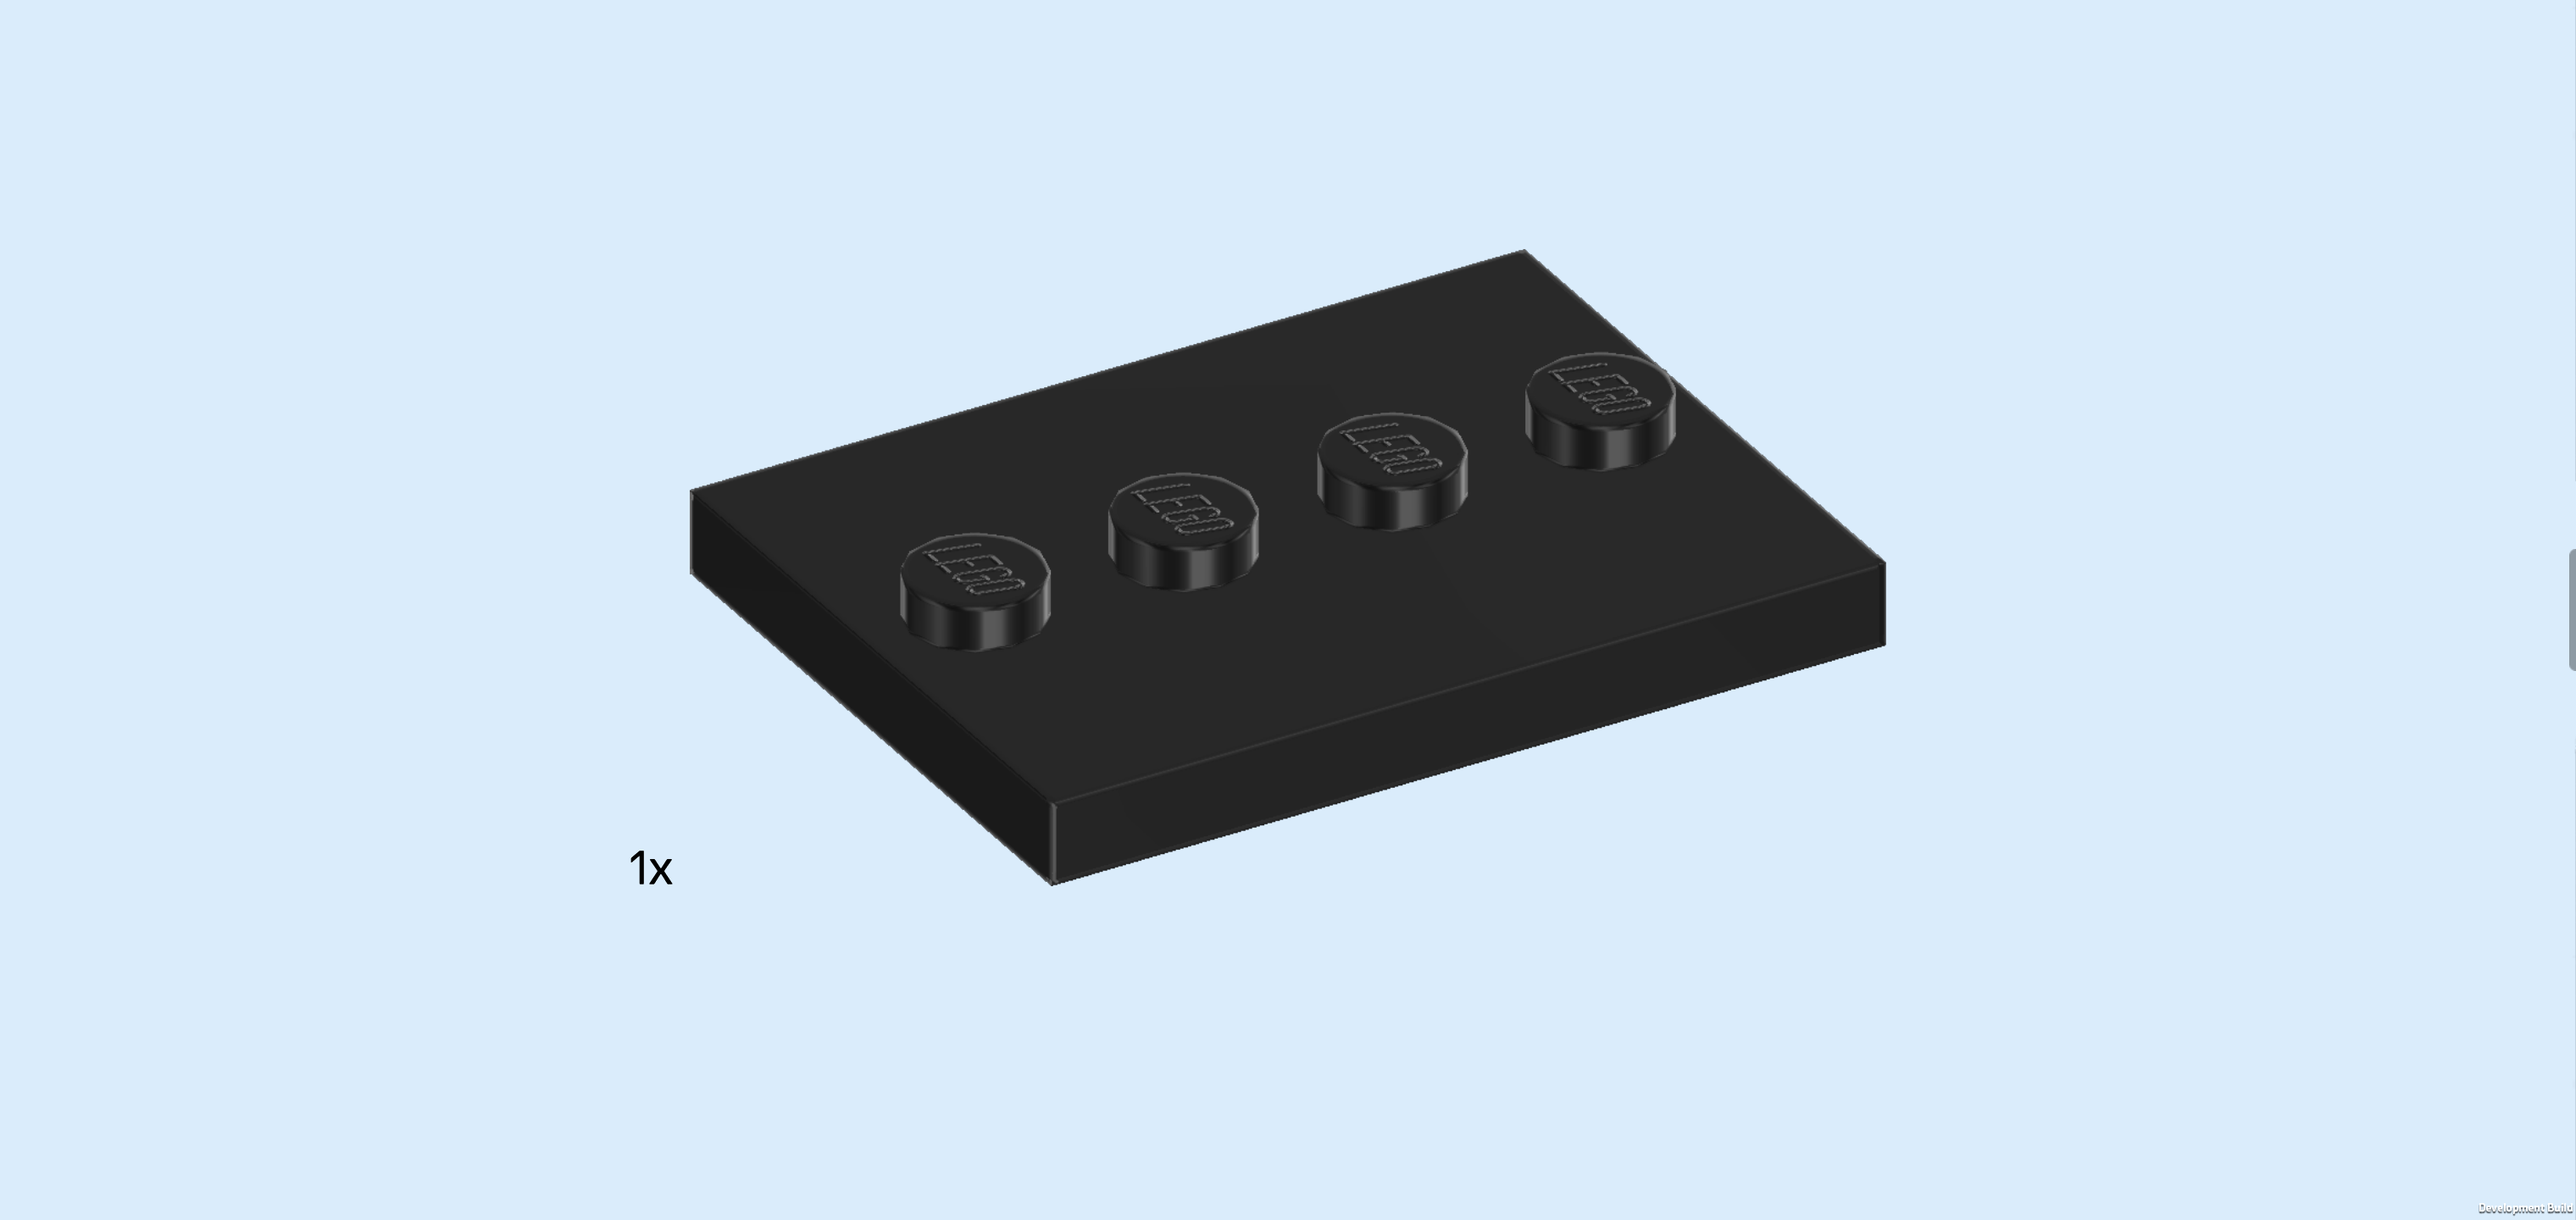
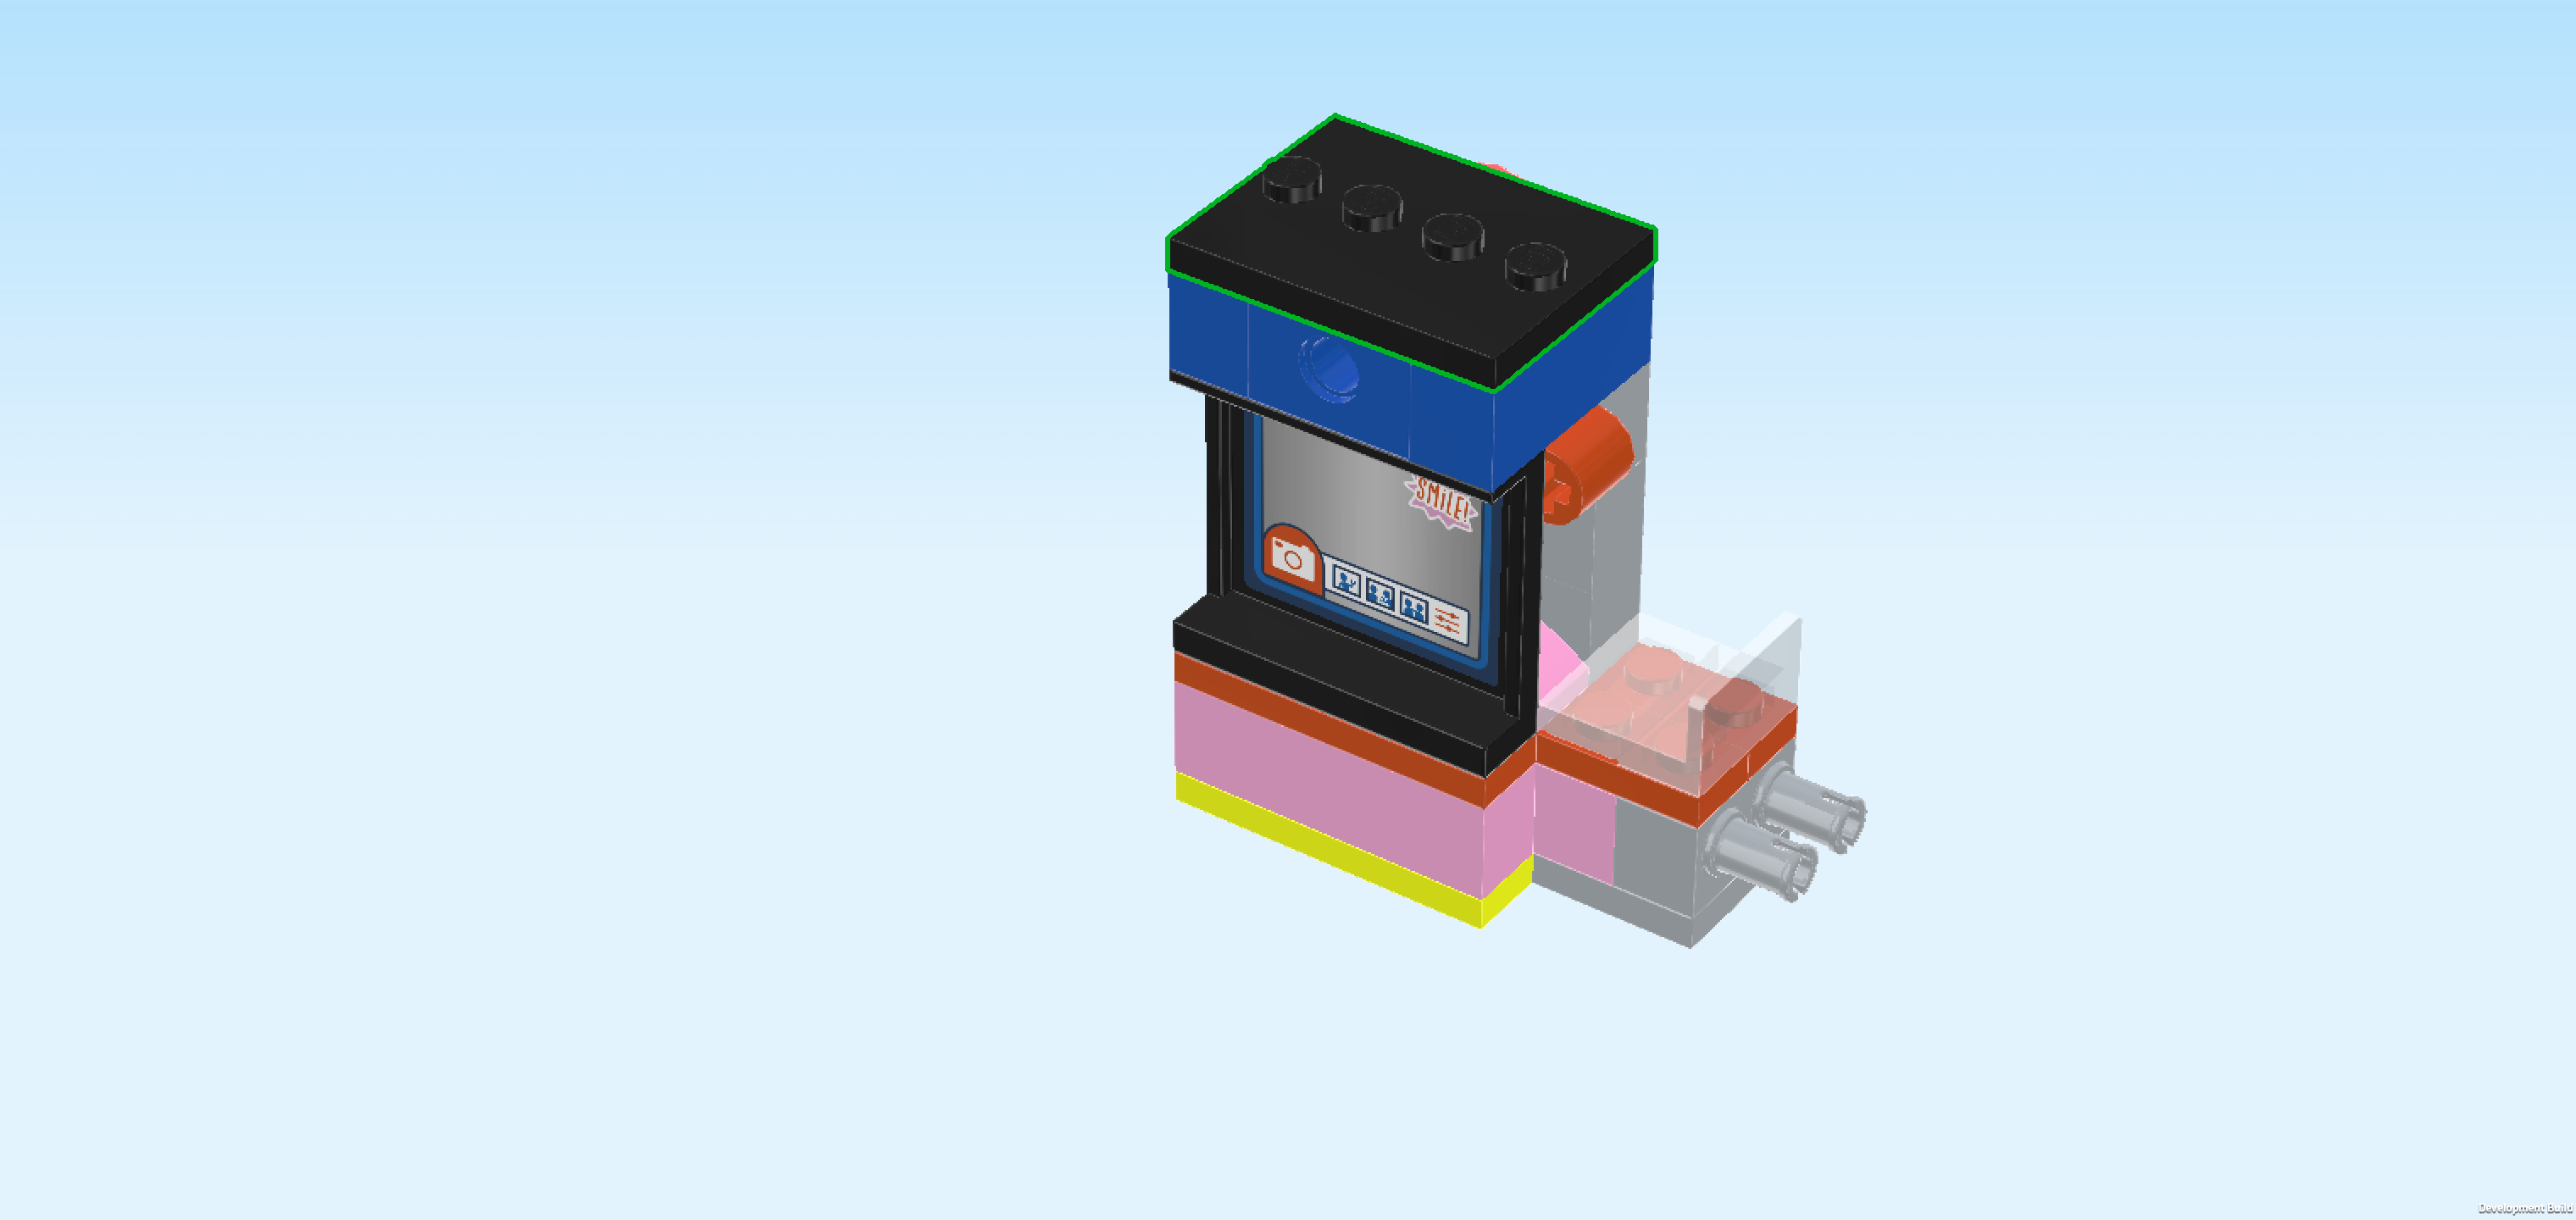
| Find 1 black plate 3x4 with 4 knobs in a middle line. |
| Put it horizontally on top of the 4 previous pieces, evenly covering all knobs of the top surface. |
| Find 1 bright blue bottom angle plate 1x2 - 1x2 with 2 side knobs. |
| Put it horizontally on the 2 middle knobs of the previous piece, side knobs pointing to the front. |
| Find 1 bright blue curve tile 1x4. |
| Put it horizontally on top of the previous piece, locking it in. |
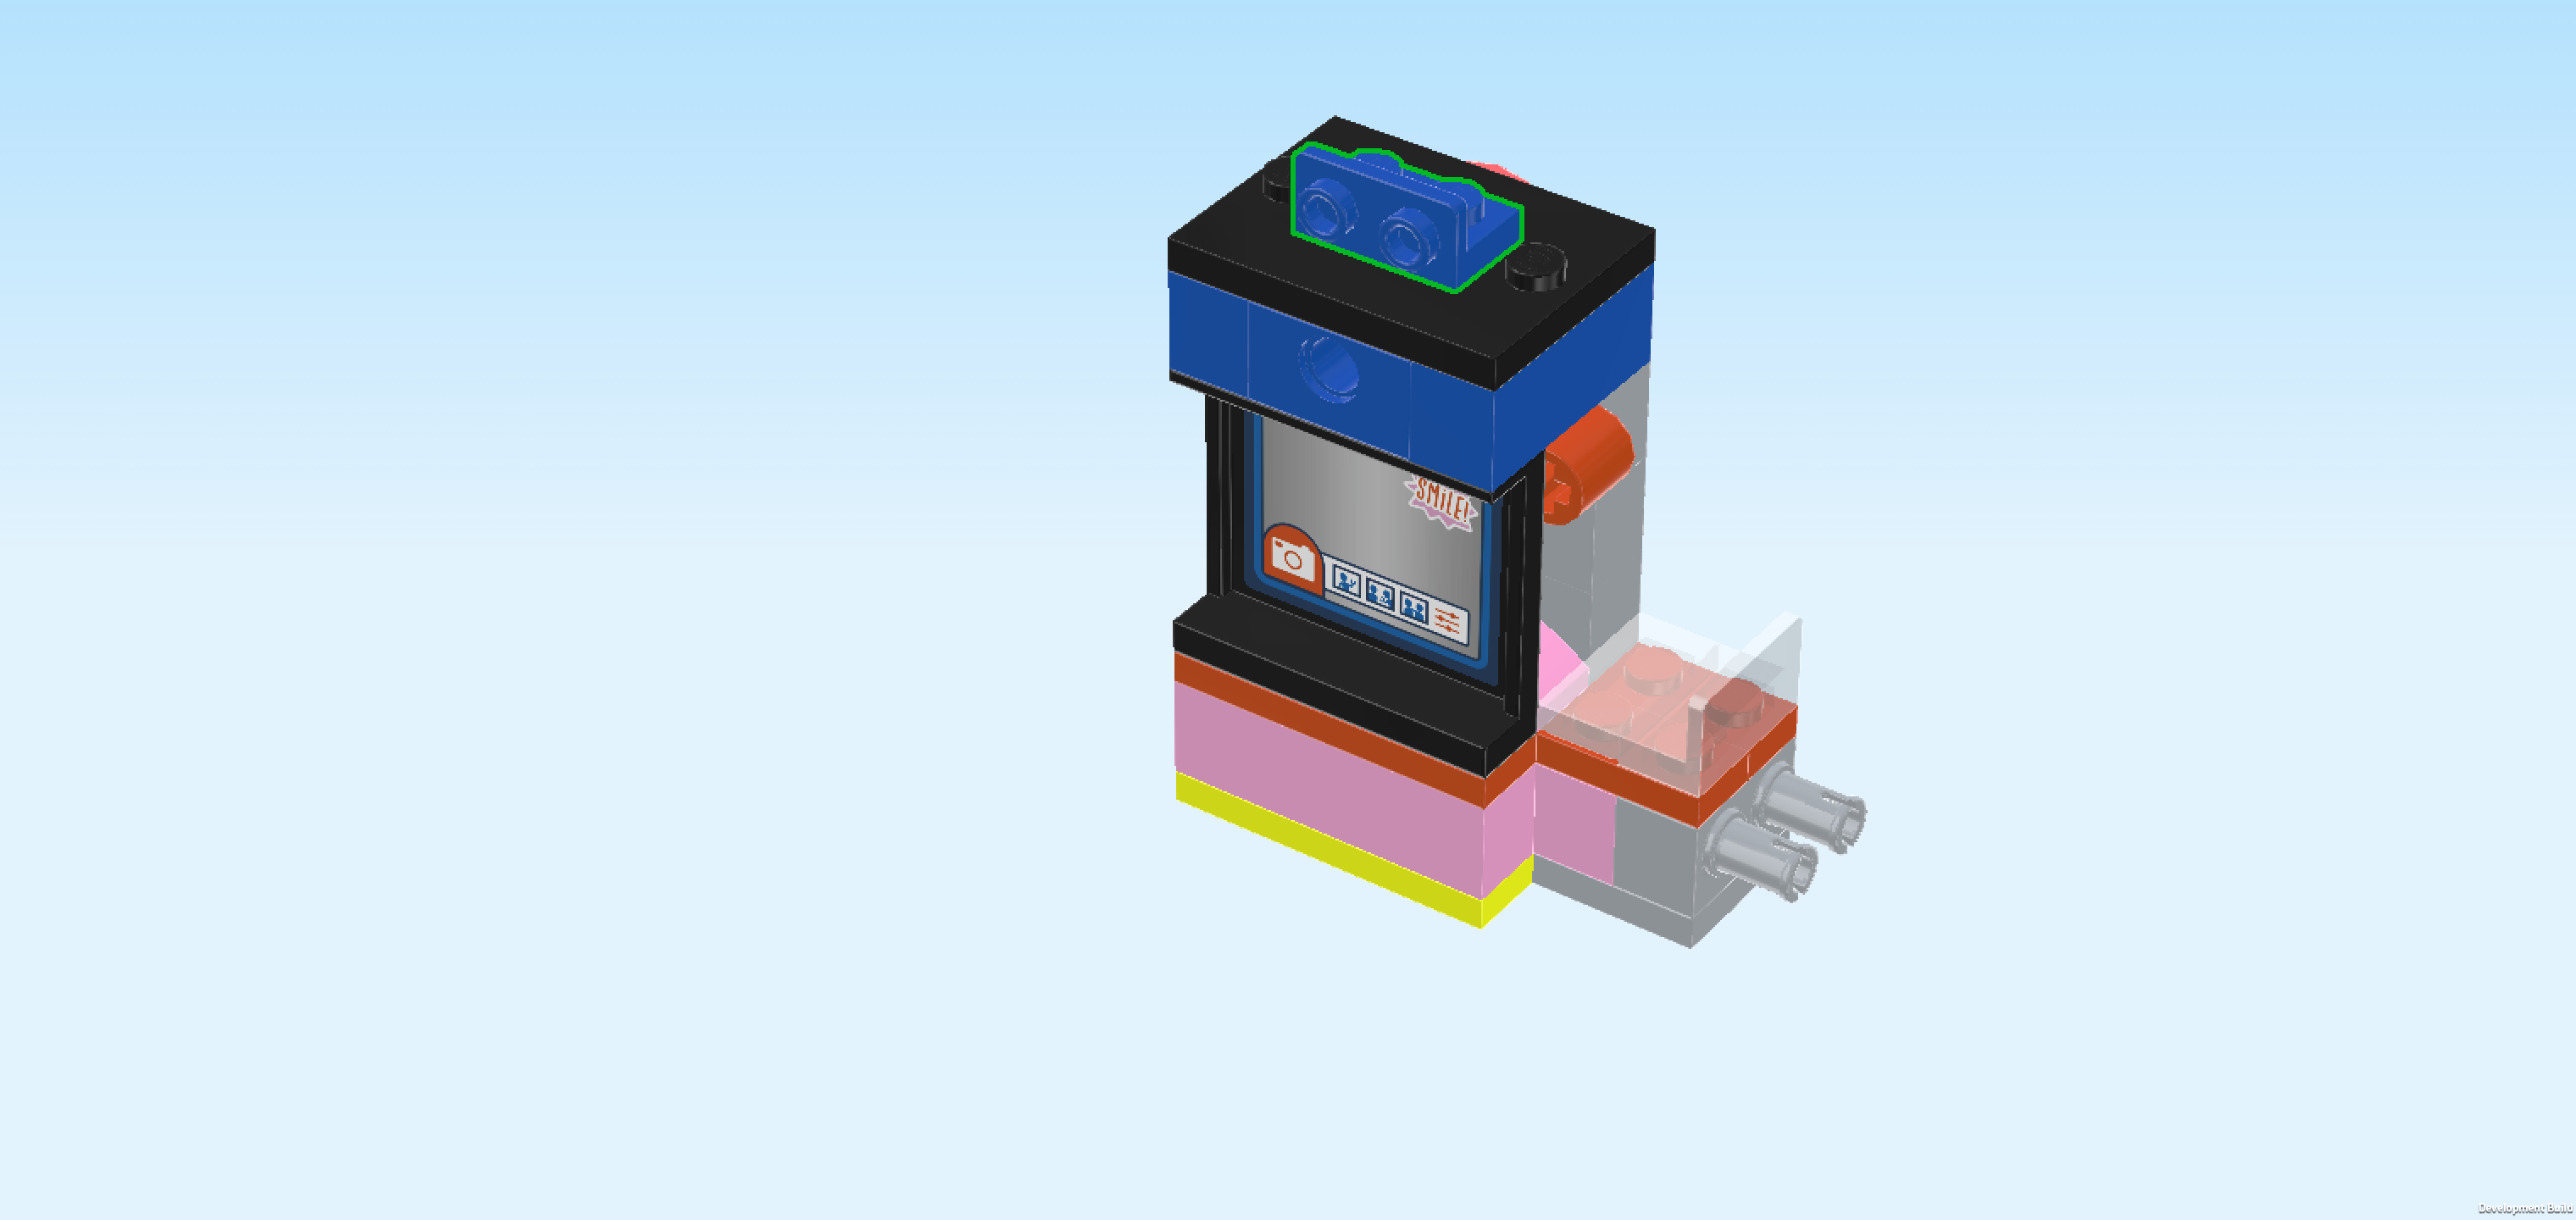
| Next, we will build the flash. |
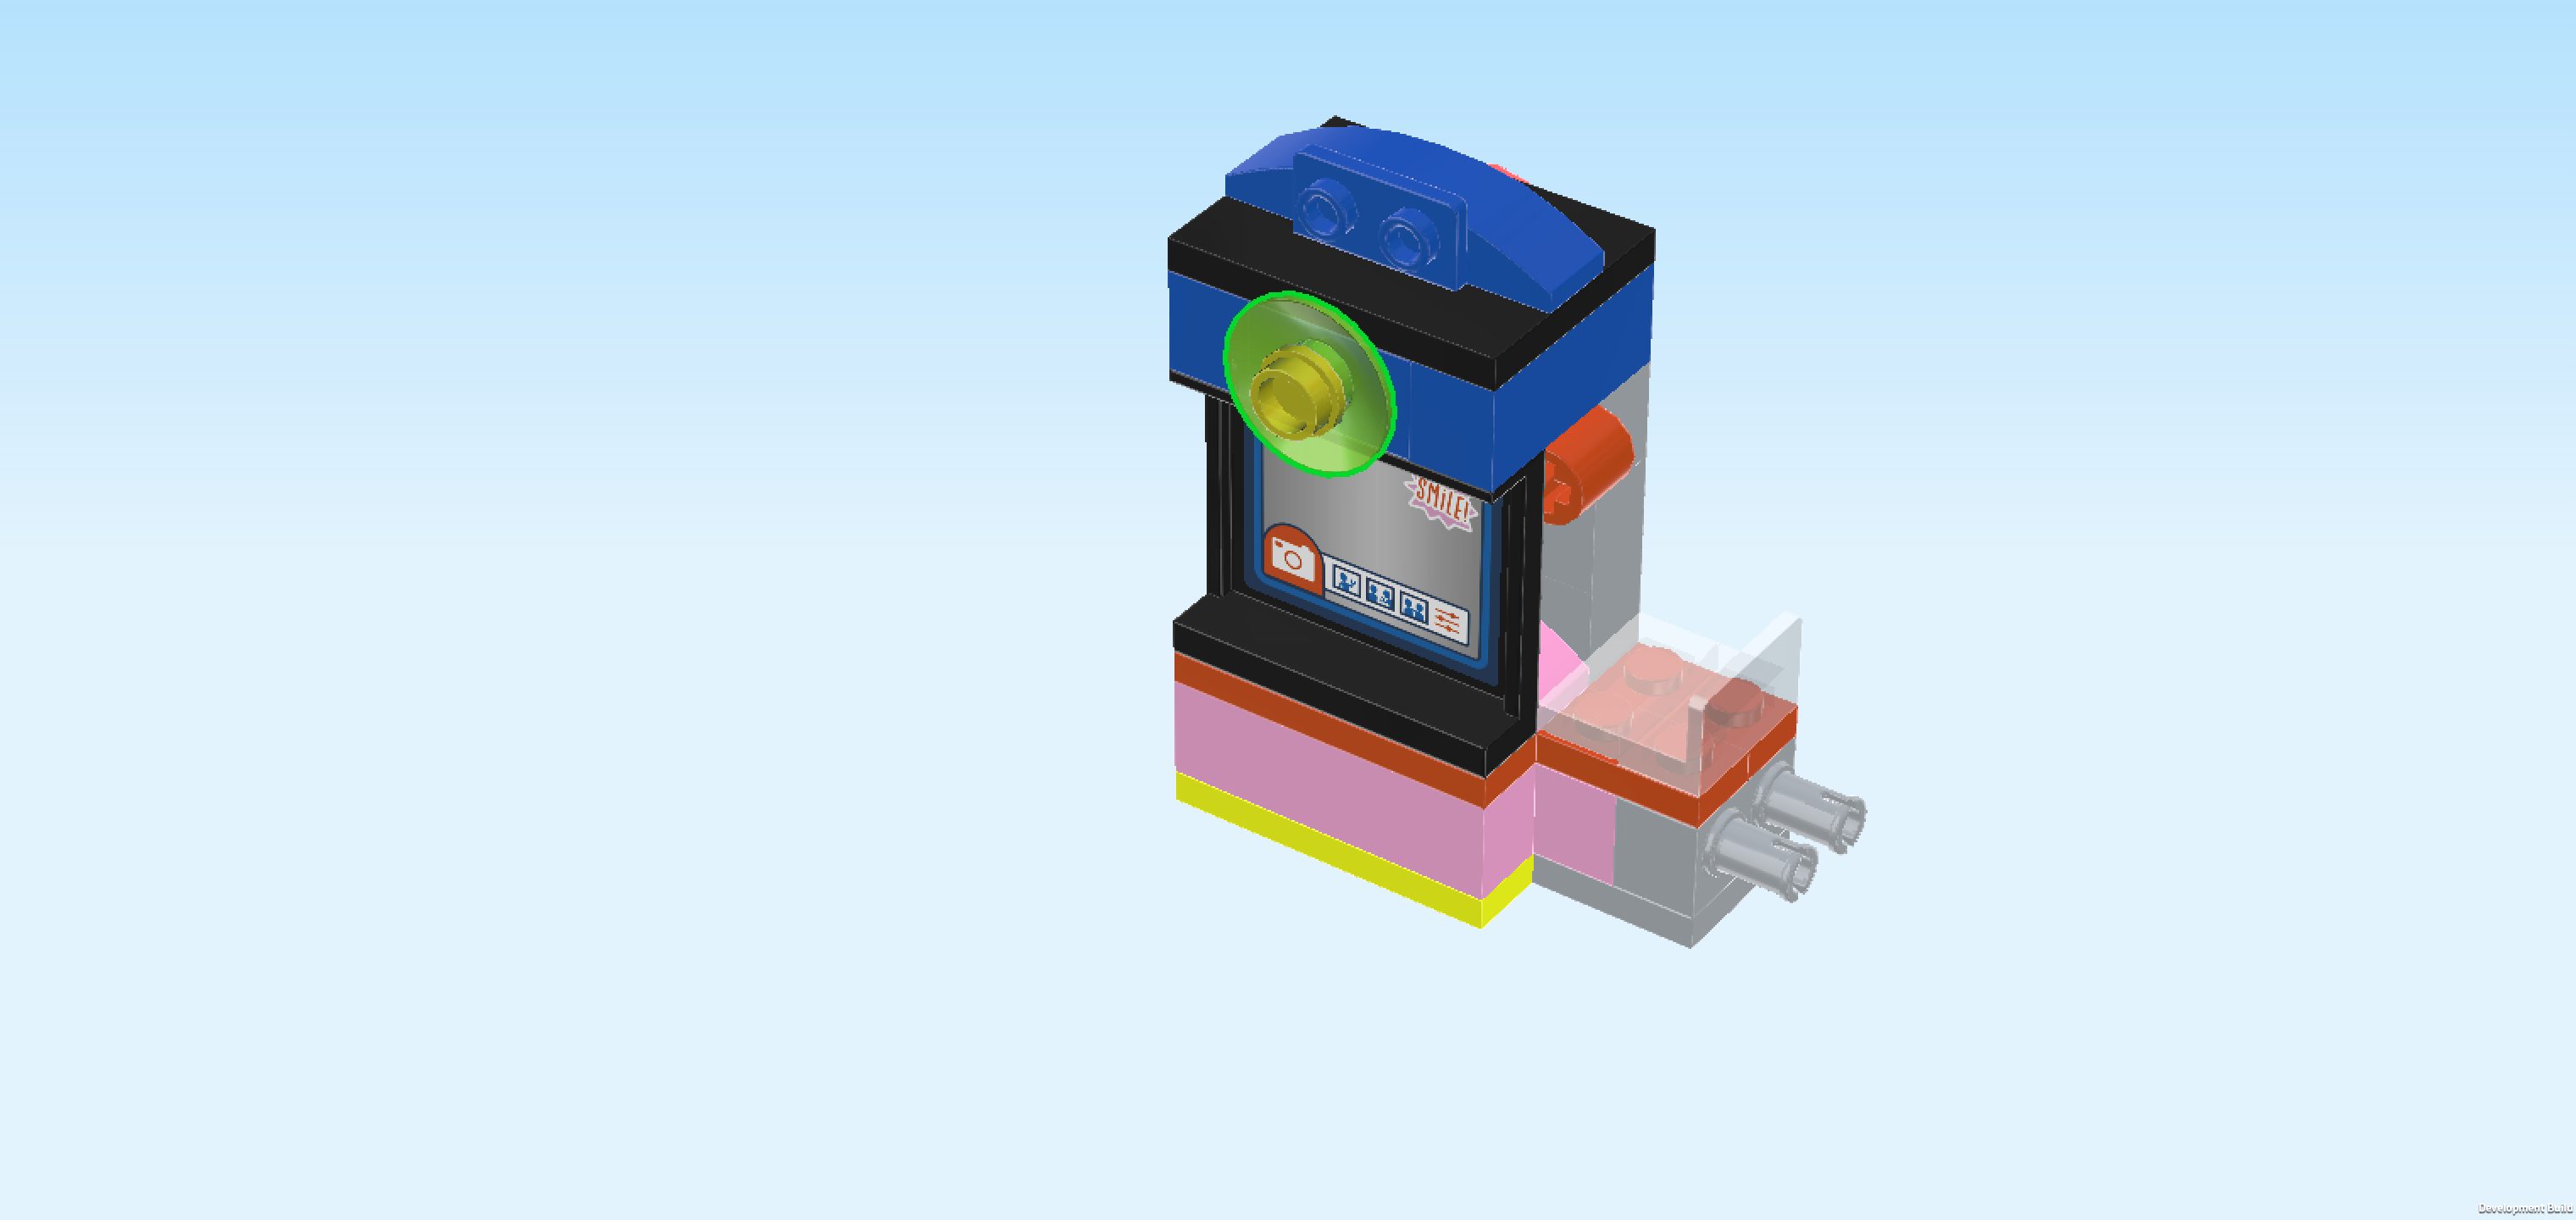
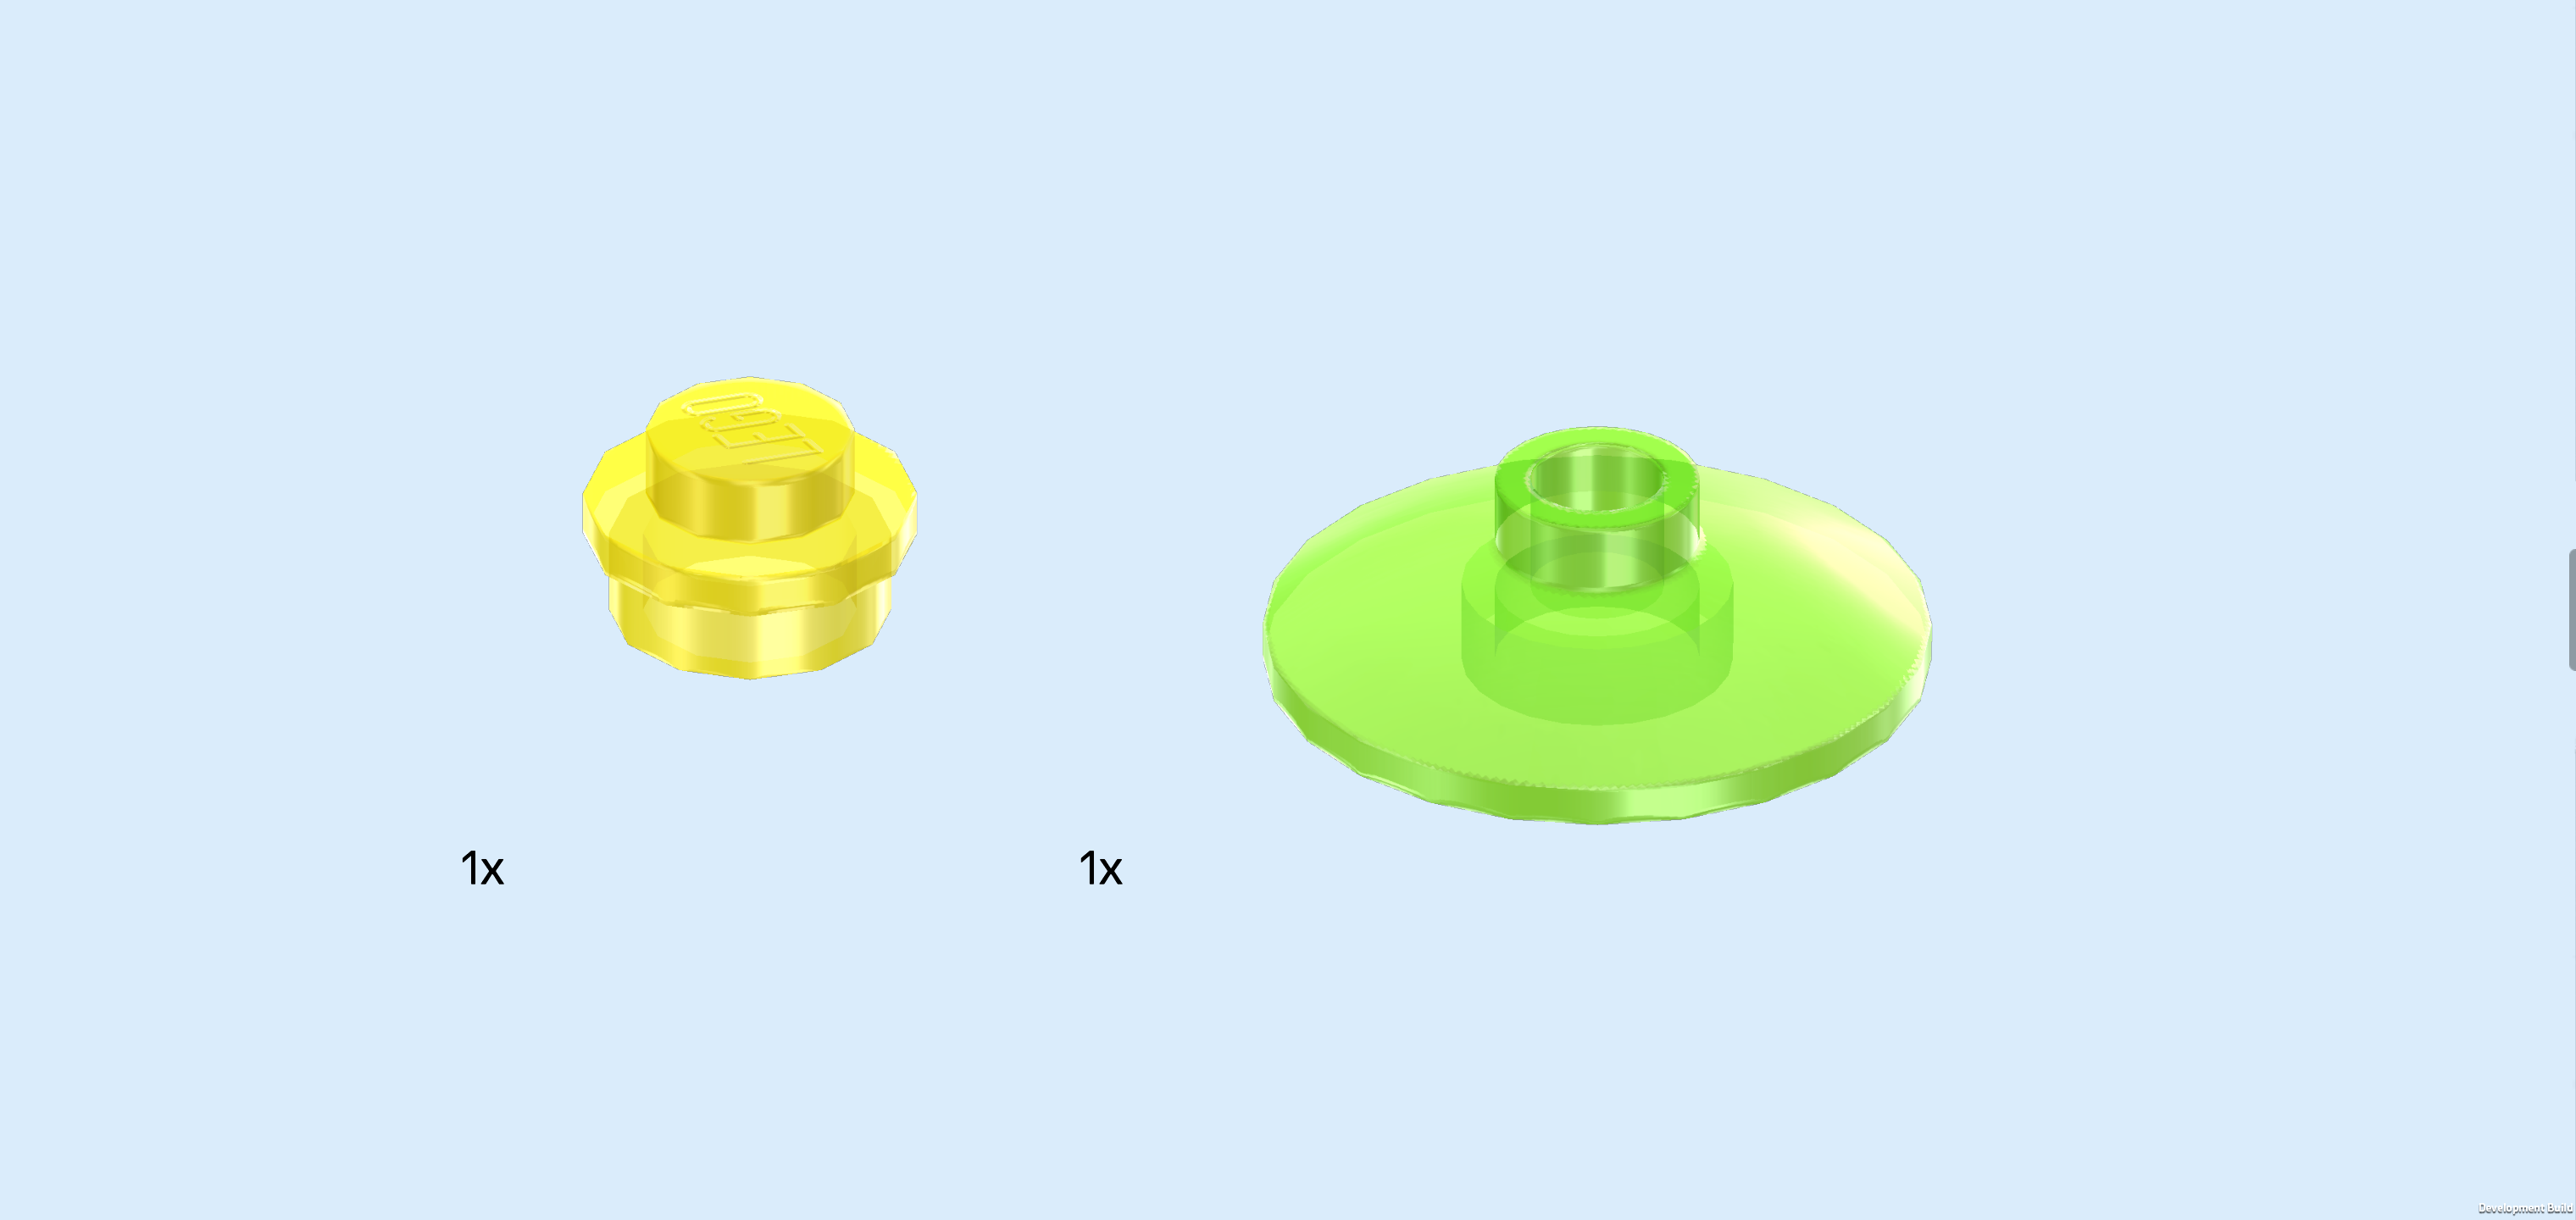
| Collect the following 2 pieces: |
| 1 transparent yellow round plate 1x1, |
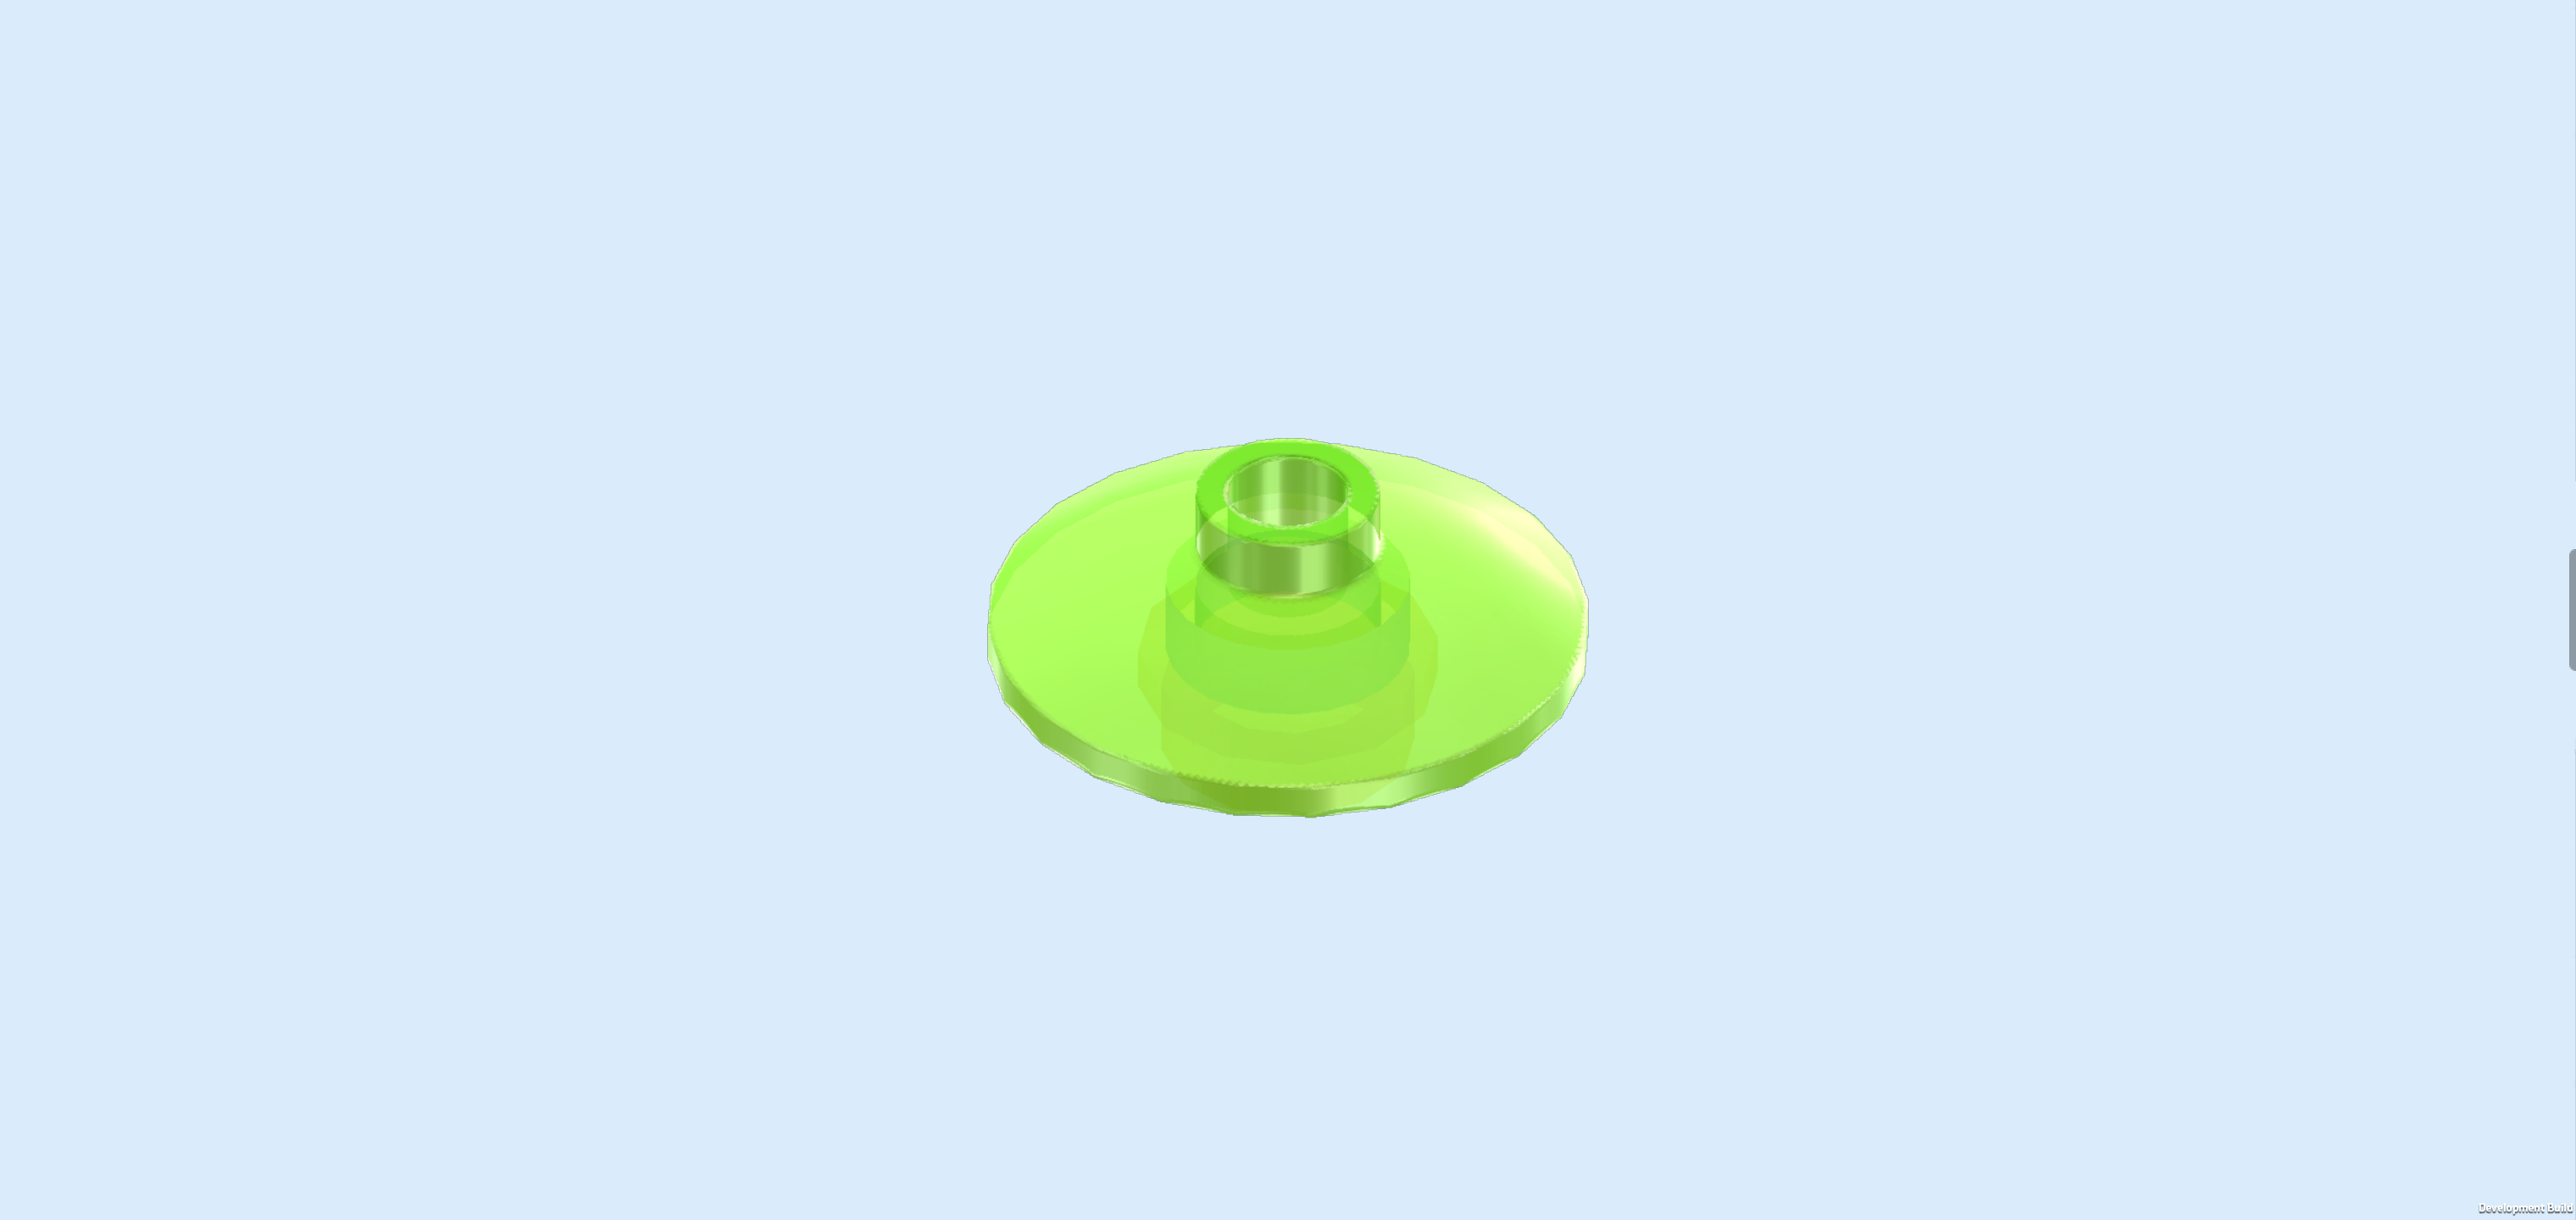
| and 1 transparent bright green curve disk 2x2 with 1 knob. |
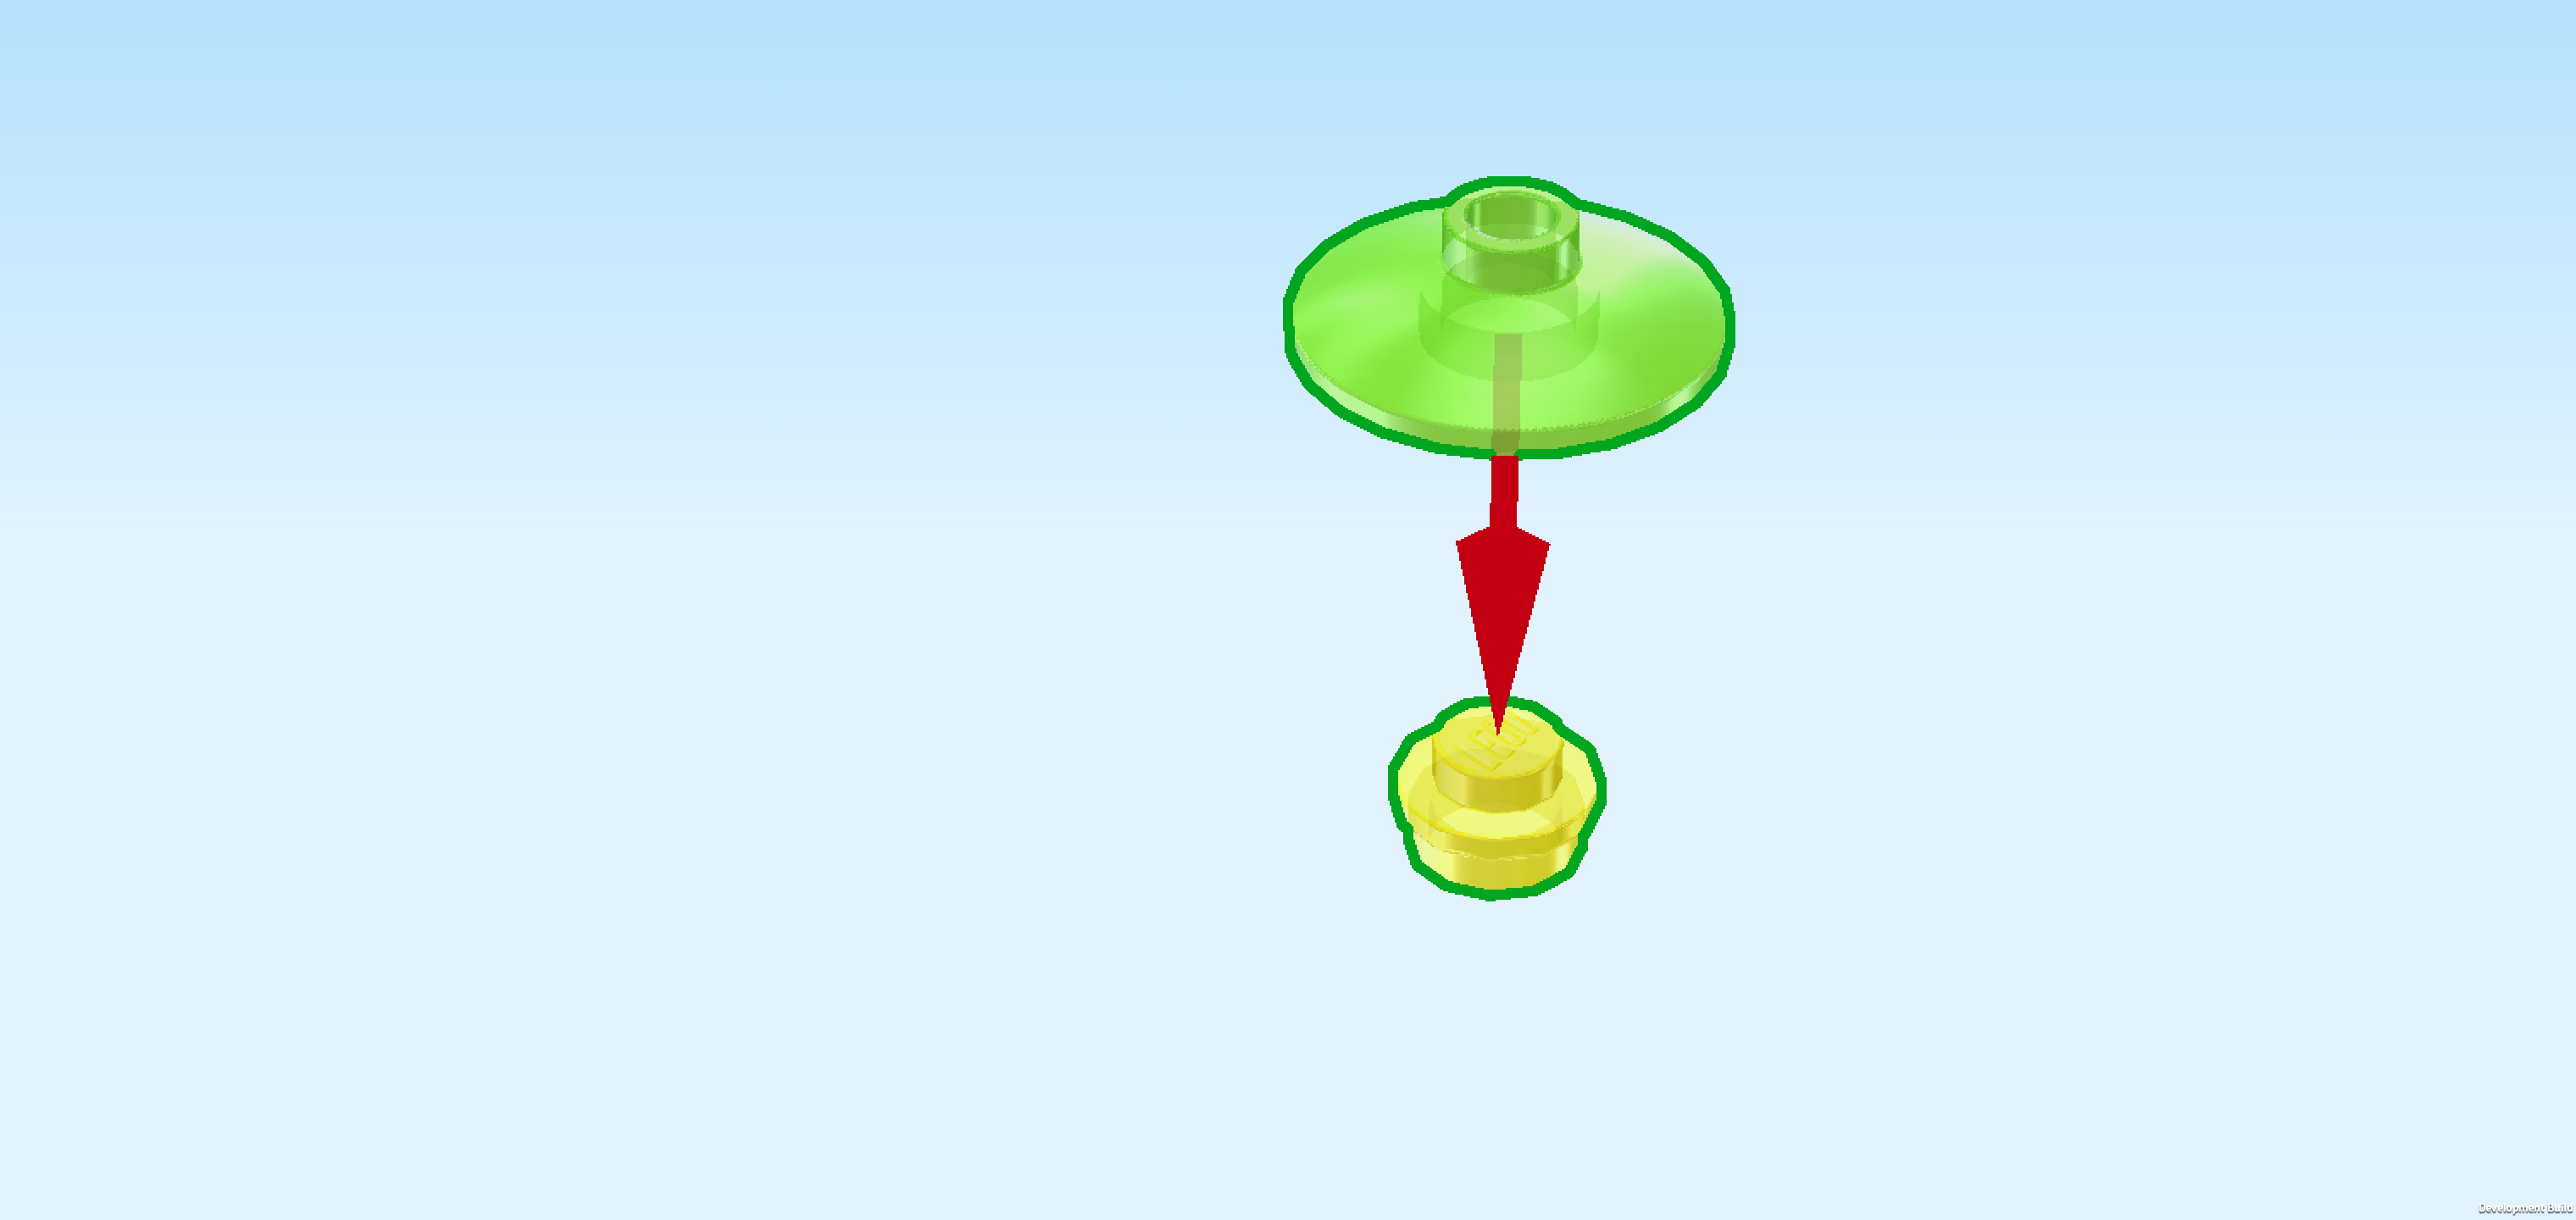
| Put the round plate 1x1 on the table. |
| Put the curve disk 2x2 on top. |
| Flip it upright so that the bottom surface of the round plate 1x1 is now facing you. Insert the hollow knob of the disk into the hole at the front side surface above the mirror wall. |
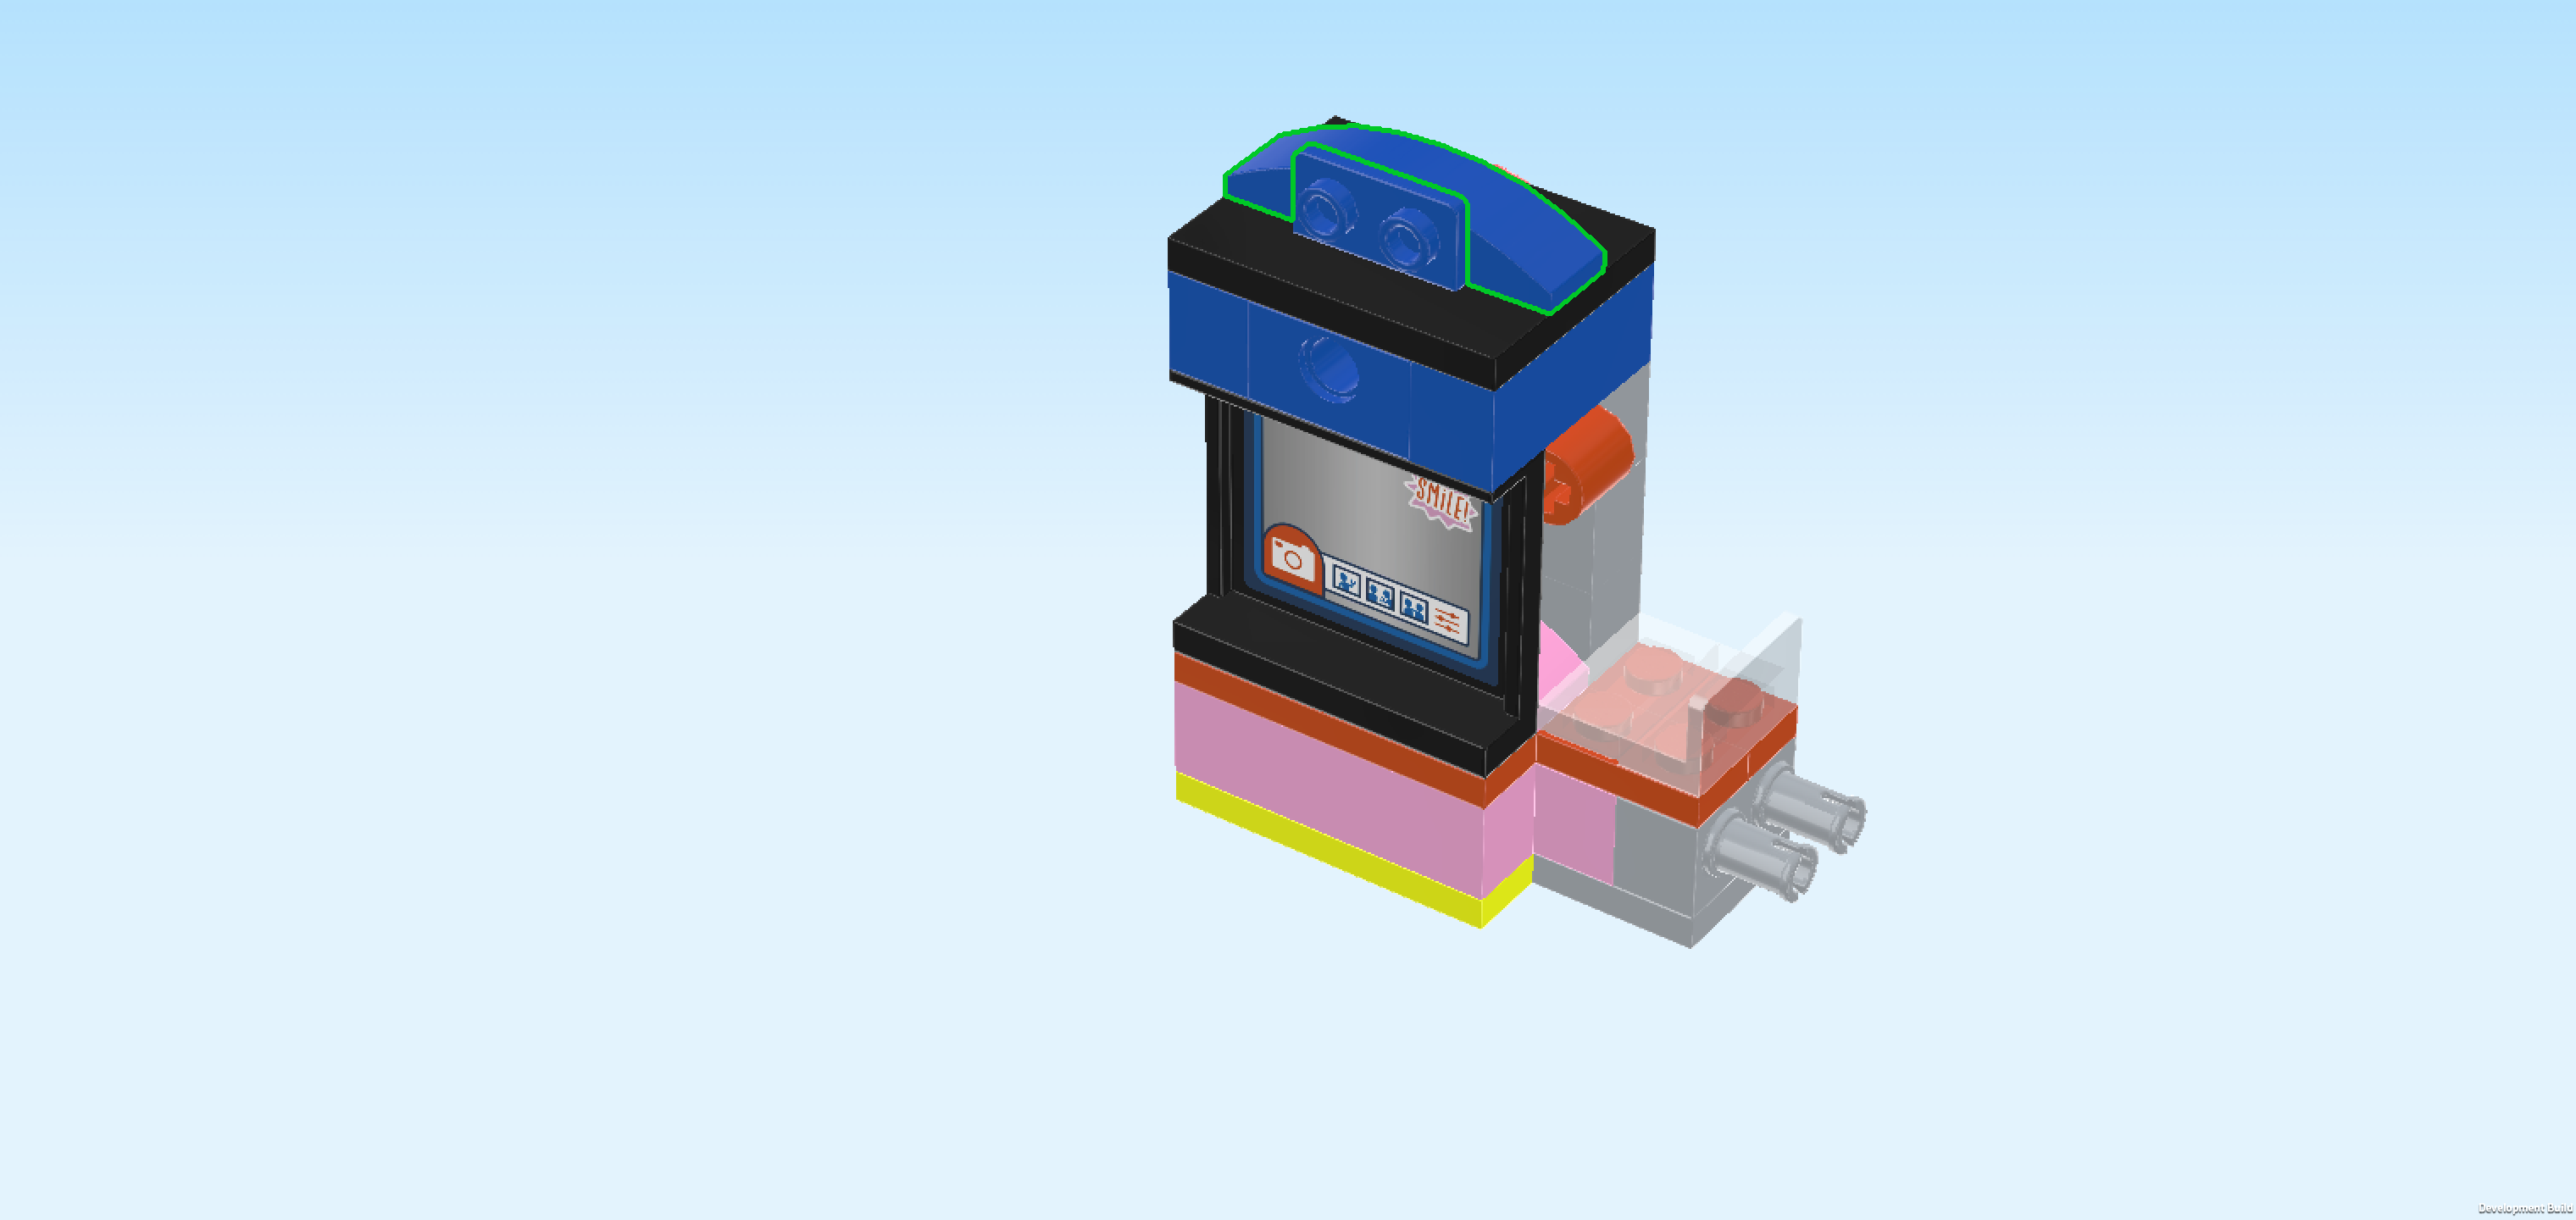
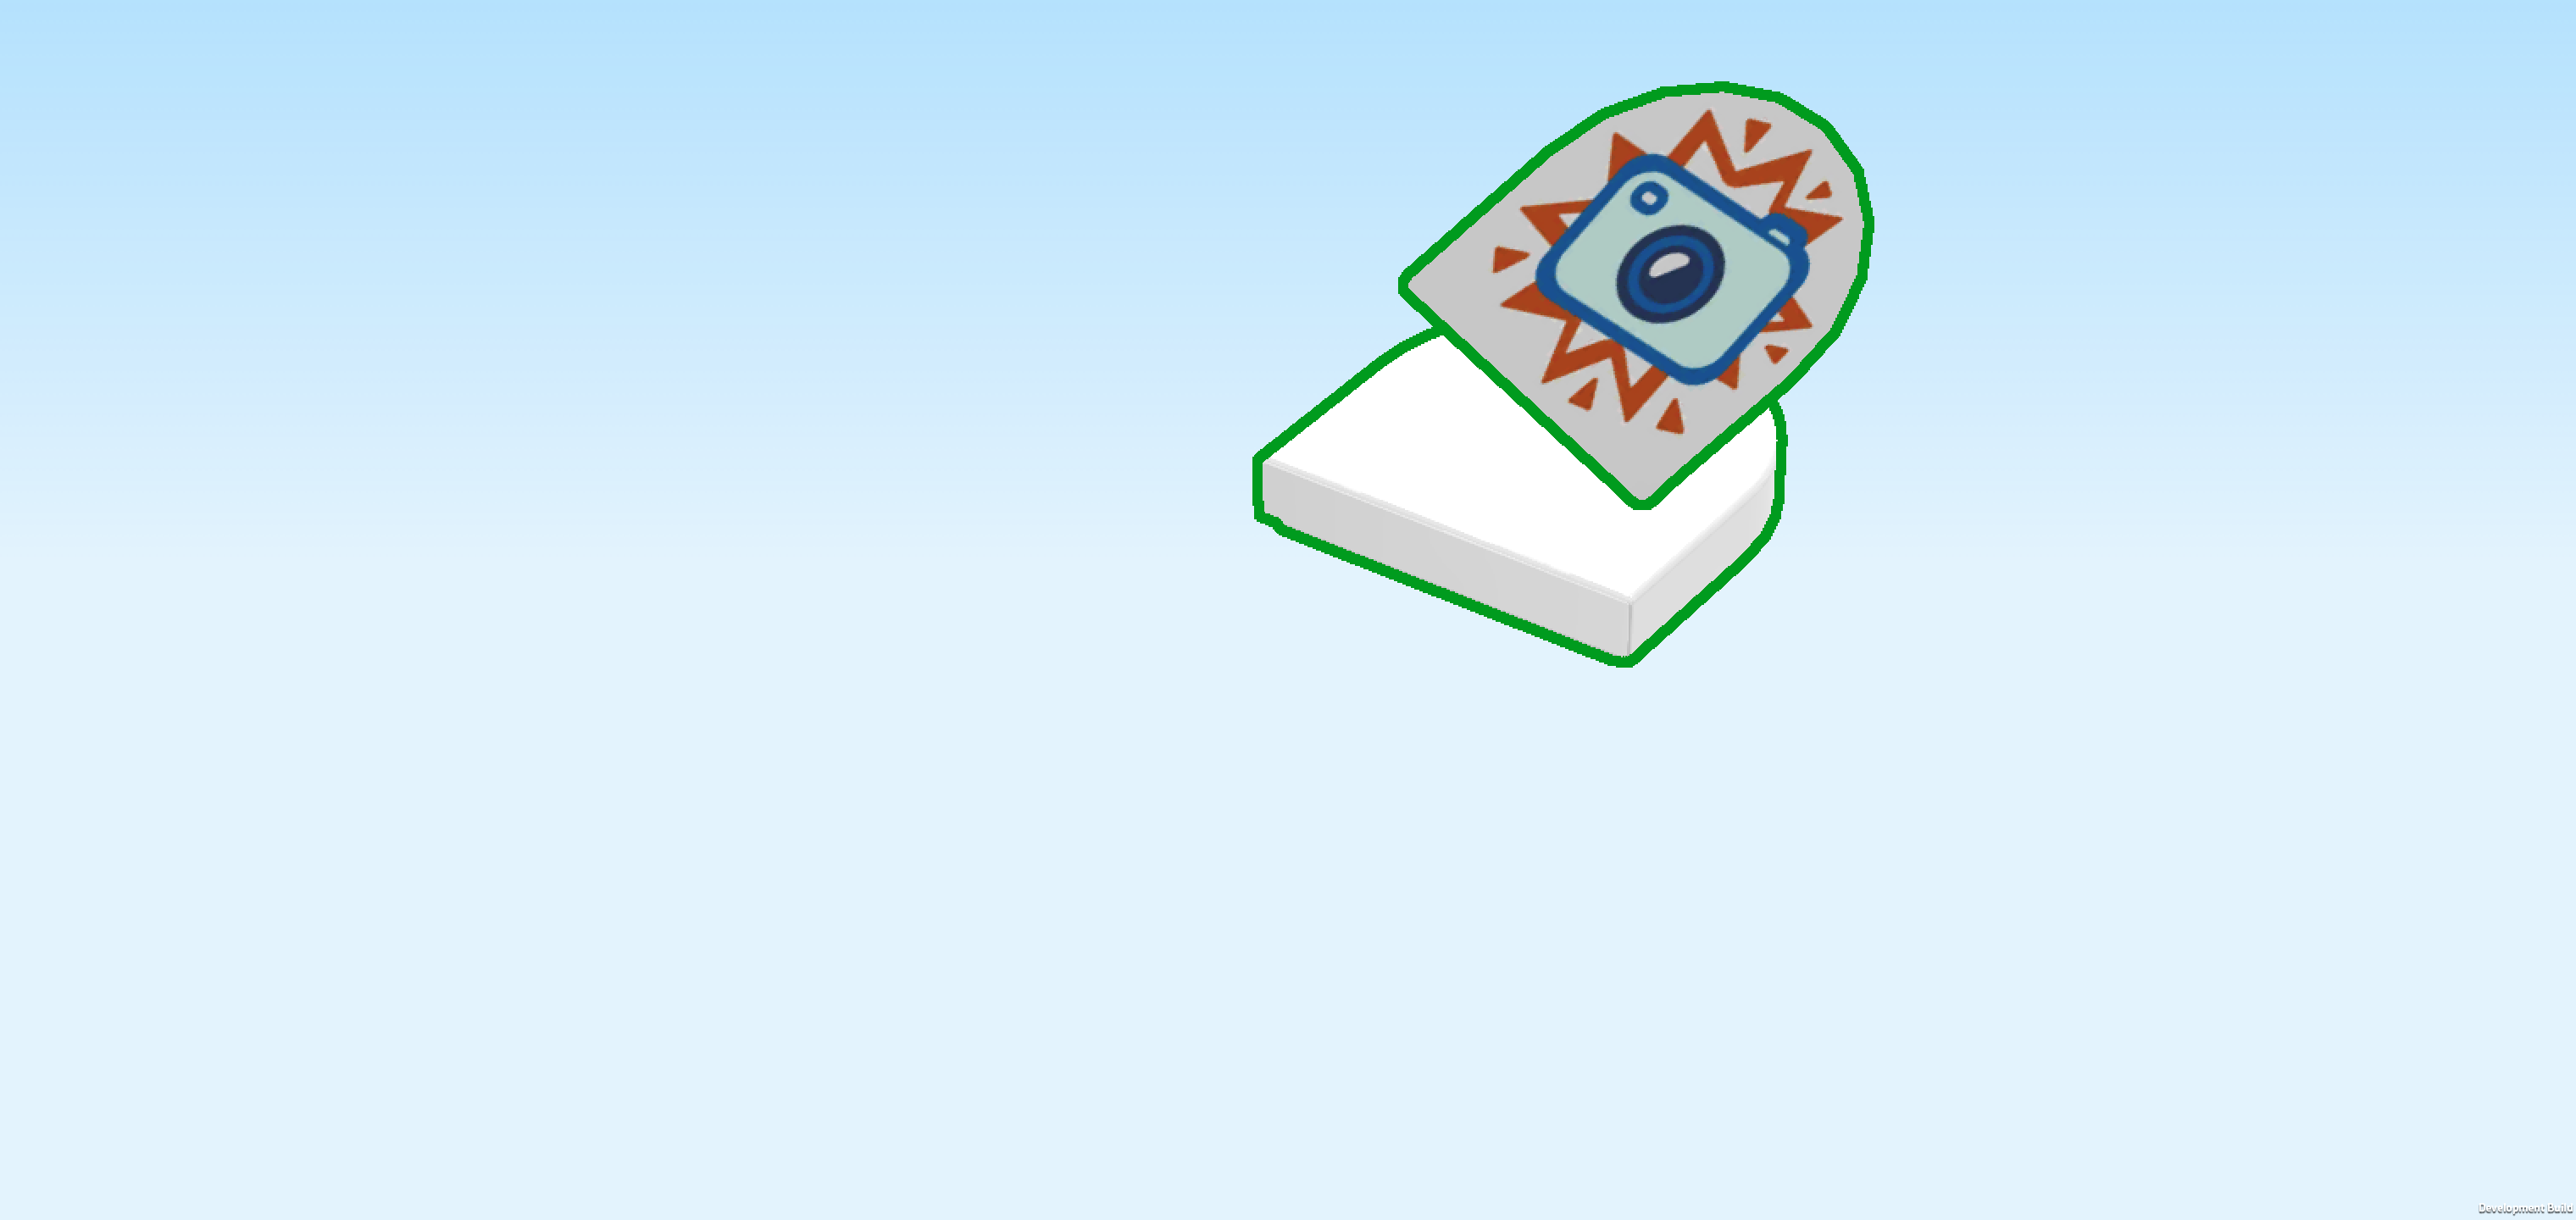
| Collect the following 2 pieces: |
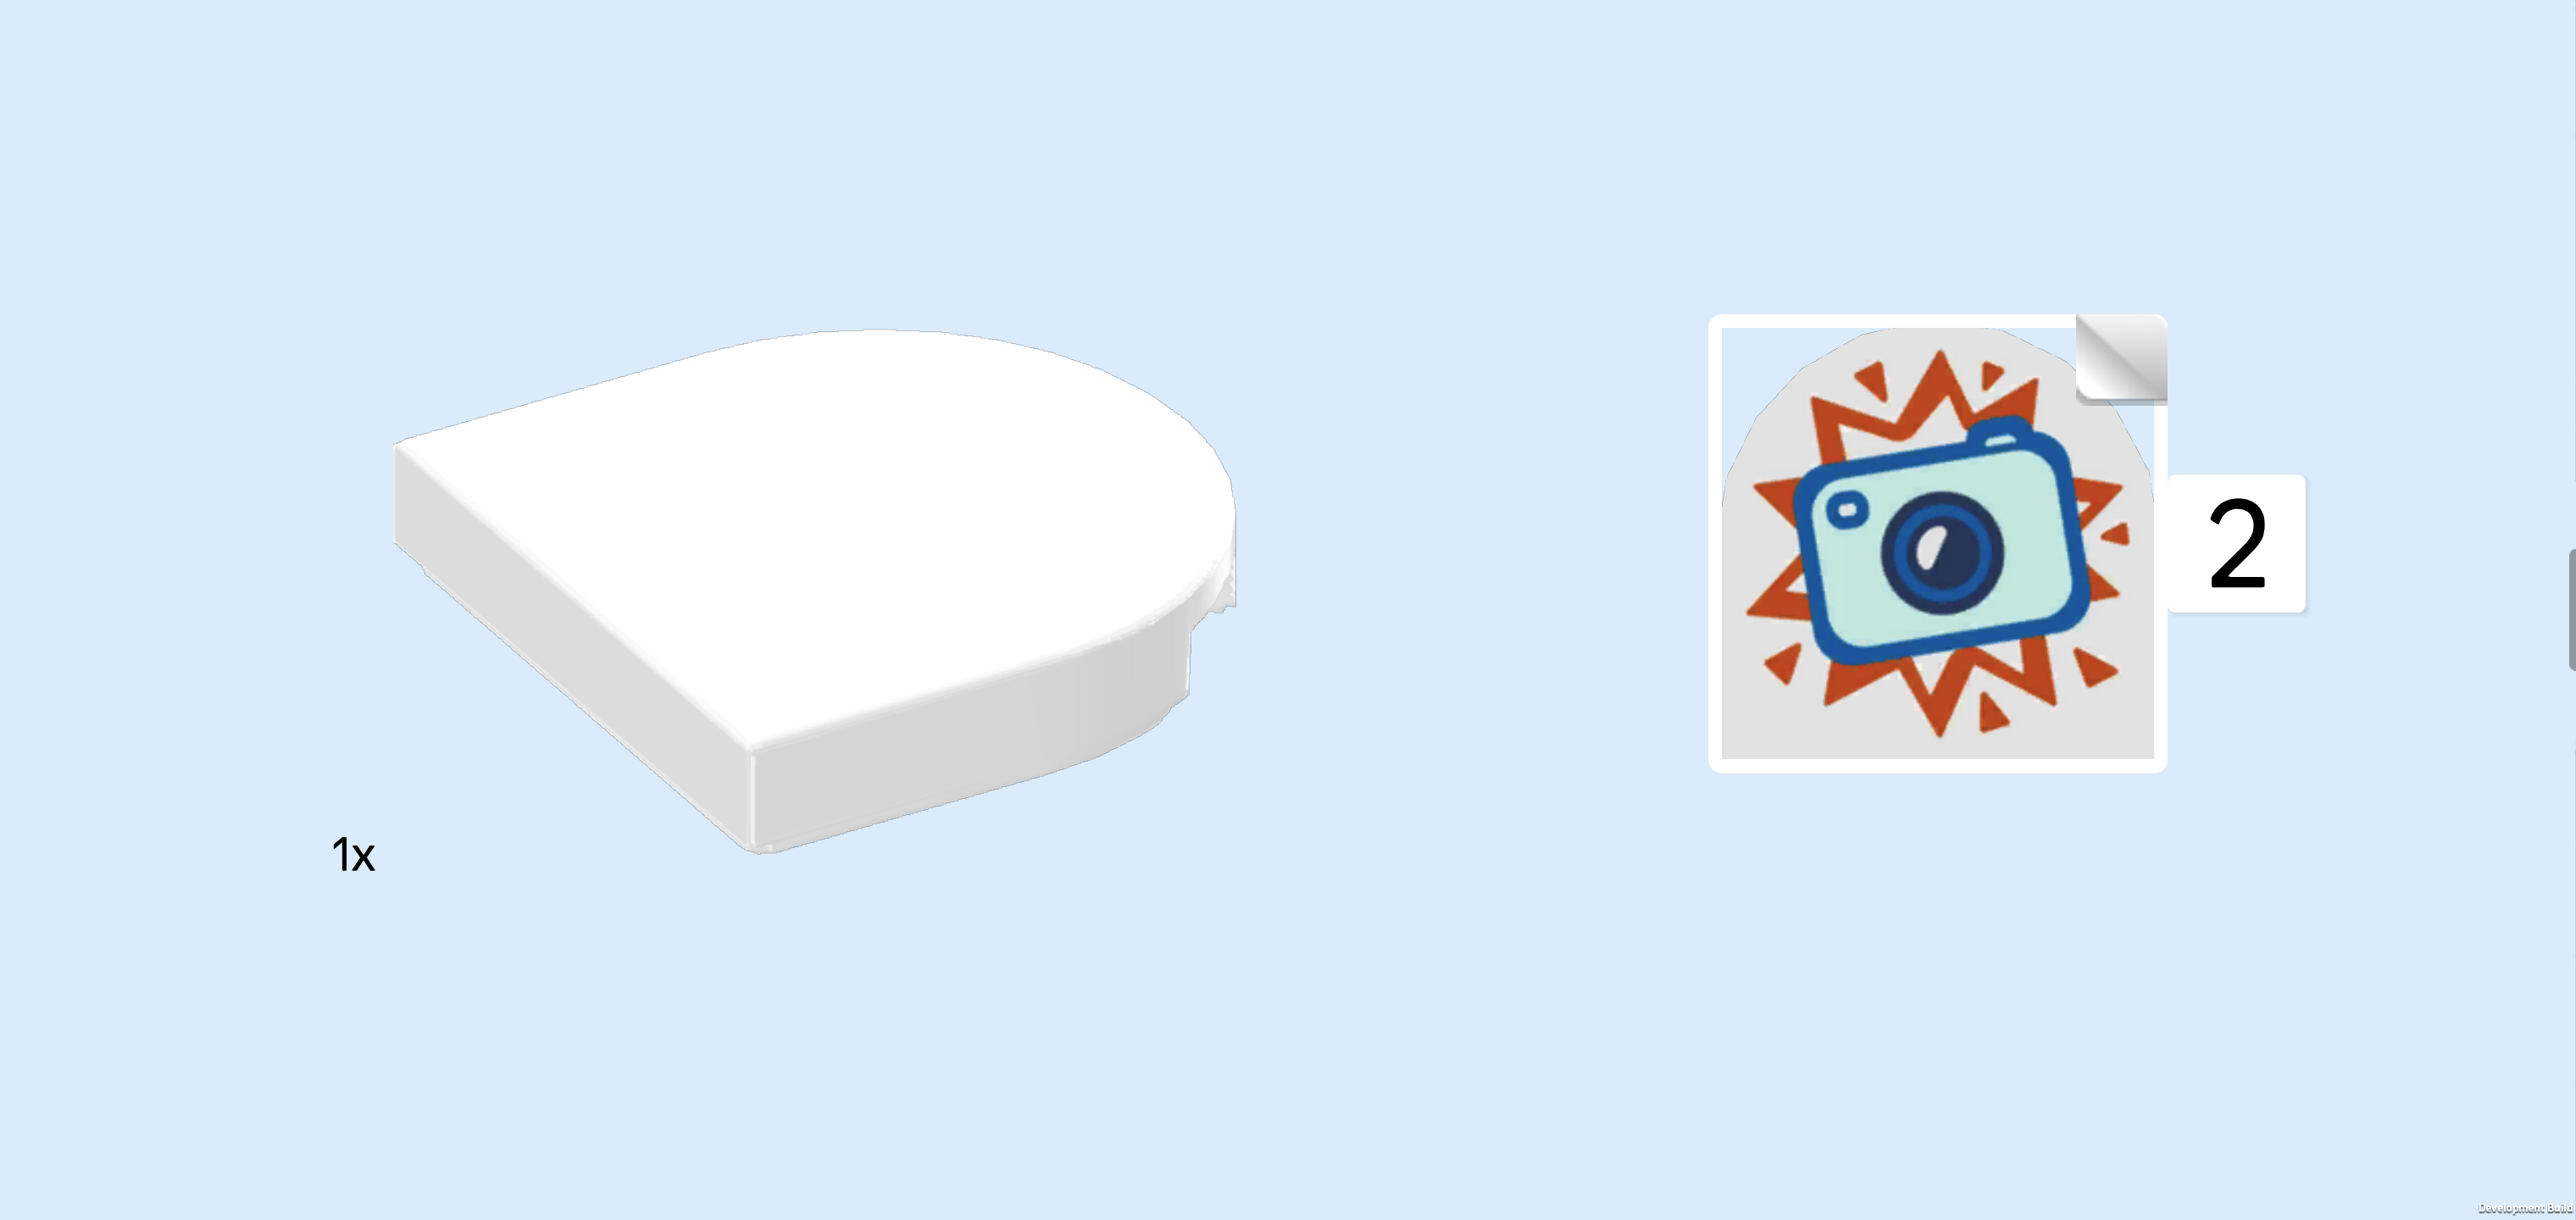
| 1 white half-circle tile 2x2, |
| and 1 half-circle sticker 2x2. |
| Put the half-circle sticker 2x2 on the smooth surface of the tile, matching its shape. |
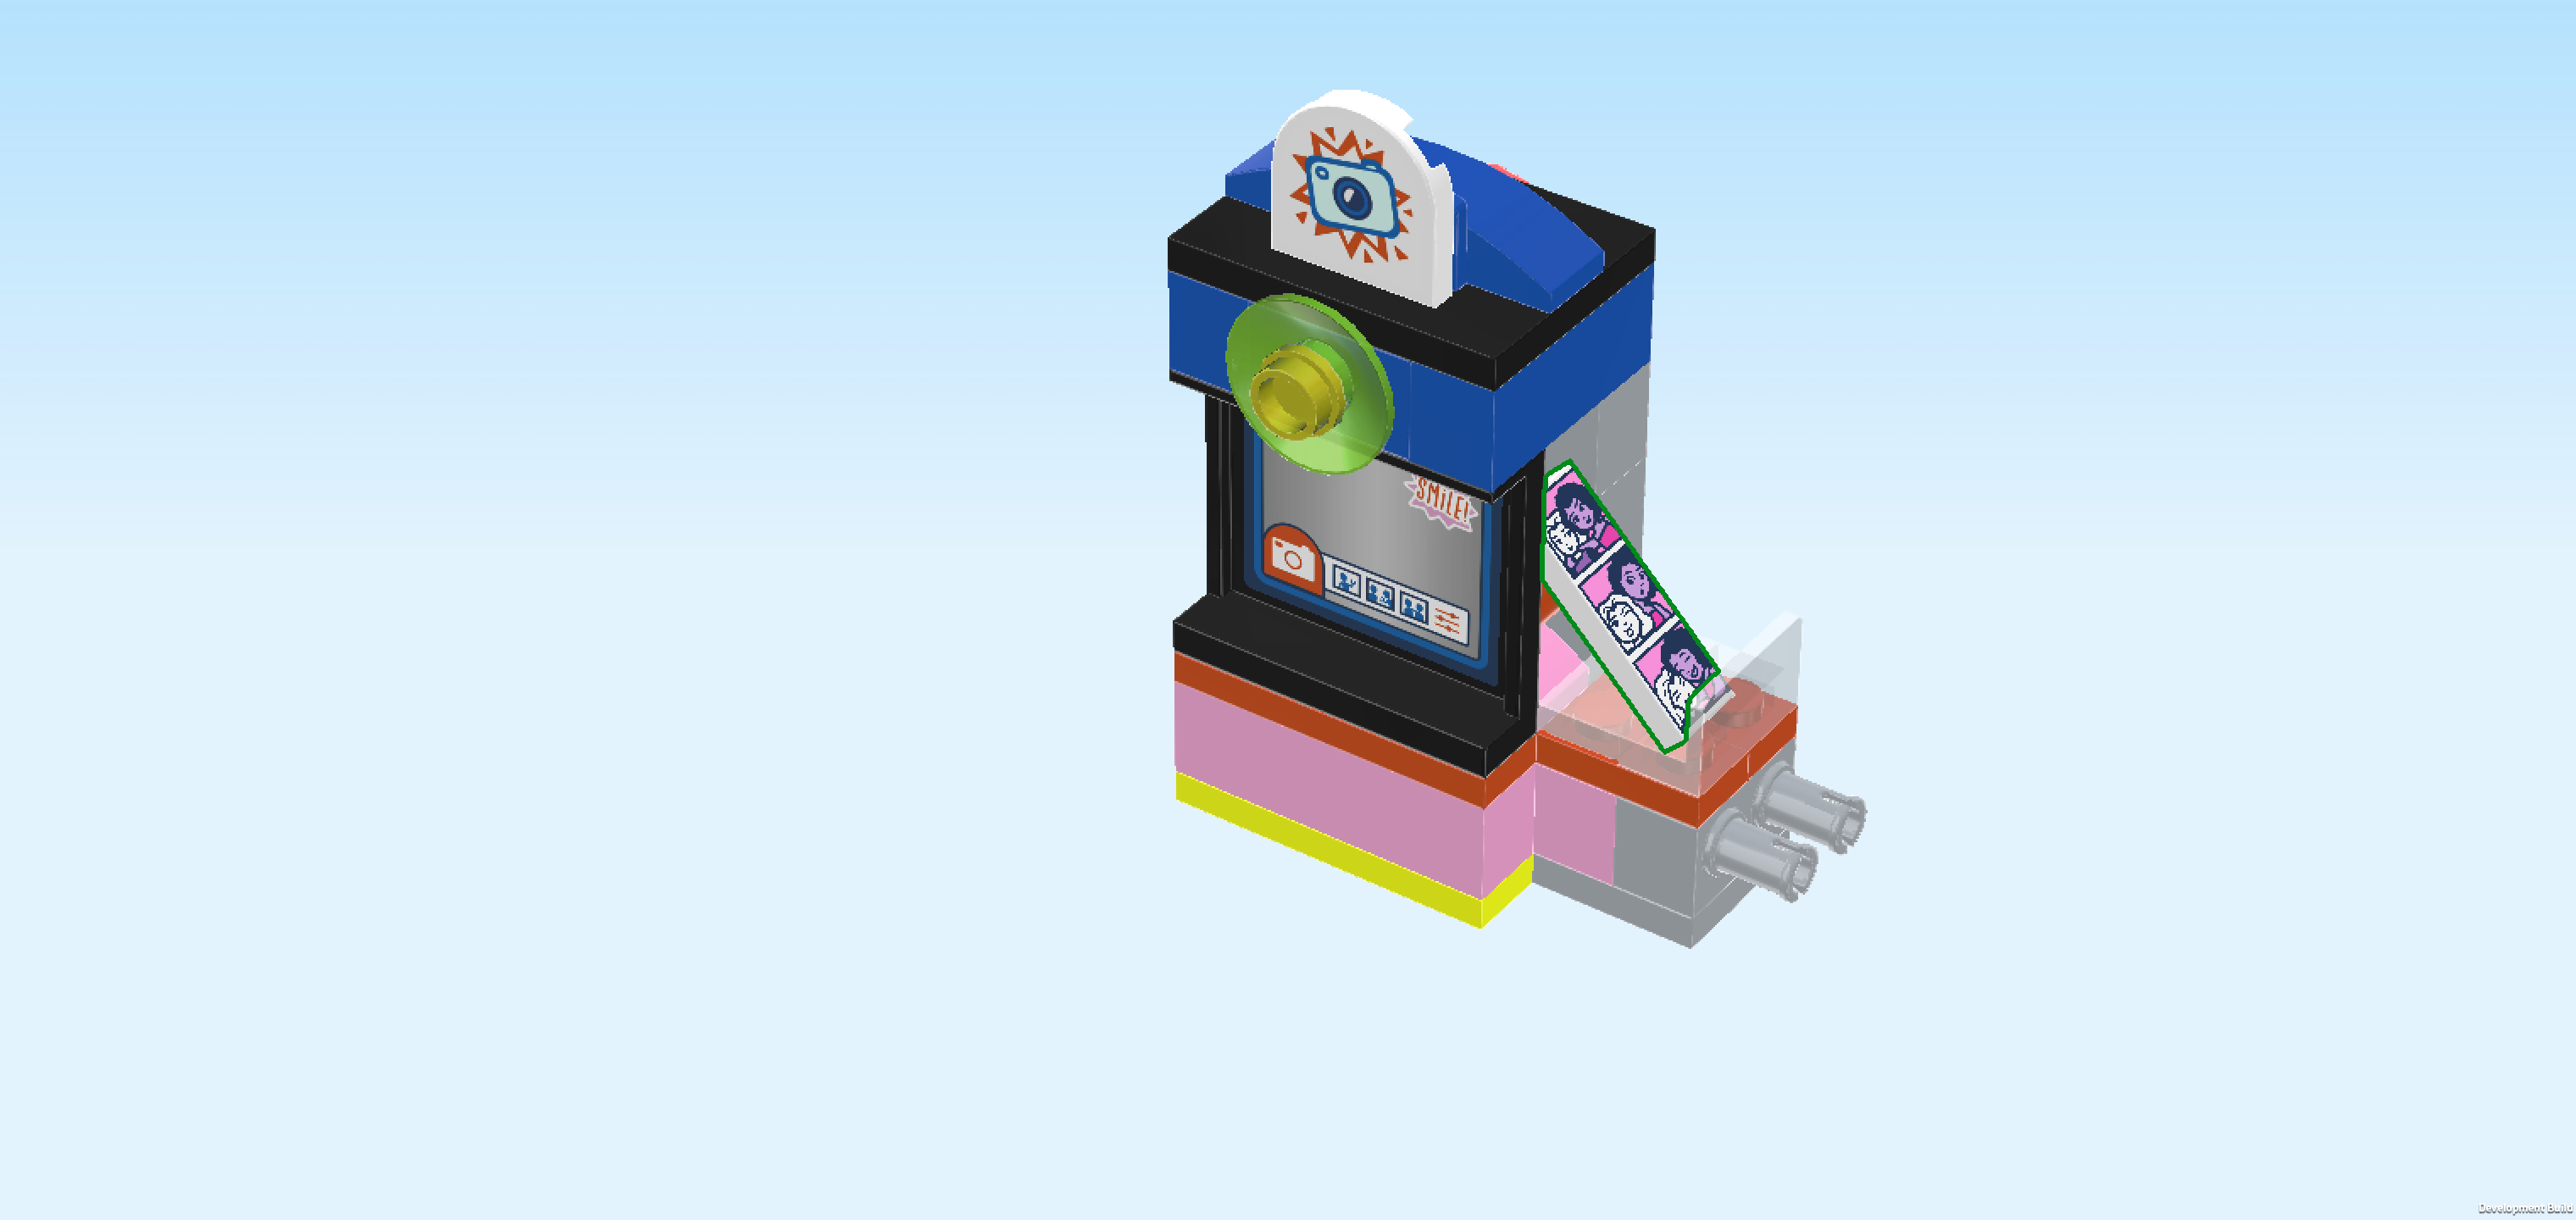
| It is printed with the logo of the photobooth! It is a blue camera icon framed by a red star shape imitating a flash on a white background. |
| Mount the tile upright on the 2 side knobs pointing to the front at the top of the photobooth, straight edge to the bottom, half circle protruding to the top. |
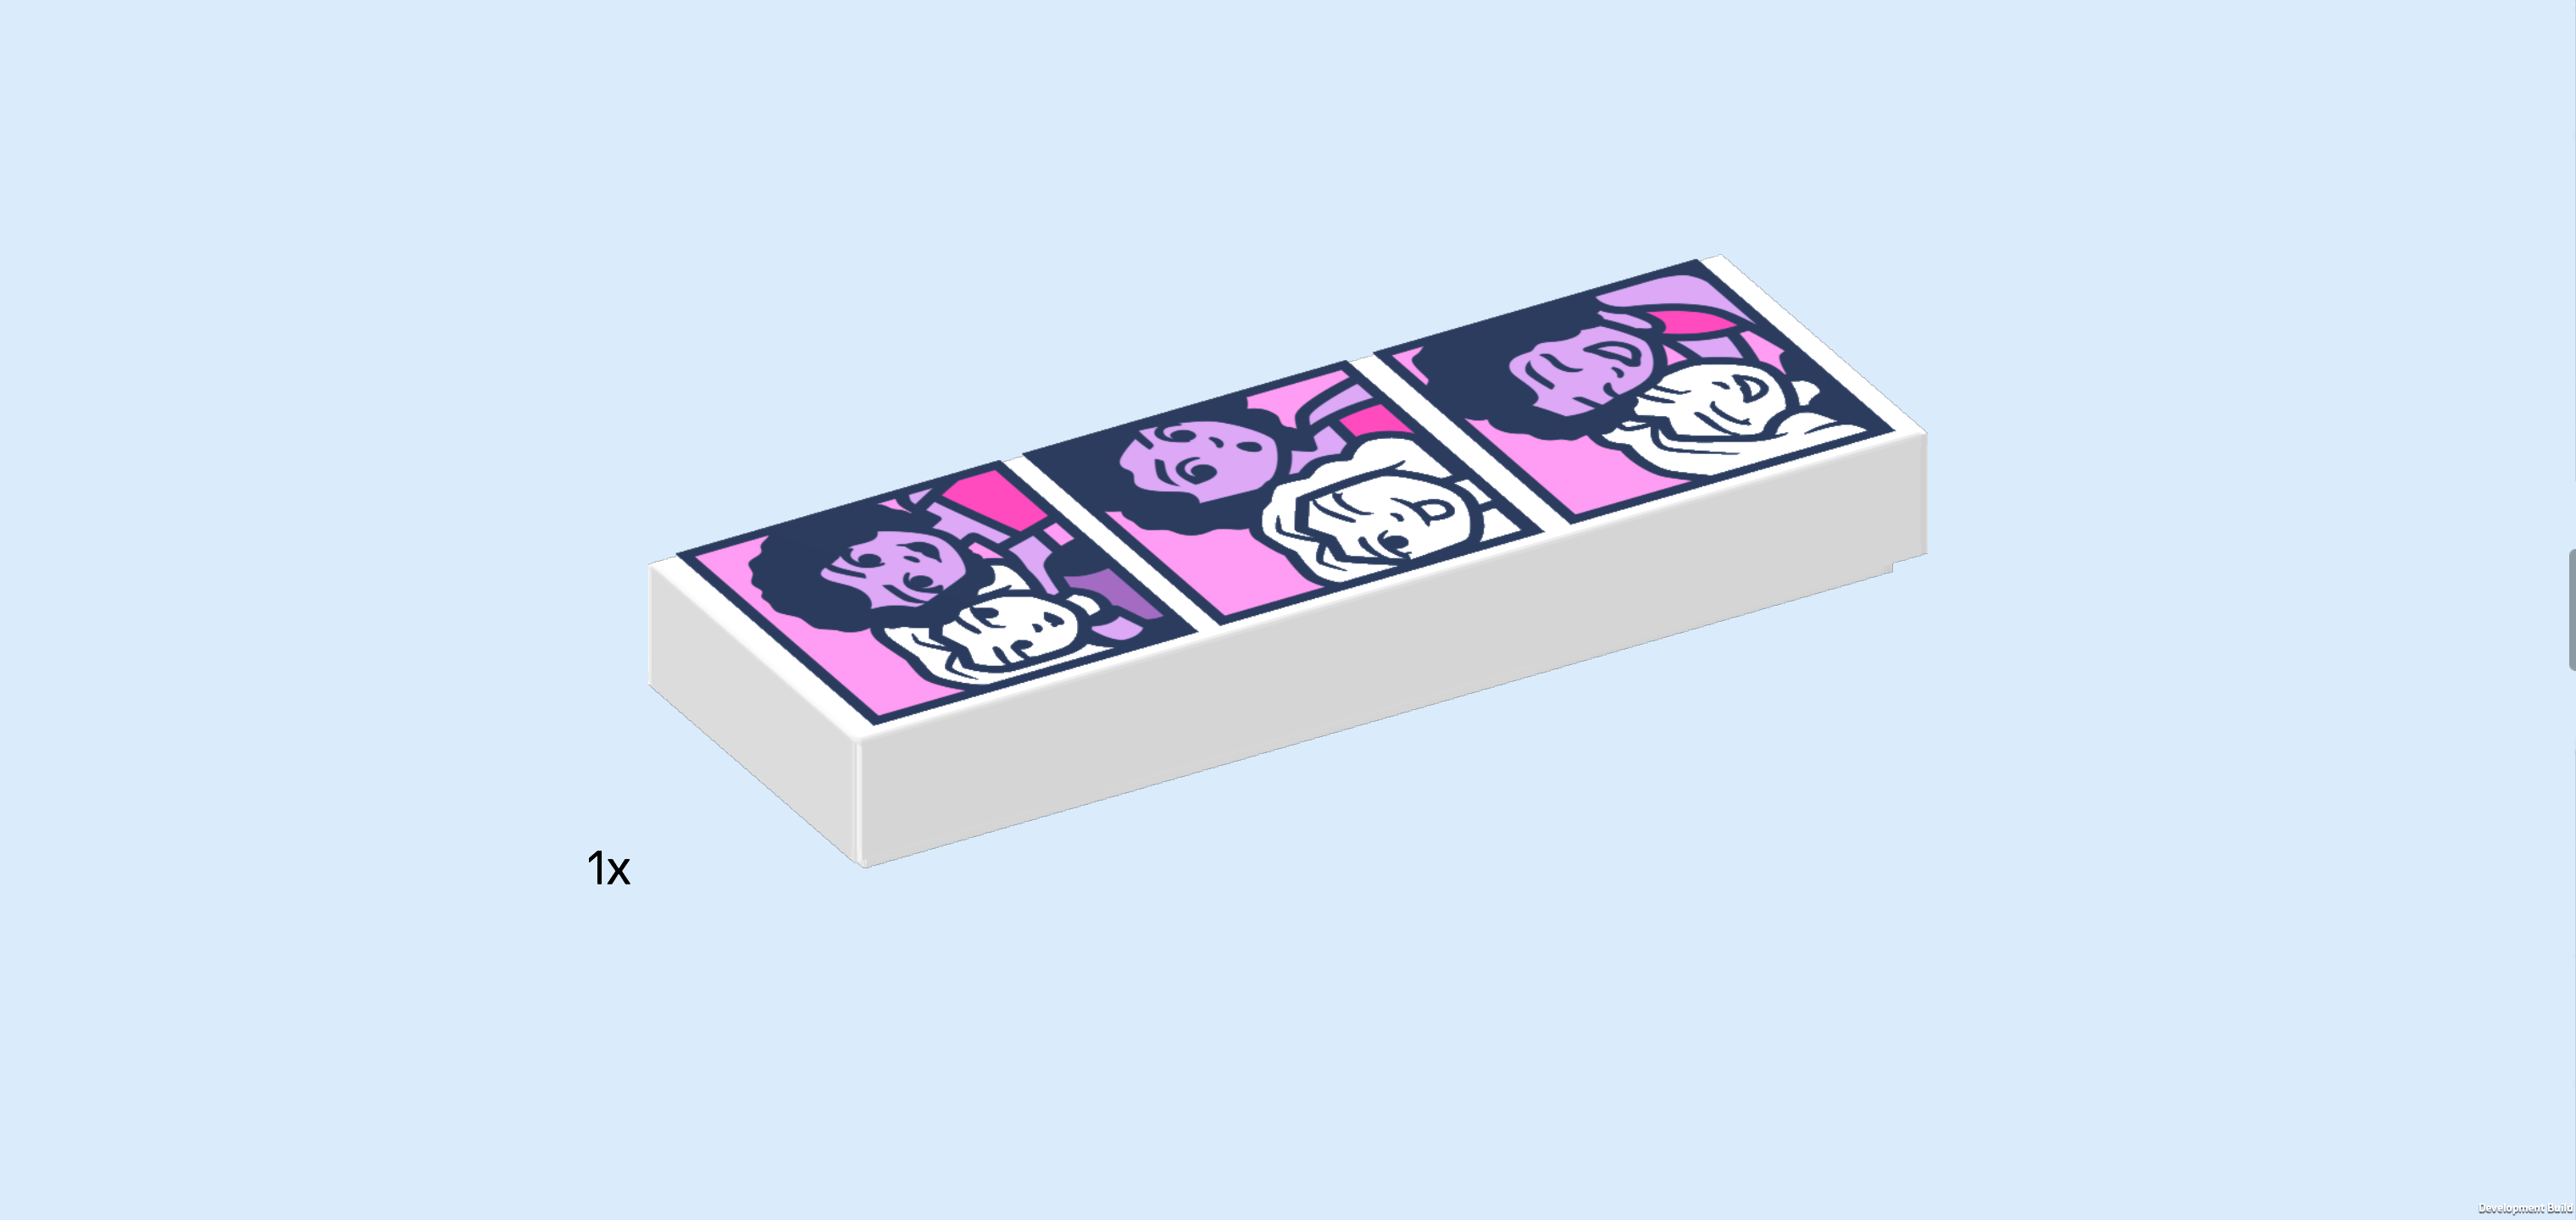
| Find 1 white flat tile 1x3. |
| This tile is the photo strip! It is printed with 3 photos of Nova and Aliya. In the first one, the 2 friends show us their lovely smiles. In the second photo, Nova is giving us a wink while Aliya has a surprised expression on her face. In the third photo, both friends are laughing wholeheartedly. |
| Insert the flat tile from the left horizontally into the photobooth so that it lies flat on the rectangular beam. Adjust the beam by turning the grooved brick if necessary. Once the pictures are taken, turn the grooved brick to the right so that the photos are dropped towards the right into the photo slit. |
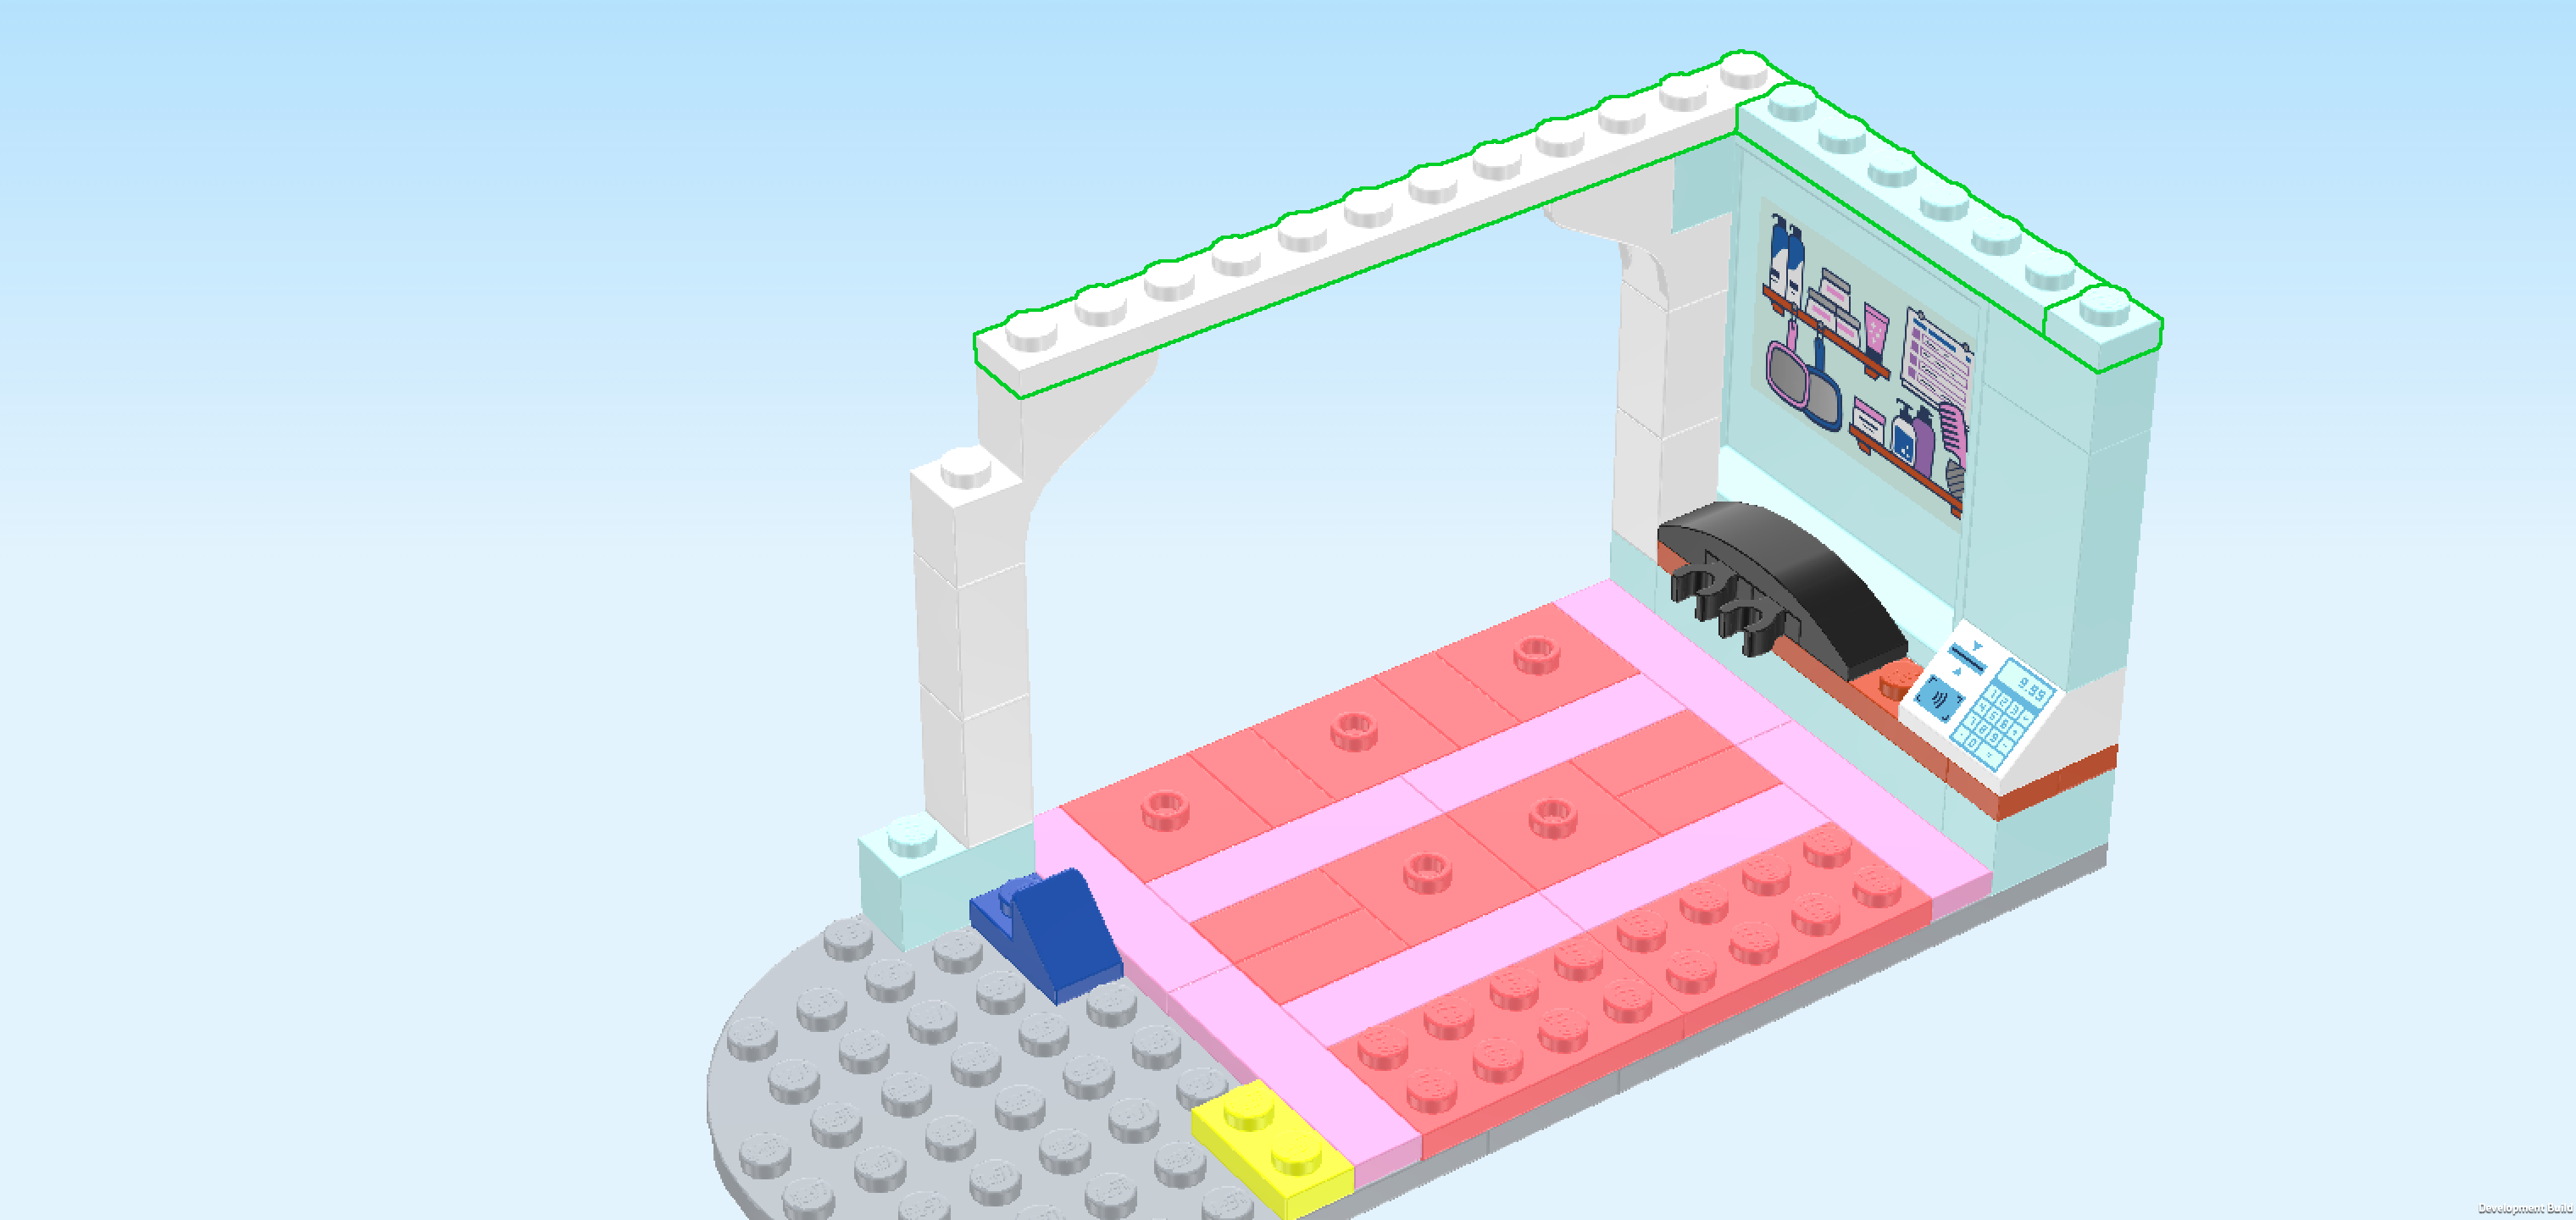
| The photobooth is finished! Well done! With this, we have finished building everything from bag number 1. We usually pack a few extra bricks and pieces in each bag, so if you still have some pieces left there is no need to worry that you missed something. If you like, you can take a break now and return to the instructions later by skipping to the section introducing bag number 2. If you want to continue building right away, simply move on to the next sentence. |
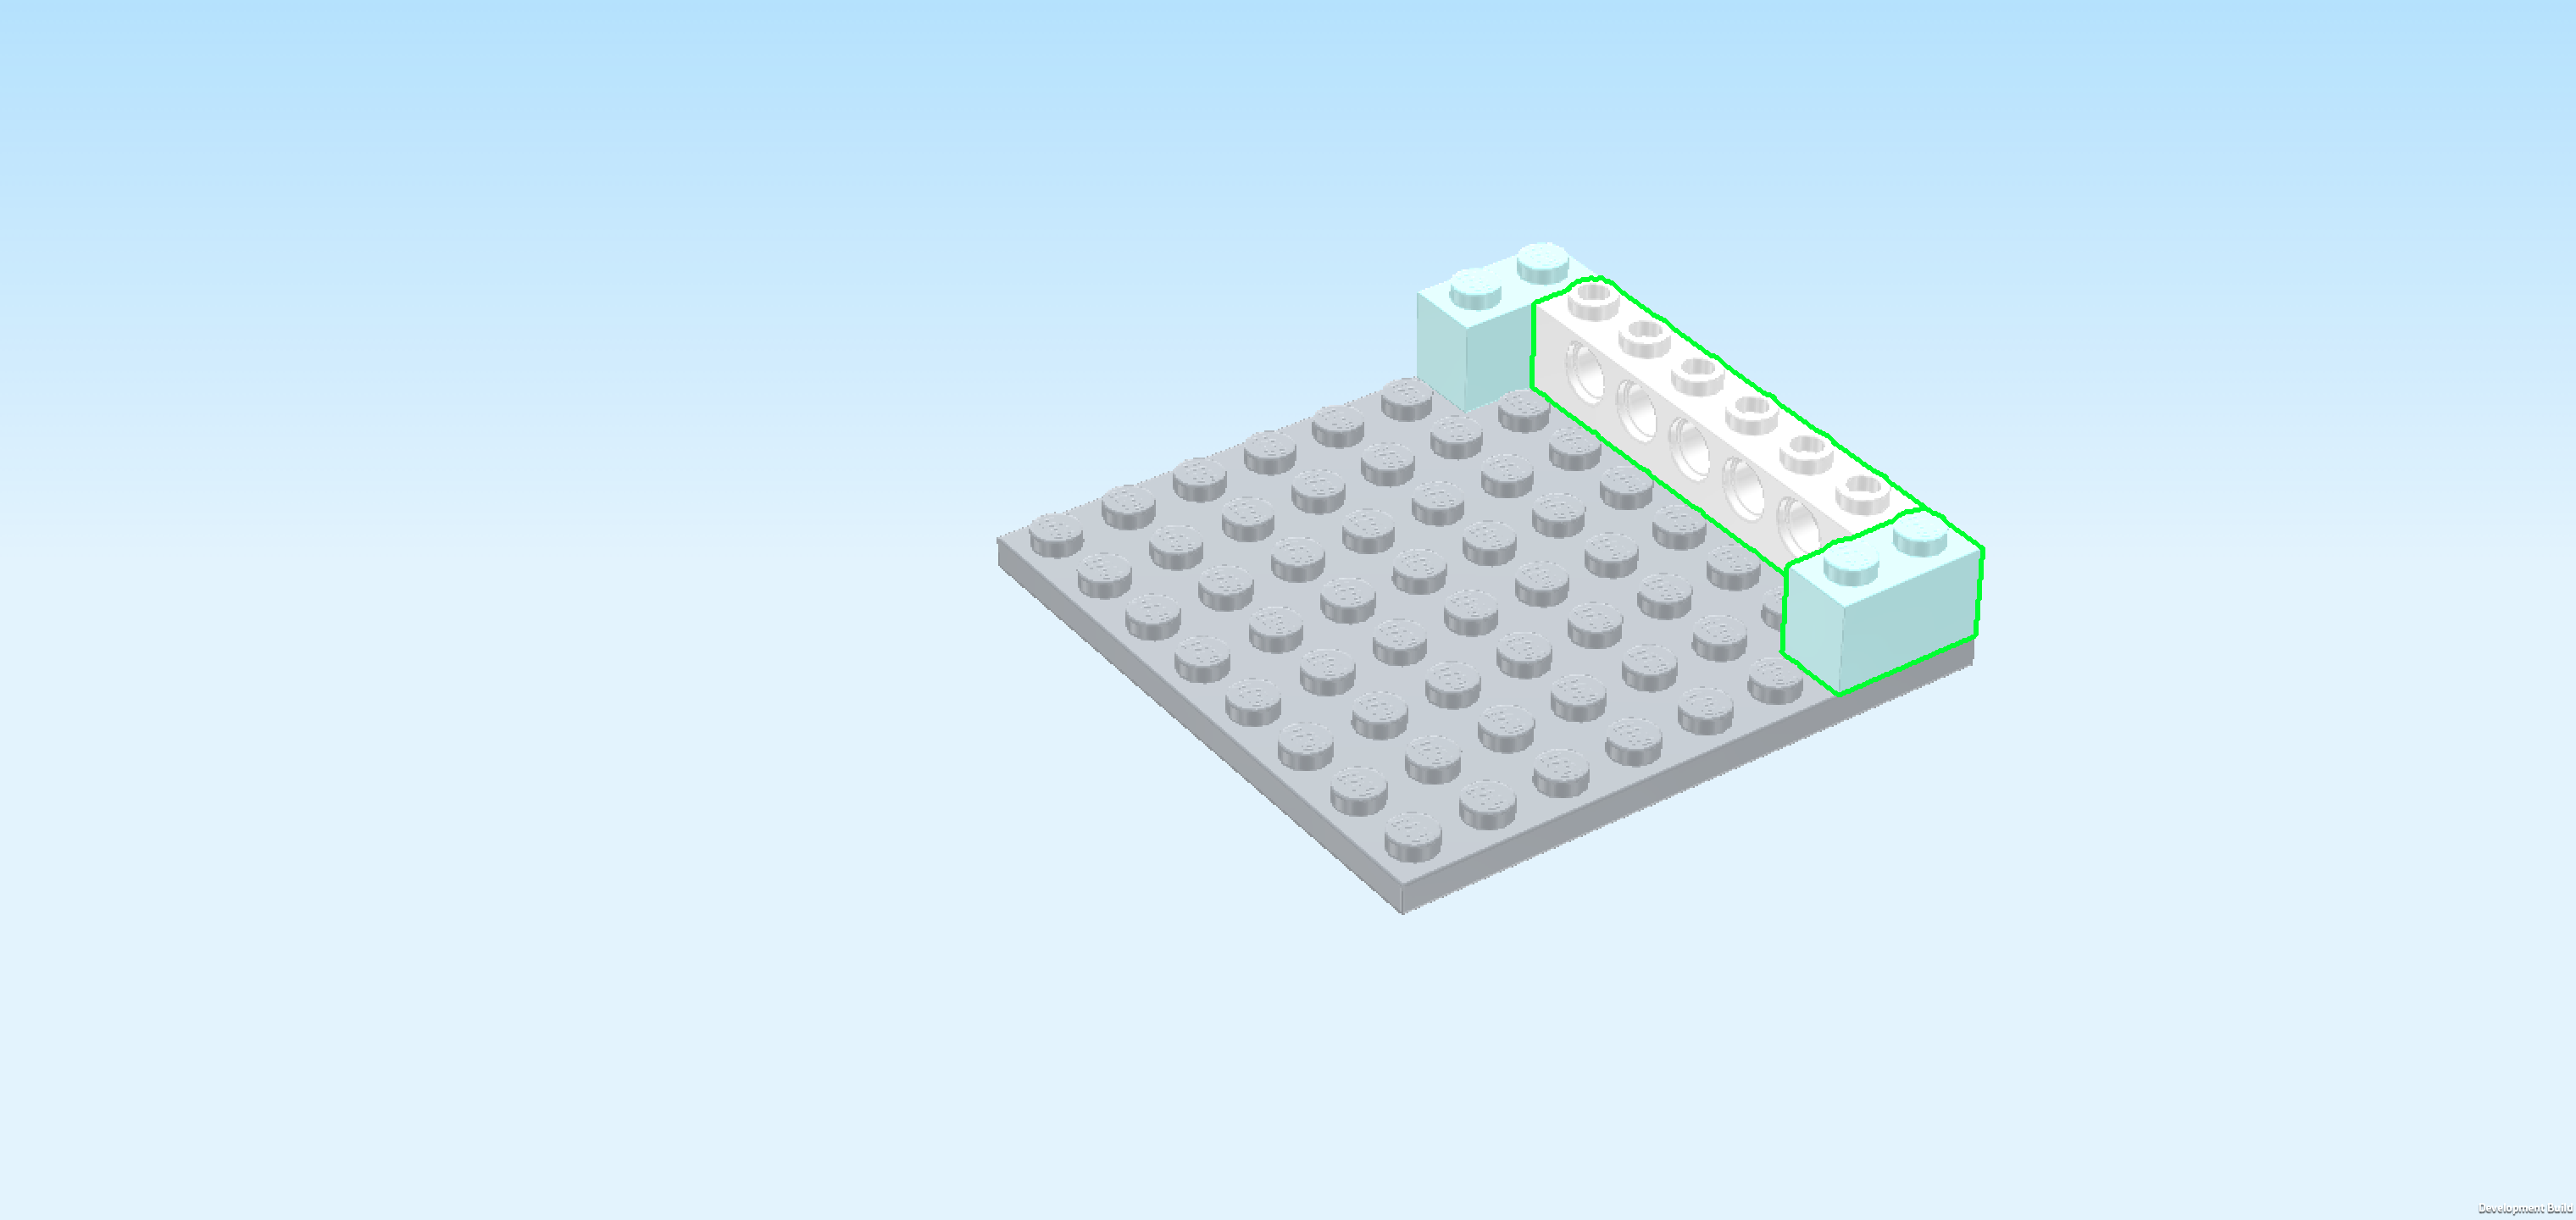
| Open bag number 2. You can choose to have the bricks sorted by color again if you like. This bag contains all bricks and pieces for the ground floor of the hair salon with wig display. |
| Next, we will build the ground floor with hair accessories shop and wig display window. |
| Collect the following 2 pieces: |
| 1 aqua blue brick 1x2, |
| and 1 medium stone grey plate 8x8. |
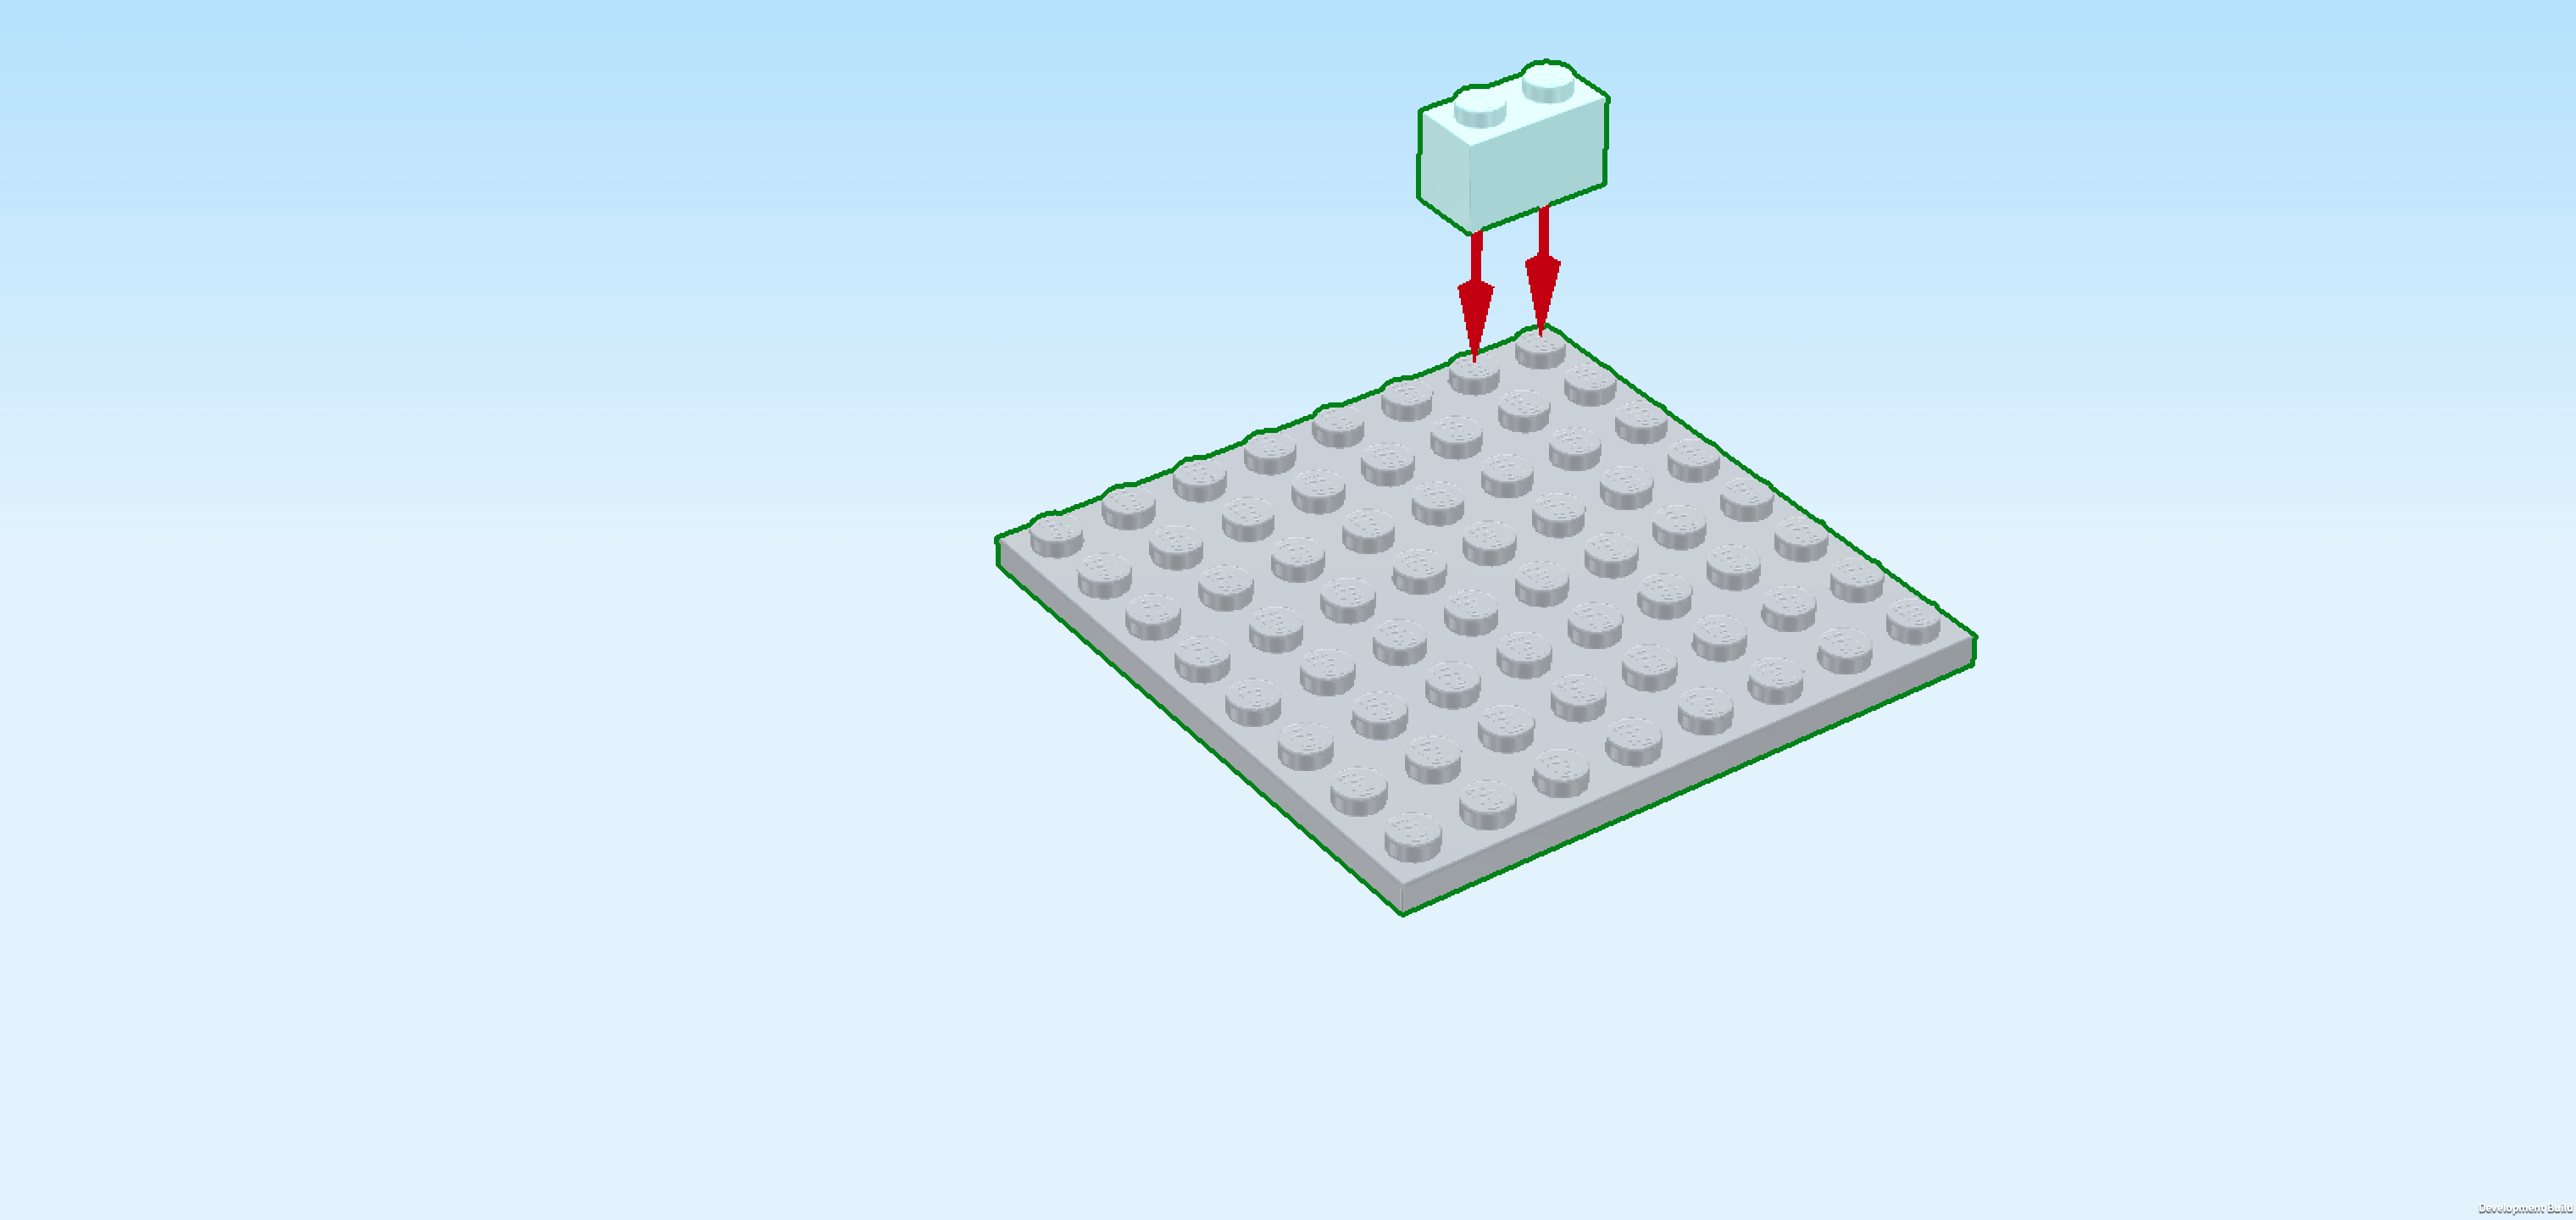
| Put the plate 8x8 on the table. Make sure its knobs form straight rows and columns in front of you. |
| Put the brick 1x2 horizontally on the backmost row, starting from the right edge. |
| Collect the following 2 pieces: |
| 1 white technic brick 1x6, |
| and another aqua blue brick 1x2. |
| Put the technic brick 1x6 vertically centered on the rightmost column. This means it will sit in front of the previous piece's right knob. |
| Put the brick 1x2 horizontally on the frontmost row, starting from the right edge. |
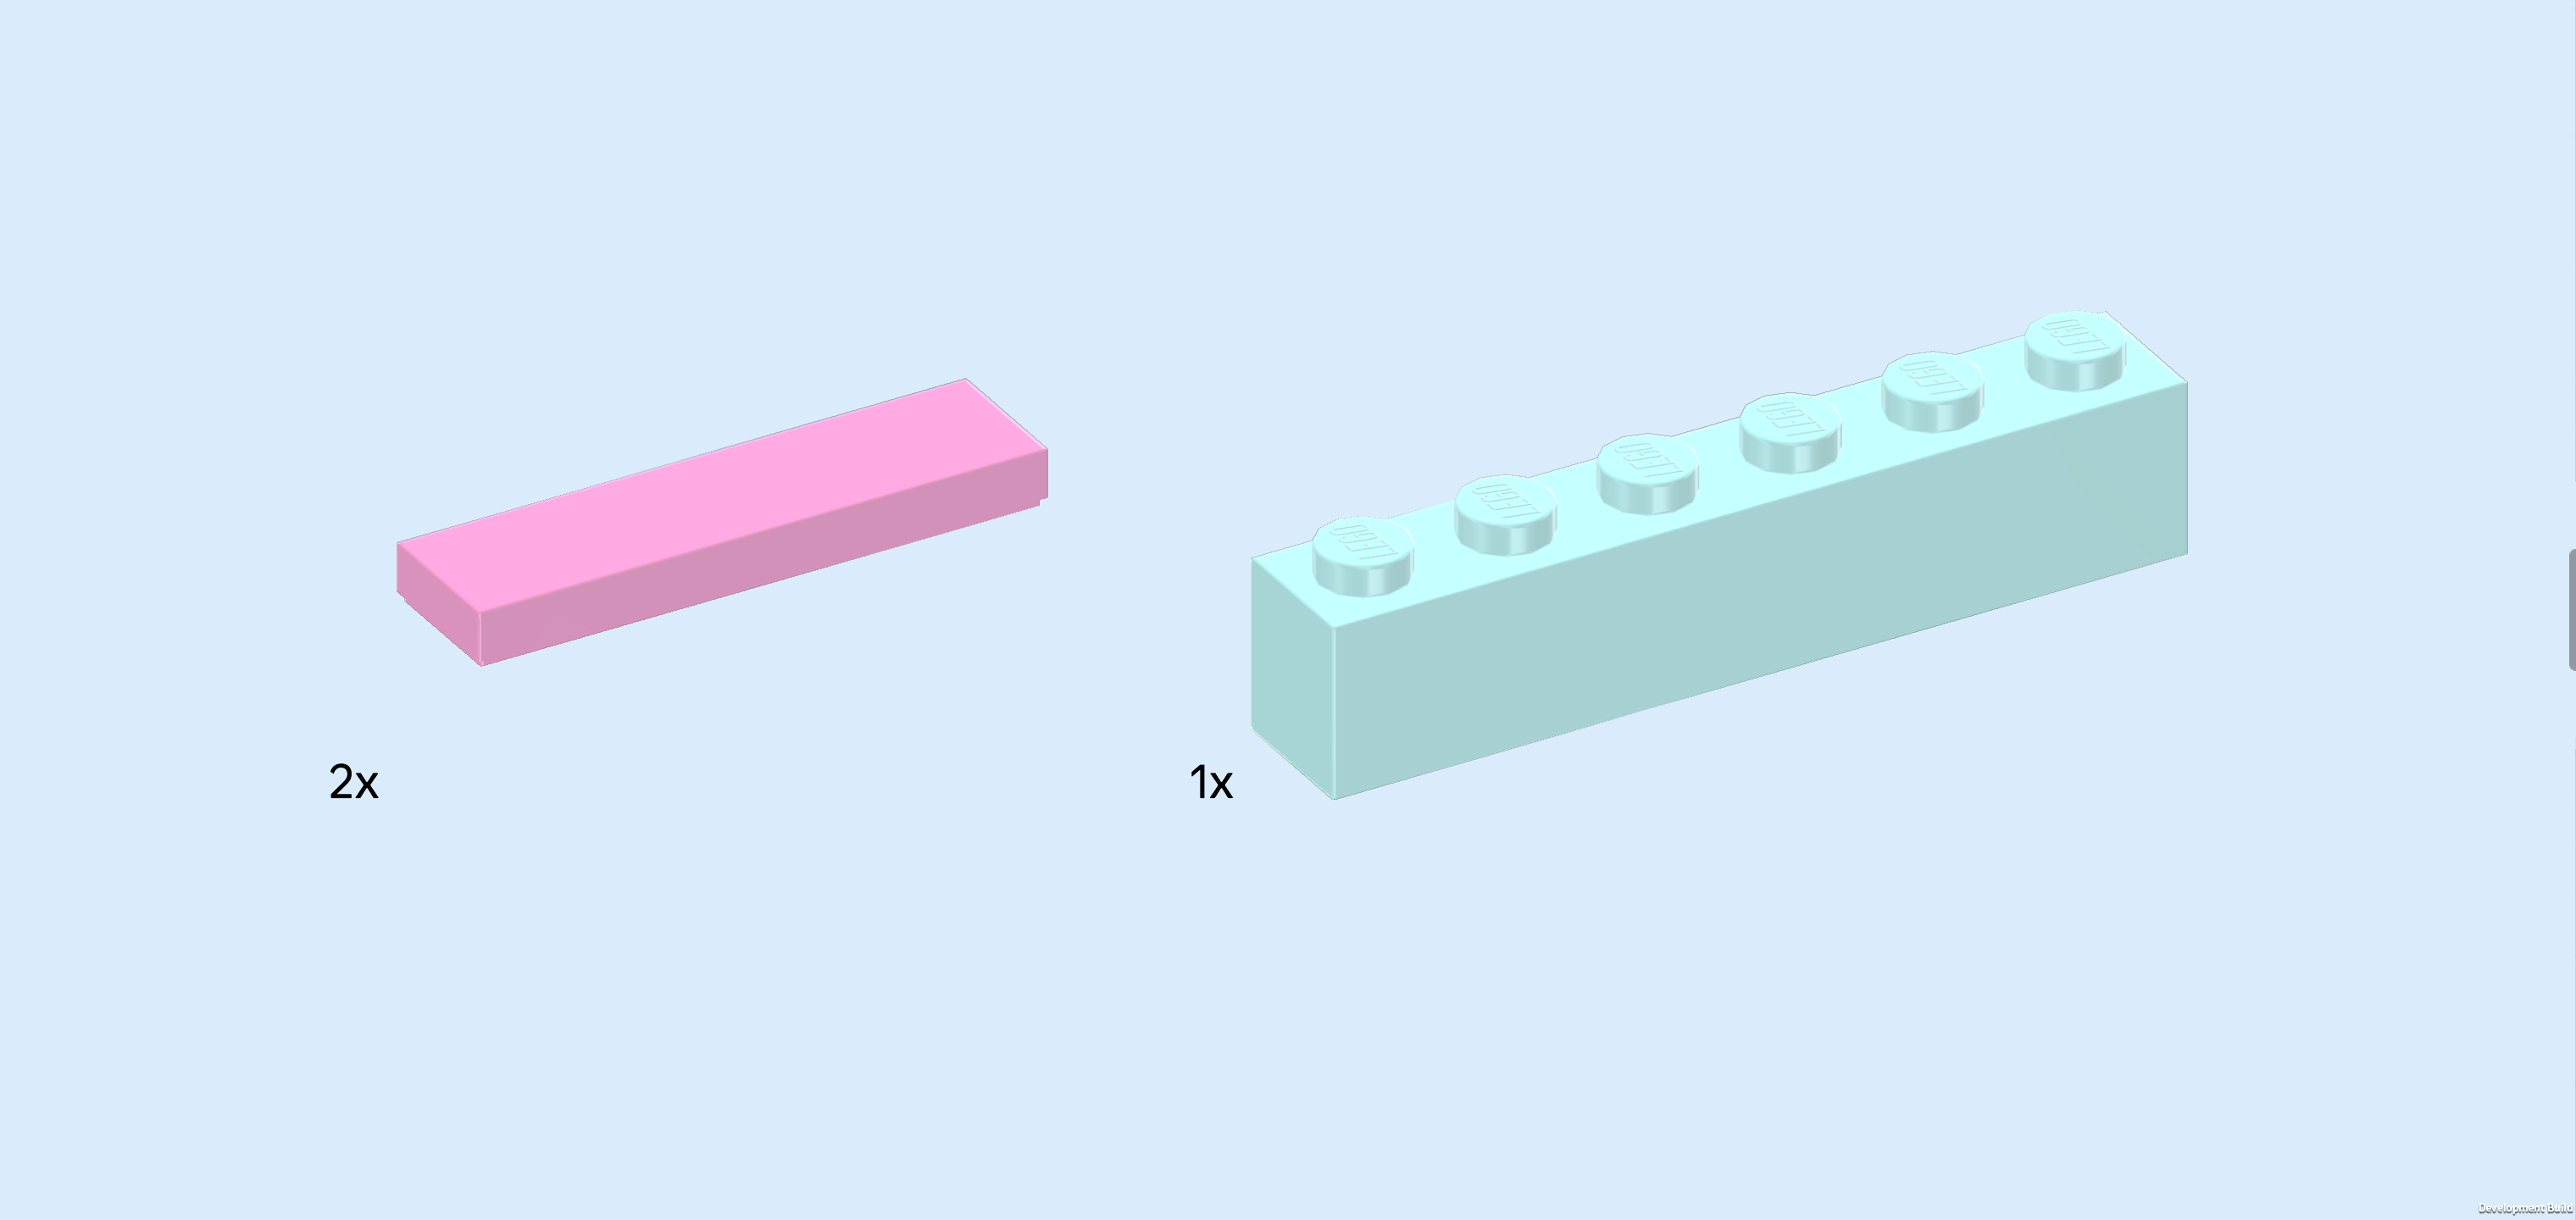
| Collect the following 3 pieces: |
| 2 light purple flat tiles 1x4, |
| and 1 aqua blue brick 1x6. |
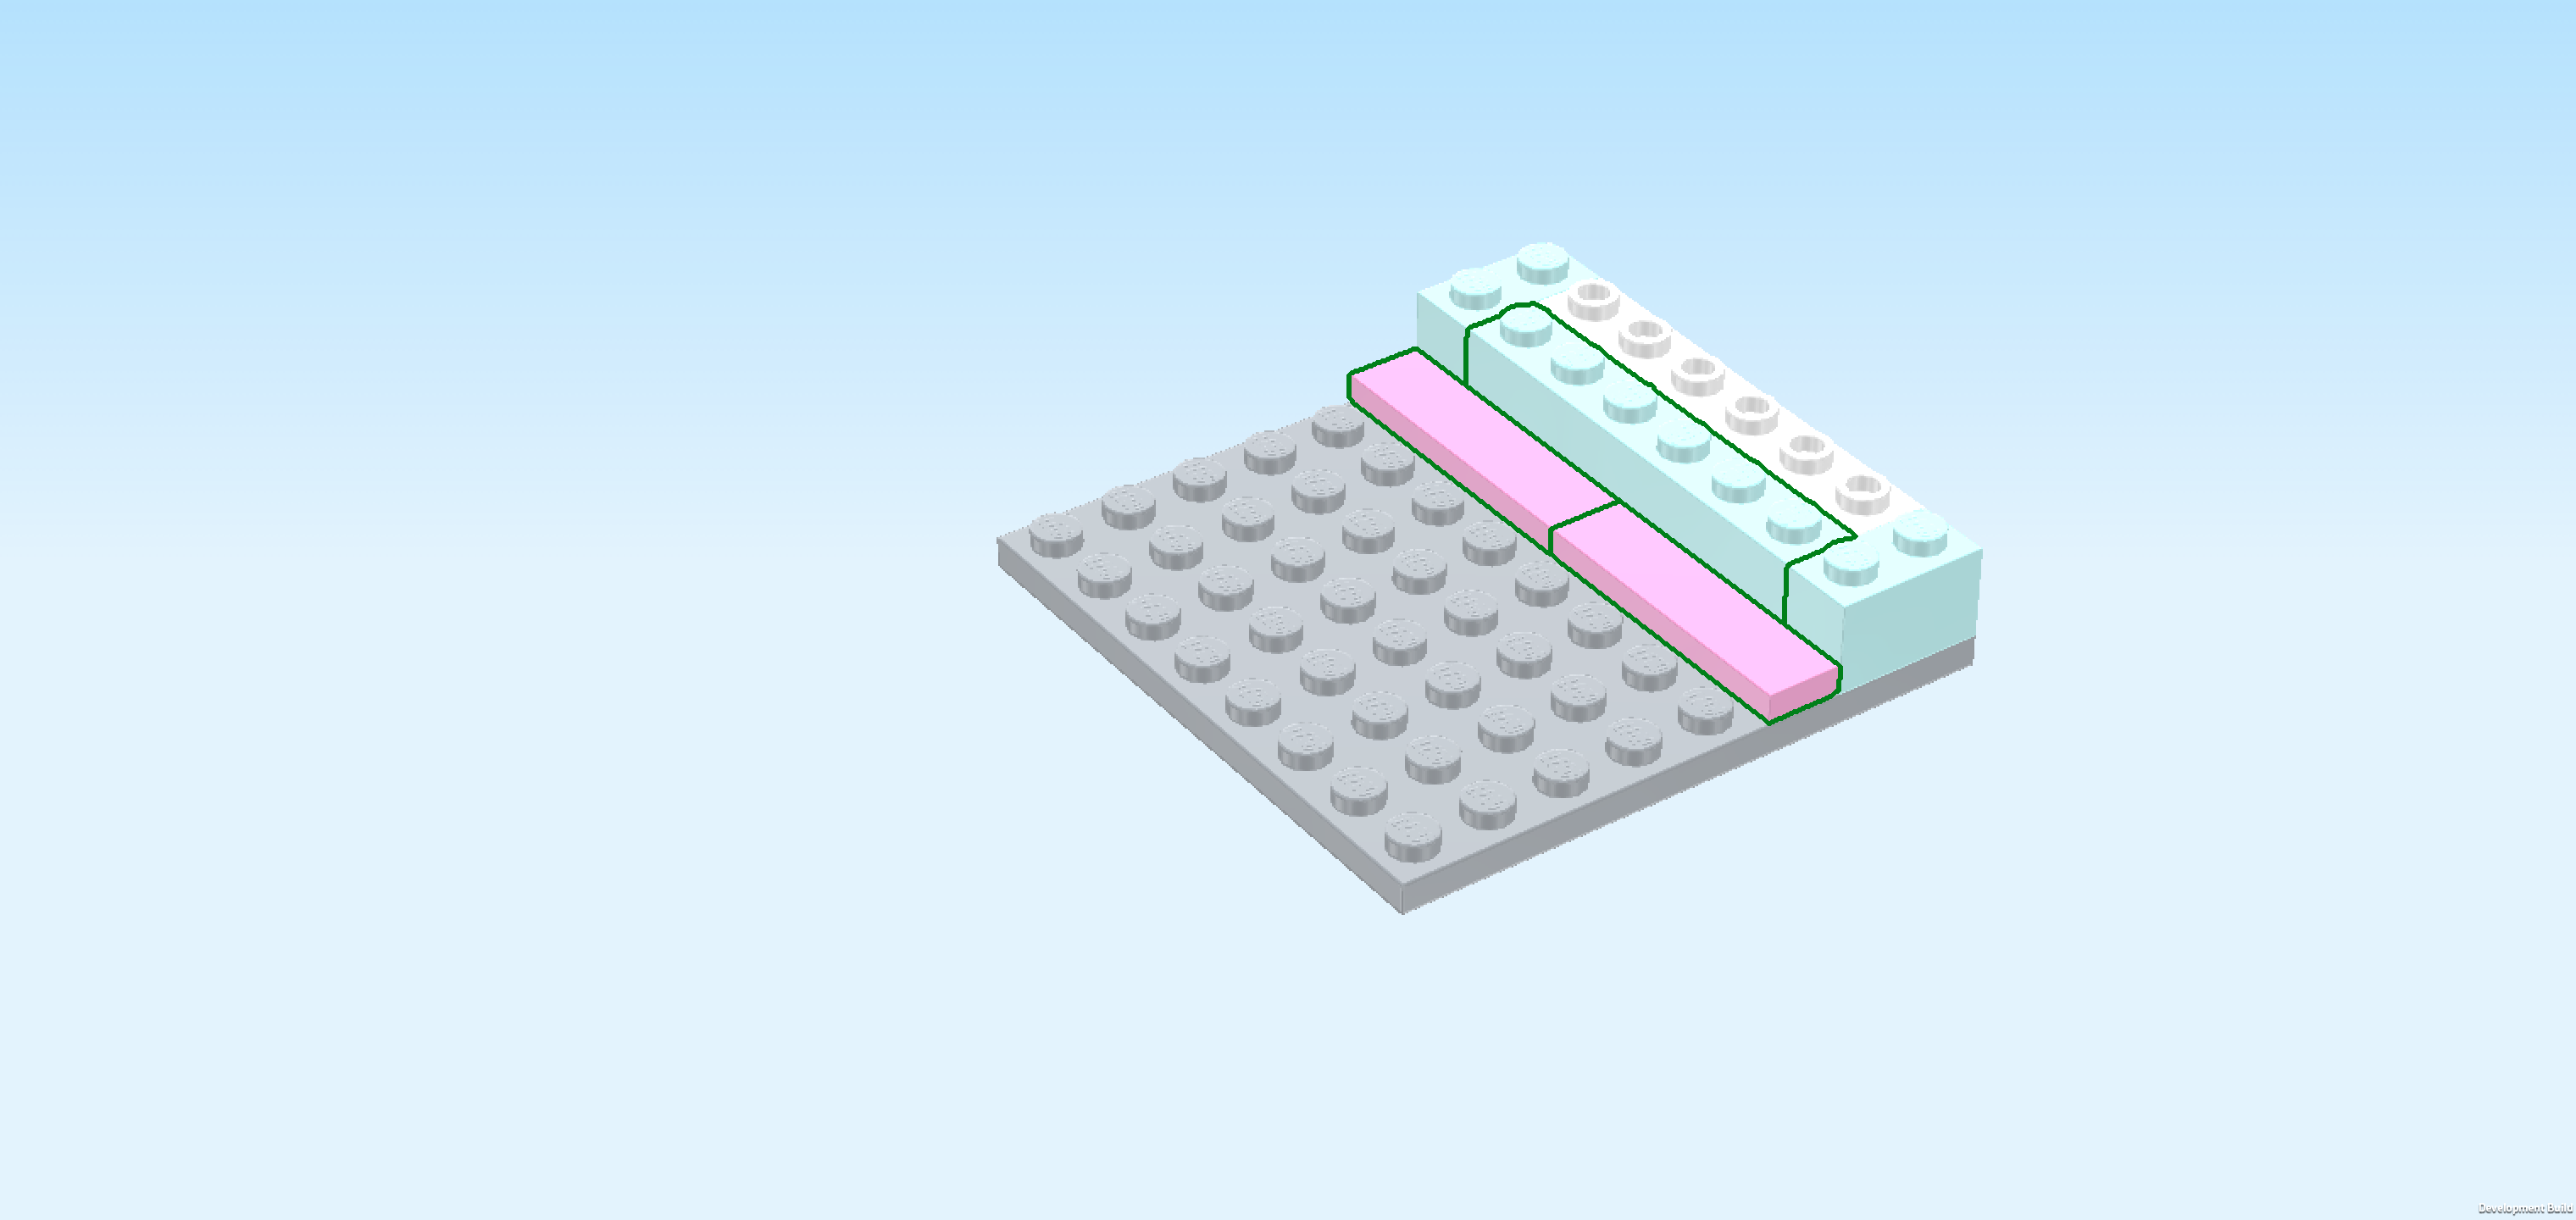
| Put the brick 1x6 vertically centered on the second column from the right. This means it will sit in the recess created by the 3 previous pieces. |
| Put 1 flat tile 1x4 vertically to the left of the previous piece, using the back half of that column. |
| Put the other flat tile 1x4 vertically in front of the previous piece. |
| Collect the following 2 pieces: |
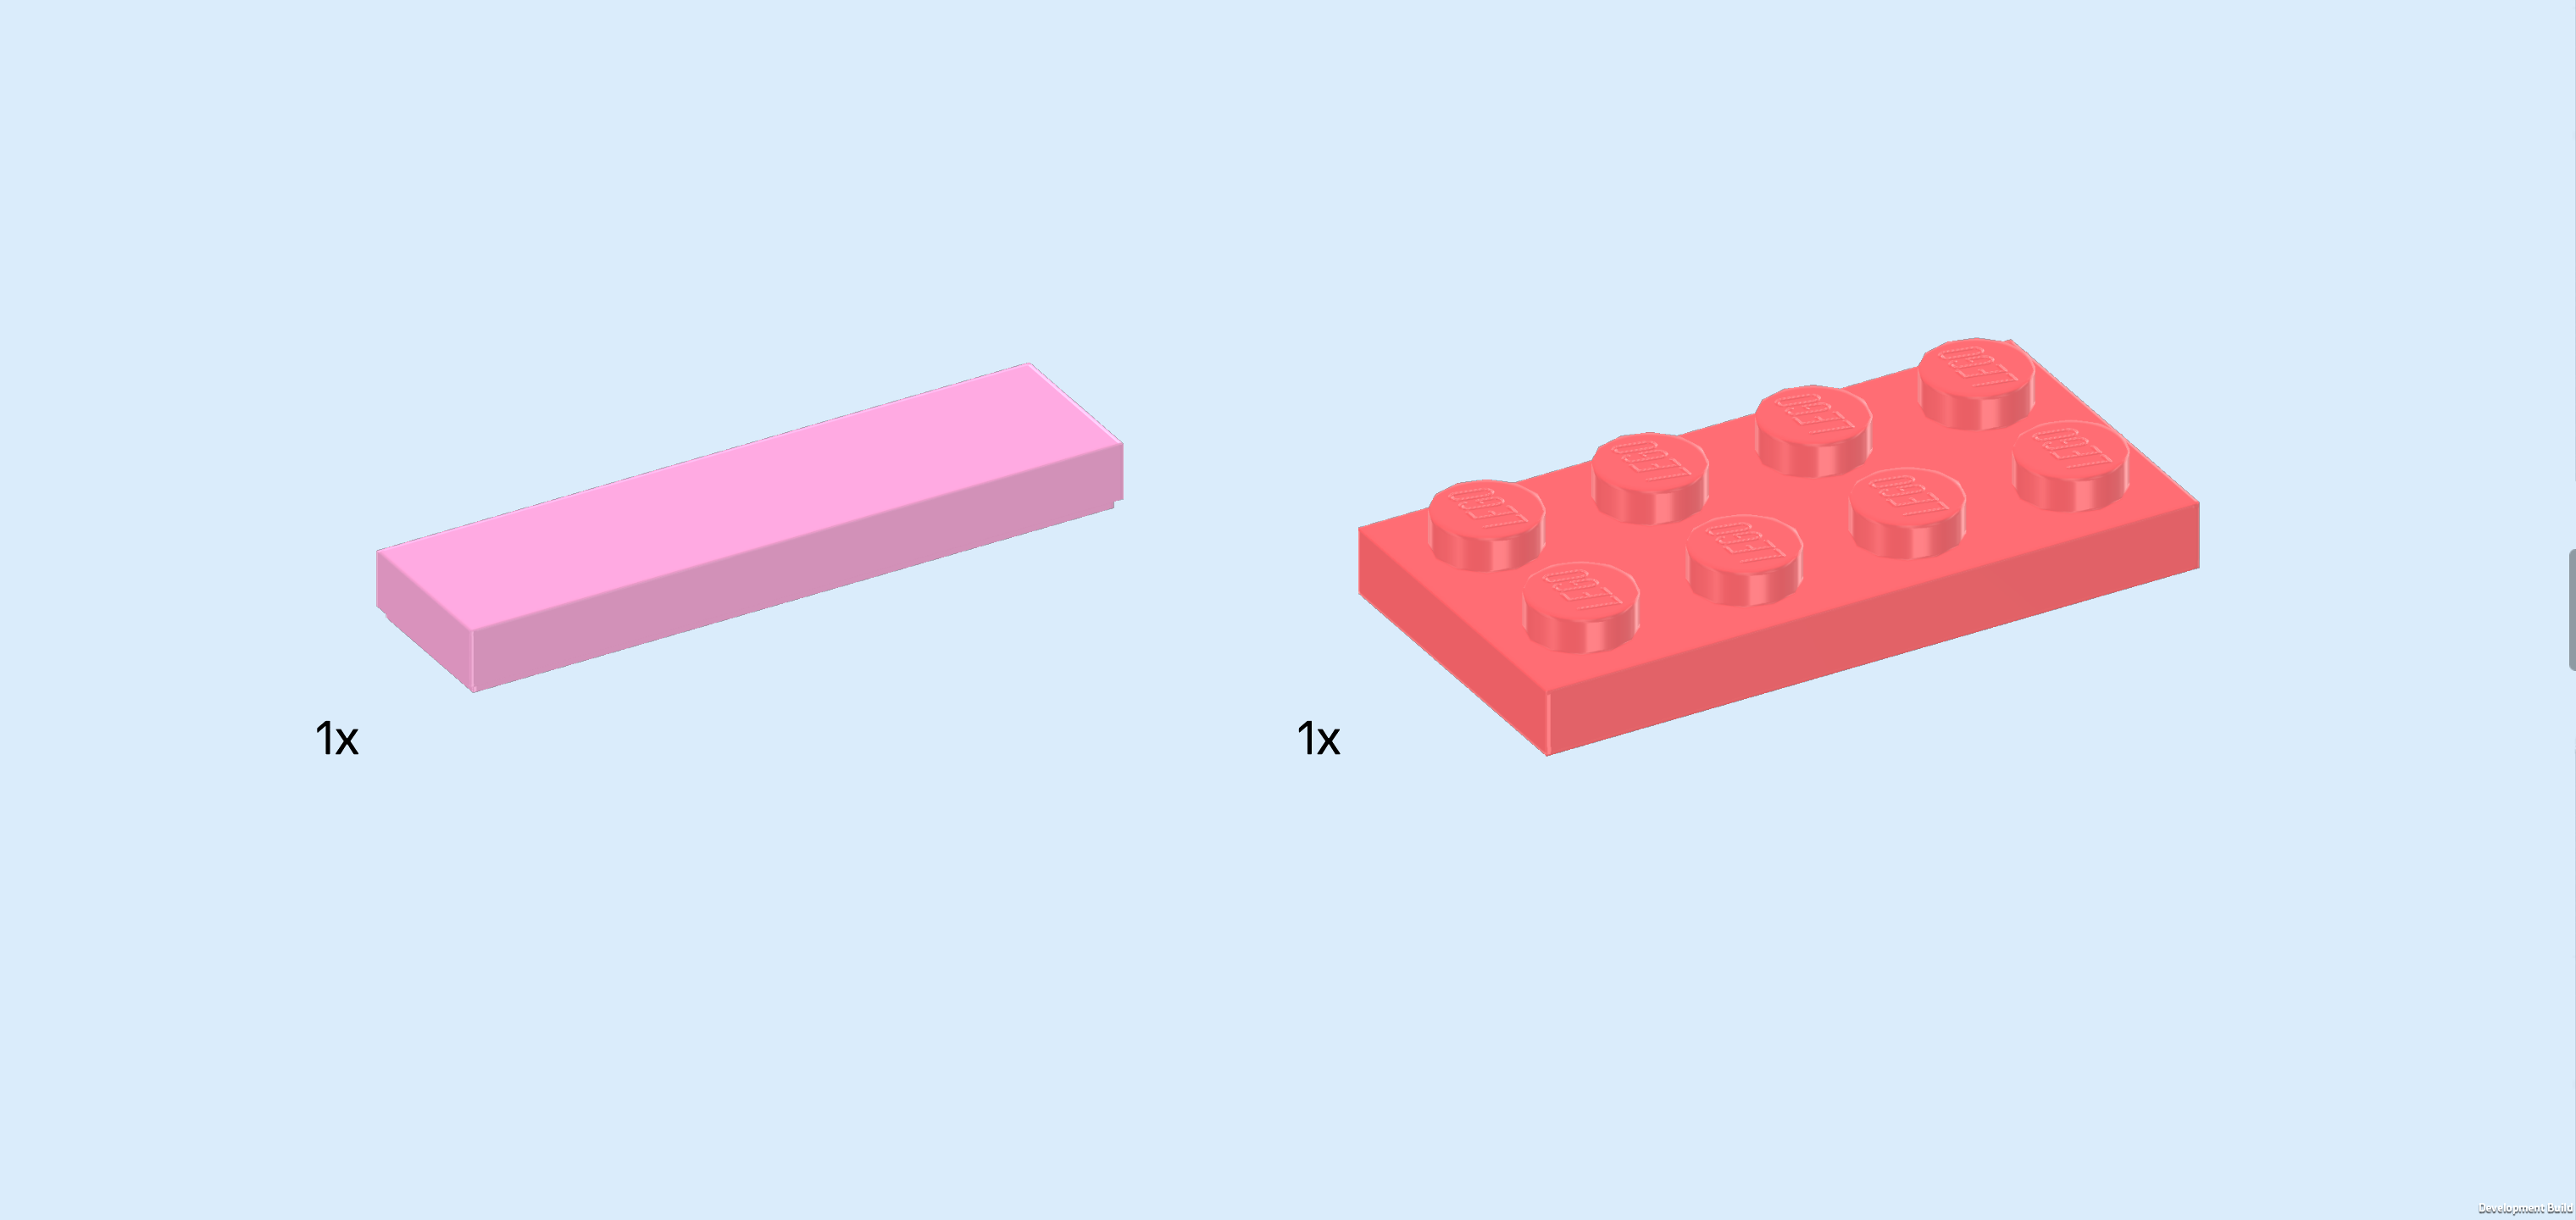
| another light purple flat tile 1x4, |
| and 1 salmon pink plate 2x4. |
| Put the plate 2x4 horizontally to the left of the previous piece on the 2 frontmost rows. |
| Put the flat tile 1x4 horizontally behind the previous piece. |
| Collect the following 4 pieces: |
| 1 salmon pink plate 2x2 with 1 knob, |
| 2 salmon pink flat tiles 1x2, |
| and another light purple flat tile 1x4. |
| Put 1 flat tile 1x2 horizontally behind the previous piece's right half. |
| Put the other flat tile 1x2 horizontally behind the previous piece. |
| Put the plate 2x2 to the left of the 2 previous pieces. |
| Put the flat tile 1x4 horizontally behind the 3 previous pieces. |
| Collect the following 2 pieces: |
| another salmon pink plate 2x2 with 1 knob, |
| and another salmon pink flat tile 1x2. |
| Put the plate 2x2 behind the previous piece's right half. |
| Put the flat tile 1x2 vertically to the left of the previous piece. |
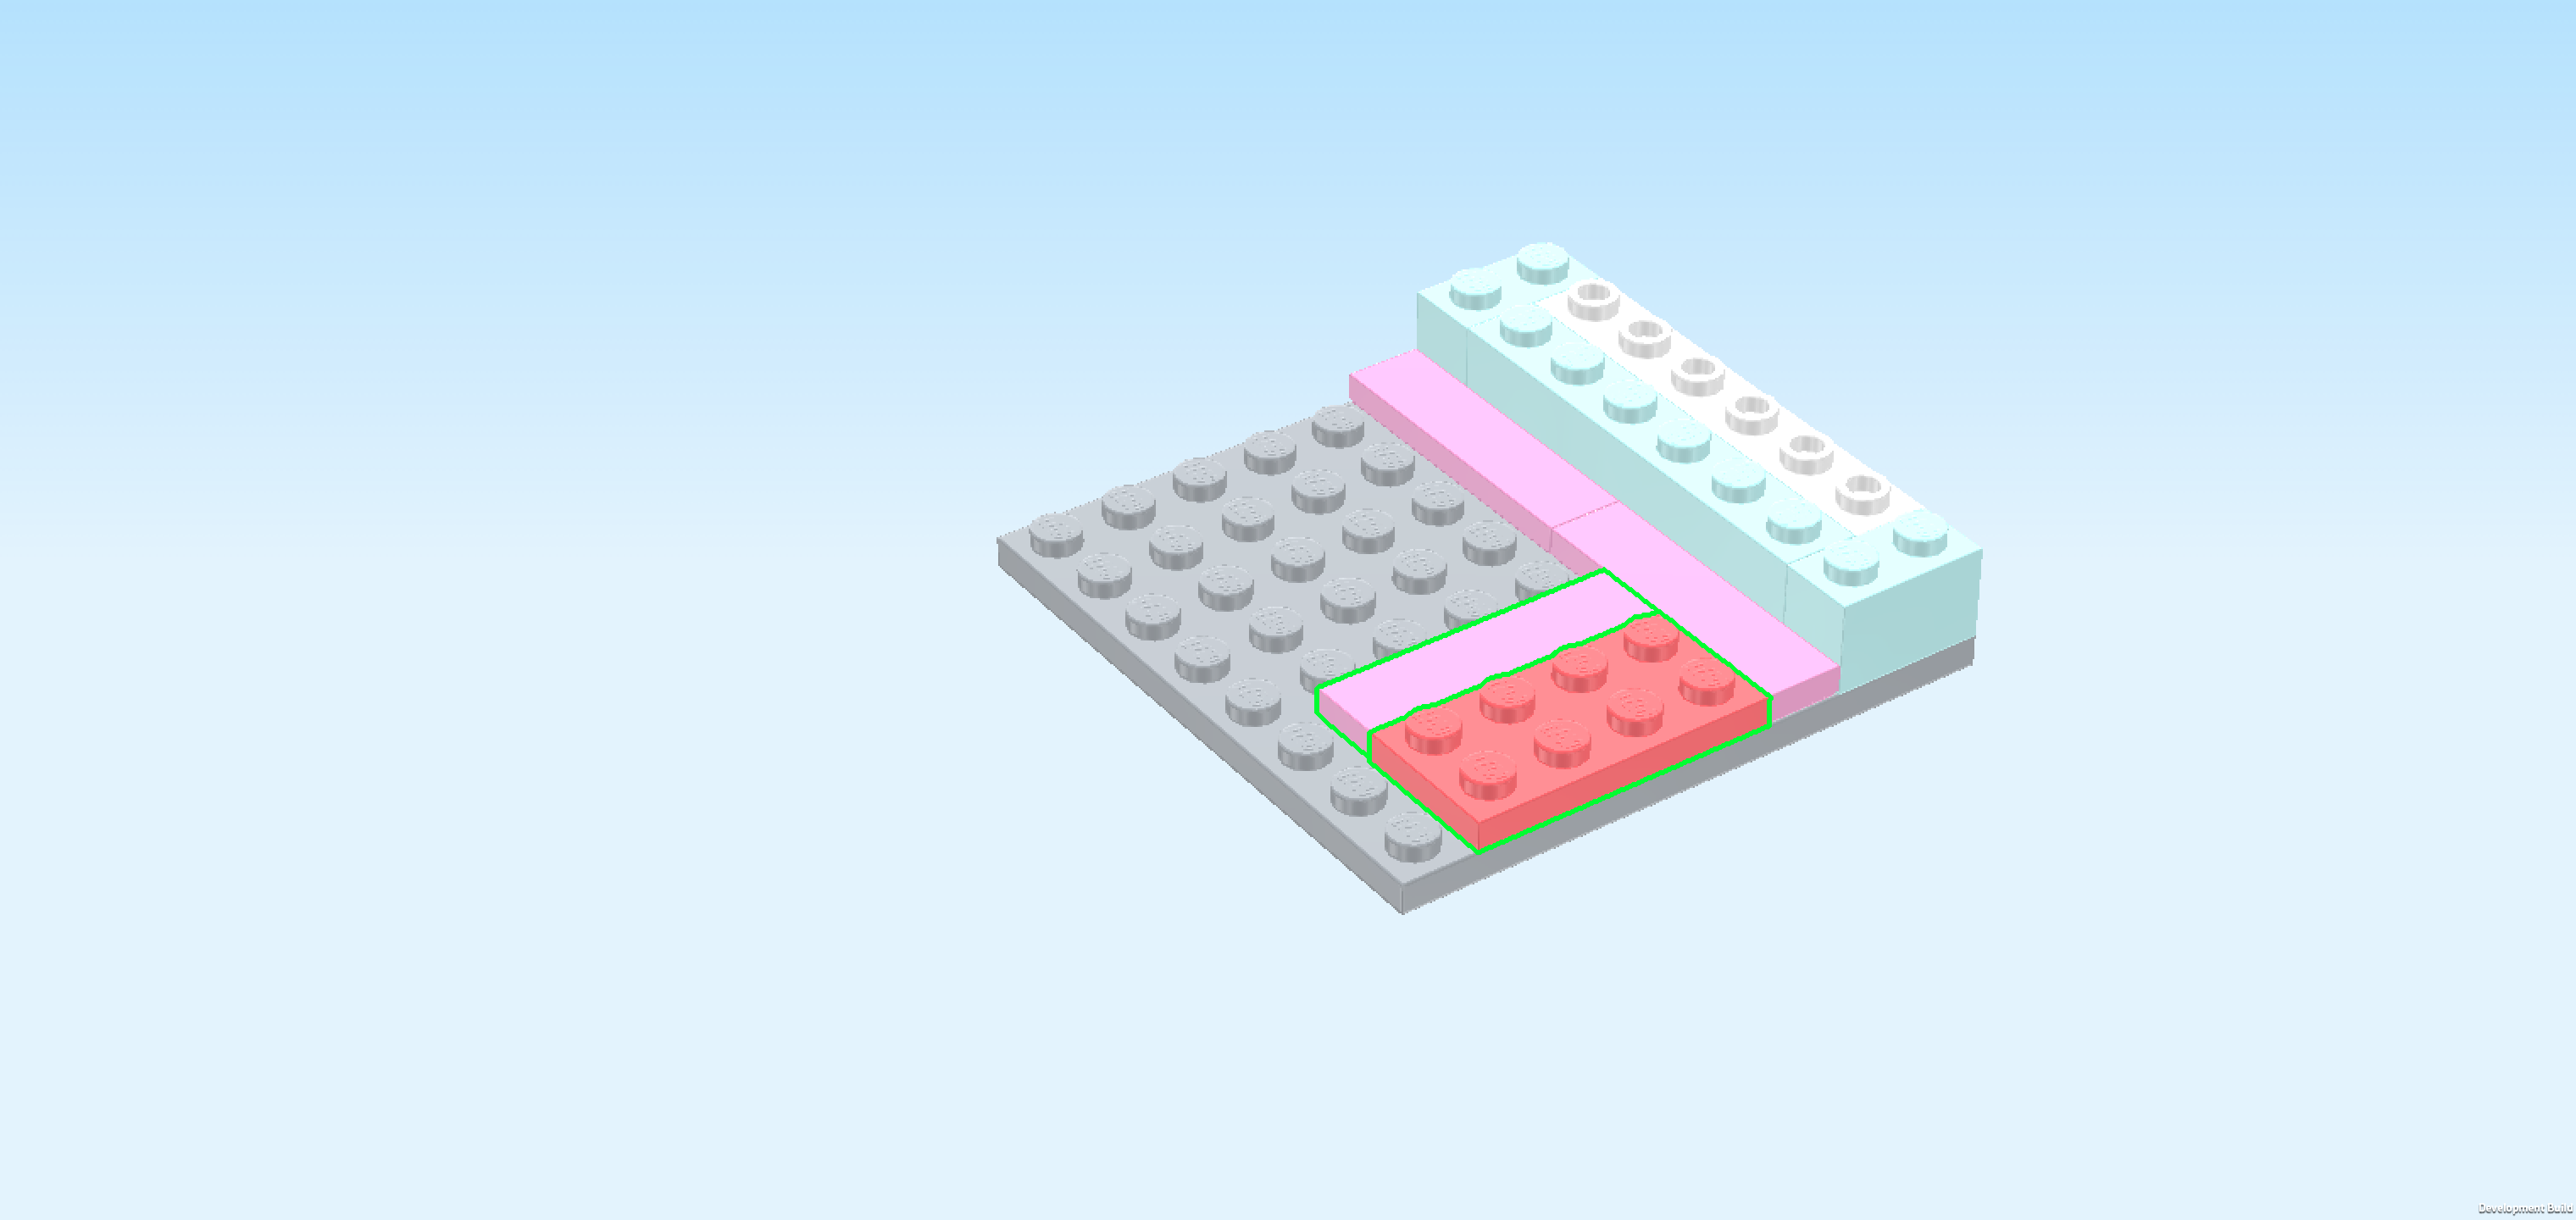
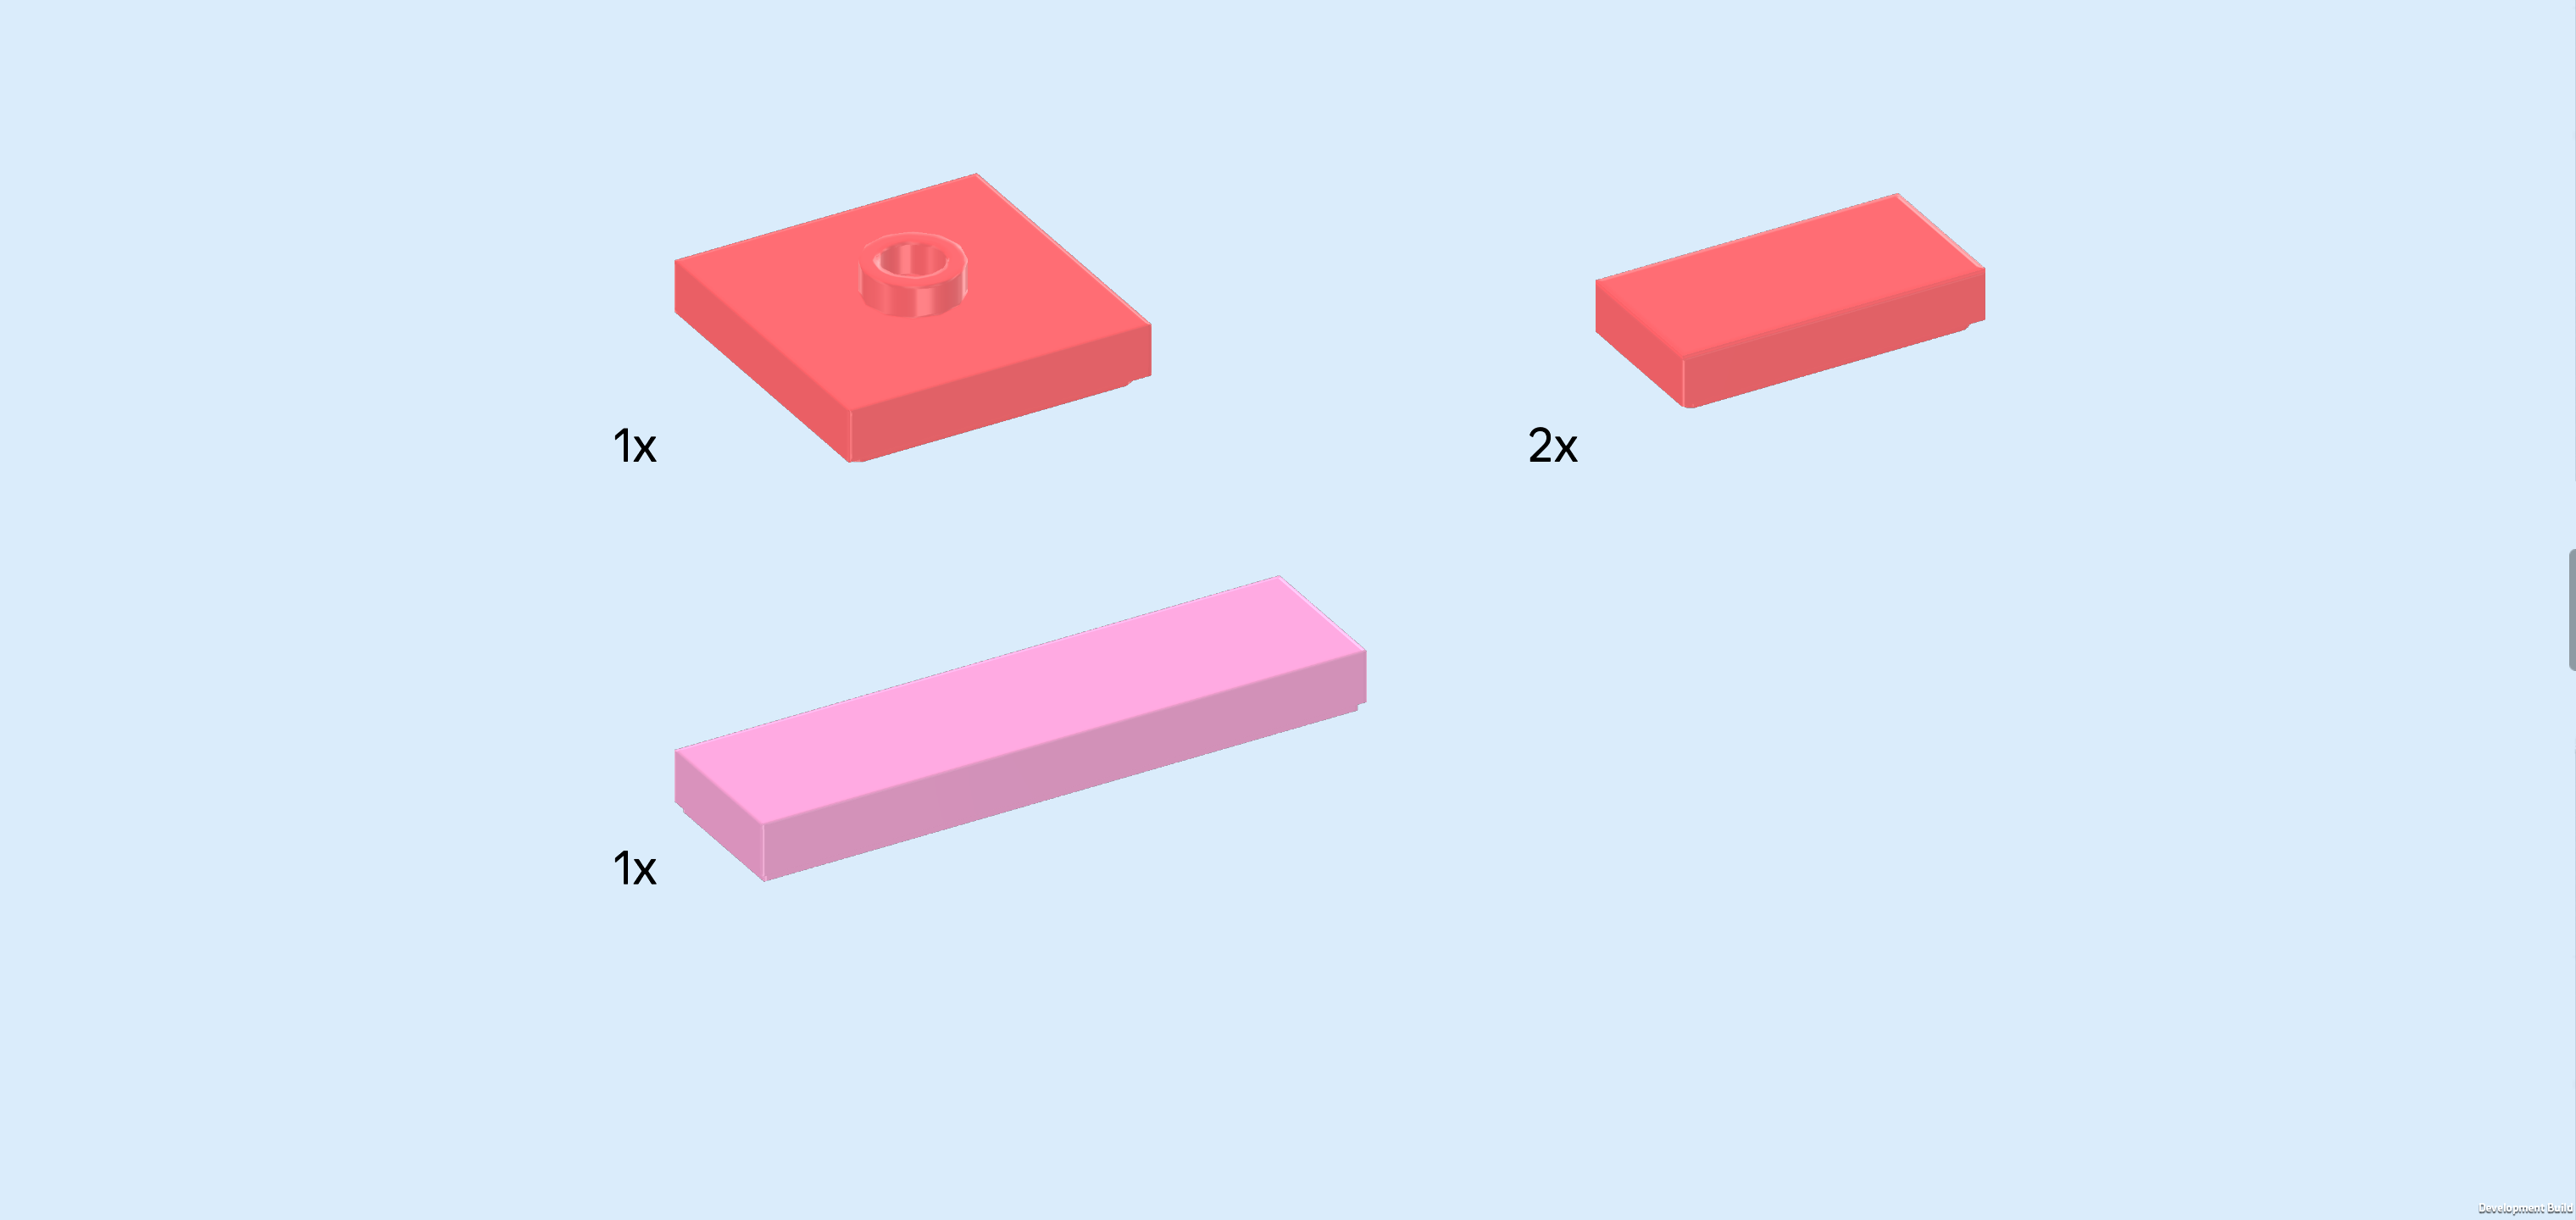
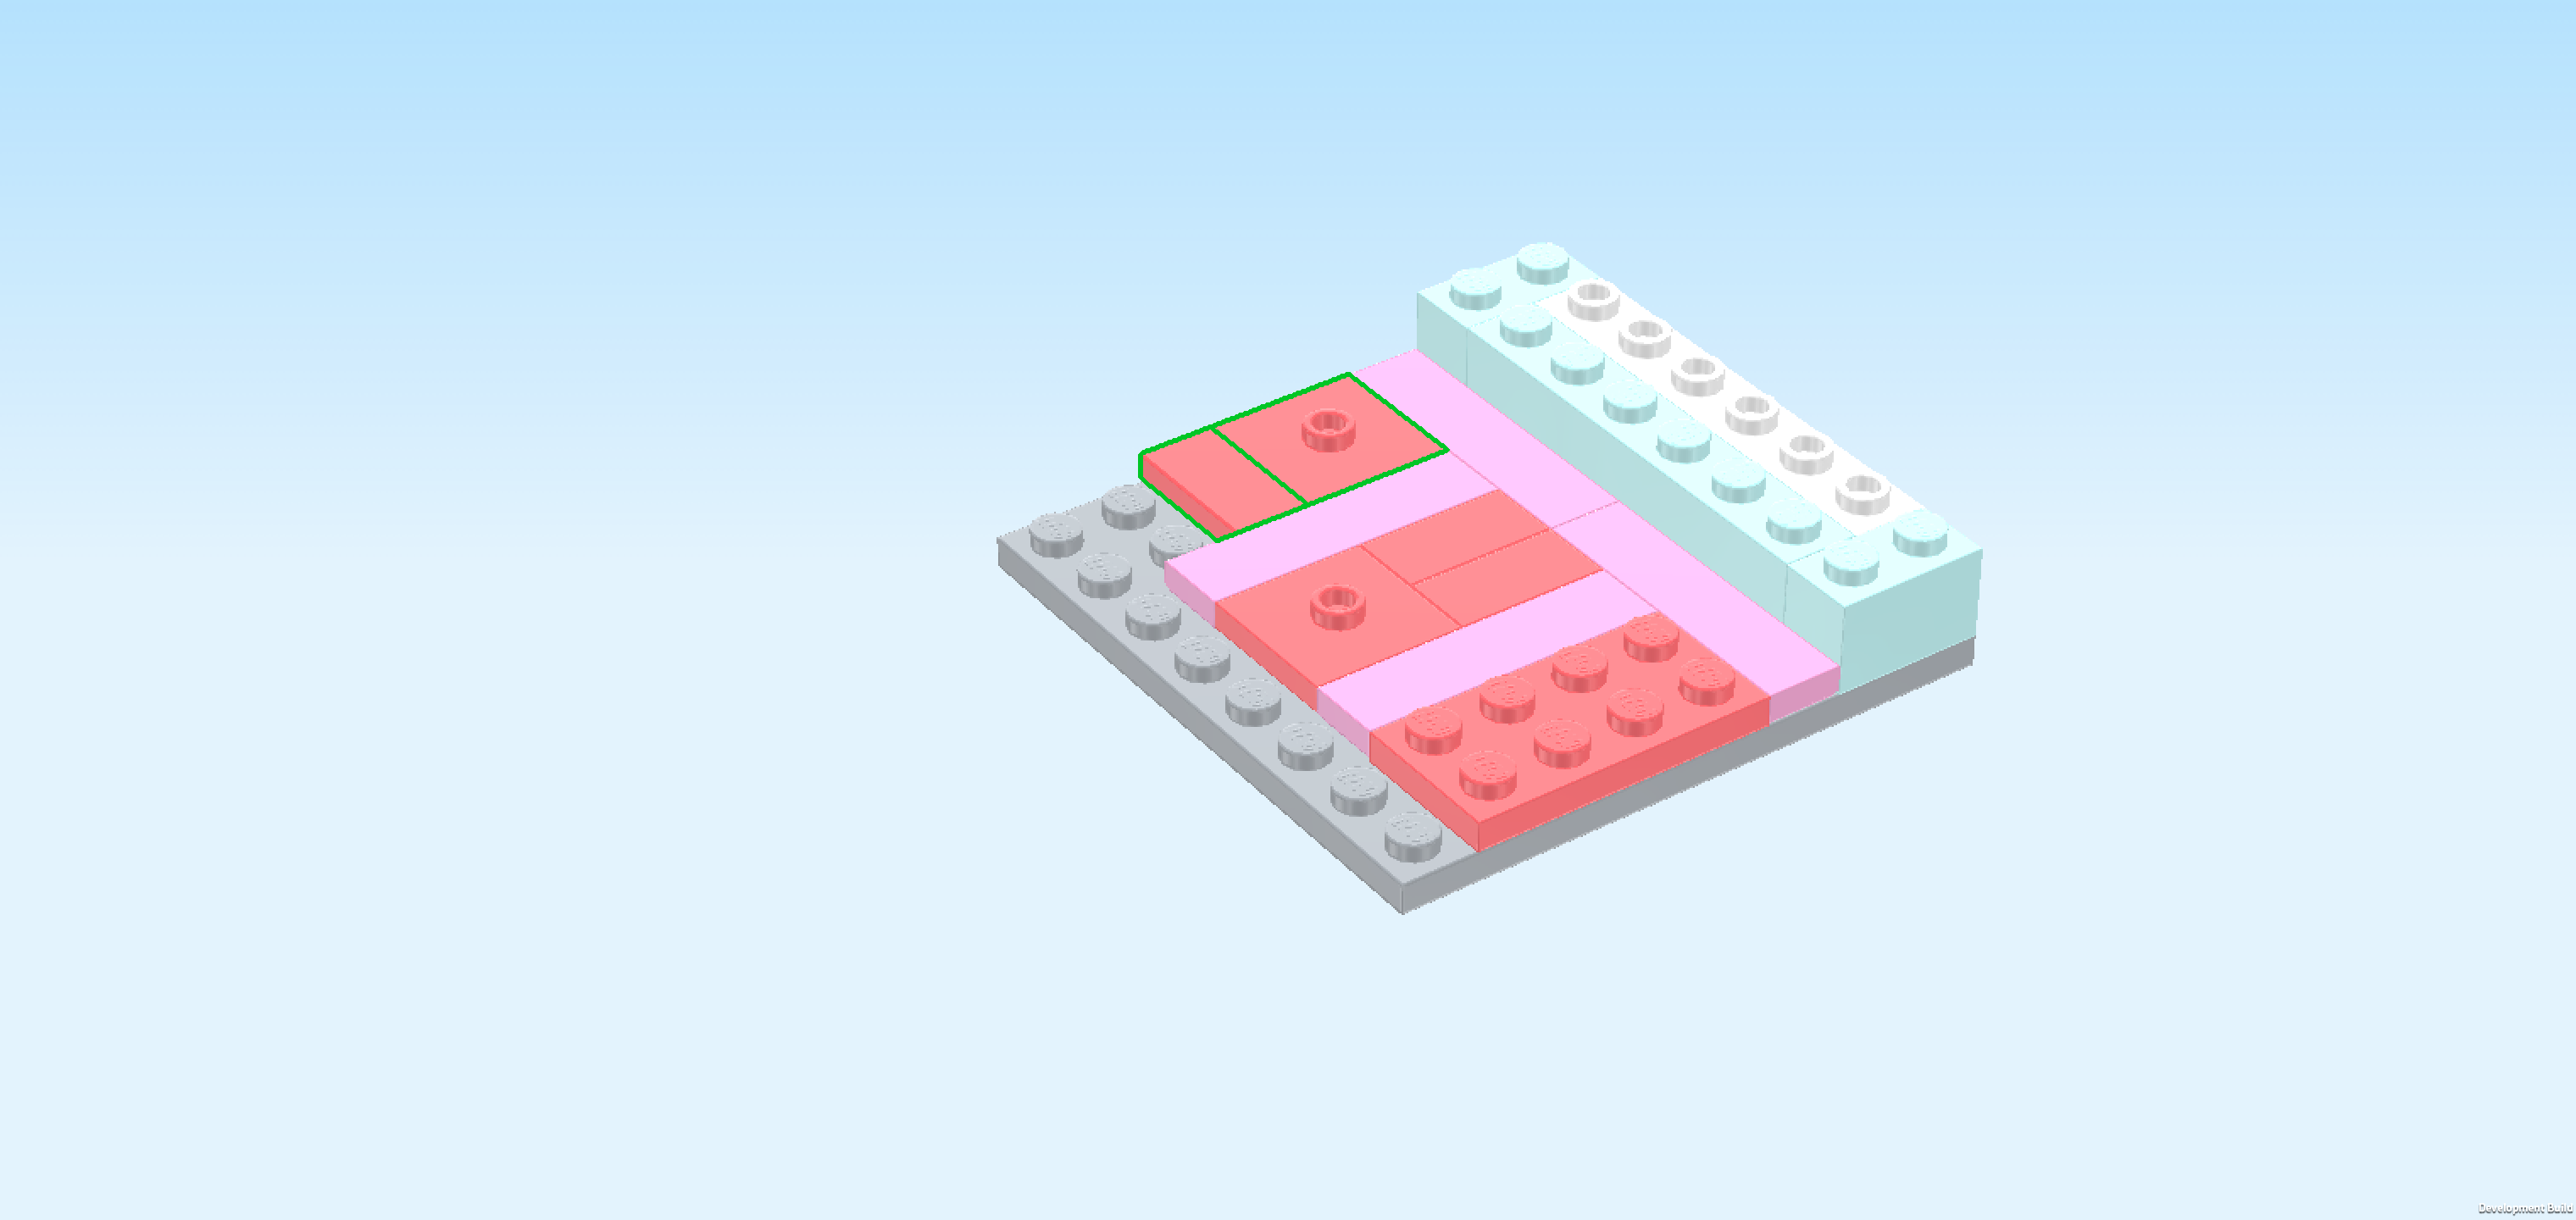
| Find 1 salmon pink plate 2x4. |
| Put it horizontally on the 2 frontmost knobs of the leftmost column, 3 columns overhanging to the left. |
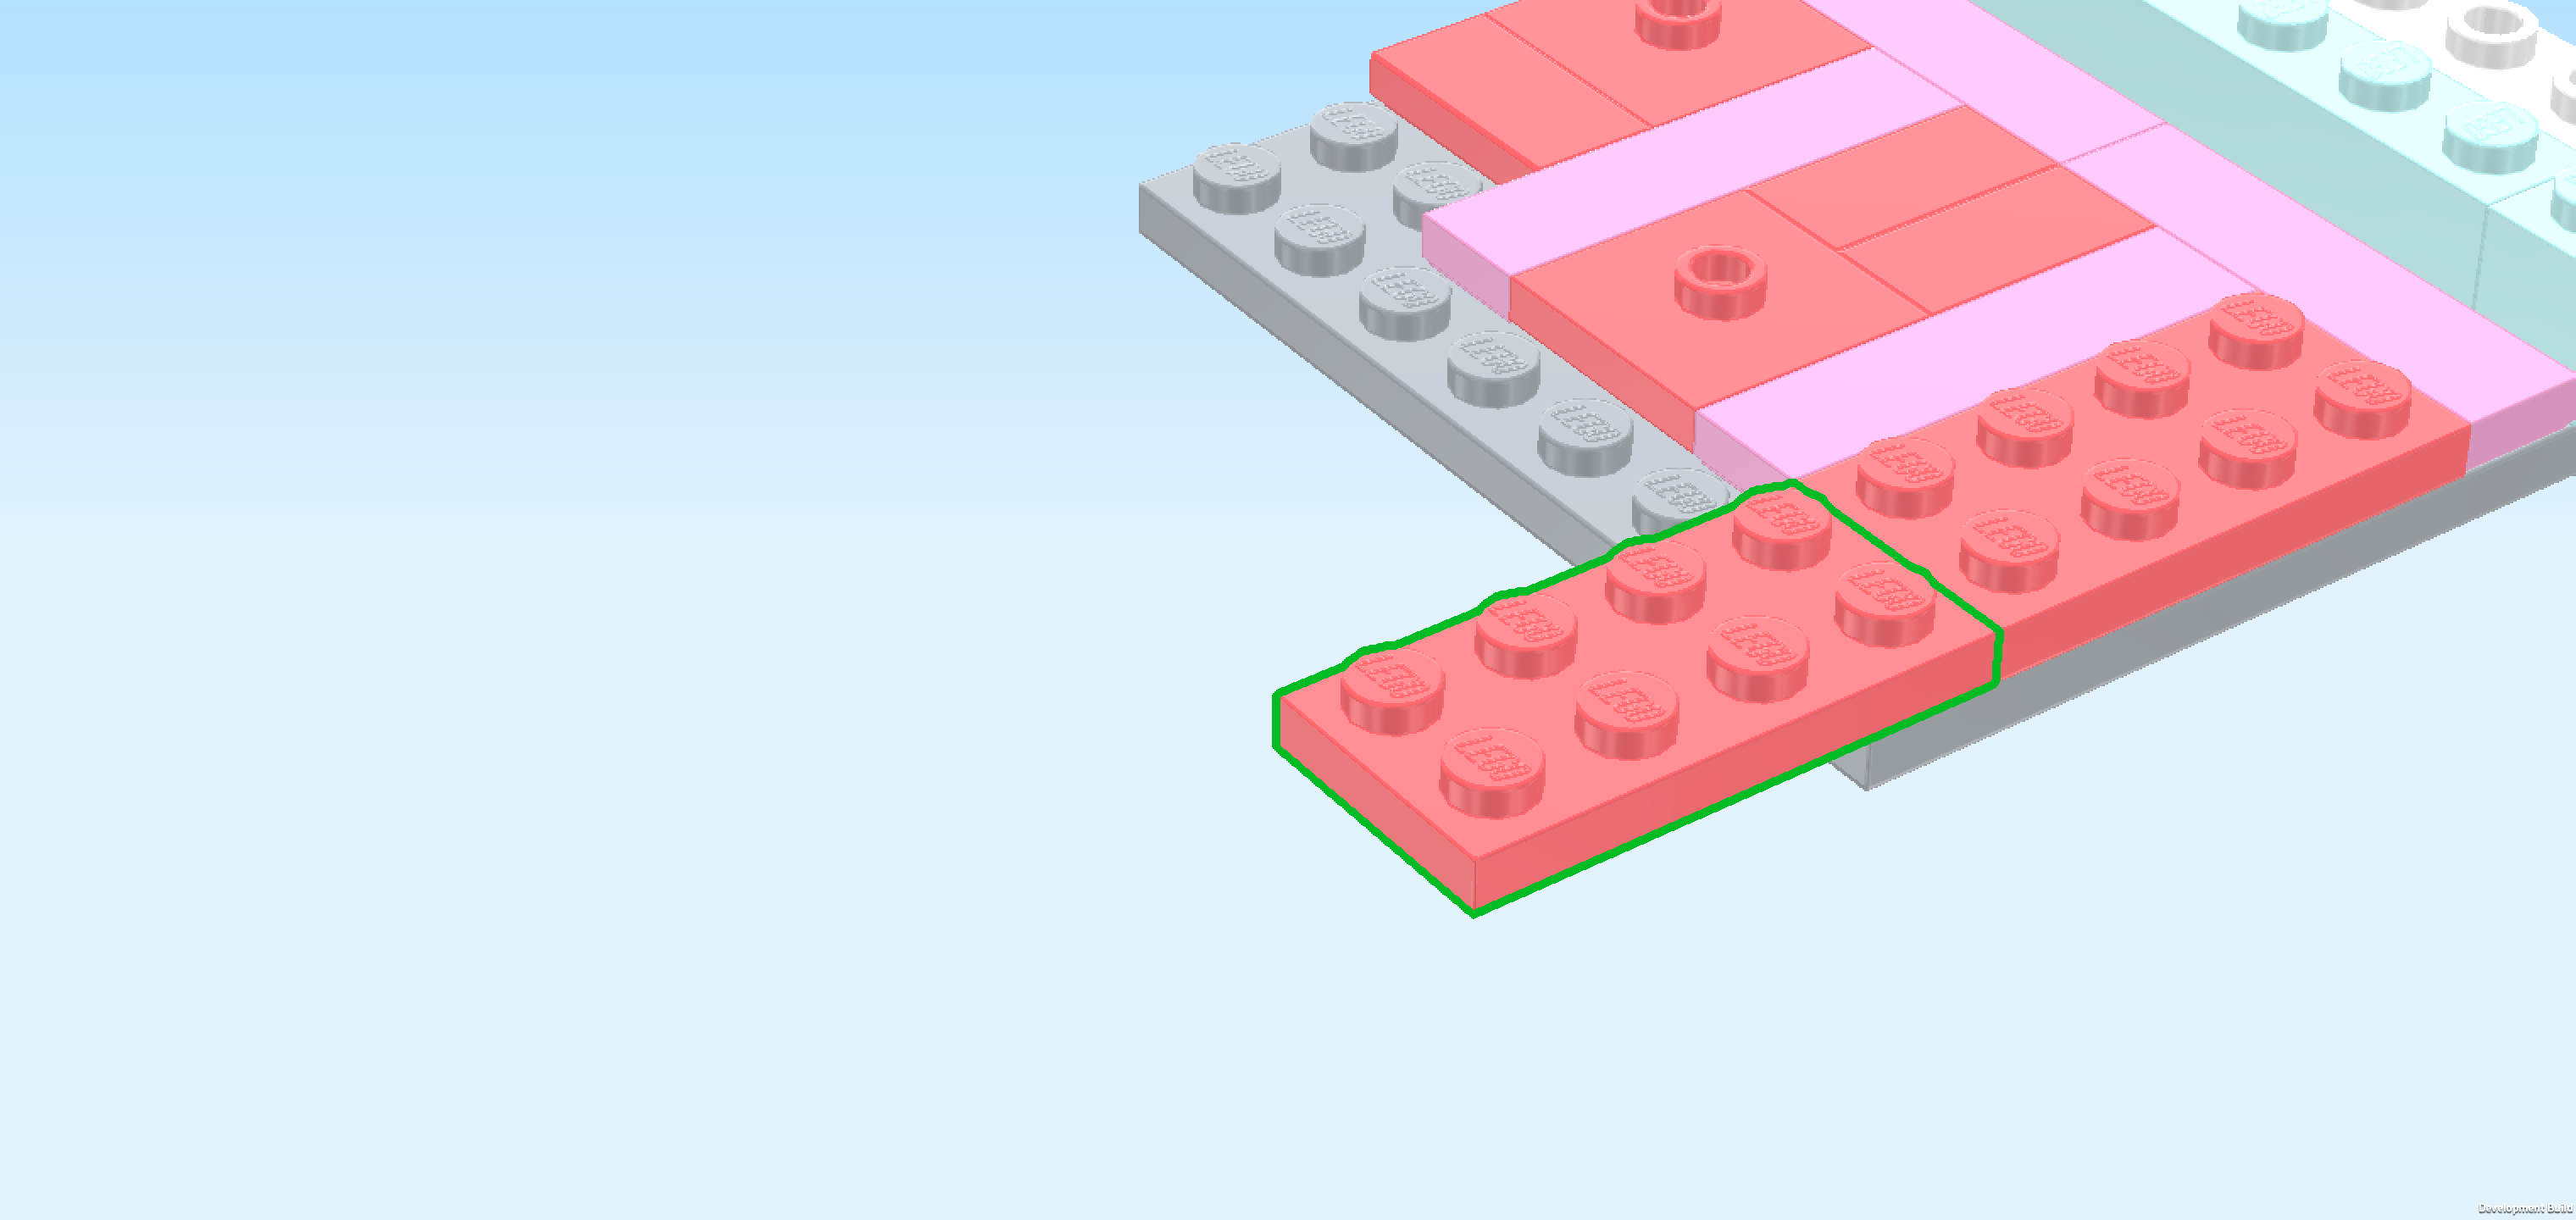
| Find 1 medium stone grey plate 2x8. |
| Put it vertically underneath the previous piece's overhang, aligning its long edge with the base plate 8x8. If done correctly, there will still be 1 column protruding to the left from the plate 2x4. |
| Collect the following 5 pieces: |
| 2 light purple flat tiles 1x4, |
| 2 salmon pink plates 2x2 with 1 knob, |
| and 1 salmon pink flat tile 1x2. |
| Put 1 flat tile 1x4 horizontally behind the plate 2x4 at the front left edge, 1/4 overhanging to the left. |
| Put 1 plate 2x2 behind the previous piece's right half. |
| Put the other flat tile 1x4 horizontally behind the previous piece, 1/4 protruding to the left. |
| Put the other plate 2x2 on the 2 backmost rows directly to the left of the flat tile 1x2 that is already mounted there. |
| Put the flat tile 1x2 vertically to the left of the previous piece. |
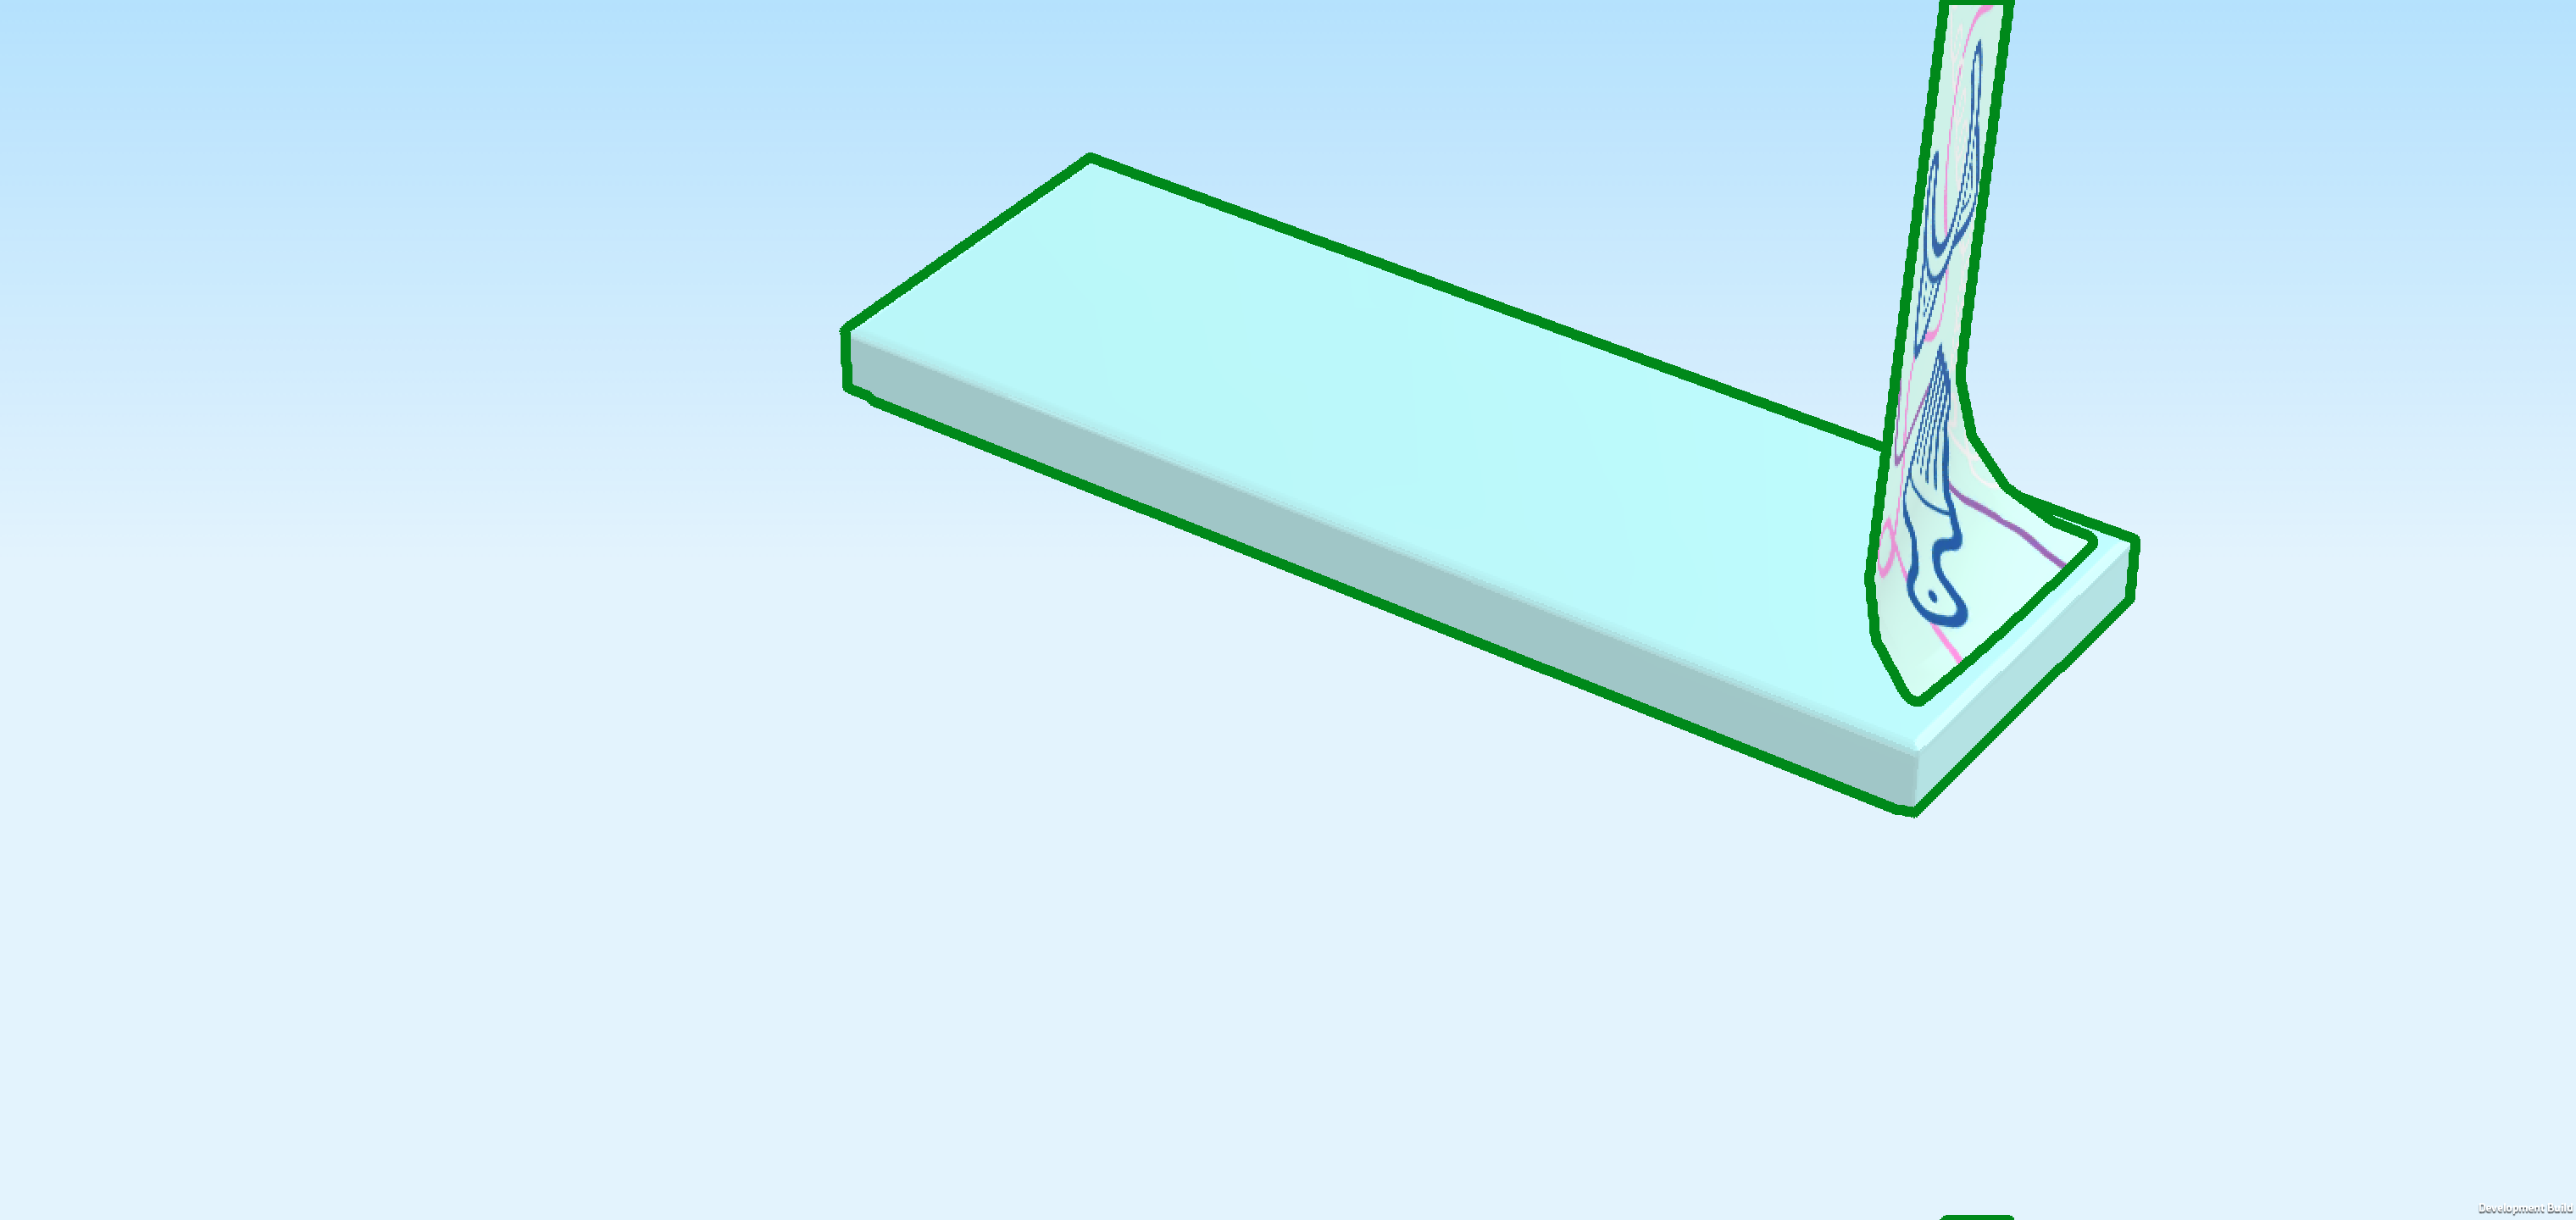
| Find 1 medium stone grey plate 8x8 with half circle. |
| Turn it so that the half circle is towards the left, and then mount its right edge underneath the overhanging pieces of the already built structure, aligning the right edge with the base plate. |
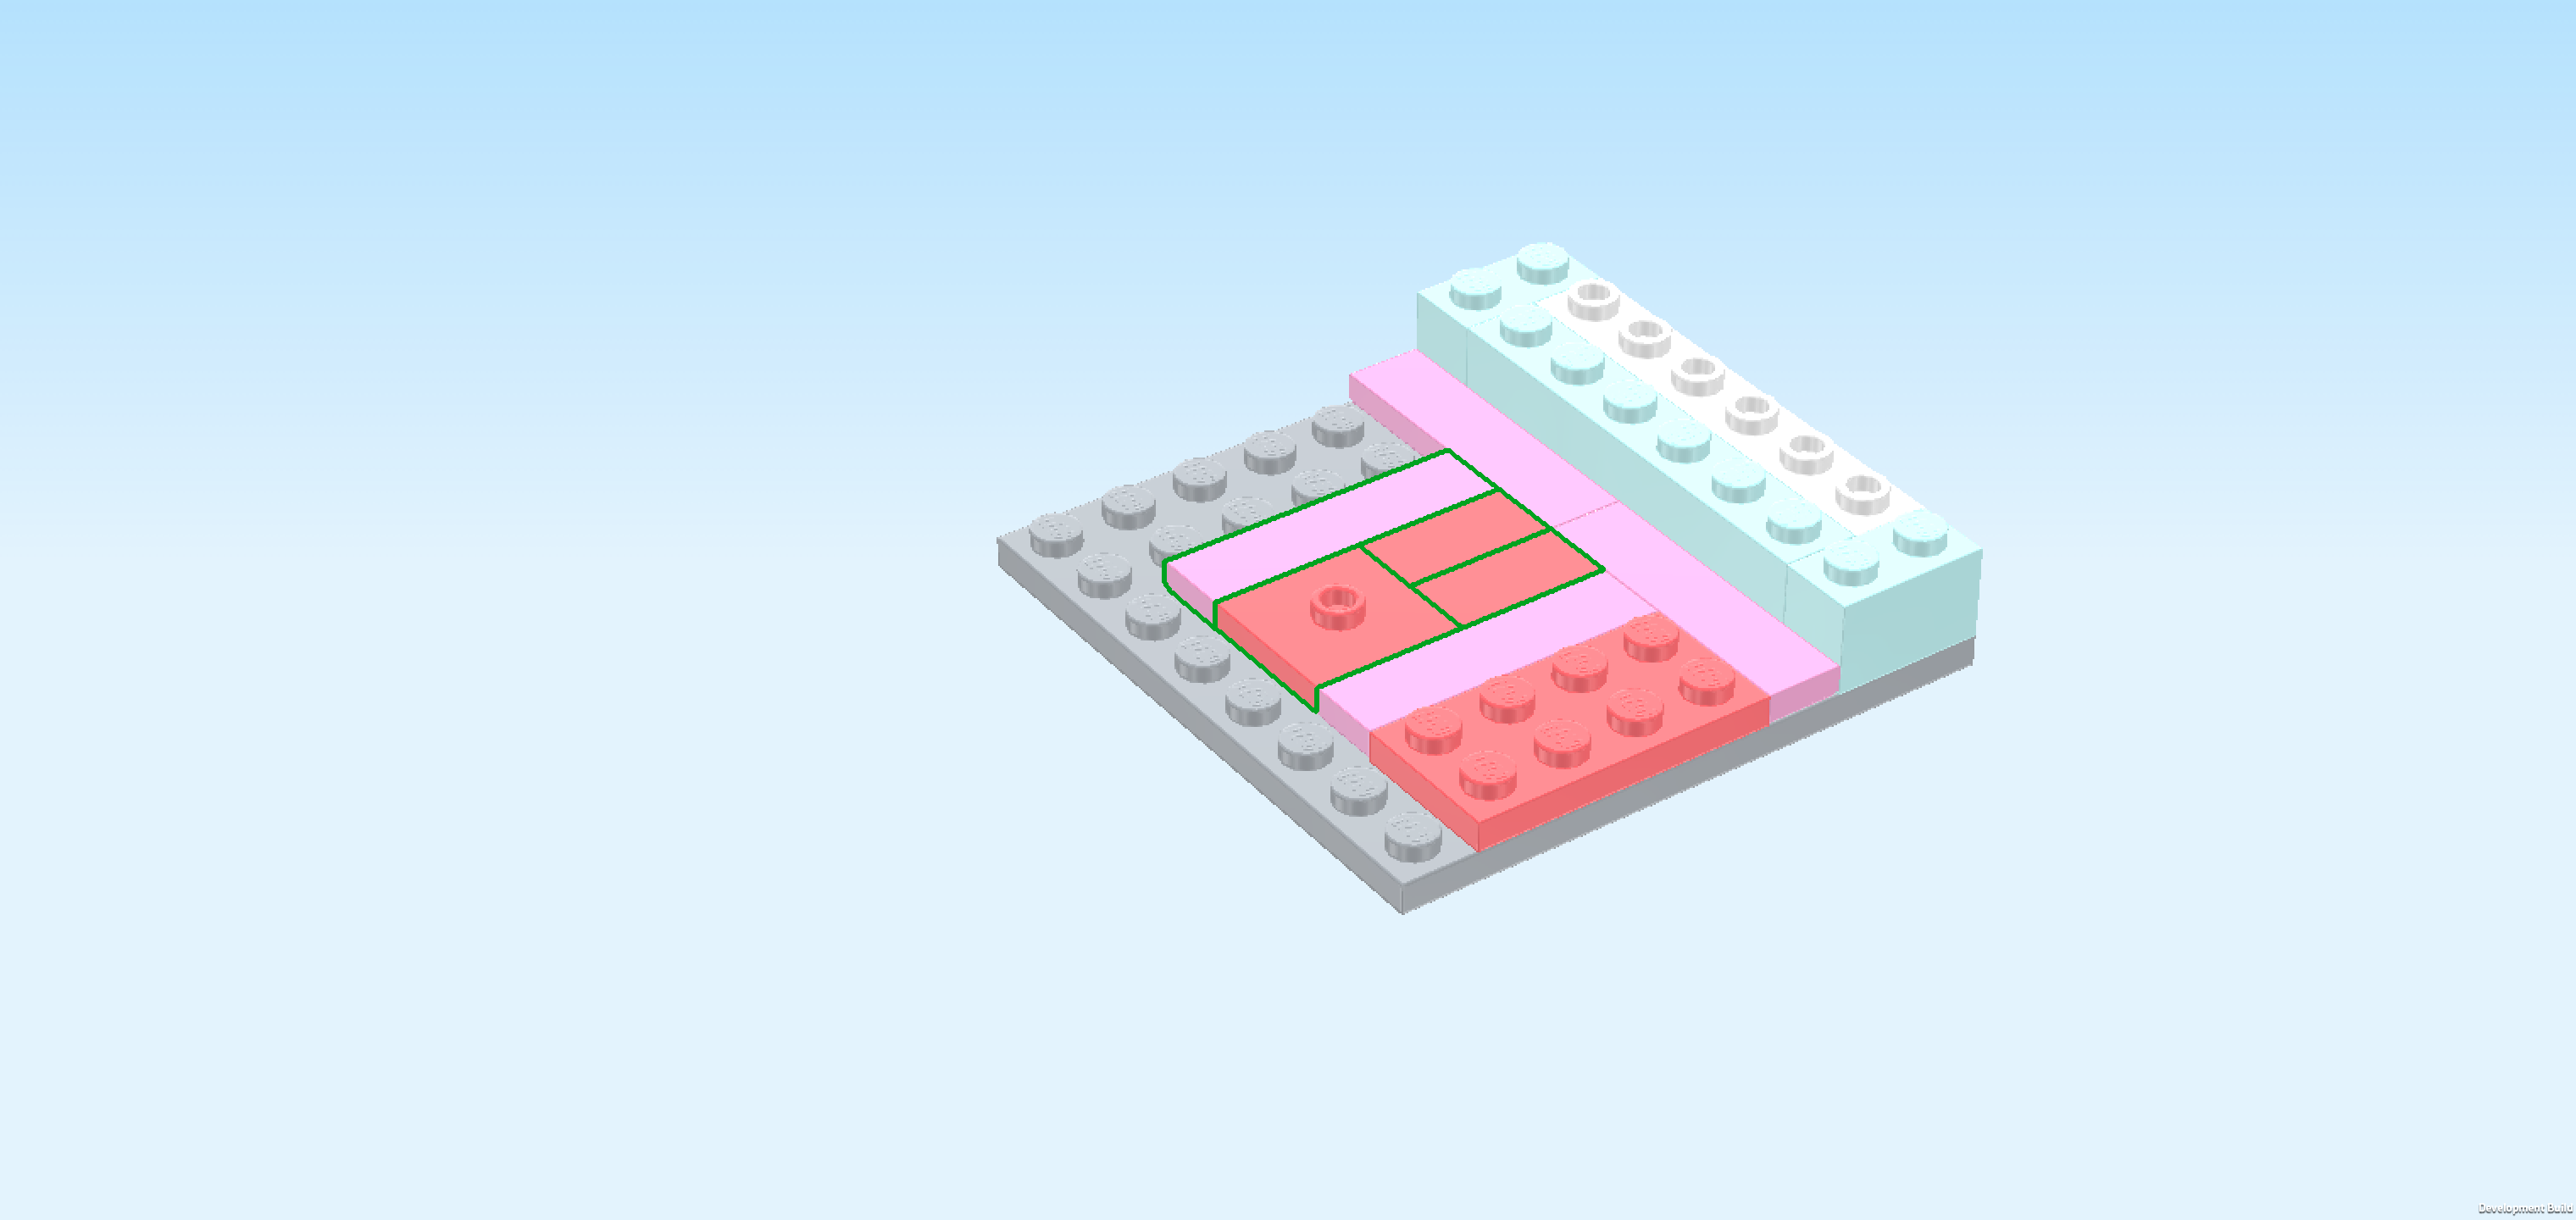
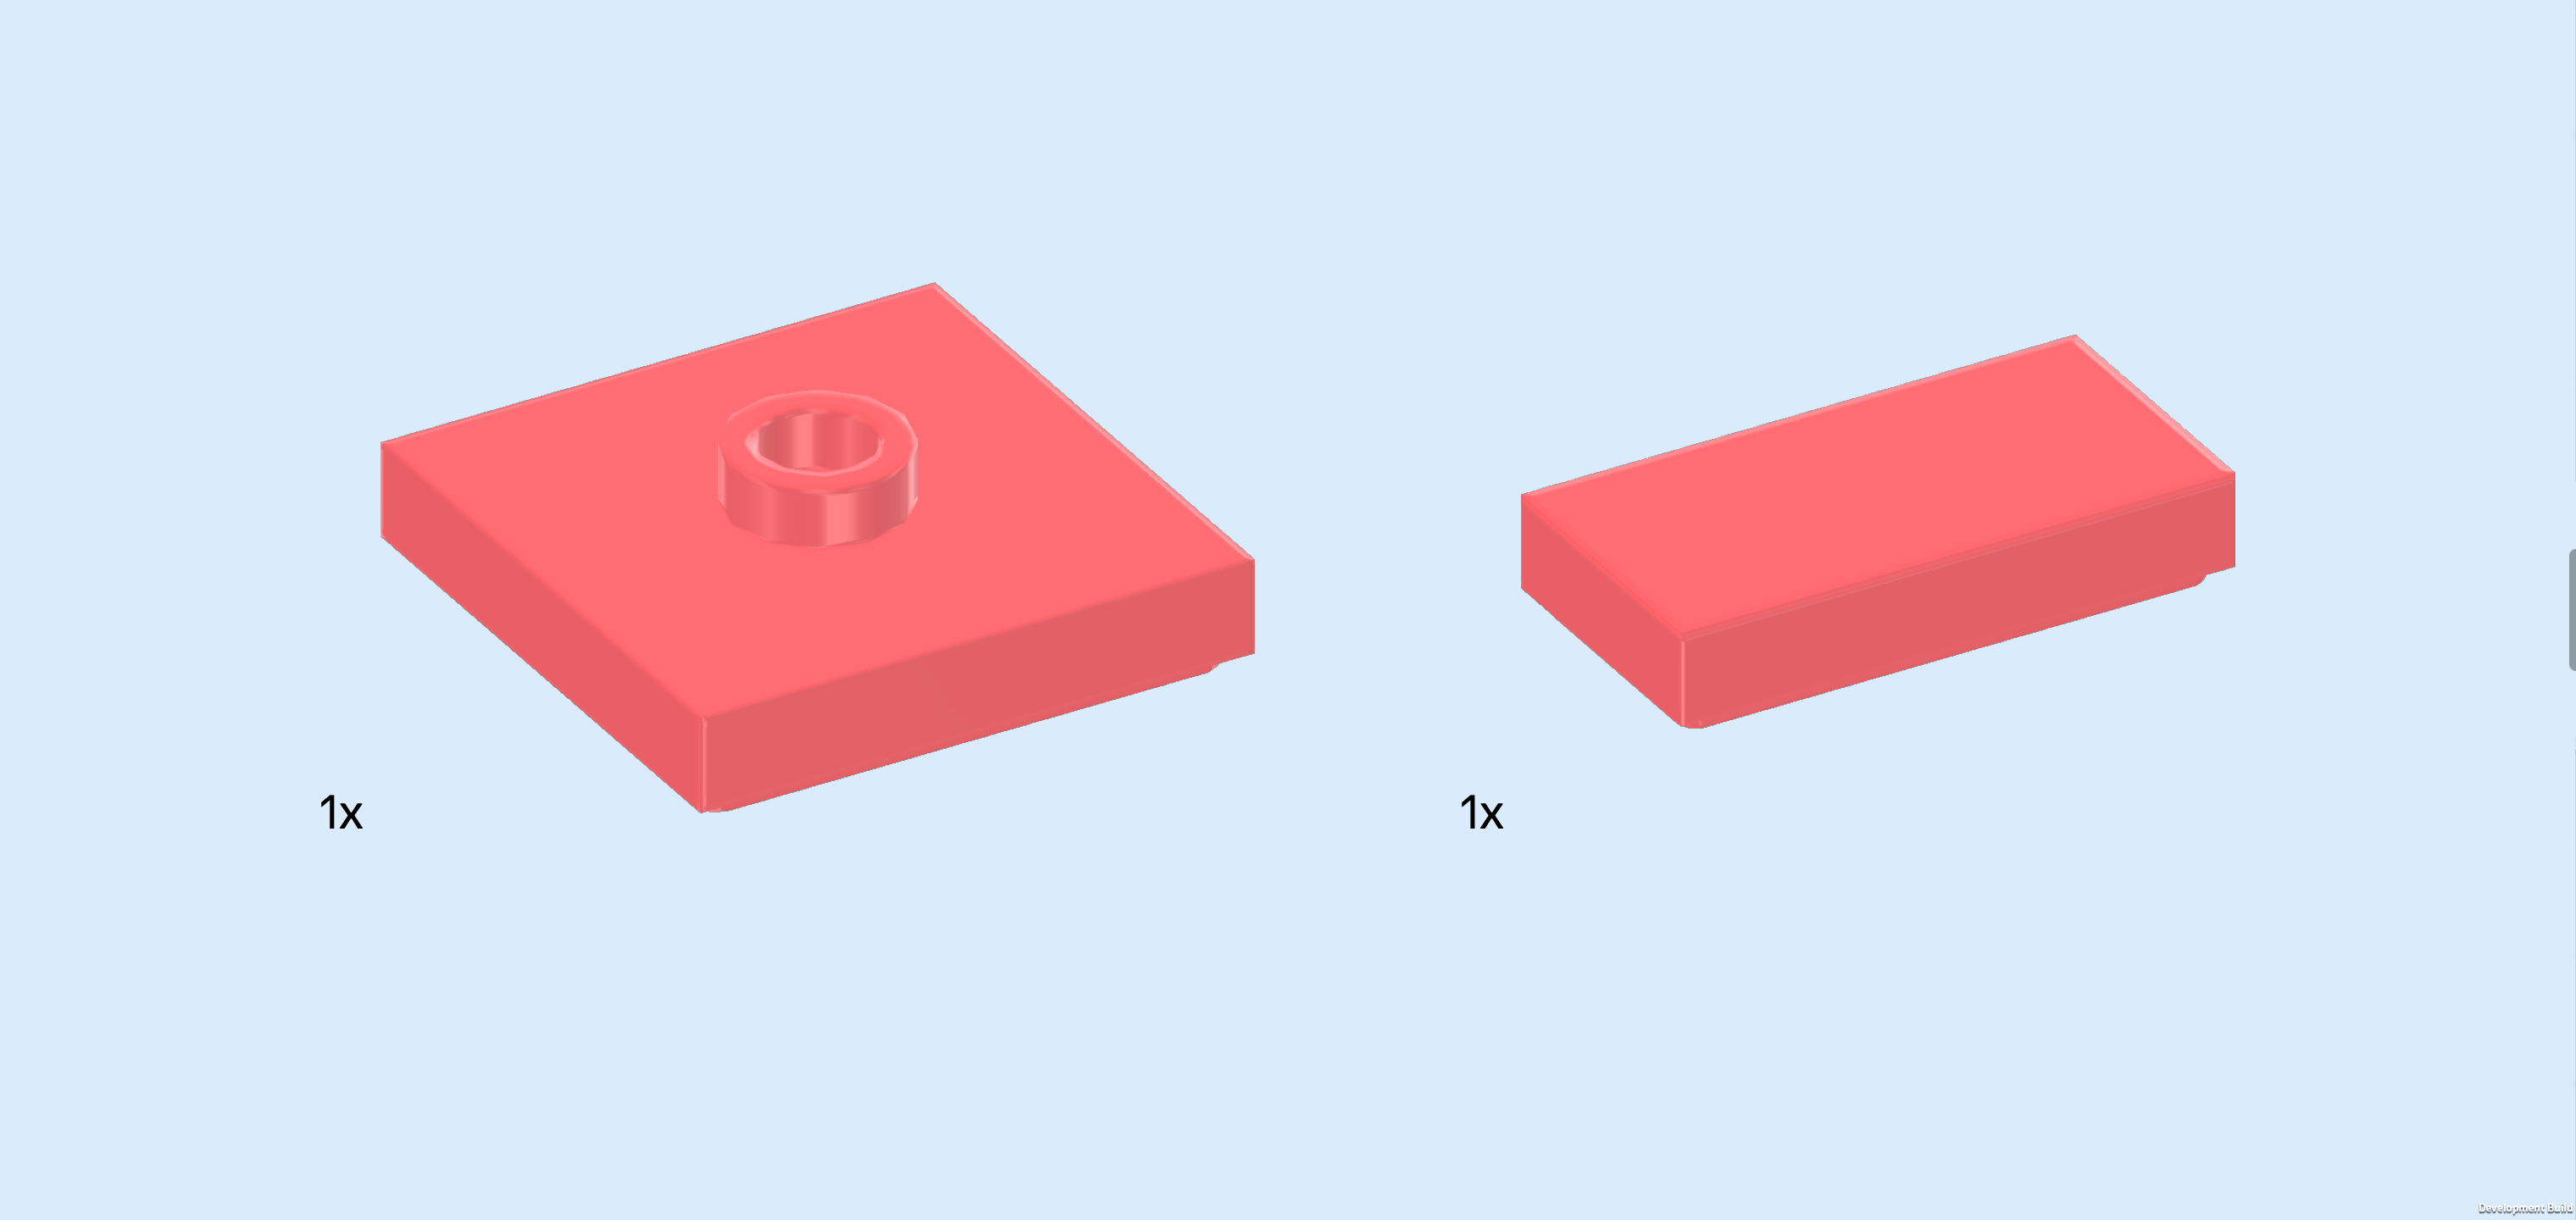
| Collect the following 5 pieces: |
| 2 light purple flat tiles 1x4, |
| 1 salmon pink plate 2x2 with 1 knob, |
| and 2 salmon pink flat tiles 1x2. |
| Put the plate 2x2 on the 2 backmost rows directly to the left of the flat tile 1x2 that is already mounted there. |
| Put 1 flat tile 1x2 horizontally on the next 2 knobs in front of the previous piece, skipping the flat tile right in front of it. |
| Put the other flat tile 1x2 horizontally in front of the previous piece. |
| Put 1 flat tile 1x4 vertically on the column to the left of the previous pieces, using the back half of that column. |
| Put the other flat tile 1x4 vertically in front of the previous piece. |
| Collect the following 3 pieces: |
| 1 aqua blue brick 1x2, |
| 1 vibrant yellow plate 1x2, |
| and 1 bright blue plate 1x2 with smooth roof tile 1x1 on top. |
| Put the brick 1x2 horizontally on the backmost row to the left of the previous pieces. |
| Put the plate 1x2 with smooth roof tile vertically in front of the previous piece's right half, roof tile to the front. |
| Put the plate 1x2 vertically on the same column as the previous piece, using the 2 frontmost knobs. |
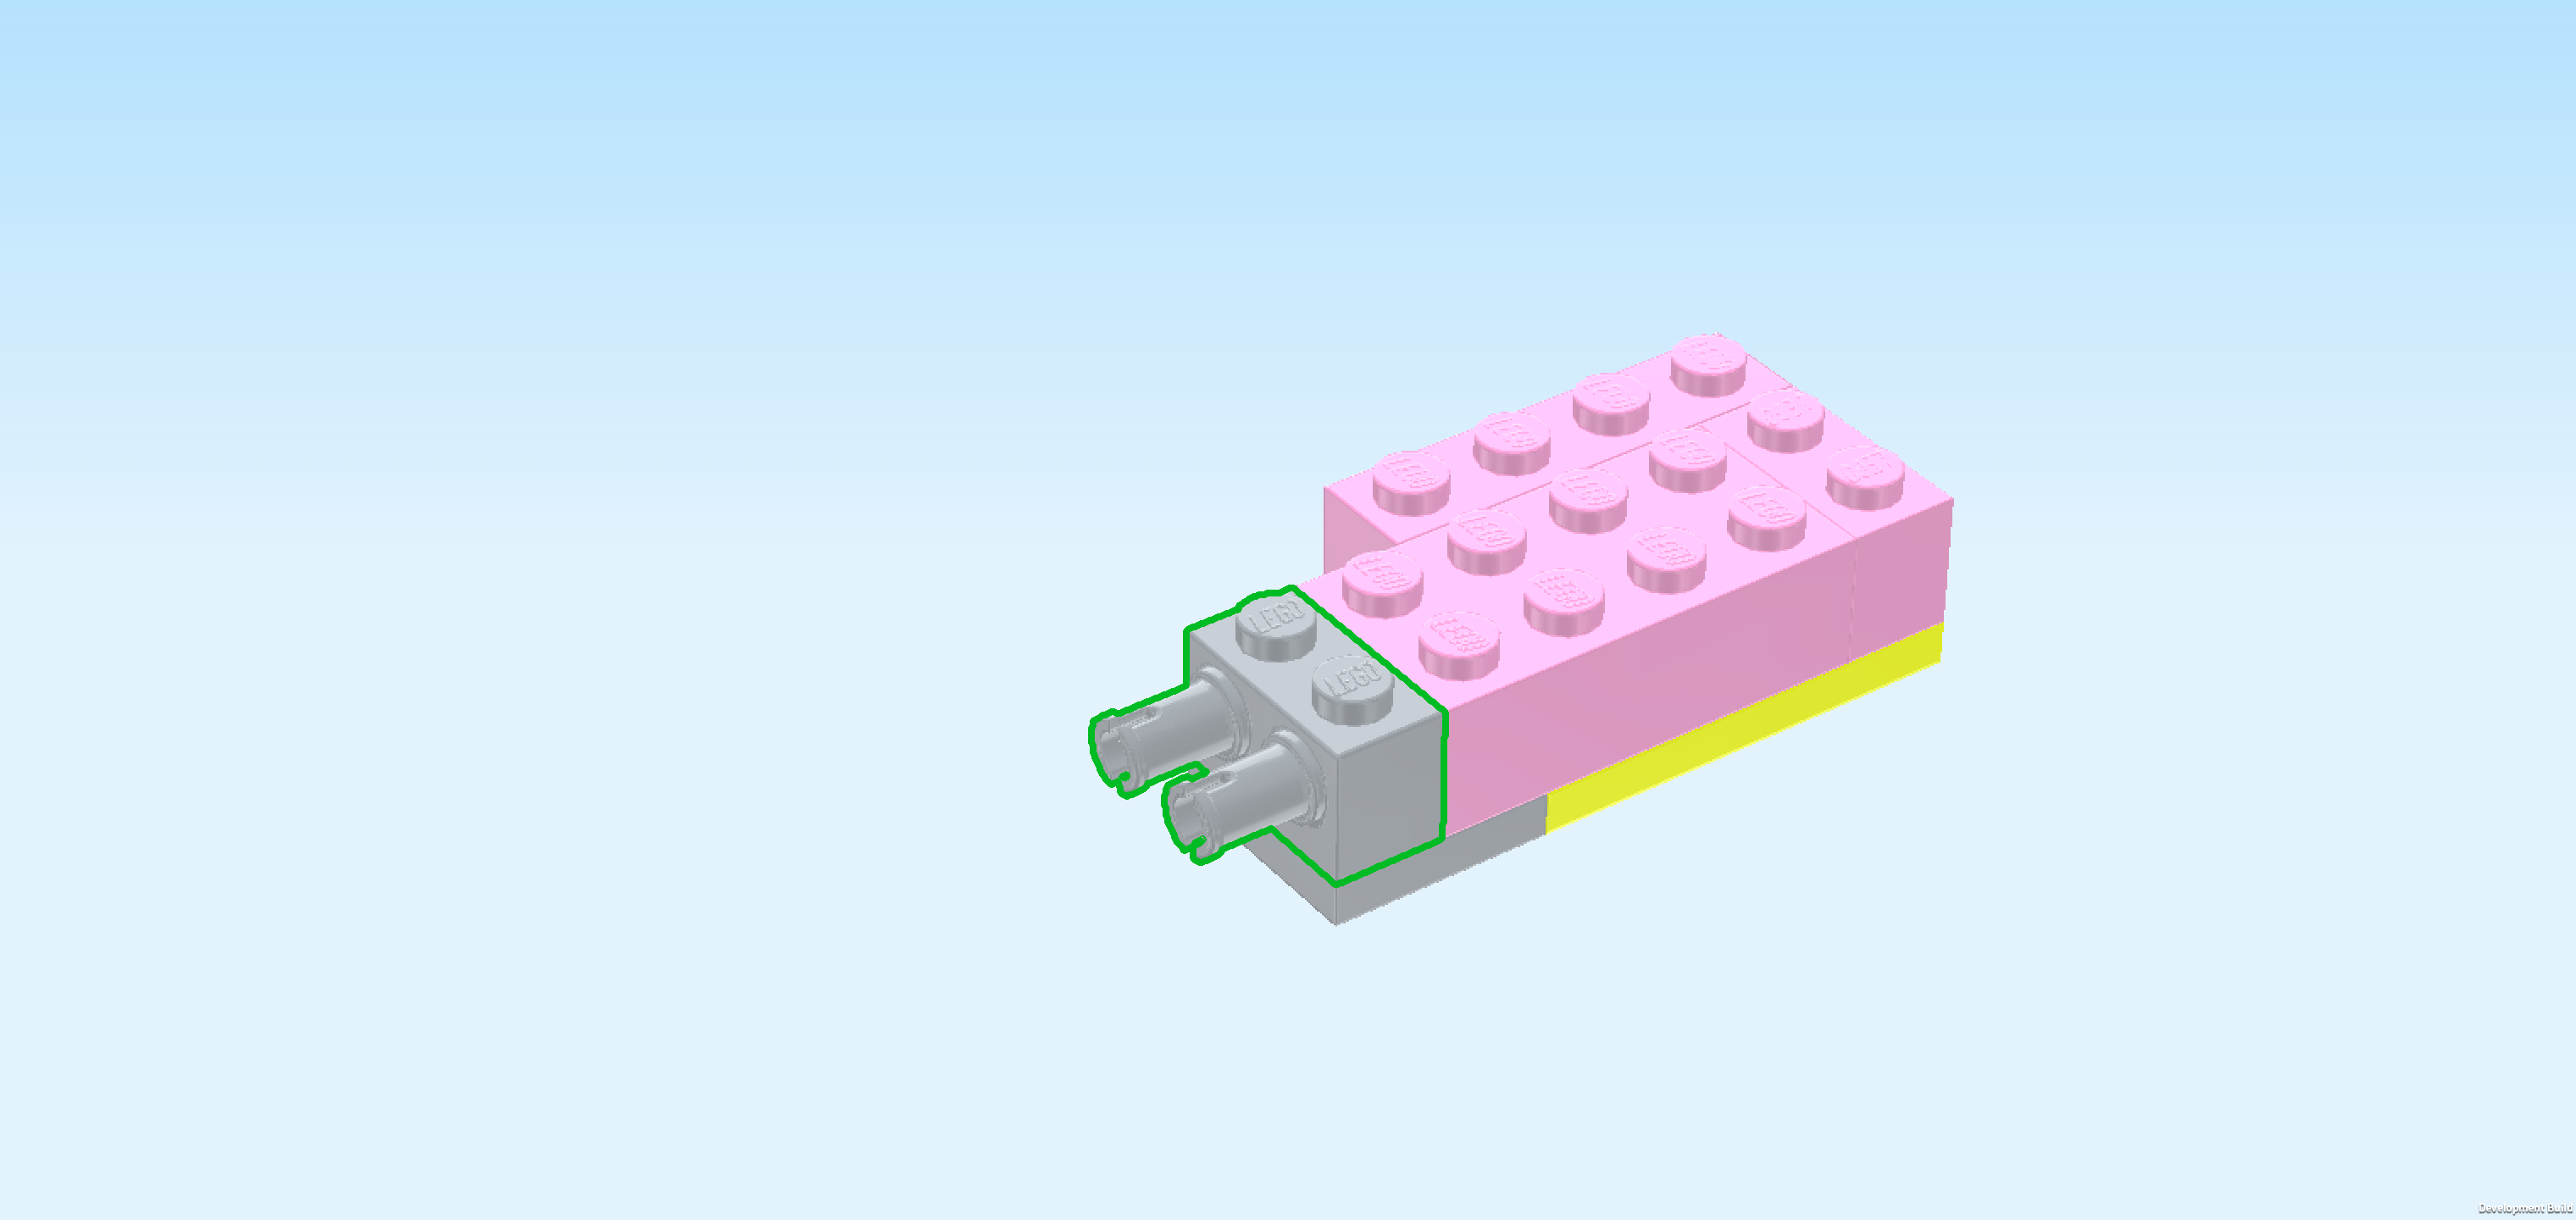
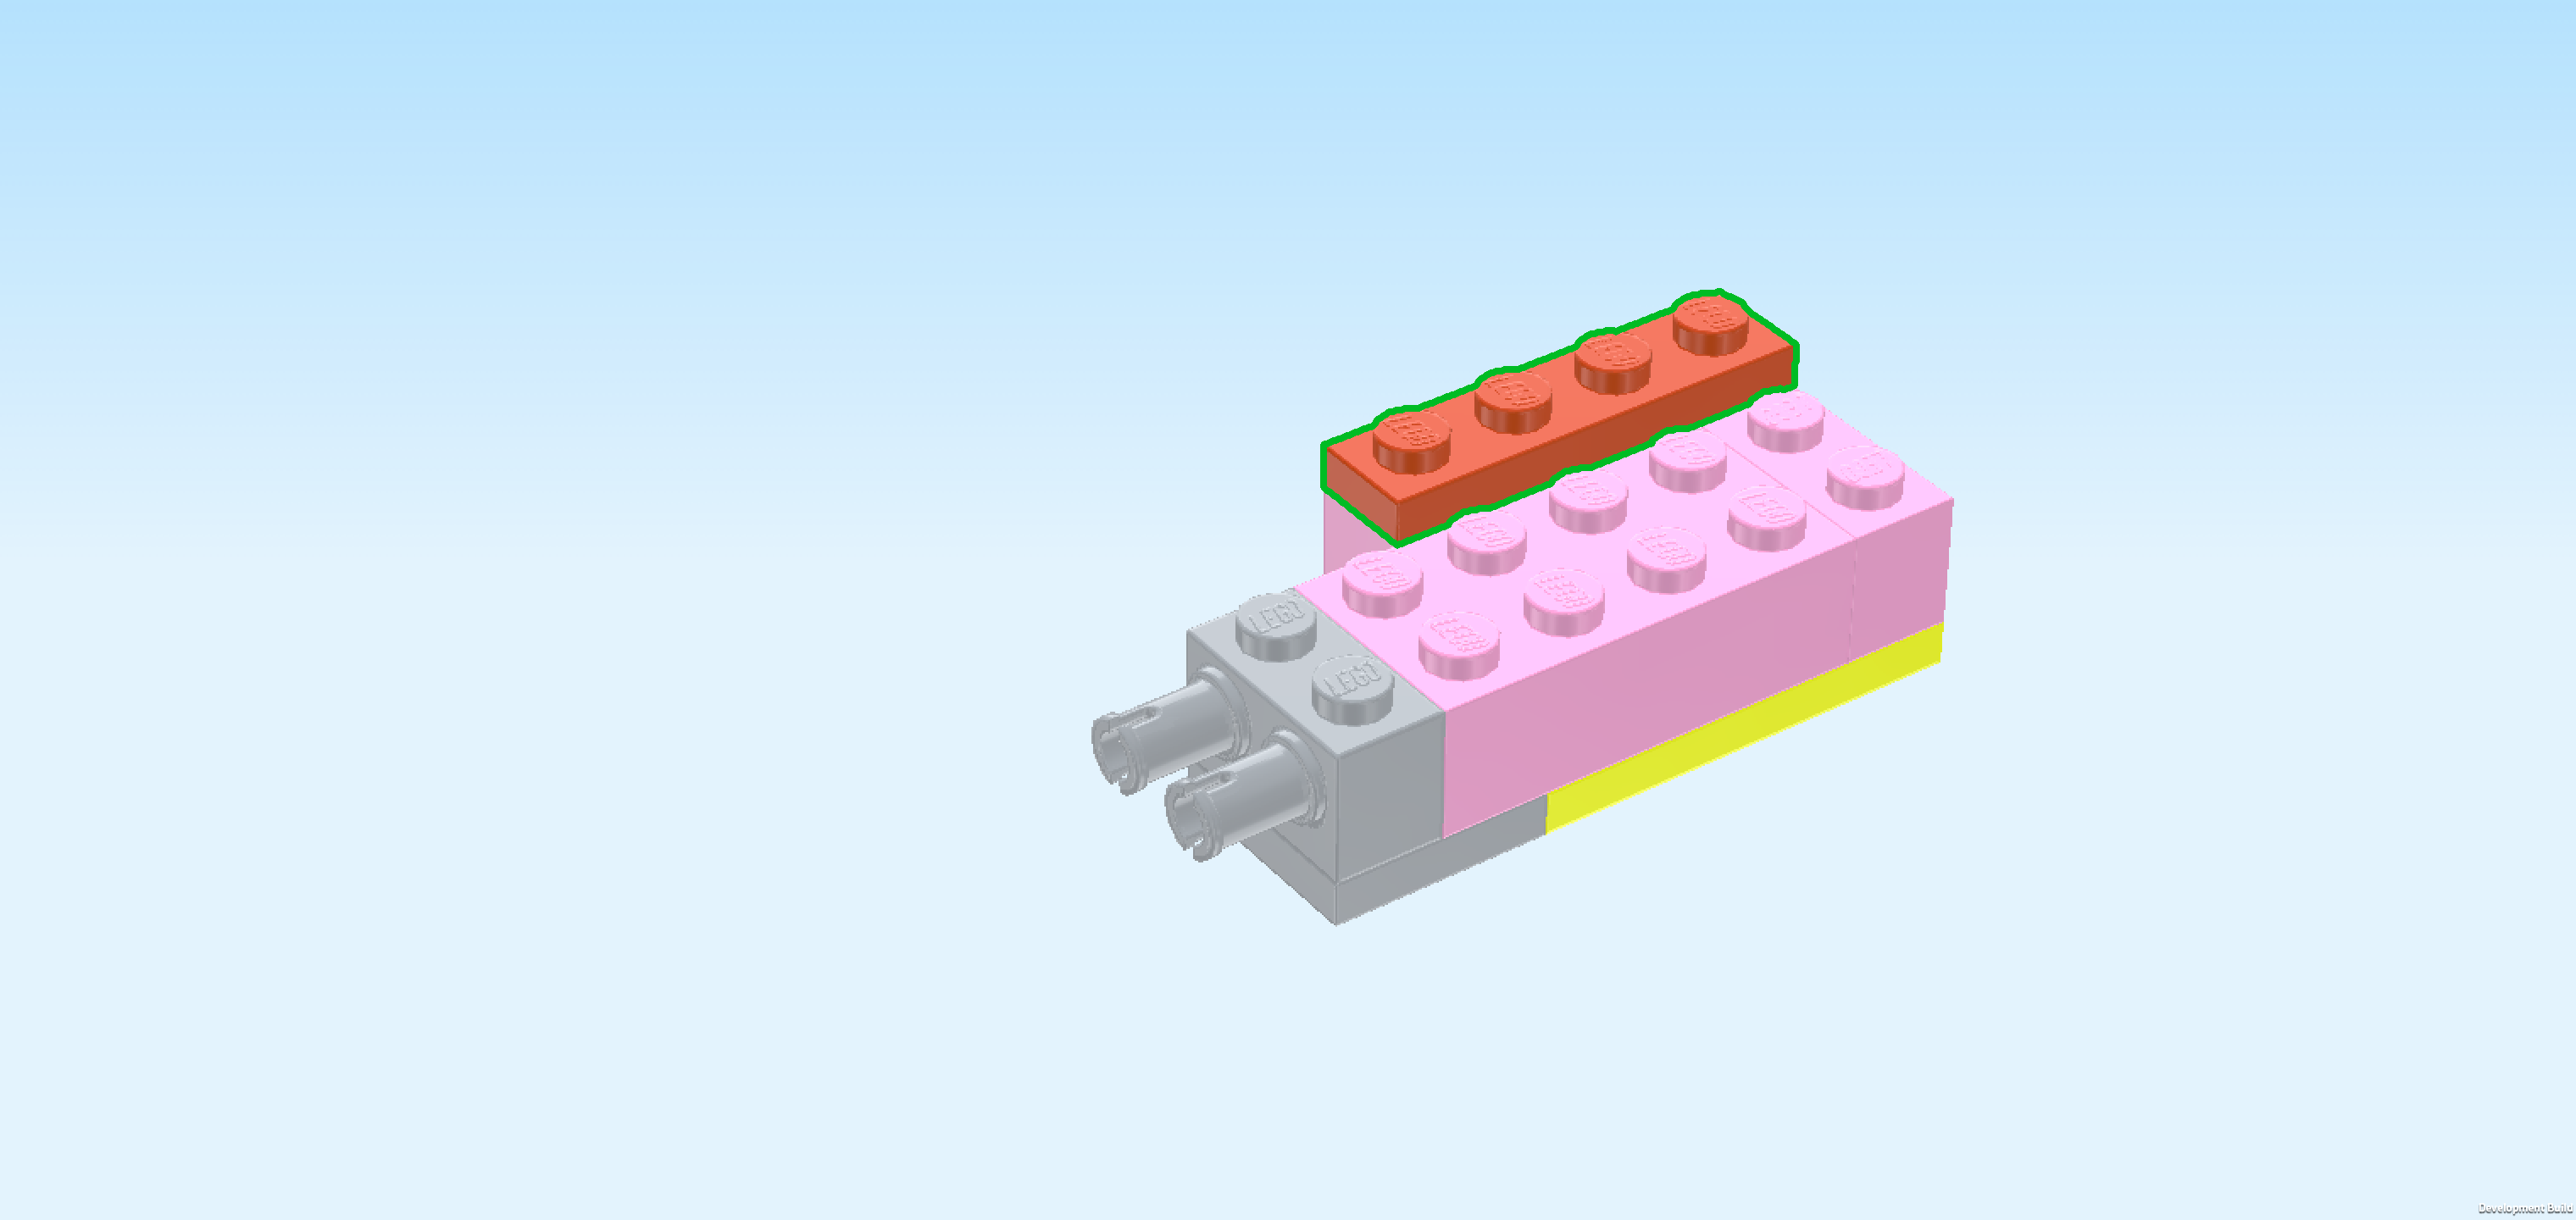
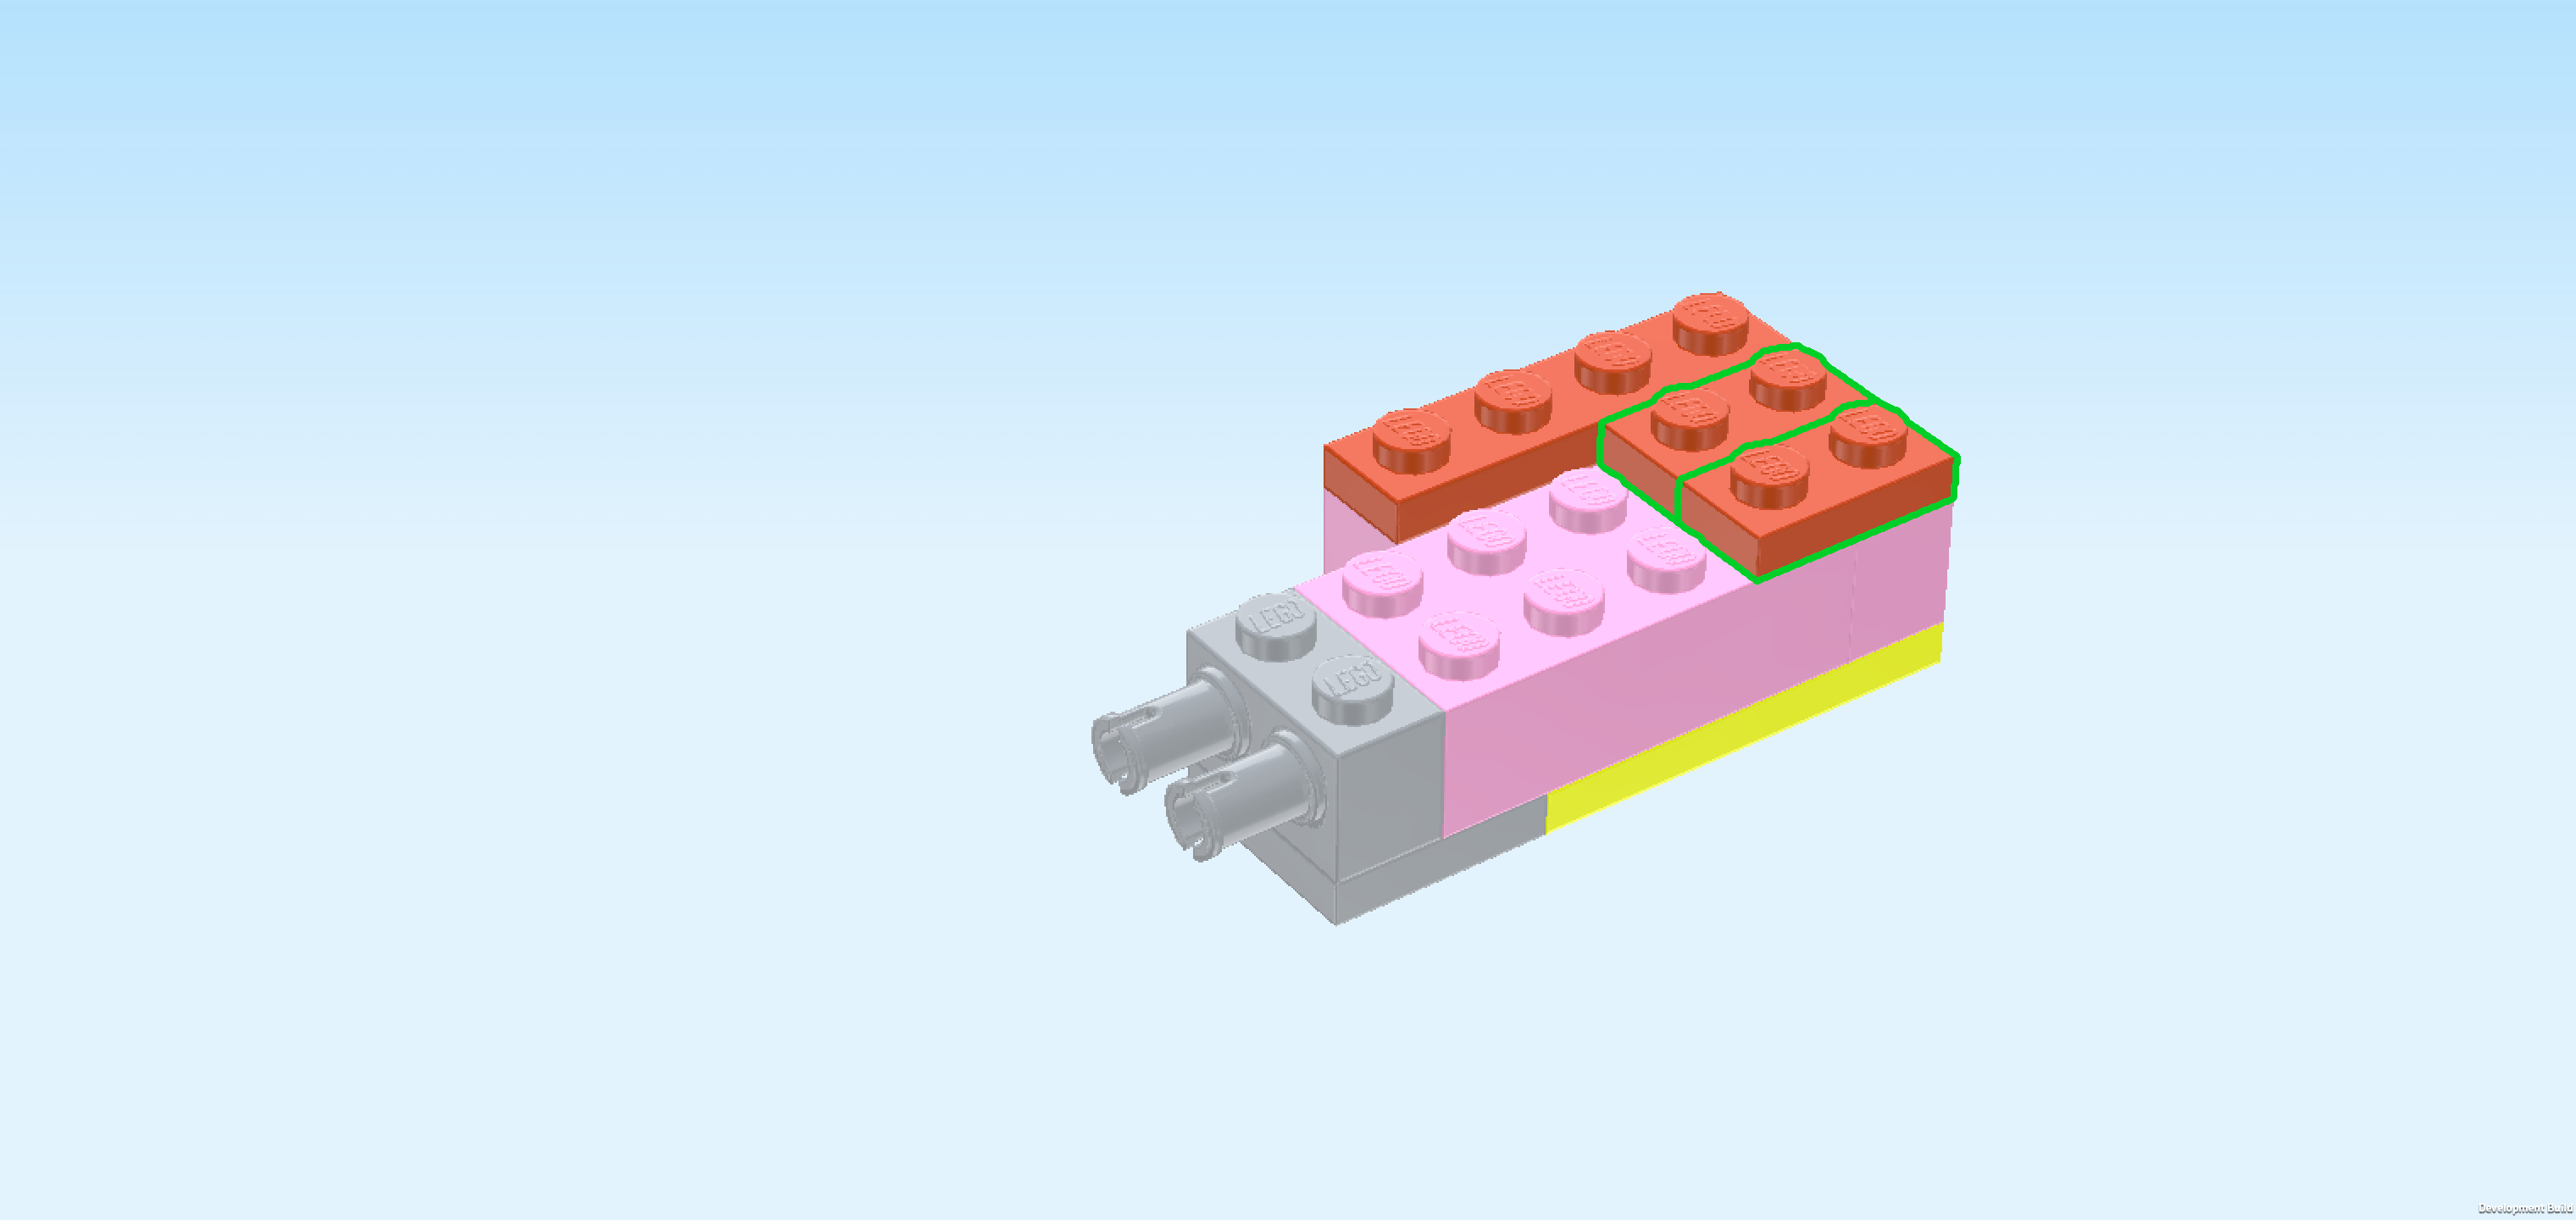
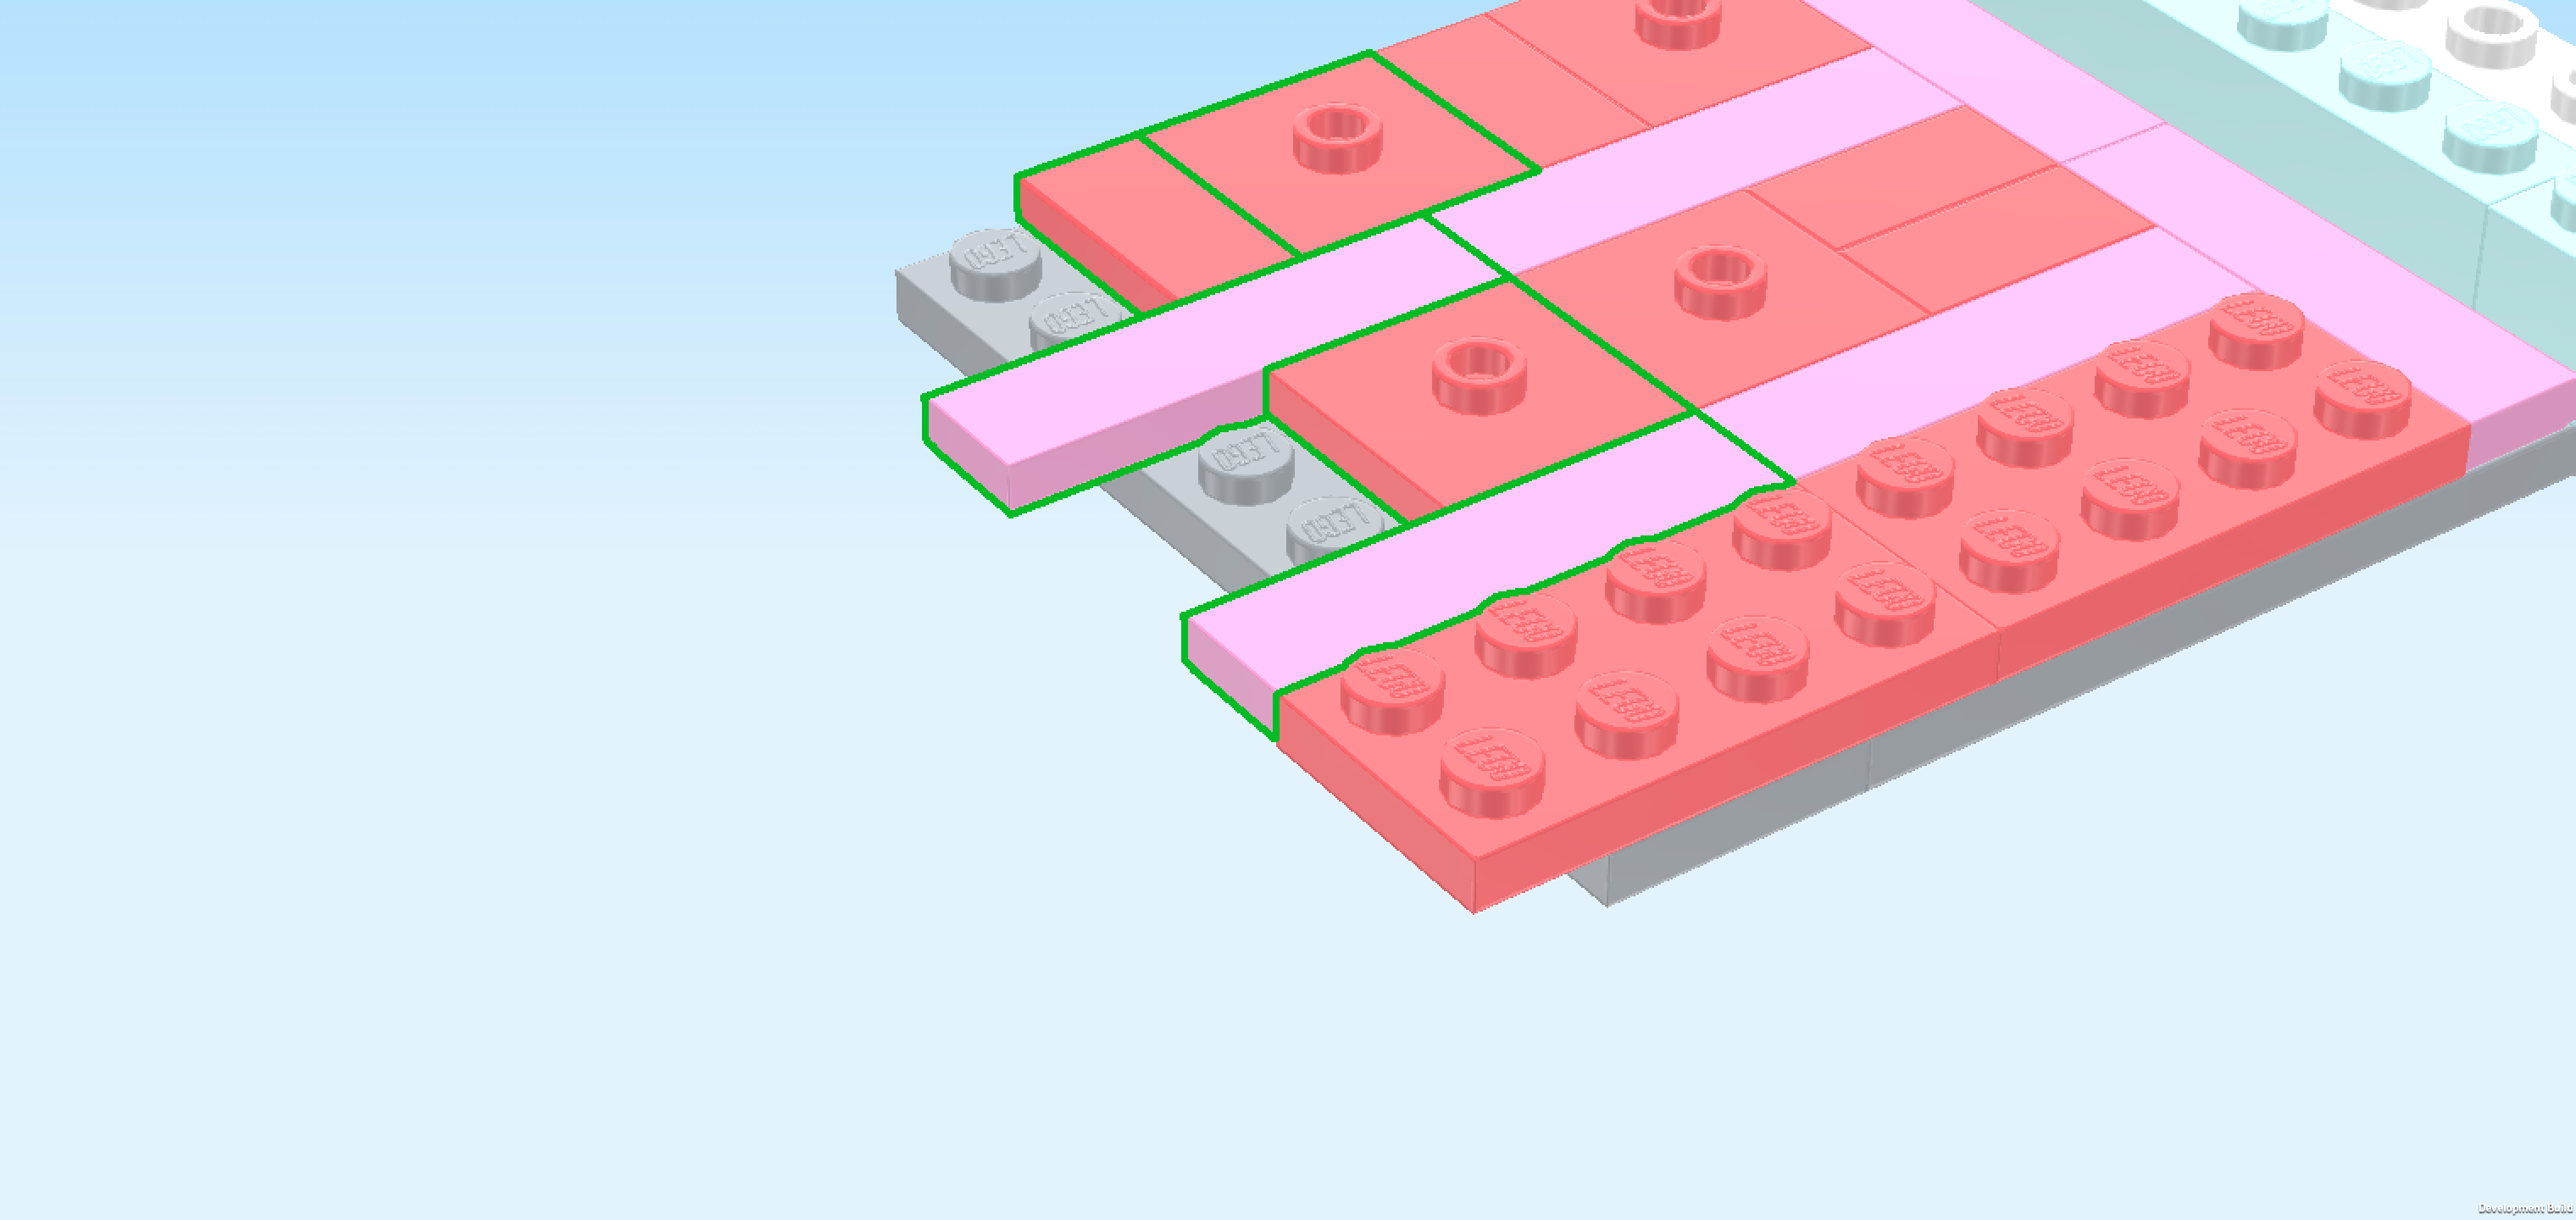
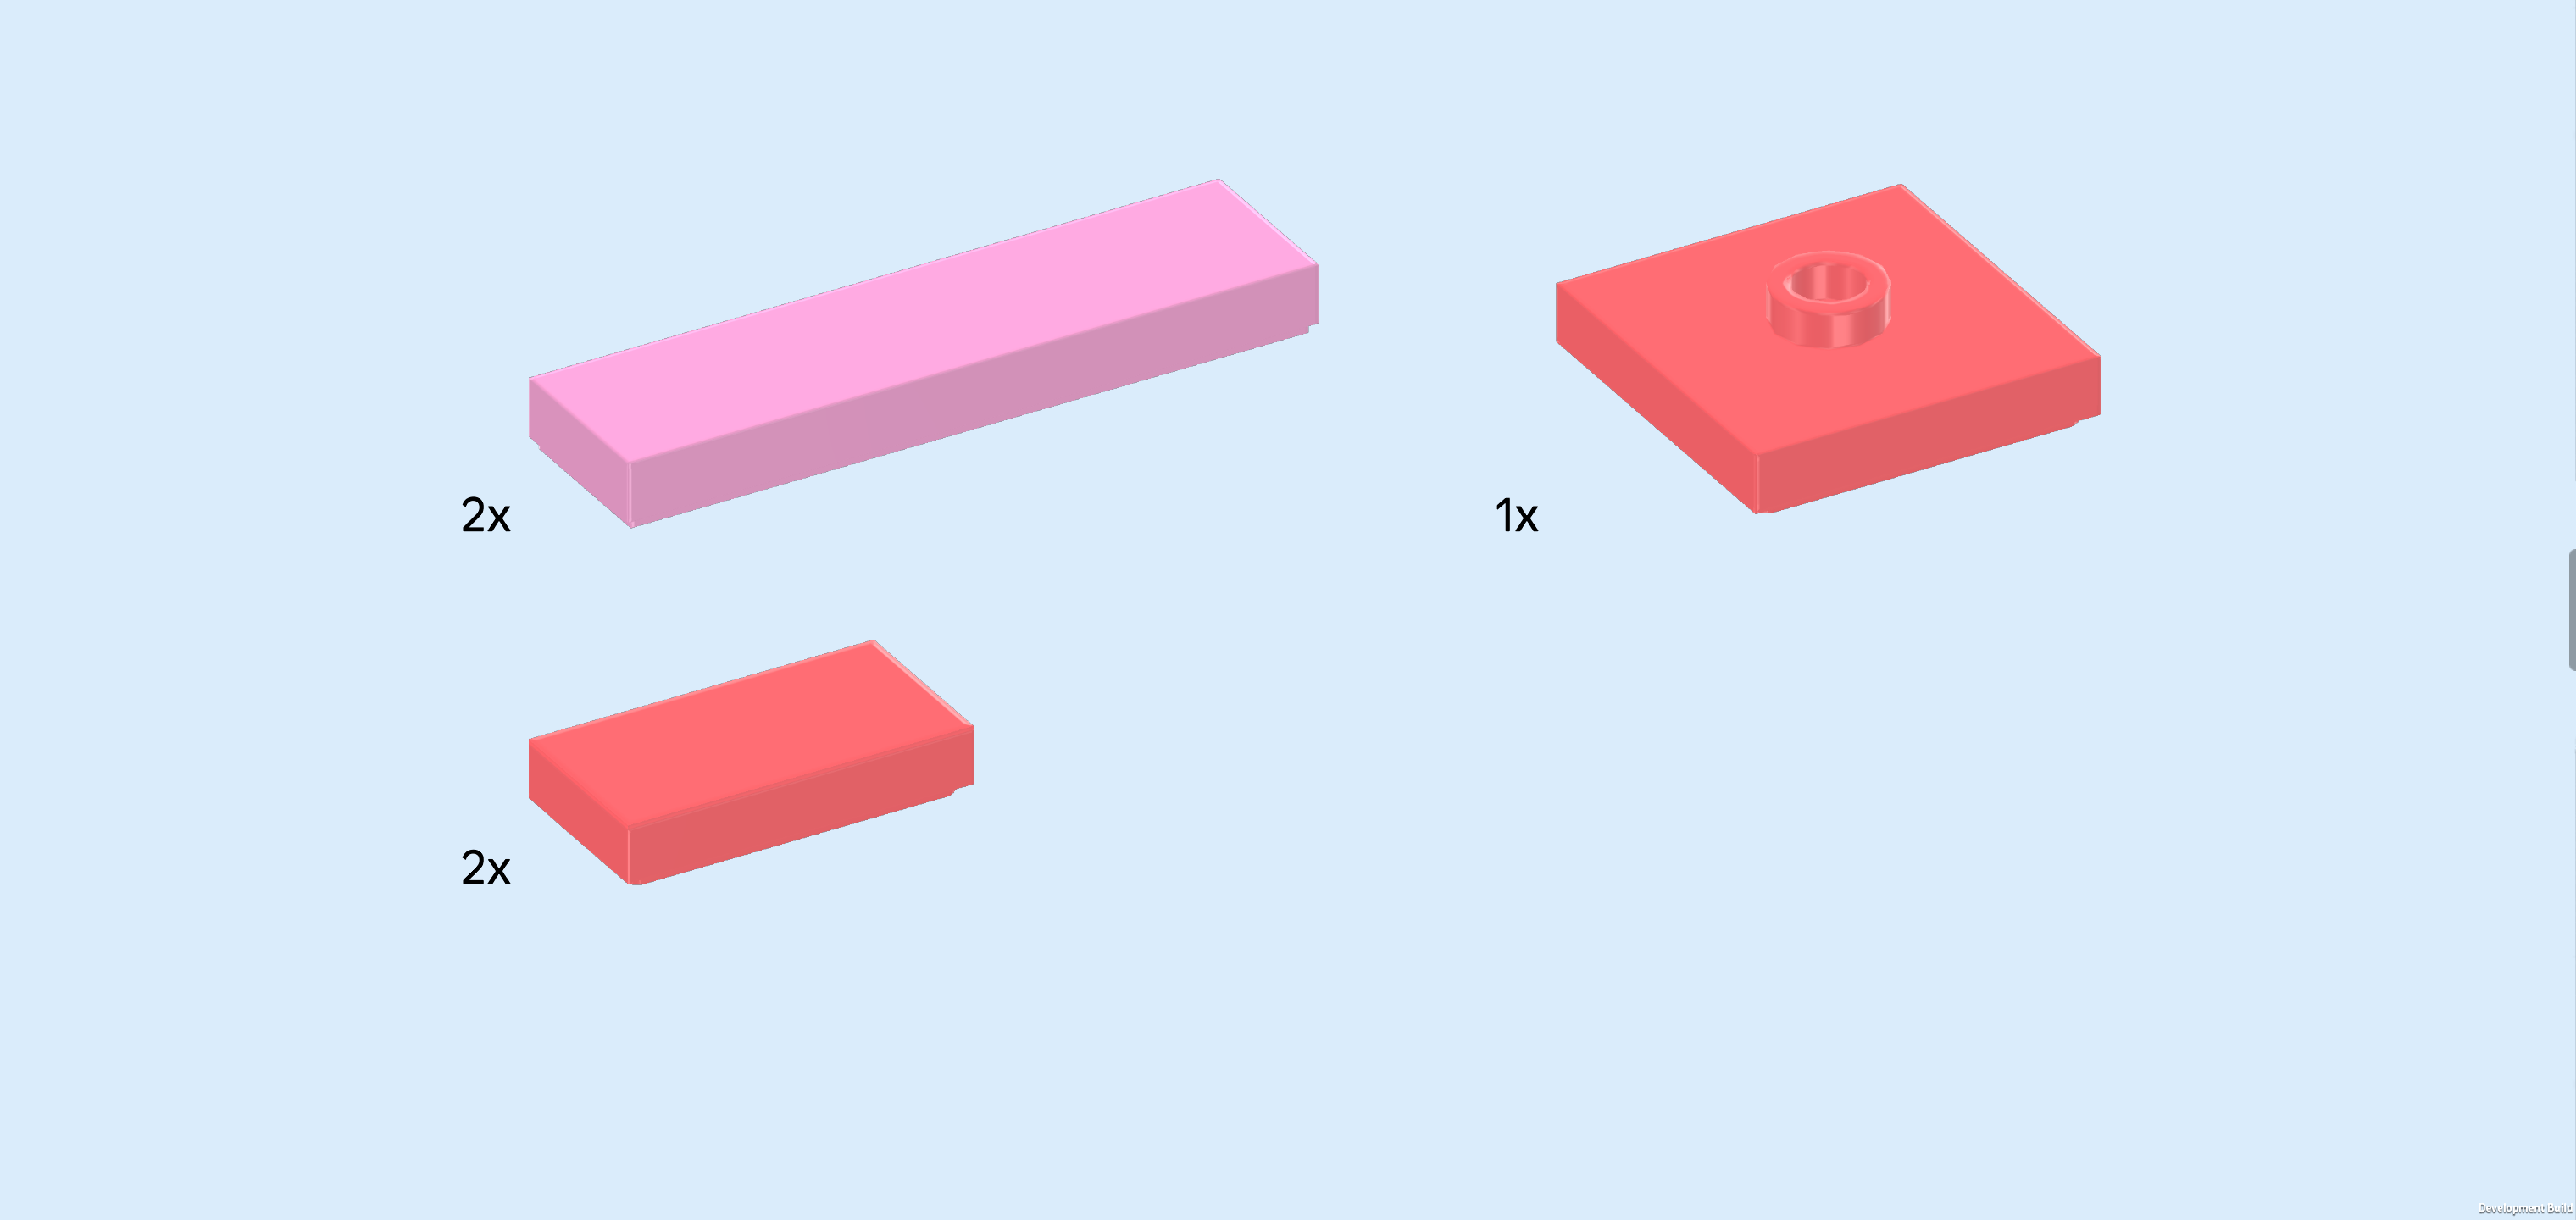
| Find 2 reddish orange plates 1x4. |
| Put them both vertically on the rightmost column of the structure, one in front of the other. |
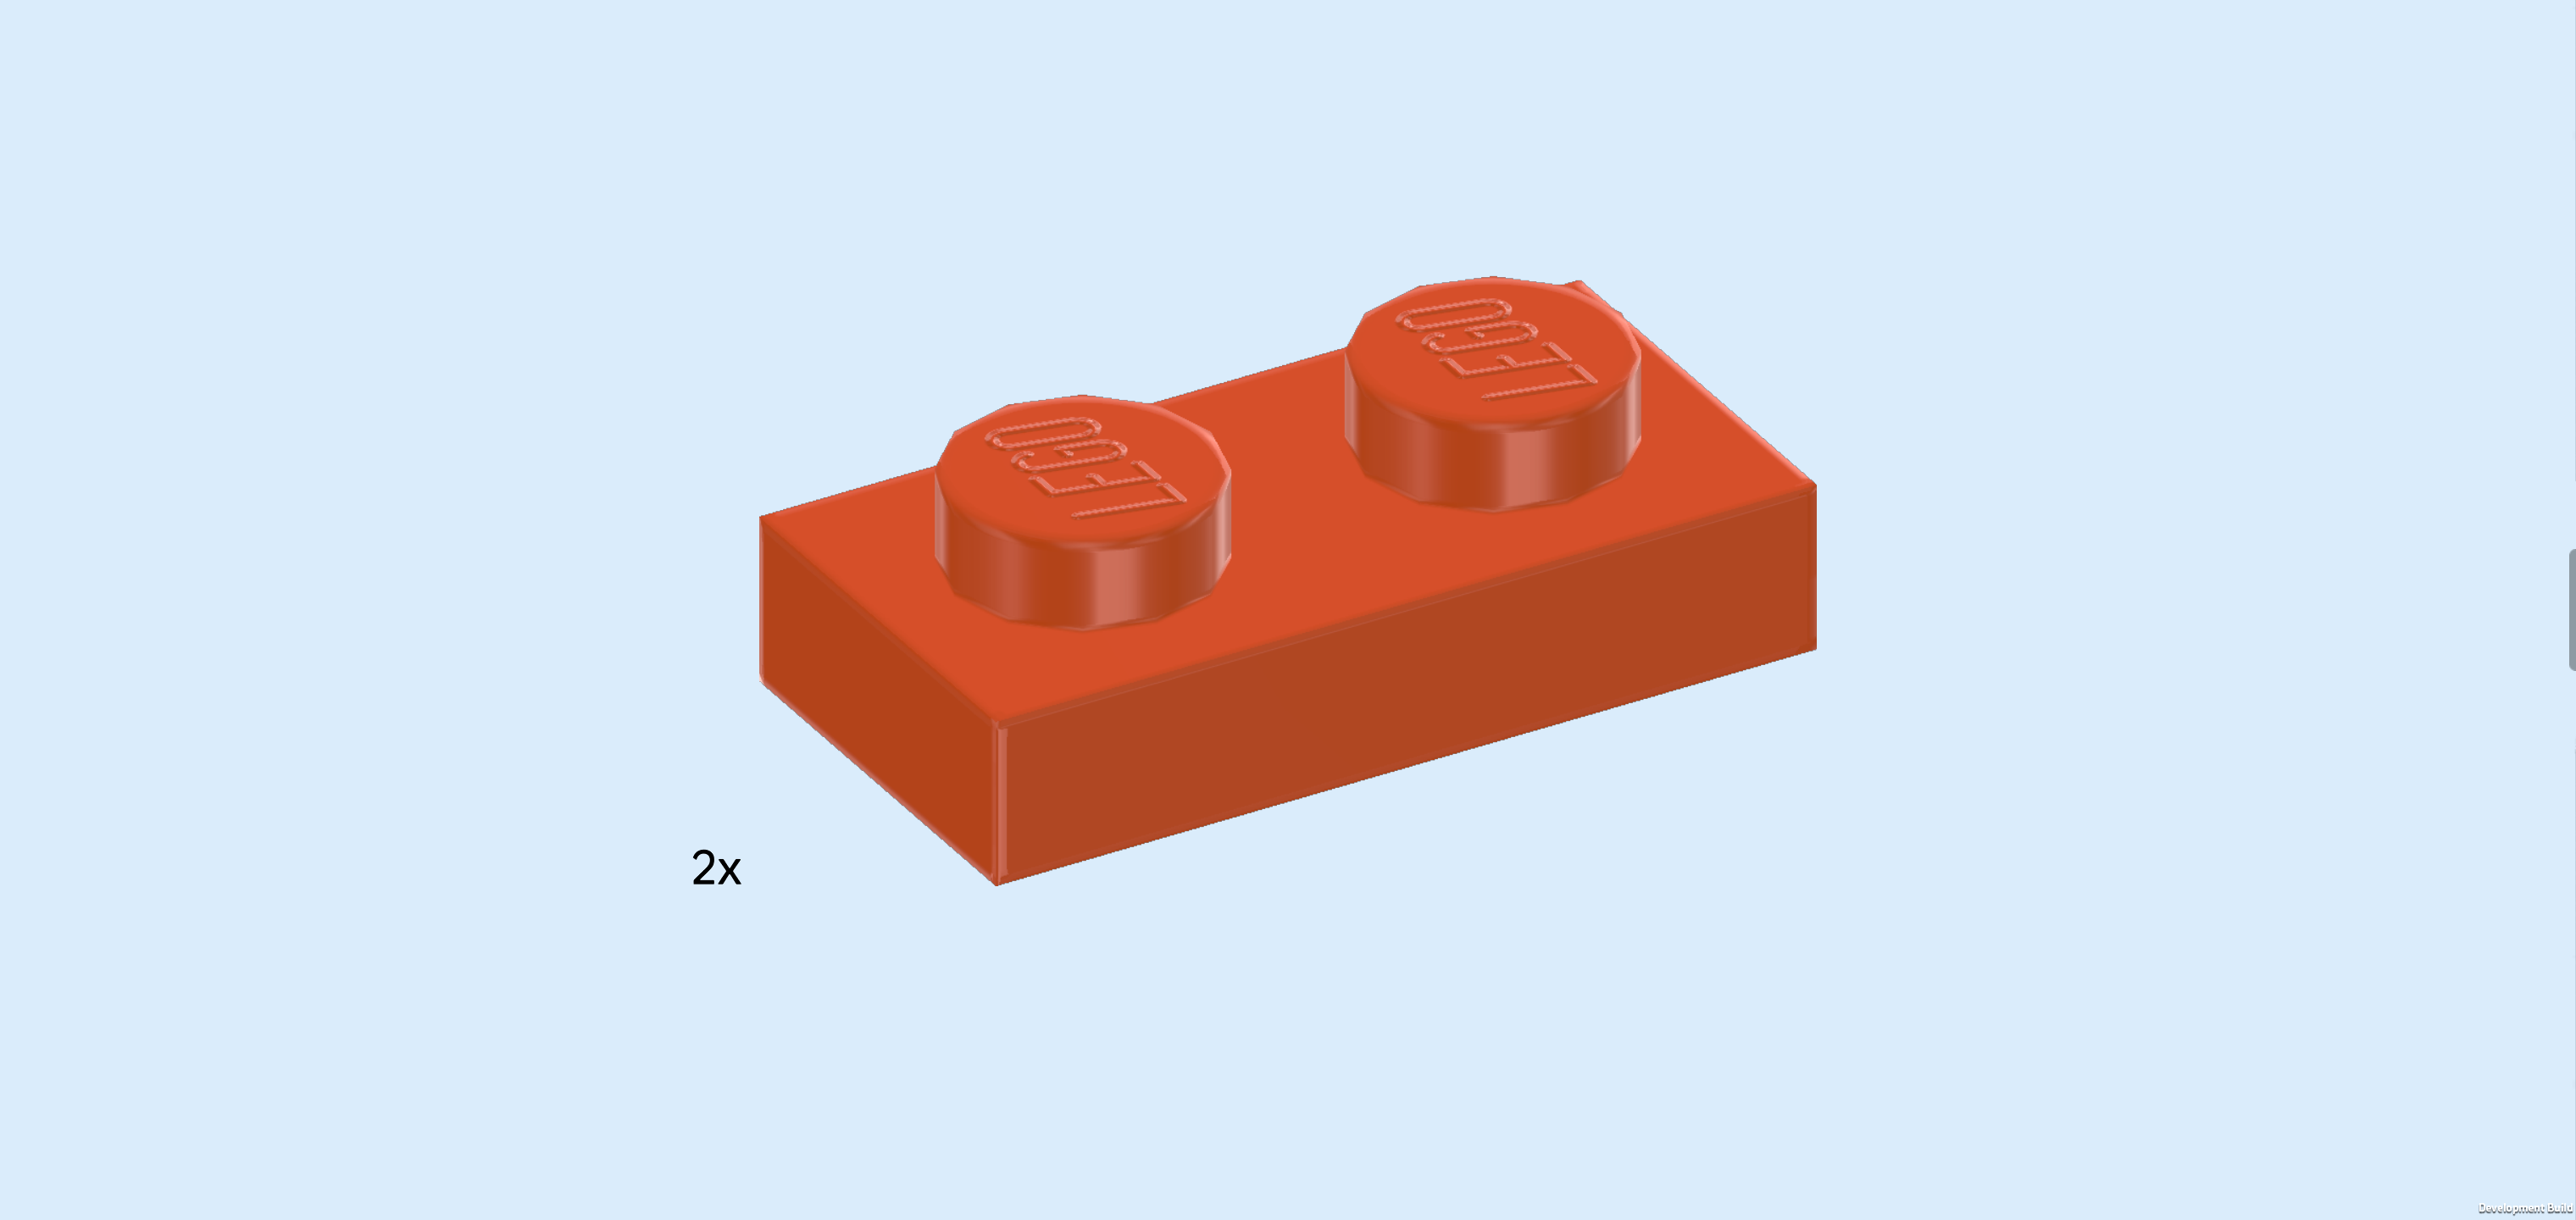
| Collect the following 3 pieces: |
| 1 white brick 1x1x1⅔ with 2 side knobs, |
| 1 reddish orange plate 1x1, |
| and 1 reddish orange plate 1x6. |
| Put the brick 1x1x1⅔ on the backmost row directly to the left of the 2 previous pieces, side knobs to the back. |
| Put the plate 1x6 vertically in front of the previous piece. |
| Put the plate 1x1 in front of the previous piece. |
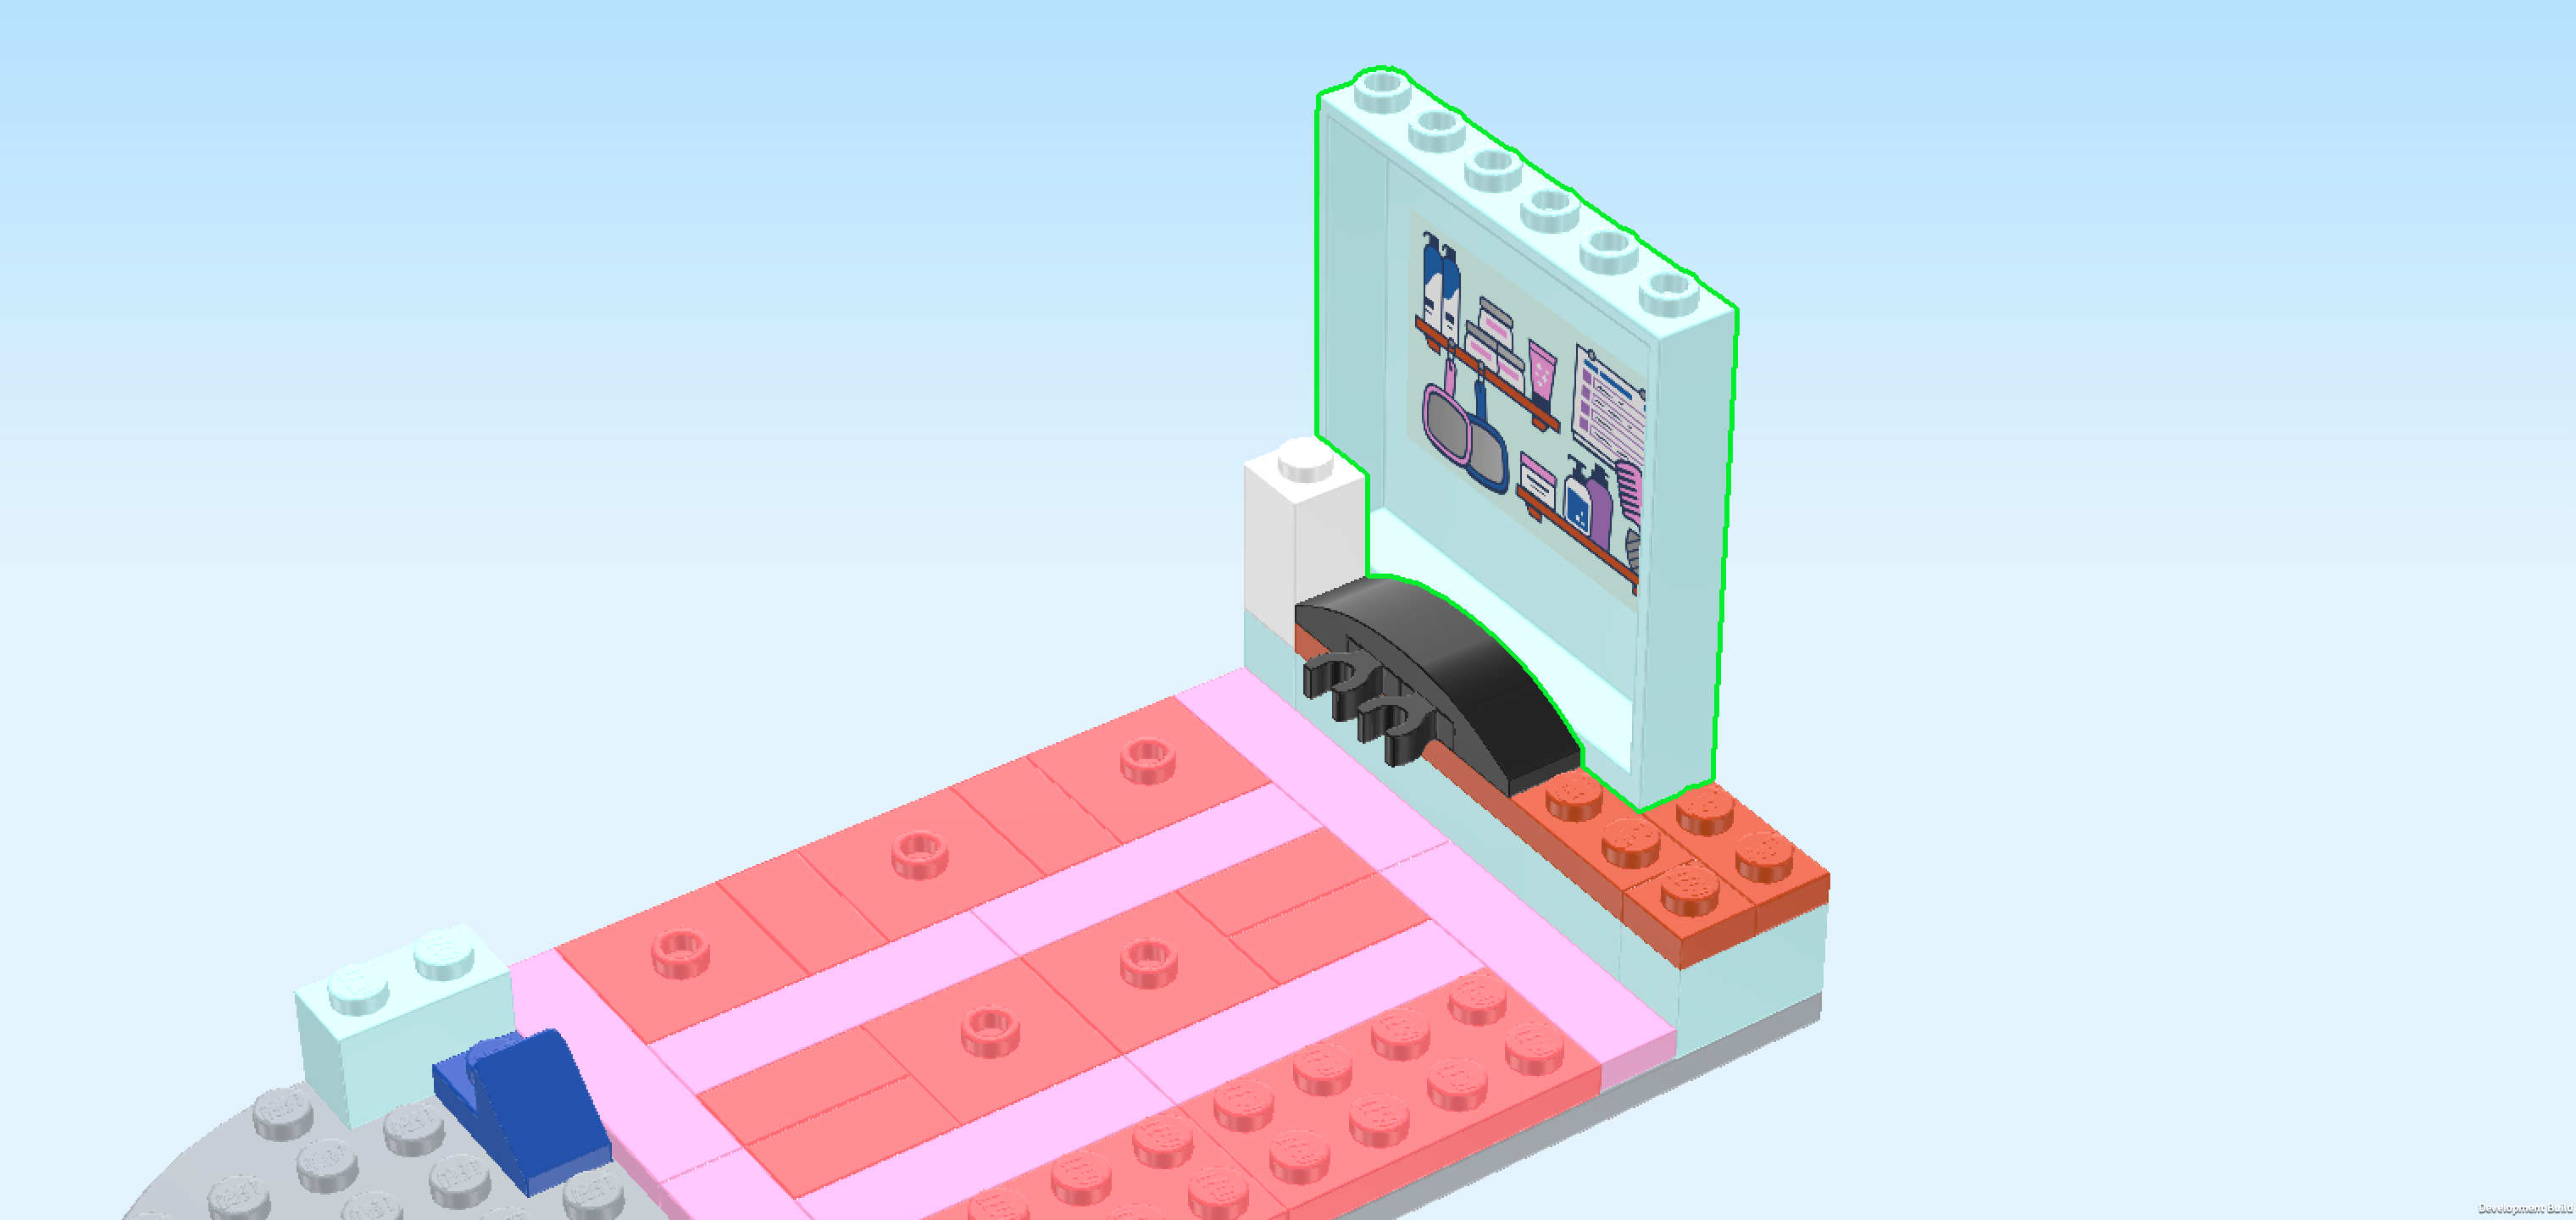
| Now, we will build the brush holder. |
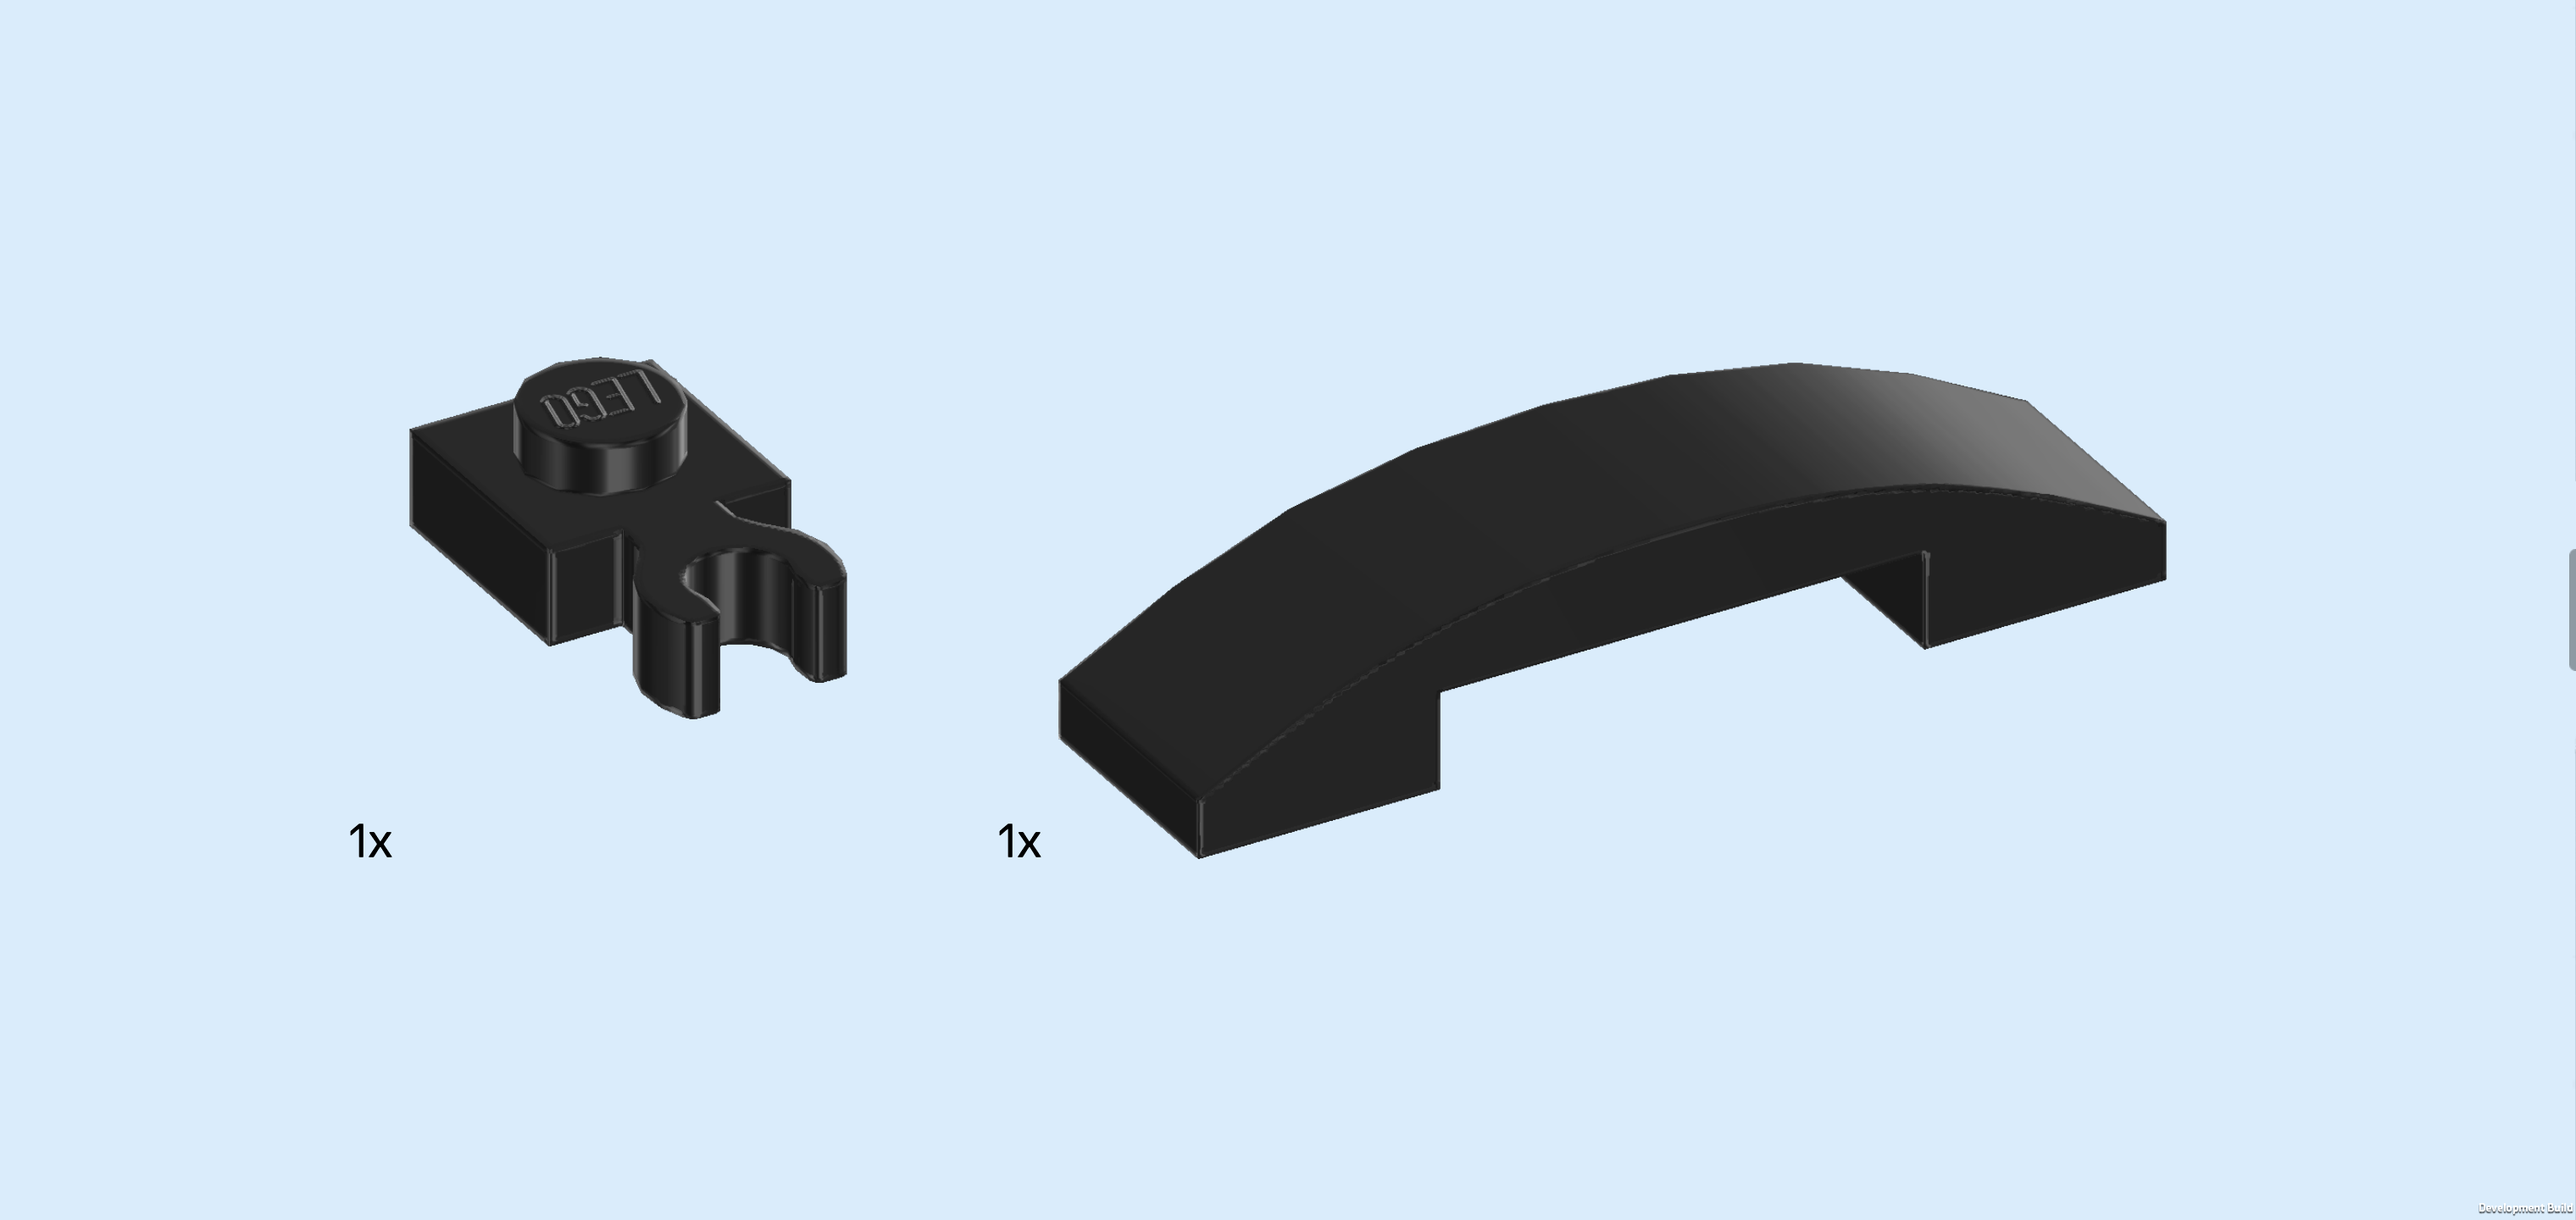
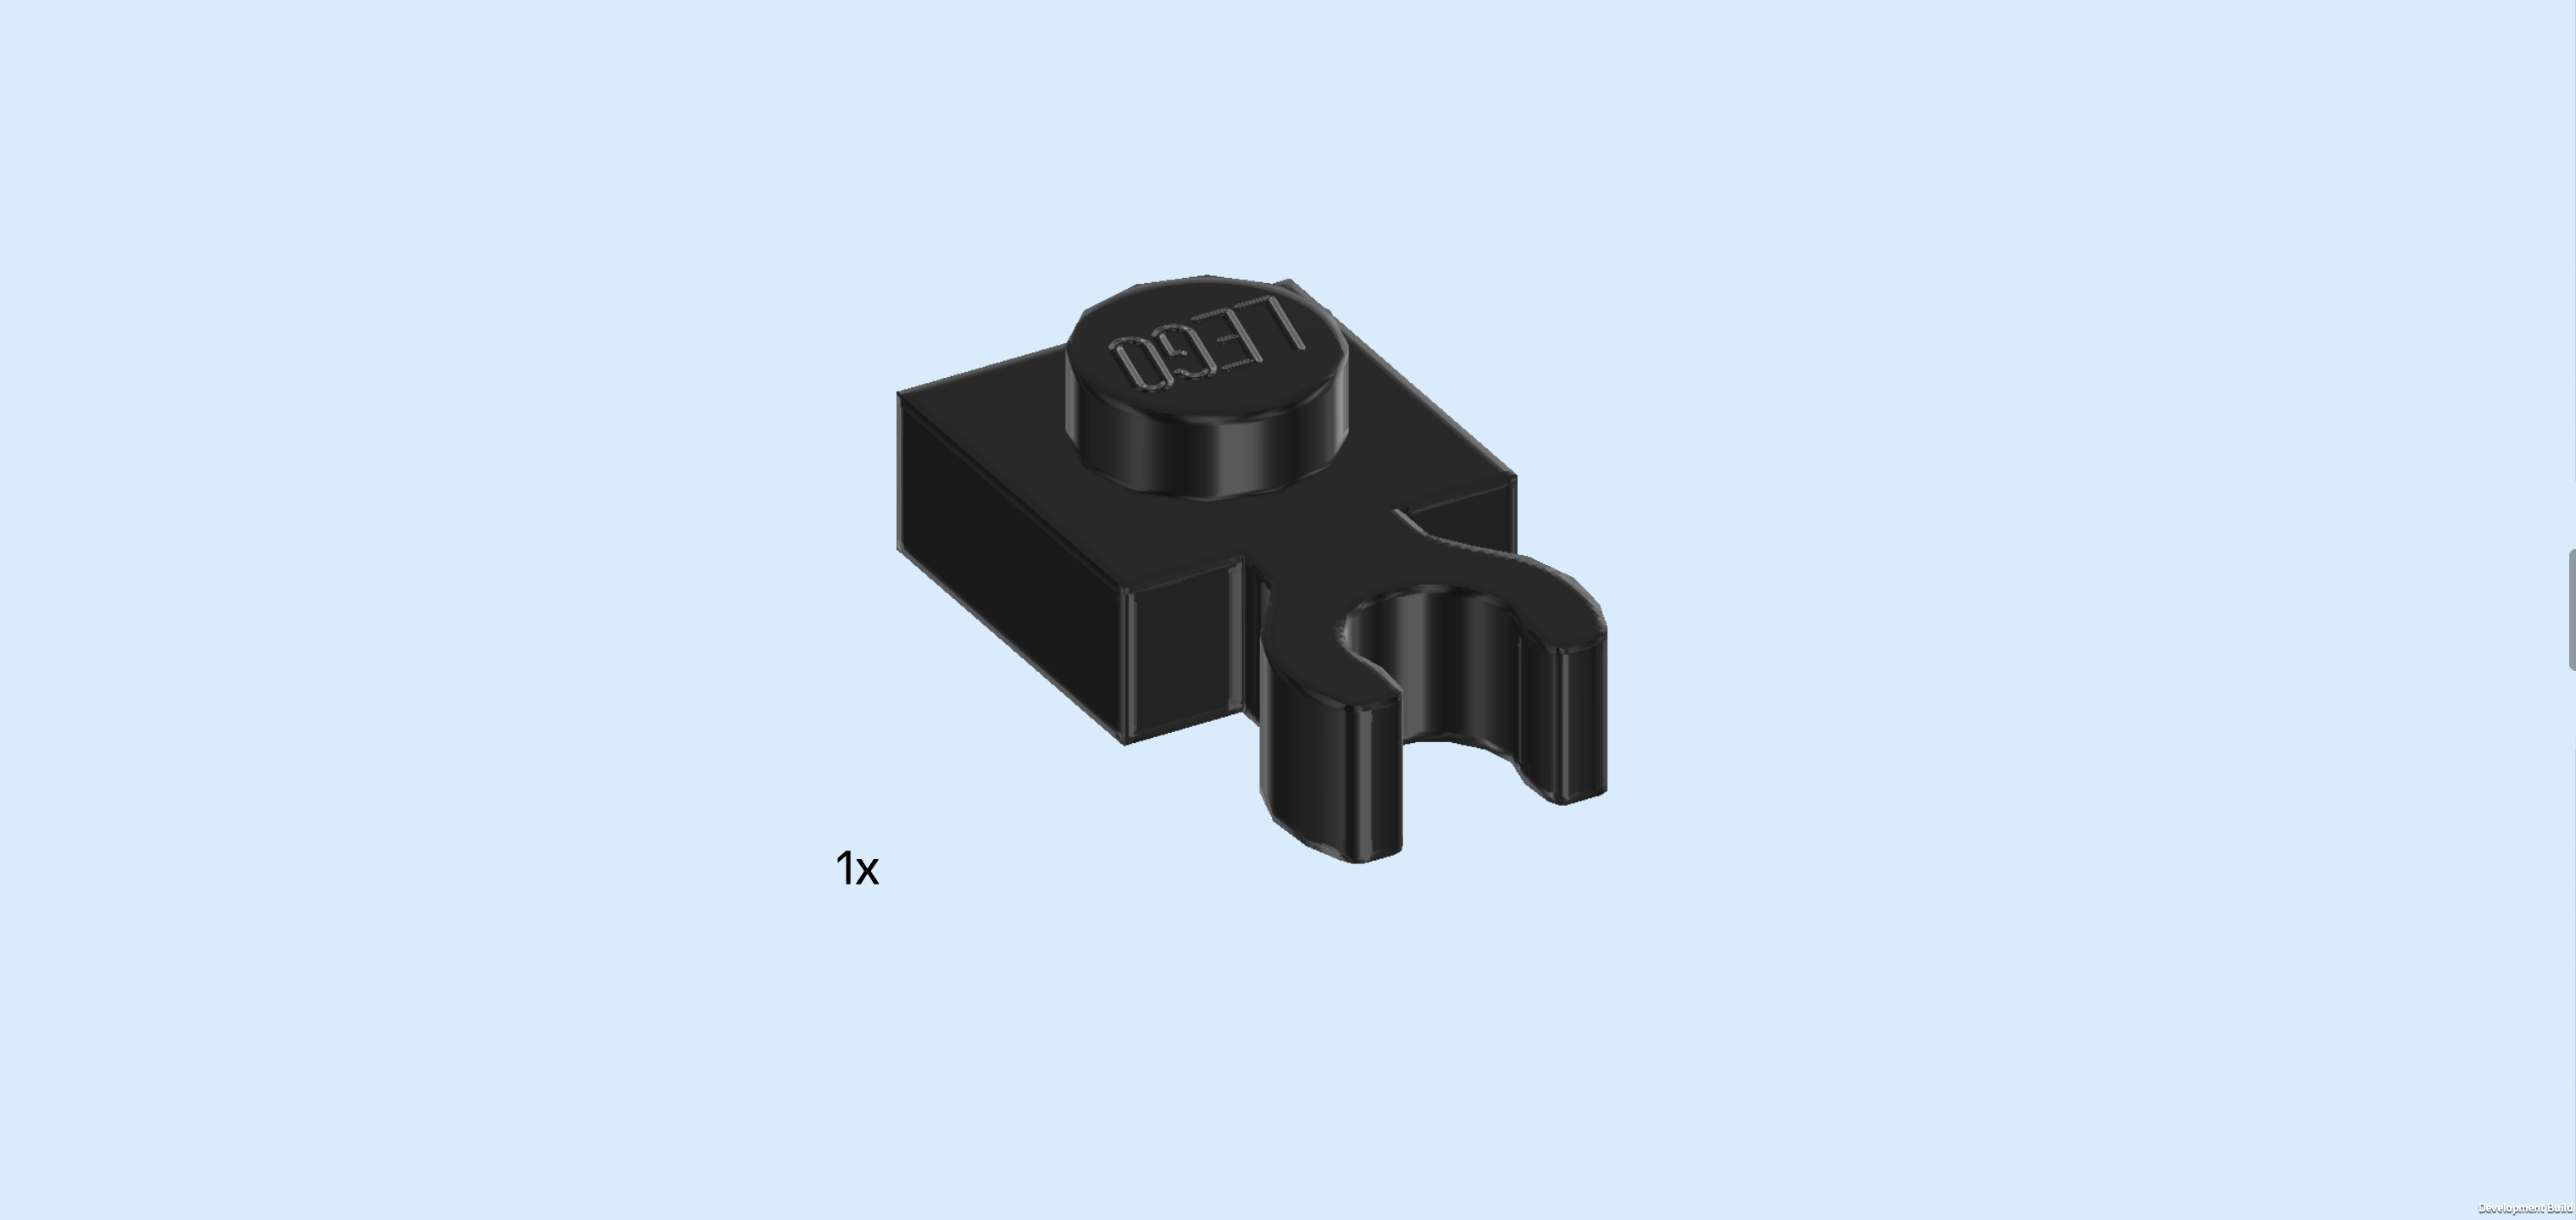
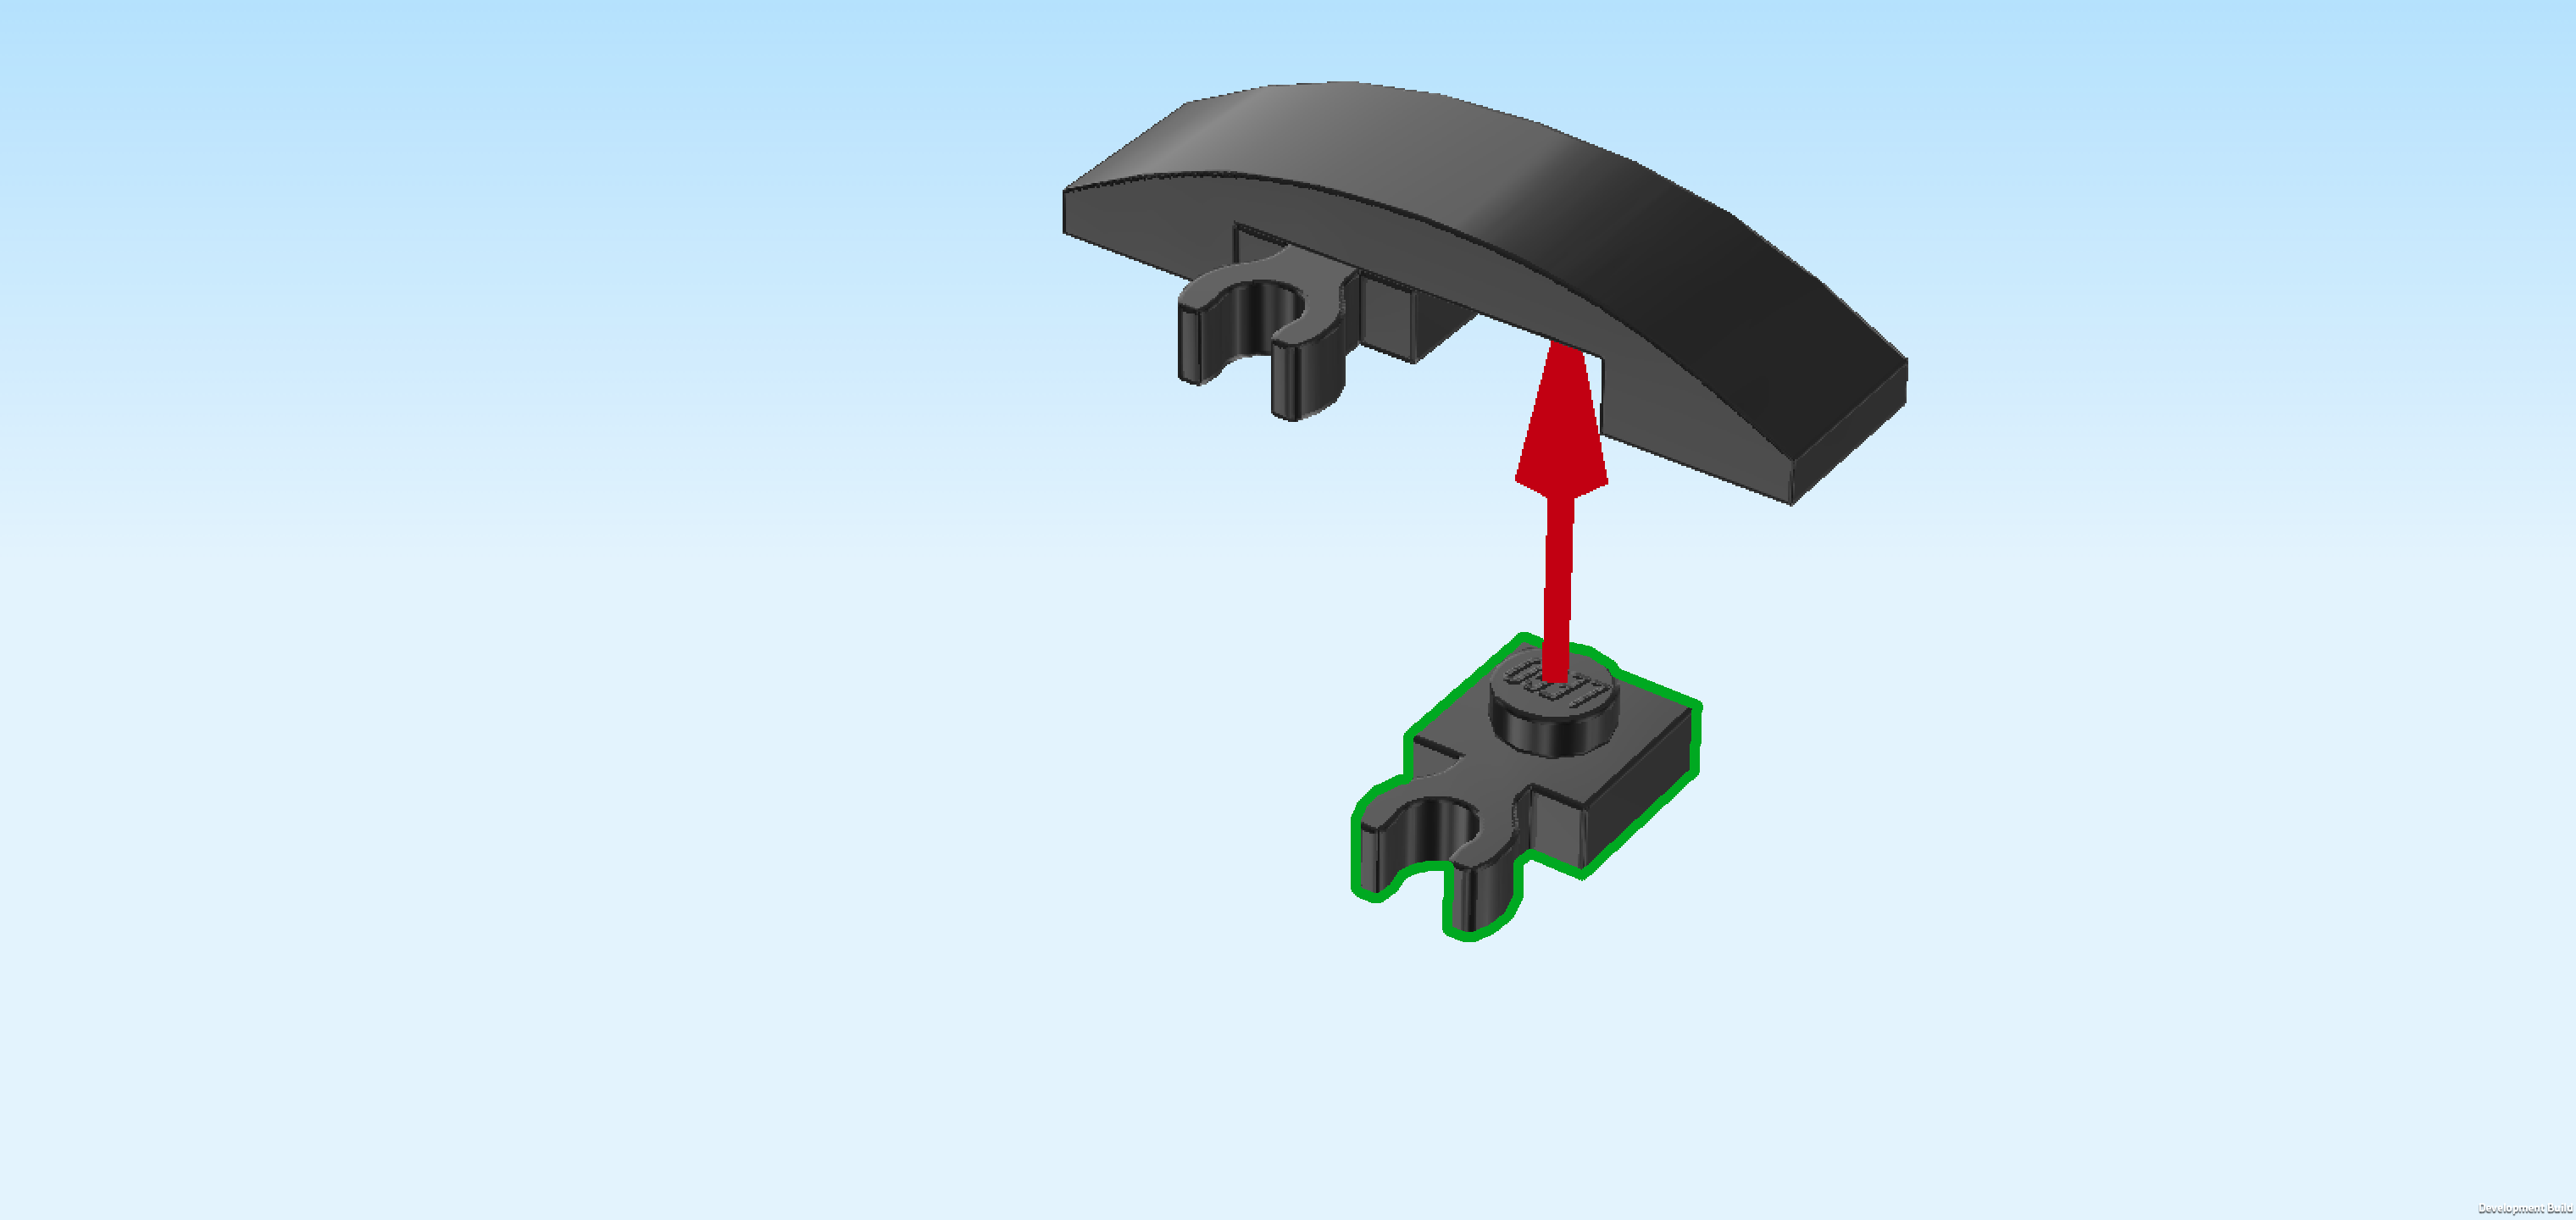
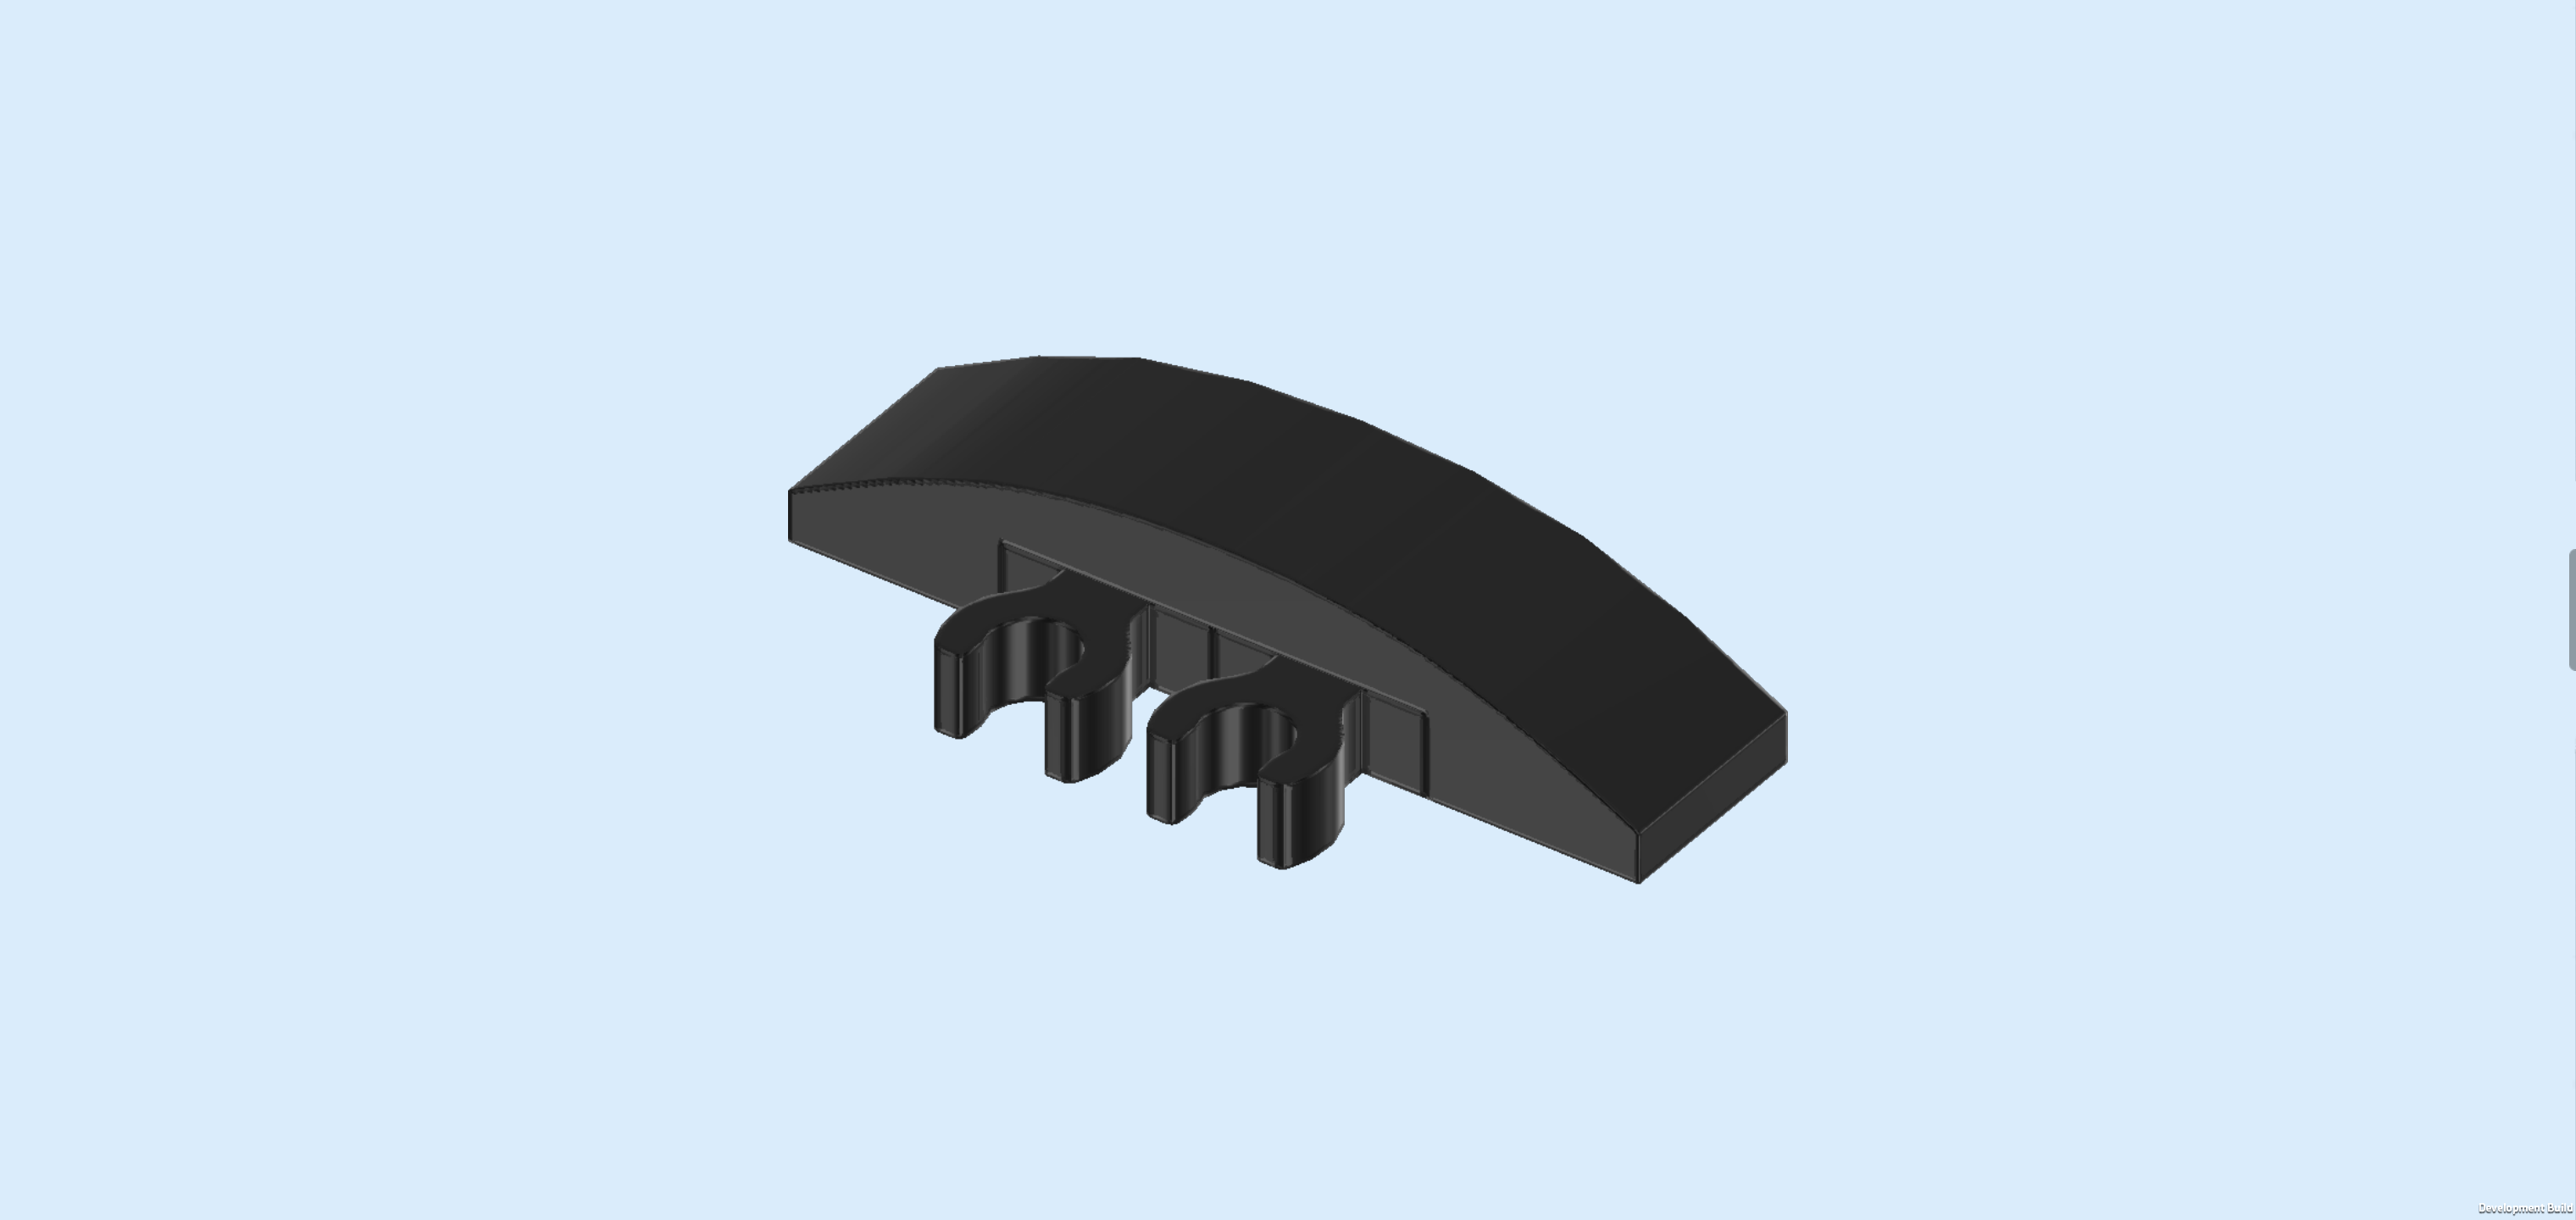
| Collect the following 2 pieces: |
| 1 black plate 1x1 with horizontal side clasp, |
| and 1 black curve tile 1x4. |
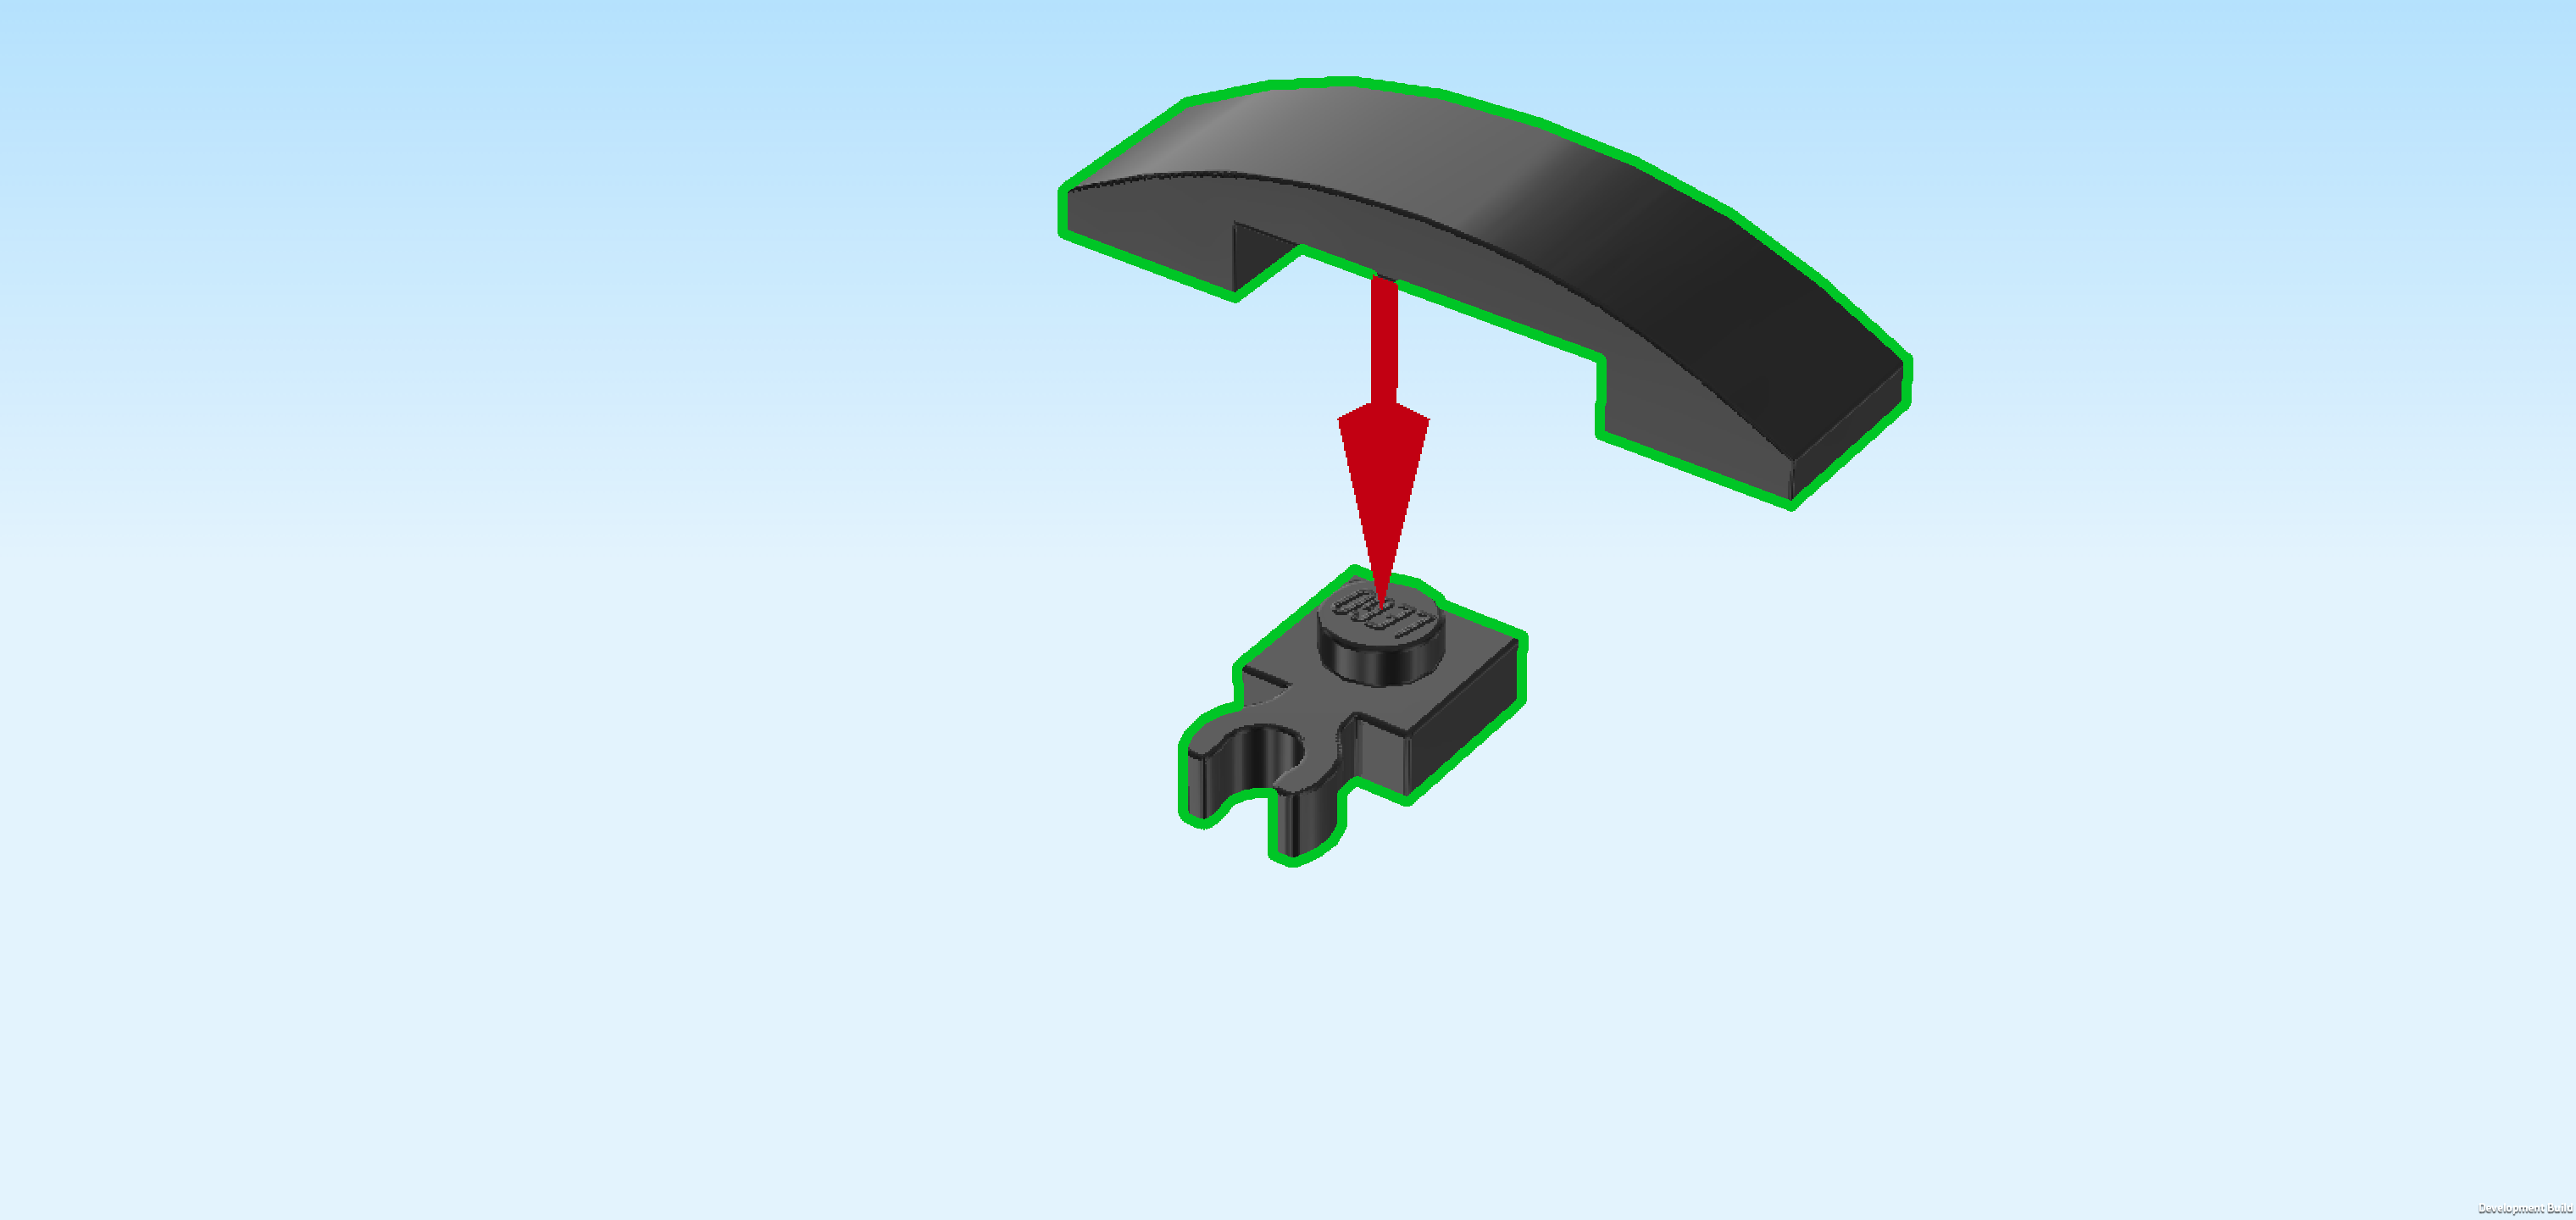
| Put the plate 1x1 on the table, clasp to the left. |
| Put the curve tile 1x4 vertically on top, using the second connection point from the back. |
| Find another black plate 1x1 with horizontal side clasp. |
| Put it underneath the curve tile directly in front of the first plate with clasp, clasp to the left again. |
| The brush holder is finished! Mount it vertically on the second column from the right directly in front of the brick 1x1x1⅔, clasps pointing to the left. |
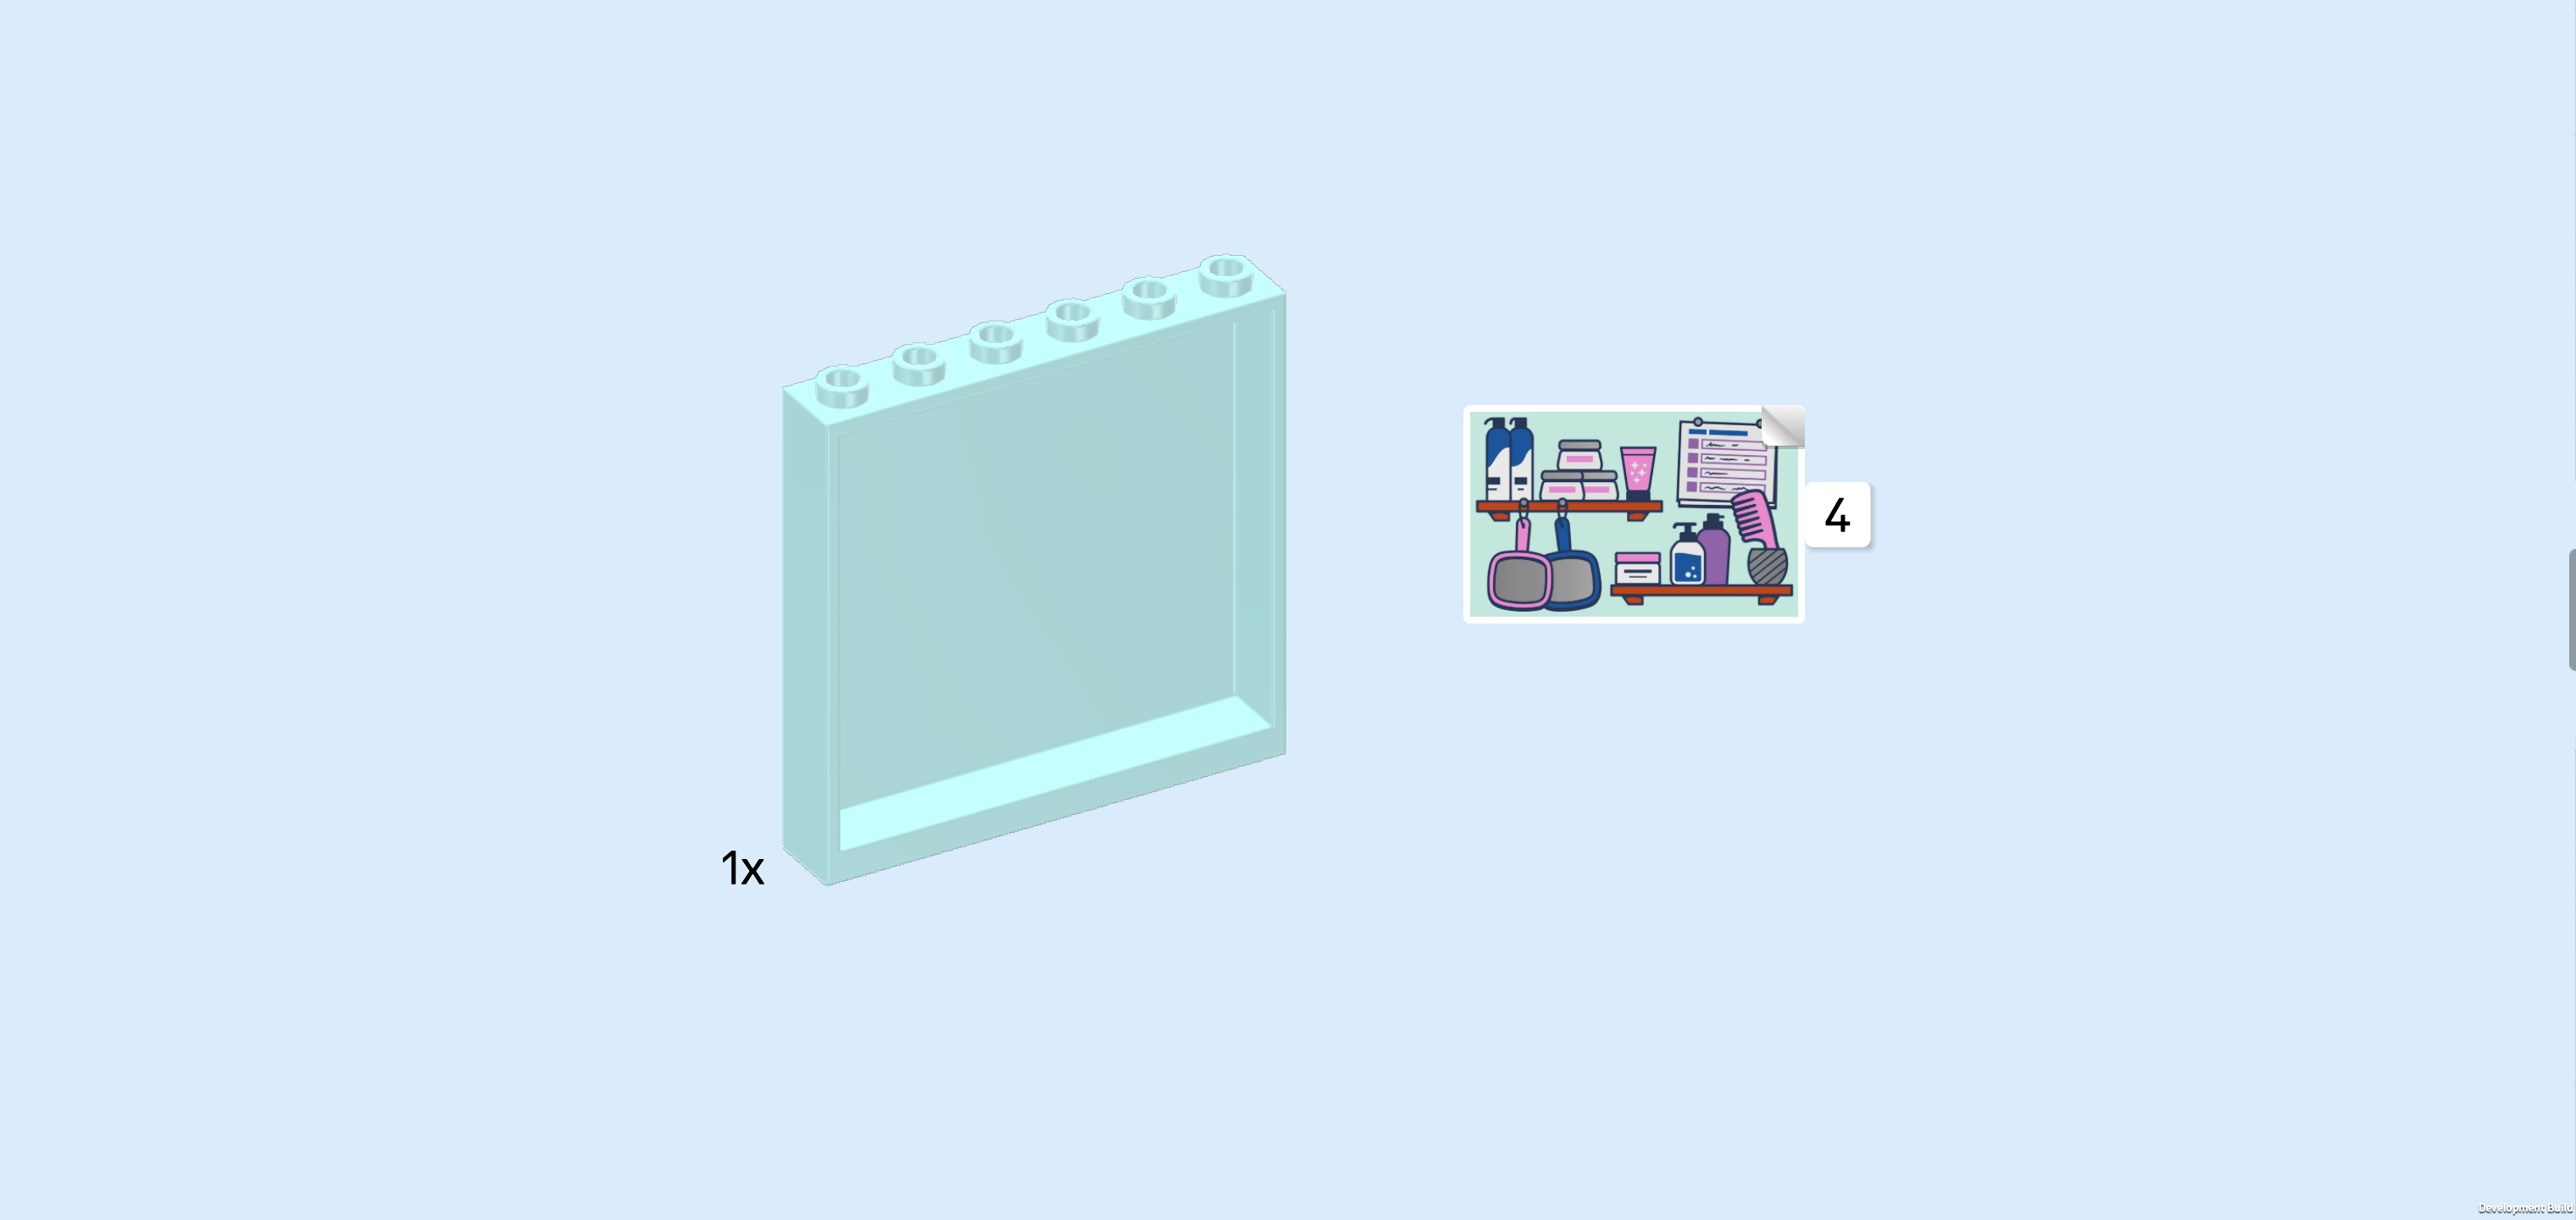
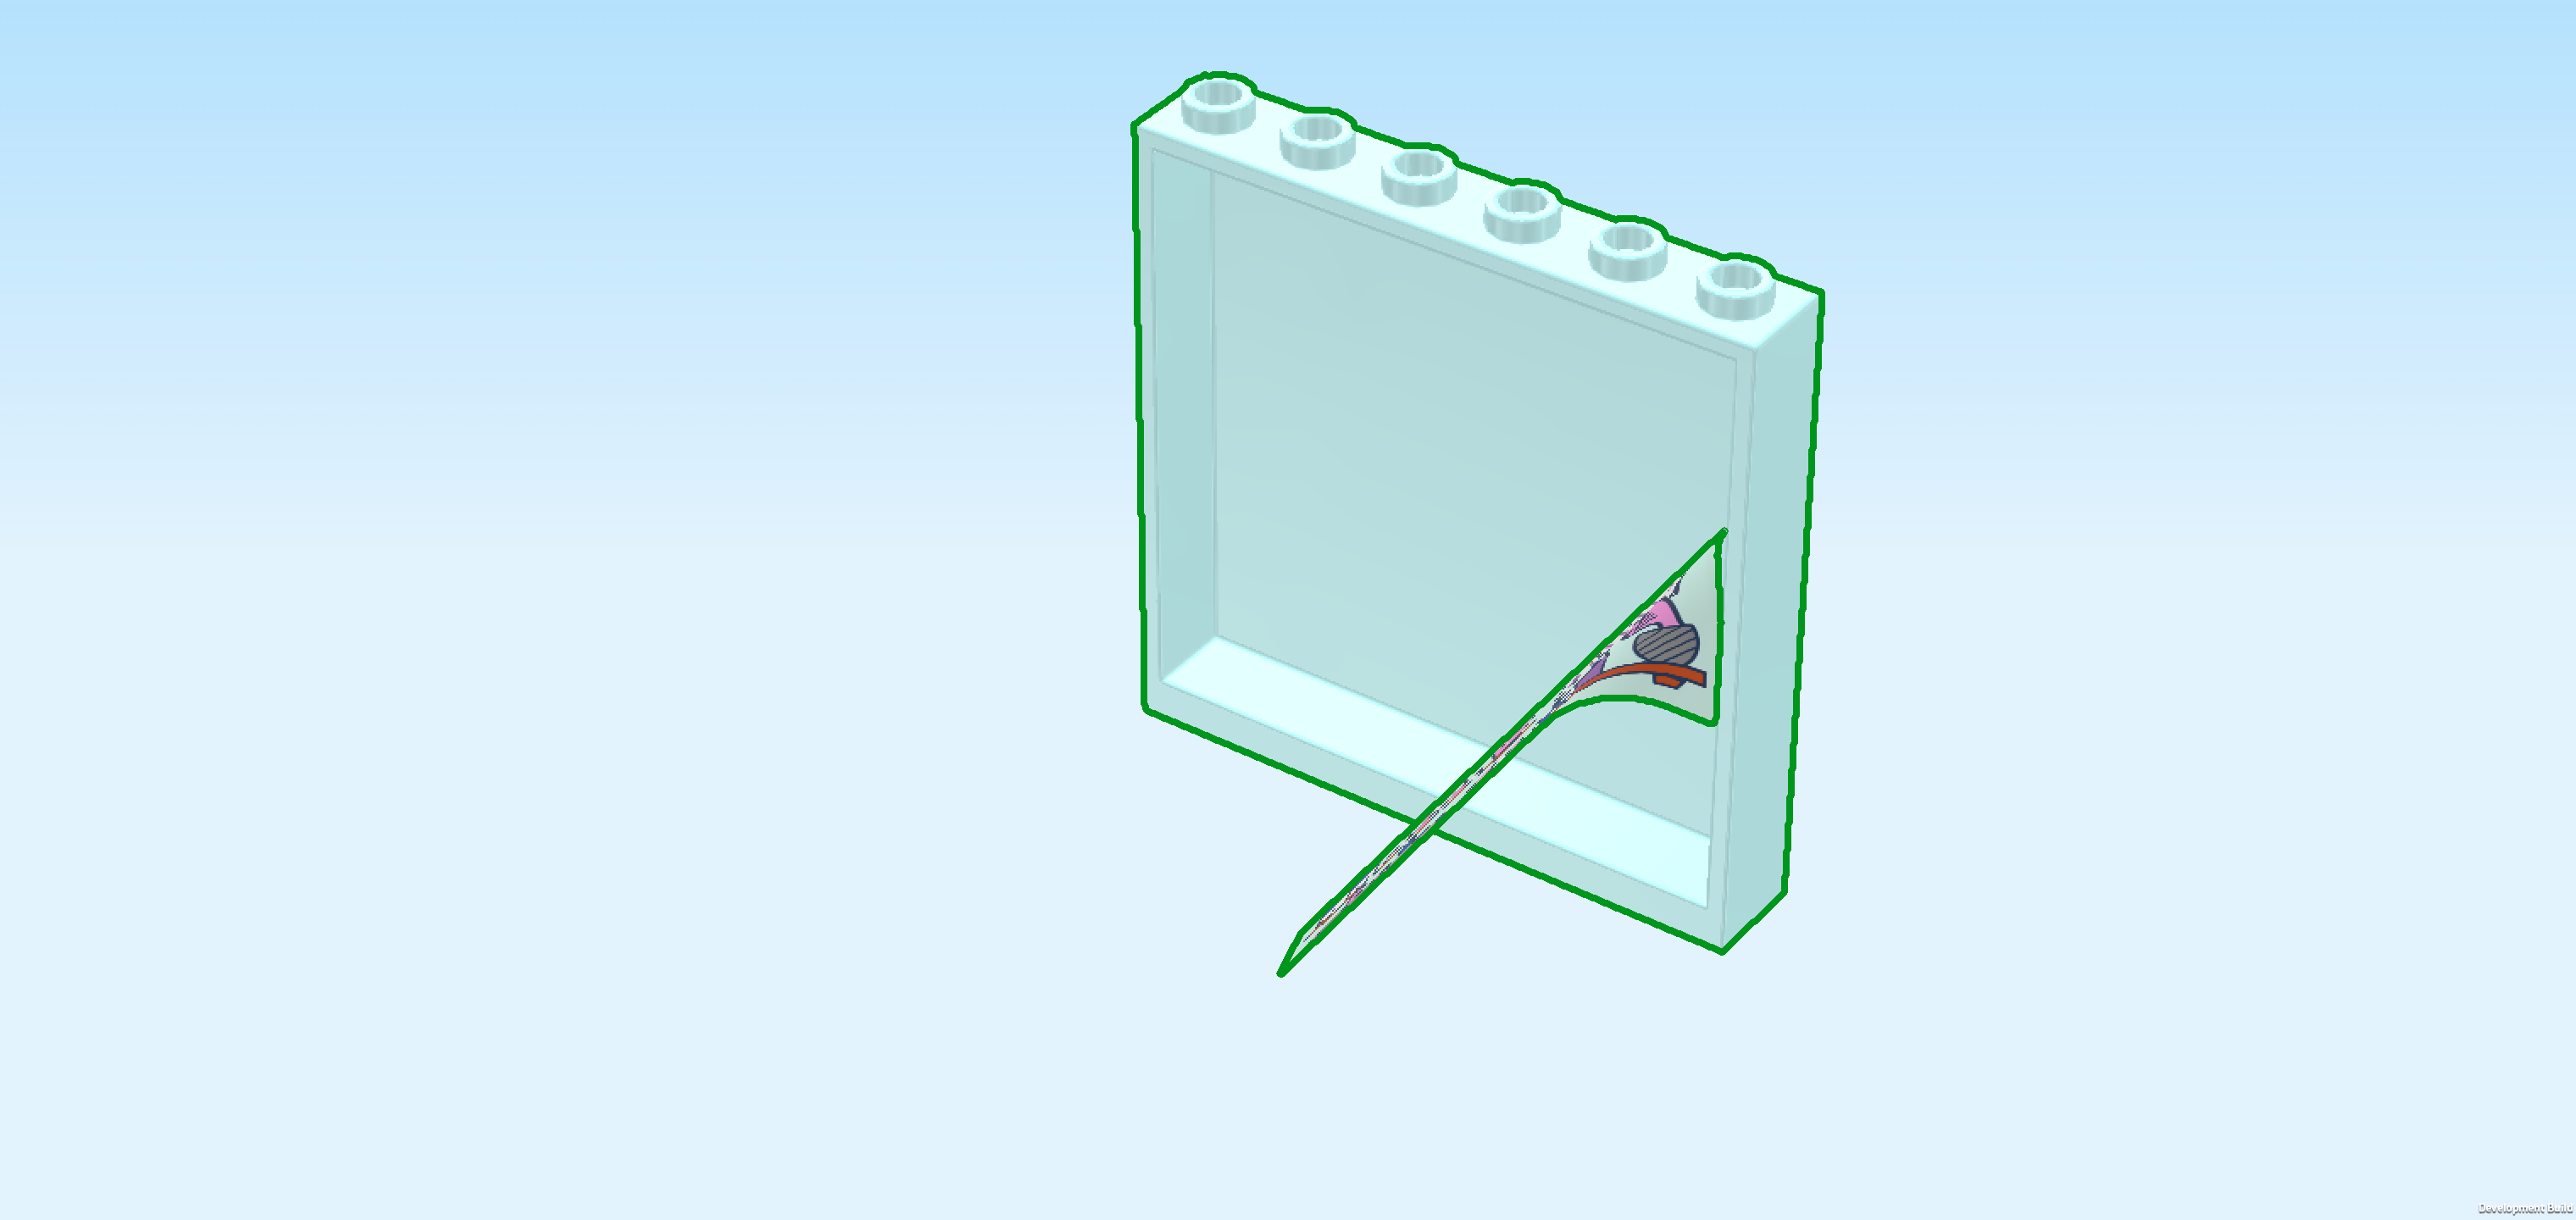
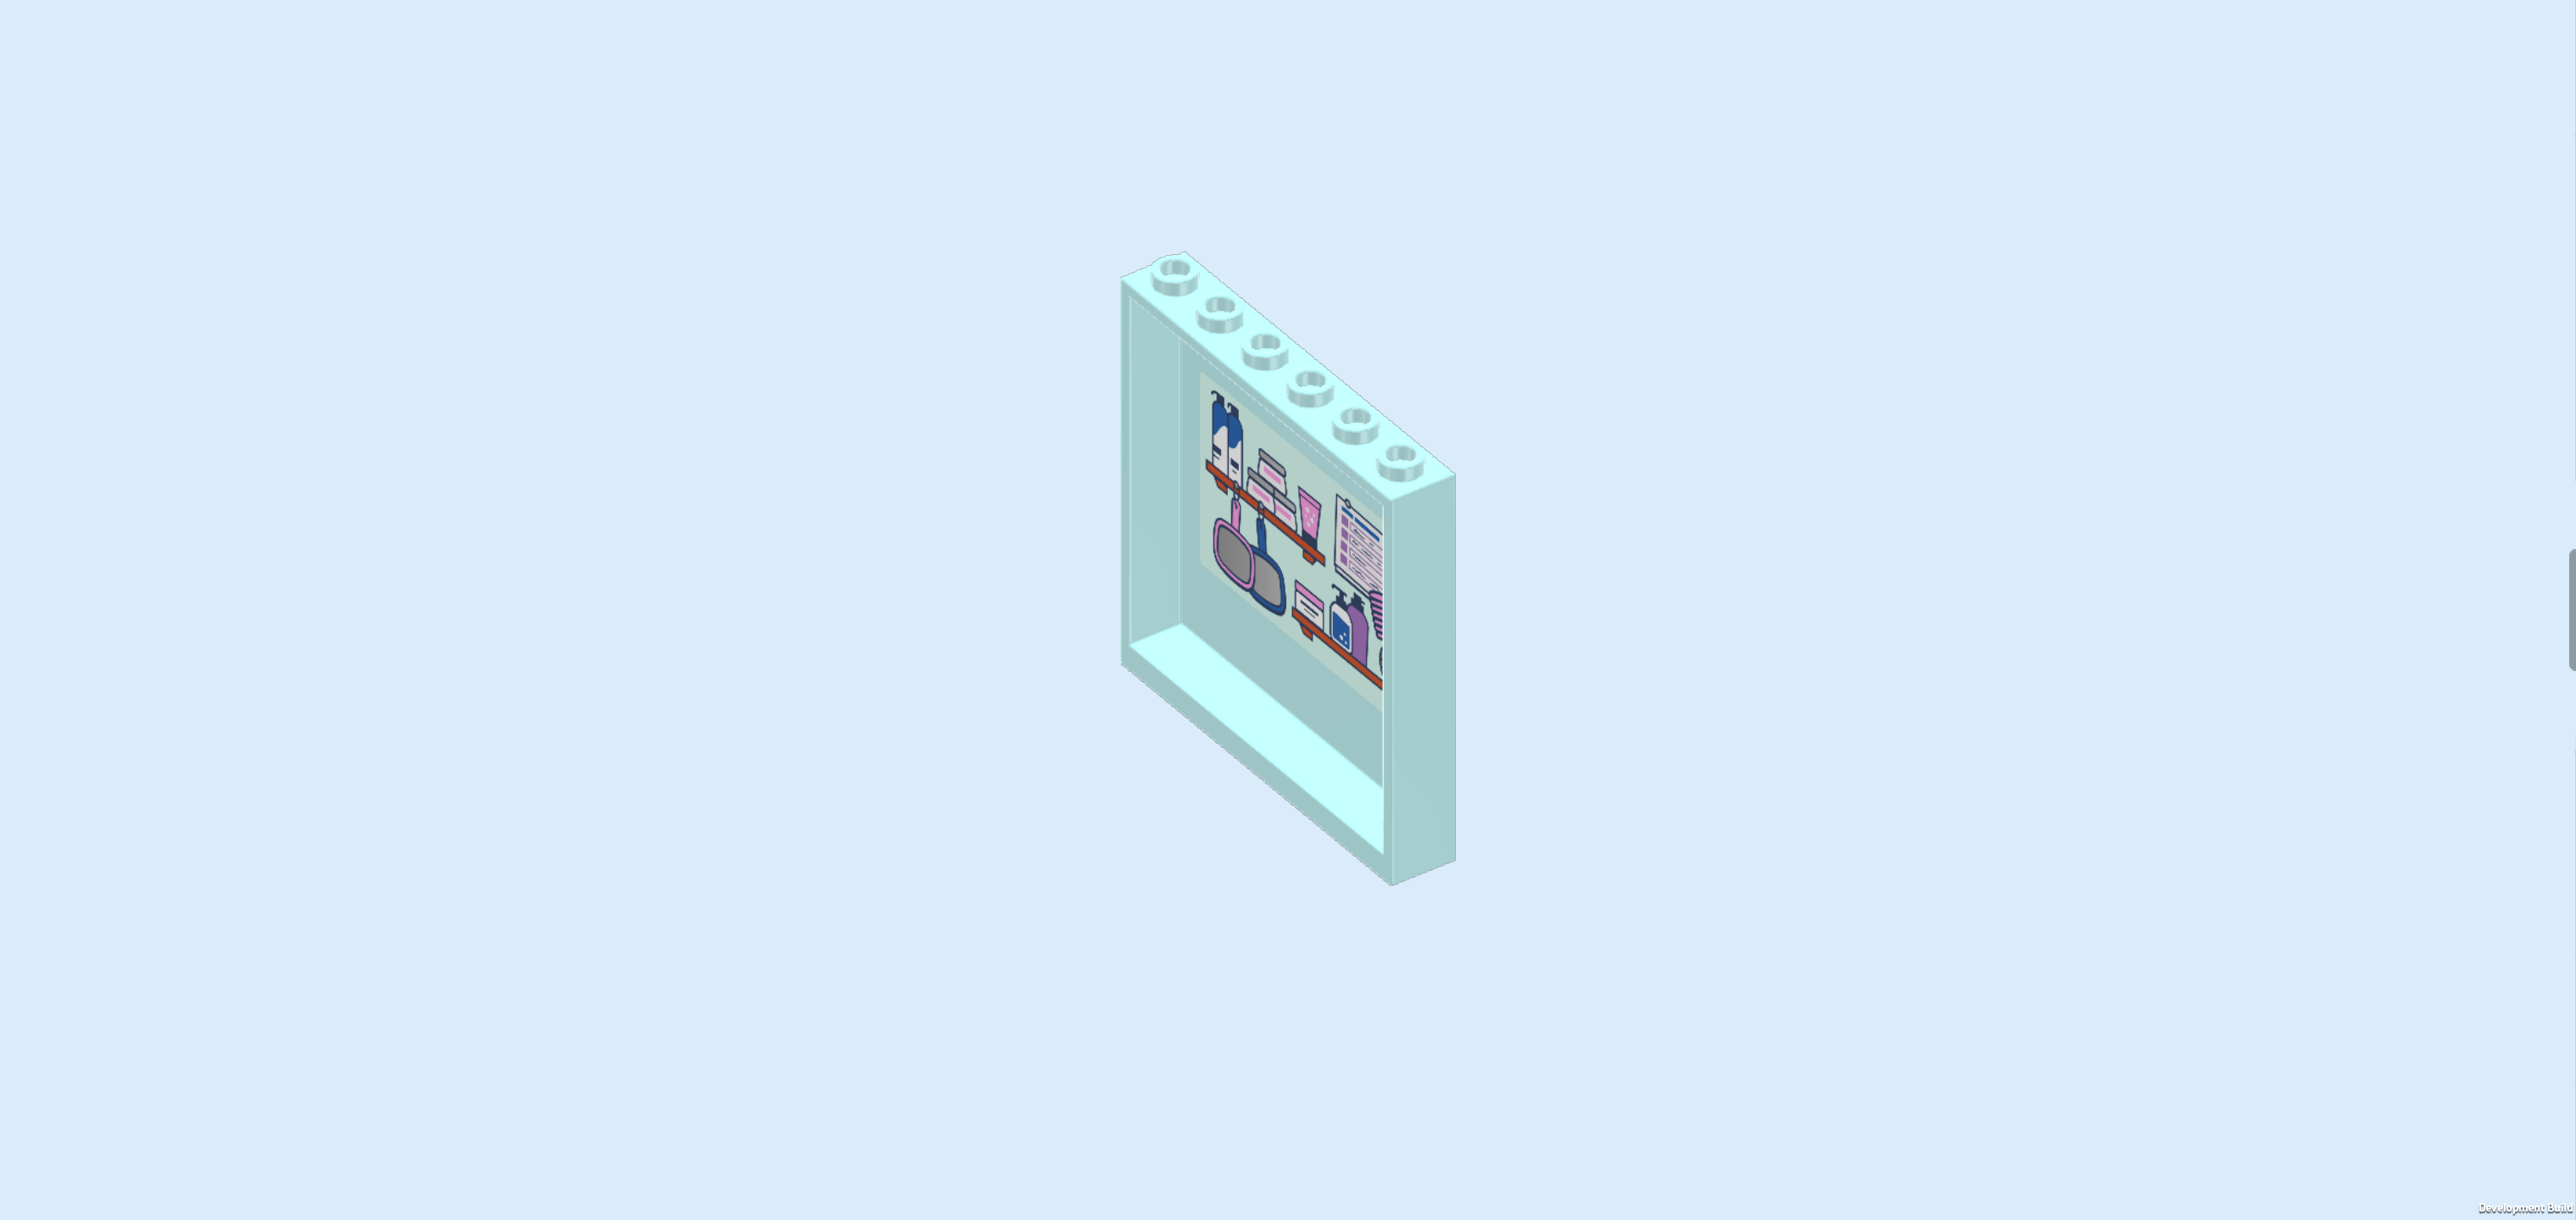
| Collect the following 2 pieces: |
| 1 aqua blue wall element 1x6x5 with sides and top knobs, |
| and 1 sticker 3x5 with hair product shelves. |
| Put the wall element 1x6x5 horizontally on the table. Make sure its hollow side is towards you, meaning that the outer panel surface is towards the back. |
| Attach the sticker to the inner surface of the hollow wall portion, aligning its top edge with the top. This means that the lower portion of this surface will remain empty. |
| The sticker shows 2 red open shelves with hair salon products on them. The top shelf which is more towards the left shows 2 white-and-blue pump dispenser bottles, 3 light pink screw-top jars and 1 small pink tube with black cap. There are 2 nails on the side of the shelf that act as hangers for 2 square hand mirrors dangling down from the shelf. The bottom shelf features a different screw-top jar, 1 pump dispenser, 1 lilac shampoo bottle and a glass holding a comb. In the top right corner of the sticker, there is a calendar that is probably used for organizing the hair salon schedule. |
| Mount the wall element vertically on the rightmost column of the structure, starting from the back edge. Make sure the stickered side is towards the left. If you haven't attached the sticker yet, make sure the hollow side is towards the left. |
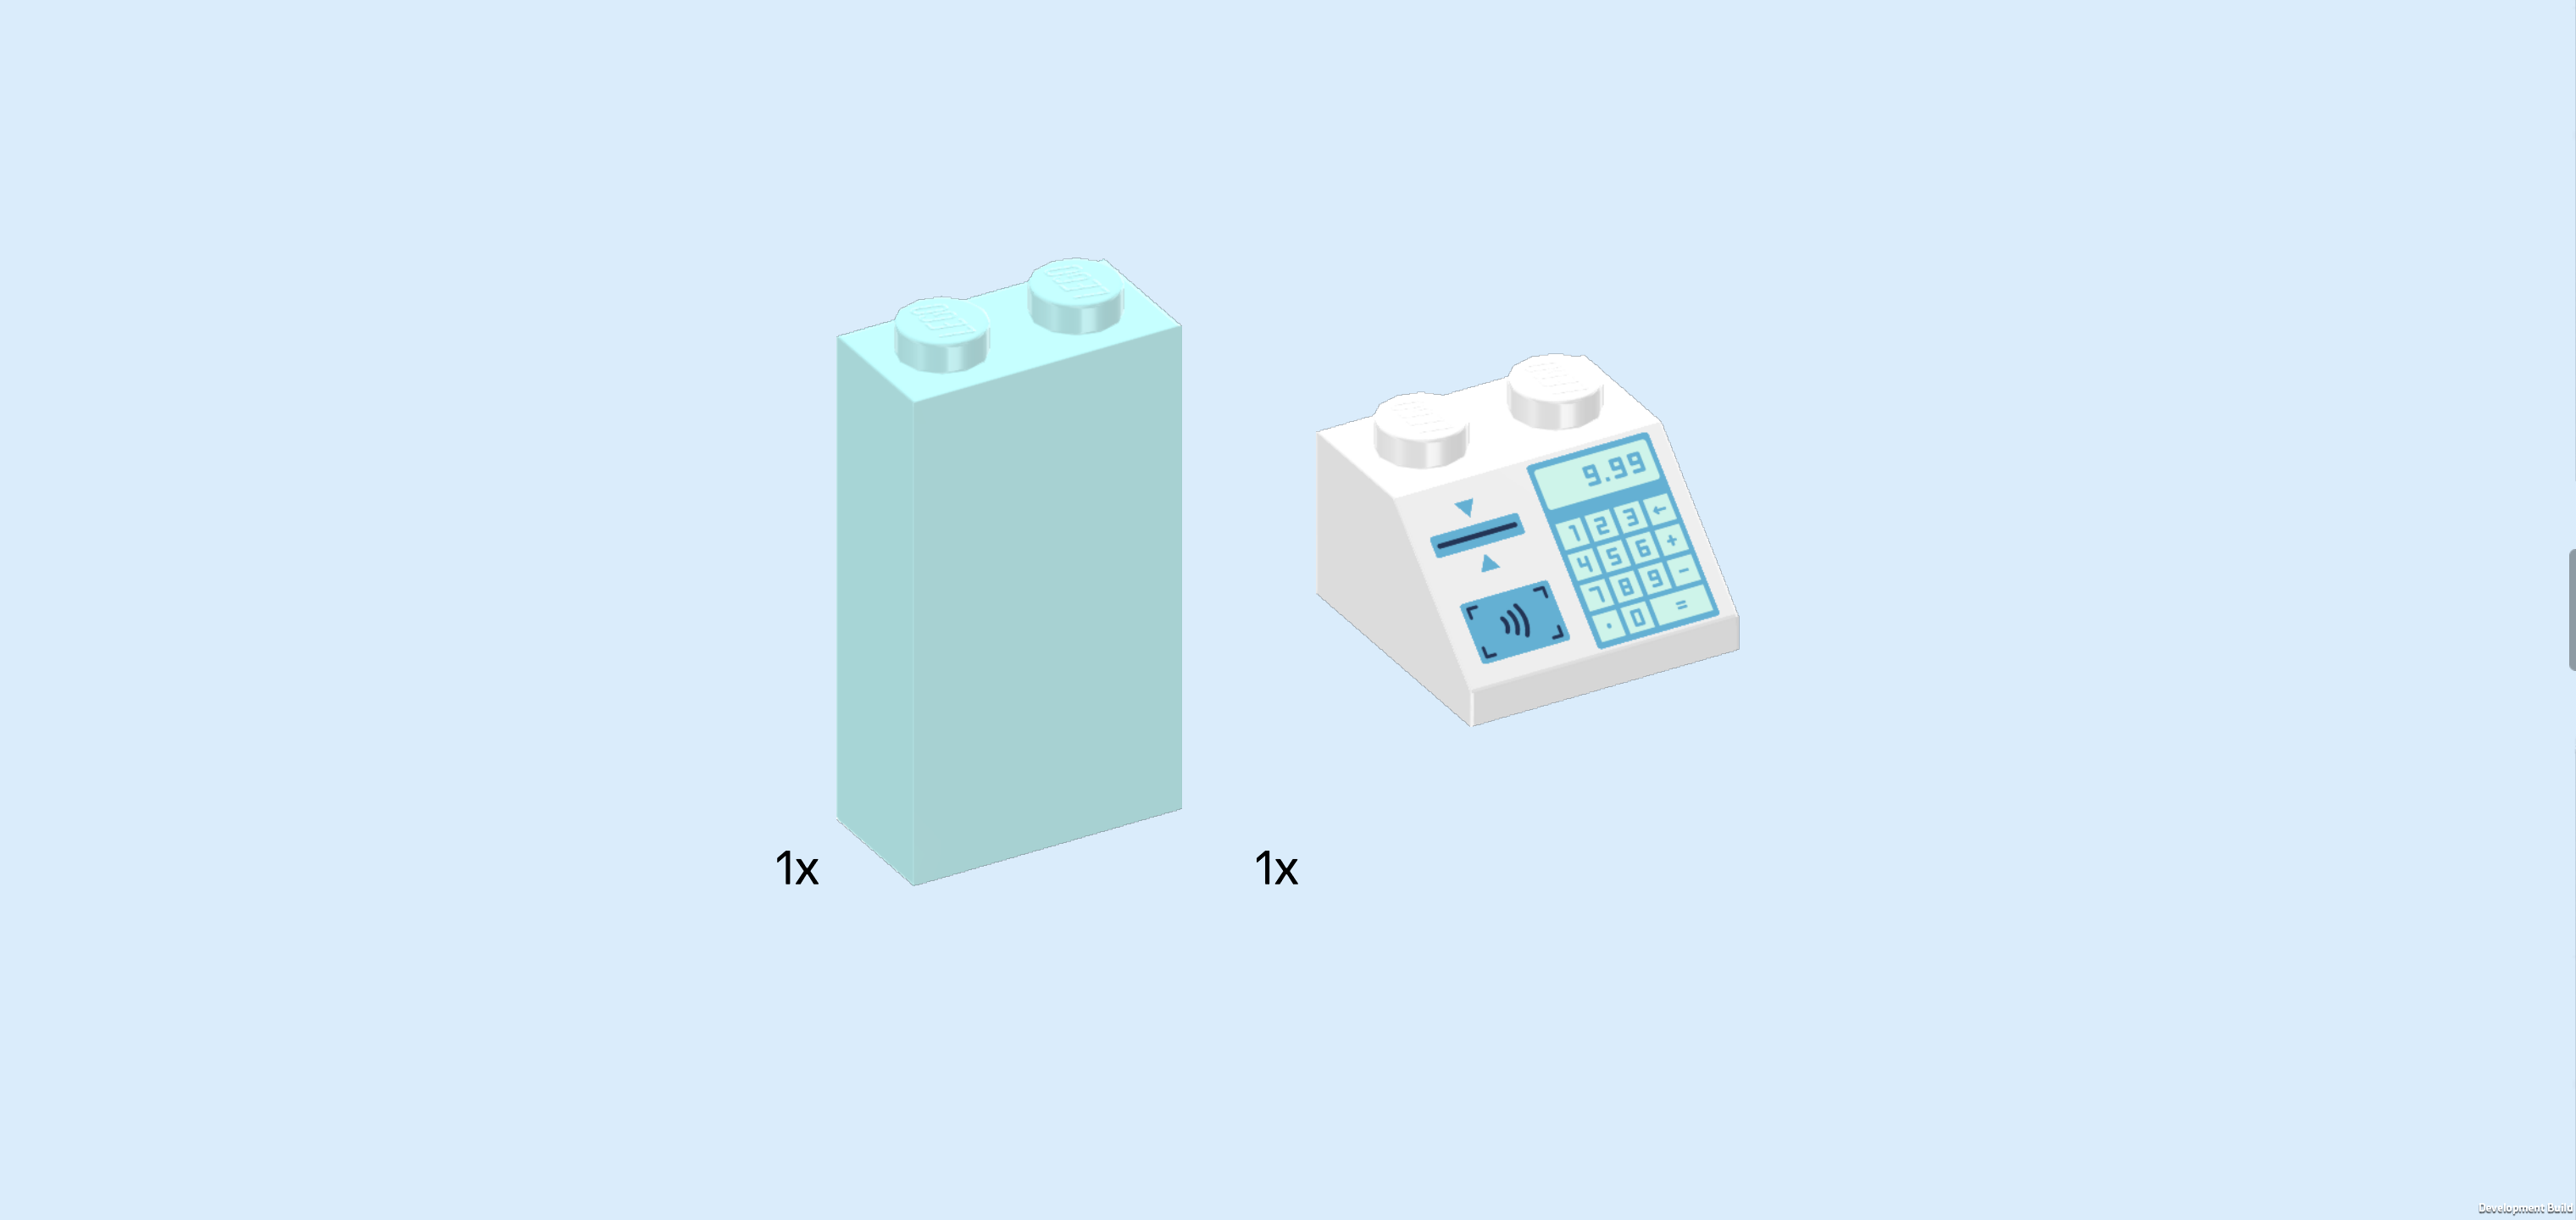
| Collect the following 2 pieces: |
| 1 aqua blue brick 1x2x3, |
| and 1 white roof tile 2x2, 45°. |
| Put the roof tile 2x2 on the table, slope to the left. |
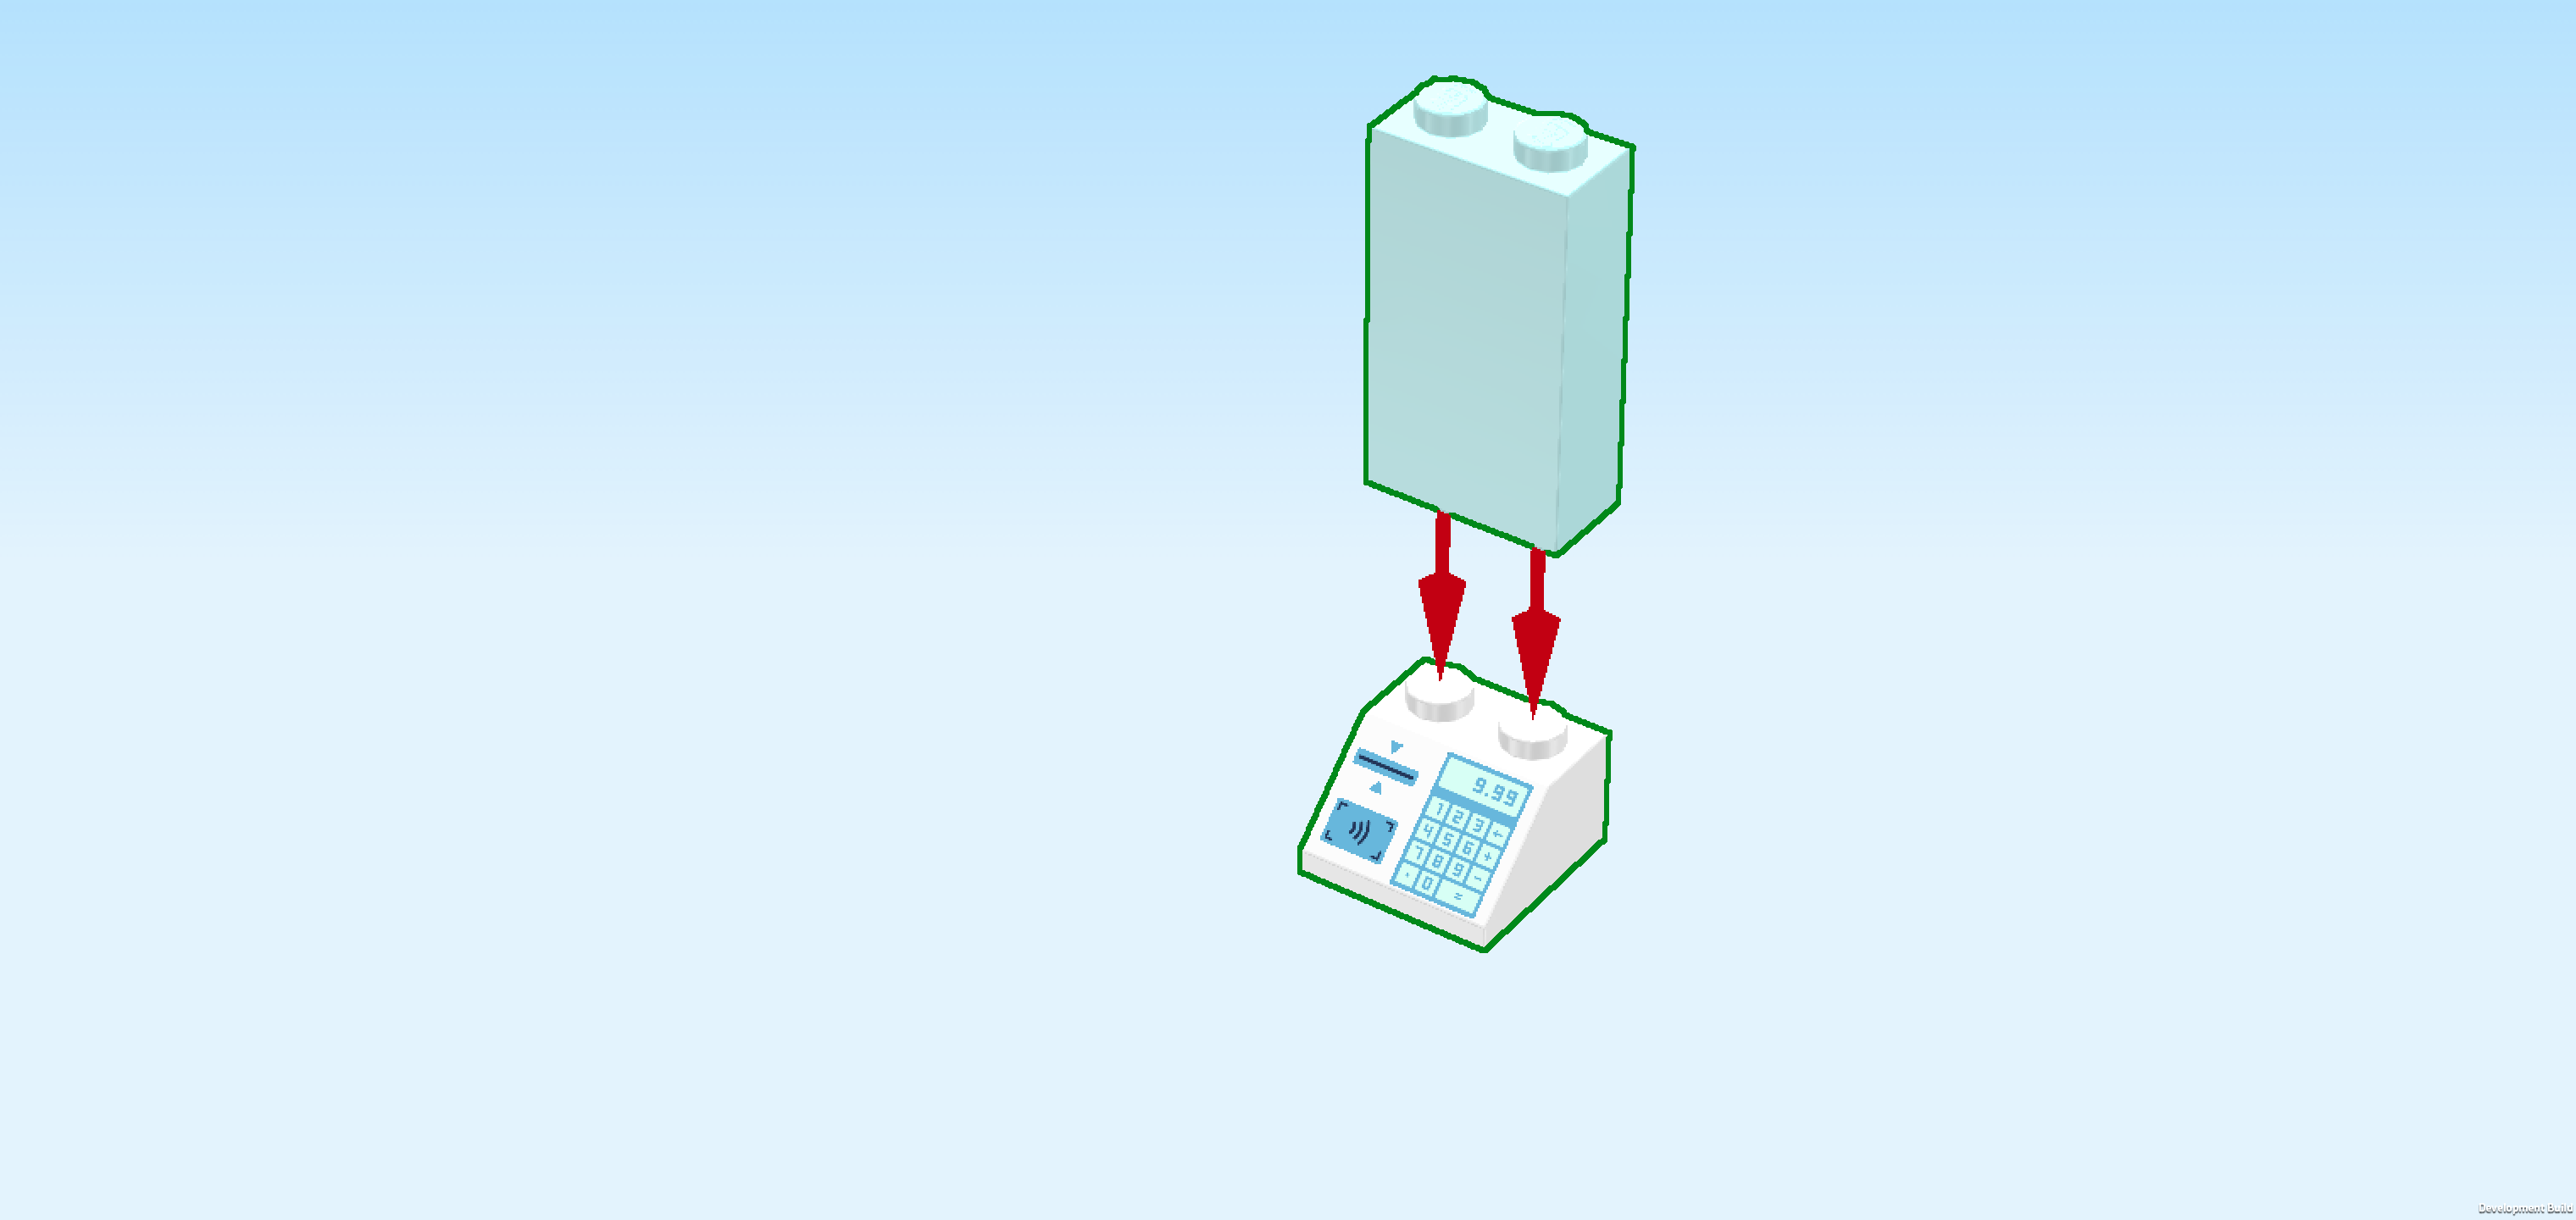
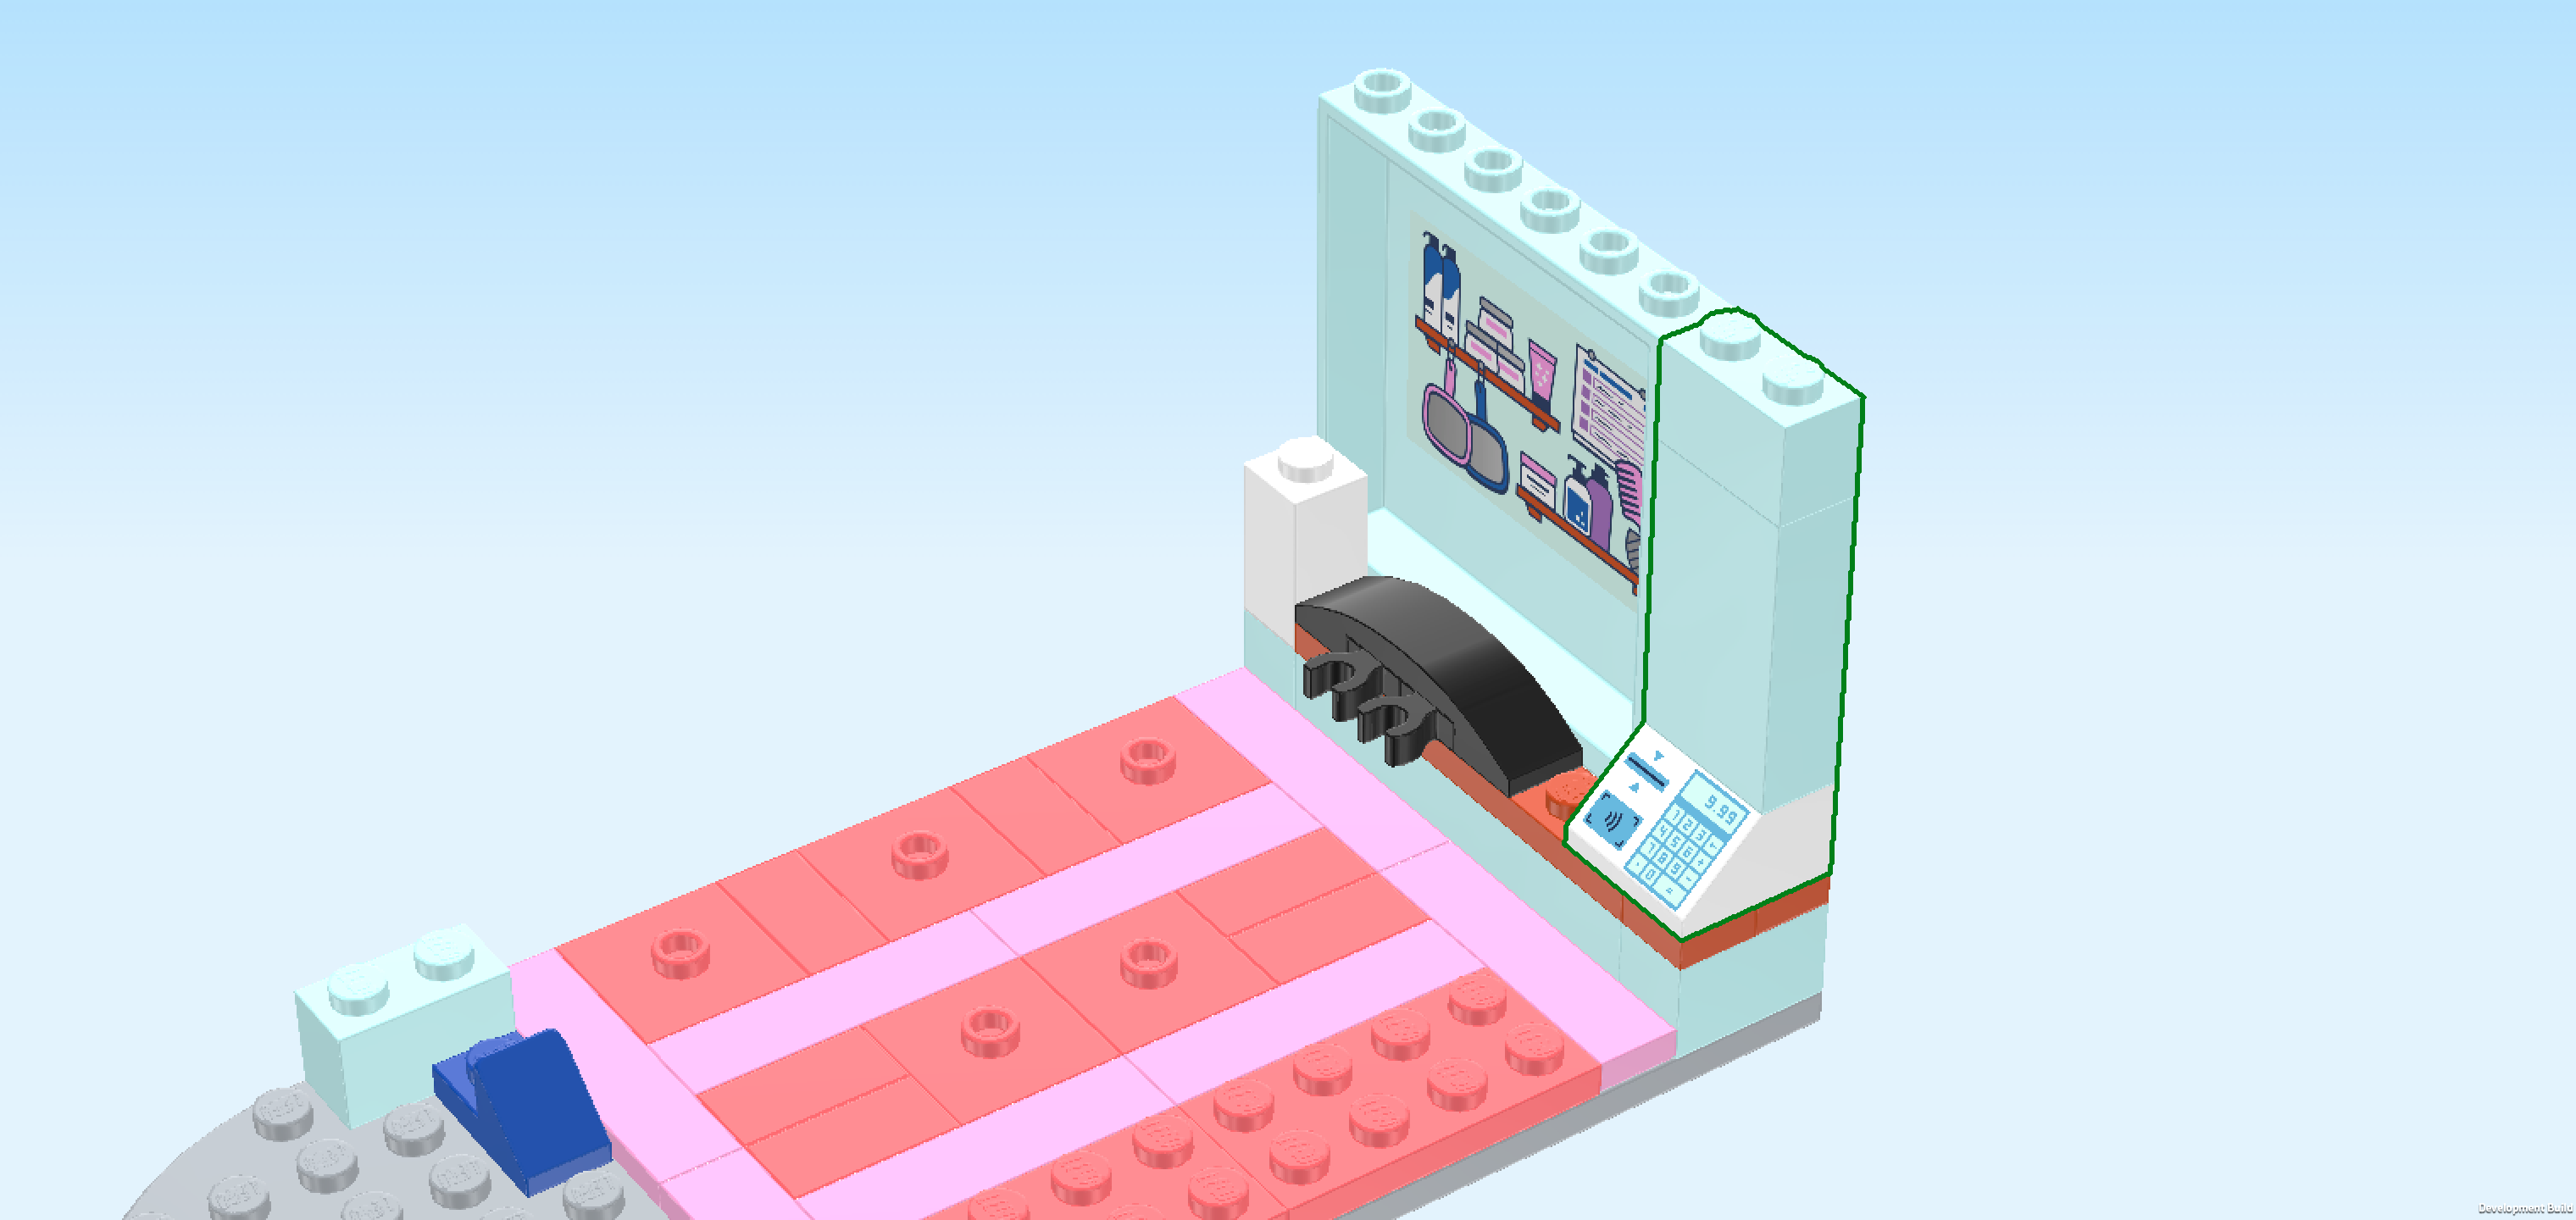
| It is printed with a light blue cash register. On the right edge, there is a number pad with display. On the left edge, there is a card slot and a contactless payment pad. |
| Put the brick 1x2x3 vertically on top. |
| Find 1 aqua blue brick 1x2. |
| Put it vertically on top of the previous piece. |
| Mount the cash register on the front edge of the 2 rightmost columns, slope to the left. |
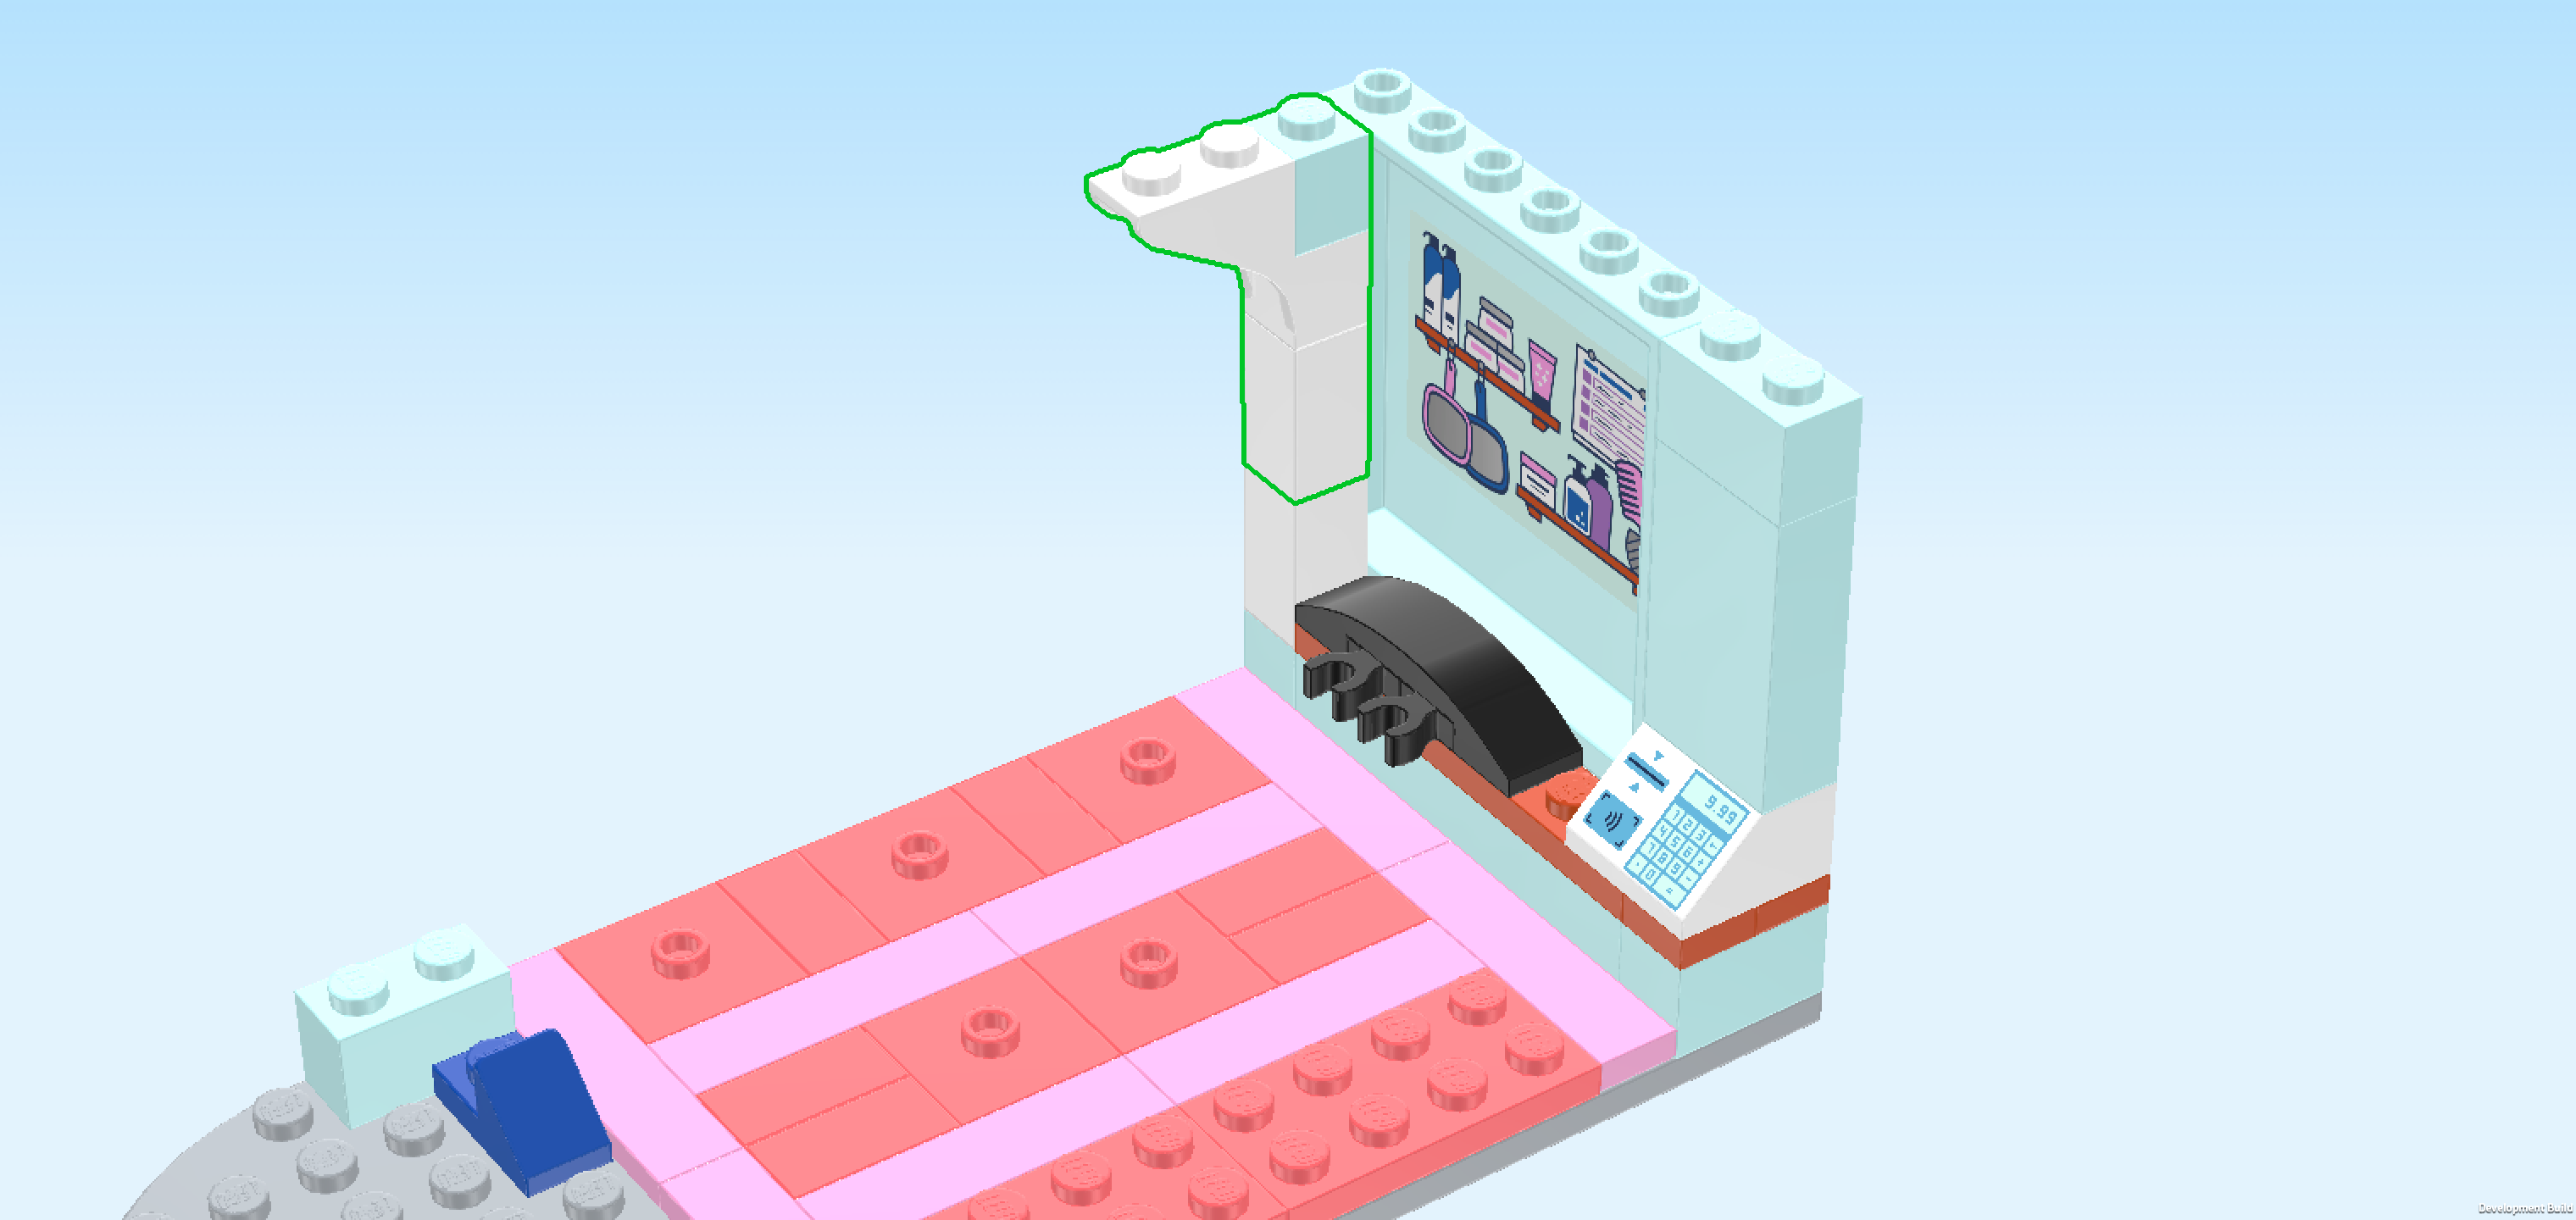
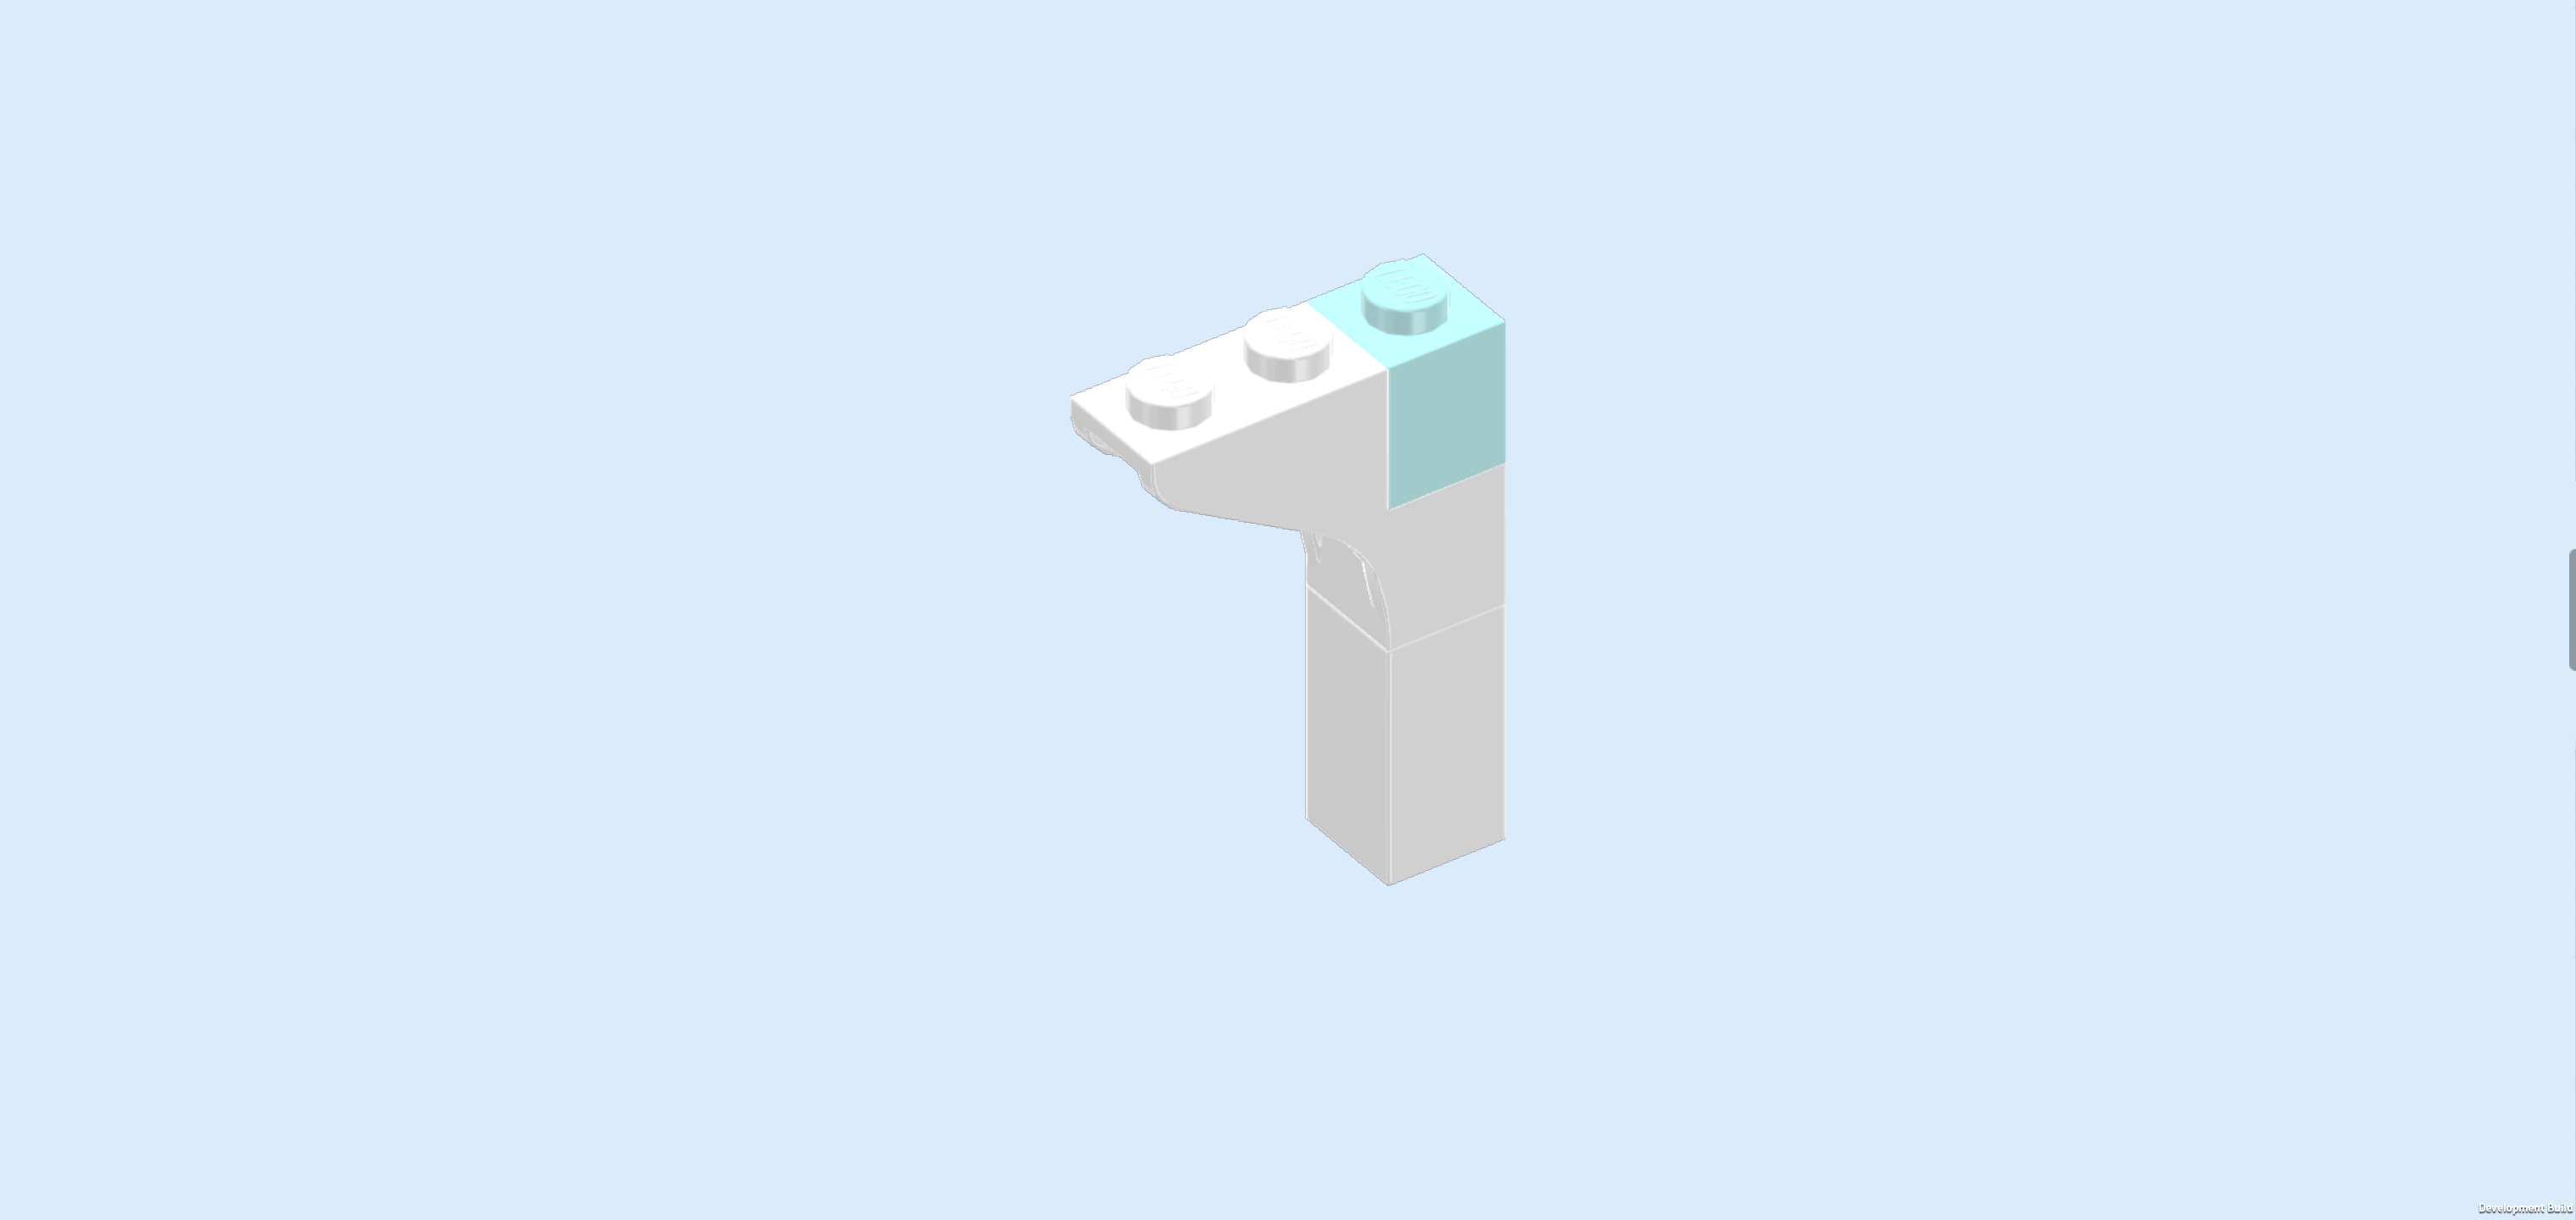
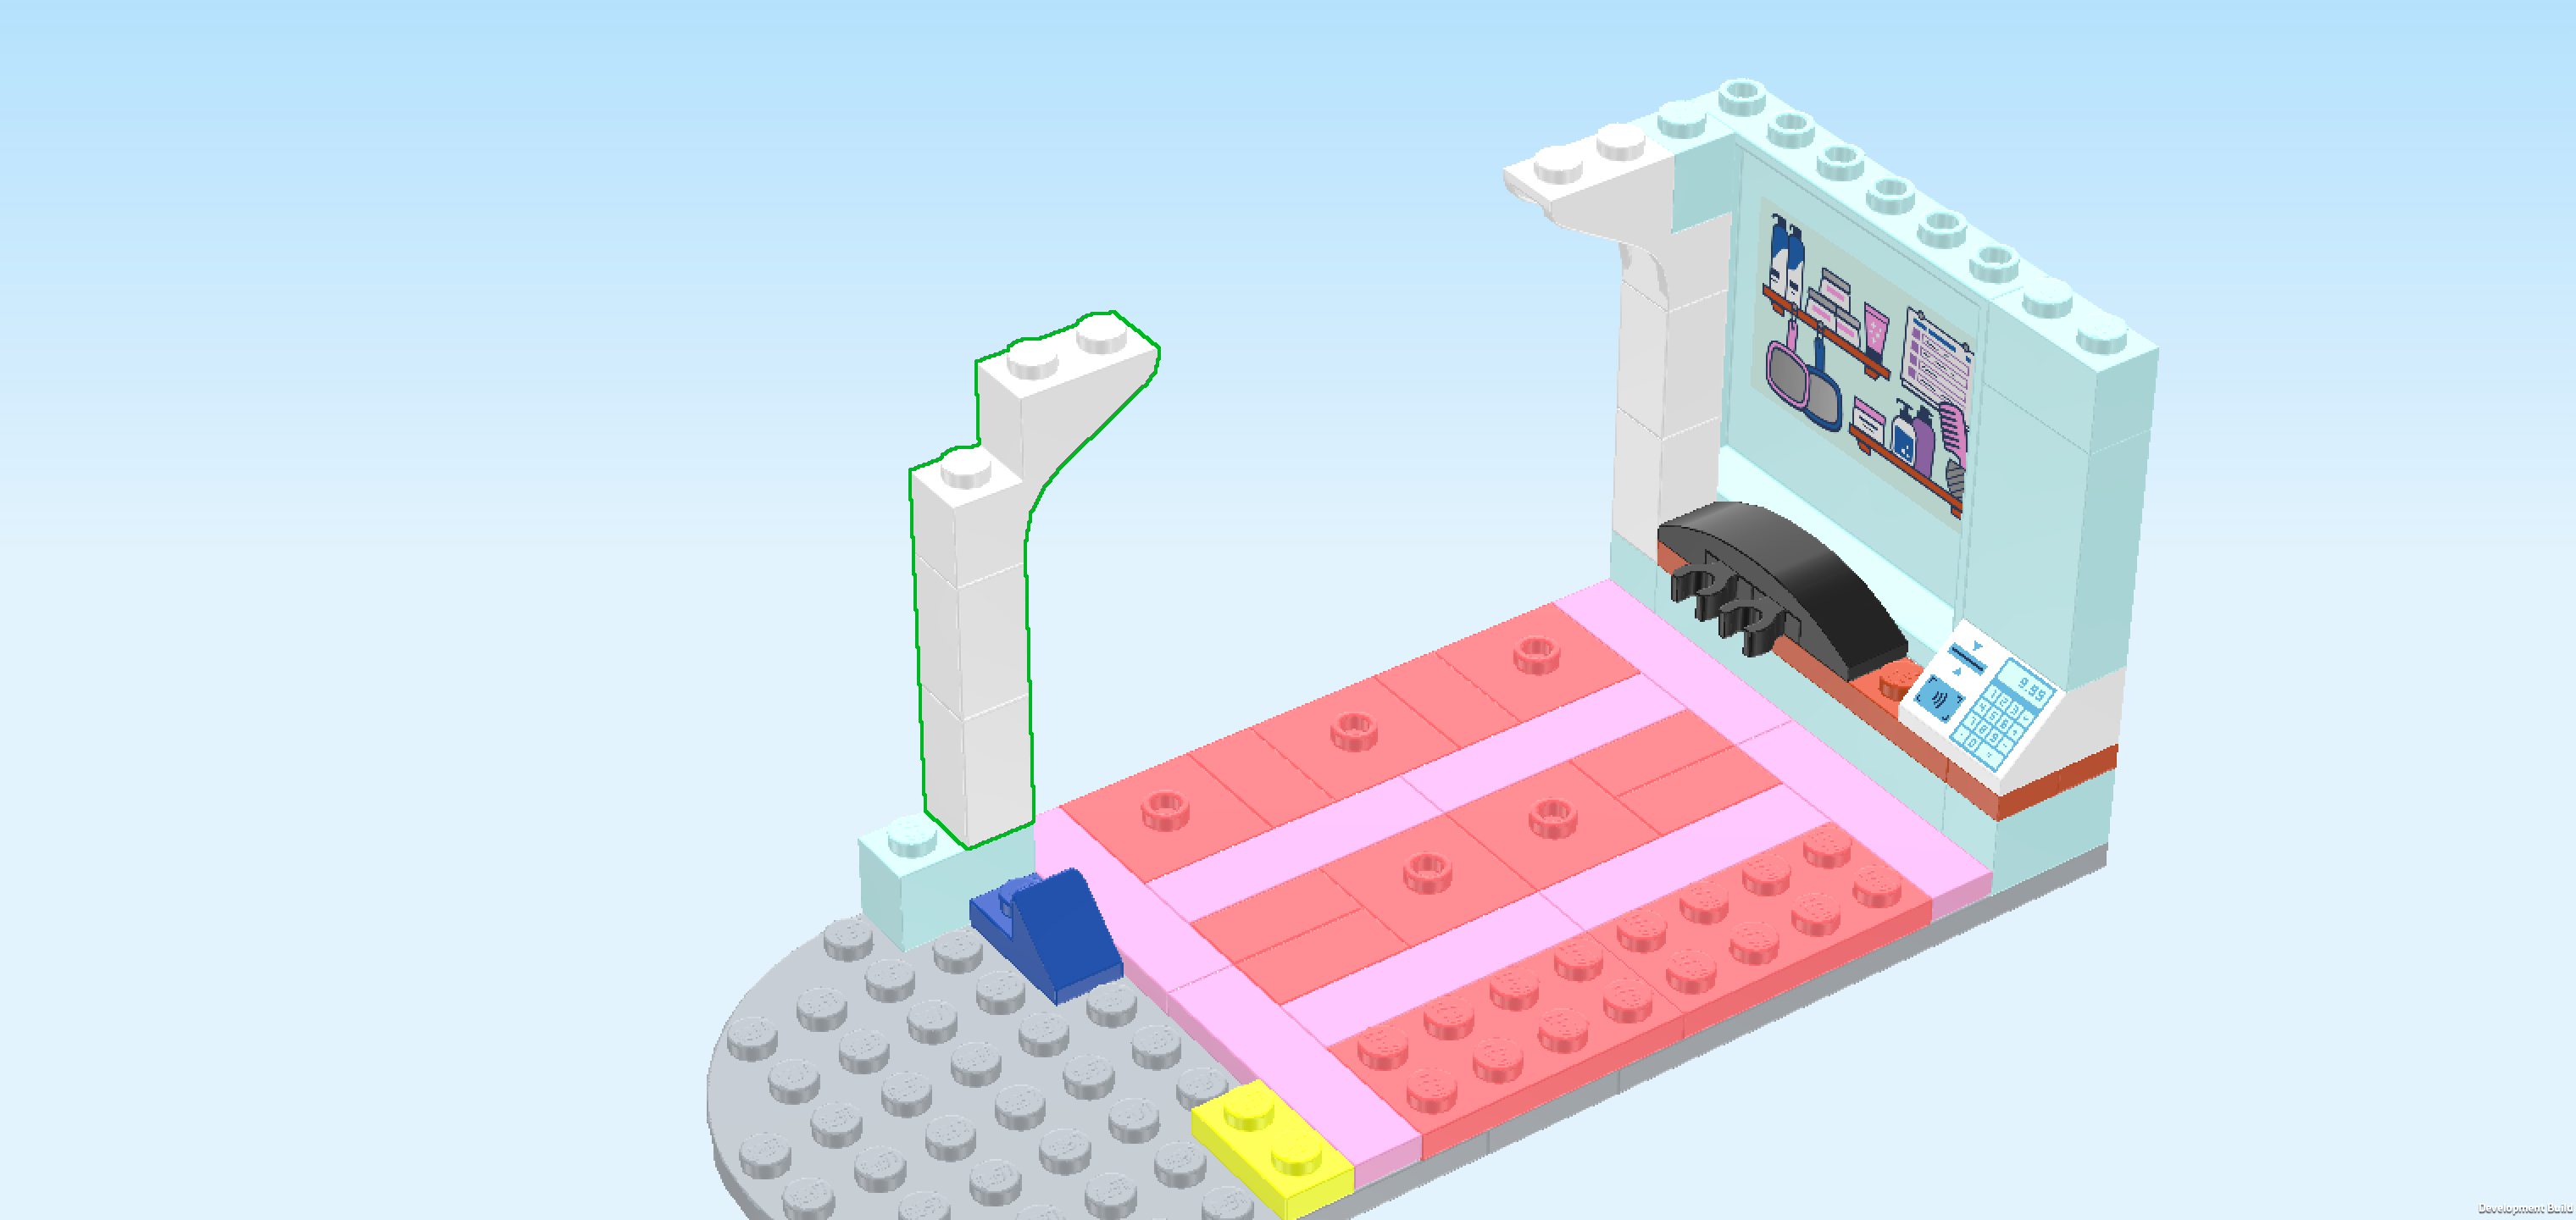
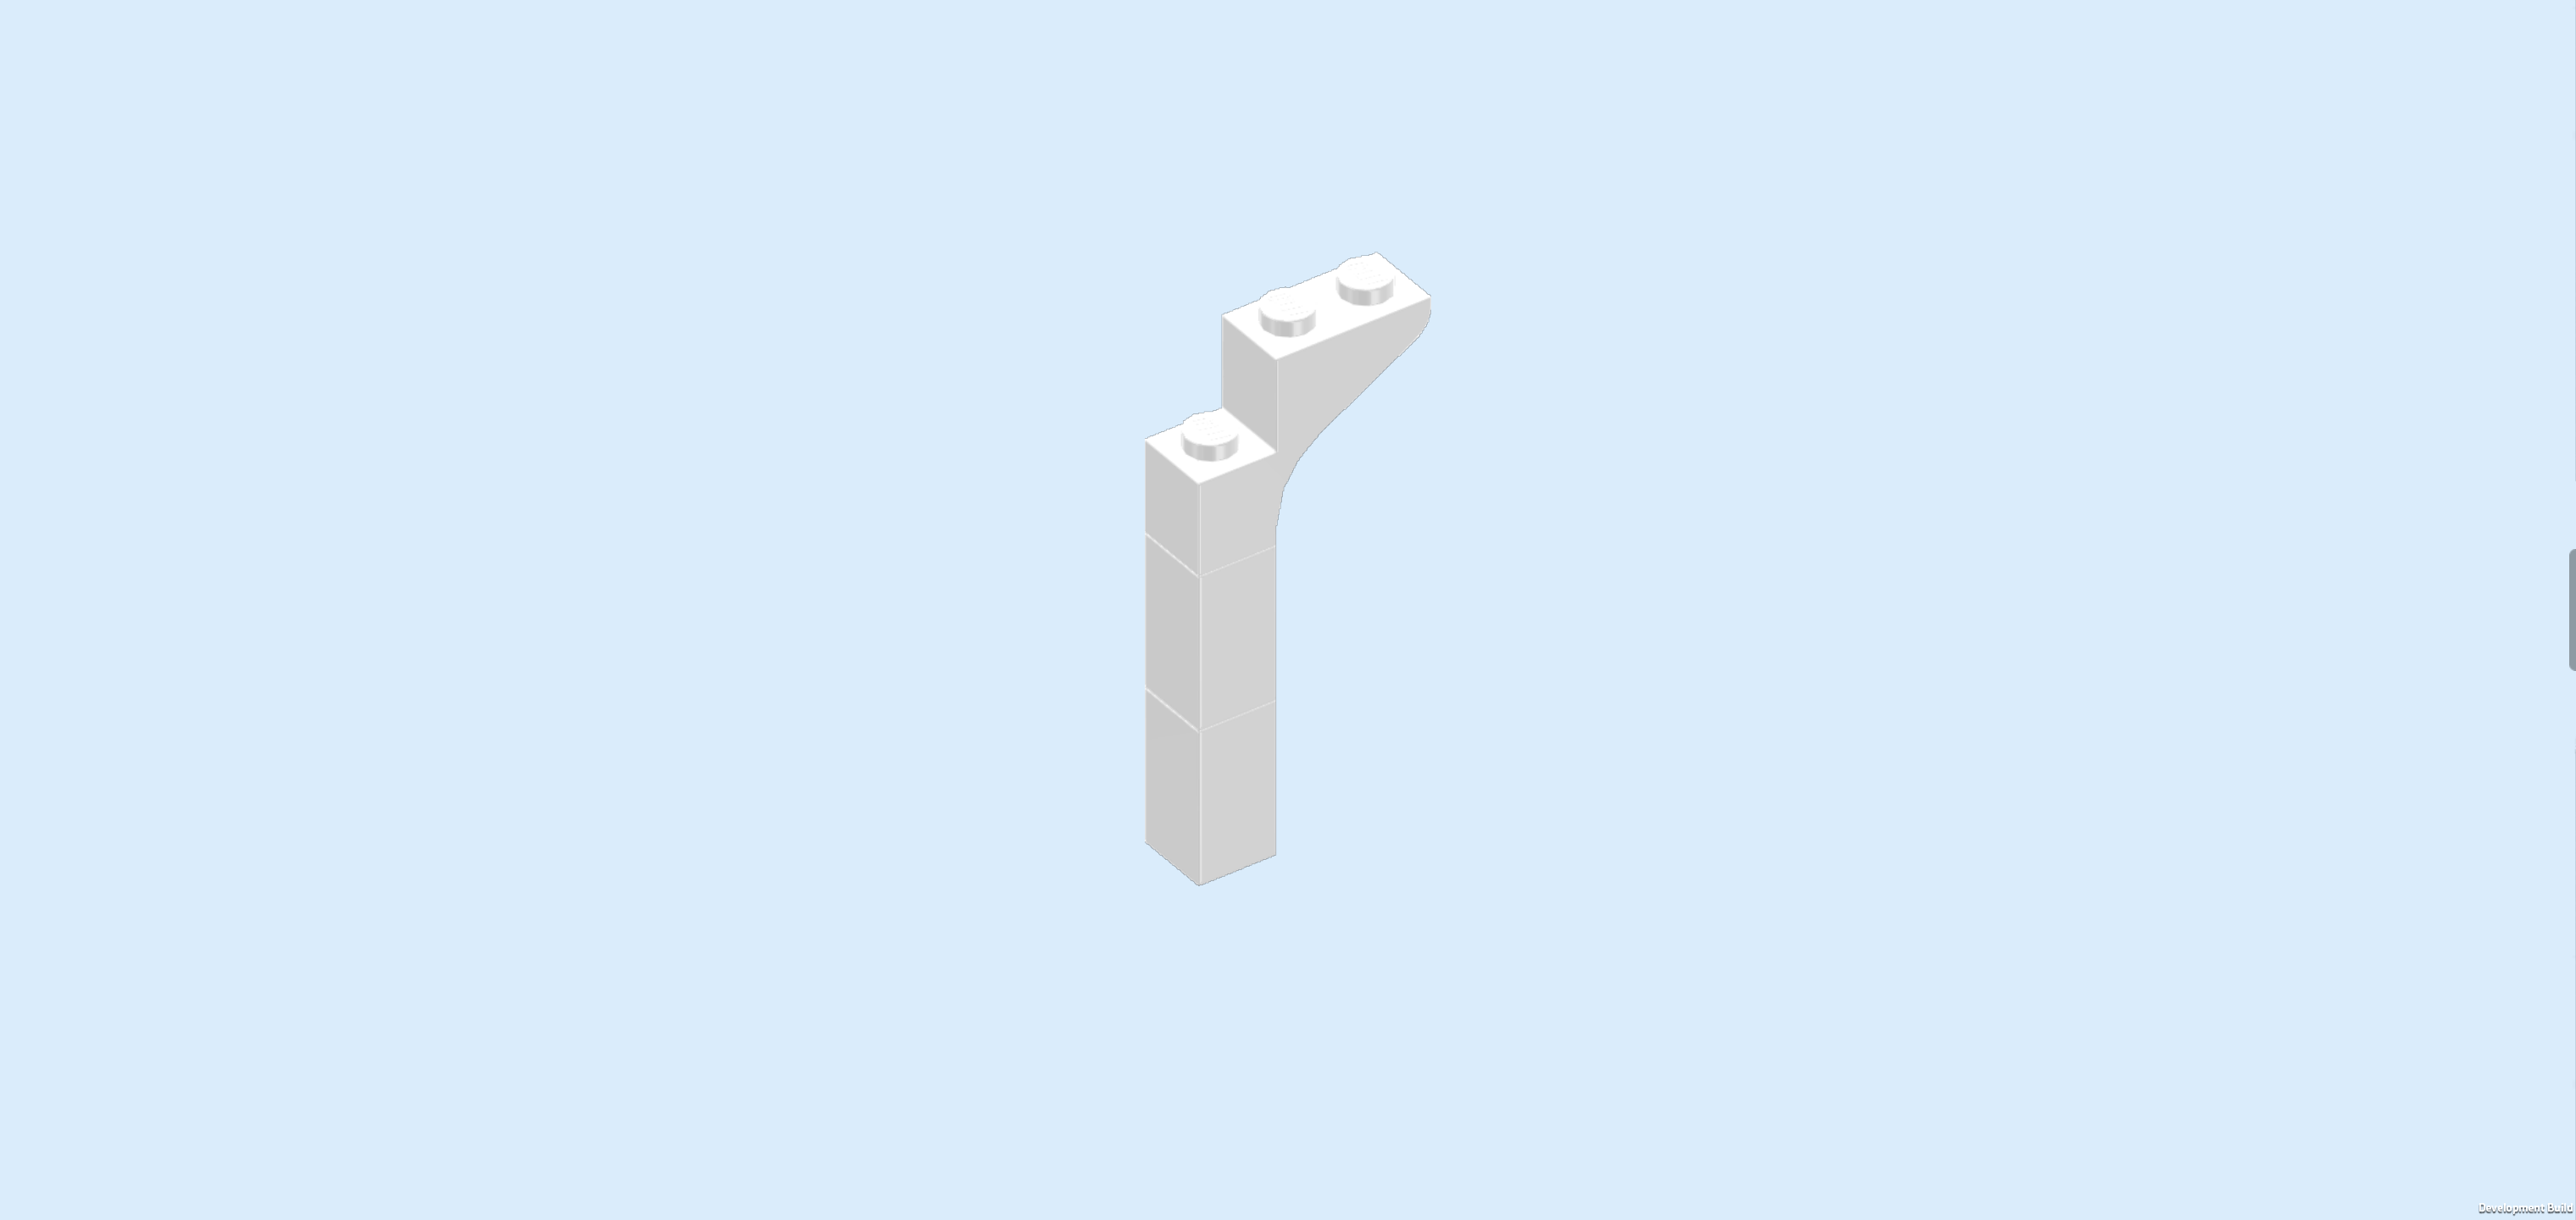
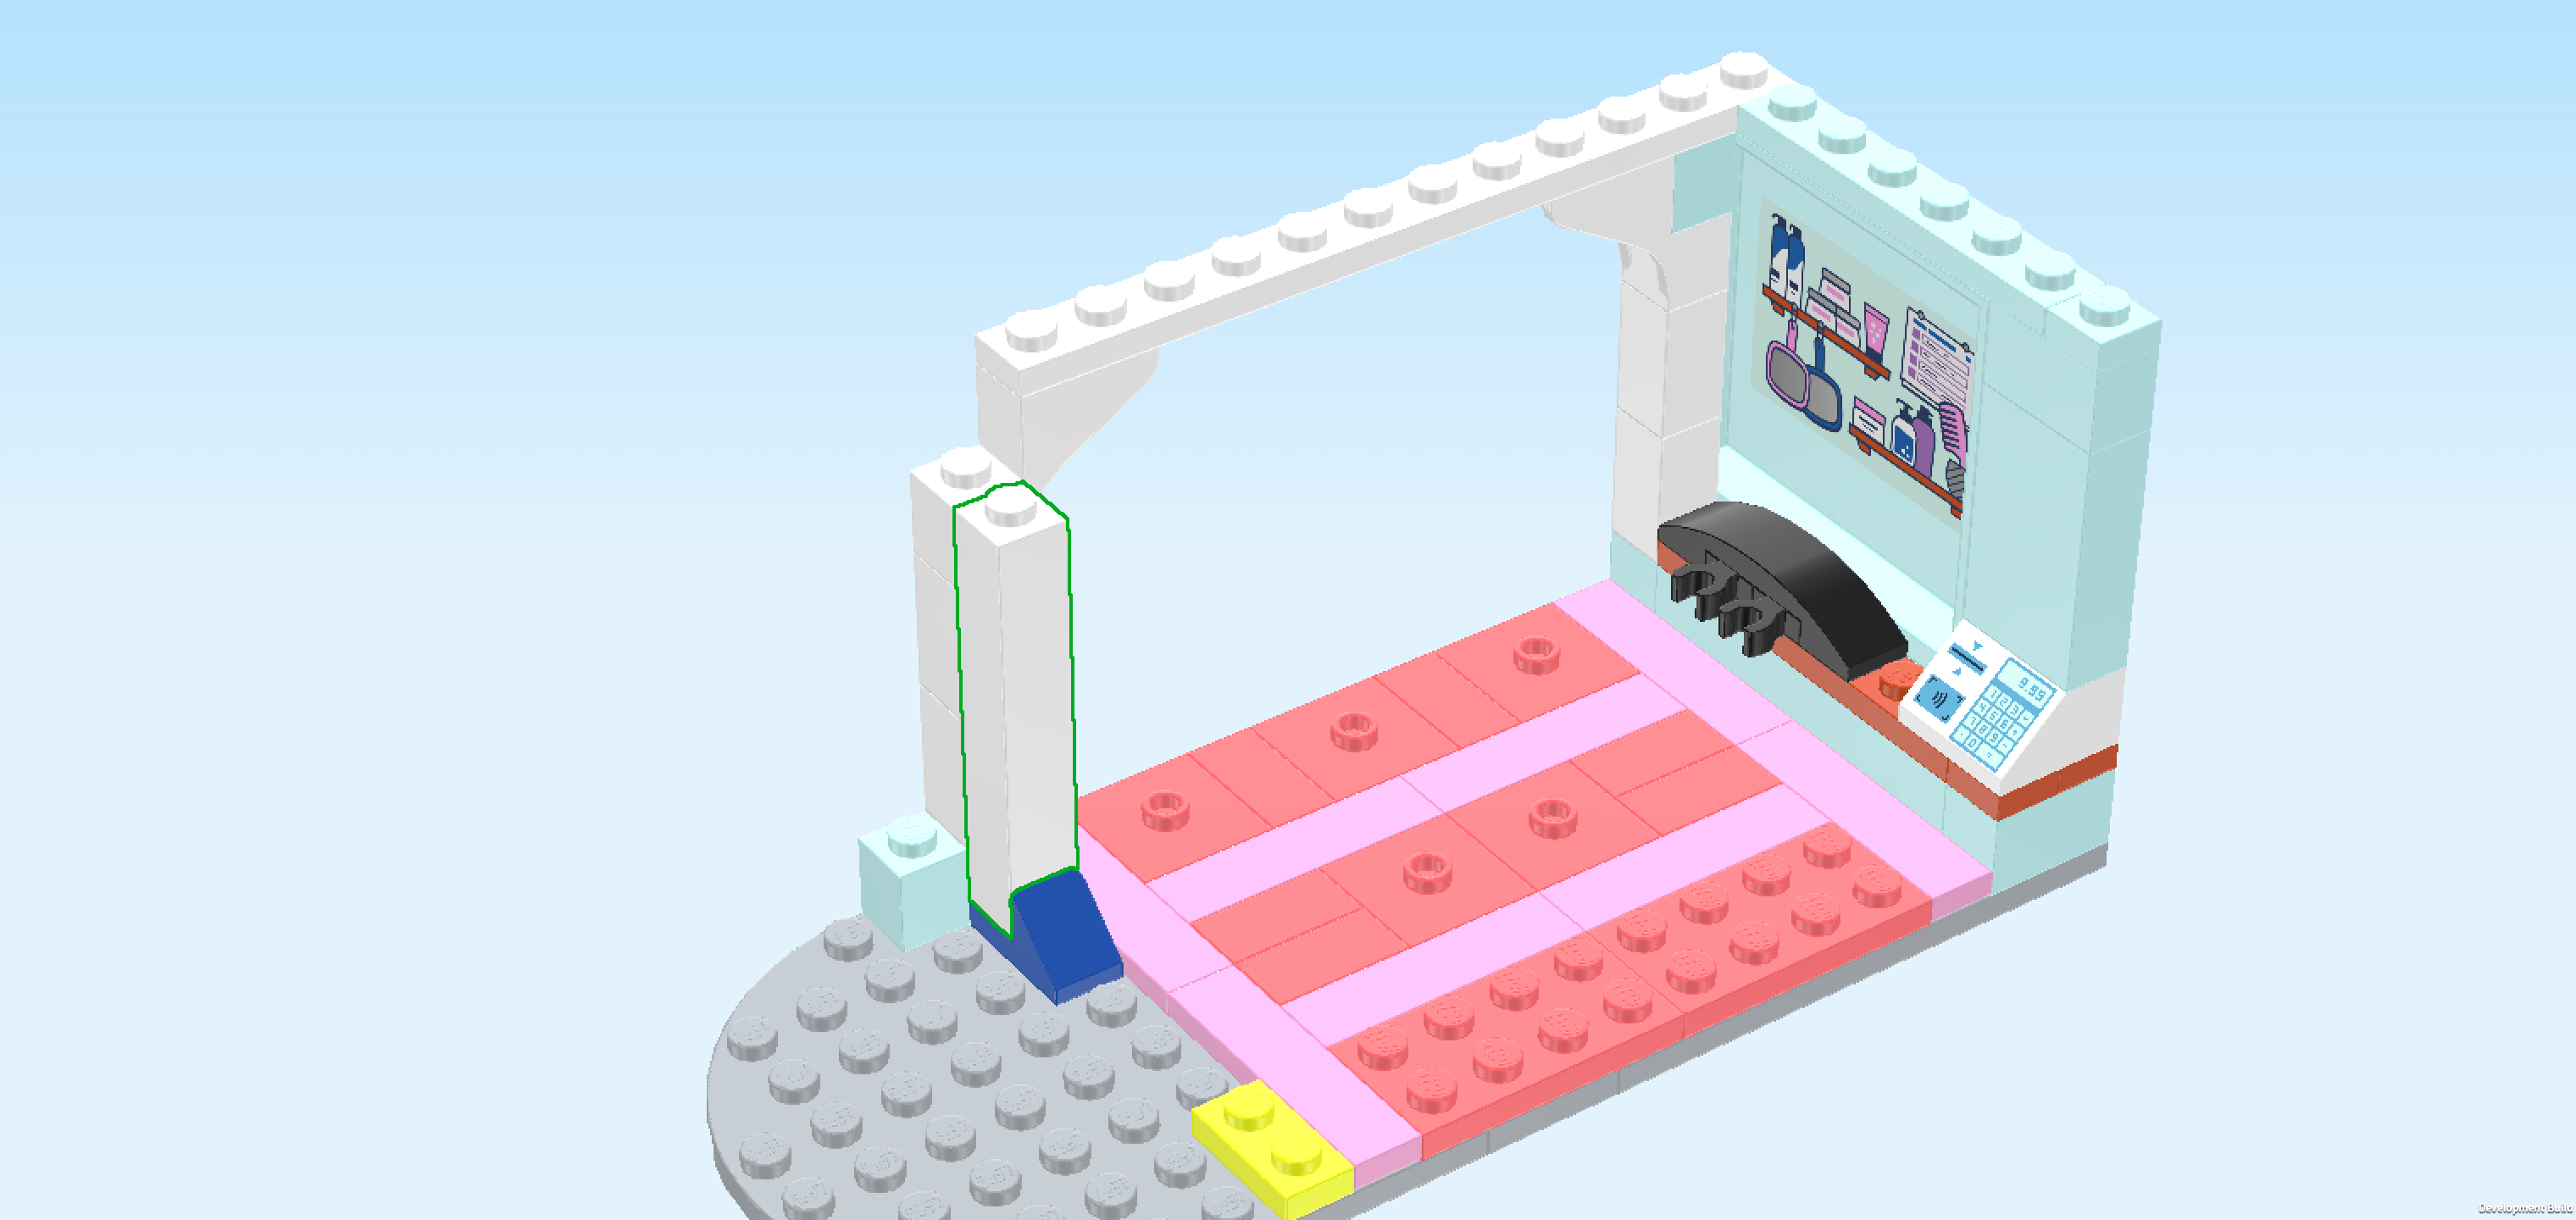
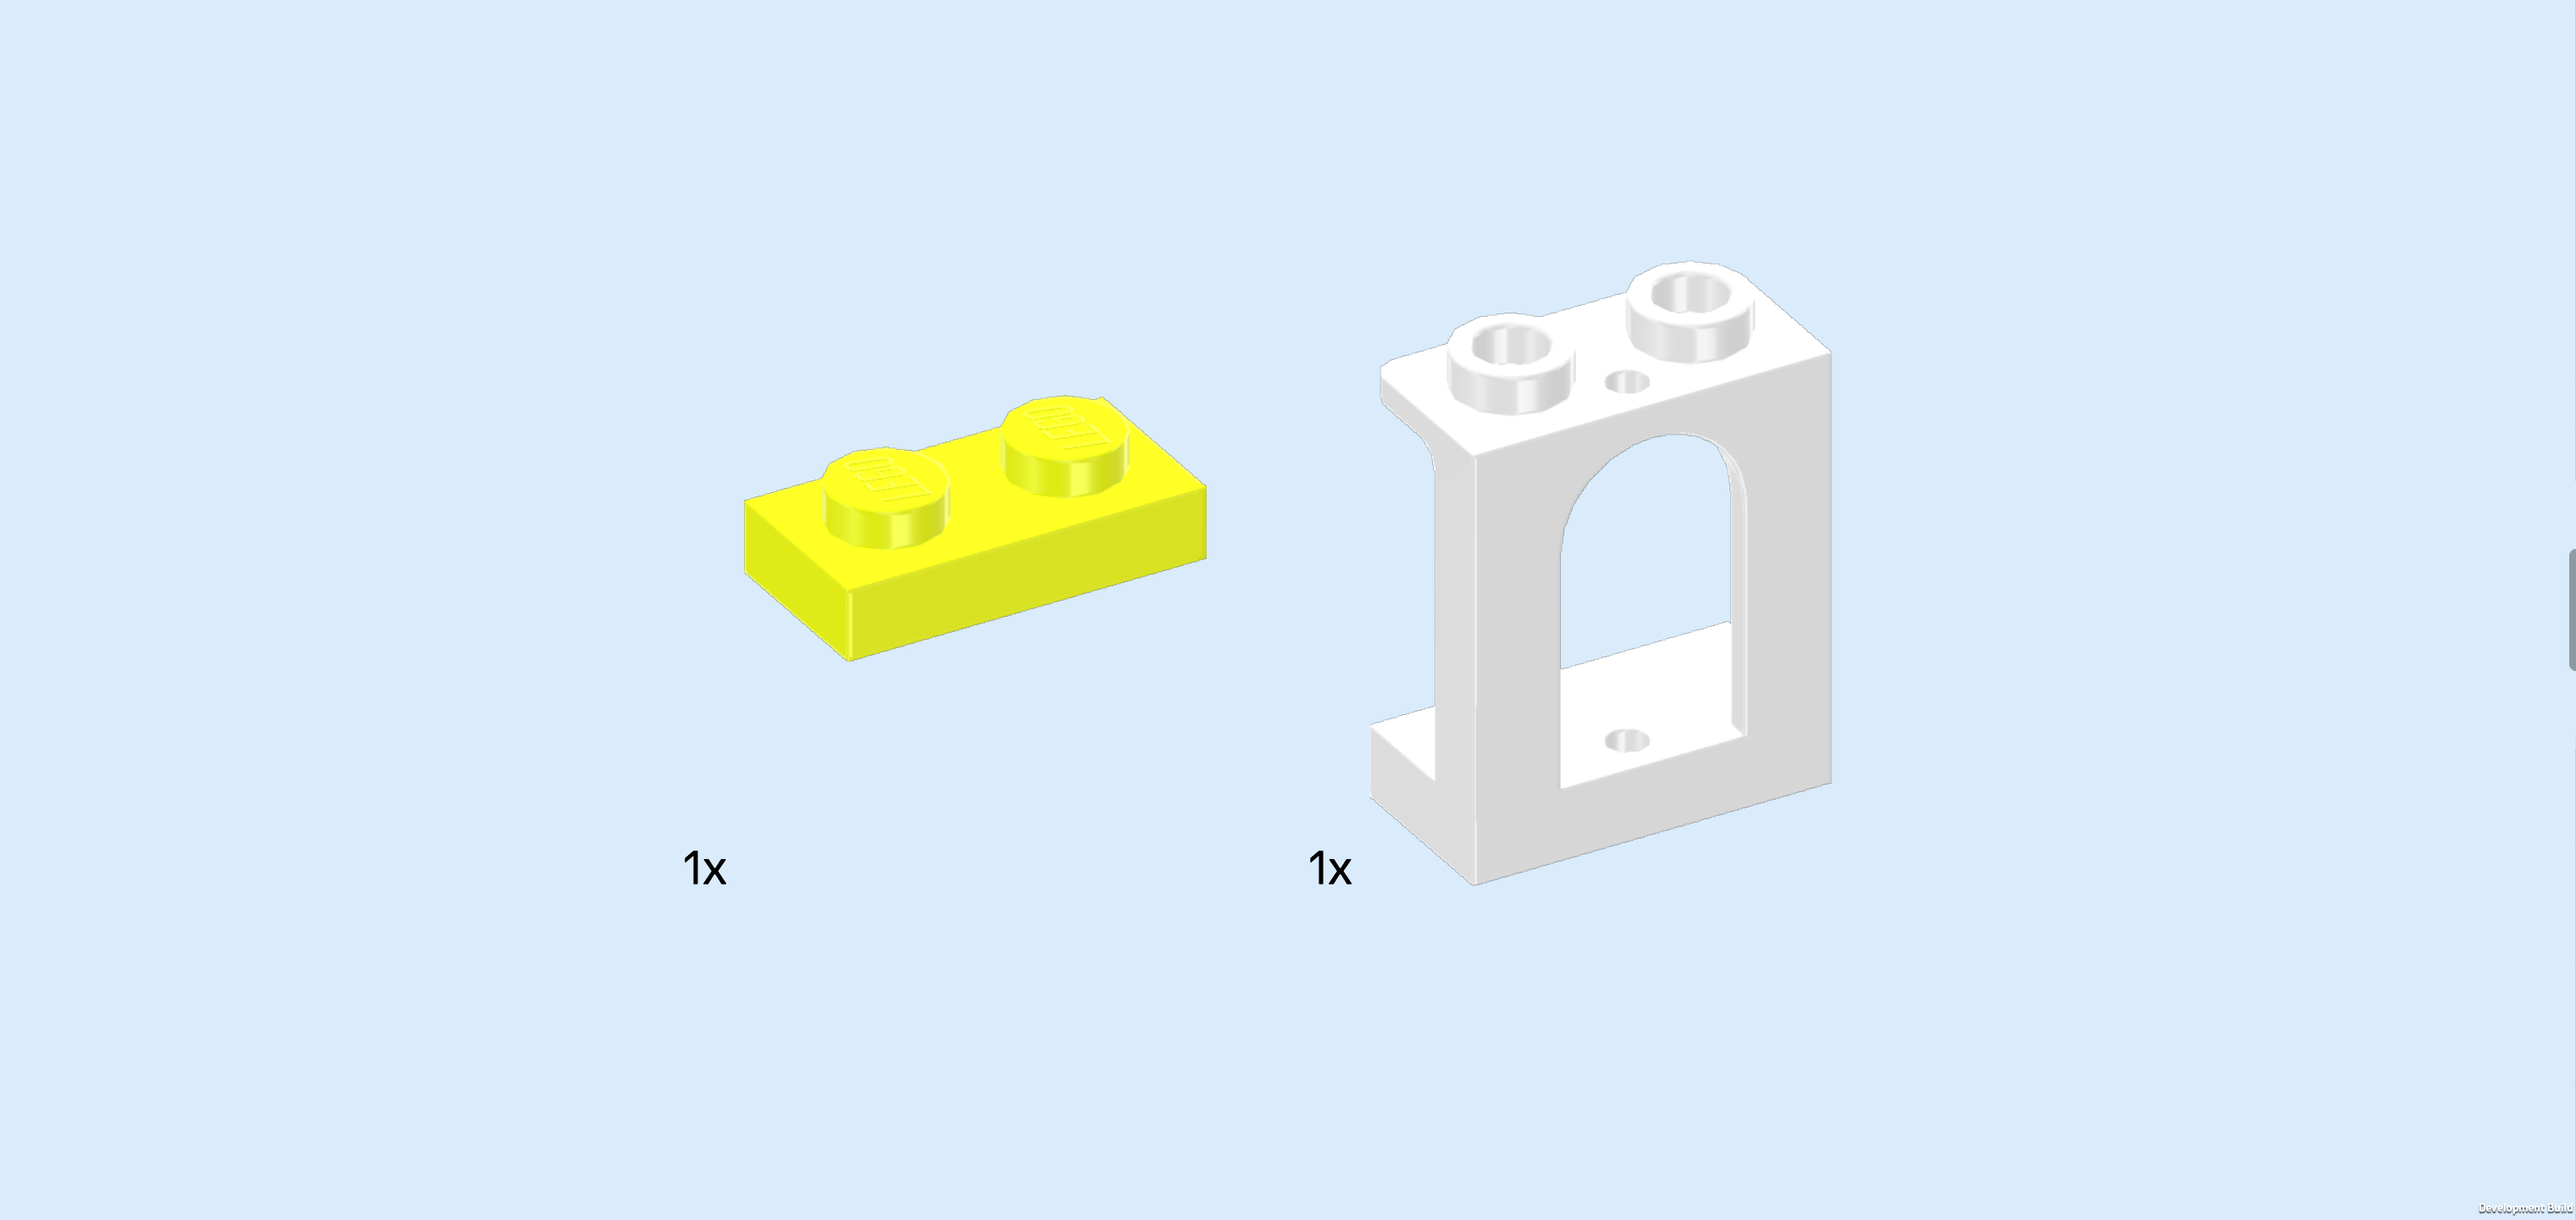
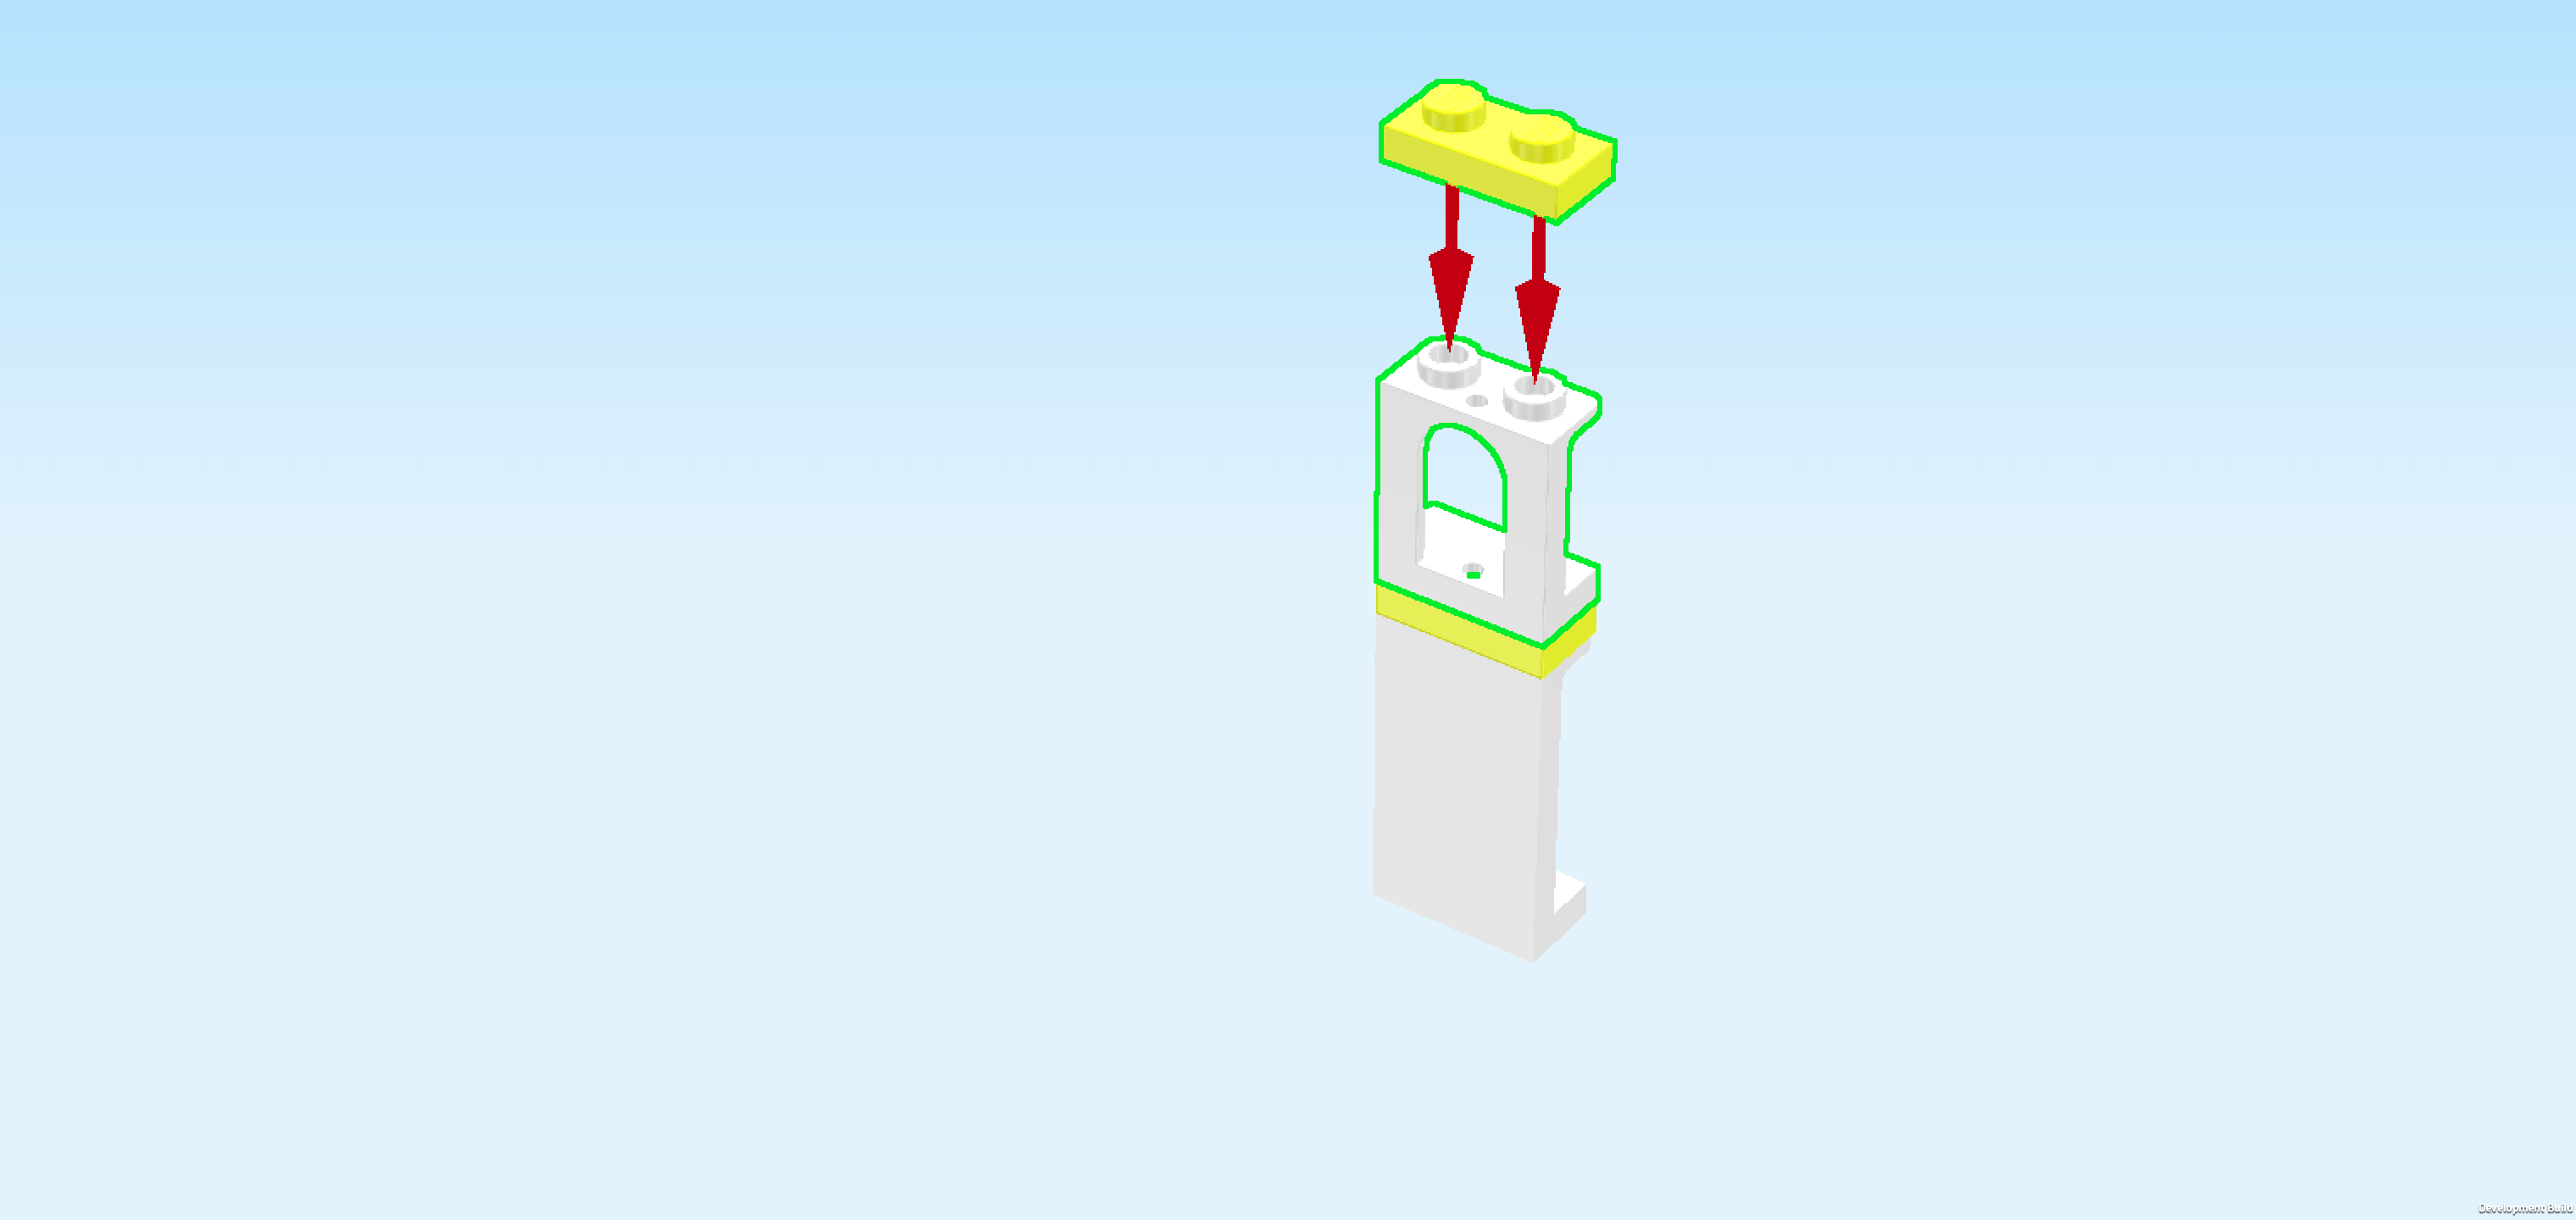
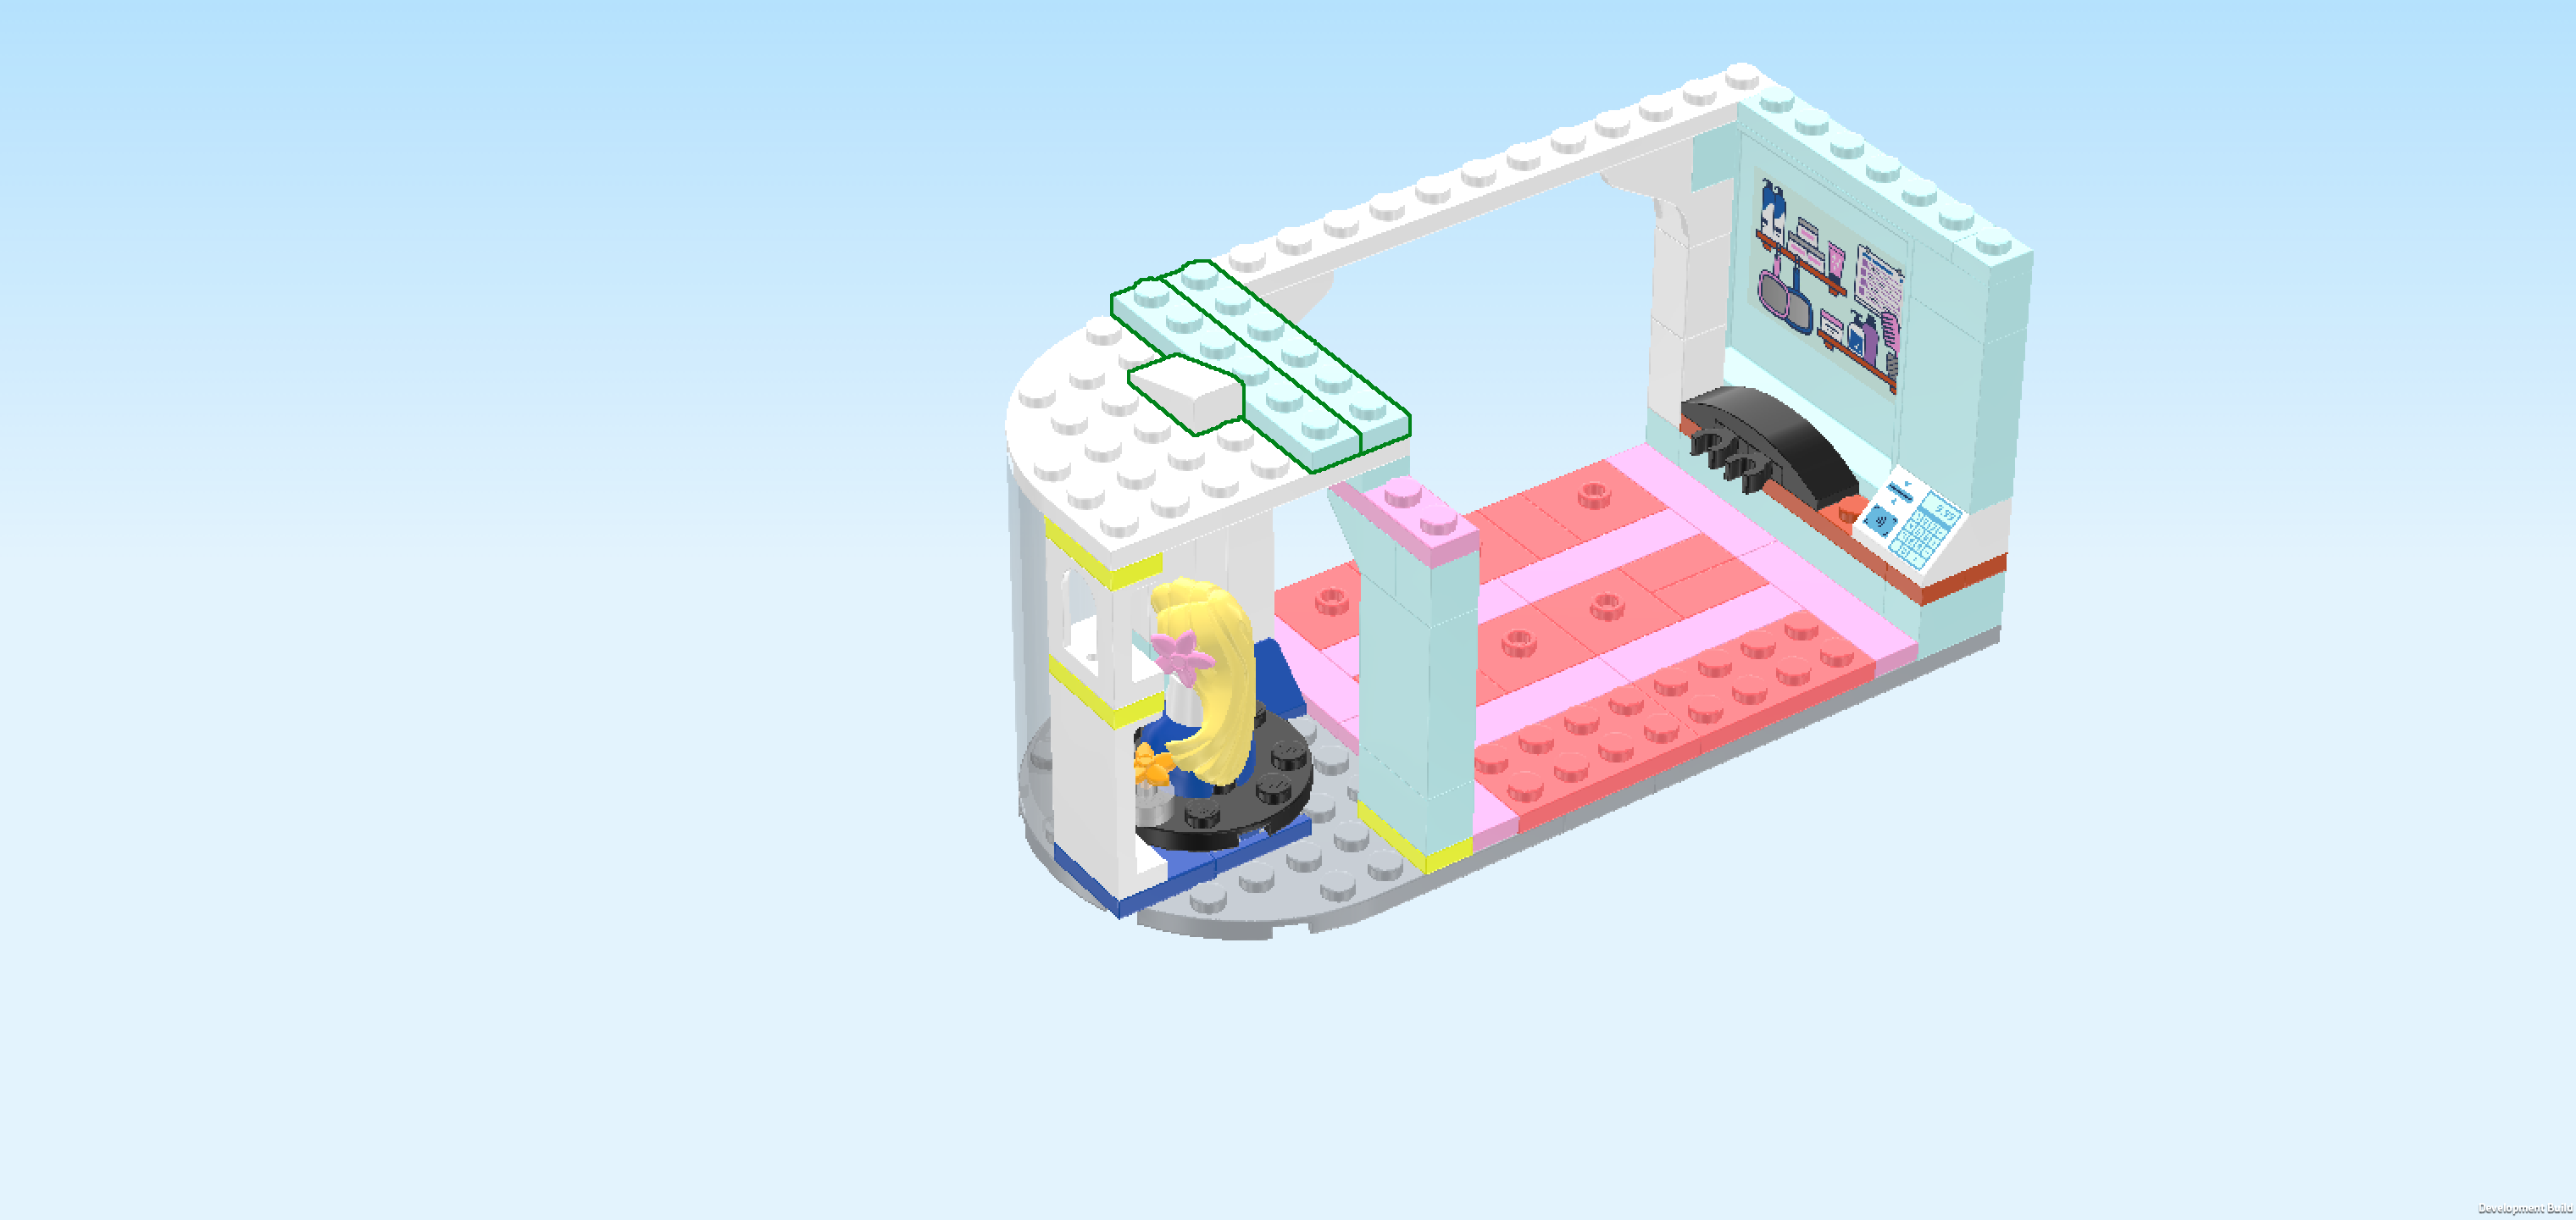
| Next, we will build an arched wall element. |
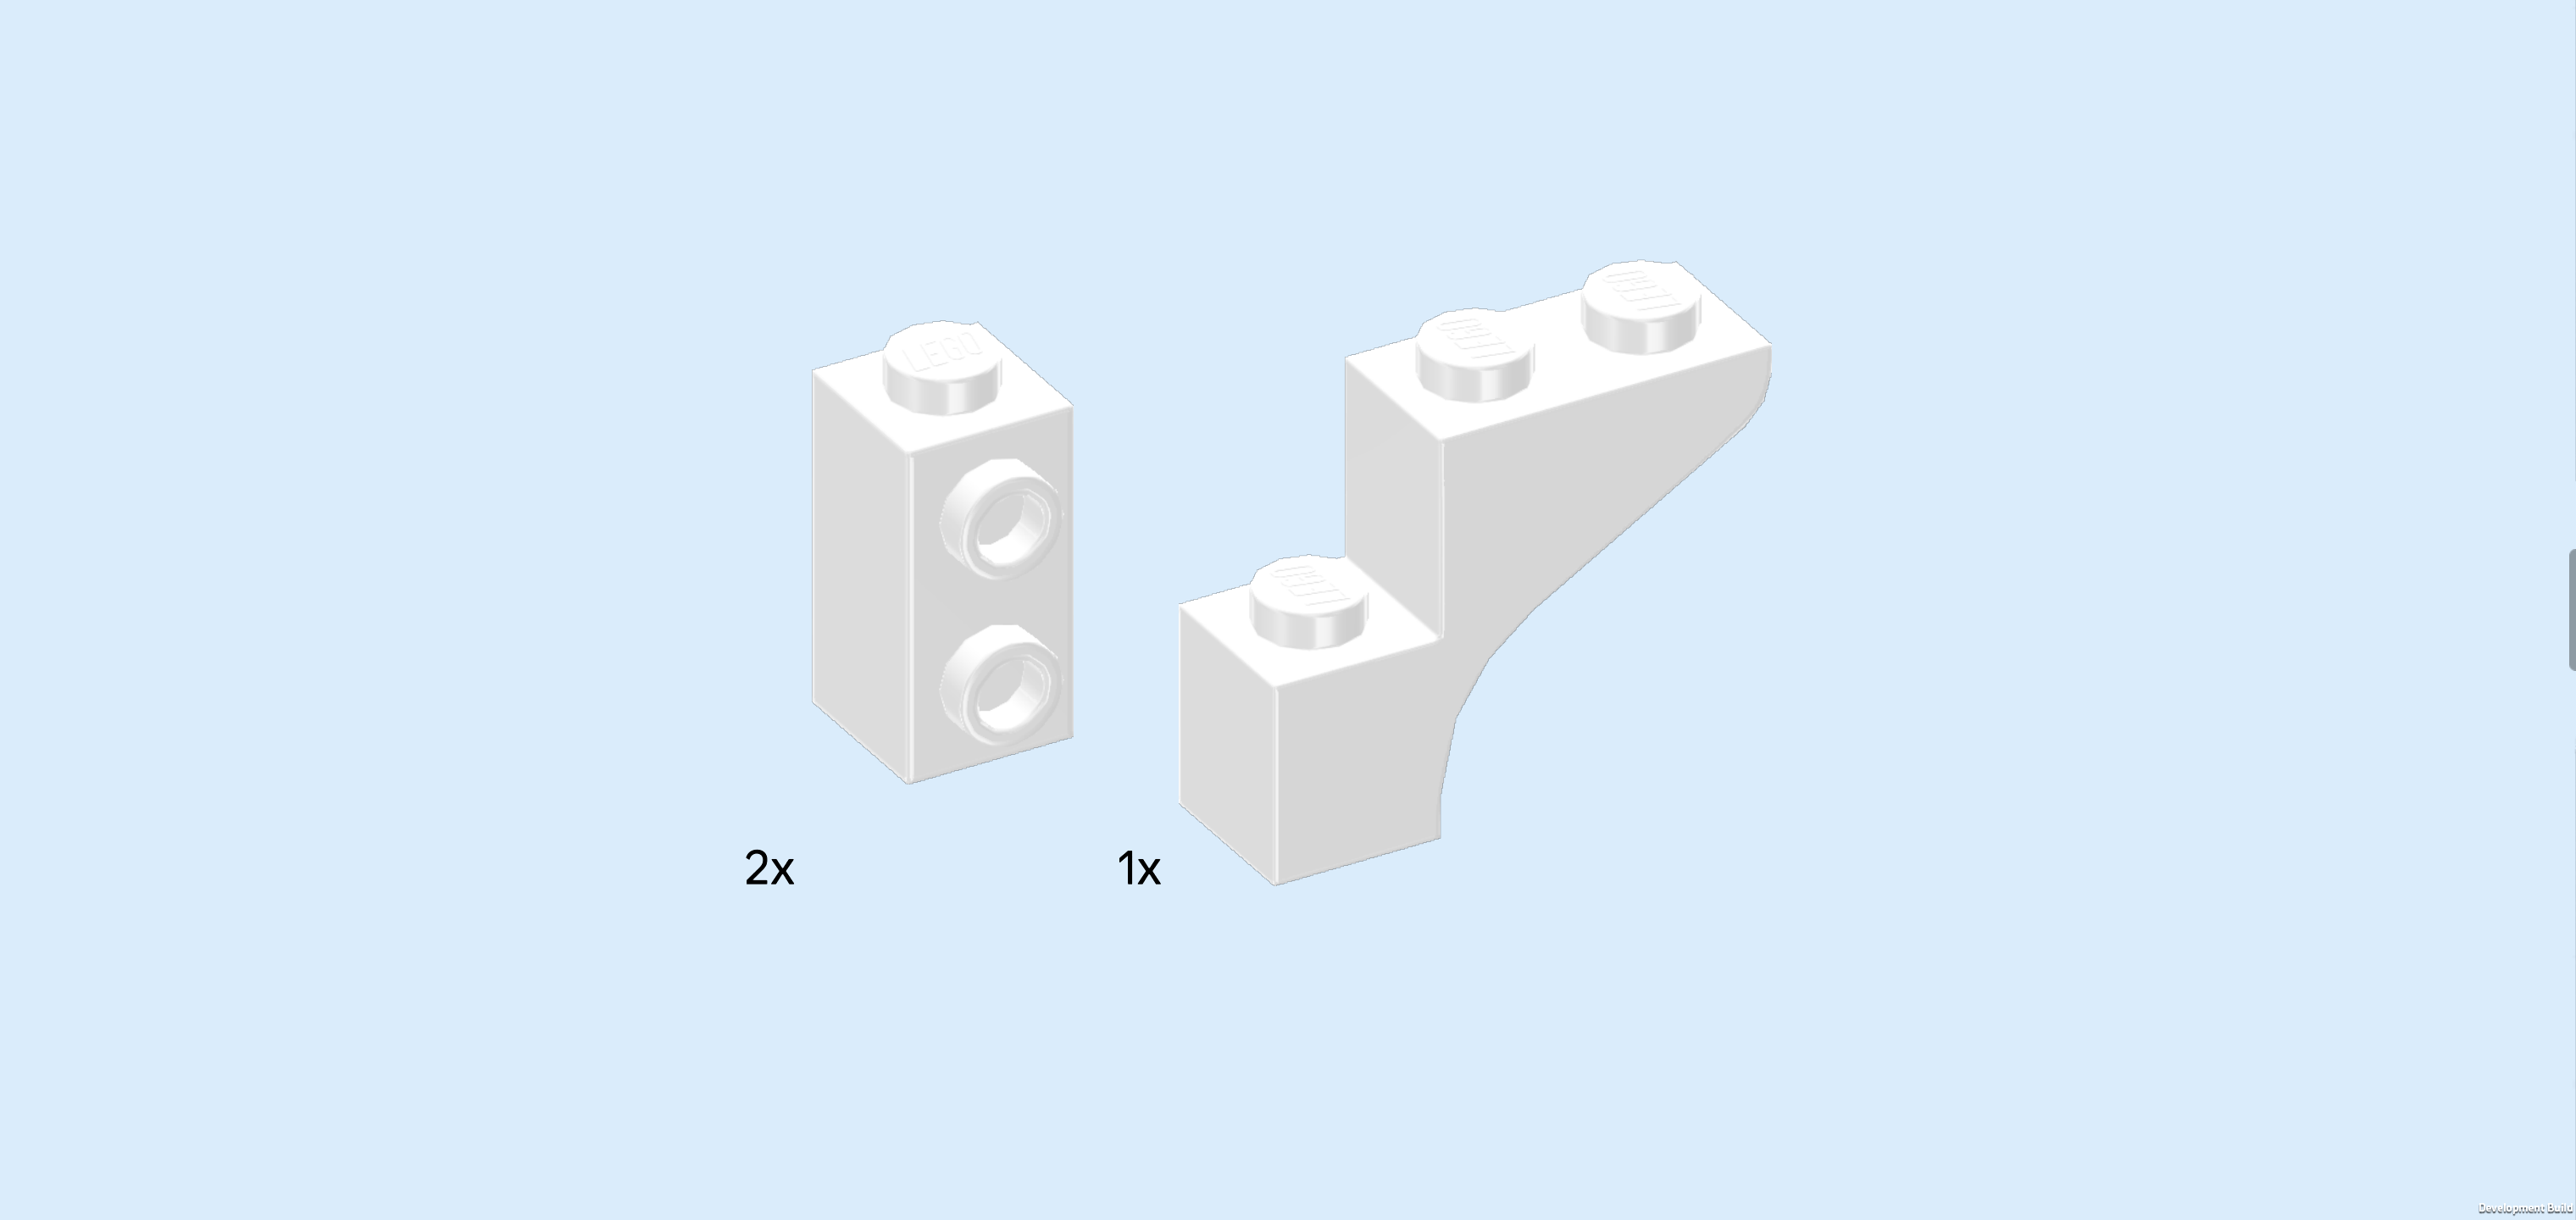
| Collect the following 2 pieces: |
| 1 white brick 1x1x1⅔ with 2 side knobs, |
| and 1 white stepped brick 1x3x2 with half arch. |
| Put the brick 1x1x1⅔ on the table, side knobs to the front. |
| Put the stepped brick horizontally on top, half arch protruding to the right. |
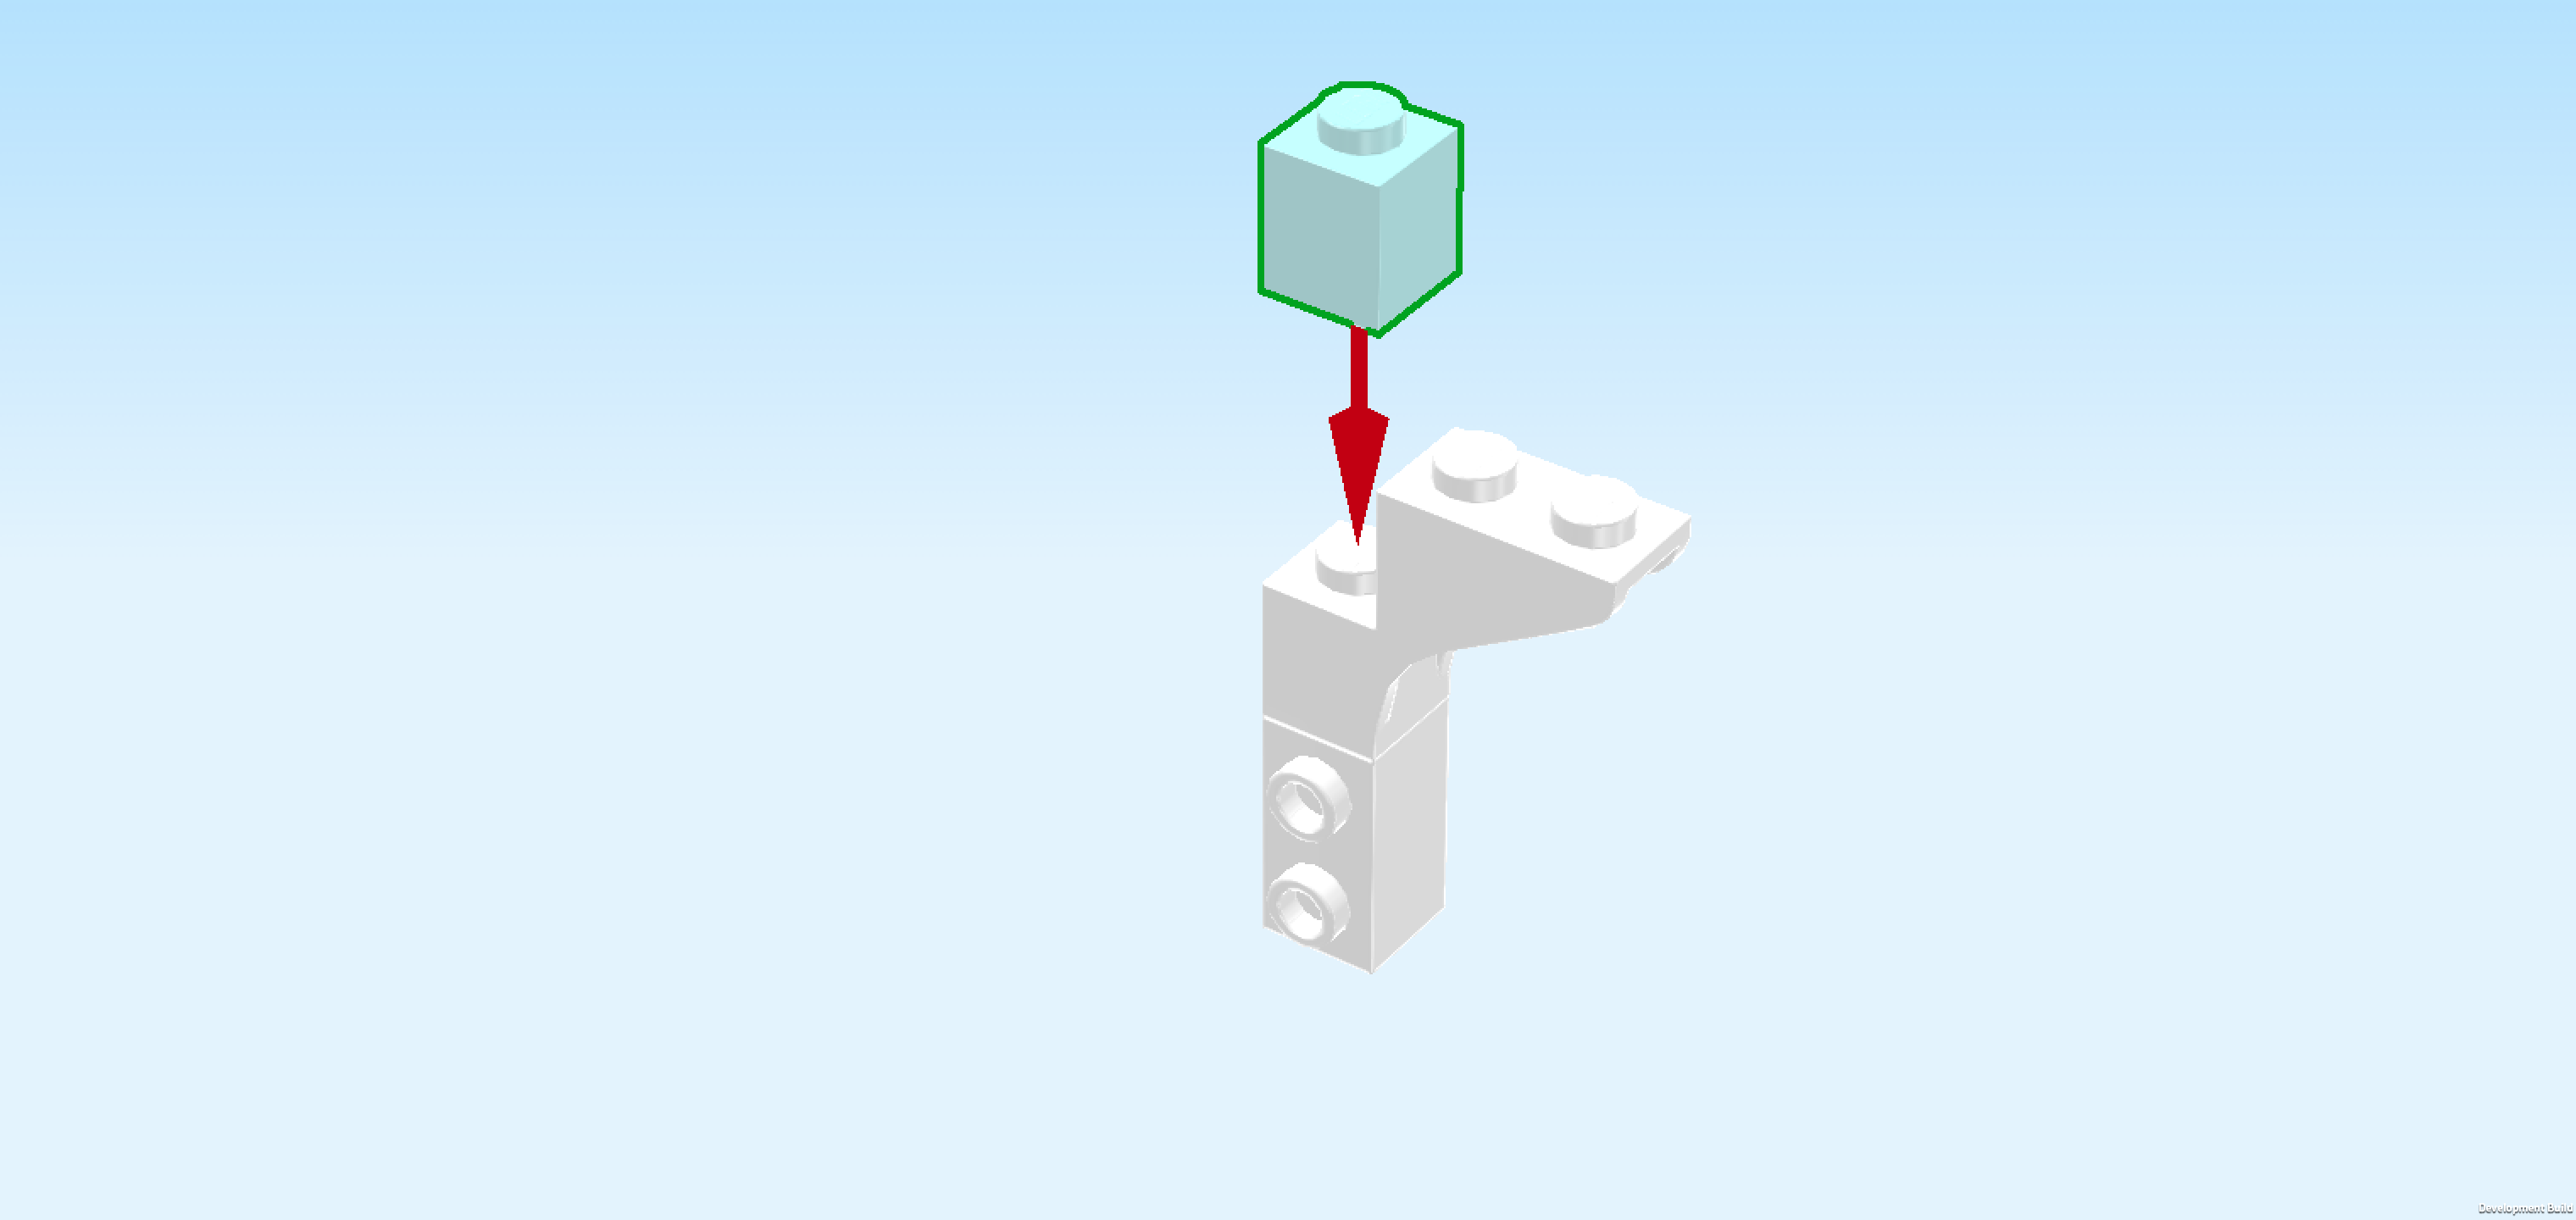
| Find 1 aqua blue brick 1x1. |
| Put it on the leftmost knob of the previous piece. |
| The arched wall element is finished! Before you mount it, turn it around so that the half arch is pointing to the left. Mount it on the backmost row directly to the left of the wall element 1x6x5, half arch pointing to the left. |
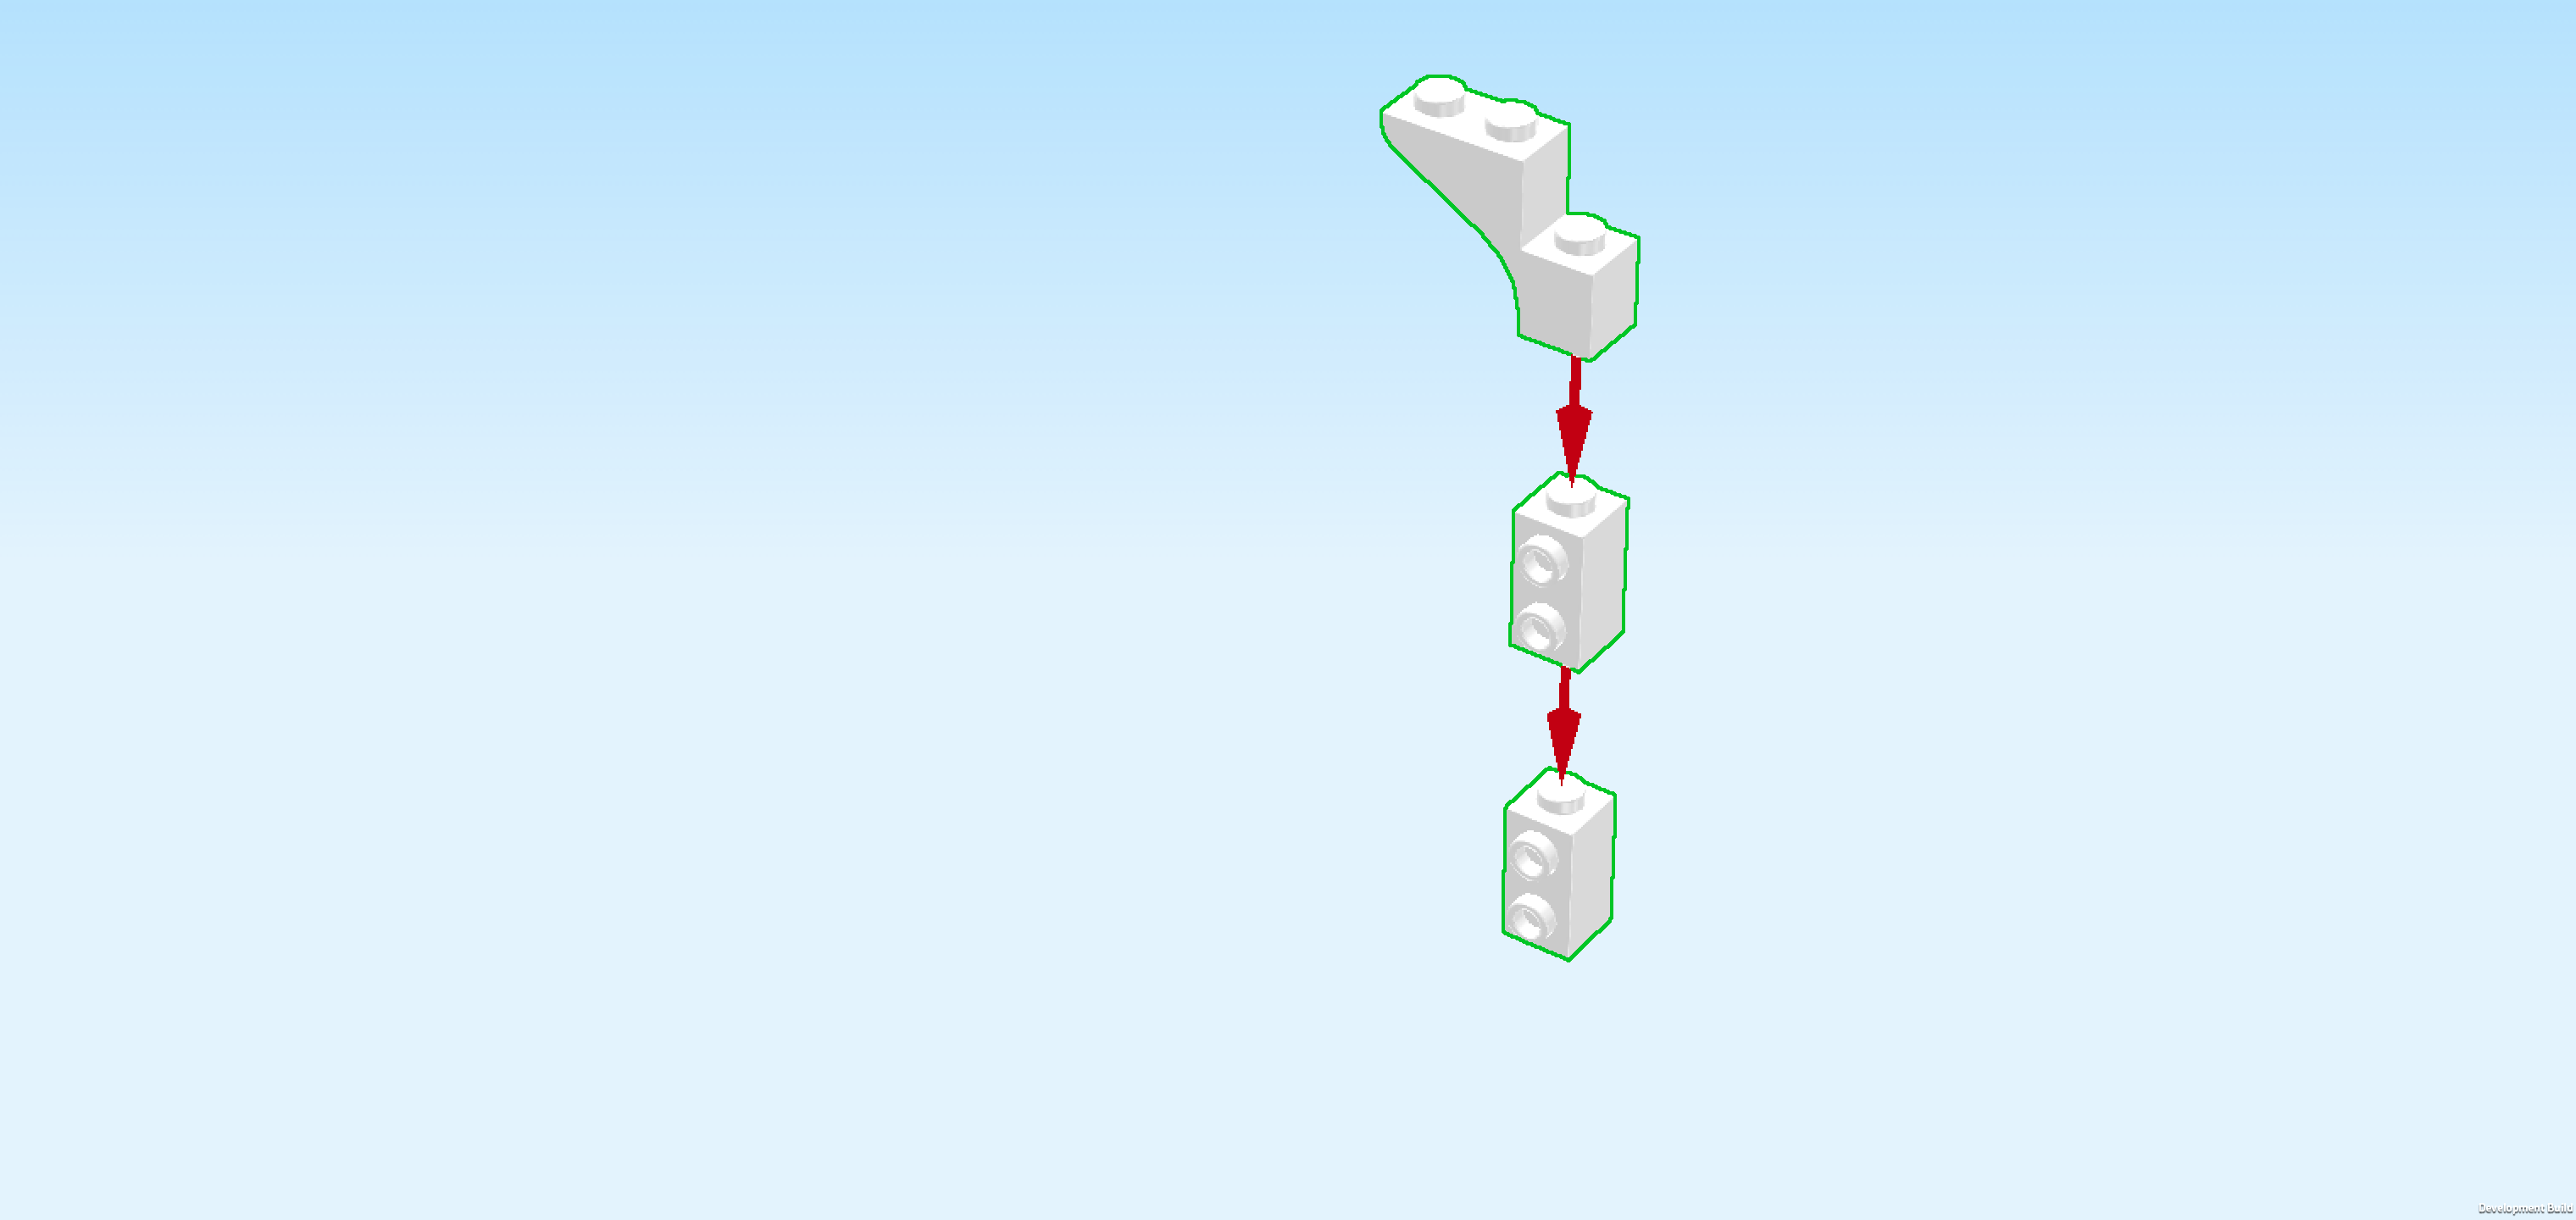
| Now, we will build a second arched wall element. |
| Collect the following 3 pieces: |
| 2 white bricks 1x1x1⅔ with 2 side knobs, |
| and 1 white stepped brick 1x3x2 with half arch. |
| Put 1 brick 1x1x1⅔ on the table, side knobs to the front. |
| Put the other brick 1x1x1⅔ on top of the previous piece, side knobs to the front. |
| Put the stepped brick on top, half arch pointing to the left. |
| The second arched wall element is finished! Turn it around so that the side knobs are pointing to the back and the half arch is pointing to the right. Mount it on the right knob of the brick 1x2 that is mounted on the backmost row in the left half of the structure. |
| Collect the following 3 pieces: |
| 1 aqua blue plate 1x1, |
| 1 aqua blue plate 1x6, |
| and 1 white plate 1x12. |
| Put the plate 1x12 horizontally on the backmost row, starting from the right edge. This piece will connect the 2 arched wall elements. |
| Put the plate 1x1 on the frontmost knob of the rightmost column. |
| Put the plate 1x6 vertically behind the previous piece. |
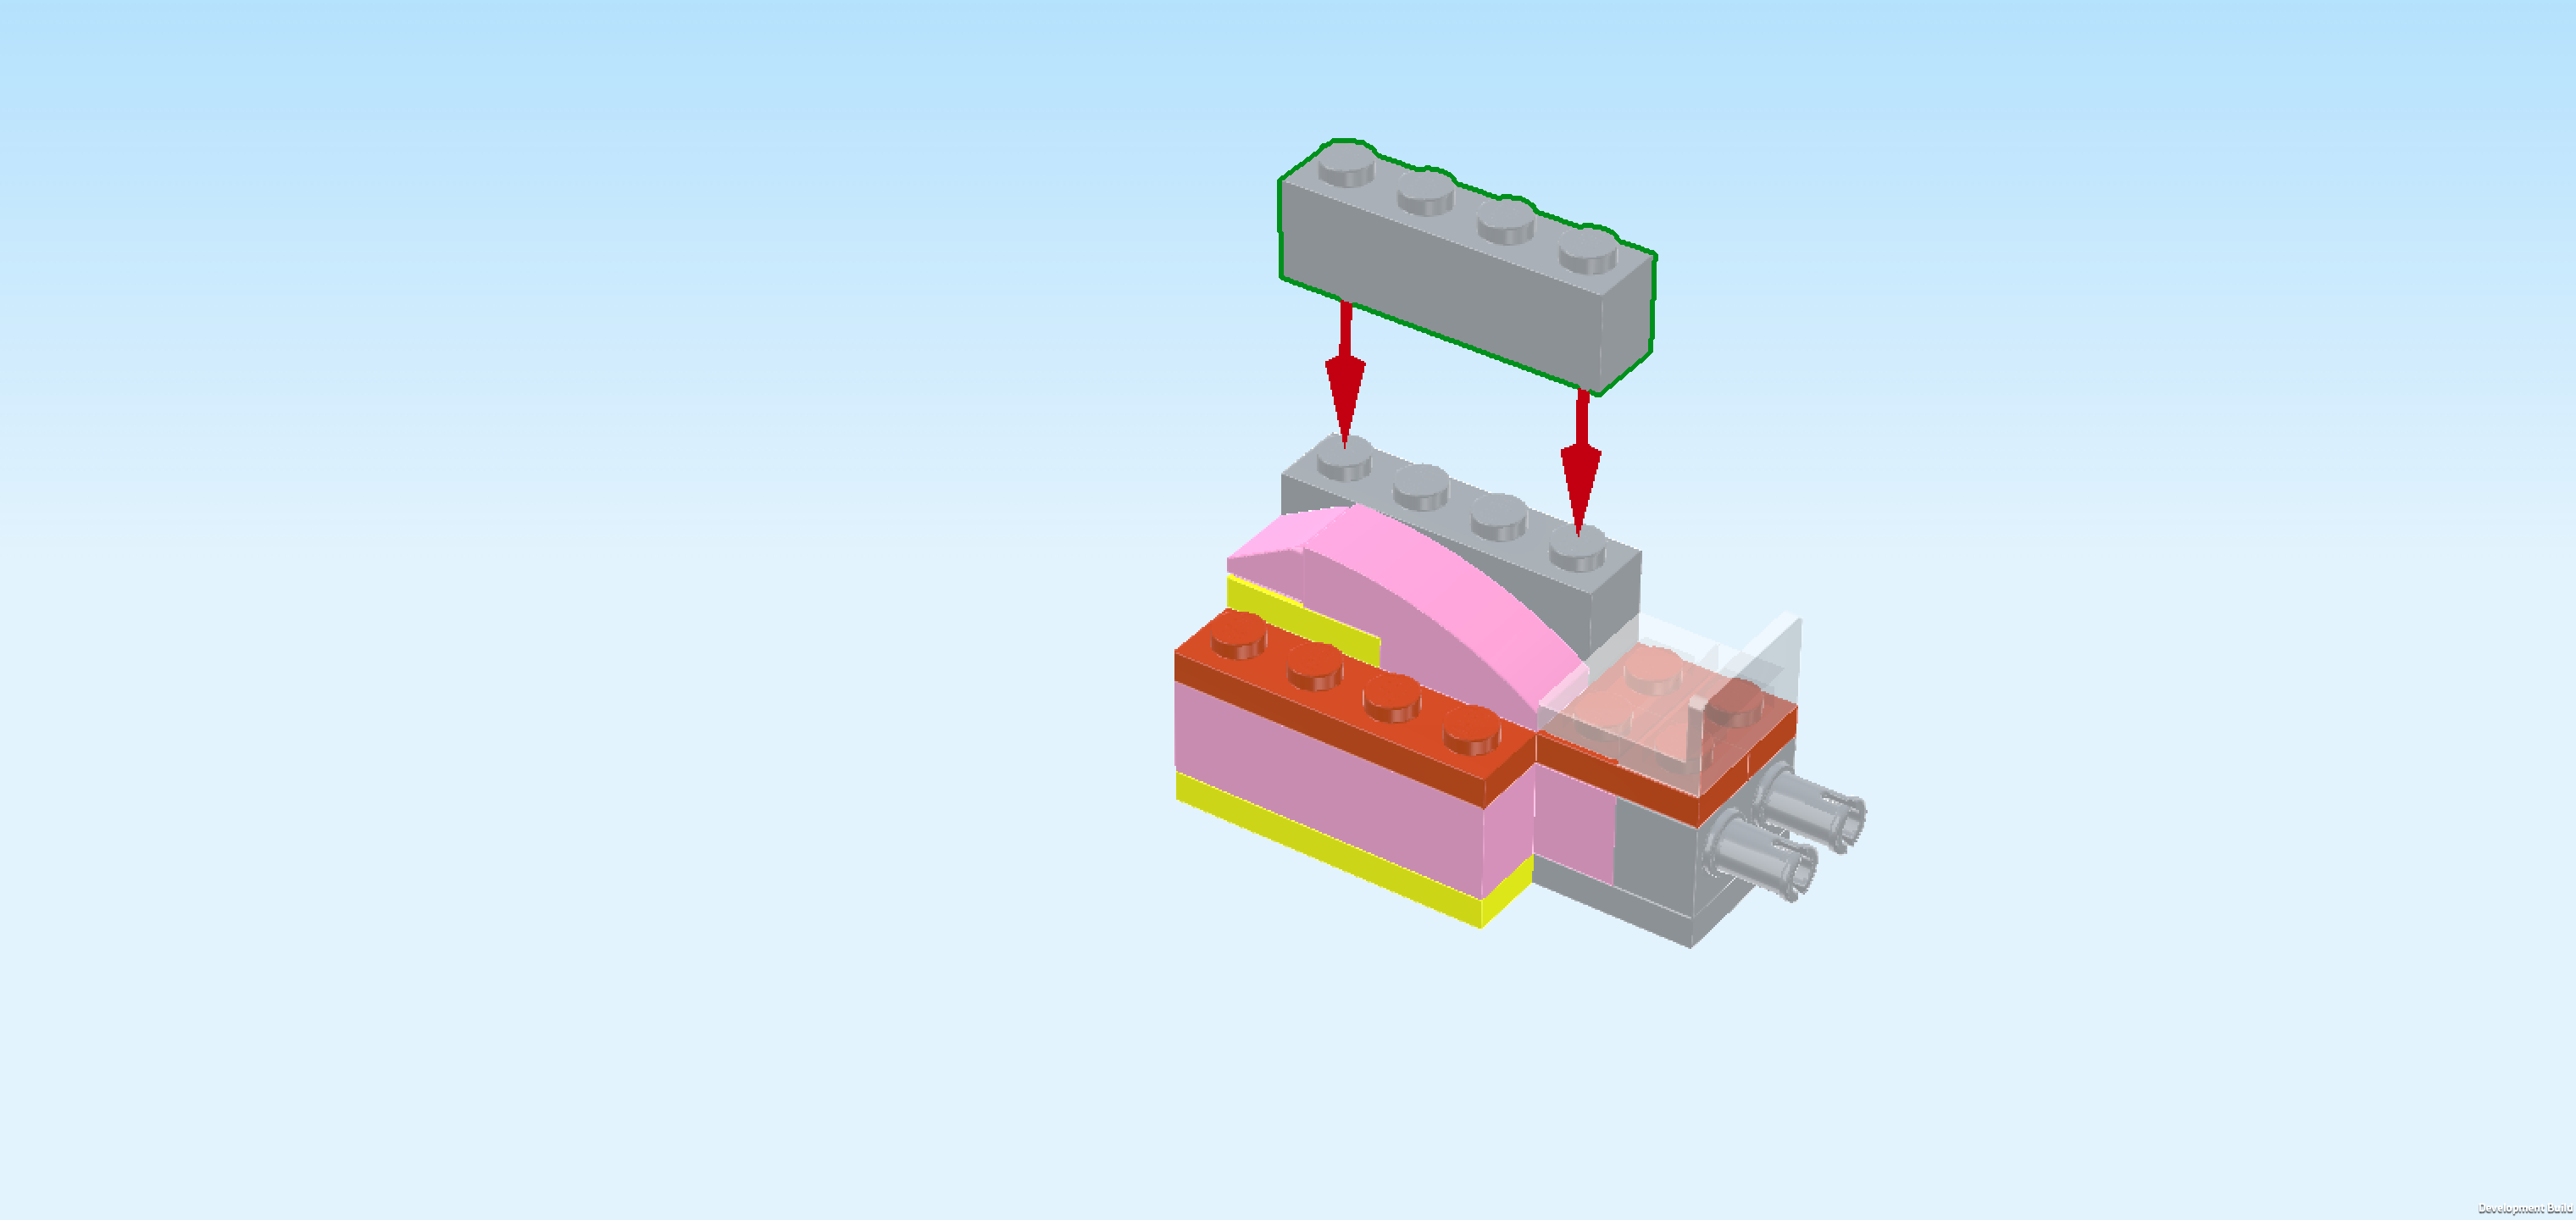
| Find 1 white brick 1x1x5. |
| Put it in front of the leftmost knob of the left arched wall element. This means it will sit on the plate 1x2 with top roof tile we have mounted there earlier. |
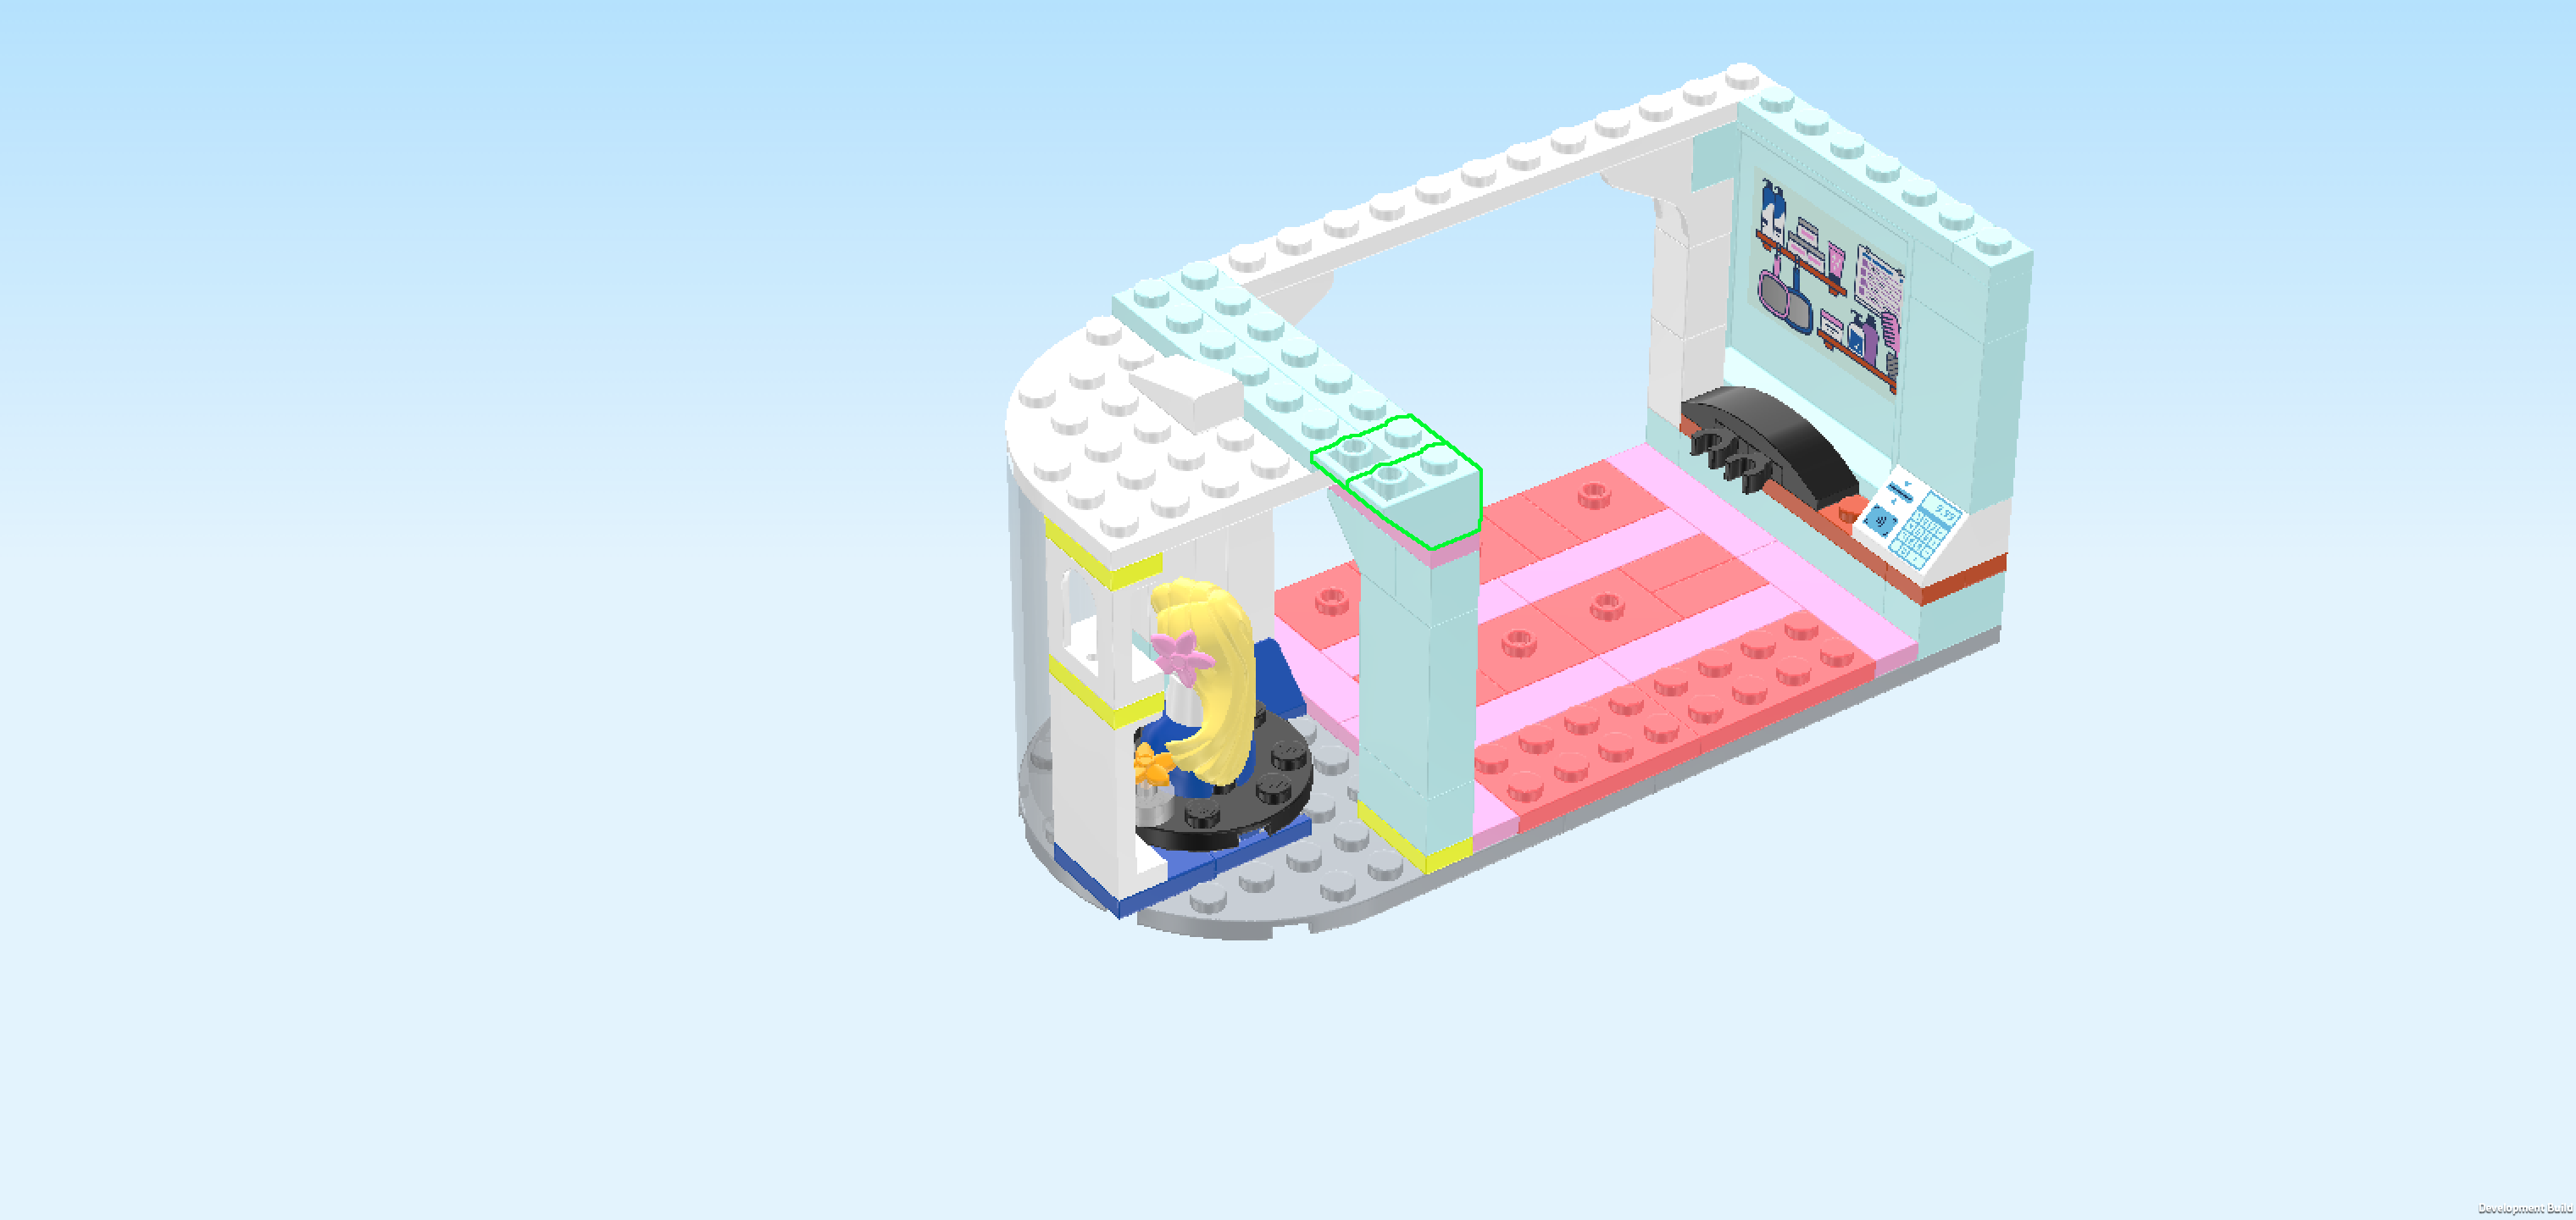
| Now, we will build a side wall element. |
| Collect the following 2 pieces: |
| 1 aqua blue brick 1x2x3, |
| and 1 aqua blue brick 1x2. |
| Put the brick 1x2 horizontally on the table. |
| Put the brick 1x2x3 horizontally on top. |
| Collect the following 2 pieces: |
| 1 aqua blue brick 1x1, |
| and 1 aqua blue inverted roof tile 1x2, 45°. |
| Put the brick 1x1 on the previous piece's right knob. |
| Put the inverted roof tile 1x2 horizontally to the left of the previous piece, 1/2 with slope overhanging to the left. |
| Turn the side wall element vertically so that the sloped part is pointing to the back. Mount it opposite the brick 1x1x5 we have mounted last. This means it will sit on the plate 1x2 that is mounted vertically at the front edge of the structure in the left half. |
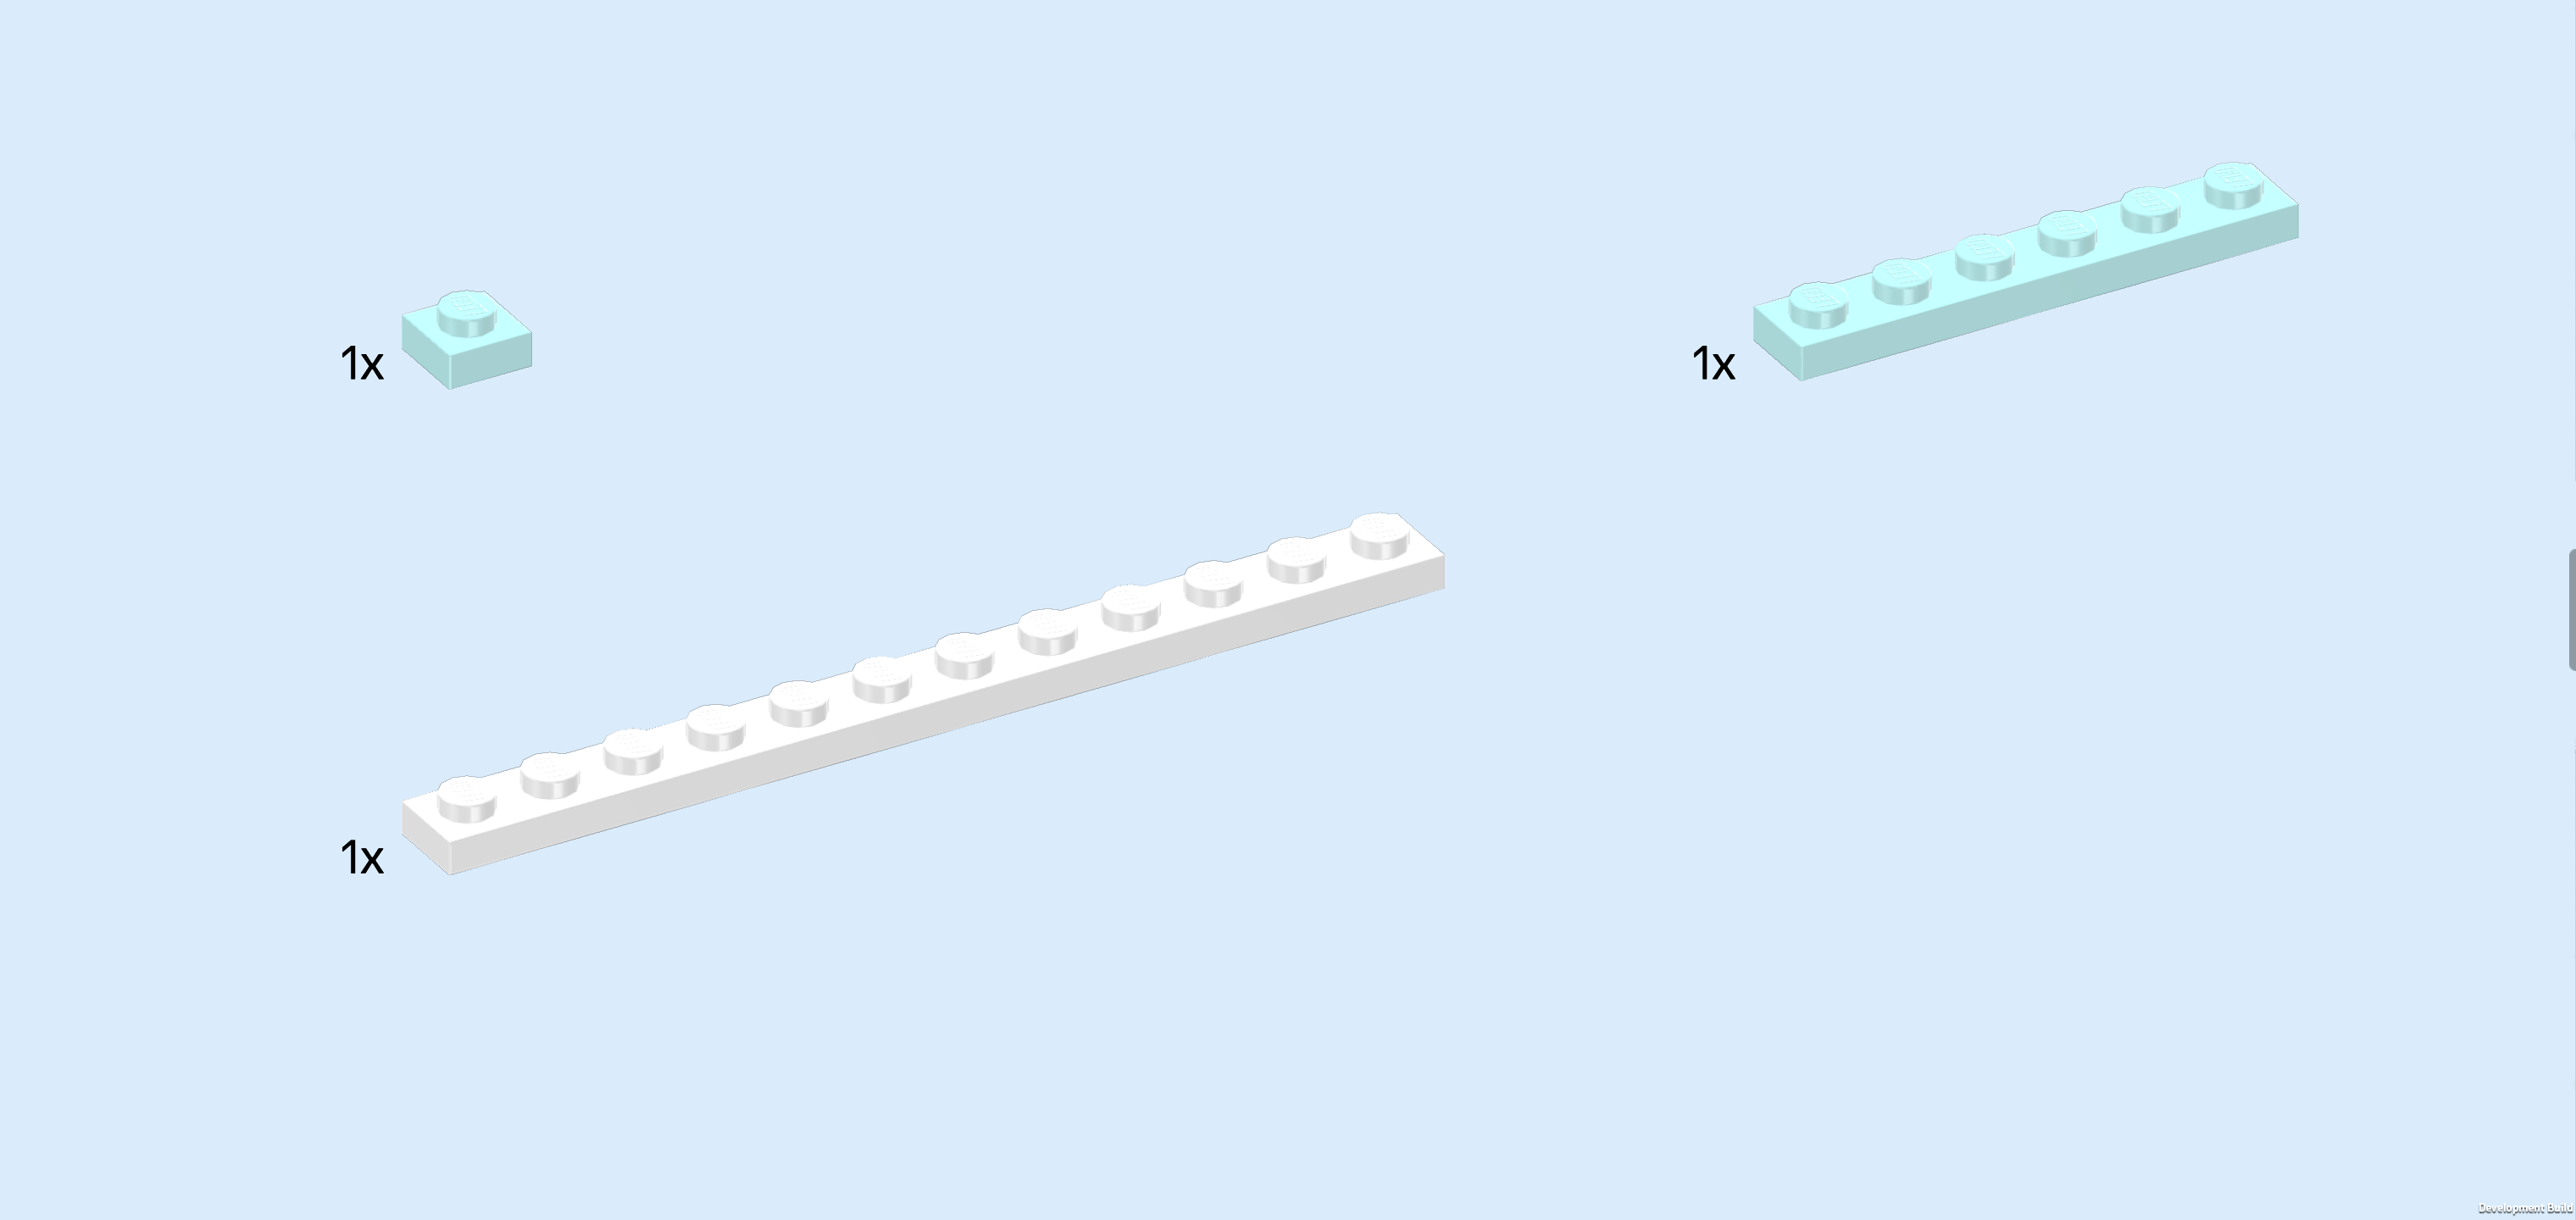
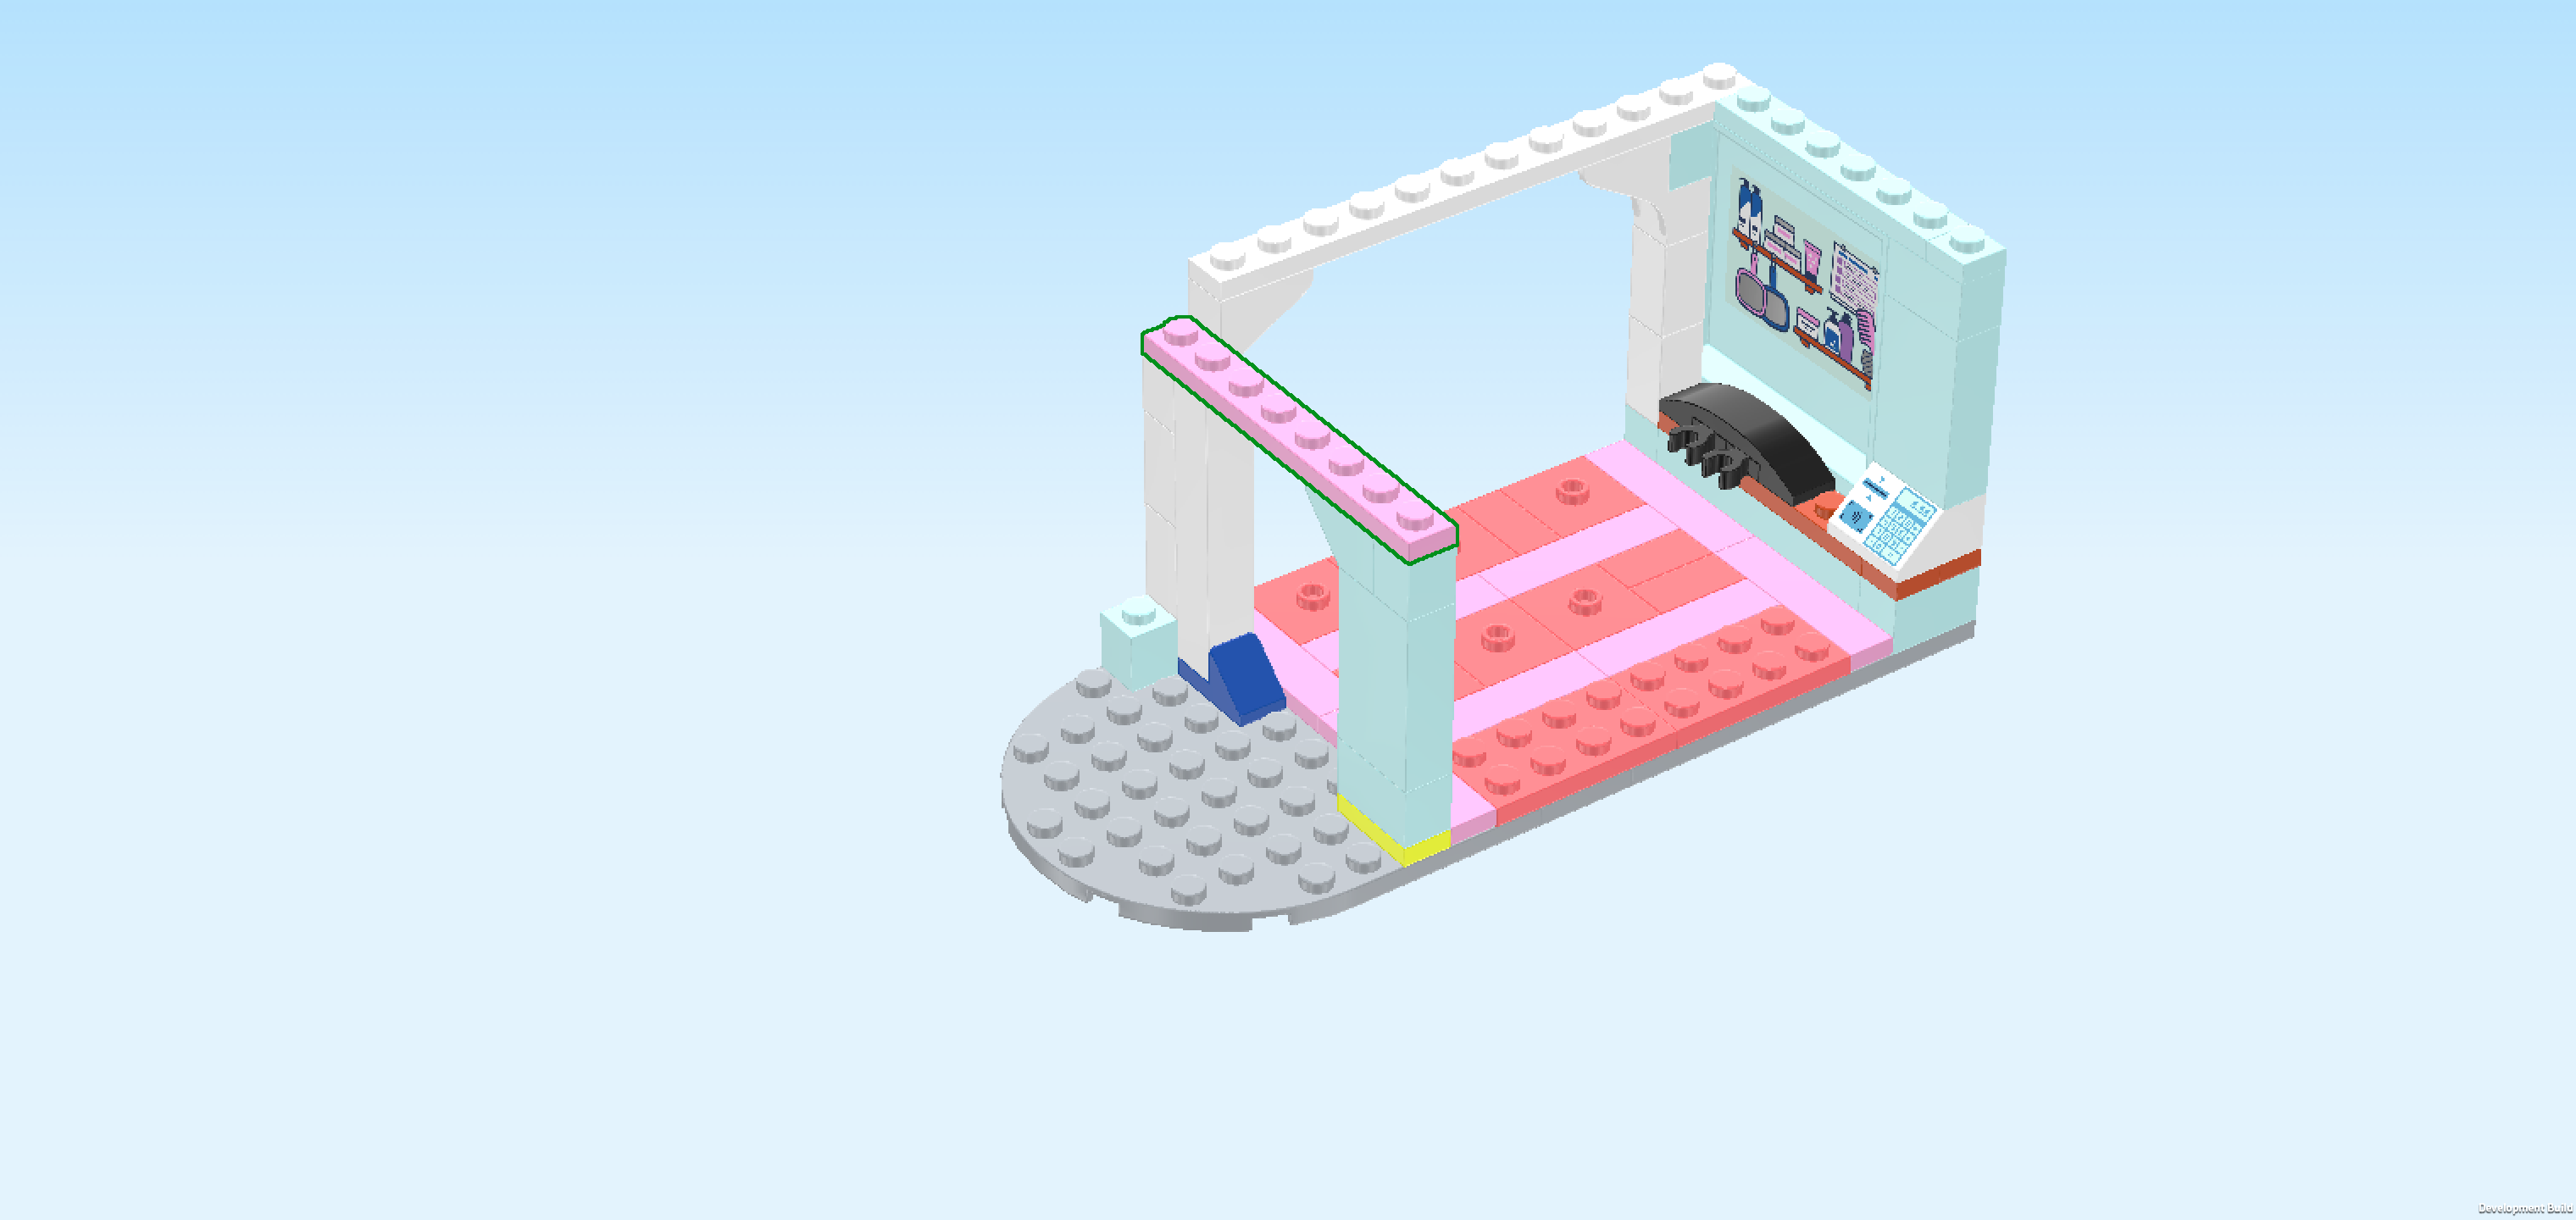
| Find 1 light purple plate 1x8. |
| Put it vertically on top of the previous piece and the 2 knobs at the back, connecting the 2 left wall corners. |
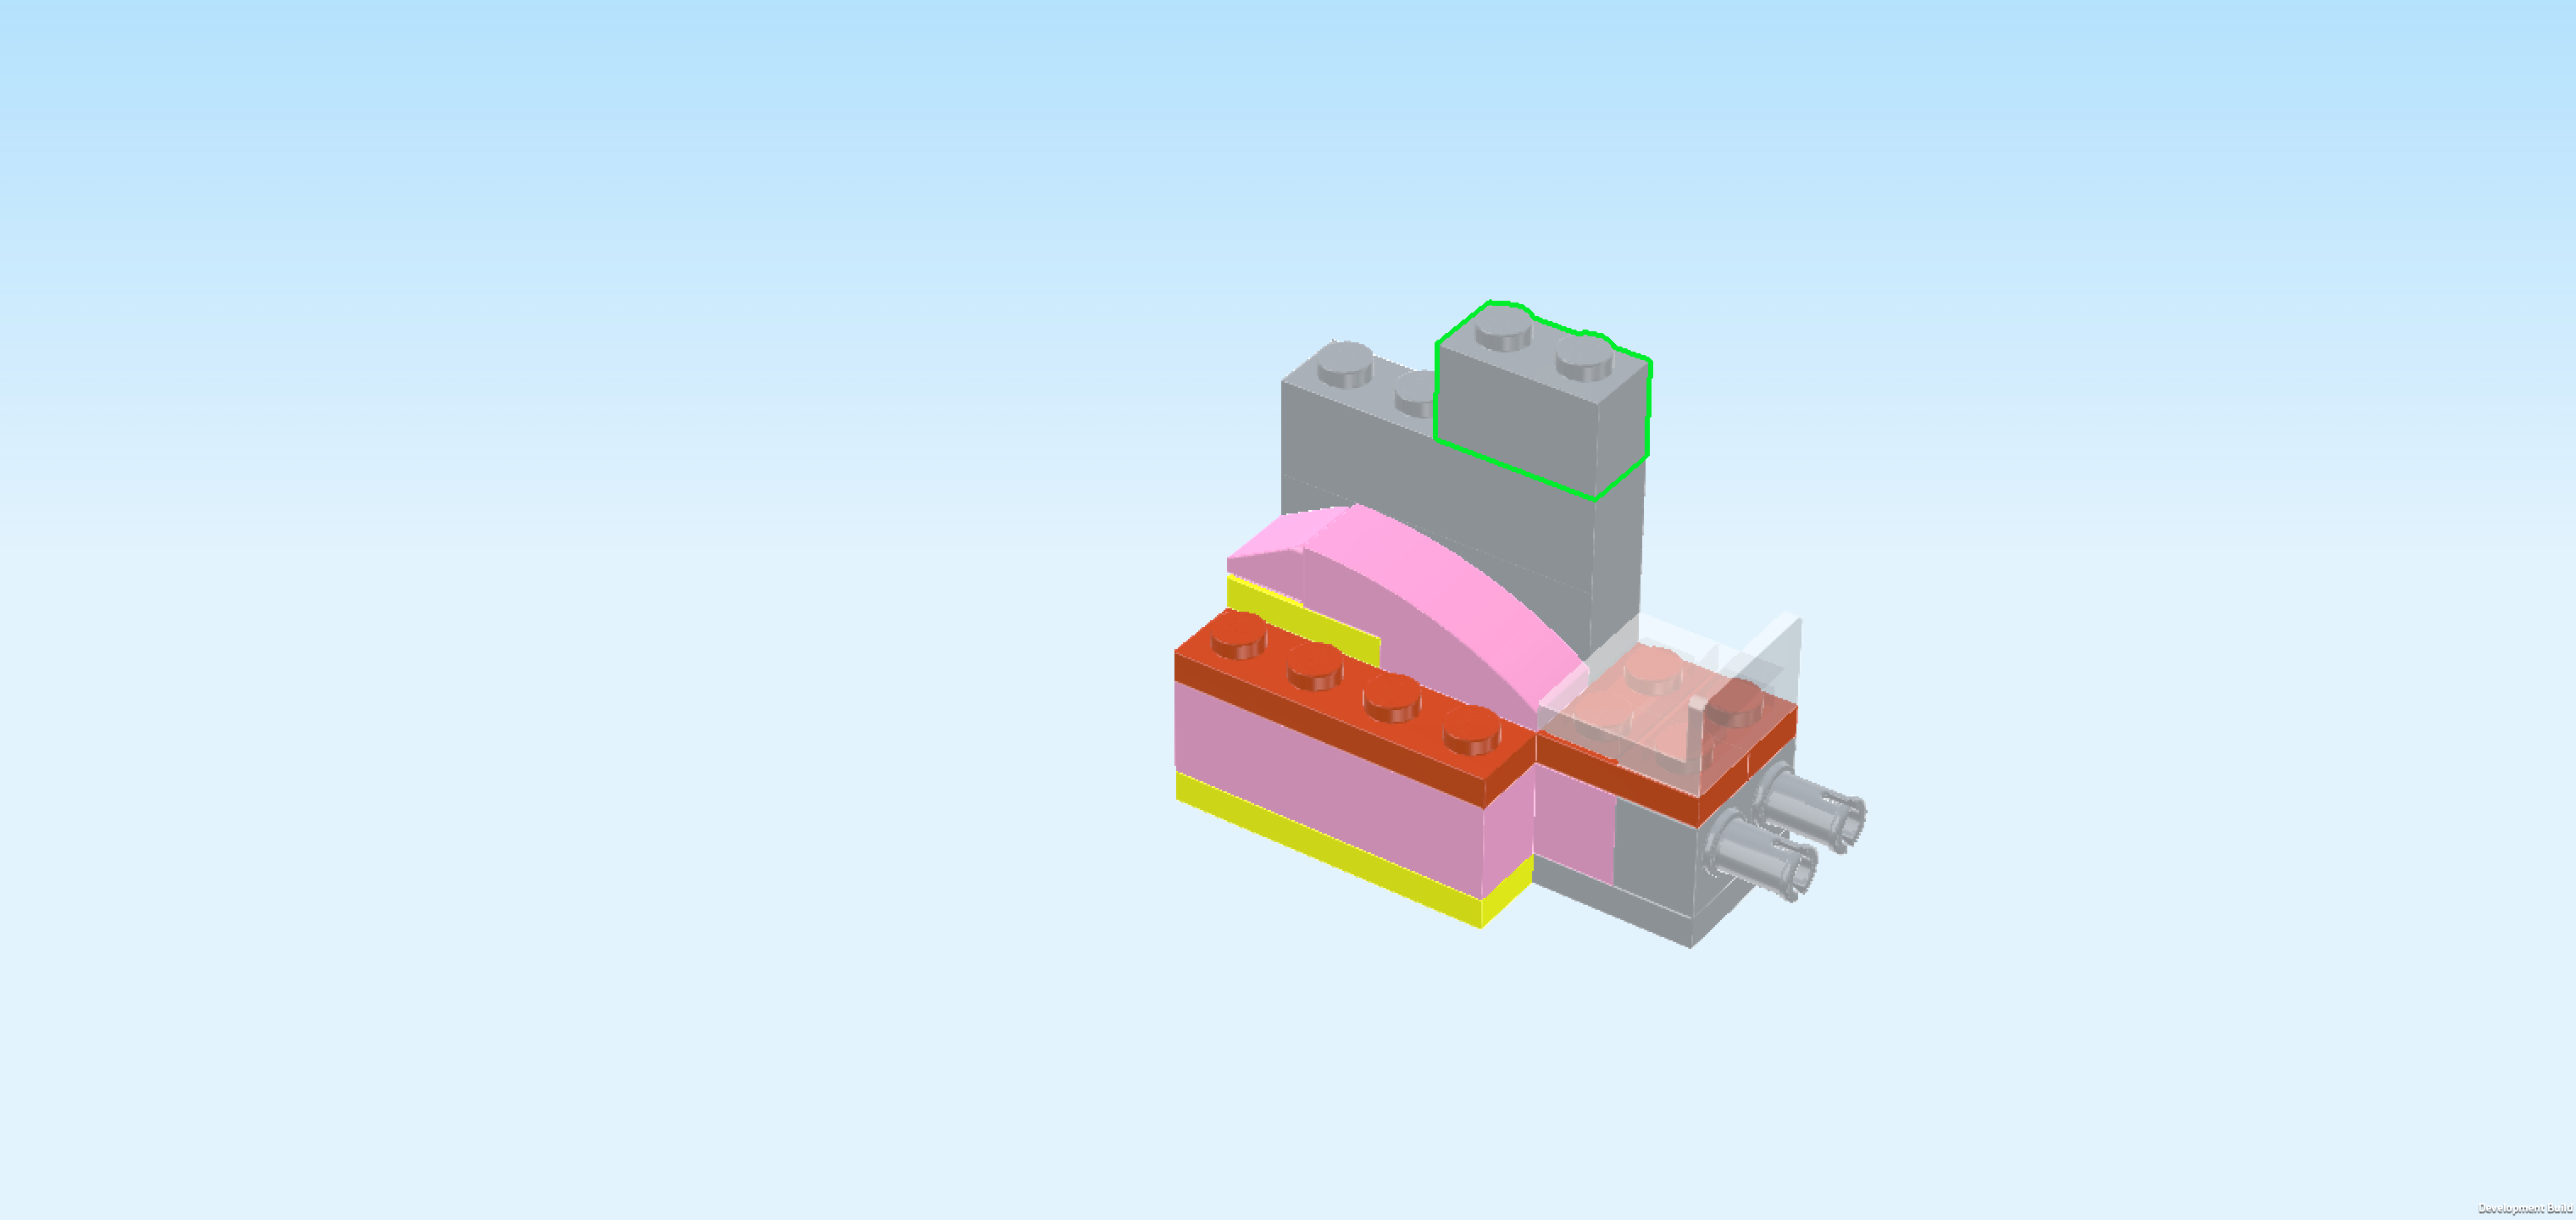
| Collect the following 2 pieces: |
| 1 aqua blue plate 1x6, |
| and 1 white brick 1x1x5. |
| Put the plate 1x6 vertically on the previous piece, starting from the back edge. |
| Put the brick 1x1x5 to the left of the previous piece's backmost knob. |
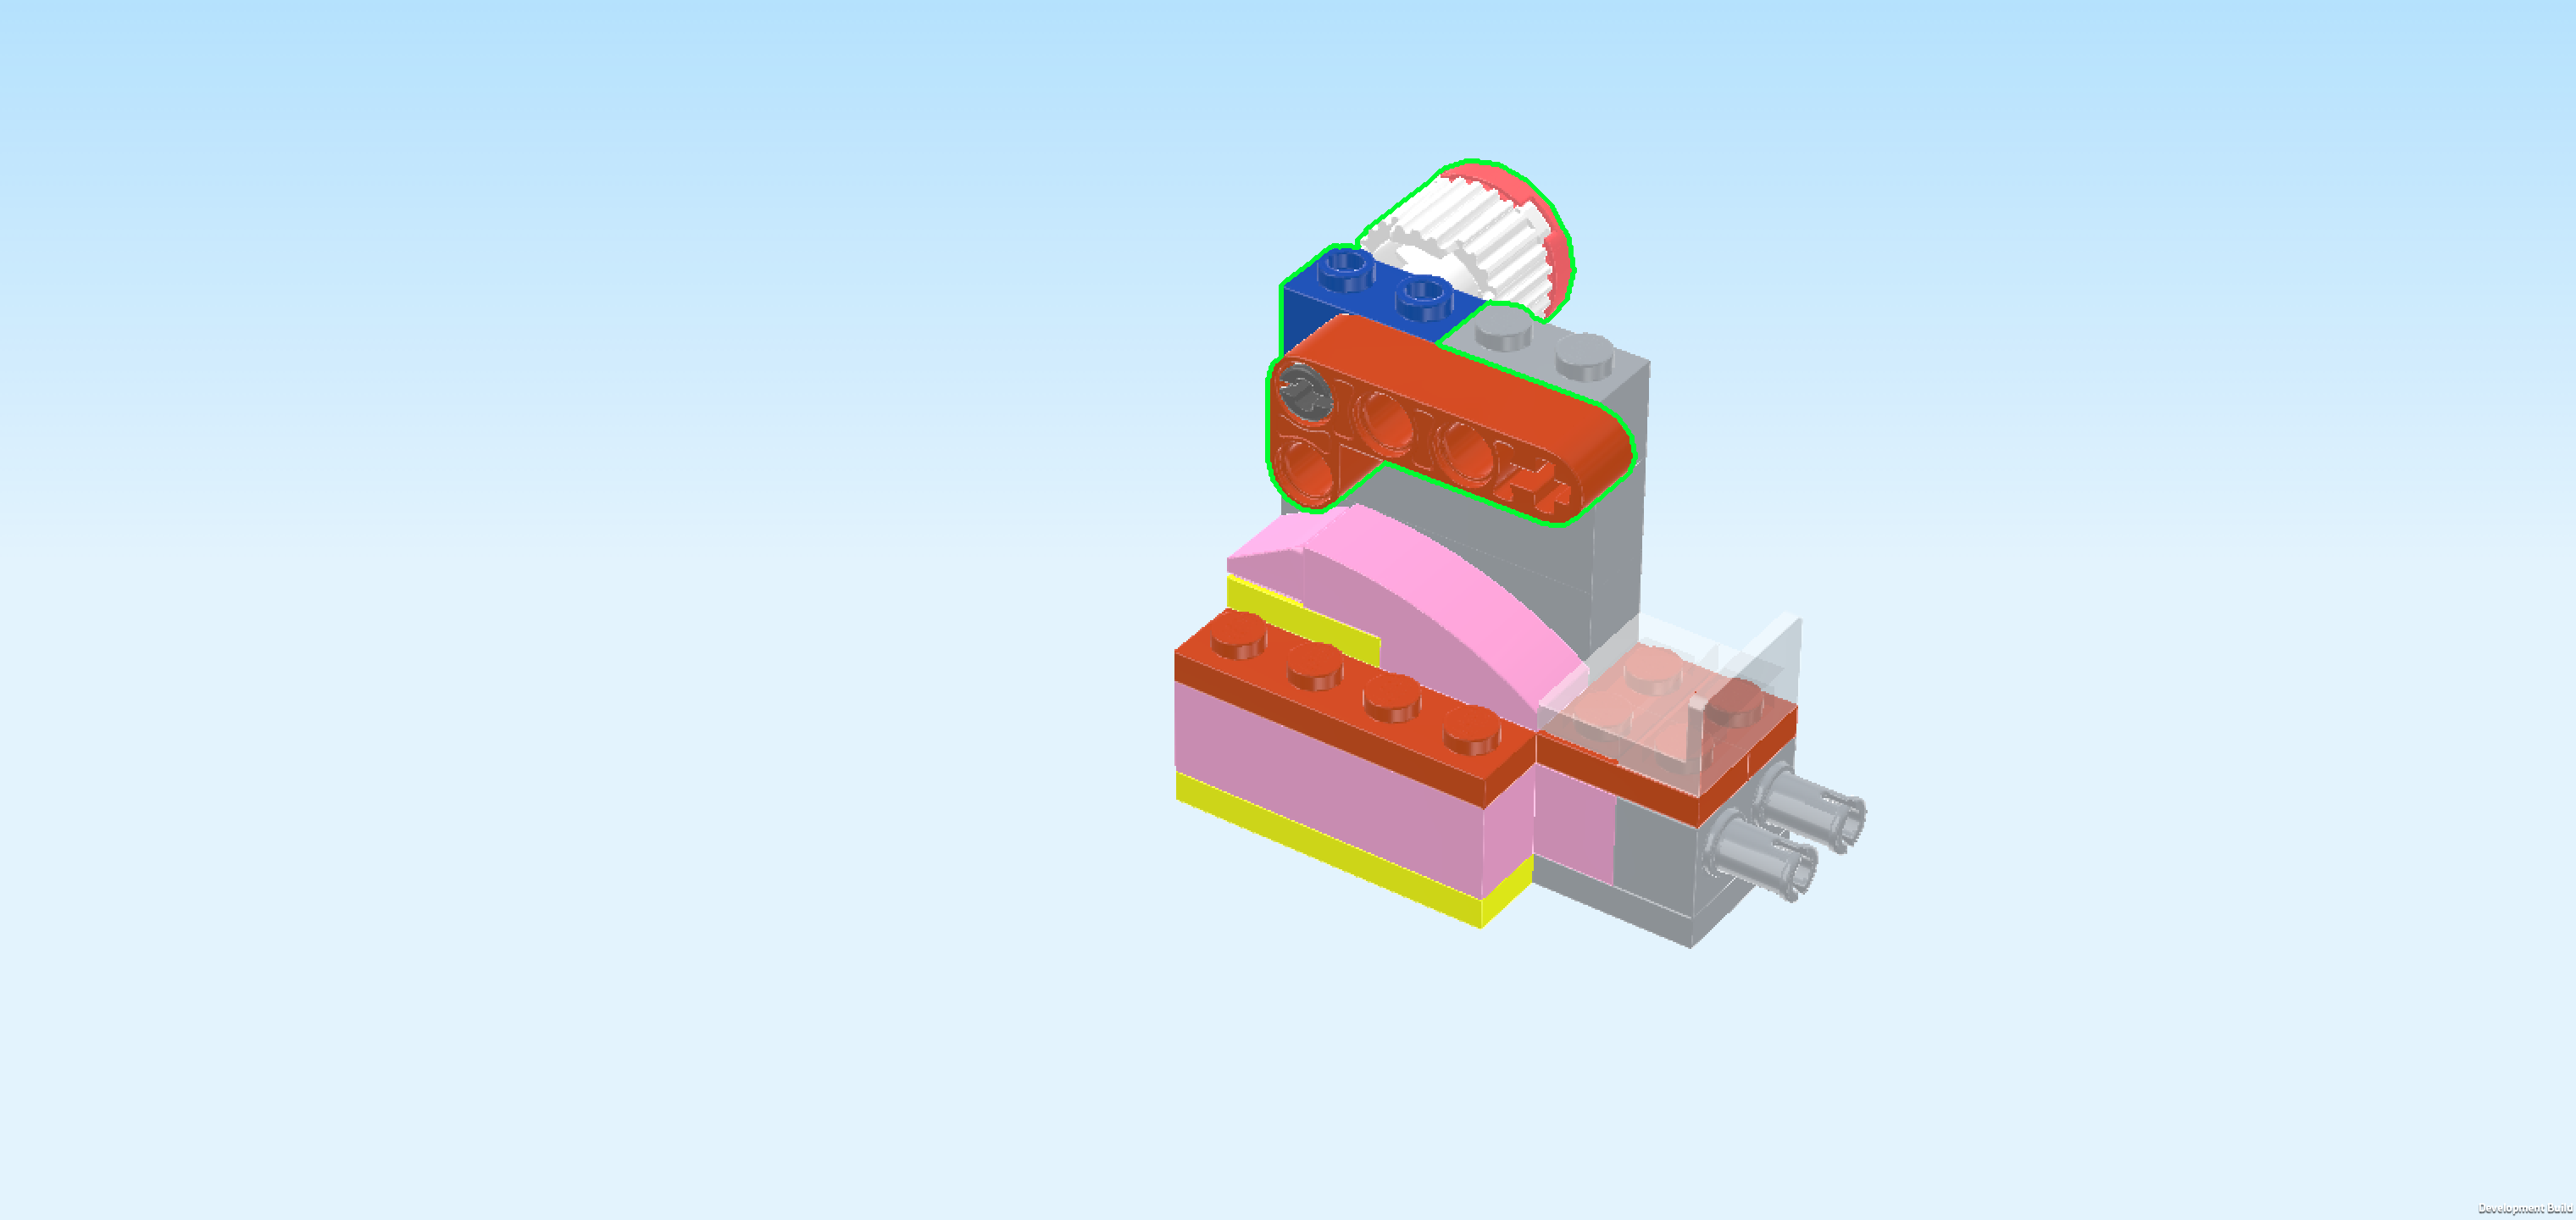
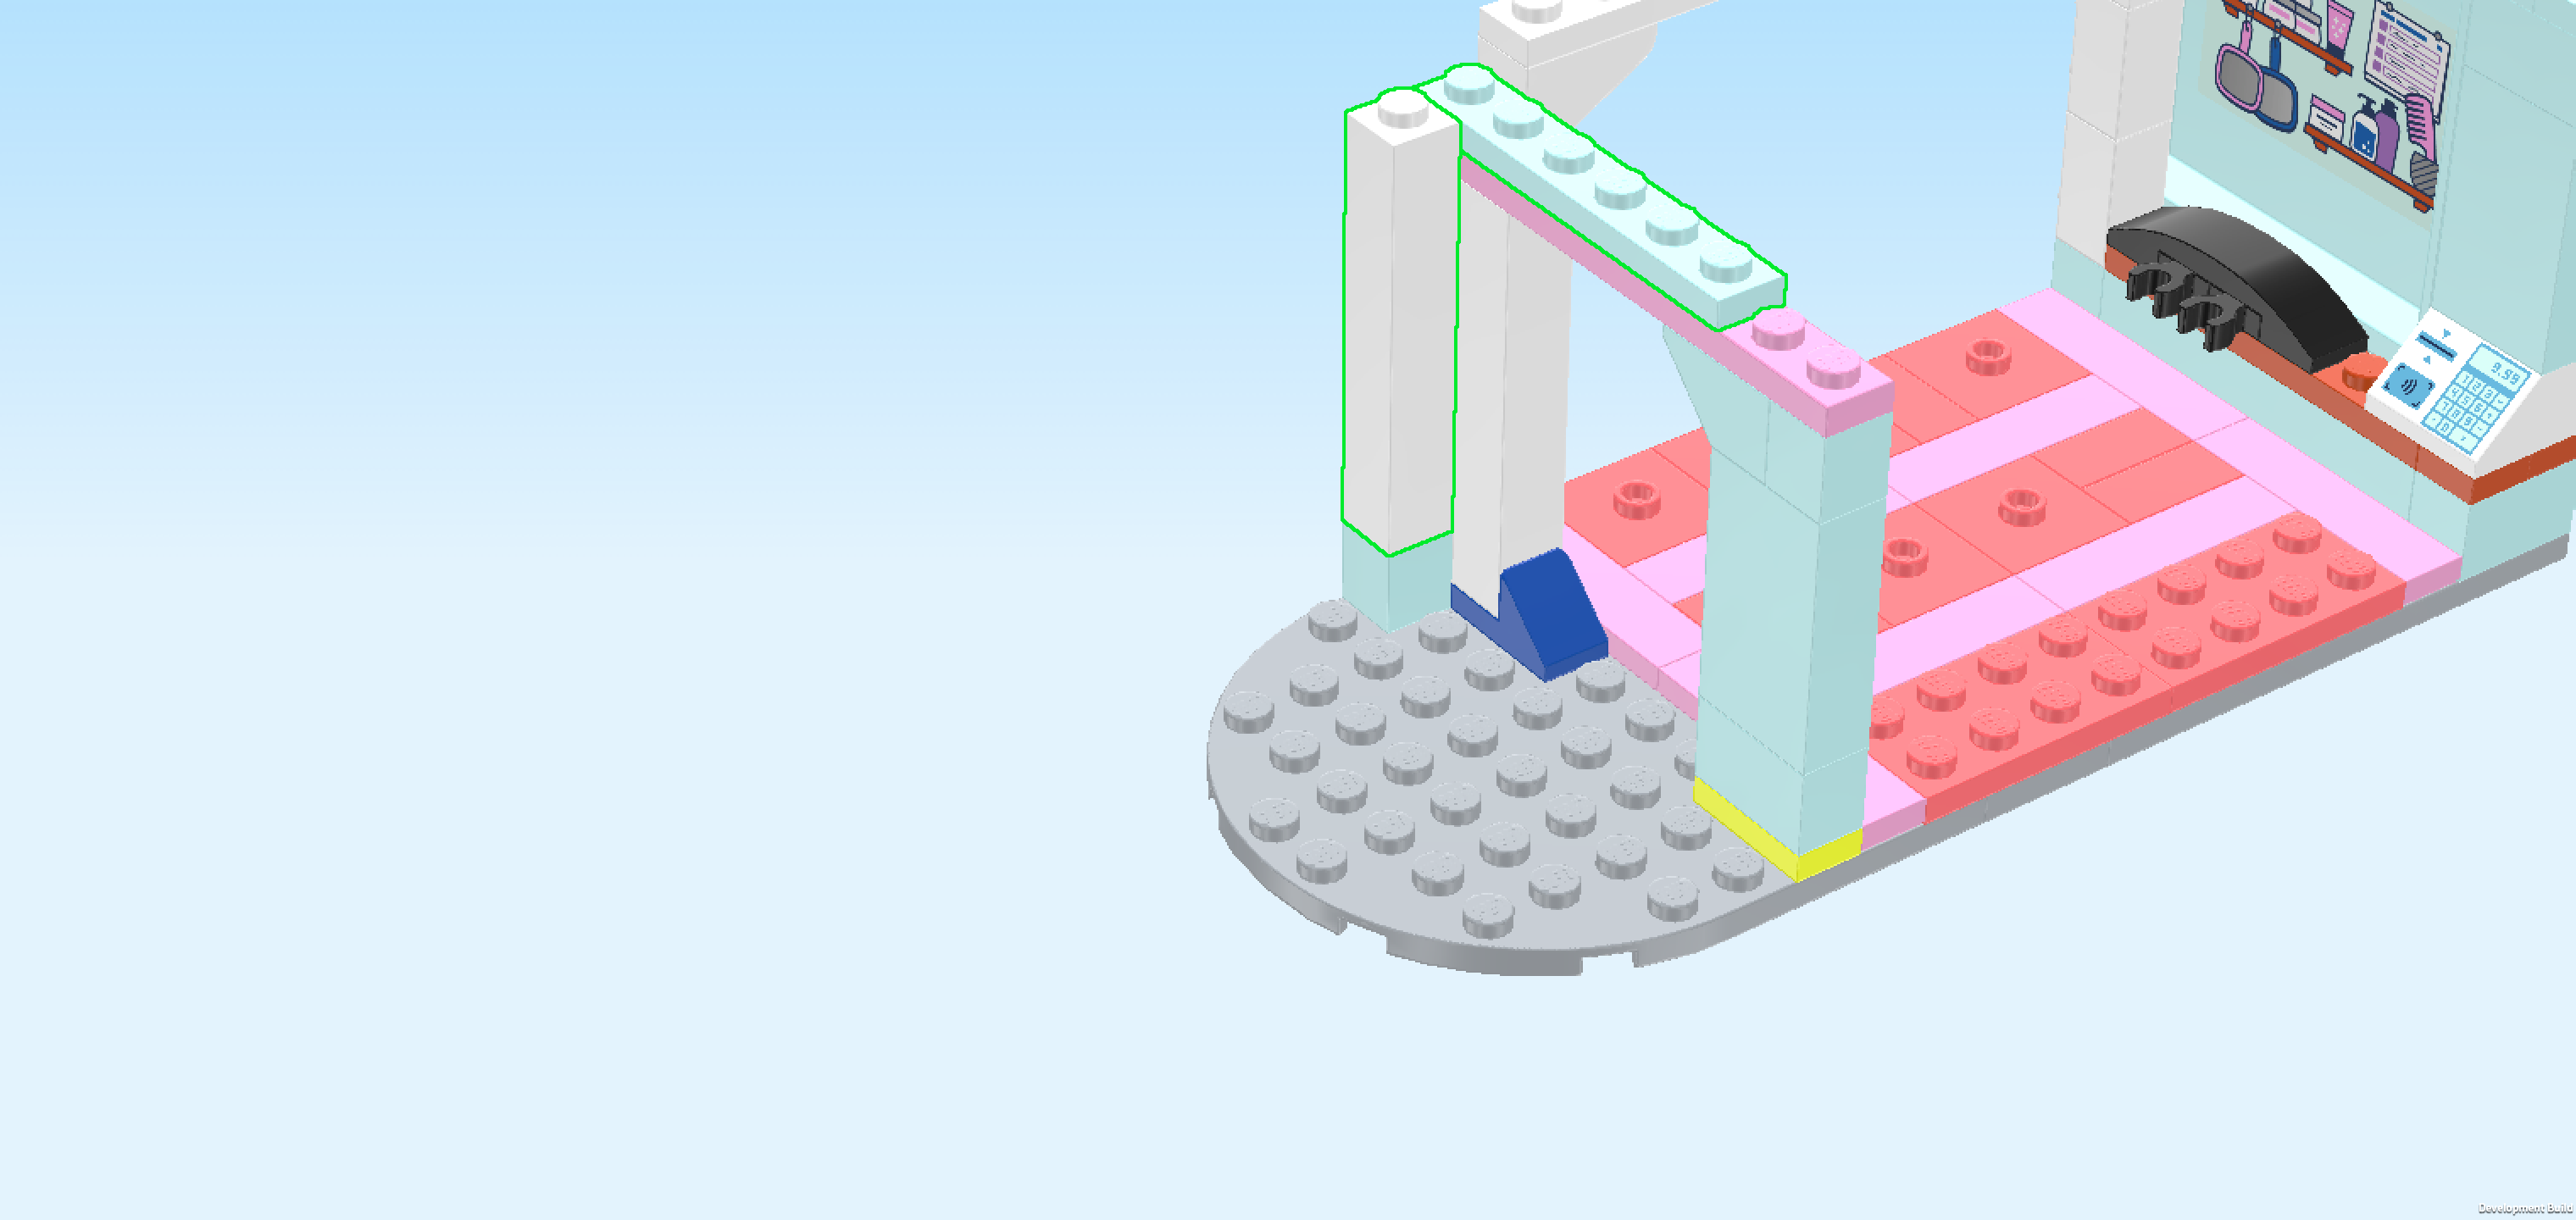
| Collect the following 2 pieces: |
| 1 transparent quarter-arched wall element 4x4x6, |
| and 1 bright blue plate 2x2 with 2 knobs. |
| Put the quarter-arched wall element 4x4x6 to the left of the previous piece, its curve matching the curve of the plate with half circle at the base of the structure. |
| Put the plate 2x2 in front of the previous piece, which means it will be mounted at the leftmost edge. Make sure its 2 knobs form a column on the left. |
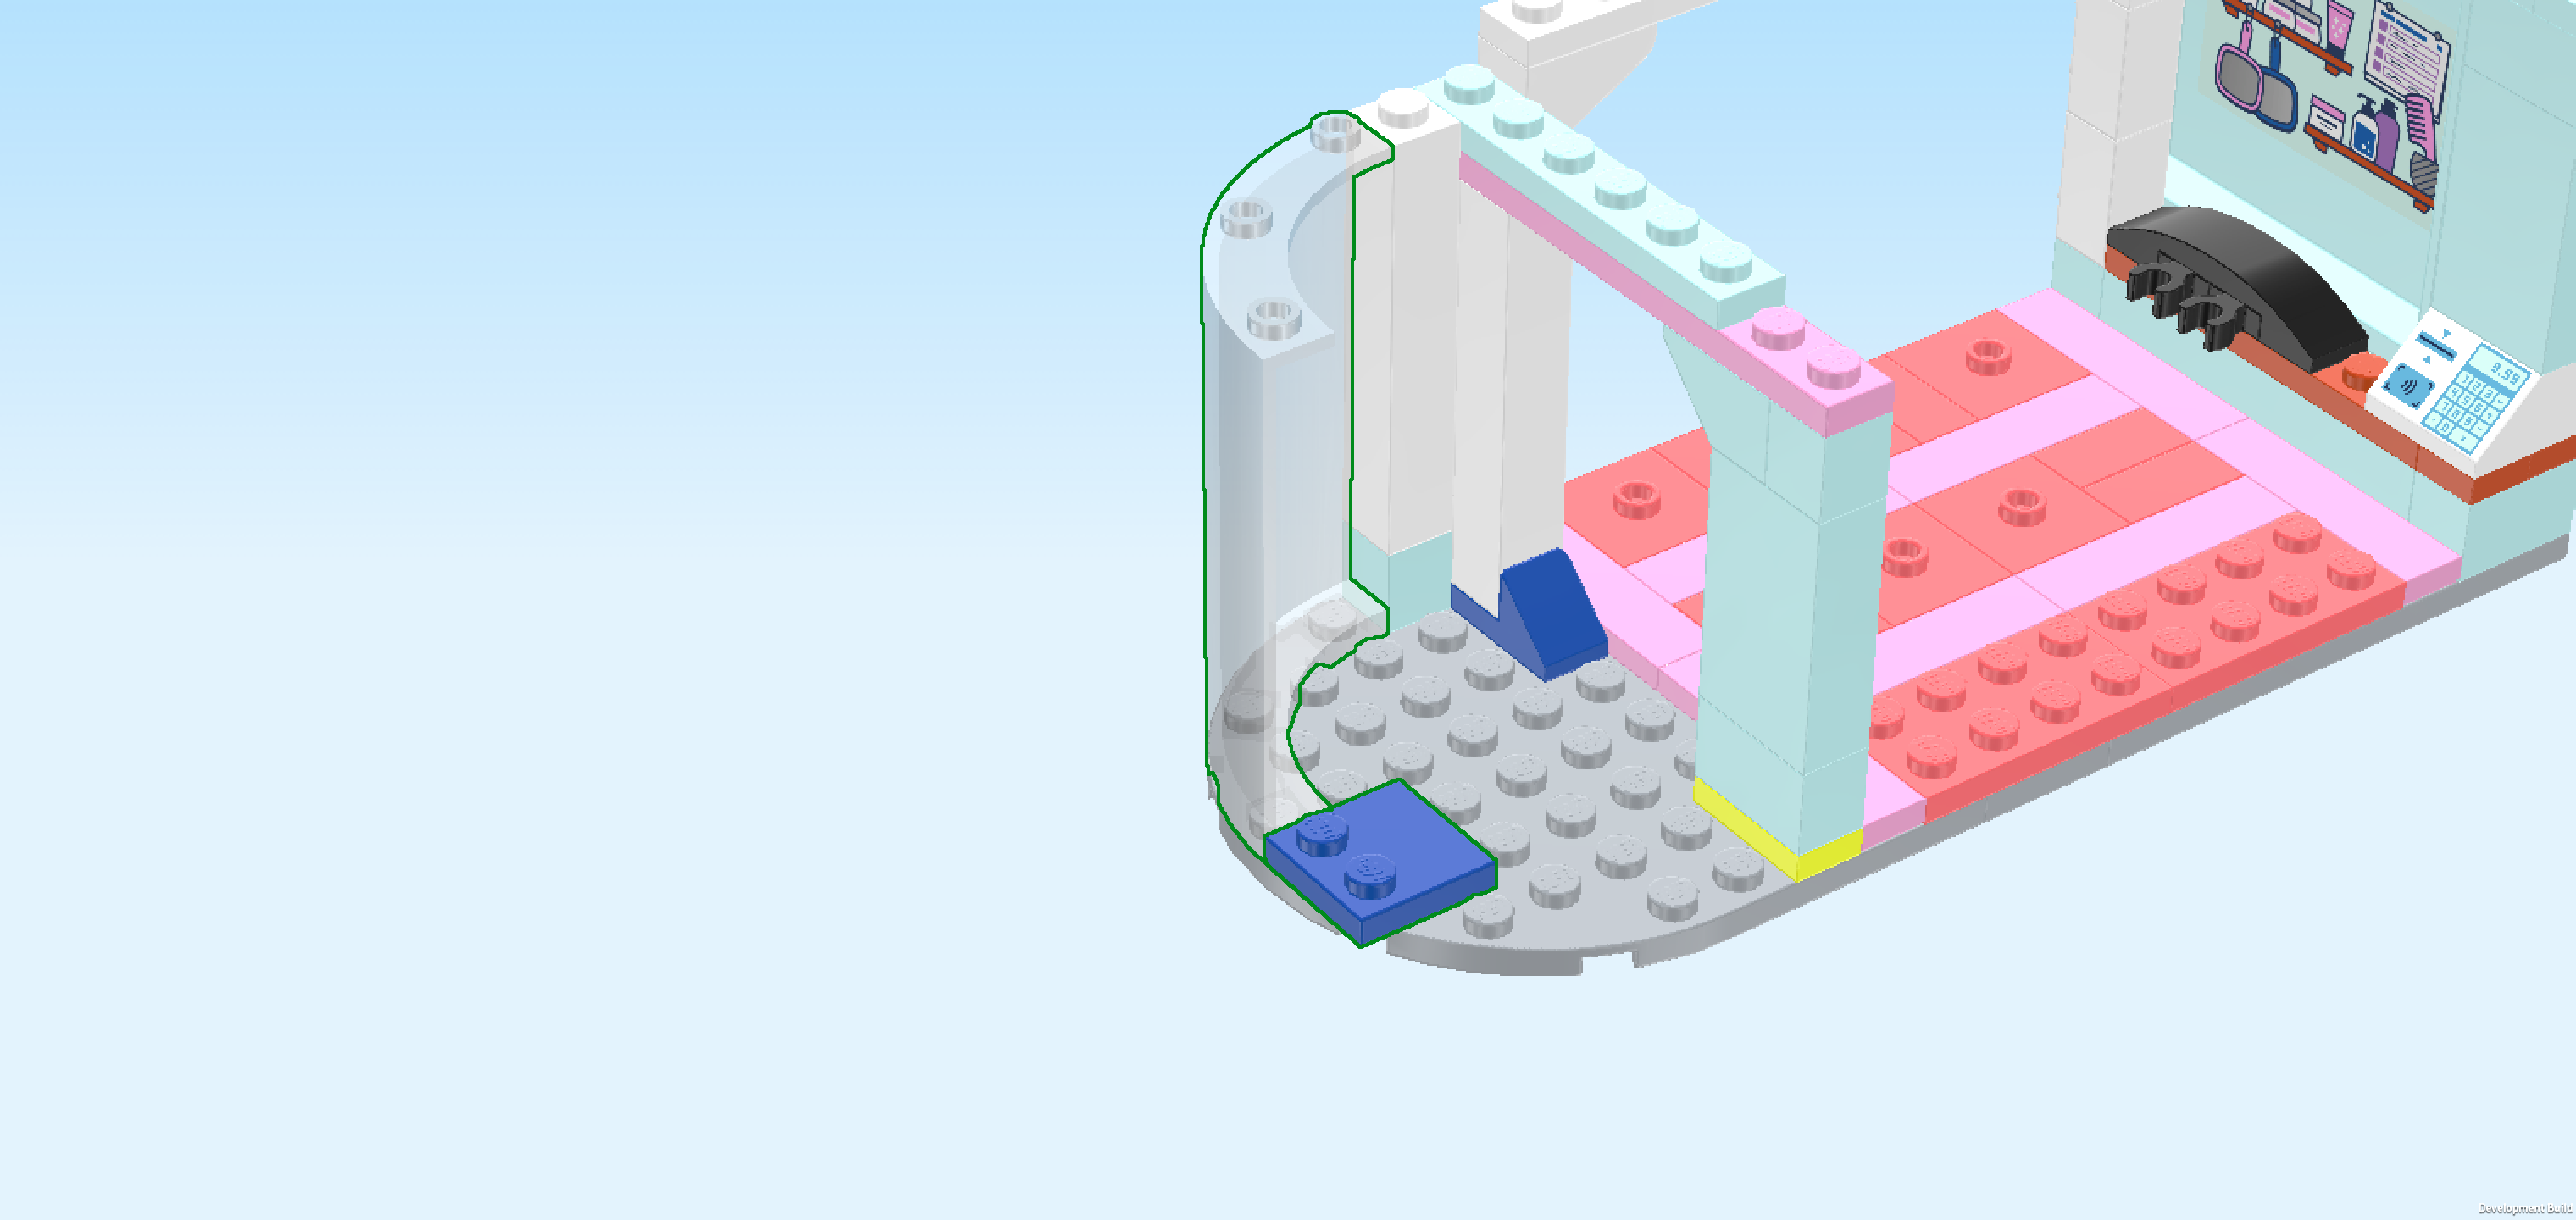
| Collect the following 2 pieces: |
| 1 black turntable socket 2x2, |
| and 1 bright blue grille tile 1x2. |
| Put the grille tile 1x2 horizontally to the right of the previous piece's front half. |
| Put the turntable socket 2x2 behind the previous piece. |
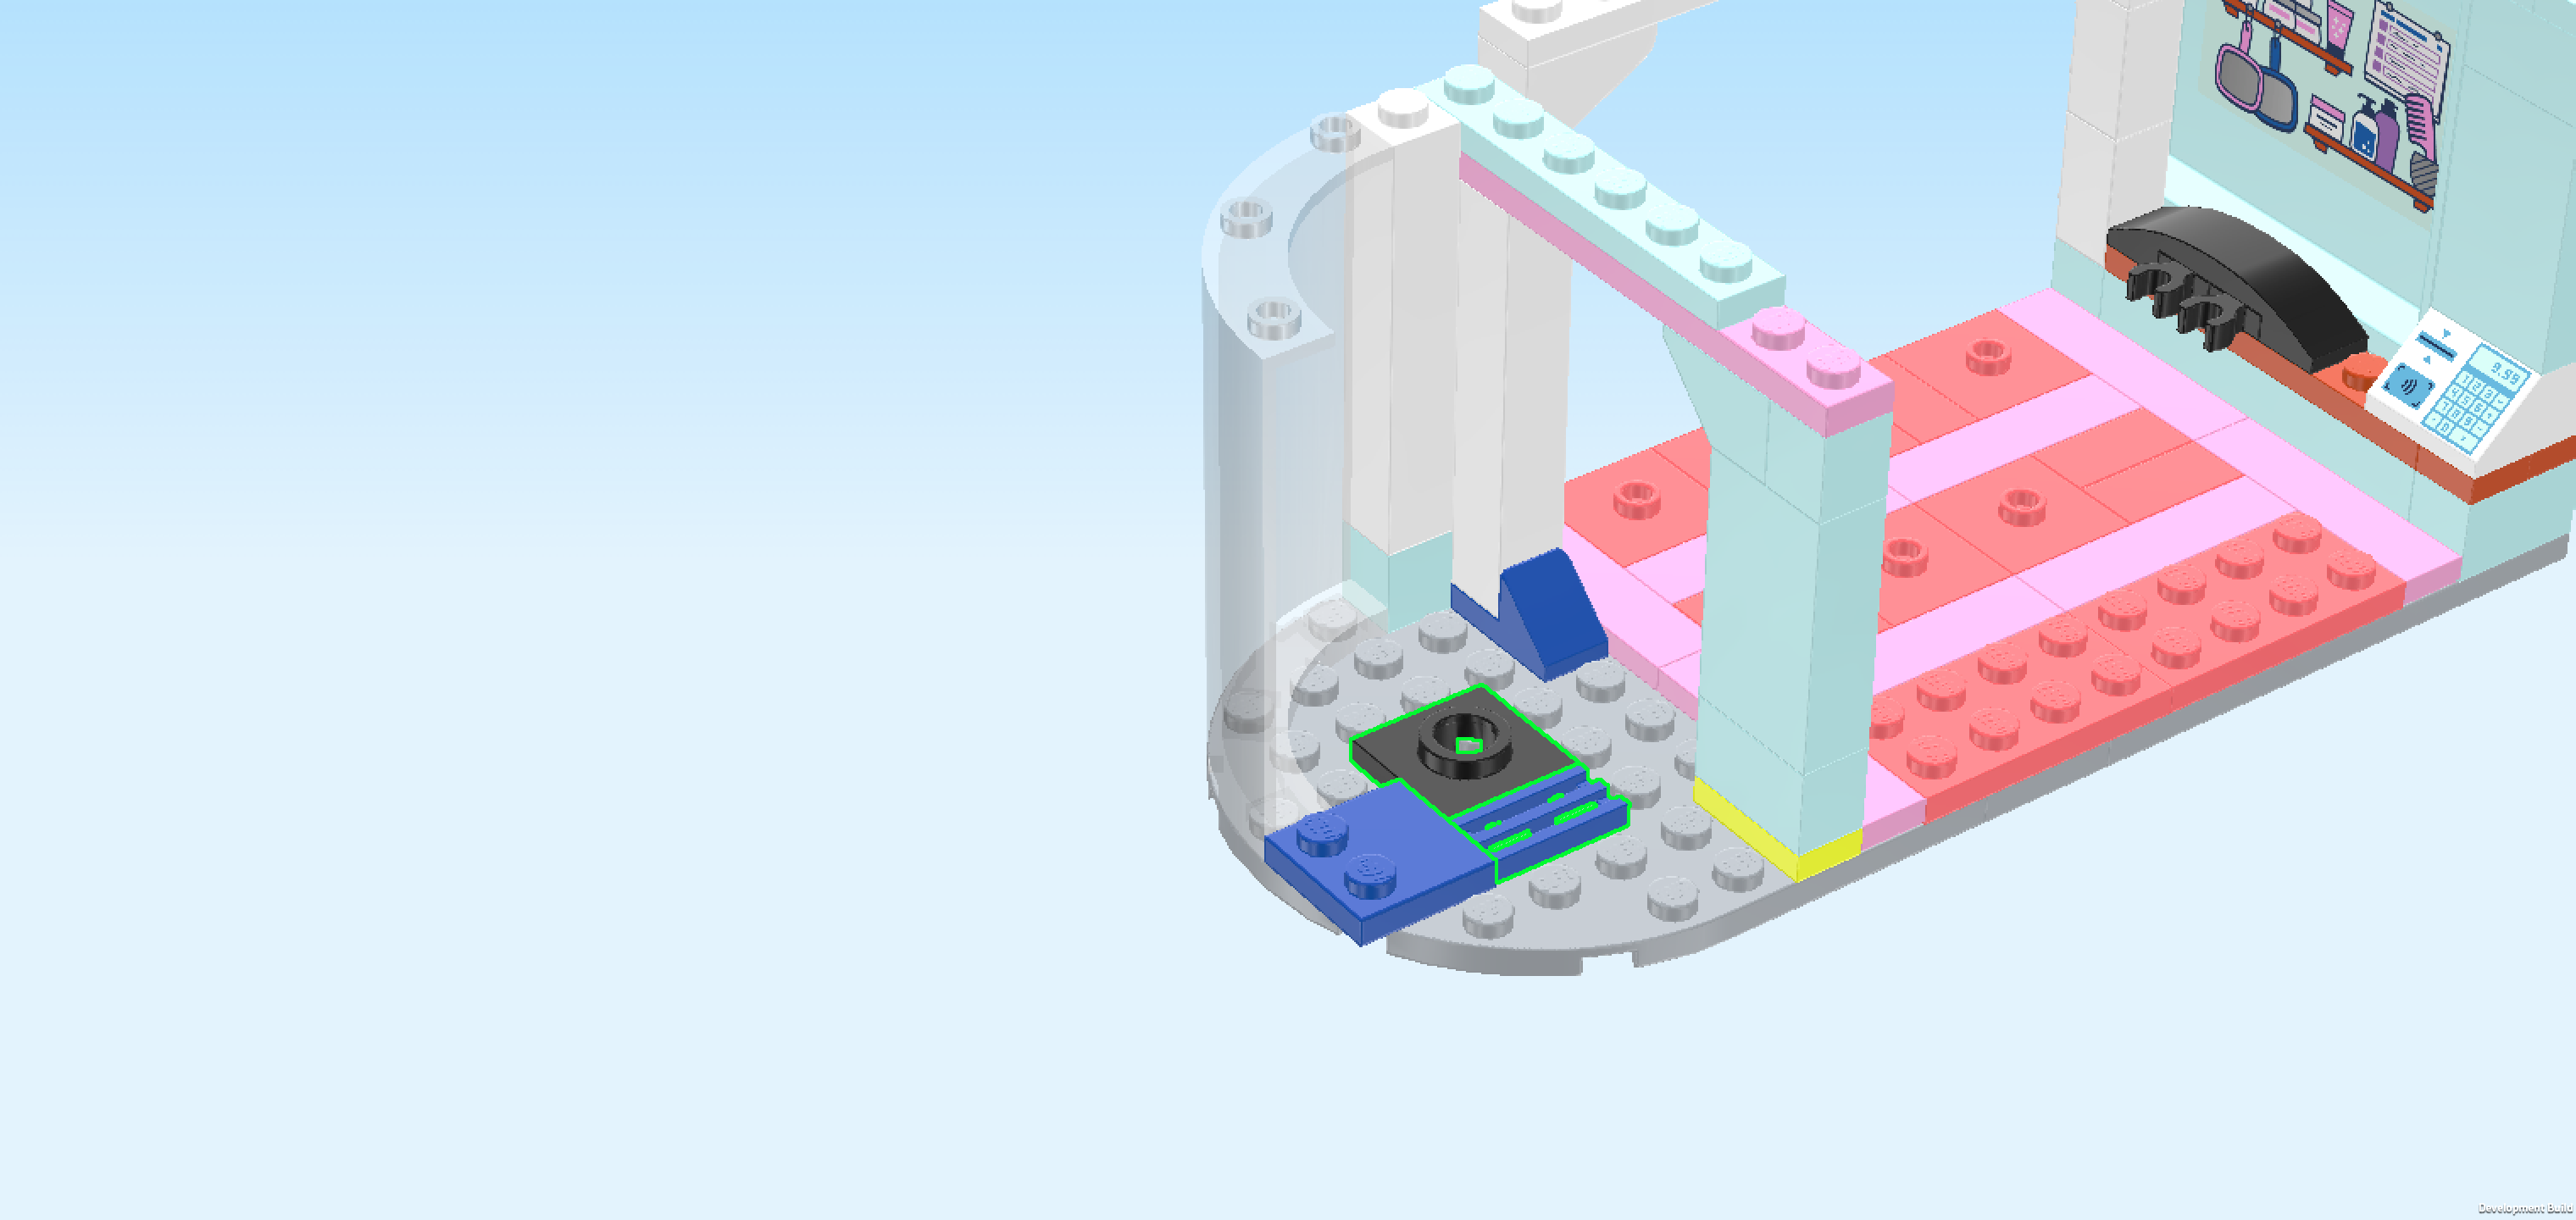
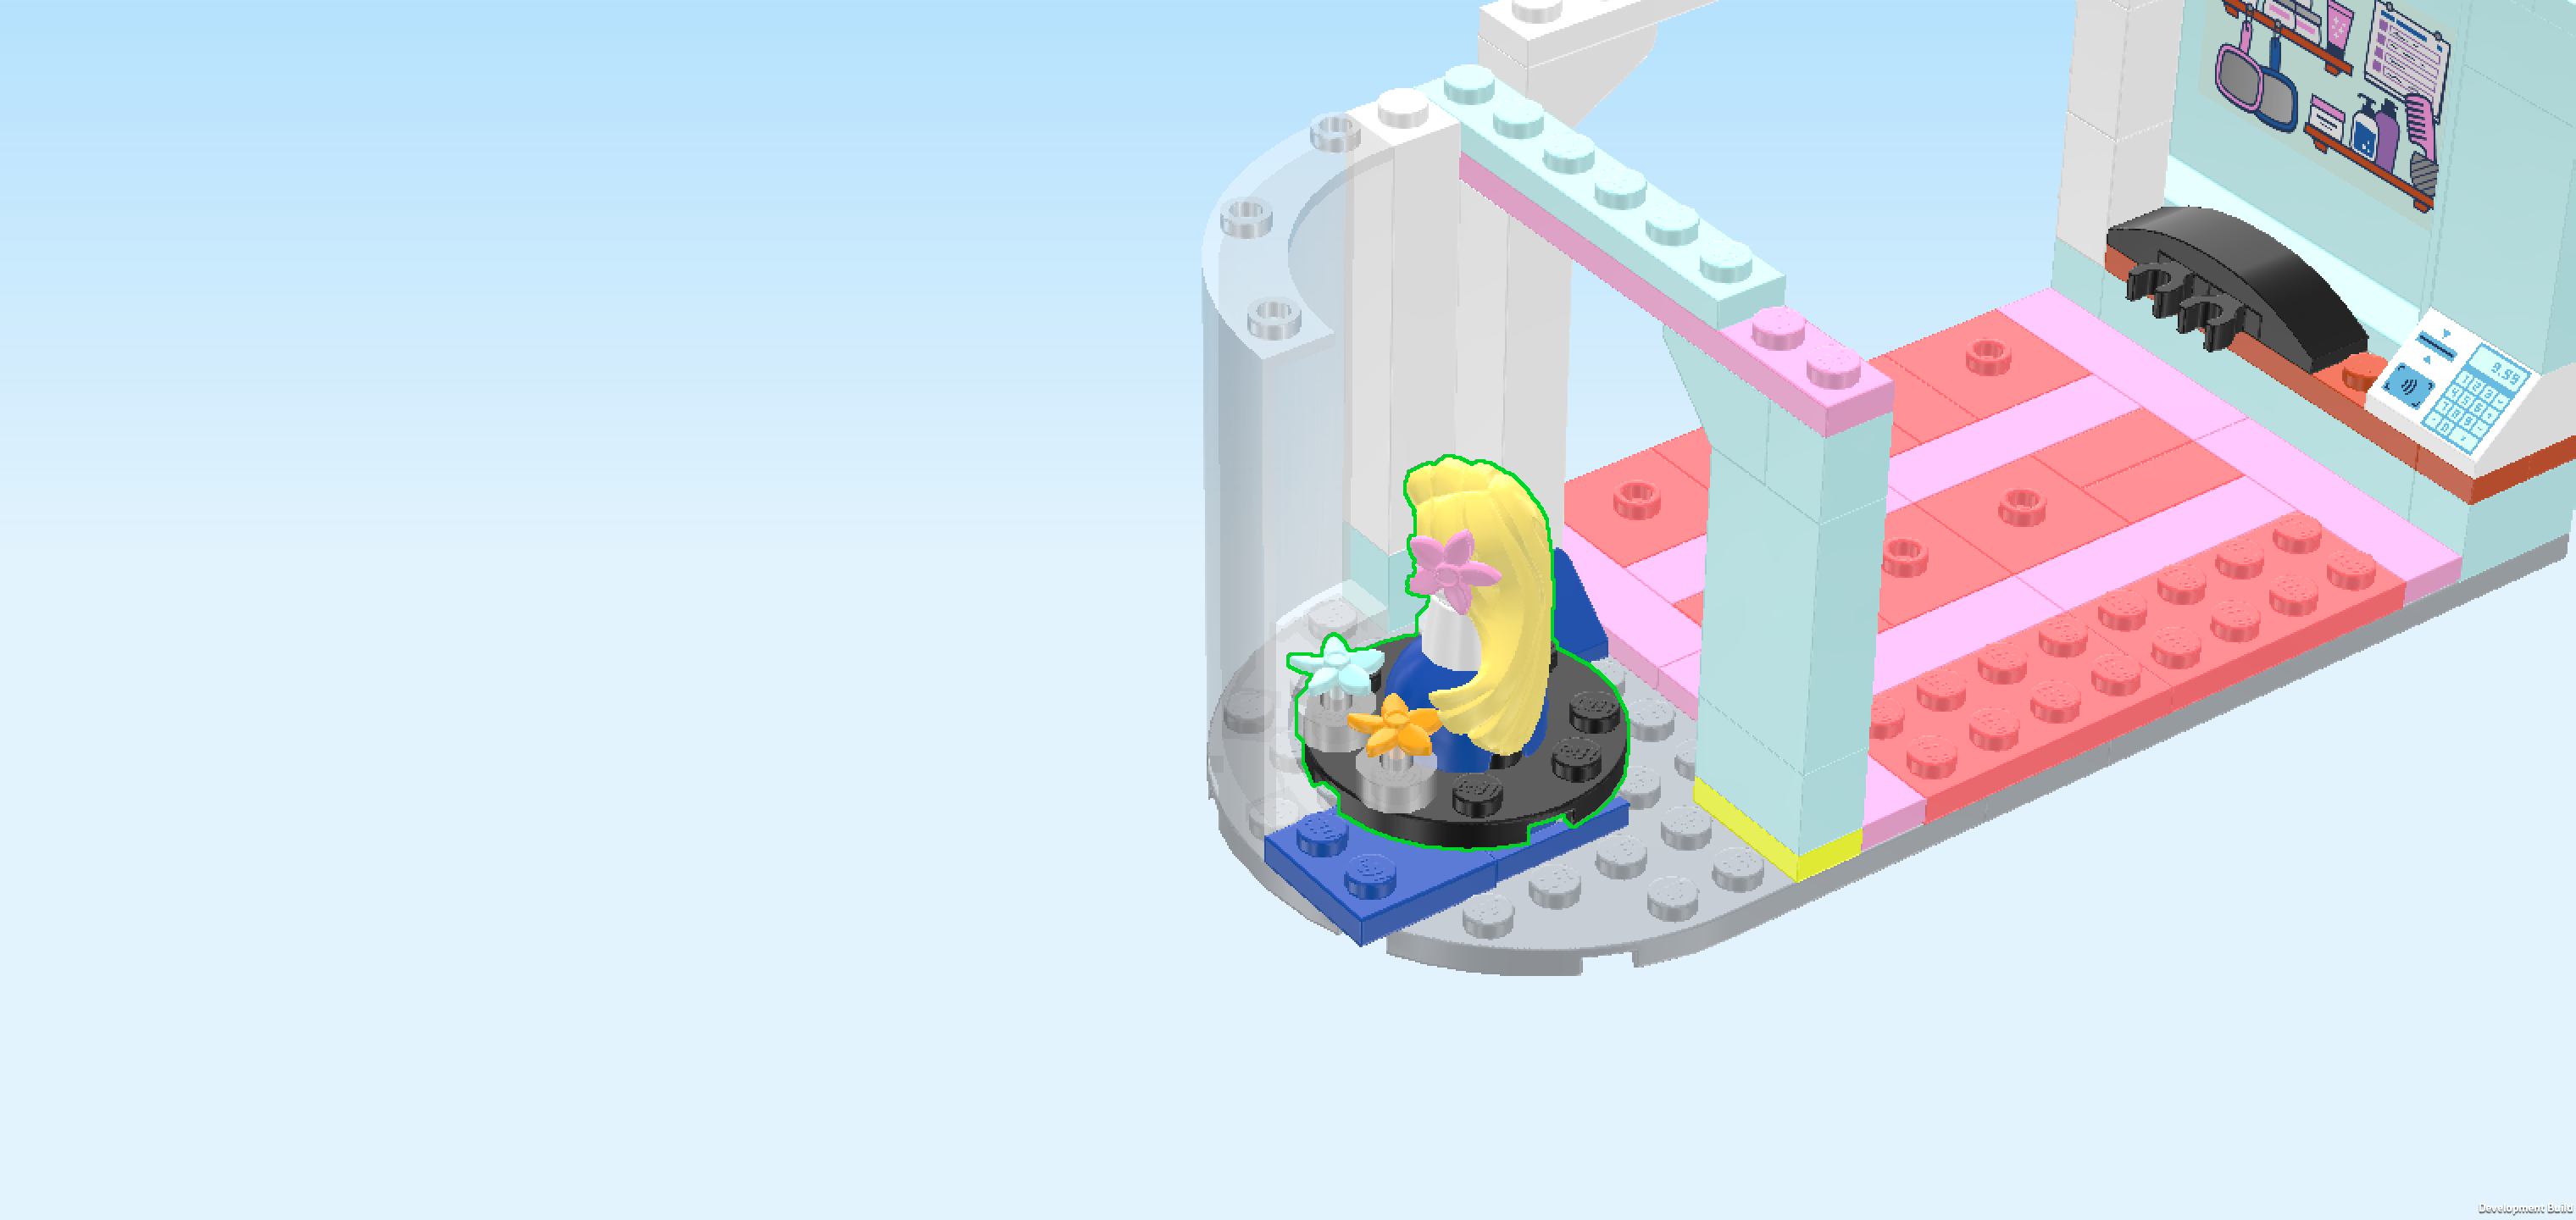
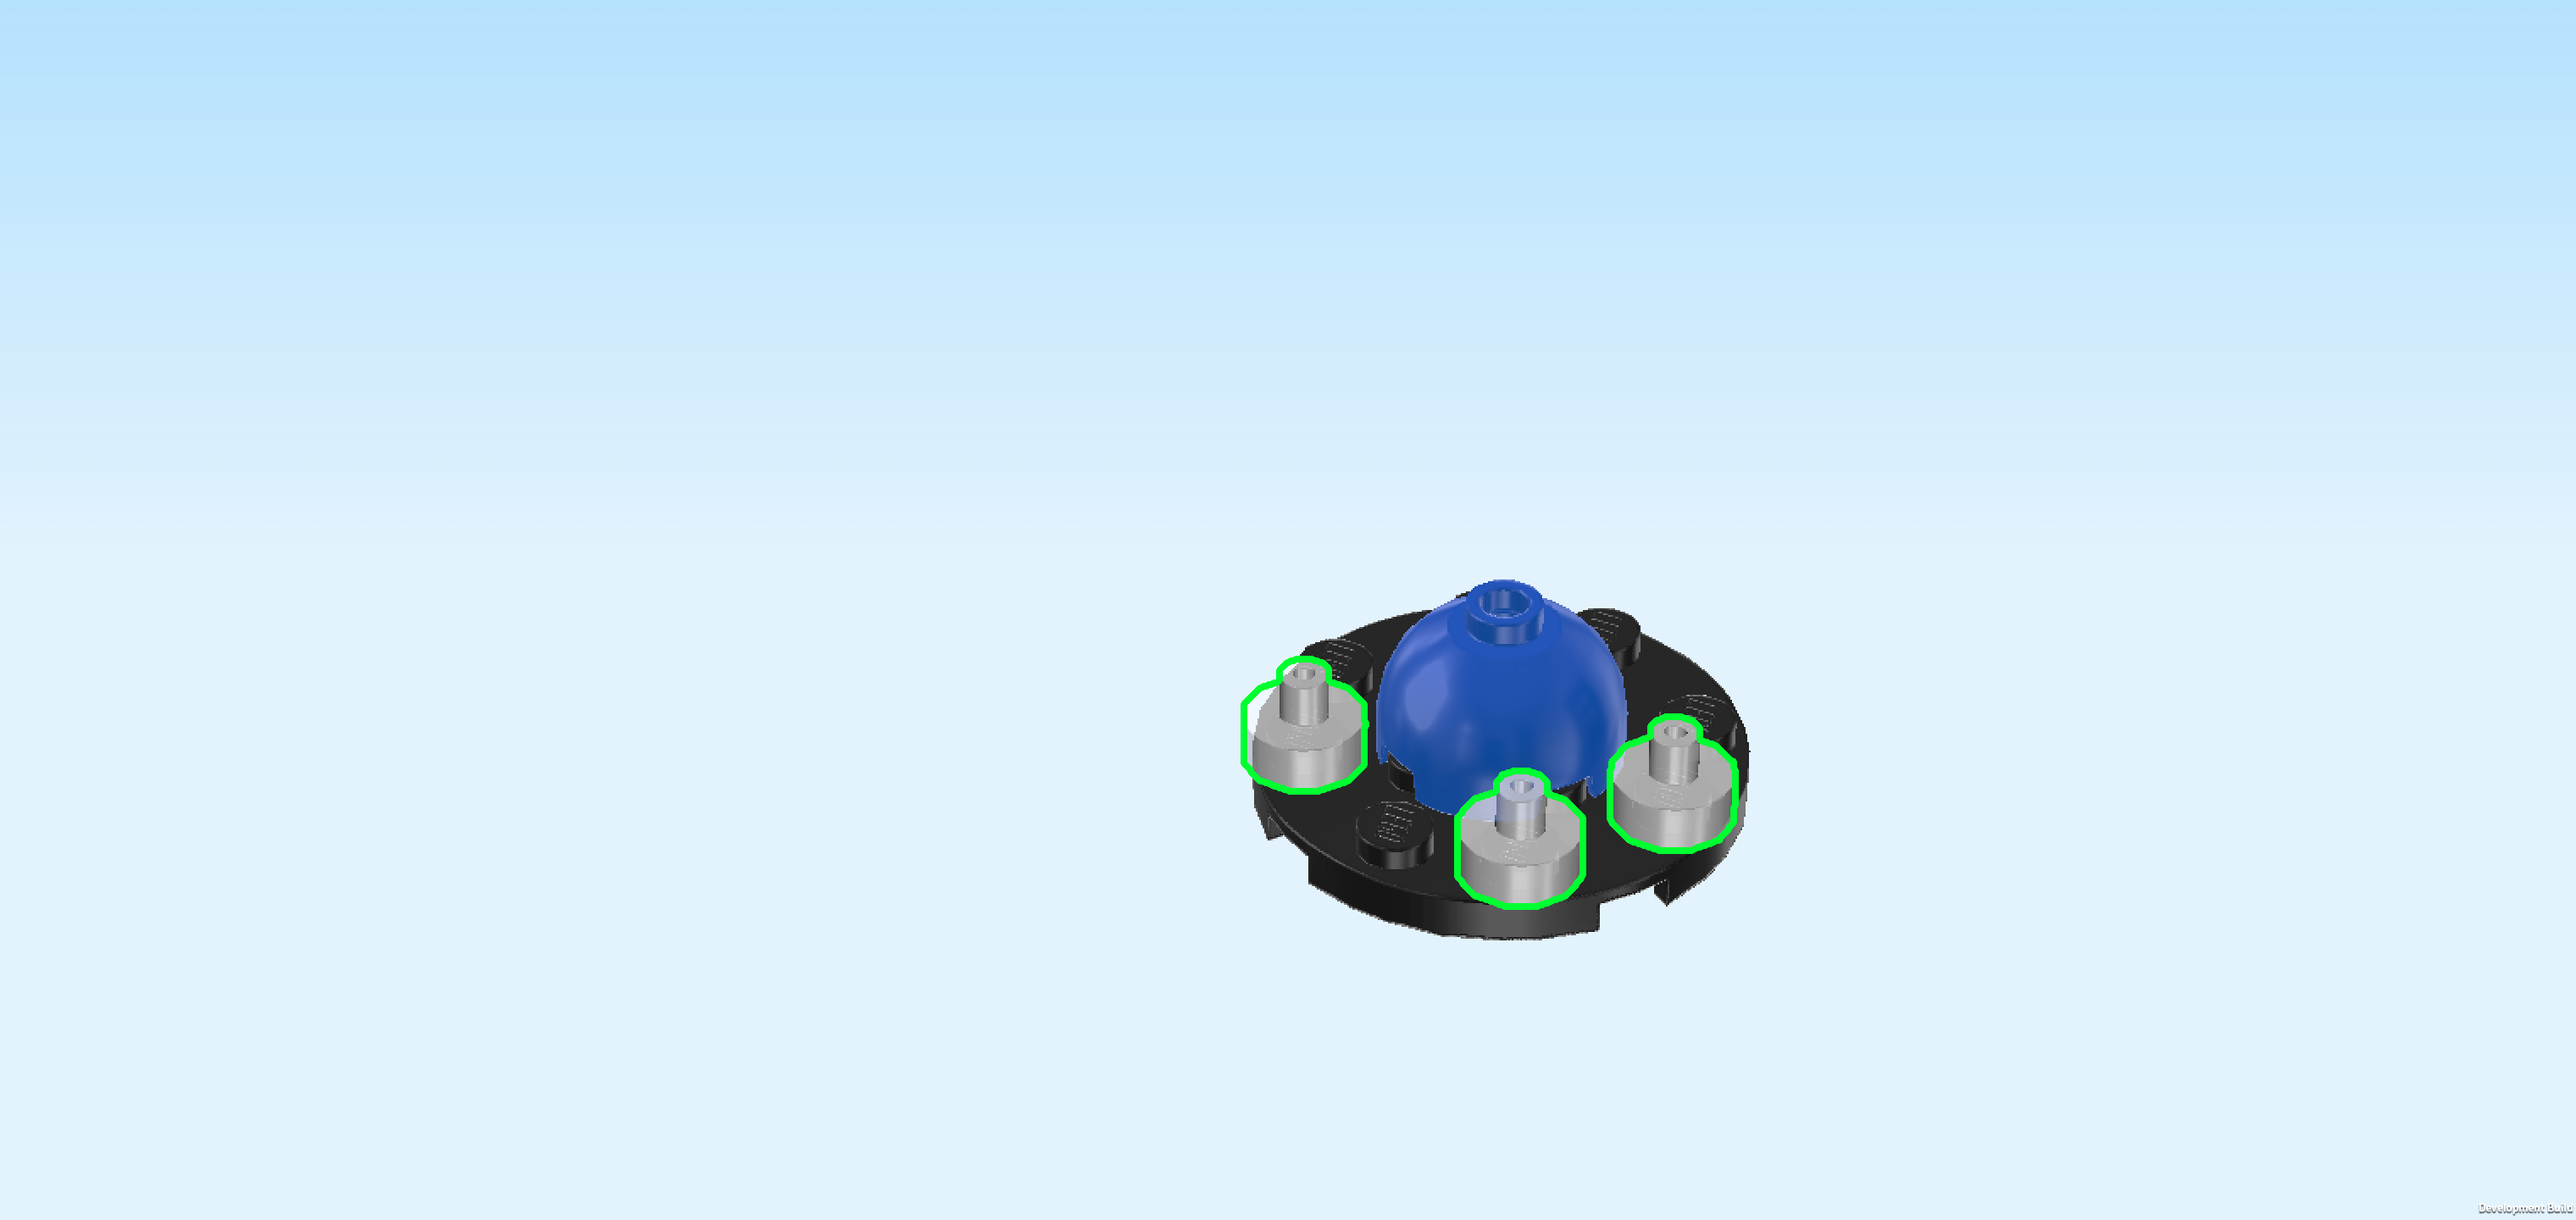
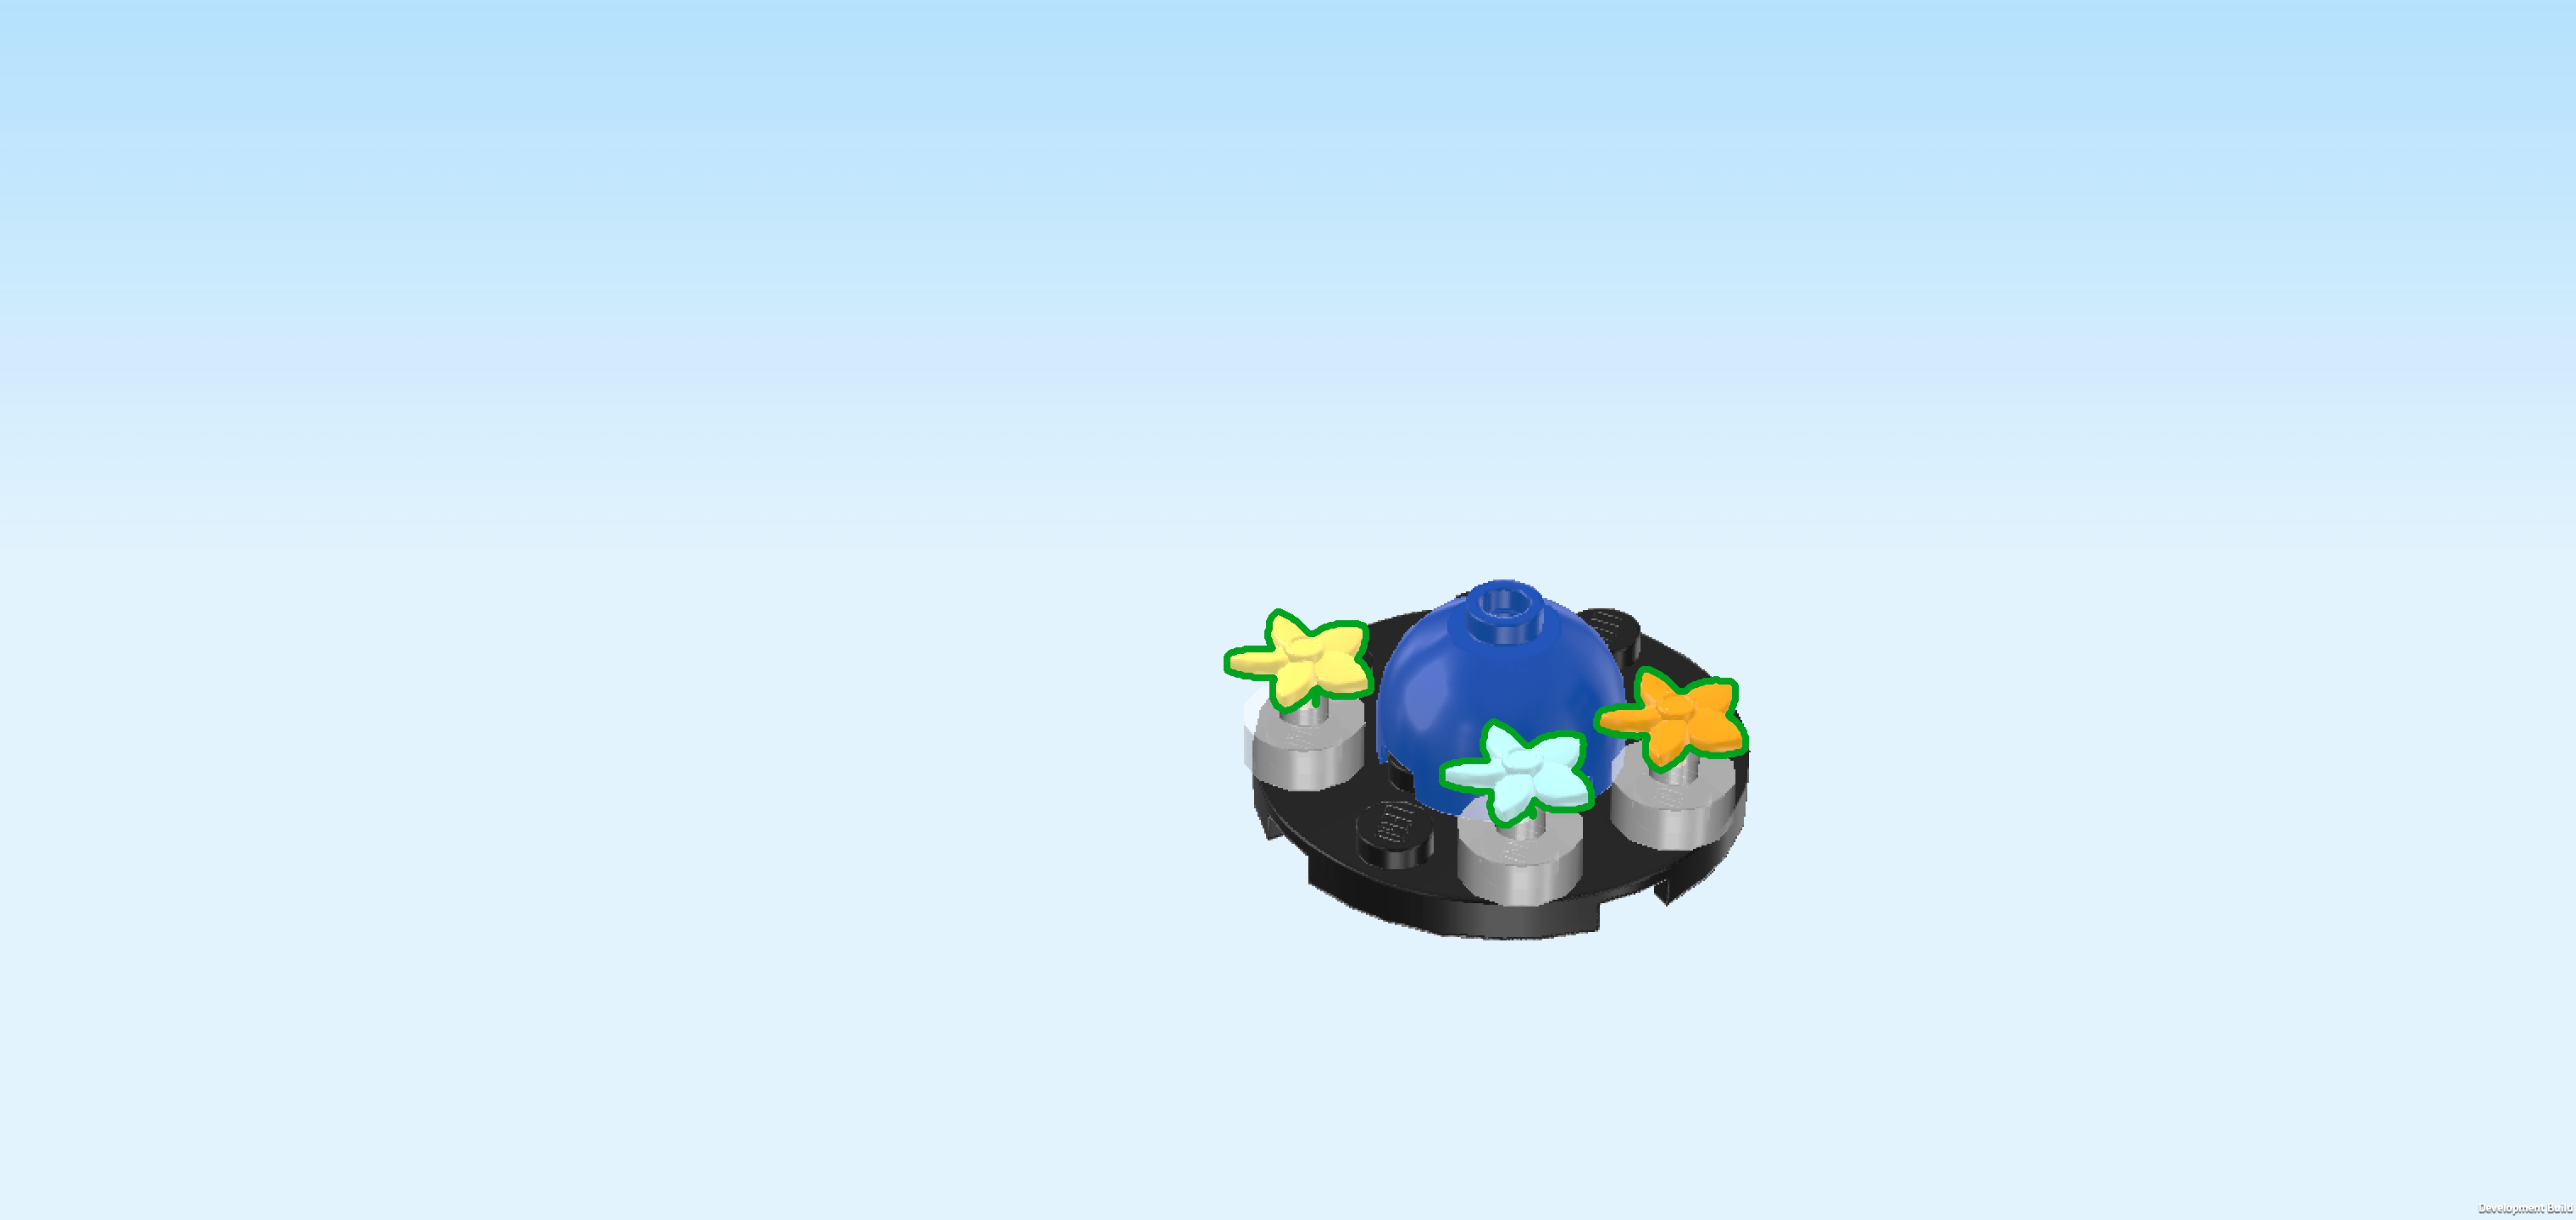
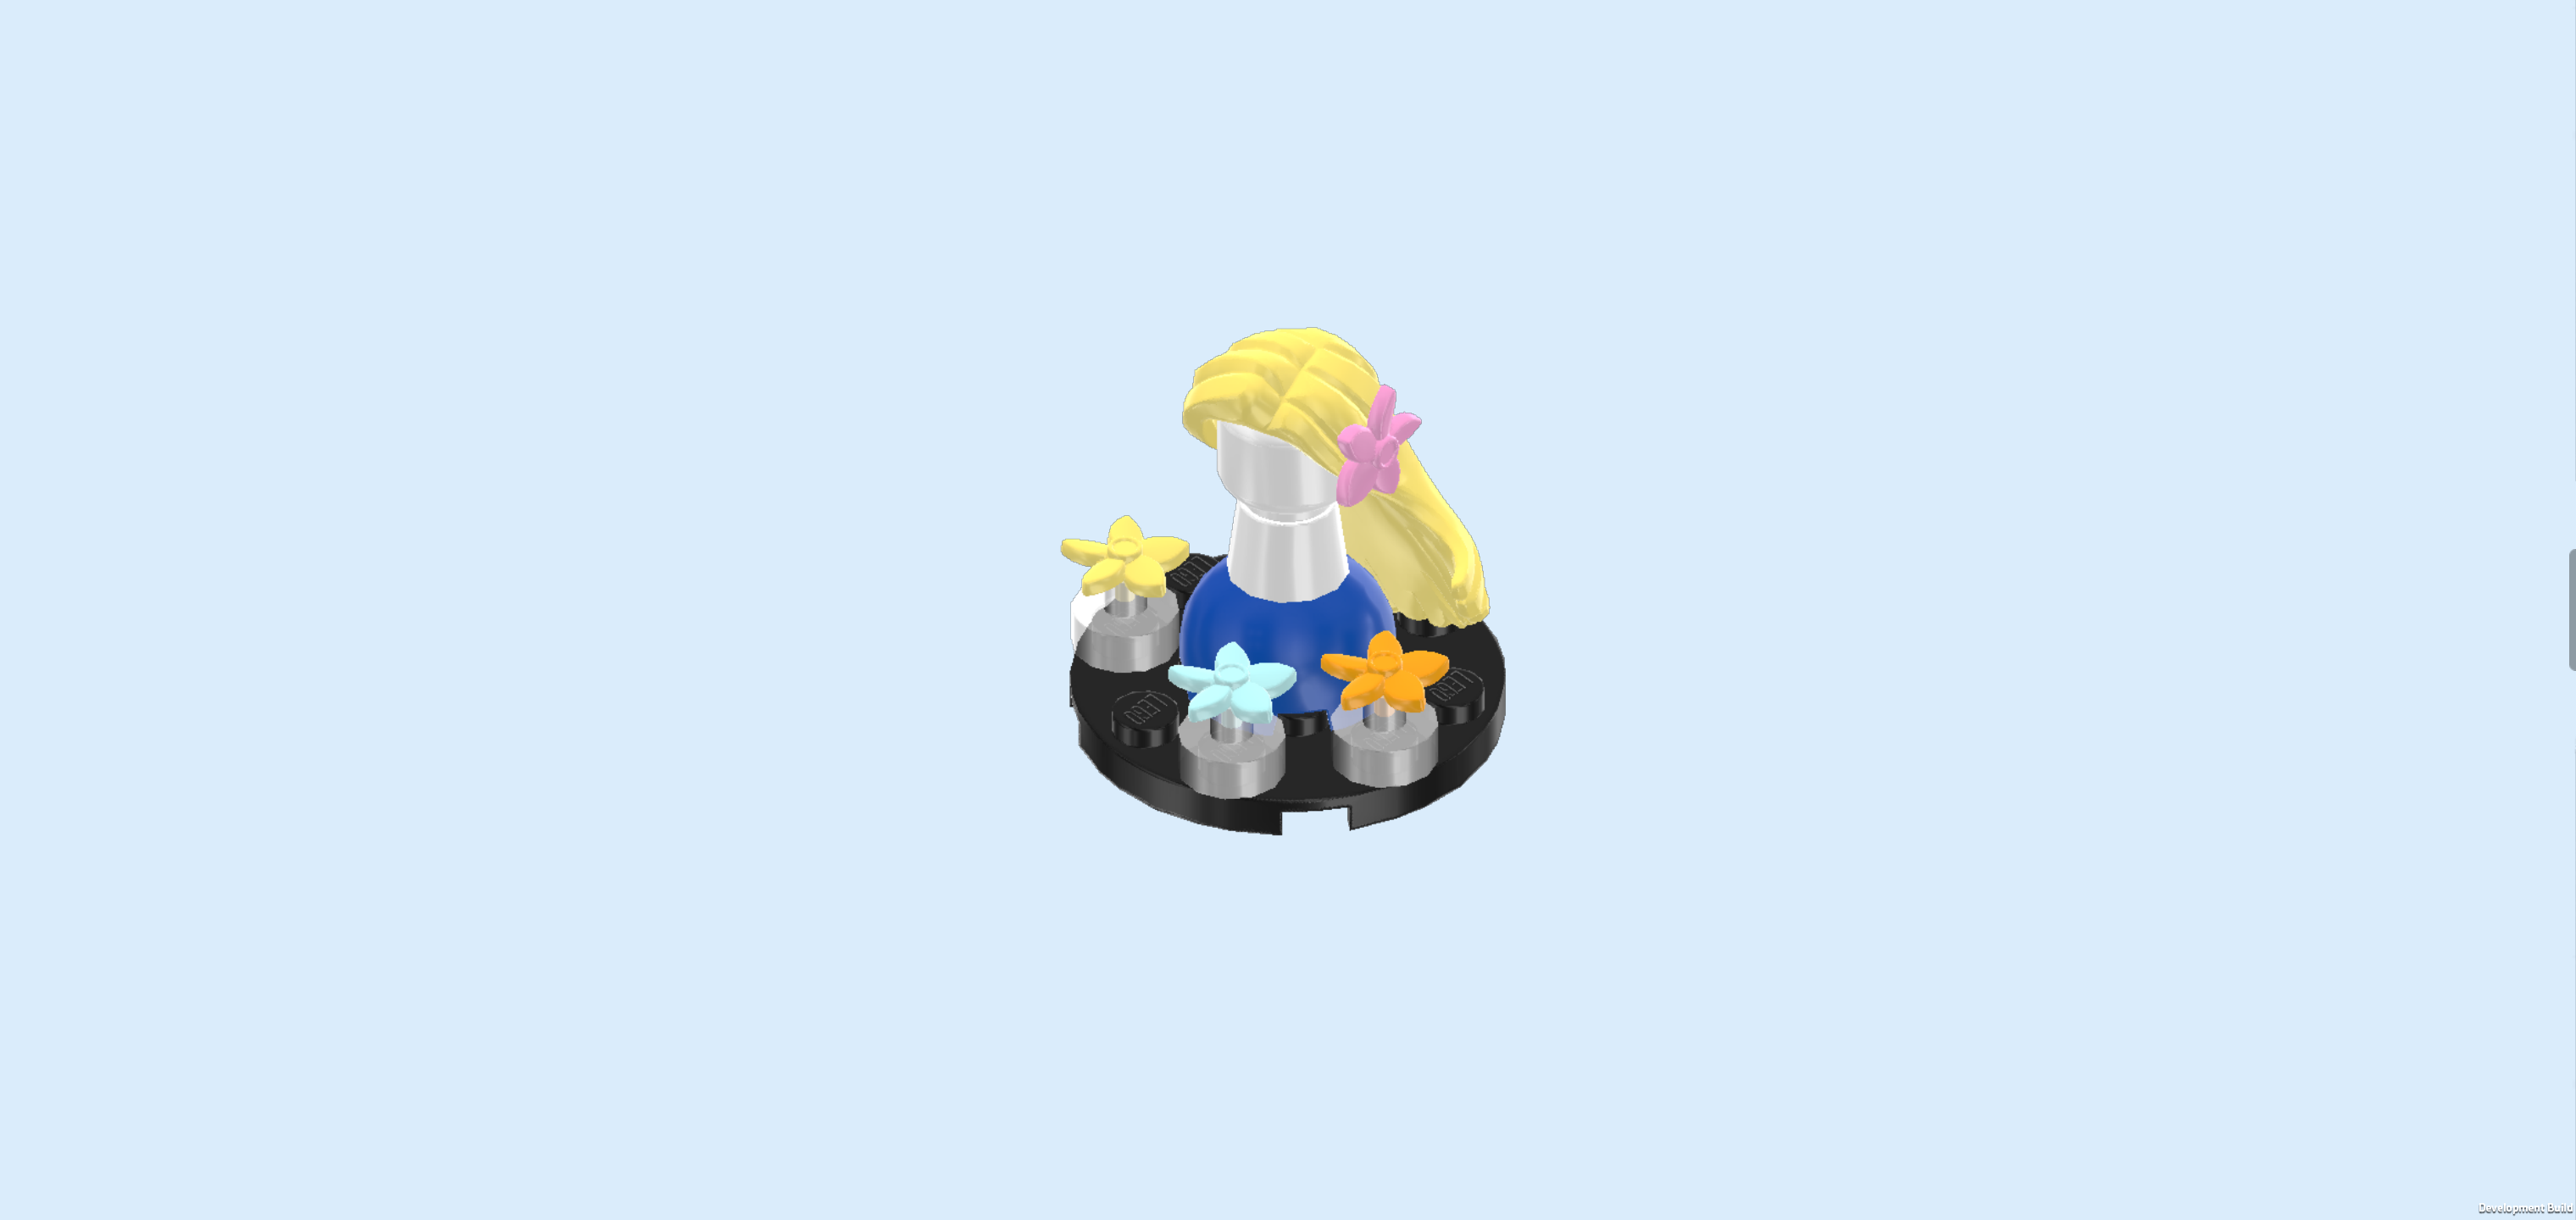
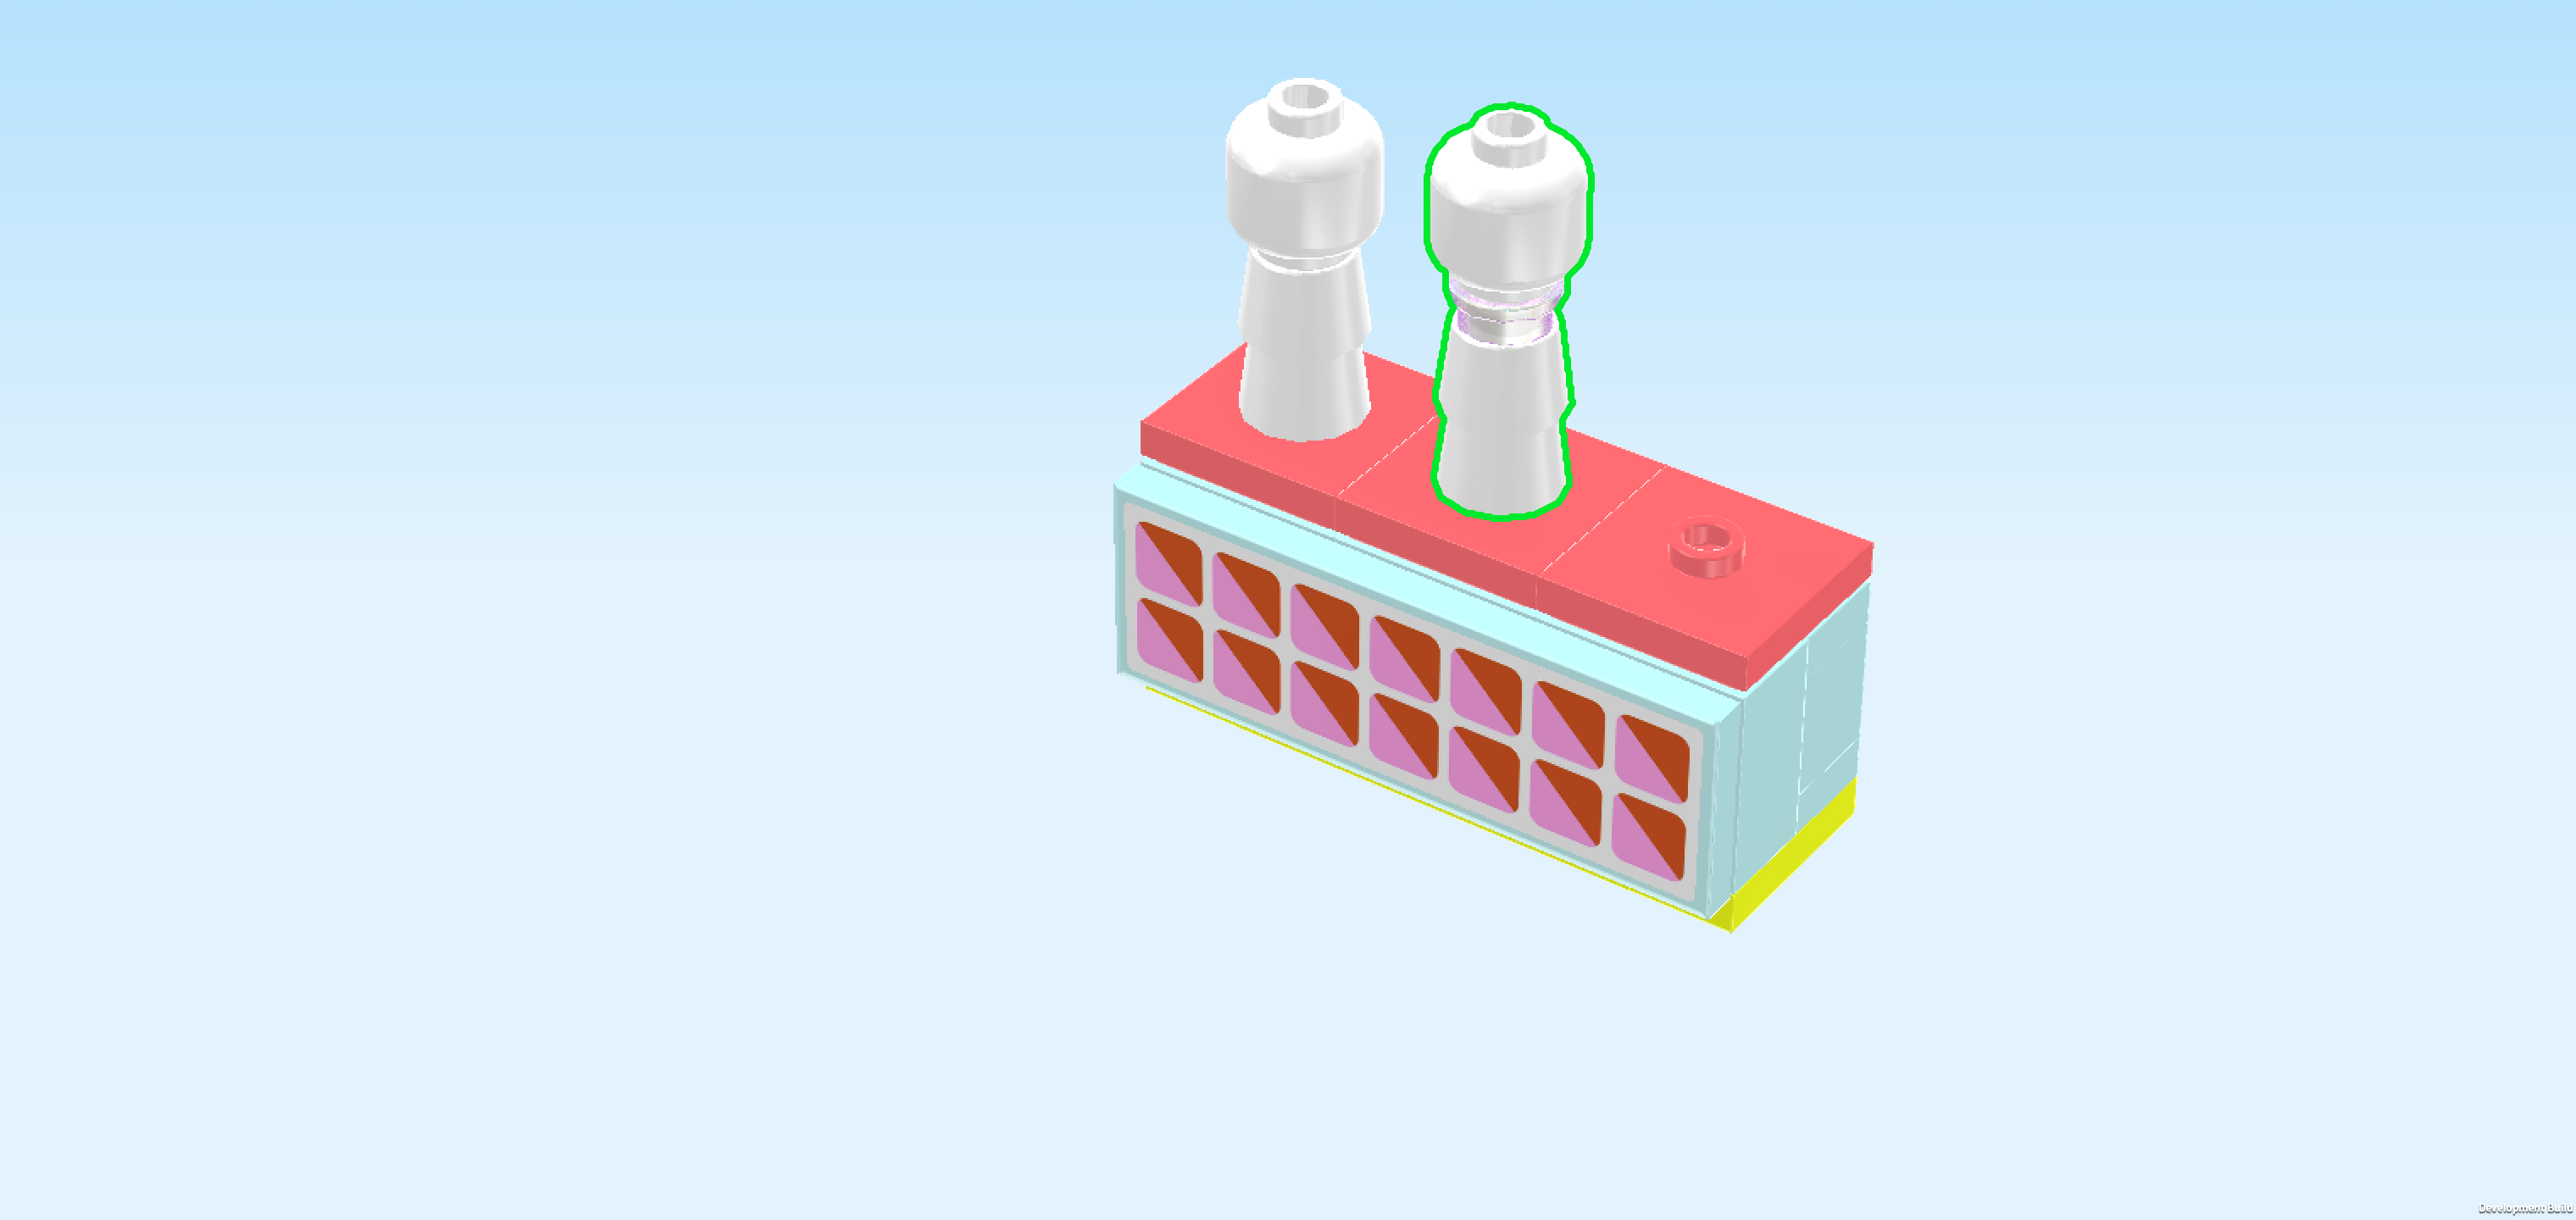
| Now, we will build the wig display. |
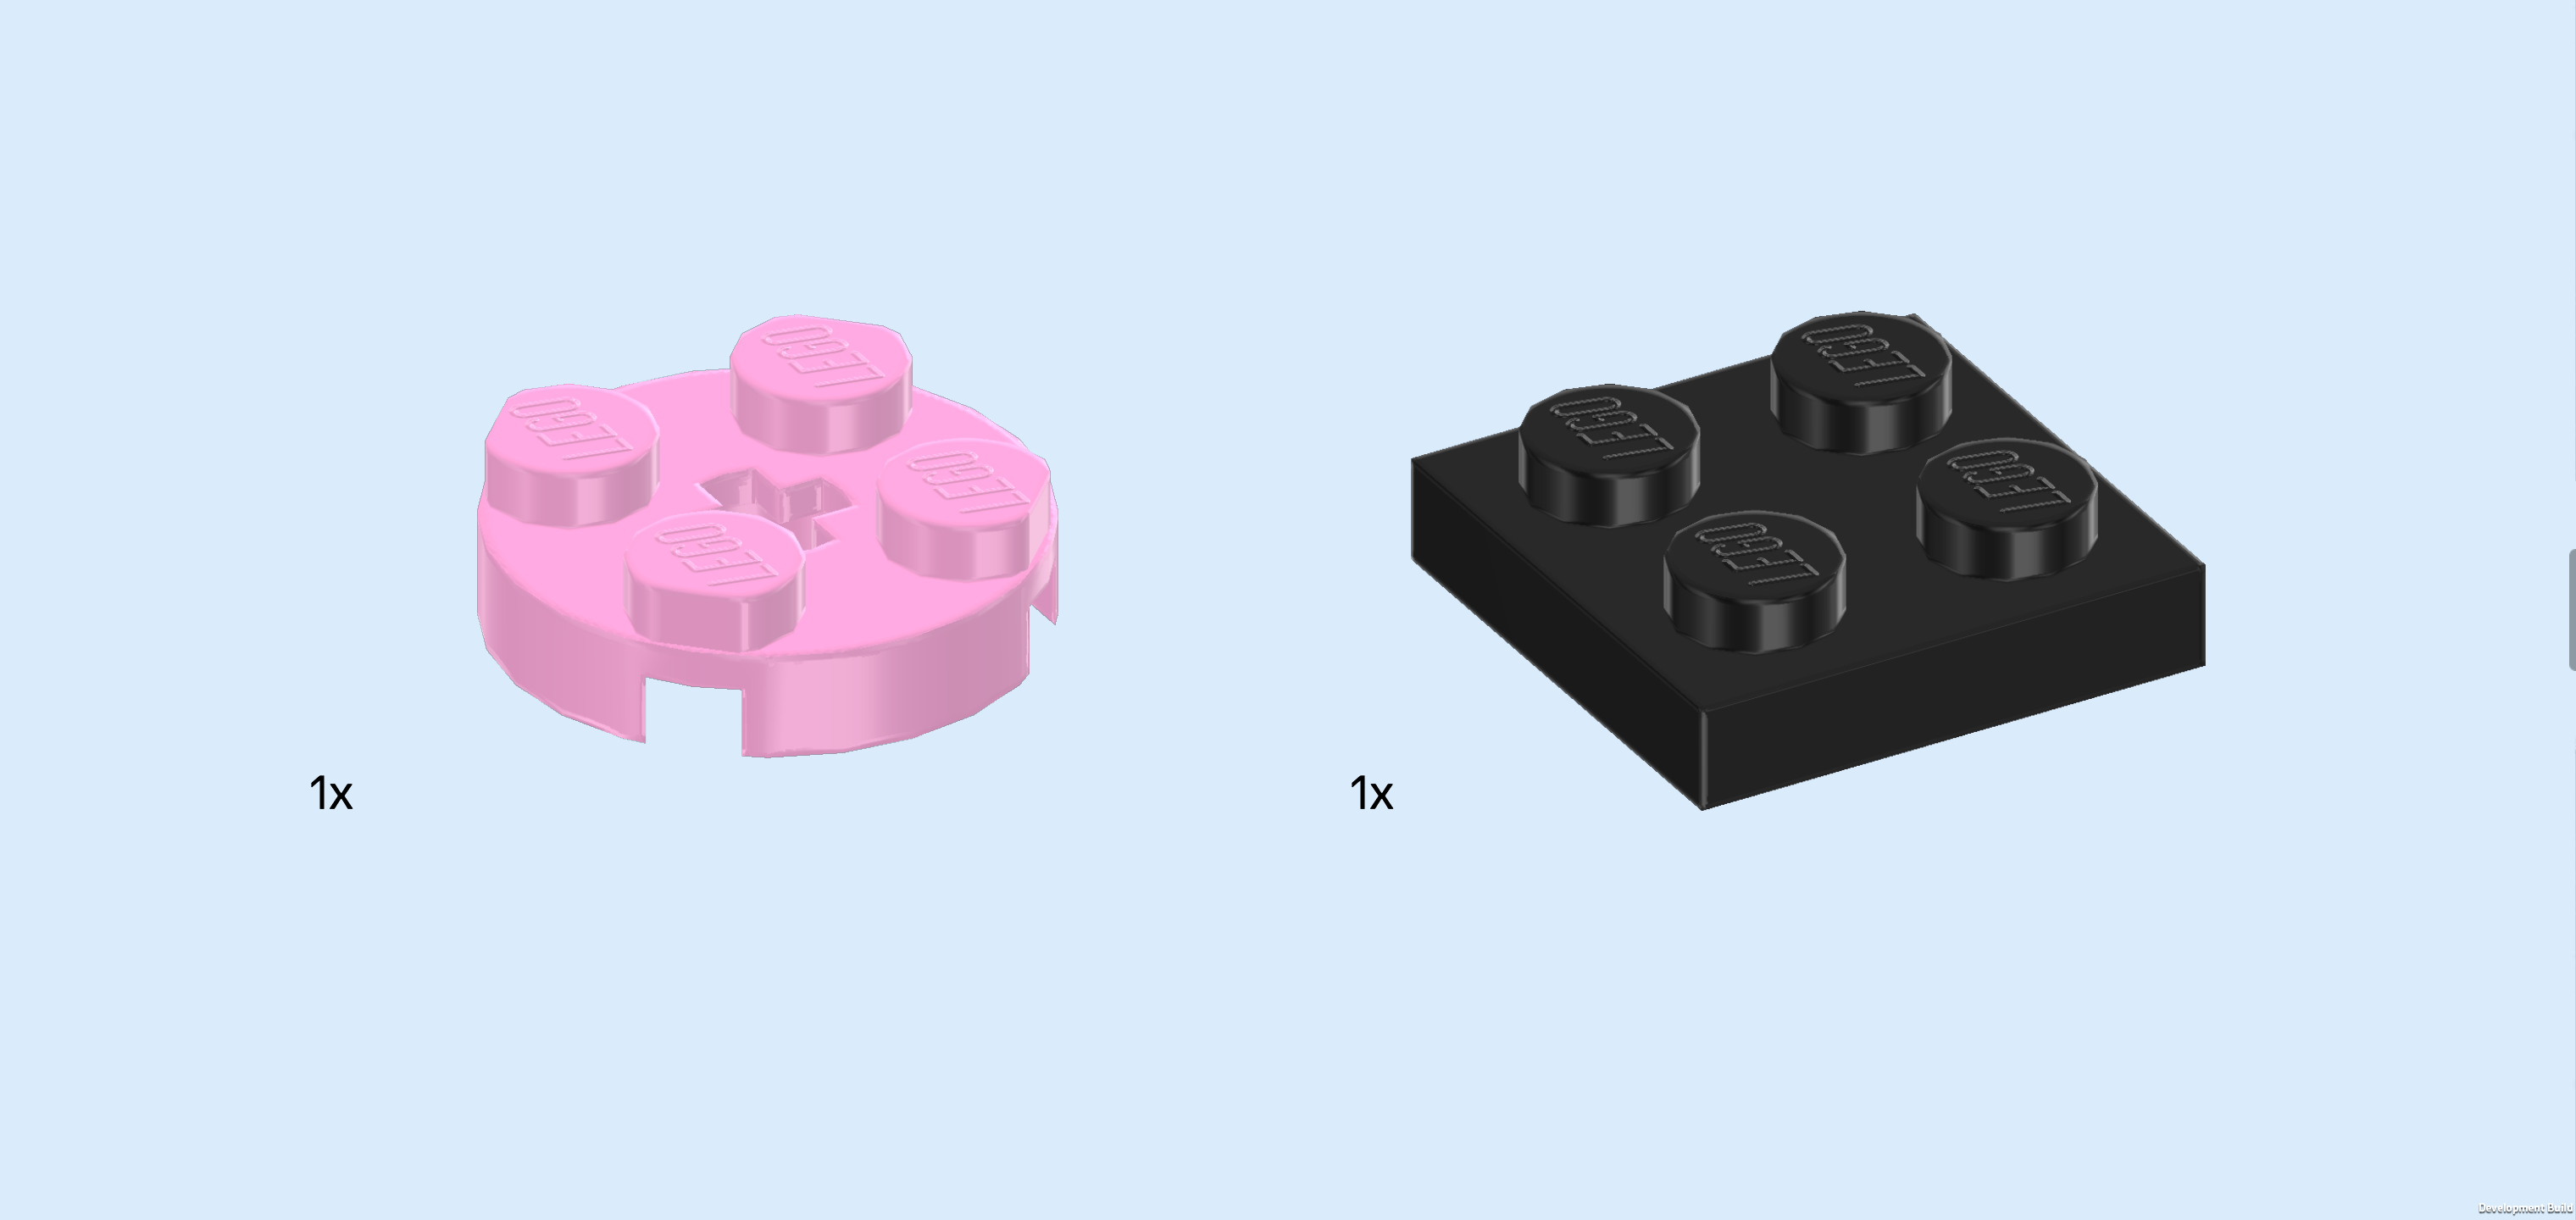
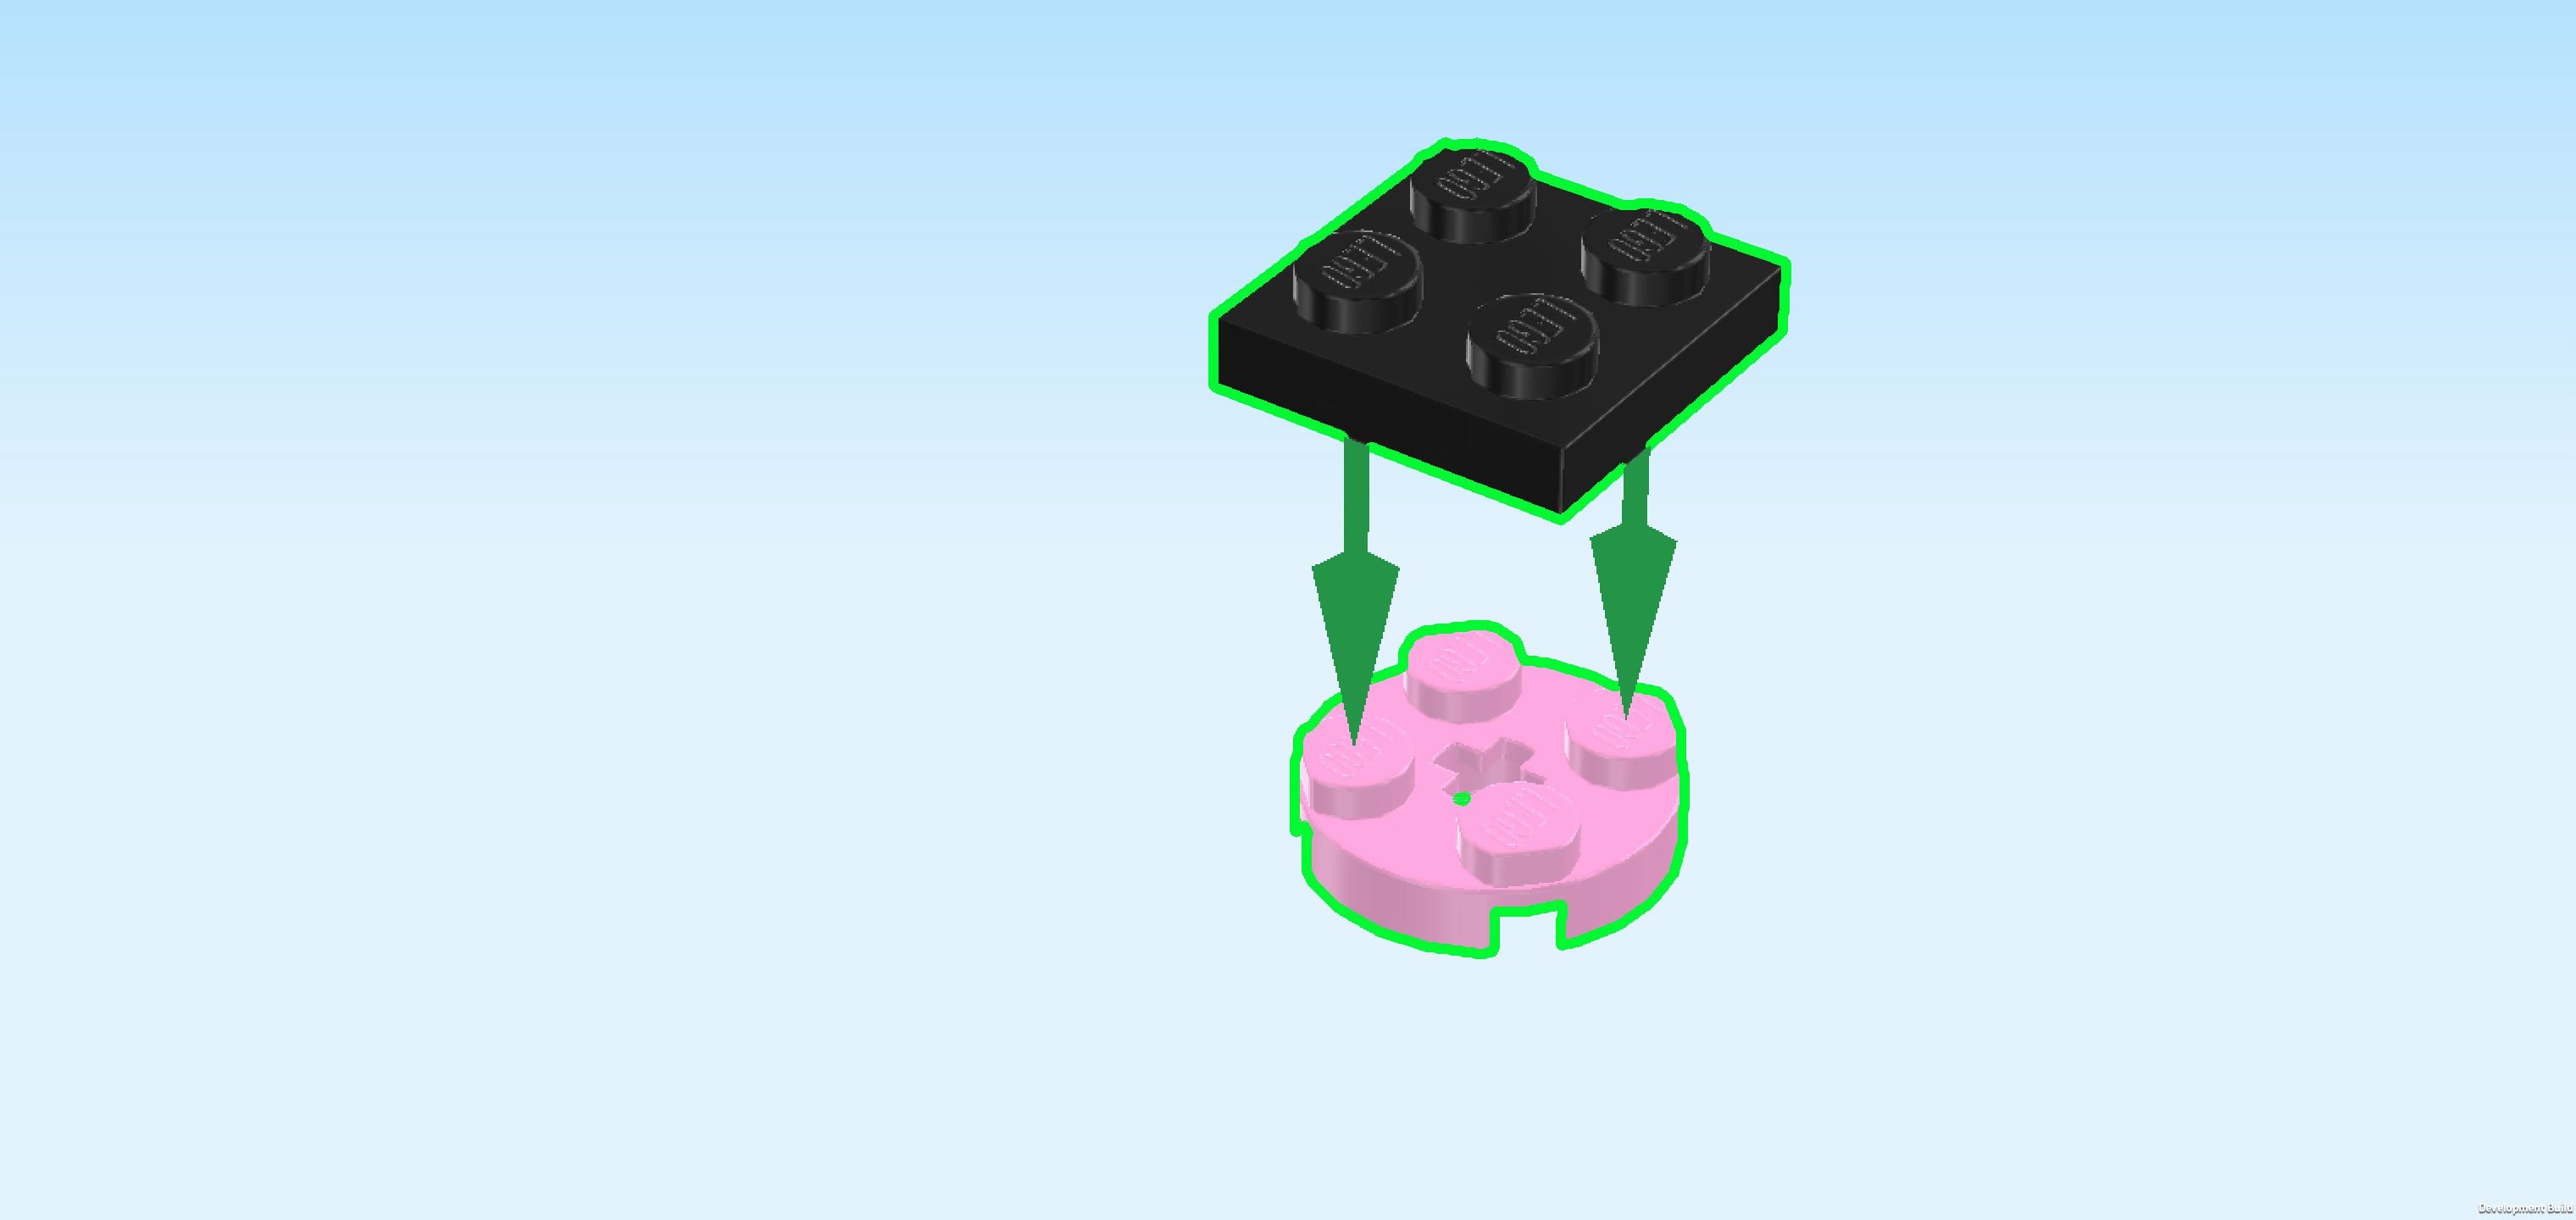
| Collect the following 2 pieces: |
| 1 black round plate 4x4 with middle hole, |
| and 1 bright blue dome 2x2 with 1 knob. |
| Put the round plate 4x4 on the table. Make sure its knobs form straight rows and columns in front of you. |
| Put the dome 2x2 in the center of the previous piece. |
| Find 3 transparent round tiles 1x1 with small top shaft. |
| Put 2 on the 2 frontmost knobs, this means directly in front of the previous piece. |
| Put the remaining one on the back knob of the leftmost column. |
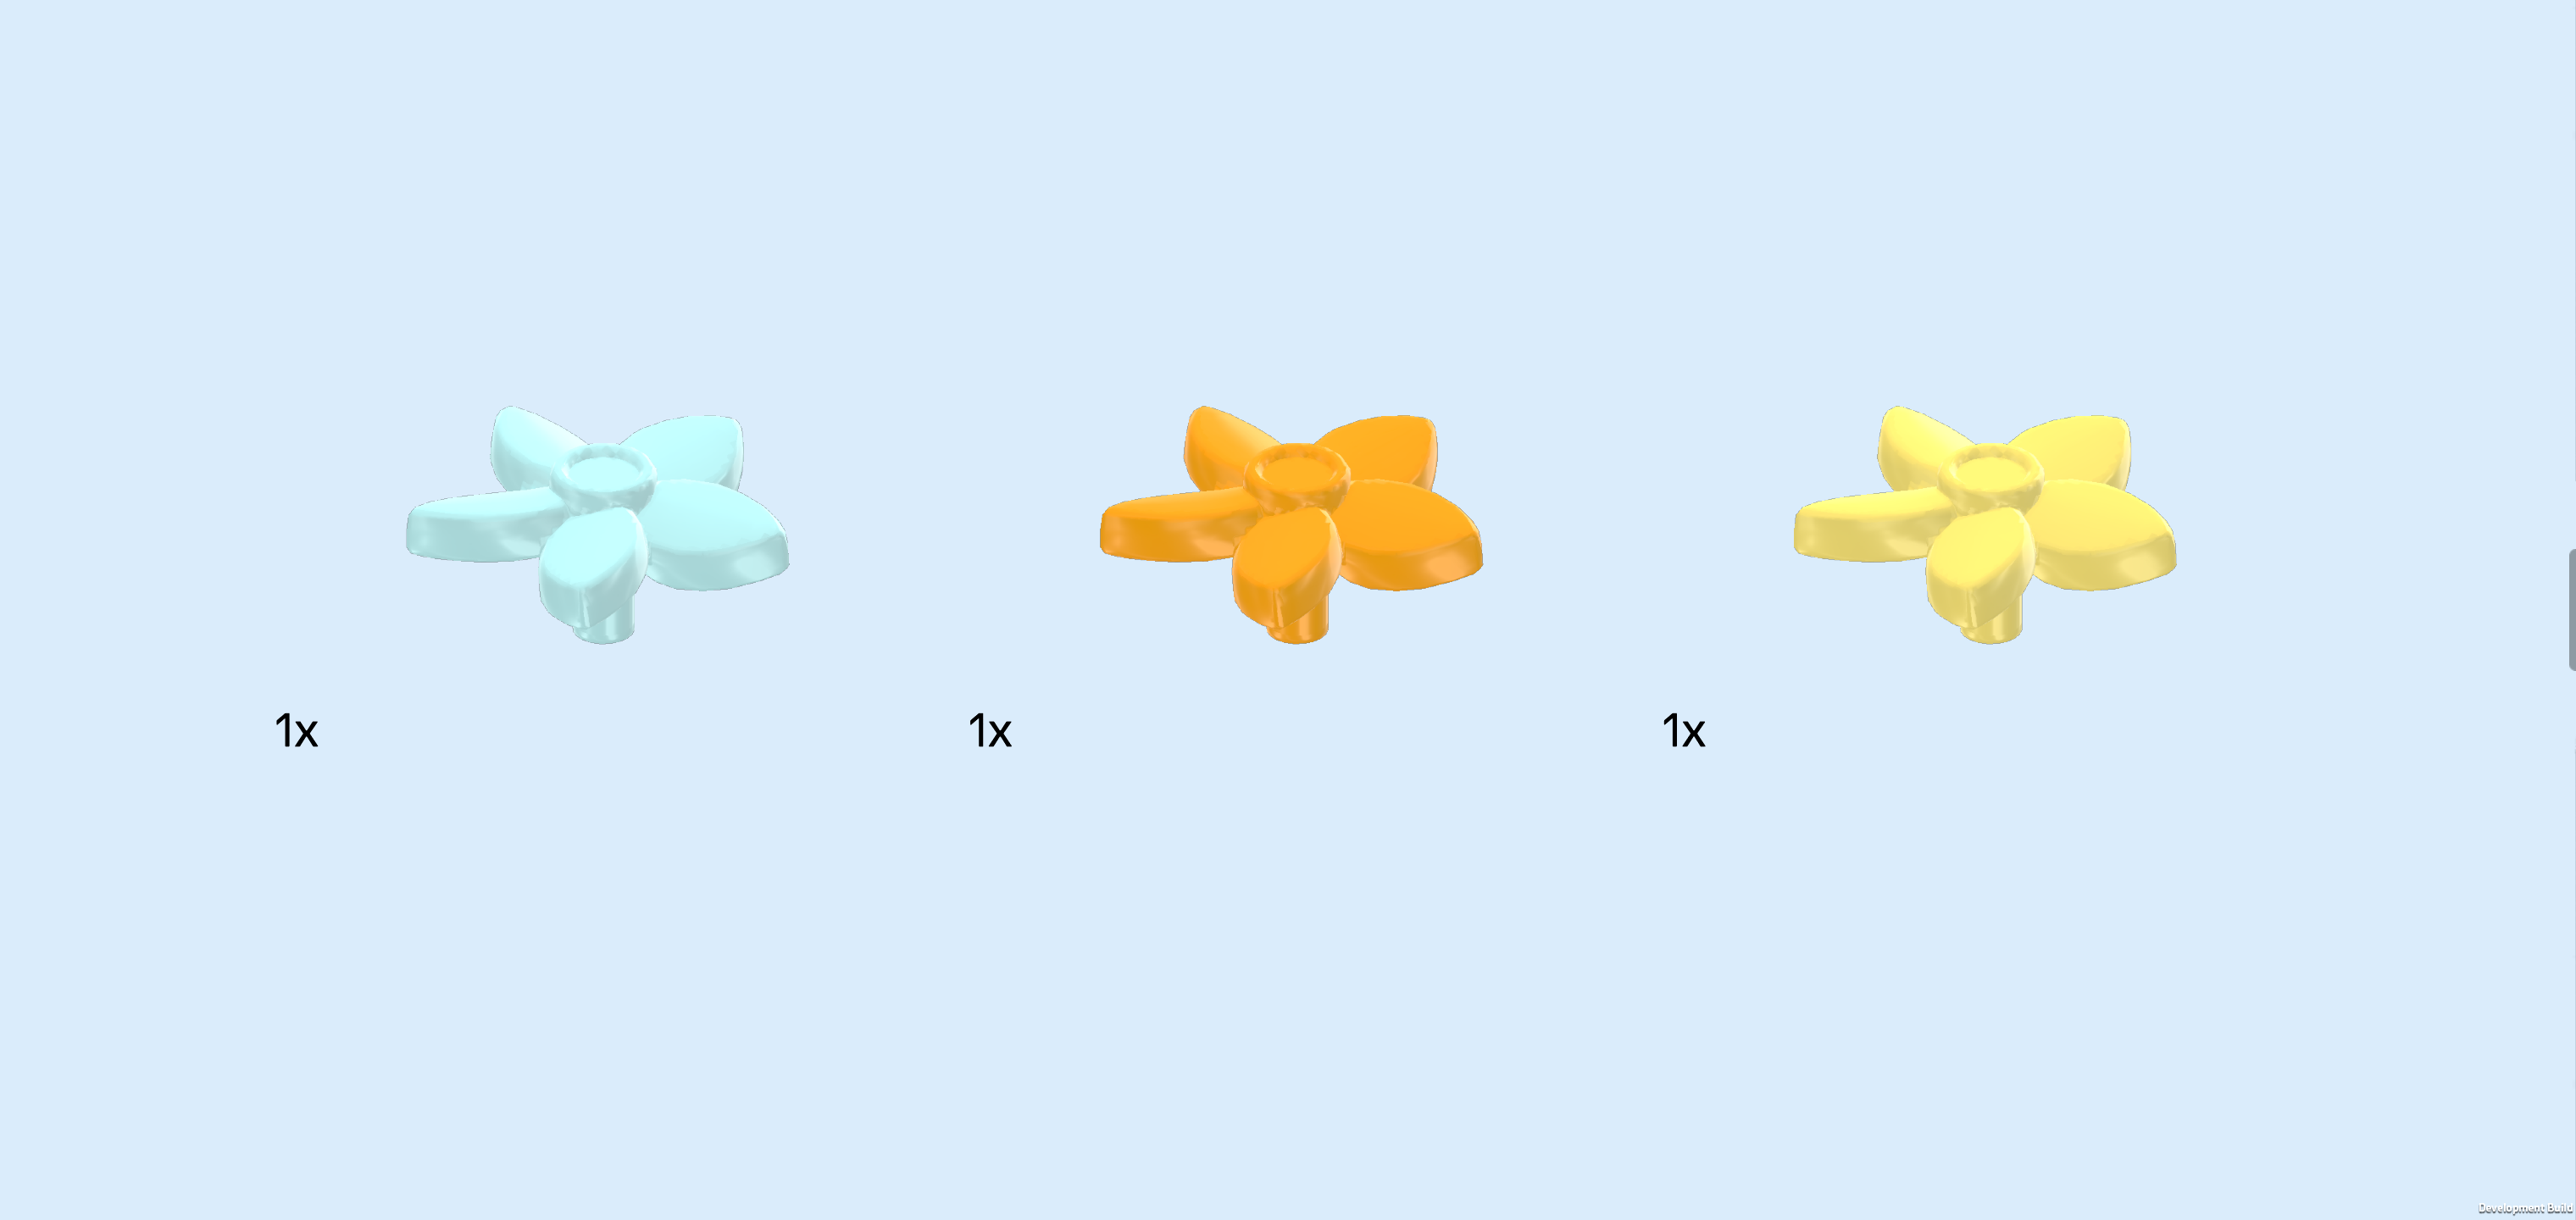
| Collect the following 3 pieces: |
| 1 aqua blue flower piece 1x1 with 5 petals and small pin, |
| 1 yellowish orange flower piece 1x1 with 5 petals and small pin, |
| and 1 lemon yellow flower piece 1x1 with 5 petals and small pin. |
| Insert their small pins into the holes of the top shafts of the 3 previous pieces. |
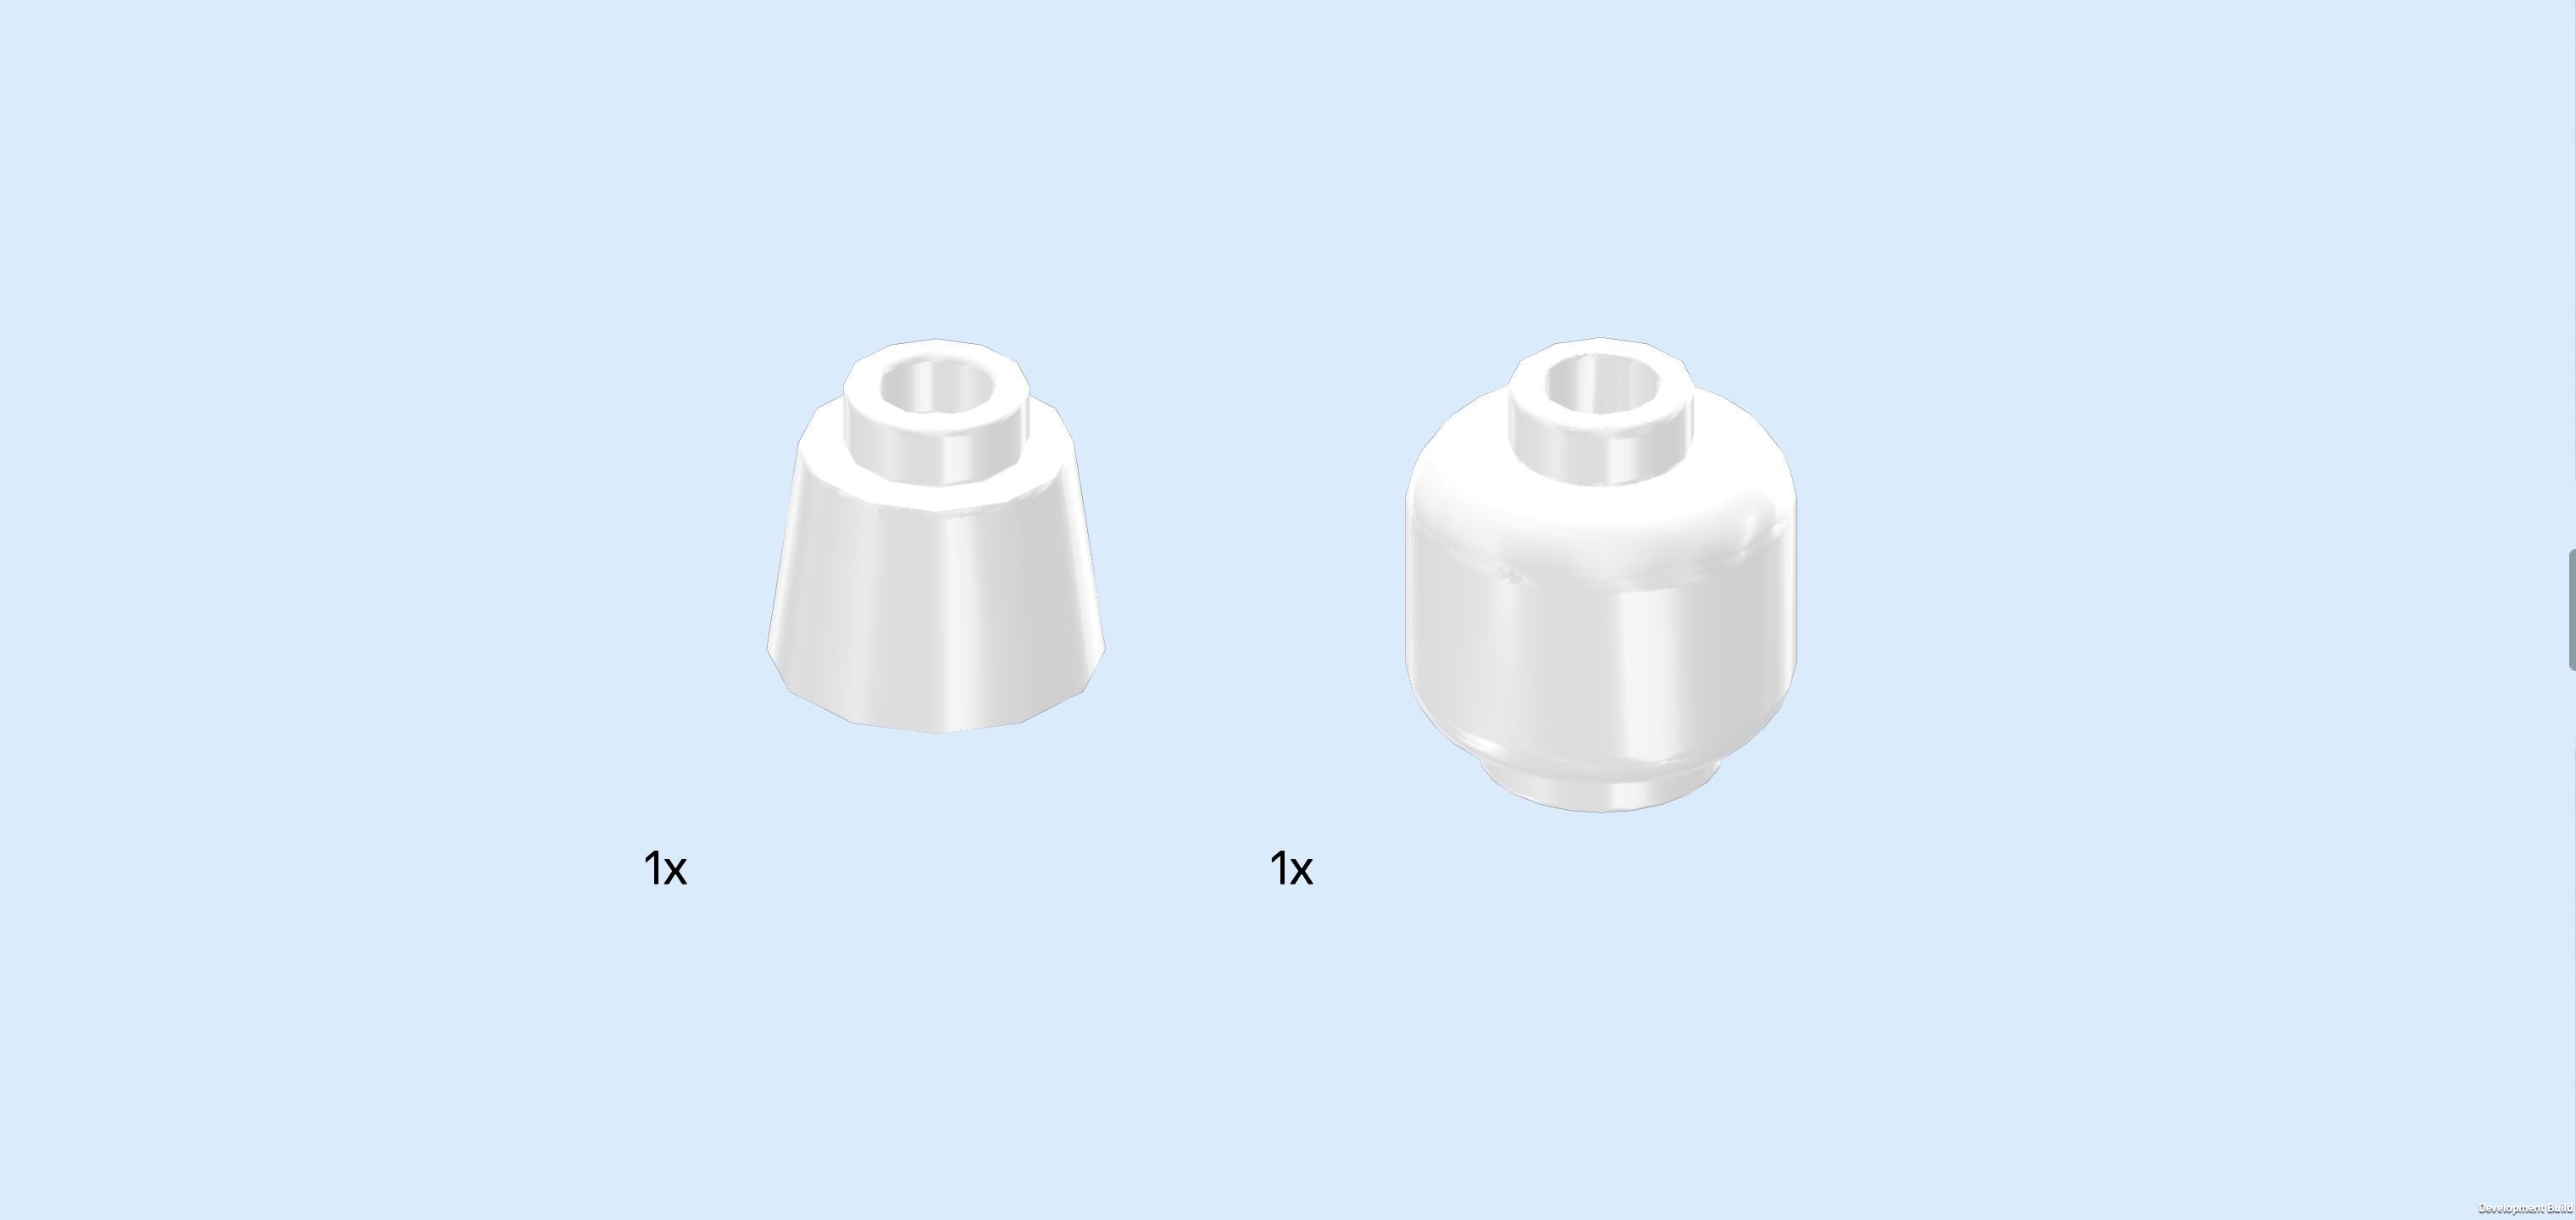
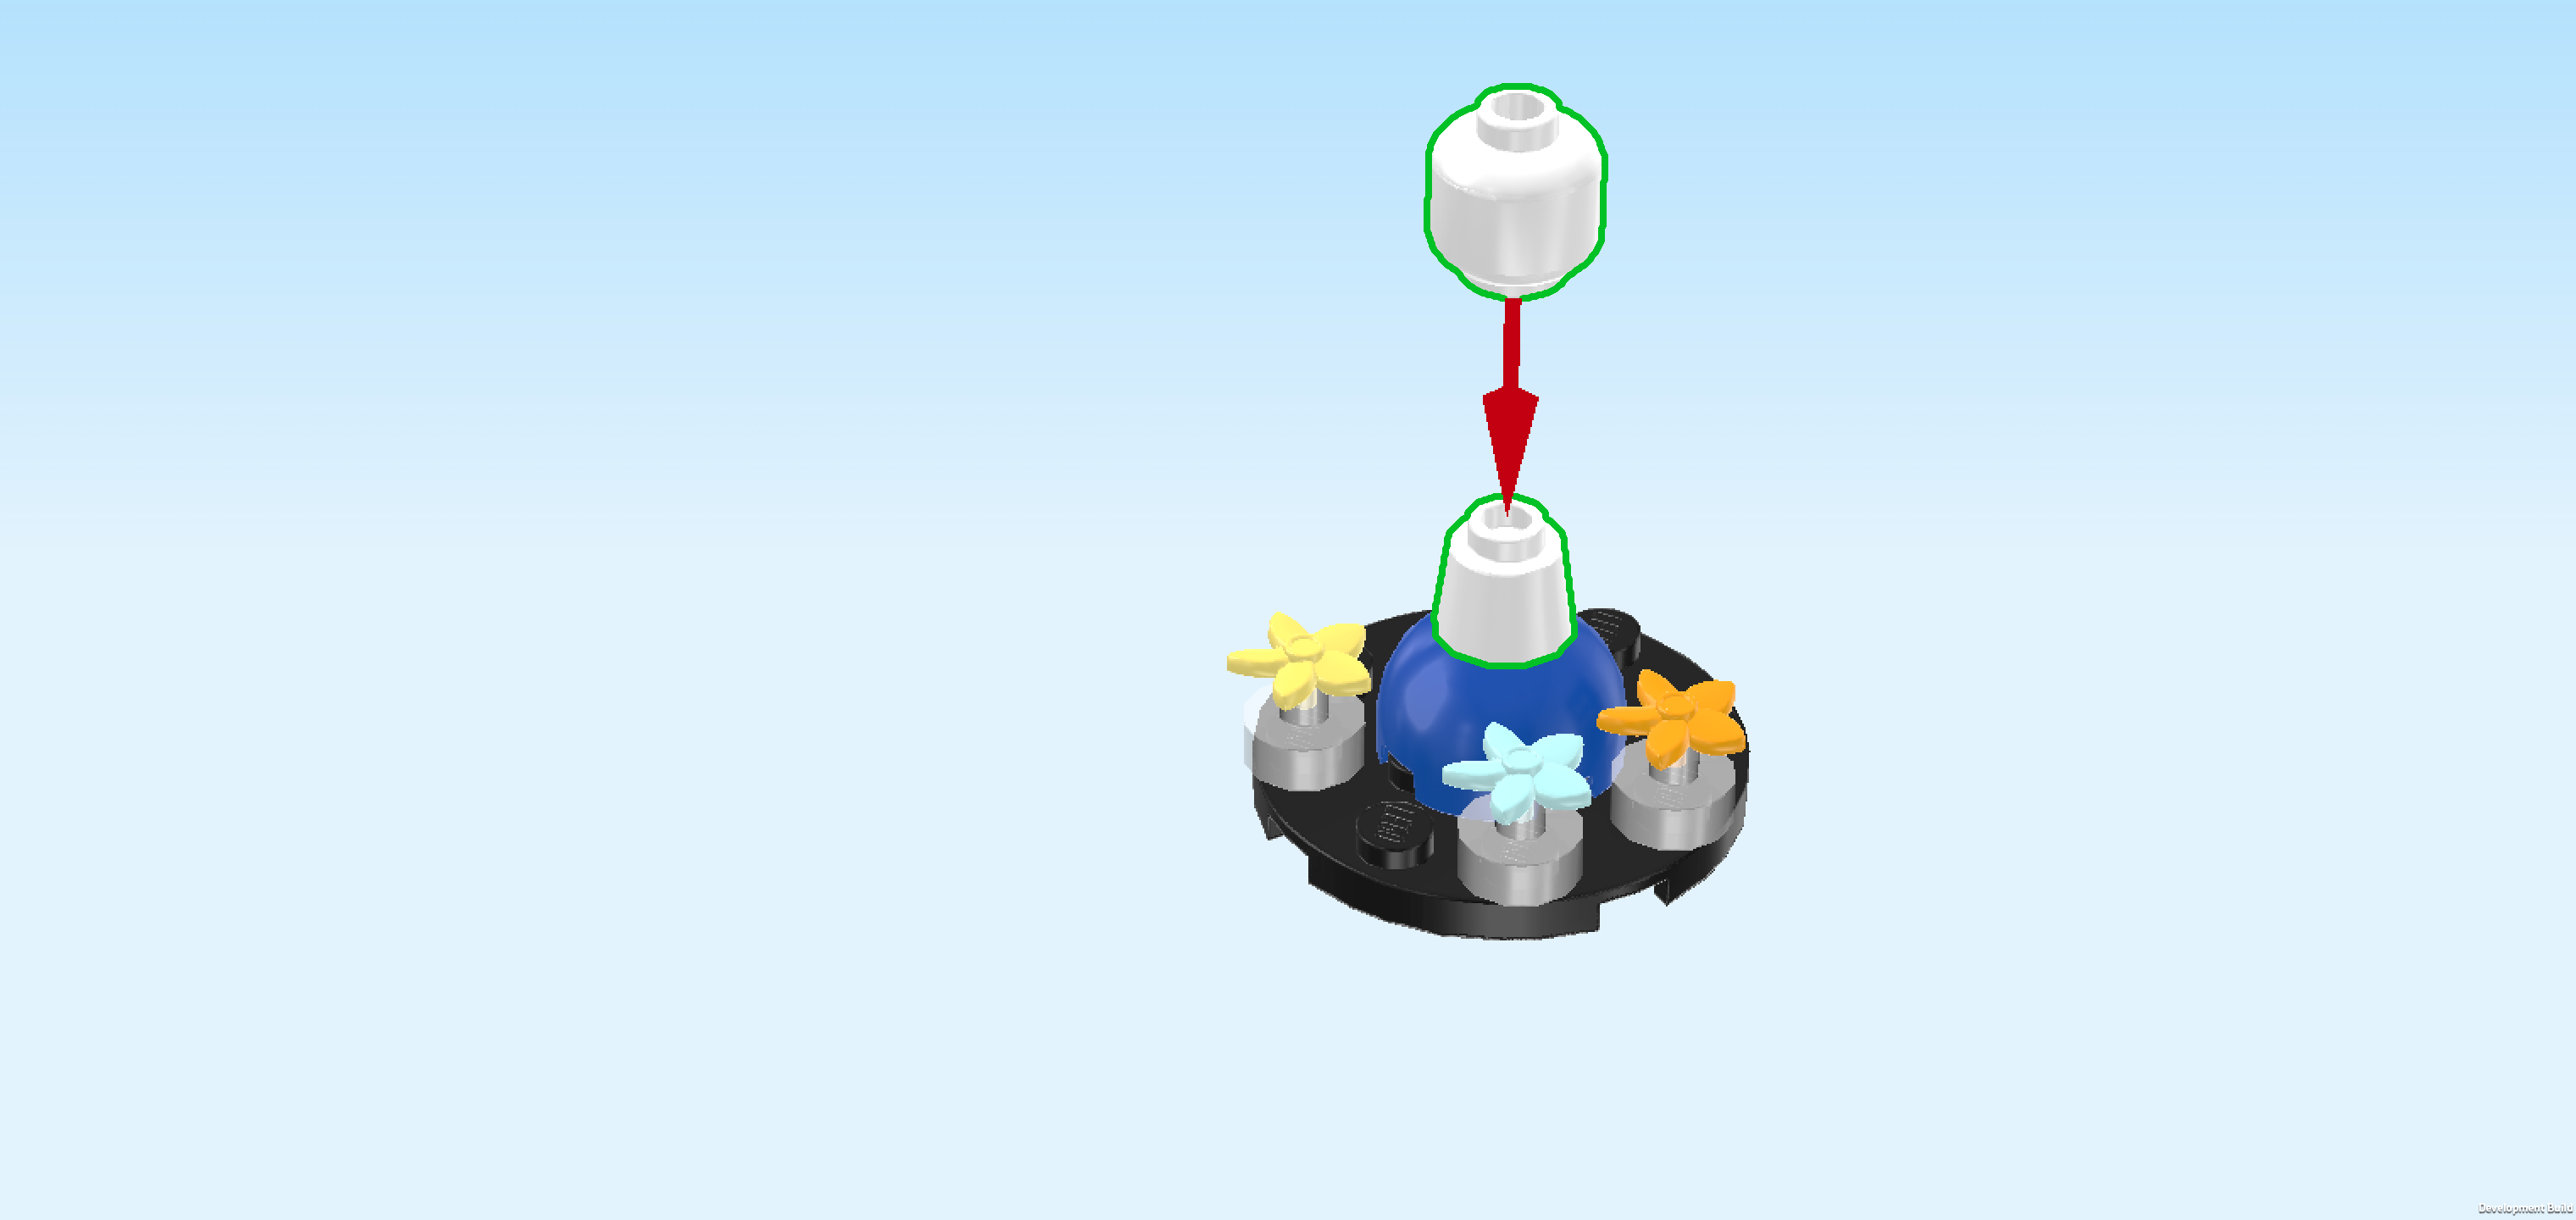
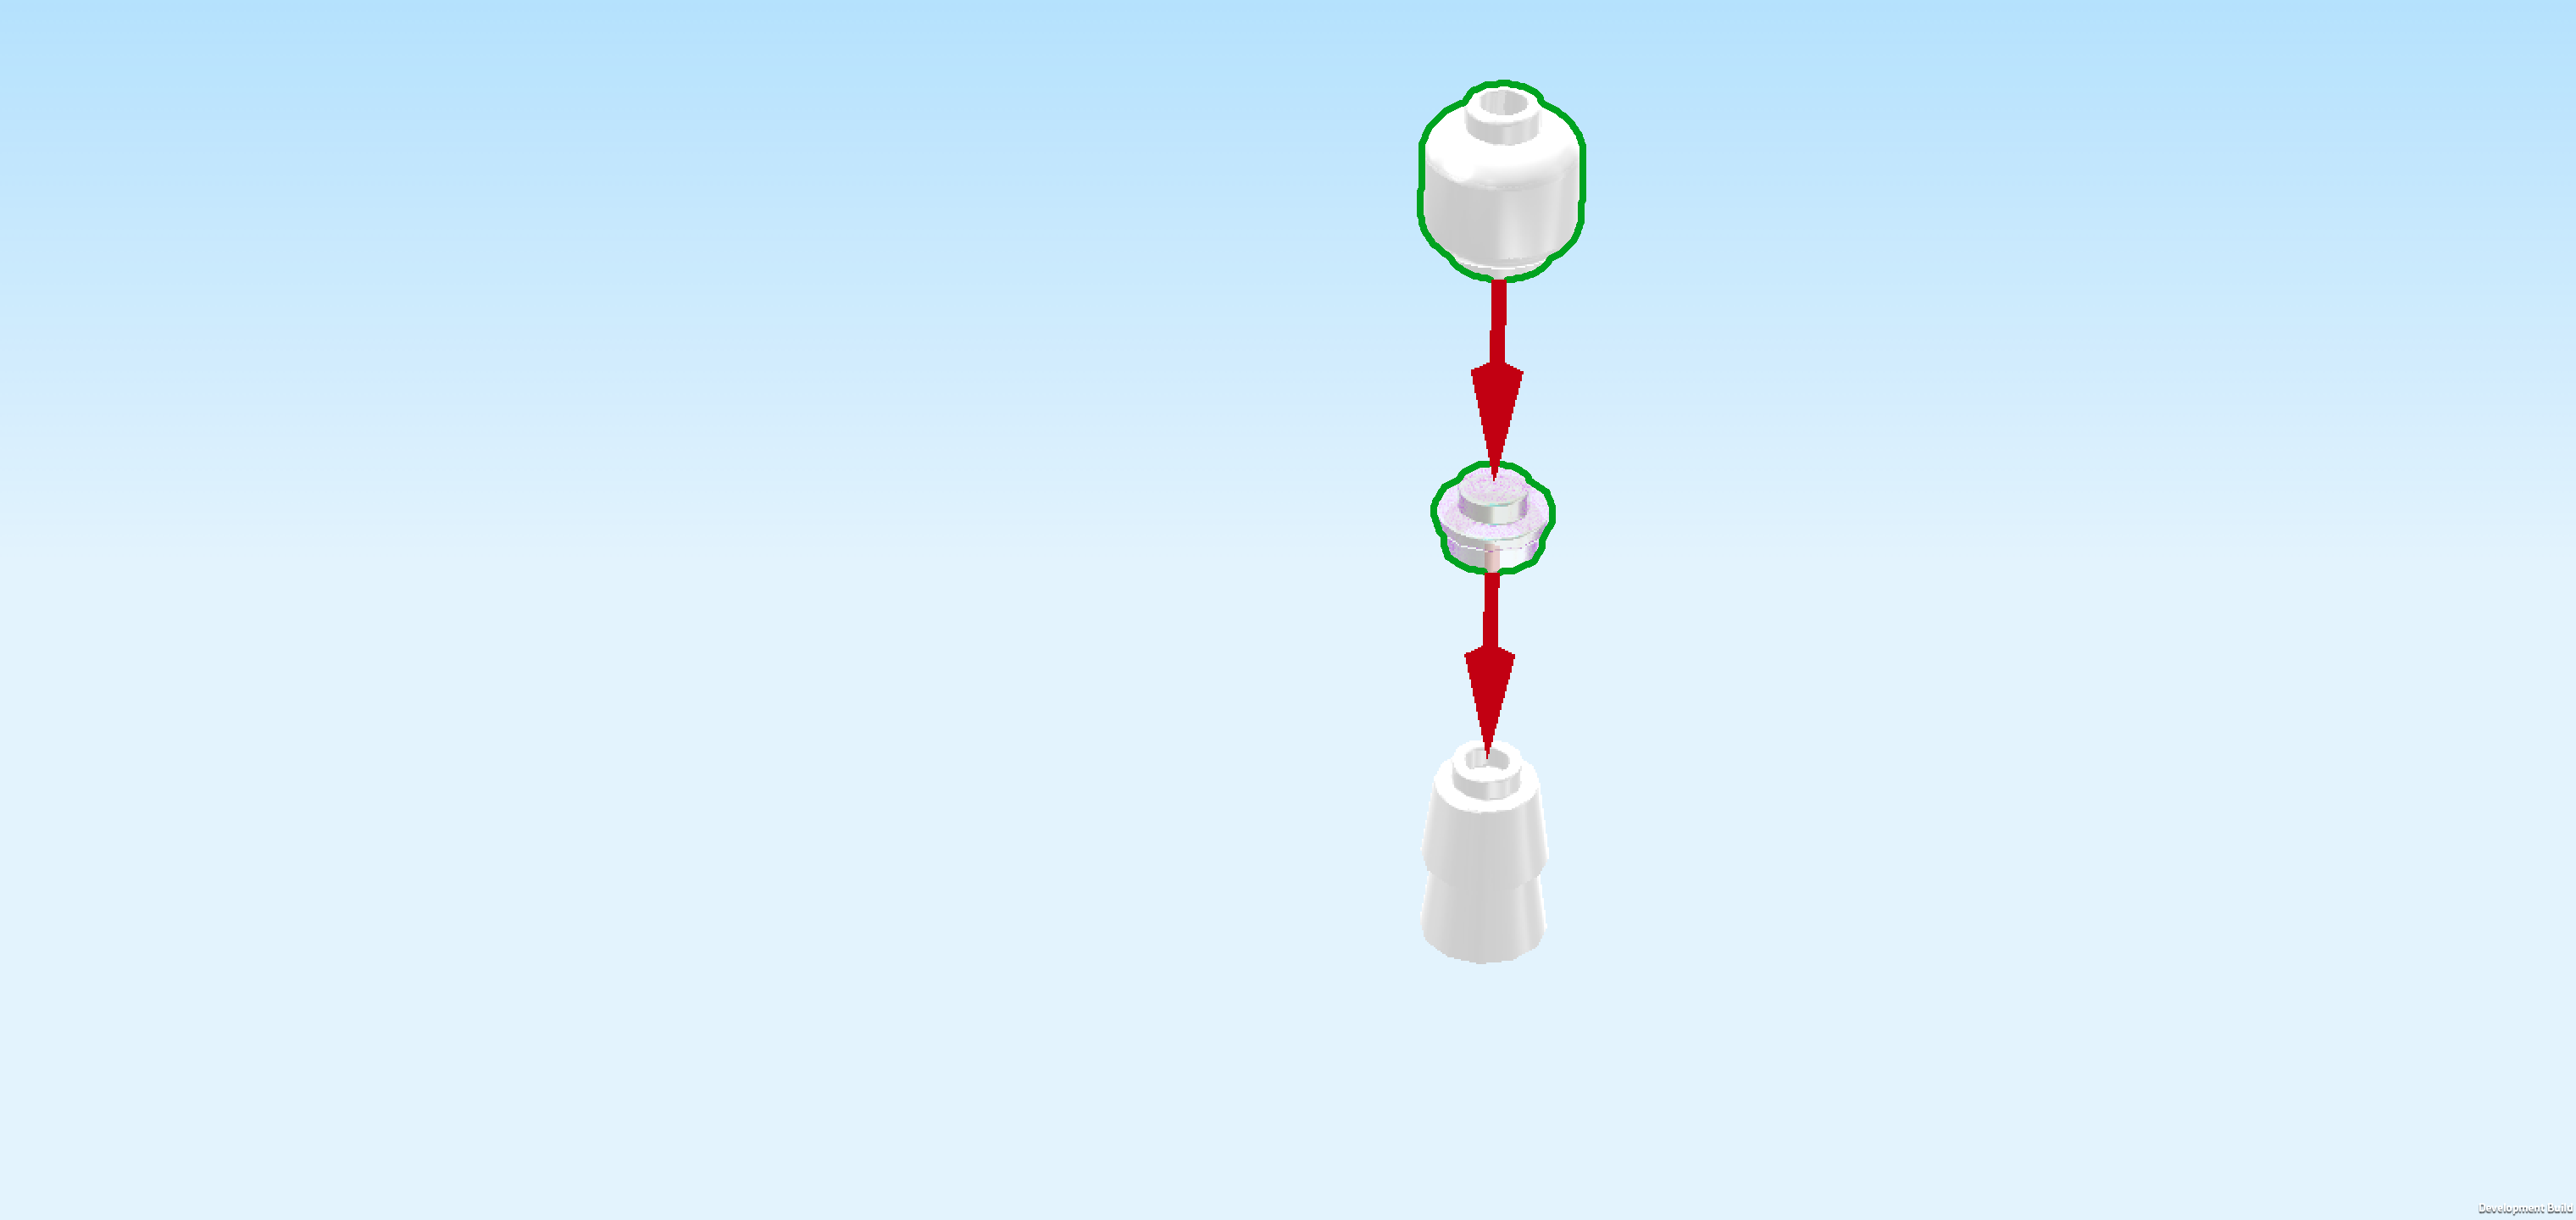
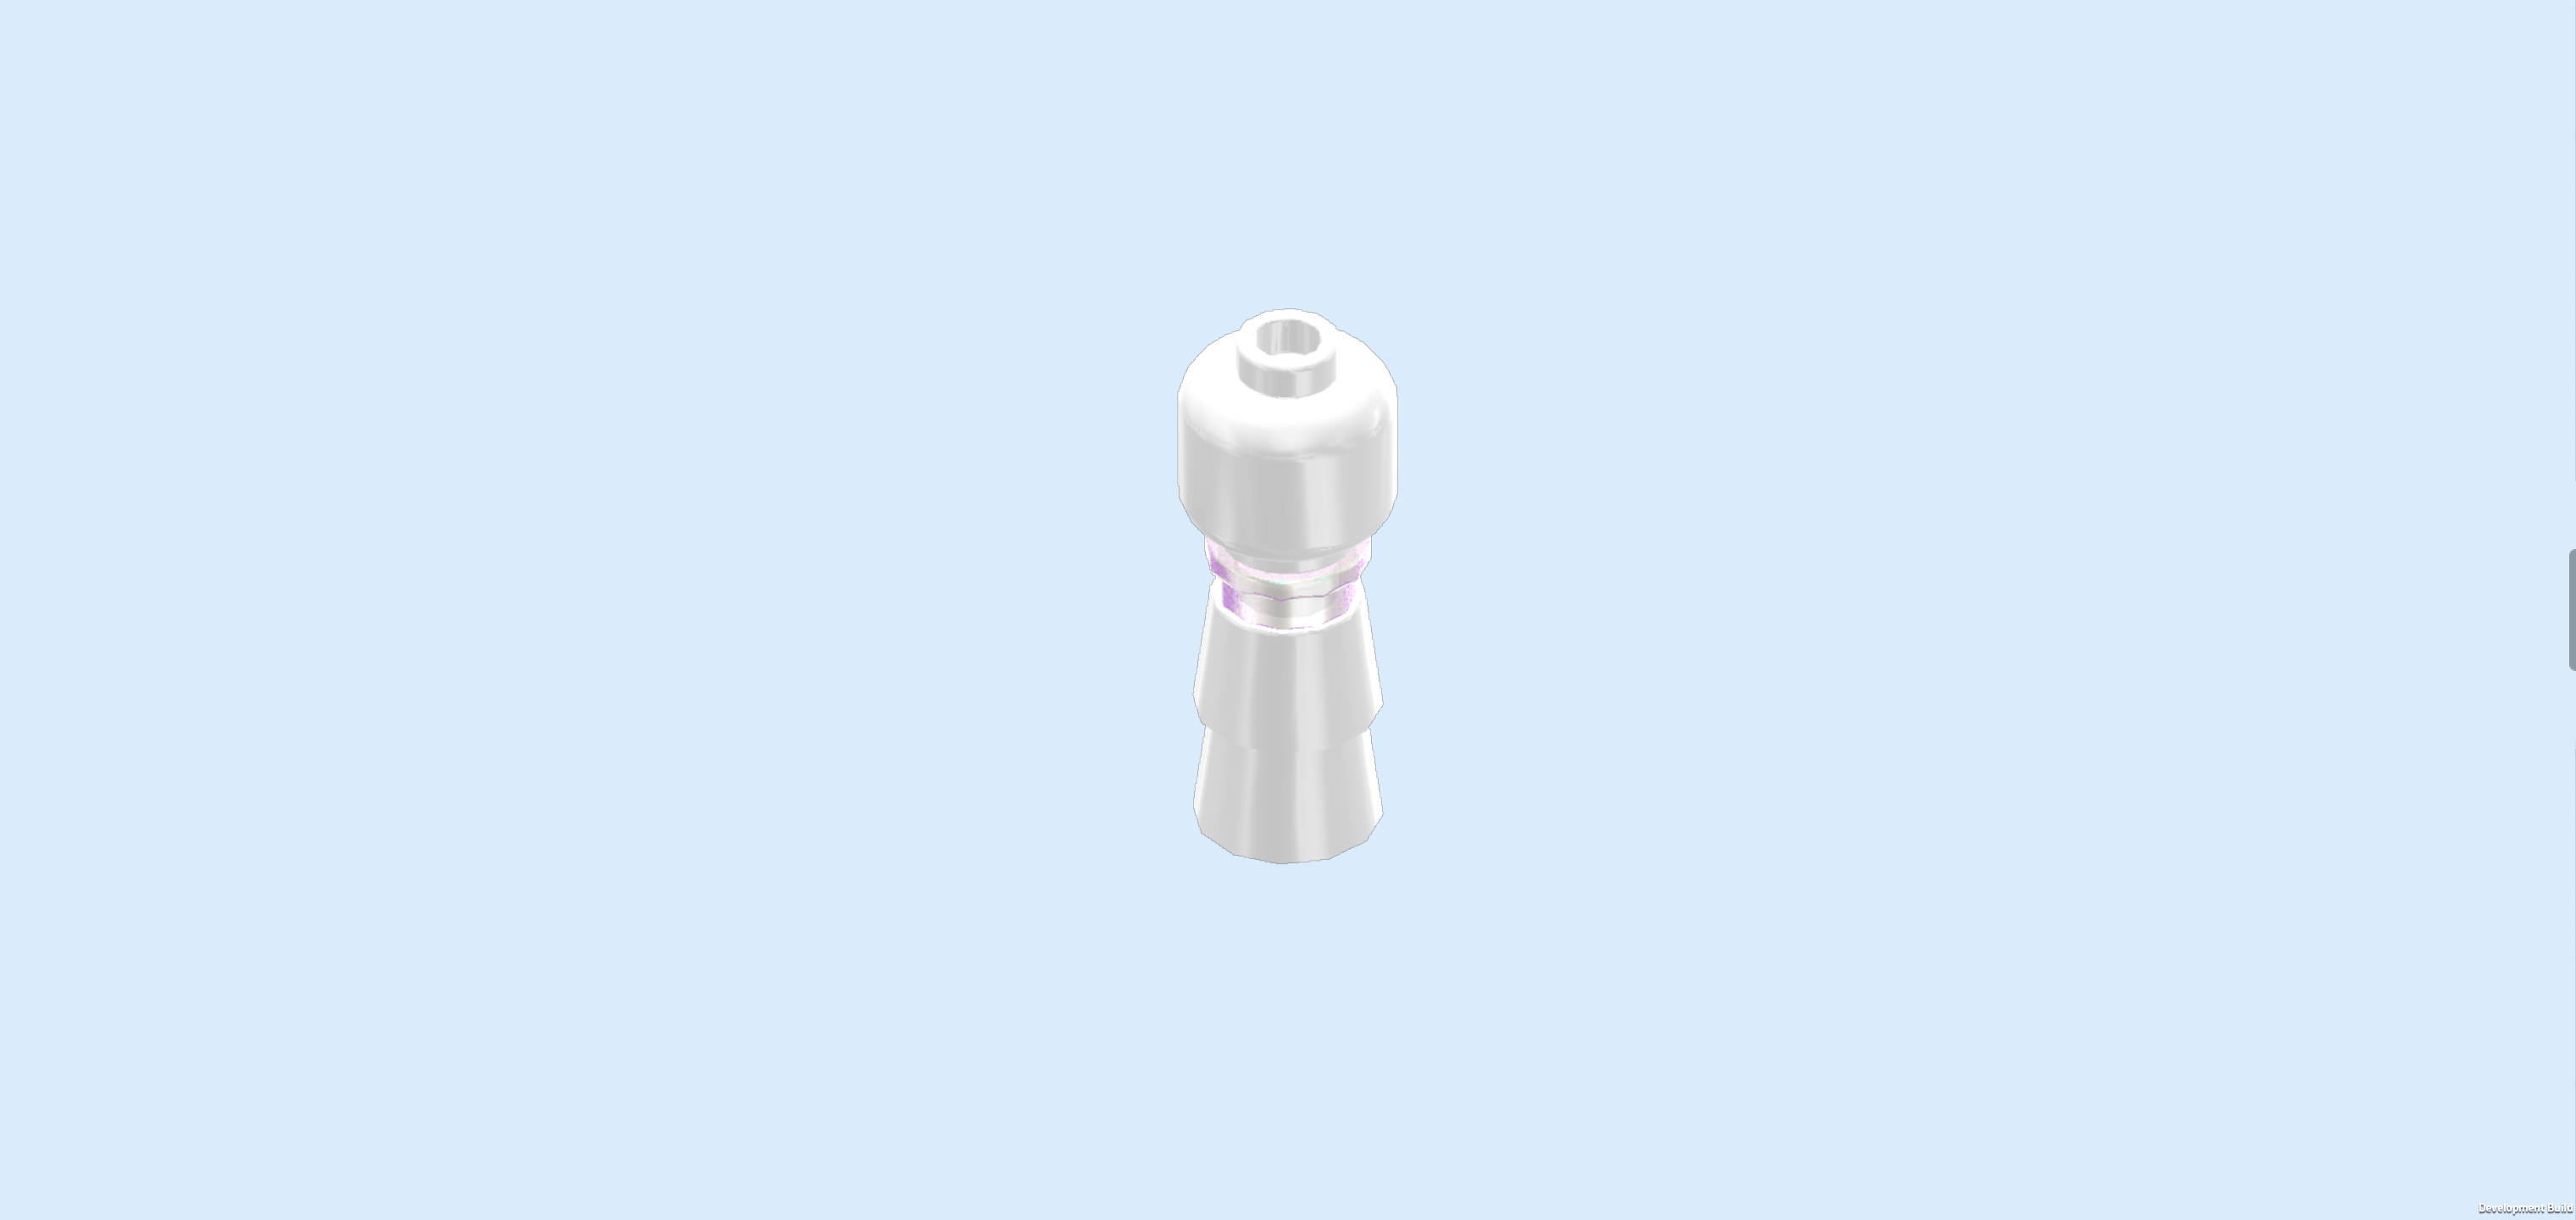
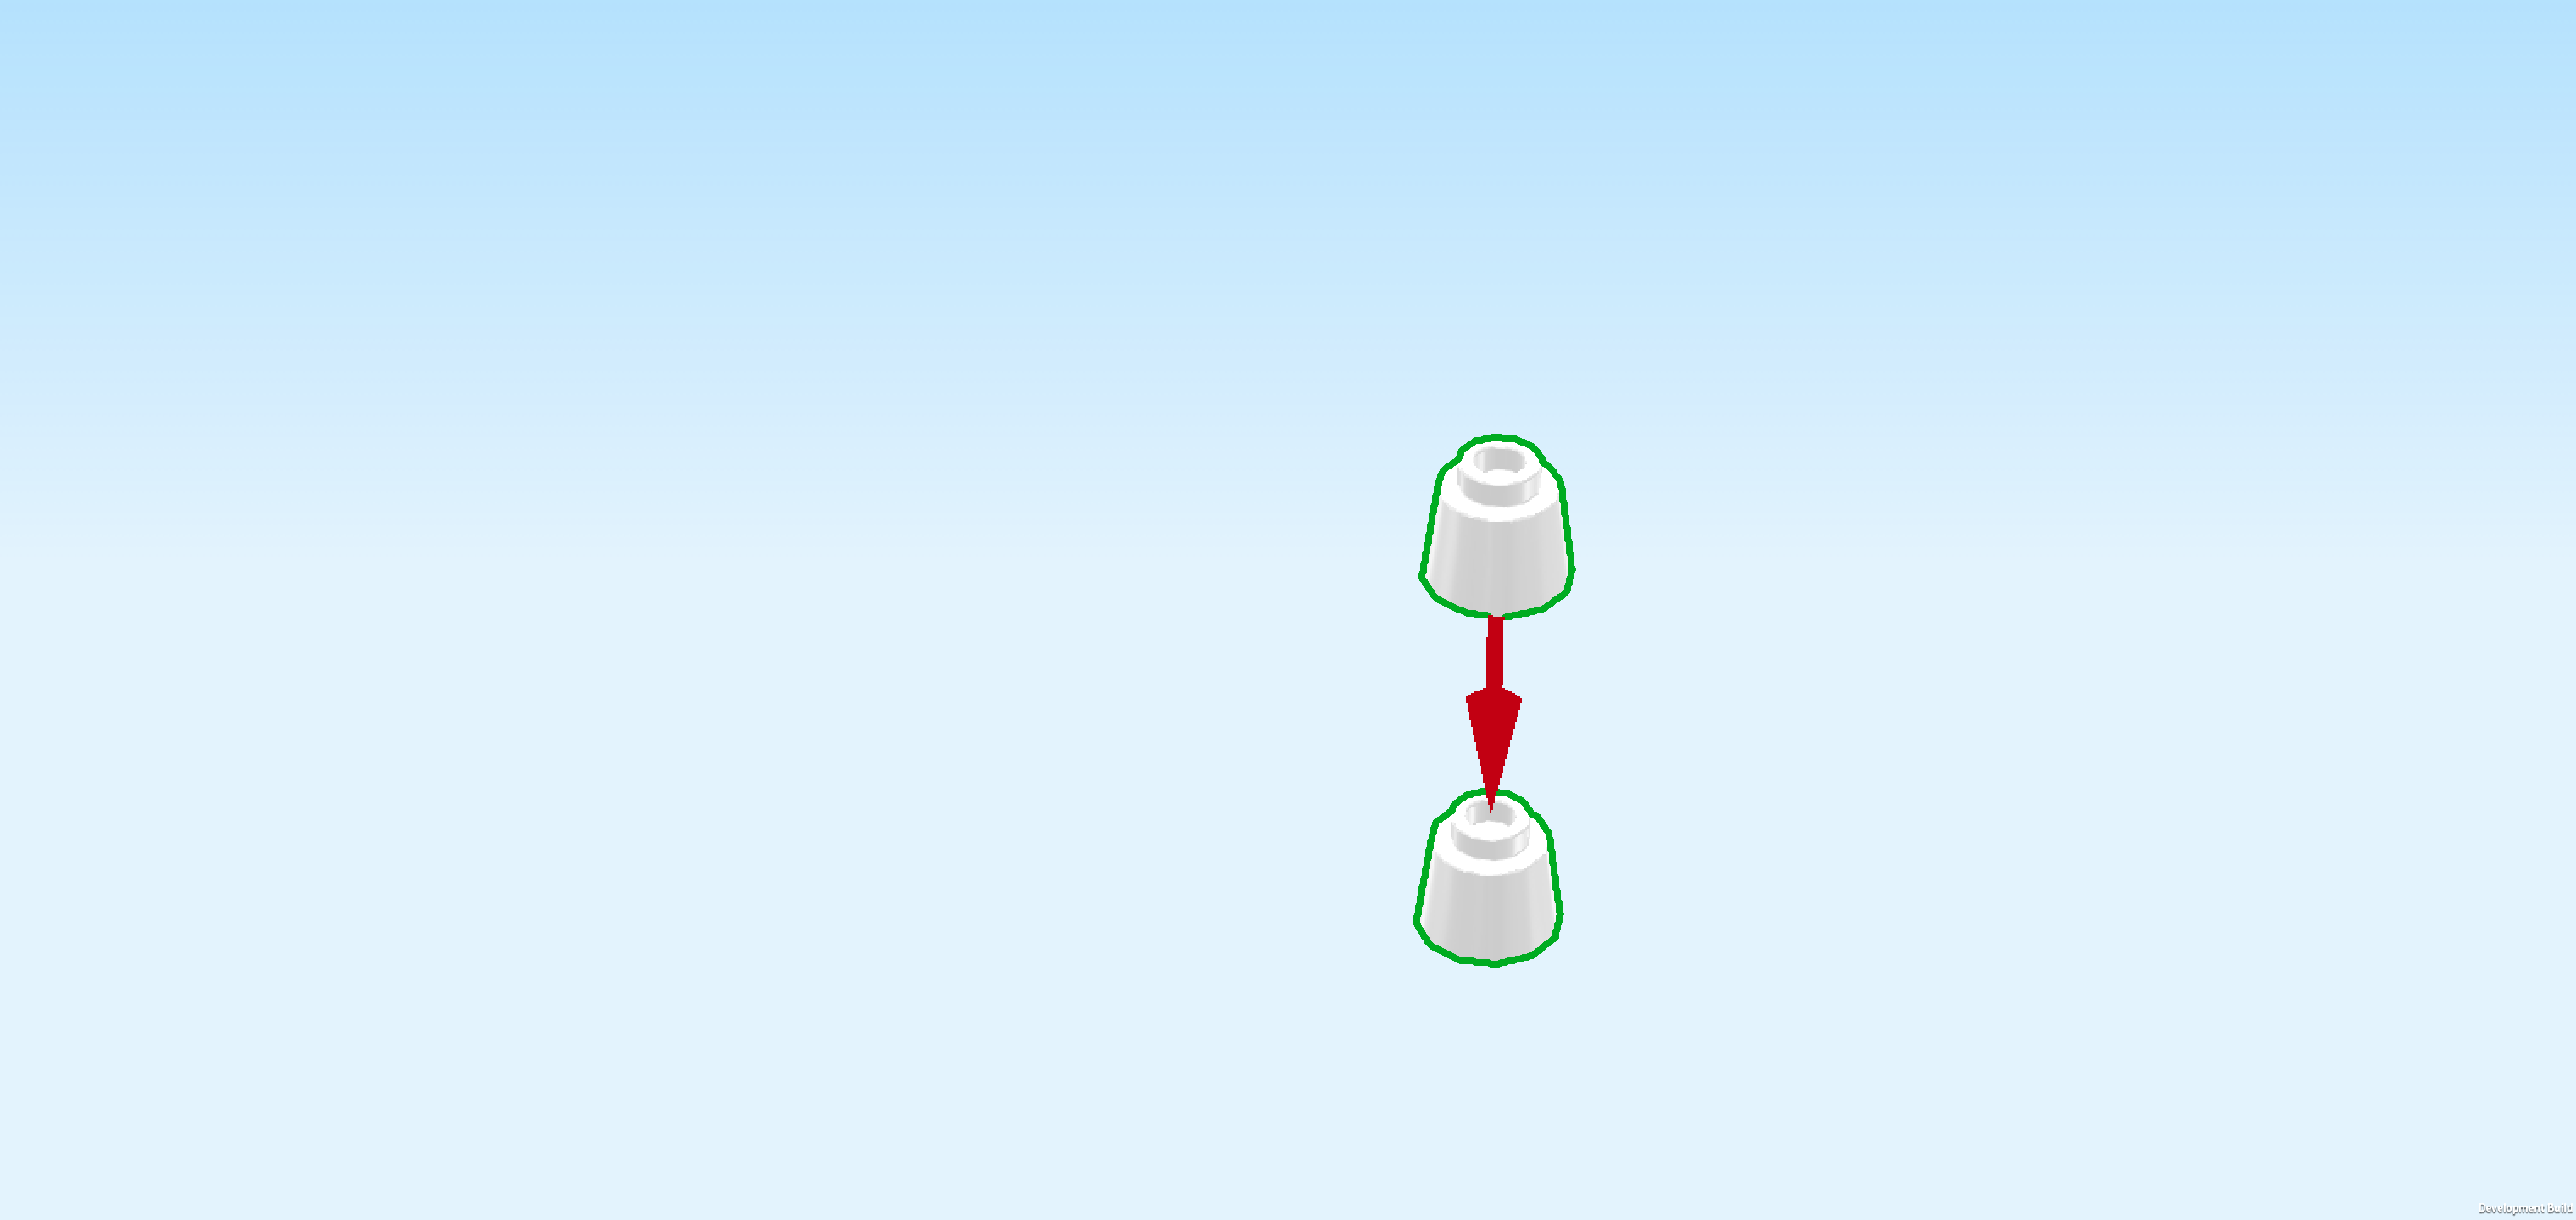
| Collect the following 2 pieces: |
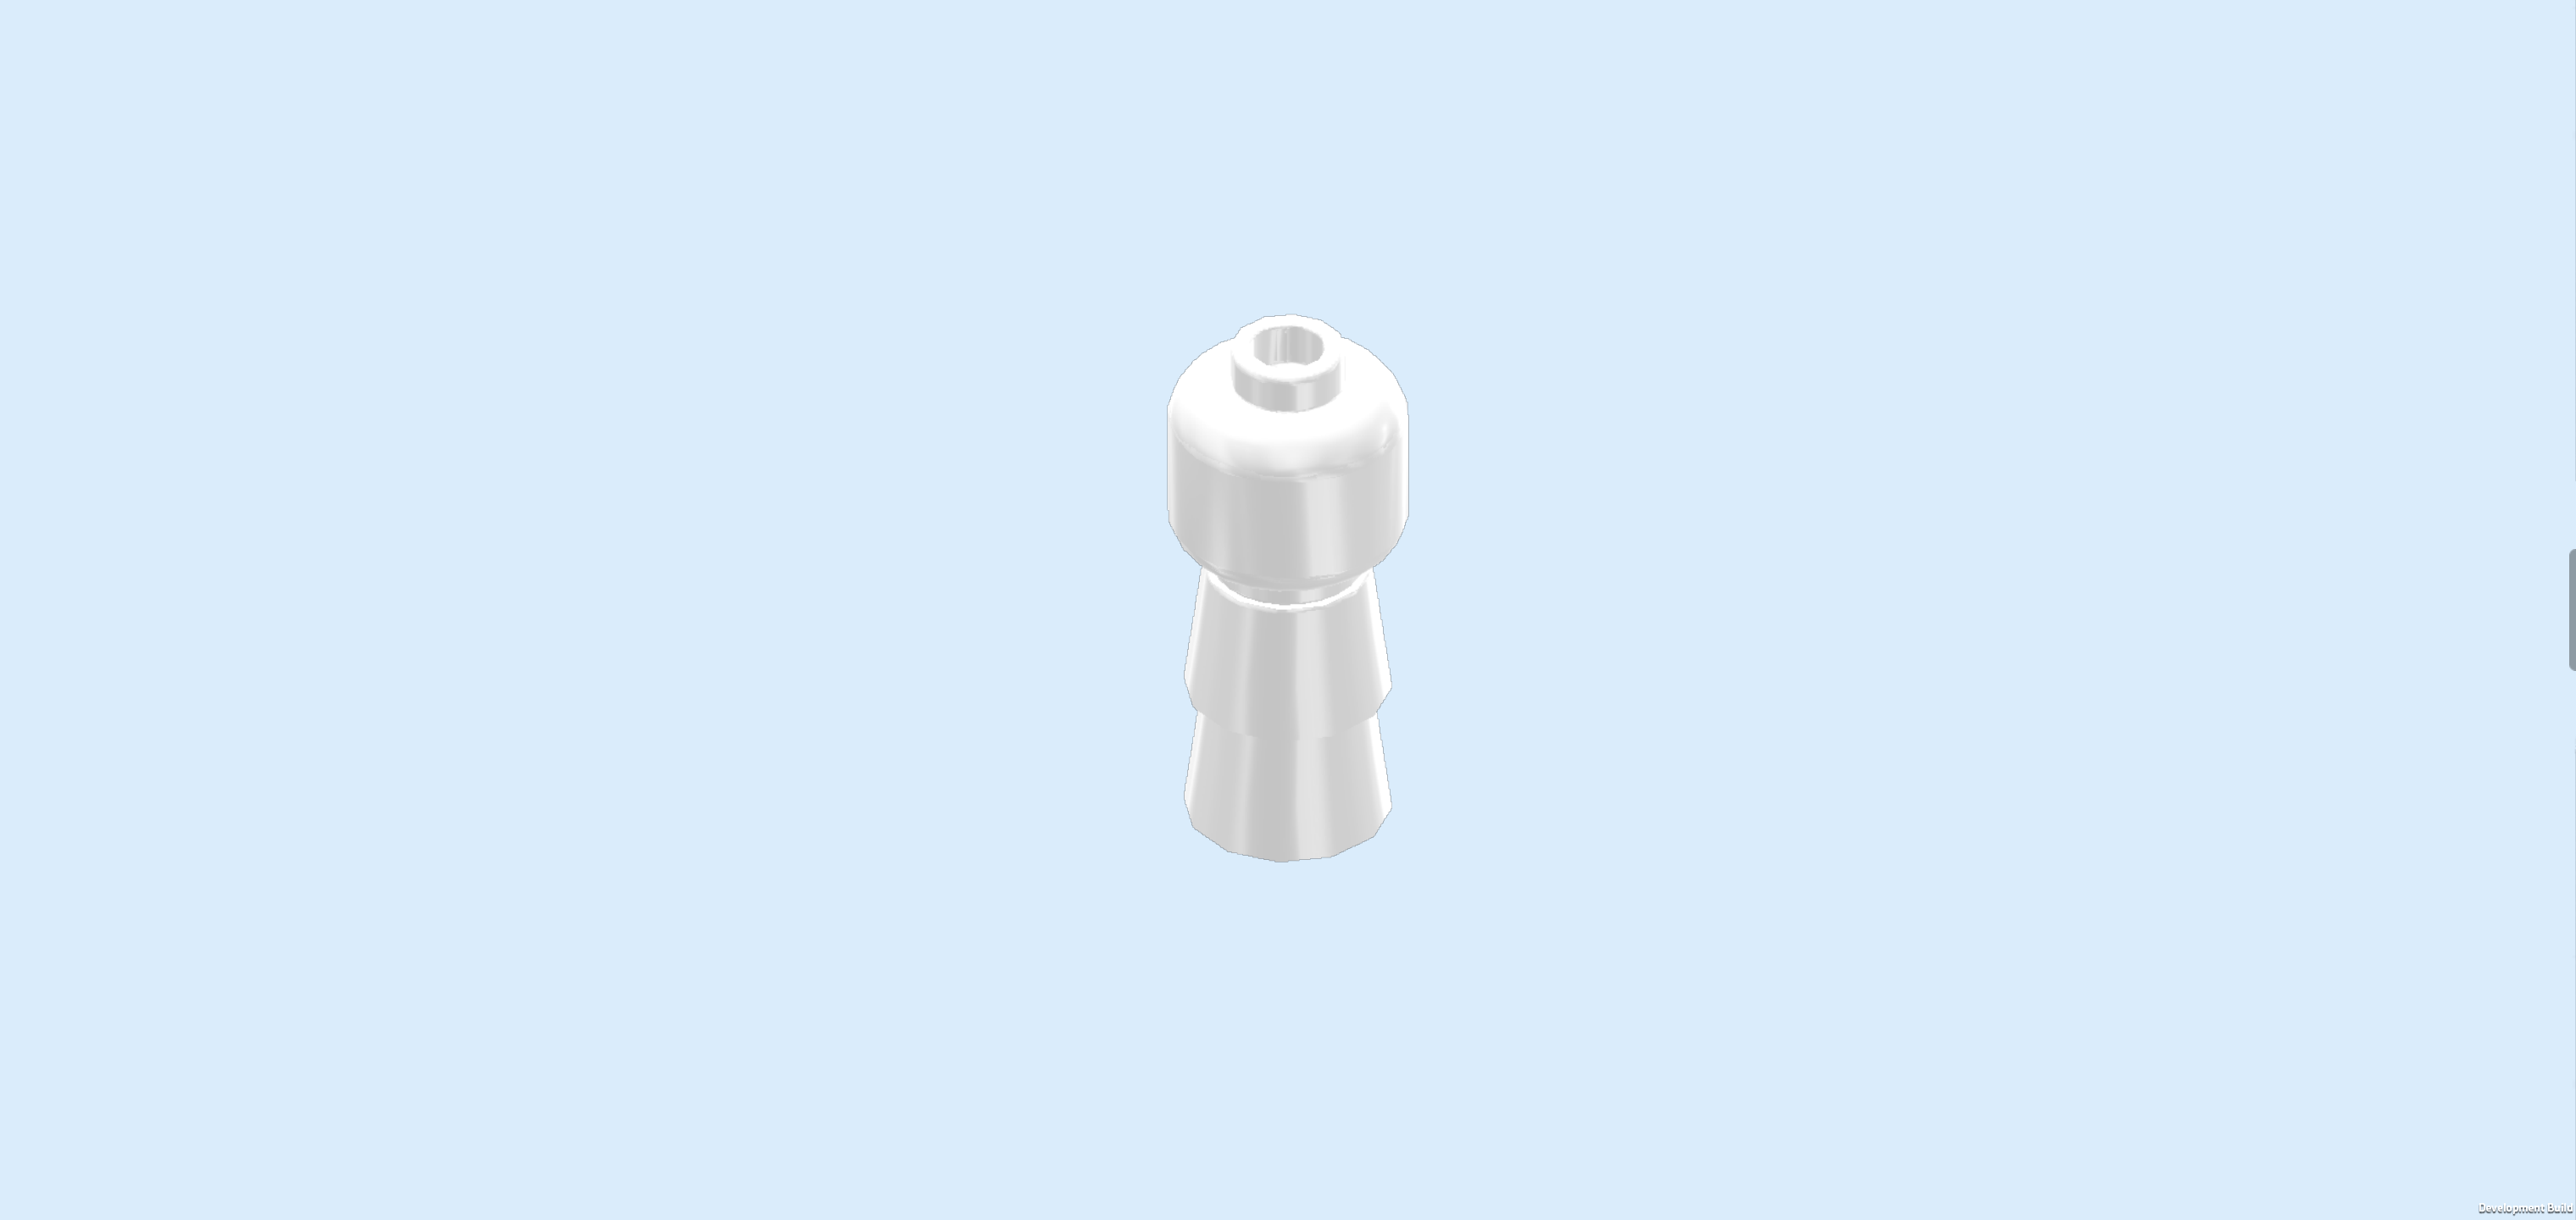
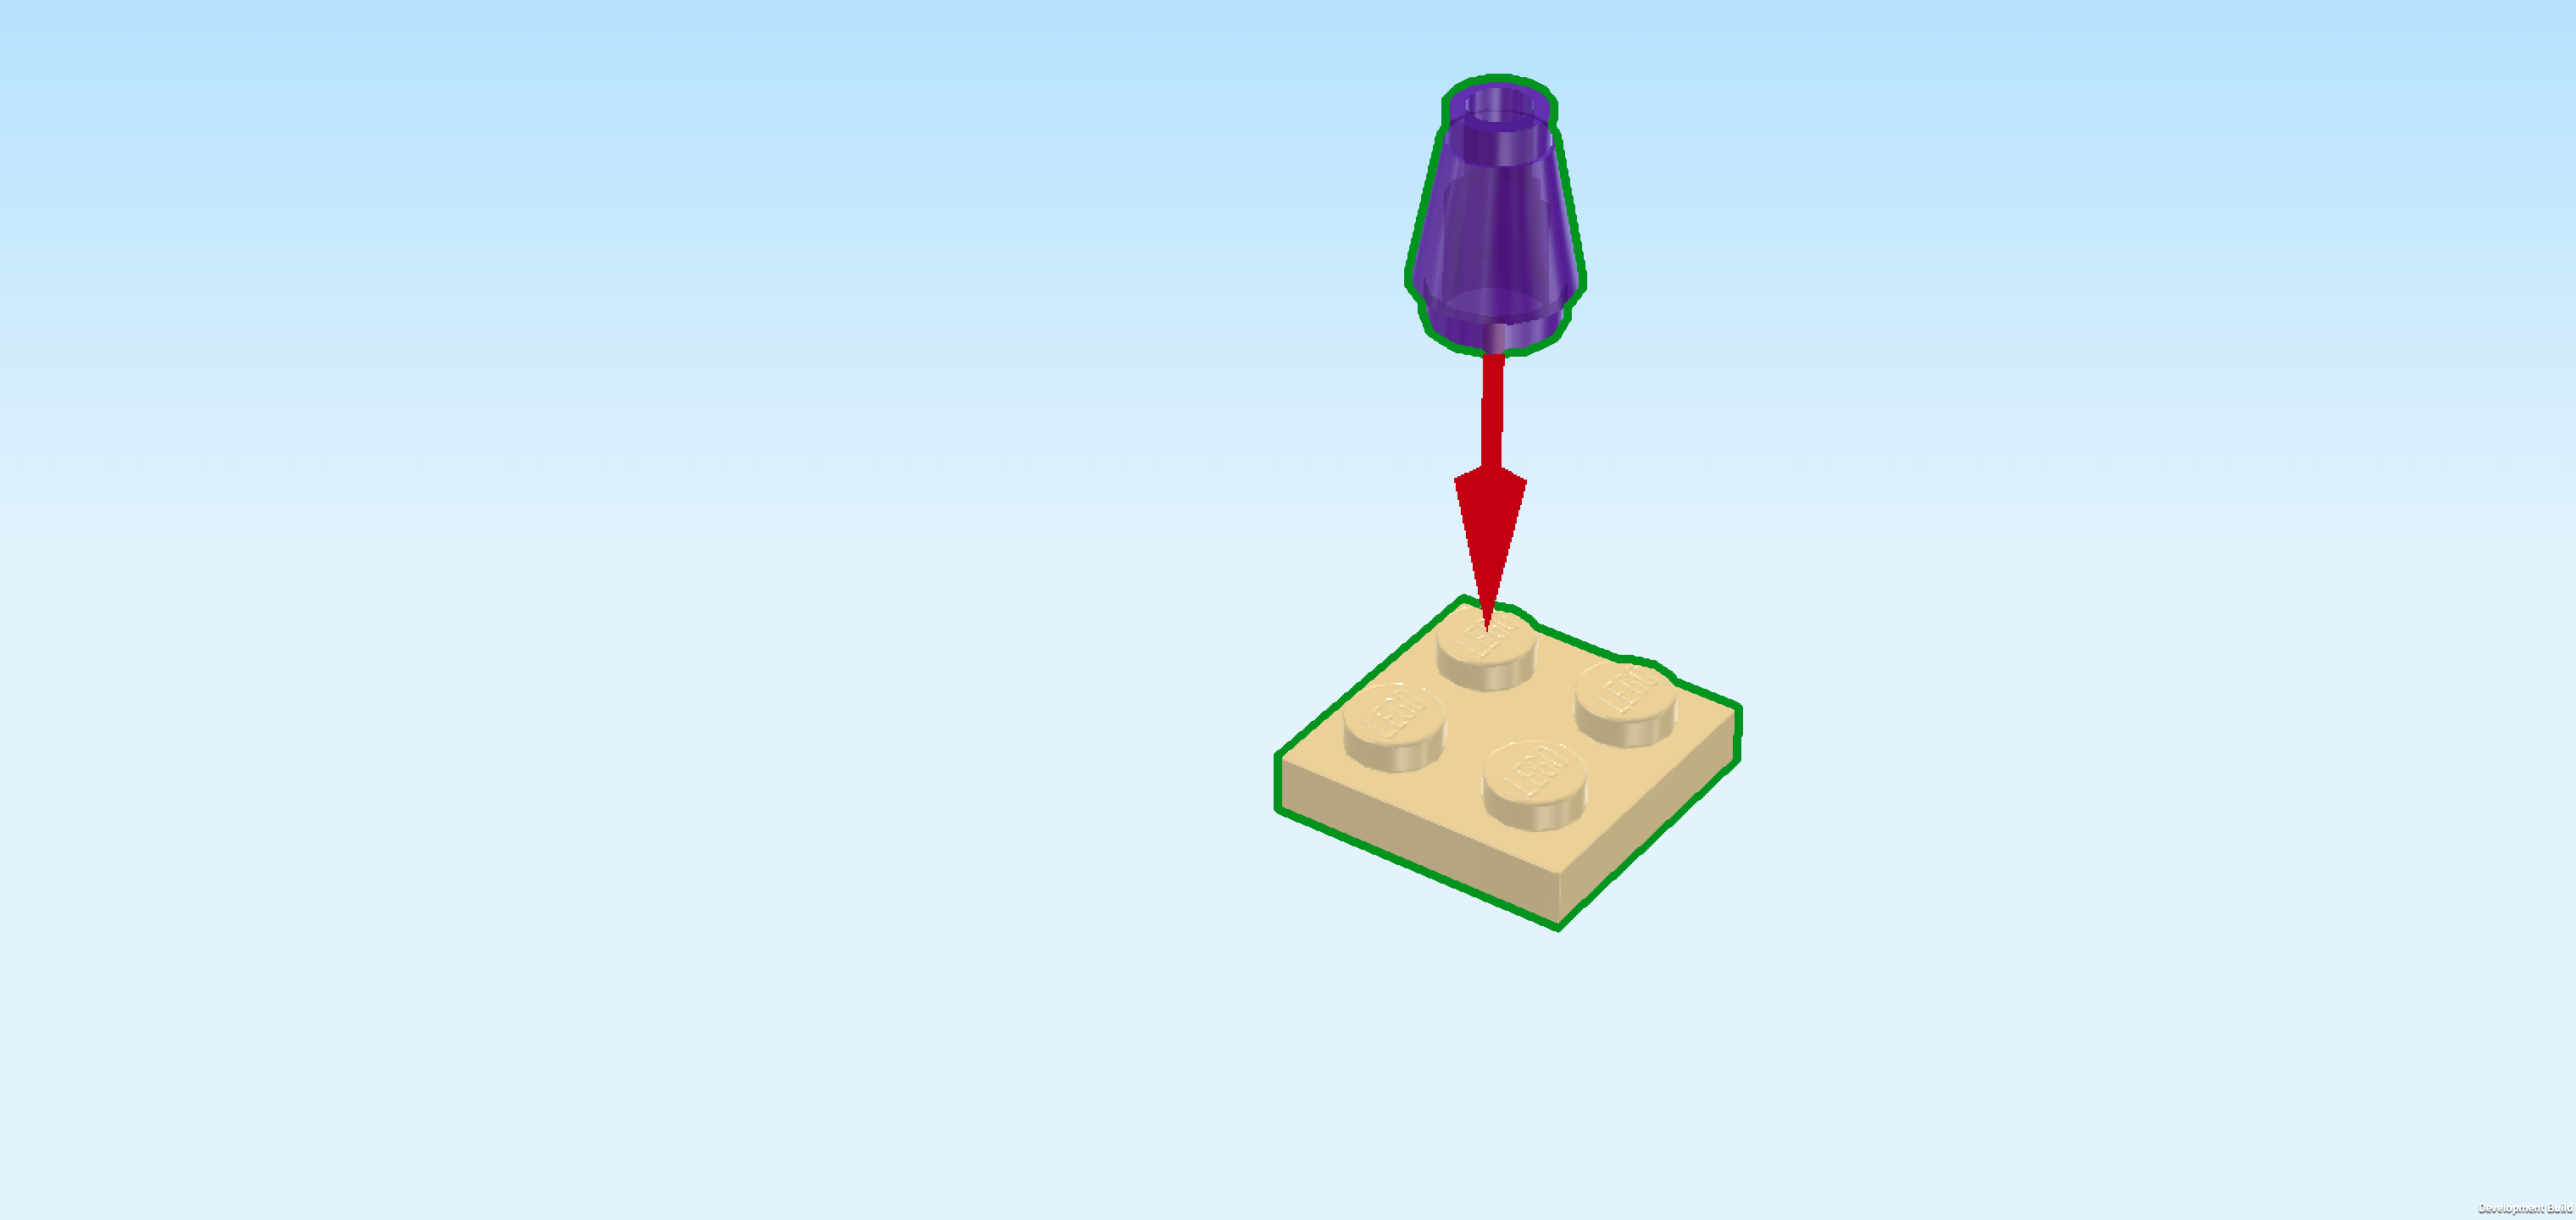
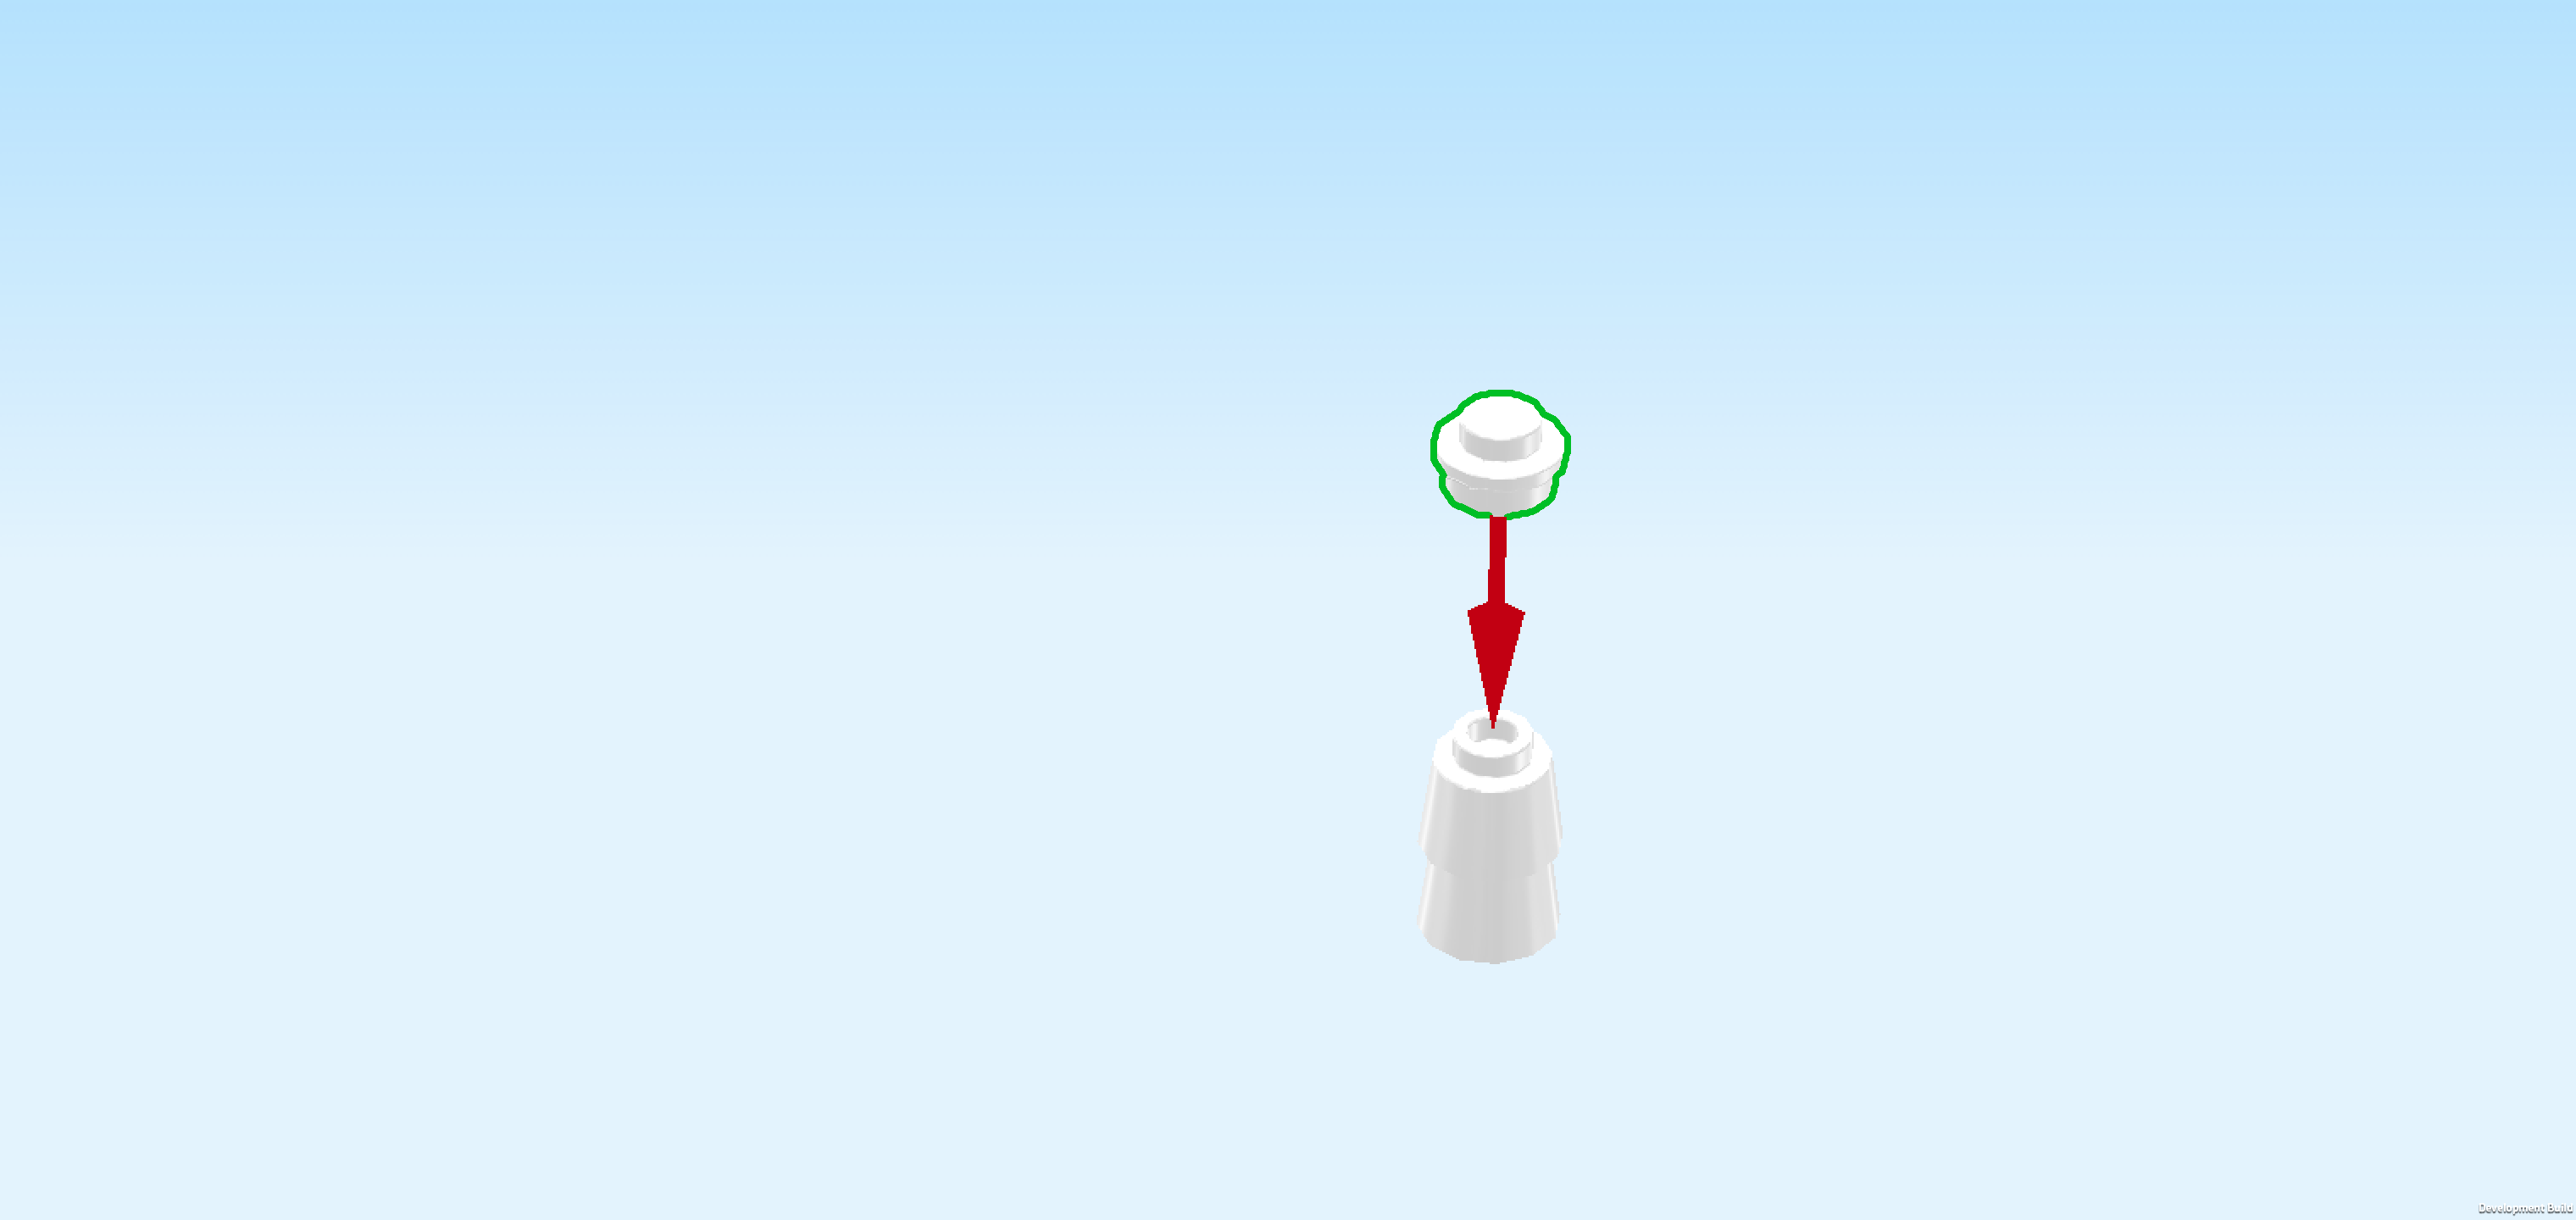
| 1 white cone brick 1x1x⅔, |
| and 1 white Minifigure head. |
| Put the cone brick on top of the dome in the middle of the wig display structure. |
| Put the Minifigure head on top. |
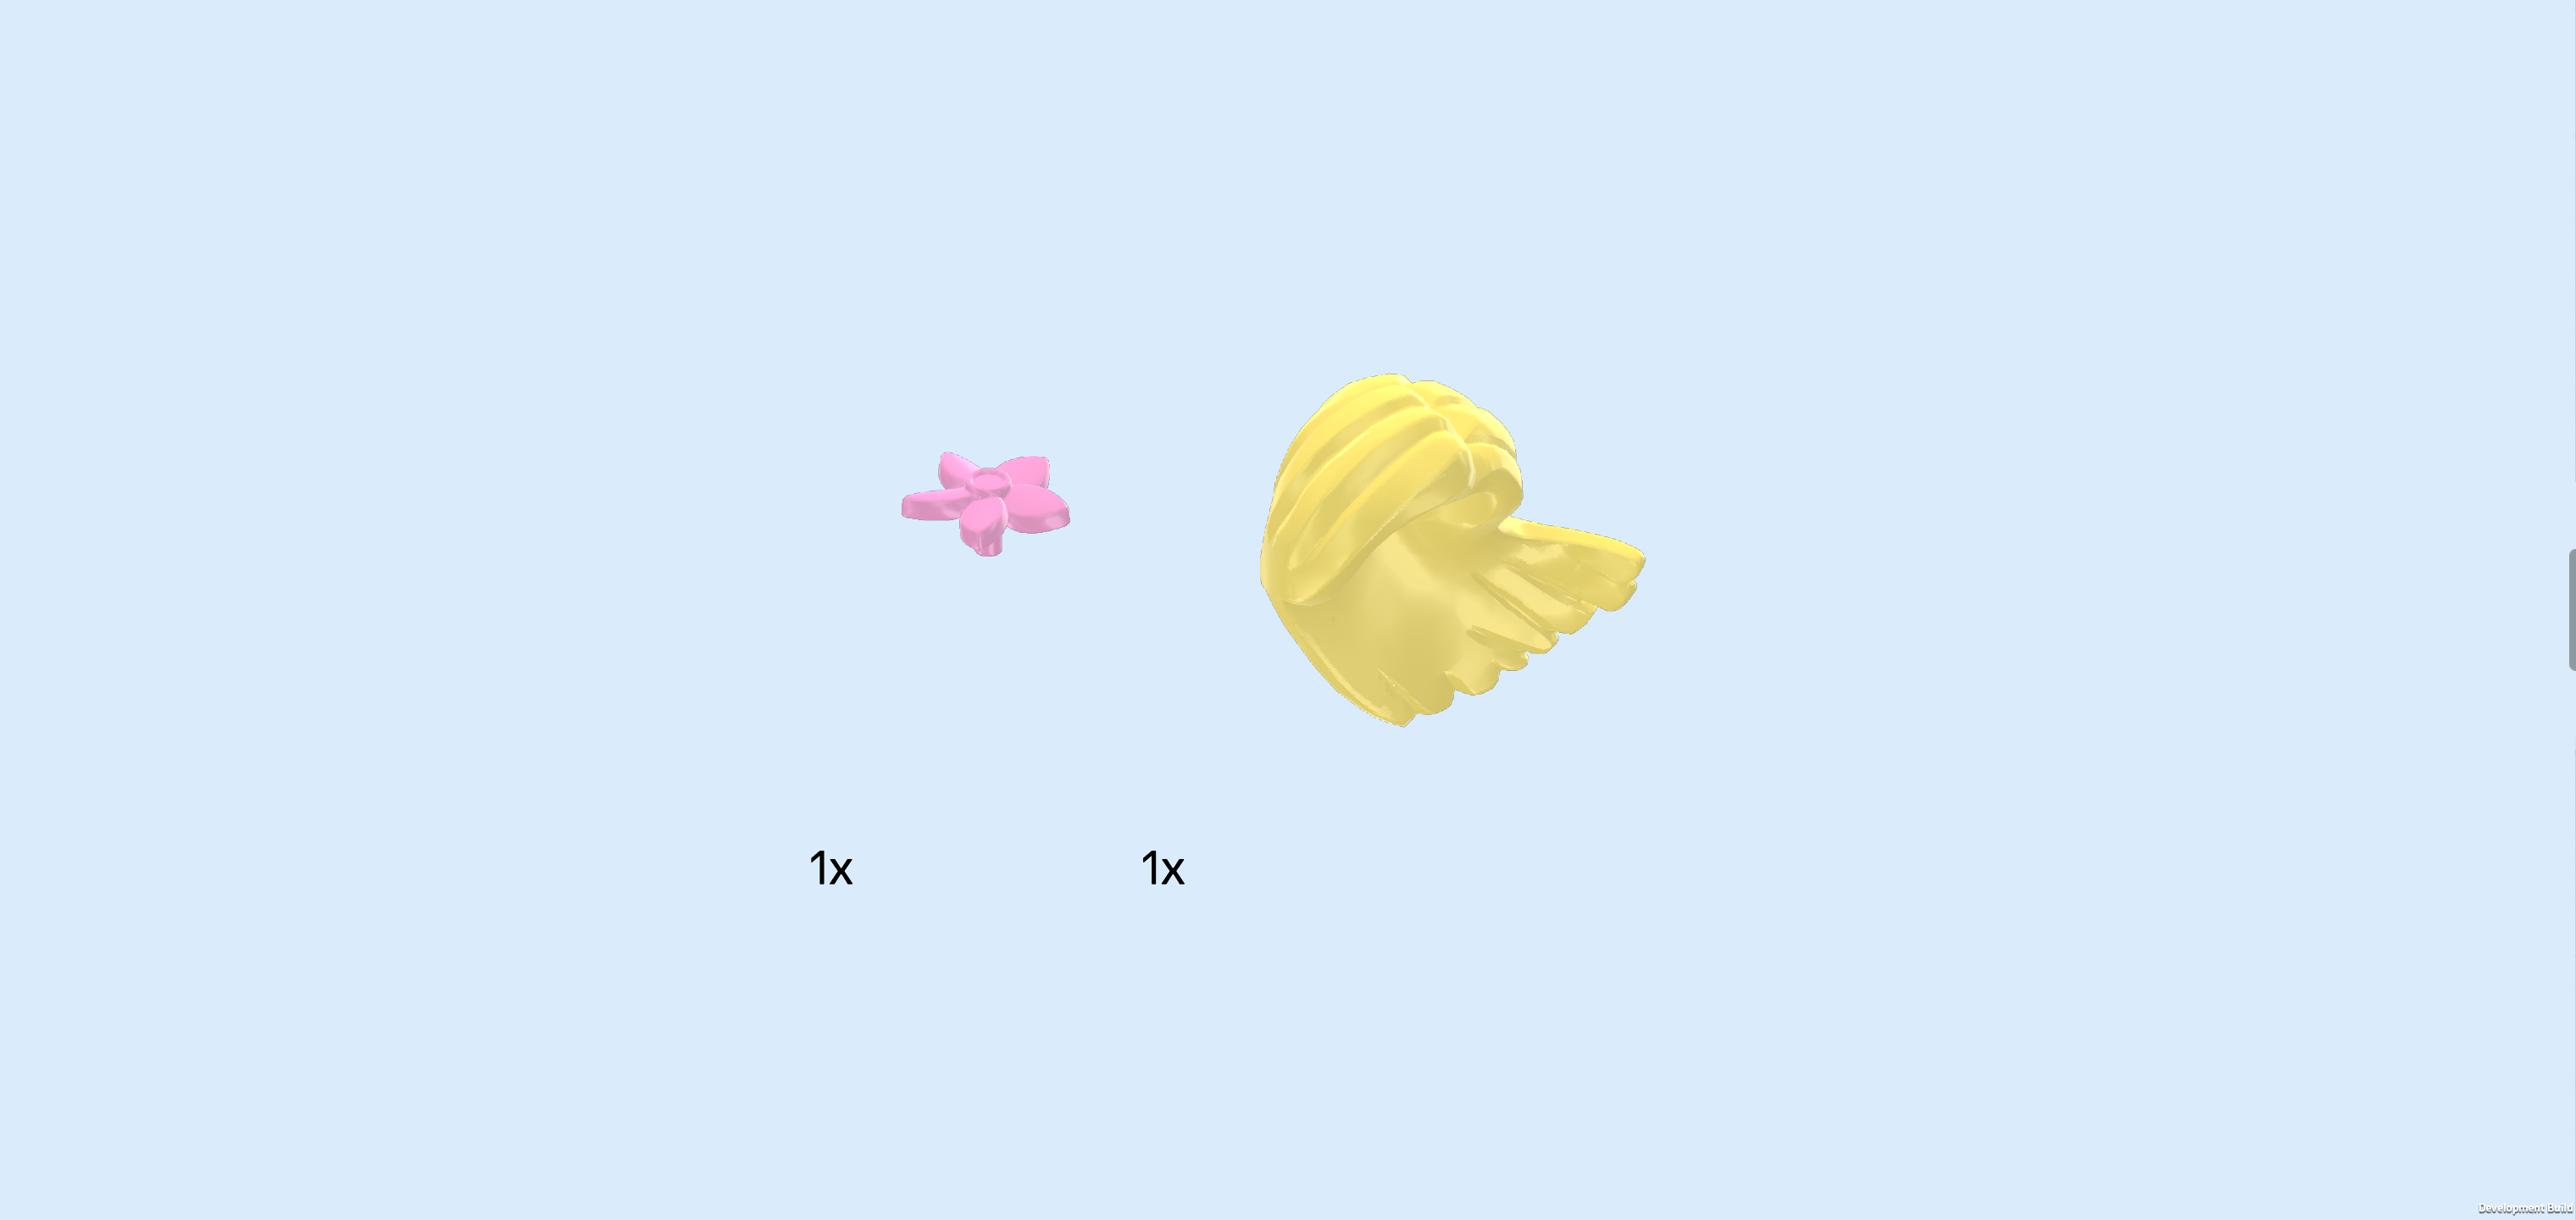
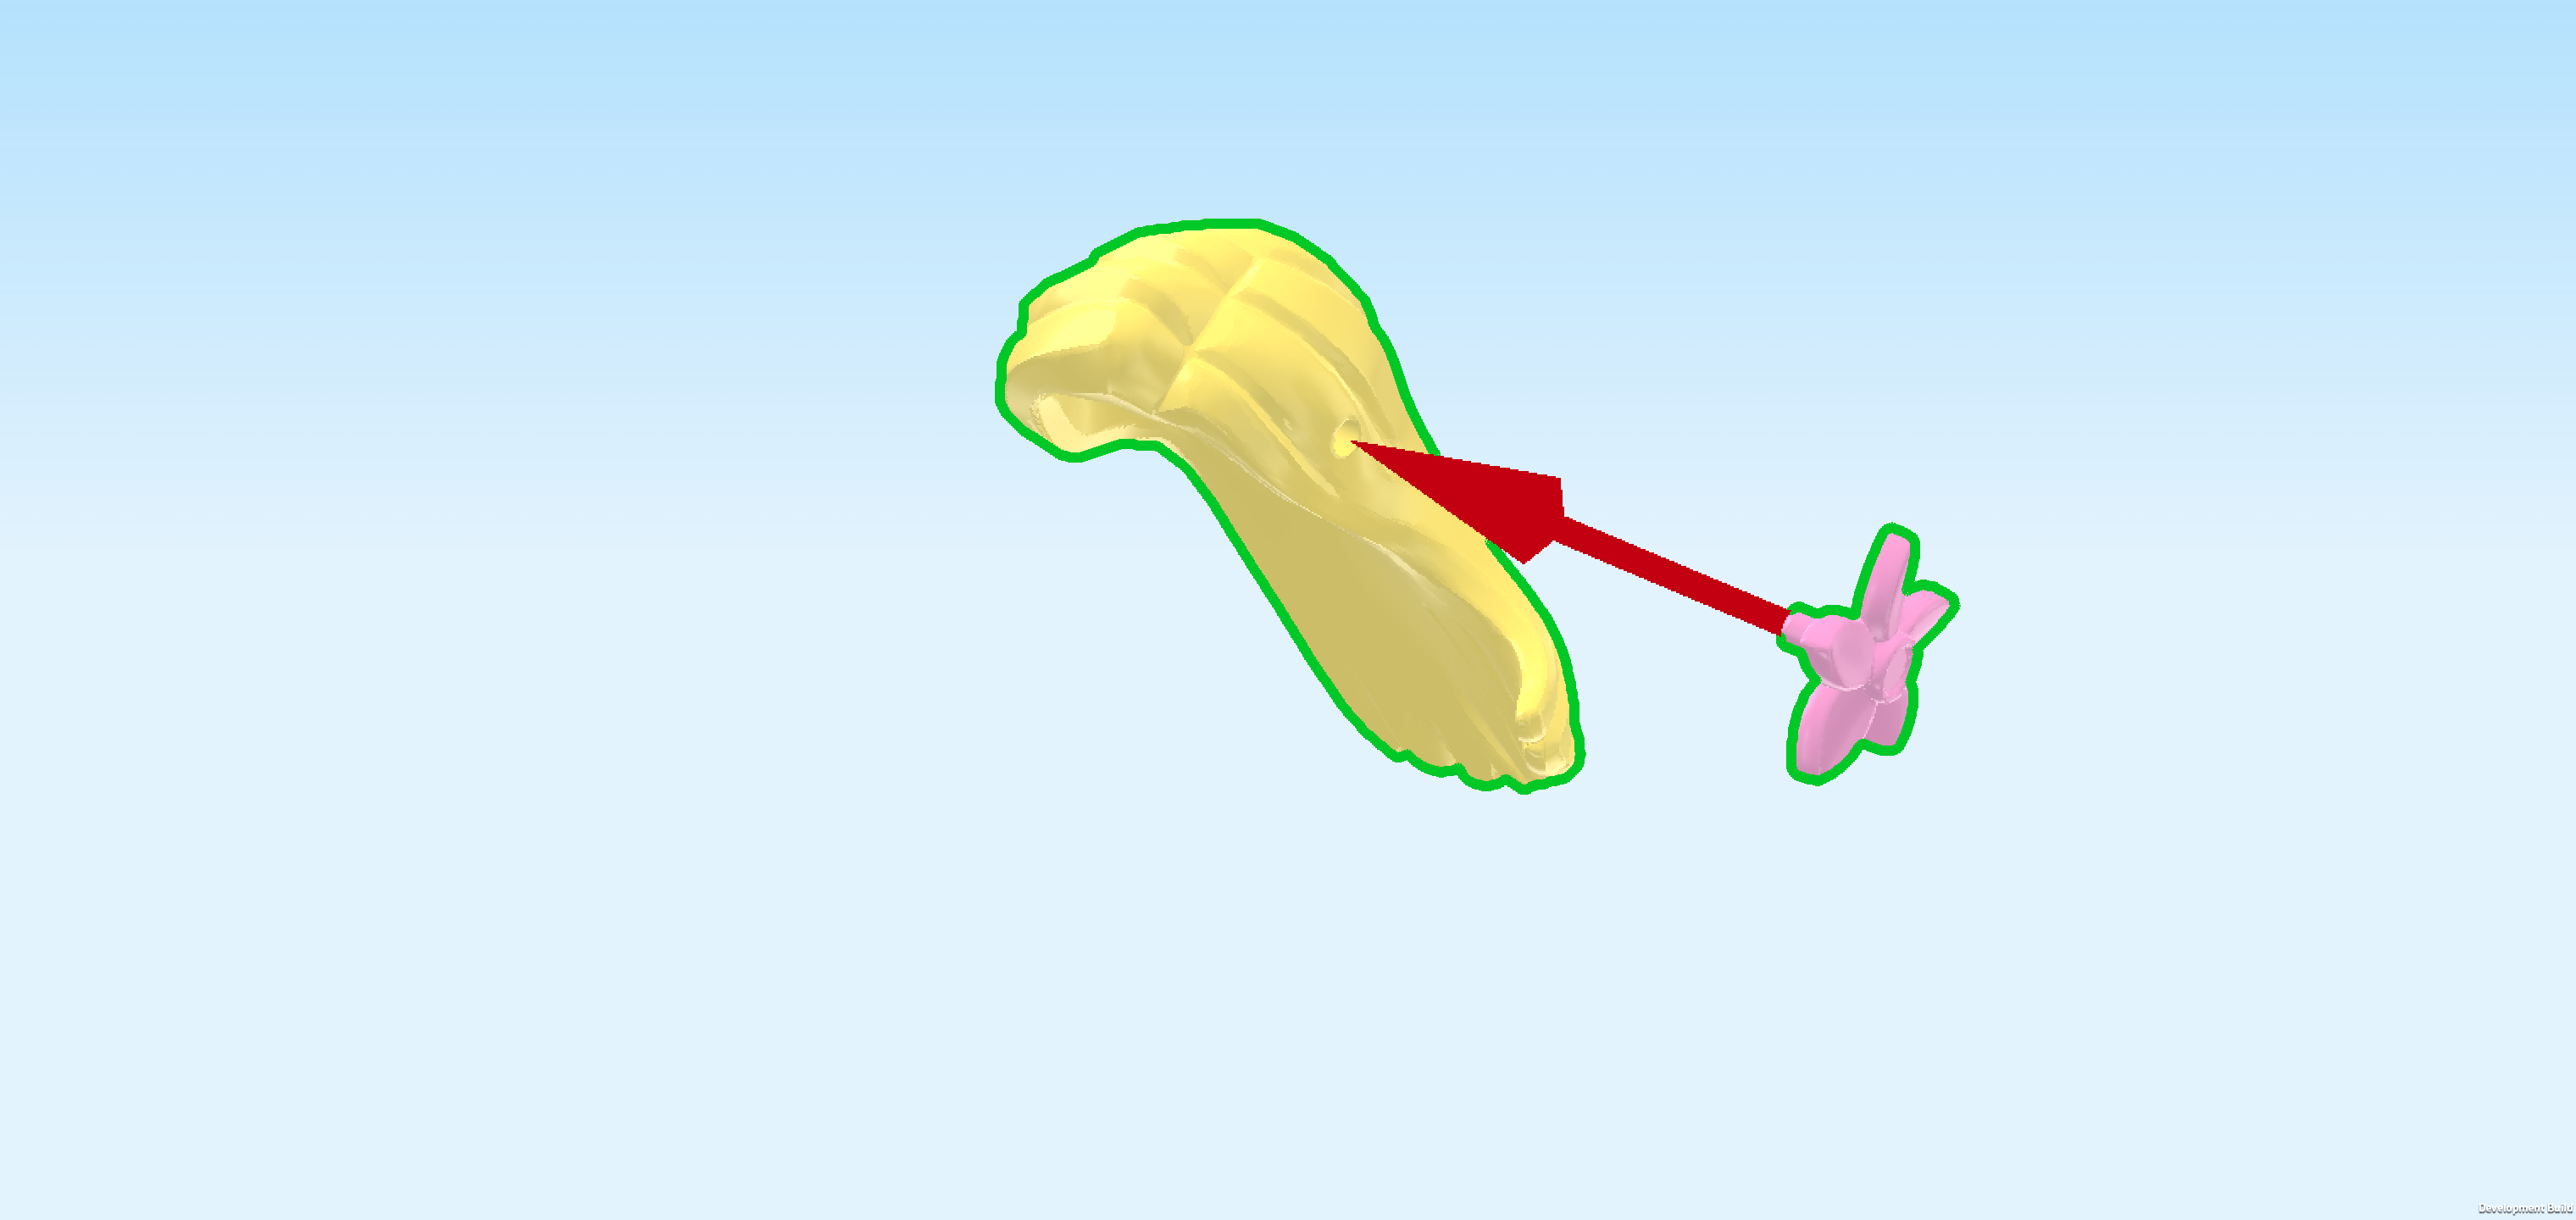
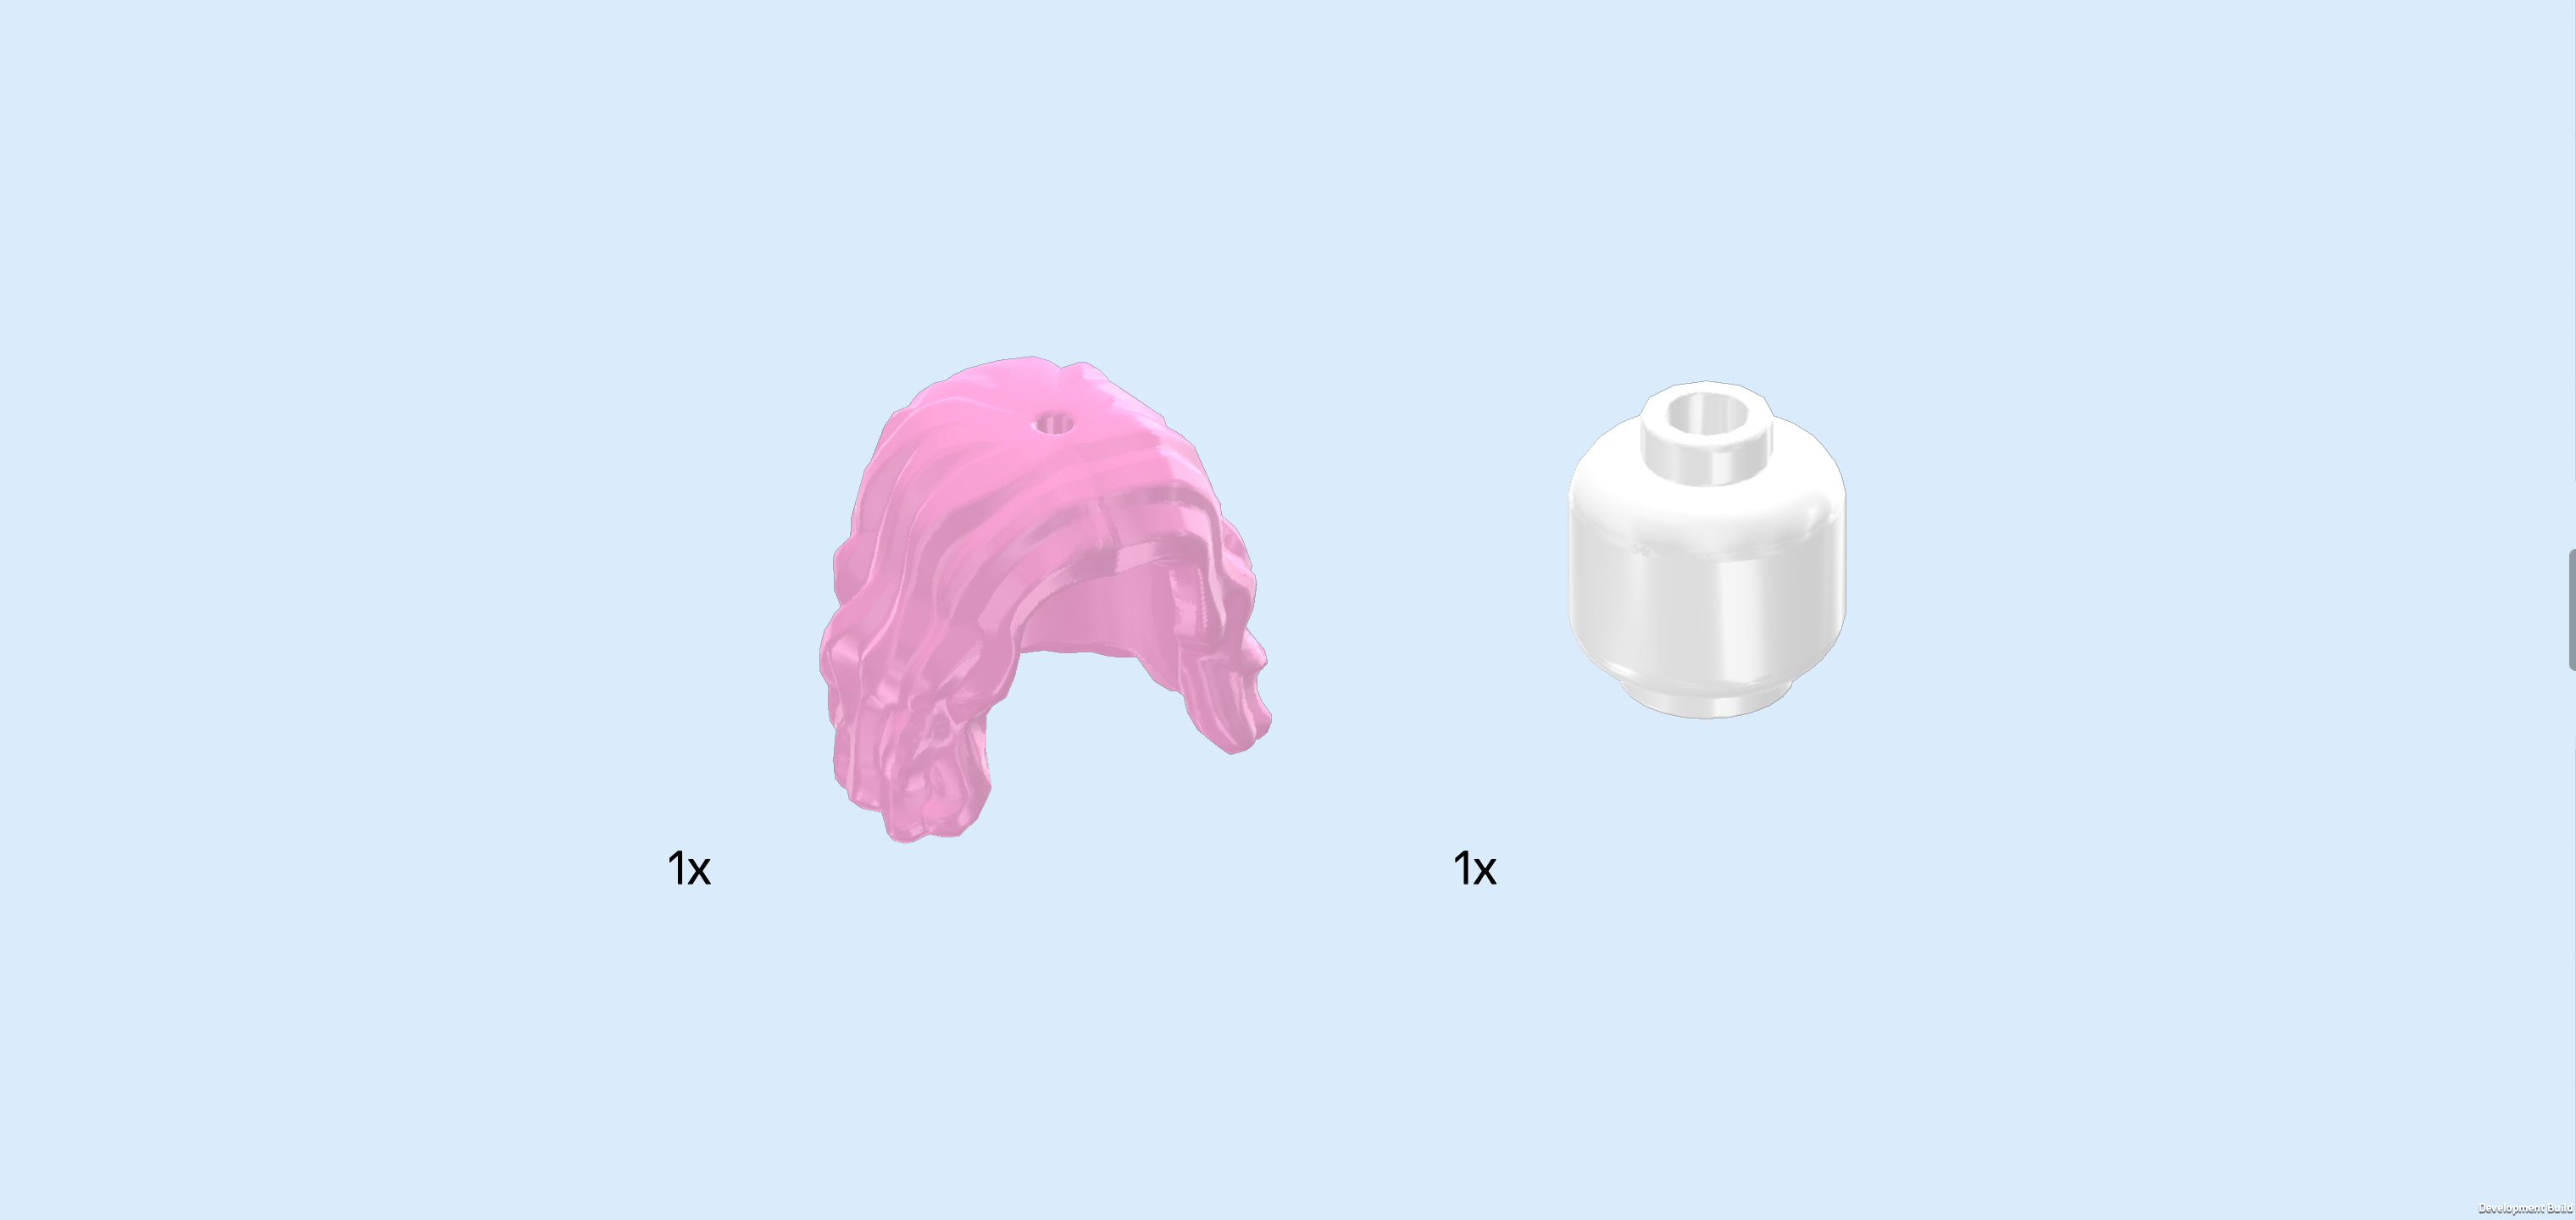
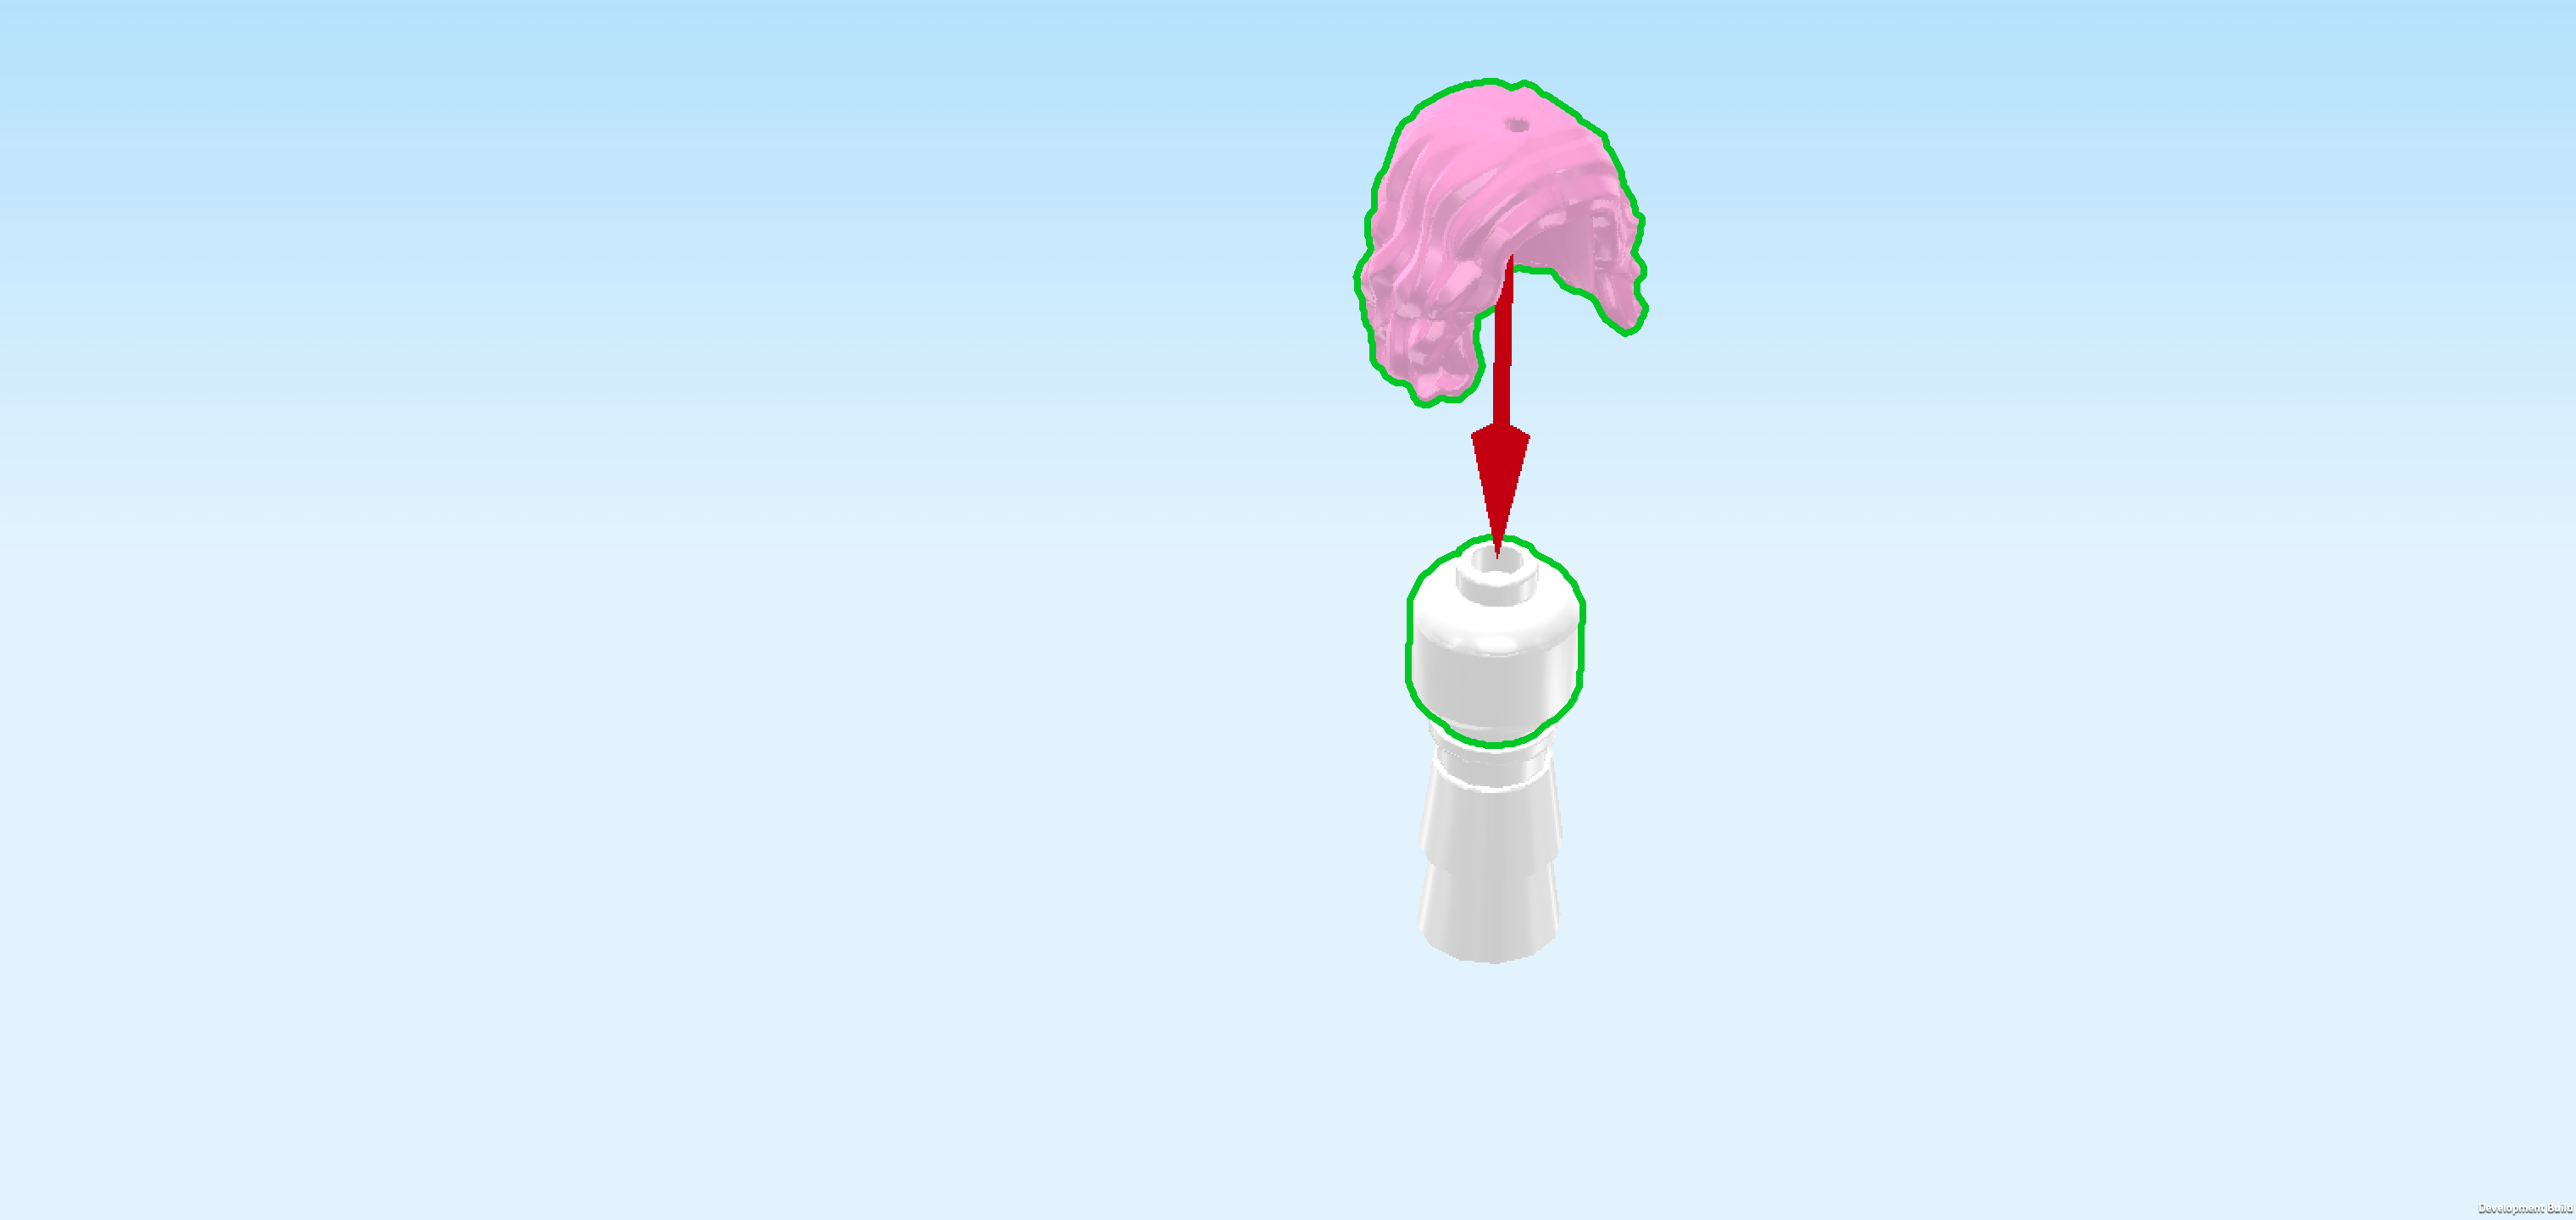
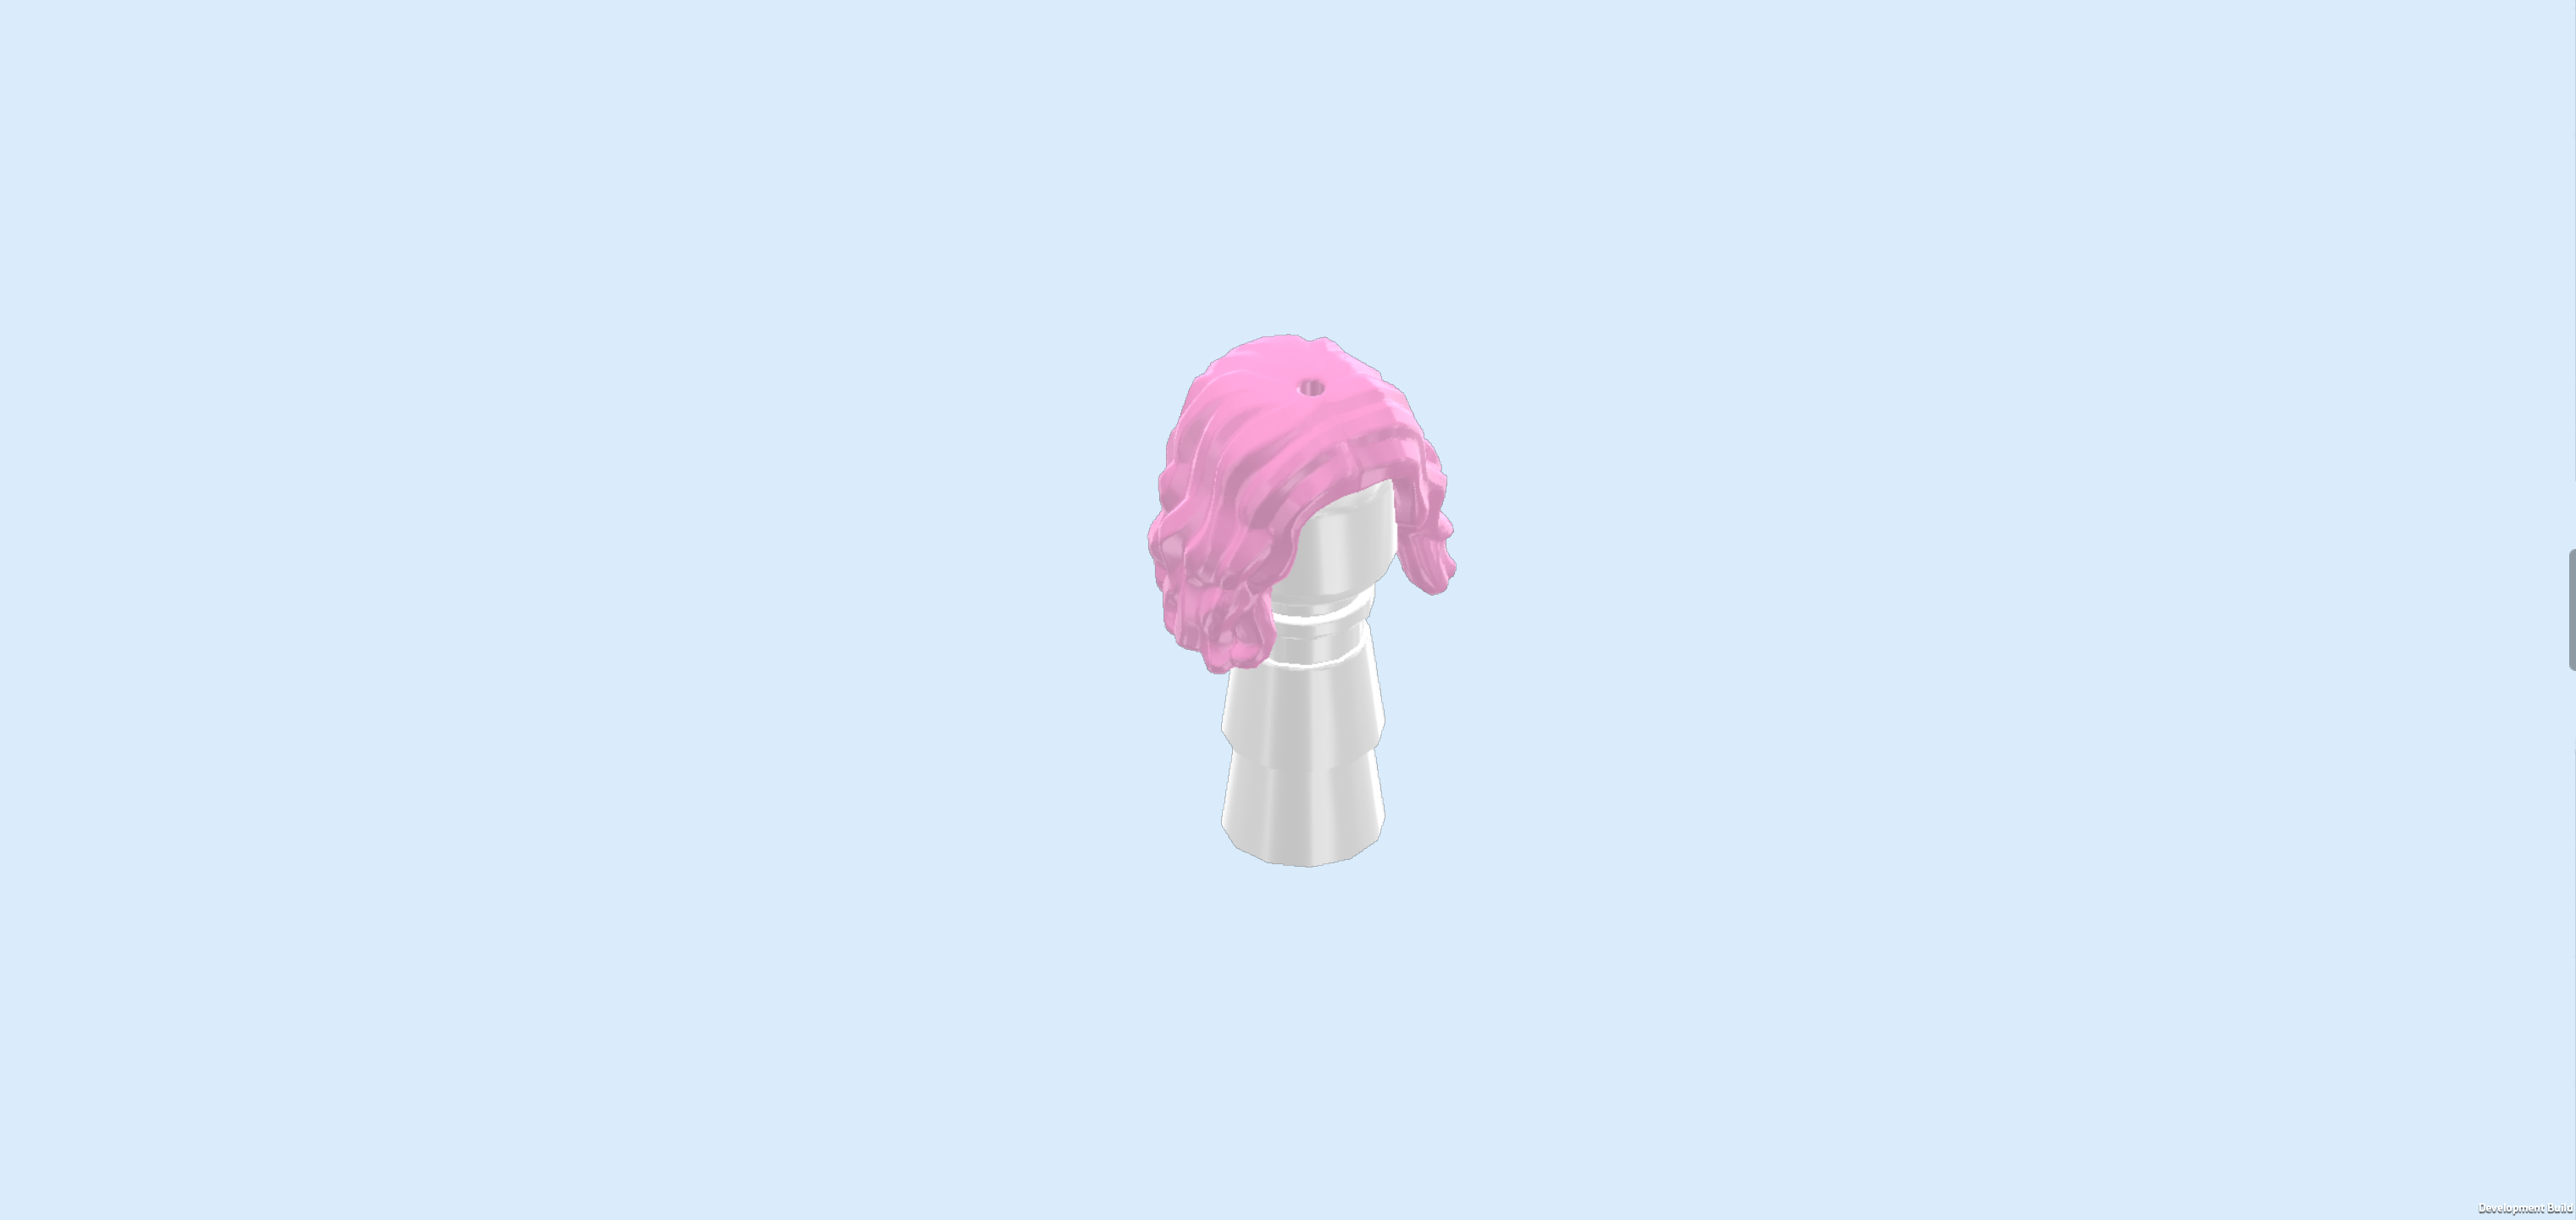
| Collect the following 2 pieces: |
| 1 light purple flower piece 1x1 with 5 petals and small pin, |
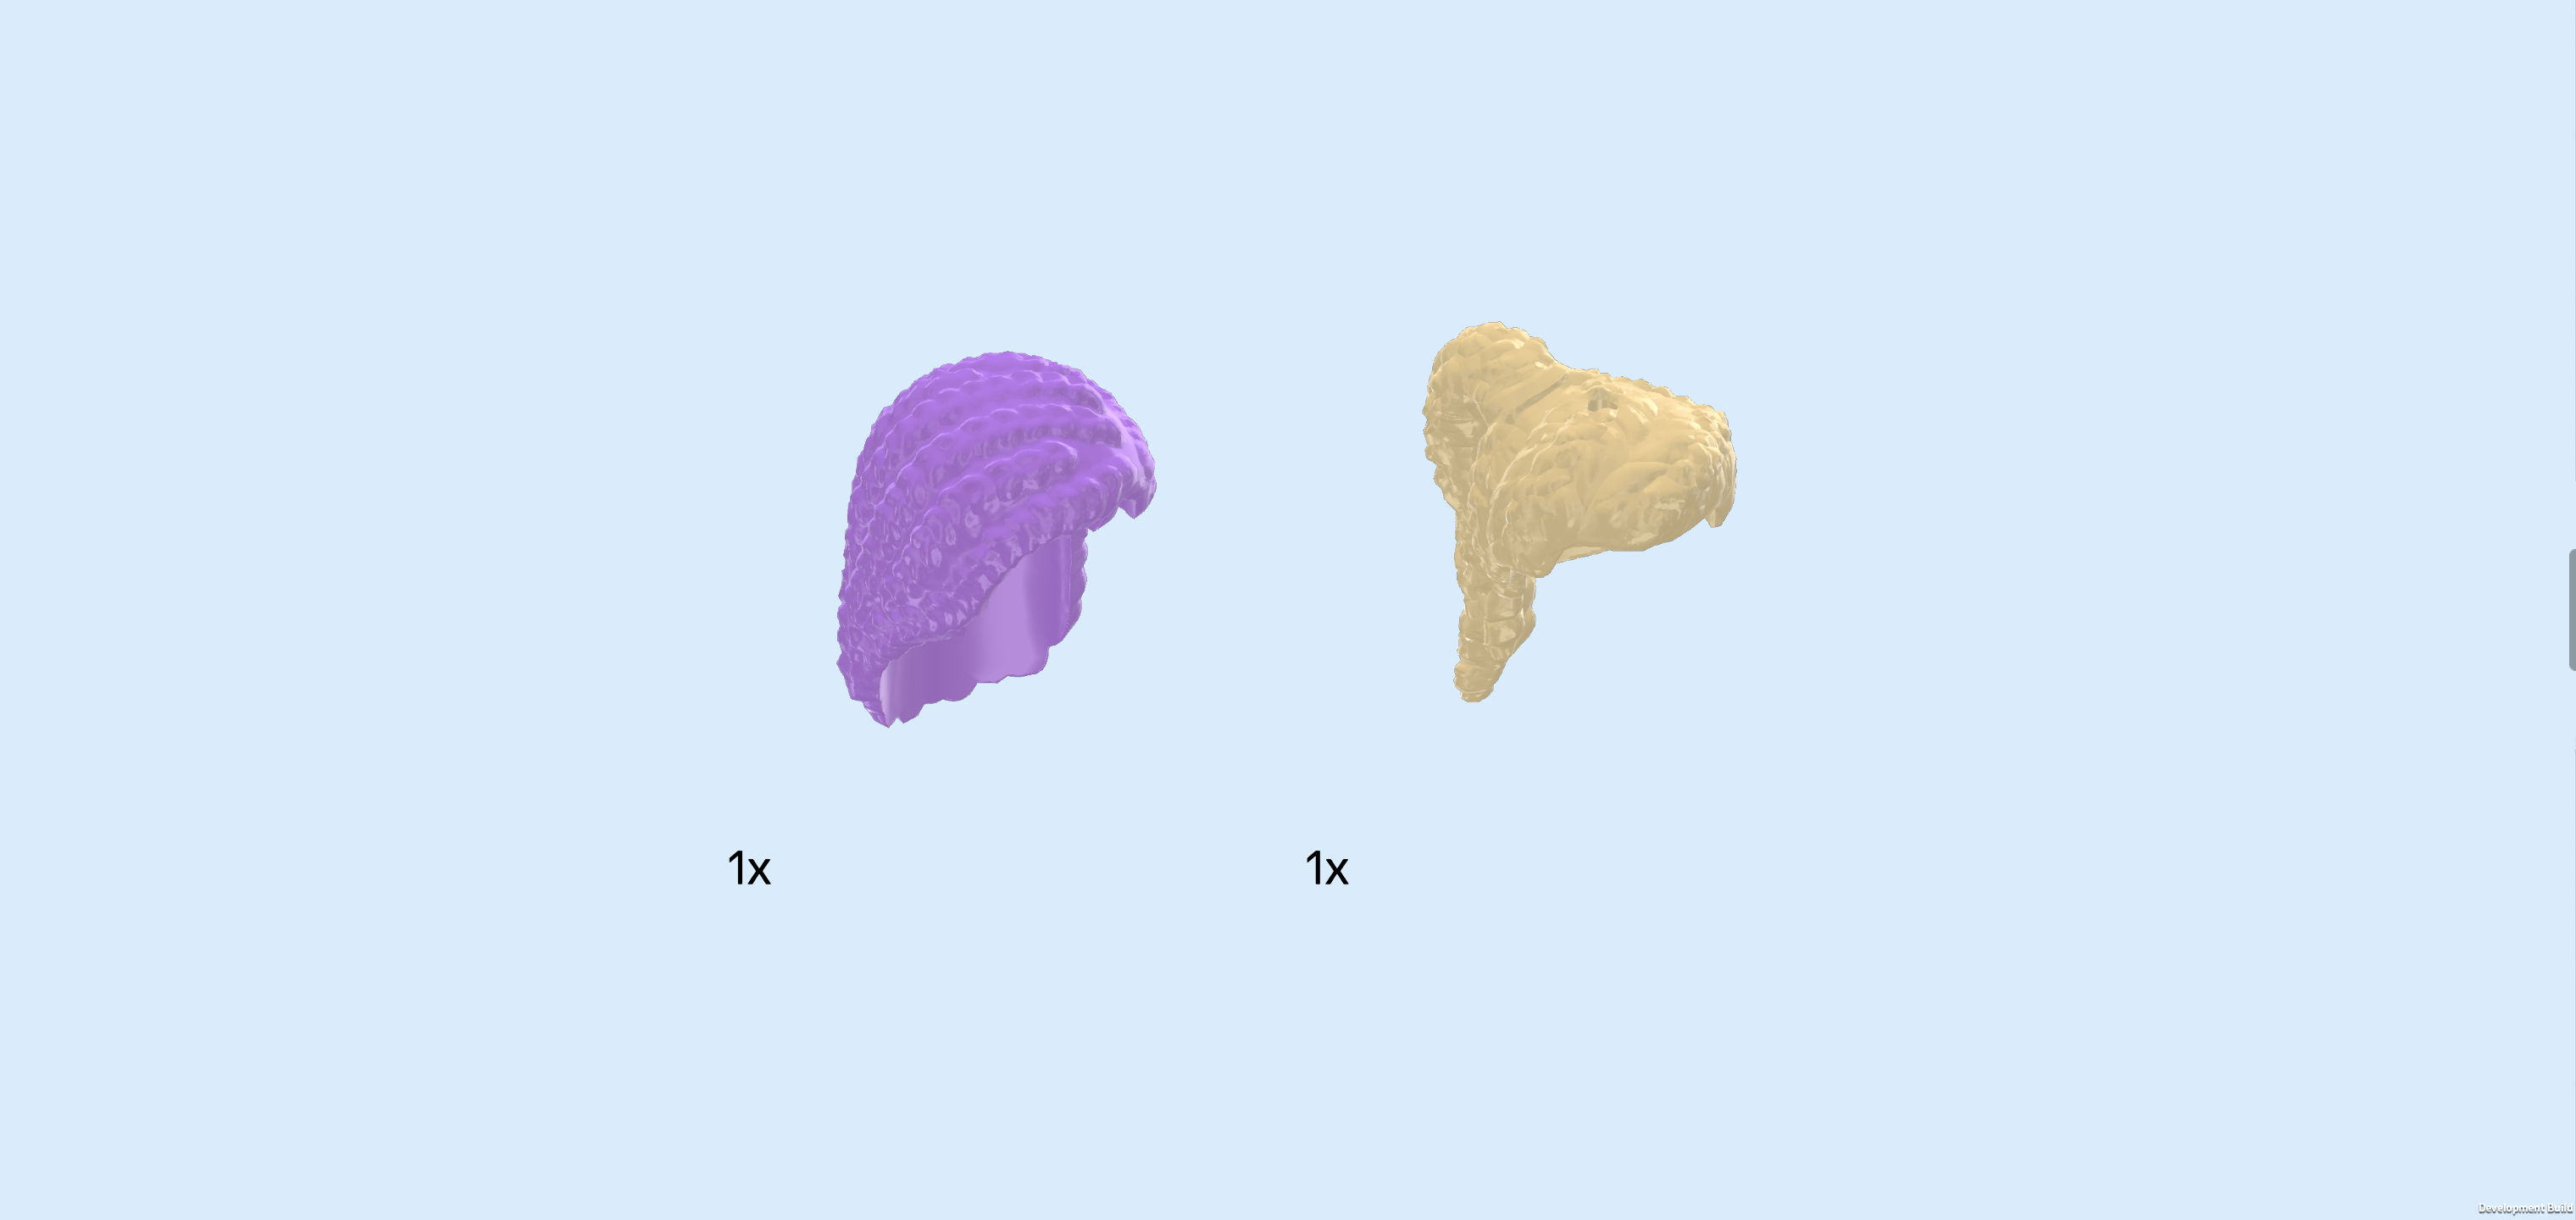
| and 1 lemon yellow hairpiece with extra-long straight hair and side parting. |
| Insert the pin of the flower piece into the small hole on the side of the hairpiece. |
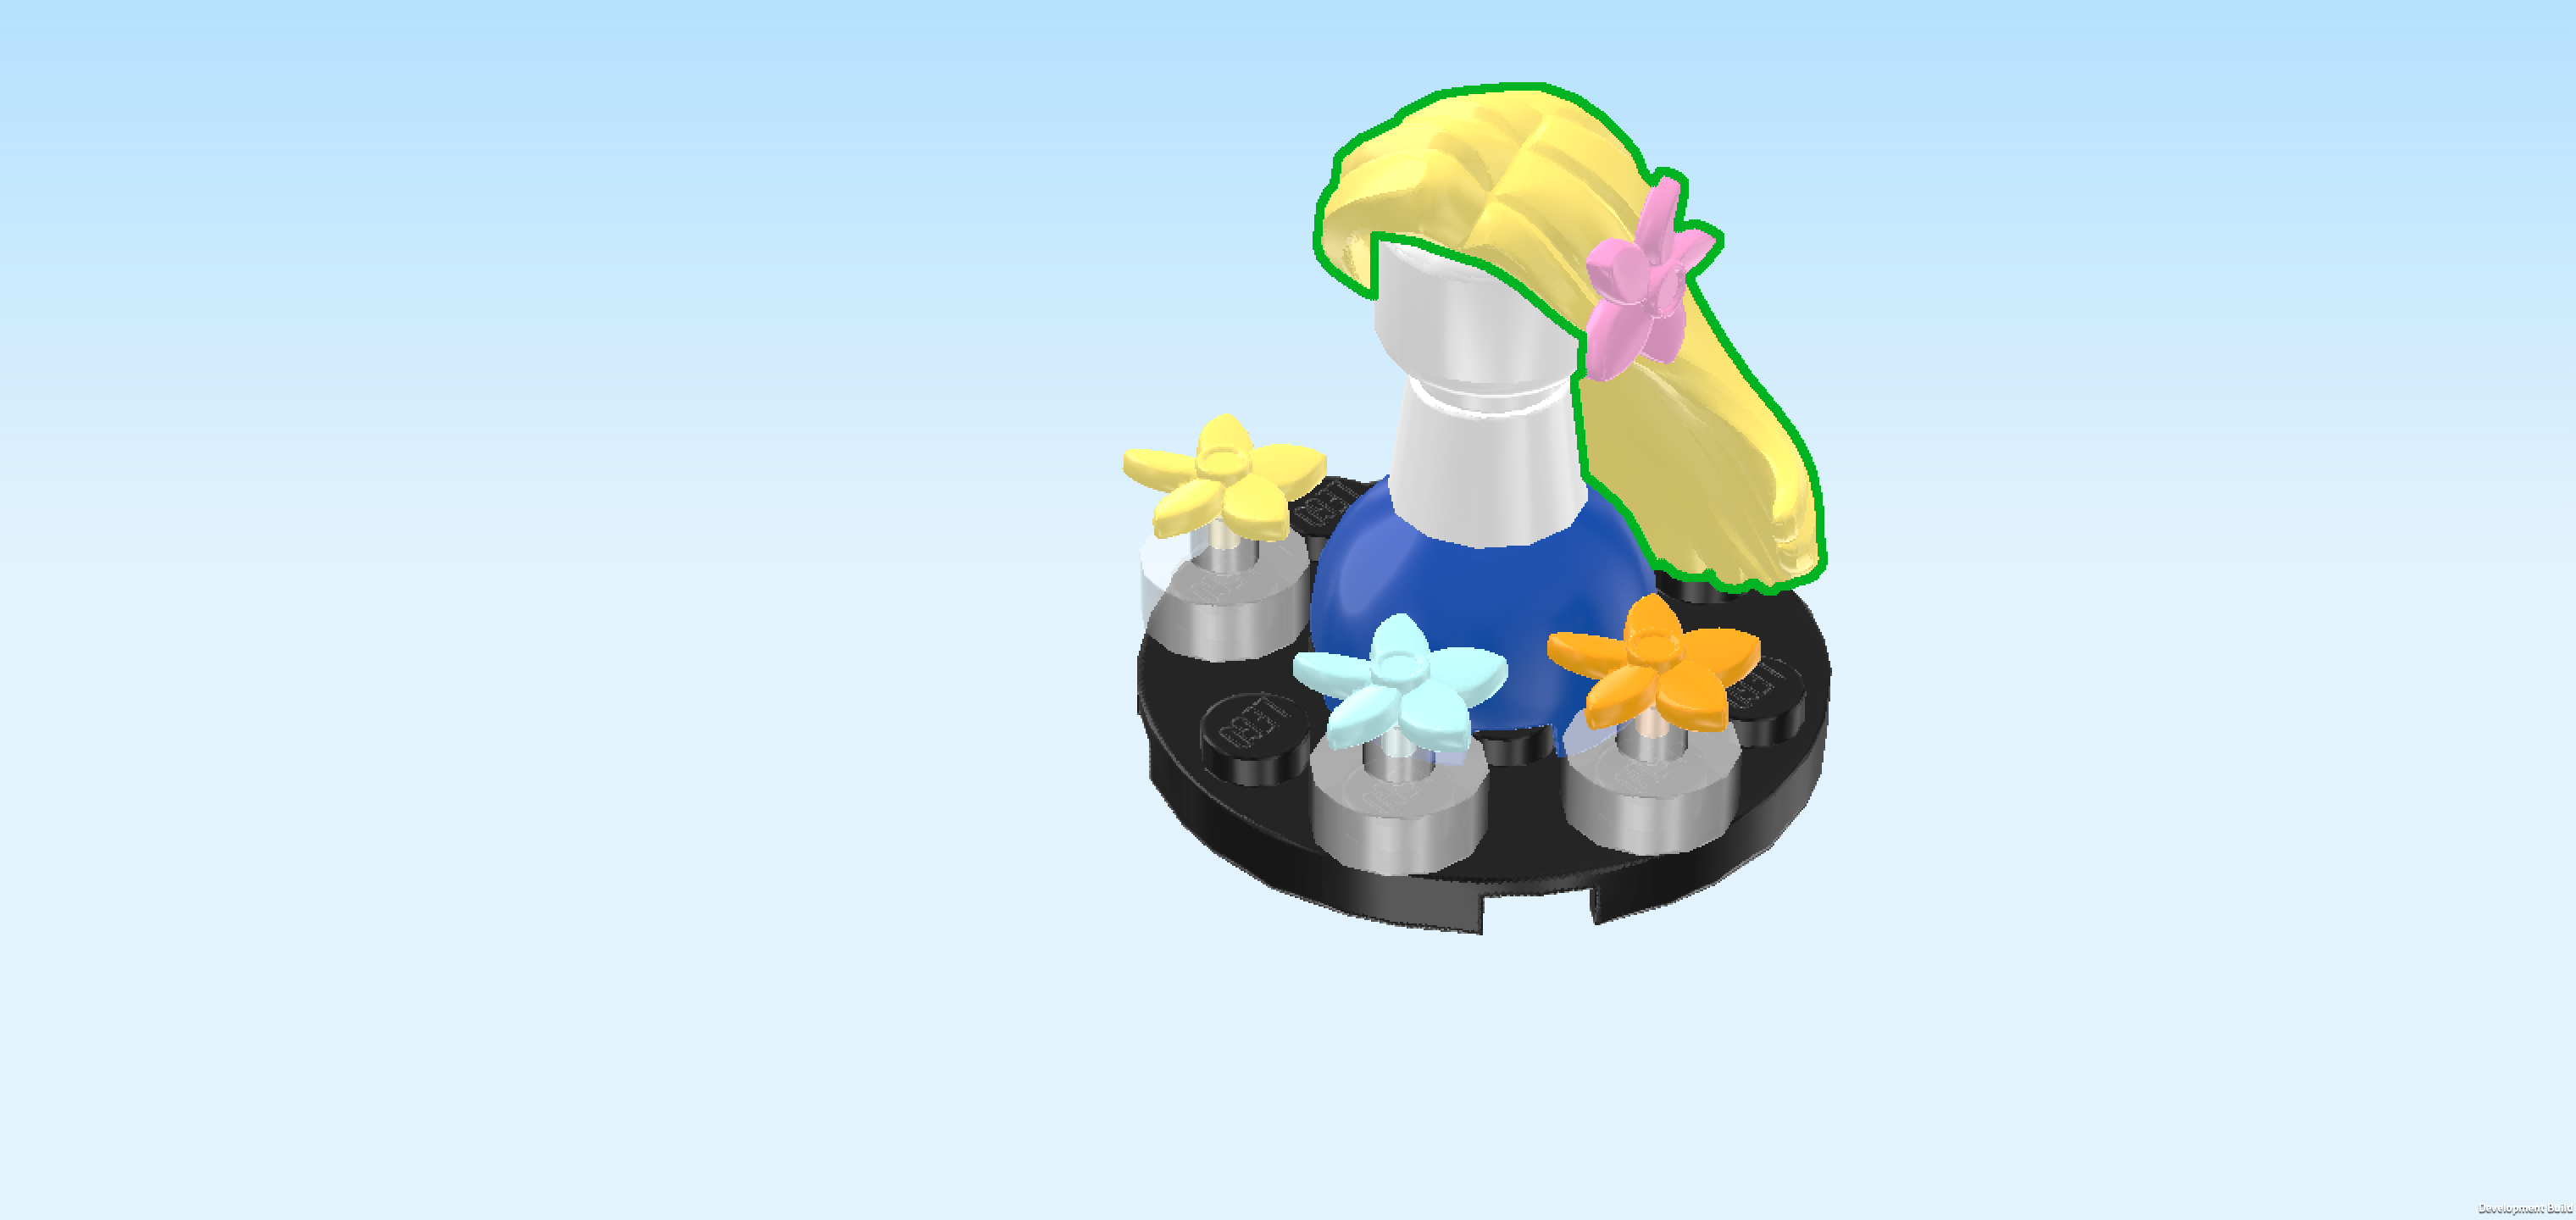
| Put the hairpiece on the Minifigure head of the wig display, hair extending to the back right. |
| The wig display is finished! Well done! Mount it centered on top of the turntable socket. This is the plate 2x2 with raised hole ring. If done correctly, you should be able to spin the wig display. |
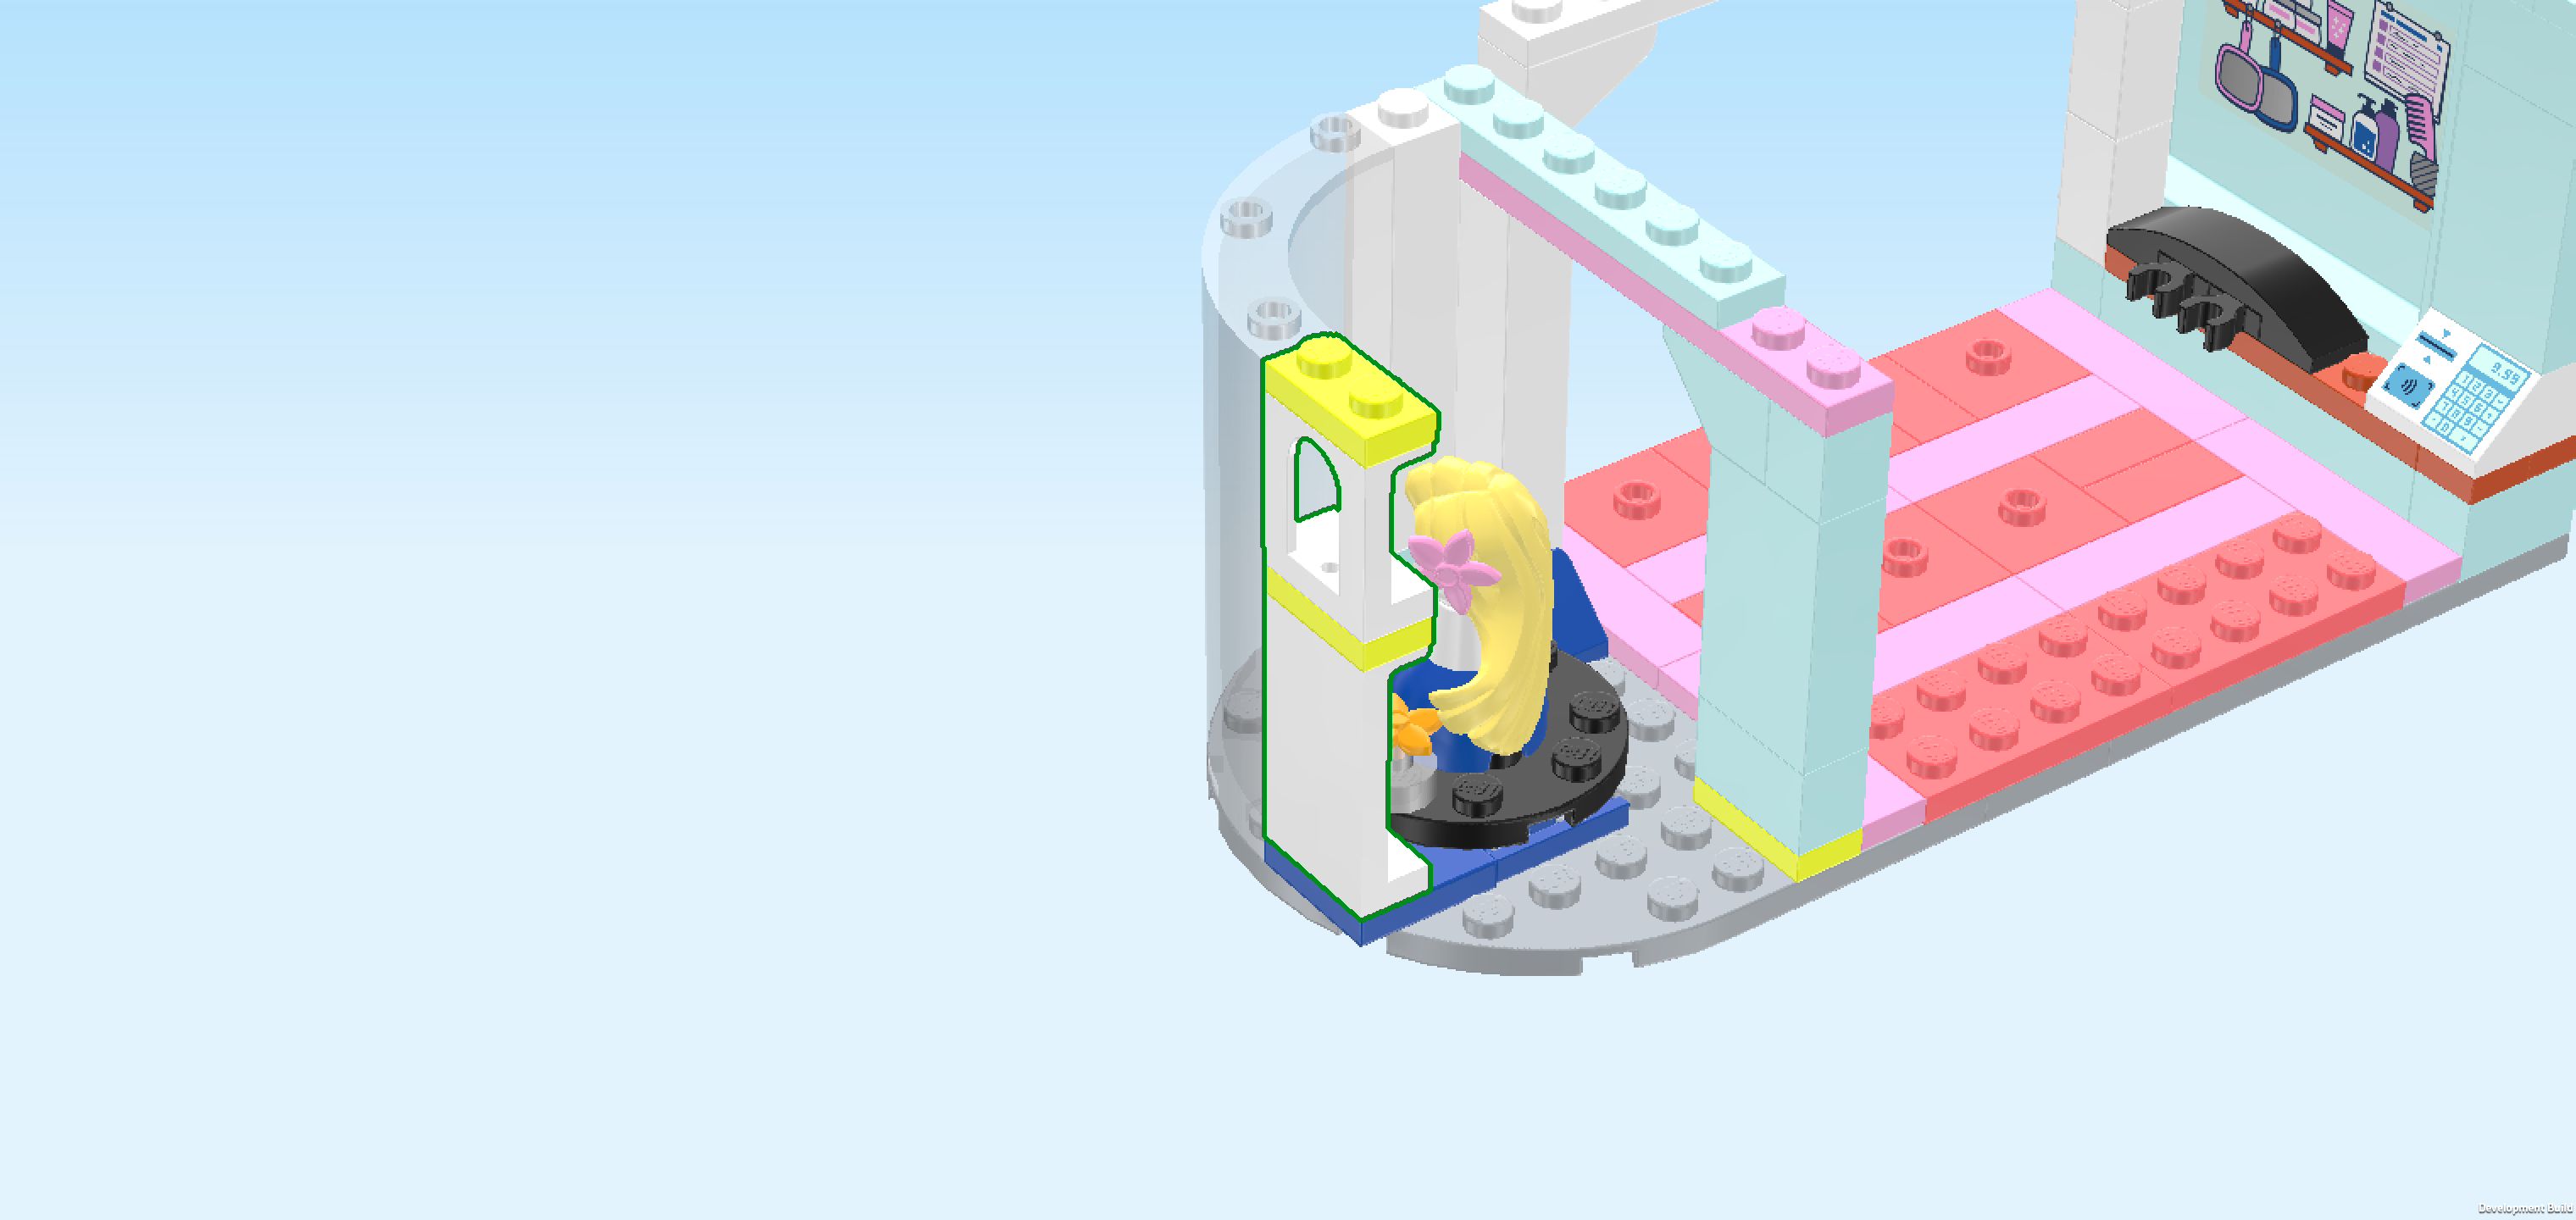
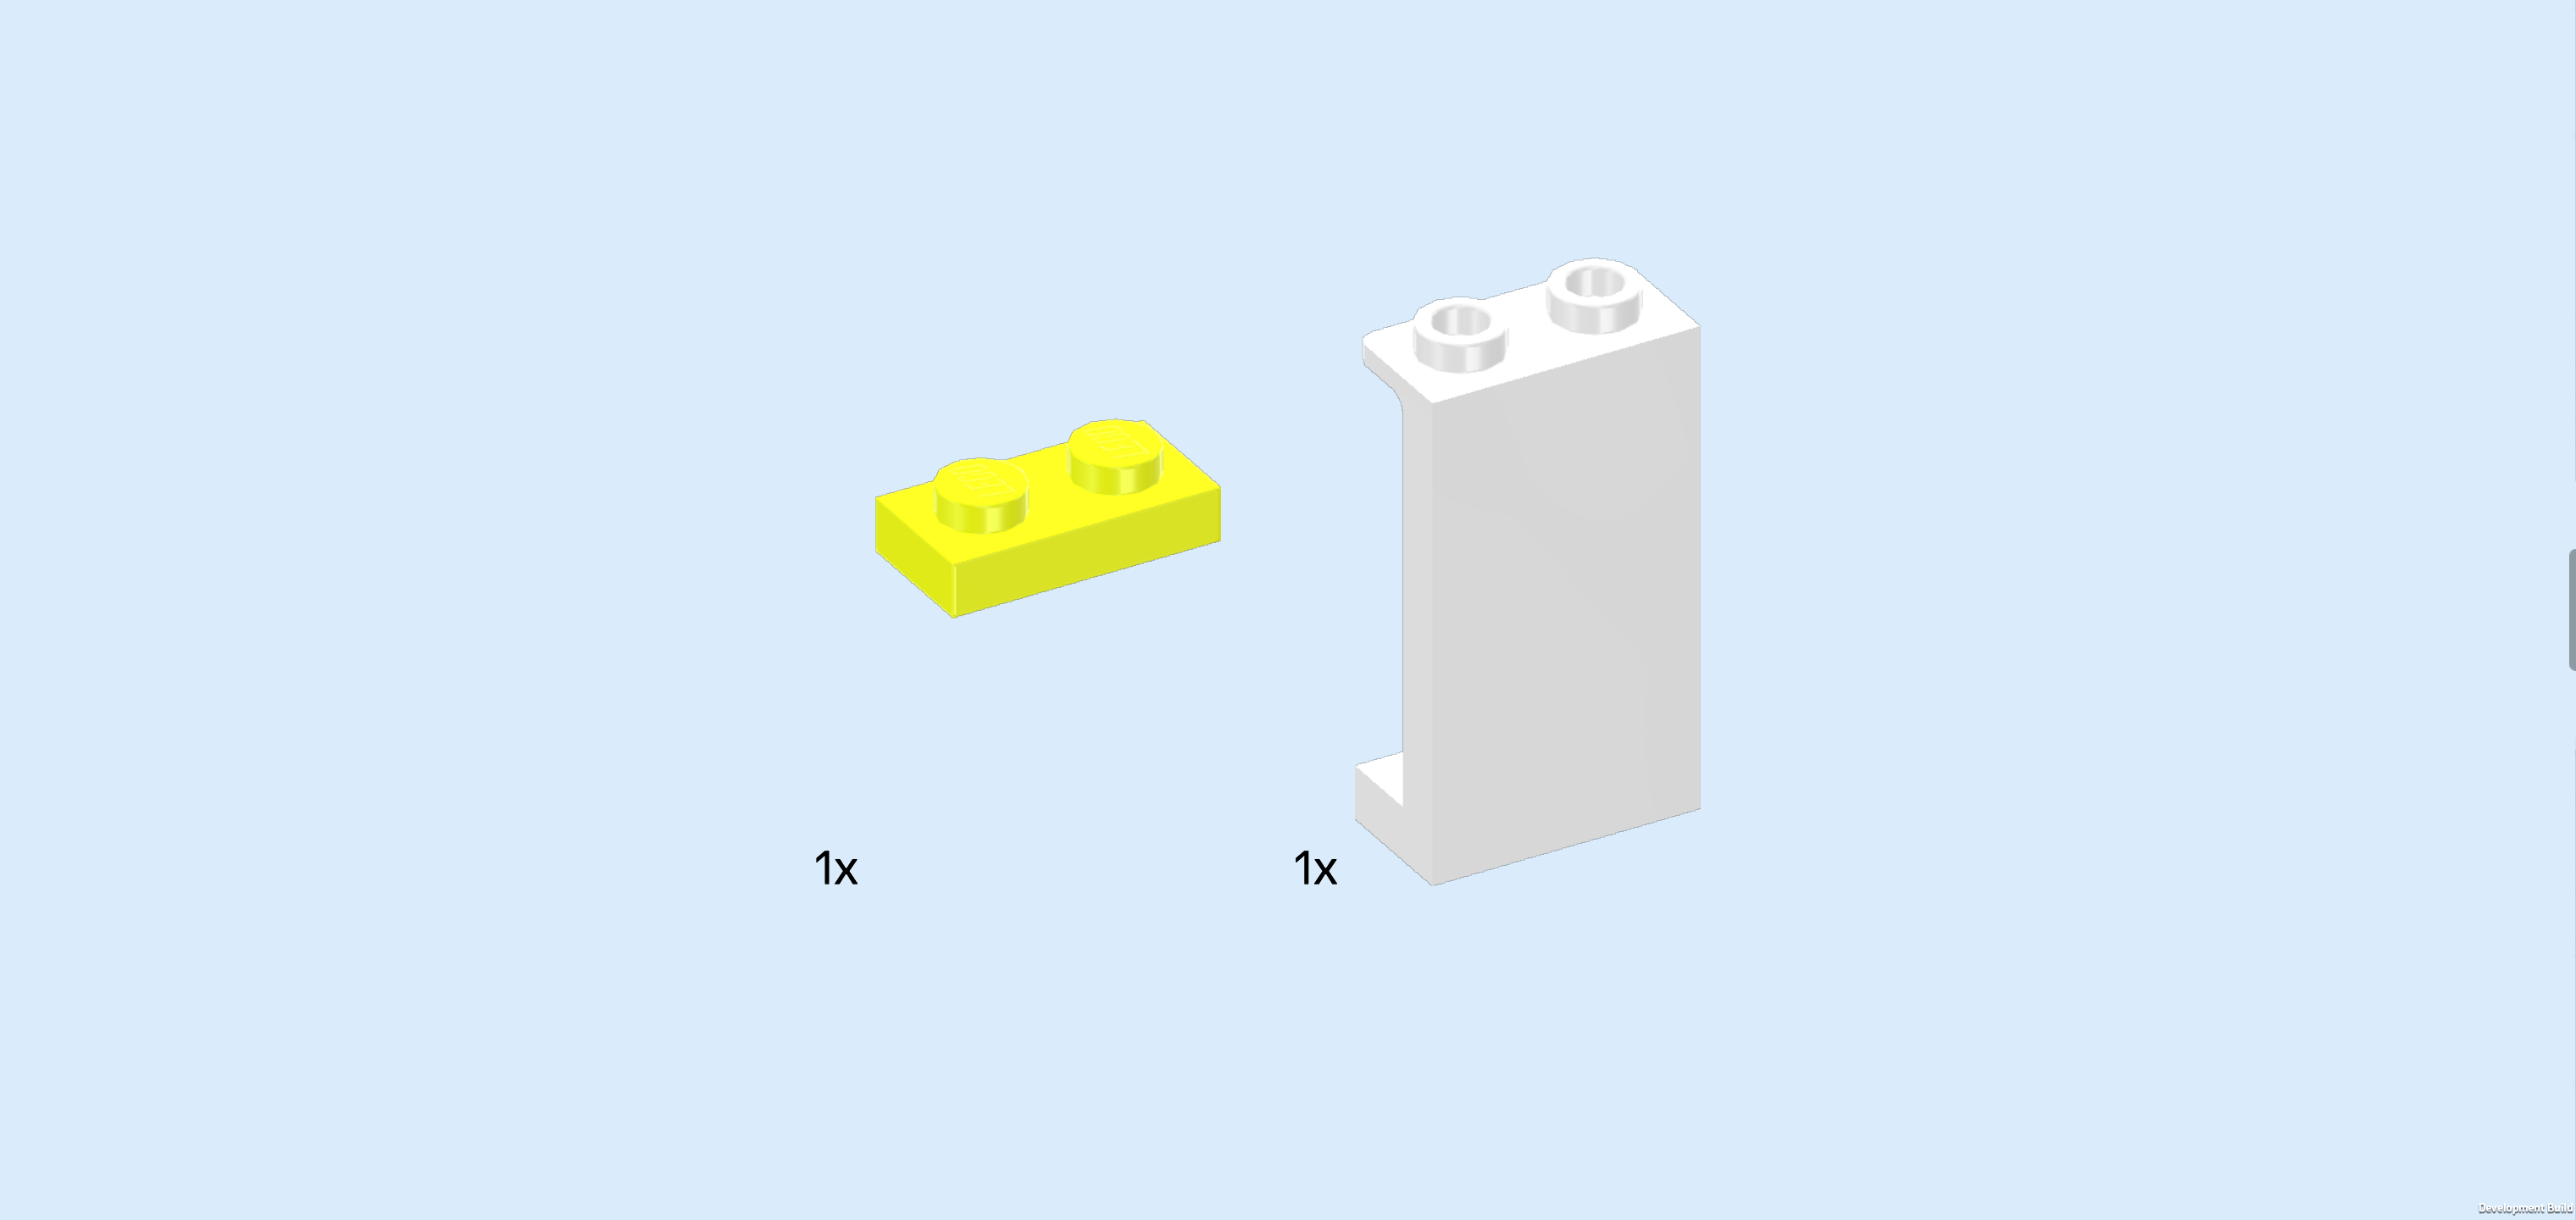
| Now, we will build a wall element with small side window. |
| Collect the following 2 pieces: |
| 1 vibrant yellow plate 1x2, |
| and 1 white wall element 1x2x3 with 2 top knobs. |
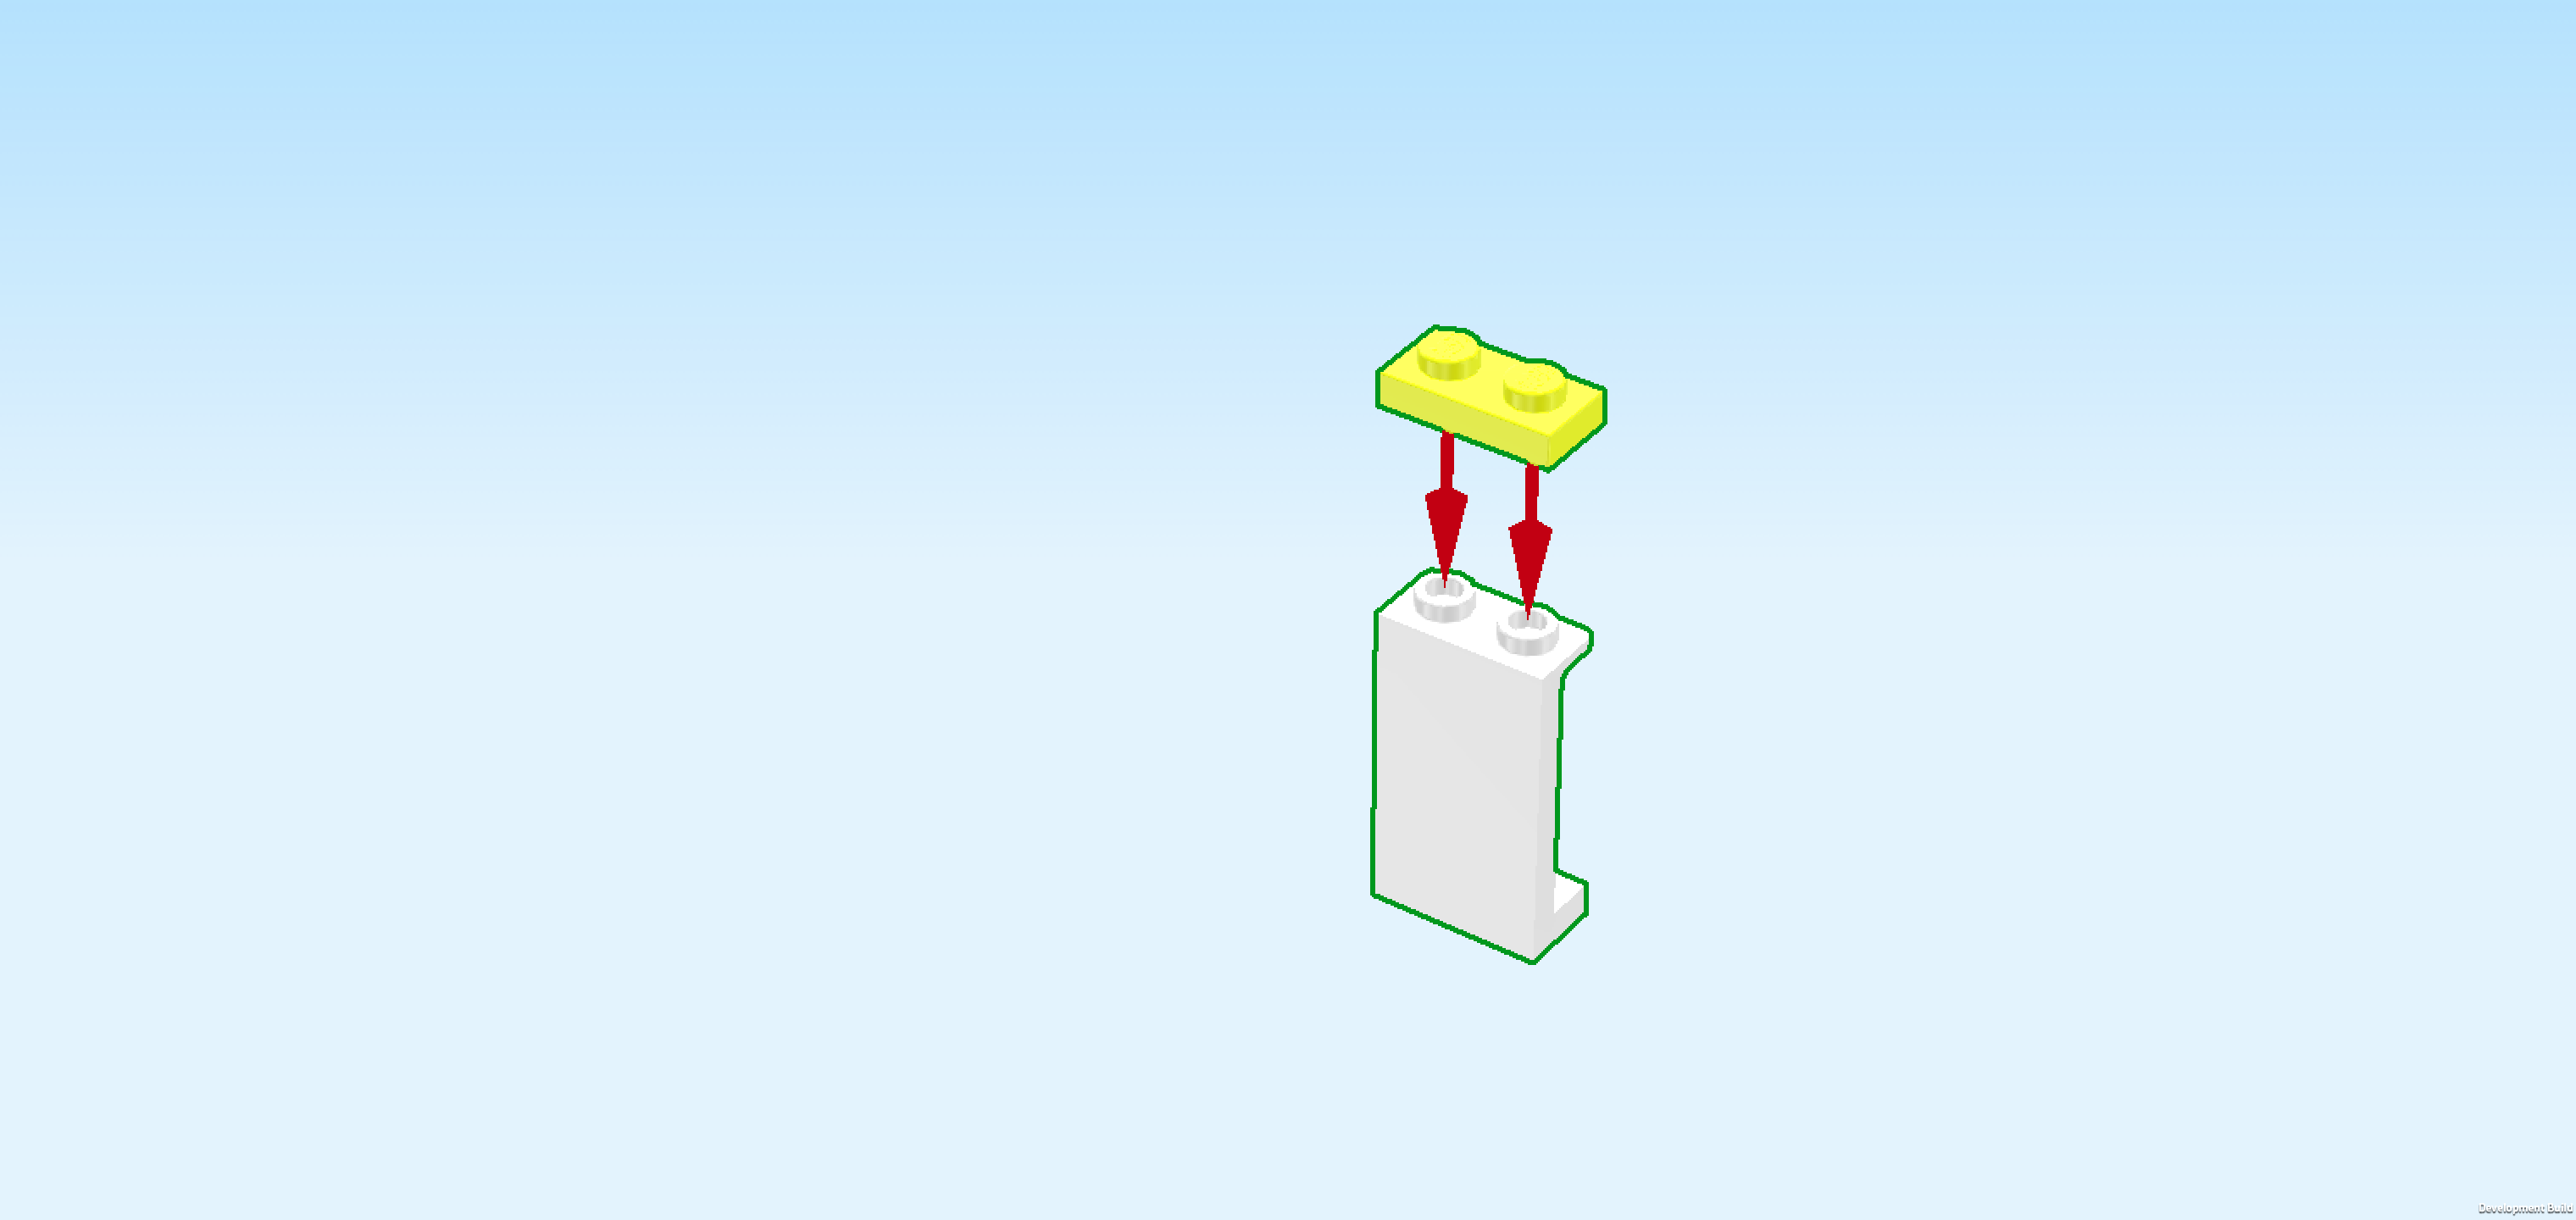
| Put the wall element horizontally on the table. Make sure the outer panel surface is towards you. |
| Put the plate 1x2 horizontally on top. |
| Collect the following 2 pieces: |
| another vibrant yellow plate 1x2, |
| and 1 white wall element 1x2x2 with arched window. |
| Put the wall element horizontally on top, panel surface with window cutout towards the front. |
| Put the plate 1x2 horizontally on top. |
| Turn the wall element with window vertically so that the outer panel surfaces with window cutout are towards the left. Mount it on the leftmost column which means it will sit directly in front of the quarter-circle wall element. |
| Find 1 white quarter-circle plate 6x6. |
| Turn it so that its corner is on the front right, and mount it on top of the wall element with side window and the quarter-circle wall element as well as the partition wall on the left. Make sure that its rounded corner is matching the shape of the quarter-circle wall. |
| Collect the following 3 pieces: |
| 2 aqua blue plates 1x6, |
| and 1 white smooth roof tile 1x2x⅔ with long slope. |
| Put 1 plate 1x6 vertically on the rightmost column of the previous piece. |
| Put the other plate 1x6 vertically to the left of the previous piece. |
| Put the smooth roof tile 1x2 with long slope vertically centered to the left of the previous piece, slope to the back. |
| Find 2 aqua blue inverted roof tiles 1x2, 45°. |
| Put 1 horizontally in front of the 2 plates 1x6 we have mounted in the previous step, 1/2 with slope overhanging to the left. |
| Put the other one horizontally in front of the previous piece in the same orientation. |
| Collect the following 2 pieces: |
| 1 aqua blue brick 1x6, |
| and 1 aqua blue brick 1x2. |
| Before you mount them, turn the structure around so that the 2 arched wall elements and the quarter-circle window are now at the front edge. |
| Put the brick 1x2 vertically on the left side wall, starting from the back edge. |
| Put the brick 1x6 vertically in front of the previous piece. |
| Find 3 light purple bricks 1x4 with 4 side knobs. |
| Put 1 horizontally to the right of the previous piece on the frontmost row, side knobs to the front. |
| Put 1 horizontally to the right of the previous piece in the same orientation. |
| Put the last one horizontally to the right of the previous piece in the same orientation. |
| Collect the following 4 pieces: |
| 1 aqua blue brick 1x2, |
| 1 aqua blue brick 2x4, |
| 1 aqua blue brick 2x2, |
| and 1 aqua blue brick 1x1. |
| Put the brick 1x1 to the right of the previous piece. |
| Put the brick 2x2 behind the 2 previous pieces. This means it will sit to the left of the smooth roof tile 1x2 with long slope. |
| Put the brick 1x2 horizontally behind the previous piece. |
| Put the brick 2x4 vertically behind the previous piece, 3 rows protruding to the back. |
| Collect the following 3 pieces: |
| 1 white flat tile 1x3, |
| and 2 white plates 1x4 with 2 knobs. |
| Put 1 plate 1x4 vertically on the leftmost column, starting from the back. |
| Put the other plate 1x4 vertically in front of the previous piece. |
| Put the flat tile 1x3 horizontally to the right of the previous piece on the frontmost row at the top. |
| Collect the following 4 pieces: |
| another 2 white plates 1x4 with 2 knobs, |
| and 2 white flat tiles 1x8. |
| Put 1 flat tile 1x8 horizontally to the right of the previous piece. |
| Put 1 plate 1x4 vertically on the column to the right of the previous piece, starting from the front edge. |
| Put the other plate 1x4 vertically behind the previous piece. |
| Put the other flat tile 1x8 vertically to the right of the 2 previous pieces. |
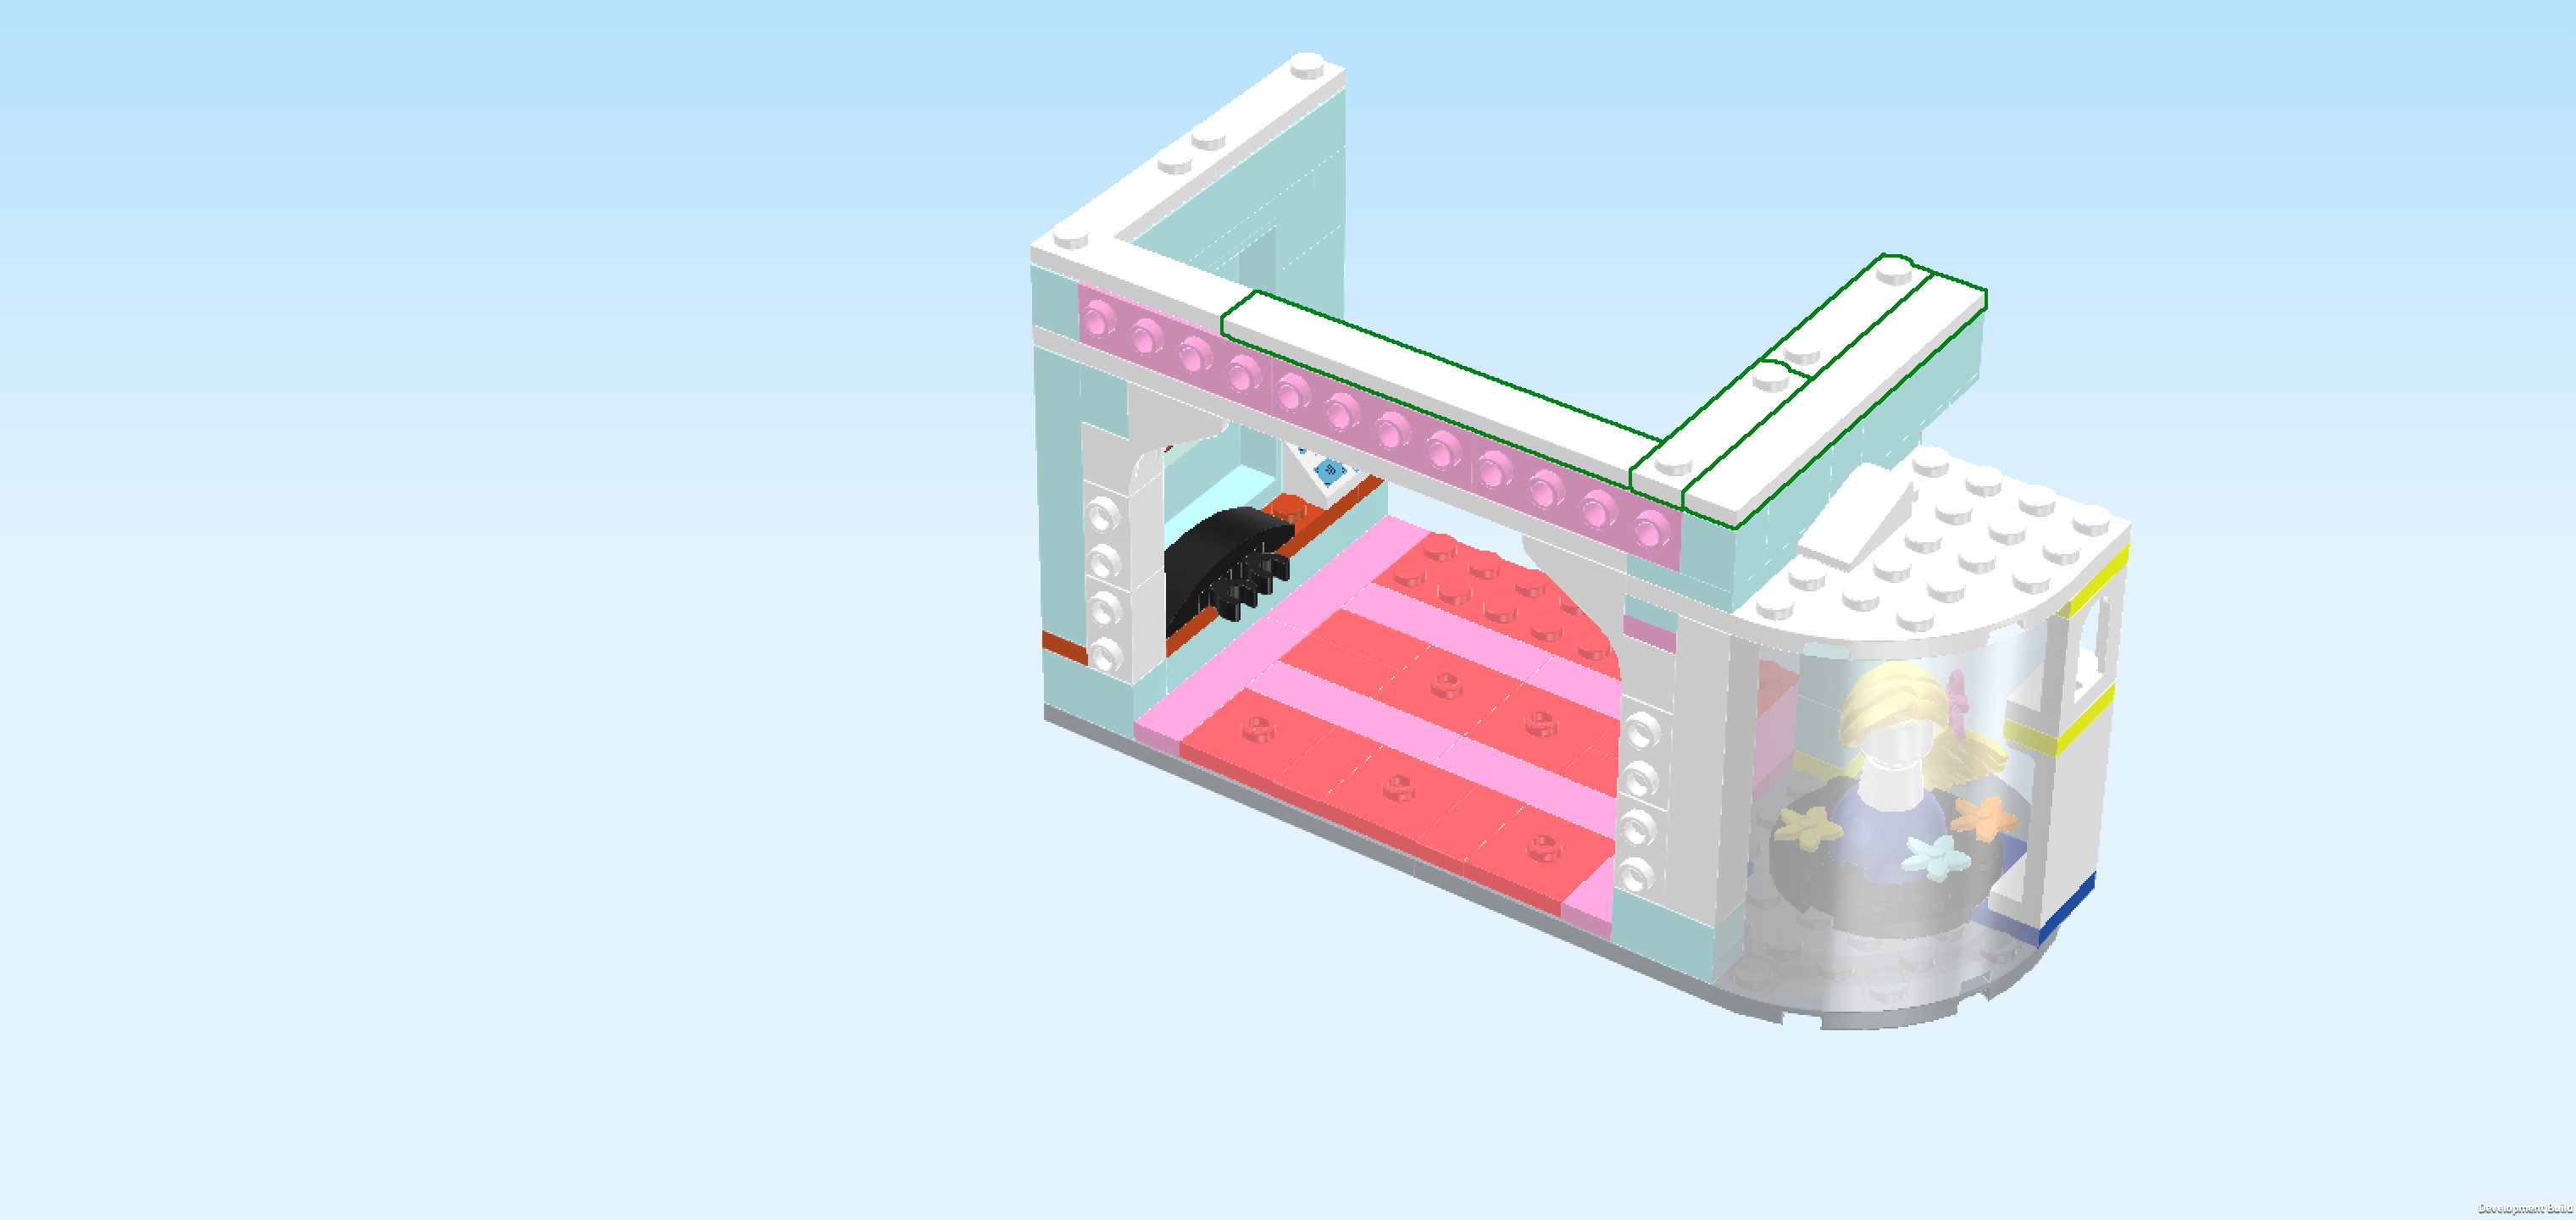
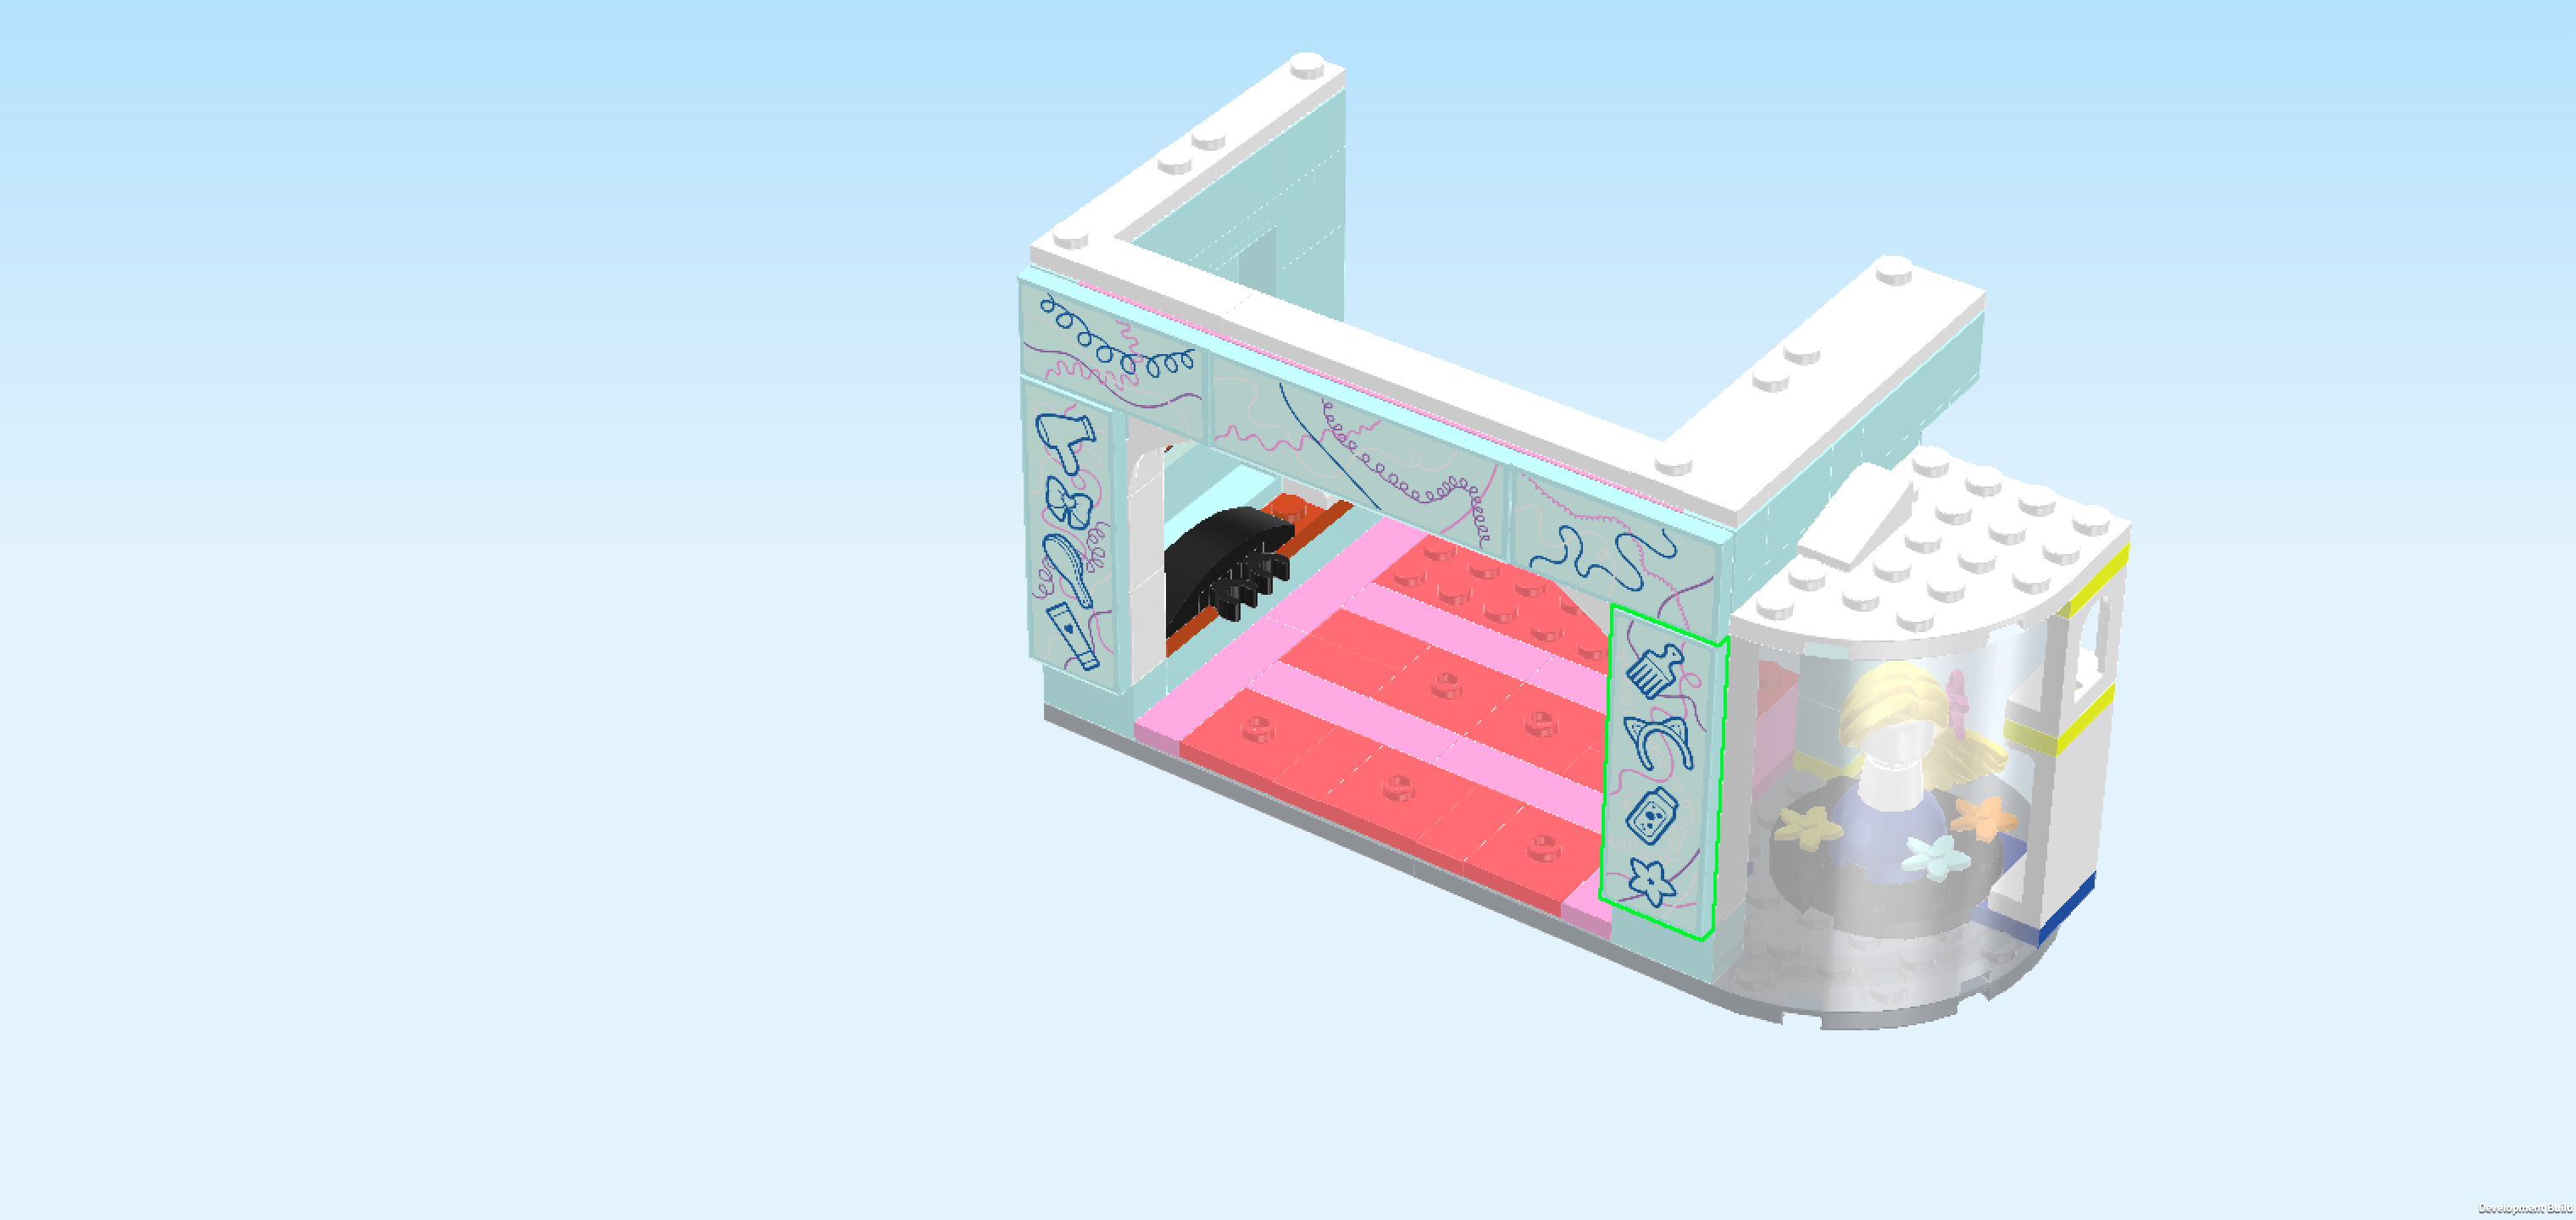
| Next, we will mount 5 facade tiles. All of these tiles will have decoration stickers. As always, you can either skip the stickers, attach them yourself following our sticker sheet instructions or ask a sighted person for help. The top facade decorations are abstract patterns with different colored squiggly lines. The squiggly lines do not connect across the different stickers so you don't have to worry too much about the sticker orientation. |
| Collect the following 2 pieces: |
| 1 aqua blue flat tile 2x4, |
| and 1 rectangular sticker 2x4 with squiggly line decoration print. |
| Put the sticker on the flat tile, matching its shape. |
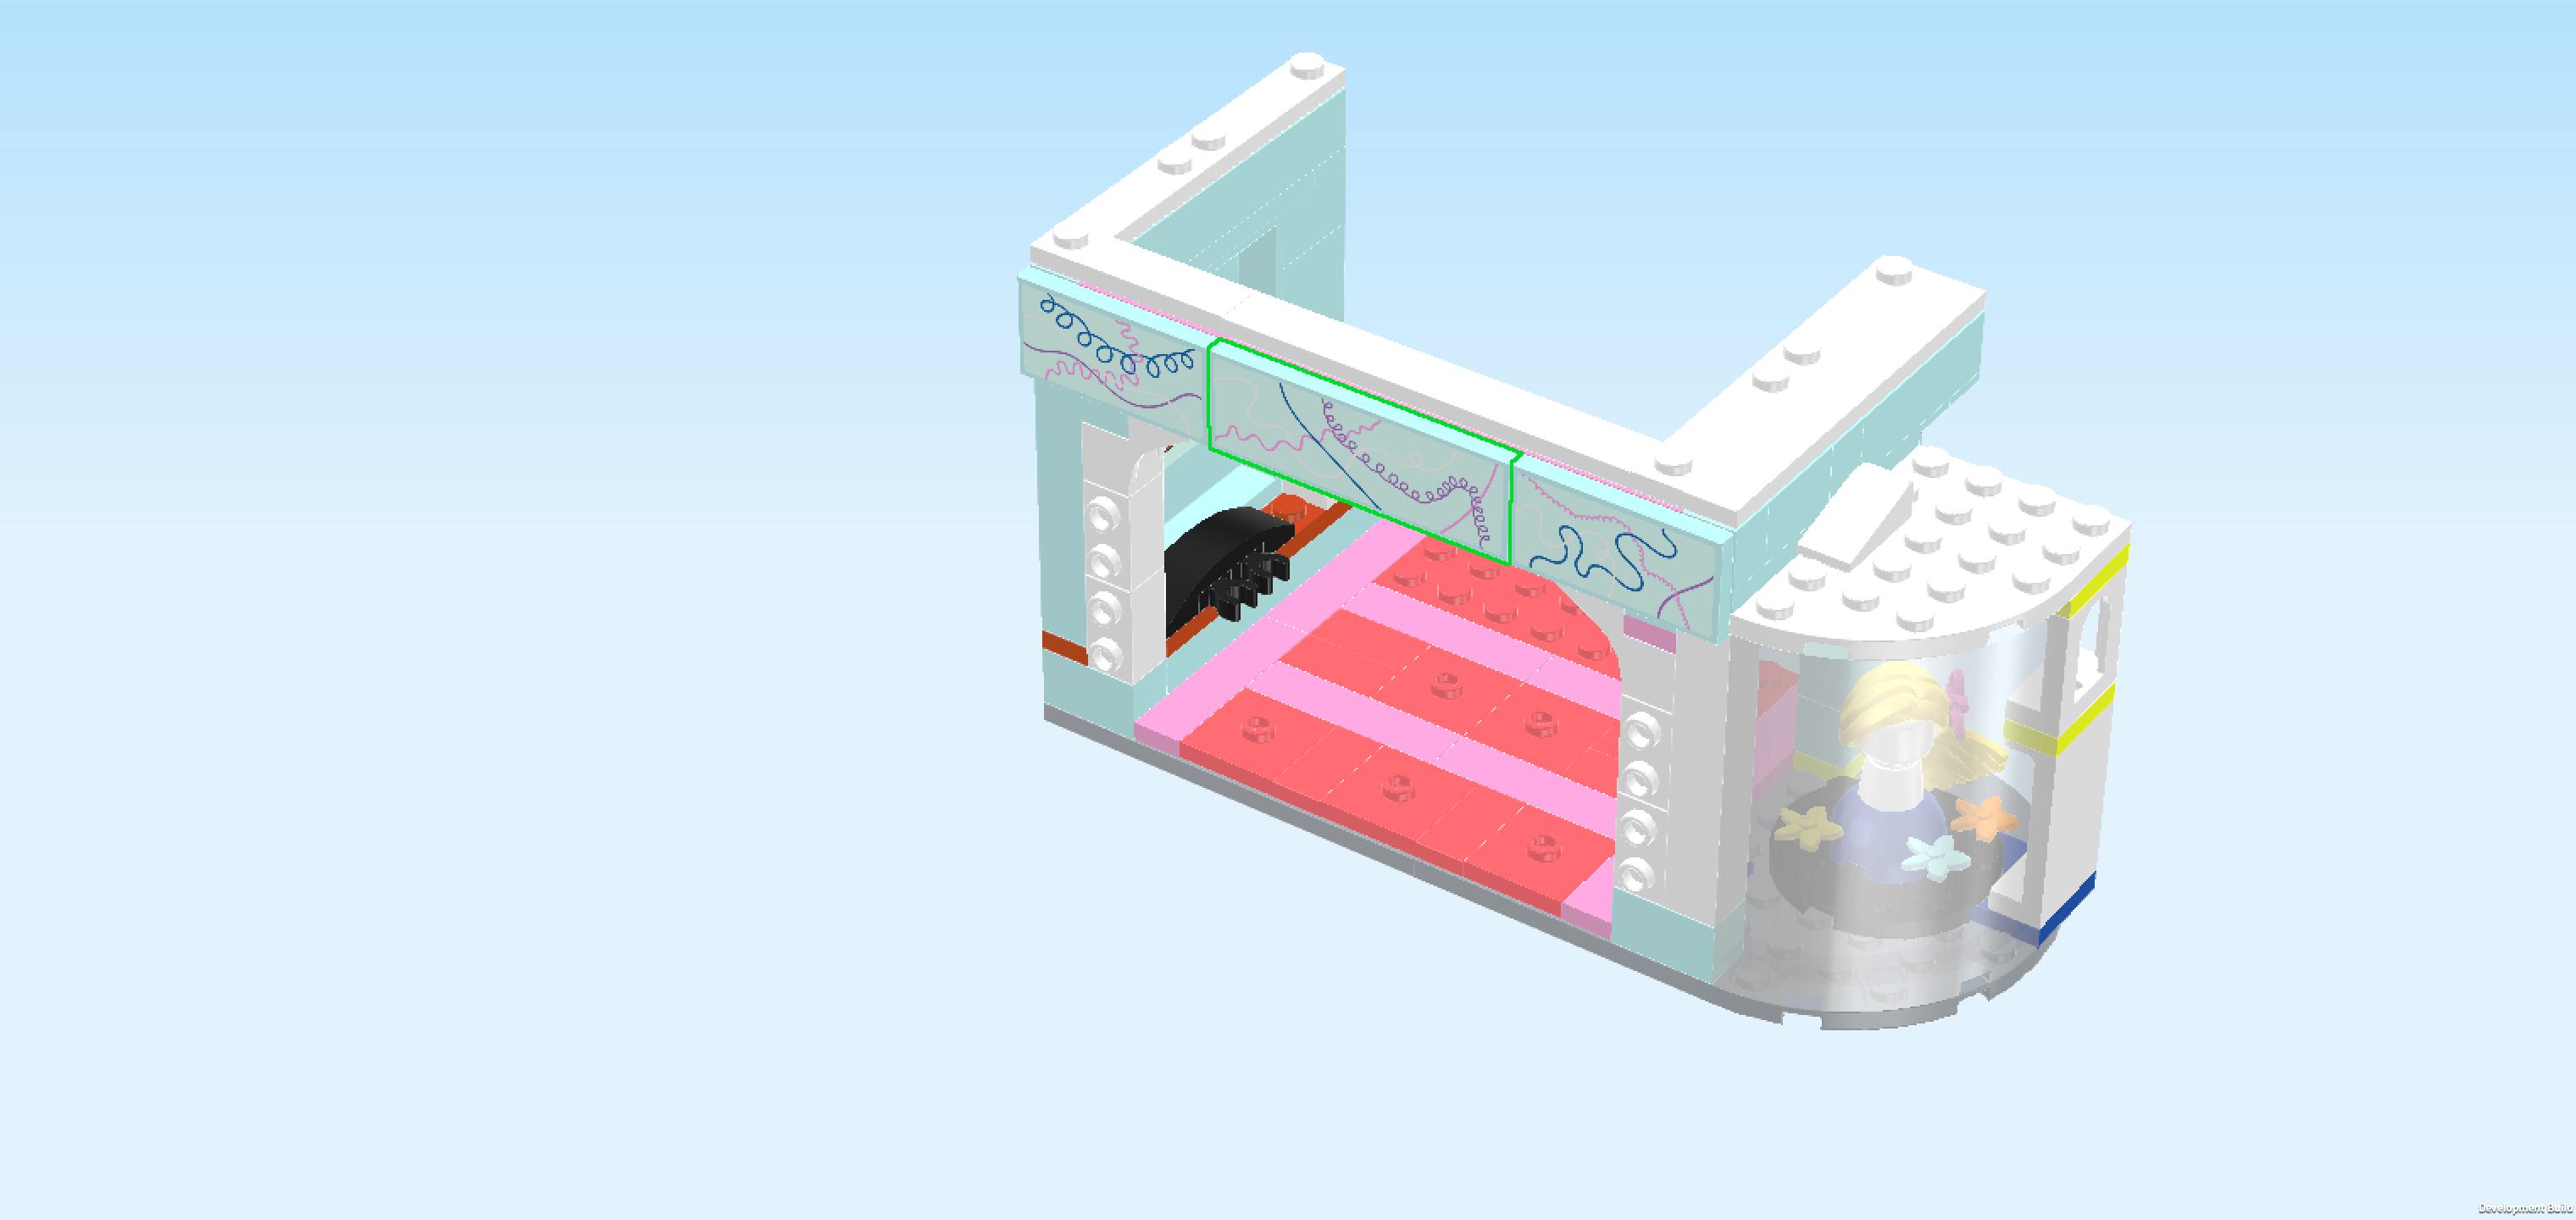
| This aqua blue sticker is printed with several criss-crossed lines that are part of the facade decoration of the hair salon. This one has one blue squiggly line, one pink line in a softened zig-zag pattern, one lilac line that is only slightly curved and one meandering light pink line. |
| Mount the tile upright horizontally on the 3 leftmost side knobs that are pointing to the front at the top of the structure. Make sure its leftmost edge is flush with the left side wall. Note that only the top half of this piece connects to knobs and its leftmost edge won't connect to any knobs. |
| Collect the following 2 pieces: |
| 1 aqua blue flat tile 2x4, |
| and 1 rectangular sticker 2x4 with squiggly decoration lines. |
| Put the rectangular sticker 2x4 on the flat tile. |
| This aqua blue sticker has 1 pink line in tiny squiggles, 1 dark blue line in big curvy meanders, 1 lilac line that is only slightly bent and 1 light pink line that is meandering through the entire sticker. |
| Use this tile to mirror the first facade decoration tile: put it upright horizontally on the 3 rightmost front side knobs at the top of the structure. Make sure its right edge is flush with the right side wall and only the top half of the flat tile connects to knobs. |
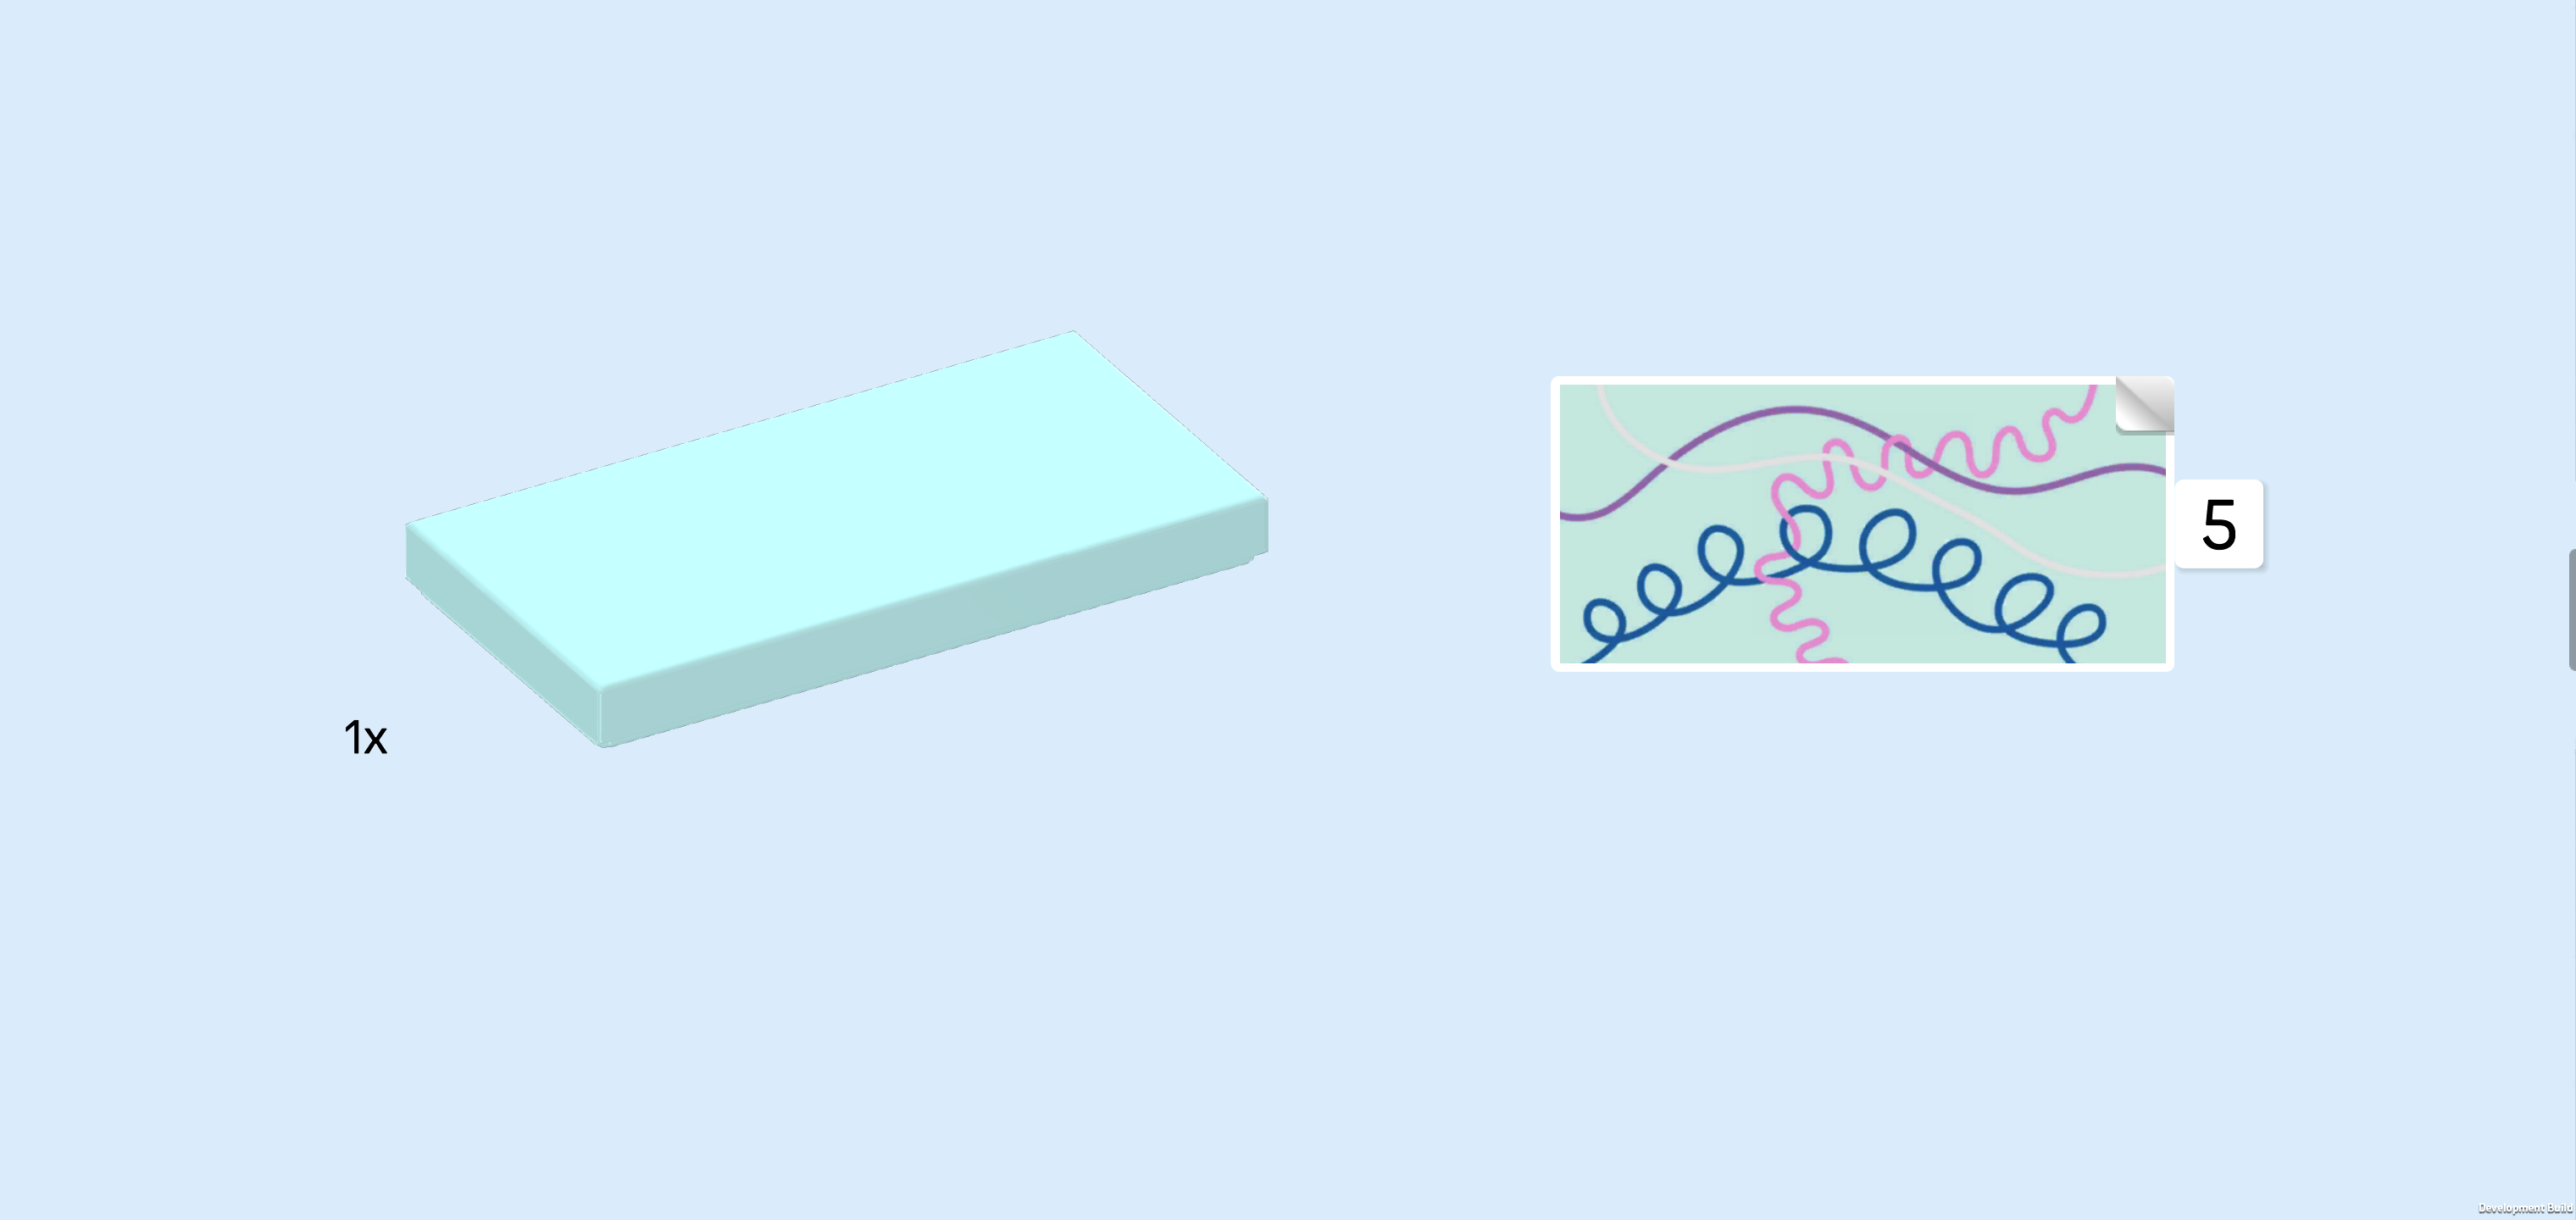
| Collect the following 2 pieces: |
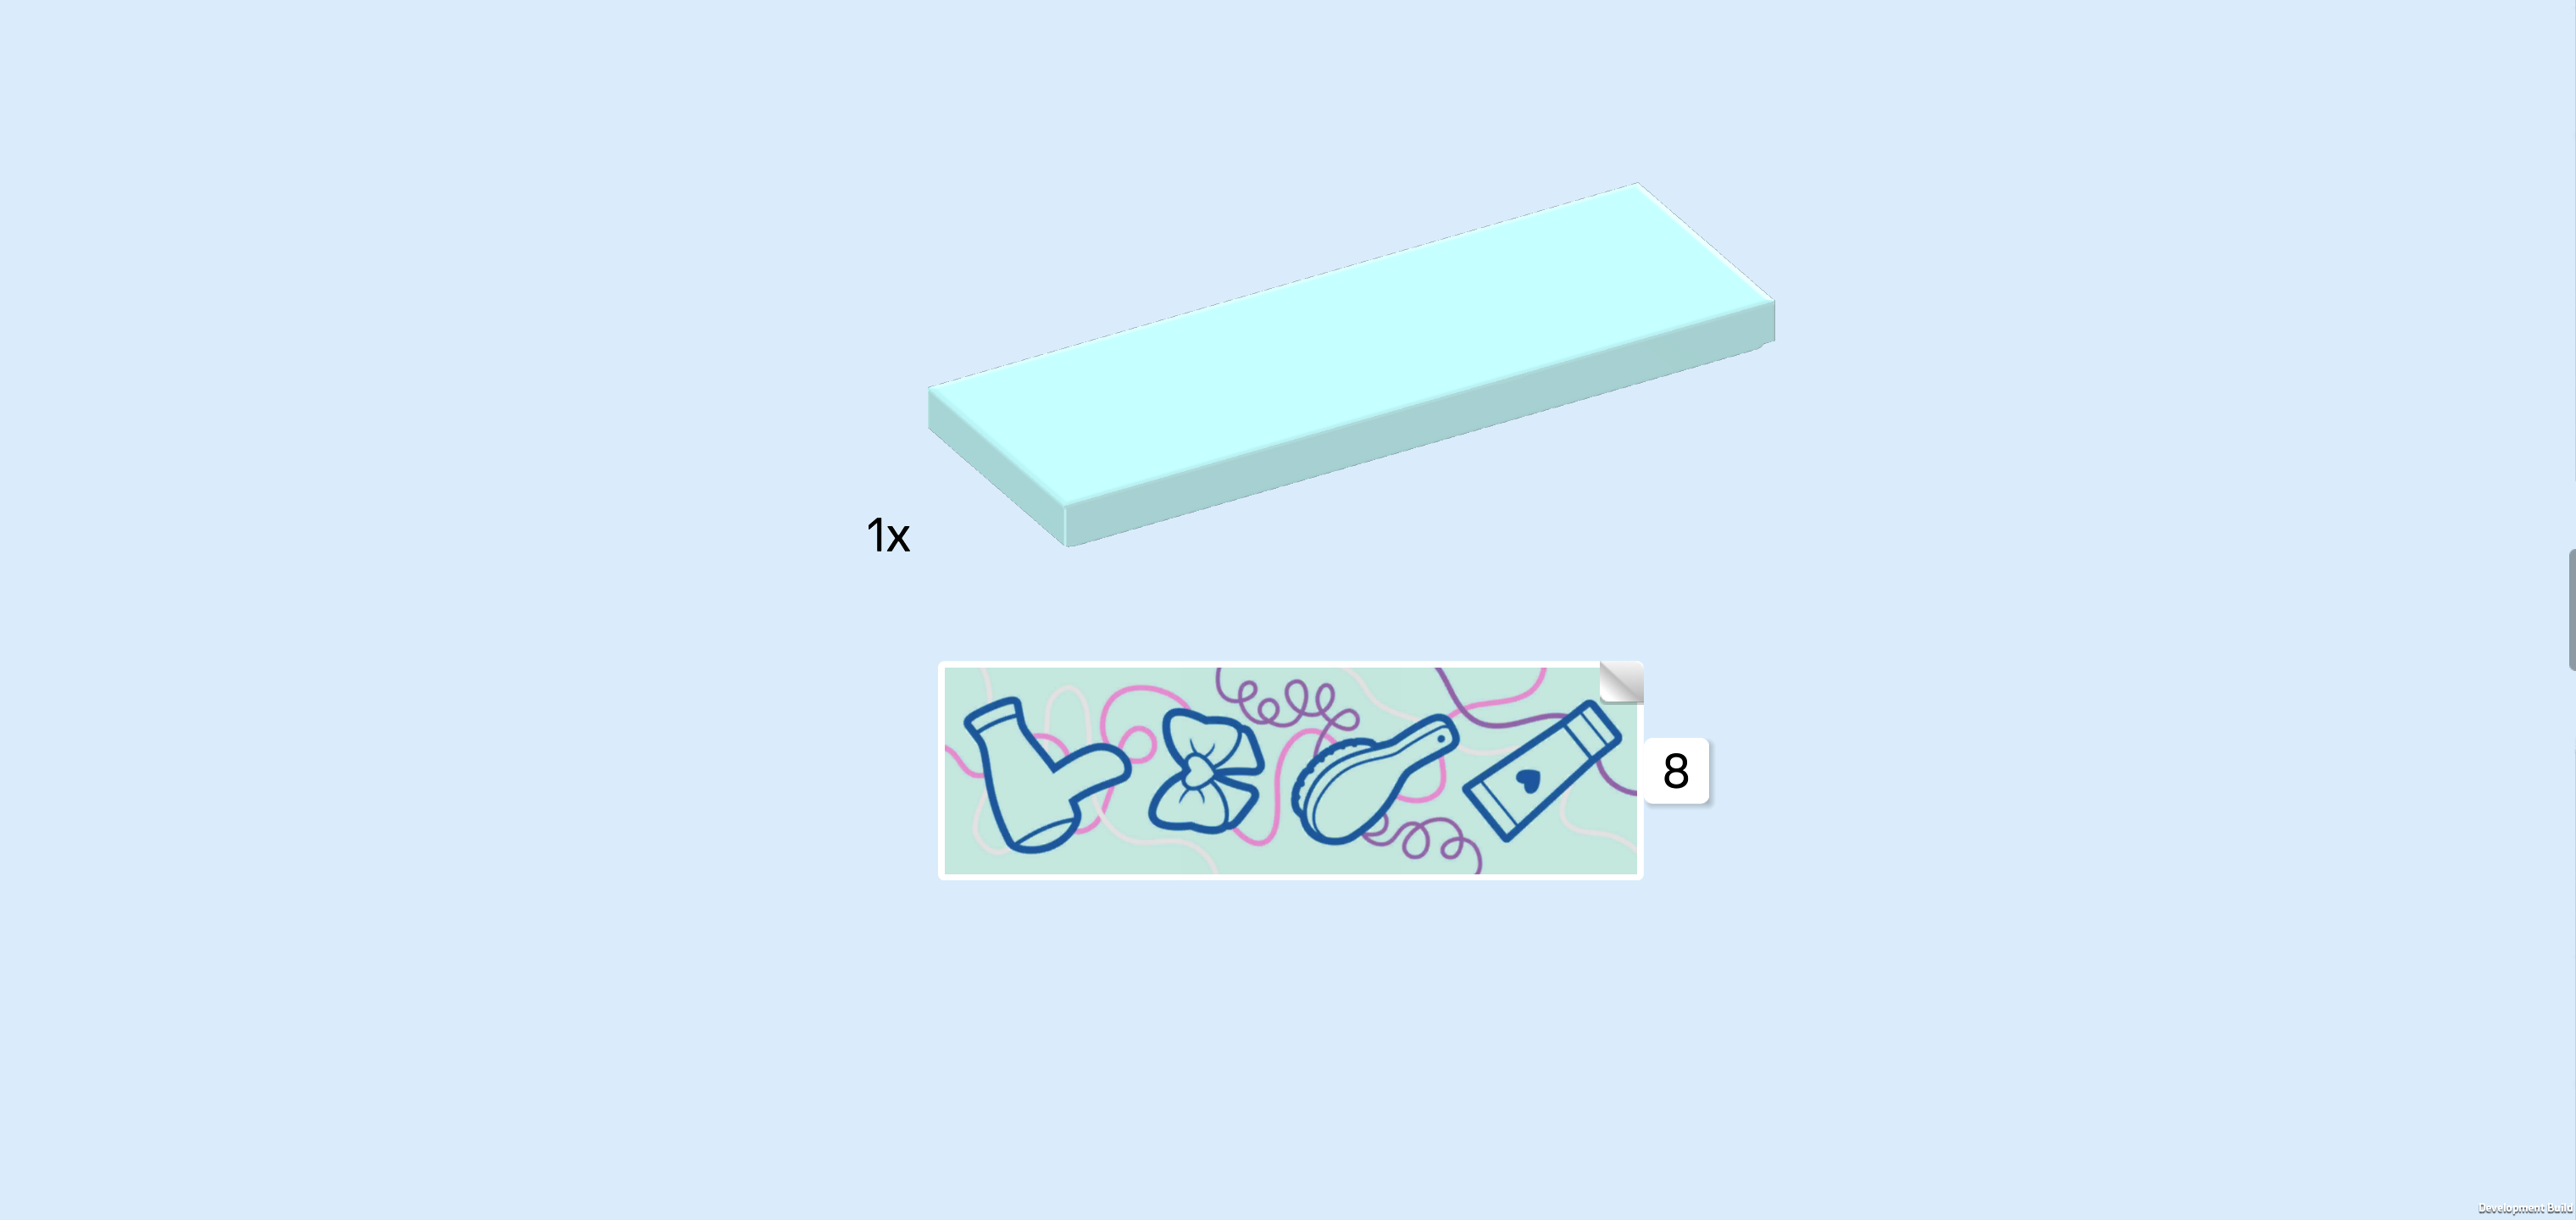
| 1 aqua blue flat tile 2x6, |
| and 1 rectangular sticker 2x6. |
| Put the rectangular sticker 2x6 on the flat tile. |
| The sticker is printed with a pink line in a softened irregular zig-zag pattern, a dark blue line that is only slightly curved, a squiggly lilac line and another pink line that is only slightly curved. As in the previous stickers, there is one light pink line that is meandering across the entire sticker. |
| Mount it upright horizontally between the 2 facade decoration tiles we have already mounted. Make sure their top edges align. |
| Collect the following 2 pieces: |
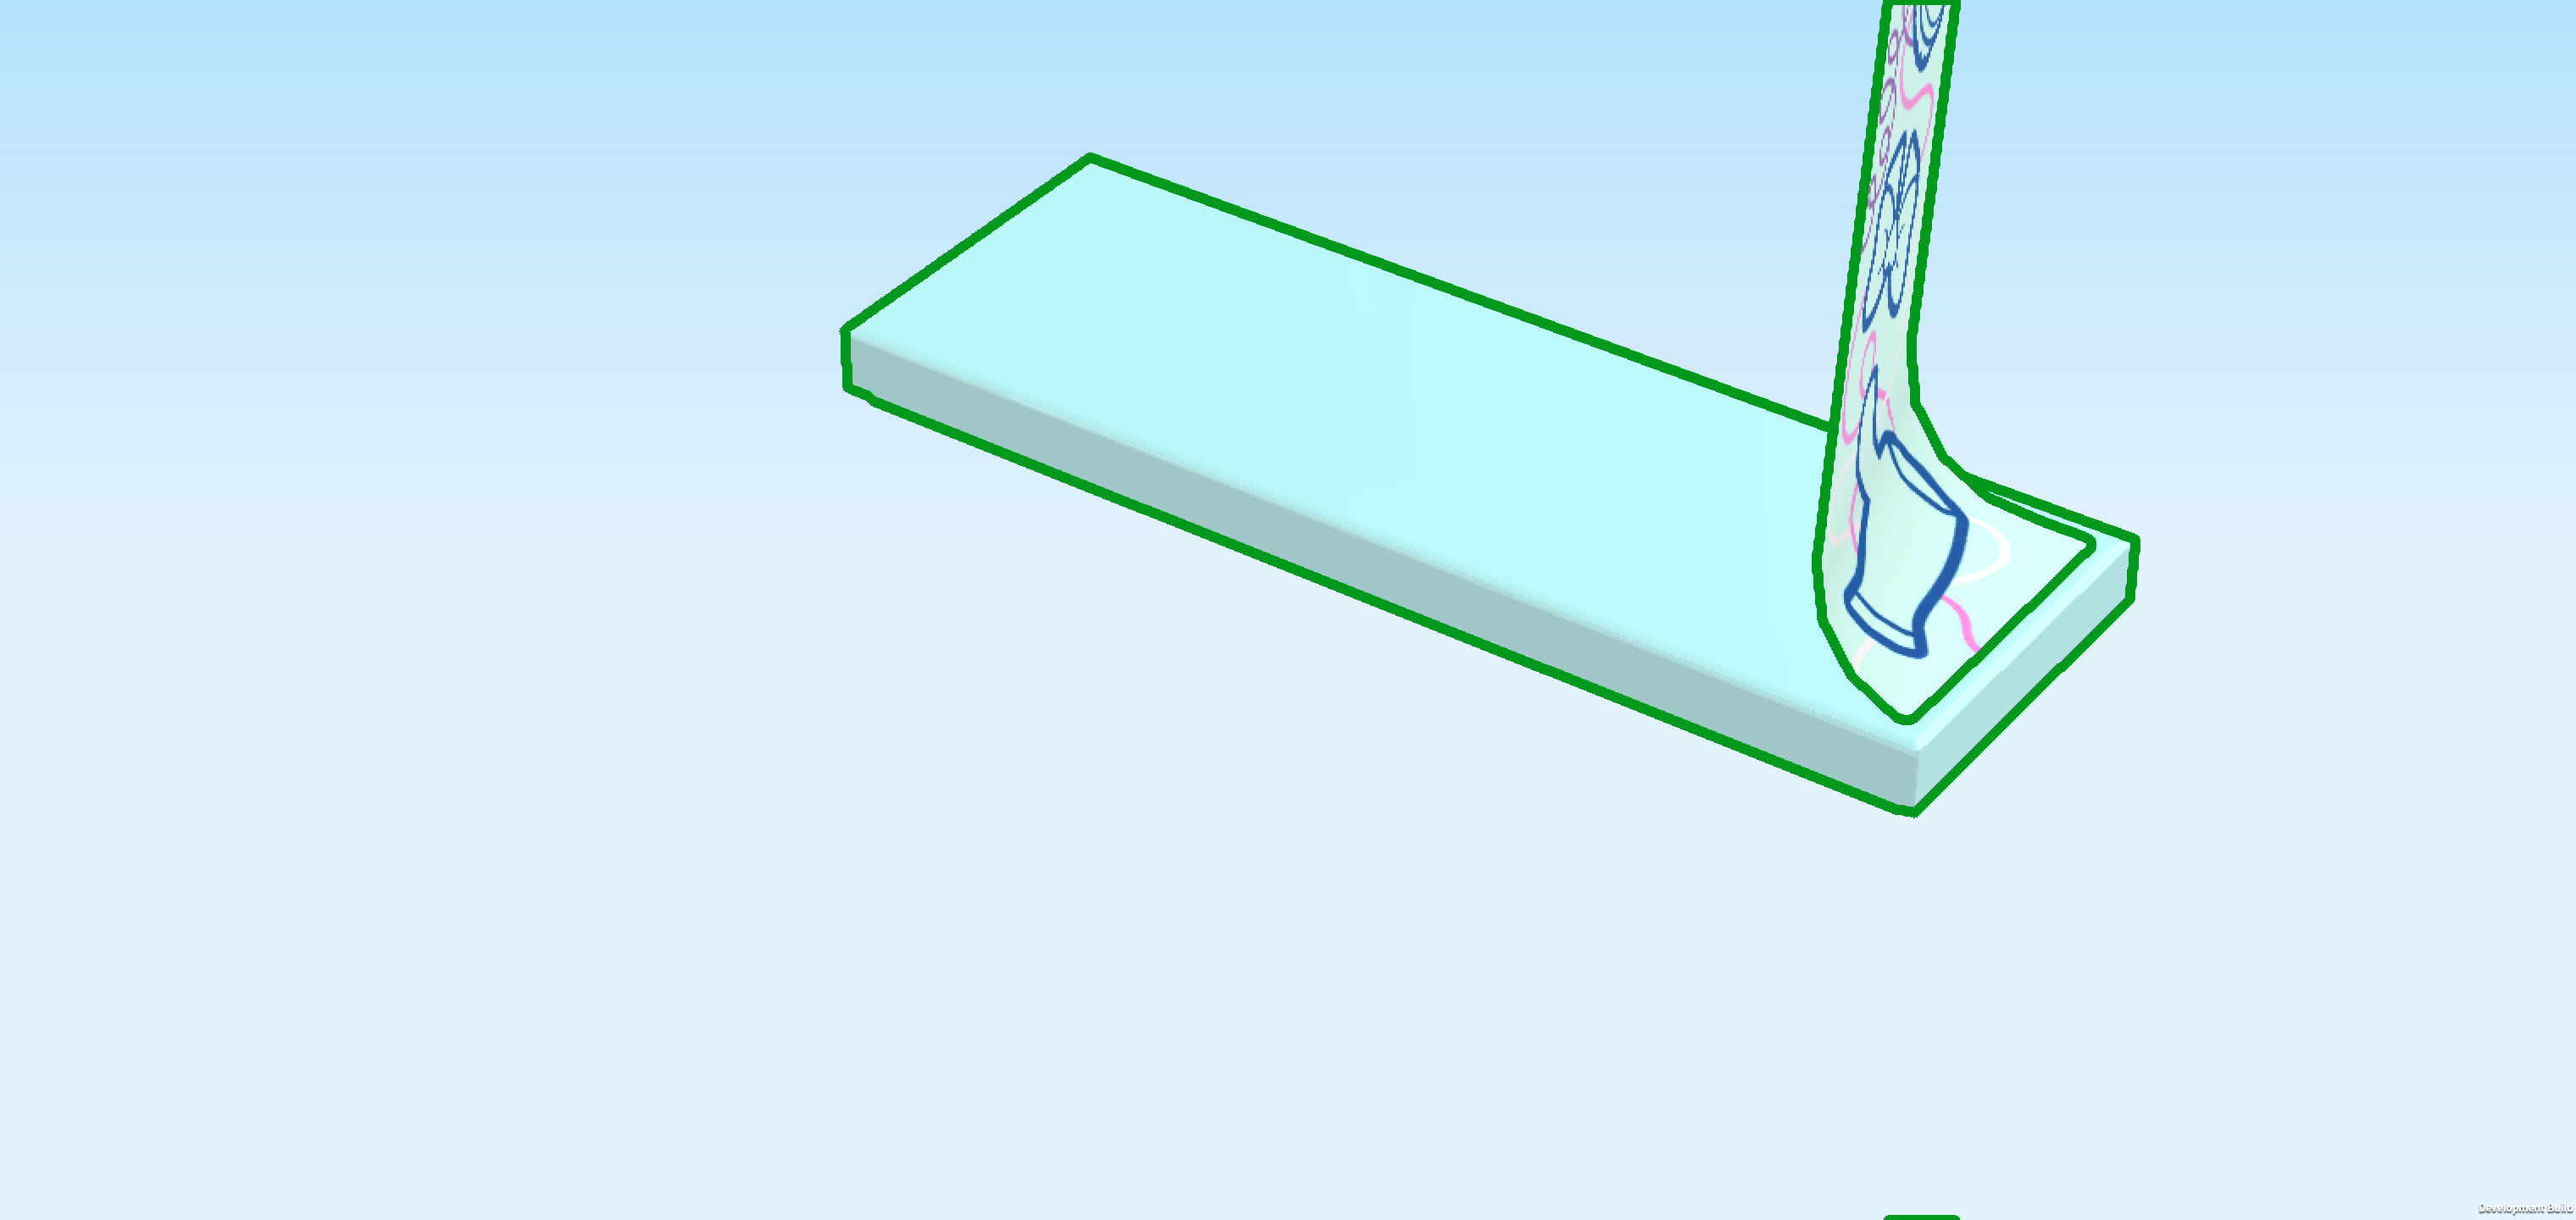
| 1 aqua blue flat tile 2x6, |
| and 1 rectangular sticker 2x6. |
| Put the flat tile flat and vertically in front of you. |
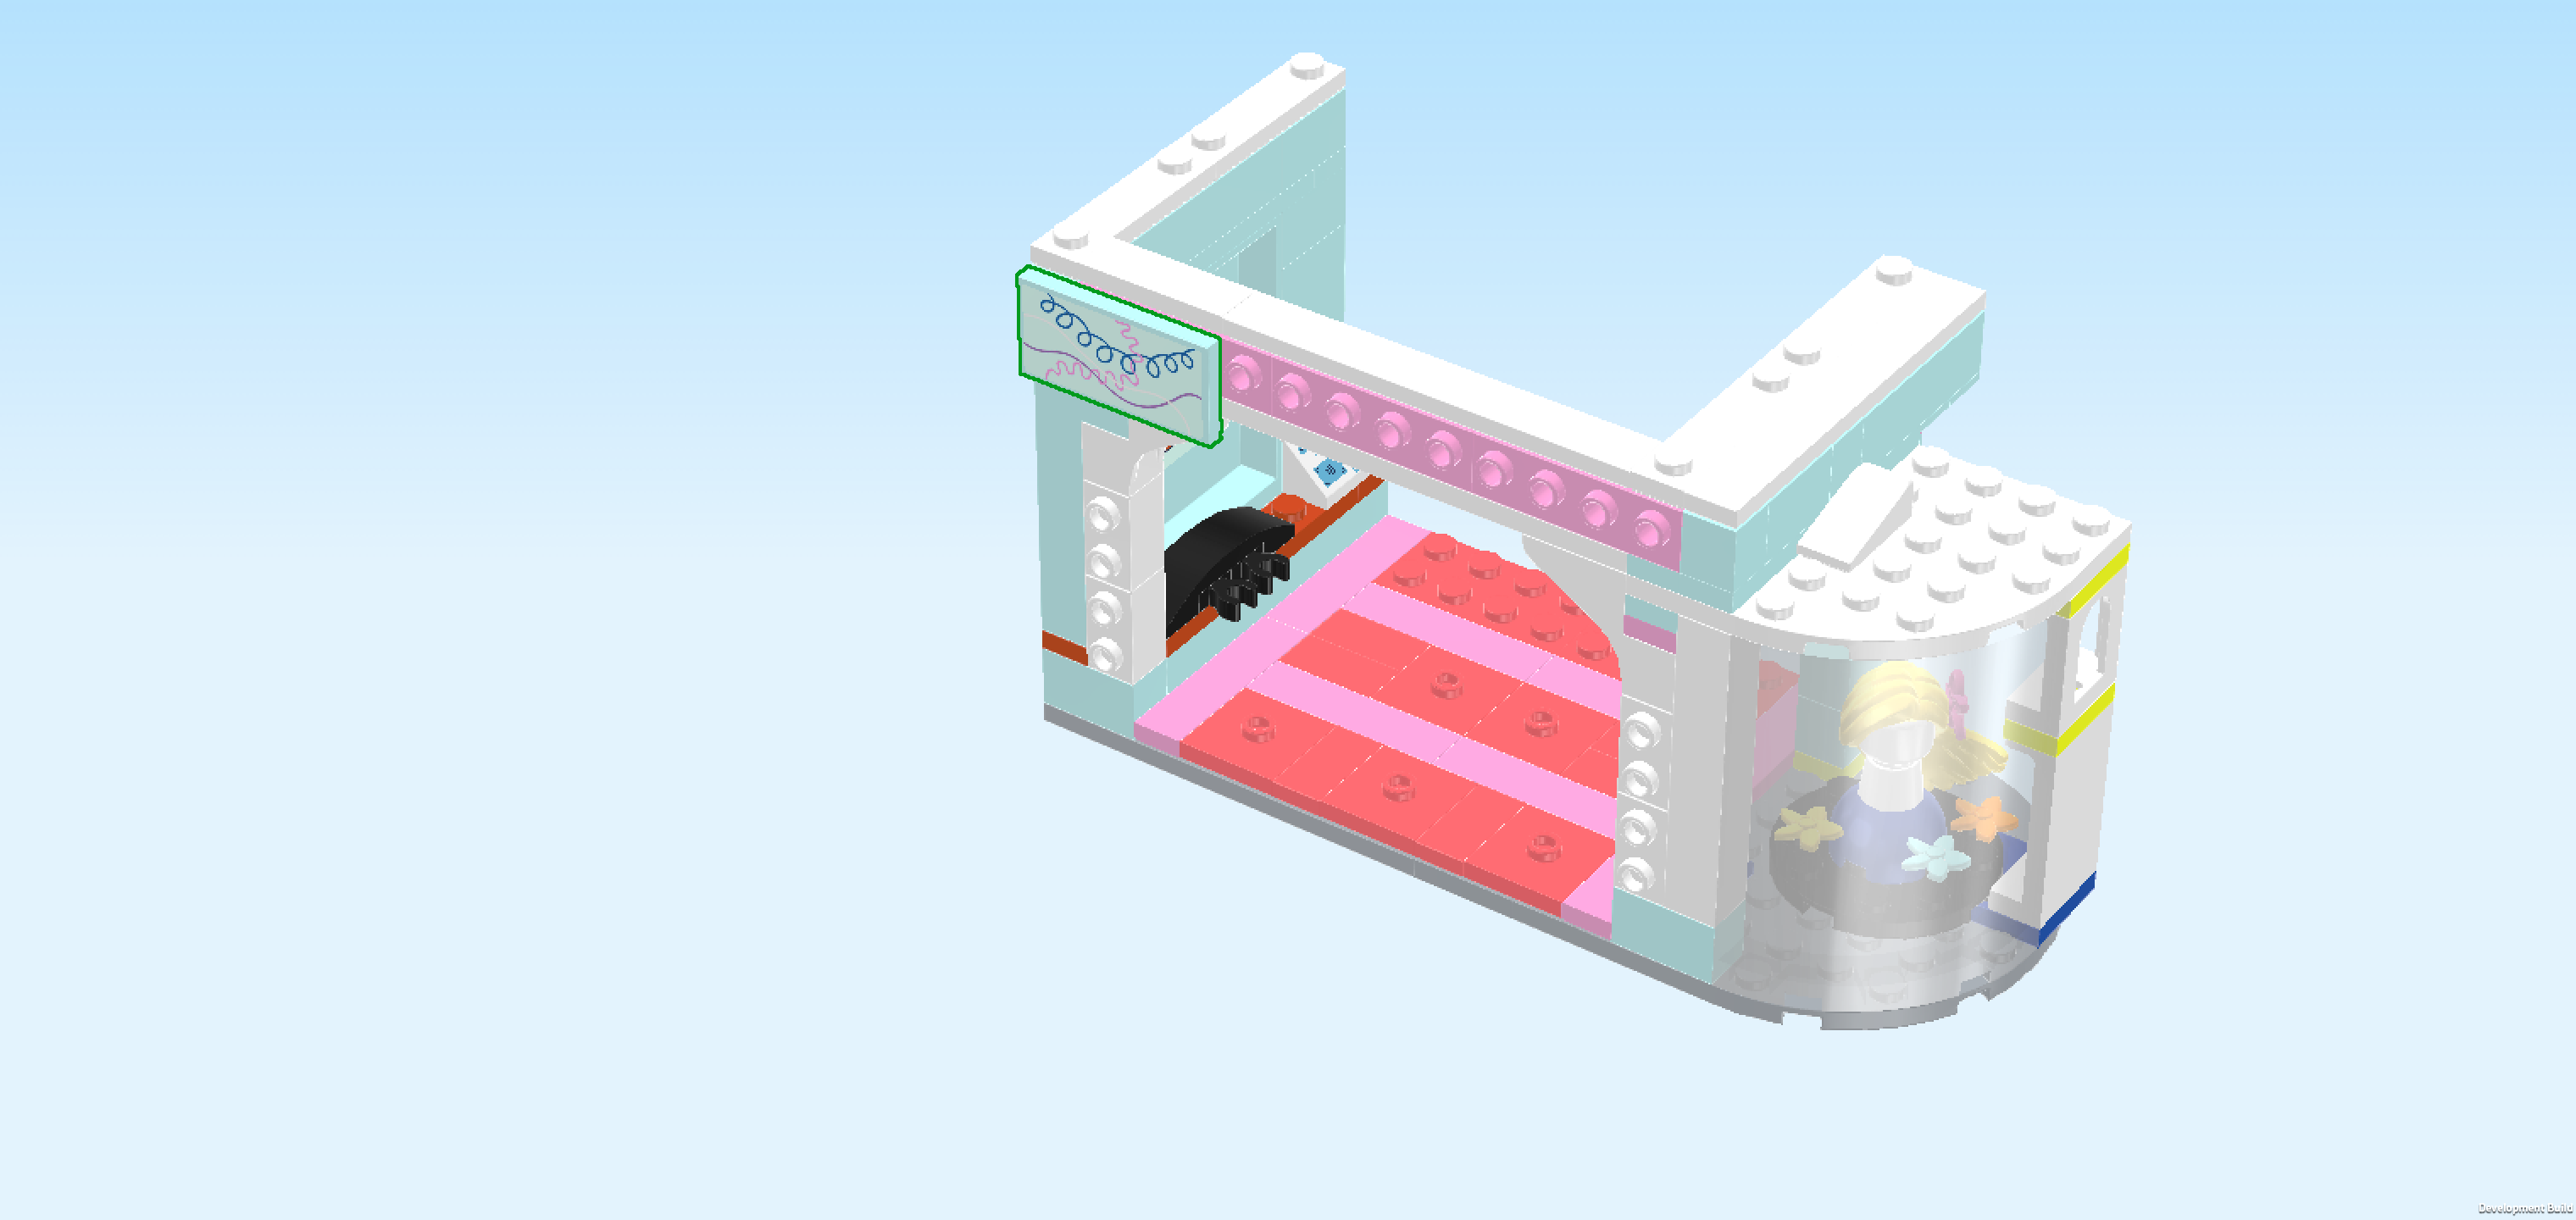
| Put the rectangular sticker 2x6 on the flat tile, keeping the orientation that it has on the sticker sheet. |
| This sticker is also printed with squiggly lines in the background, but it also has 4 blue hair-salon-related icons: at the top there is a hairdryer followed by a bow tie, a brush and a tube with hair product. |
| Flip the tile upright and mount it on the 4 vertical side knobs pointing to the front on the left edge. Make sure its top edge touches the top facade decoration tile and its left edge is flush with the left side wall. If you want to make sure the orientation of the 4 icons is correct, ask a sighted person for help if you like. |
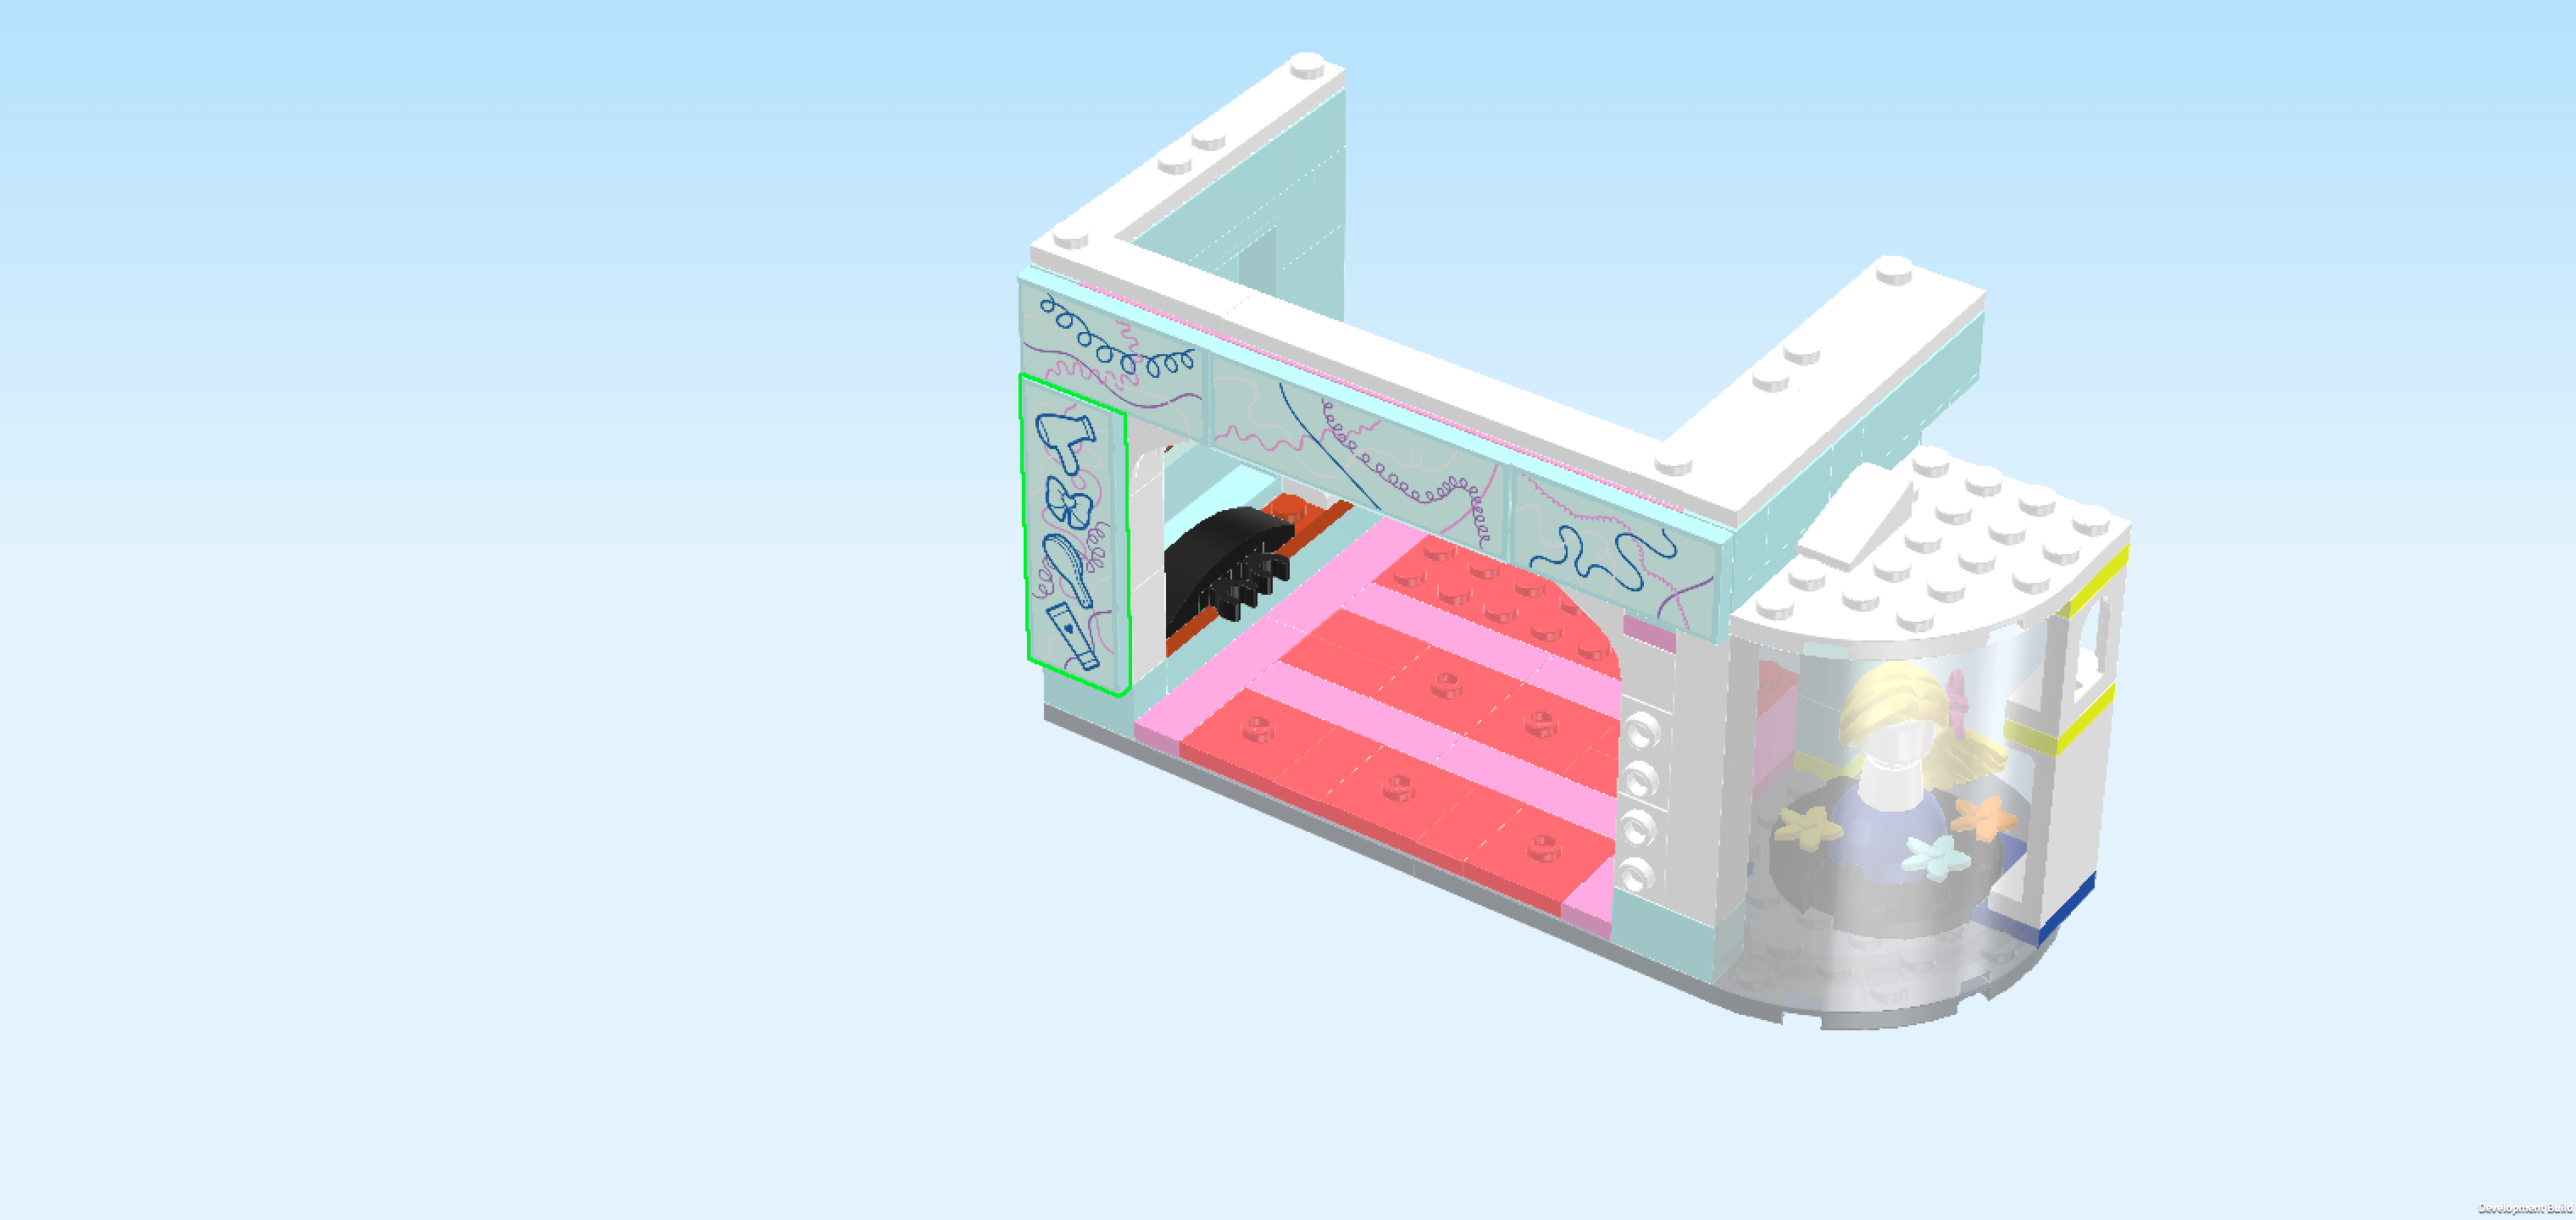
| Collect the following 2 pieces: |
| 1 aqua blue flat tile 2x6, |
| and 1 rectangular sticker 2x6. |
| Put the flat tile 2x6 flat and vertically on the table. |
| Put the rectangular sticker 2x6 on top. |
| This sticker also has 4 blue hair-salon-related icons on it: at the top there is a detangling comb followed by a cat-ear hair band, a shampoo bottle and a flower hairclip. |
| Flip the tile upright and mount it on the right side knobs, mirroring the first side decoration tile. |
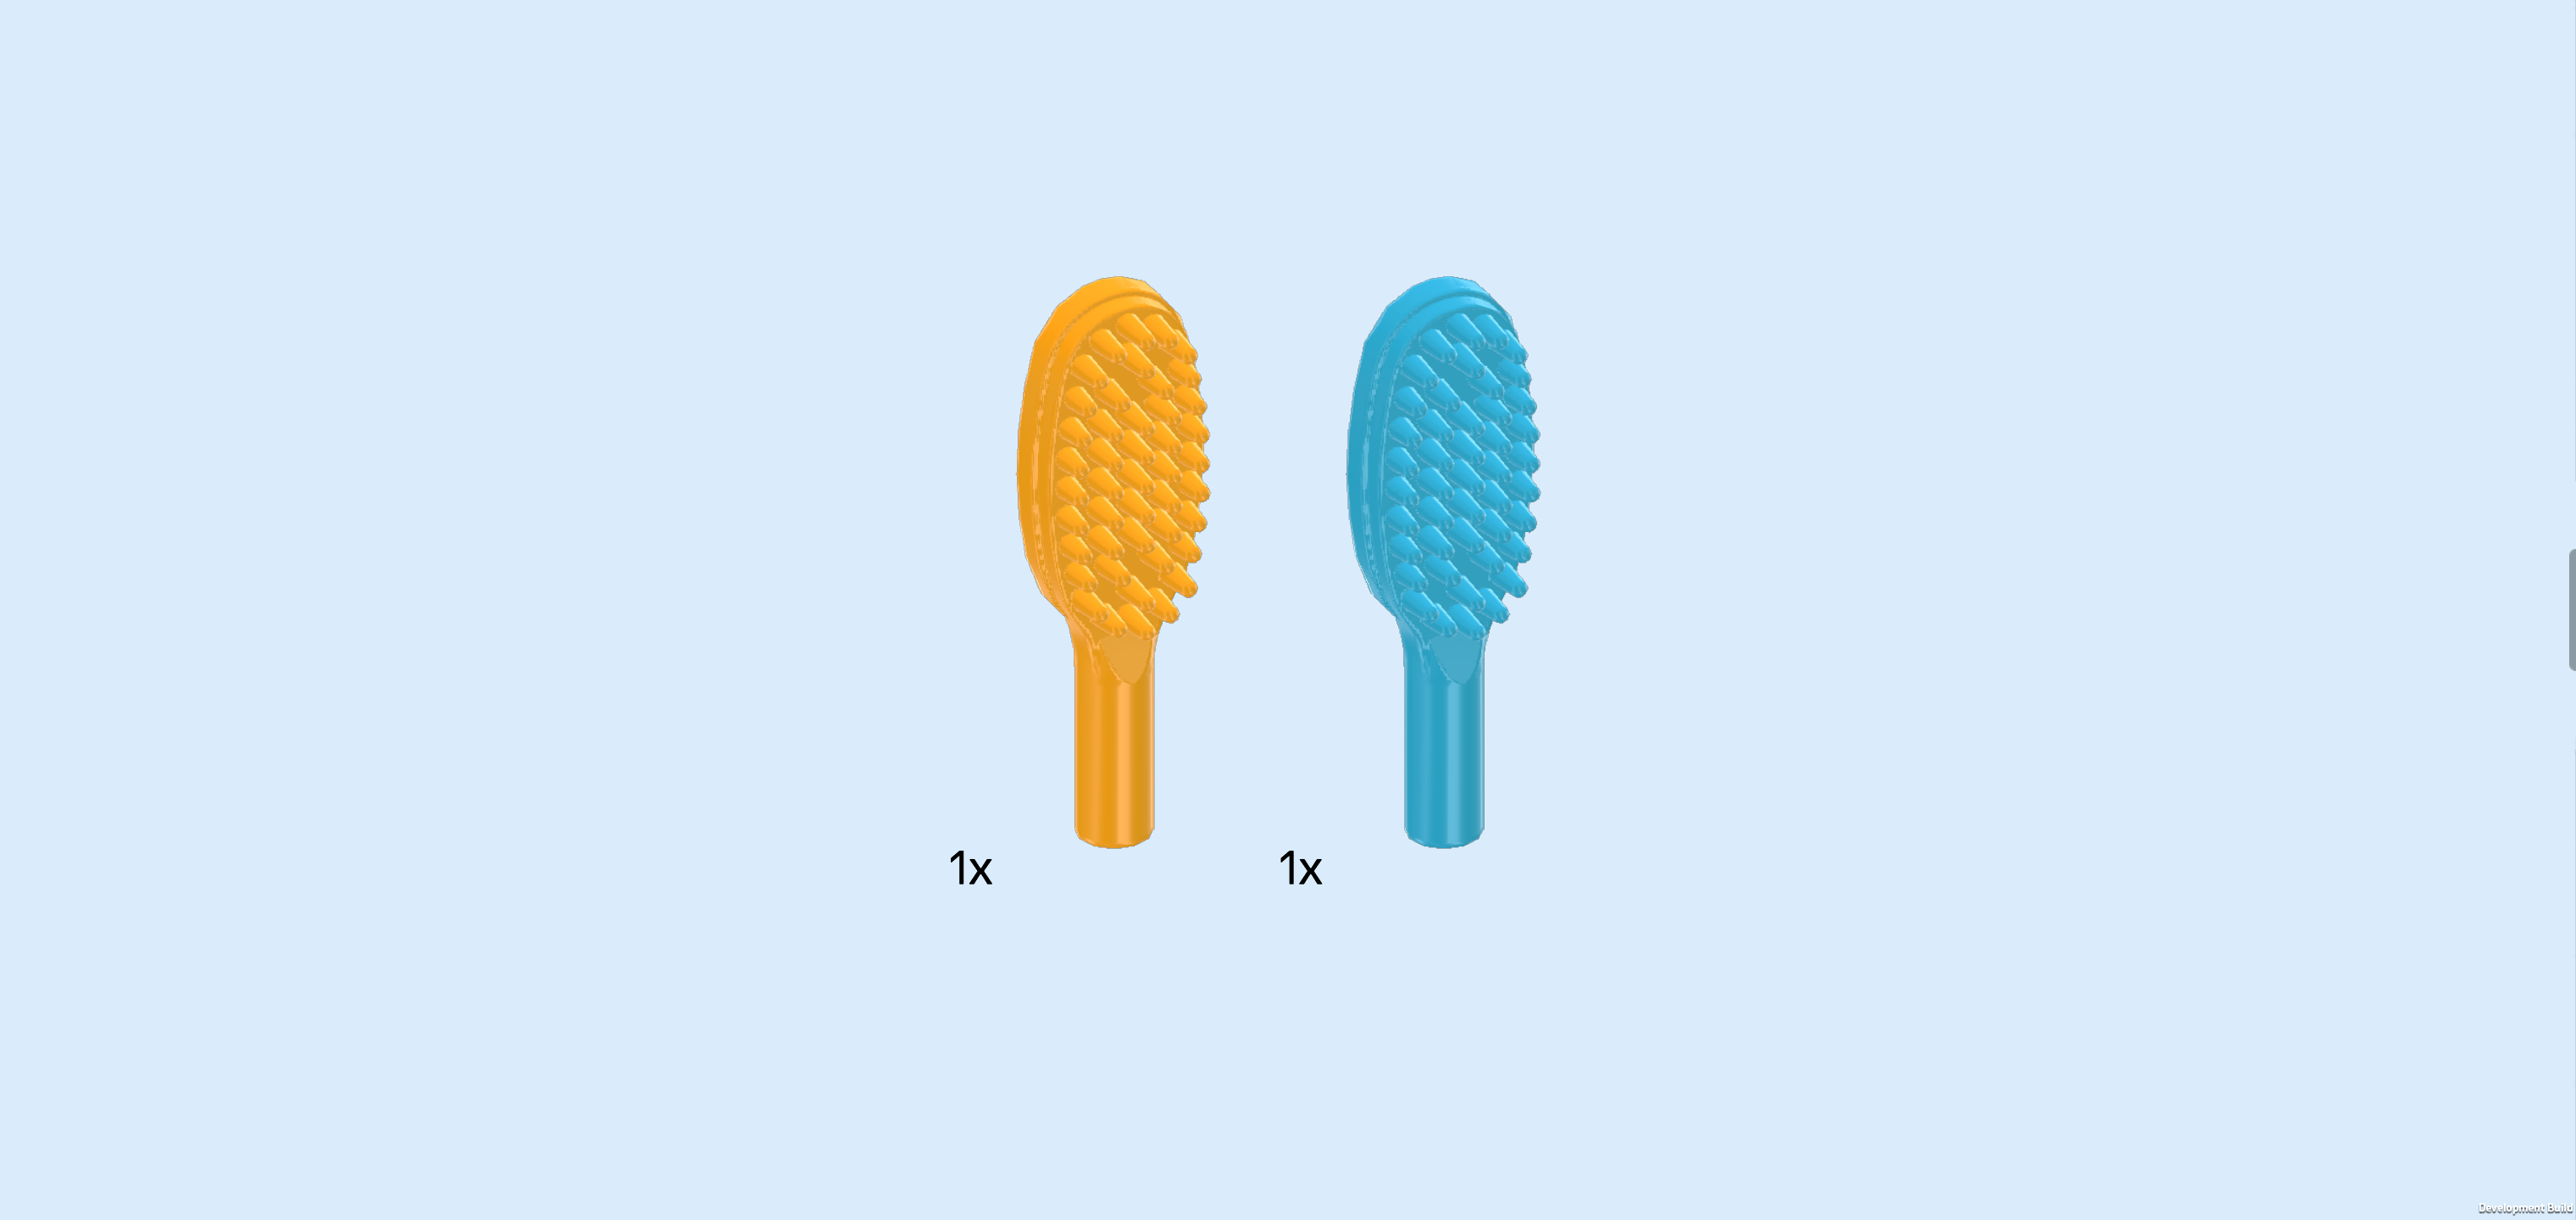
| Collect the following 2 pieces: |
| 1 yellowish orange hairbrush, |
| and 1 medium azure blue hairbrush. |
| Snap their handles into the 2 clasps on the hairbrush holder that we have mounted in the salon interior next to the left side wall. |
| We have finished building everything from bag number 2! Great job! Only 2 more bags to go. You are probably left with a few extra bricks and pieces again that you can use or stow away as you please. |
| Open bag number 3. You can choose to have the bricks sorted by color again if you like. This bag contains all bricks and pieces for the Faraji Minifigure, the shop sign and the wig display with hair products. |
| Next up, we will build the Faraji Minifigure. |
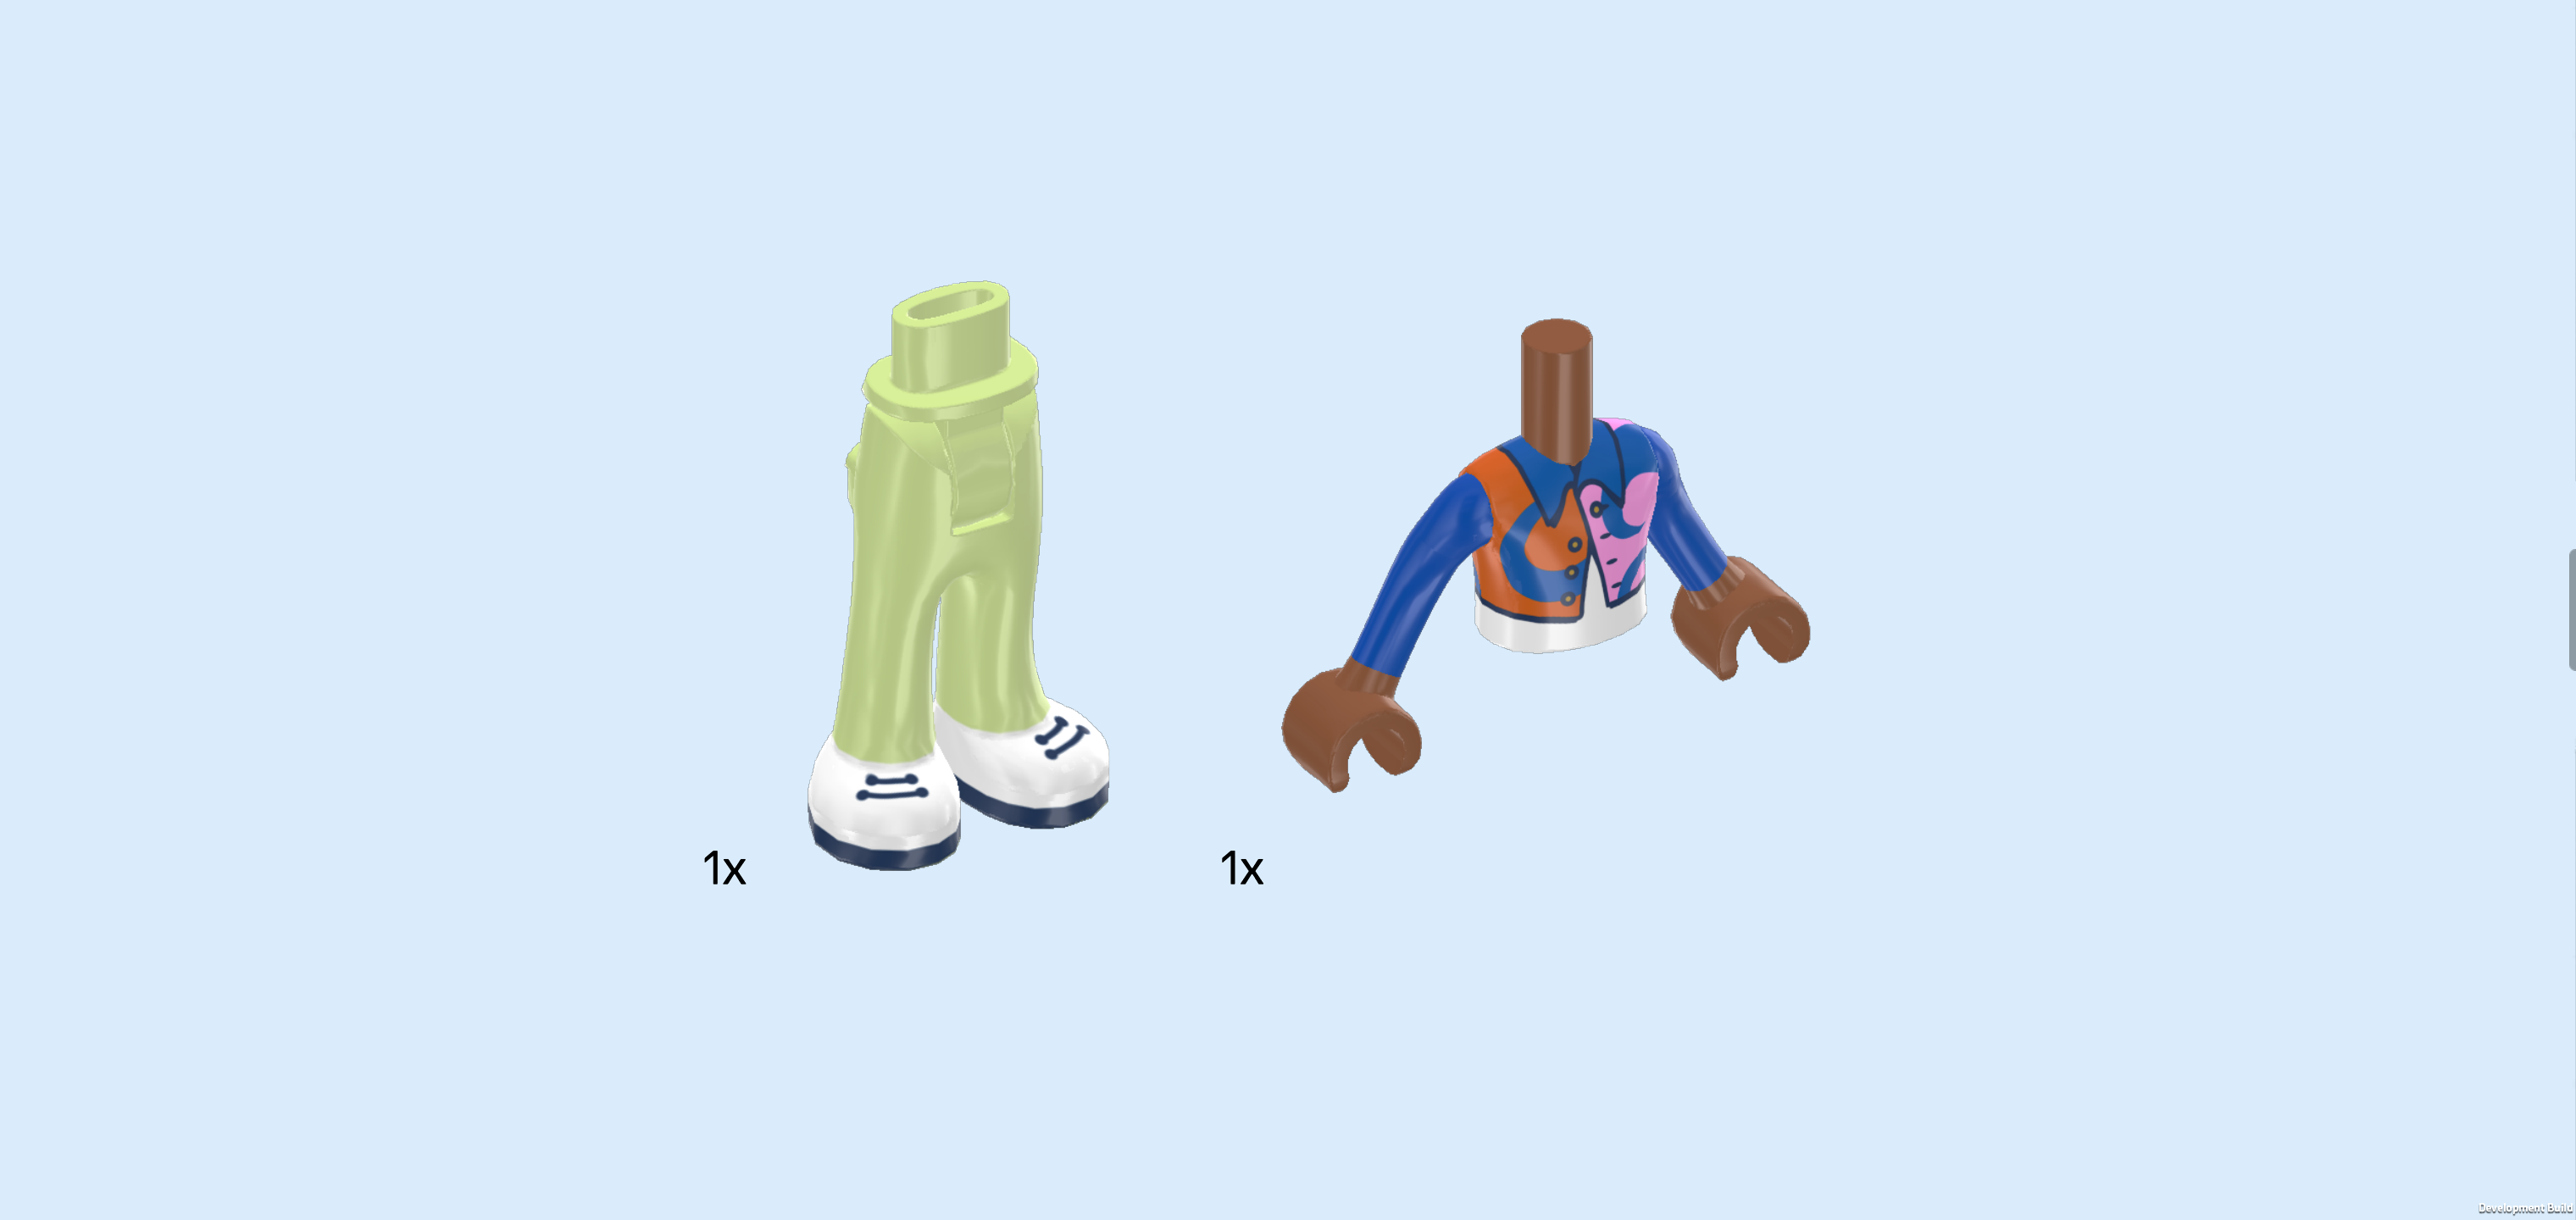
| Collect the following 2 pieces: |
| 1 pale lime green pair of legs with long trousers and 2 back pockets, |
| and 1 bright blue and Sienna brown Minidoll upper body. |
| Put the upper body on the legs. |
| Collect the following 2 pieces: |
| 1 beige hairpiece with dreadlocks in short ponytail, |
| and 1 Sienna brown Minidoll head. |
| Put the head on the body. |
| Put the hair on the head. |
| The Faraji Minifigure is finished! Great job! Faraji wears his blond dreadlocks tied up in a stylish knot and swept to one side, a perfect look for a creative hair stylist. His outfit is bright and expressive: he is wearing a long-sleeved blue jacket with a colorful chest print in orange, pink, and purple patterns over a white undershirt. He pairs this with light lime-green trousers and white sneakers with navy details. With his neatly groomed goatee beard and welcoming smile, Faraji looks every bit the confident stylist—ready to inspire new looks and make every visit to the salon fun and memorable. |
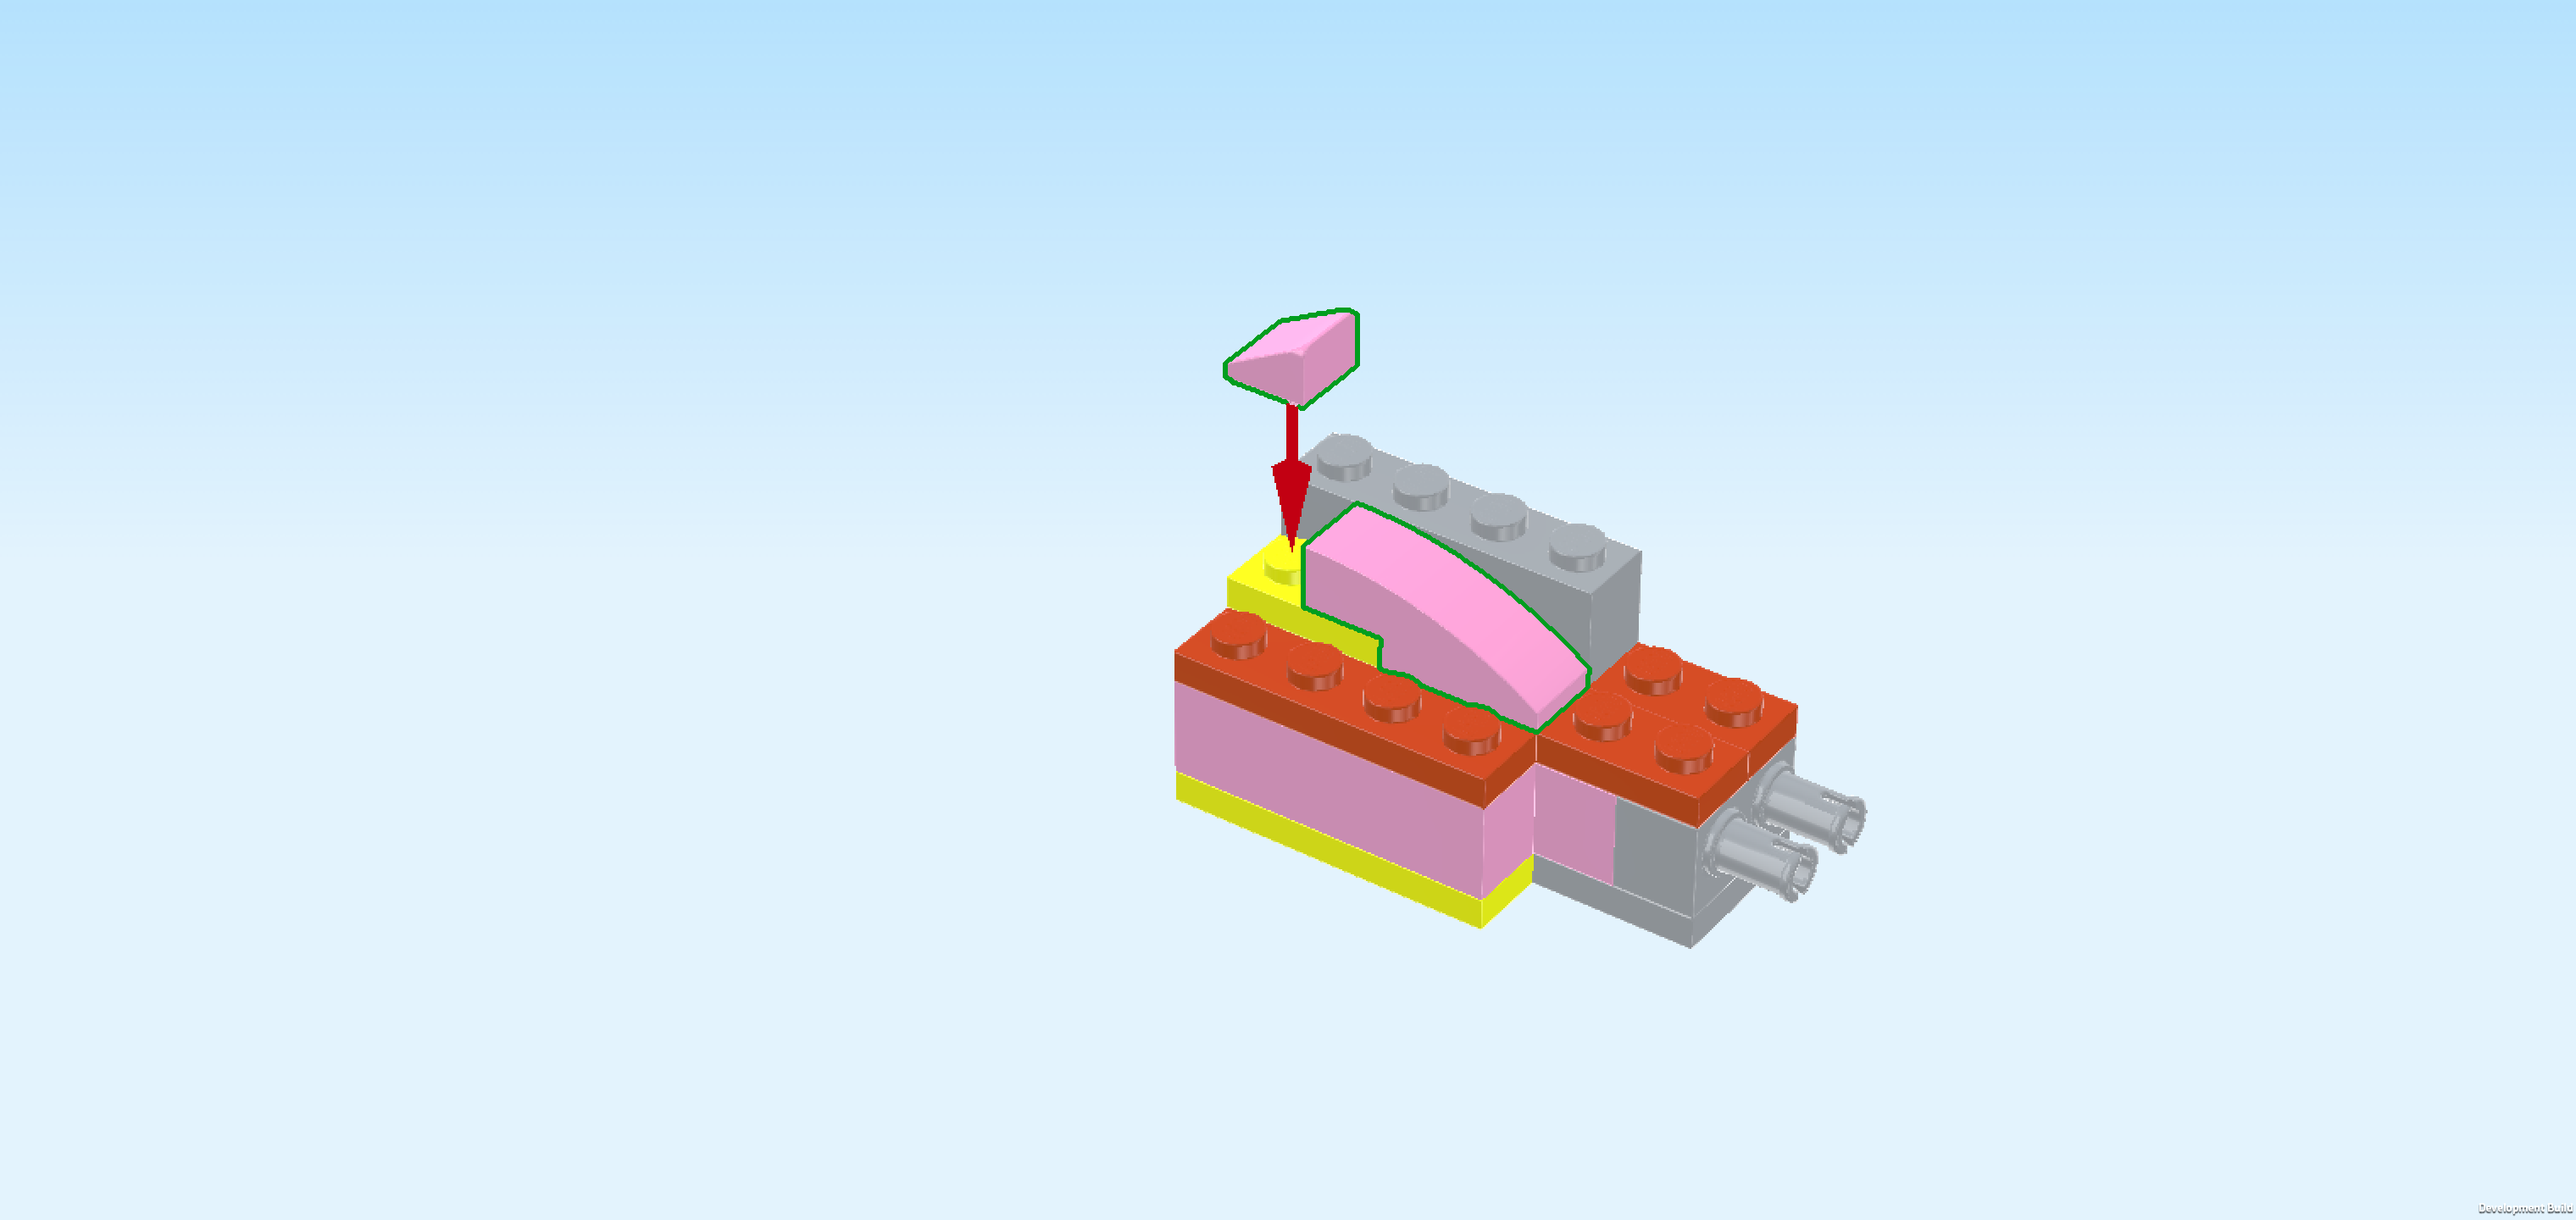
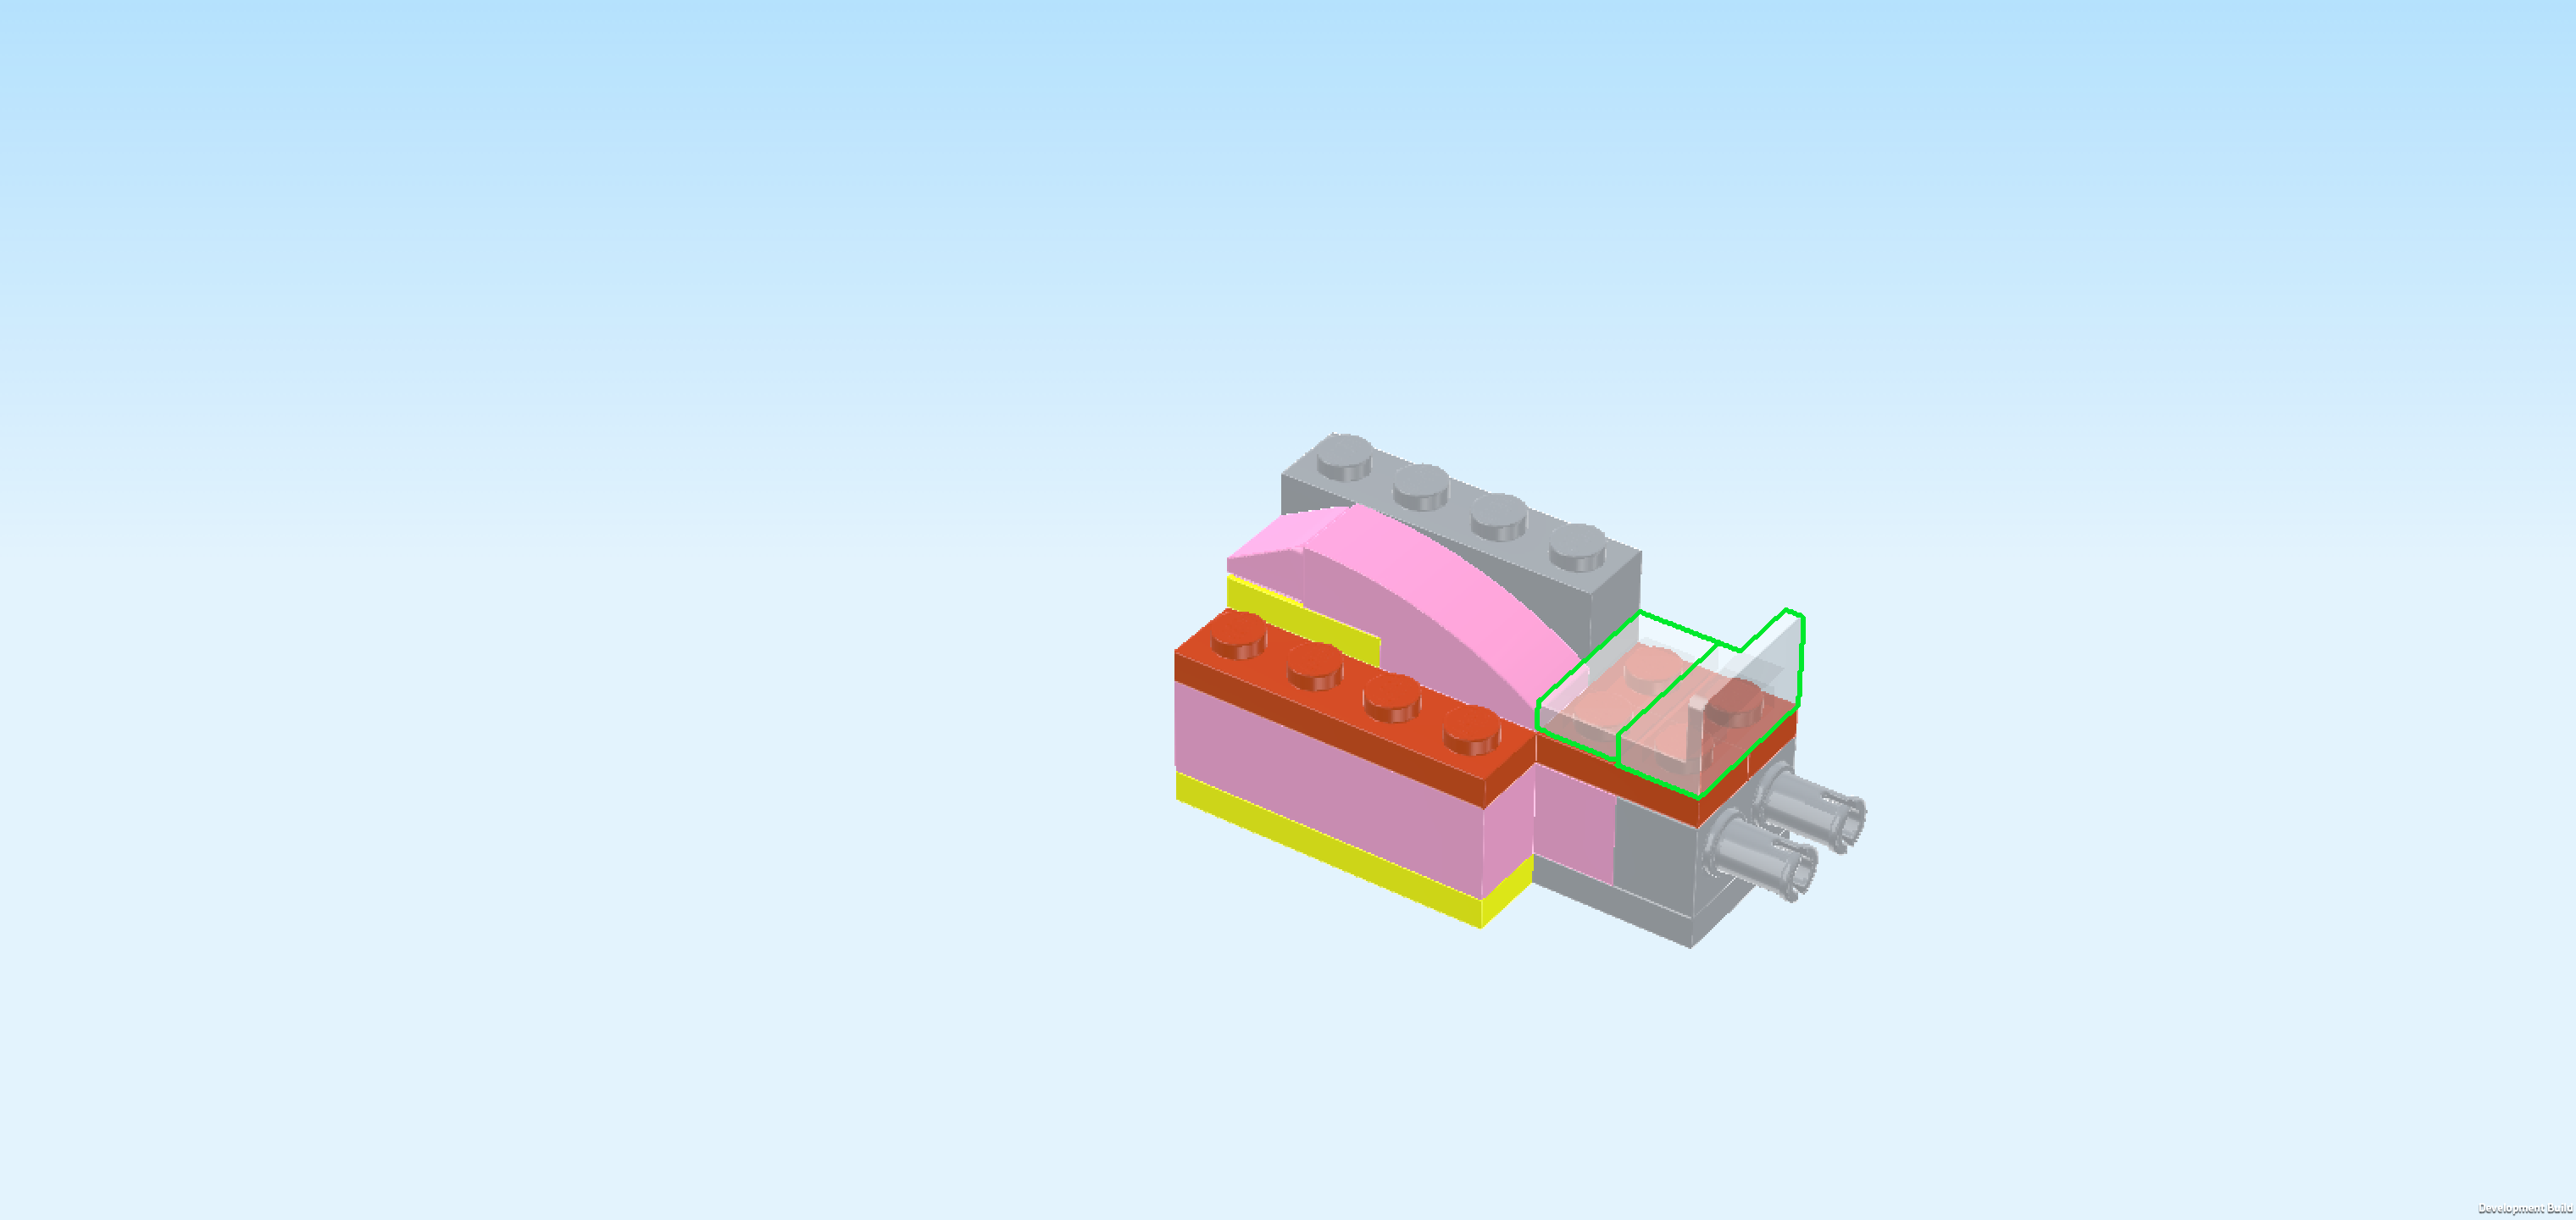
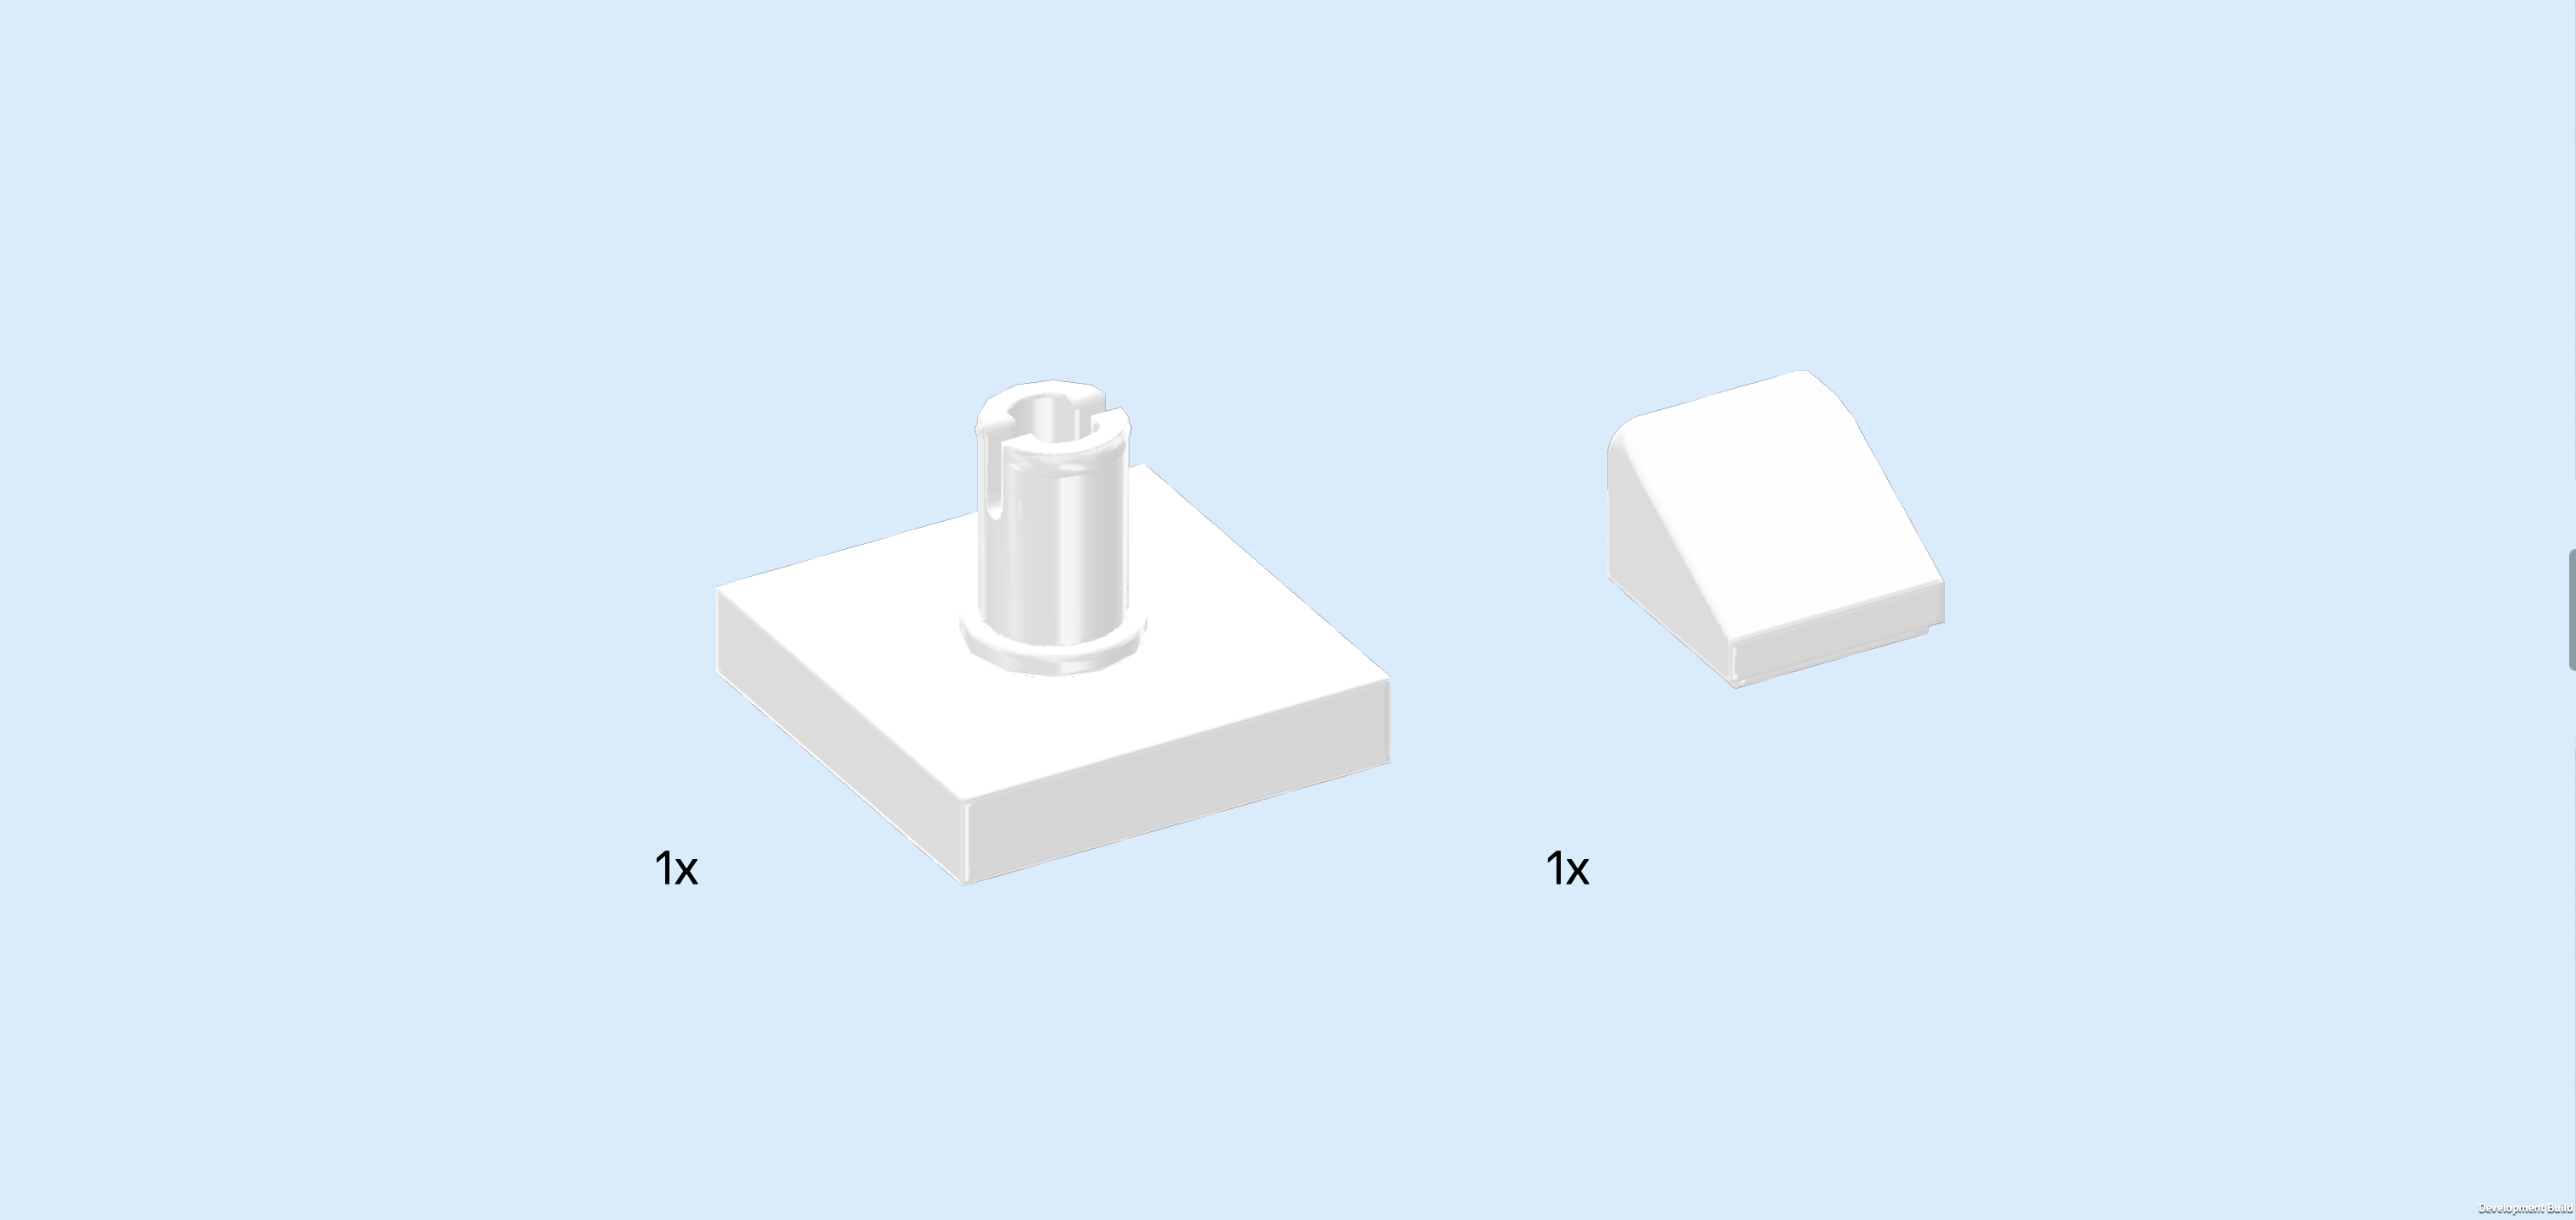
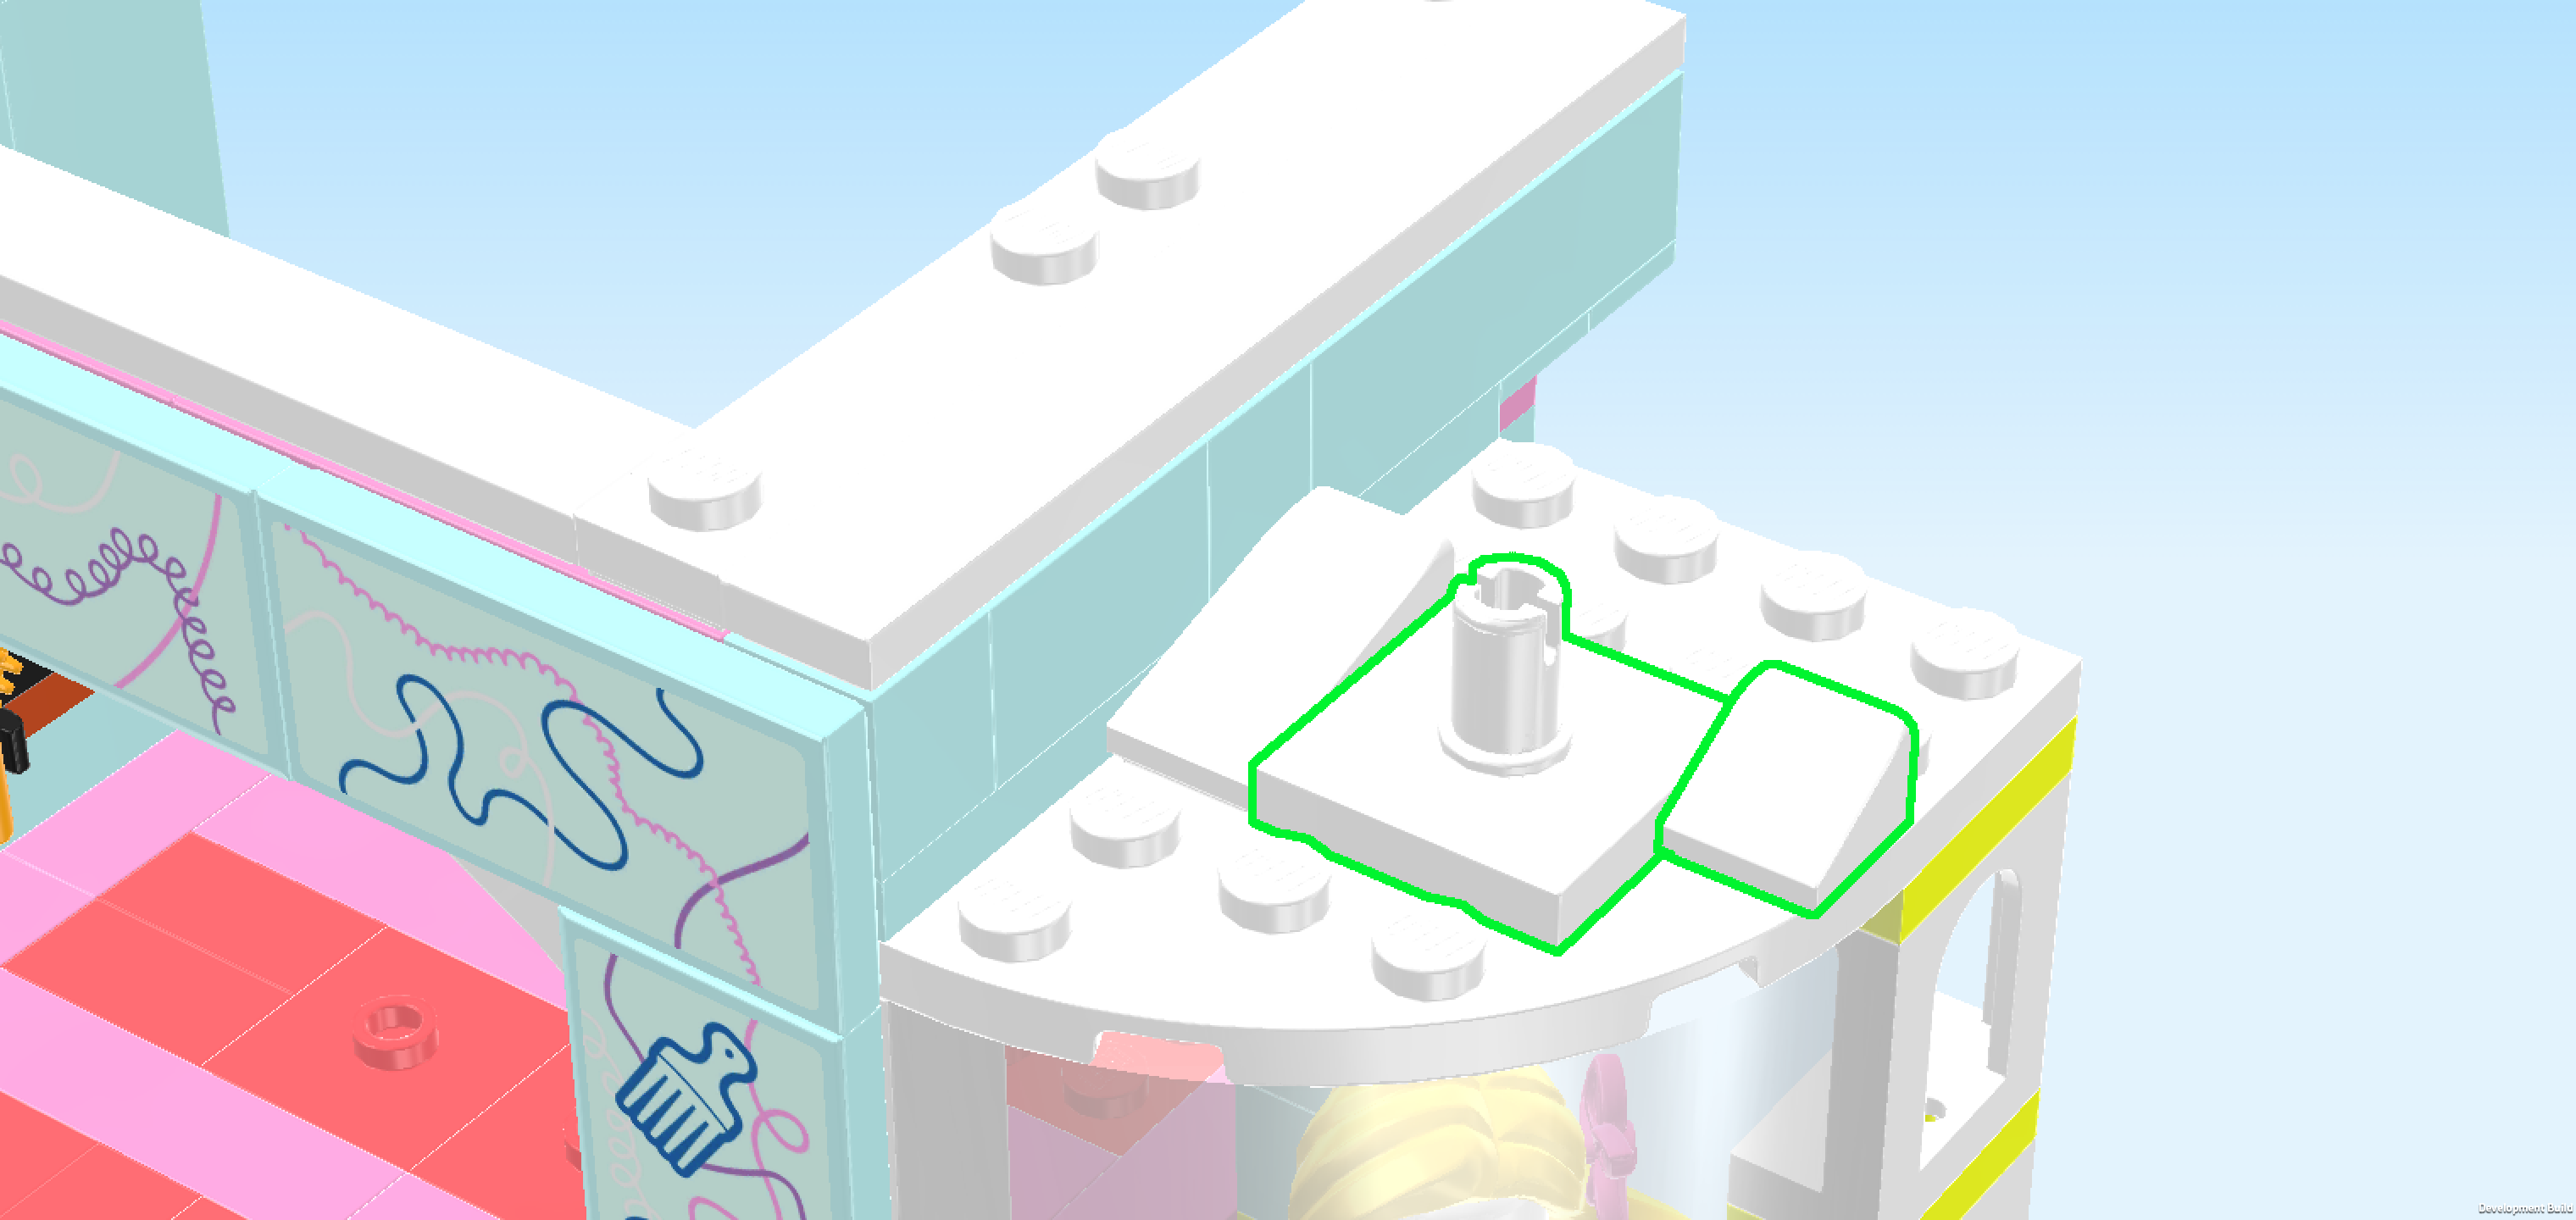
| Collect the following 2 pieces: |
| 1 white plate 2x2 with vertical top connector, |
| and 1 white smooth roof tile 1x1x⅔. |
| Put the plate with connector on the roof of the quarter-arched shop window directly to the right of the smooth roof tile 1x2 with long slope. |
| Put the smooth roof tile 1x1 to the right of the previous piece's back half, slope to the front. |
| Next up, we will build the shop sign. |
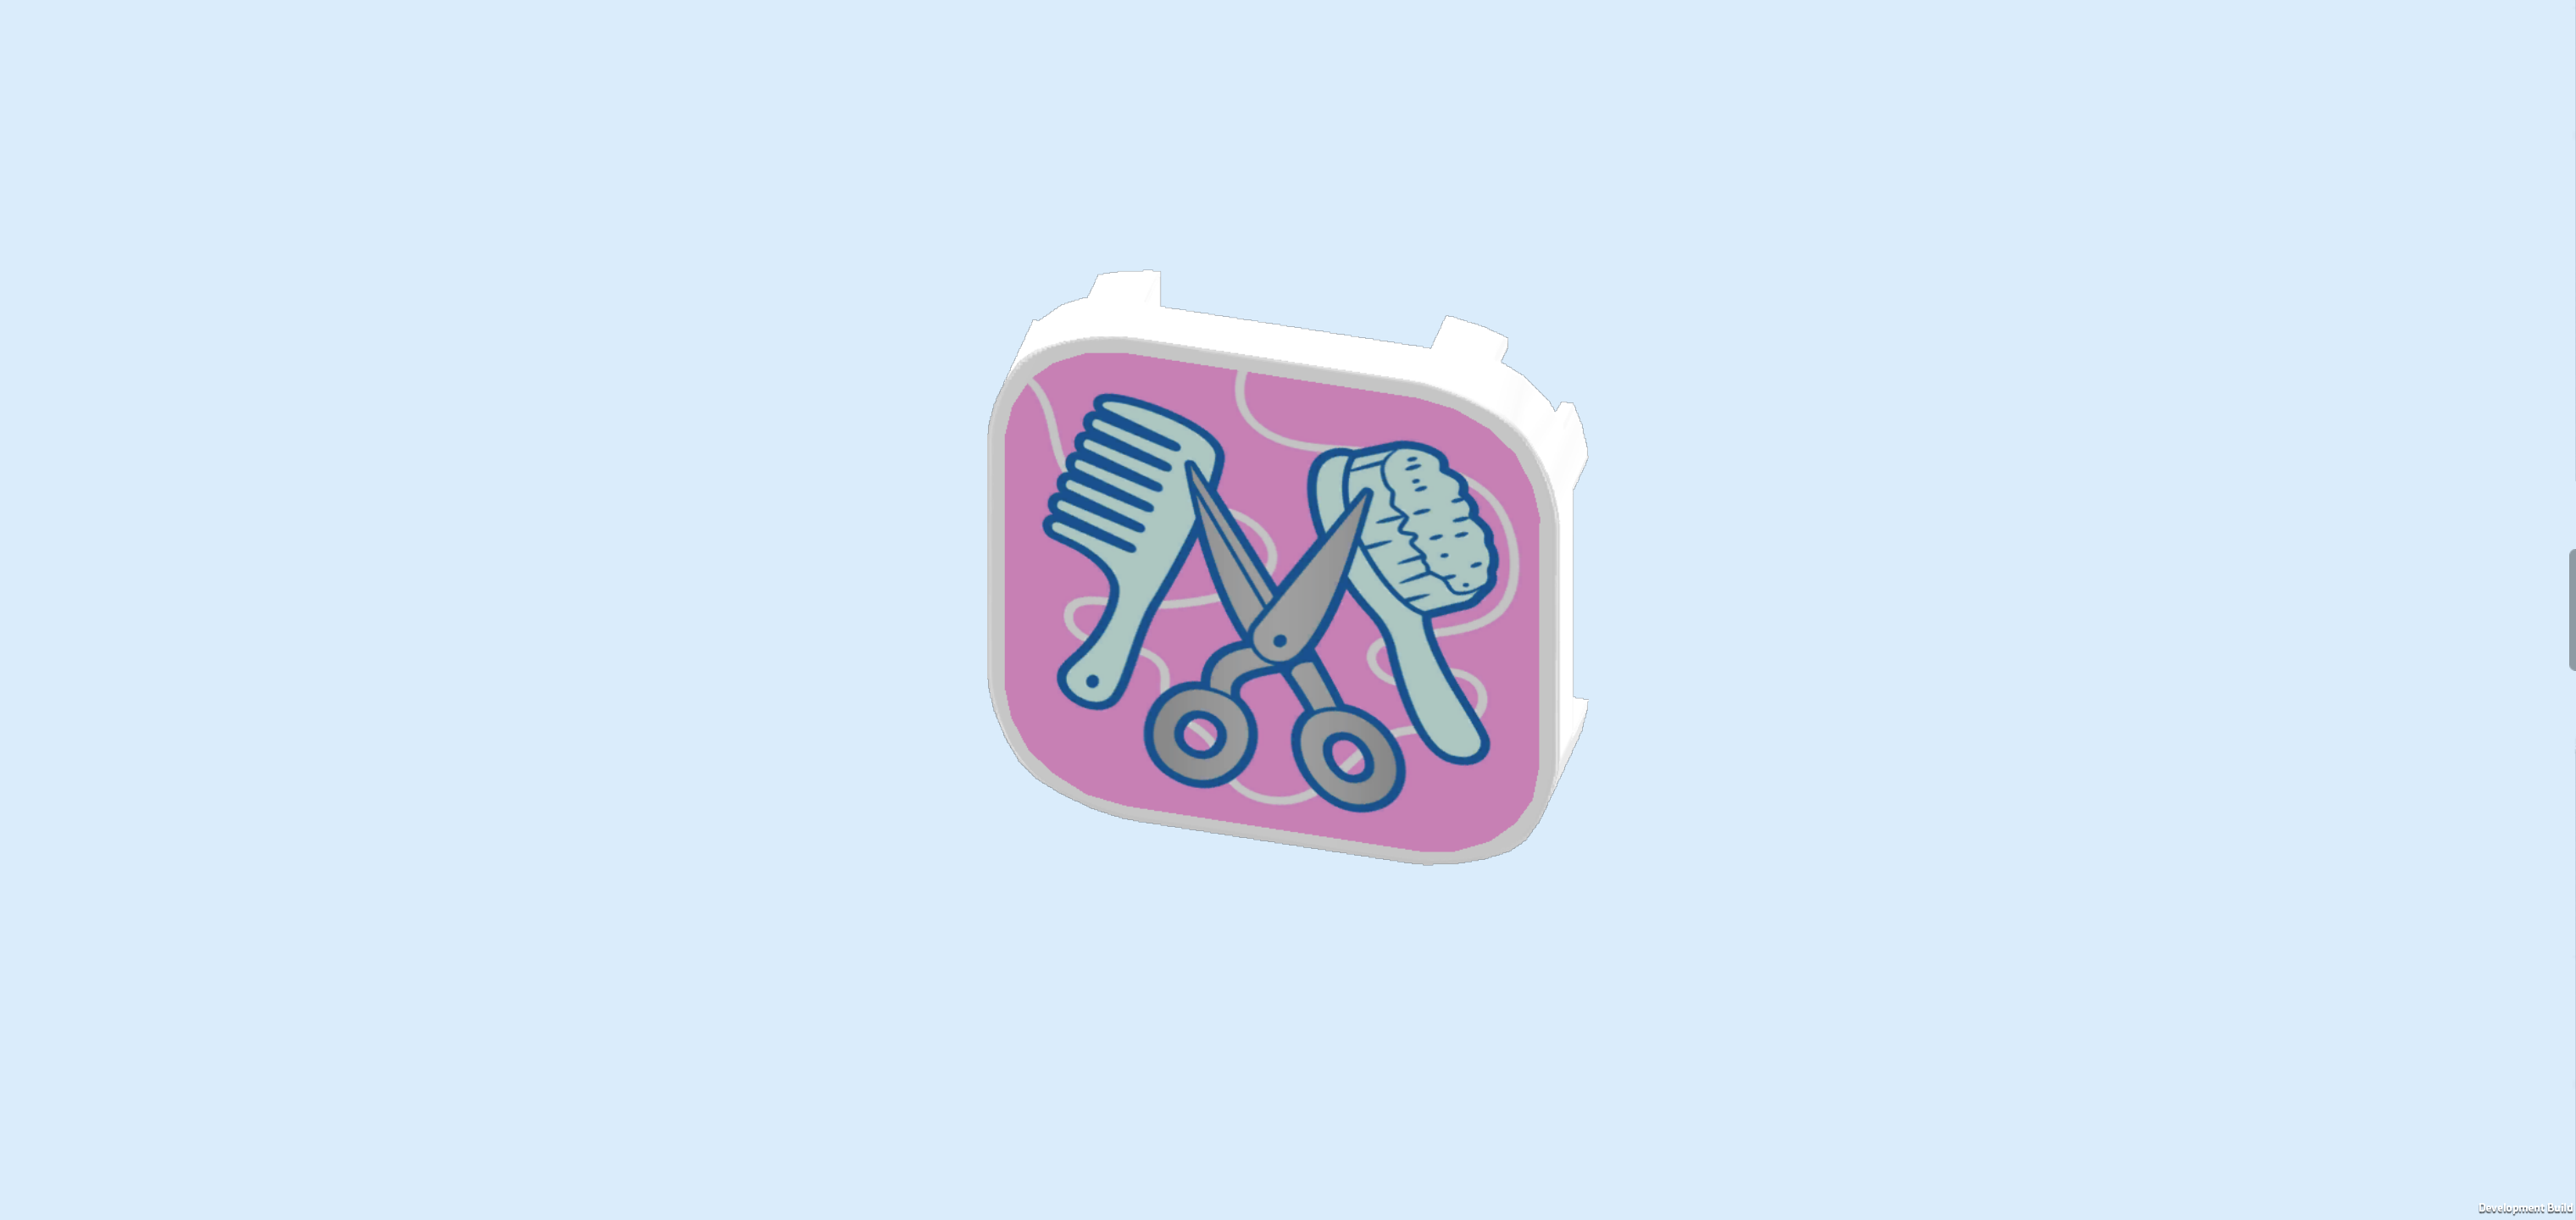
| Collect the following 2 pieces: |
| 1 white flat tile 4x4 with rounded corners and 4 feet, |
| and 1 medium stone grey plate 2x2 with 2 centered bottom tubes. |
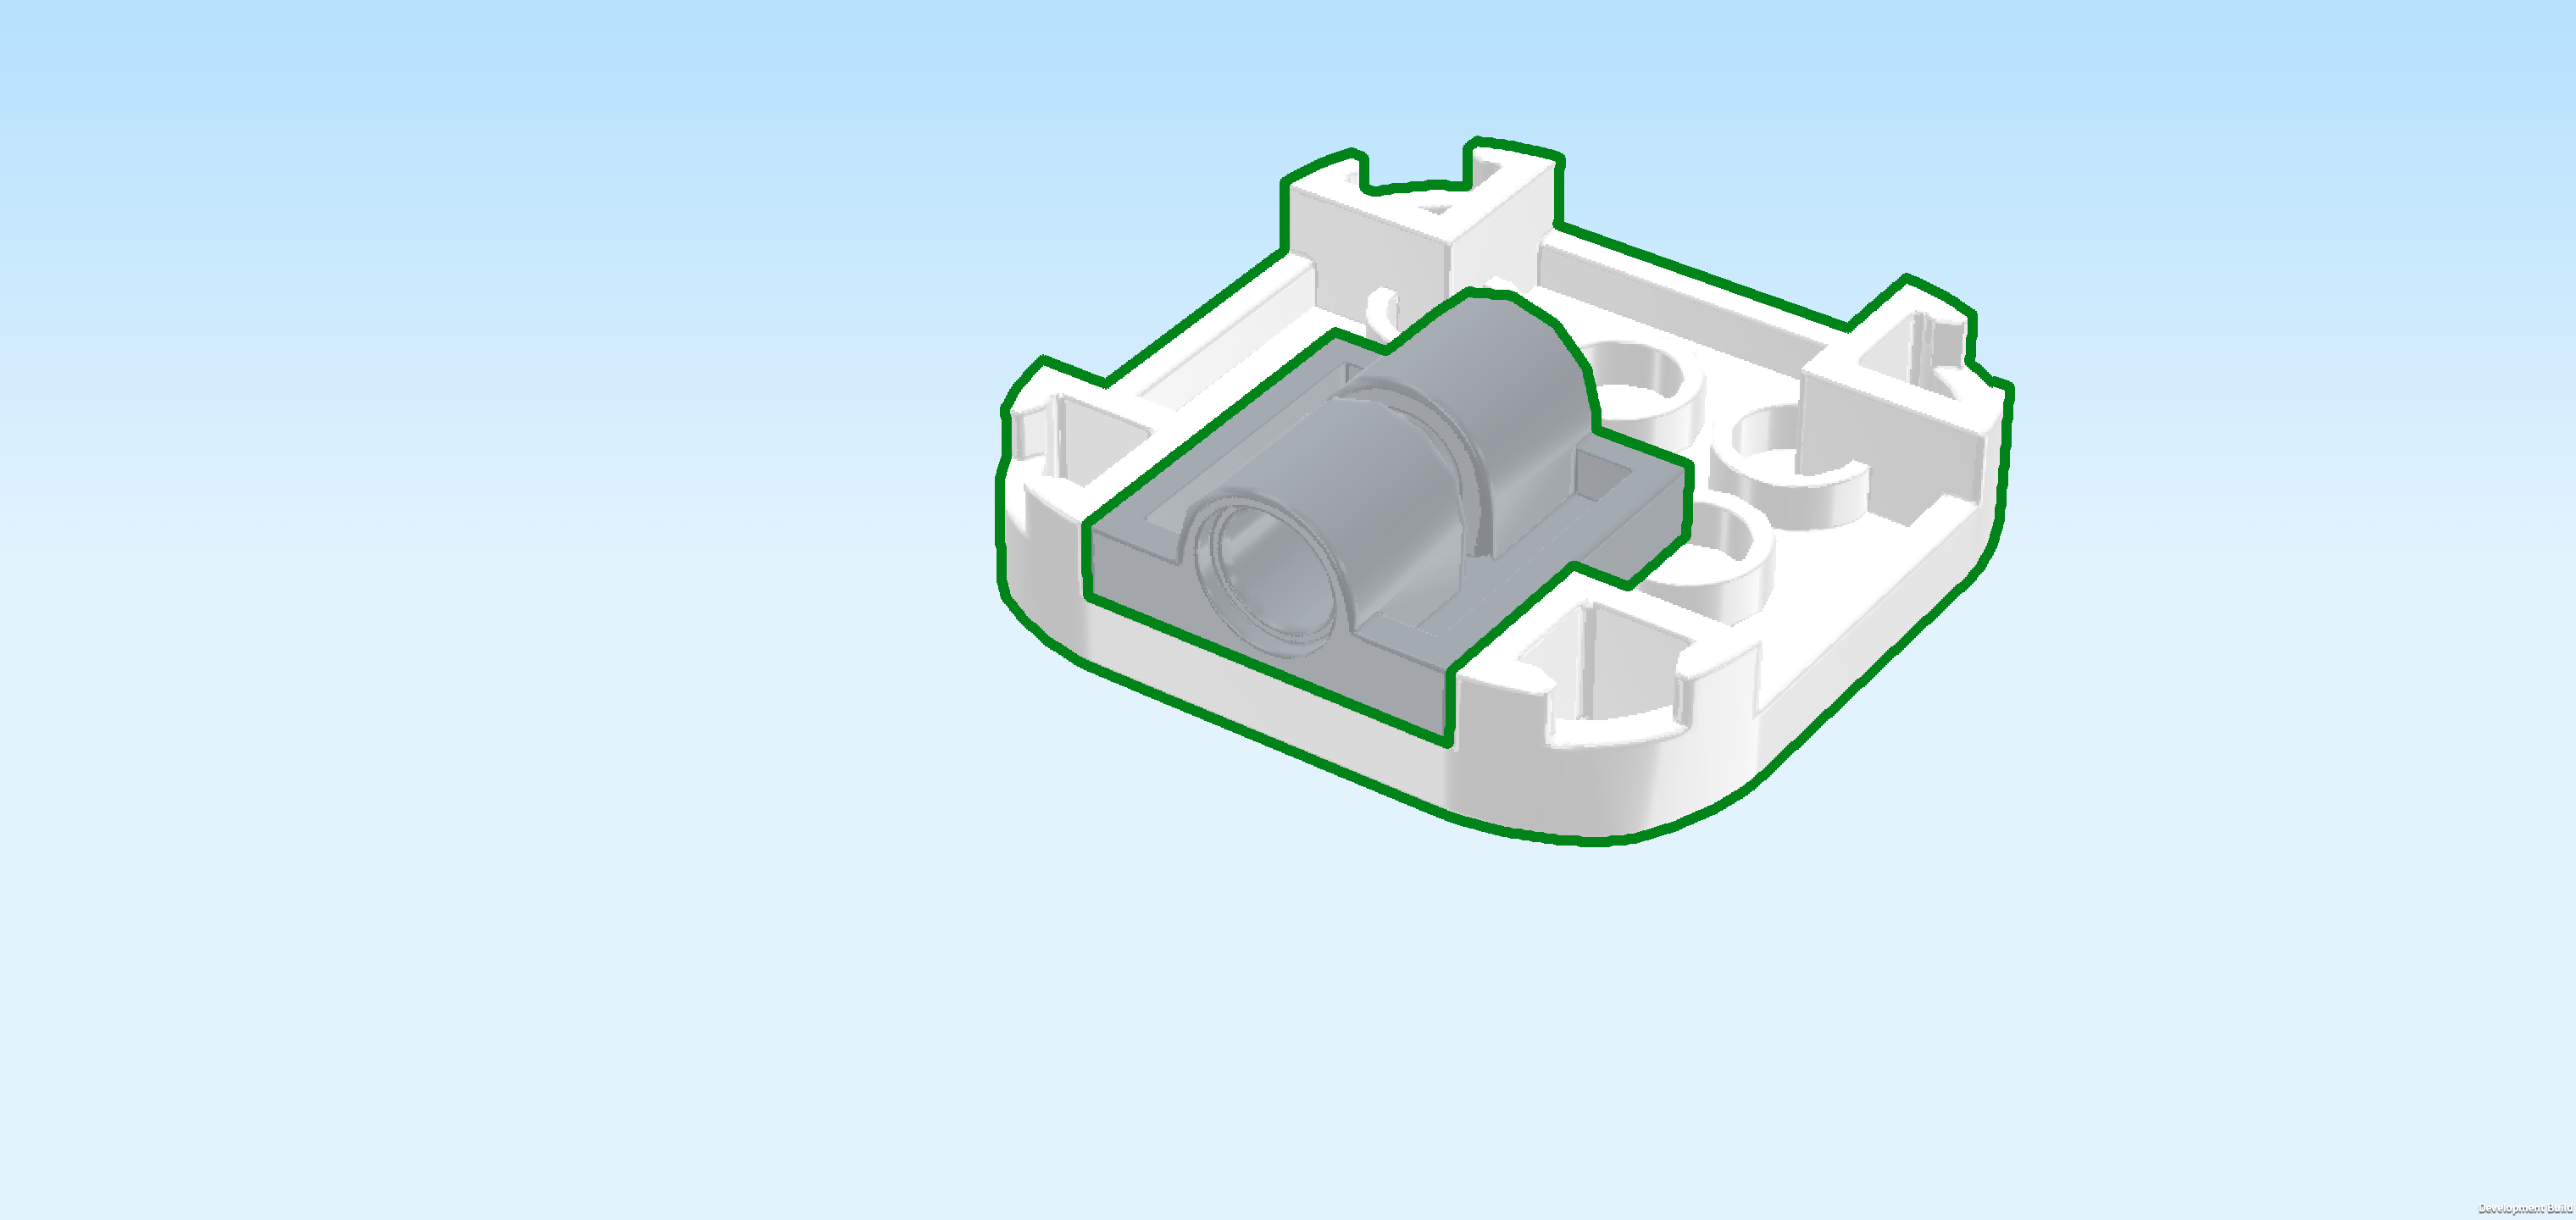
| Put the flat tile with rounded corners and feet upside down on the table. This means that its smooth surface touches the table. |
| Put the plate with tubes centered on the front edge of the previous piece, tube running from front to back, not from left to right. |
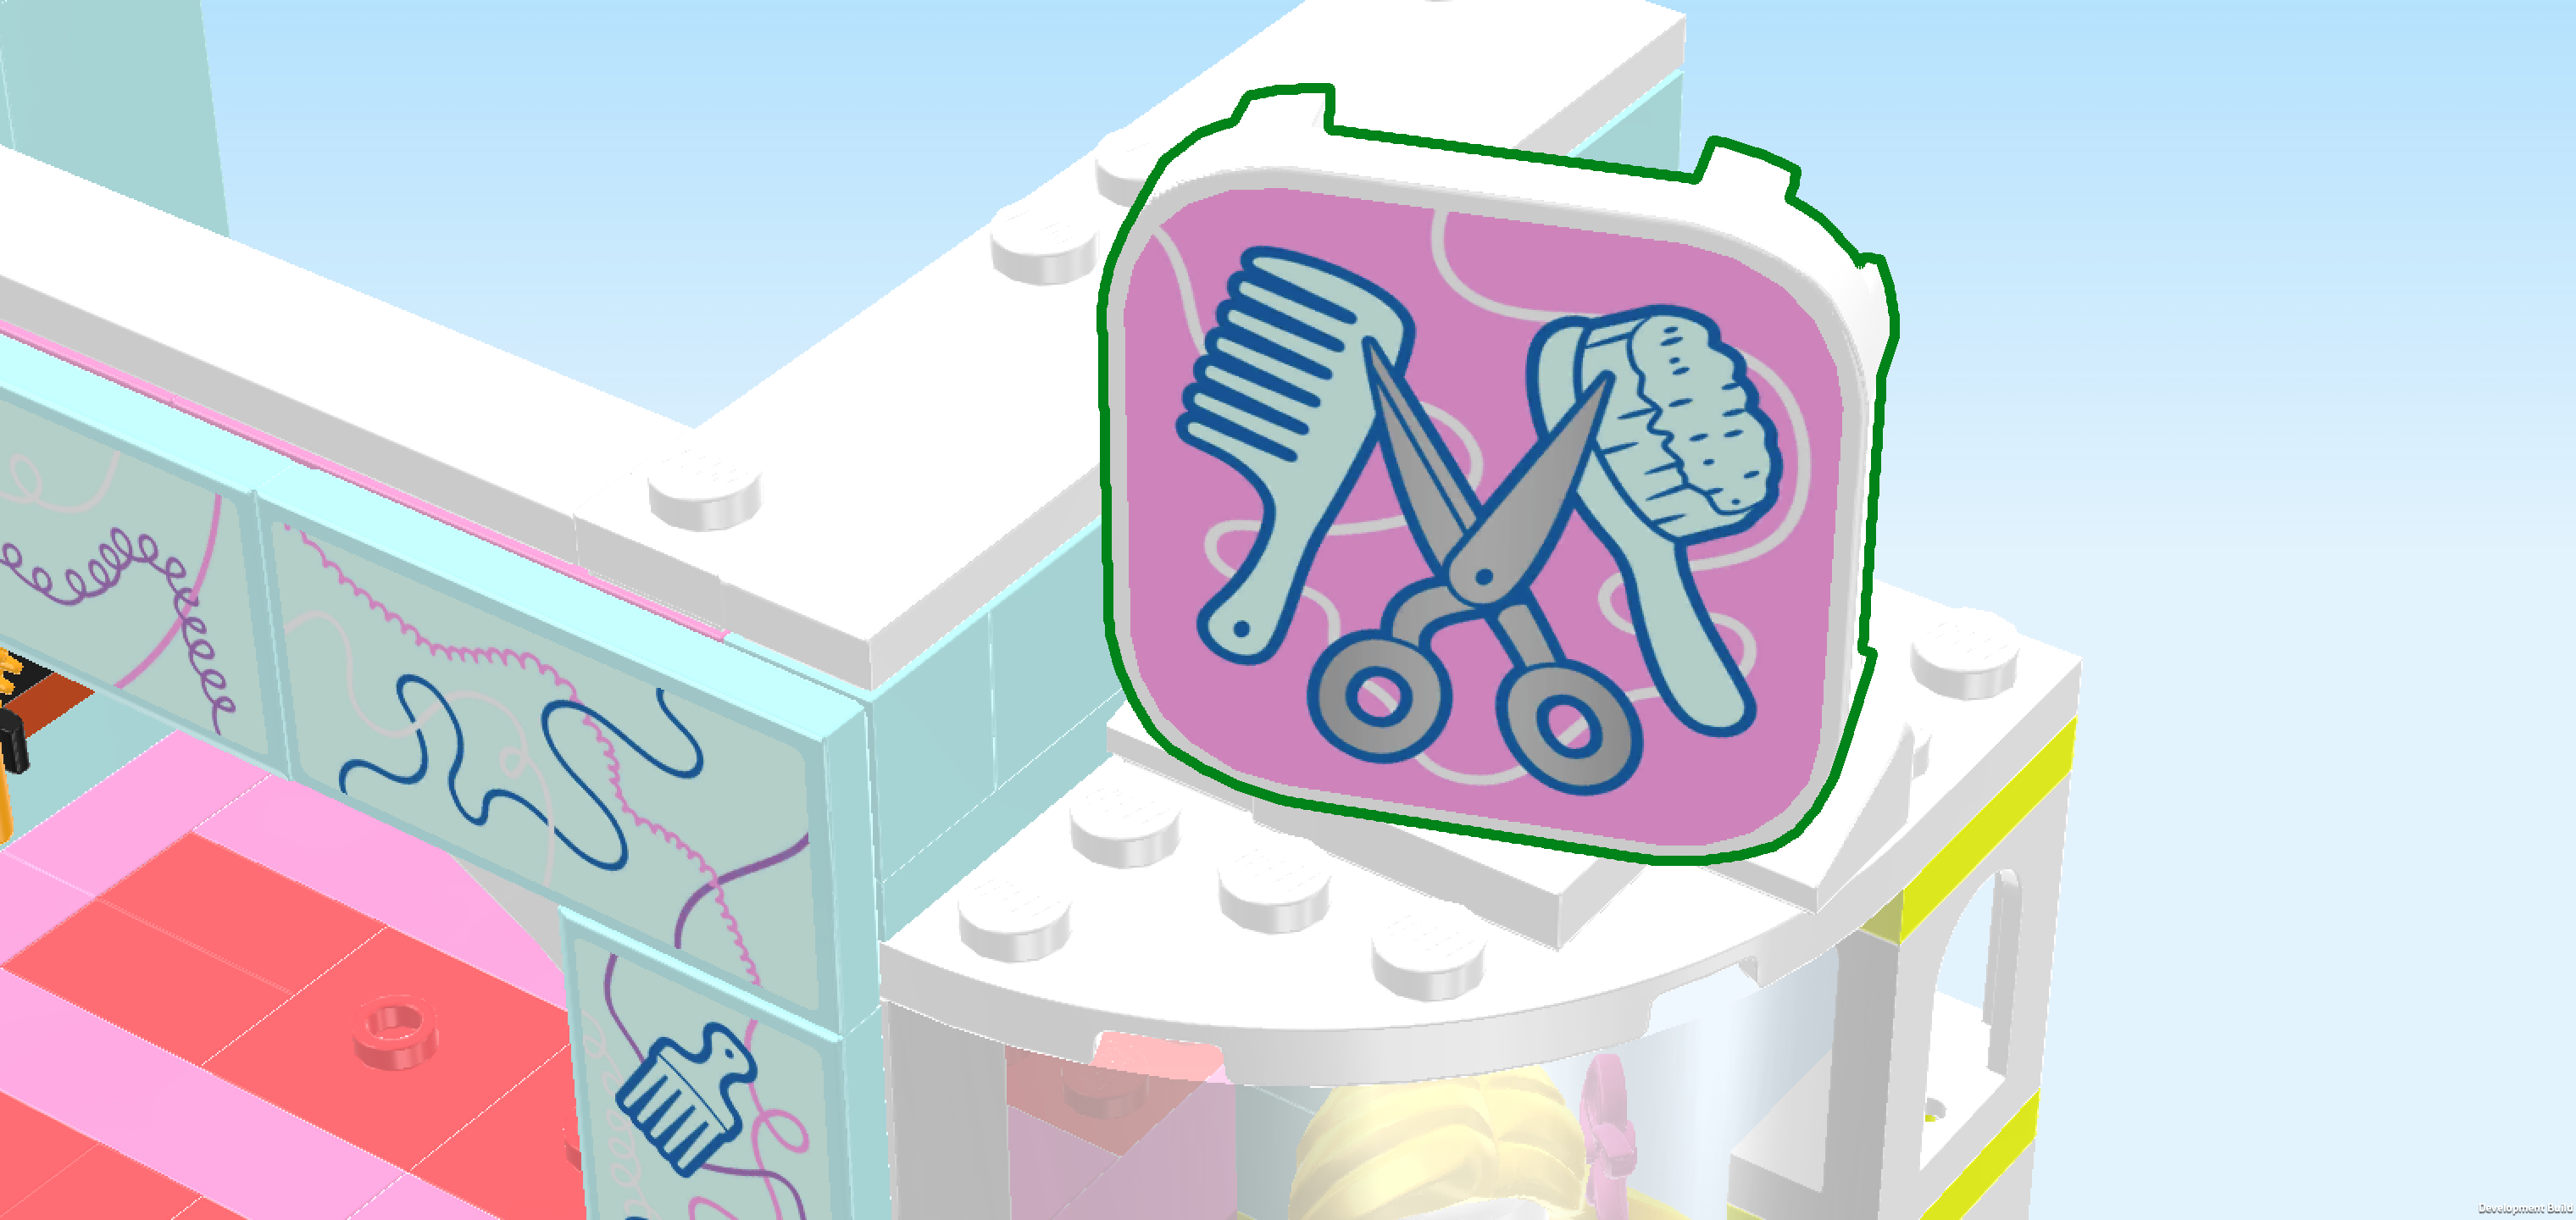
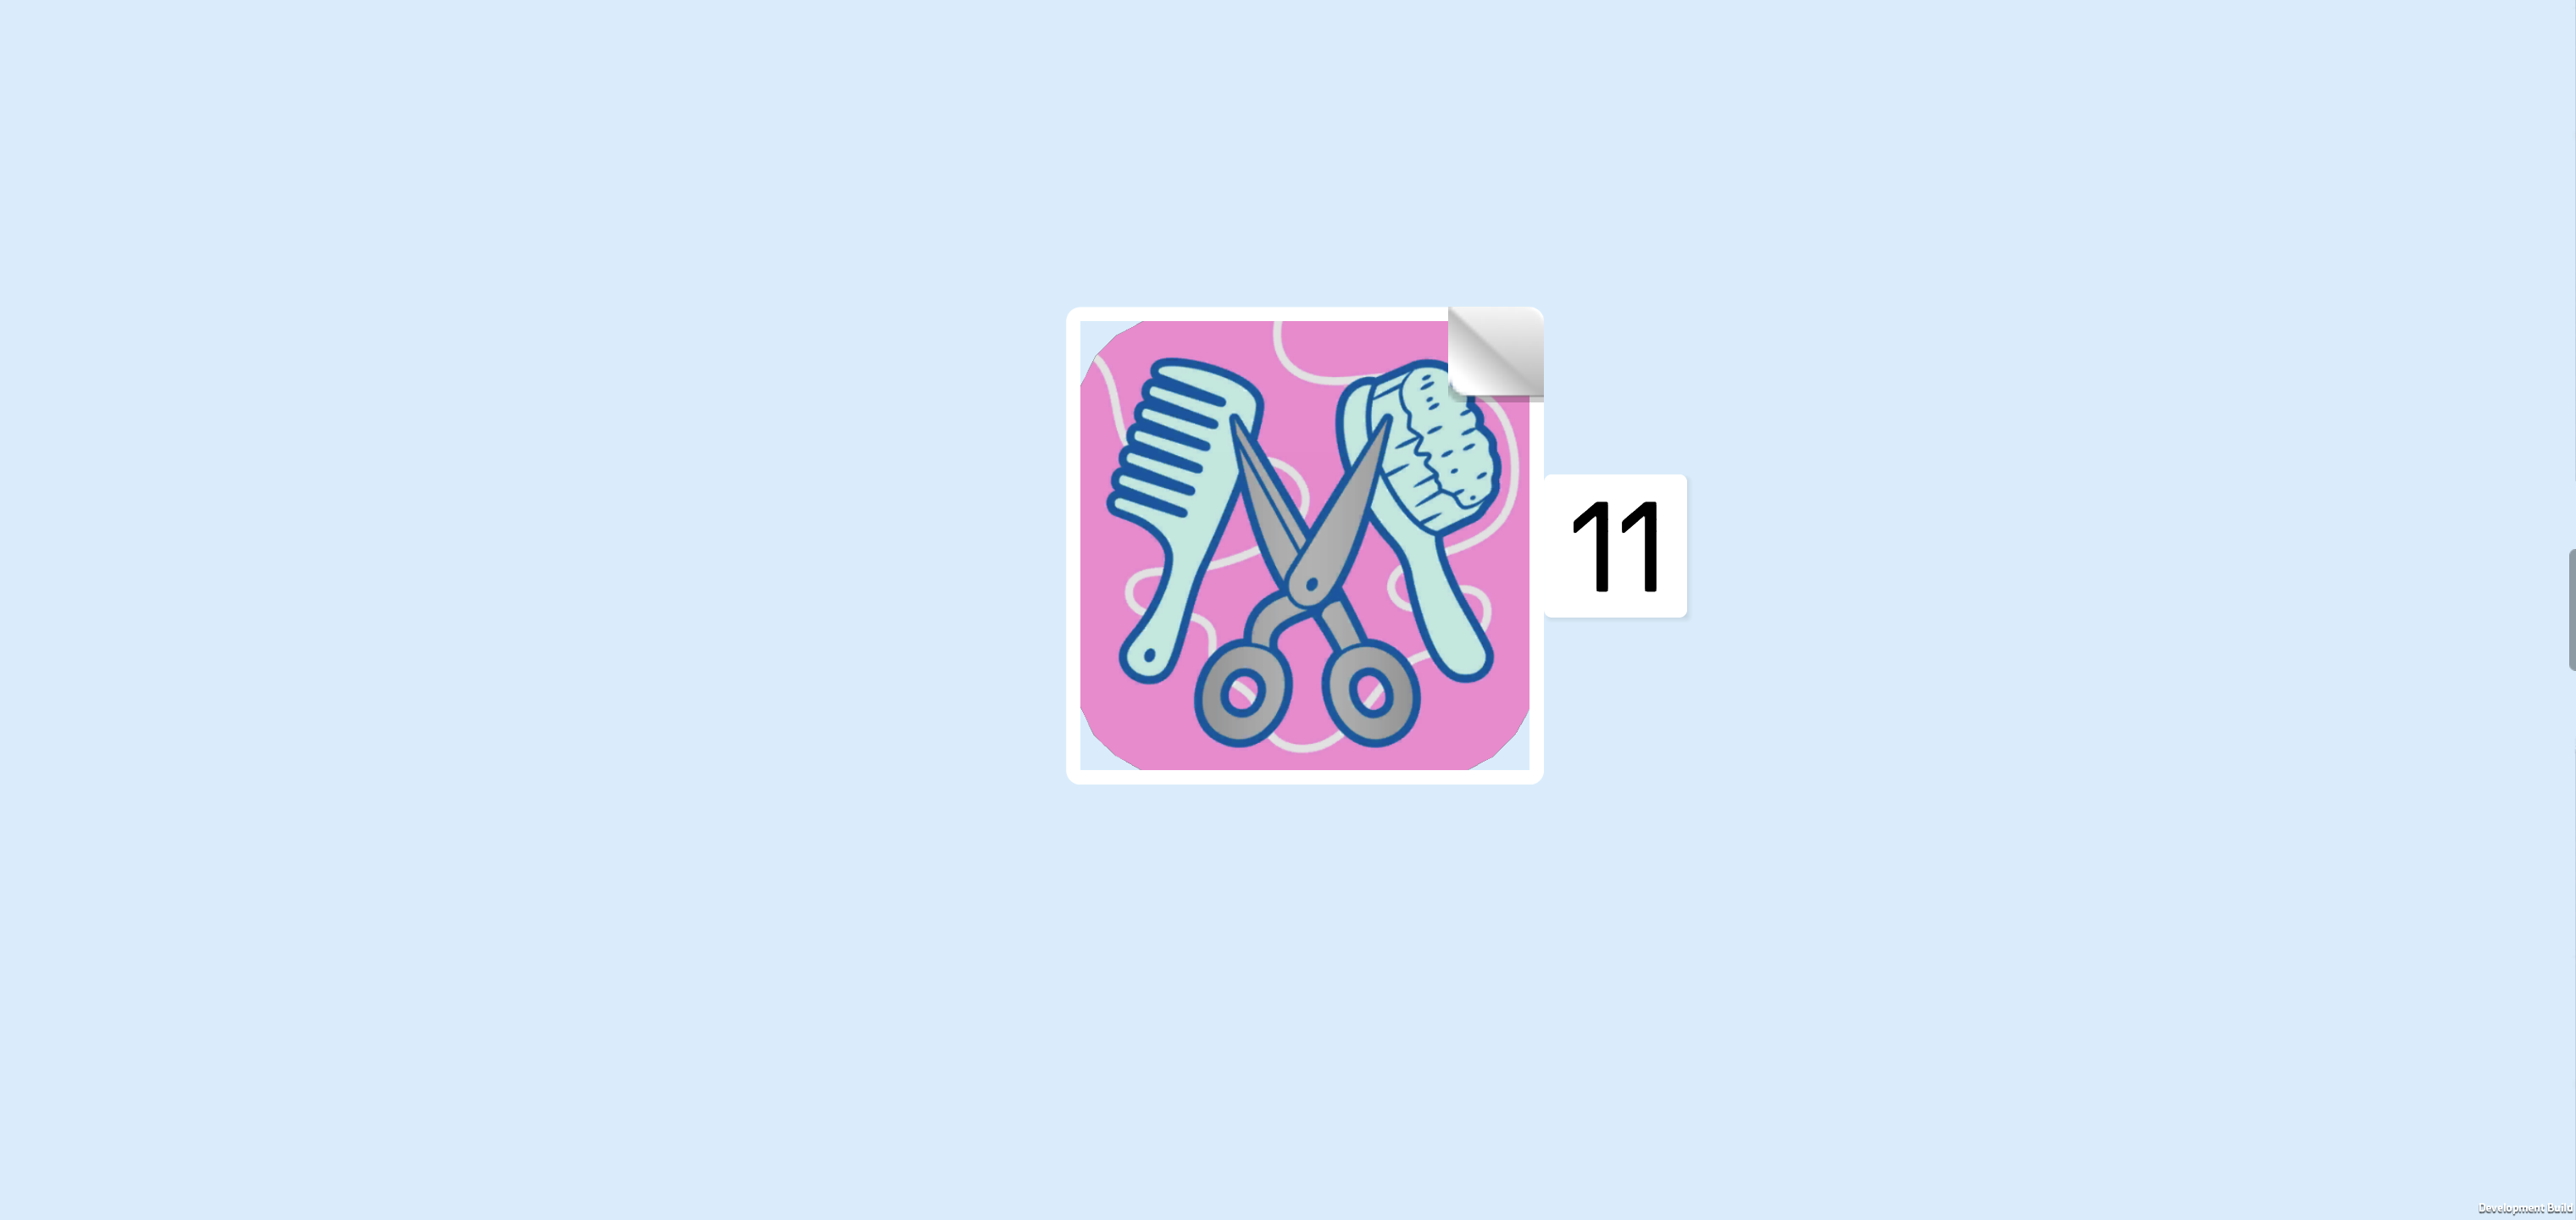
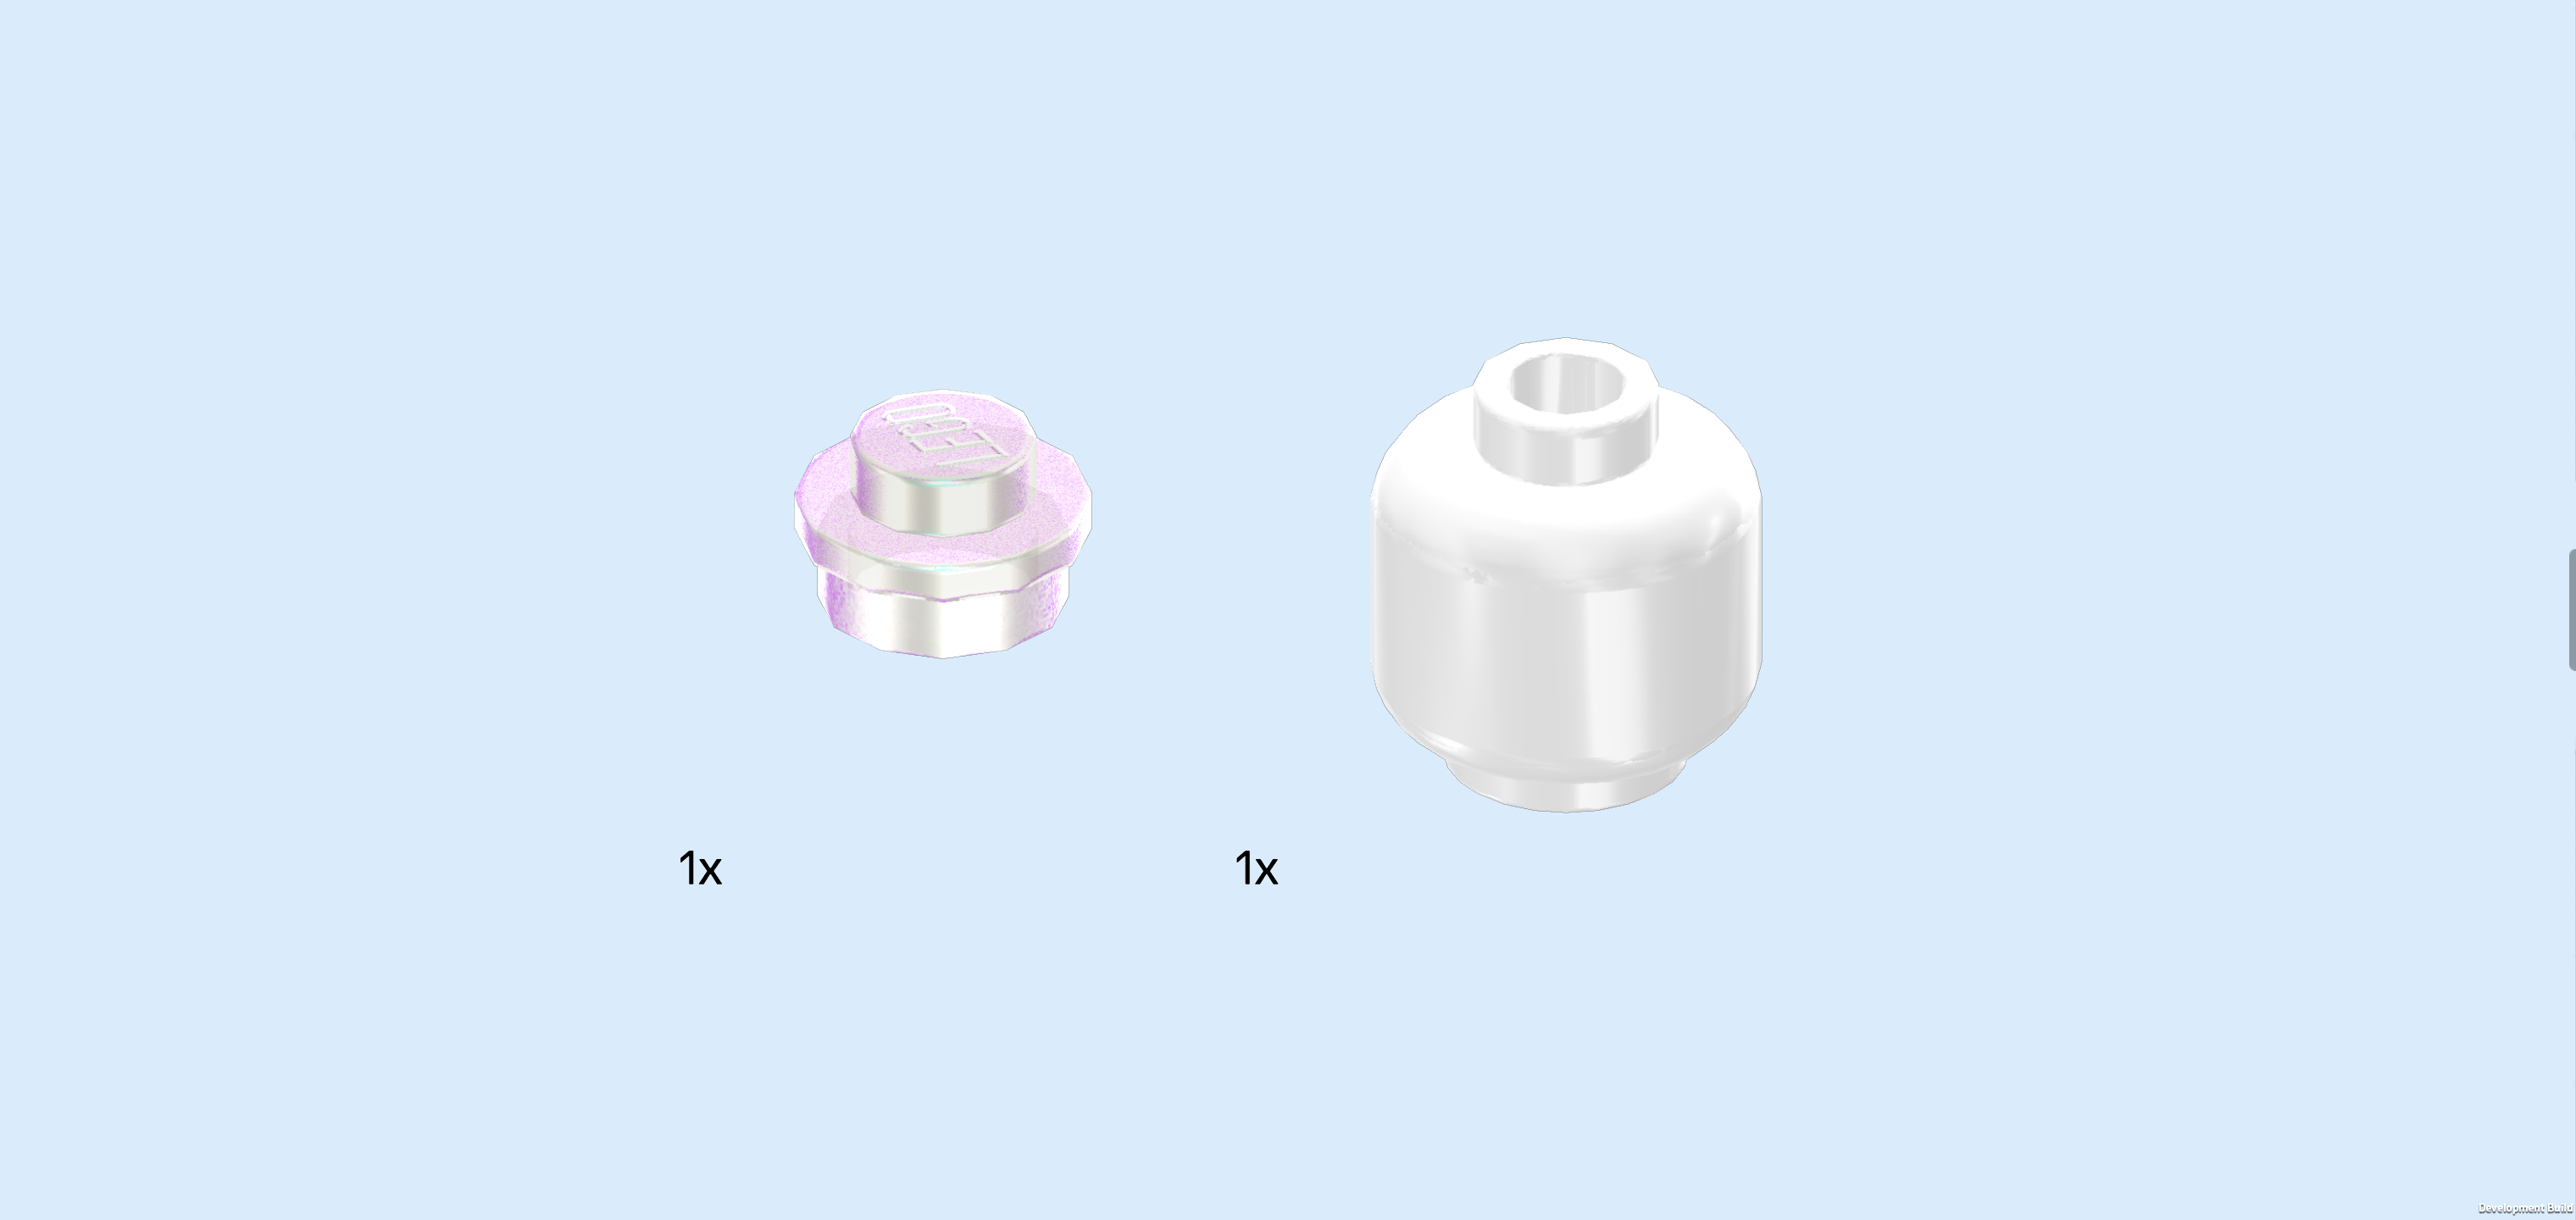
| Find 1 square sticker 4x4 with hair salon logo. |
| Flip the sign structure right side up again. Put the sticker on the smooth surface, matching its shape. |
| The sticker is pink with white squiggly lines in the background and a pair of silver scissors, a light blue hairbrush and a light blue comb in its center. |
| The shop sign is finished! Well done! Flip it upright so that the smooth or stickered surface is facing you. Make sure the plate with tube is at the bottom edge with the tube hole running from top to bottom, not left to right. |
| Insert the connector on the quarter-arched roof from the bottom into the tube of the sign. Adjust the sign so that it is oriented at an angle towards the front right. |
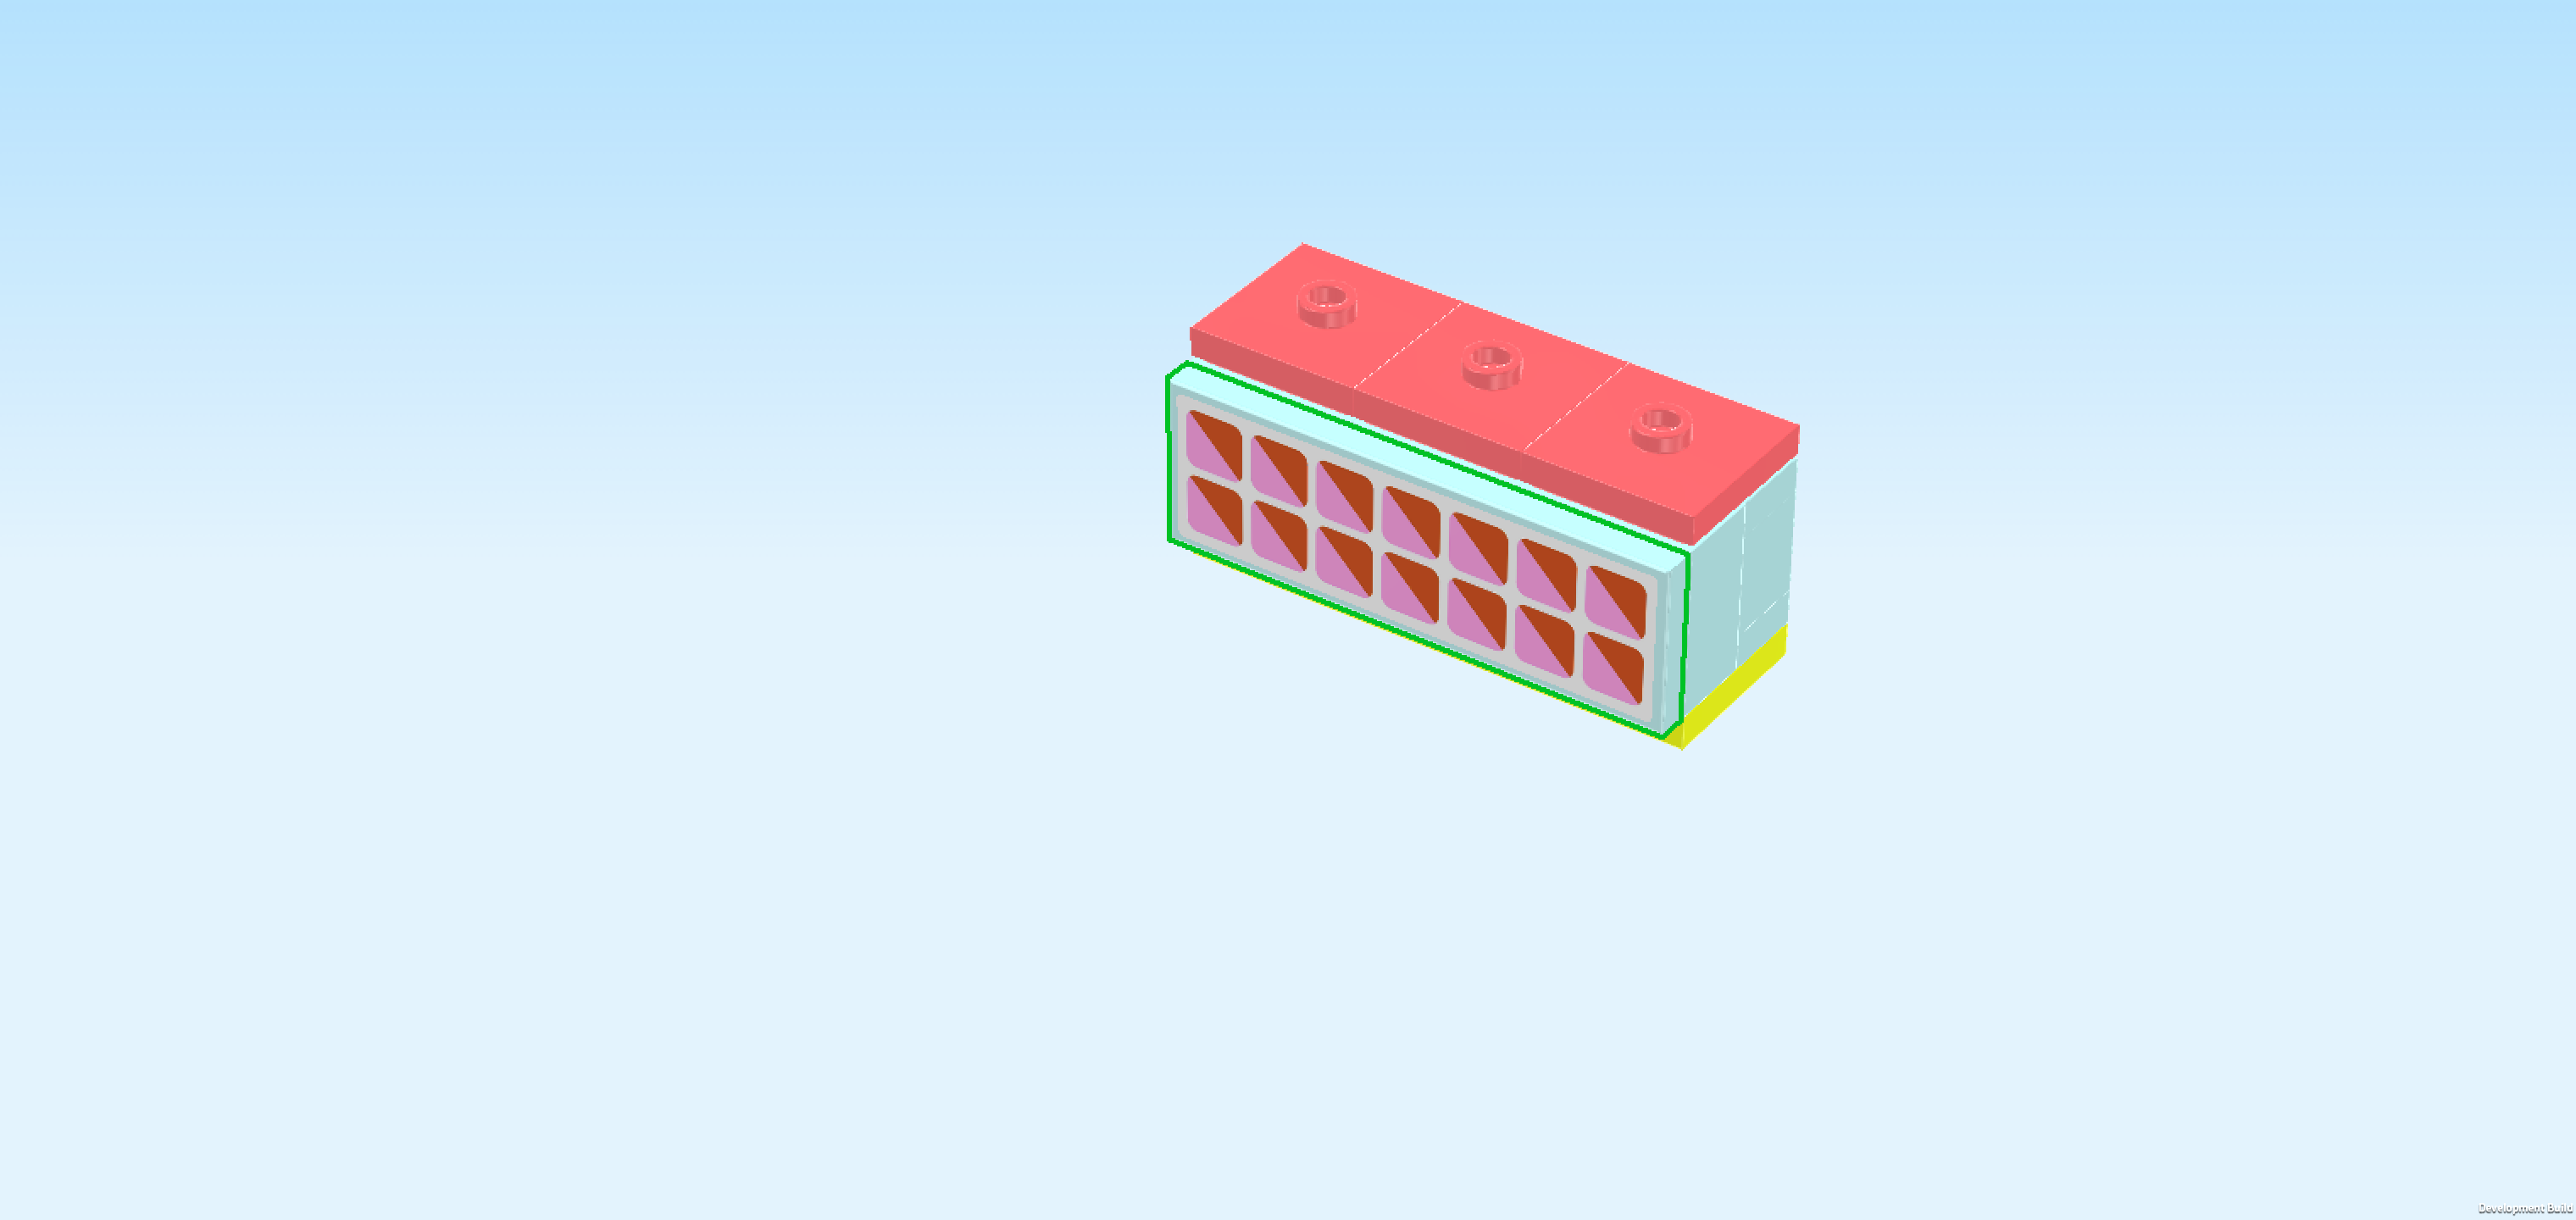
| Next up, we will build the wig display with hair products. |
| Collect the following 2 pieces: |
| 1 vibrant yellow plate 2x4, |
| and 1 aqua blue plate 1x6. |
| Put the plate 2x4 horizontally on the table. |
| Put the plate 1x6 horizontally centered on the back row, symmetrically overhanging to the left and right. |
| Find 2 vibrant yellow plates 1x2. |
| Put 1 vertically underneath the rightmost knob of the previous piece, 1/2 protruding to the front. |
| Repeat symmetrically on the left. |
| Collect the following 2 pieces: |
| 1 aqua blue brick 1x6, |
| and 1 aqua blue plate 1x6. |
| Put the brick 1x6 horizontally on the back row. |
| Put the plate 1x6 horizontally on top of the previous piece. |
| Find 3 aqua blue bricks 1x2x1⅔ with 4 side knobs. |
| Put them horizontally next to each other on the front row, all side knobs pointing to the front. |
| Find 3 salmon pink plates 2x2 with 1 knob. |
| Put them next to each other on the top surface of the structure. |
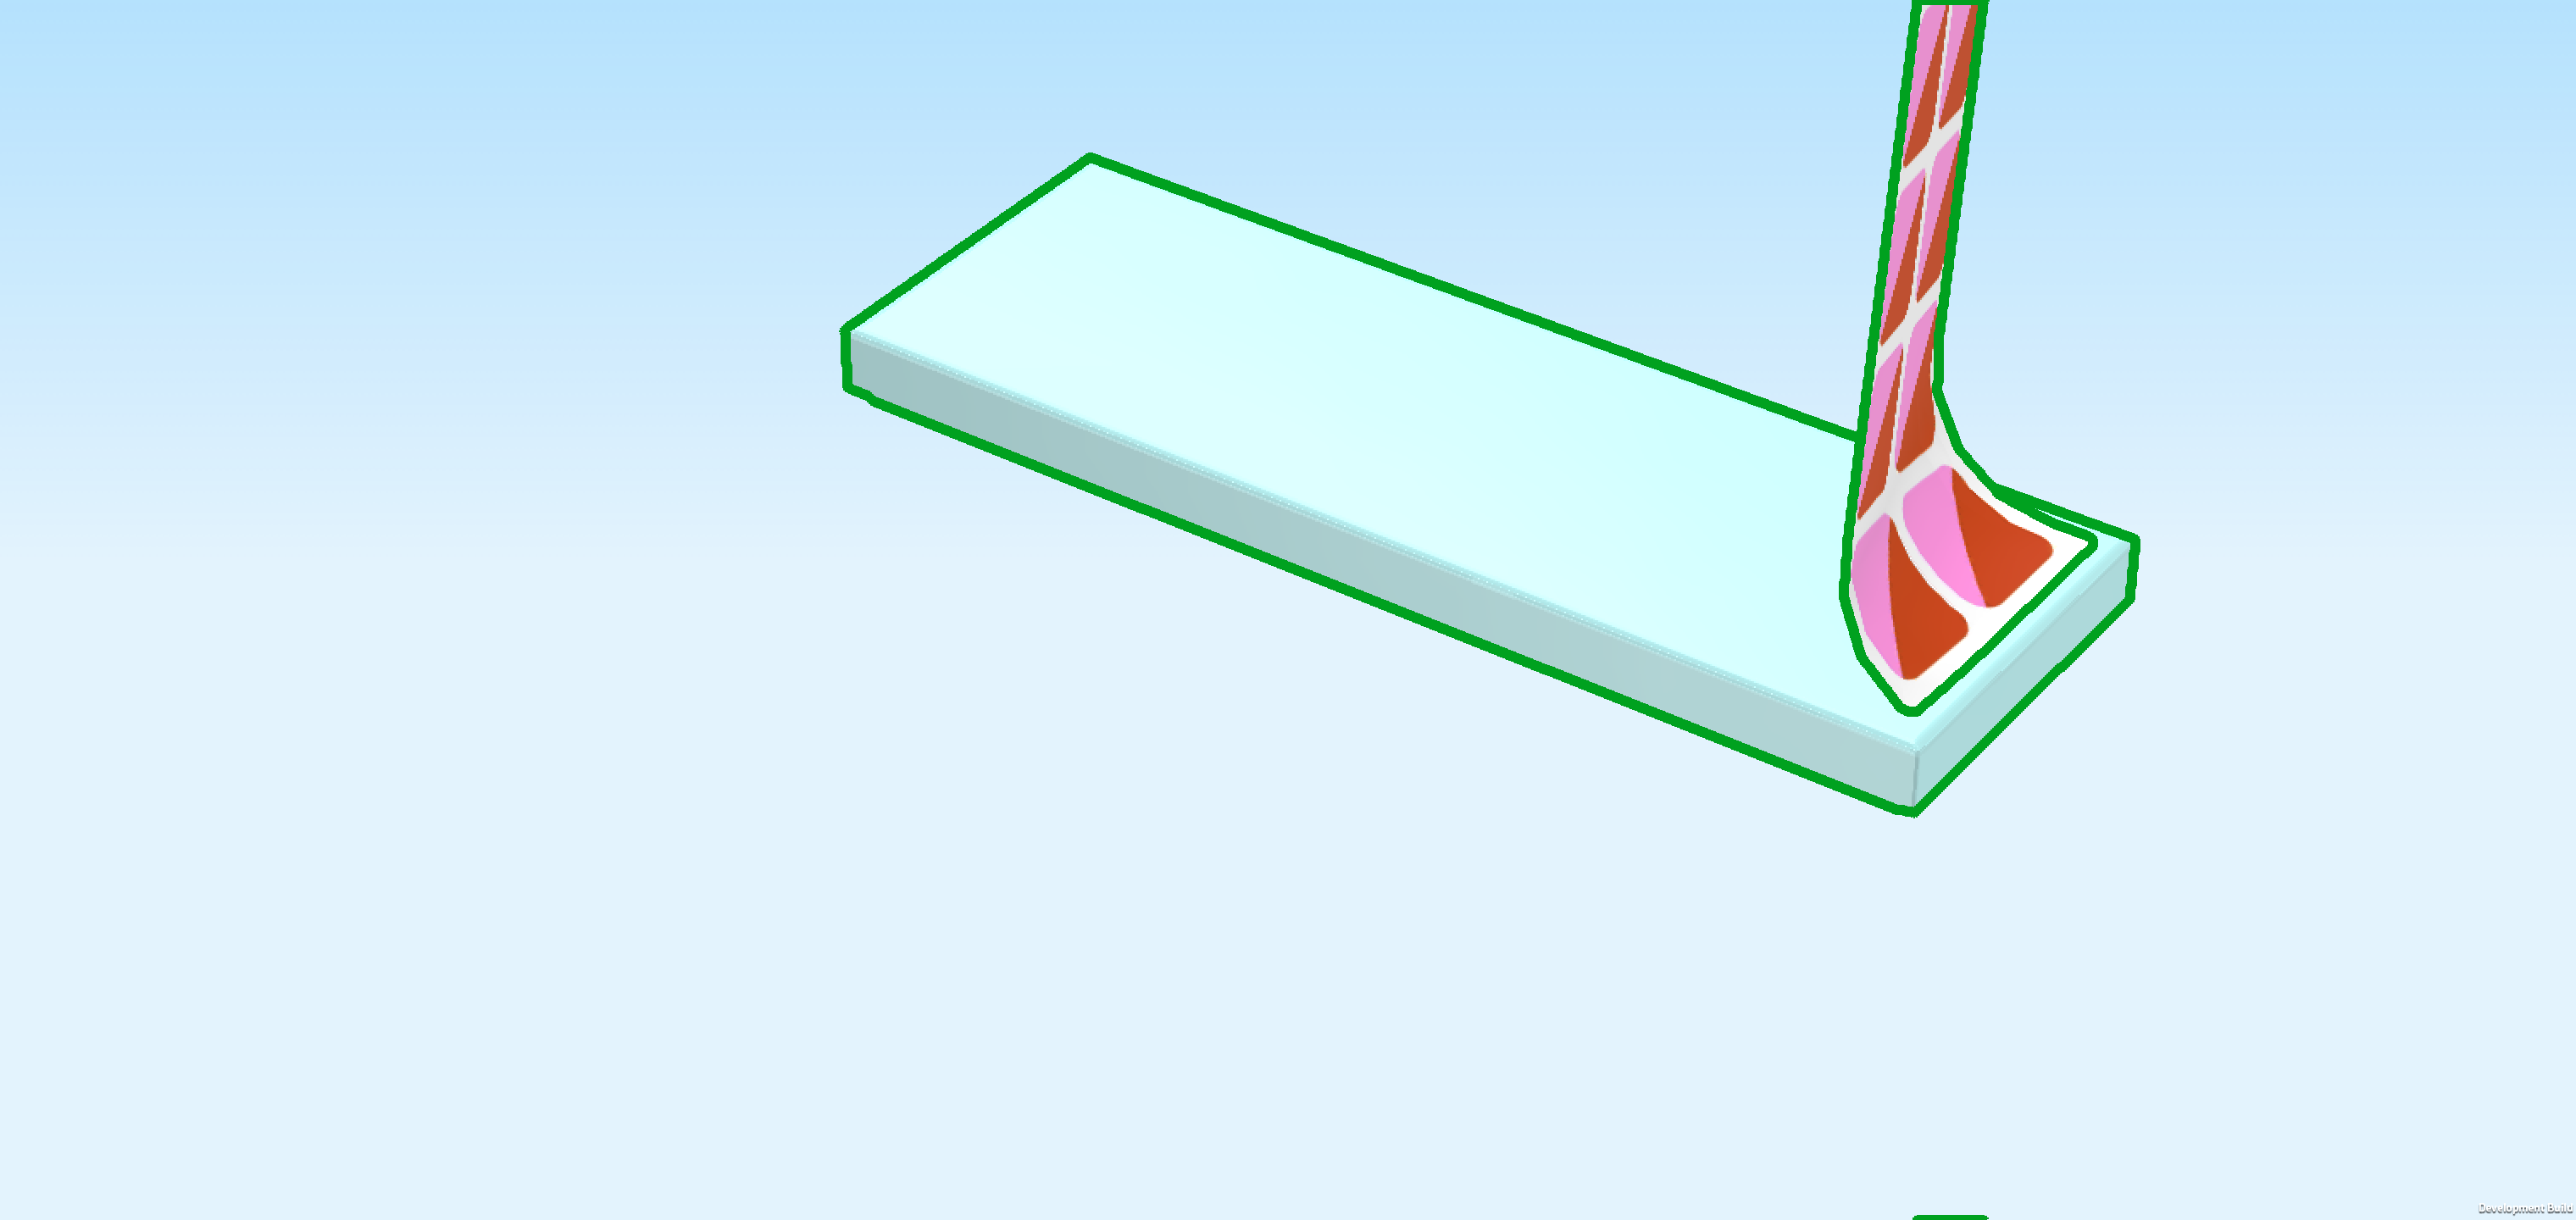
| Collect the following 2 pieces: |
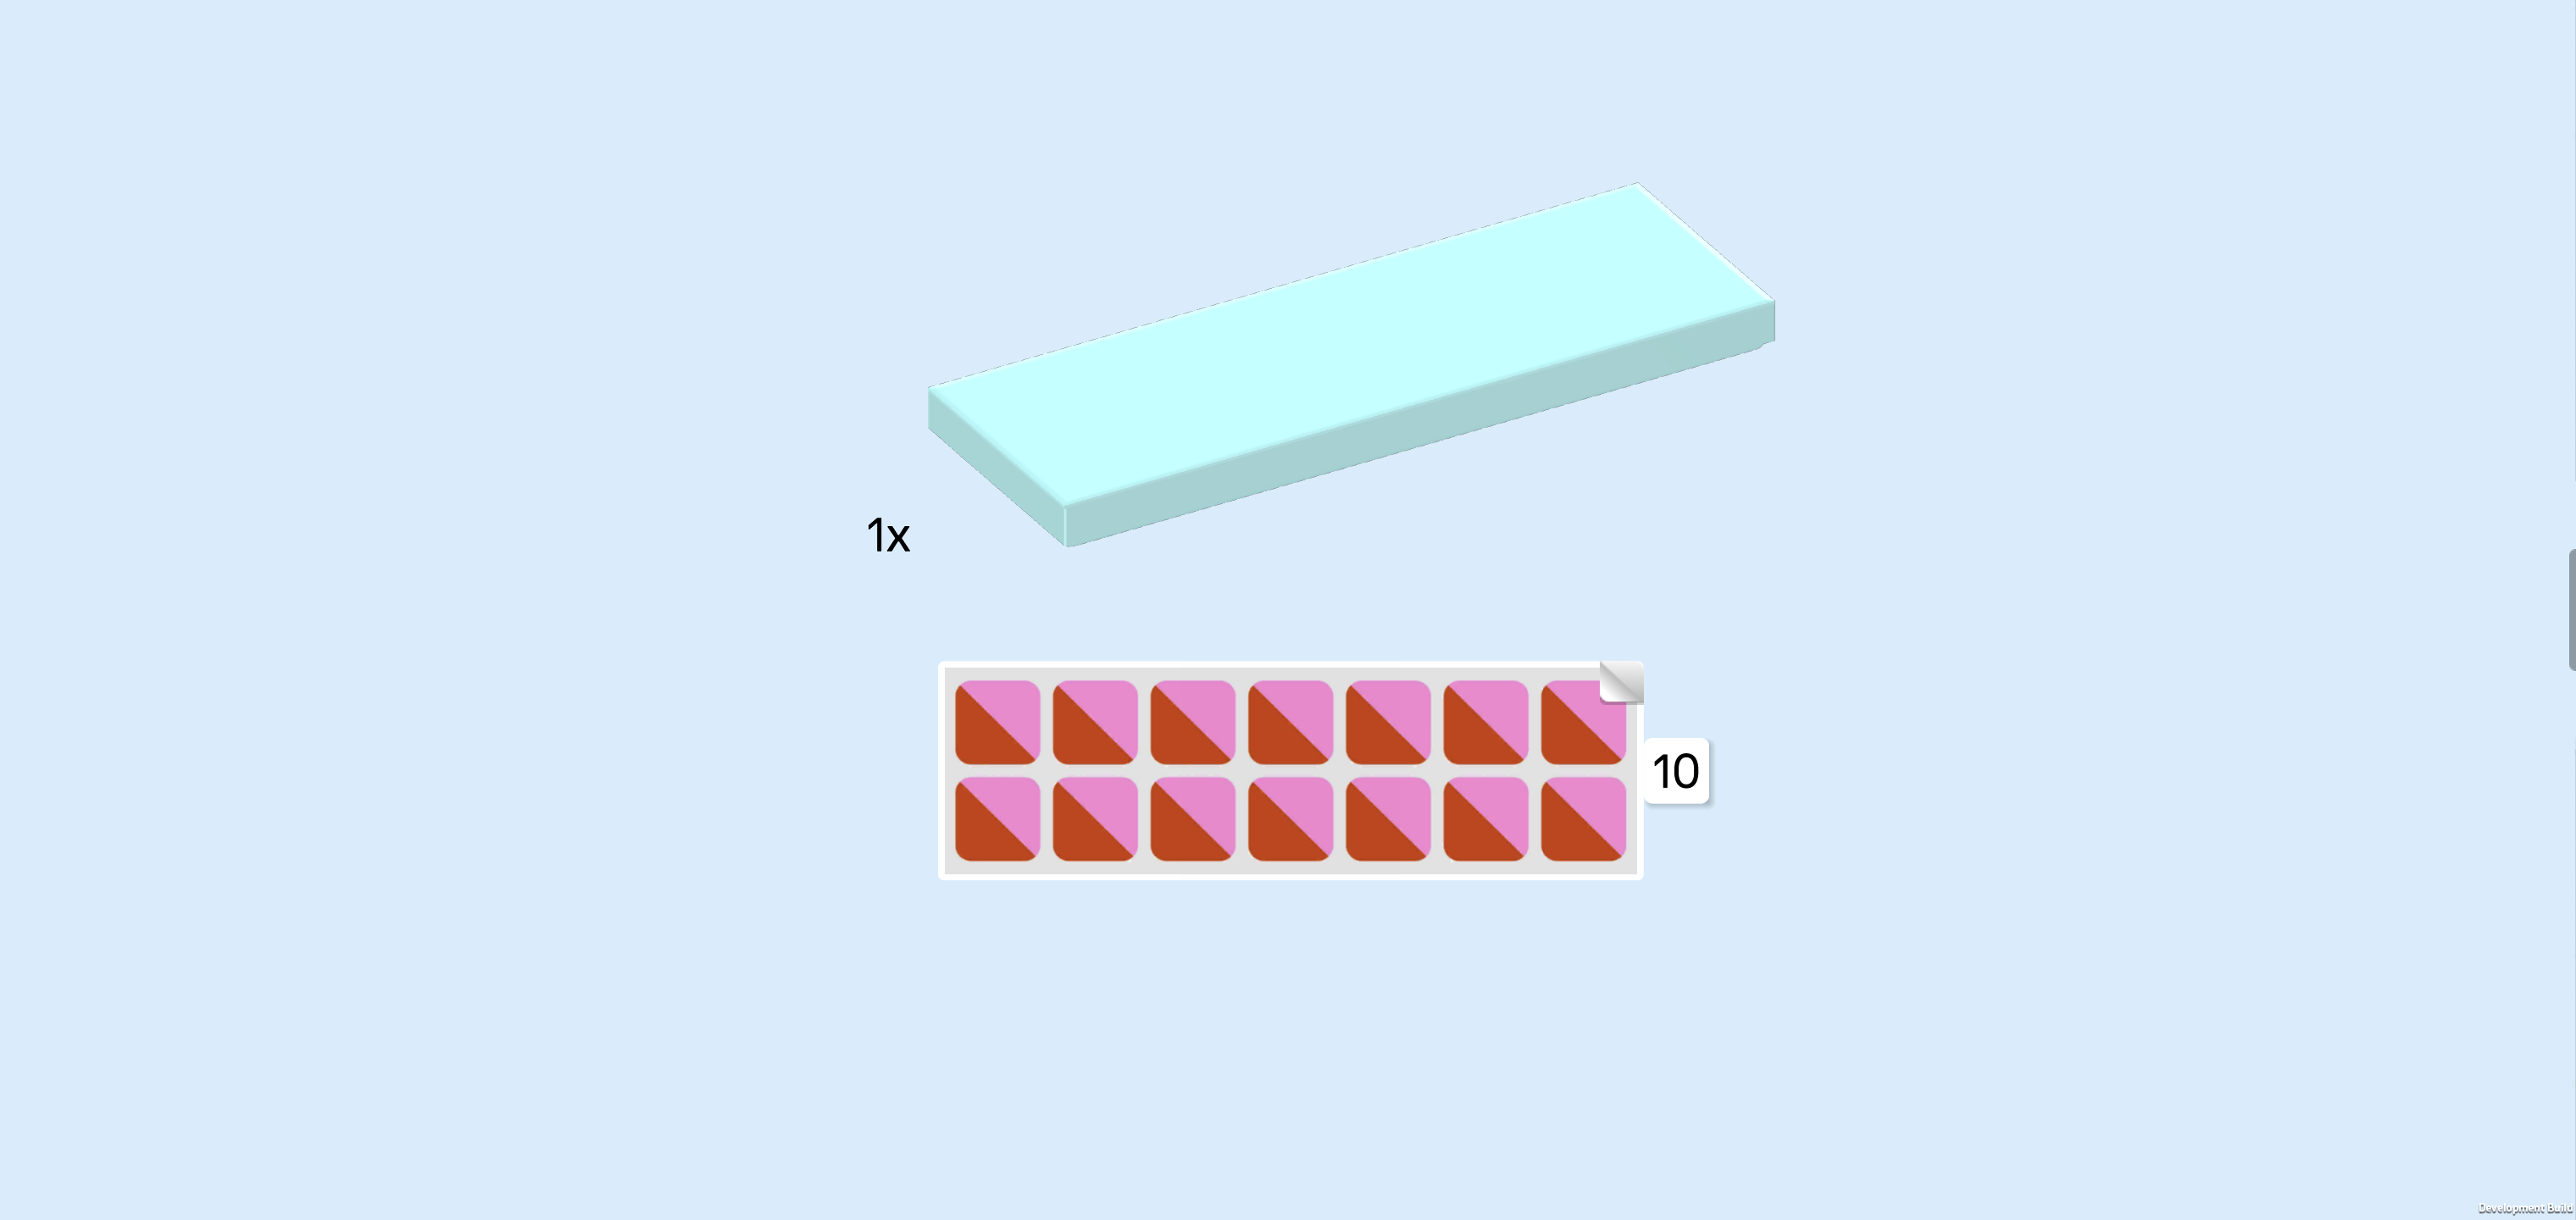
| 1 aqua blue flat tile 2x6, |
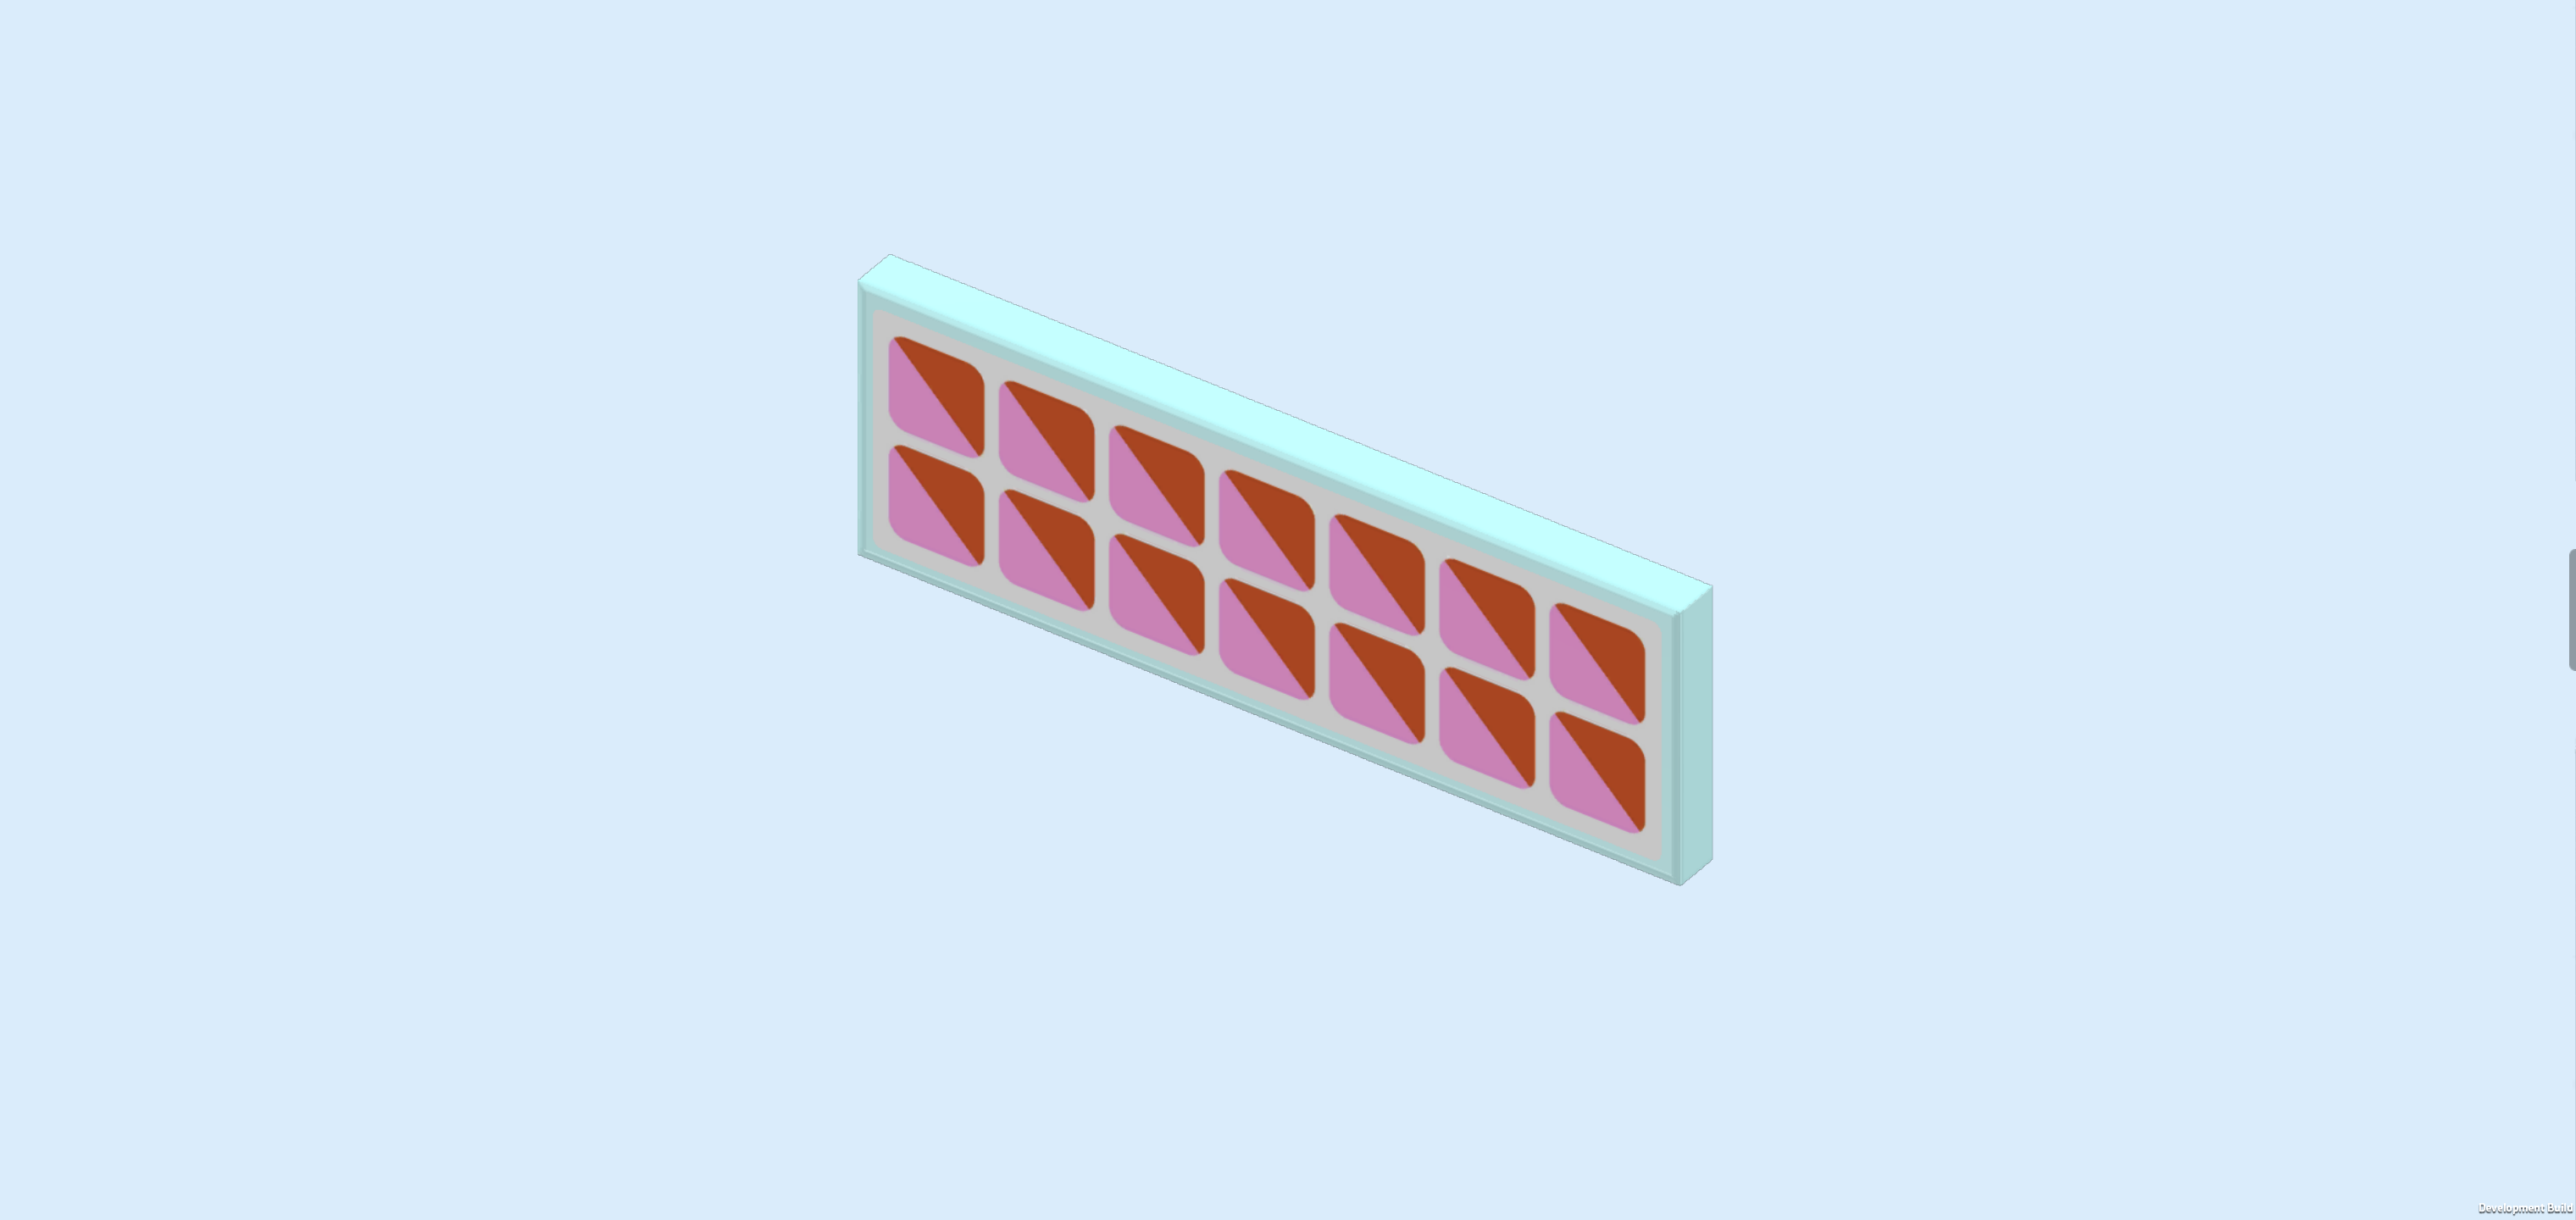
| and 1 rectangular sticker 2x6 with ceramic tiles. |
| Put the rectangular sticker 2x6 on top of the flat tile, matching its shape. |
| The sticker is printed to look like a wall of decorative ceramic tiles. There are 2 rows of square ceramic tiles with 7 tiles per row. The are bicolor tiles in pink and red separated diagonally where the bottom left half is pink and the top right half is red. |
| Flip the flat tile upright and mount it horizontally on the 12 side knobs pointing to the front. |
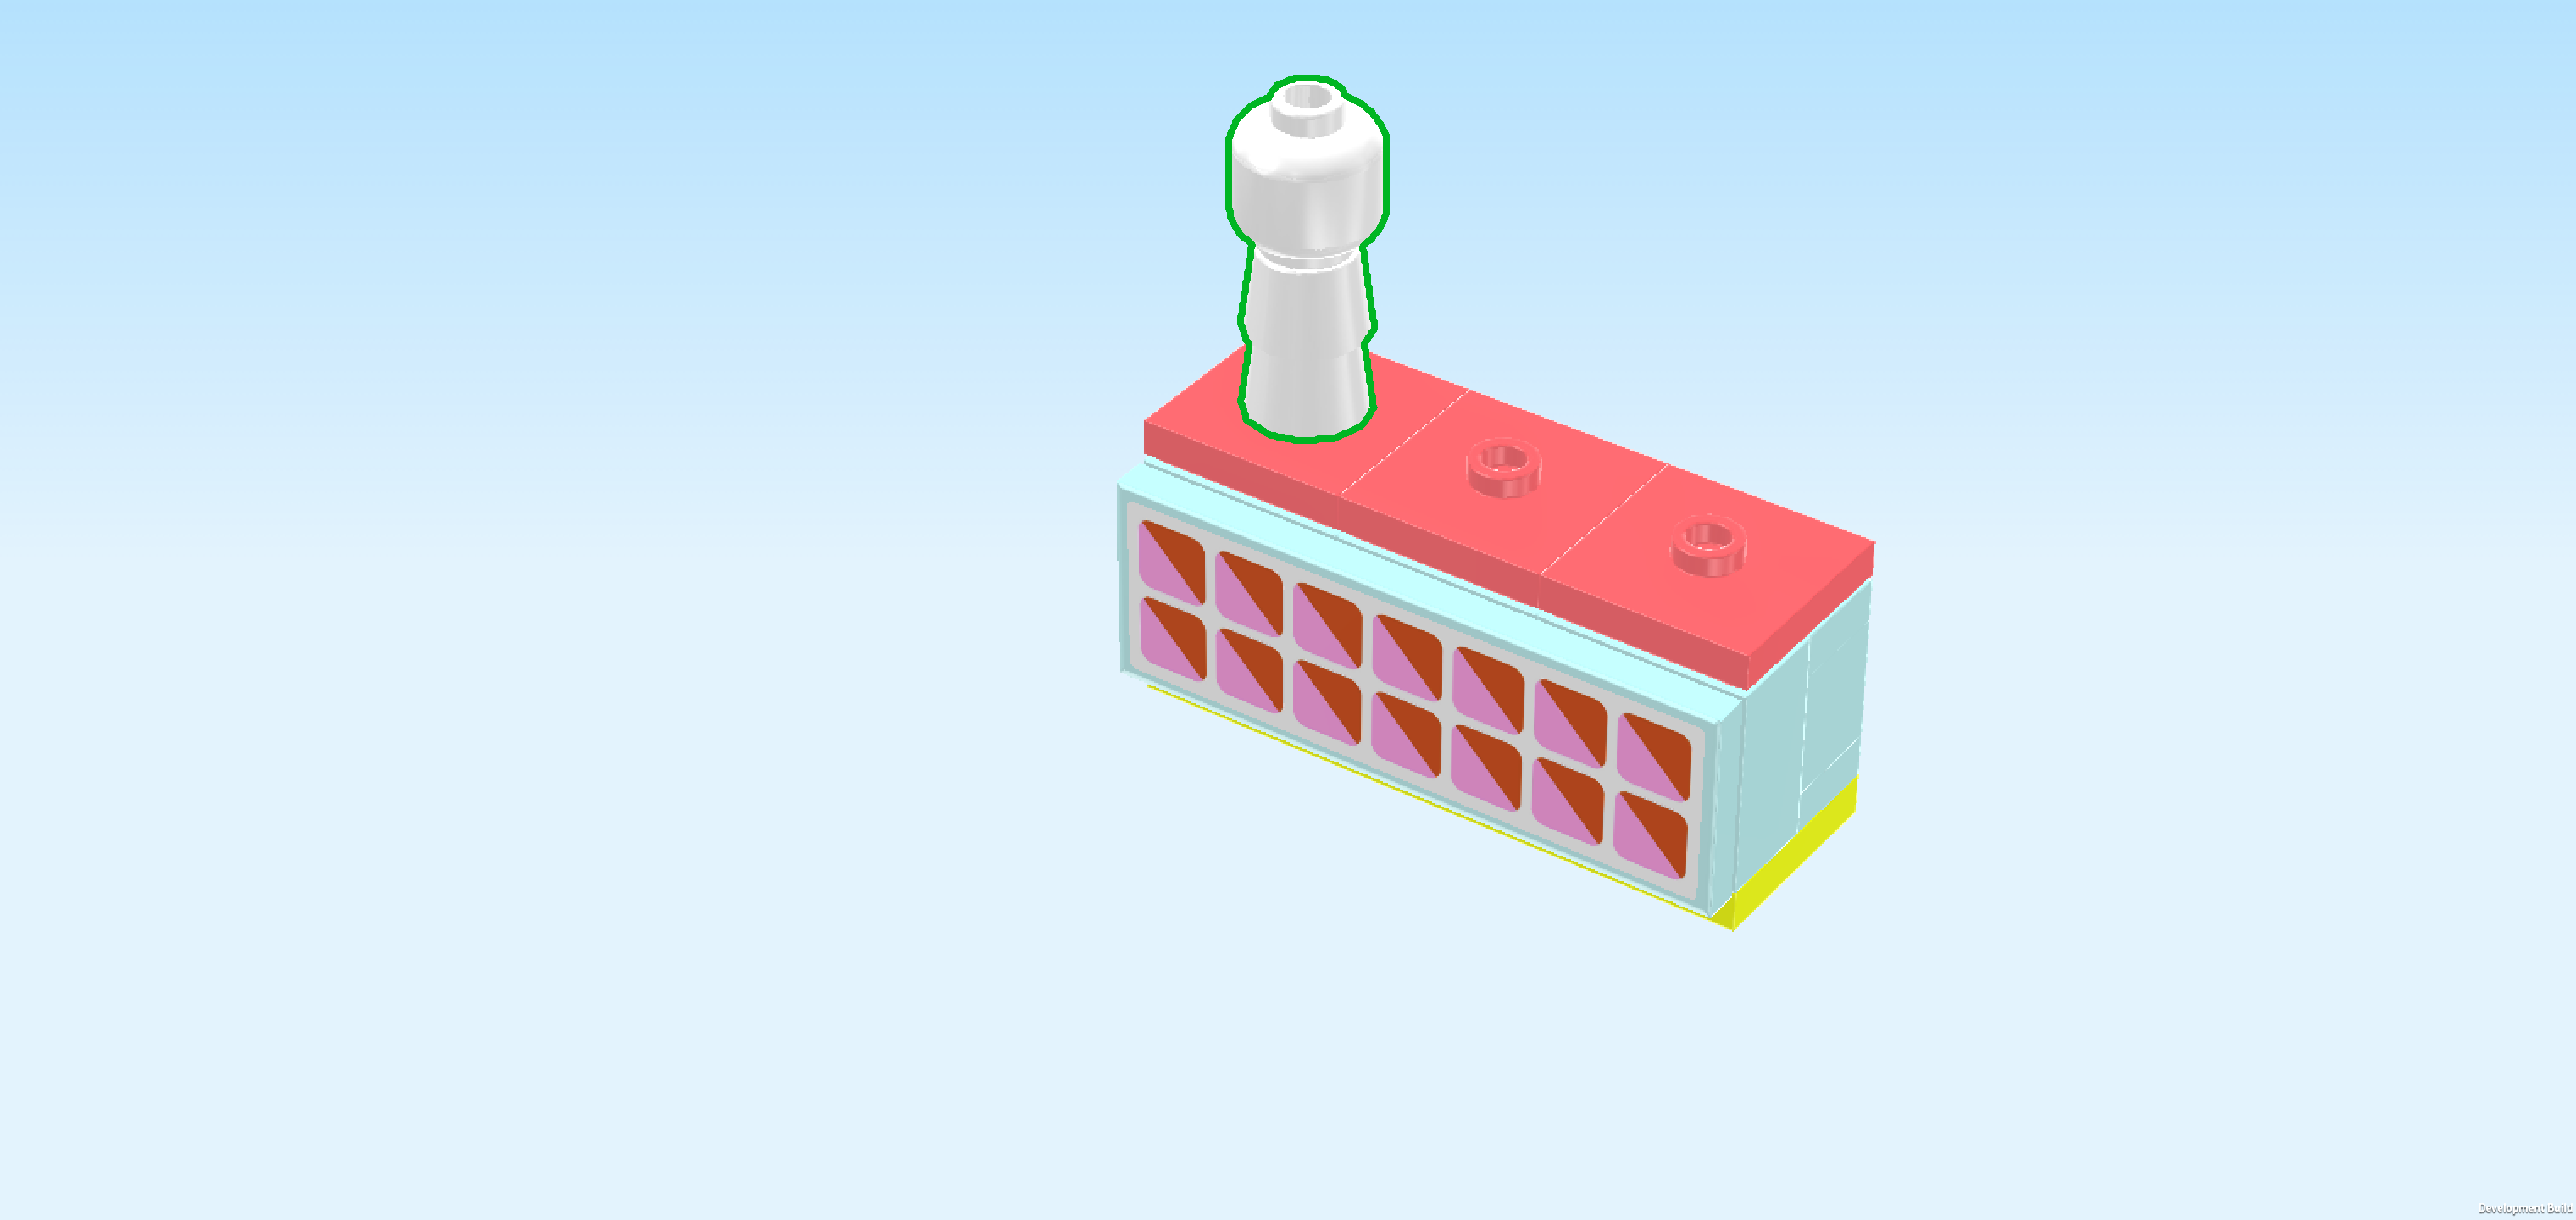
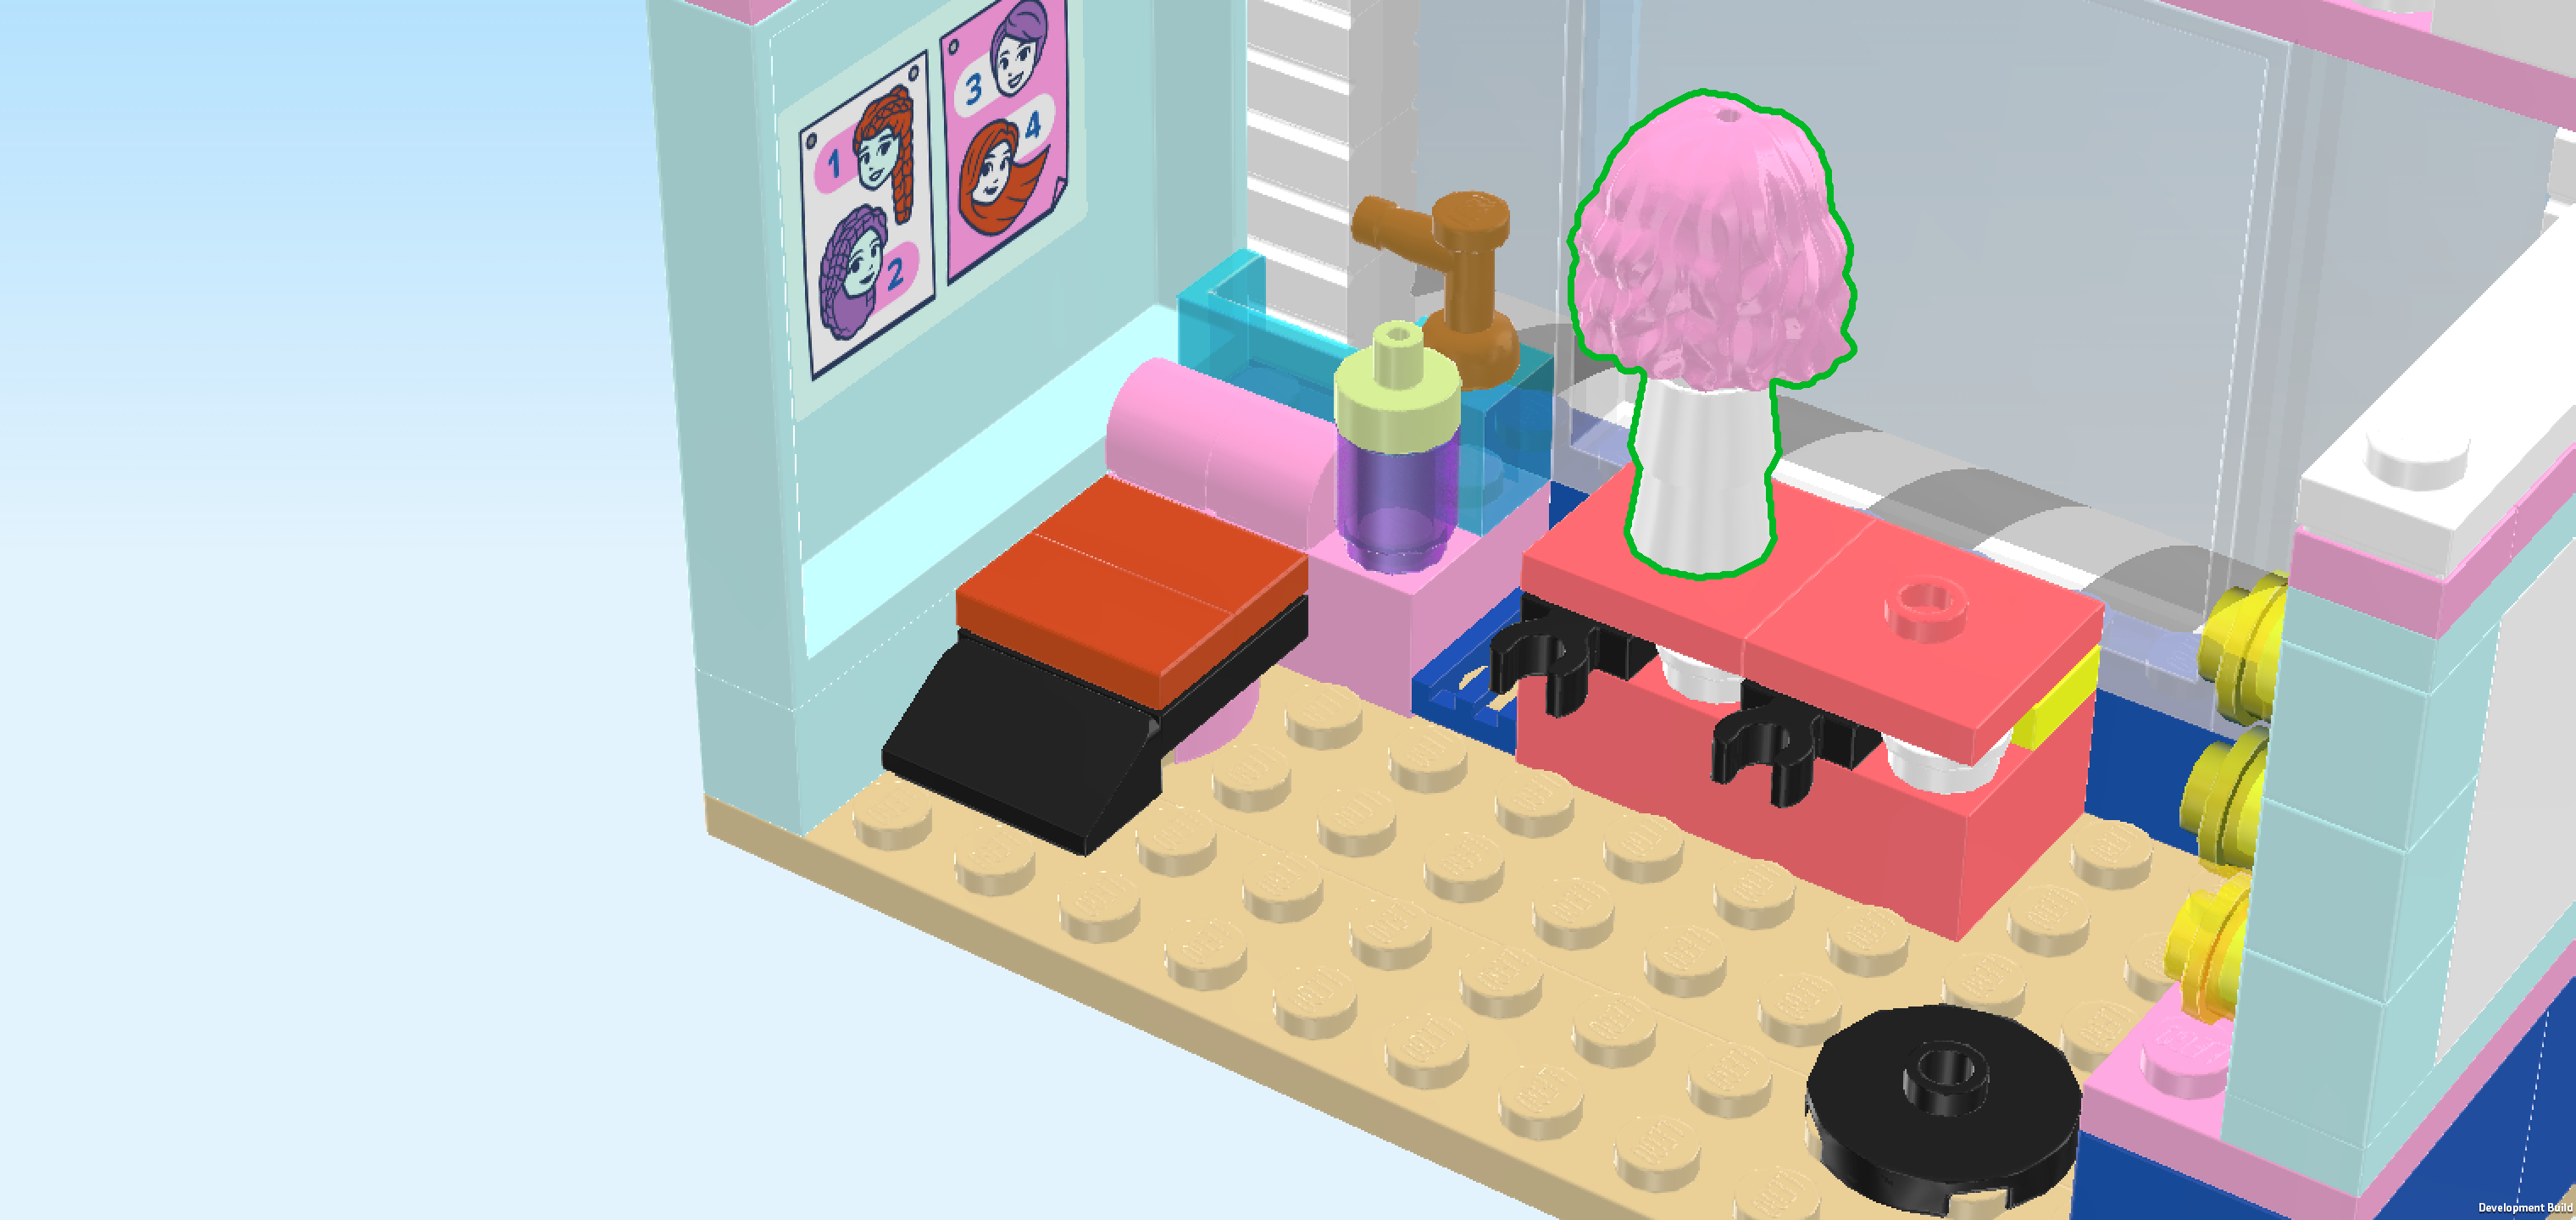
| Next, we will build a wig stand. |
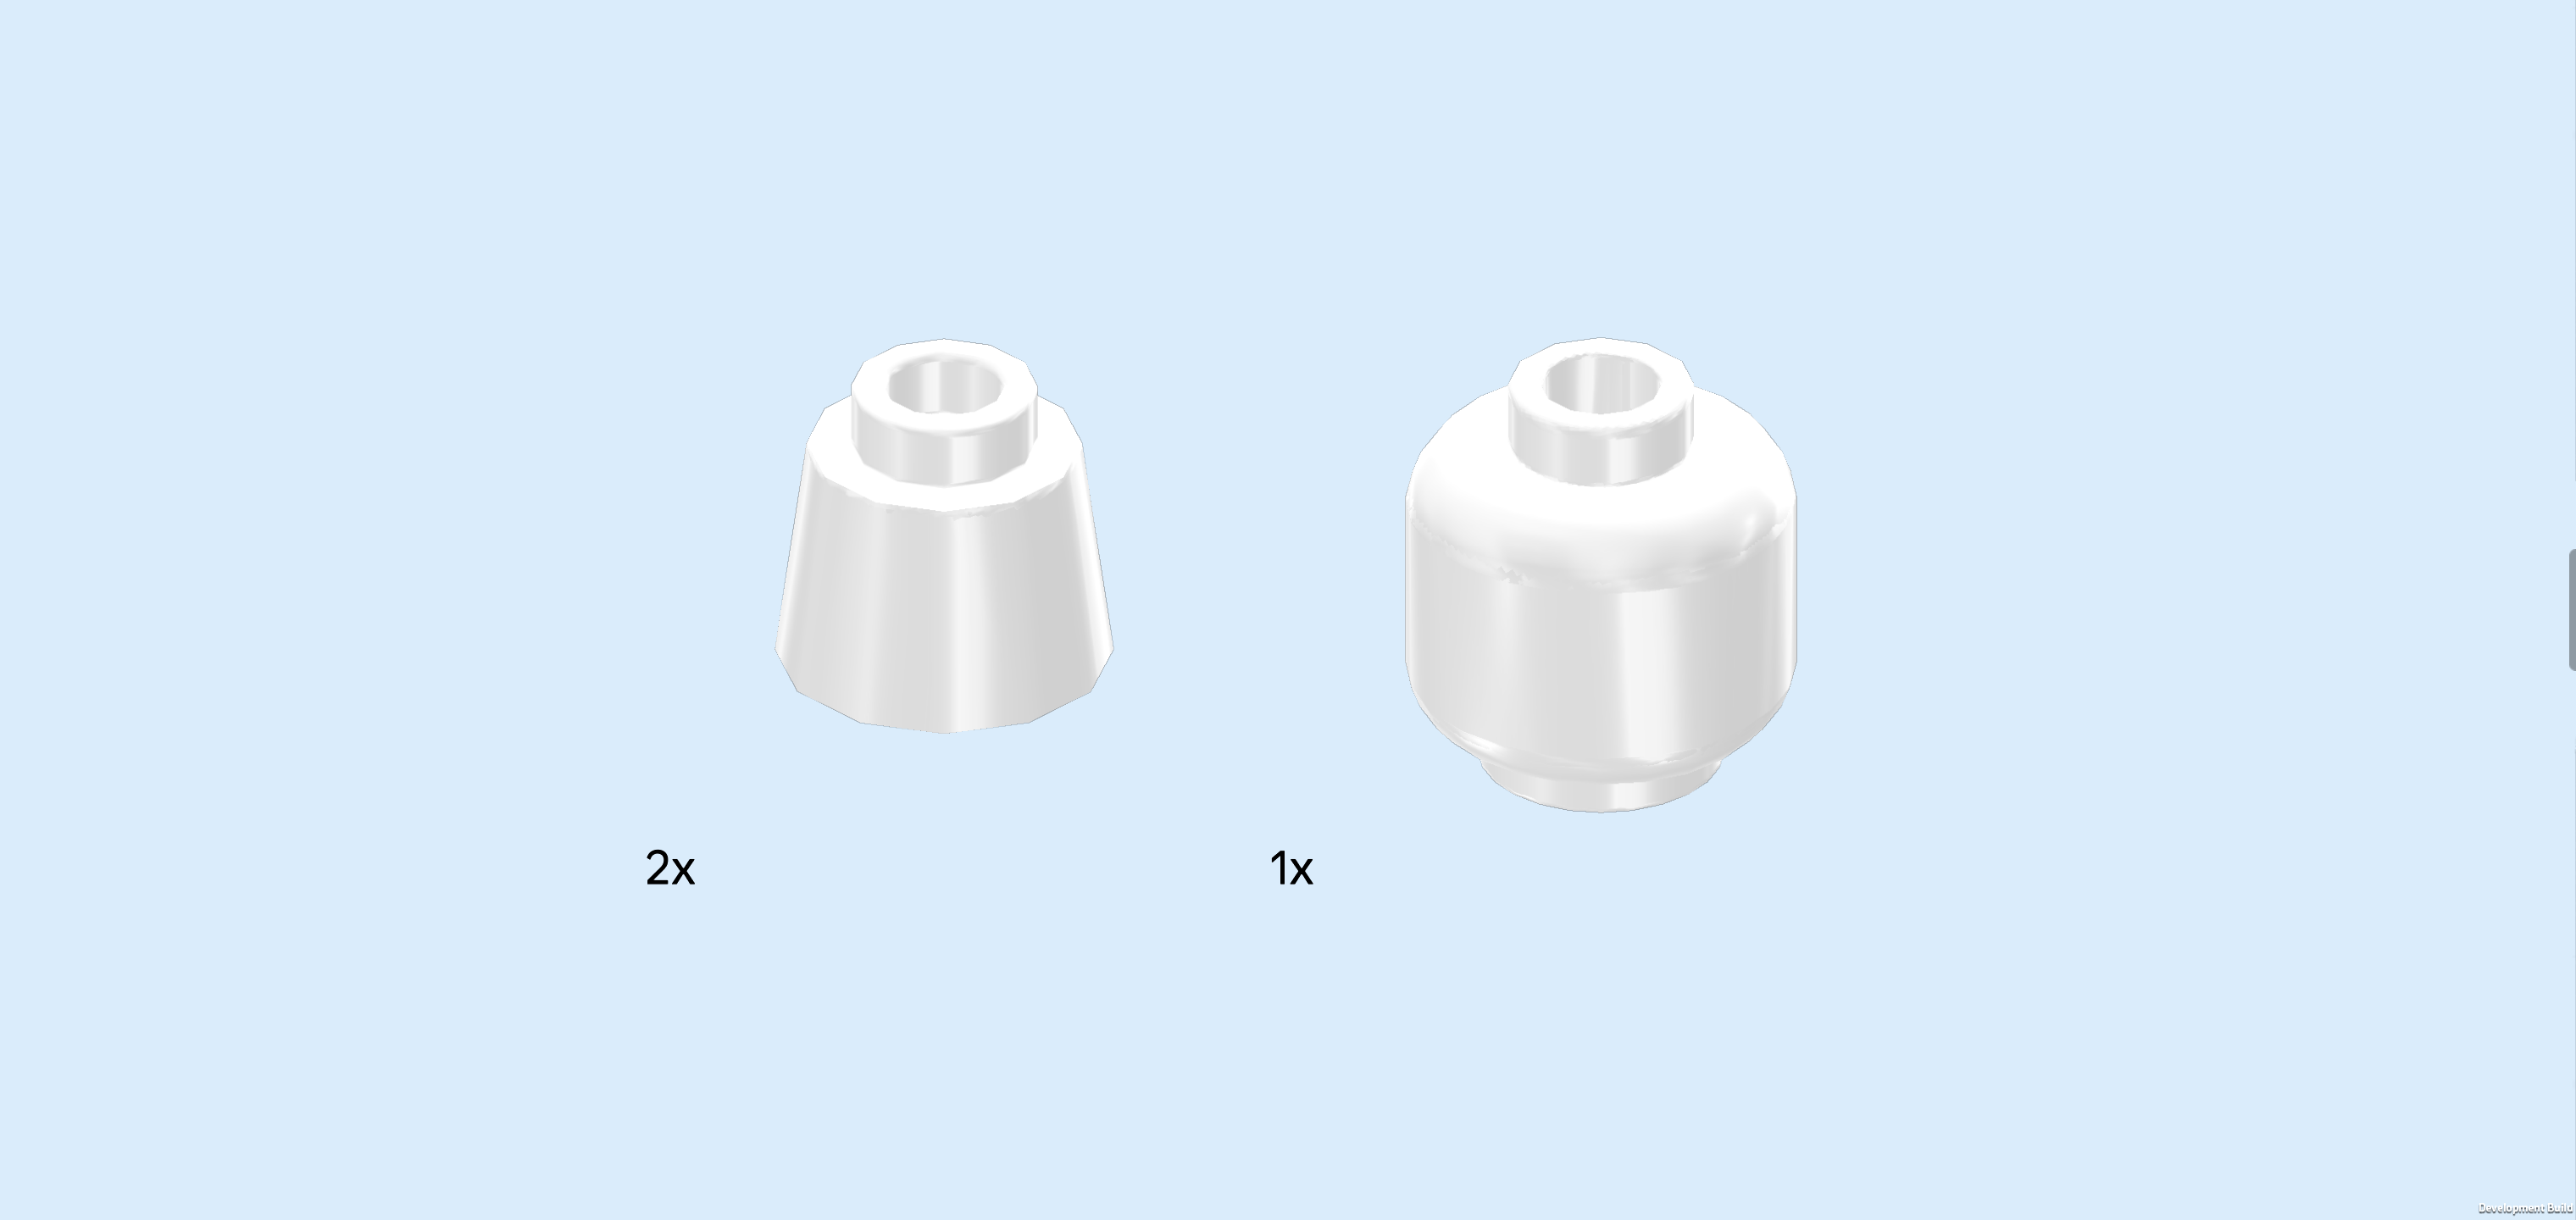
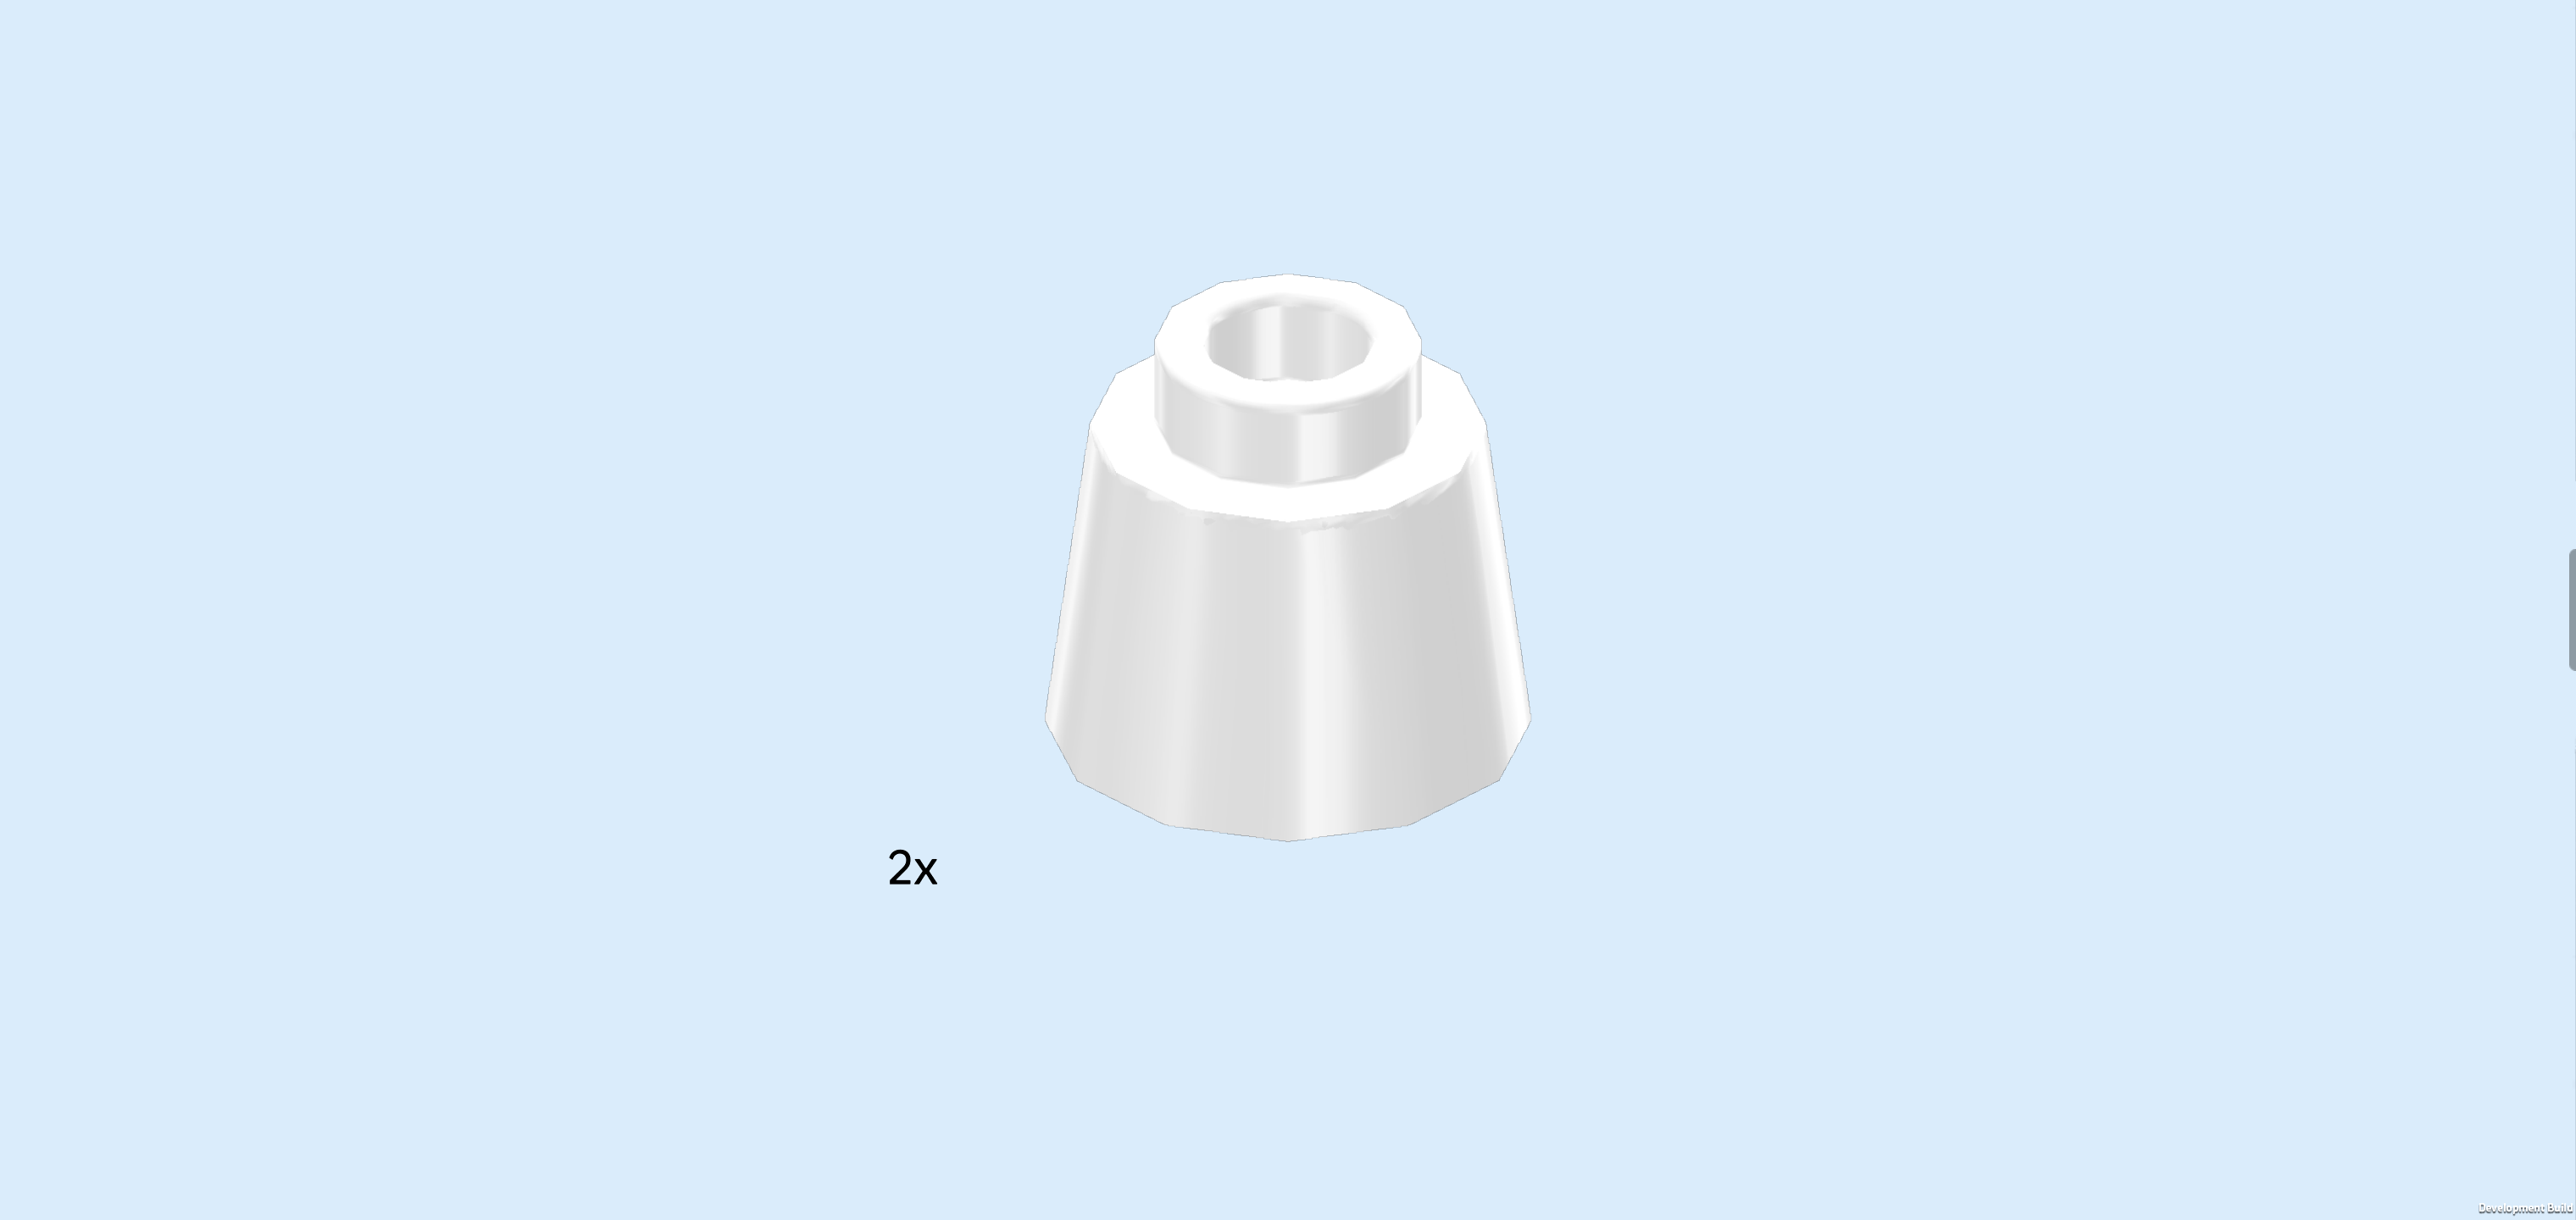
| Collect the following 3 pieces: |
| 2 white cone bricks 1x1x⅔, |
| and 1 white Minifigure head. |
| Put 1 cone brick 1x1x⅔ on the table. |
| Put the other cone brick on top. |
| Put the Minifigure head on top. |
| Mount this wig stand on the leftmost top knob of the display structure. |
| Next, we will build a slightly higher wig stand. |
| Find 2 white cone bricks 1x1x⅔. |
| Stack them on top of each other. |
| Collect the following 2 pieces: |
| 1 pearly white round plate 1x1, |
| and 1 white Minifigure head. |
| Put the round plate 1x1 on top of the cone bricks. |
| Put the Minifigure head on top. |
| The slightly higher wig stand is finished! Mount it to the right of the first one. |
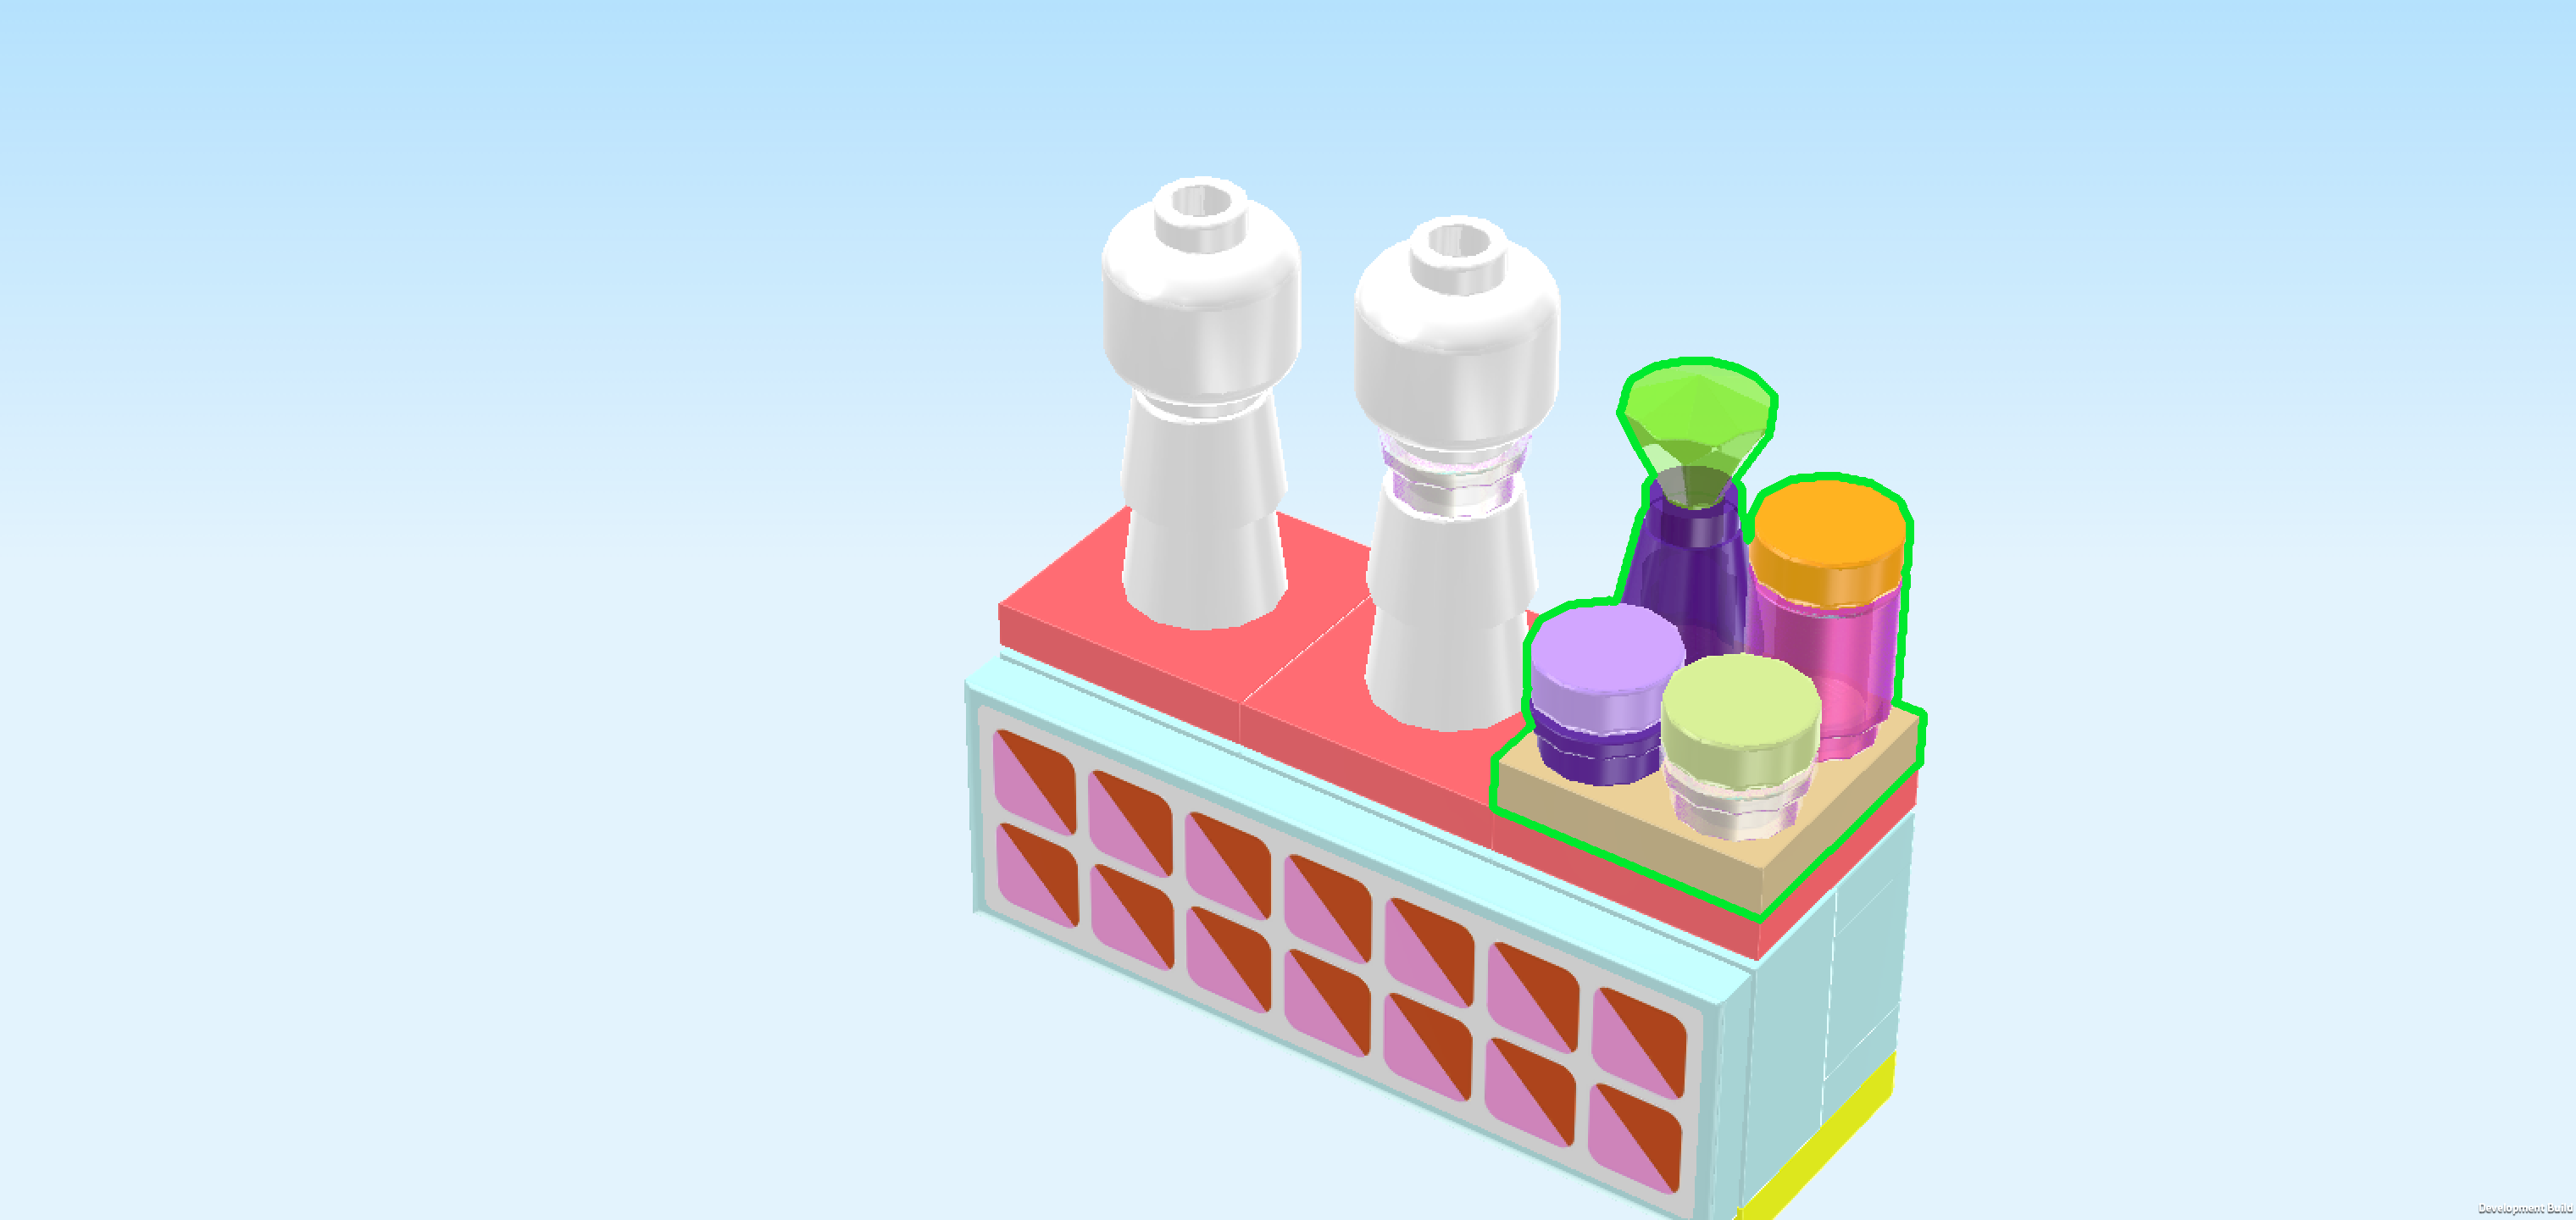
| Next up, we will build a tray with hair products. |
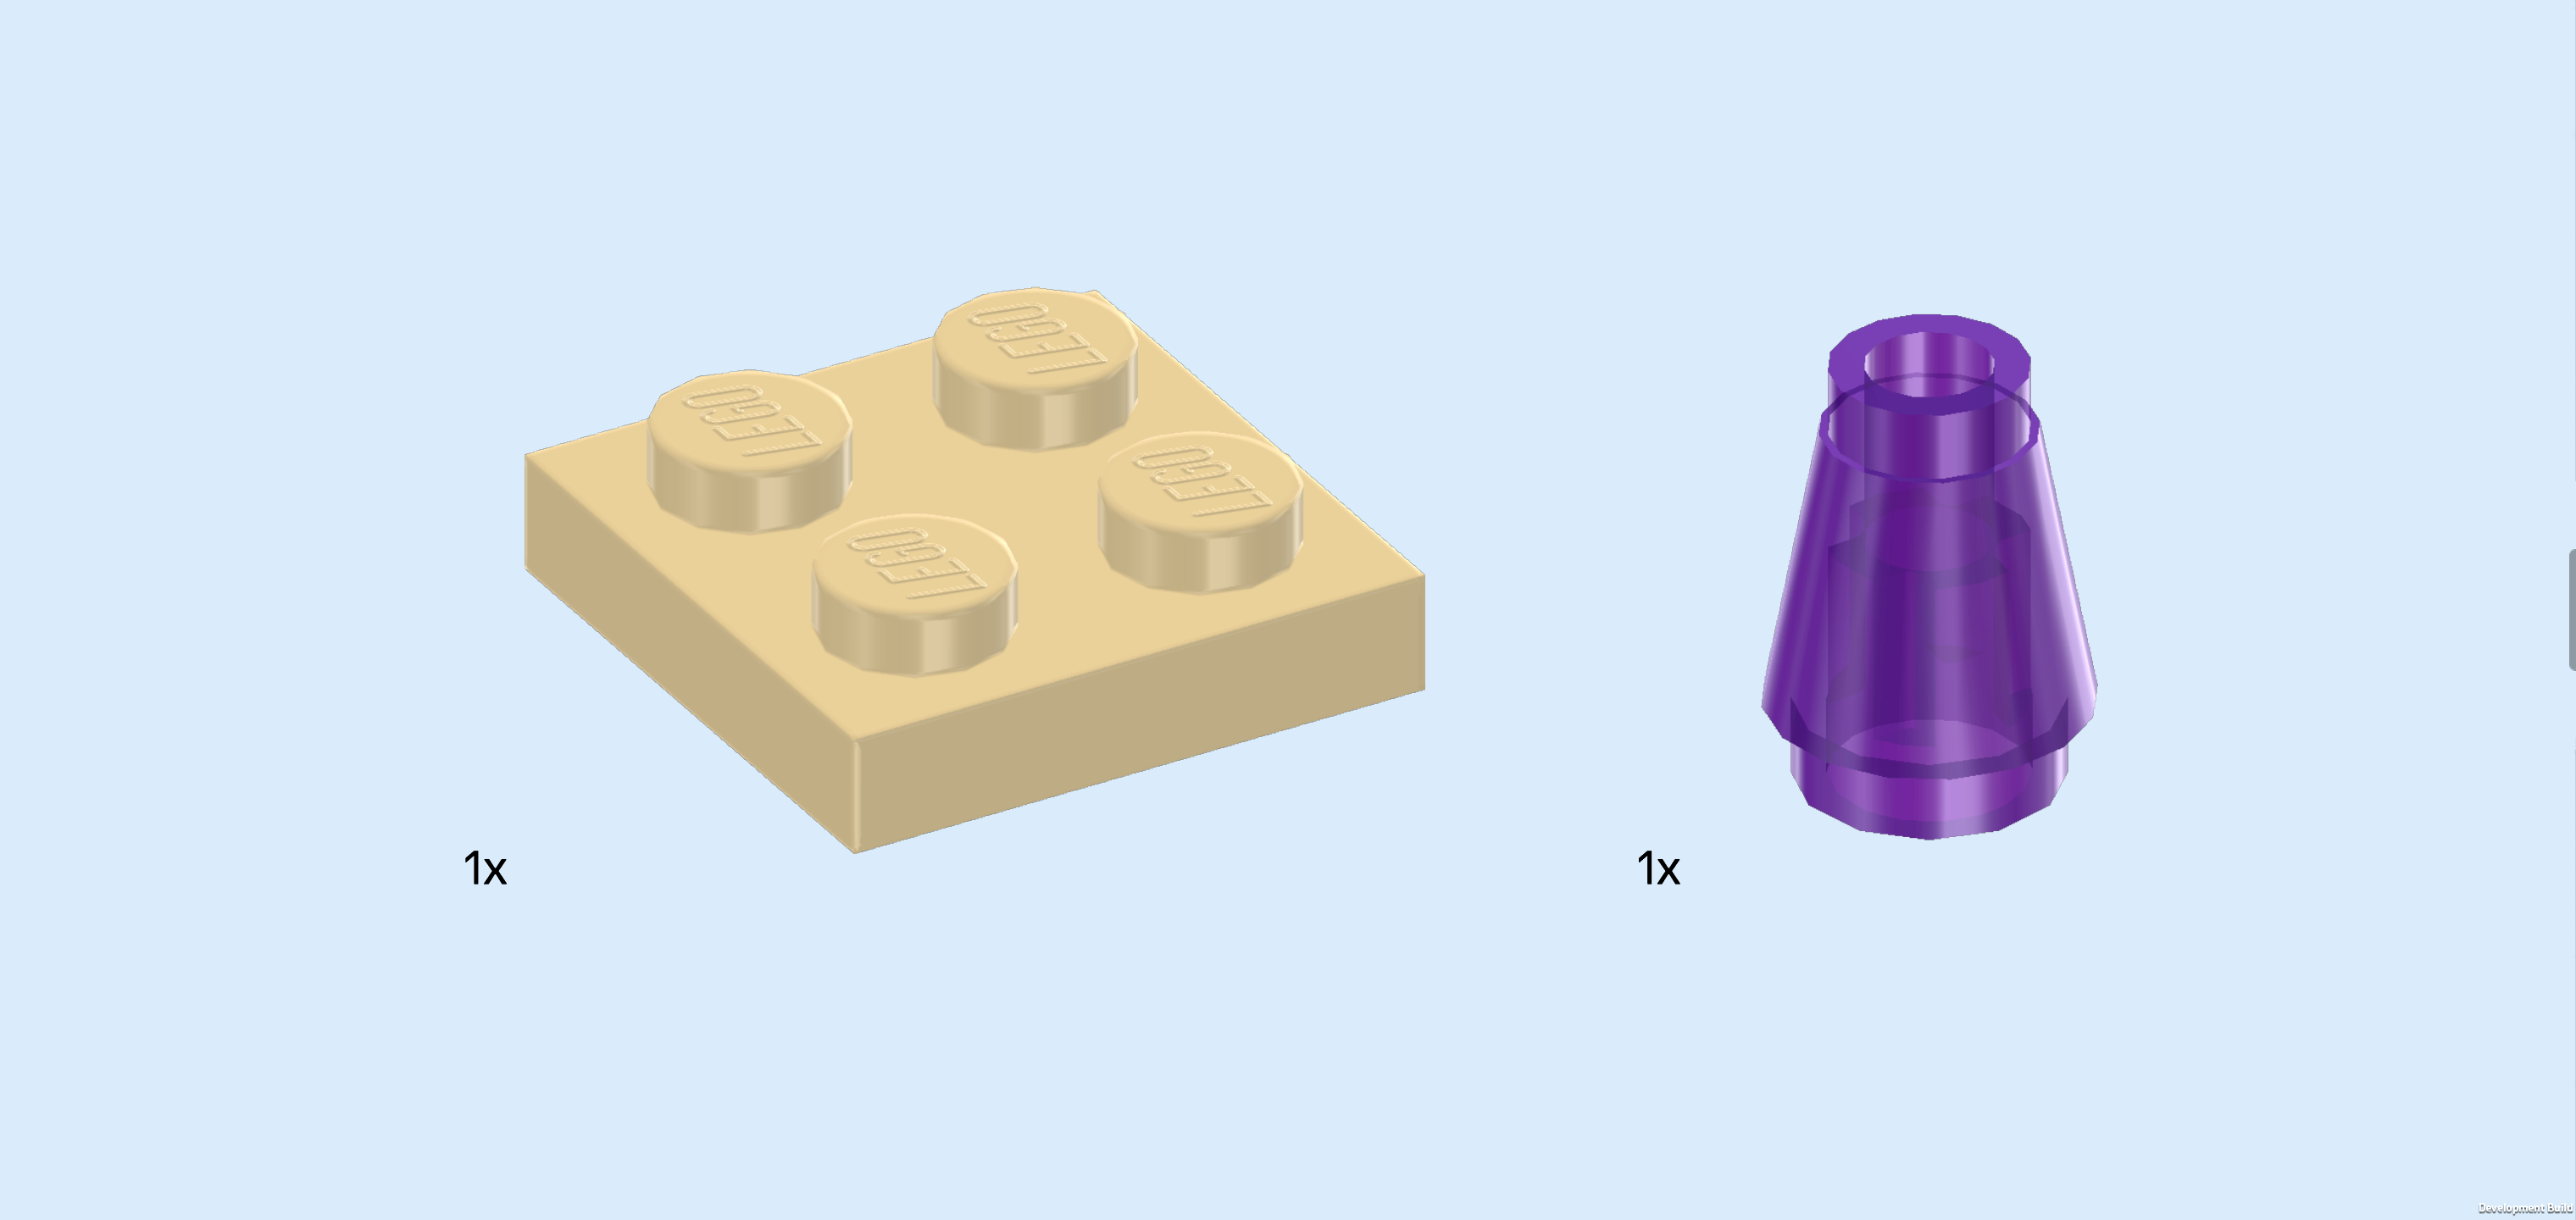
| Collect the following 2 pieces: |
| 1 beige plate 2x2, |
| and 1 transparent bright bluish violet nose cone 1x1. |
| Put the plate 2x2 on the table. Make sure its knobs form straight rows and columns in front of you. |
| Put the nose cone 1x1 in the back left corner. |
| Collect the following 3 pieces: |
| 1 pearly white round plate 1x1, |
| 1 medium lilac round plate 1x1, |
| and 1 pale pink round brick 1x1. |
| Put the medium lilac round plate 1x1 in front of the previous piece. |
| Put the pearly white round plate 1x1 to the right of the previous piece. |
| Put the round brick 1x1 behind the previous piece. |
| Collect the following 4 pieces: |
| 1 light lavender round tile 1x1, |
| 1 pale lime green round tile 1x1, |
| 1 transparent bright green diamond with small bottom shaft, |
| and 1 yellowish orange round tile 1x1. |
| Put the light lavender round tile 1x1 on the front left corner. |
| Put the pale lime green round tile 1x1 to the right of the previous piece. |
| Insert the shaft of the diamond into the nose cone in the back left corner. |
| Put the yellowish orange round tile 1x1 to the right of the previous piece. |
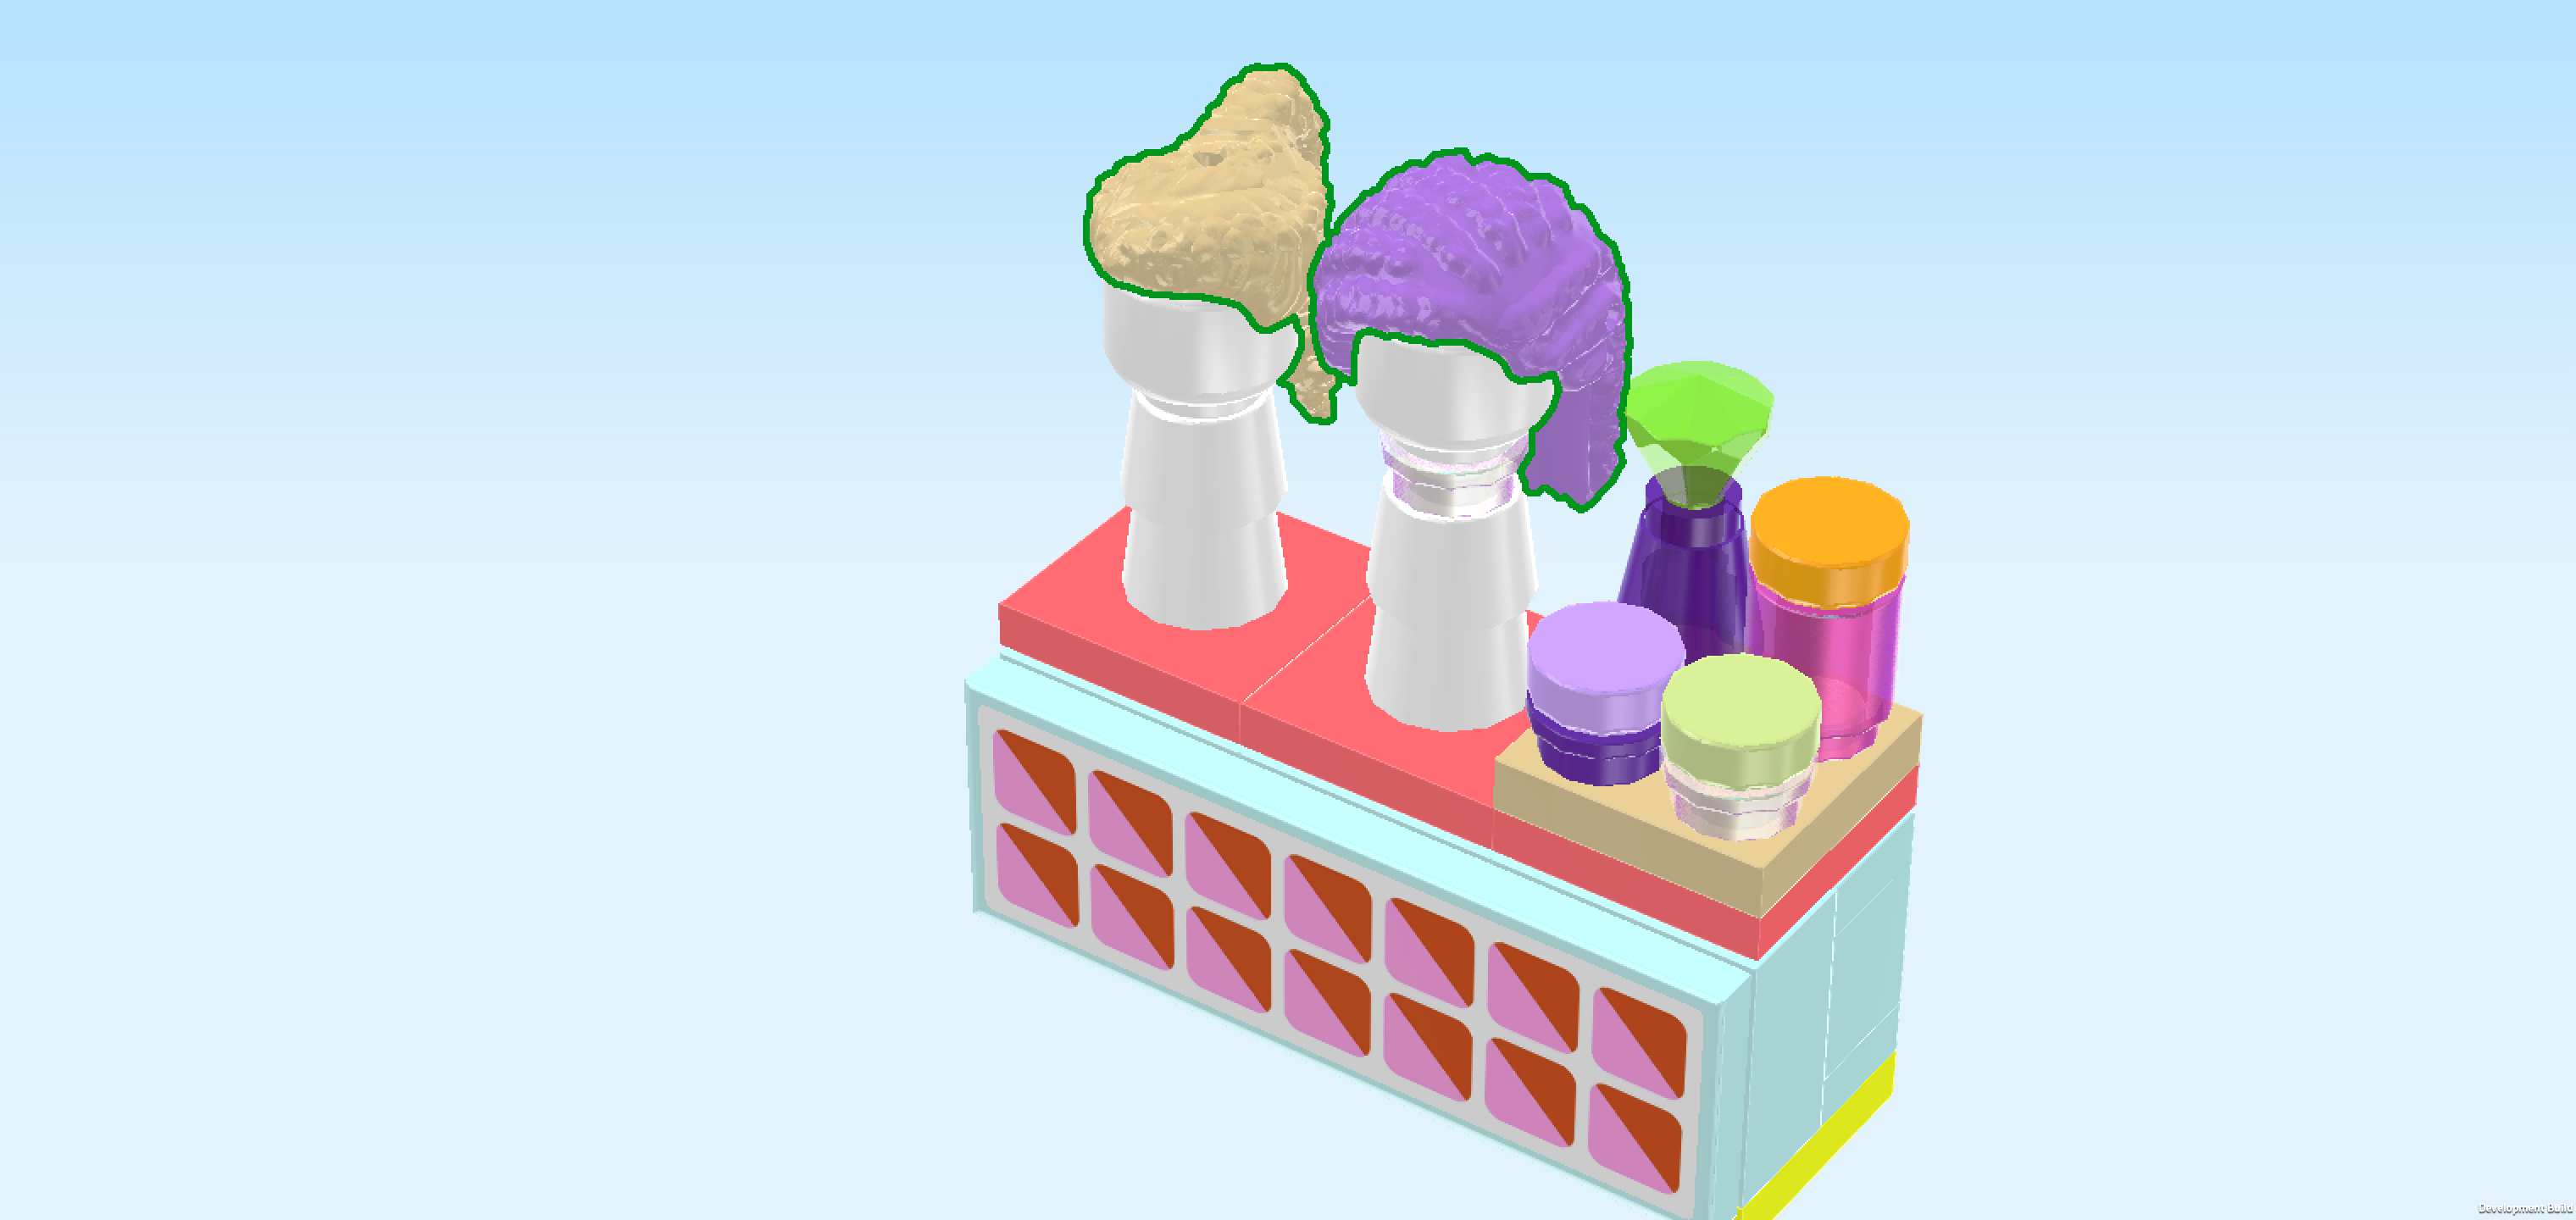
| The tray with hair products is finished! Well done! Mount it to the right of the 2 wig stands. |
| Collect the following 2 pieces: |
| 1 lavender hairpiece with long hair in cornrows, |
| and 1 beige hairpiece with long braided hair in a high ponytail. |
| Put the hairpiece with long hair in cornrows on the slightly higher wig stand, hair extending towards the back. |
| Put the hairpiece with long braided hair in a high ponytail on the other wig stand, hair towards the back. |
| The wig display with hair products is finished! Well done! Before you mount it, turn the shop structure around so that it is still oriented horizontally but the large arched opening and the quarter-arched display window are at the back edge. |
| Turn the wig display around so that the flat tile with sticker is towards the back. Mount it horizontally centered in the middle section of the hair accessories shop which means it will sit to the left of the brush holder. |
| The ground floor with hair accessories store and wig display is finished! Great job! With this, we have built everything from bag number 3. Great job! Only one more bag to go. |
| Open bag number 4. You can choose to have the bricks sorted by color again if you like. This bag contains all bricks and pieces for the top floor with hair salon. |
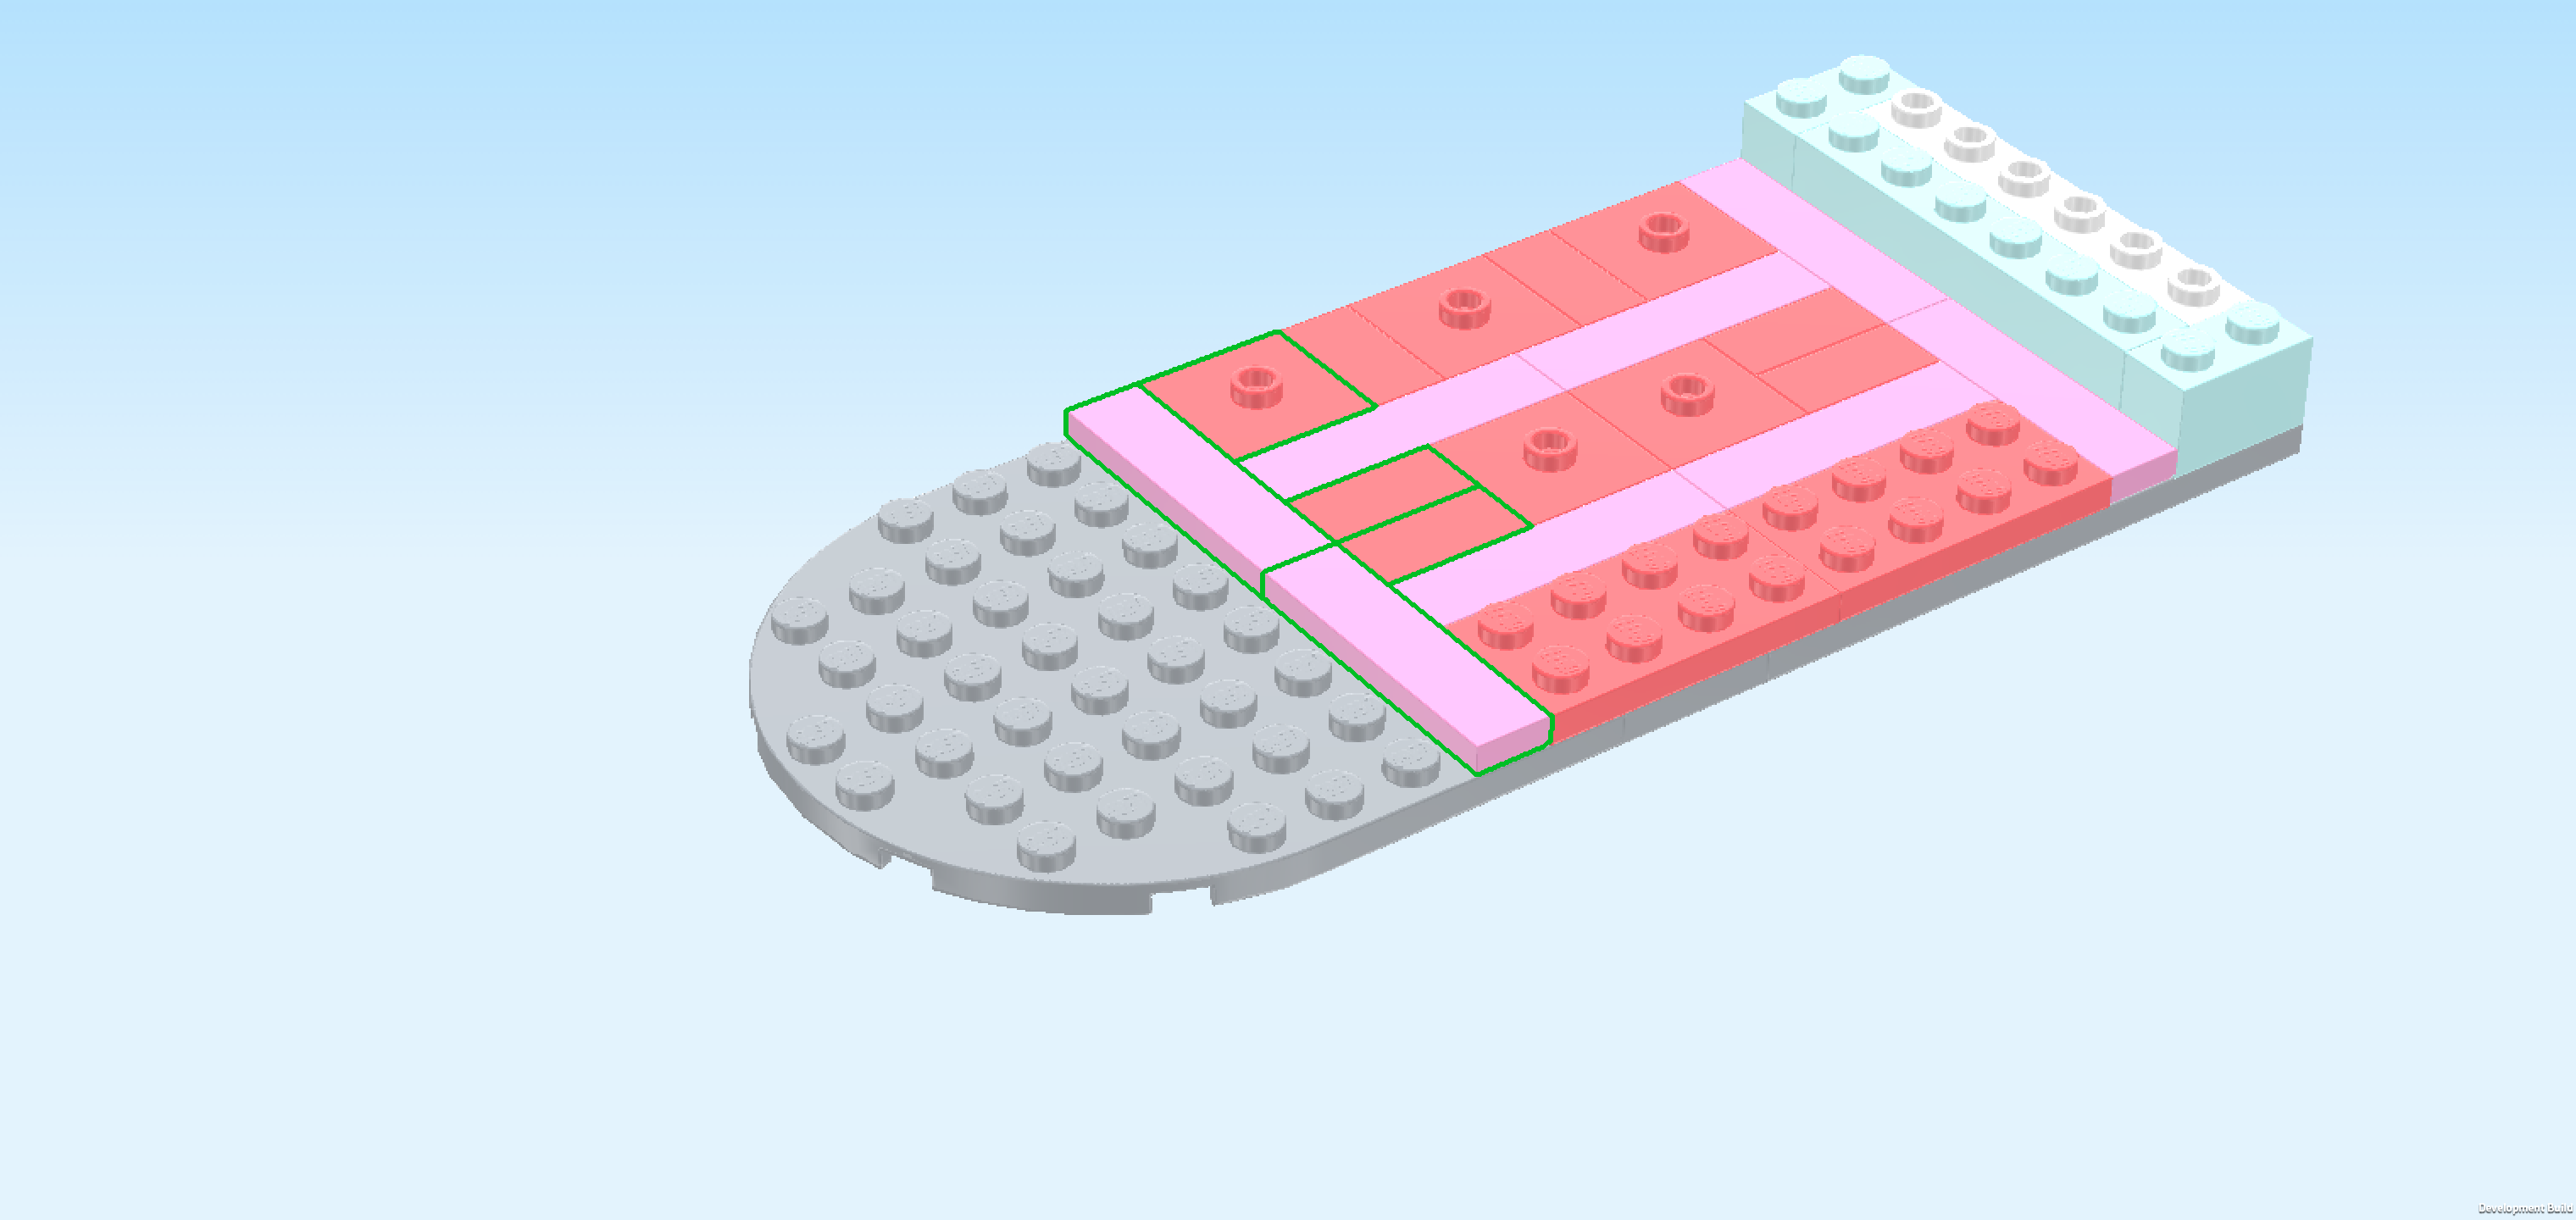
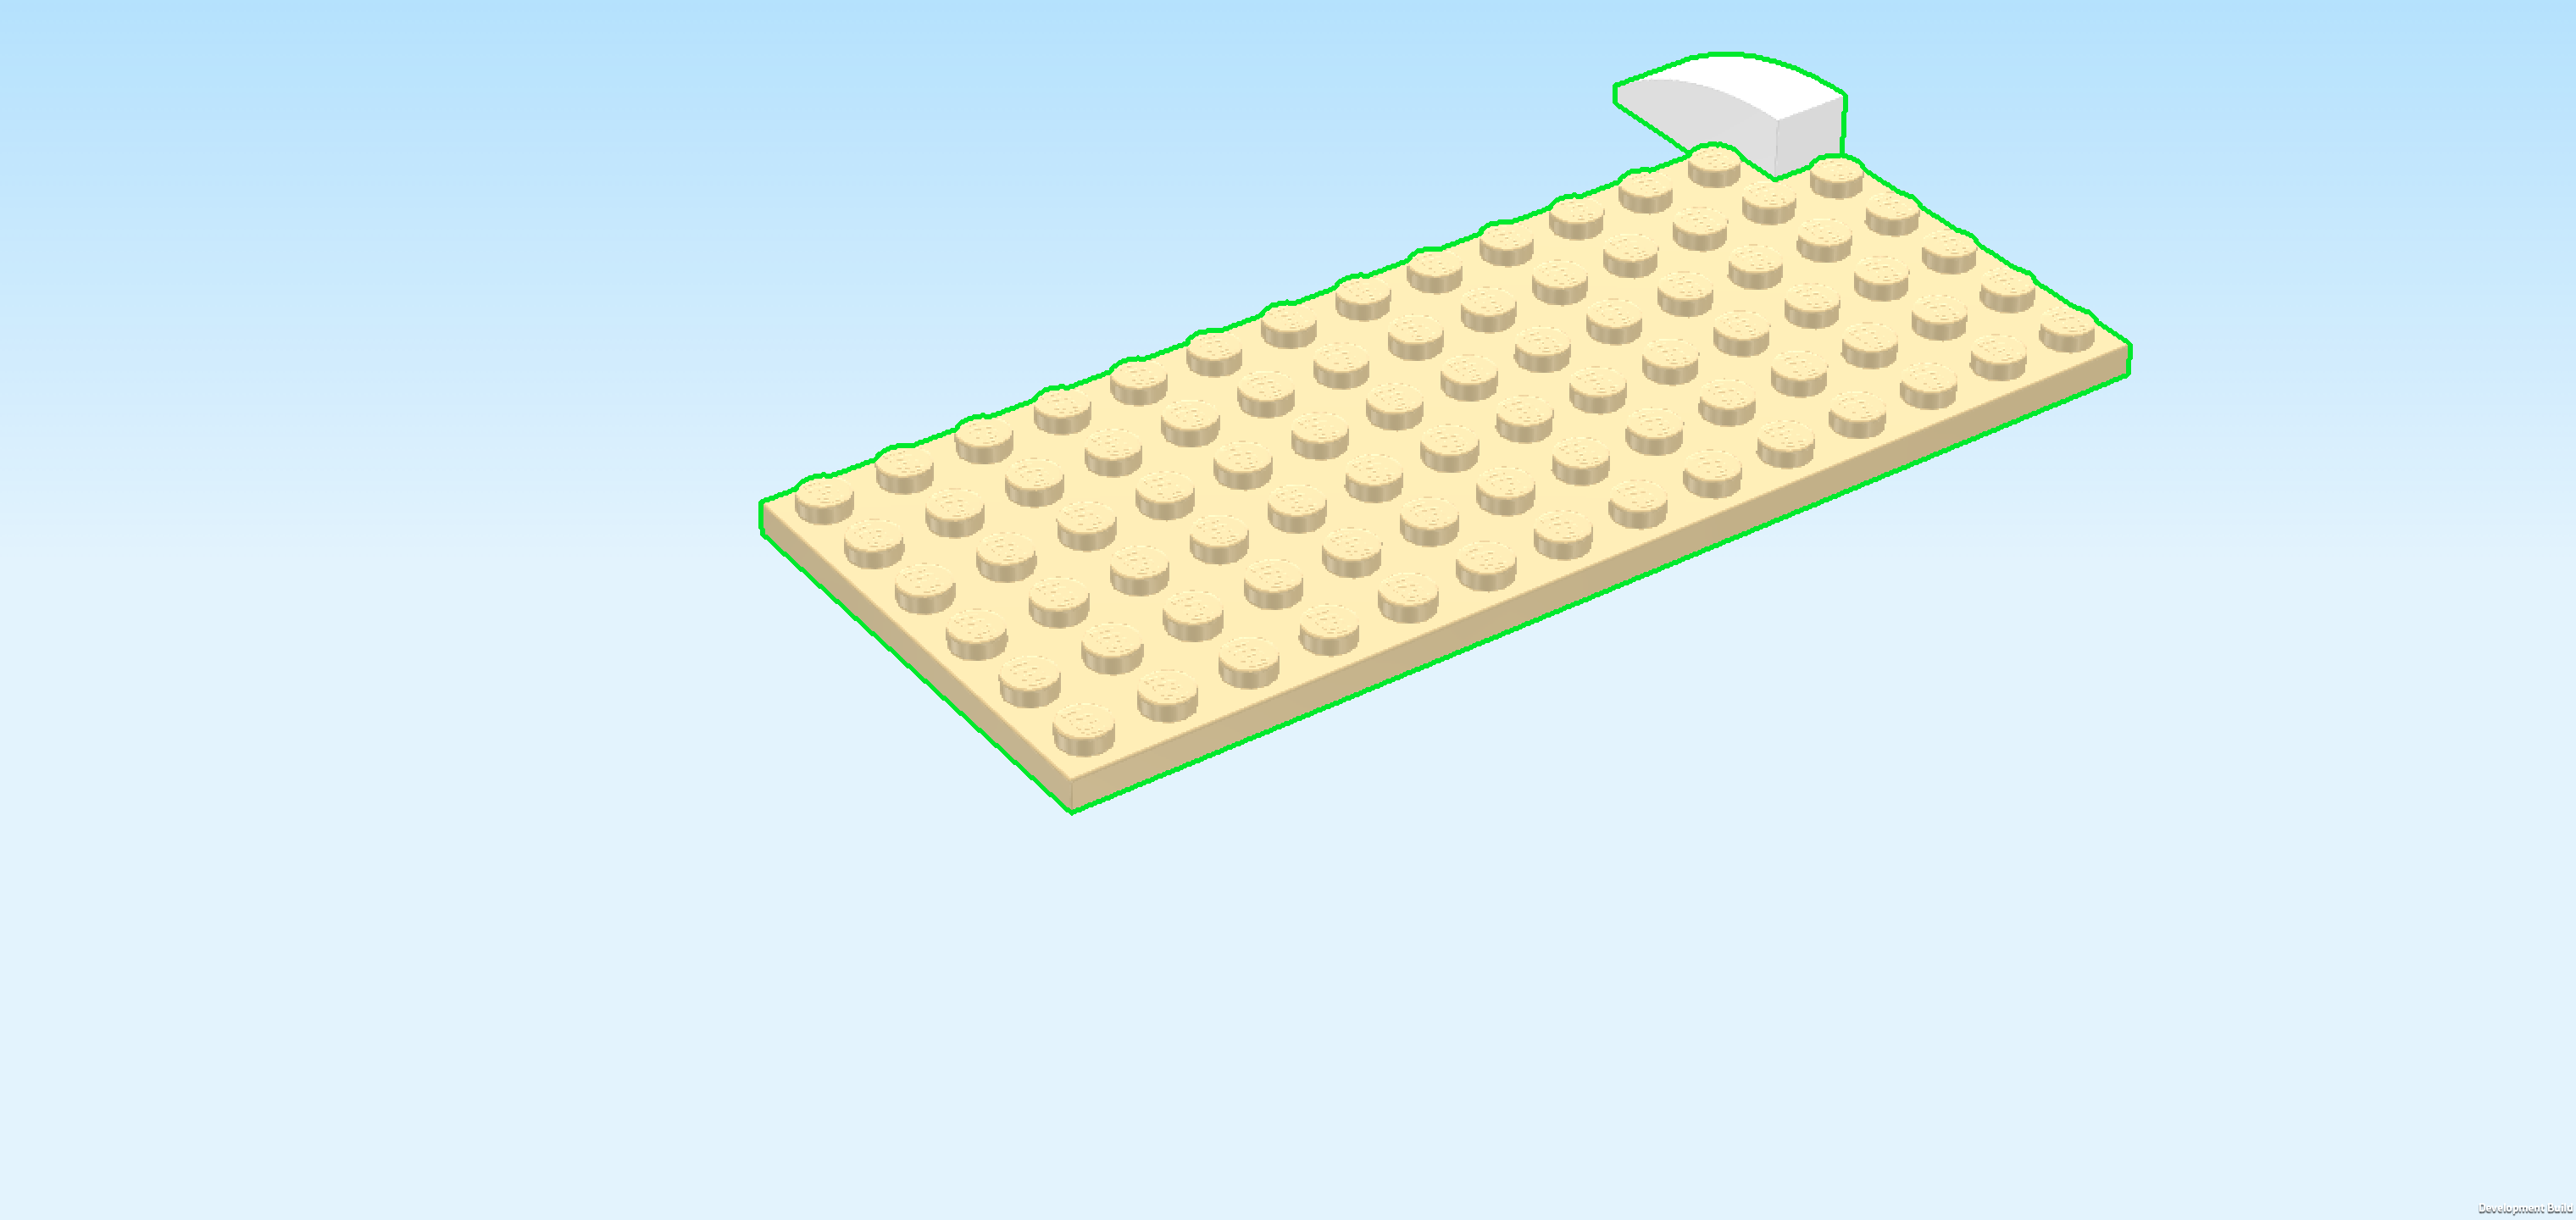
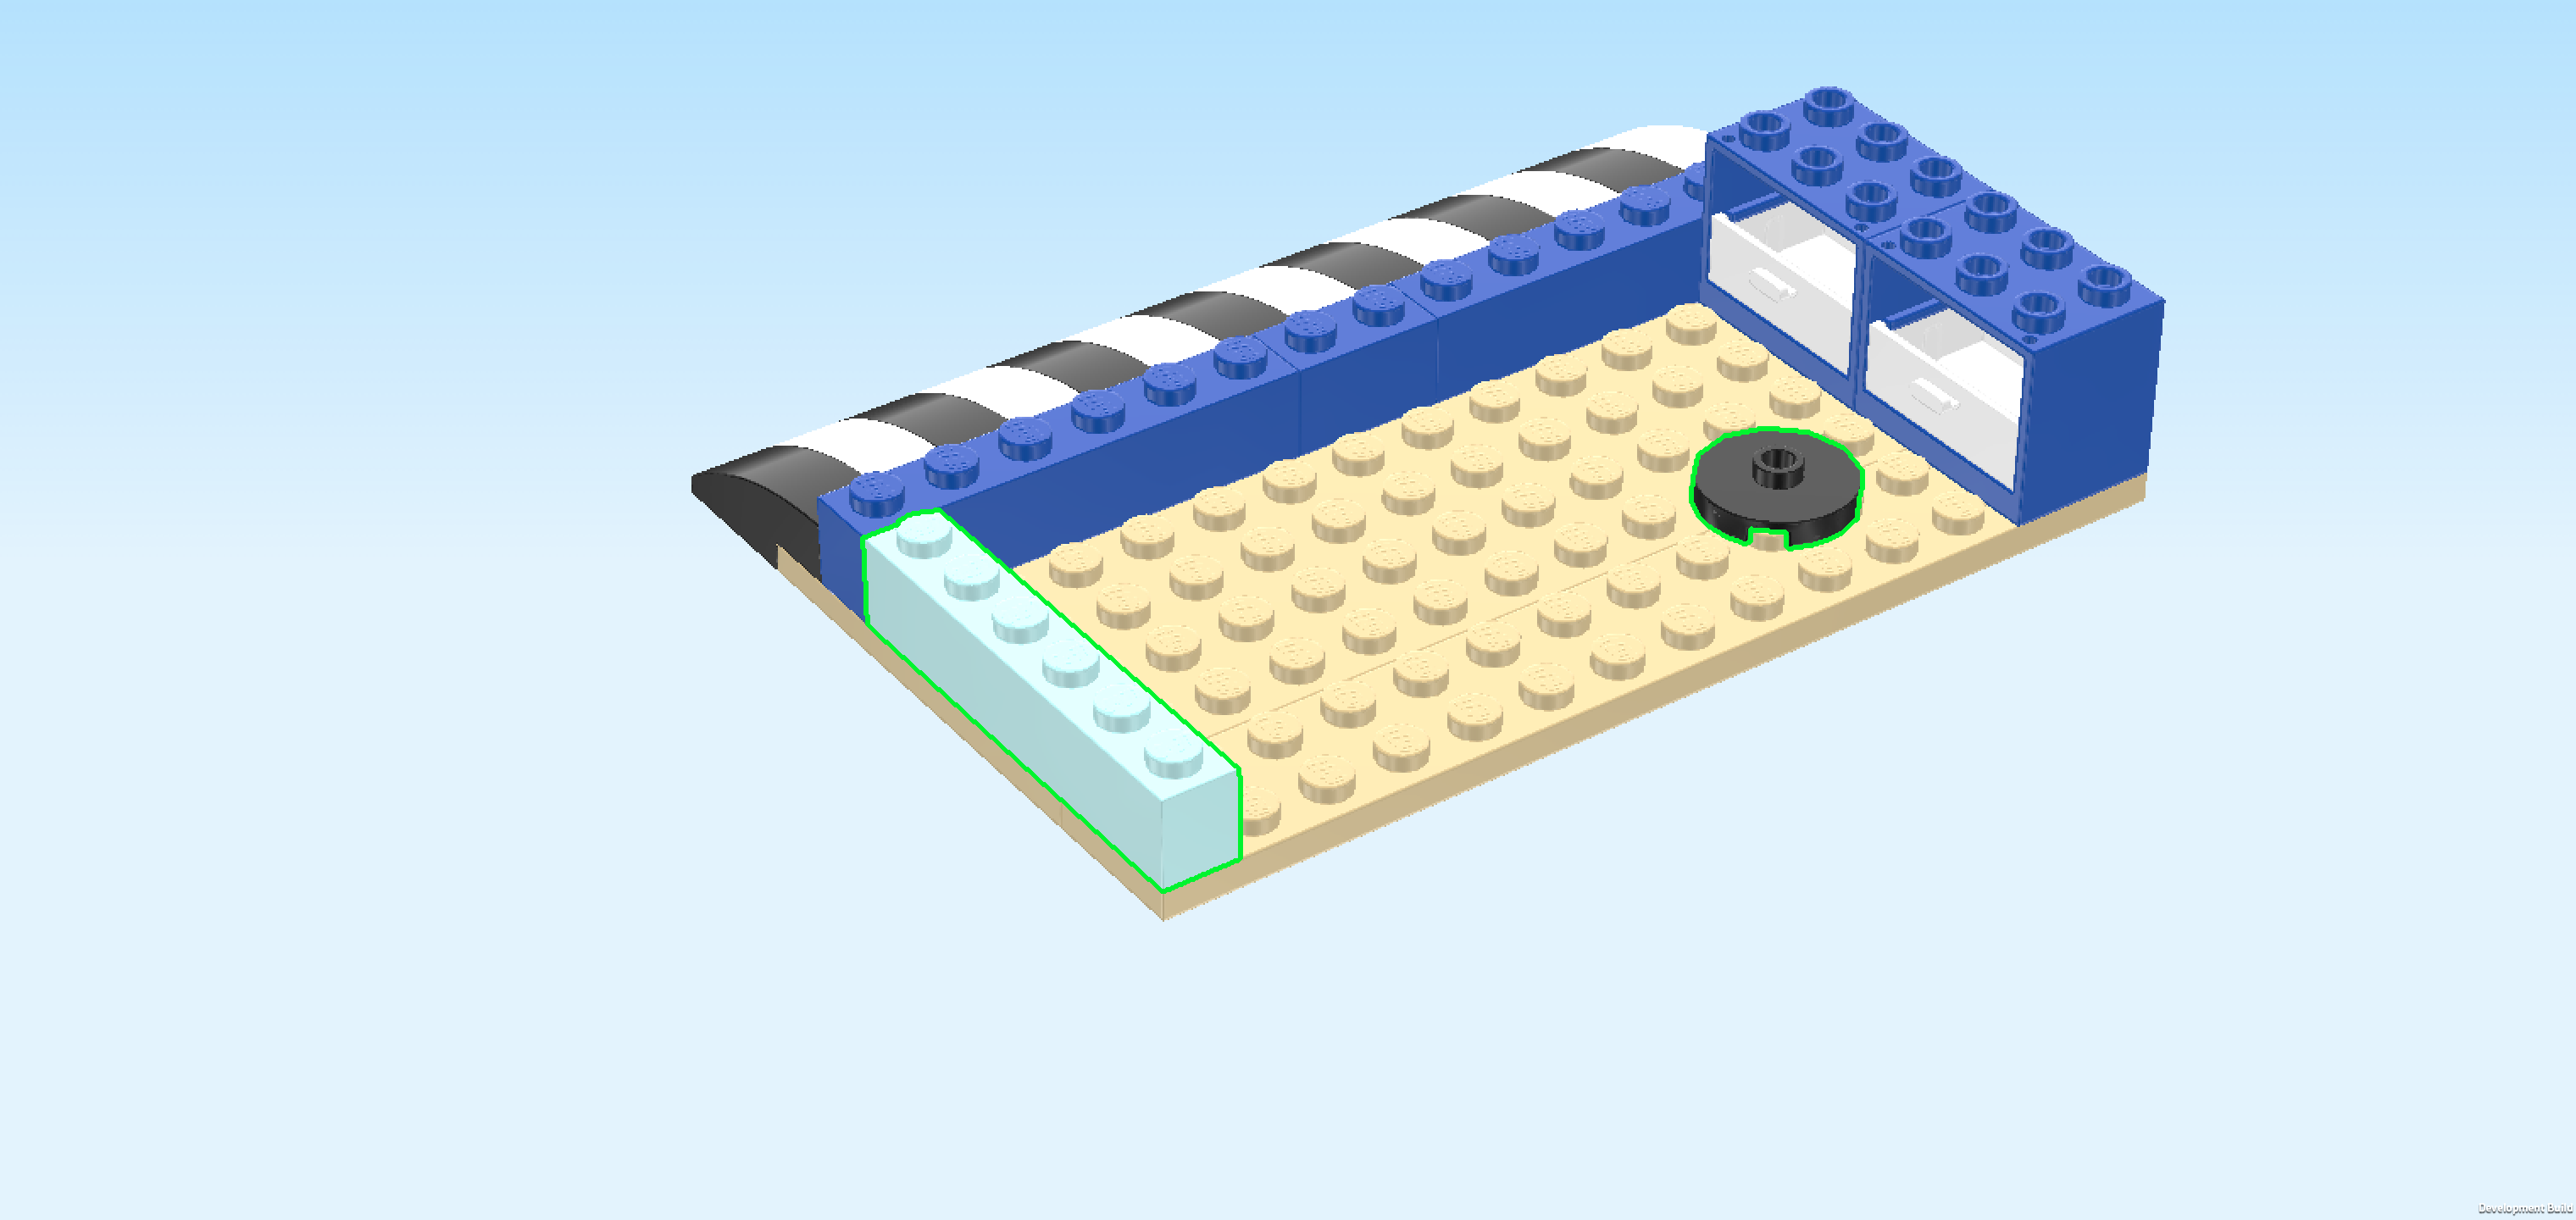
| We will start with the floor of the top floor with awning. |
| Collect the following 2 pieces: |
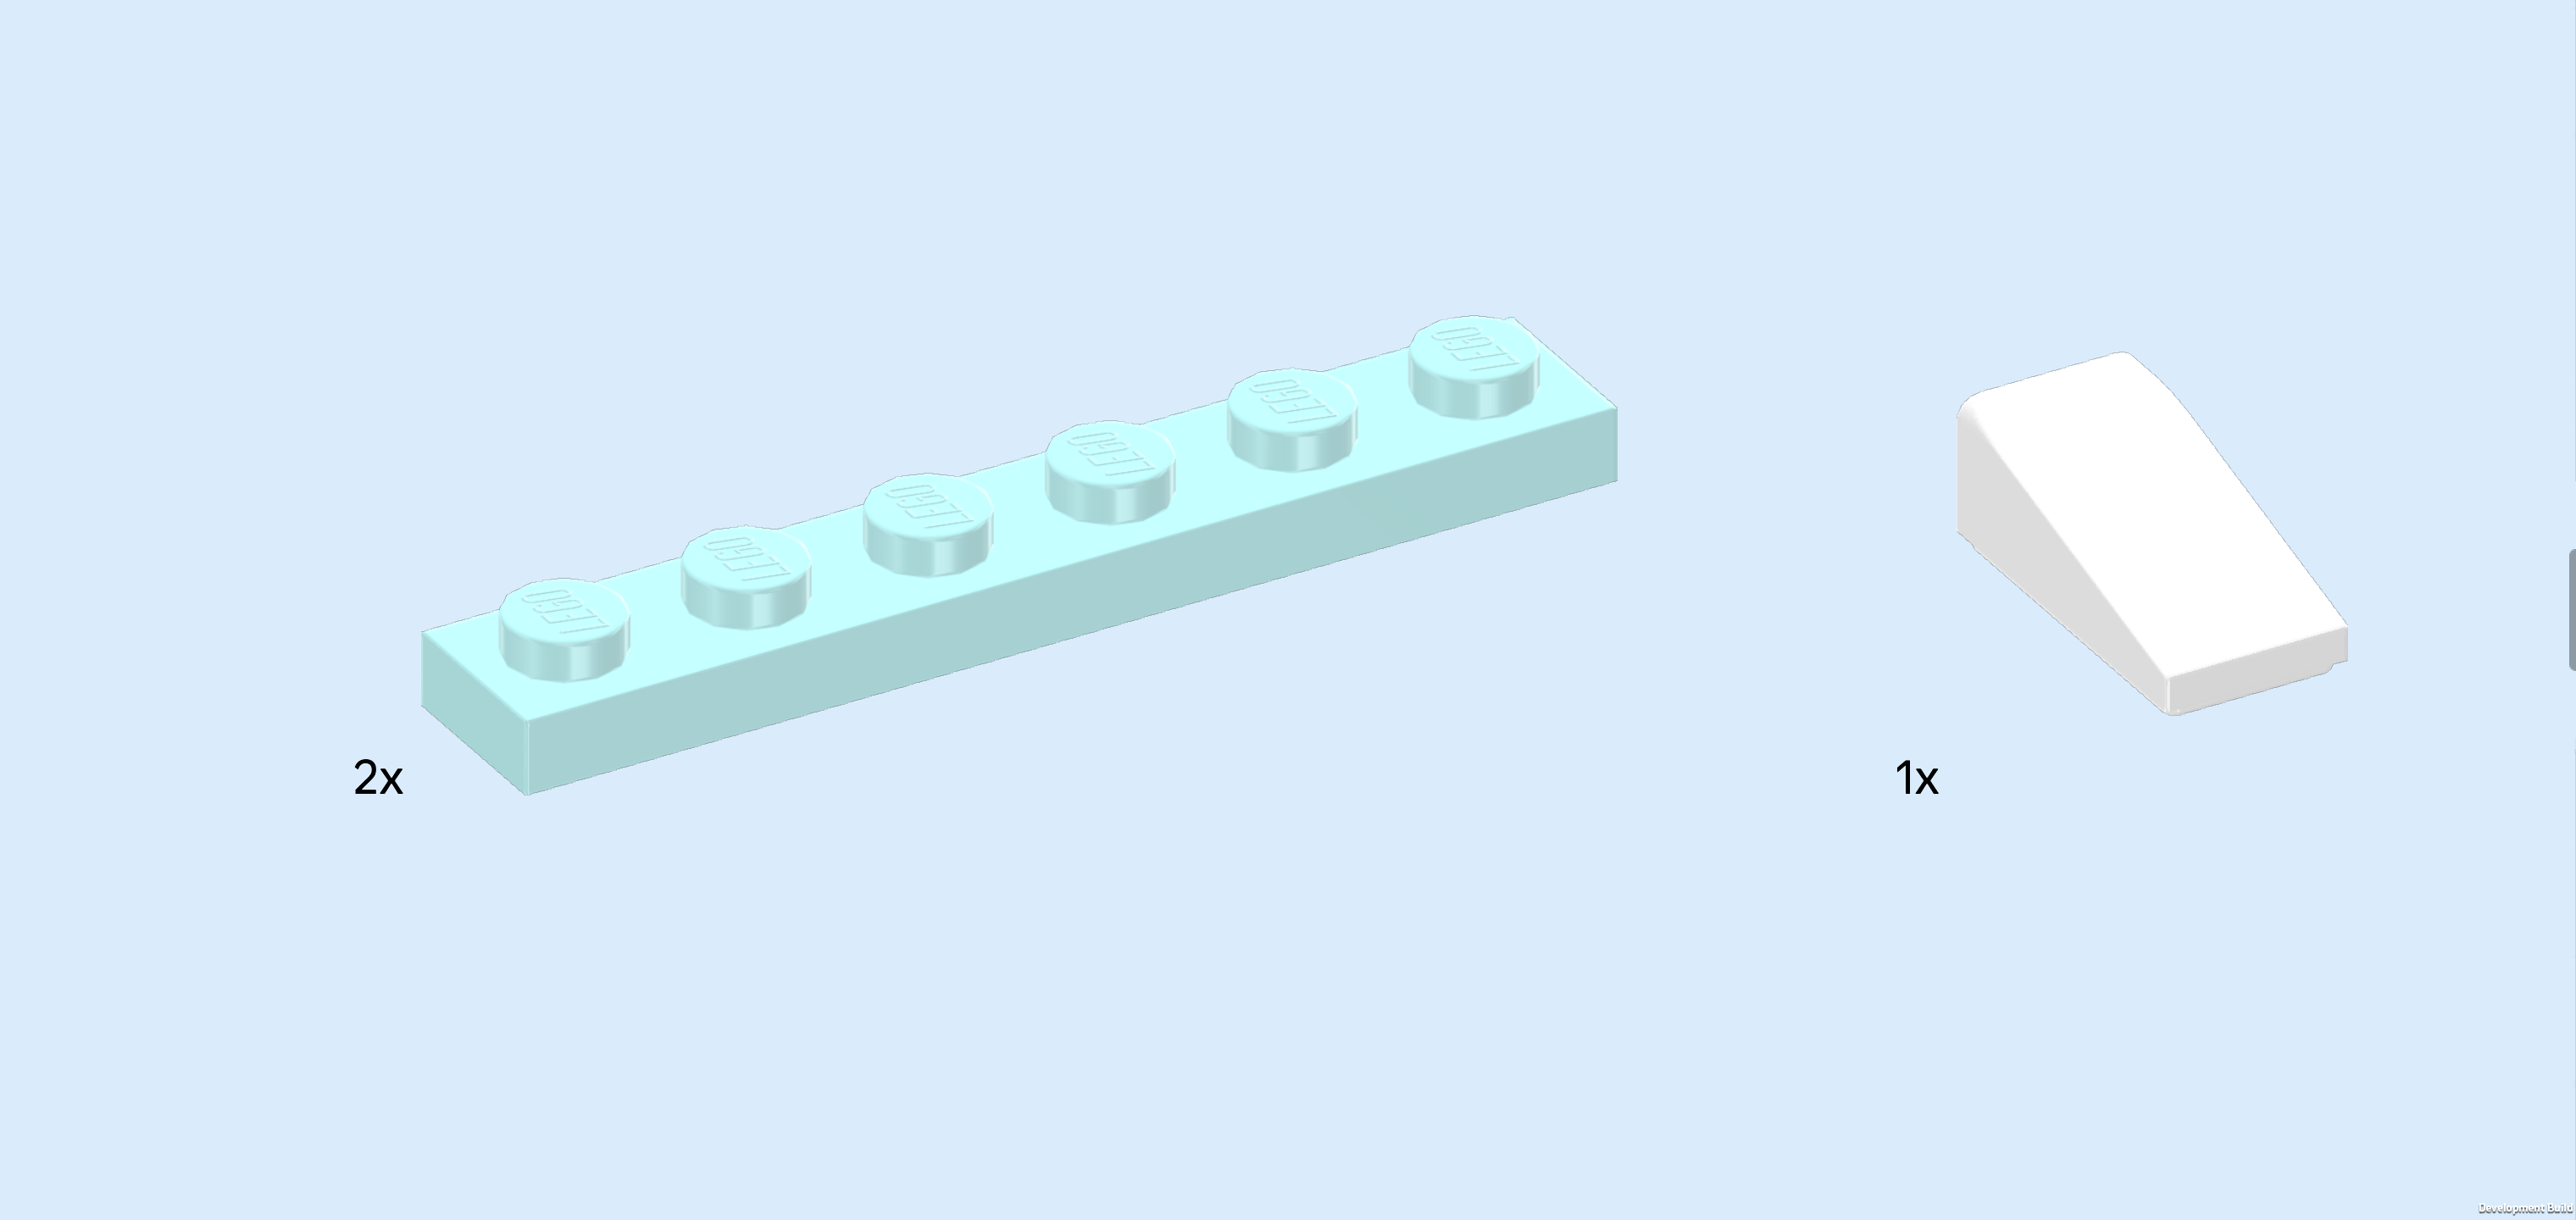
| 1 white one-stepped curve tile 1x3, |
| and 1 beige plate 6x14. |
| Put the plate 6x14 horizontally on the table. |
| Put the curve tile 1x3 vertically on the backmost knob of the rightmost column, 2/3 overhanging to the back, curve to the back. |
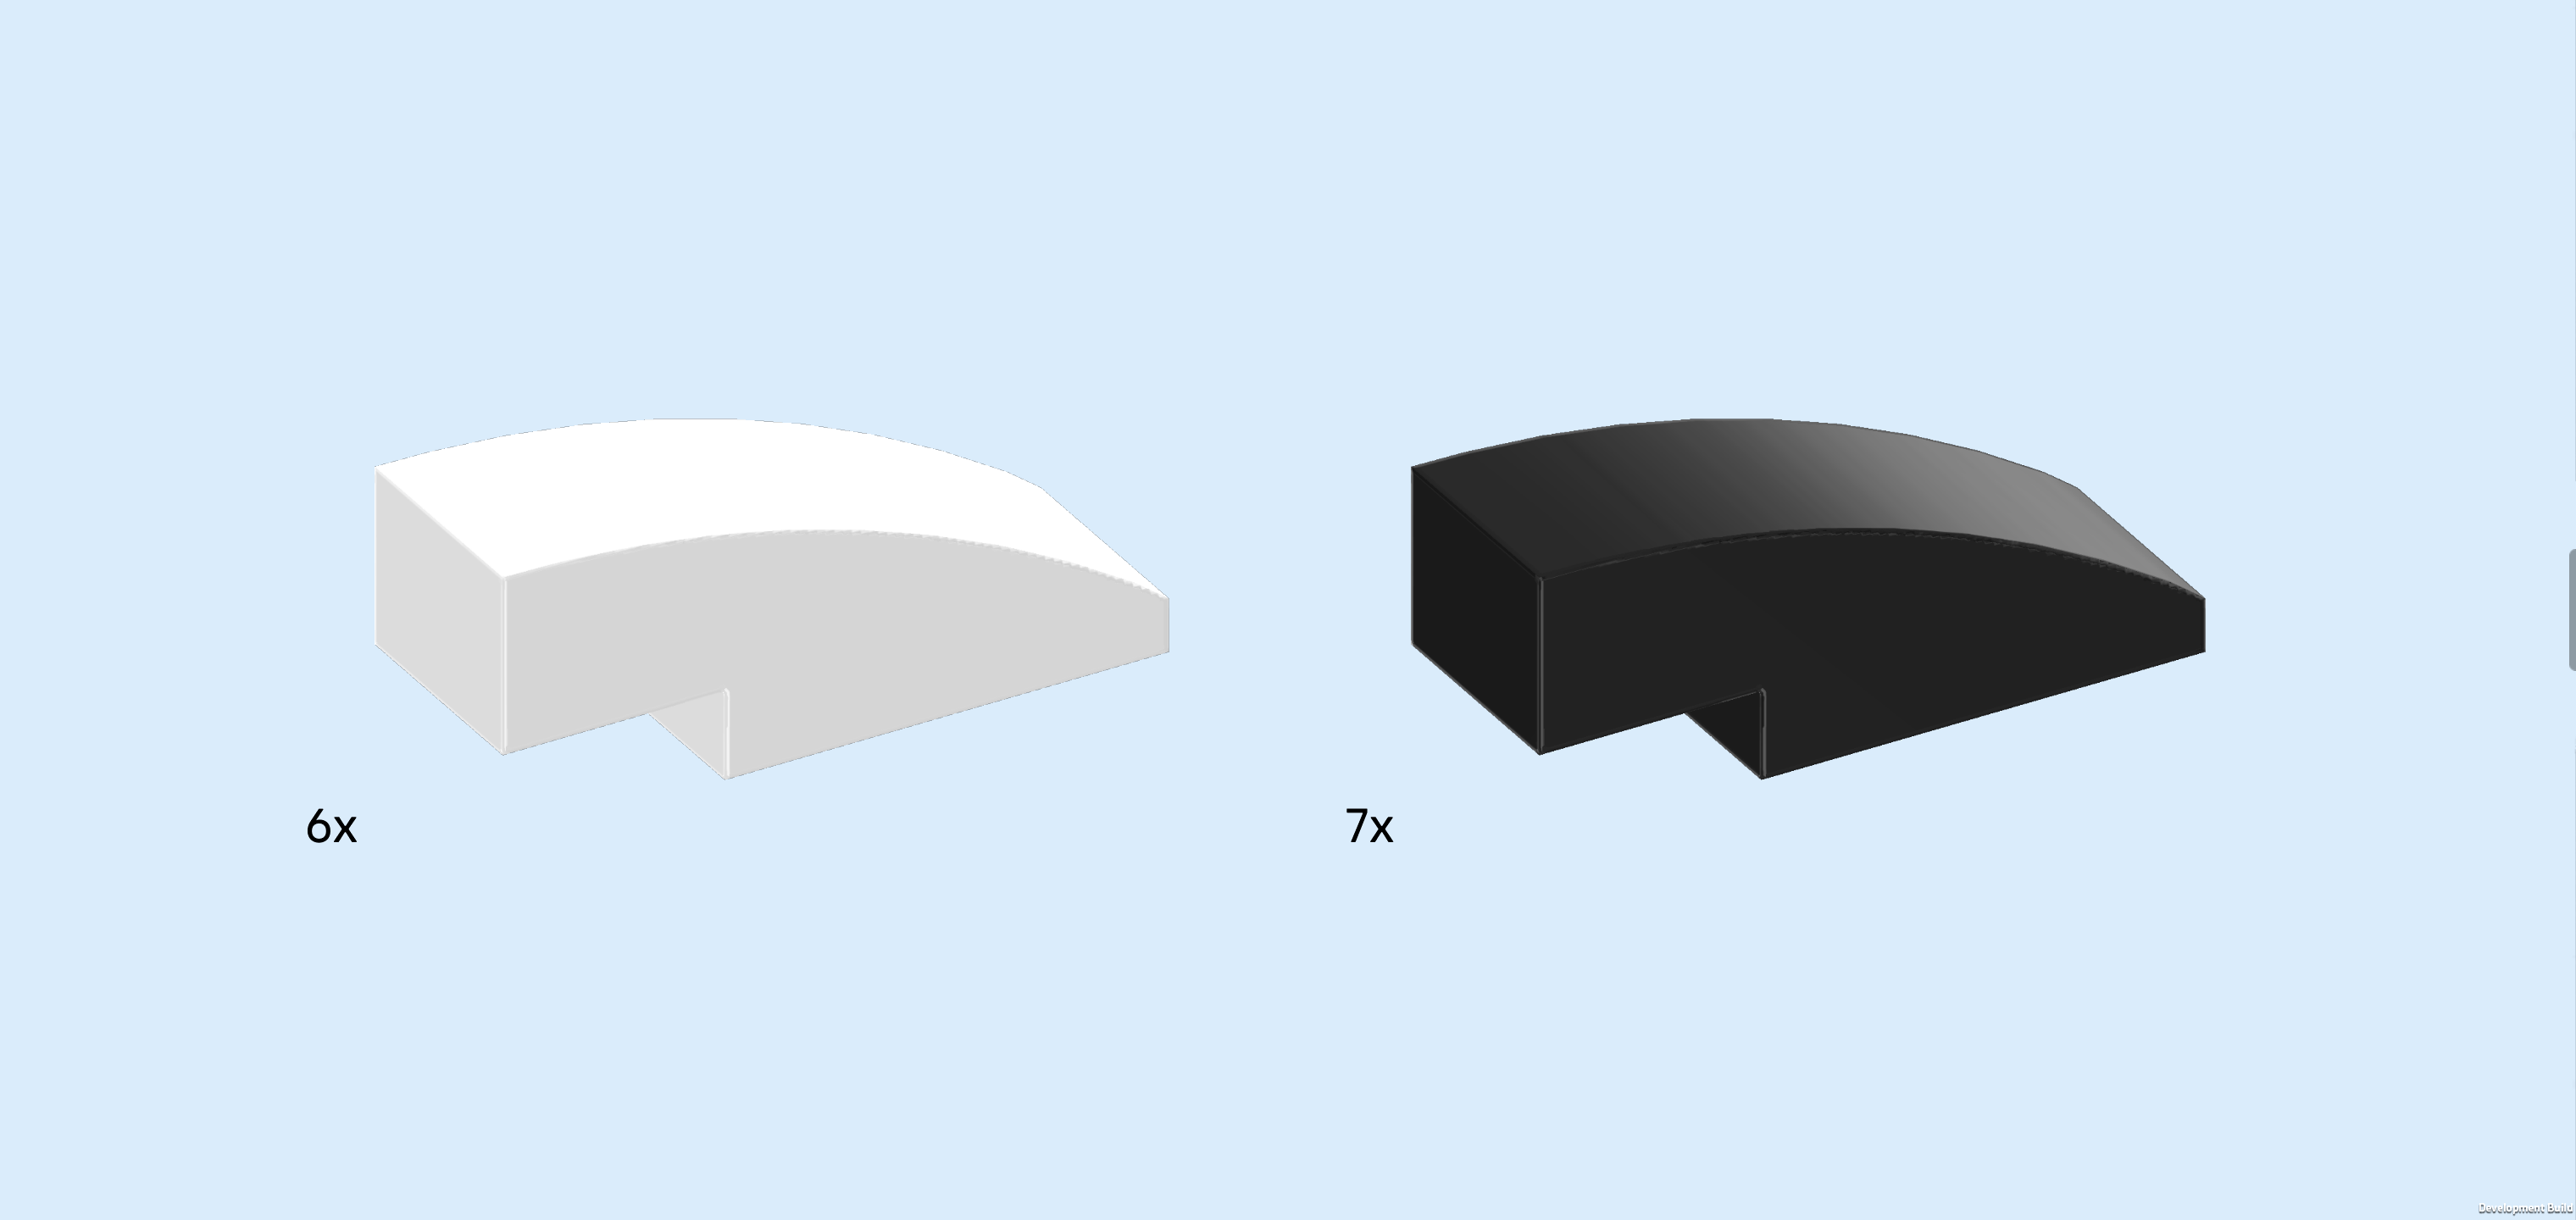
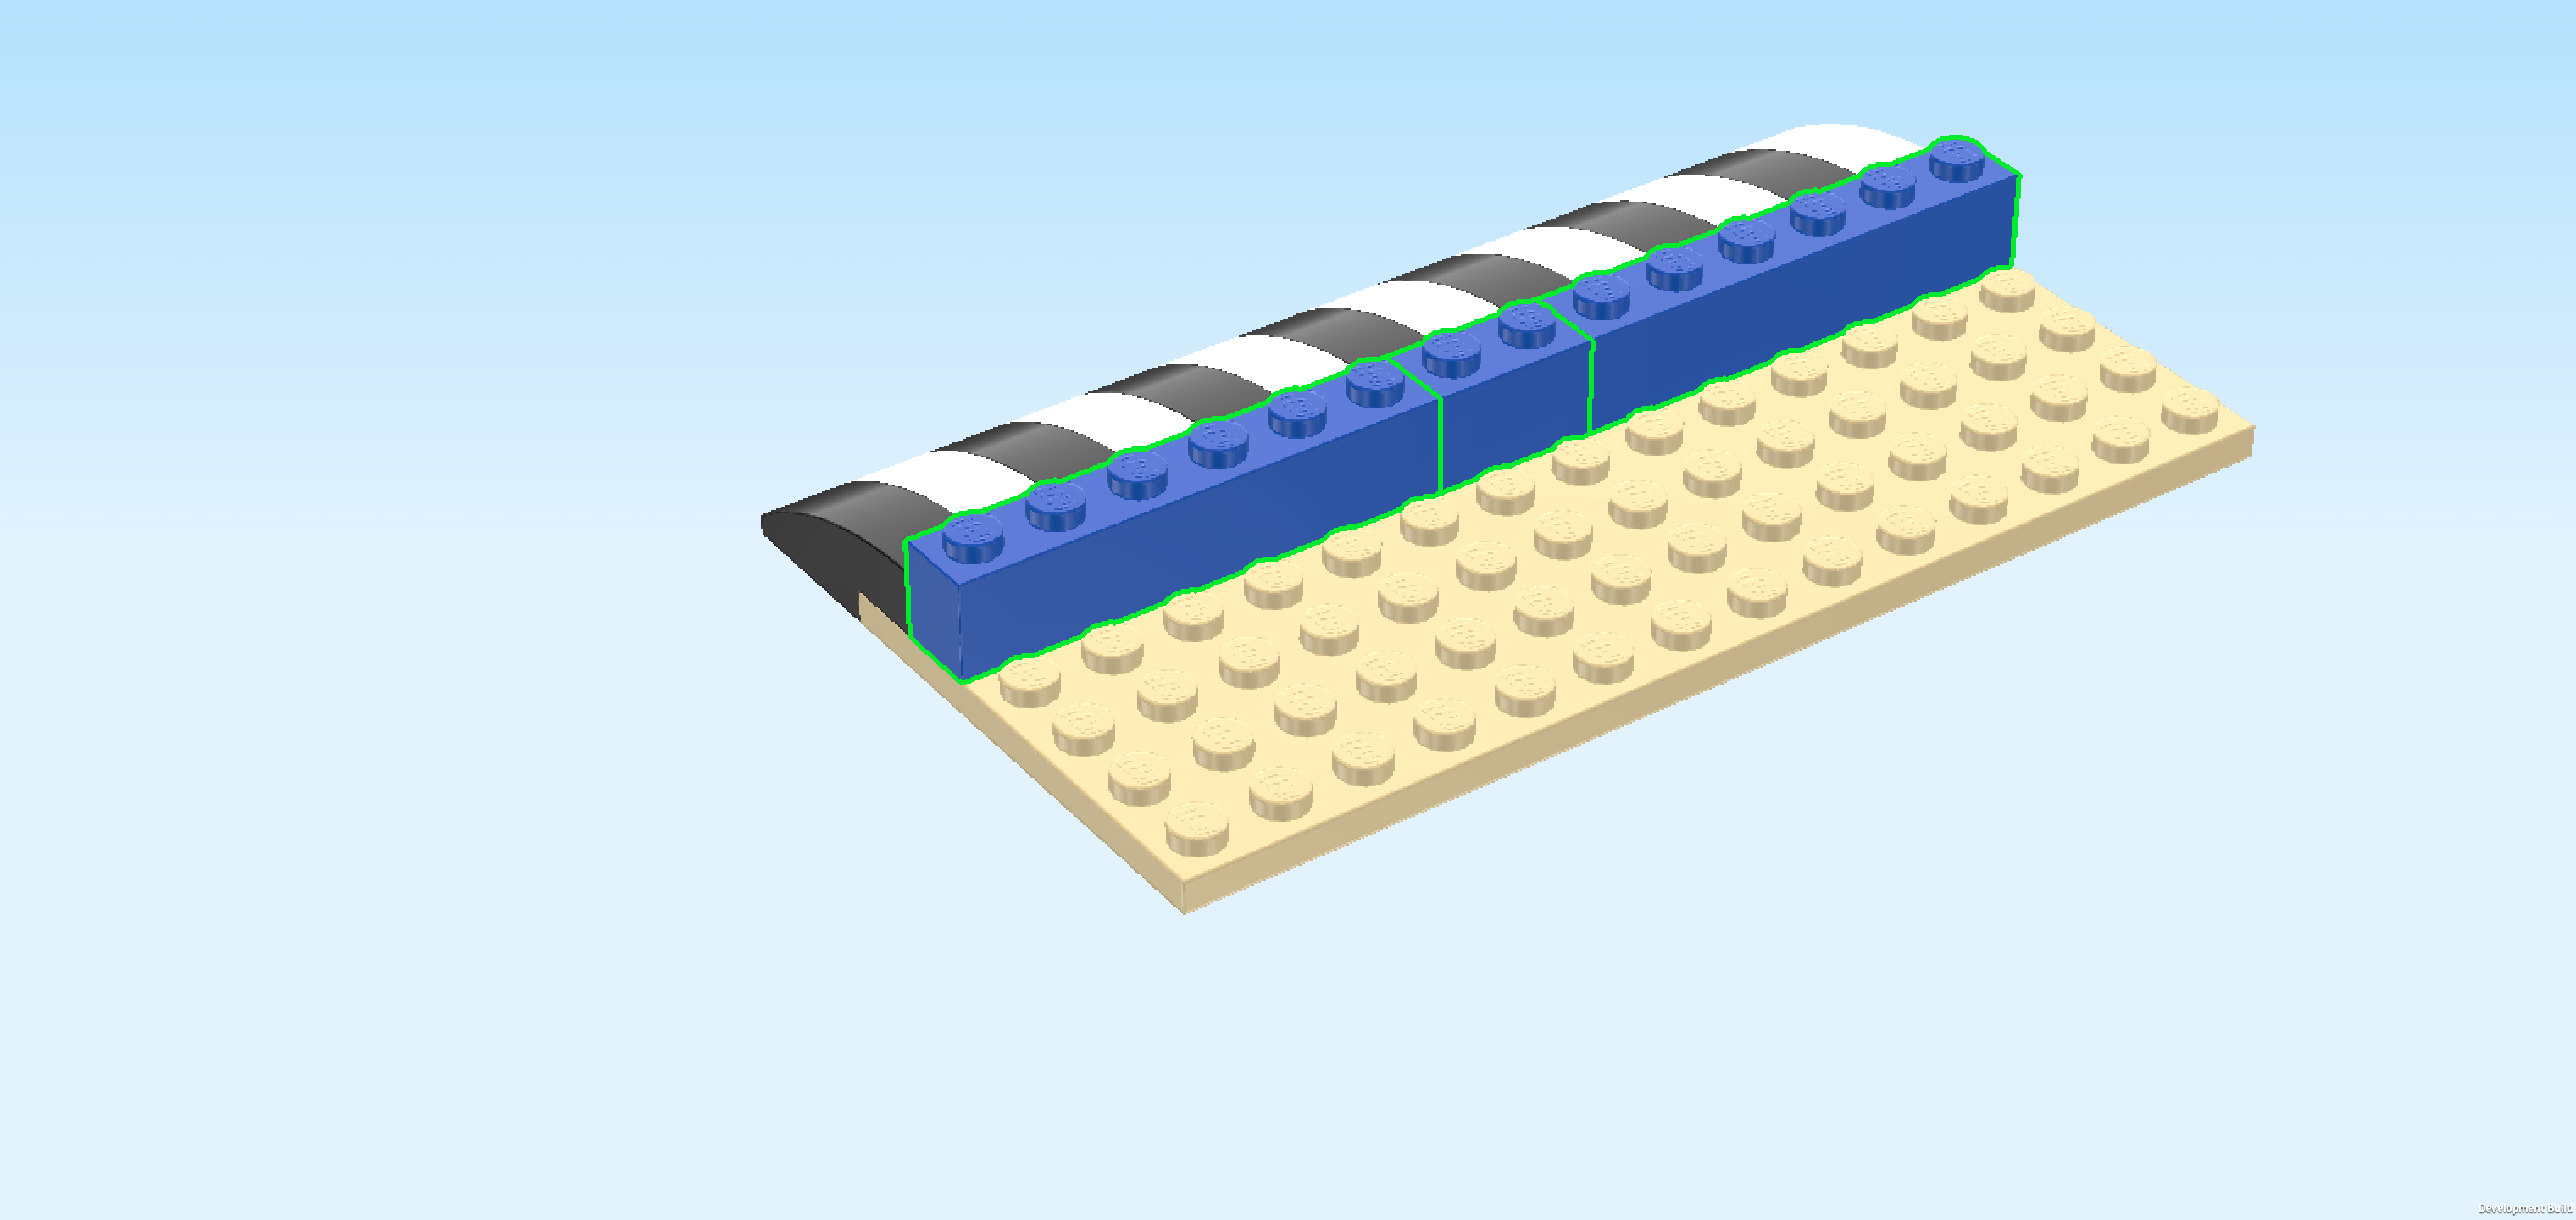
| Collect the following 13 pieces: |
| another 6 white one-stepped curve tiles 1x3, |
| and 7 black one-stepped curve tiles 1x3. |
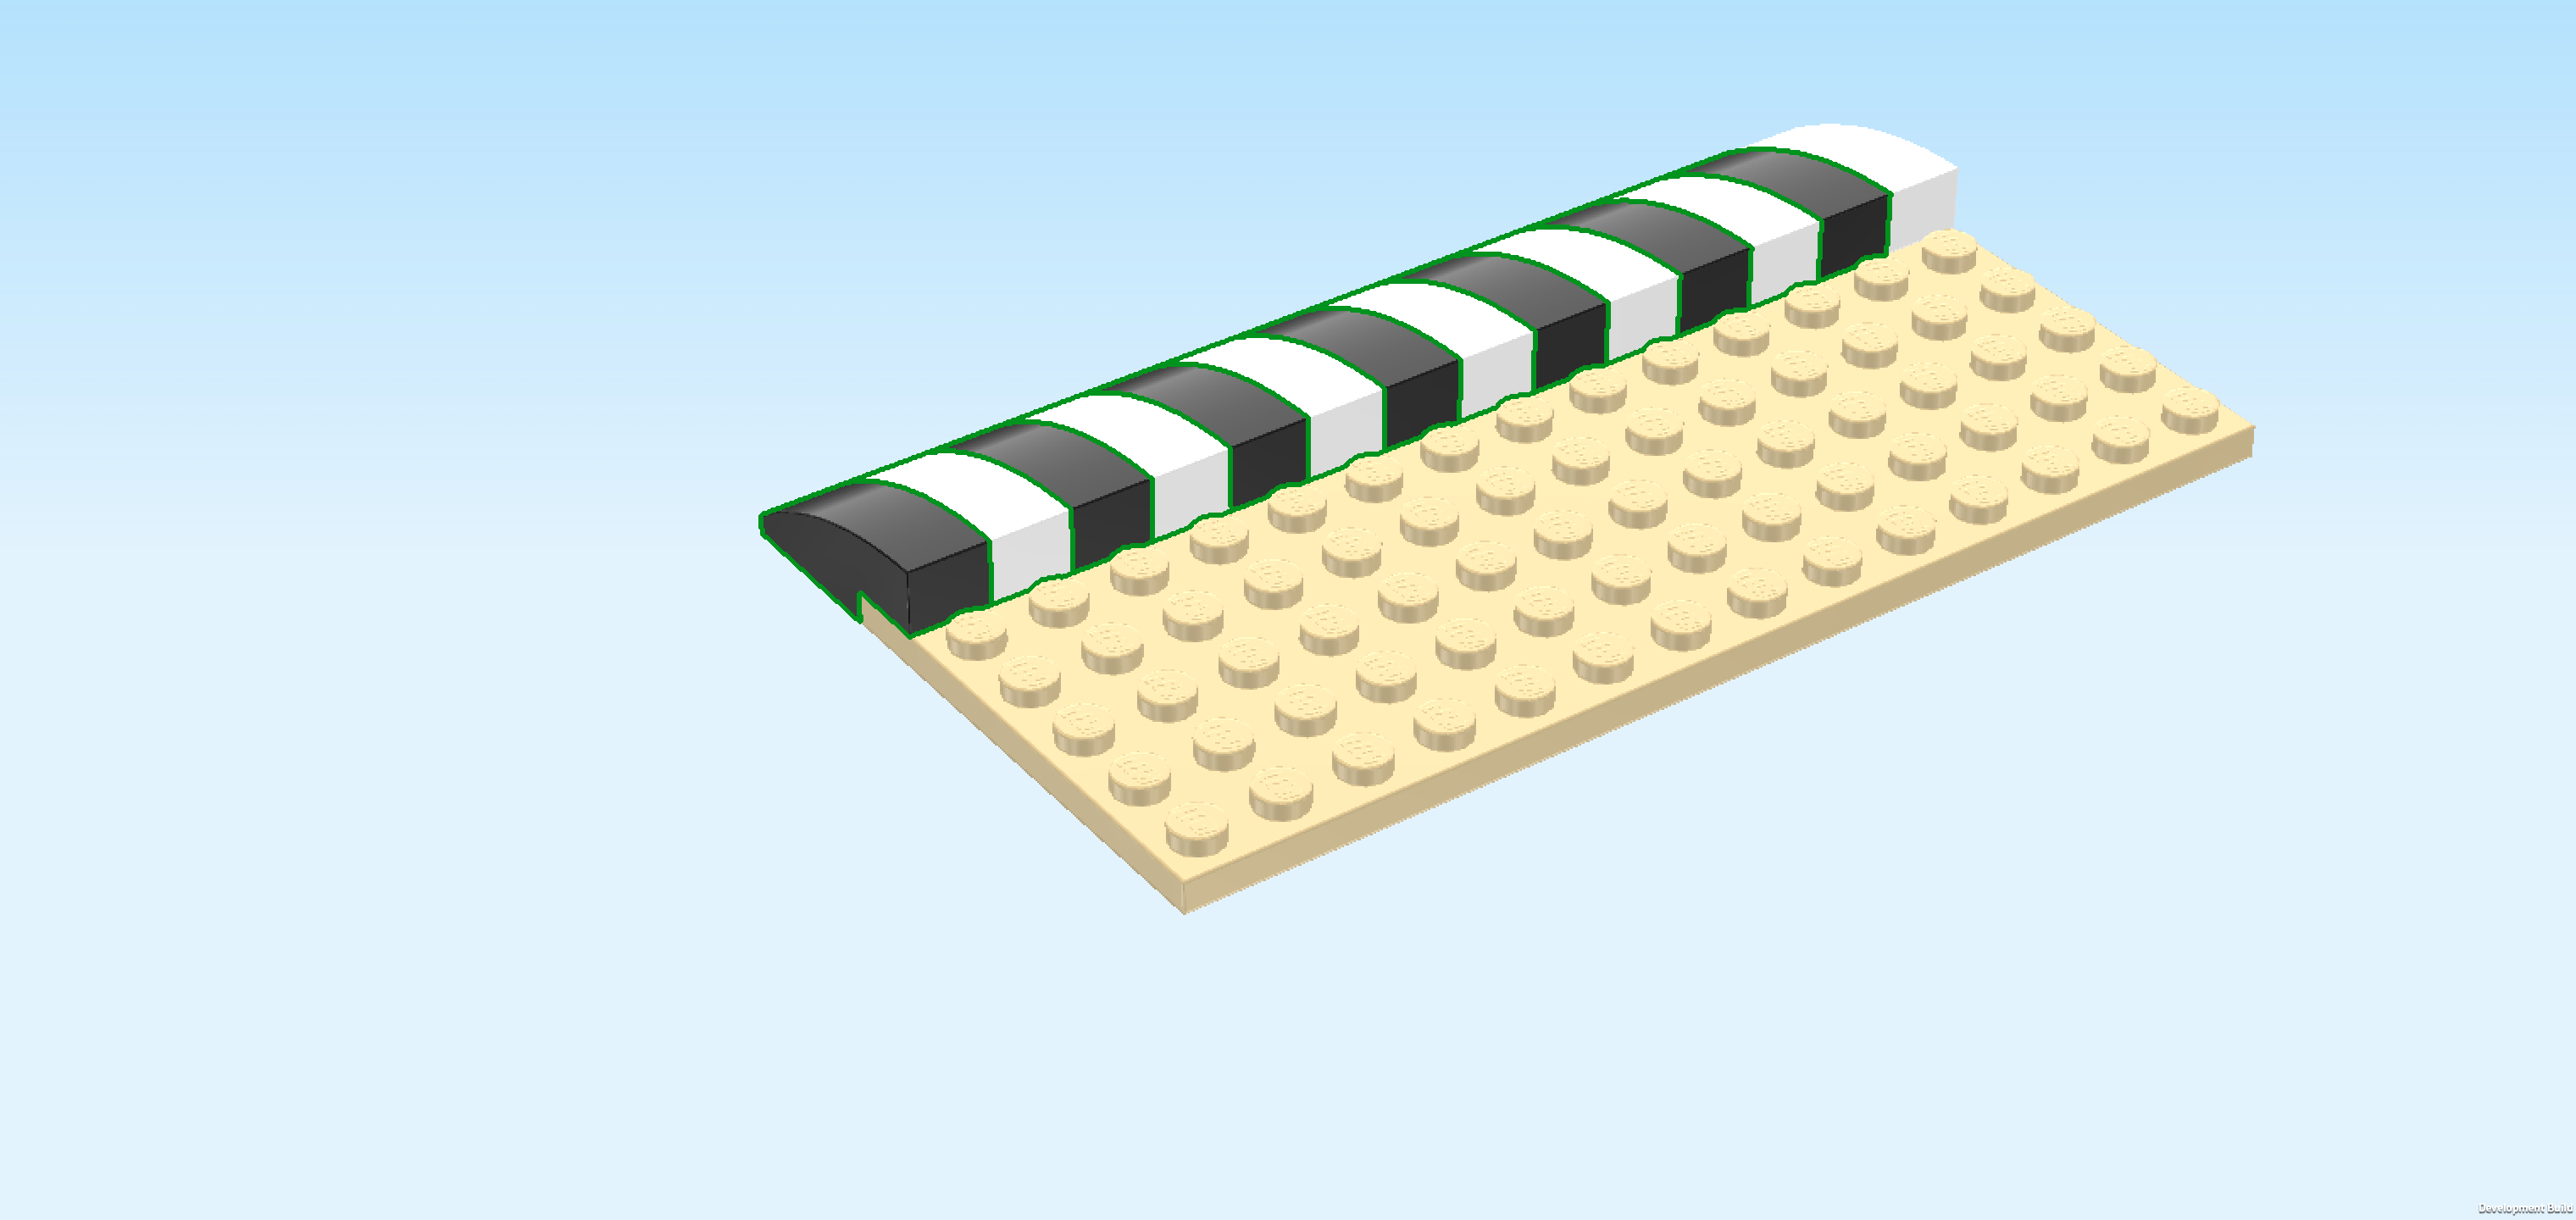
| We will mount these 13 pieces alternating the black and white pieces, using the same orientation as the curve tile we have mounted in the previous step. Continue for detailed instructions. |
| Put 1 black curve tile 1x3 vertically to the left of the previous piece, 2/3 overhanging to the back, curve to the back. |
| Put 1 white curve tile 1x3 vertically to the left of the previous piece in the same orientation. |
| Put 1 black curve tile 1x3 vertically to the left of the previous piece in the same orientation. |
| Put 1 white curve tile 1x3 vertically to the left of the previous piece in the same orientation. |
| Put 1 black curve tile 1x3 vertically to the left of the previous piece in the same orientation. |
| Put 1 white curve tile 1x3 vertically to the left of the previous piece in the same orientation. |
| Put 1 black curve tile 1x3 vertically to the left of the previous piece in the same orientation. |
| Put 1 white curve tile 1x3 vertically to the left of the previous piece in the same orientation. |
| Put 1 black curve tile 1x3 vertically to the left of the previous piece in the same orientation. |
| Put 1 white curve tile 1x3 vertically to the left of the previous piece in the same orientation. |
| Put 1 black curve tile 1x3 vertically to the left of the previous piece in the same orientation. |
| Put the last white curve tile 1x3 vertically to the left of the previous piece in the same orientation. |
| Put the last black curve tile 1x3 vertically to the left of the previous piece in the same orientation. |
| Collect the following 3 pieces: |
| 1 bright blue brick 1x2, |
| and 2 bright blue bricks 1x6. |
| Put 1 brick 1x6 horizontally on the row in front of the curve tiles, starting from the left edge. |
| Put the brick 1x2 horizontally to the right of the previous piece. |
| Put the other brick 1x6 horizontally to the right of the previous piece. |
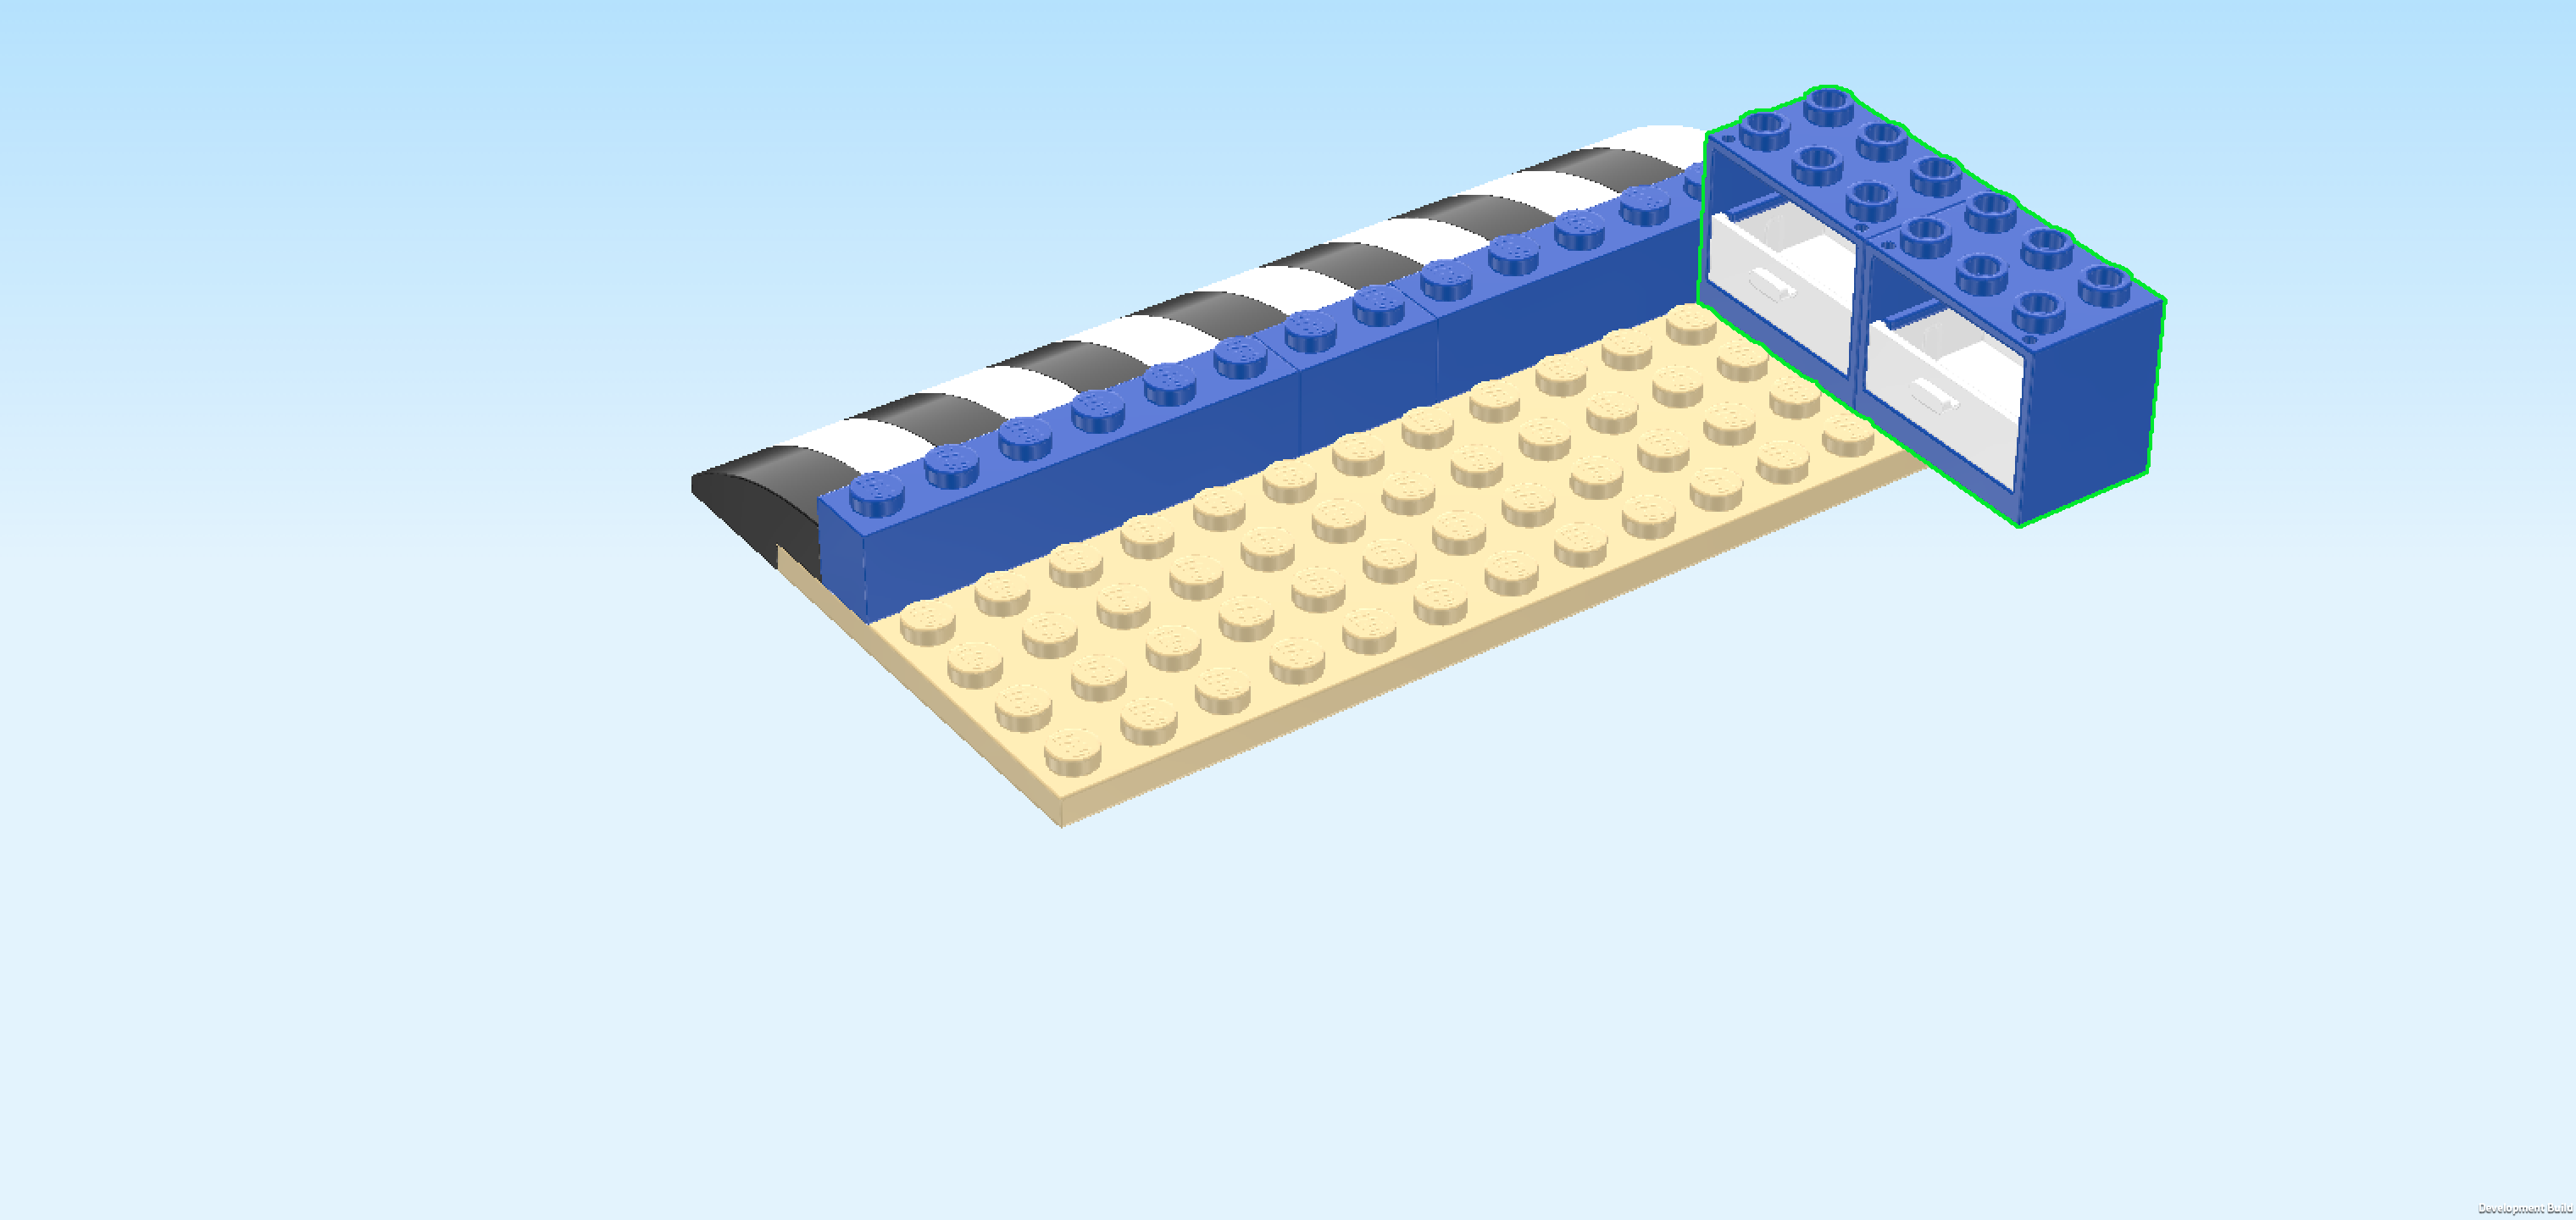
| Next up, we will build the drawer unit. |
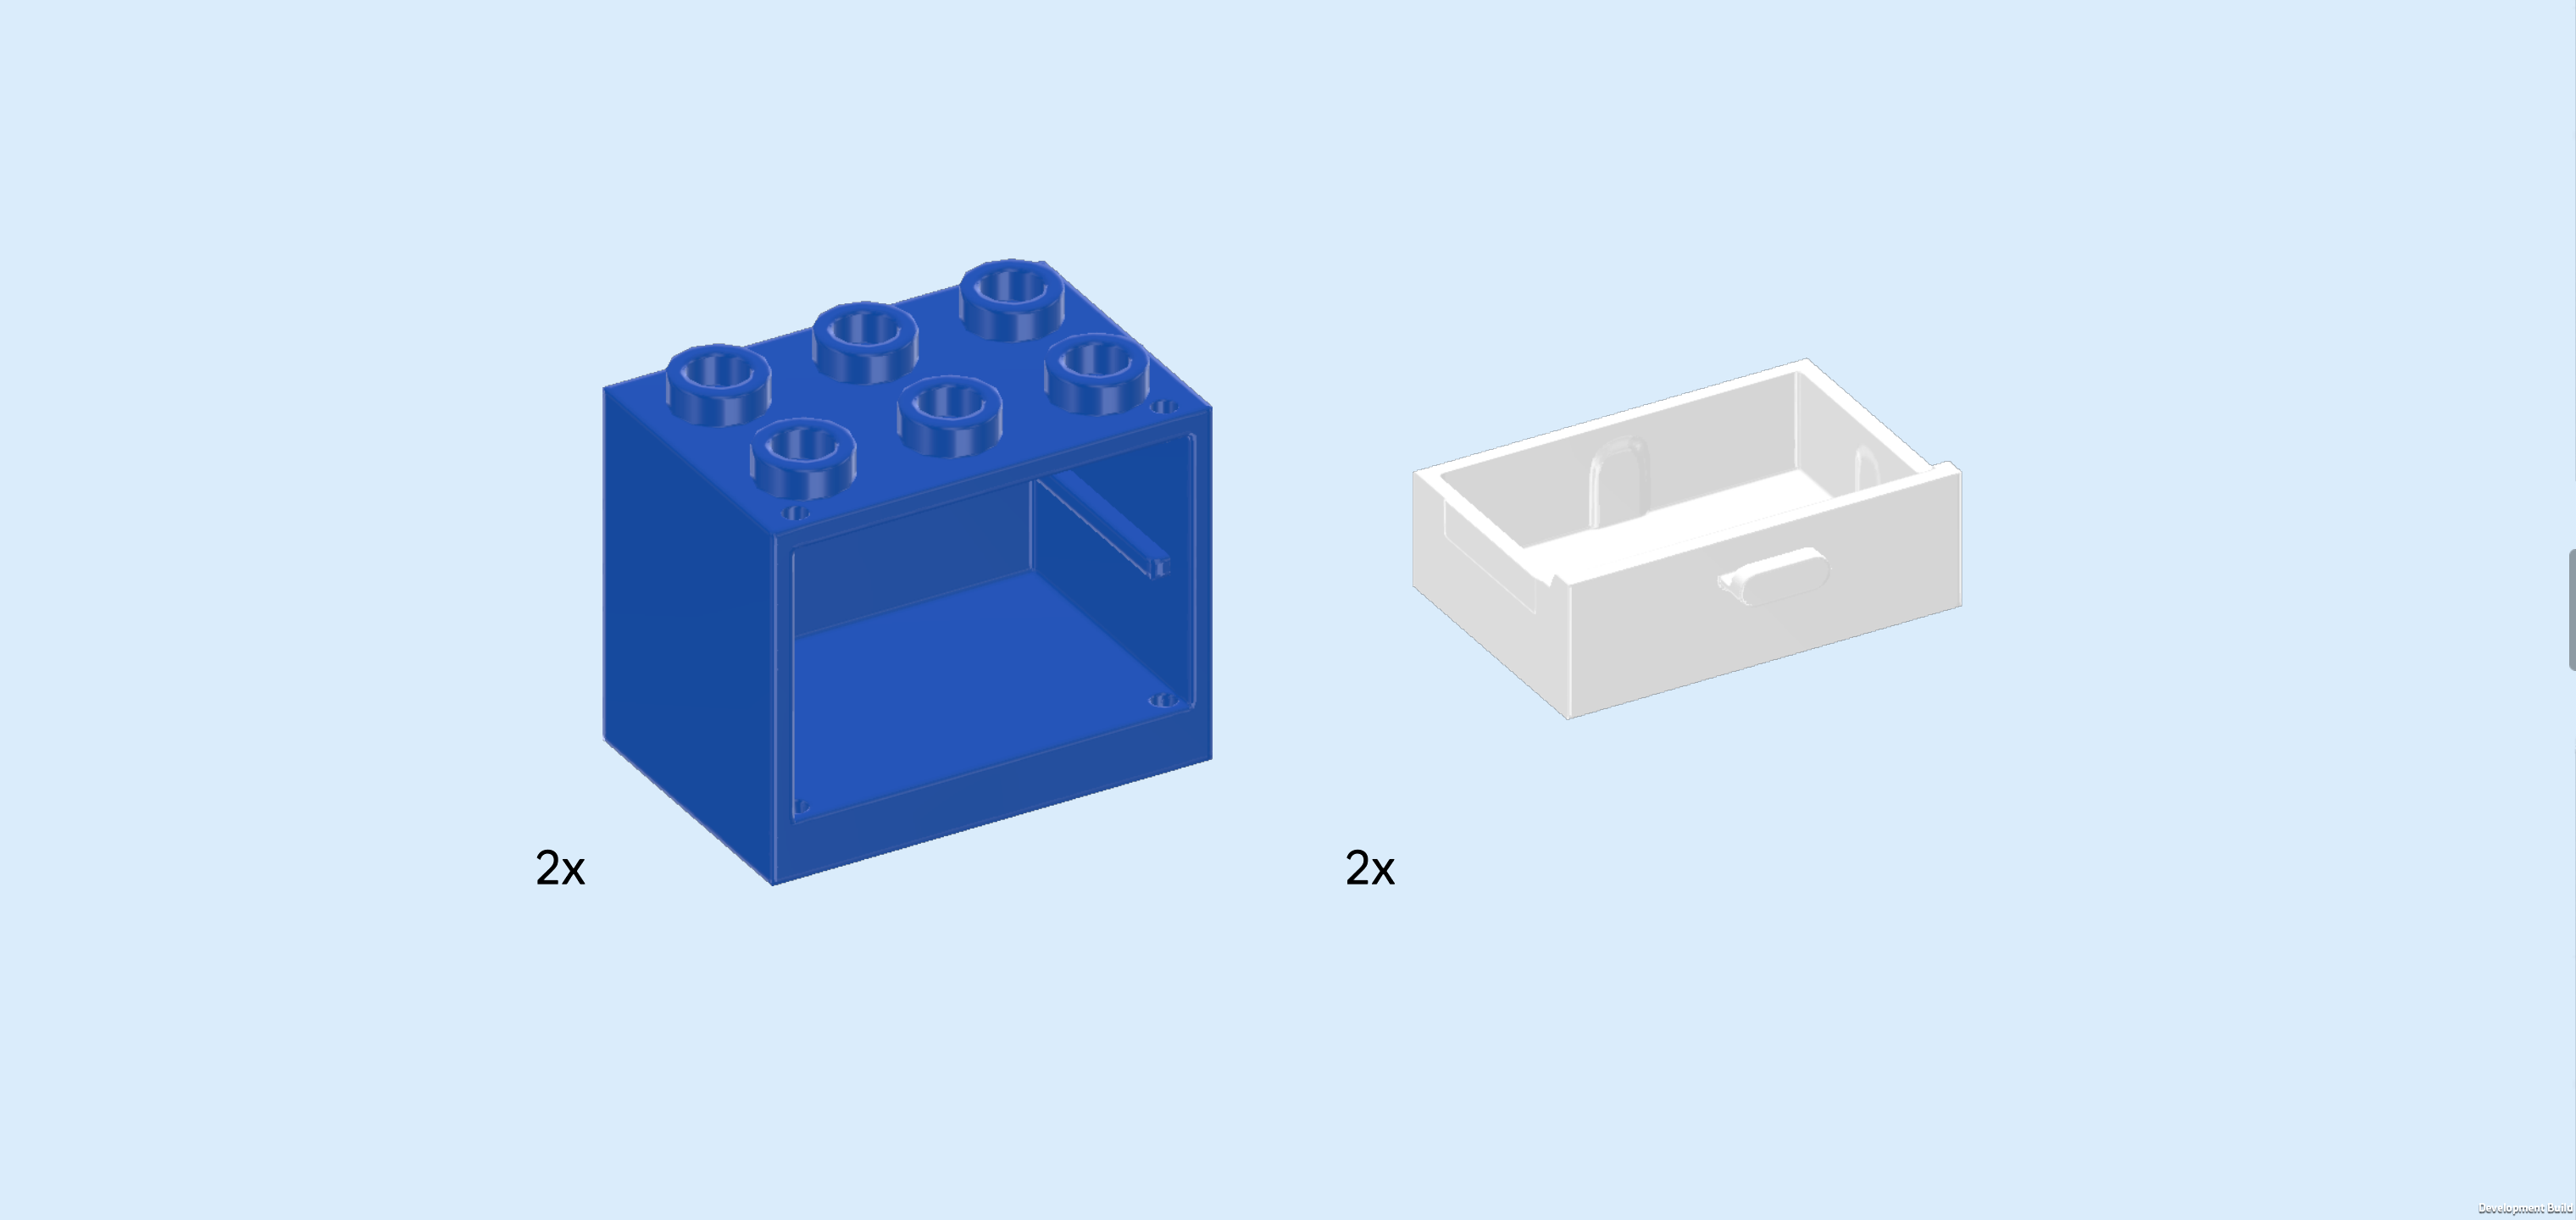
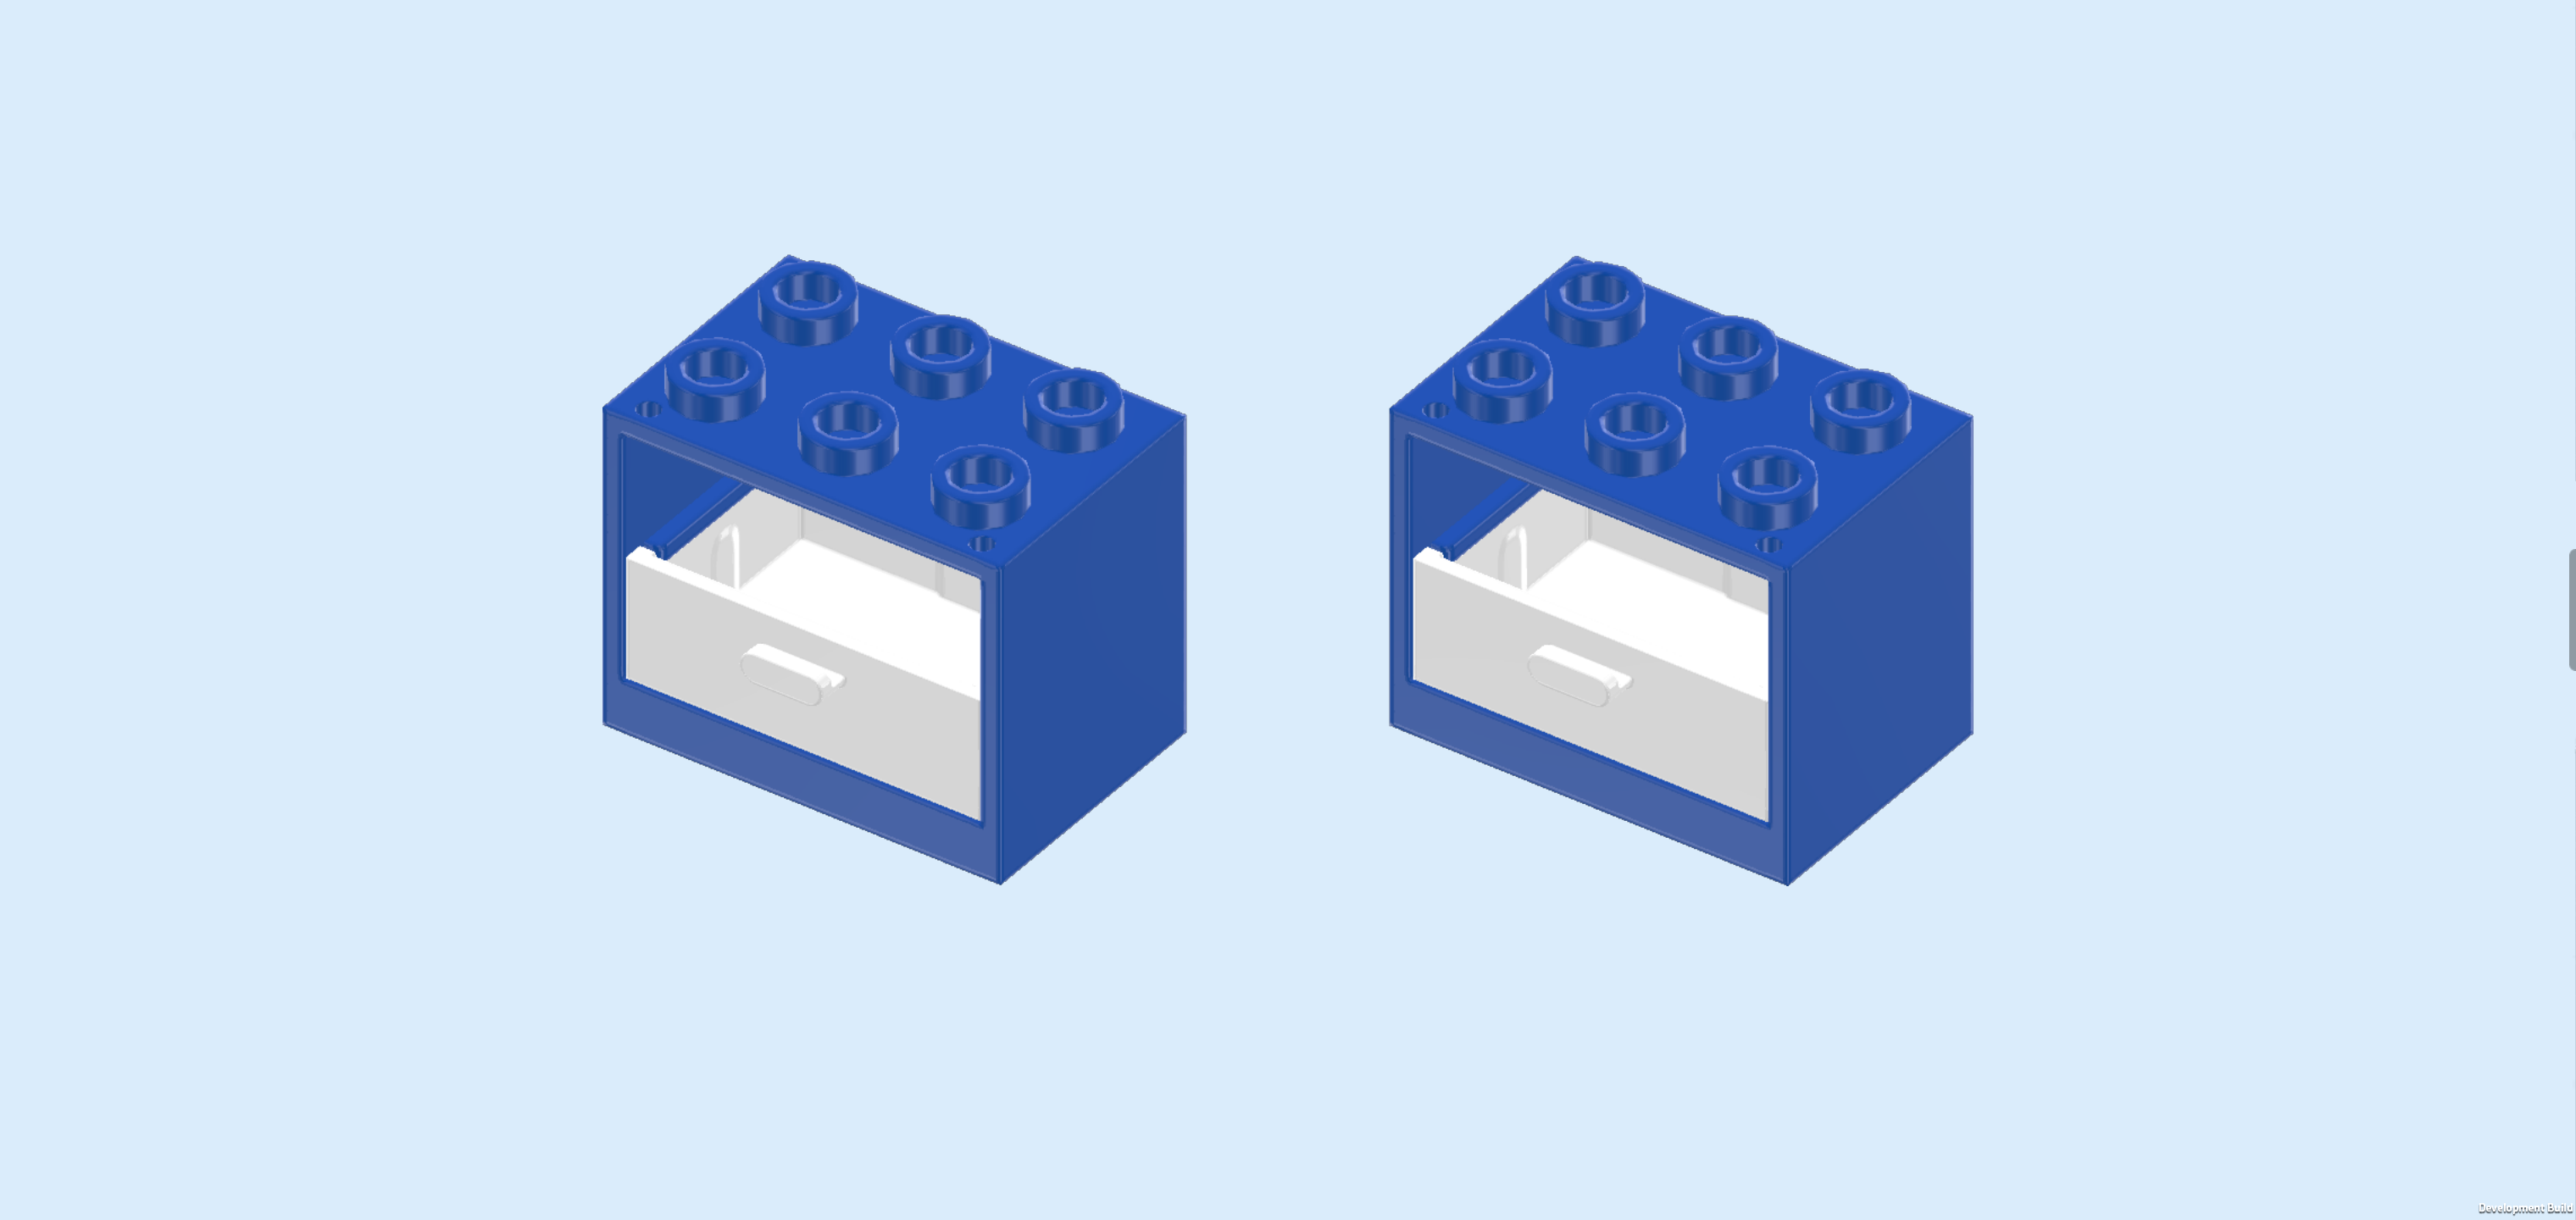
| Collect the following 4 pieces: |
| 2 bright blue cupboard elements 2x3x2, |
| and 2 white drawers 2x3x1 for cupboard. |
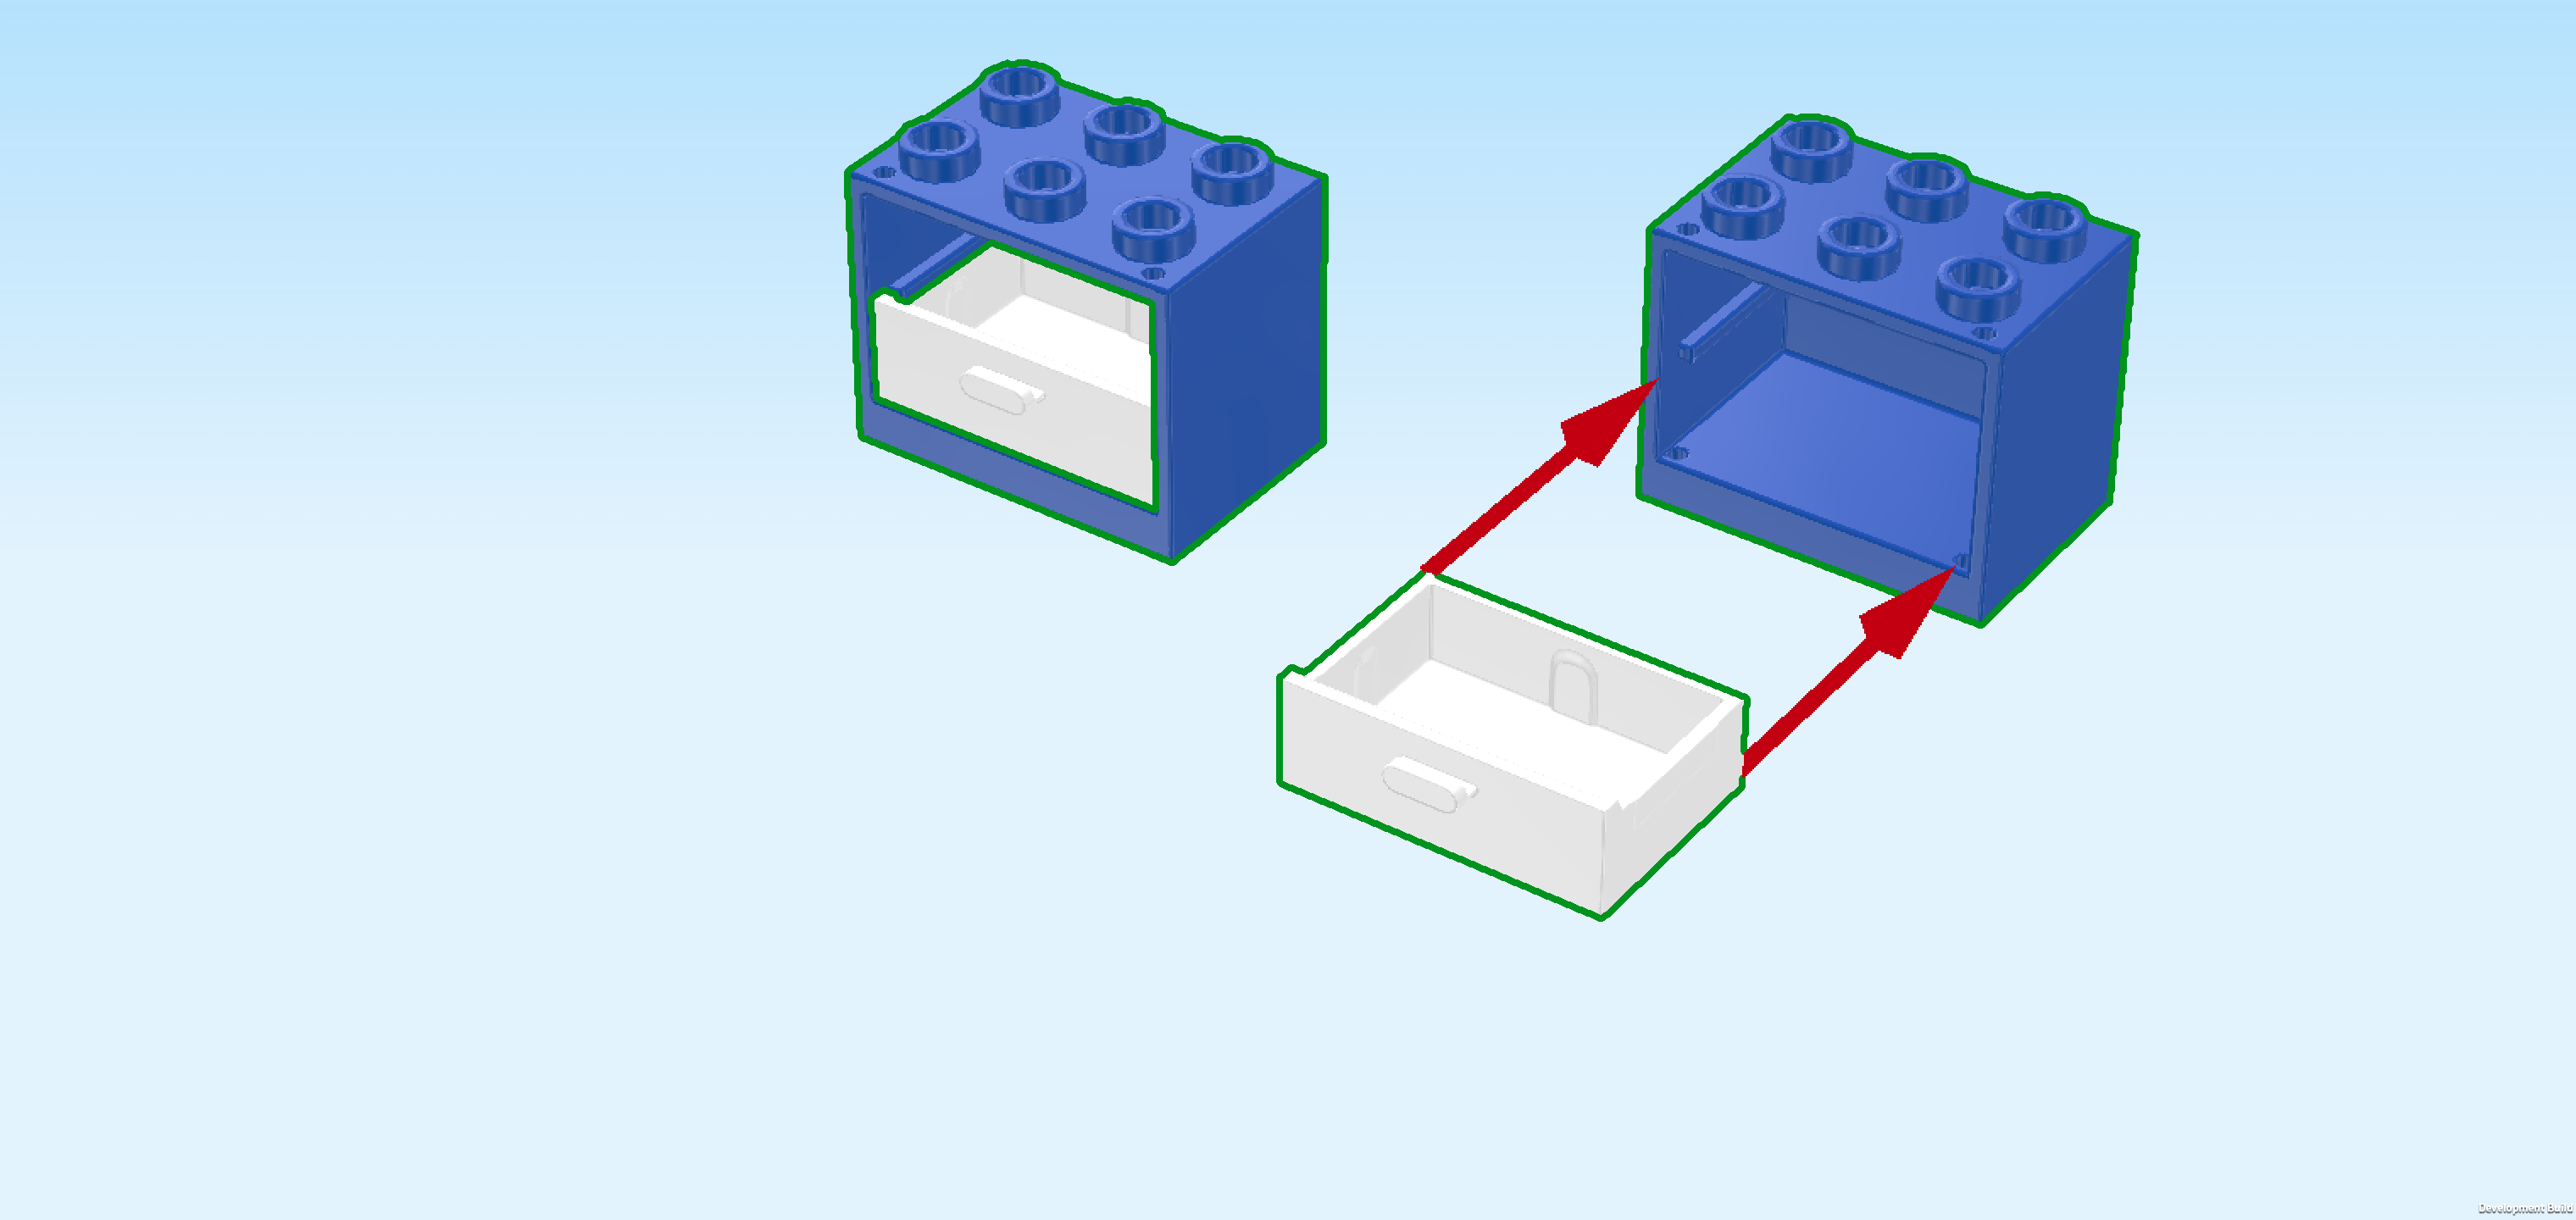
| Put 1 cupboard element 2x3x2 vertically on the table, opening to the left. |
| Insert 1 drawer from the left into the lower half of the cupboard. Make sure the handle is sticking out towards the left. The top half of the cupboard will remain empty. |
| Repeat with the other 2 pieces. |
| Mount 1 cupboard vertically on the 2 rightmost columns directly in front of the brick from the previous step, opening with drawer to the left. |
| Put the other cupboard vertically in front of the previous piece, 1/2 overhanging to the front. |
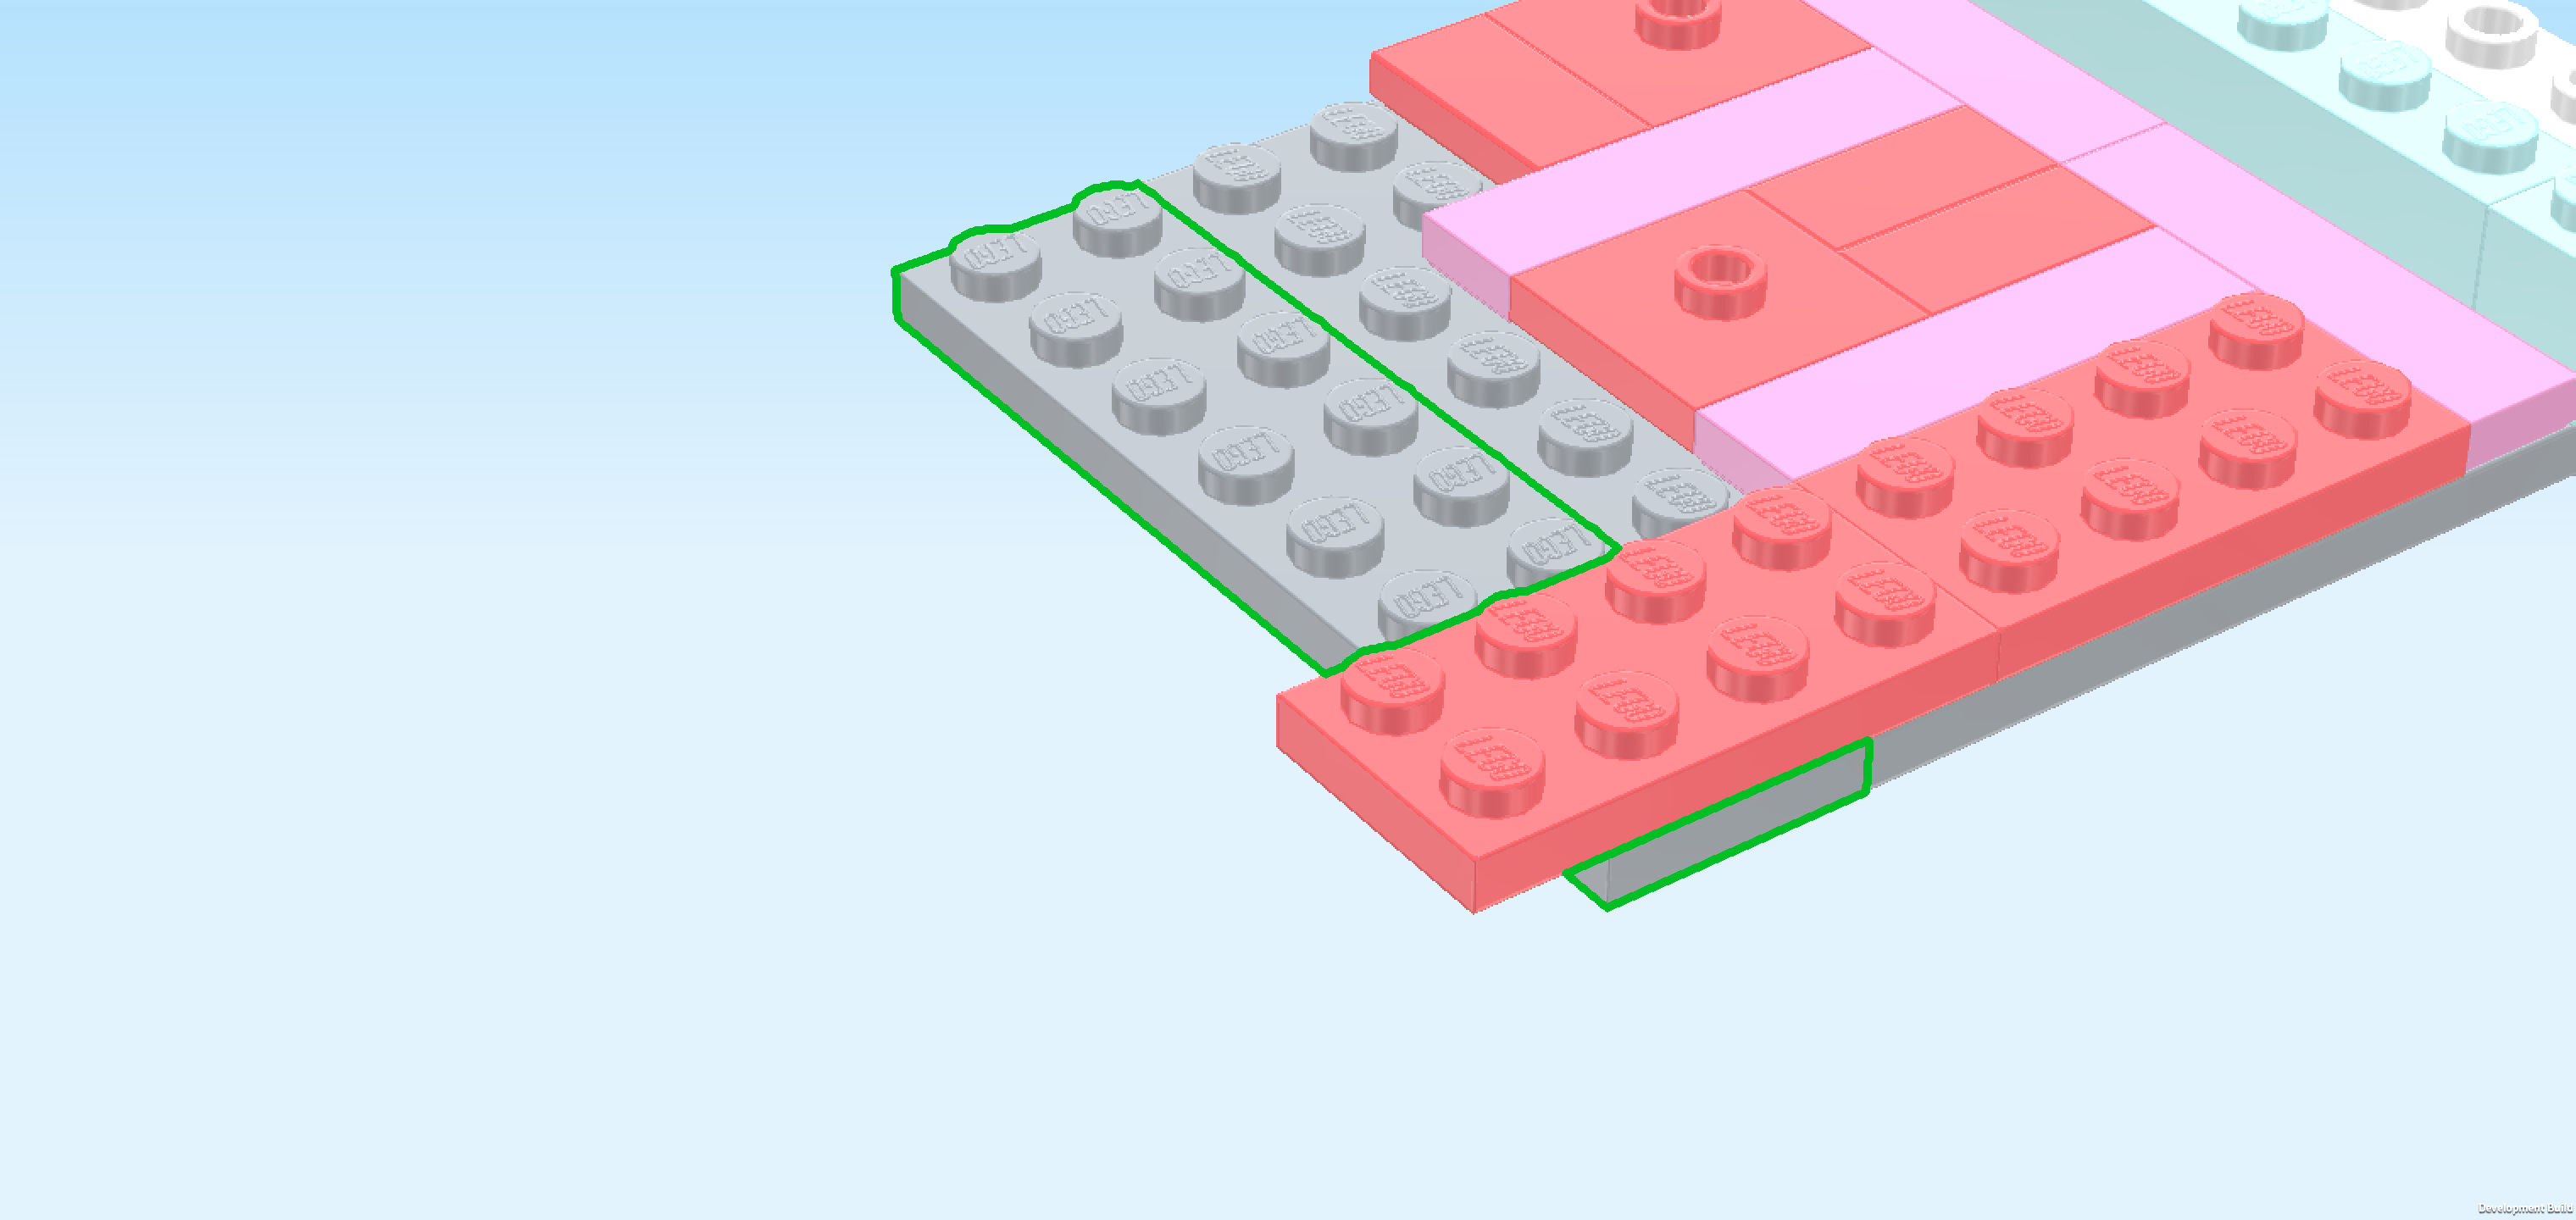
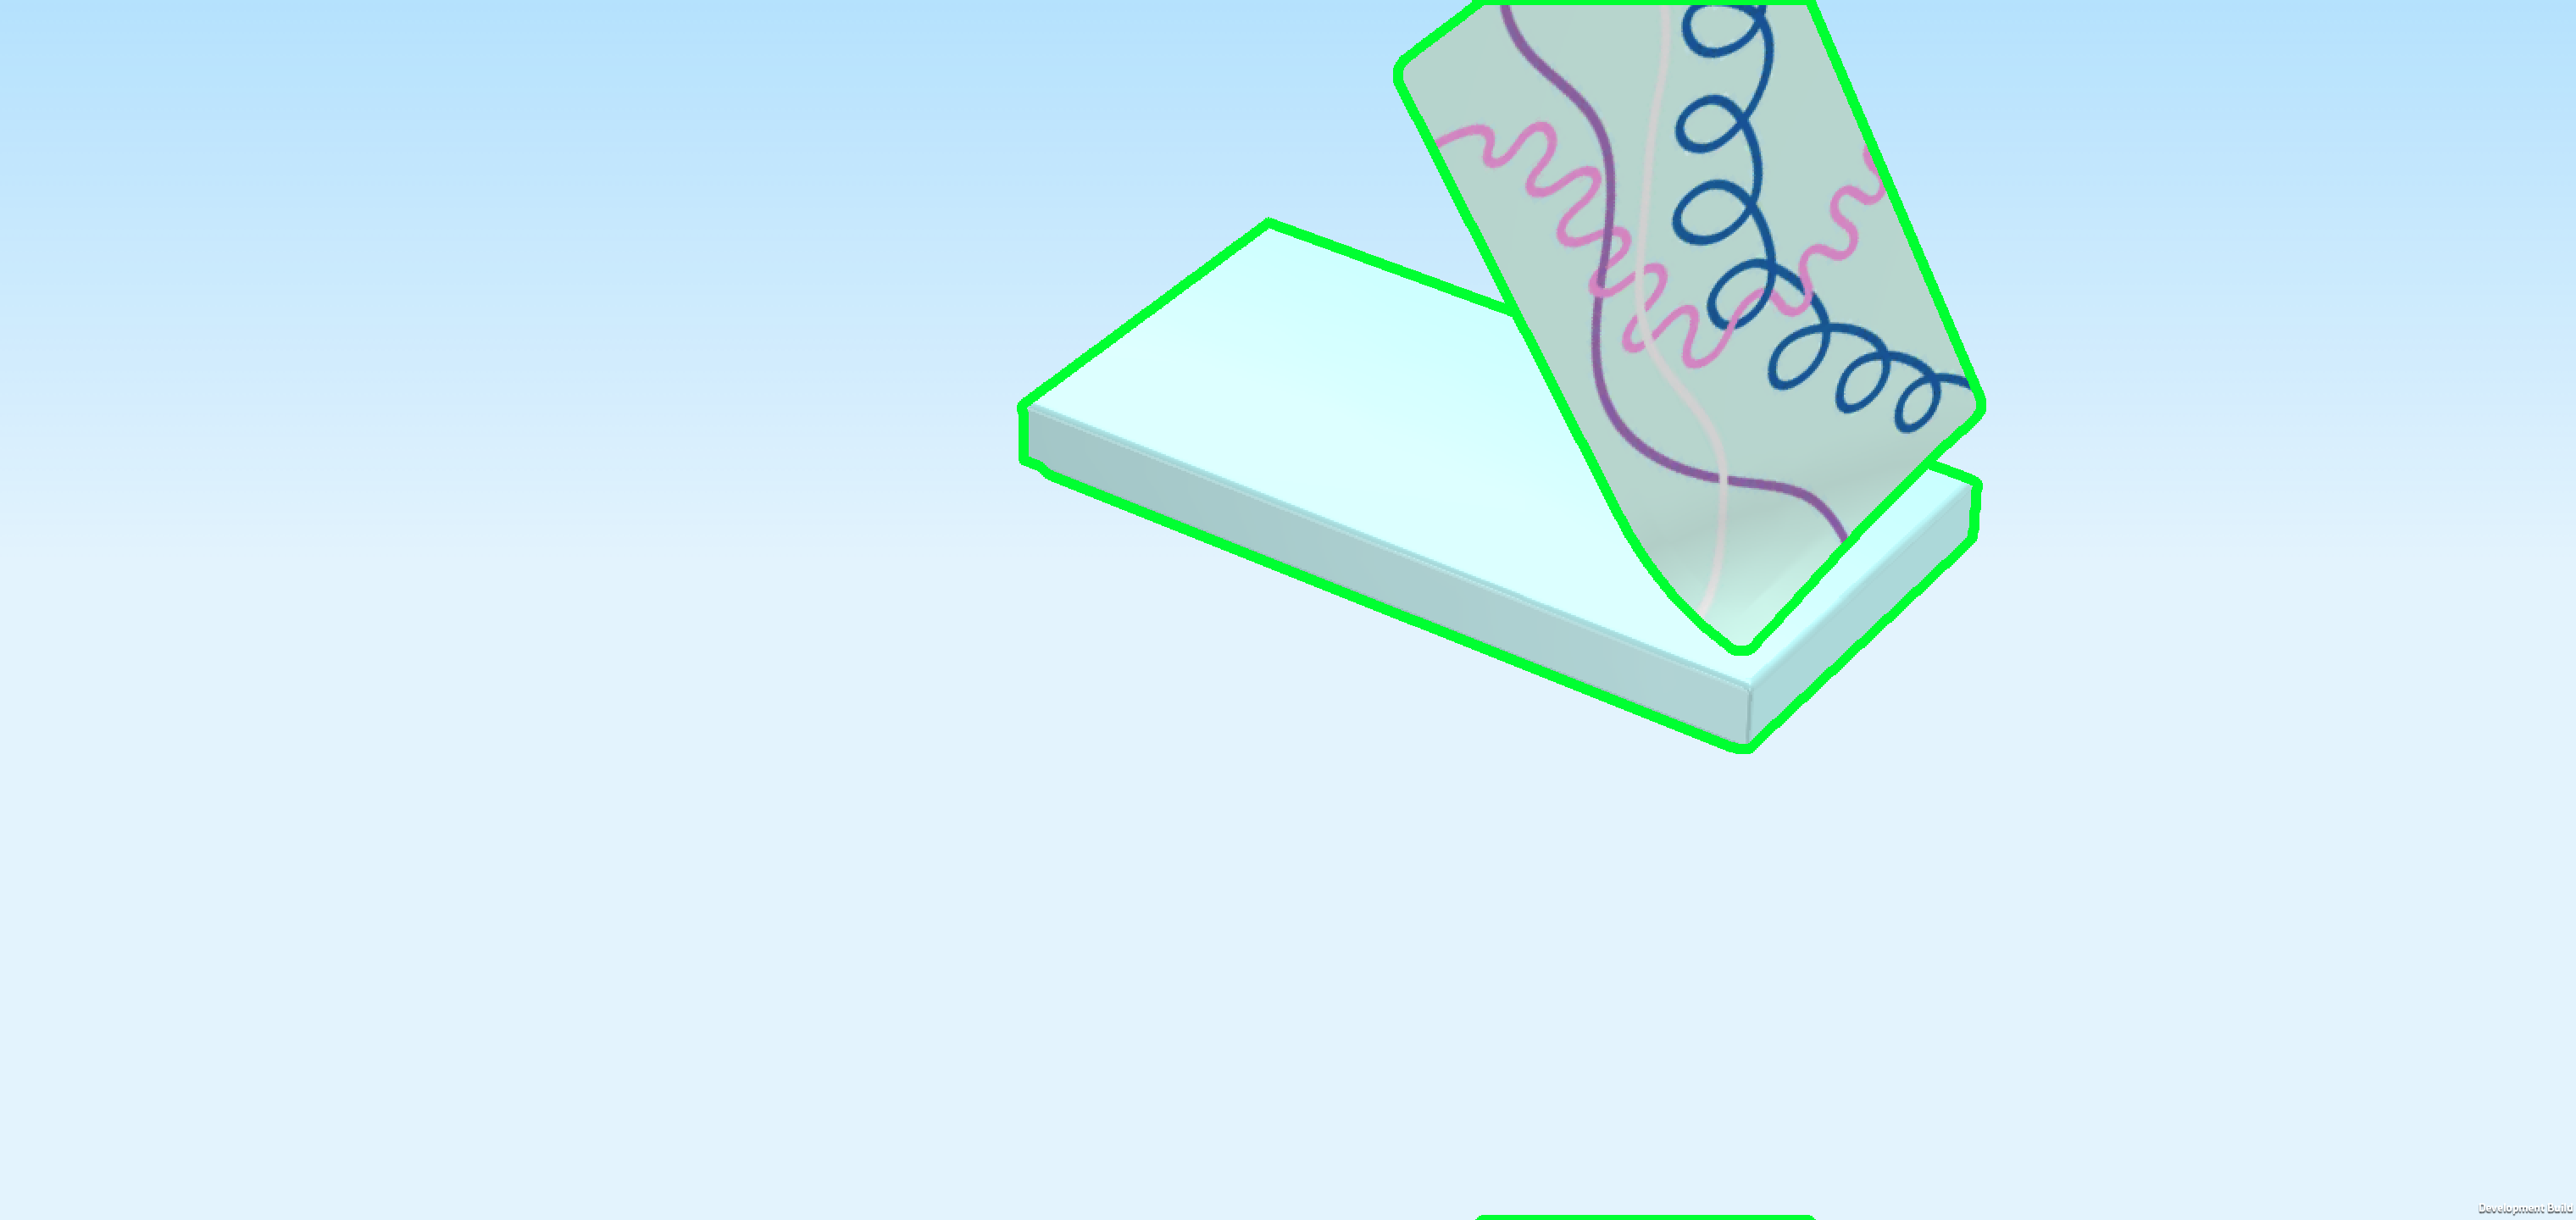
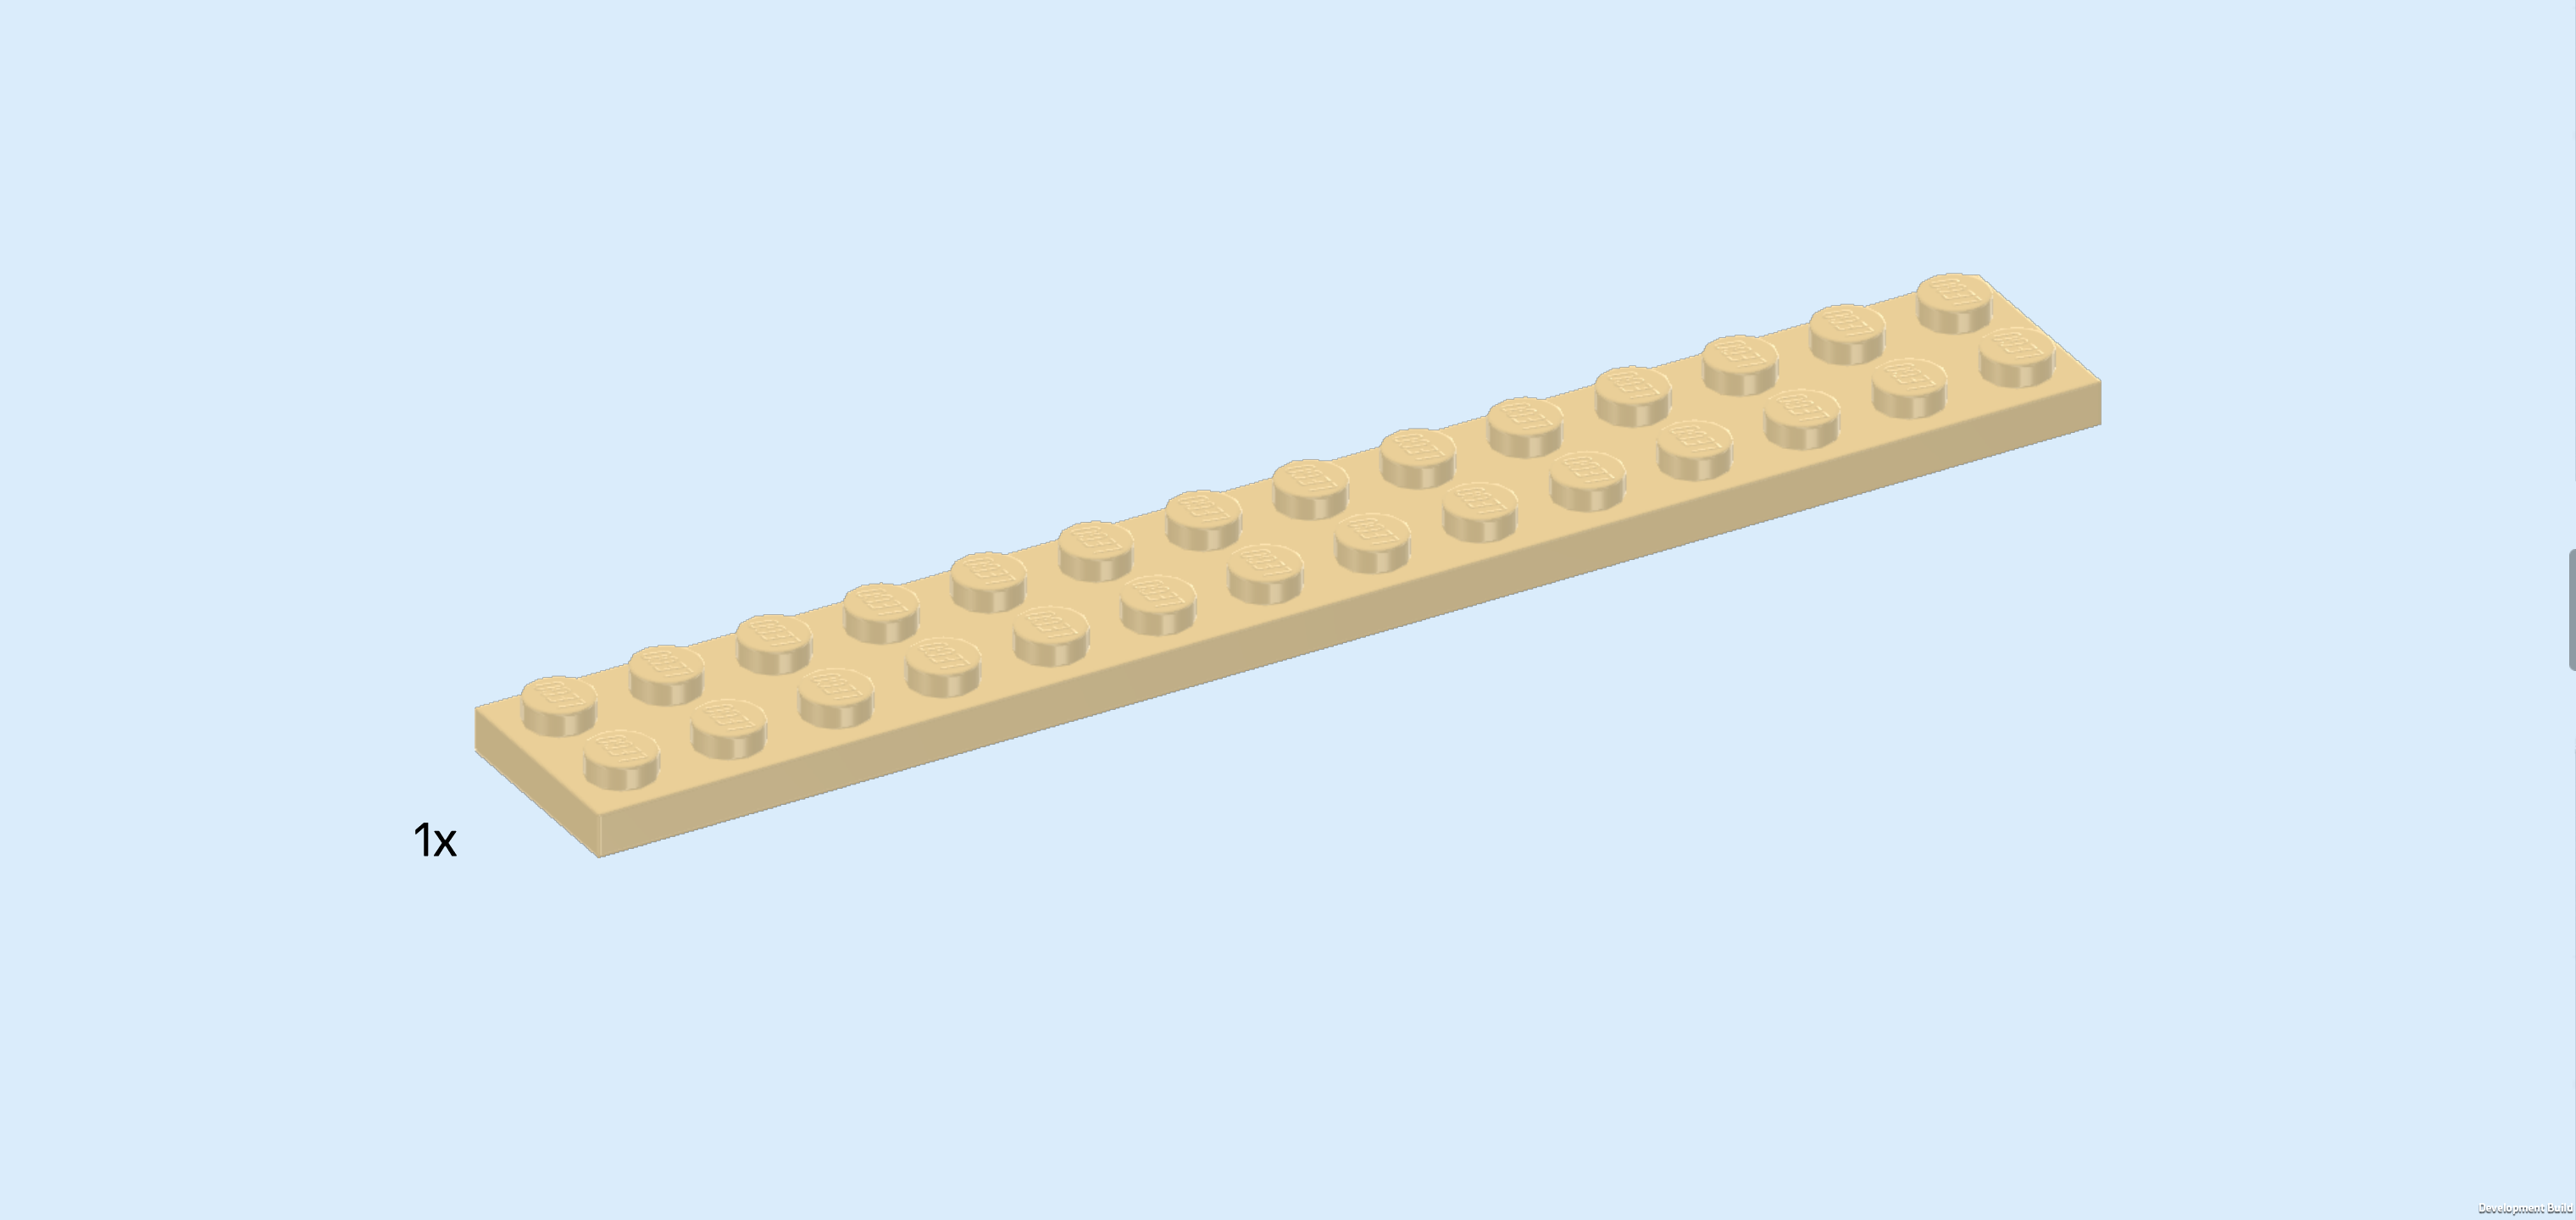
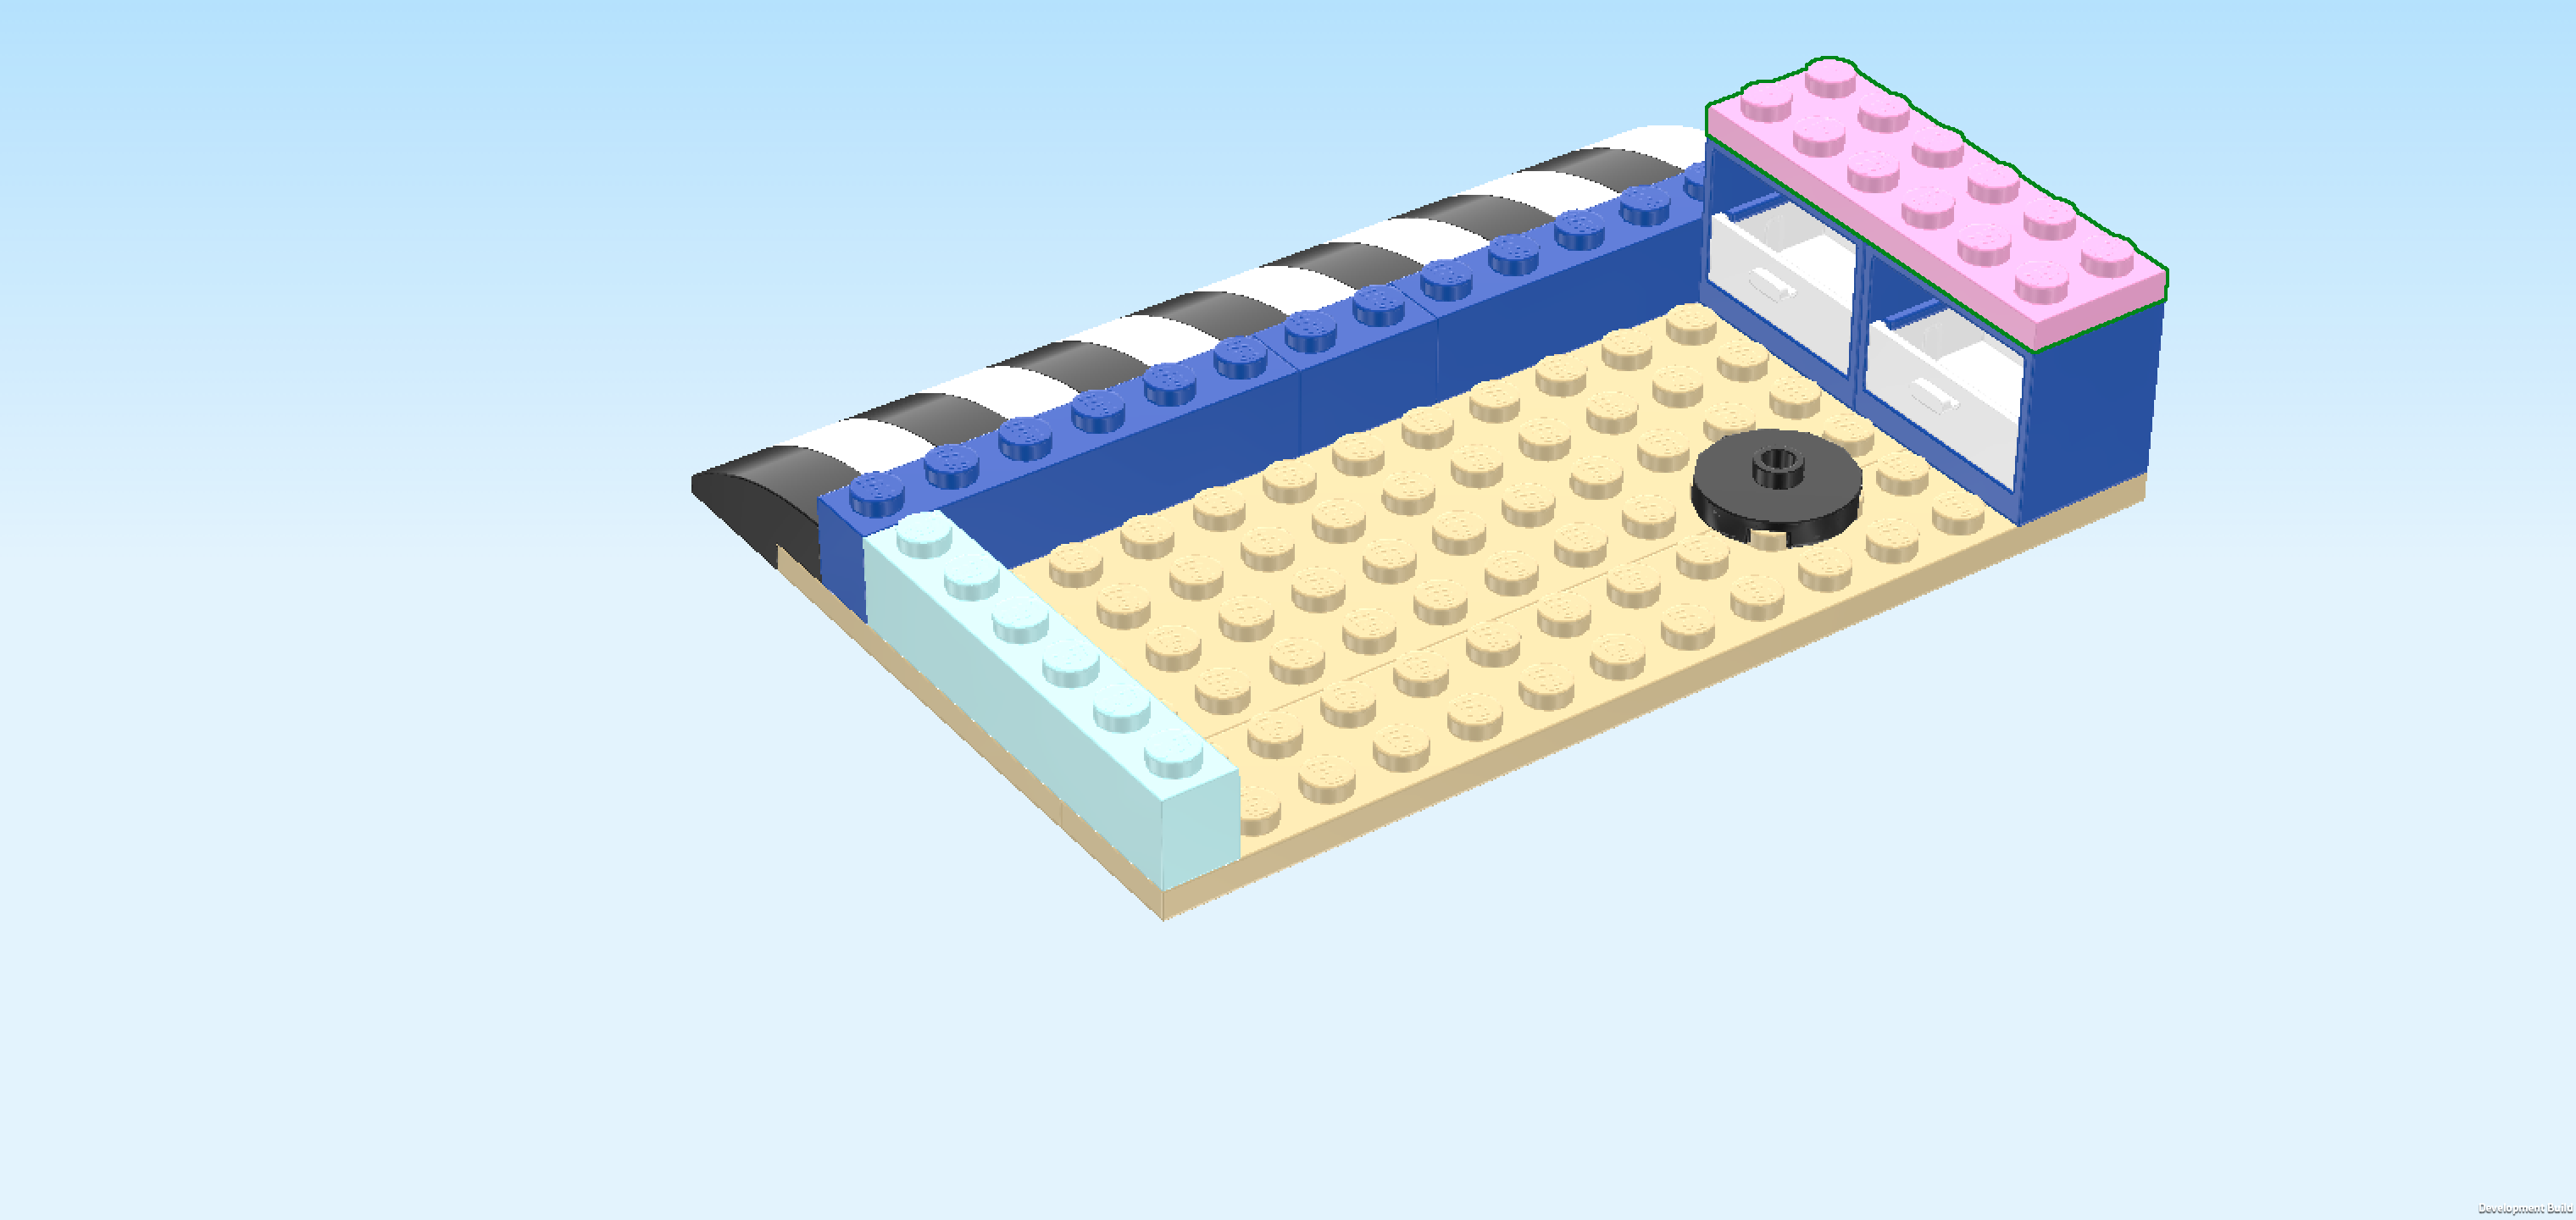
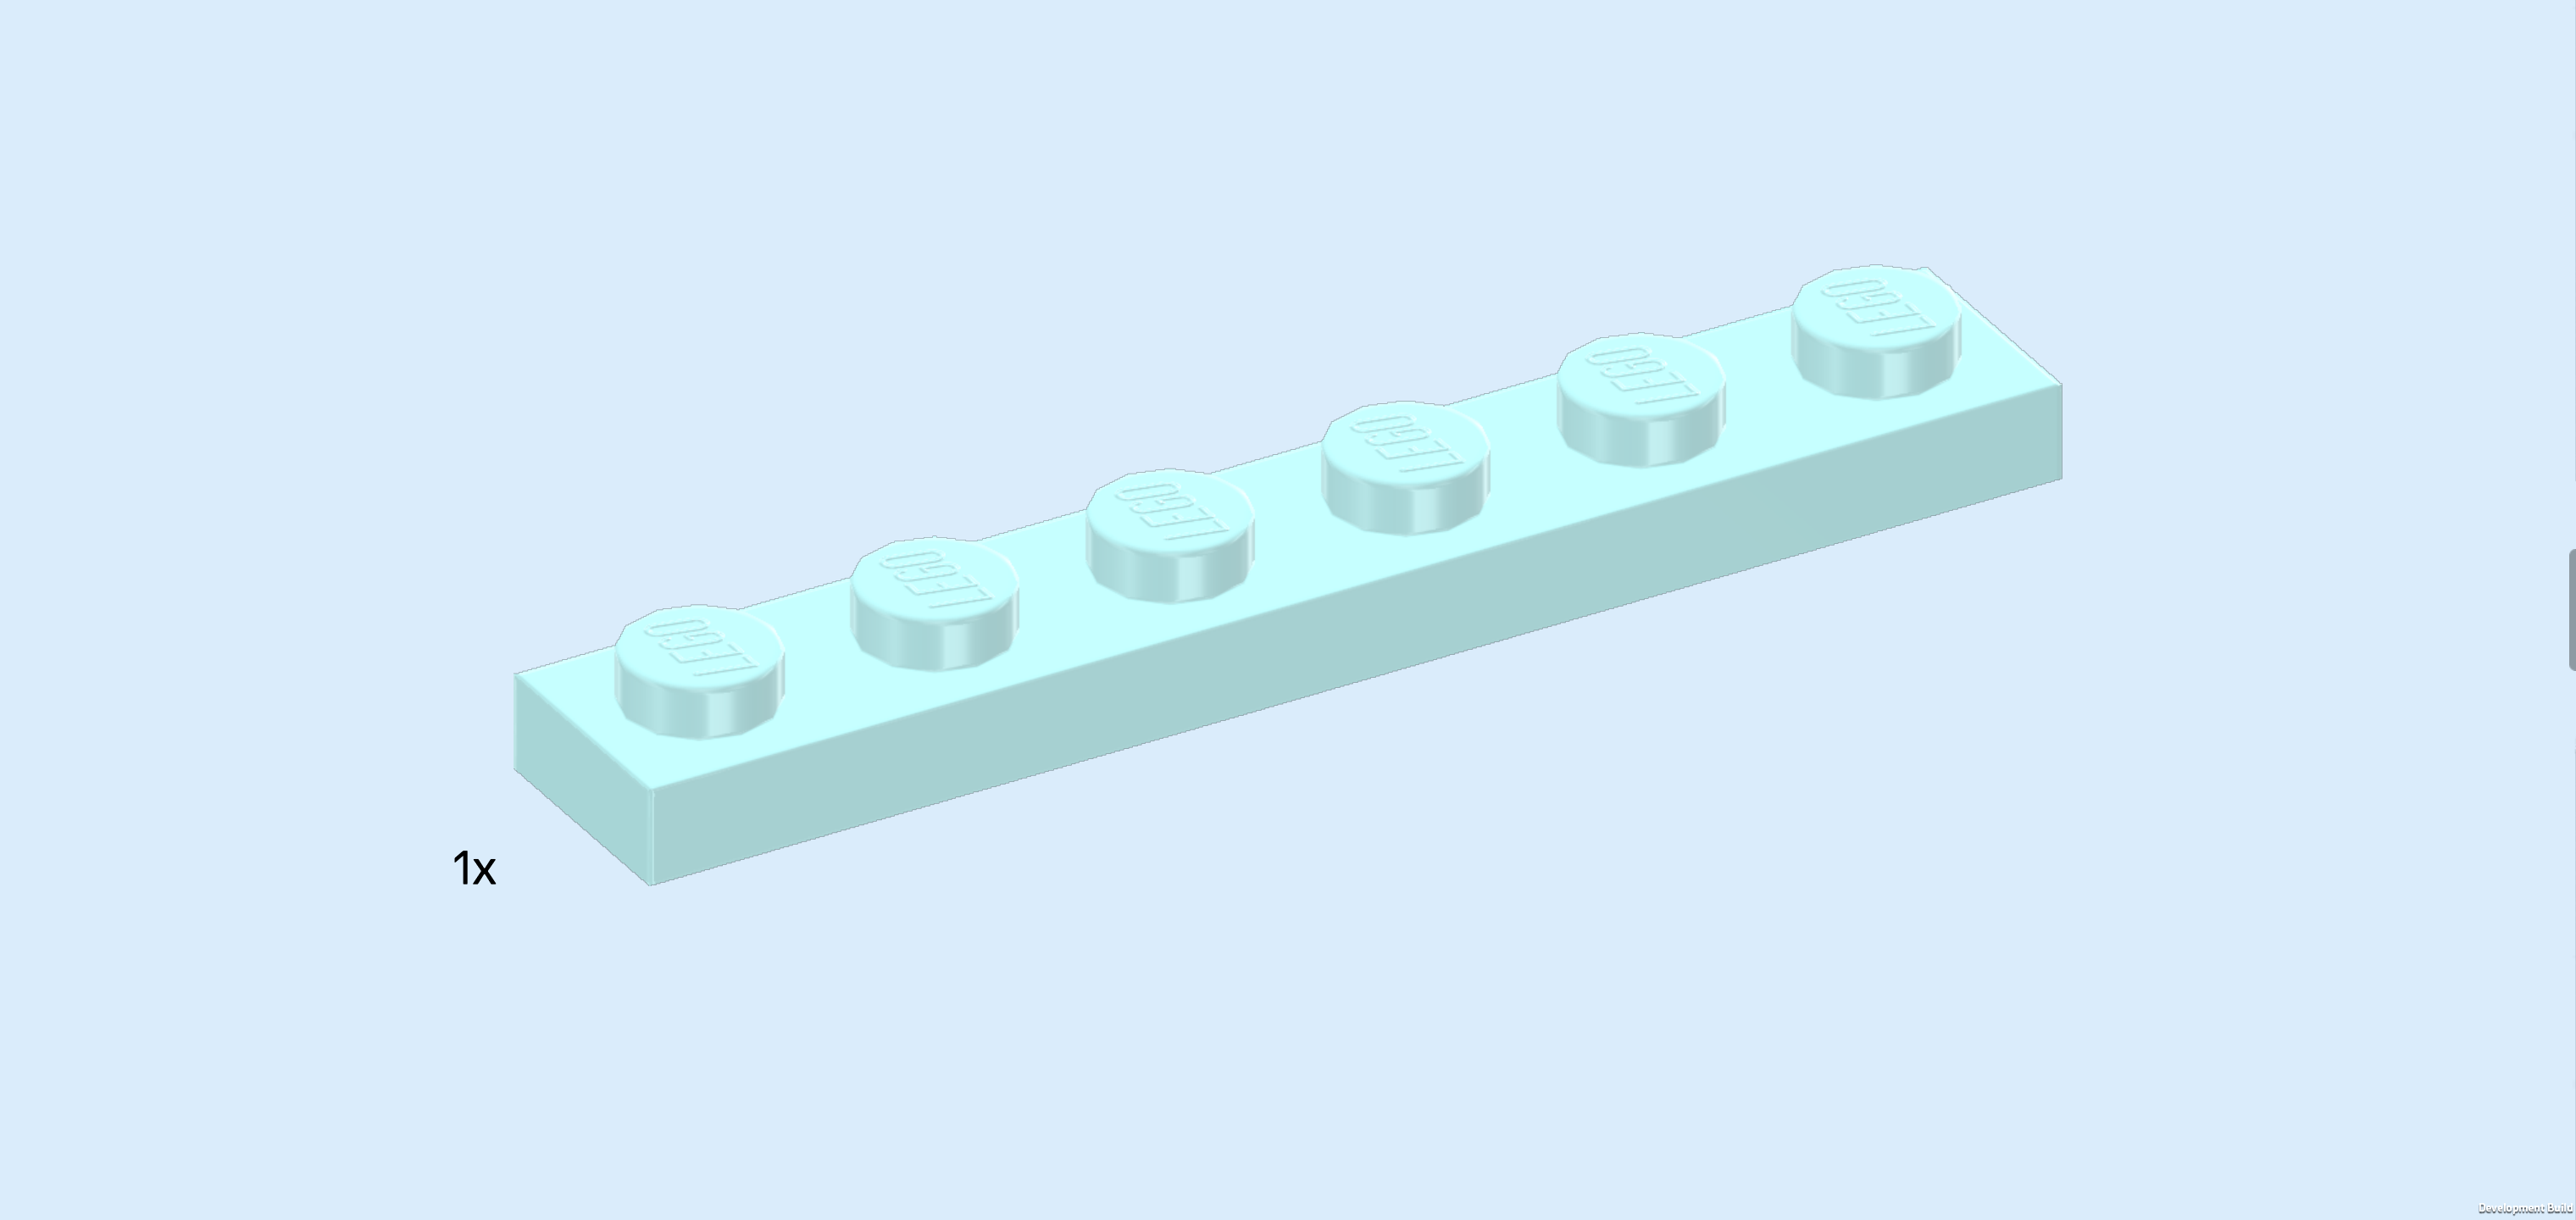
| Find 1 beige plate 2x14. |
| Put it horizontally underneath the overhanging part of the cupboard, aligning its long edge with the long edge of the base plate 6x14. |
| Collect the following 2 pieces: |
| 1 black round plate 2x2 with 1 knob, |
| and 1 aqua blue brick 1x6. |
| Put the round plate 2x2 on the second and third row from the front and make sure to leave one empty column between front cupboard and round plate. |
| Put the brick 1x6 vertically on the leftmost column of the structure, starting from the front. |
| Find 1 light purple plate 2x6. |
| Put it vertically on the 2 cupboards. |
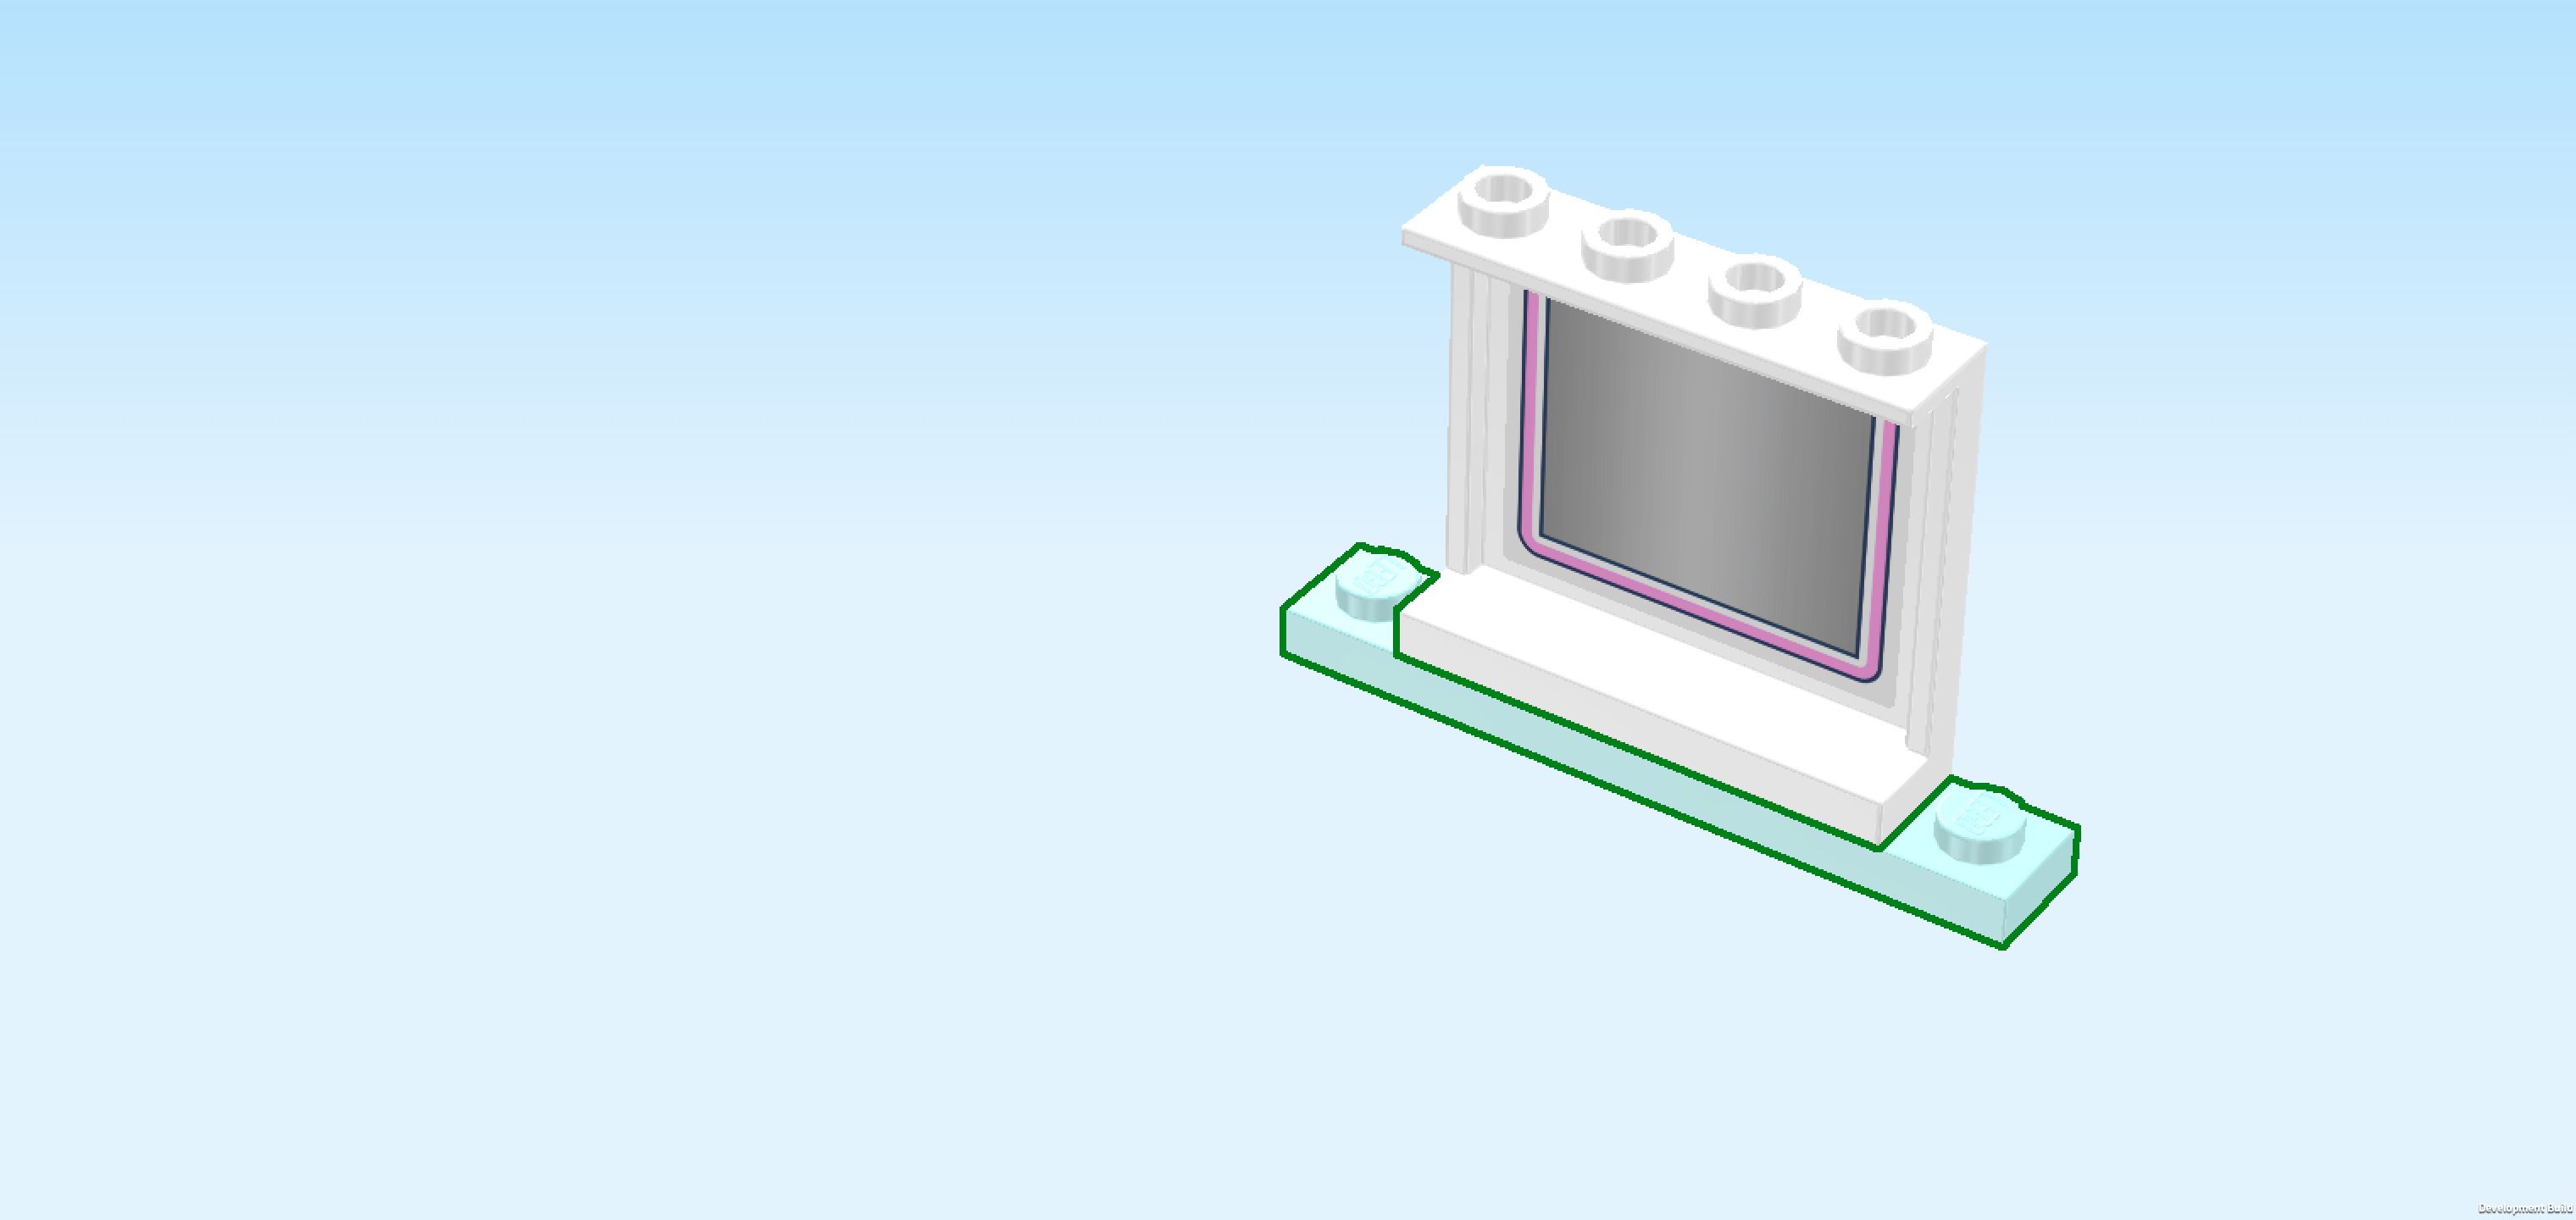
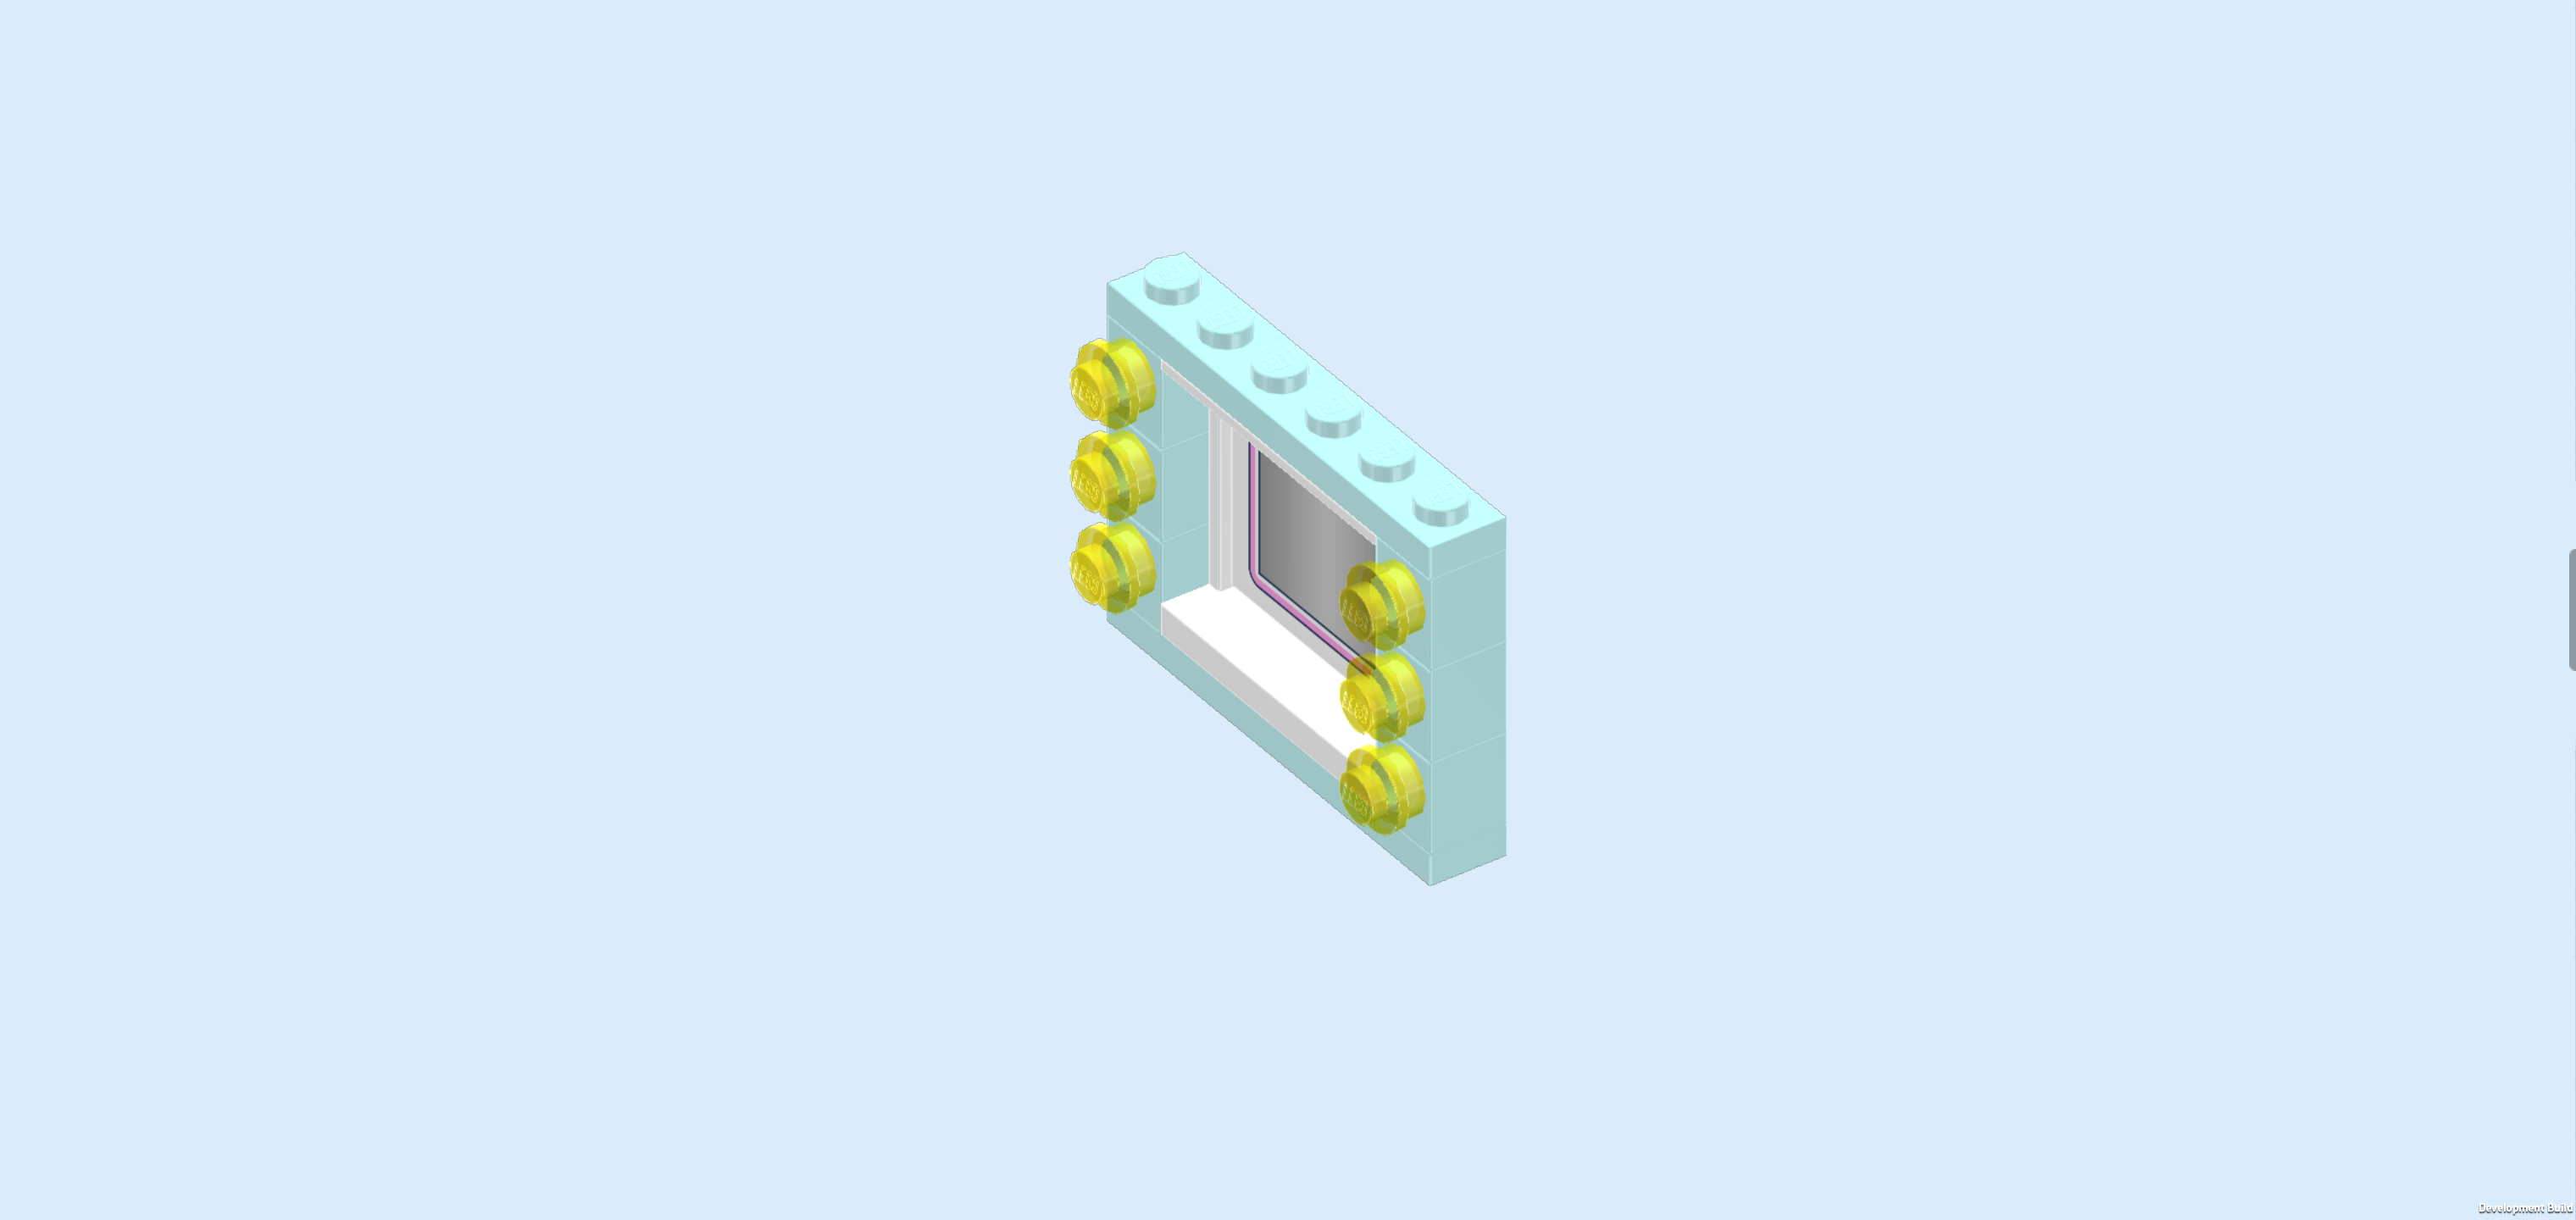
| Next, we will build the salon mirror. |
| Collect the following 2 pieces: |
| 1 white wall element 1x4x3 with 4 top knobs, |
| and 1 sticker 3x4 with mirror. |
| Put the wall element 1x4x3 horizontally on the table, hollow side towards you. This means that the outer panel surface is to the back. |
| Put the sticker centered on the inner panel surface, meaning that it goes on the hollow side of the wall element. |
| The sticker is made of shiny reflective film, this means it works just like a real mirror! This mirror has a pink frame. |
| Find 1 aqua blue plate 1x6. |
| Put it horizontally centered underneath the wall element with mirror sticker, symmetrically protruding to the left and right. |
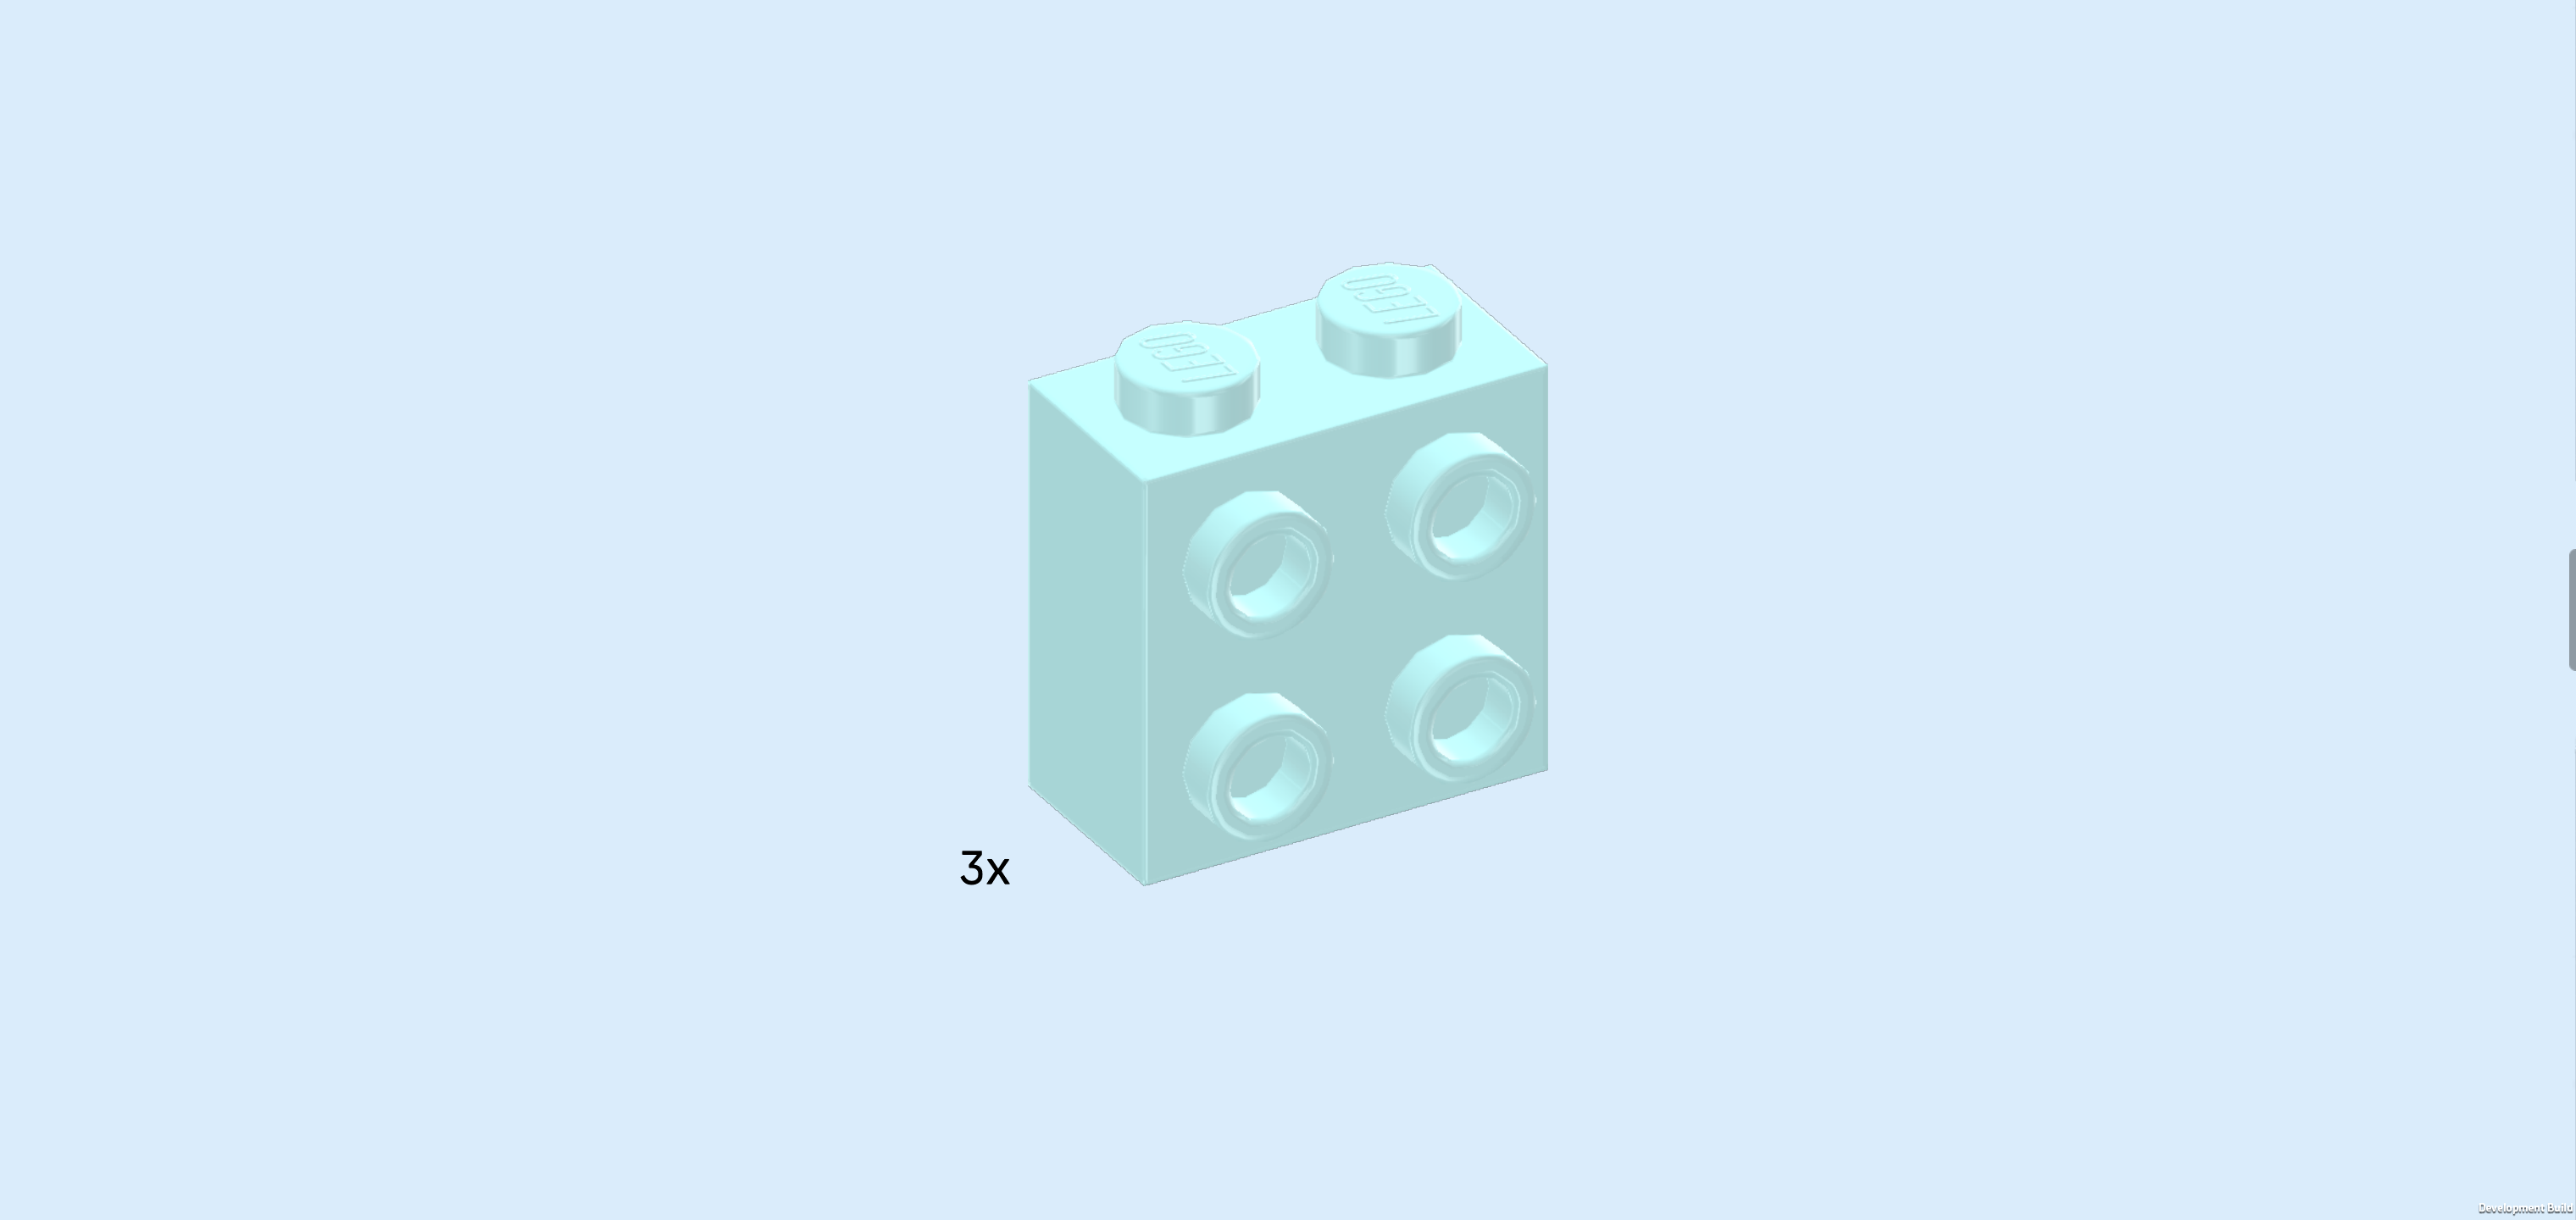
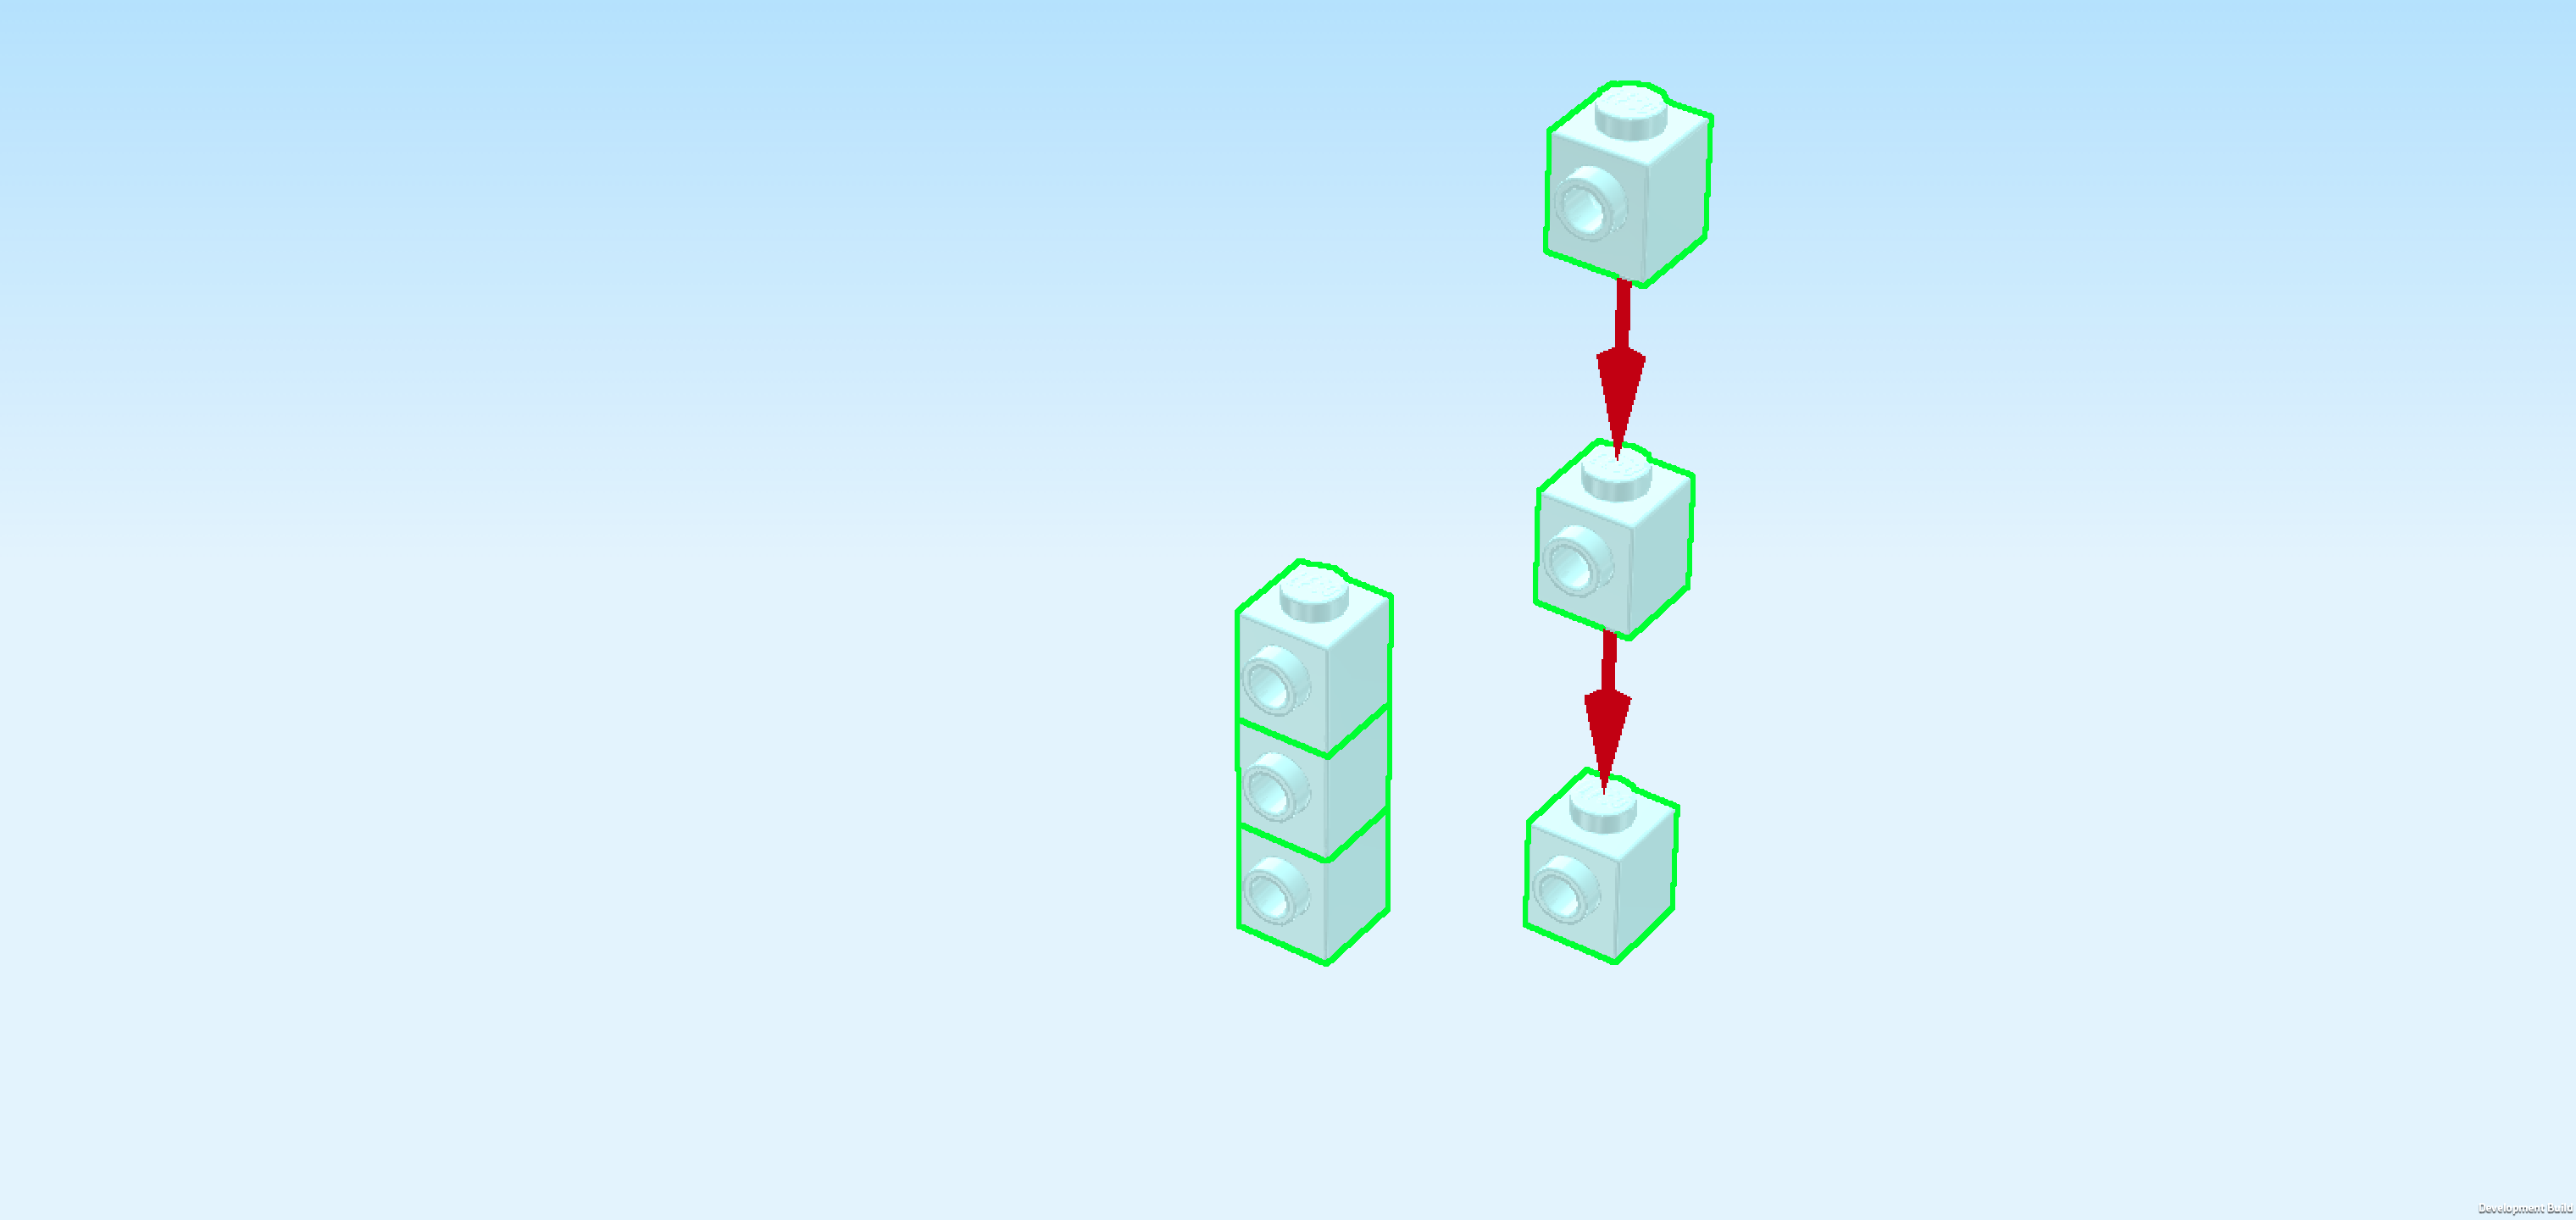
| Find 6 aqua blue bricks 1x1 with side knob. |
| Stack 3 on top of each other, side knobs to the front, making sure that their shapes are aligned. |
| Make another stack with the other 3 bricks, side knobs to the front again. |
| Mount 1 stack to the left of the wall element with mirror and the other stack to its right. All side knobs should be pointing to the front. |
| Find 1 aqua blue plate 1x6. |
| Put it horizontally on top of the salon mirror structure. |
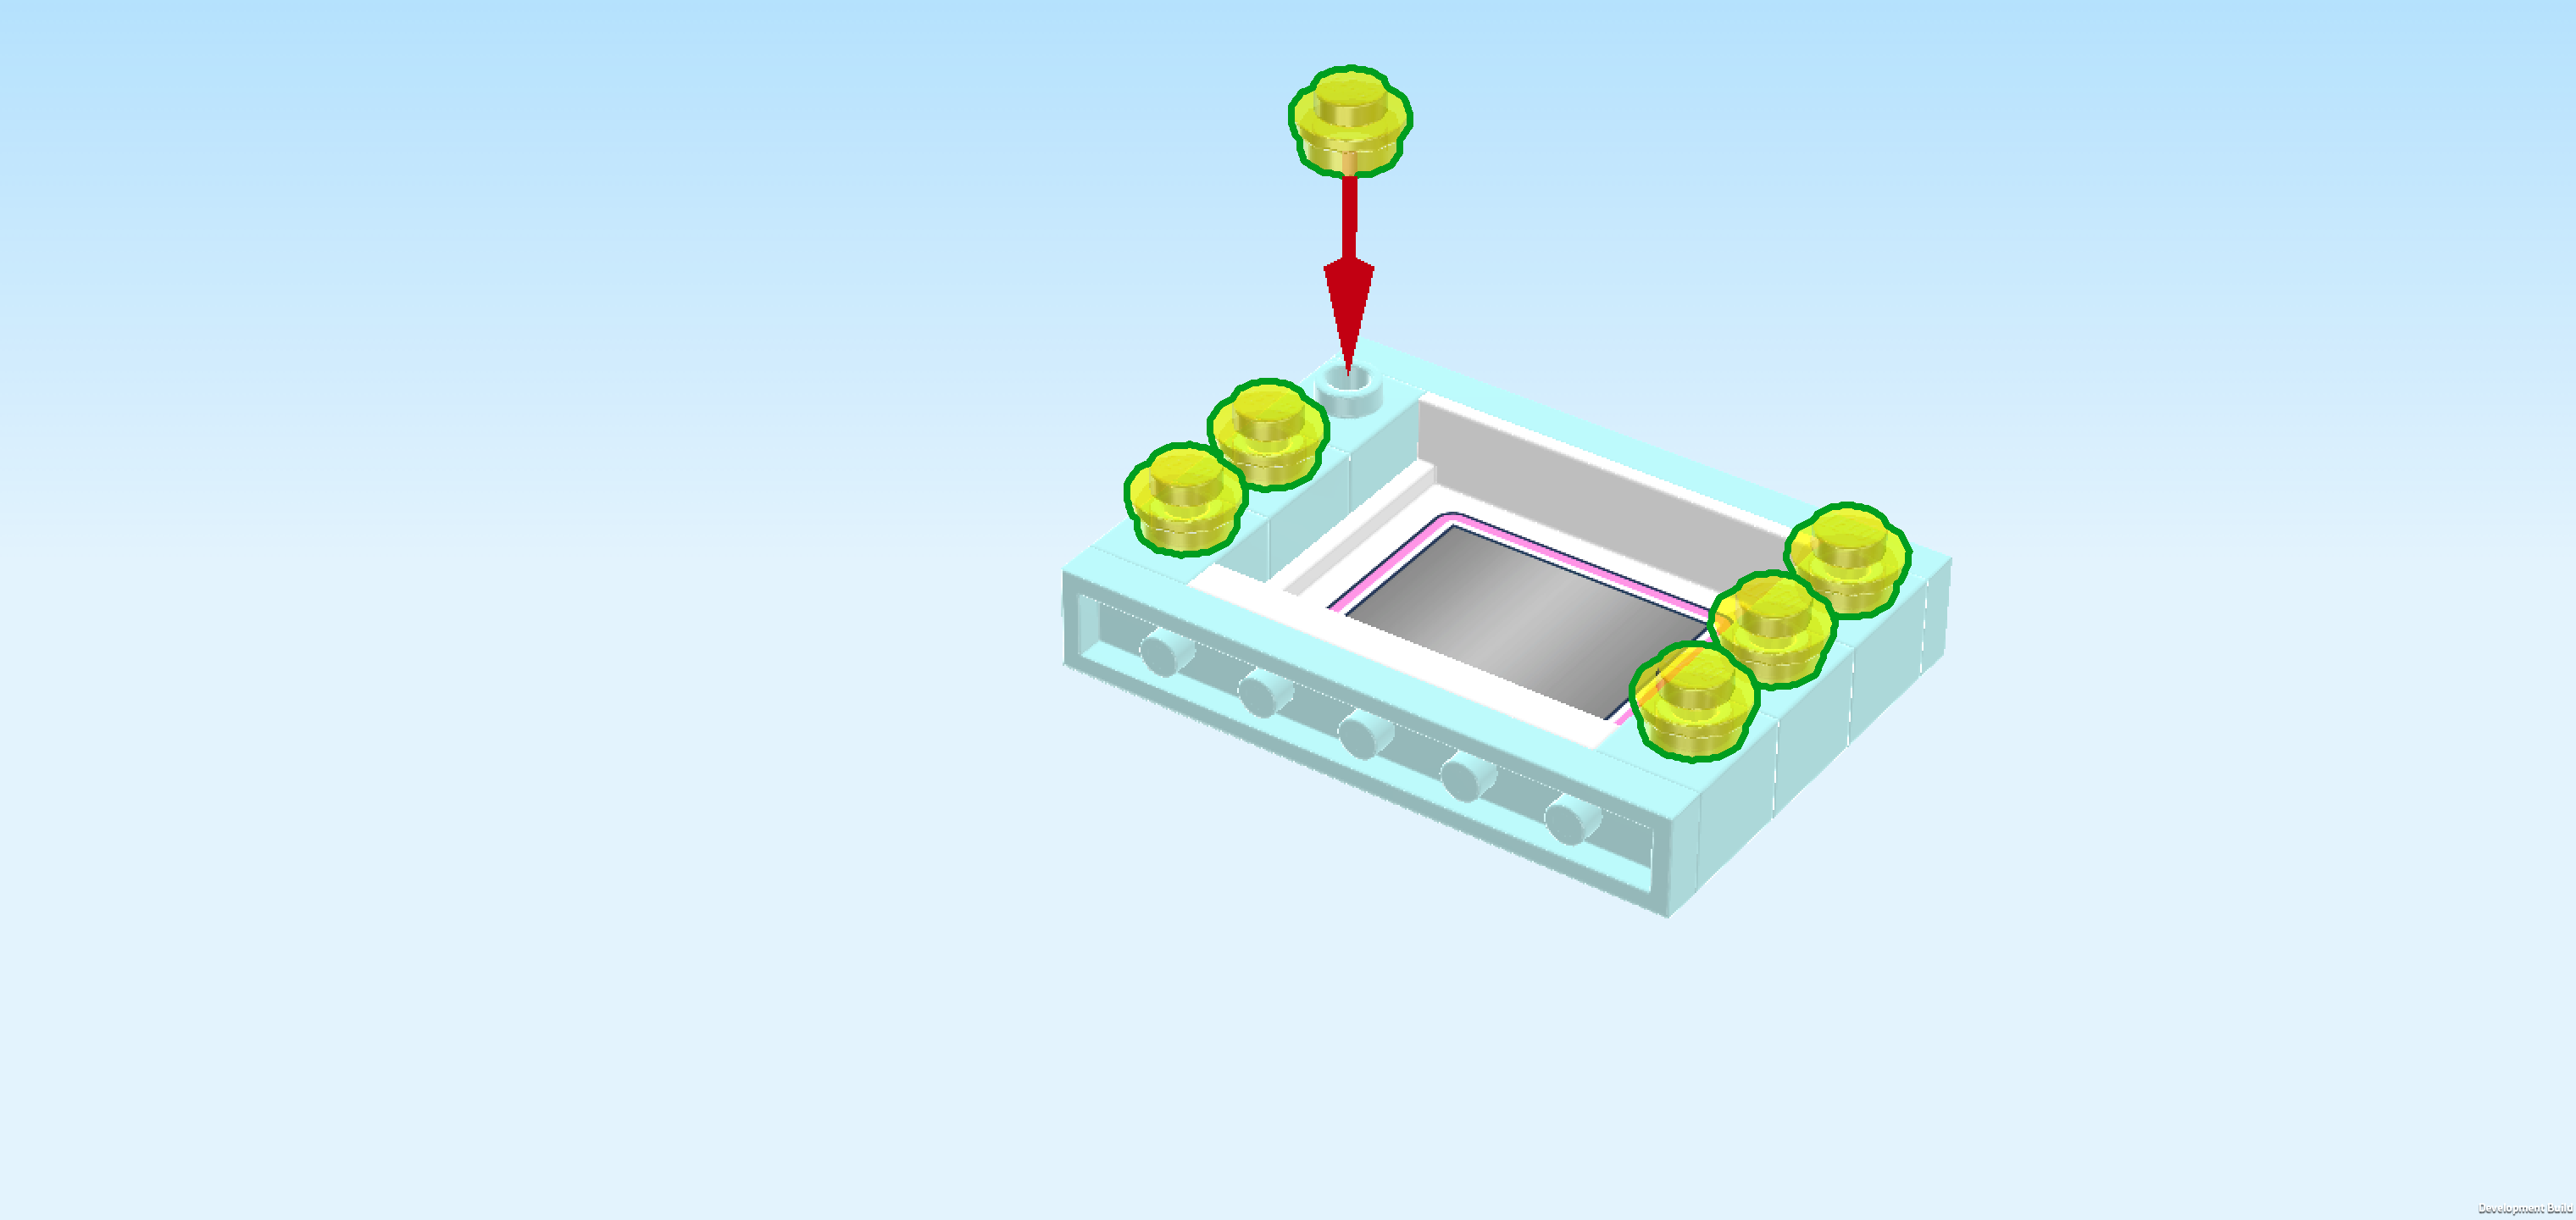
| Find 6 transparent yellow round plates 1x1. |
| Put them upright on the 6 side knobs of the salon mirror. |
| These are the side lights of the mirror that provide a particularly soft and beautiful light. |
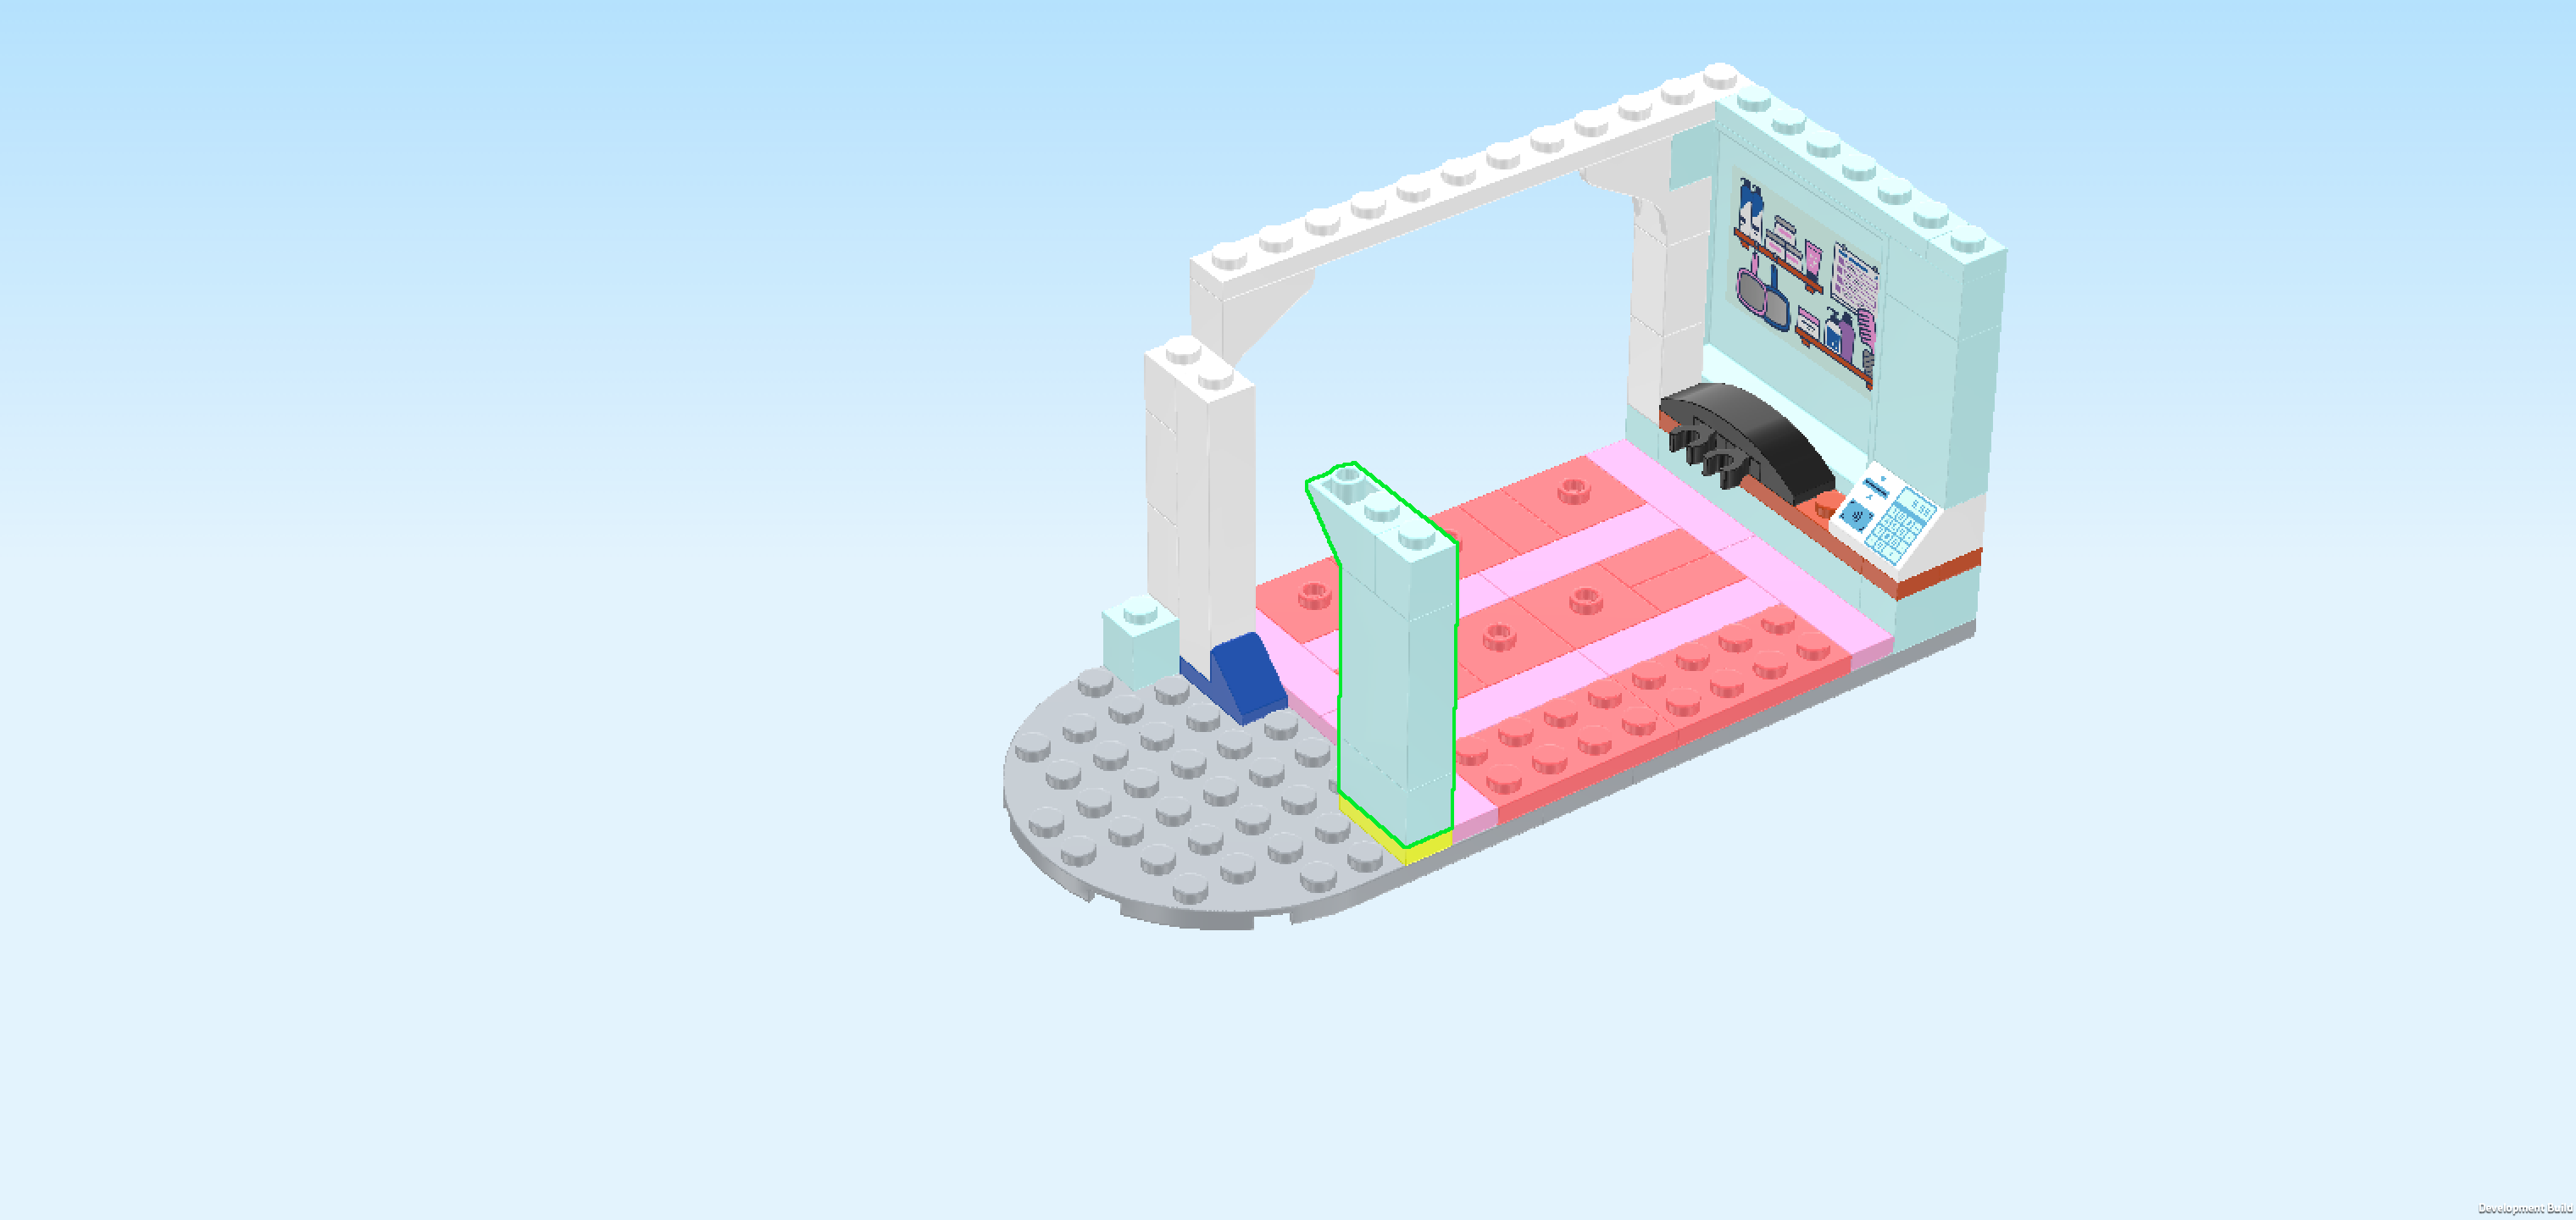
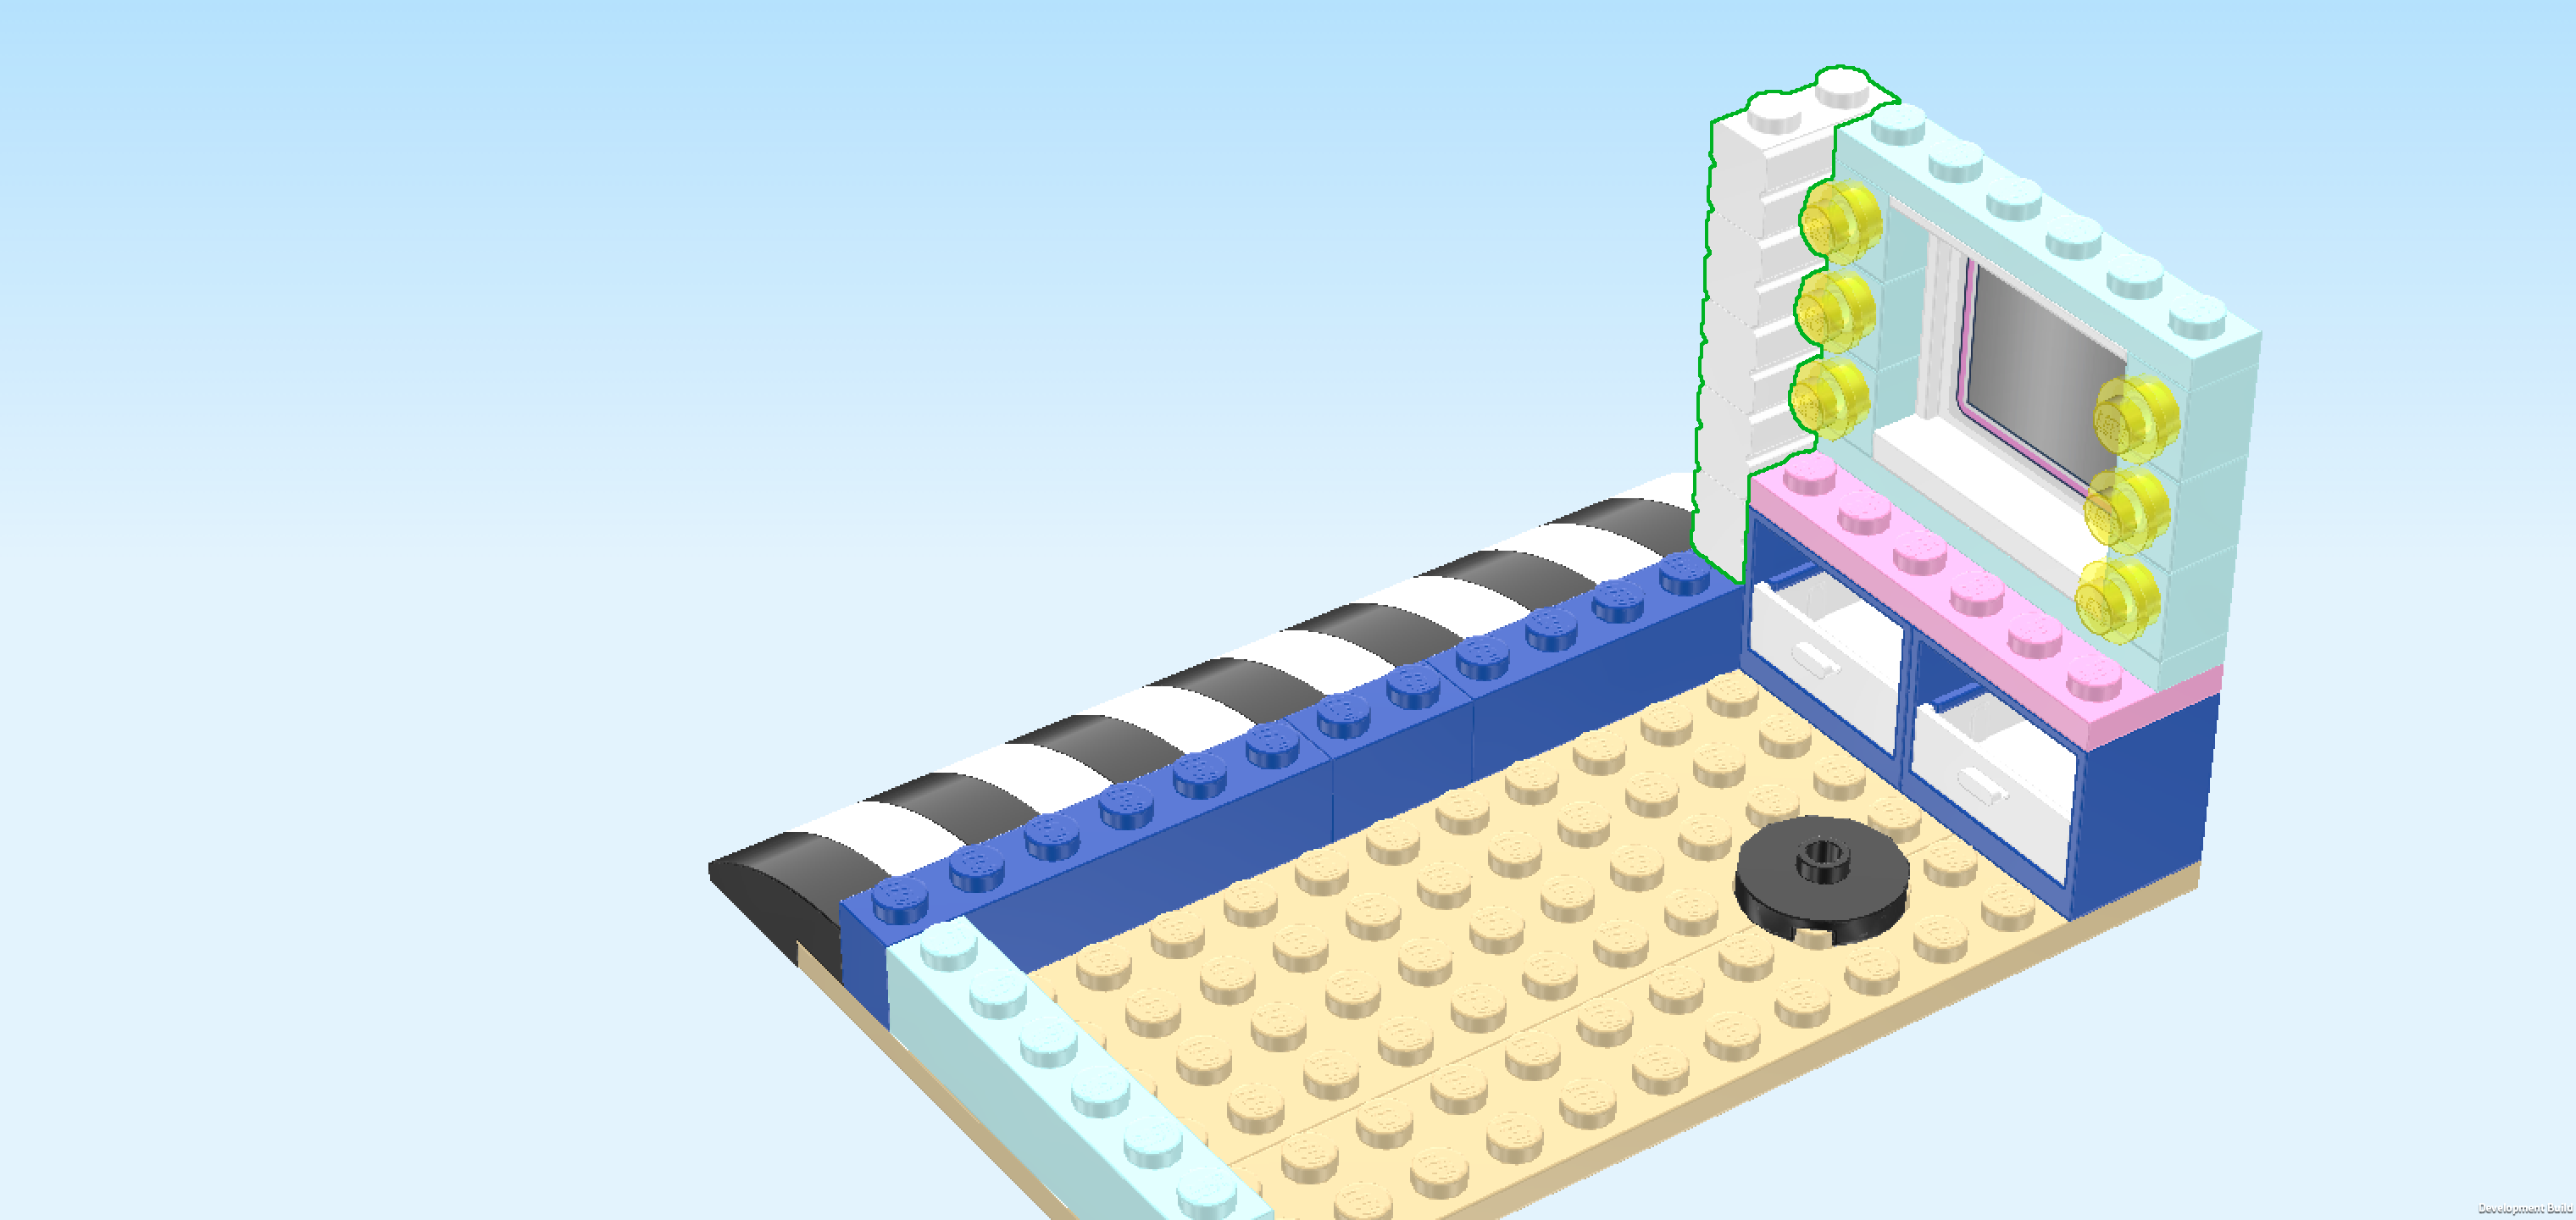
| The salon mirror is finished! Well done! Turn it vertically so that the mirror sticker and the 6 side lights are towards the left. Mount it on the rightmost column of the first floor structure, starting from the front. |
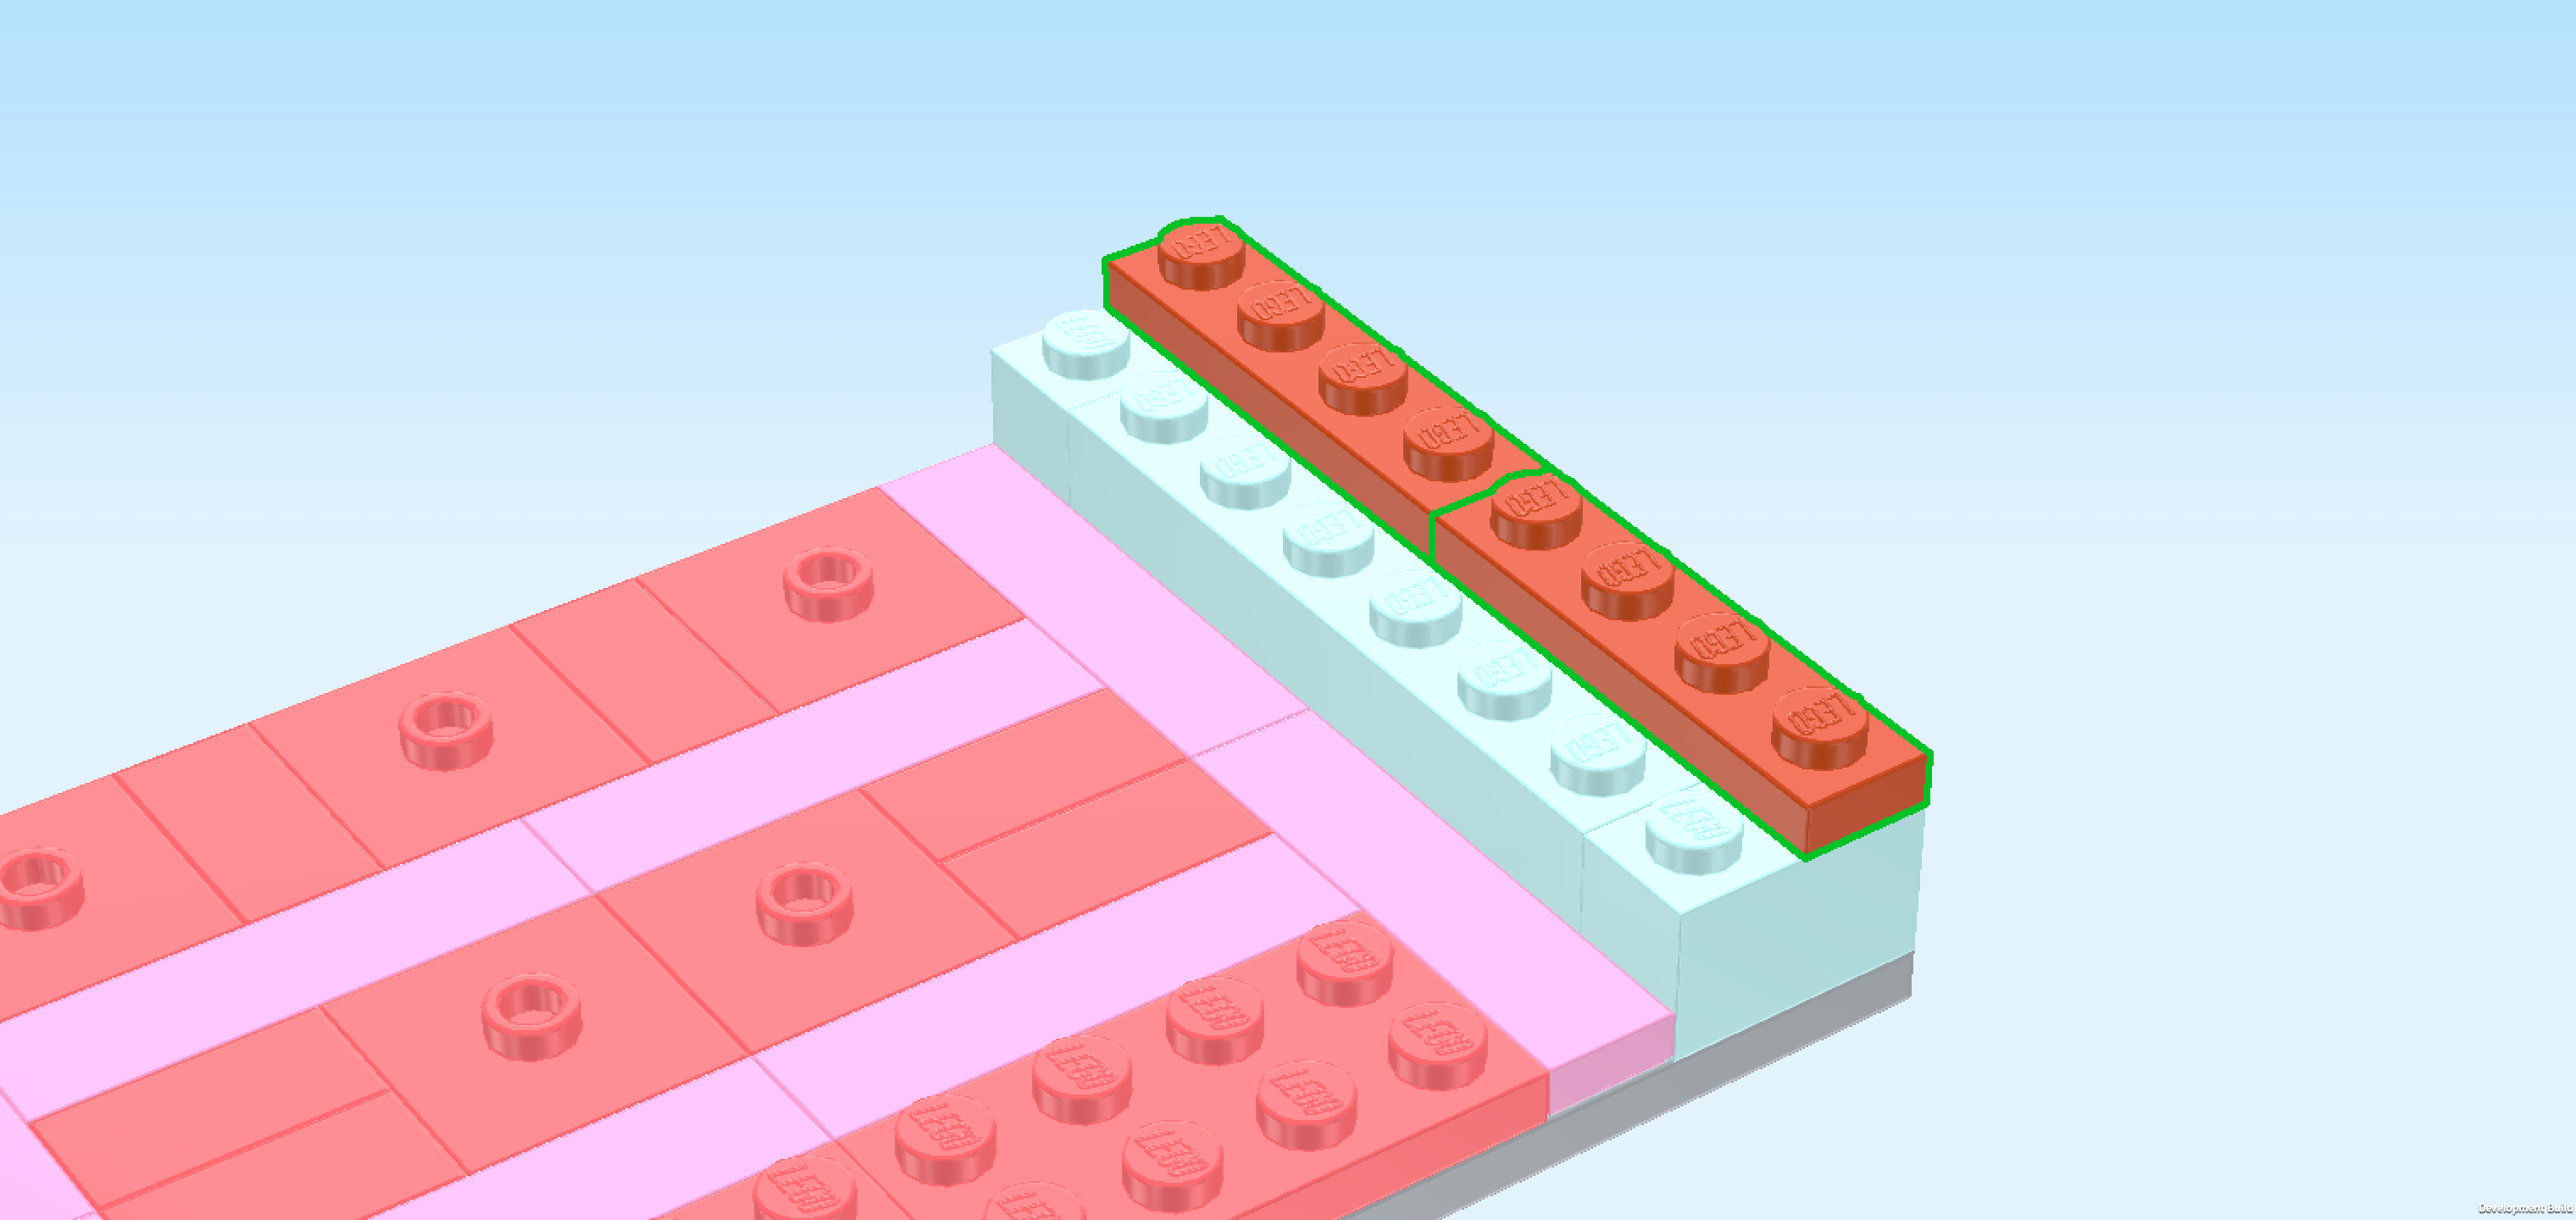
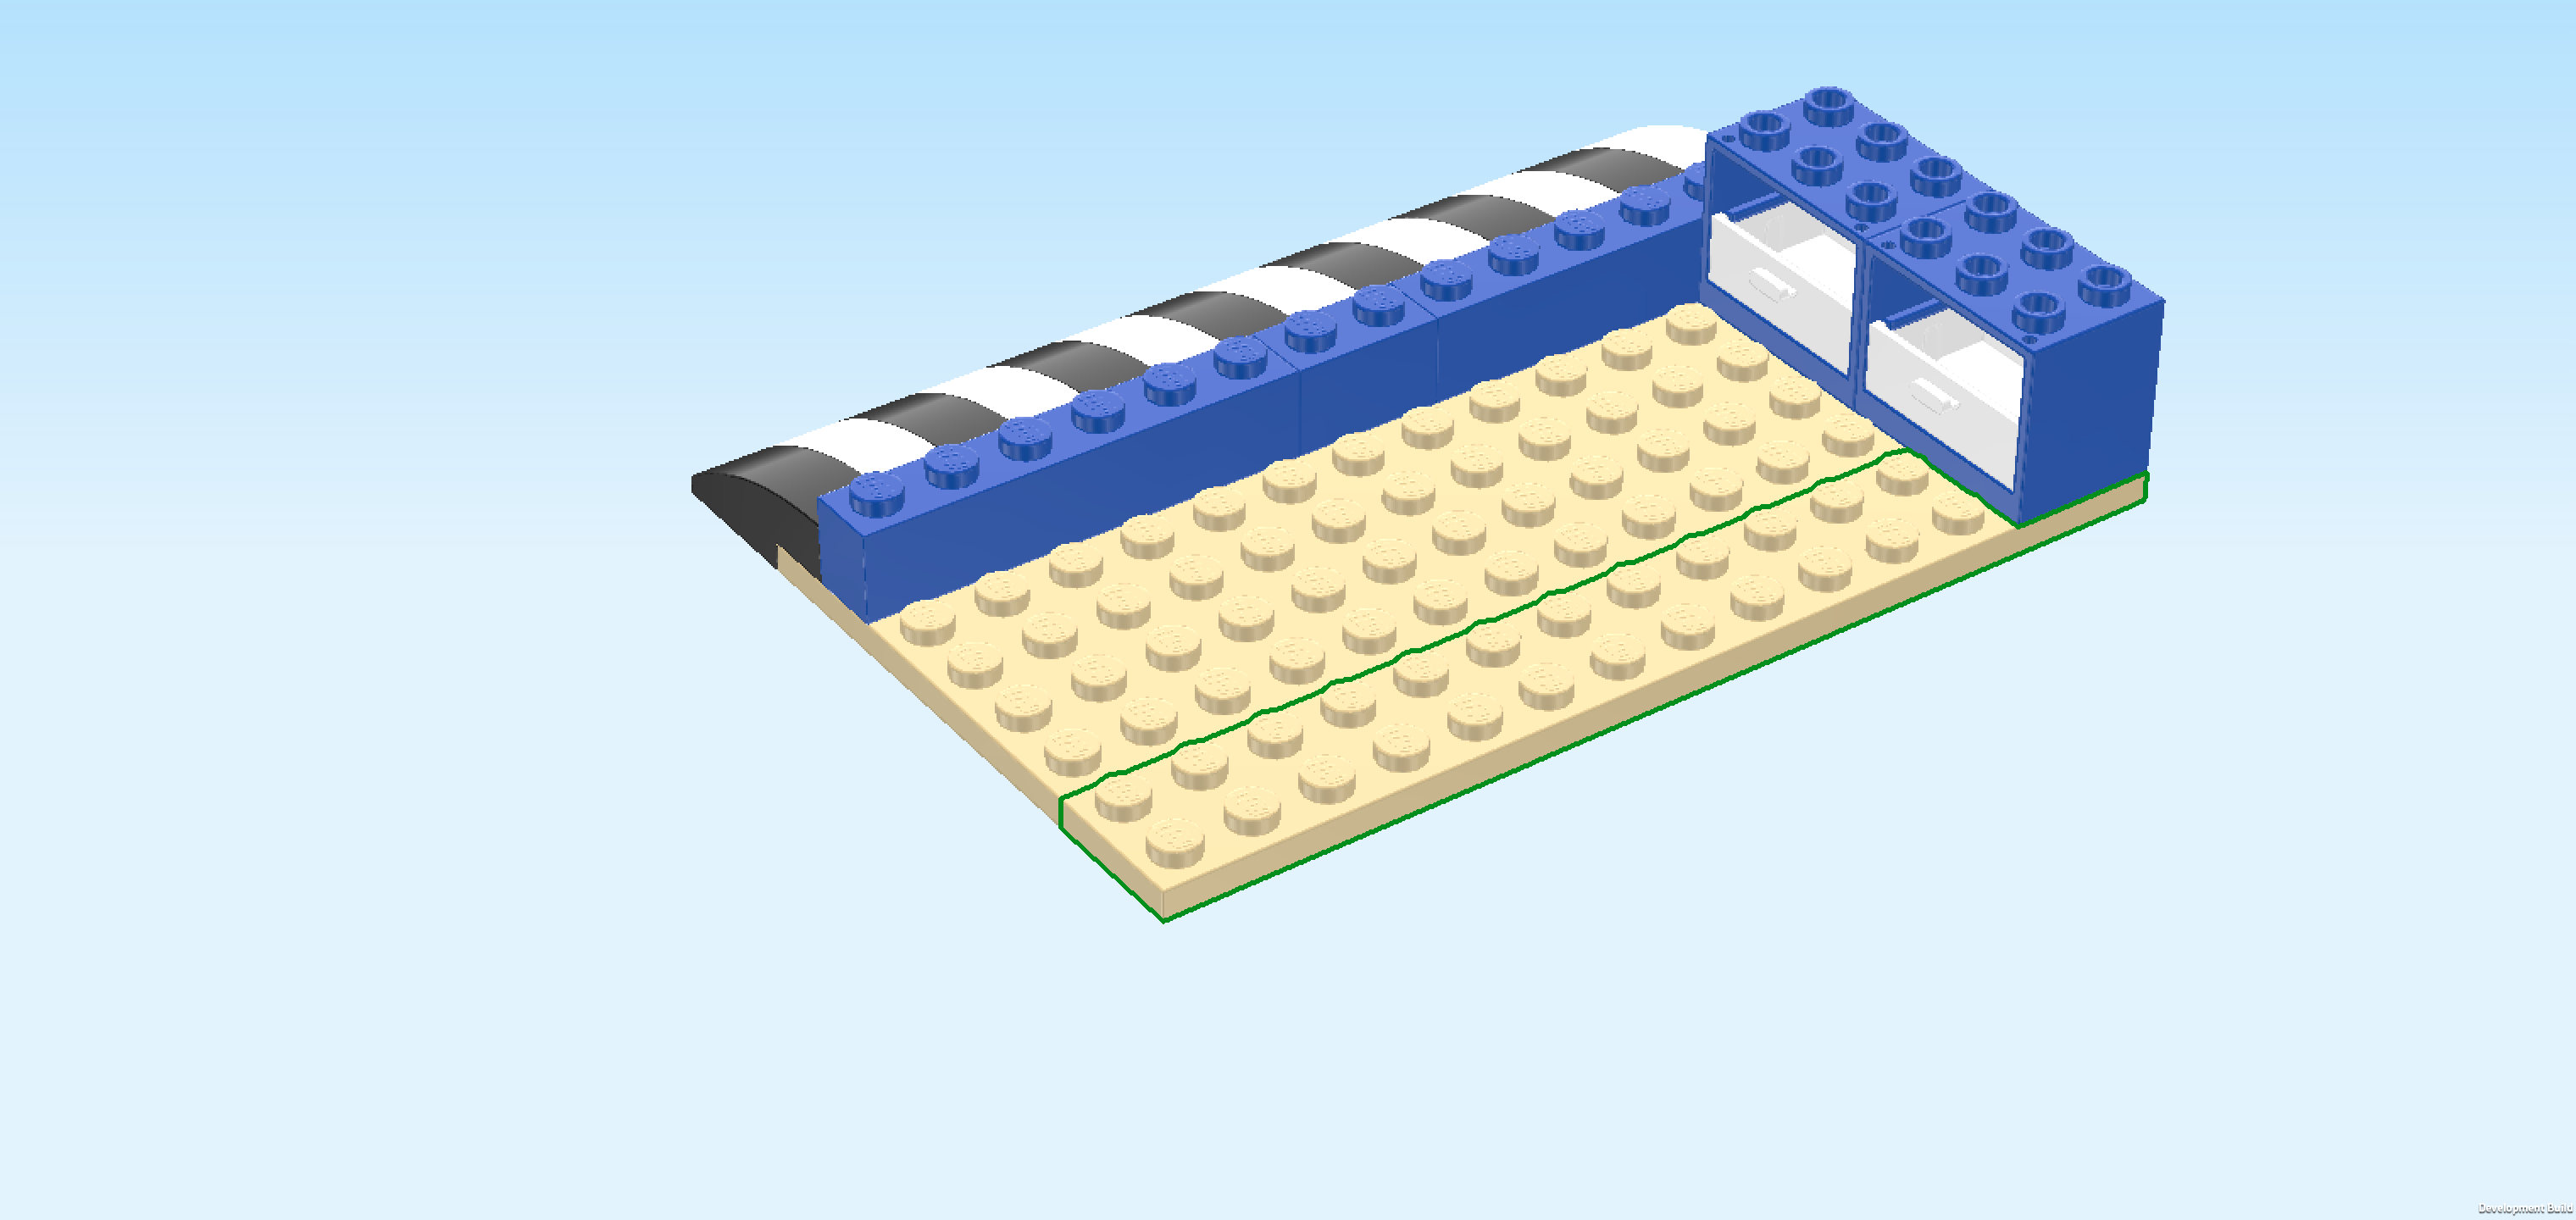
| Now, we will build a back wall element. |
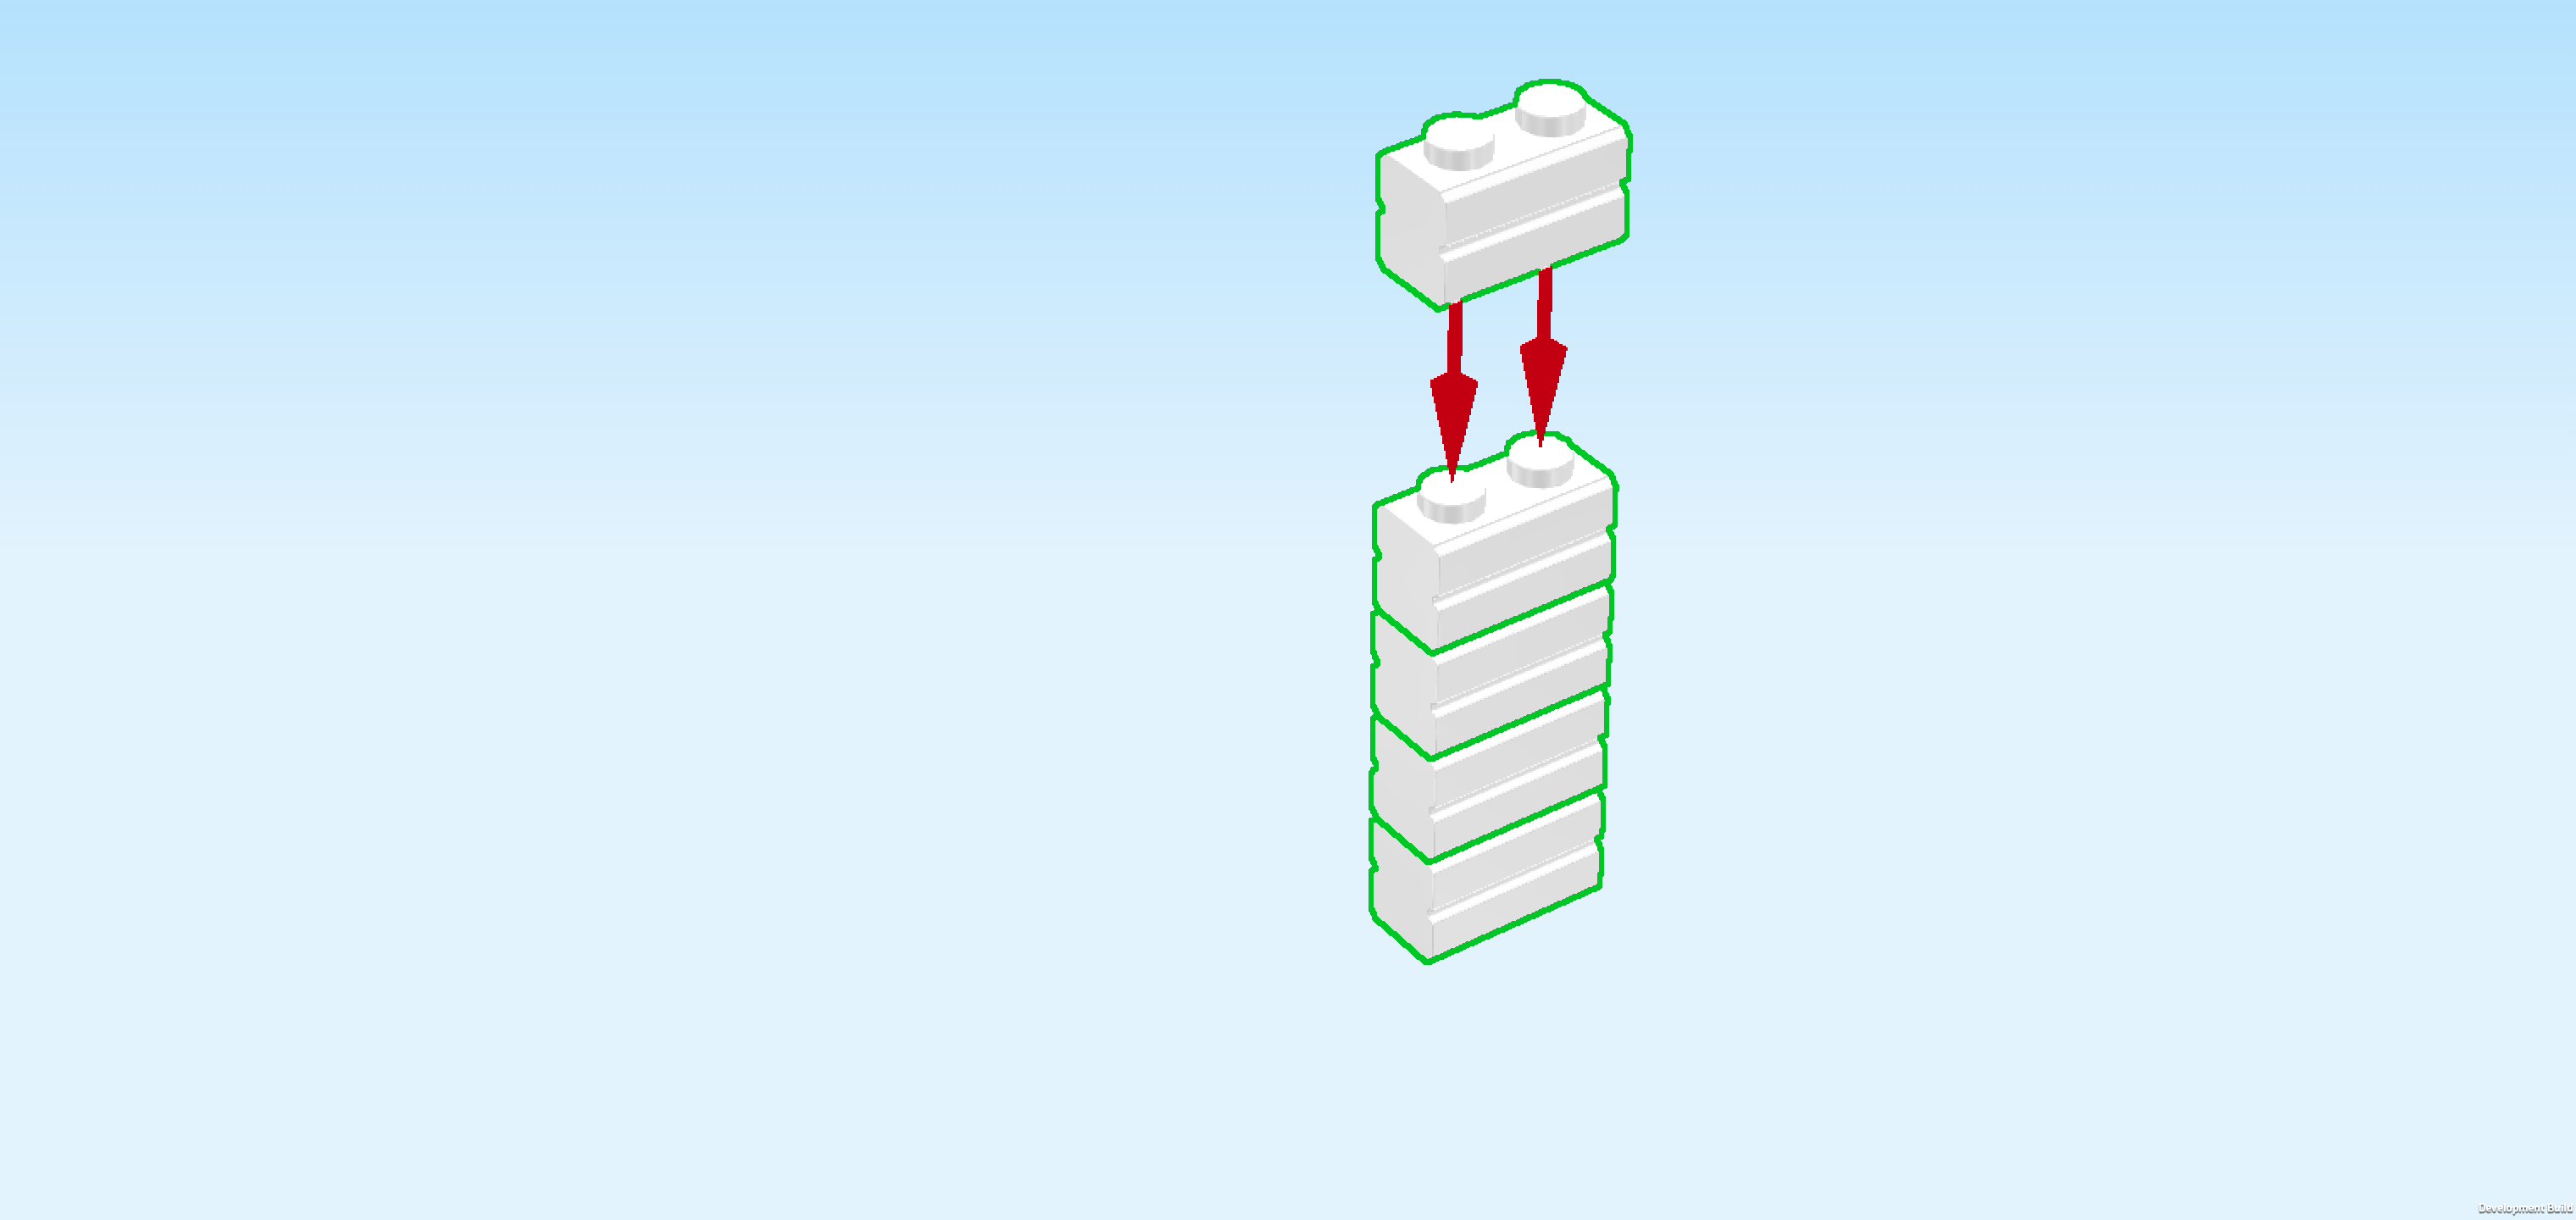
| Find 5 white bricks 1x2 with brick carvings. |
| Stack all 5 bricks horizontally on top of each other, making sure that their brick carvings are towards the back. |
| Mount this back wall element horizontally on the backmost row, starting from the right edge, brick carvings towards the back. |
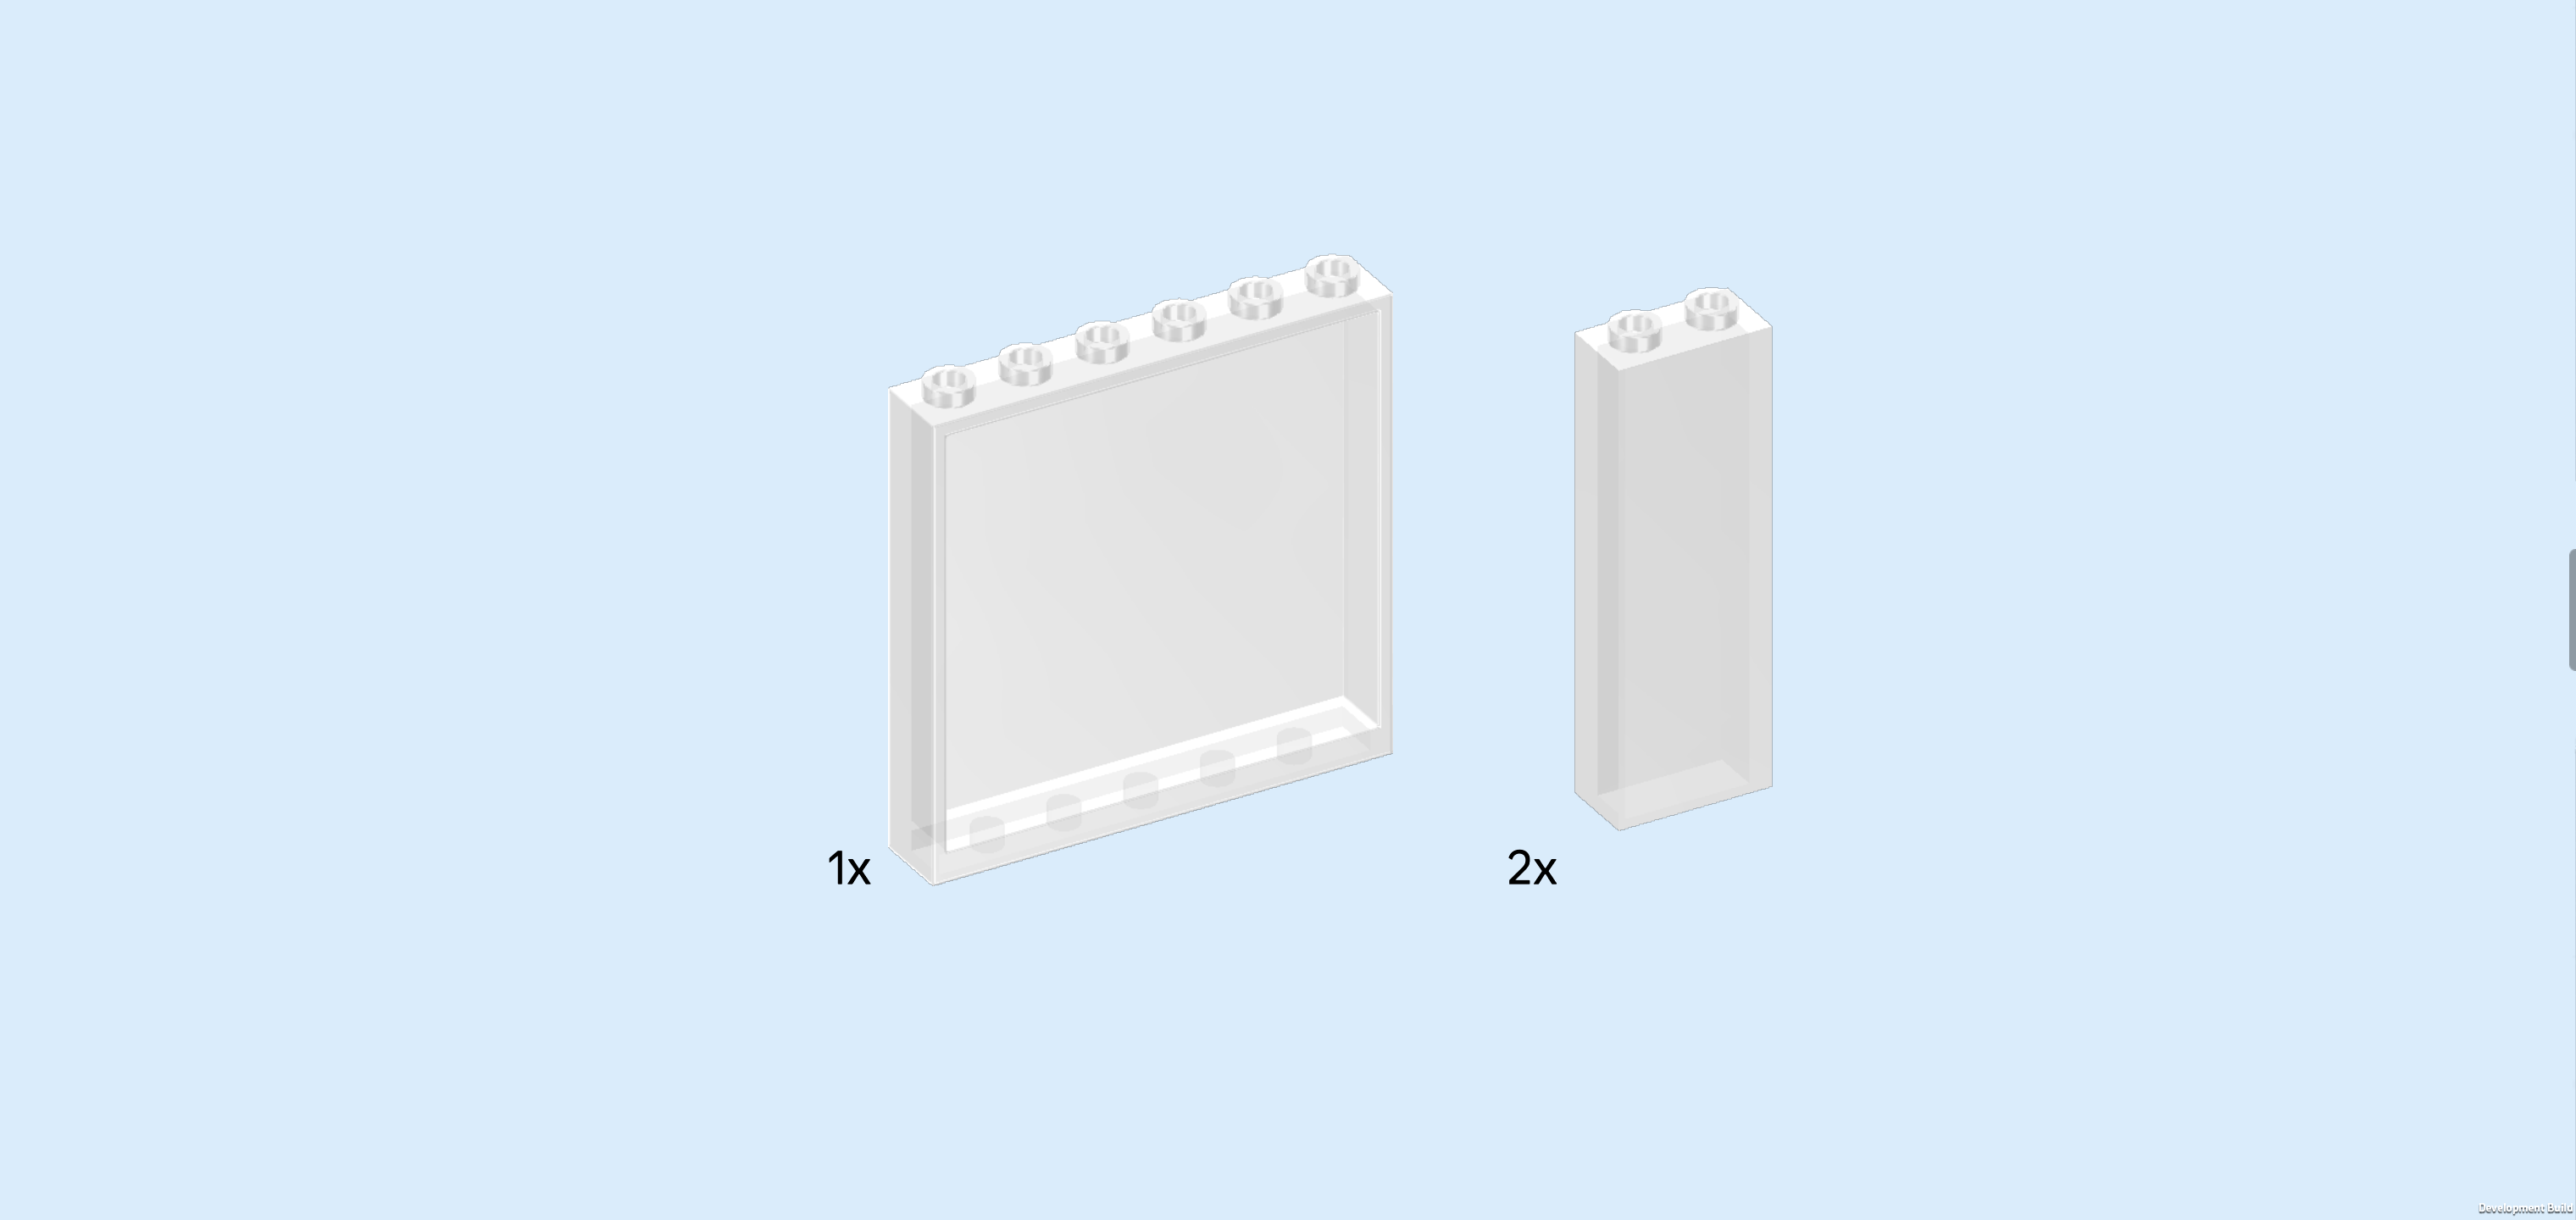
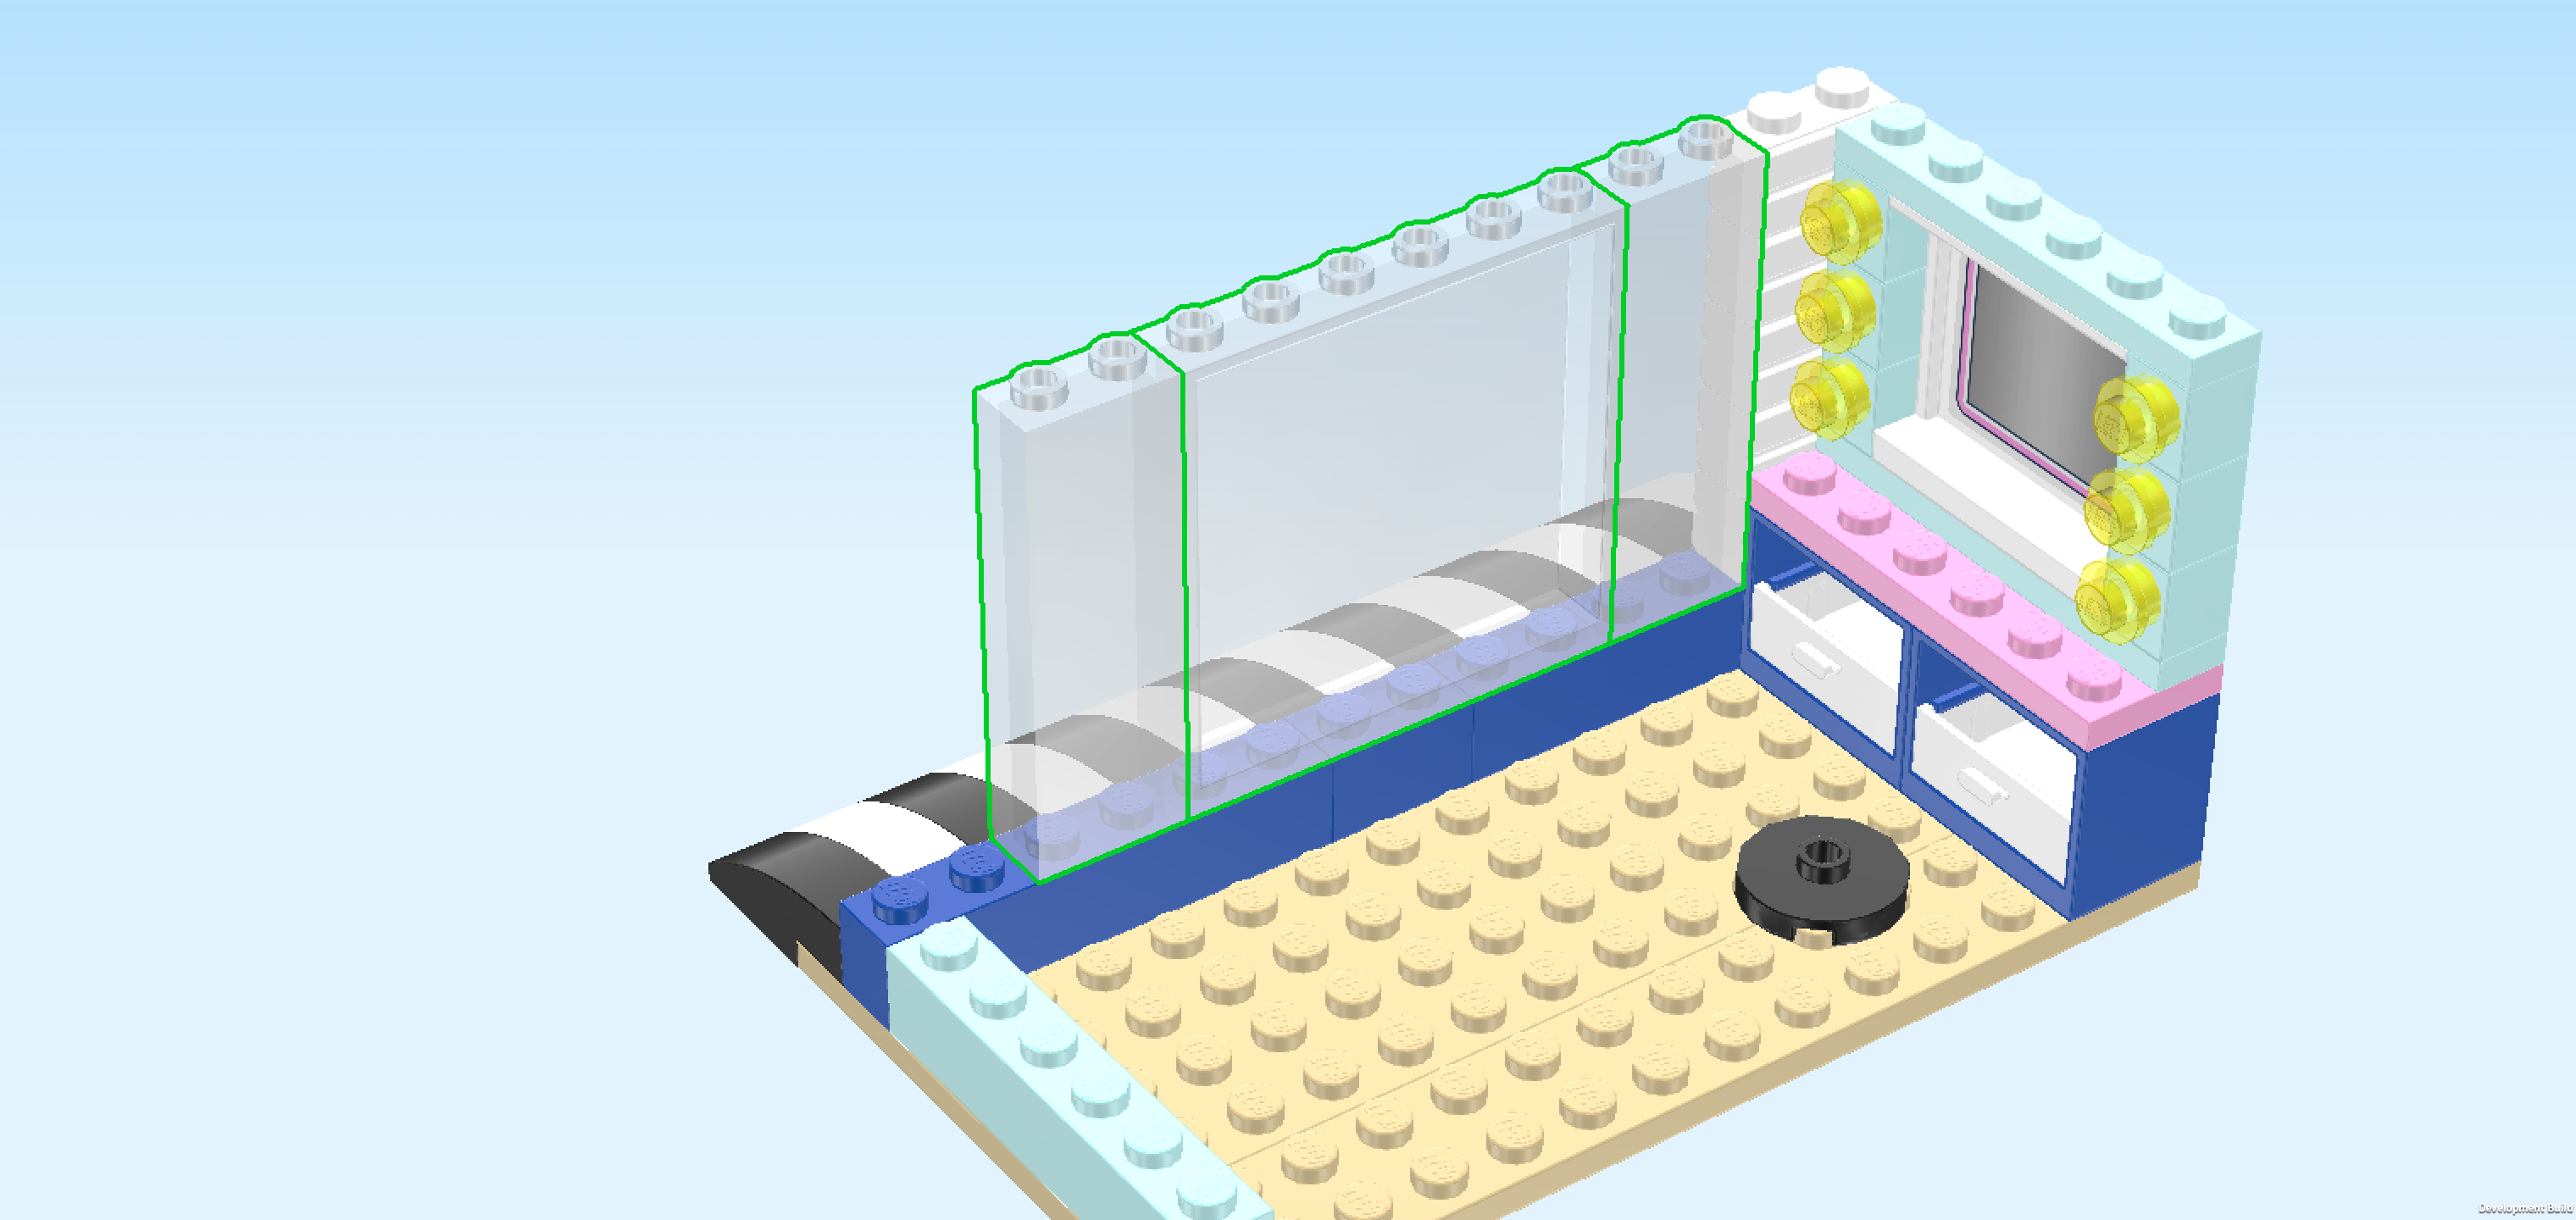
| Collect the following 3 pieces: |
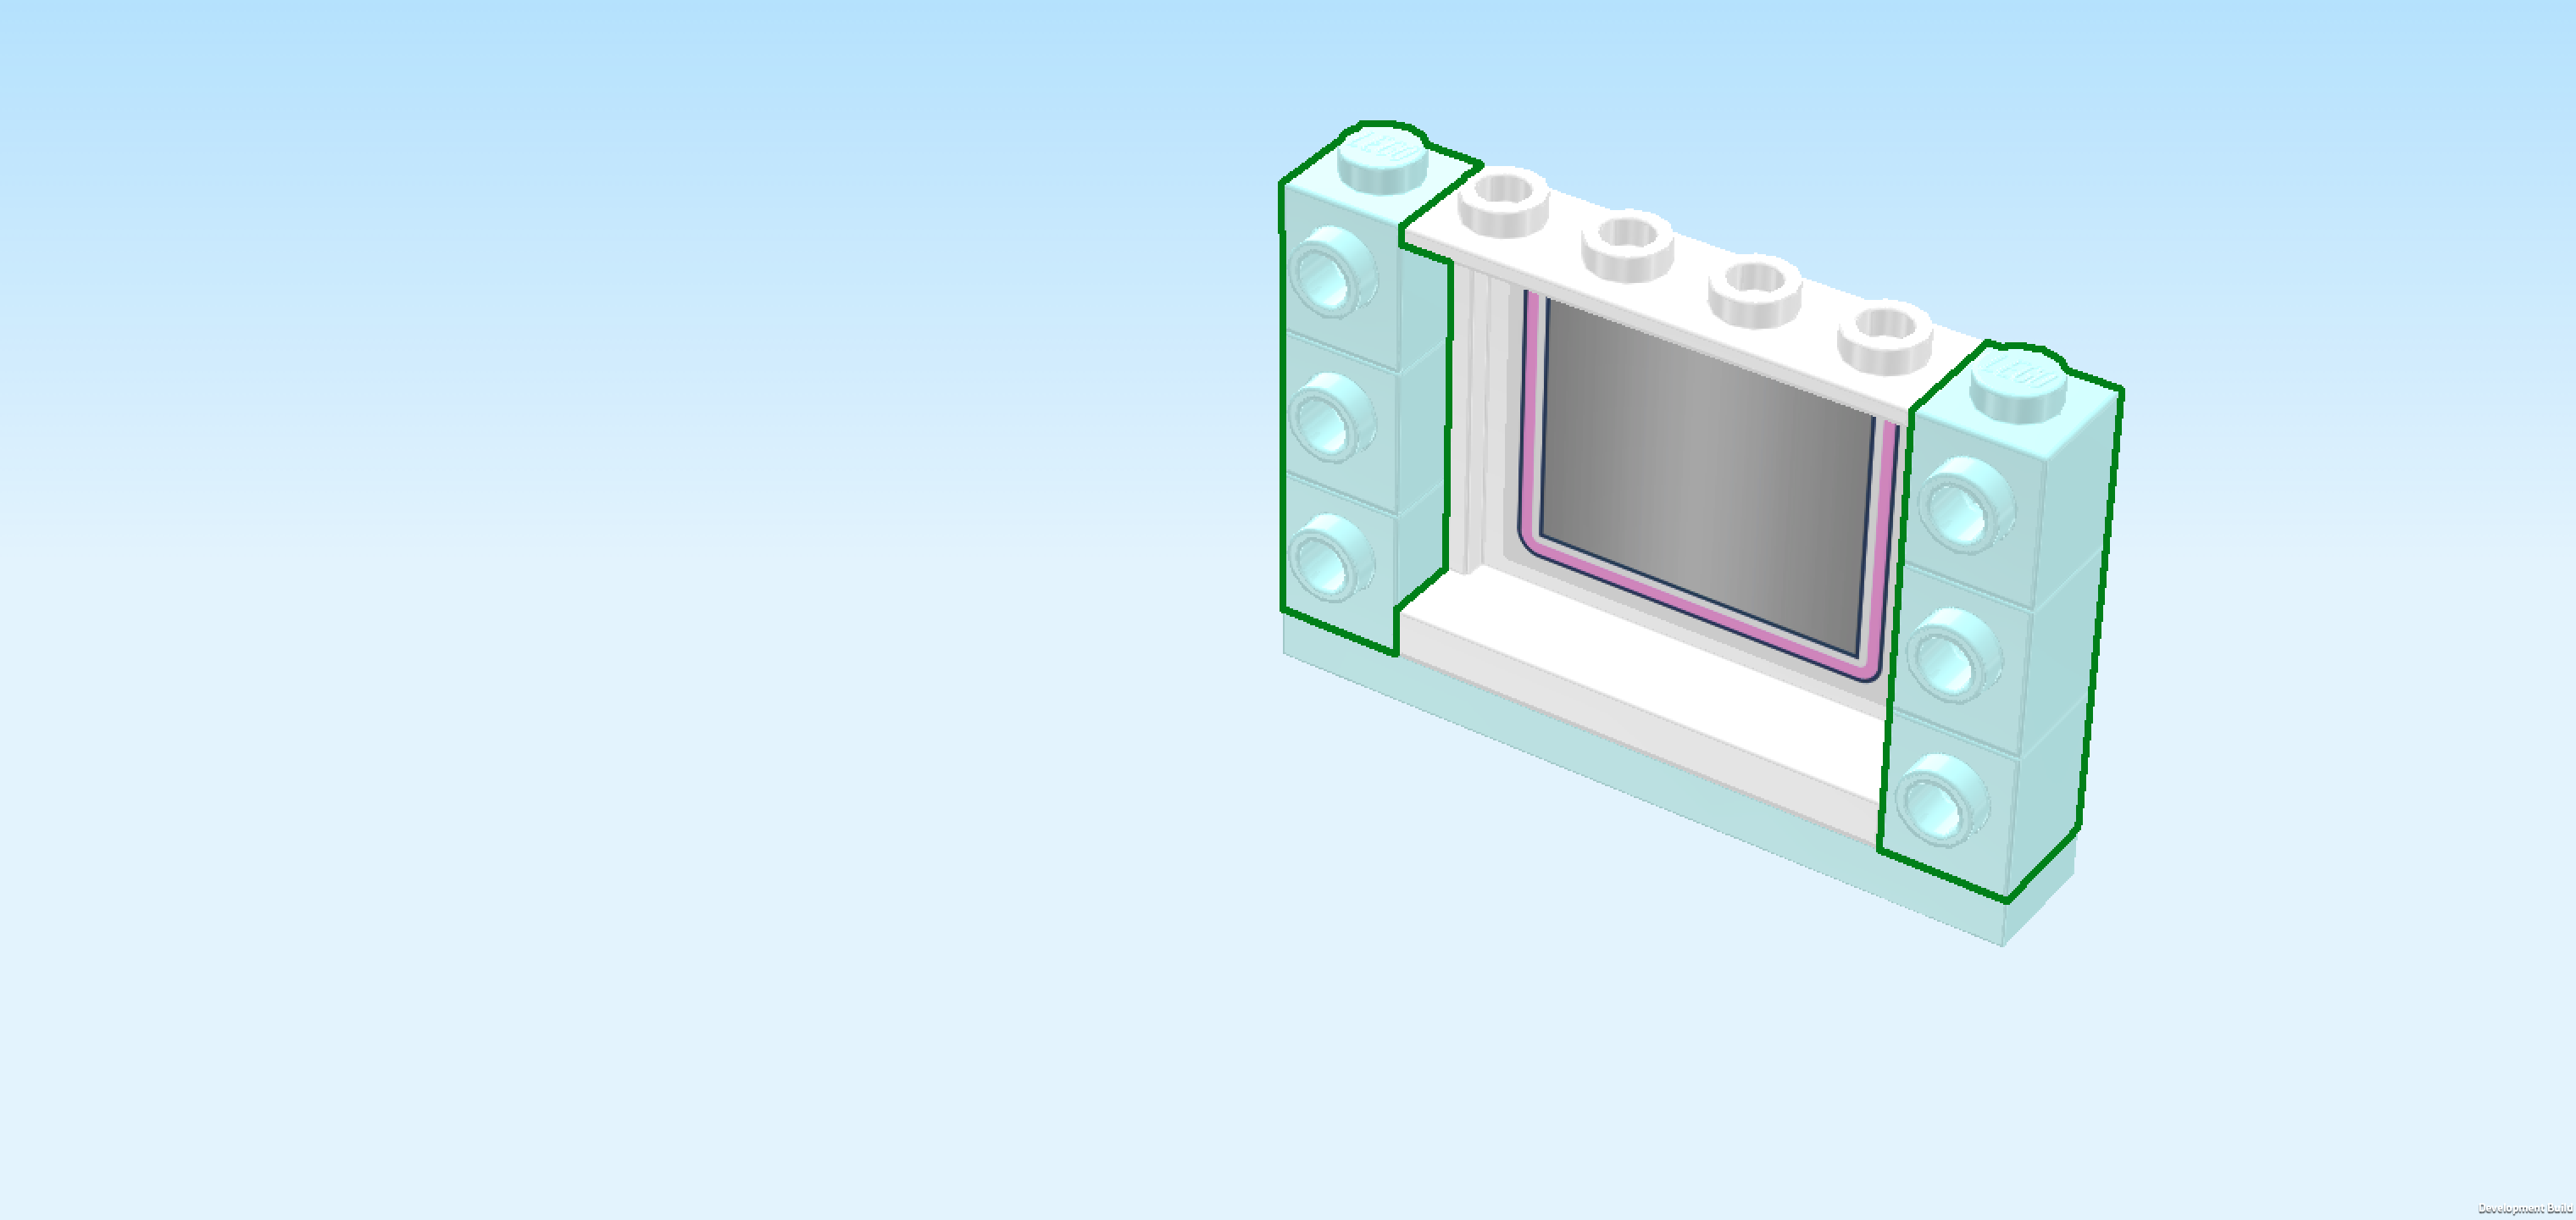
| 1 transparent wall element 1x6x5 with 6 top knobs and sides, |
| and 2 transparent hollow bricks 1x2x5. |
| Put 1 hollow brick 1x2x5 horizontally to the left of the previous piece. |
| Put the wall element 1x6x5 horizontally to the left of the previous piece, hollow side to the front. |
| Put the other hollow brick horizontally to the left of the previous piece. |
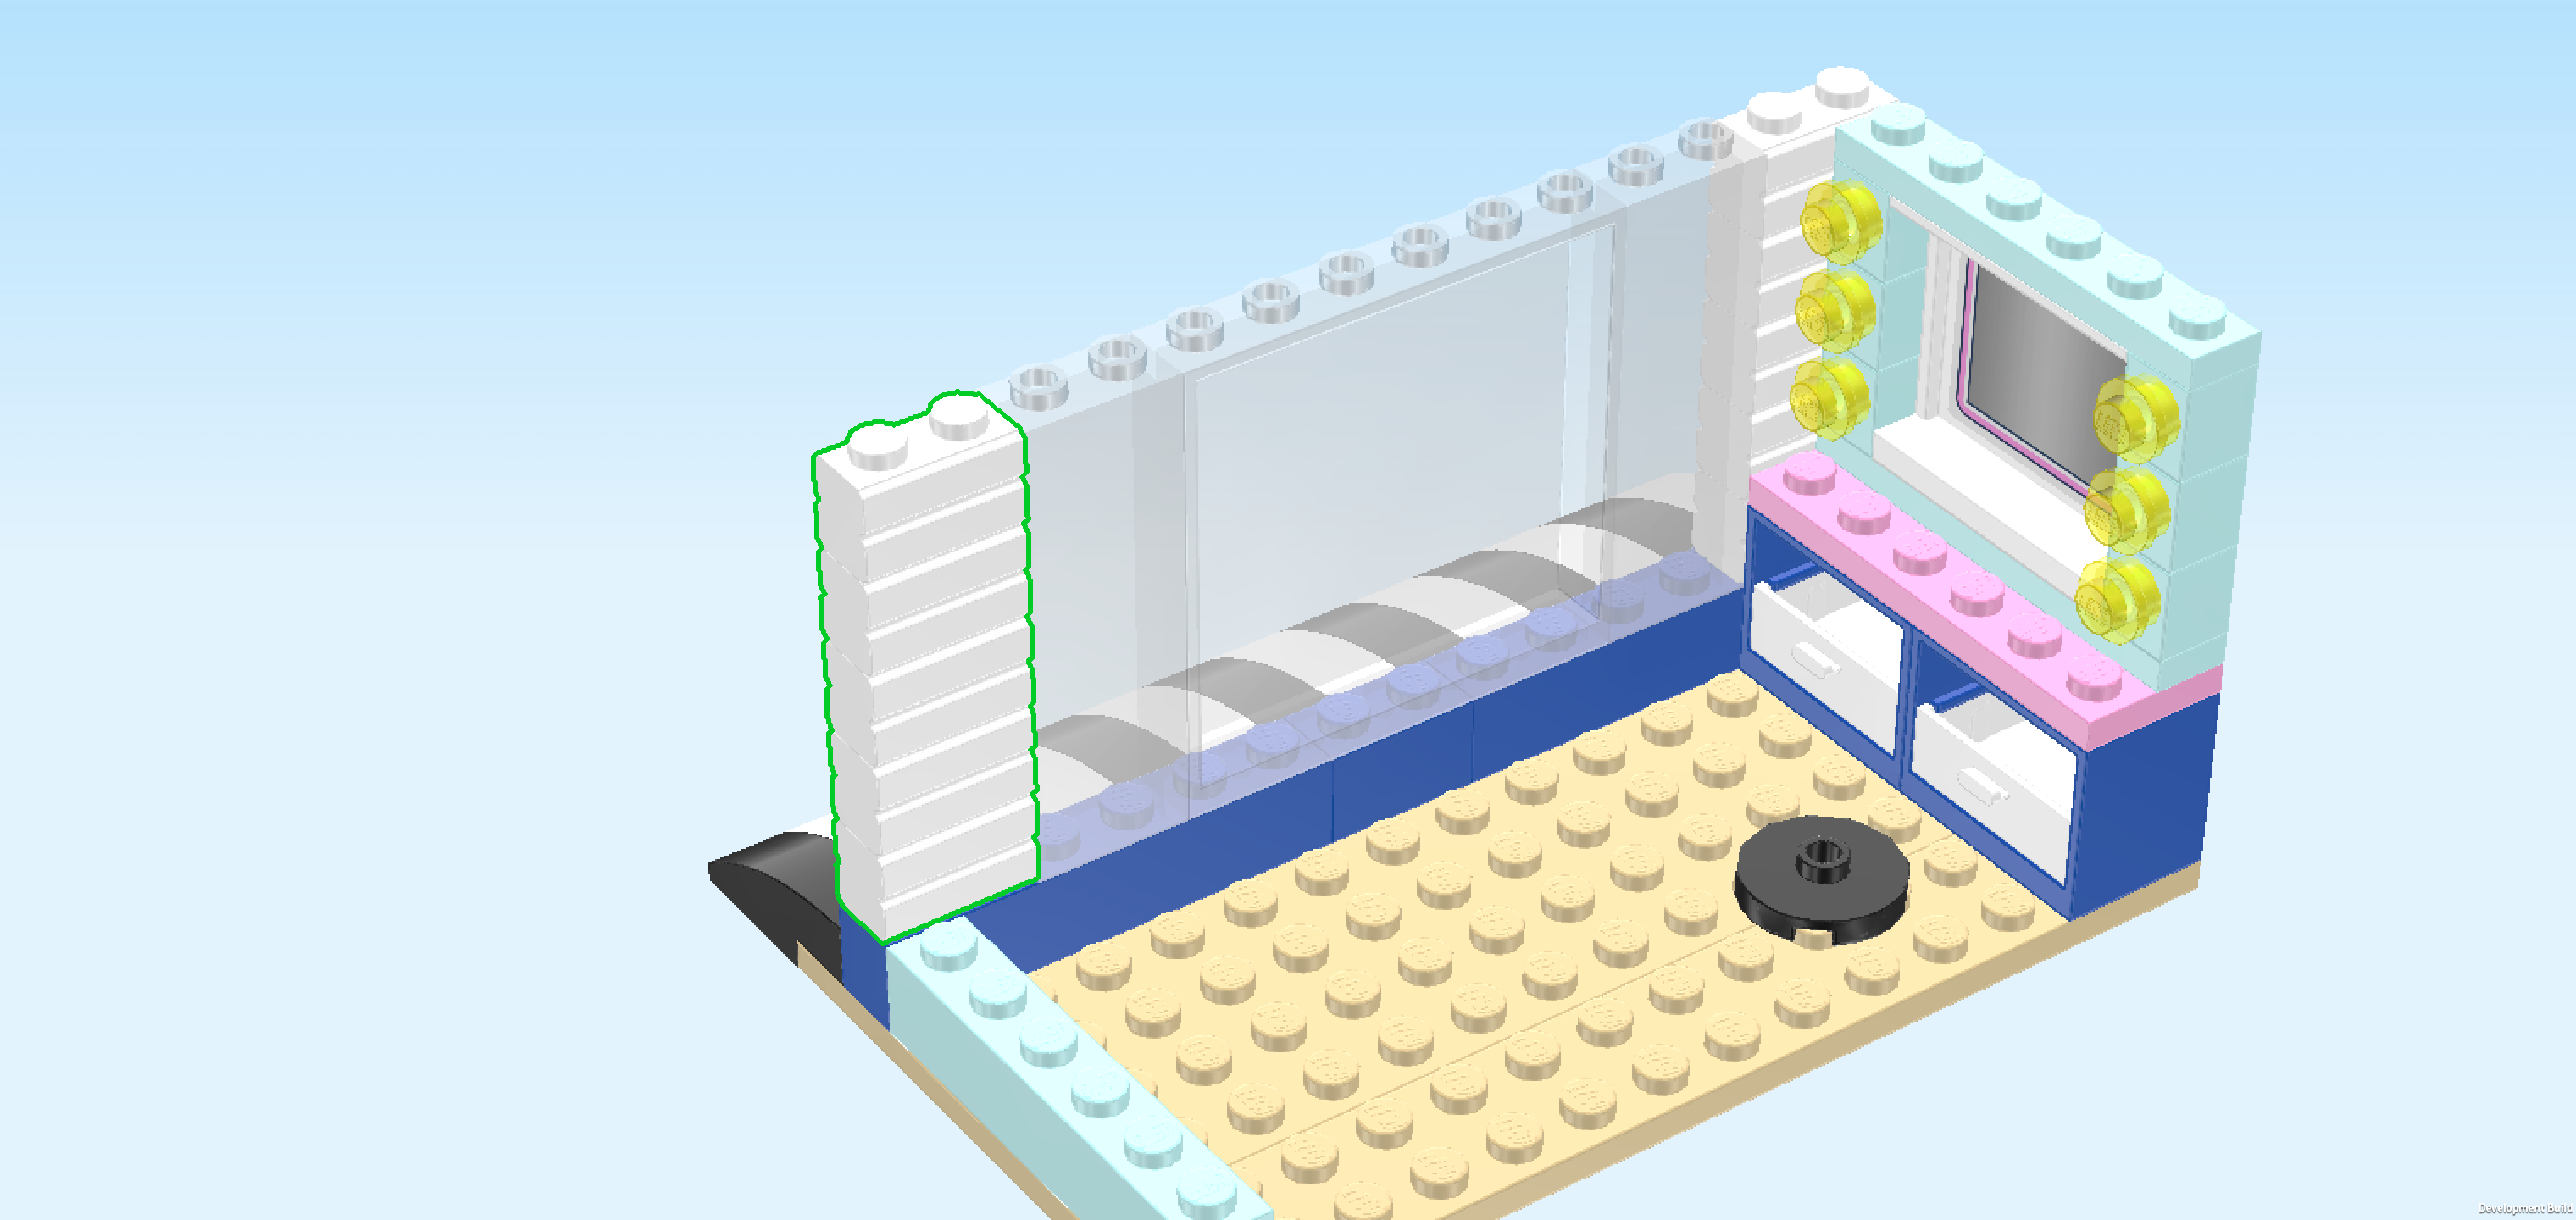
| Next, we will build another back wall element. |
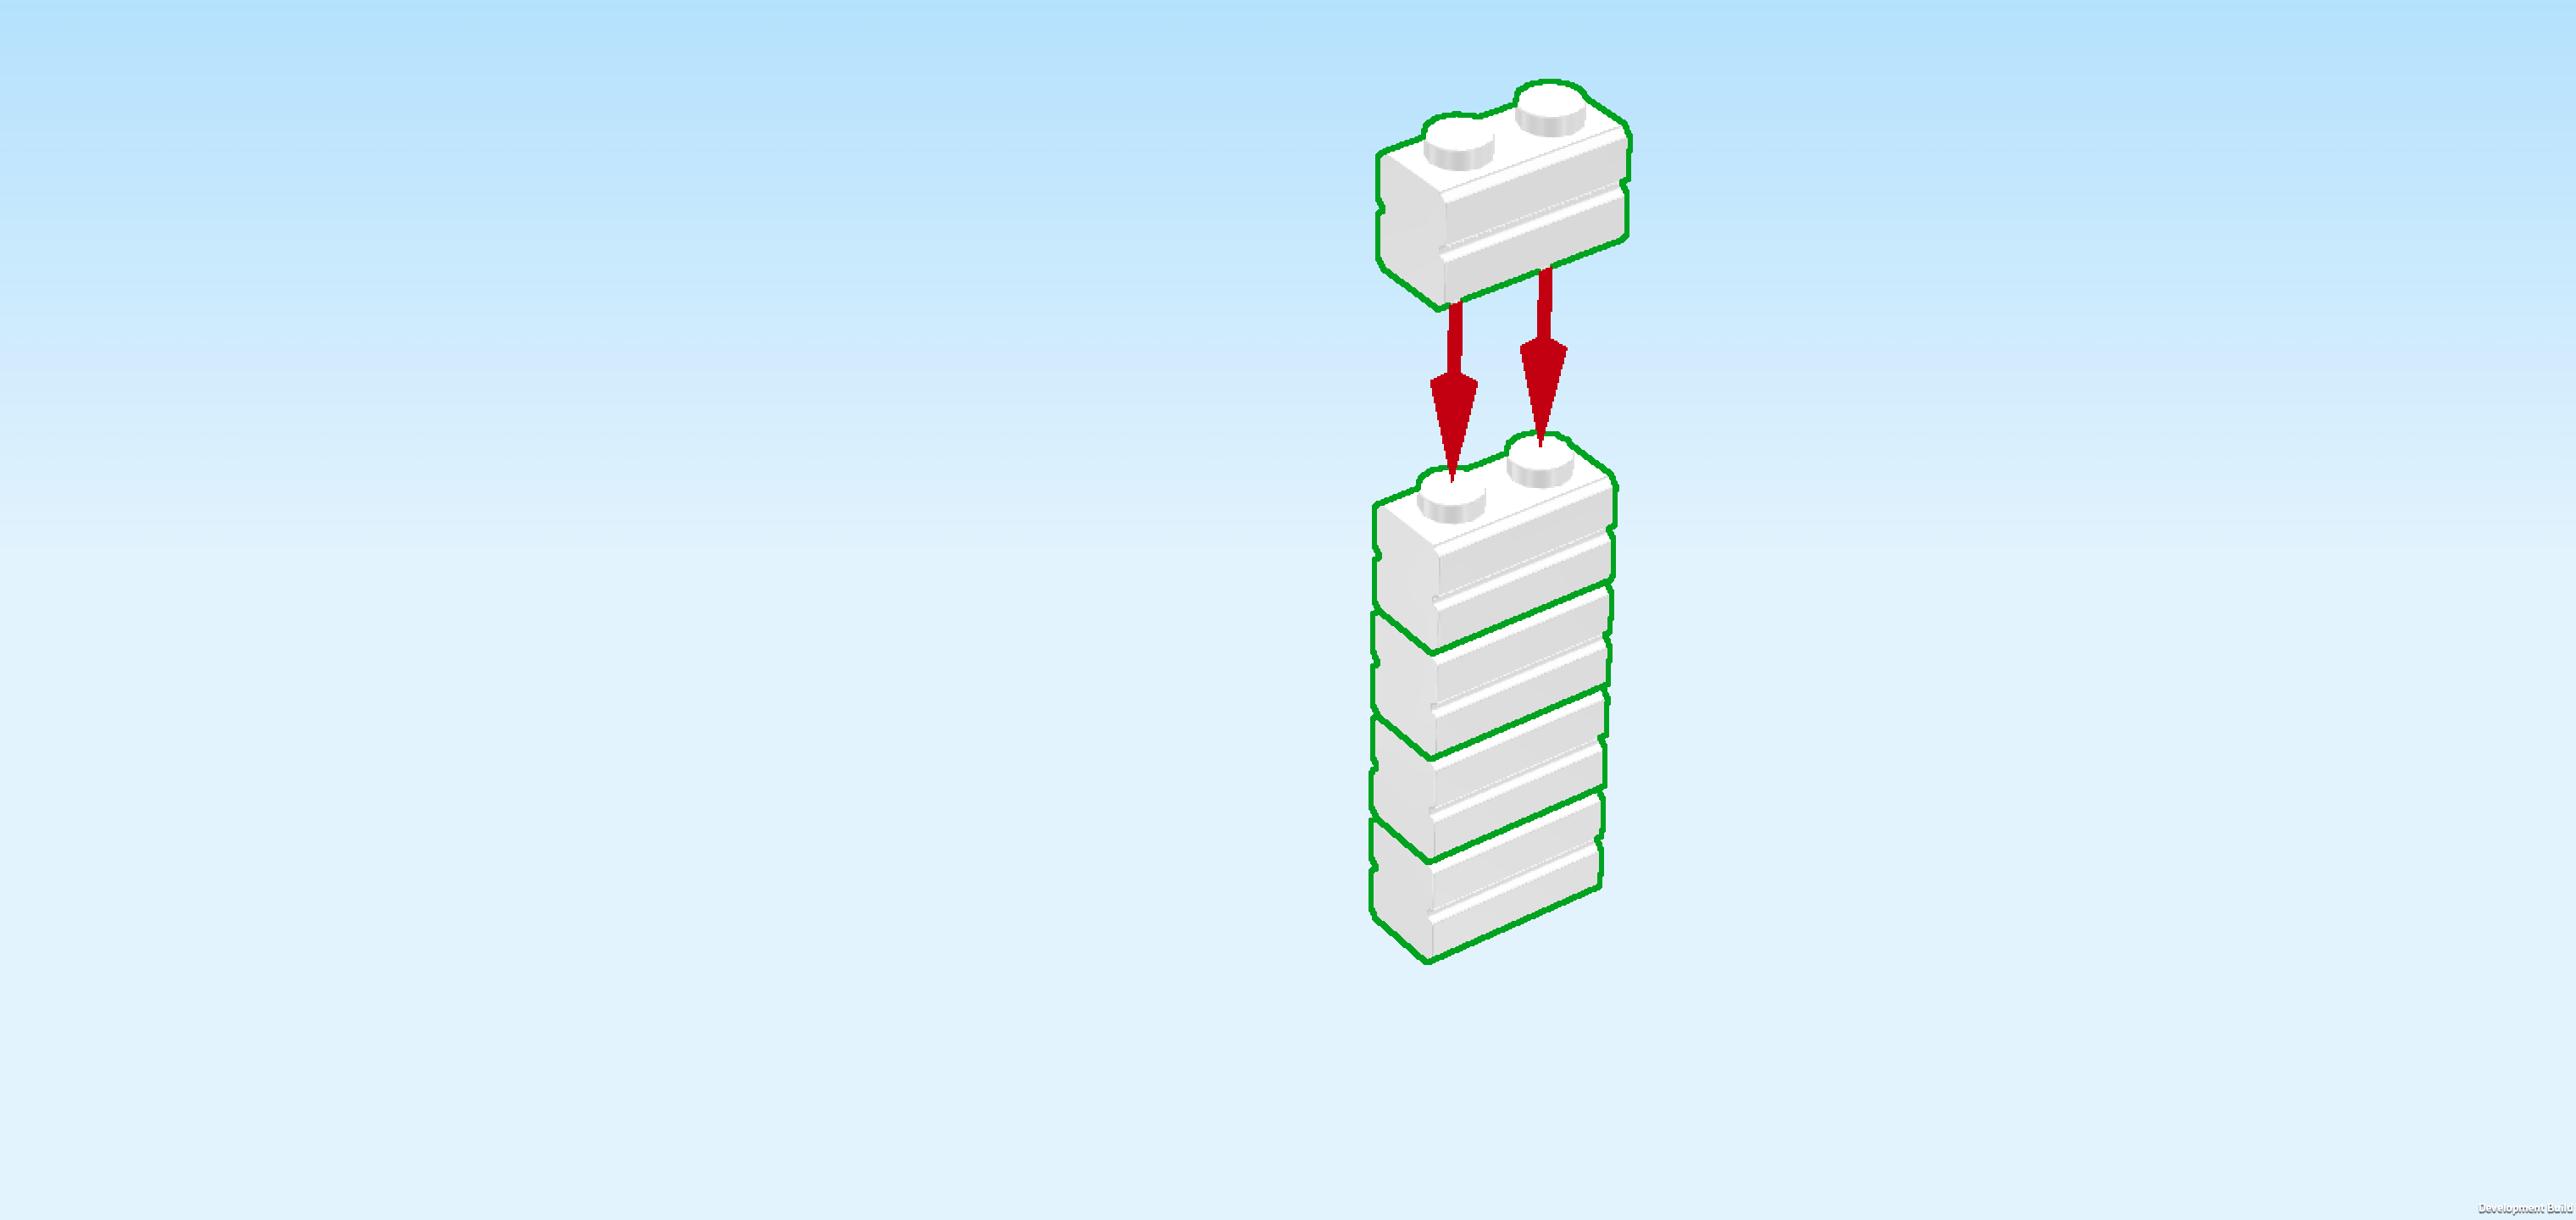
| Find 5 white bricks 1x2 with brick carvings. |
| Stack them horizontally on top of each other, brick carvings to the back. |
| Mount the back wall element horizontally to the left of the previous piece, brick carvings to the back. |
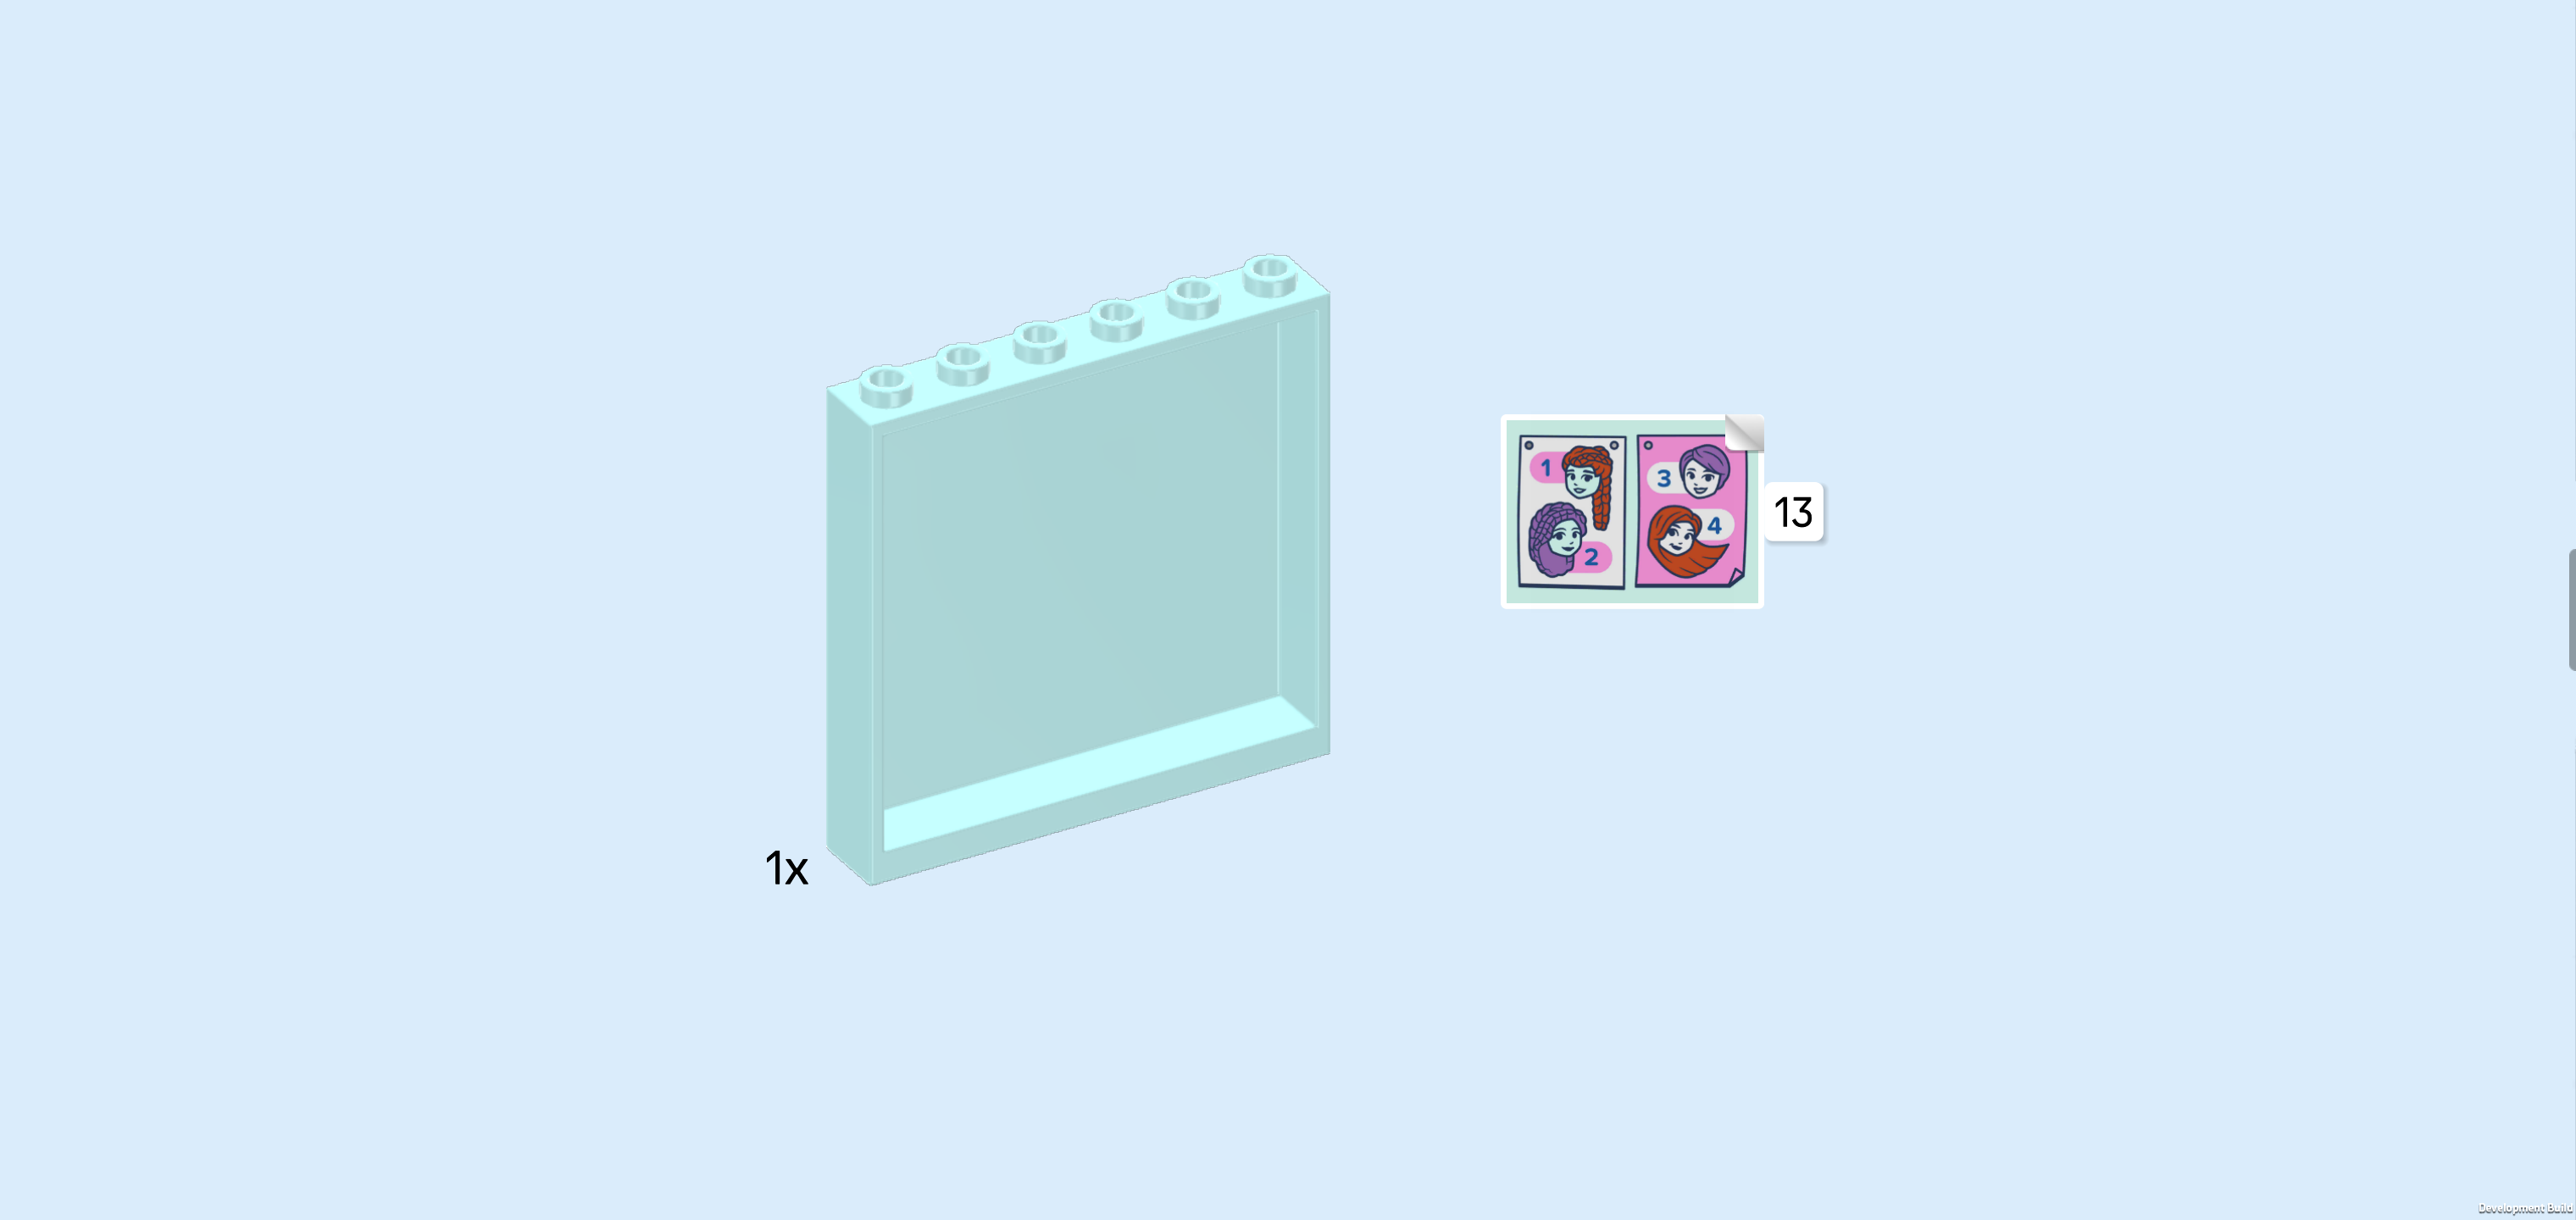
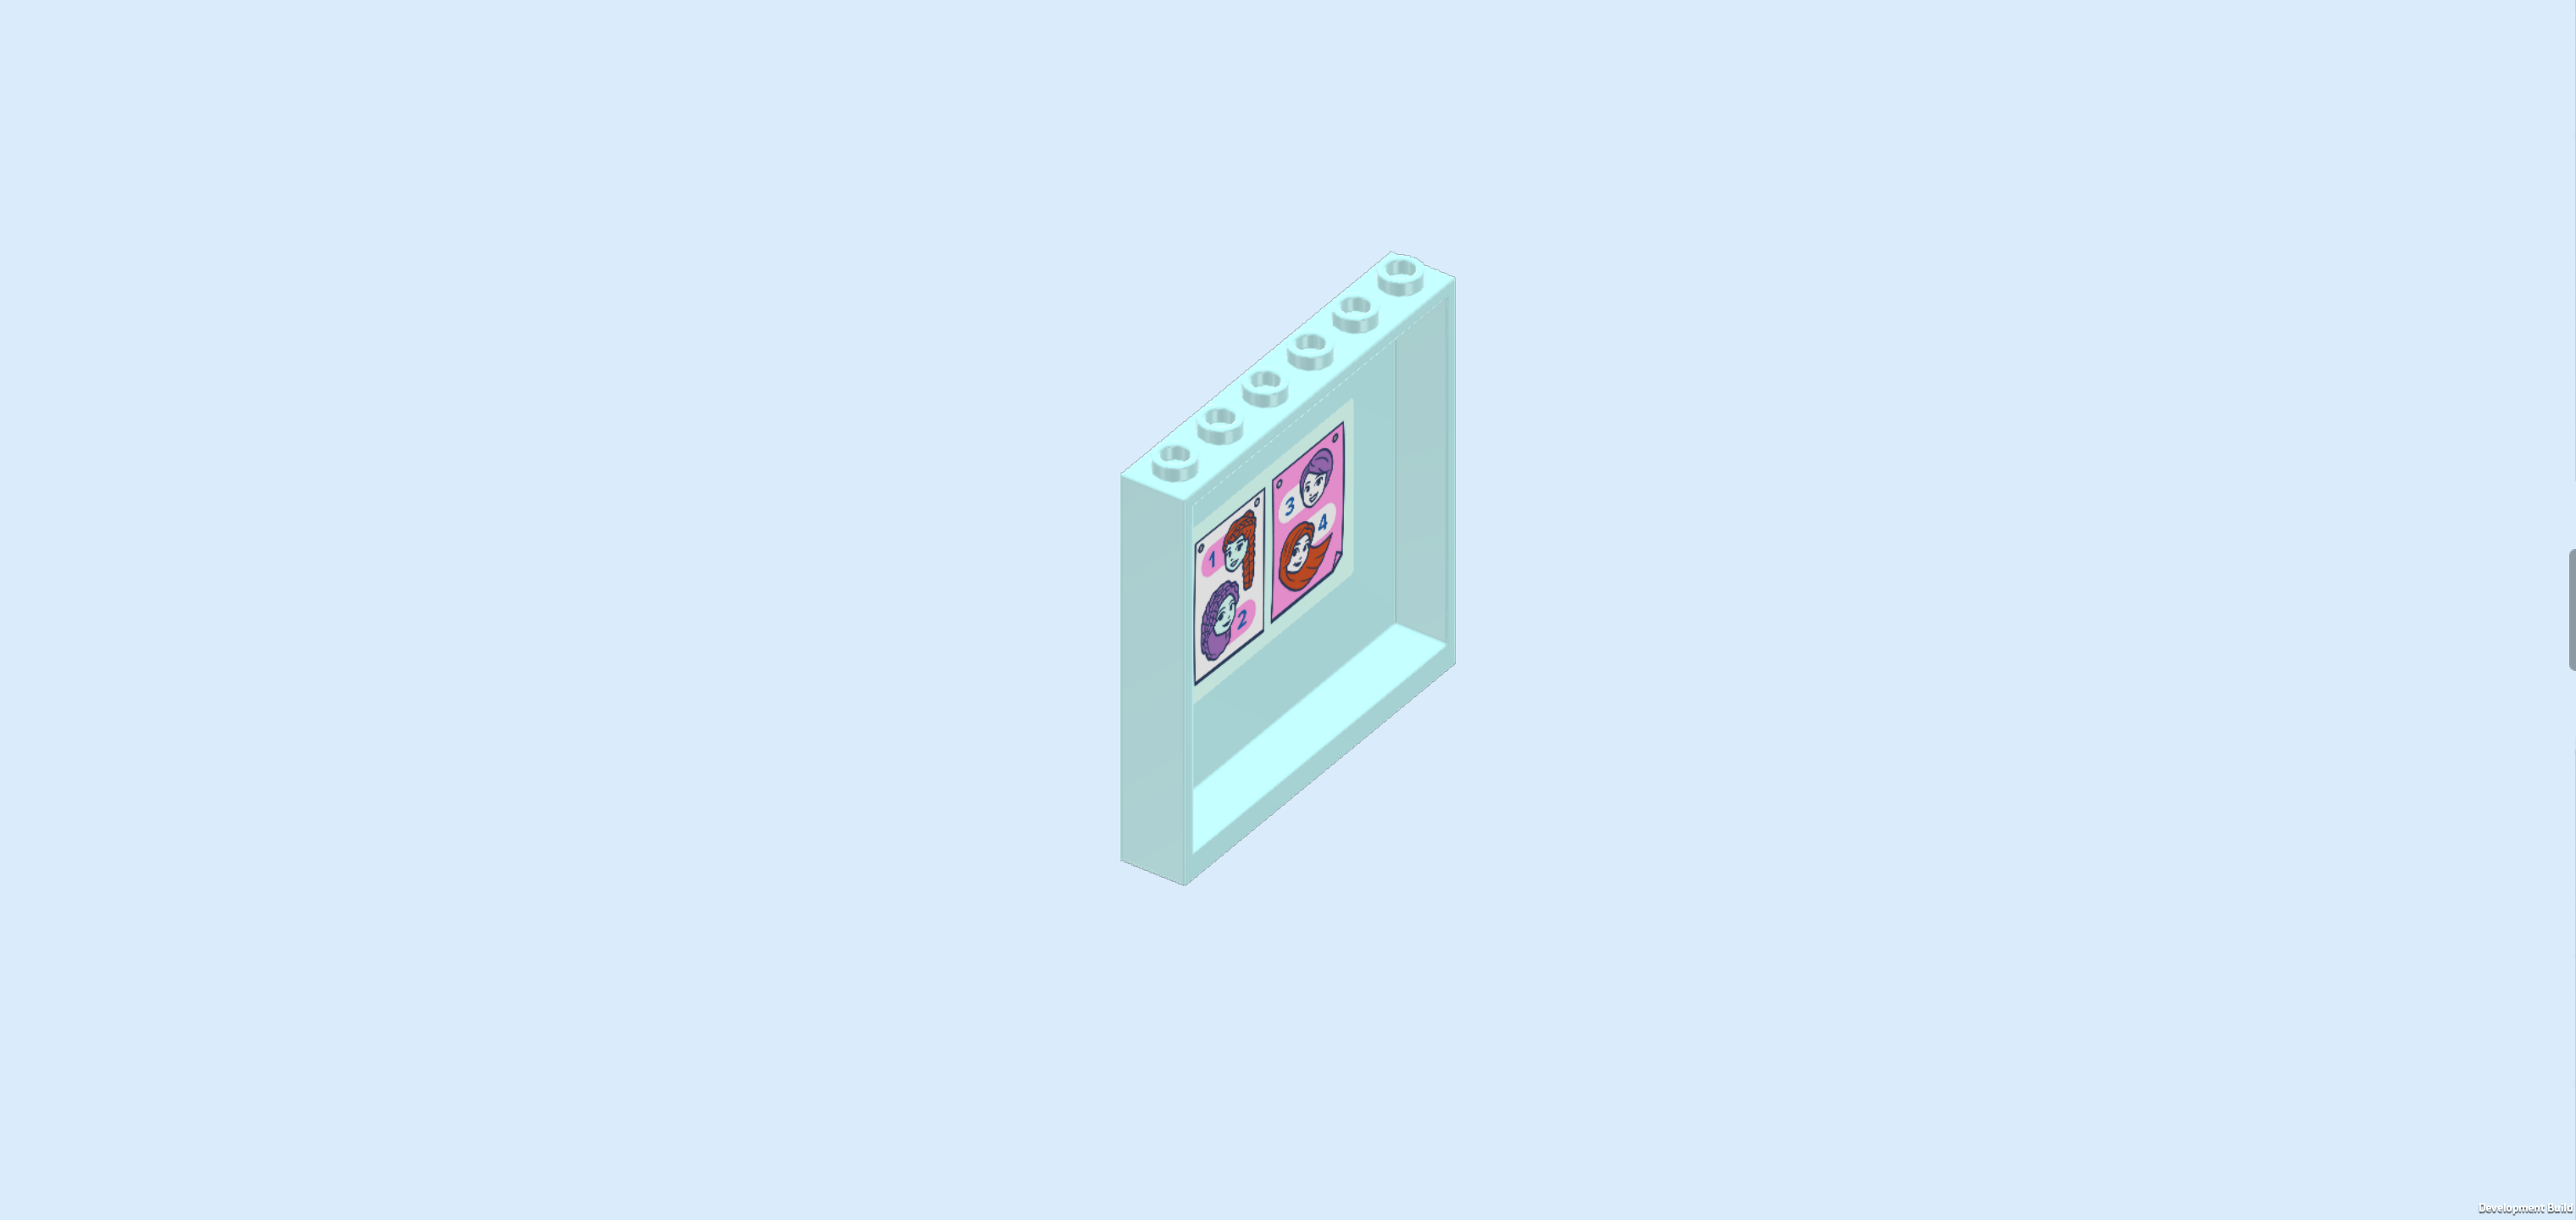
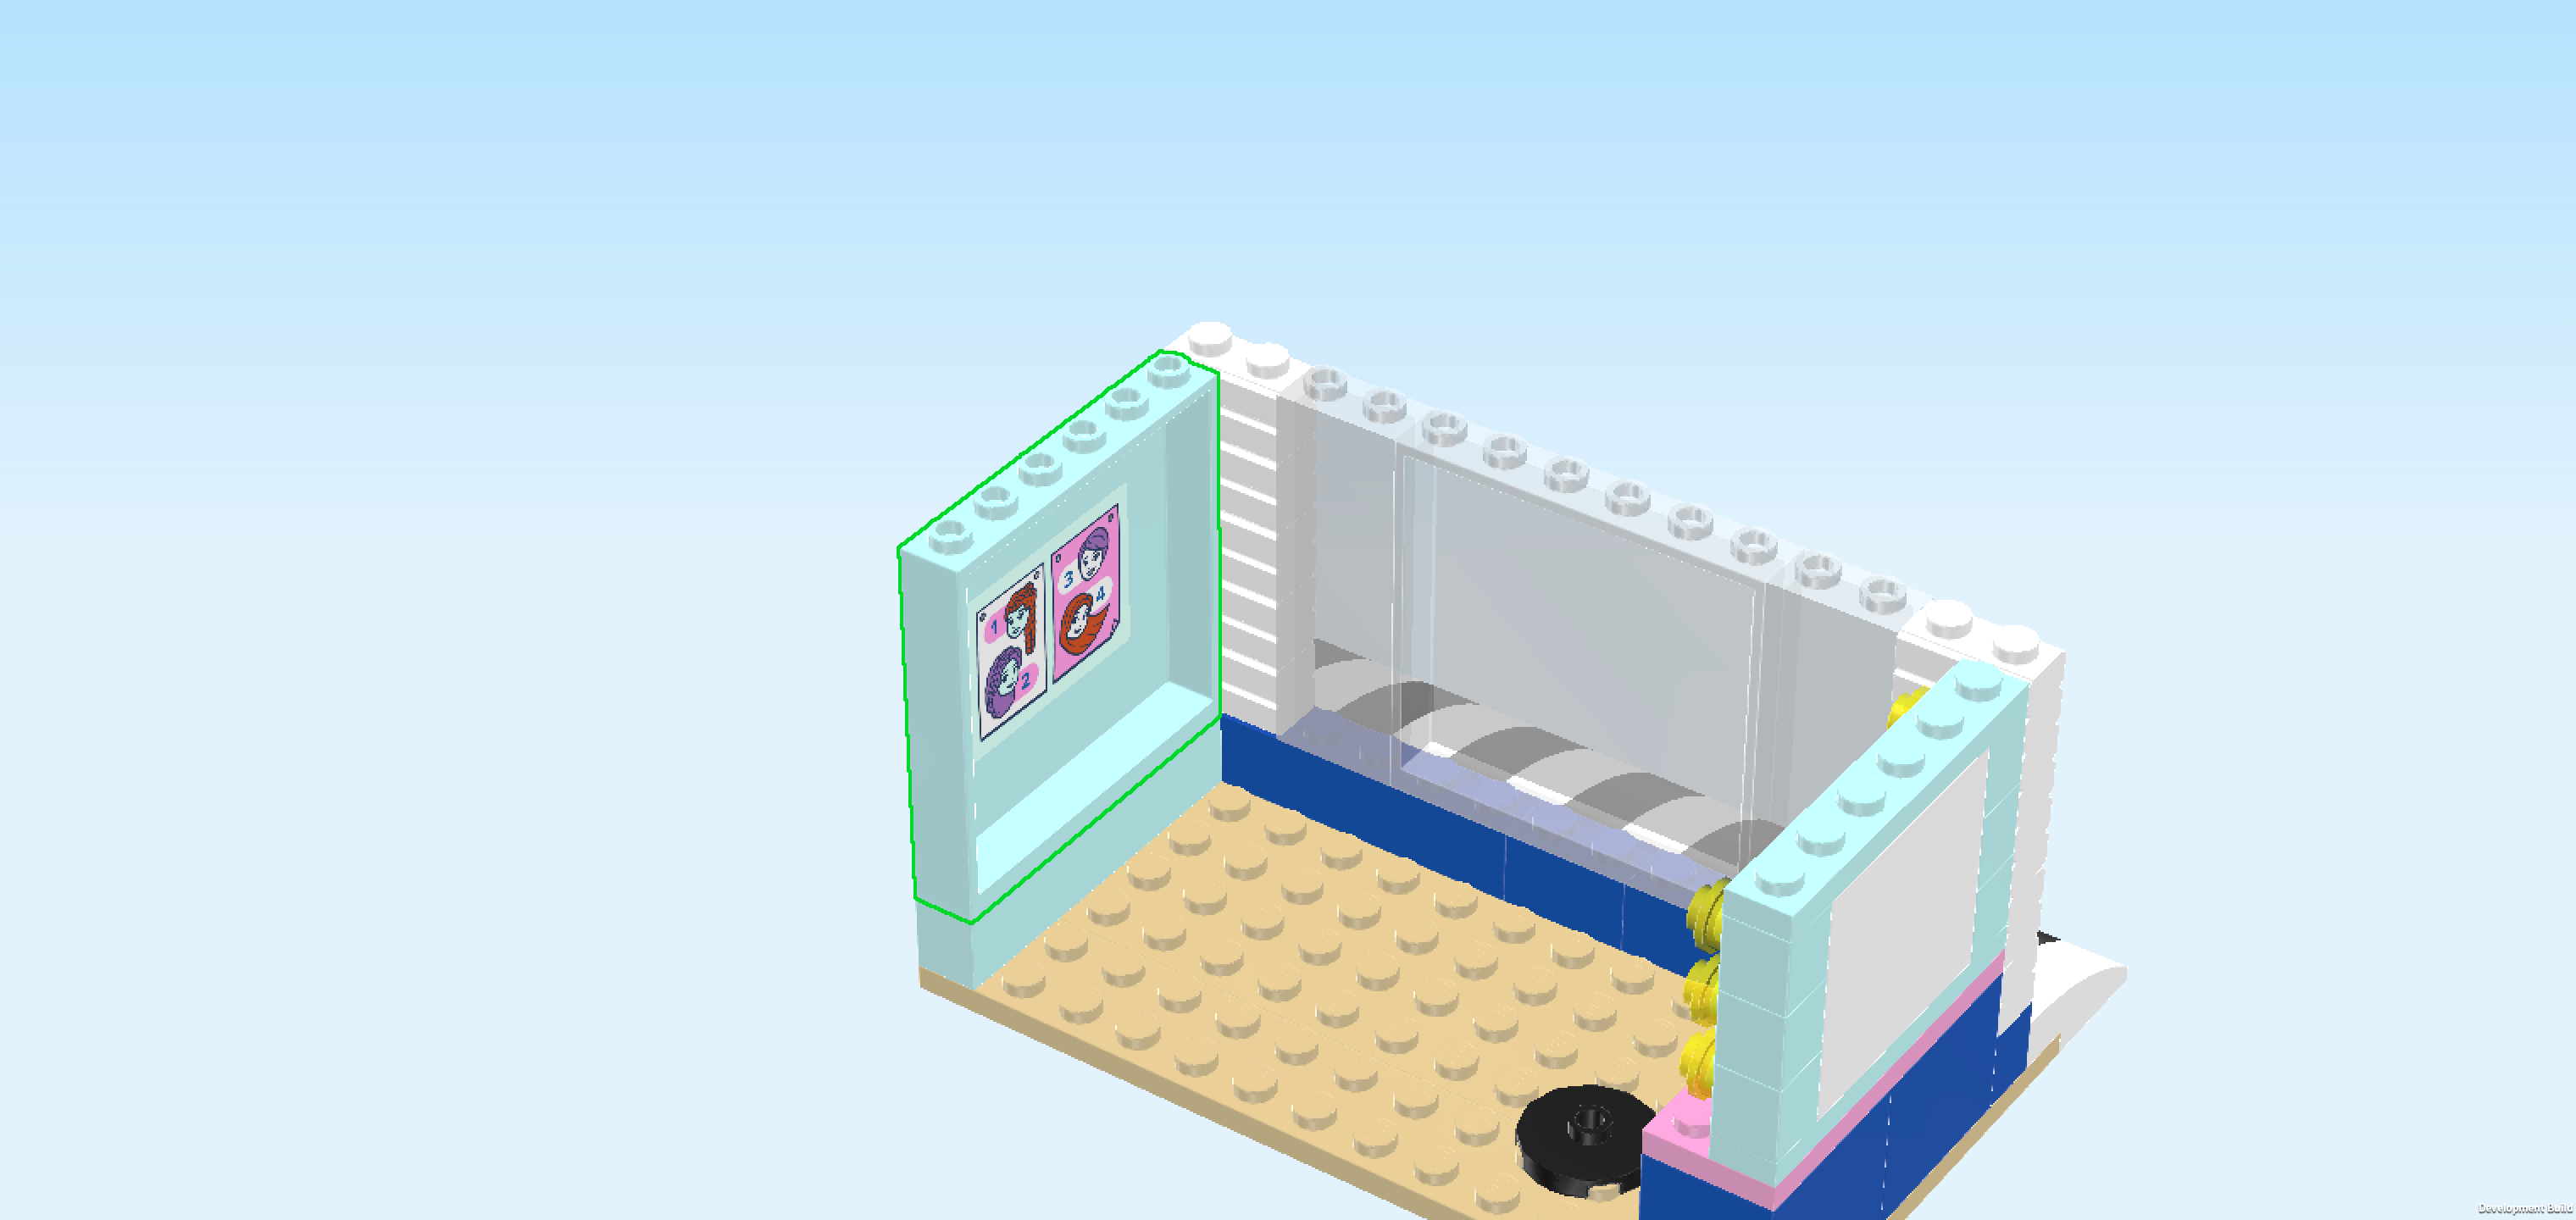
| Collect the following 2 pieces: |
| 1 aqua blue wall element 1x6x5 with sides and top knobs, |
| and 1 rectangular sticker 3x4 with wig options. |
| Put the wall element horizontally in front of you. Make sure the hollow part is towards you, which means that the outer panel surface is to the back. |
| Put the sticker horizontally centered on the hollow side surface. |
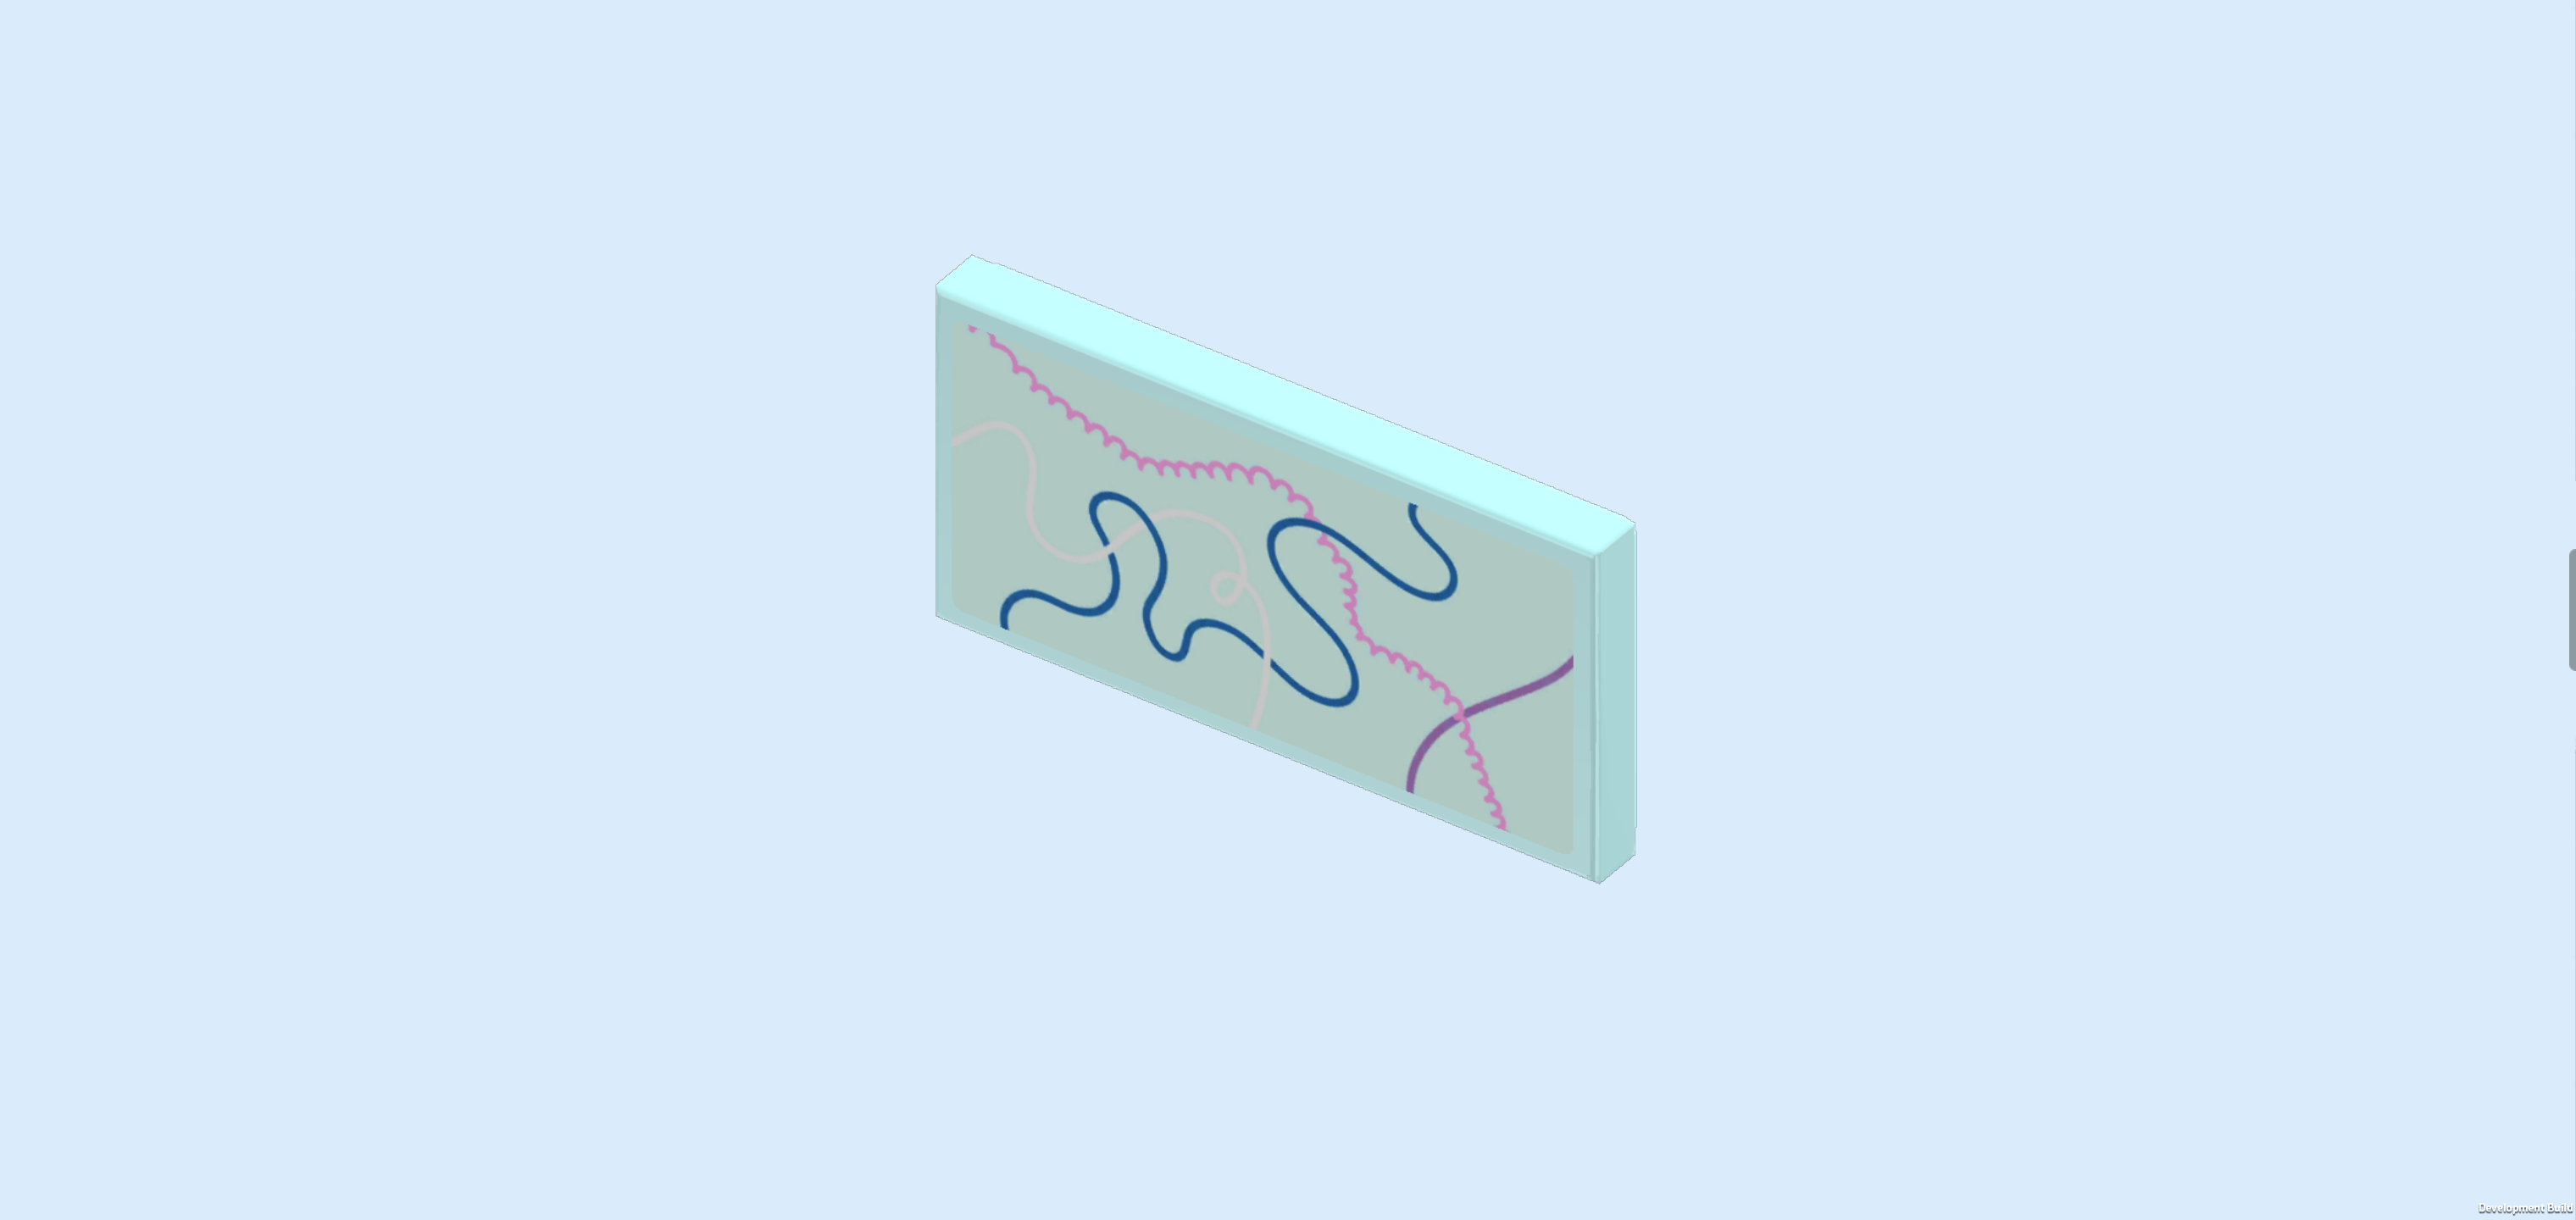
| The sticker shows 2 posters with 2 different wig options each. Option 1 is the long braided ponytail, shown in ginger here, option 2 is the long cornrows wig in lilac, option 3 is a short pixie cut in lilac, and option 4 is a long swooshy wig with side parting in ginger again. |
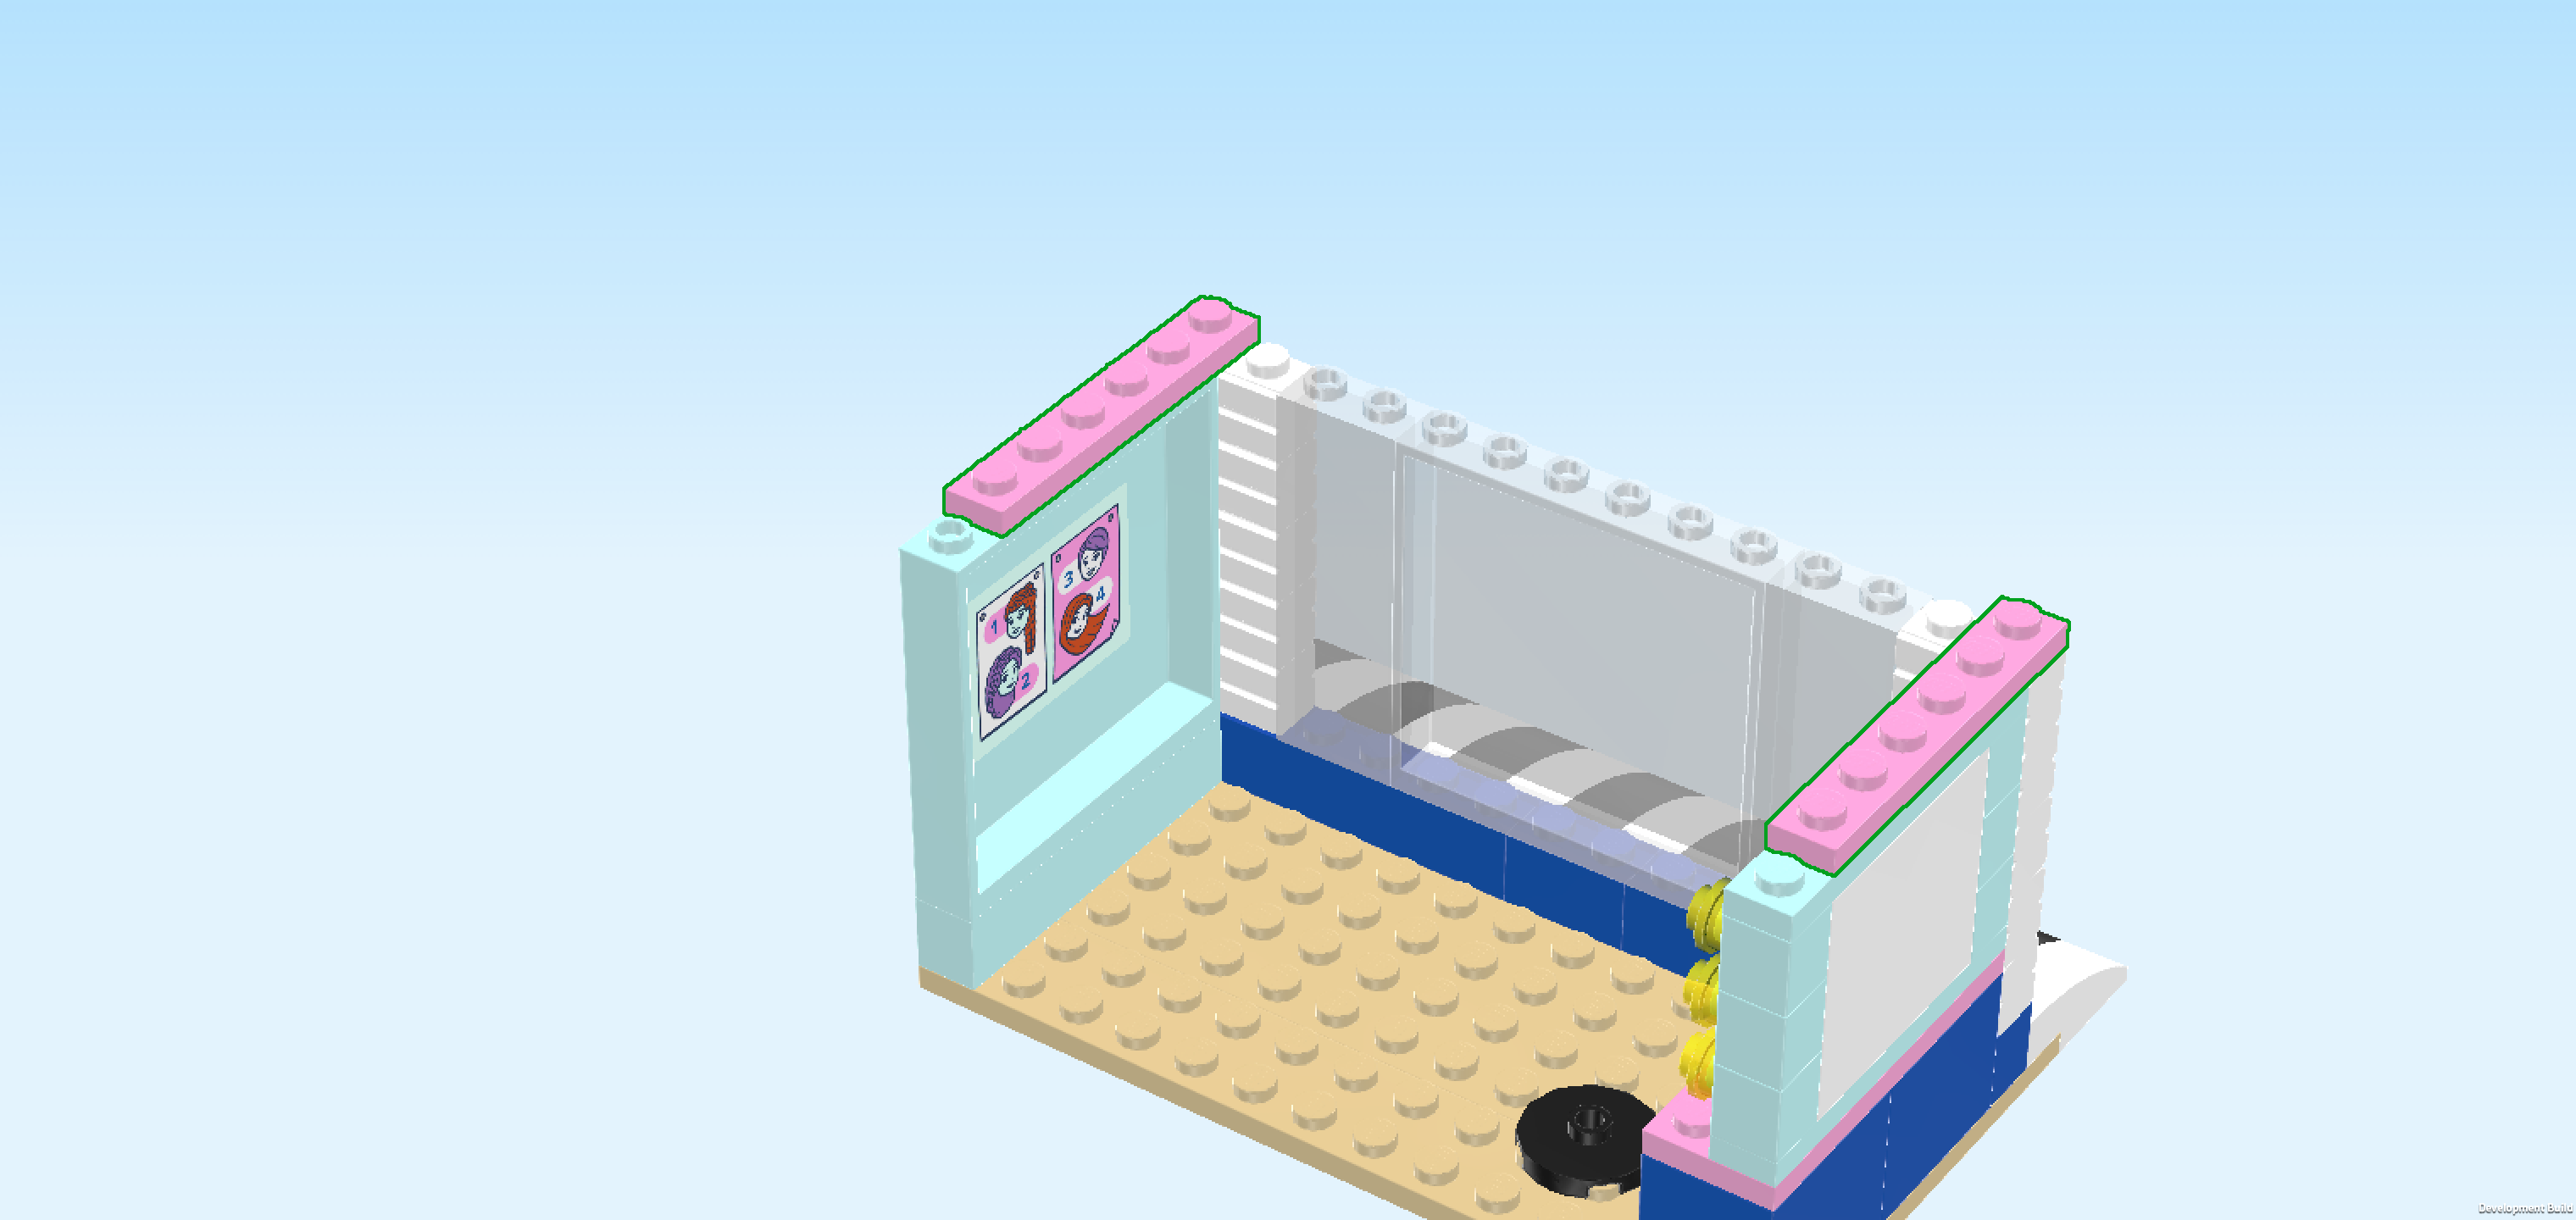
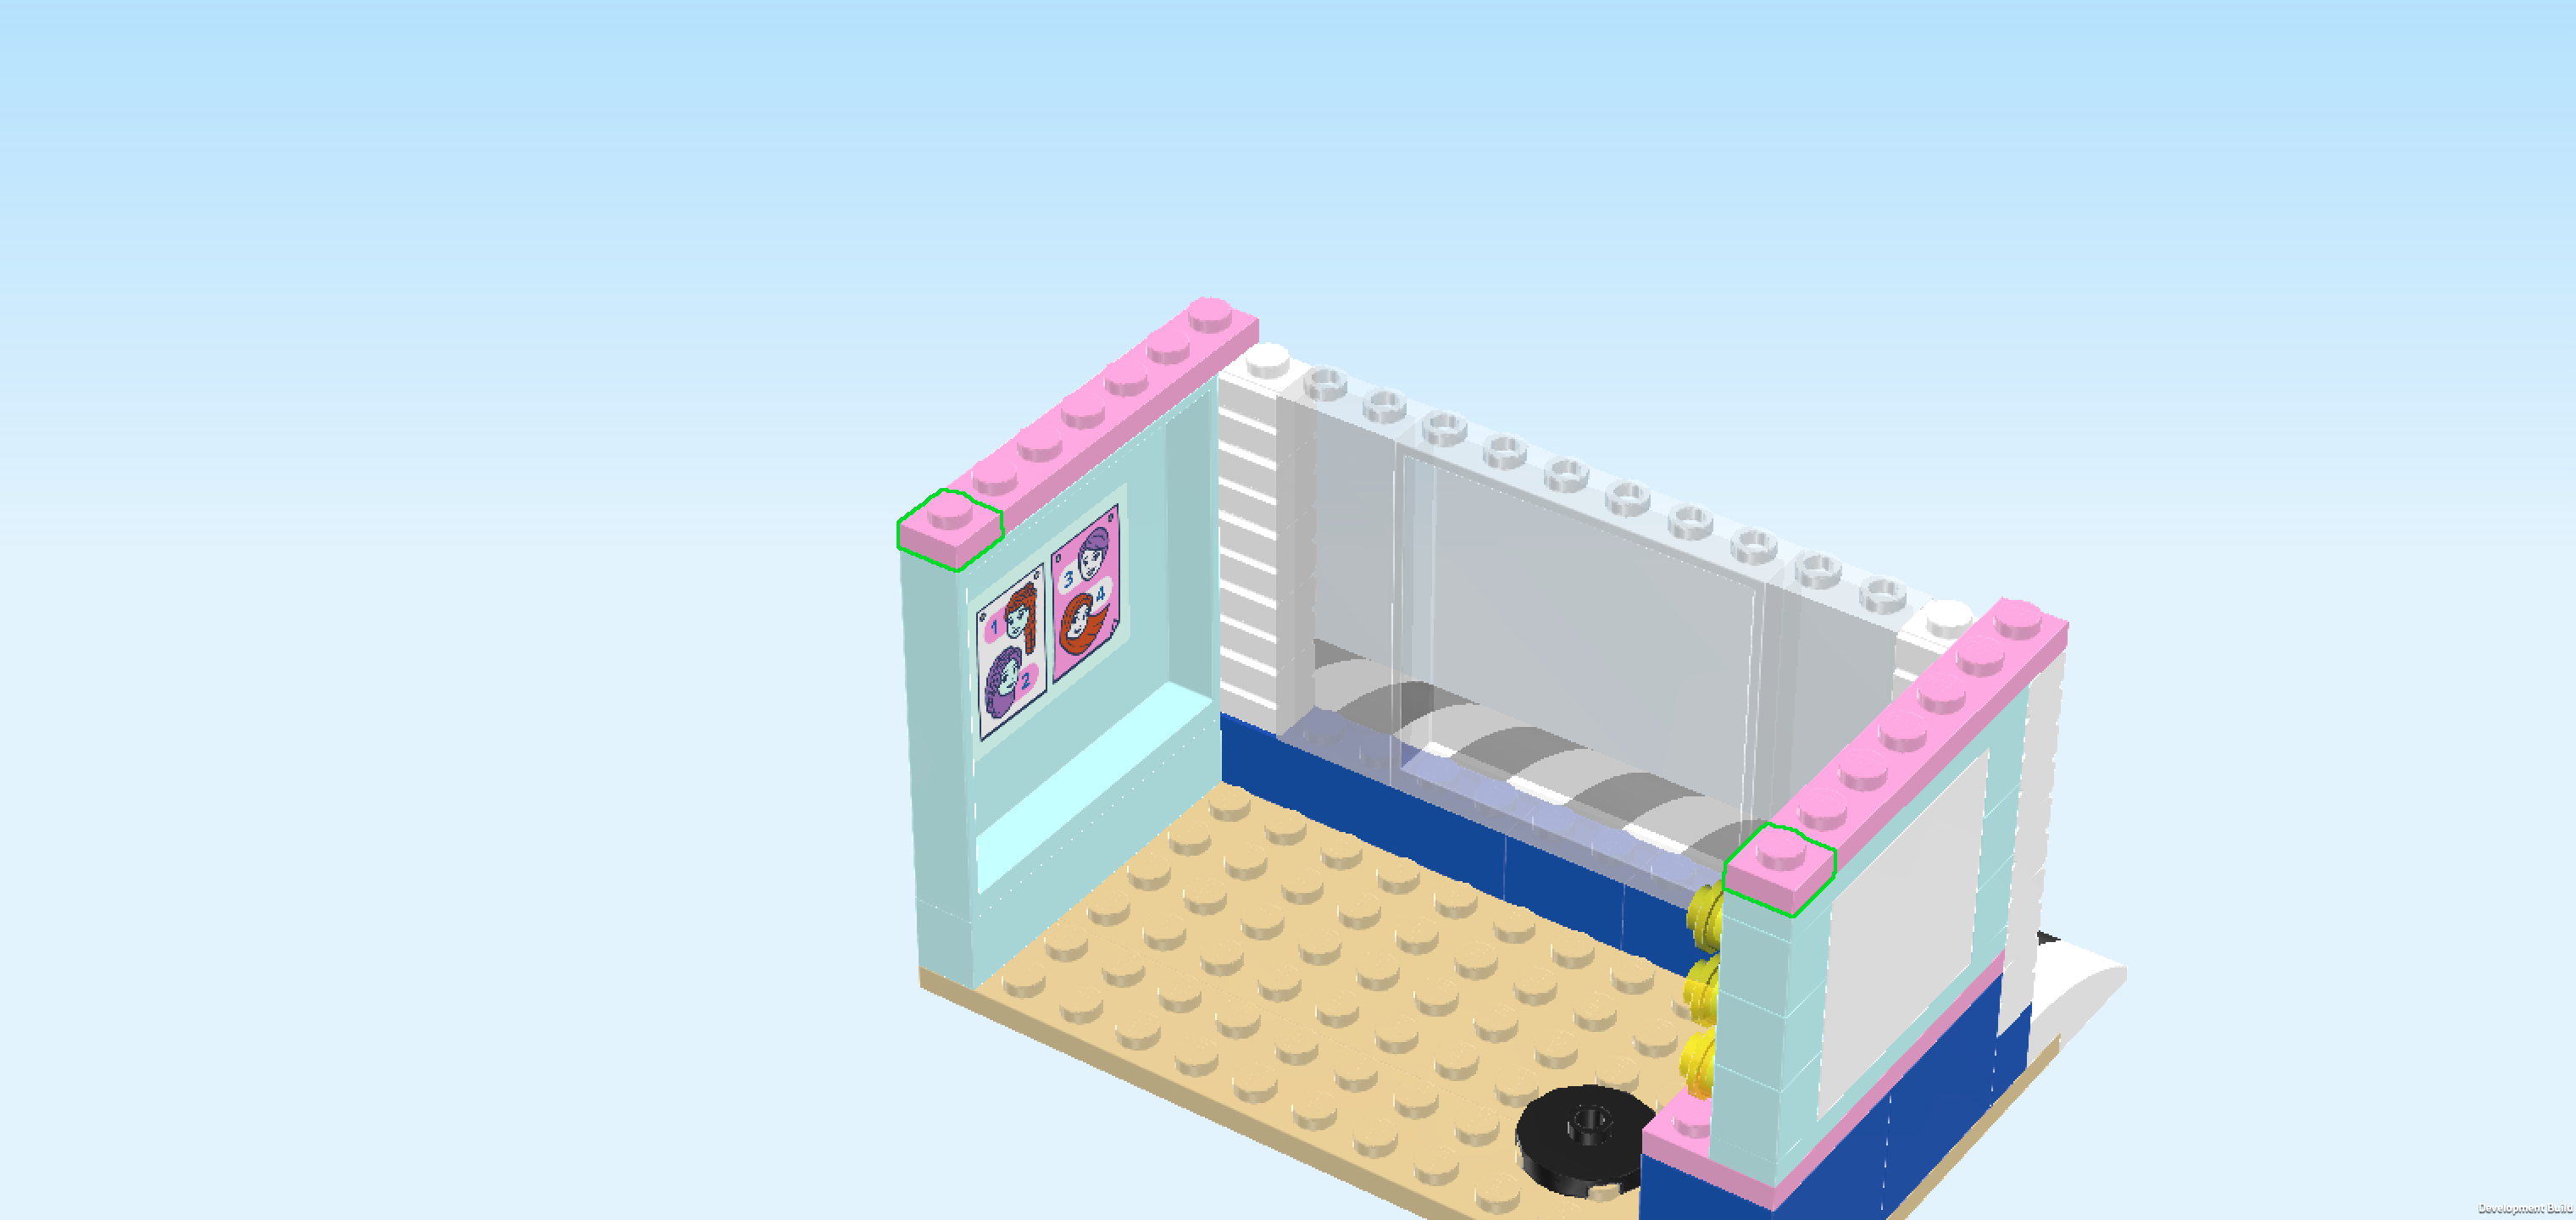
| Mount the wall element vertically on the leftmost column, starting from the front. Make sure the sticker is towards the right. If you haven't attached the sticker yet, make sure the hollow of the wall is to the right. |
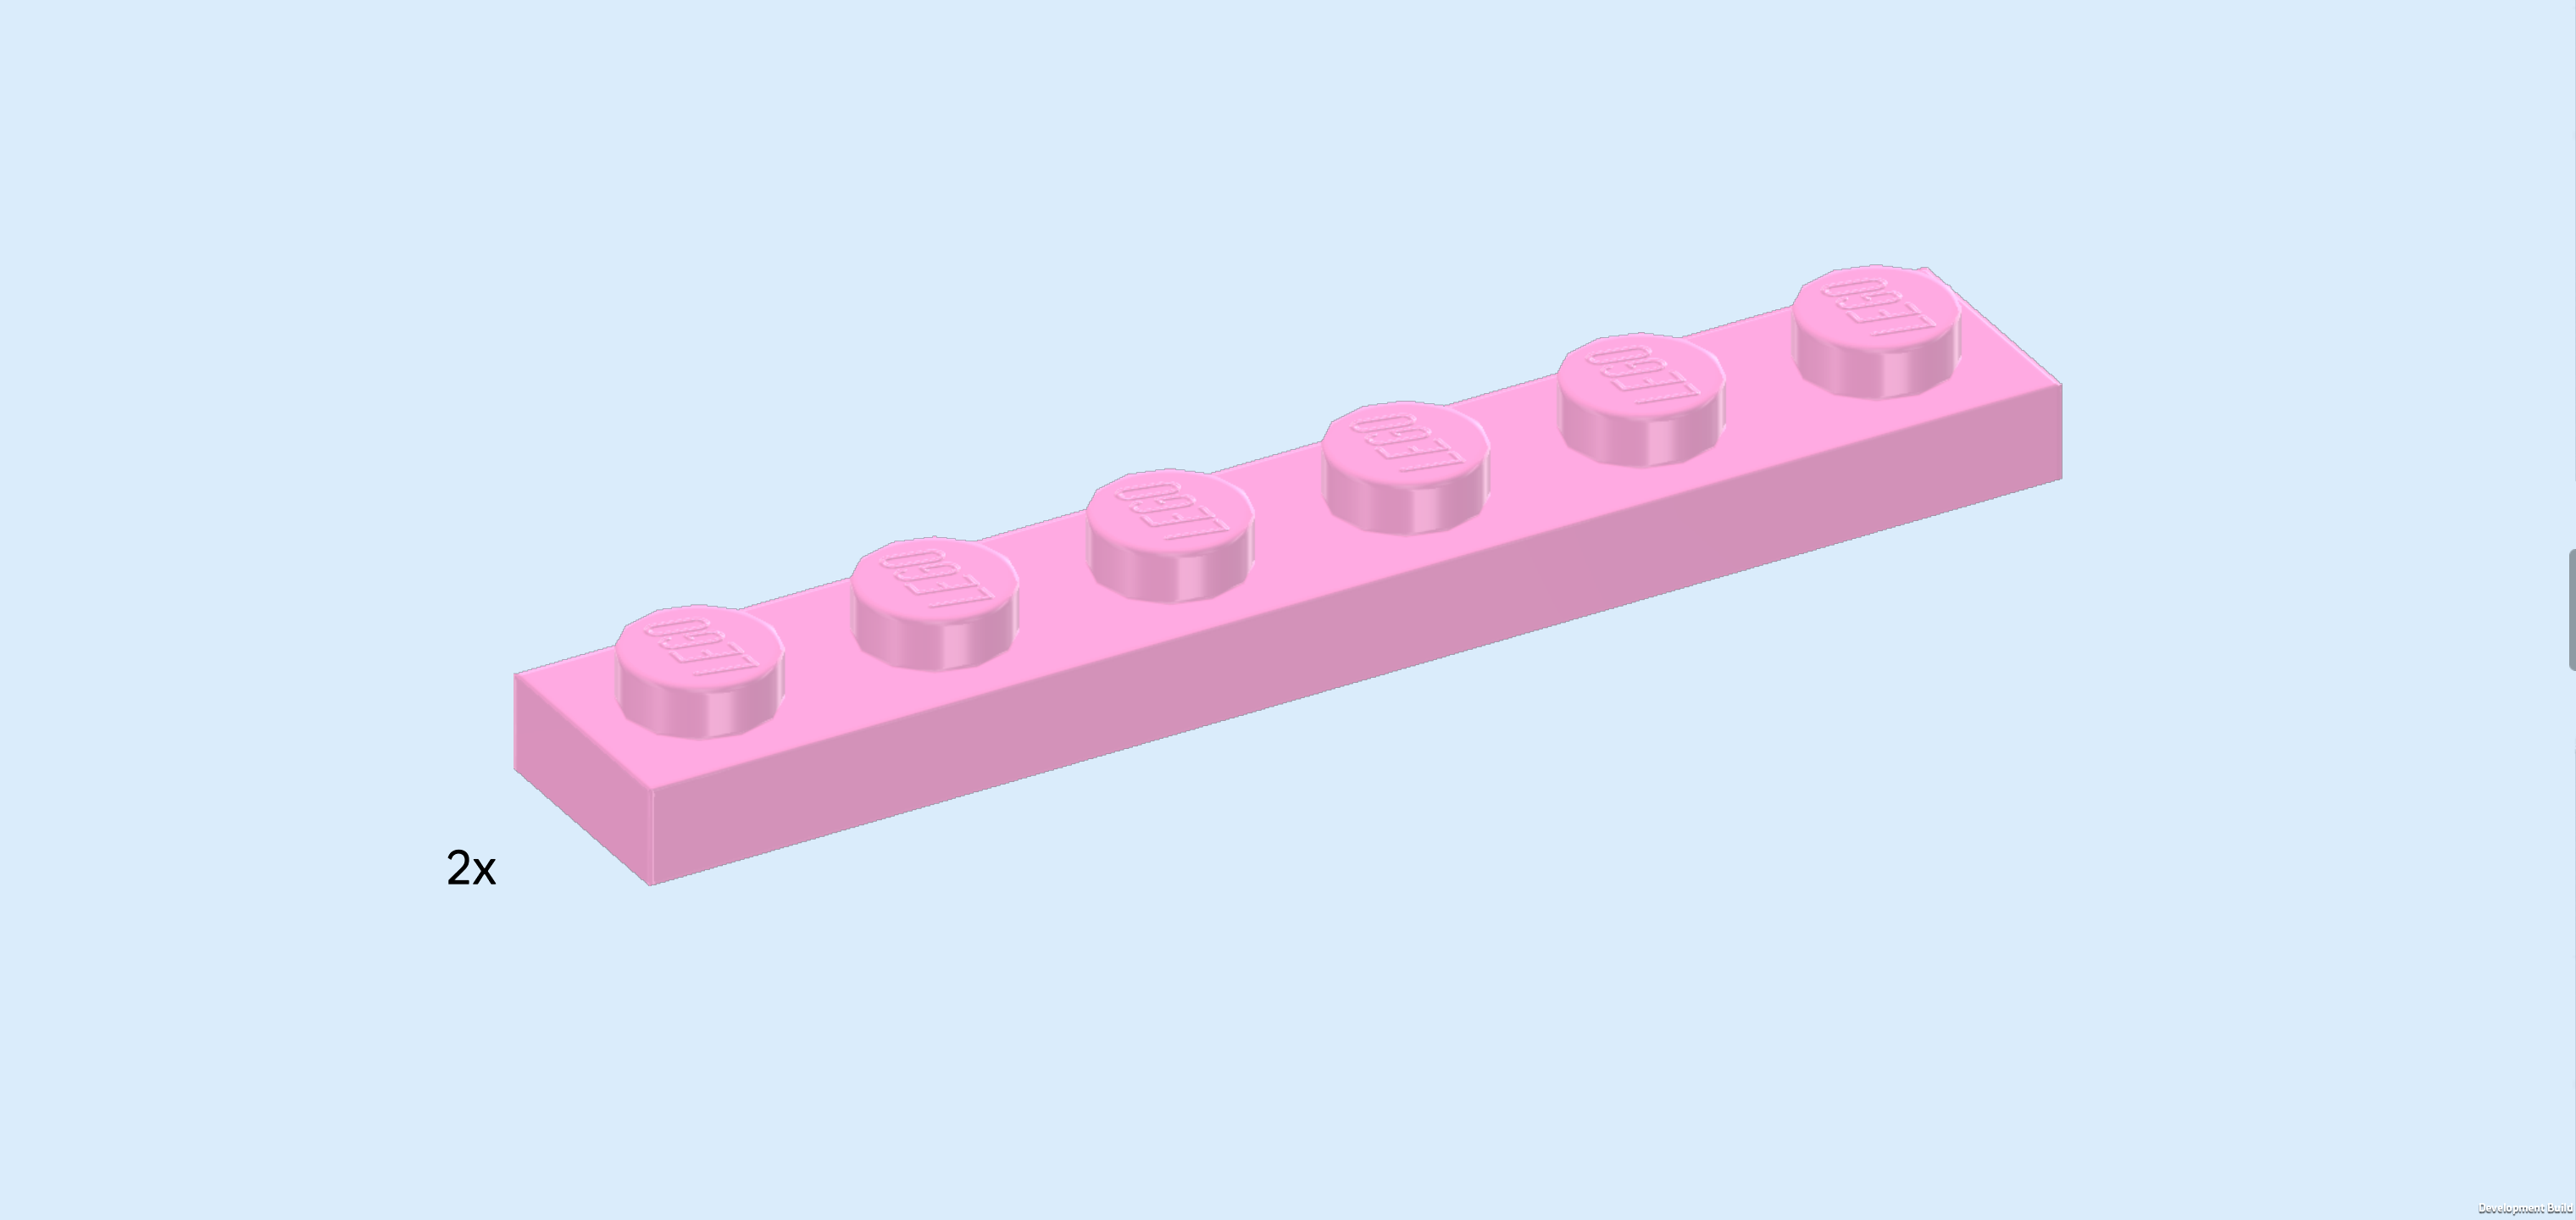
| Find 2 light purple plates 1x6. |
| Put 1 vertically on the leftmost column, starting from the back. |
| Repeat symmetrically on the right. |
| Find 2 light purple plates 1x1. |
| Put them in front of the 2 previous pieces. This means they will sit on the frontmost knobs of the side walls. |
| Find 2 light purple plates 1x6. |
| Put them horizontally next to each other on the back wall between the 2 plates 1x6 we have mounted in the previous step. |
| Find 2 white plates 1x4 with 2 knobs. |
| Put 1 vertically on the rightmost column, starting from the front. |
| Repeat symmetrically on the left. |
| Collect the following 4 pieces: |
| 2 white bricks 1x2 with downward half arch, |
| and 2 white bricks 1x1. |
| Put 1 brick with half arch vertically behind the previous piece, arch towards the front. |
| Put 1 brick 1x1 behind the previous piece. |
| Repeat symmetrically on the right with the 2 remaining pieces. |
| Collect the following 6 pieces: |
| another 4 white bricks 1x2 with downward half arch, |
| and 2 white round plates 1x1. |
| Put 1 brick with downward arch horizontally on the backmost row to the left of the right side wall, arch towards the left. |
| Put 1 round plate to the left of the previous piece. |
| Put 1 brick with downward arch horizontally to the left of the previous piece, arch towards the right. |
| Repeat symmetrically on the left with the 3 remaining pieces. |
| Now, we will make a small sub-part of the wall. |
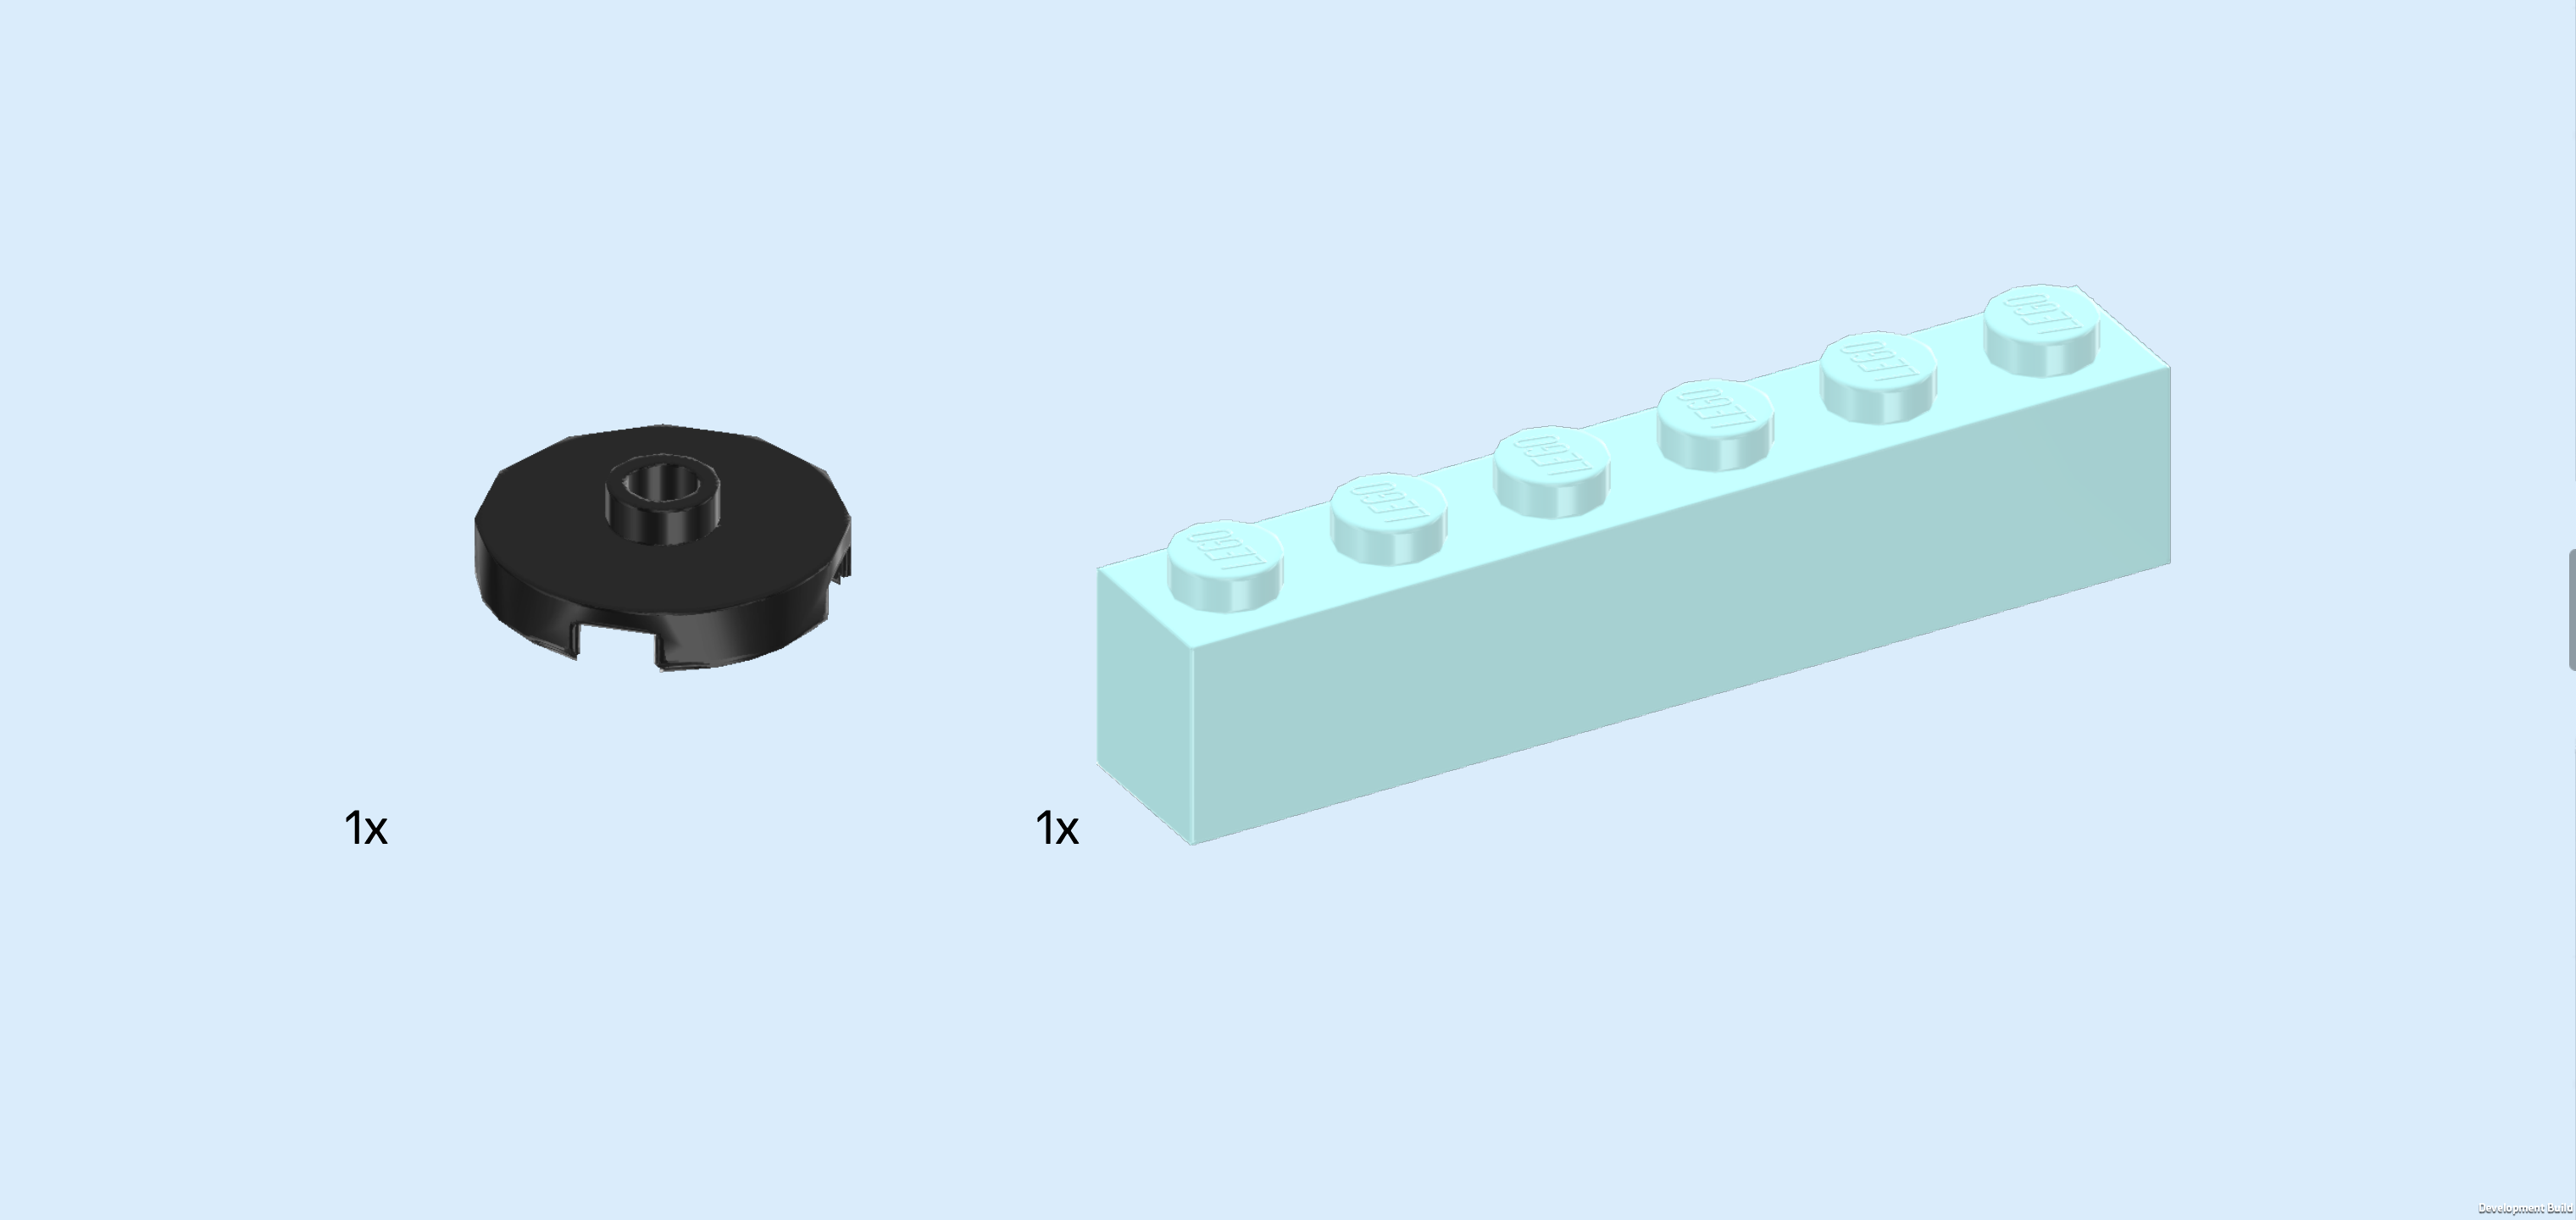
| Collect the following 2 pieces: |
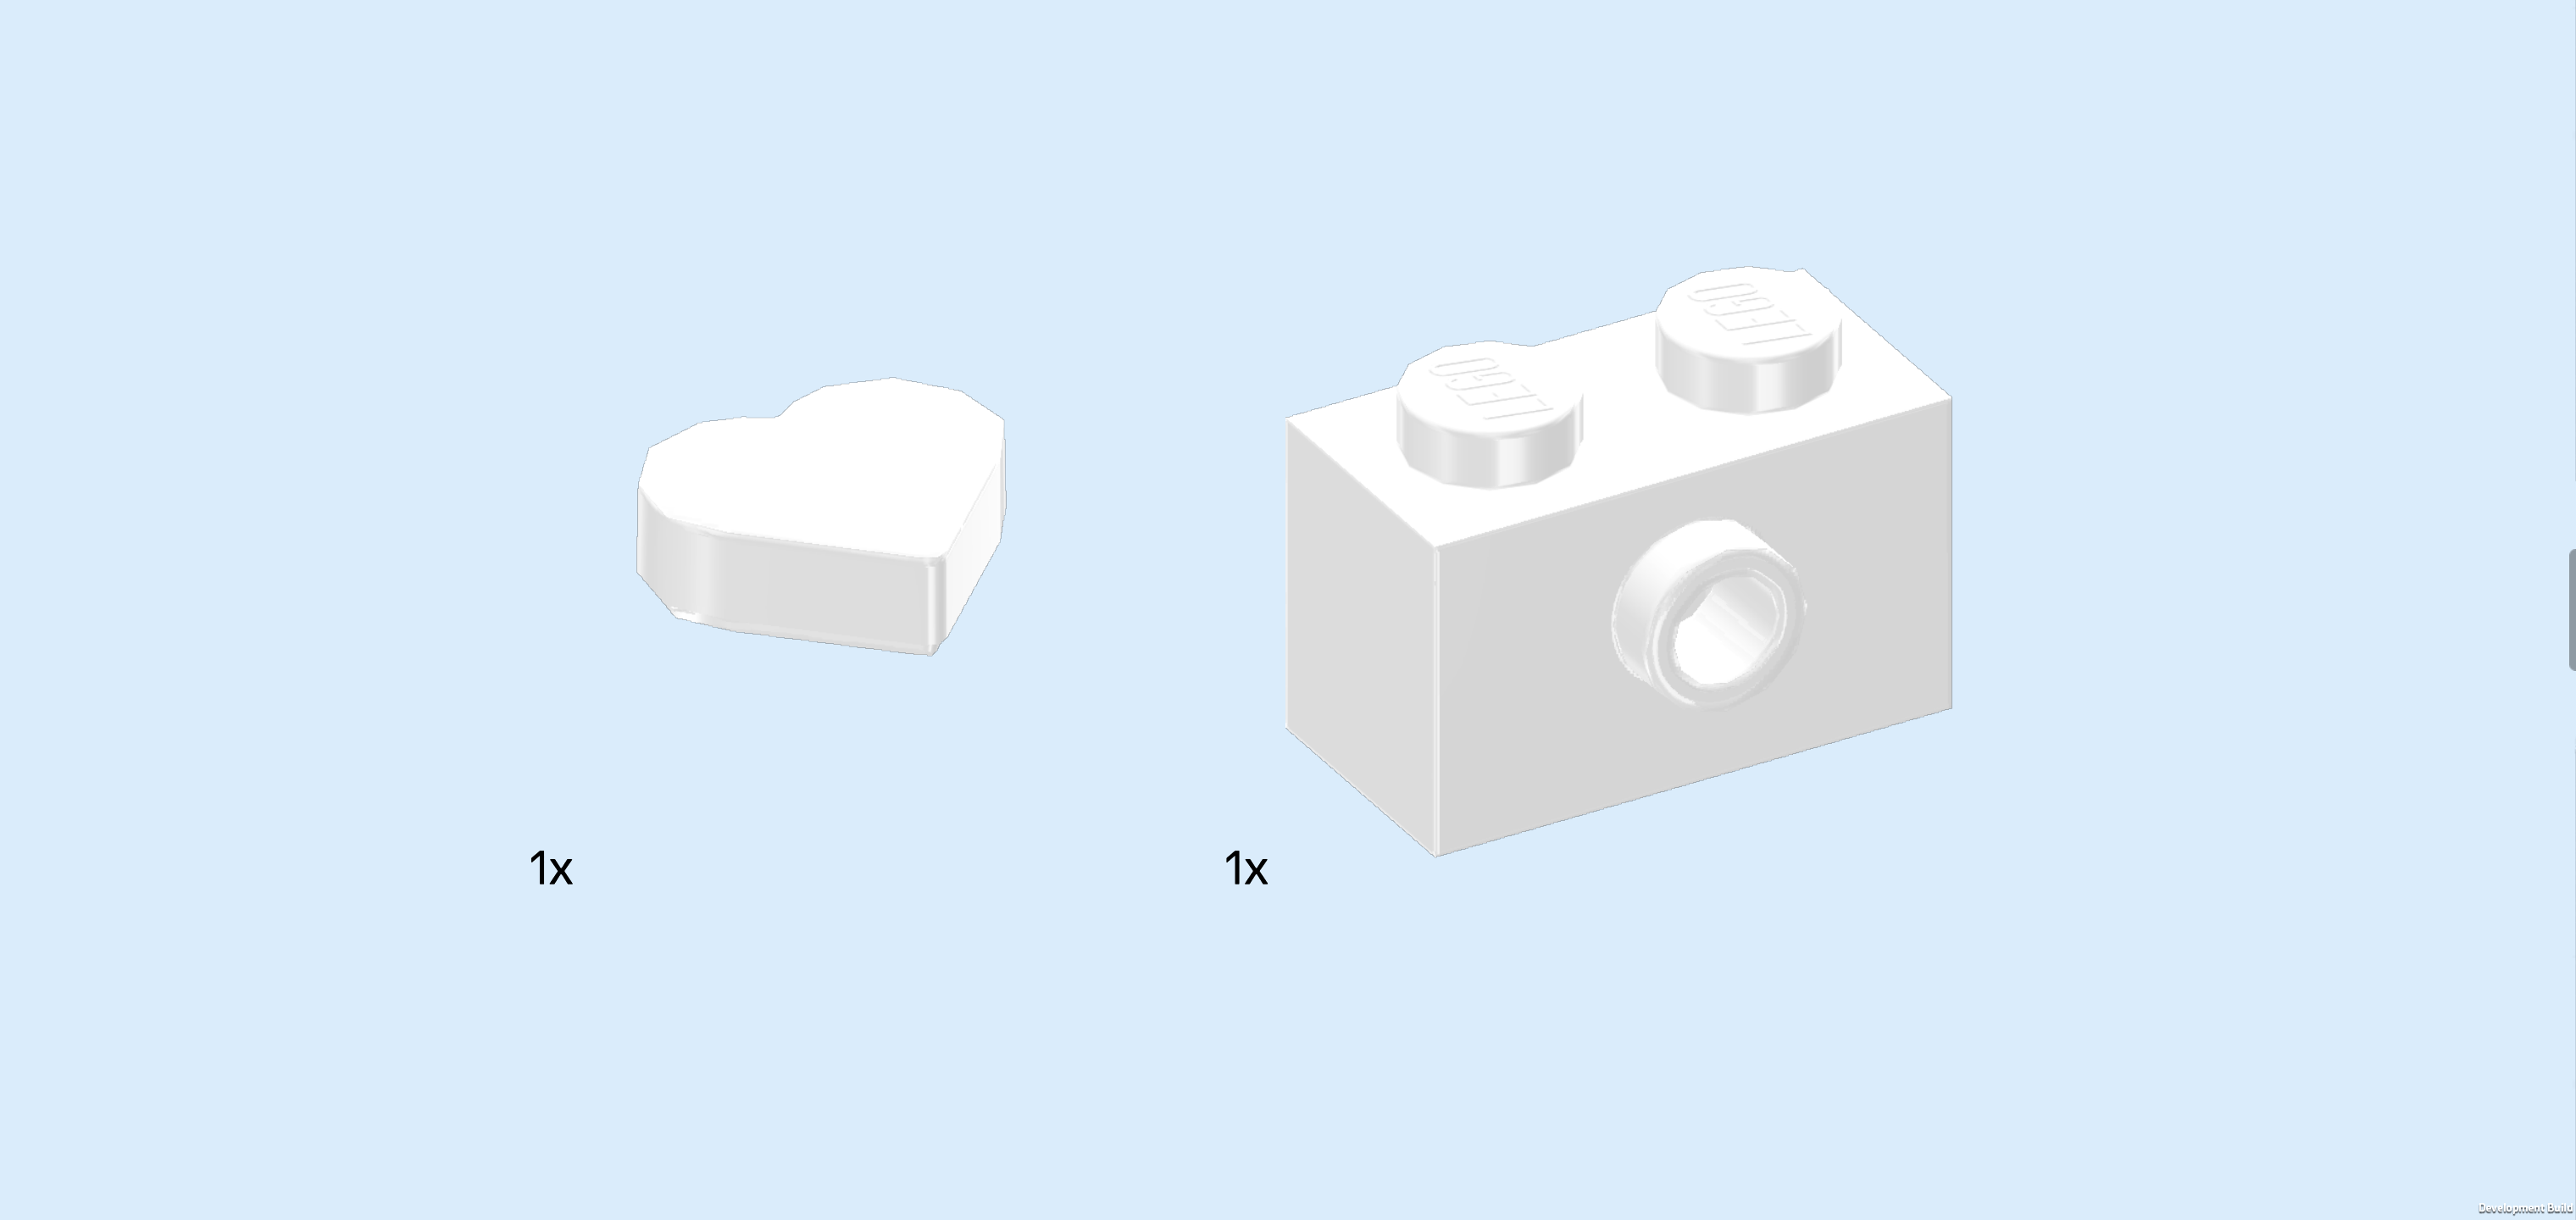
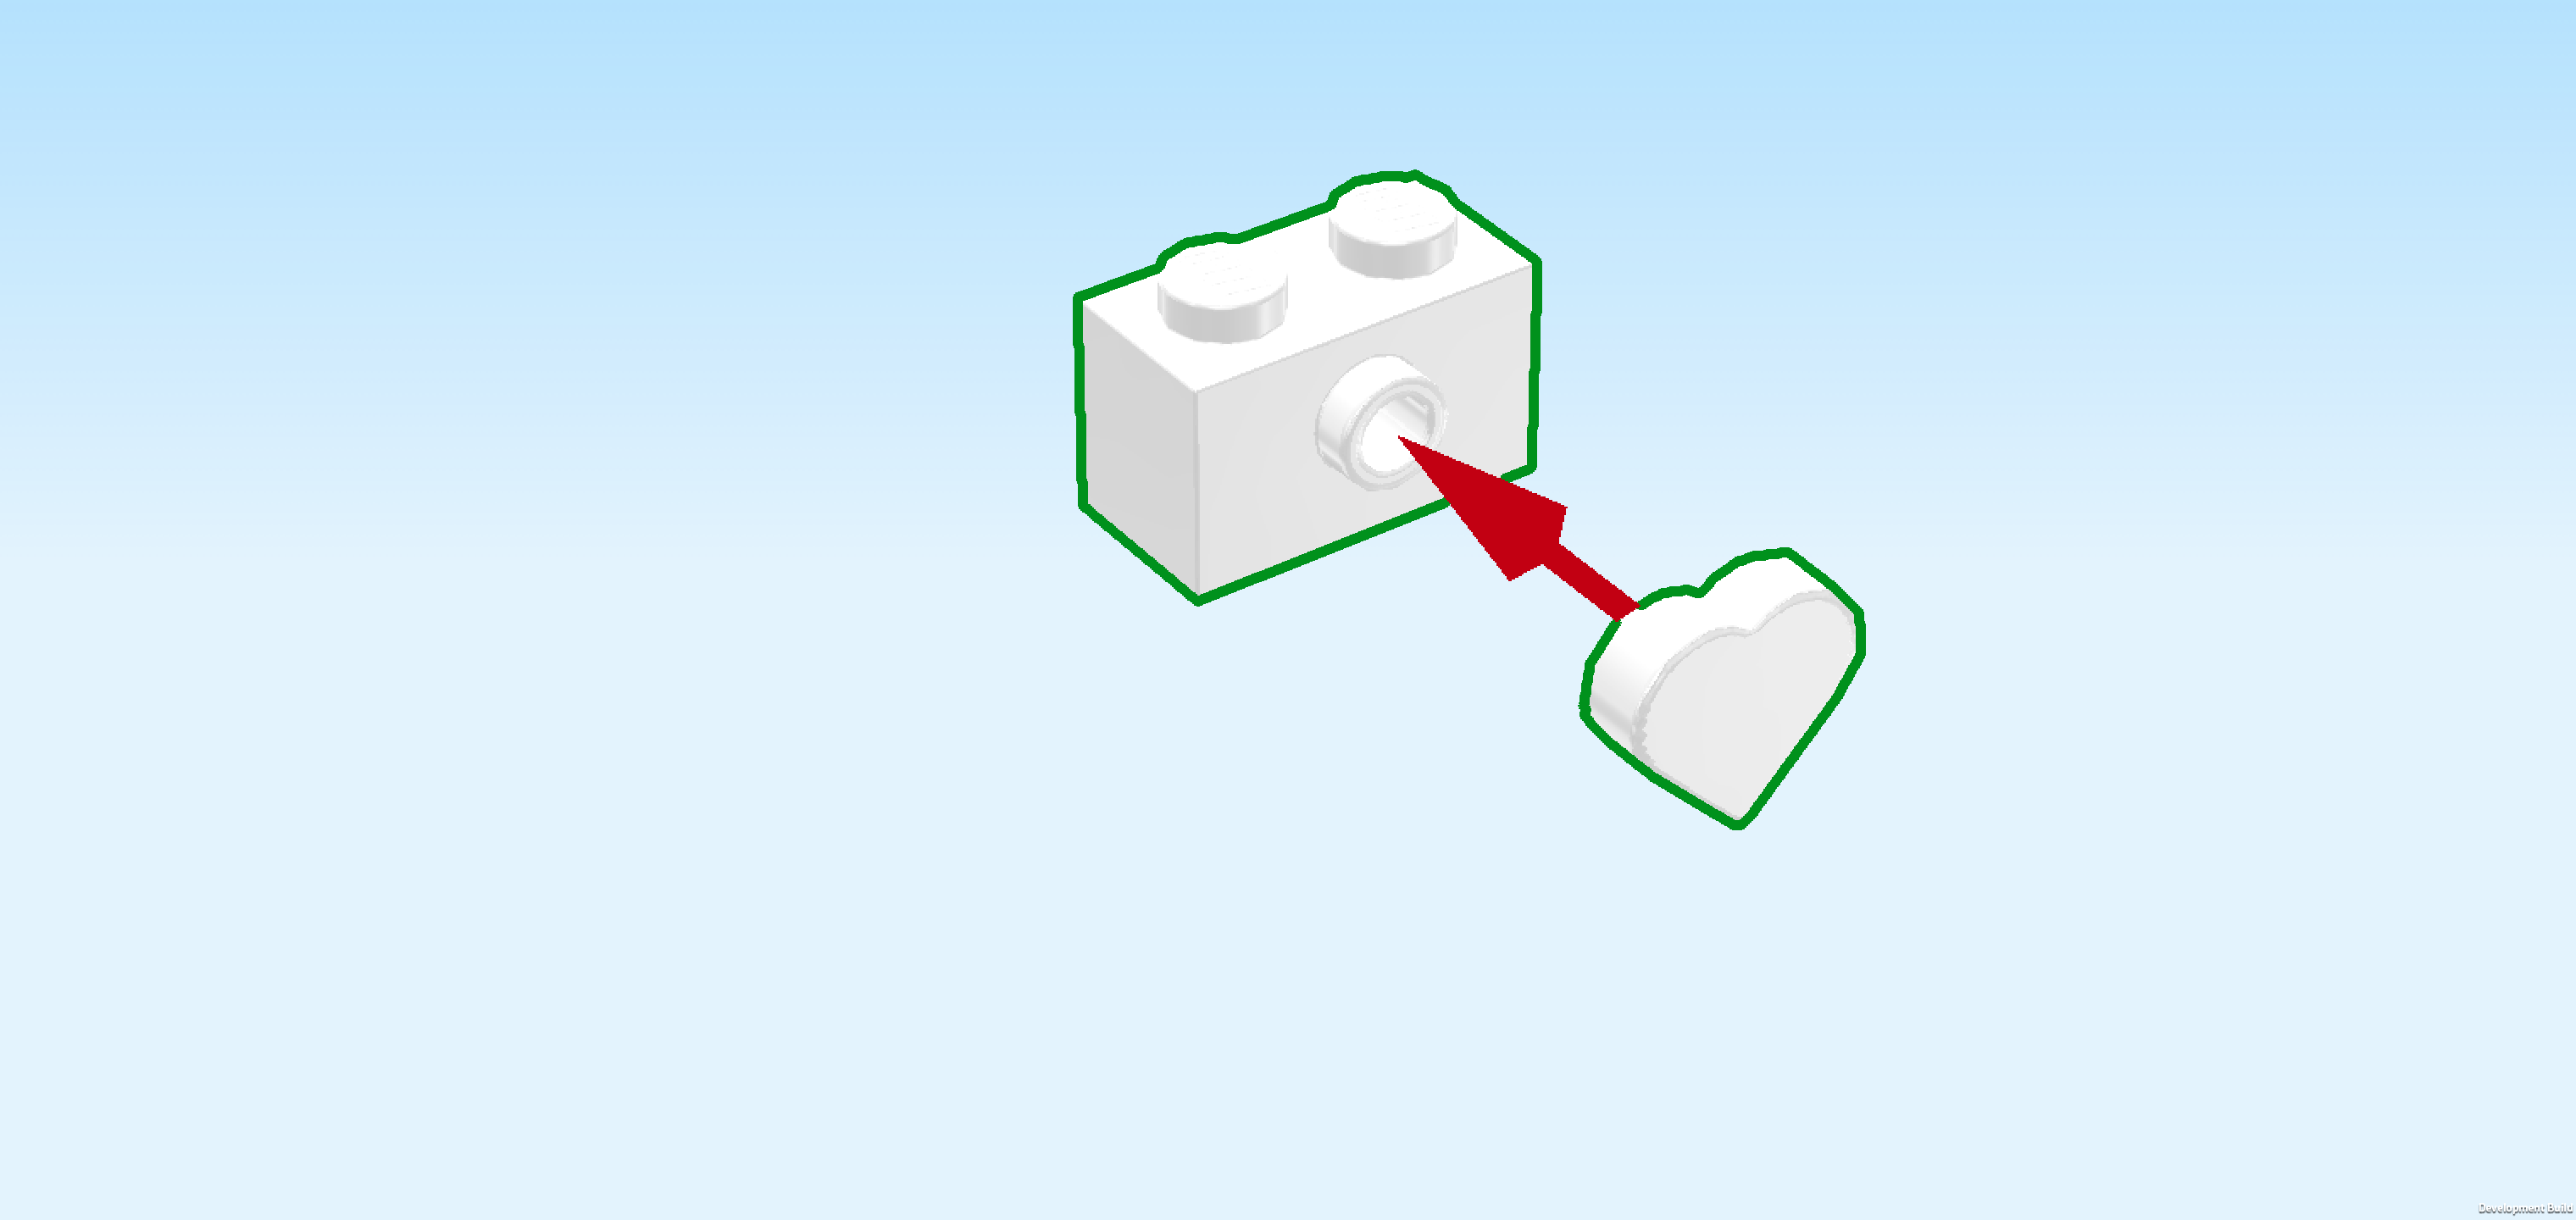
| 1 white heart-shaped tile 1x1, |
| and 1 white brick 1x2 with side knob. |
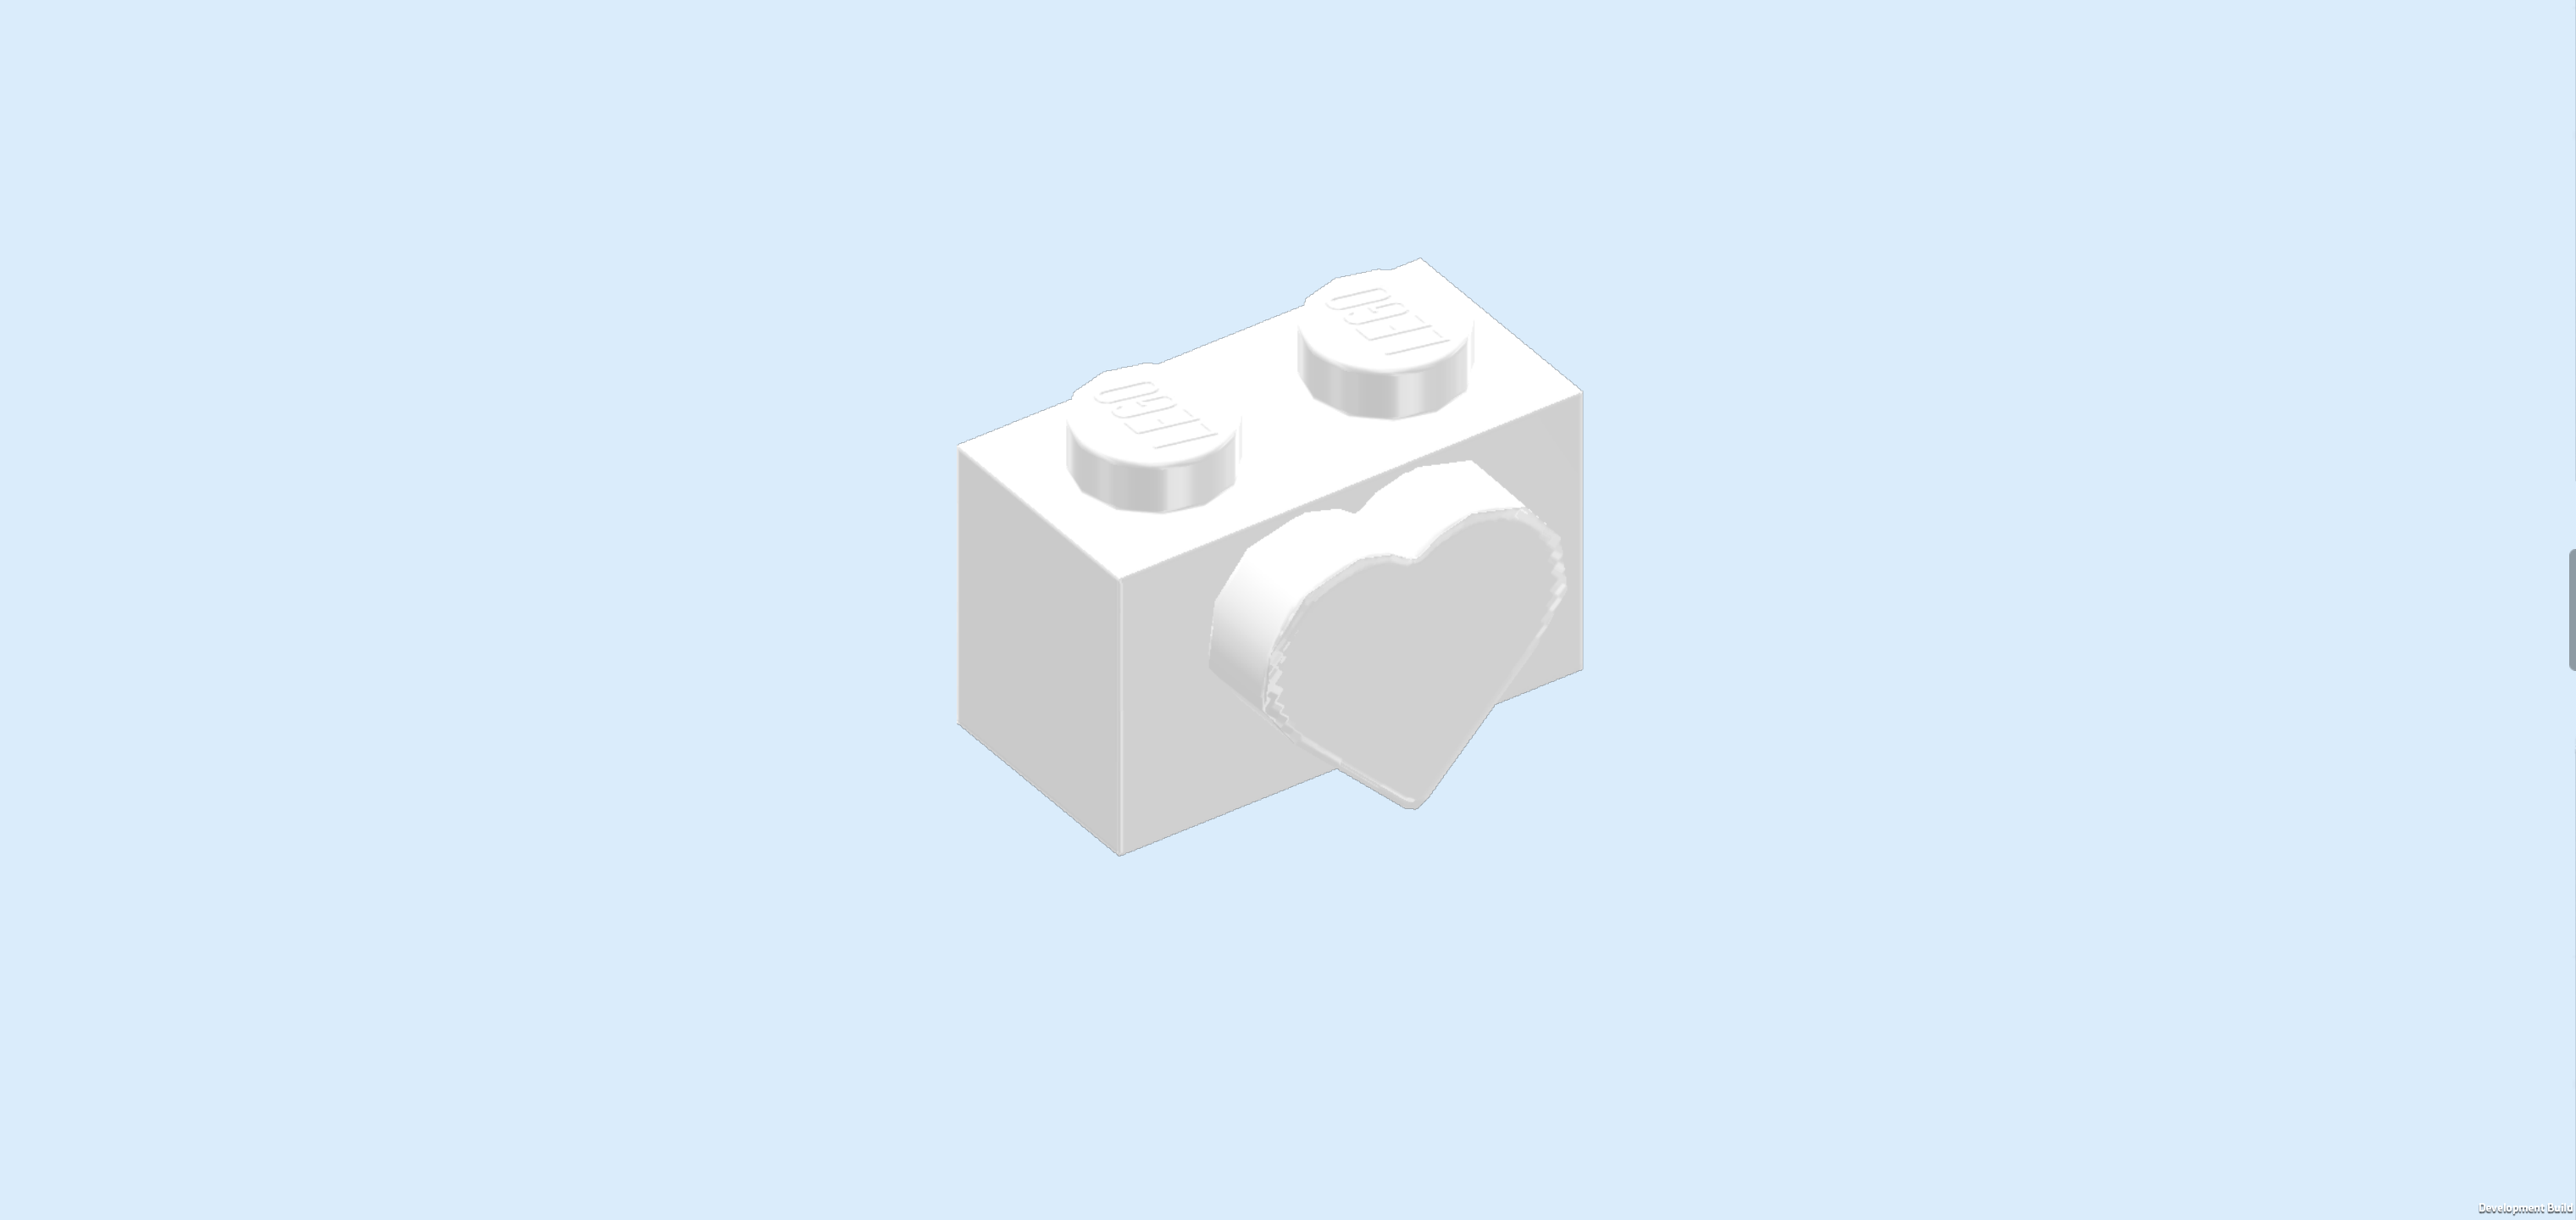
| Put the heart-shaped tile 1x1 upright on the side knob of the brick. Make sure the tip of the heart is pointing to the bottom. |
| Turn the sub-part around so that the heart-shaped tile is to the back. Mount it horizontally on the 2 middle knobs of the back wall. |
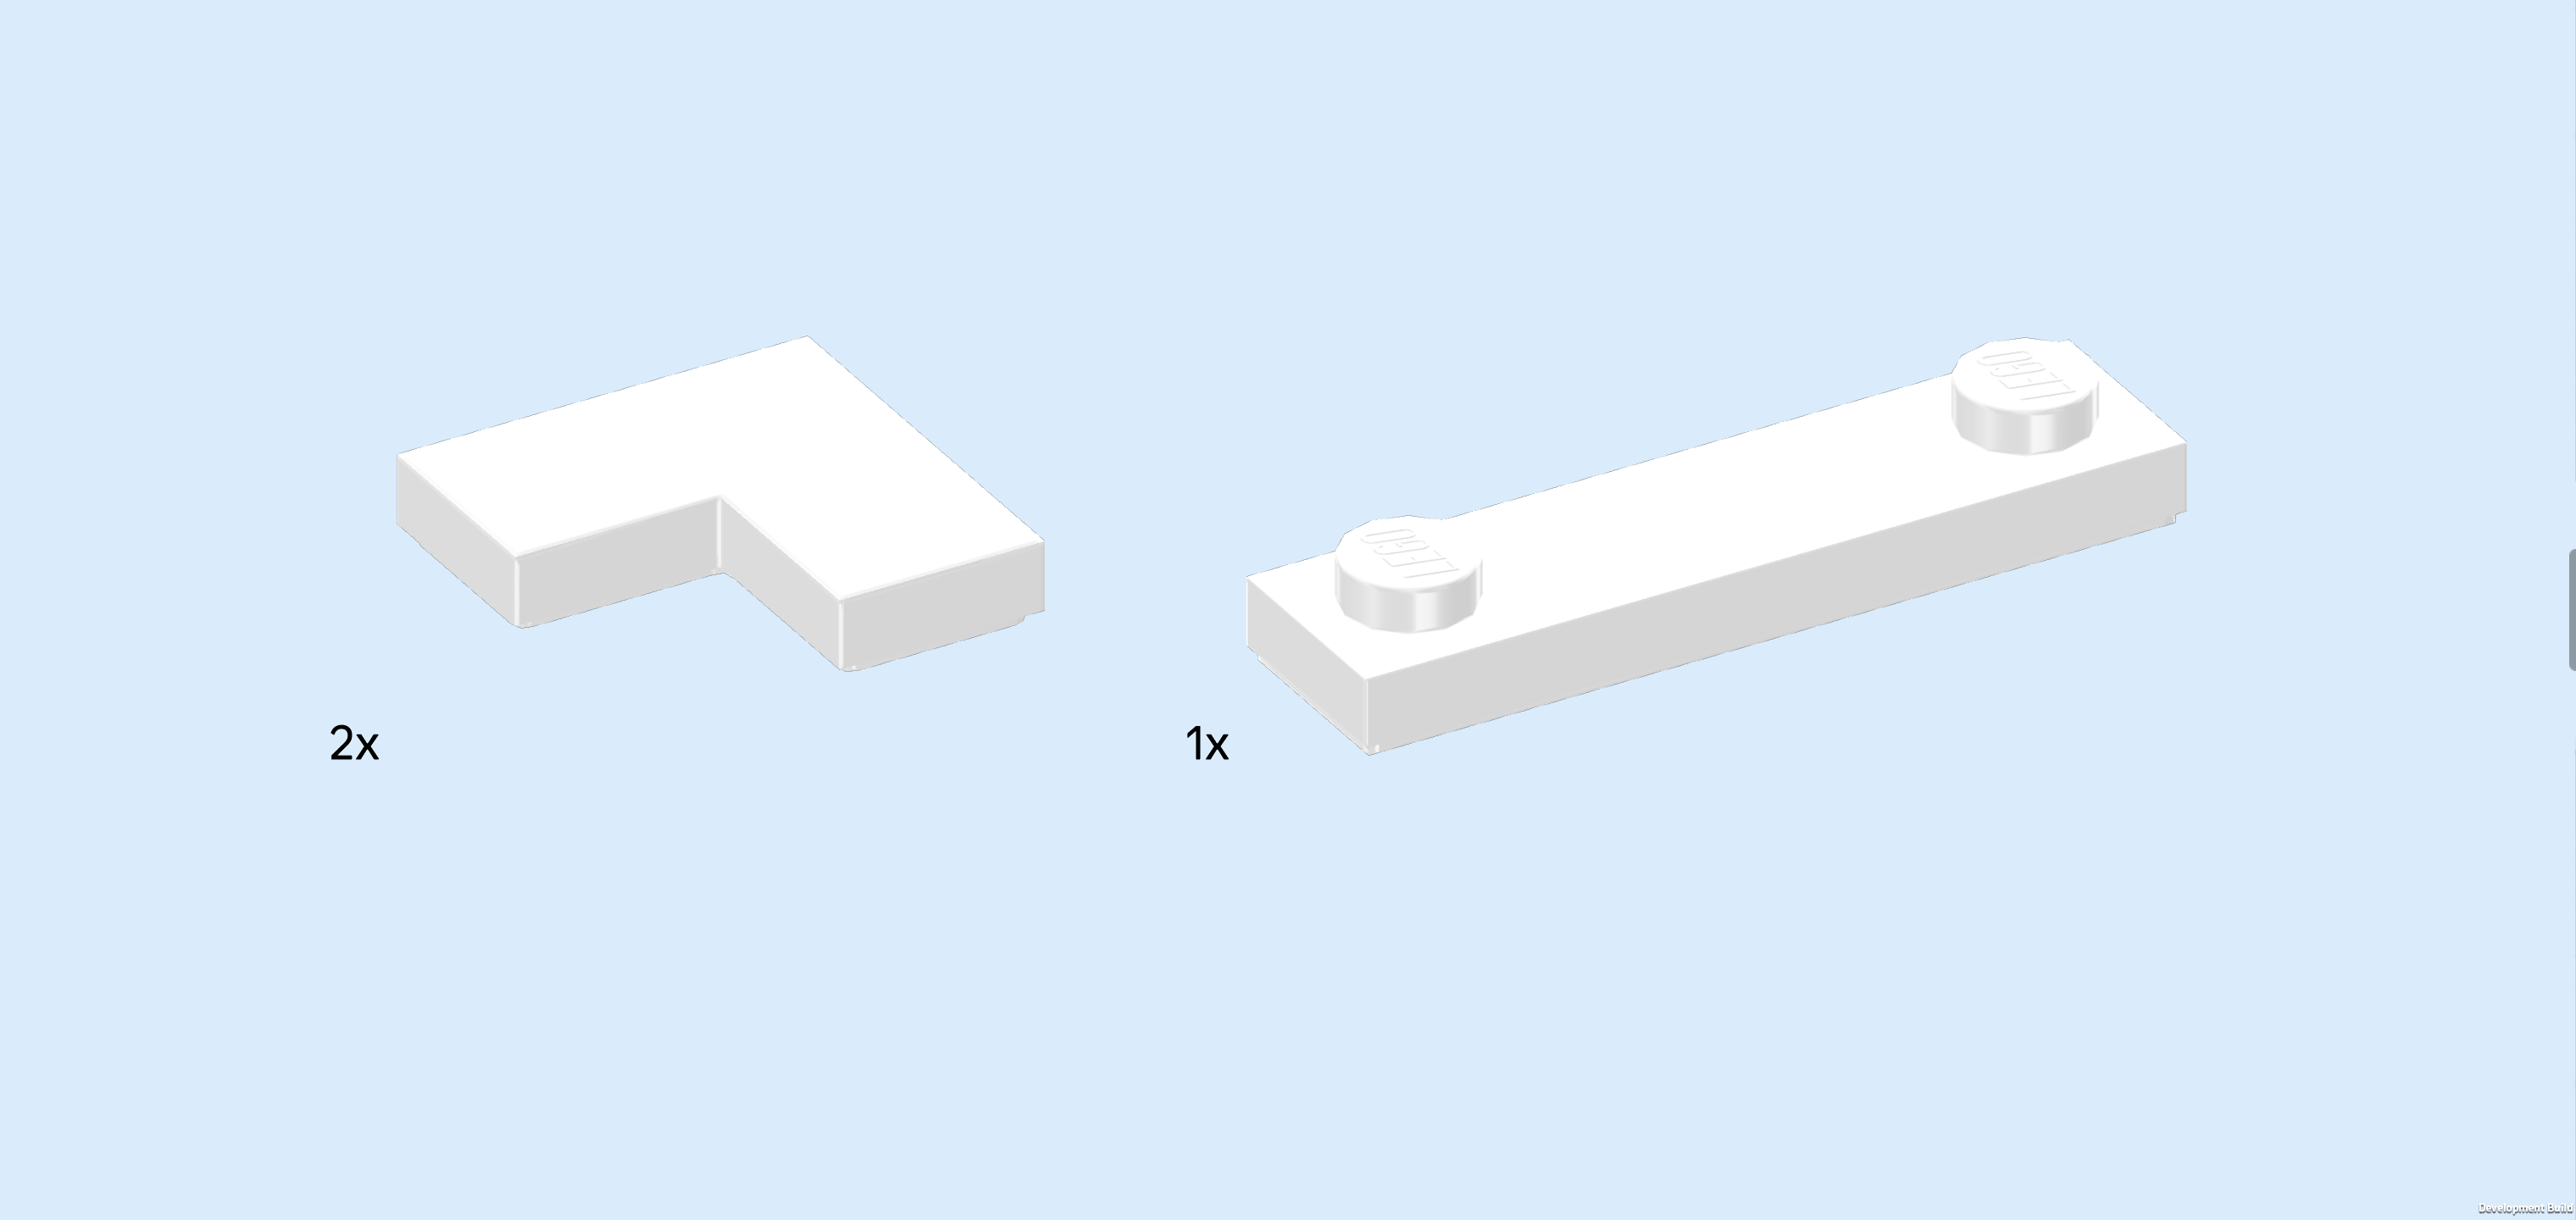
| Collect the following 3 pieces: |
| 2 white corner tiles 1x2 - 1x2, |
| and 1 white plate 1x4 with 2 knobs. |
| Put 1 corner tile on the back left wall corner, matching its shape. |
| Repeat symmetrically on the right with the other corner tile. |
| Put the plate 1x4 horizontally centered on the back wall. |
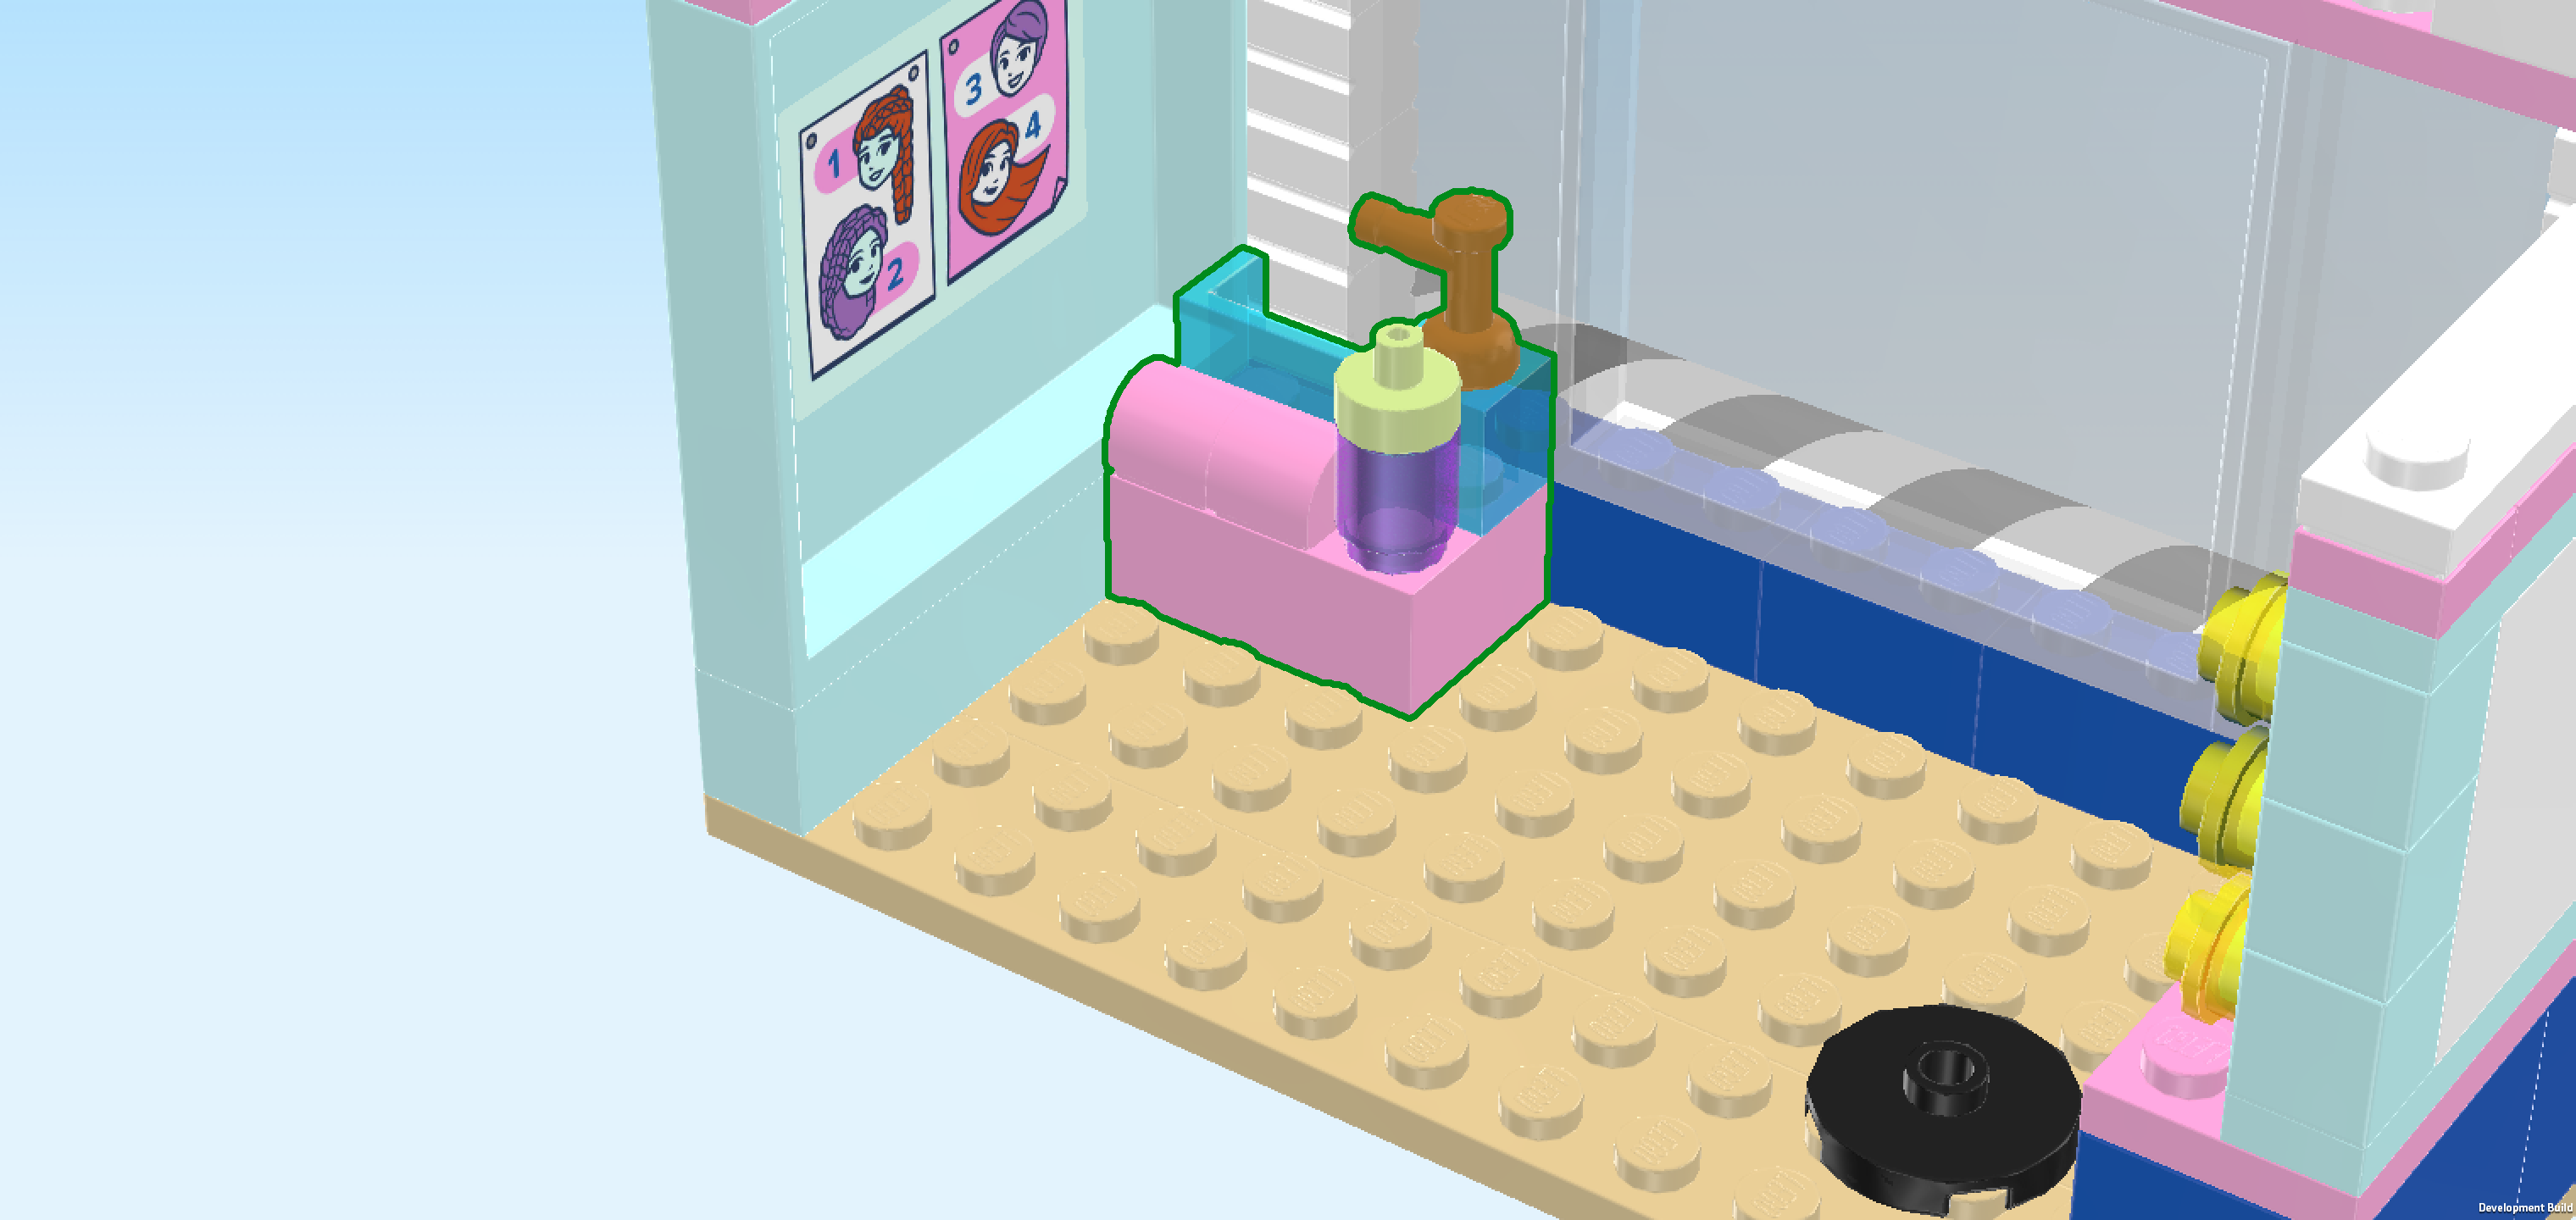
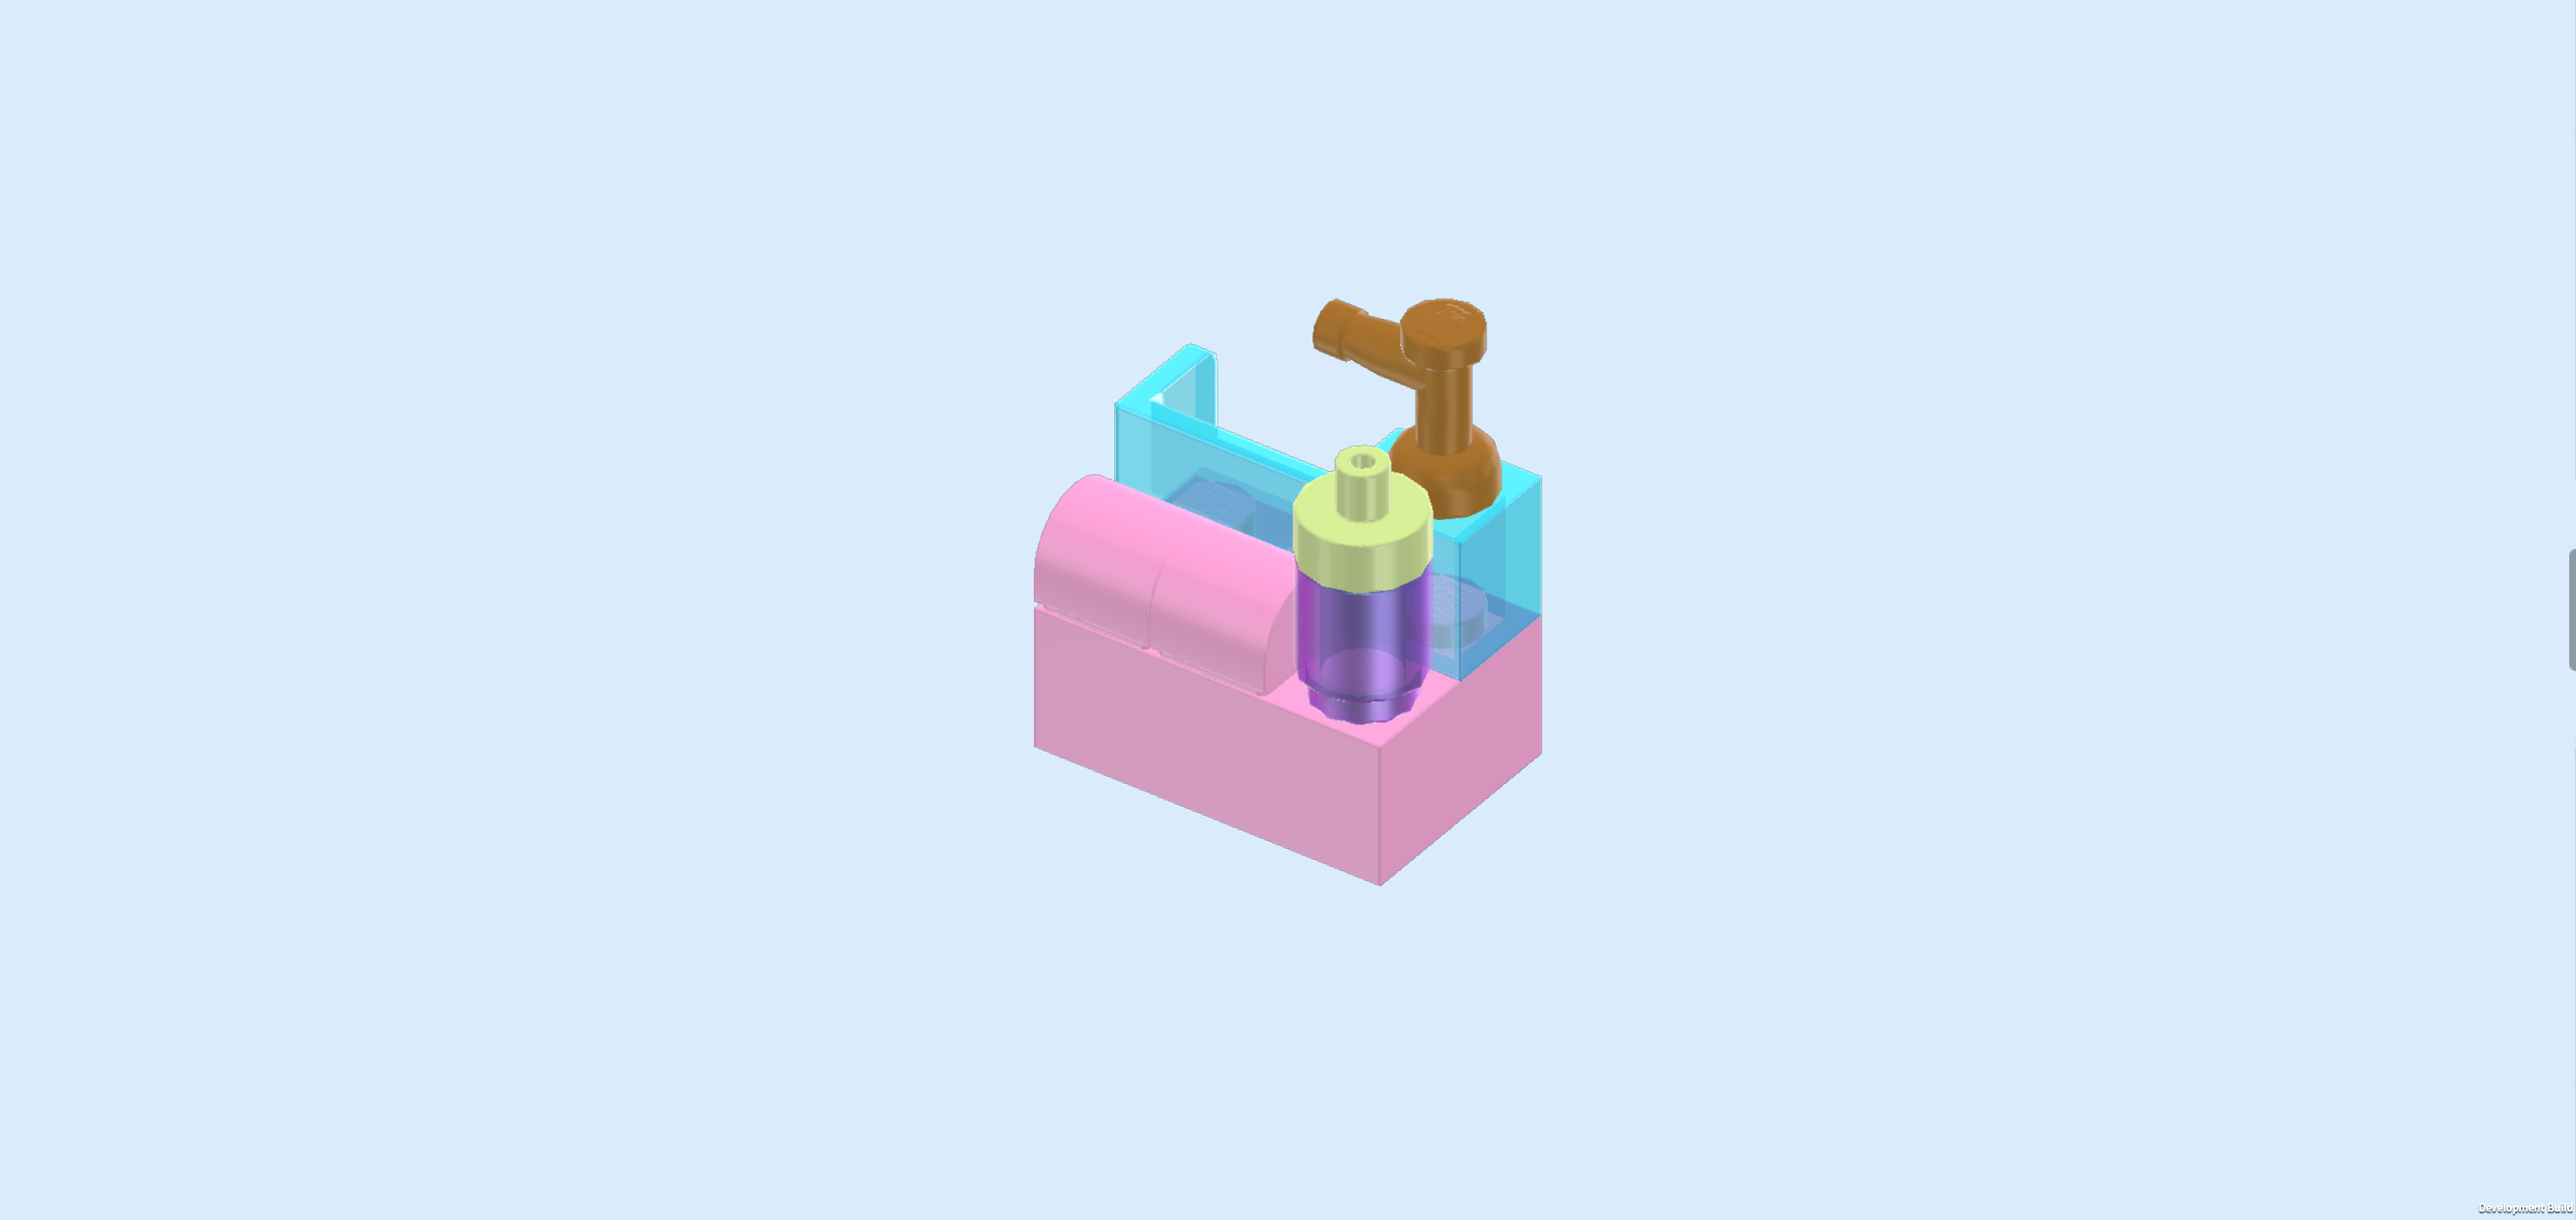
| Now, we will build the sink. |
| Collect the following 2 pieces: |
| 1 light purple brick 2x3, |
| and 1 transparent light blue panel element 1x2x1 with back and side panels. |
| Put the brick 2x3 horizontally on the table. |
| Put the panel element 1x2x1 horizontally on the back row, starting from the left, long panel towards the front. |
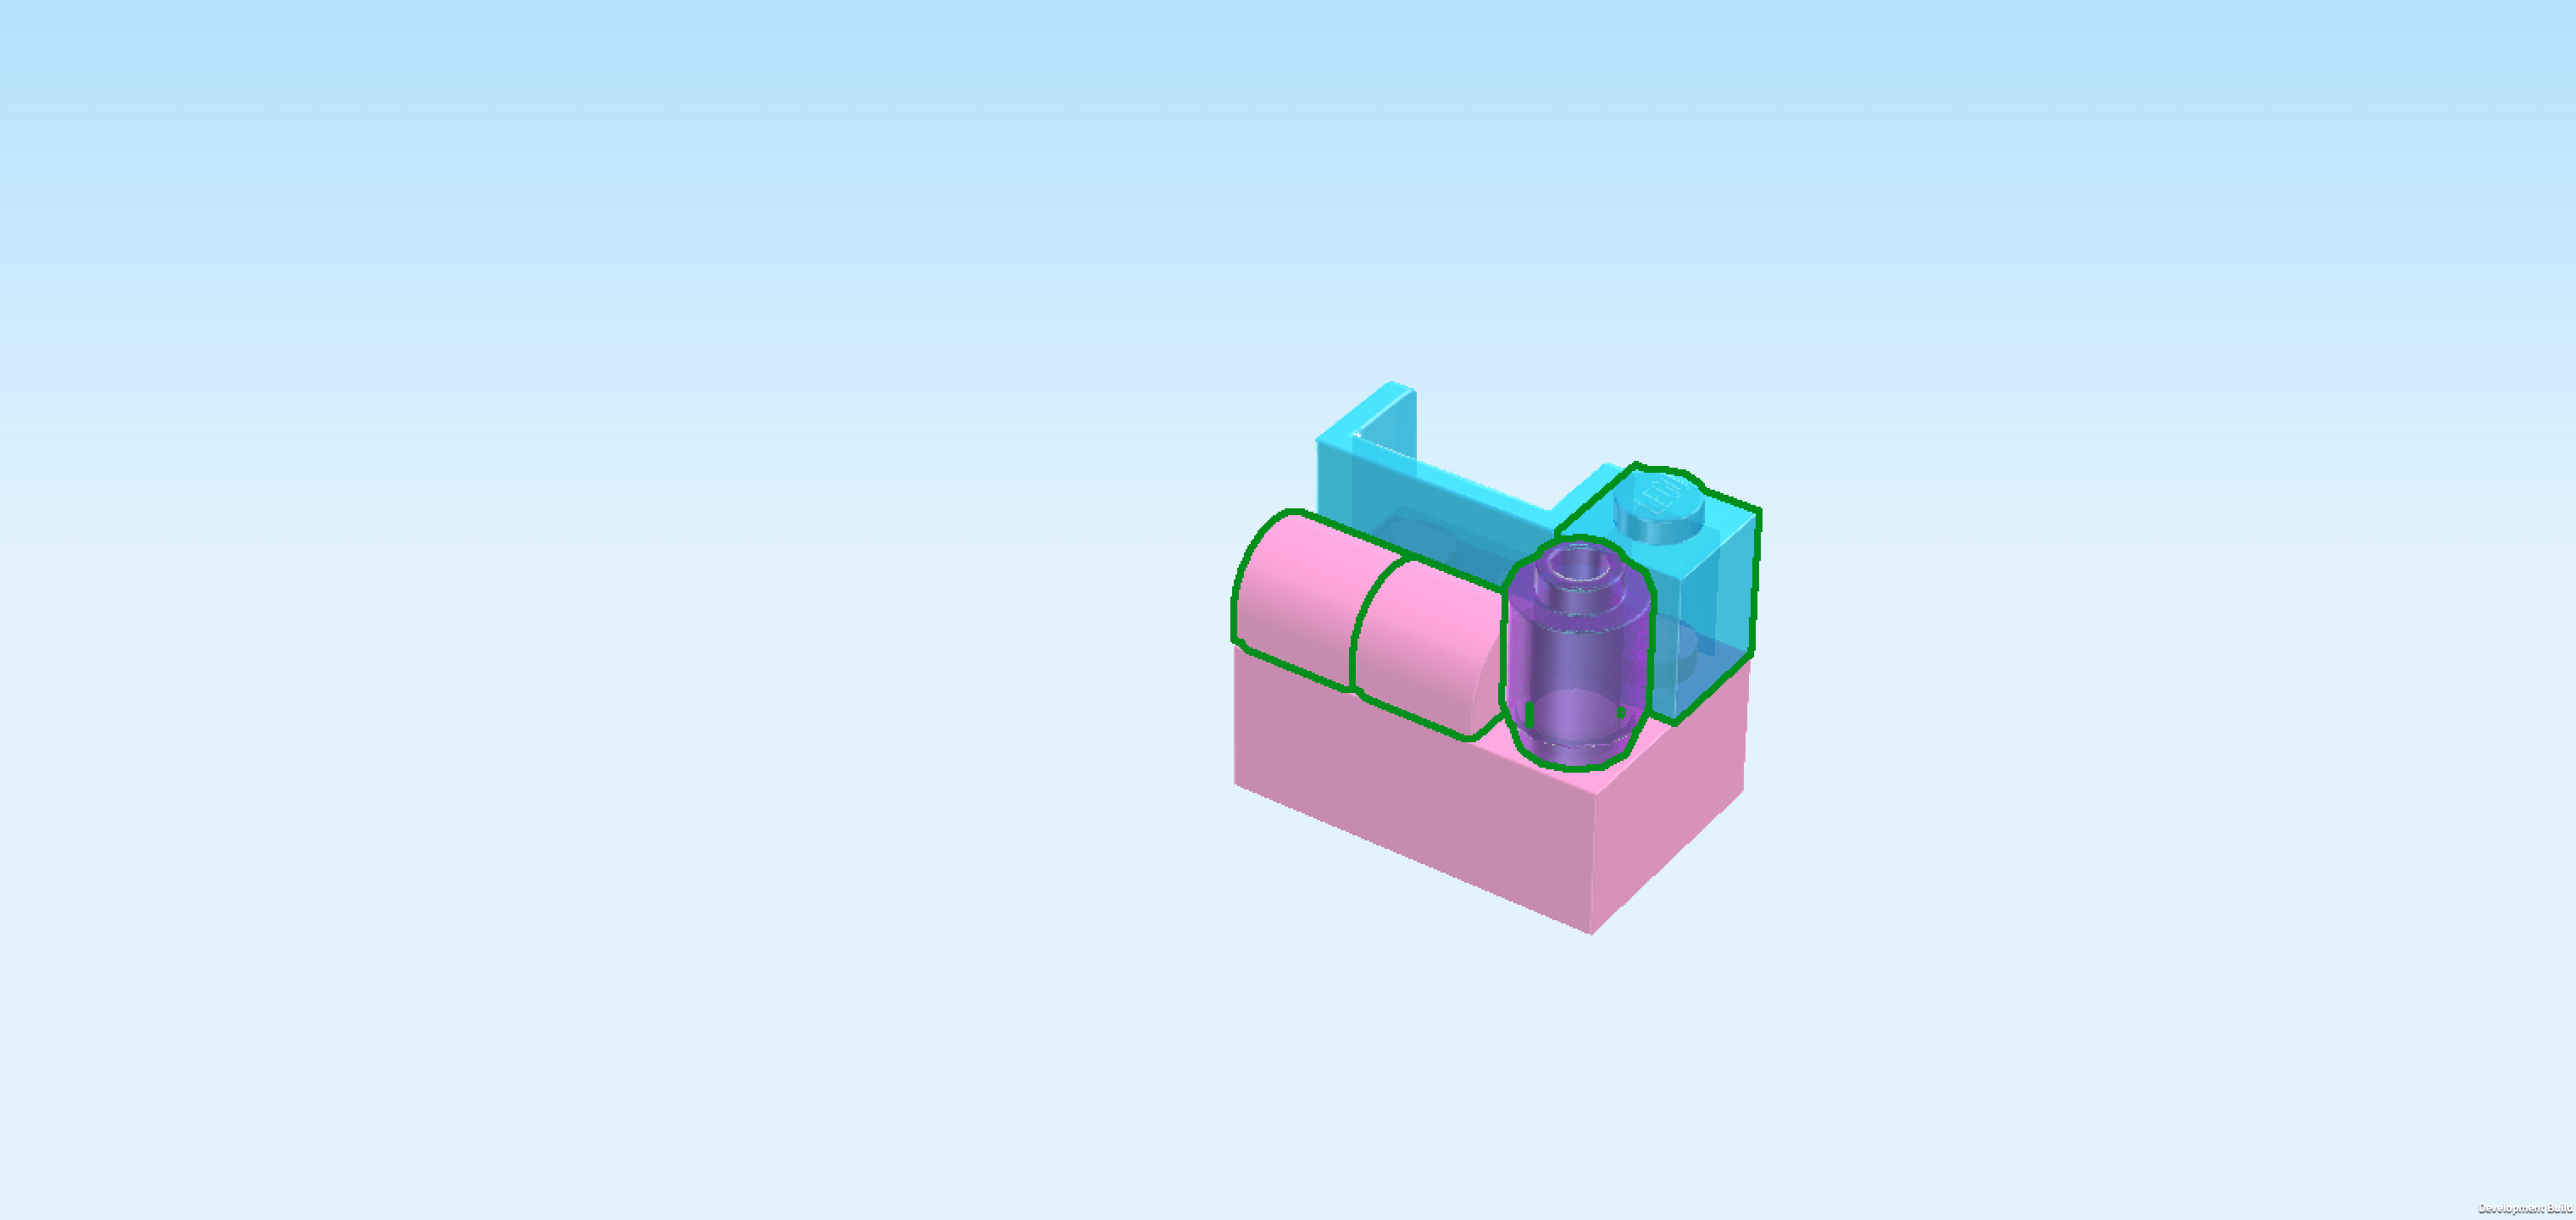
| Collect the following 4 pieces: |
| 2 light purple half cylinders 1x1, |
| 1 pearl violet round brick 1x1, |
| and 1 transparent light blue brick 1x1. |
| Put both half cylinders in front of the previous piece, making sure that the cylinder curves are running from front to back, not left to right. |
| Put the round brick 1x1 to the right of the previous piece. |
| Put the brick 1x1 behind the previous piece. |
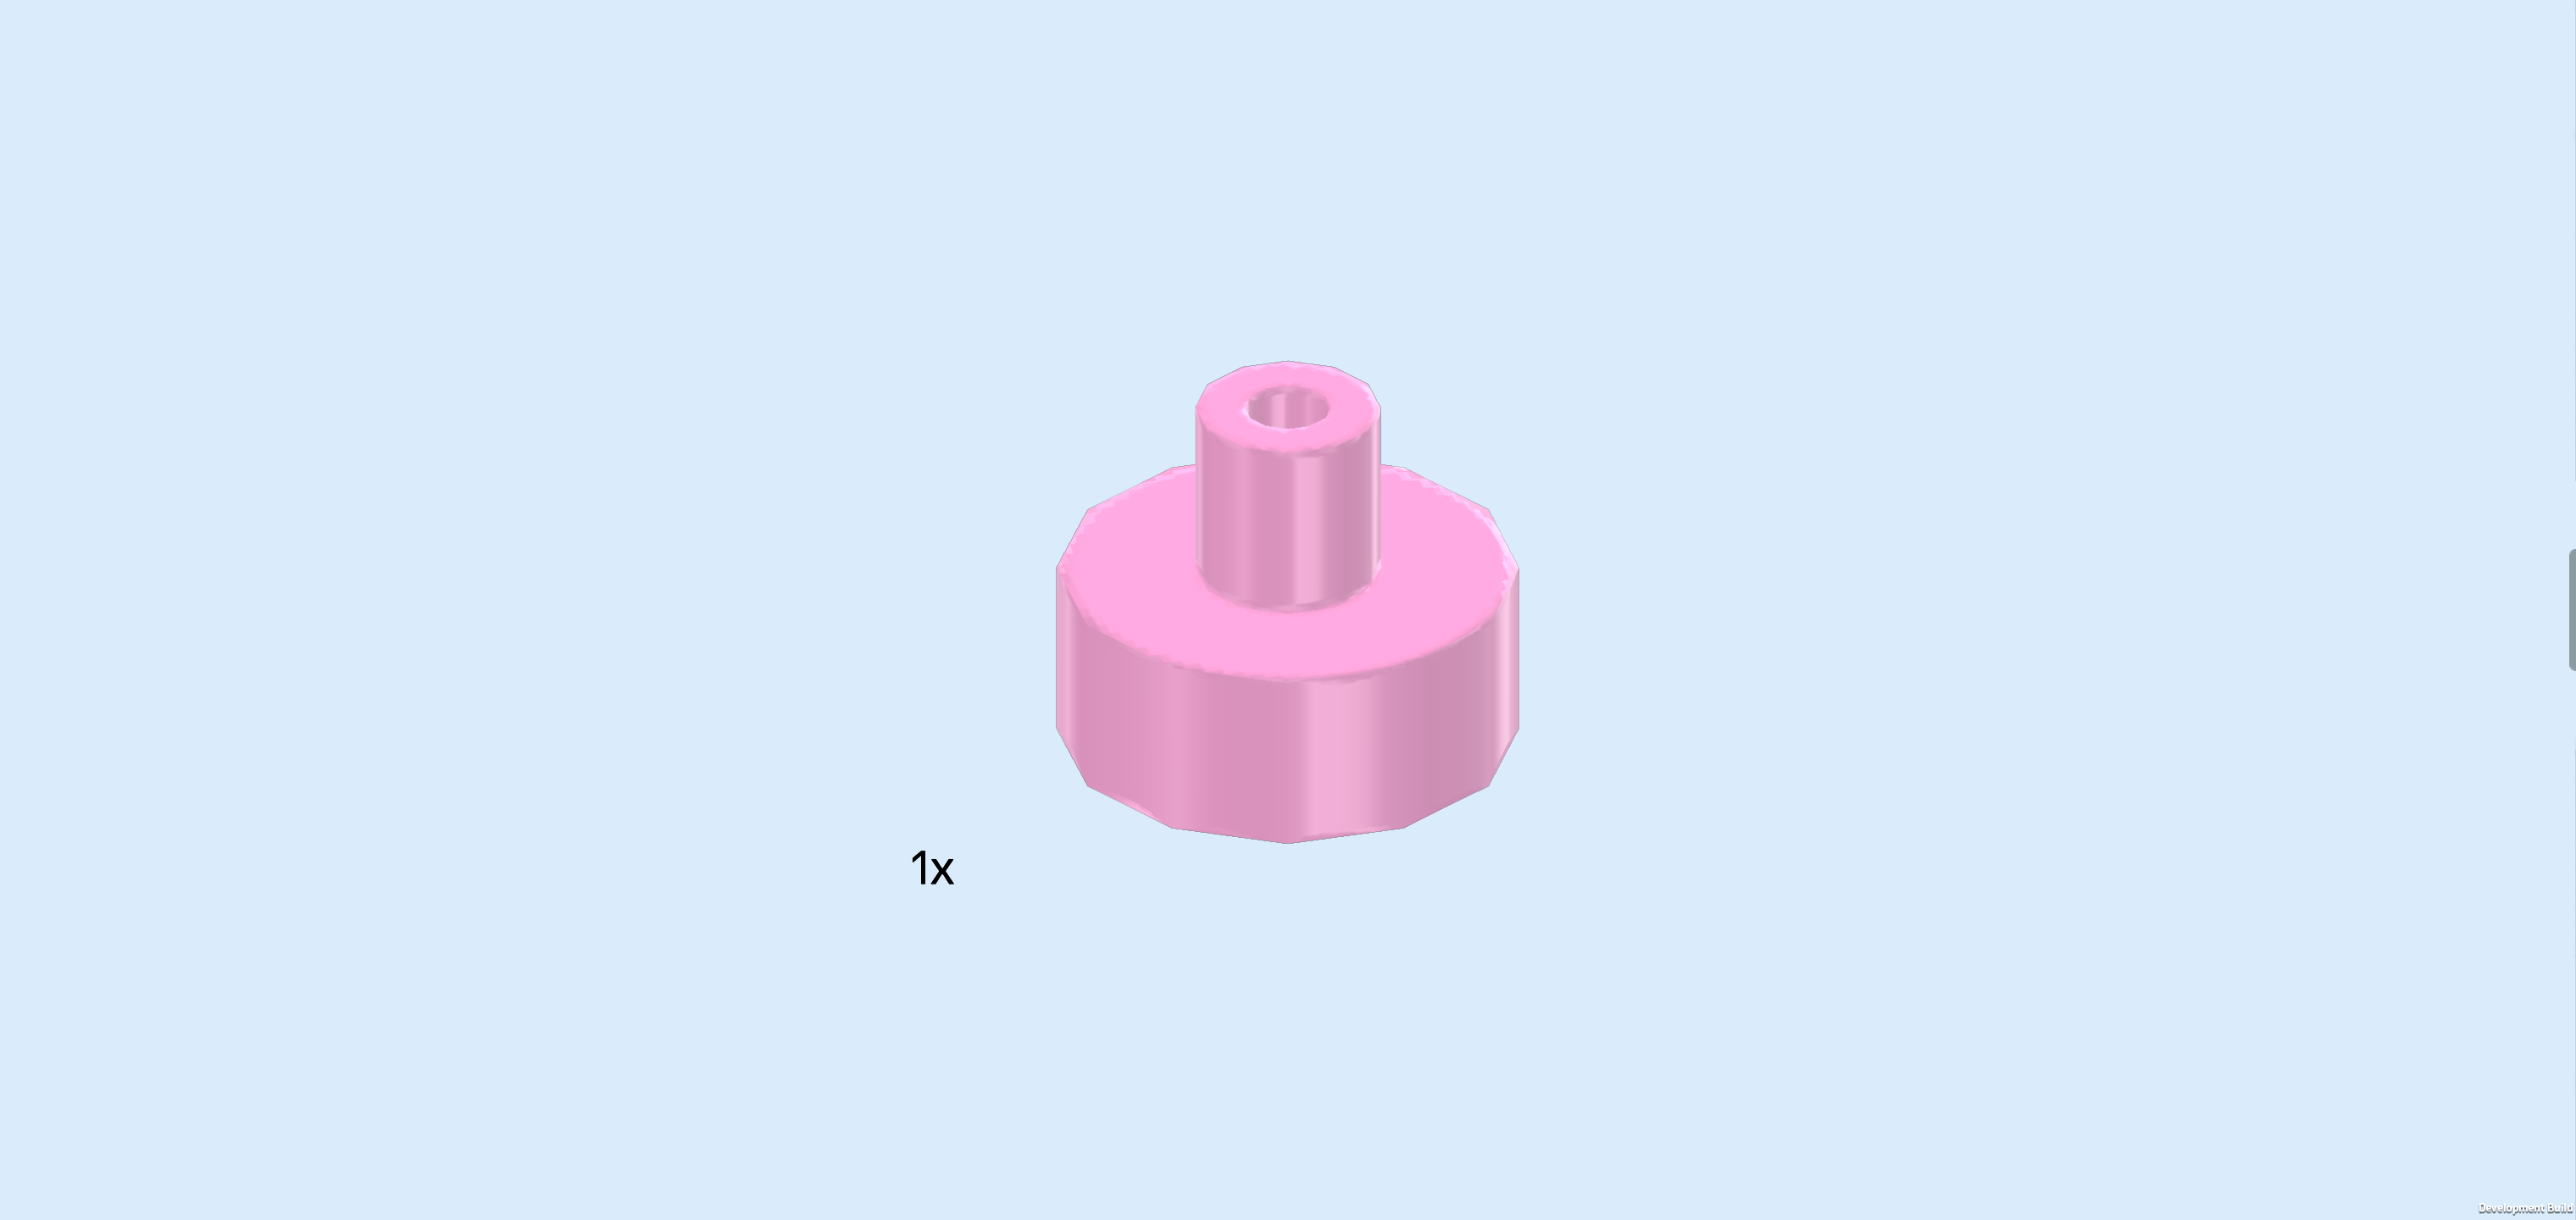
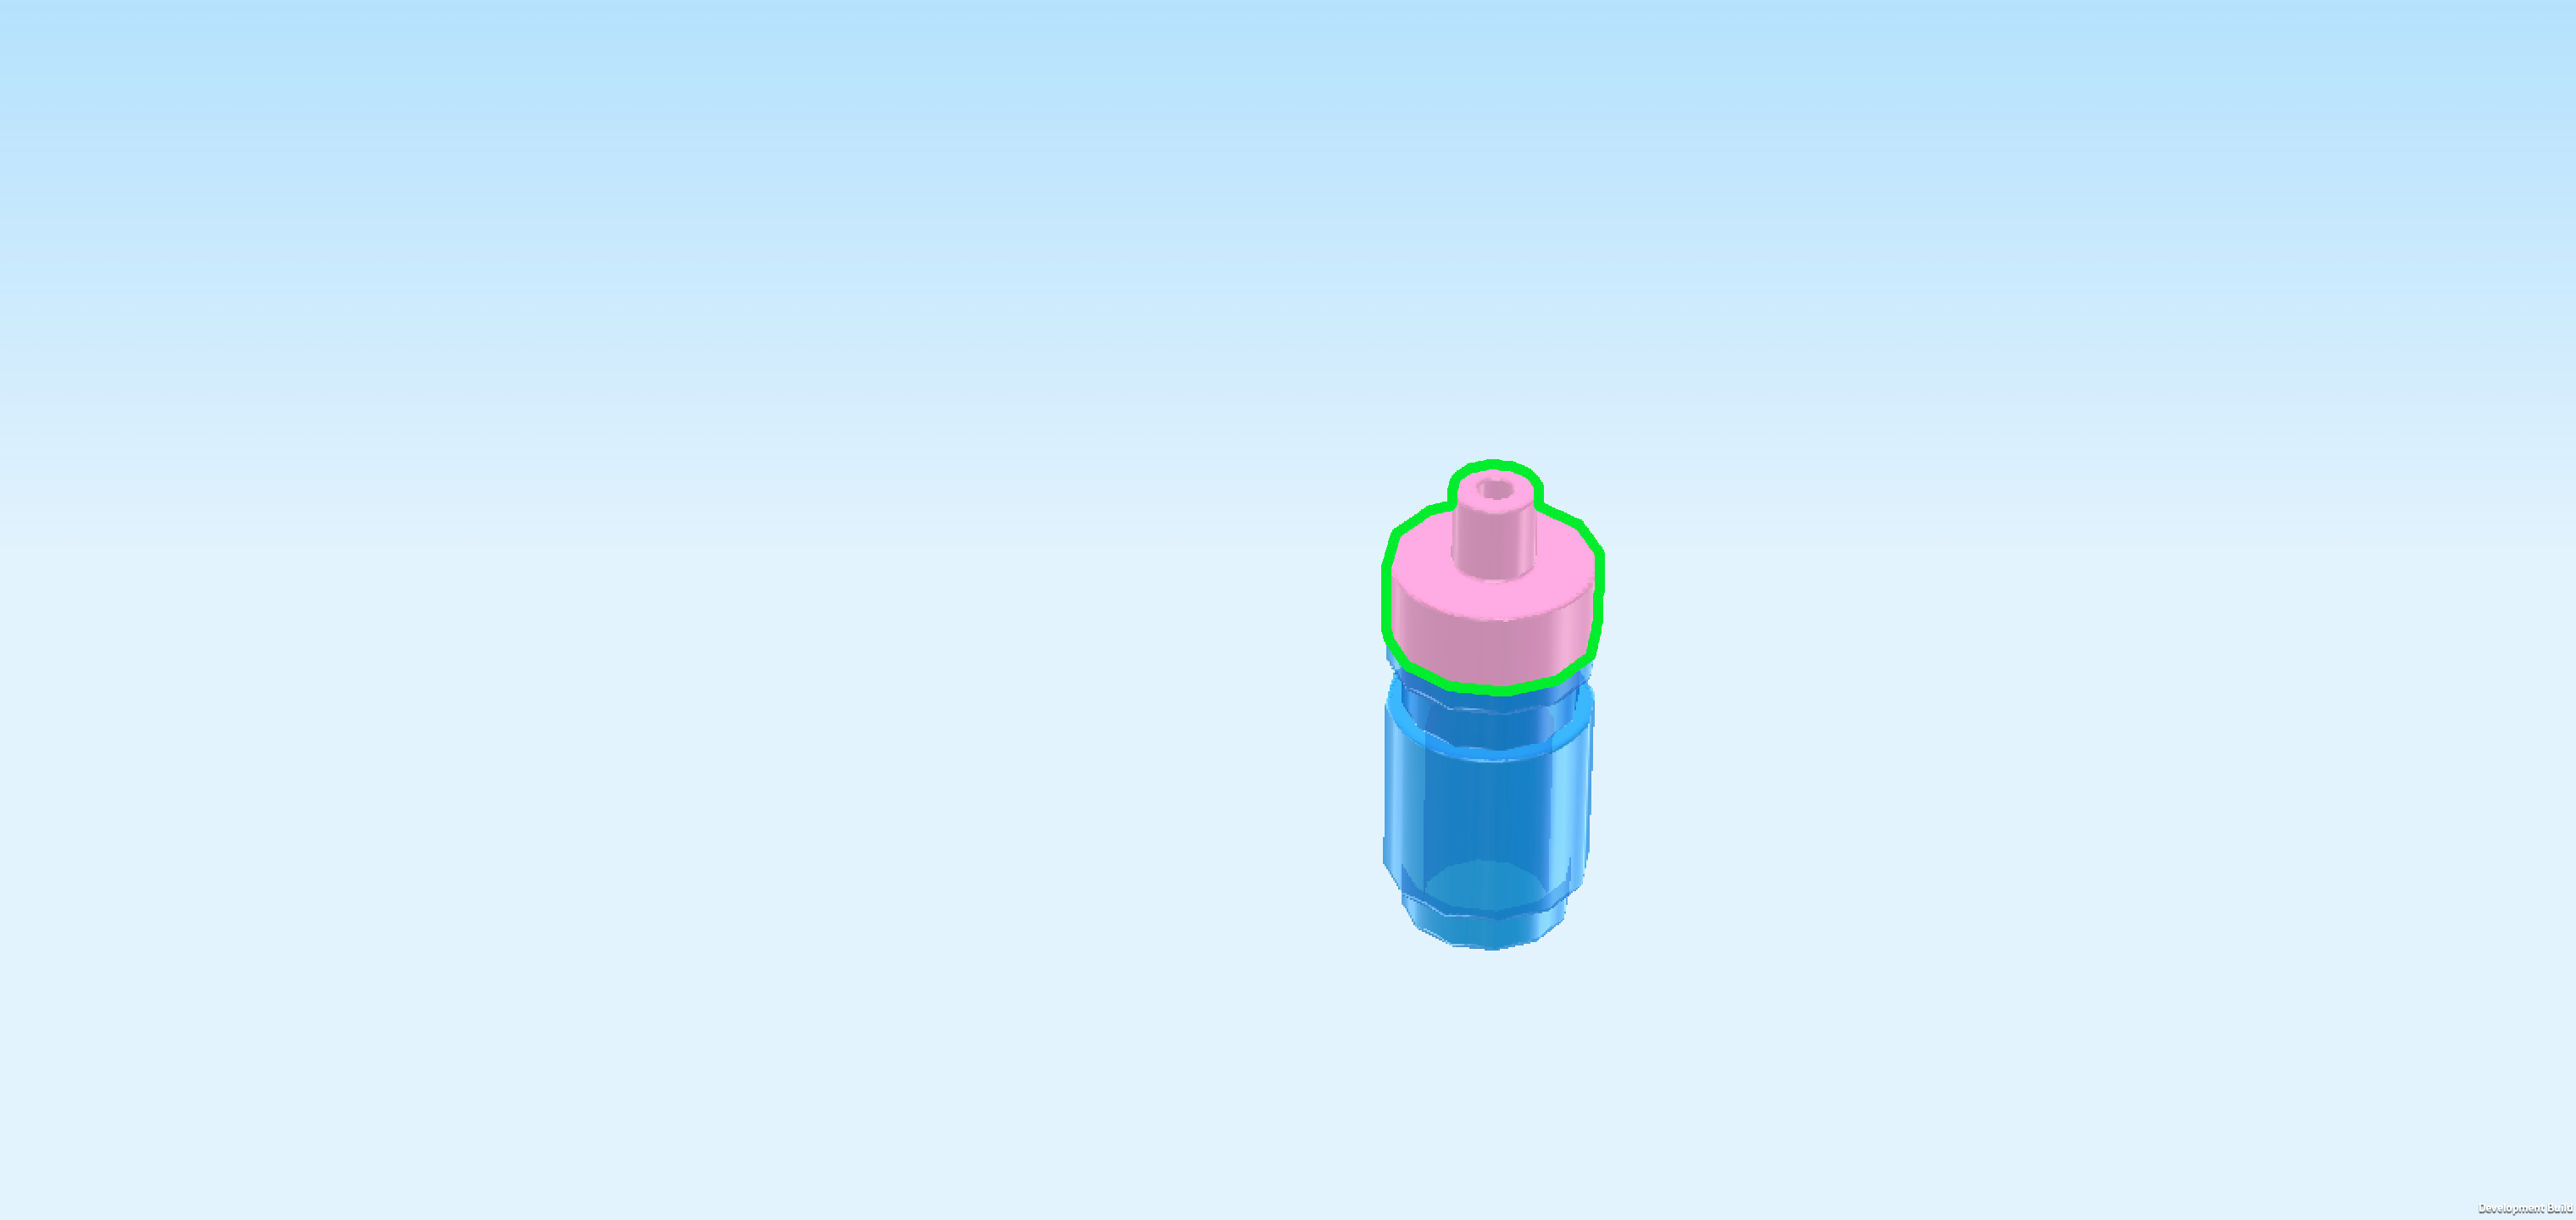
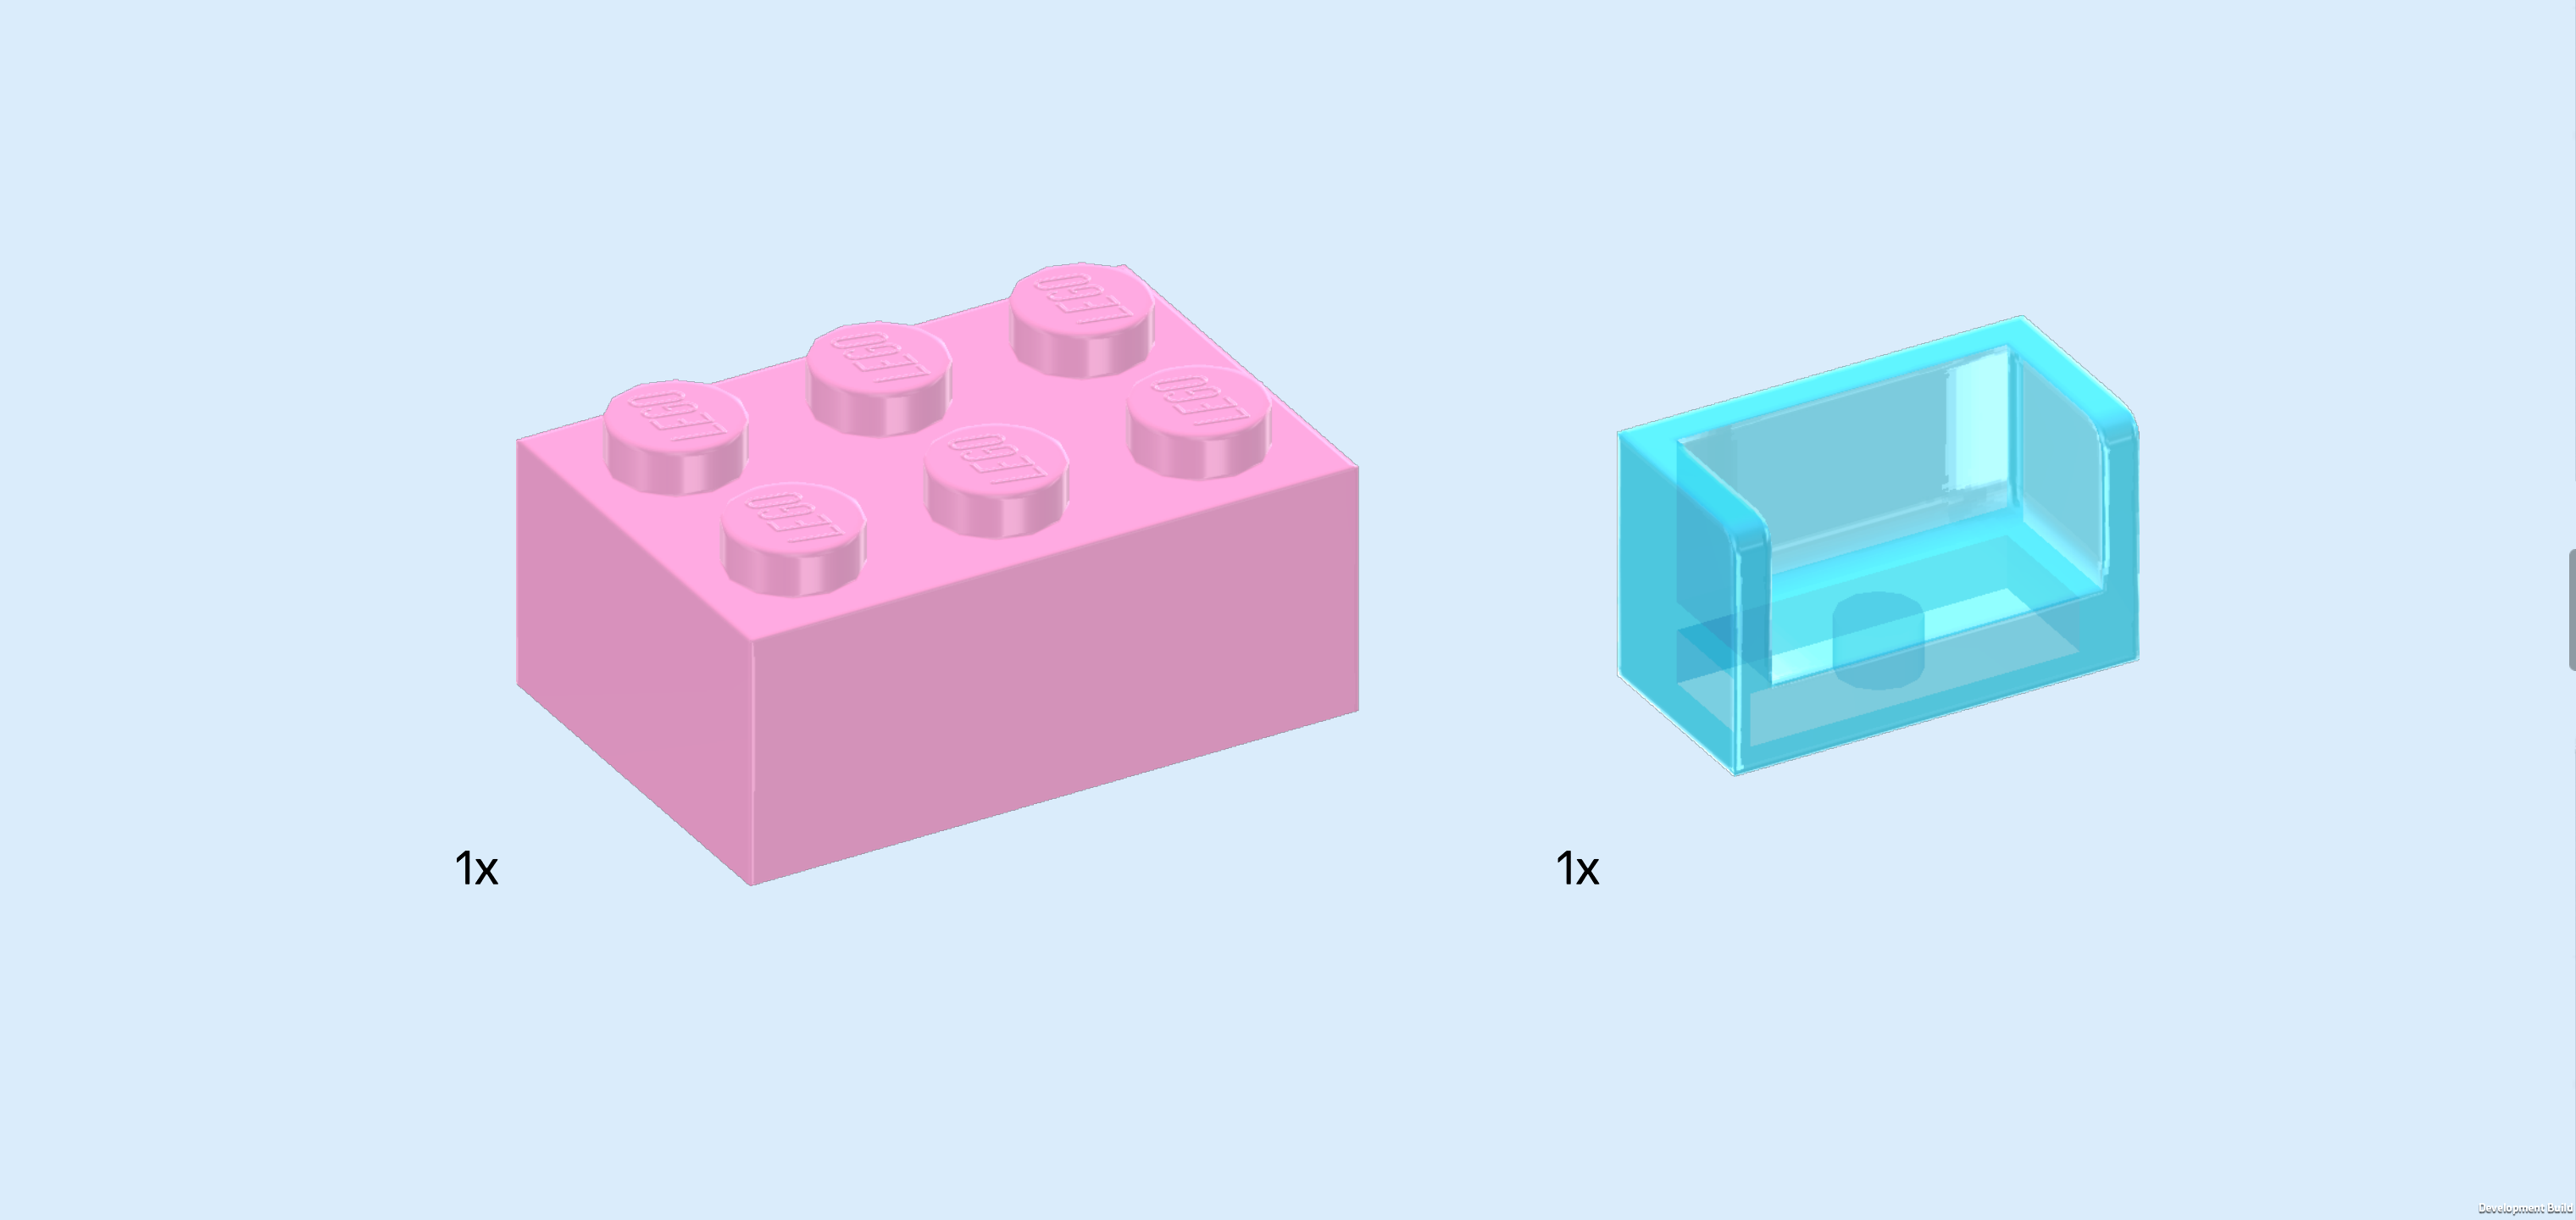
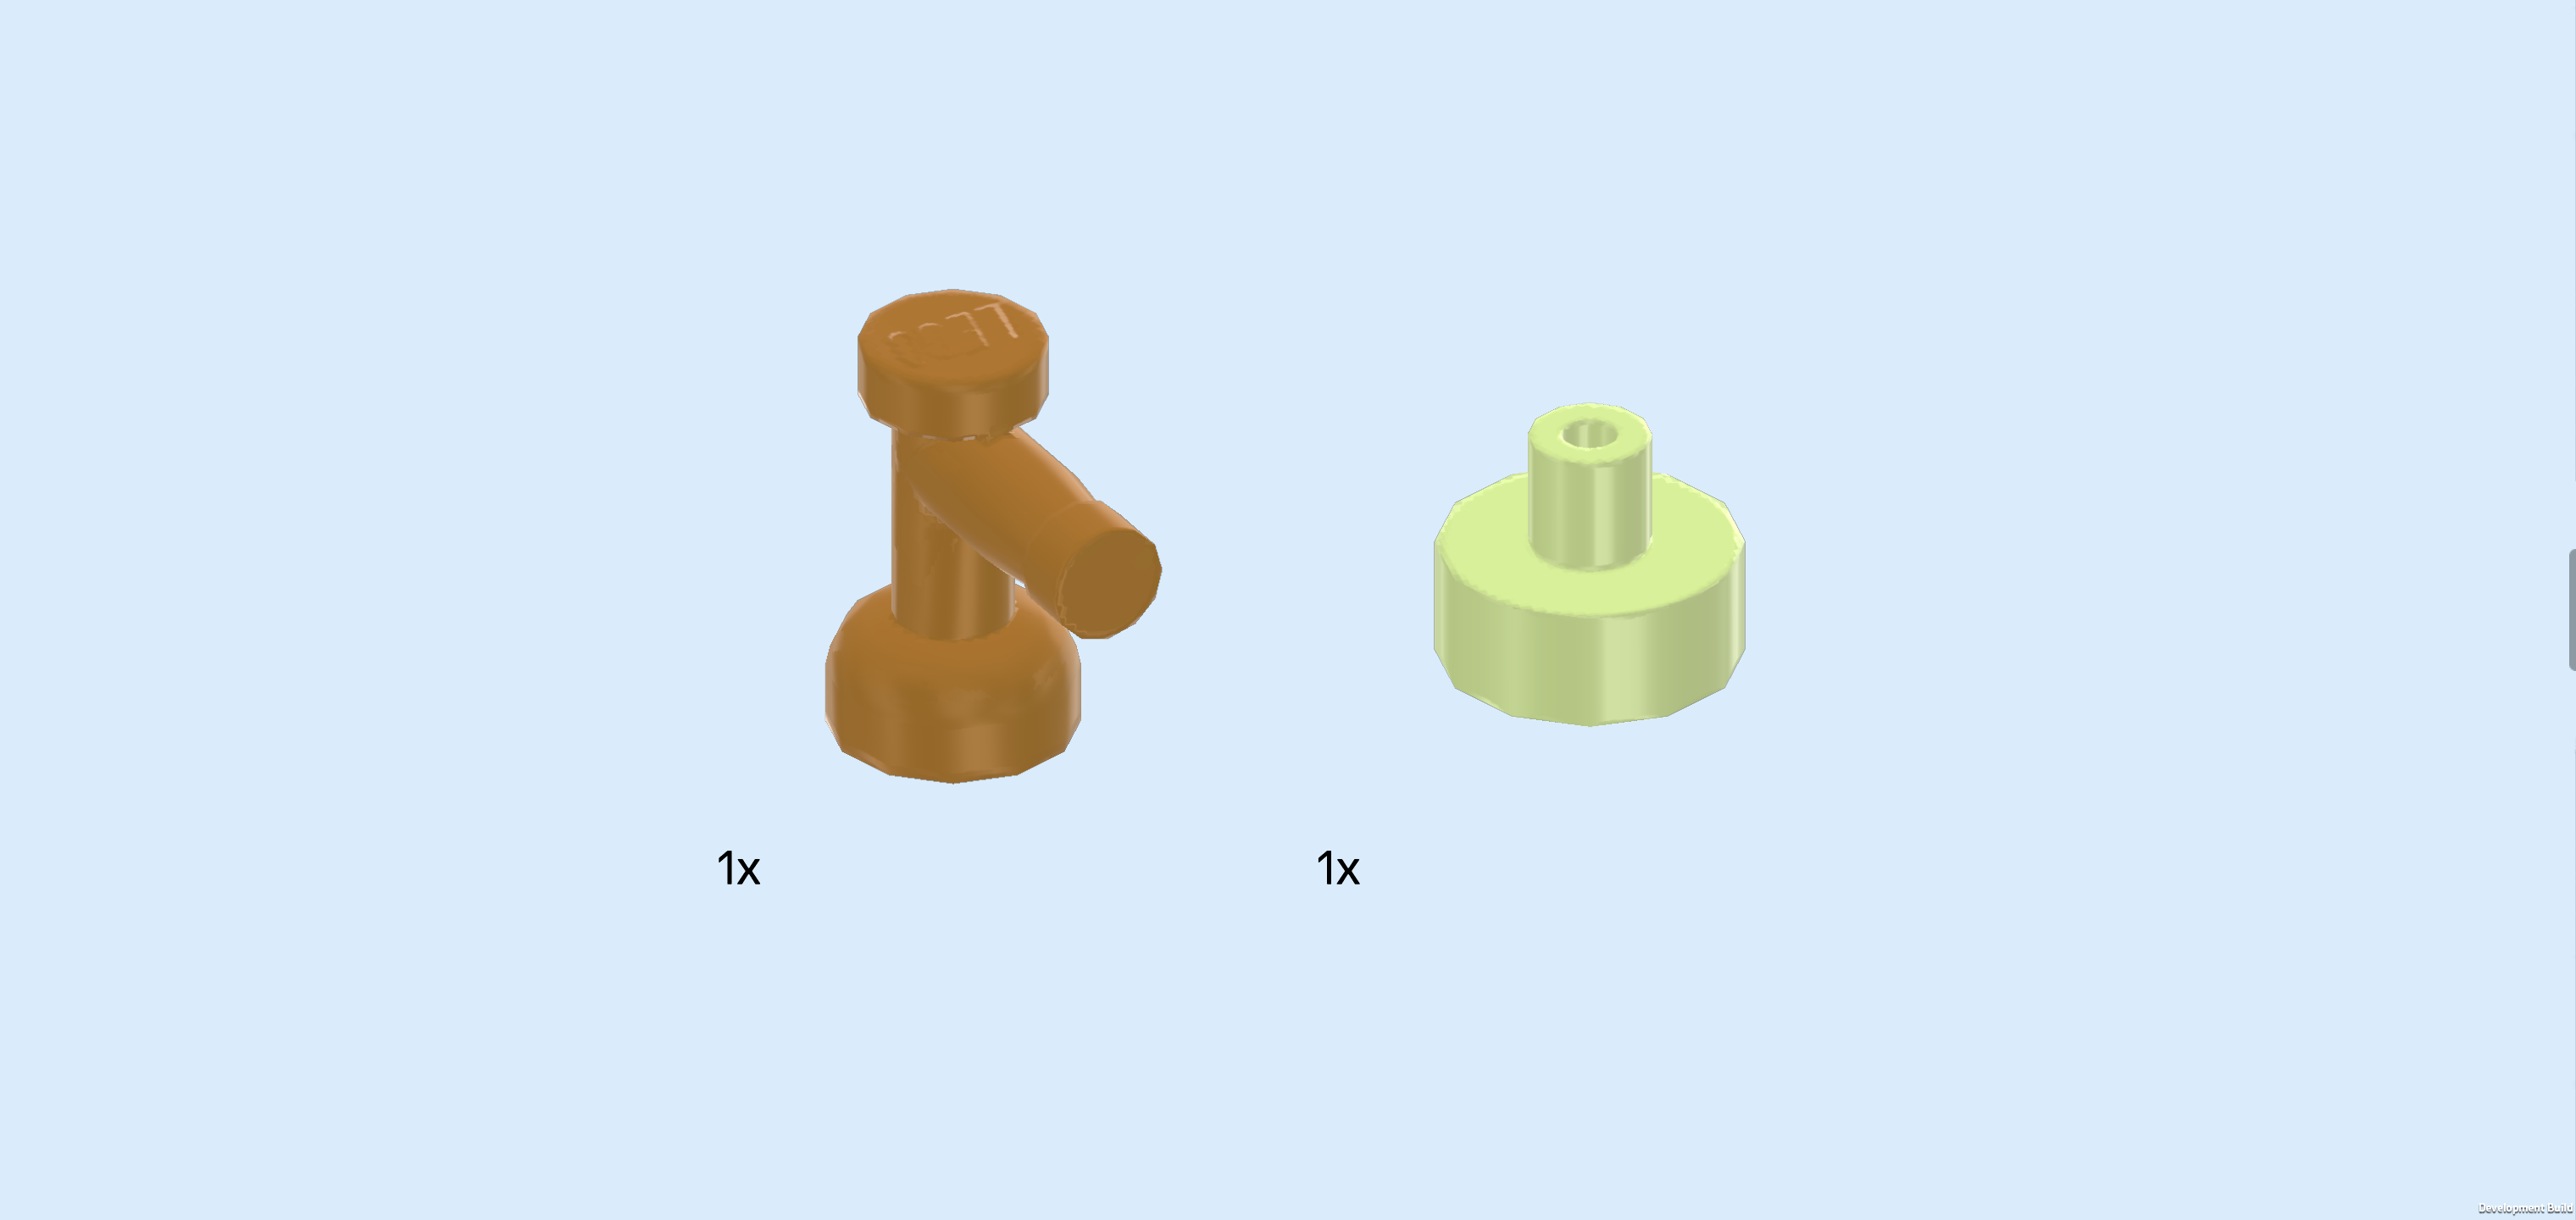
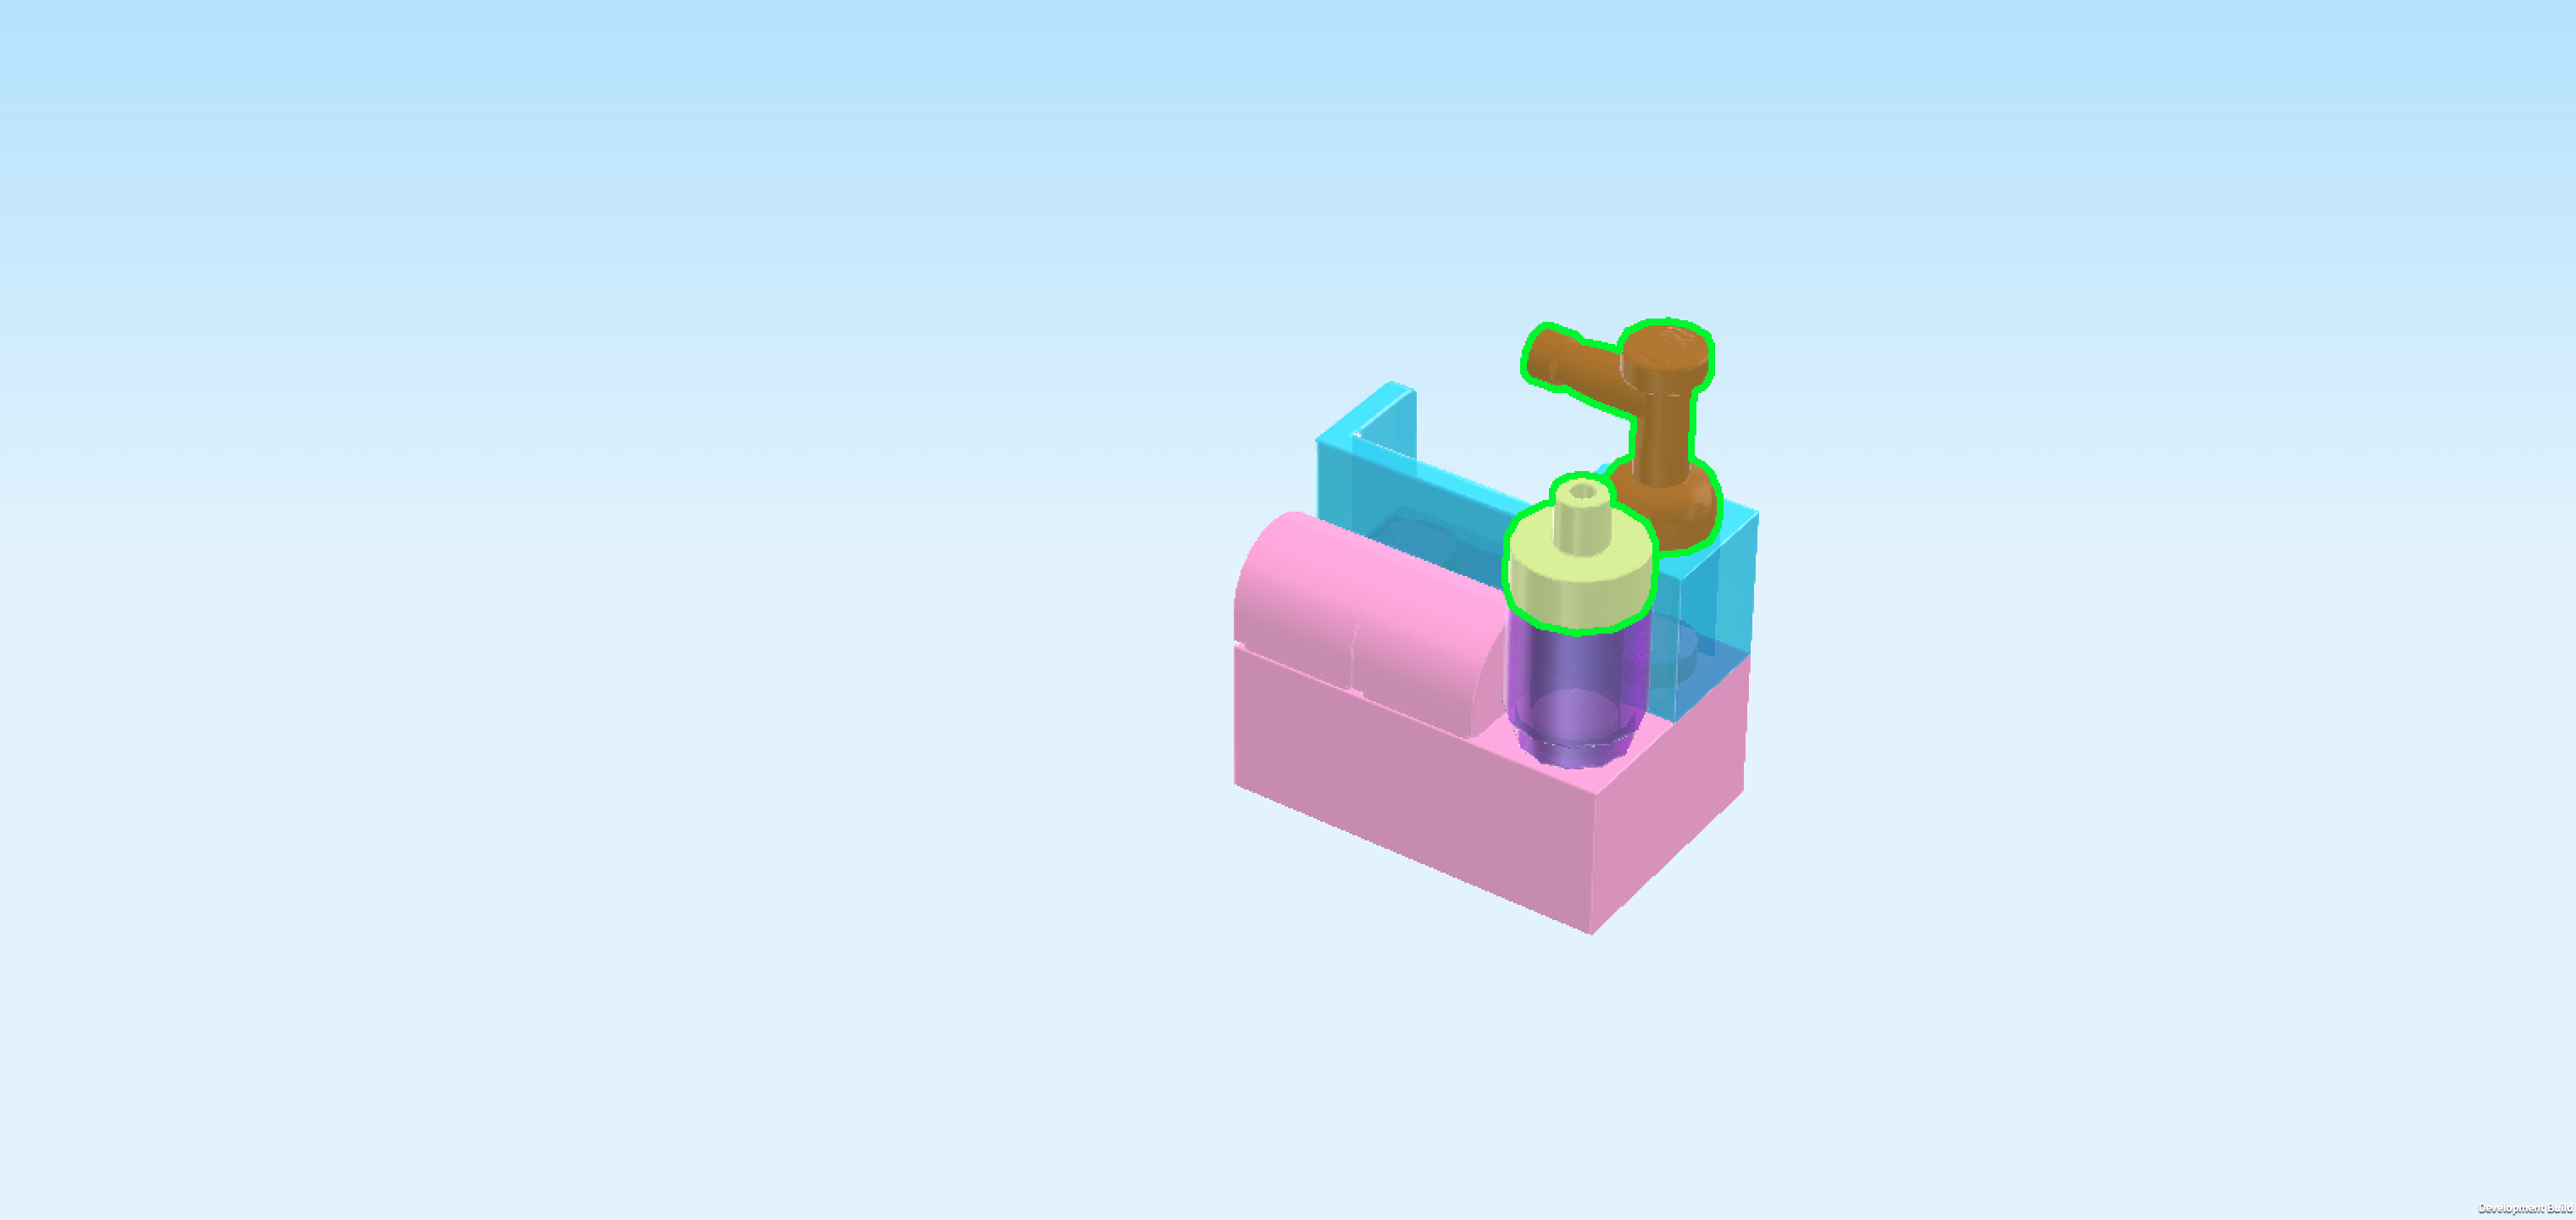
| Collect the following 2 pieces: |
| 1 warm gold water tap, |
| and 1 pale lime green round tile 1x1 with small top shaft. |
| Put the water tap horizontally on top of the previous piece, tap nose to the left. |
| Put the round tile 1x1 in front of the previous piece. |
| The sink is finished! Great job! Mount it in its building orientation in the back left wall corner. The panel element should form a small basin together with the back wall. |
| The half cylinders are the headrest of the salon chair used for hair washing. We will build that next! |
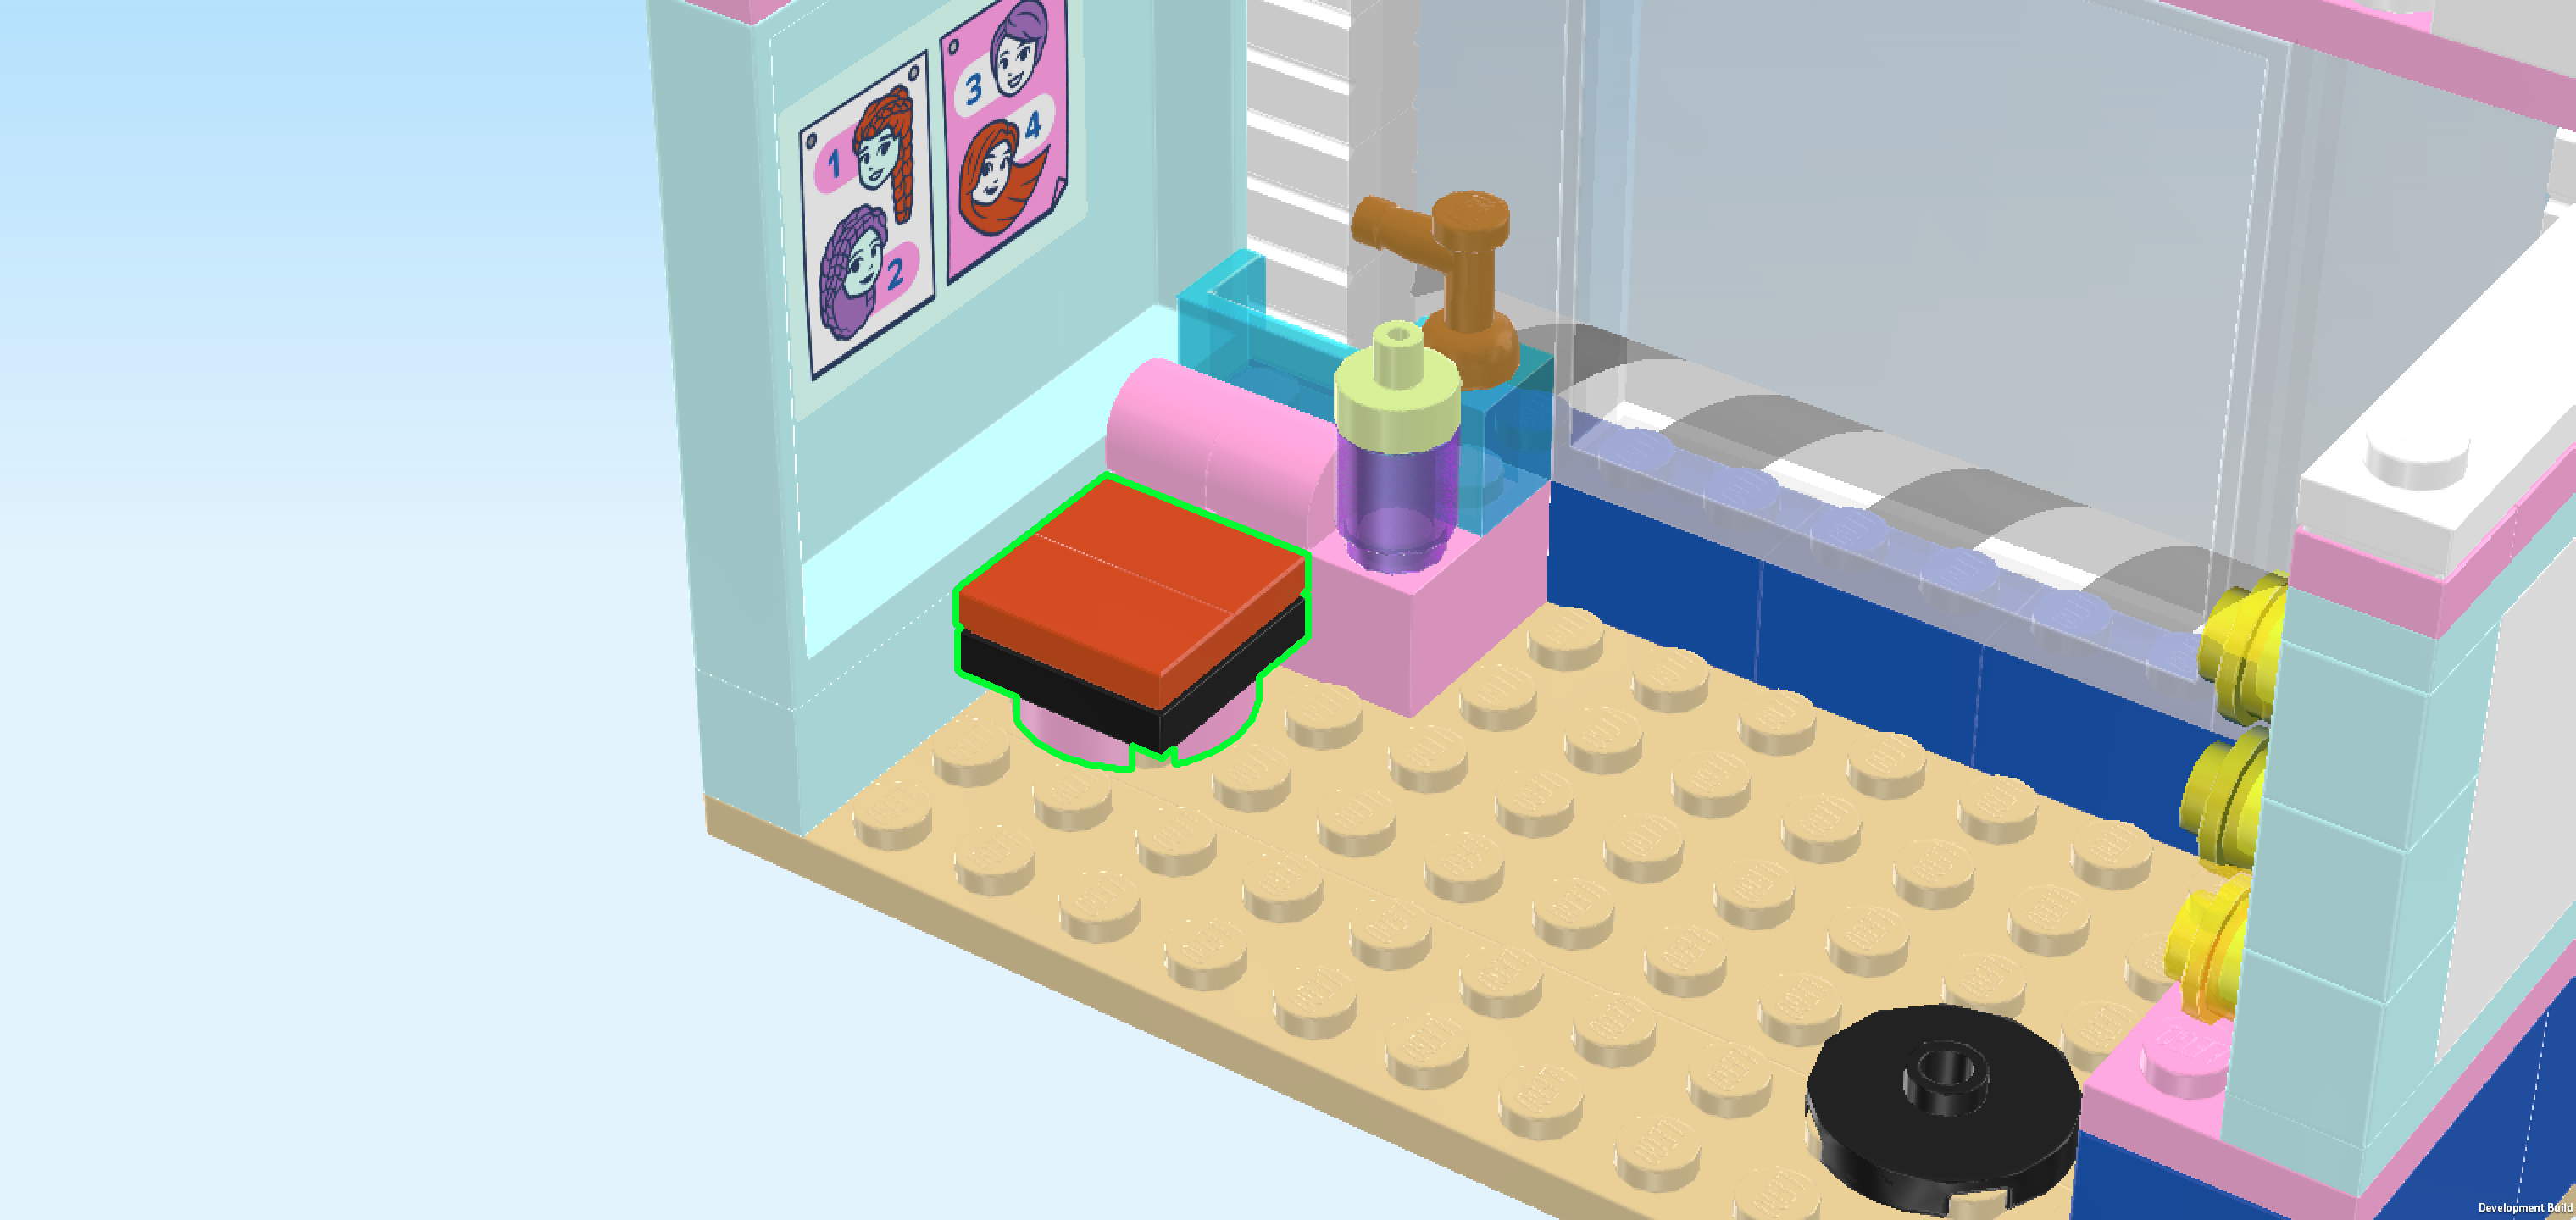
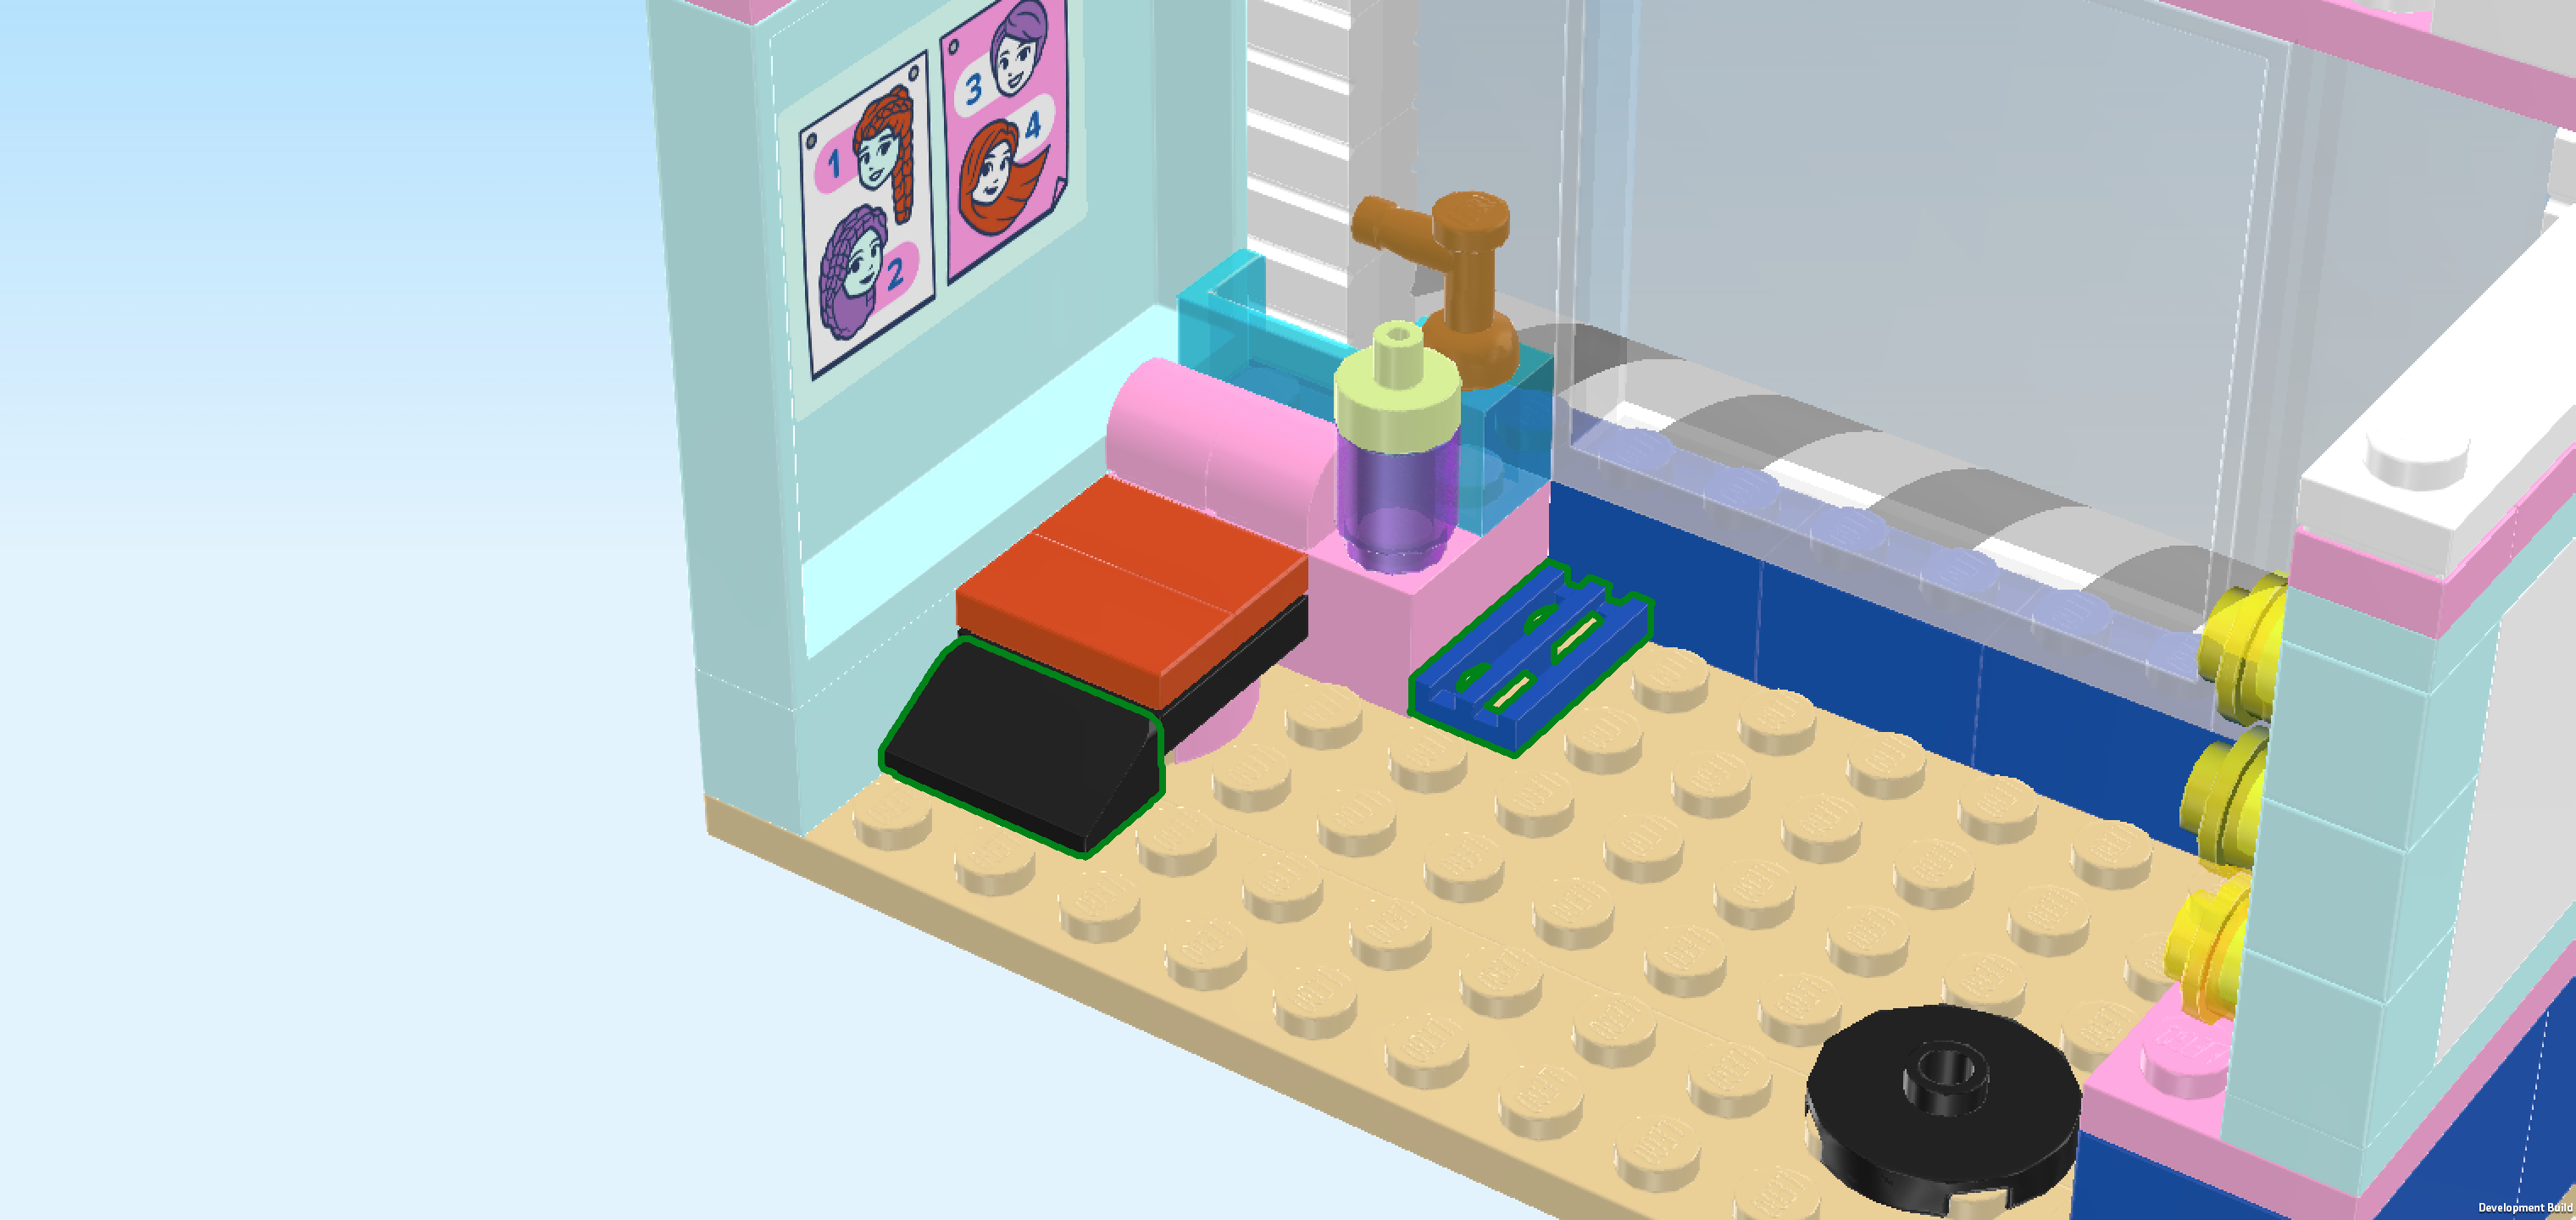
| Next, we will build the salon chair for hair washing. |
| Collect the following 2 pieces: |
| 1 light purple round plate 2x2, |
| and 1 black plate 2x2. |
| Put the round plate 2x2 on the table. |
| Put the plate 2x2 on top. Turn the 2 plates so that the top knobs form straight rows and columns in front of you. |
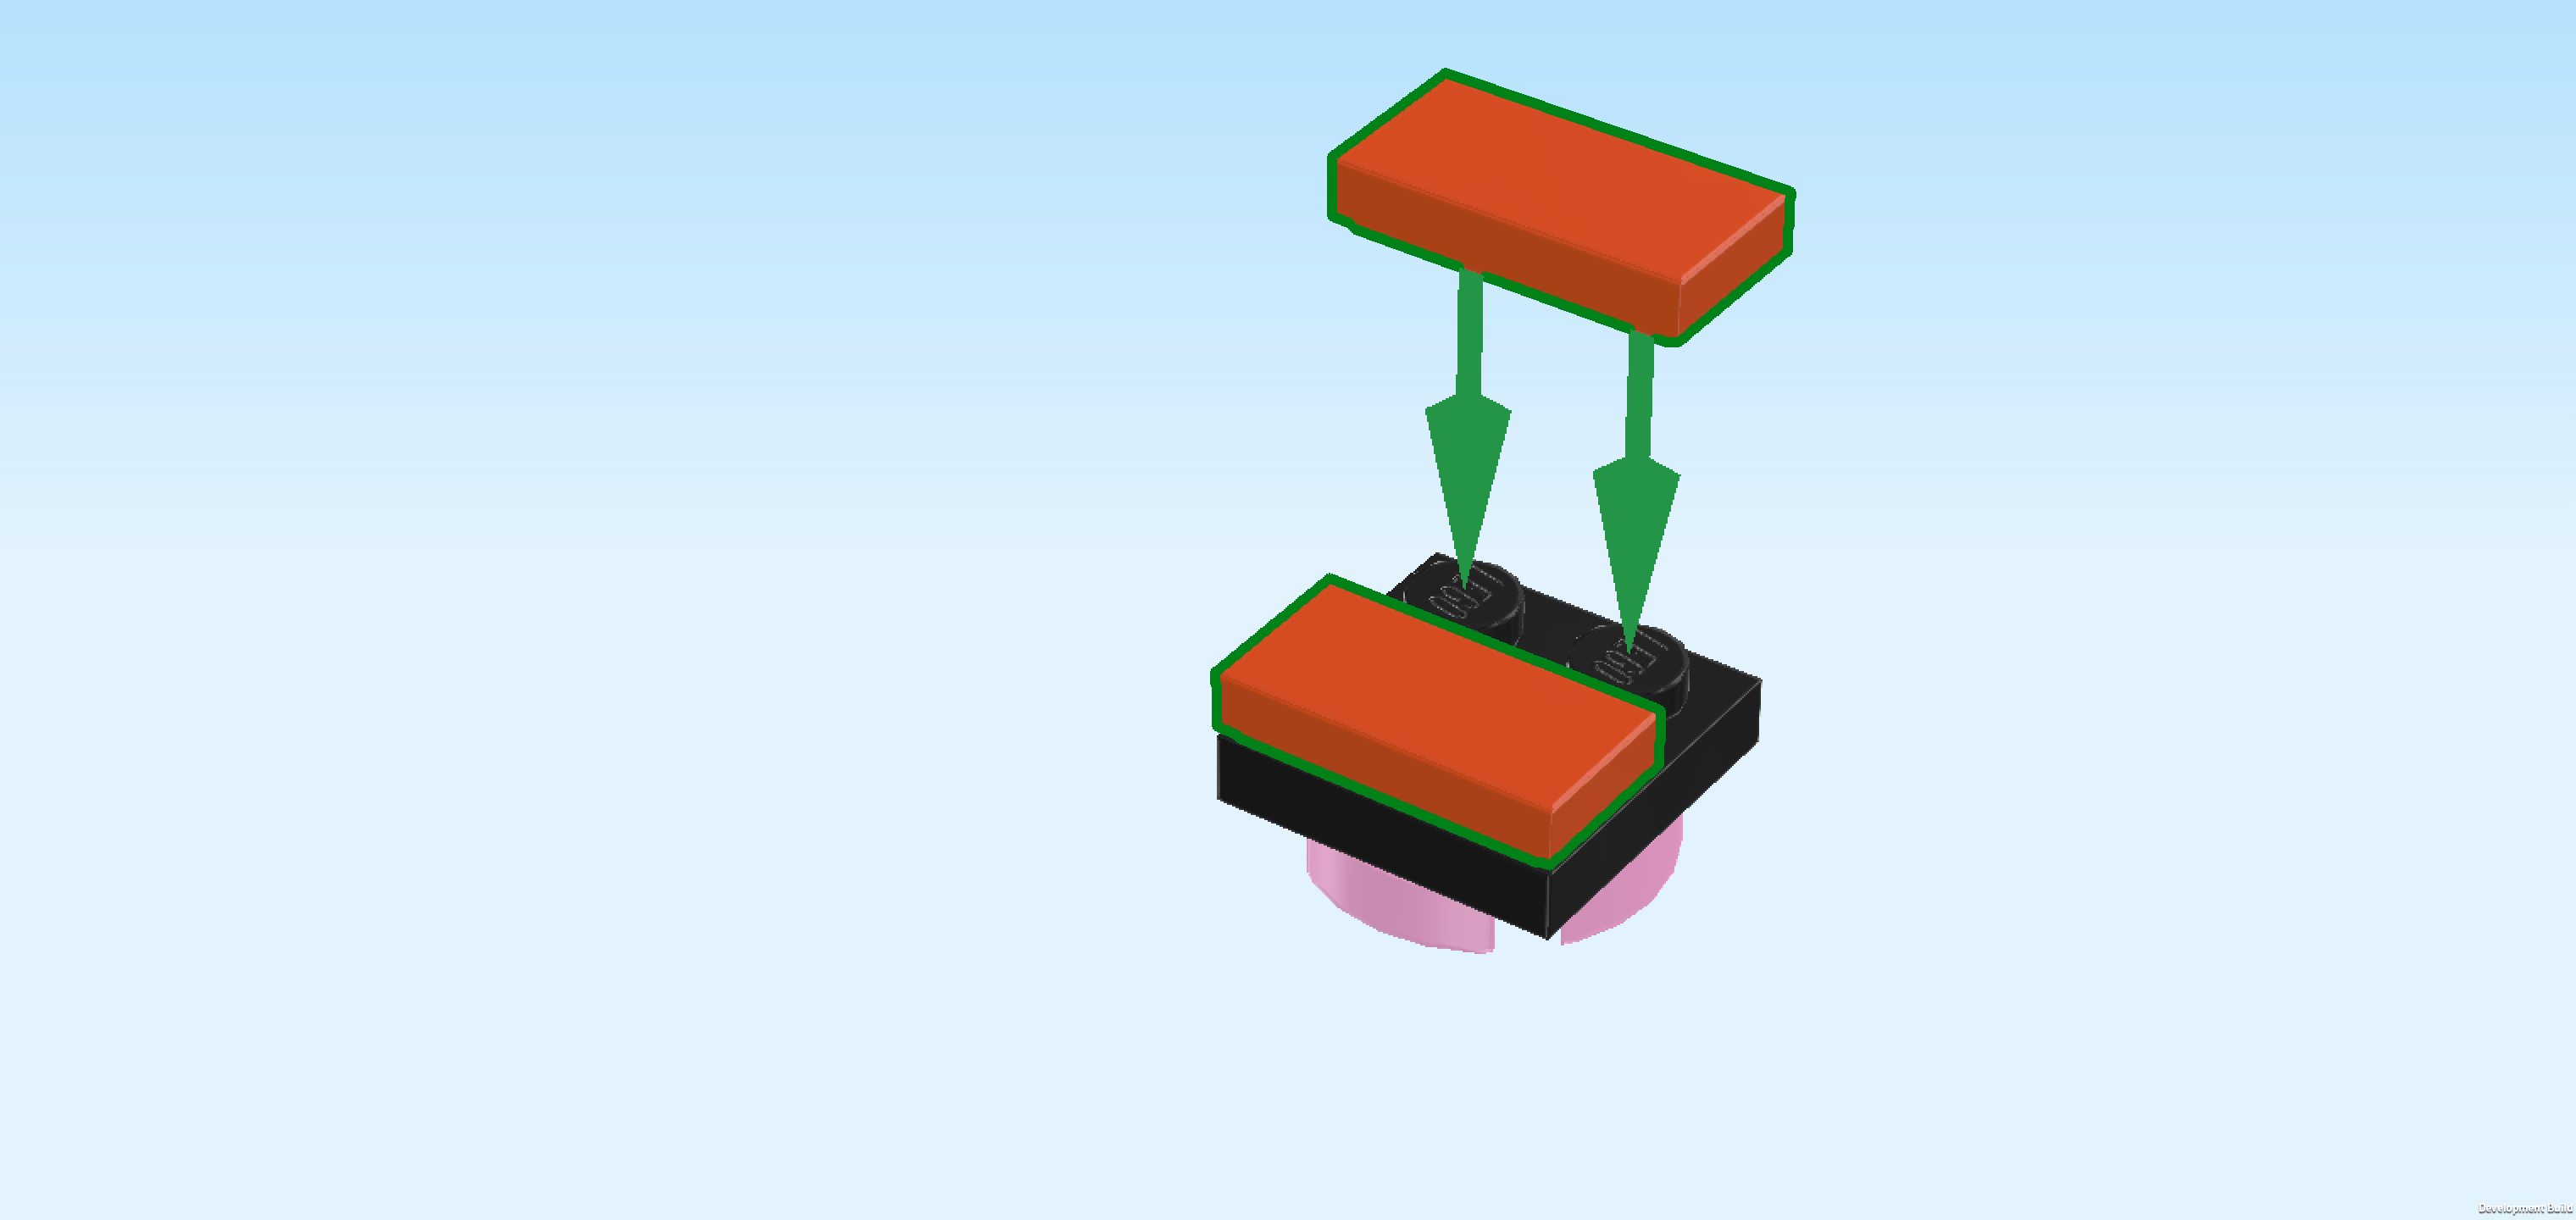
| Find 2 reddish orange flat tiles 1x2. |
| Put 1 horizontally on the back row and the other 1 horizontally on the front row. |
| Mount the seat surface in front of the 2 half cylinders. |
| Collect the following 2 pieces: |
| 1 black smooth roof tile 1x2x⅔, |
| and 1 bright blue grille tile 1x2. |
| Put the smooth roof tile 1x2x⅔ horizontally in front of the seat surface, slope to the front. |
| Put the grille tile 1x2 vertically to the right of the water tap and shampoo bottle of the hair washing station. |
| Next, we will build the wig display with equipment holders. |
| Collect the following 2 pieces: |
| 1 salmon pink brick 2x4, |
| and 1 vibrant yellow plate 1x2. |
| Put the brick 2x4 horizontally on the table. |
| Put the plate 1x2 horizontally on the back row, starting from the left. |
| Find another vibrant yellow plate 1x2. |
| Put it horizontally to the left of the previous piece. |
| Collect the following 4 pieces: |
| 2 black plates 1x1 with horizontal side clasp, |
| and 2 white round plates 1x1. |
| Put 1 plate with clasp on the leftmost knob of the front row, clasp to the front. |
| Put 1 round plate 1x1 to the right of the previous piece. |
| Put the other plate with clasp to the right of the previous piece, clasp to the front. |
| Put the other round plate 1x1 to the right of the previous piece. |
| Find 2 salmon pink plates 2x2 with 1 knob. |
| Put them next to each other on the top surface to cover it. |
| The wig display with equipment holders is finished! Well done! Mount it in its building orientation to the right of the grille tile we have mounted earlier. |
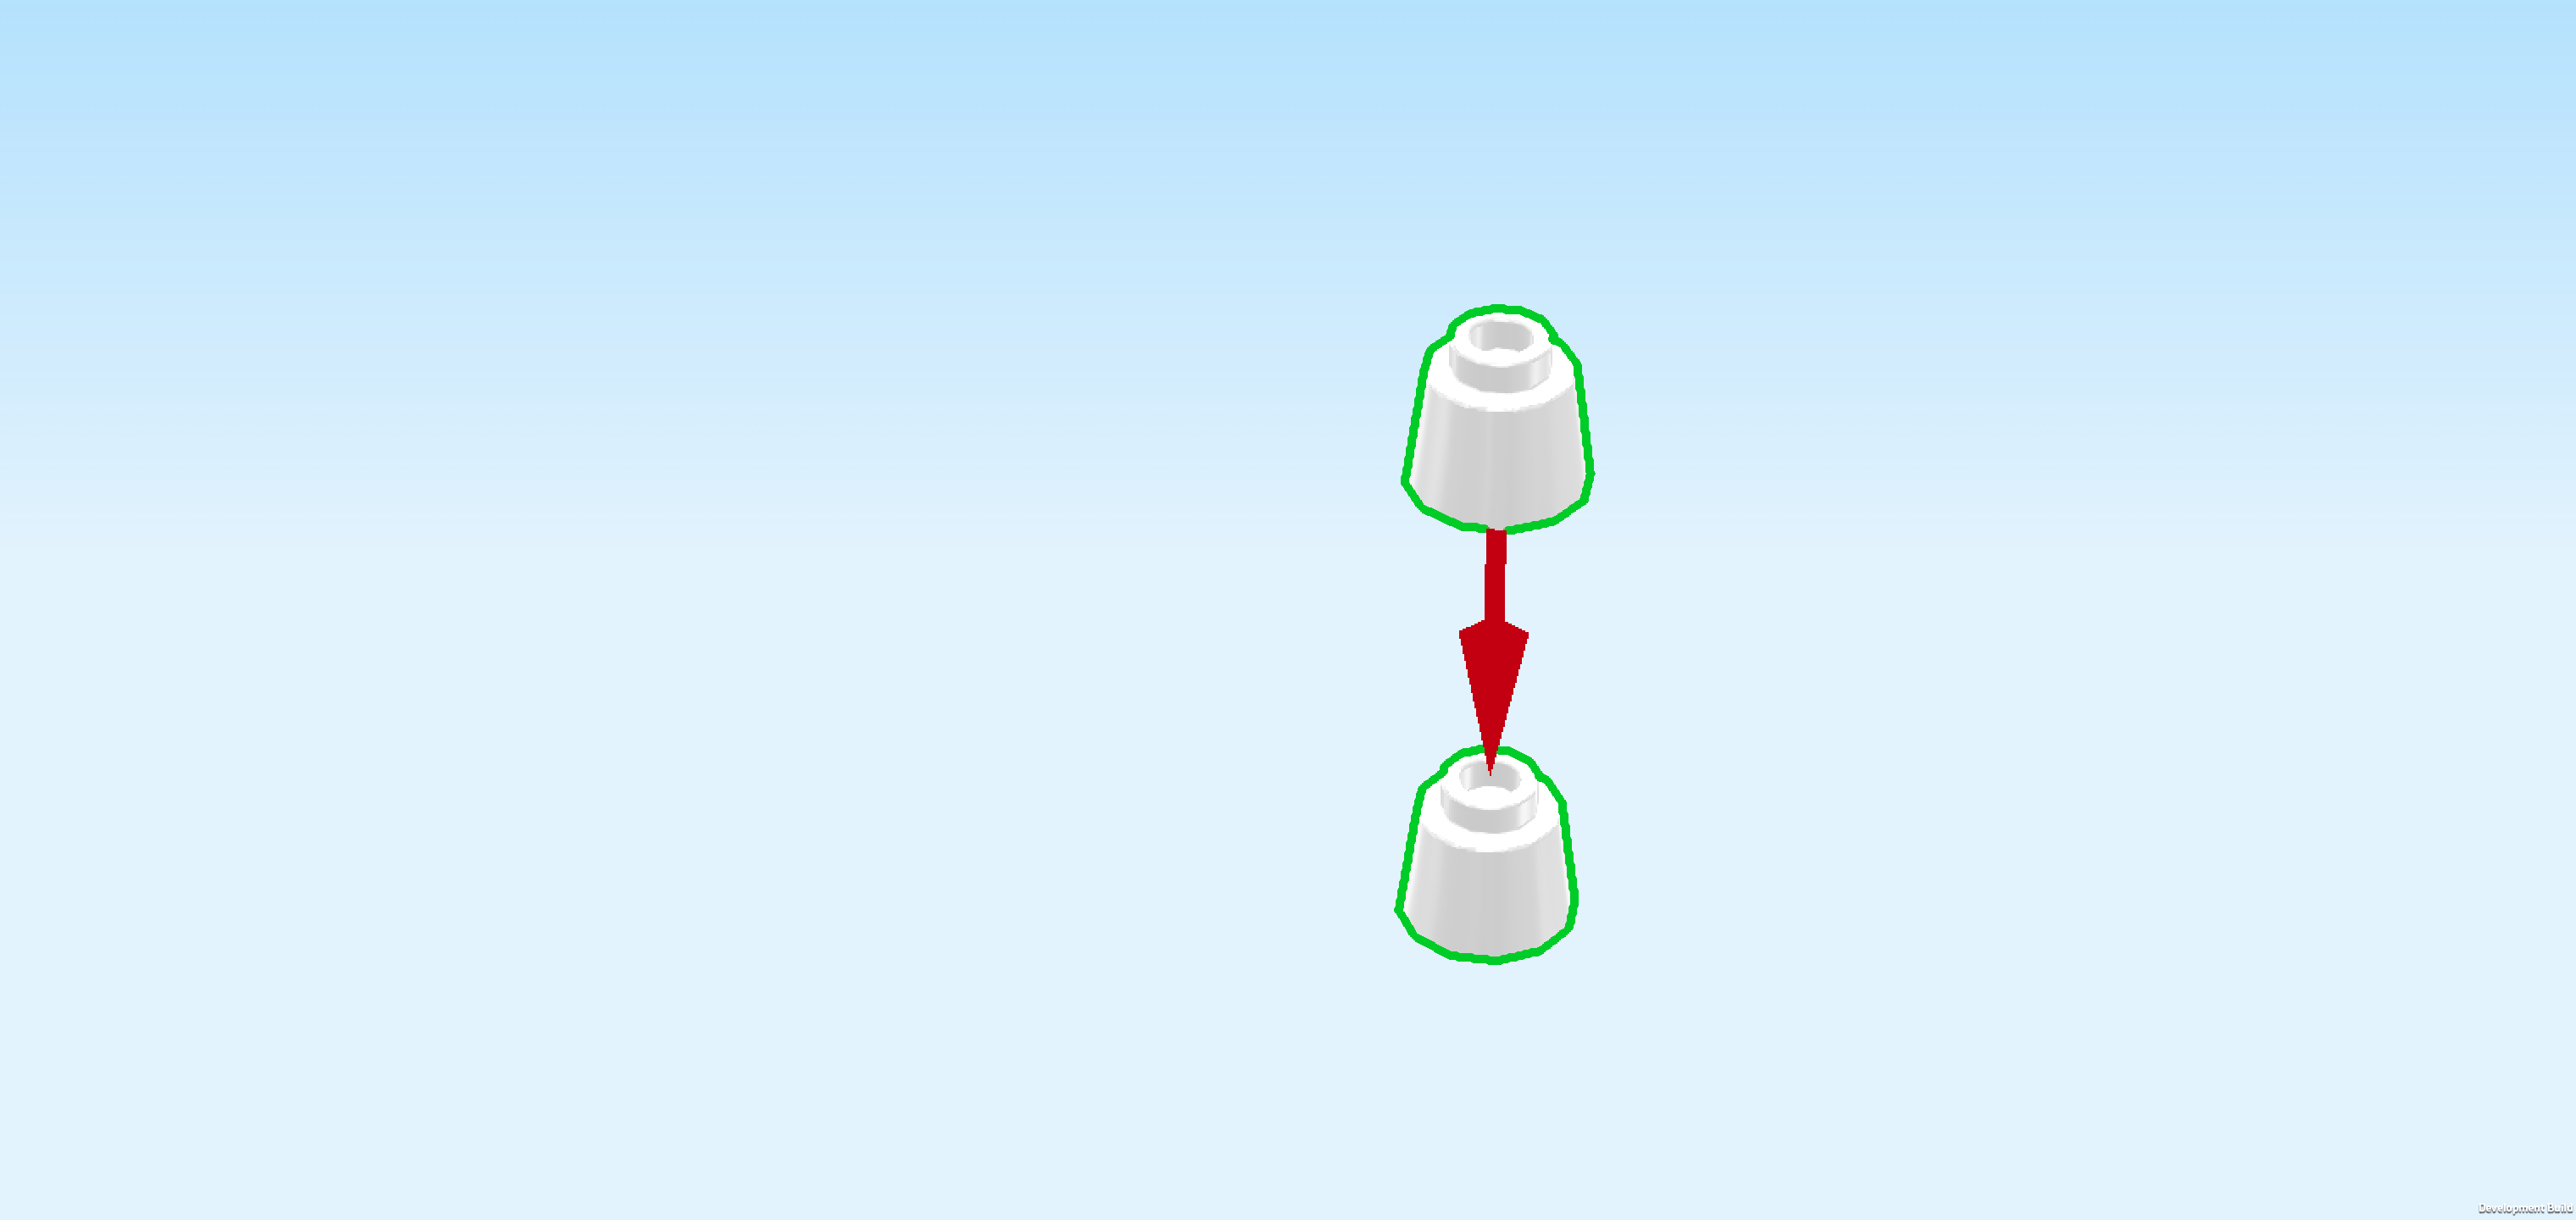
| Next, we will build a wig stand. |
| Find 2 white cone bricks 1x1x⅔. |
| Stack them on top of each other. |
| Find 1 white round plate 1x1. |
| Put it on top of the stacked cone bricks. |
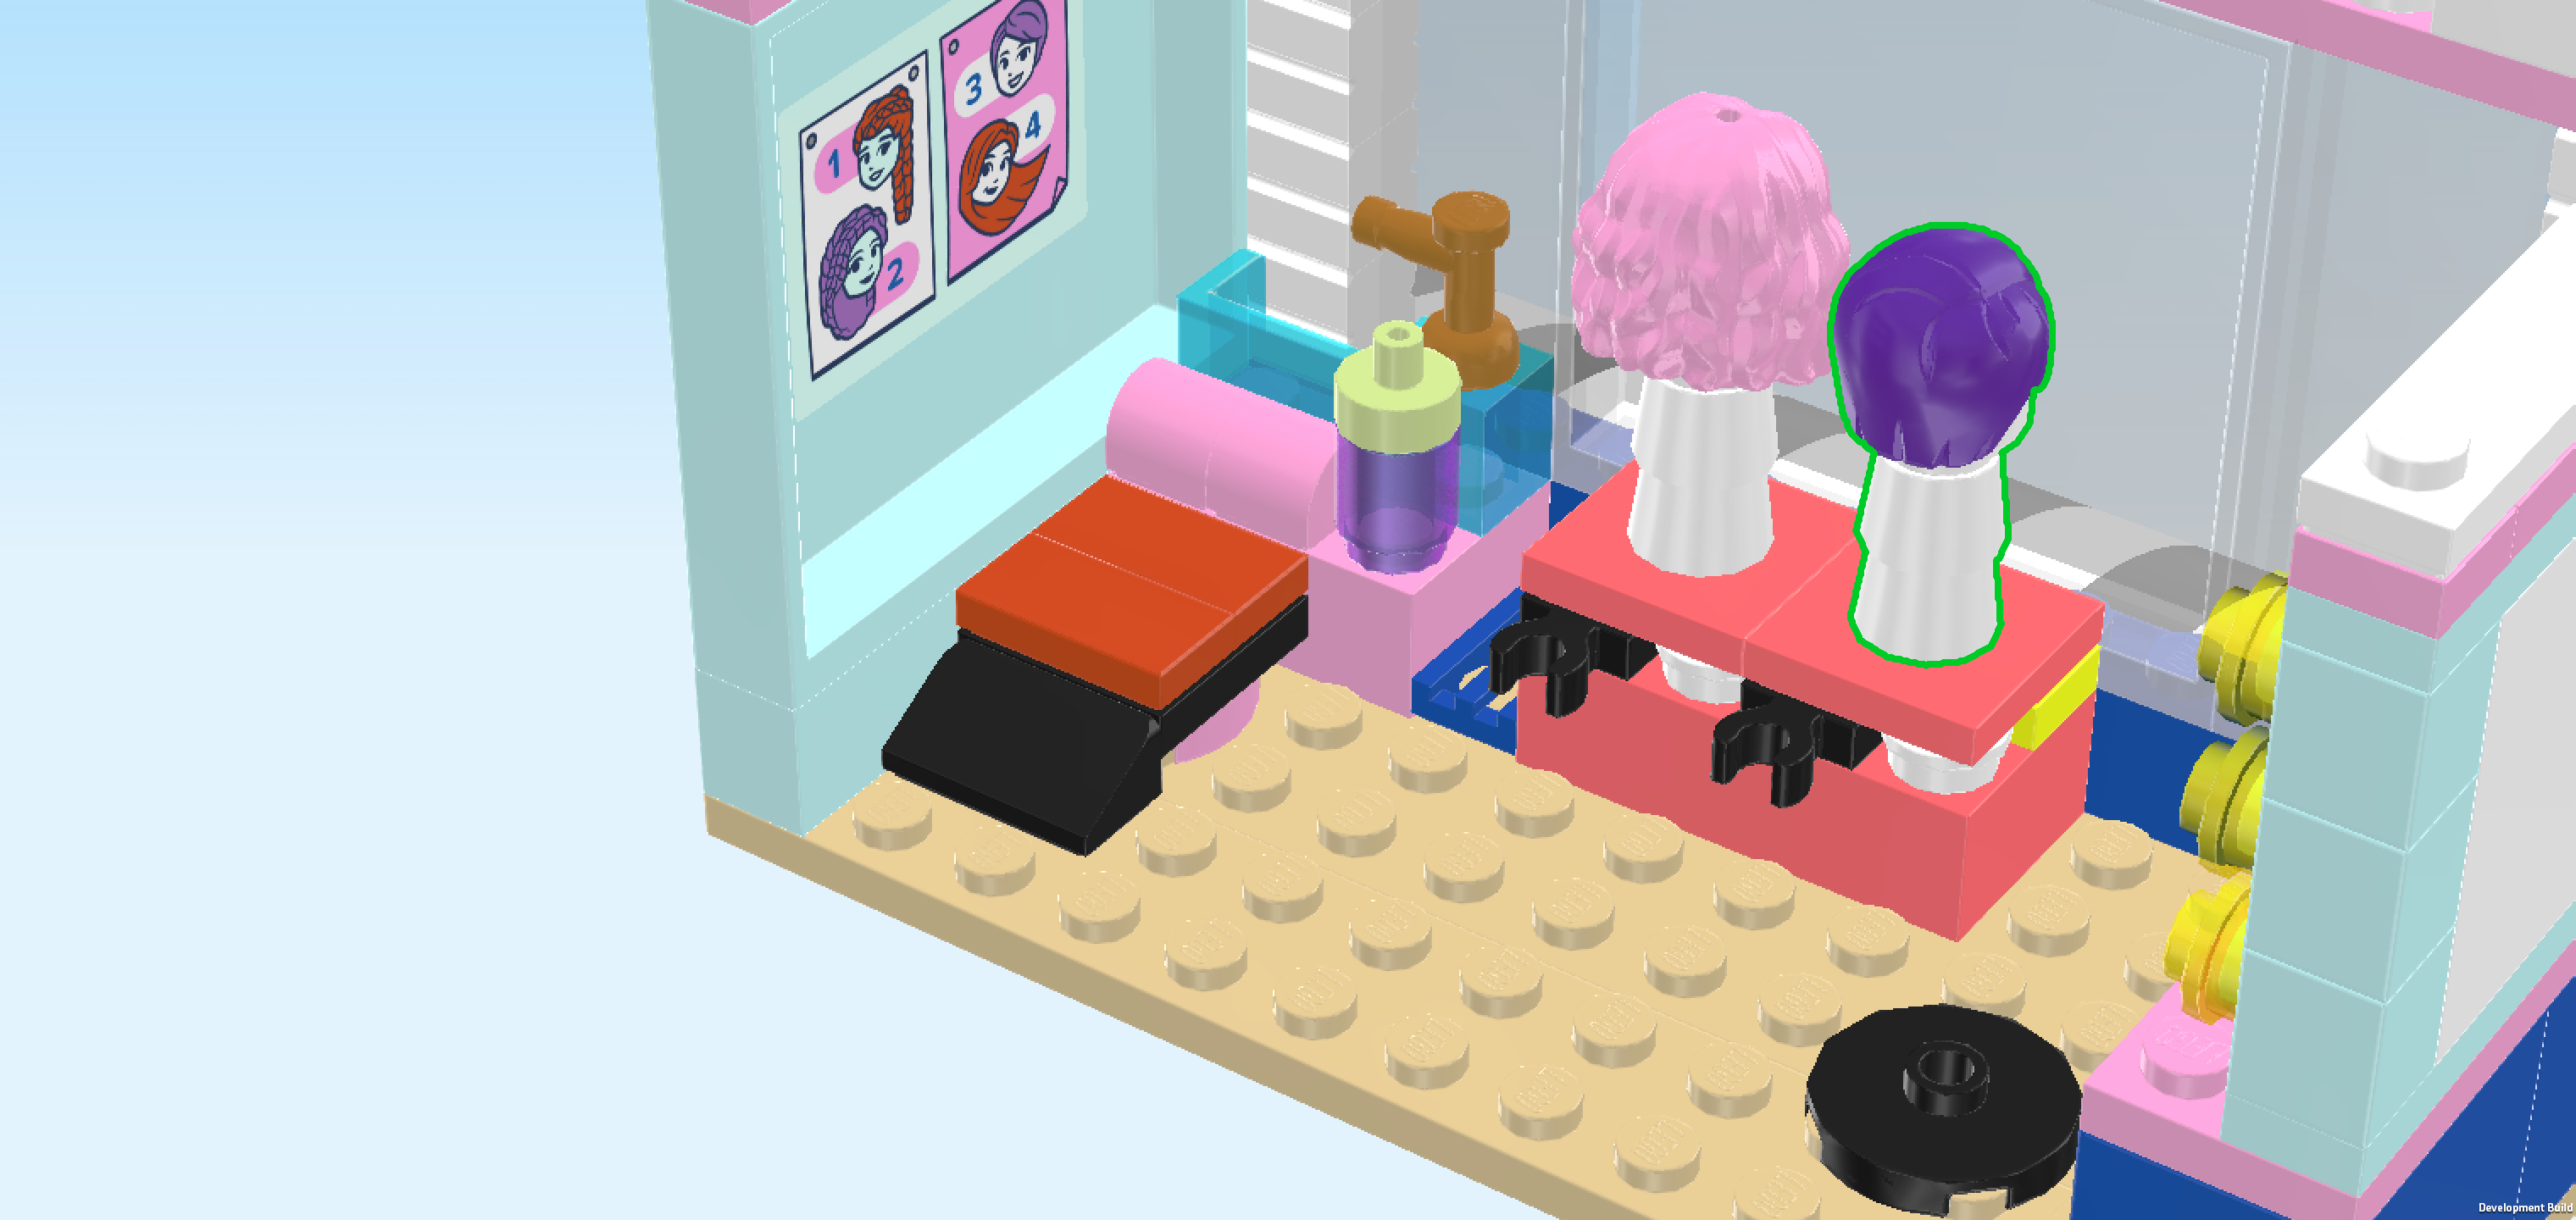
| Collect the following 2 pieces: |
| 1 light purple shoulder-length wavy hairpiece with middle parting, |
| and 1 white Minifigure head. |
| Put the Minifigure head on the previous piece. |
| Put the hairpiece on the head. |
| Turn the wig stand around so that the hair is towards the front and mount the stand on the left knob of the wig display. |
| Next, we will build another wig stand. |
| Find 2 white cone bricks 1x1x⅔. |
| Stack them on top of each other. |
| Collect the following 2 pieces: |
| 1 medium lilac hairpiece with pixie cut and side parting, |
| and 1 white Minifigure head. |
| Put the head on the stacked cone bricks. |
| Put the hair on the head. |
| Mount the wig stand on the second knob of the wig display, hair towards the front. |
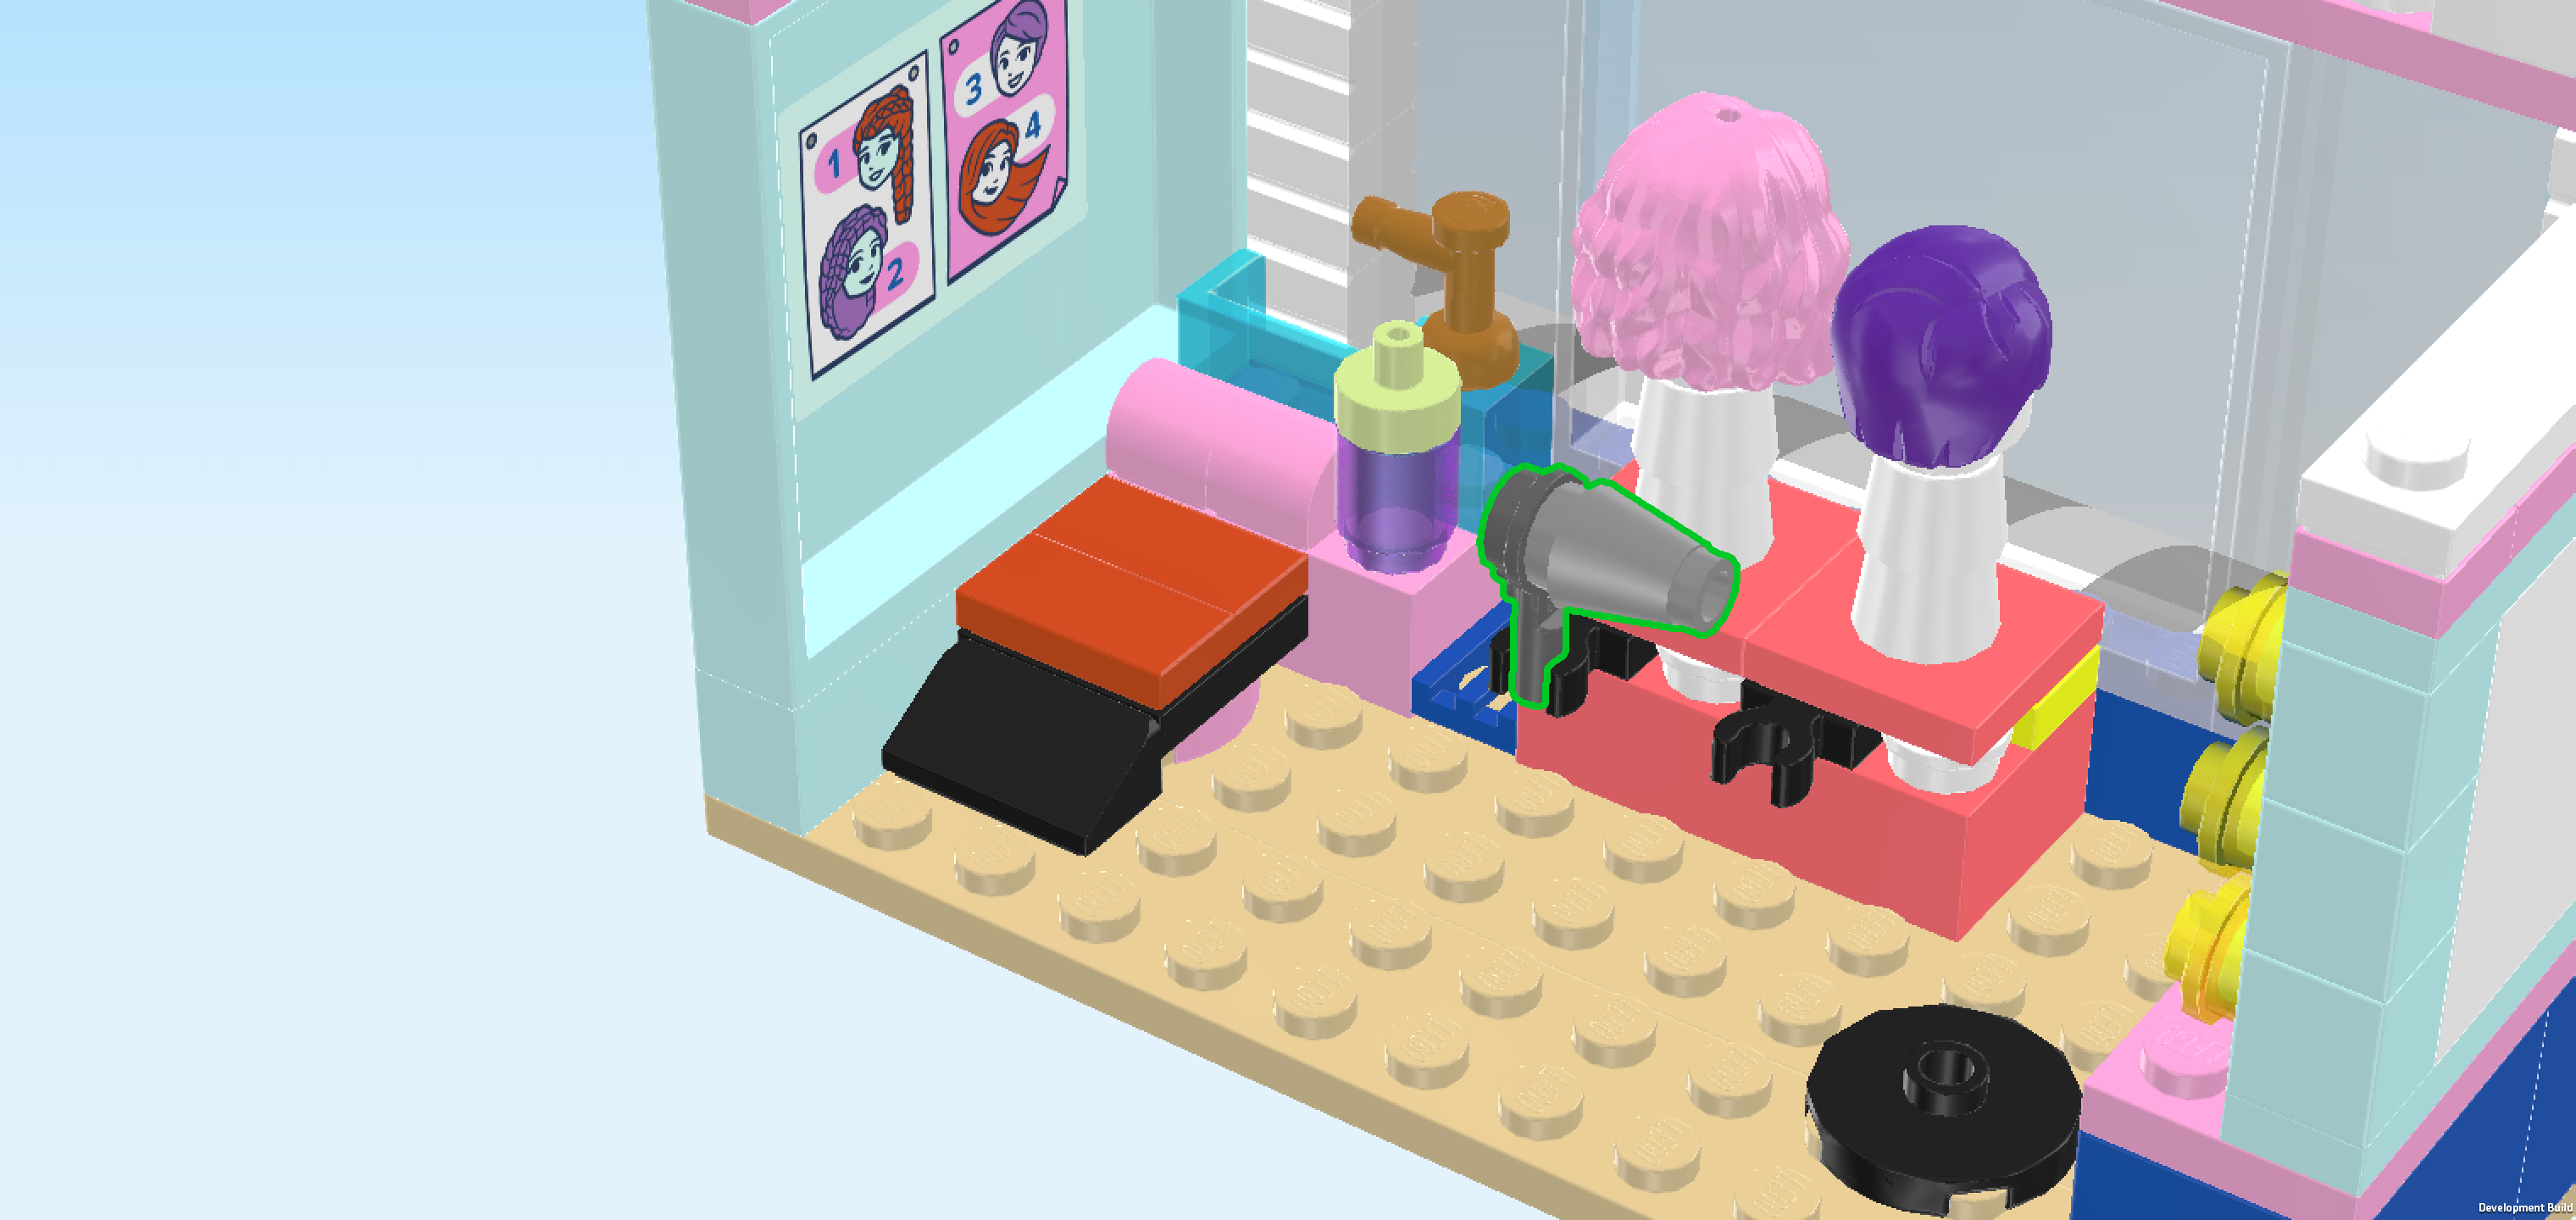
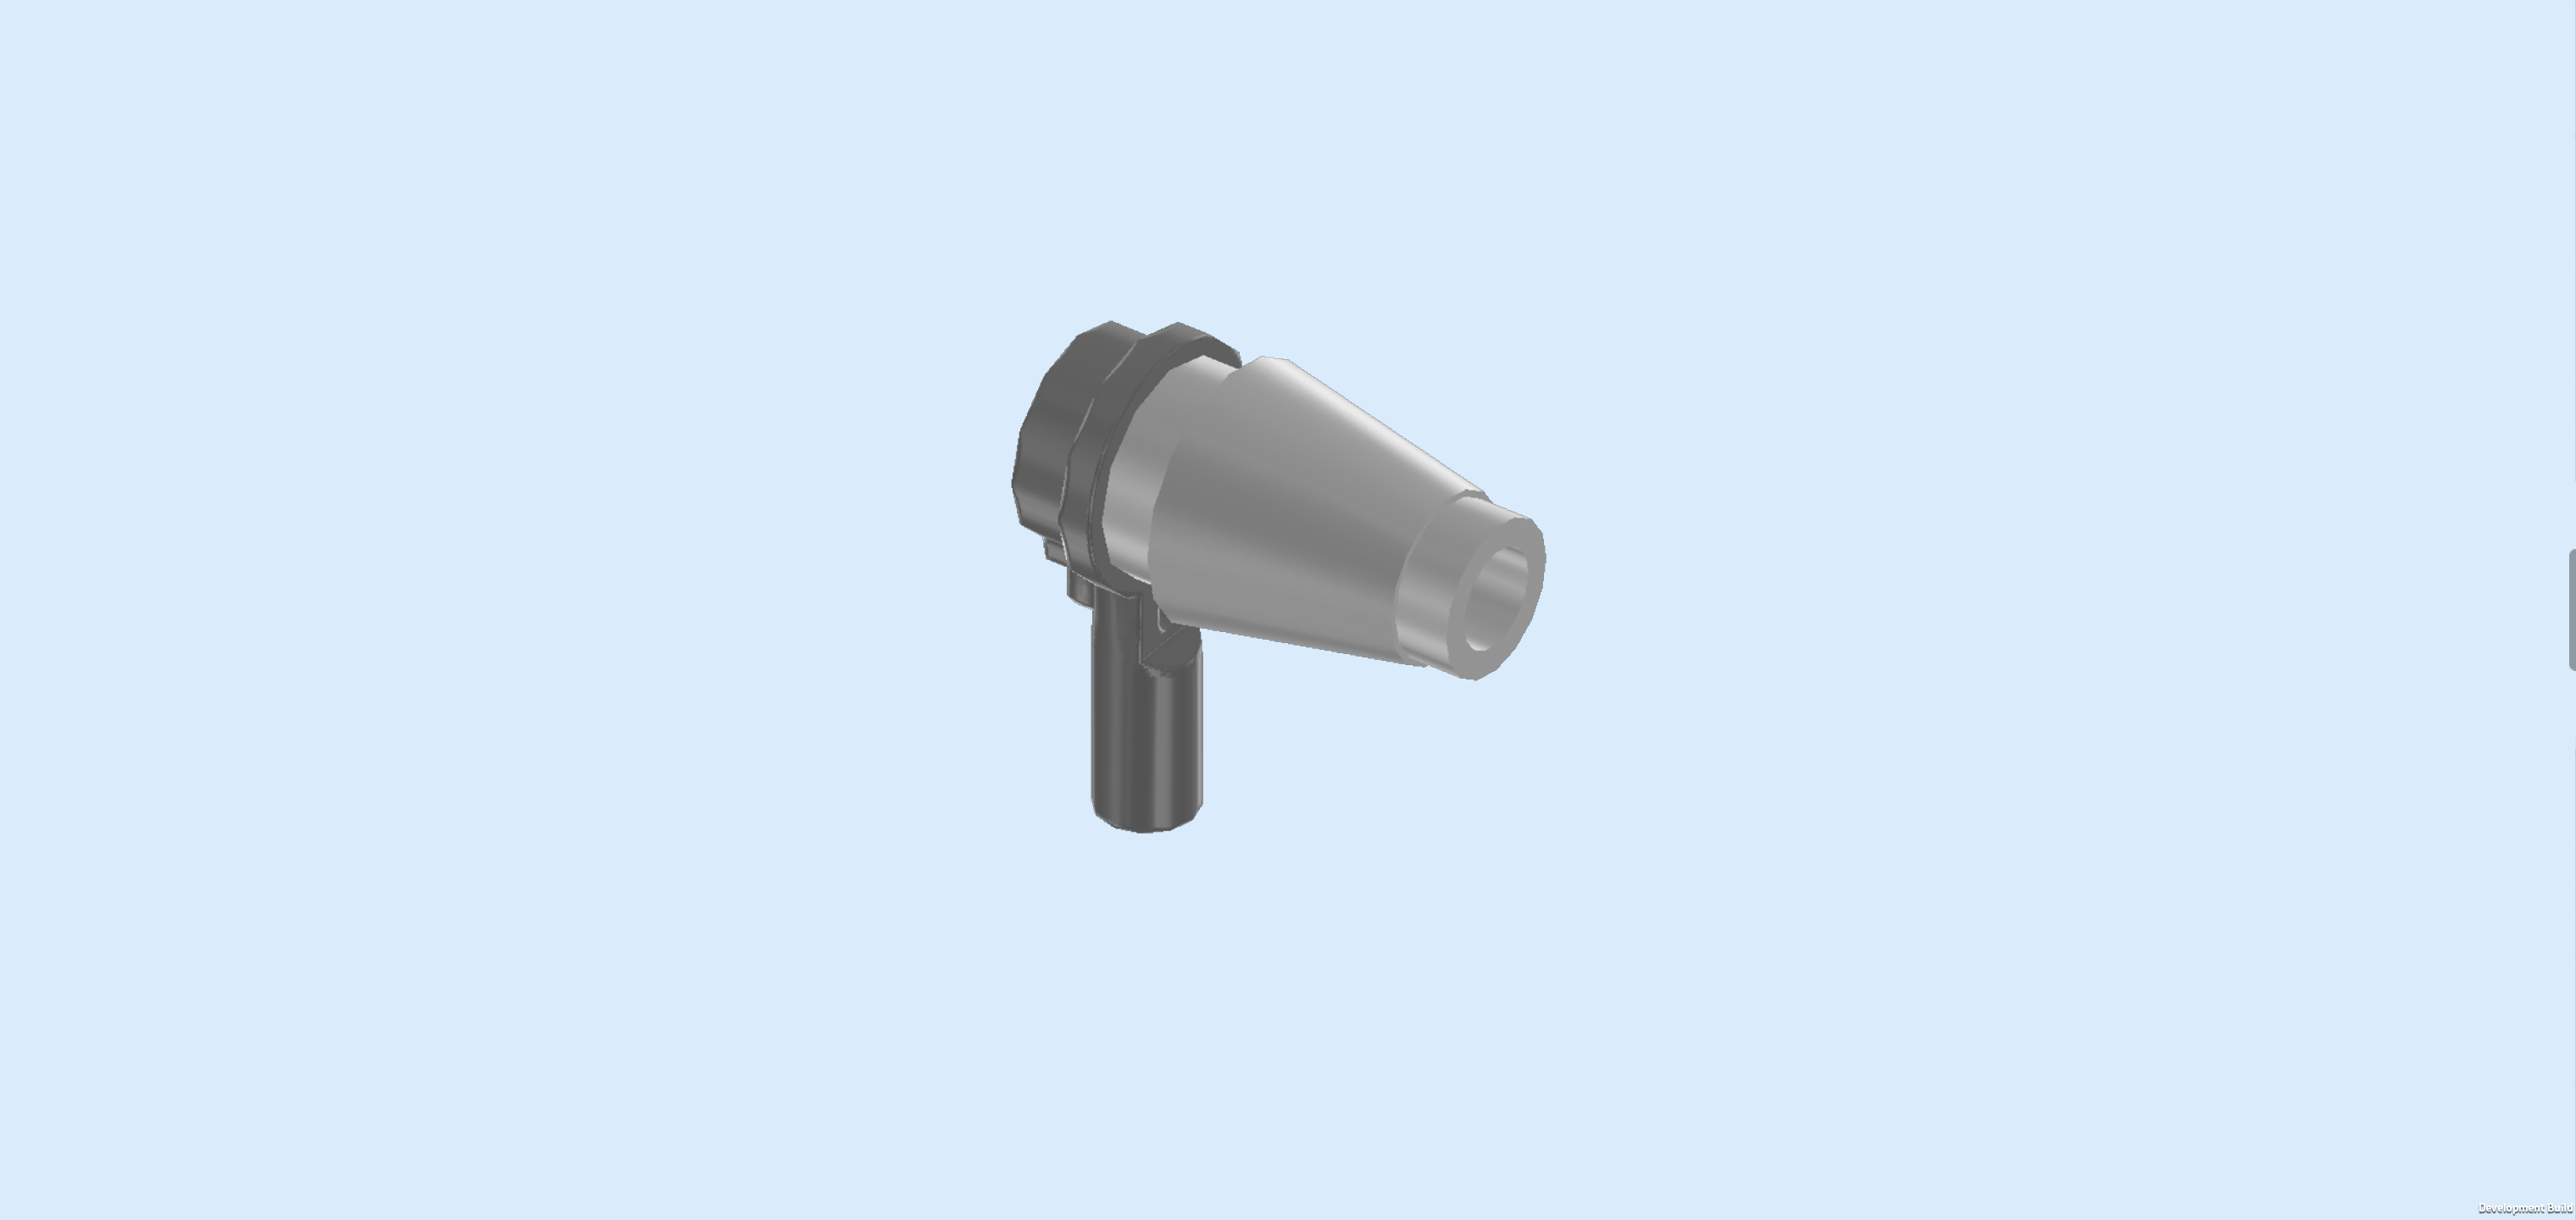
| Next up, we will assemble the hair dryer. |
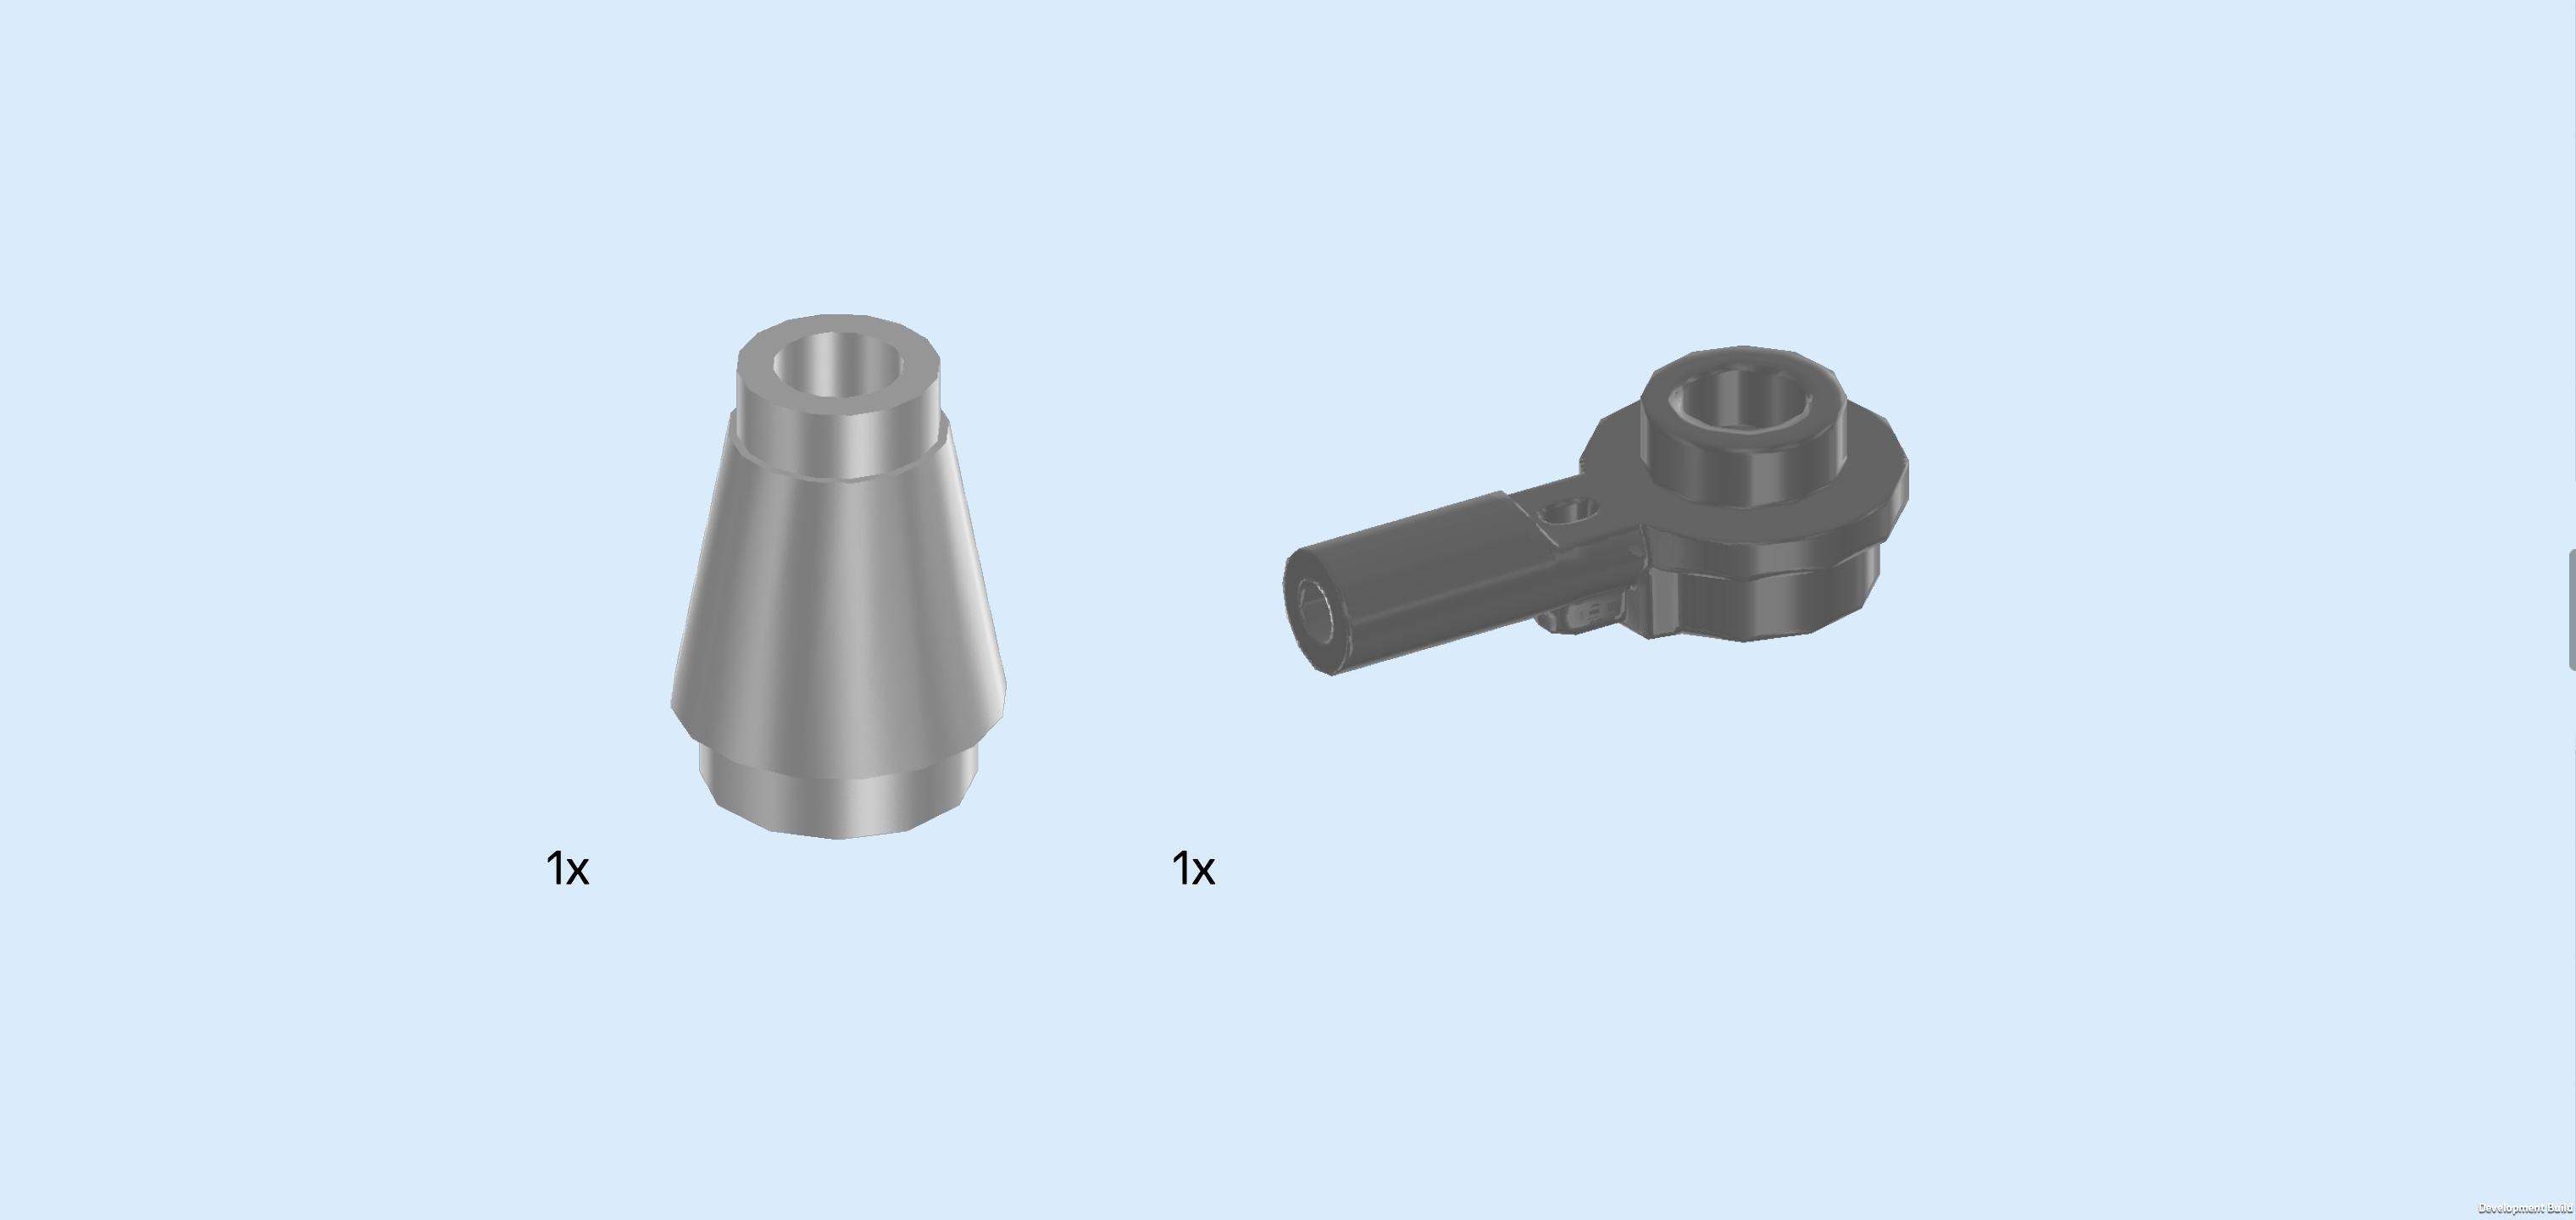
| Collect the following 2 pieces: |
| 1 silver grey nose cone 1x1, |
| and 1 dark stone grey round plate 1x1 with through-hole and side handle. |
| Put the wide end of the nose cone on the round plate. |
| Flip the hair dryer upright so that the handle is pointing to the bottom and the narrow end of the nose cone is pointing to the right. Then, snap the handle of the hair dryer into the left clasp of the wig display. |
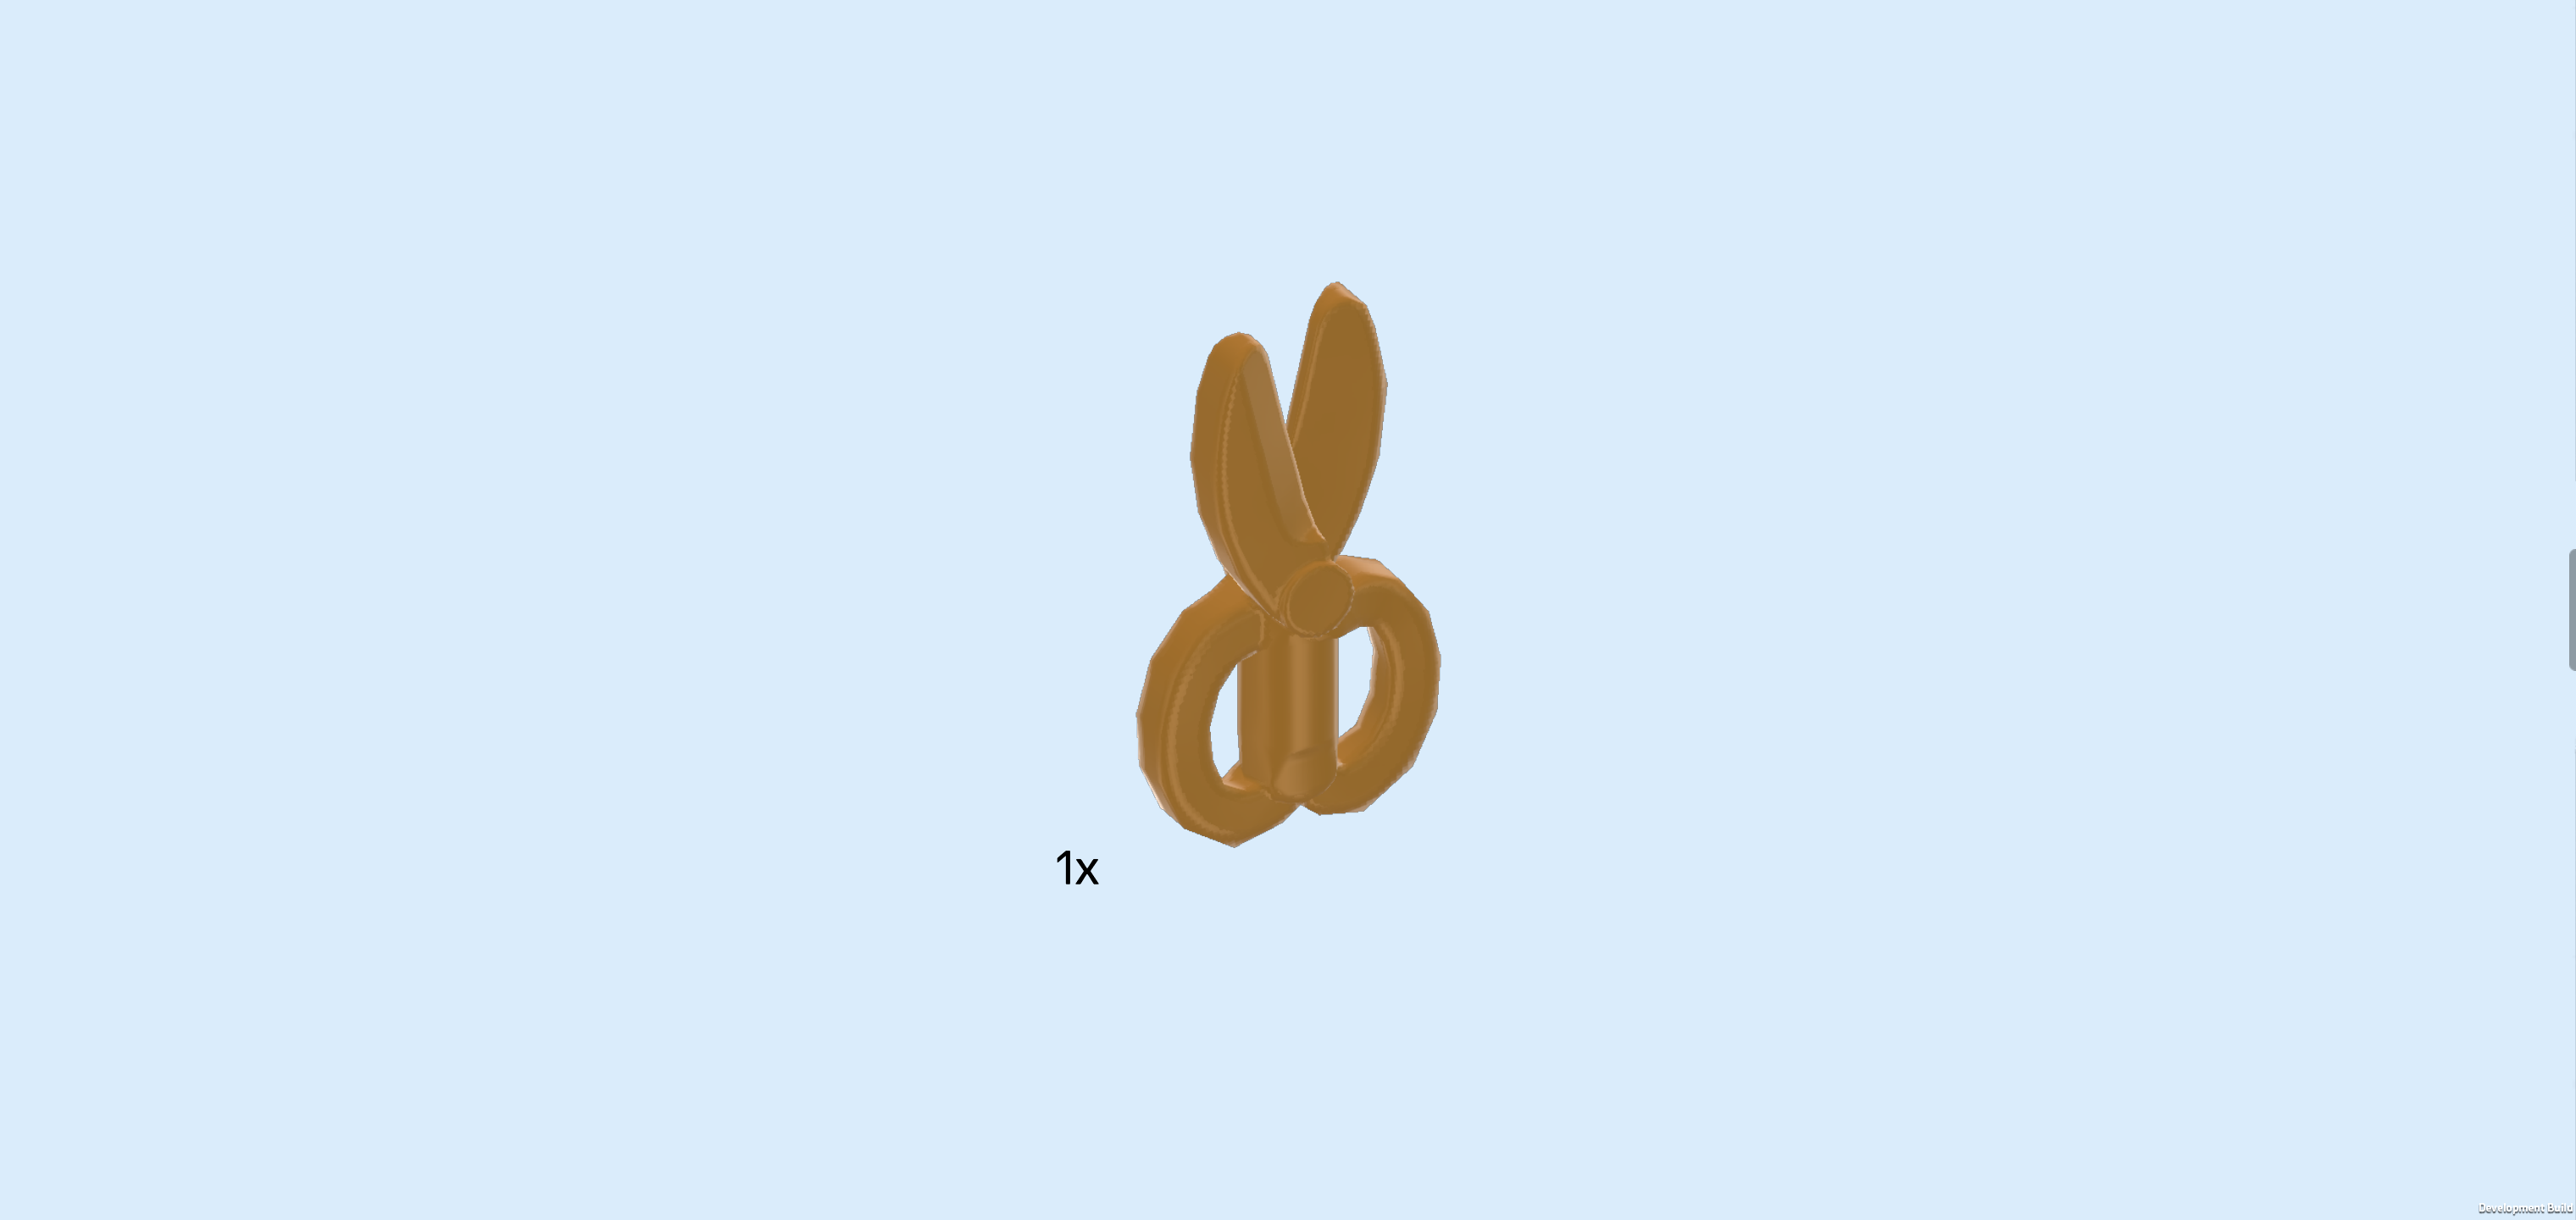
| Find 1 warm gold pair of scissors. |
| Hold it upright so that the shears are pointing to the top. Snap the middle handle on the right clasp of the wig display. |
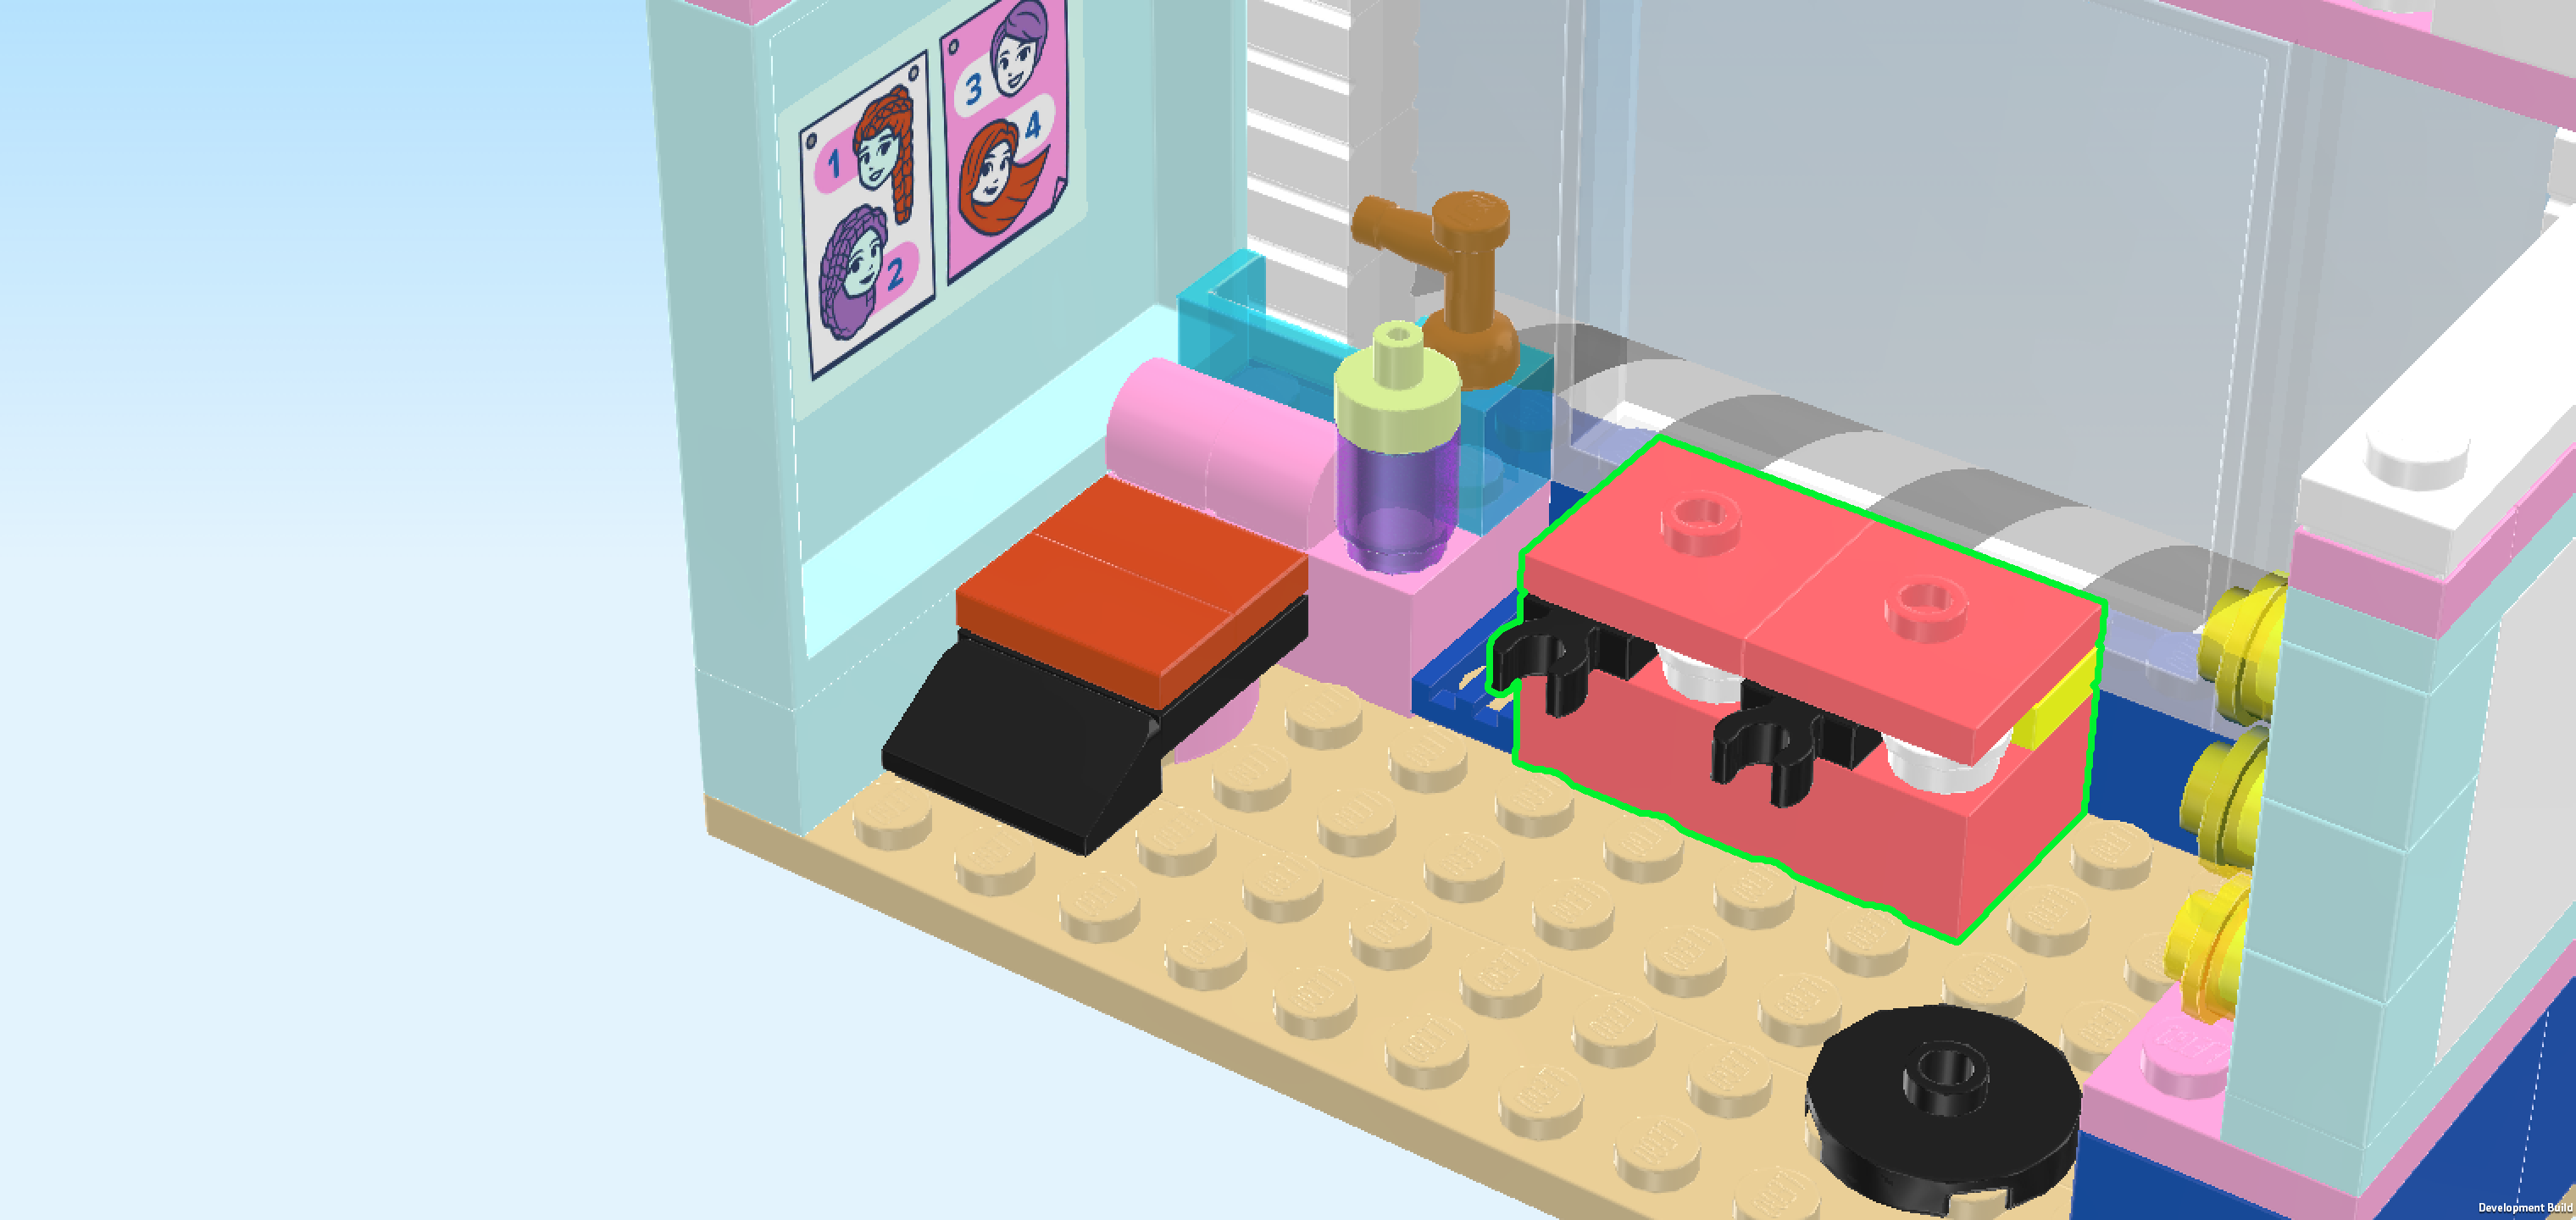
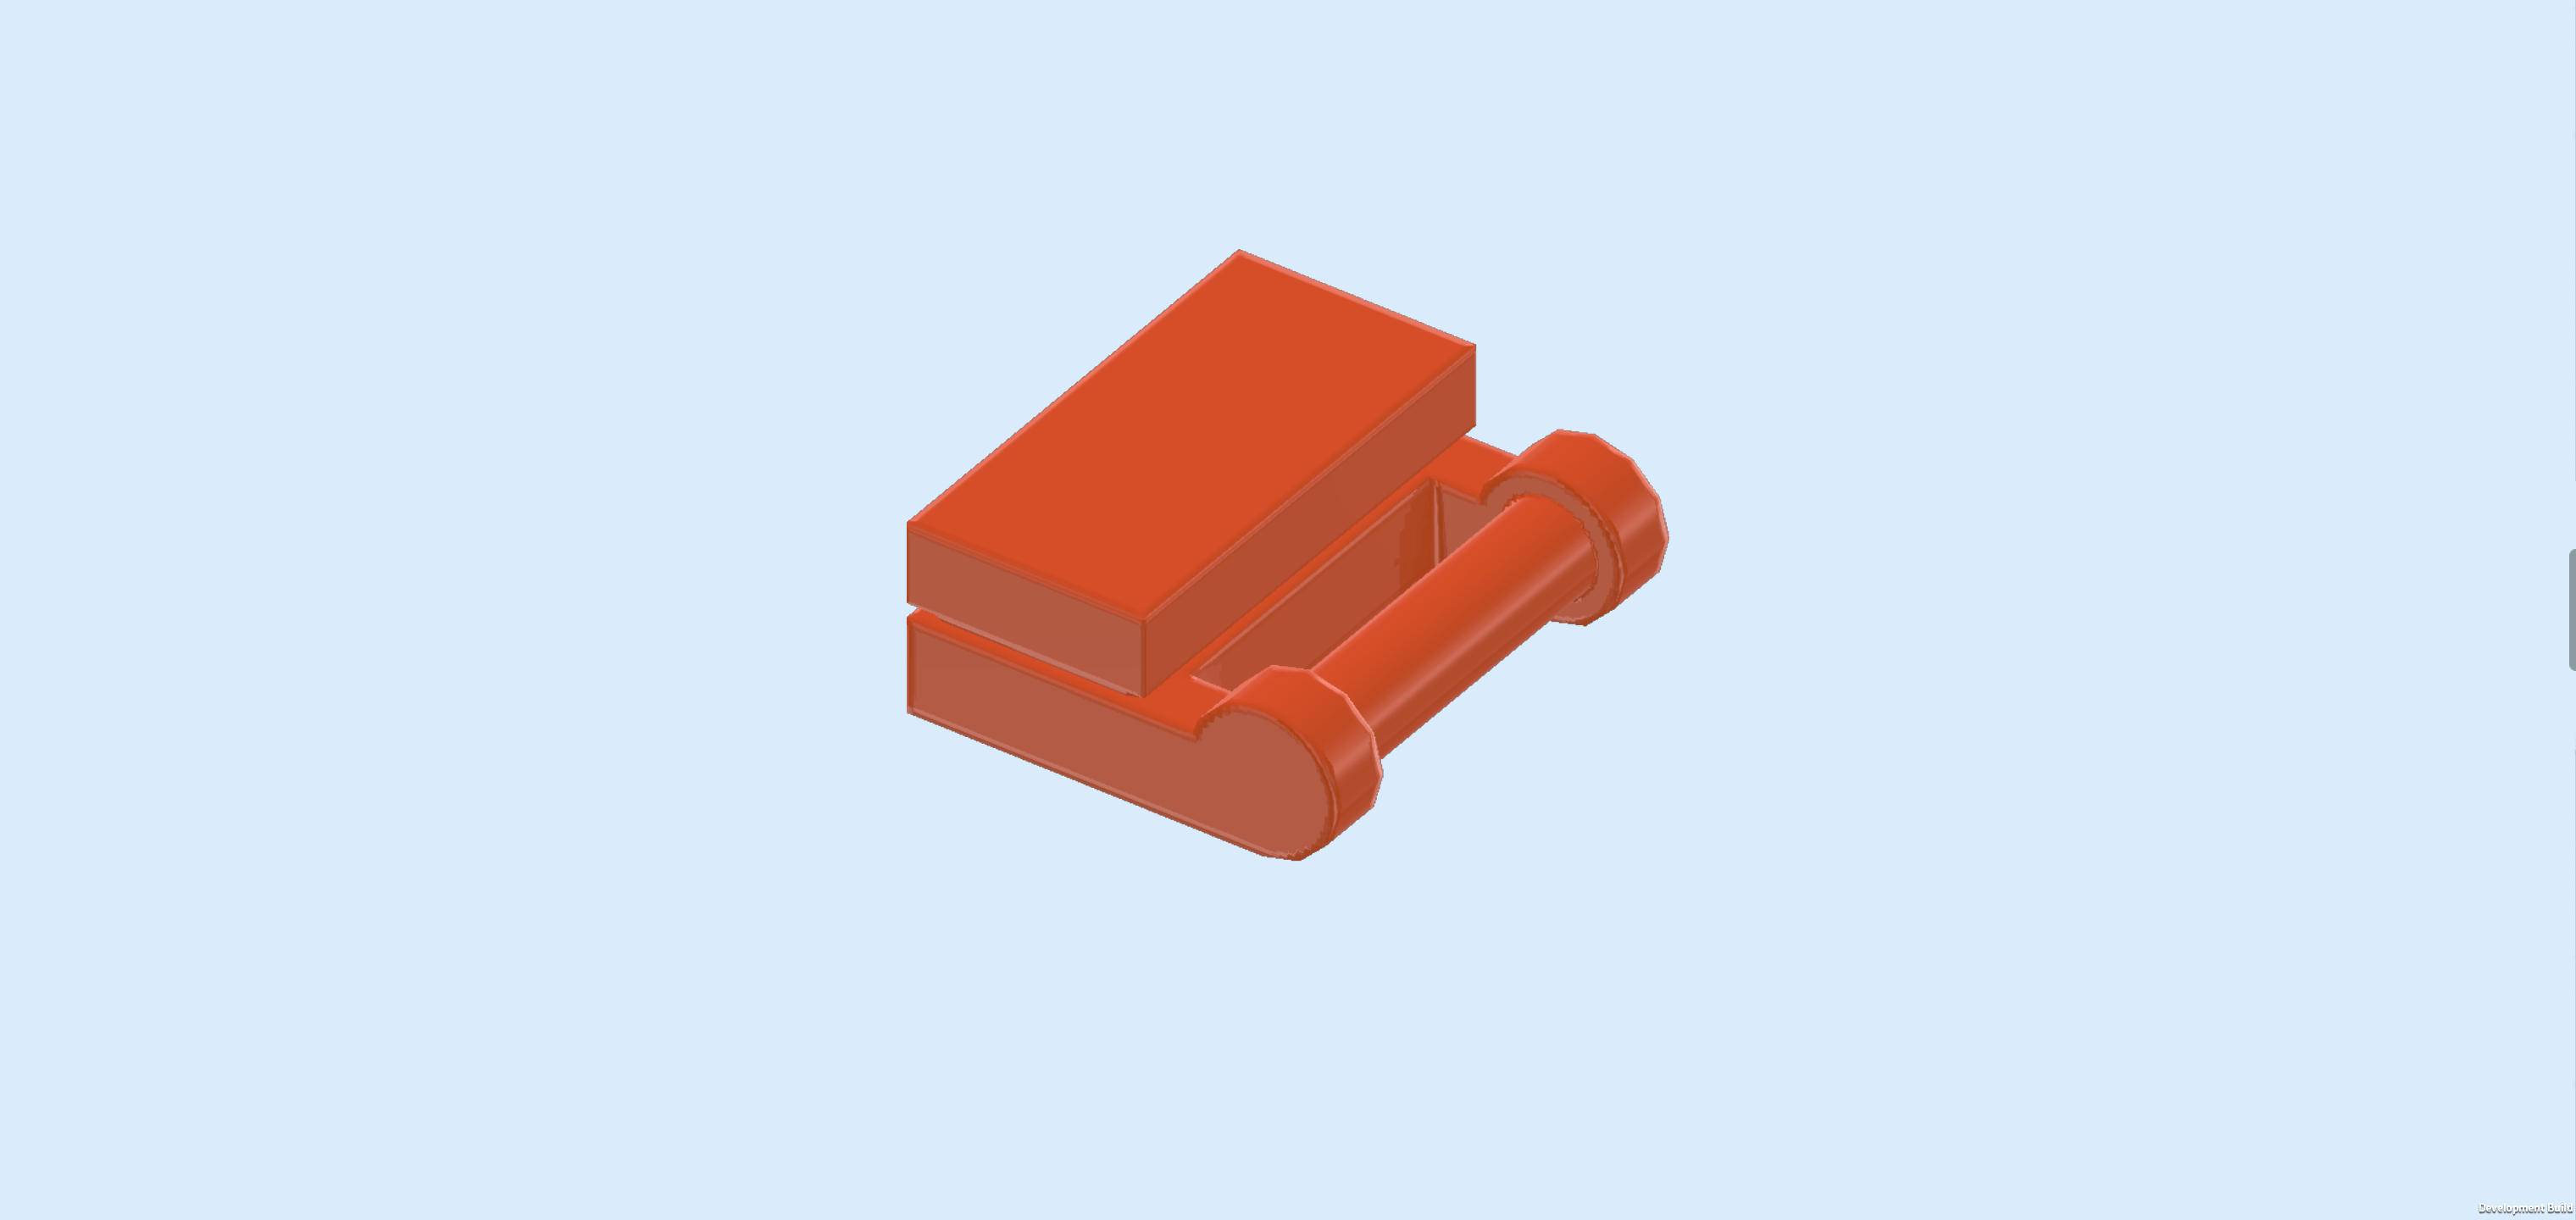
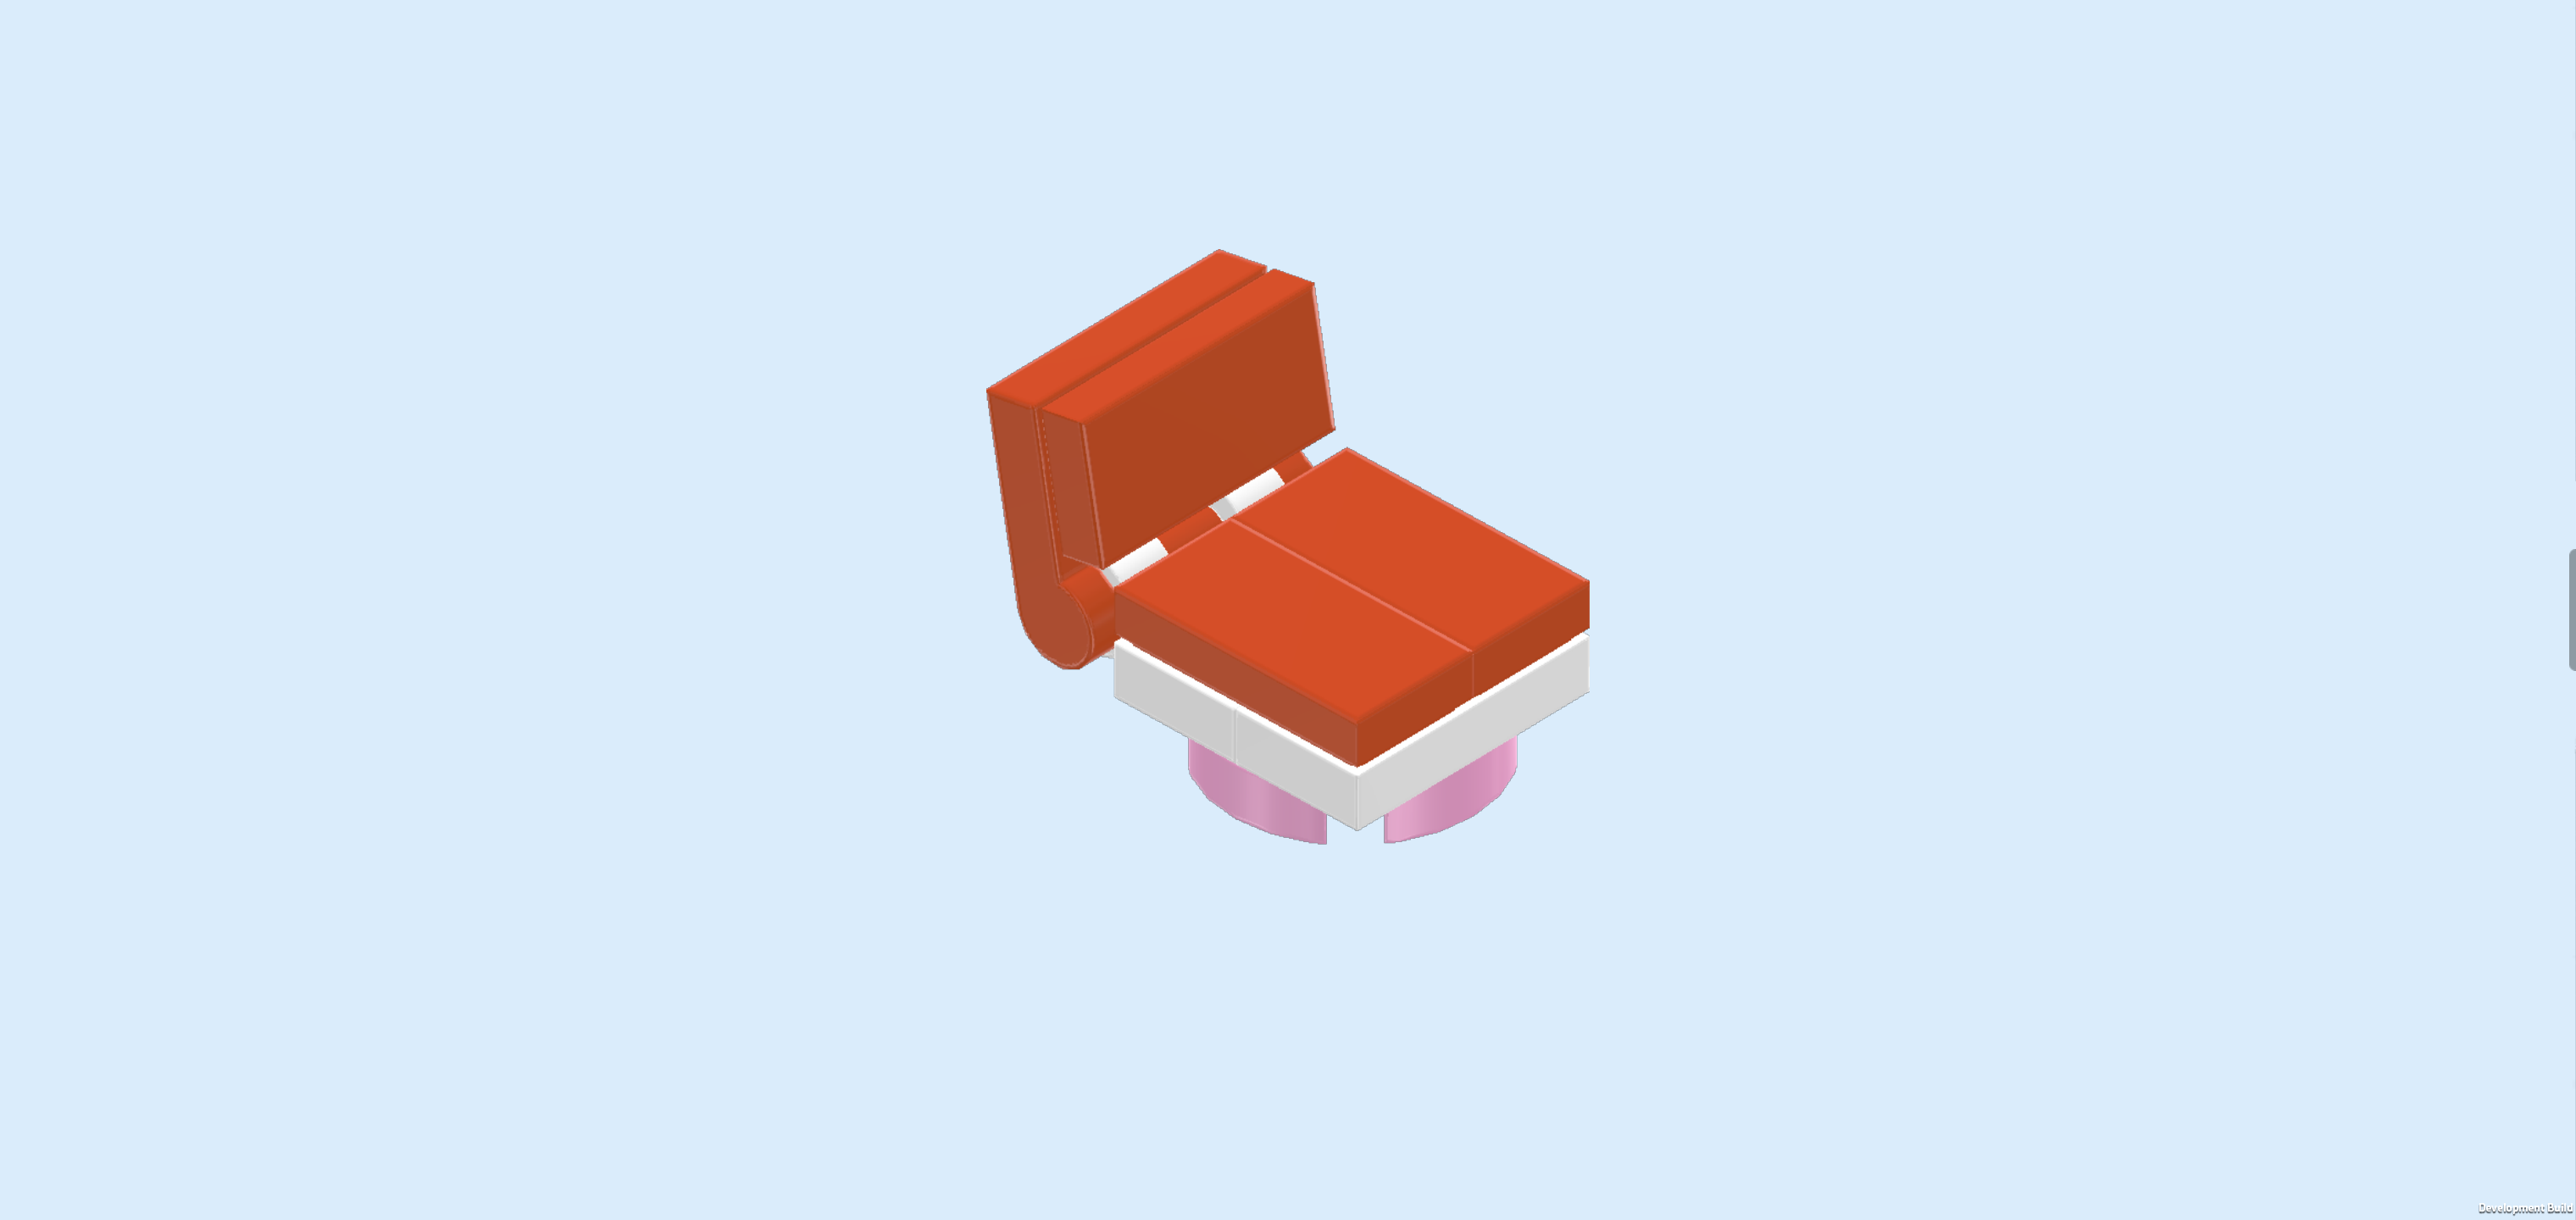
| Next, we will build the salon chair. |
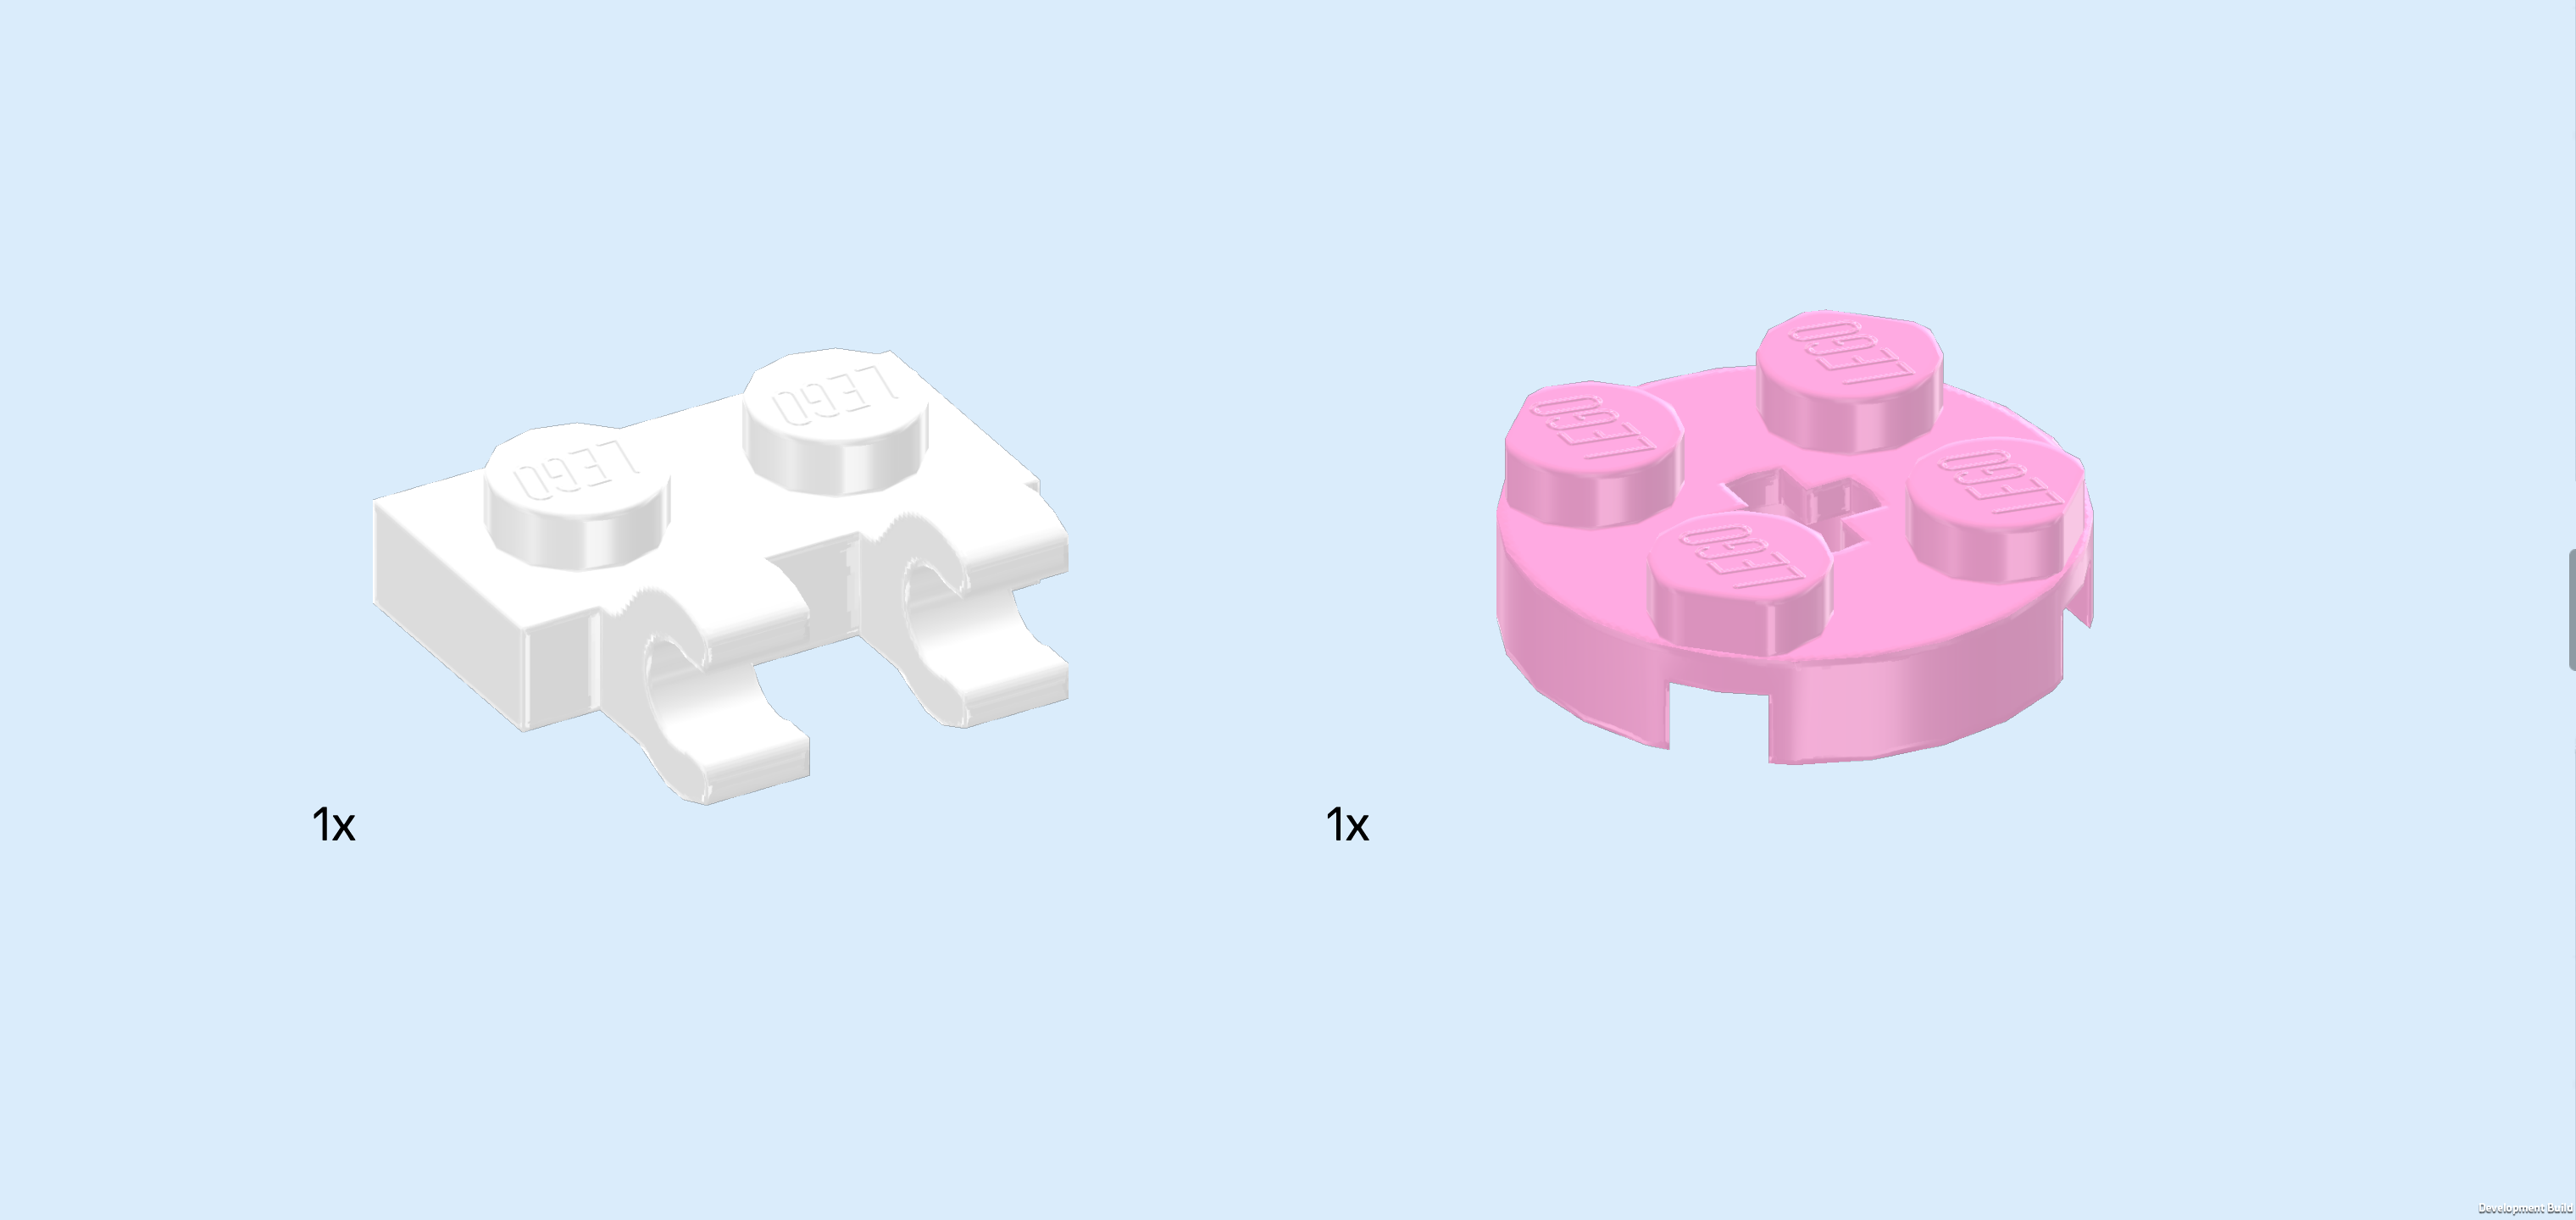
| Collect the following 2 pieces: |
| 1 white plate 1x2 with 2 vertical clasps on long side, |
| and 1 light purple round plate 2x2. |
| Put the round plate 2x2 on the table. Make sure its knobs form straight rows and columns in front of you. |
| Put the plate with clasps vertically on the left column, clasps to the left. |
| Find 1 white plate 1x2. |
| Put it vertically on the right column. |
| Find 2 reddish orange flat tiles 1x2. |
| Put 1 horizontally on the back row and the other 1 horizontally on the front row. |
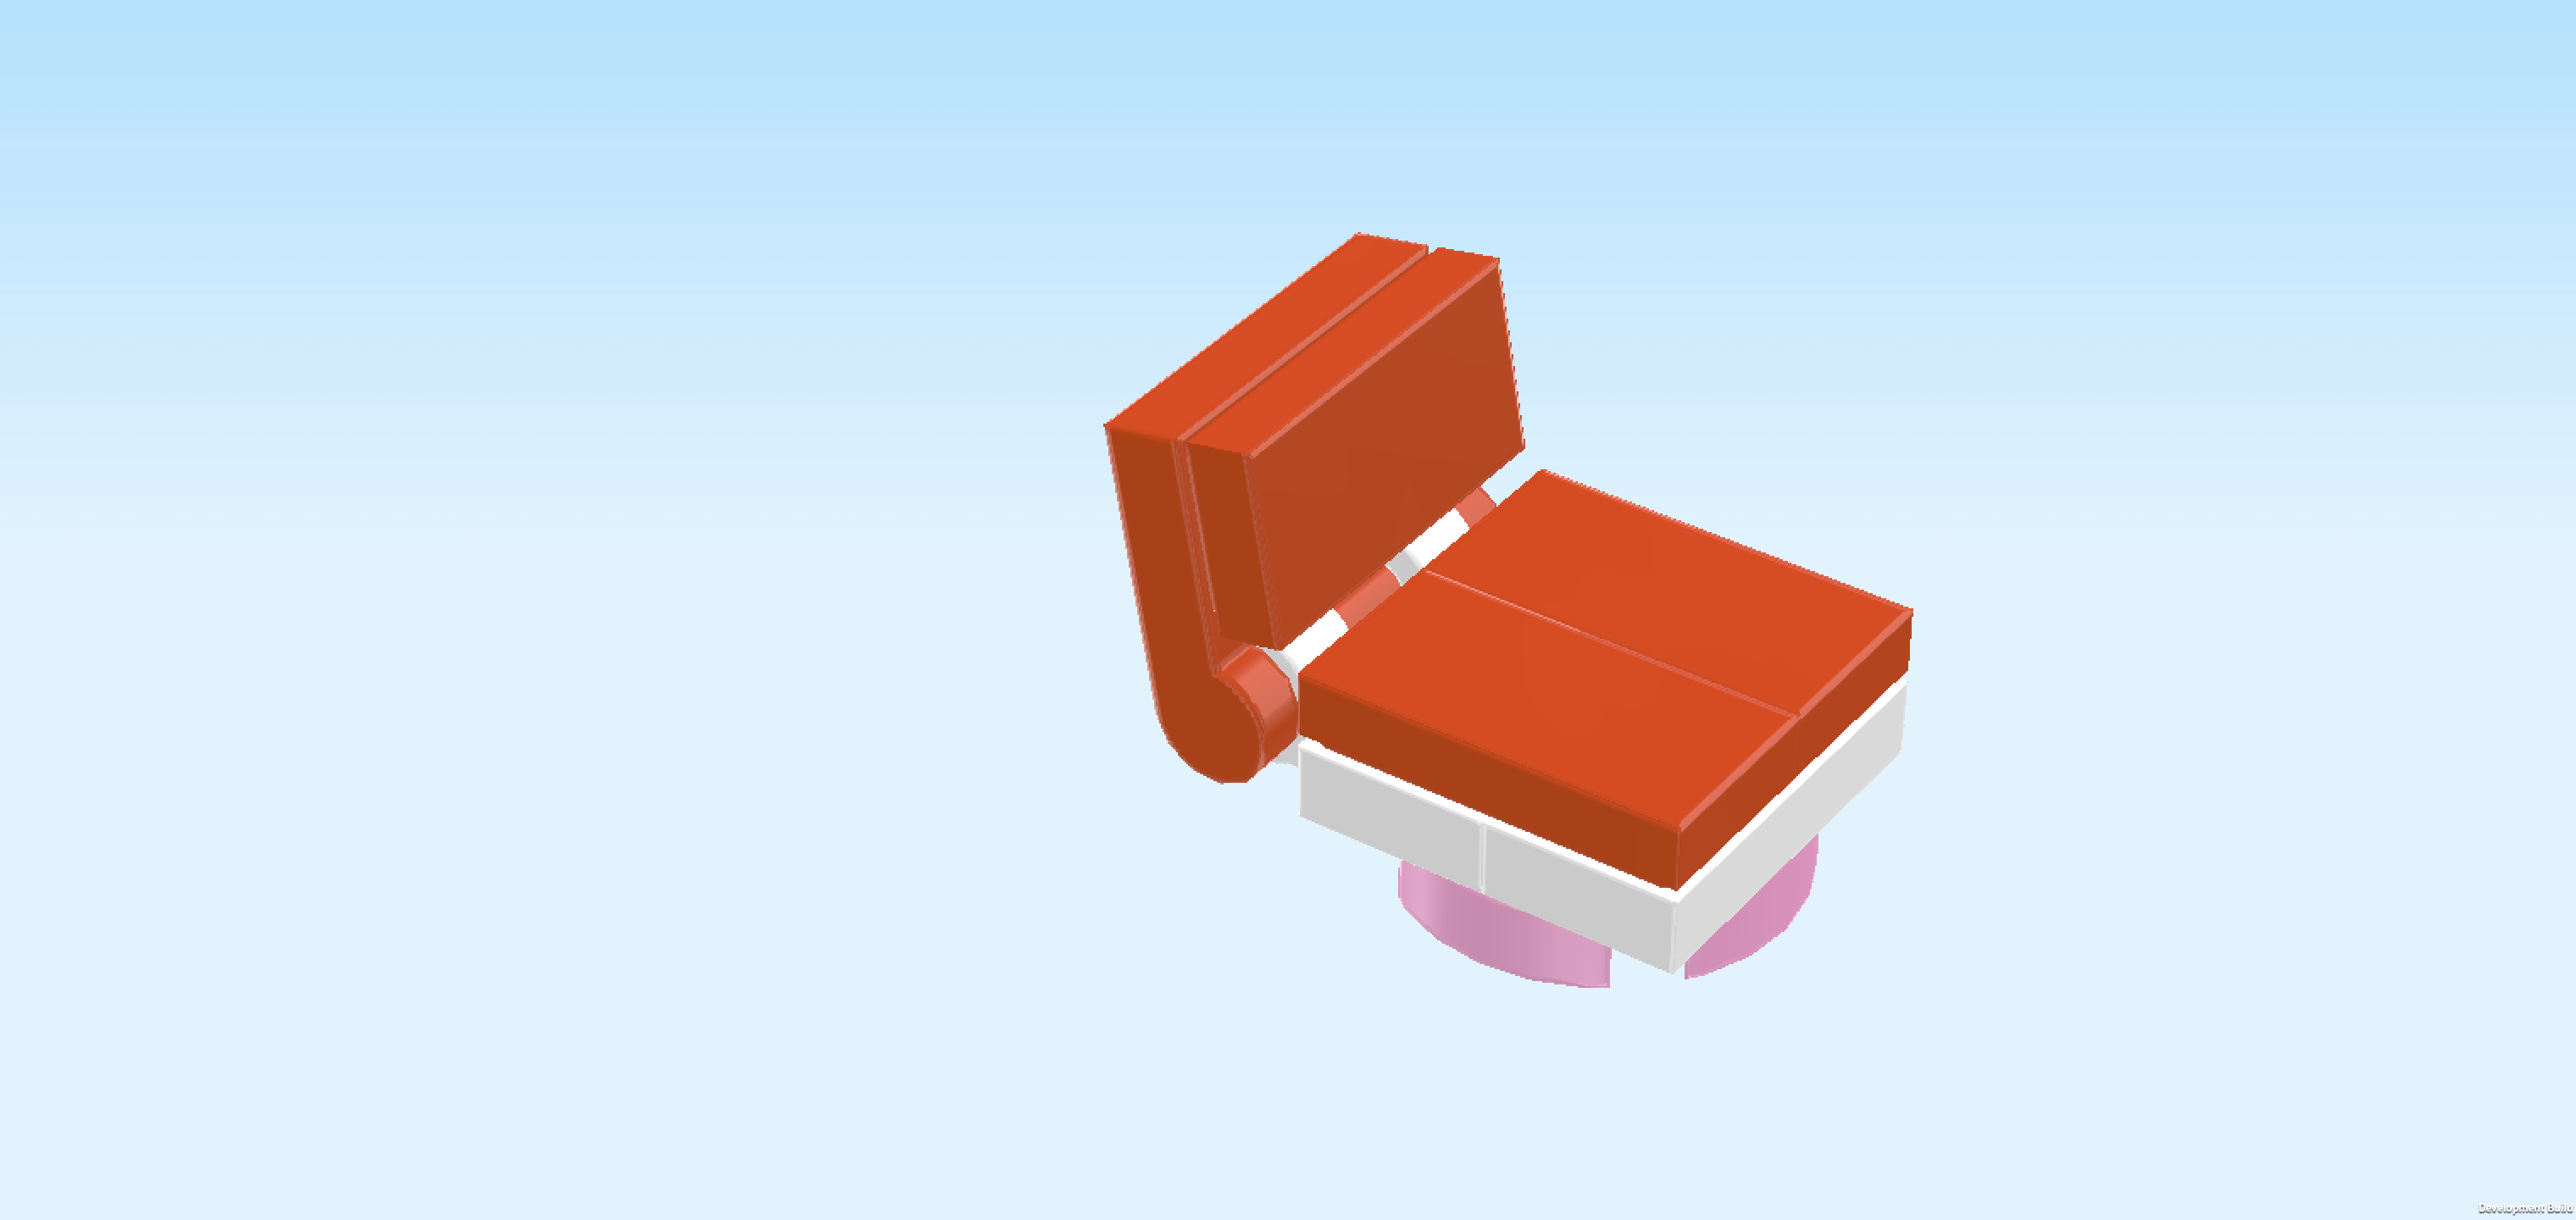
| Next, we will build the headrest of the salon chair. |
| Collect the following 2 pieces: |
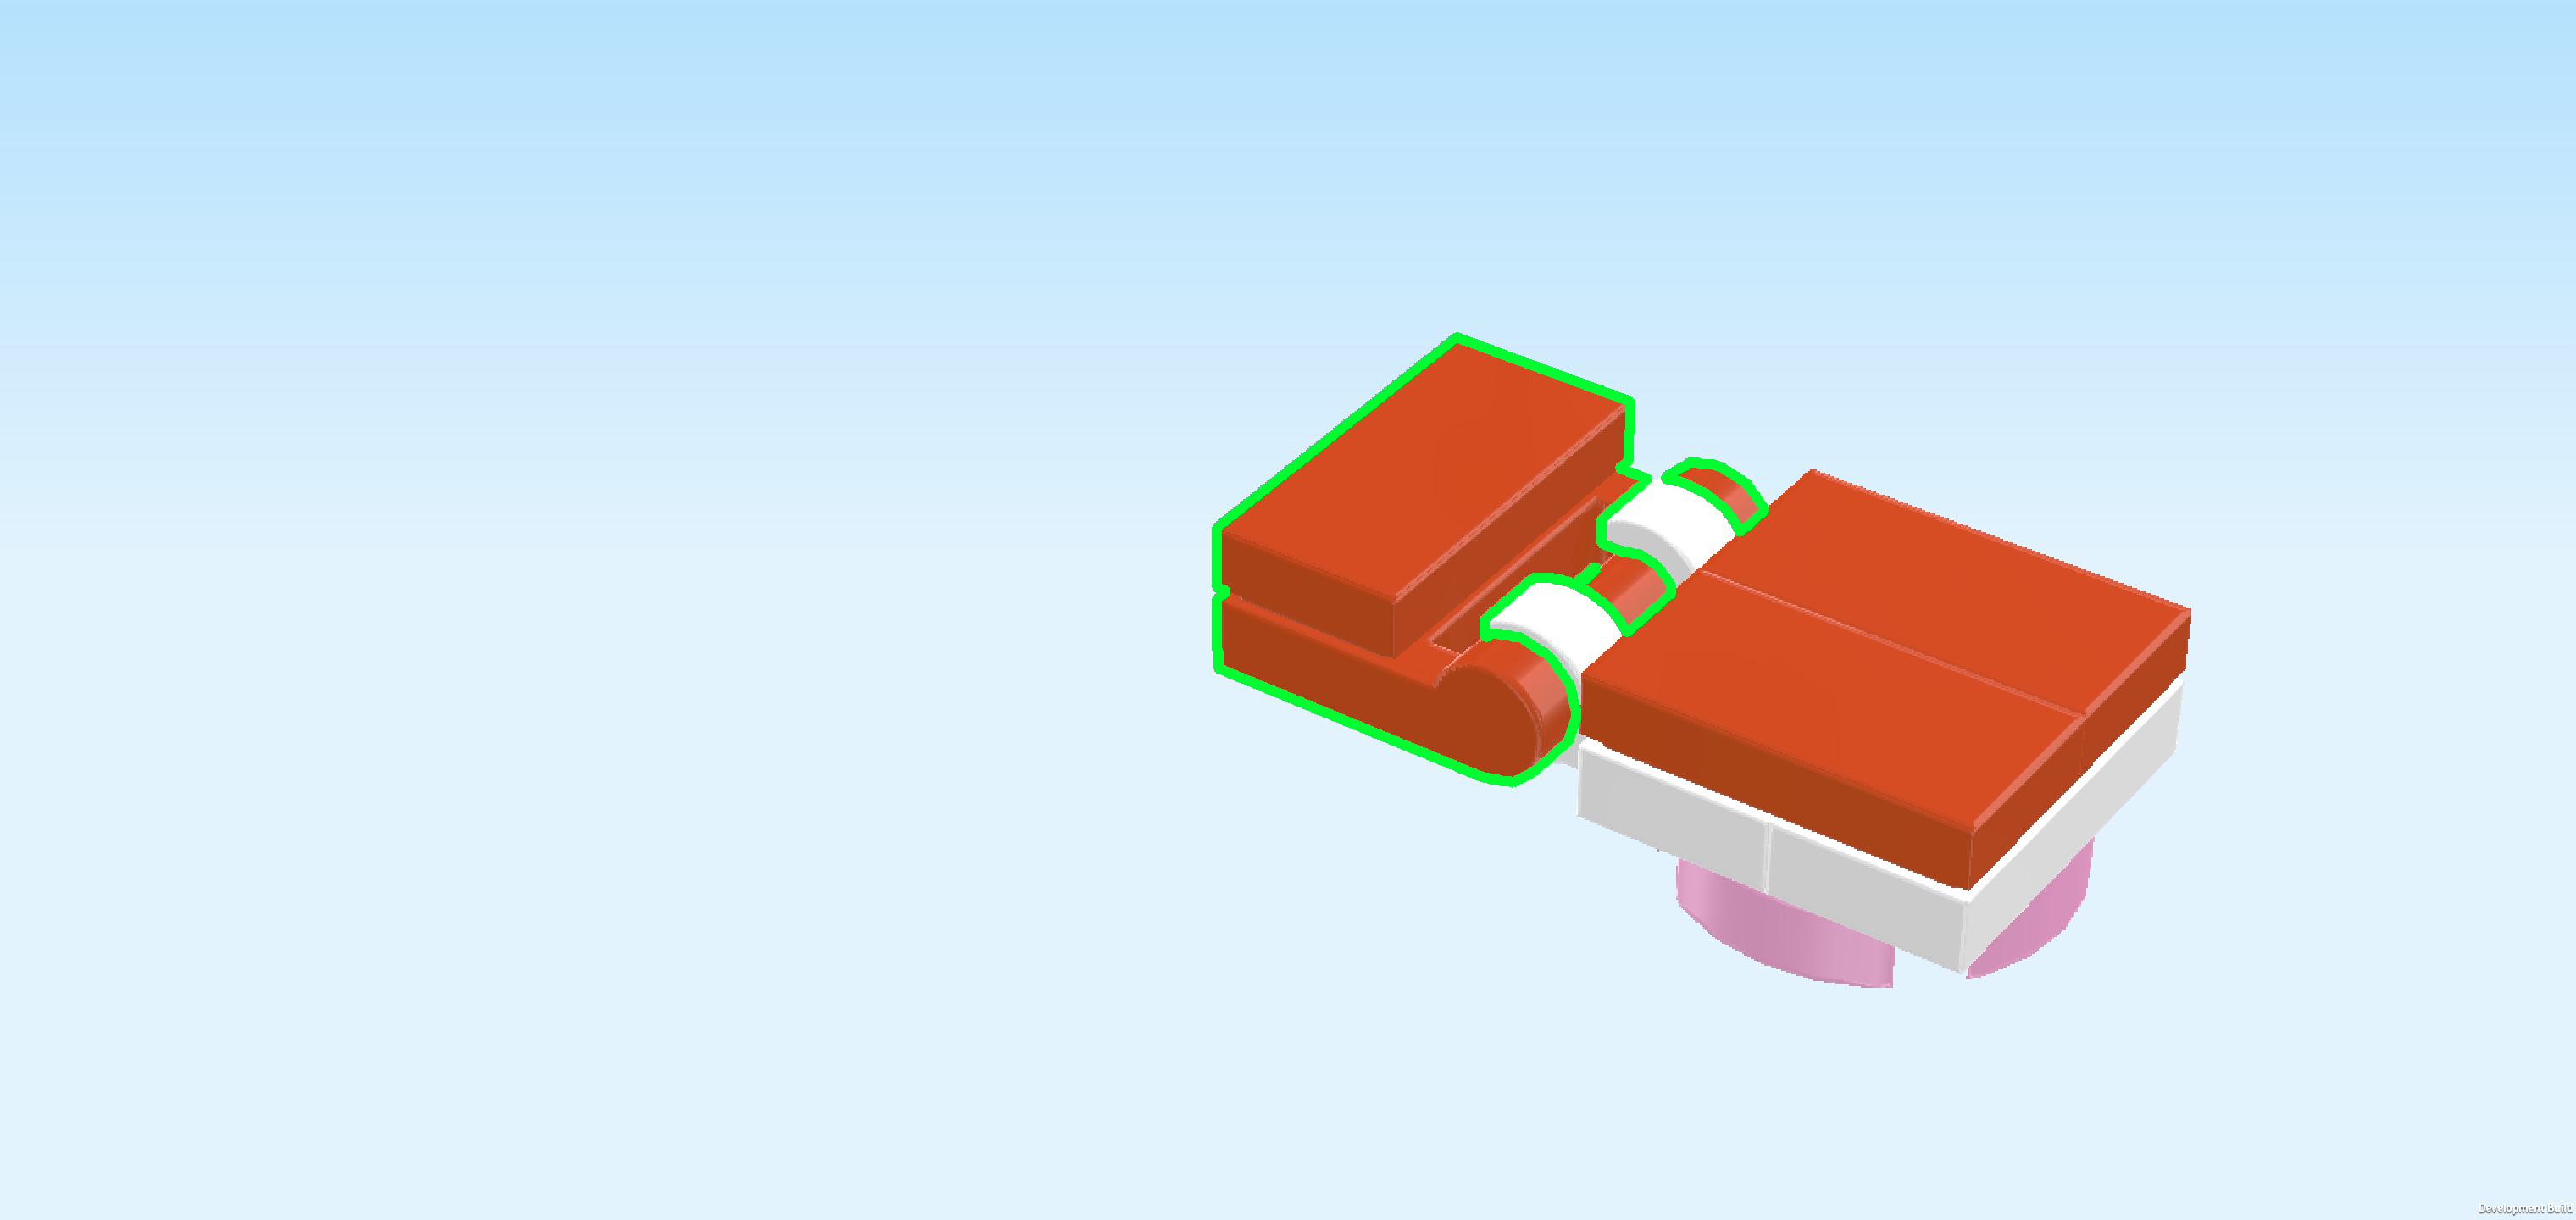
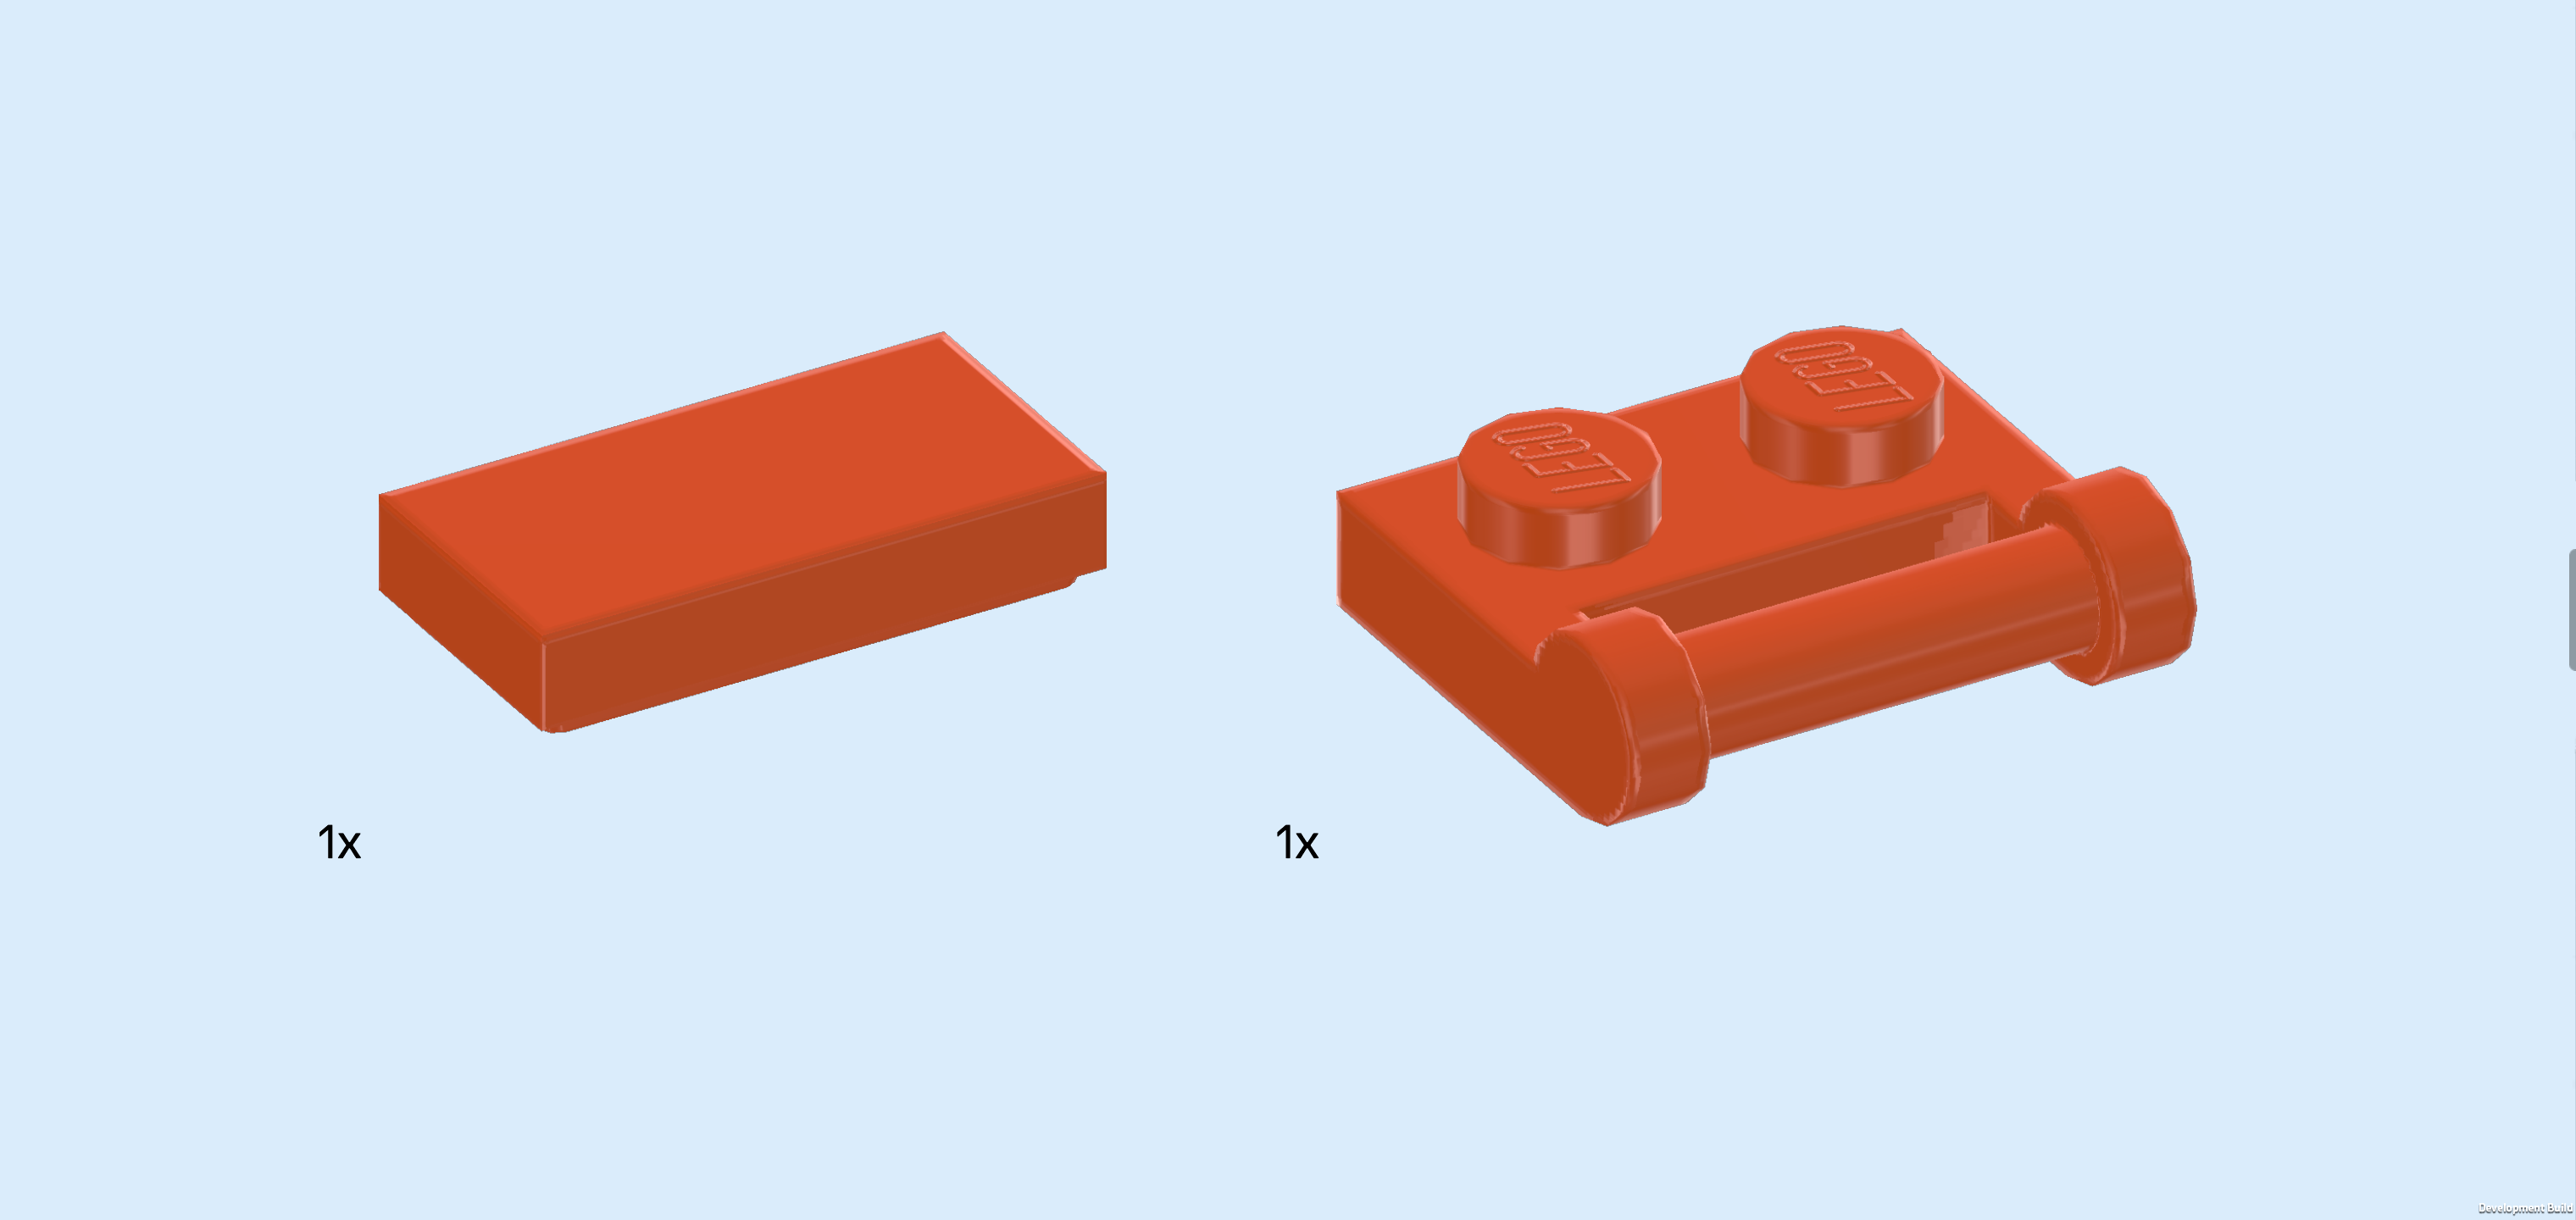
| 1 reddish orange flat tile 1x2, |
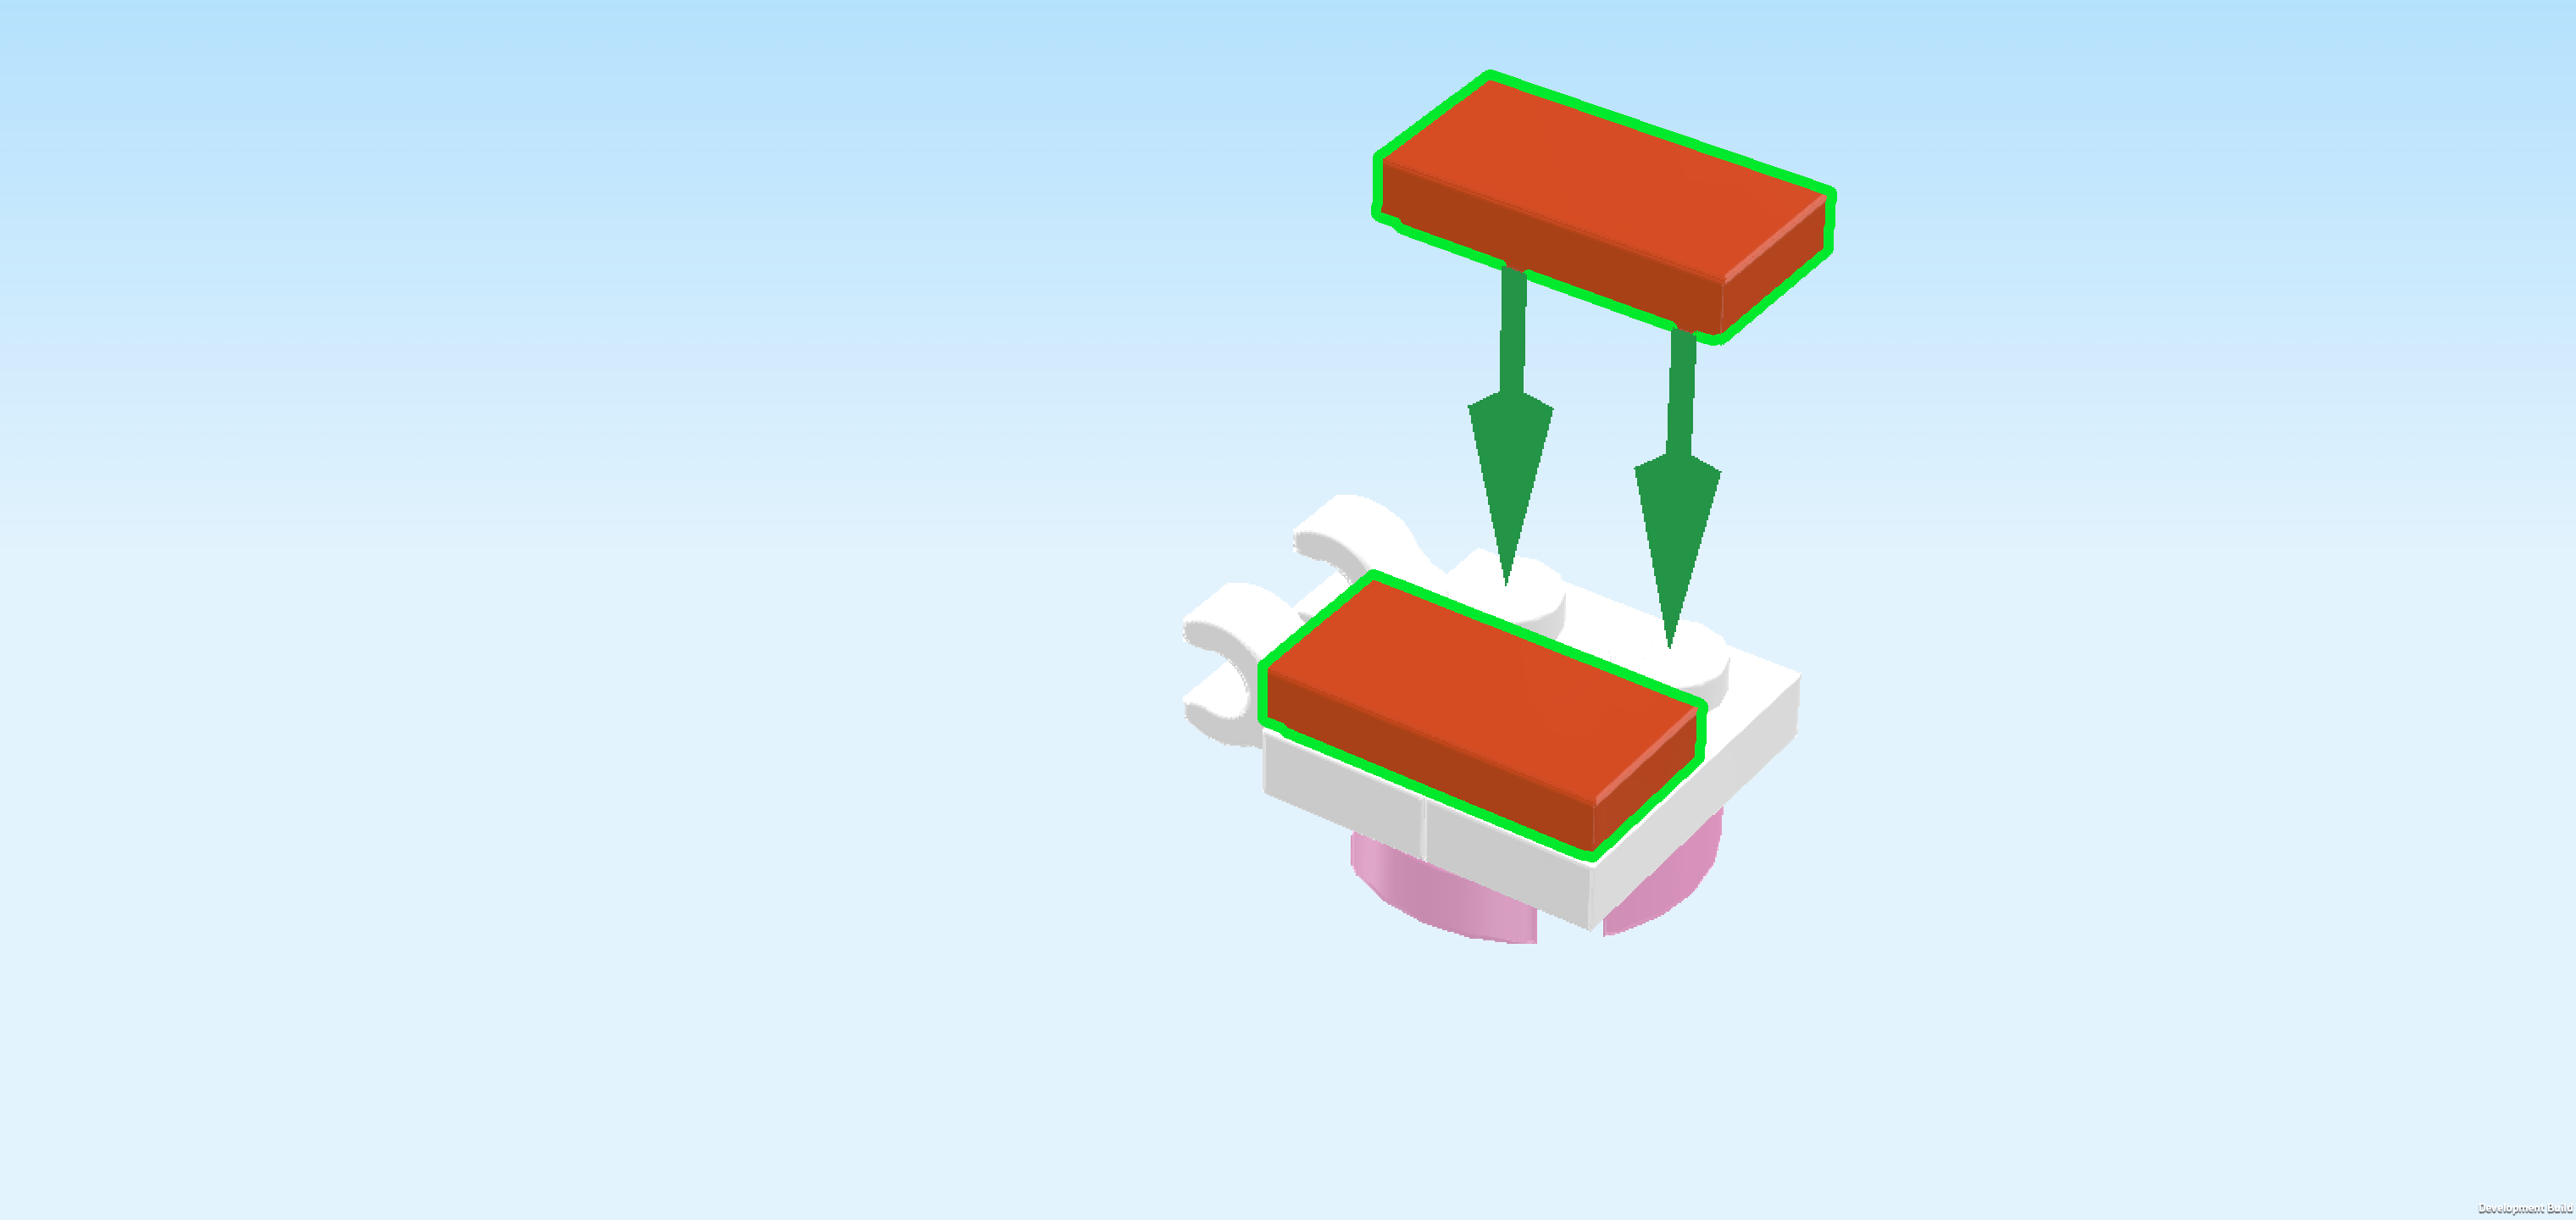
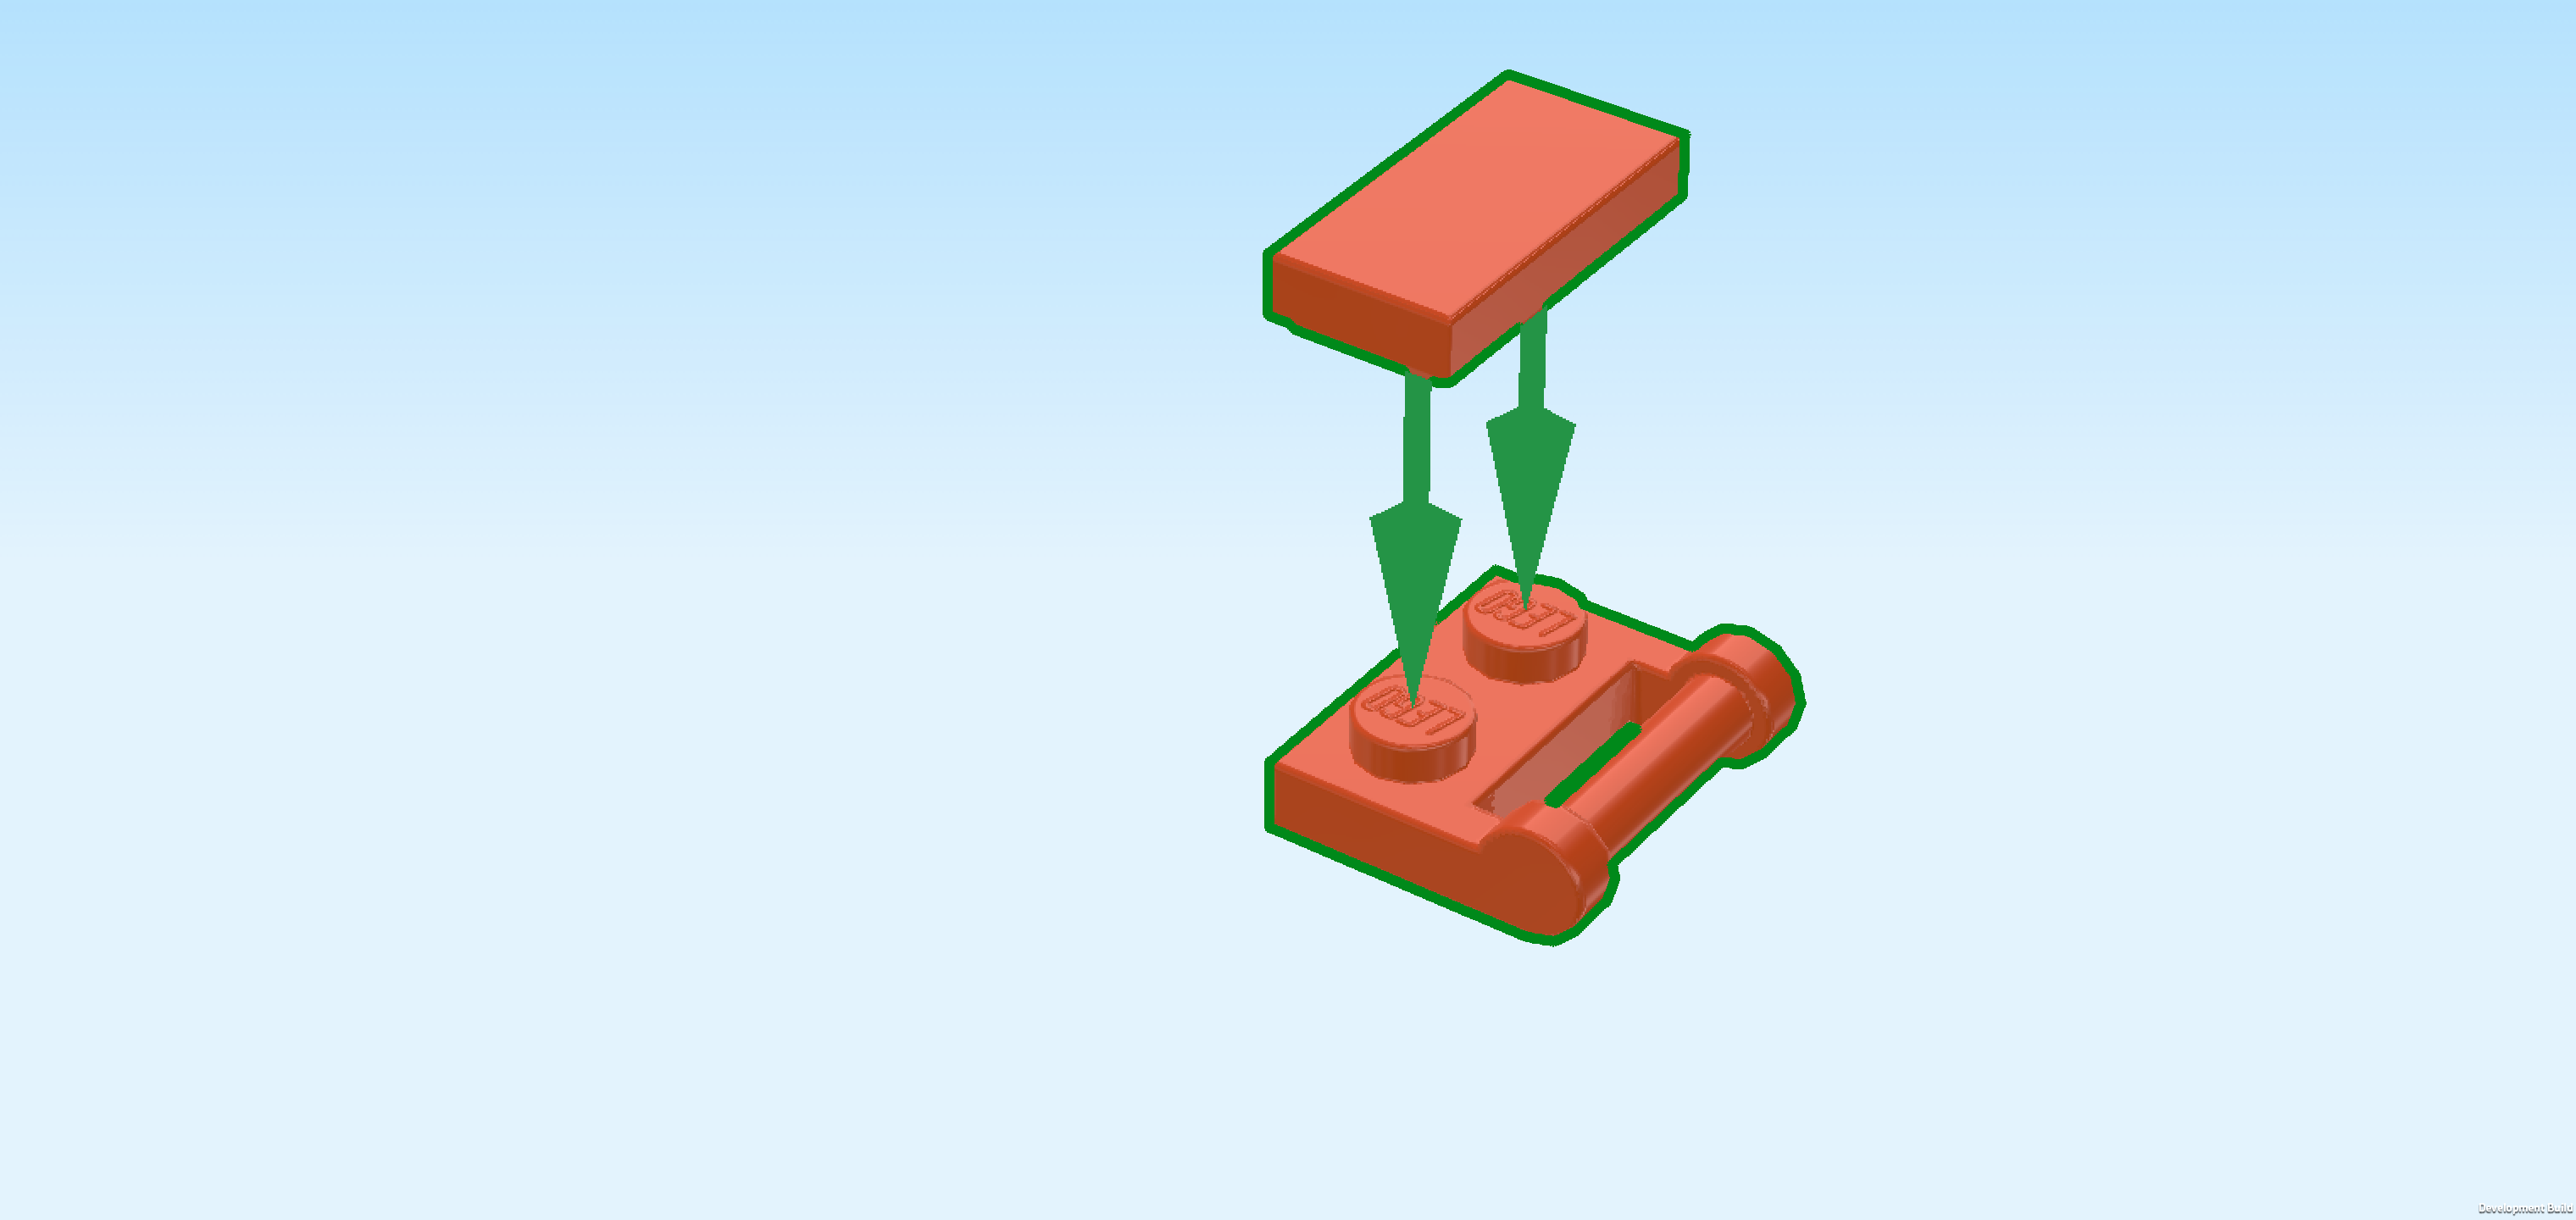
| and 1 reddish orange plate 1x2 with handle on long side. |
| Put the plate with side handle vertically on the table, handle to the right. |
| Put the flat tile 1x2 vertically on top. |
| Snap the handle of the headrest into the 2 clasps pointing to the left from the seat surface. |
| Fold the headrest up until it is pointing to the top while slightly leaning to the left. You can later adjust the headrest as needed. |
| The salon chair is finished! Well done! Mount it on the round tile 1x1 with 1 knob that we have mounted to the left of the salon mirror. You can swivel the chair as needed. |
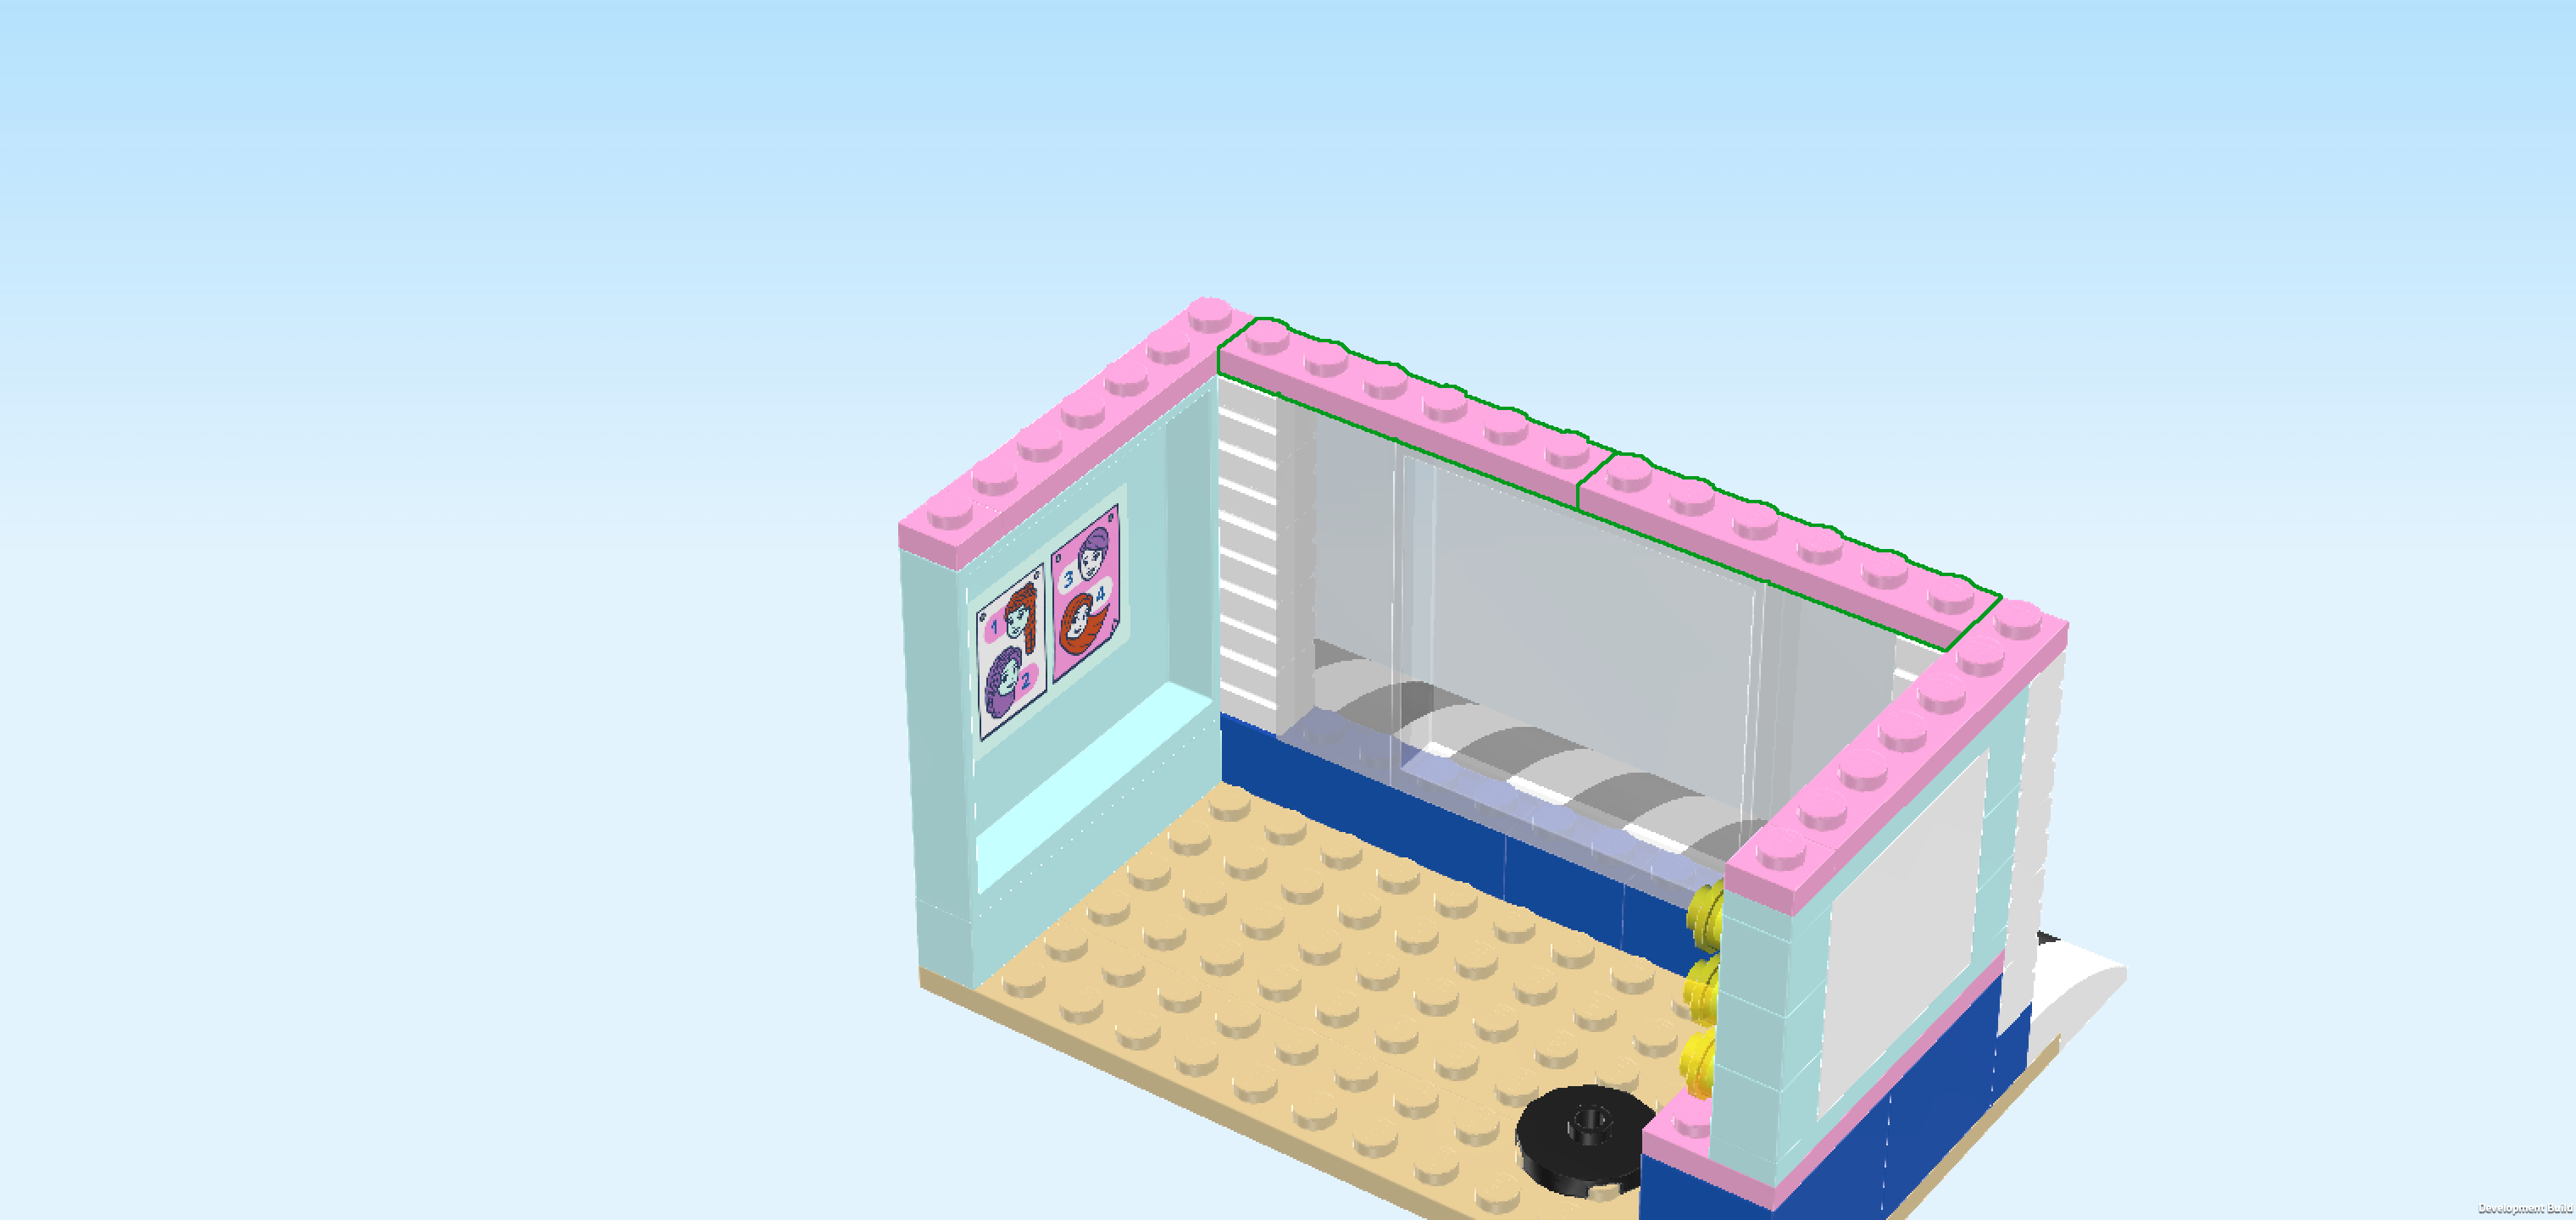
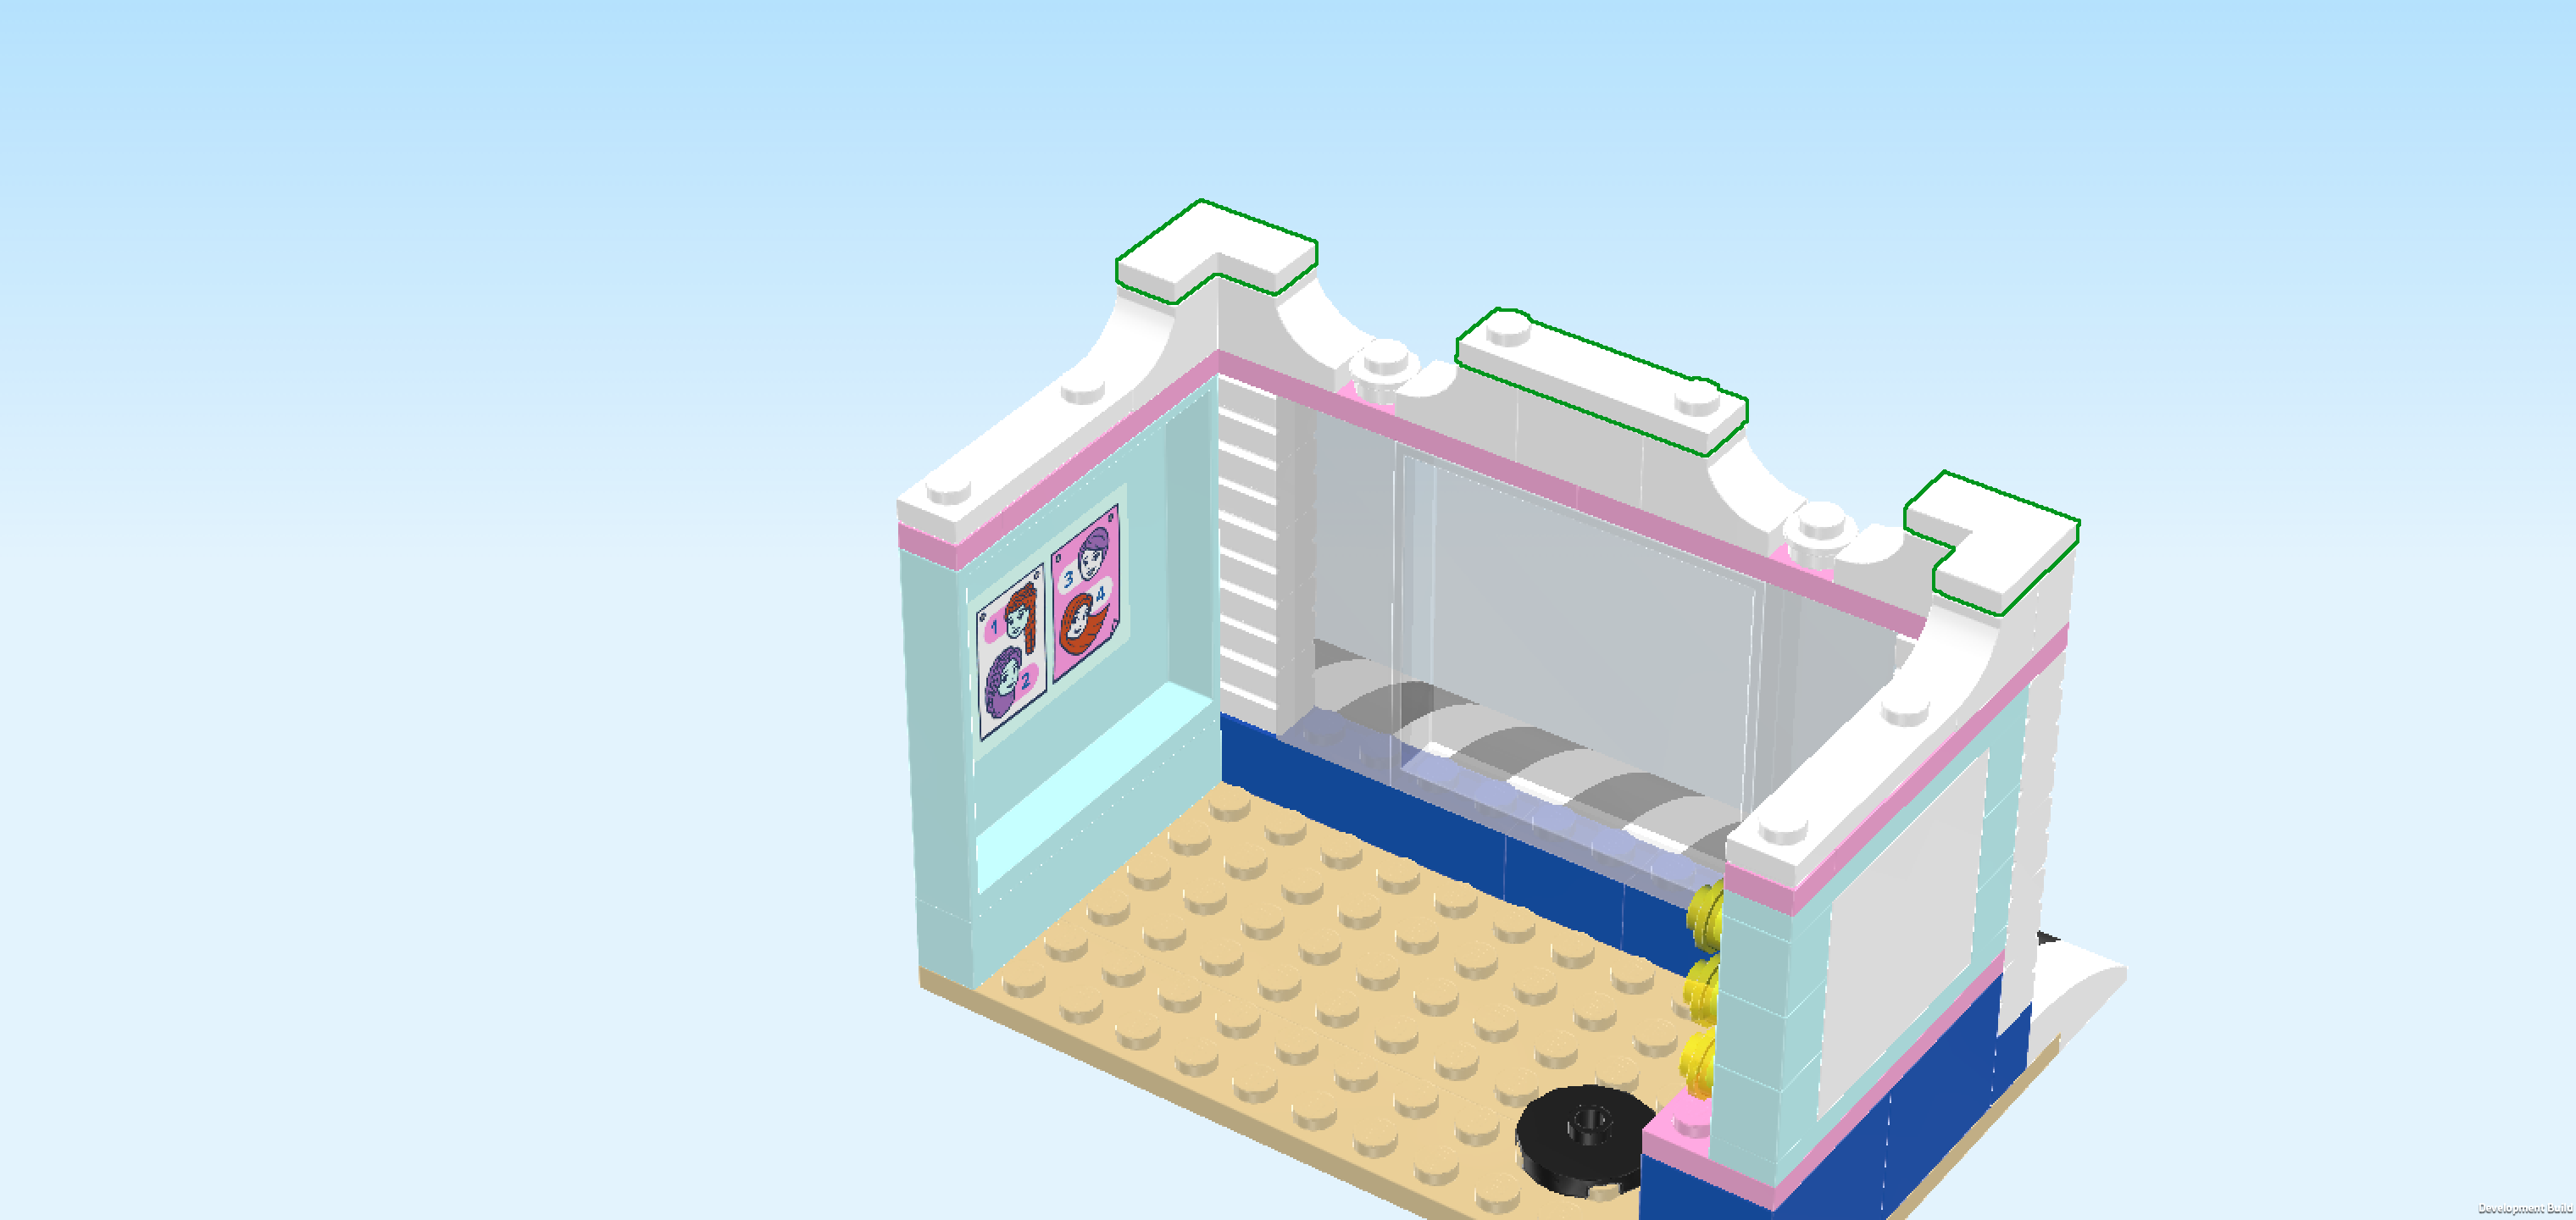
| The top floor of the hair salon with hair washing and cutting station is finished! Fantastic job! Turn it so that the window side is facing you and the opening is towards the back. Do the same with the ground floor. Mount the top floor on top of the ground floor, making sure that their back edges are aligned. This means that only 1 row of the awning is protruding beyond the shopfront of the ground floor. The top floor only connects to a few knobs so you can easily take it off and reattach it as needed. |
| If you want, you can attach the photobooth to the left side wall of the building. Use the connector that is protruding from the photobooth and insert it into one of the side holes at the bottom of the left side wall. |
| You have finished building the entire set! Very well done! Now it's time to get creative and try all the different hairstyles and accessories available in Faraji's salon! You can mix and match as you please. Maybe the friends even want to swap hairstyles! When you are particularly happy with a certain style or hairdo, don't forget to take a photo of it in the photobooth! And if you're fed up with sitting in salon chairs all day, hit the skate ramp for some sporty fun. |
| Enjoy! |