| LEGO Audio & Braille Building Instructions for the LEGO Friends set "Paisley's Room". |
| If you would like to access the help menu to find out how to use and navigate these instructions, tap with two fingers or press key "H". |
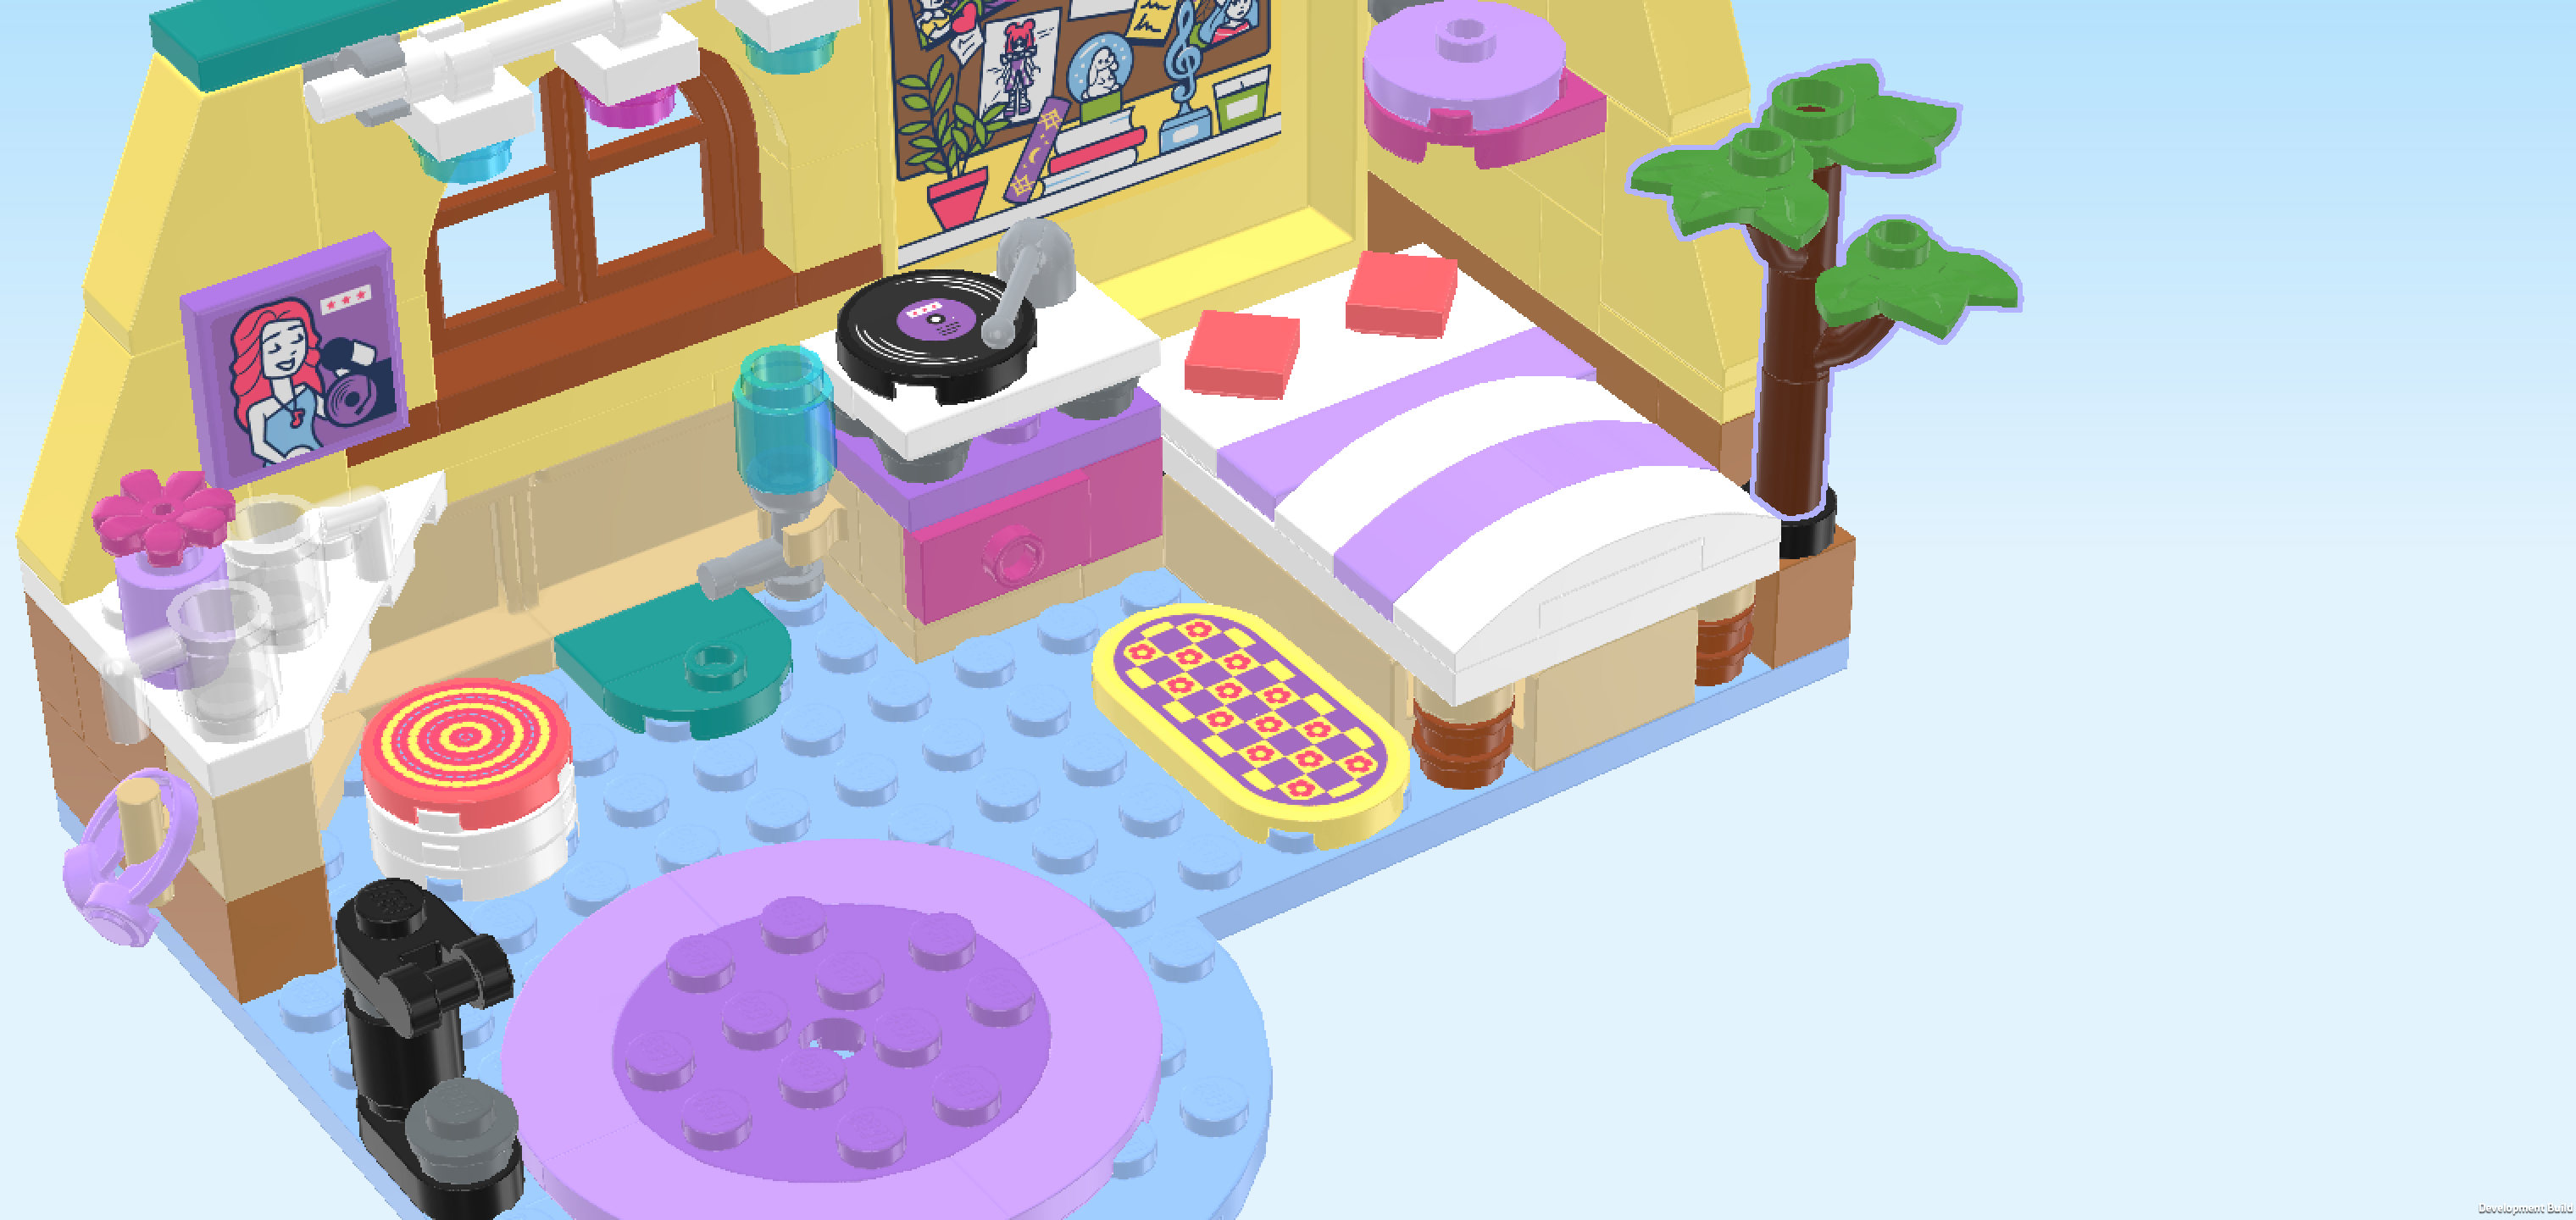
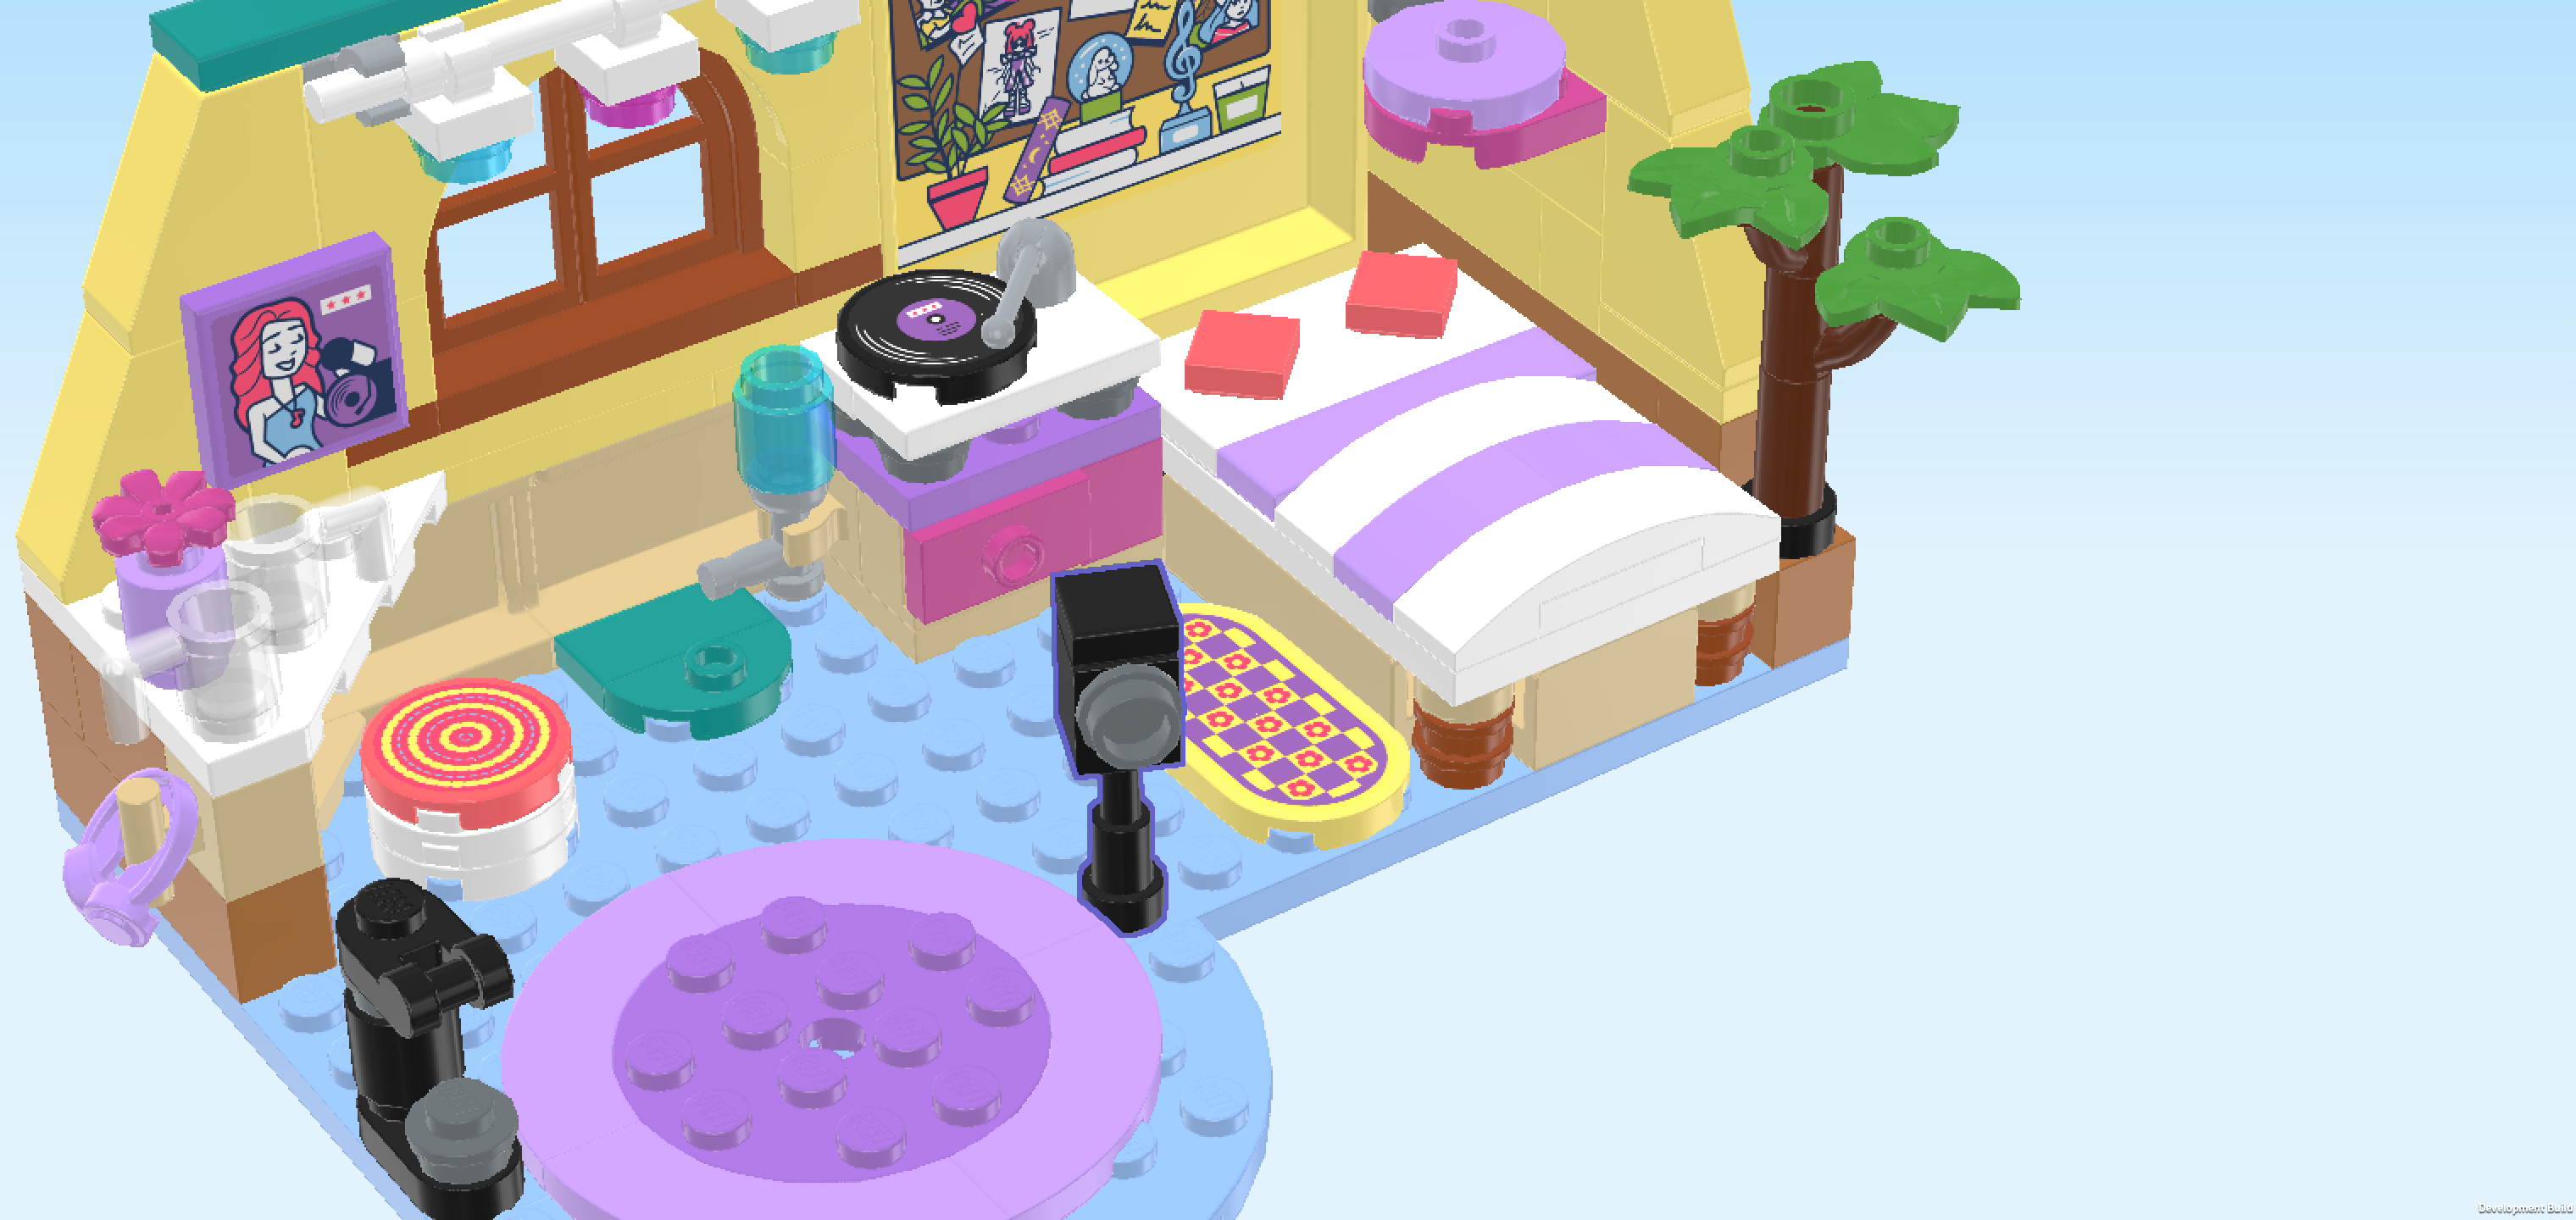
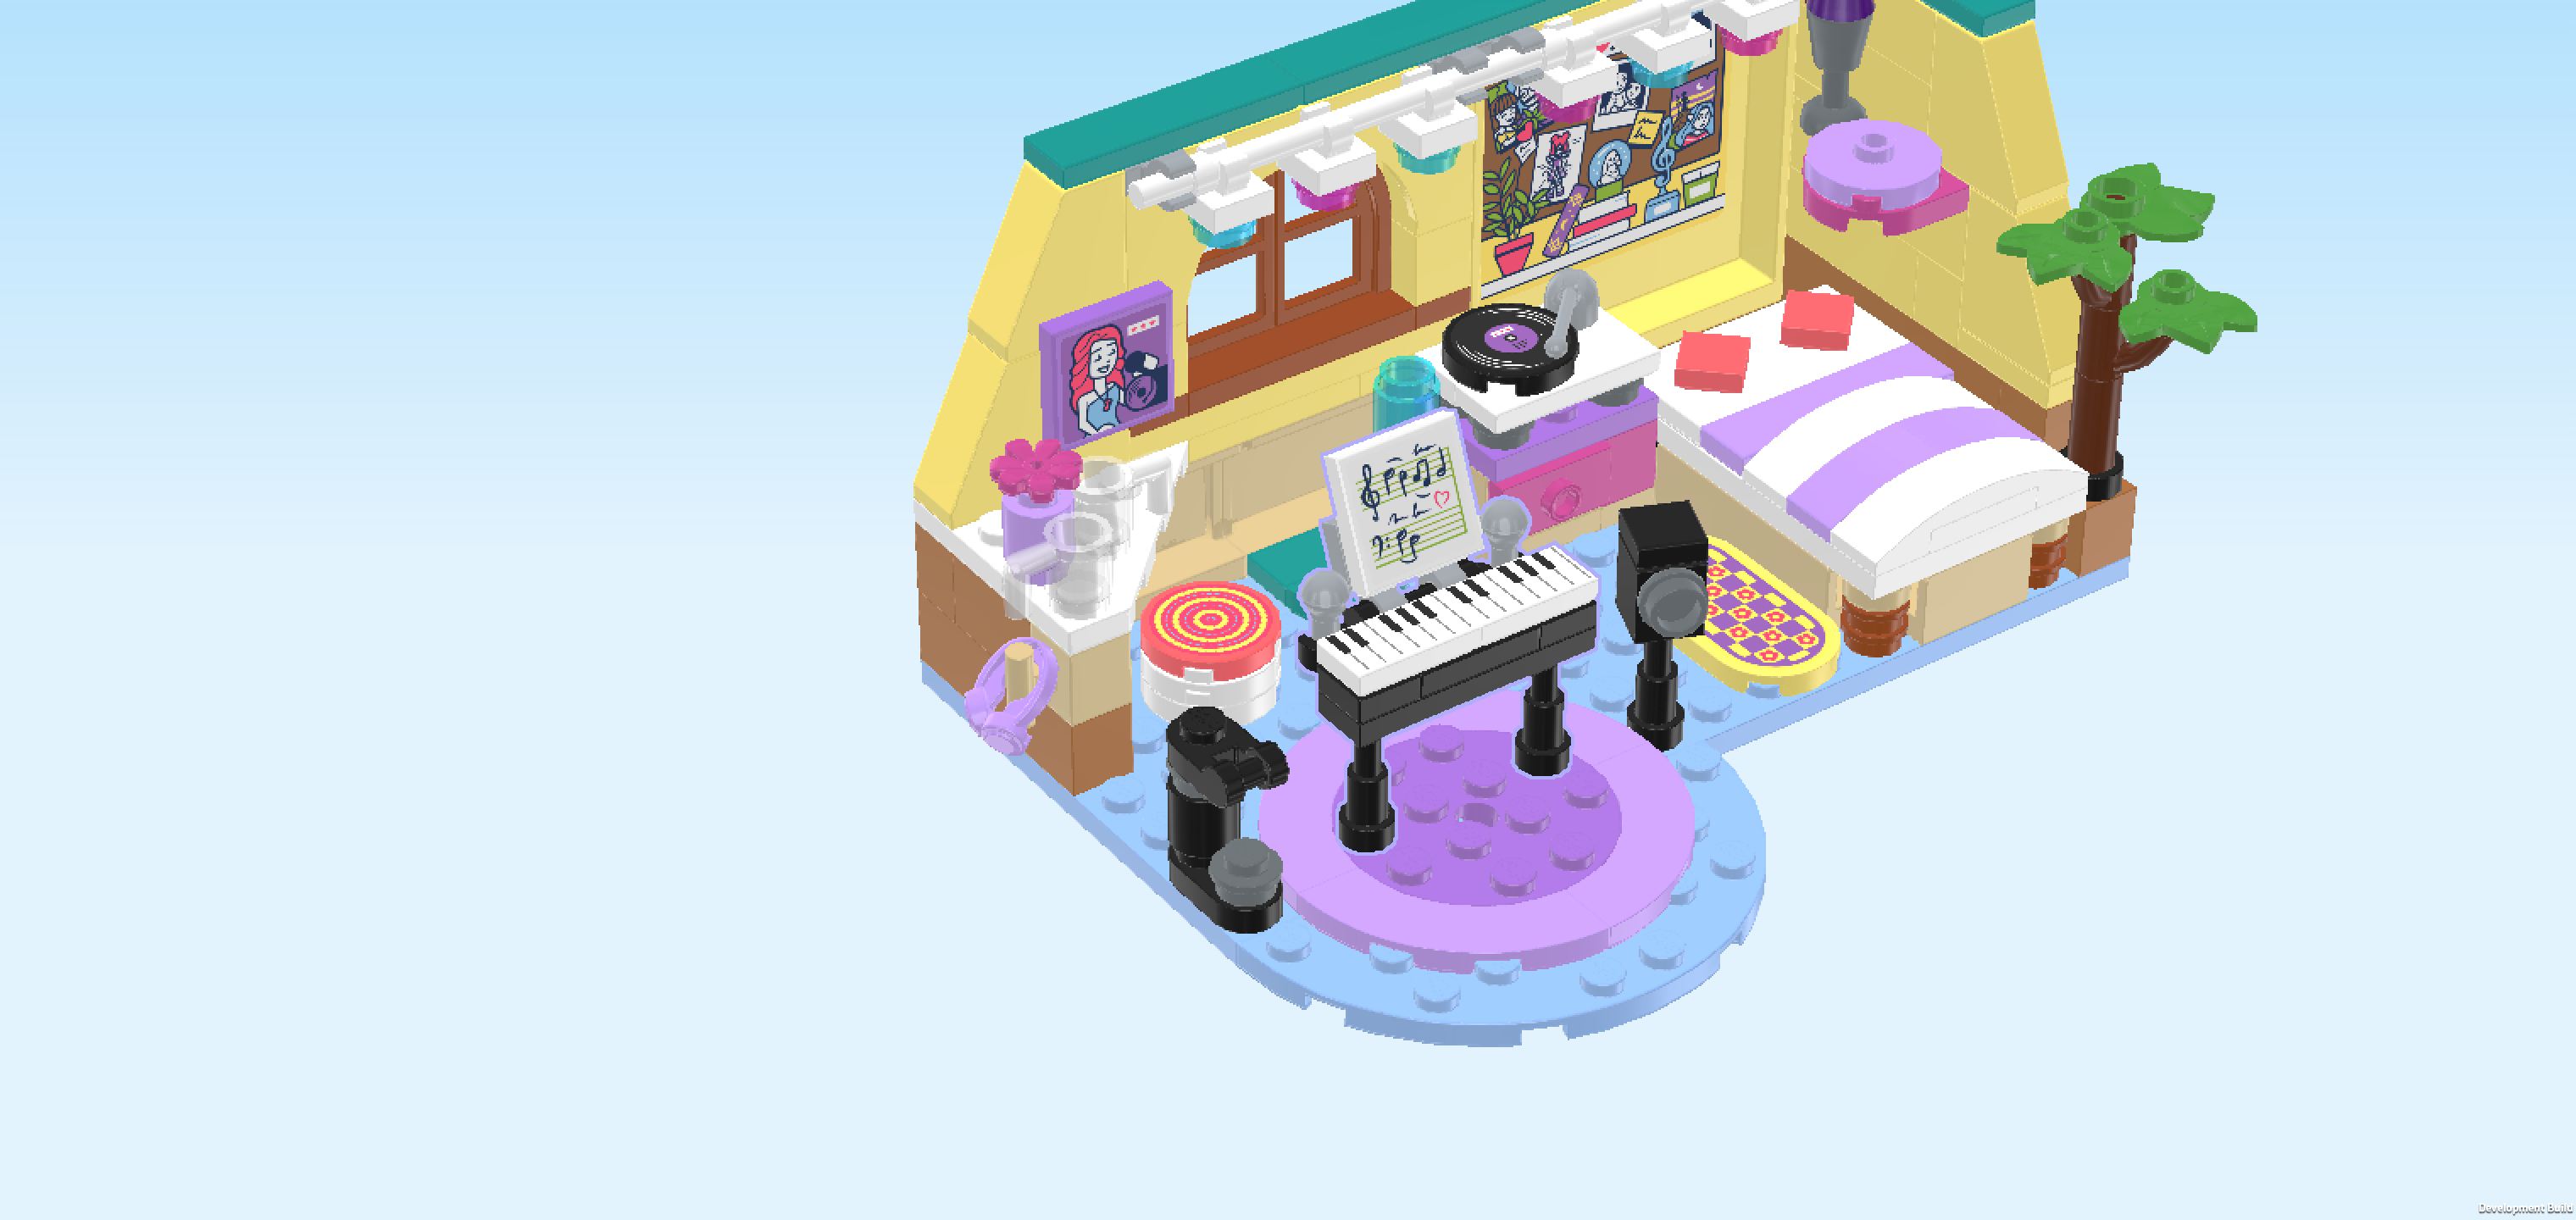
| Hanging out with a friend is so much fun! Today Paisley has invited Liann to spend time in her room. It's the perfect place for a day of creativity. The girls have fun painting figurines and making music. When it's time for a break, they love to play with pet bunny Melody. Then Paisley reveals the bed's secret compartment where she keeps her diary. Creative days with friends are the best! |
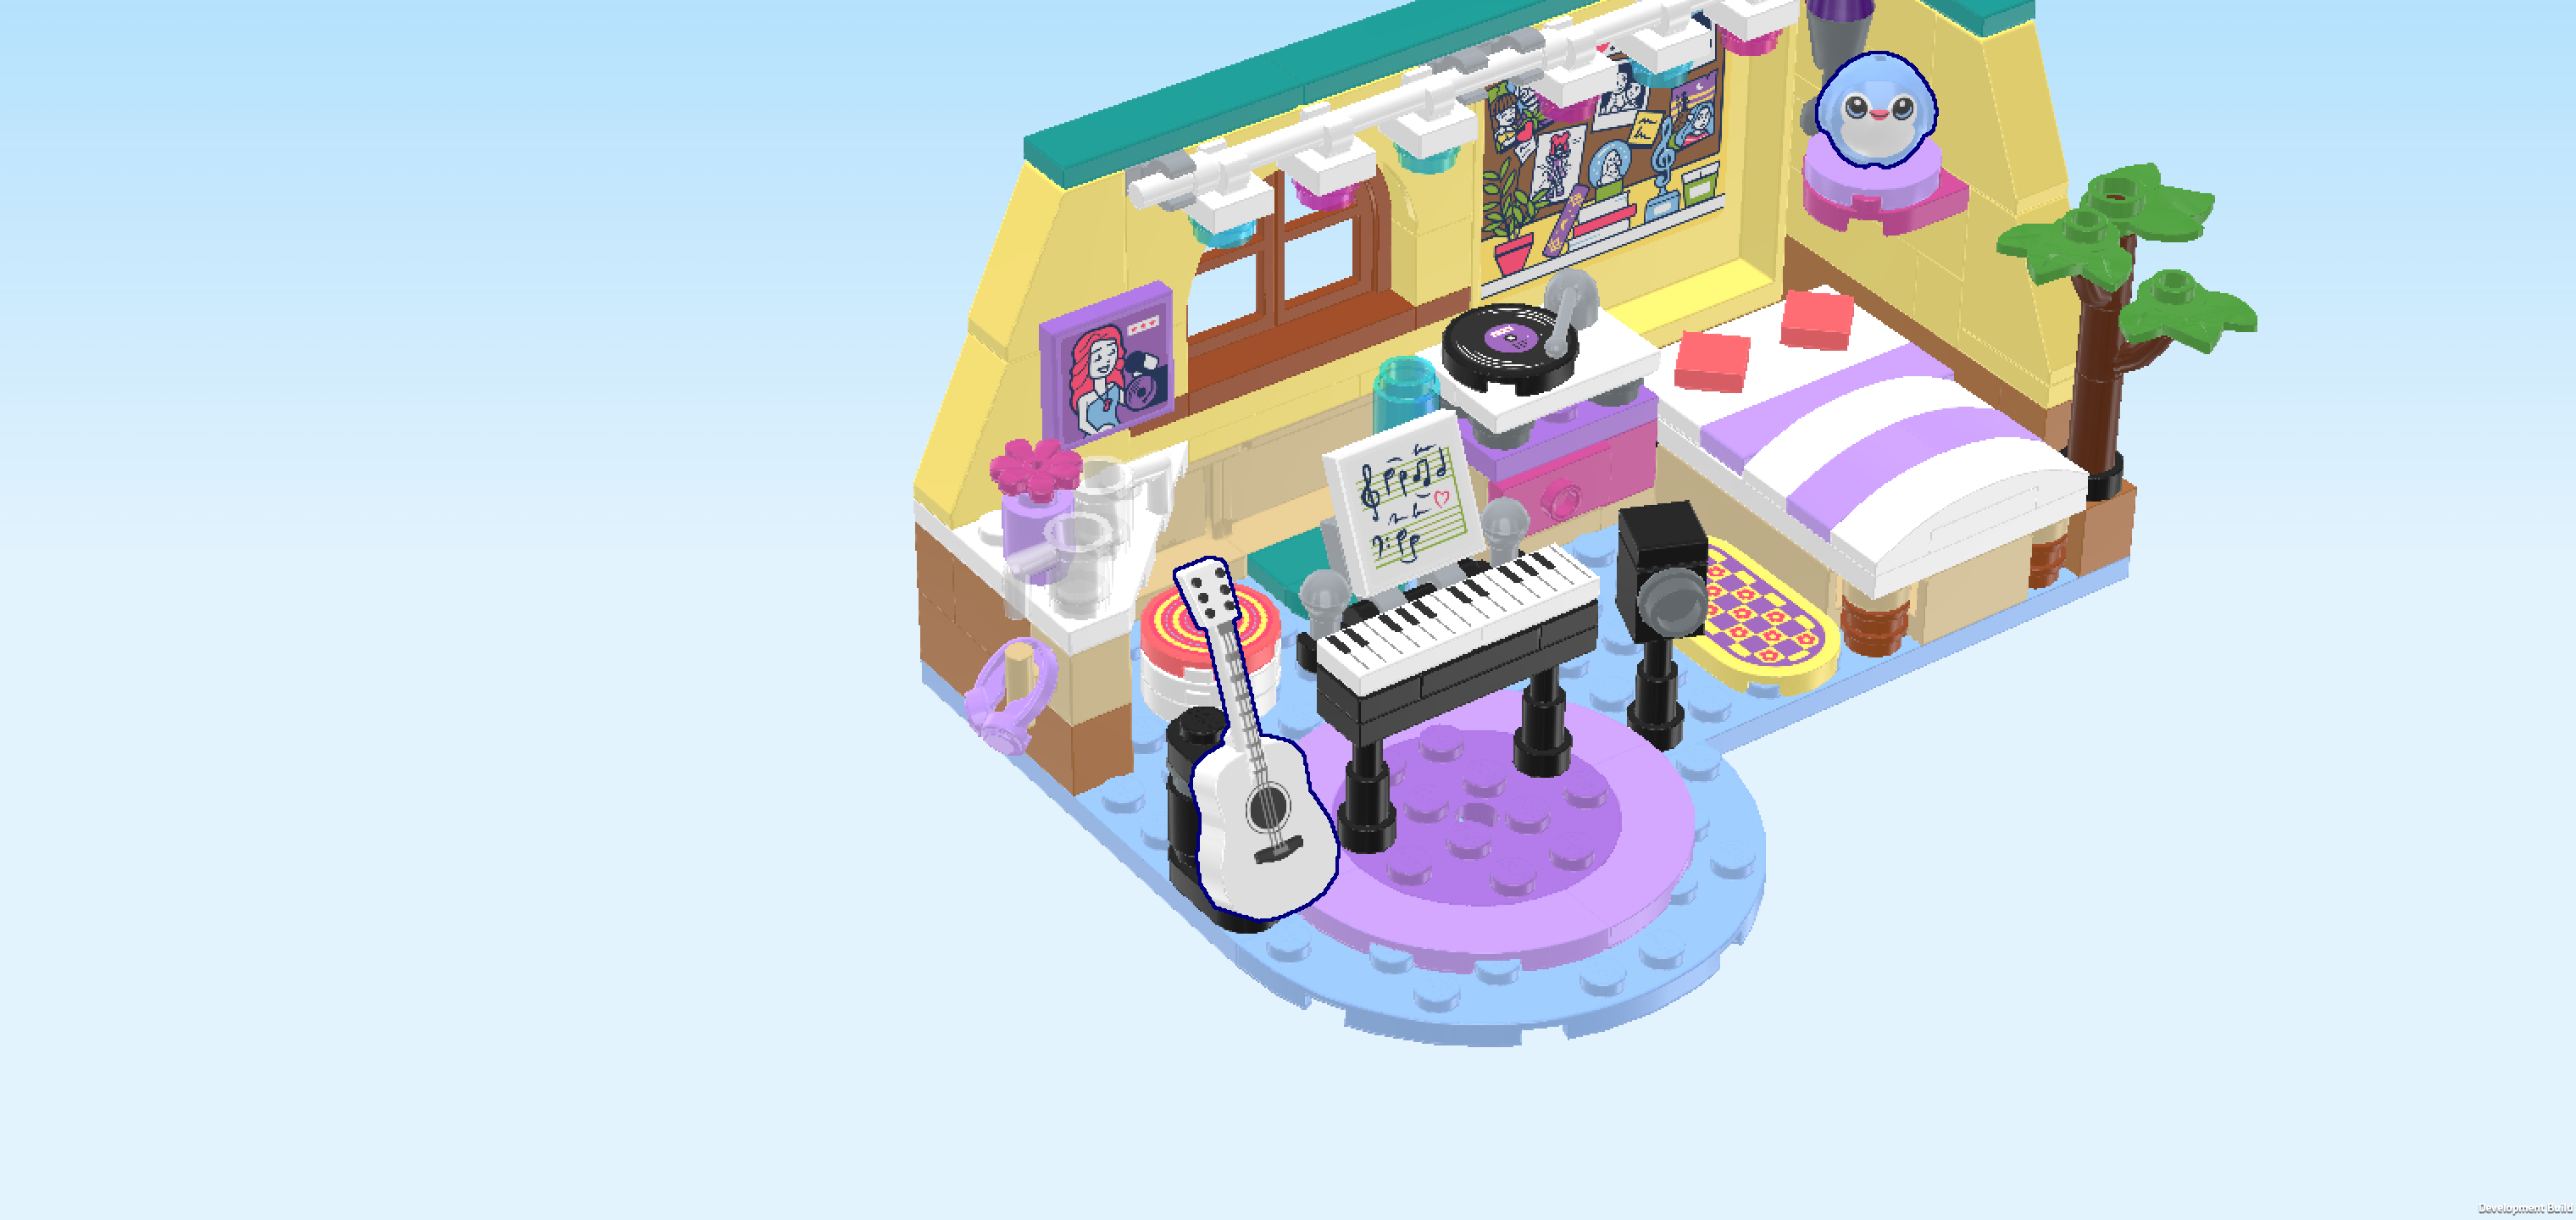
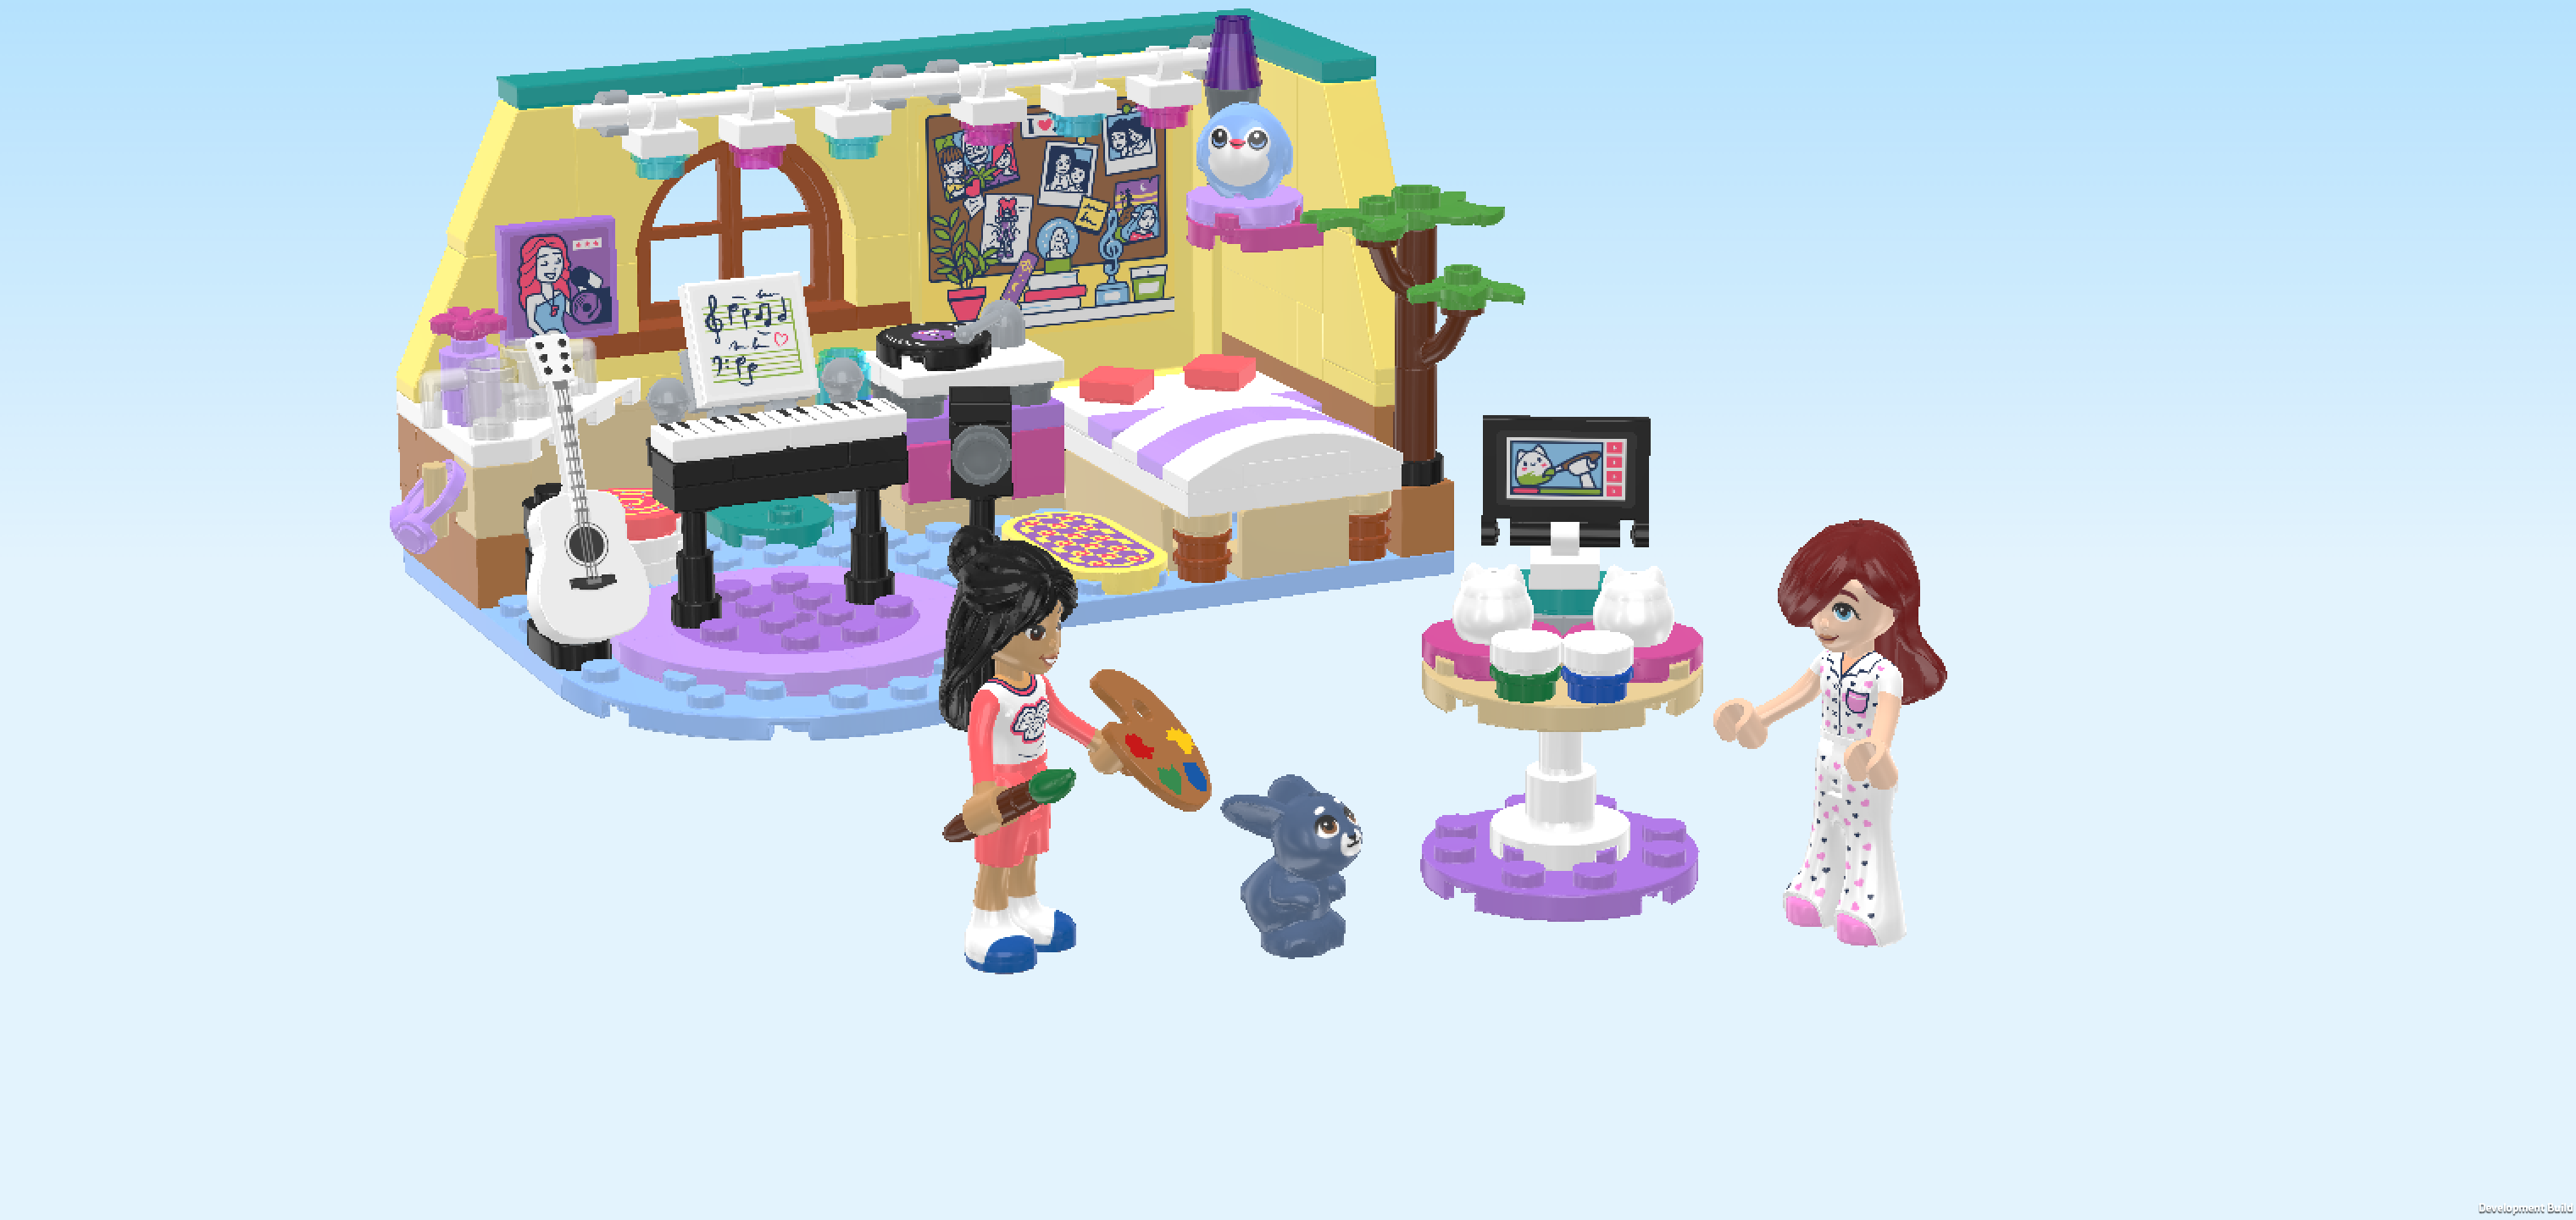
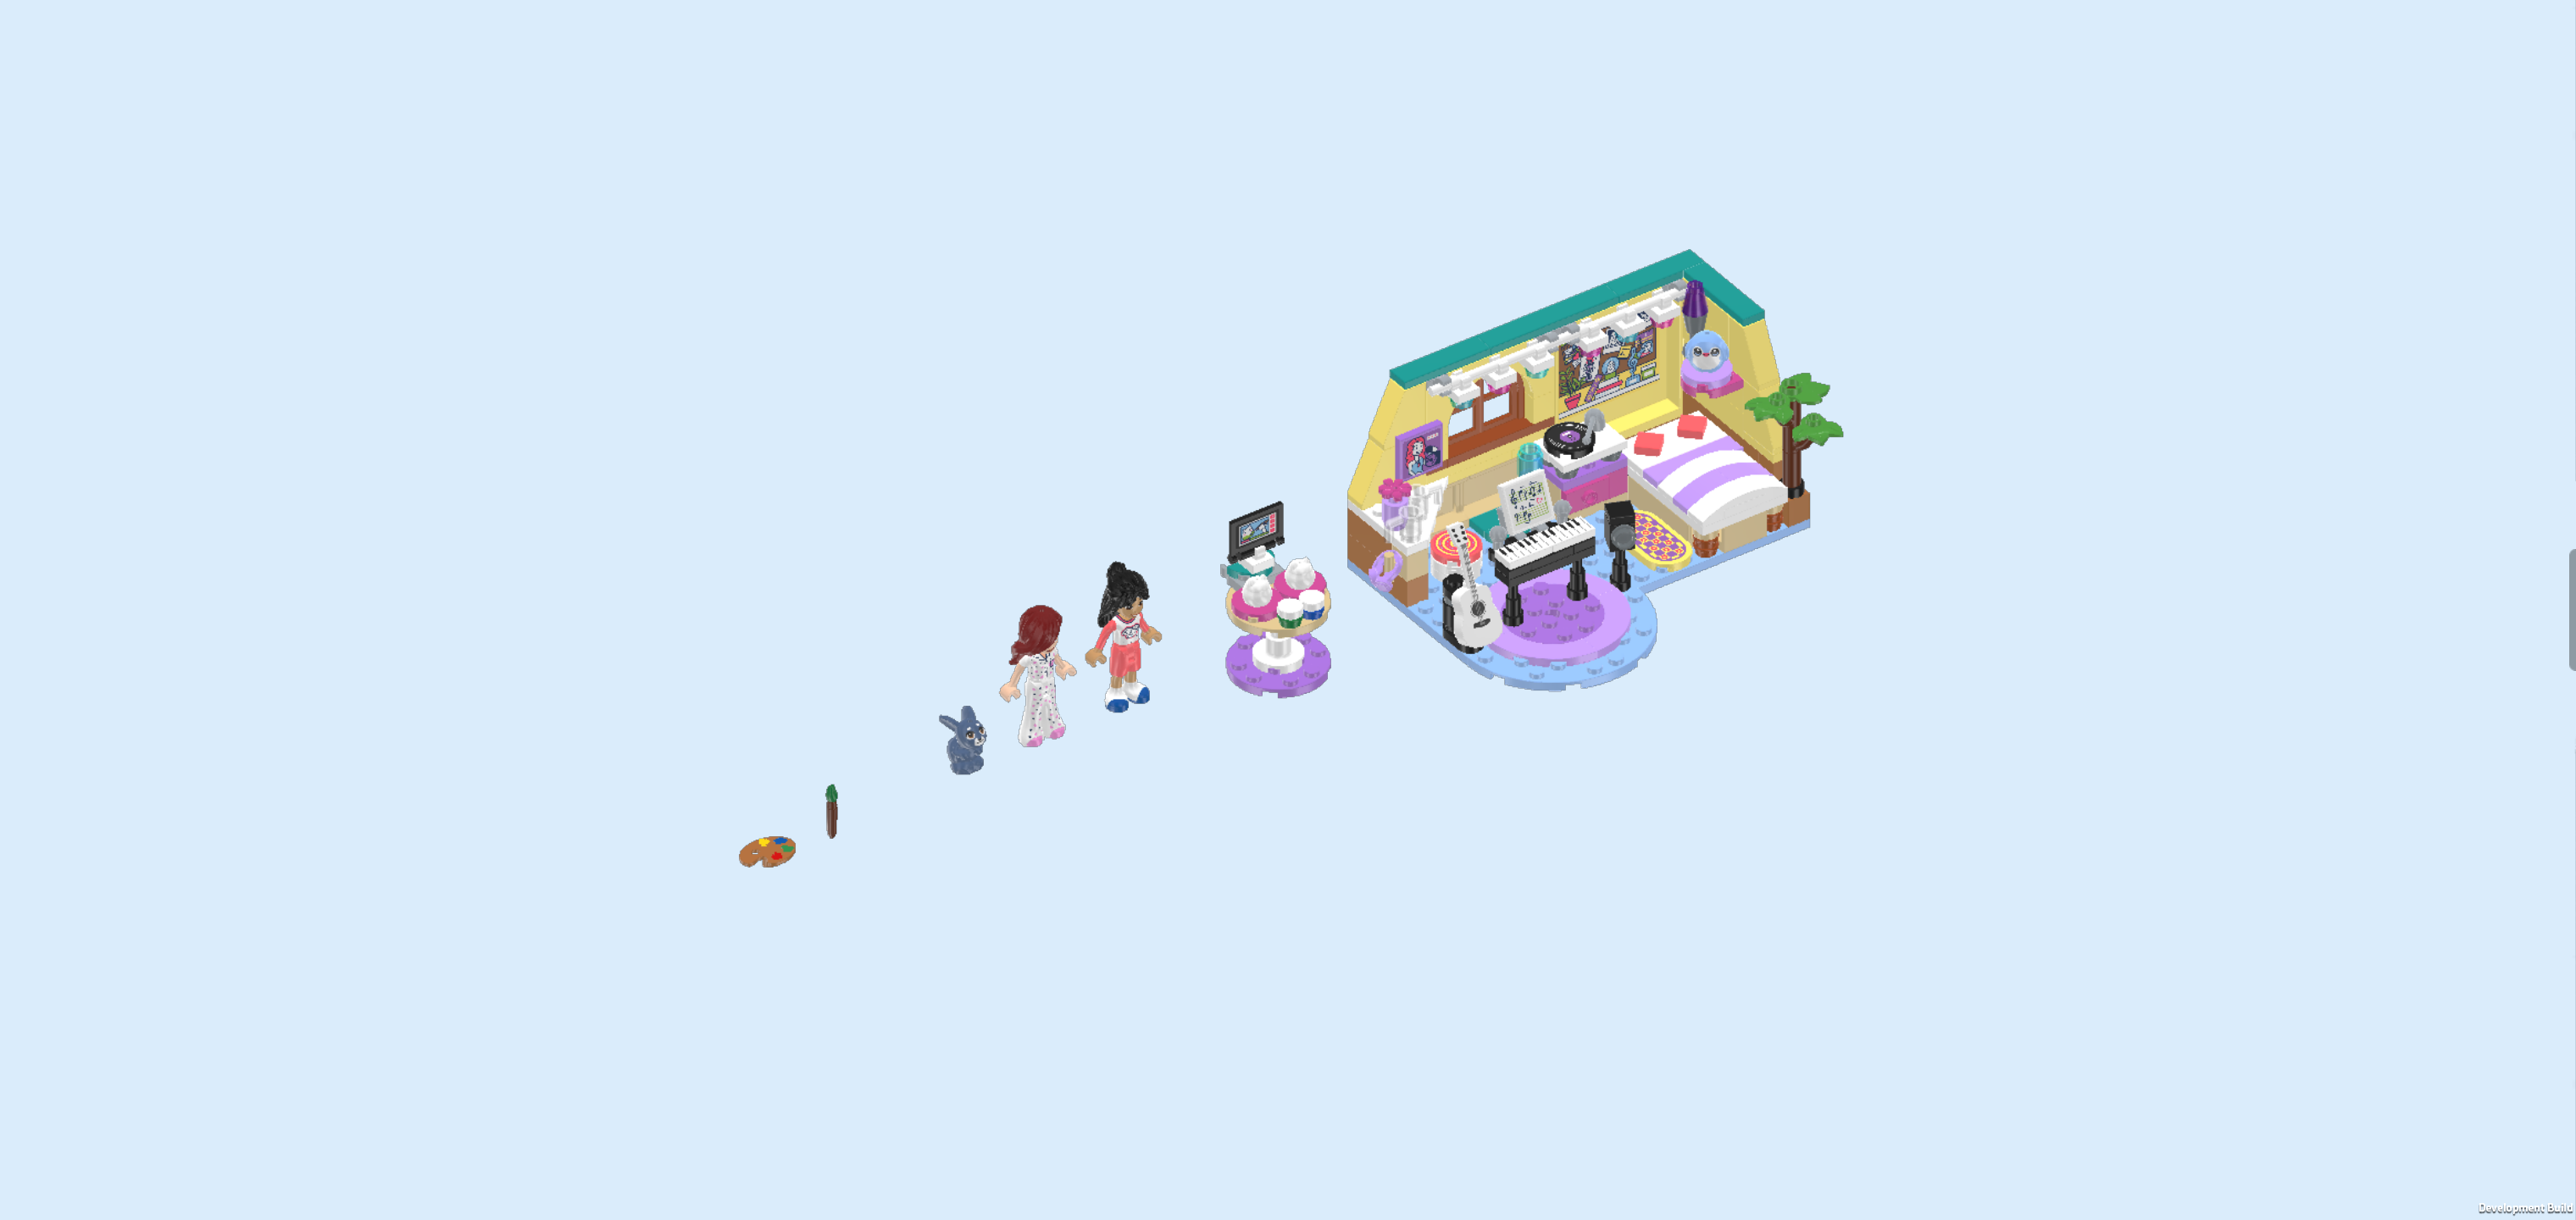
| The box cover shows a bright and playful bedroom built into a corner, where Paisley and Liann are spending time together. The two yellow walls meet in the back right corner and are covered with decorations, like drawings, photos, plants, and even a lava lamp, giving the room a cozy, creative feel. On the right side of the room, Paisley is sitting on her raised bed while strumming her beautiful all-white guitar. Liann is standing next to the bed, holding a paintbrush and a ceramic kitty-head figurine, ready to paint it. She is watching a video tutorial for creative ideas on how to paint her figurine! And guess what, both girls are in their pajamas! Looks like they are having a sleepover. How fun is that! In the middle of the room, there is a piano with sheet music. And underneath there’s a soft rug with Paisley's plushie. The back wall of the room is decorated with lovely string lights with blue and pink lights. This is the room of a music lover with a keen sense of aesthetics and lots of cherished friends. It's built for making music, creative painting sessions, and enjoying time with your friends. And now it’s your turn to build it! |
| Open the box. It contains visual building instructions, 2 numbered bags, 1 sticker sheet and 1 loose piece: 1 plate 8x16. We will refer to the bag numbers to guide you through the building process. Please ask a sighted person to help you identify the correct bags! |
| The sticker sheet has 7 stickers. Some of them have identical shapes, so if you would like to find and attach the stickers yourself, these are your options: you can try to feel the outlines of the stickers and search for the biggest sticker in the set, which is the bulletin board sticker with the size 5x6, and turn the sticker sheet so that this sticker is in the top left corner of the sheet. If you prefer, you can also ask a sighted person to orientate the sticker sheet such that the bold black line is on the left edge. We will refer to both the shape and the location of the sticker on the sticker sheet during the building process. However, of course you can also decide to skip the stickers in the building process for now or ask a sighted person to help you attach them if you like. |
| Carefully open bag number 1 and any small sub-bags in it. This bag contains all bricks and pieces for the Paisley Minidoll with Melody, the Liann Minidoll, Paisley's diary, the craft table, and the floor plan with bed, wall foundations and floor extension. |
| If you like, you can ask a sighted person to help you sort the pieces by color before you start building. We recommend using trays or bowls. This can make finding the correct pieces easier! However, if you would like to build without brick colors entirely, you can also ignore them or turn them off. There are different ways to sort and organize the bricks and your building process. It is up to you! |
| First, we will build the Paisley Minidoll. |
| Note that the pieces for the 2 Minidolls included in this set are very similar. Some of them have identical shapes and can only be told apart by their prints or colors, like the heads and the torsos. If you are unsure, you can ask a sighted person to help you identify the correct pieces. |
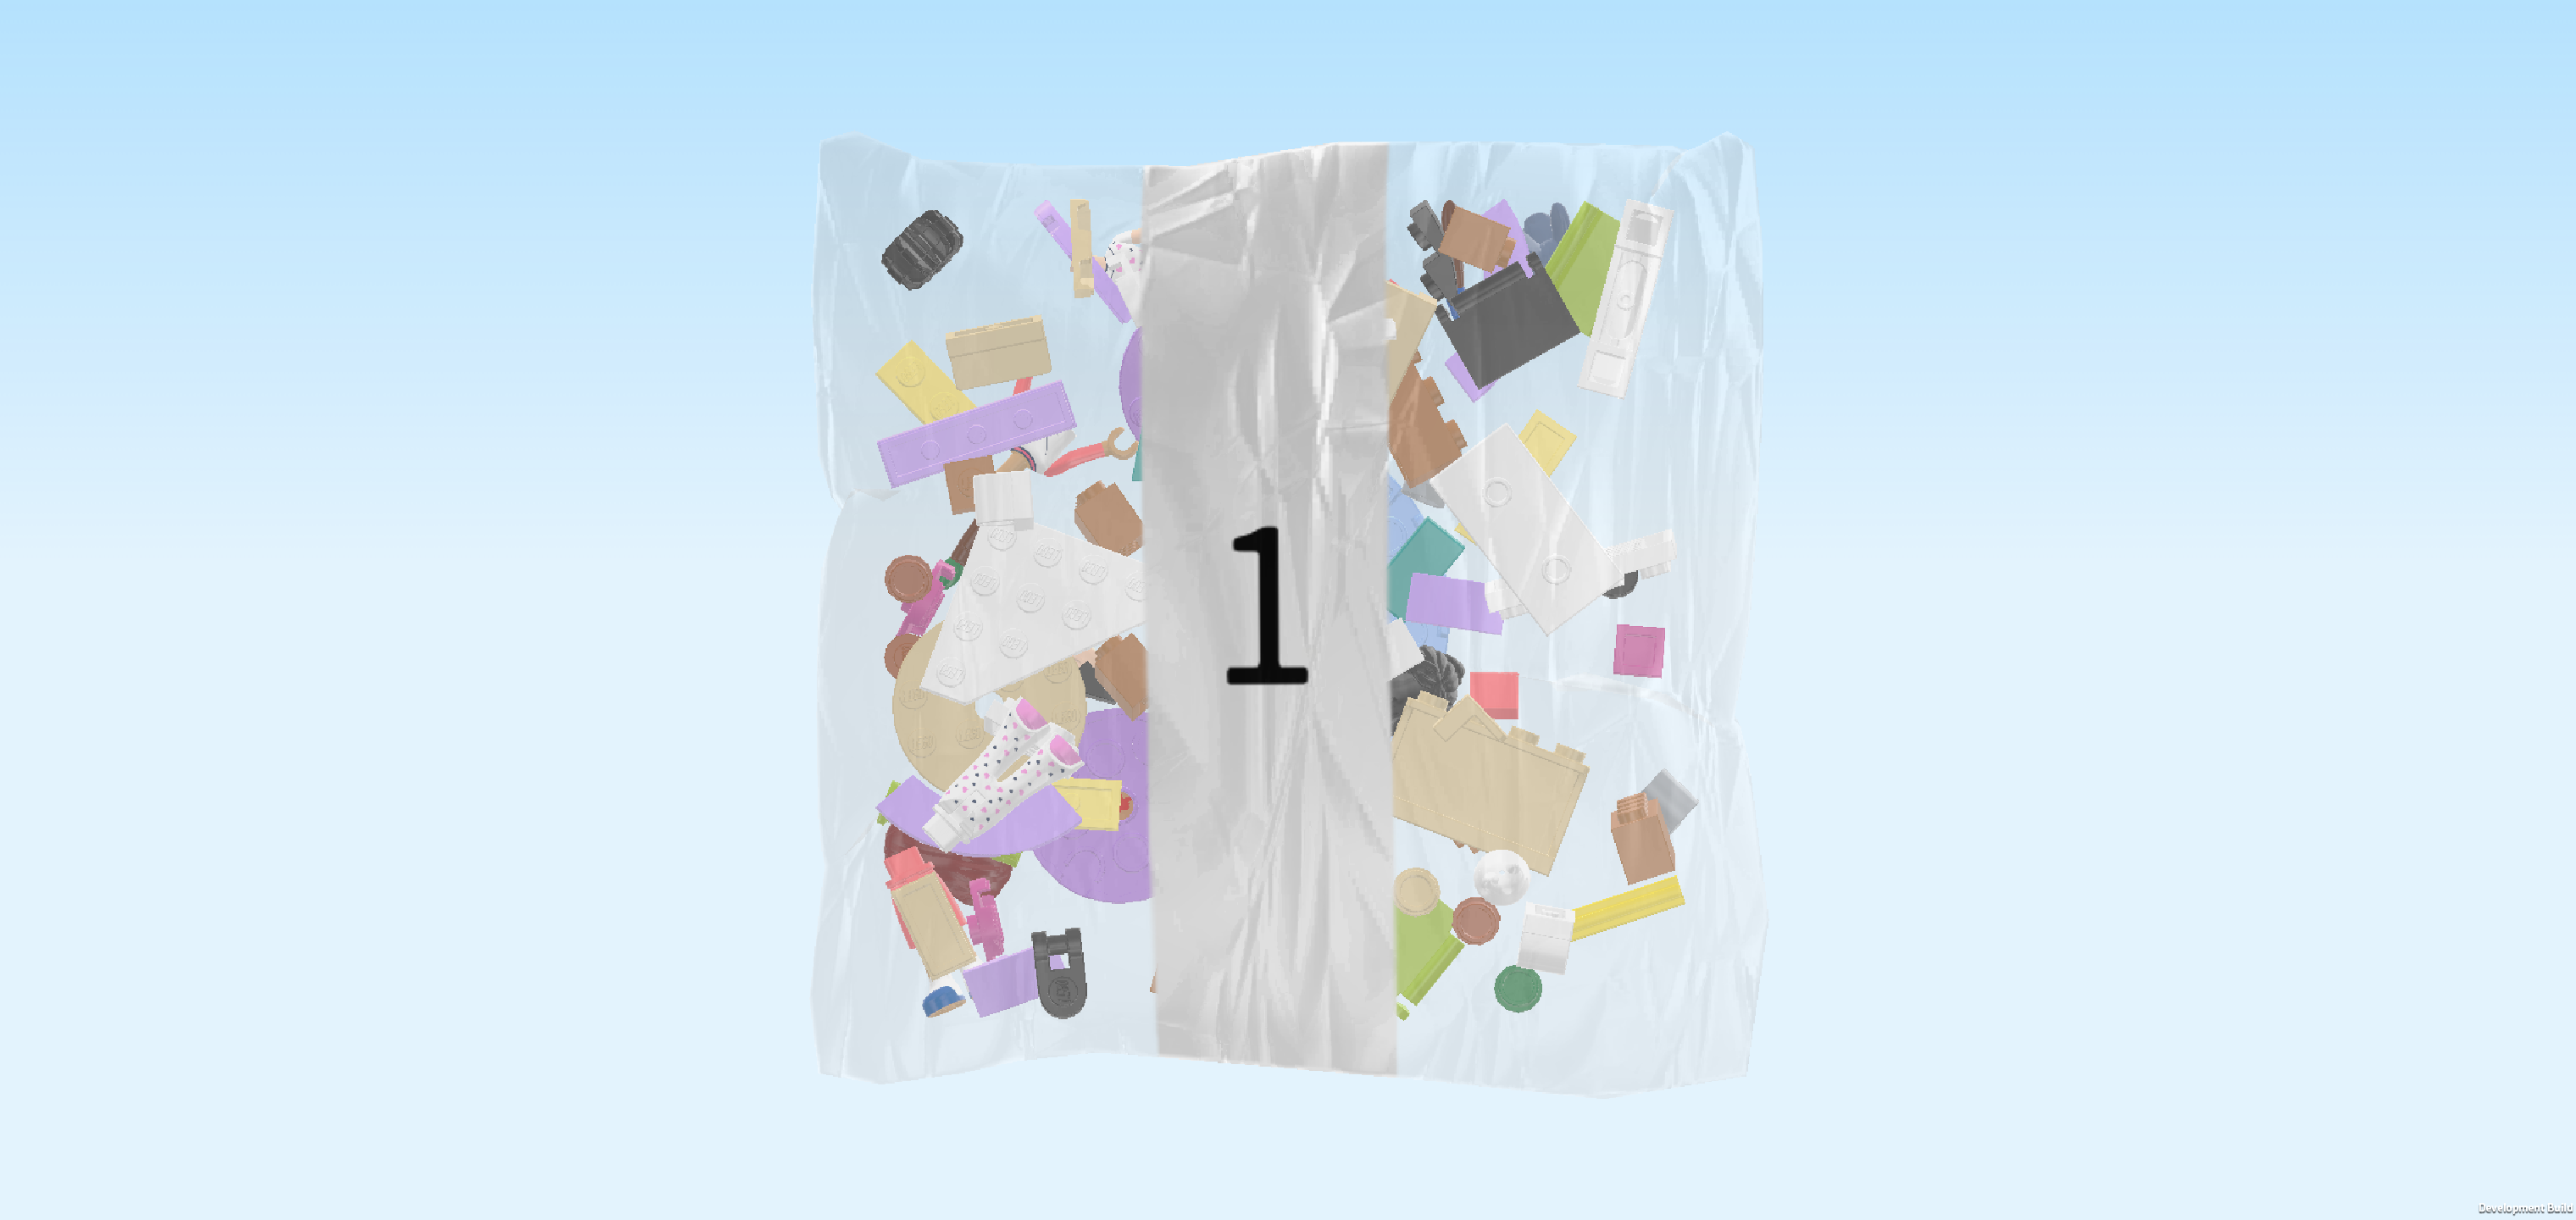
| Collect the following 2 pieces: |
| 1 light nougat brown and white Minidoll upper body, |
| and 1 white pair of Minidoll legs with bell-bottomed pants. |
| Put the upper body on the legs. Make sure that the 2 back pockets on the pants are towards the back. |
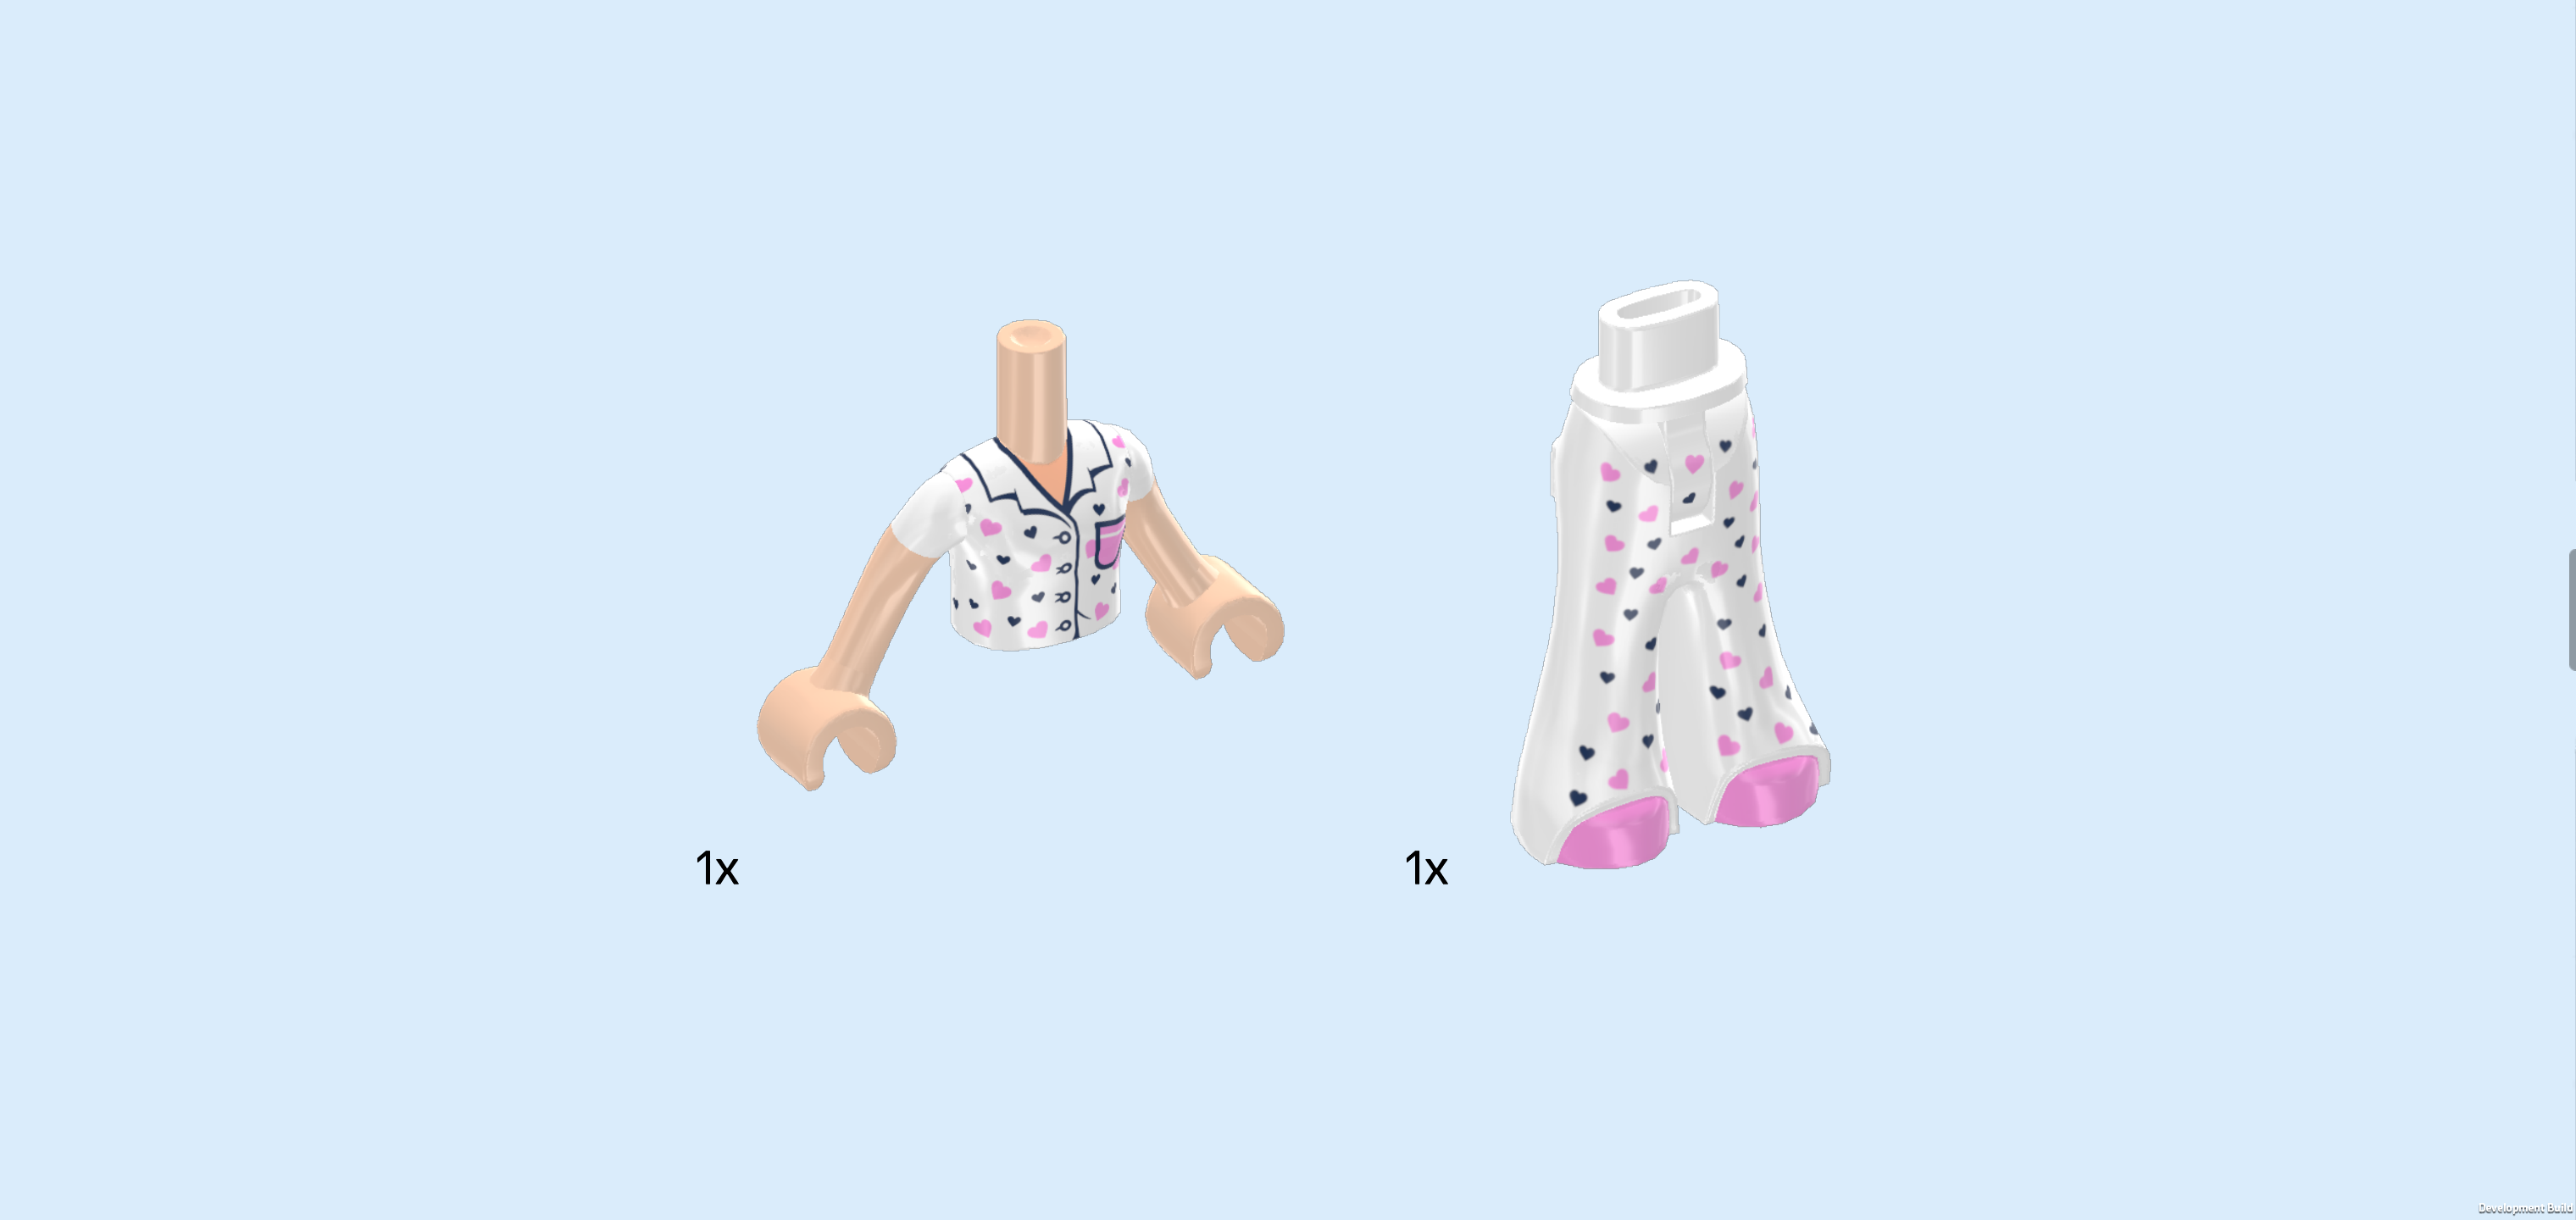
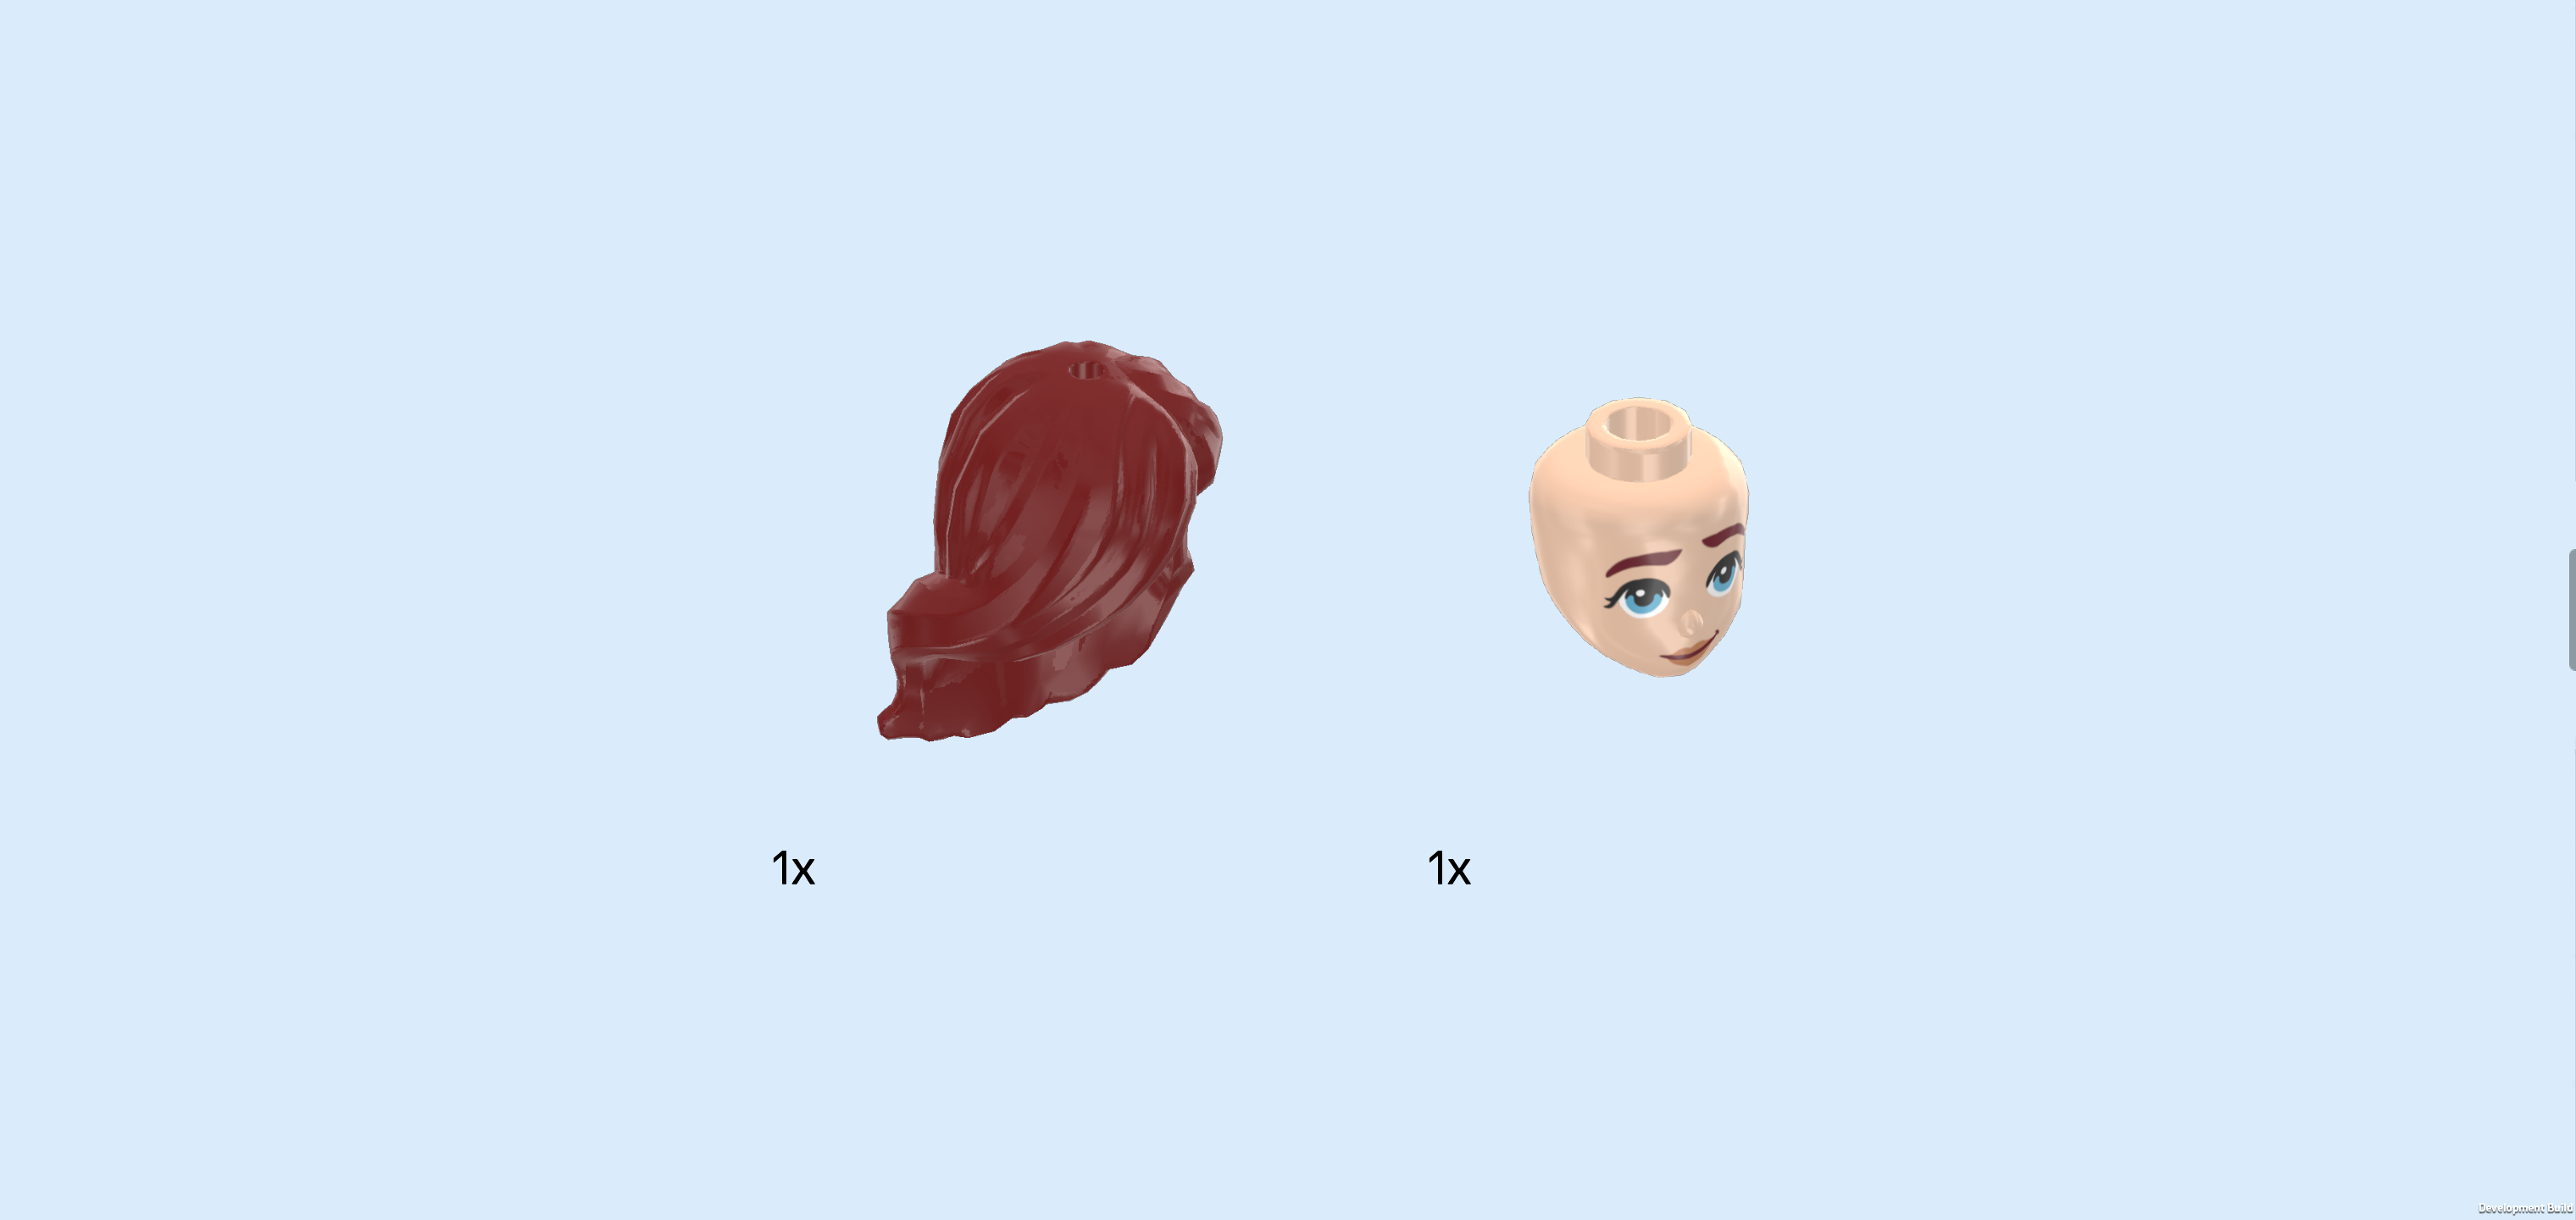
| Collect the following 2 pieces: |
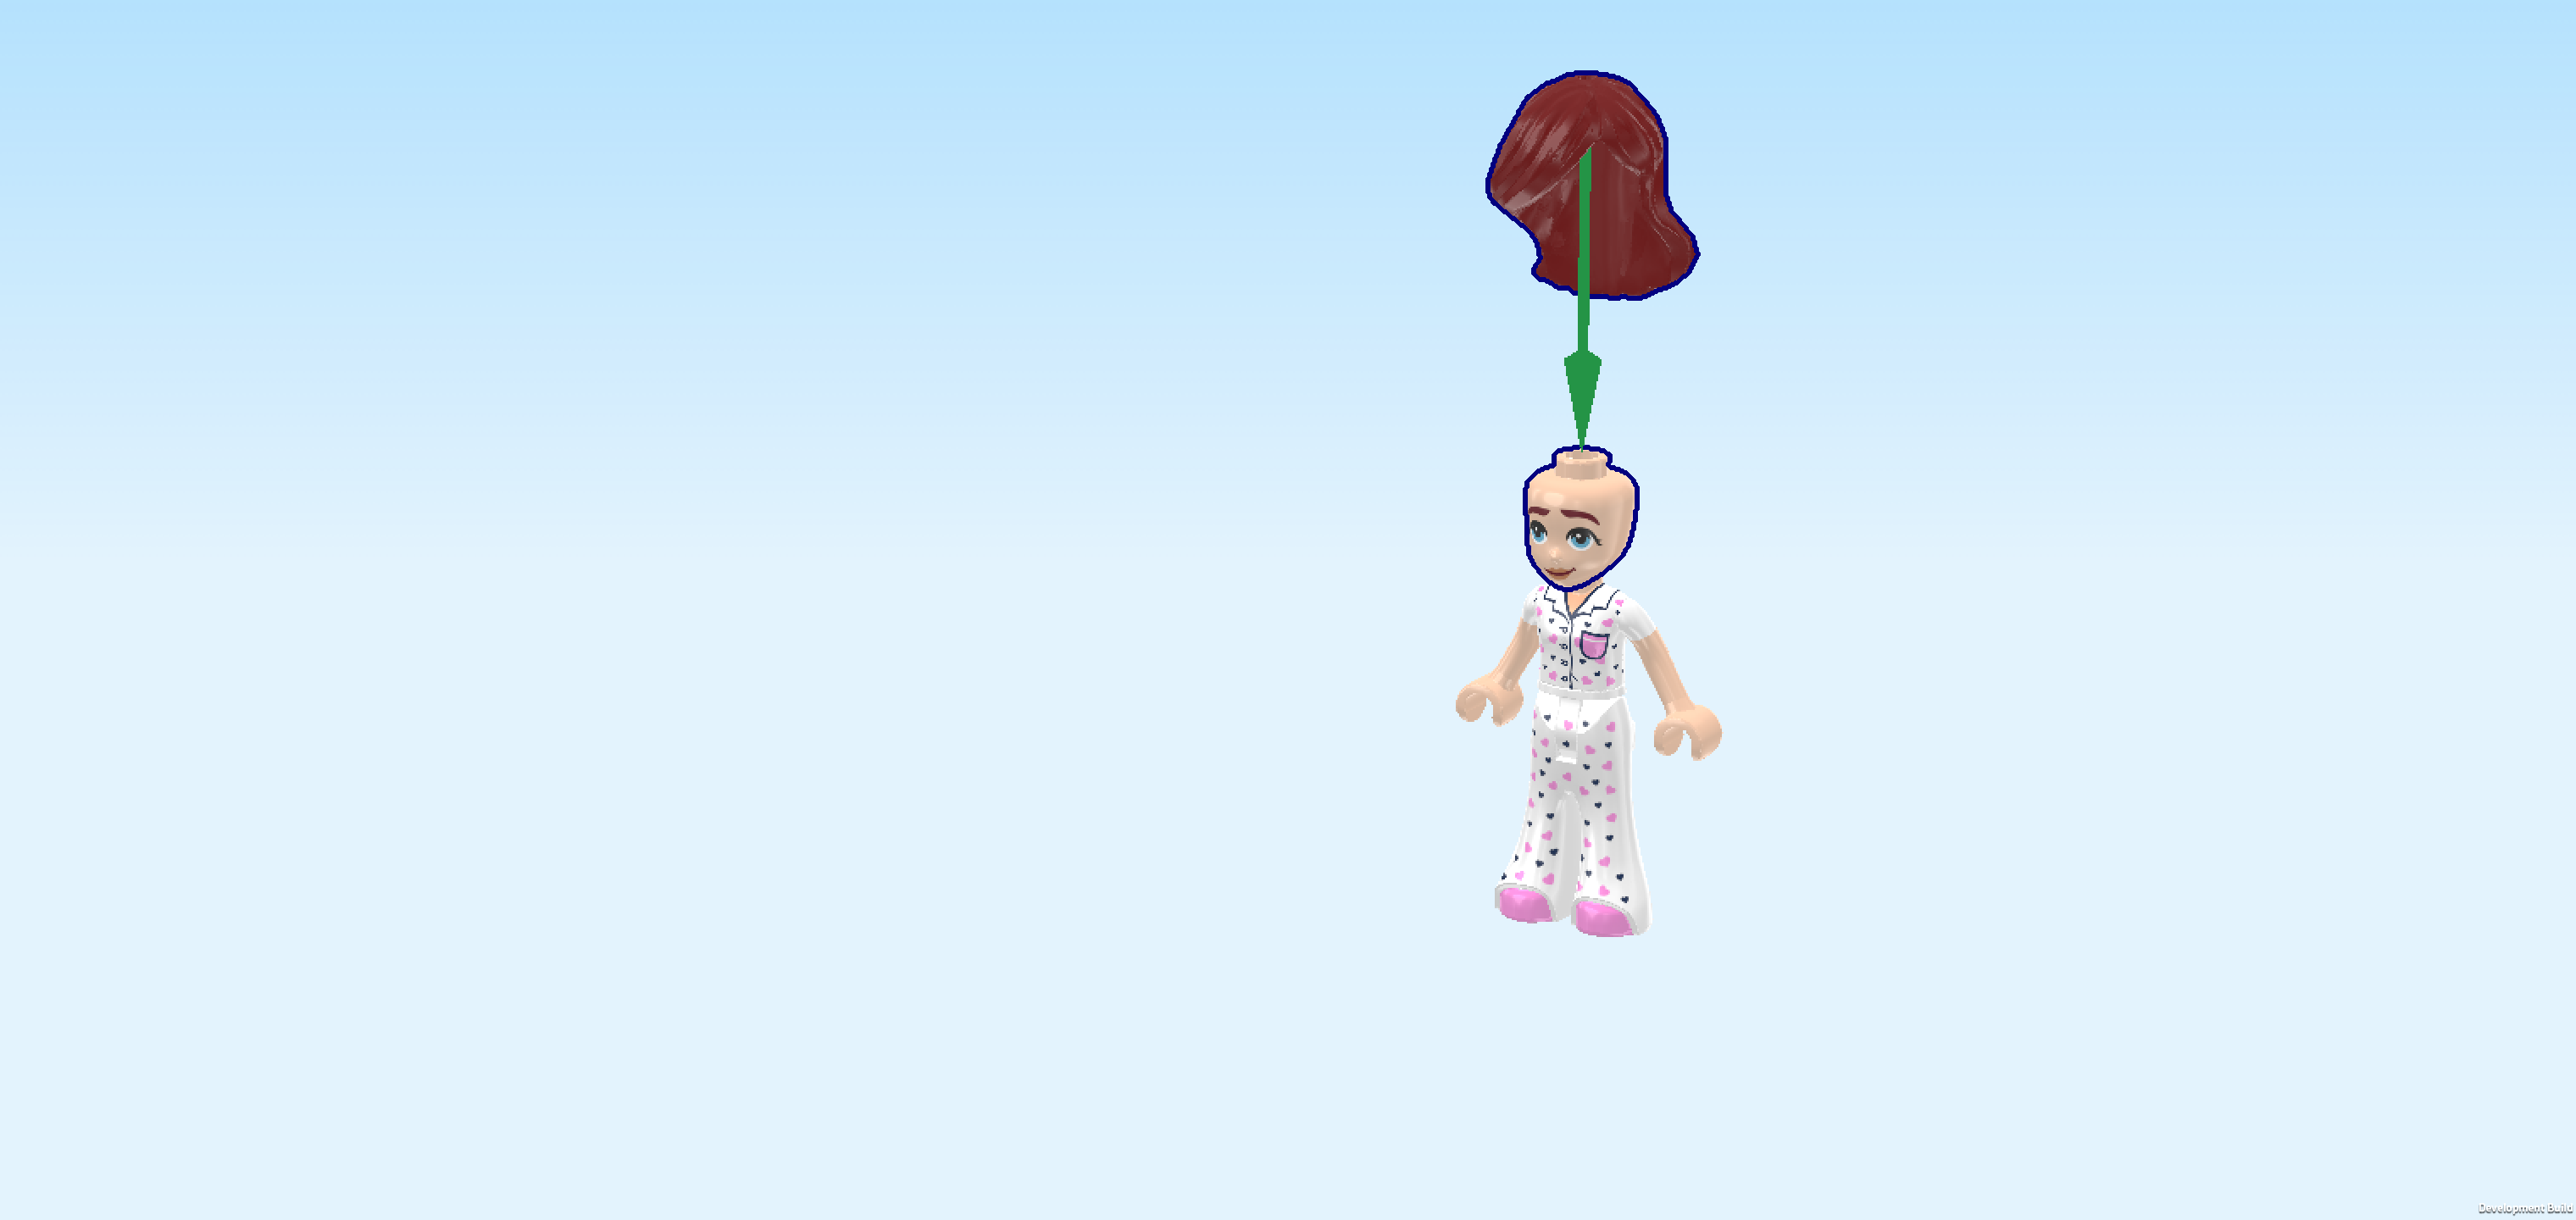
| 1 maroon red hairpiece with long hair in a side parting, |
| and 1 light nougat brown Minidoll head. |
| Put the head on the body. |
| Put the hair on the head. |
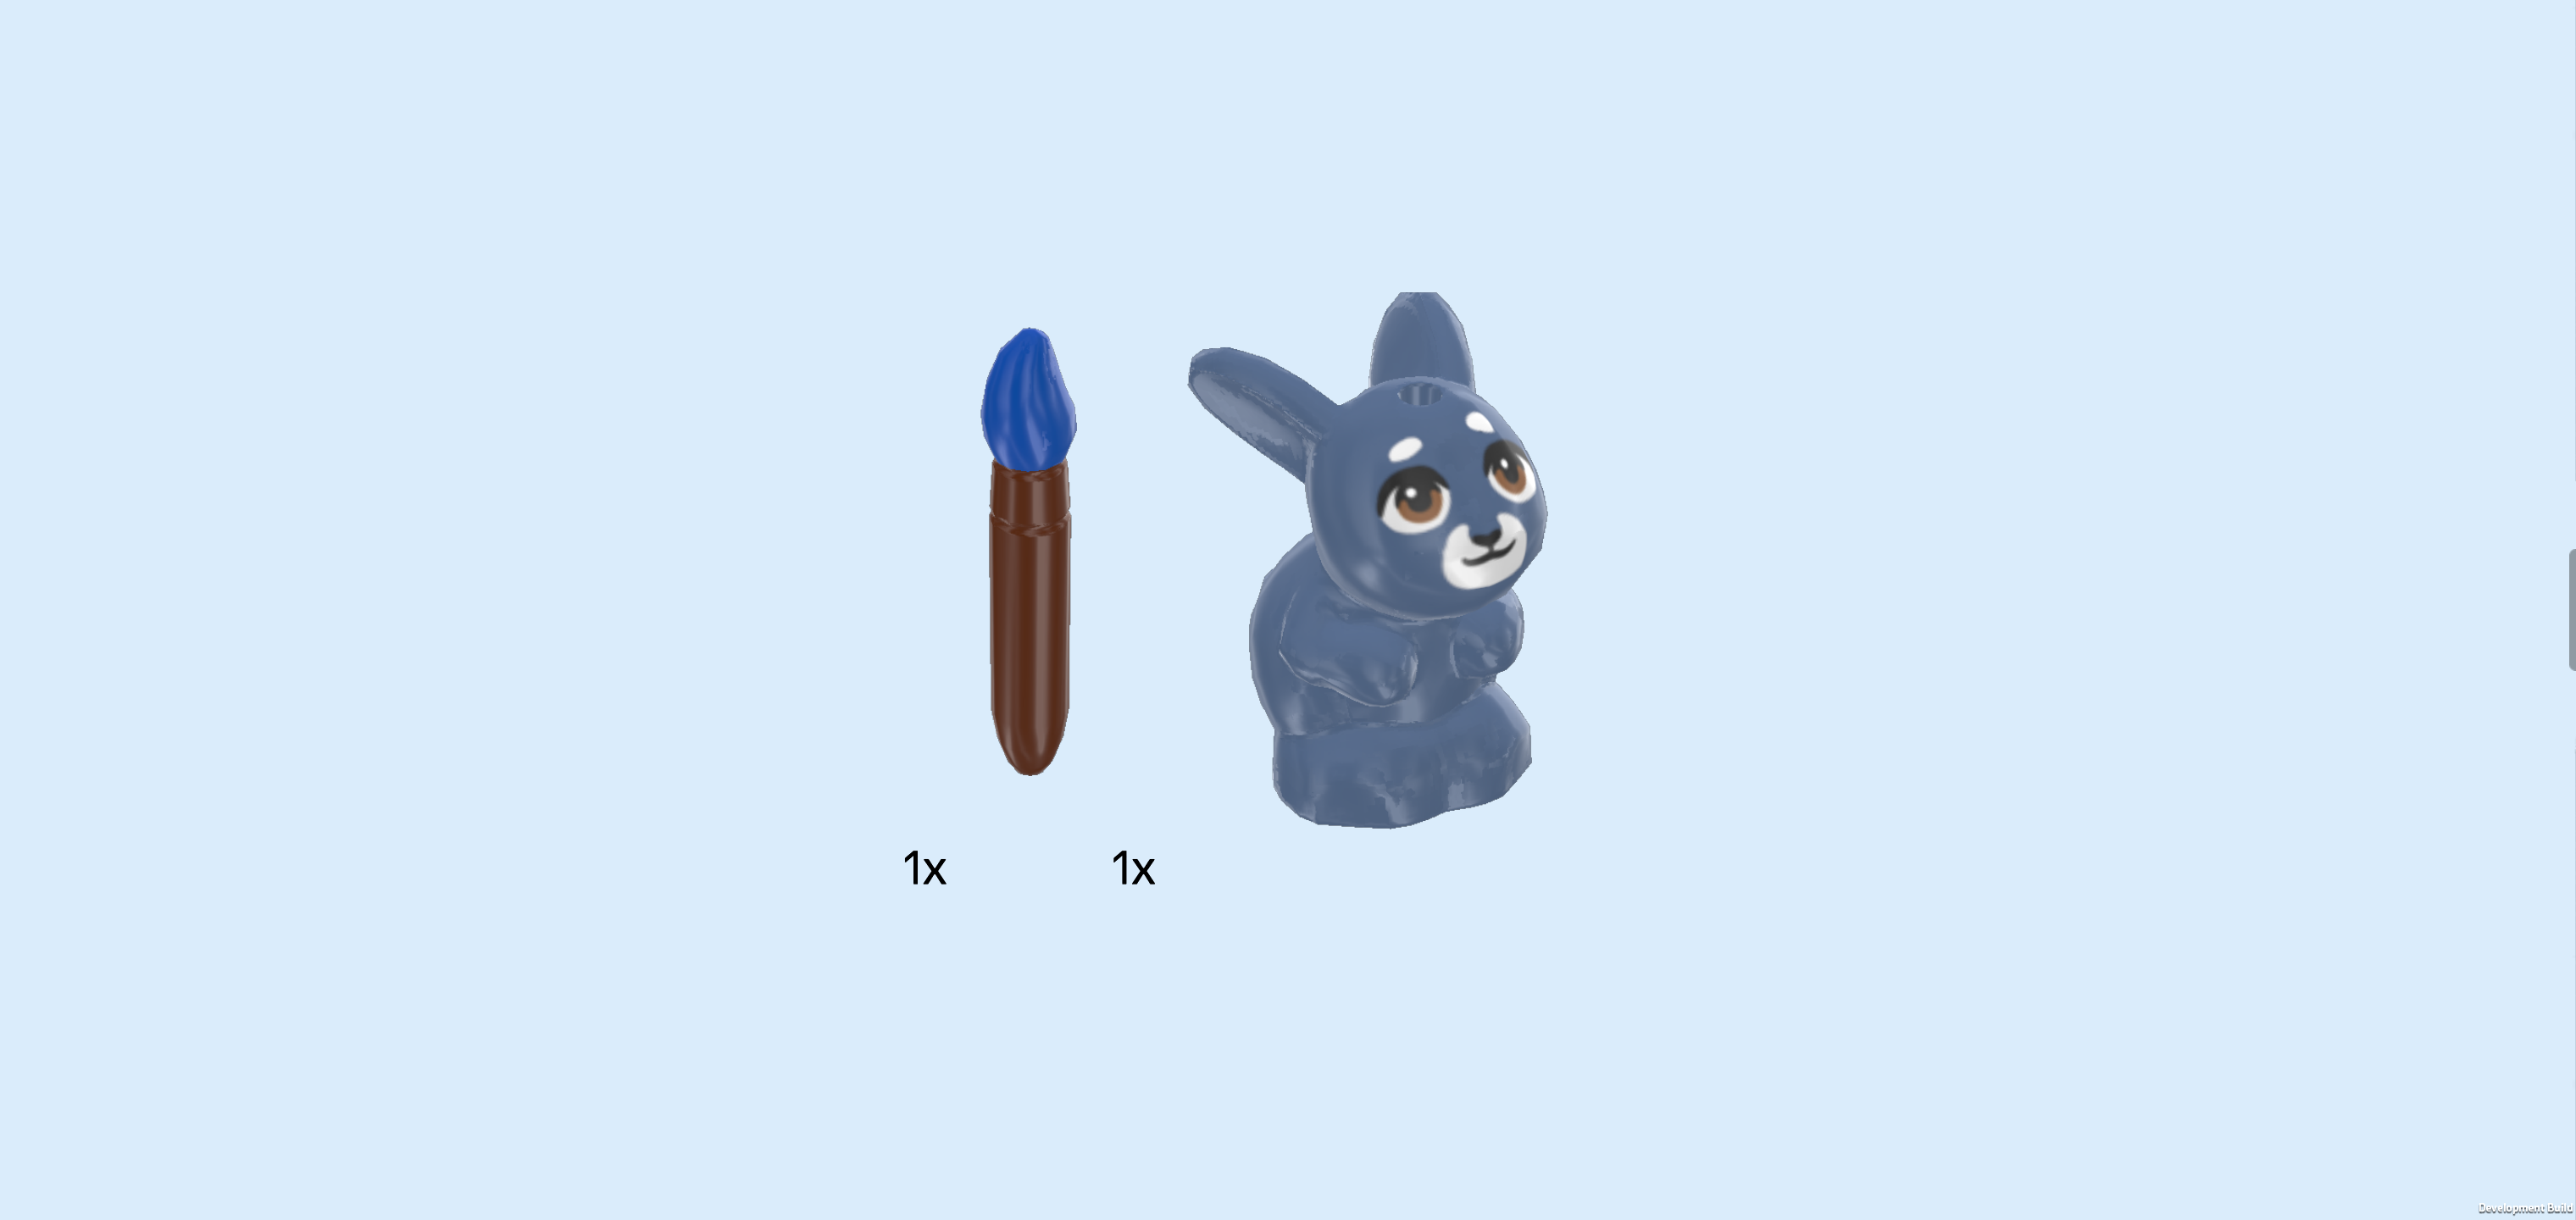
| Collect the following 2 pieces: |
| 1 reddish brown and bright blue paintbrush, |
| and 1 sand blue bunny figurine. |
| Snap the paintbrush into Paisley's right hand. The tip of the brush is covered in blue paint! |
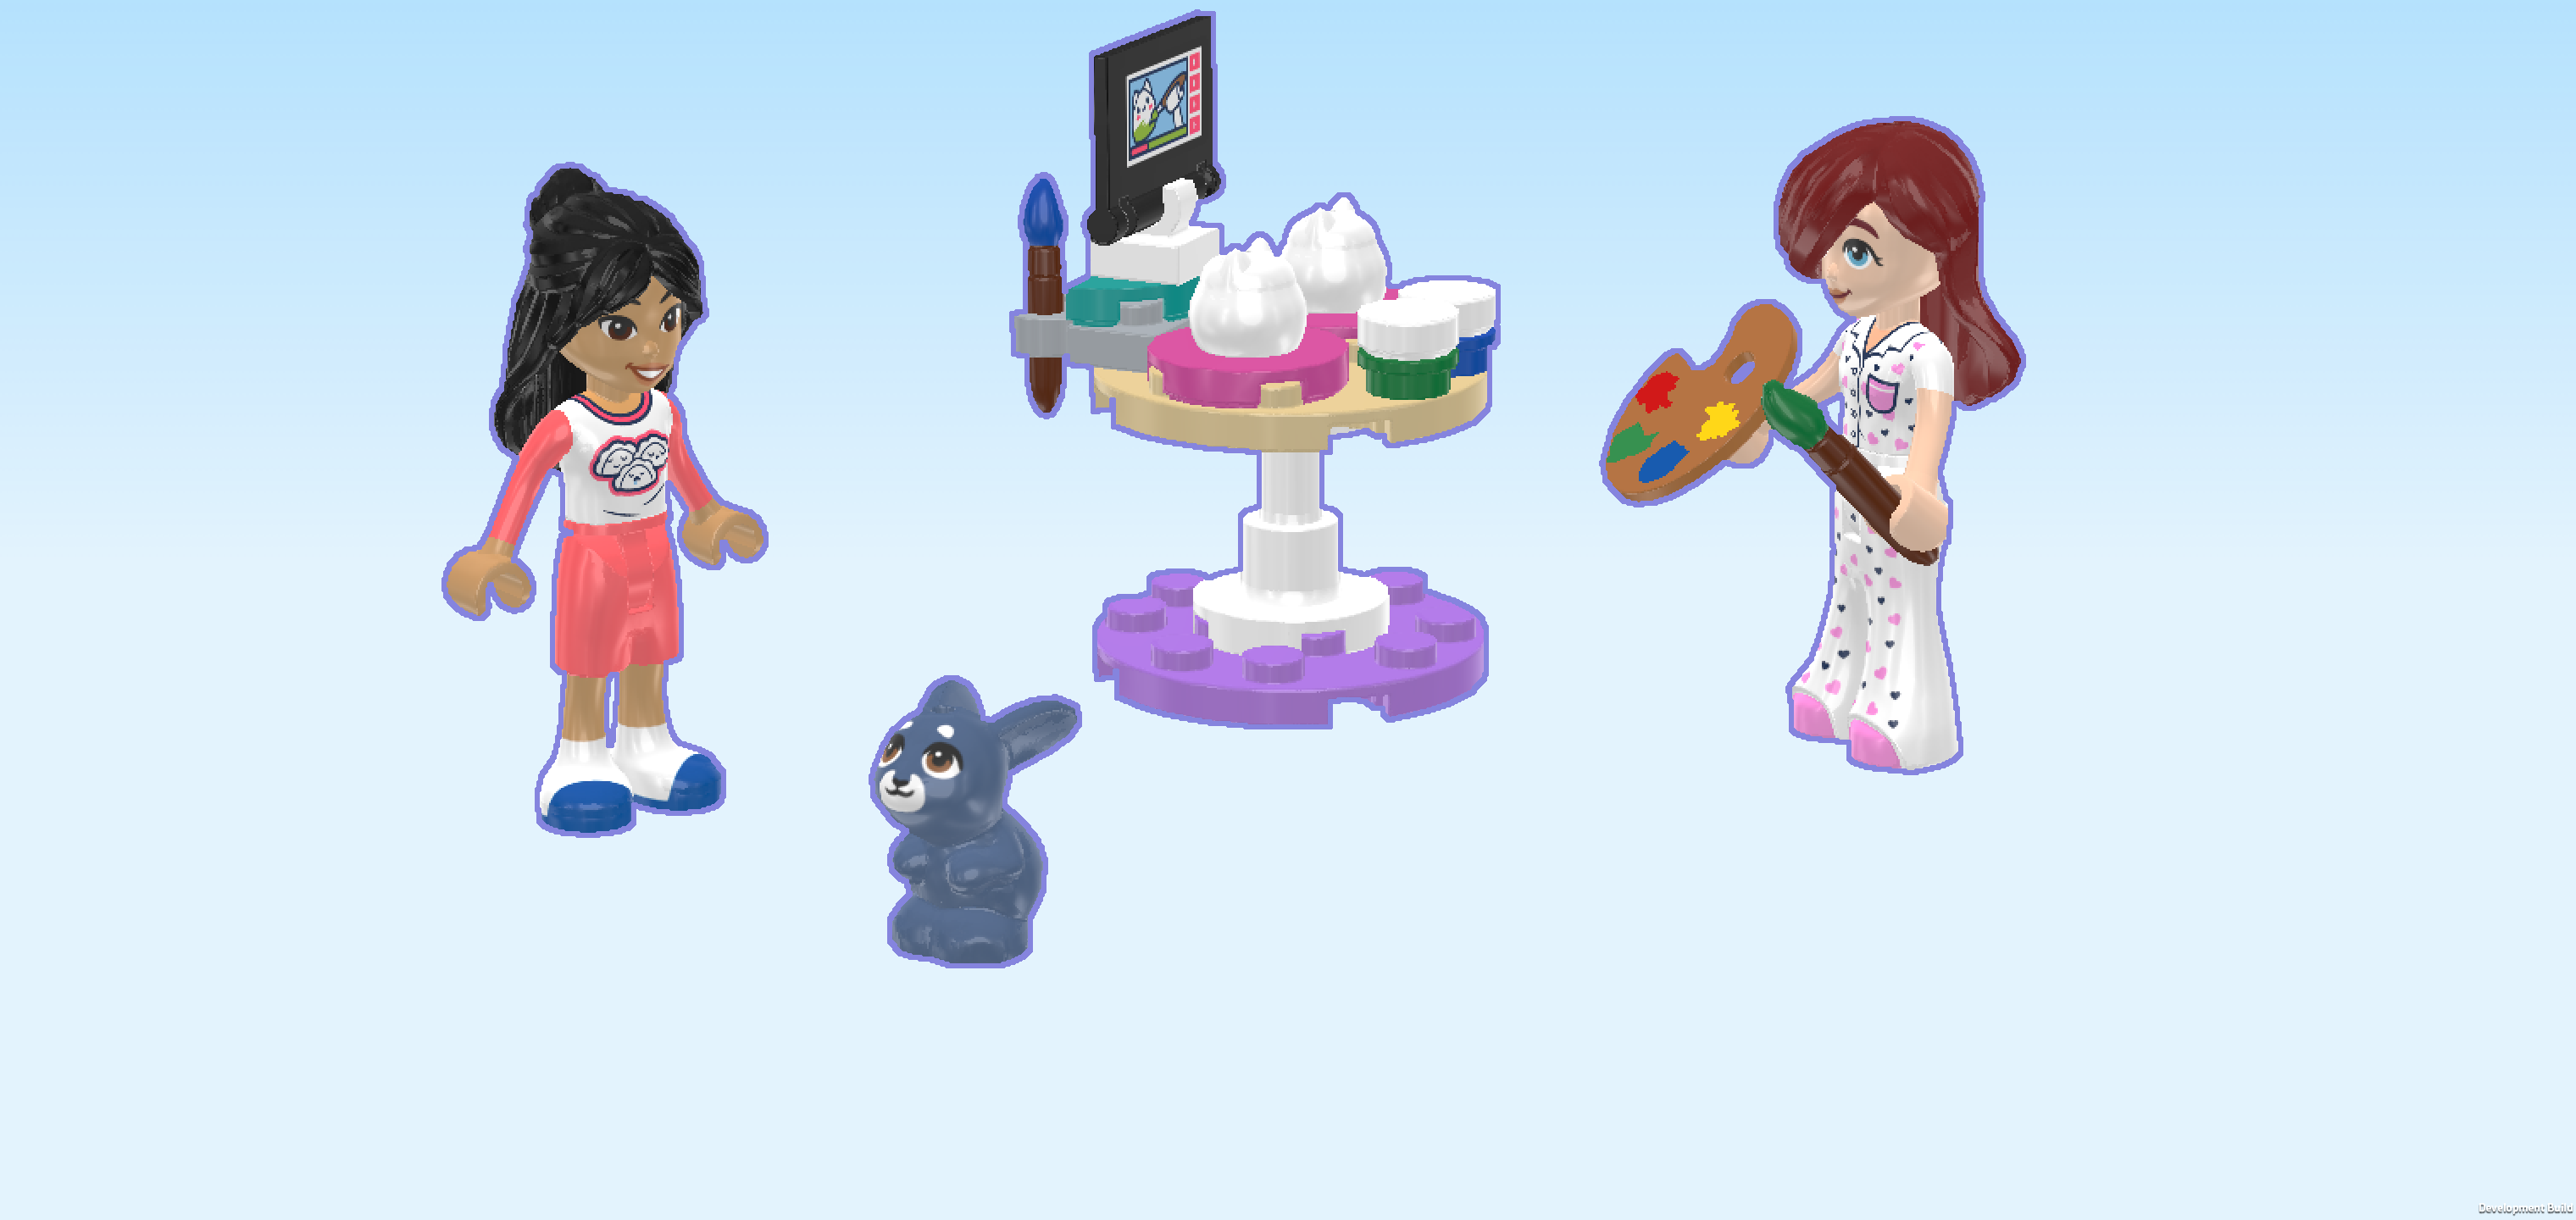
| The Paisley Minidoll is finished! Great job! Paisley has shiny long red hair swept over one eye, and her friendly face features a gentle smile and bright blue eyes—she looks like she is ready to have a creative painting session with her friend. She's wearing soft white pajamas decorated with tiny pink and dark blue hearts. Her short-sleeved button-up top has a collar and a little pink chest pocket, and her pants end in matching pink slippers—the perfect outfit for cozy crafting! Paisley is all about creativity and music: in this set her friend Liann joins her to paint ceramic figures while watching a tutorial on her tablet, and she can also play her guitar and sing into her mic. She clearly loves making art and caring for her pet bunny Melody—a cute greyish blue bunny with white fur around its snout and hazel eyes. |
| Next up, we will build the Liann Minidoll. |
| Collect the following 2 pieces: |
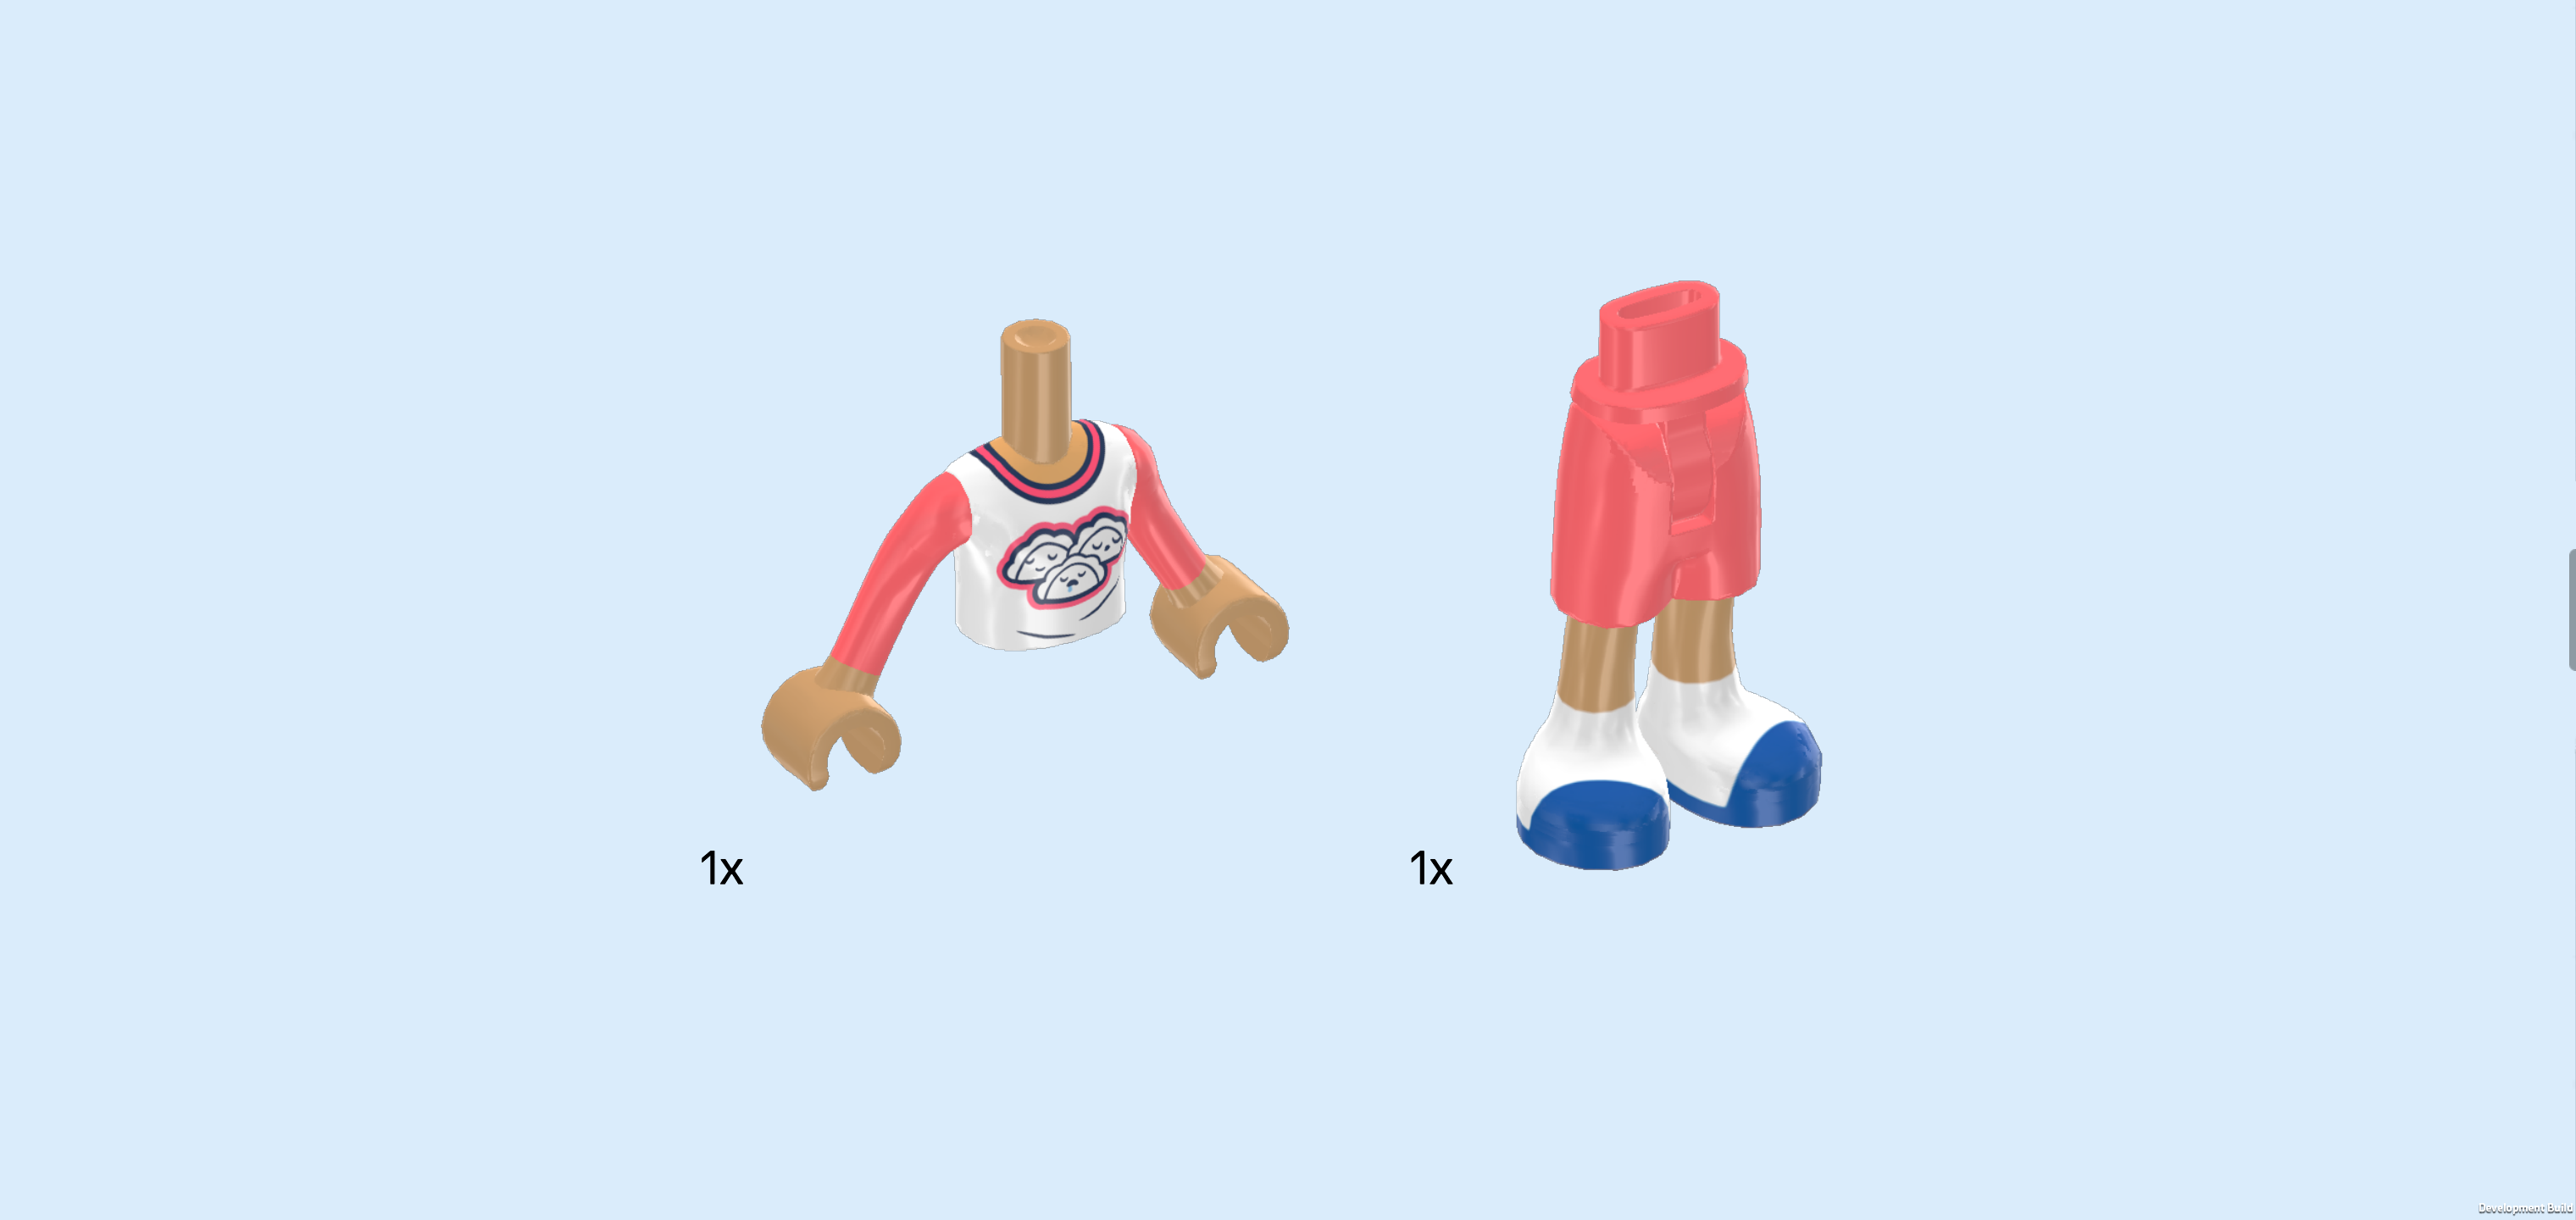
| 1 warm tan, salmon pink and white Minidoll upper body, |
| and 1 warm tan and salmon pink pair of Minidoll legs with medium-length shorts. |
| Put the upper body on the legs. |
| Collect the following 2 pieces: |
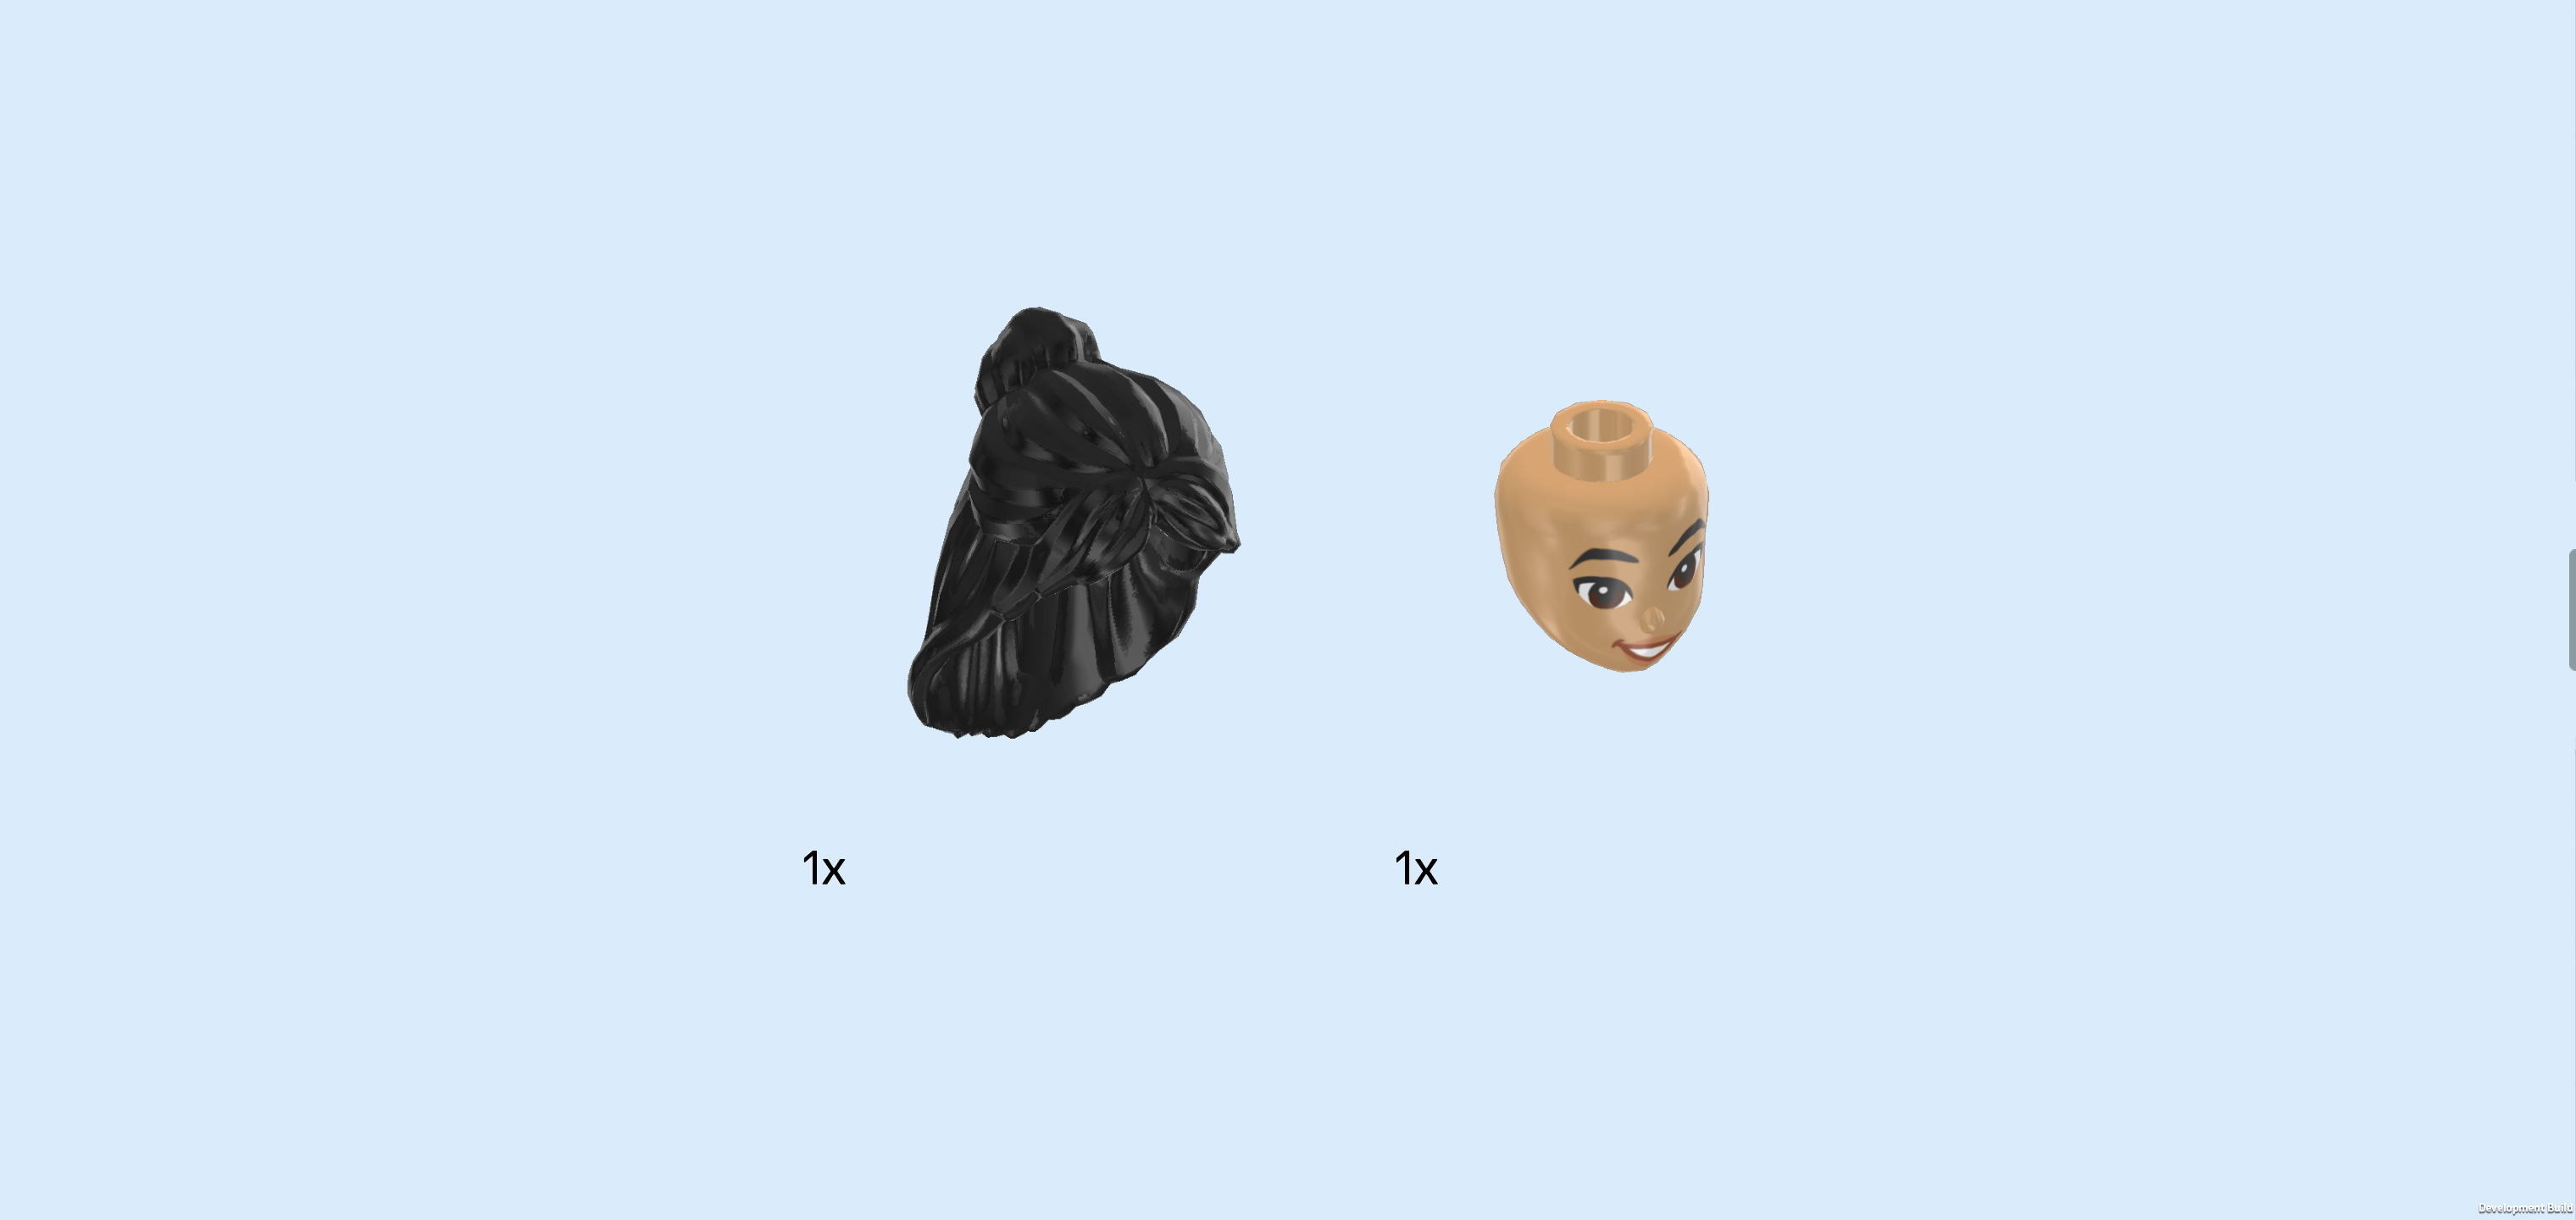
| 1 black long straight hairpiece with top bun, |
| and 1 warm tan Minidoll head. |
| Put the head on the body. |
| Put the hair on the head. |
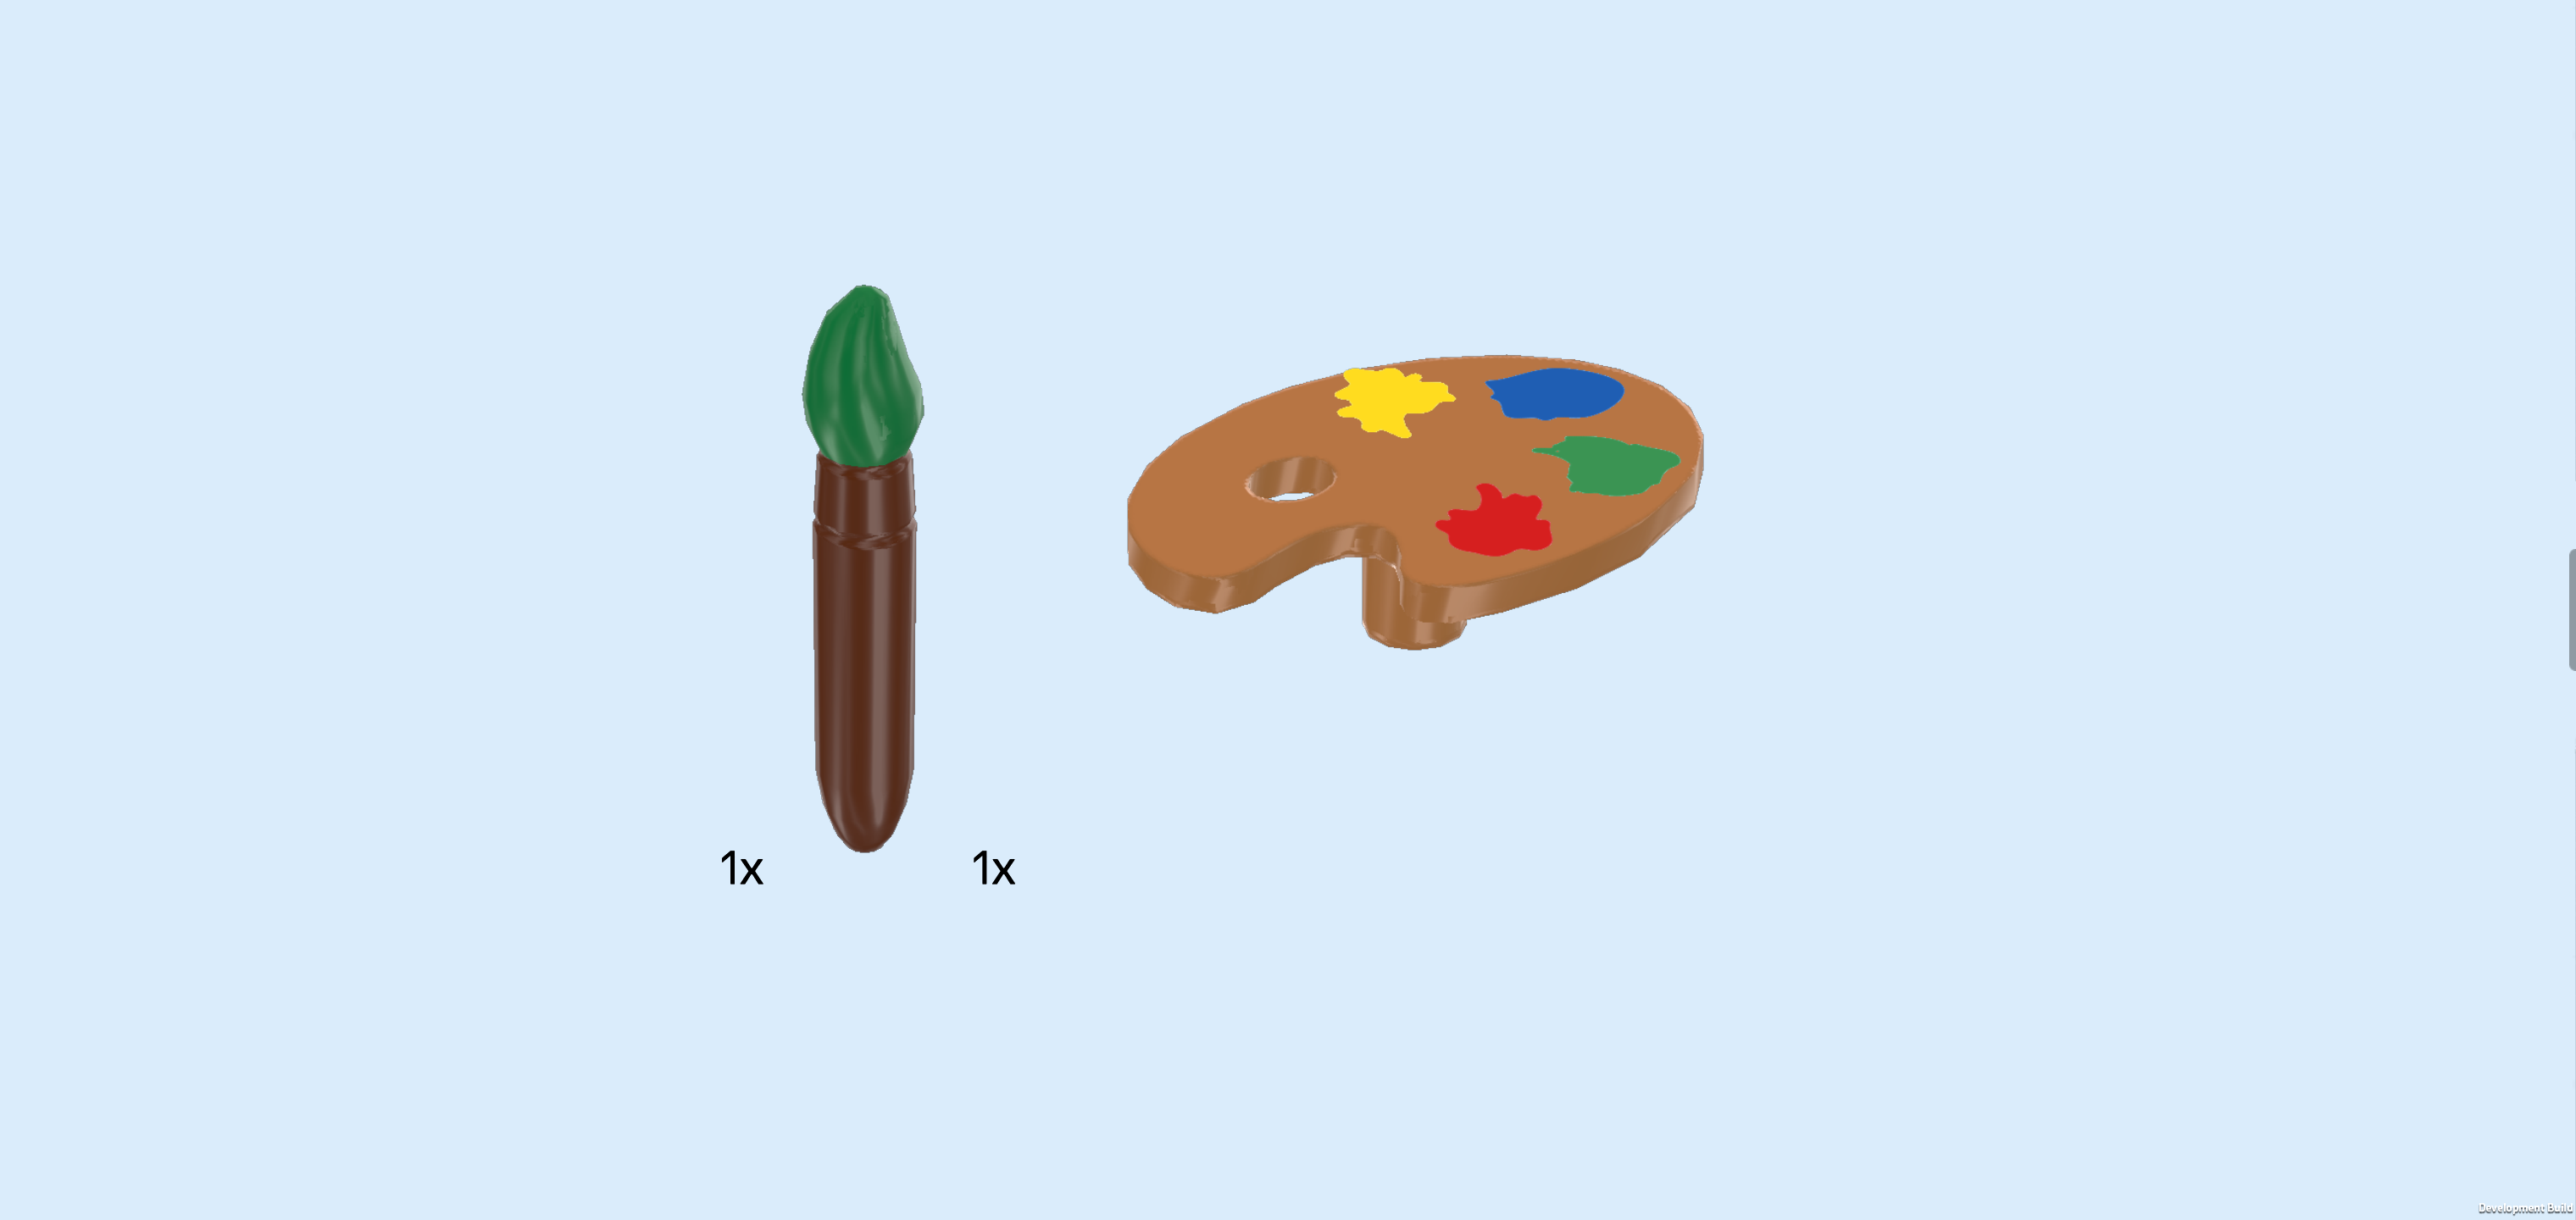
| Collect the following 2 pieces: |
| 1 reddish brown and dark green paintbrush, |
| and 1 medium nougat brown artist's palette. |
| Snap the paintbrush into Liann's left hand. Its tip is covered in green paint! |
| Put the palette on Liann's right hand. |
| The Liann Minidoll is finished! Well done! Liann has long black hair tied up in a high bun, and her warm smile and bright eyes show just how excited she is about the sleepover at Paisley's. Her pajamas consist of a white shirt with long coral-colored sleeves that has a cute print of three sleeping dumplings on the front—each with a sweet little face. One of them is even drooling! Her loose pajama shorts are coral-colored too, like her shirt's sleeves, and her white socks fade into blue slippers, adding a playful touch to her outfit. Liann is all ready to start painting, so let's continue! |
| Now, we will assemble Paisley's diary. |
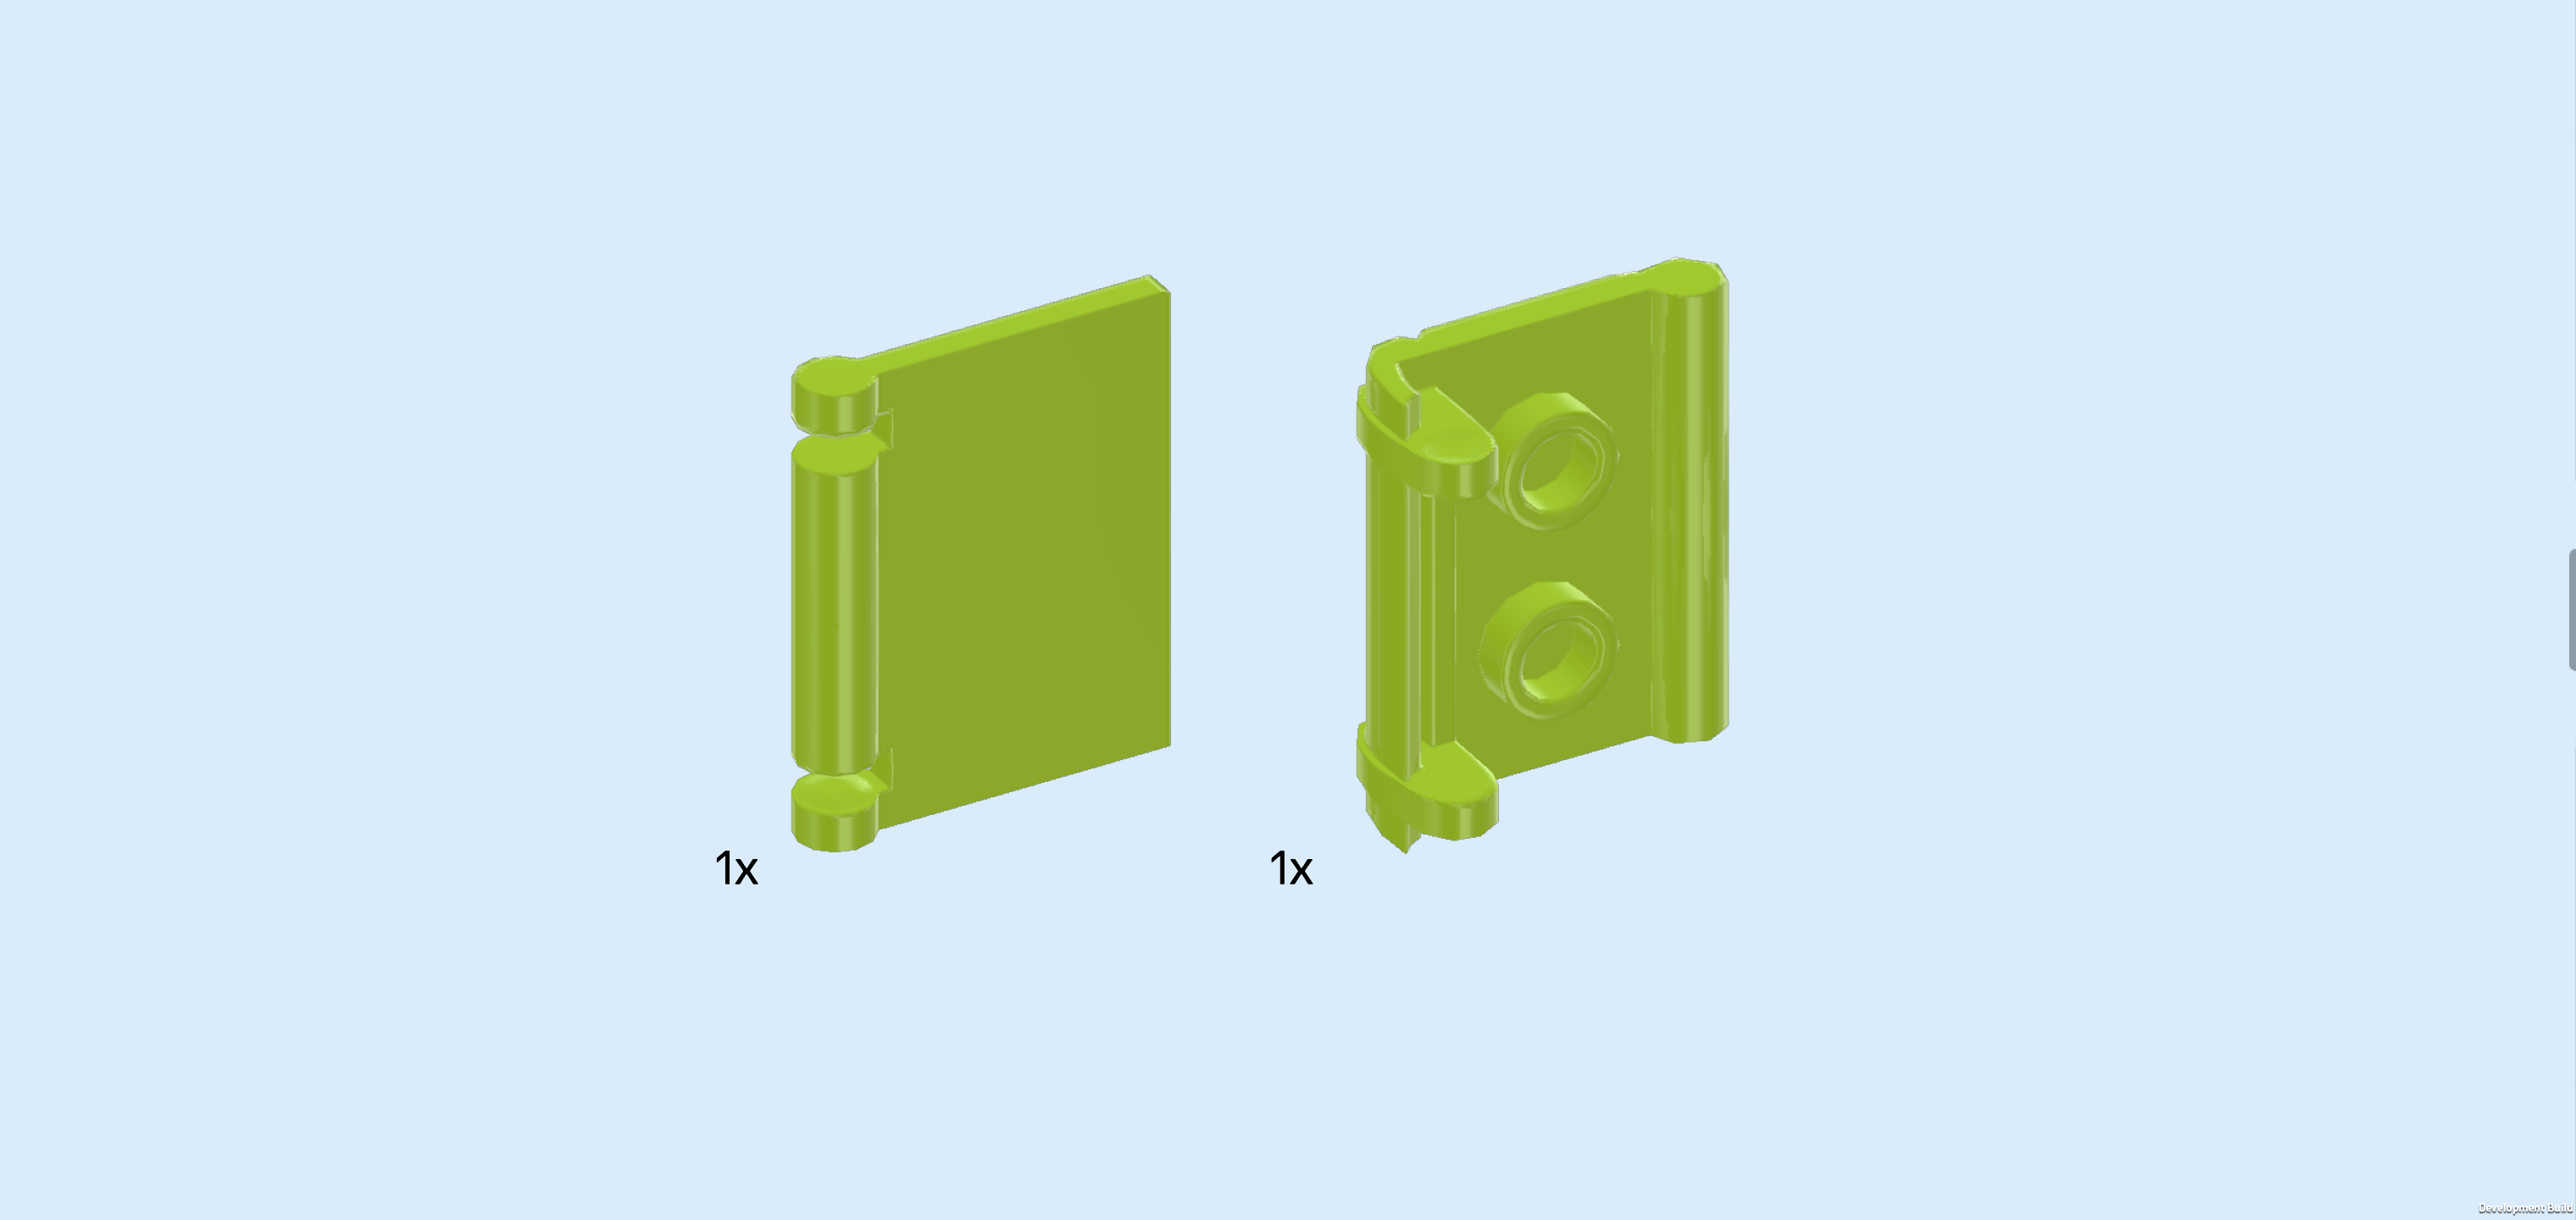
| Collect the following 2 pieces: |
| 1 bright yellowish green book cover front 2x2½ with side shaft and hinge indentations, |
| and 1 bright yellowish green back of a book cover 2x2½ with 2 hinge pins. |
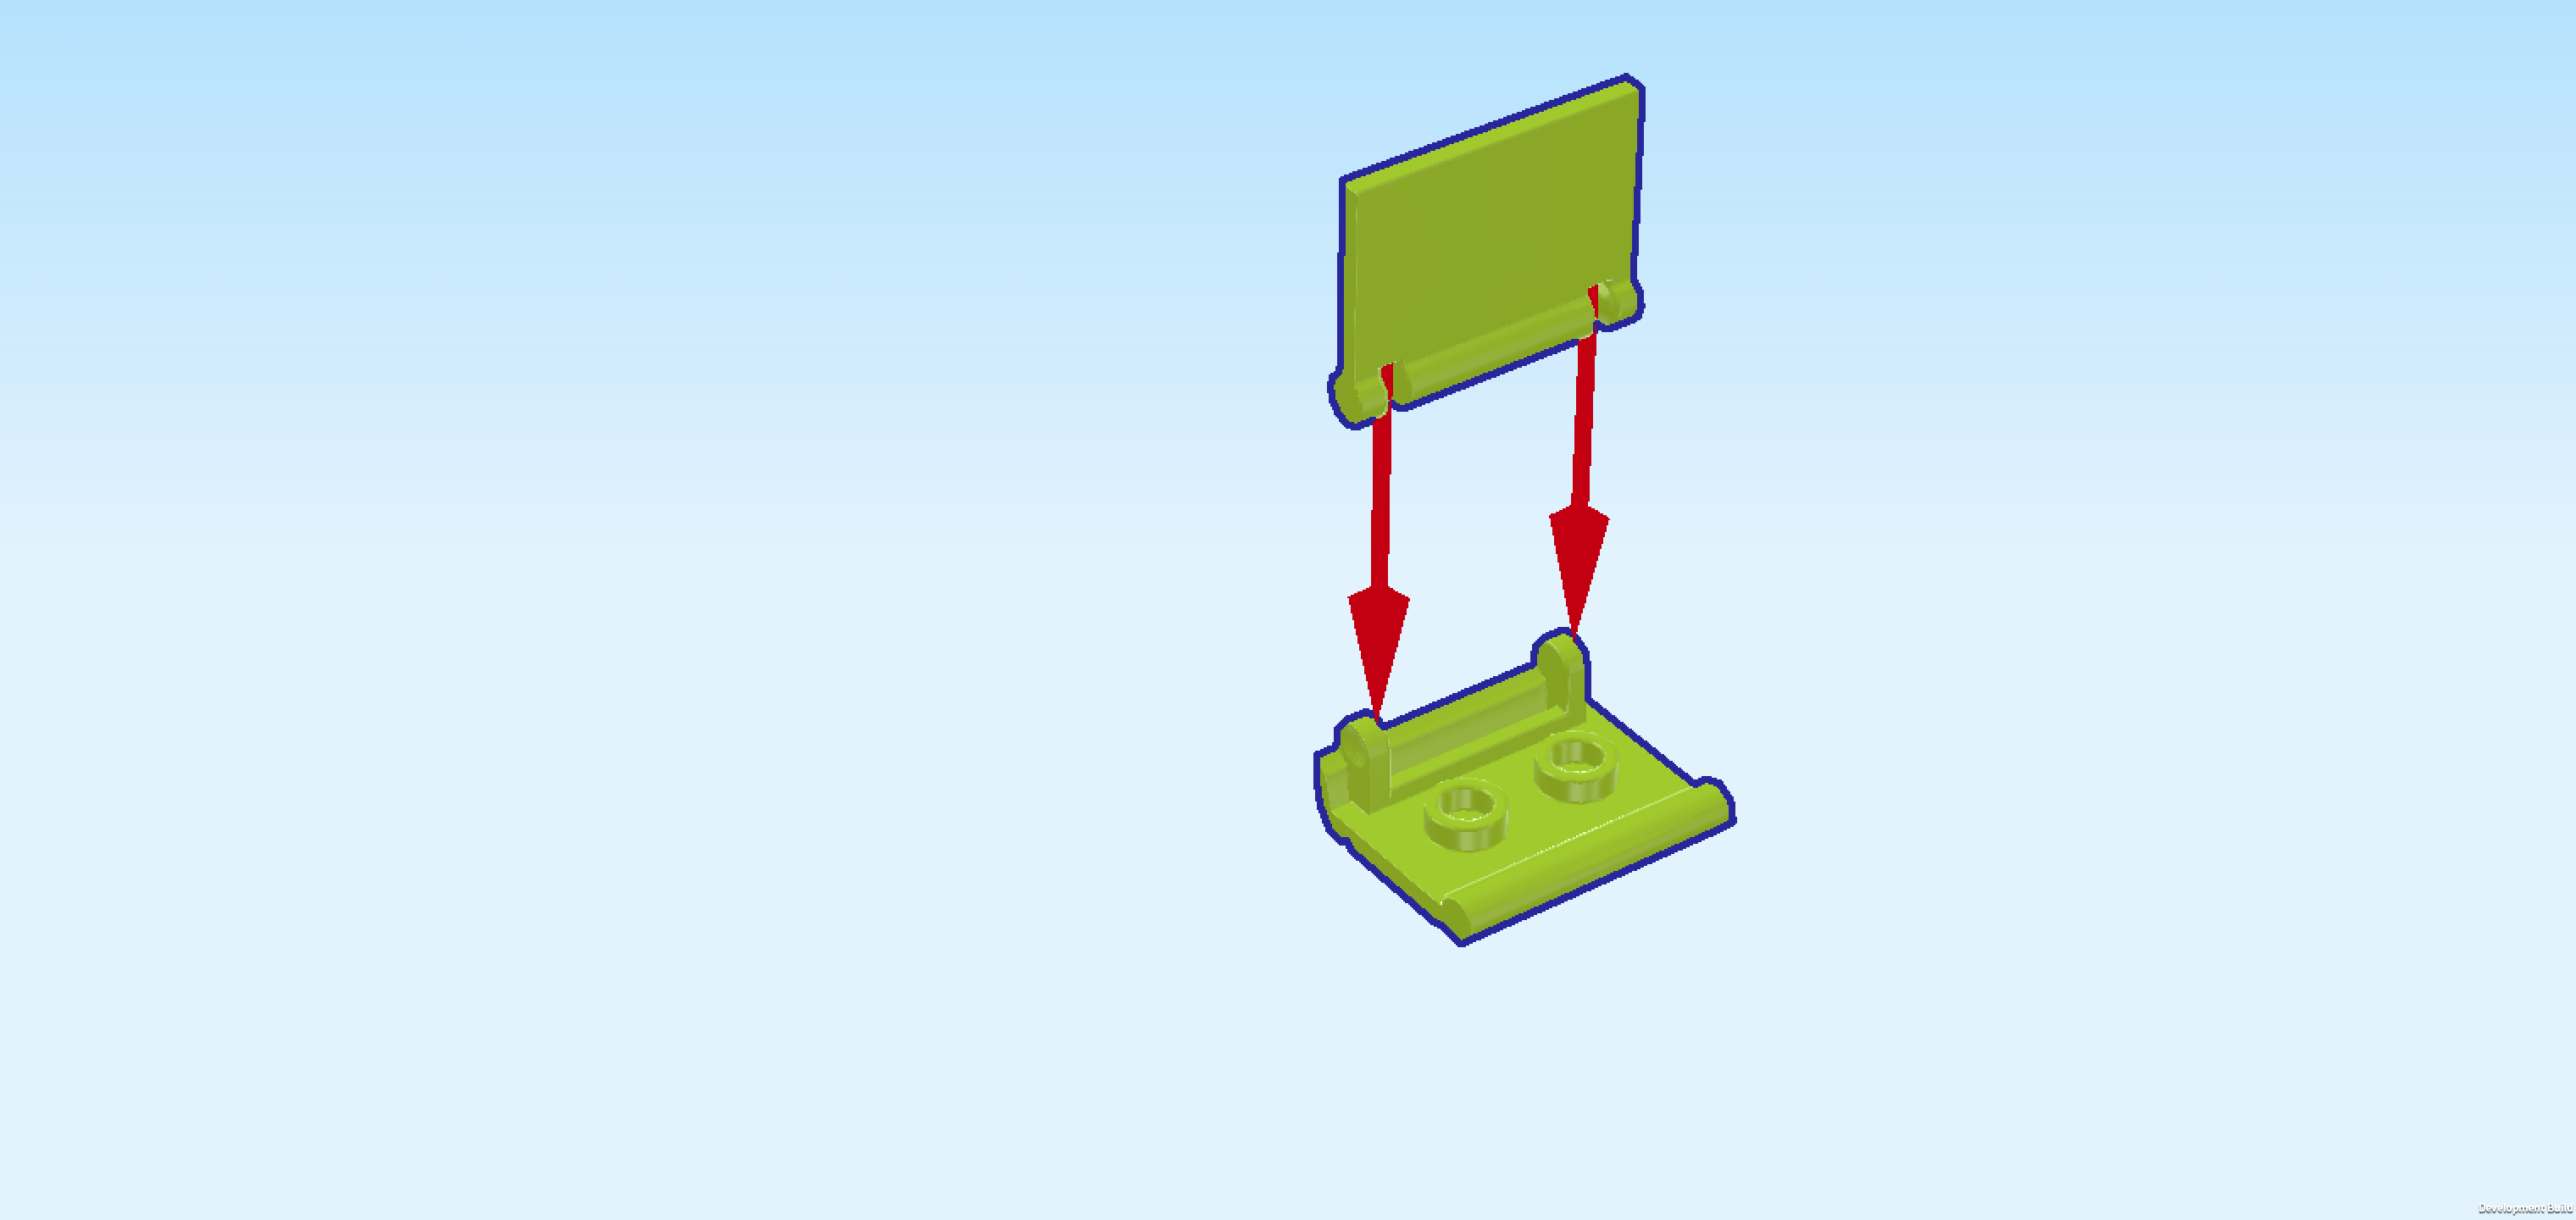
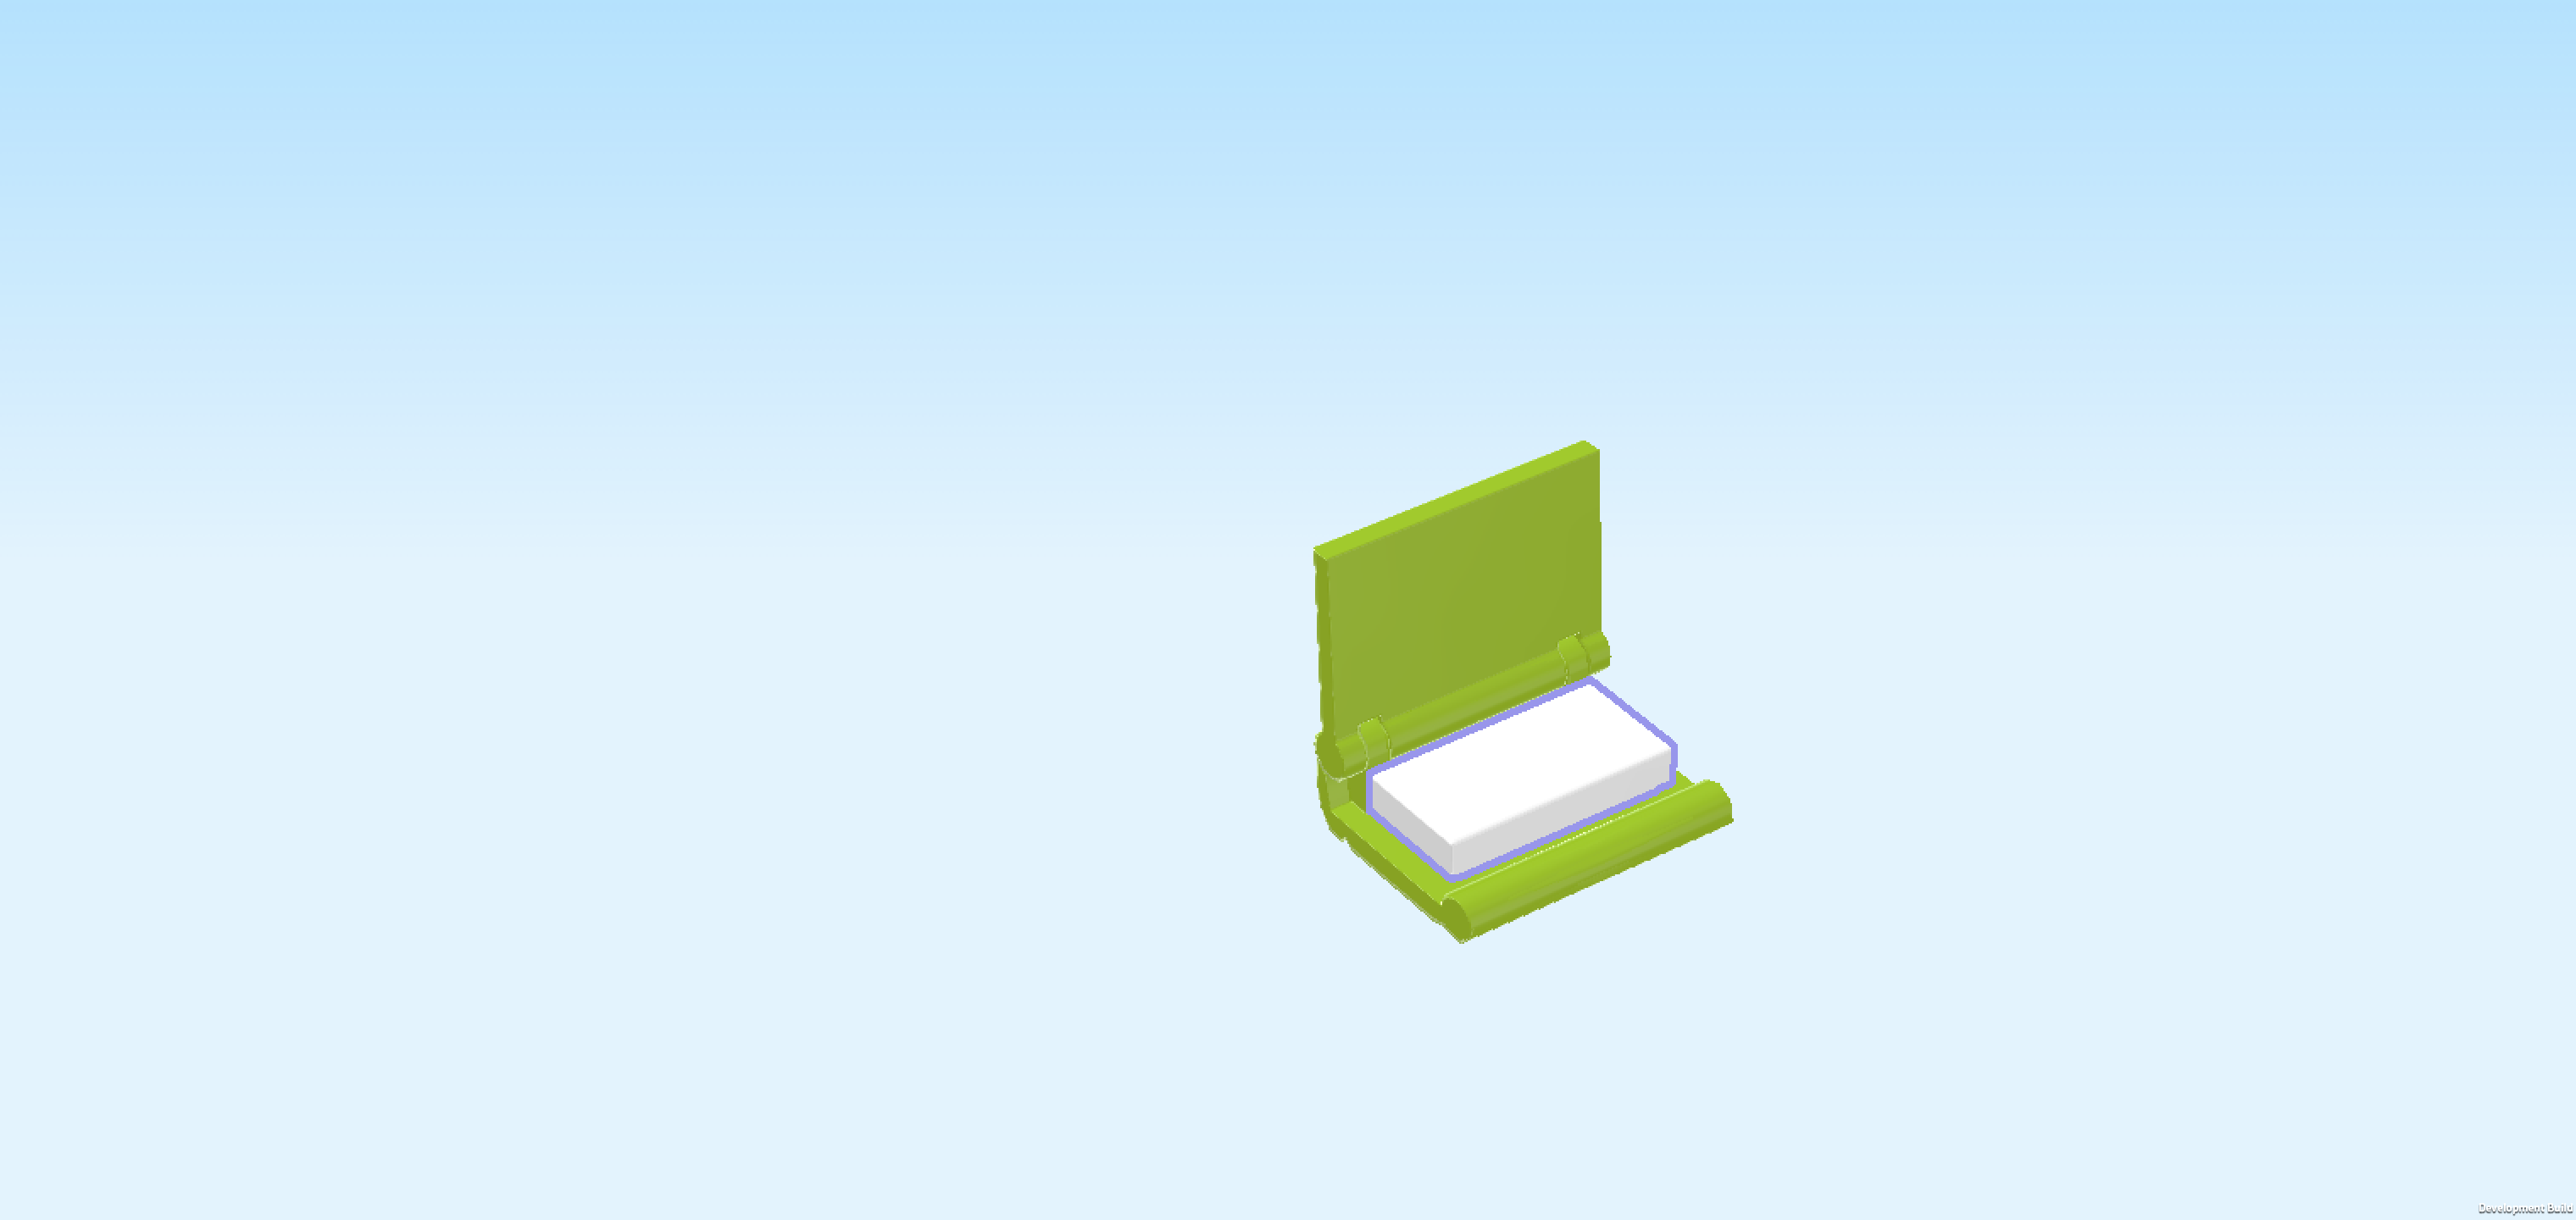
| Put the back of the book cover (this is the piece with the 2 knobs) vertically on the table, hinges on the left edge. |
| Snap the book cover front on the 2 hinges, but keep the book open for now. |
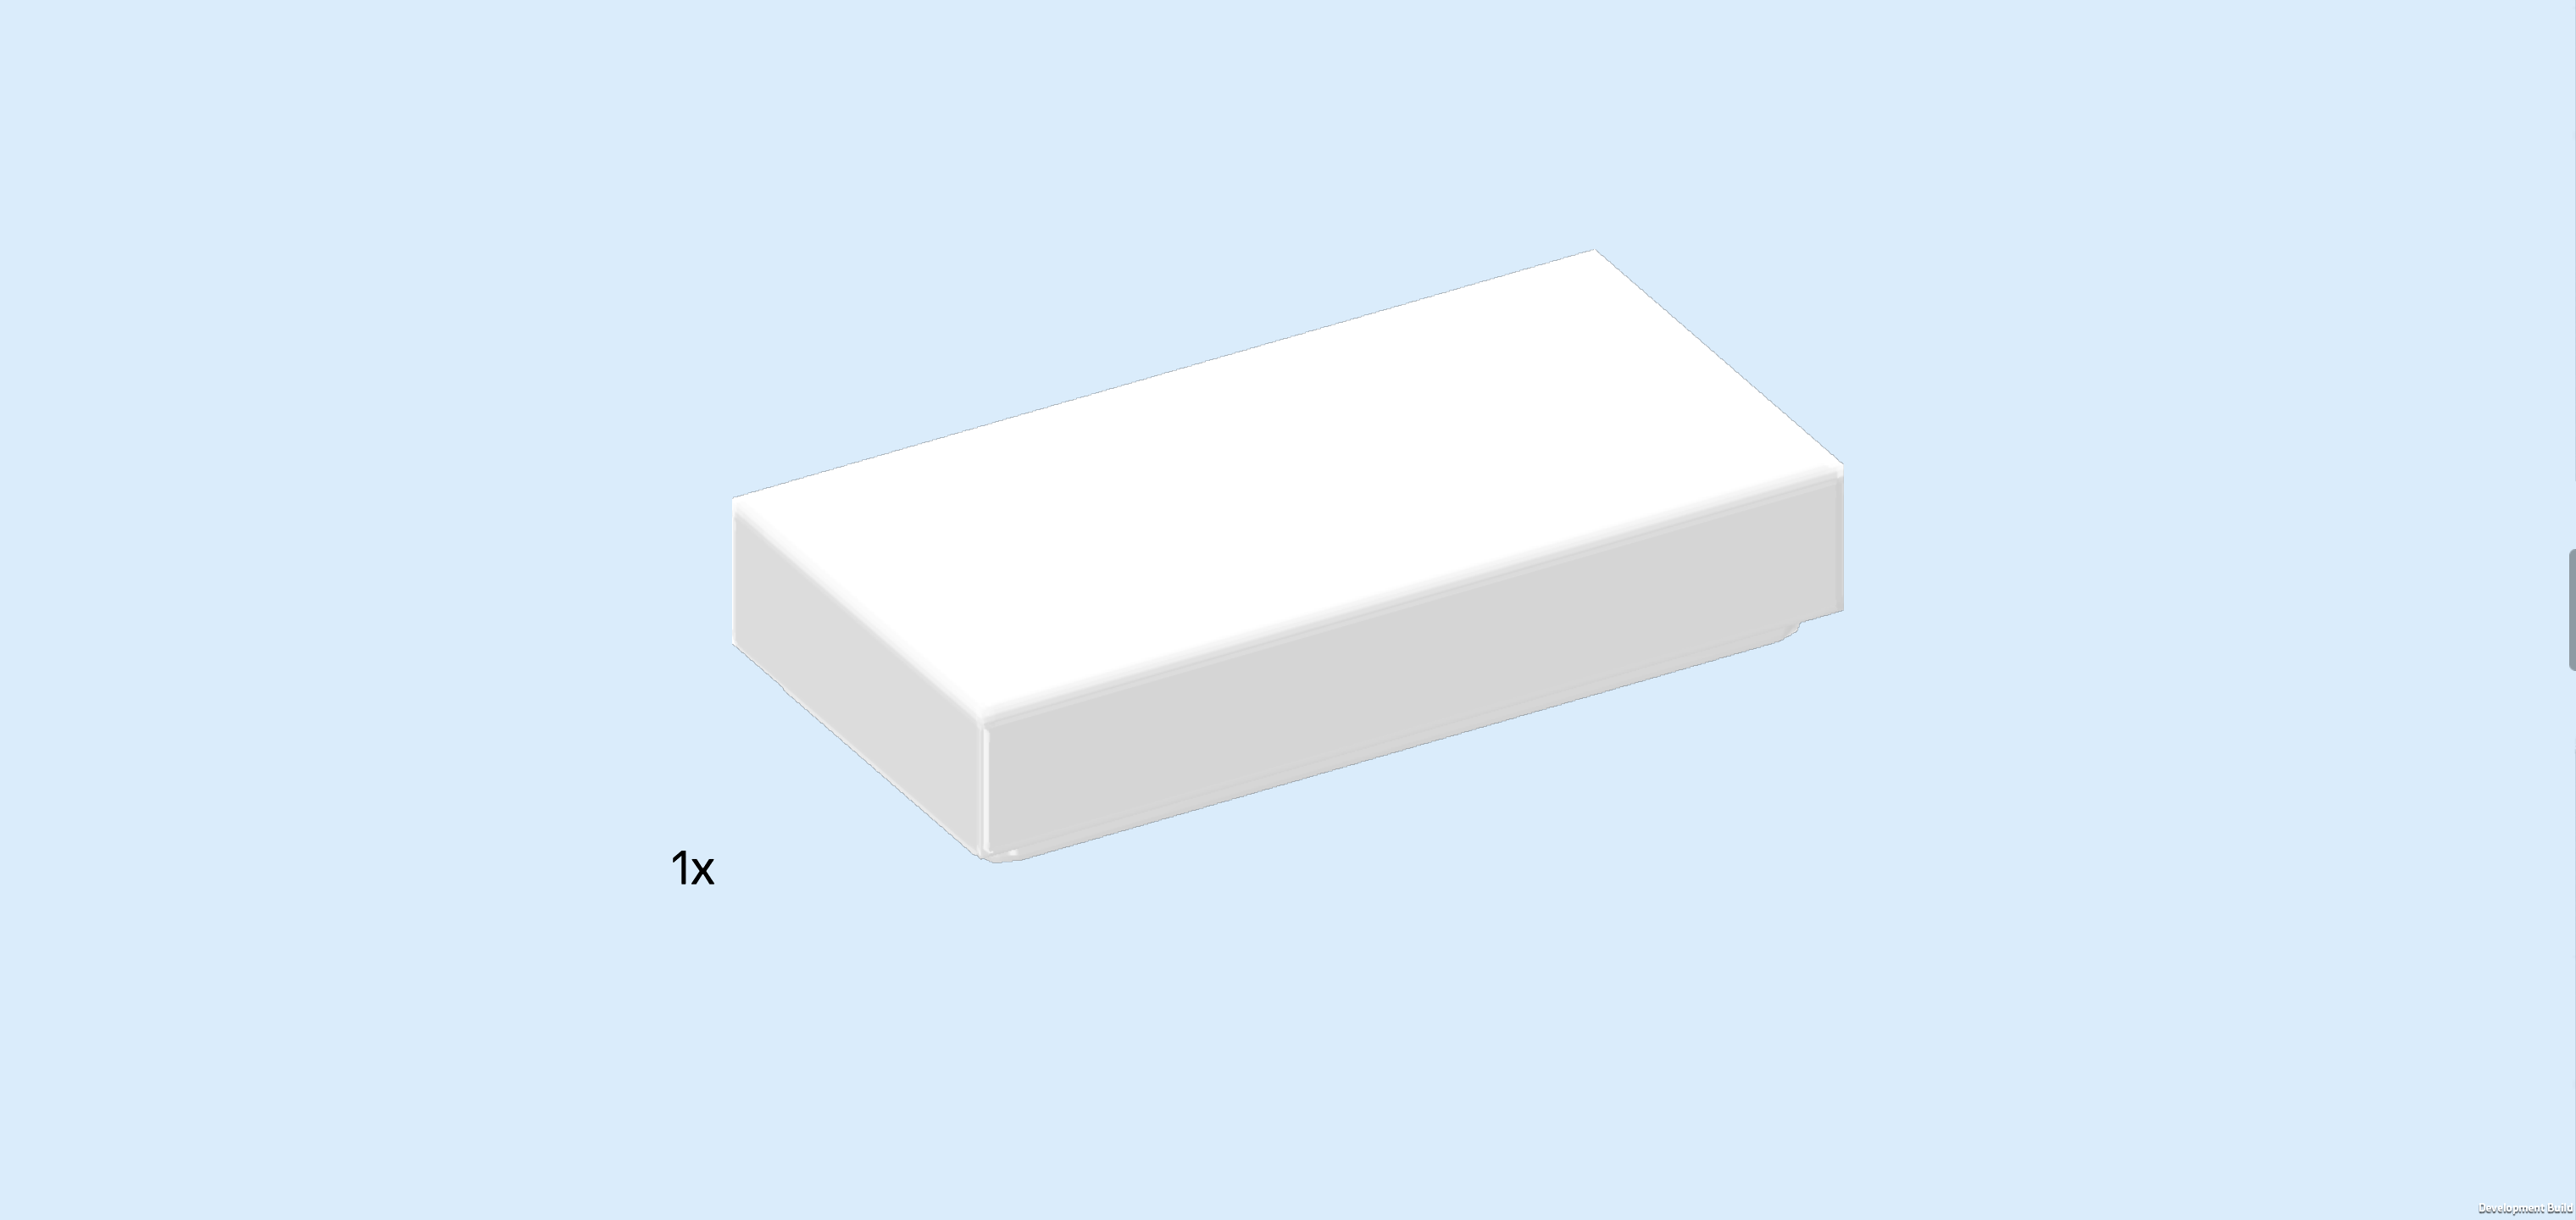
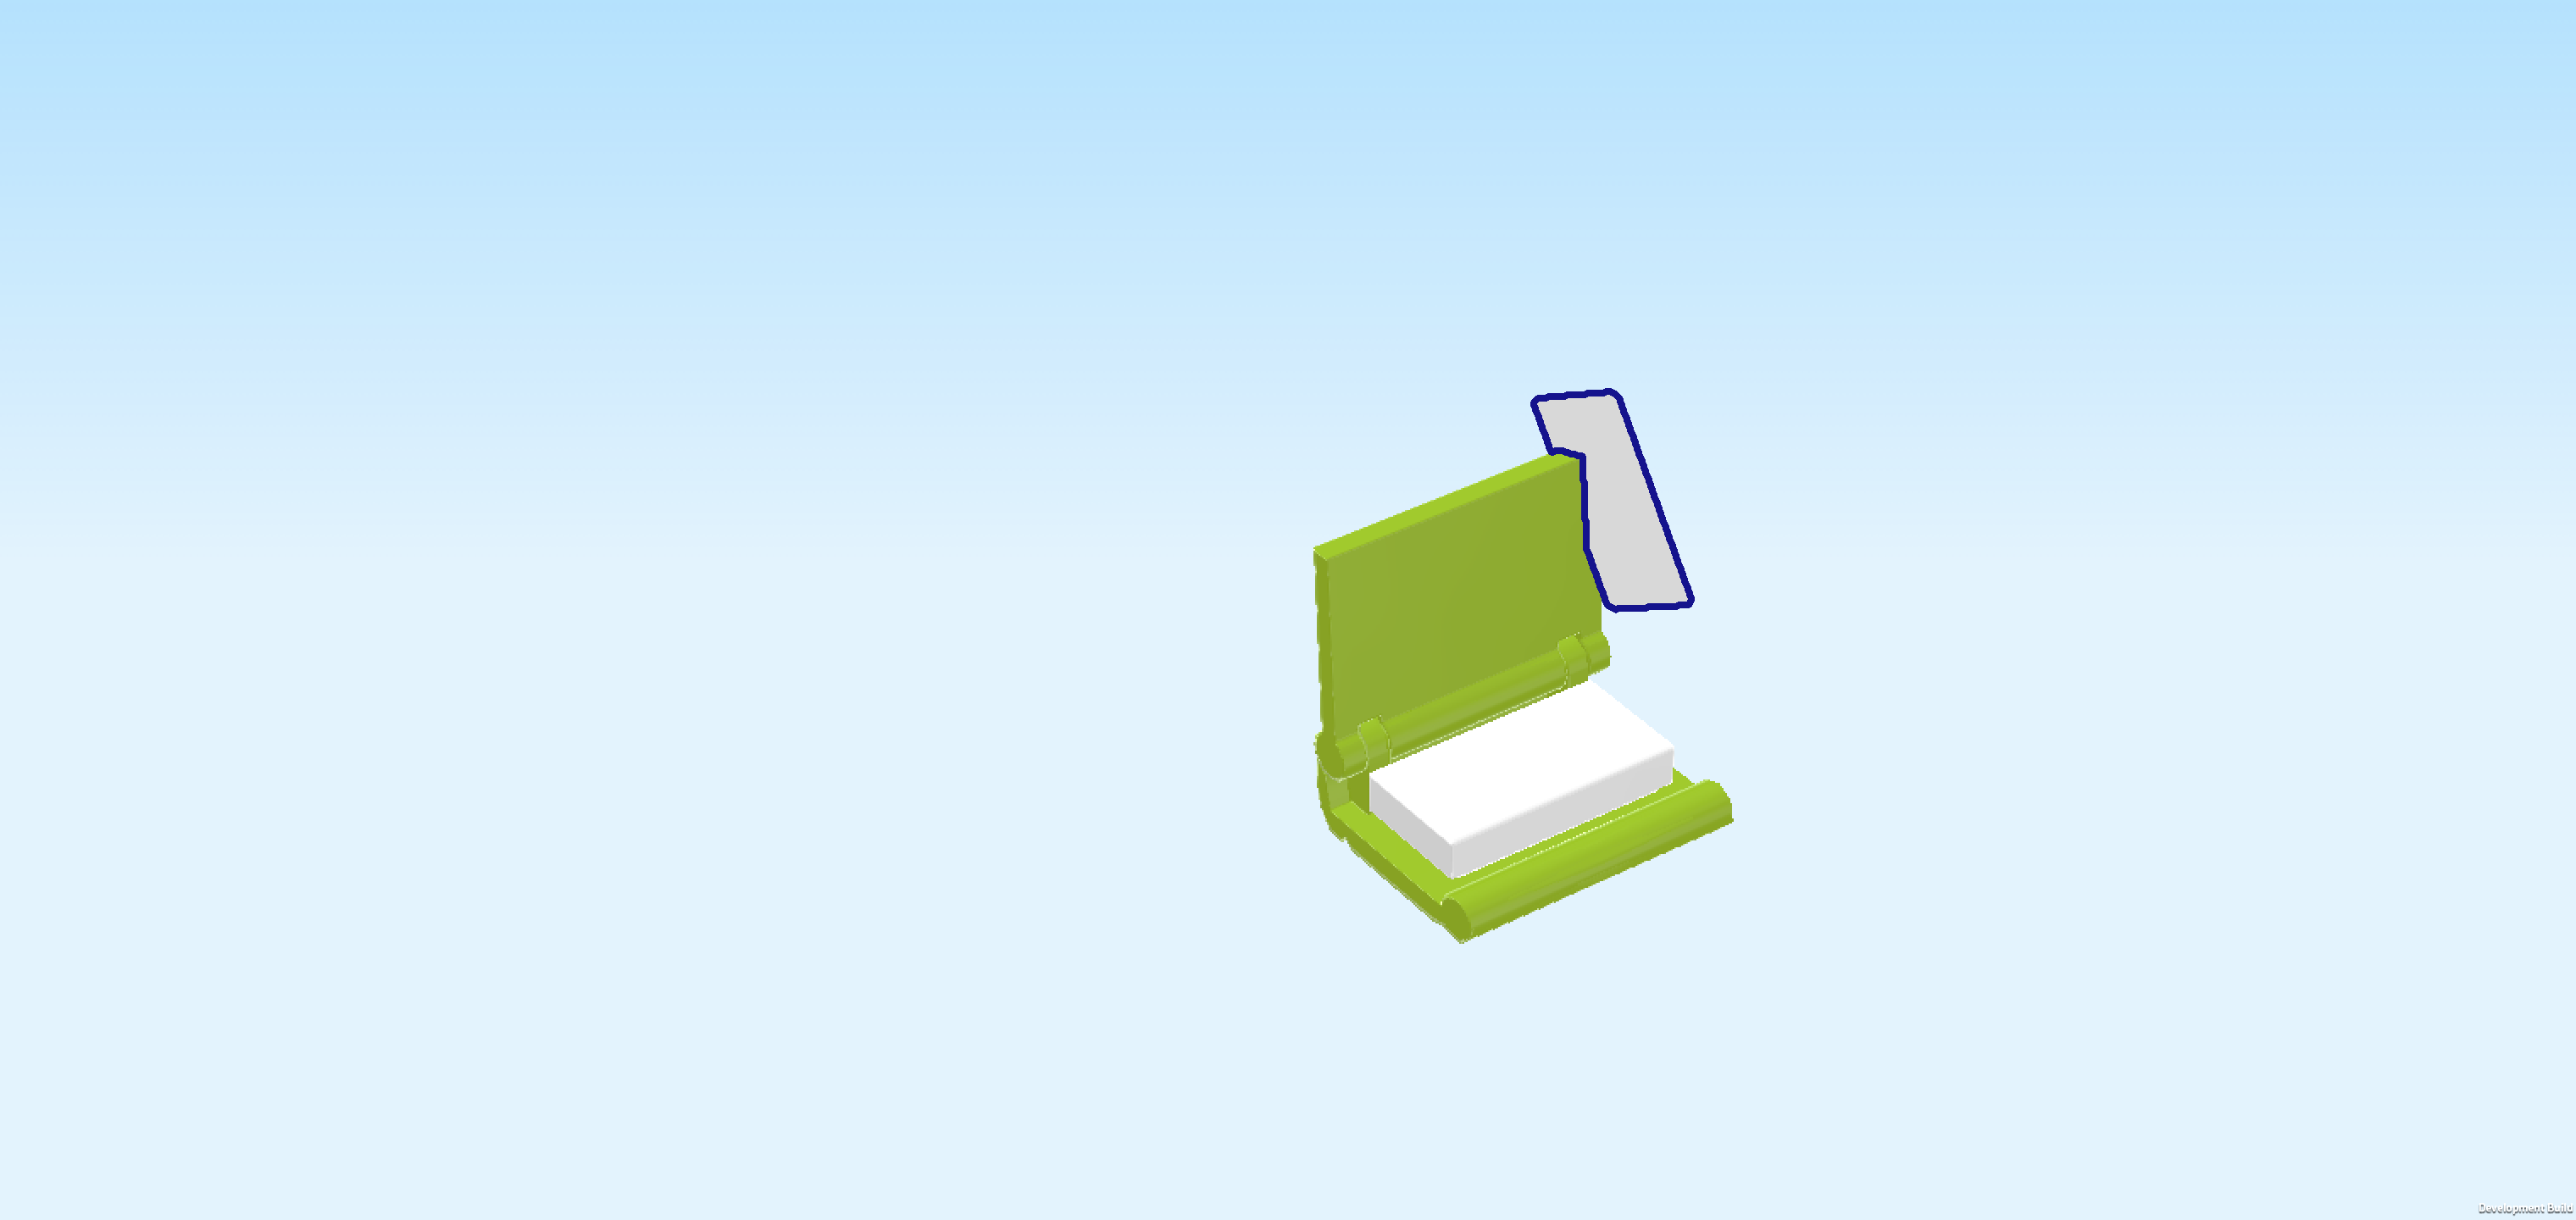
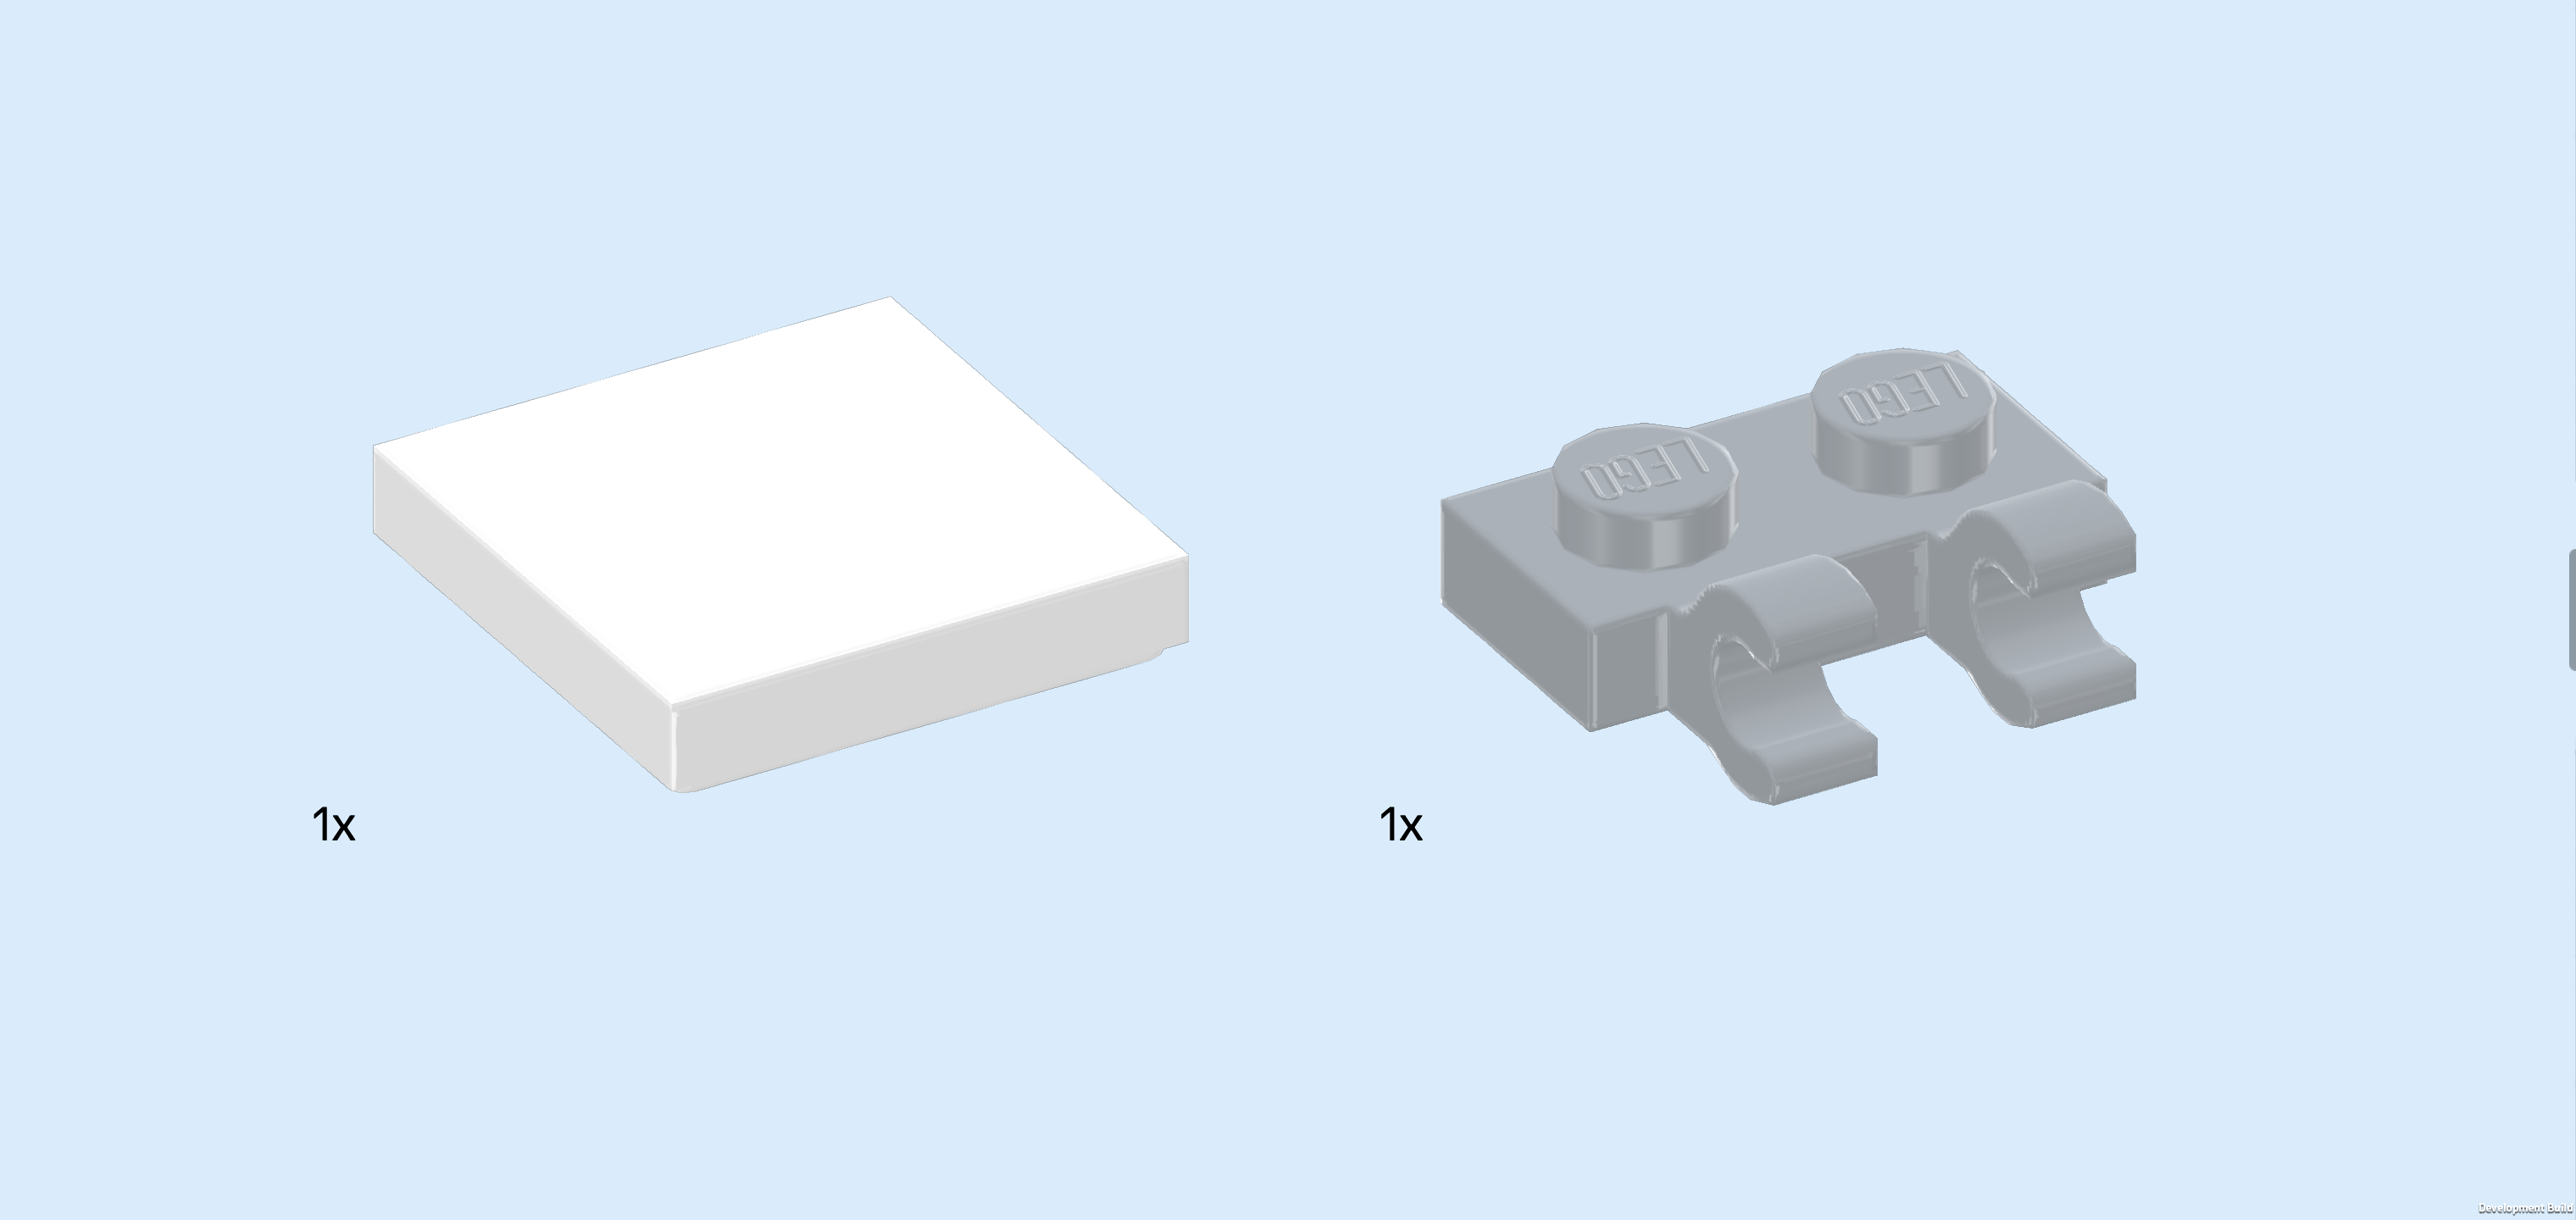
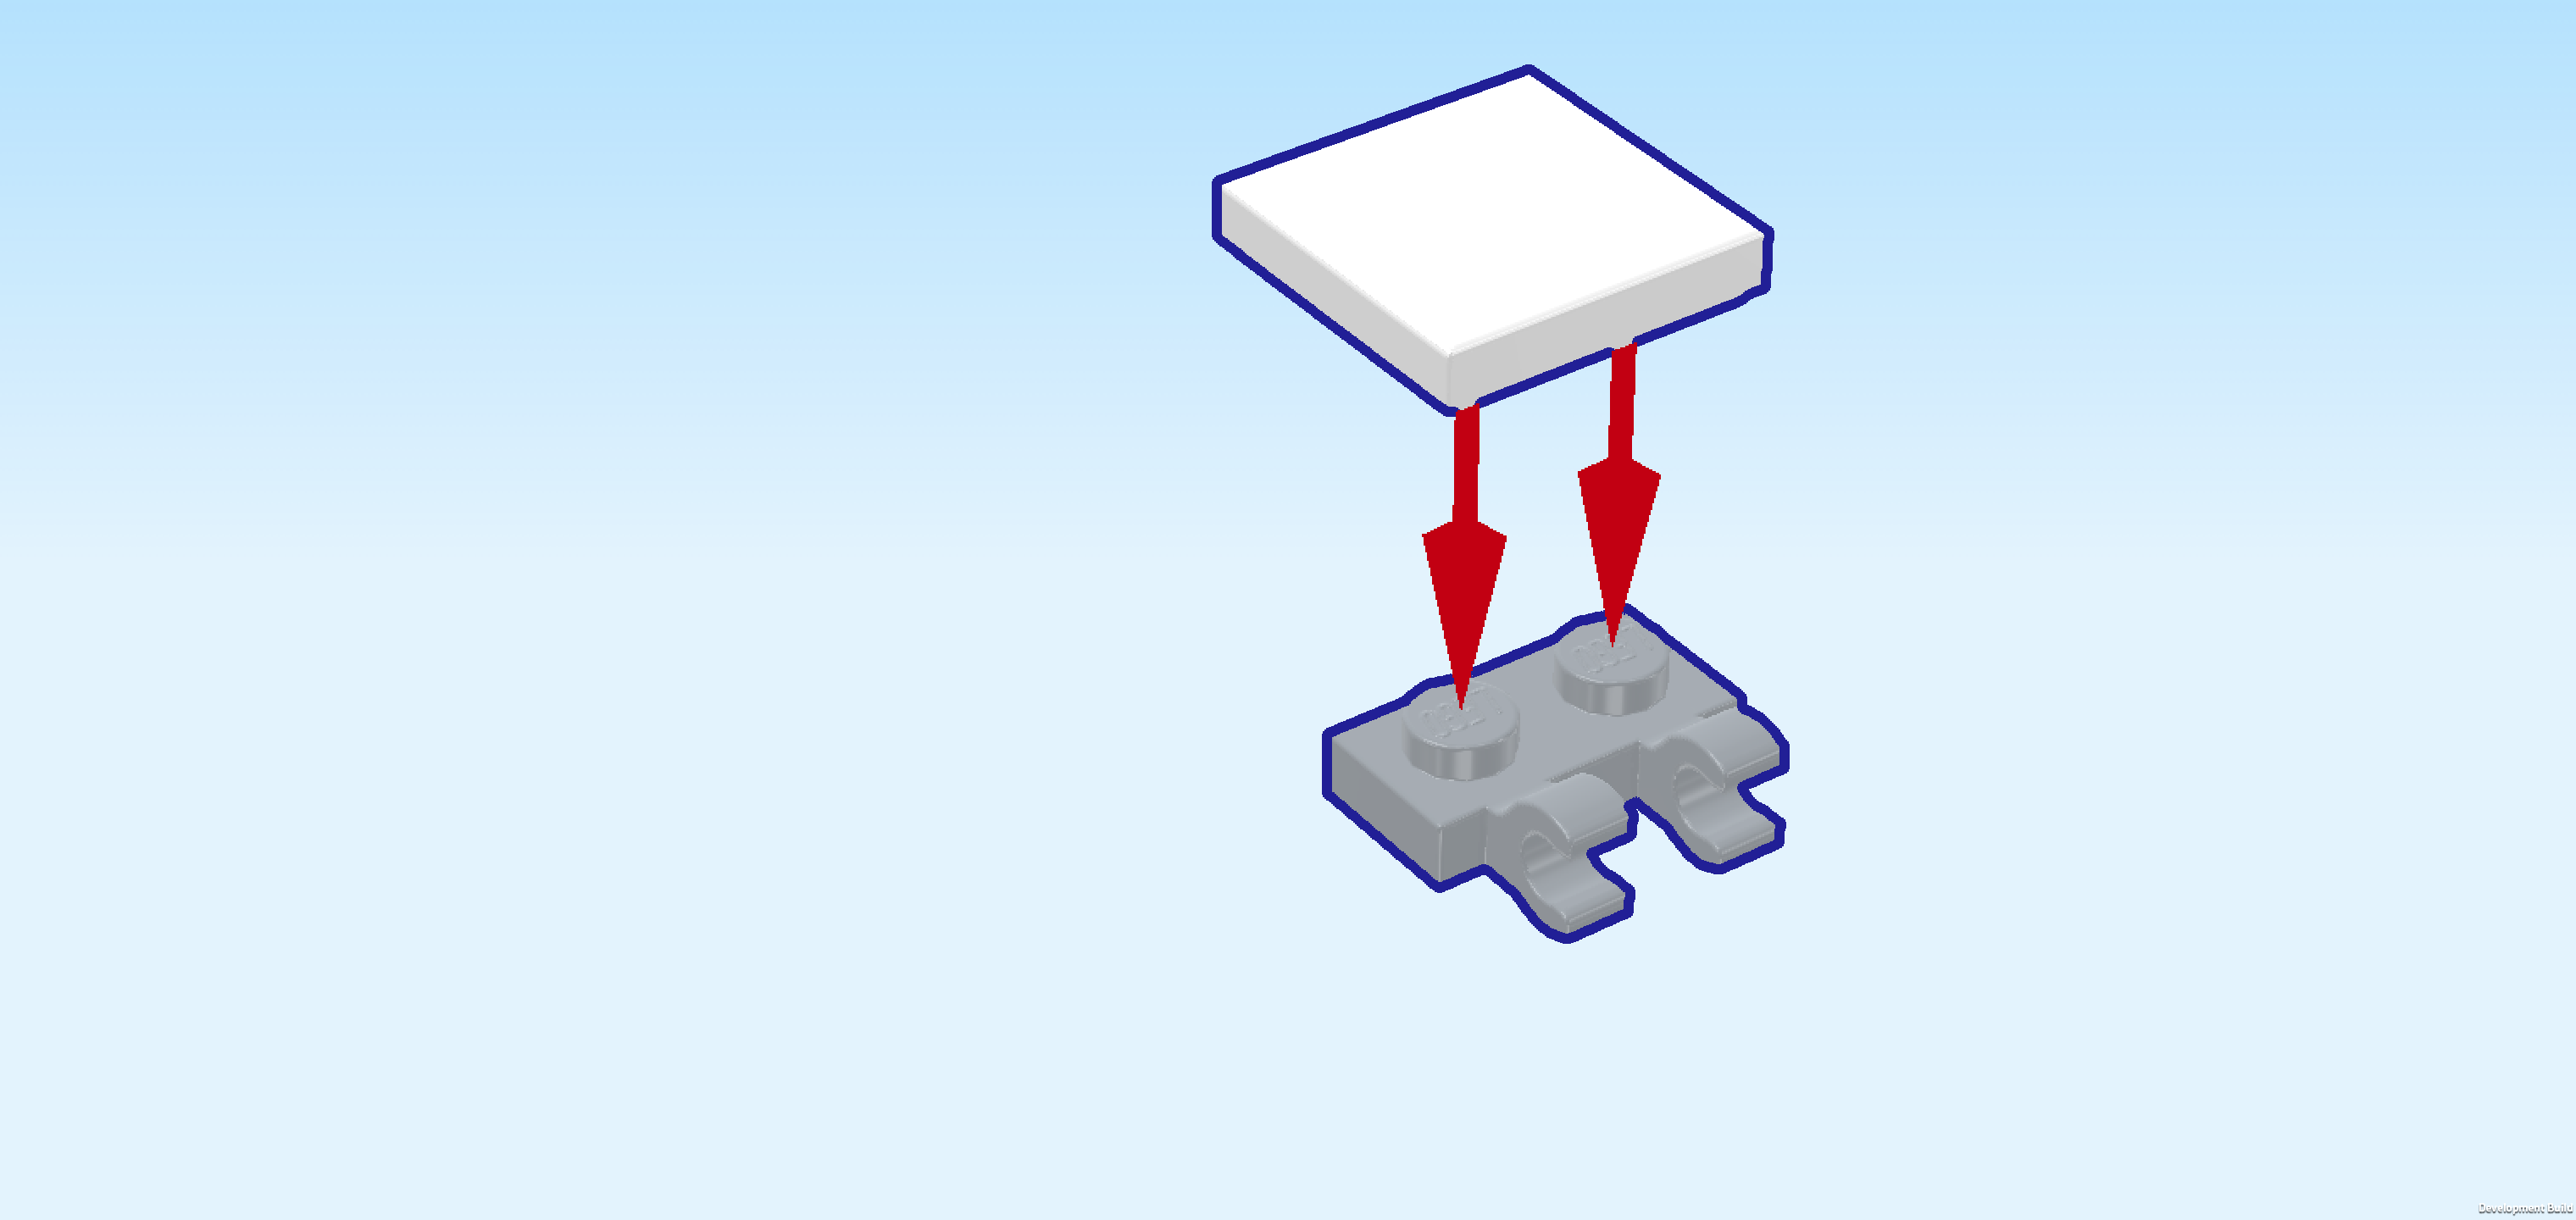
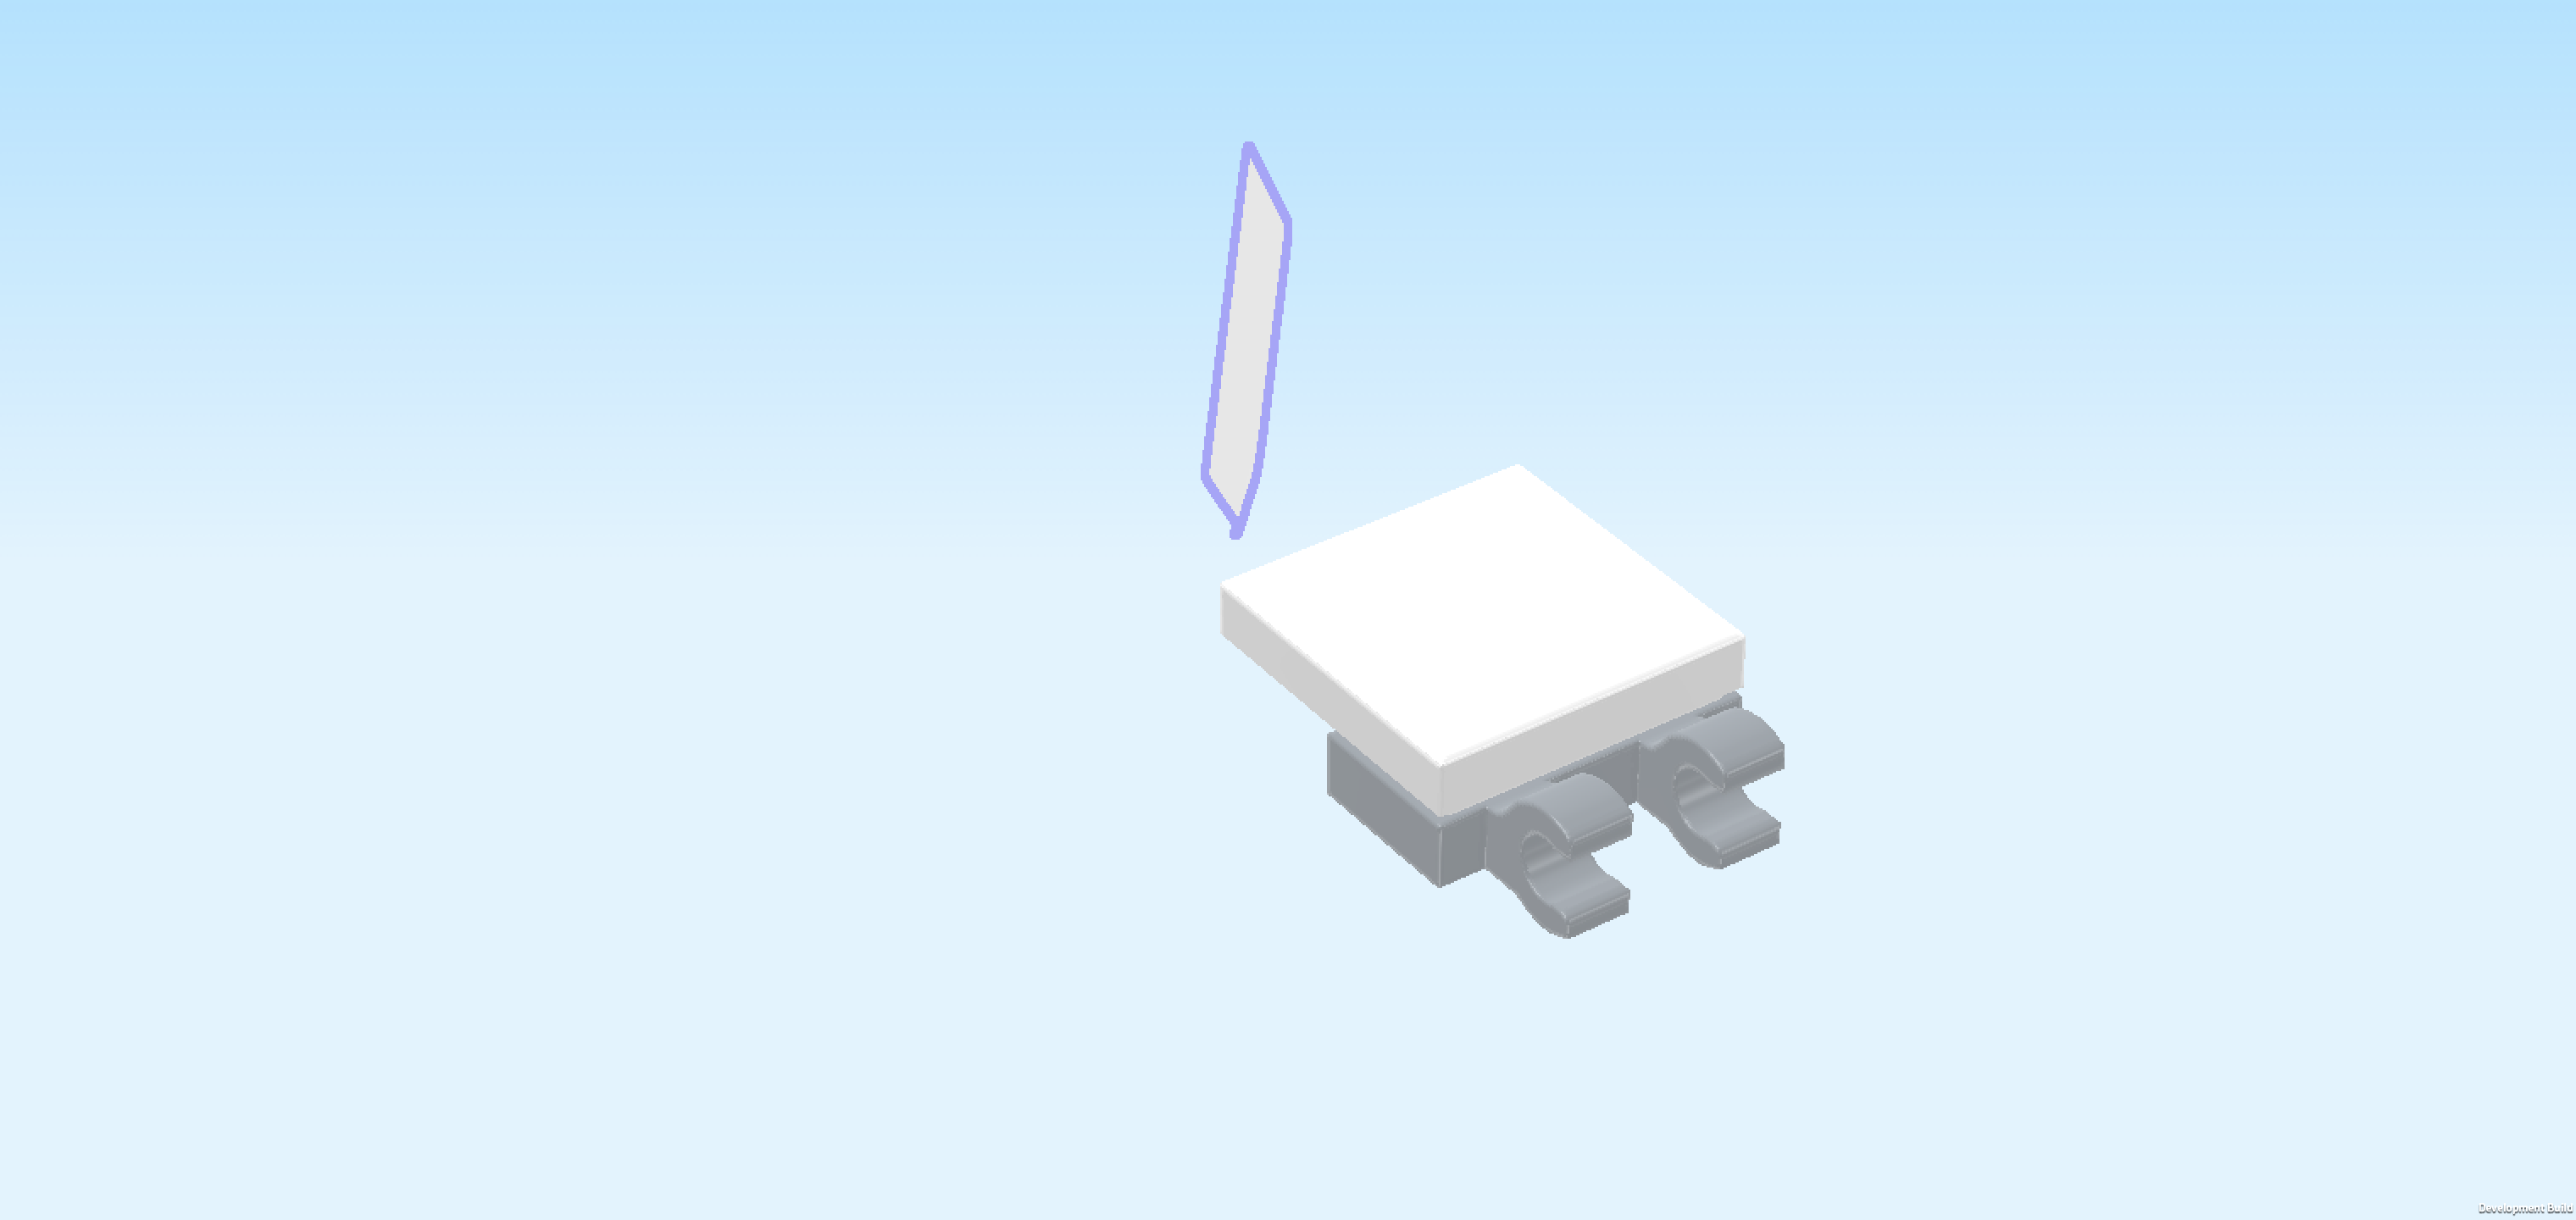
| Find 1 white flat tile 1x2. |
| Put it vertically into the book. |
| Continue if you want to decorate this piece with a sticker now. If not, skip the next 2 sentences. |
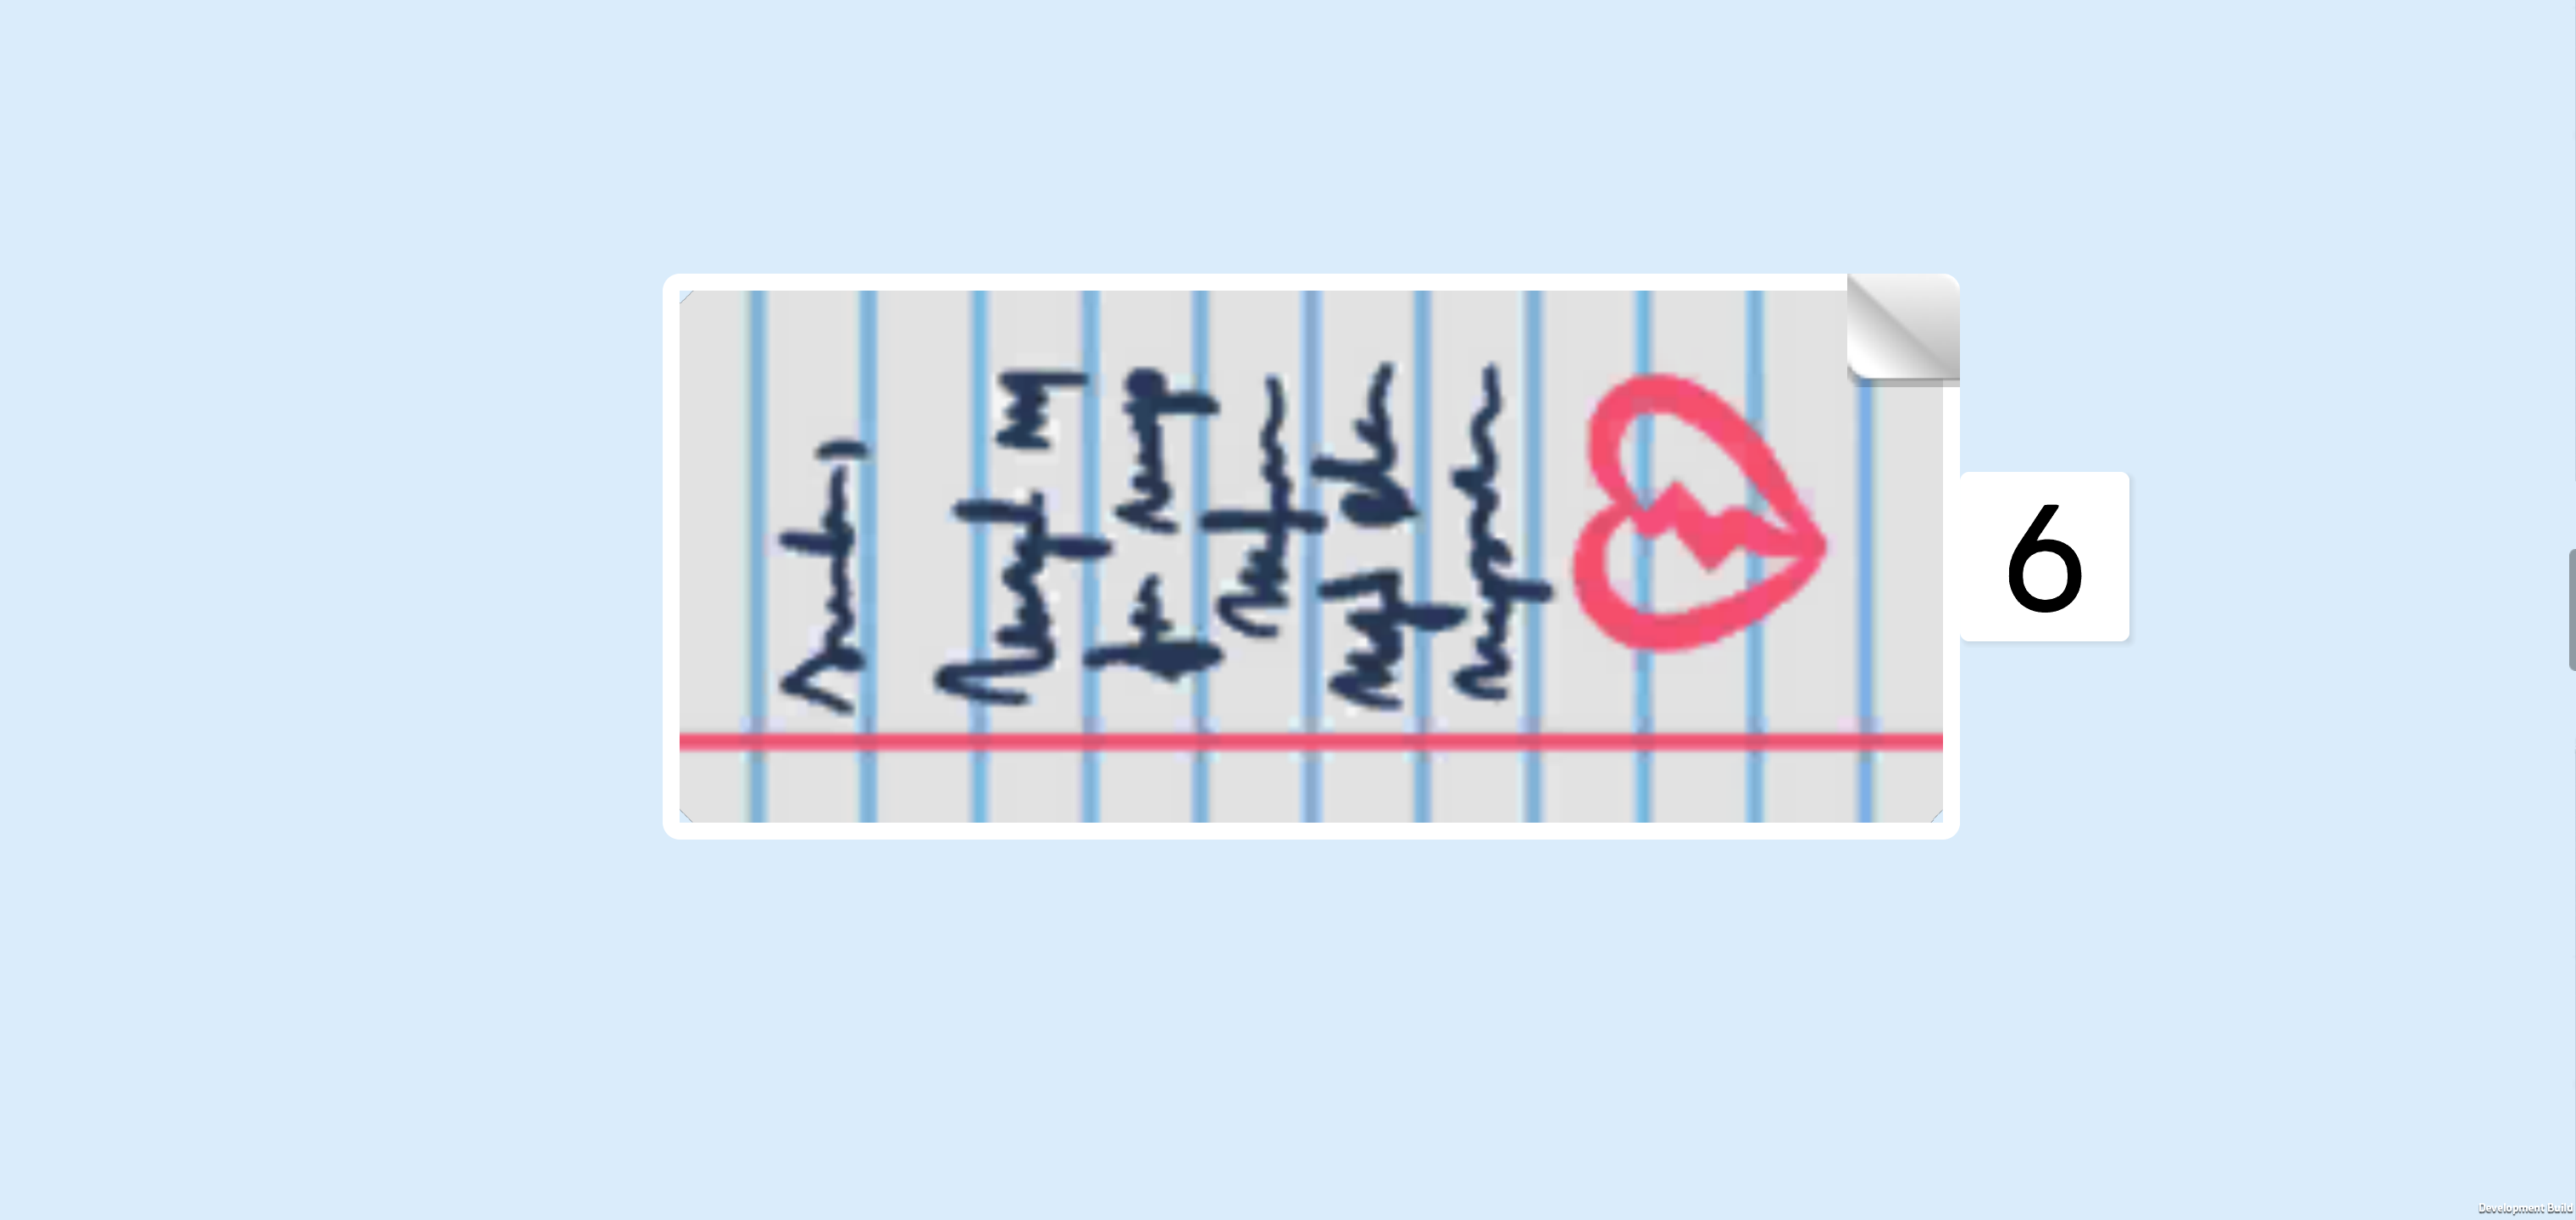
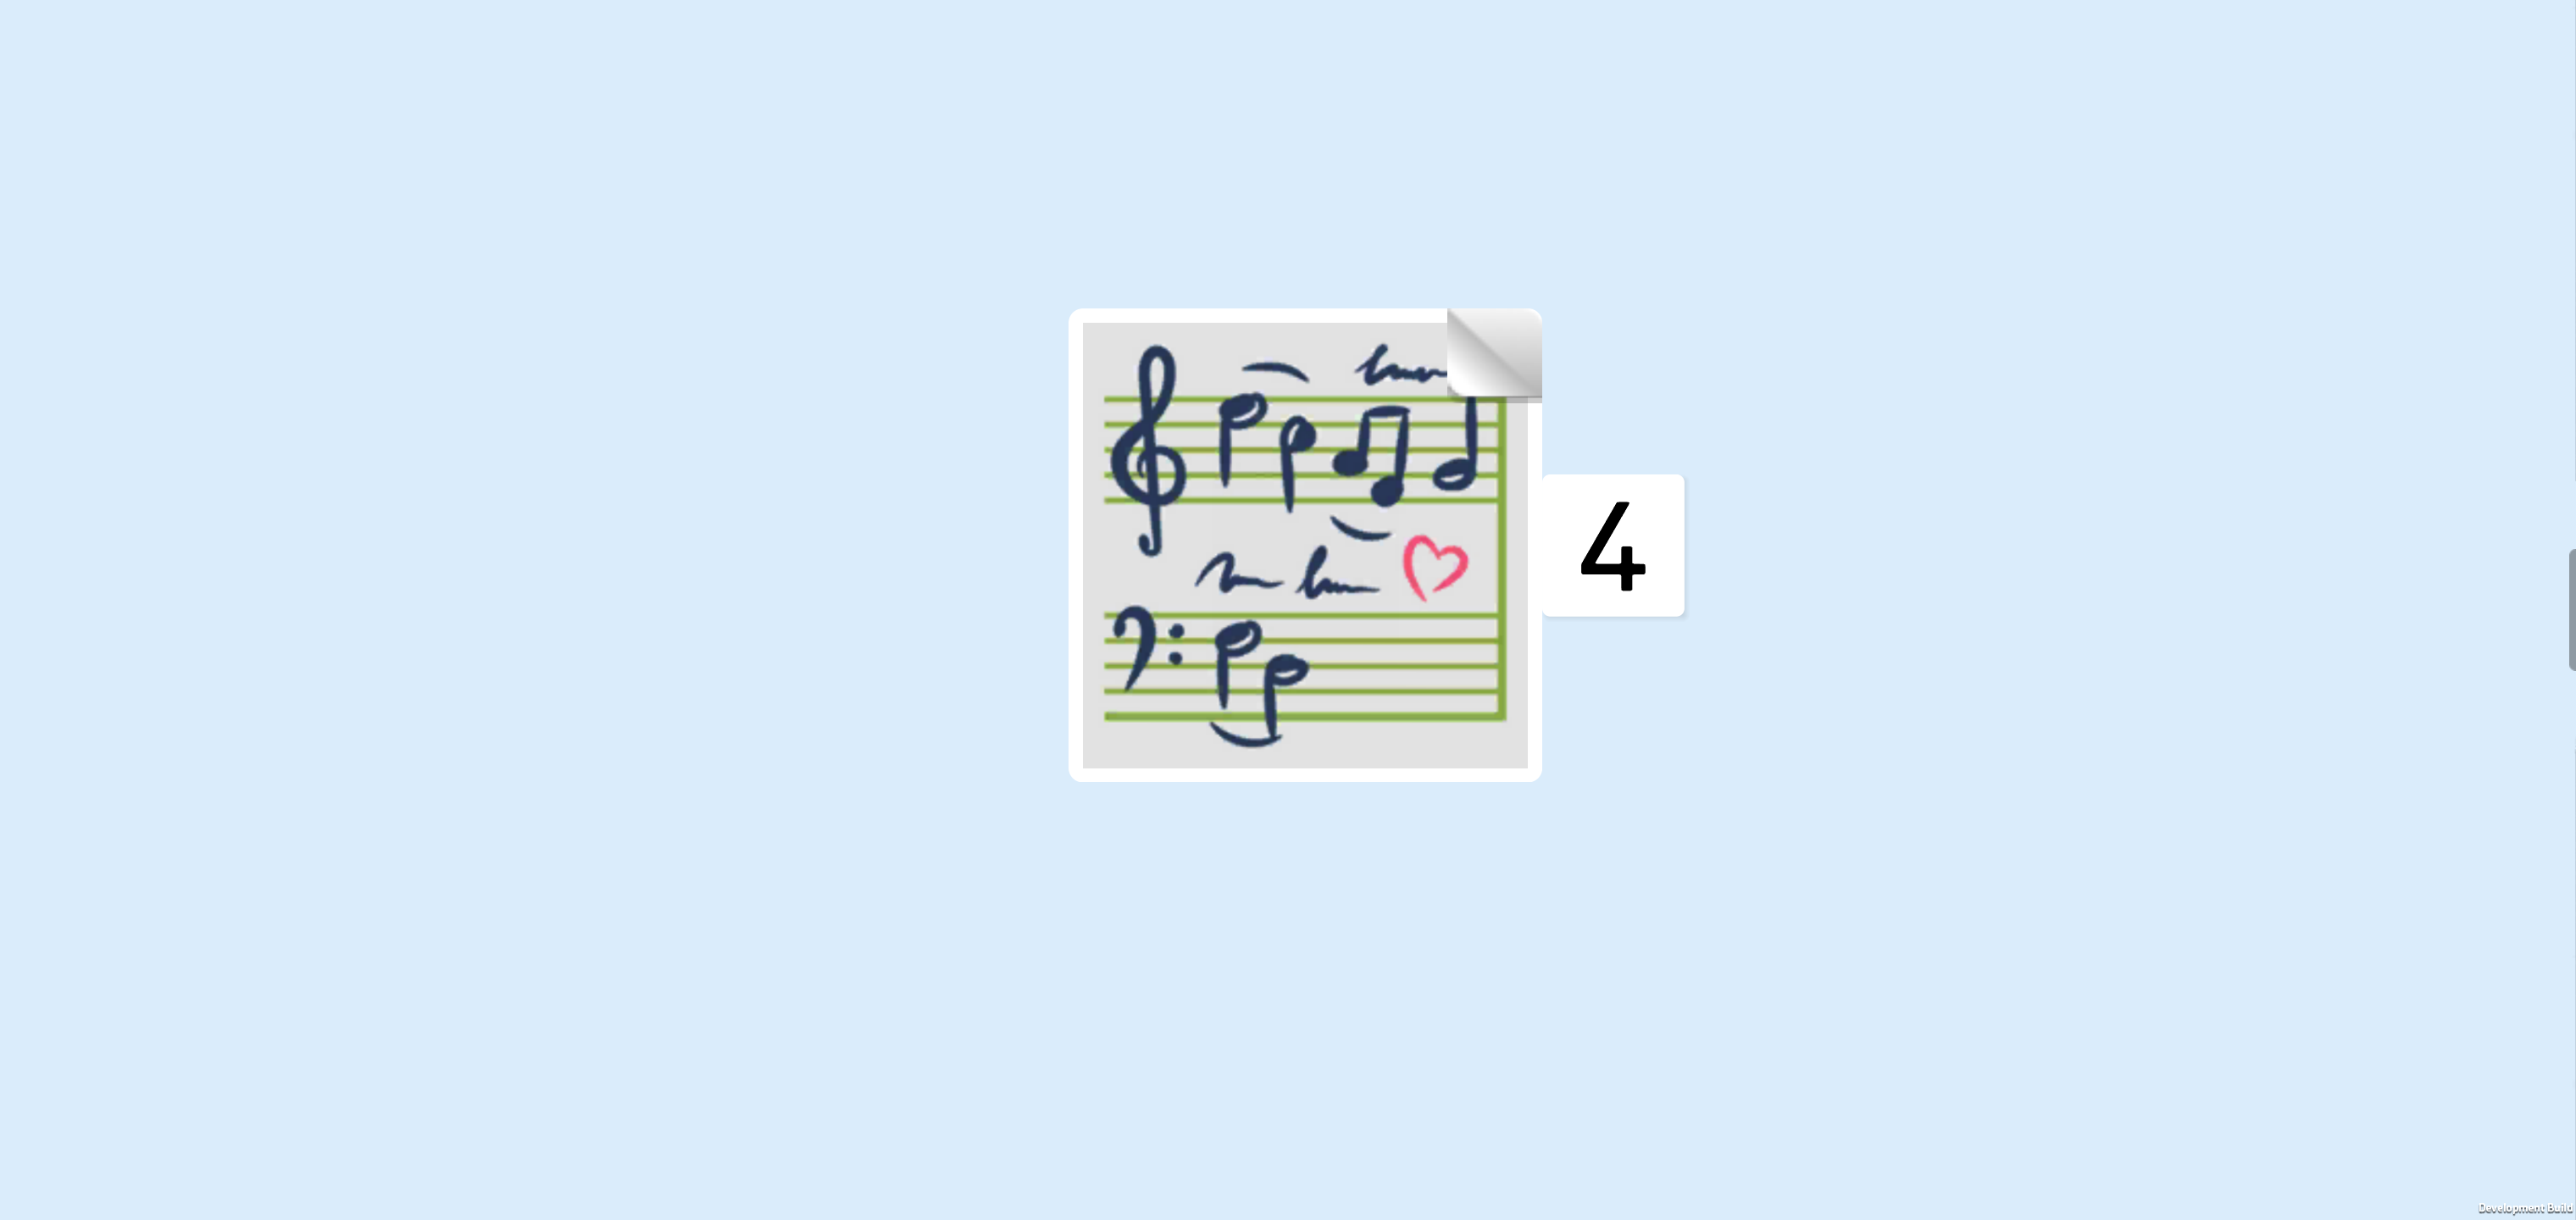
| Find 1 rectangular sticker 1x2 with diary page print. |
| Put the sticker on the flat tile from the previous step, matching its shape. The sticker shows a page from a lined notebook with a red left-hand margin for corrections. A diary entry is scribbled on it, but the writing is illegible. Below the message, Paisley drew a big red broken heart. Do you think she is lovesick? Or maybe the reason for the broken heart is a fight with a friend? Hopefully she feels better now! |
| Continue if you want to decorate the diary with a sticker now. If not, skip the next 2 sentences. |
| Find 1 rectangular sticker 1.5x2 with diary cover. |
| Close the diary, and put the sticker on the outside cover. The sticker has a green background color like the book itself. There is a white name tag with red outline where Paisley wrote her name in narrow all caps letters. There are three yellow flowers above the name tag, and below it are a bold blue arrow and a thin white squiggly arrow, both pointing up, a small yellow flower, and, last but not least, a pink heart-shaped lock. |
| Now, we will build the craft table. |
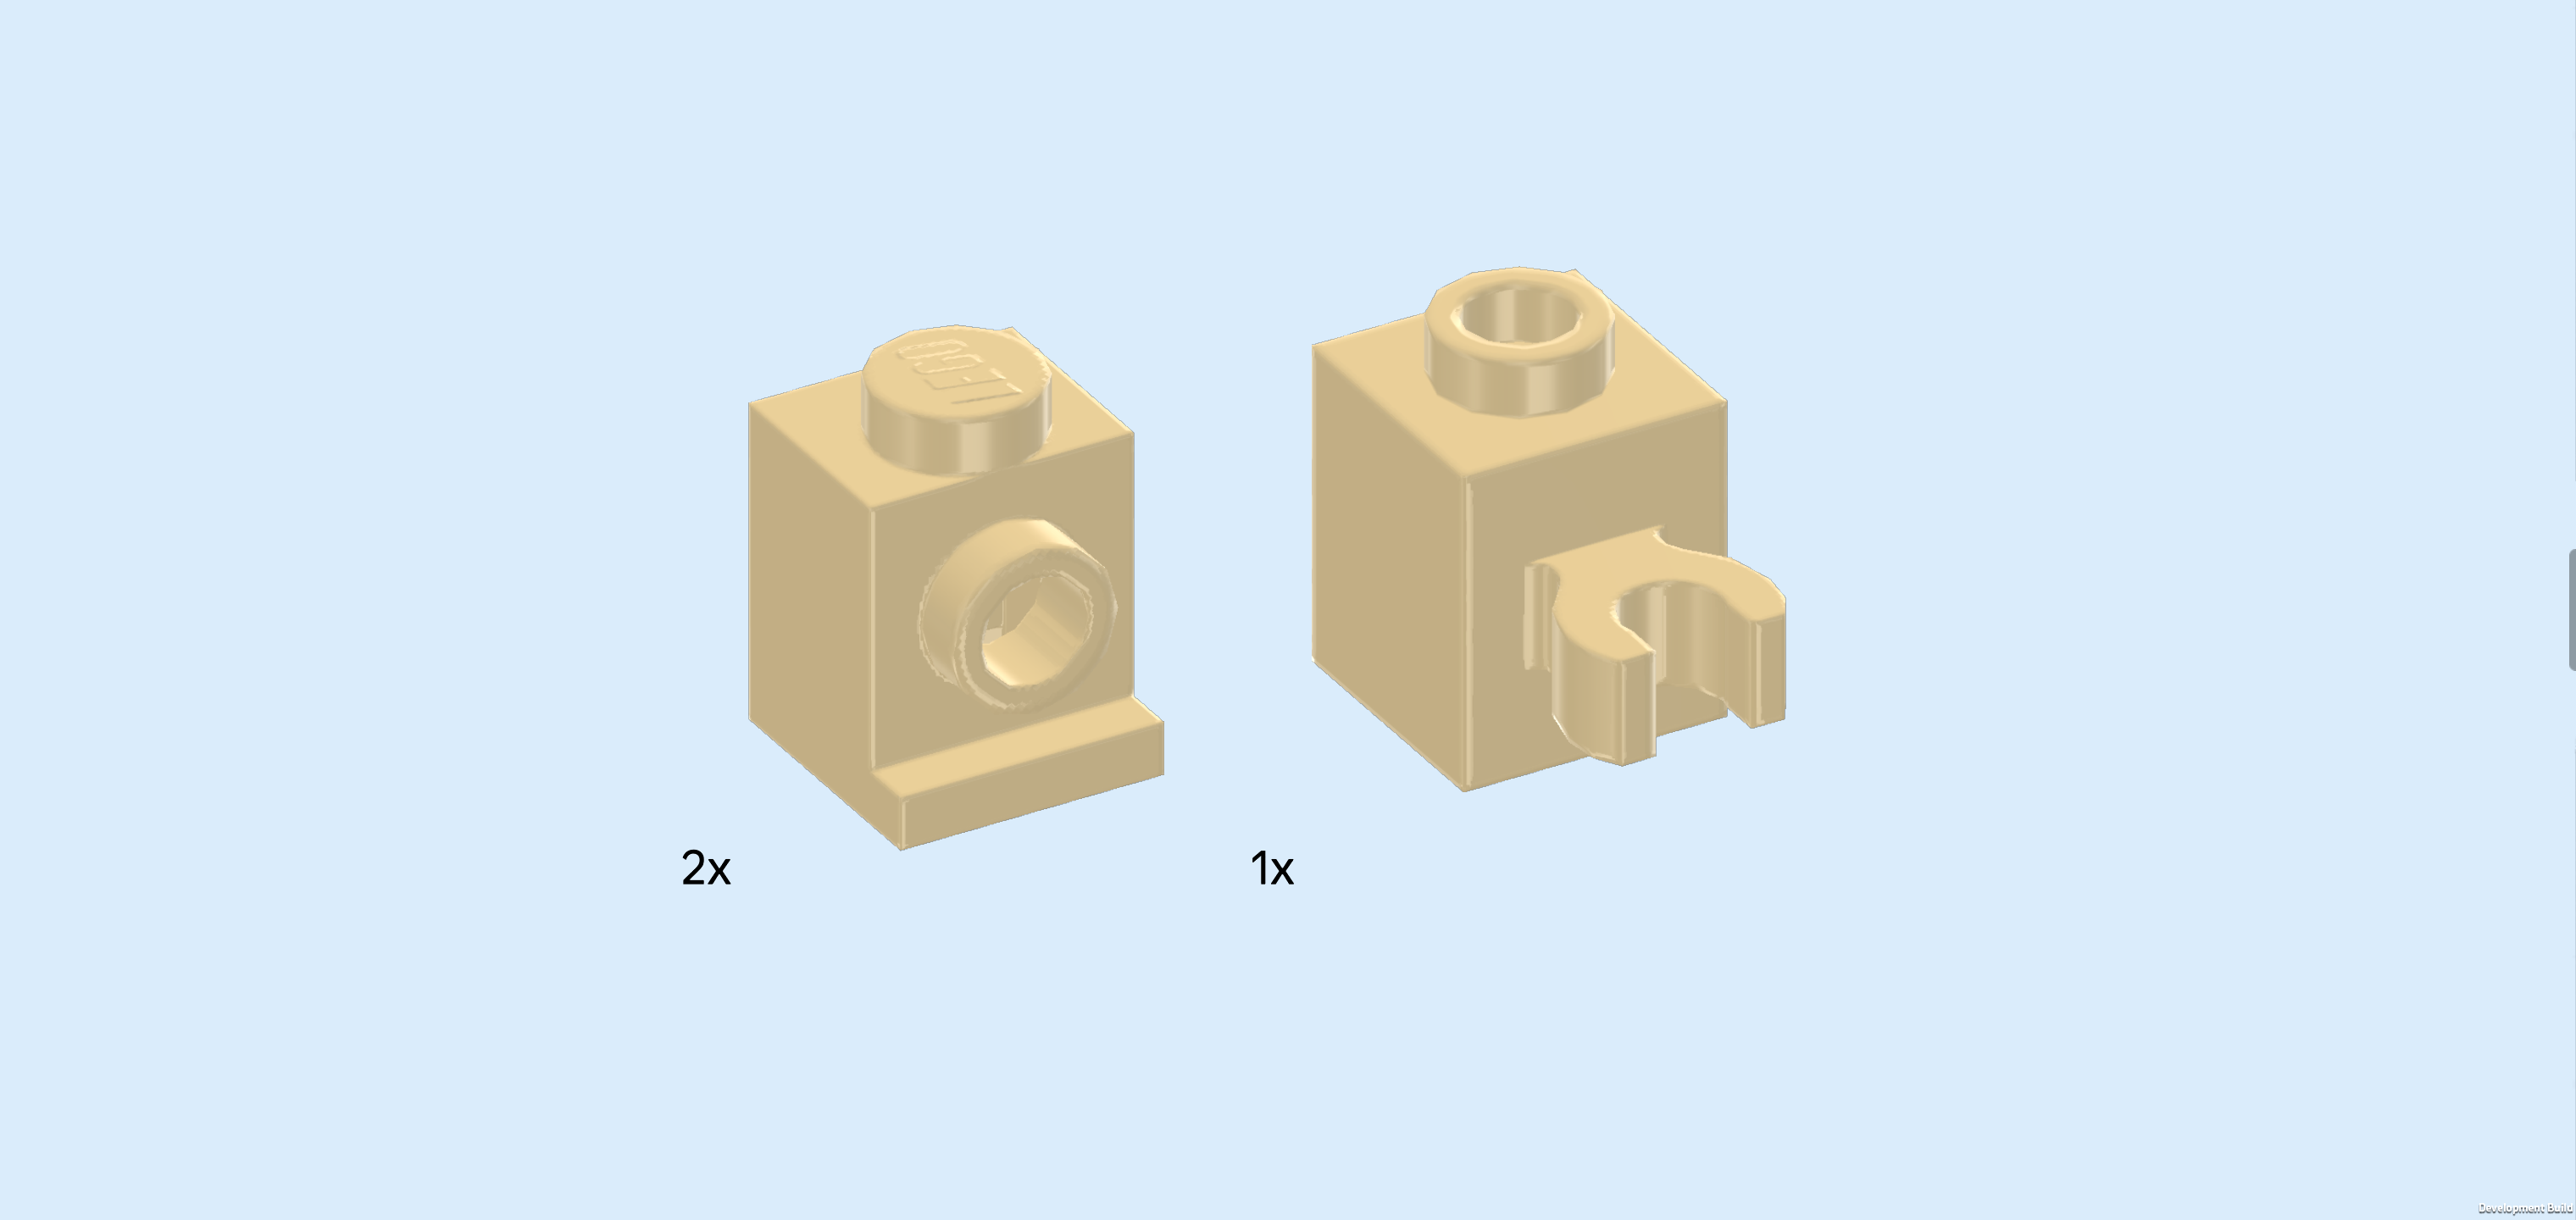
| Collect the following 2 pieces: |
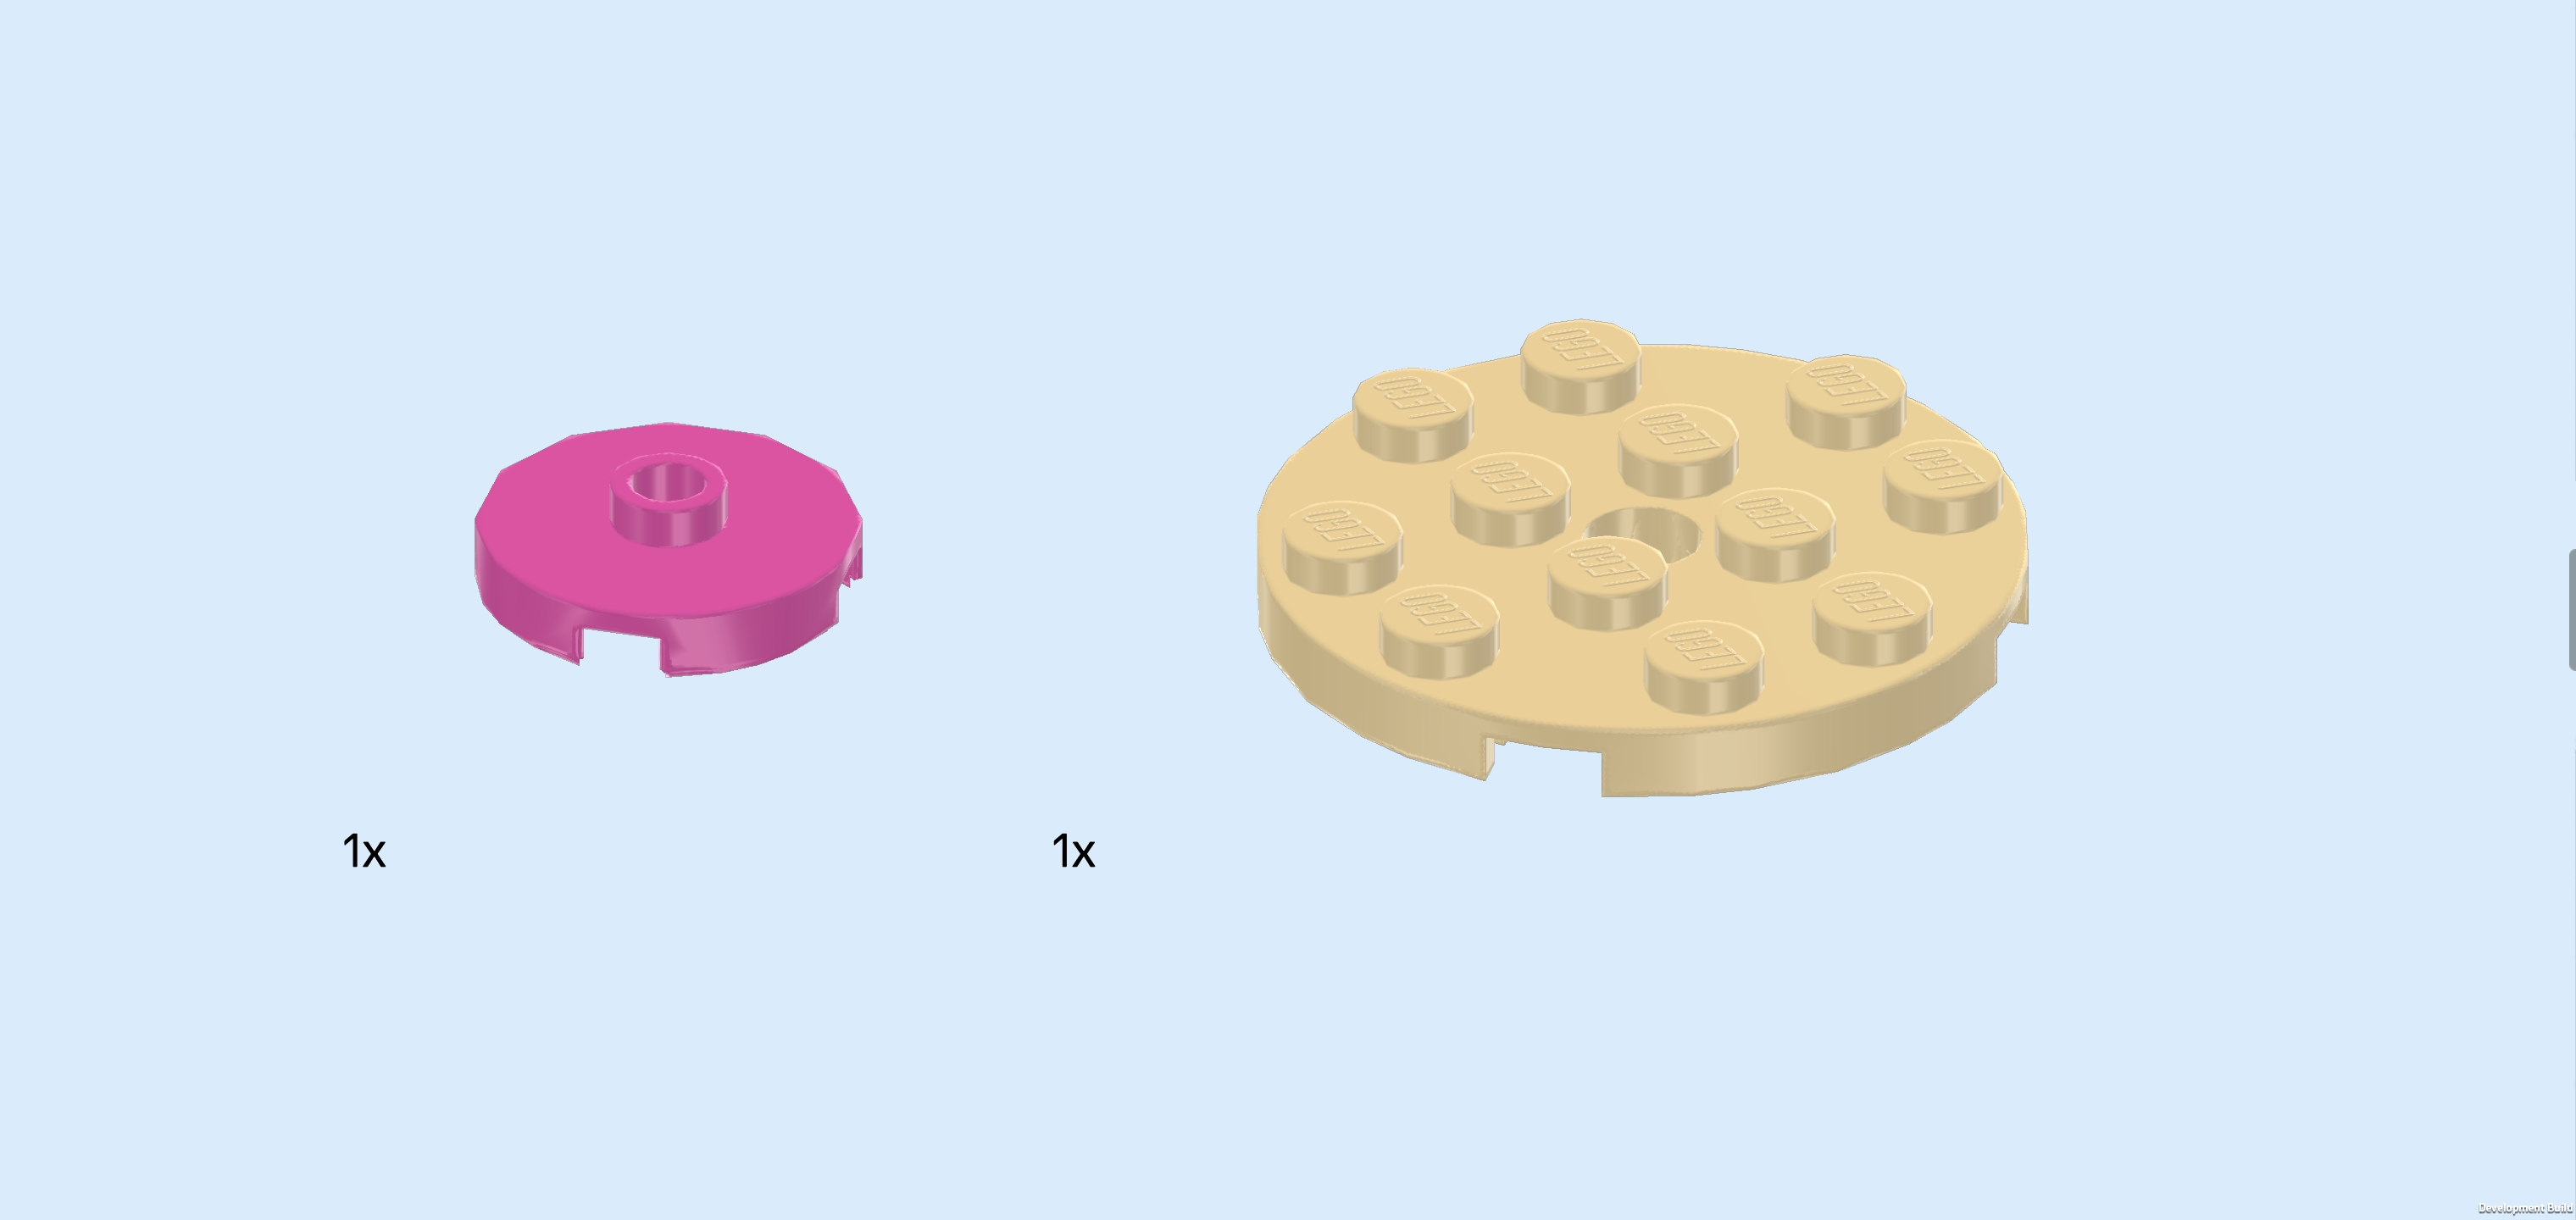
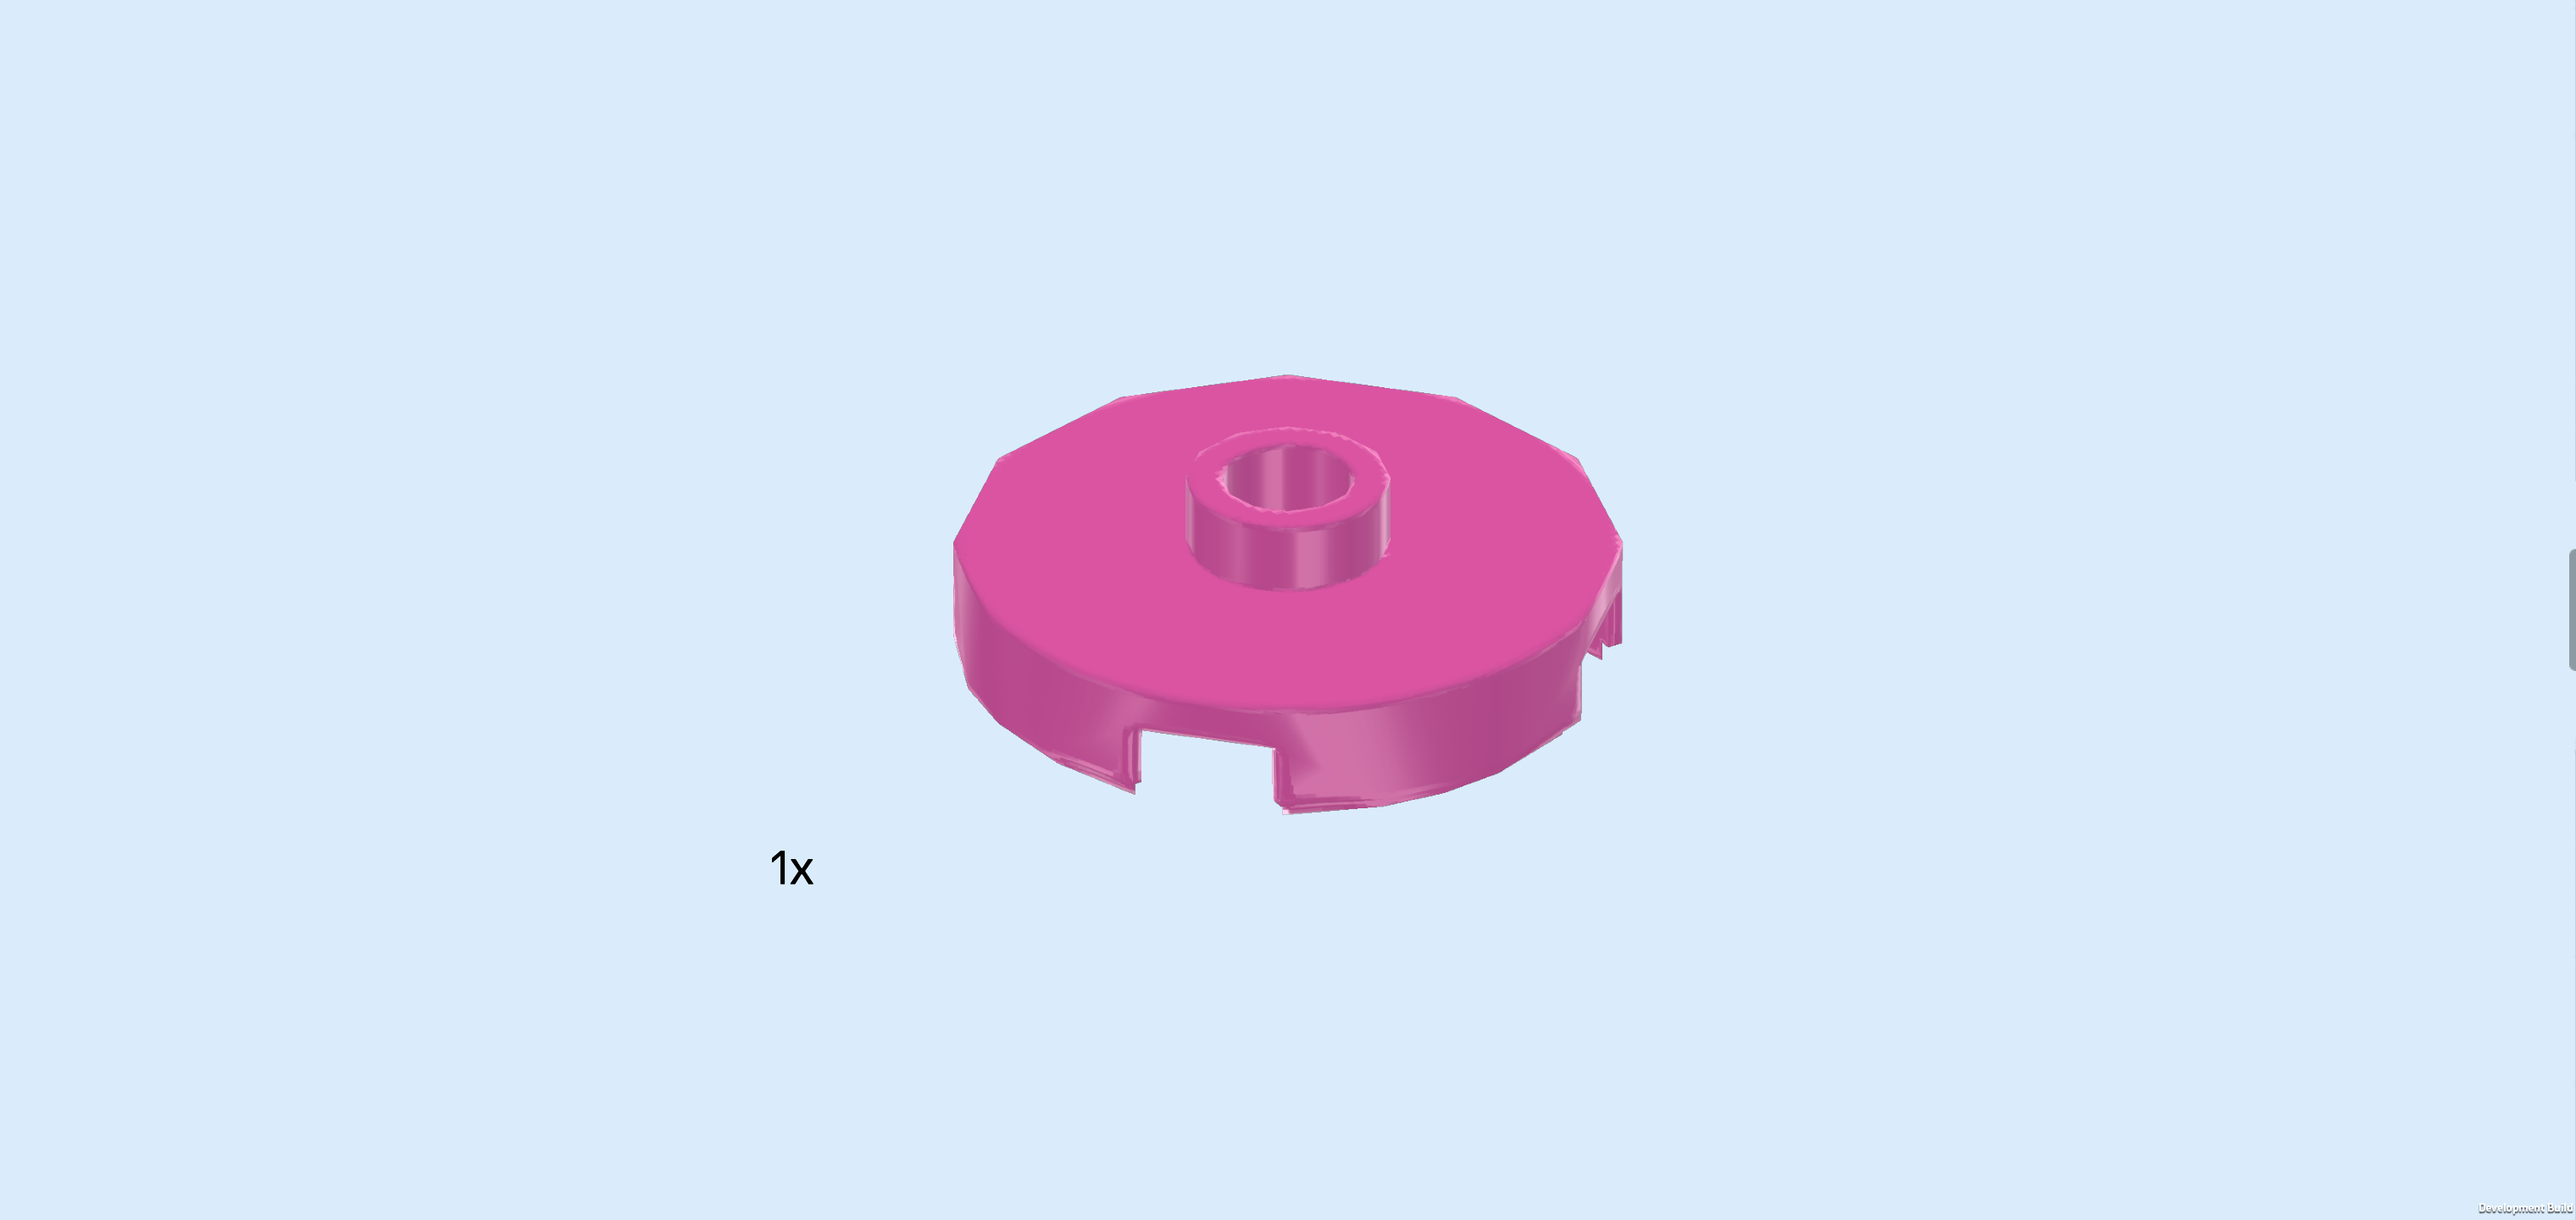
| 1 bright purple round plate 2x2 with 1 knob, |
| and 1 beige round plate 4x4 with middle hole. |
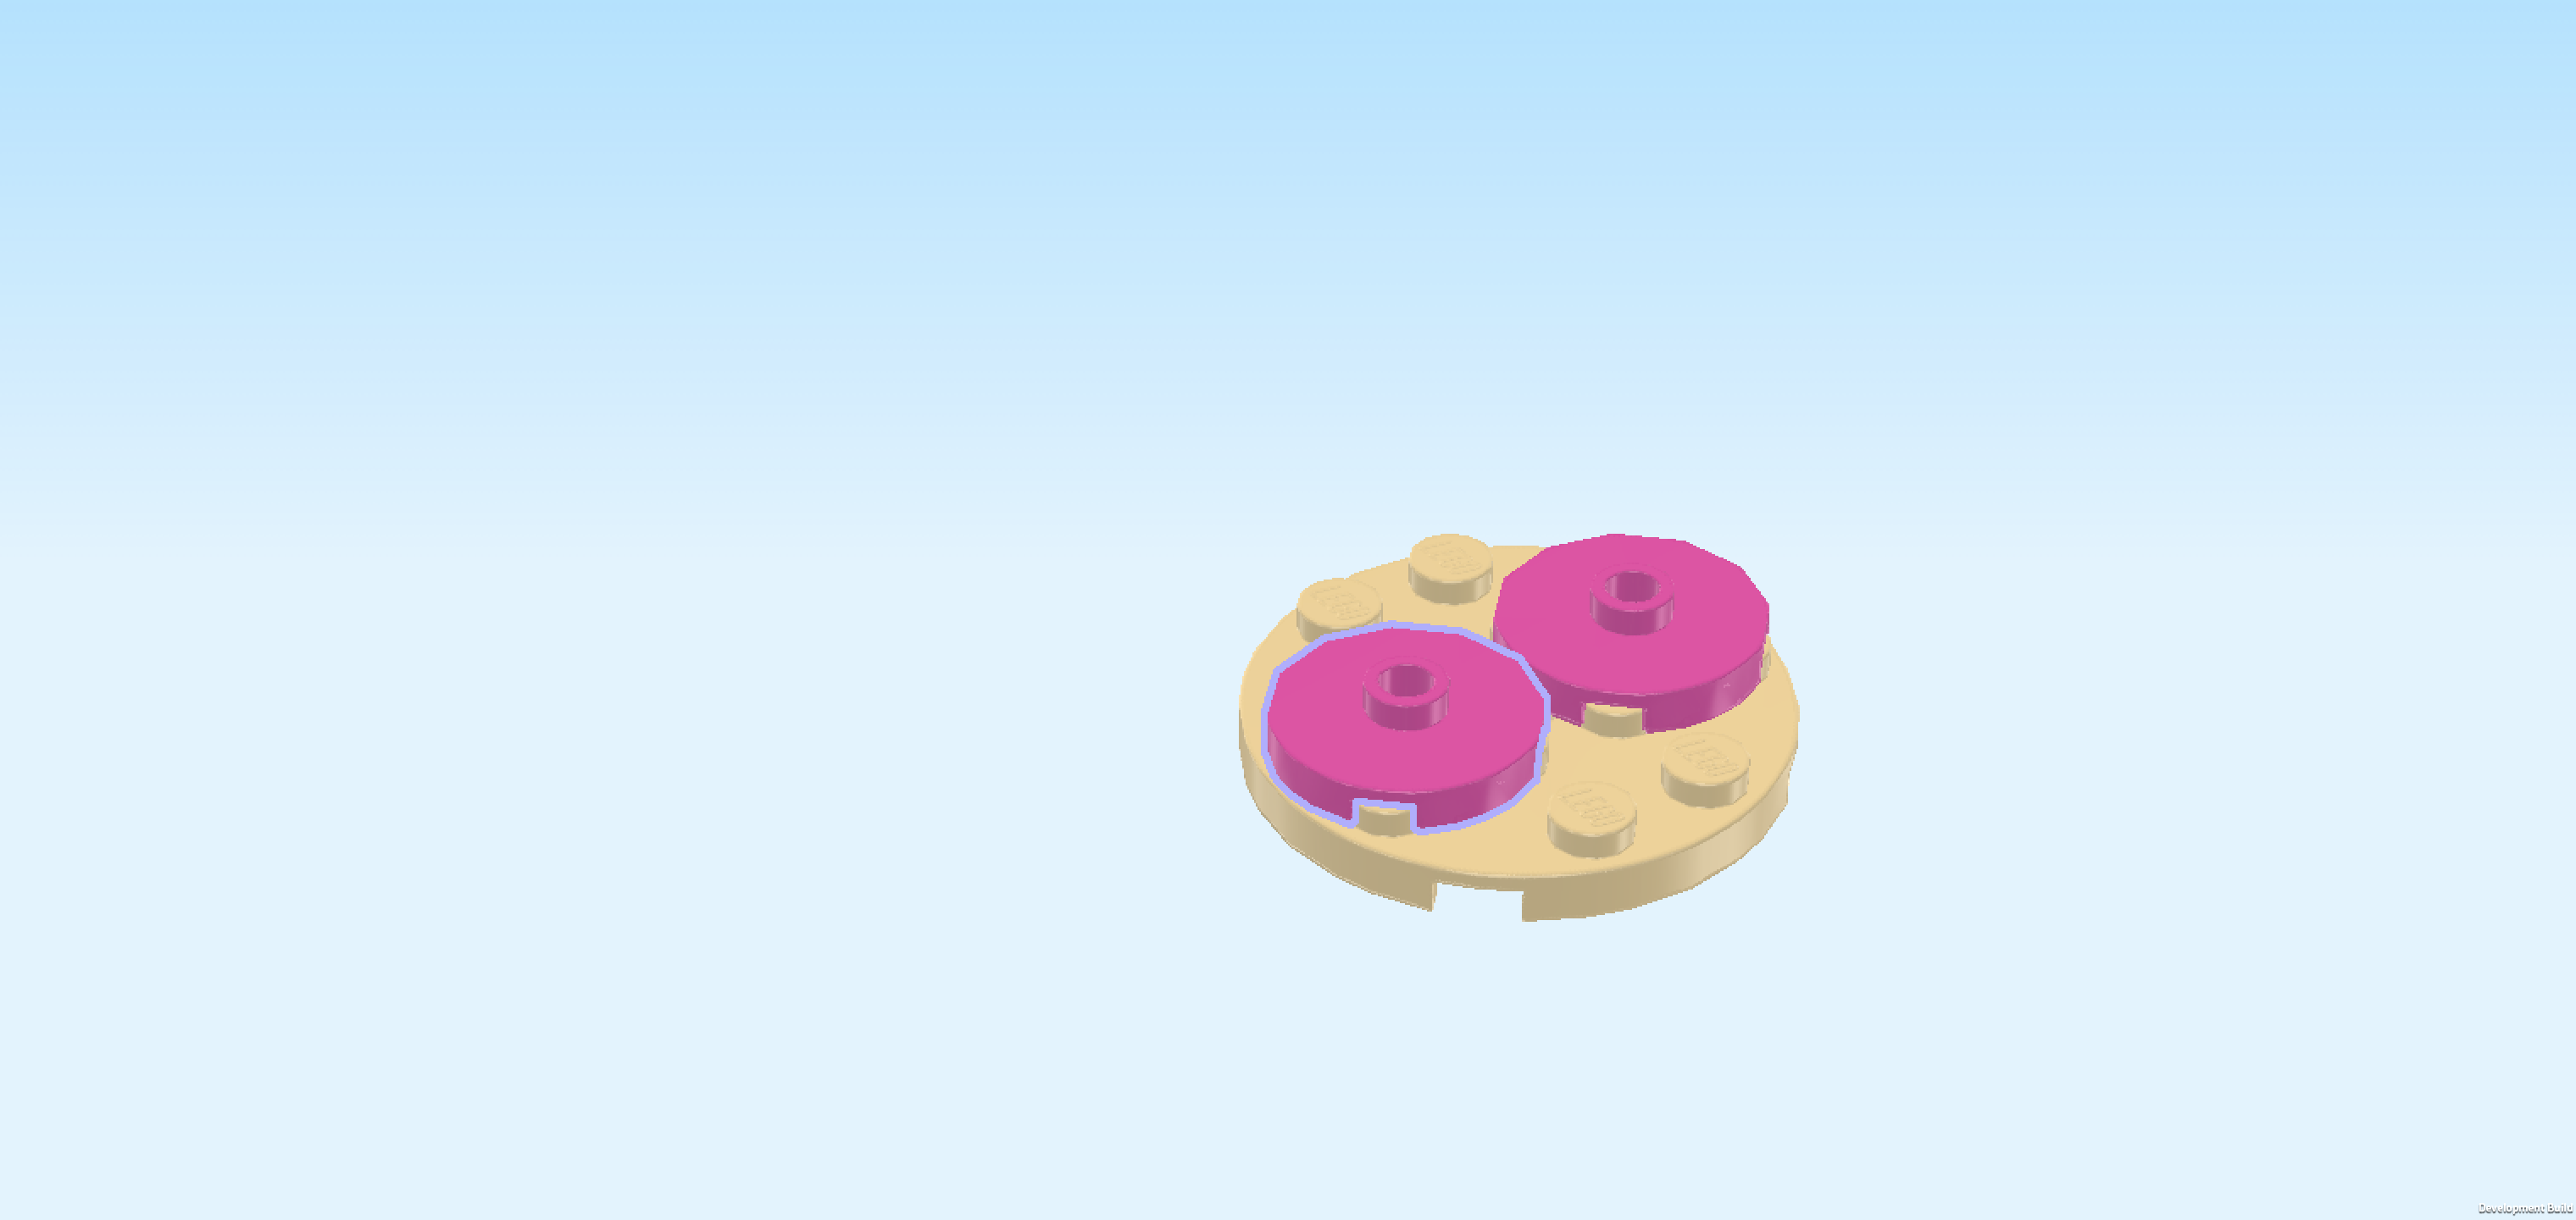
| Put the round plate 4x4 on the table. Make sure its knobs form straight rows and columns in front of you. |
| Mount the round plate 2x2 on the right edge. It should be flush with the right curve of the plate 4x4 and sit in the right half of the plate. |
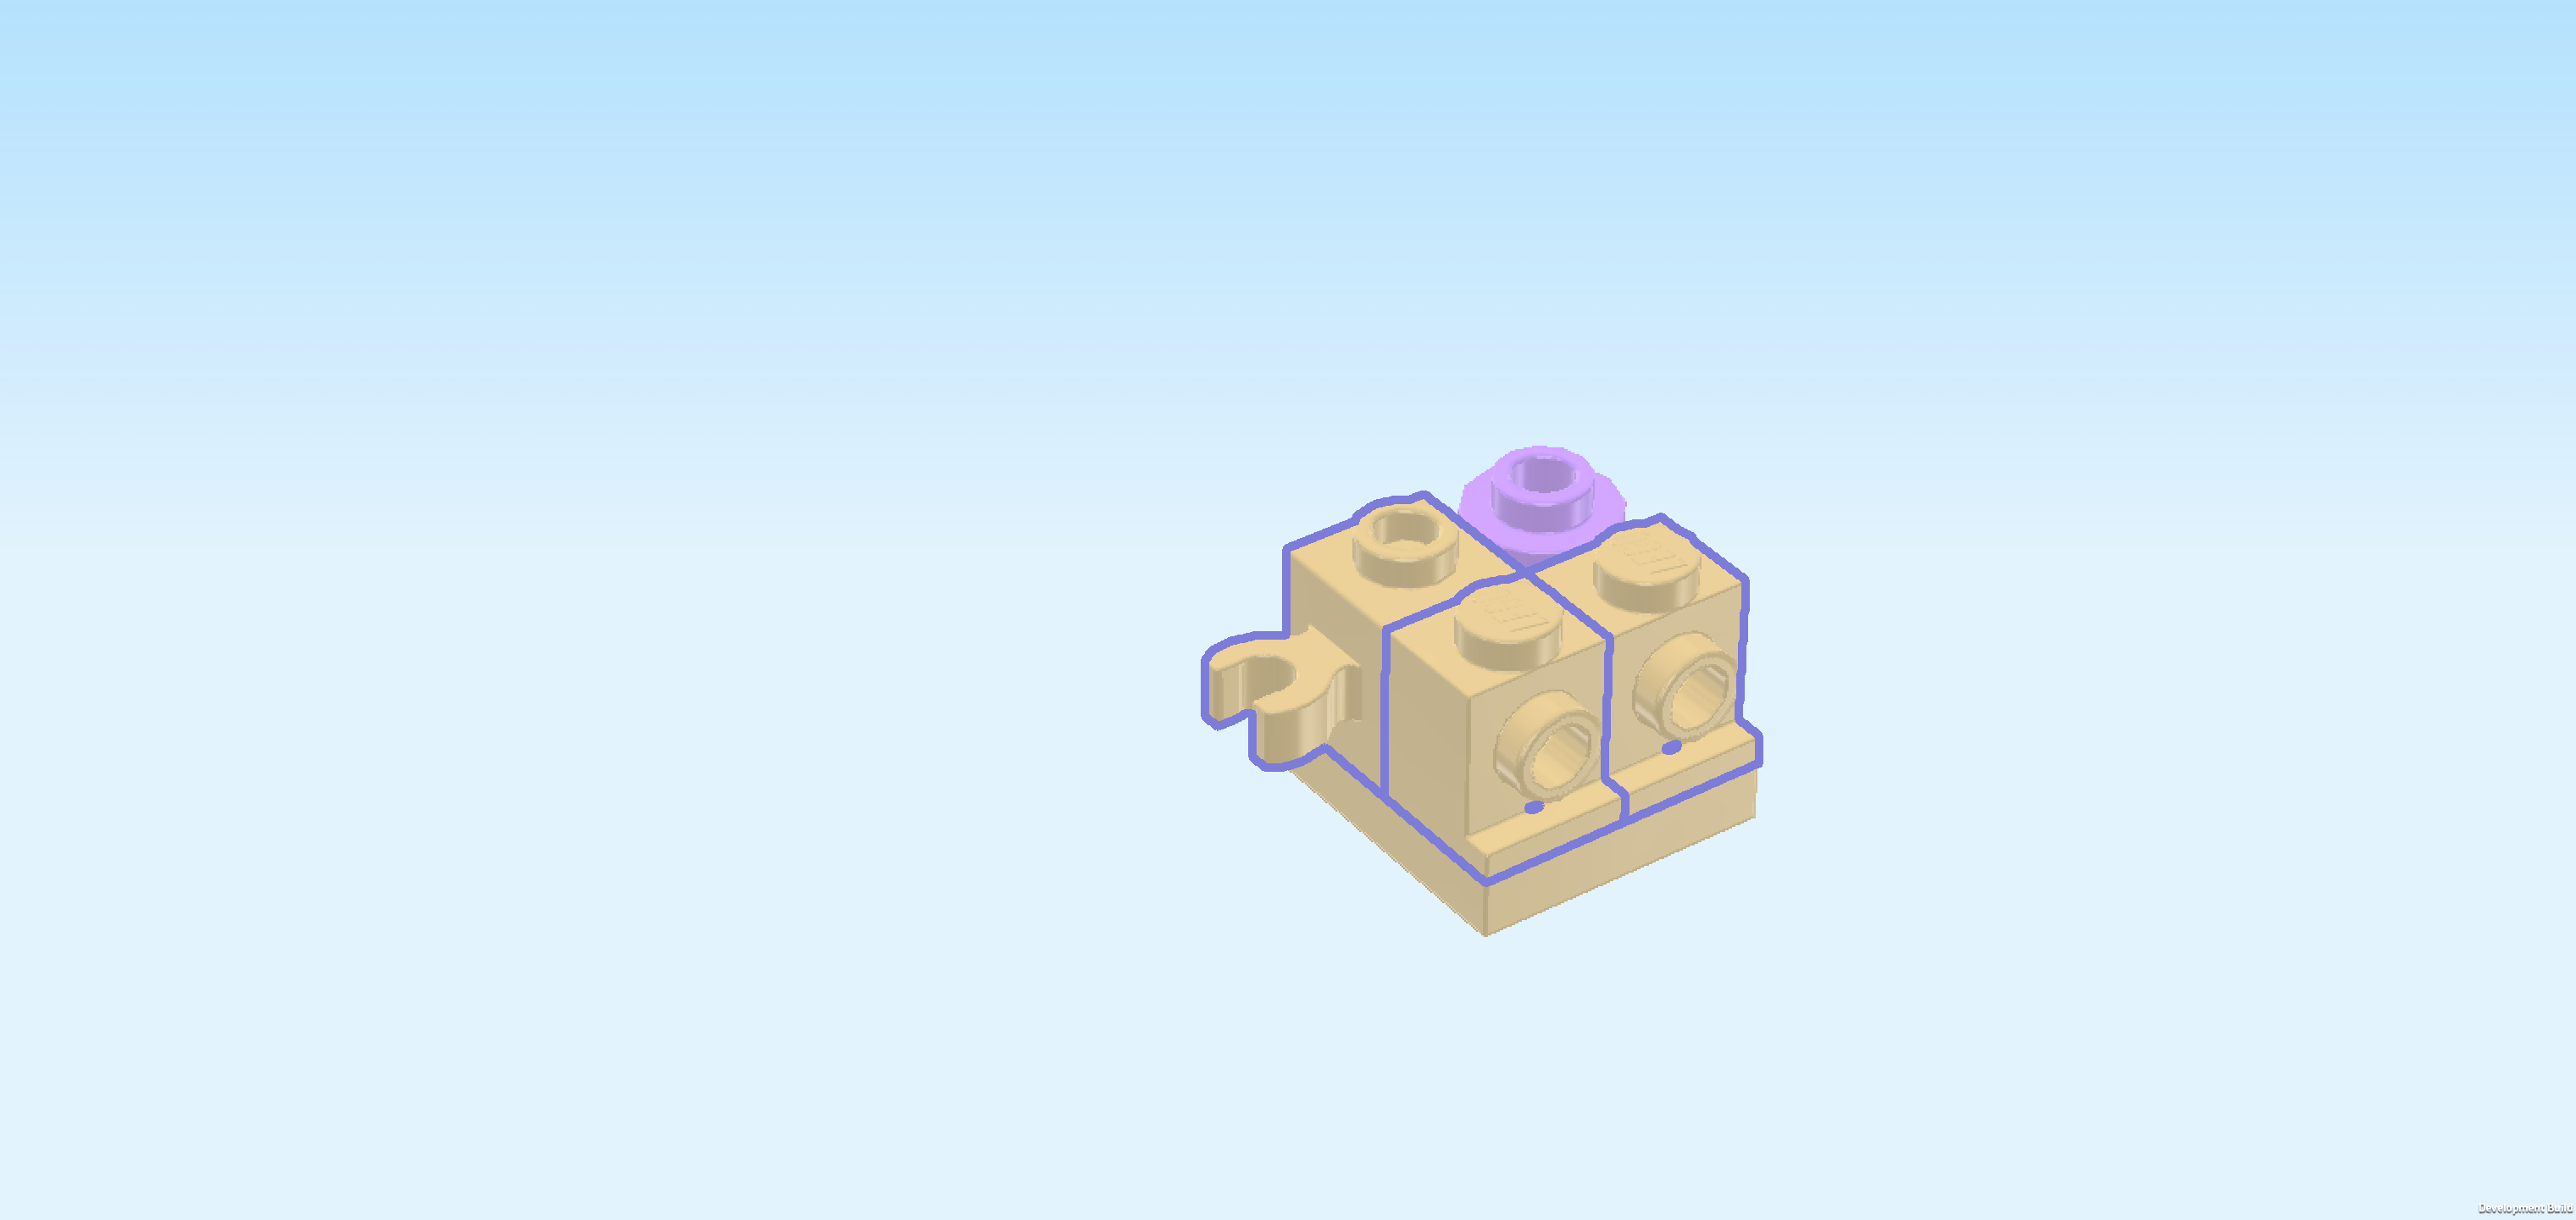
| Find another bright purple round plate 2x2 with 1 knob. |
| Put it to the left of the previous piece. |
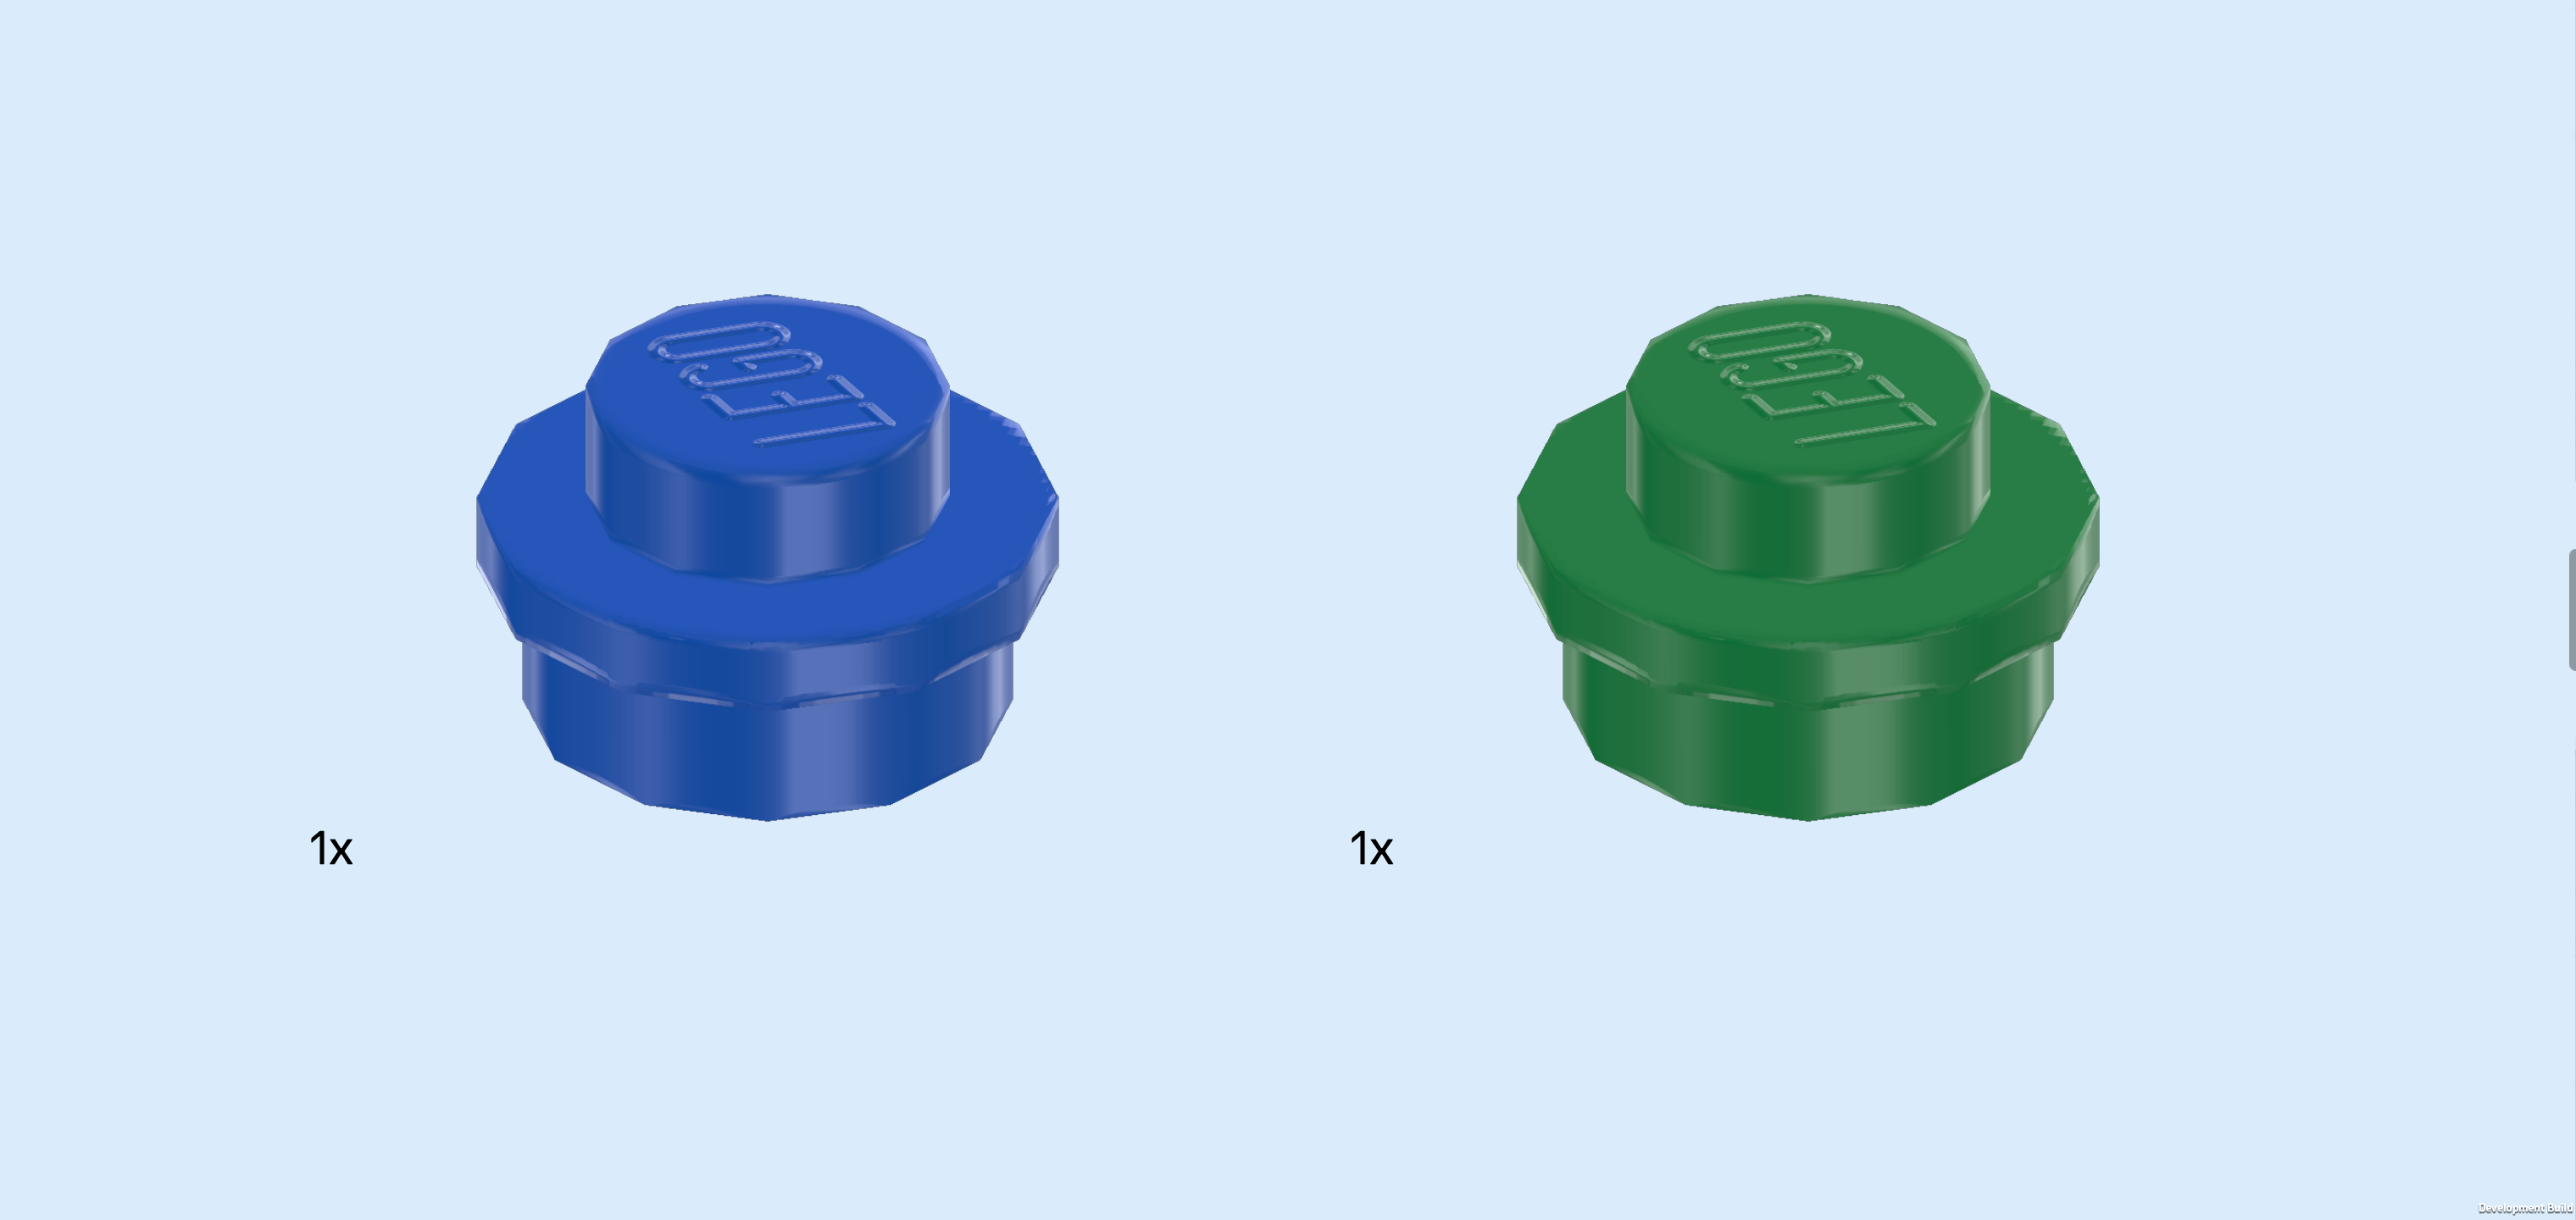
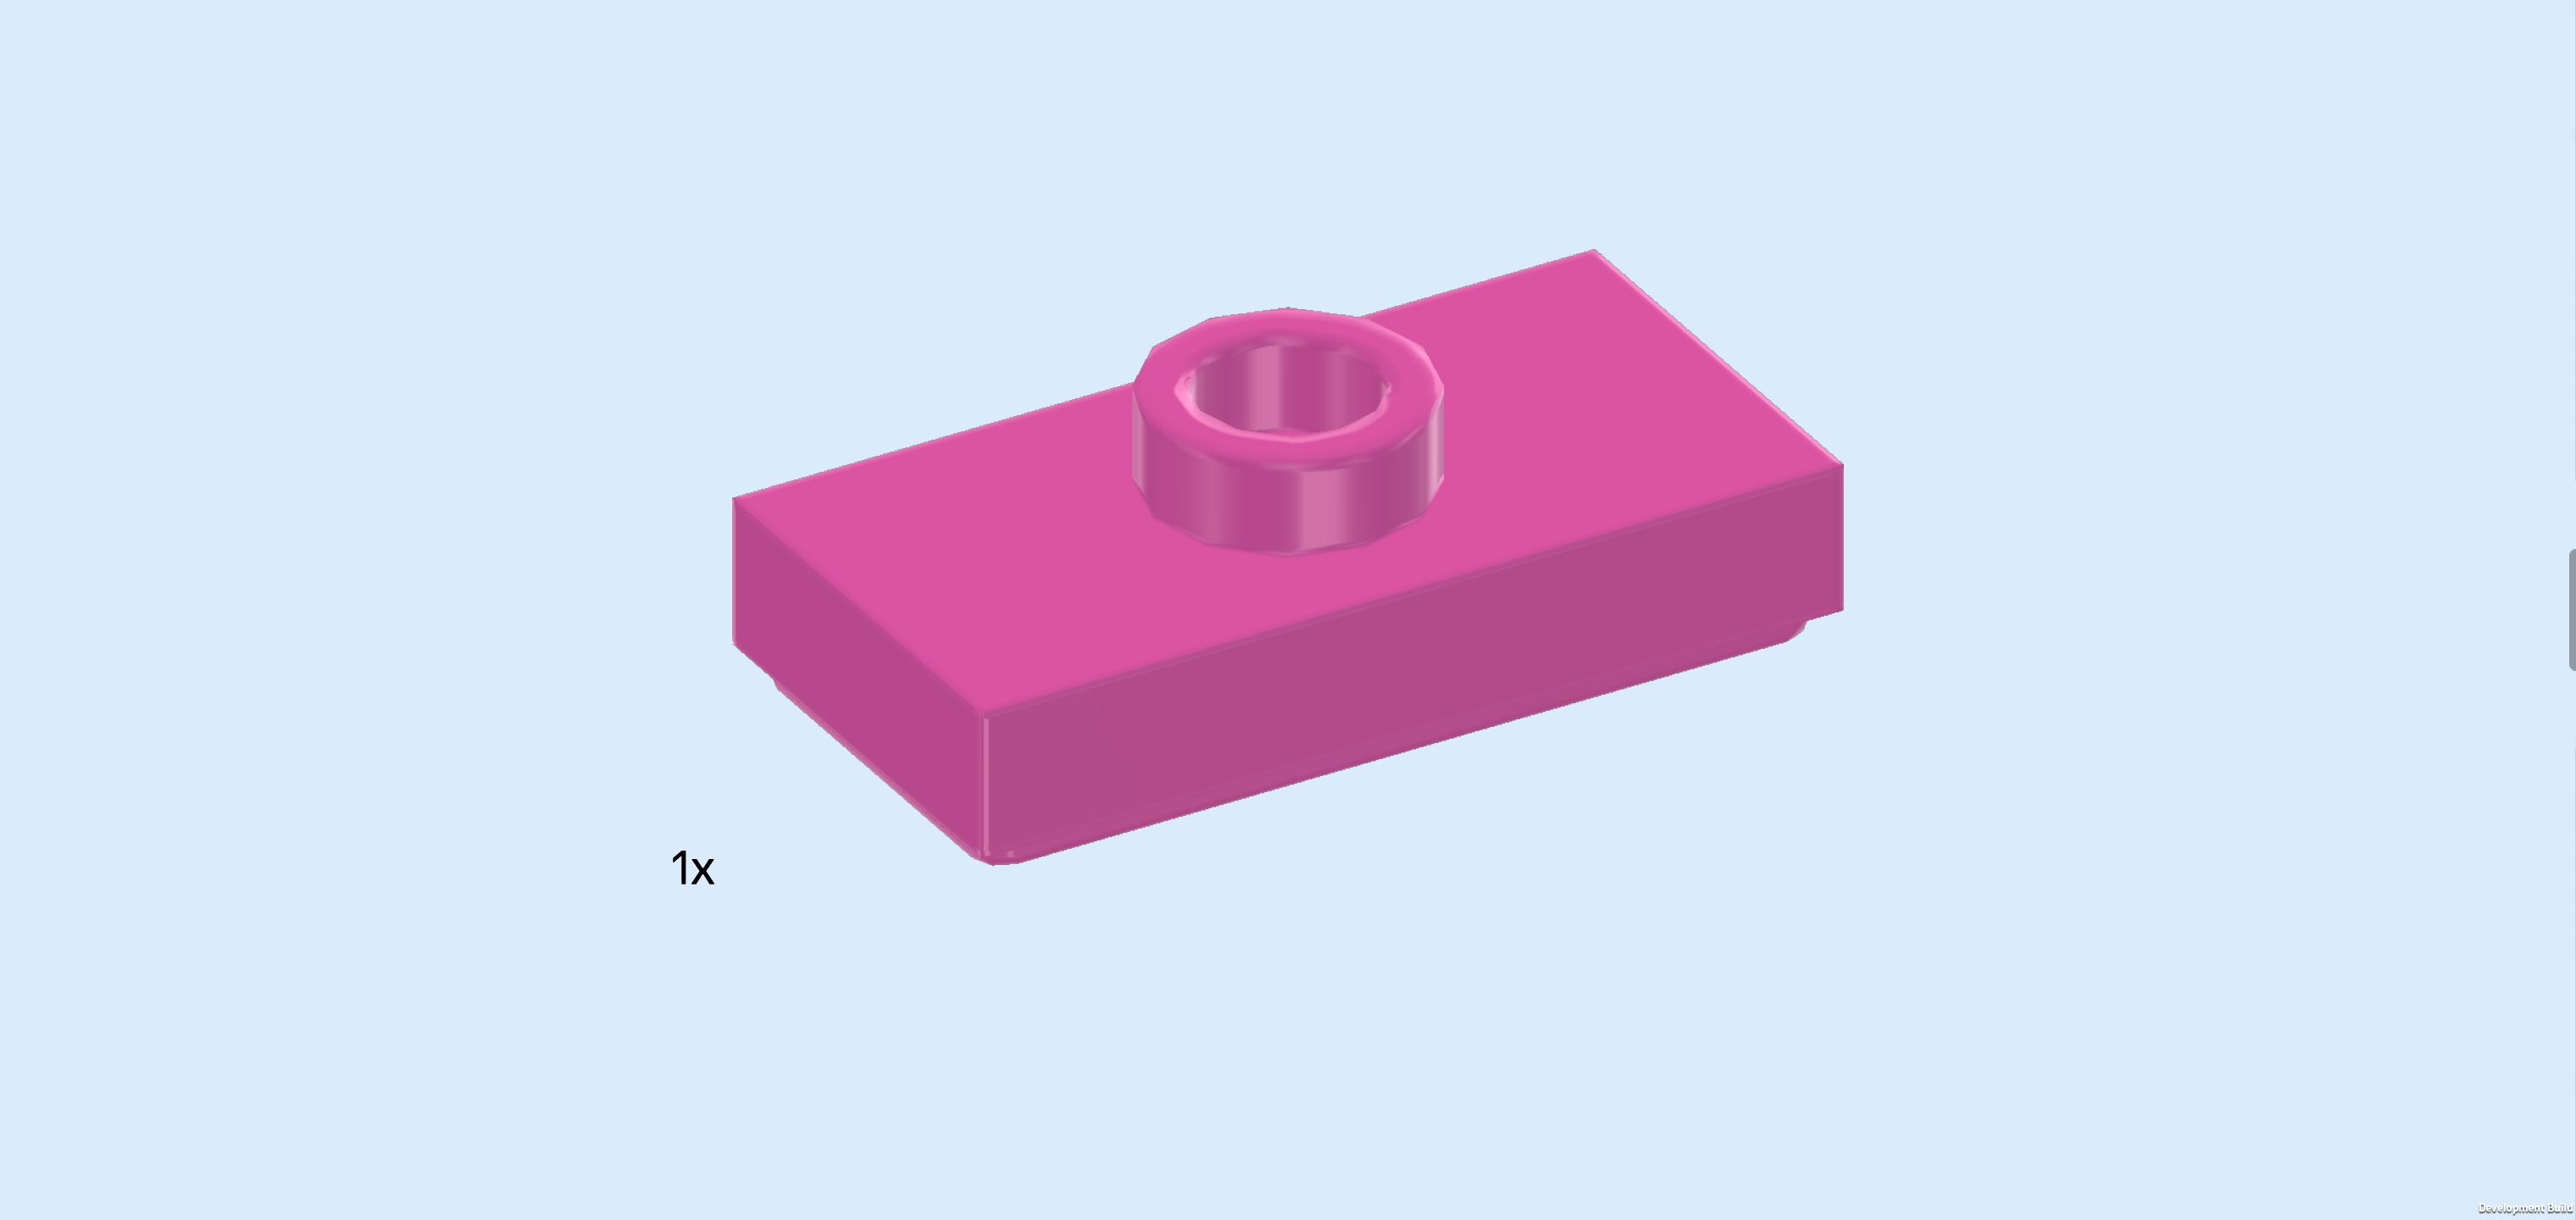
| Collect the following 2 pieces: |
| 1 bright blue round plate 1x1, |
| and 1 dark green round plate 1x1. |
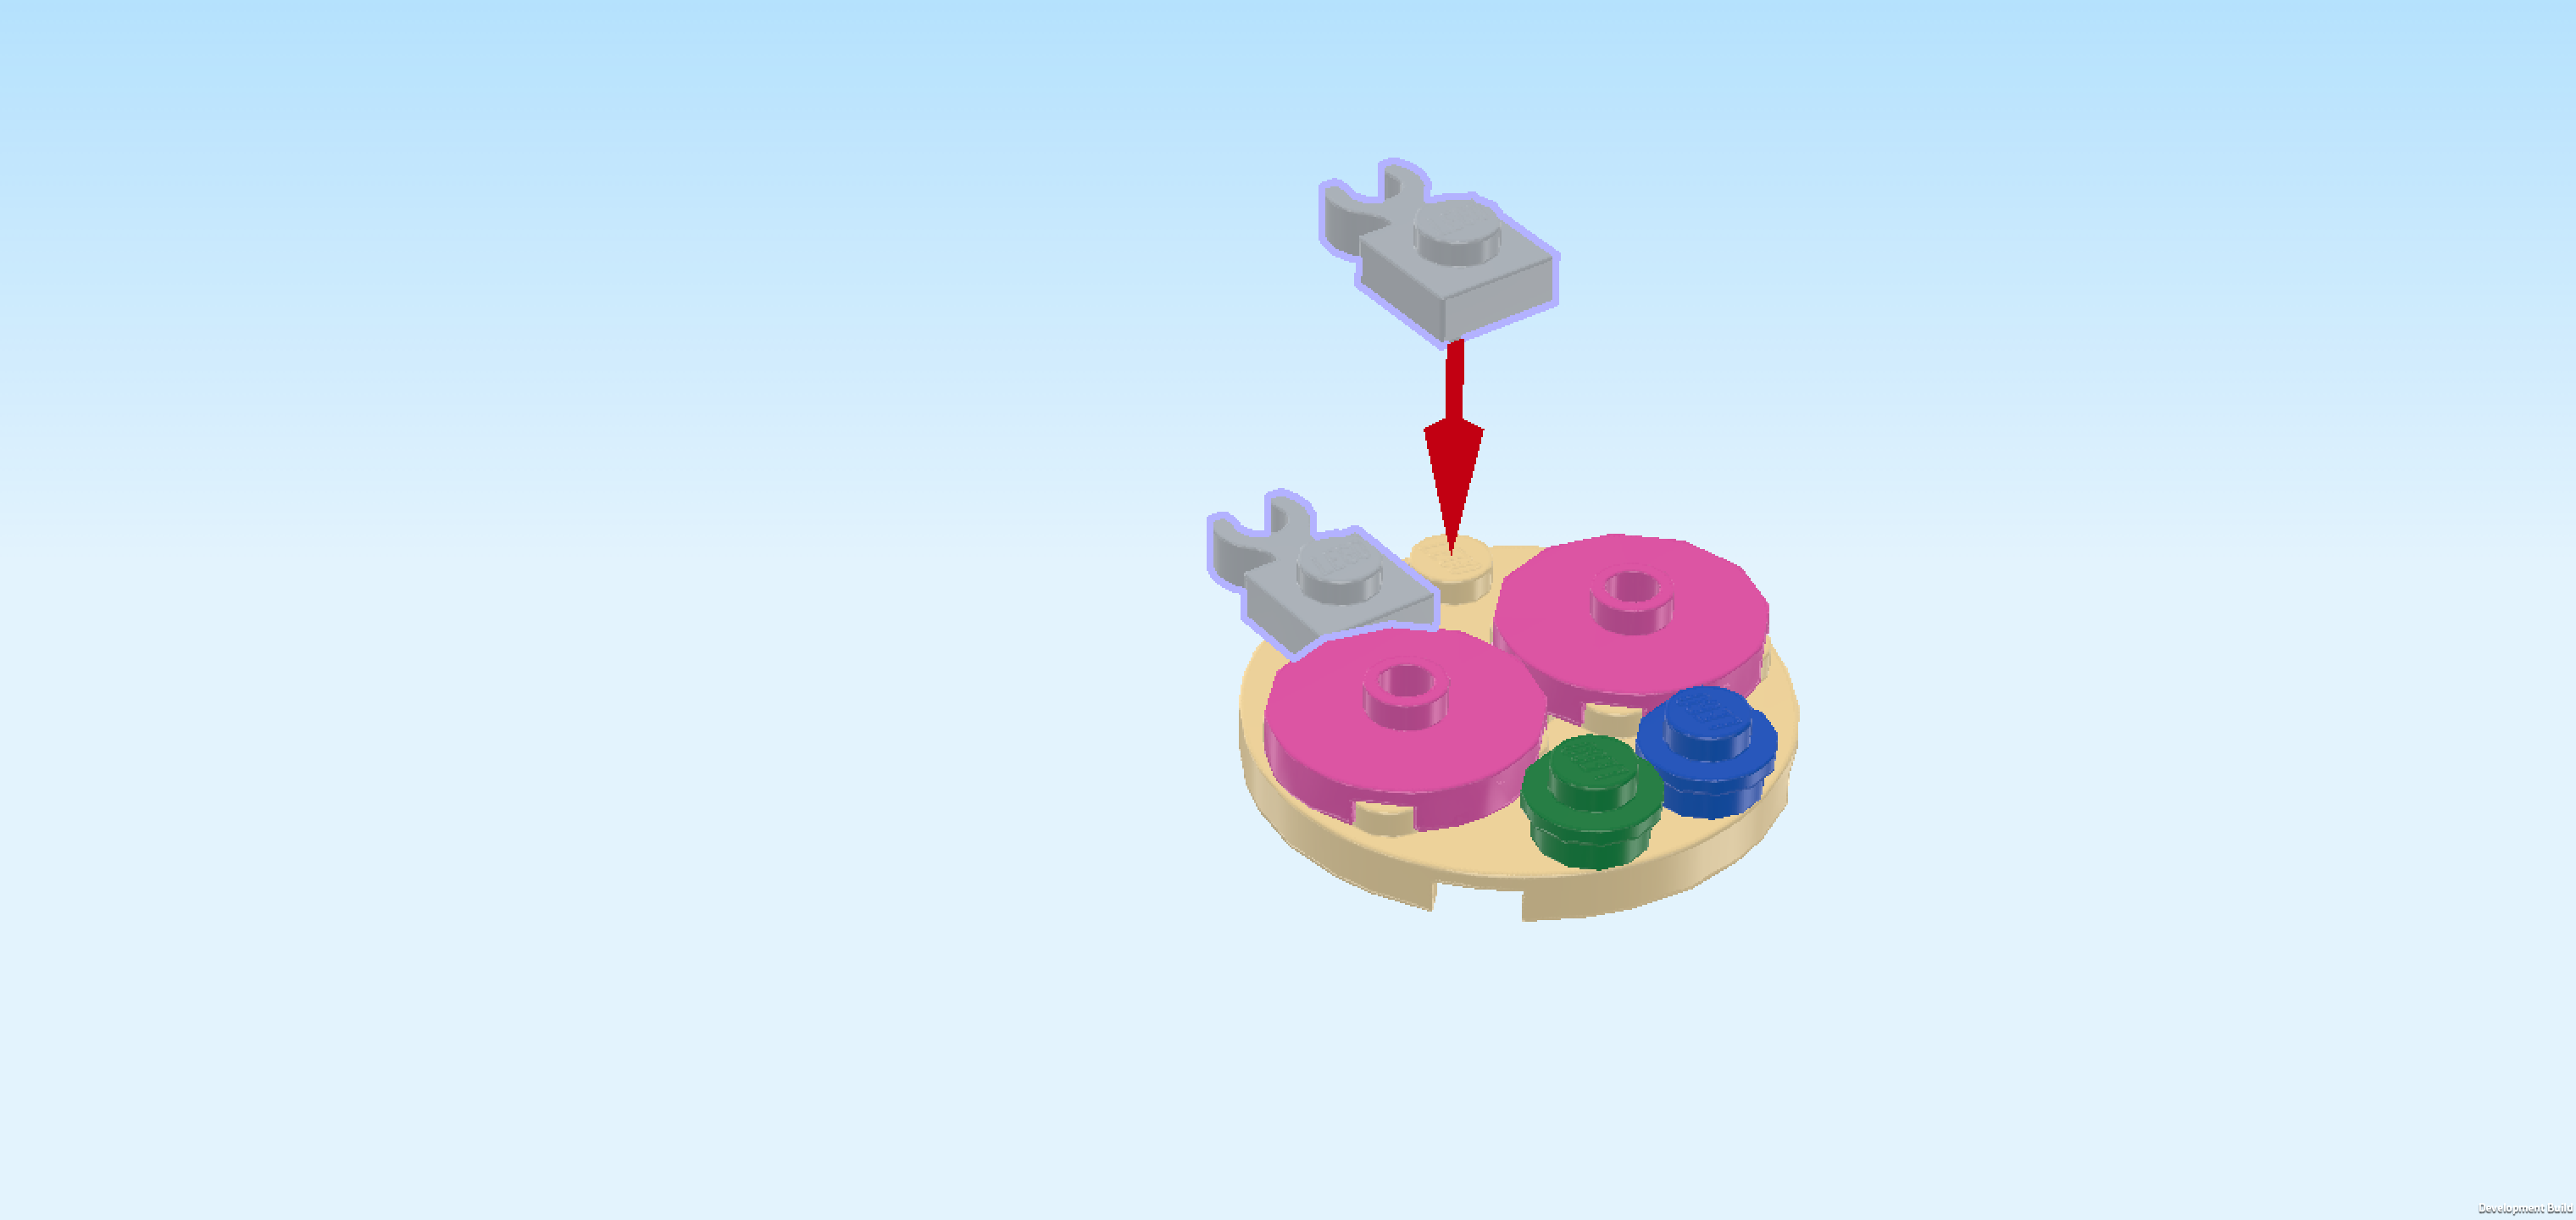
| Put the bright blue round plate 1x1 on the right knob of the 2 frontmost knobs. |
| Put the dark green round plate 1x1 to the left of the previous piece. |
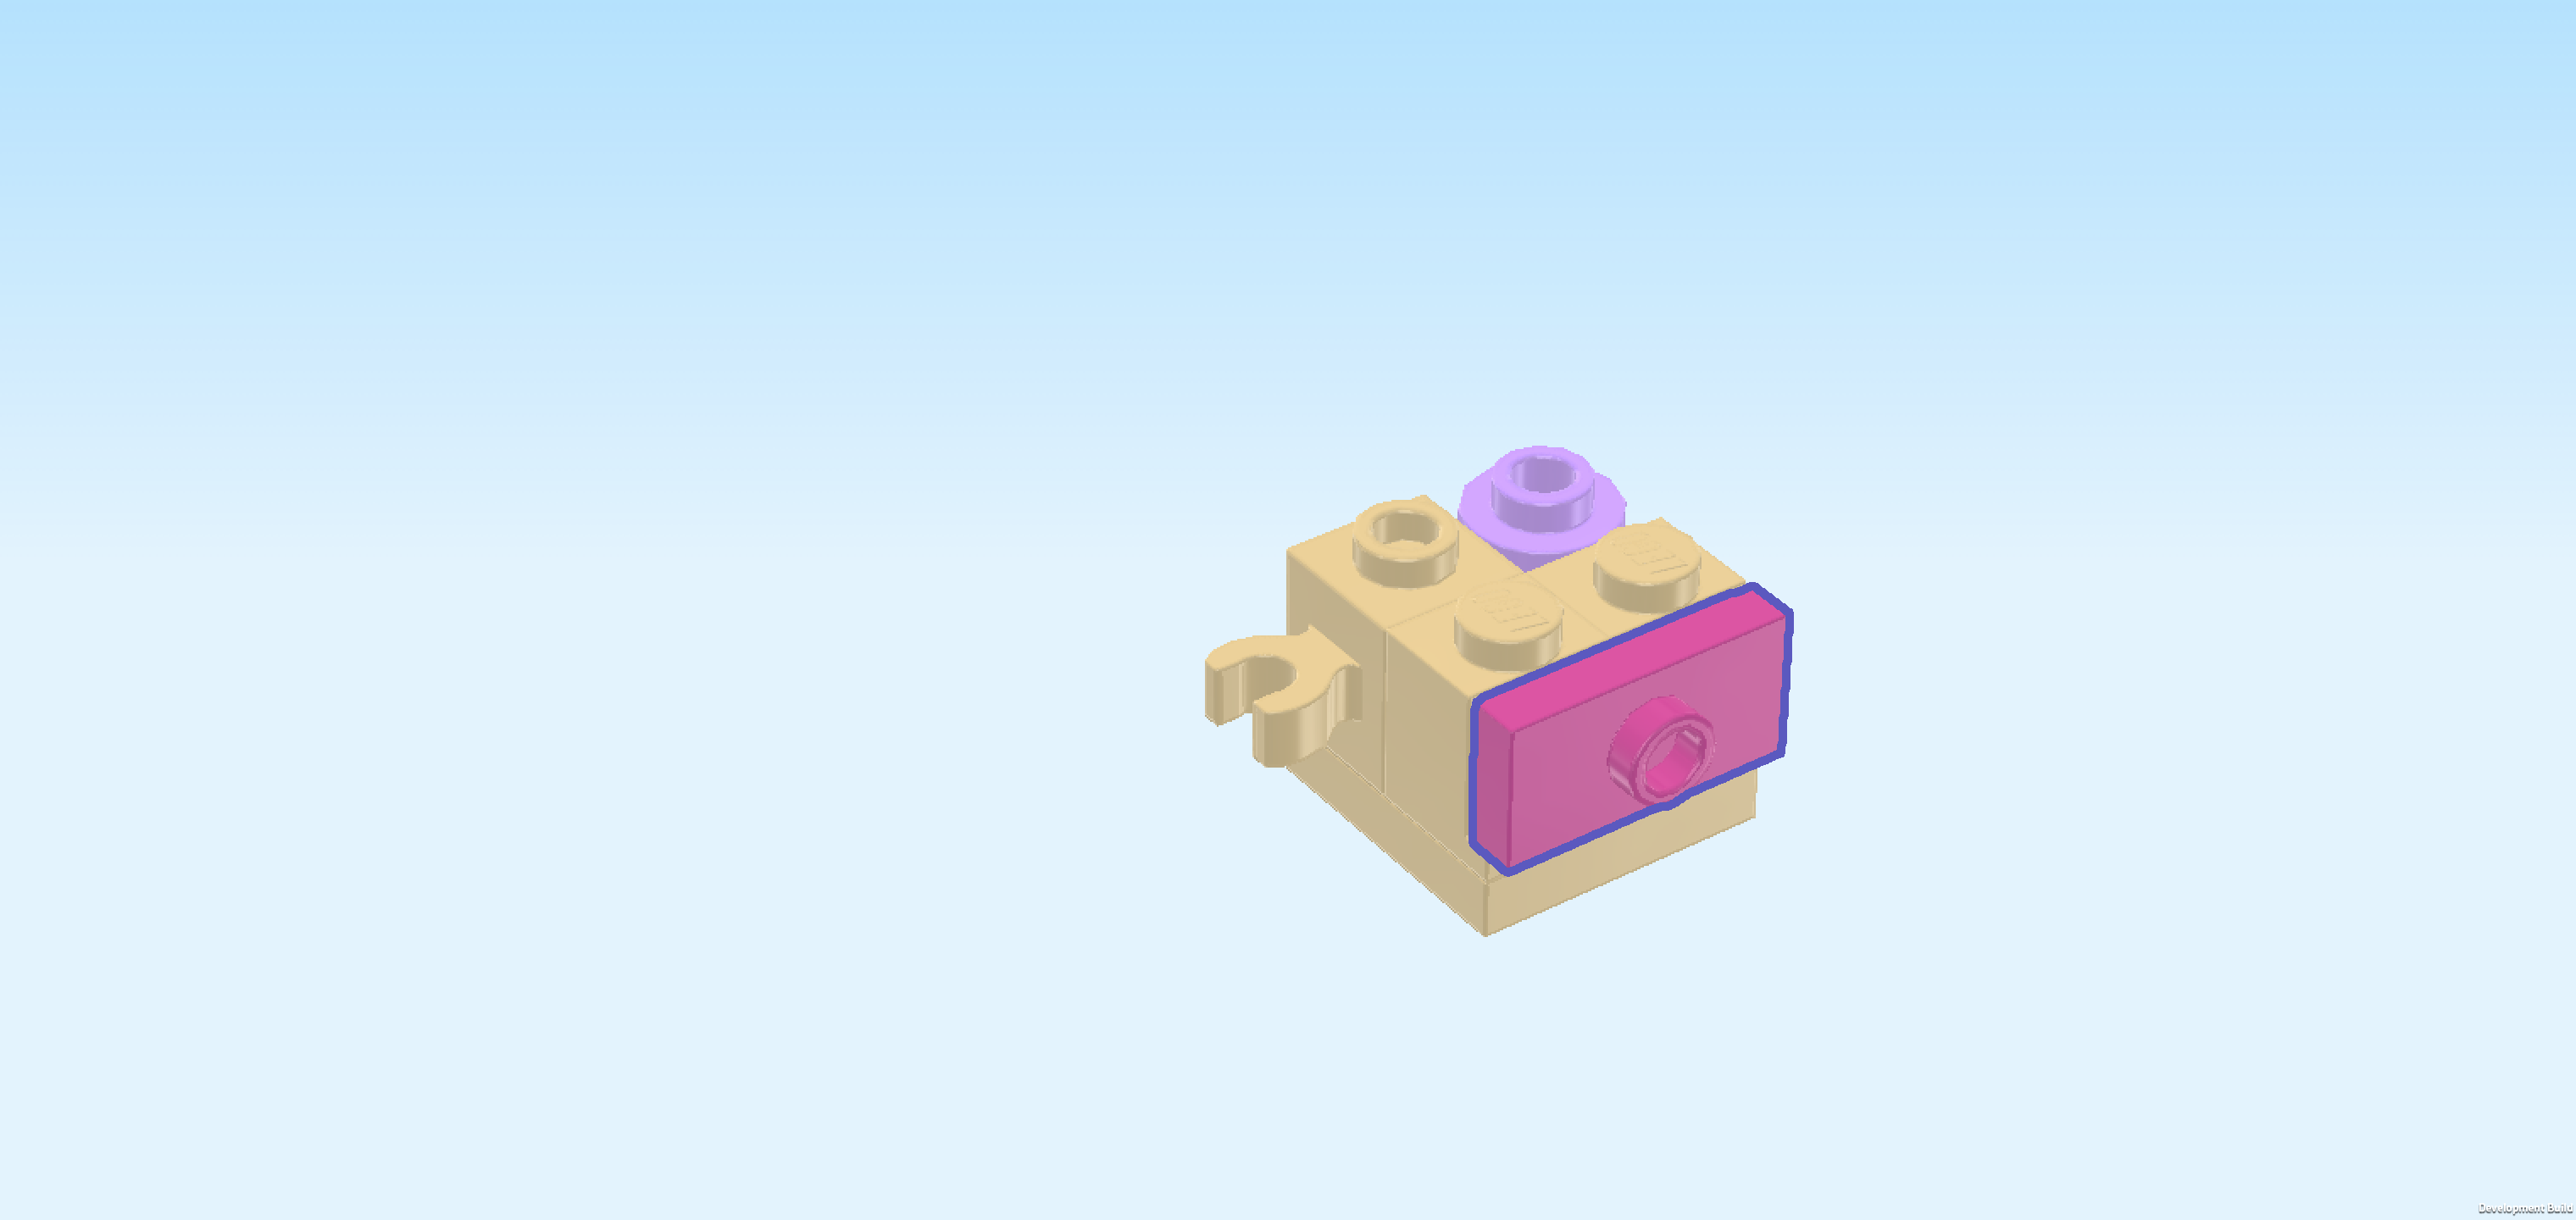
| Find 2 medium stone grey plates 1x1 with horizontal side clasp. |
| Put 1 on the right knob of the 2 backmost knobs, clasp to the back. |
| Put the other one to the left of the previous piece, clasp to the back. |
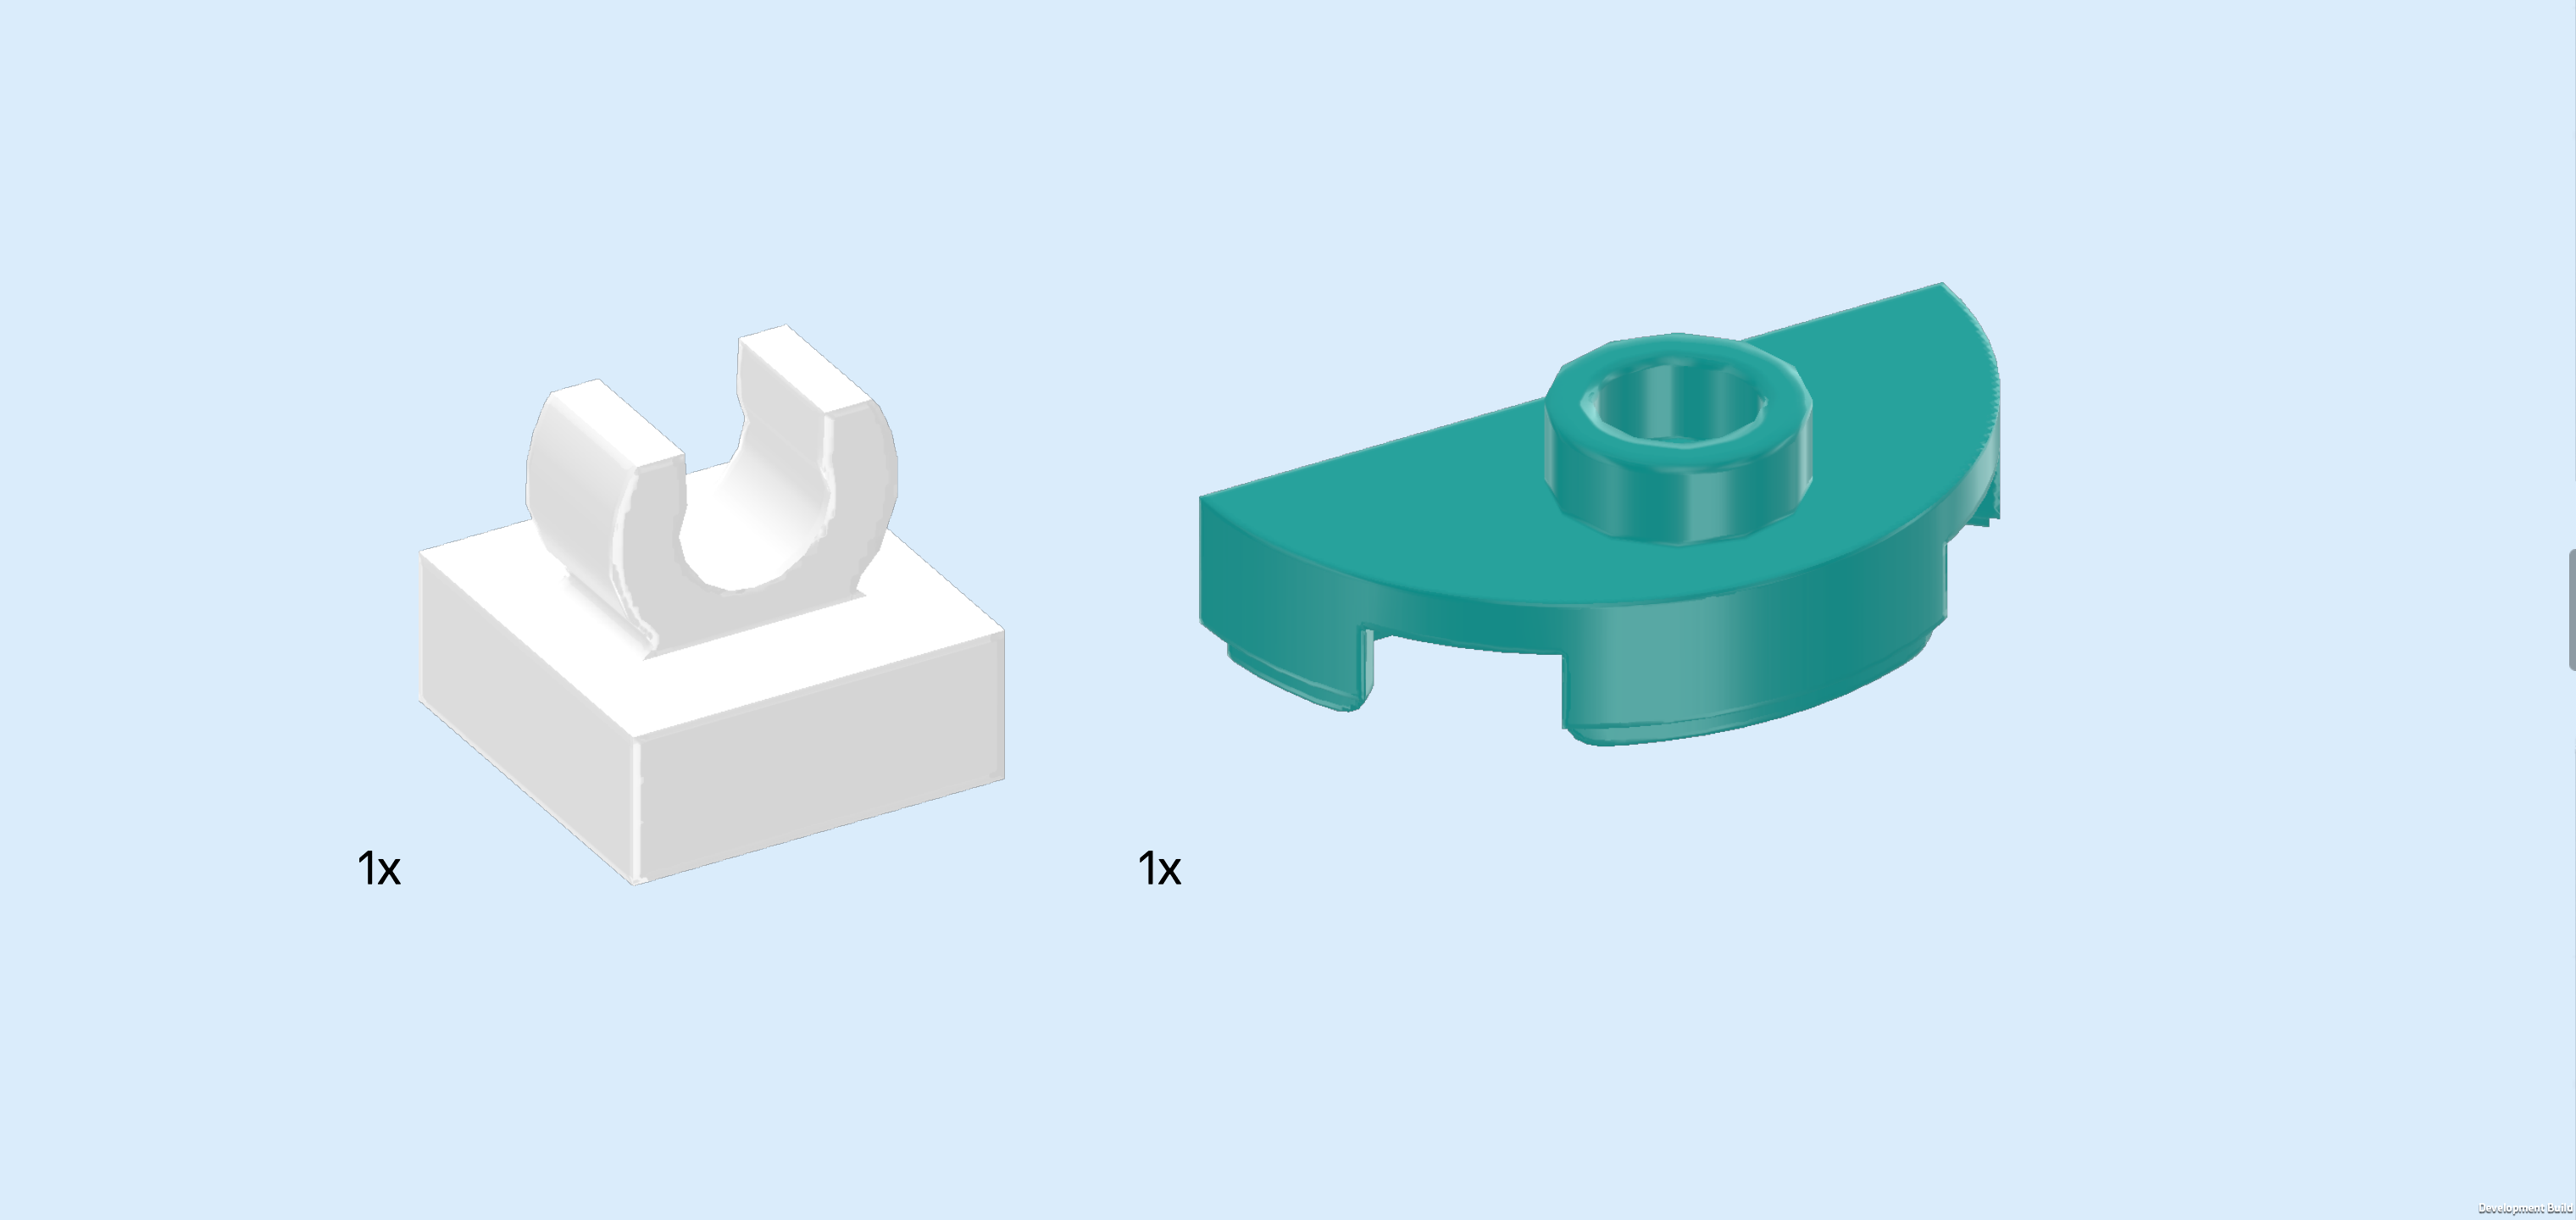
| Collect the following 2 pieces: |
| 1 white plate 1x1 with top clasp, |
| and 1 teal blue half-circle plate 1x2 with 1 knob. |
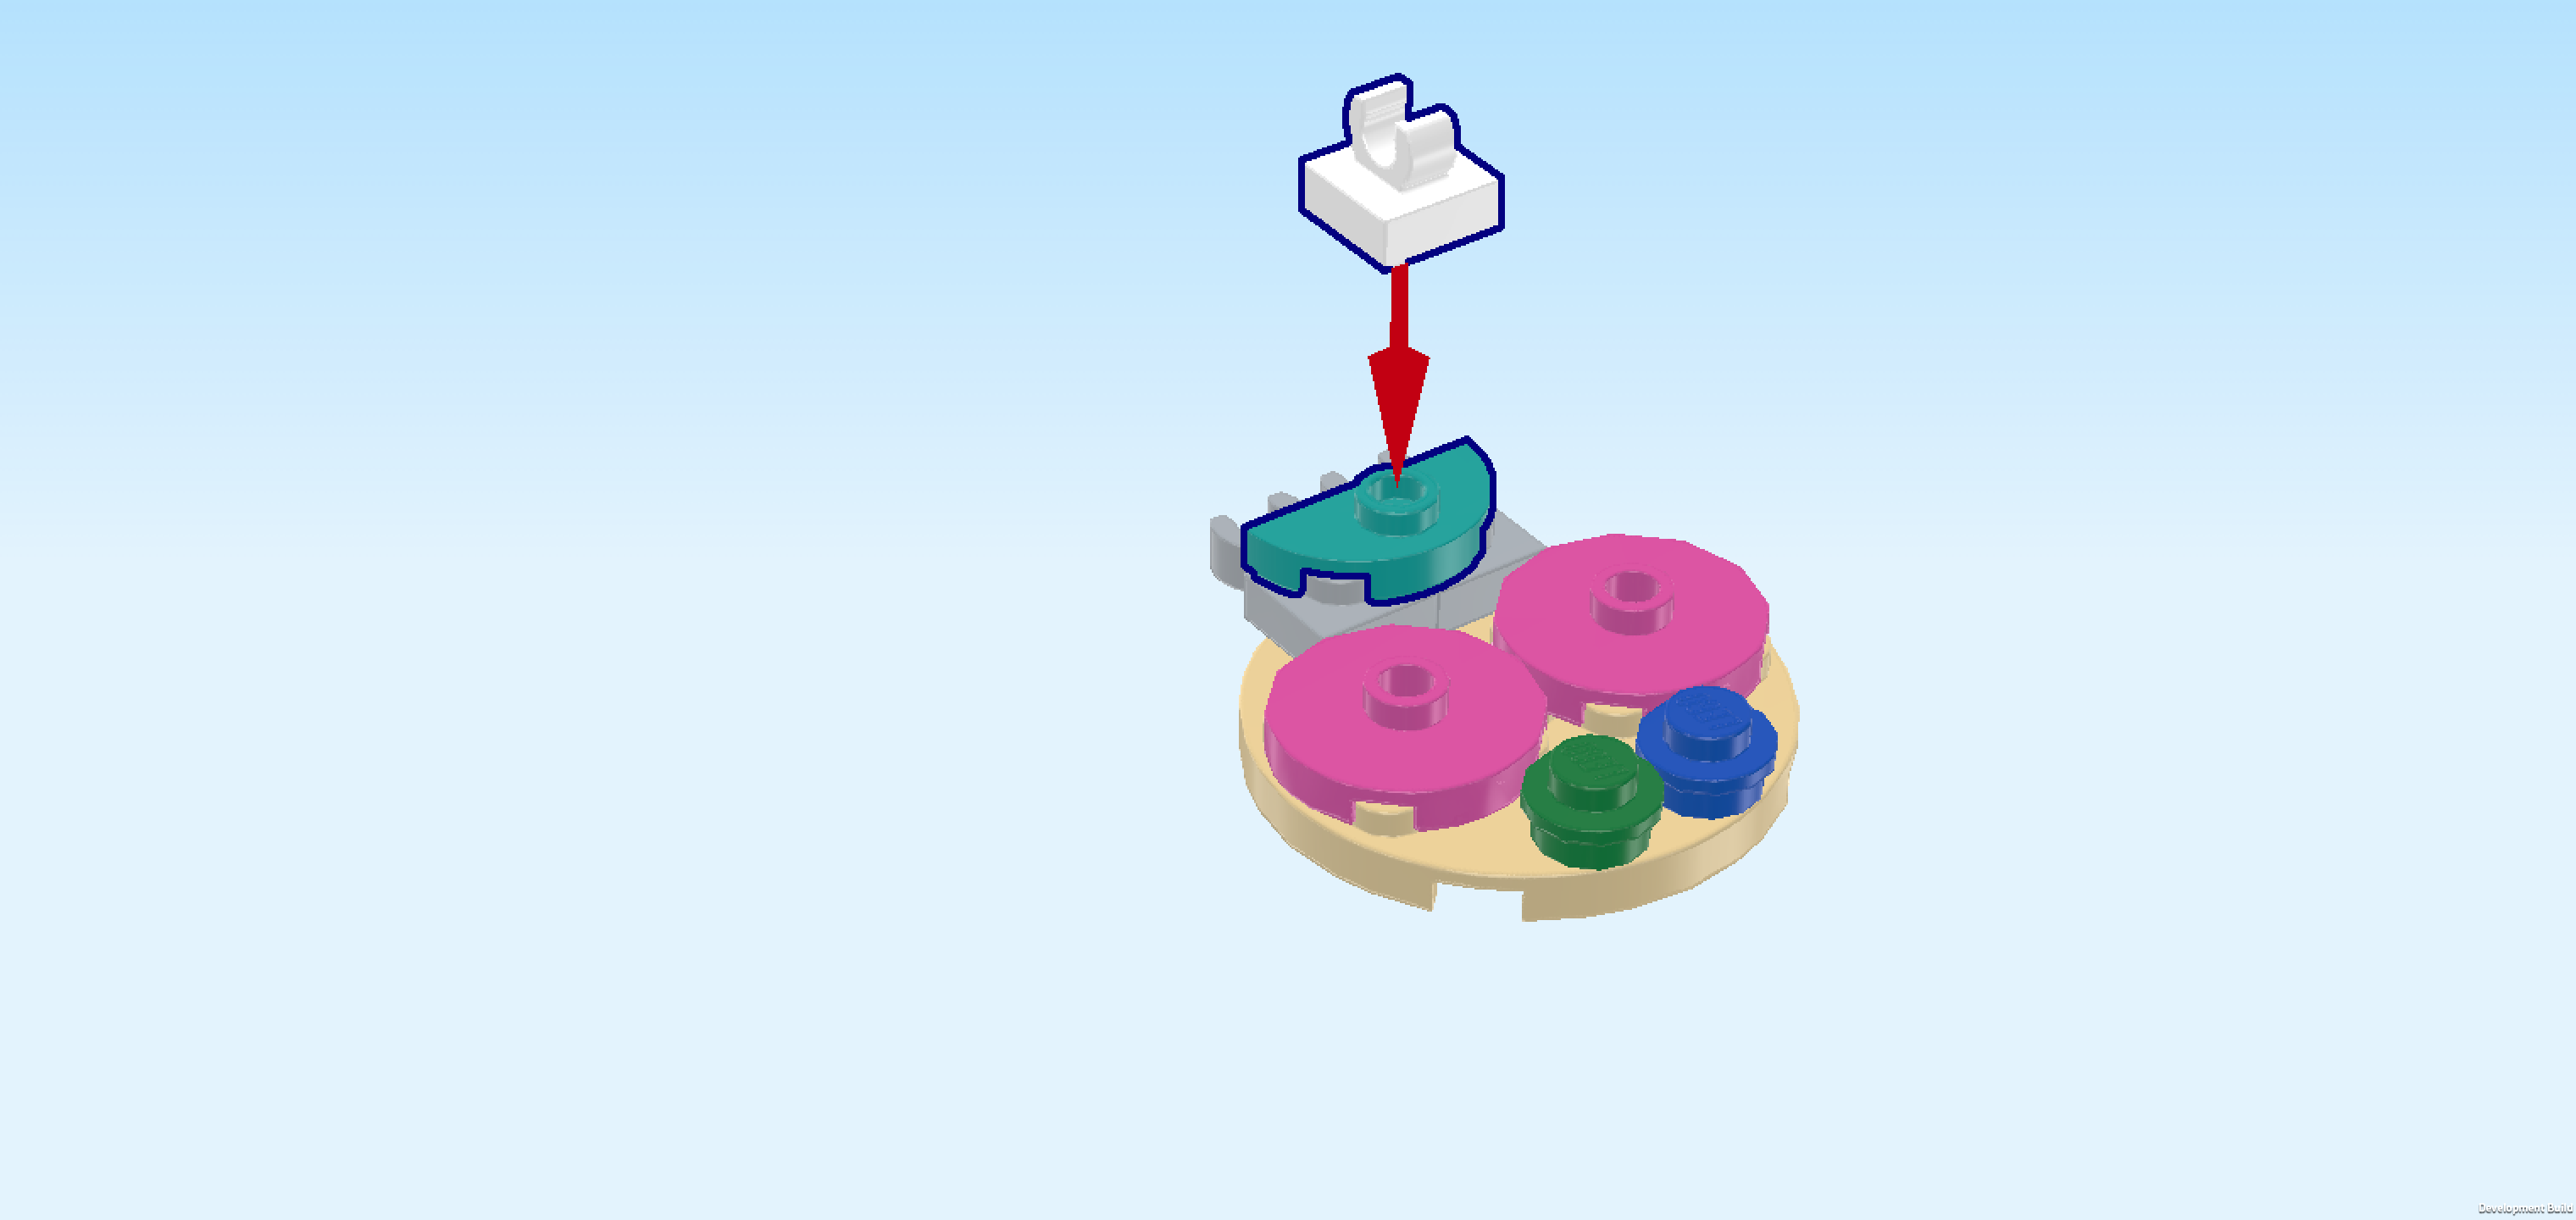
| Put the half-circle plate 1x2 horizontally on the 2 previous pieces, half circle to the front. |
| Put the plate with clasp on top of the previous piece, but make sure that the tips of the clasp are to the front and back, not to the left and right. |
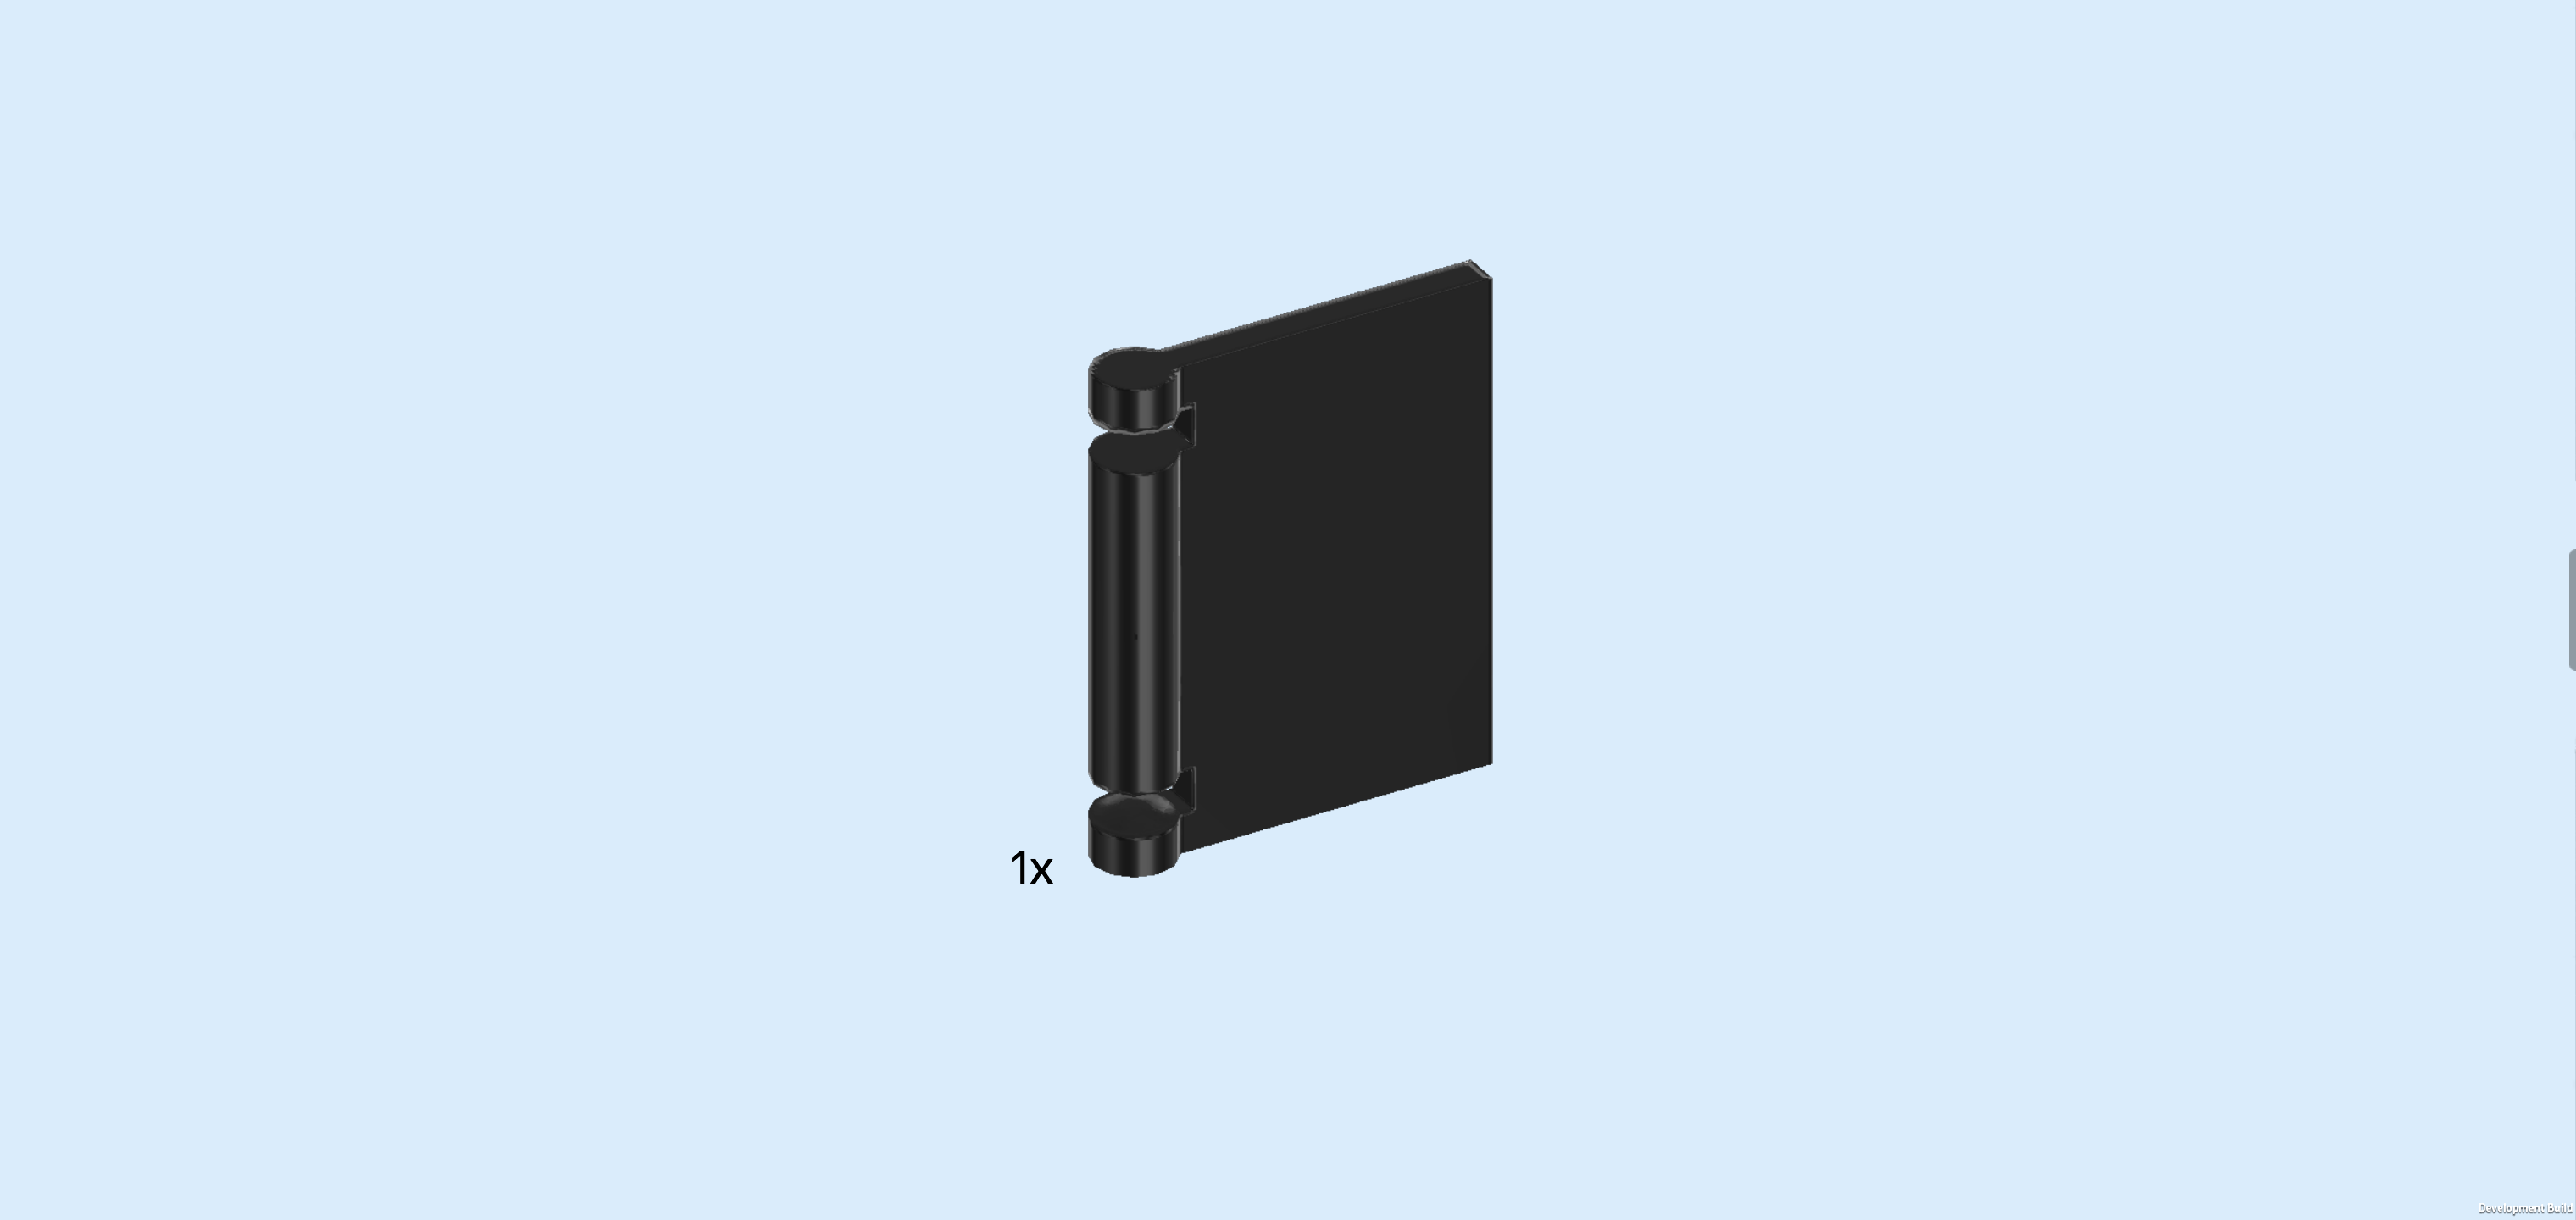
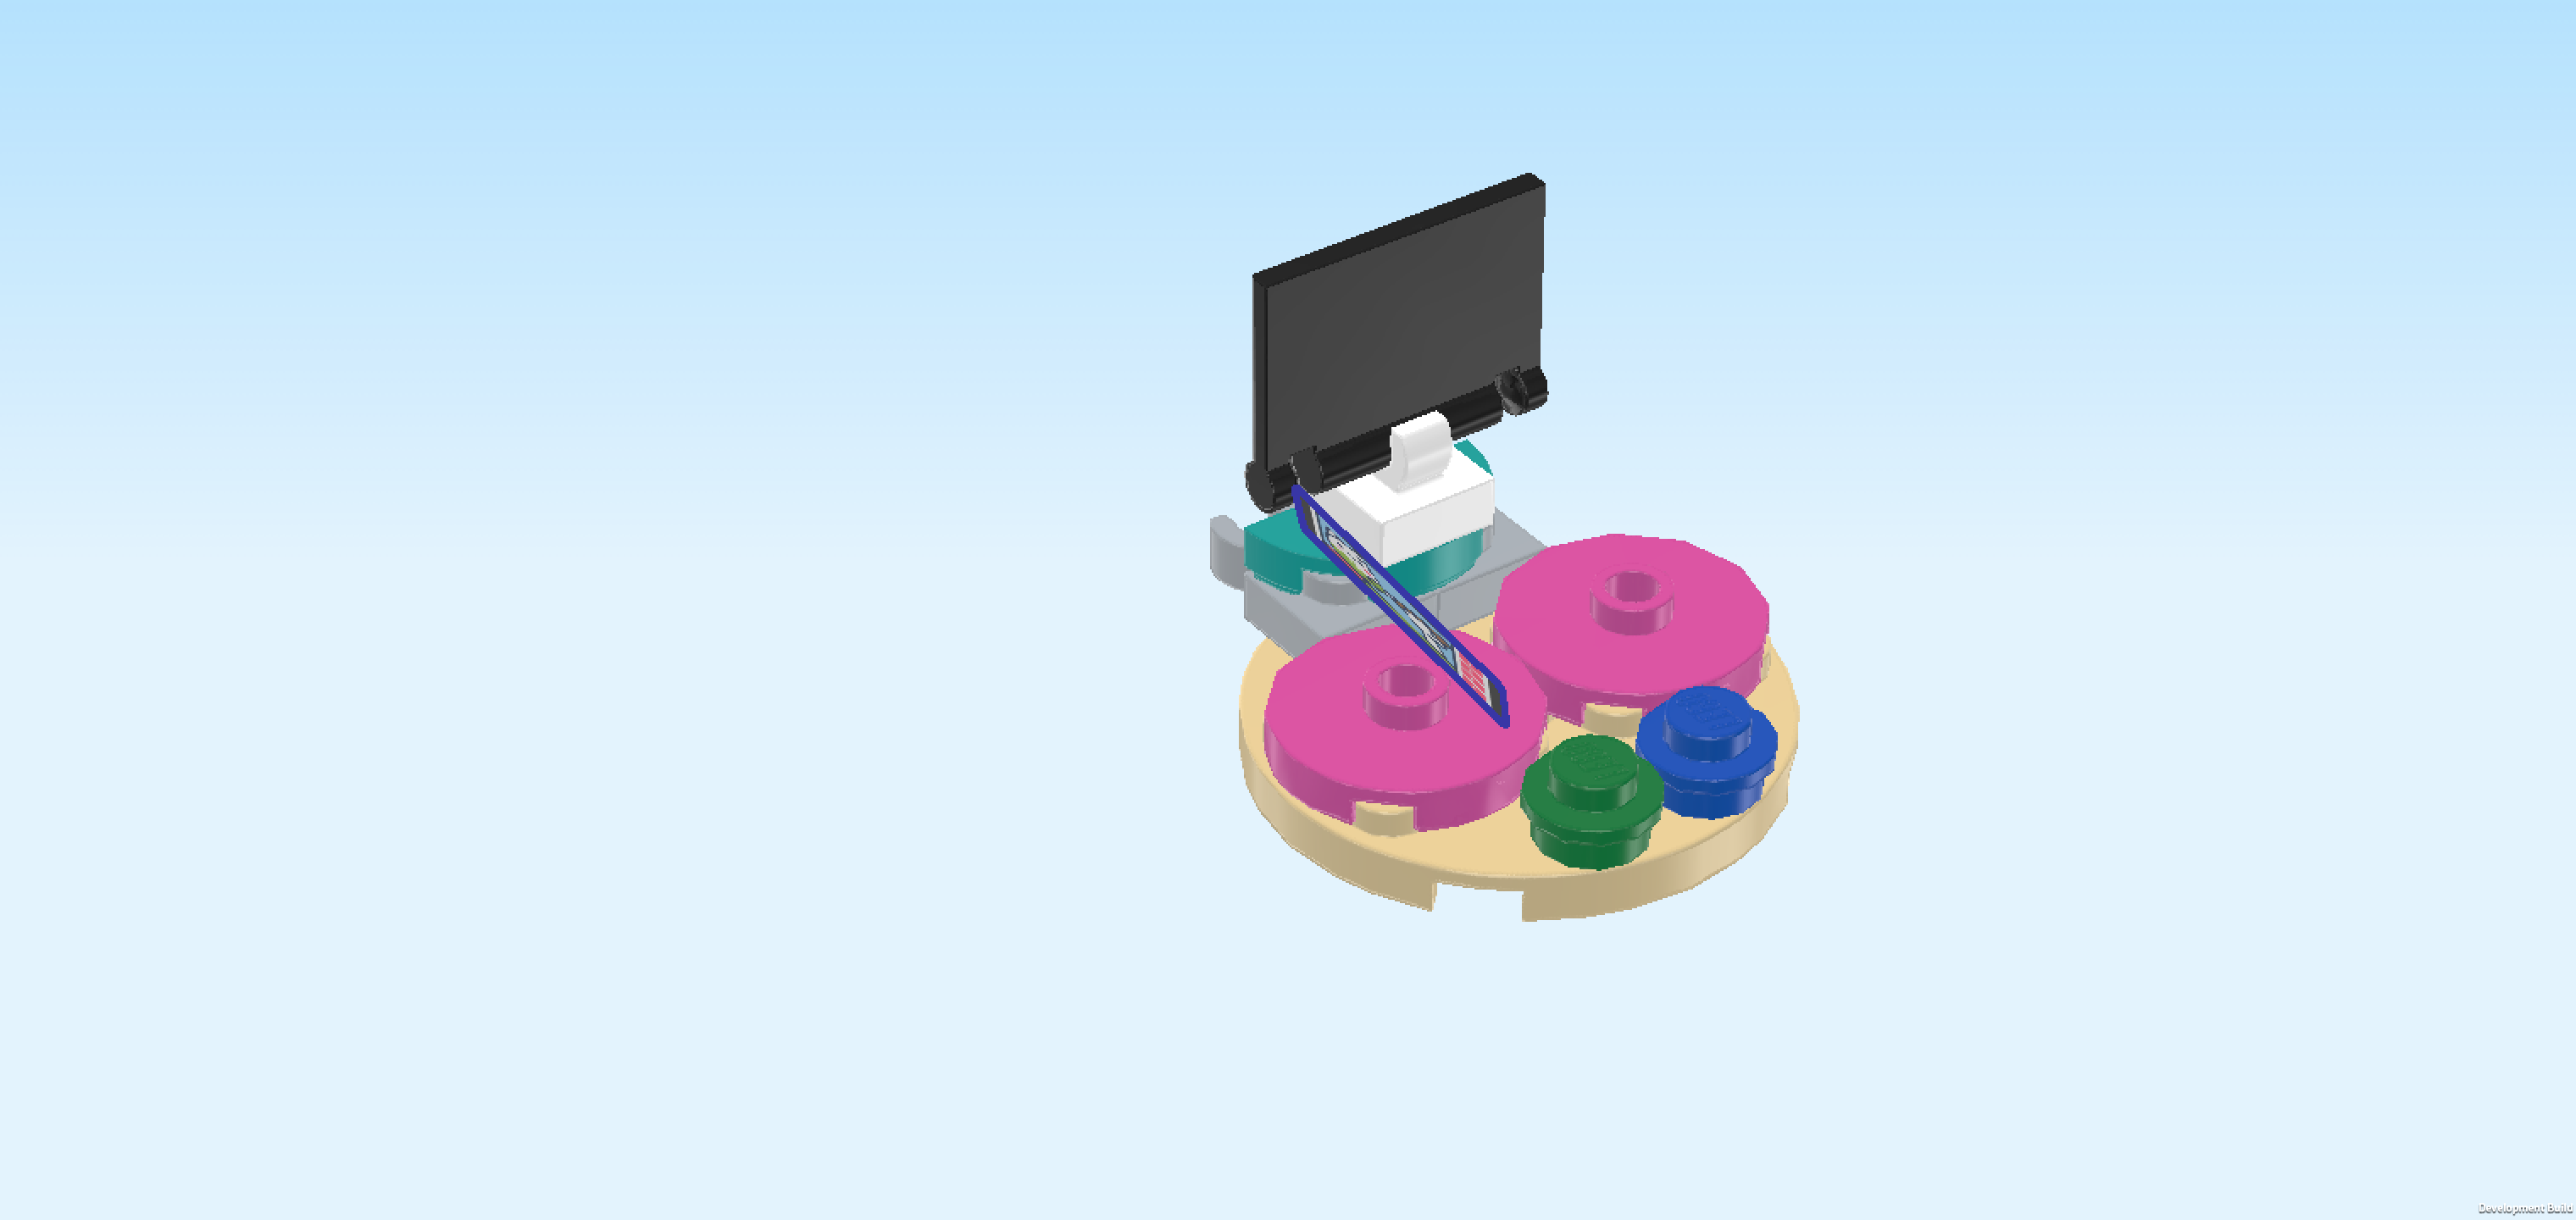
| Find 1 black book cover front 2x2½ with side shaft and hinge indentations. |
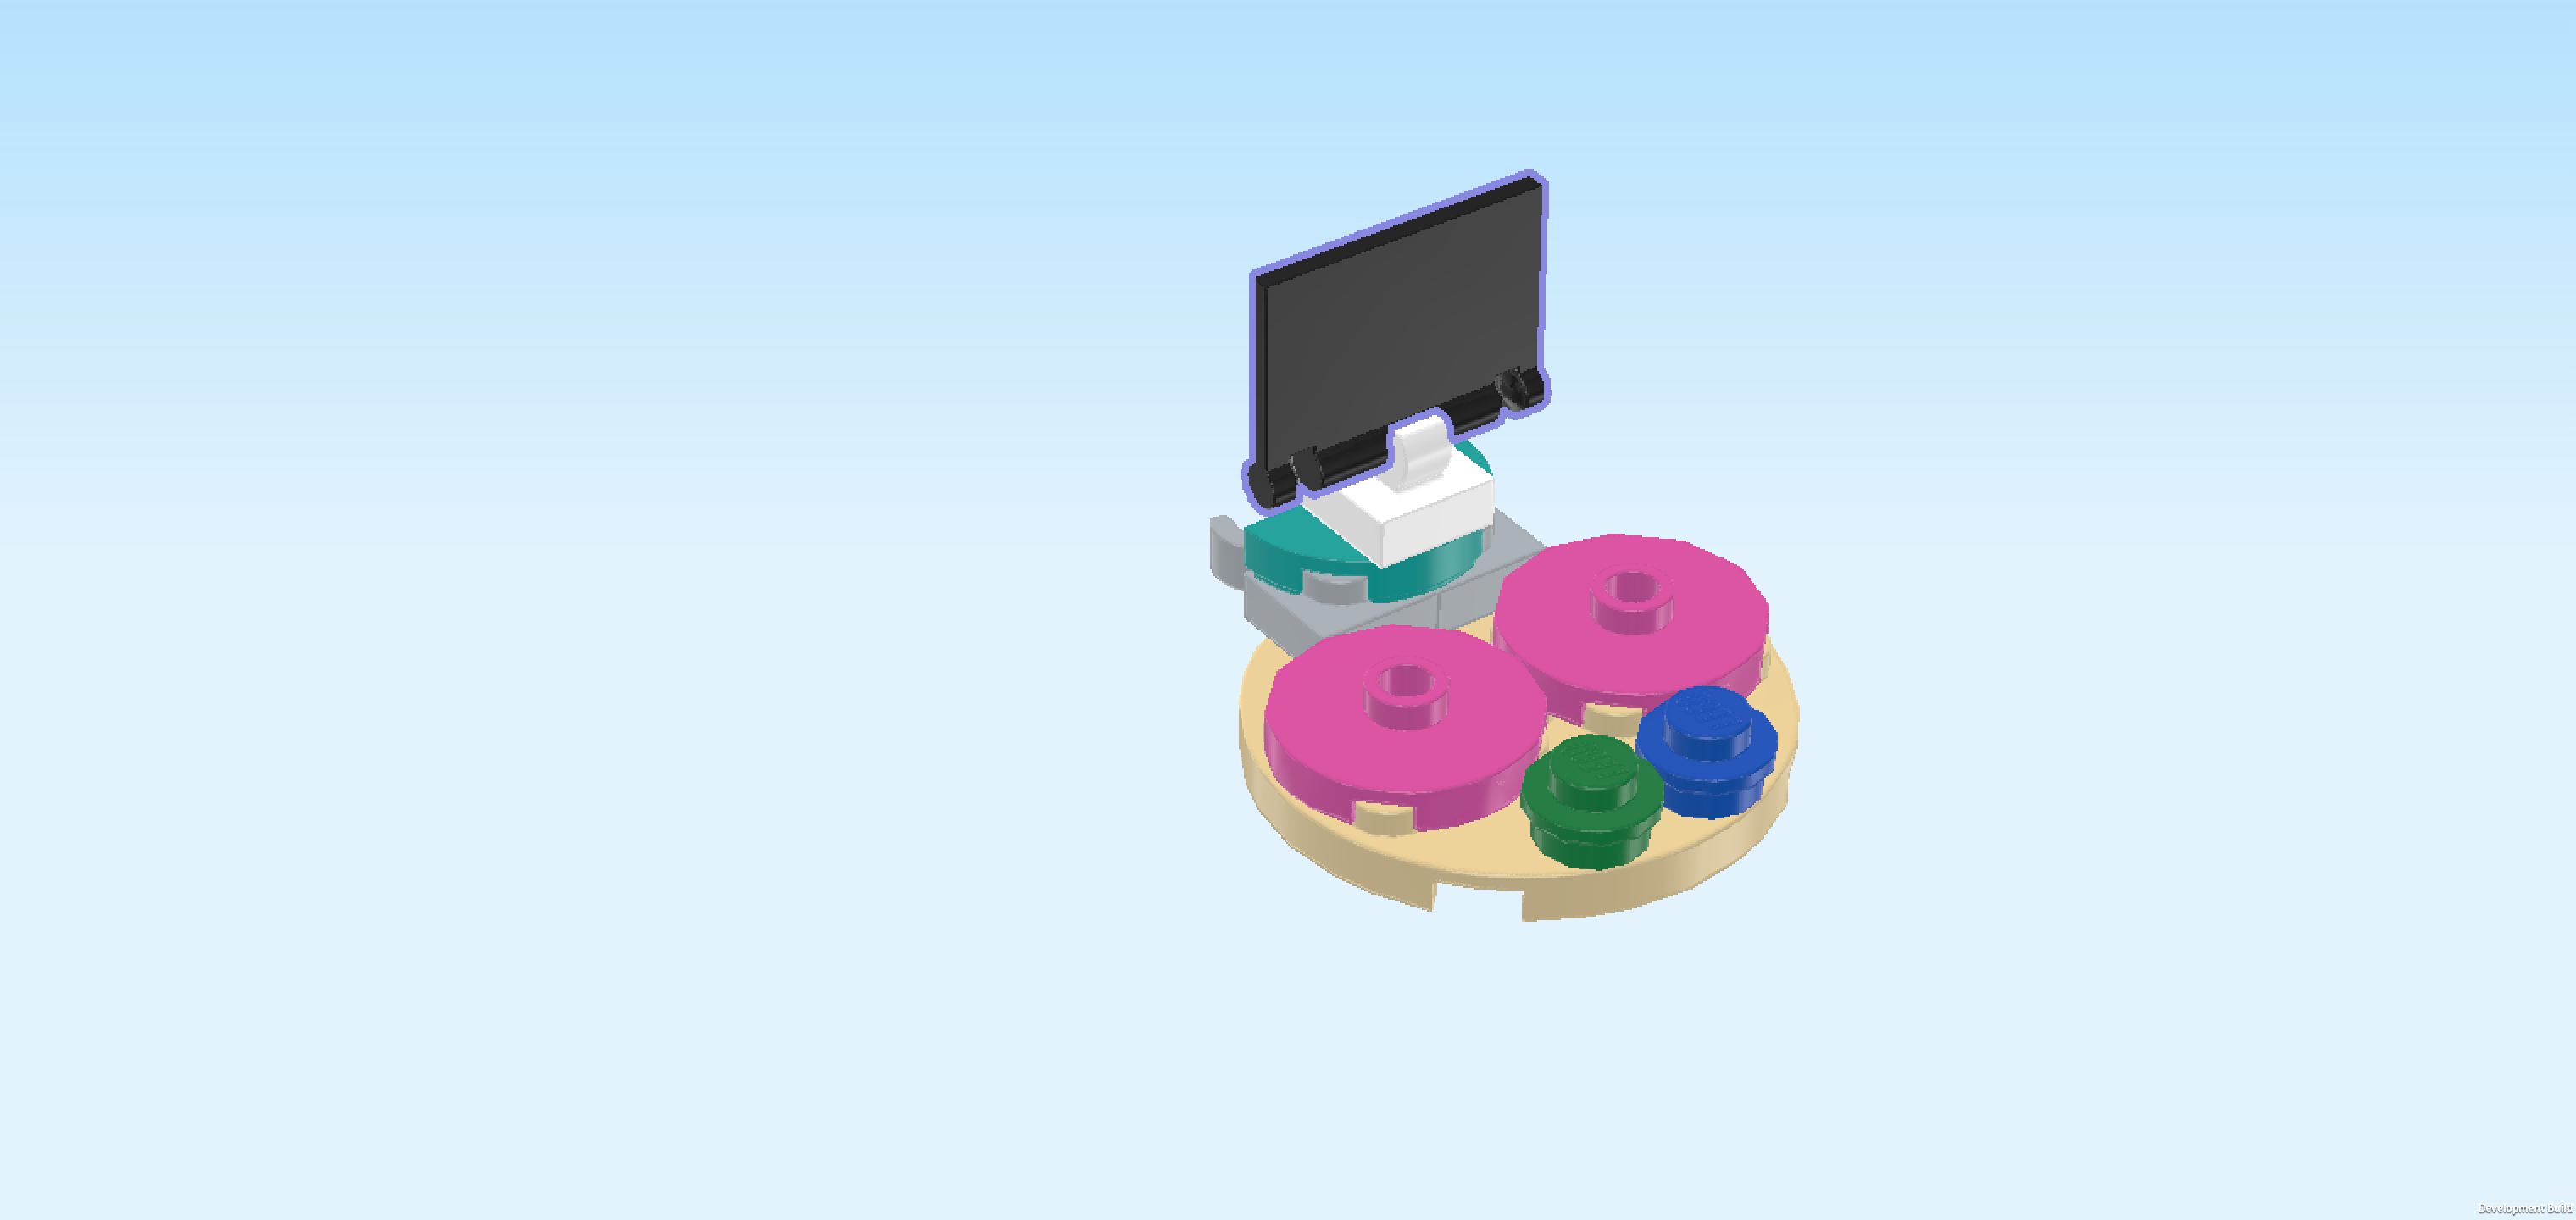
| Snap its shaft centered on the clasp of the previous piece and make sure to keep it upright like a screen or monitor. |
| Continue if you want to decorate this piece with a sticker now. If not, skip the next 2 sentences. |
| Find 1 rectangular sticker 1.5x2 with video screen. |
| Attach the sticker to the front surface of the previous piece. It shows a video where someone is painting a ceramic kitty-head figurine with green paint. About one third of the video has already been watched, and to the right of the video window, there are thumbnails of related videos that they could watch next. |
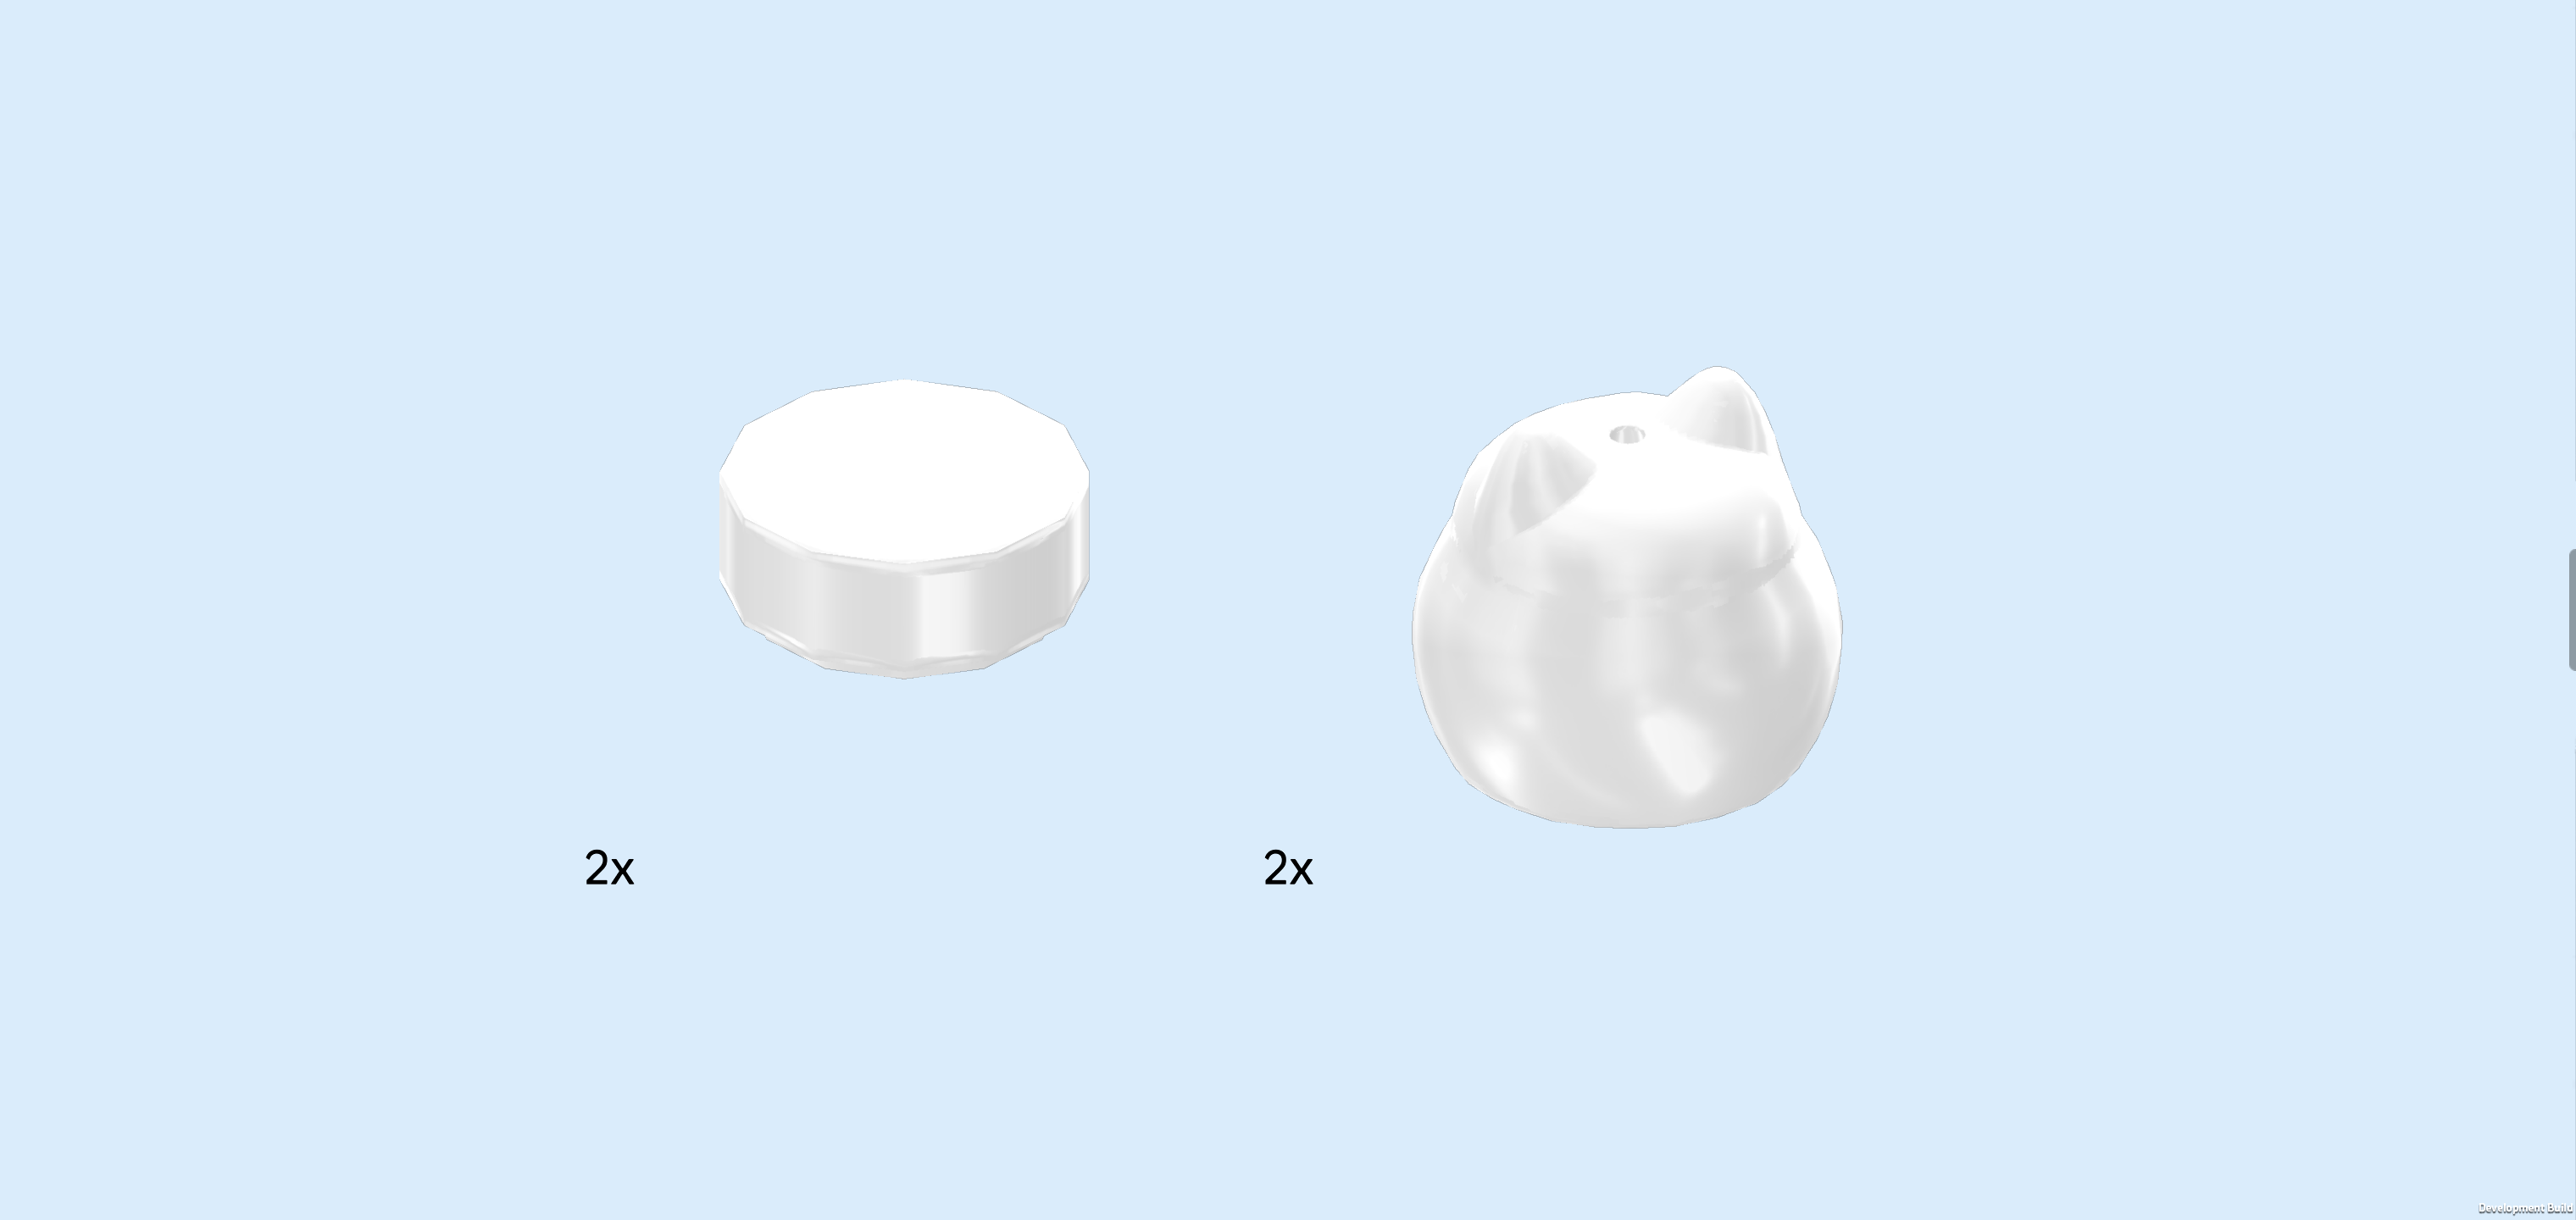
| Collect the following 4 pieces: |
| 2 white round tiles 1x1, |
| and 2 white kitty-head figurines. |
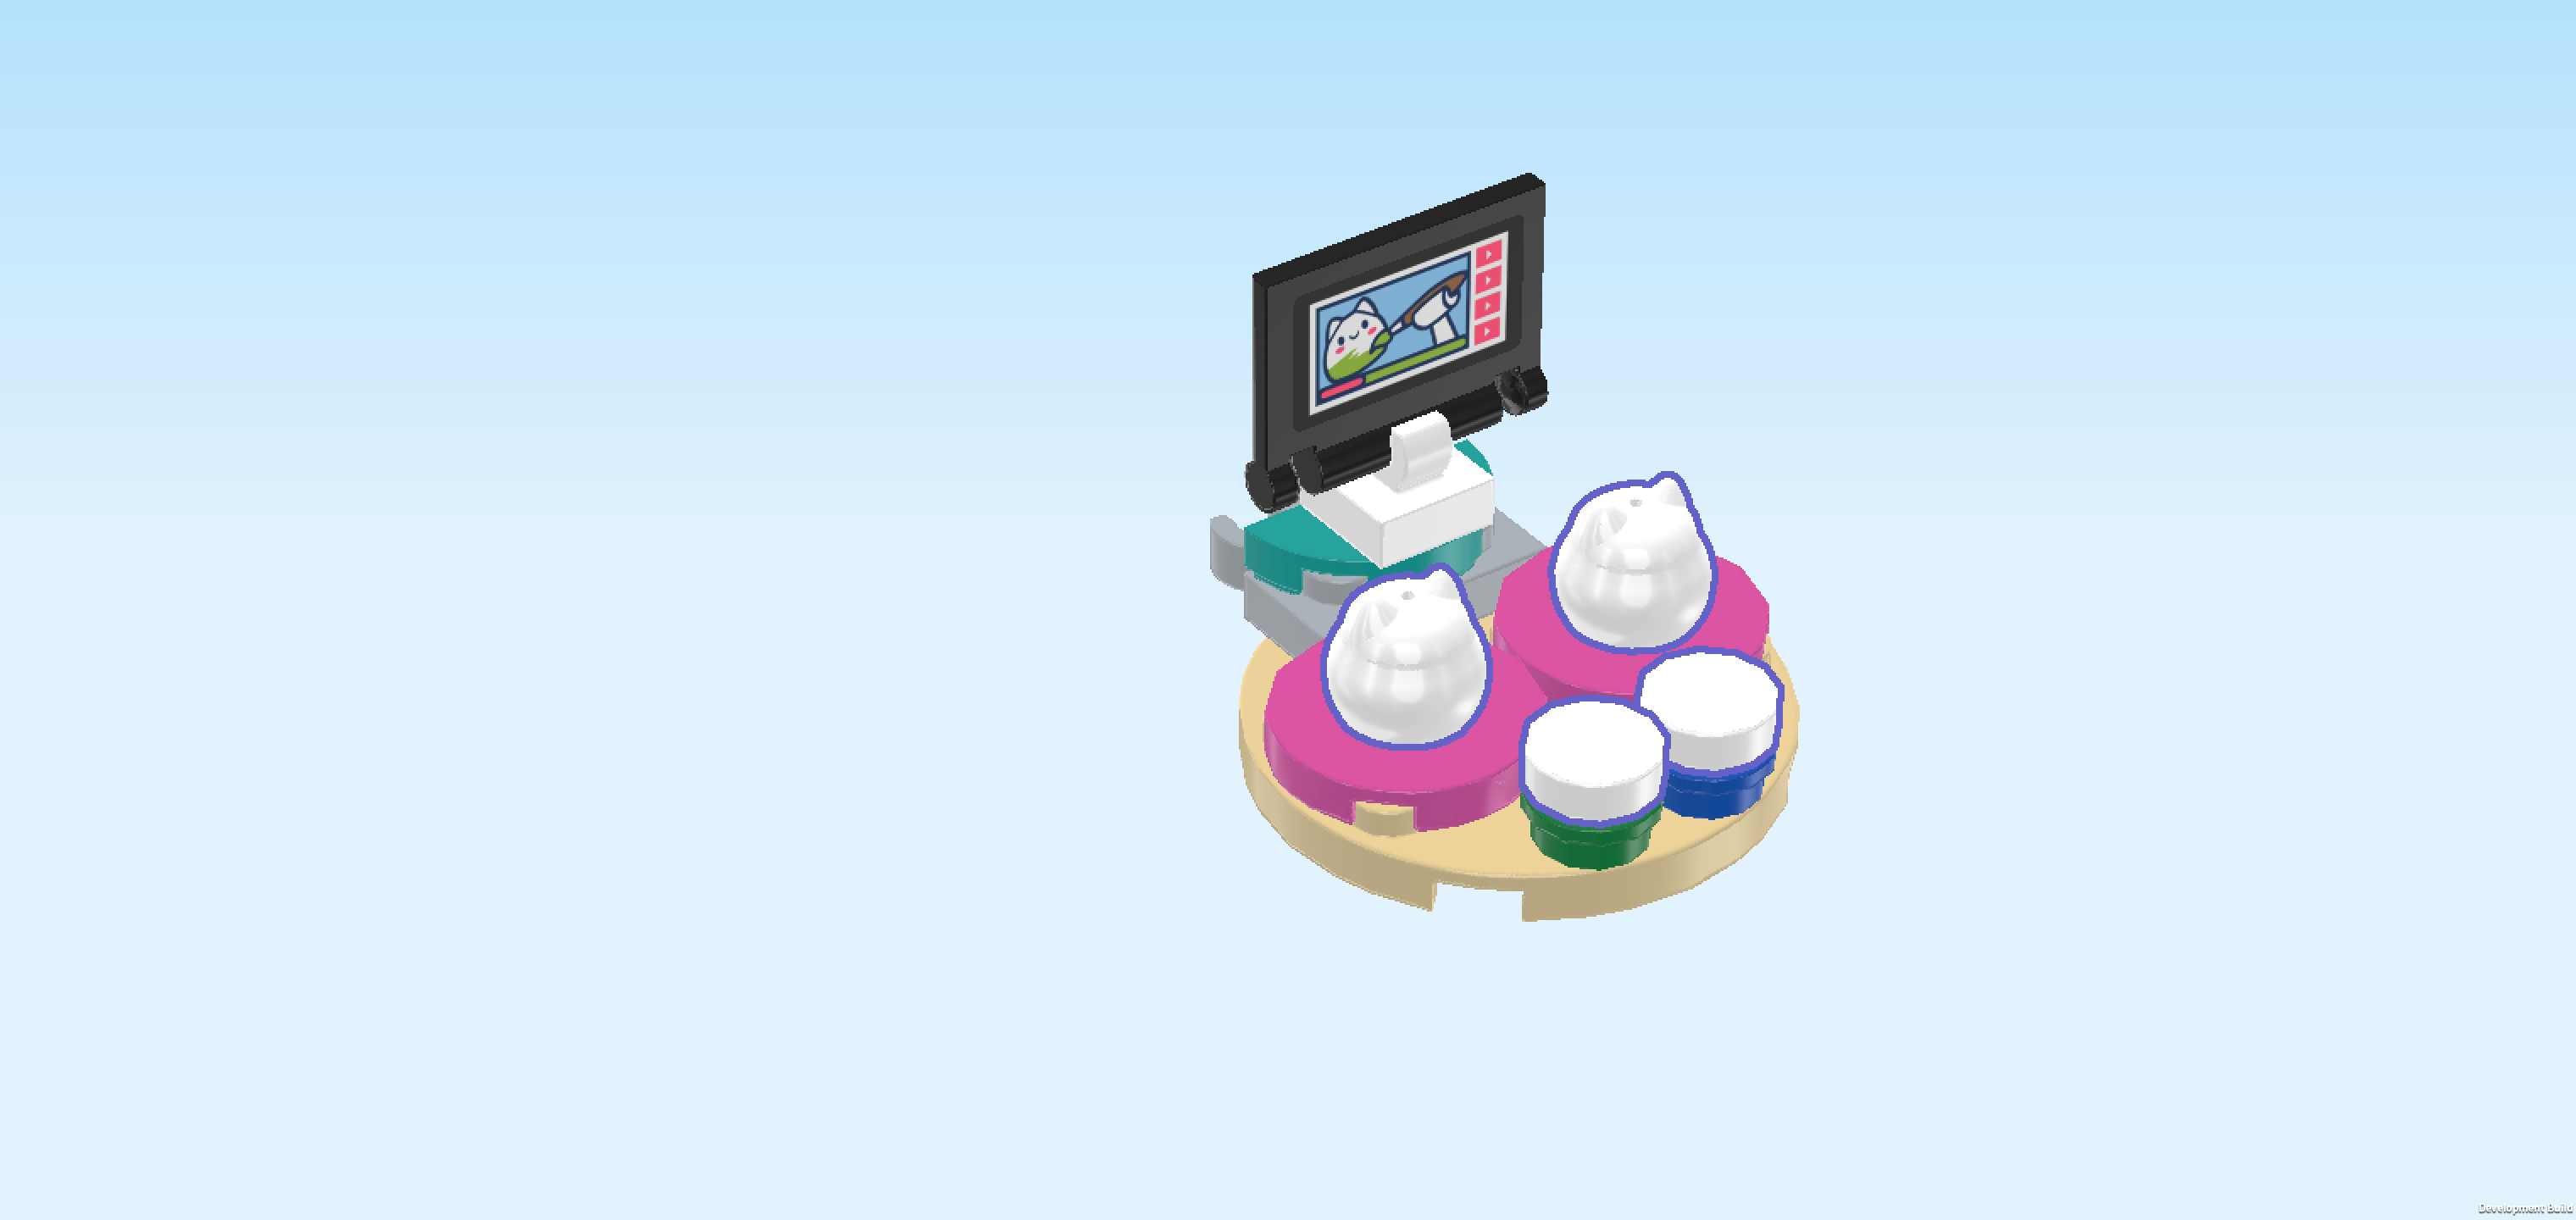
| Put the round tiles on the 2 round plates 1x1 at the front edge of the tabletop. These are the lids of the color pots! |
| Put the 2 kitty-head figurines on the 2 round plates 2x2 with 1 knob. |
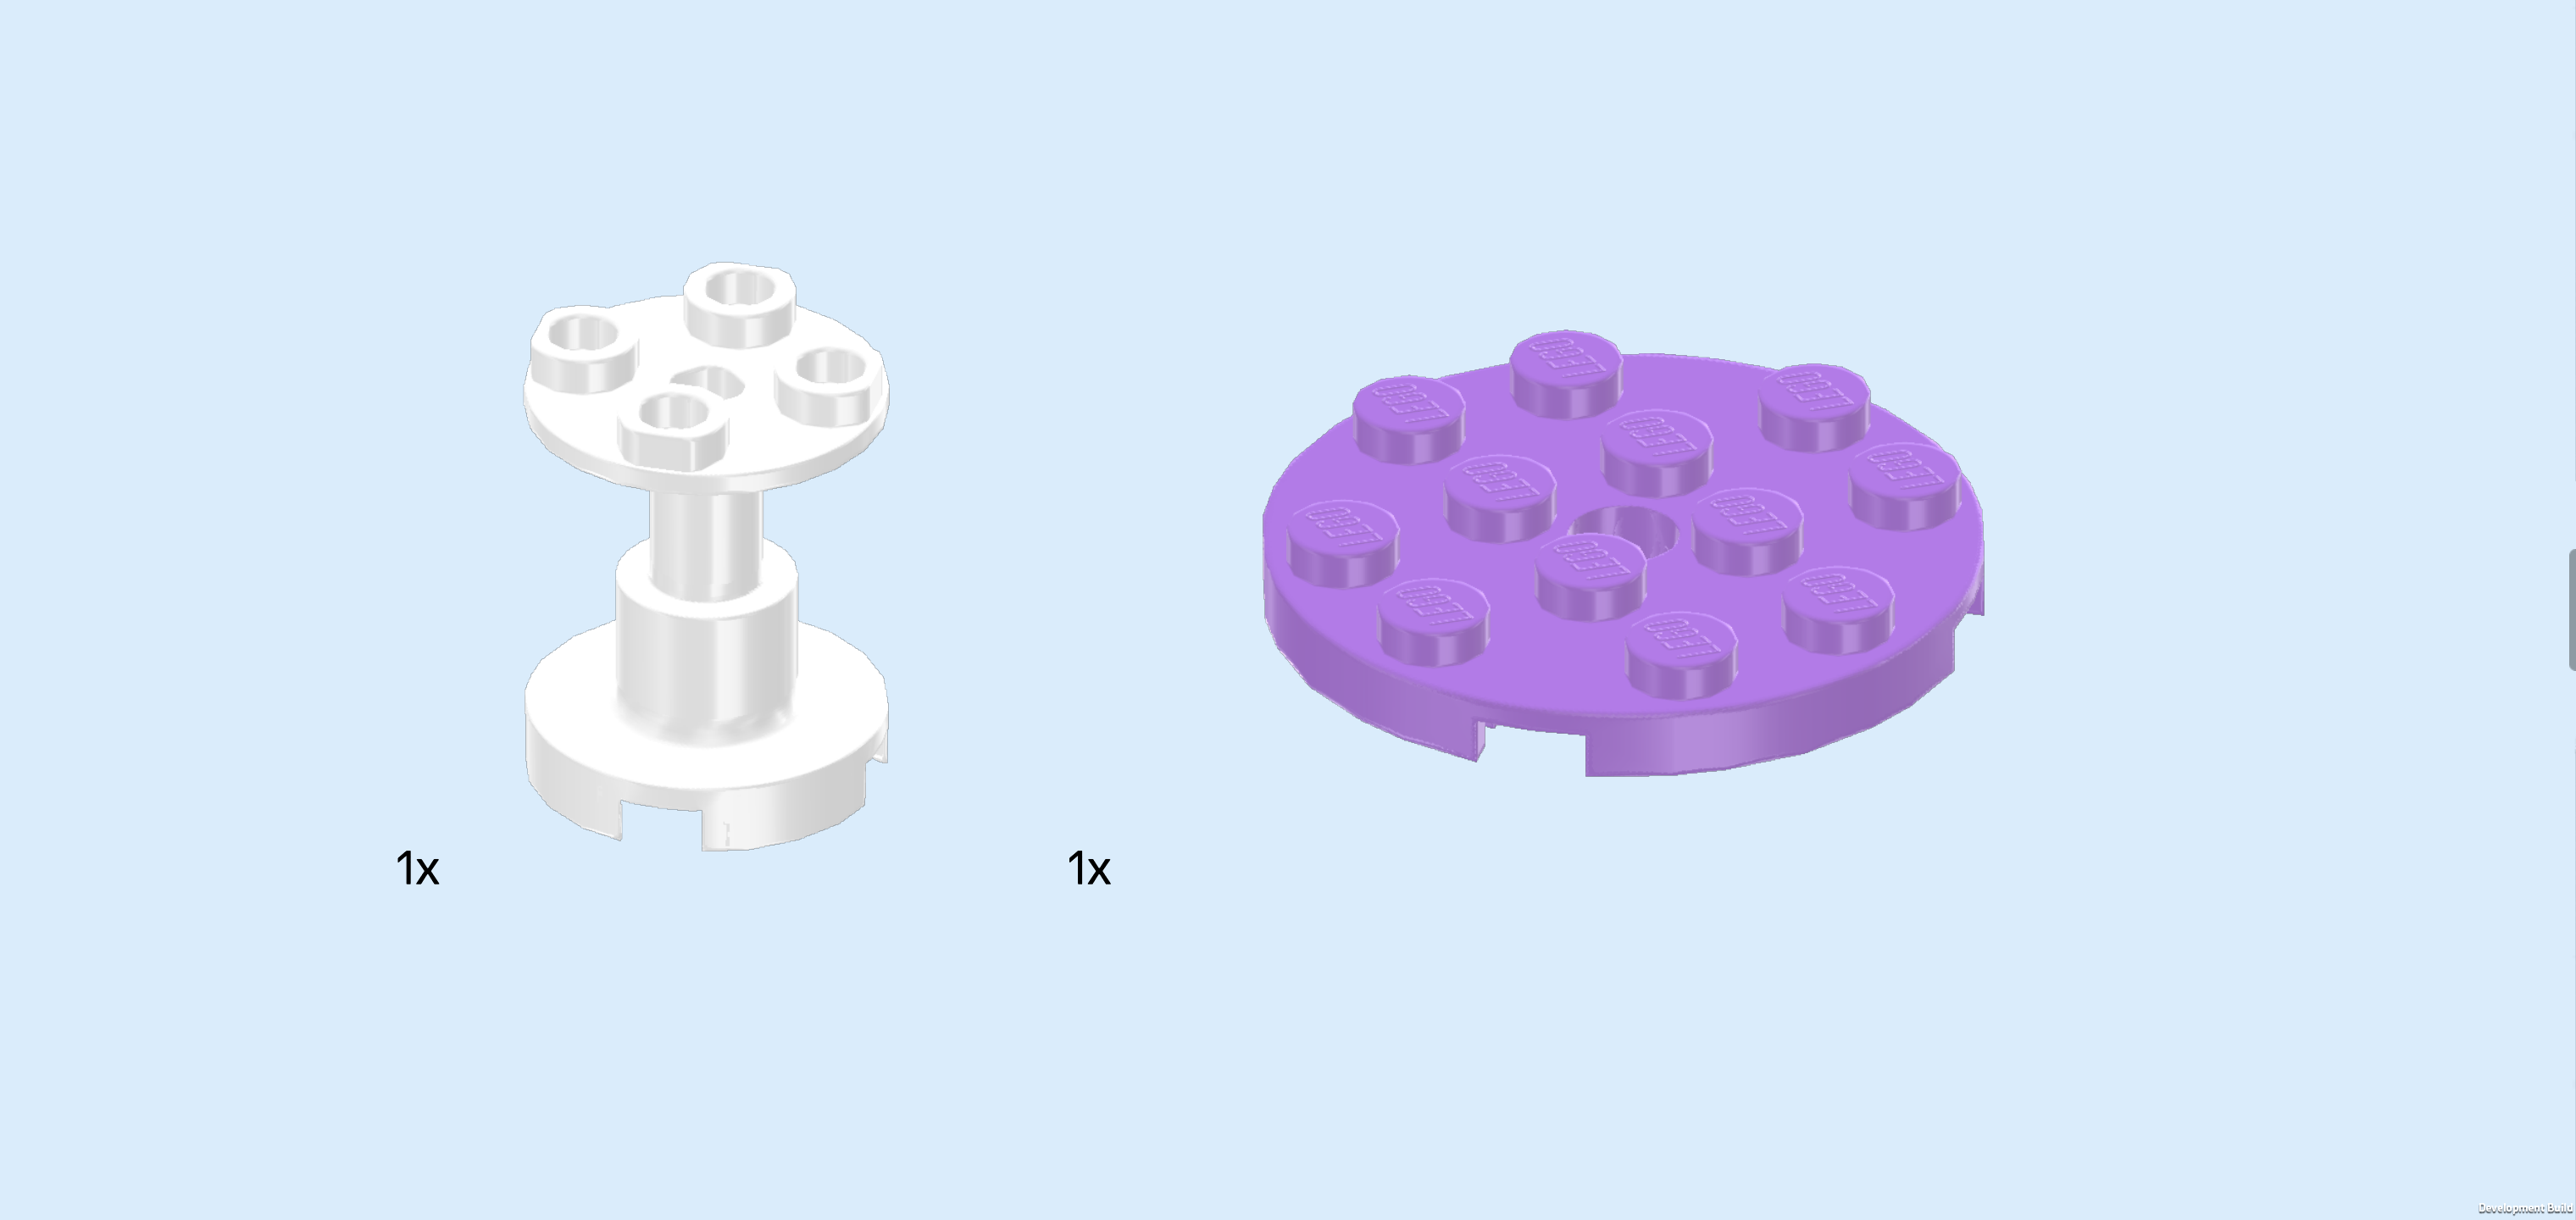
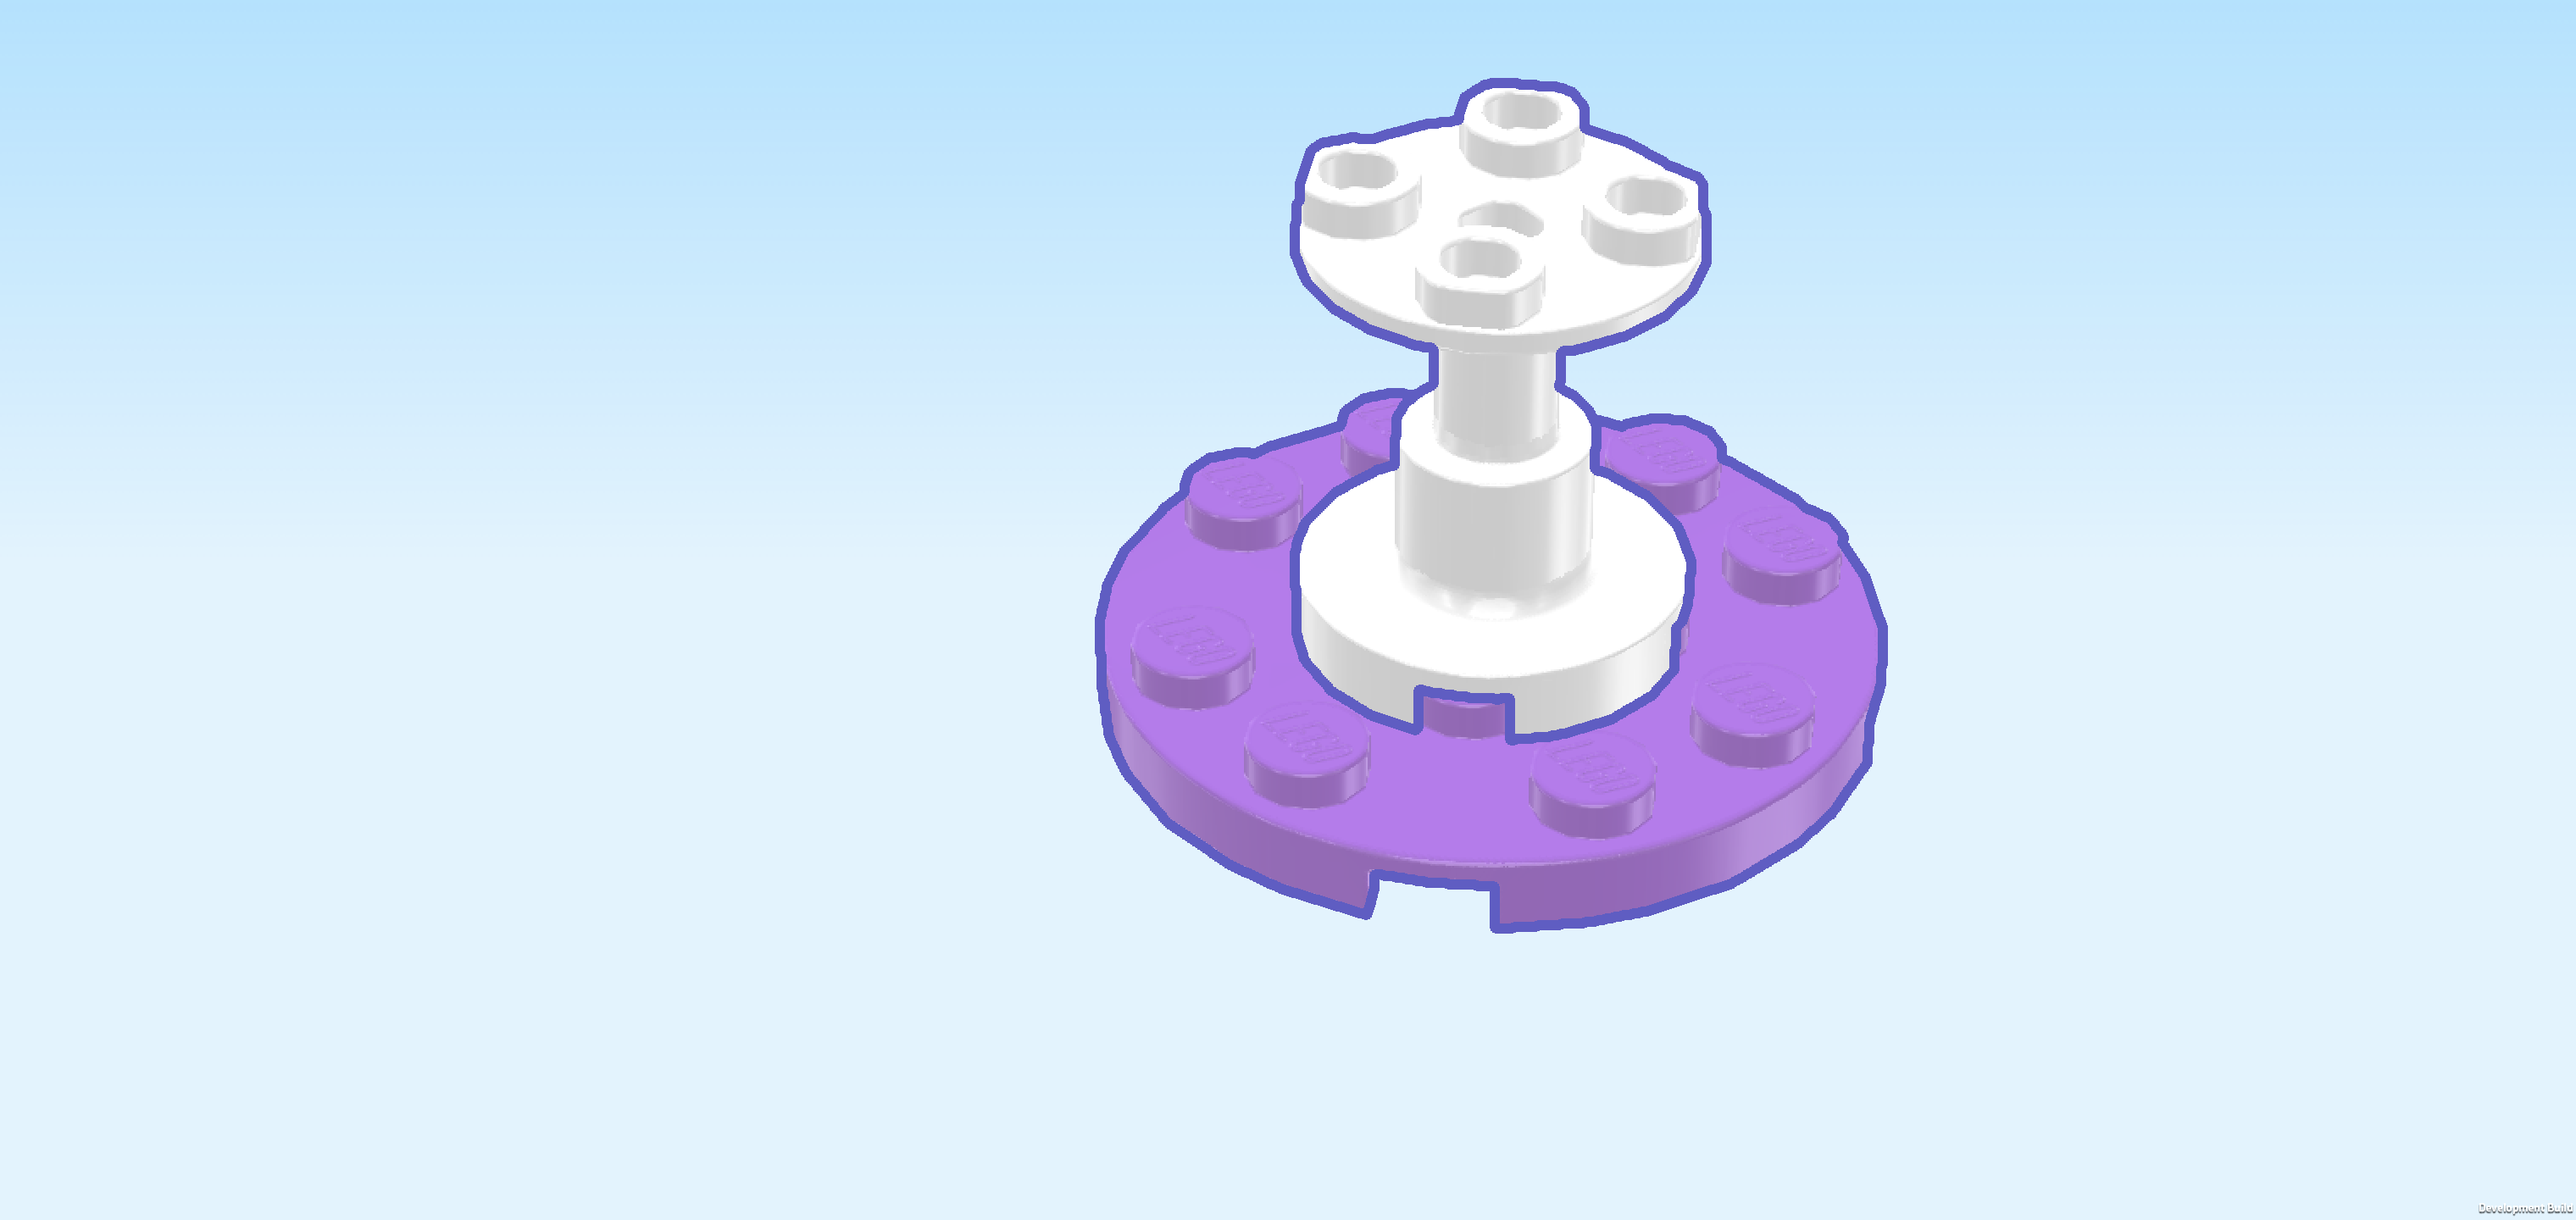
| Next, we will build the table base. |
| Collect the following 2 pieces: |
| 1 white support stand 2x2x2, |
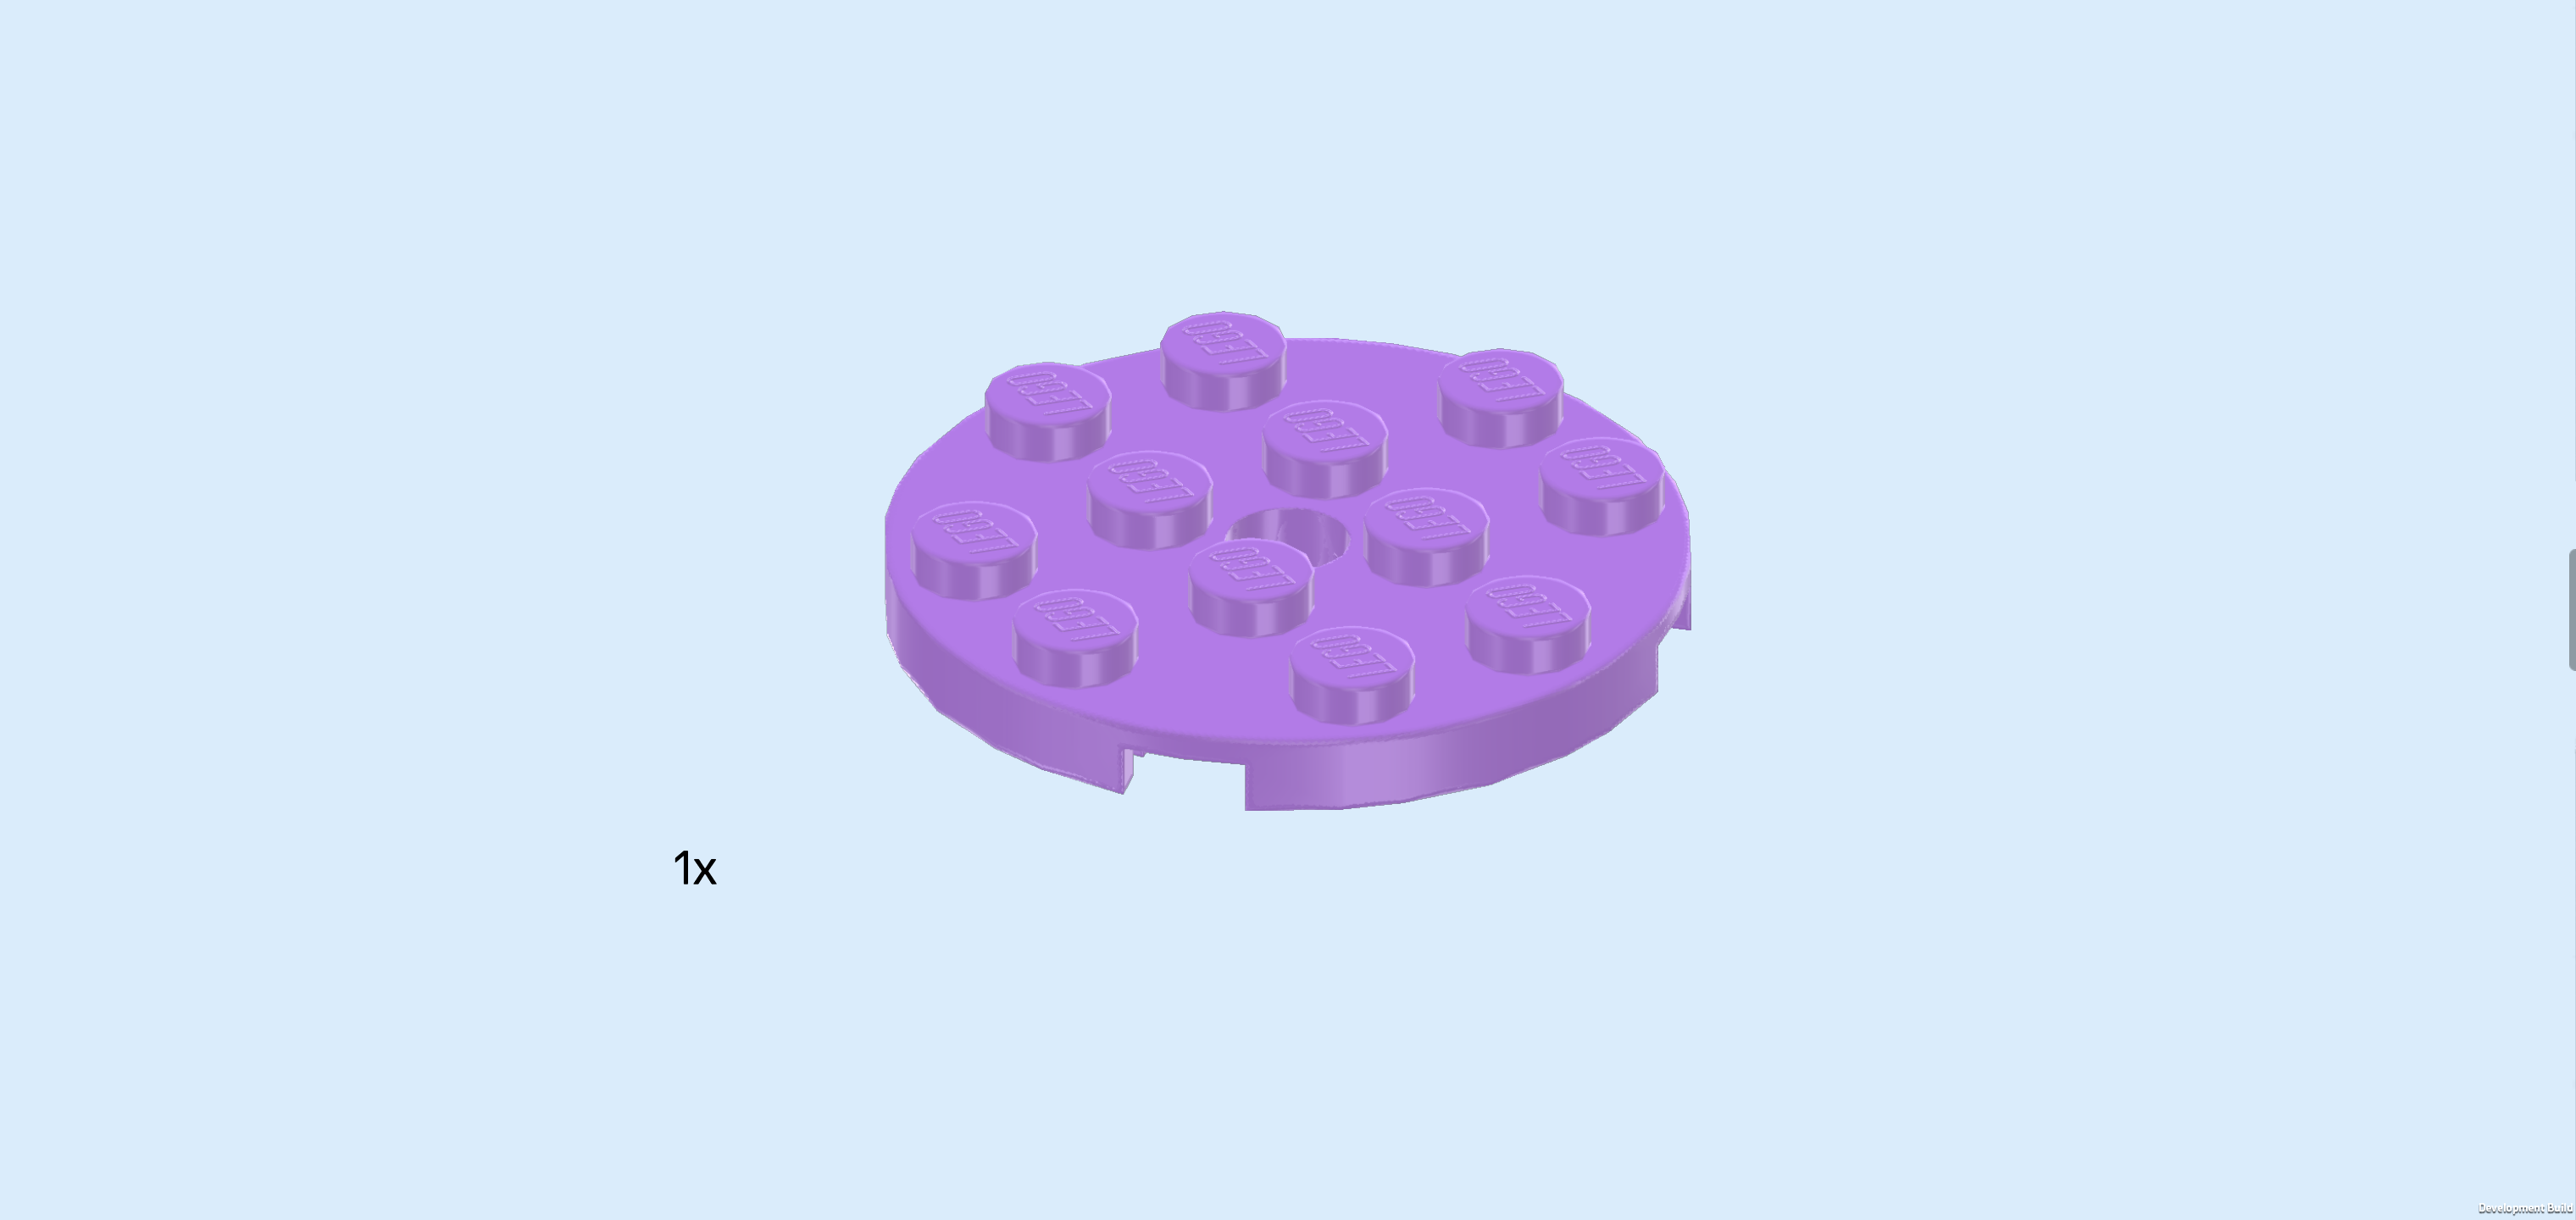
| and 1 lavender round plate 4x4 with middle hole. |
| Put the round plate 4x4 on the table. Make sure its knobs form straight rows and columns in front of you. |
| Put the support stand 2x2x2 centered on top of the round plate. |
| The table base is finished! Put the tabletop with art supplies and video monitor centered on top of the support stand. |
| The craft table is finished! Well done! Everything is ready to get creative and start painting. The 2 clasps at the back of the table are holders for the paintbrushes, you can snap them in there if you need to take a break. |
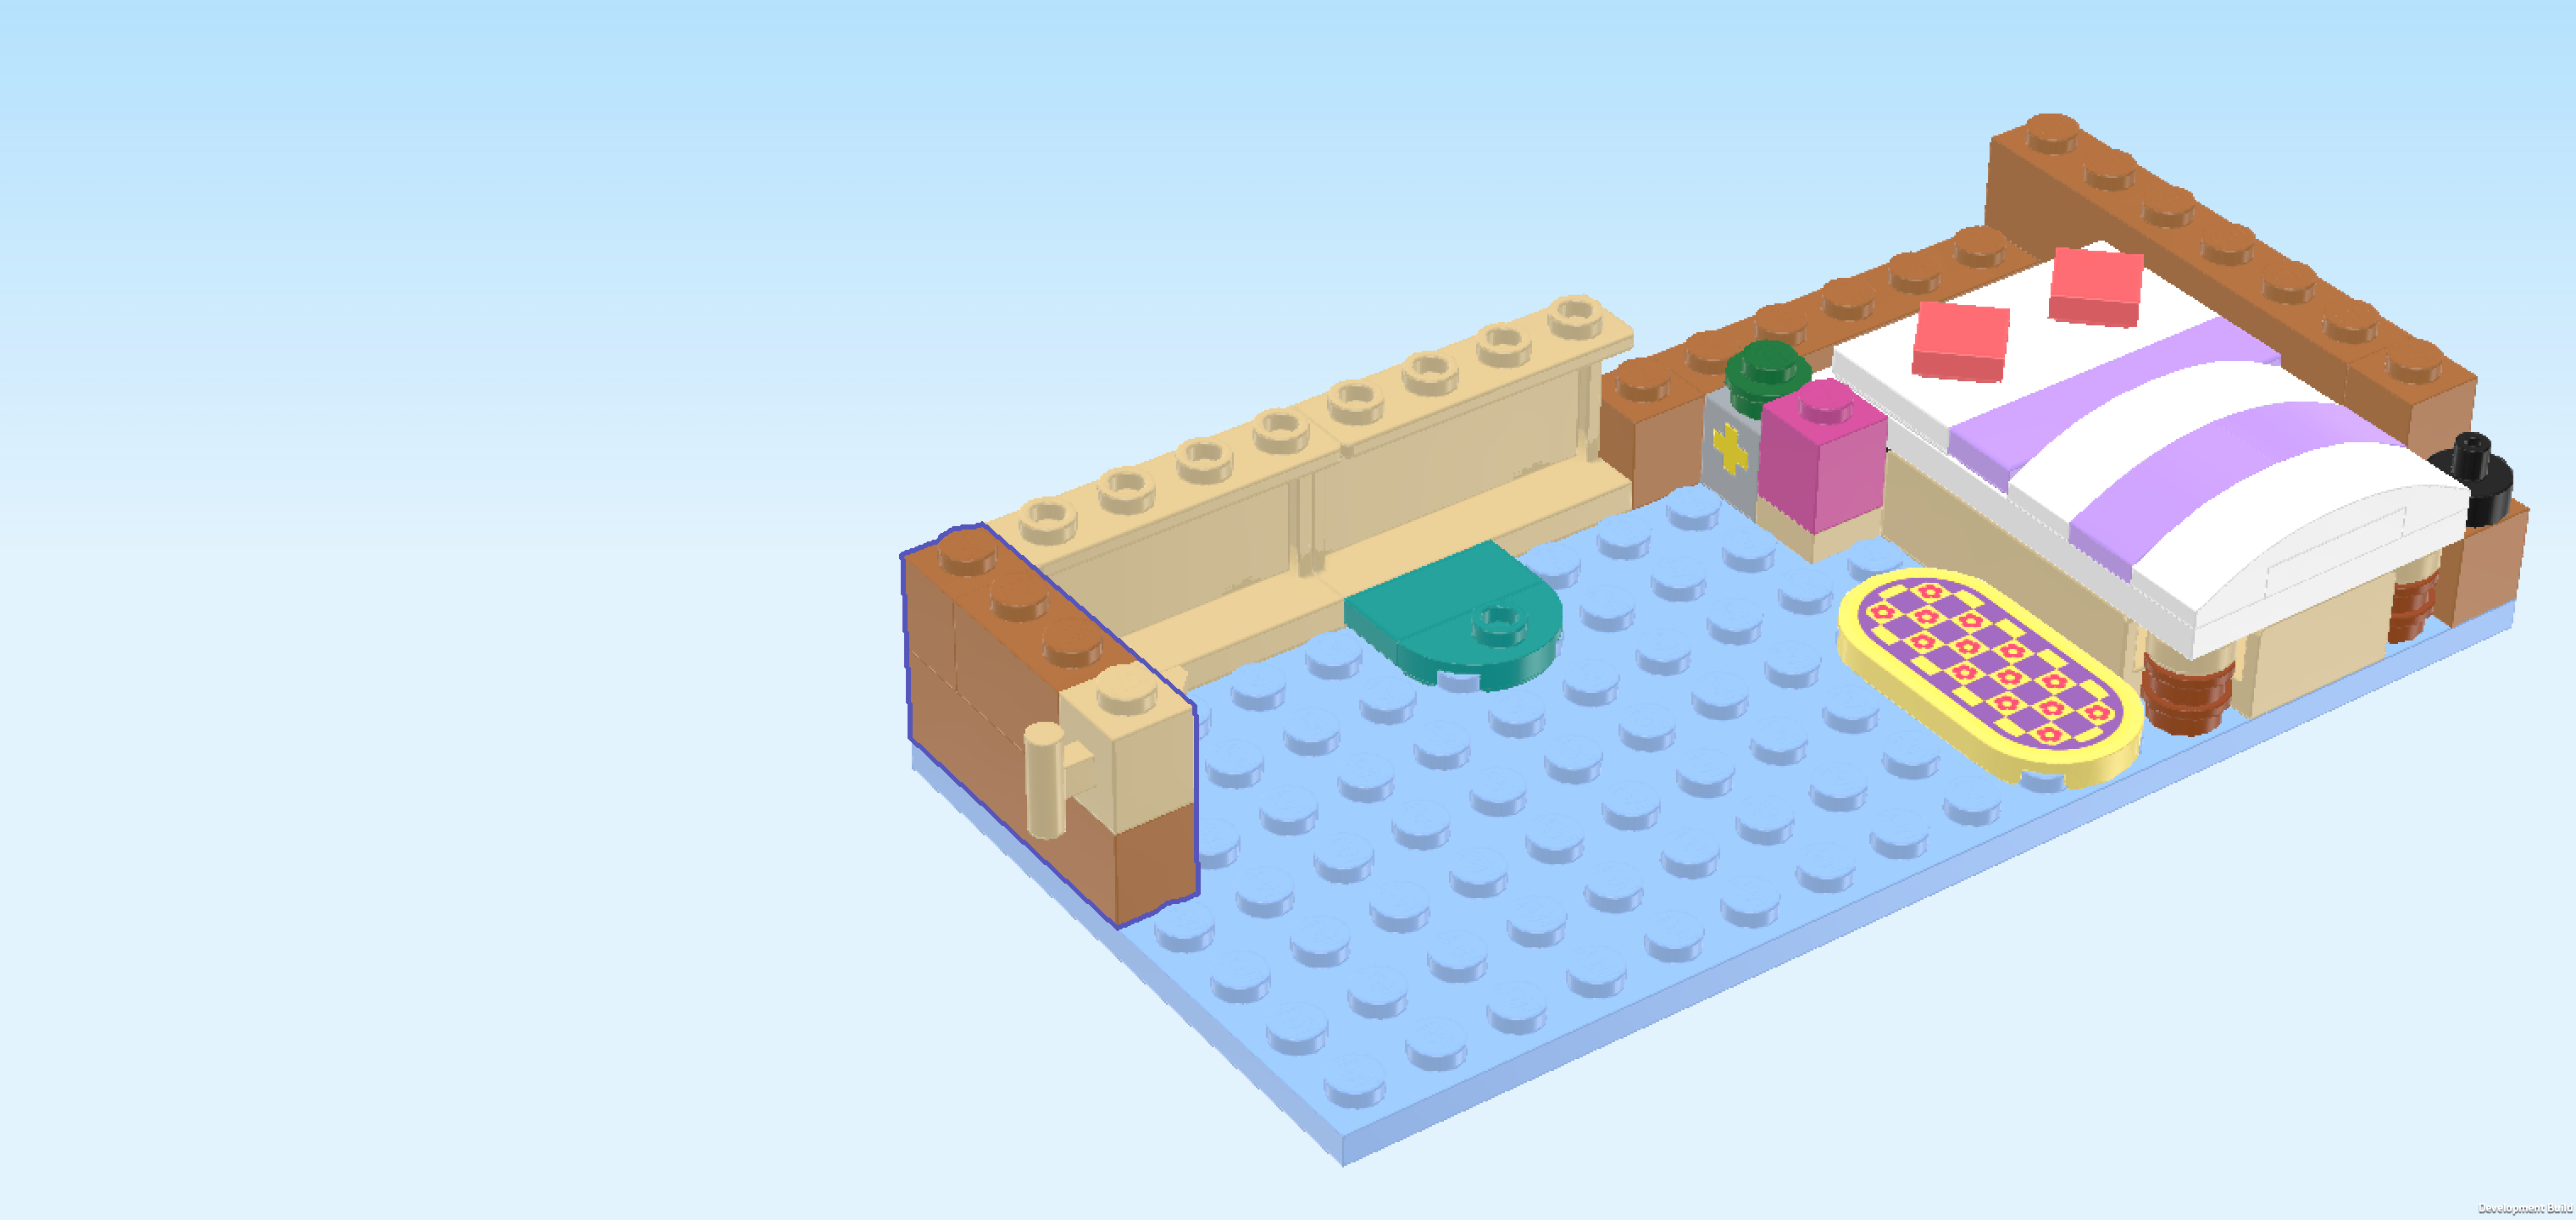
| Next, we will build the floor plan of Paisley's room with bed, wall foundations and floor extension. We will start with the basic floor layout and the bed which has a tilt-up mechanism. |
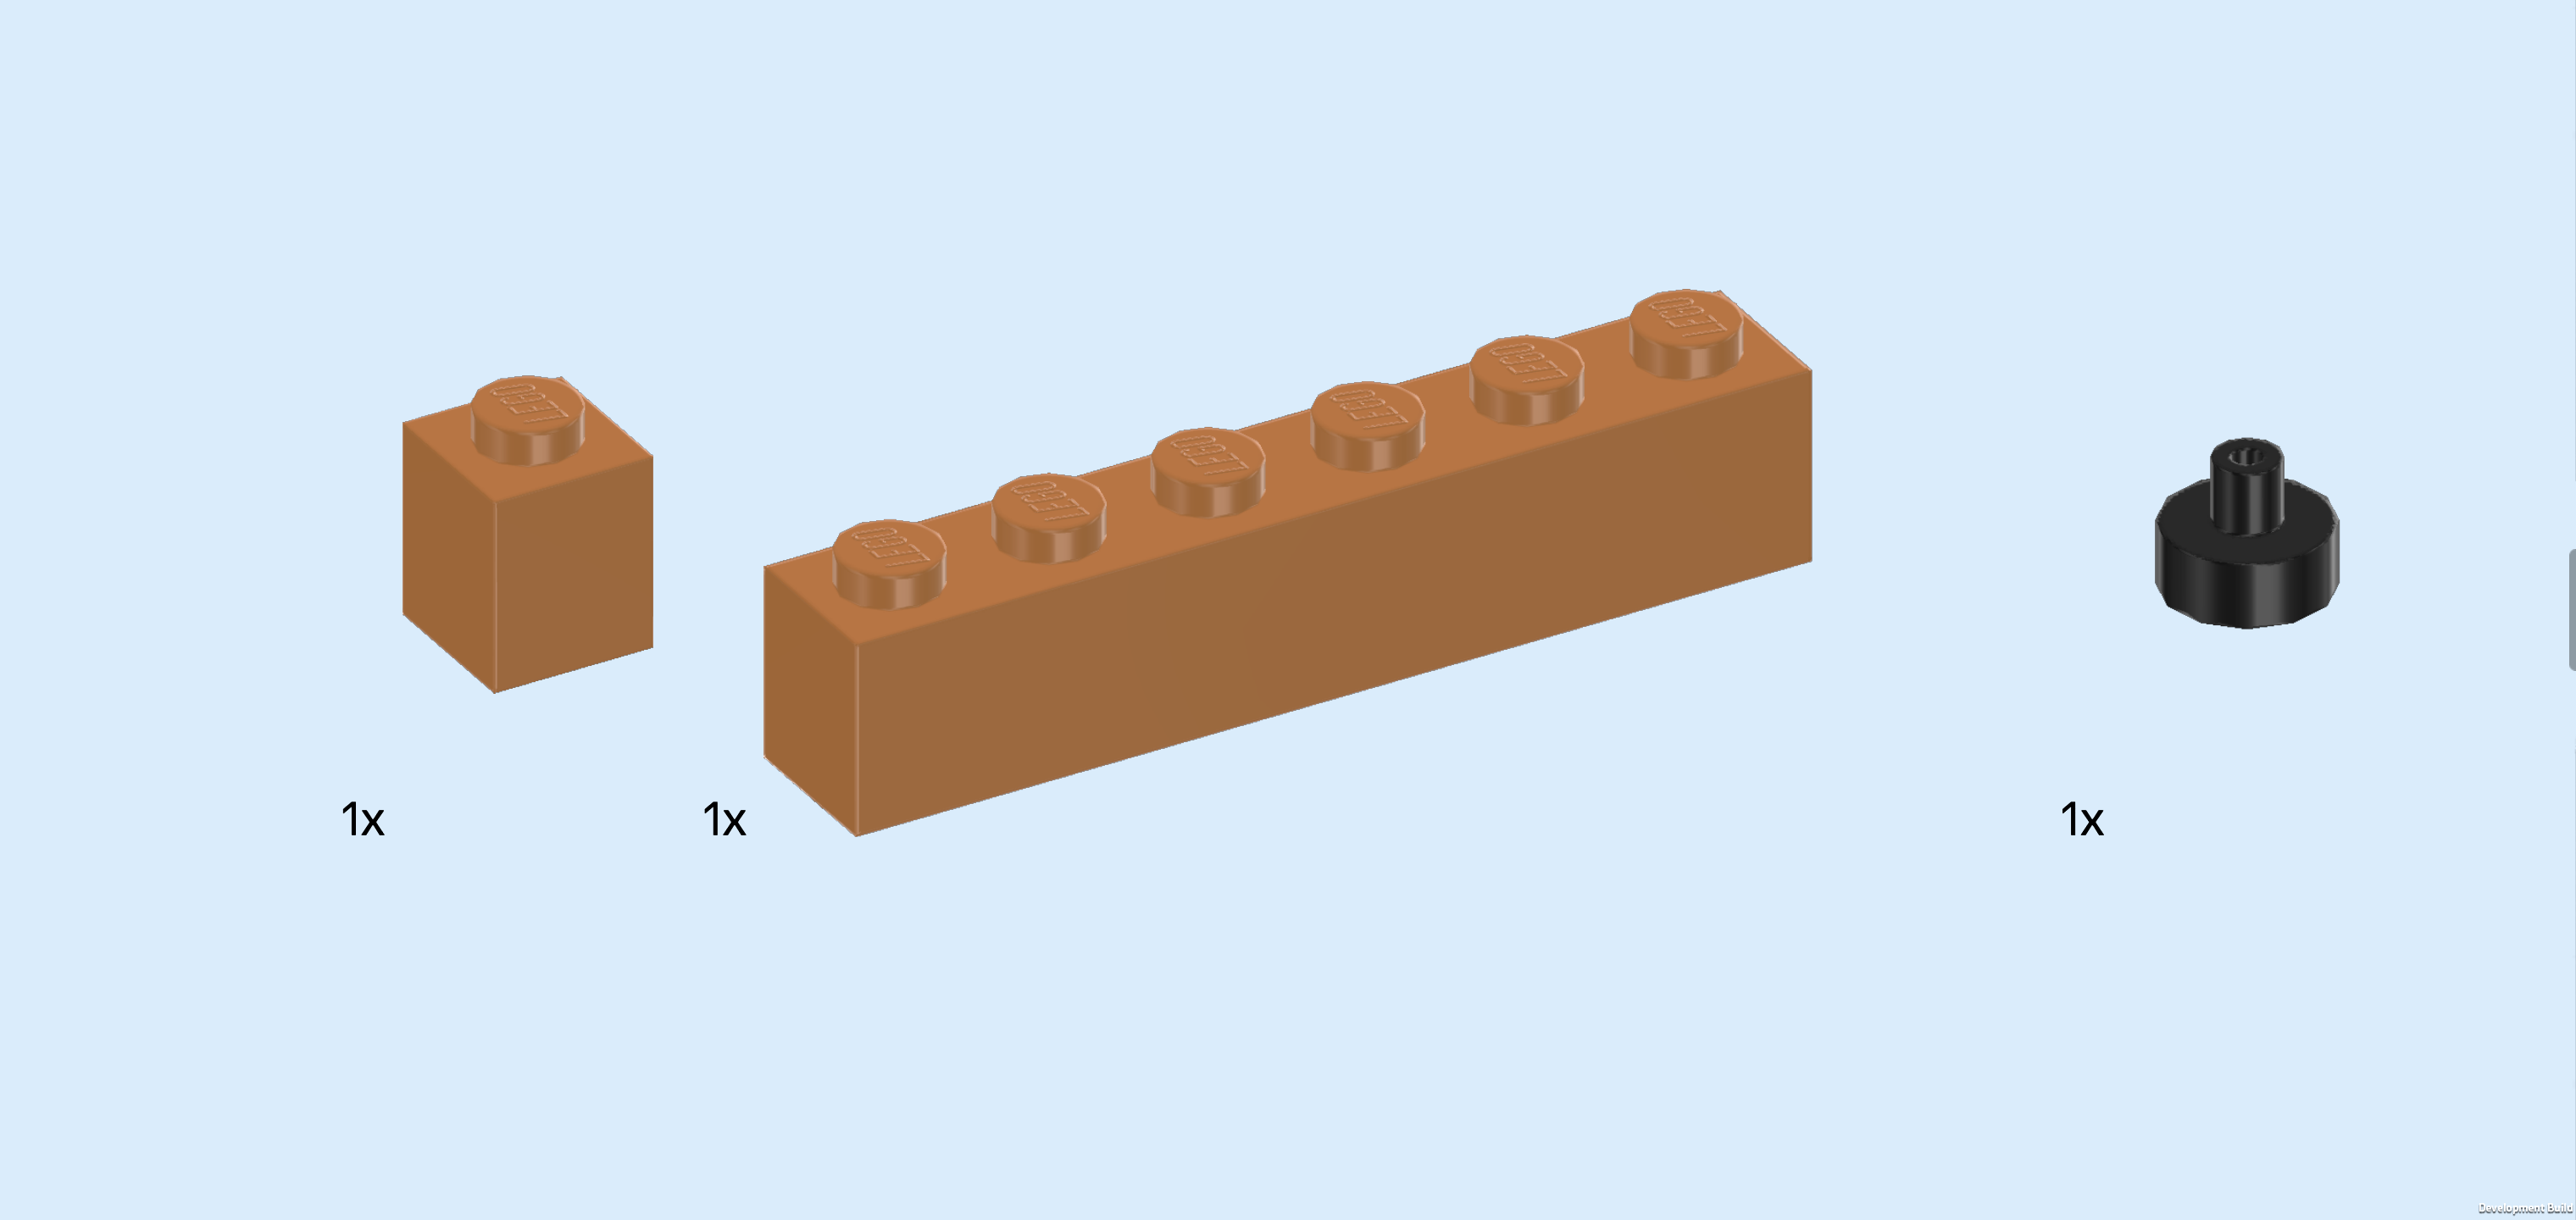
| Collect the following 2 pieces: |
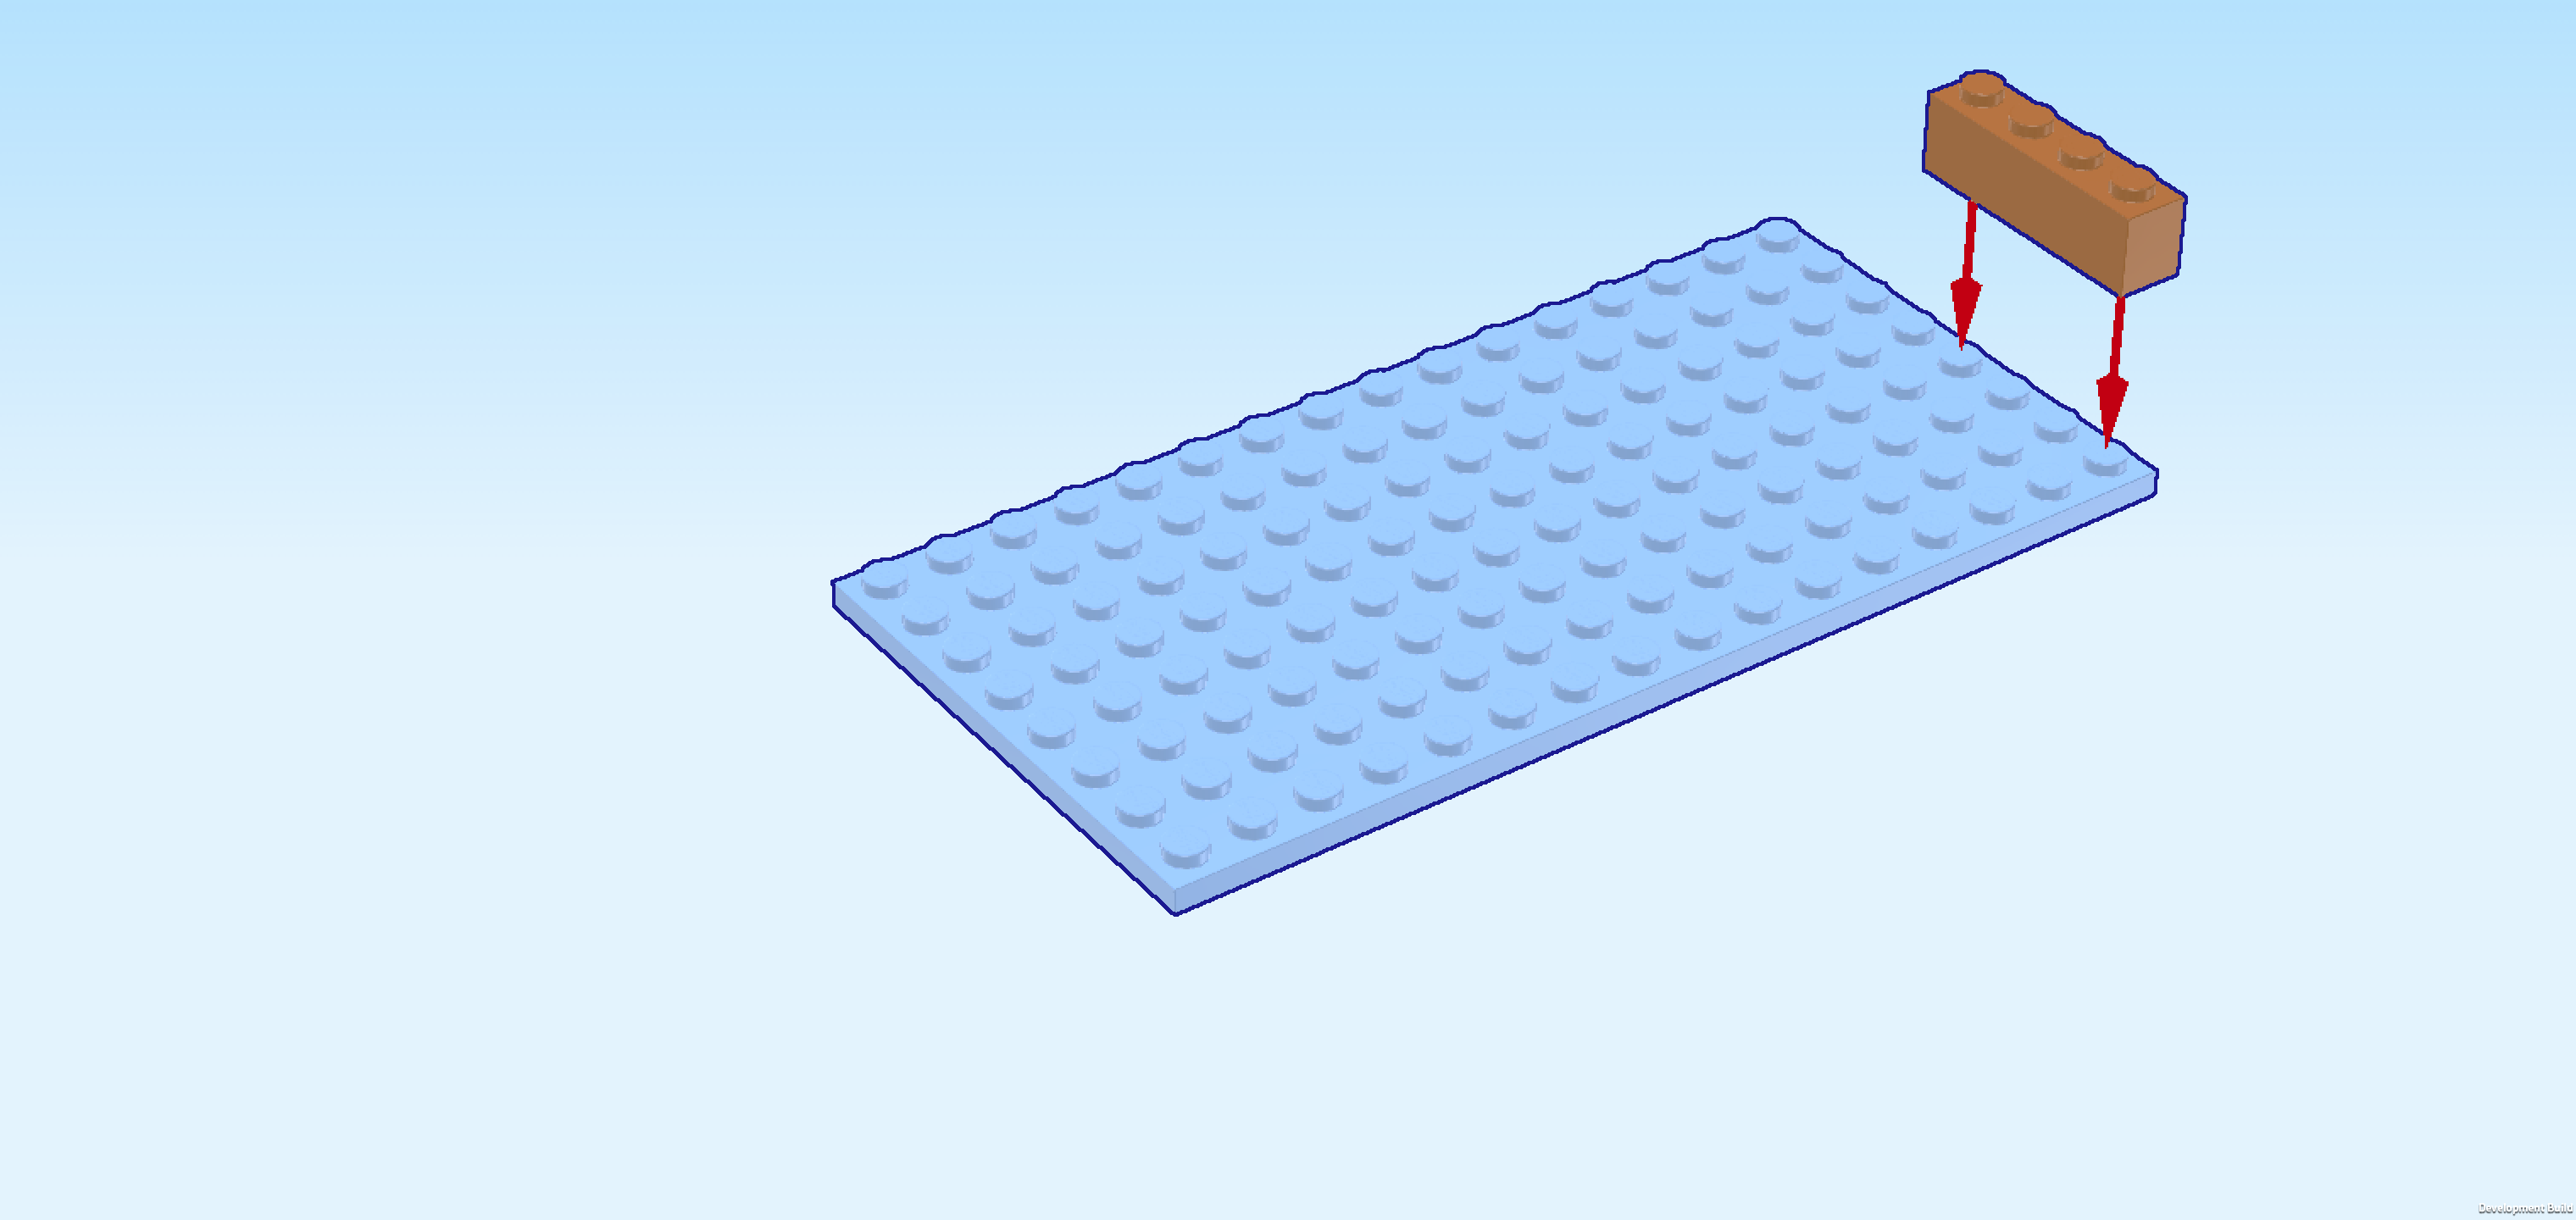
| 1 baby blue plate 8x16, |
| and 1 medium nougat brown brick 1x4. |
| Put the plate 8x16 horizontally on the table. Make sure its knobs form straight rows and columns in front of you. |
| Put the brick 1x4 vertically on the rightmost column, starting from the front edge. |
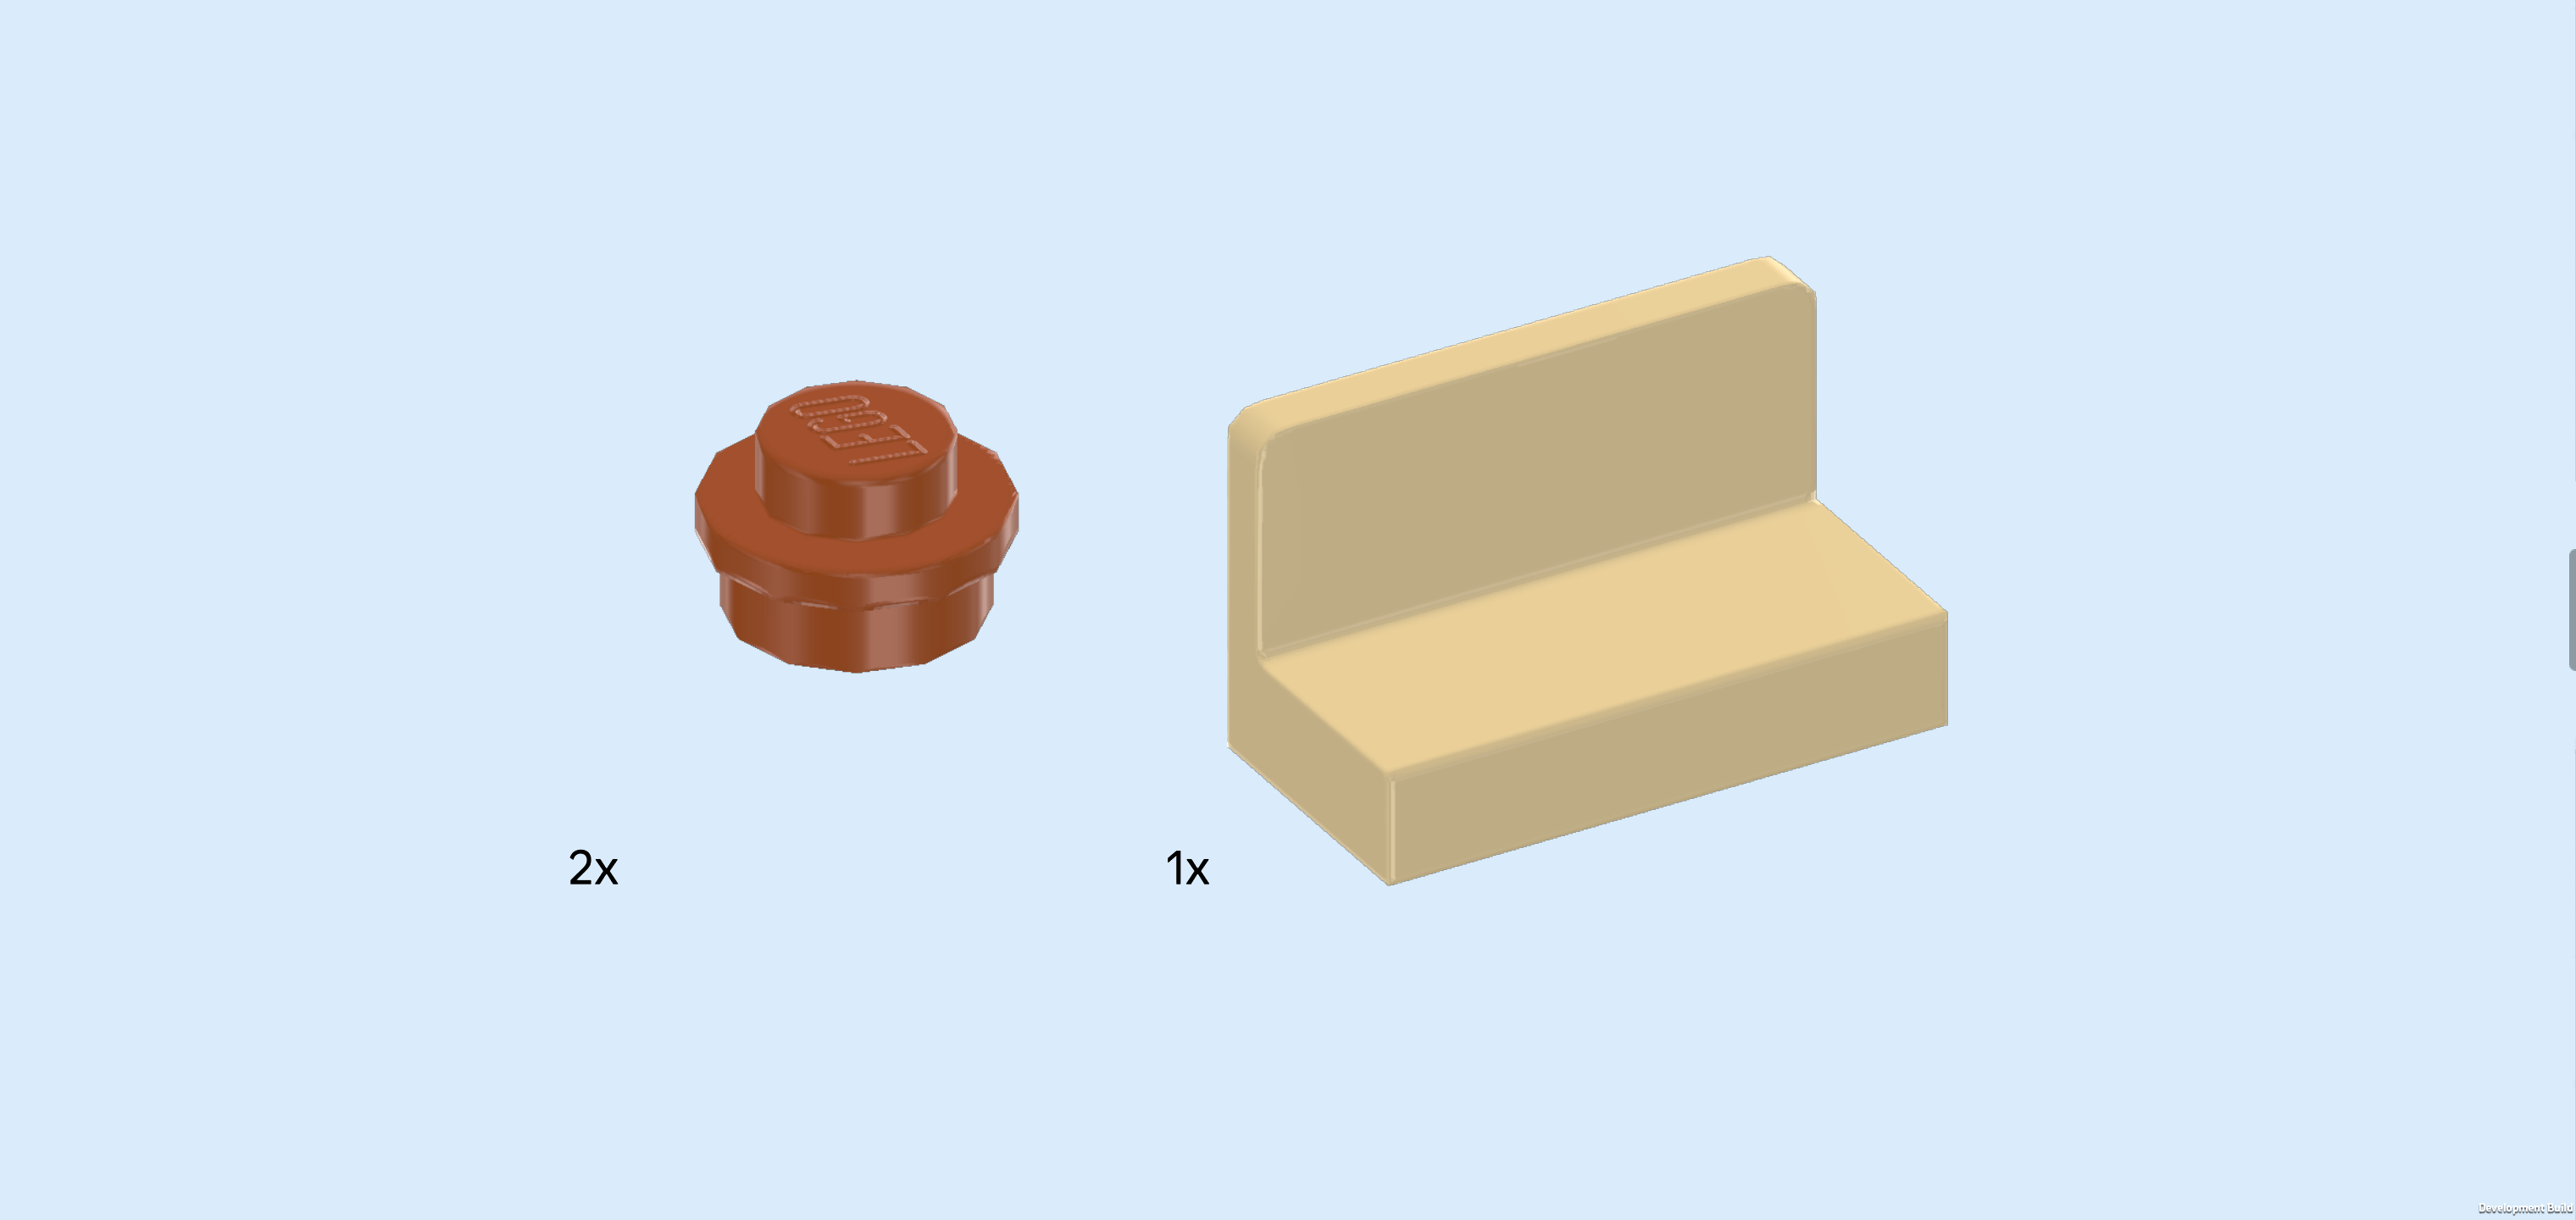
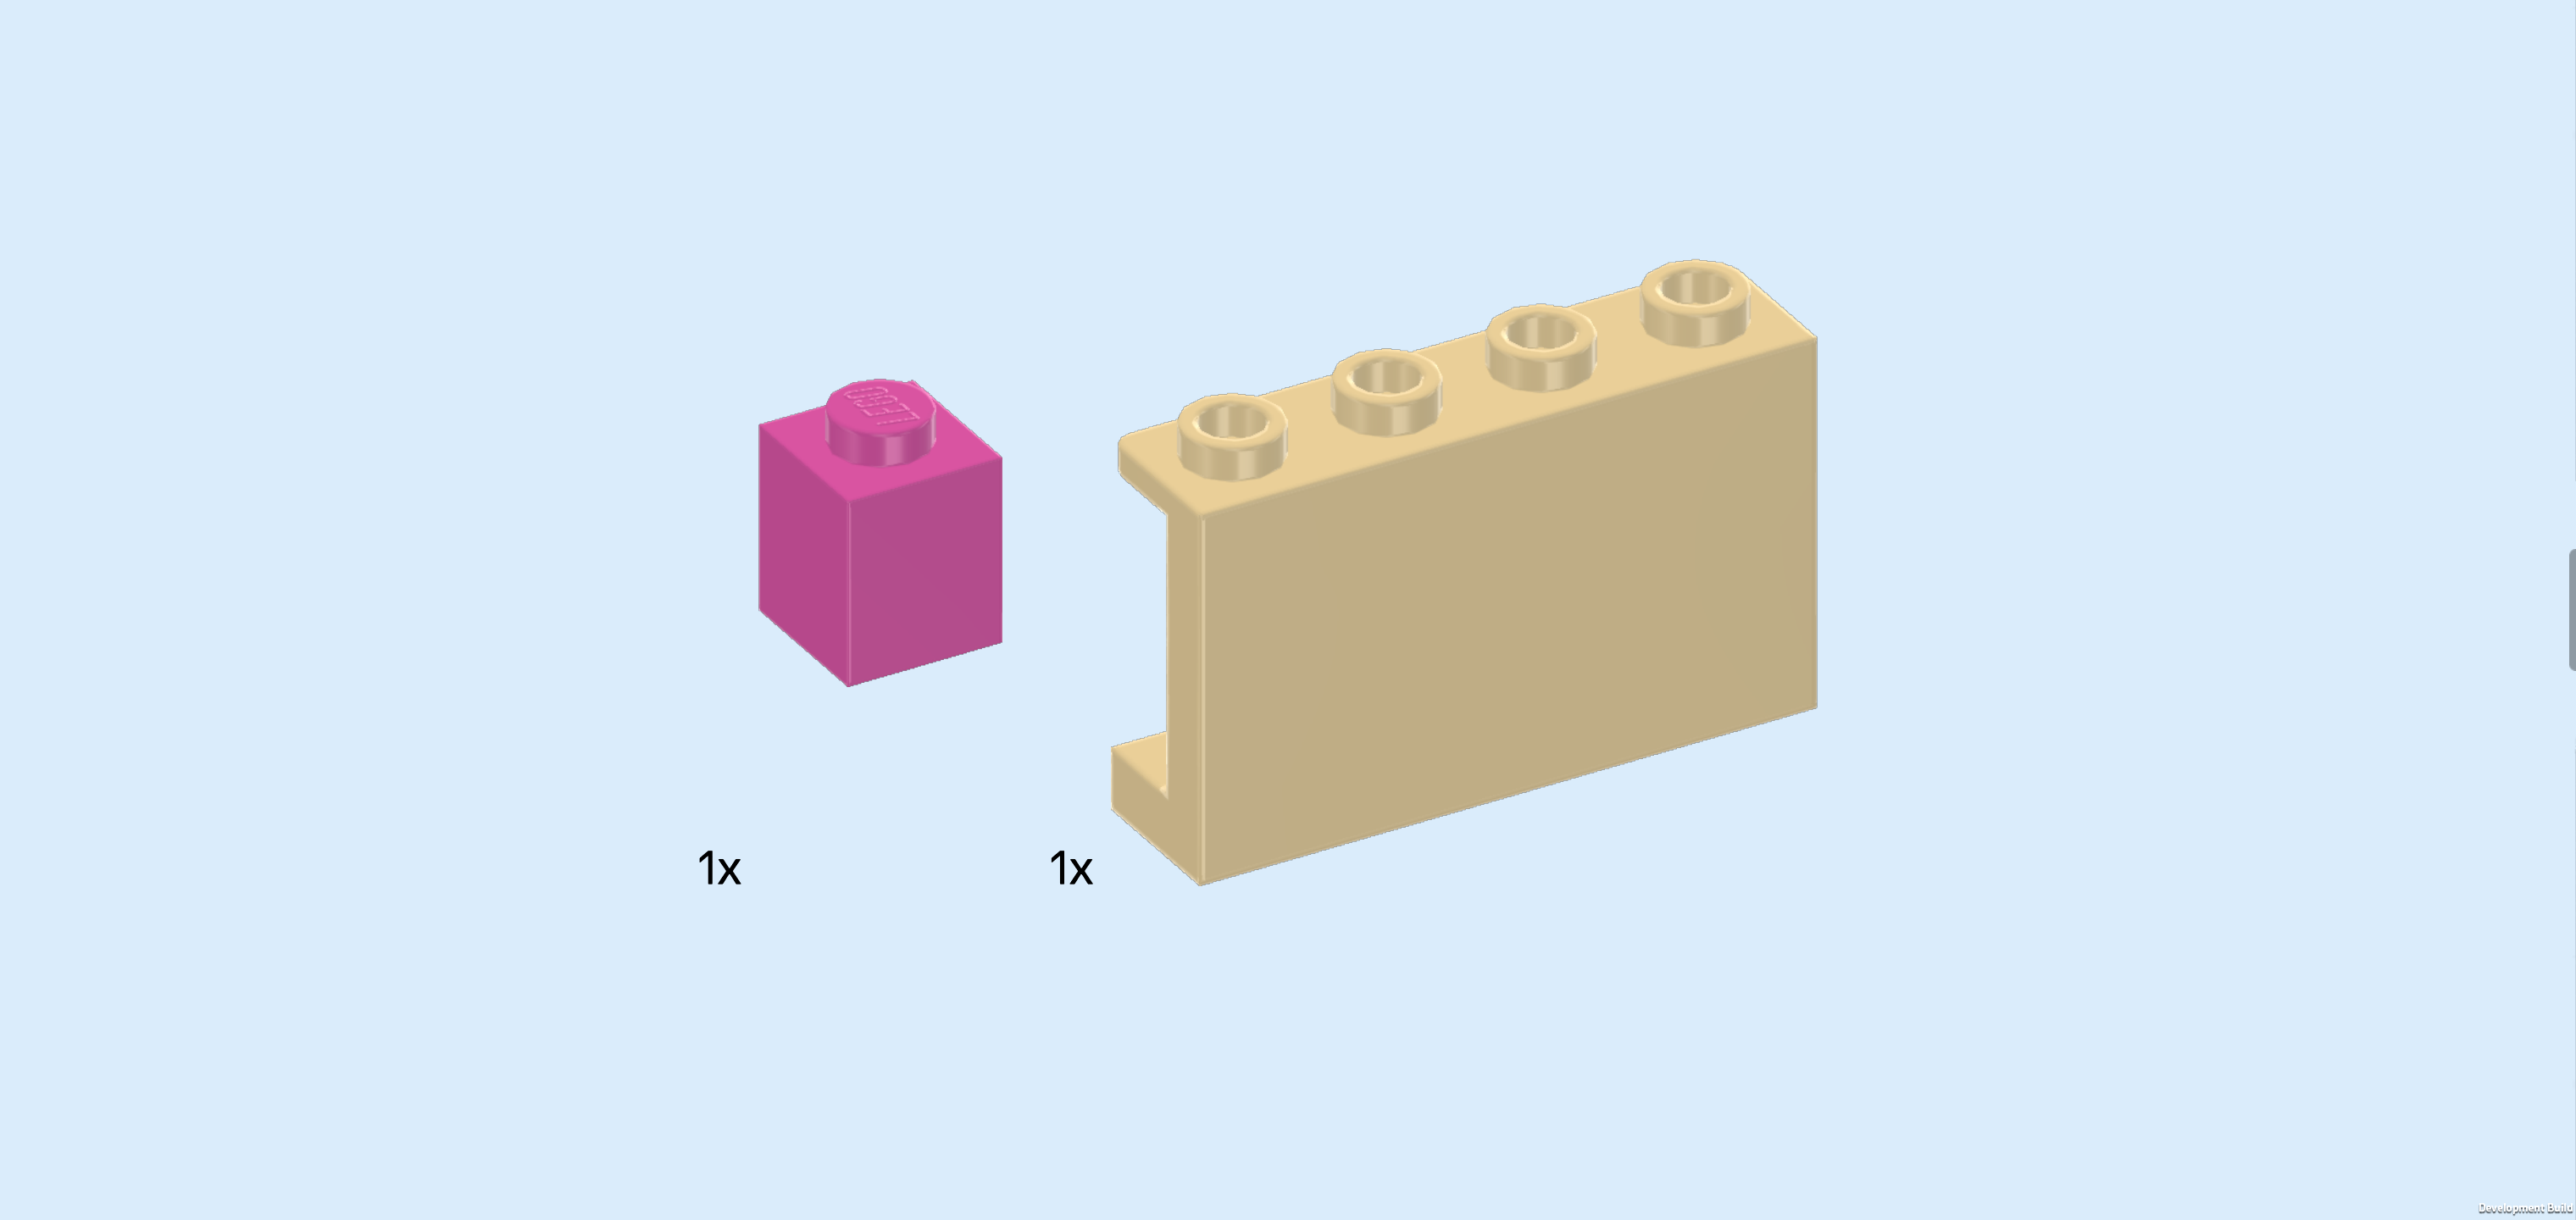
| Collect the following 3 pieces: |
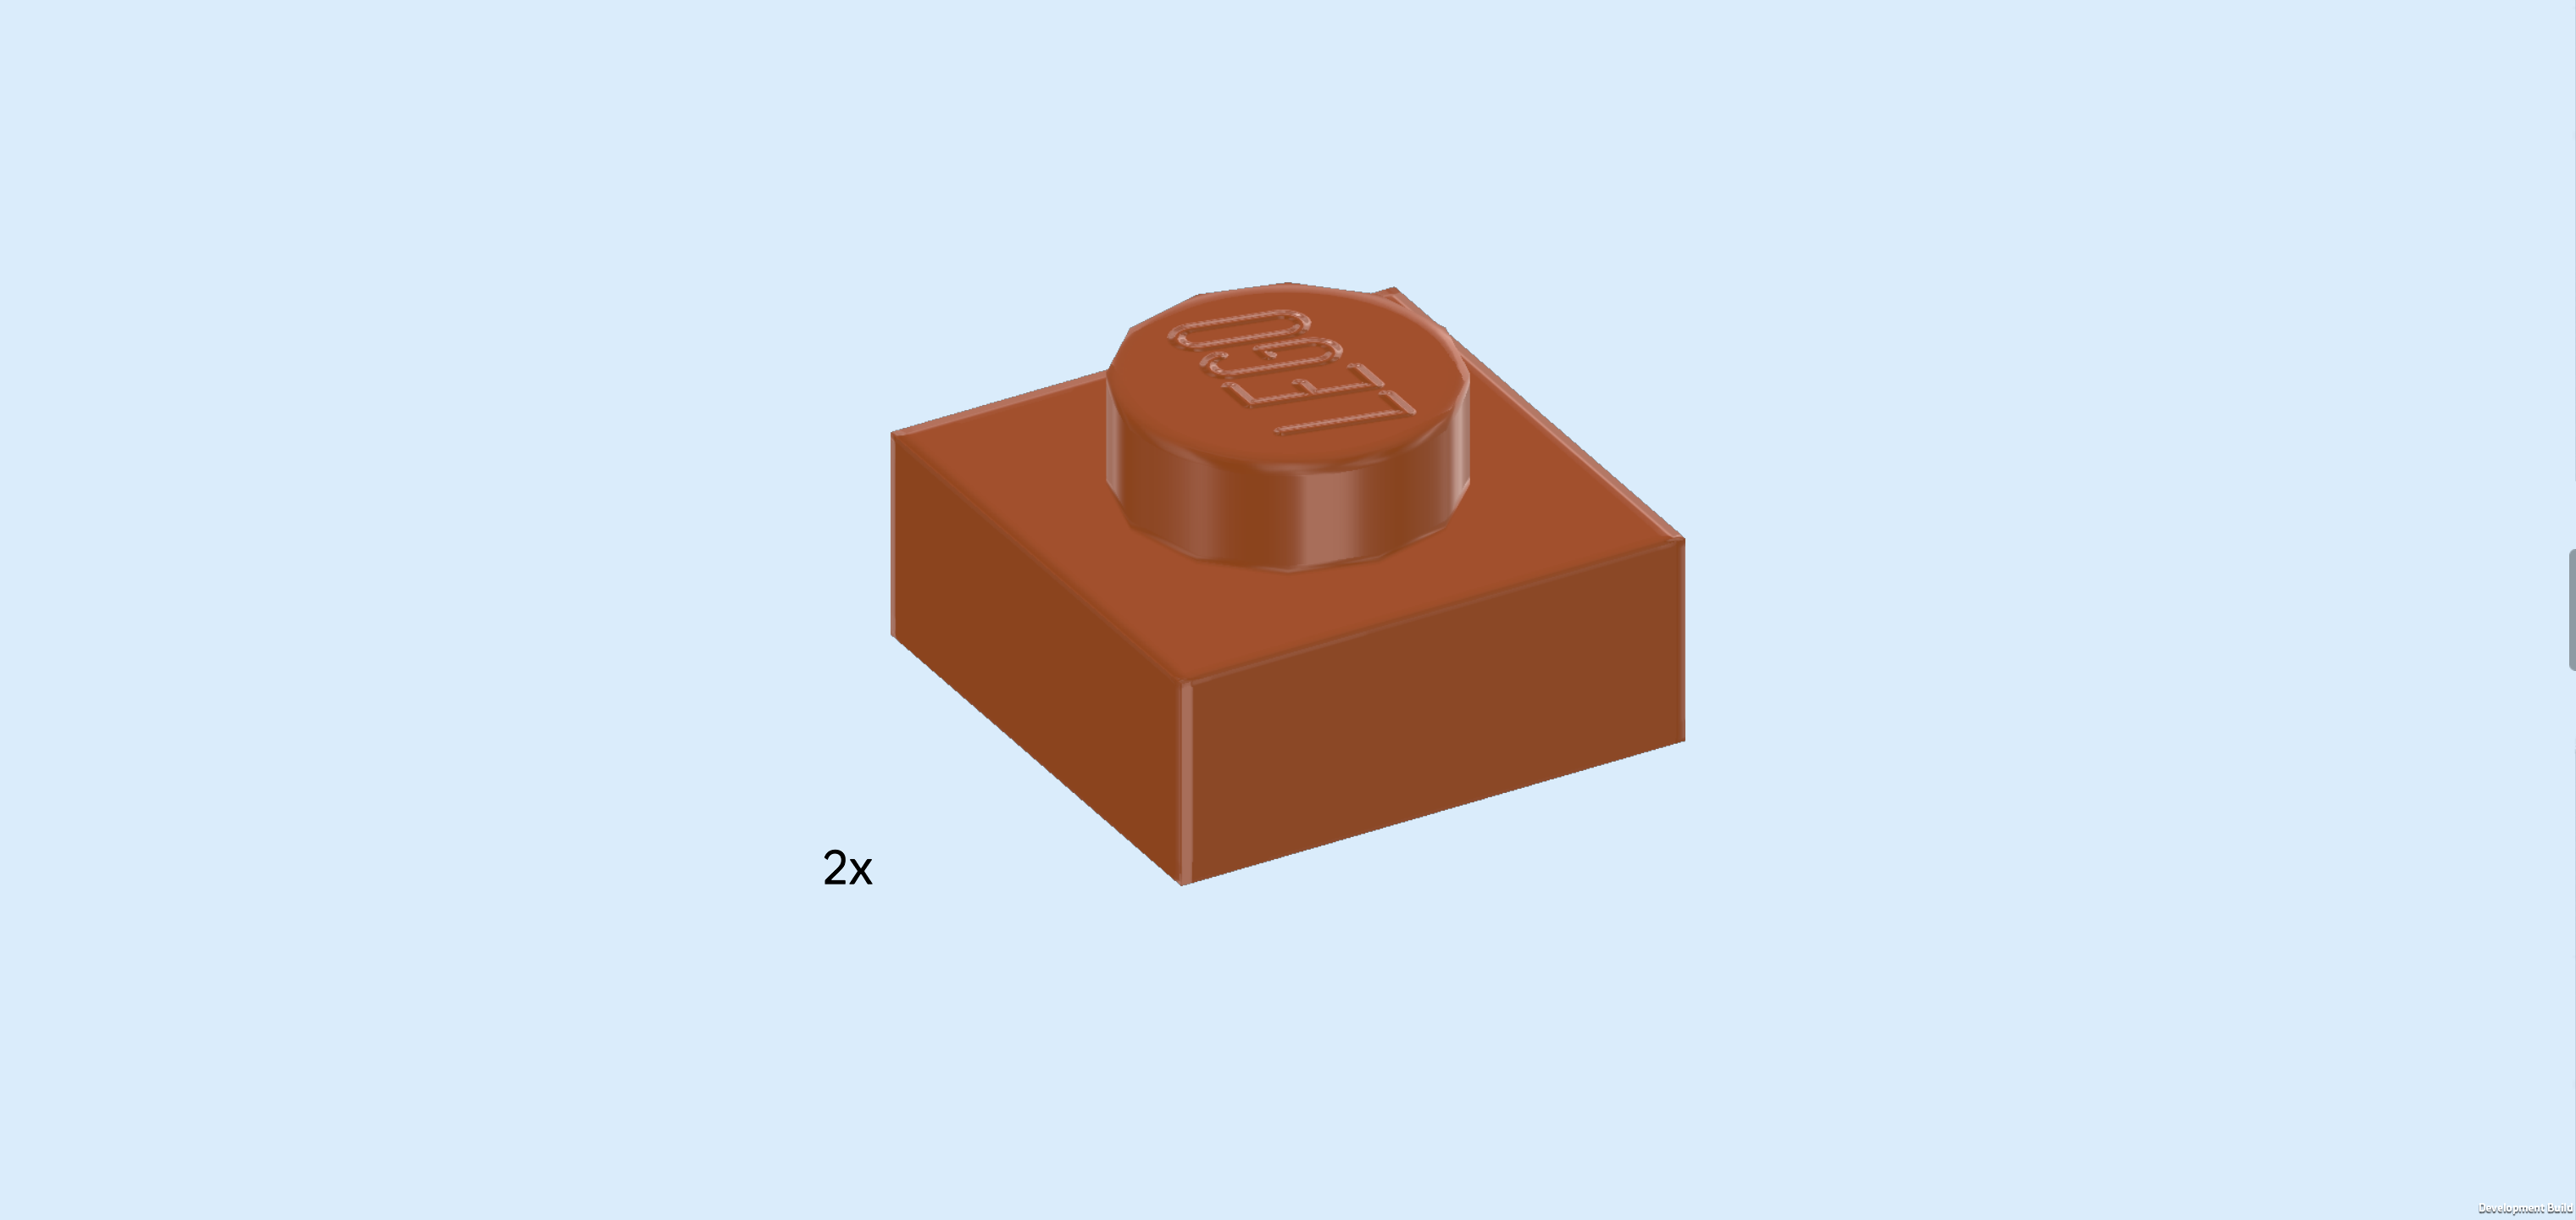
| 2 dark orange round plates 1x1, |
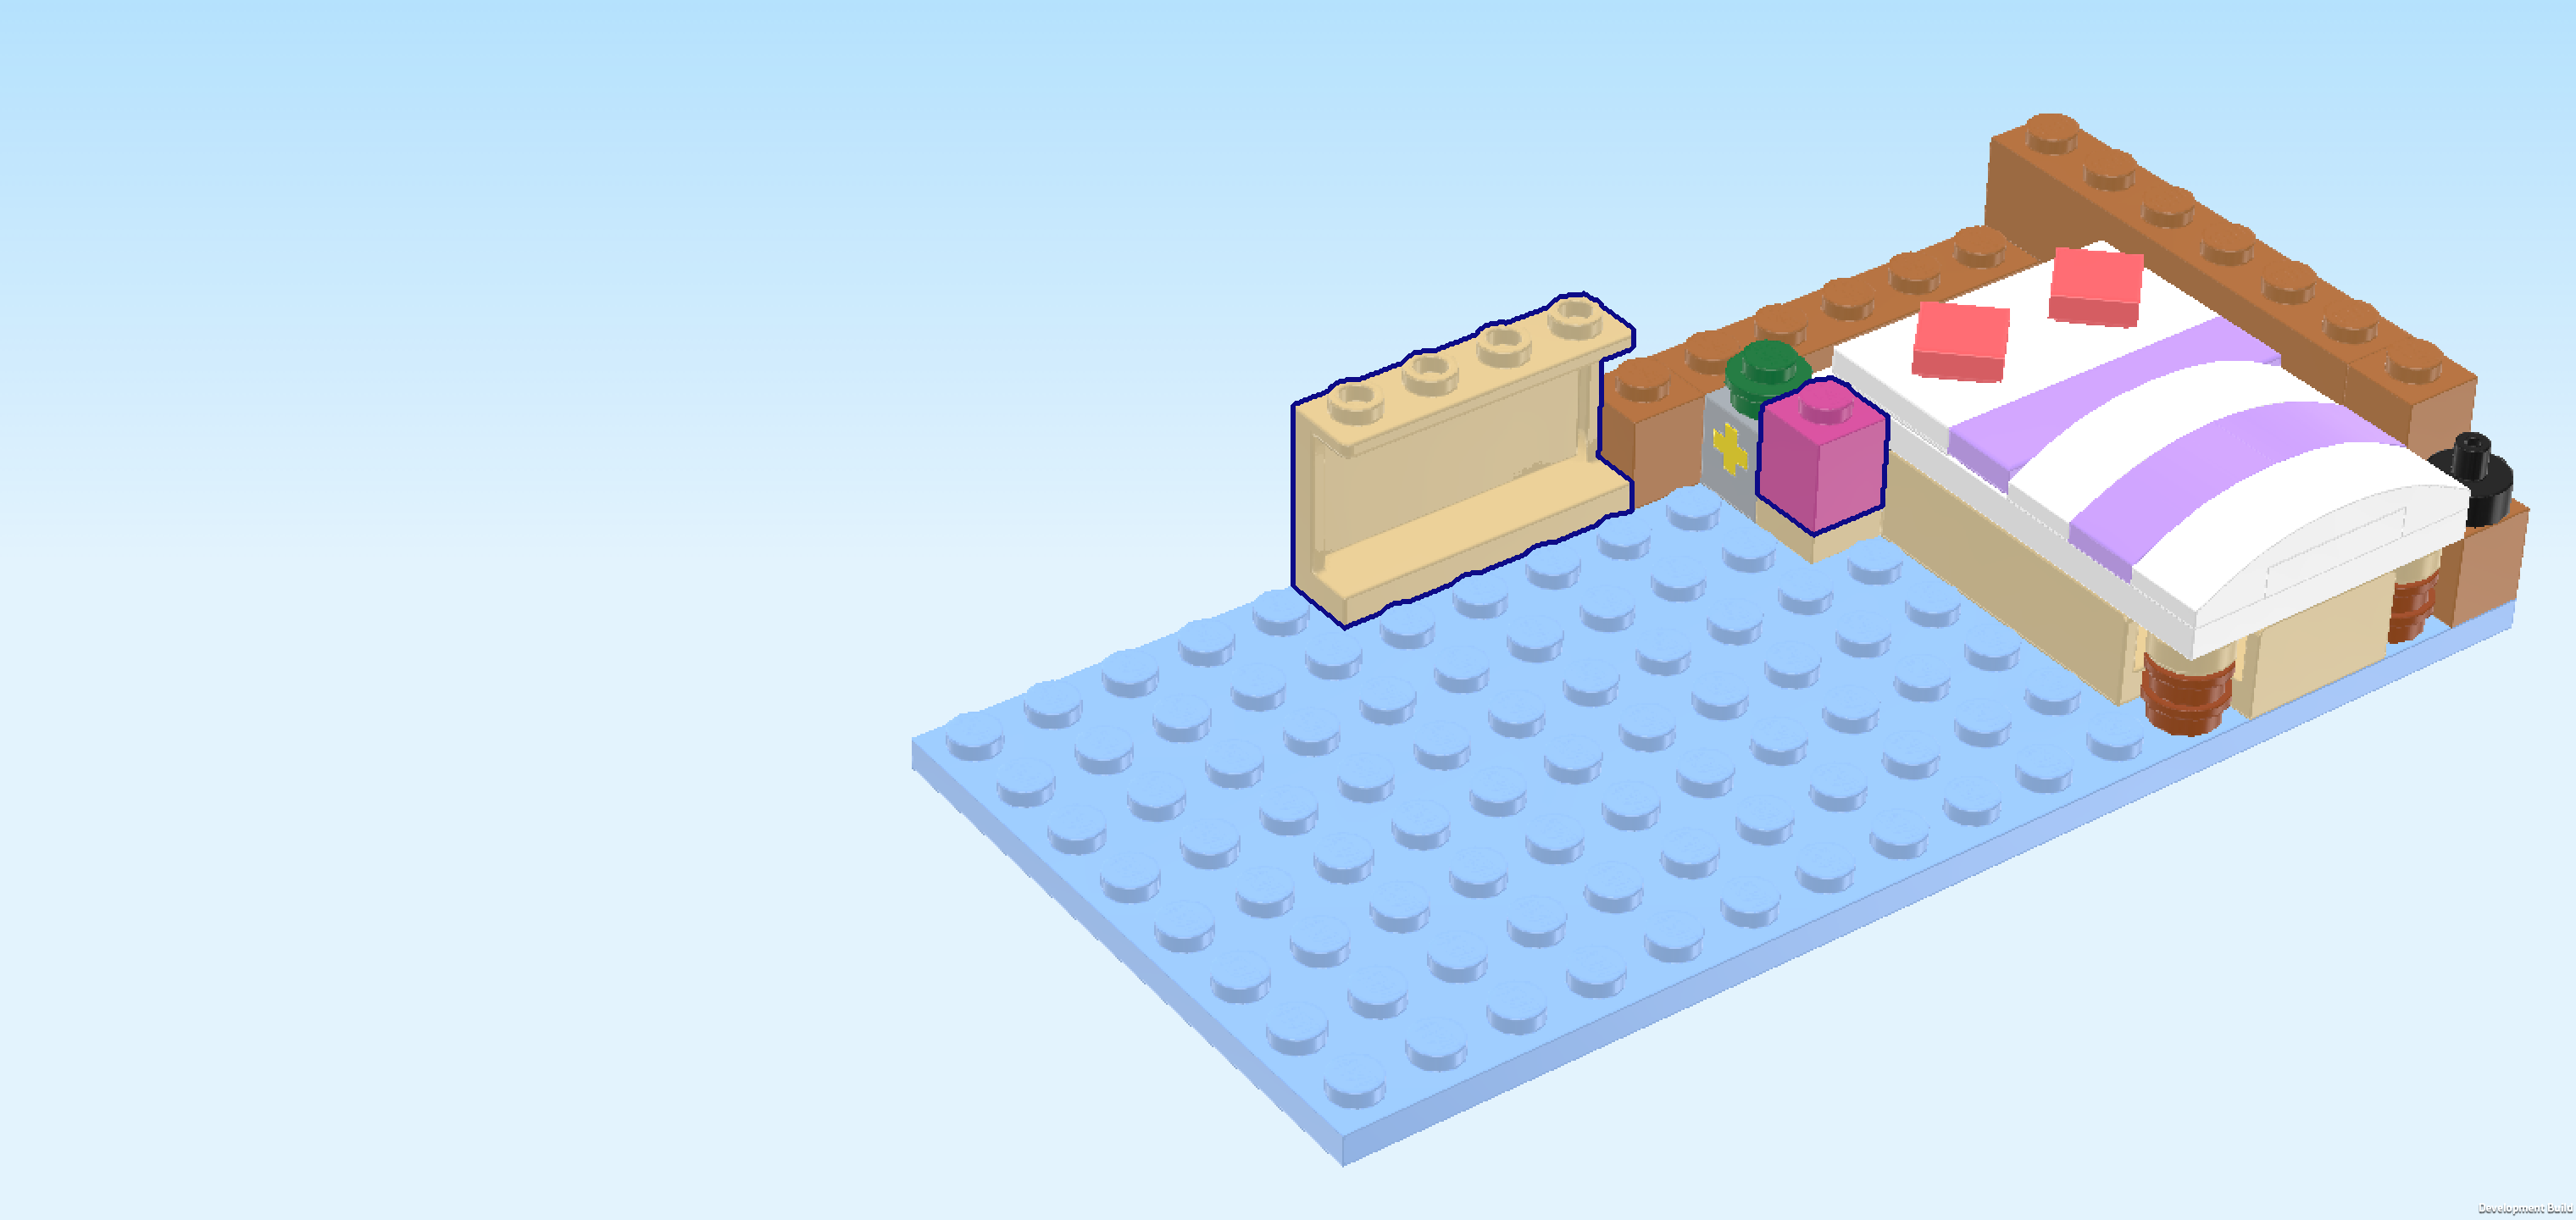
| and 1 beige panel element 1x2x1. |
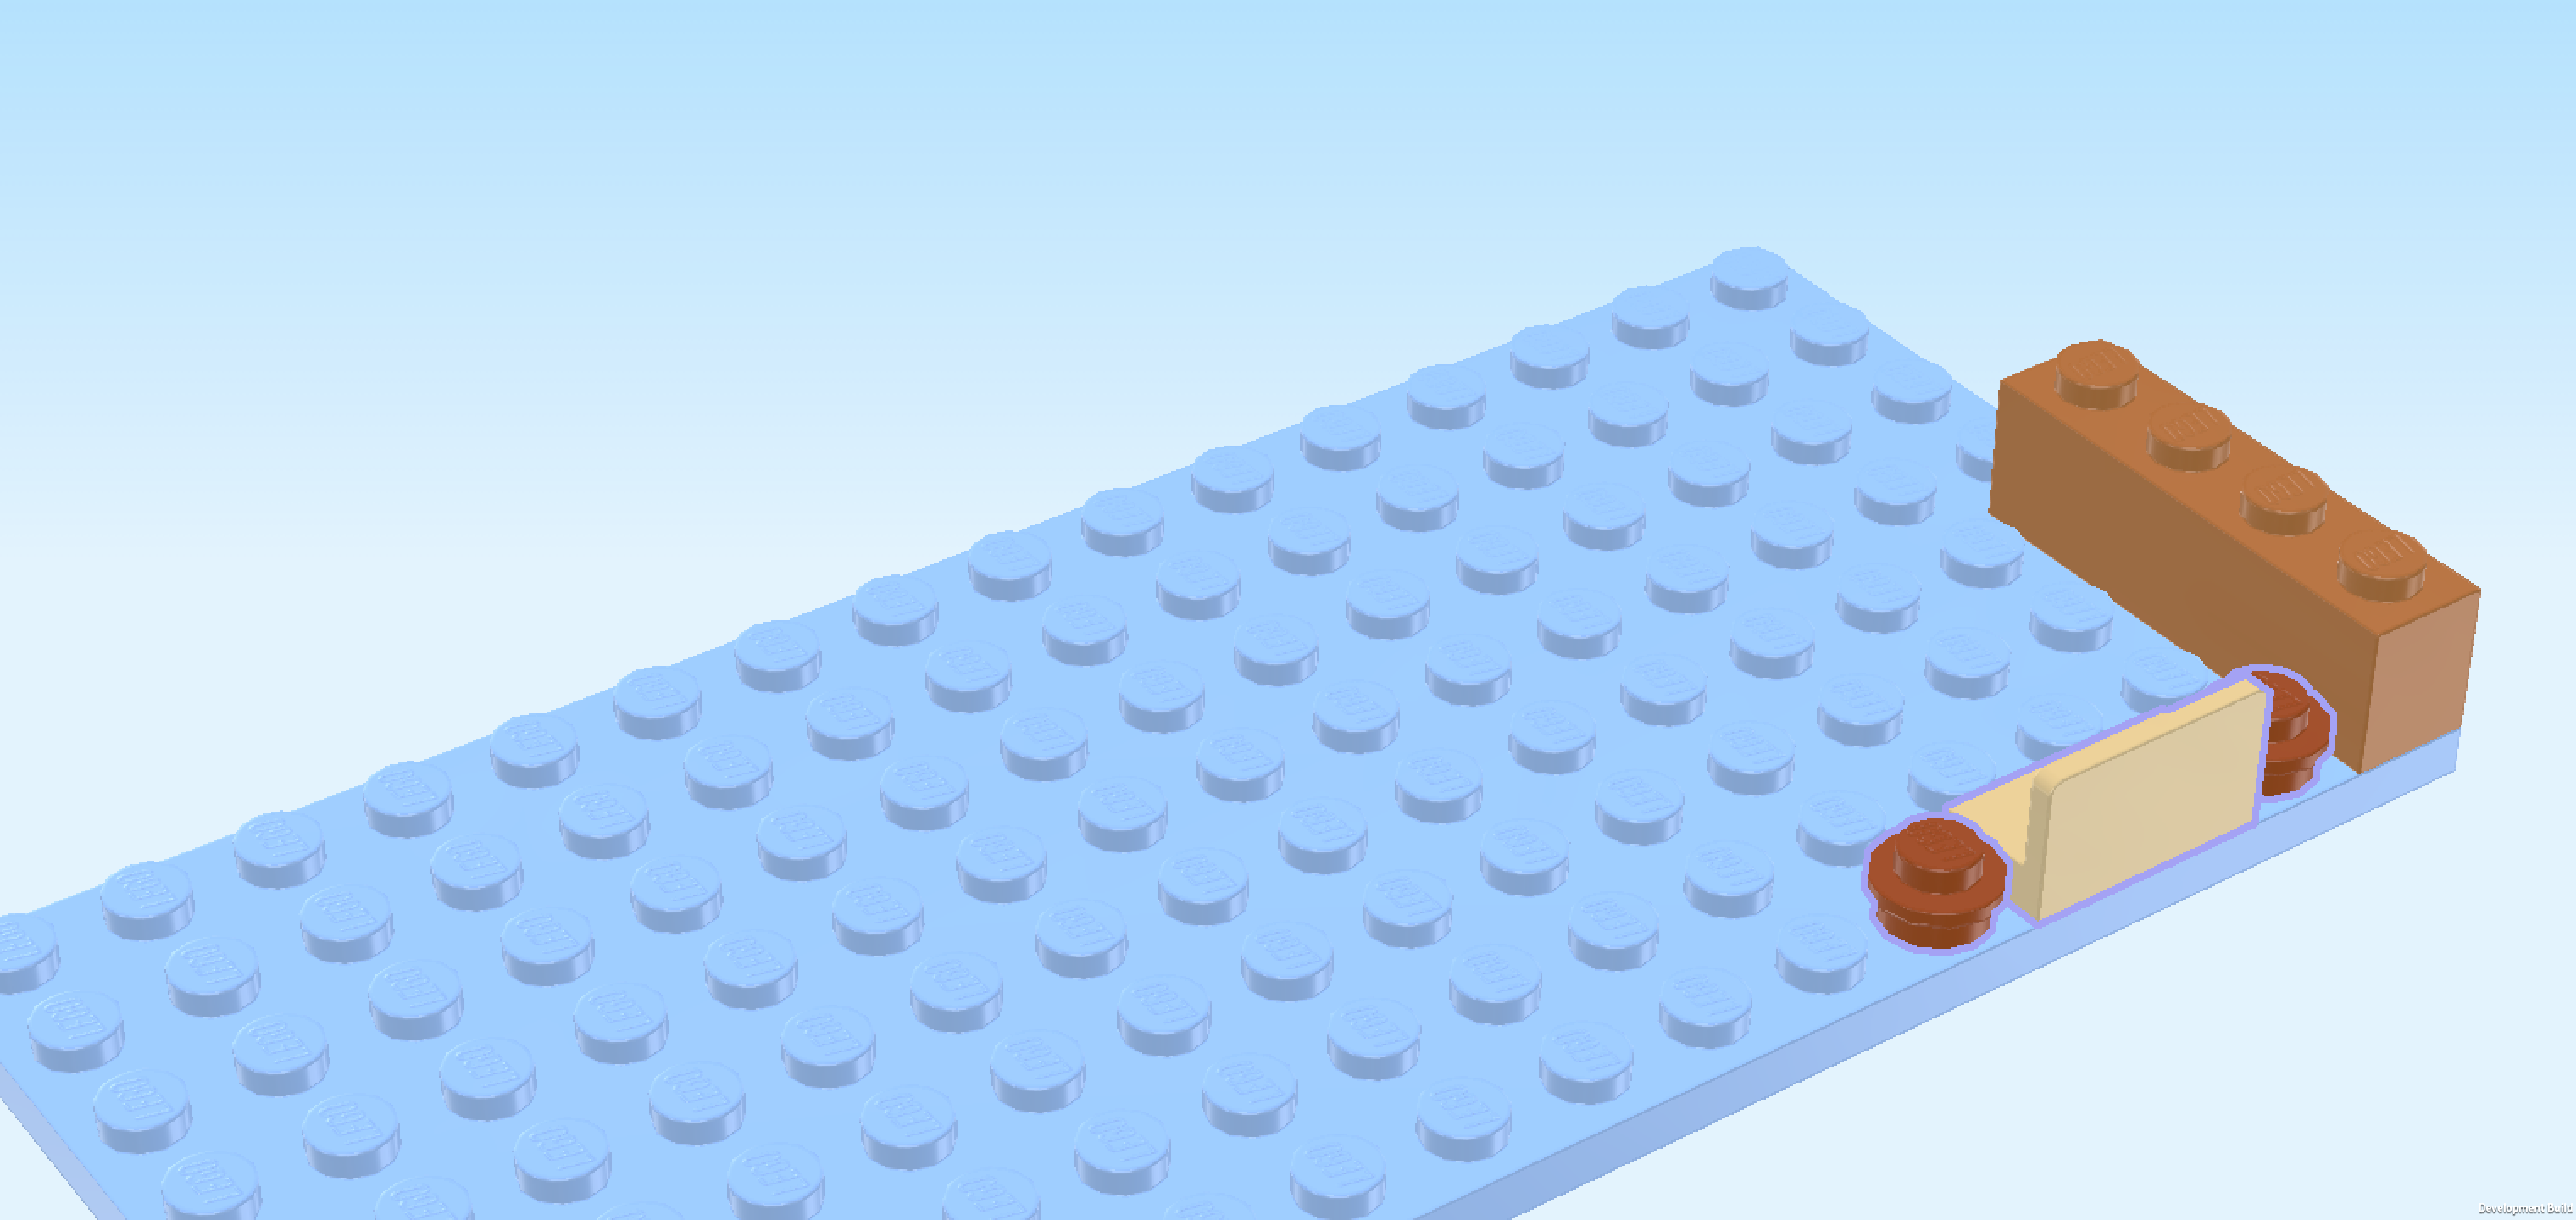
| Put 1 round plate 1x1 on the frontmost row to the left of the previous piece. |
| Put the panel element 1x2x1 horizontally to the left of the previous piece, panel to the front. |
| Put the other round plate to the left of the previous piece. |
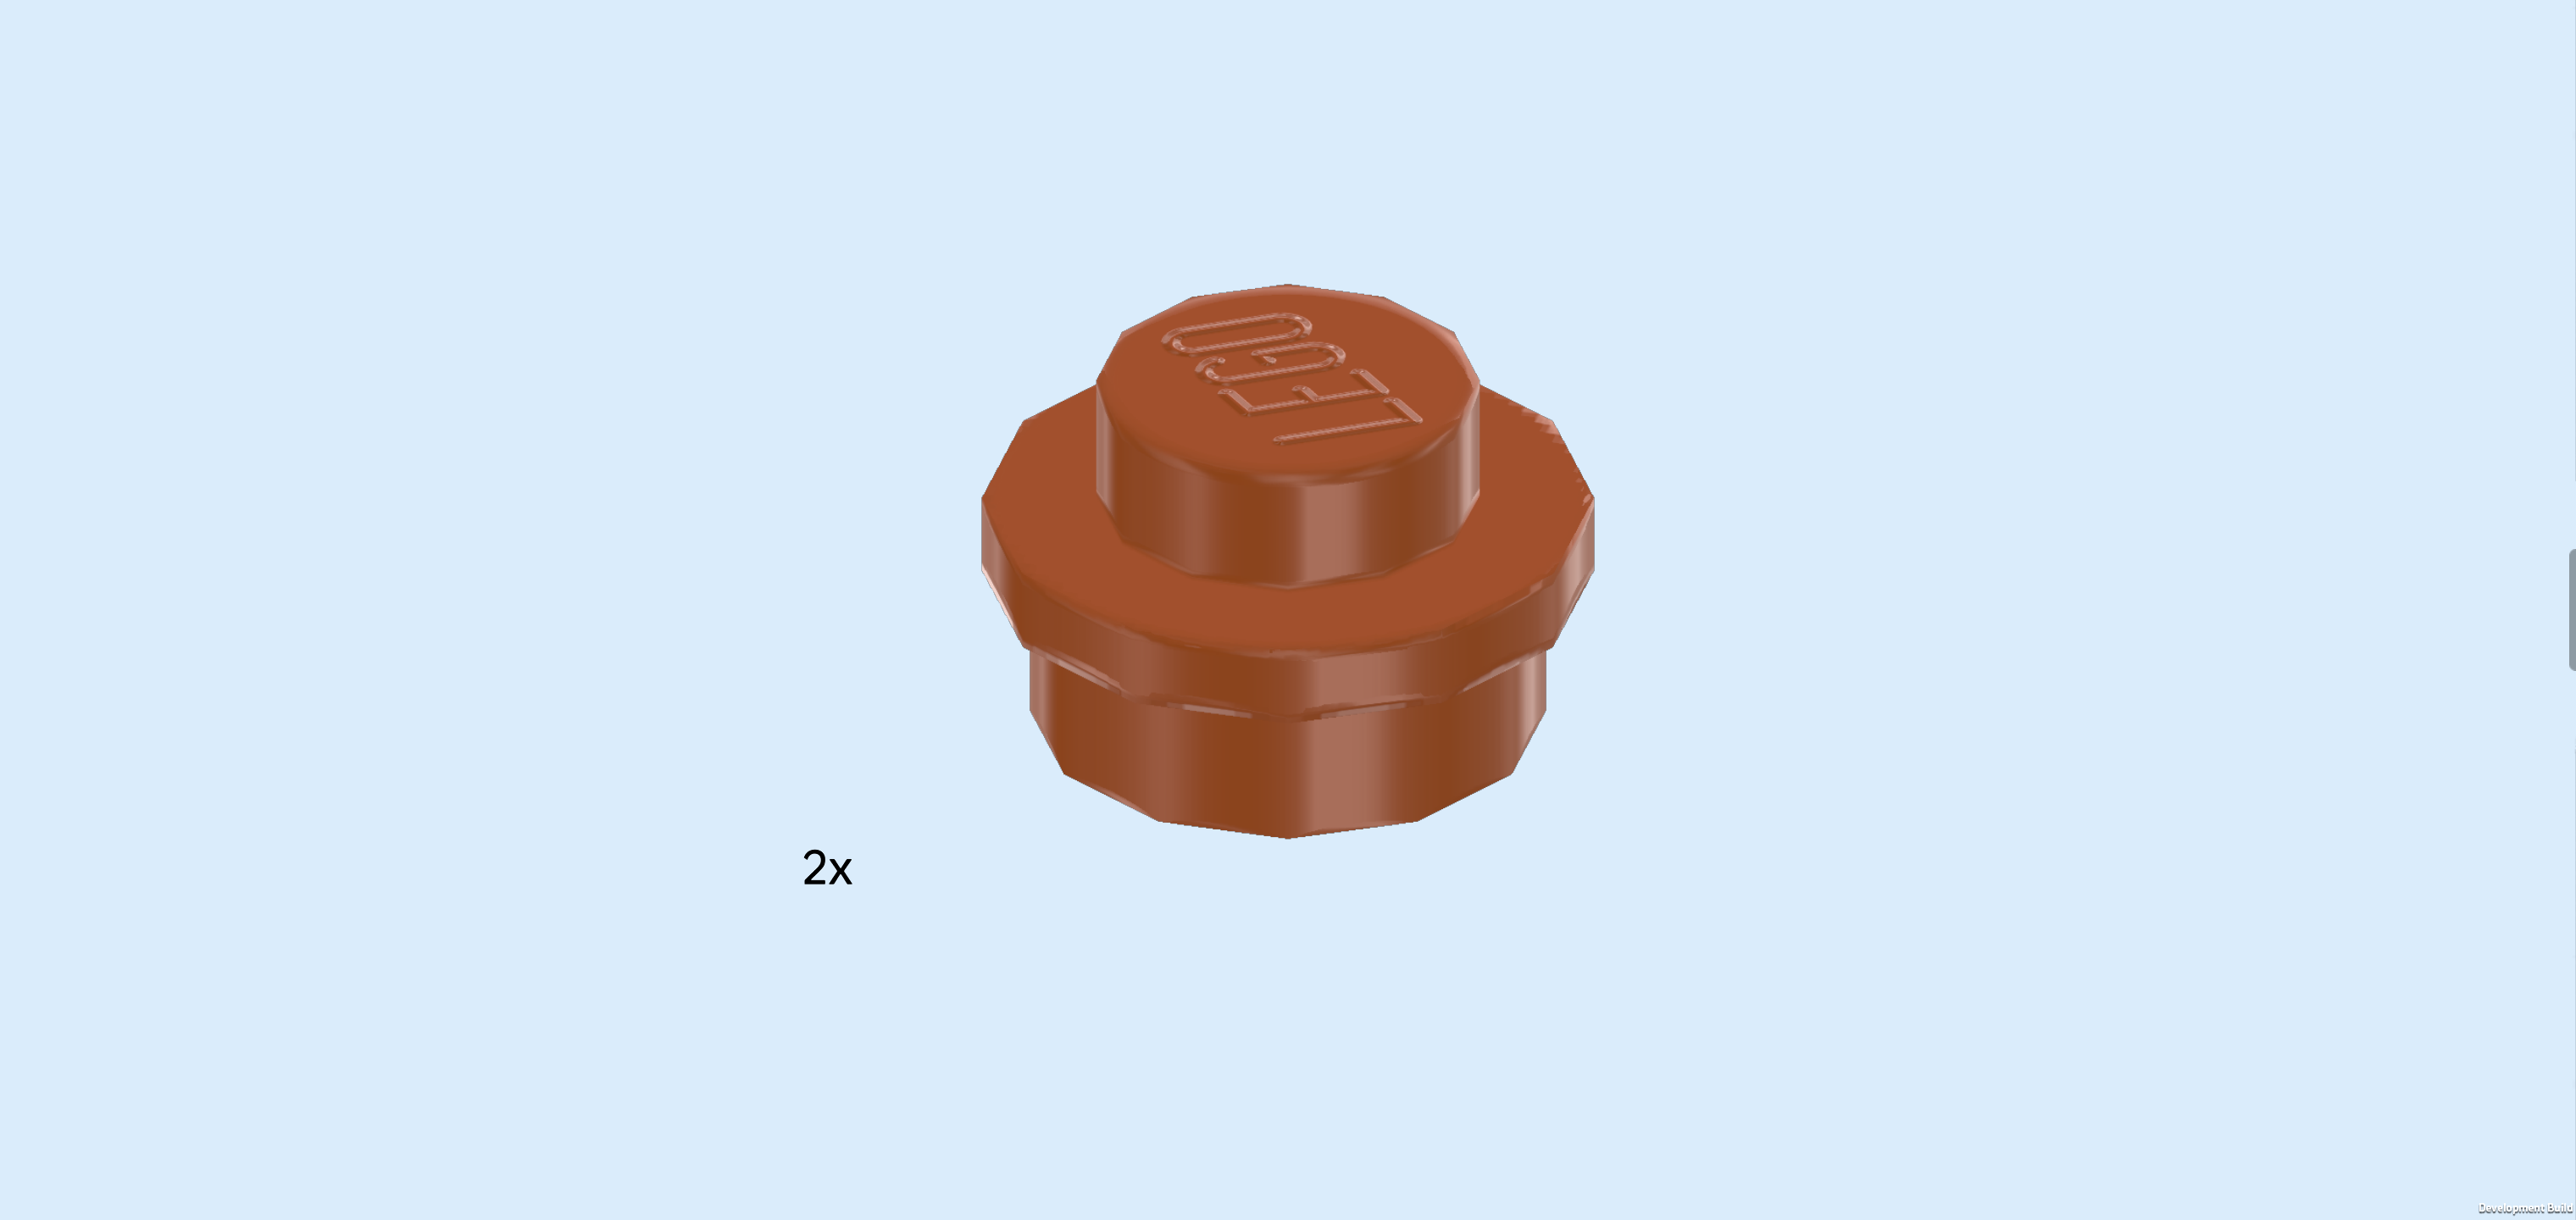
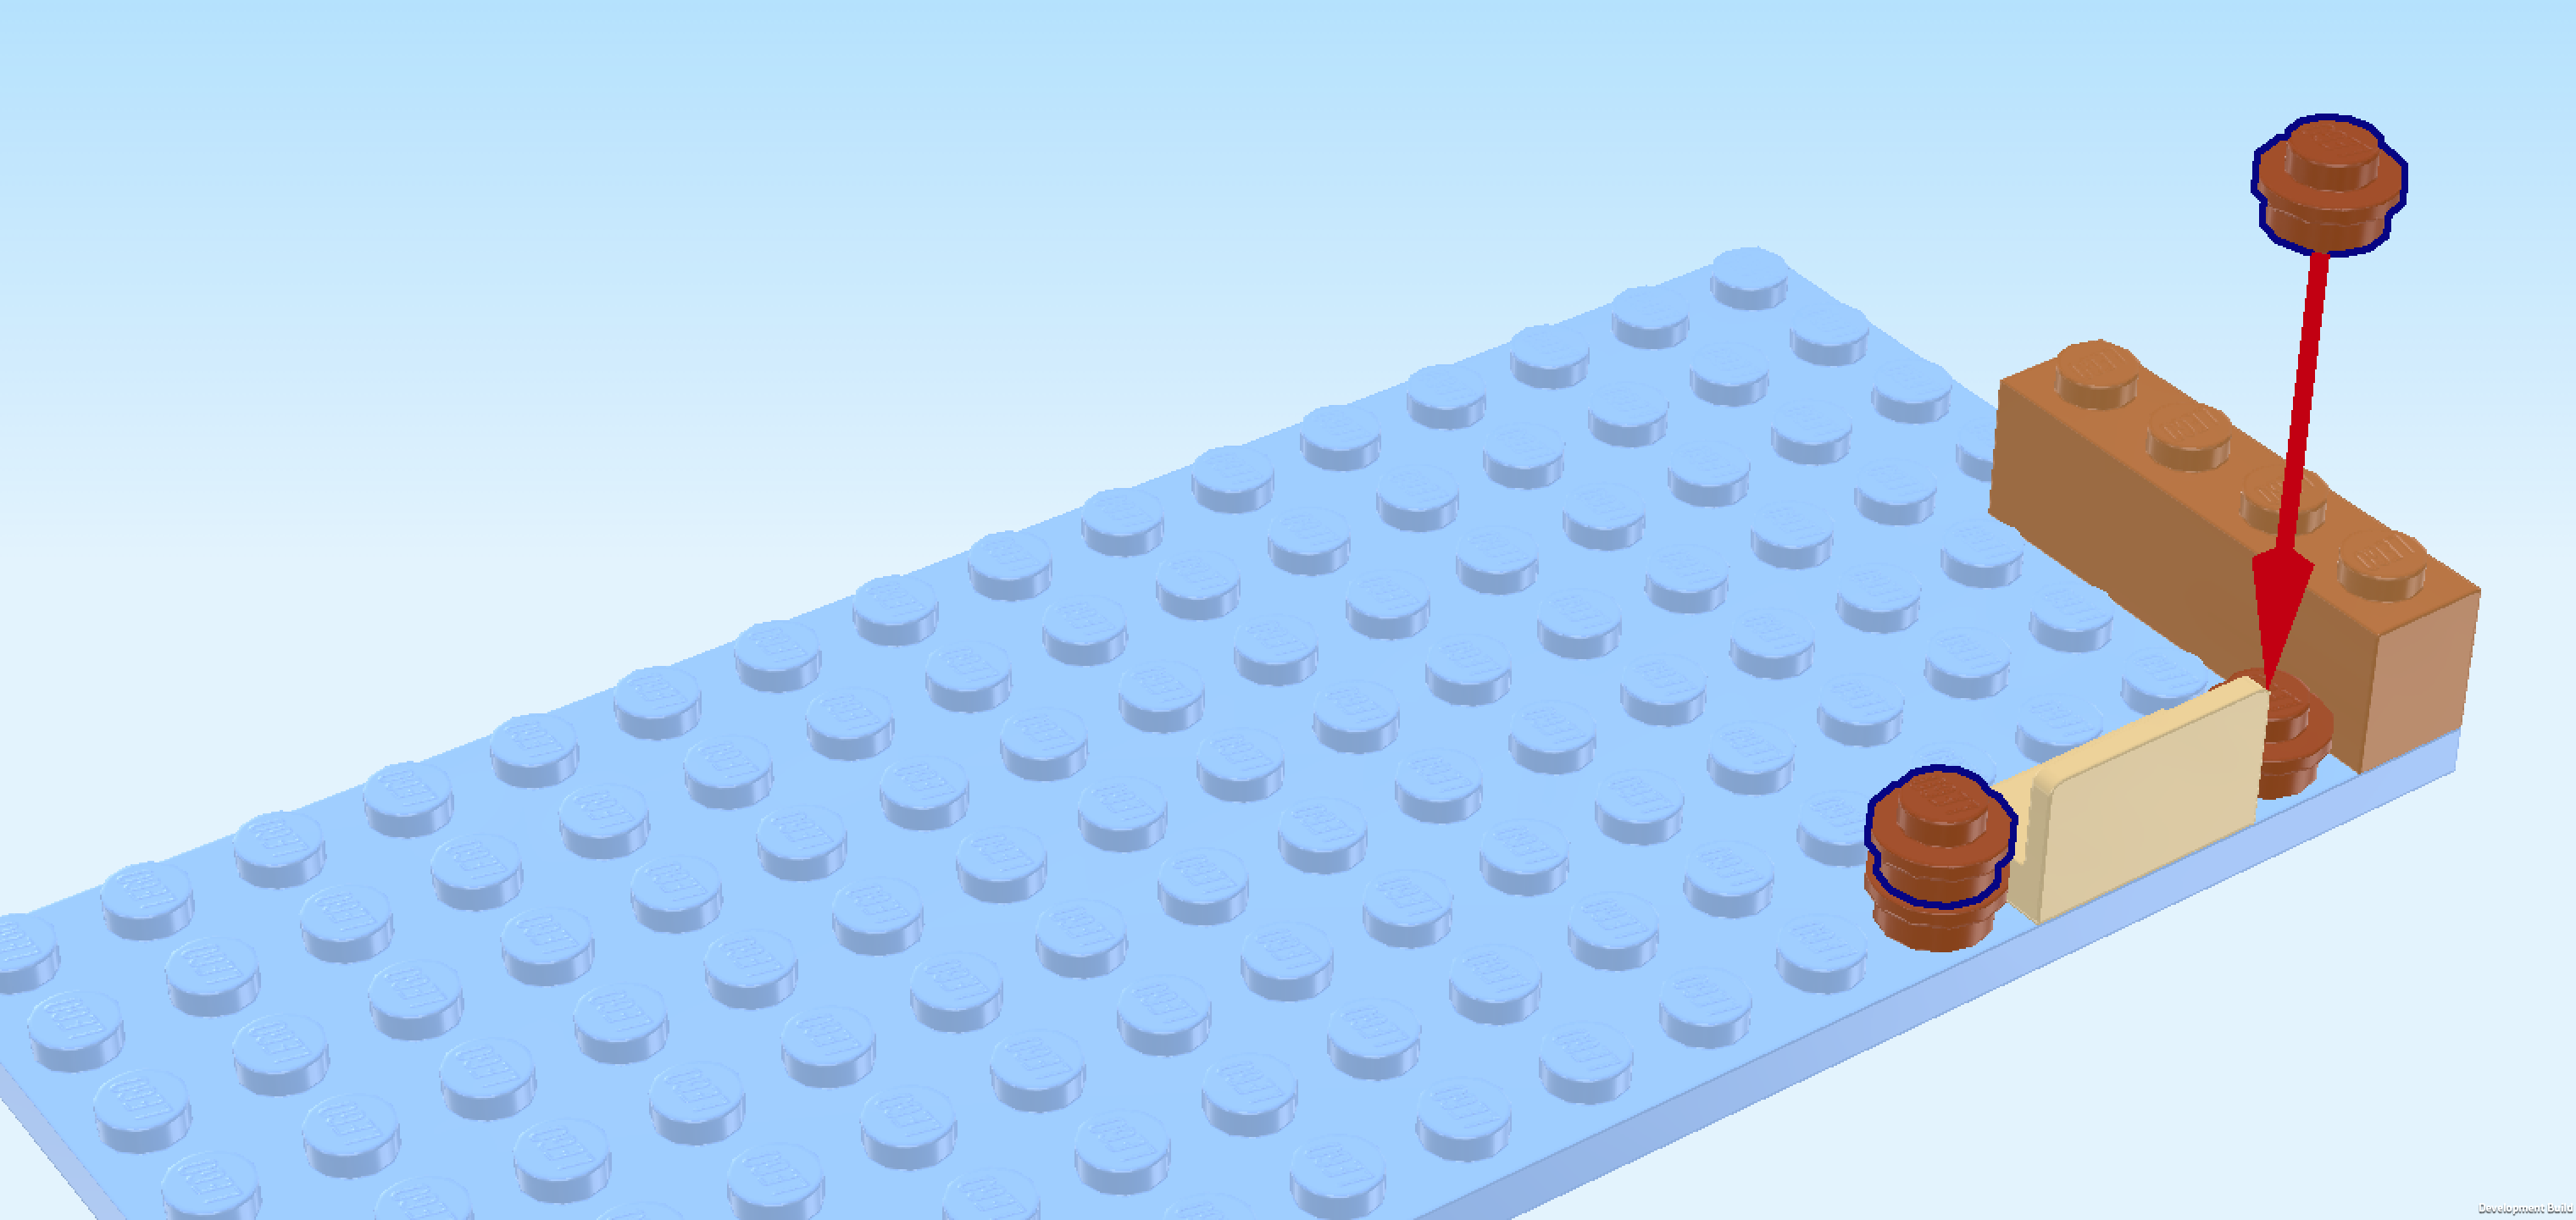
| Find another 2 rust brown round plates 1x1. |
| Put them on top of the 2 plates 1x1 we have mounted in the previous step. |
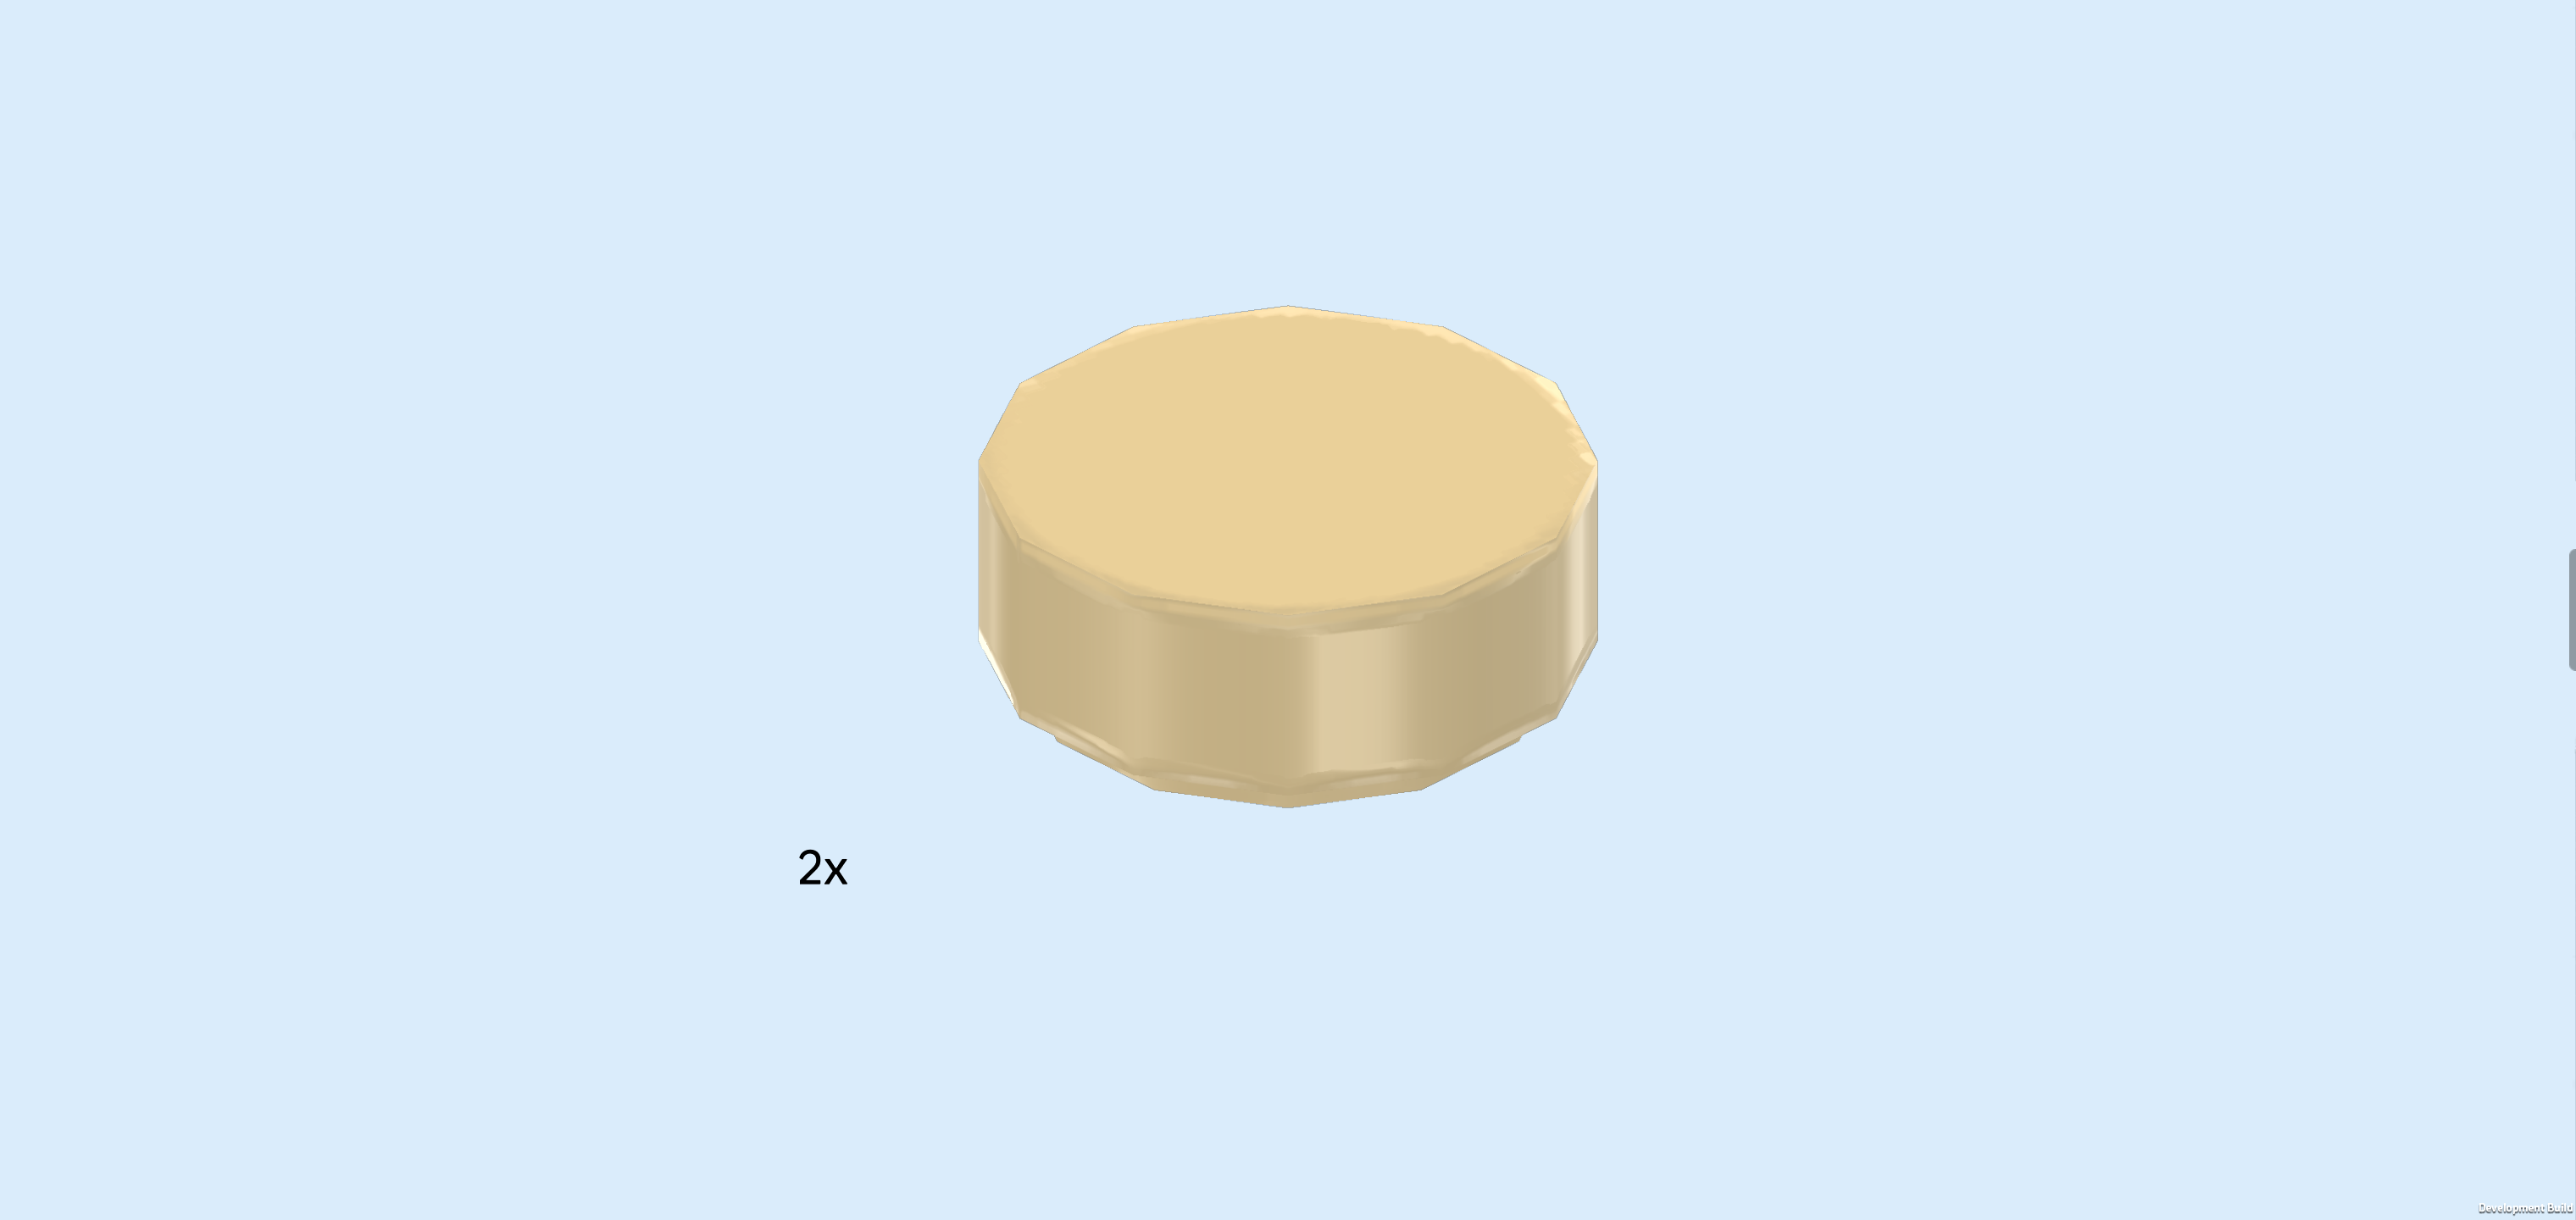
| Find 2 beige round tiles 1x1. |
| Put them on top of the 2 previous pieces. |
| These are the 2 bedposts of the bed, and the panel element between them is the footboard. |
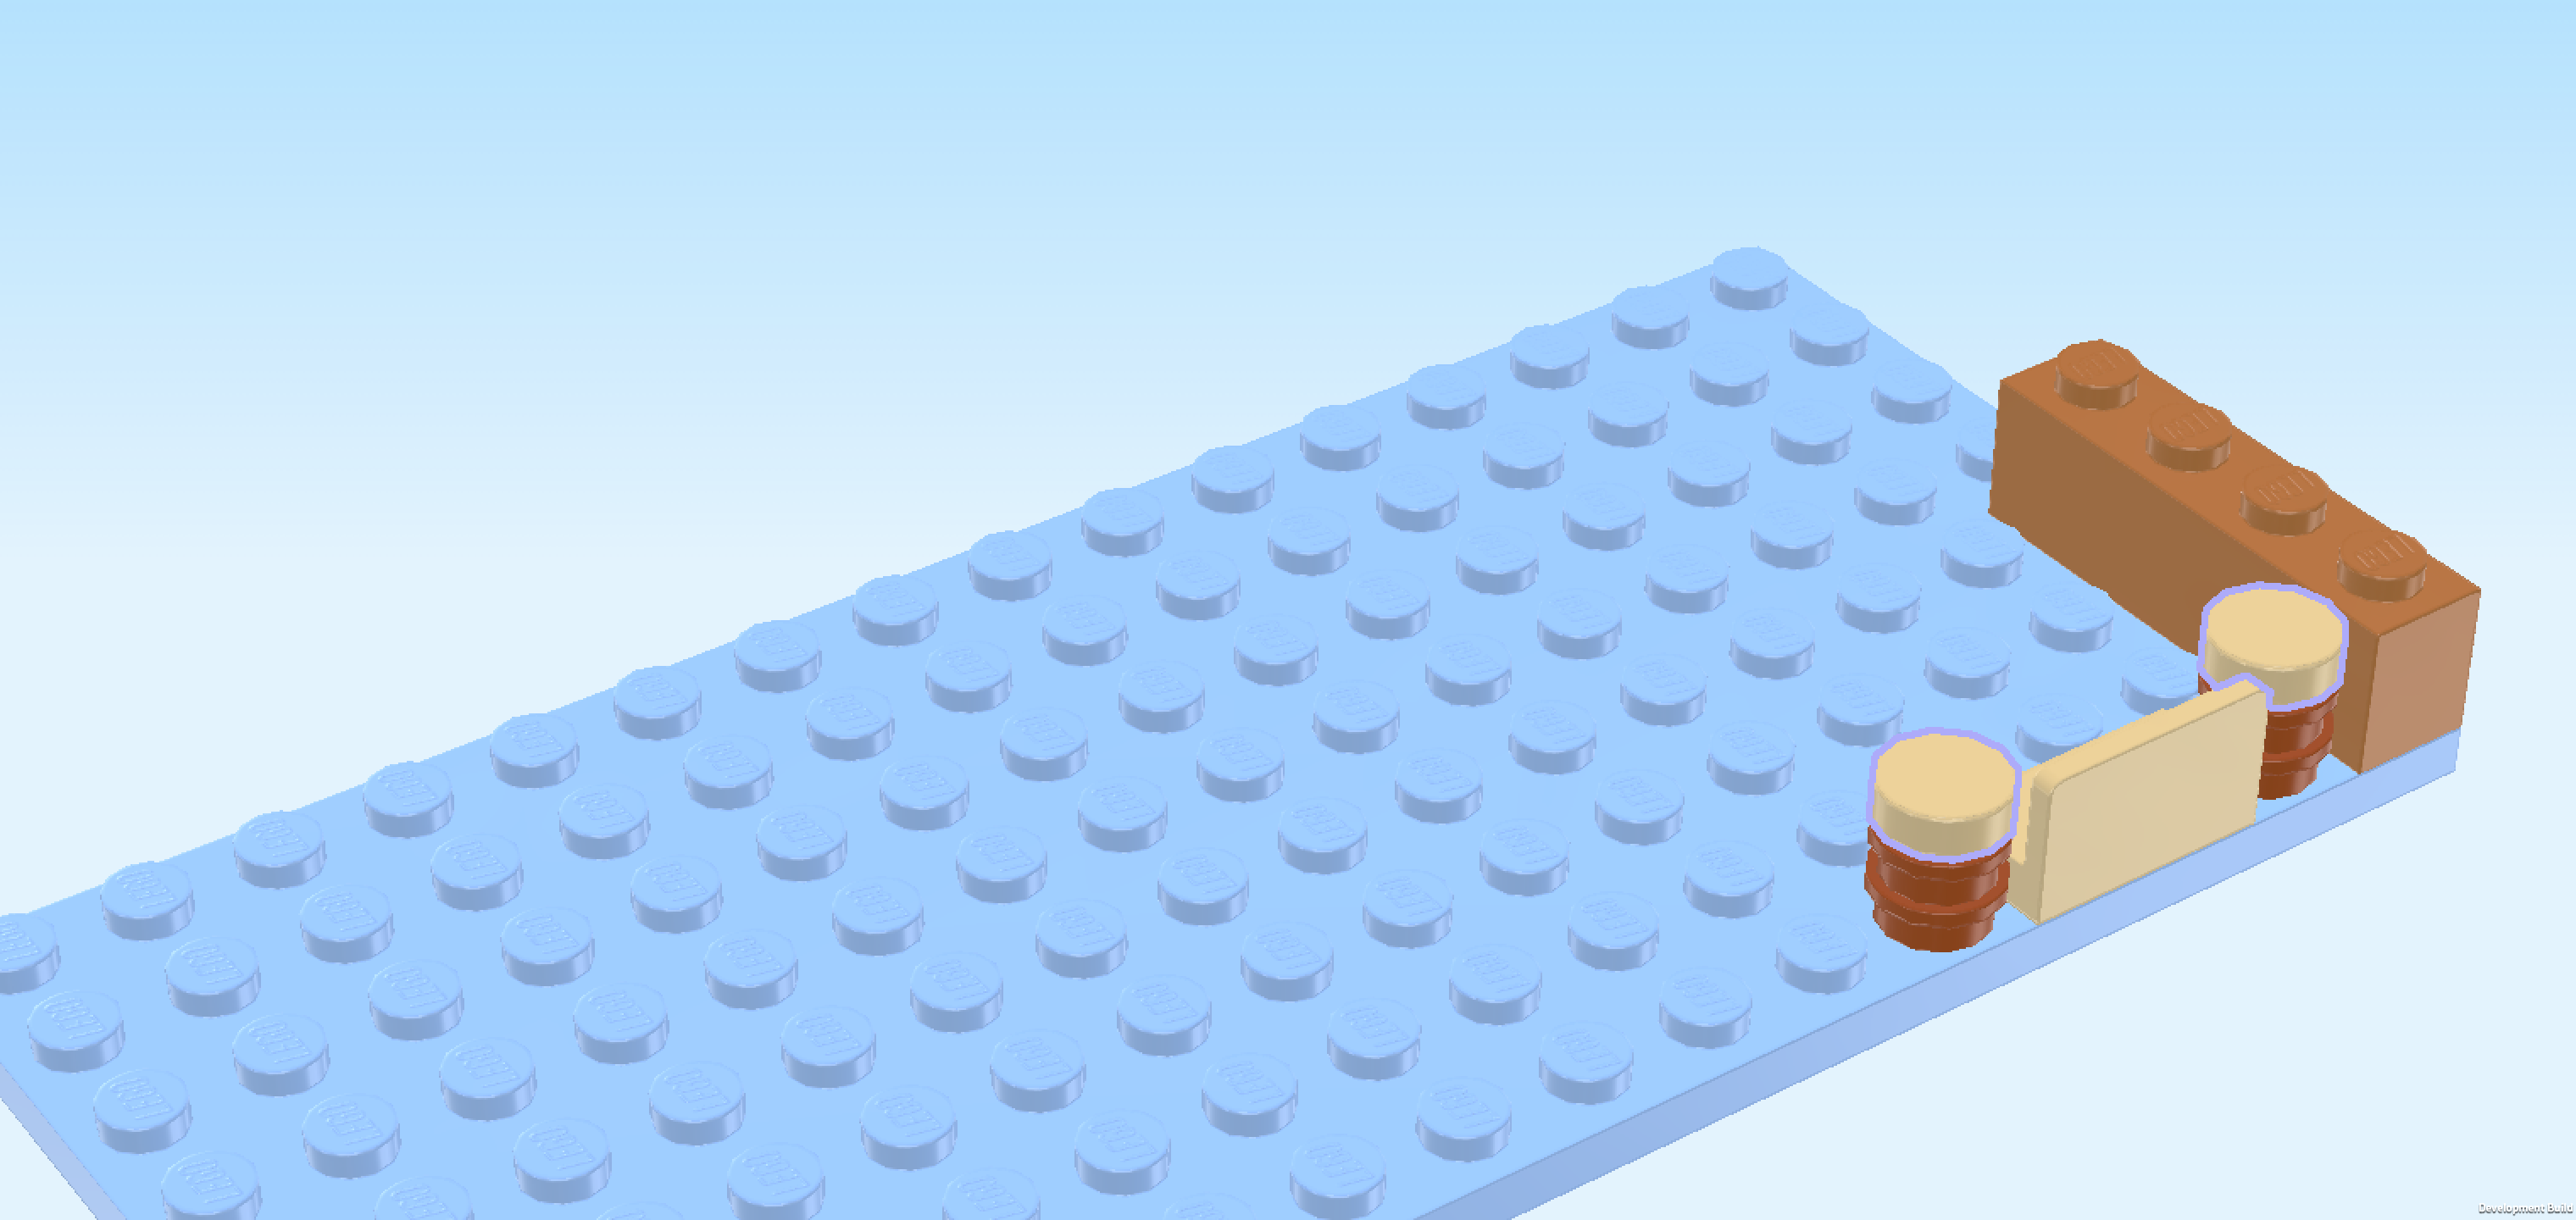
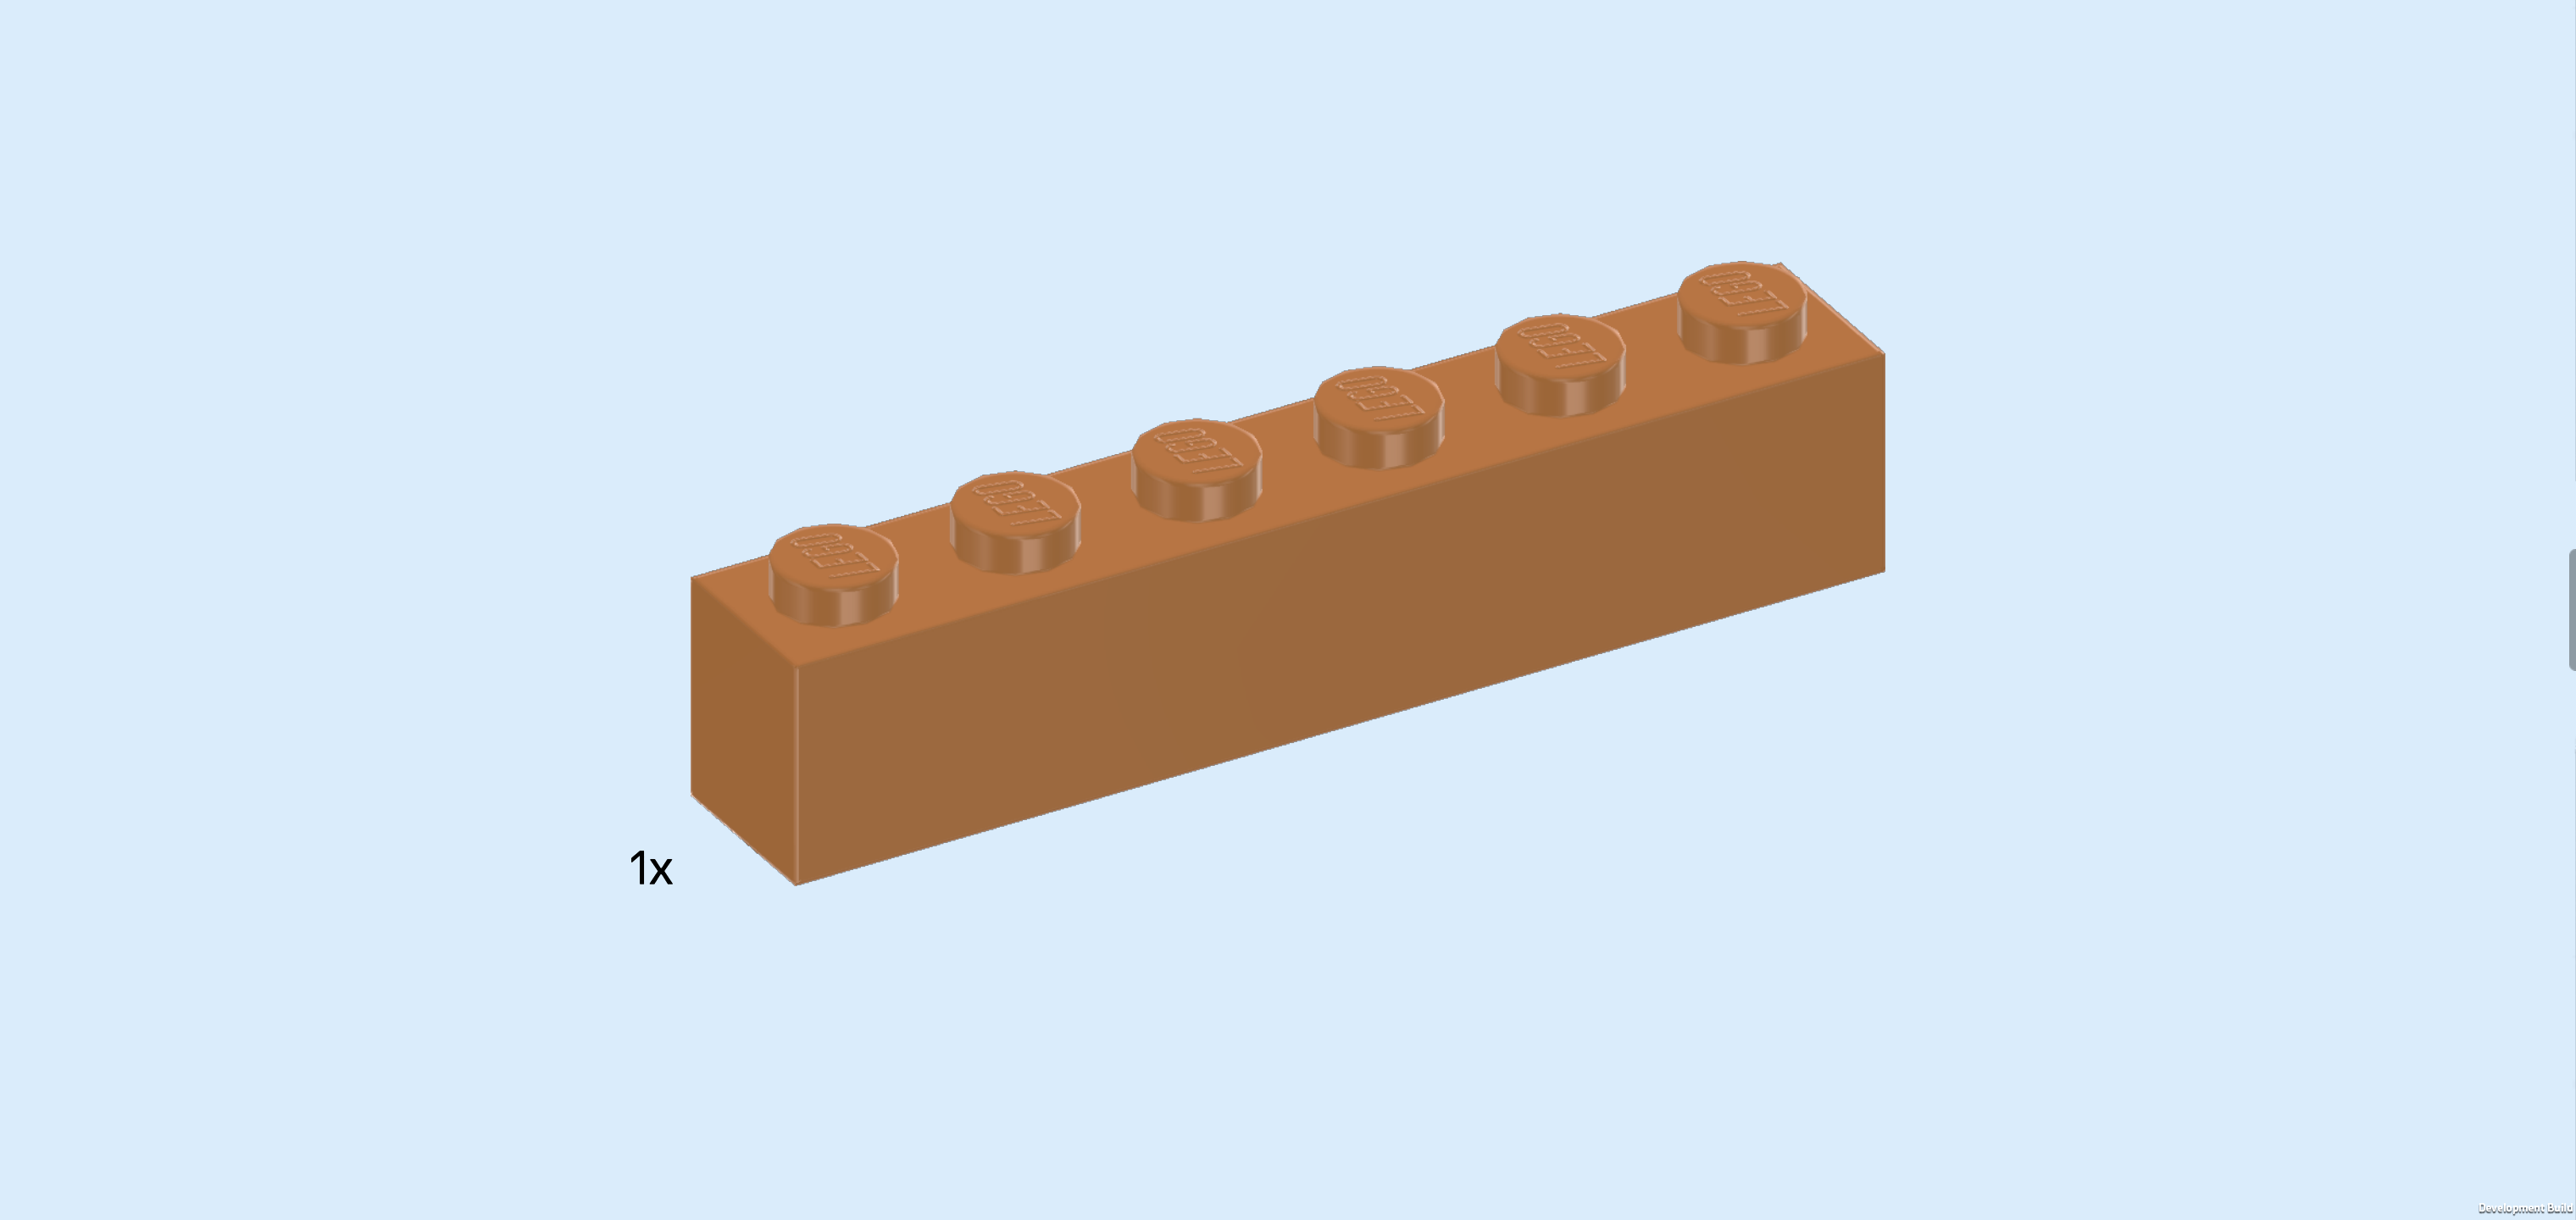
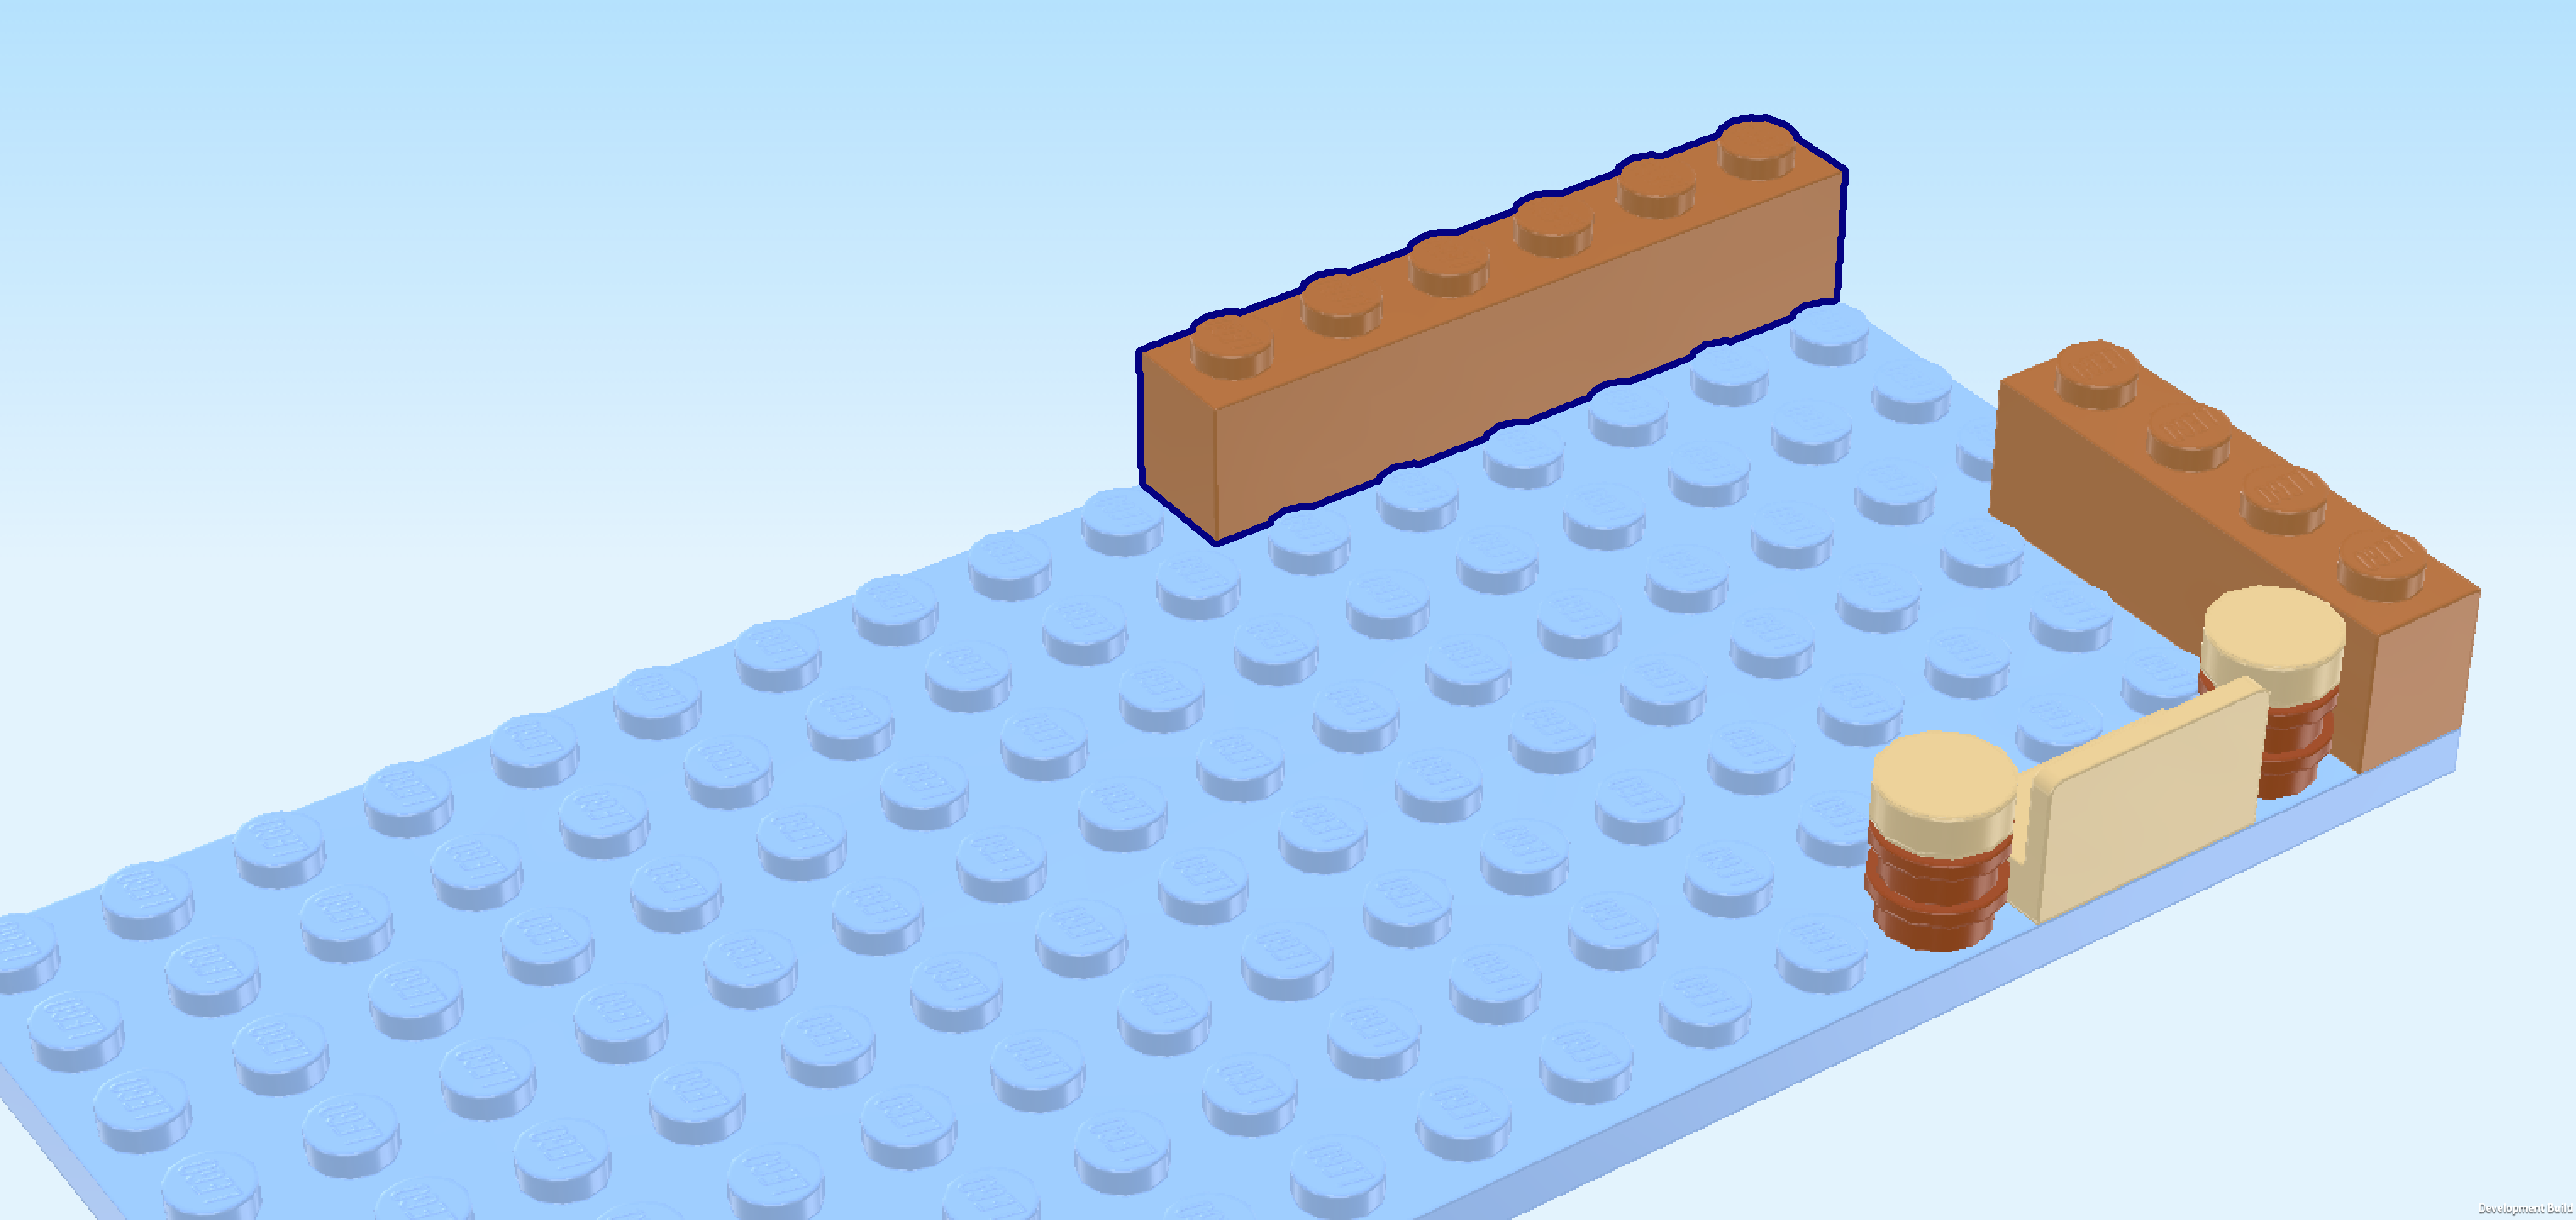
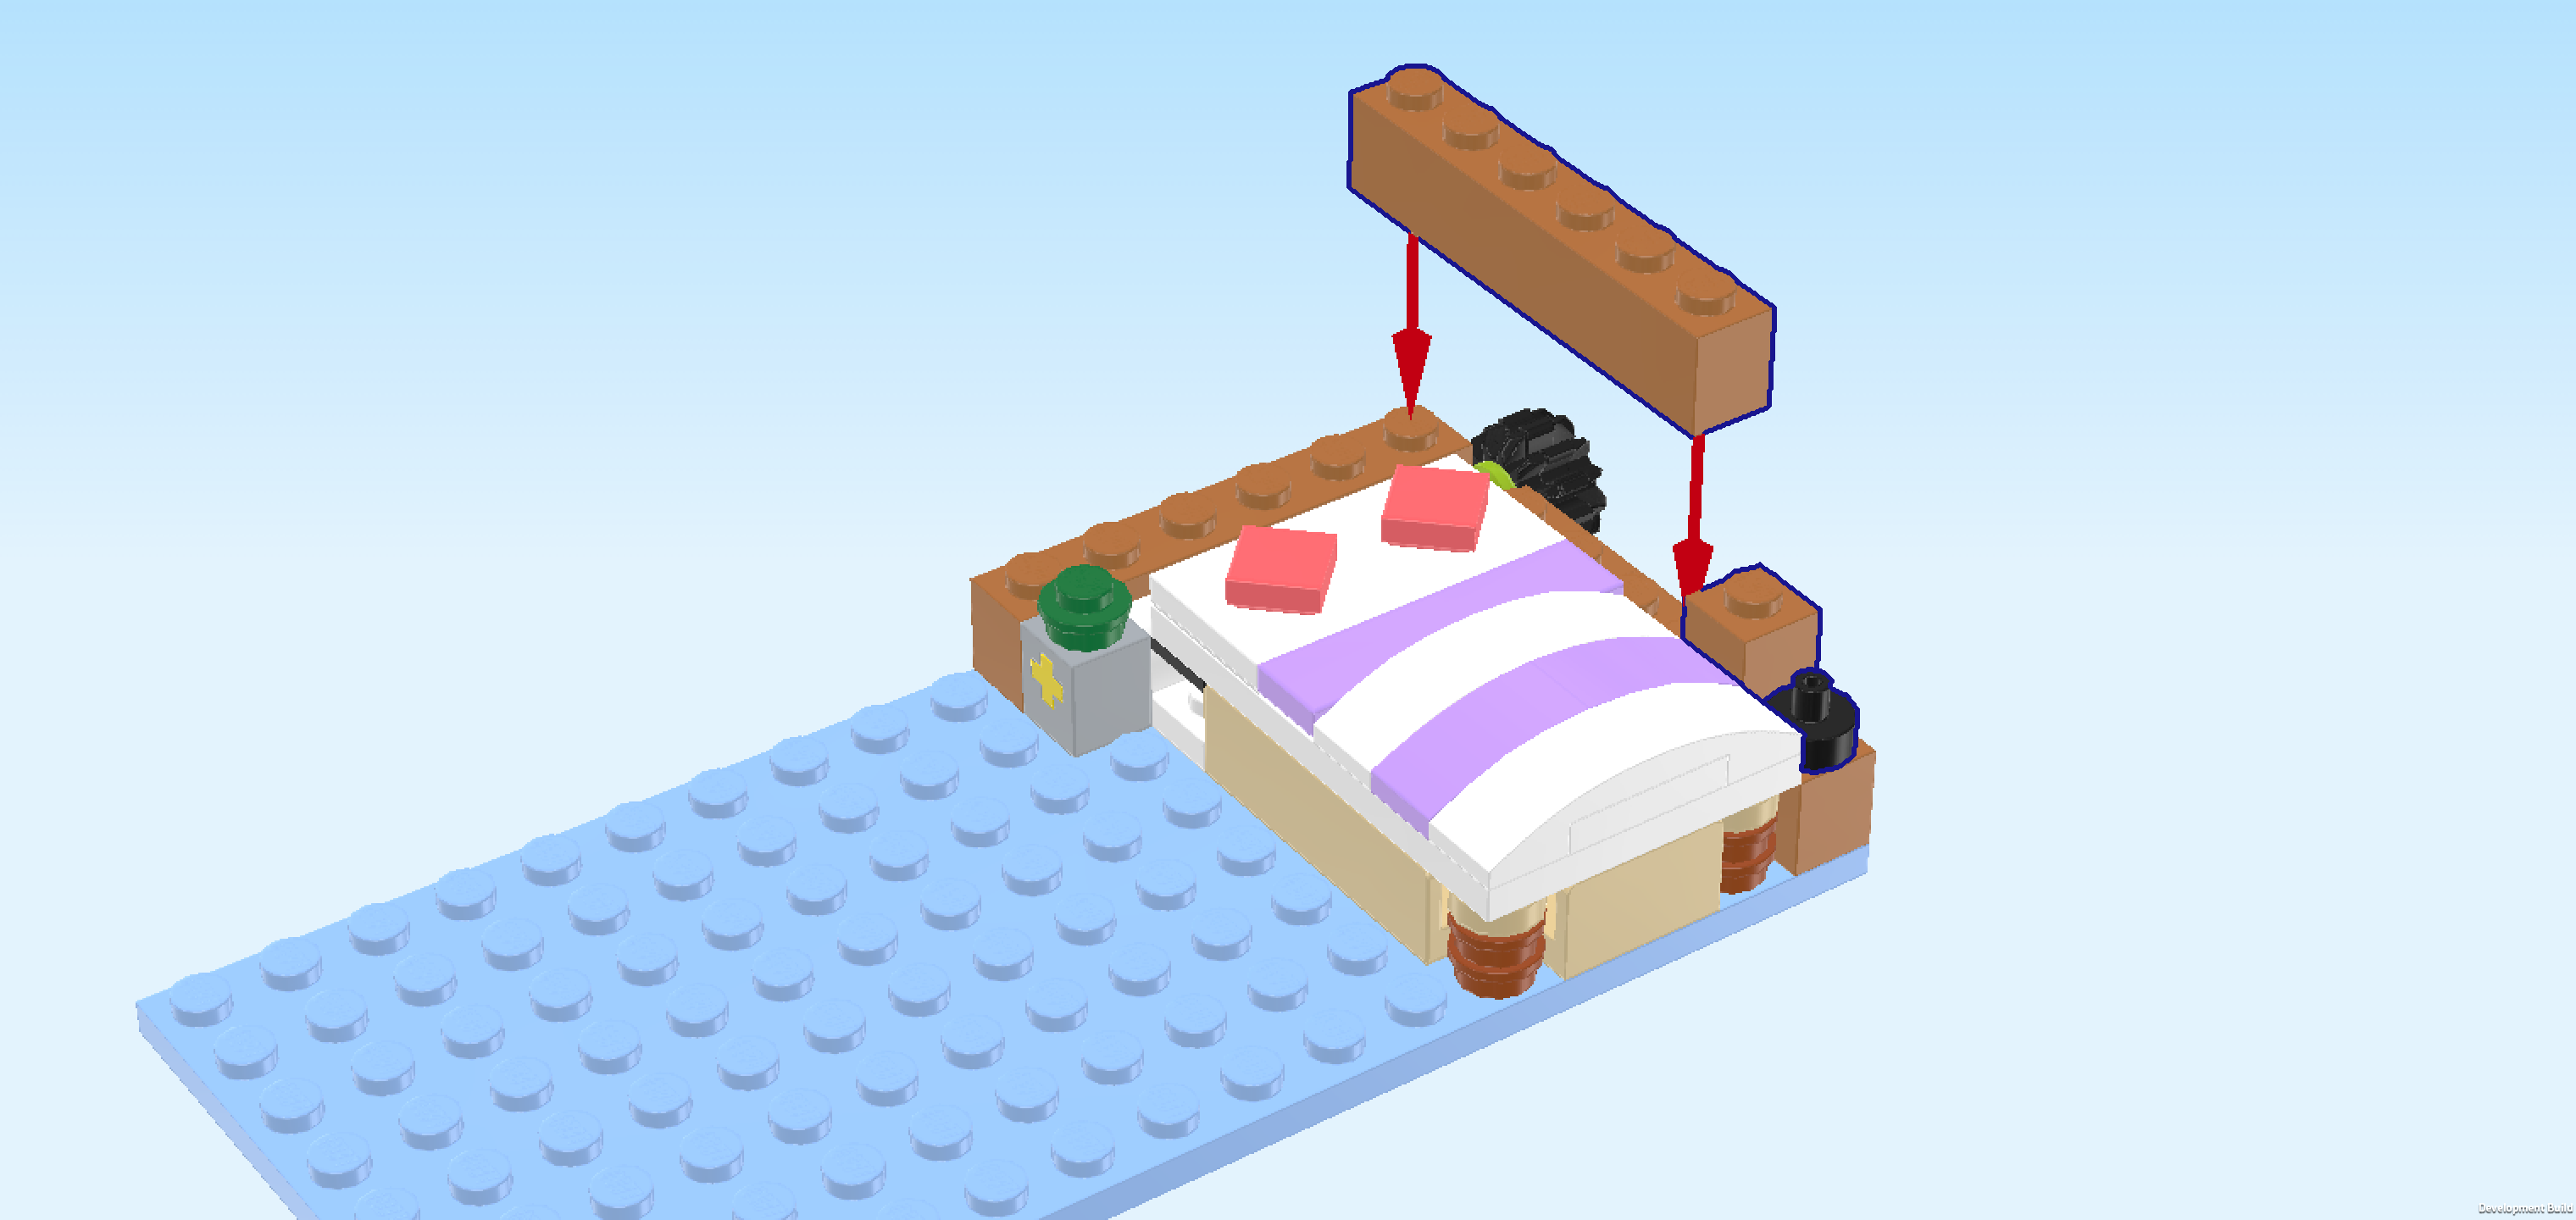
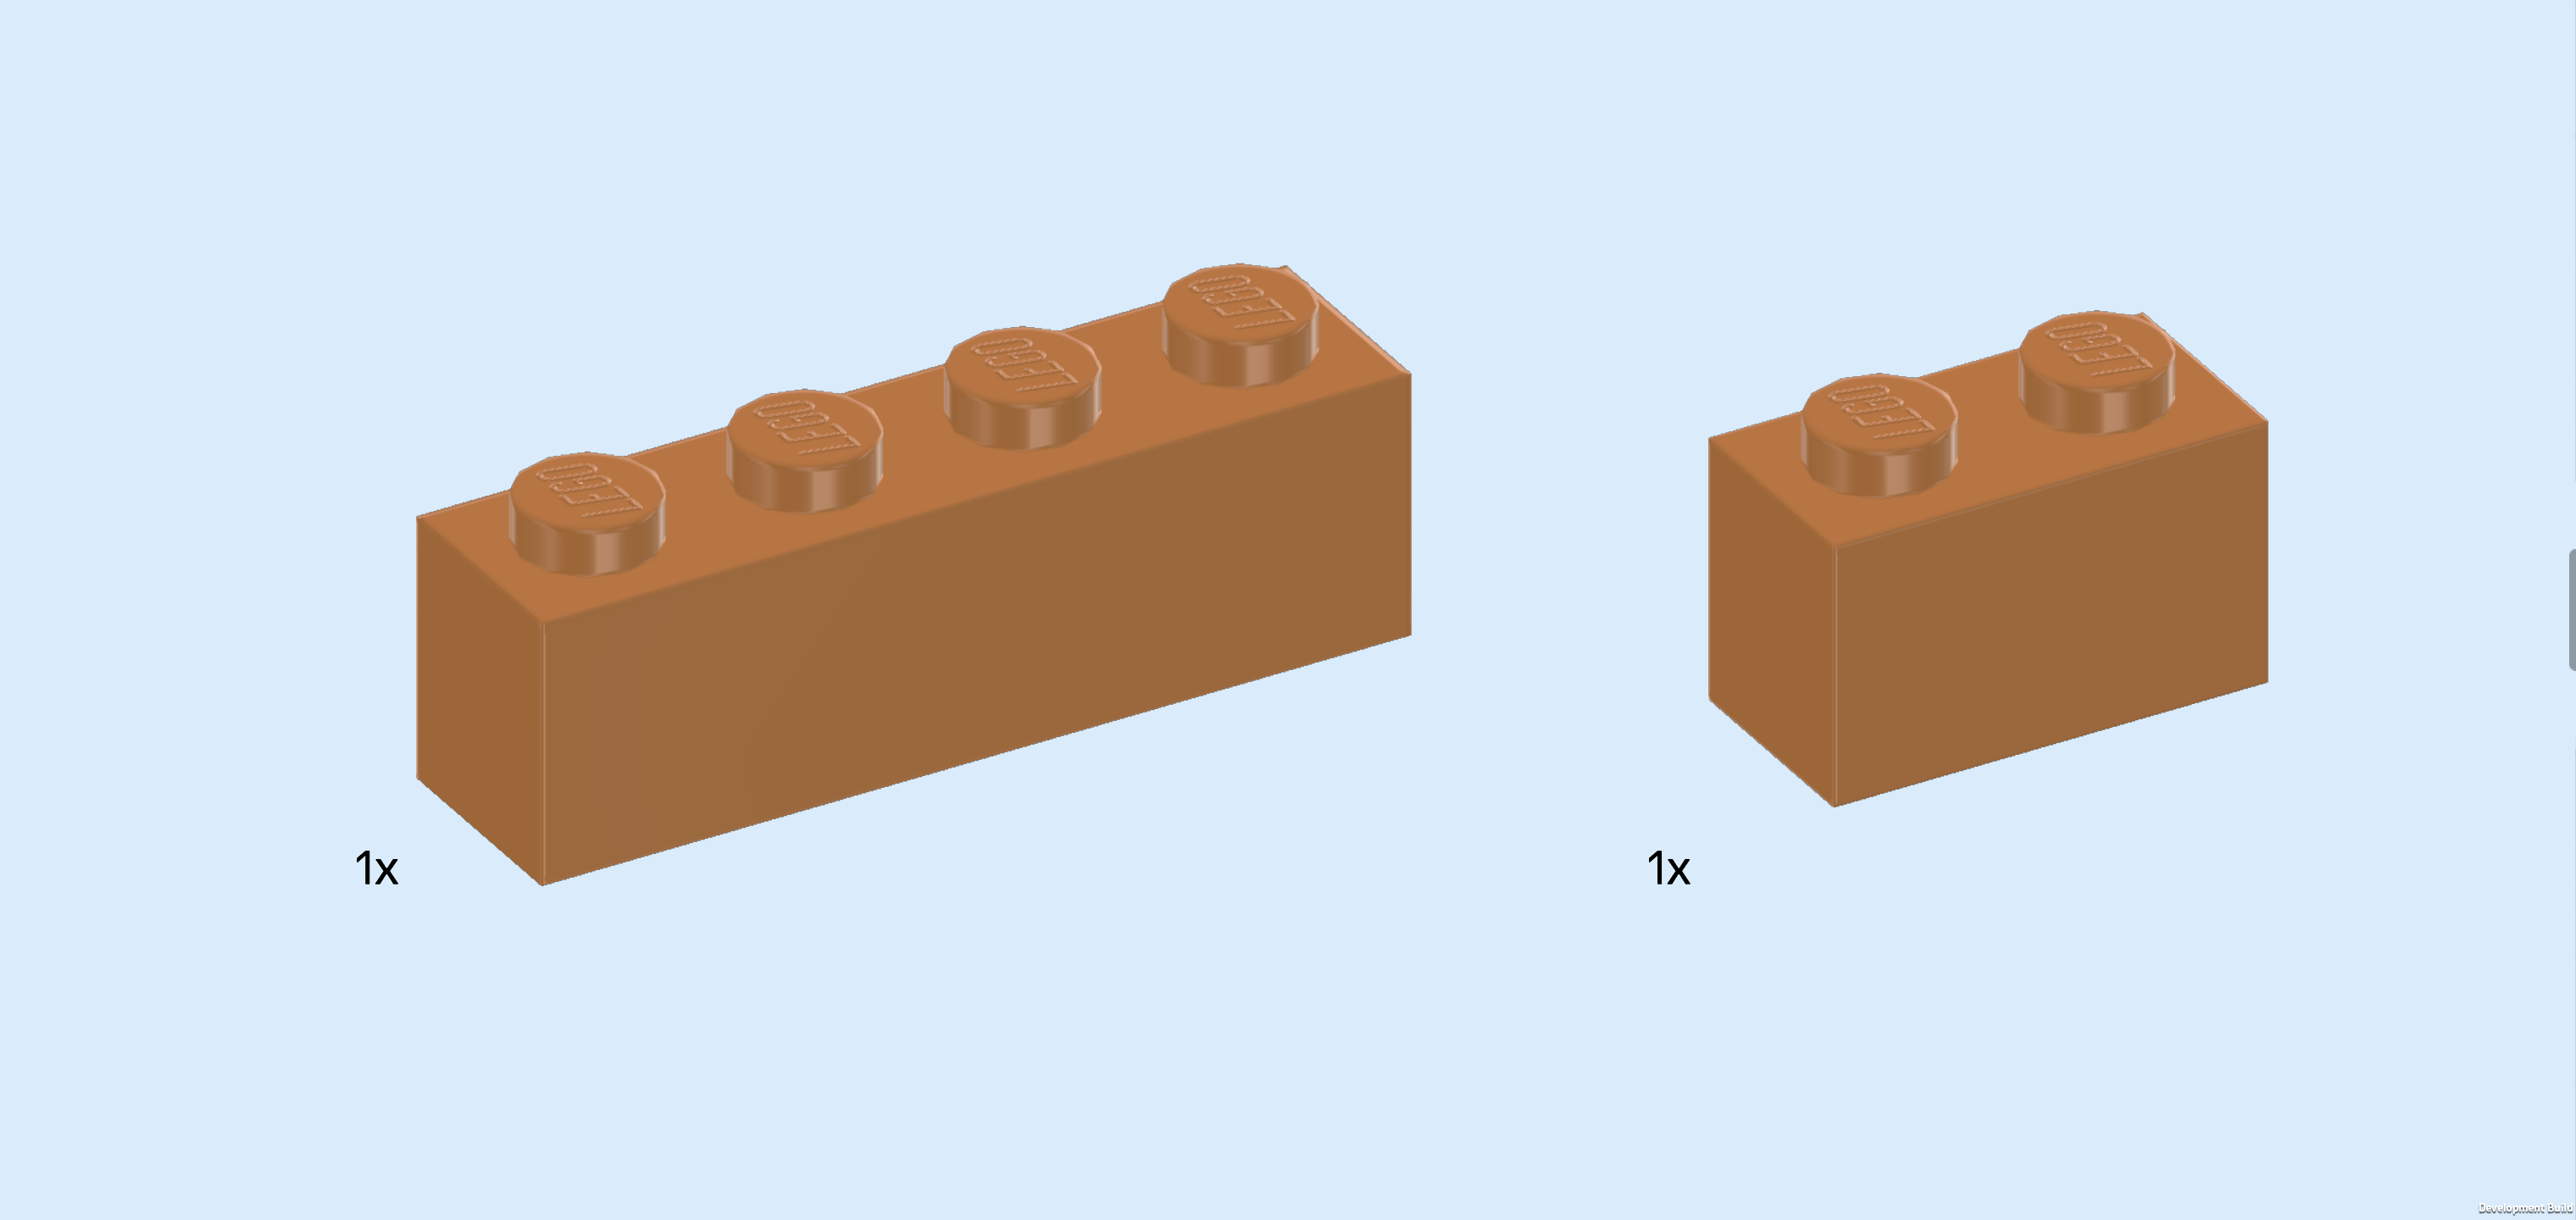
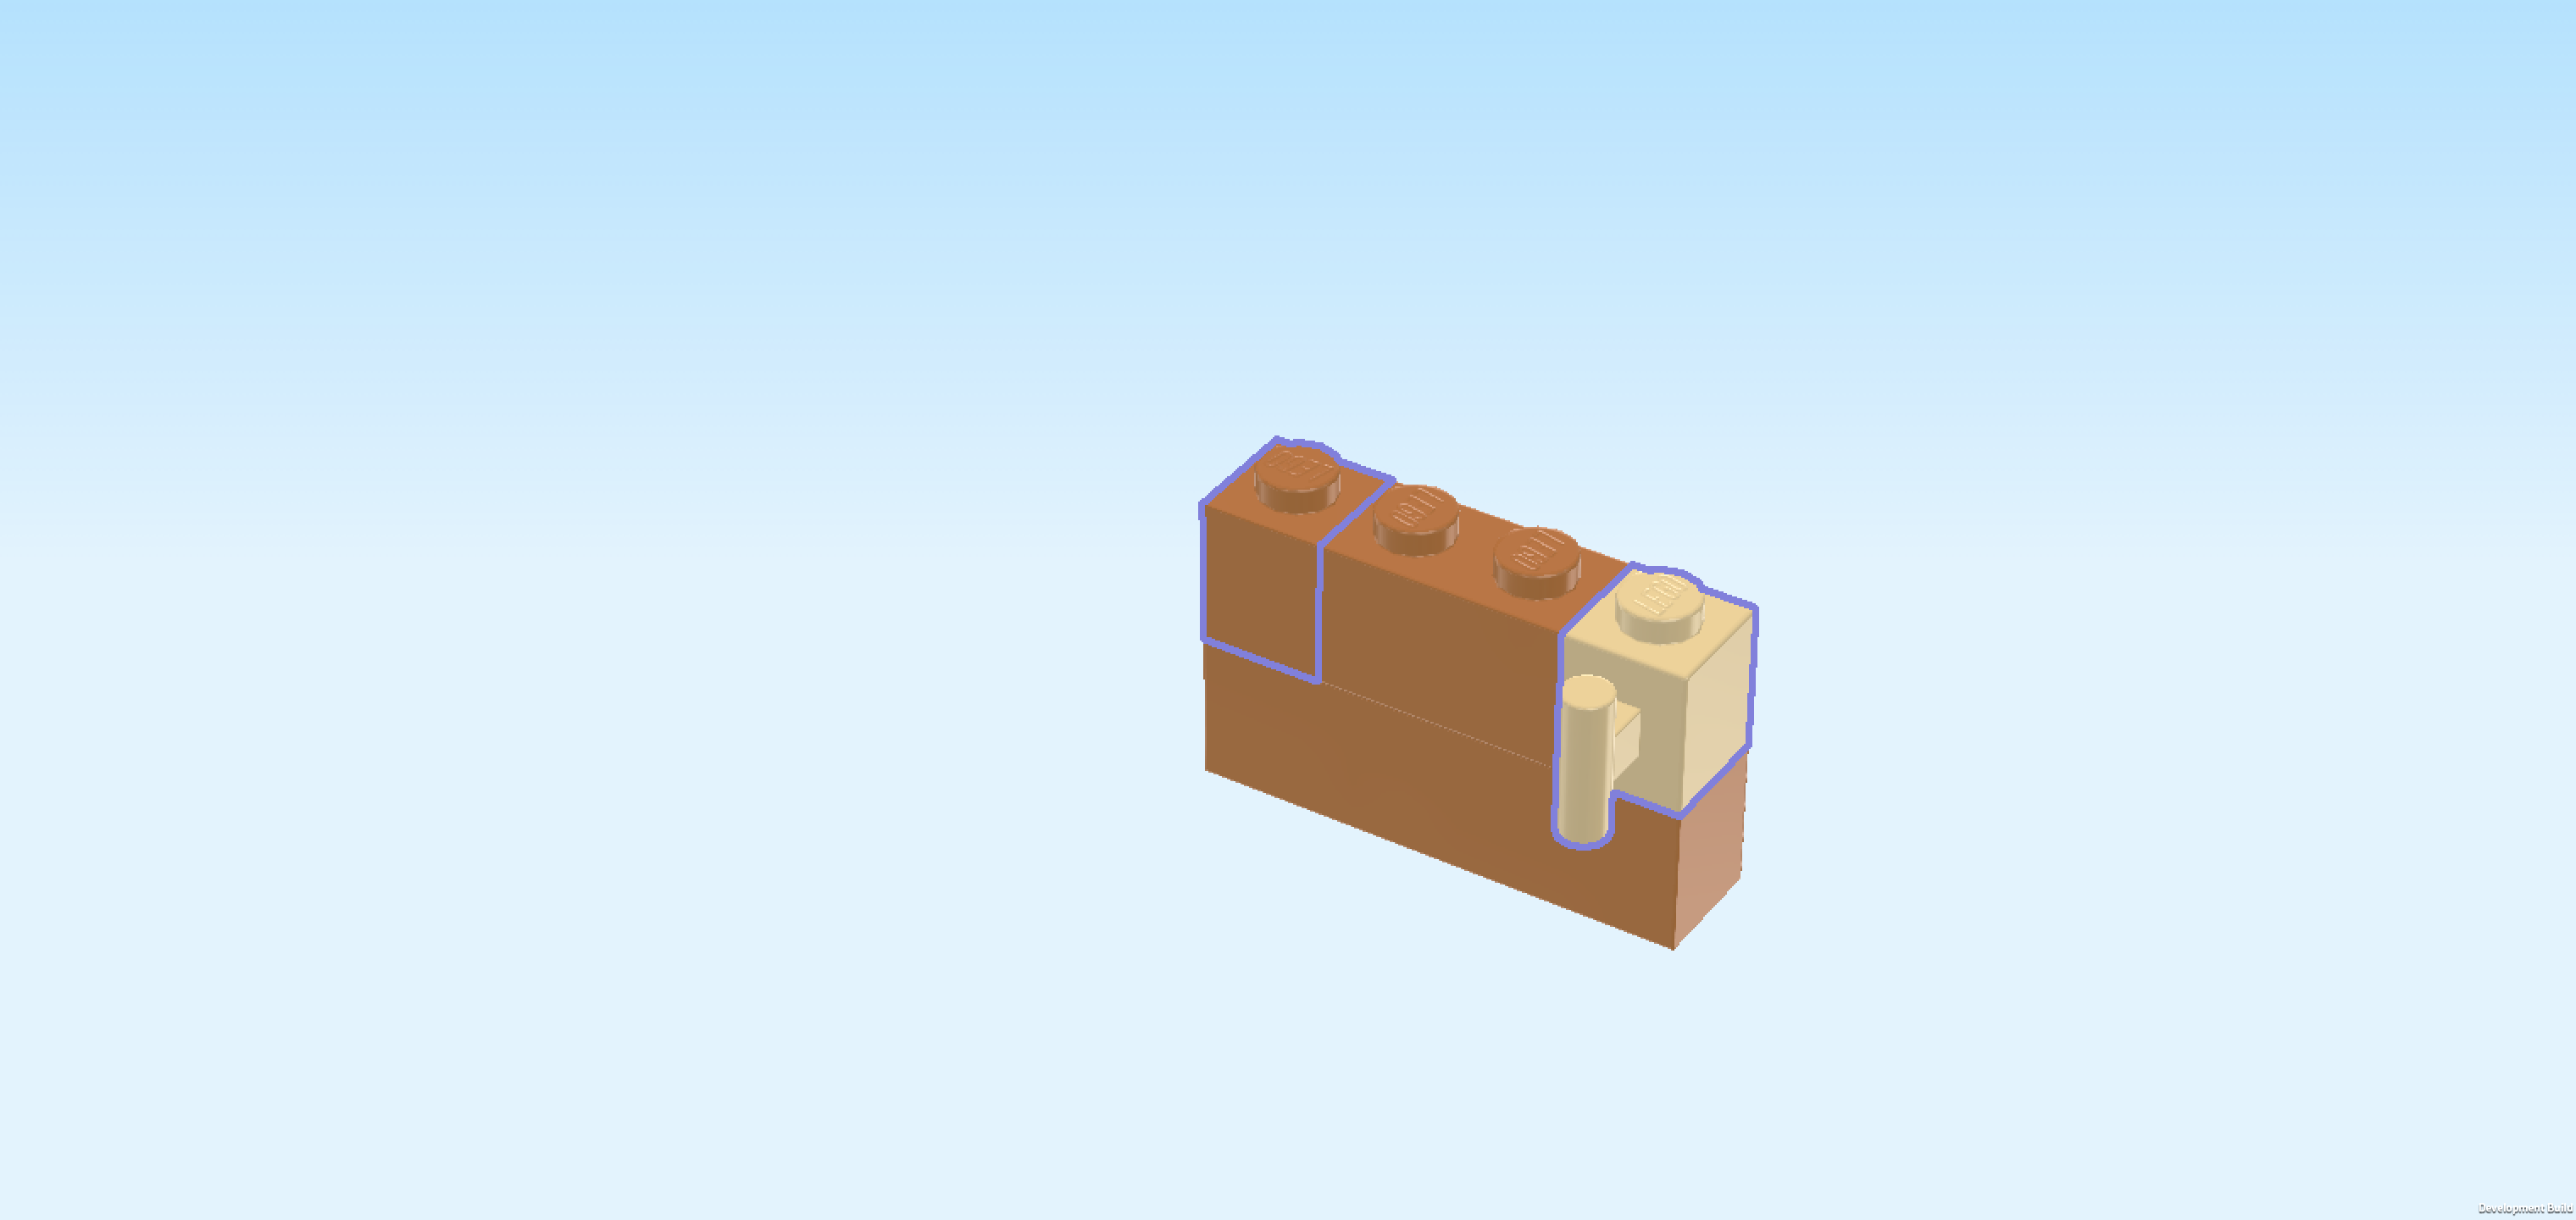
| Find 1 medium nougat brown brick 1x6. |
| Put it horizontally on the backmost row, starting from the right edge. |
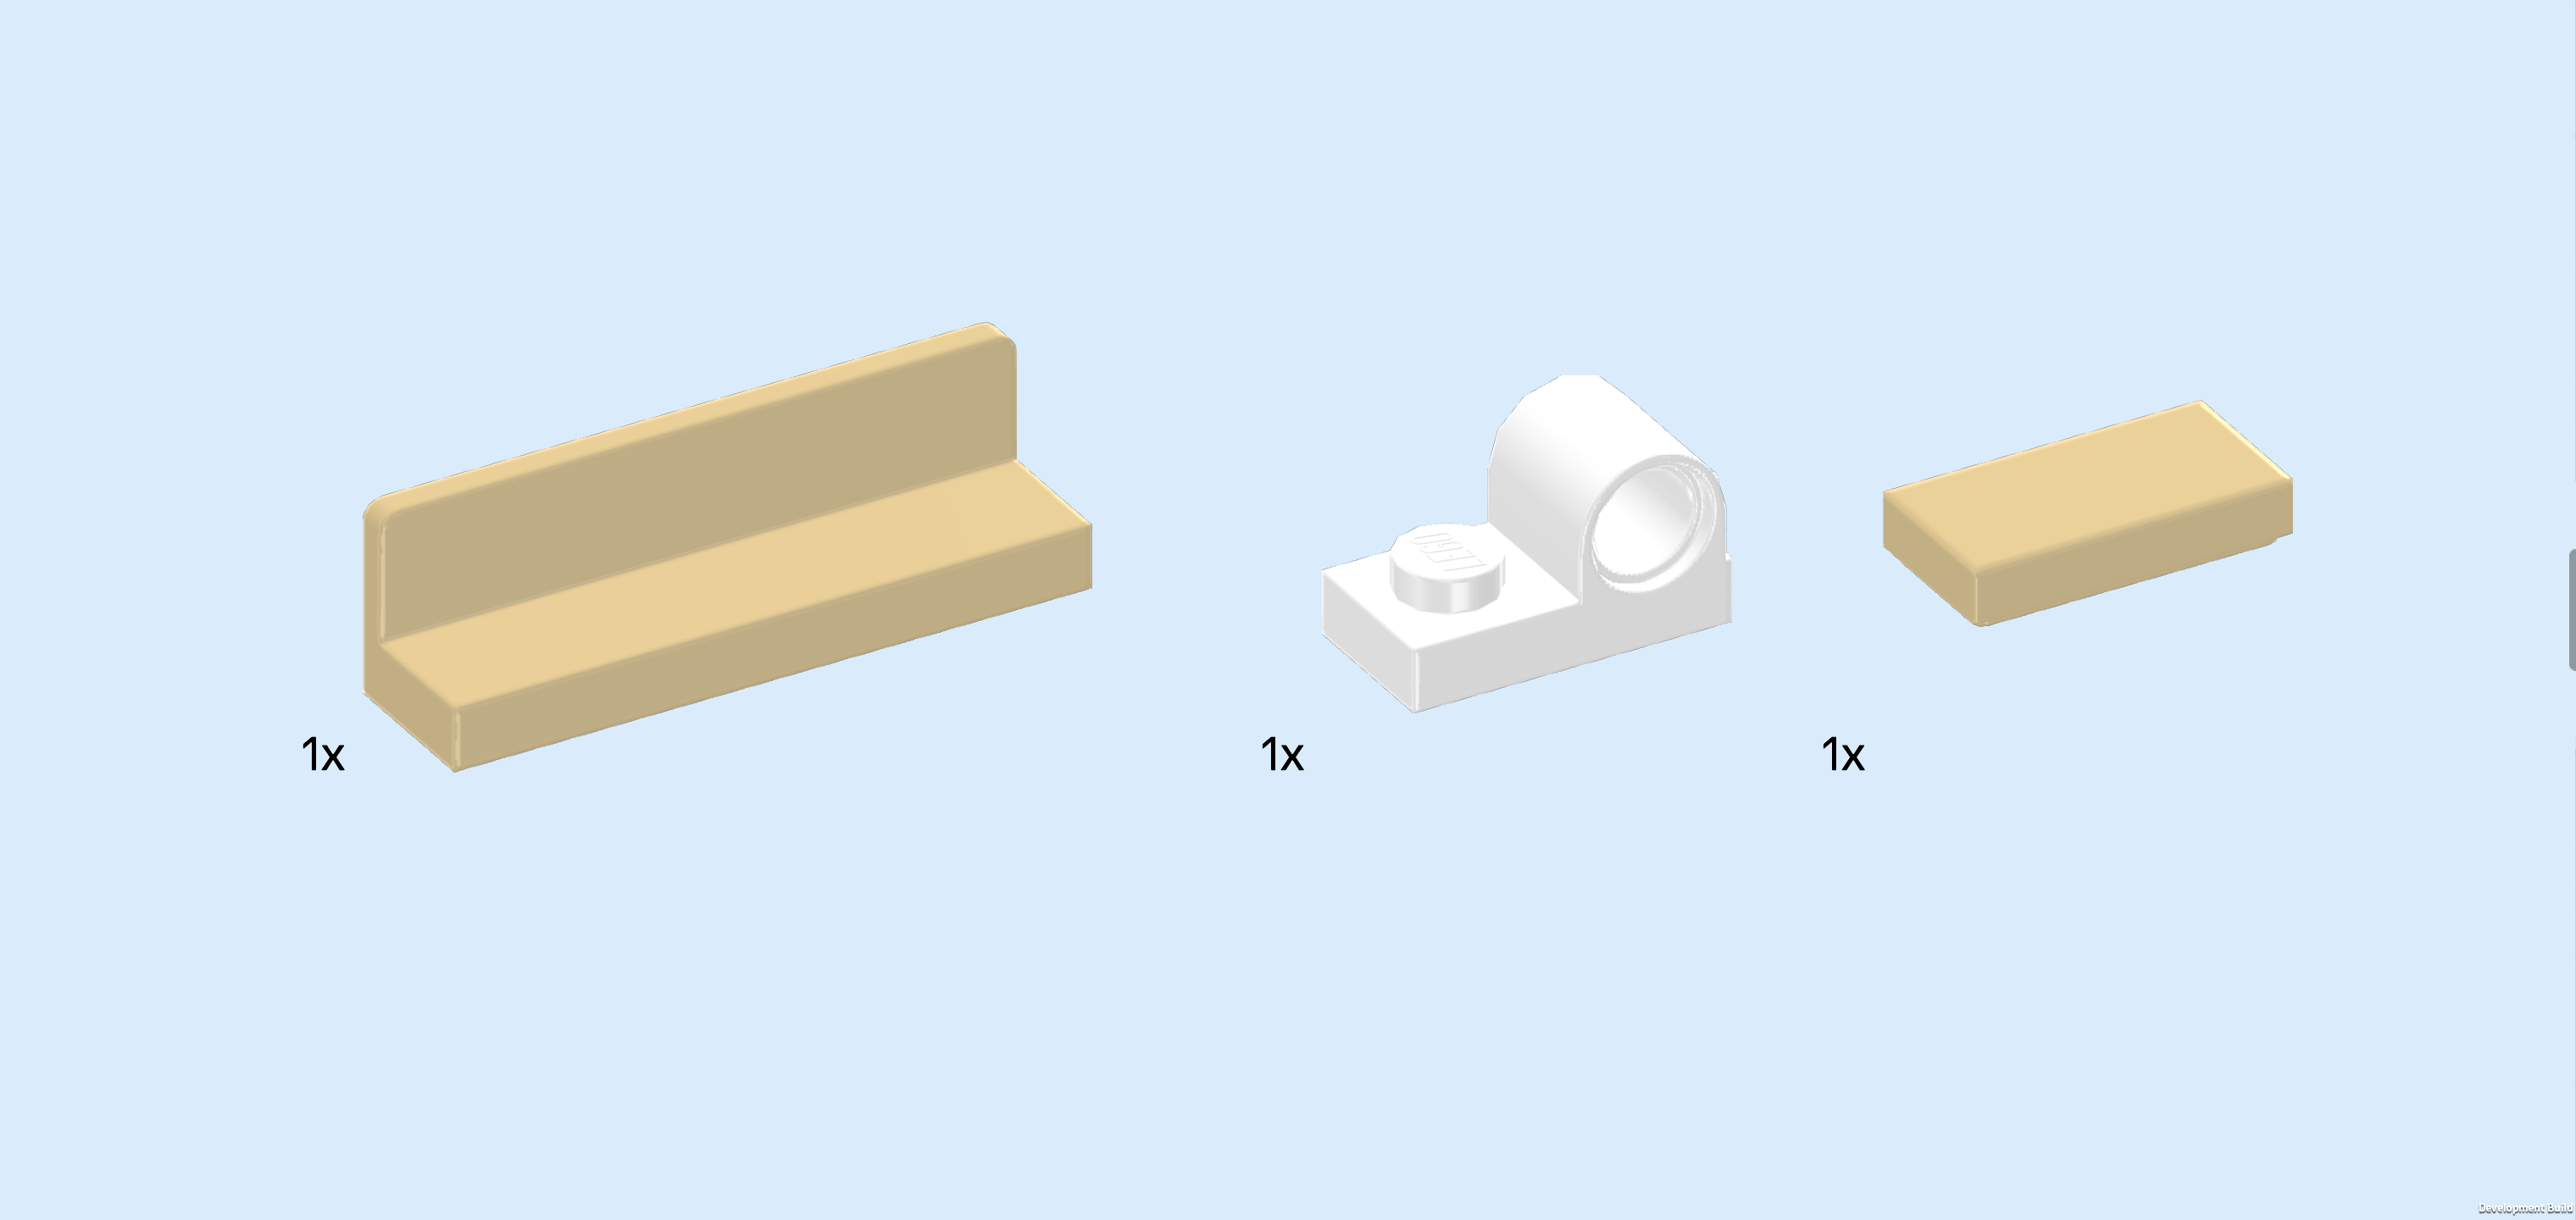
| Collect the following 3 pieces: |
| 1 beige panel element 1x4x1 with panel on long side, |
| 1 white plate 1x2 with top tube, |
| and 1 beige flat tile 1x2. |
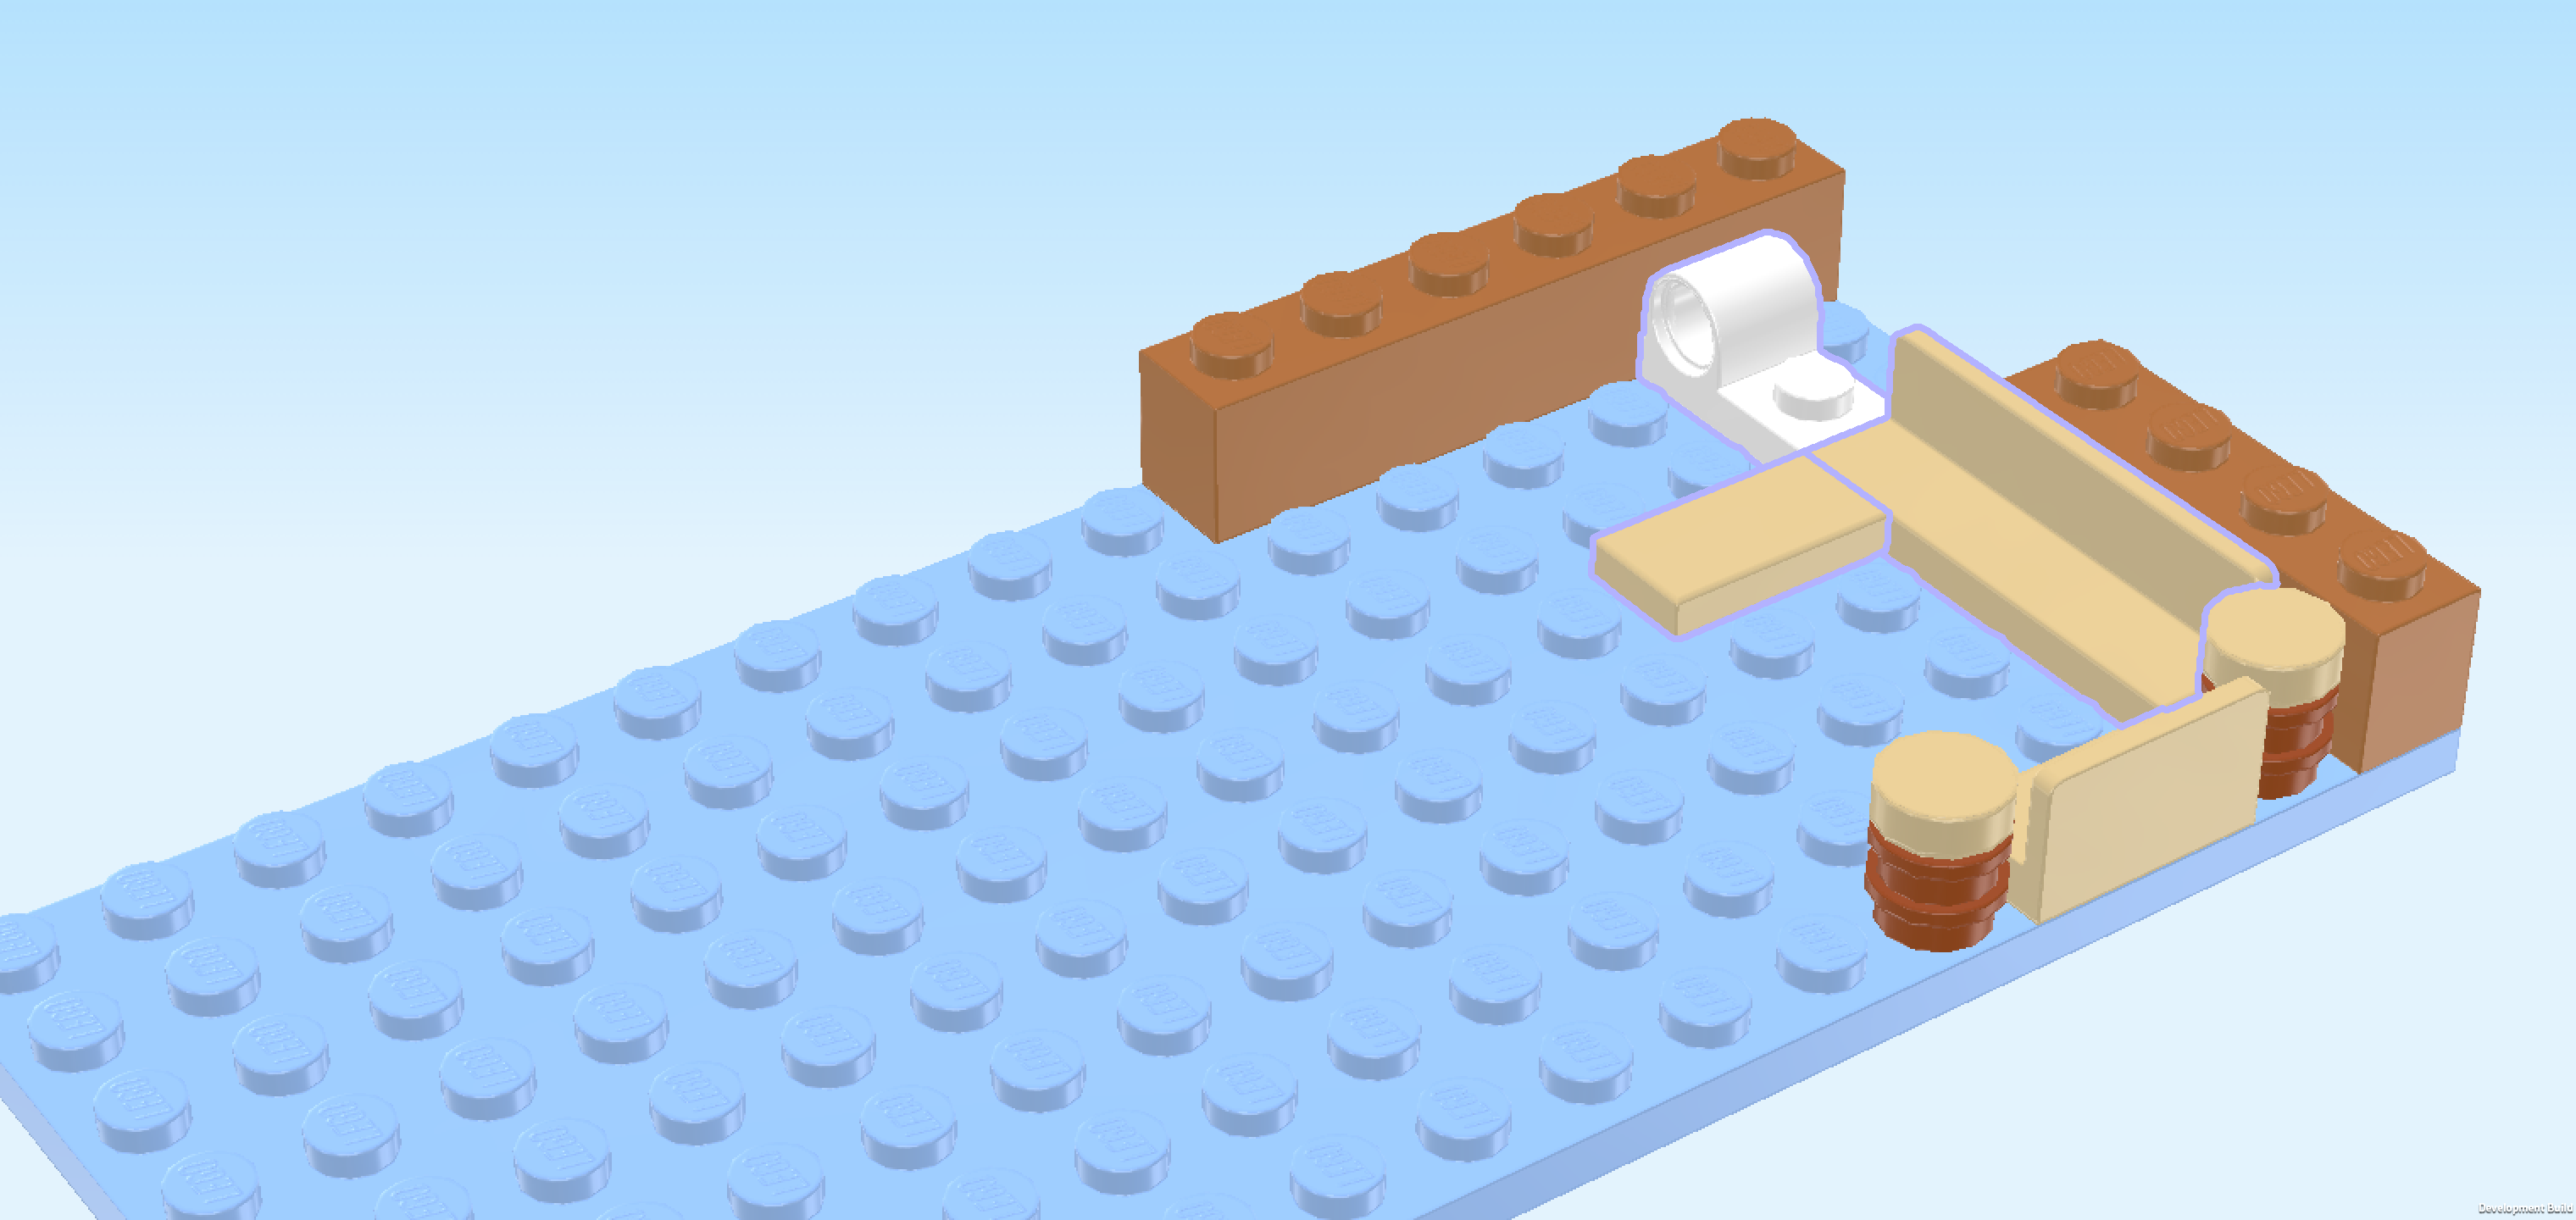
| Put the panel element vertically behind the right bedpost, panel to the right. This means it will sit on the second column from the right. |
| Put the plate with top tube vertically behind the previous piece, top tube to the back. |
| Put the flat tile 1x2 horizontally to the left of the backmost quarter of the panel element 1x4x1. |
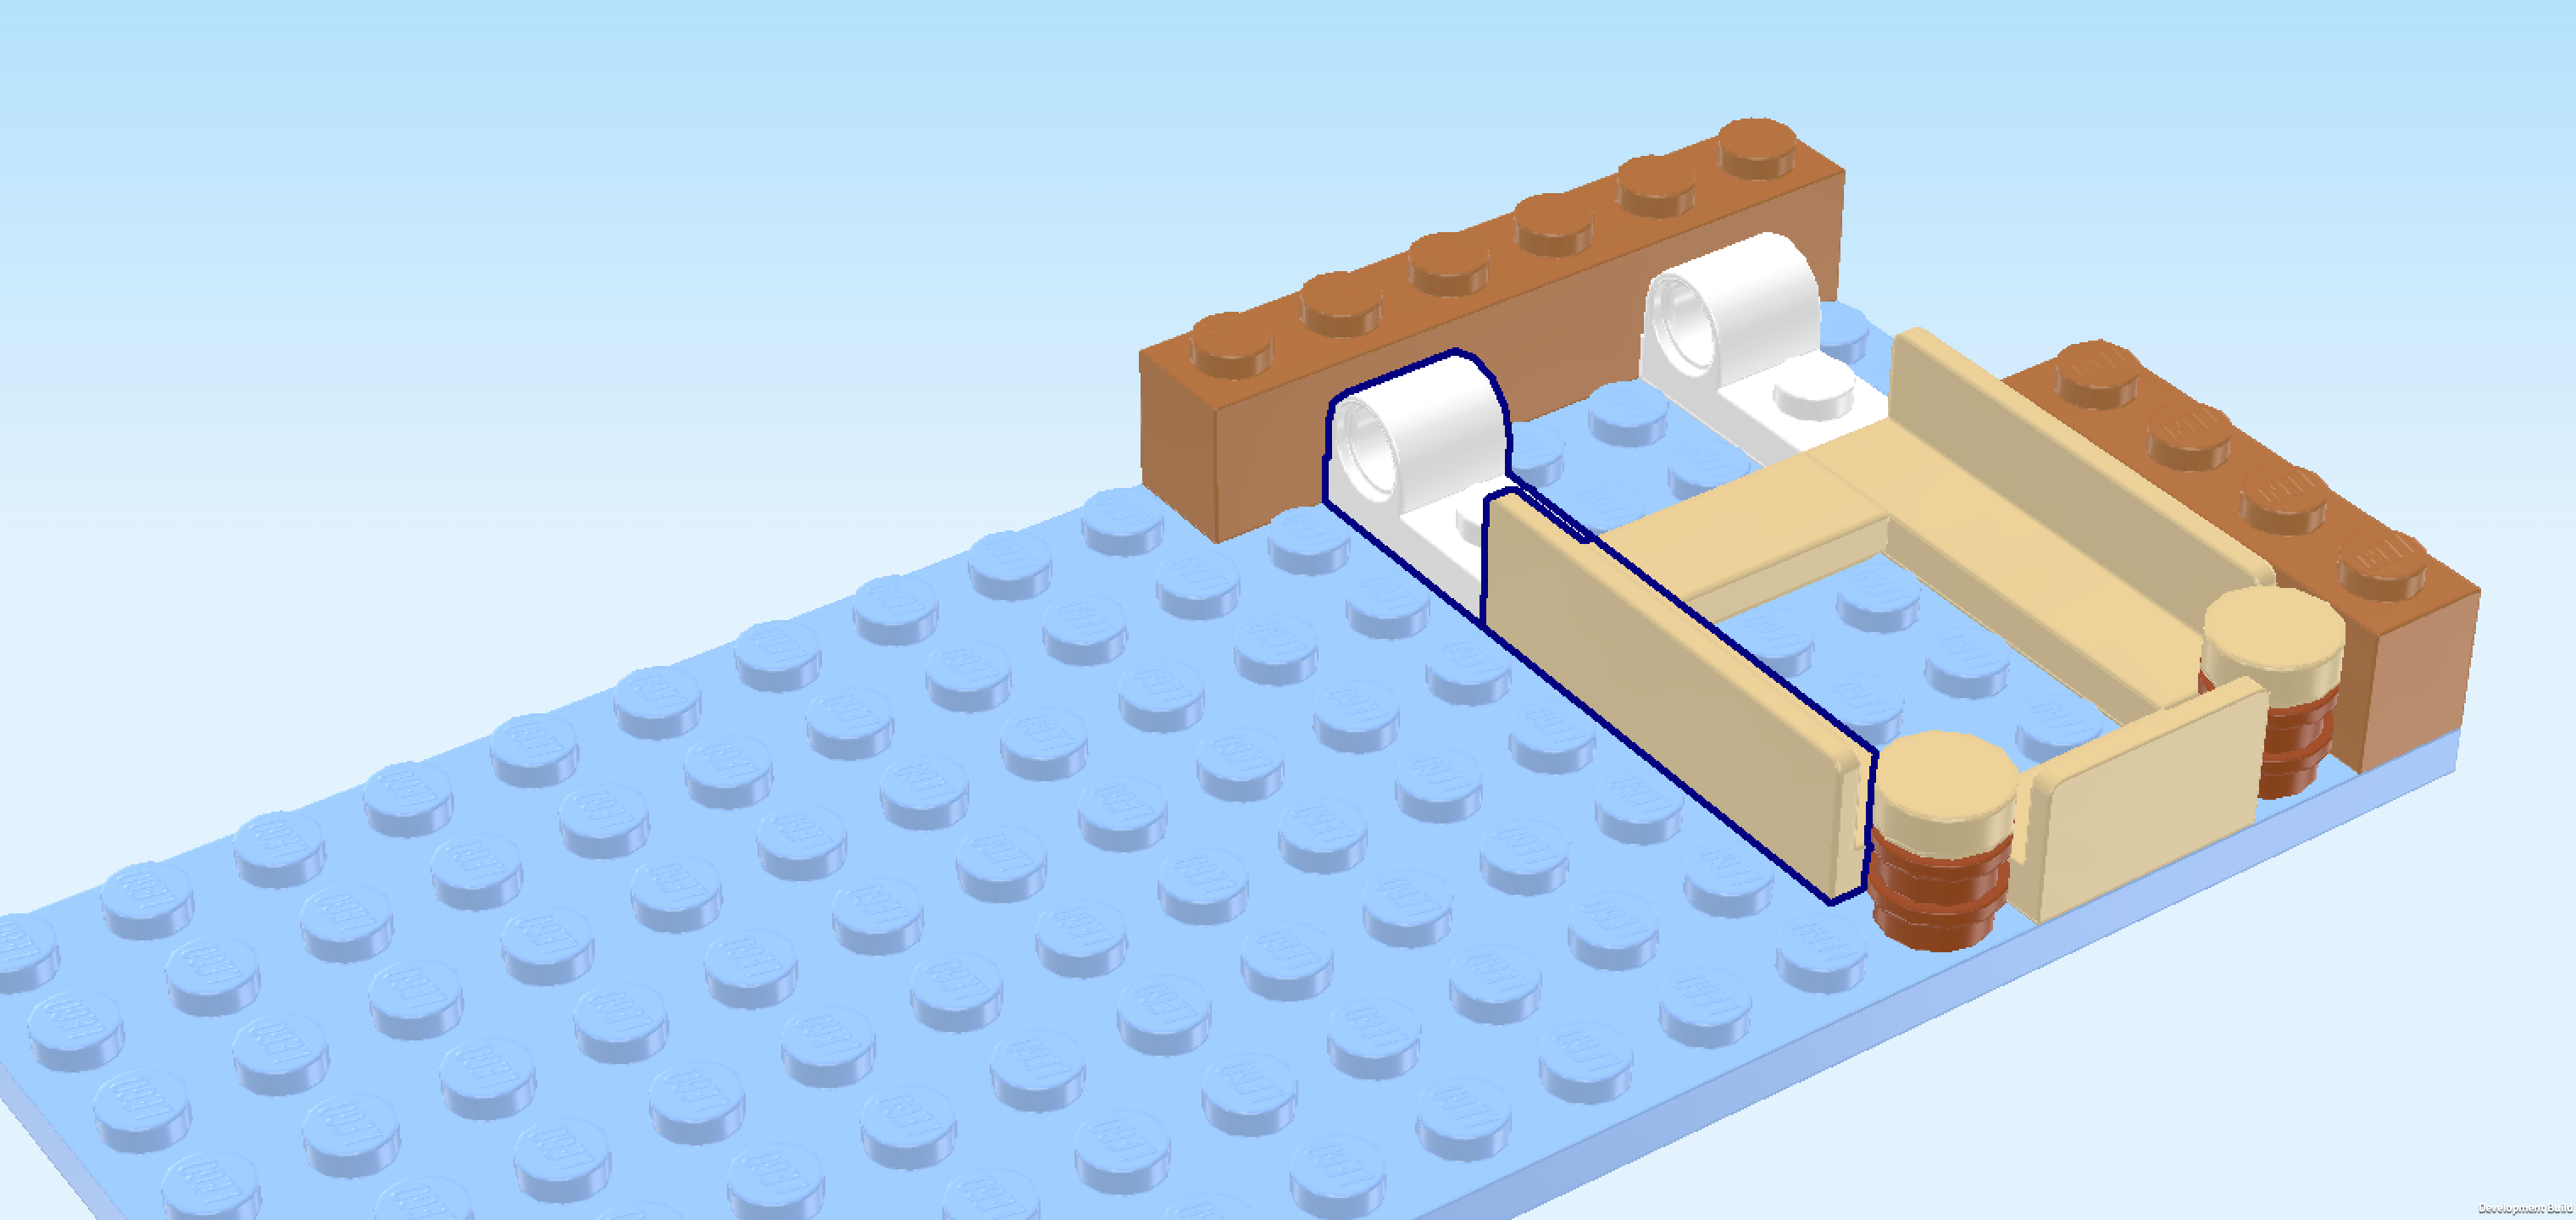
| Collect the following 2 pieces: |
| another beige panel element 1x4x1 with panel on long side, |
| and another white plate 1x2 with top tube. |
| Put the panel element vertically behind the left bedpost, panel to the left. |
| Put the plate with top tube vertically behind the previous piece, top tube to the back. |
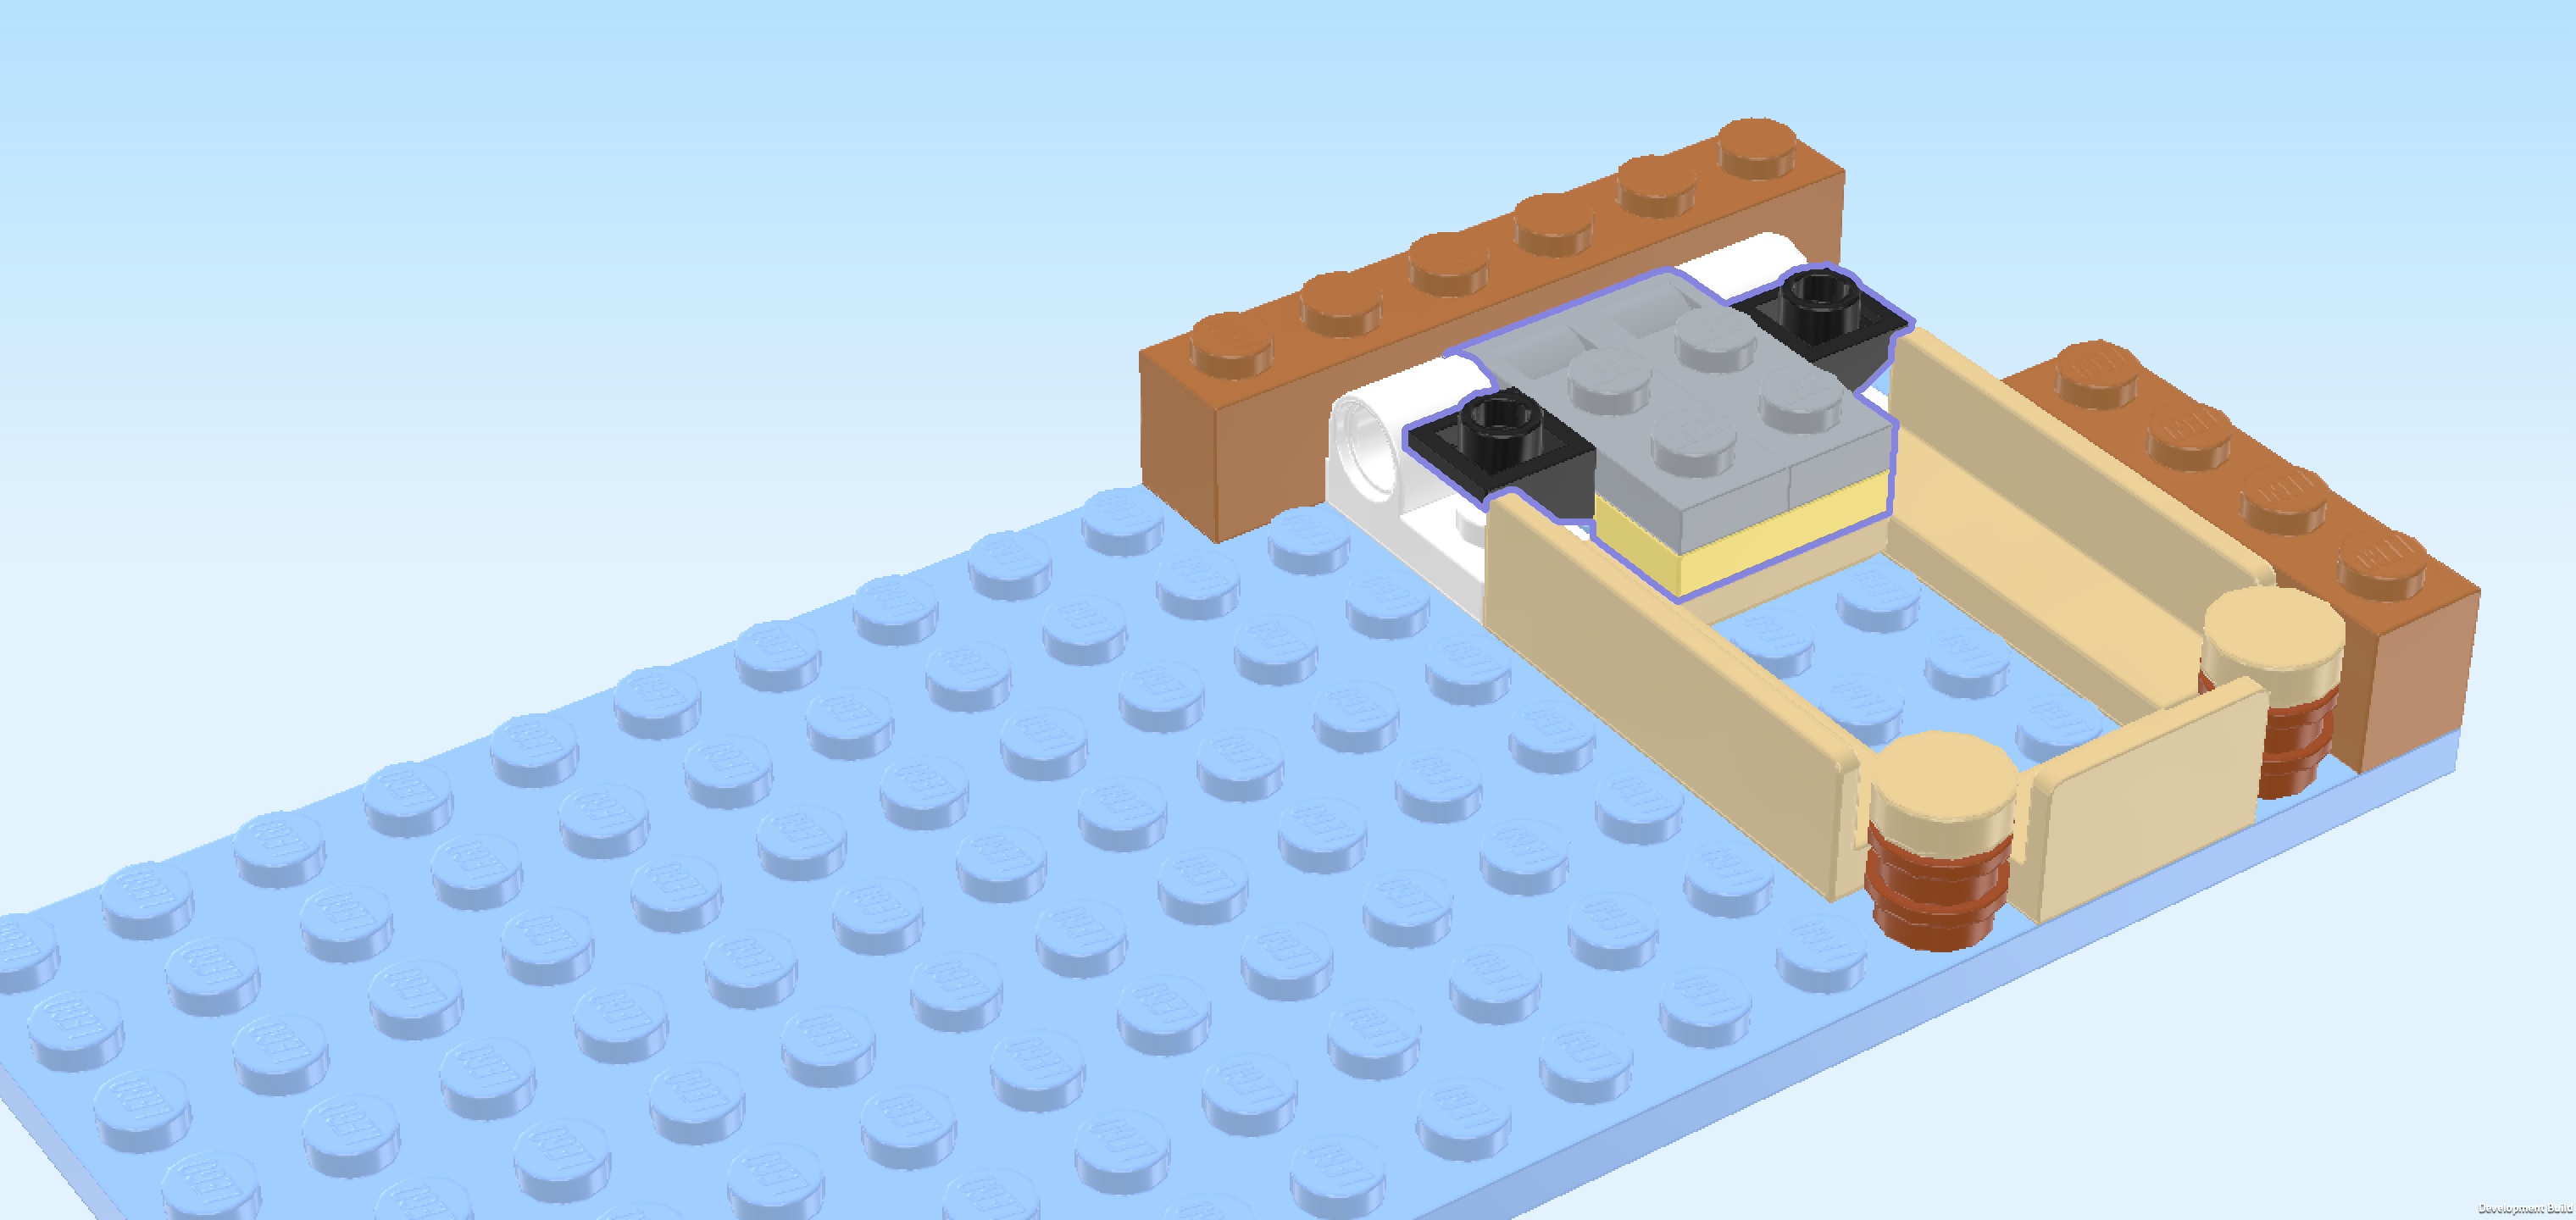
| Next up, let's make a sub-part of the tilt-up mechanism. |
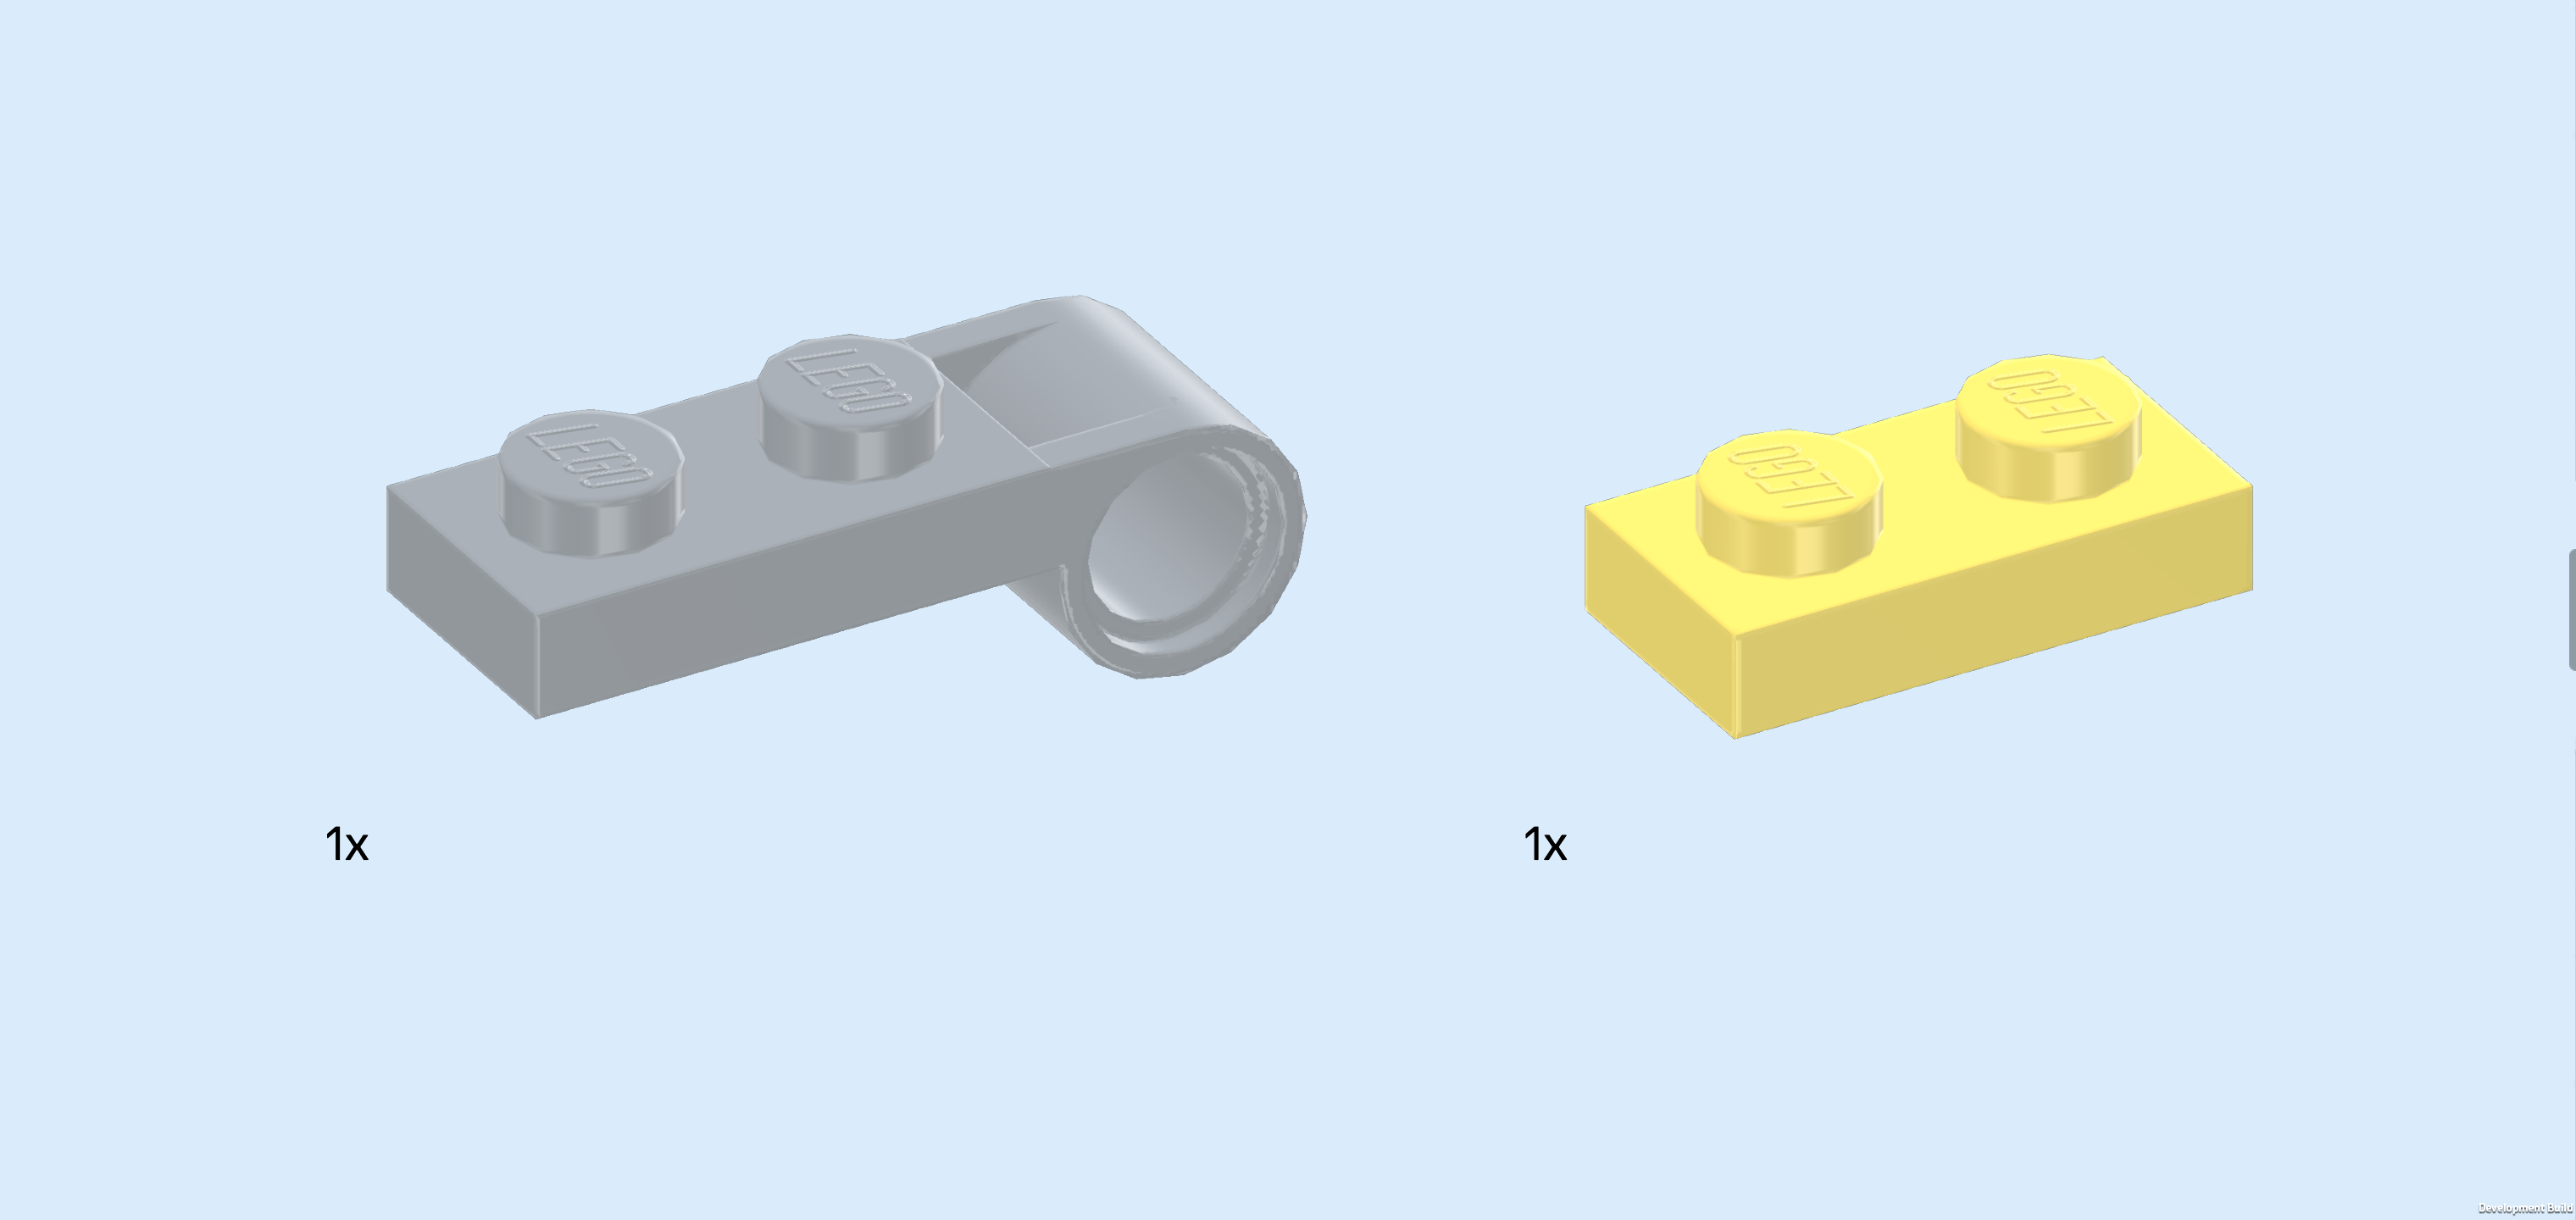
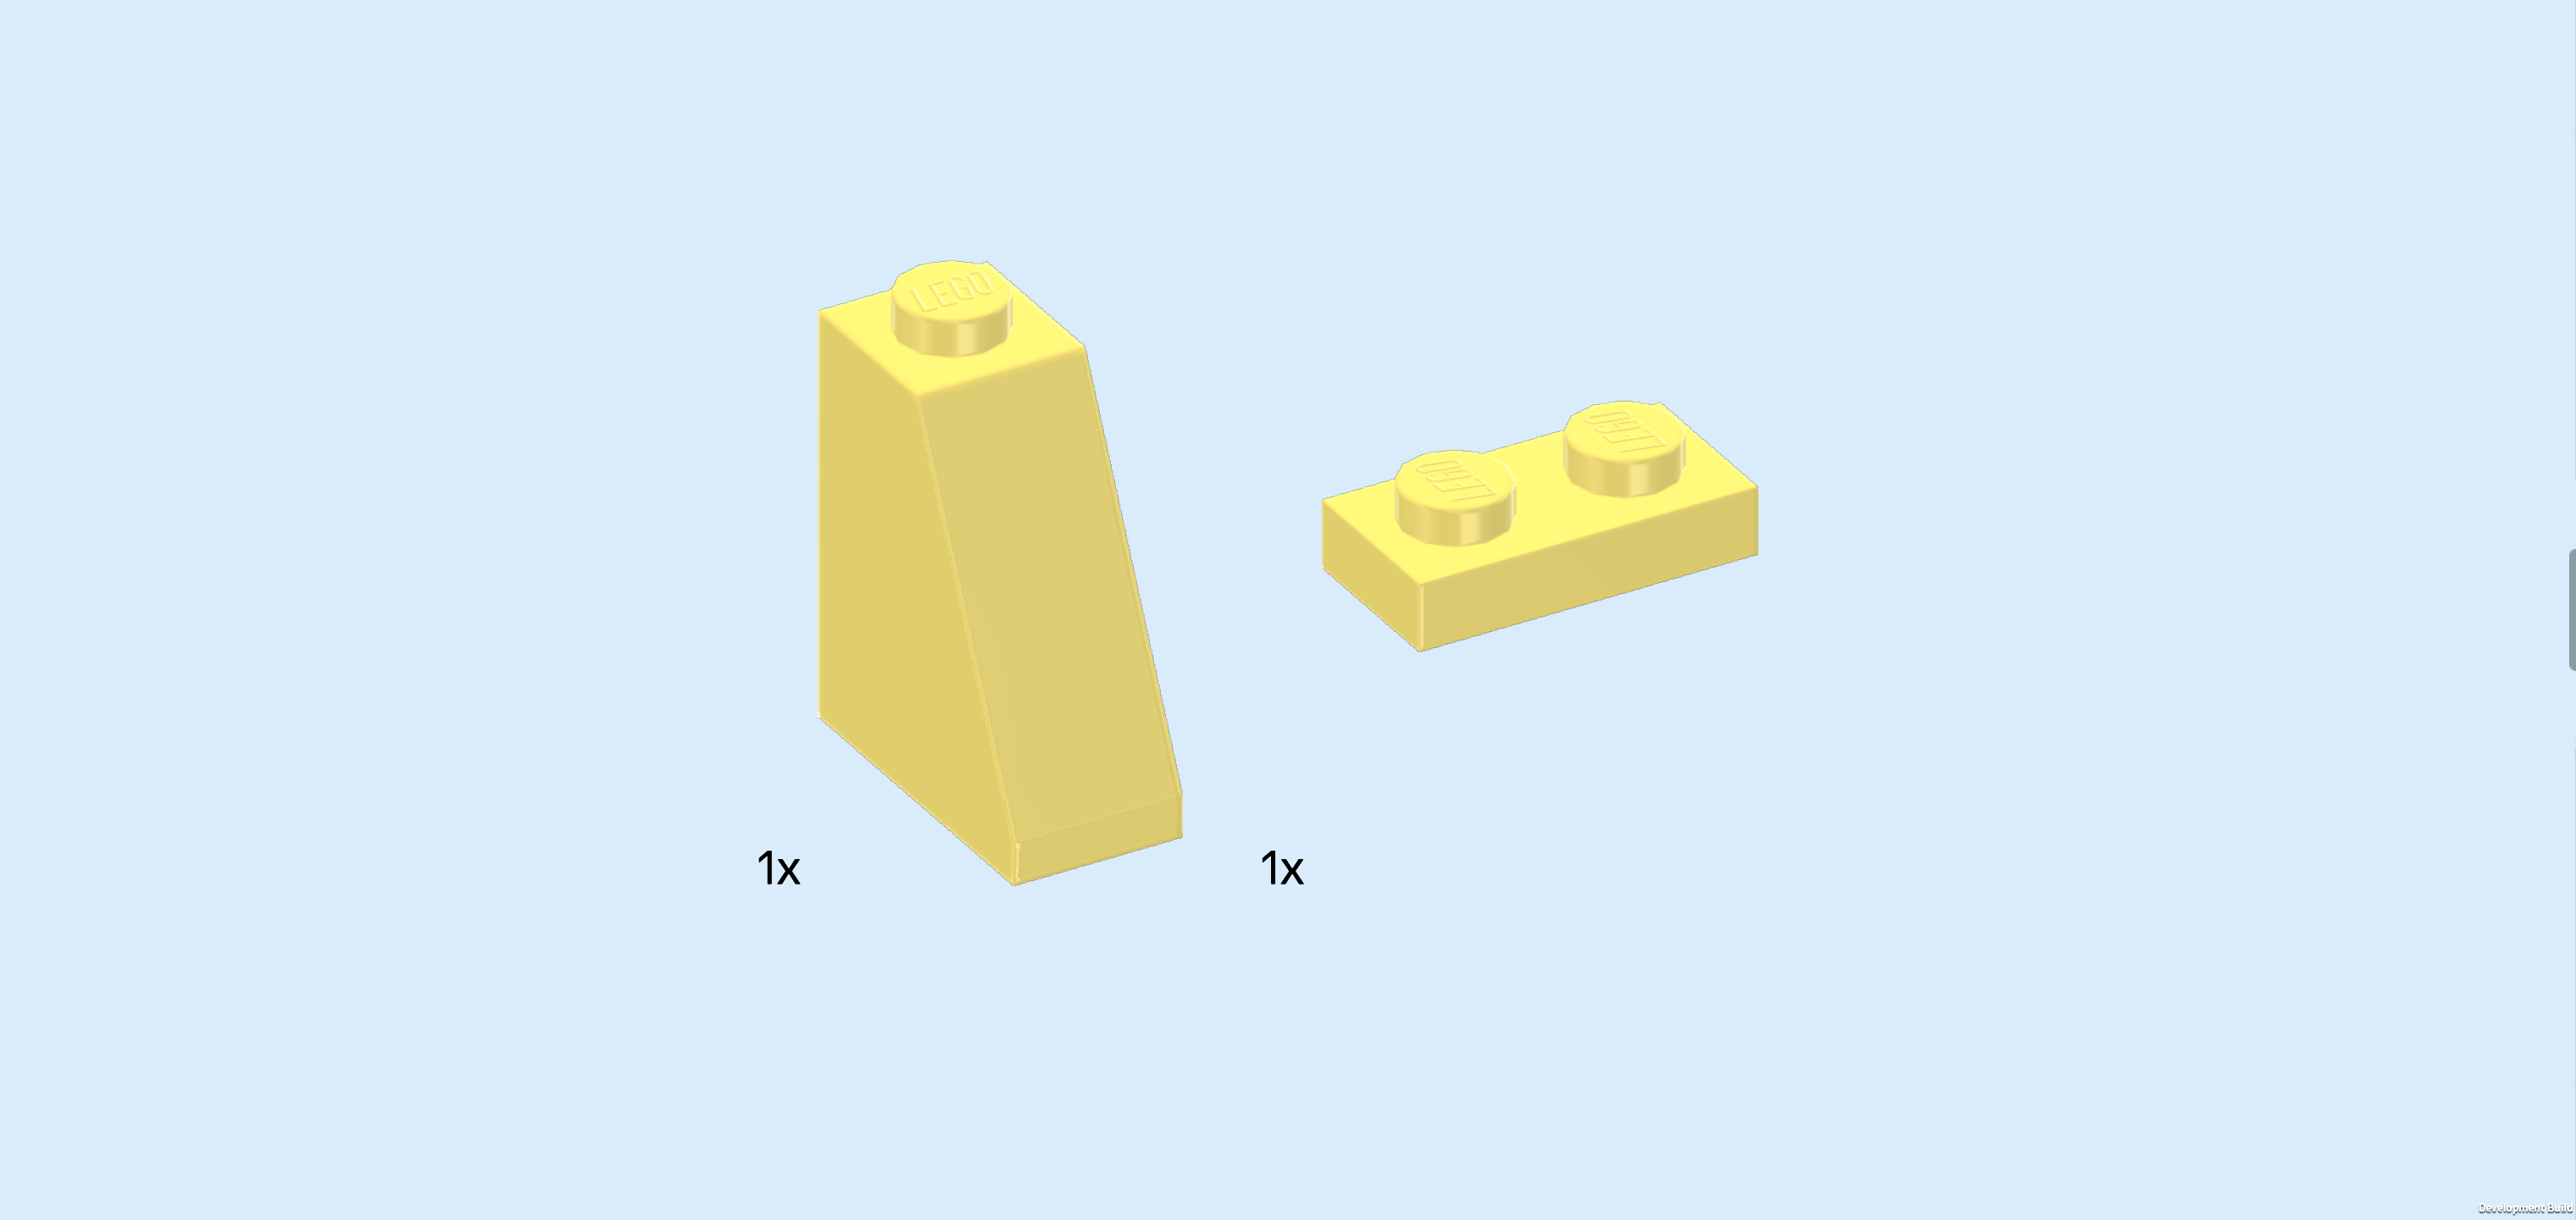
| Collect the following 2 pieces: |
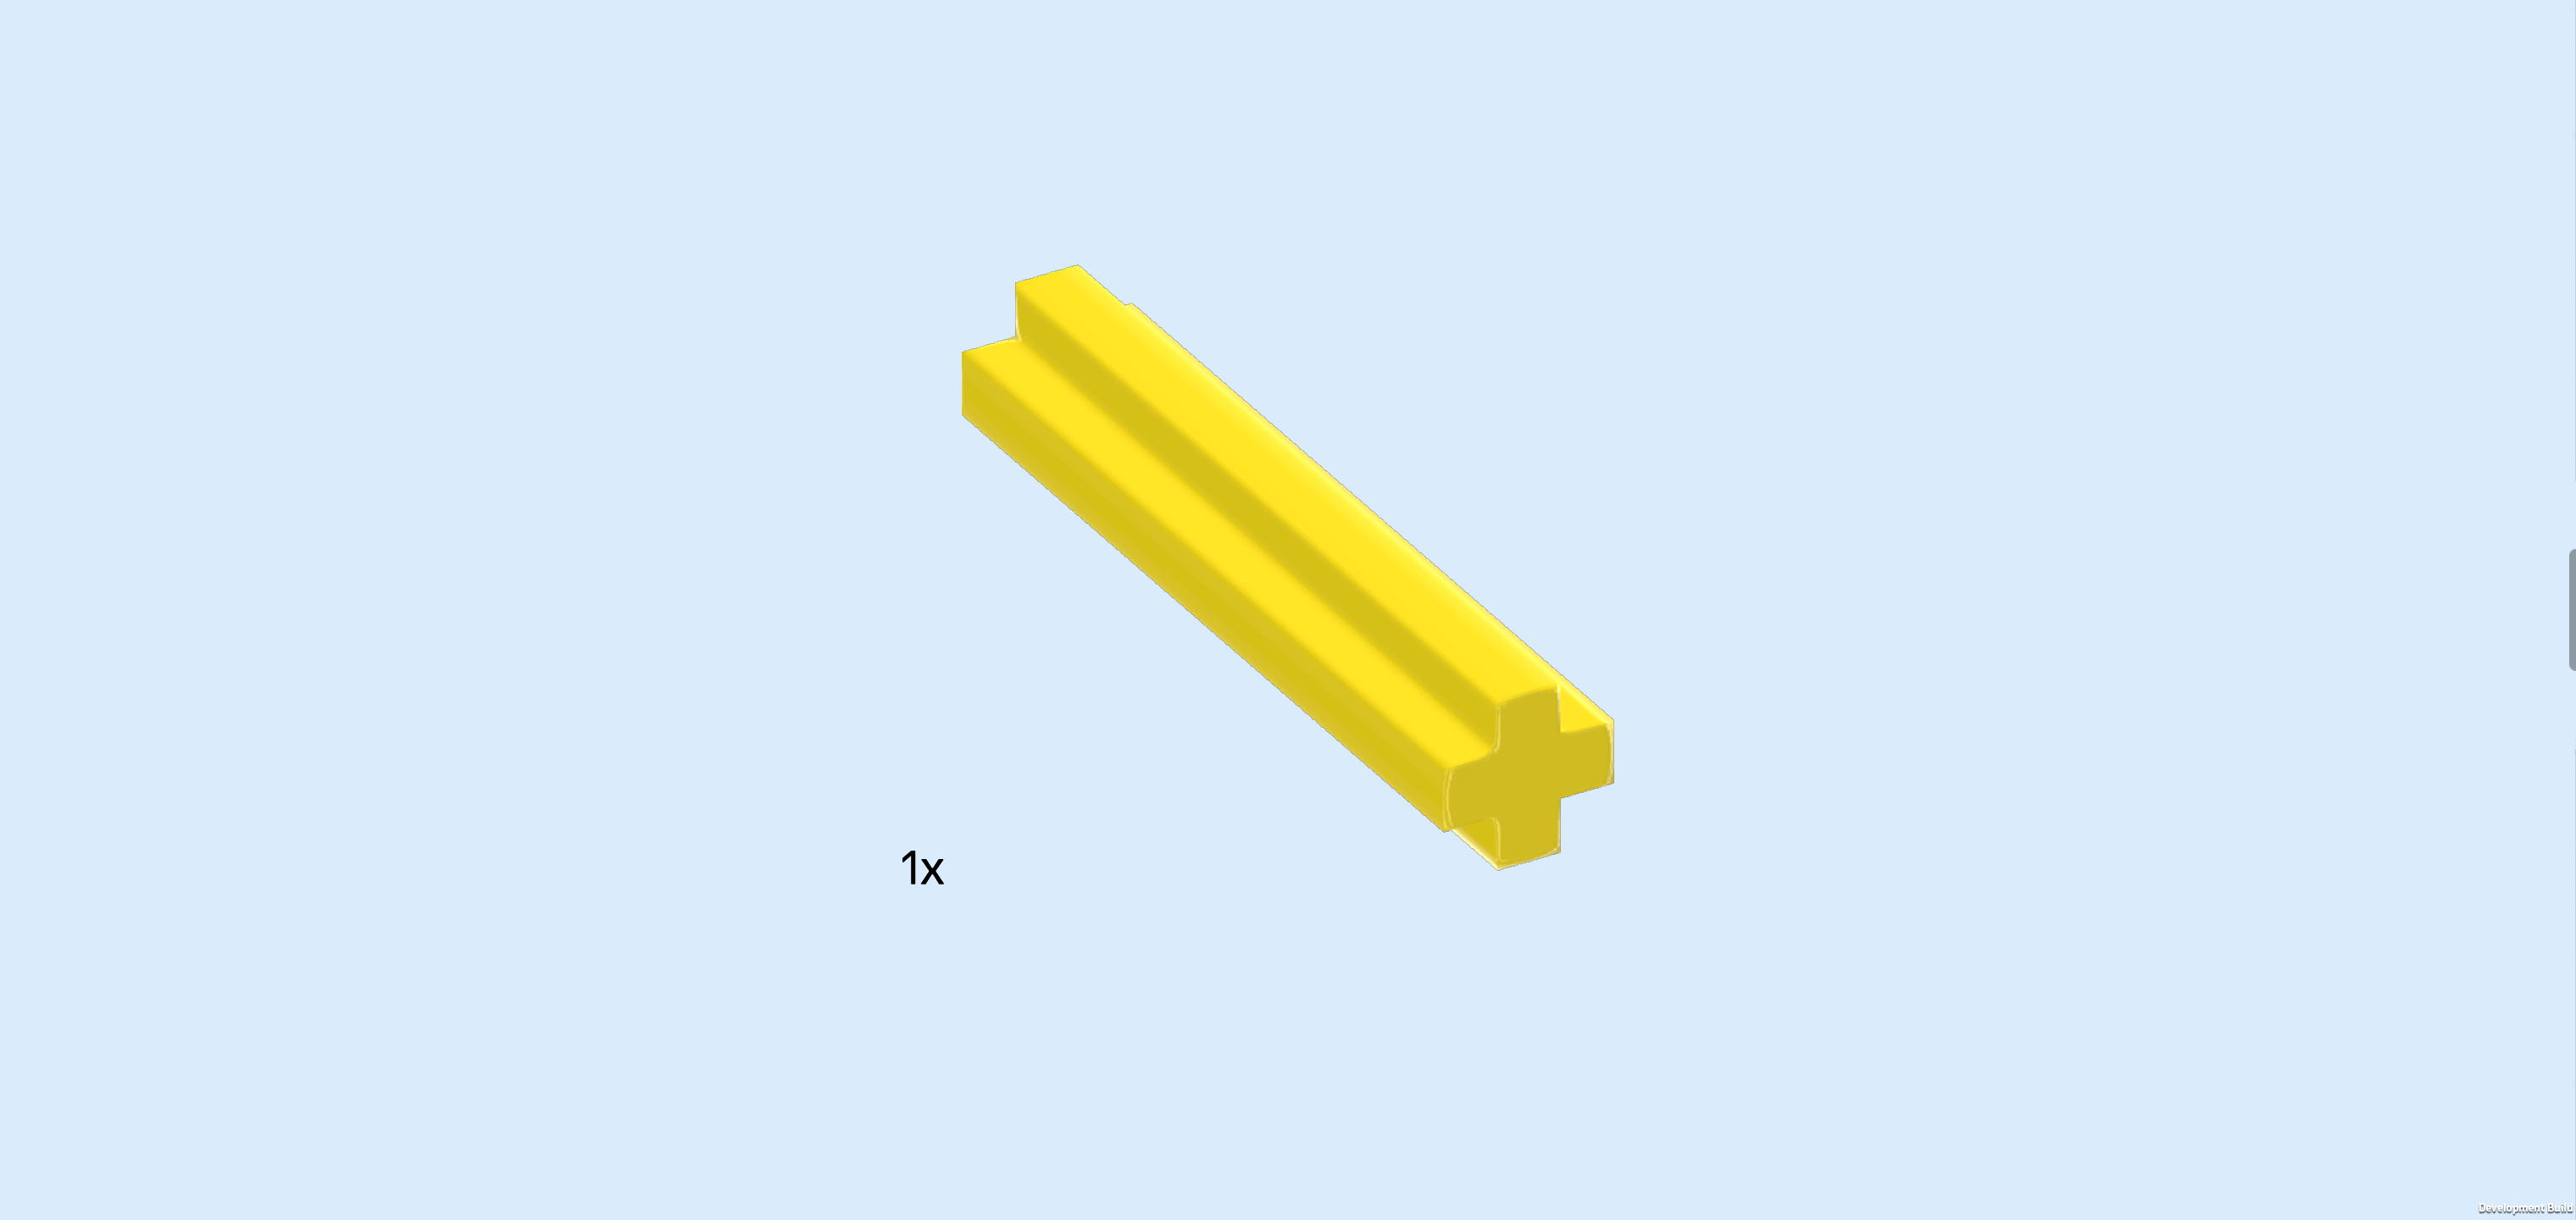
| 1 medium stone grey plate 1x2 with round bushing. |
| and 1 lemon yellow plate 1x2. |
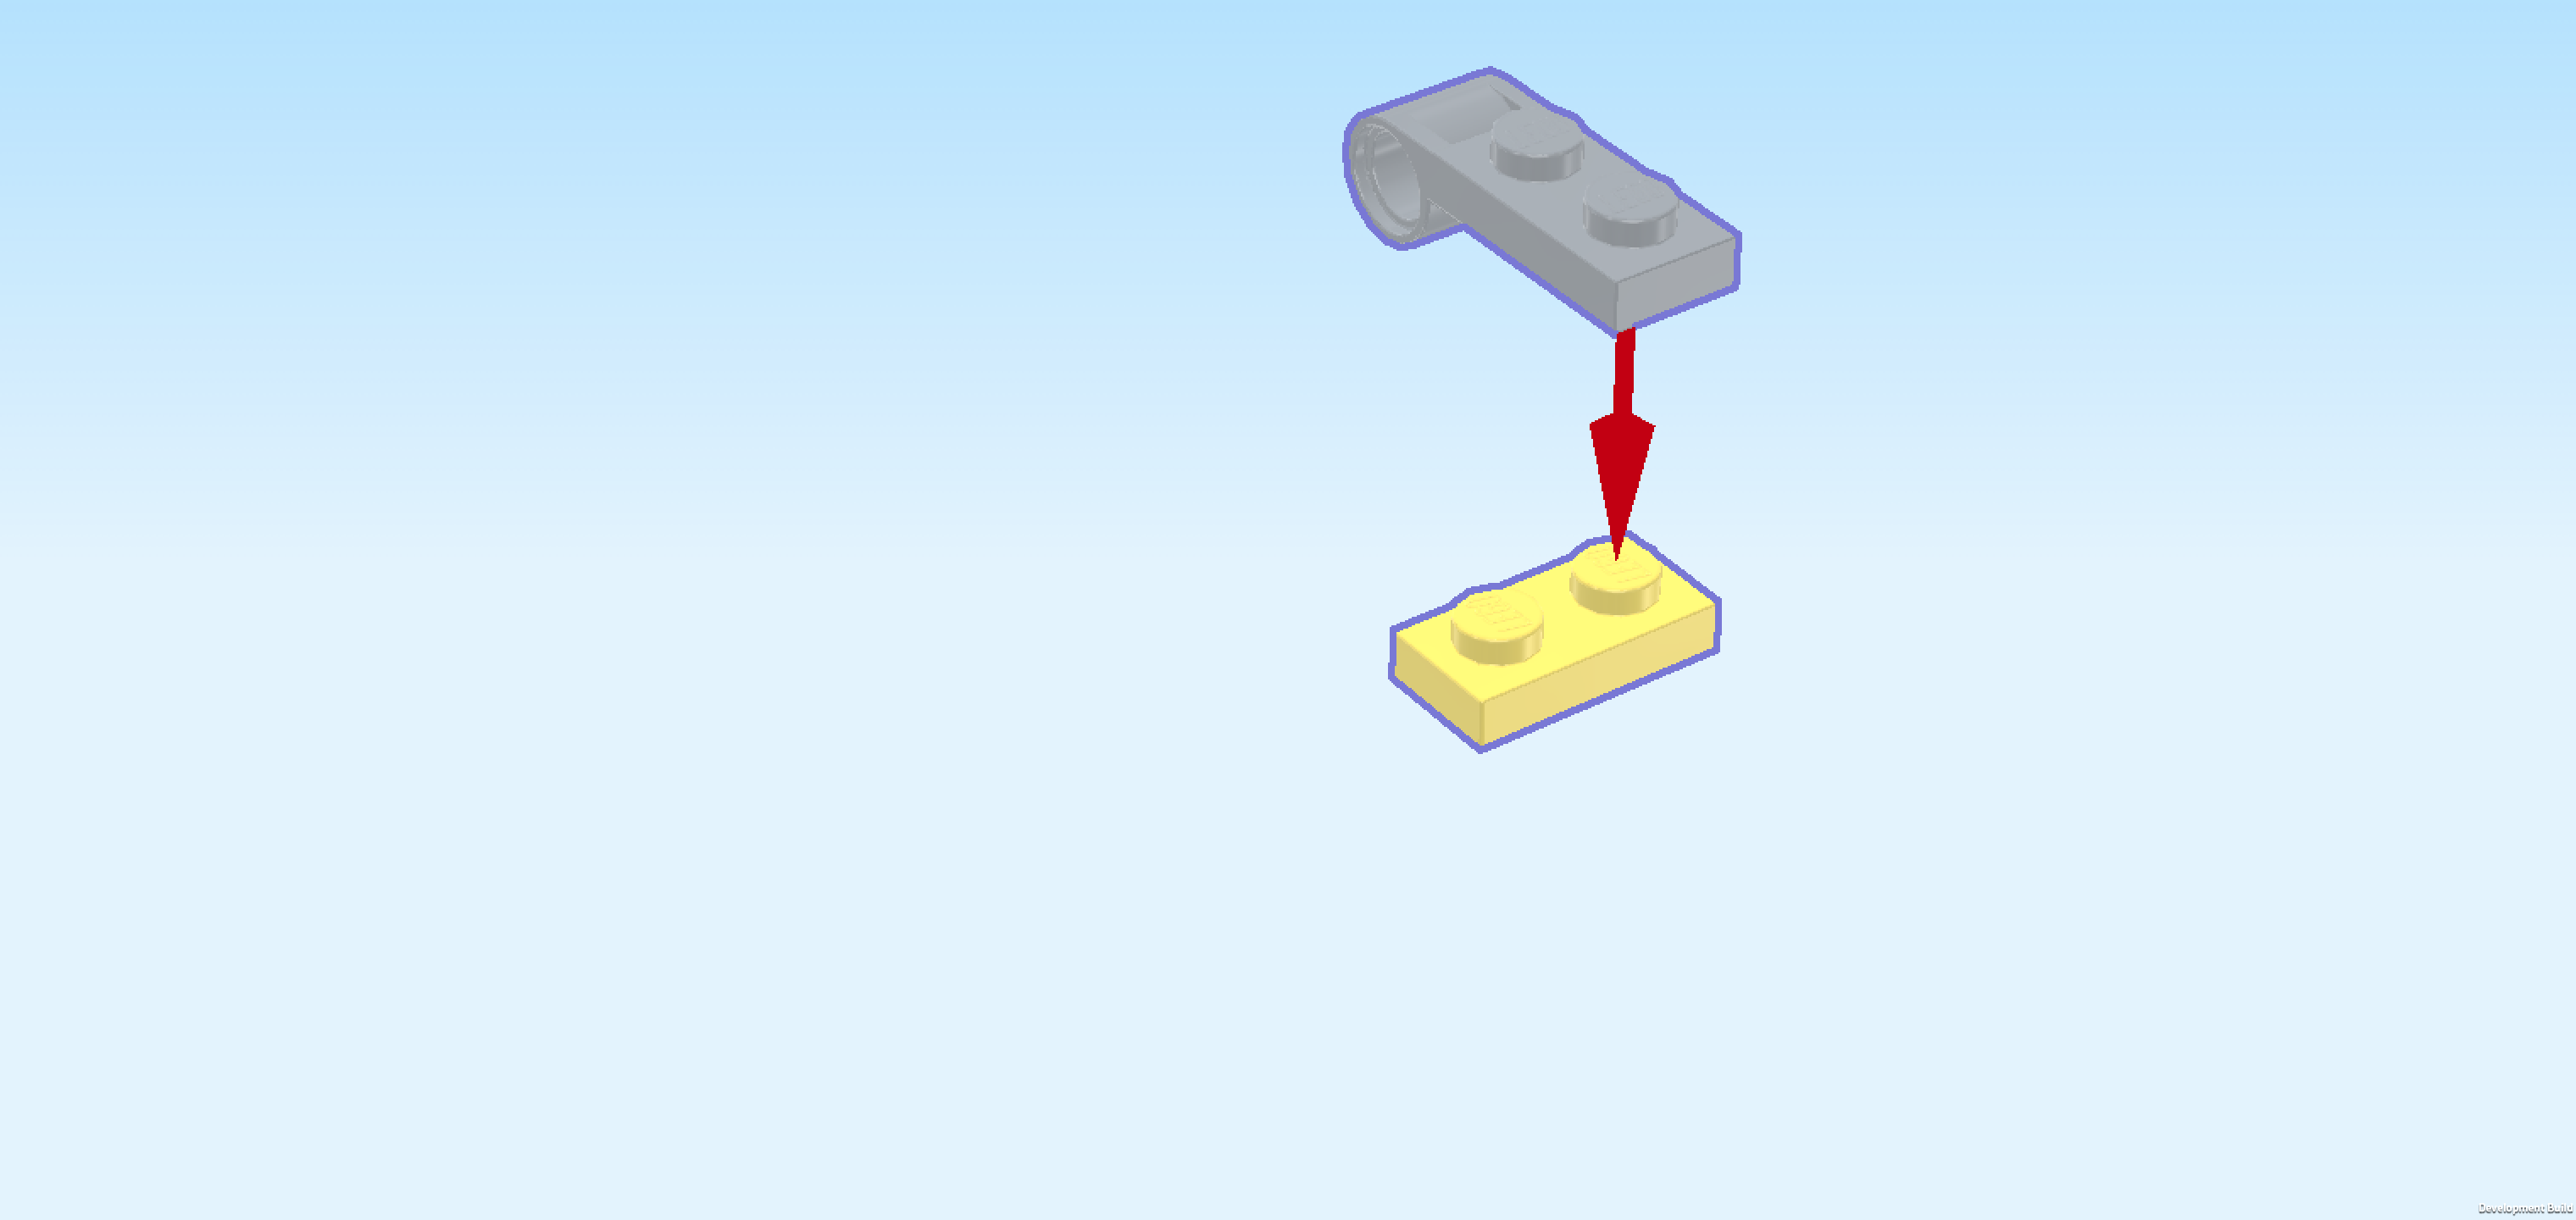
| Put the plate 1x2 horizontally on the table. |
| Put the plate with round bushing vertically on the right knob, 2/3 with round bushing overhanging to the back. |
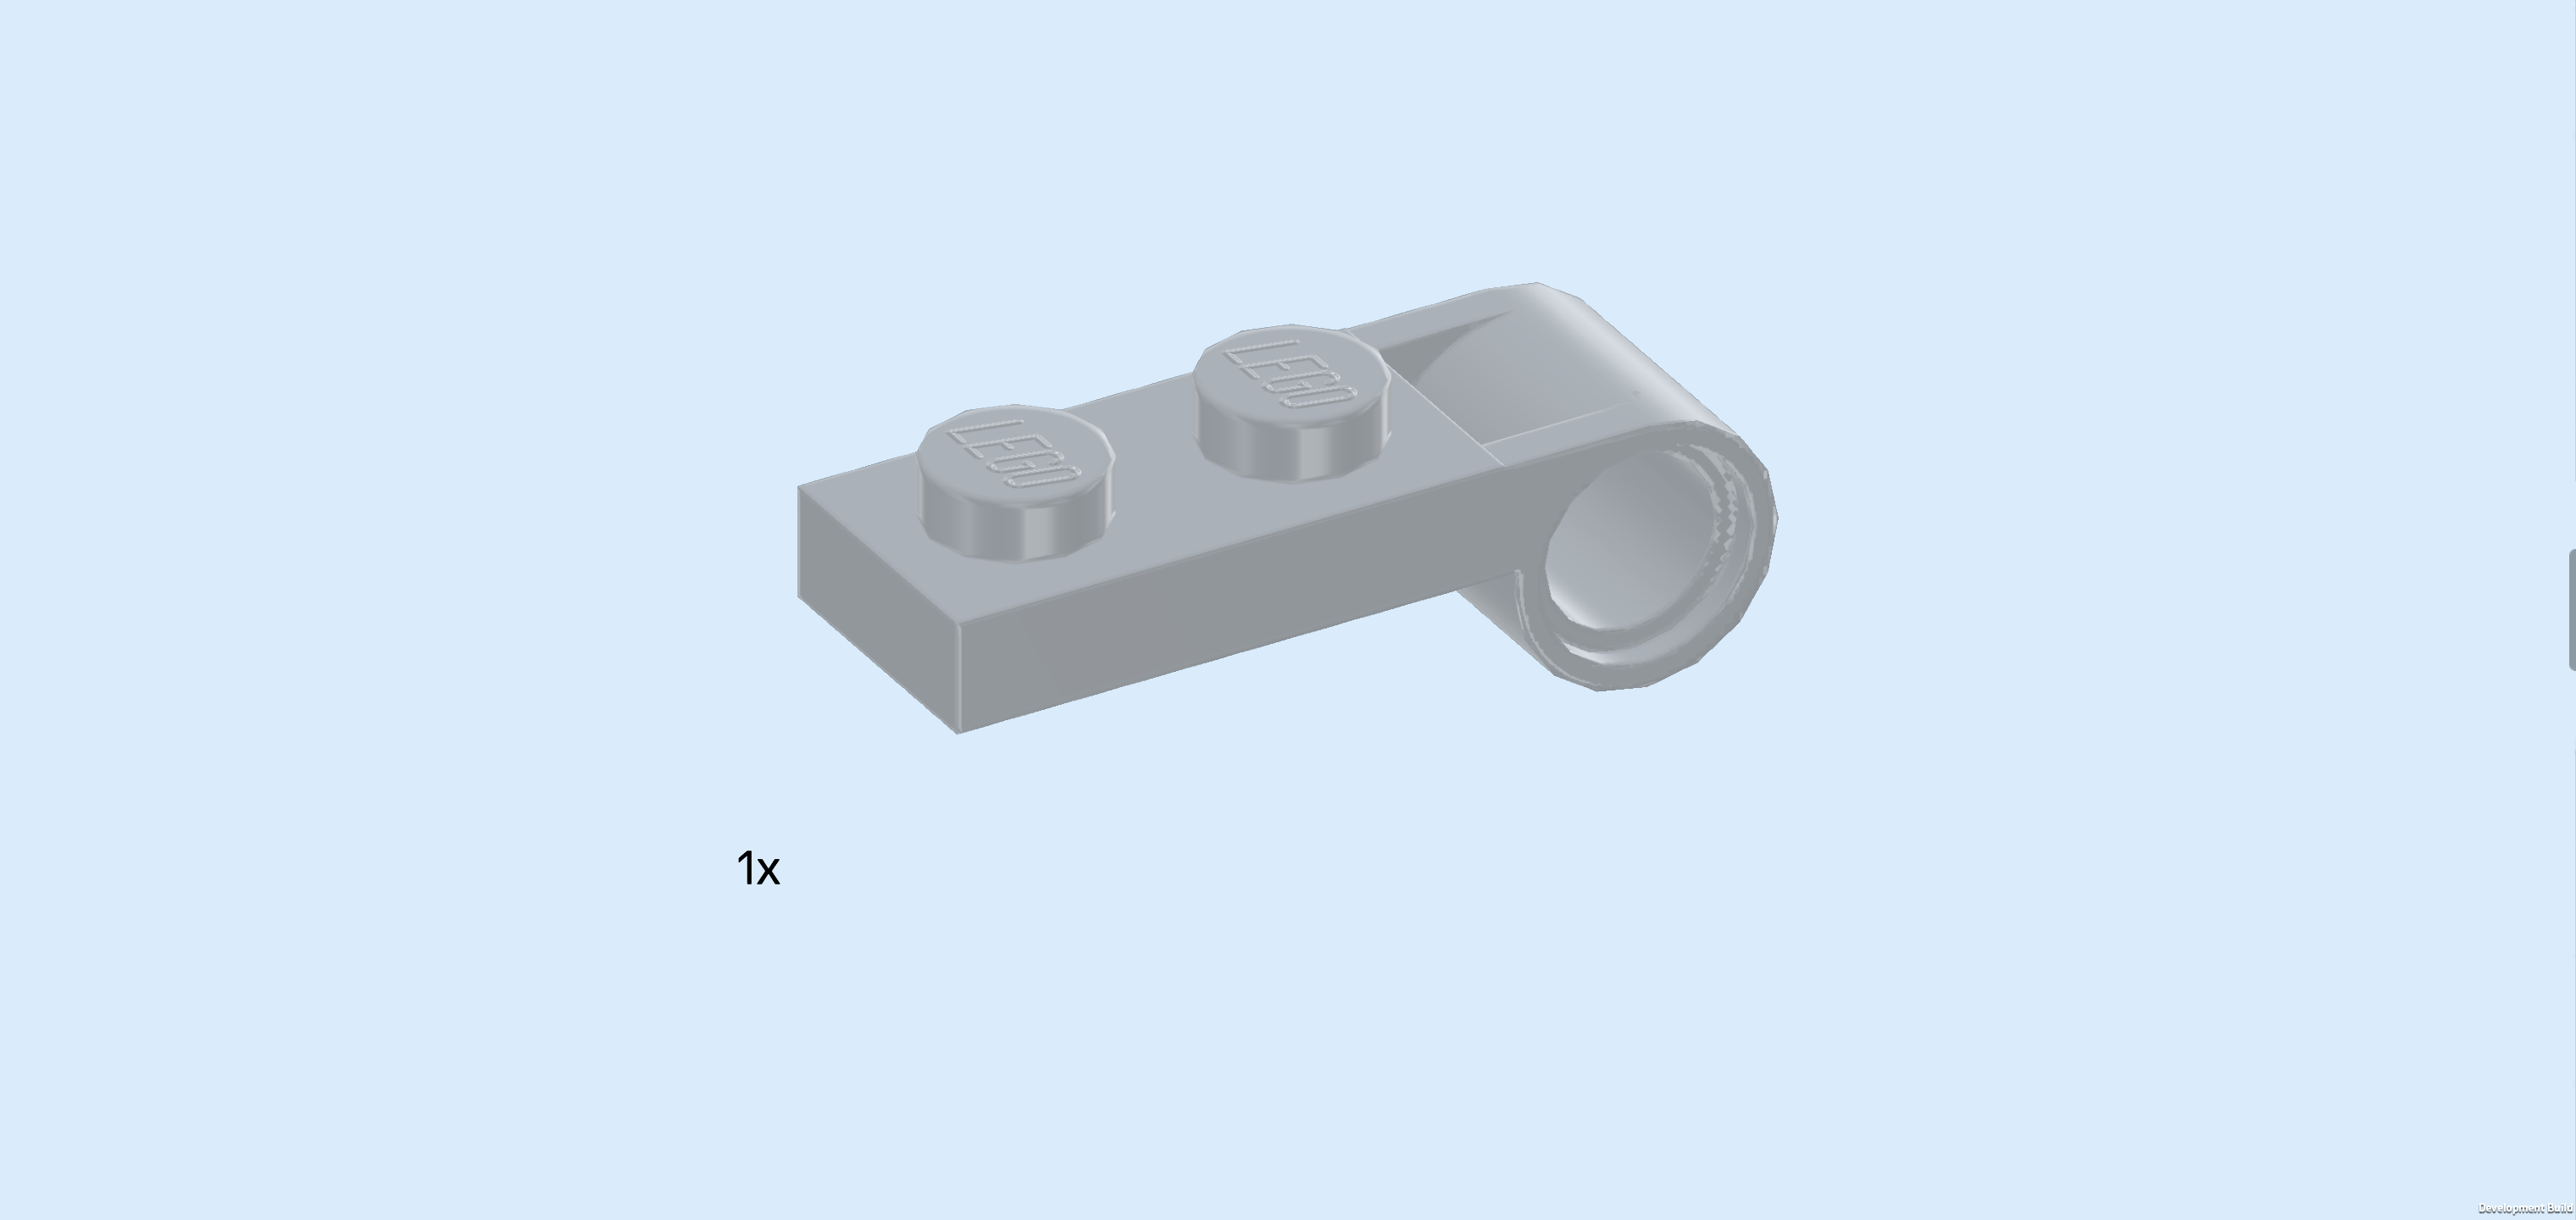
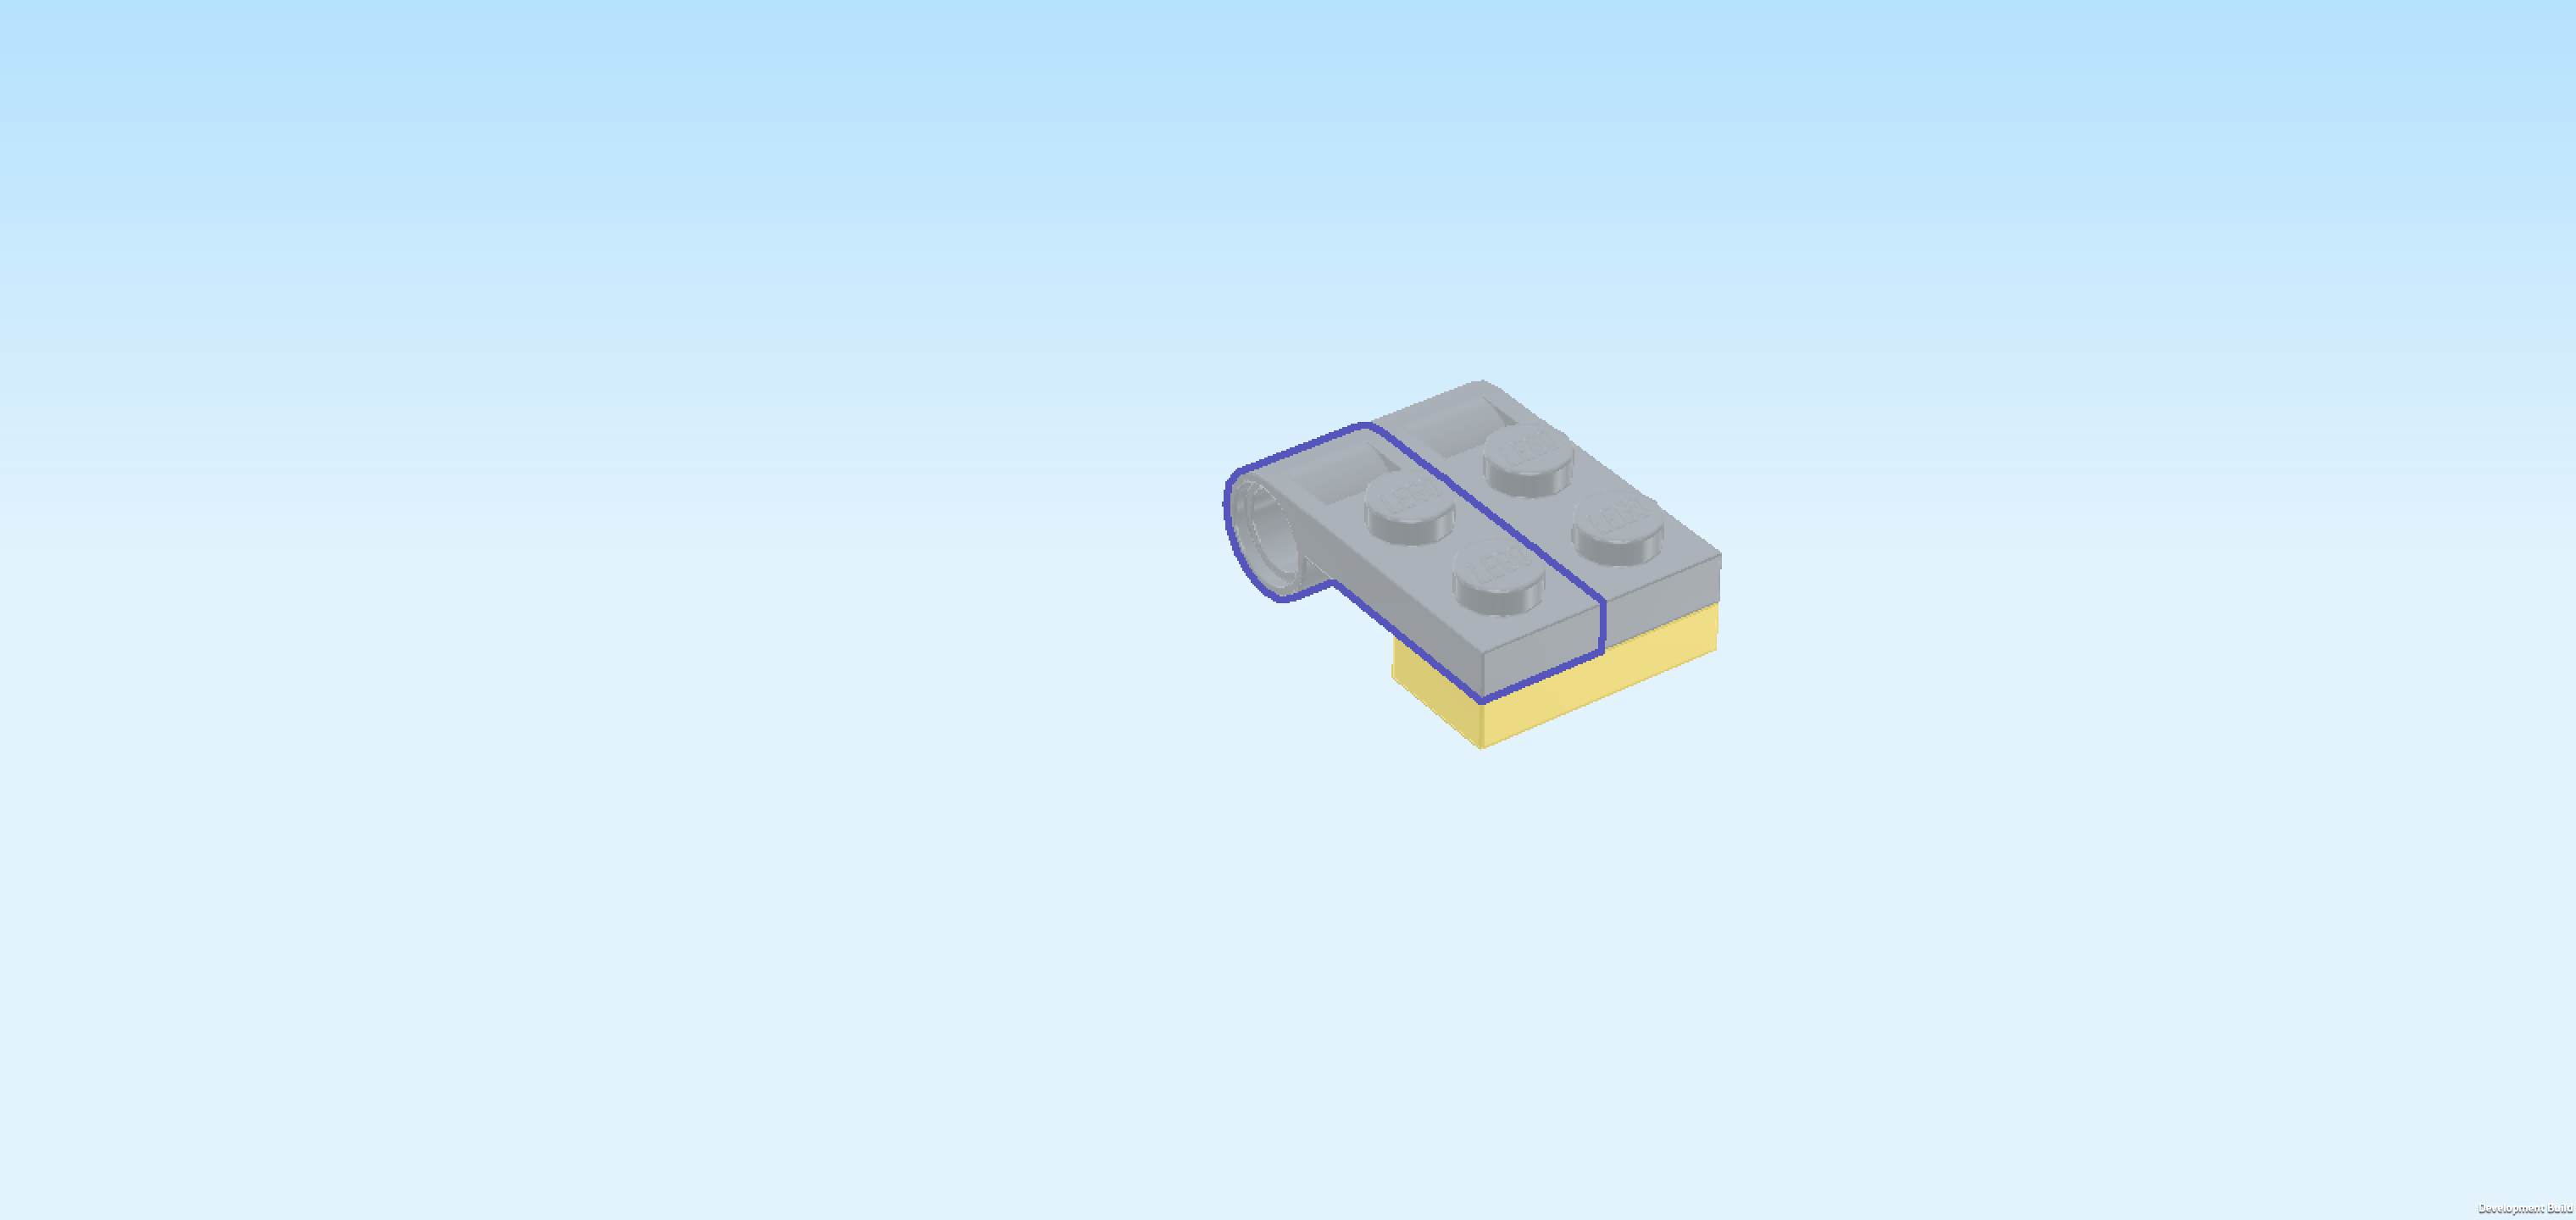
| Find another medium stone grey plate 1x2 with round bushing. |
| Put it vertically to the left of the previous piece, 2/3 with round bushing overhanging to the back. |
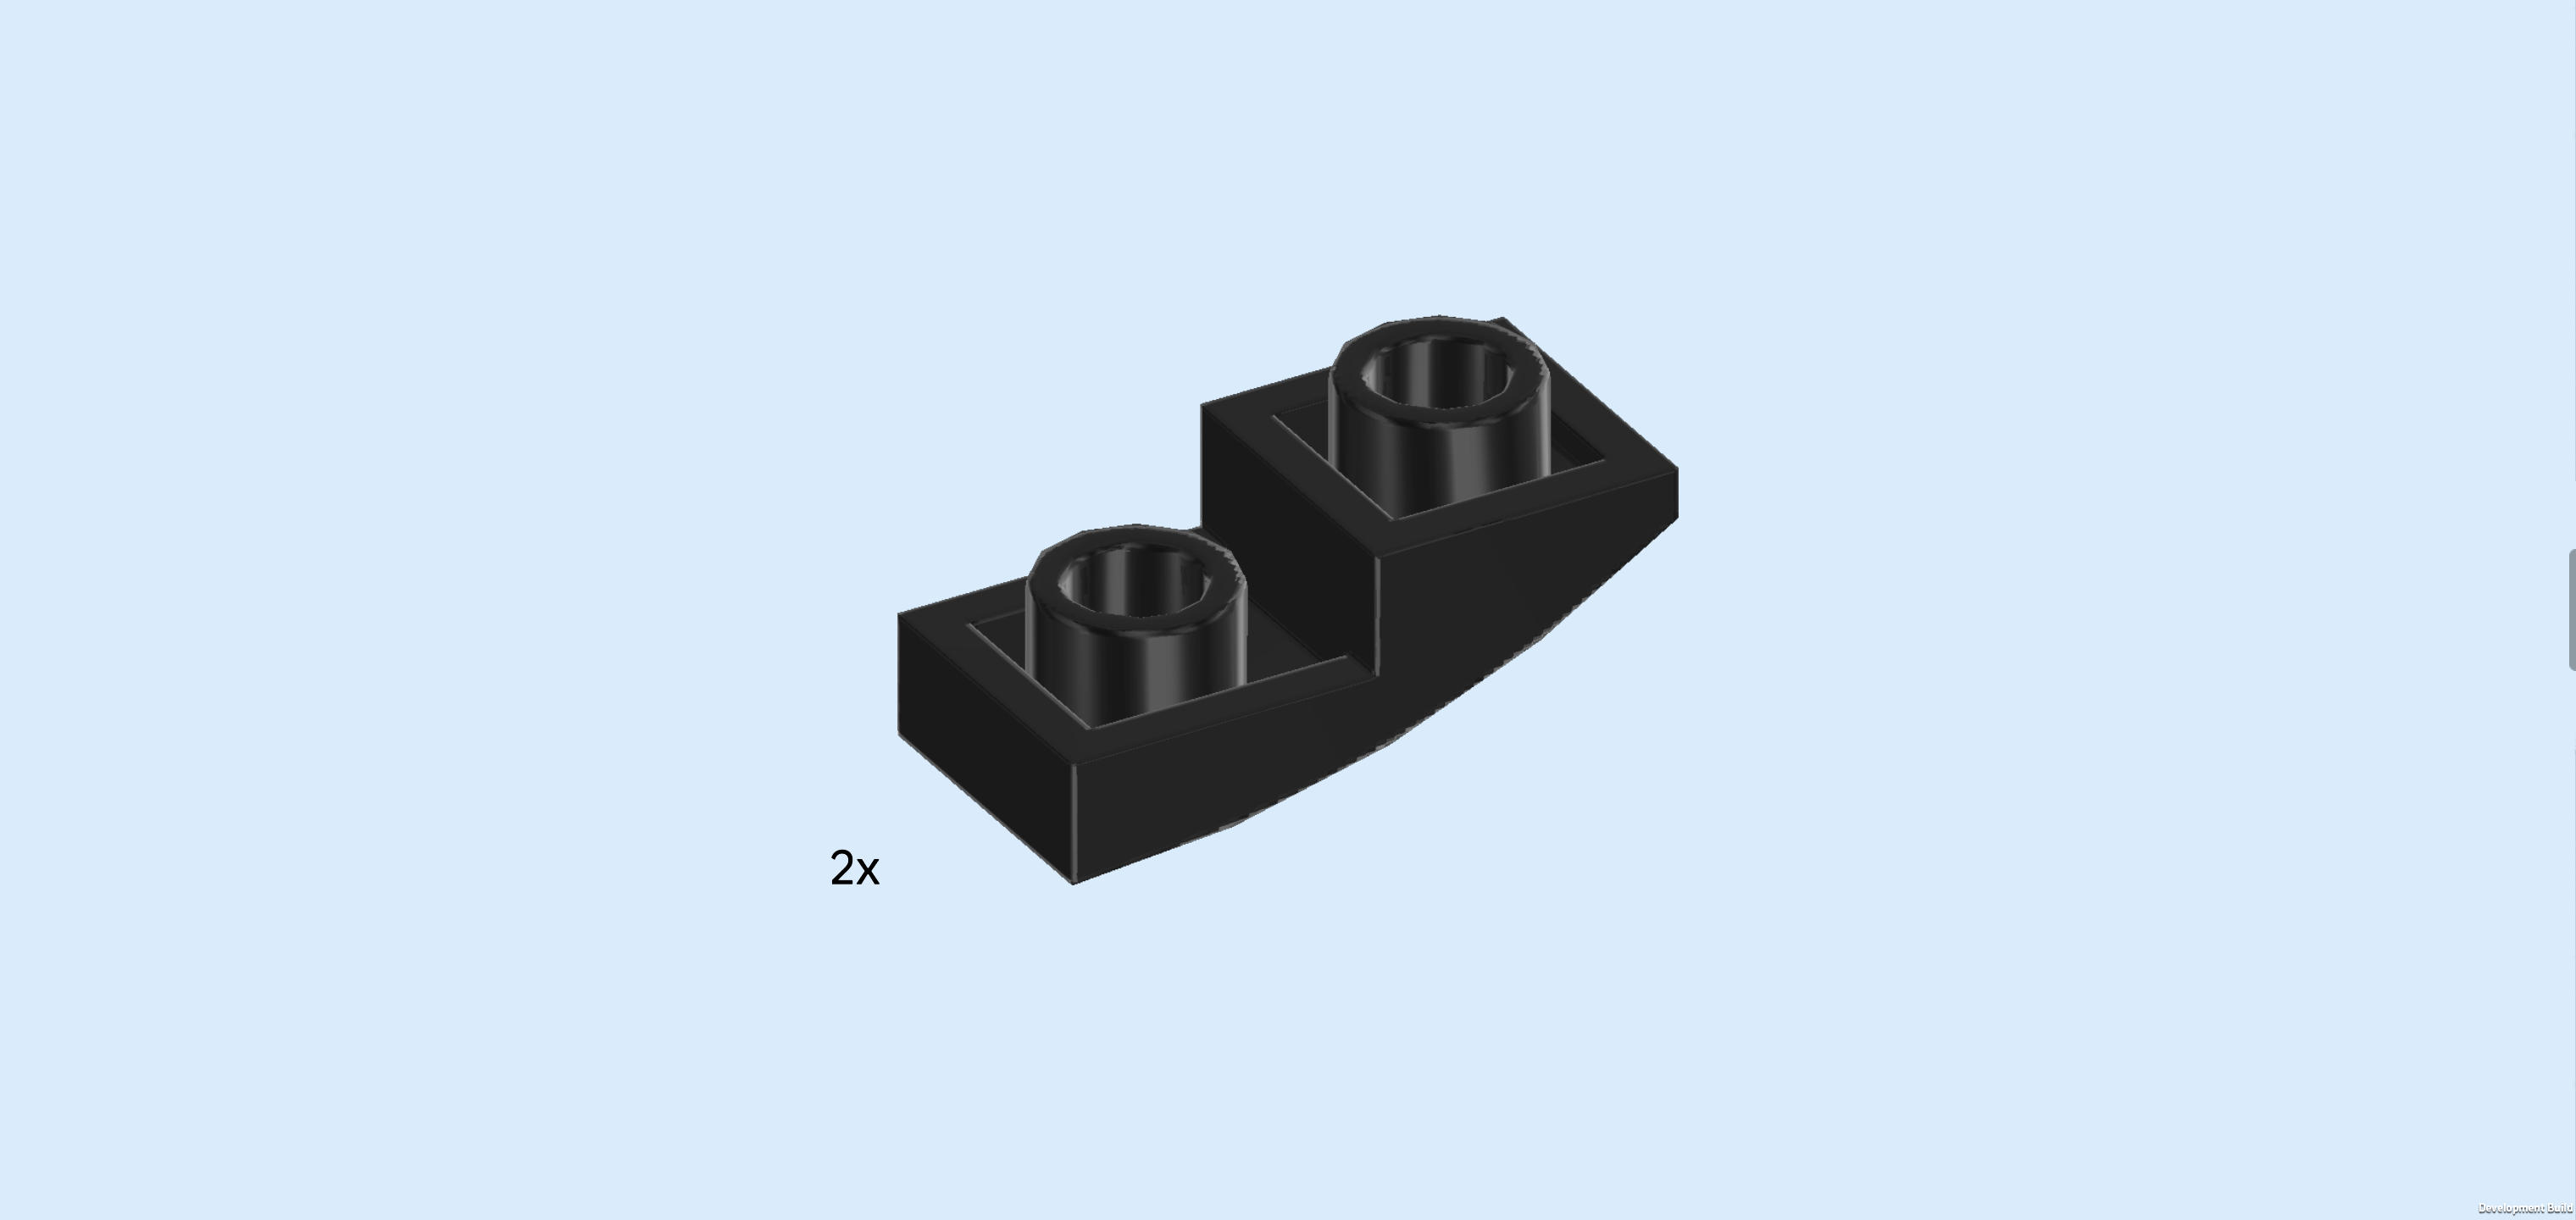
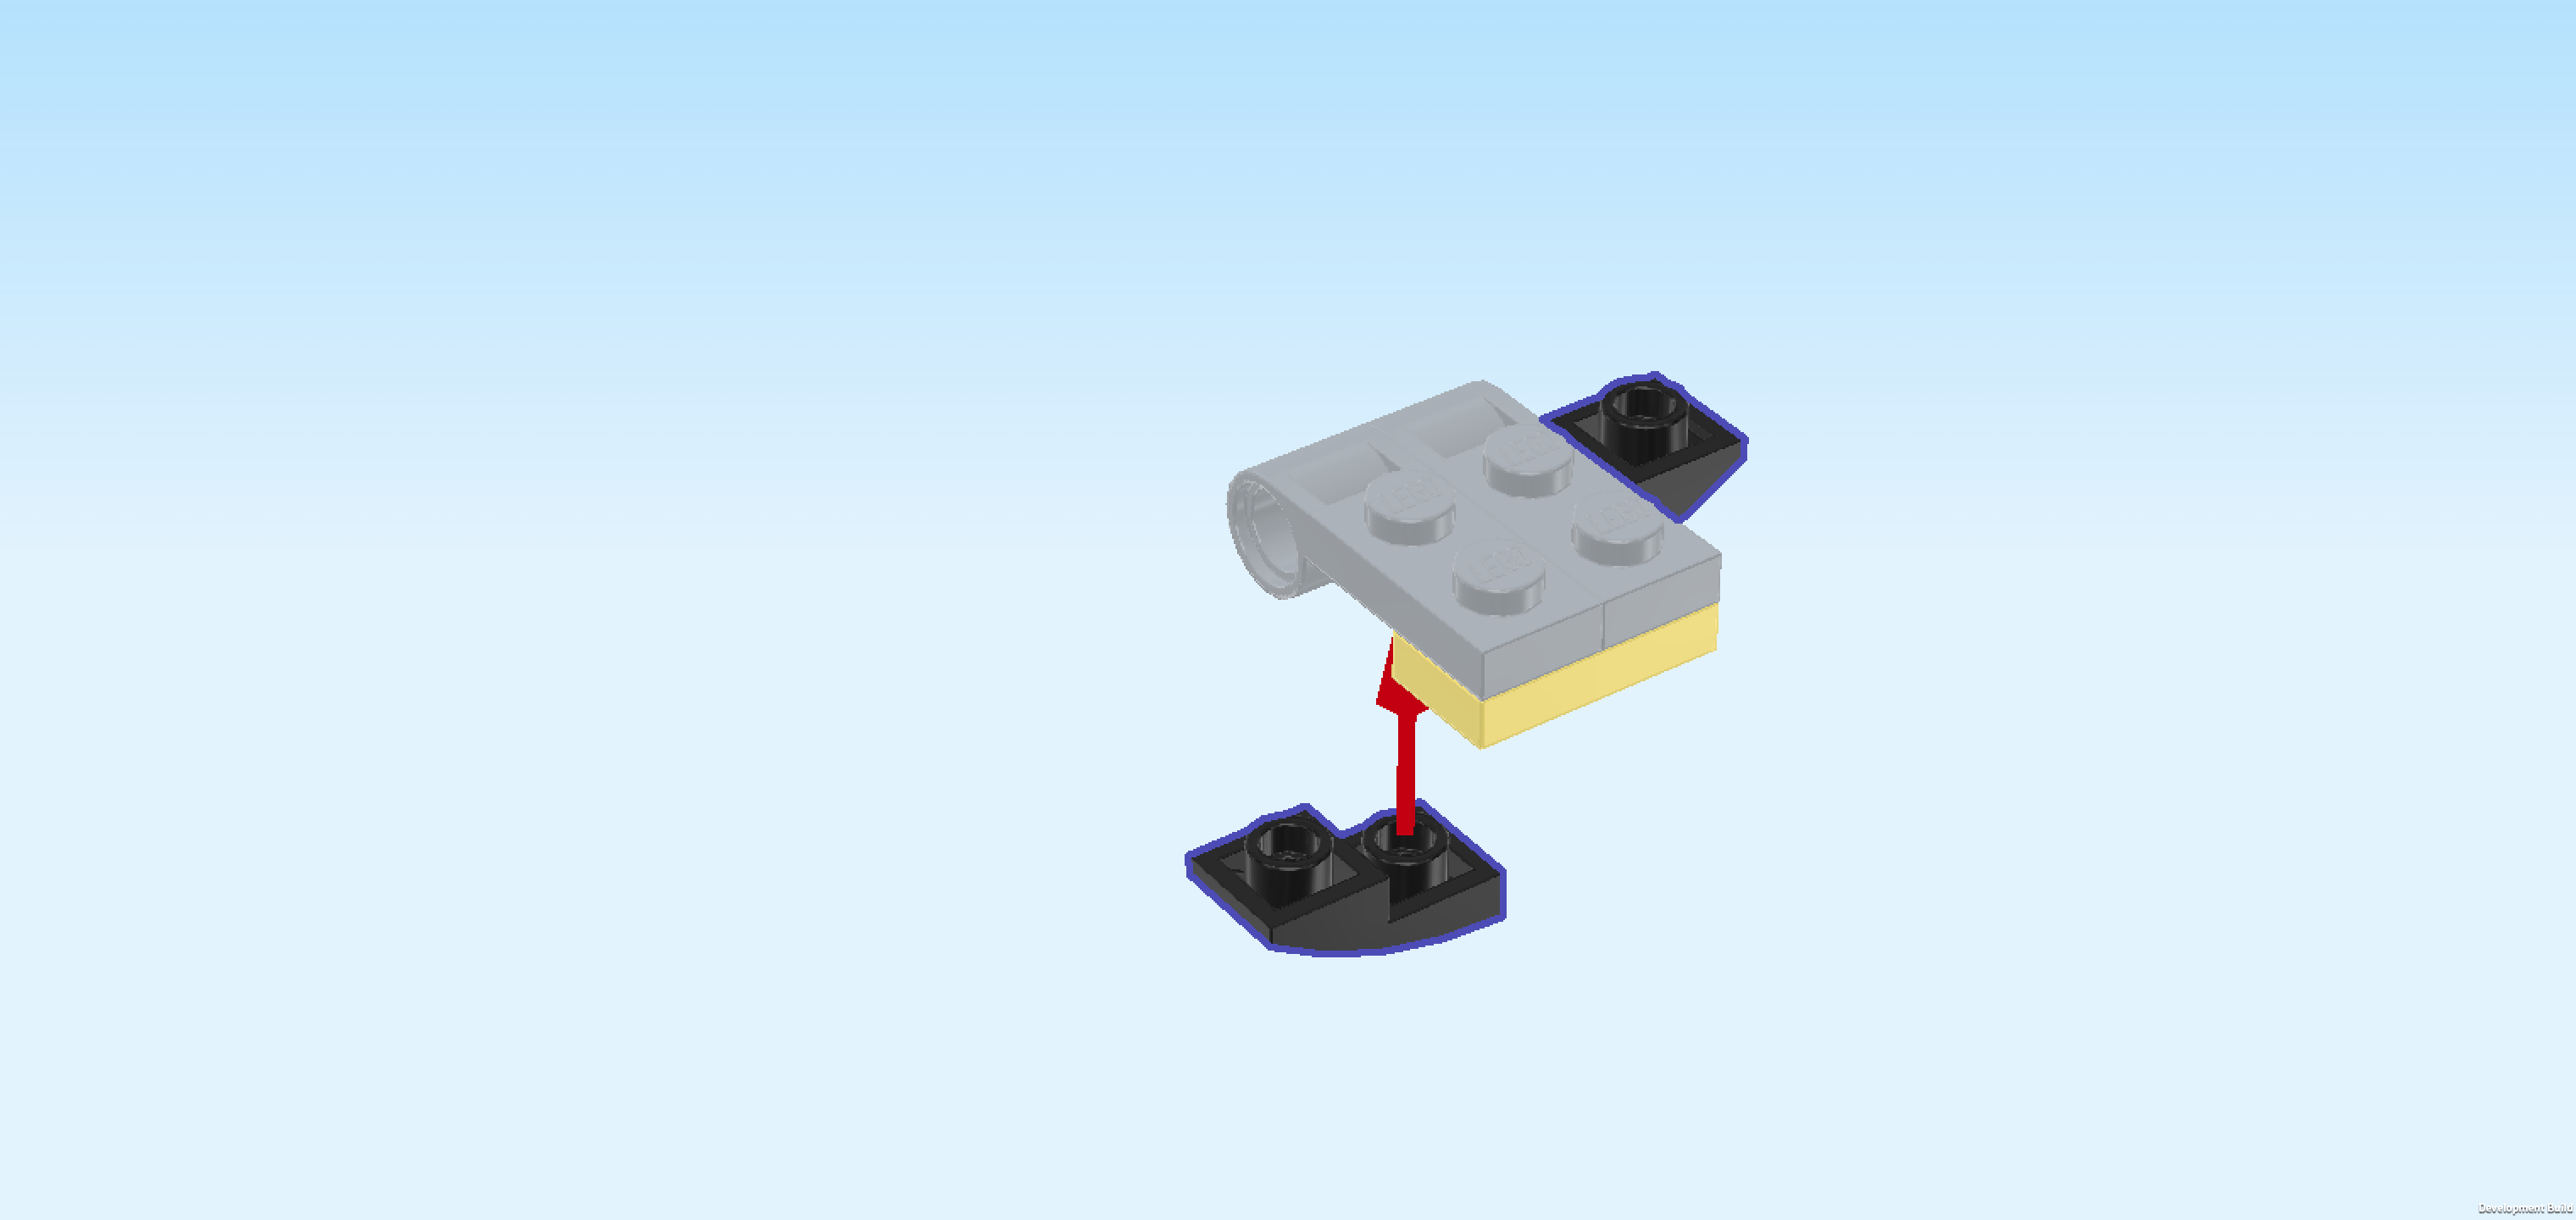
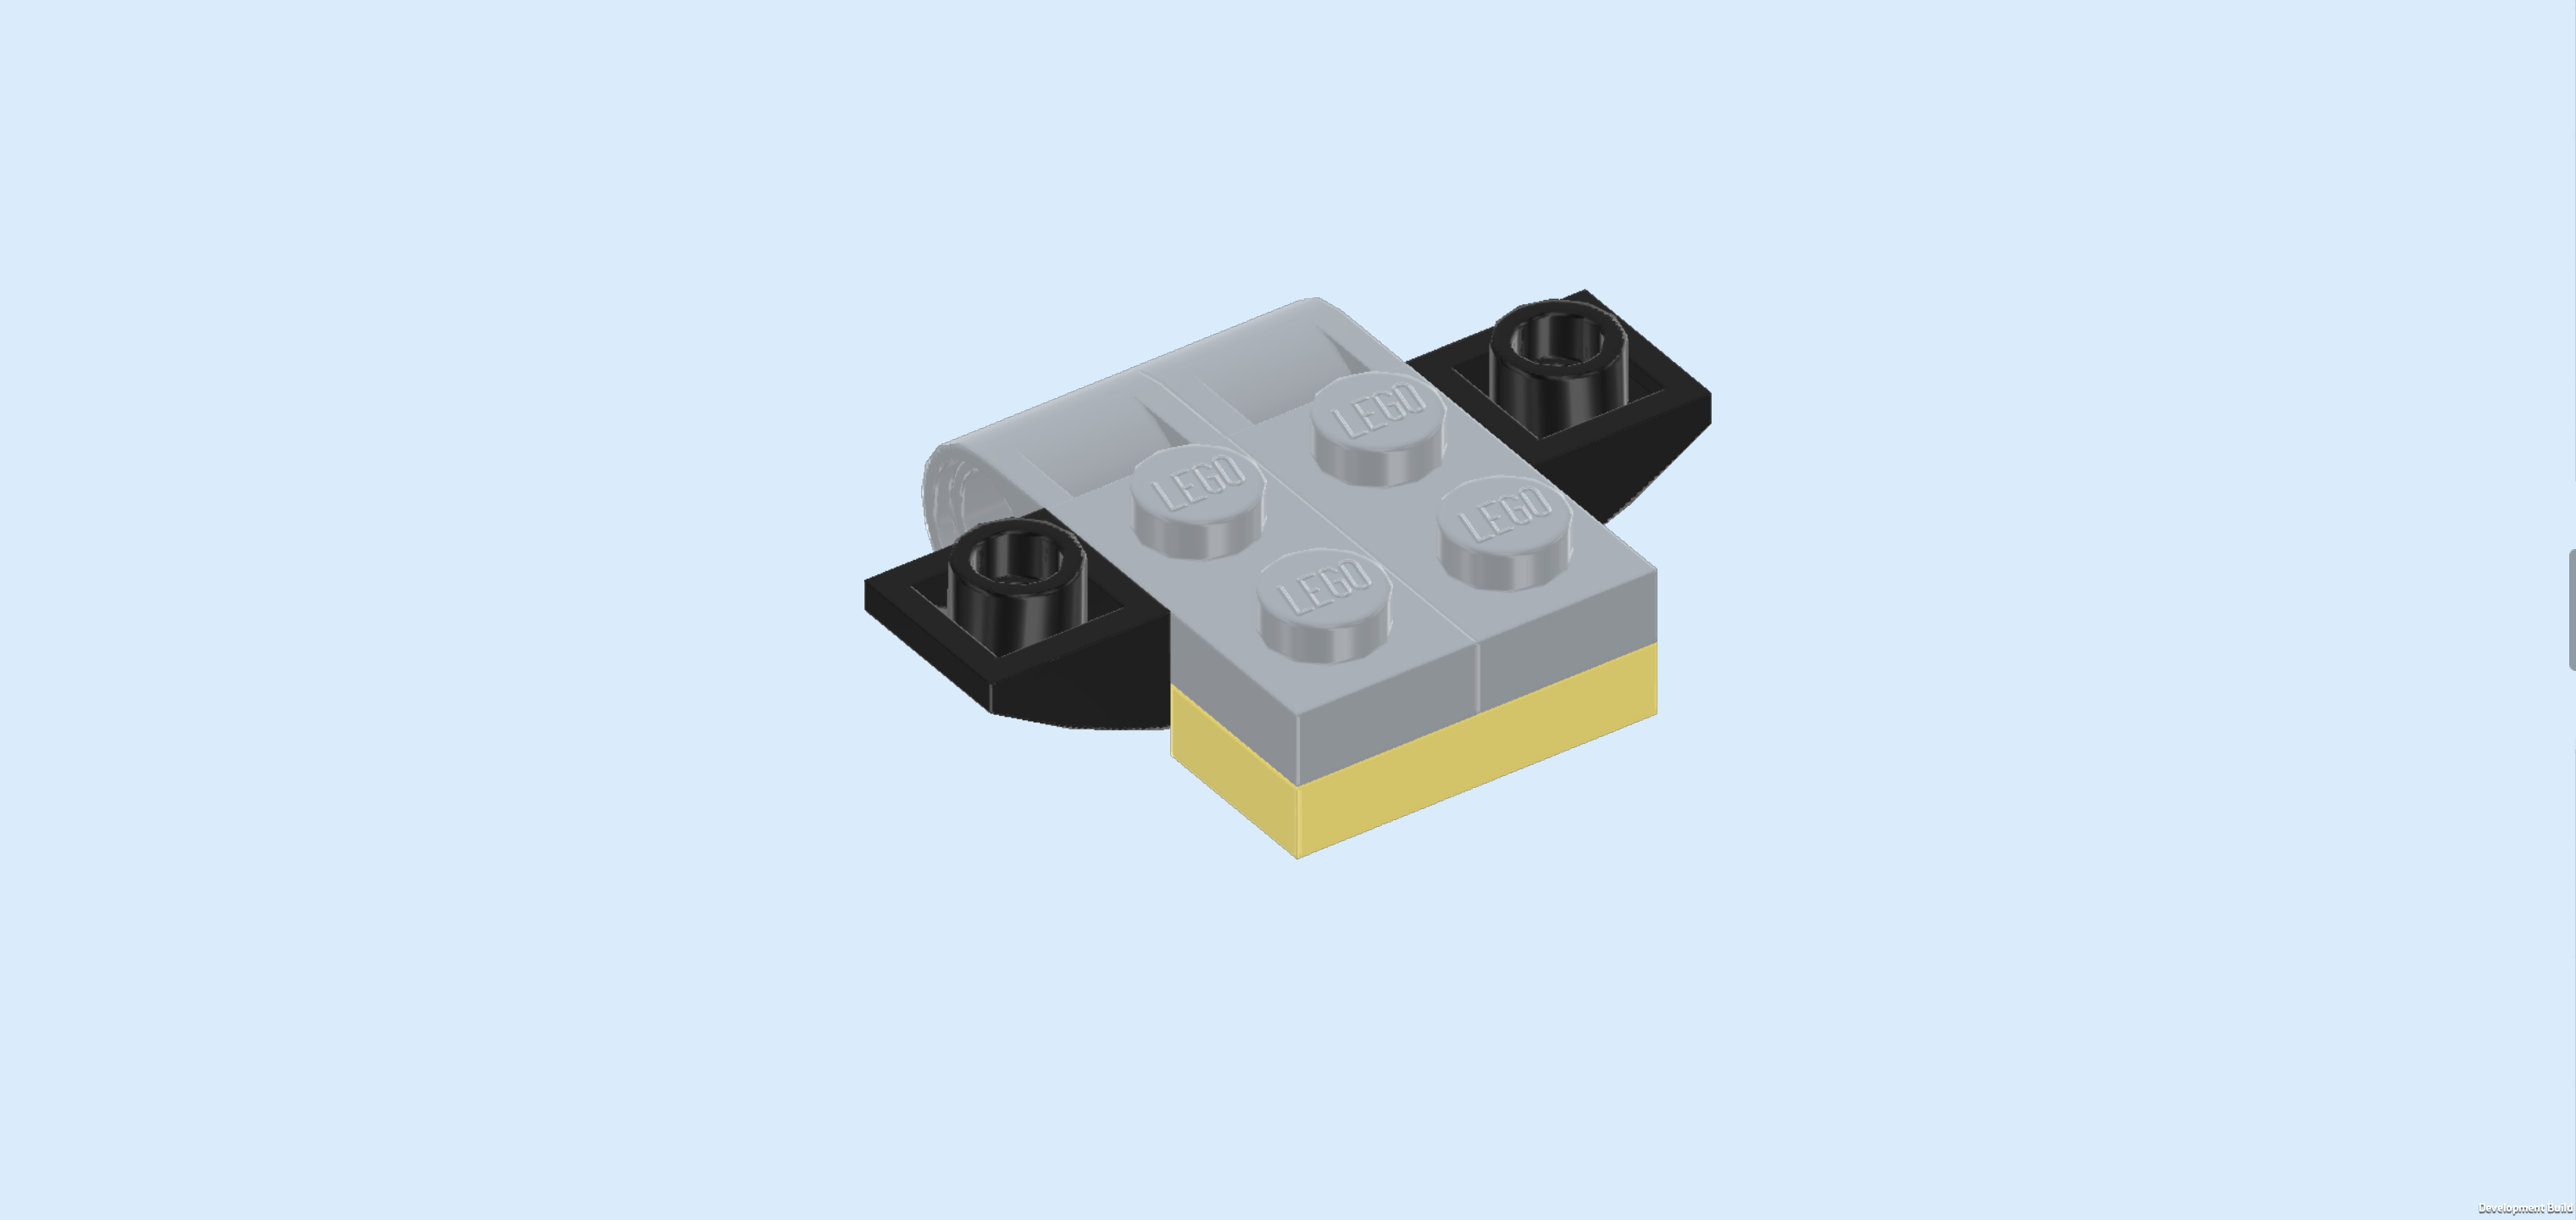
| Find 2 black one-stepped inverted curve tiles 1x2. |
| Put 1 horizontally underneath the previous piece's back knob, 1/2 protruding to the left, curve bending from the middle outwards to the top. |
| Repeat symmetrically on the right. |
| Place this sub-part centered between the 2 plates with top tubes that we have mounted previously. The round bushings of the sub-part should form 1 continuous tube with those top tubes at the back. Note that this sub-part will not connect to any knobs! Rather, it sits loosely on the smooth surface of a previously mounted flat tile. |
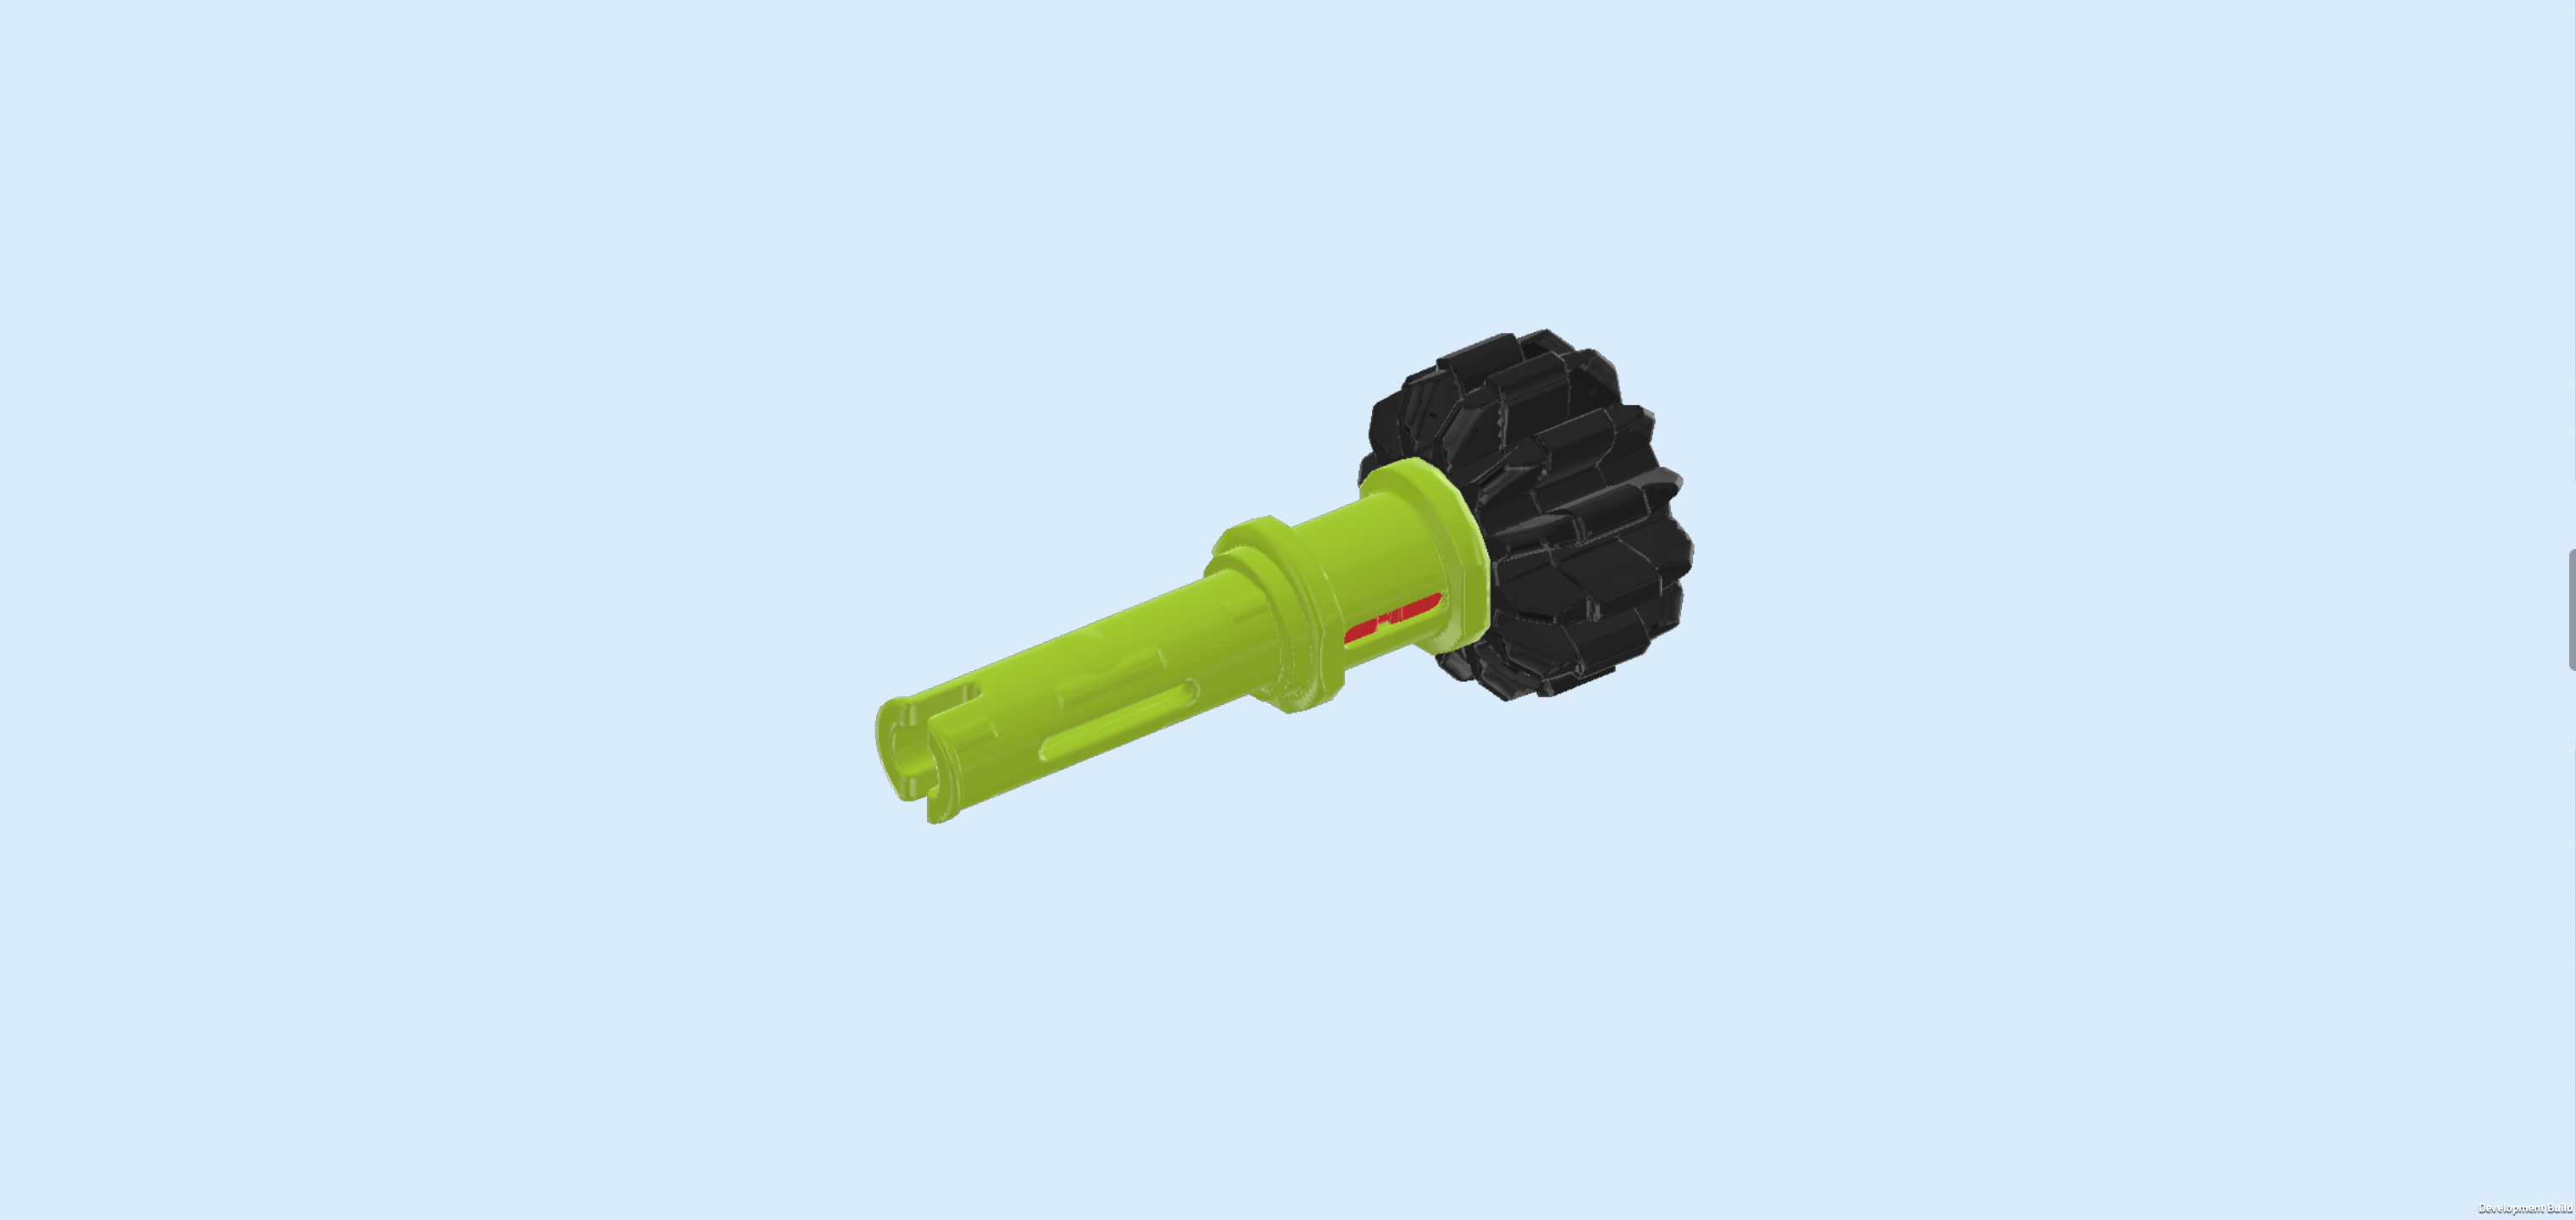
| Now, let's make the first part of the tilt axle. |
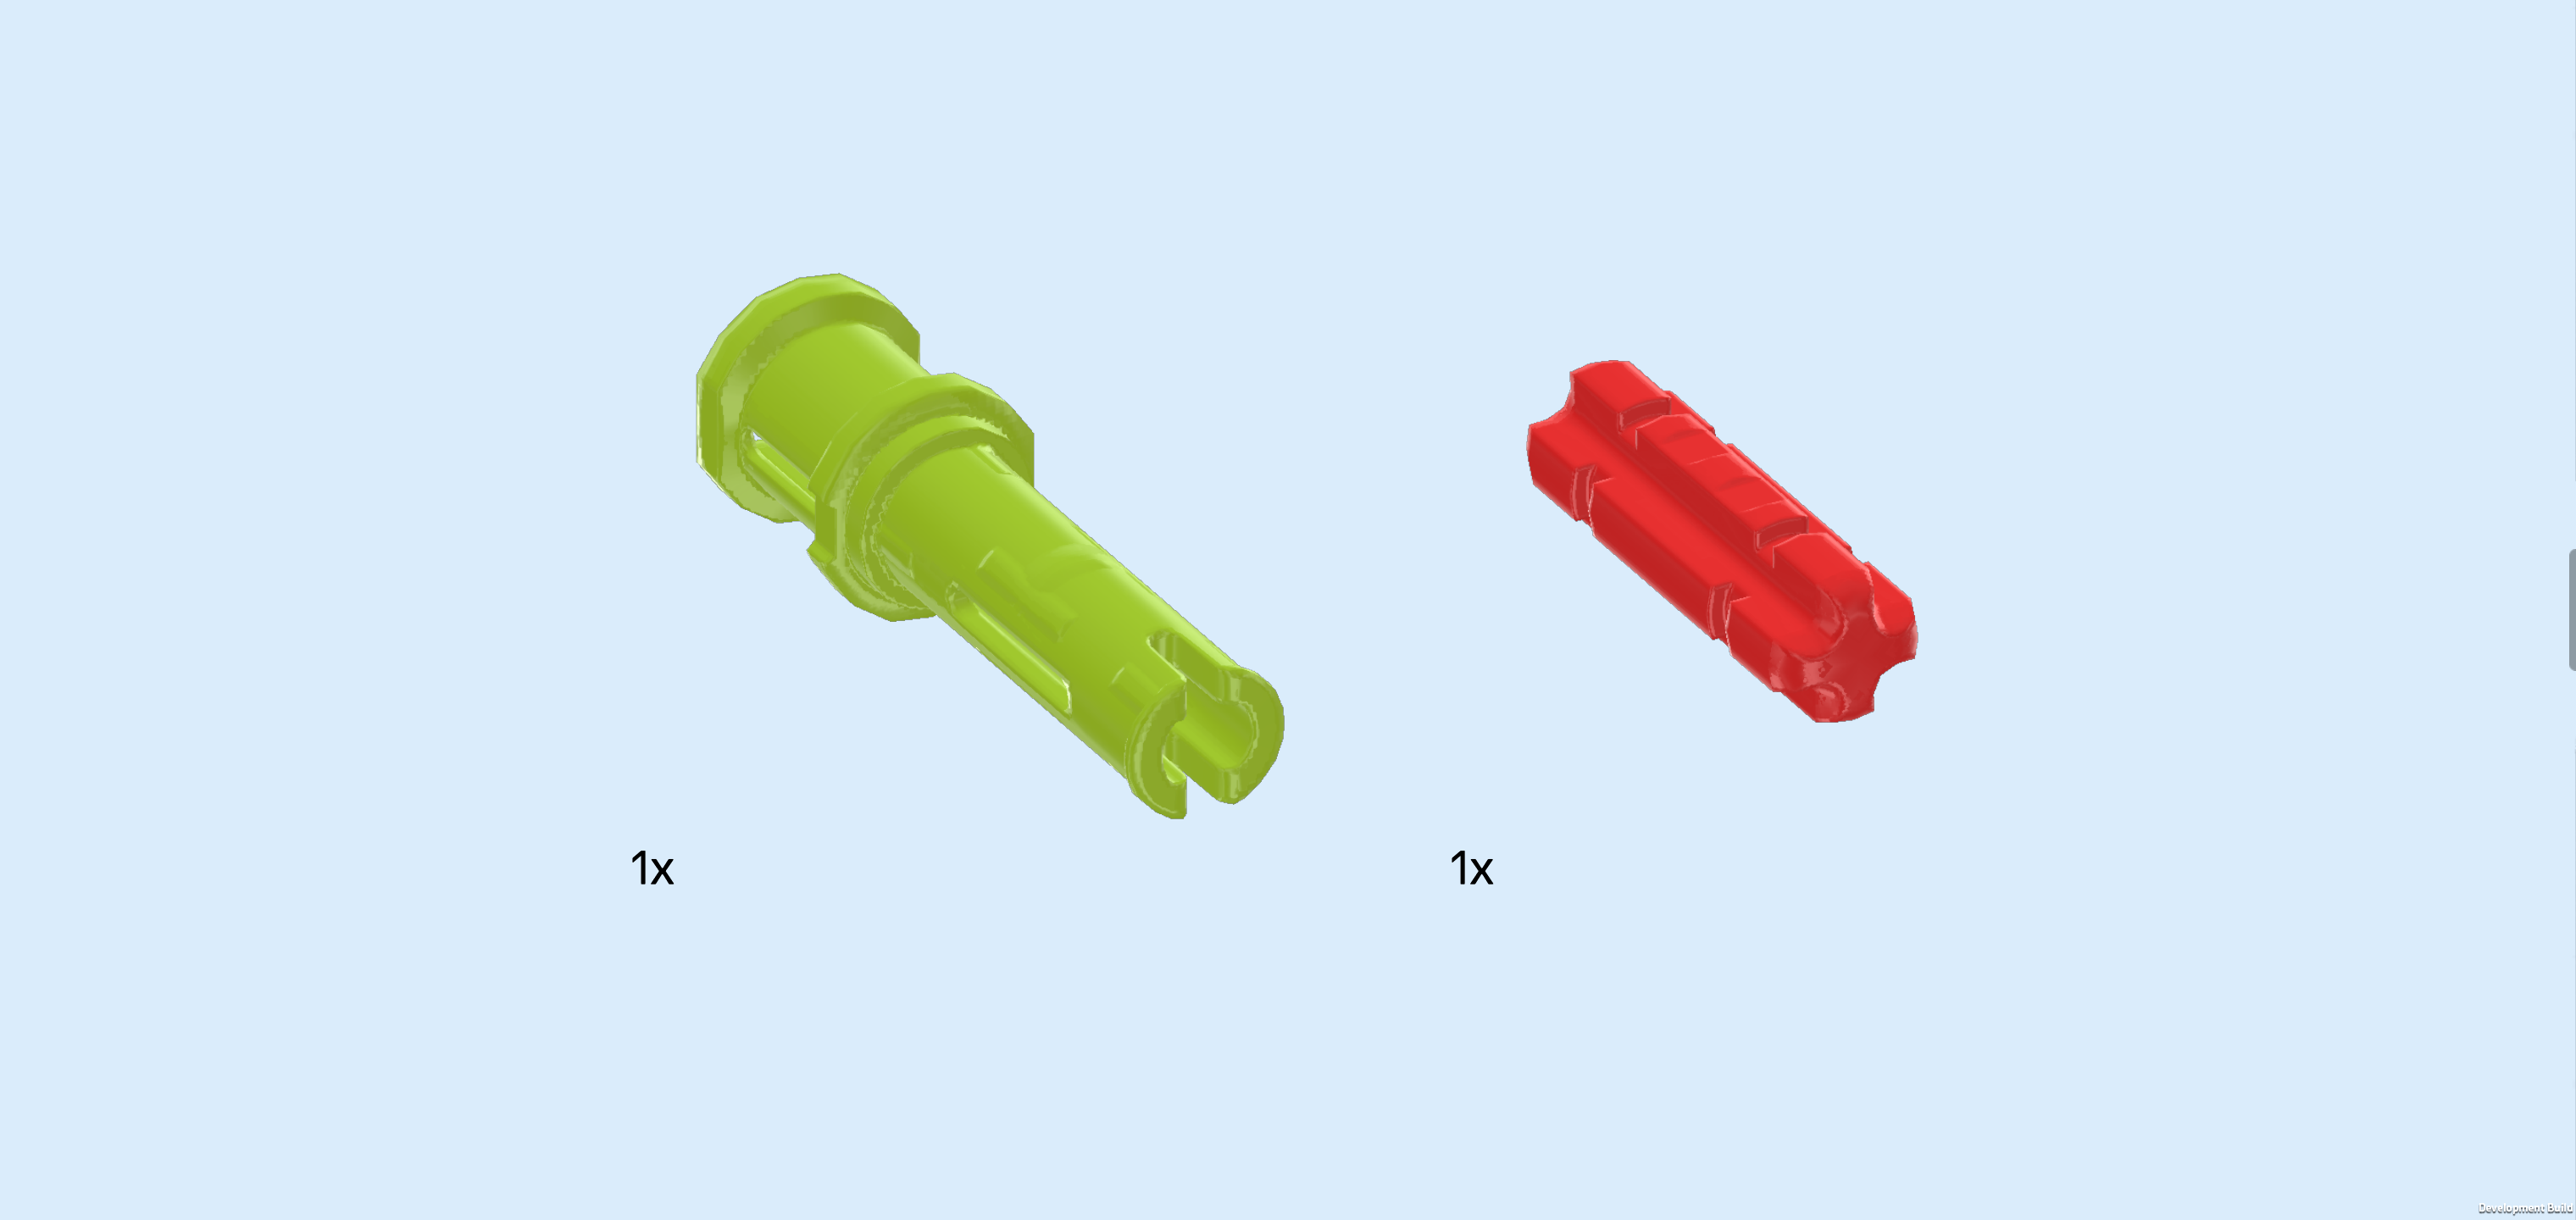
| Collect the following 2 pieces: |
| 1 bright yellowish green connector peg 3m with 2 rings and 1 cross hole, |
| and 1 bright red cross axle 2m with 2 grooves. |
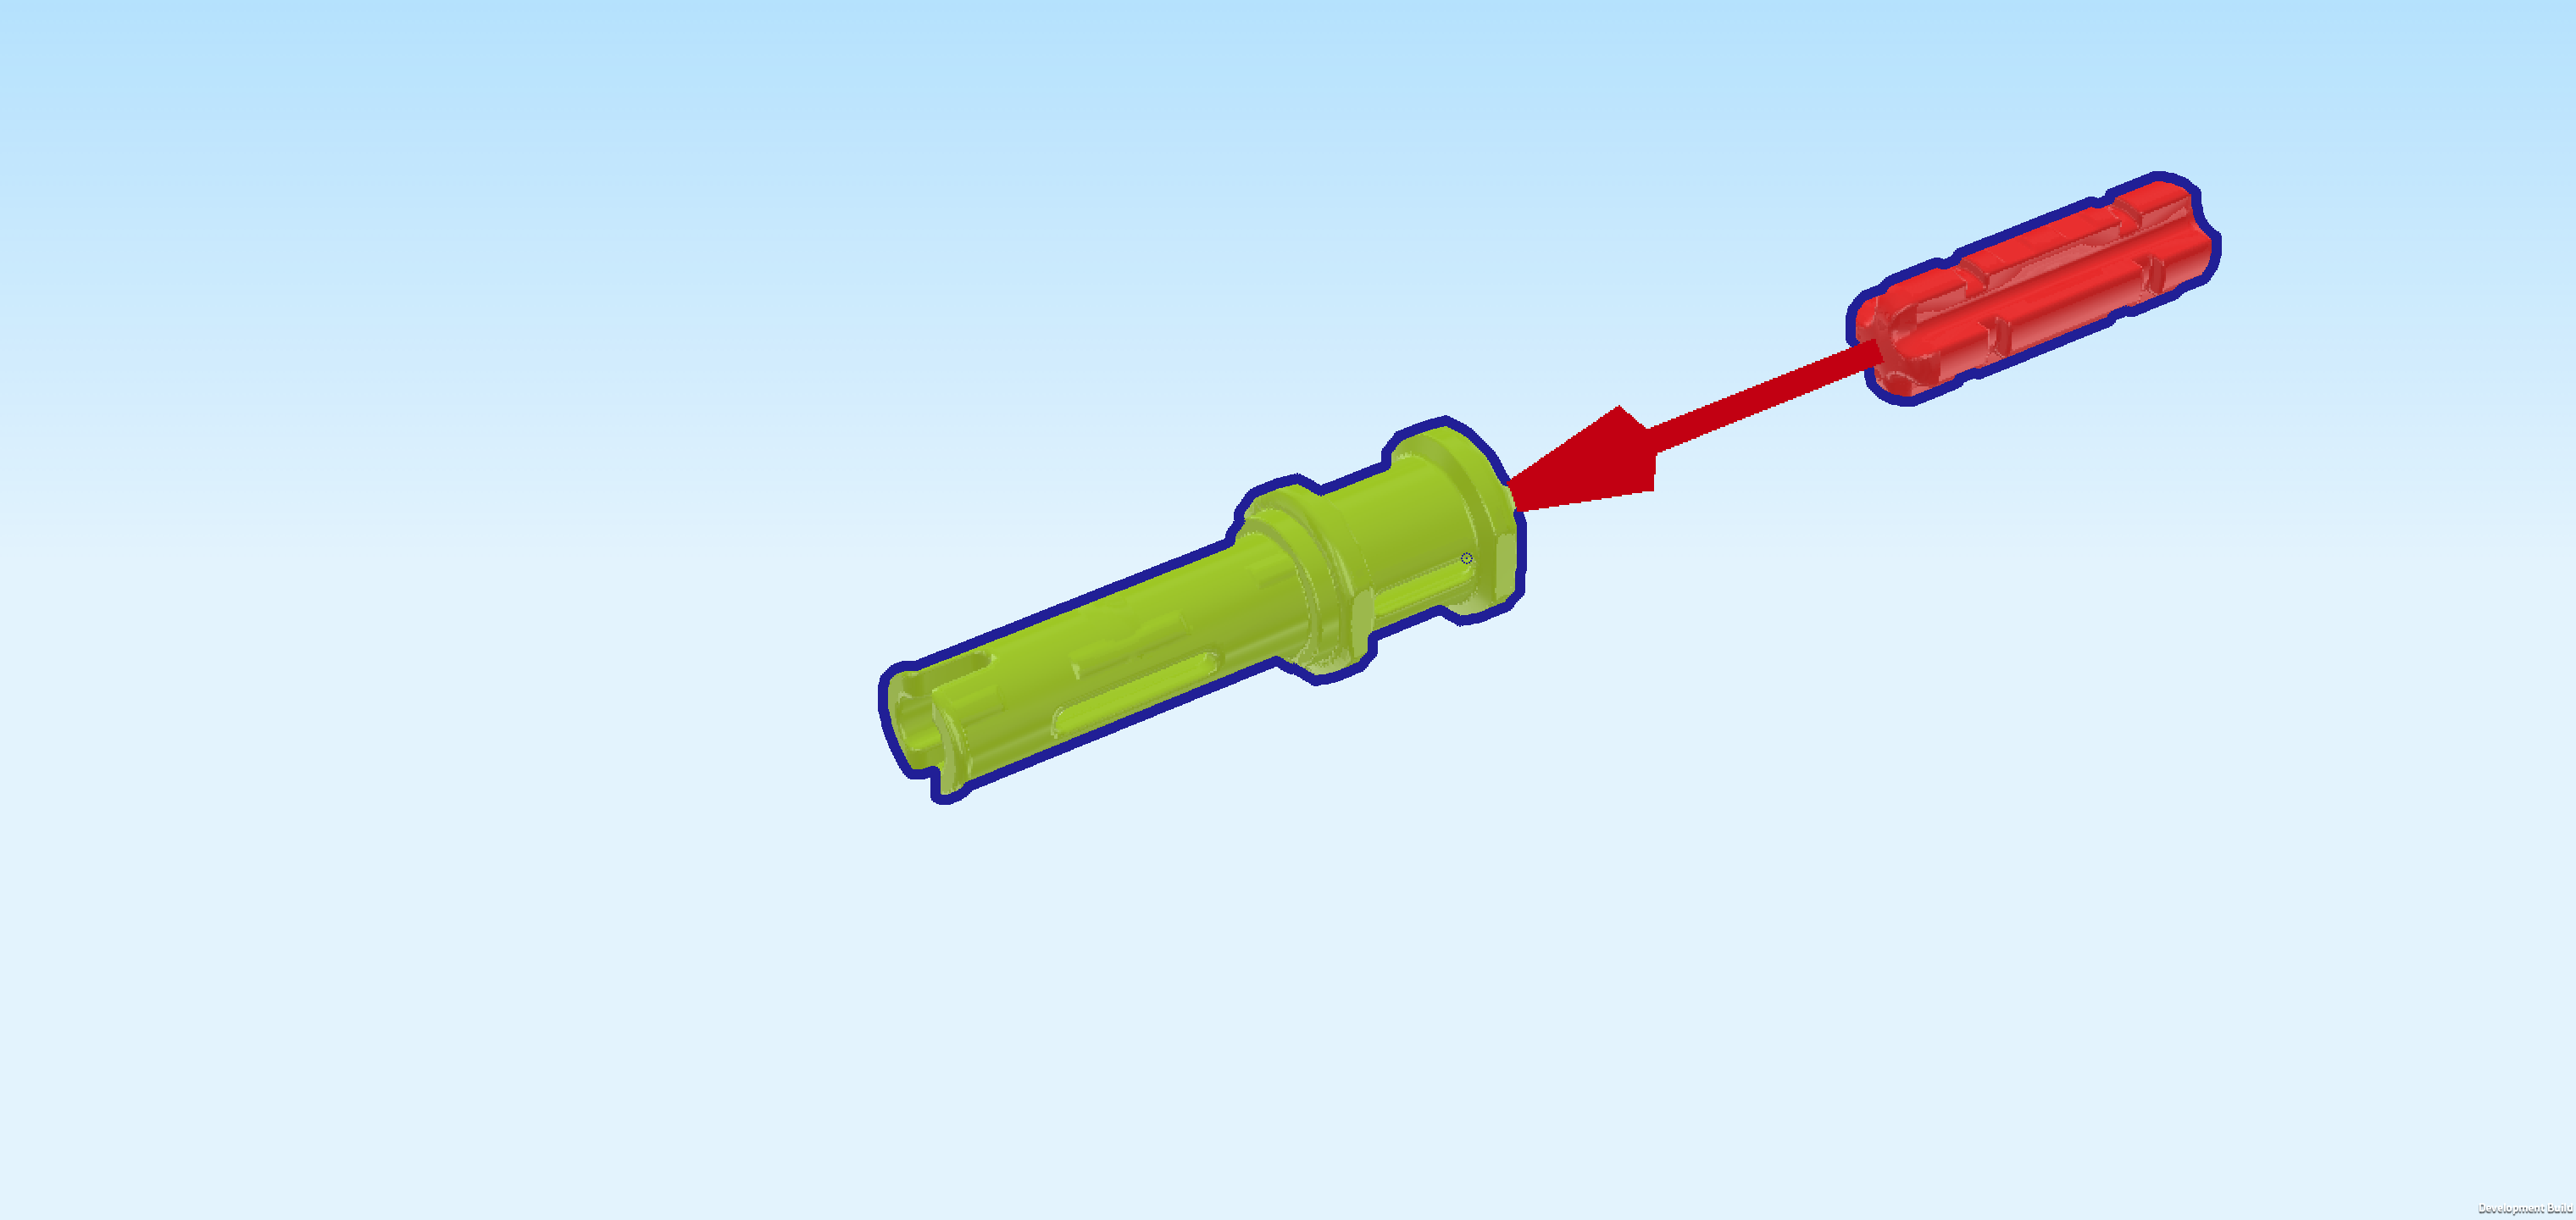
| Hold the connector peg 3m horizontally in your hand, cross hole on the right. |
| Insert the cross axle into the cross hole, 1/2 protruding to the right. |
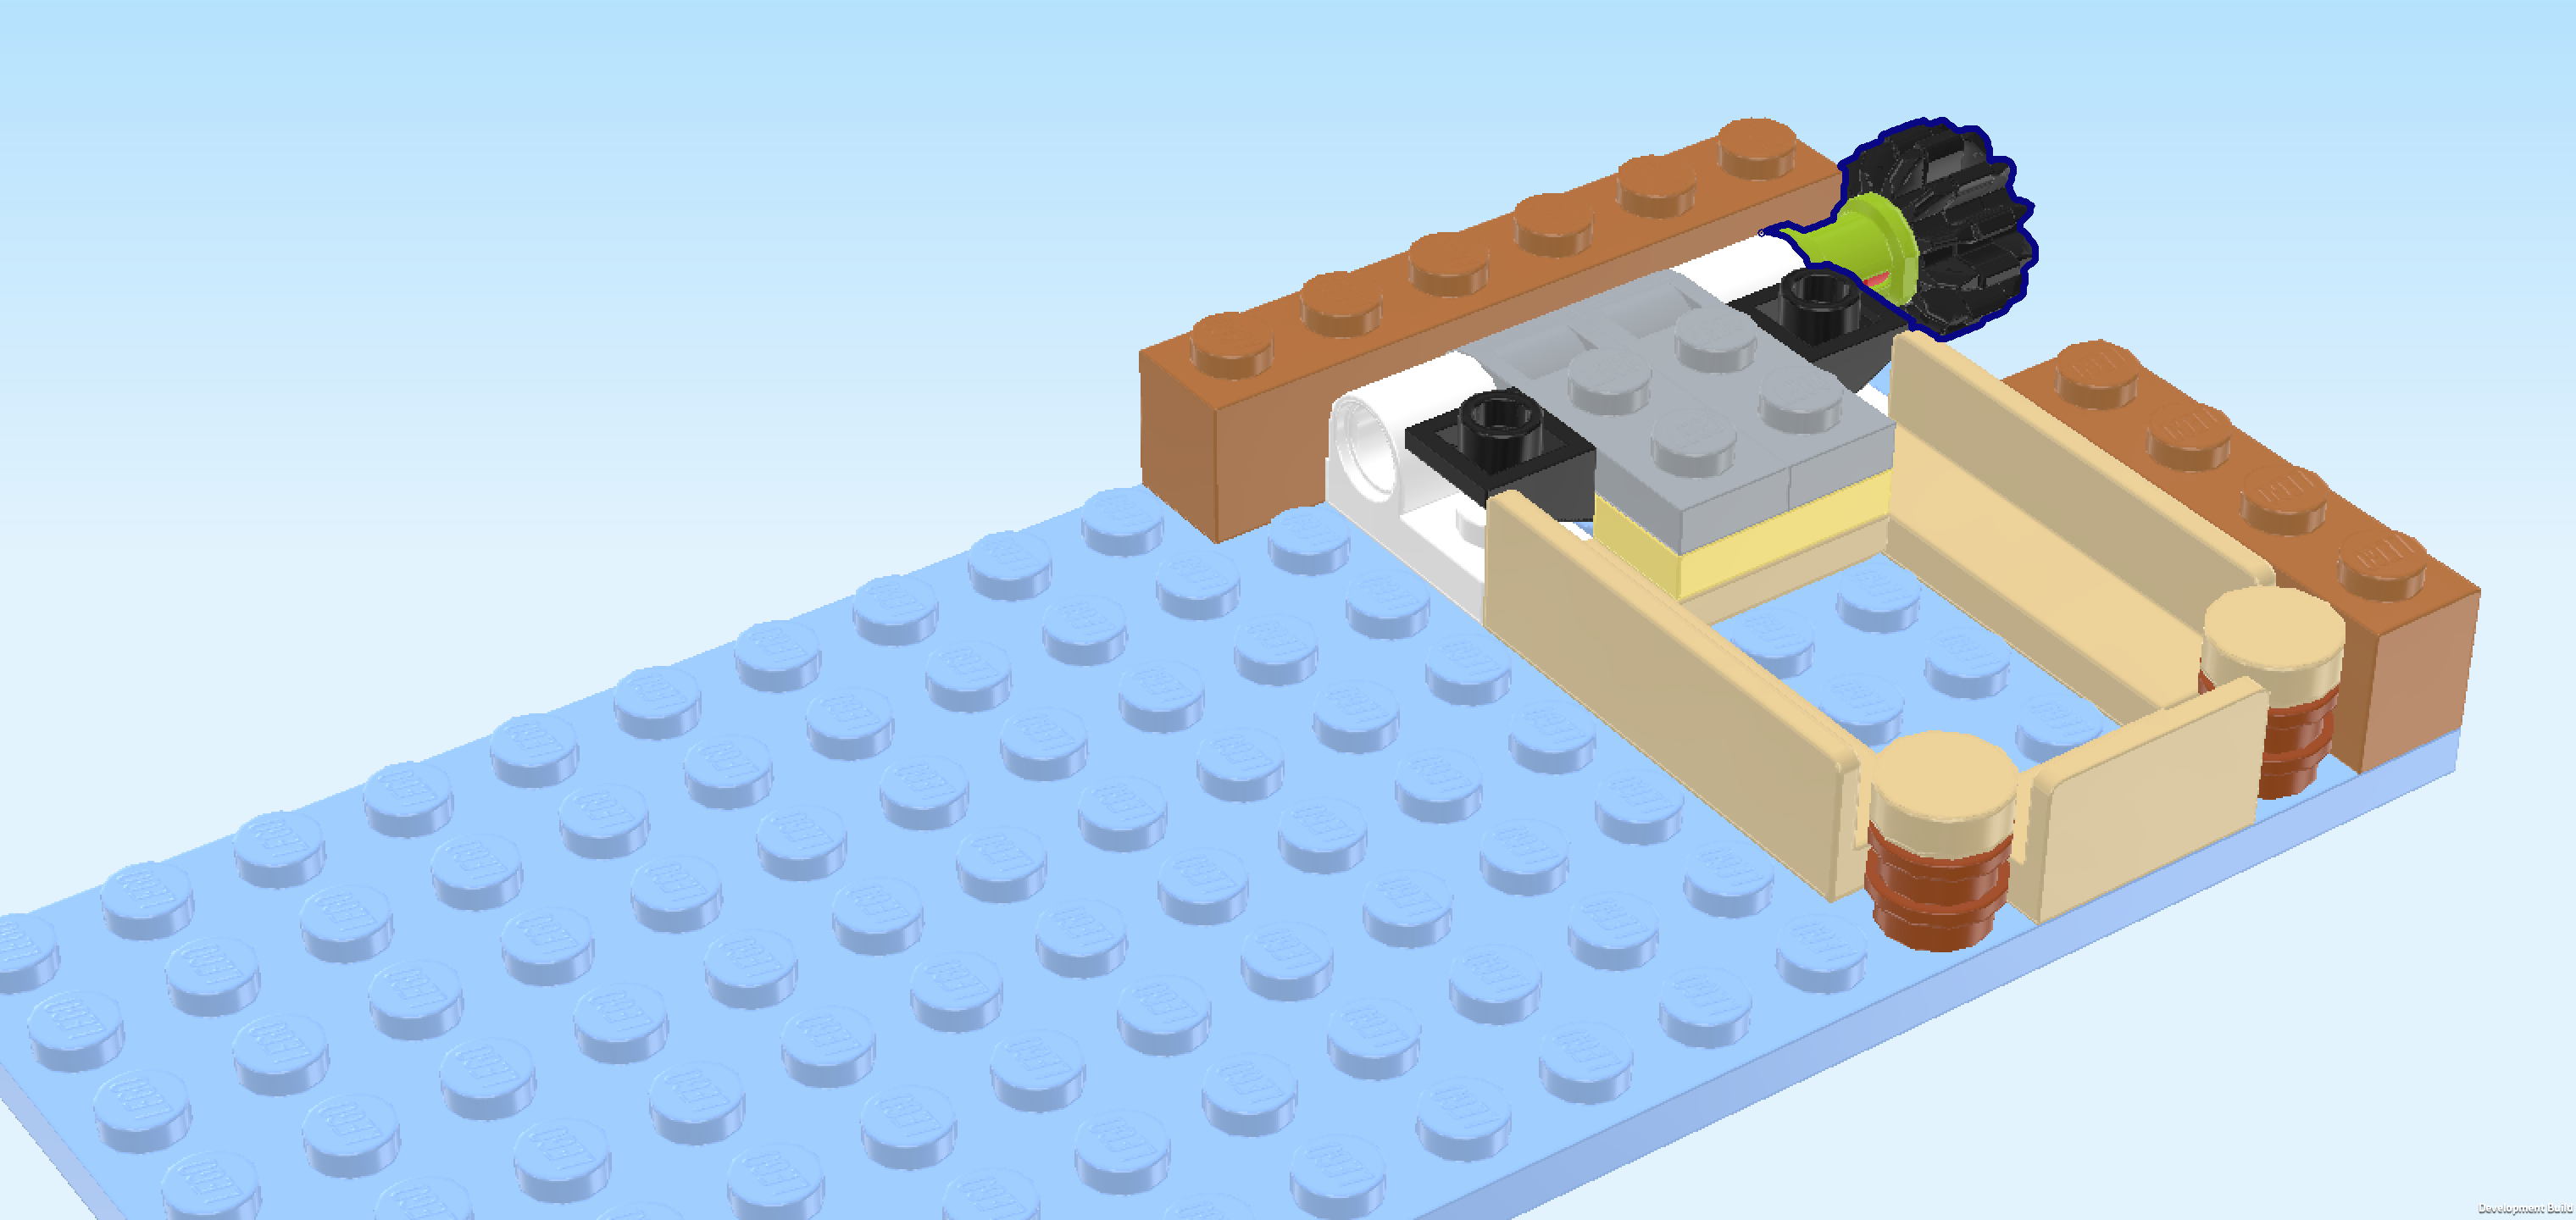
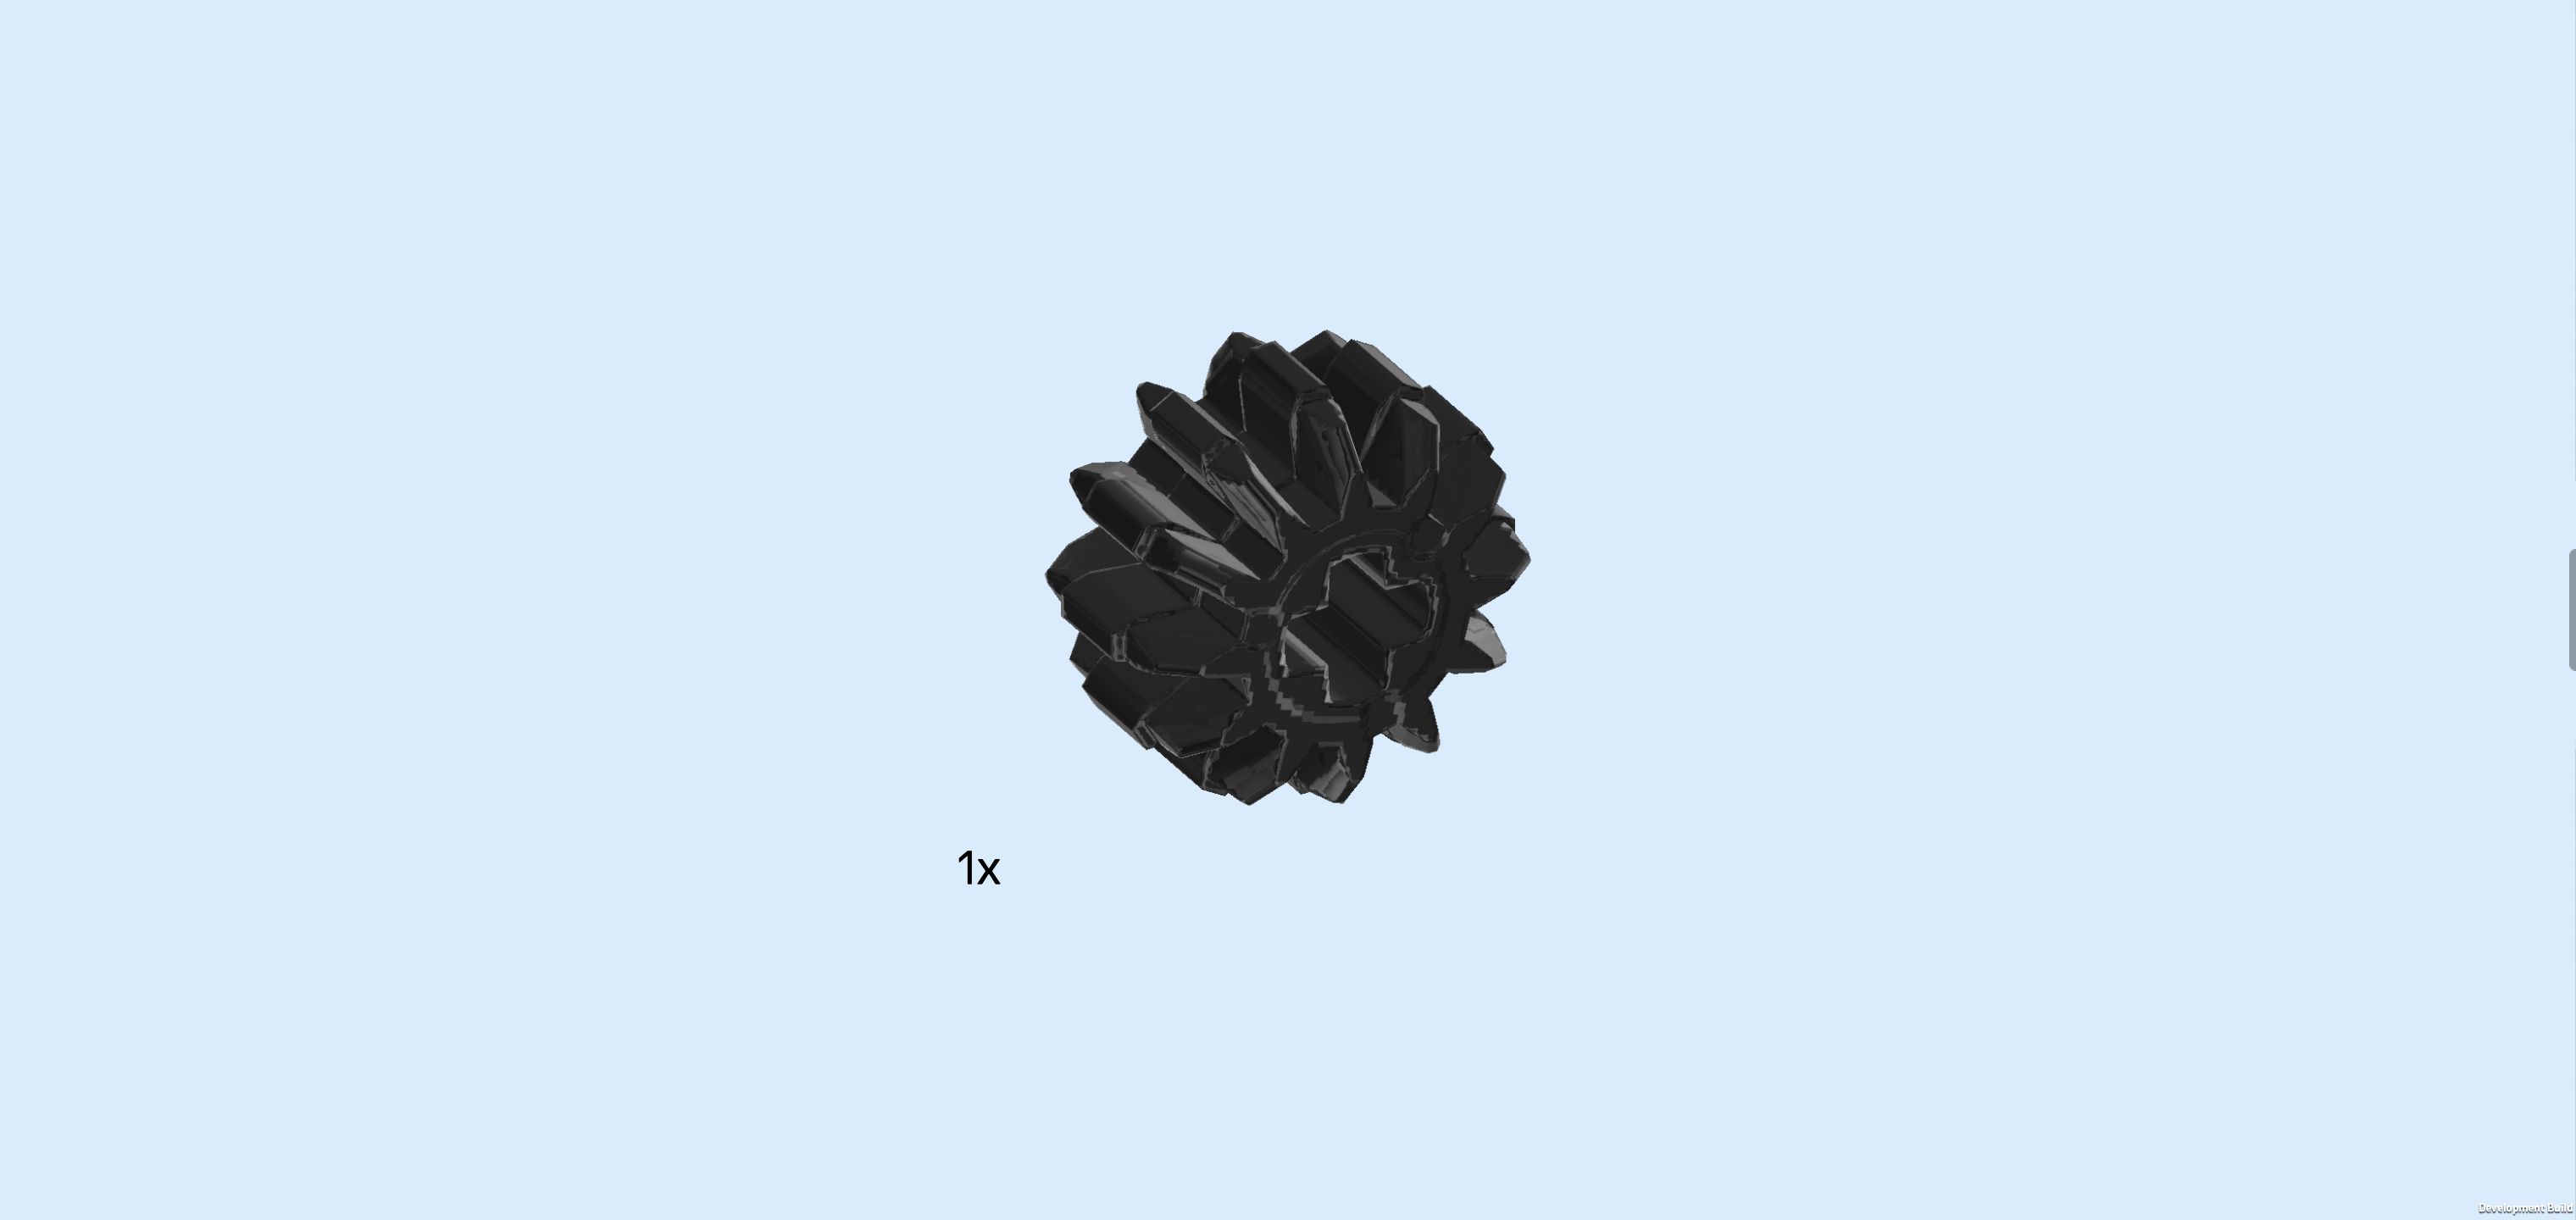
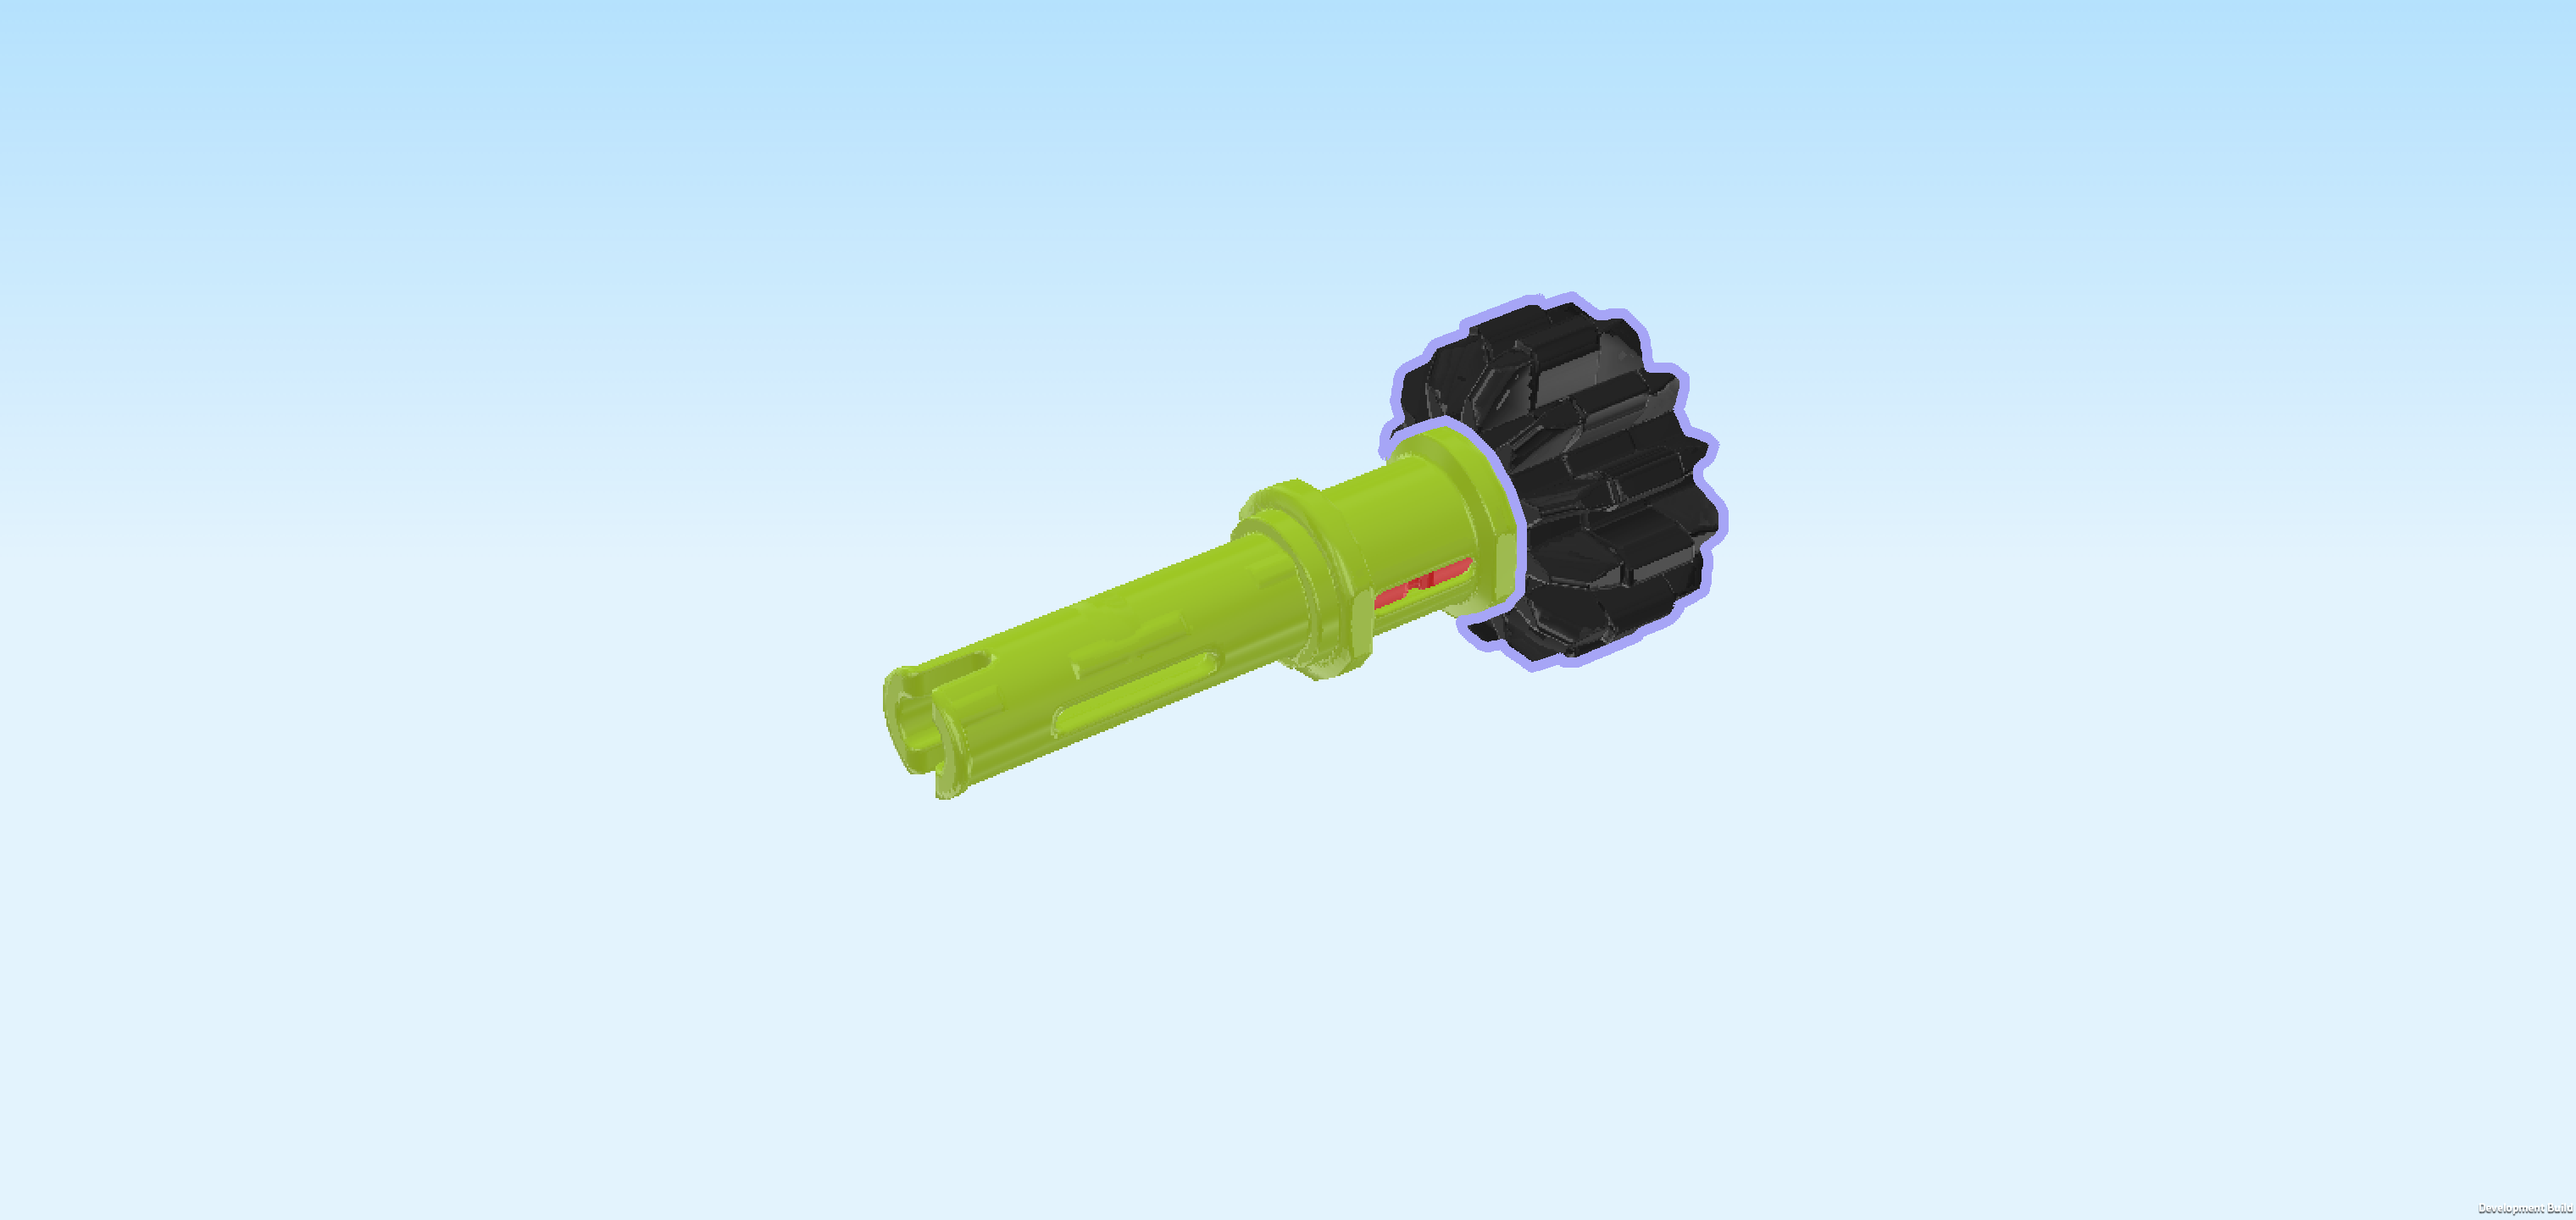
| Find 1 black double conical wheel 1m with 12 teeth. |
| Put it on the cross axle. |
| The first part of the tilt axle is finished! Insert the connector peg from the right into the continuous tube, the part with rings and wheel sticking out towards the right. |
| Next, we will make another sub-part of the tilt axle. |
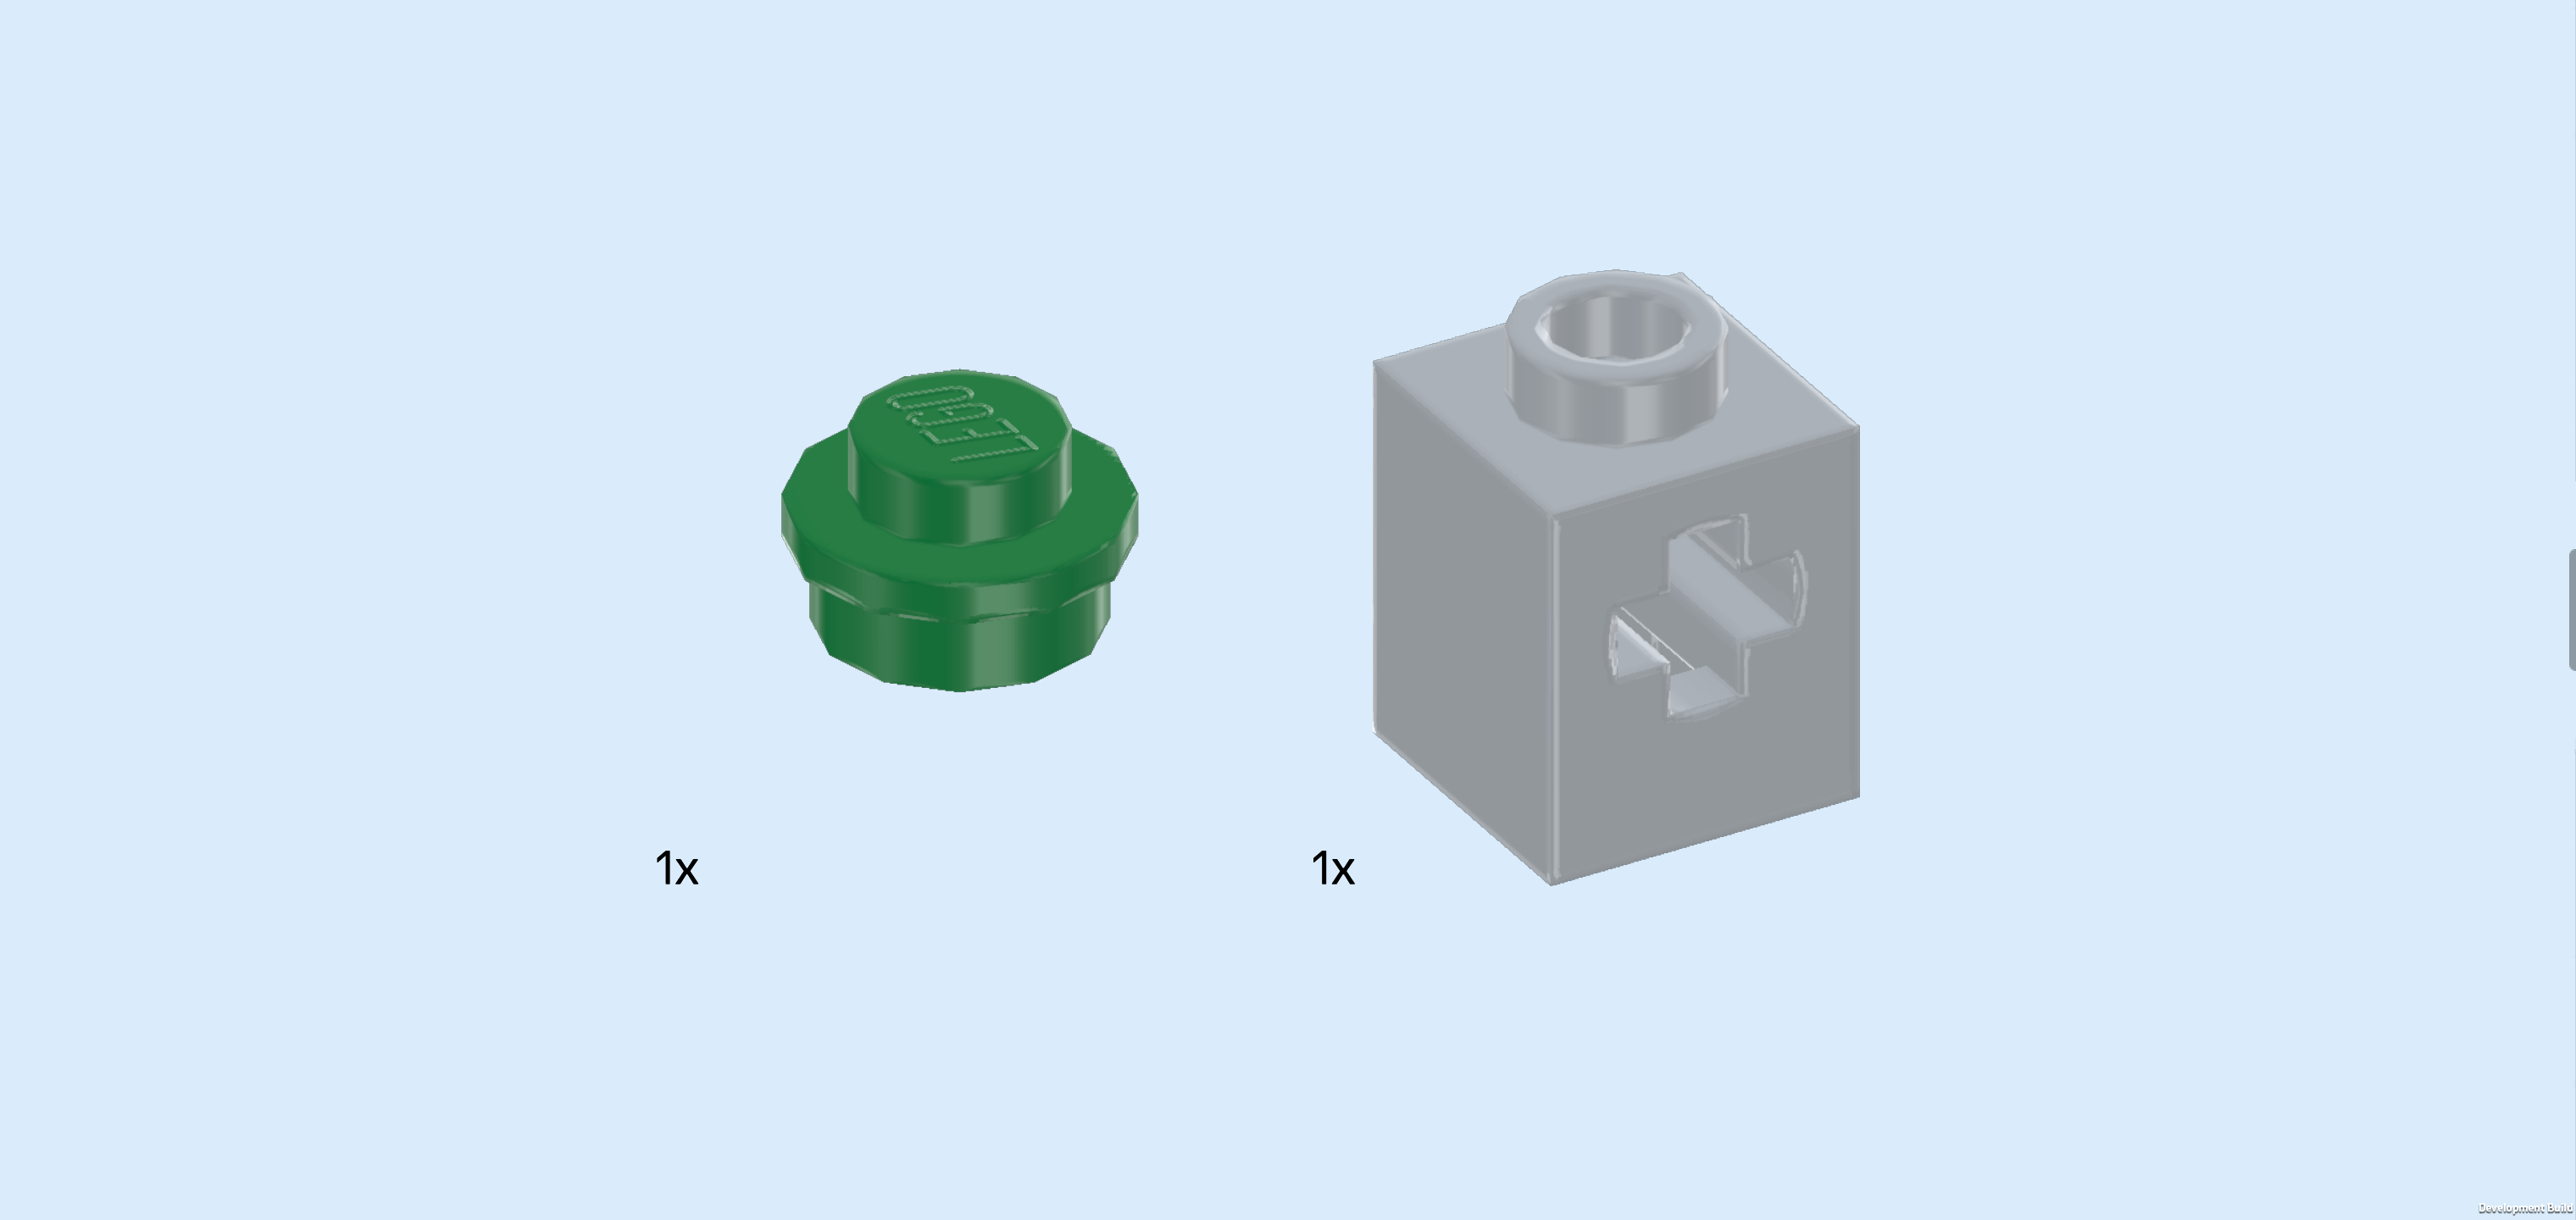
| Collect the following 2 pieces: |
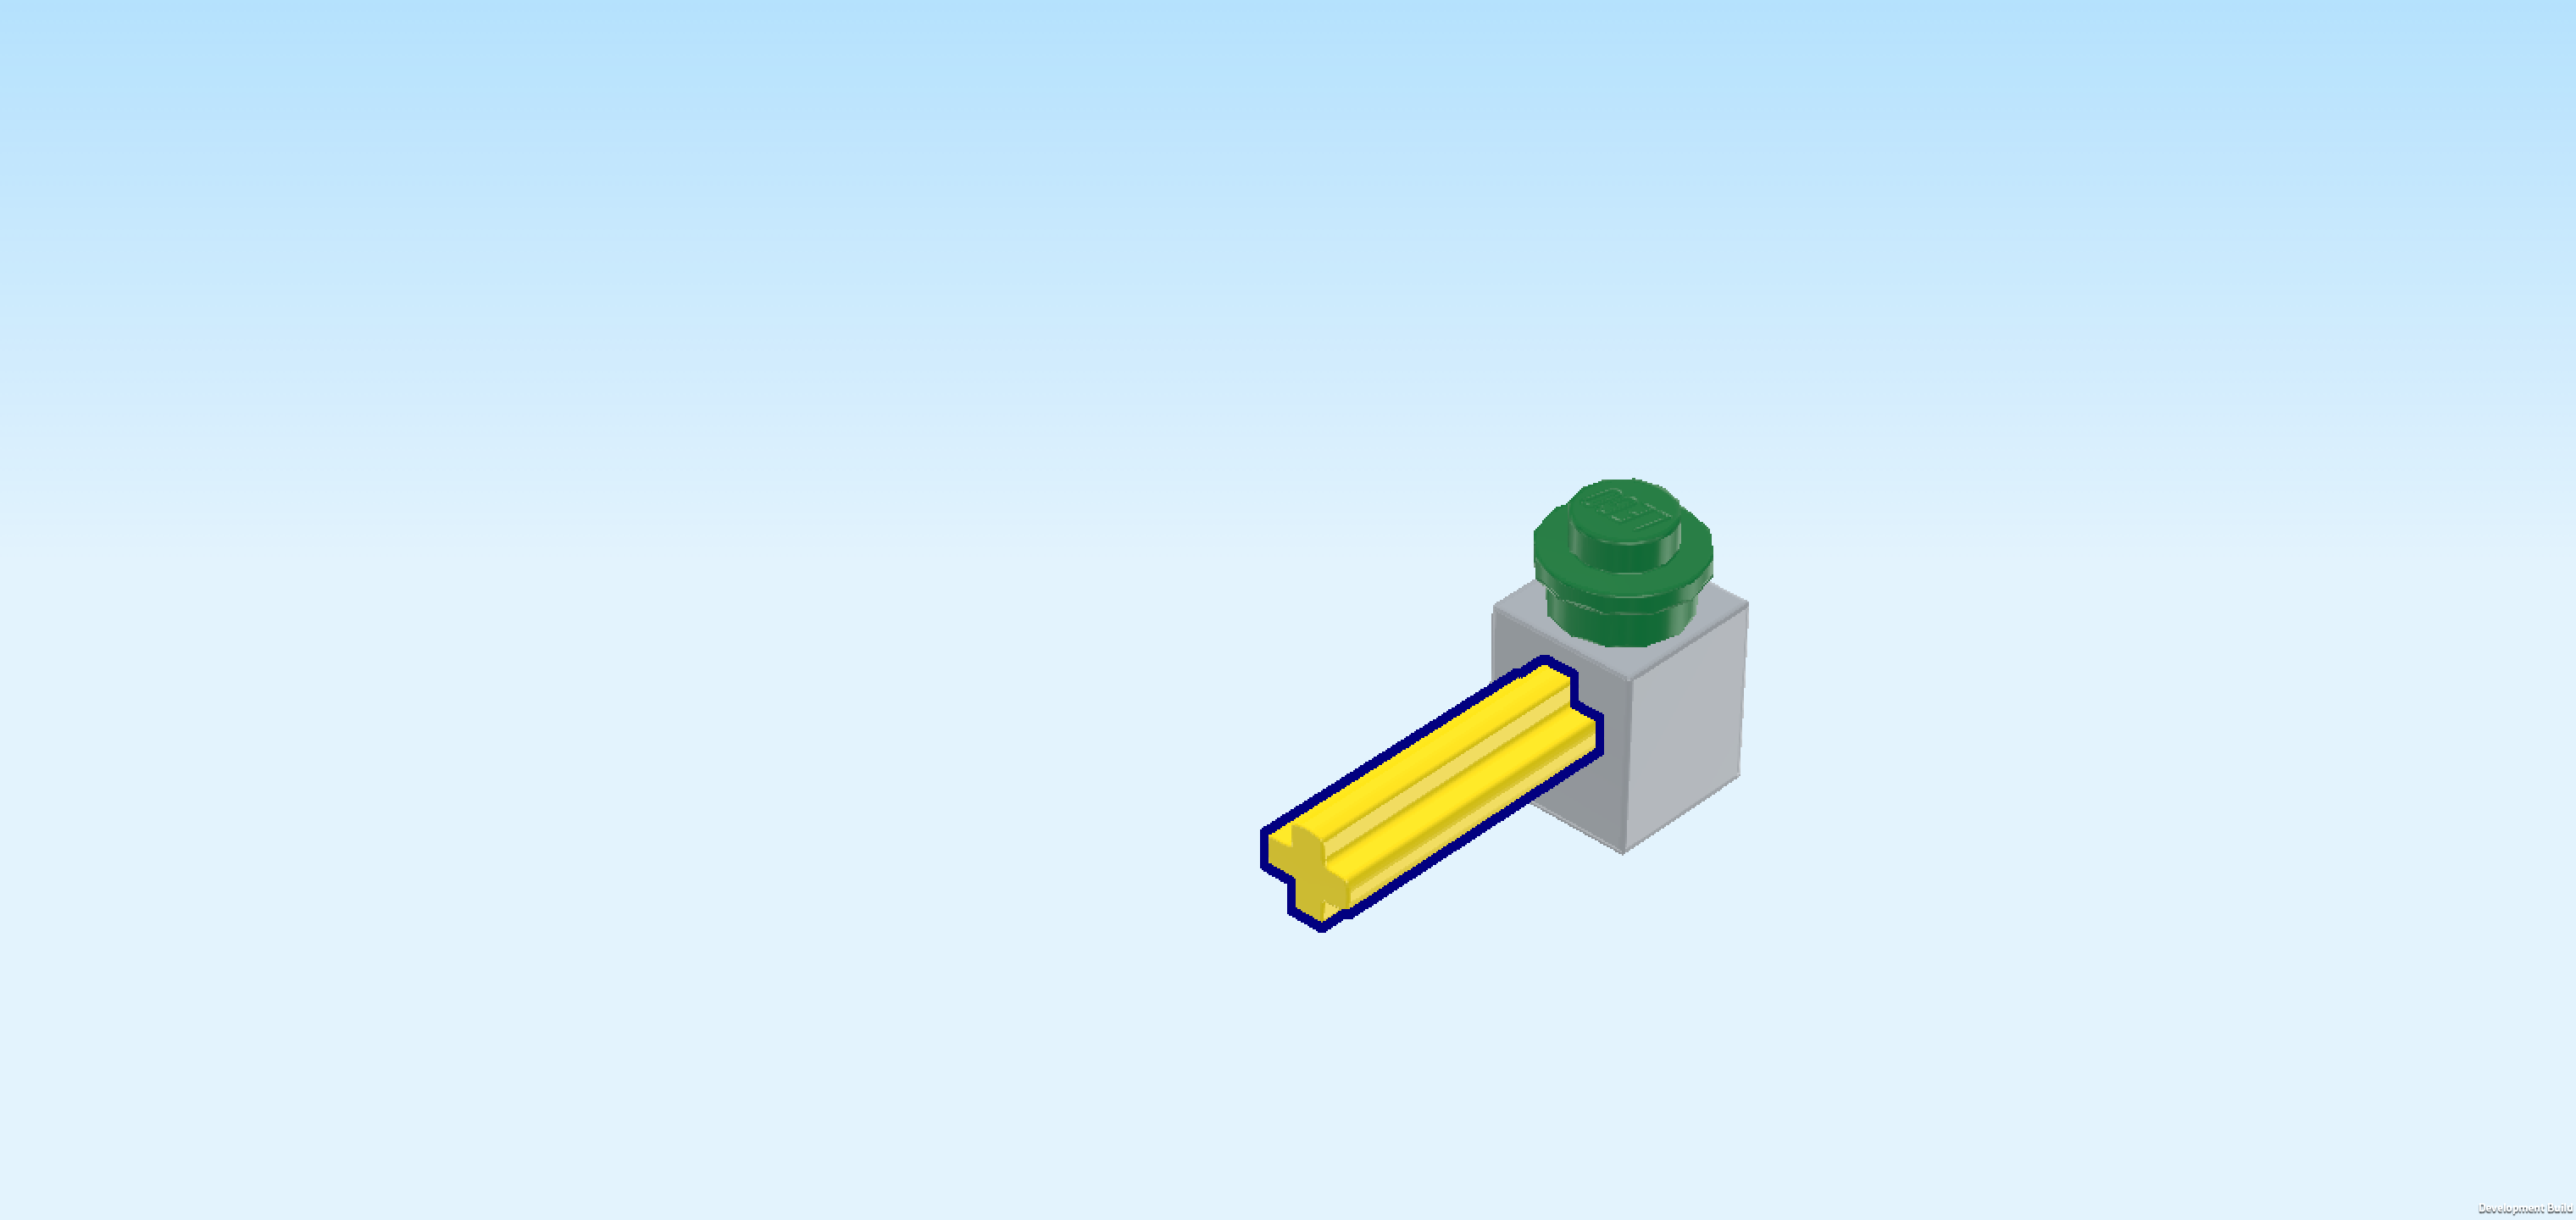
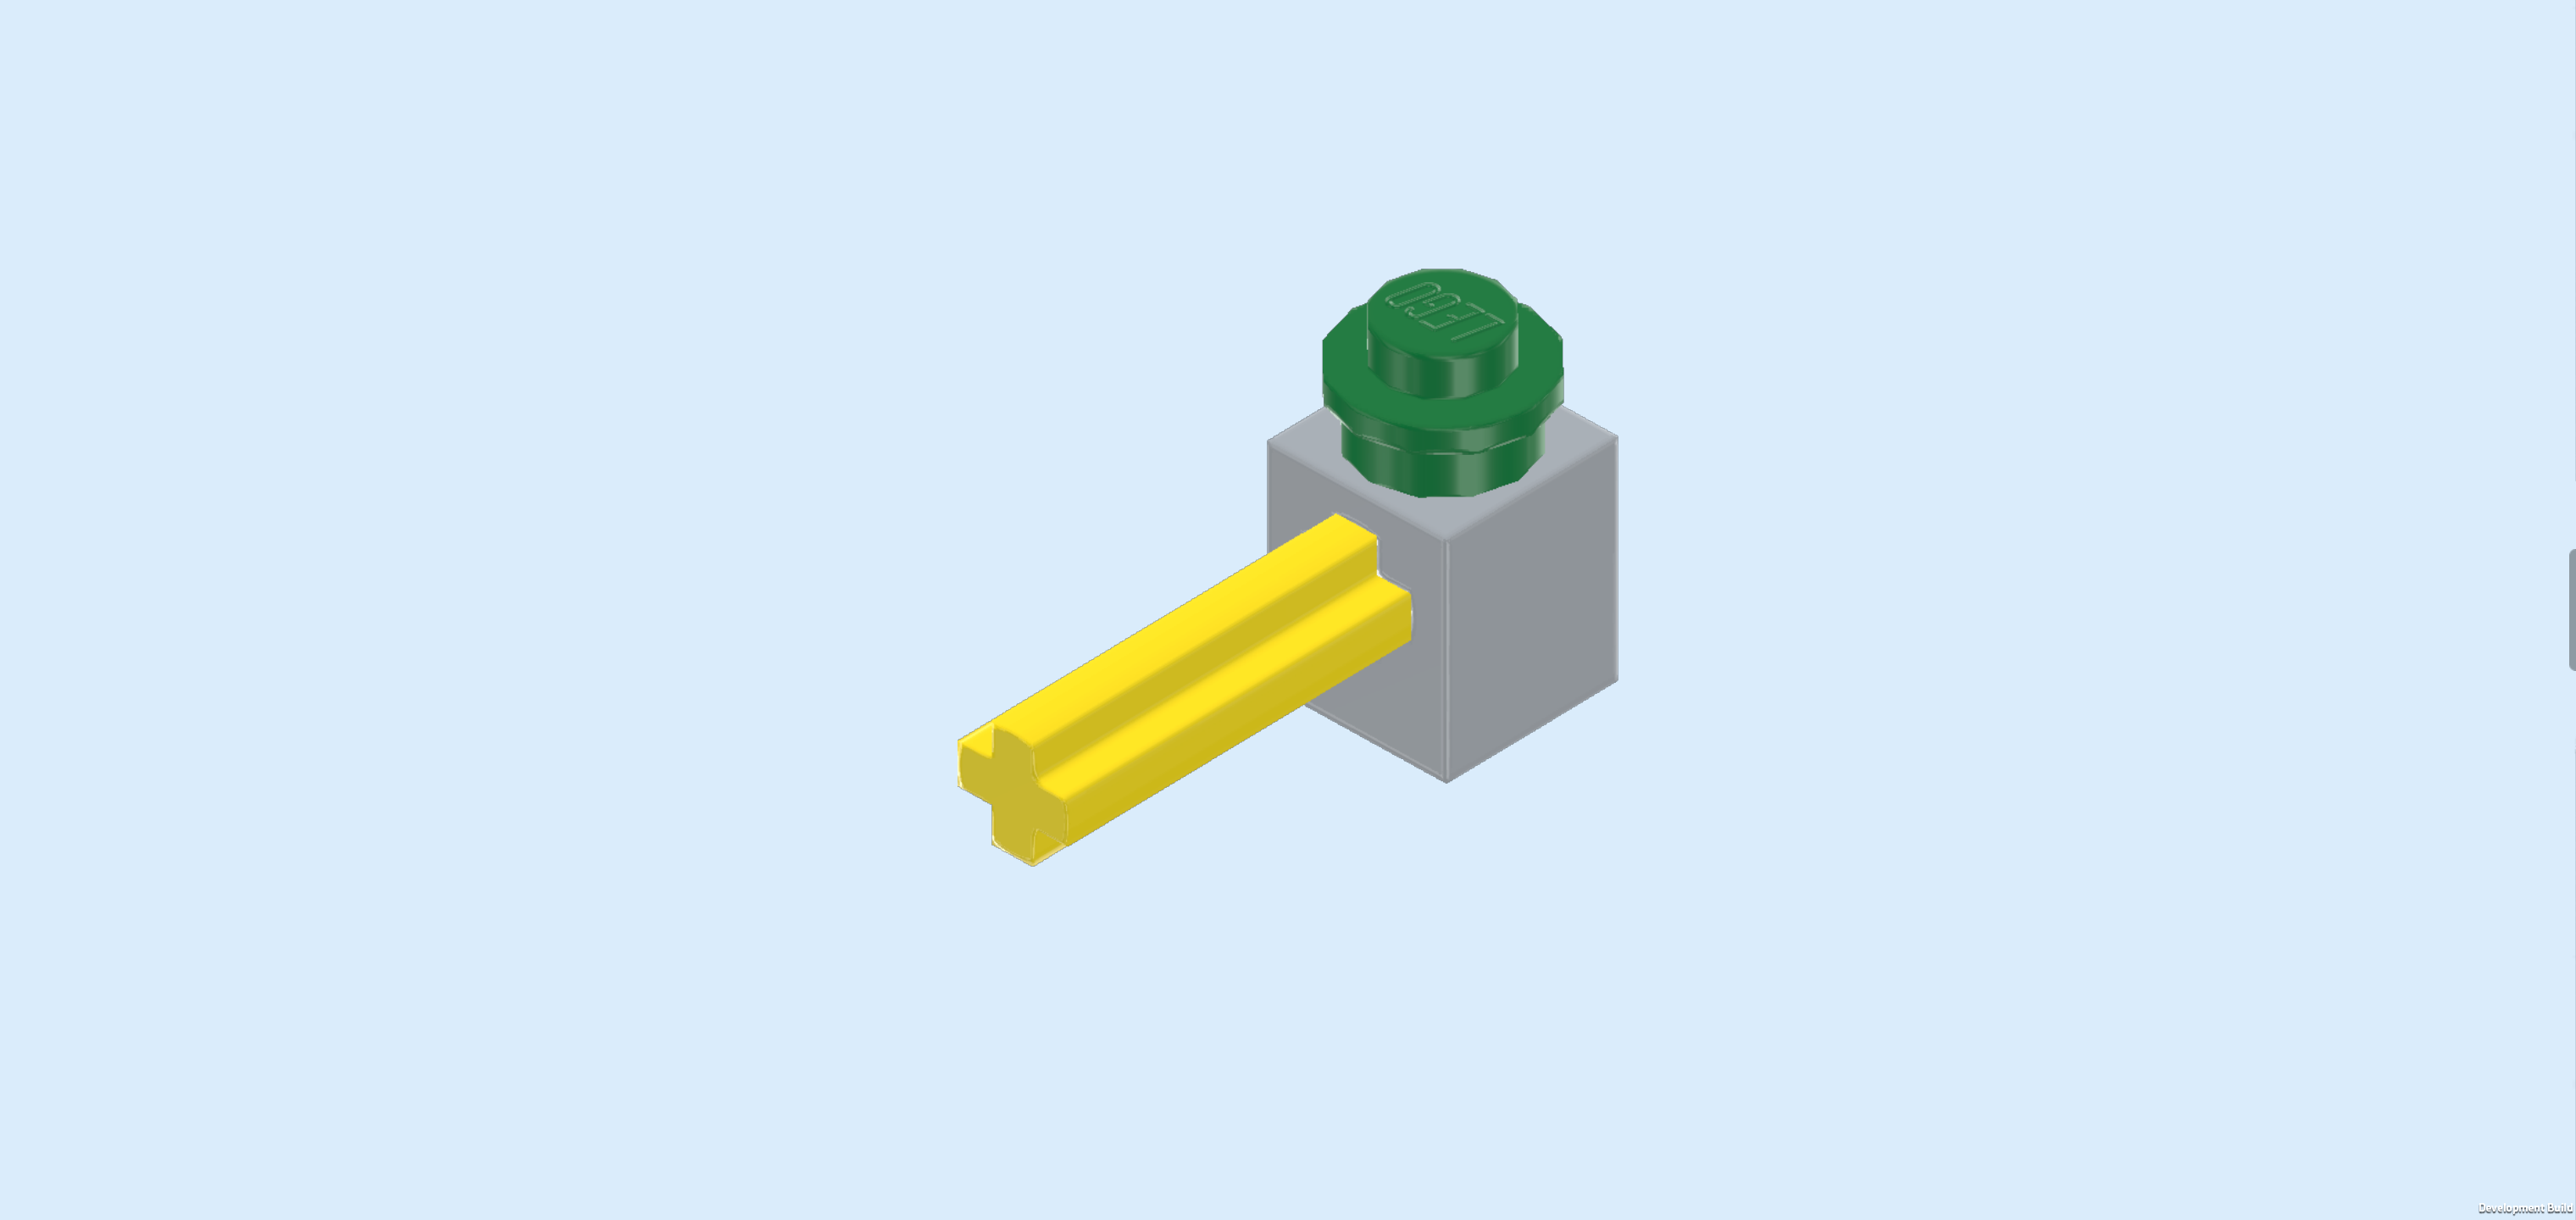
| 1 dark green round plate 1x1, |
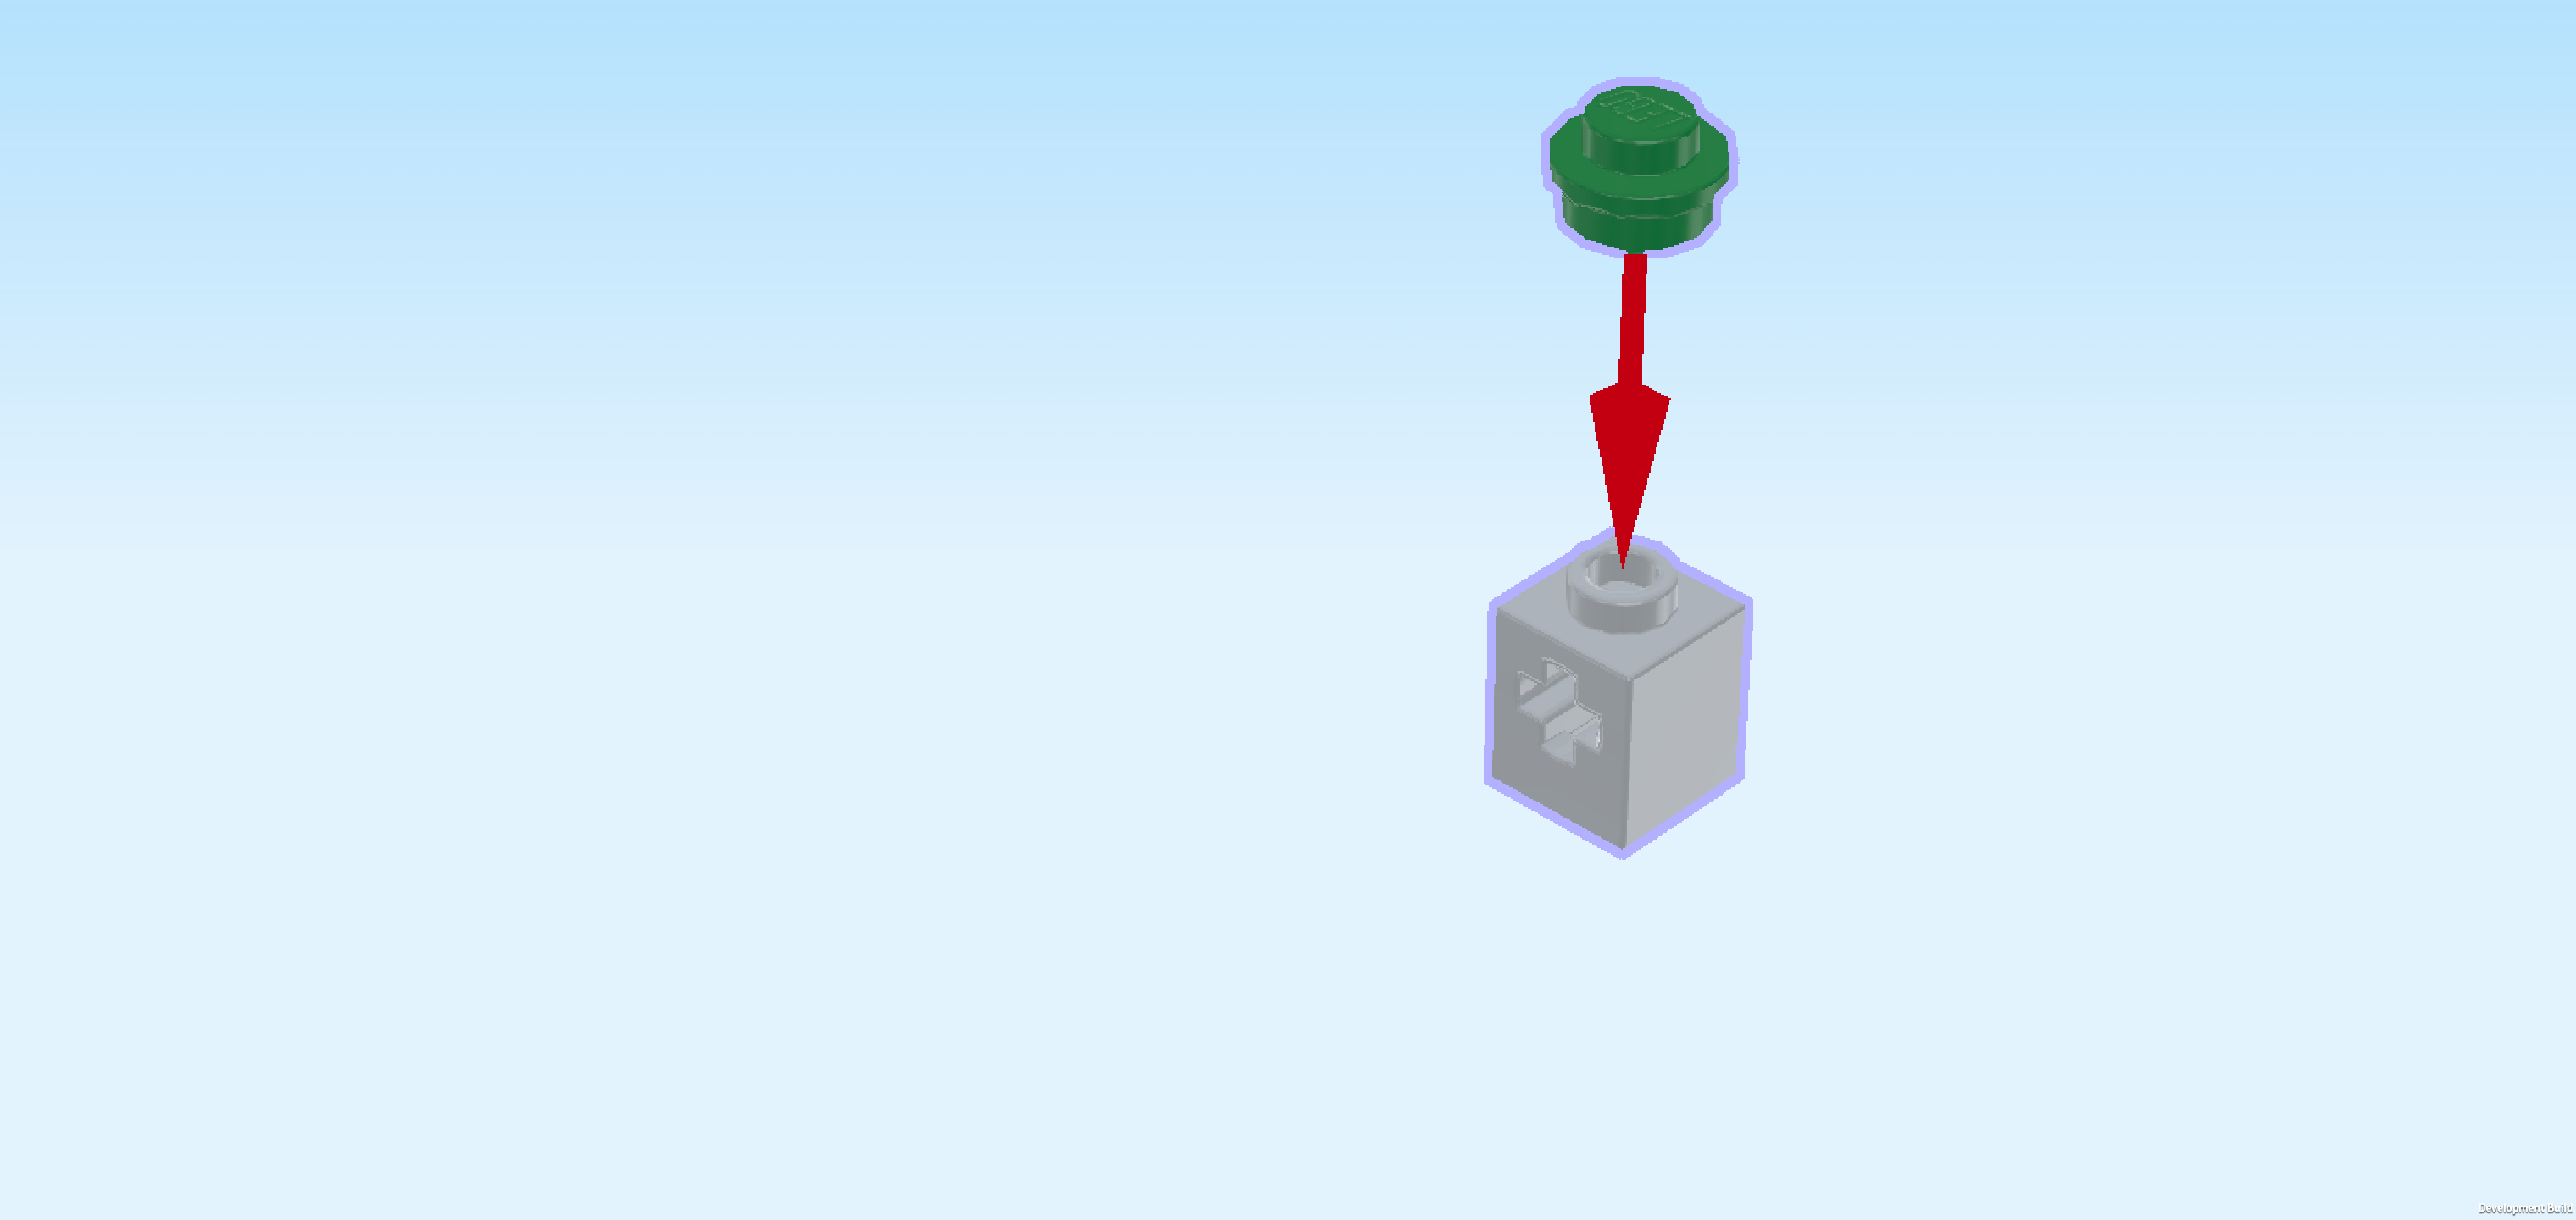
| and 1 medium stone grey brick 1x1 with side cross hole. |
| Put the brick on the table, cross hole running from left to right. |
| Put the round plate on top. |
| Find 1 bright yellow cross axle 3m. |
| Insert it from the left into the brick. Make sure that it does not protrude on the right side but only protrudes to the left. We will take care of its precise adjustments in the next step. |
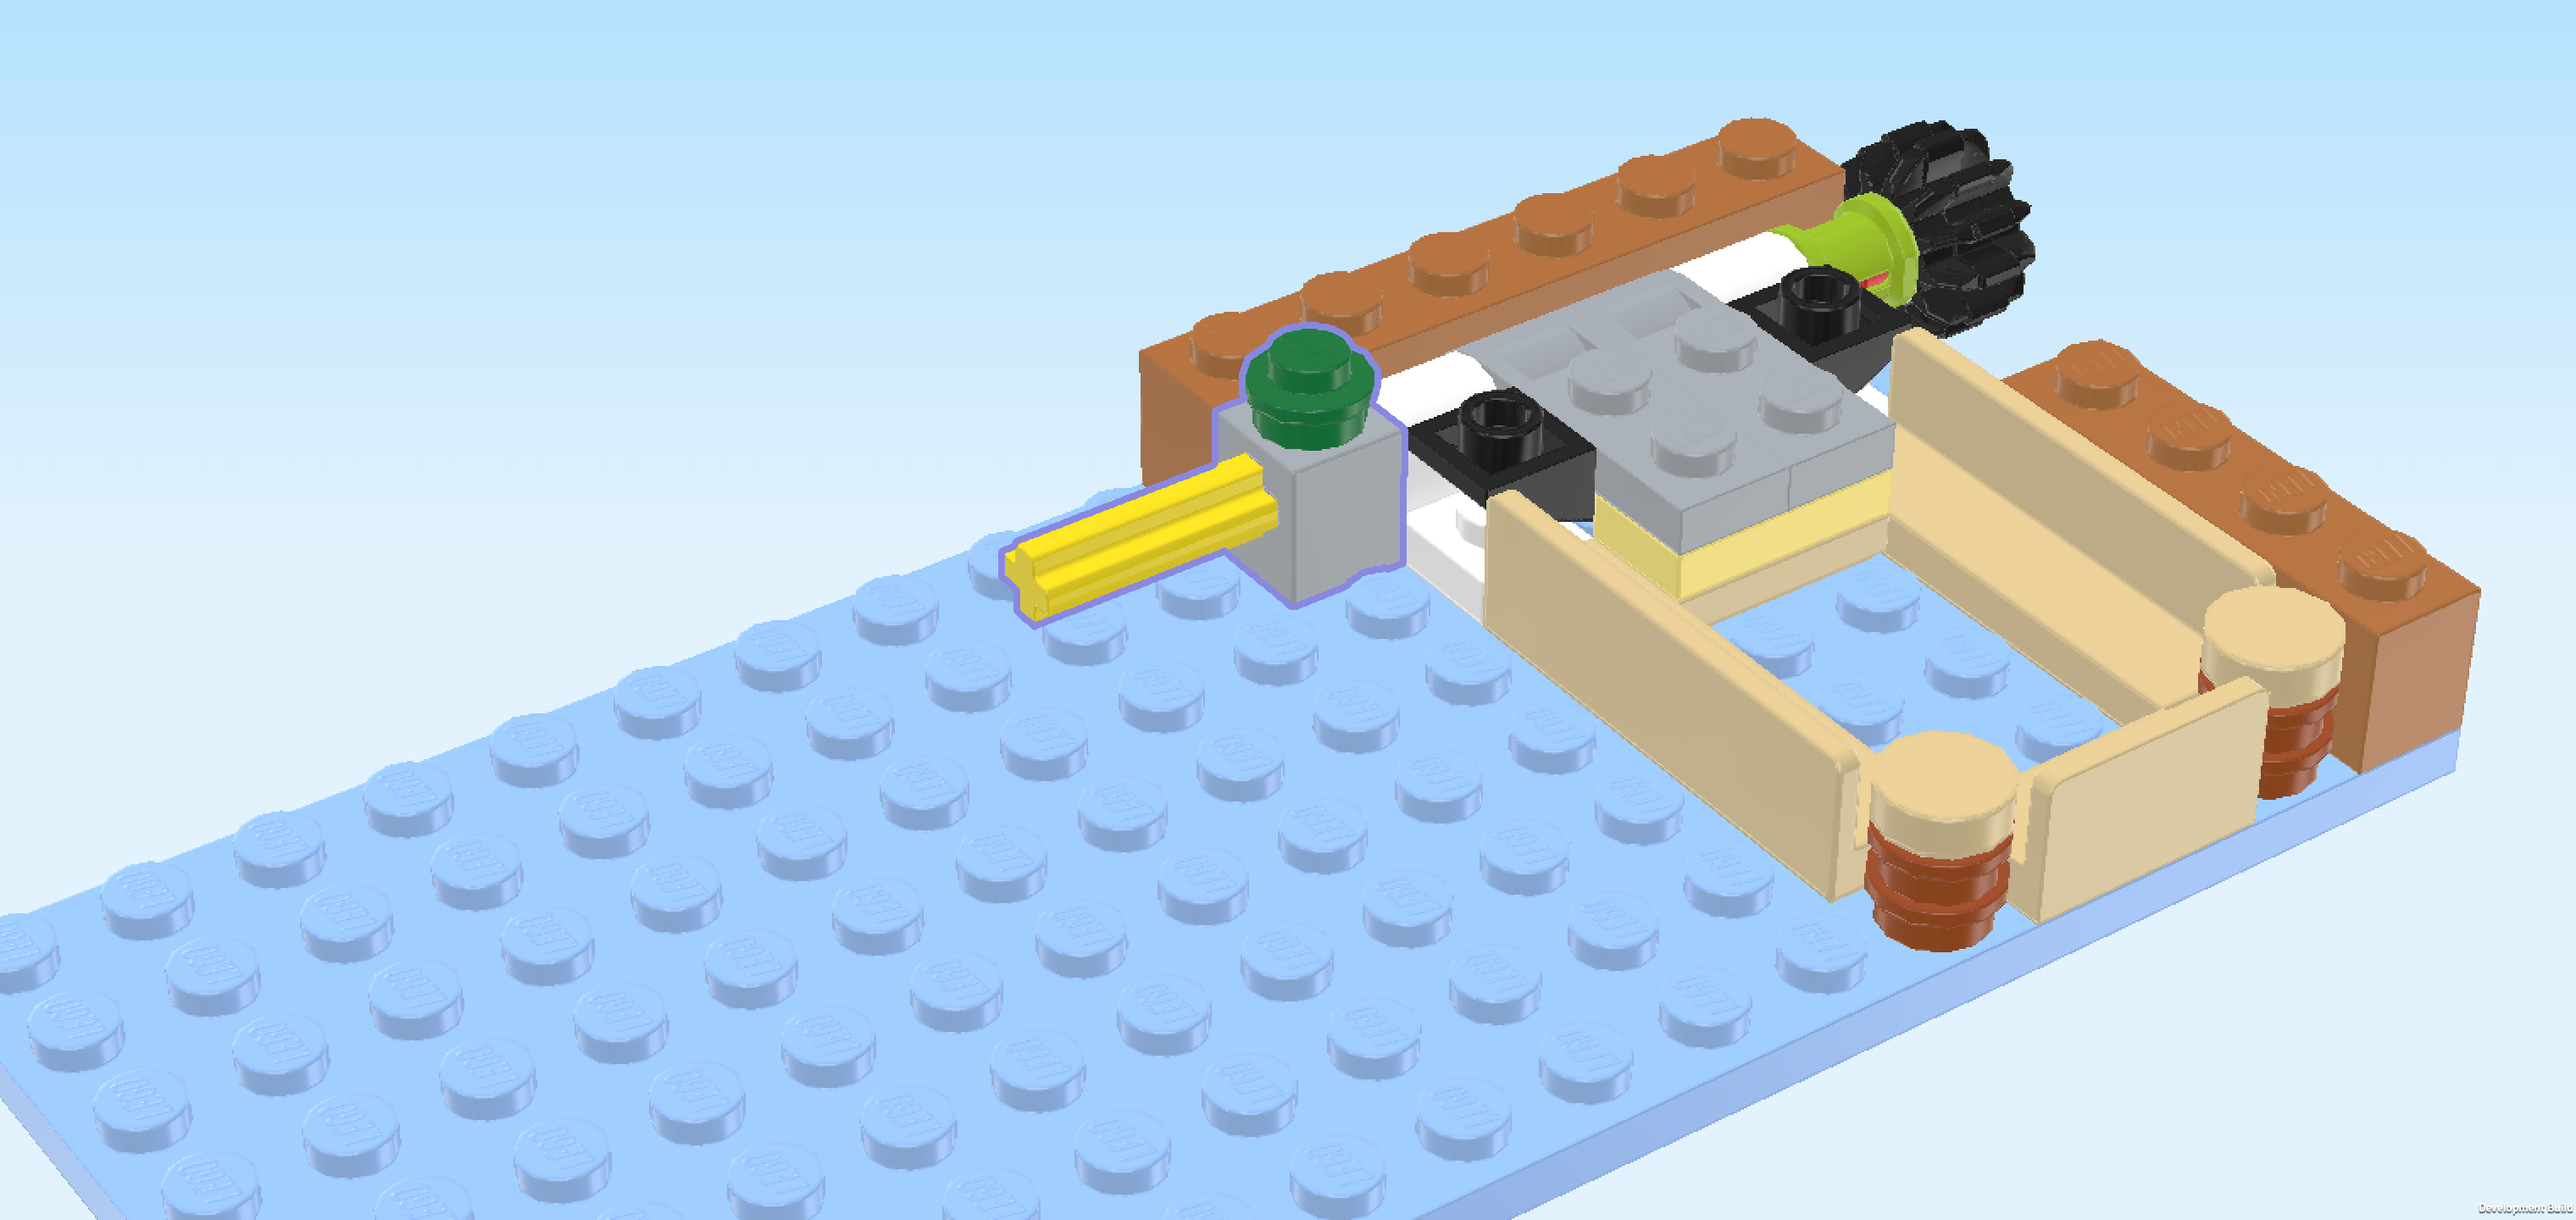
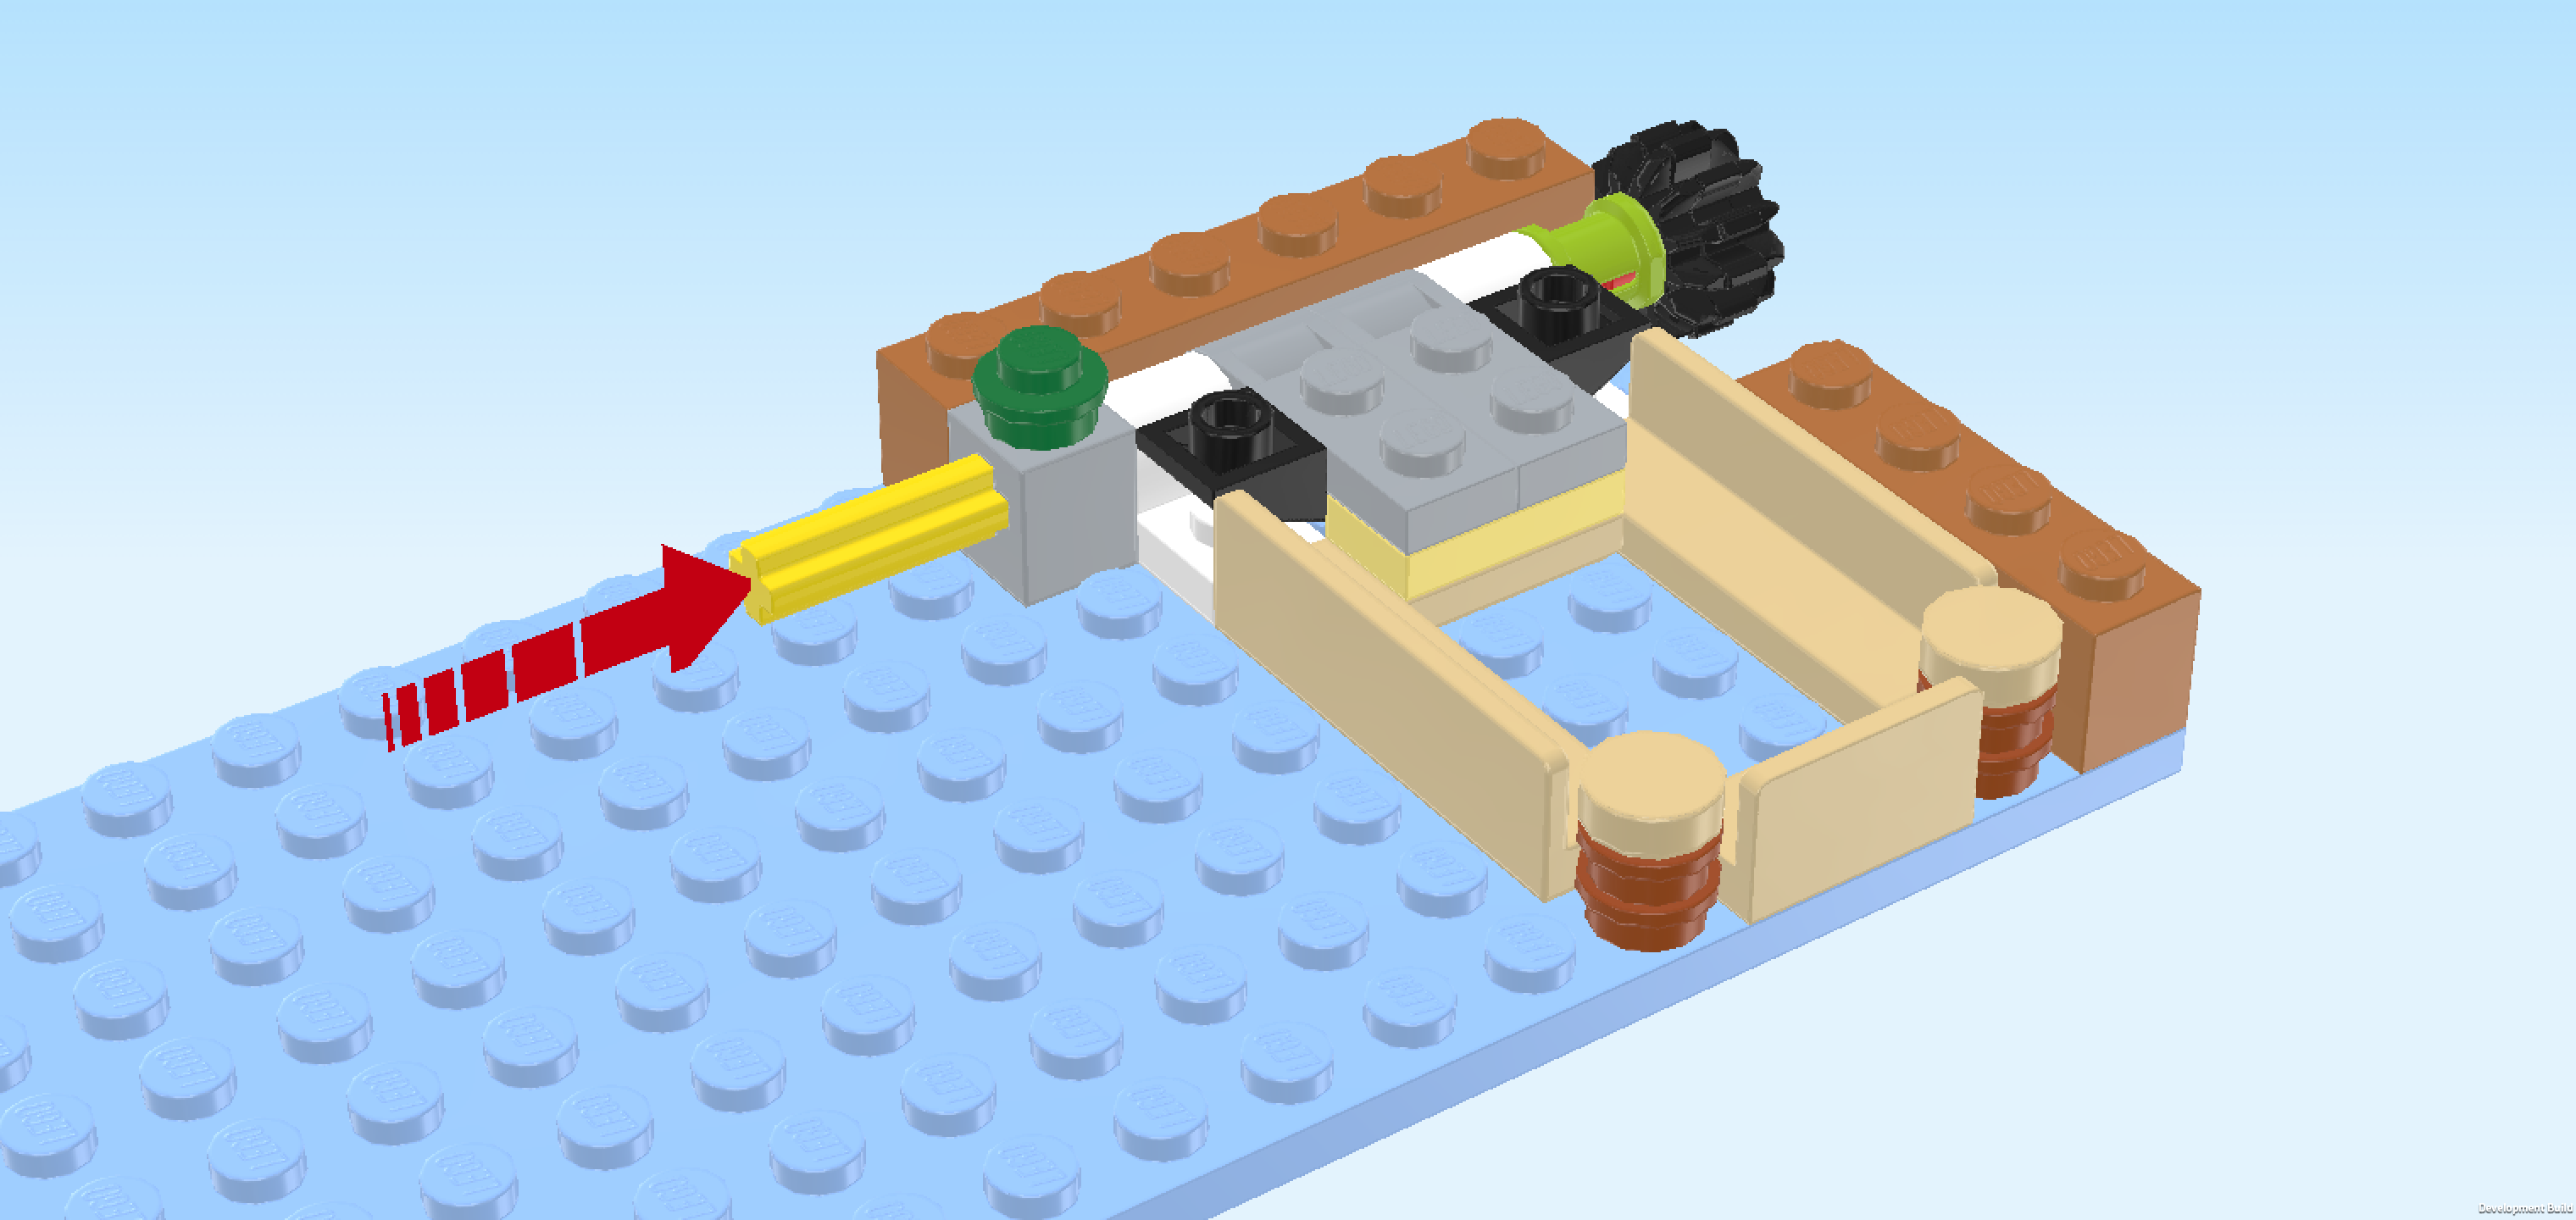
| Mount this sub-part in its building orientation directly next to the left end of the continuous tube. |
| Then, push the cross axle into the tube. Make sure to press the conical wheel on the right side in, too. You also might have to hold down the relevant parts or wiggle the cross axle a bit. Make sure to push the cross axle all the way in. |
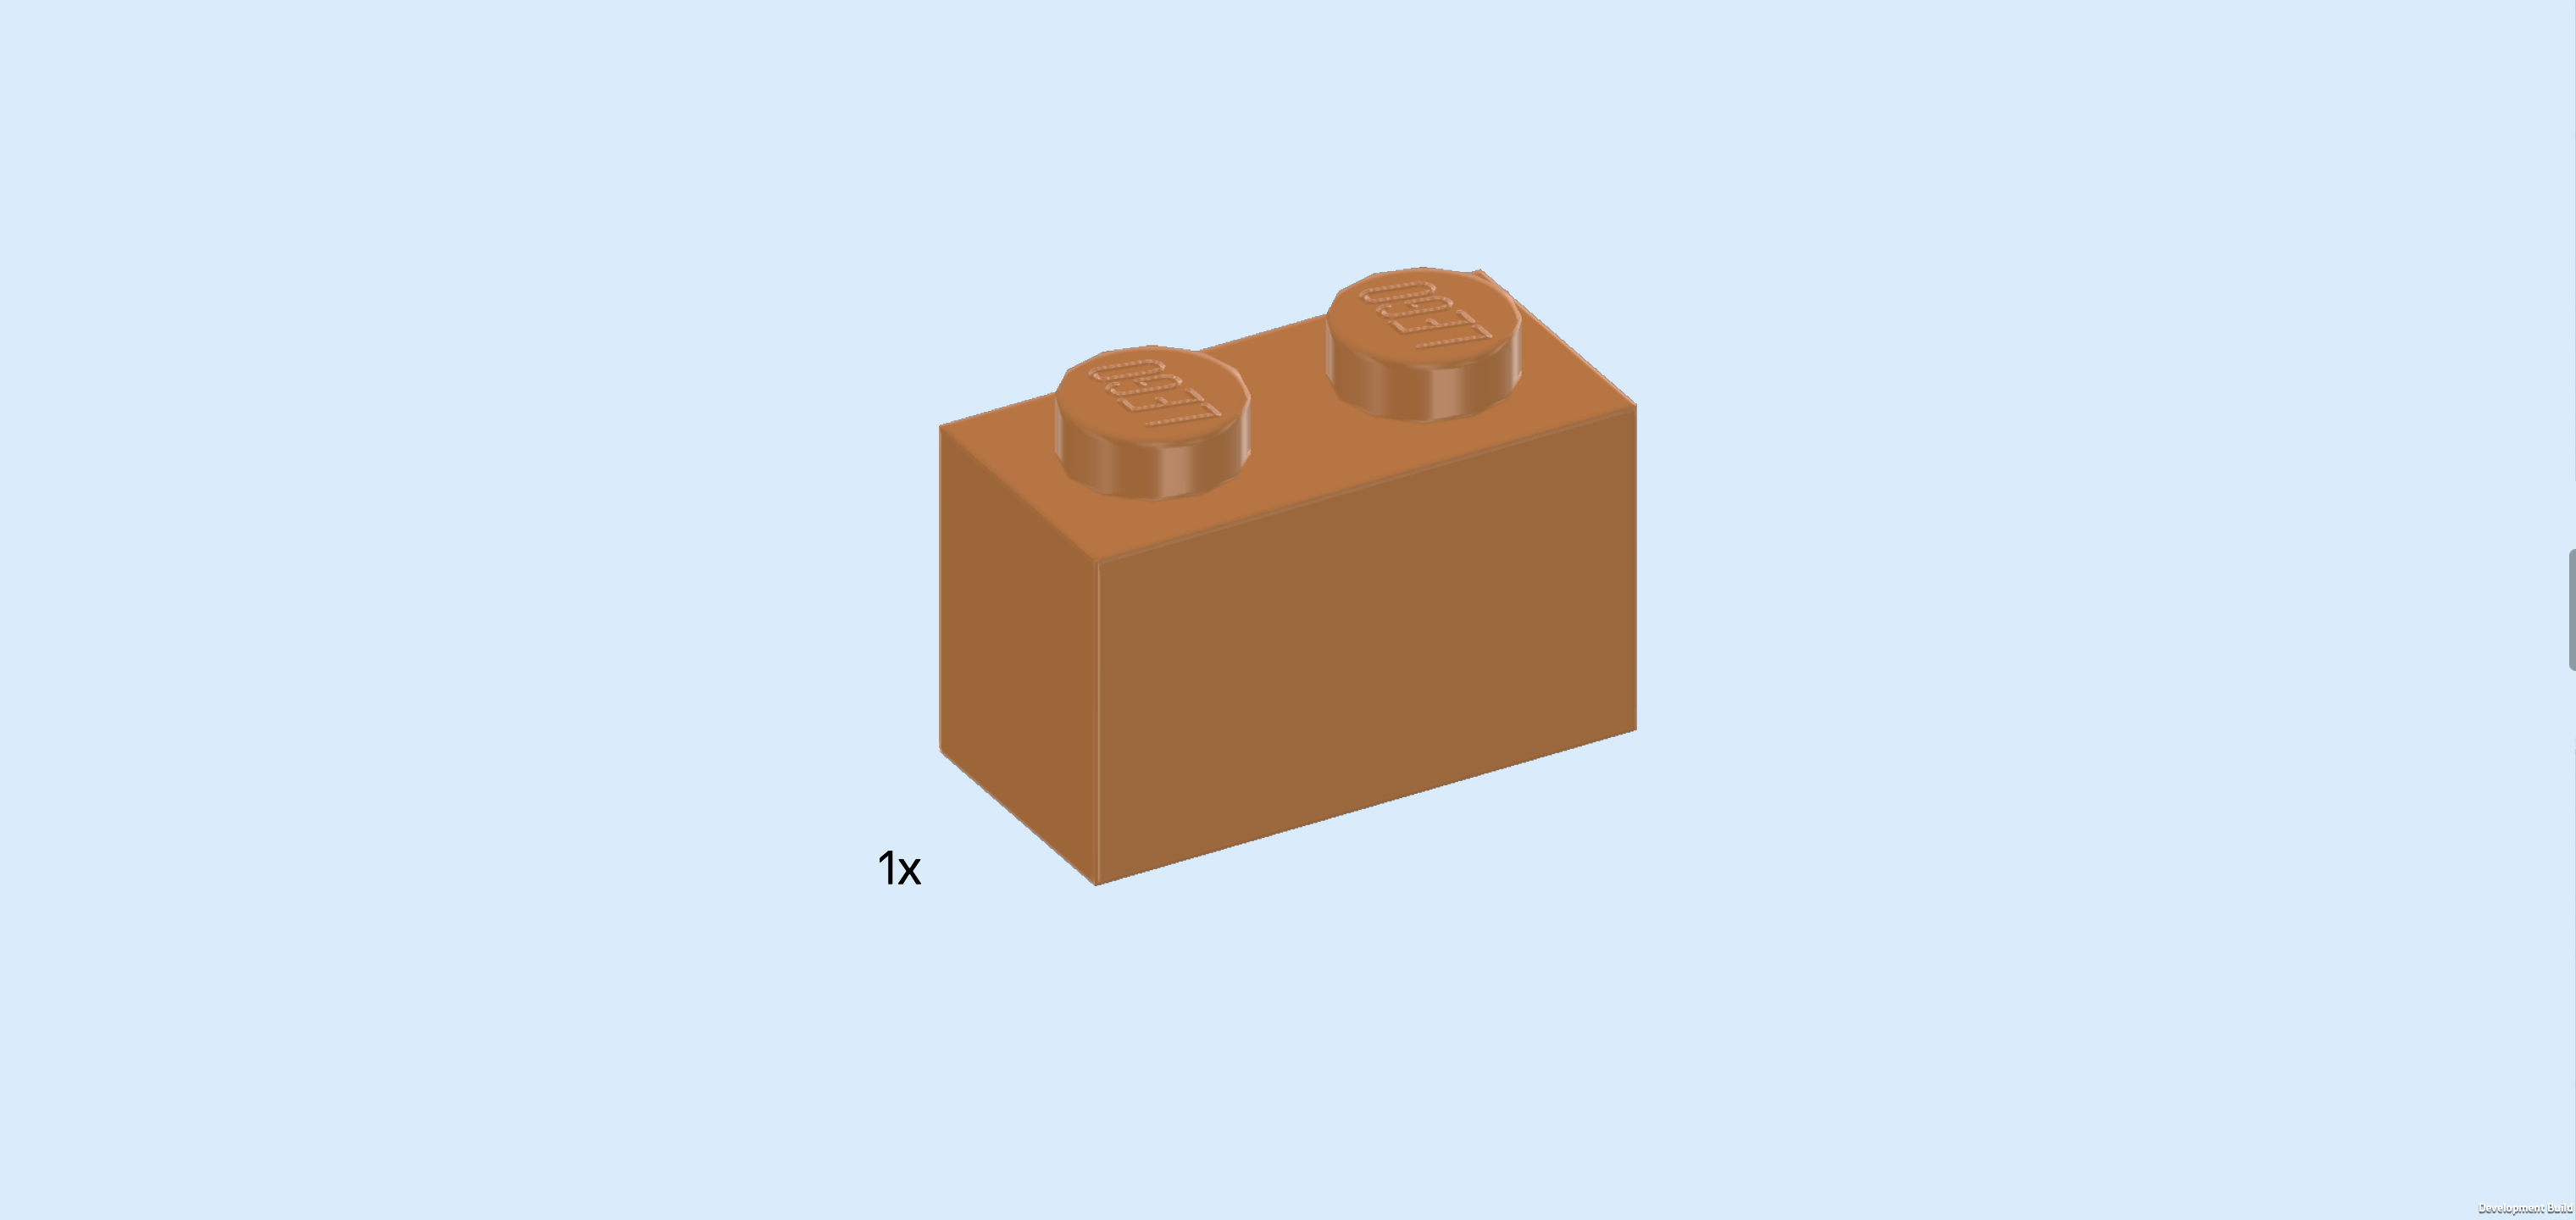
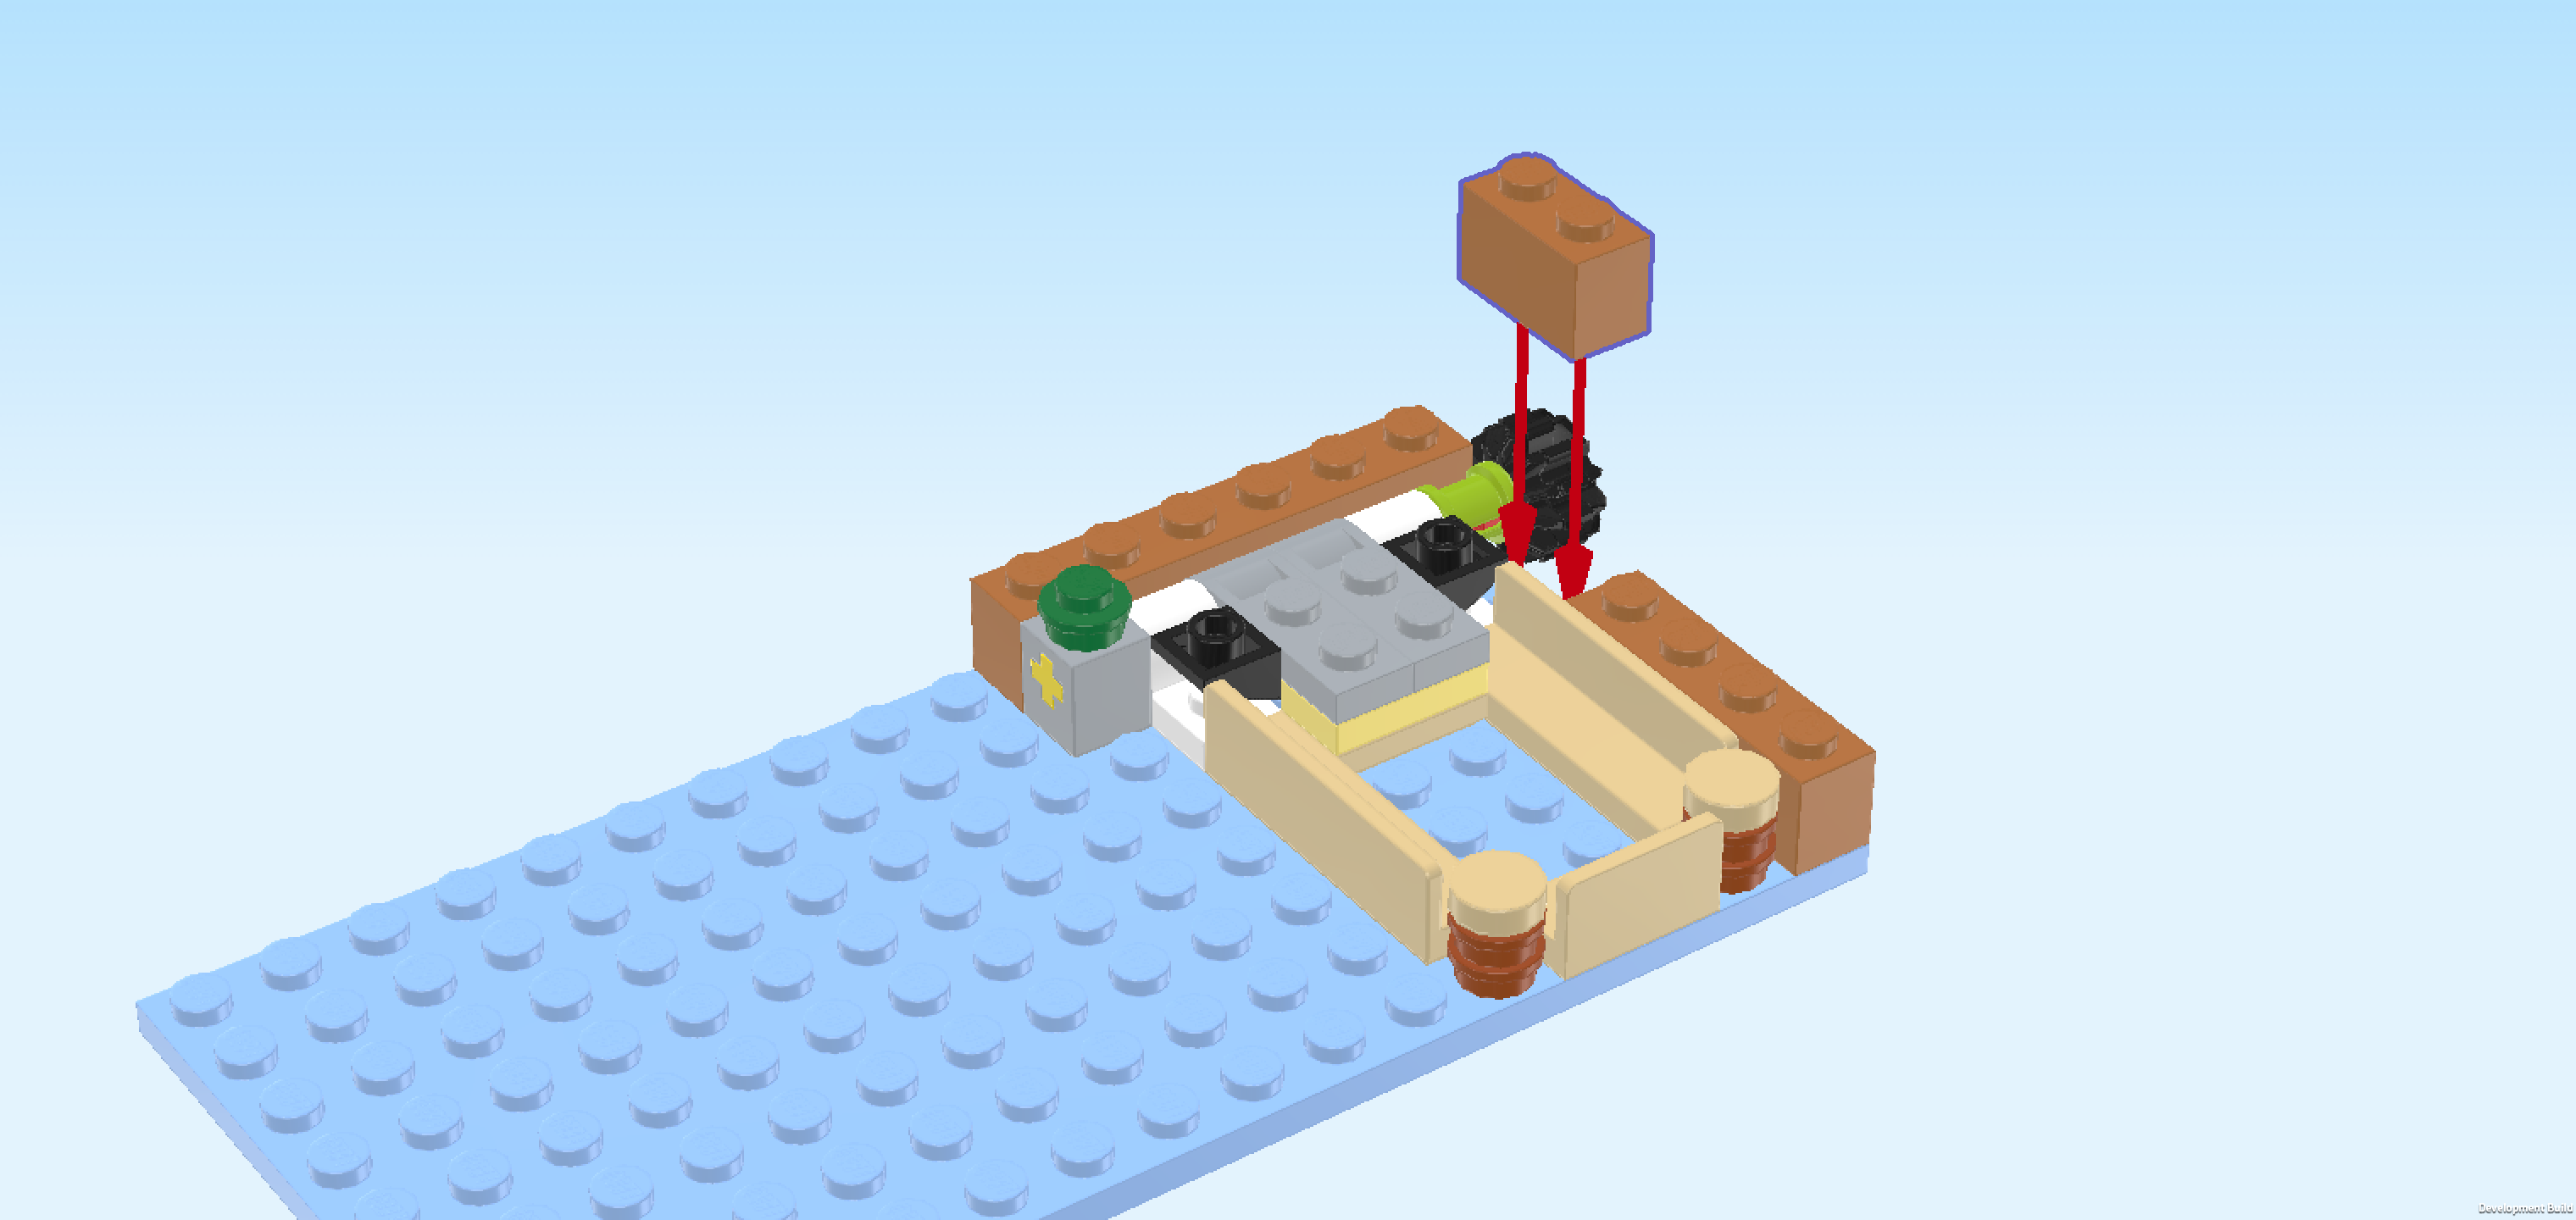
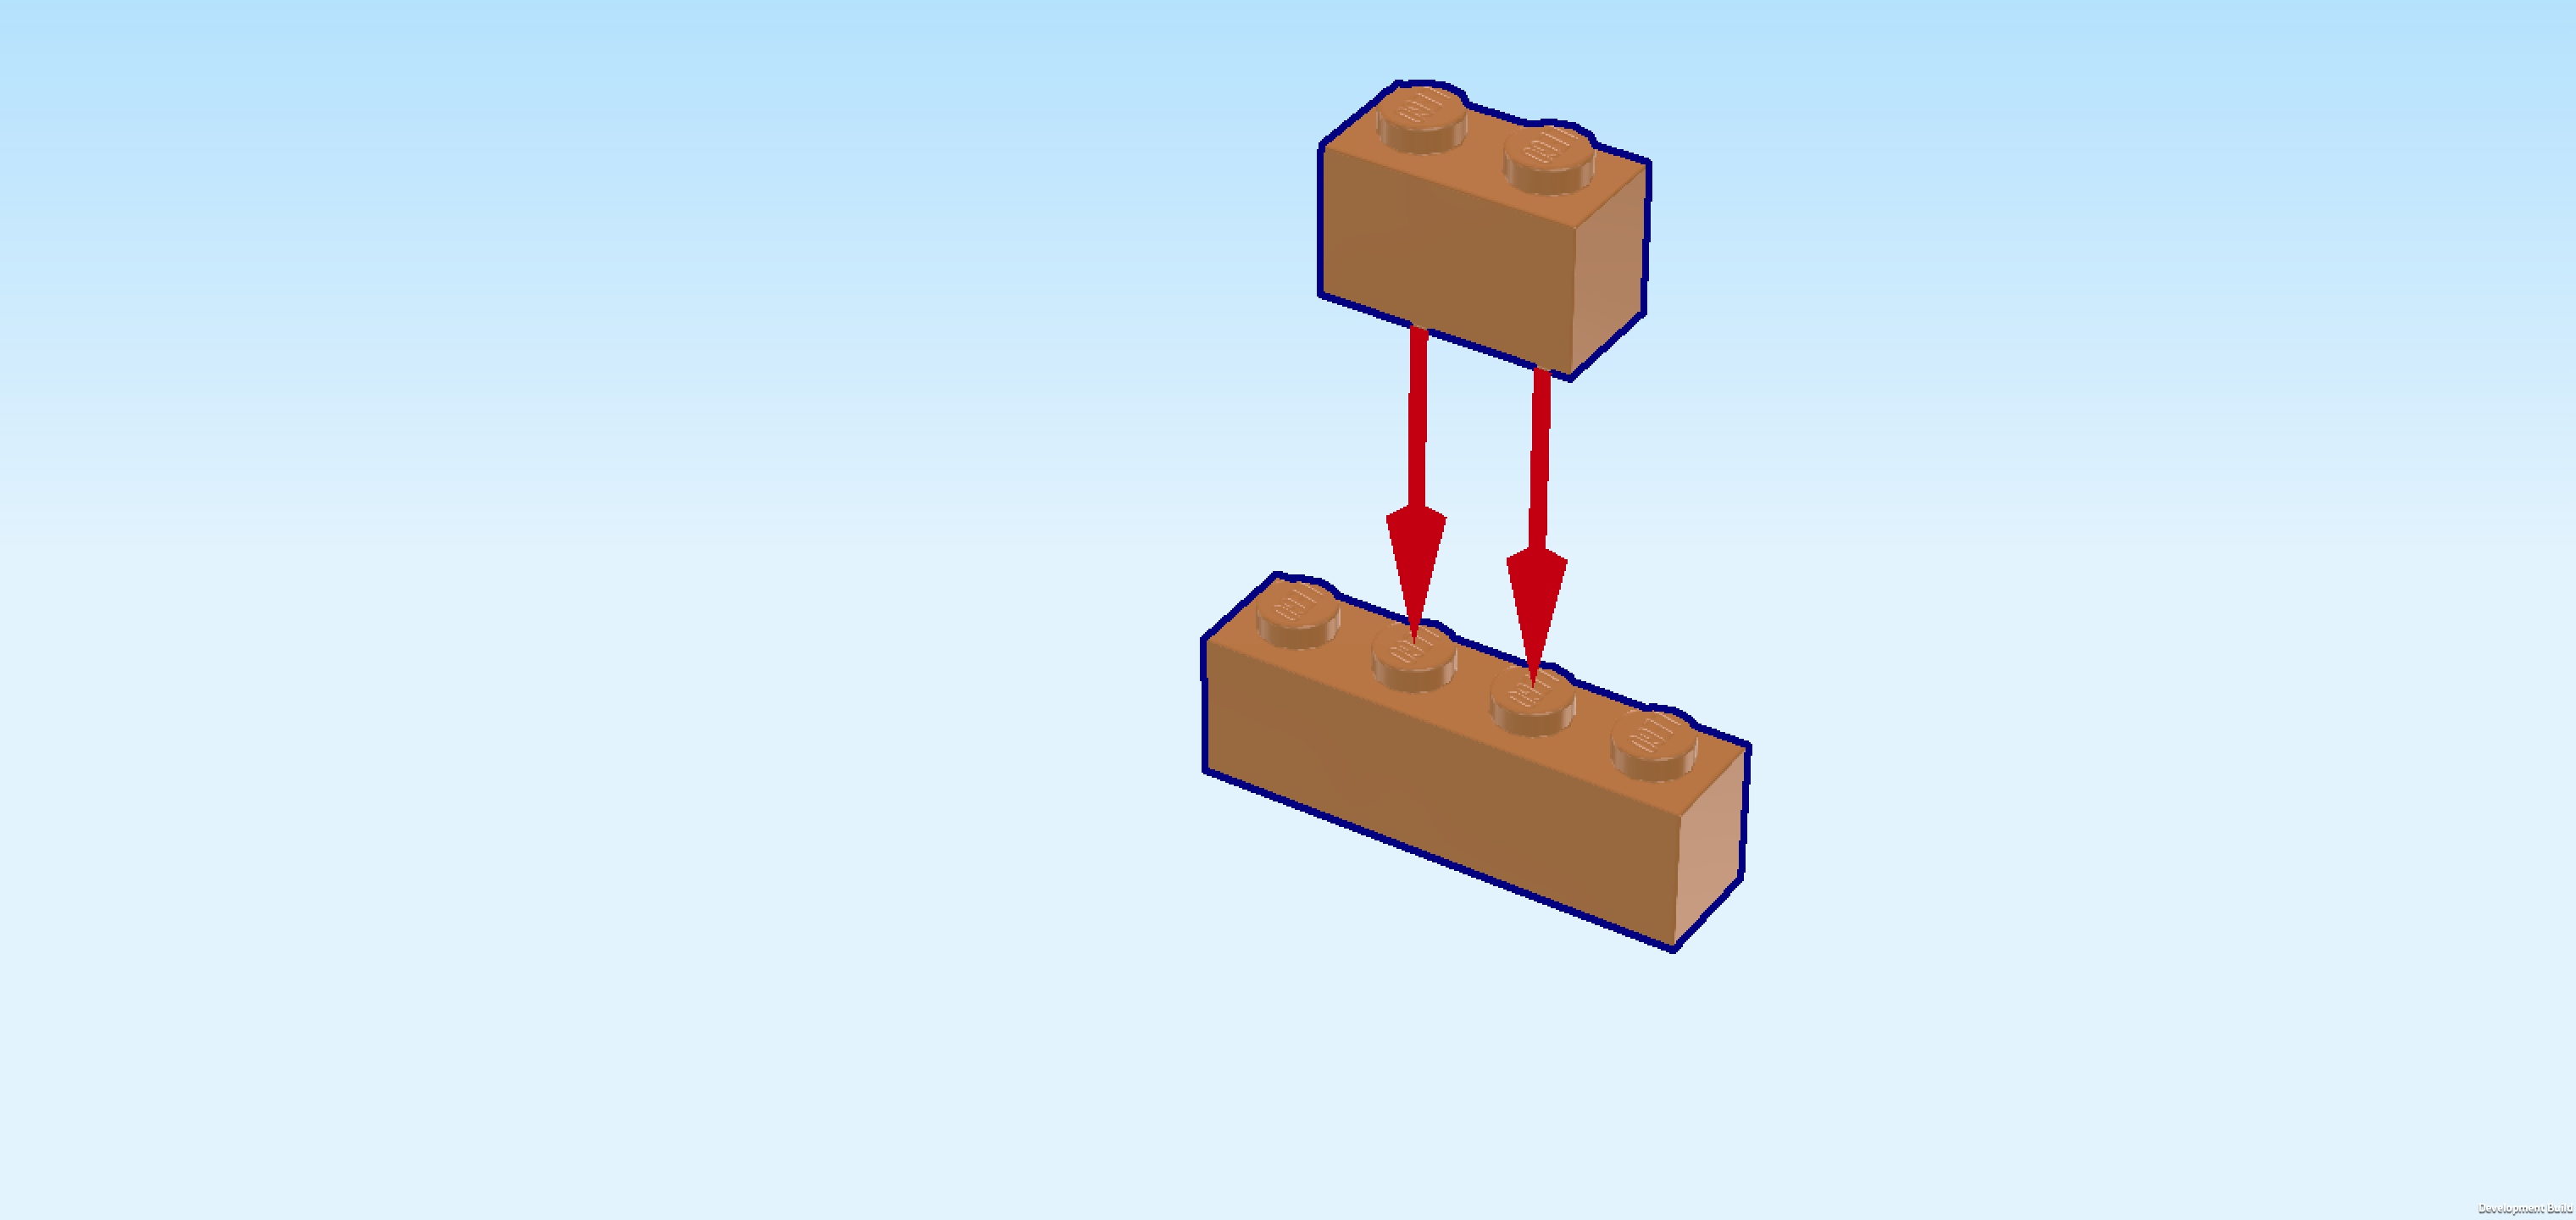
| Find 1 medium nougat brown brick 1x2. |
| Put it vertically on the rightmost column of the build, directly behind the brick 1x4 that is already mounted there. |
| Next, we will build the bed cover. |
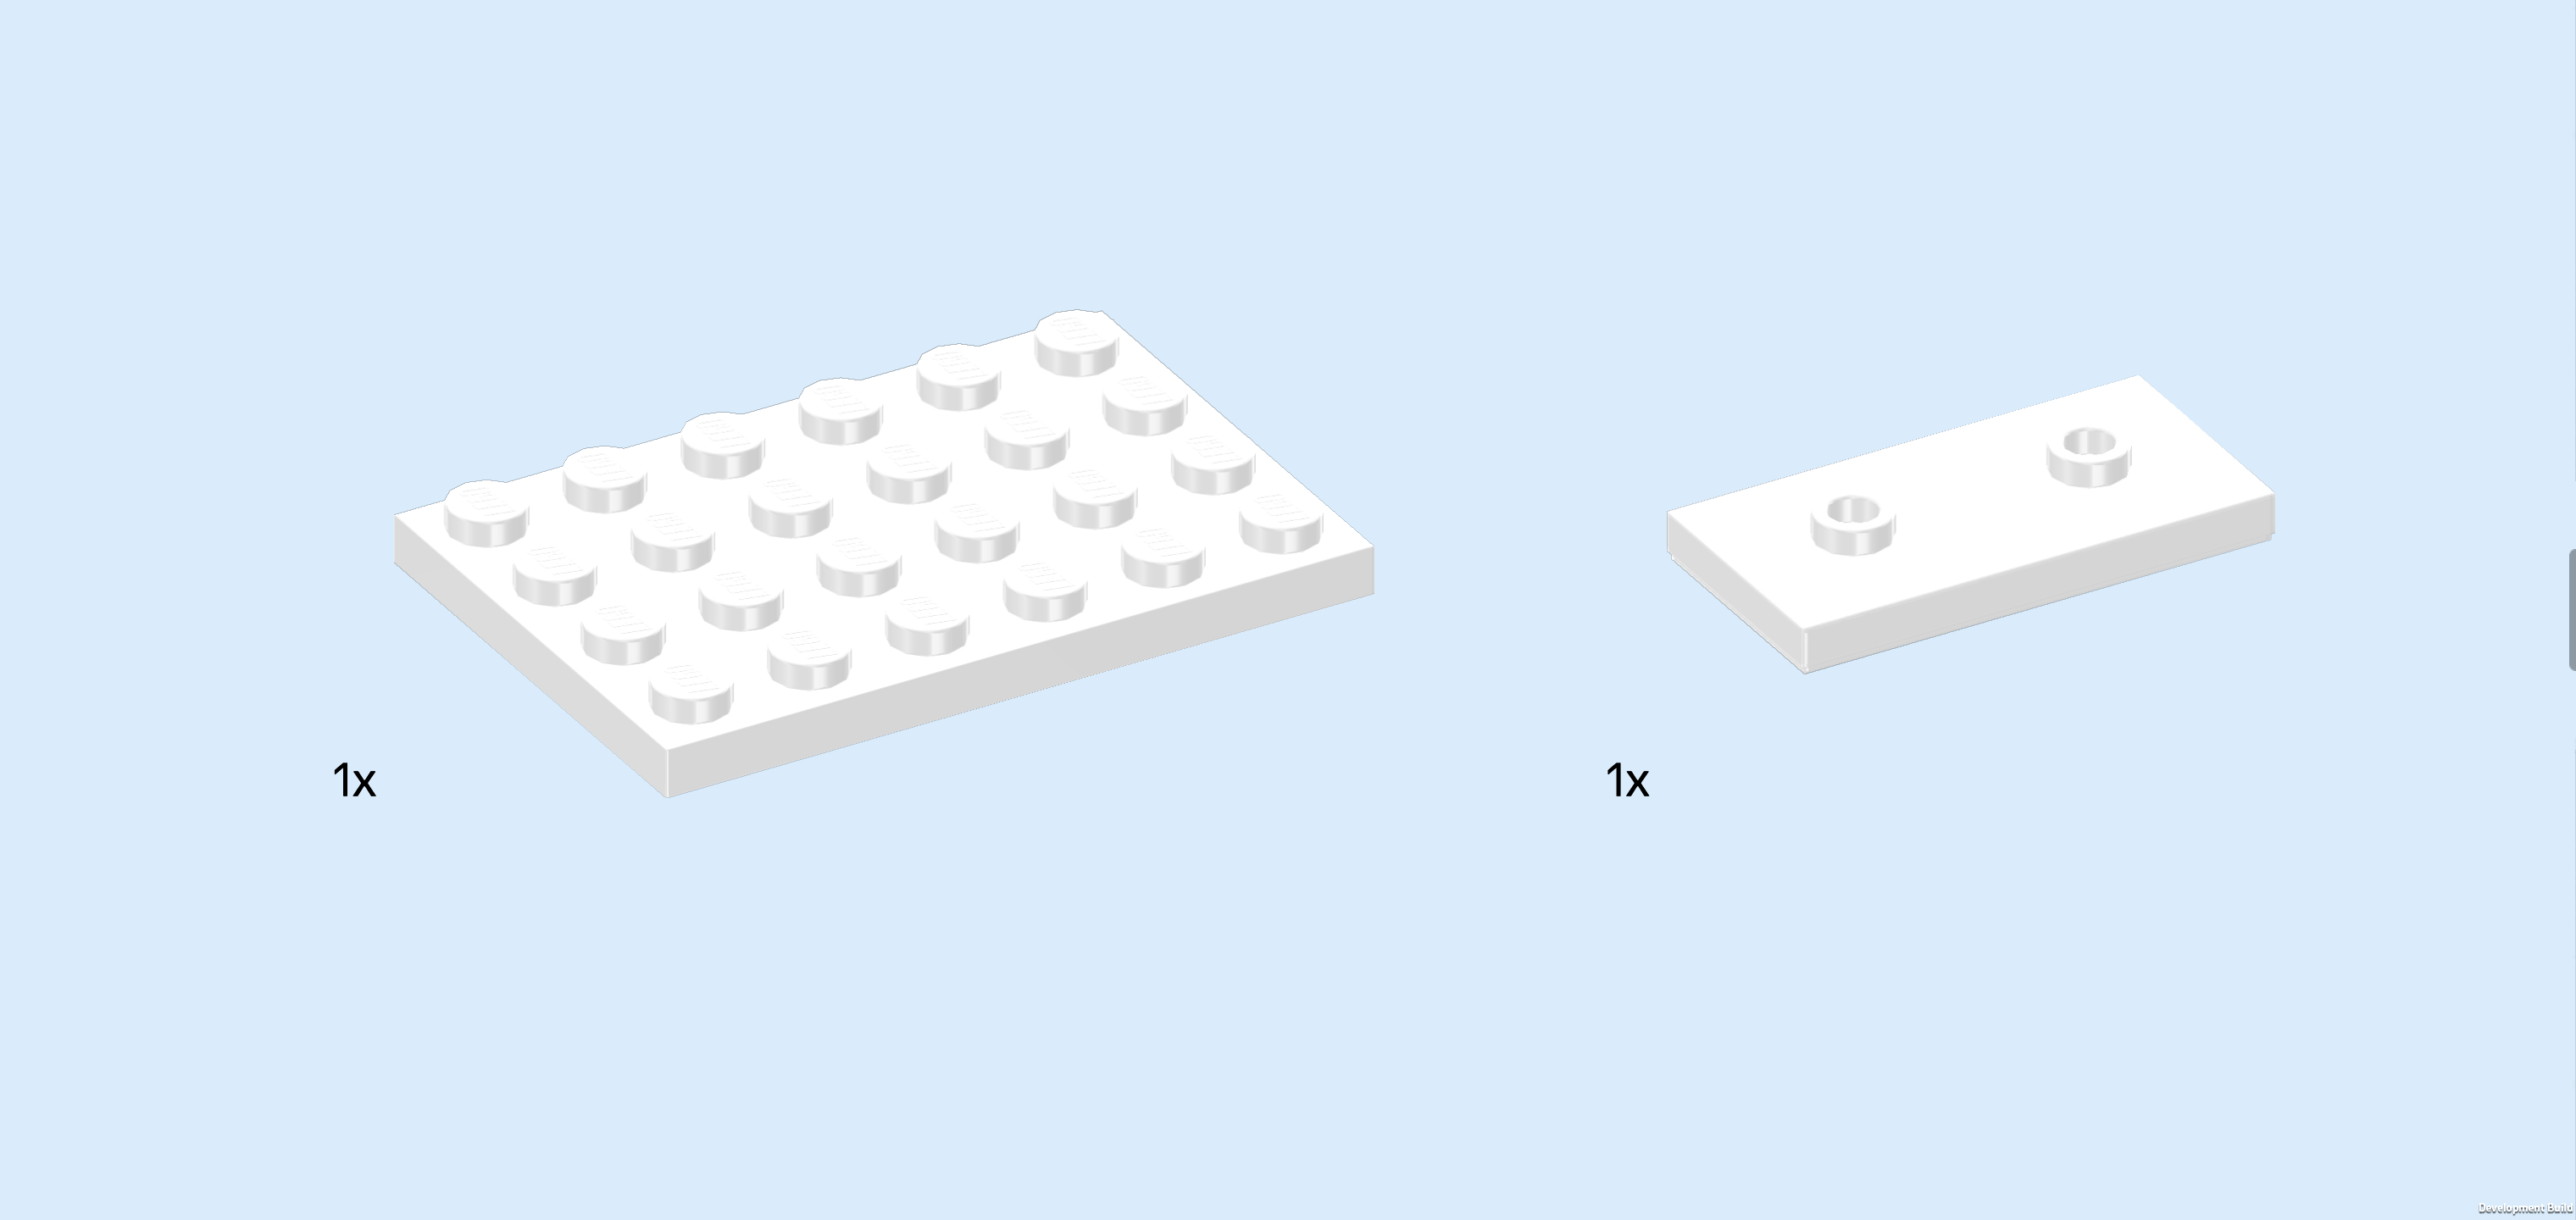
| Collect the following 2 pieces: |
| 1 white plate 4x6, |
| and 1 white plate 2x4 with 2 knobs. |
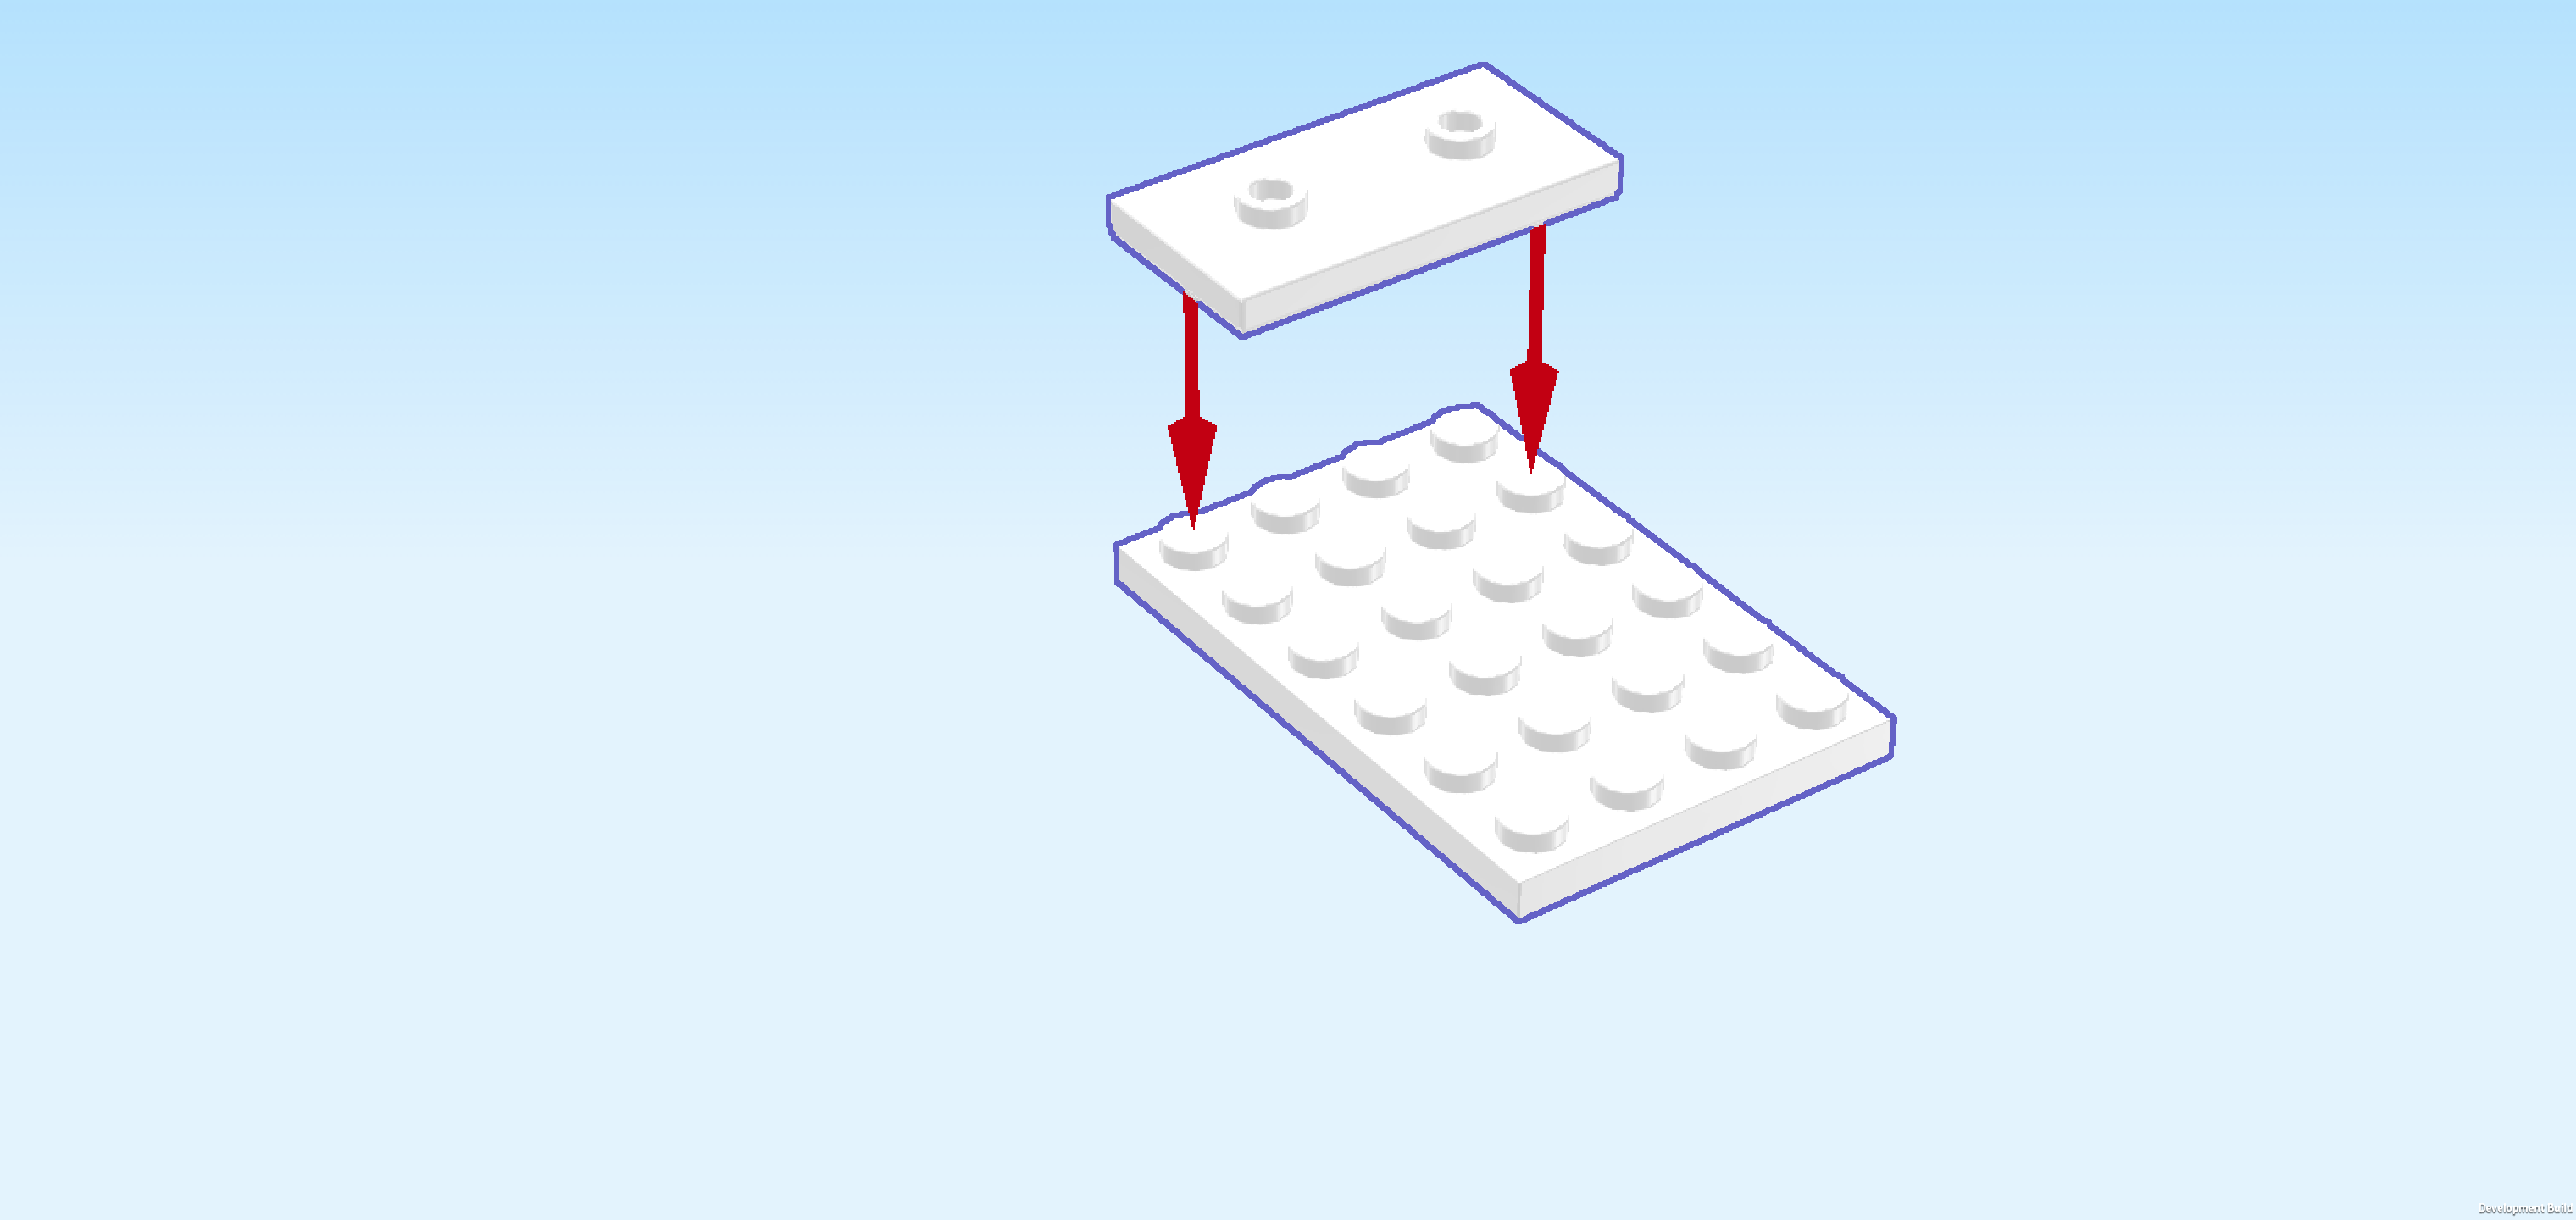
| Put the plate 4x6 vertically on the table. |
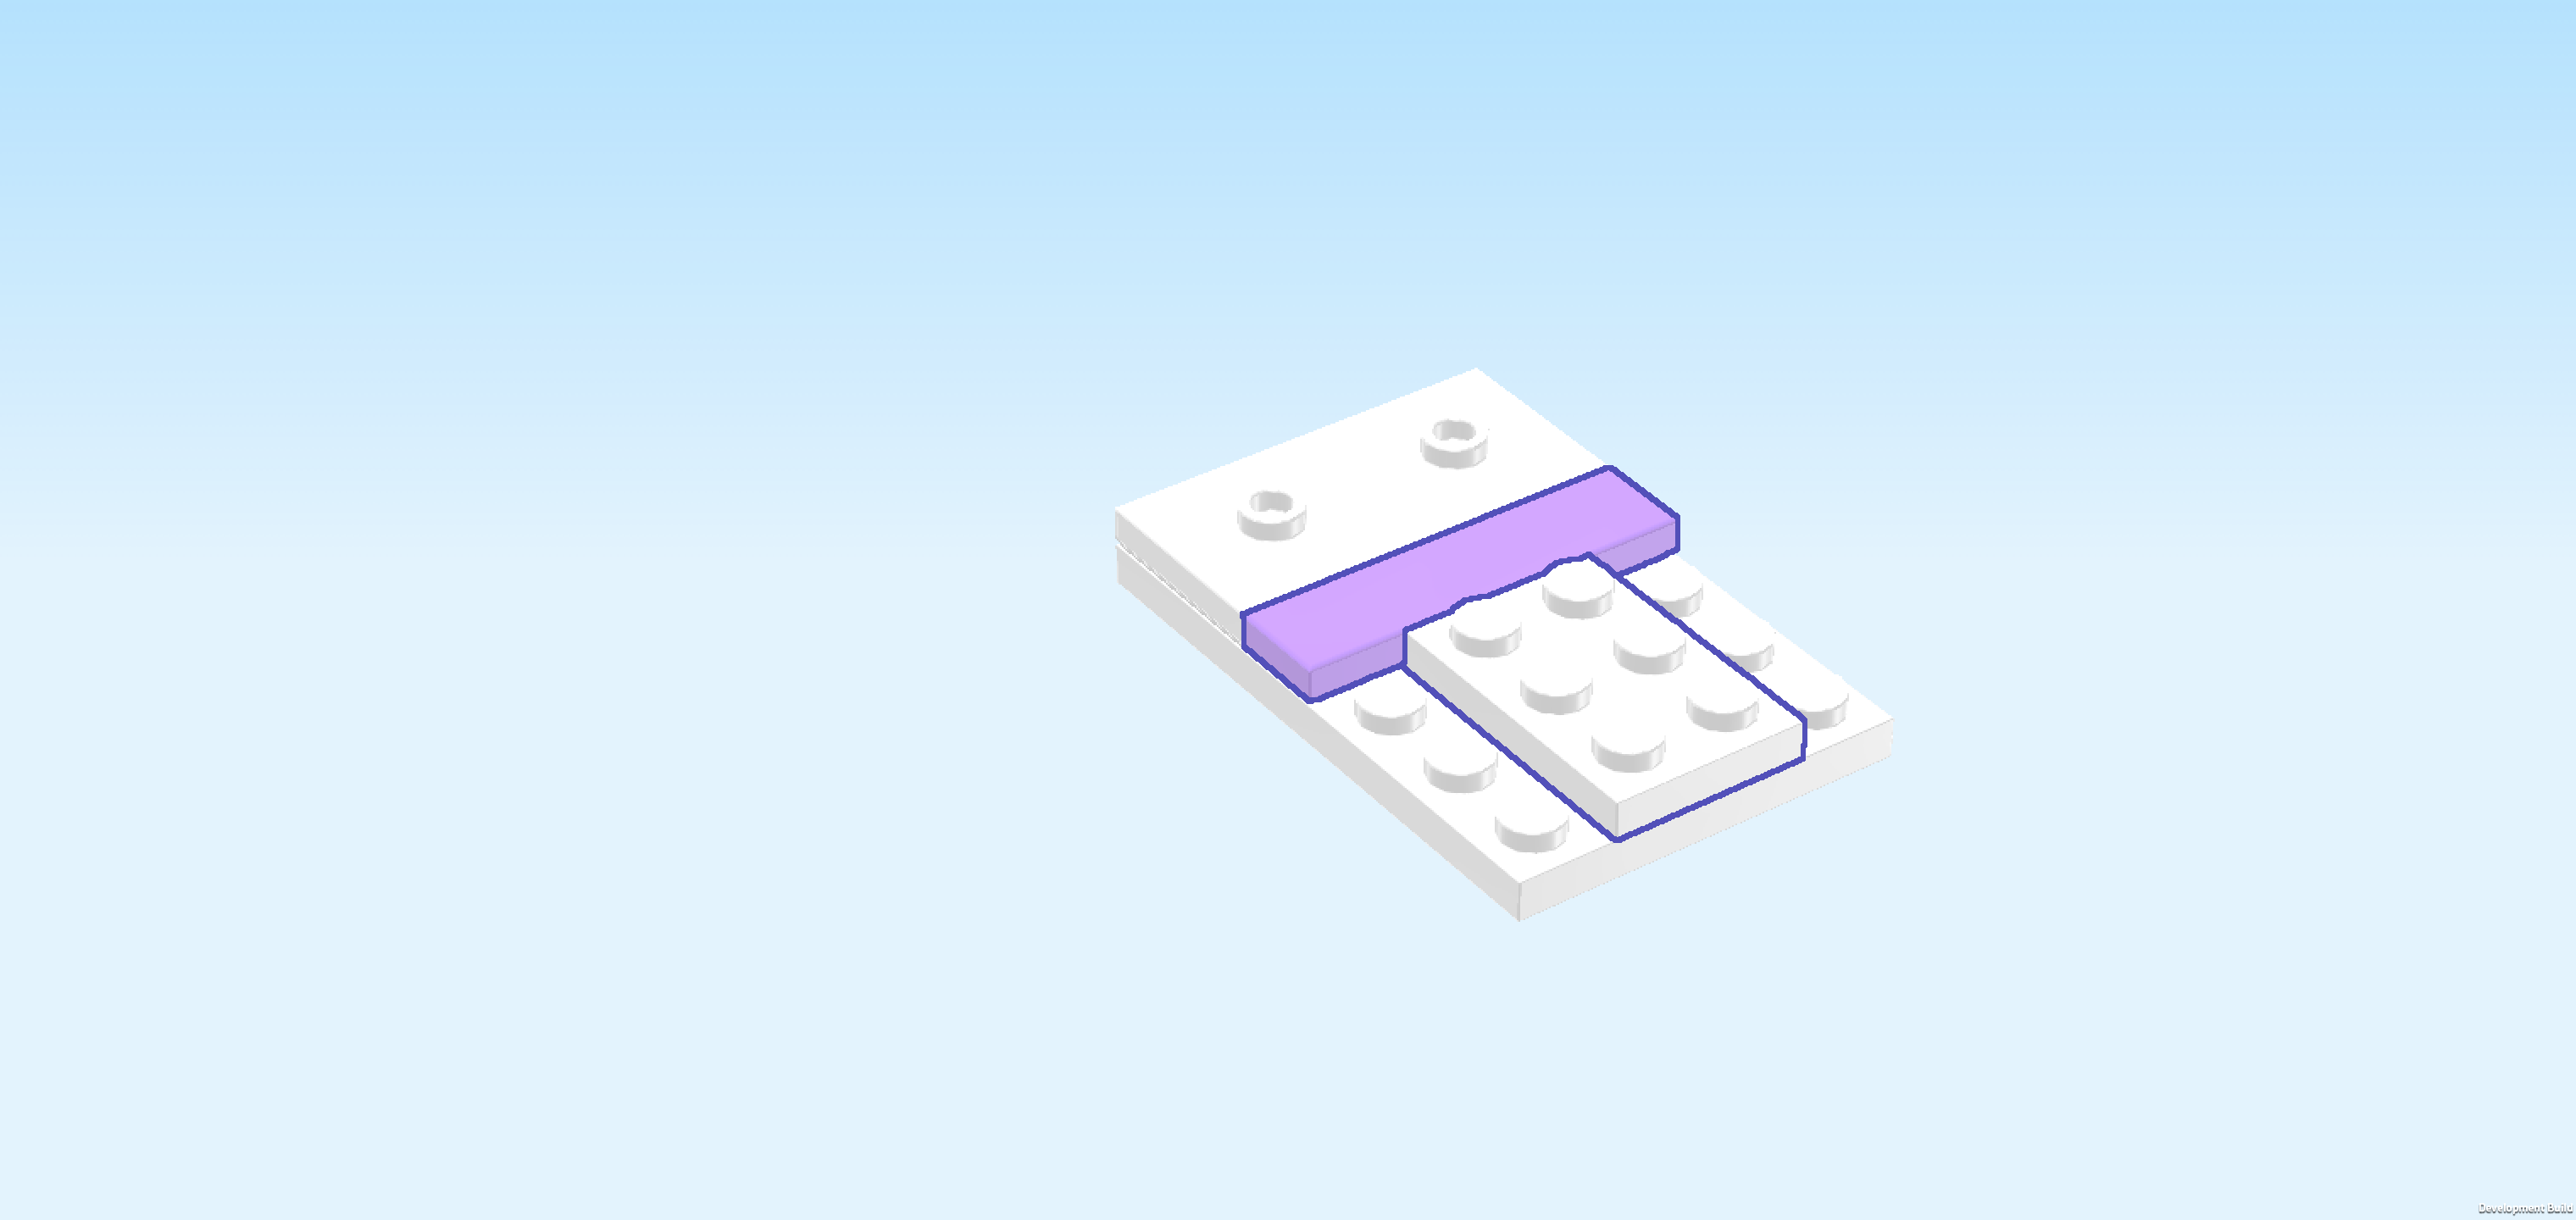
| Put the plate 2x4 horizontally on the 2 backmost rows. |
| Collect the following 2 pieces: |
| 1 light lavender flat tile 1x4, |
| and 1 white plate 2x3. |
| Put the flat tile 1x4 horizontally in front of the previous piece. |
| Put the plate 2x3 vertically centered in front of the previous piece. This means it will sit on the 2 middle columns, its front edge flush with the front edge of the plate 4x6. |
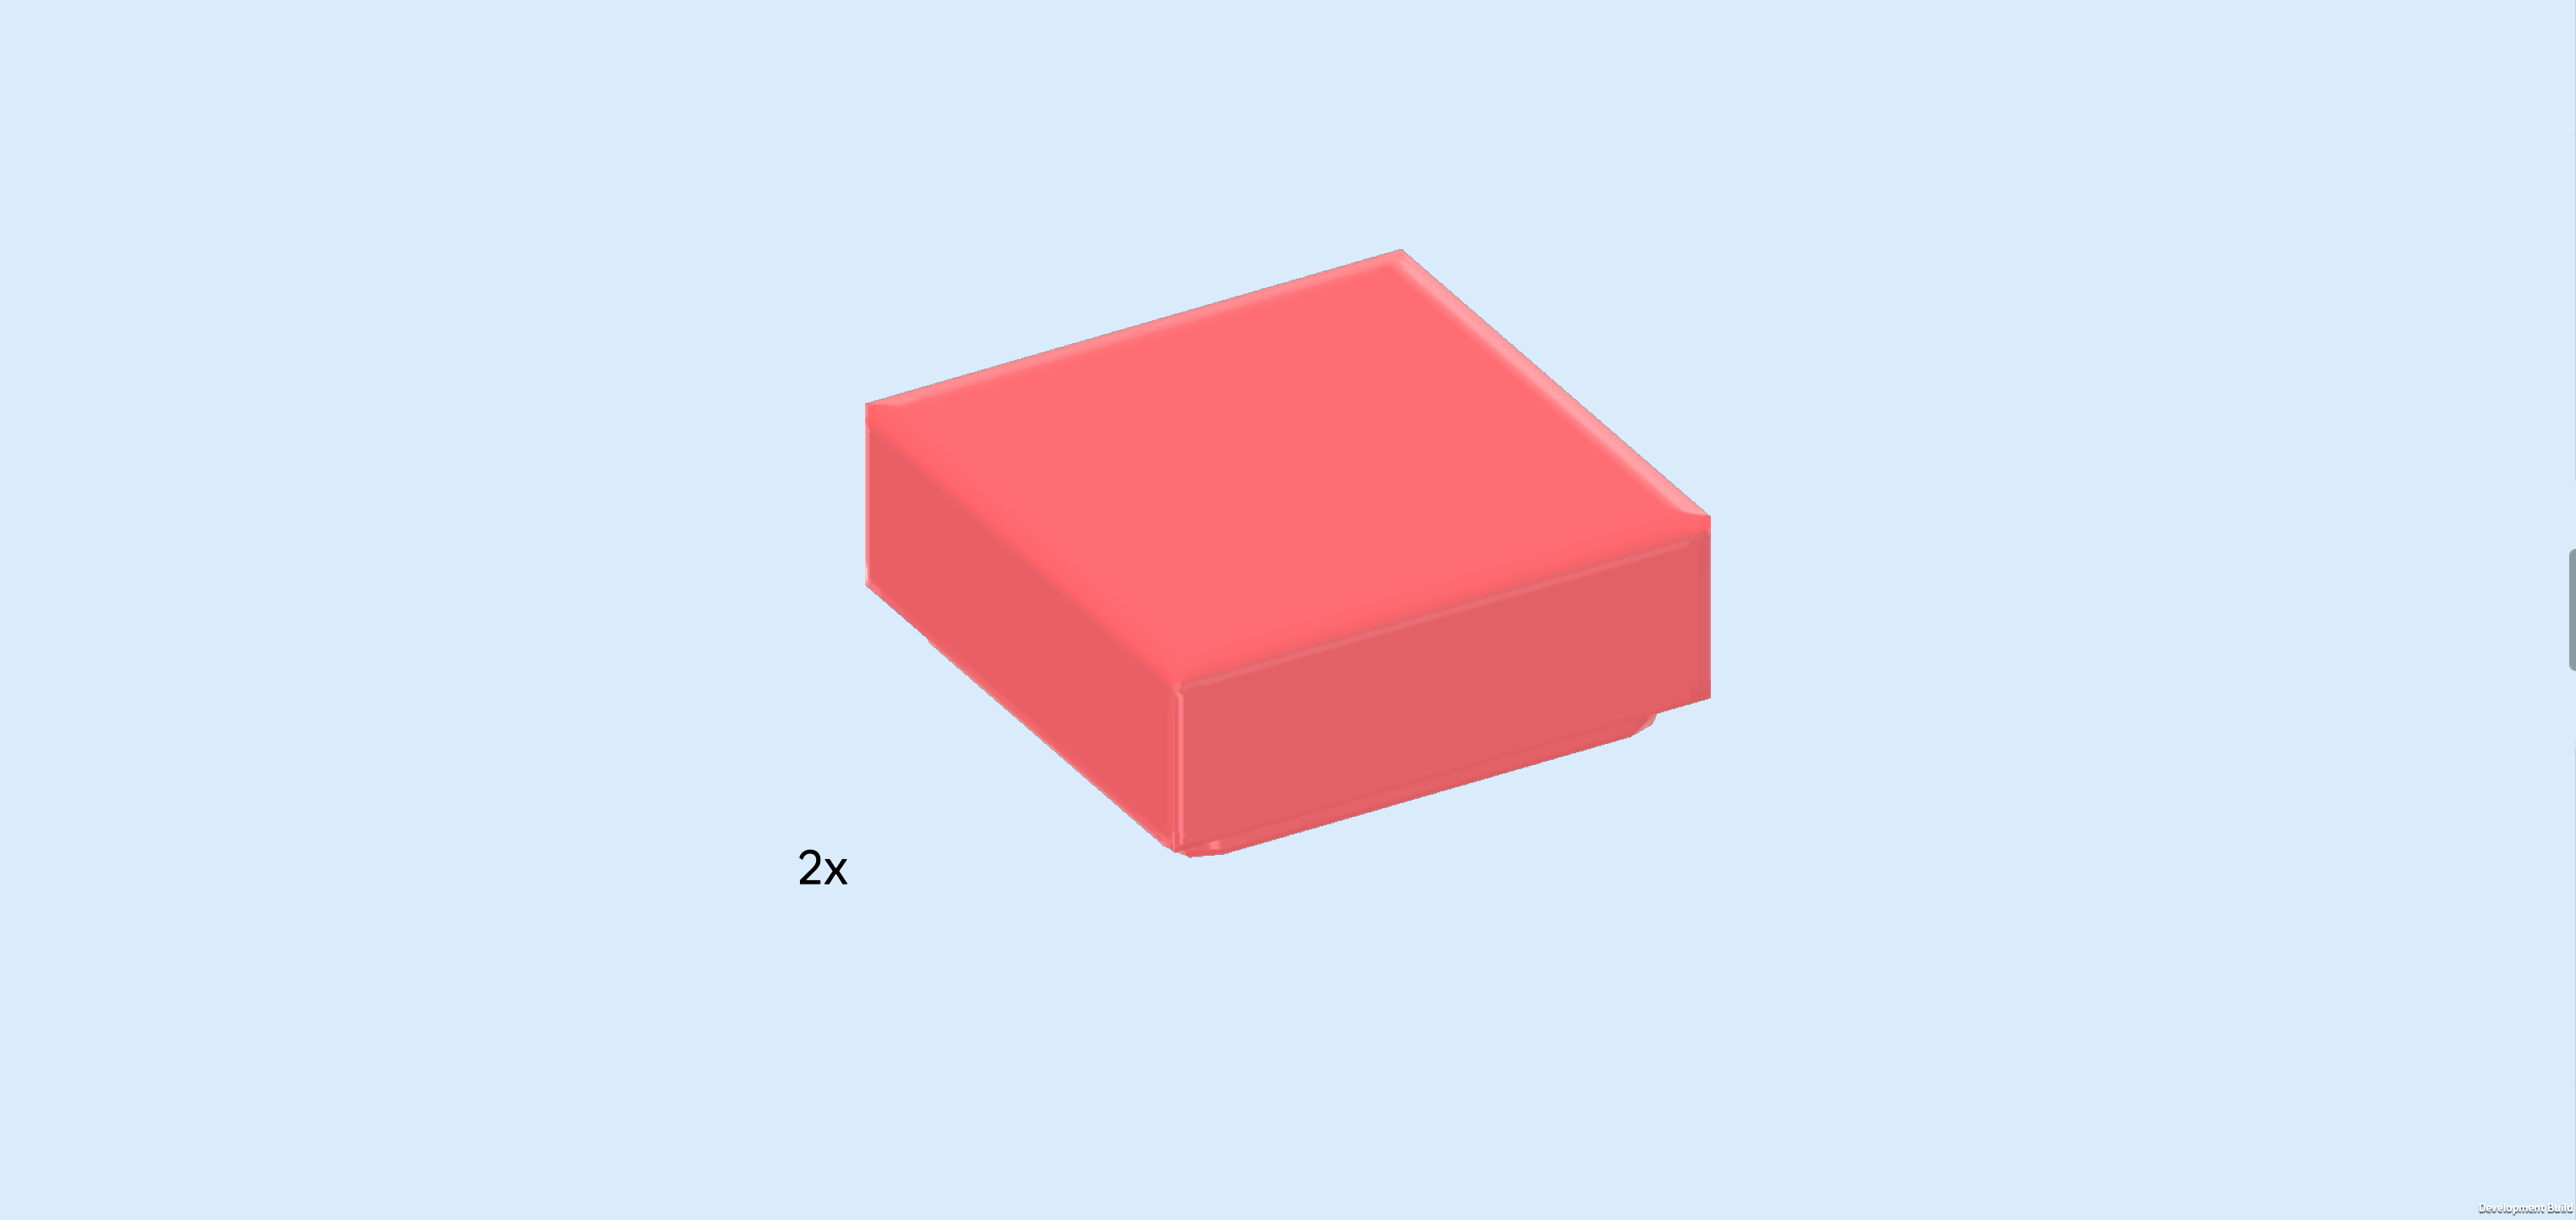
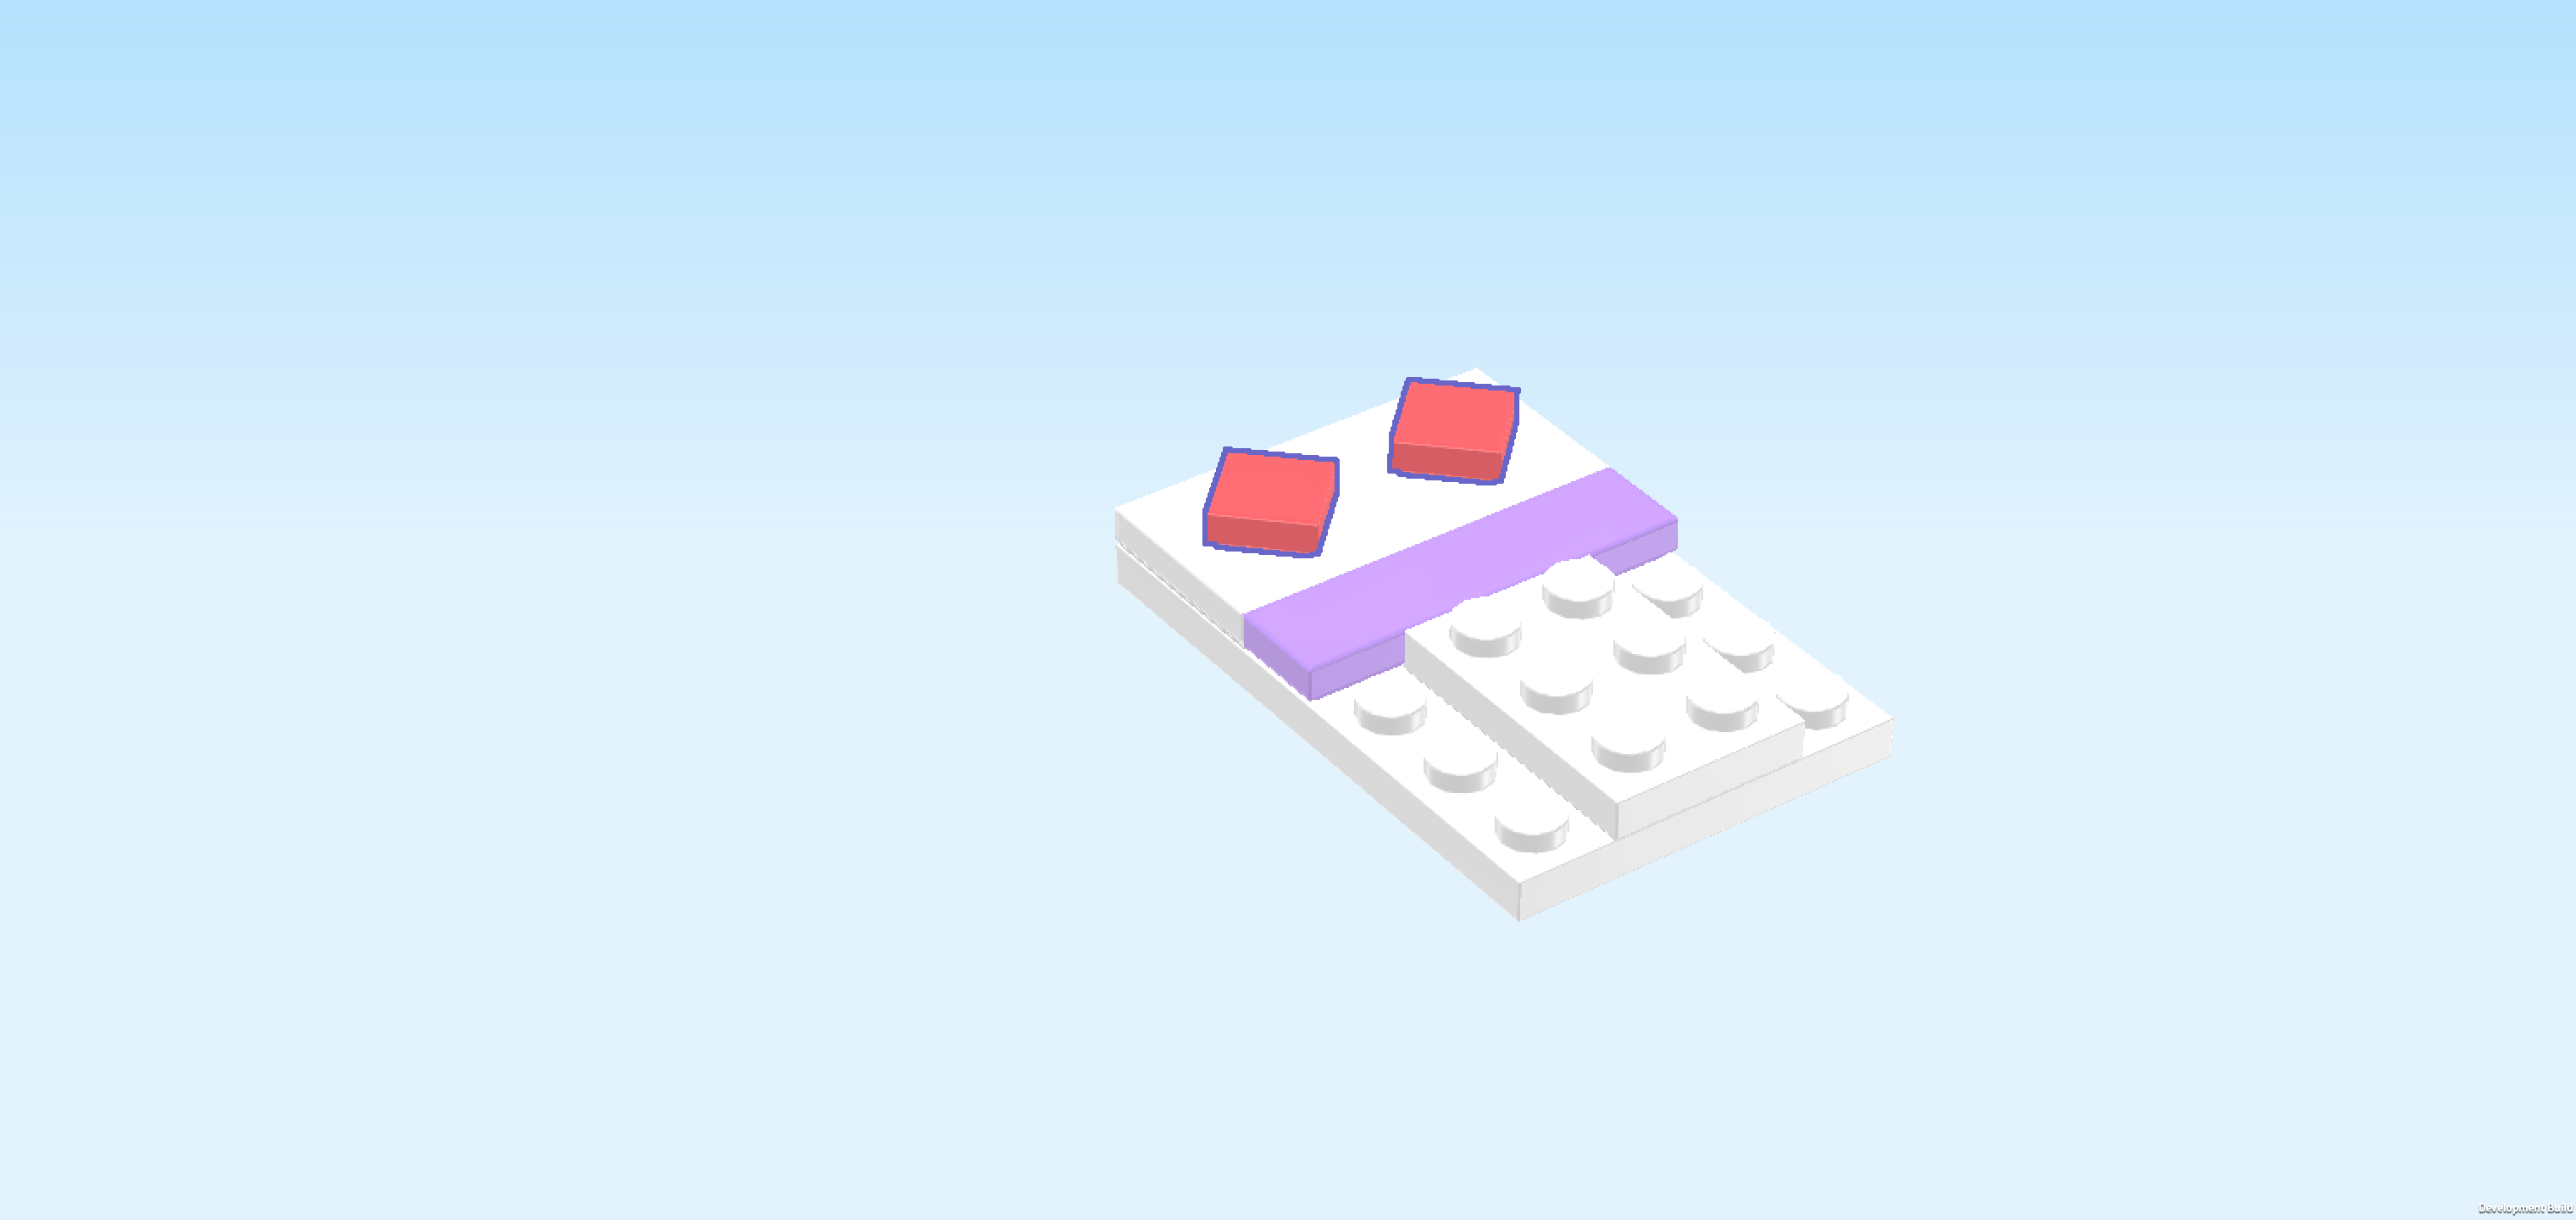
| Find 2 salmon pink flat tiles 1x1. |
| Put them on the 2 single knobs of the plate 2x4 at the very back, but make sure to attach them at an angle like a diamond shape, meaning that its corners are pointing to the left, right, front and back. |
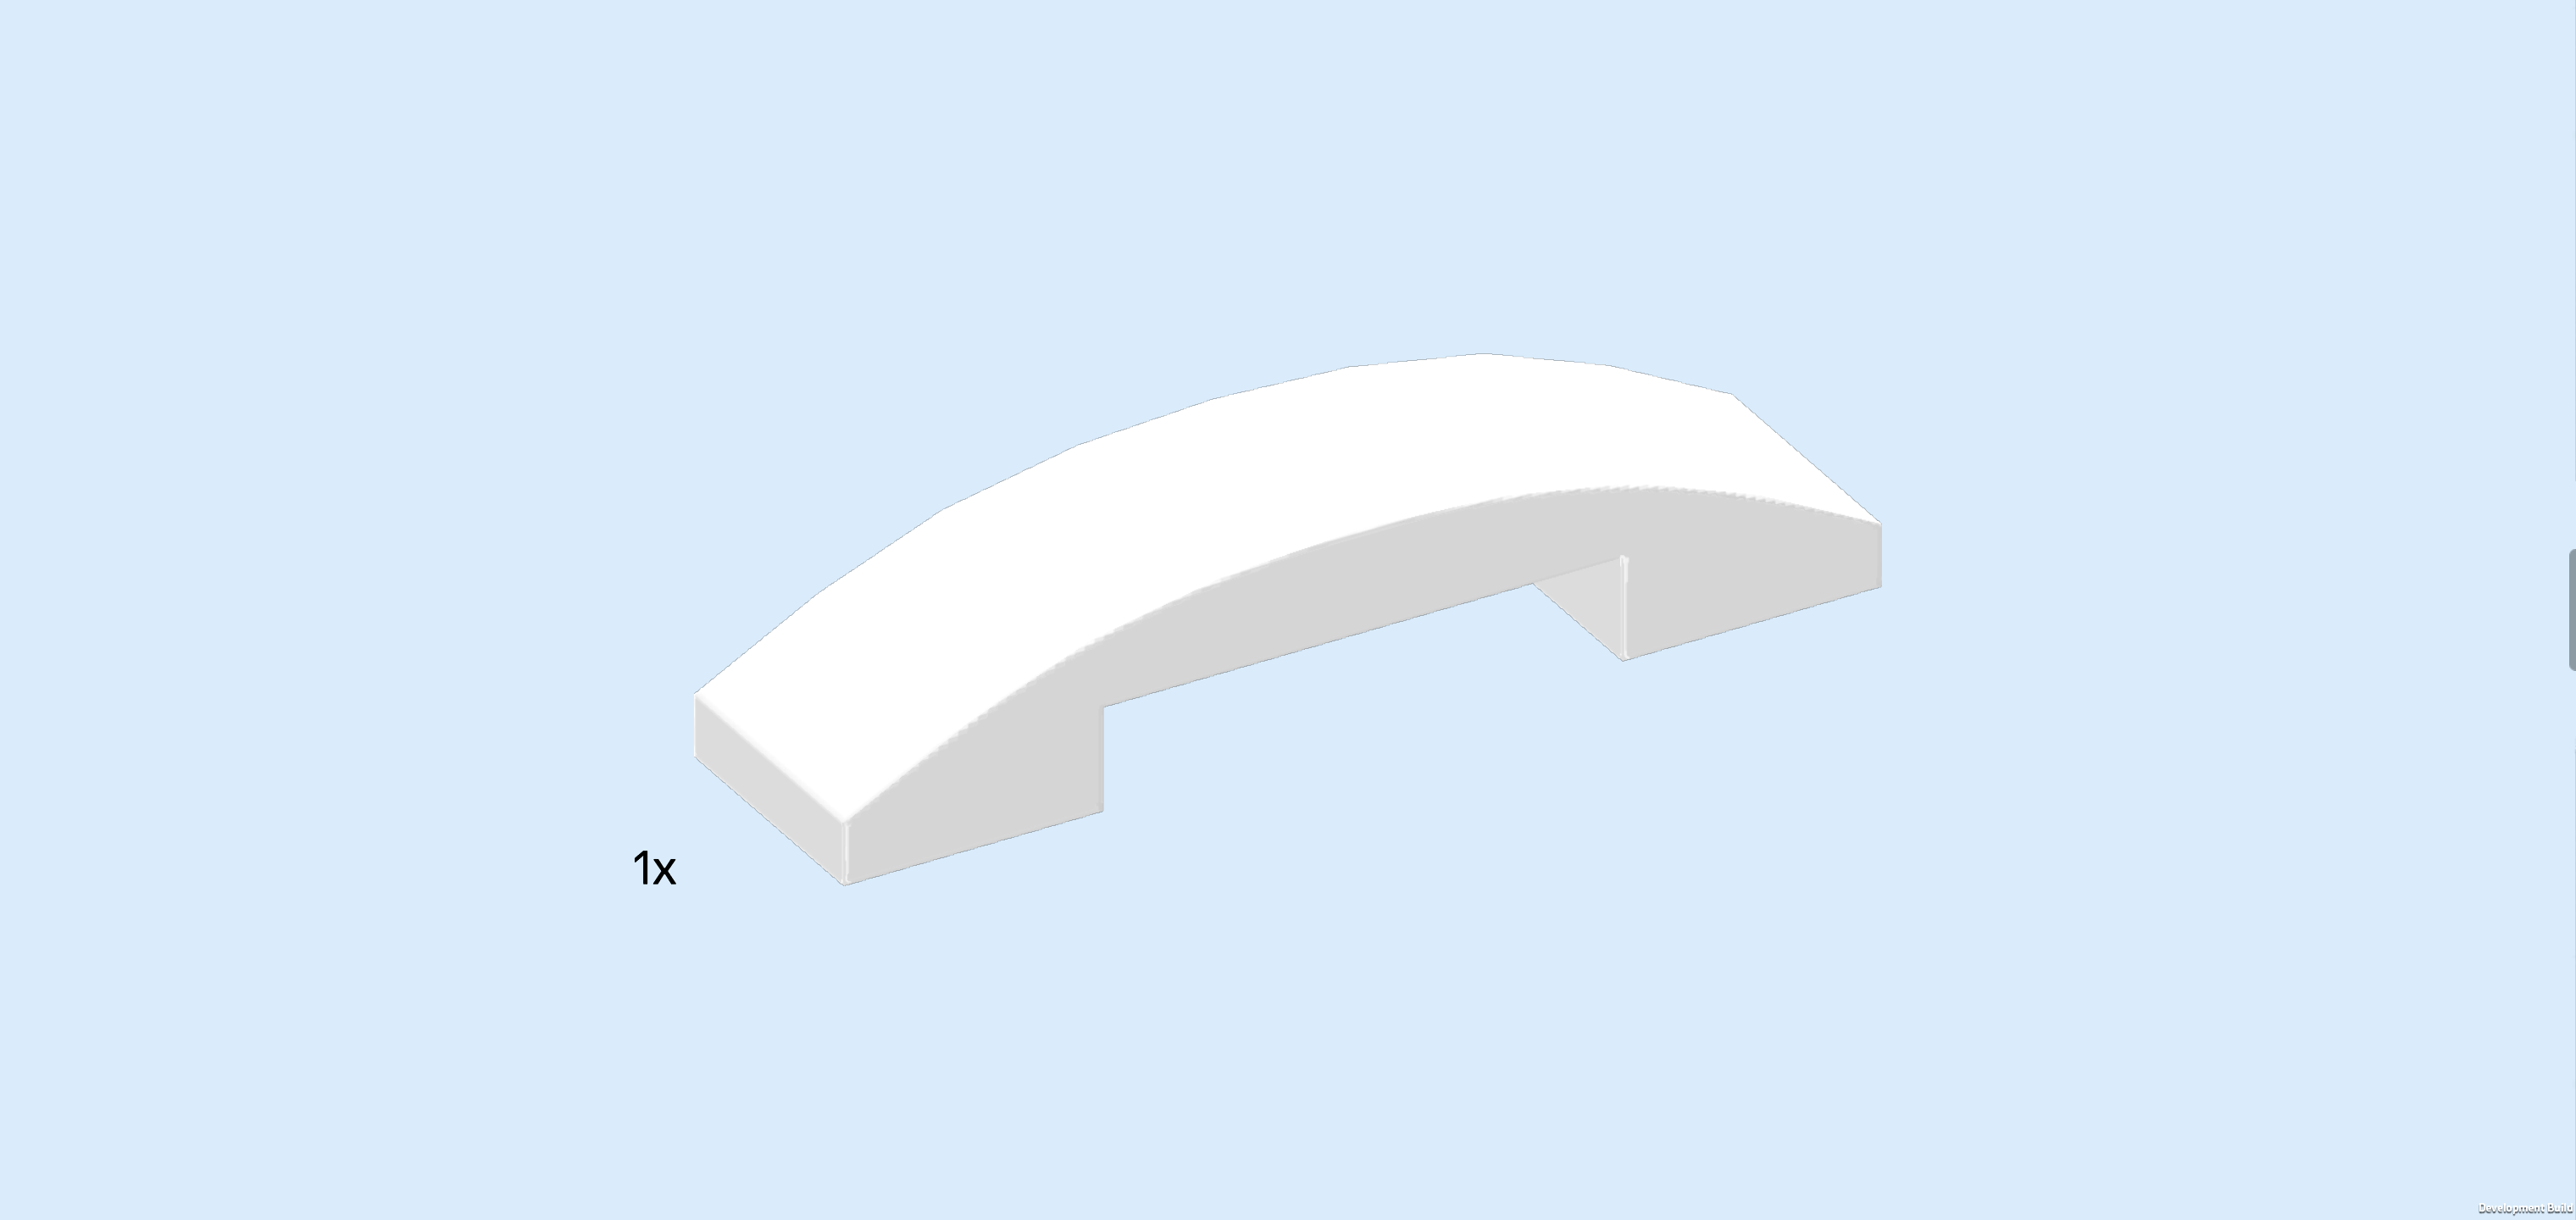
| Find 1 white curve tile 1x4. |
| Put it horizontally on the backmost row of knobs. |
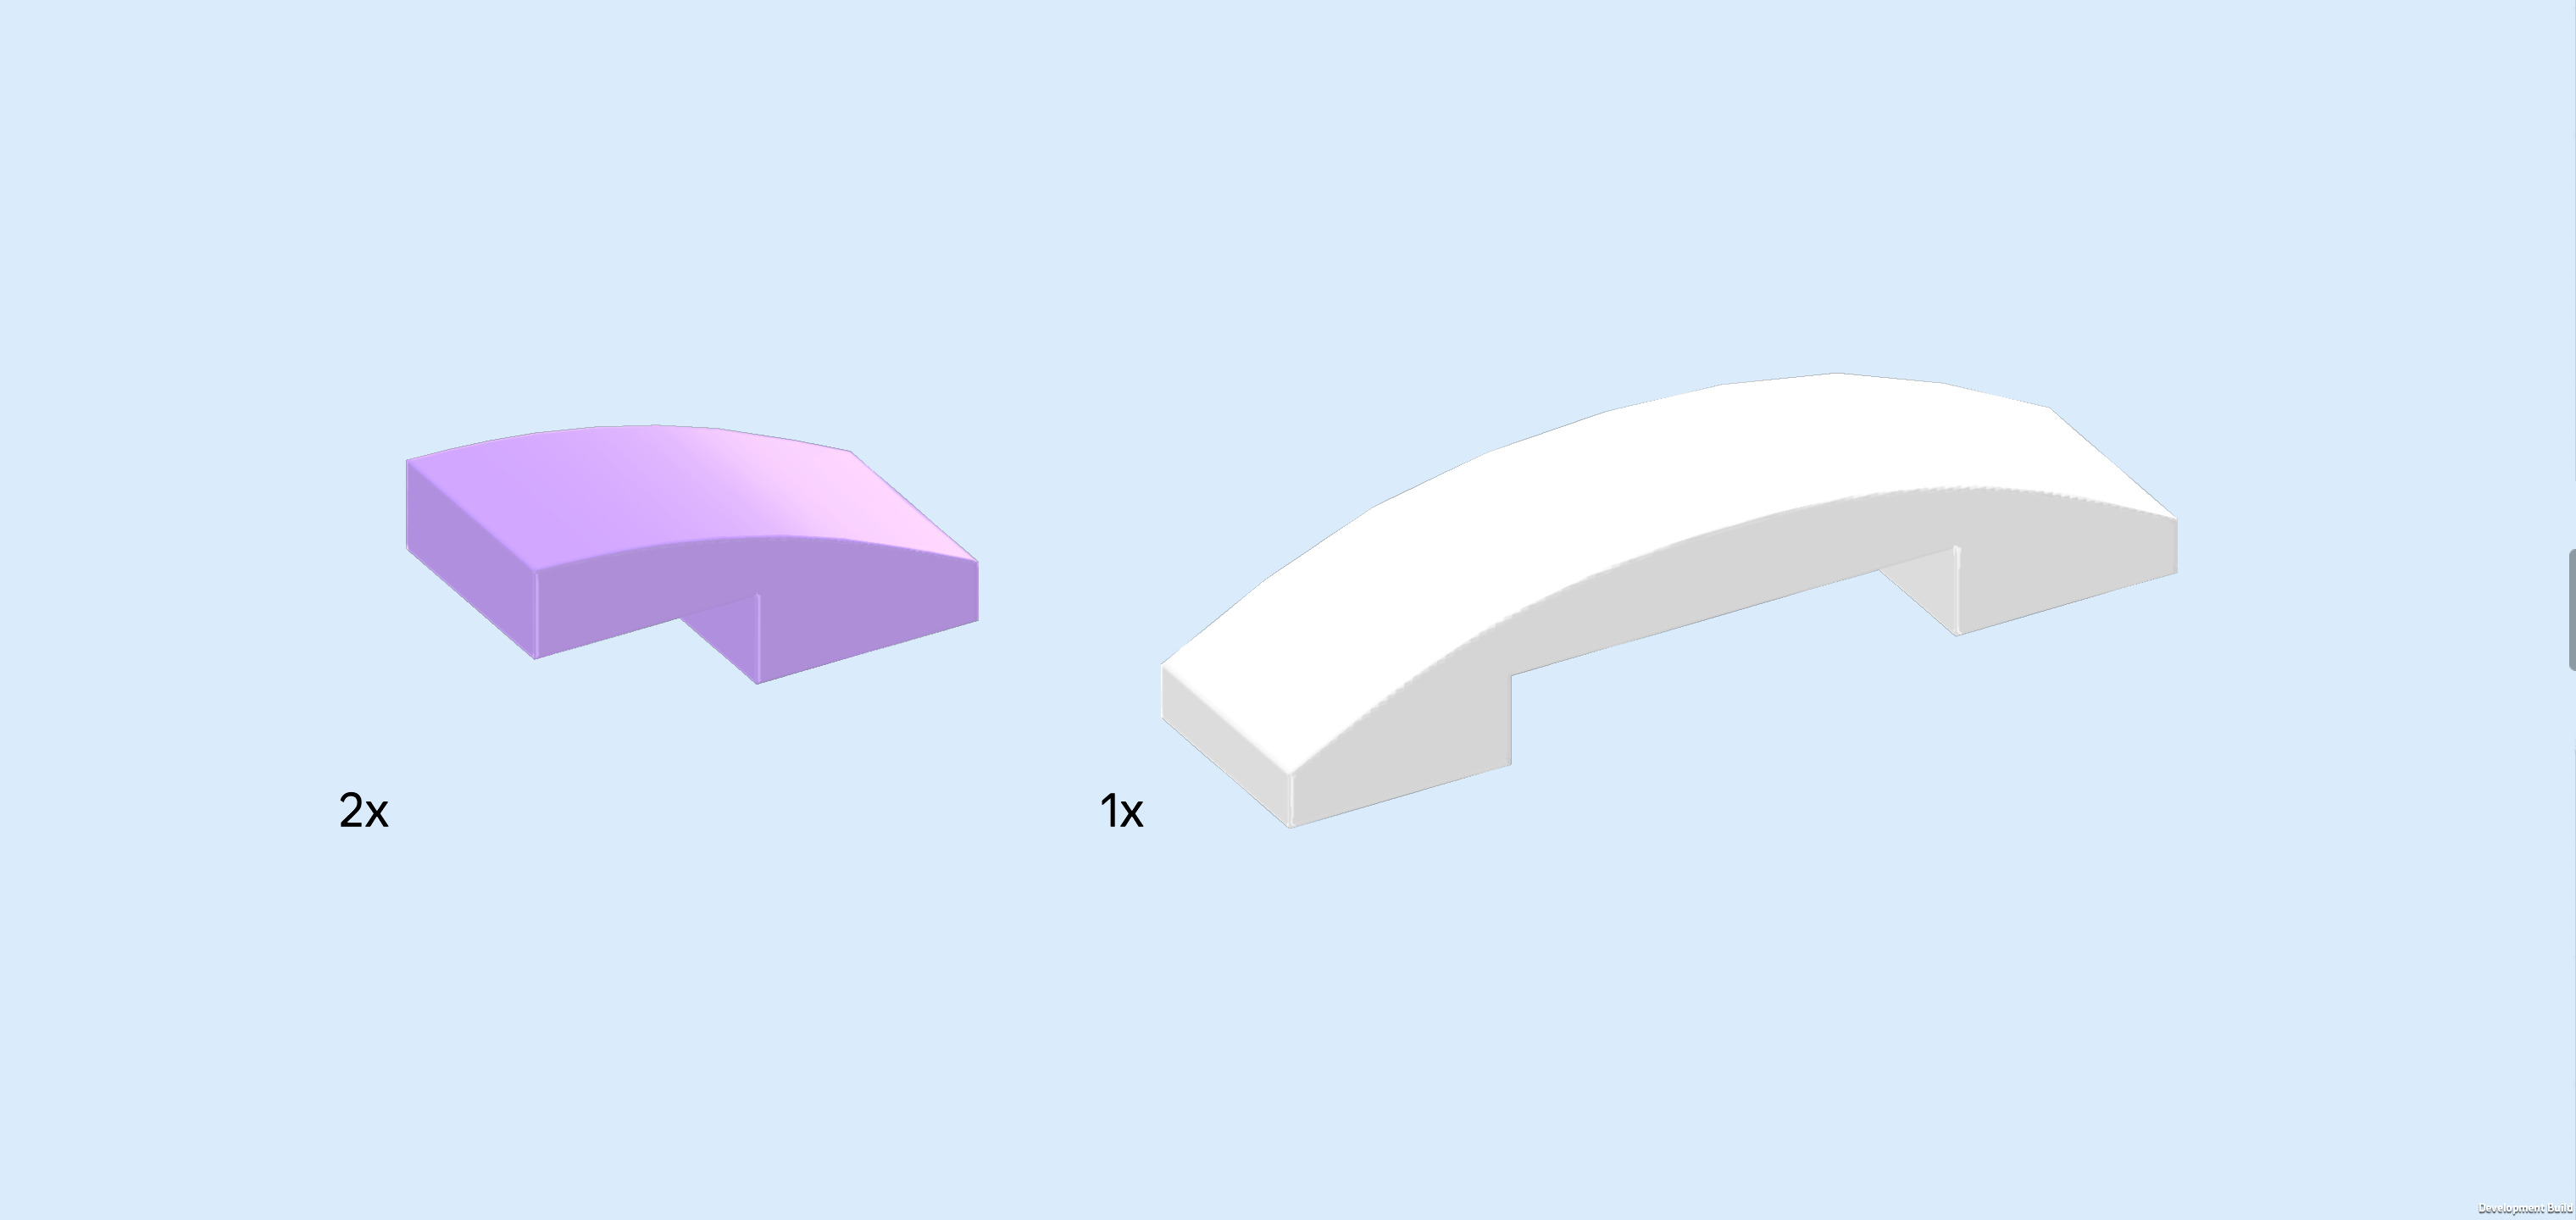
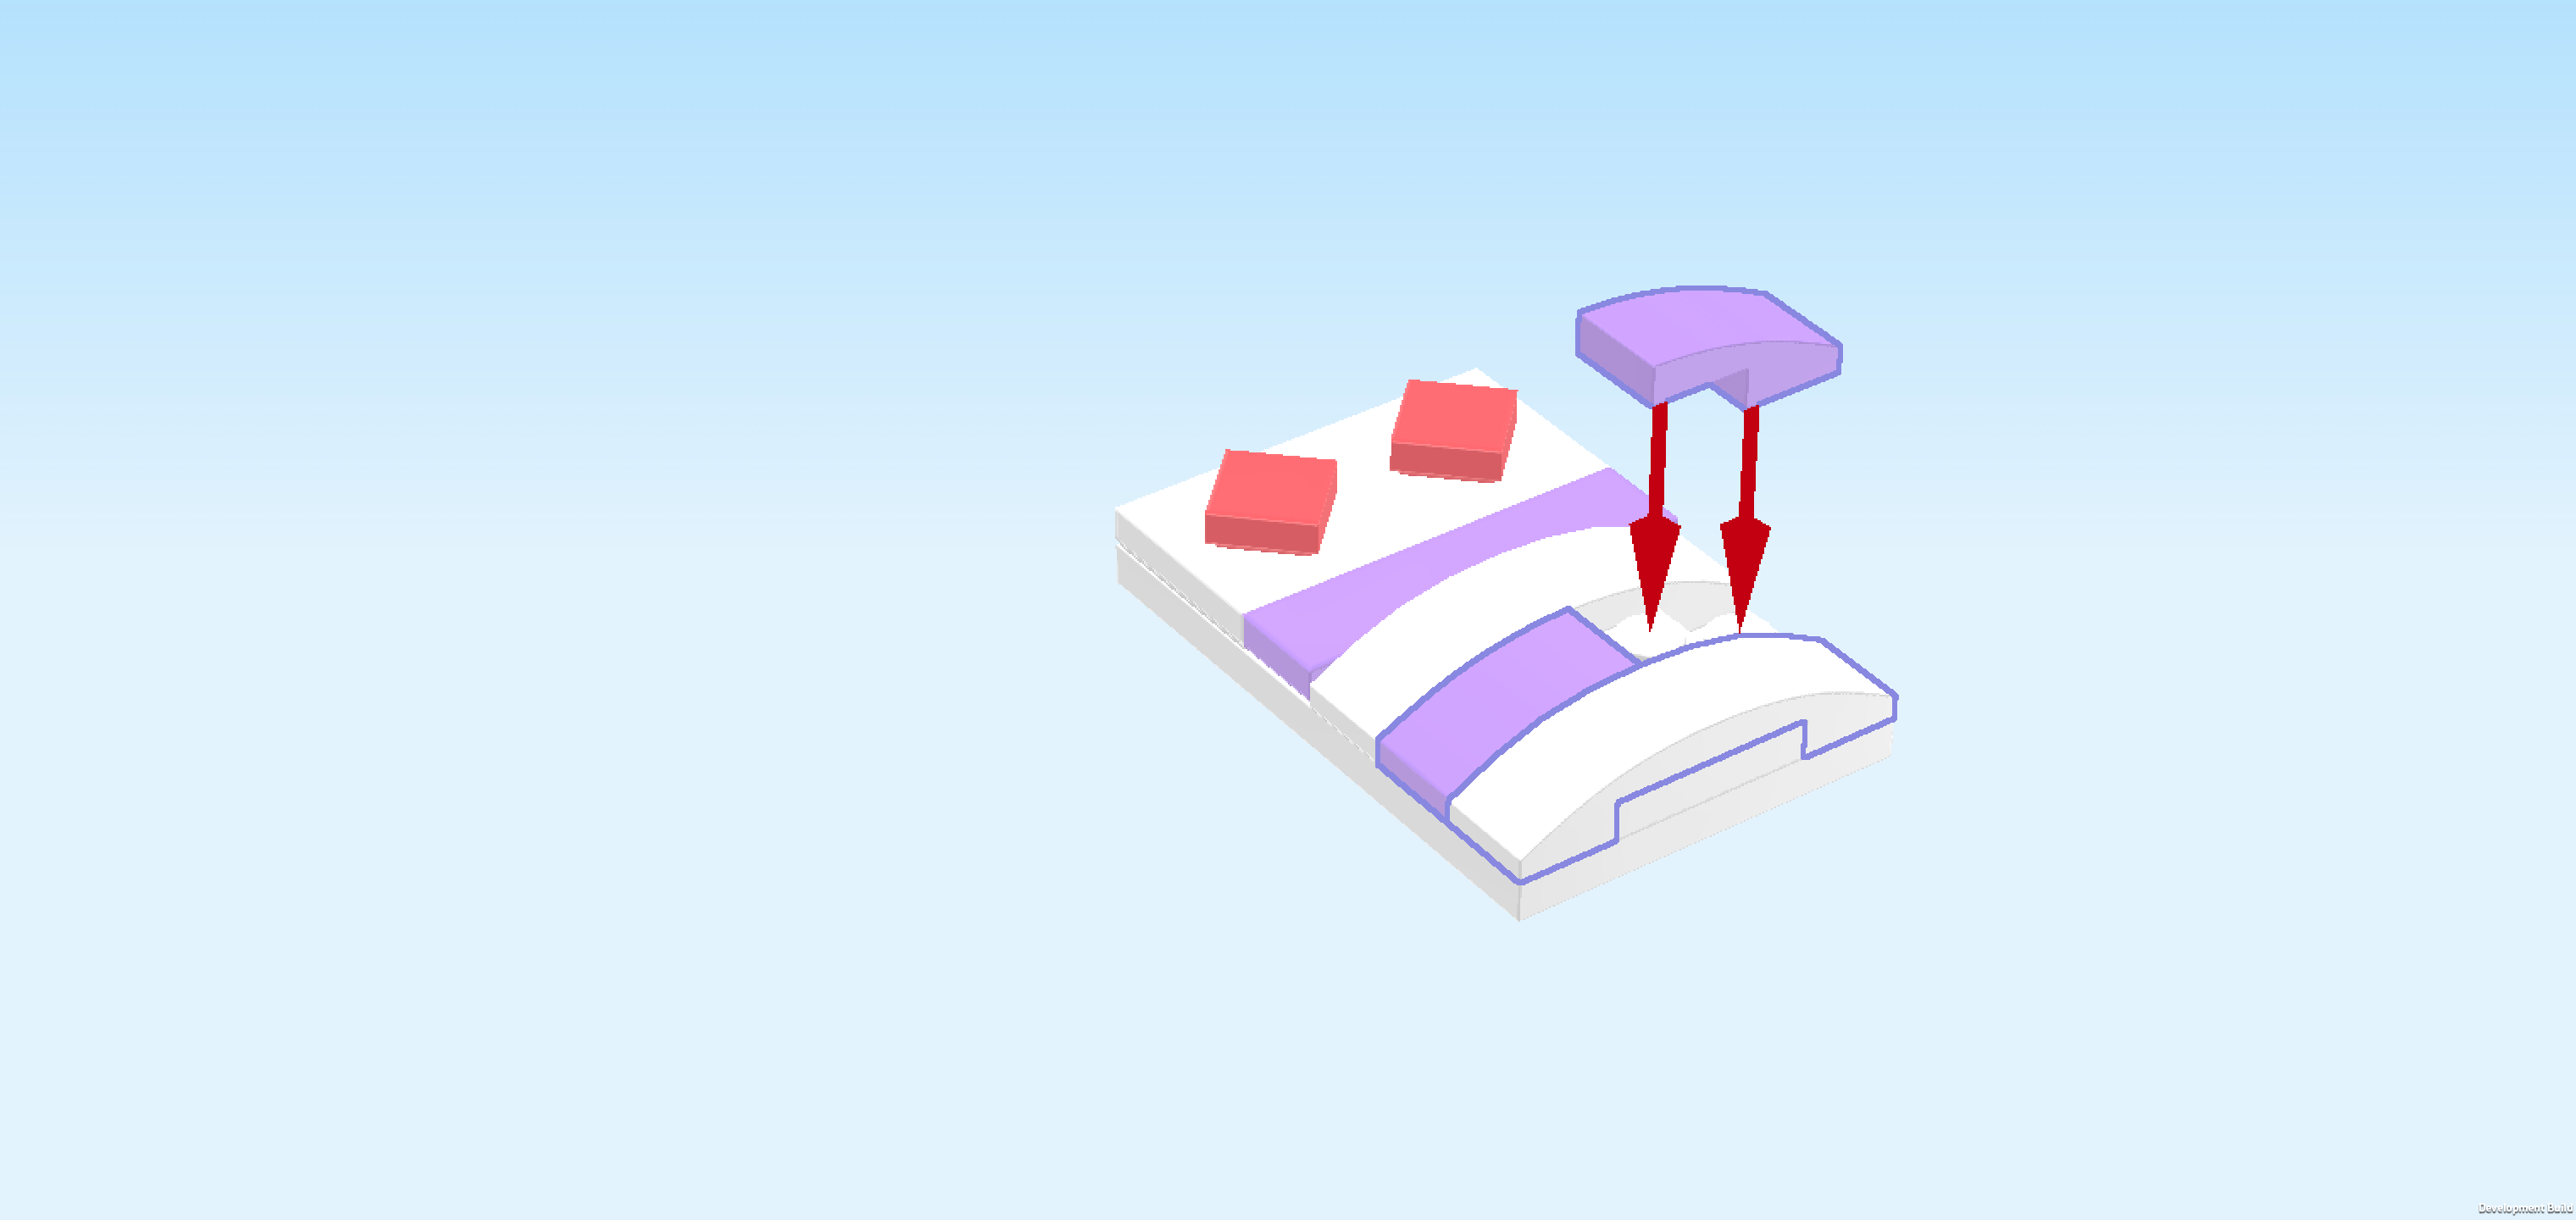
| Collect the following 3 pieces: |
| 2 light lavender one-stepped curve tiles 1x2, |
| and another white curve tile 1x4. |
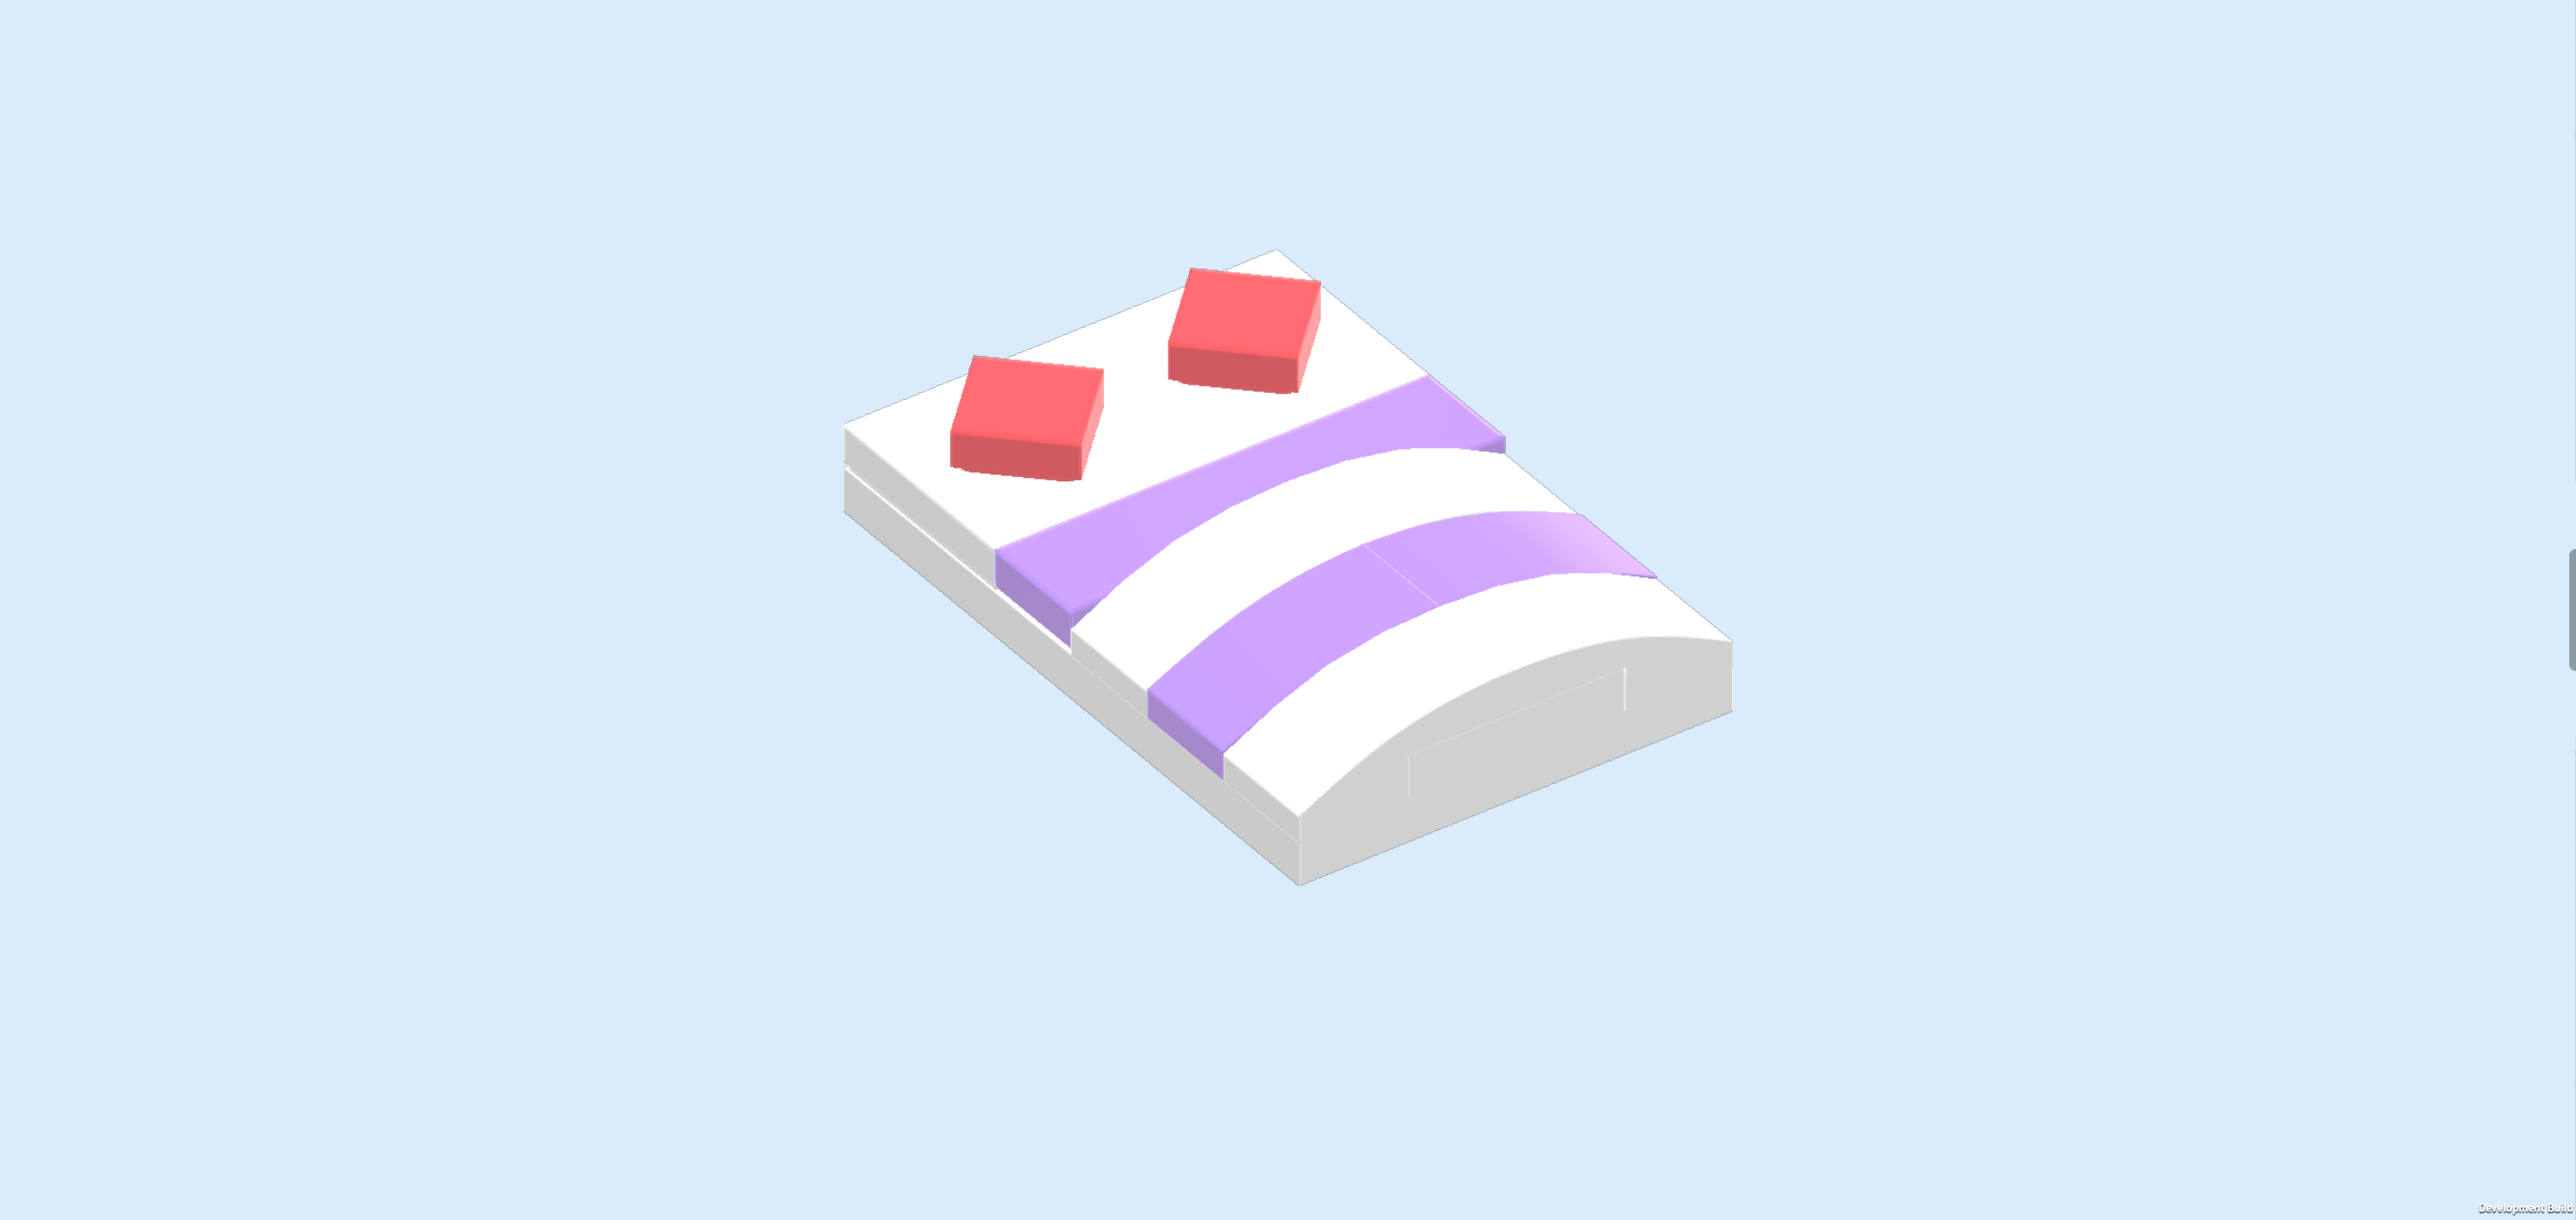
| Put 1 one-stepped curve tile 1x2 horizontally in front of the previous piece's right half, matching its curve. |
| Put the other one-stepped curve tile horizontally to the left of the previous piece, matching the curve of the piece behind it. |
| Put the curve tile 1x4 horizontally in front of the two previous pieces. If done correctly, it will cover the frontmost row. |
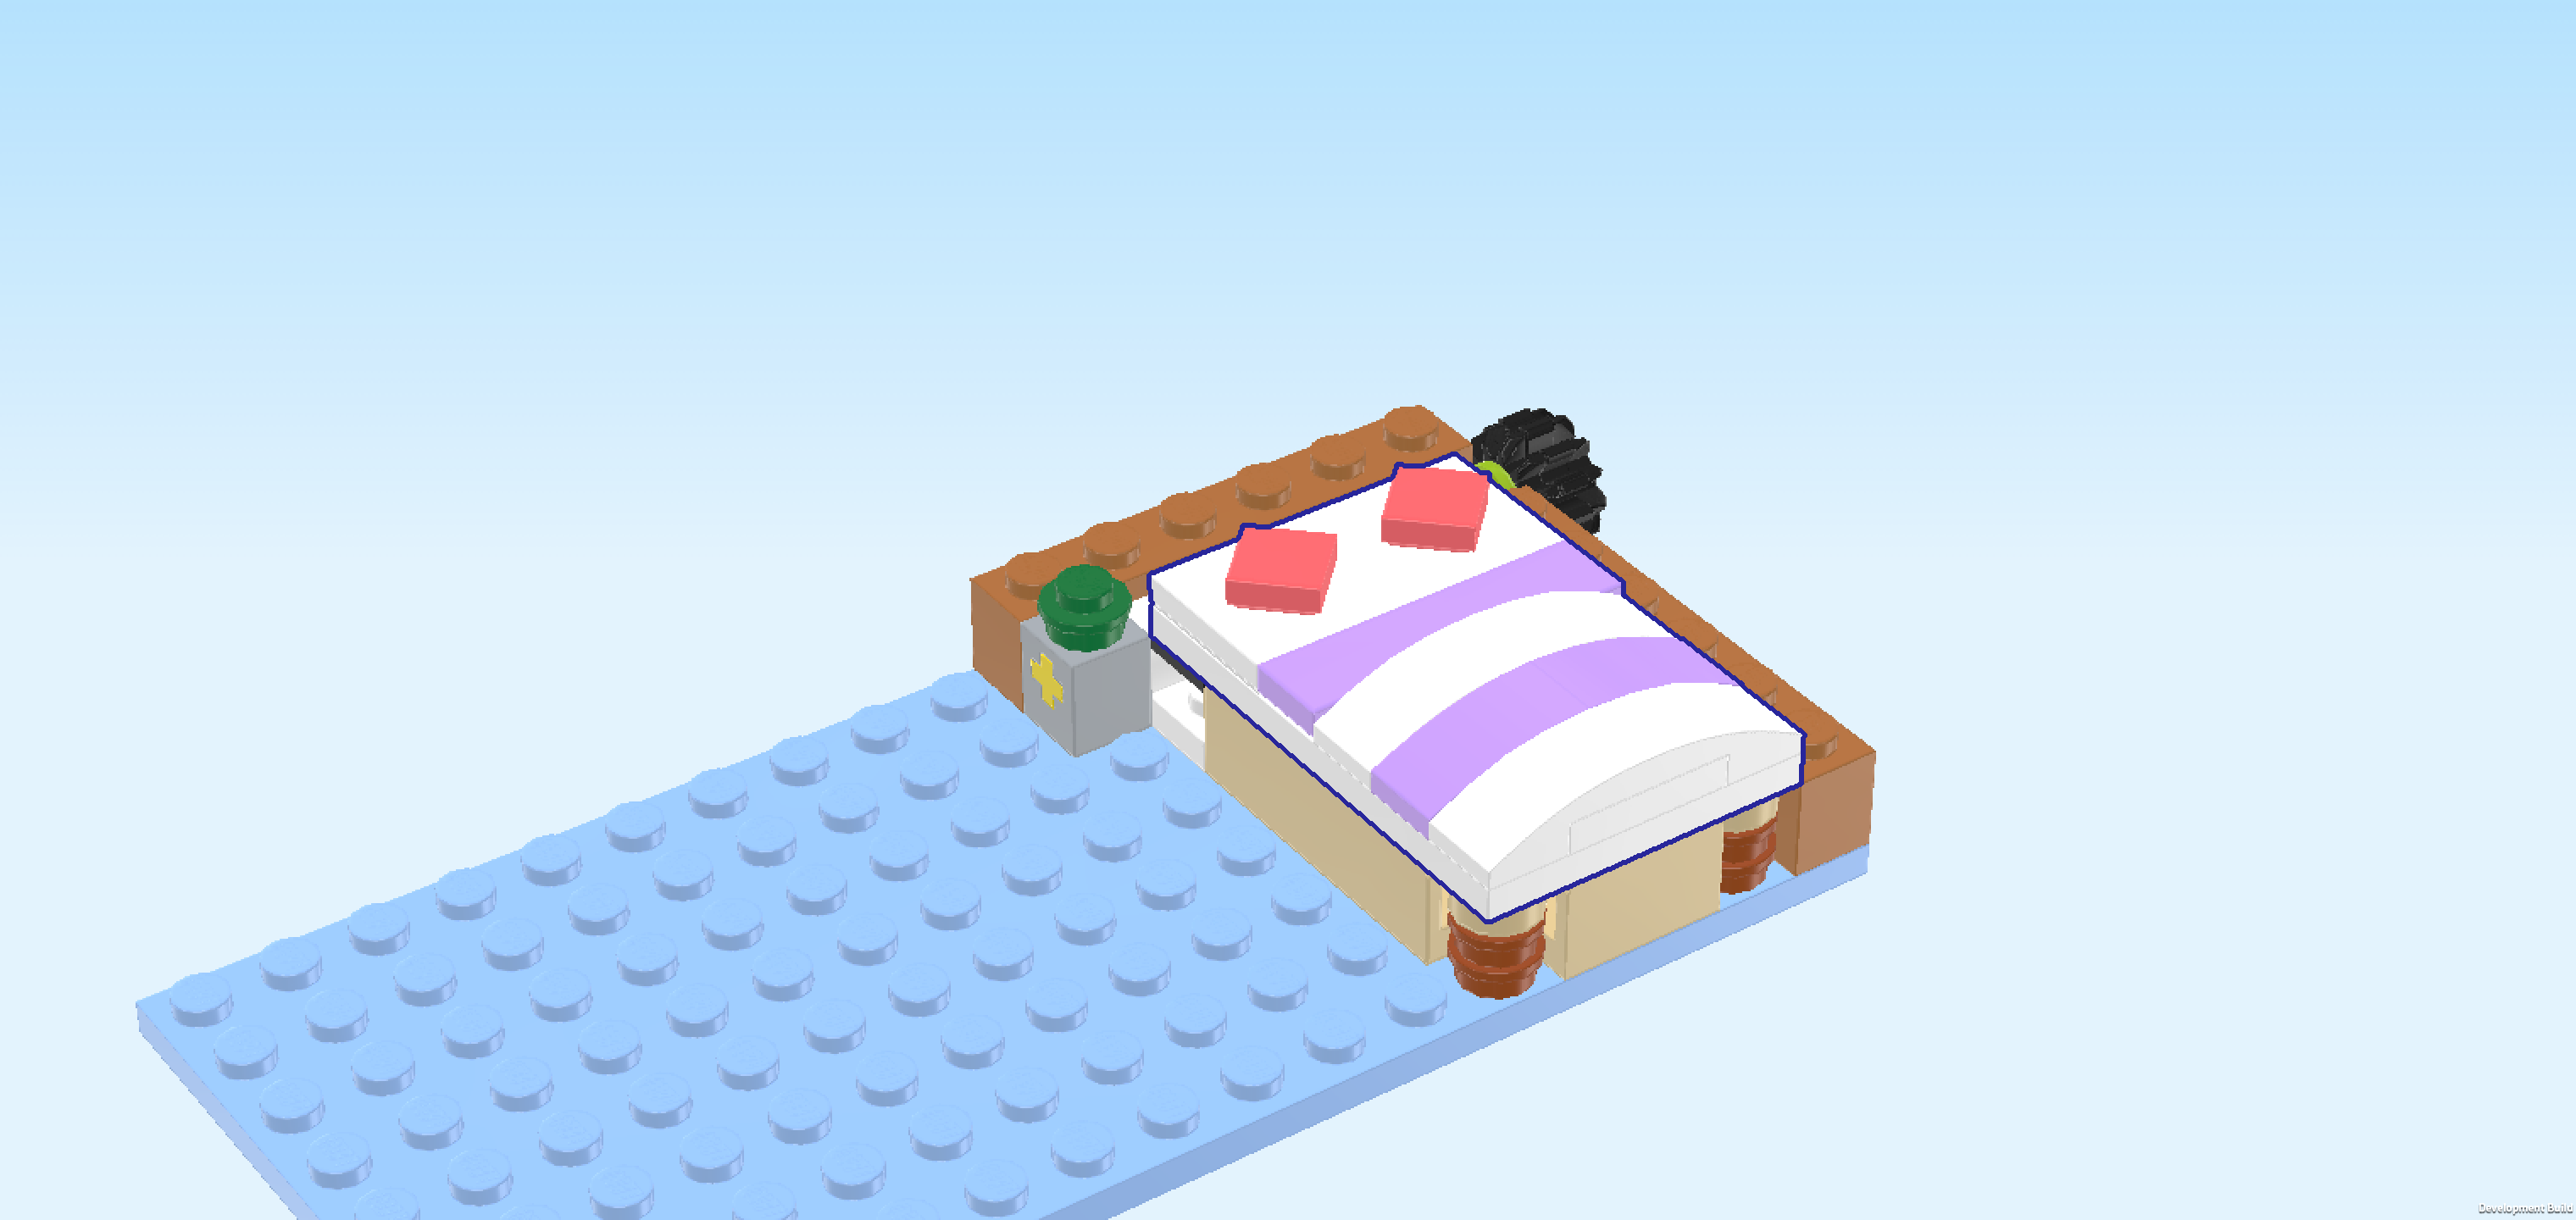
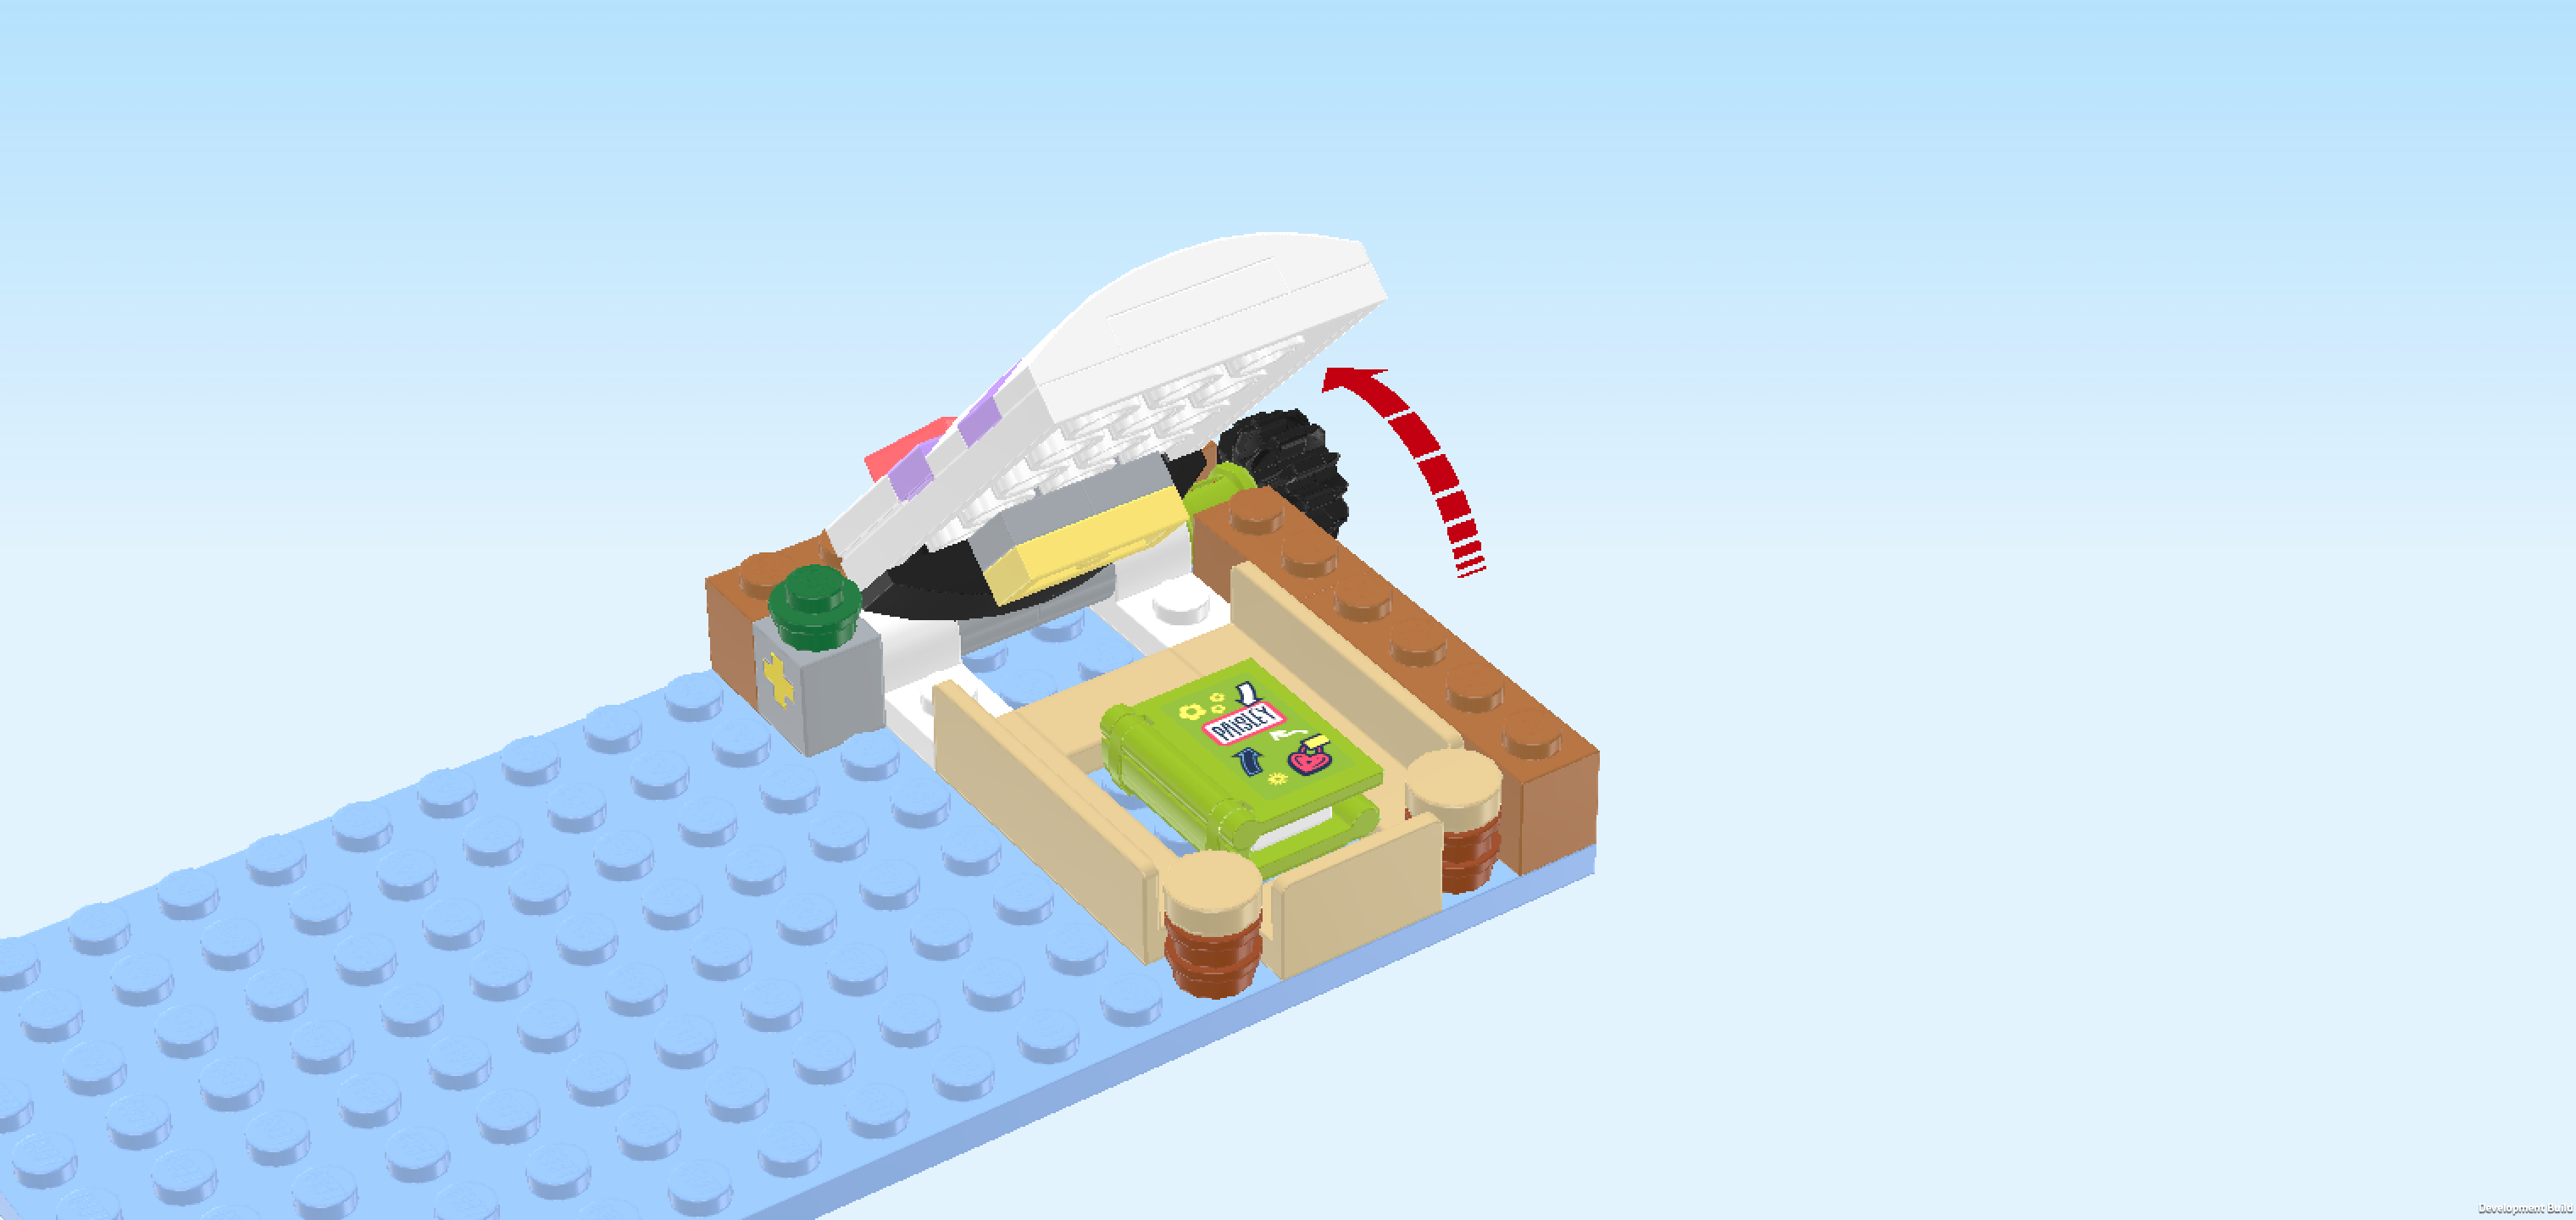
| The bed cover is finished! Great job! Mount it in its building orientation in the room corner. Make sure that its front edge sits centered atop the bedposts and footboard, and push down on its back edge to attach it firmly on the tilt mechanism board. The bricks that sit on the backmost row and rightmost column should remain empty. |
| Now it's time to give your tilt mechanism a try! Turn the conical wheel towards the back, and the bed cover should tilt upwards! You can hide your most precious belongings in the small space underneath the bed. How about putting the diary there? |
| With this, the basic floor layout with bed is finished. We will continue with building the foundations for the side wall and the back wall as well as a floor extension at the front edge which is actually a rug. |
| Collect the following 3 pieces: |
| 1 medium nougat brown brick 1x1, |
| 1 medium nougat brown brick 1x6, |
| and 1 black round tile 1x1 with small top shaft. |
| Put the brick 1x6 vertically on the rightmost column, starting from the back edge. |
| Put the brick 1x1 in front of the previous piece. |
| Put the round tile with top shaft in front of the previous piece. This means it will sit on the frontmost knob of the rightmost column. |
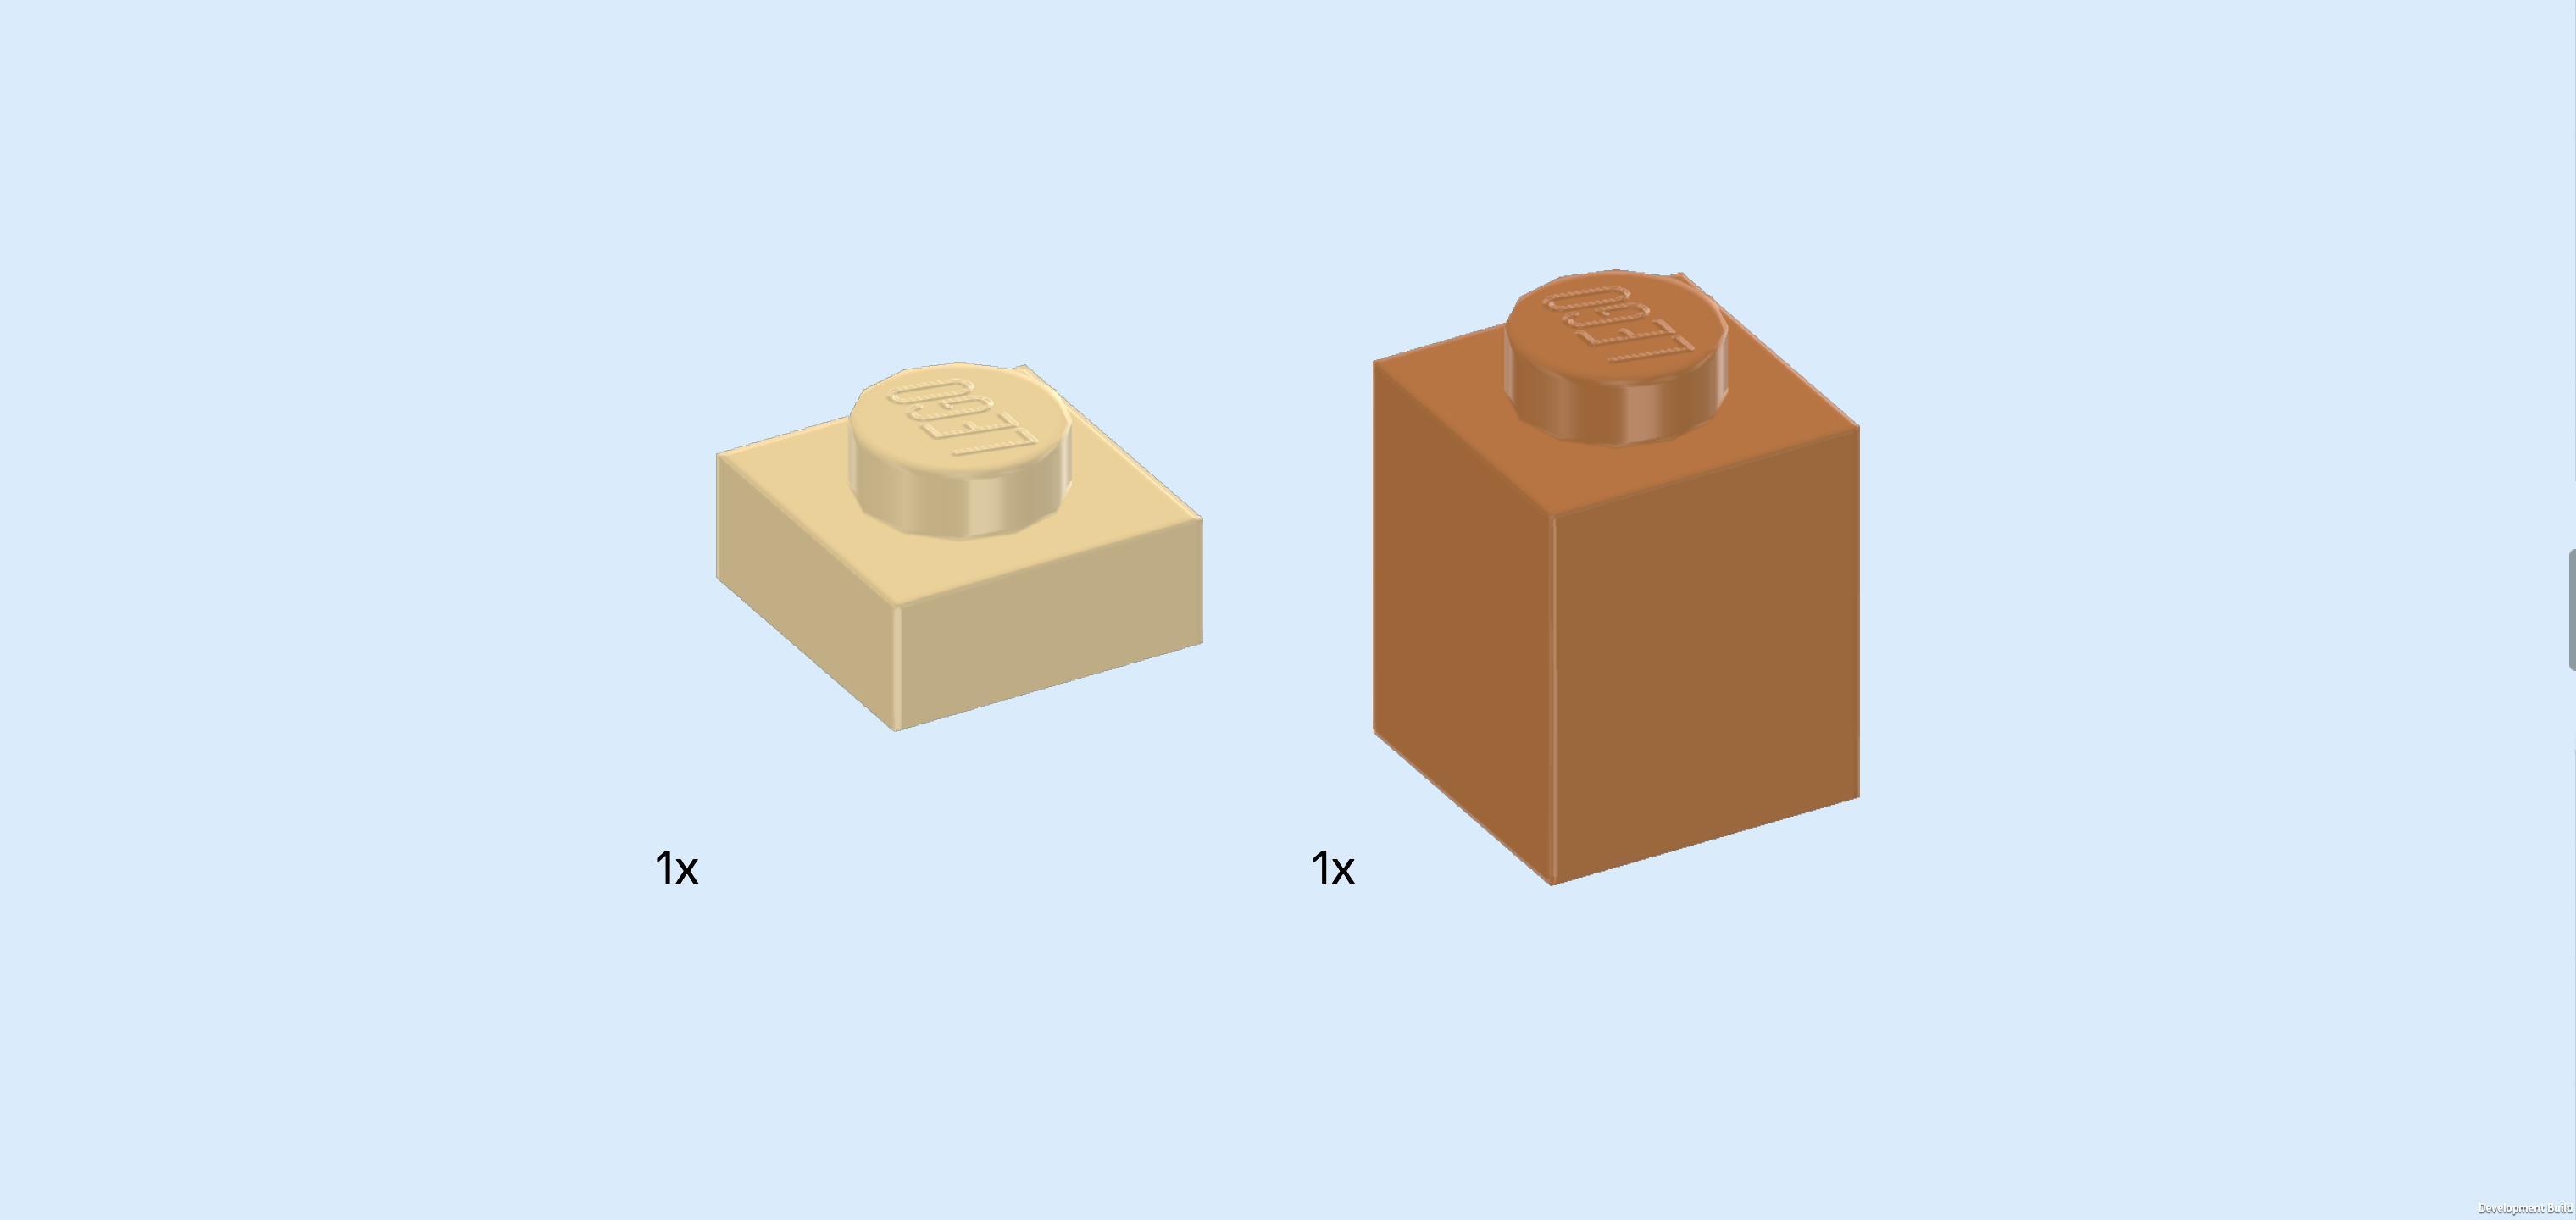
| Collect the following 2 pieces: |
| 1 beige plate 1x1, |
| and another medium nougat brown brick 1x1. |
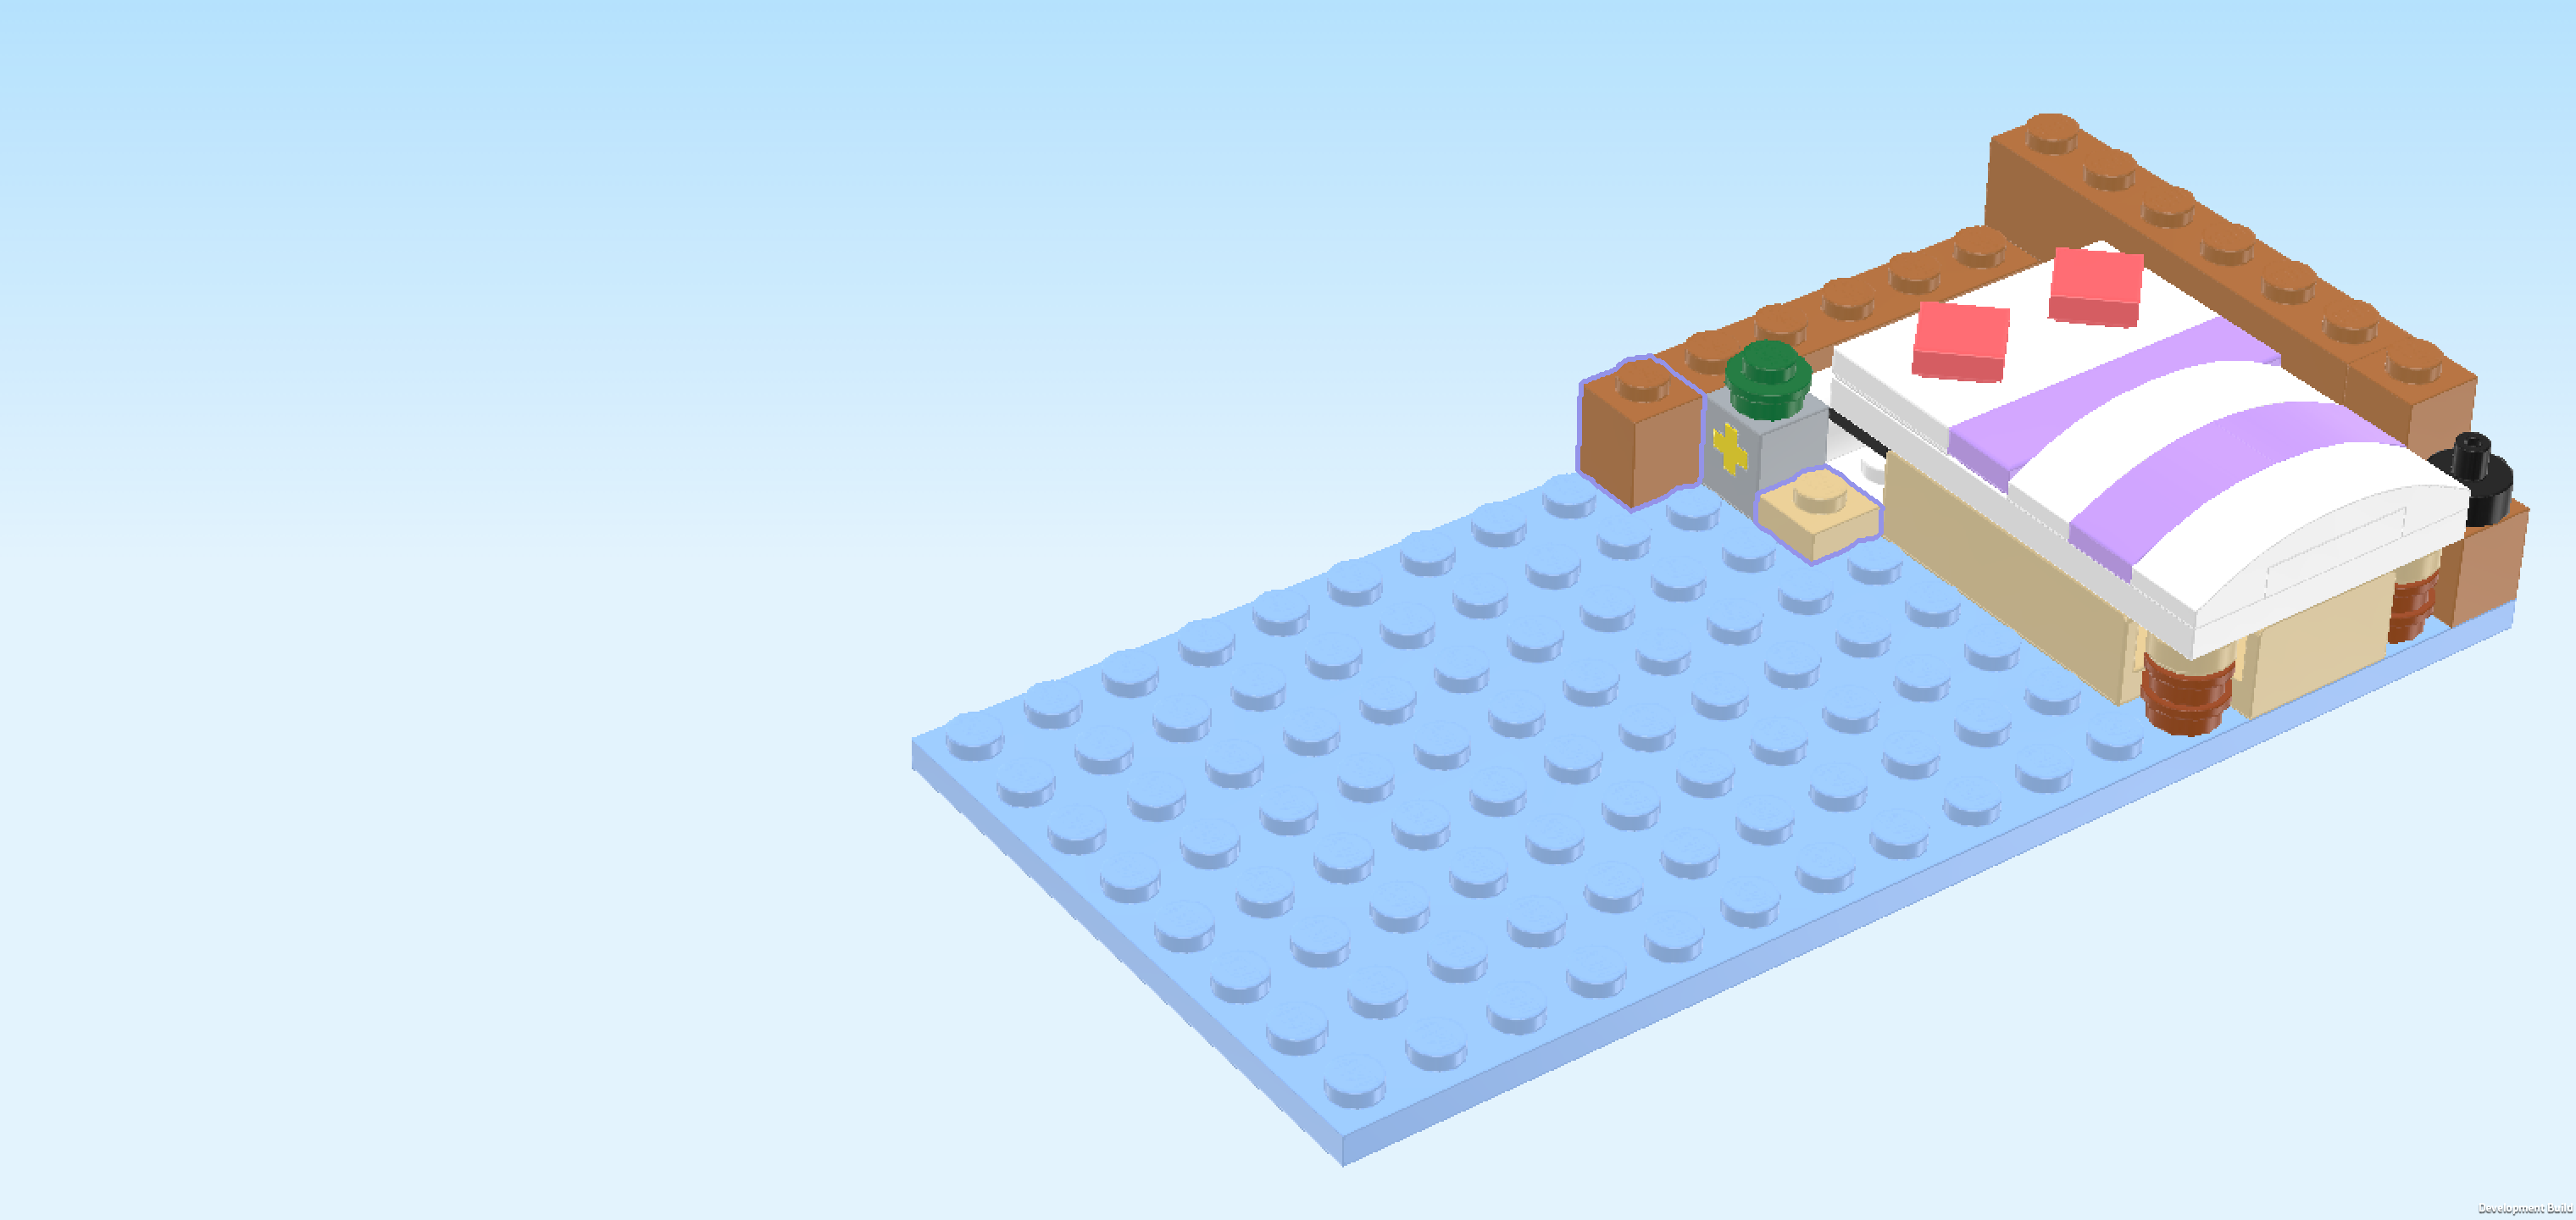
| Put the plate 1x1 to the left of the bed, directly in front of the brick 1x1 with round plate 1x1 on top. |
| Put the brick 1x1 on the backmost row to the left of the brick 1x6. |
| Collect the following 2 pieces: |
| 1 bright purple brick 1x1, |
| and 1 beige wall element 1x4x2 with 4 top knobs. |
| Put the brick 1x1 on the plate 1x1 we have just mounted in the previous step. |
| Put the wall element horizontally on the backmost row to the left of the bricks already mounted there, panel side towards the back. |
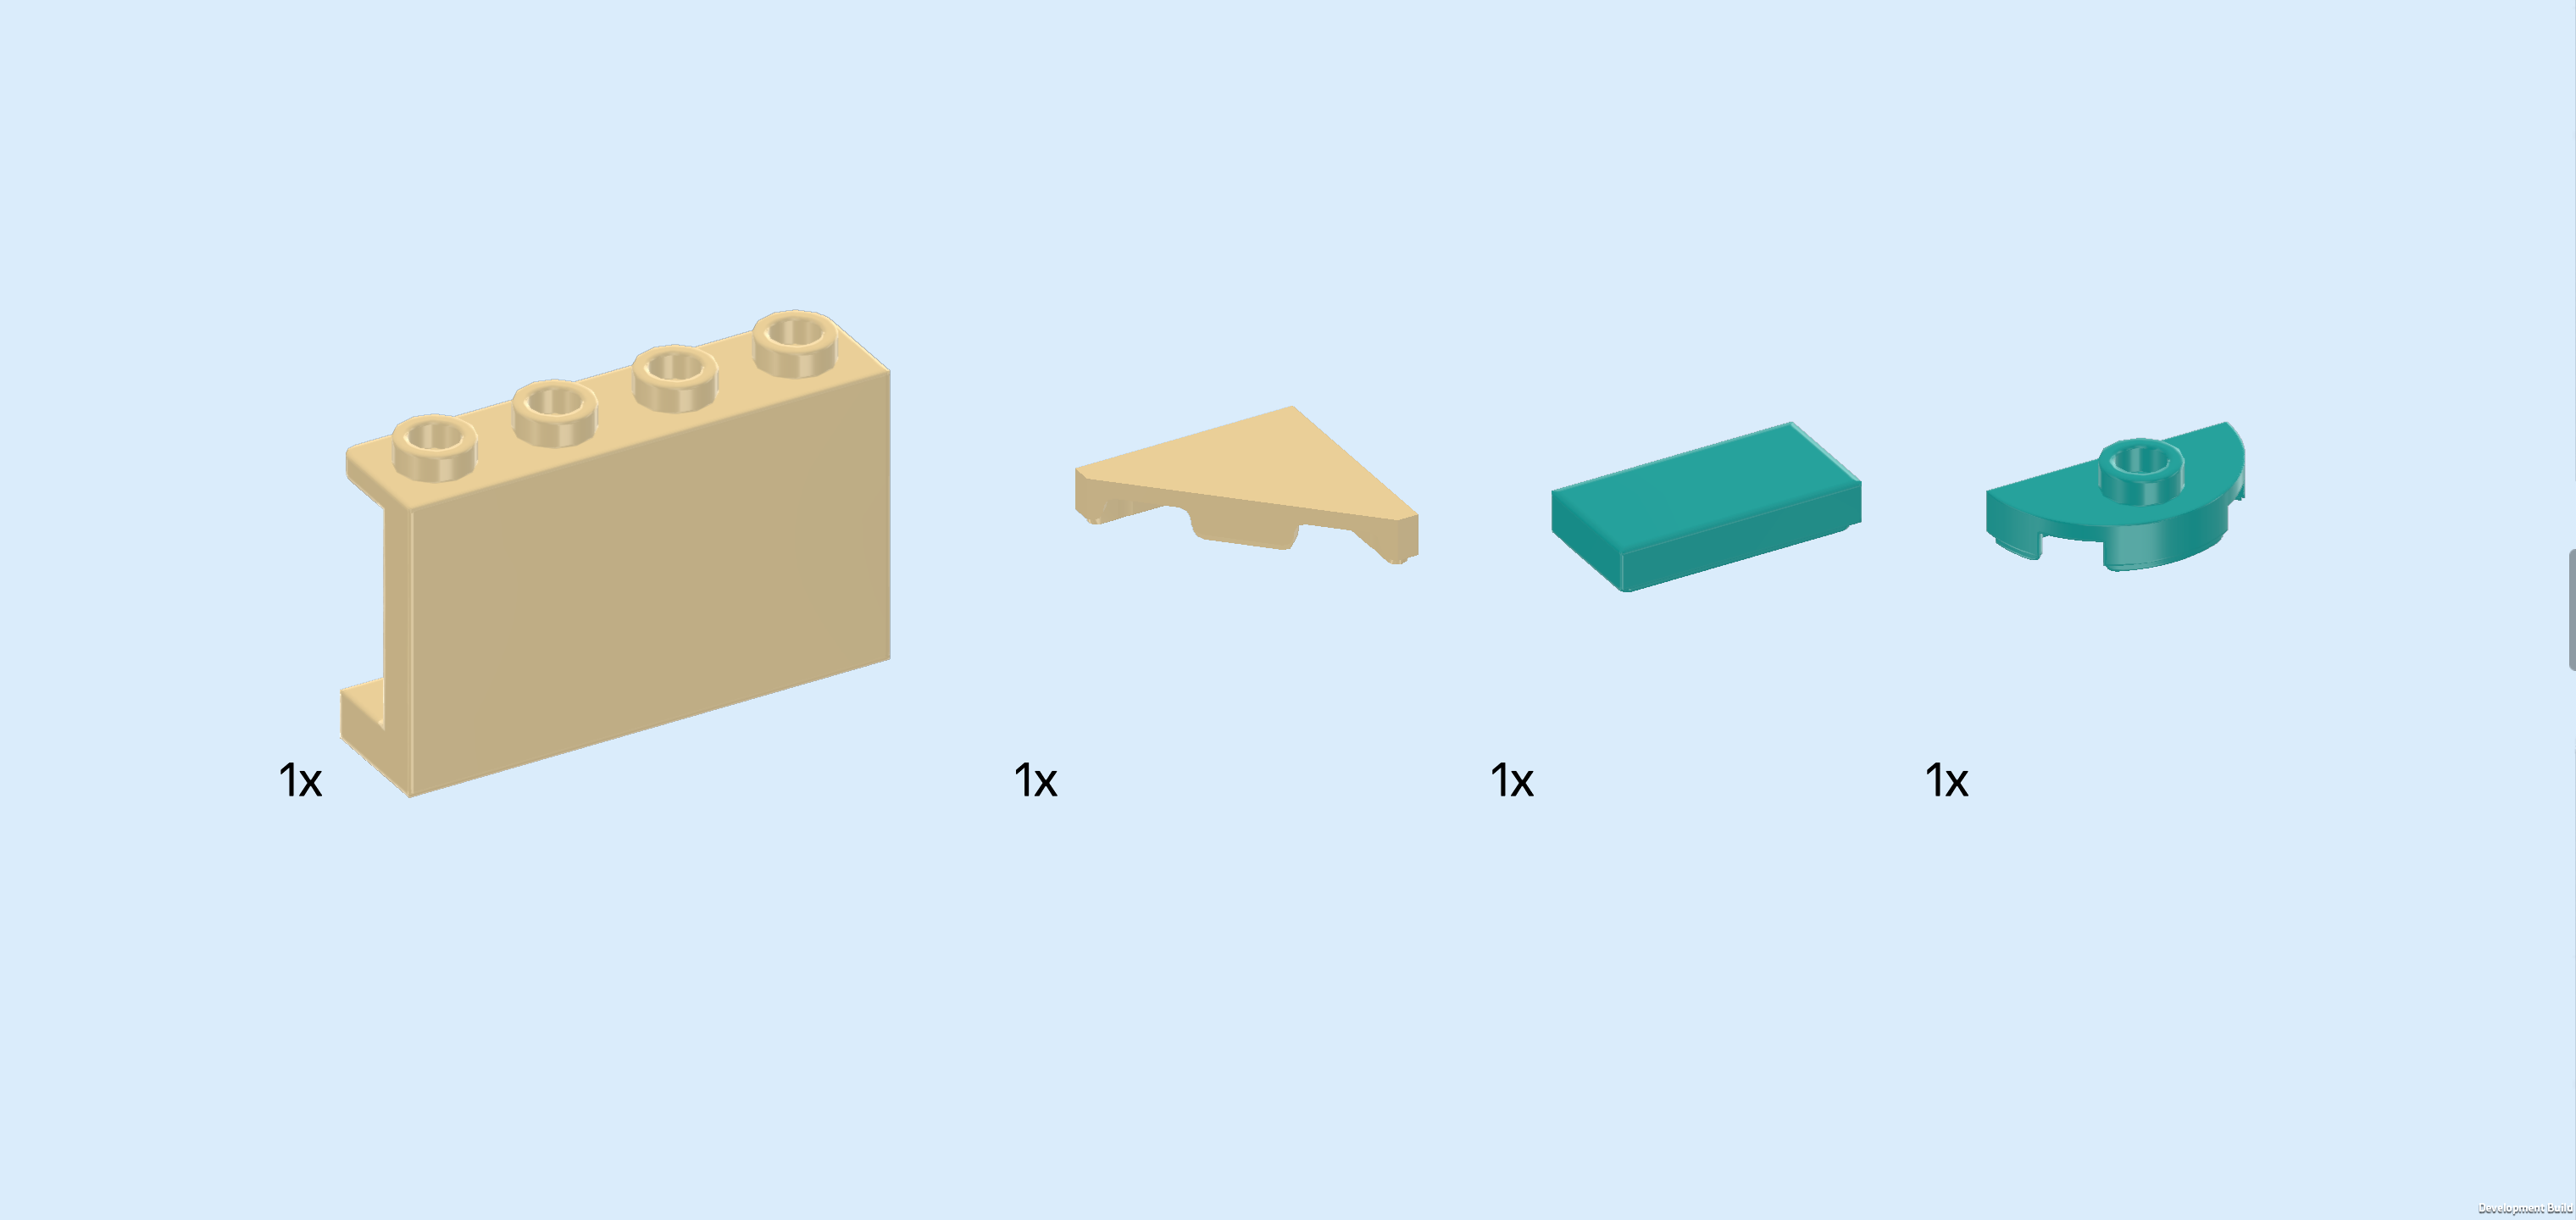
| Collect the following 4 pieces: |
| another beige wall element 1x4x2 with 4 top knobs, |
| 1 beige triangular flat tile 1x2 - 1x2, |
| 1 teal blue flat tile 1x2, |
| and 1 teal blue half-circle plate 1x2 with 1 knob. |
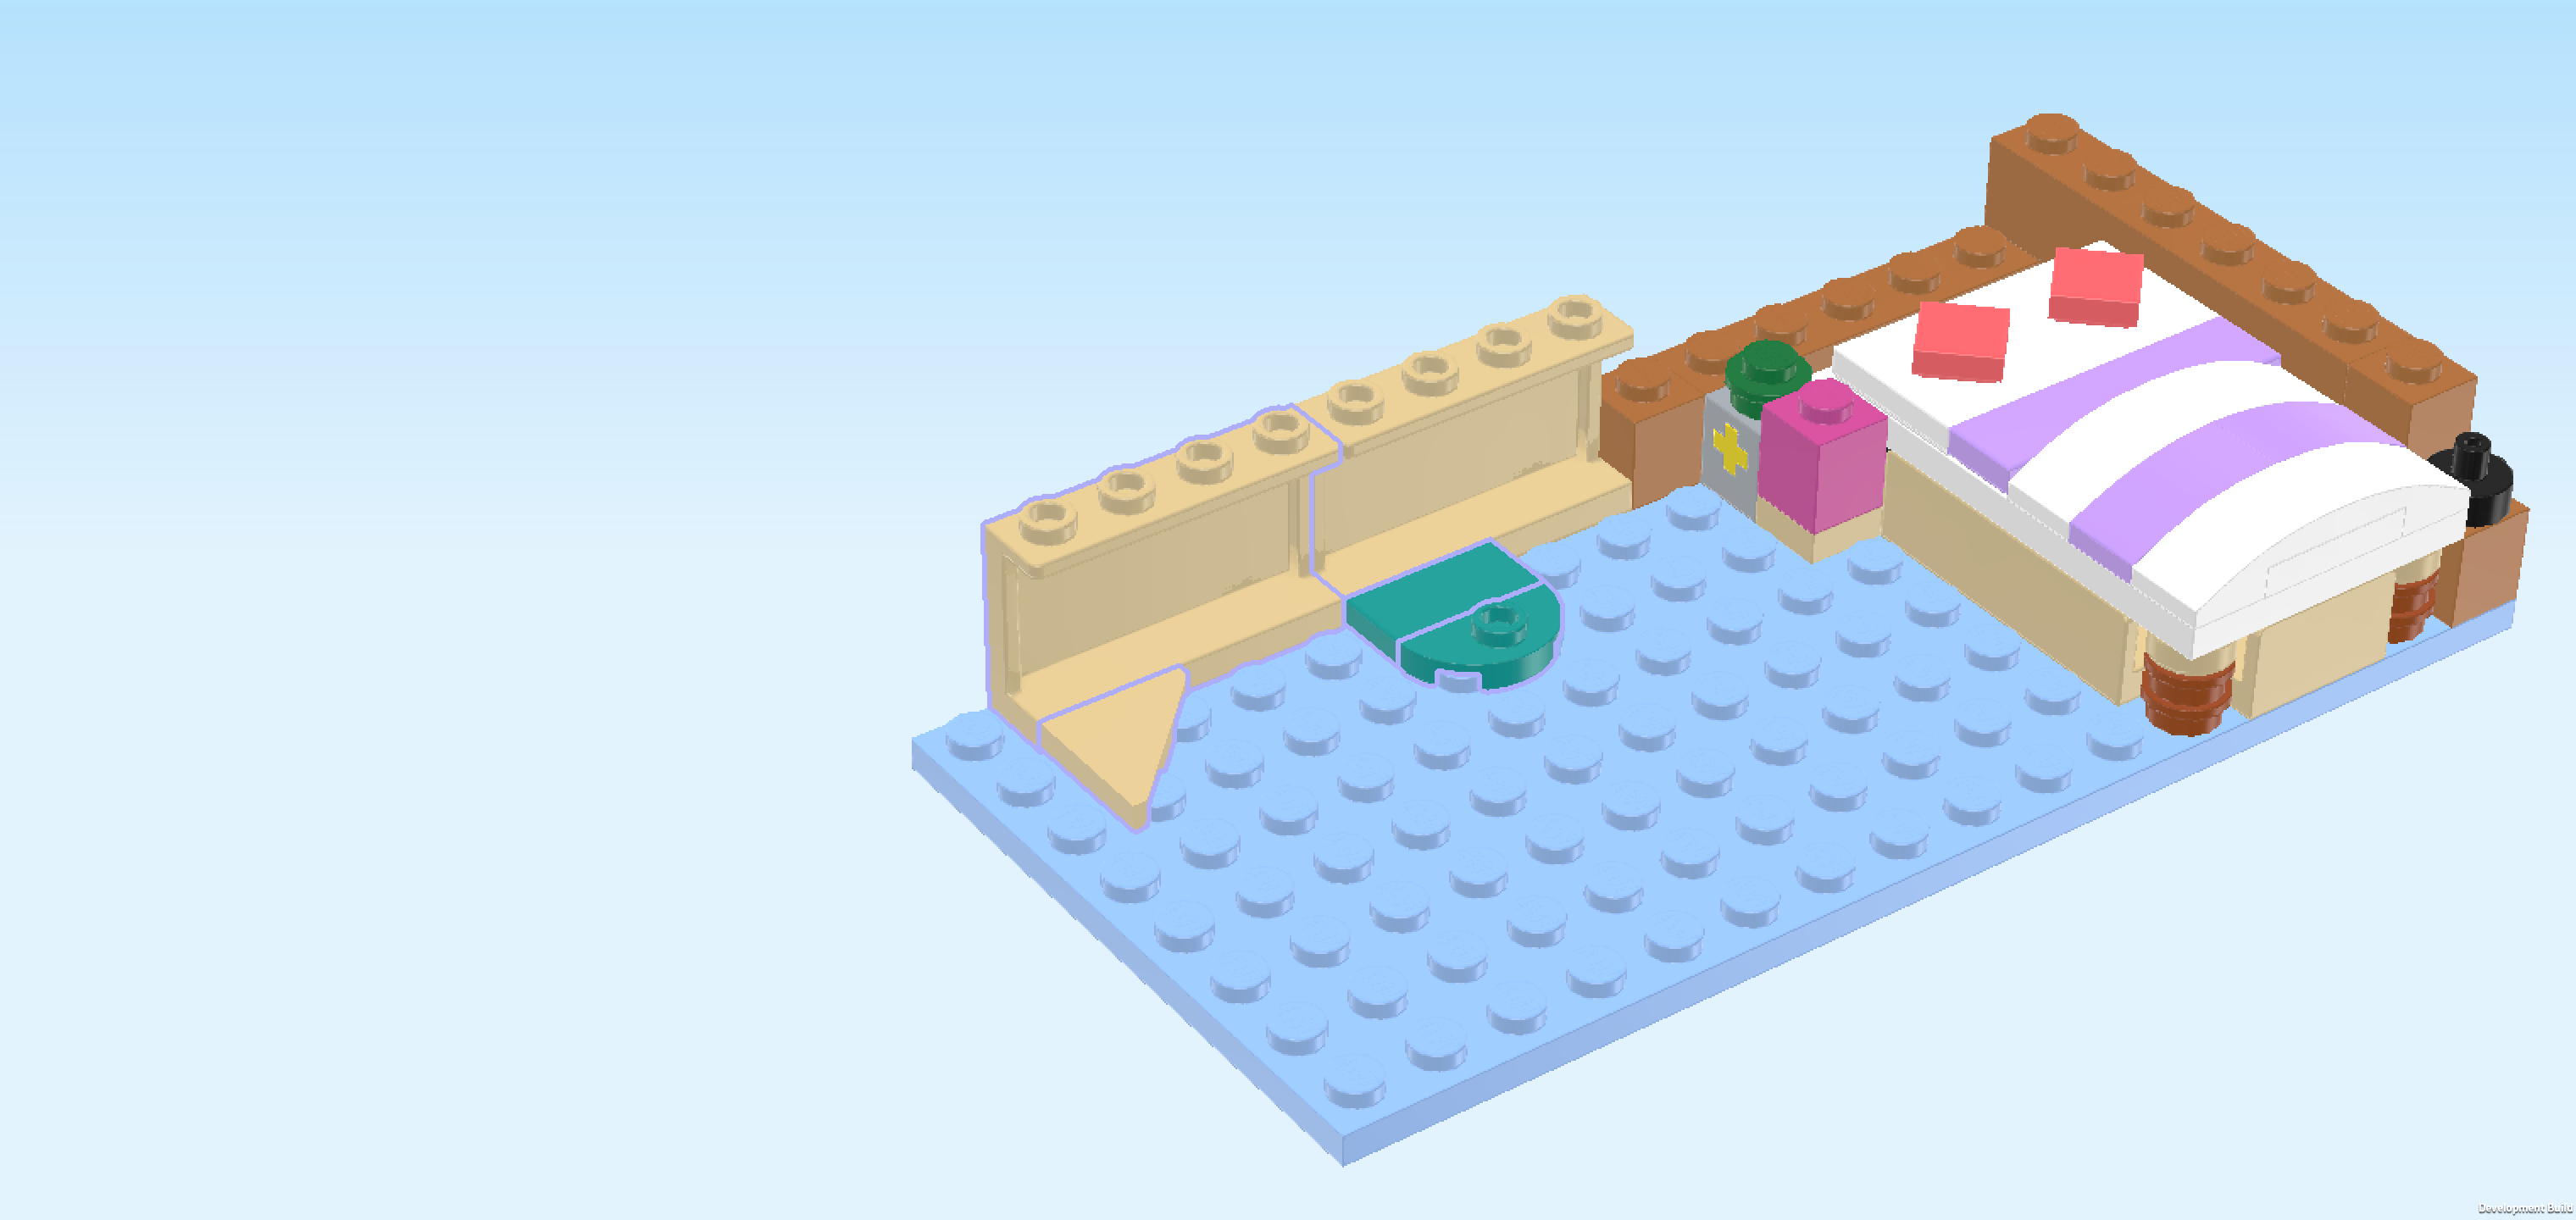
| Put the flat tile 1x2 horizontally in front of the previous piece's left half. |
| Put the half-circle plate 1x2 horizontally in front of the previous piece, half circle to the front. This will be Melody's cushion! |
| Put the wall element 1x4x2 horizontally on the backmost row to the left of the already-mounted wall element, panel side to the back. |
| Put the triangular flat tile 1x2 in front of the previous piece's left half, outer corner to the back left, longest edge to the front right. |
| Collect the following 2 pieces: |
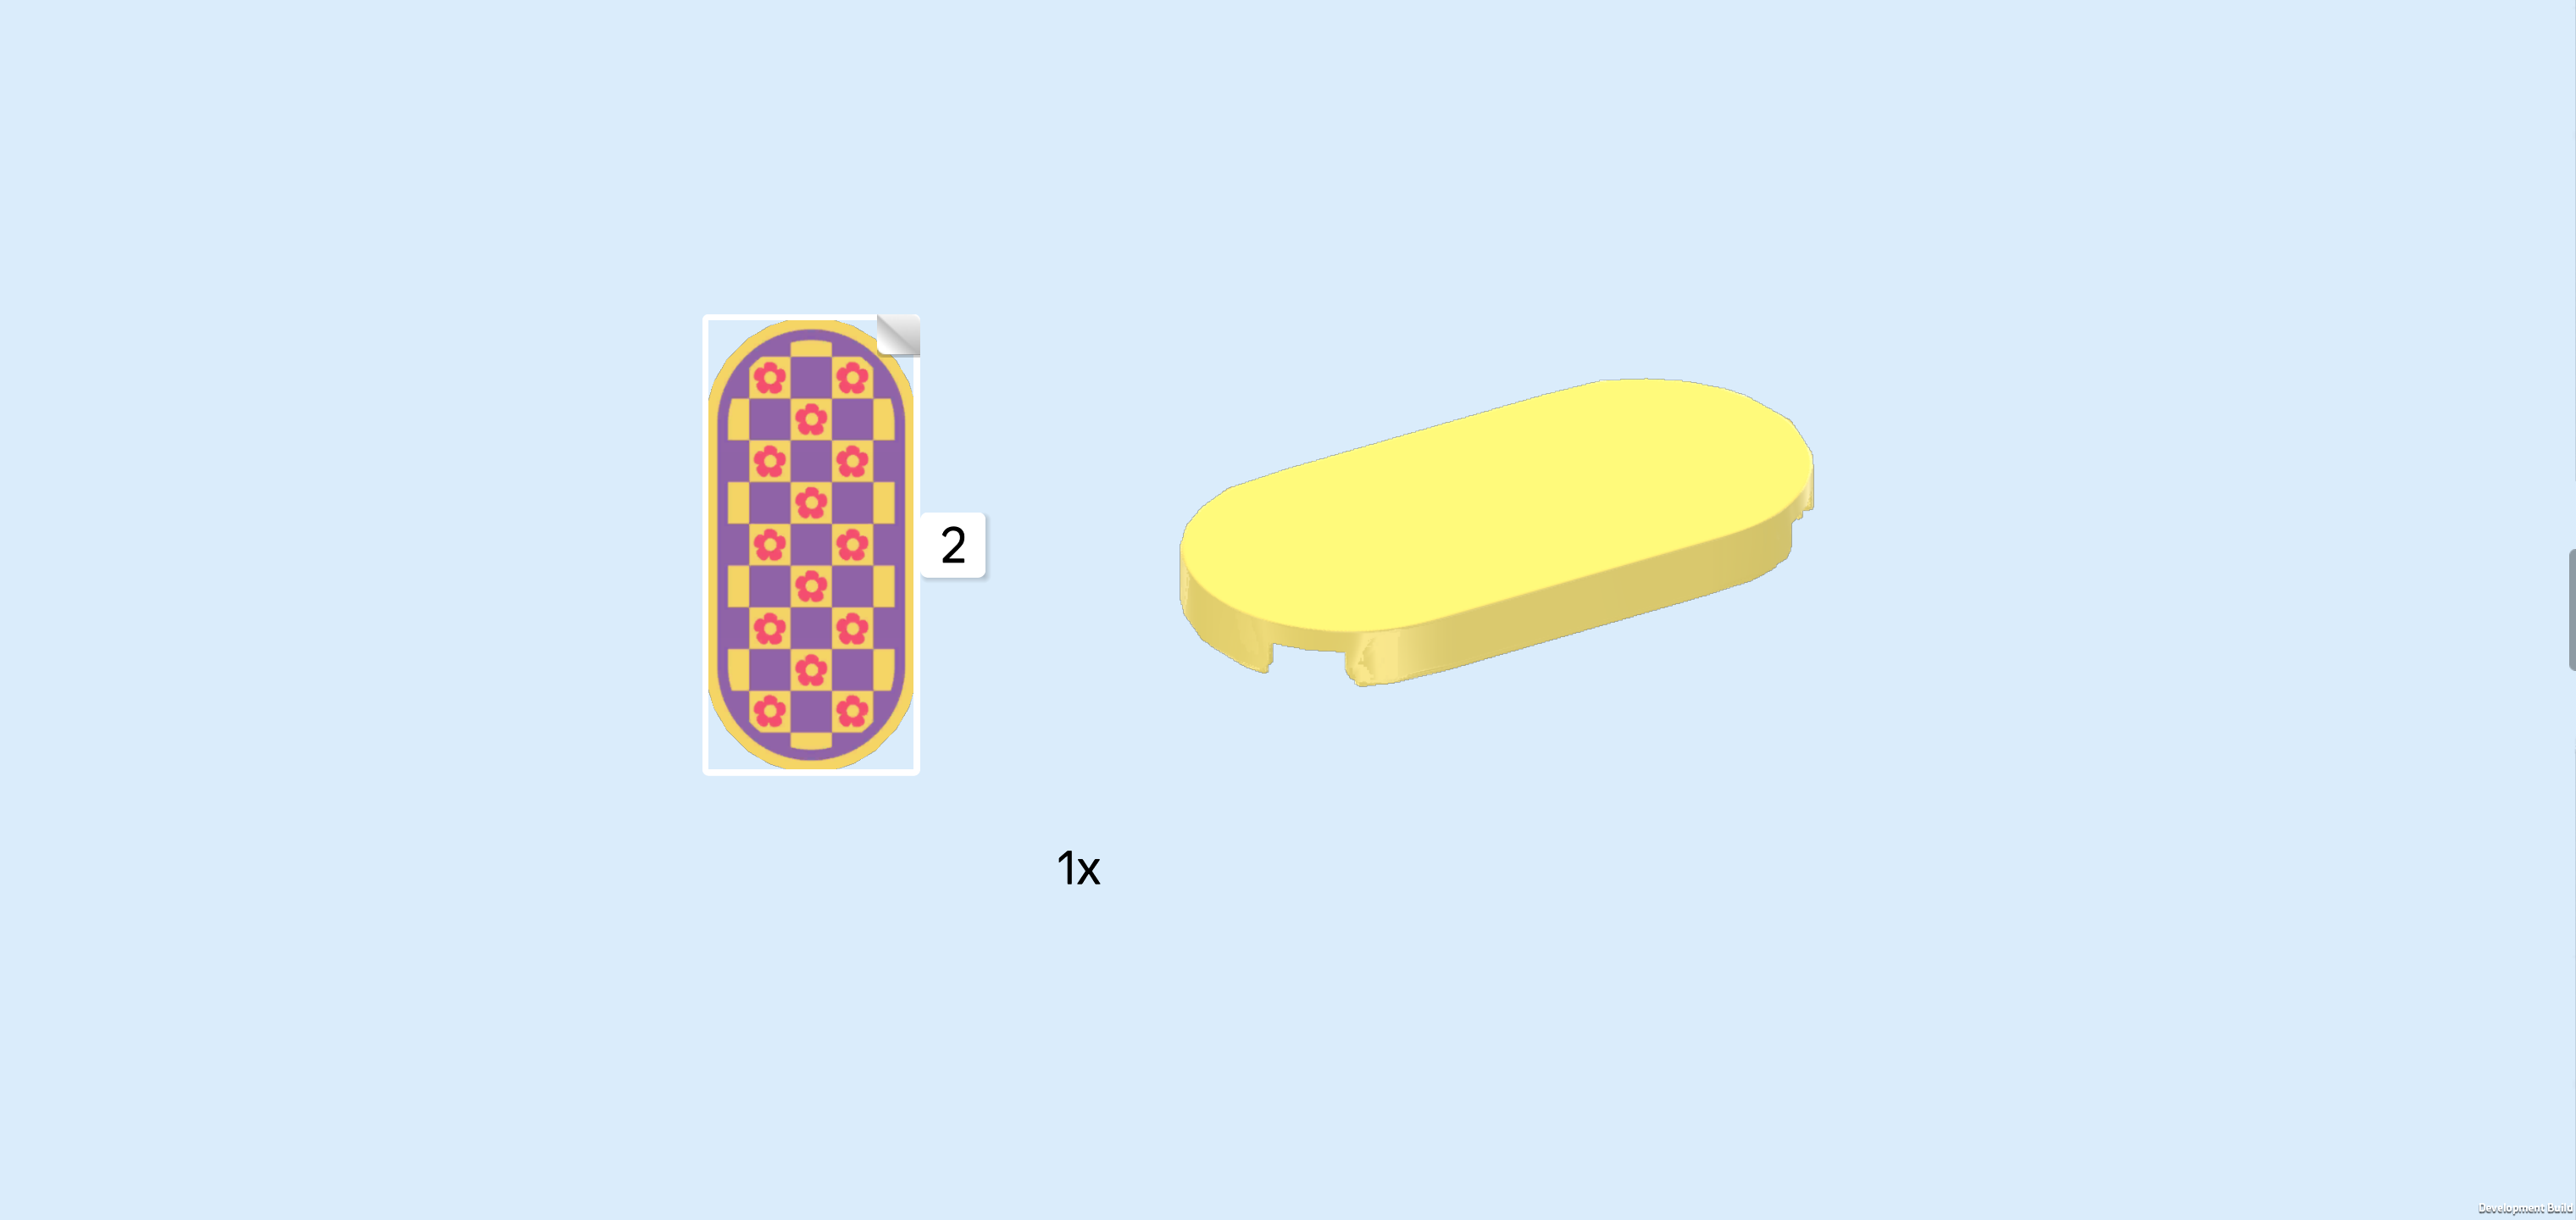
| 1 sticker 2x4 with rounded corners and rug pattern print, |
| and 1 lemon yellow flat tile 2x4 with rounded corners. |
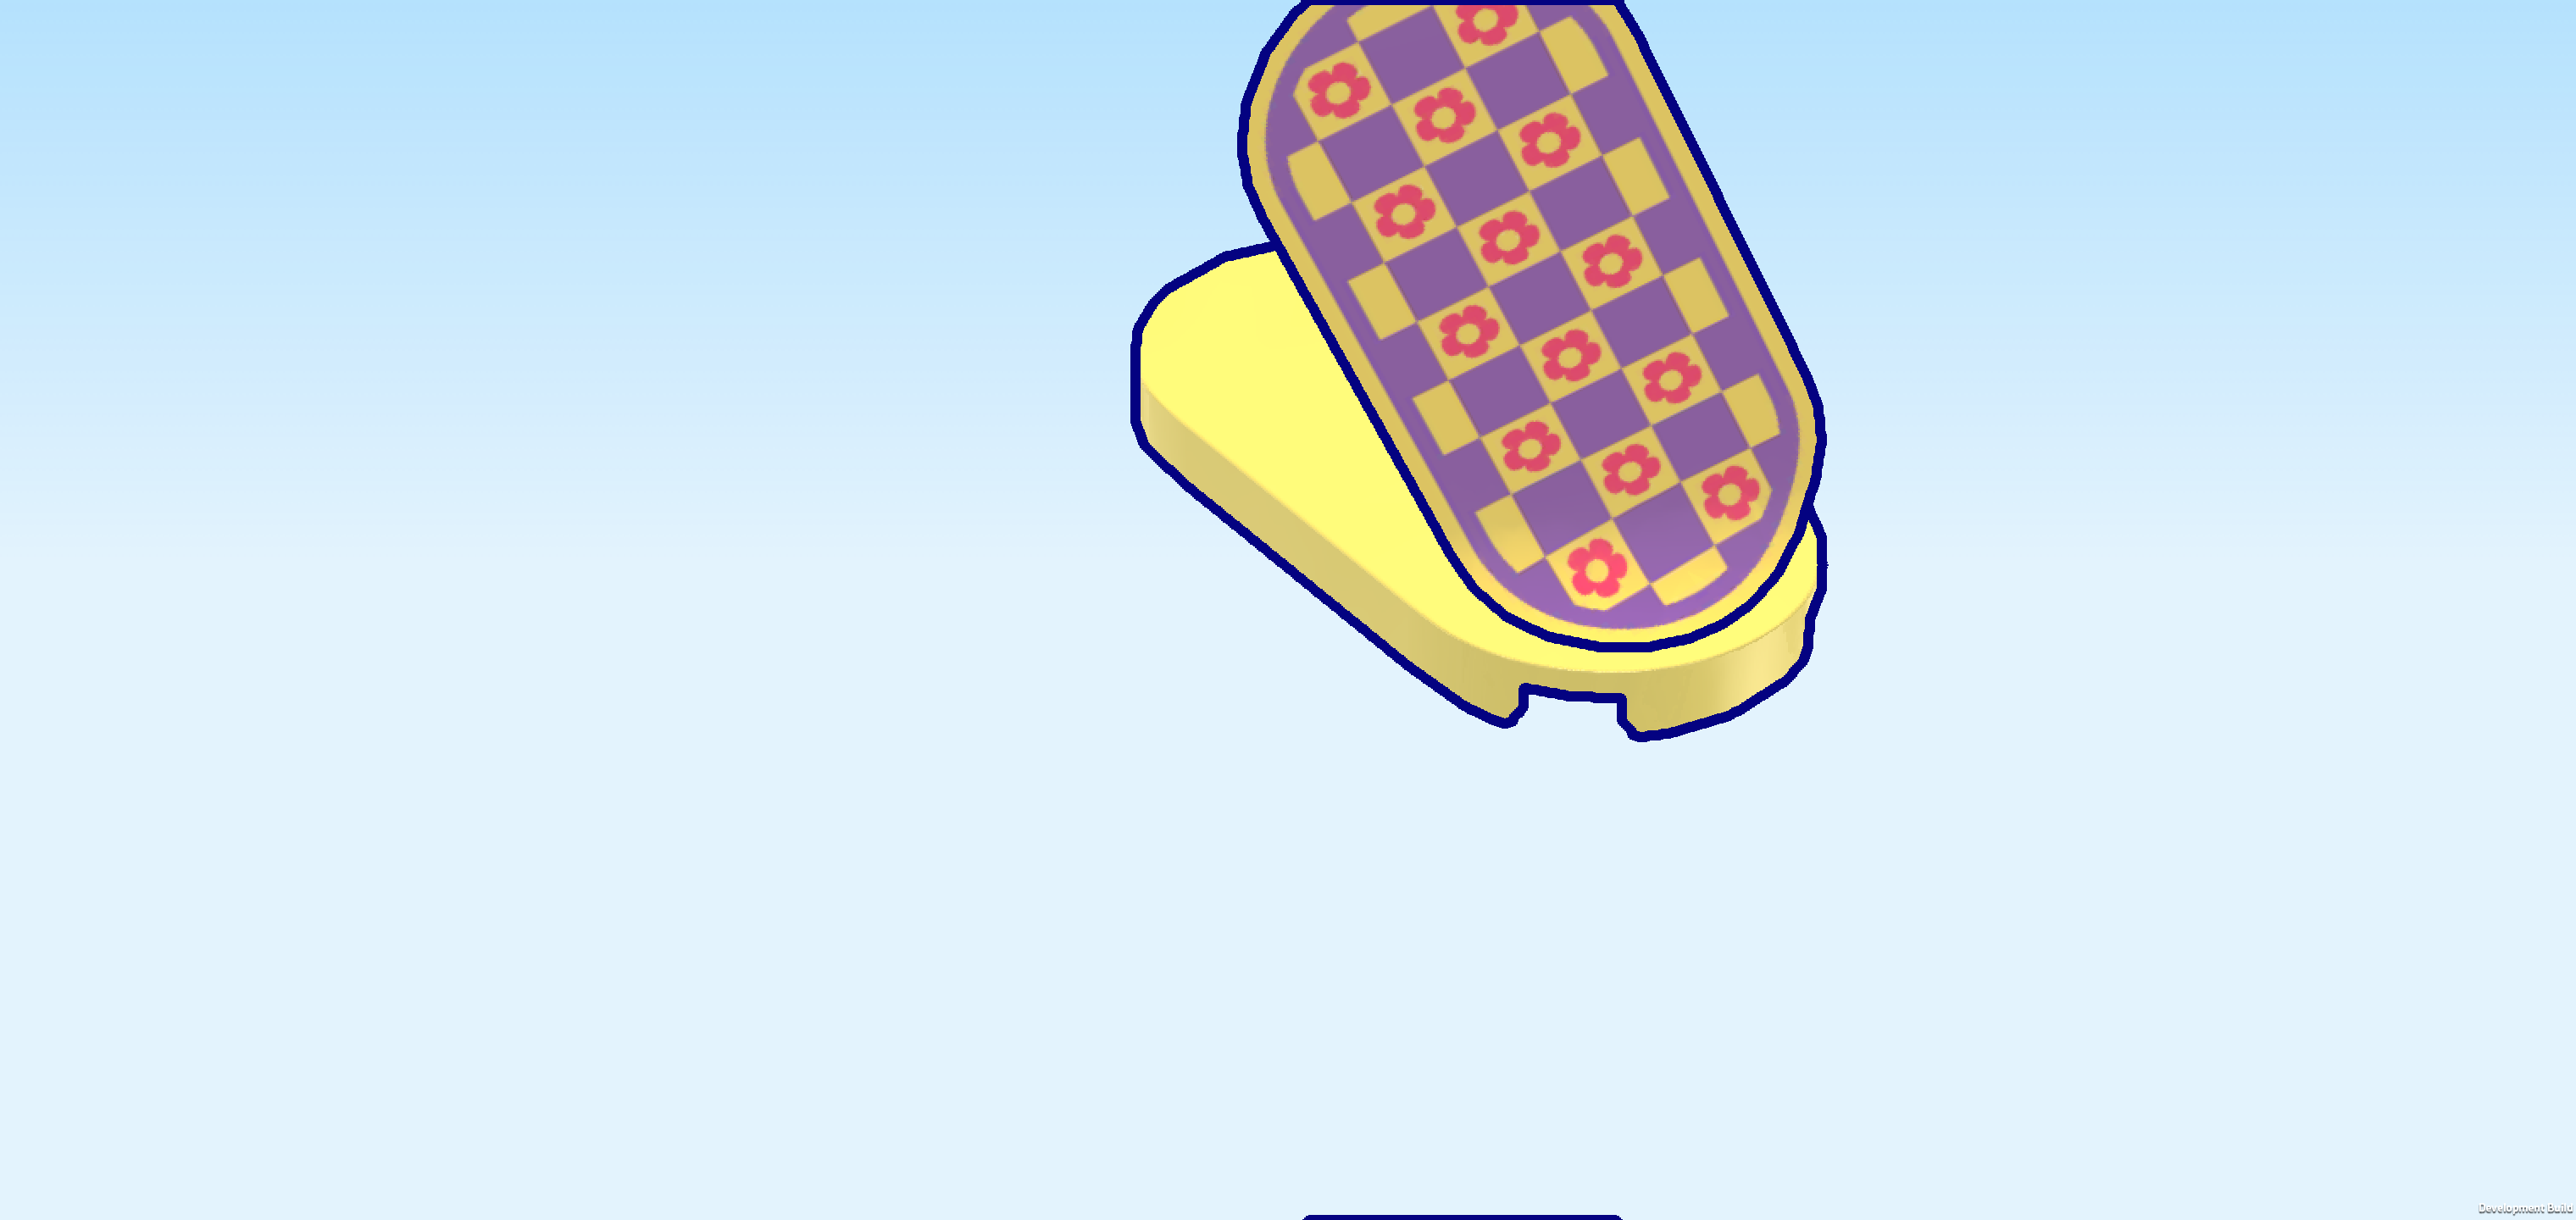
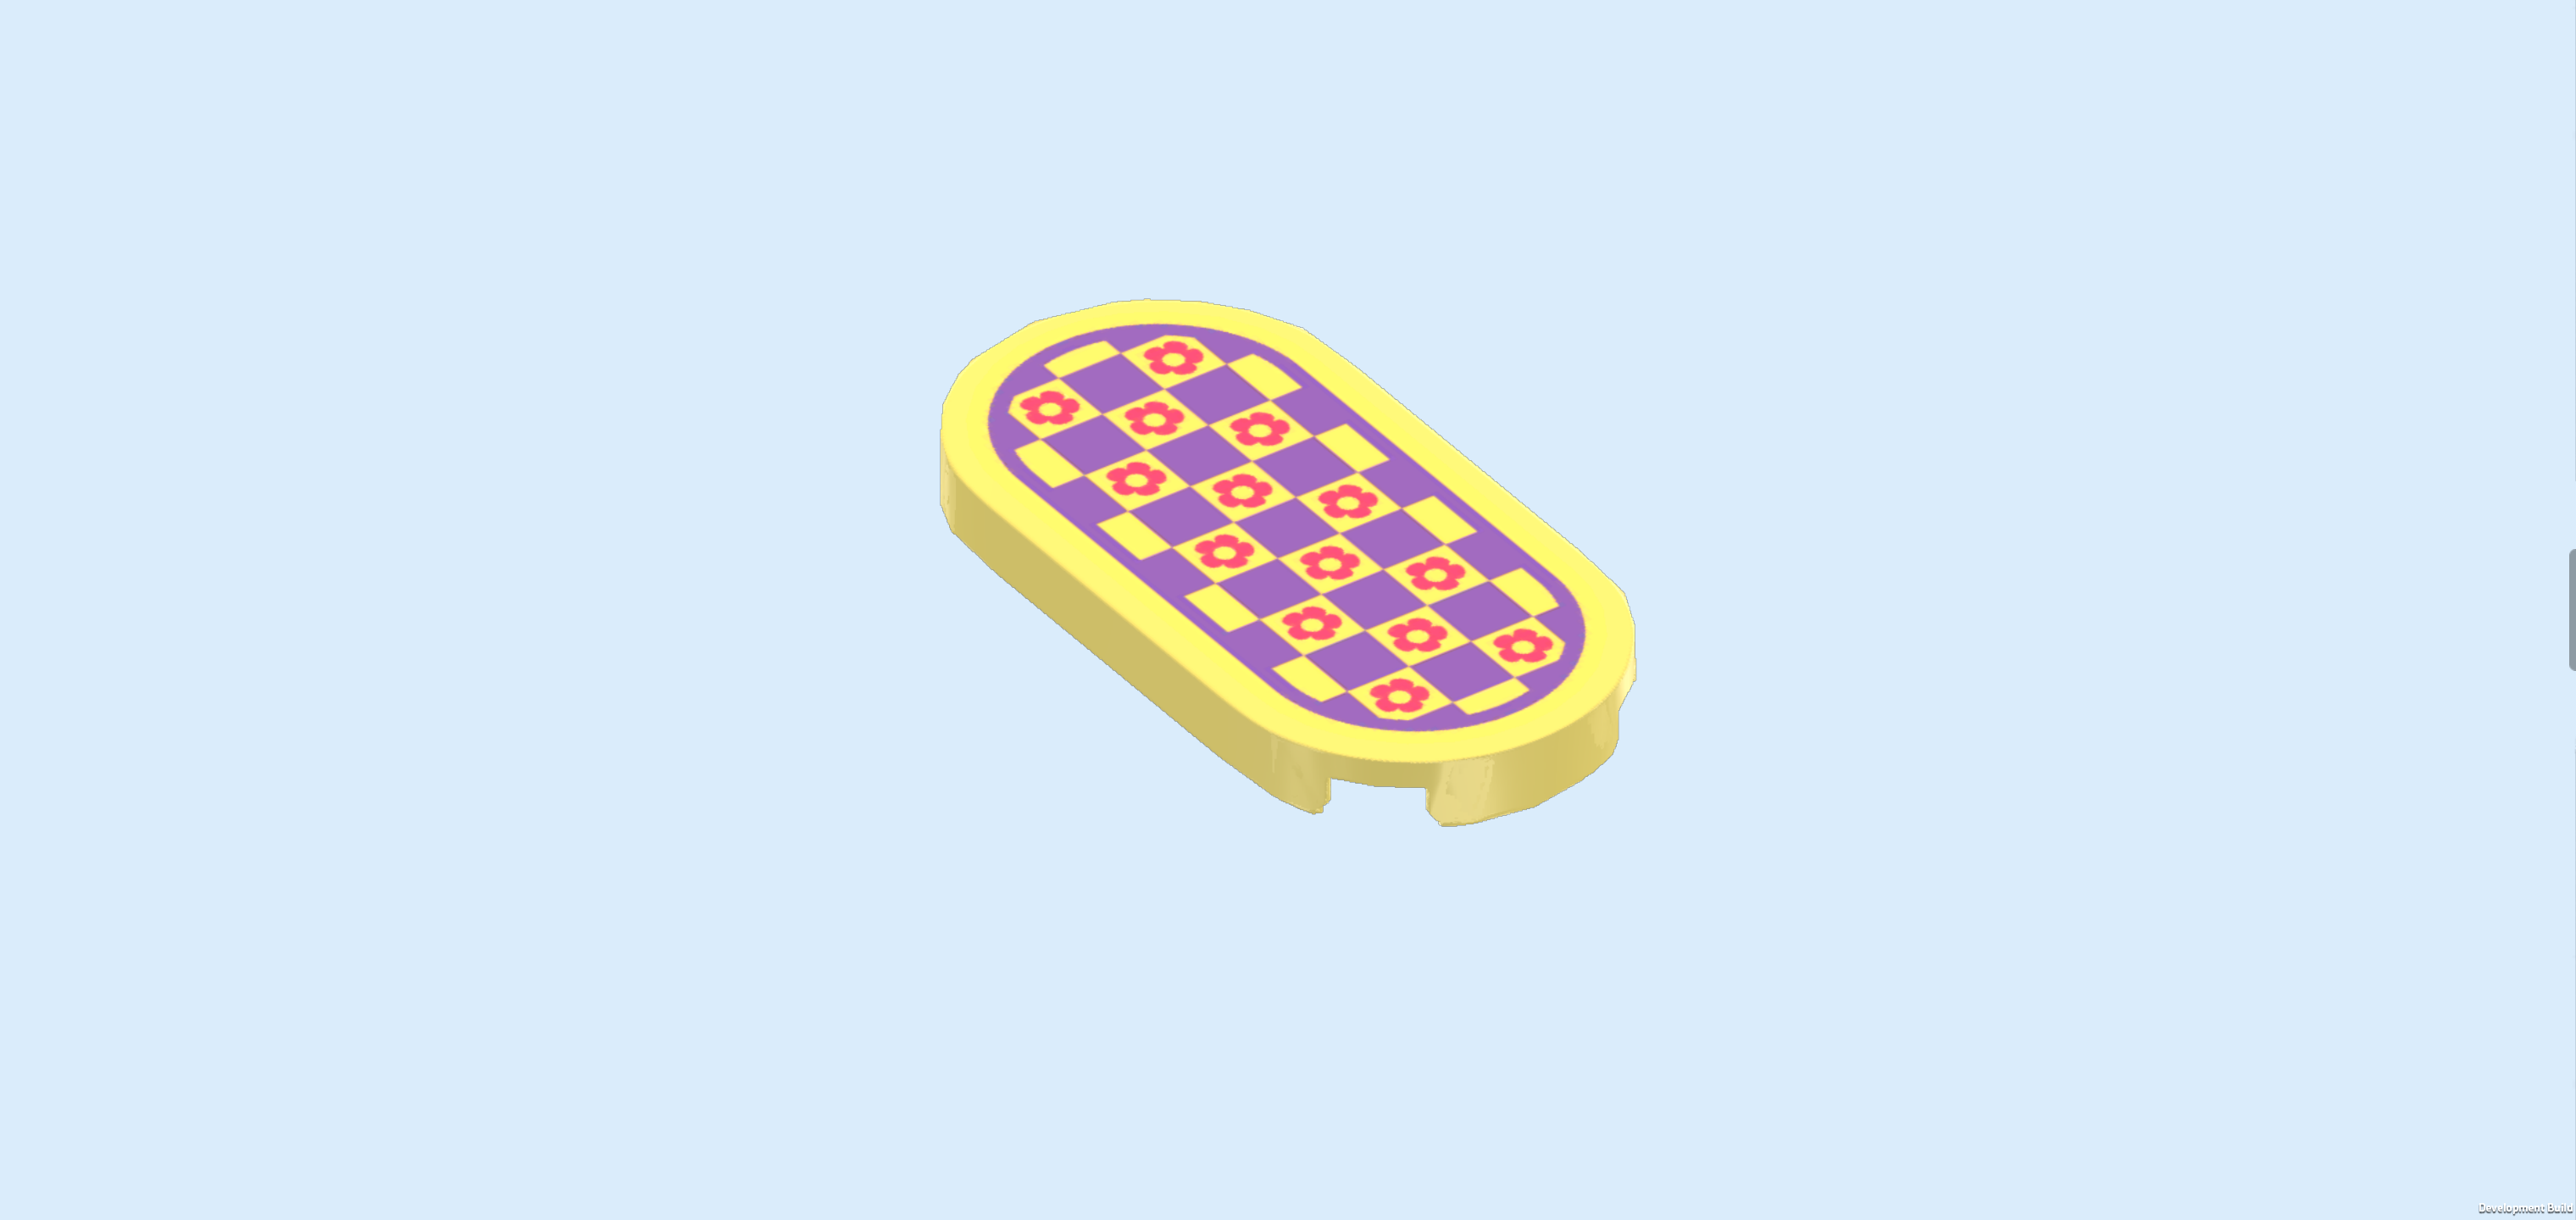
| Put the sticker on the flat tile, matching its shape. |
| The sticker has a checkered pattern made up of muted yellow and muted lilac squares. The yellow squares have small pink flowers in them. The edge of the rug print is framed with a lilac line. |
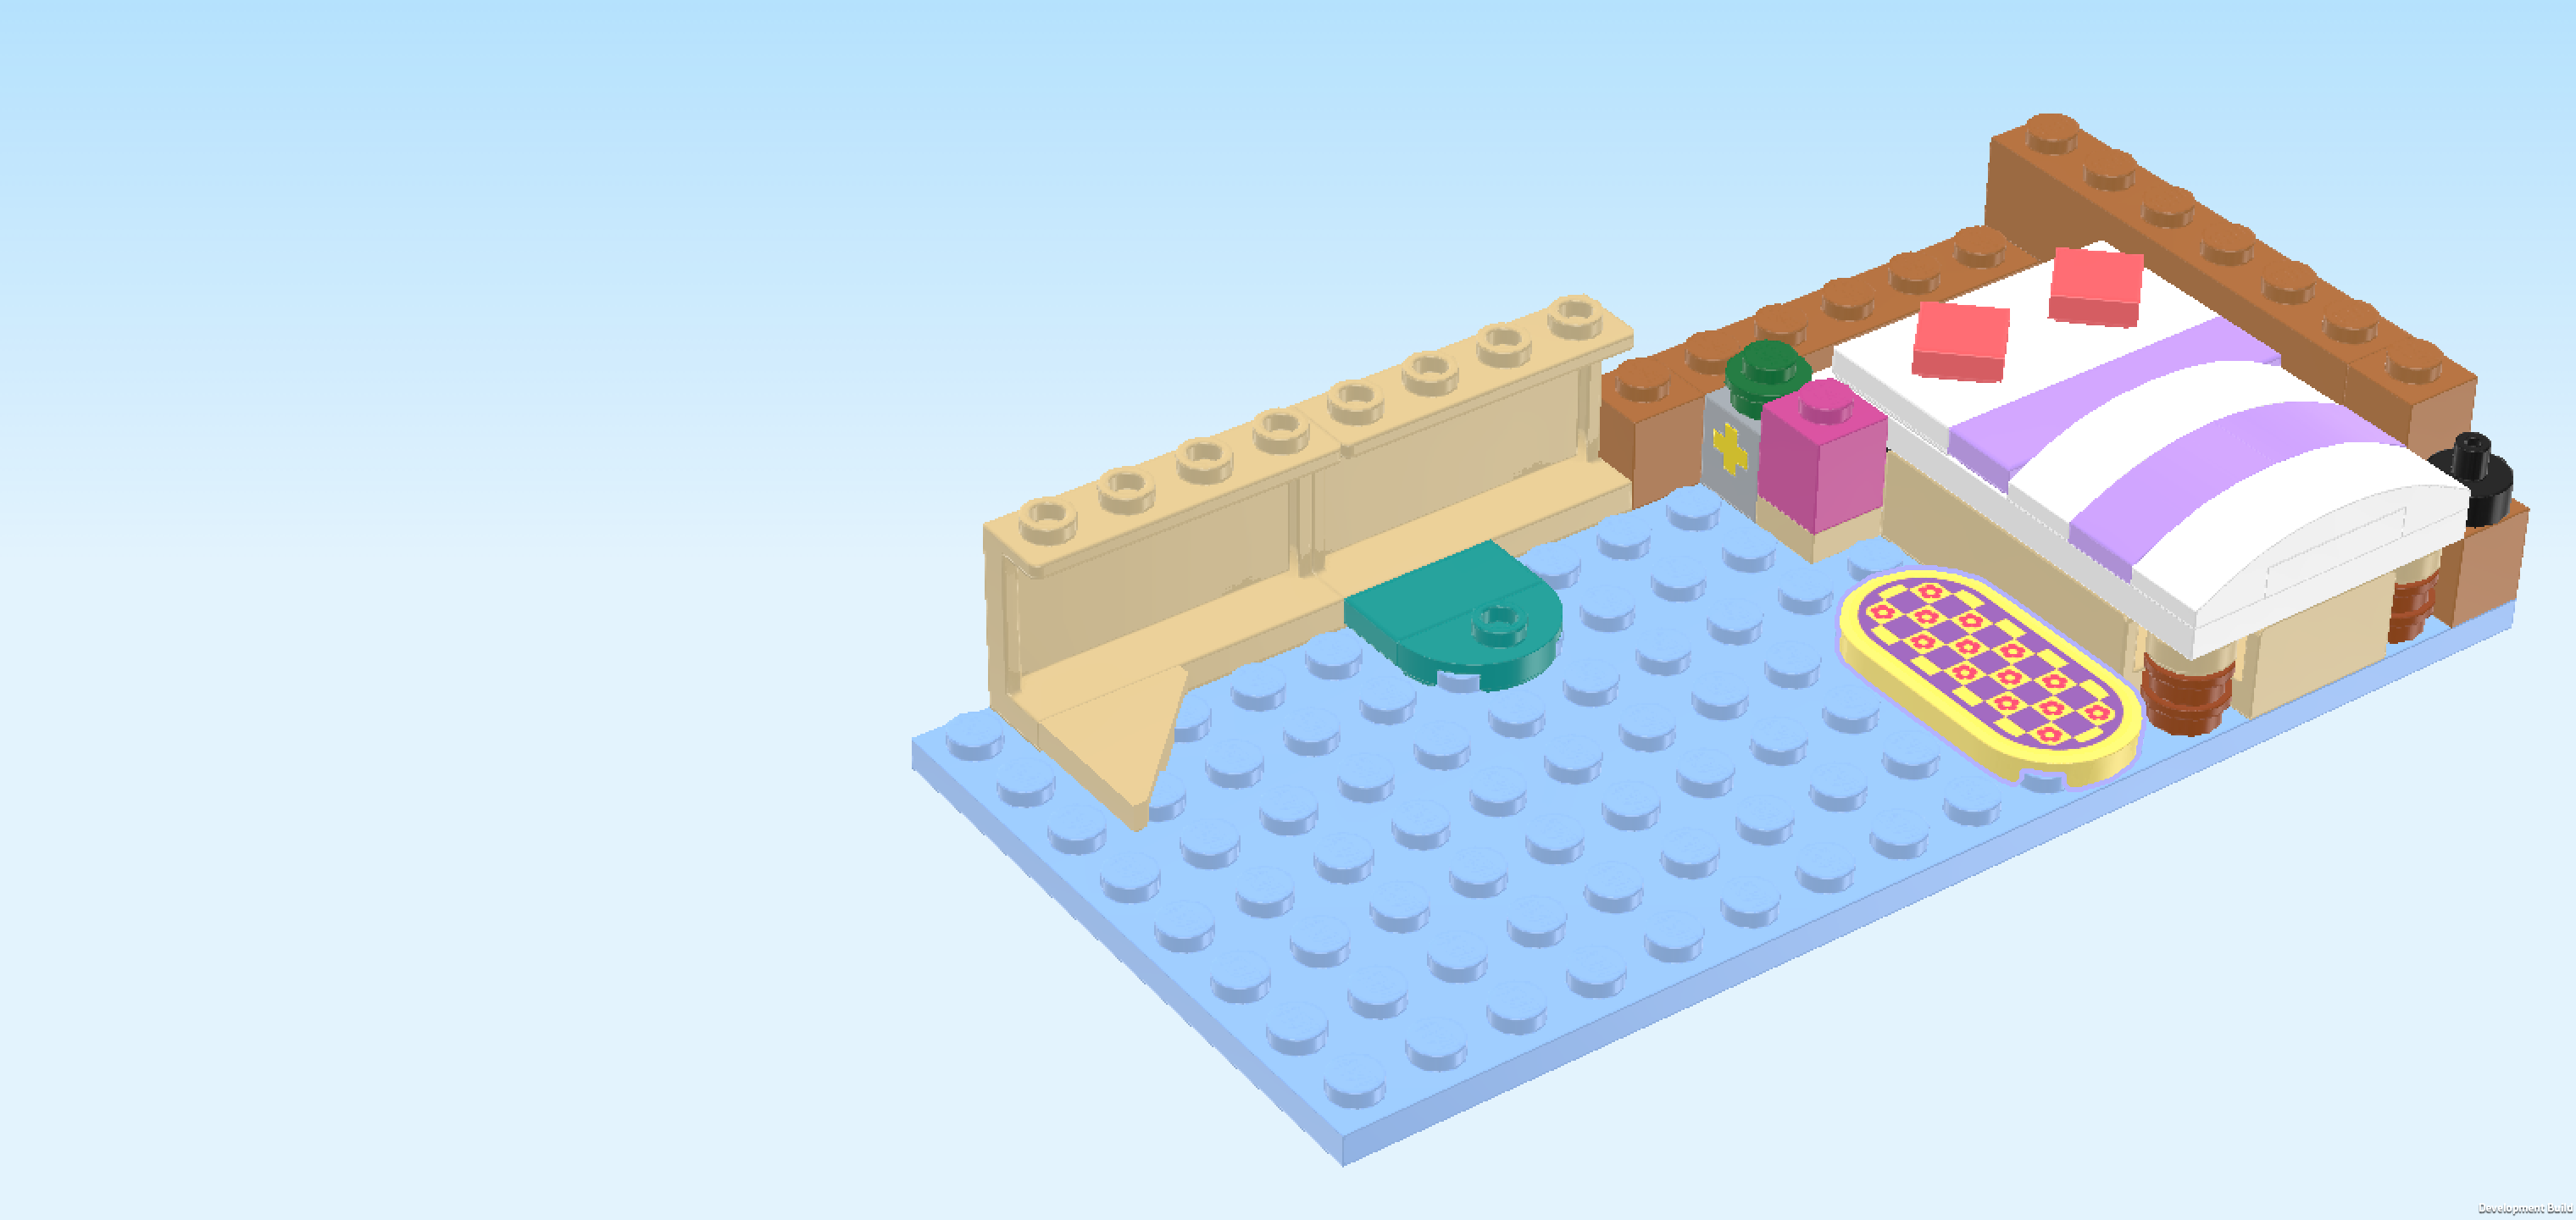
| Mount the flat tile 2x4 vertically to the left of the bed, starting from the front edge. |
| Now, we will make a sub-part of the left side wall. |
| Collect the following 2 pieces: |
| 1 medium nougat brown brick 1x4, |
| and 1 medium nougat brown brick 1x2. |
| Put the brick 1x4 horizontally on the table. |
| Put the brick 1x2 horizontally on the 2 middle knobs. |
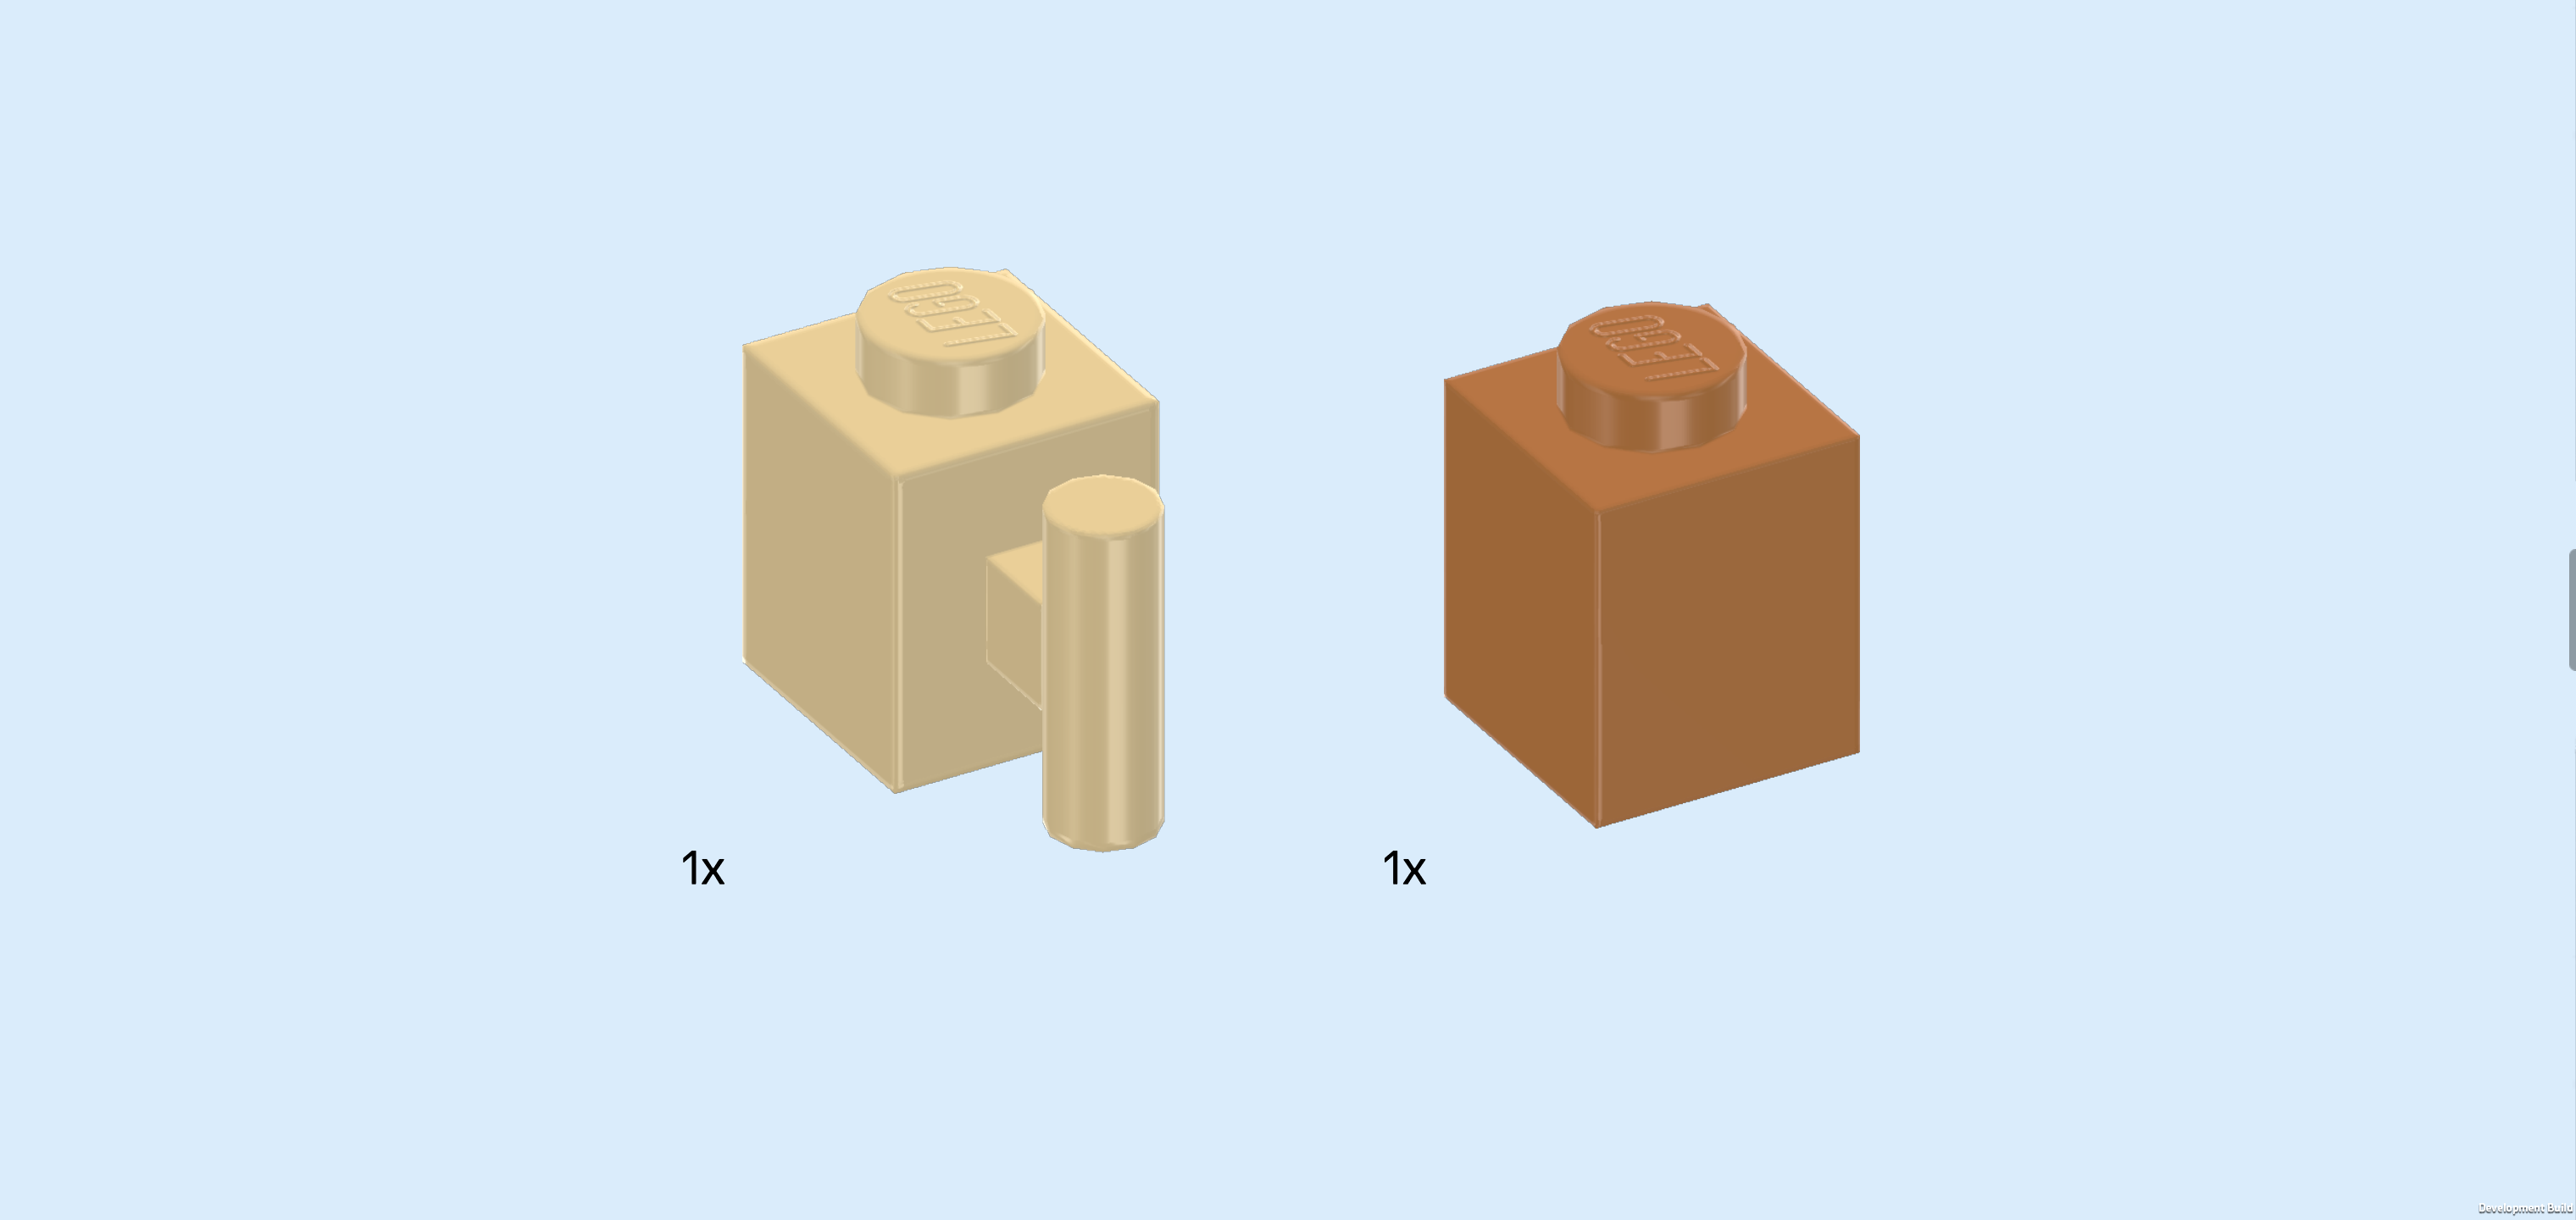
| Collect the following 2 pieces: |
| 1 beige brick 1x1 with vertical side shaft, |
| and 1 medium nougat brown brick 1x1. |
| Put the brick 1x1 with vertical side shaft to the right of the previous piece, shaft overhanging to the front. |
| Put the brick 1x1 on the leftmost knob. |
| Turn the sub-part of the left side wall vertically so that the side shaft is towards the left at the front edge, and then mount it on the leftmost column of the base plate, starting from the back. |
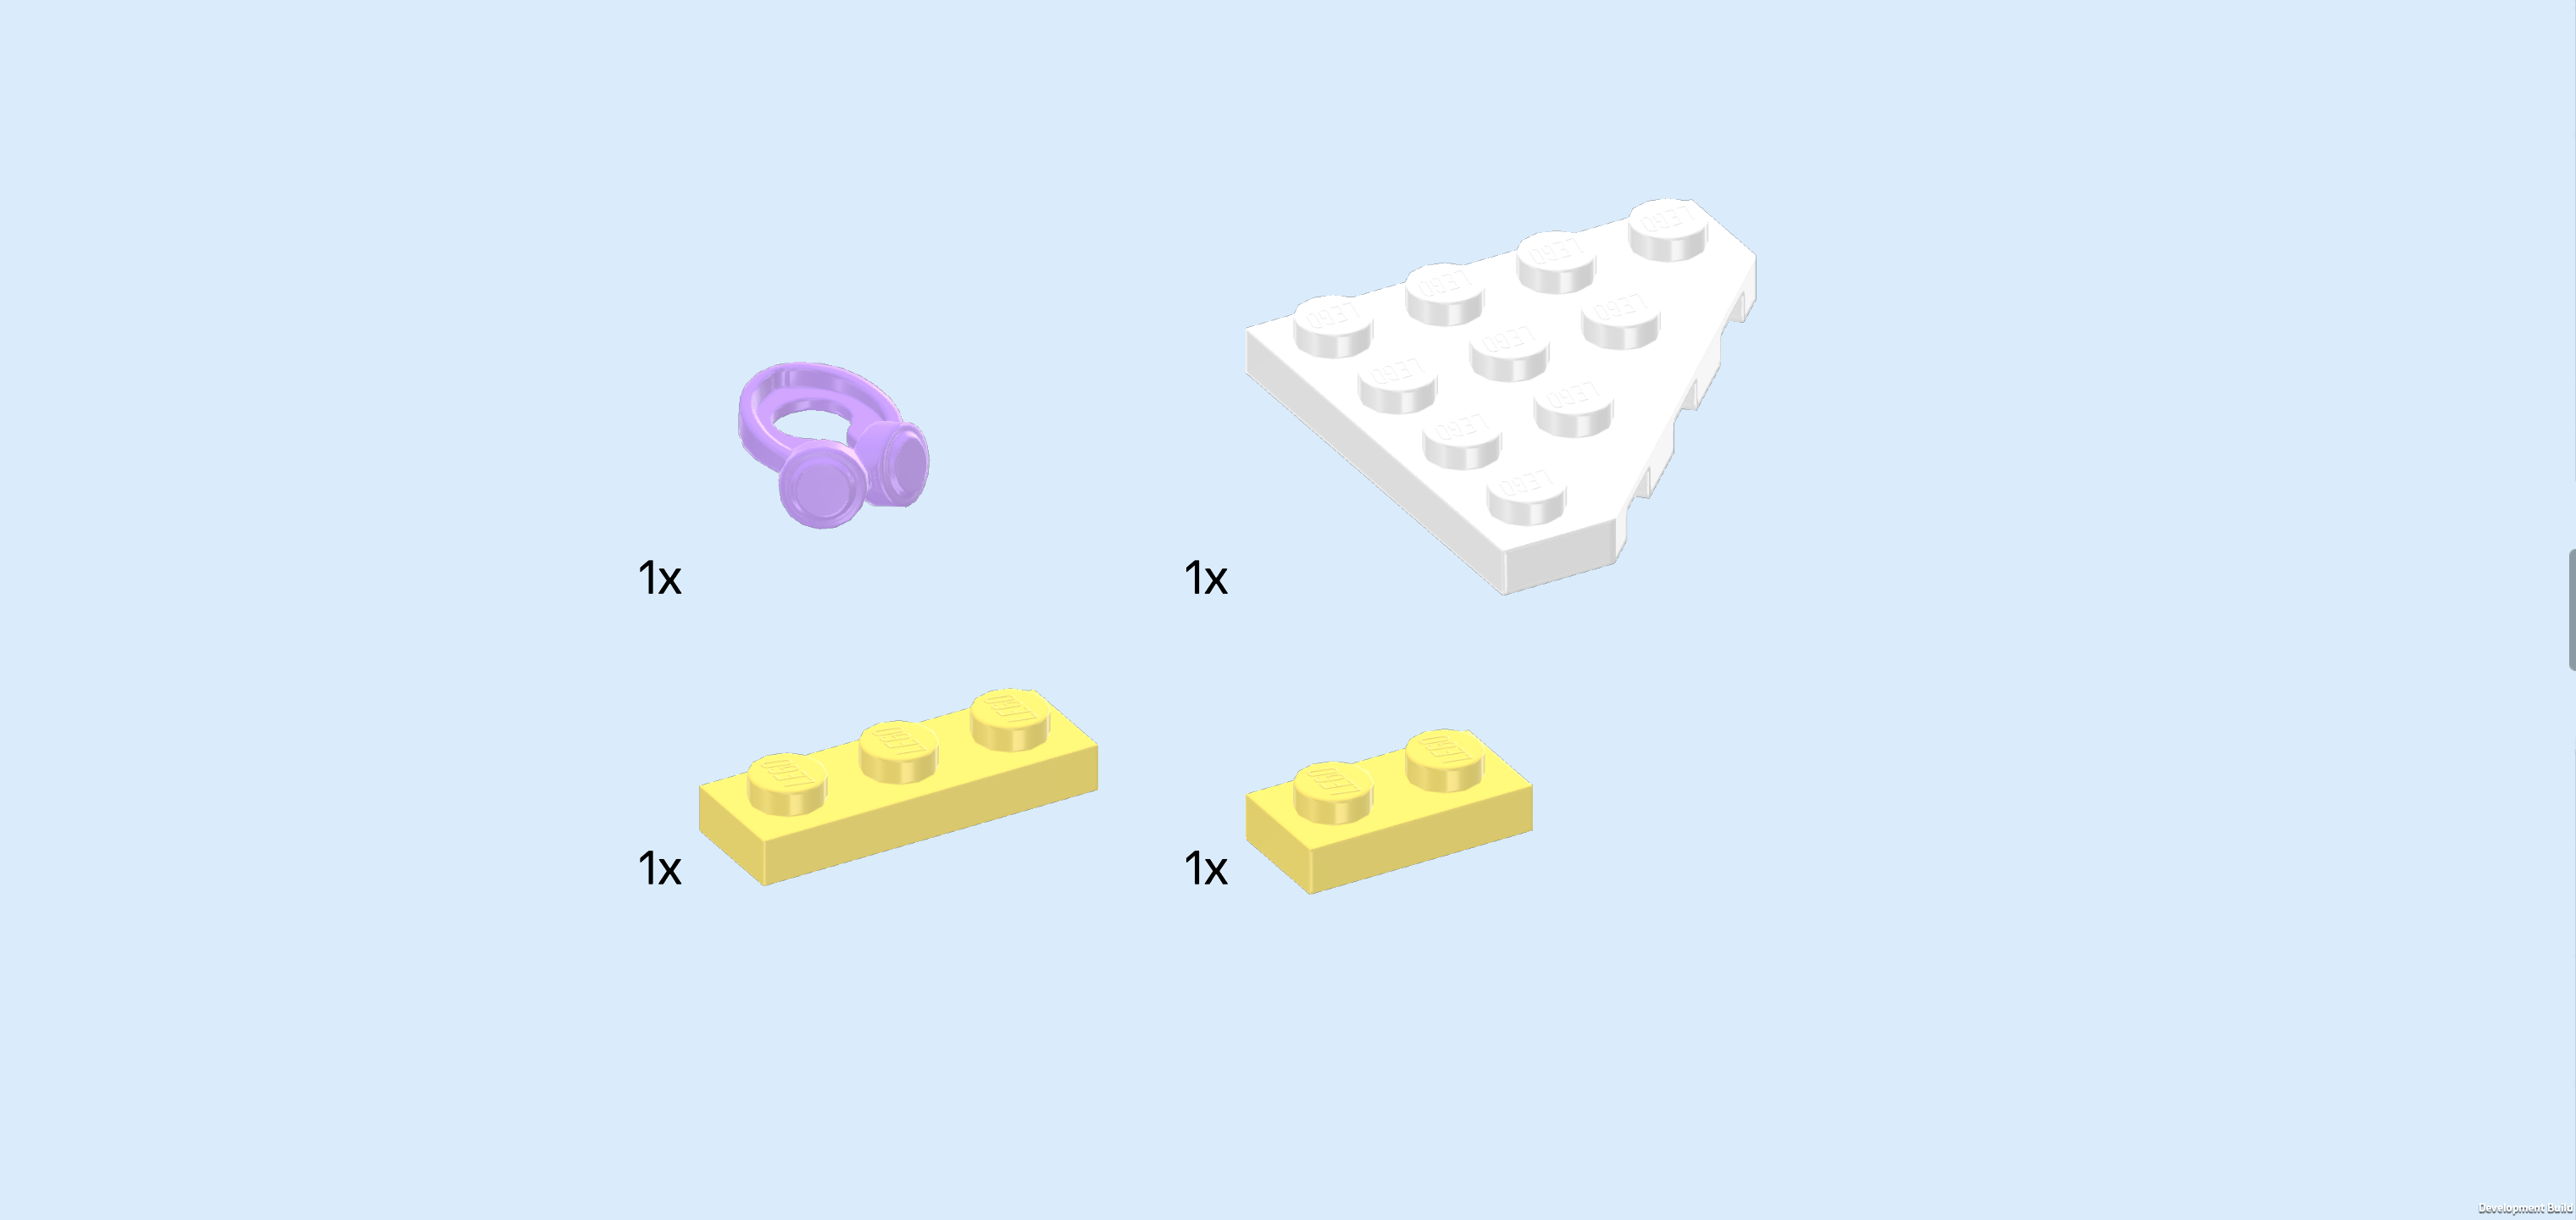
| Collect the following 4 pieces: |
| 1 light lavender pair of Minifigure headphones, |
| 1 white wedge plate 4x4 with 45° cut-off corner, |
| 1 lemon yellow plate 1x3, |
| and 1 lemon yellow plate 1x2. |
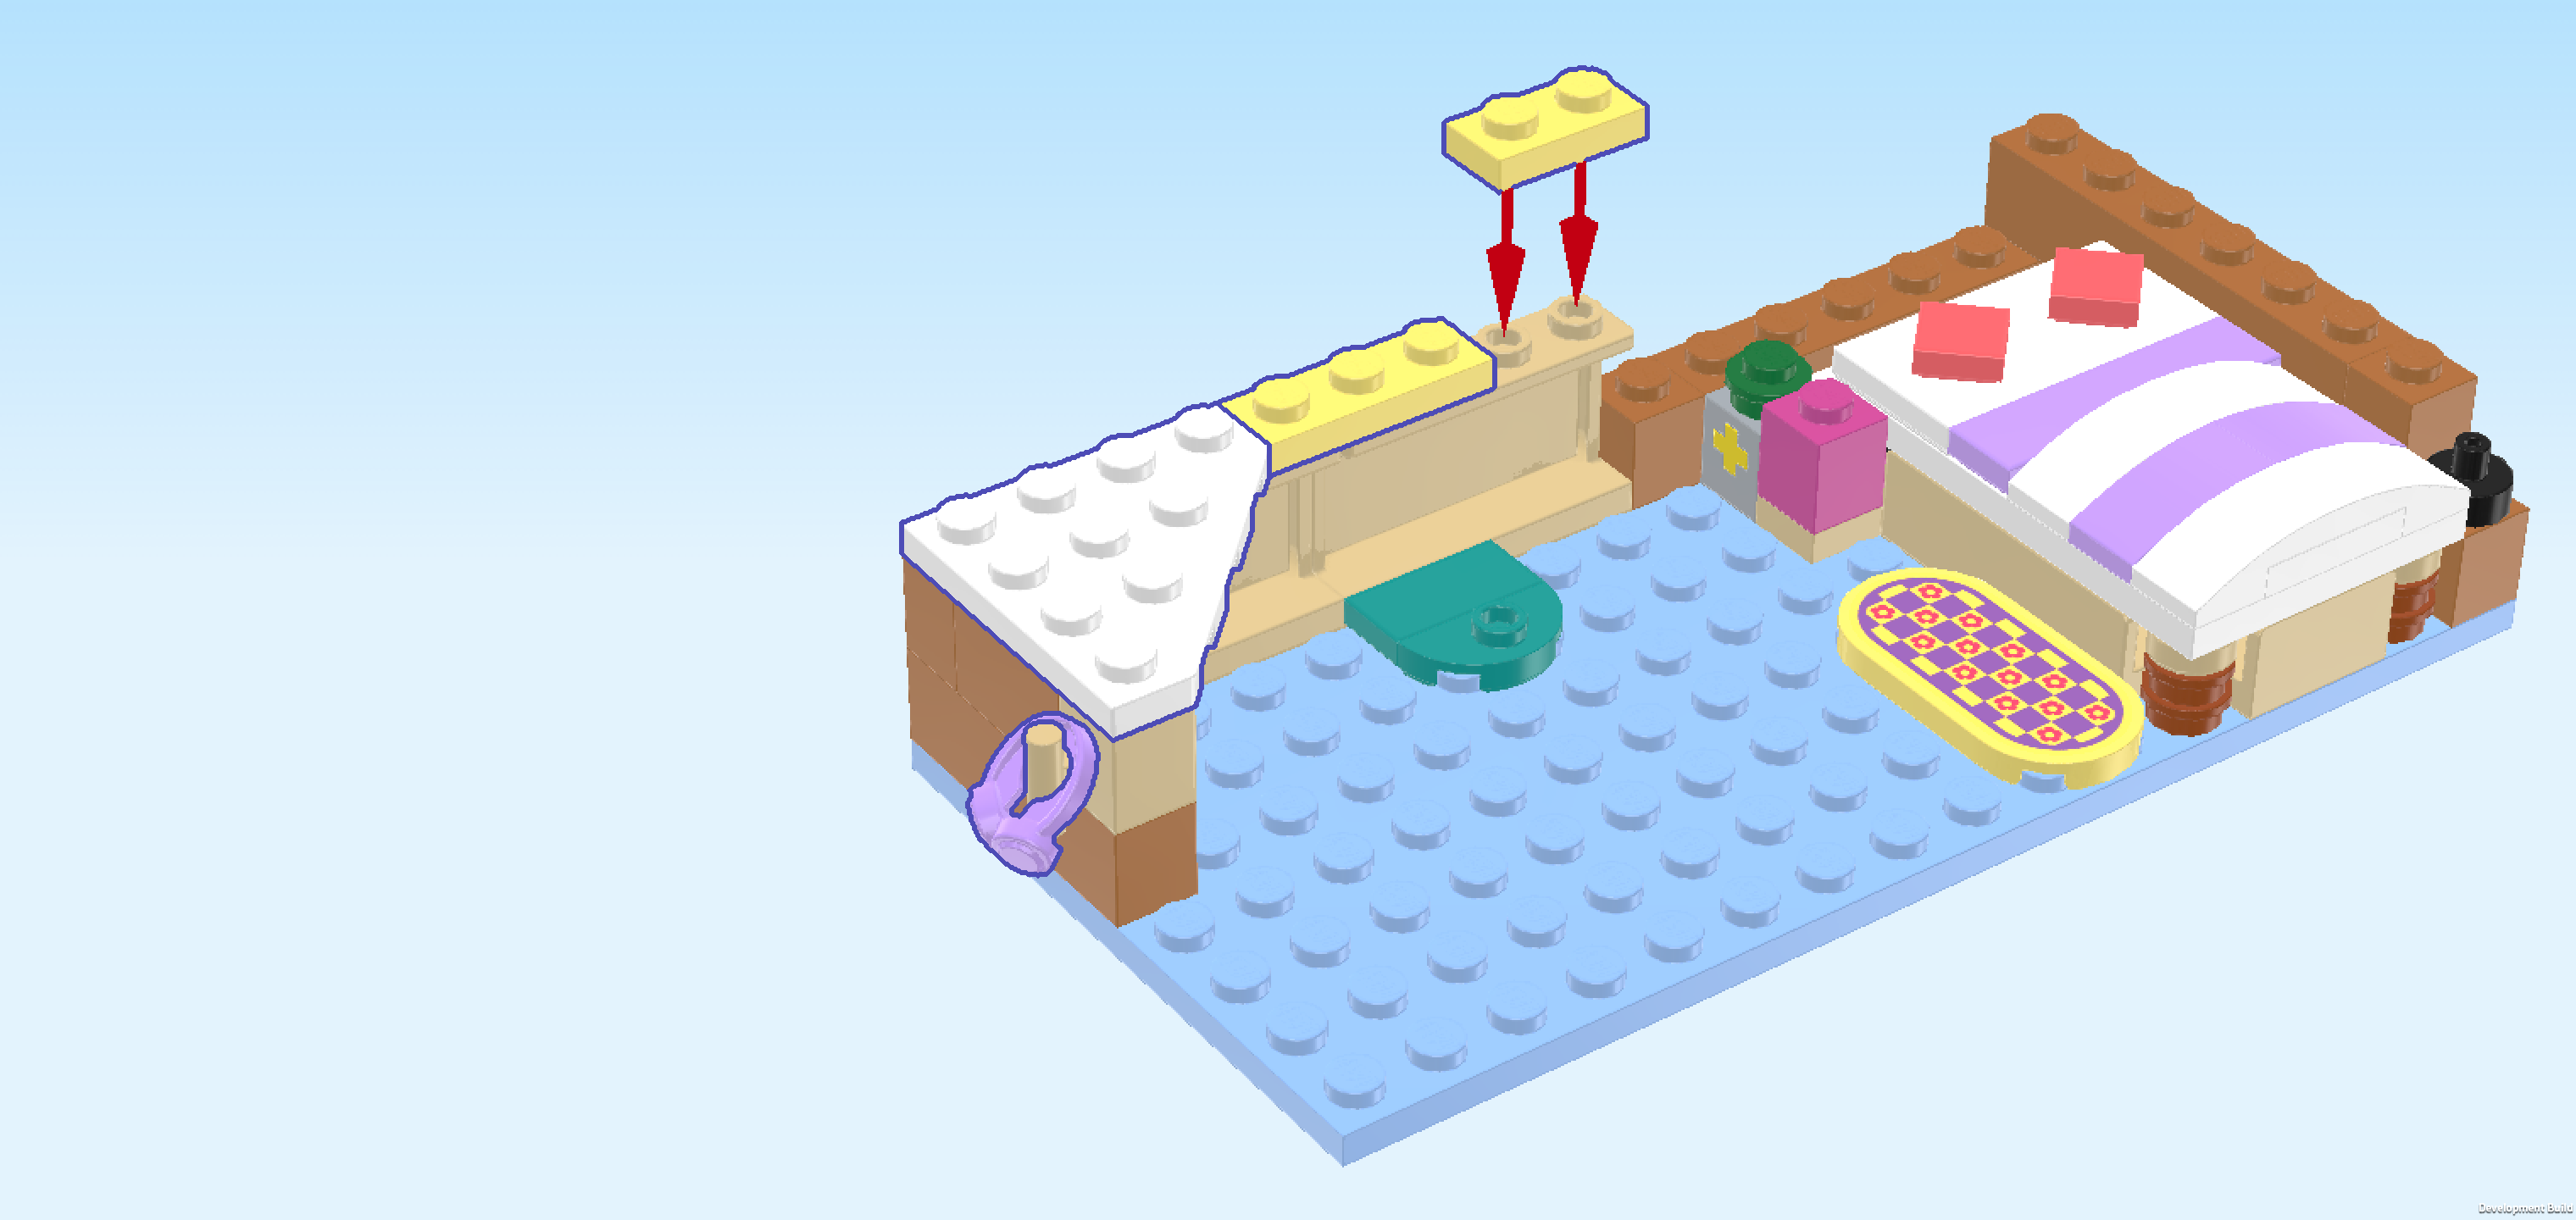
| Hang the Minifigure headphones on the shaft of the side wall element we have just built. You can stow them there when Paisley is not listening to music. |
| Put the wedge plate 4x4 on the left wall corner we have just created, matching the wall corner shape. This will be the tabletop of a small corner desk. |
| Put the plate 1x3 to the right of the previous piece on the backmost row (which is the back wall). |
| Put the plate 1x2 to the right of the previous piece. |
| Next up, we will build the floor extension. |
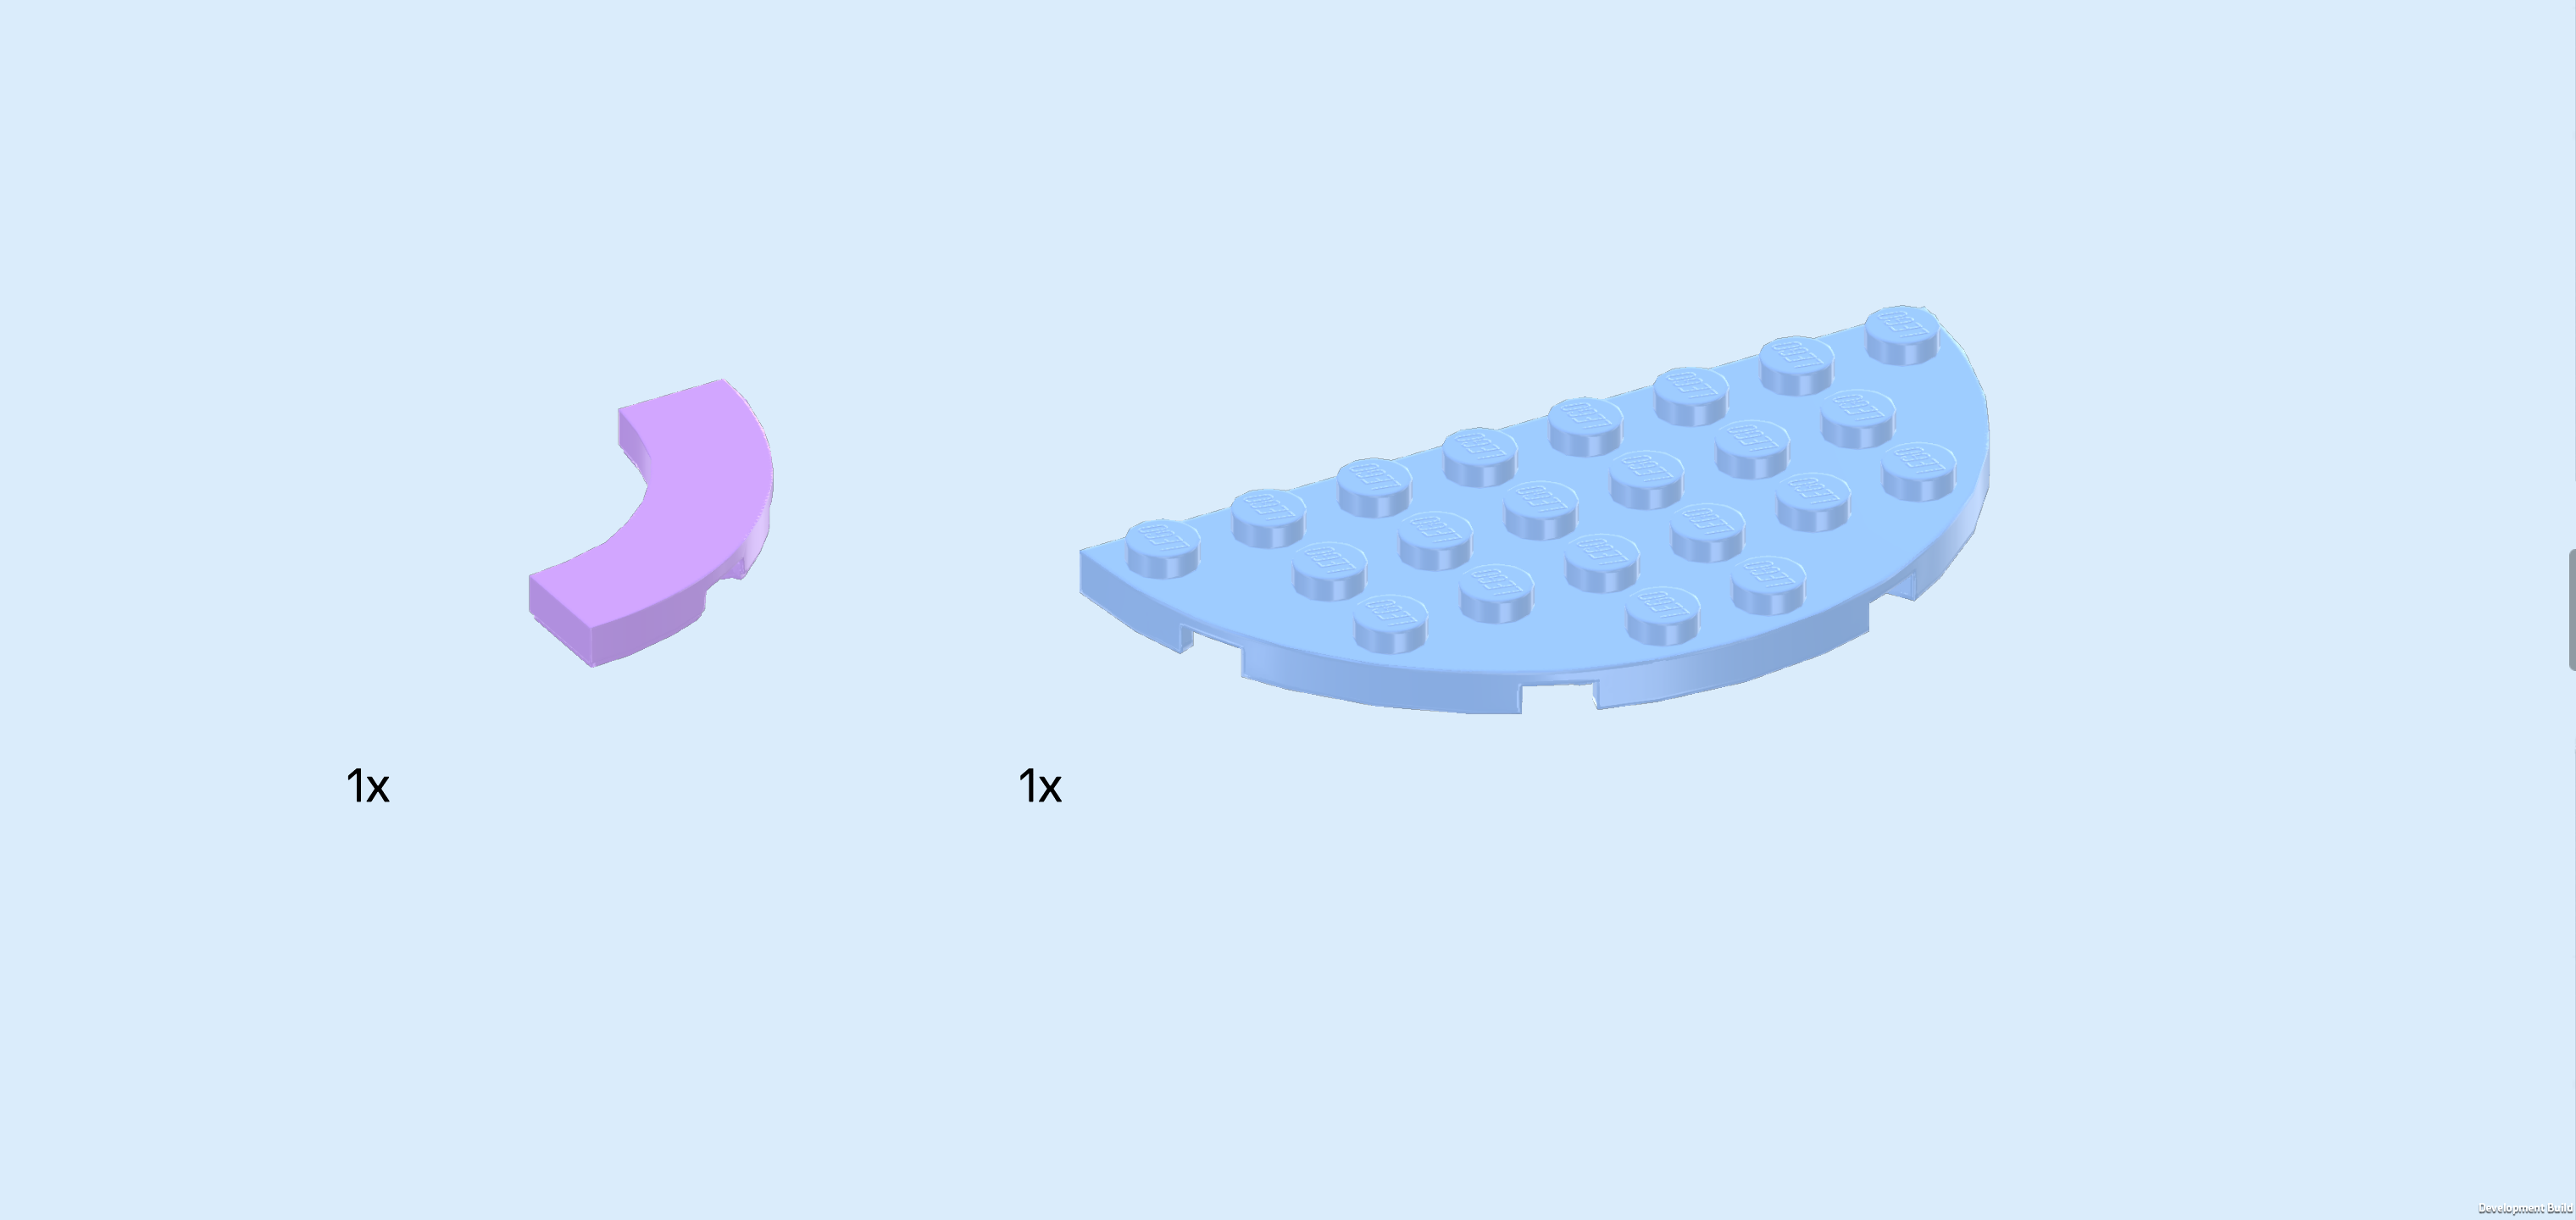
| Collect the following 2 pieces: |
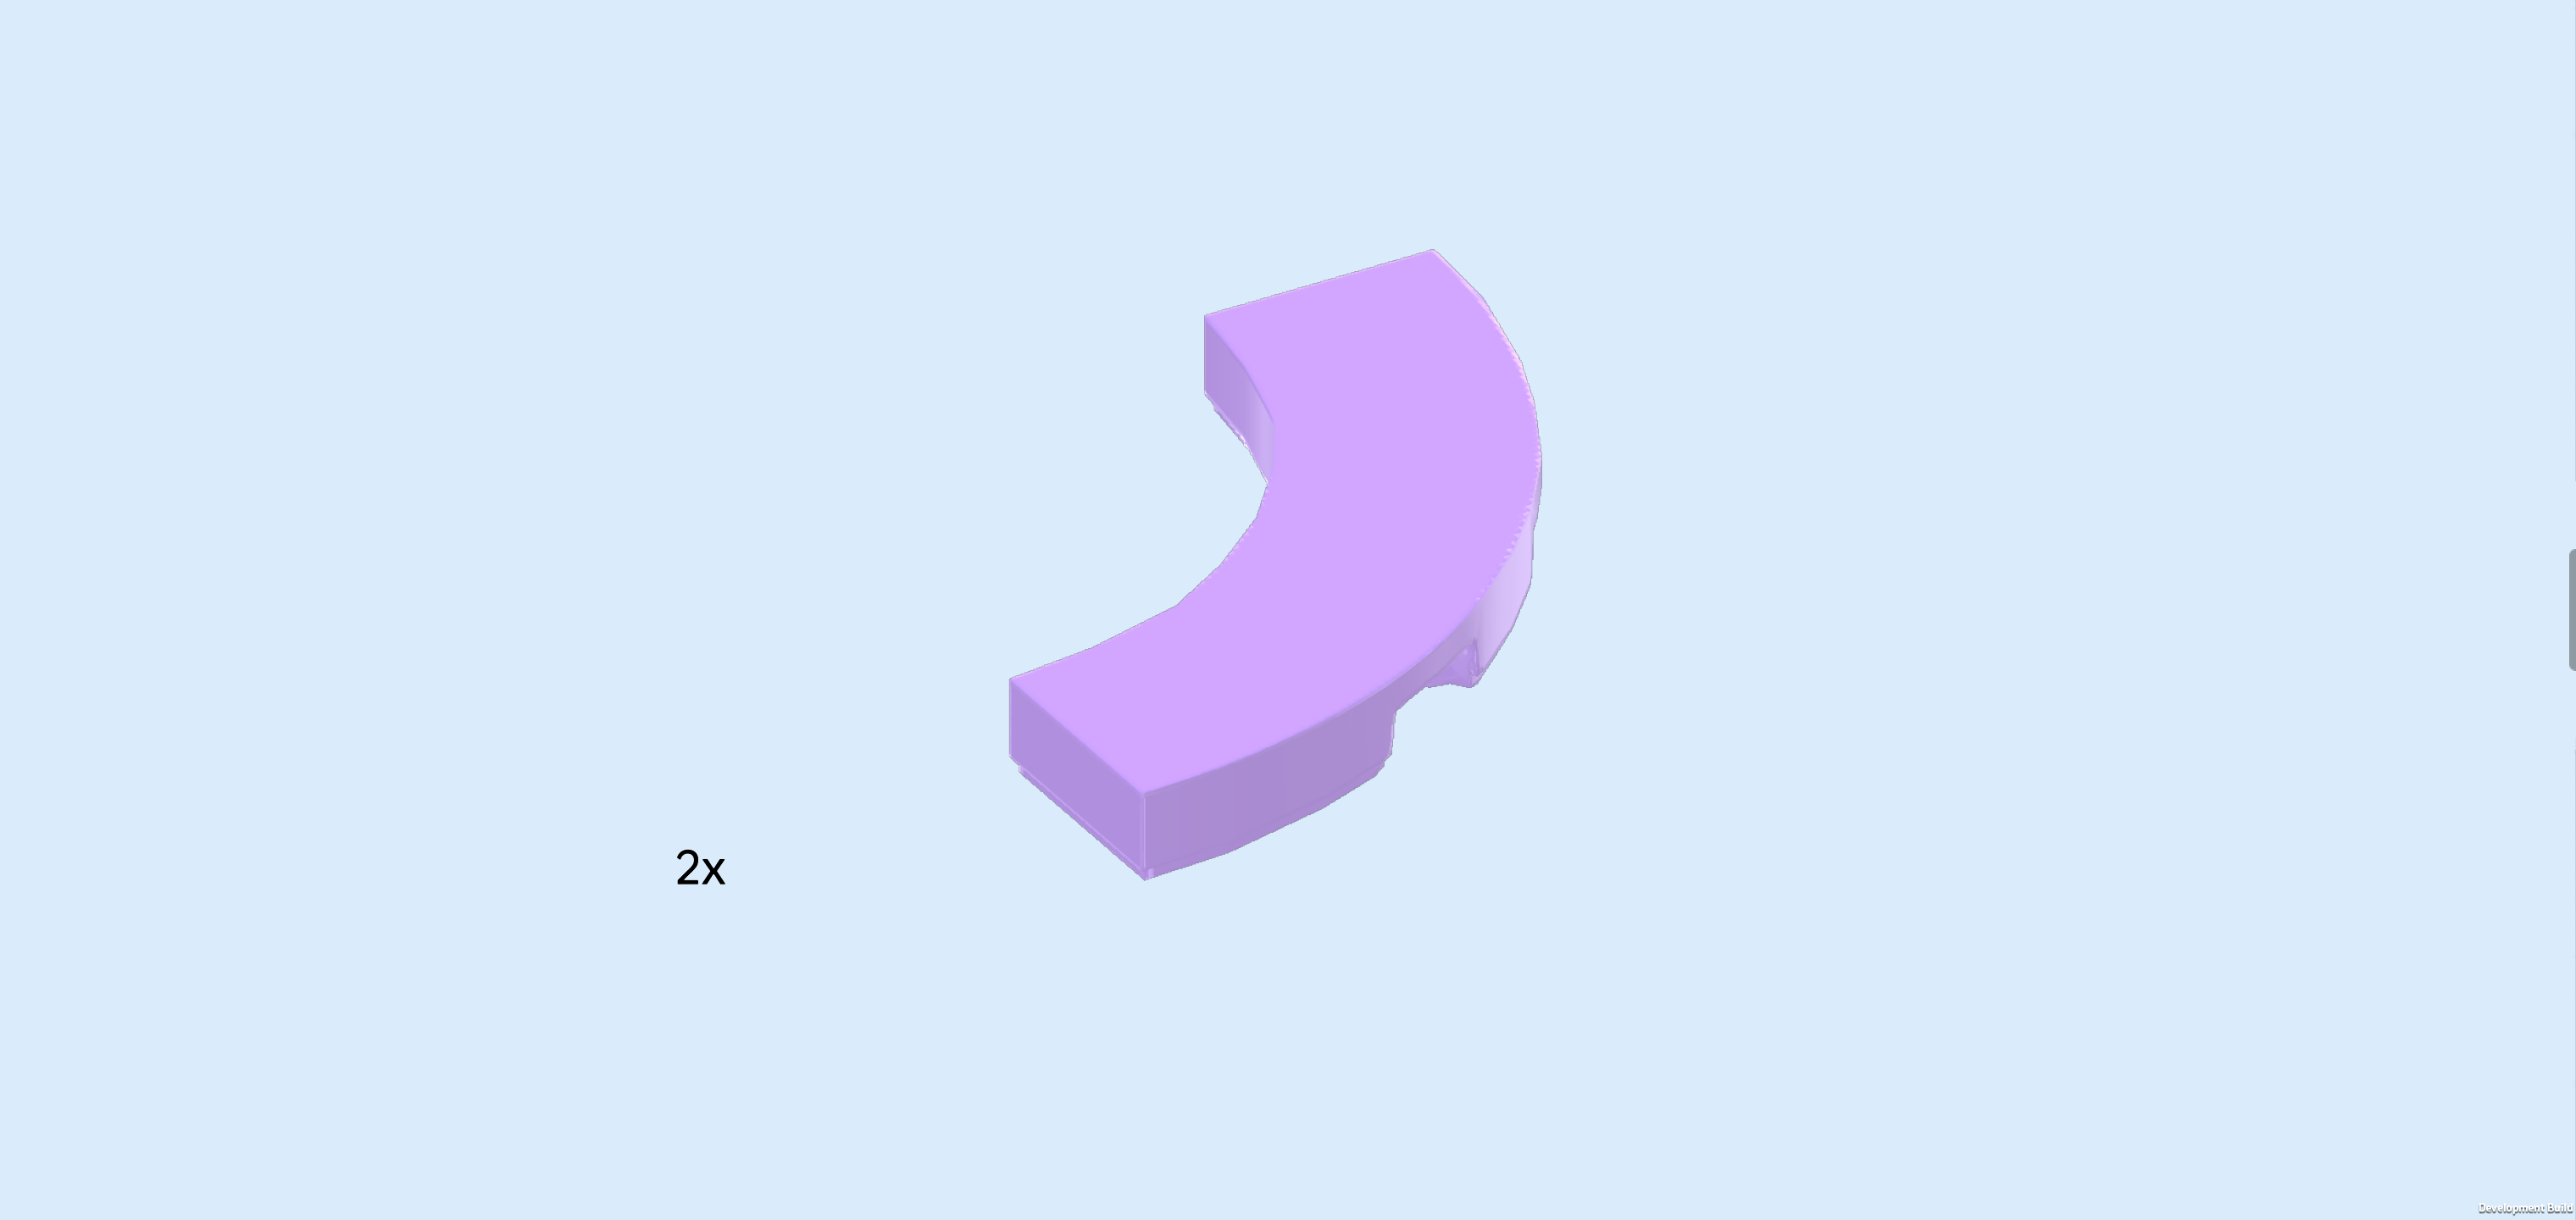
| 1 light lavender quarter-arch tile 3x3, |
| and 1 baby blue half-circle plate 4x8. |
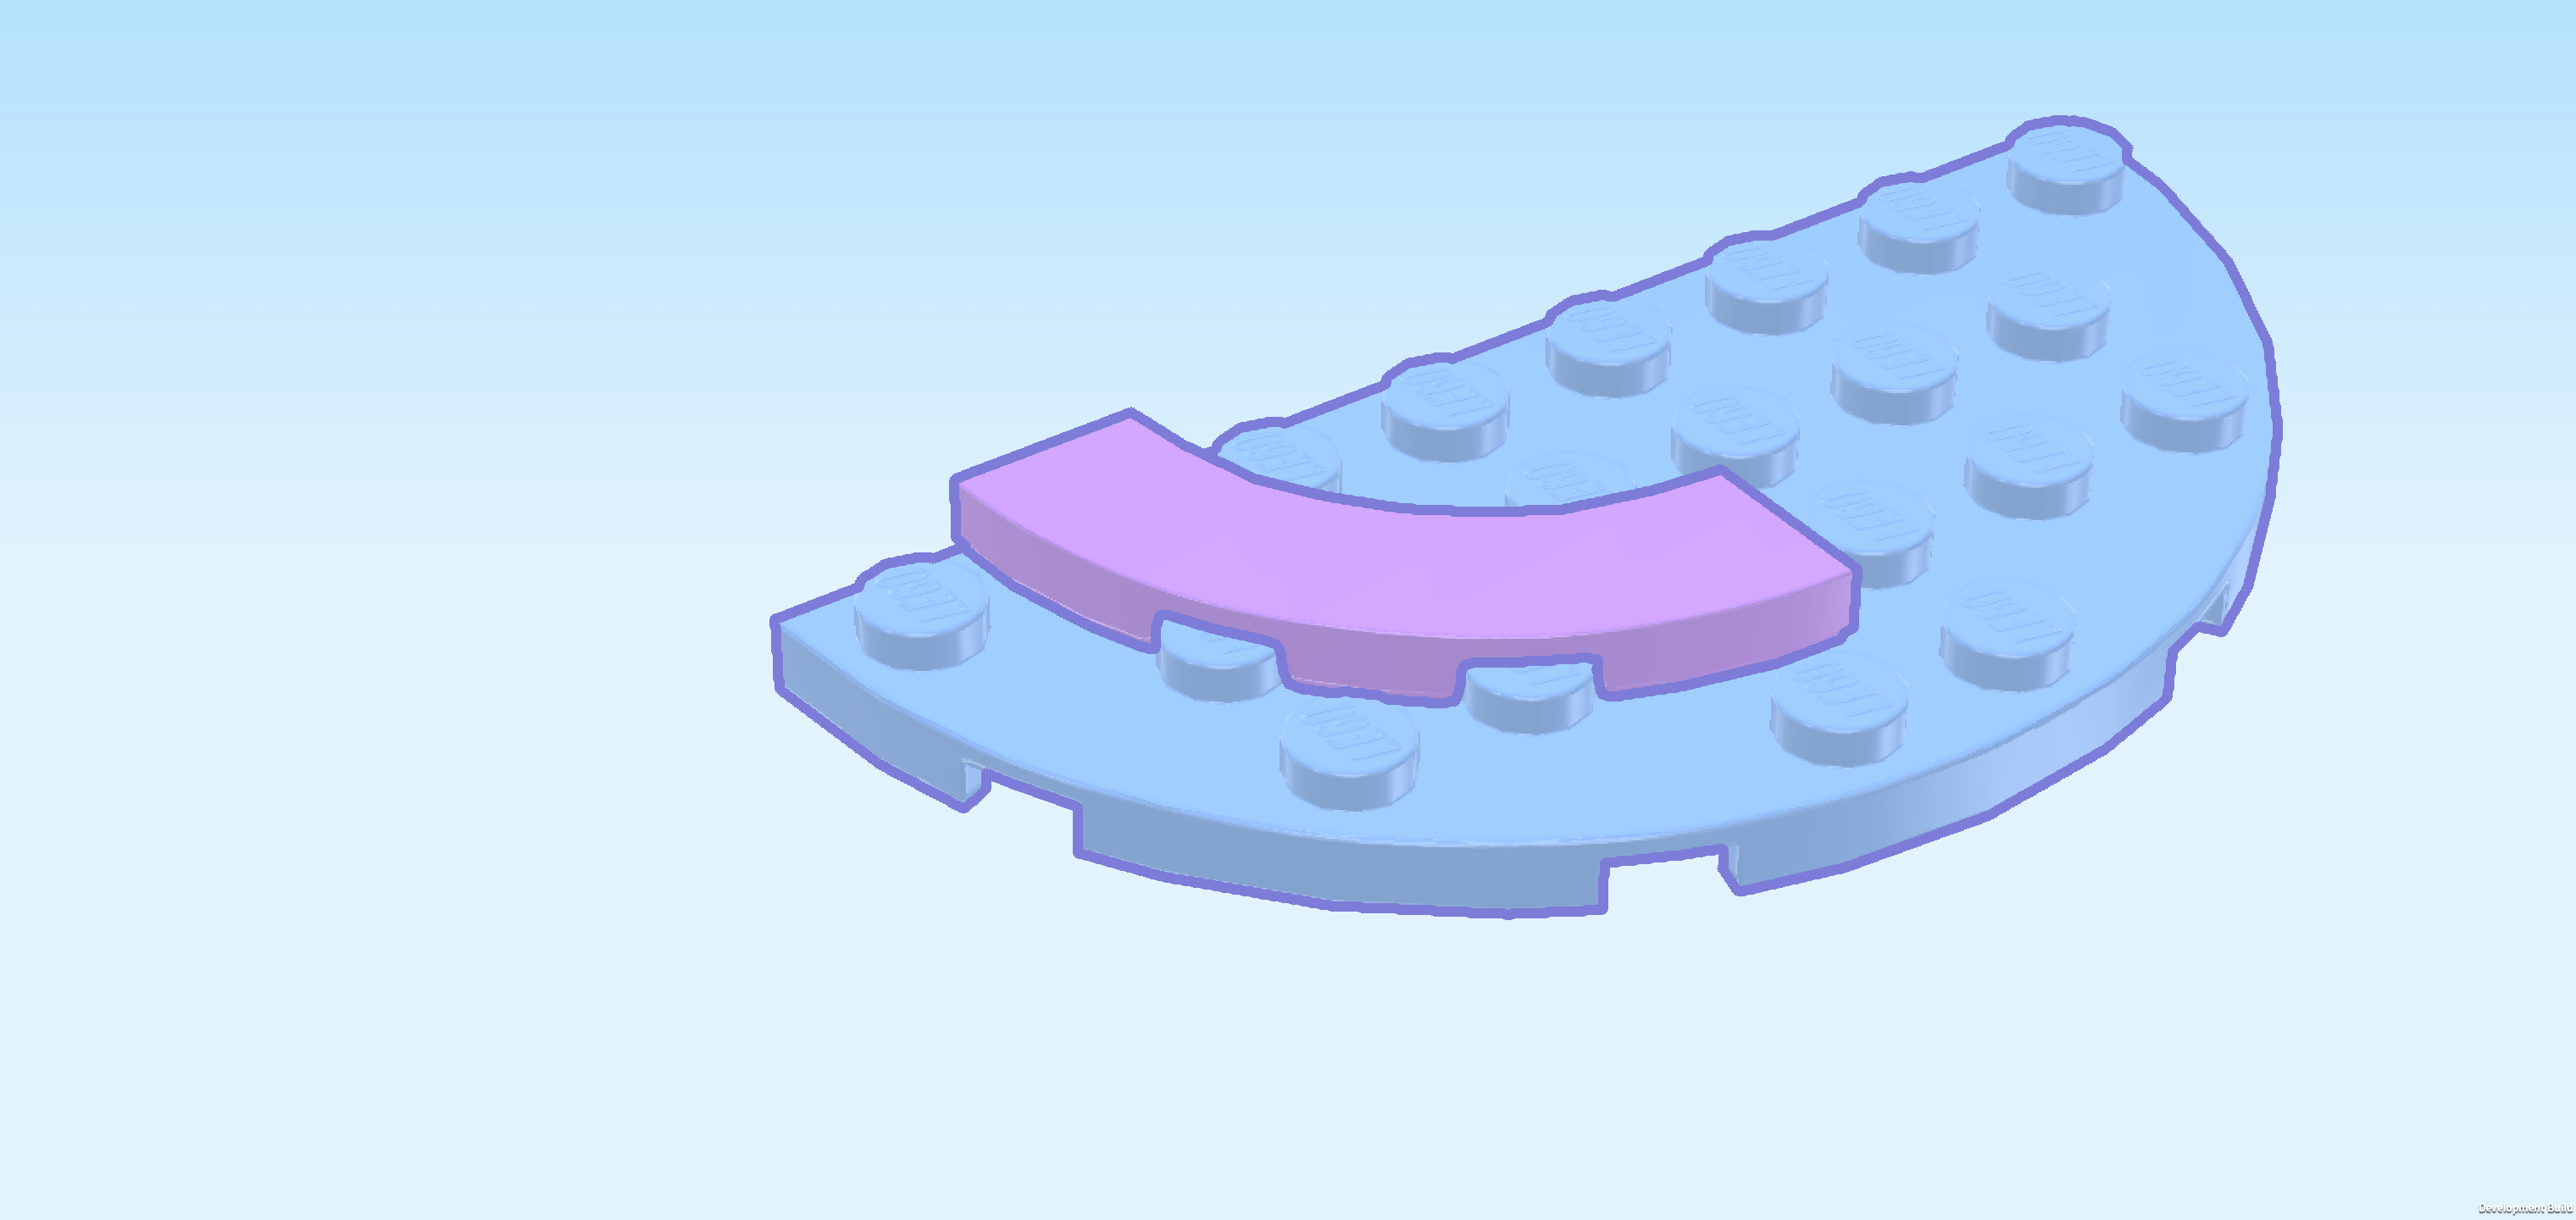
| Put the half-circle plate 4x8 on the table, half circle to the front. Make sure its knobs form straight rows and columns in front of you. |
| Put the quarter-arch tile 3x3 in the left half of the half-circle plate, using the second knob from the left of the backmost row as a starting point. Make sure the bend of the tile matches the bend of the half-circle plate while making sure that you do not mount it on the outer edge of the half-circle plate. |
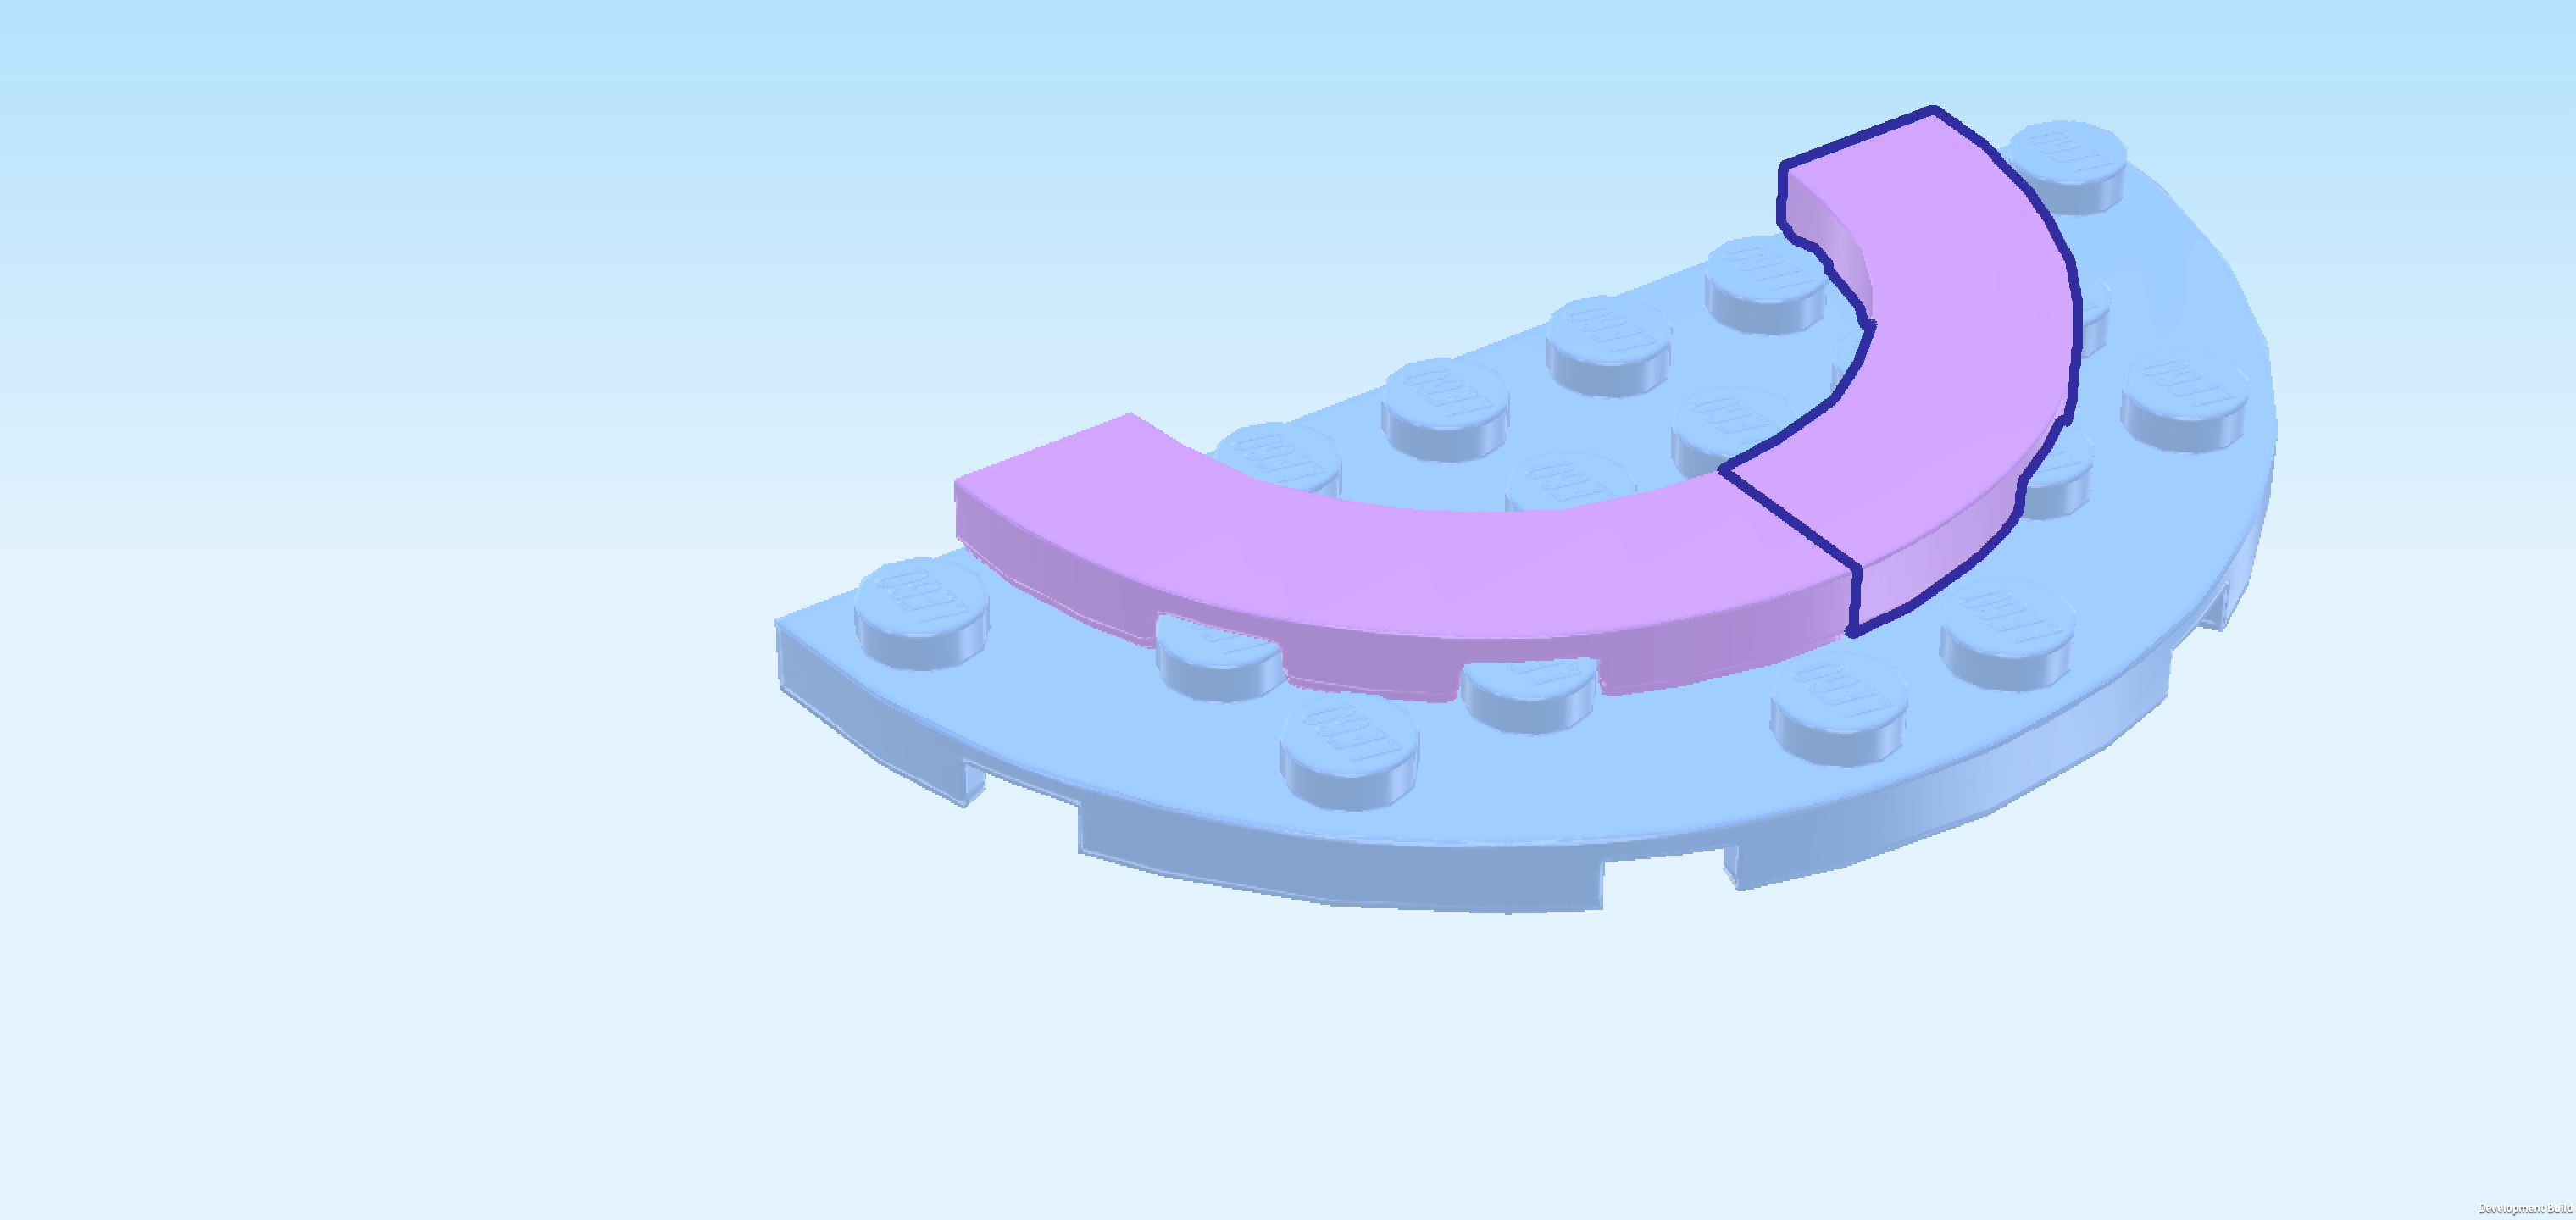
| Find another light lavender quarter-arch tile 3x3. |
| Put it to the right of the previous piece, its arch matching the bend of the half-circle plate's right half. Together, they form a half circle in the middle of the half-circle plate. |
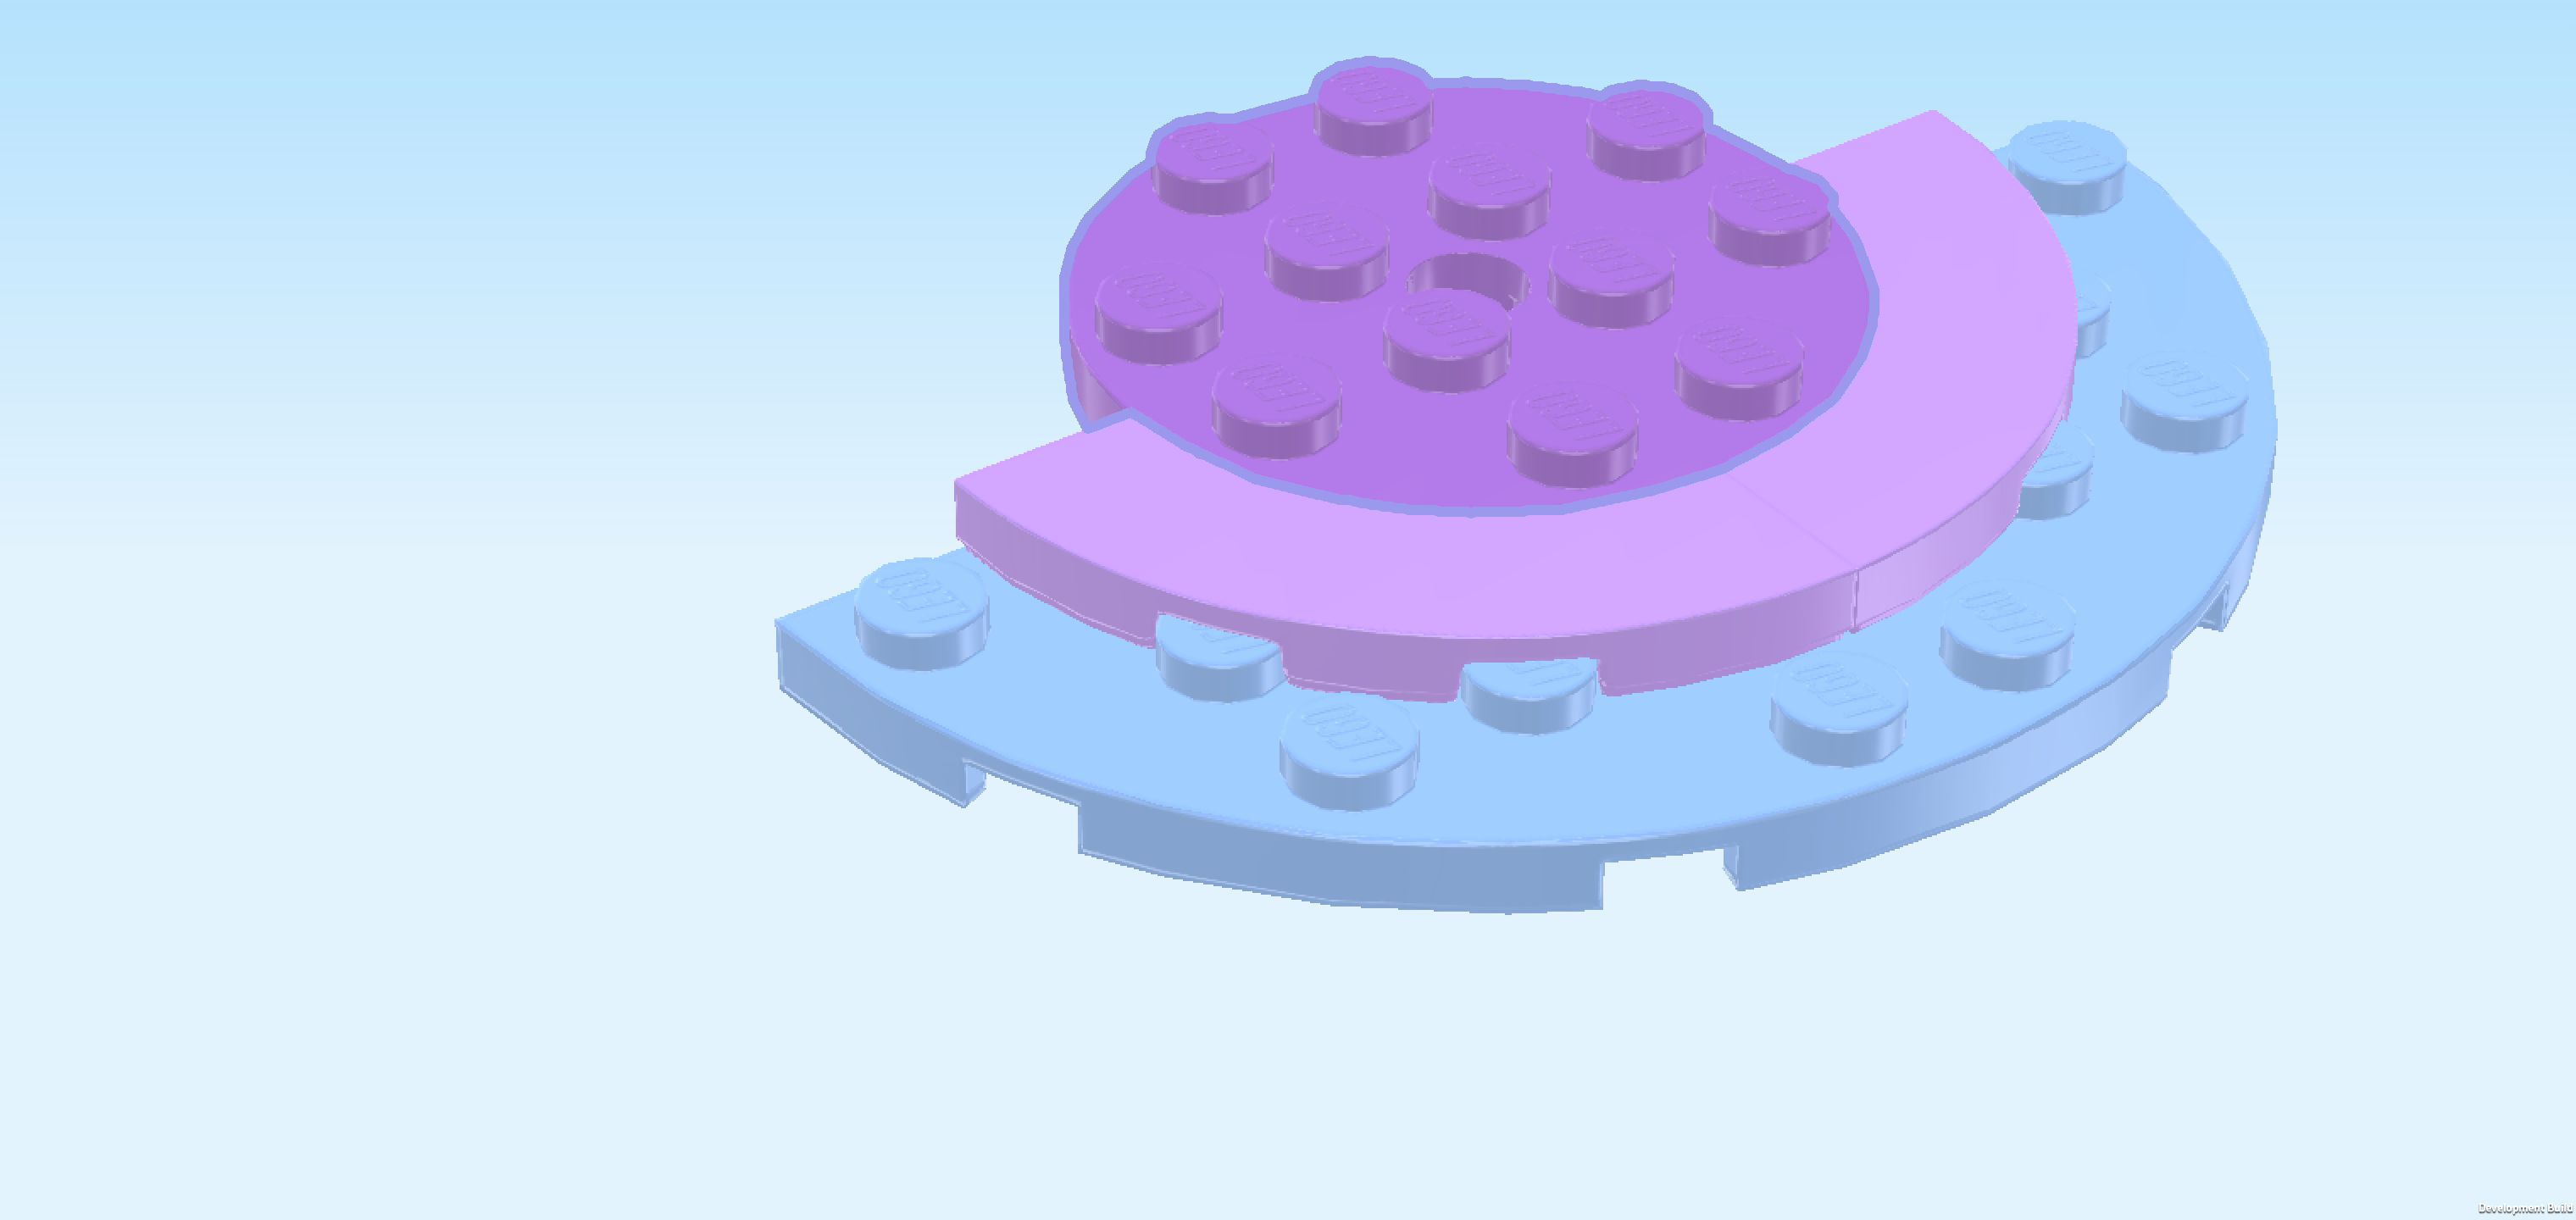
| Find 1 lavender round plate 4x4 with middle hole. |
| Put it behind the 2 previous pieces, 1/2 protruding to the back. The front half of this piece should fit snugly into the half cricle that the 2 quarter-arched tiles create together. |
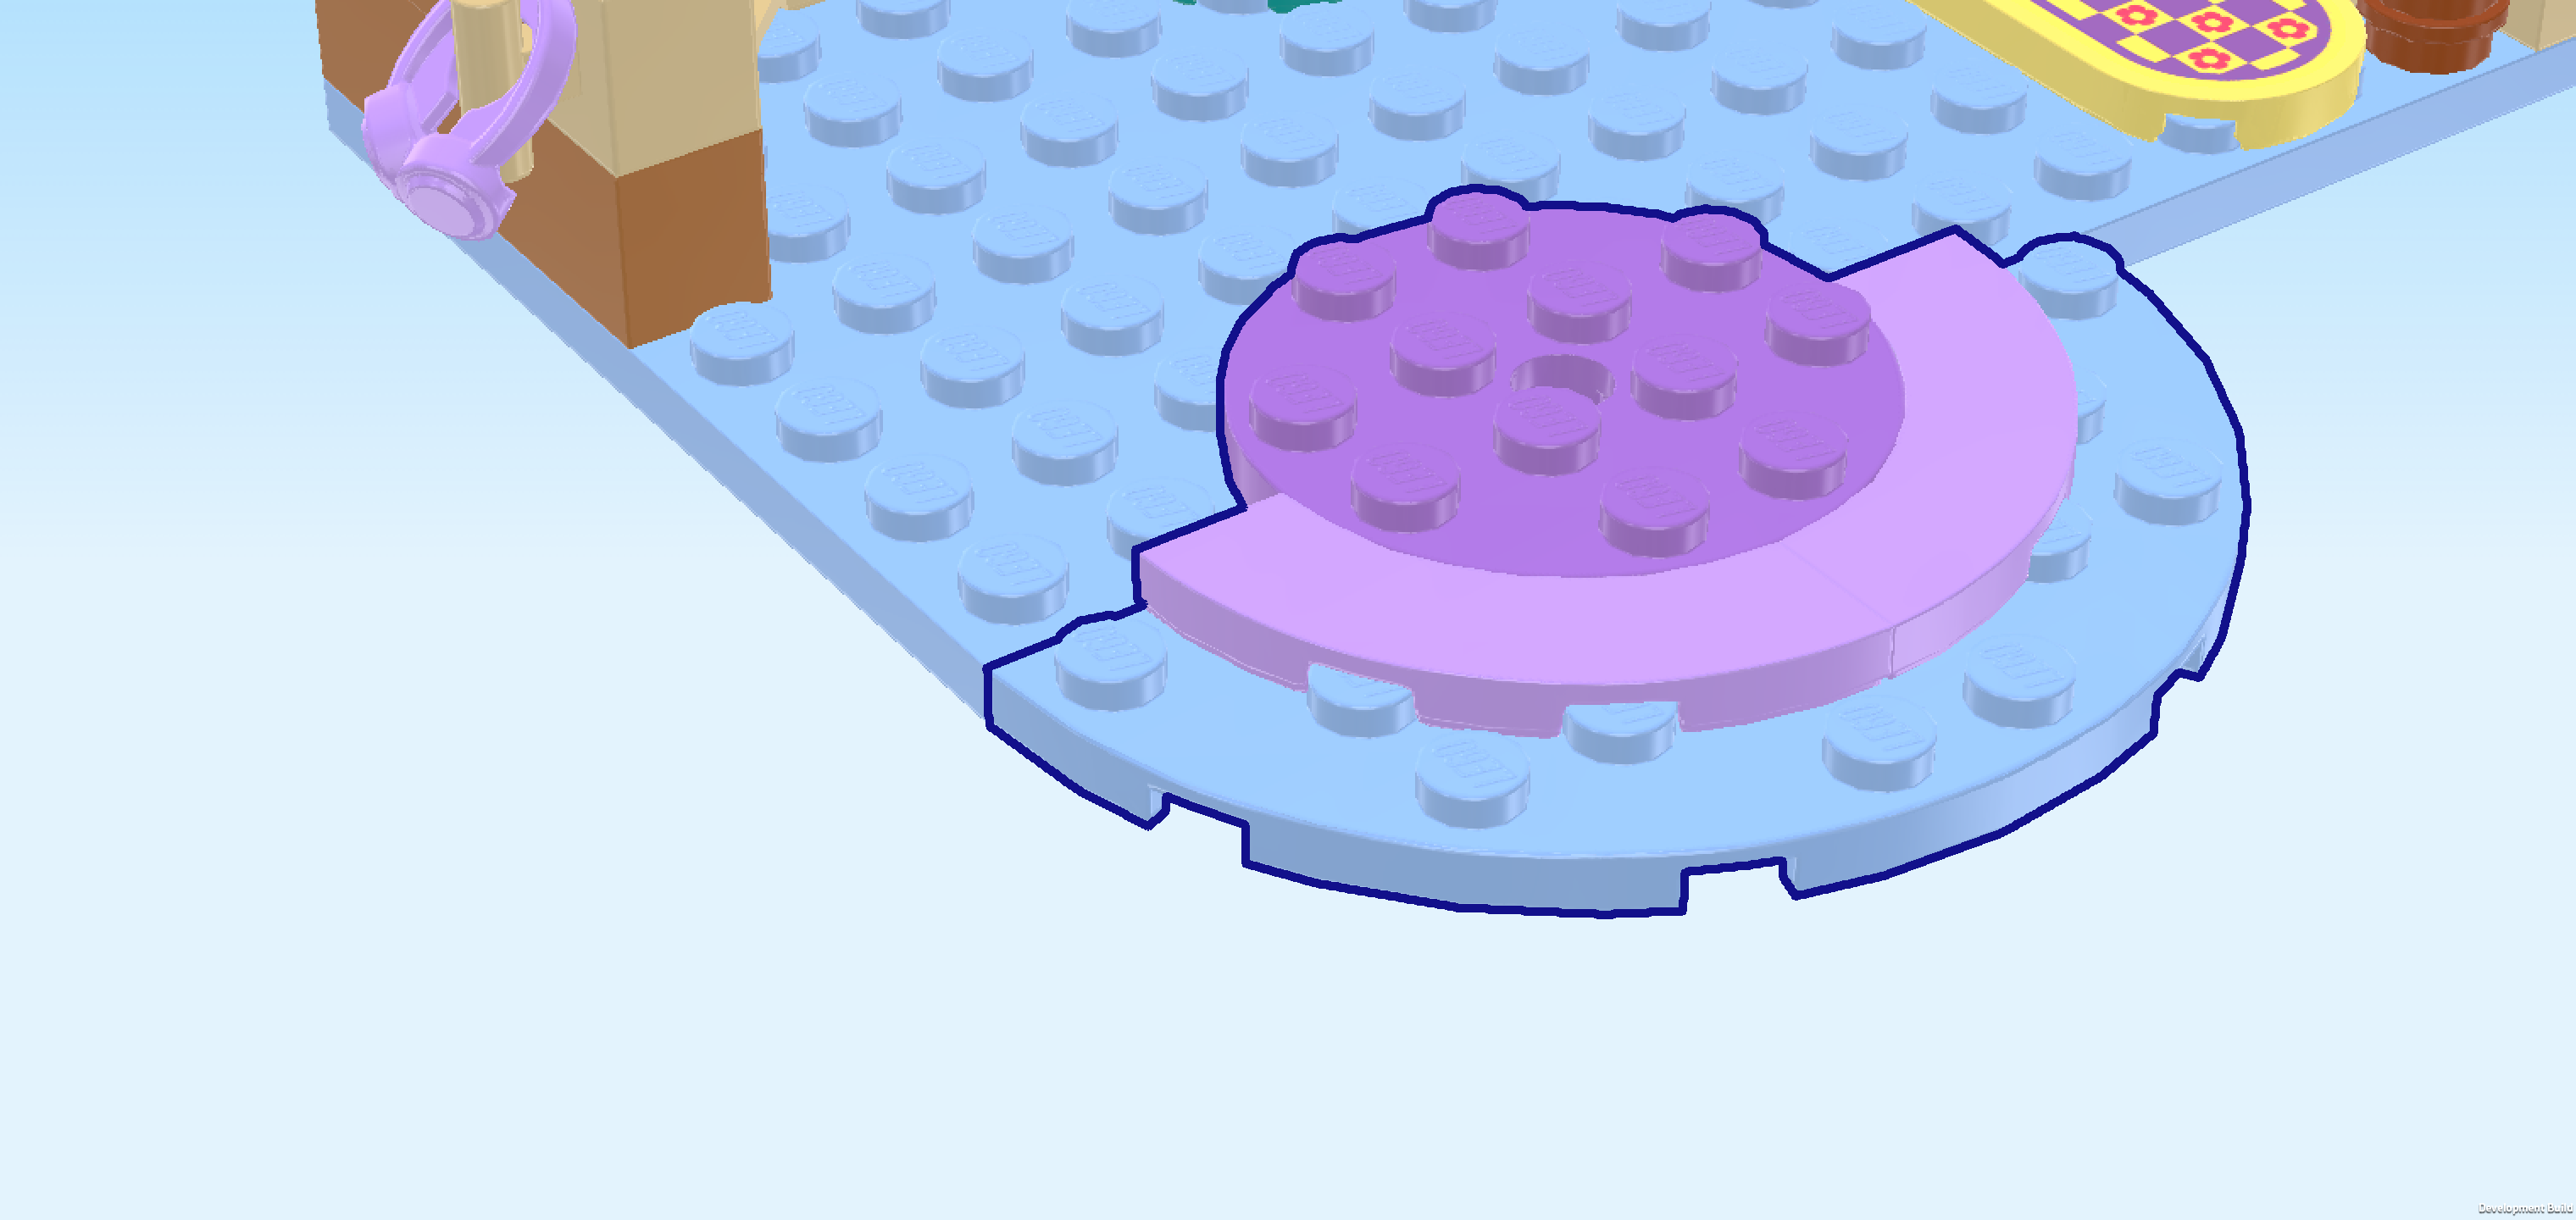
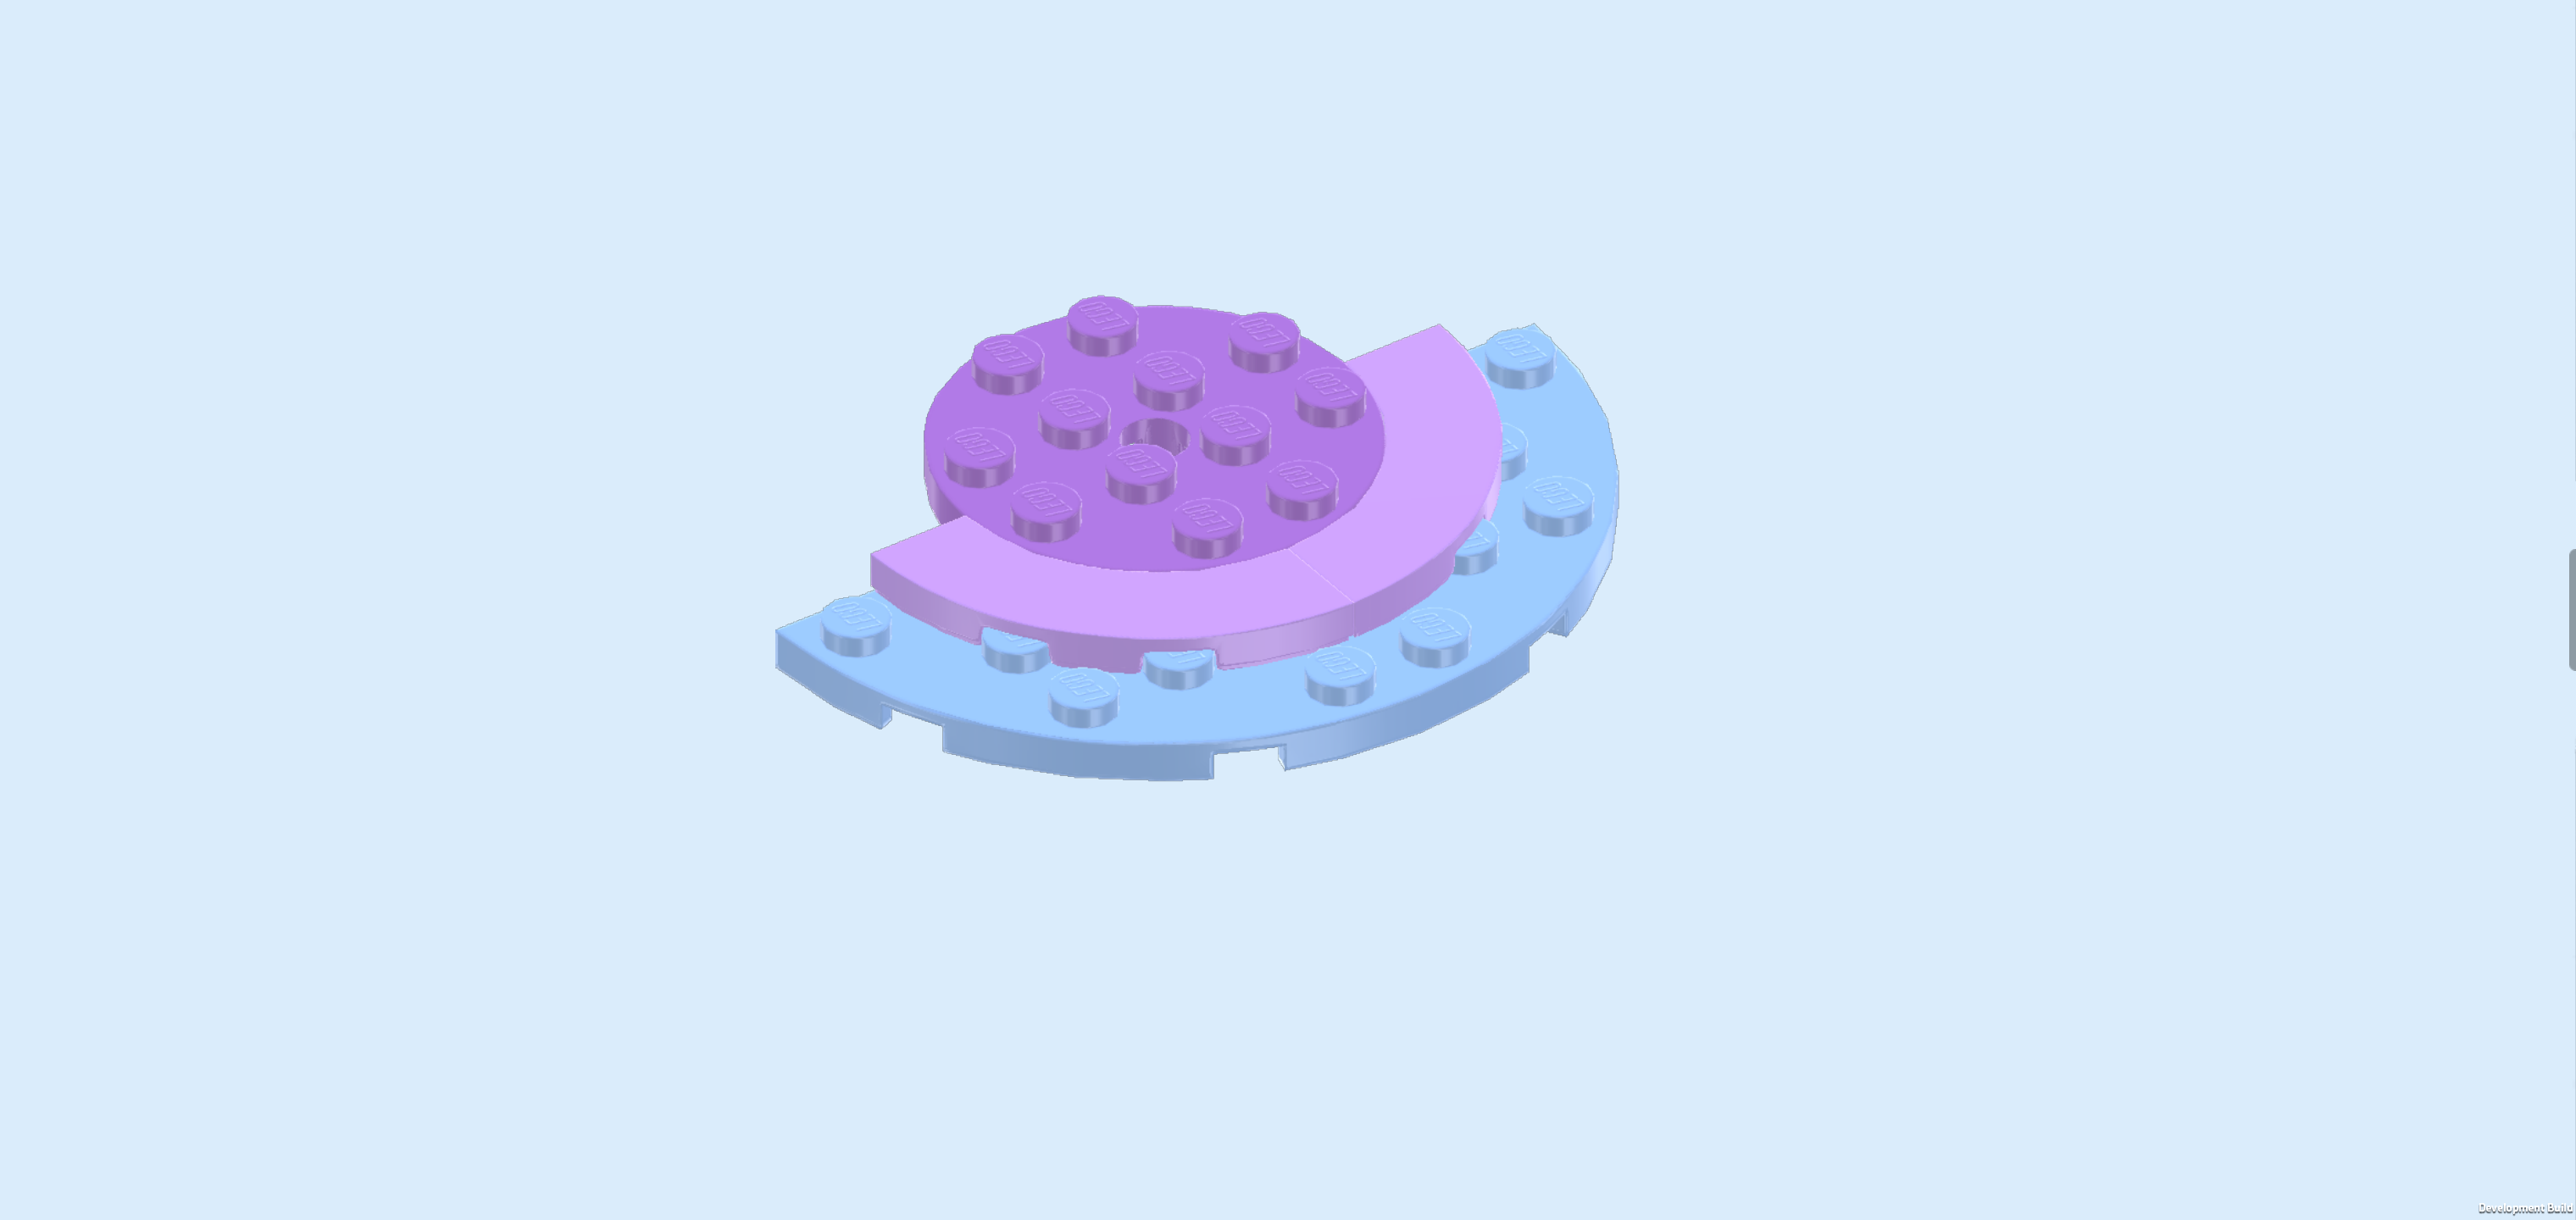
| The floor extension is finished! Great job! To mount it, put the previous piece's back half on the 2 frontmost rows of the room's base plate, aligning its leftmost tip with the left edge of the room's base plate. |
| If done correctly, the room extension extends towards the front on the left edge of the base plate. |
| Find another 2 light lavender quarter-arch tiles 3x3. |
| Use them to turn the half circle that we have created with the first 2 quarter-arch tiles into a full circle. This means mounting them around the back edge of the round plate 4x4. |
| This circular shape is Paisley's soft rug, we will later build the piano on top of it! |
| Next up, we will build the guitar stand. |
| Collect the following 2 pieces: |
| 1 black round brick 1x1, |
| and 1 black rounded plate 1x2. |
| Put the rounded plate 1x2 vertically on the table. |
| Put the round brick 1x1 on the back knob. |
| Find 2 silver metallic round plates 1x1. |
| Put 1 on the front knob of the rounded plate 1x2. |
| Put the other one on top of the round brick 1x1. |
| Find 1 black round plate 1x1 with side shaft. |
| Put it on the previous piece, side shaft pointing to the front. |
| The guitar stand is finished! Well done! Mount it vertically on the leftmost column of the base plates. Make sure to mount it directly on the splice between base plate 8x16 and half-circle plate 4x8 to connect them further. |
| With this, we have finished building everything from bag number 1. We usually pack a few extra bricks and pieces in each bag, so if you still have some pieces left there is no need to worry that you missed something. If you like, you can take a break now and return to the instructions later by skipping to the section introducing bag number 2. If you want to continue building right away, simply move on to the next sentence. |
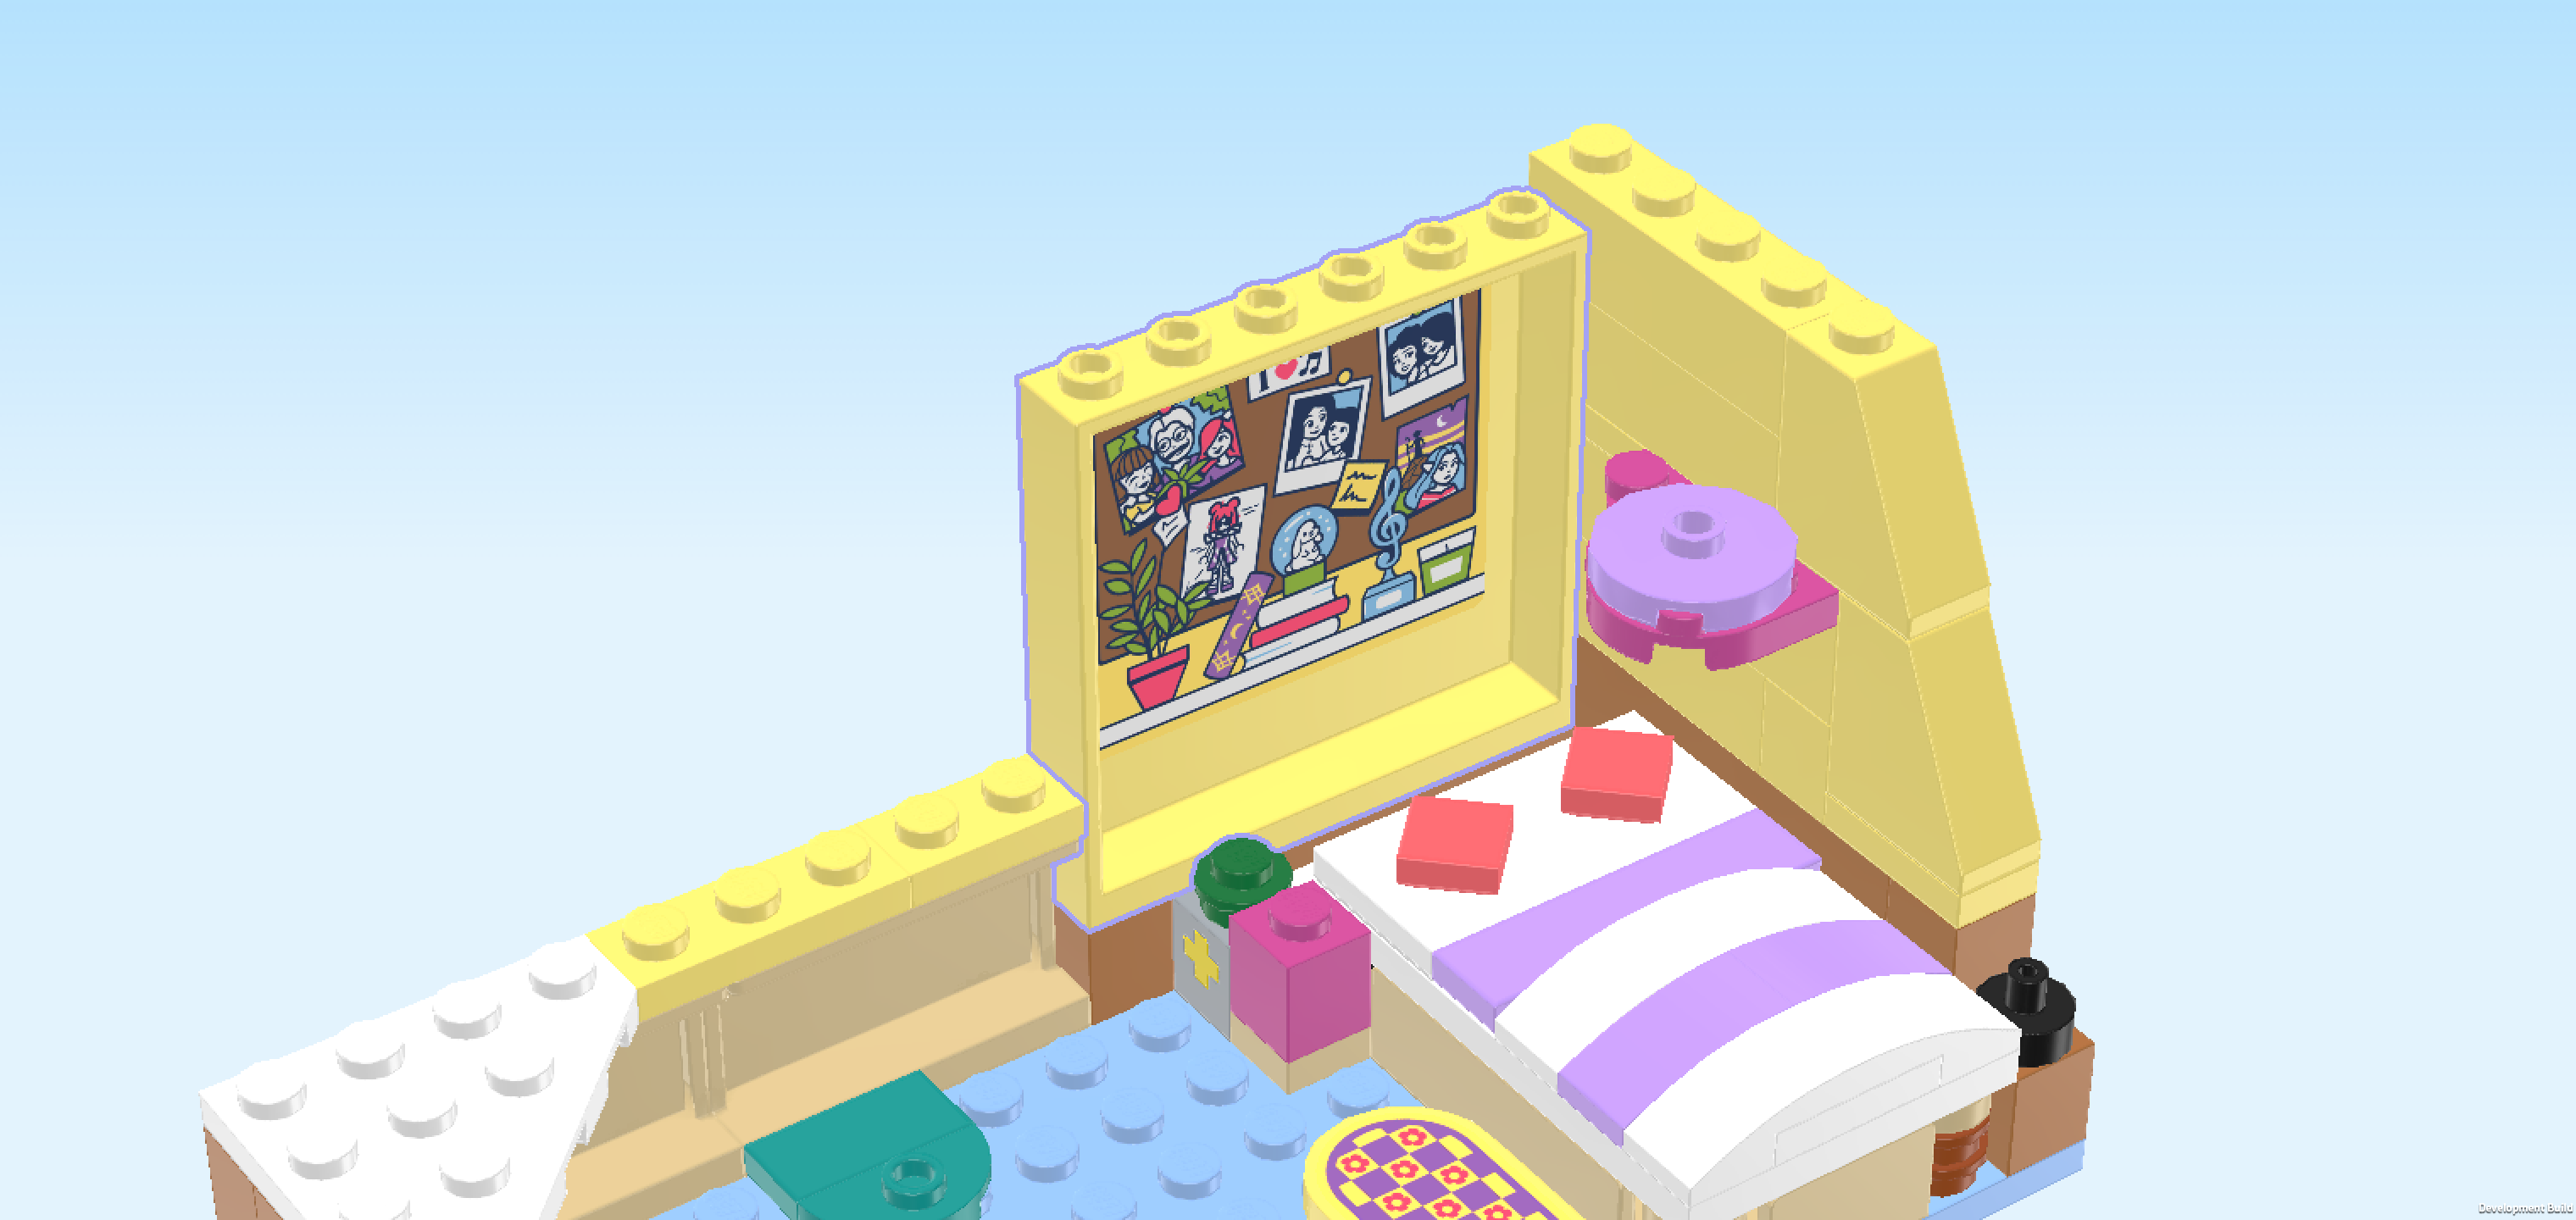
| Open bag number 2. You can choose to have the bricks sorted by color again if you like. This bag contains all bricks and pieces for the walls of the room with arched window, room decorations, string lights, record player, and the piano. |
| Make sure that the structure is in the correct orientation: the room's floor plan with bed should be horizontally in front of you, with the bed in the back right corner and the floor extension at the front left edge. |
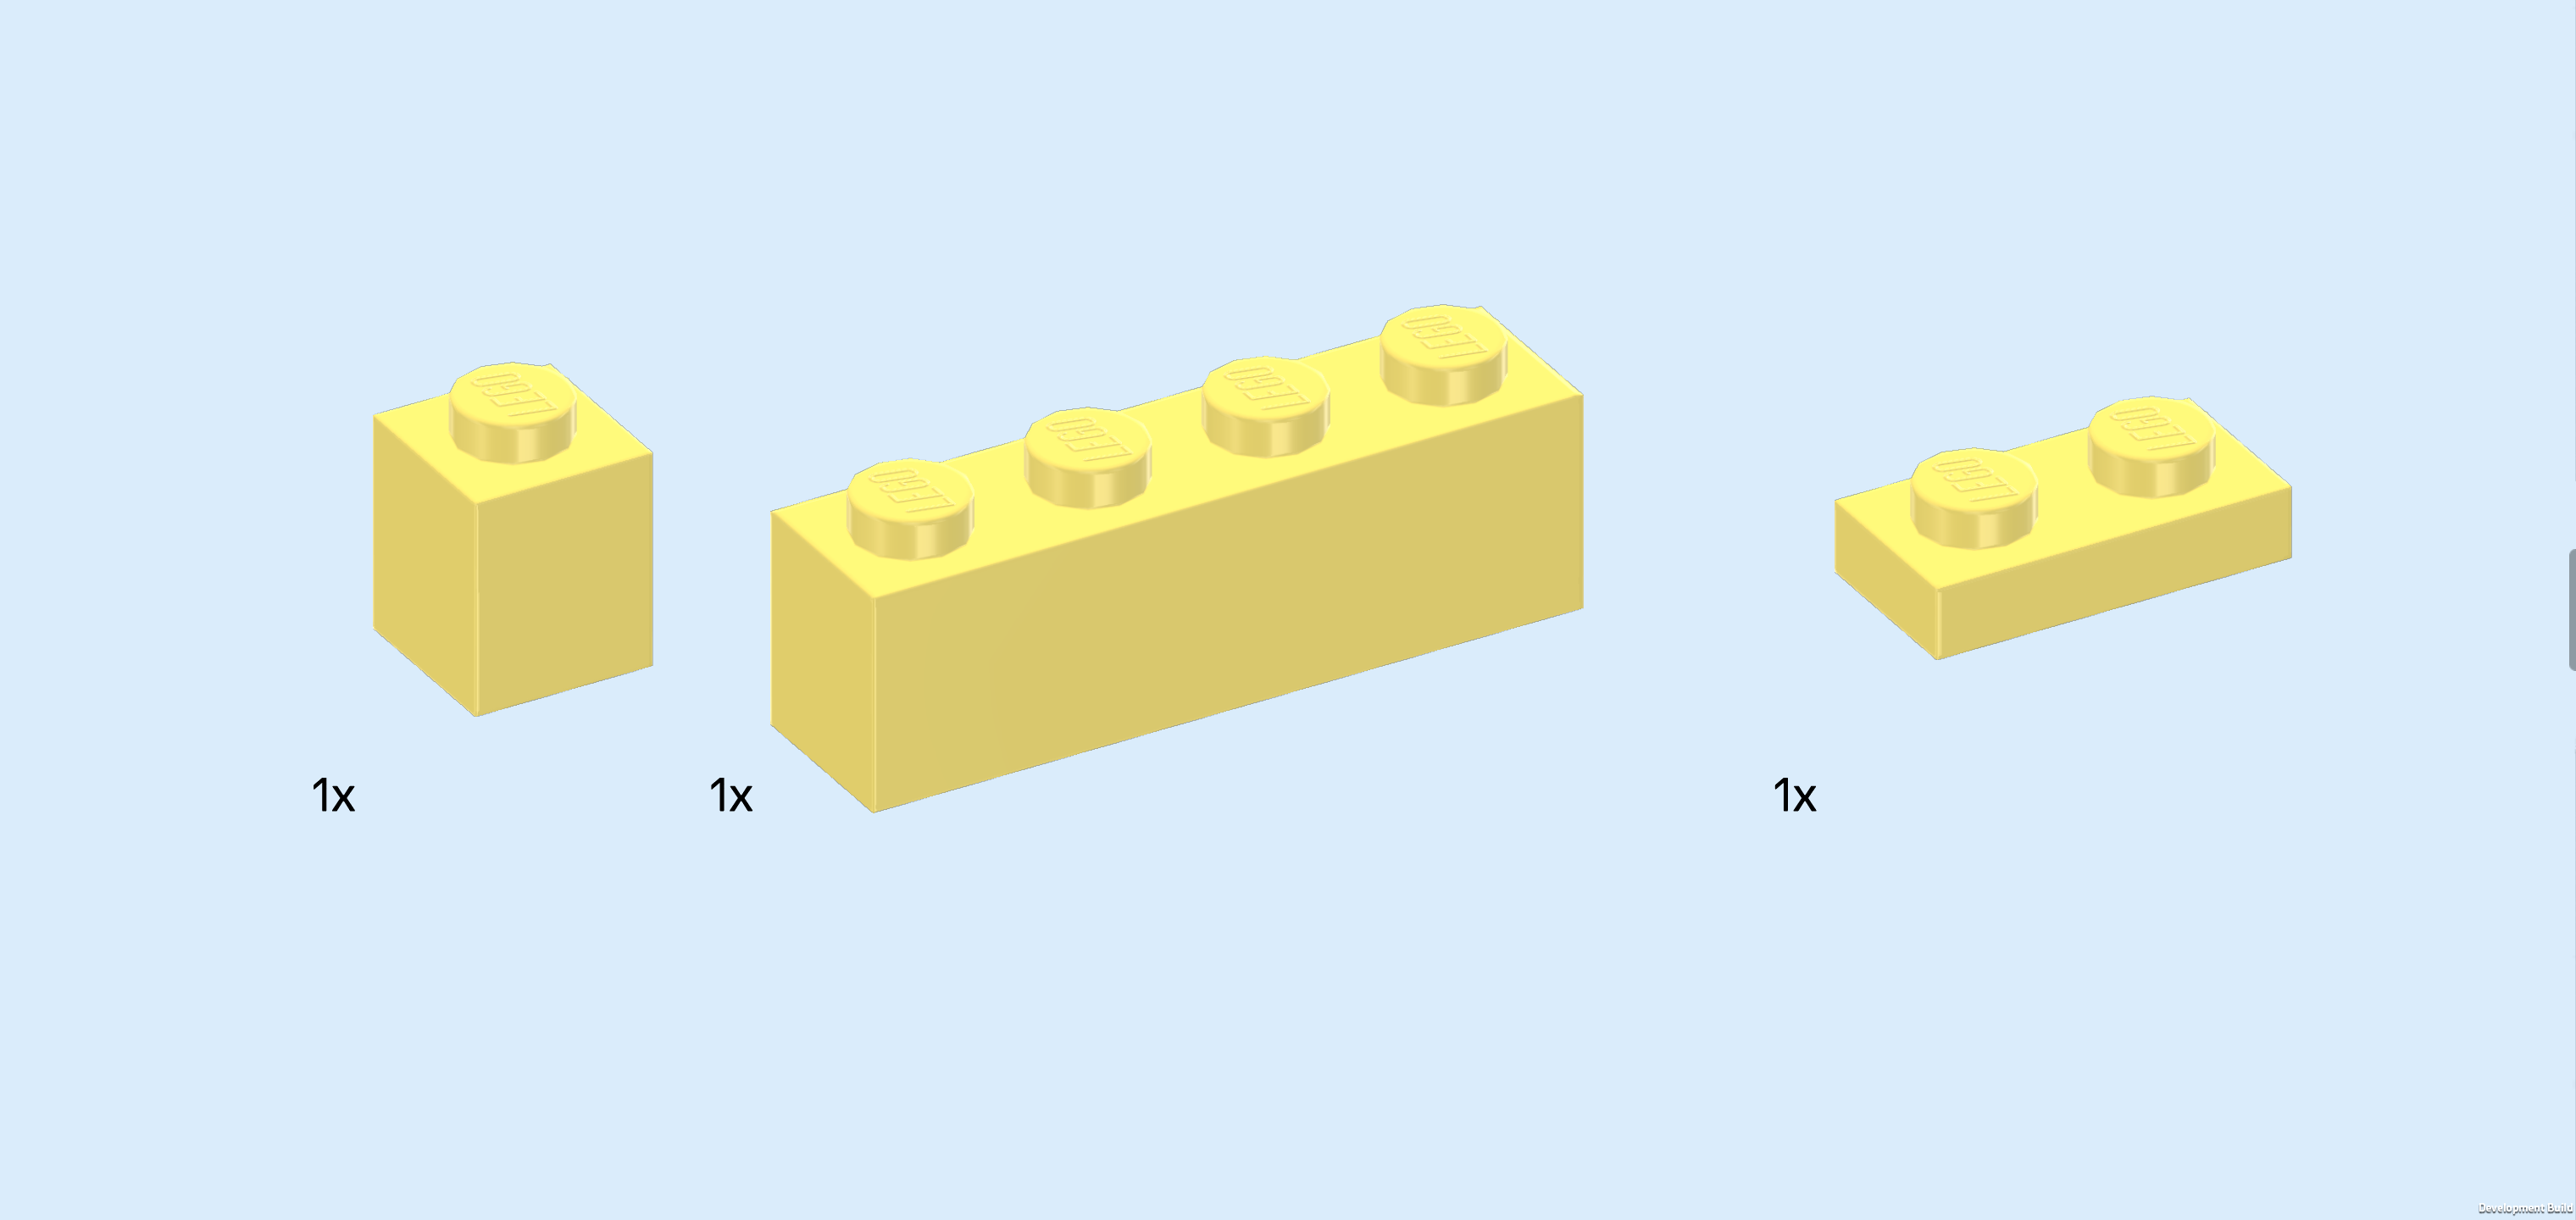
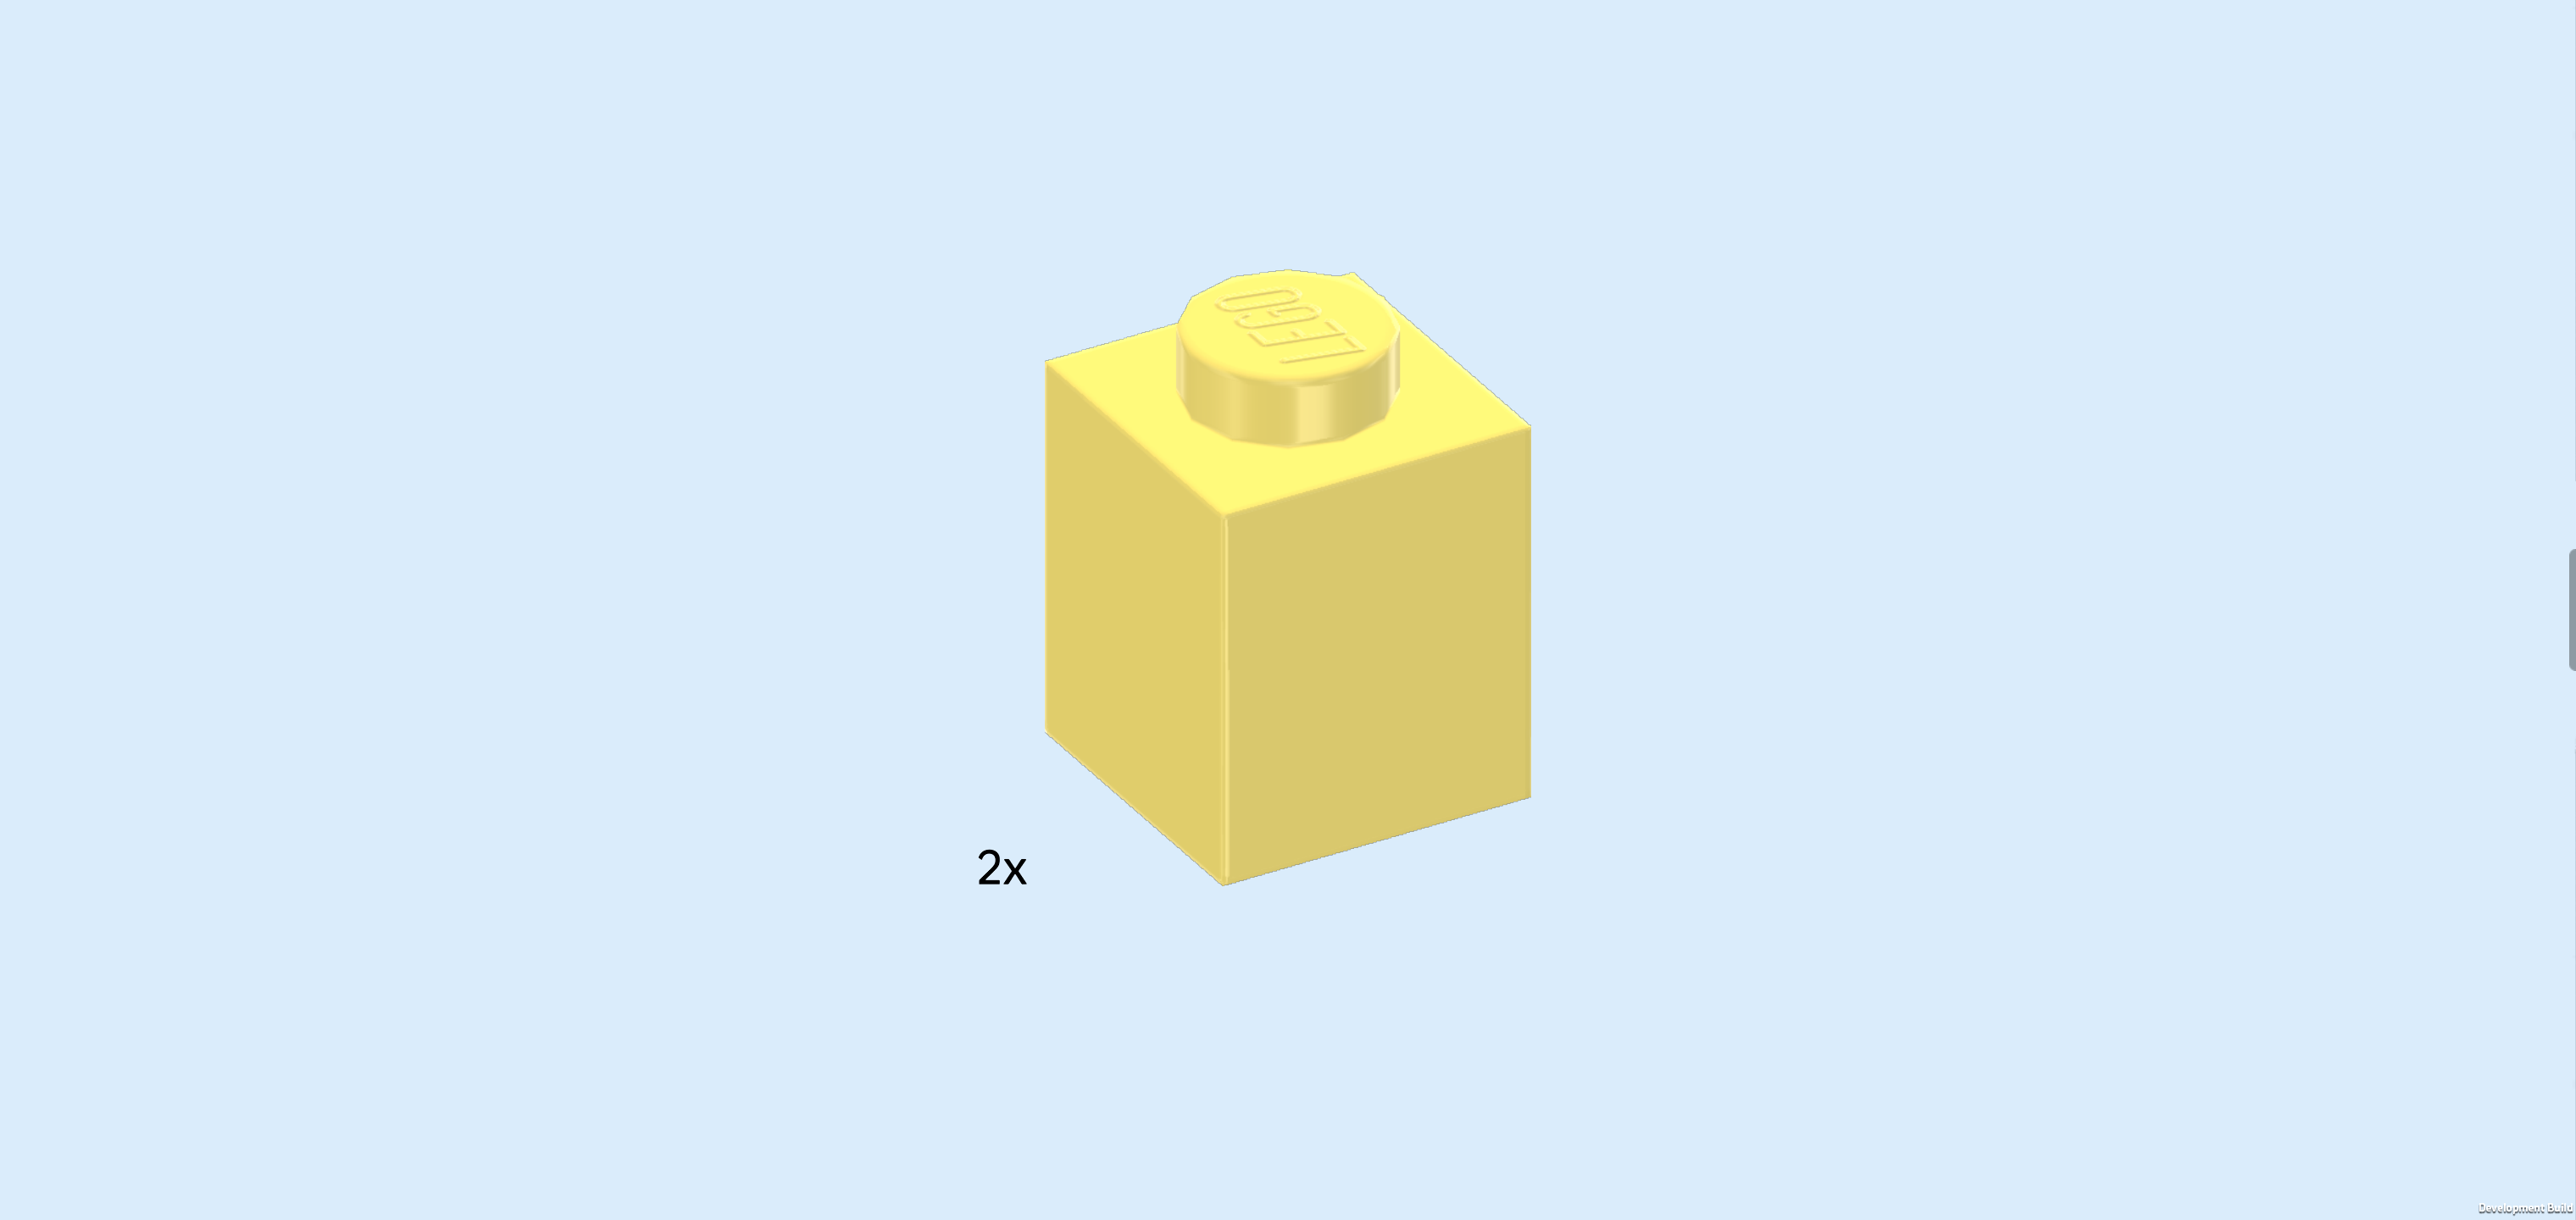
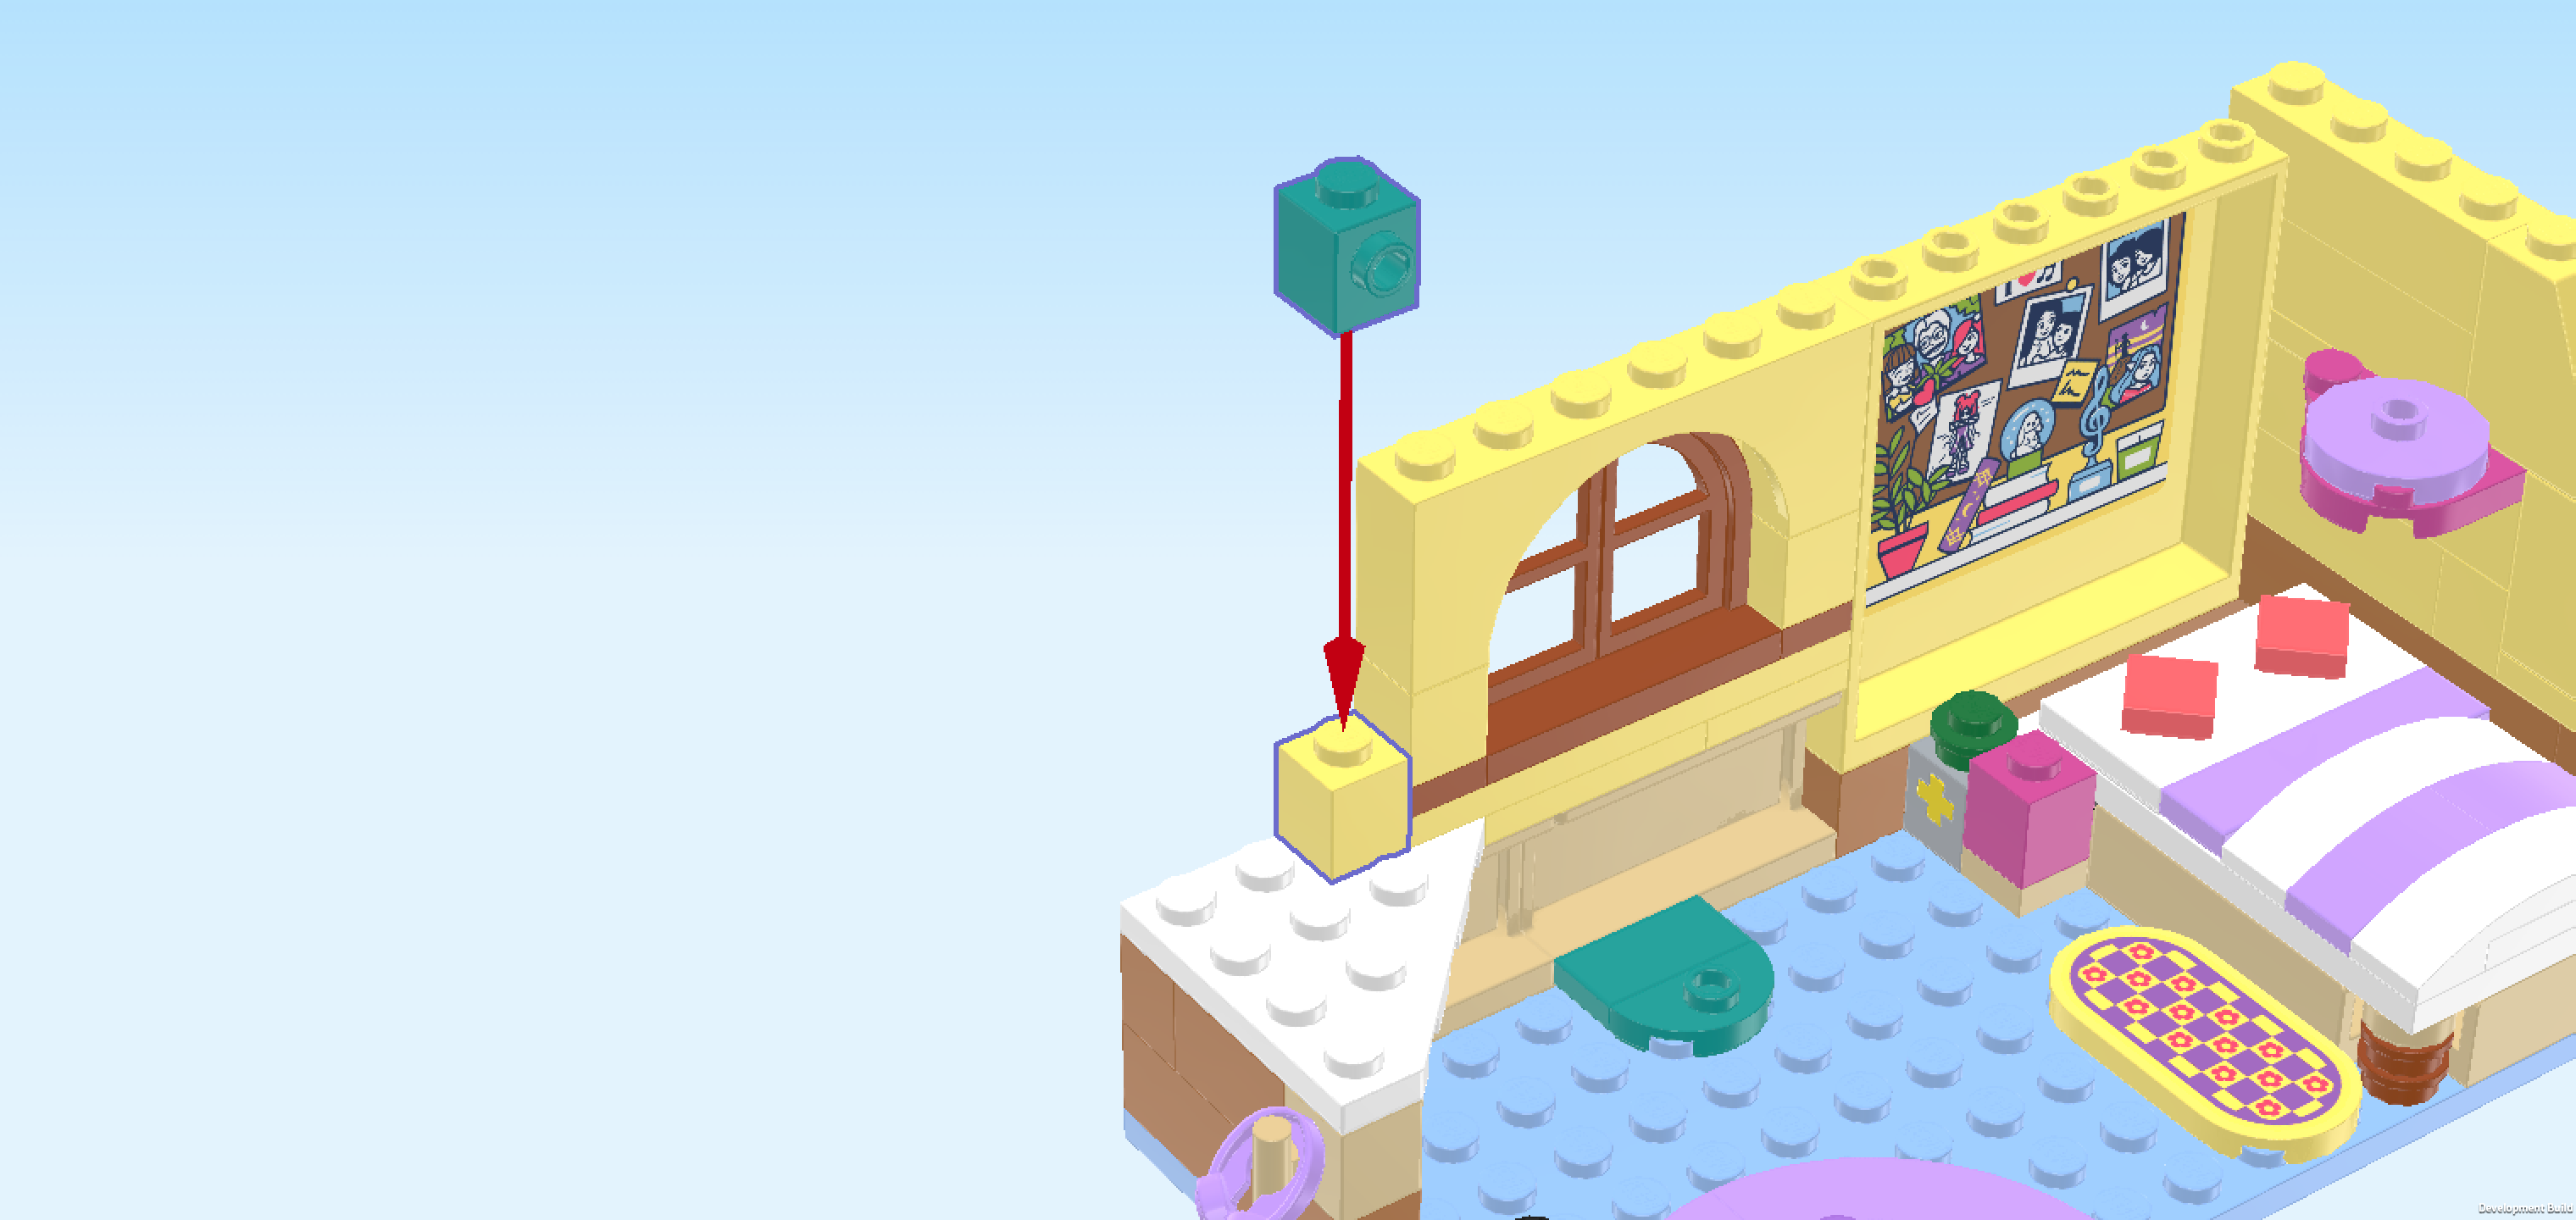
| Collect the following 3 pieces: |
| 1 lemon yellow brick 1x1, |
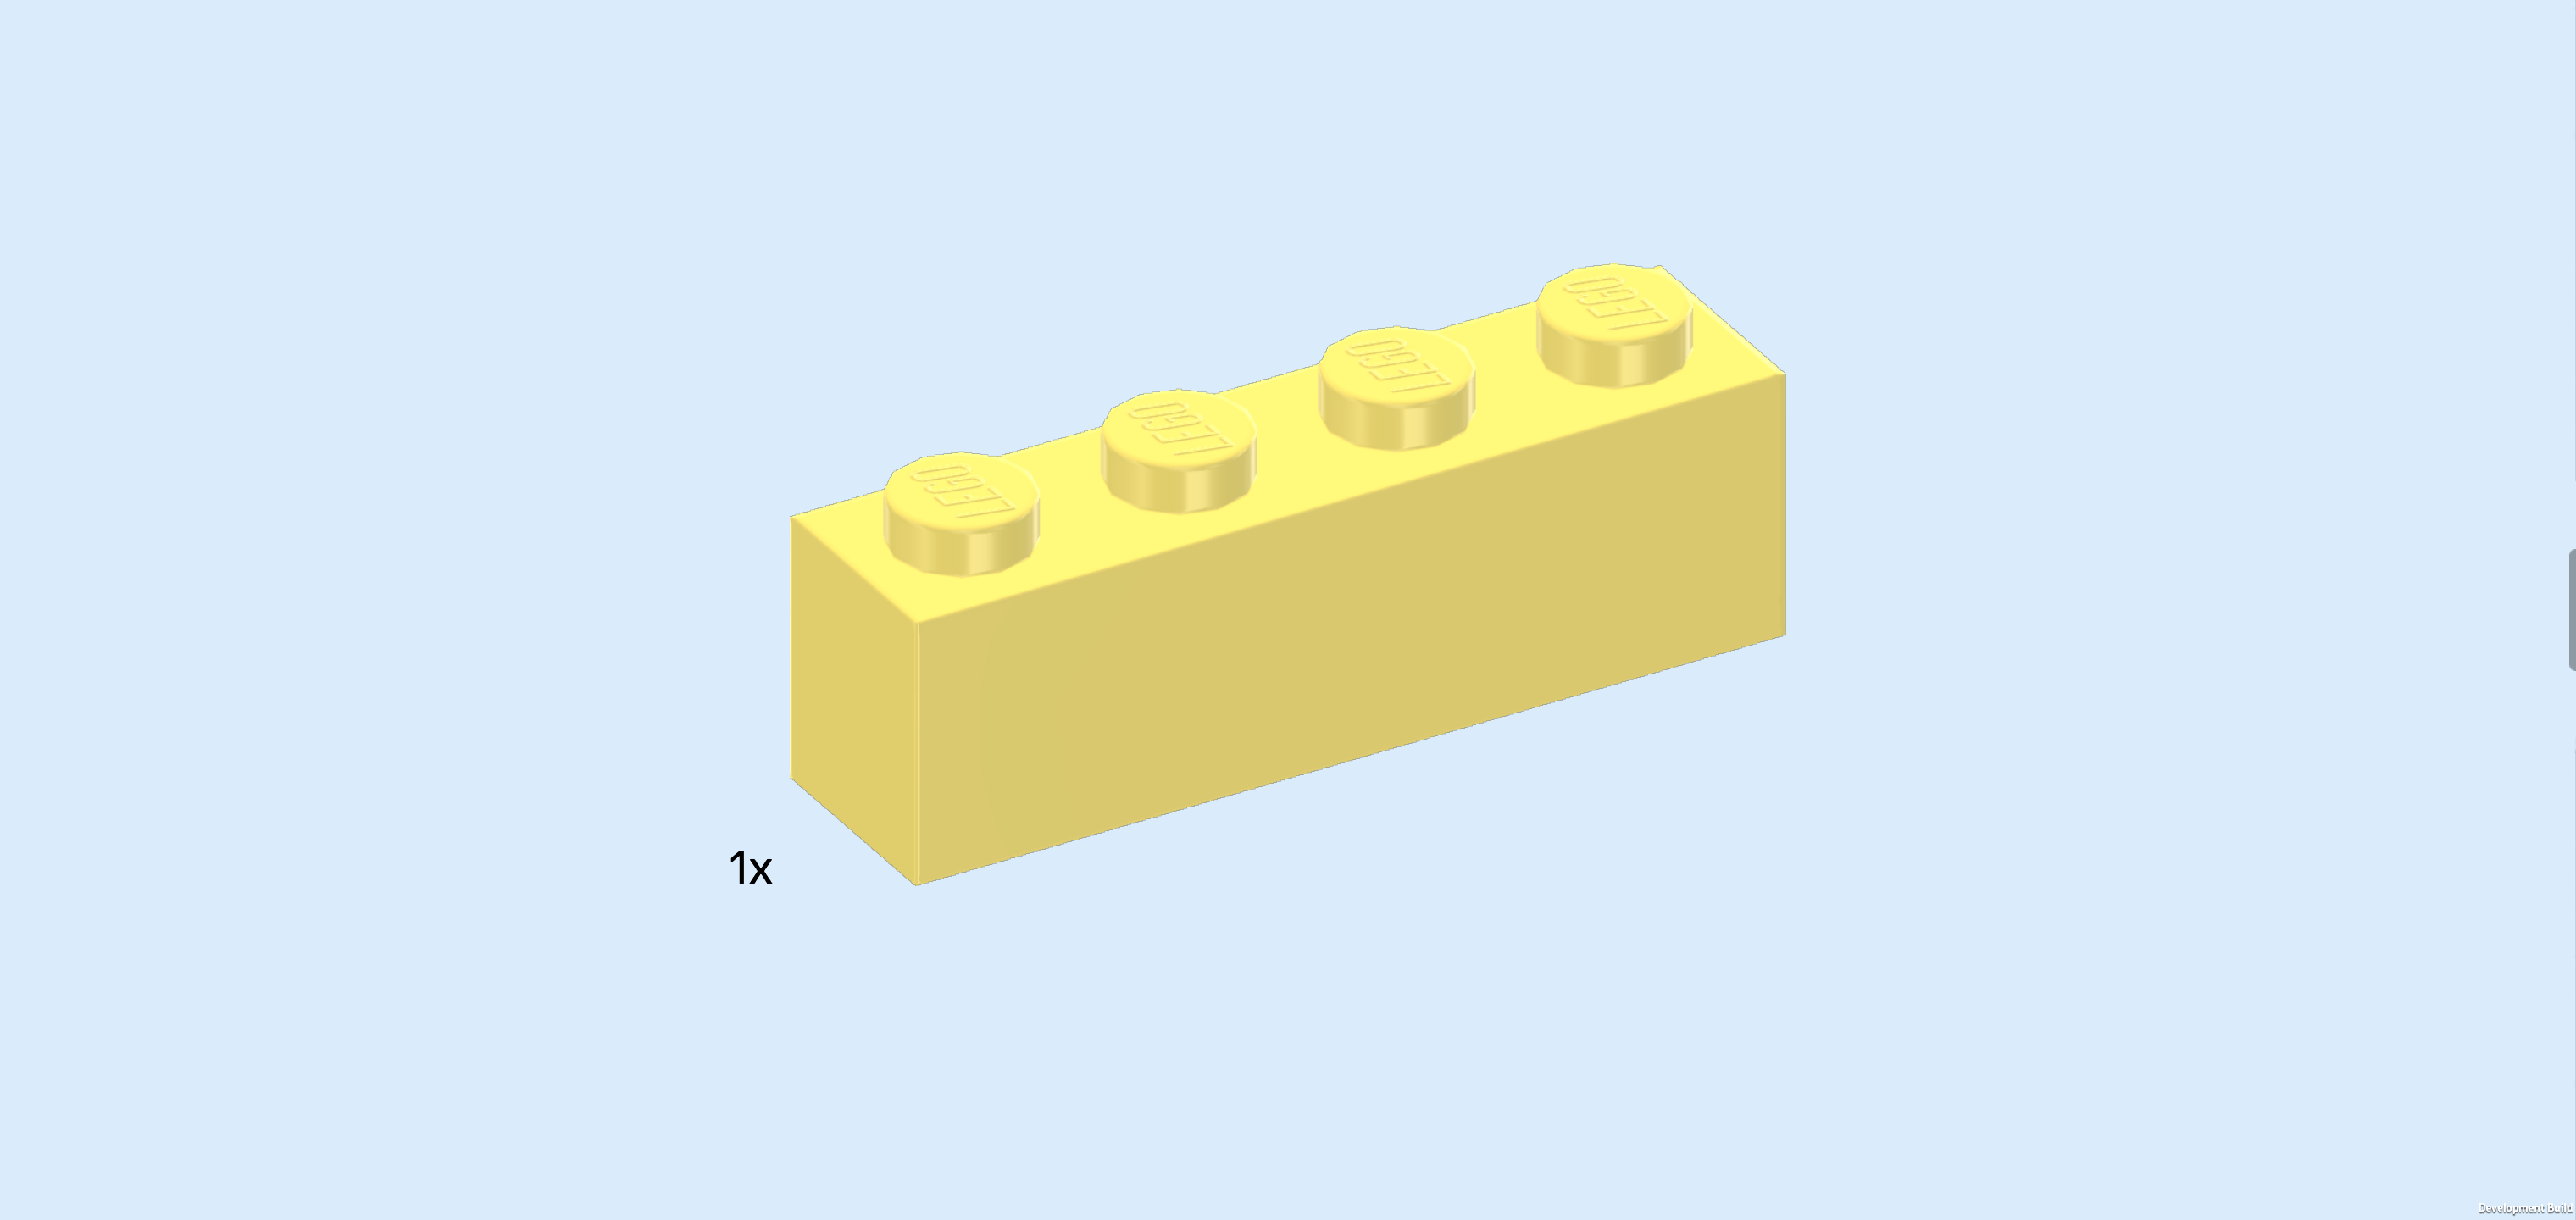
| 1 lemon yellow brick 1x4, |
| and 1 lemon yellow plate 1x2. |
| Put the plate 1x2 vertically on the right side wall, starting from its front knob. This means that you skip the frontmost position of this column which is a round tile 1x1 with top shaft mounted at a lower level. |
| Put the brick 1x1 behind the previous piece. |
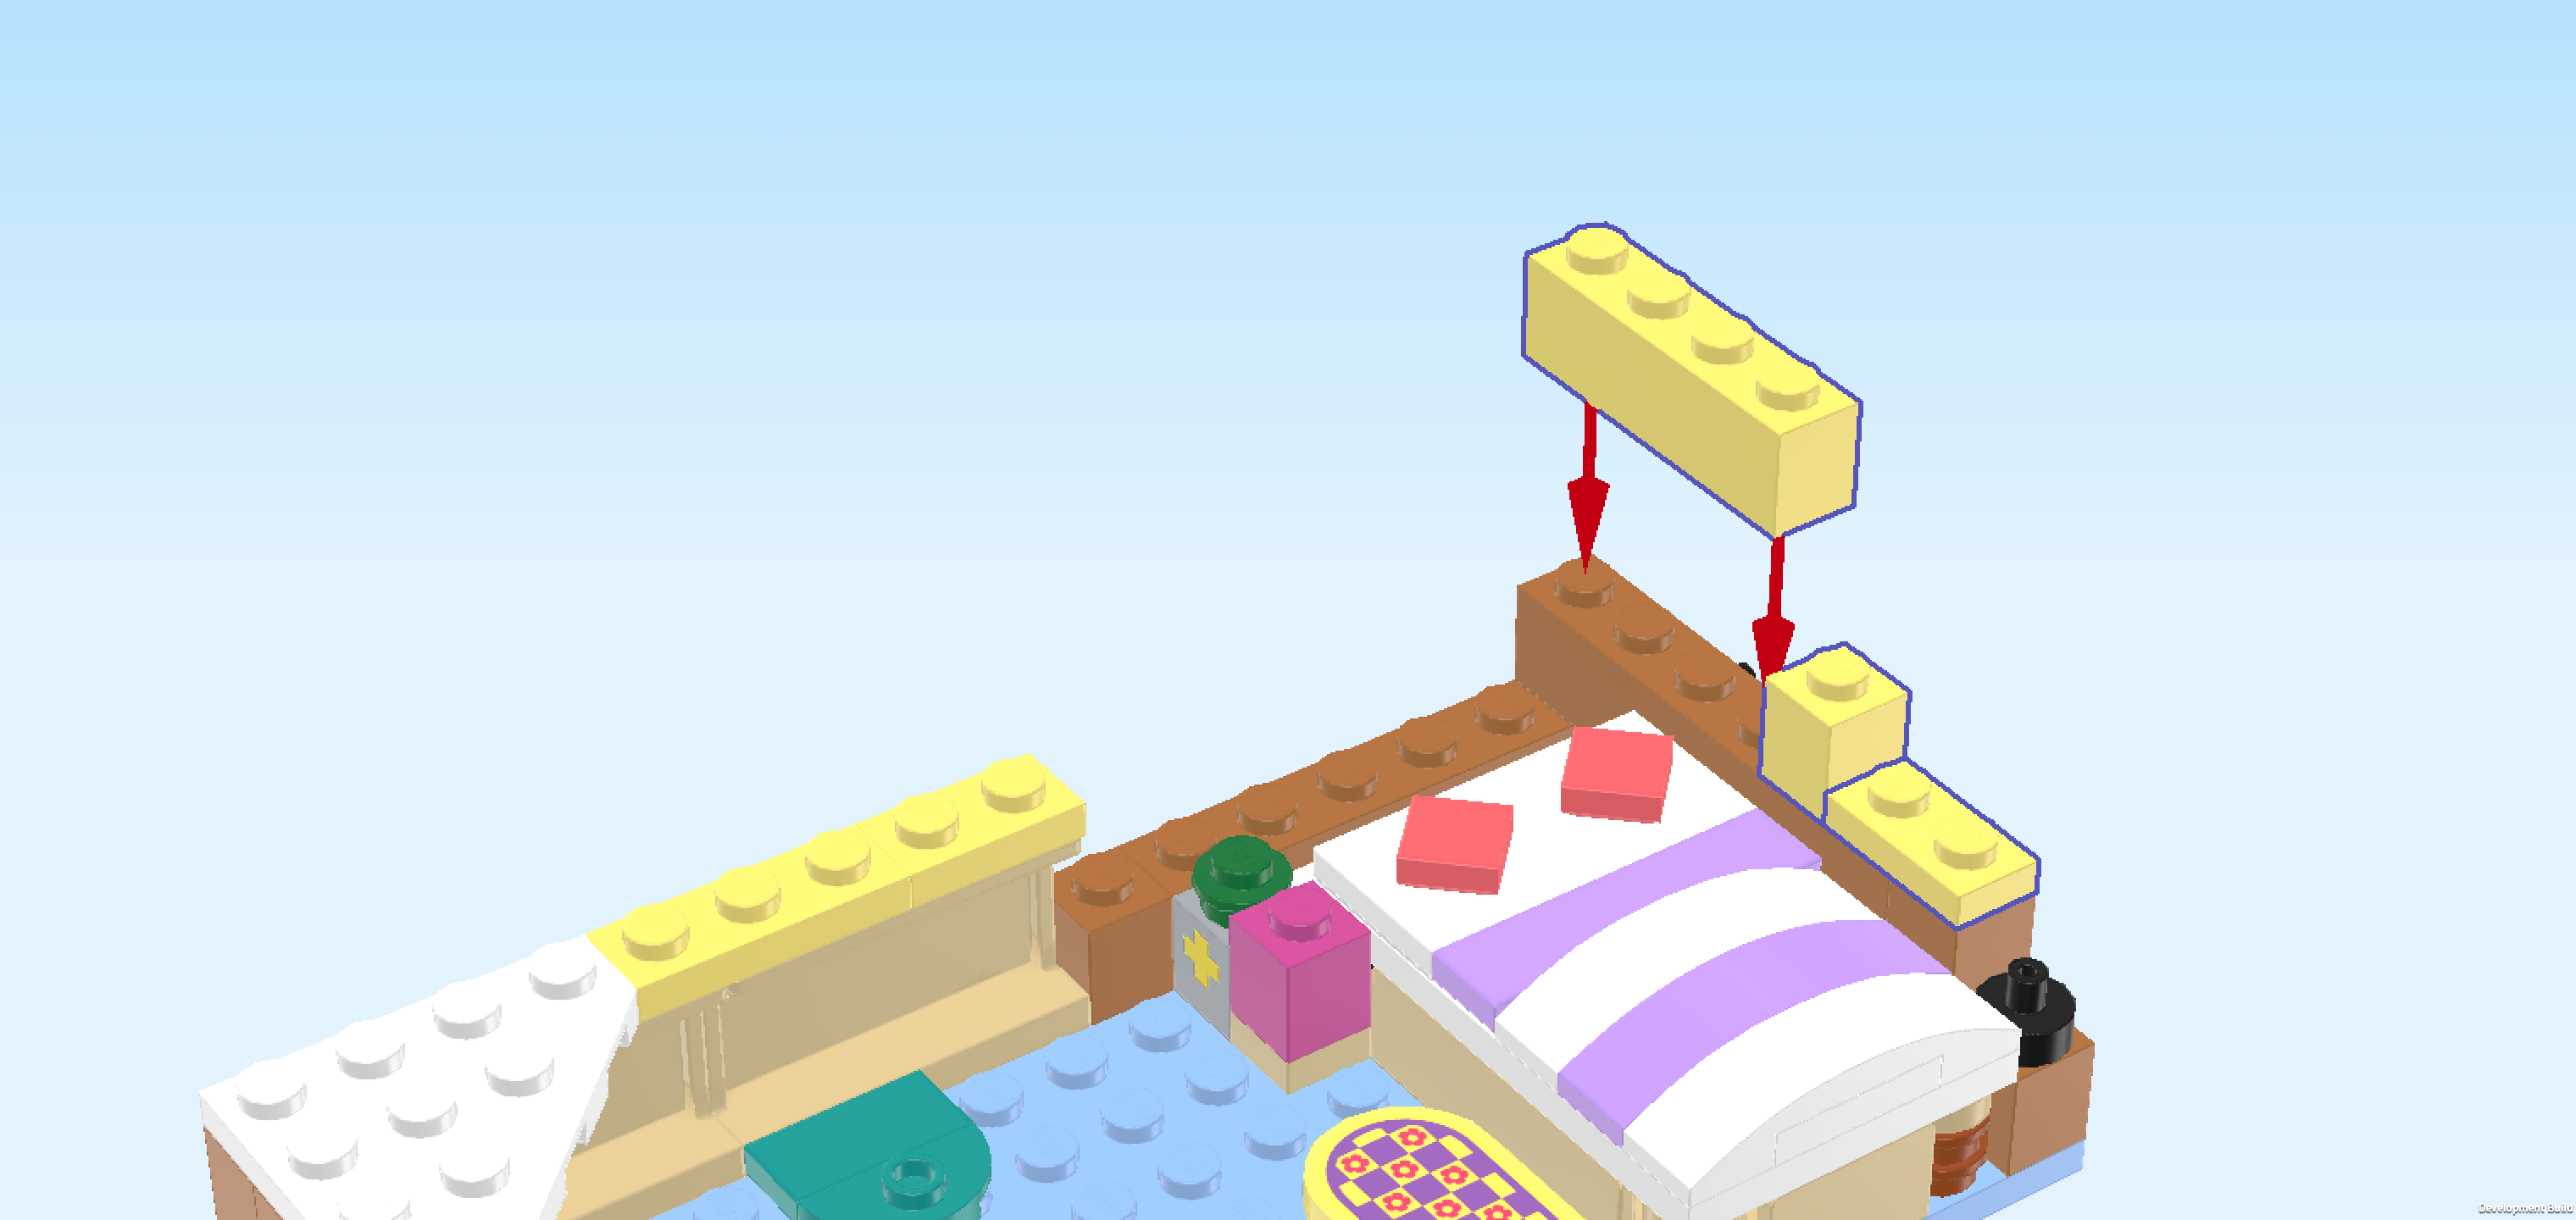
| Put the brick 1x4 vertically behind the previous piece. |
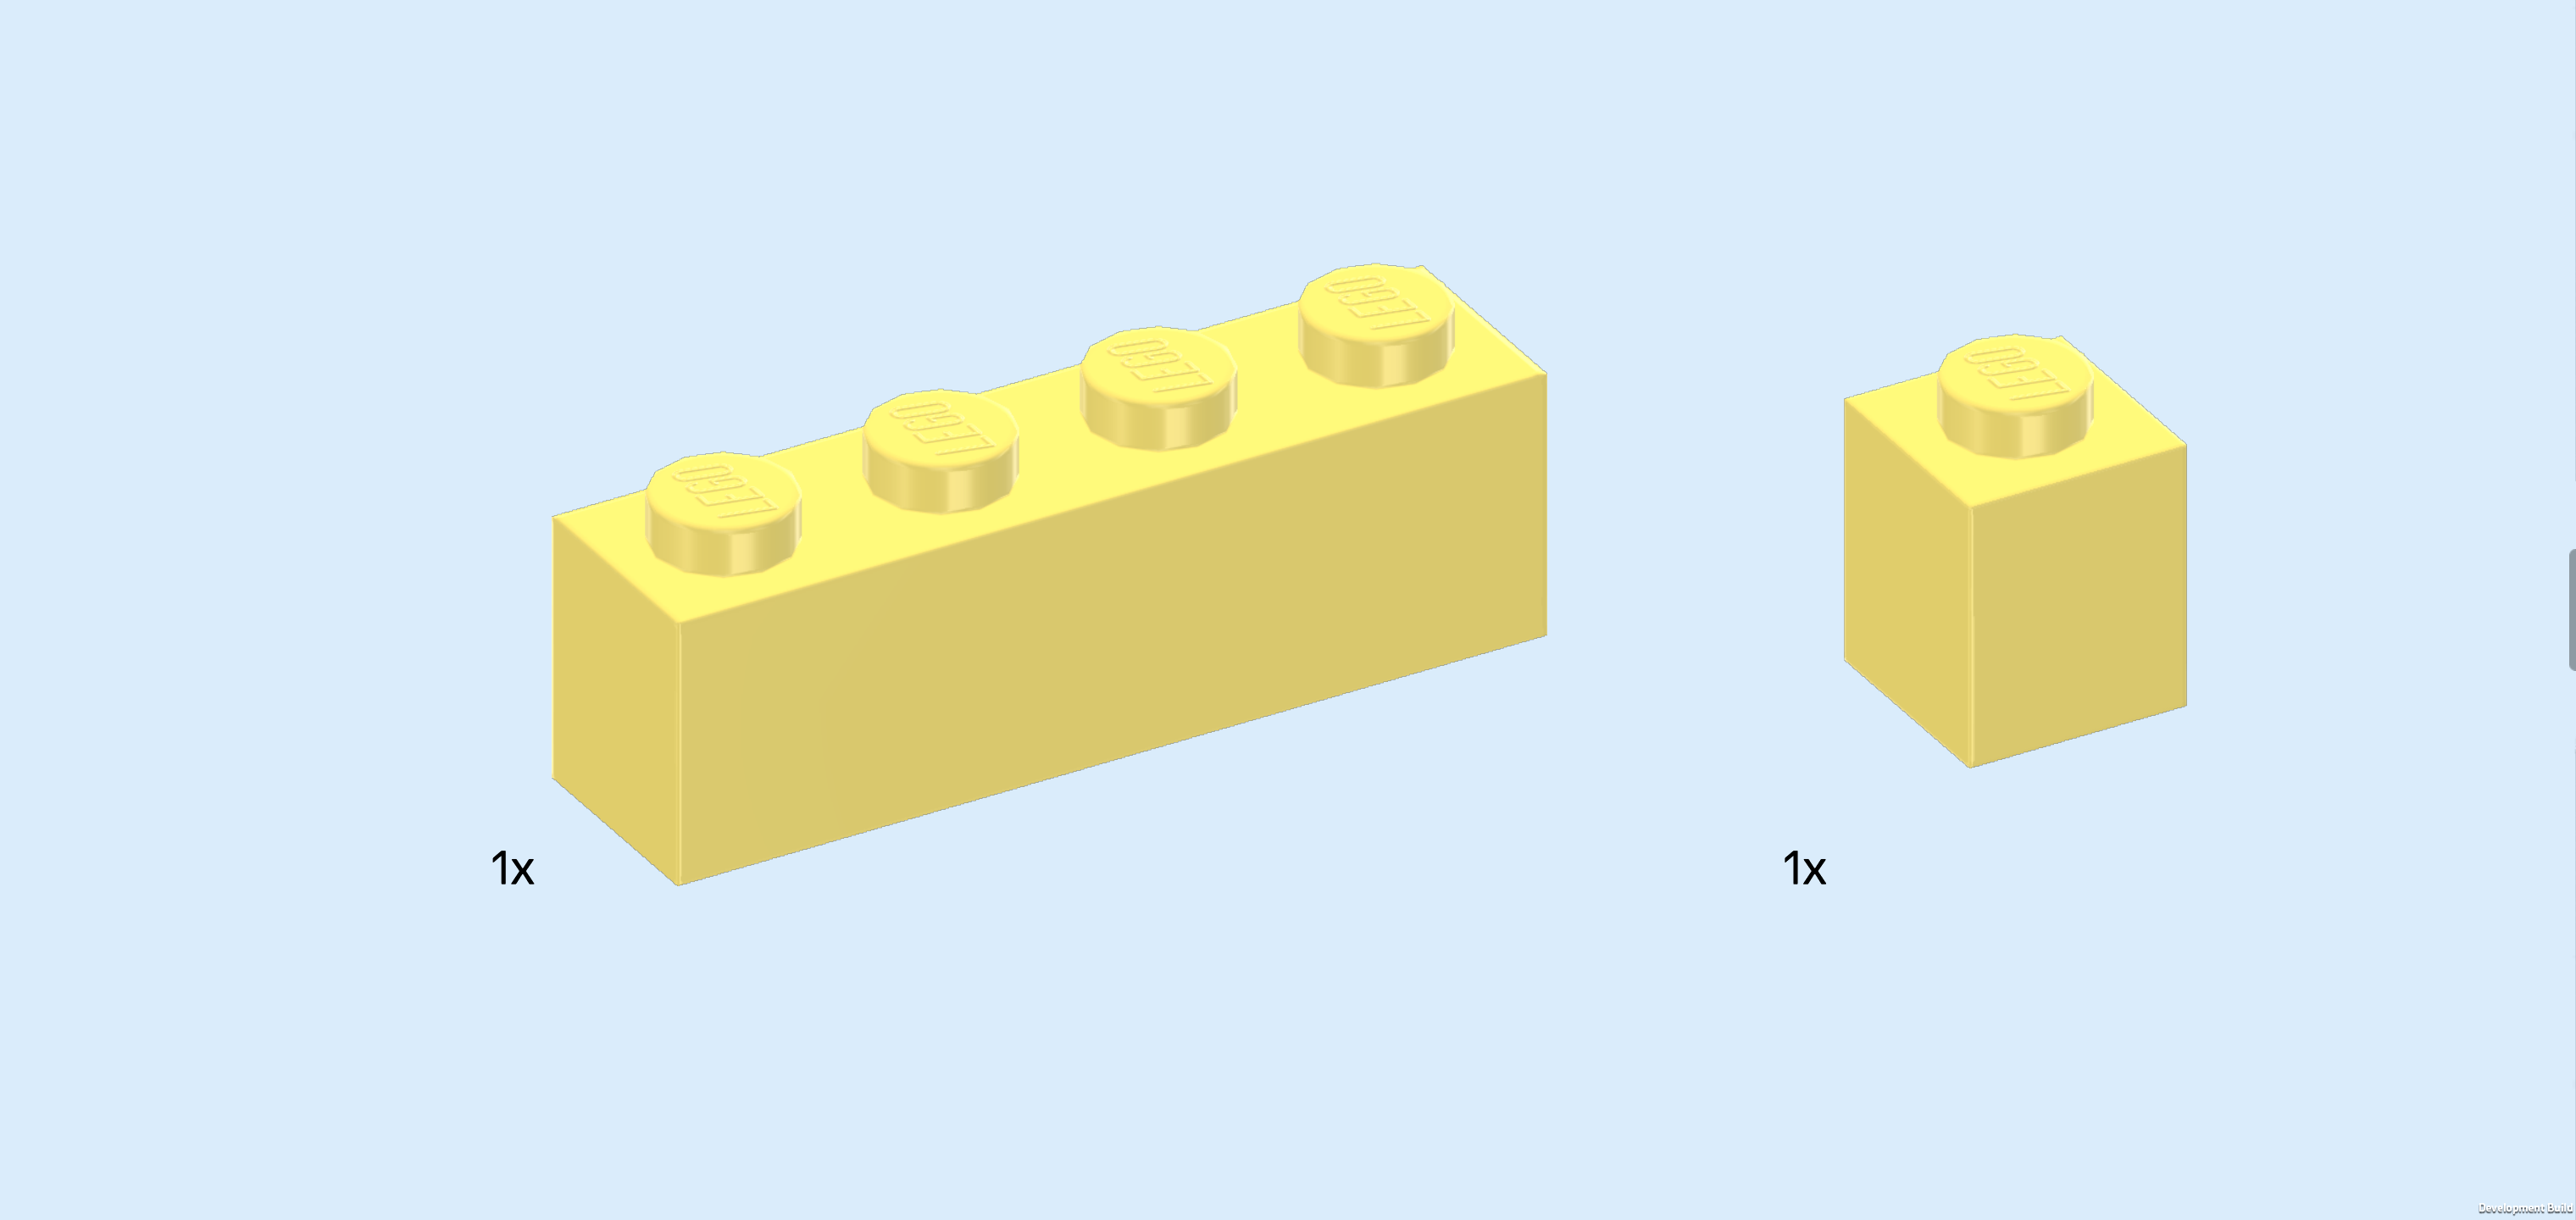
| Collect the following 2 pieces: |
| another lemon yellow brick 1x4, |
| and another lemon yellow brick 1x1. |
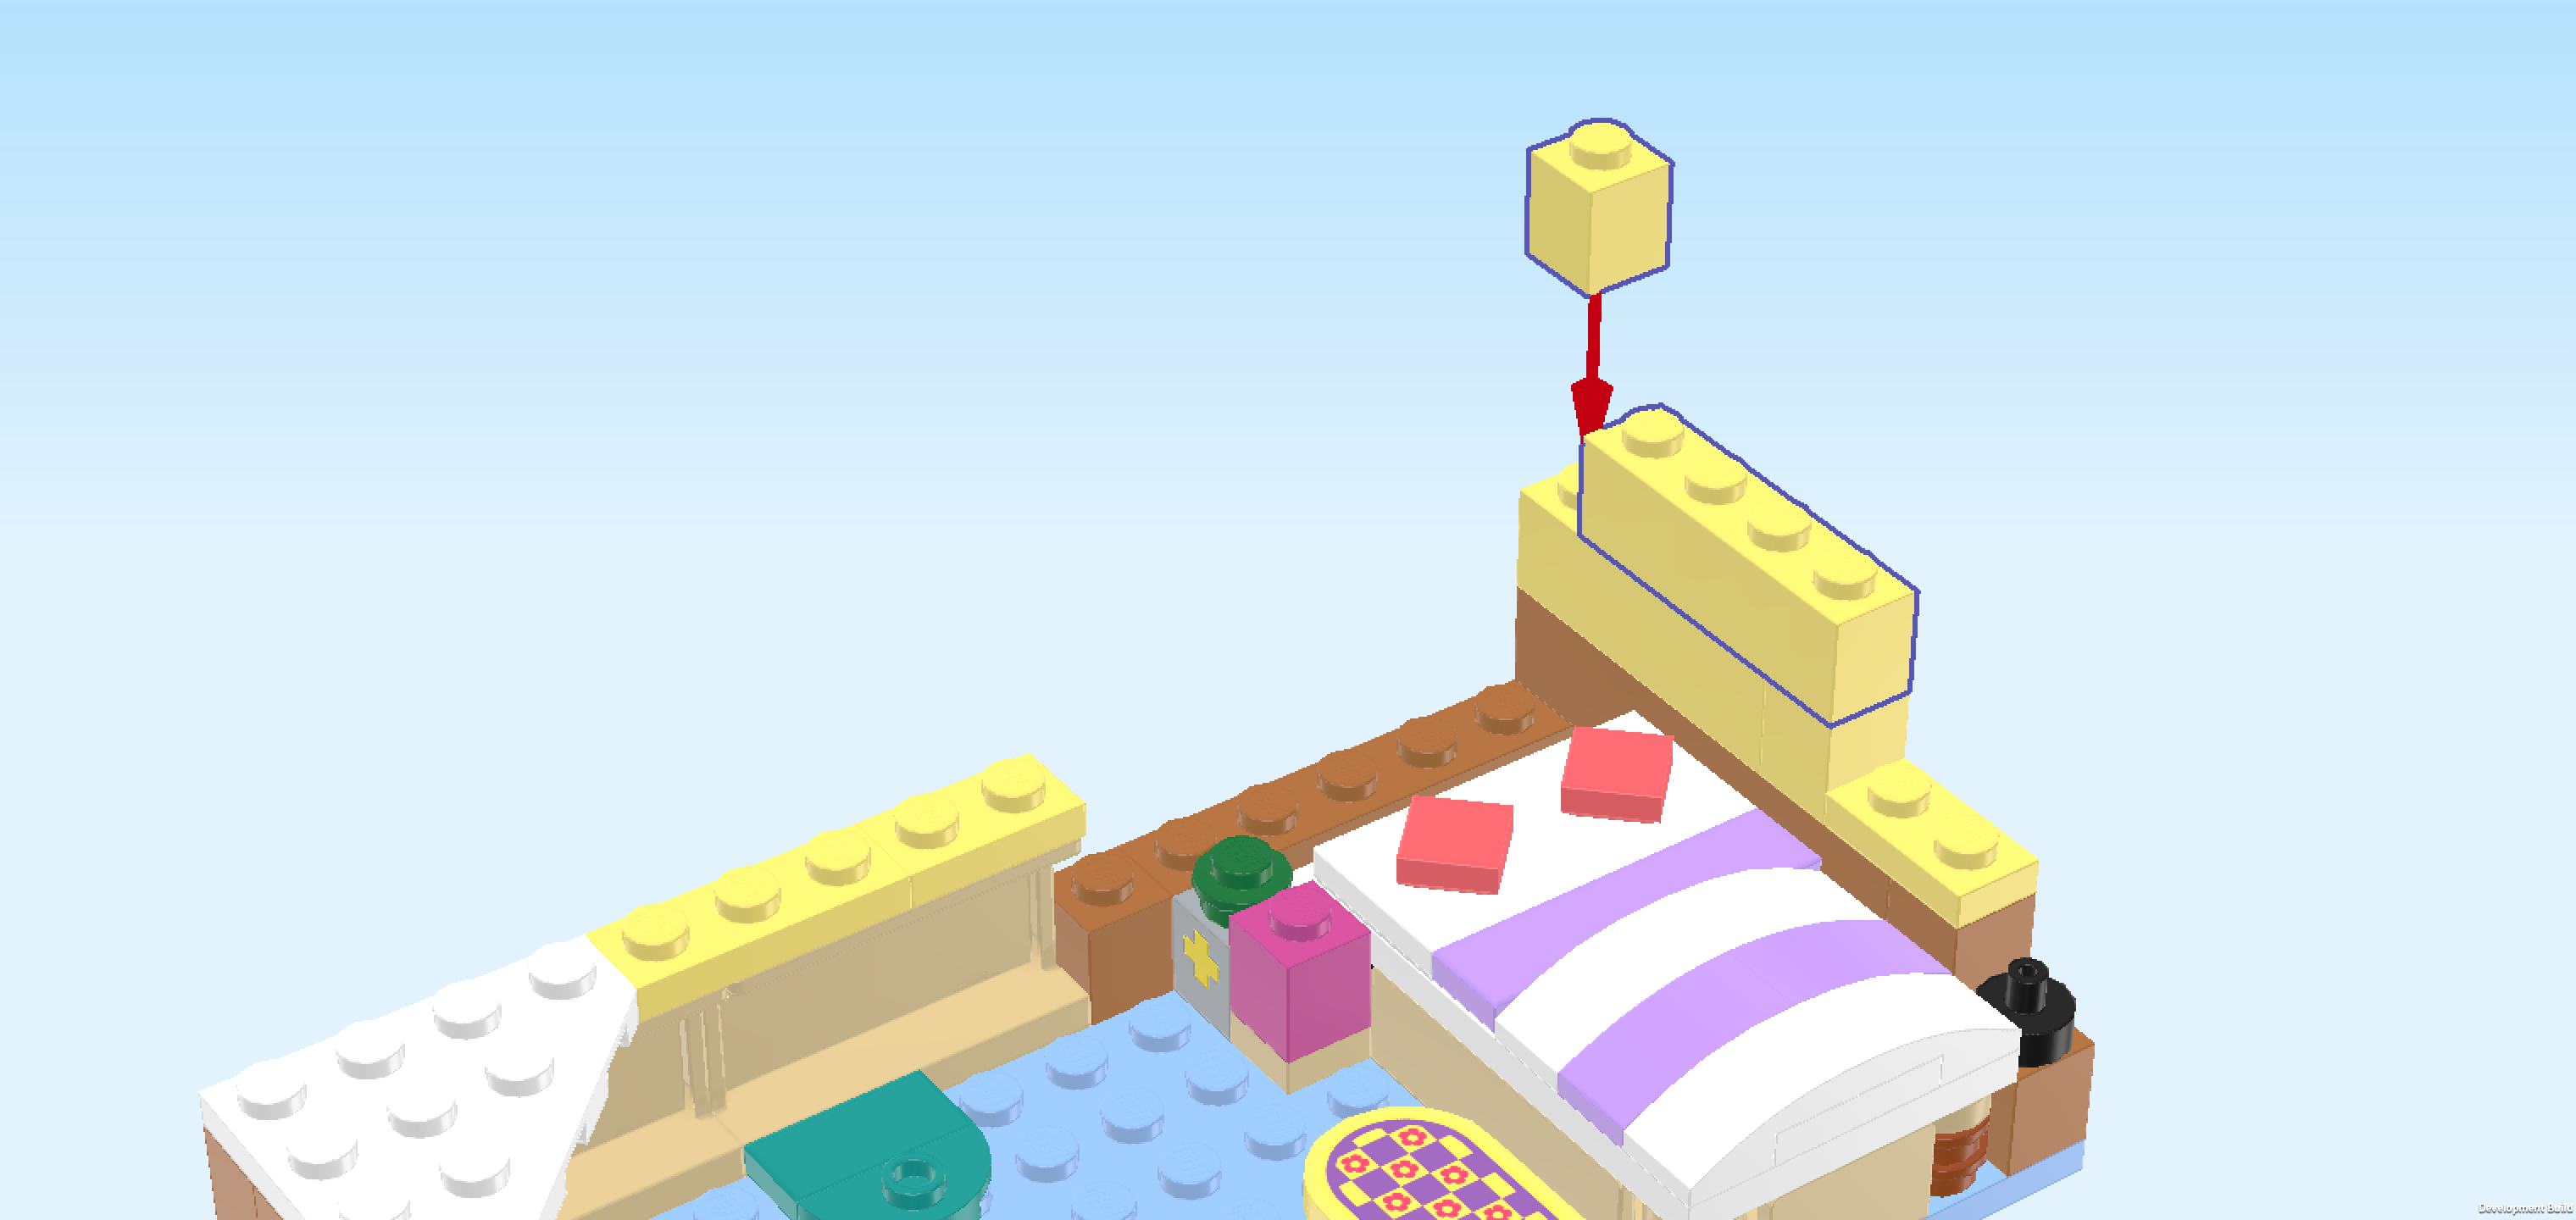
| Put the brick 1x1 on the previous piece's backmost knob. Make sure to align it so that it matches the edges of the piece below perfectly. |
| Put the brick 1x4 vertically in front of the previous piece. |
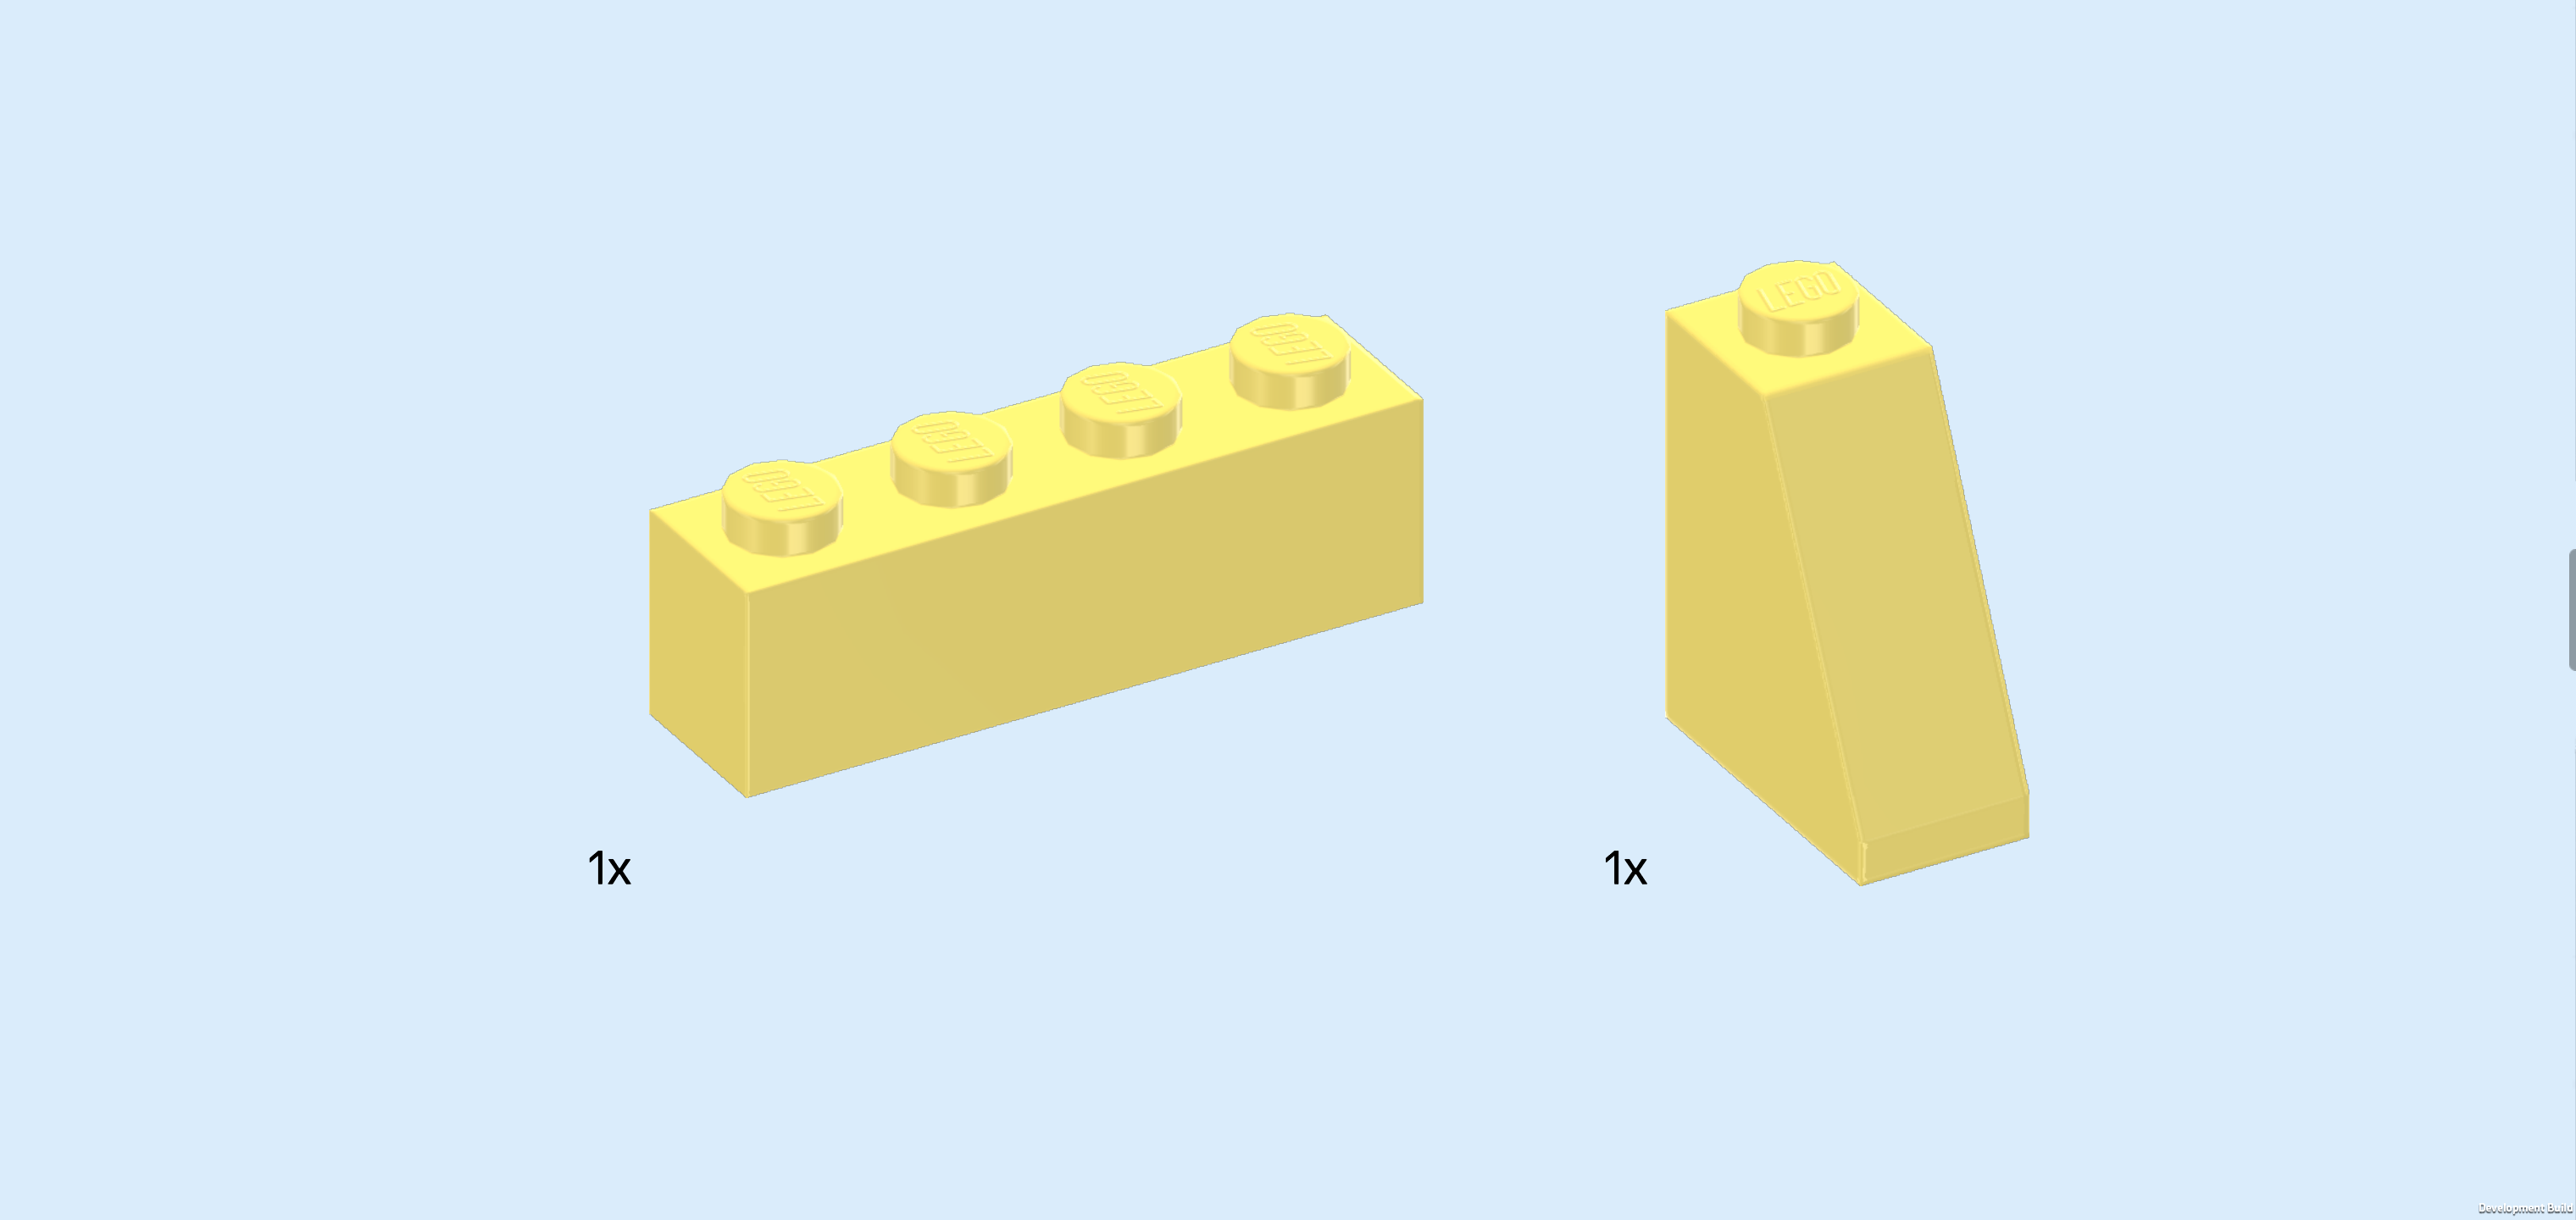
| Collect the following 2 pieces: |
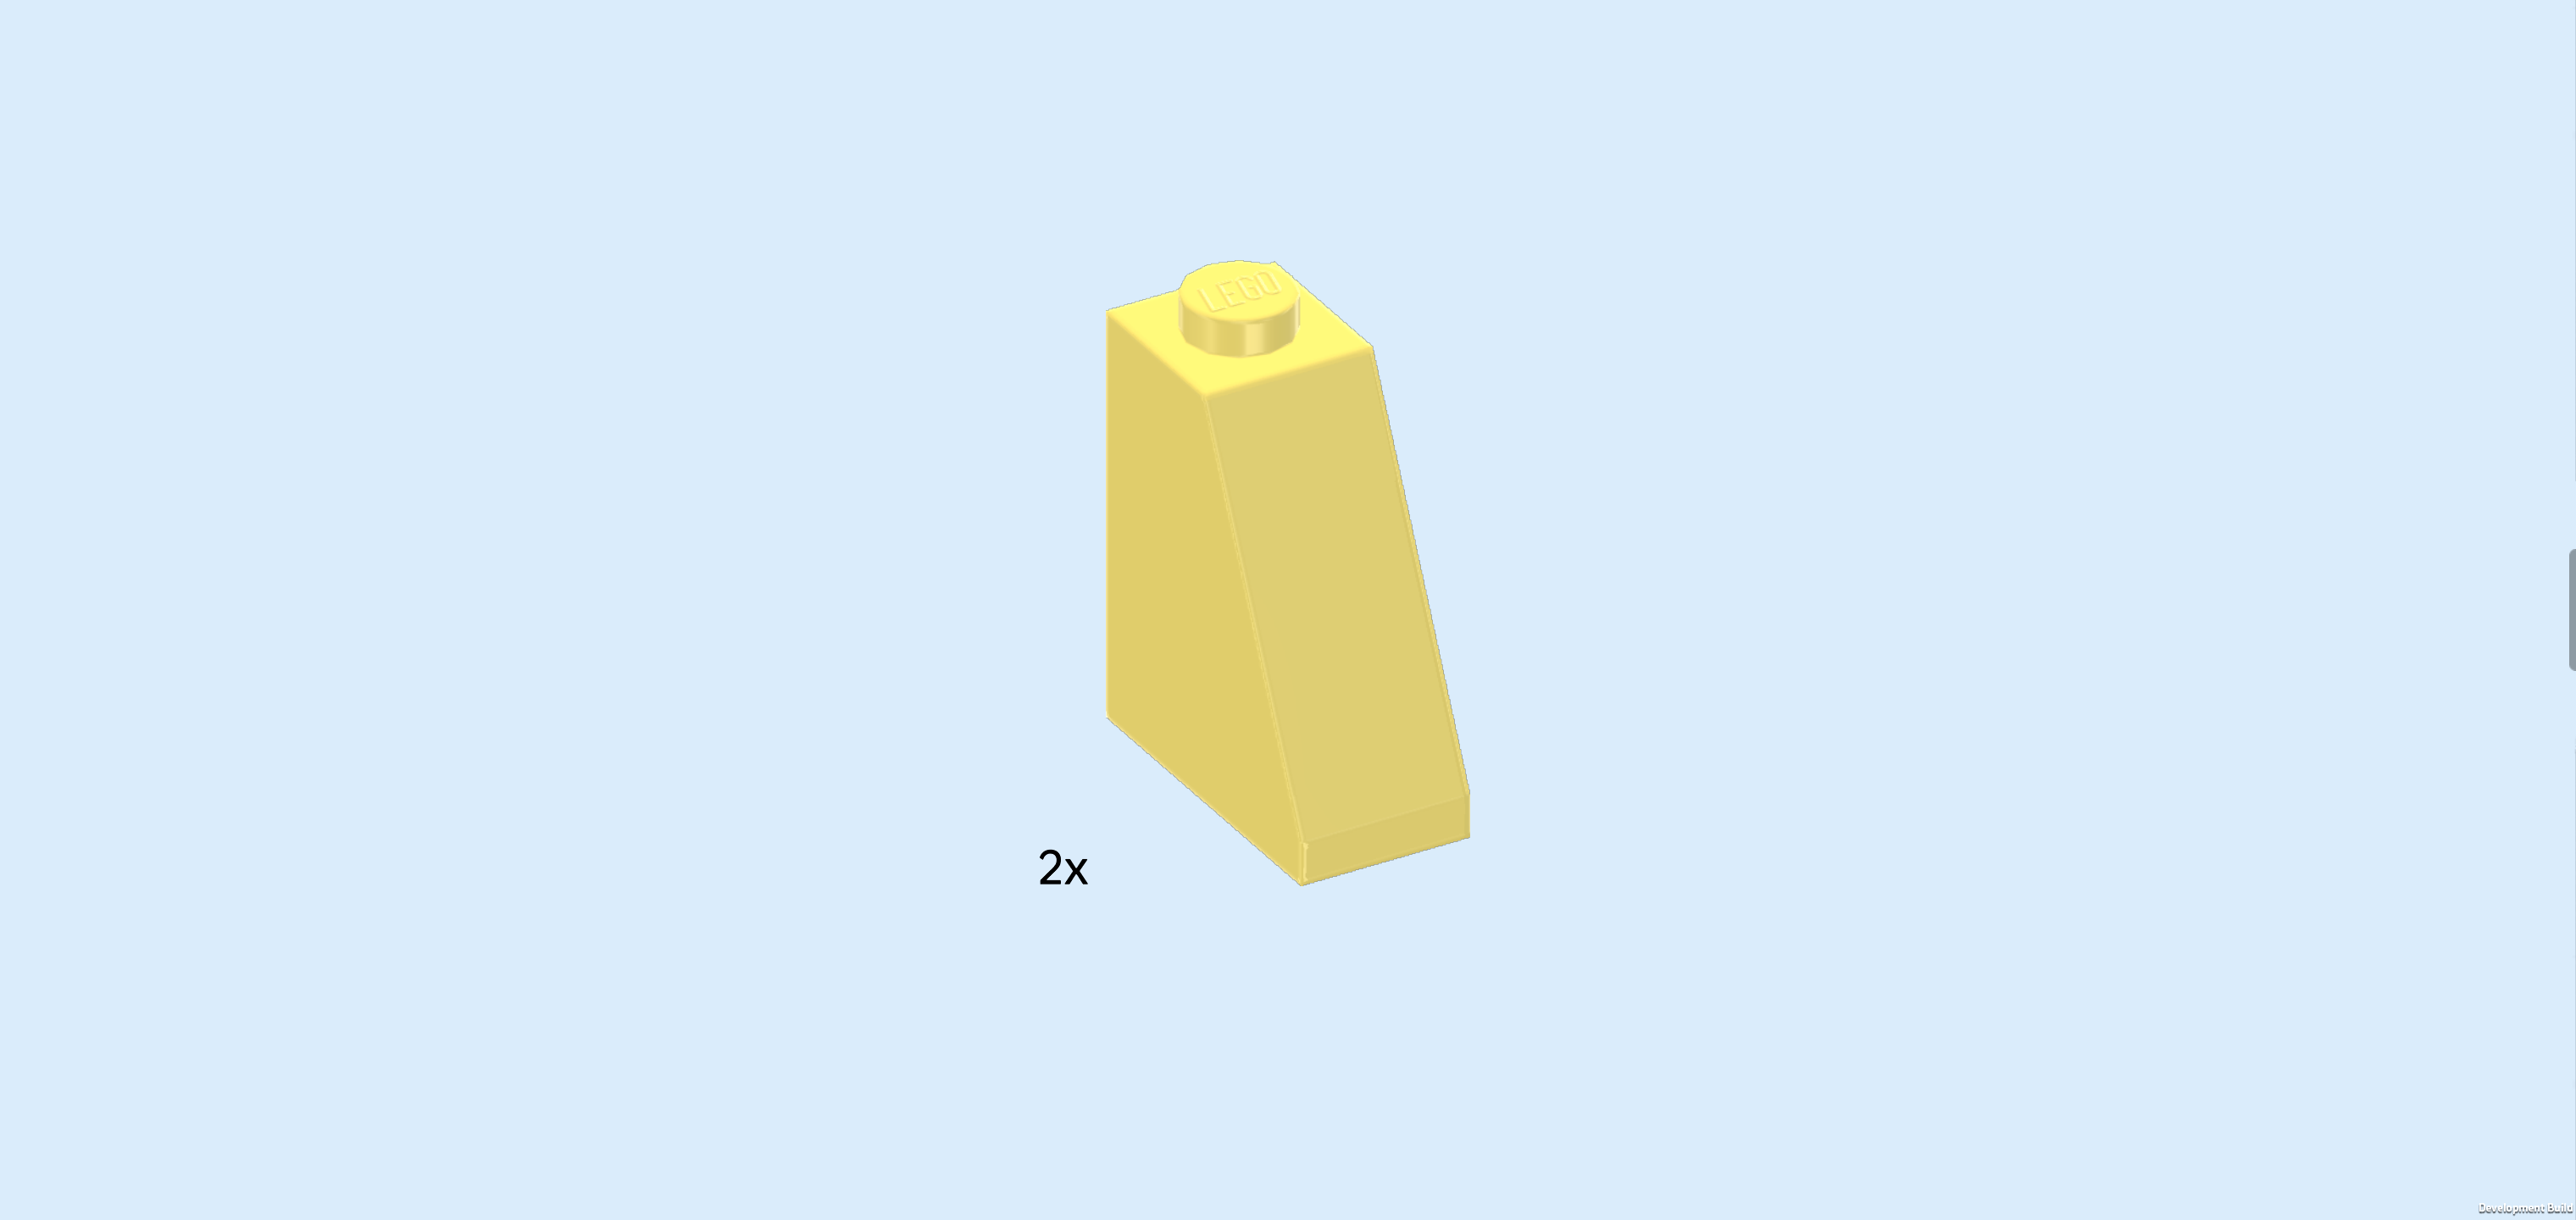
| 1 lemon yellow roof tile 1x2x2, 65°, |
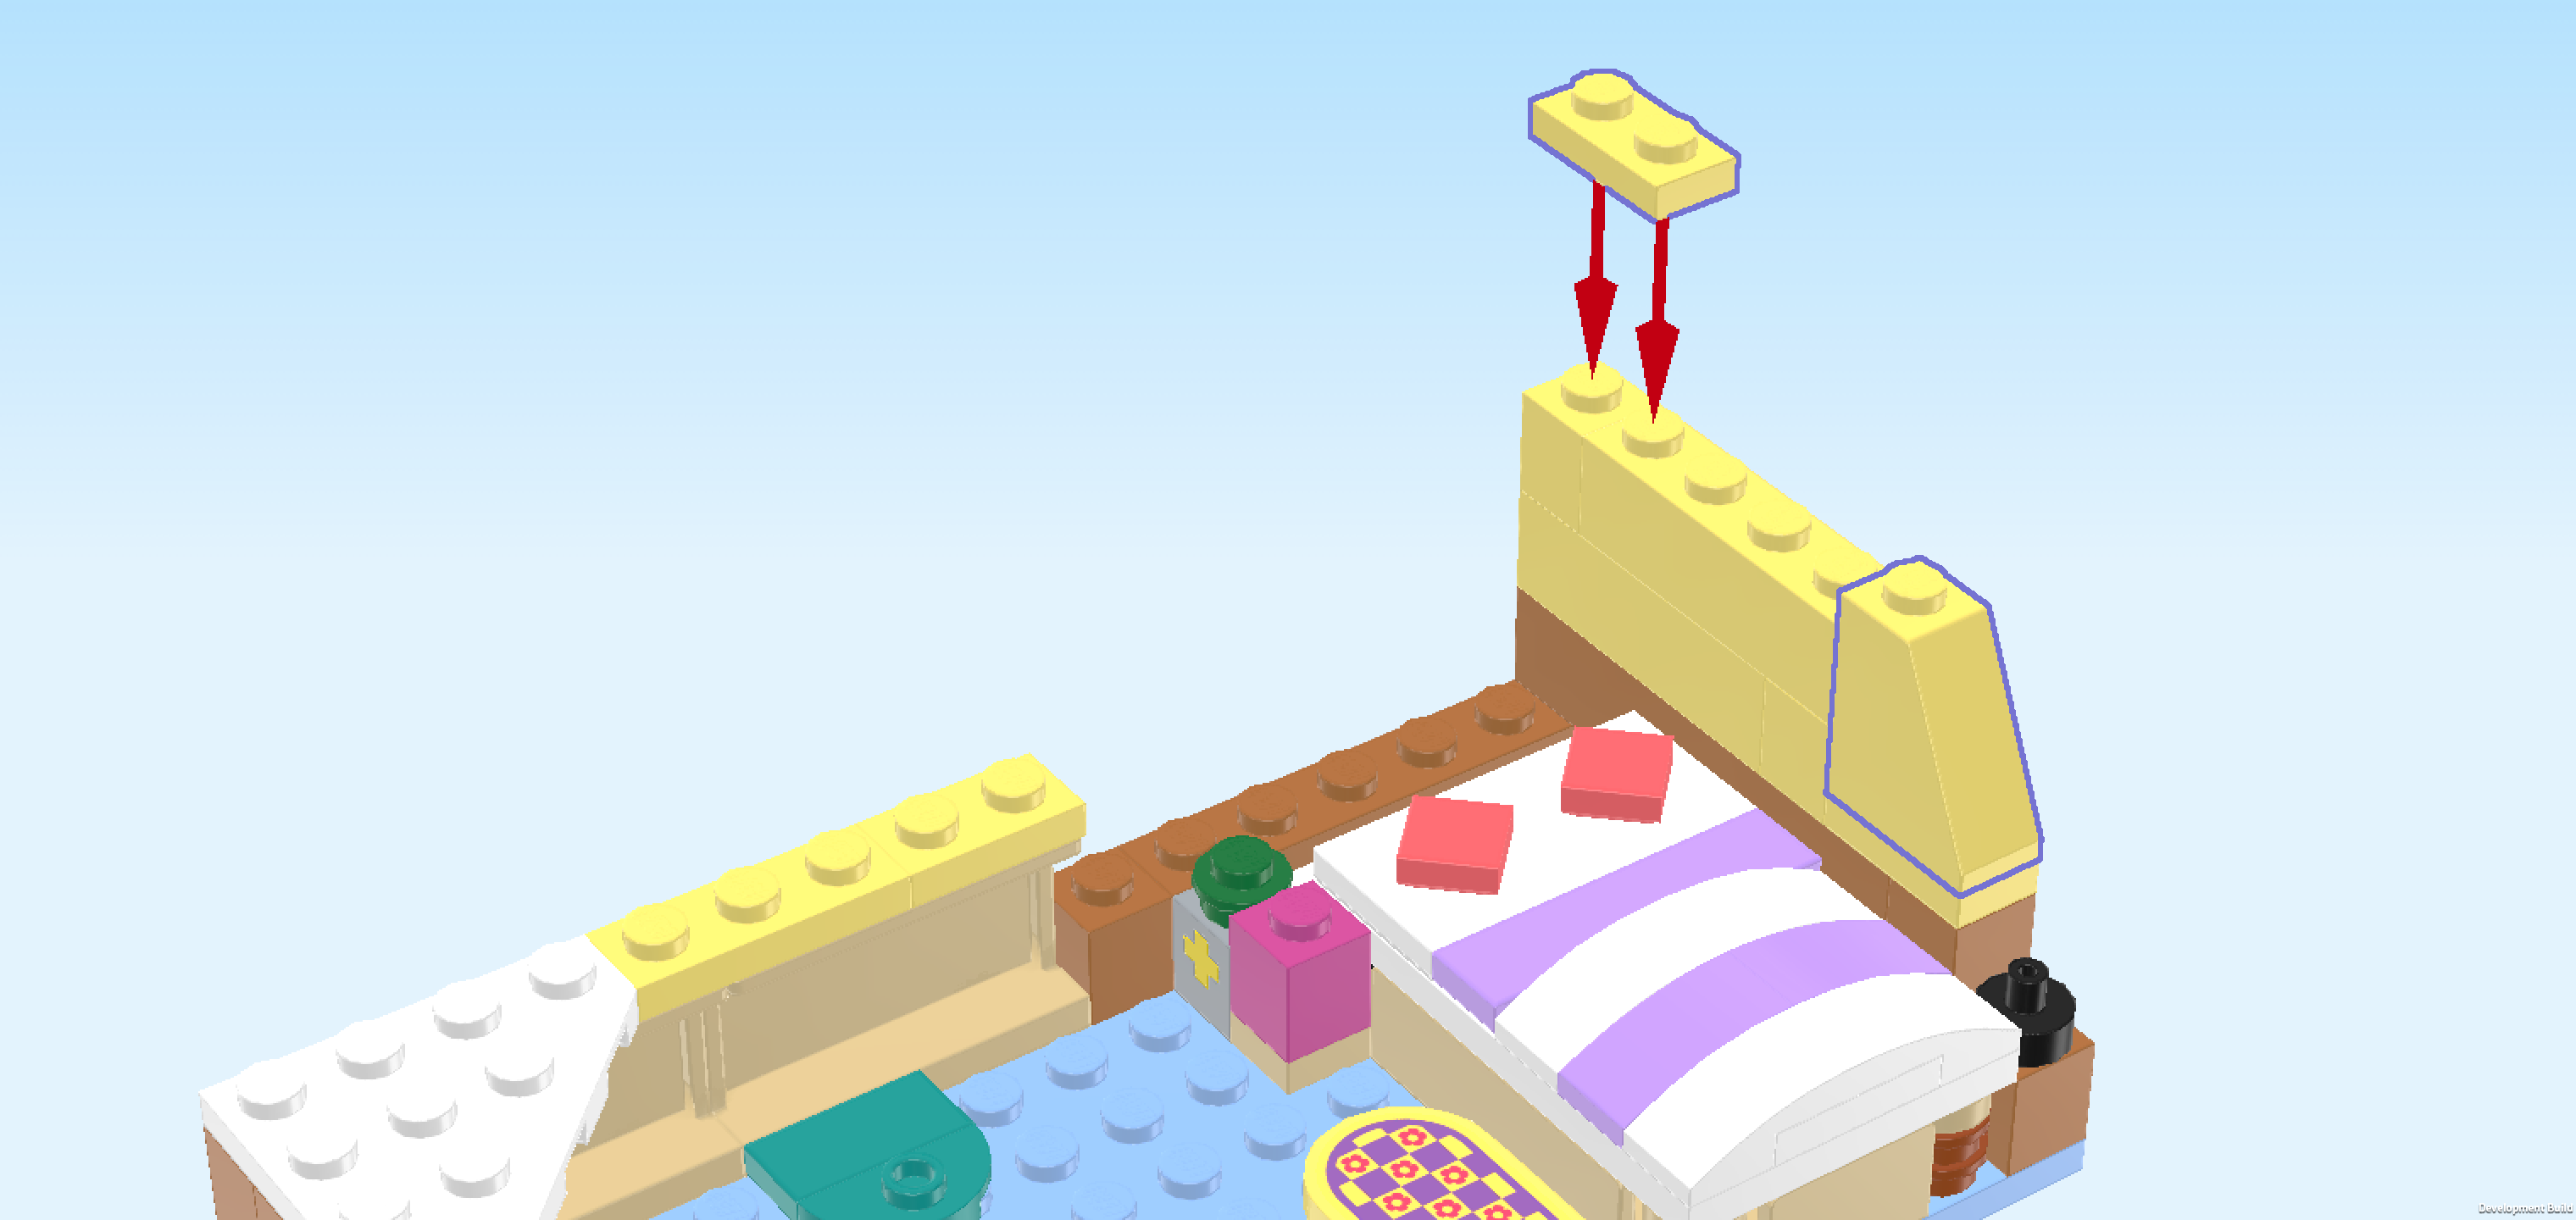
| and another lemon yellow plate 1x2. |
| Put the roof tile 1x2x2 vertically in front of the previous piece on the slightly lower level, slope to the front. |
| Put the plate 1x2 vertically on the 2 backmost knobs of the right side wall. |
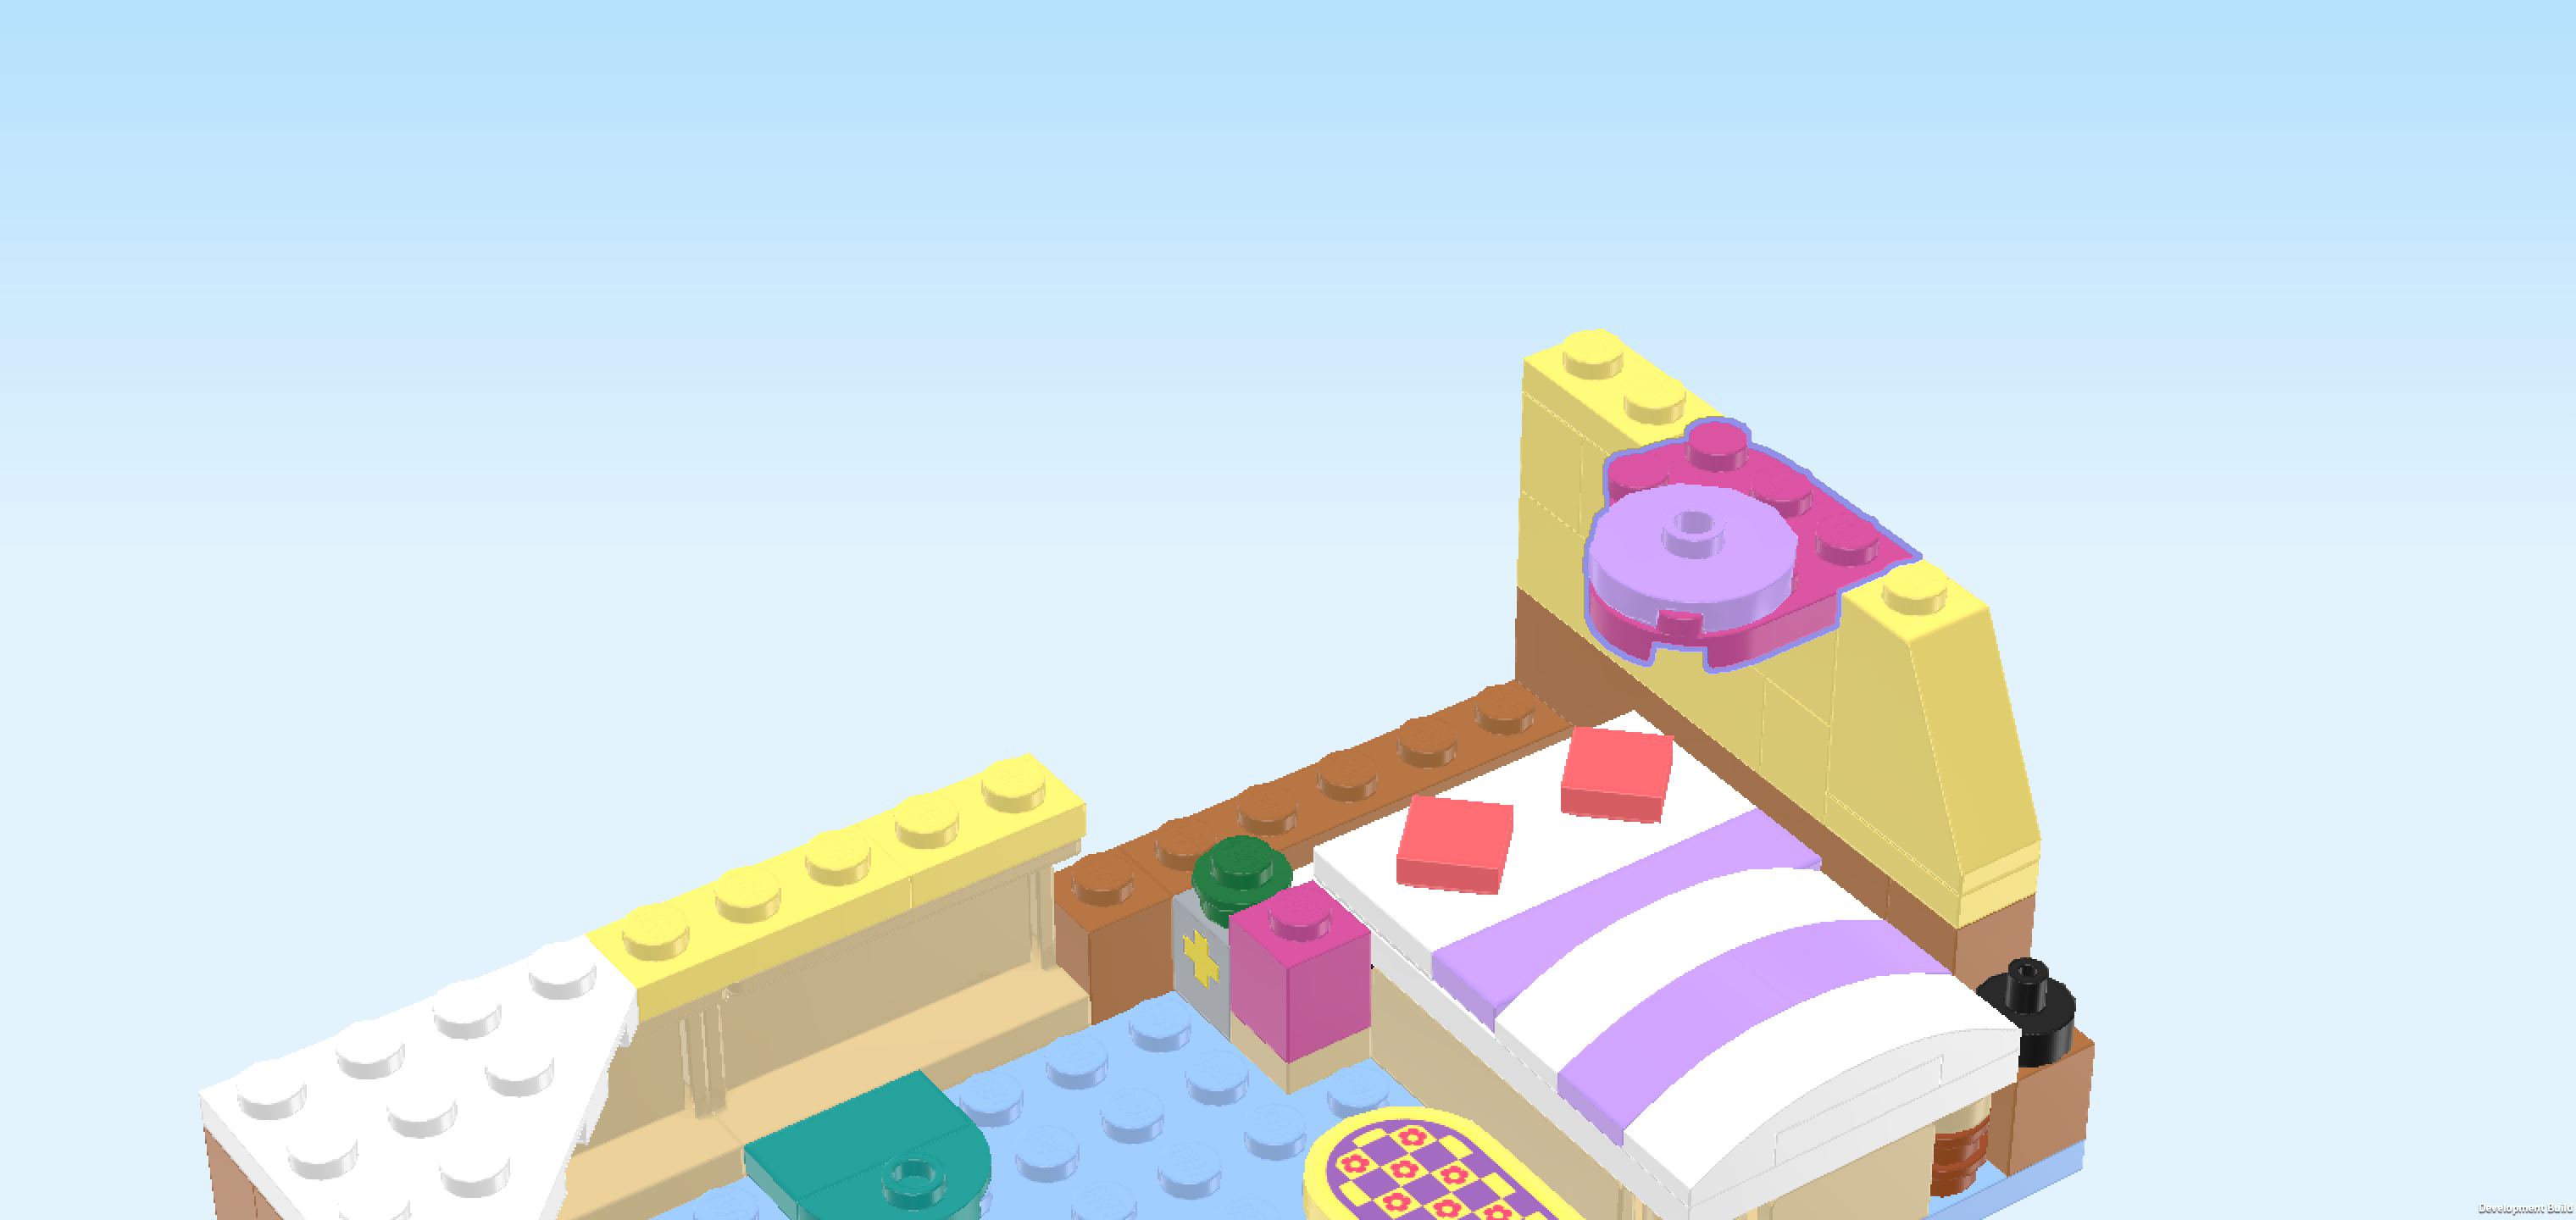
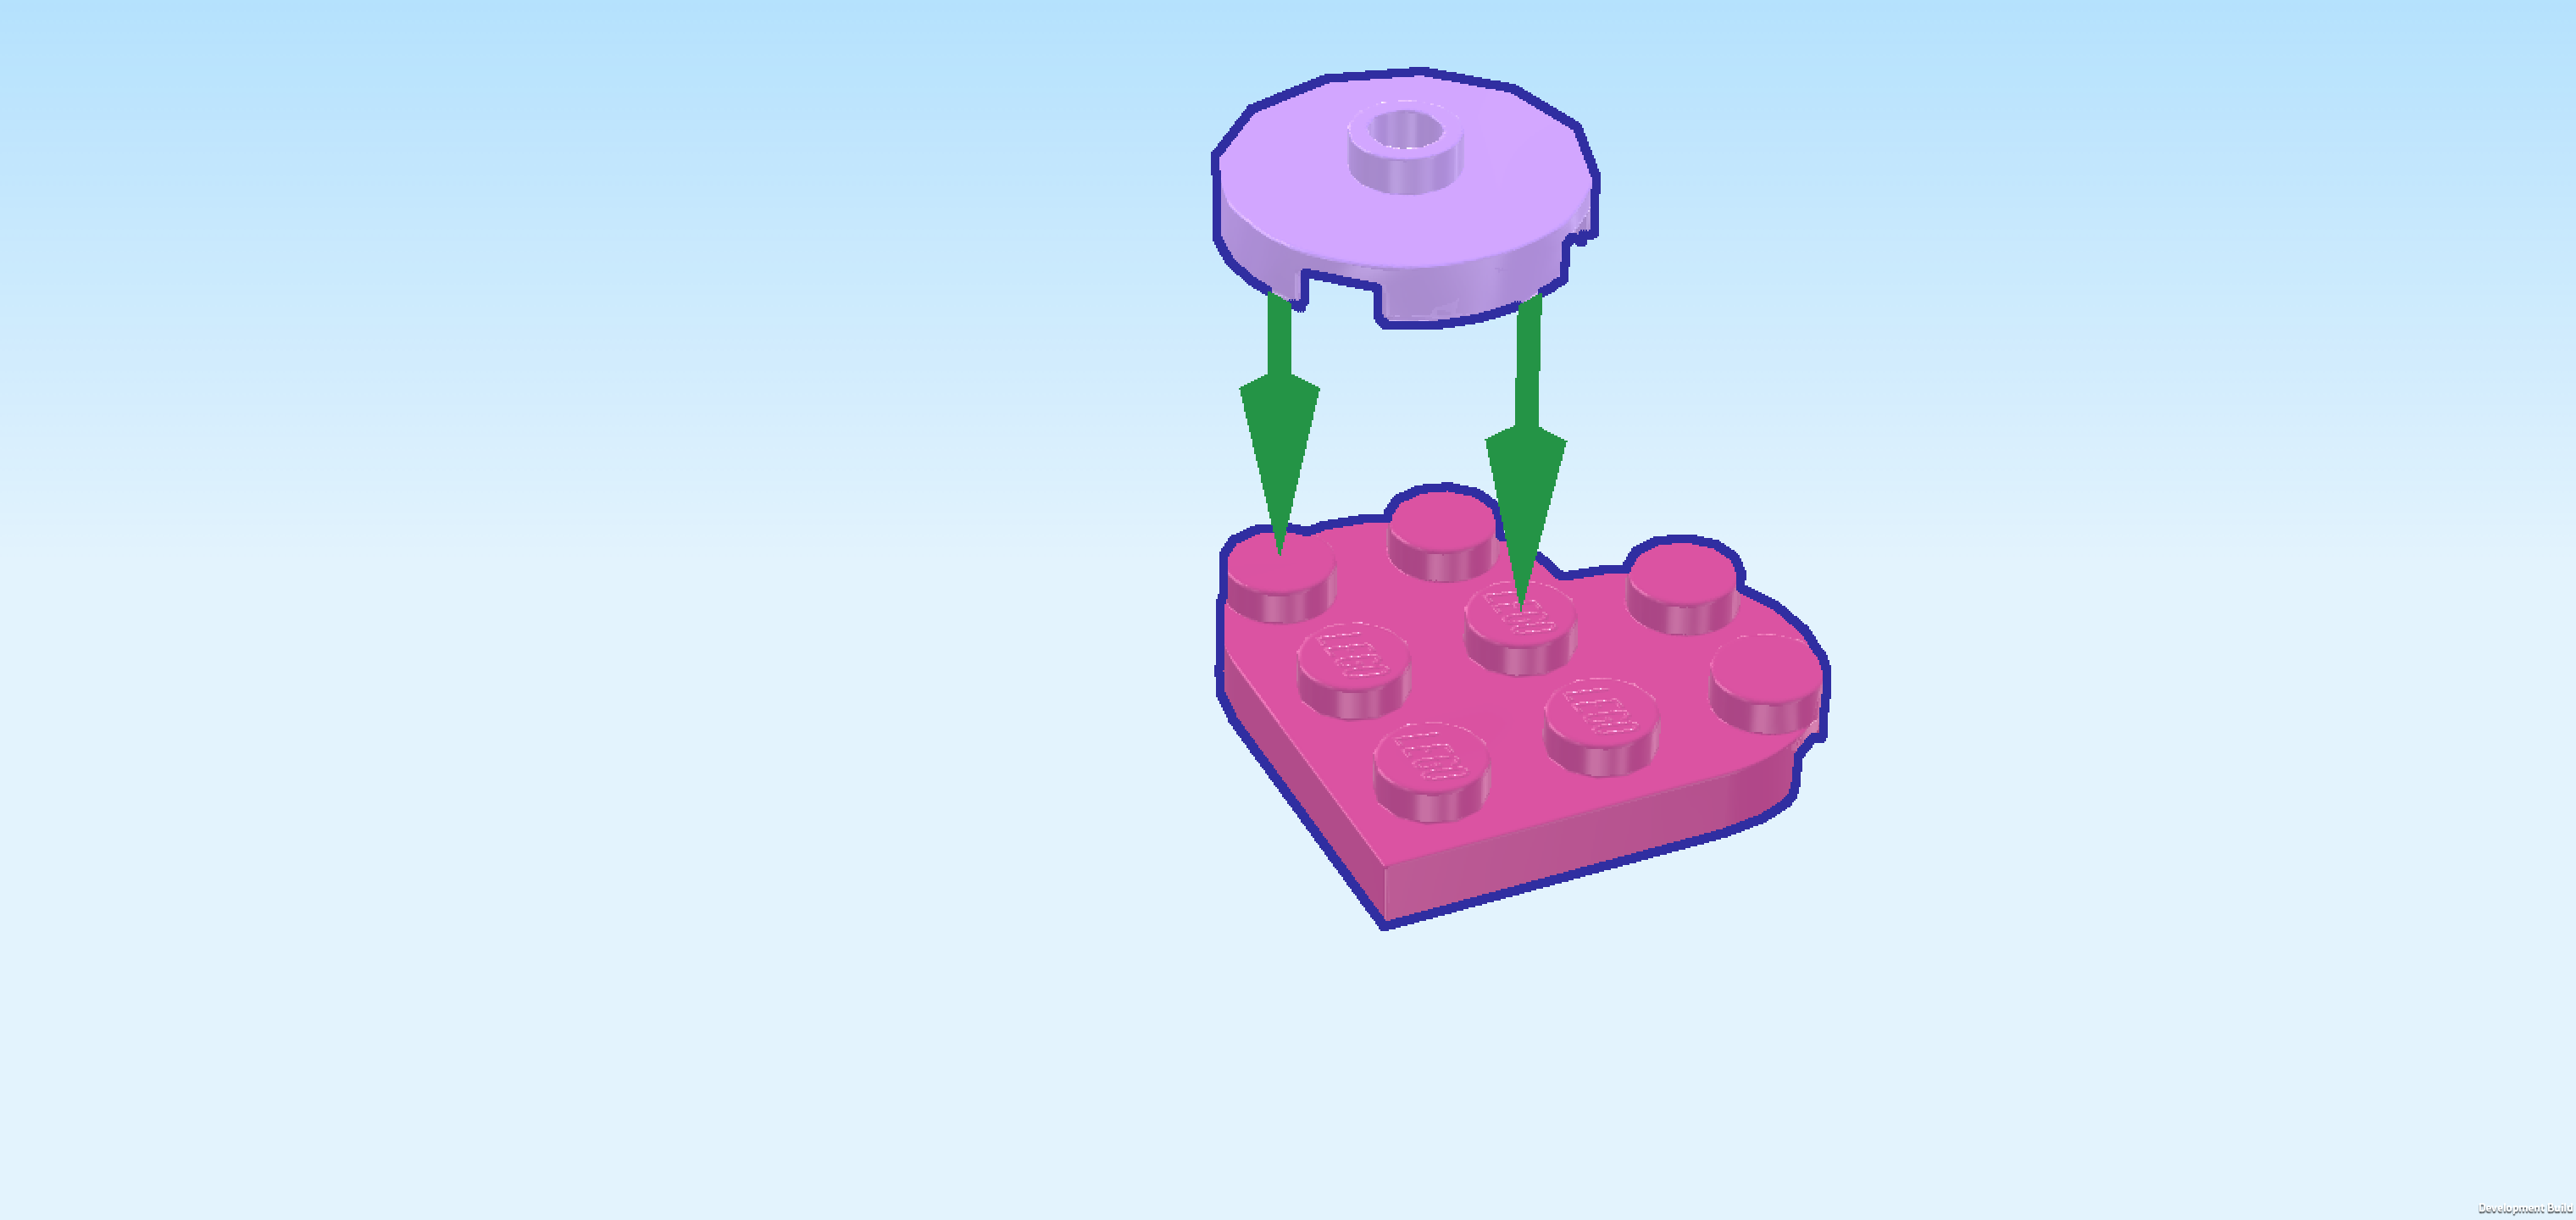
| Next up, we will build the heart-shaped shelf. |
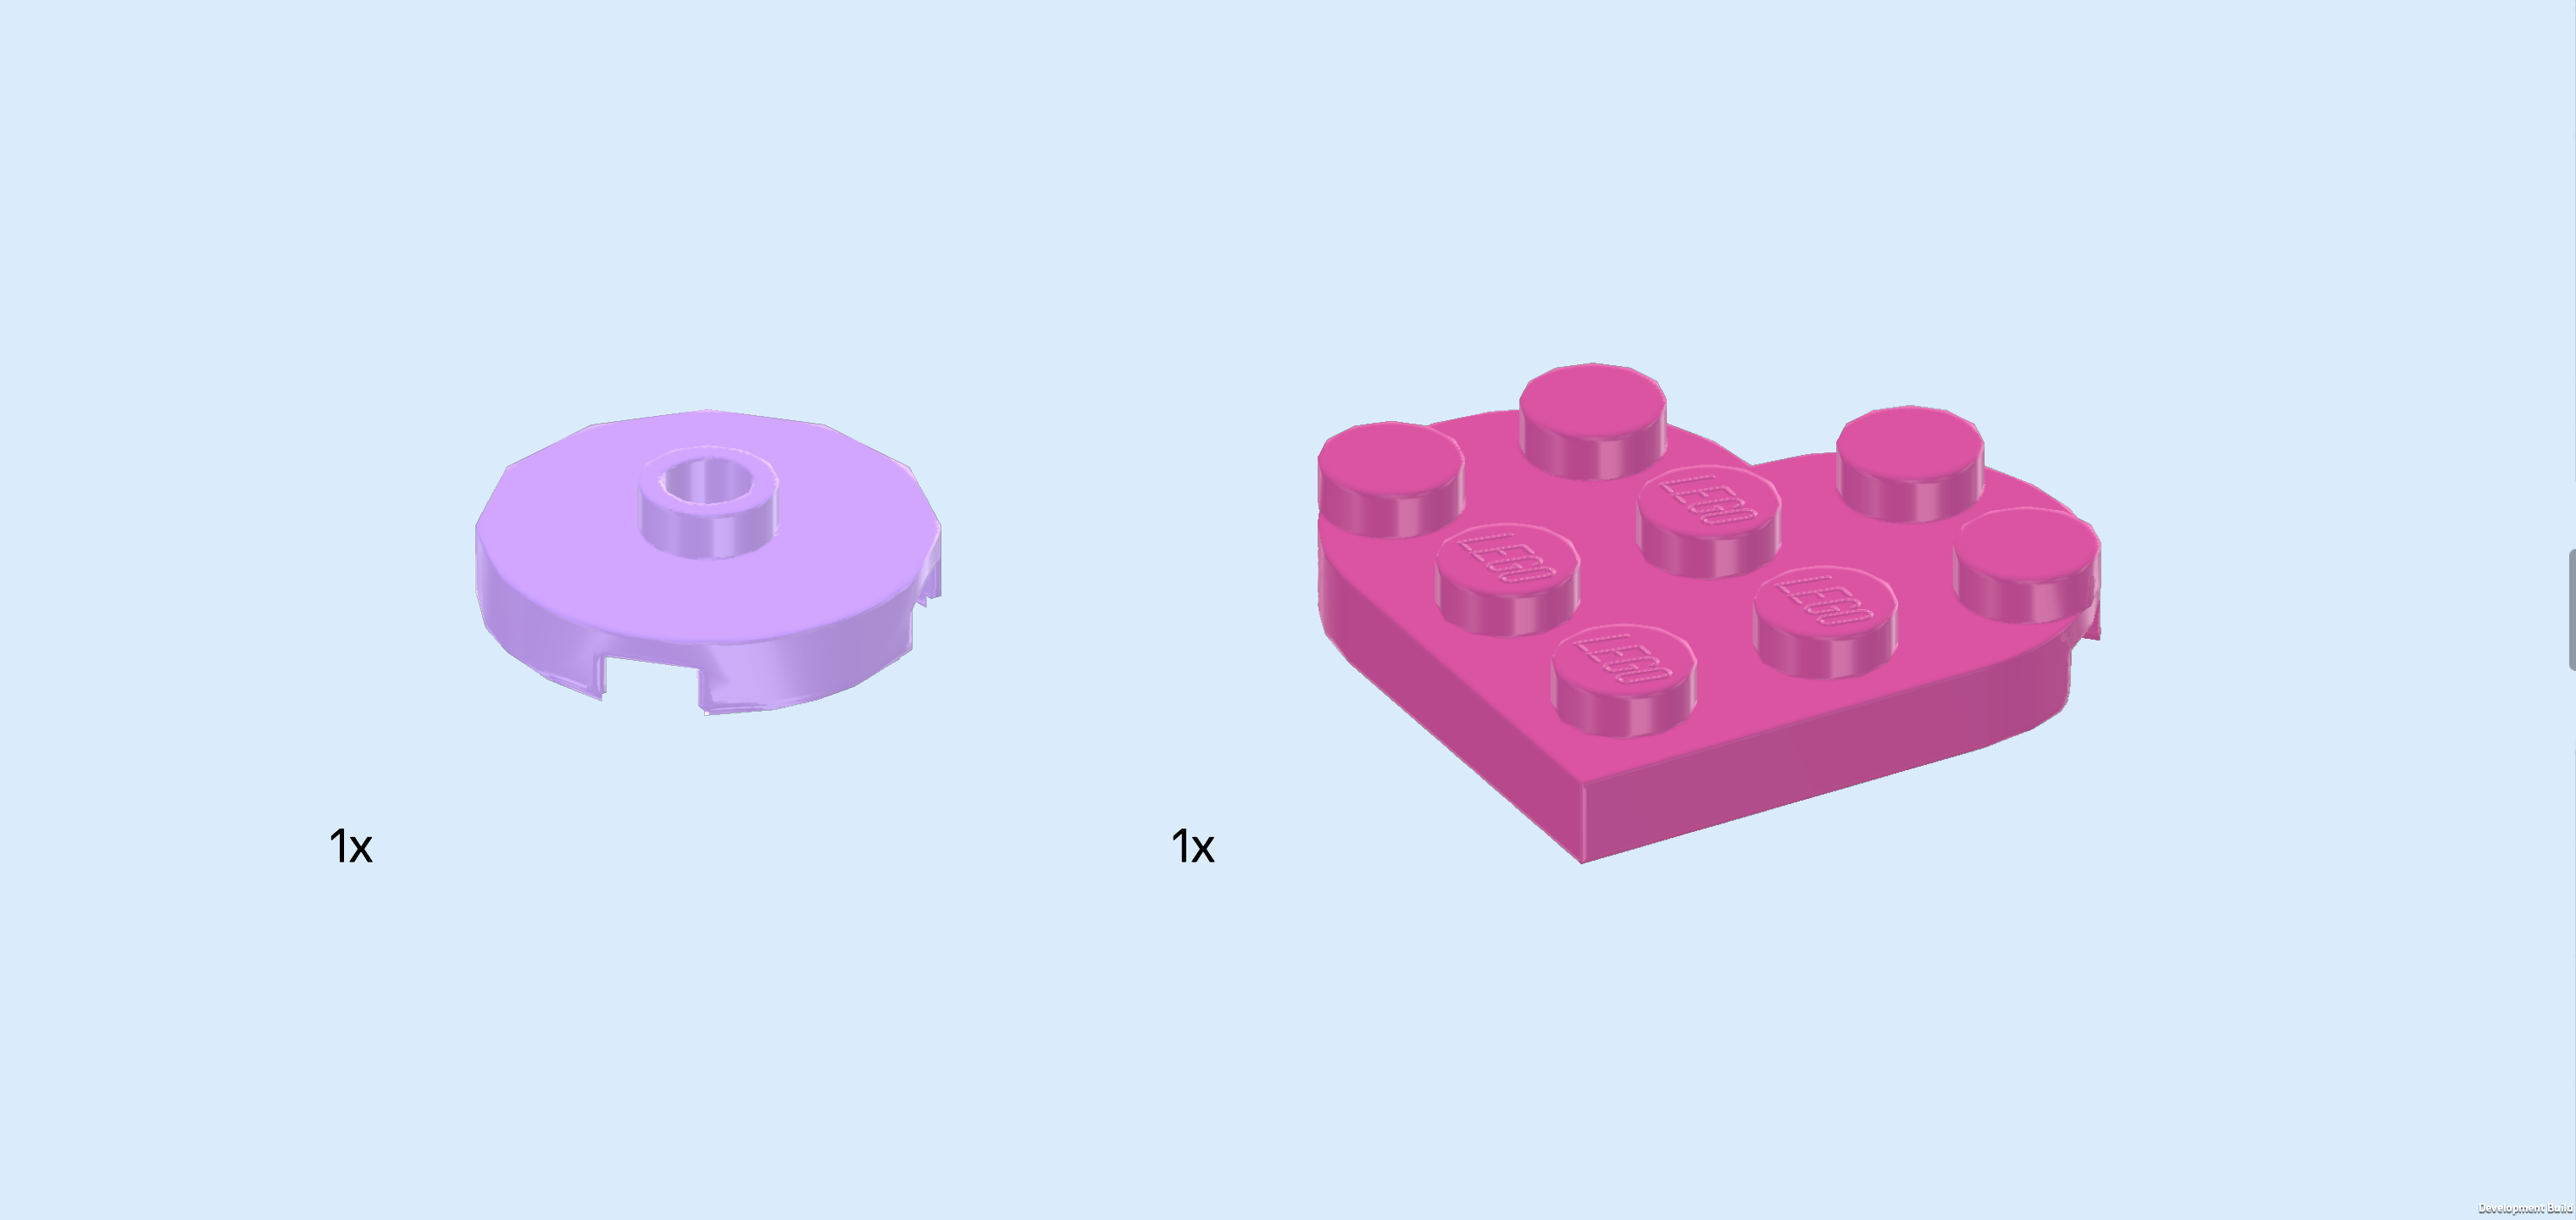
| Collect the following 2 pieces: |
| 1 light lavender round plate 2x2 with 1 knob, |
| and 1 bright purple heart-shaped plate 3x3. |
| Put the heart-shaped plate 3x3 on the table, its tip pointing towards you. |
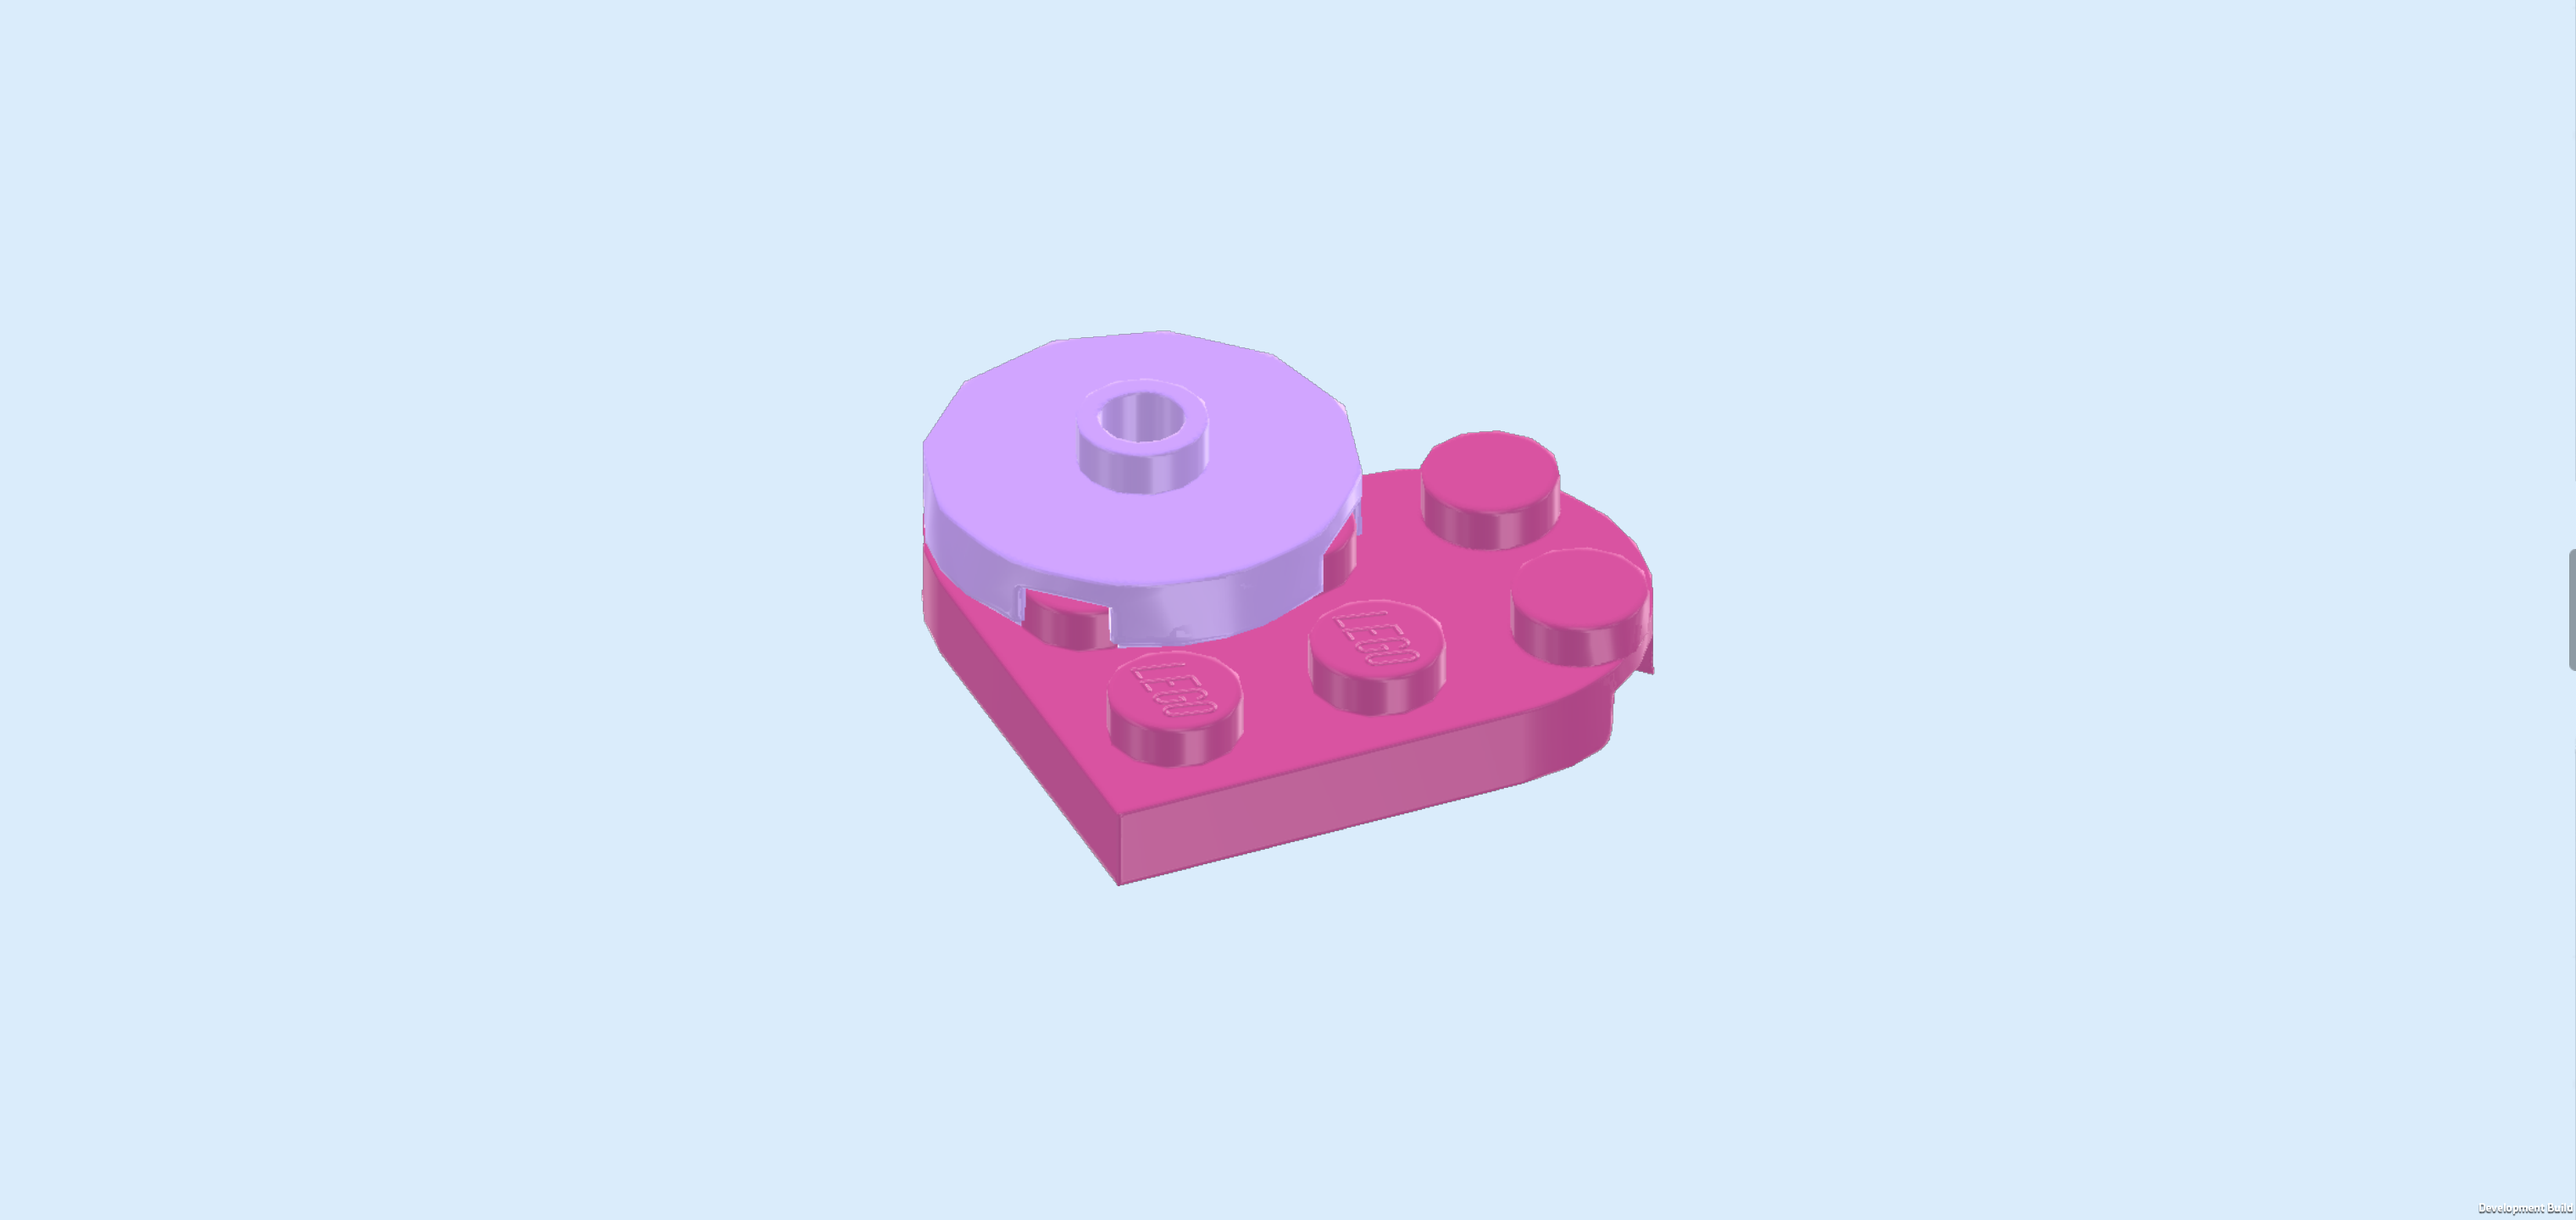
| Put the round plate 2x2 on the left curve of the heart-shape, aligning the round edges. |
| Turn the heart-shaped shelf a bit to the right so that its tip is pointing to the front right and 3 of its outer knobs form a straight column on the right edge. |
| Mount the rightmost edge on the right side wall between plate 1x2 and roof tile 1x2x2, 2/3 with attached round plate overhanging to the left. |
| This shelf will later become the home of Paisley's plushie! |
| Find 1 lemon yellow brick 1x4. |
| Put it vertically on the right side wall, starting from the back edge. |
| Collect the following 2 pieces: |
| another lemon yellow brick 1x4, |
| and 1 lemon yellow roof tile 1x2x2, 65°. |
| Put the brick 1x4 vertically on top of the previous piece. |
| Put the roof tile 1x2x2 vertically in front of the 2 previous pieces, slope to the front. |
| Collect the following 2 pieces: |
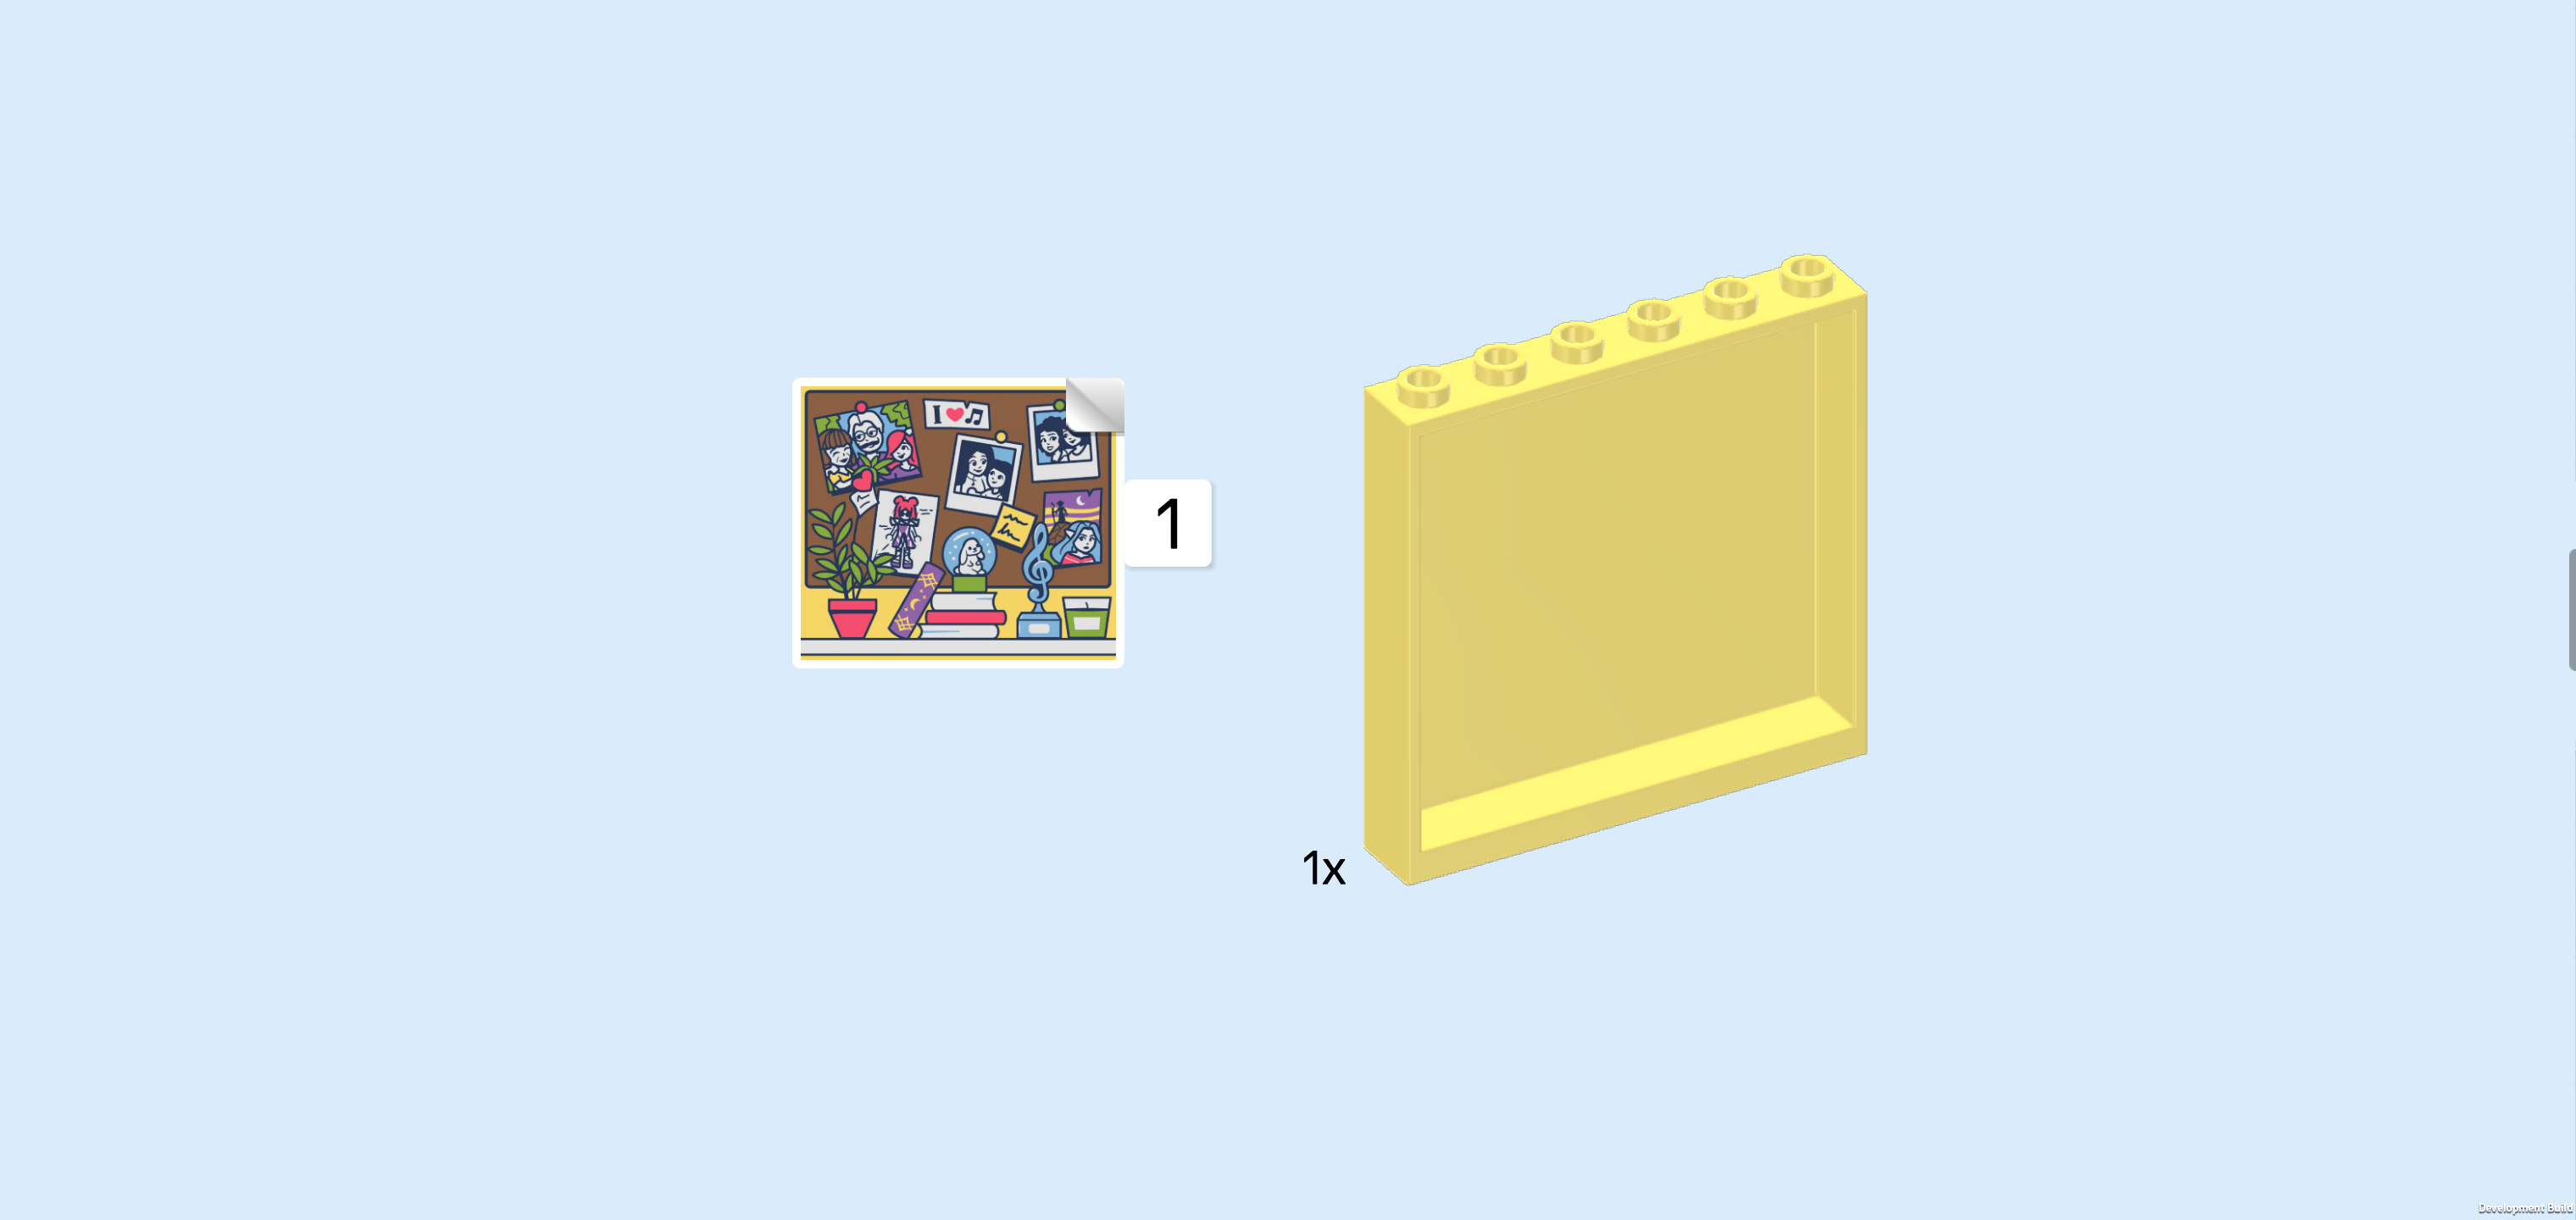
| 1 rectangular sticker 5x6 with bulletin board print, |
| and 1 lemon yellow wall element 1x6x5 with sides and top knobs. |
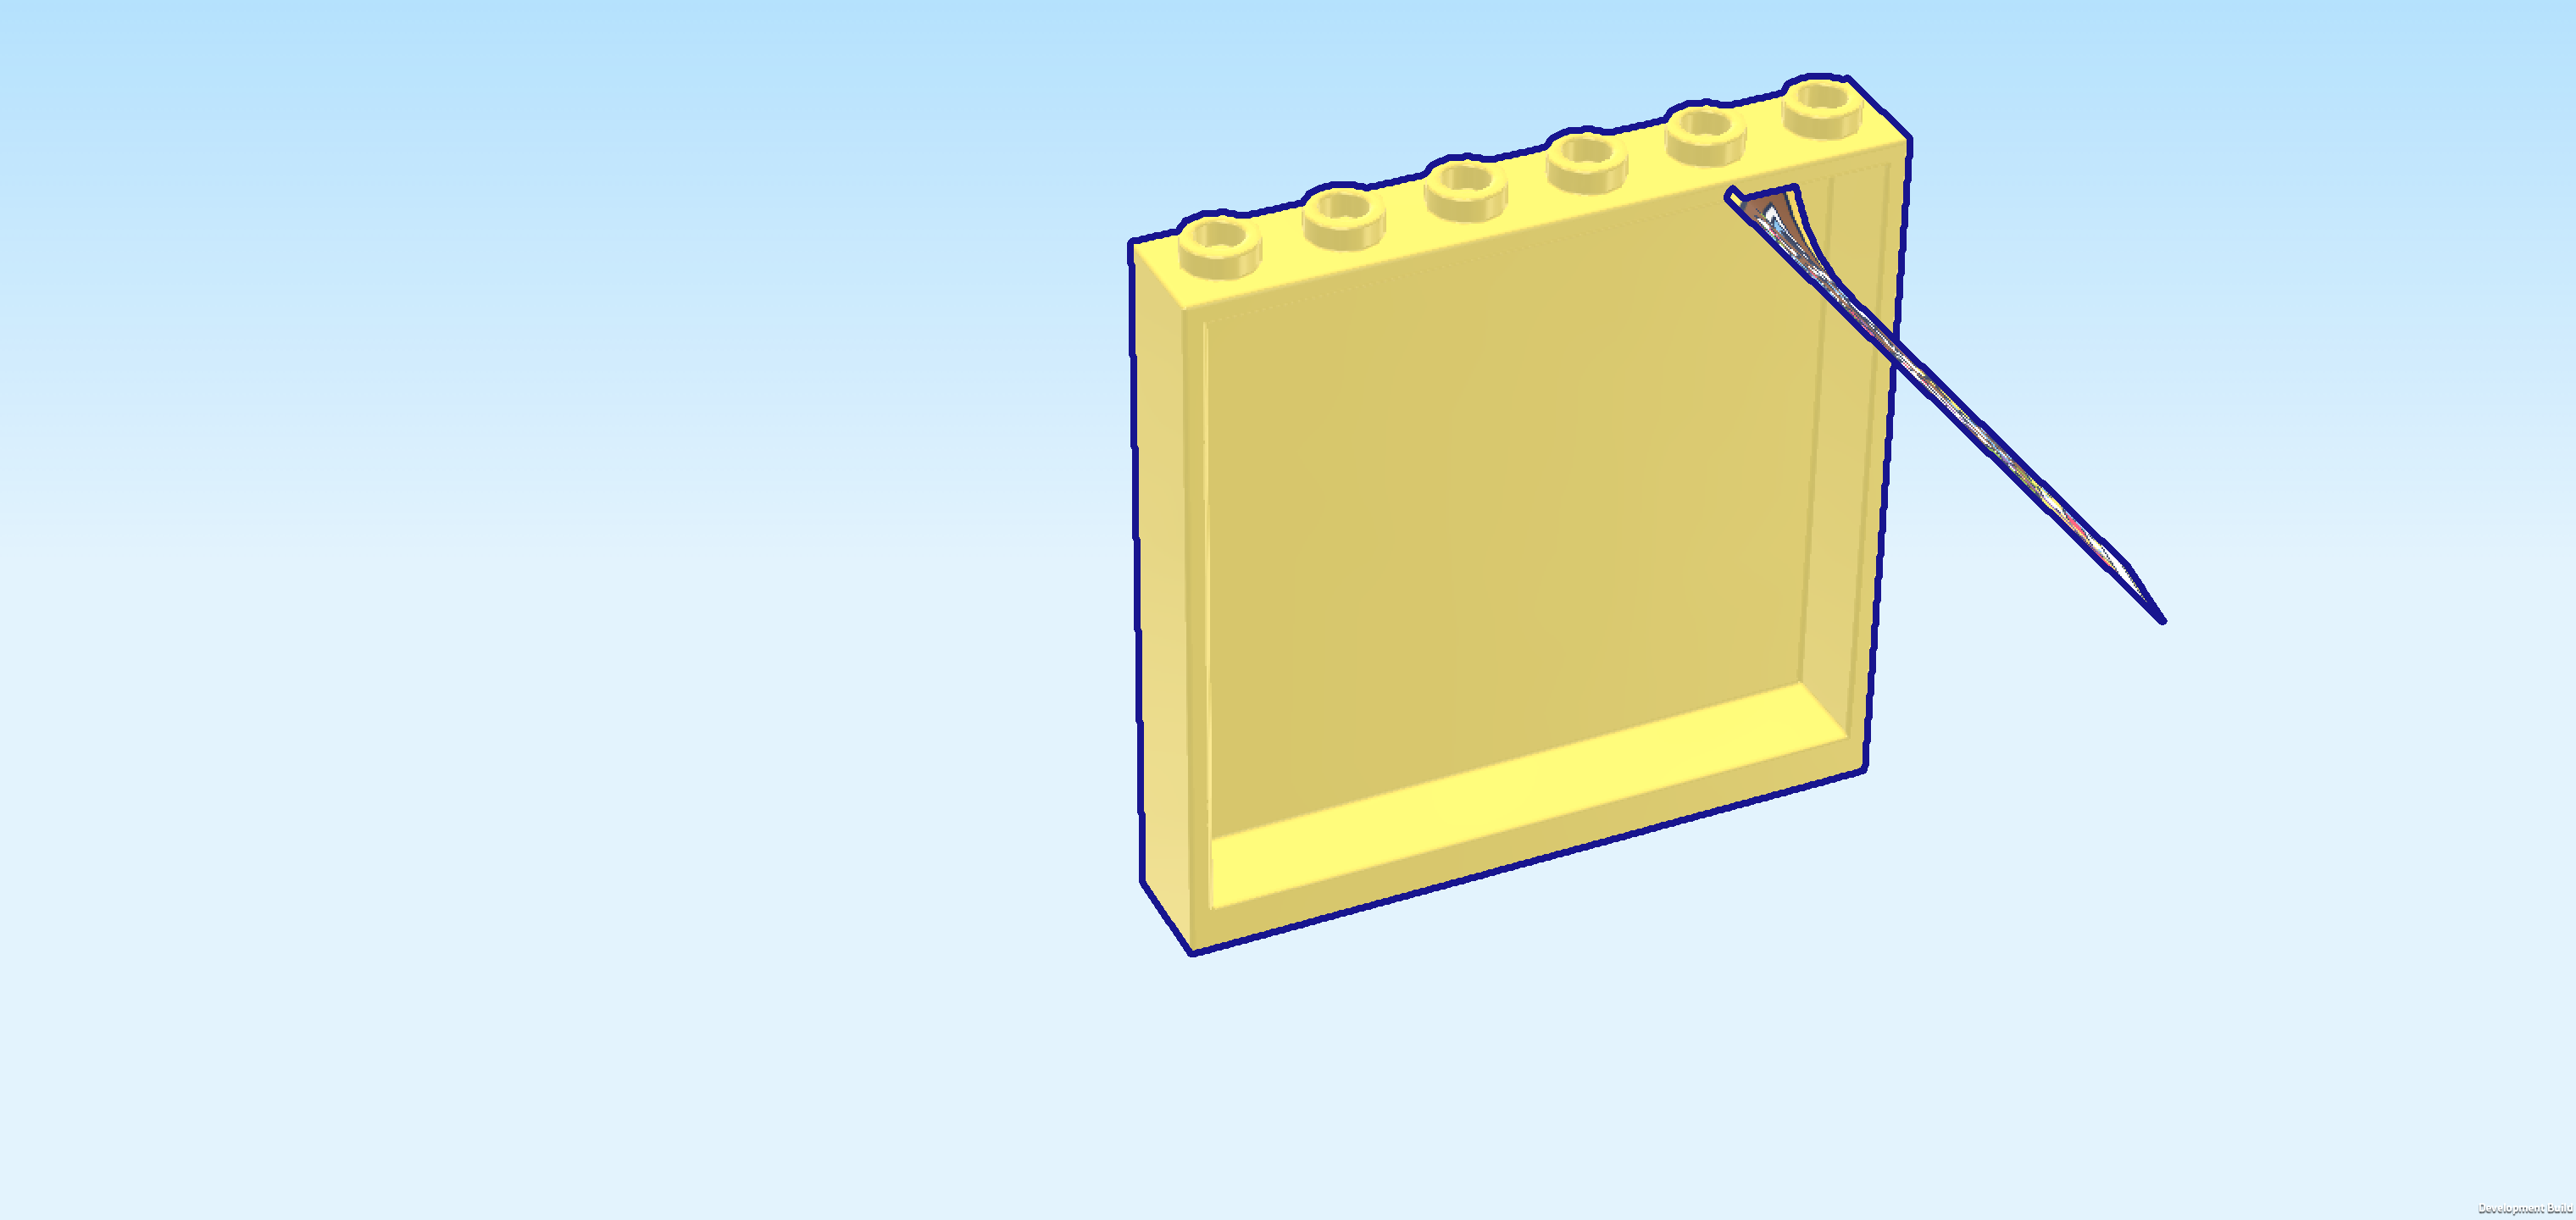
| Put the wall element flat on the table so that its hollow side is facing up. This means its panel side is flat on the table. Make sure the knobs are pointing to the back. |
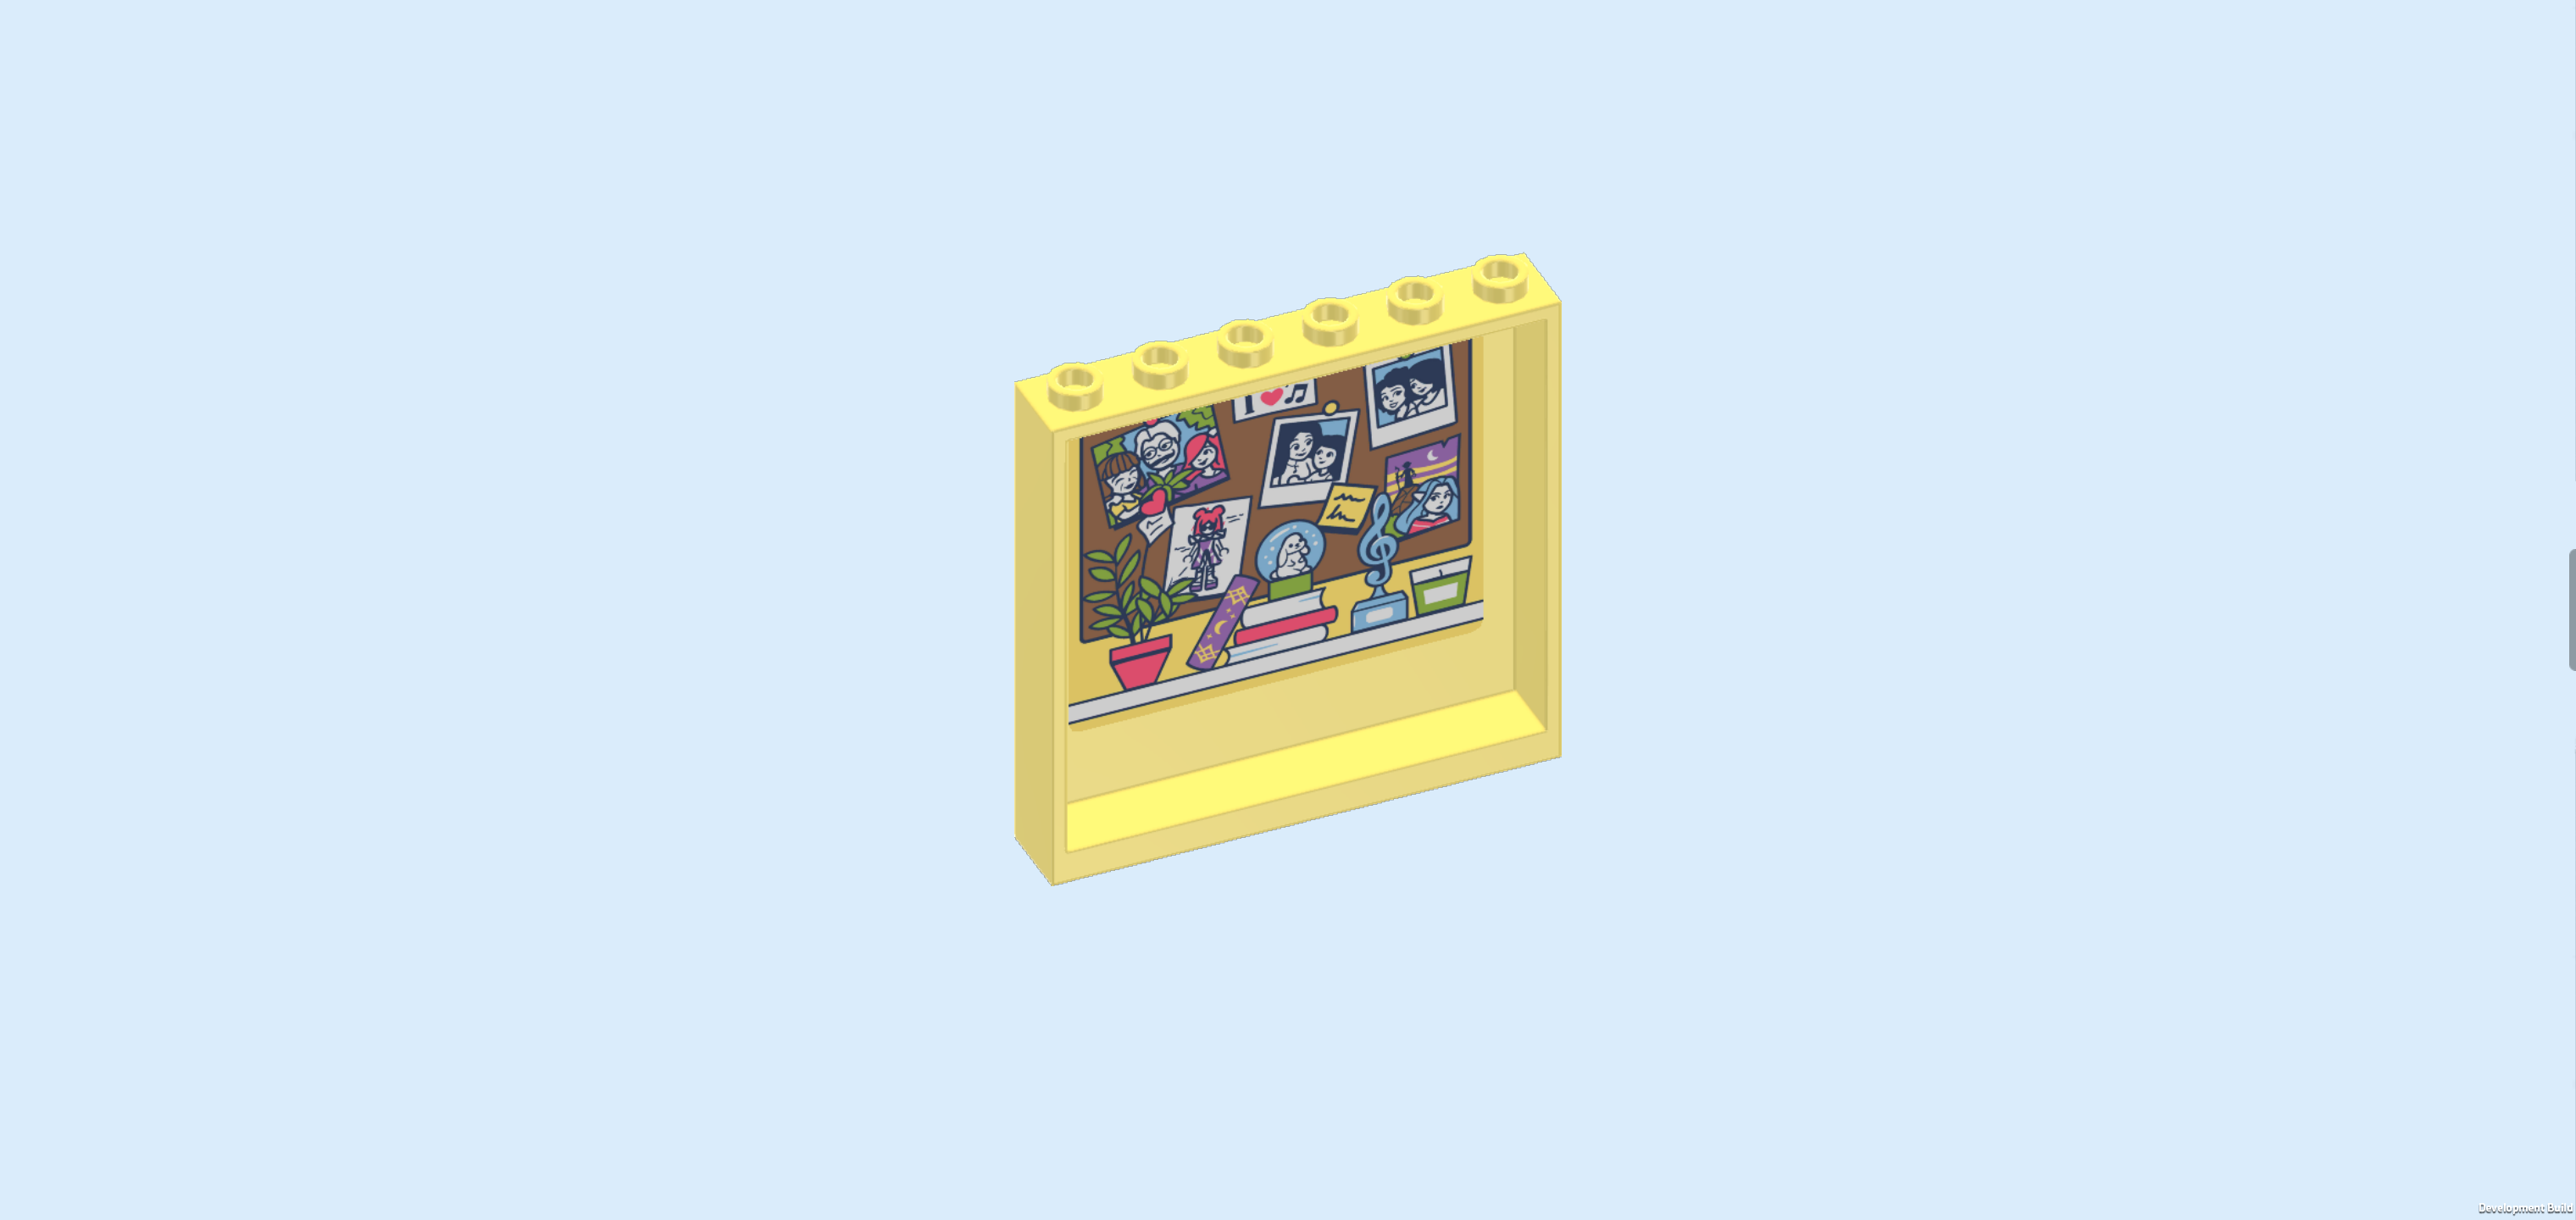
| Attach the sticker to the inside of the hollow side, aligning it with the back edge (this is the edge with the knobs). This means that there will be a sticker-free strip below the sticker. |
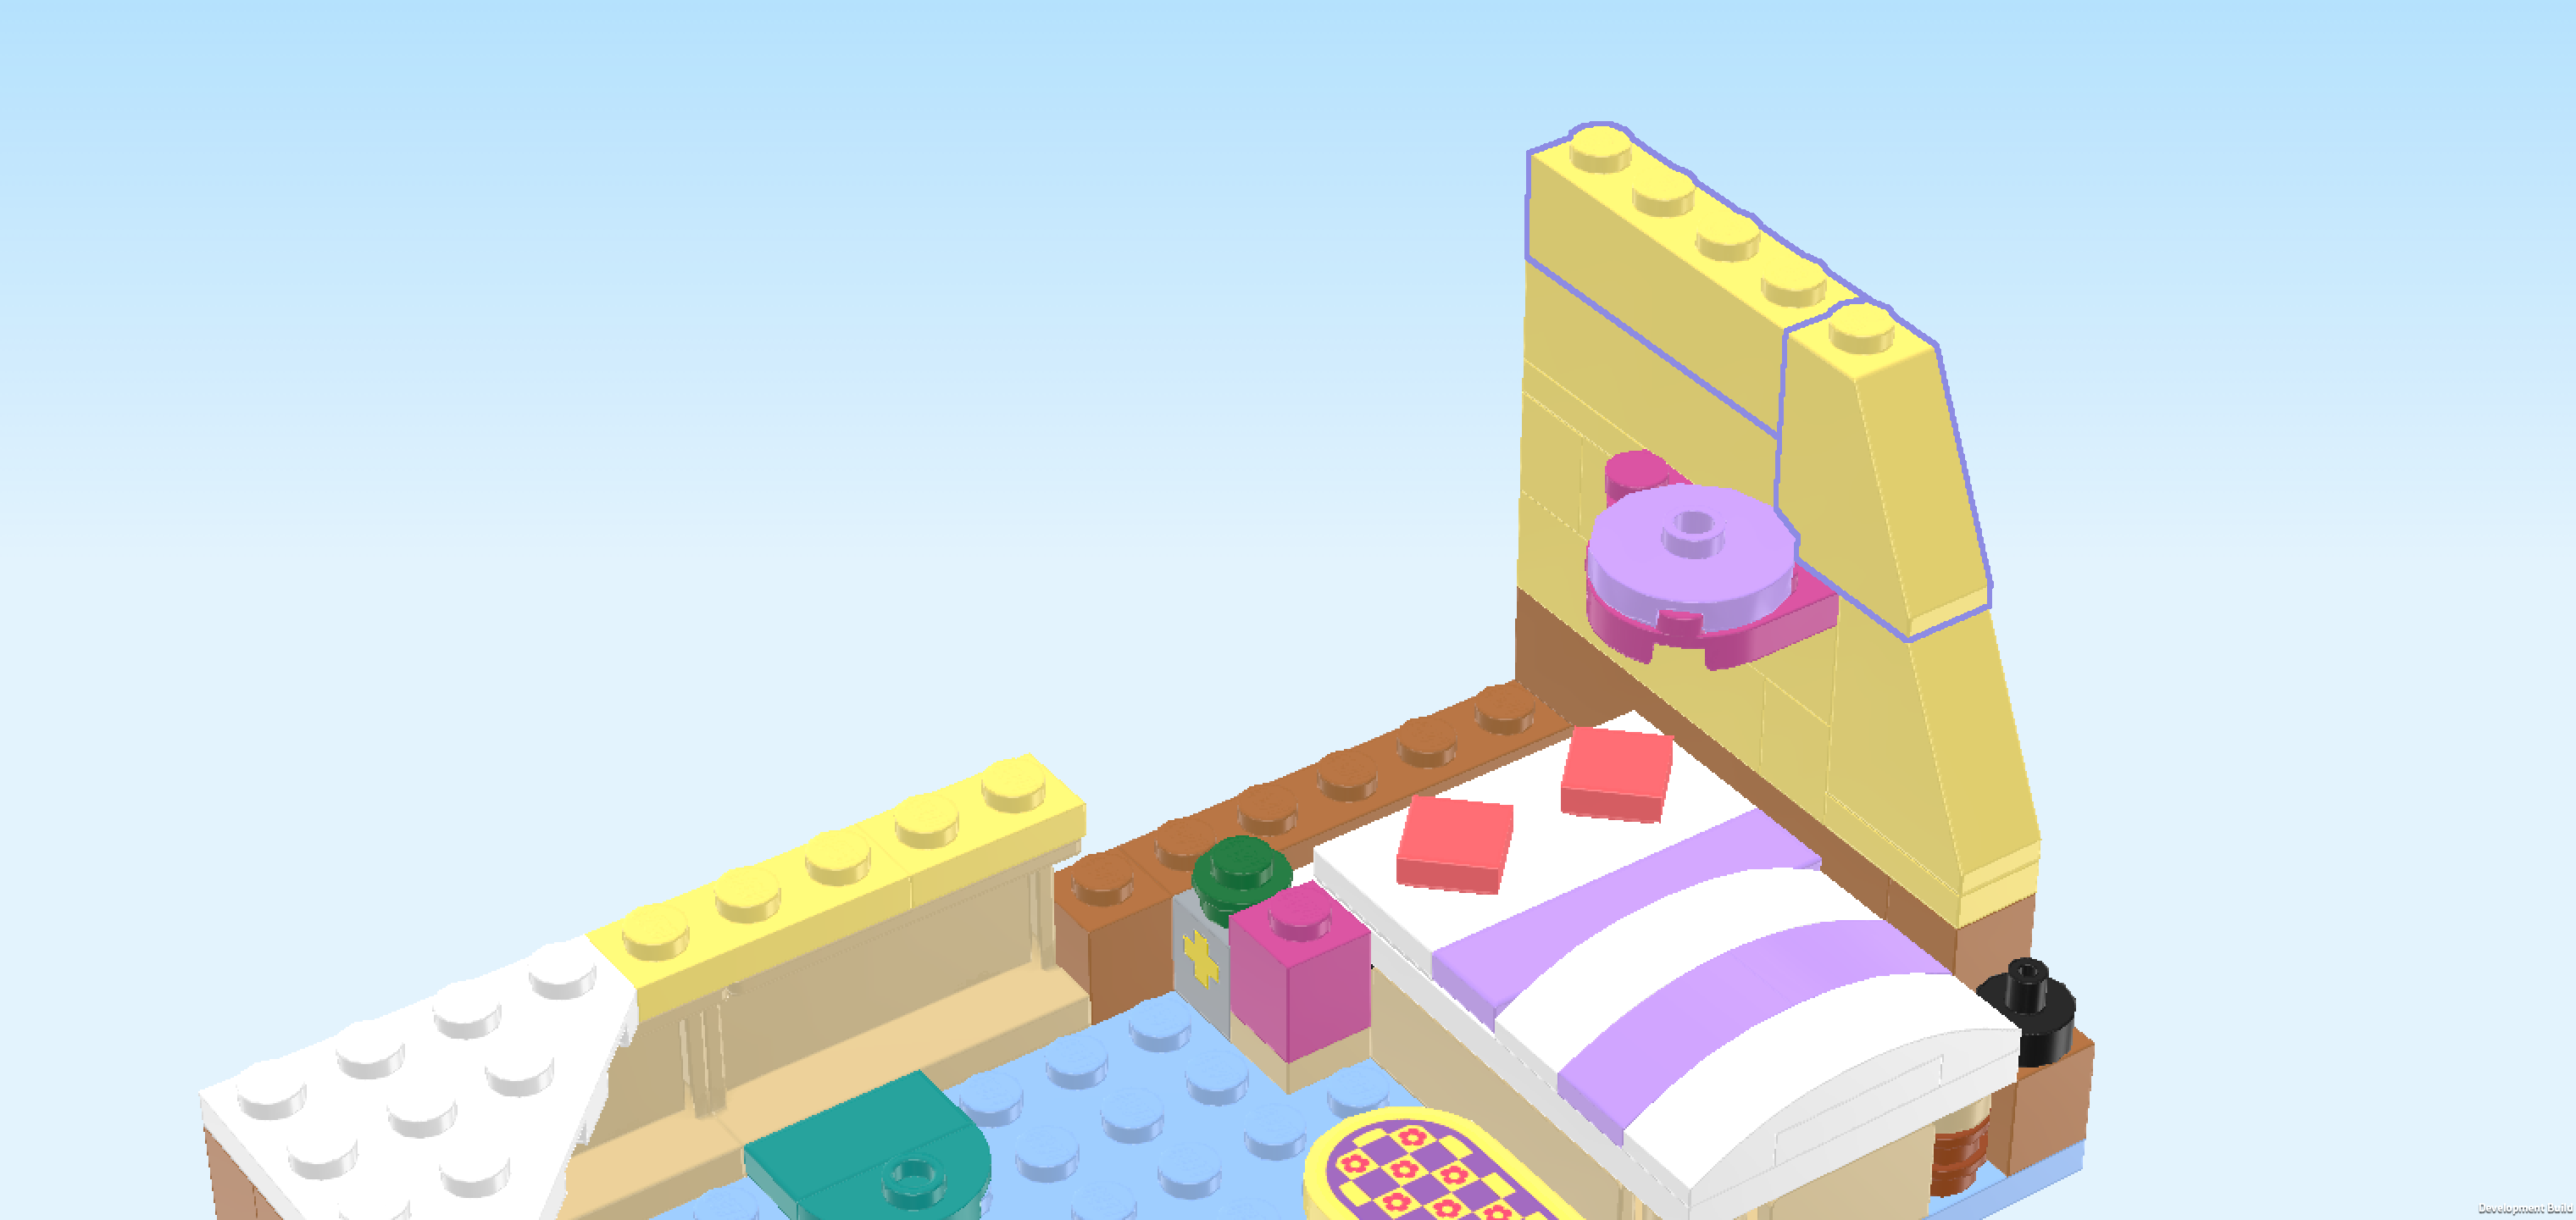
| Flip the wall element upright and mount it on the back wall directly behind the bed, stickered side towards the front. |
| The sticker shows Paisleys bulletin board and an open shelf that is mounted below it. The bulletin board is full of photos, memories, snippets and notes. In the top left corner, for instance, there is a photo of Paisley with her mum and dad. She pinned a small white sticker at the top of the board that says "I love music", but the "love" is actually a heart, and the "music" is two musical notes. There are 2 photos with her friends, a yellow sticky note with something scribbled on it, and a picture of a fantasy character. On the open shelf, there is a small green plant, a few books, a snow globe with a bunny figurine in it, and a trophy with a treble clef. It seems like she won a music competition at some point! |
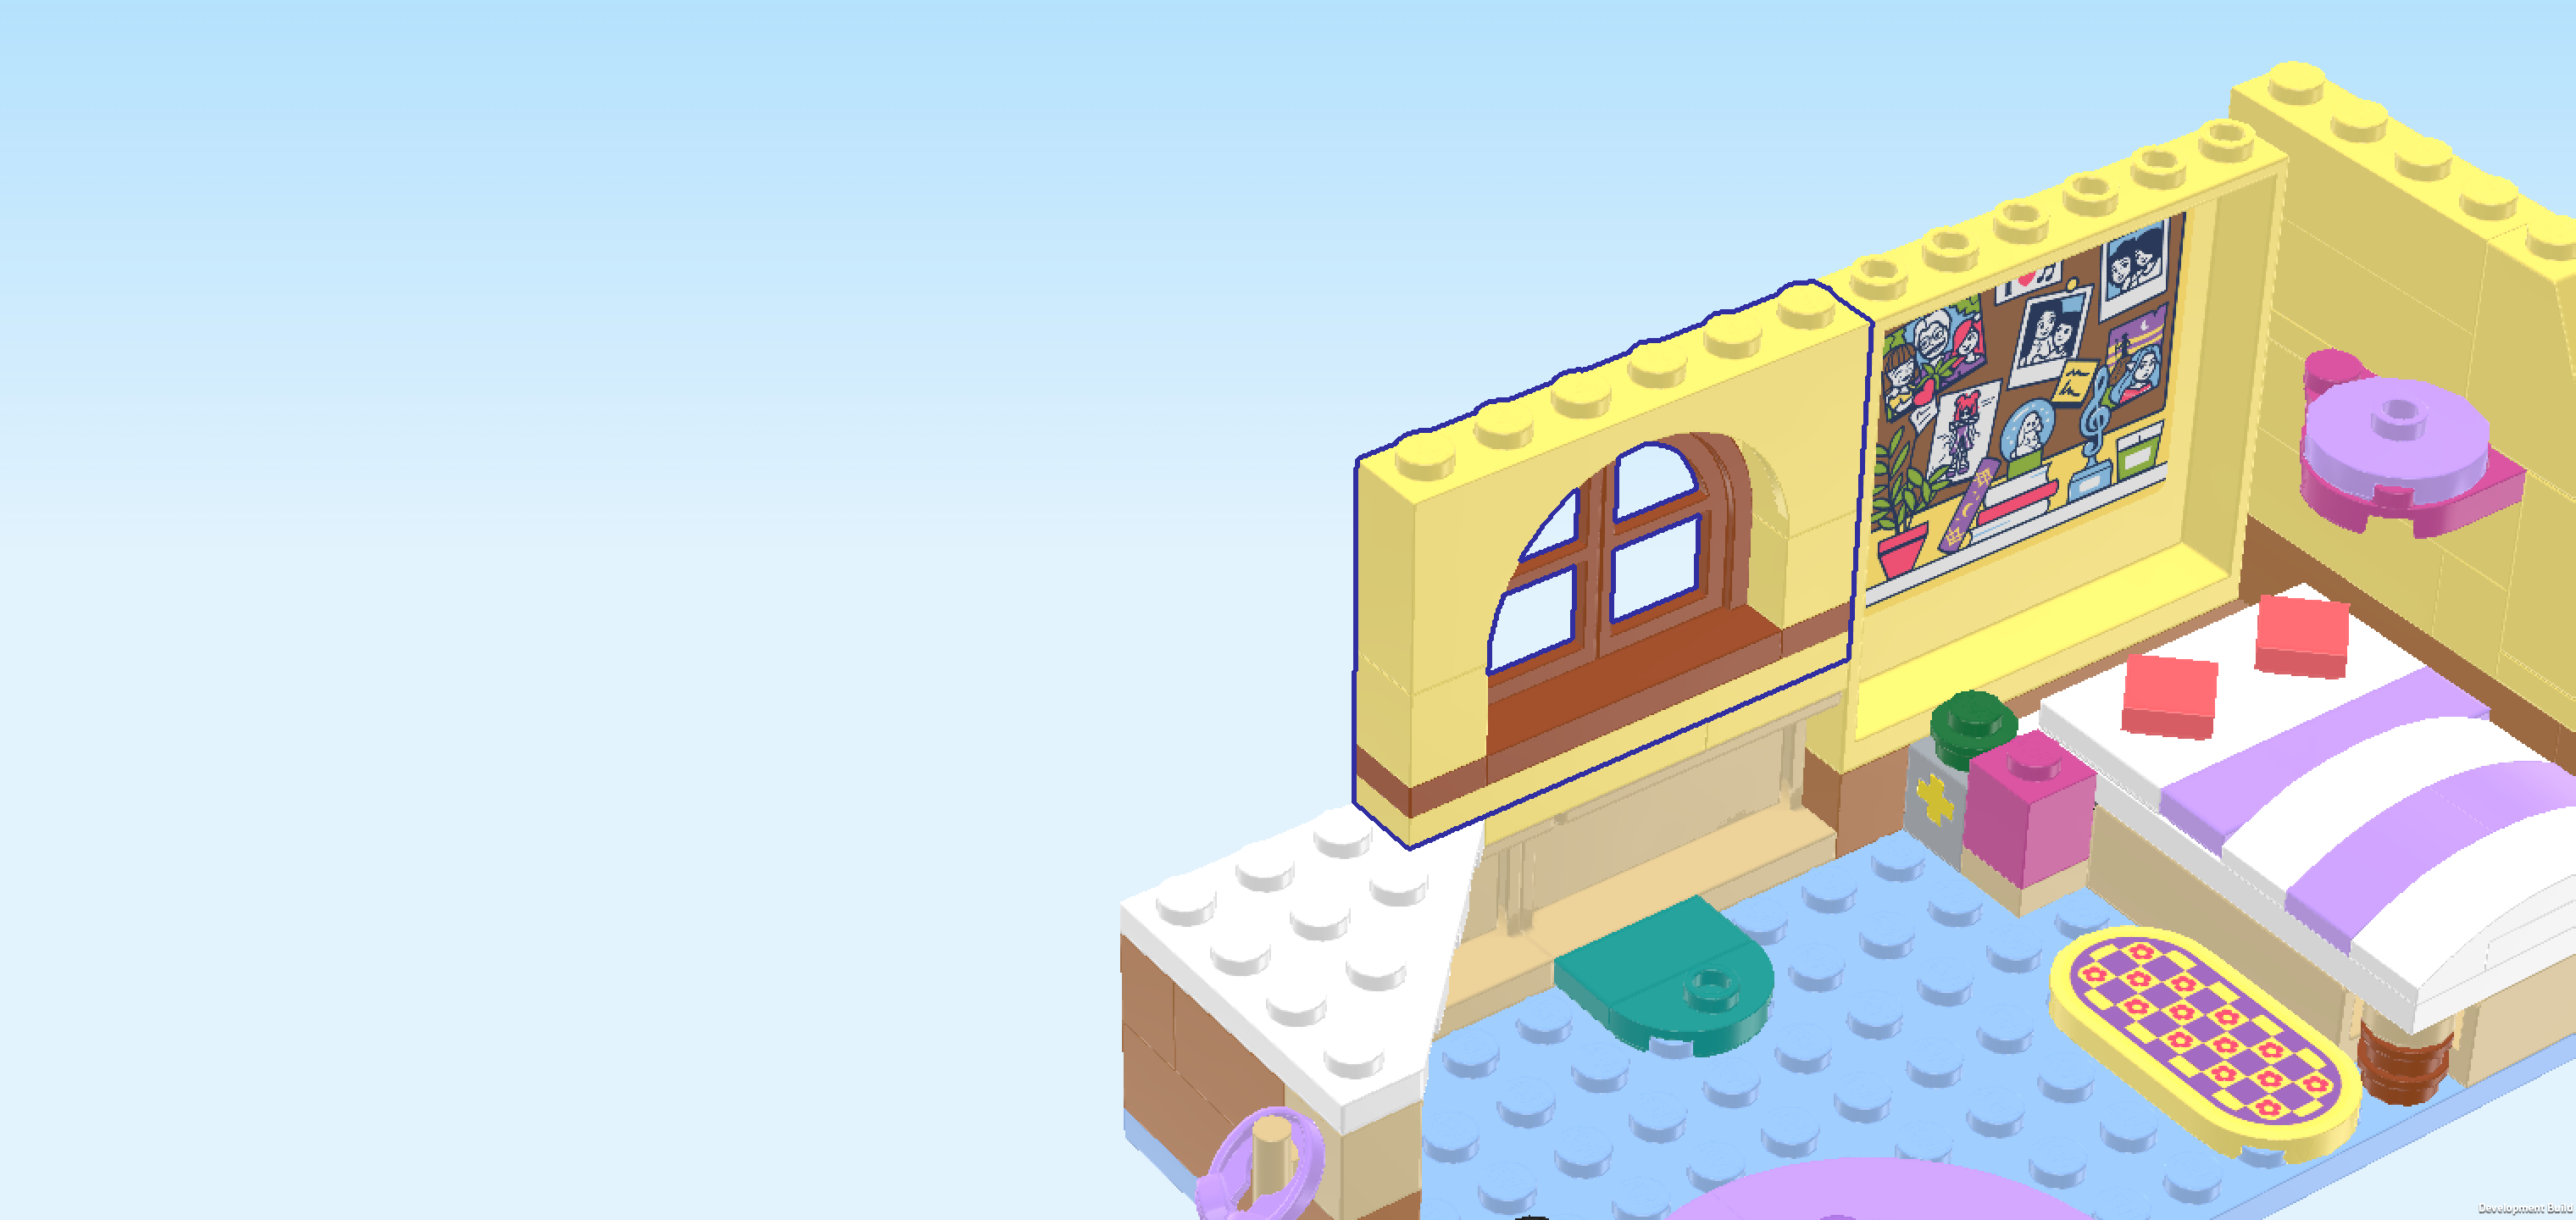
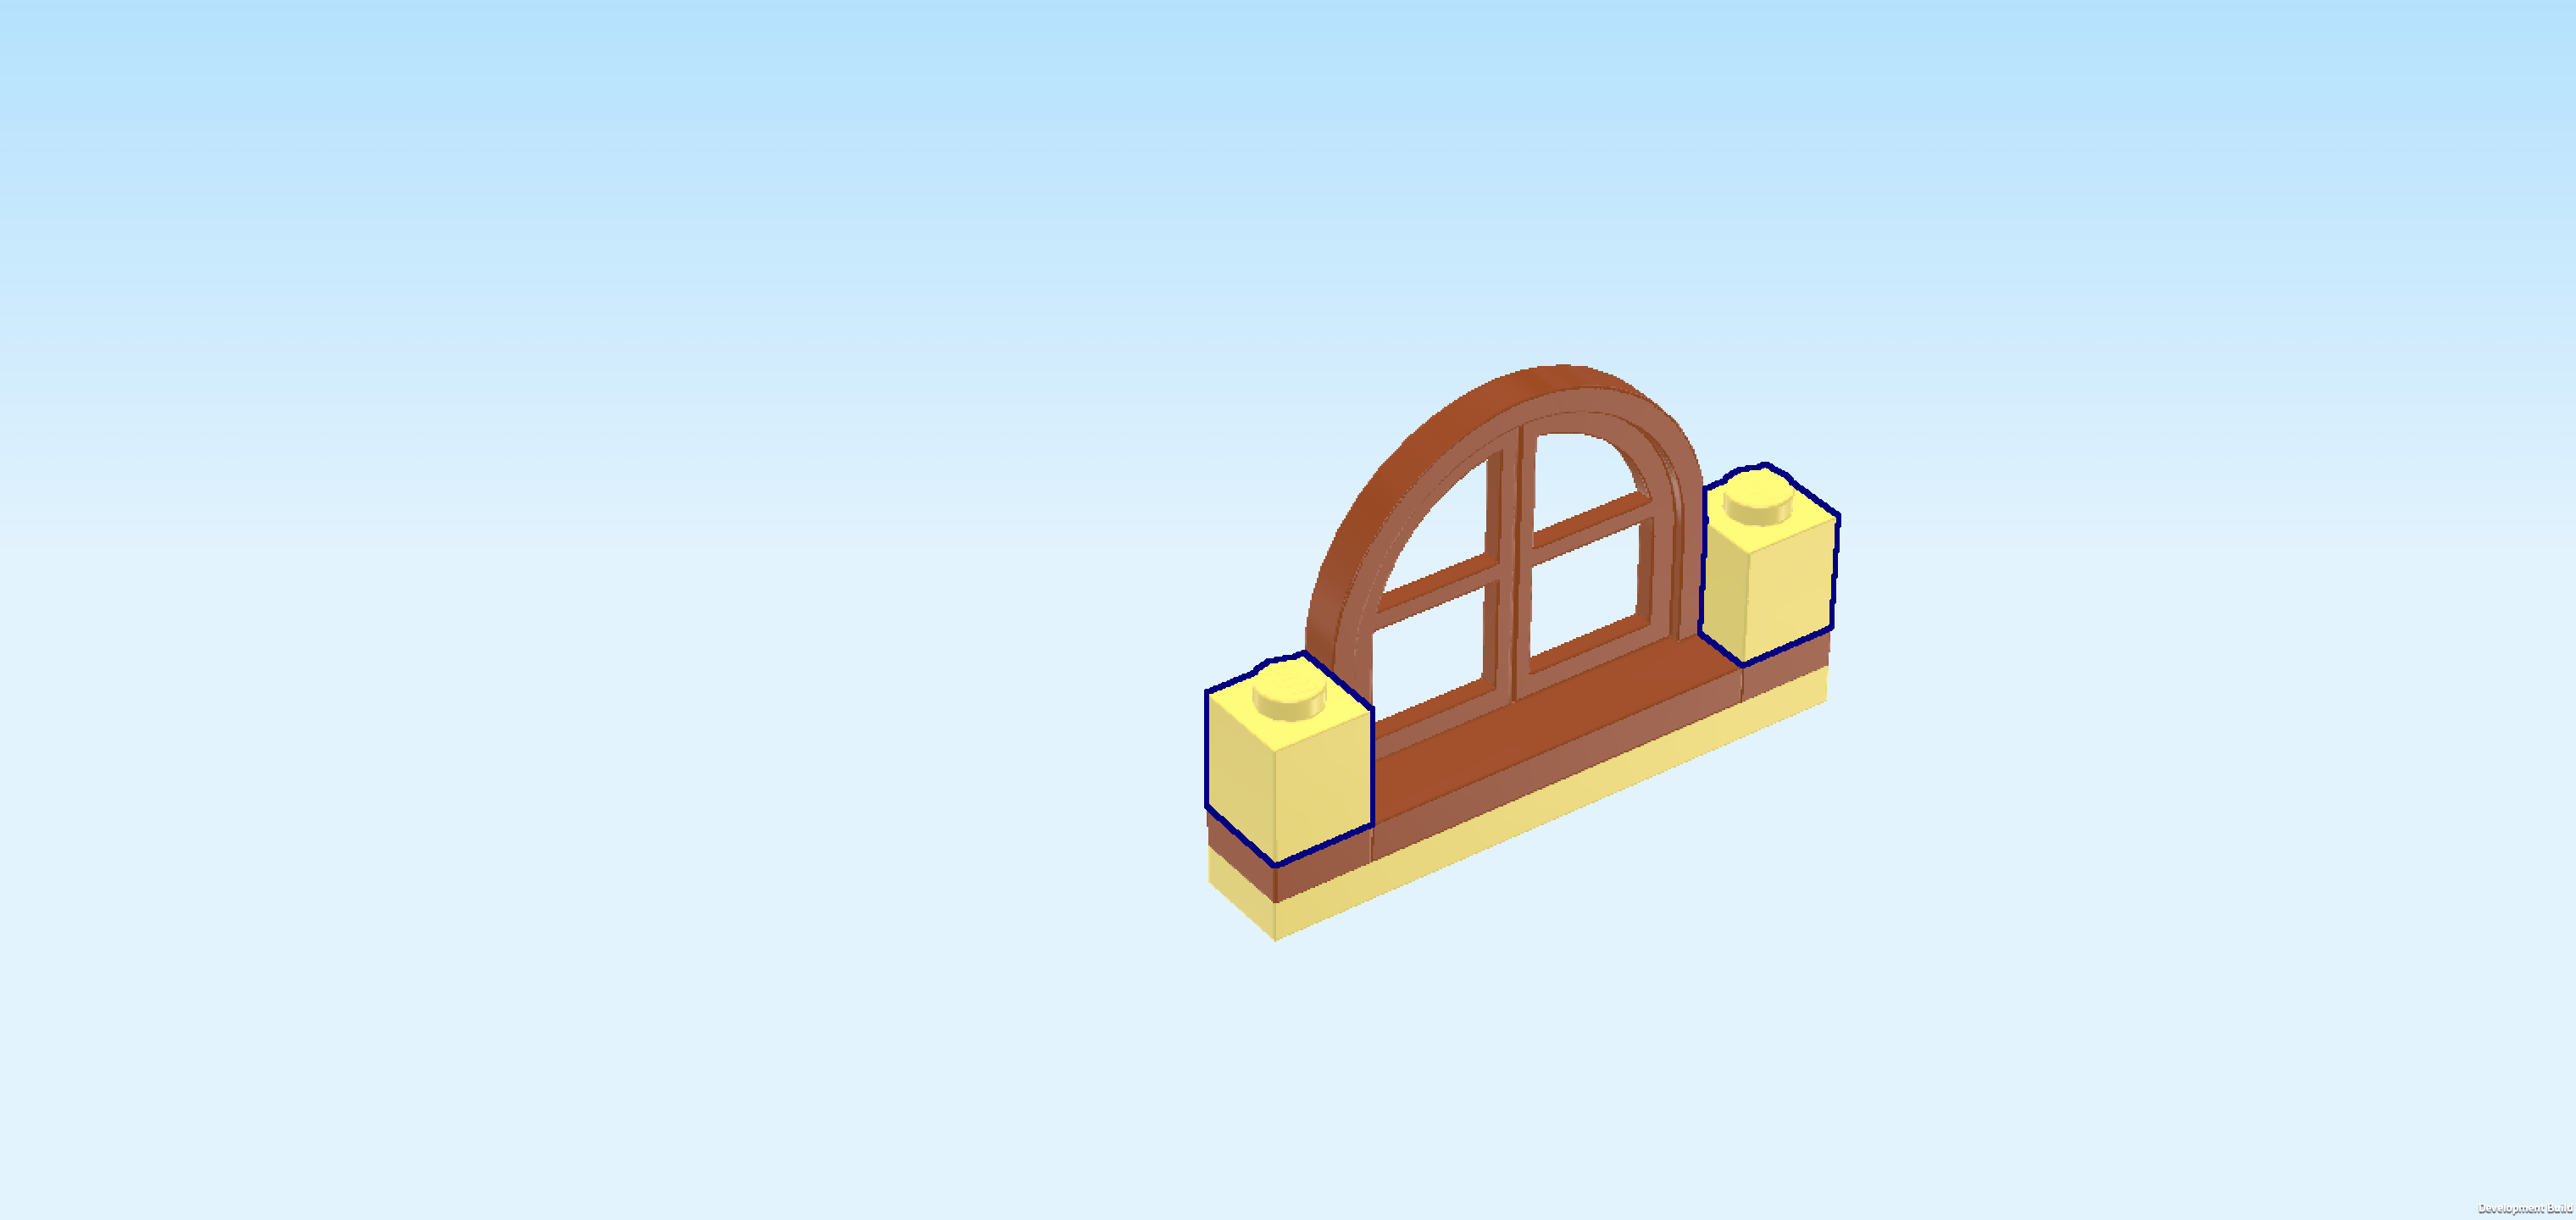
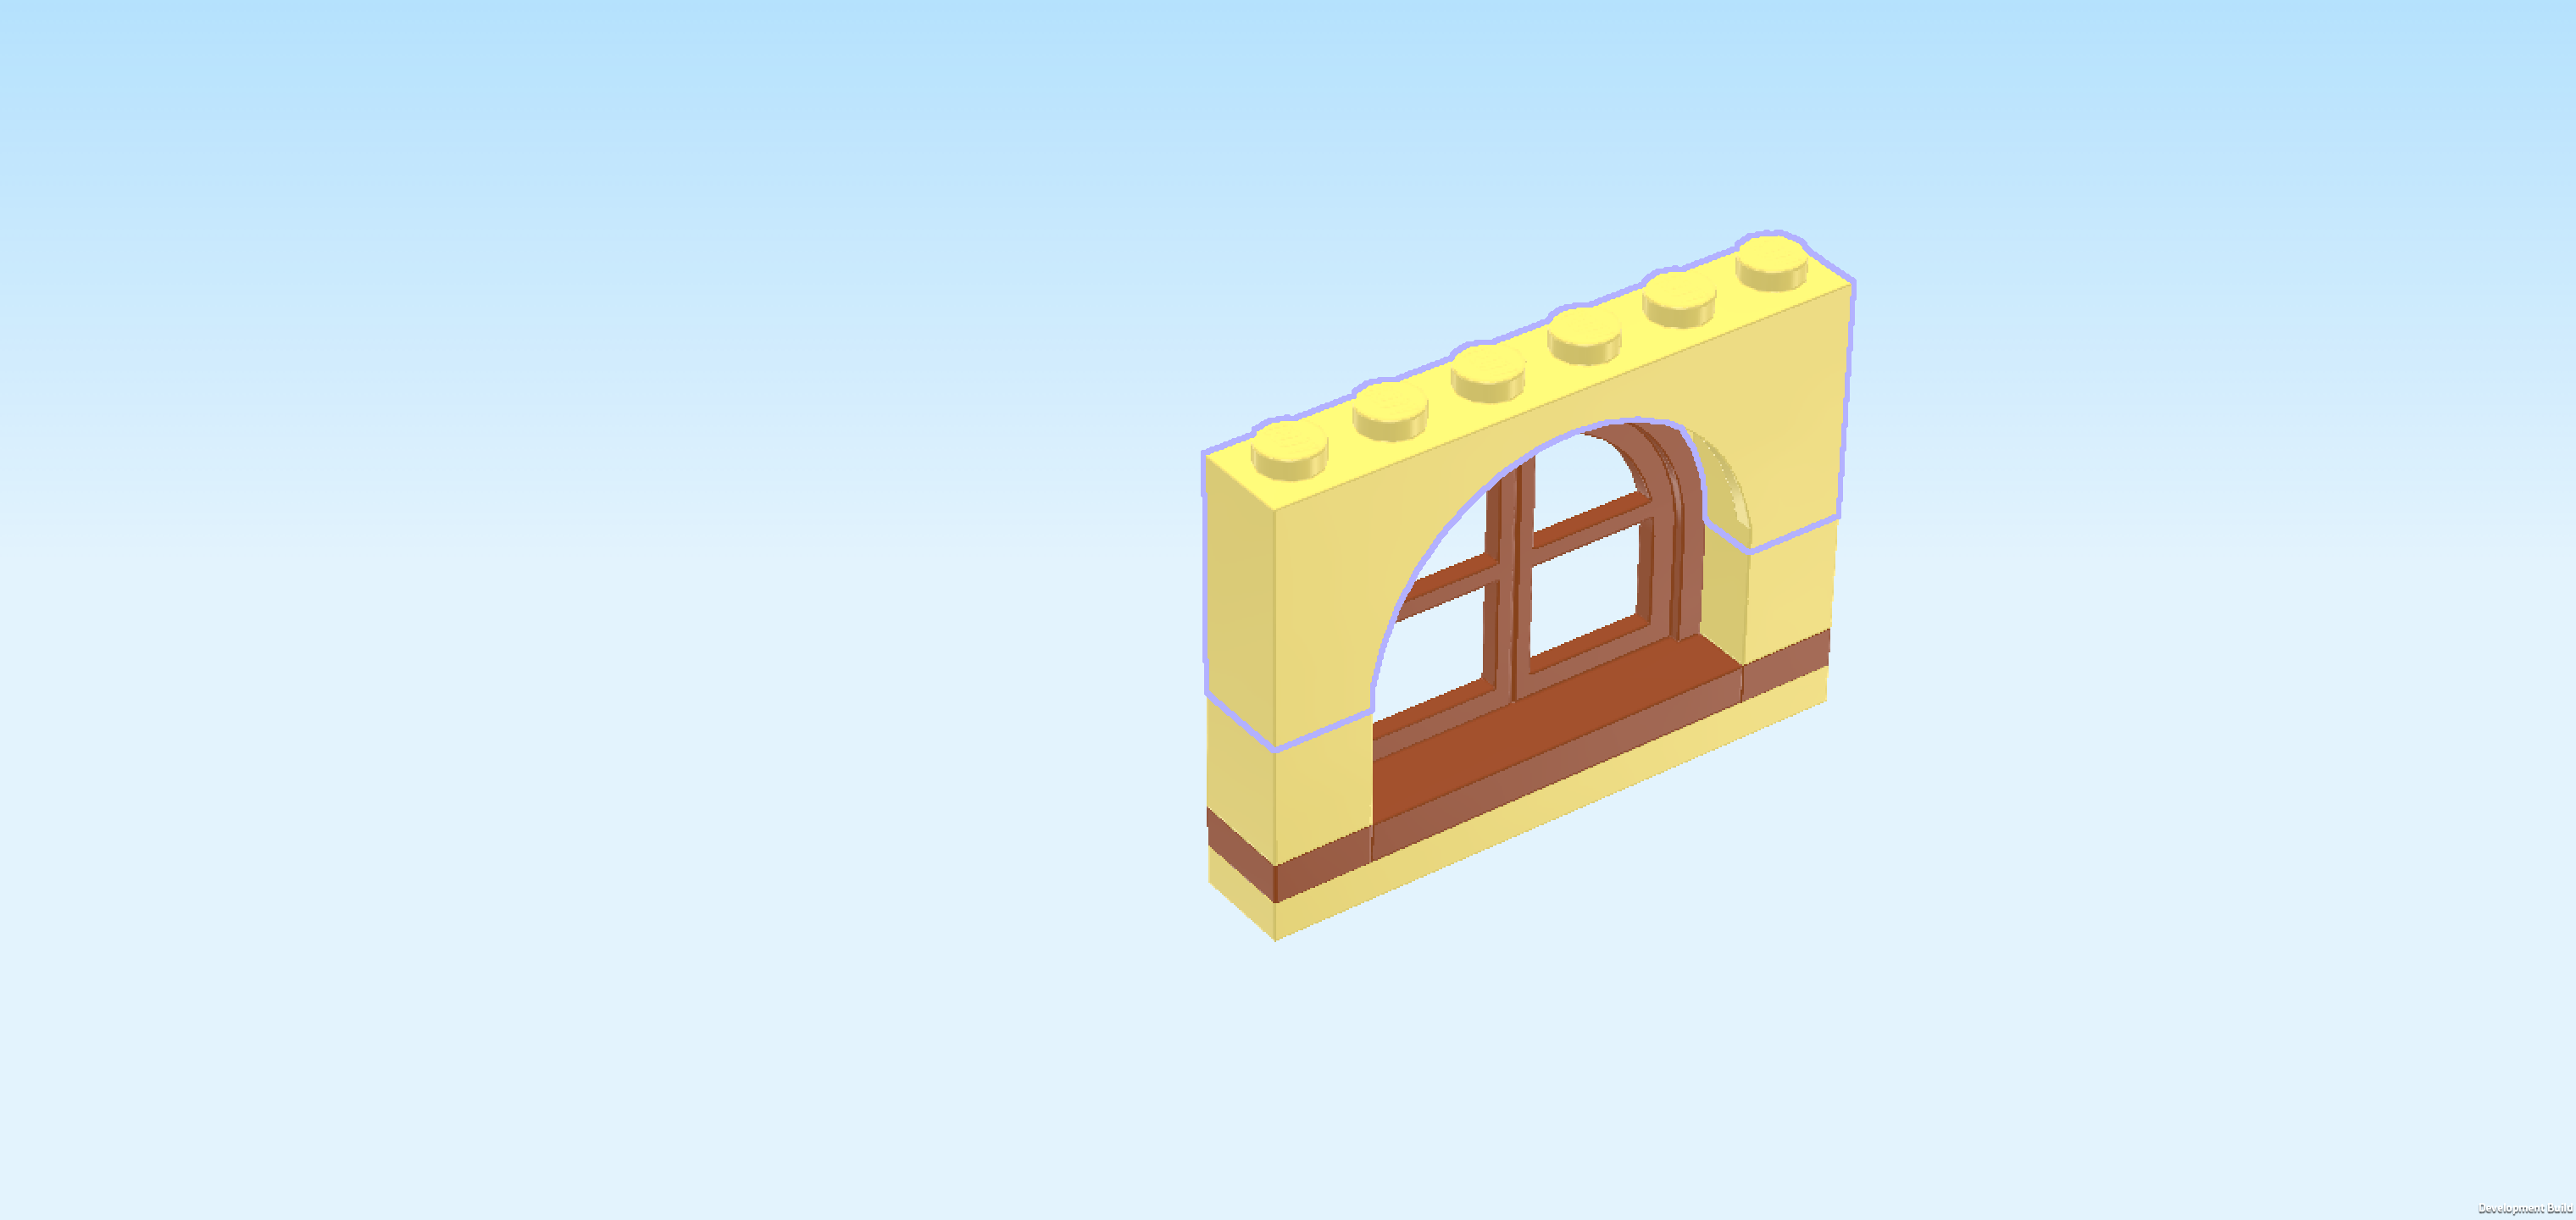
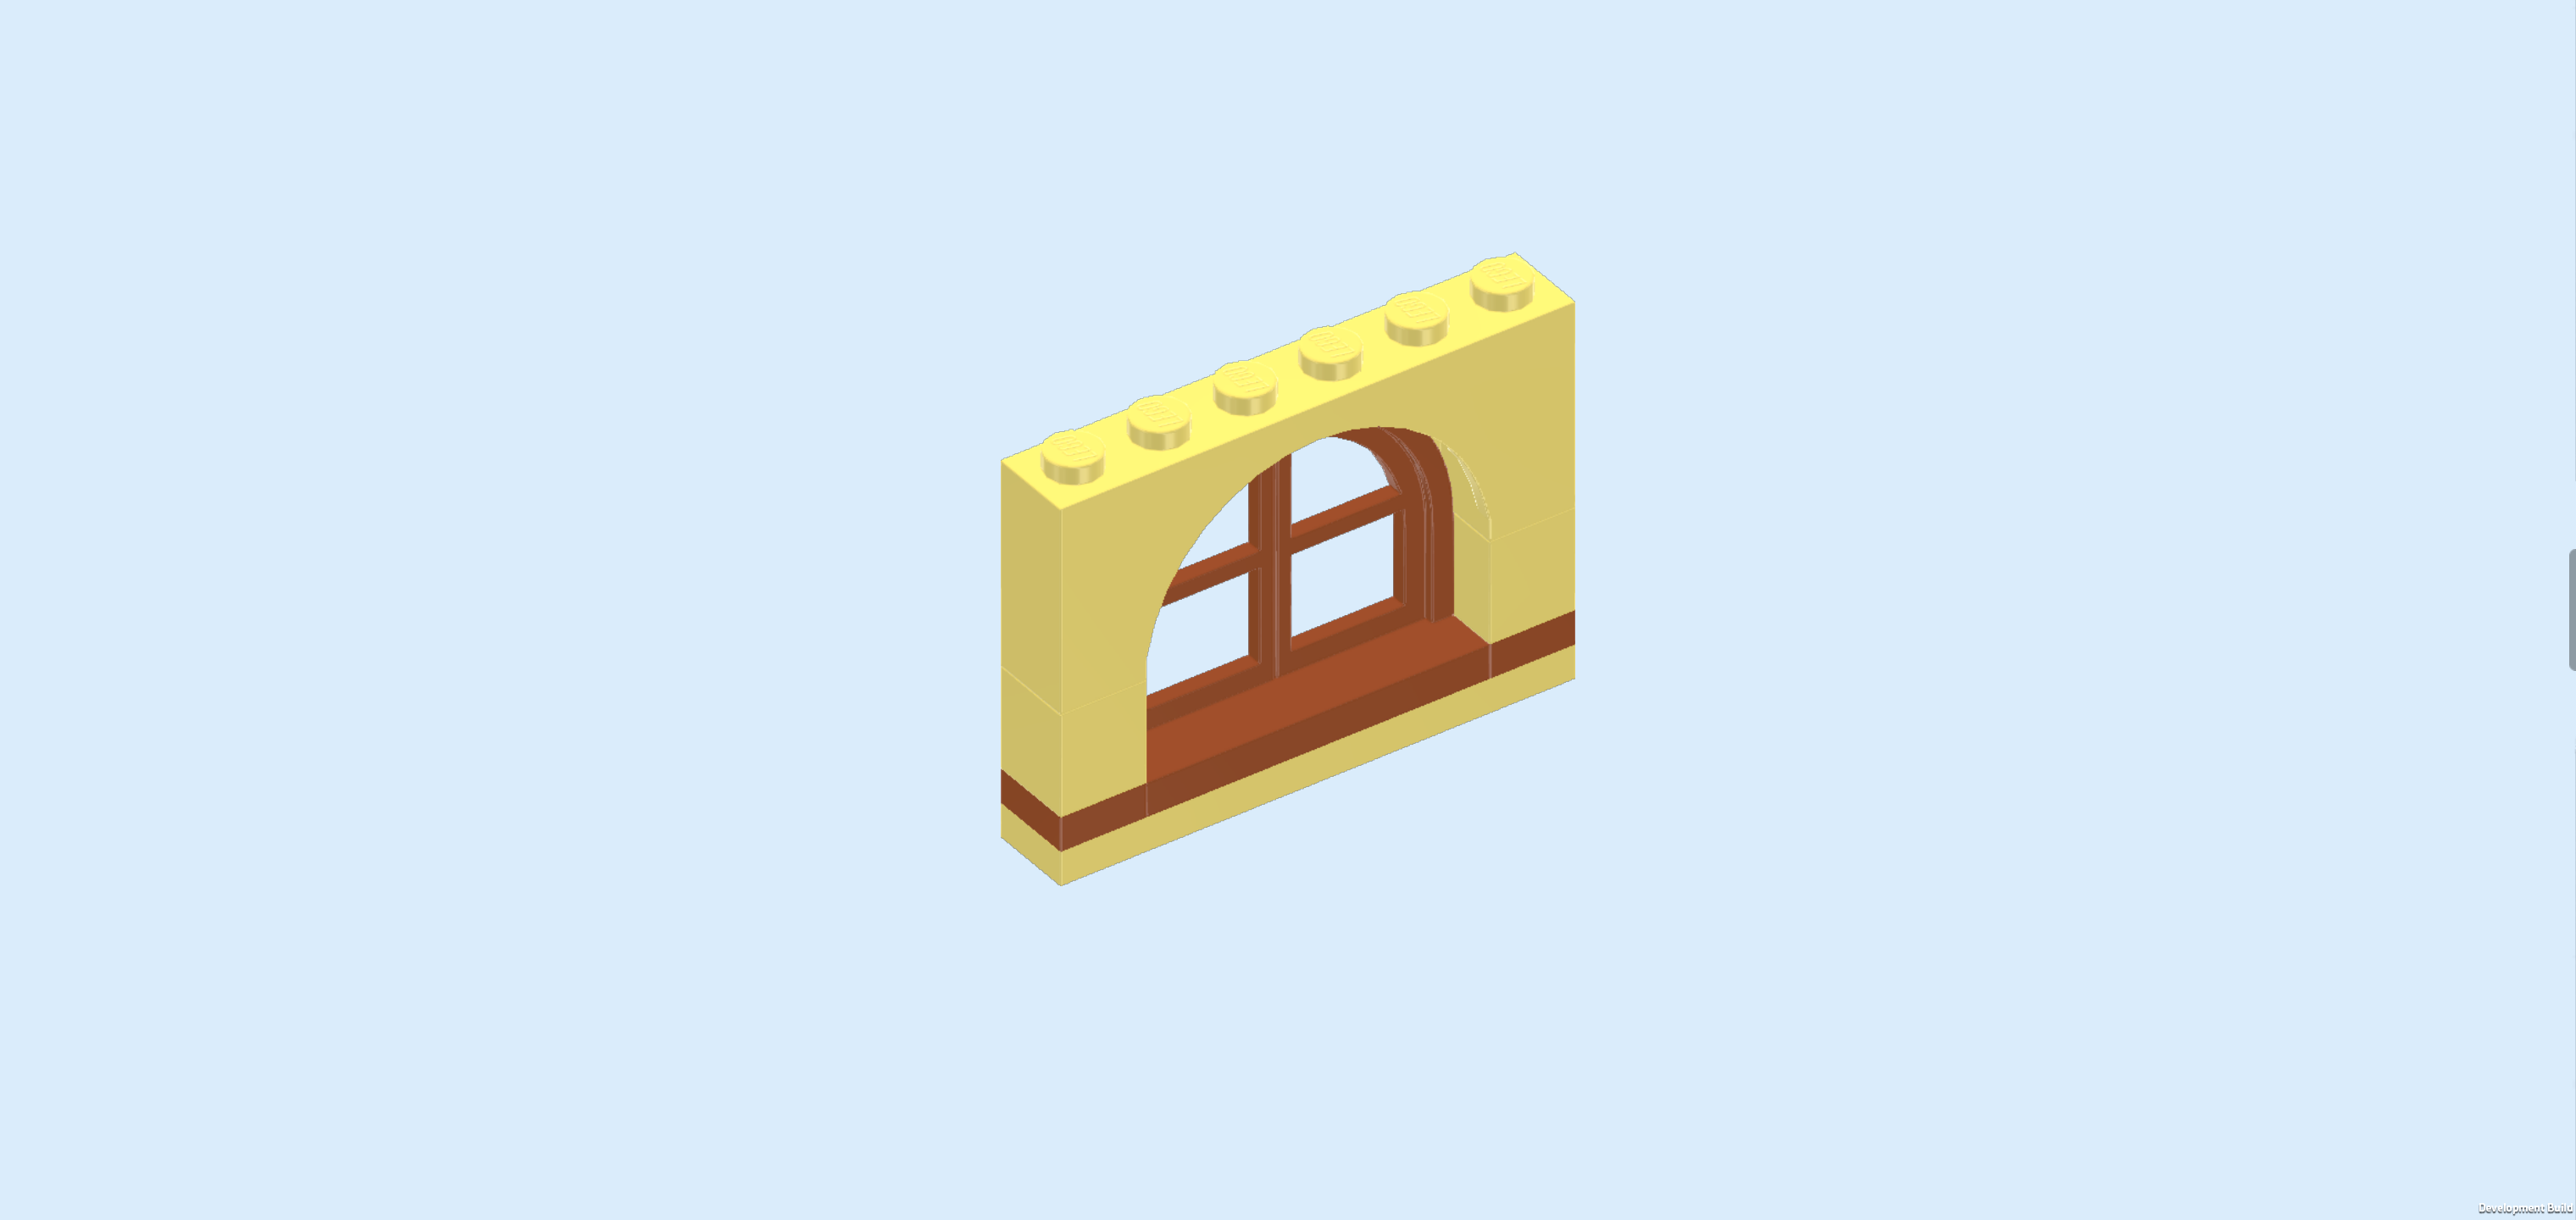
| Now, we will build the arch window. |
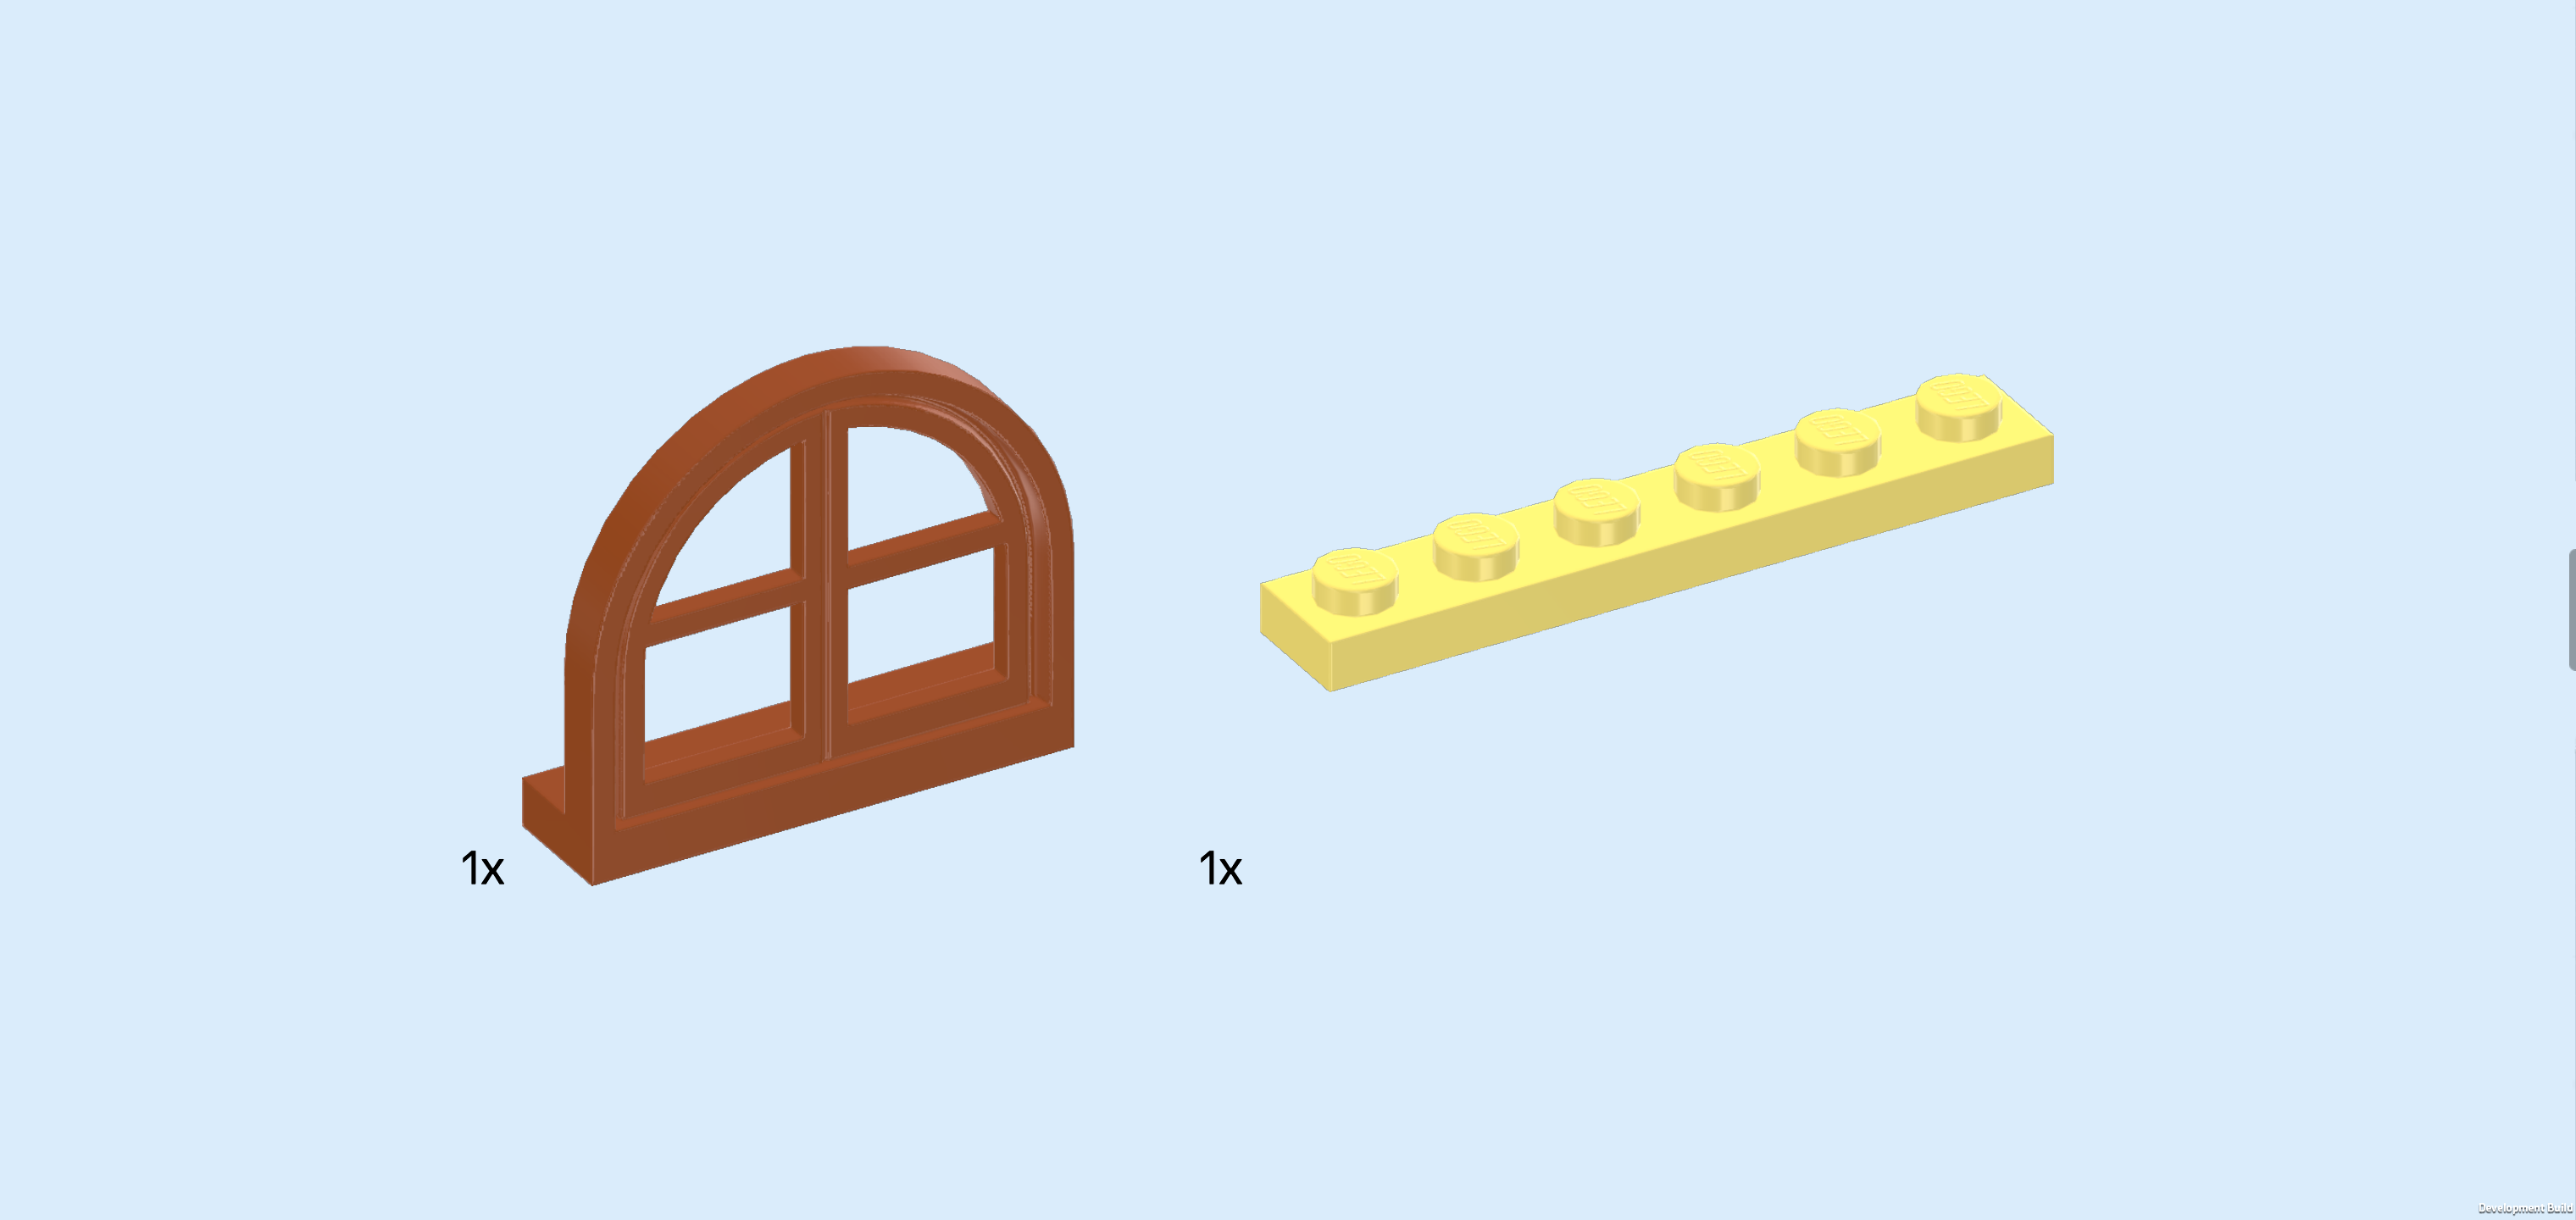
| Collect the following 2 pieces: |
| 1 dark orange arched window 4x3 with cross, |
| and 1 lemon yellow plate 1x6. |
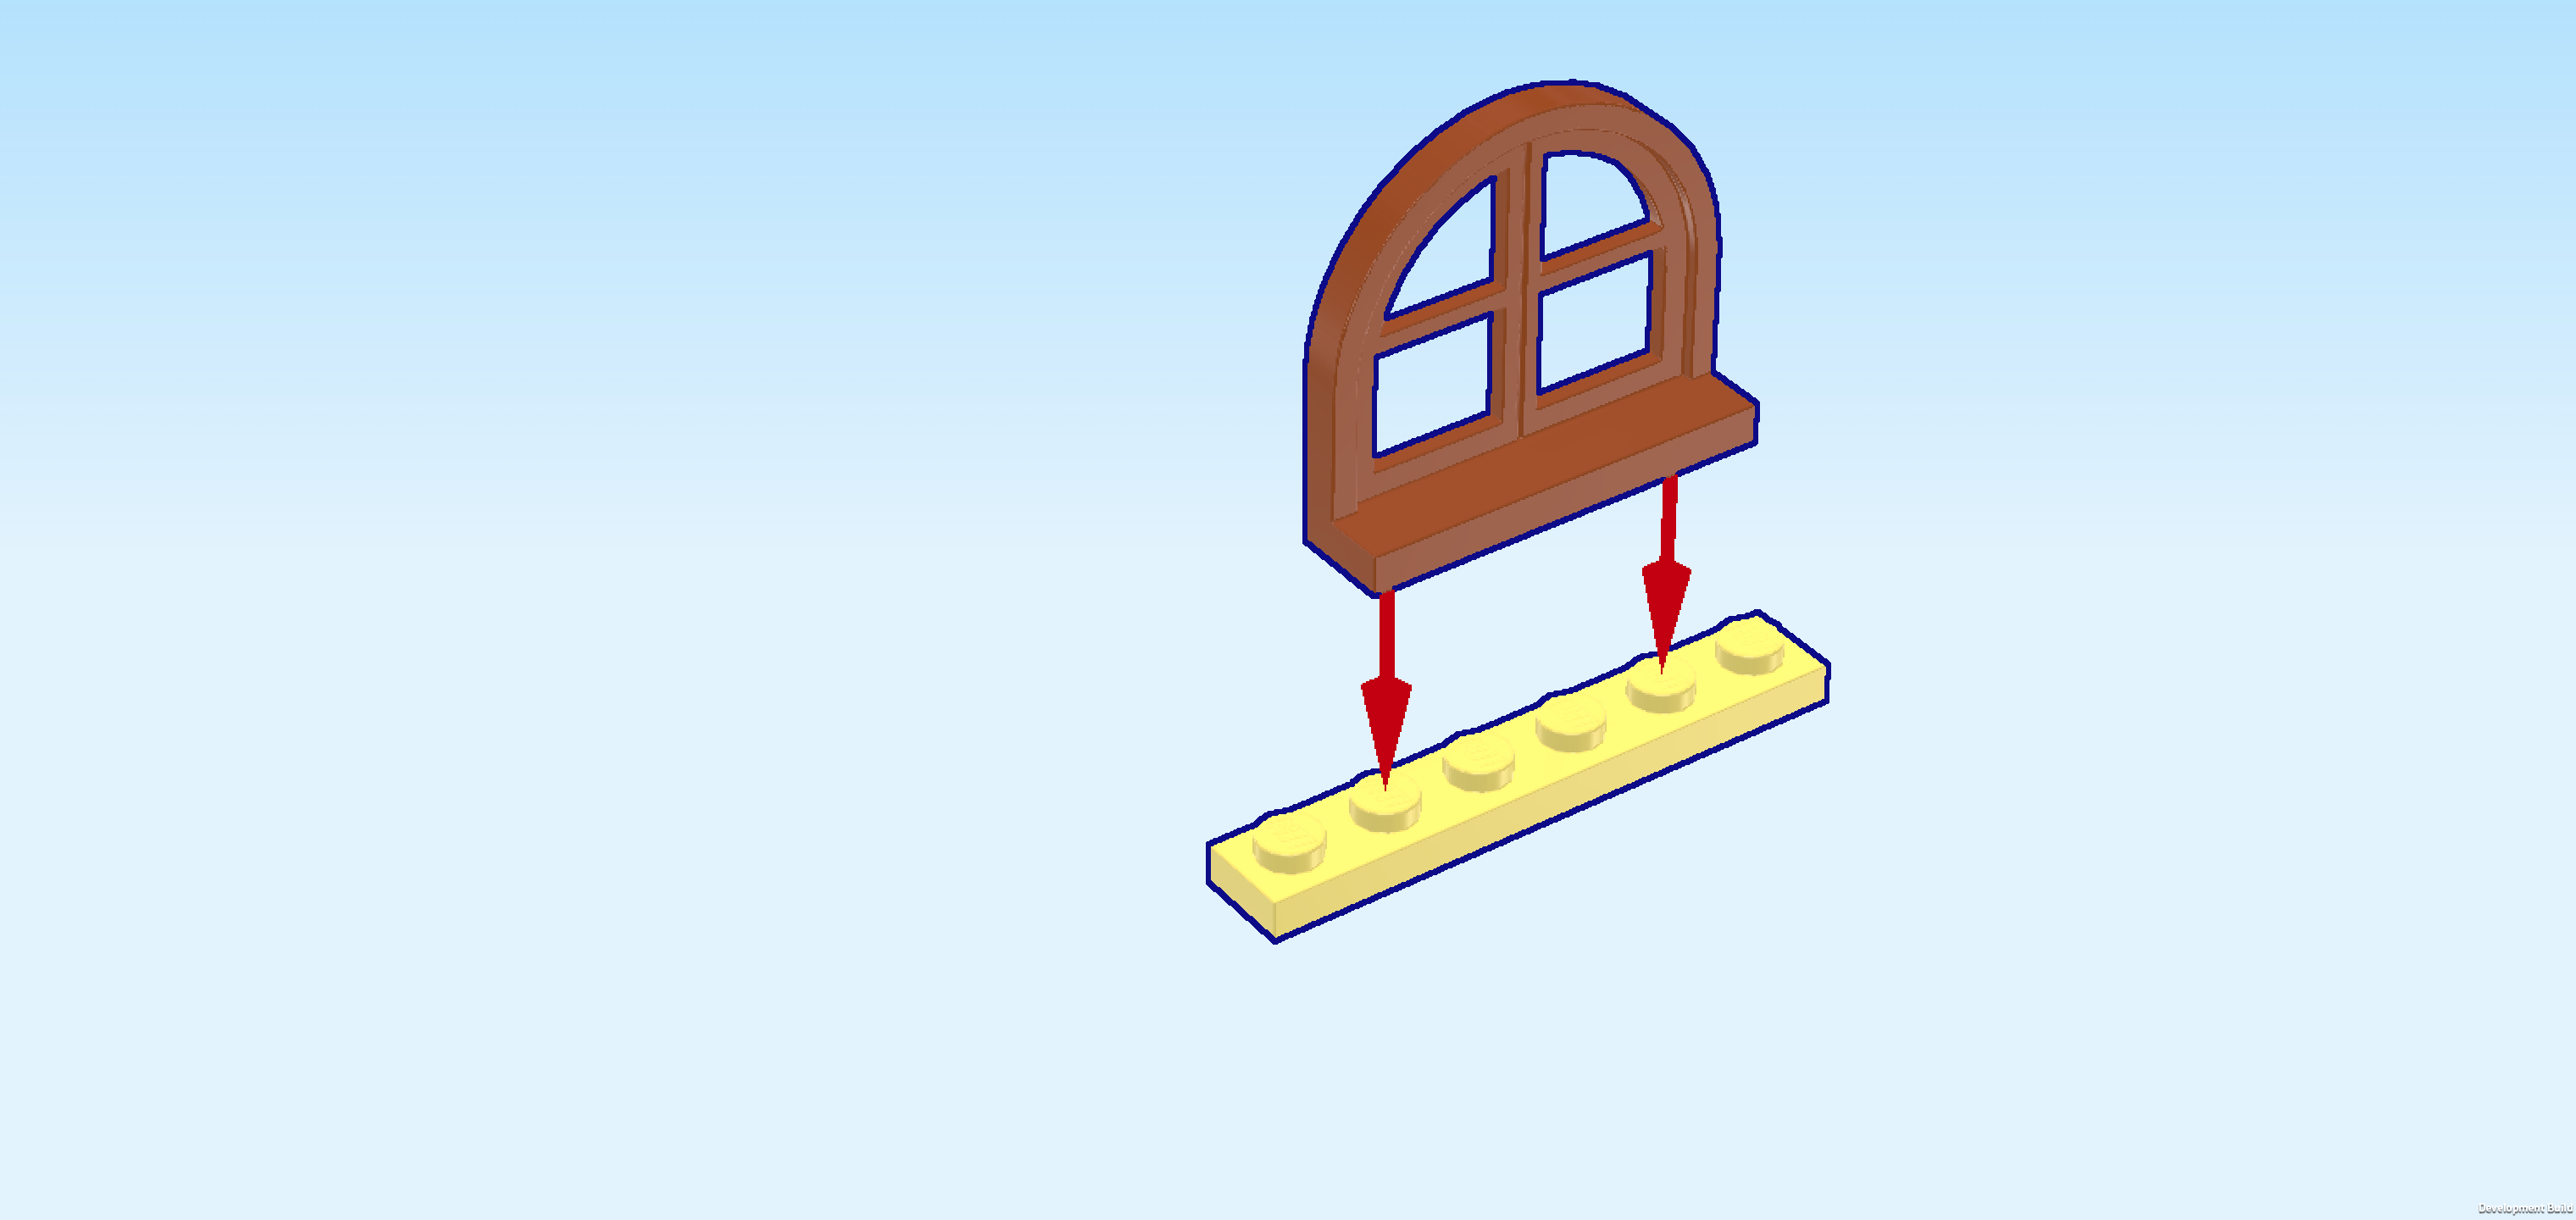
| Put the plate 1x6 horizontally on the table. |
| Put the arched window horizontally centered on top, window panel to the back, window sill towards the front. |
| Find 2 dark orange plates 1x1. |
| Put 1 to the left of the arched window and the other one to its right. |
| Find 2 lemon yellow bricks 1x1. |
| Put them on top of the 2 previous pieces. |
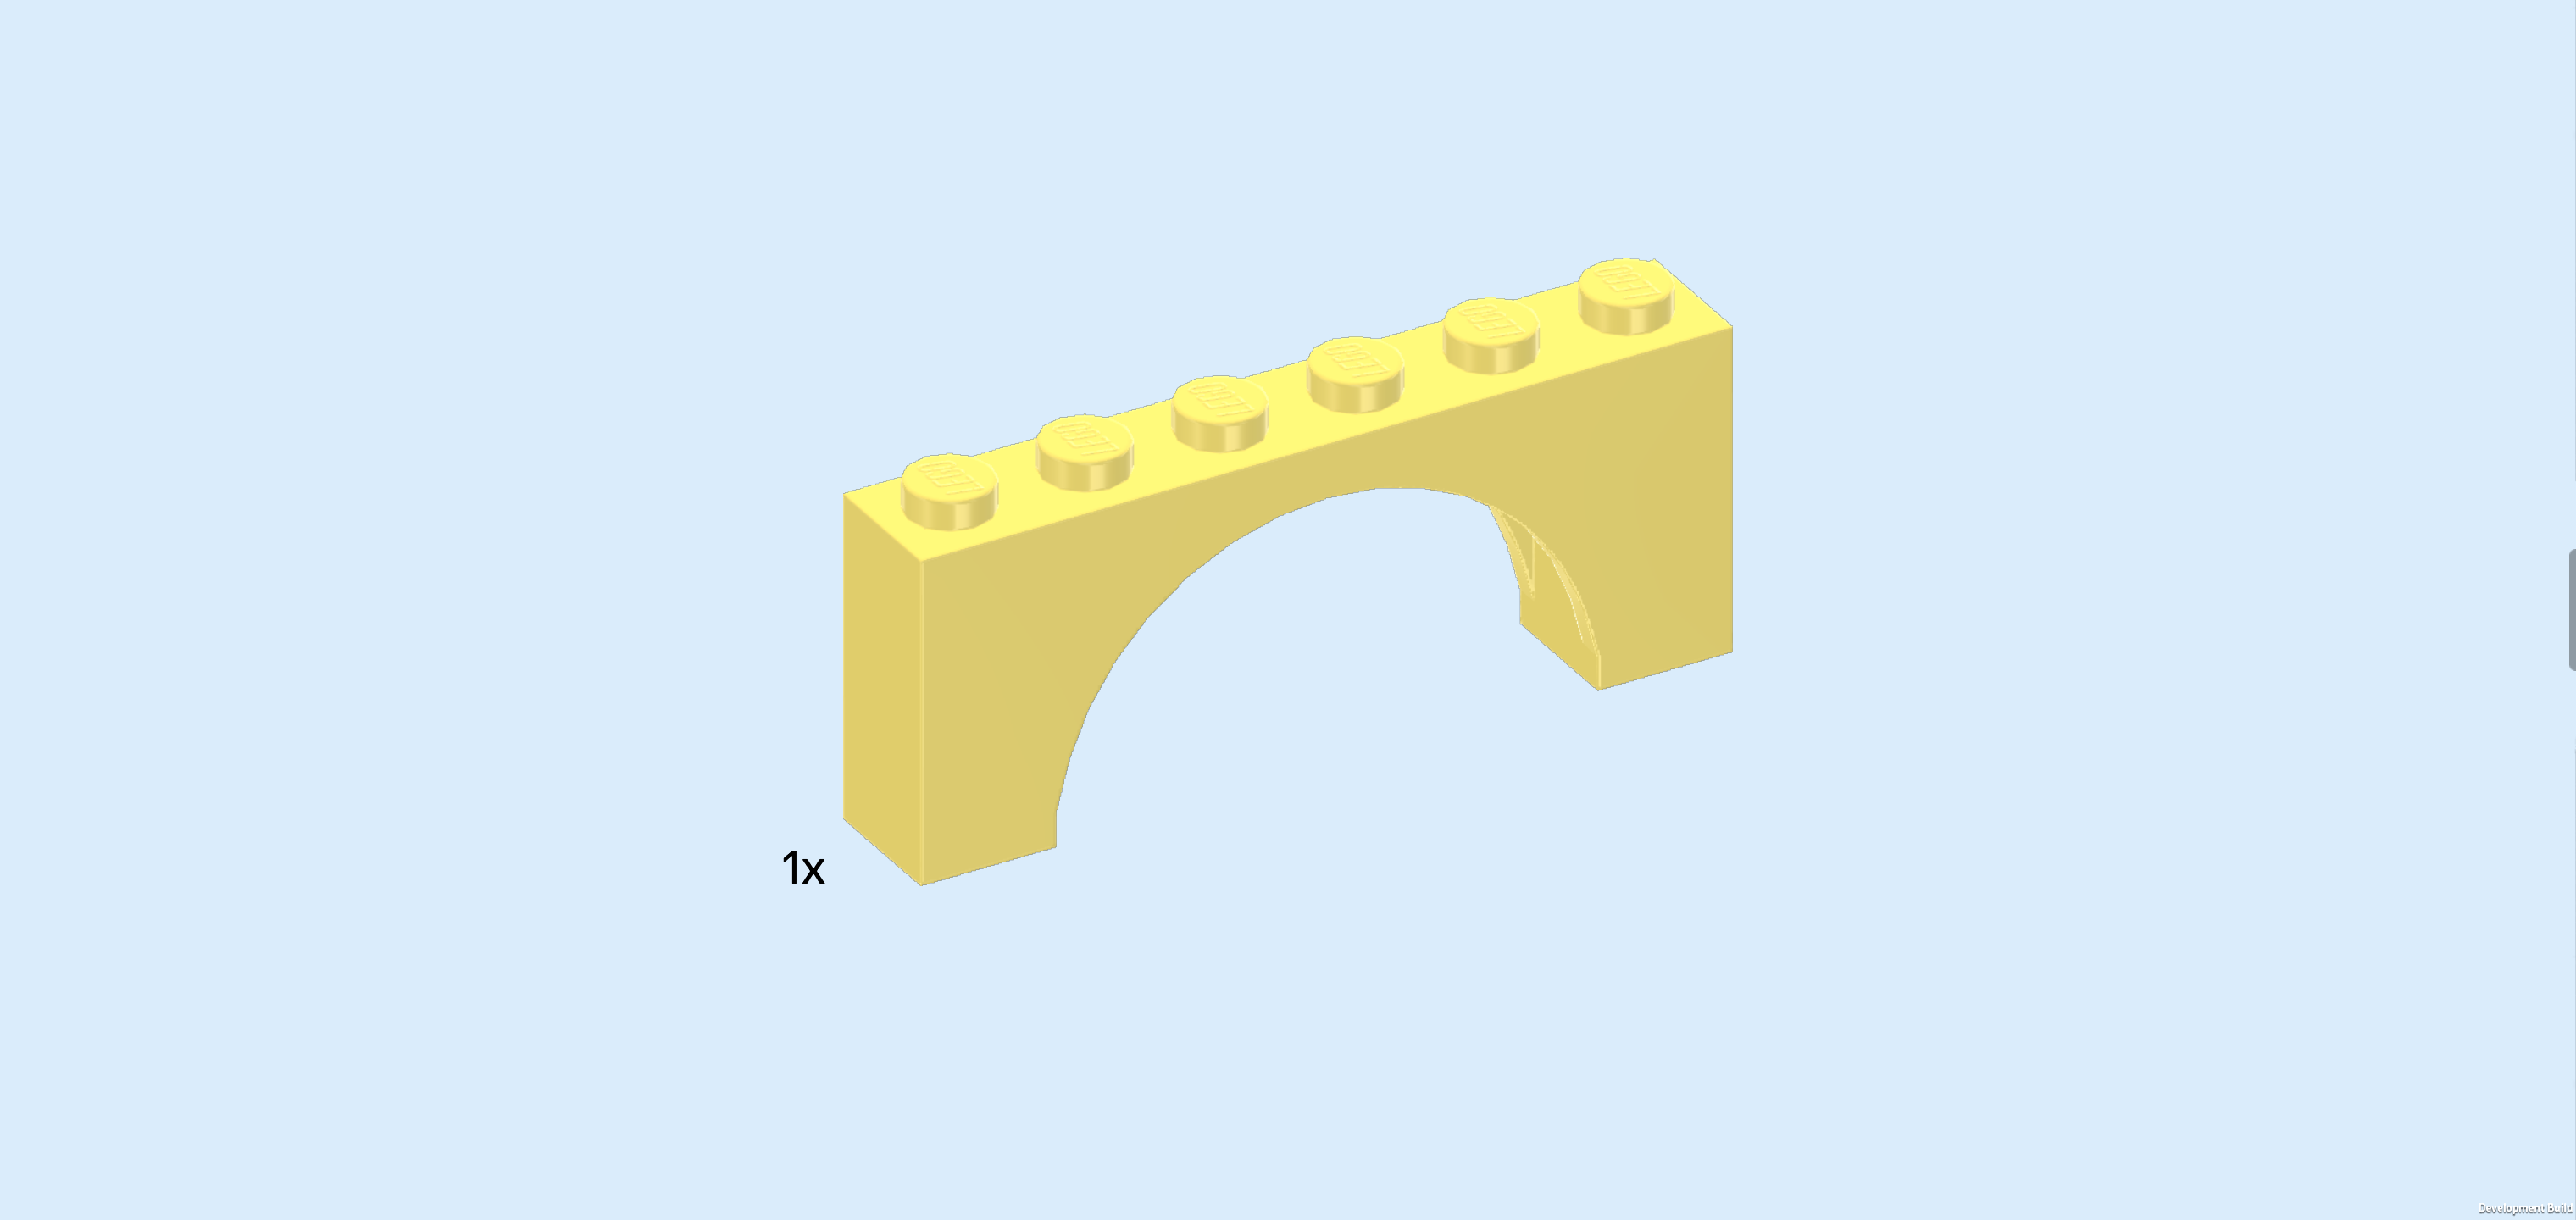
| Find 1 lemon yellow brick 1x6x2 with inside arch. |
| Put it horizontally on top, locking in the window arch. |
| The arch window is finished! Well done! Mount it in its building orientation on the back wall to the left of the wall element 1x5x6. |
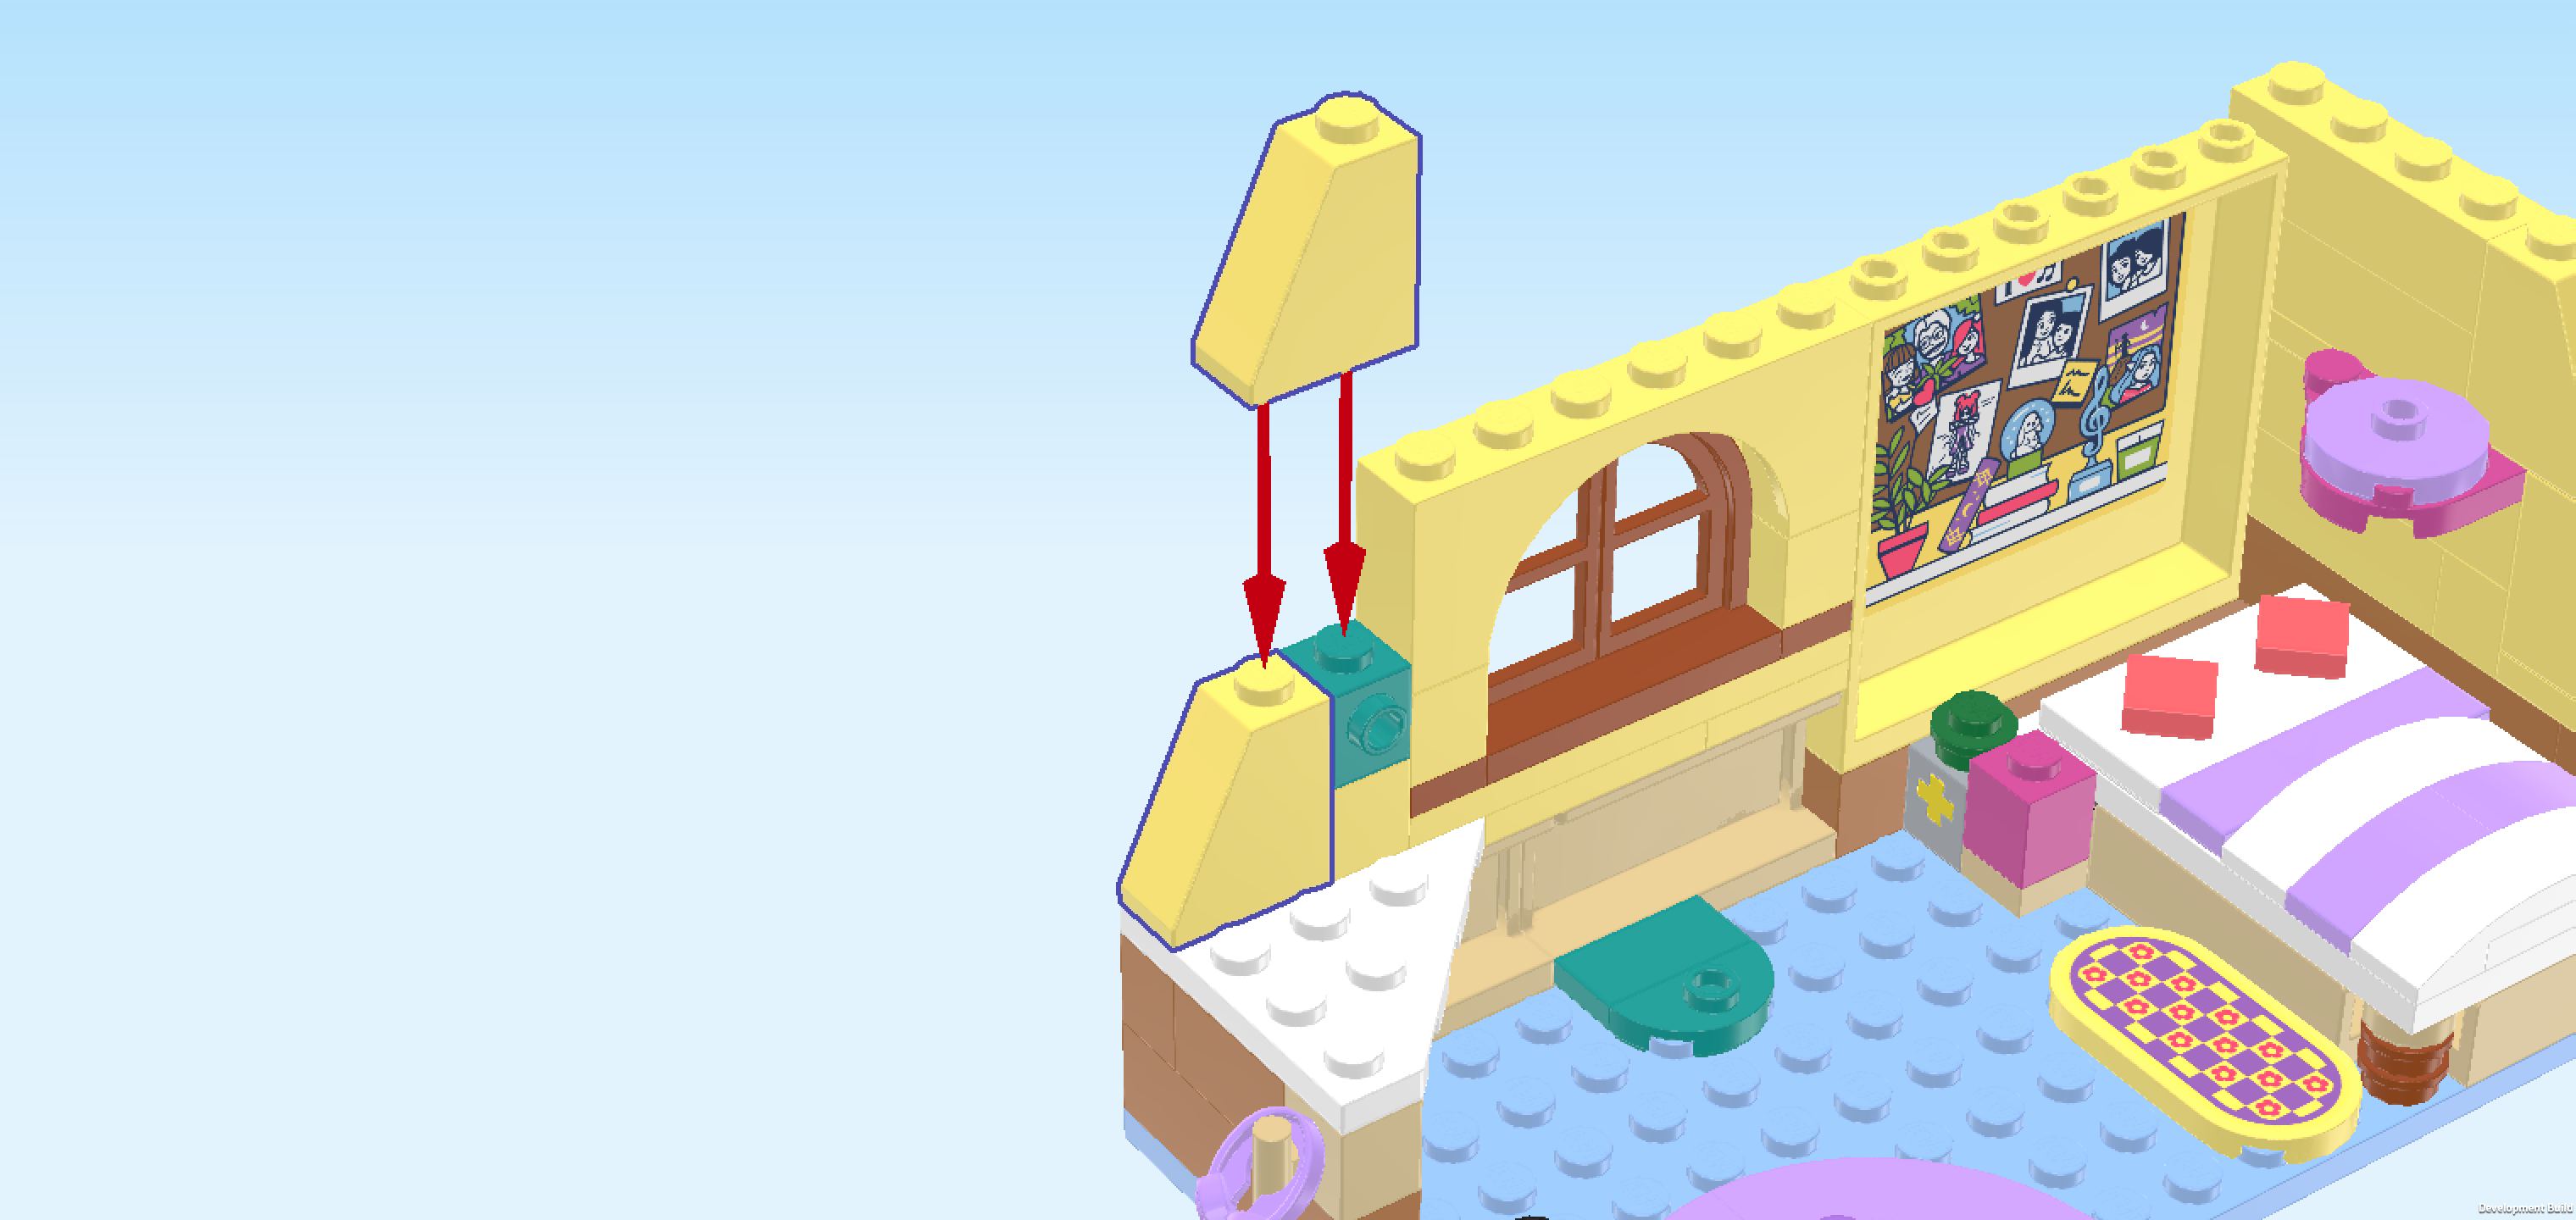
| Collect the following 2 pieces: |
| 1 teal blue brick 1x1 with side knob, |
| and 1 lemon yellow brick 1x1. |
| Put the brick 1x1 to the left of the previous piece. |
| Put the brick with side knob on top of the previous piece, side knob to the front. We will later hang a photo on that side knob. |
| Find 2 lemon yellow roof tiles 1x2x2, 65°. |
| Put 1 horizontally to the left of the 2 previous pieces, slope to the left. |
| Put the other one horizontally on top of the 3 previous pieces, slope to the left. |
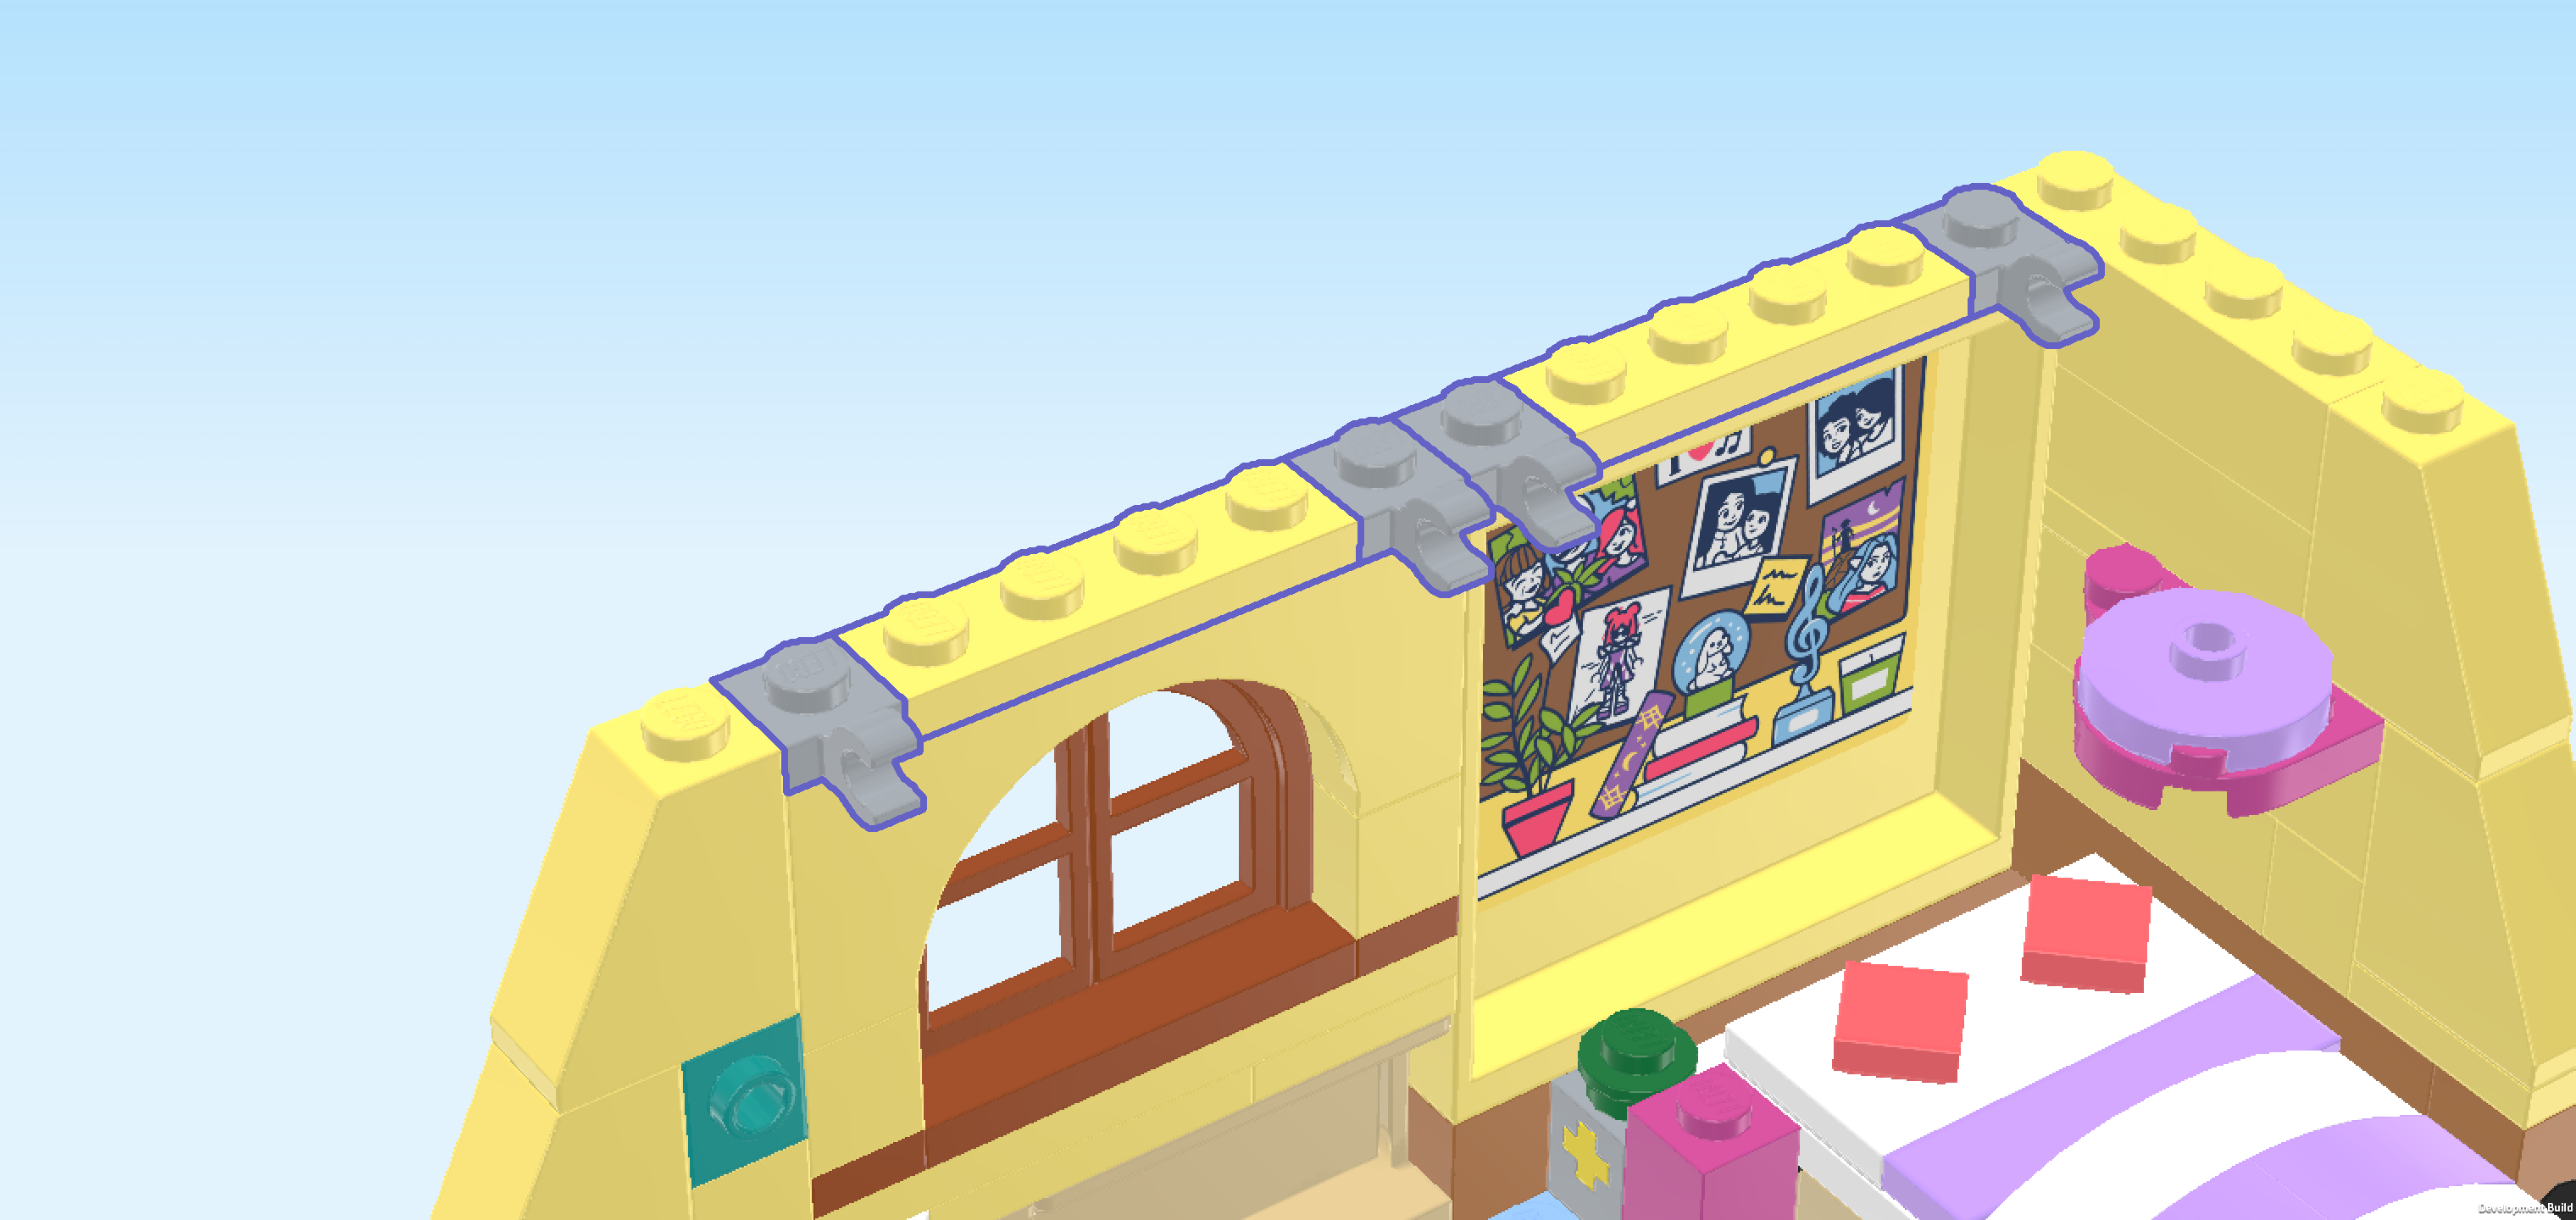
| Collect the following 6 pieces: |
| 4 medium stone grey plates 1x1 with vertical side clasp, |
| and 2 lemon yellow plates 1x4. |
| Put 1 plate with clasp to the right of the previous piece, clasp to the front. |
| Put 1 plate 1x4 horizontally to the right of the previous piece. |
| Put 1 plate with clasp to the right of the previous piece, clasp to the front. |
| Put another plate with clasp to the right of the previous piece, clasp to the front. |
| Put the other plate 1x4 horizontally to the right of the previous piece. |
| Put the remaining plate with clasp horizontally to the right of the previous piece, clasp to the front. |
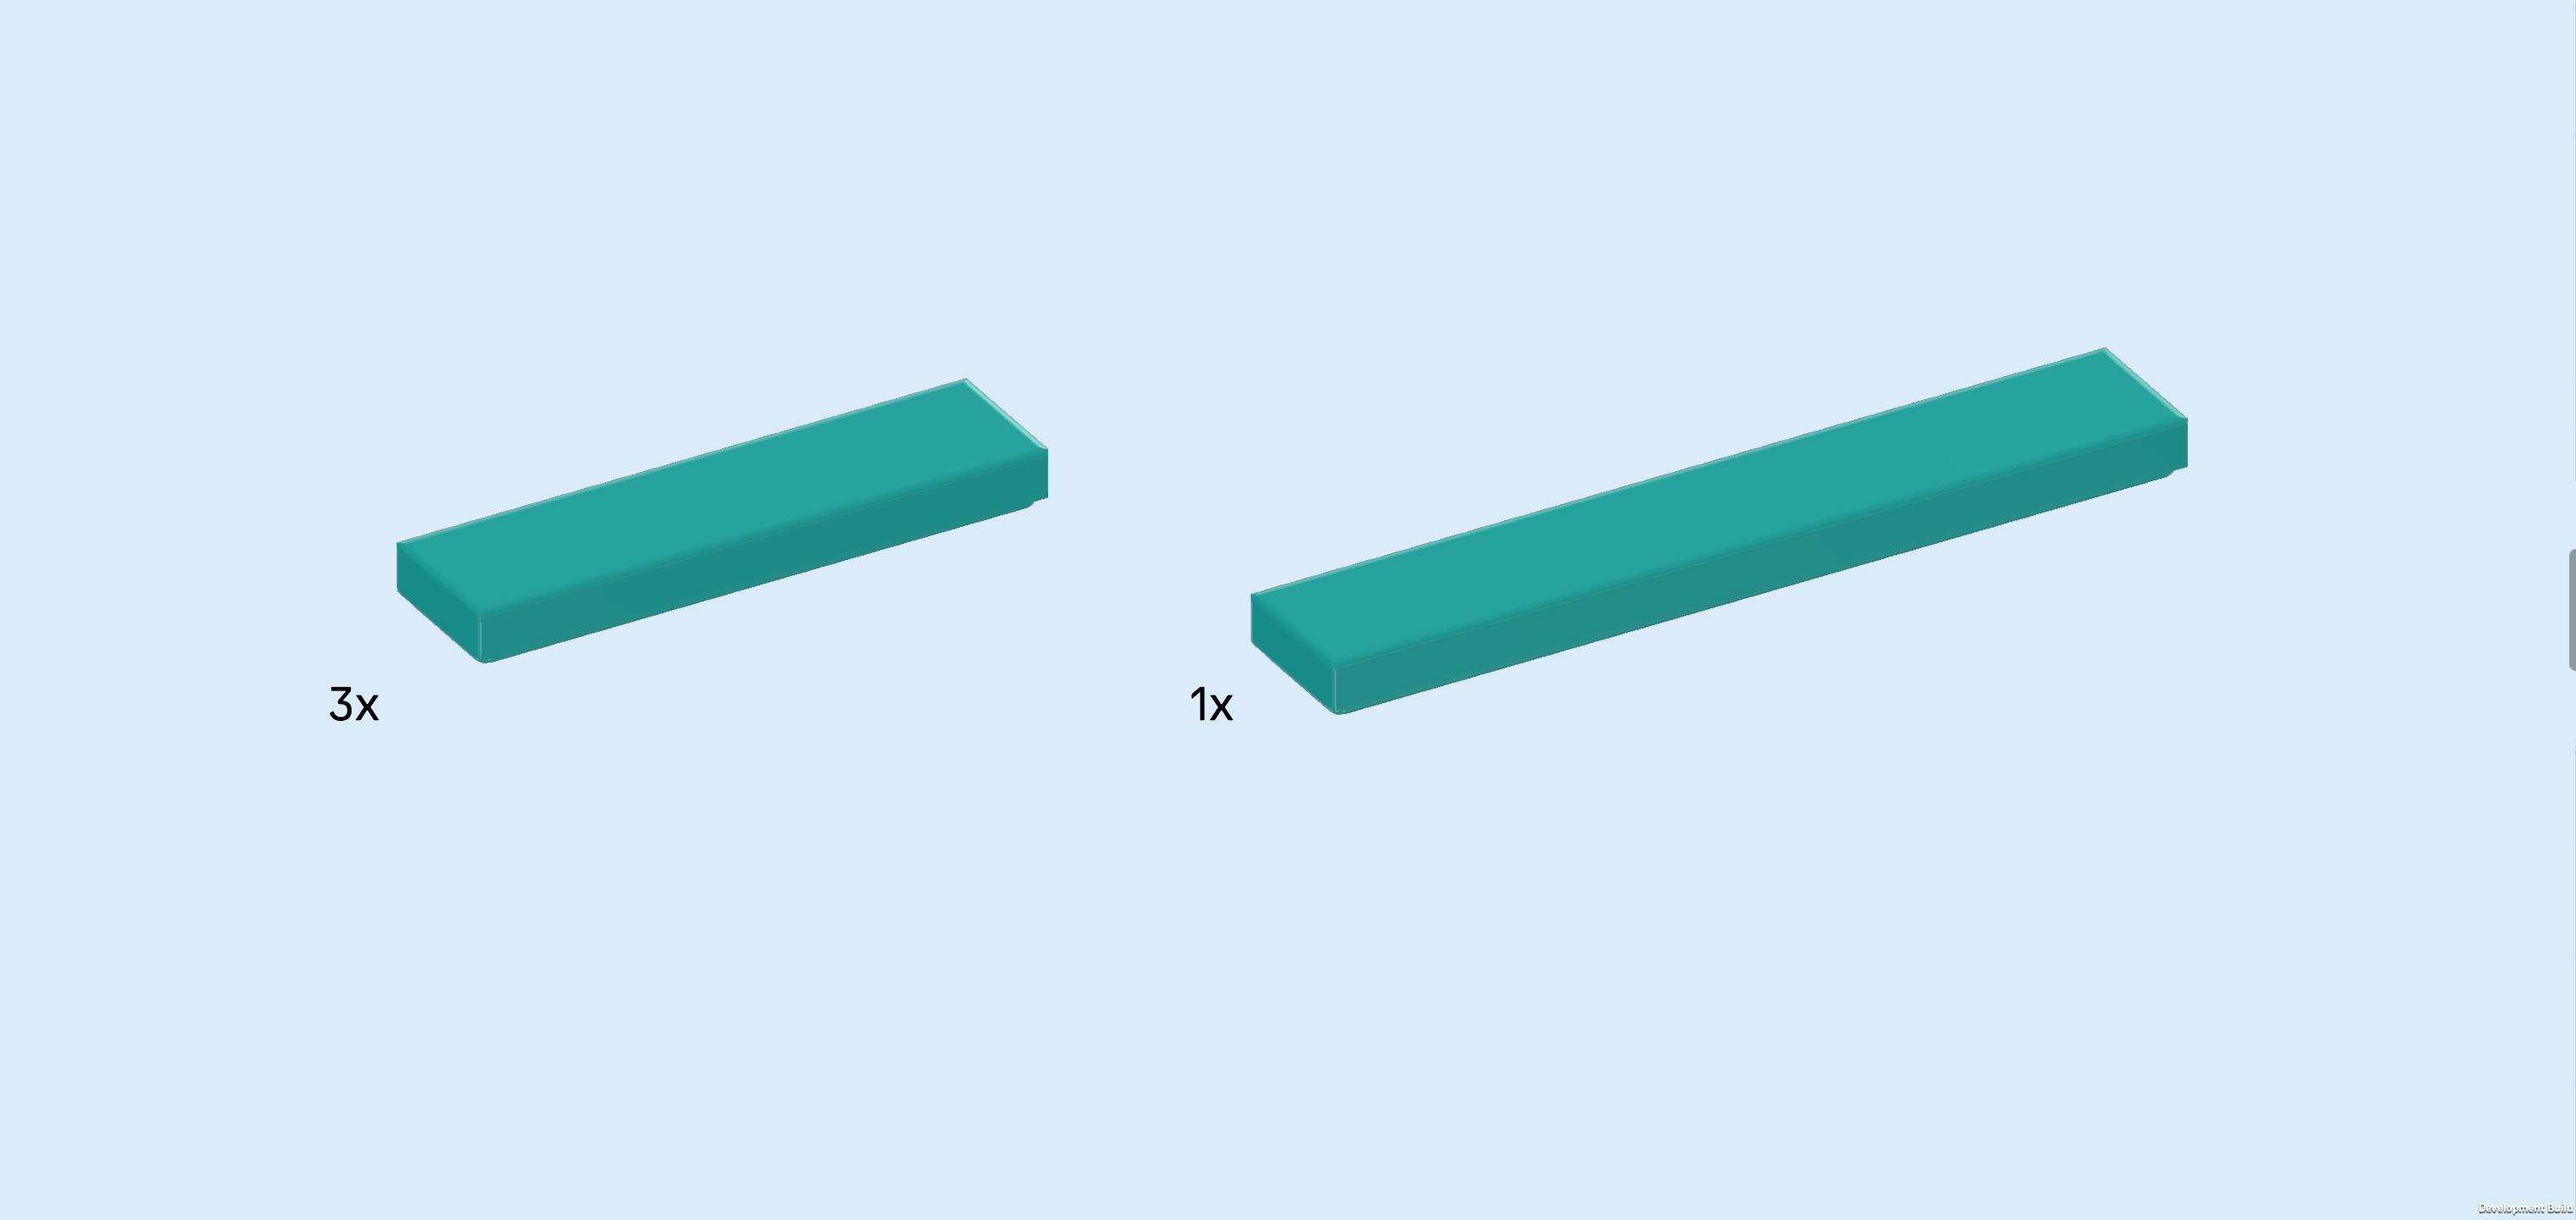
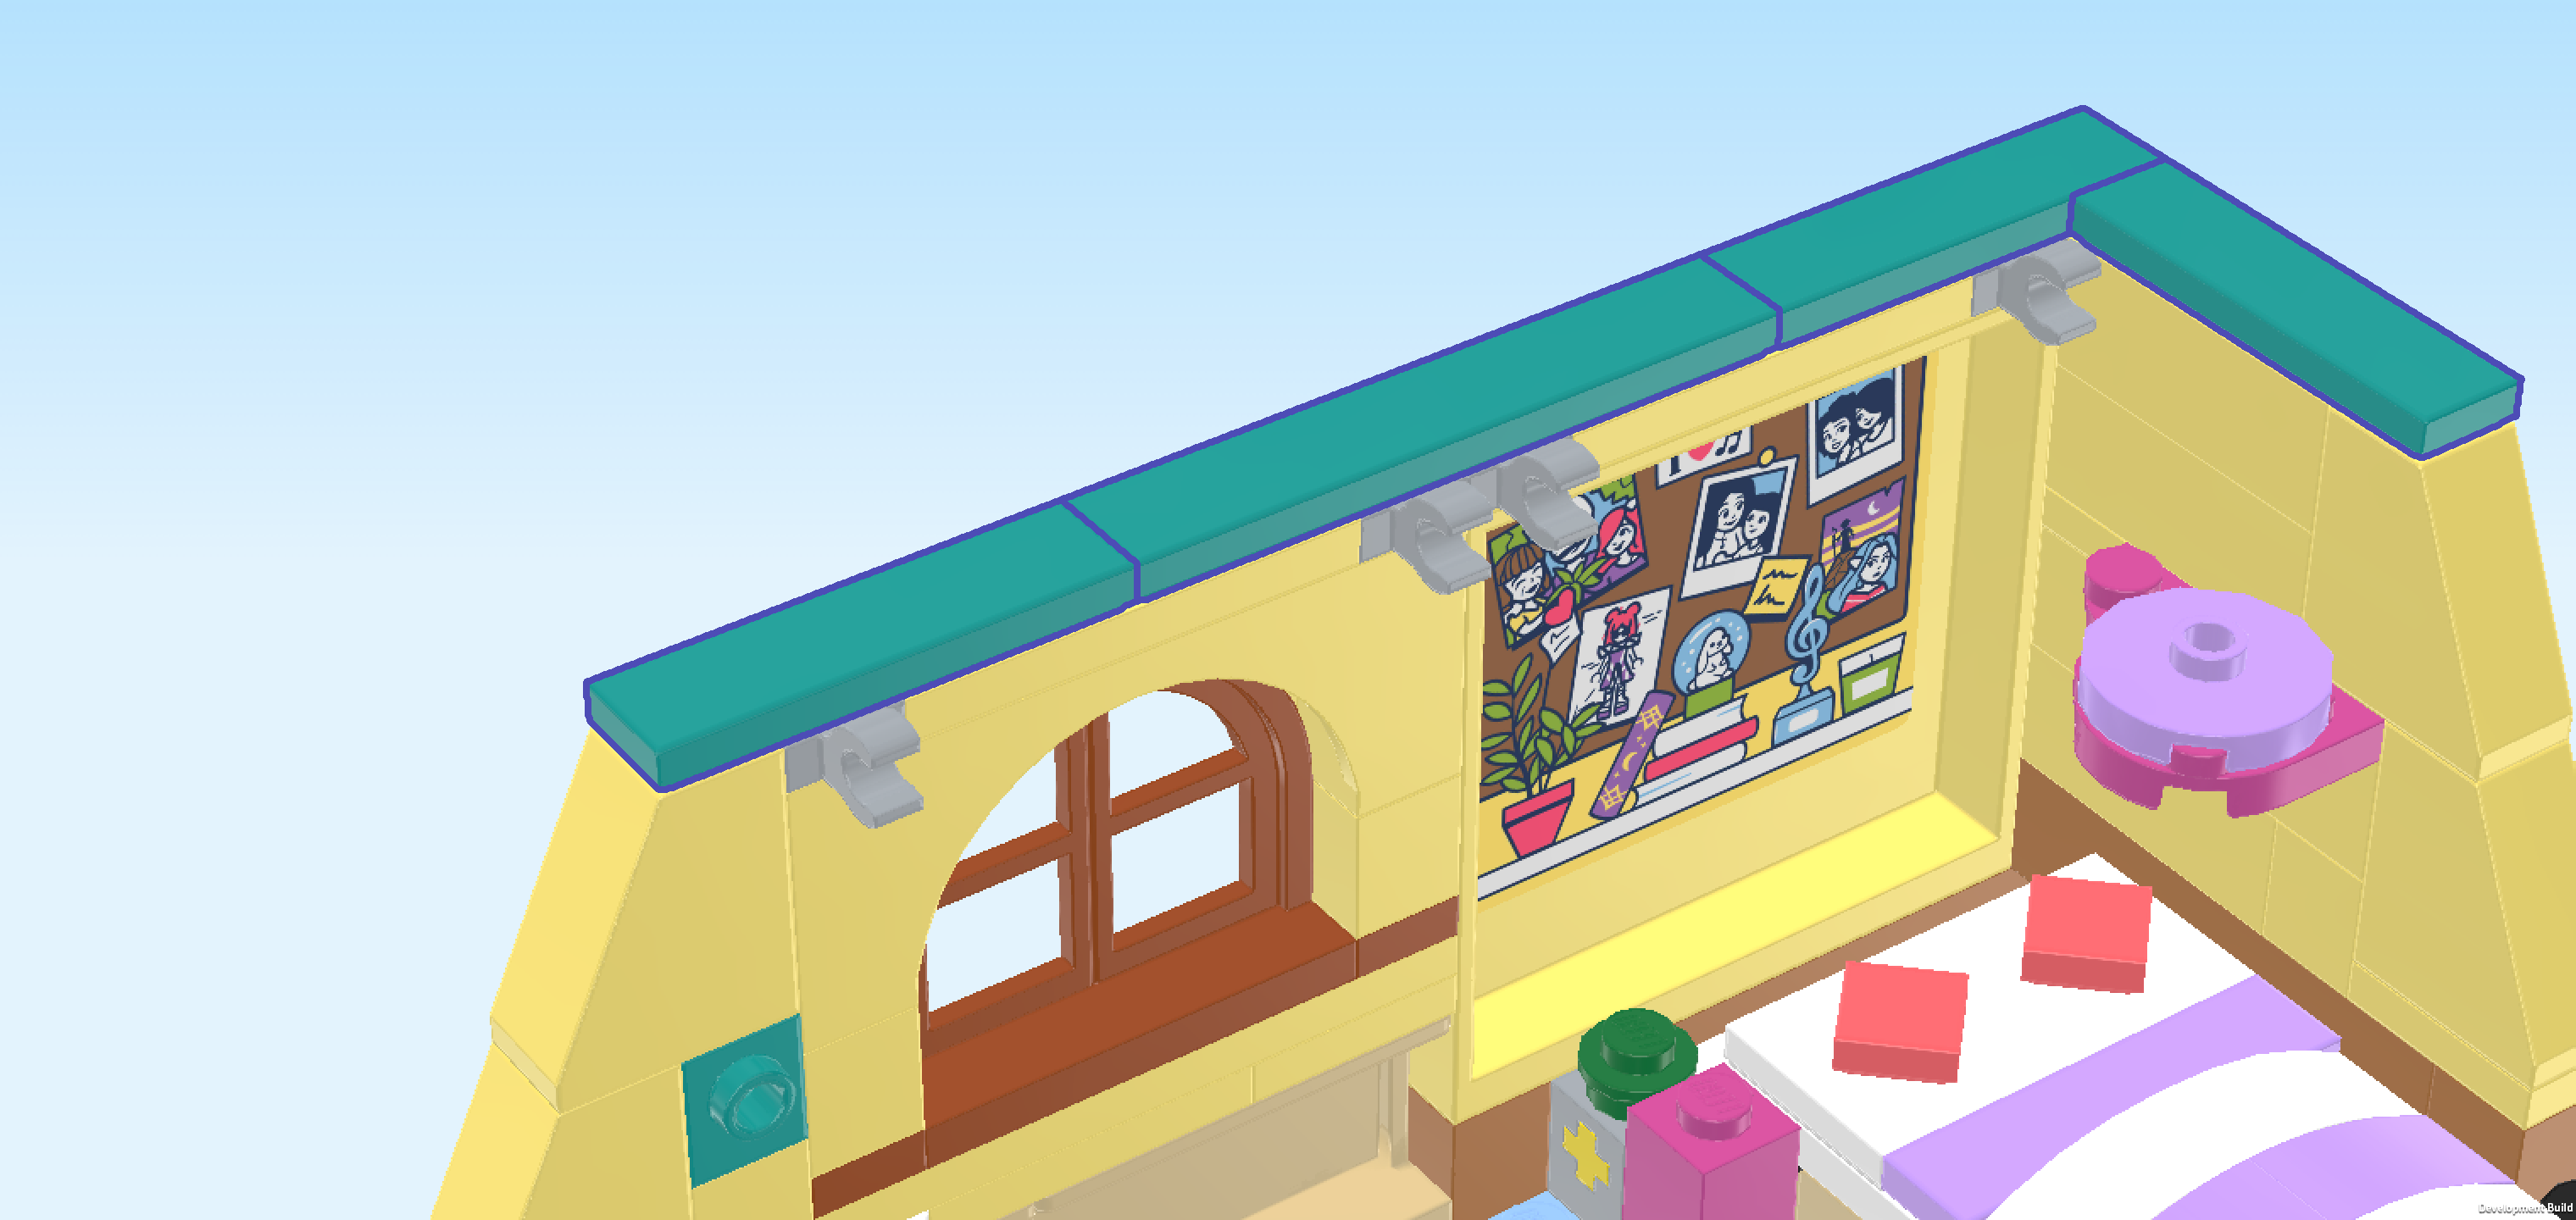
| Collect the following 4 pieces: |
| 3 teal blue flat tiles 1x4, |
| and 1 teal blue flat tile 1x6. |
| Put 1 flat tile 1x4 horizontally on the back wall, starting from its leftmost edge. |
| Put the flat tile 1x6 horizontally to the right of the previous piece. |
| Put 1 flat tile 1x4 horizontally to the right of the previous piece. |
| Put the remaining flat tile 1x4 vertically on the right side wall. |
| Find 2 white shafts 6m with ring. |
| Hold 1 horizontally in front of you, the end with the ring pointing to the left. |
| Snap it centered into the 2 rightmost clasps that are protruding from the back wall. Make sure that its left end does not protrude into the neighboring clasp. |
| Mount the other one on the 2 left clasps, using the same orientation as with the previous shaft. |
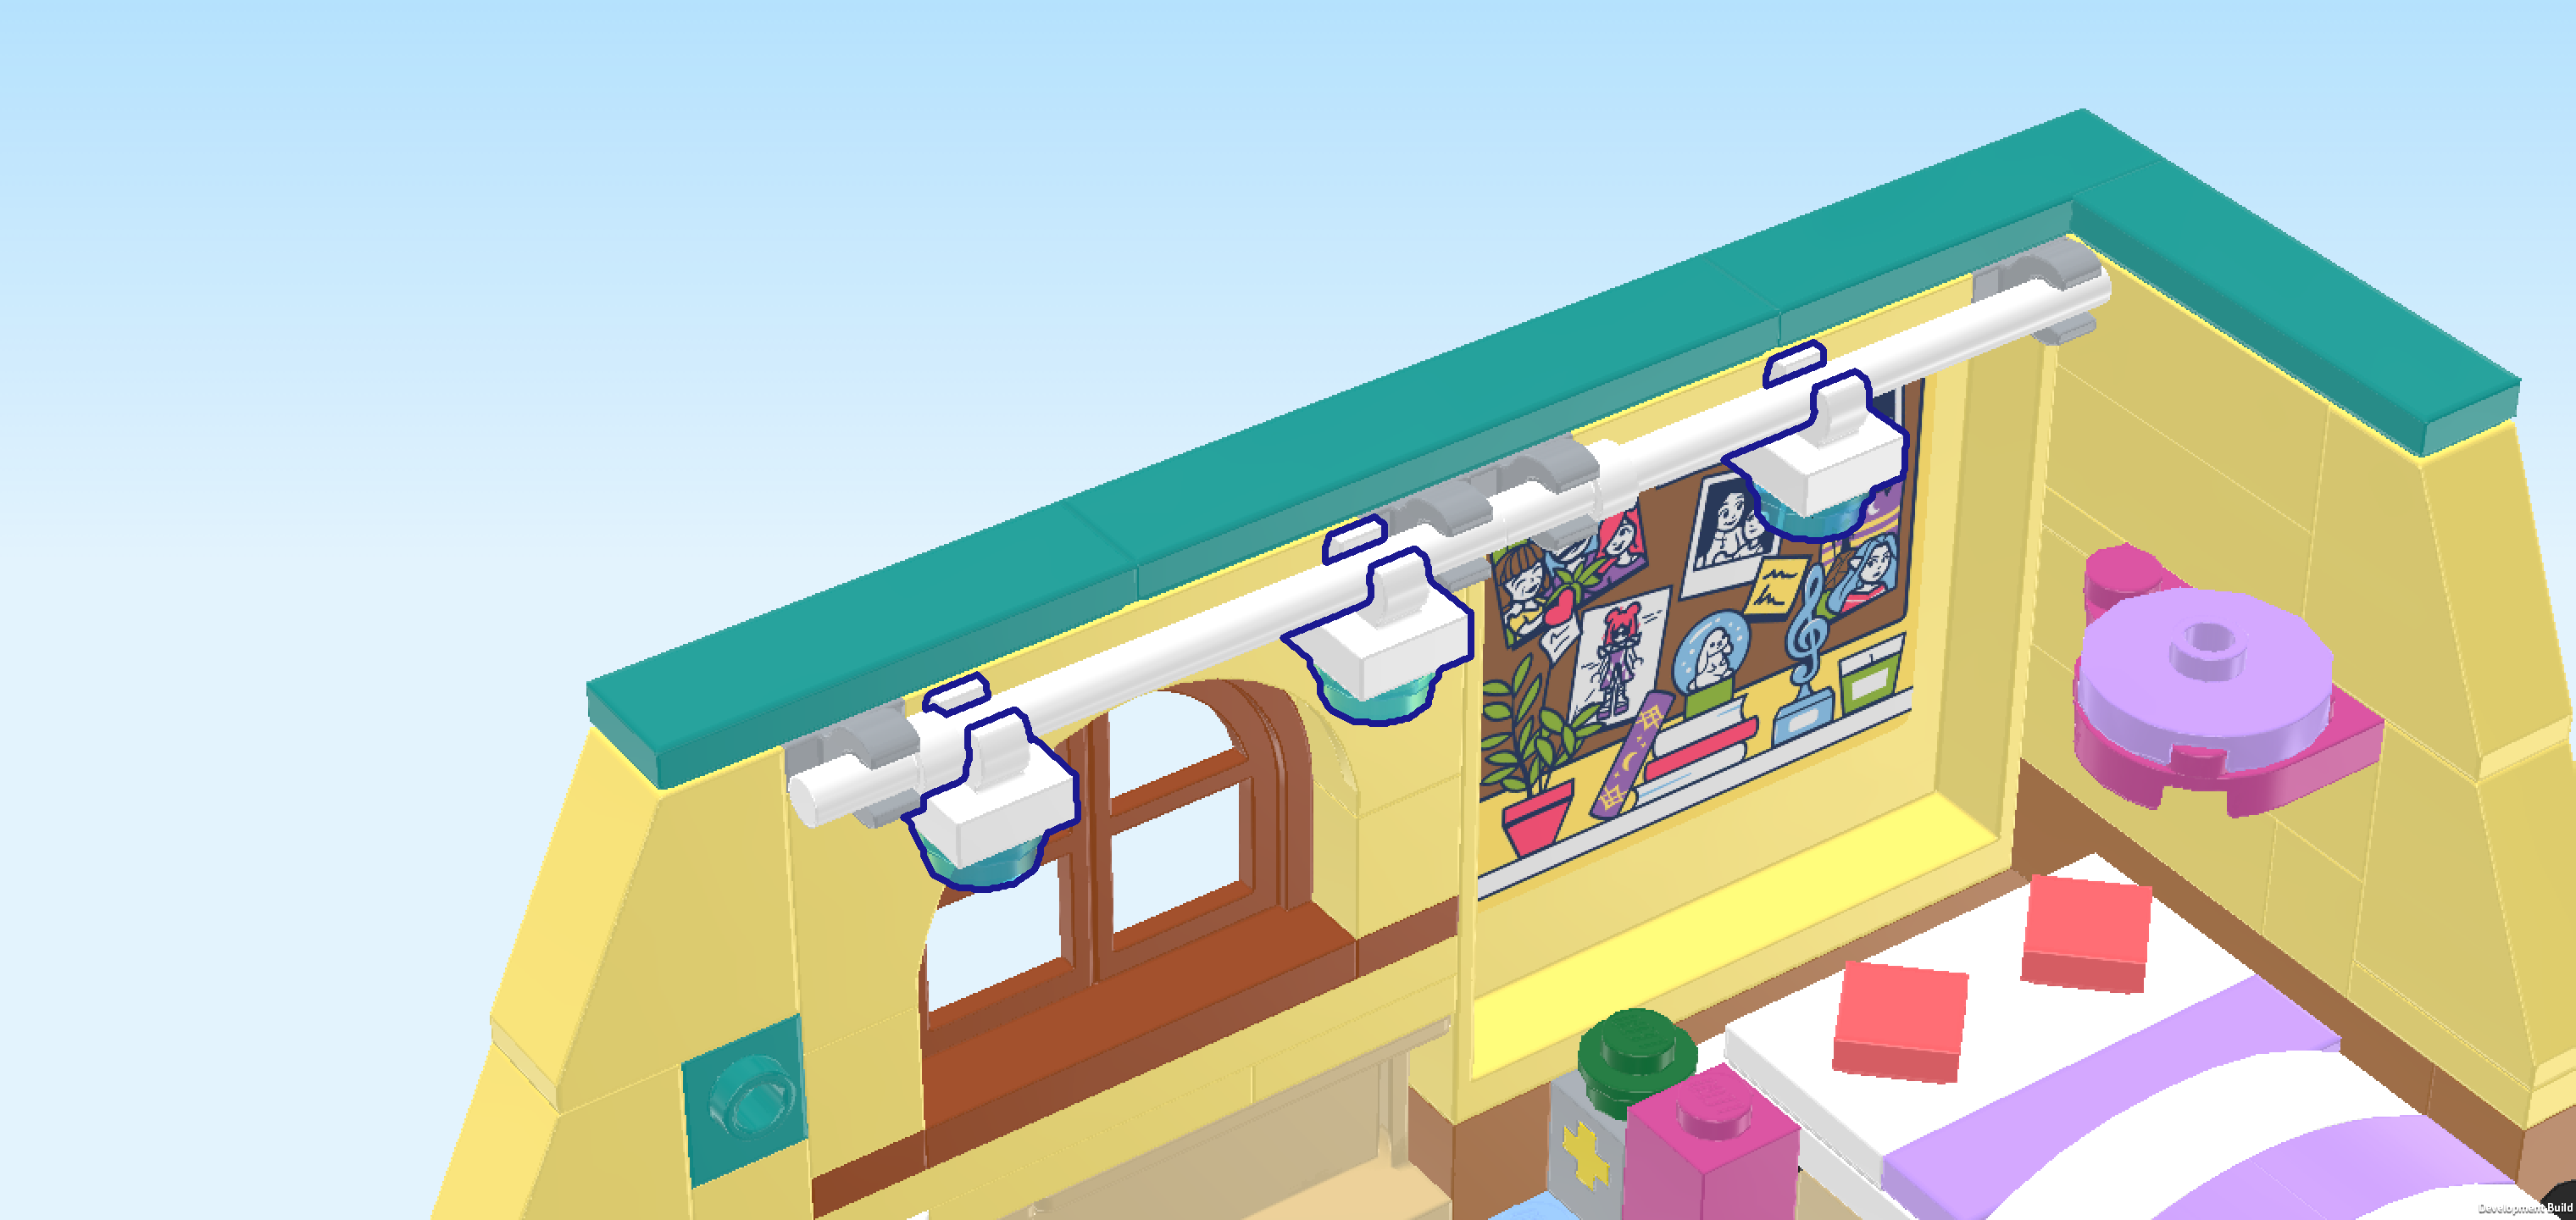
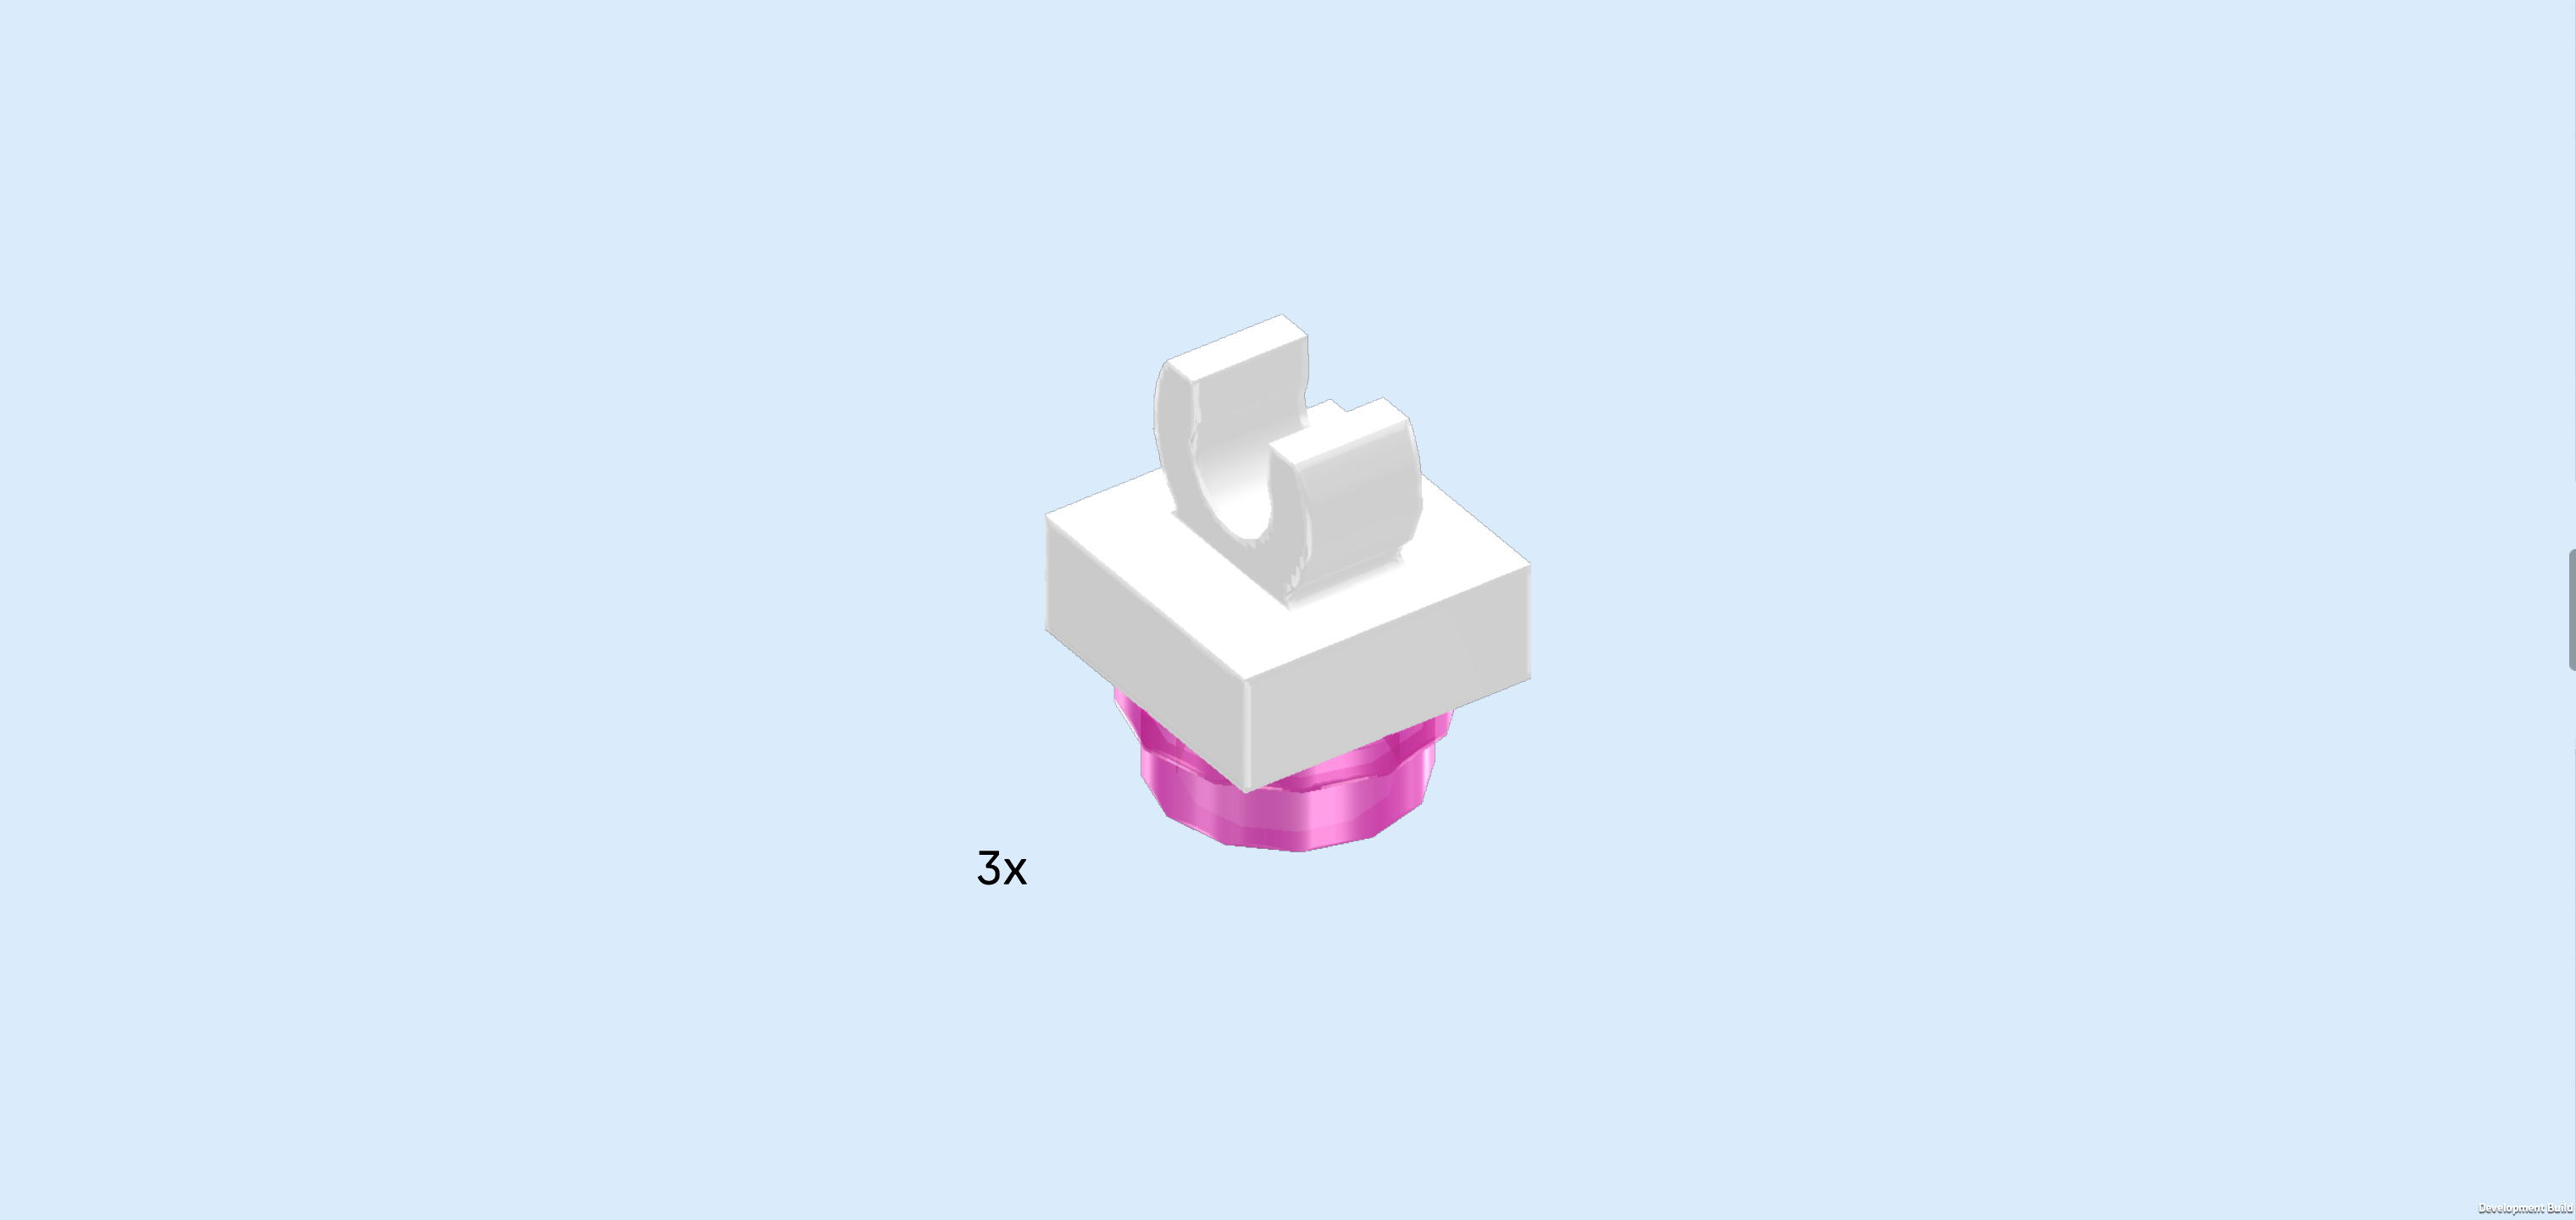
| Next, we will assemble 3 spotlights. We will start with one. |
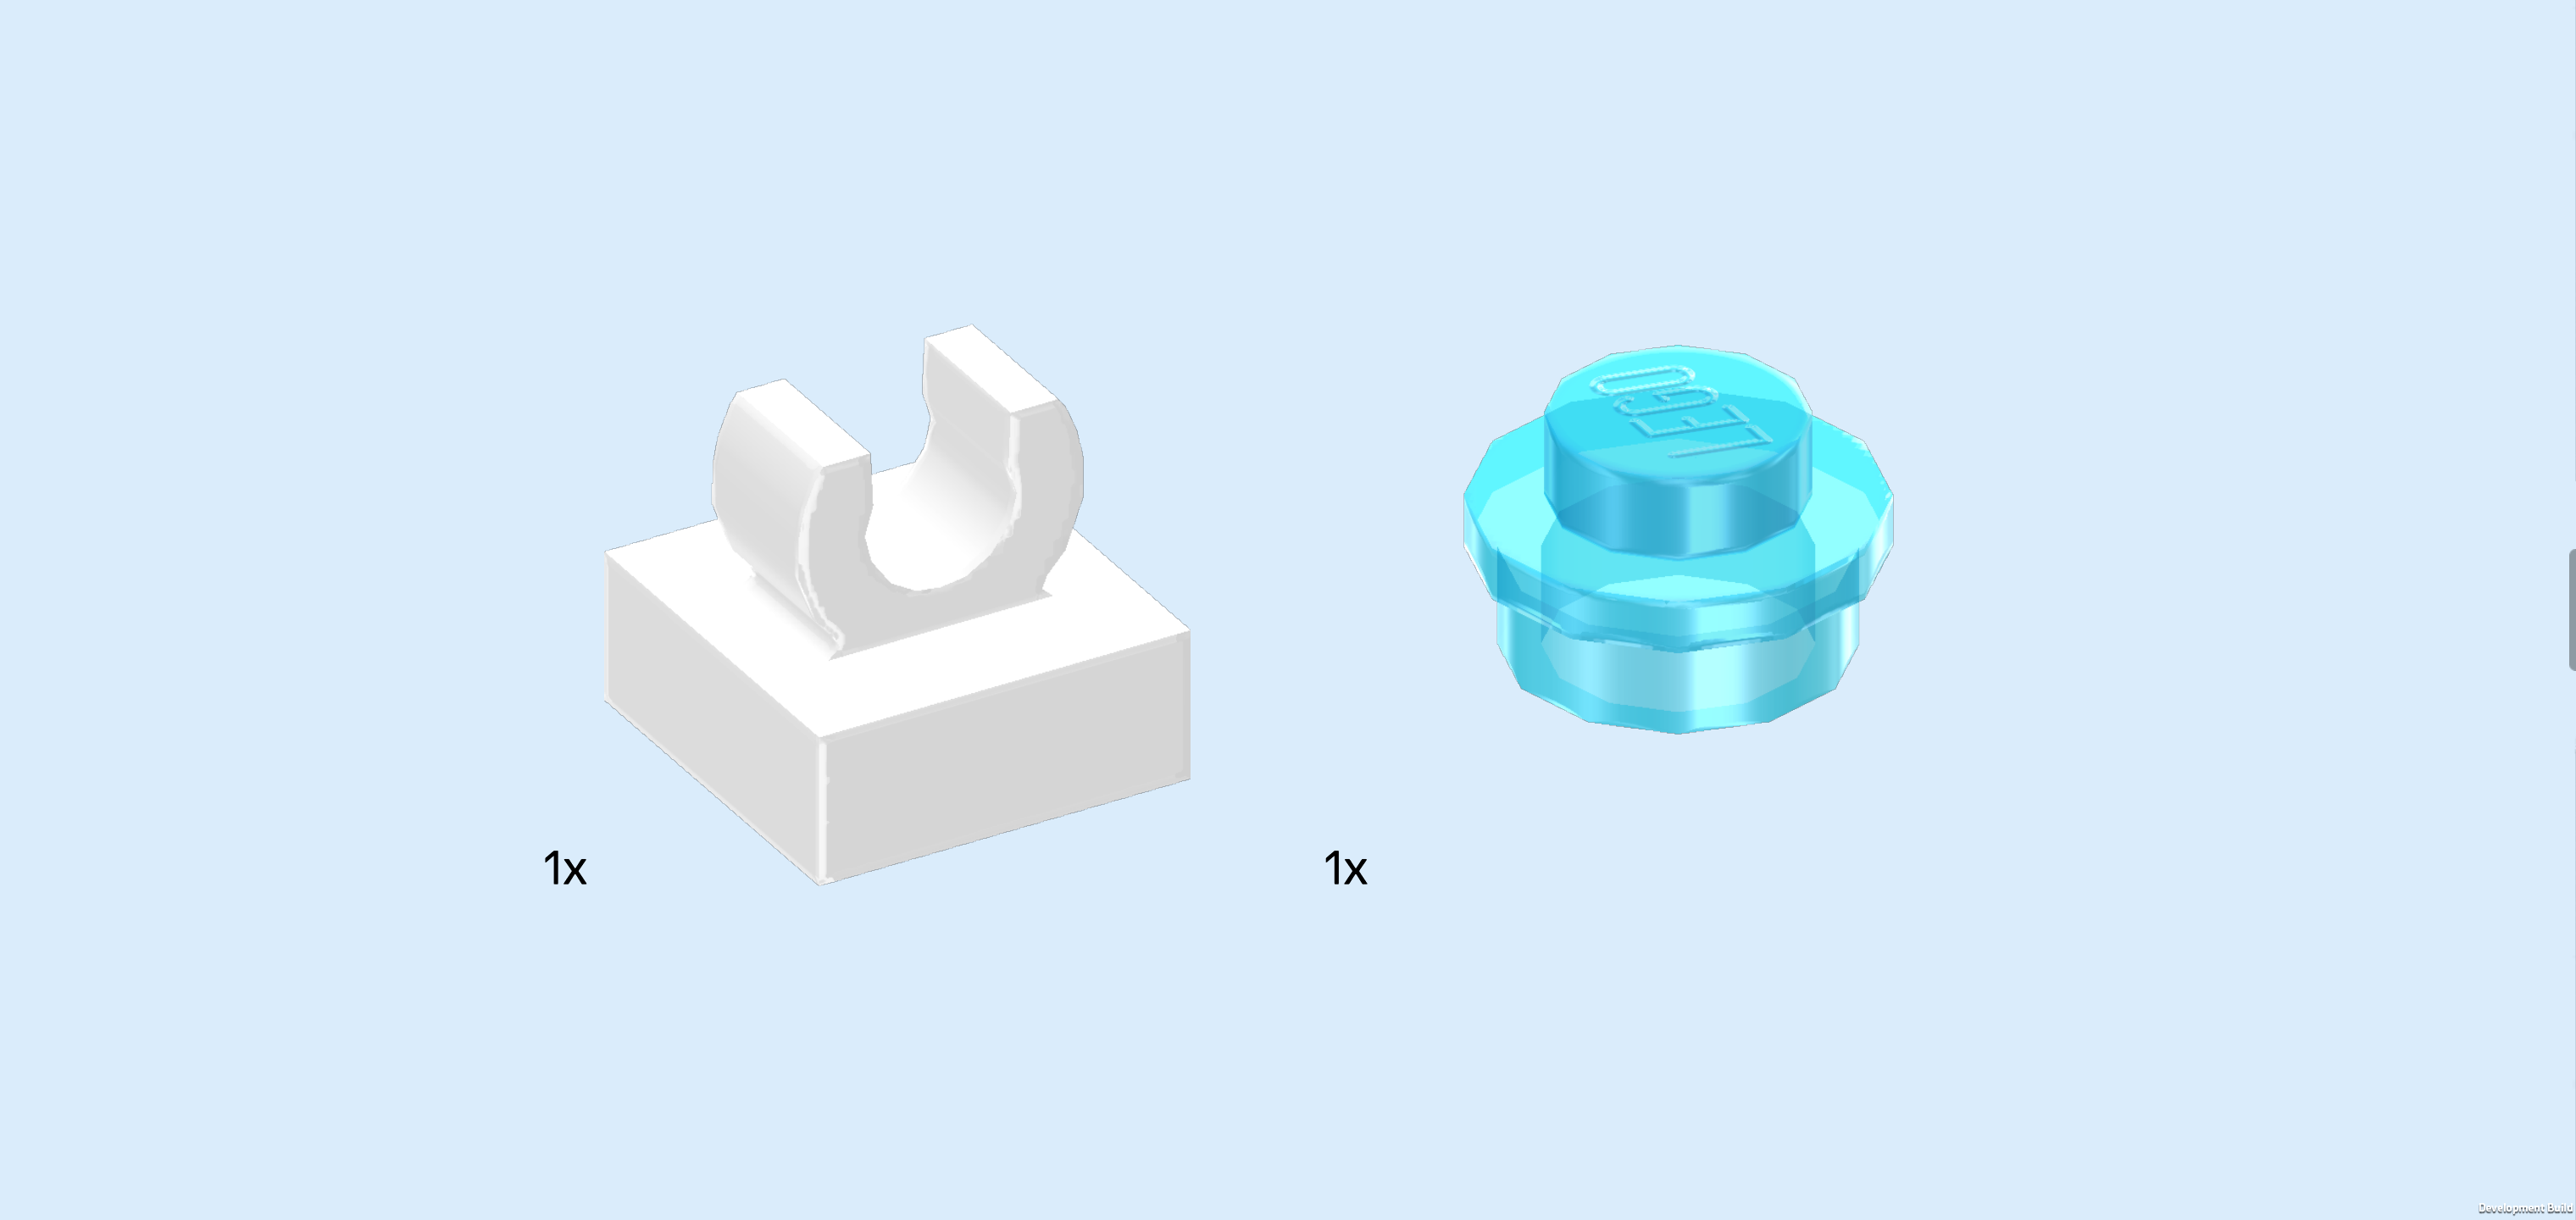
| Collect the following 2 pieces: |
| 1 white plate 1x1 with top clasp, |
| and 1 transparent light blue round plate 1x1. |
| Put the round plate 1x1 on the table. Put the plate with clasp on top. |
| Collect another 2 white plates 1x1 with top clasp, and another 2 transparent light blue round plates 1x1. |
| Make 2 more spotlights: put the round plates 1x1 next to each other on the table, and put the plates with clasp on top. |
| Let's try to distribute them evenly on the shafts. The first two will be mounted on the left shaft: snap one onto the left edge and the other one on the right edge so that we can later fit another light between them. |
| Mount the third one in the middle of the right shaft. |
| You can adjust the position of the spotlights later, but for now, tilt them towards the bottom, because we will mount a few more. |
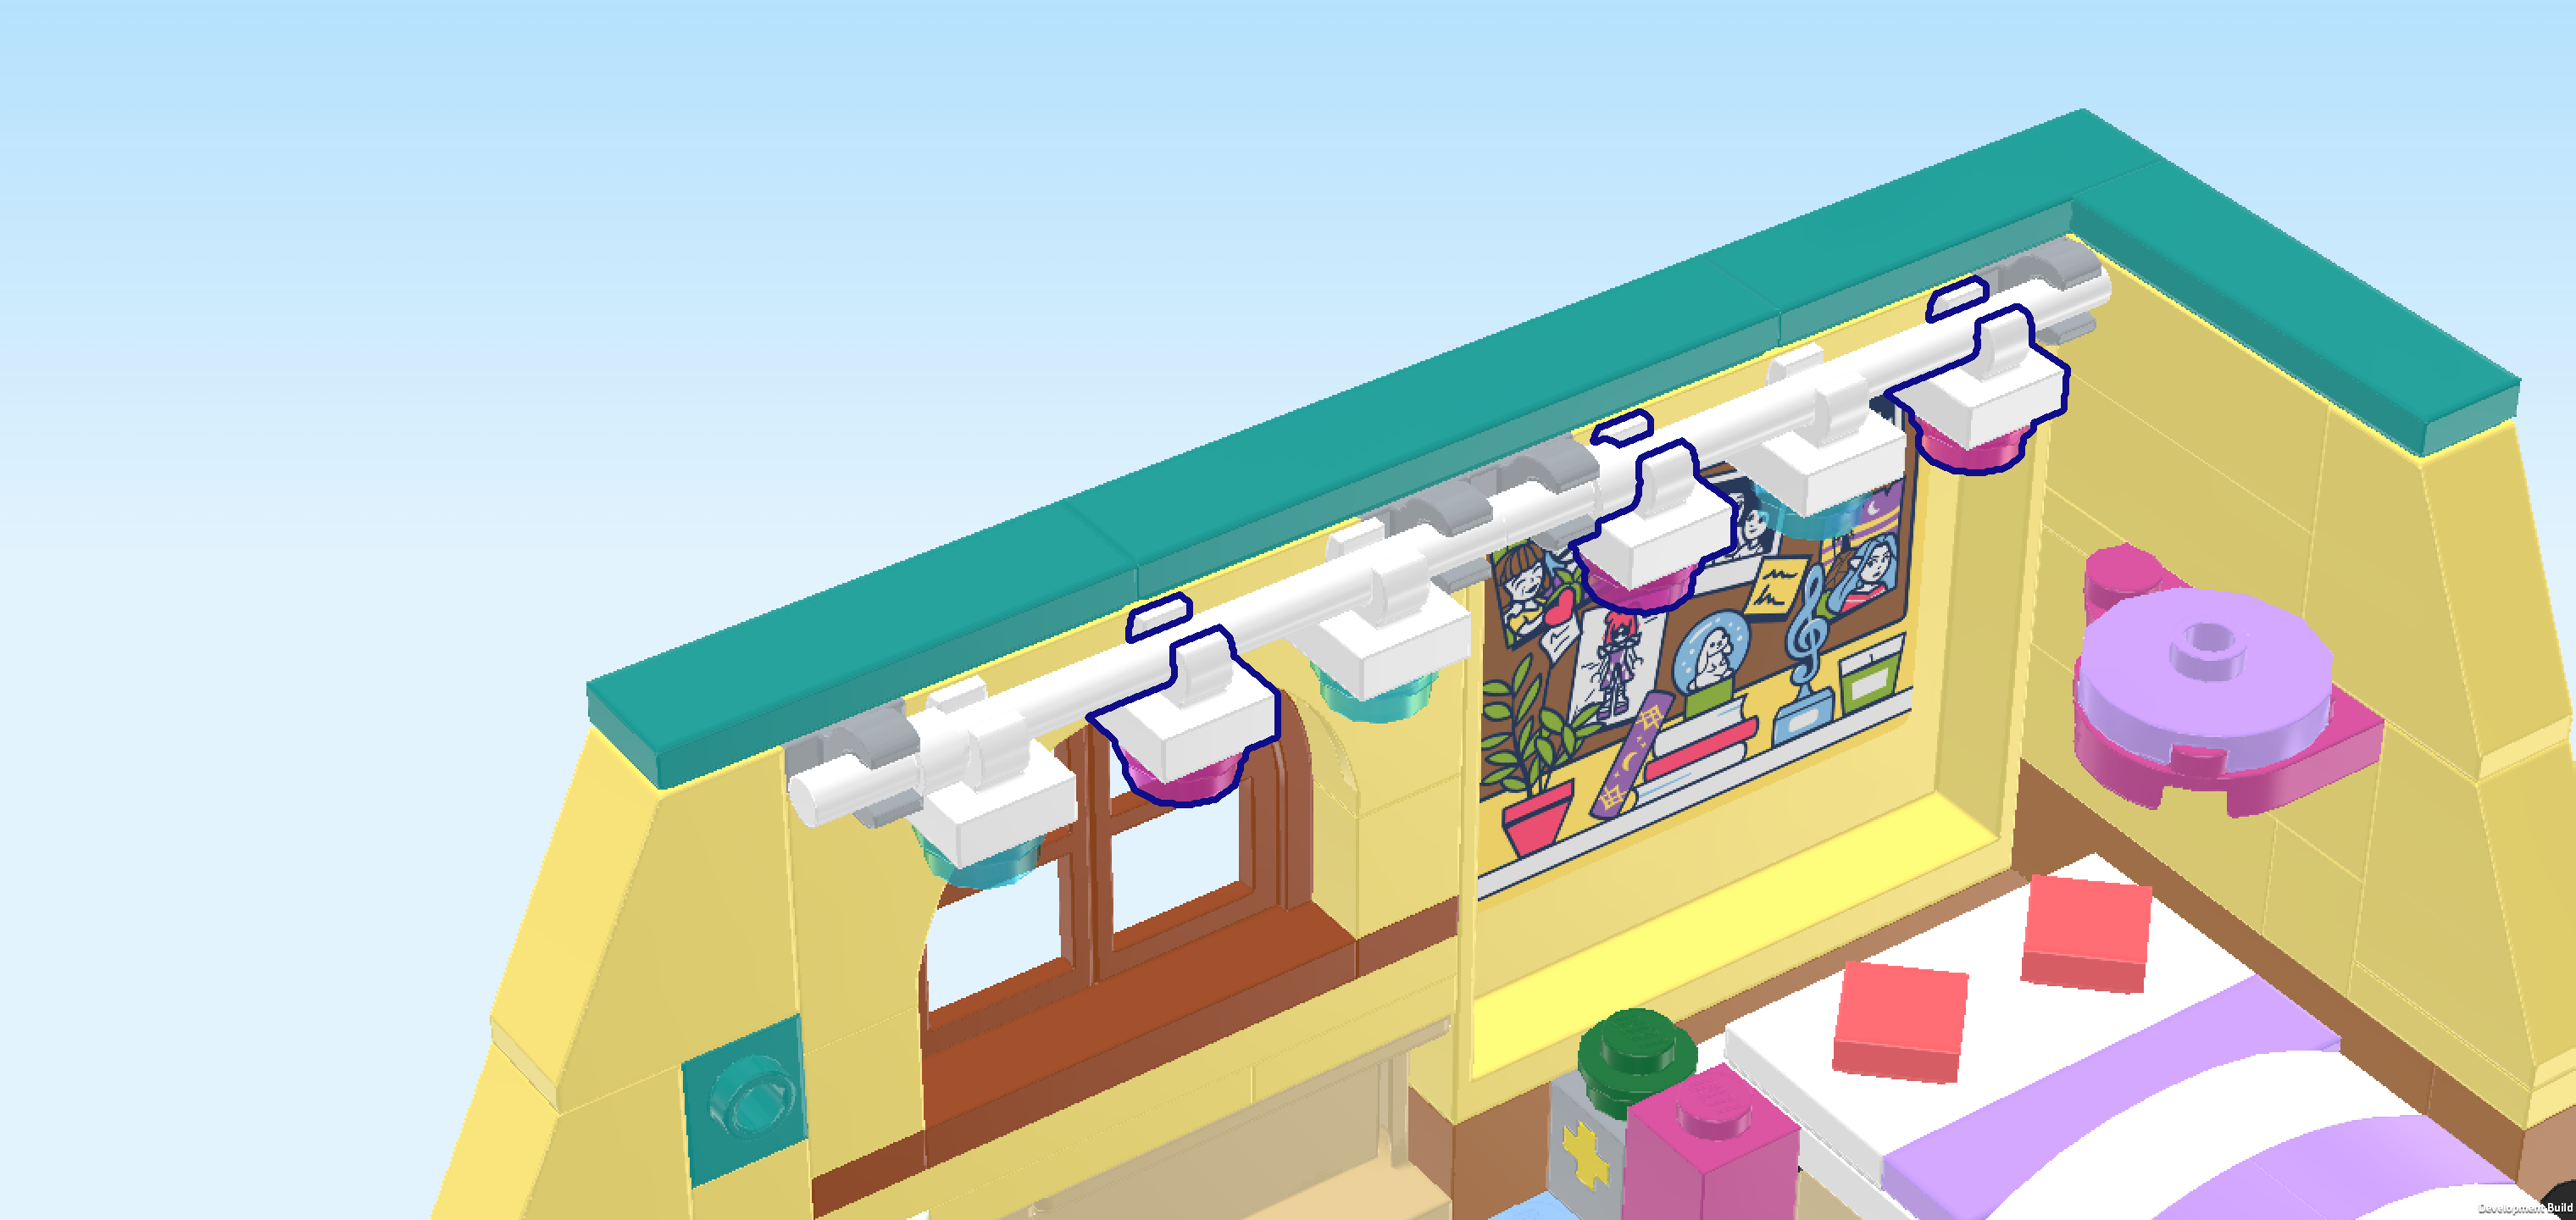
| Now, we will build 3 more spotlights. |
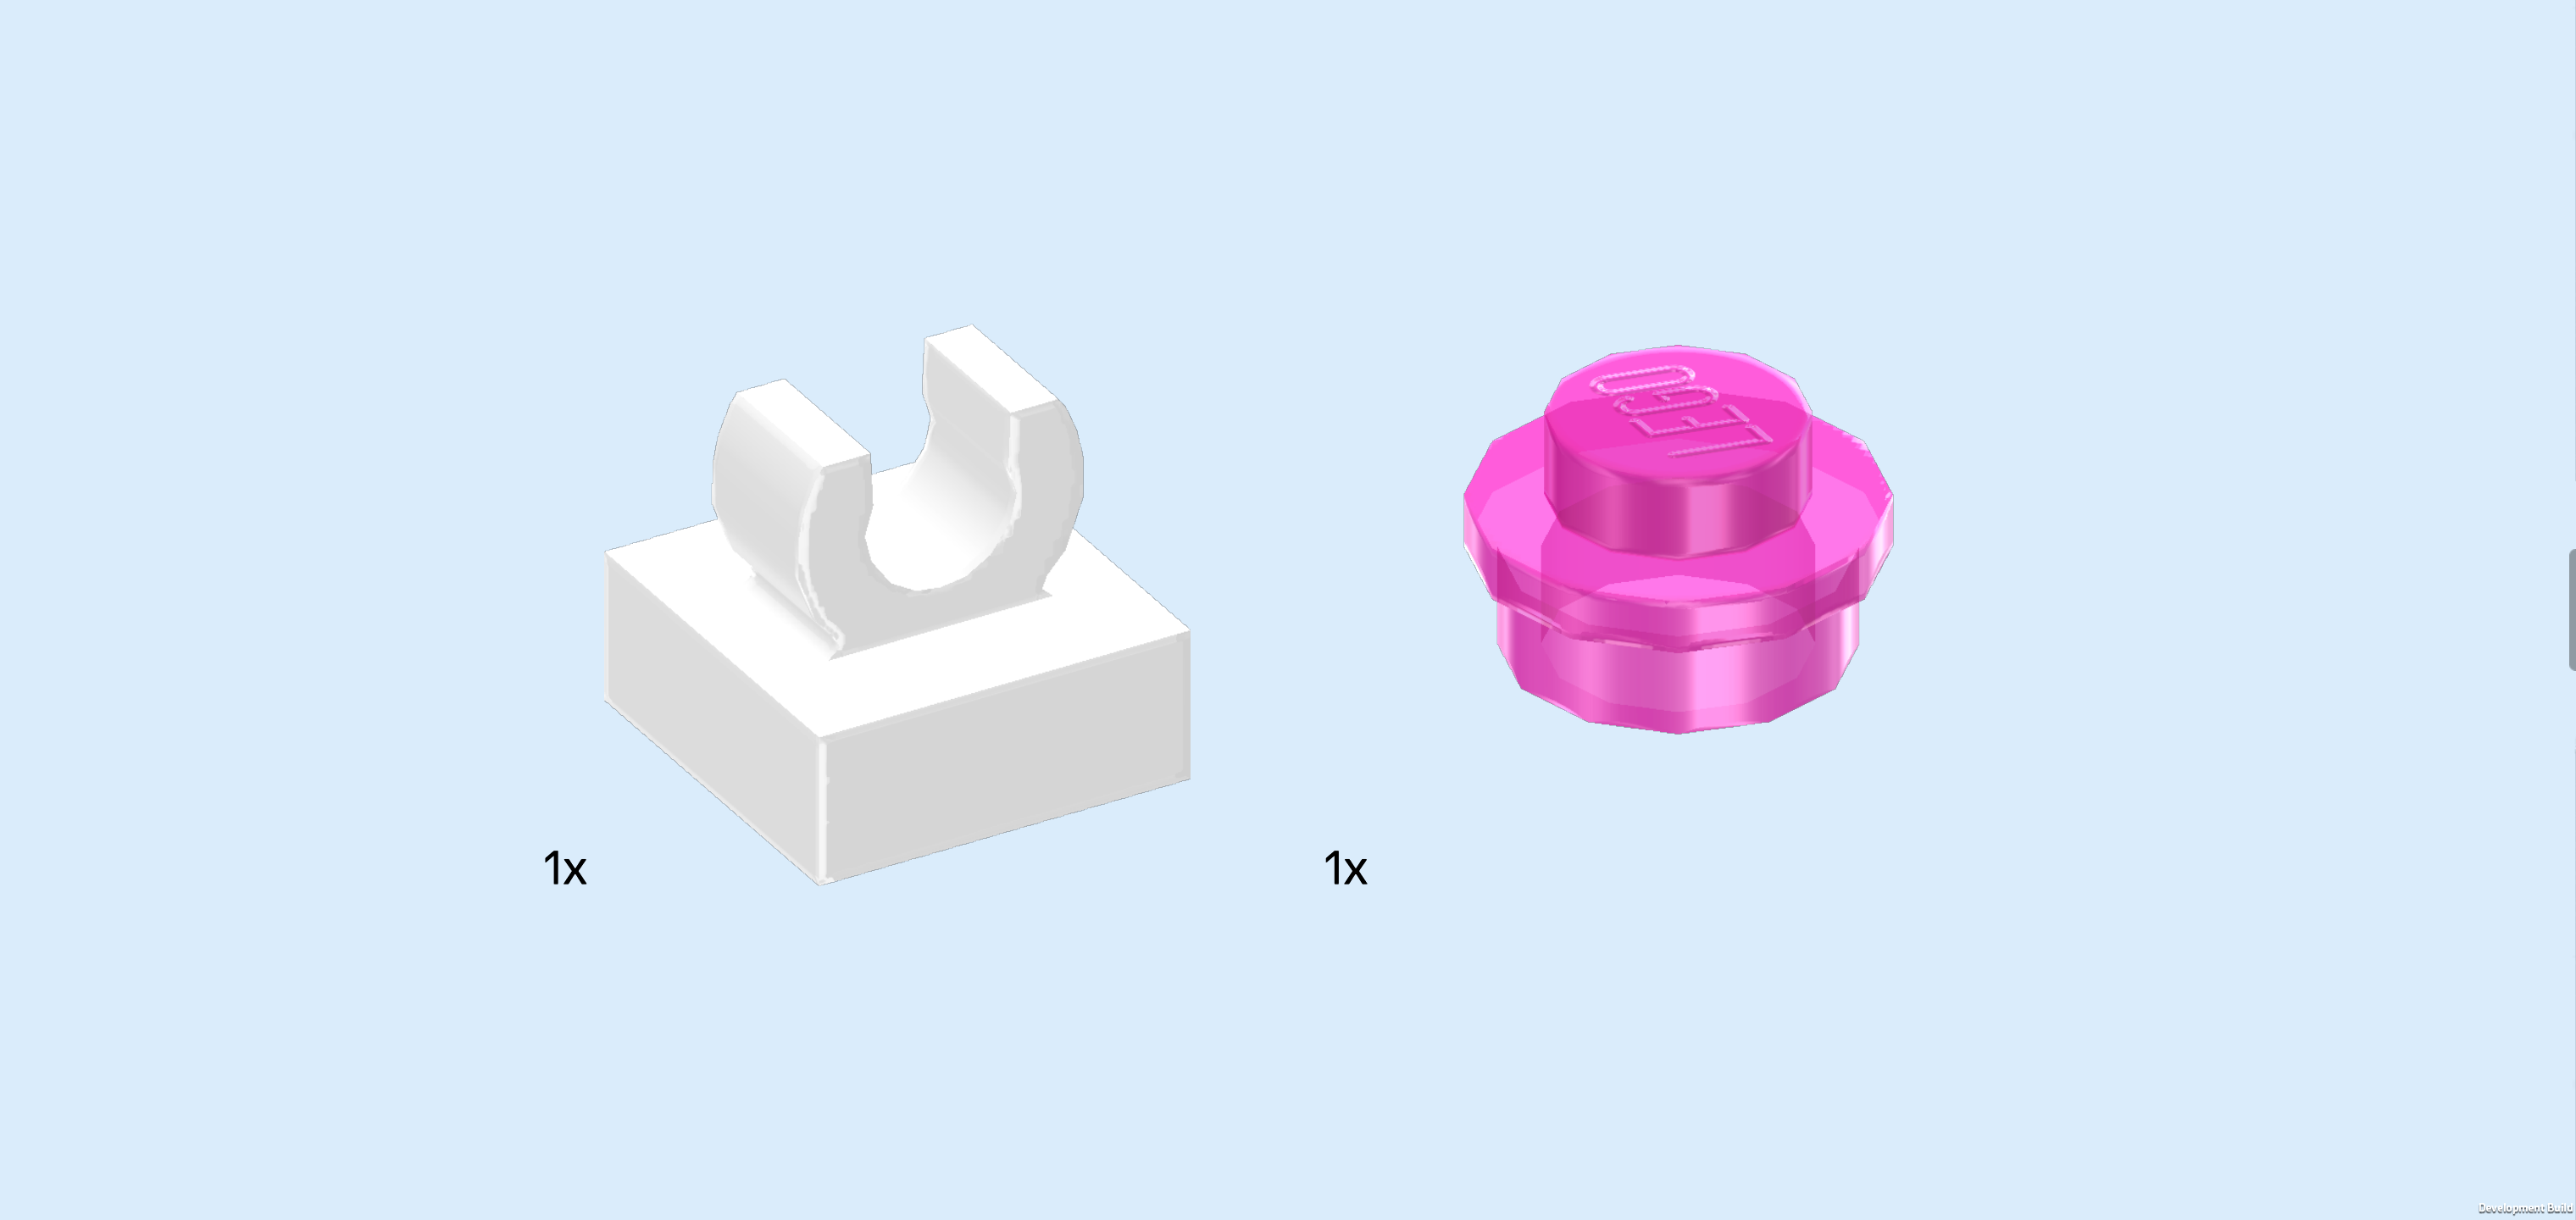
| Collect the following 2 pieces: |
| 1 white plate 1x1 with top clasp, |
| and 1 transparent raspberry red round plate 1x1. |
| Put the round plate 1x1 on the table, and put the plate with clasp on top. |
| Collect another 2 white plates 1x1 with top clasp, and another 2 transparent raspberry red round plates 1x1. |
| Make 2 more spotlights. |
| Now, snap the 3 new spotlights into the positions between the others. Snap 1 on the left shaft in the middle, and snap the other 2 on the right shaft to the left and right of the blue spotlight. |
| The string lights are finished! Great job! You can now adjust the lights to your liking. |
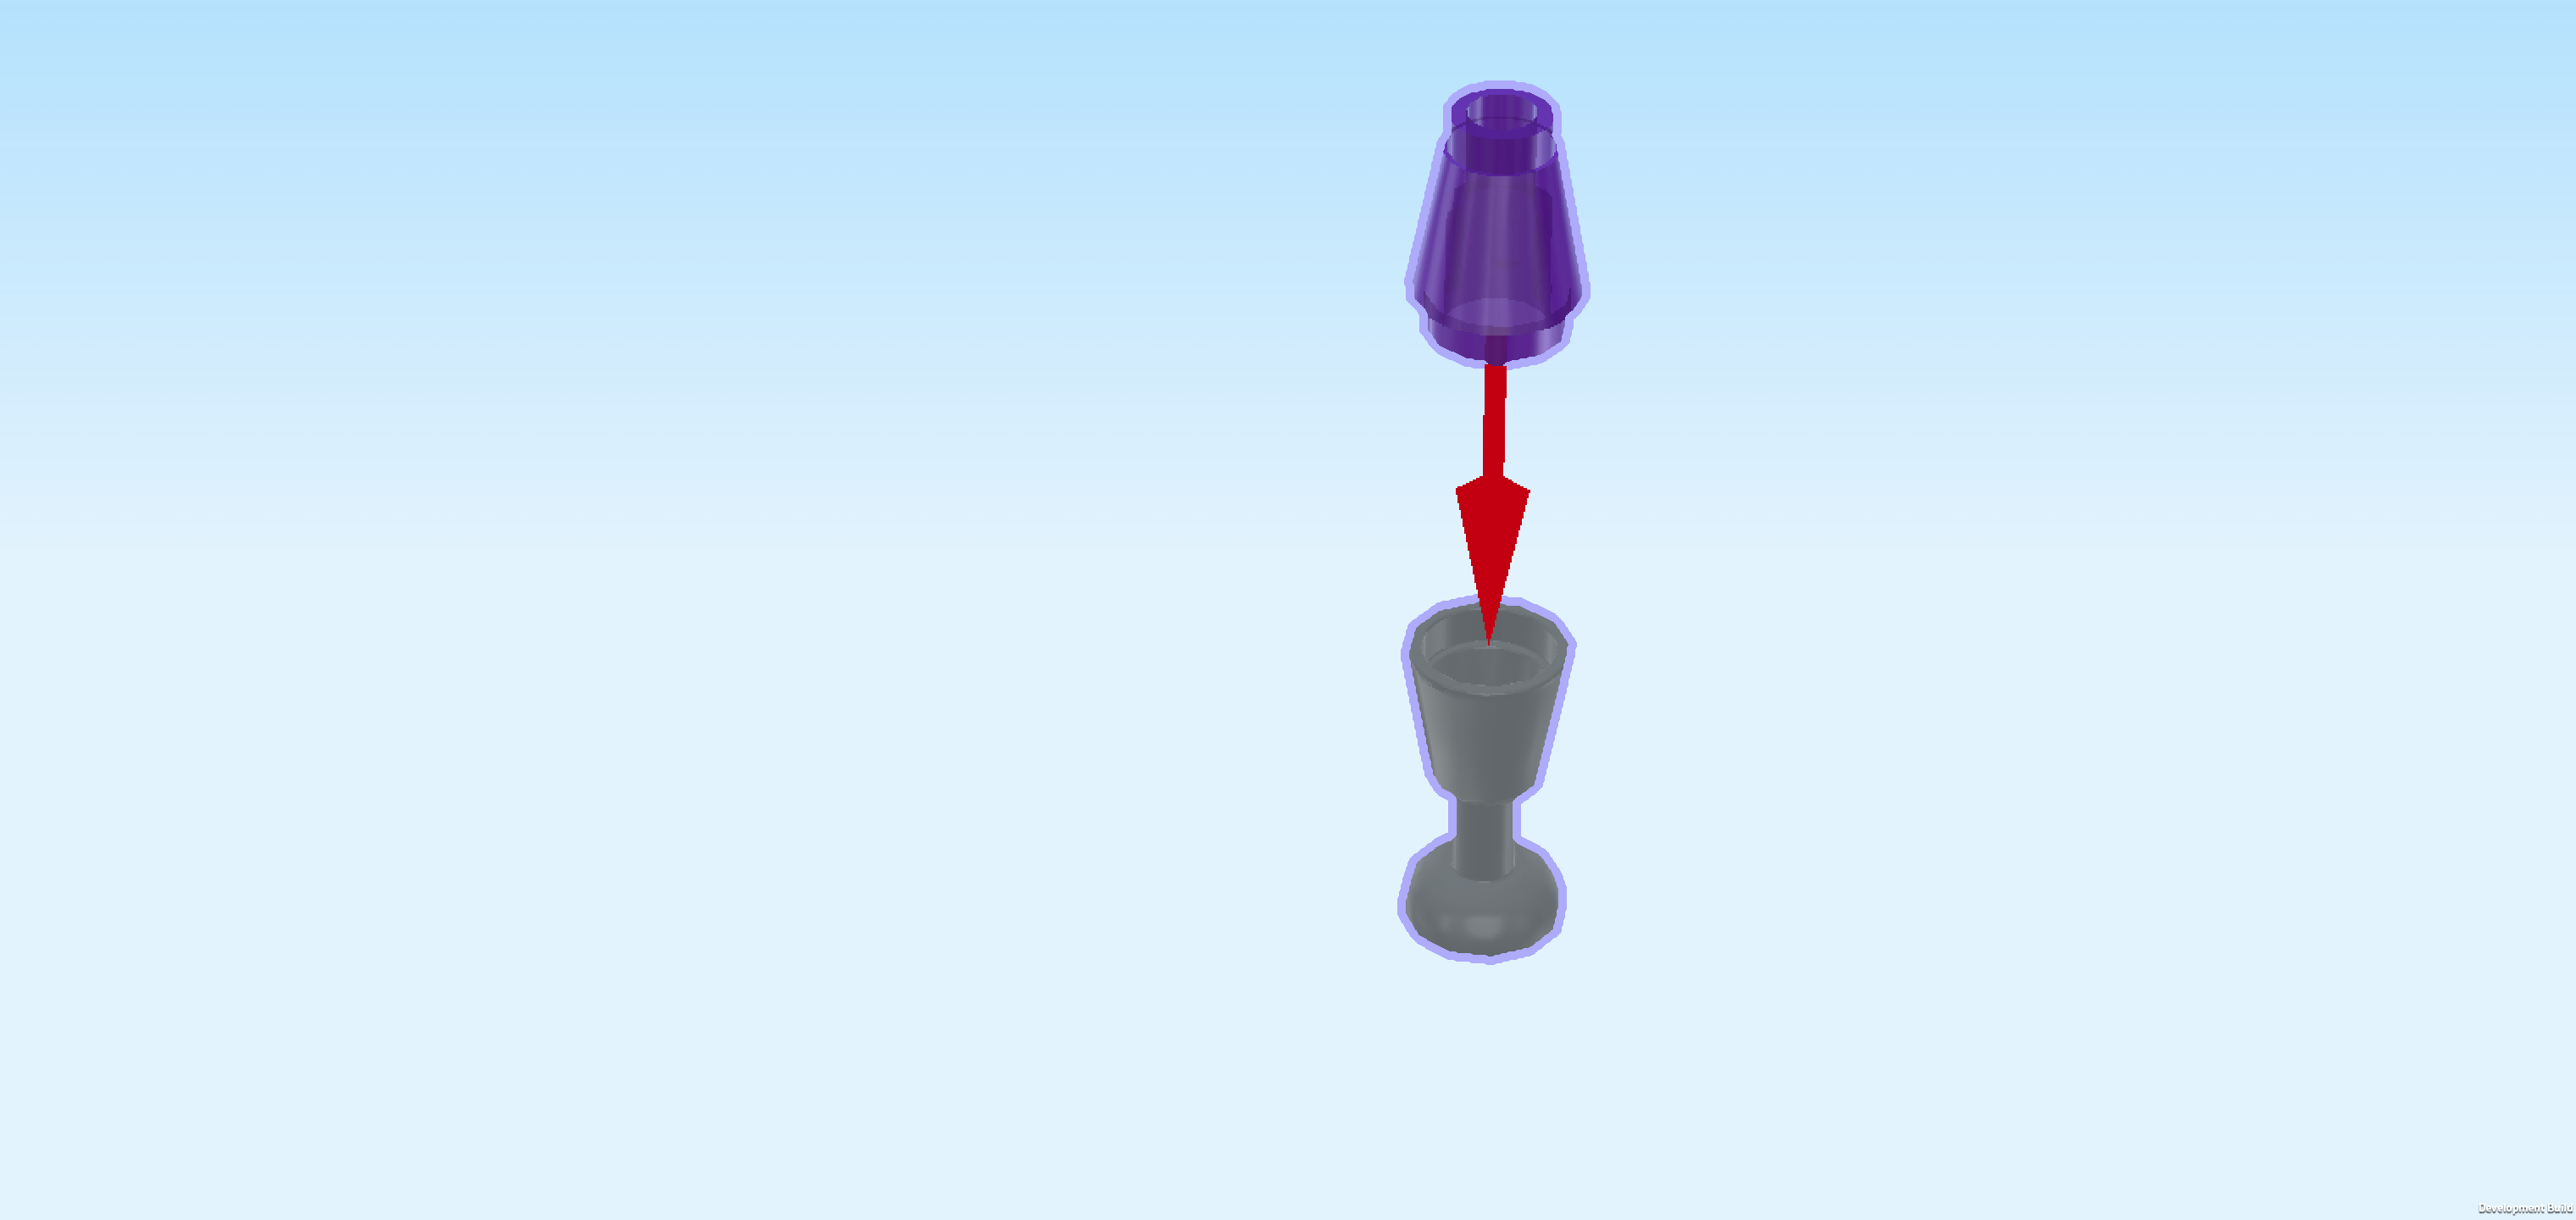
| Next, we will assemble the lava lamp. |
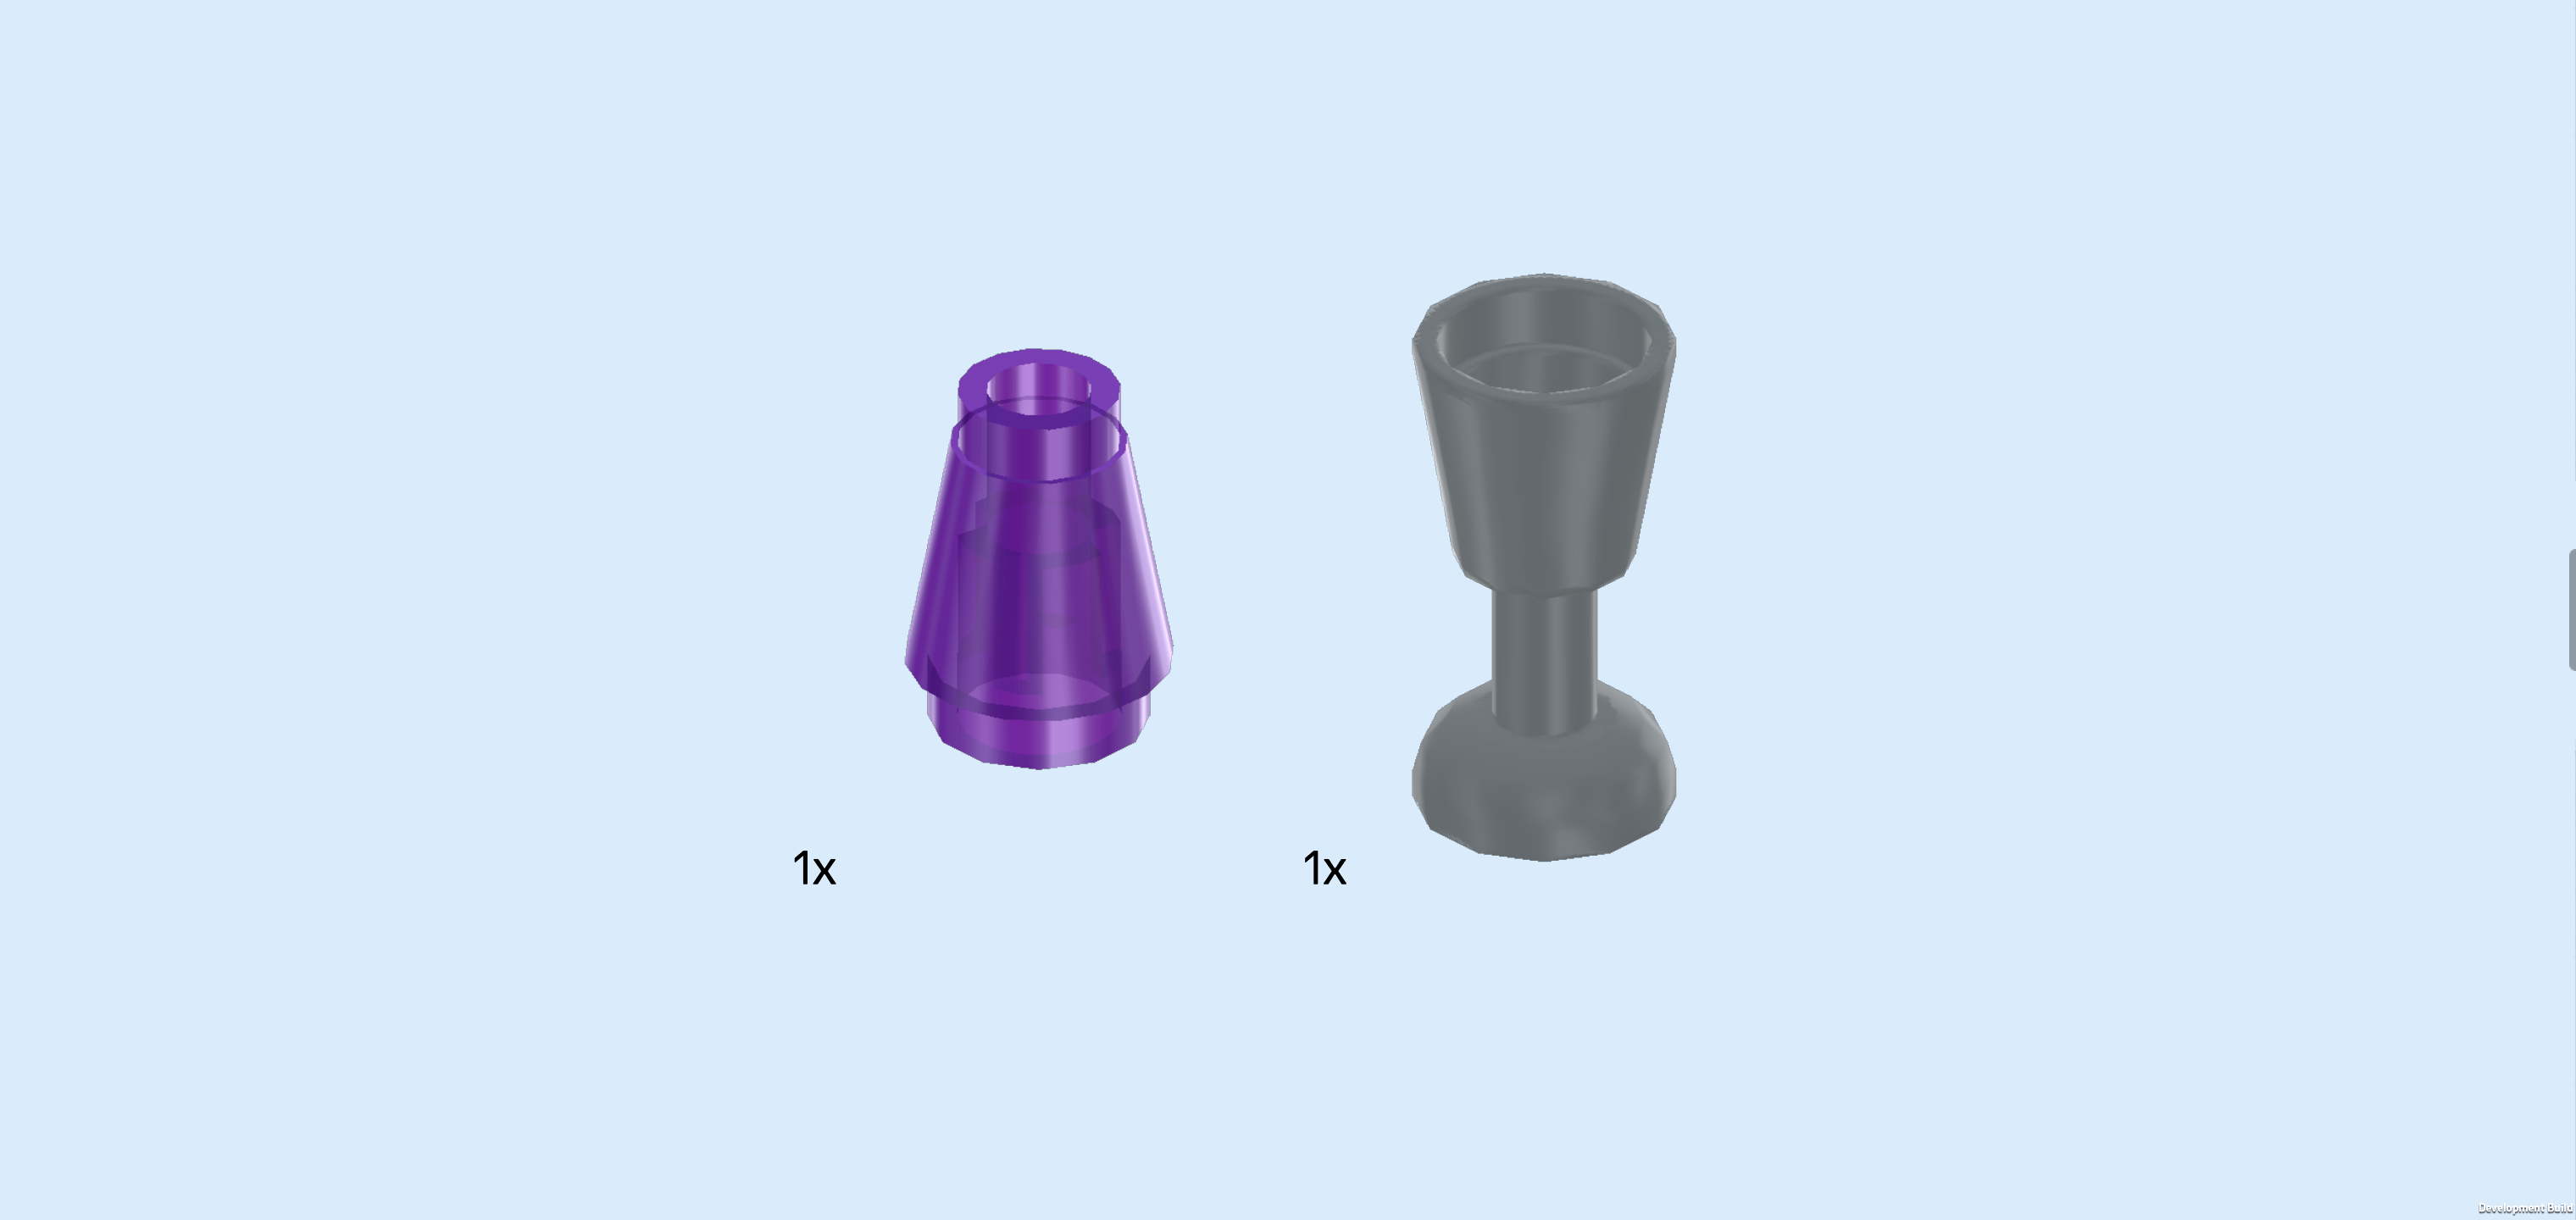
| Collect the following 2 pieces: |
| 1 transparent bright bluish violet nose cone 1x1, |
| and 1 silver metallic wine glass 1x1x2. |
| Put the nose cone 1x1 on top of the wine glass. Make sure that its narrow end is towards the top. |
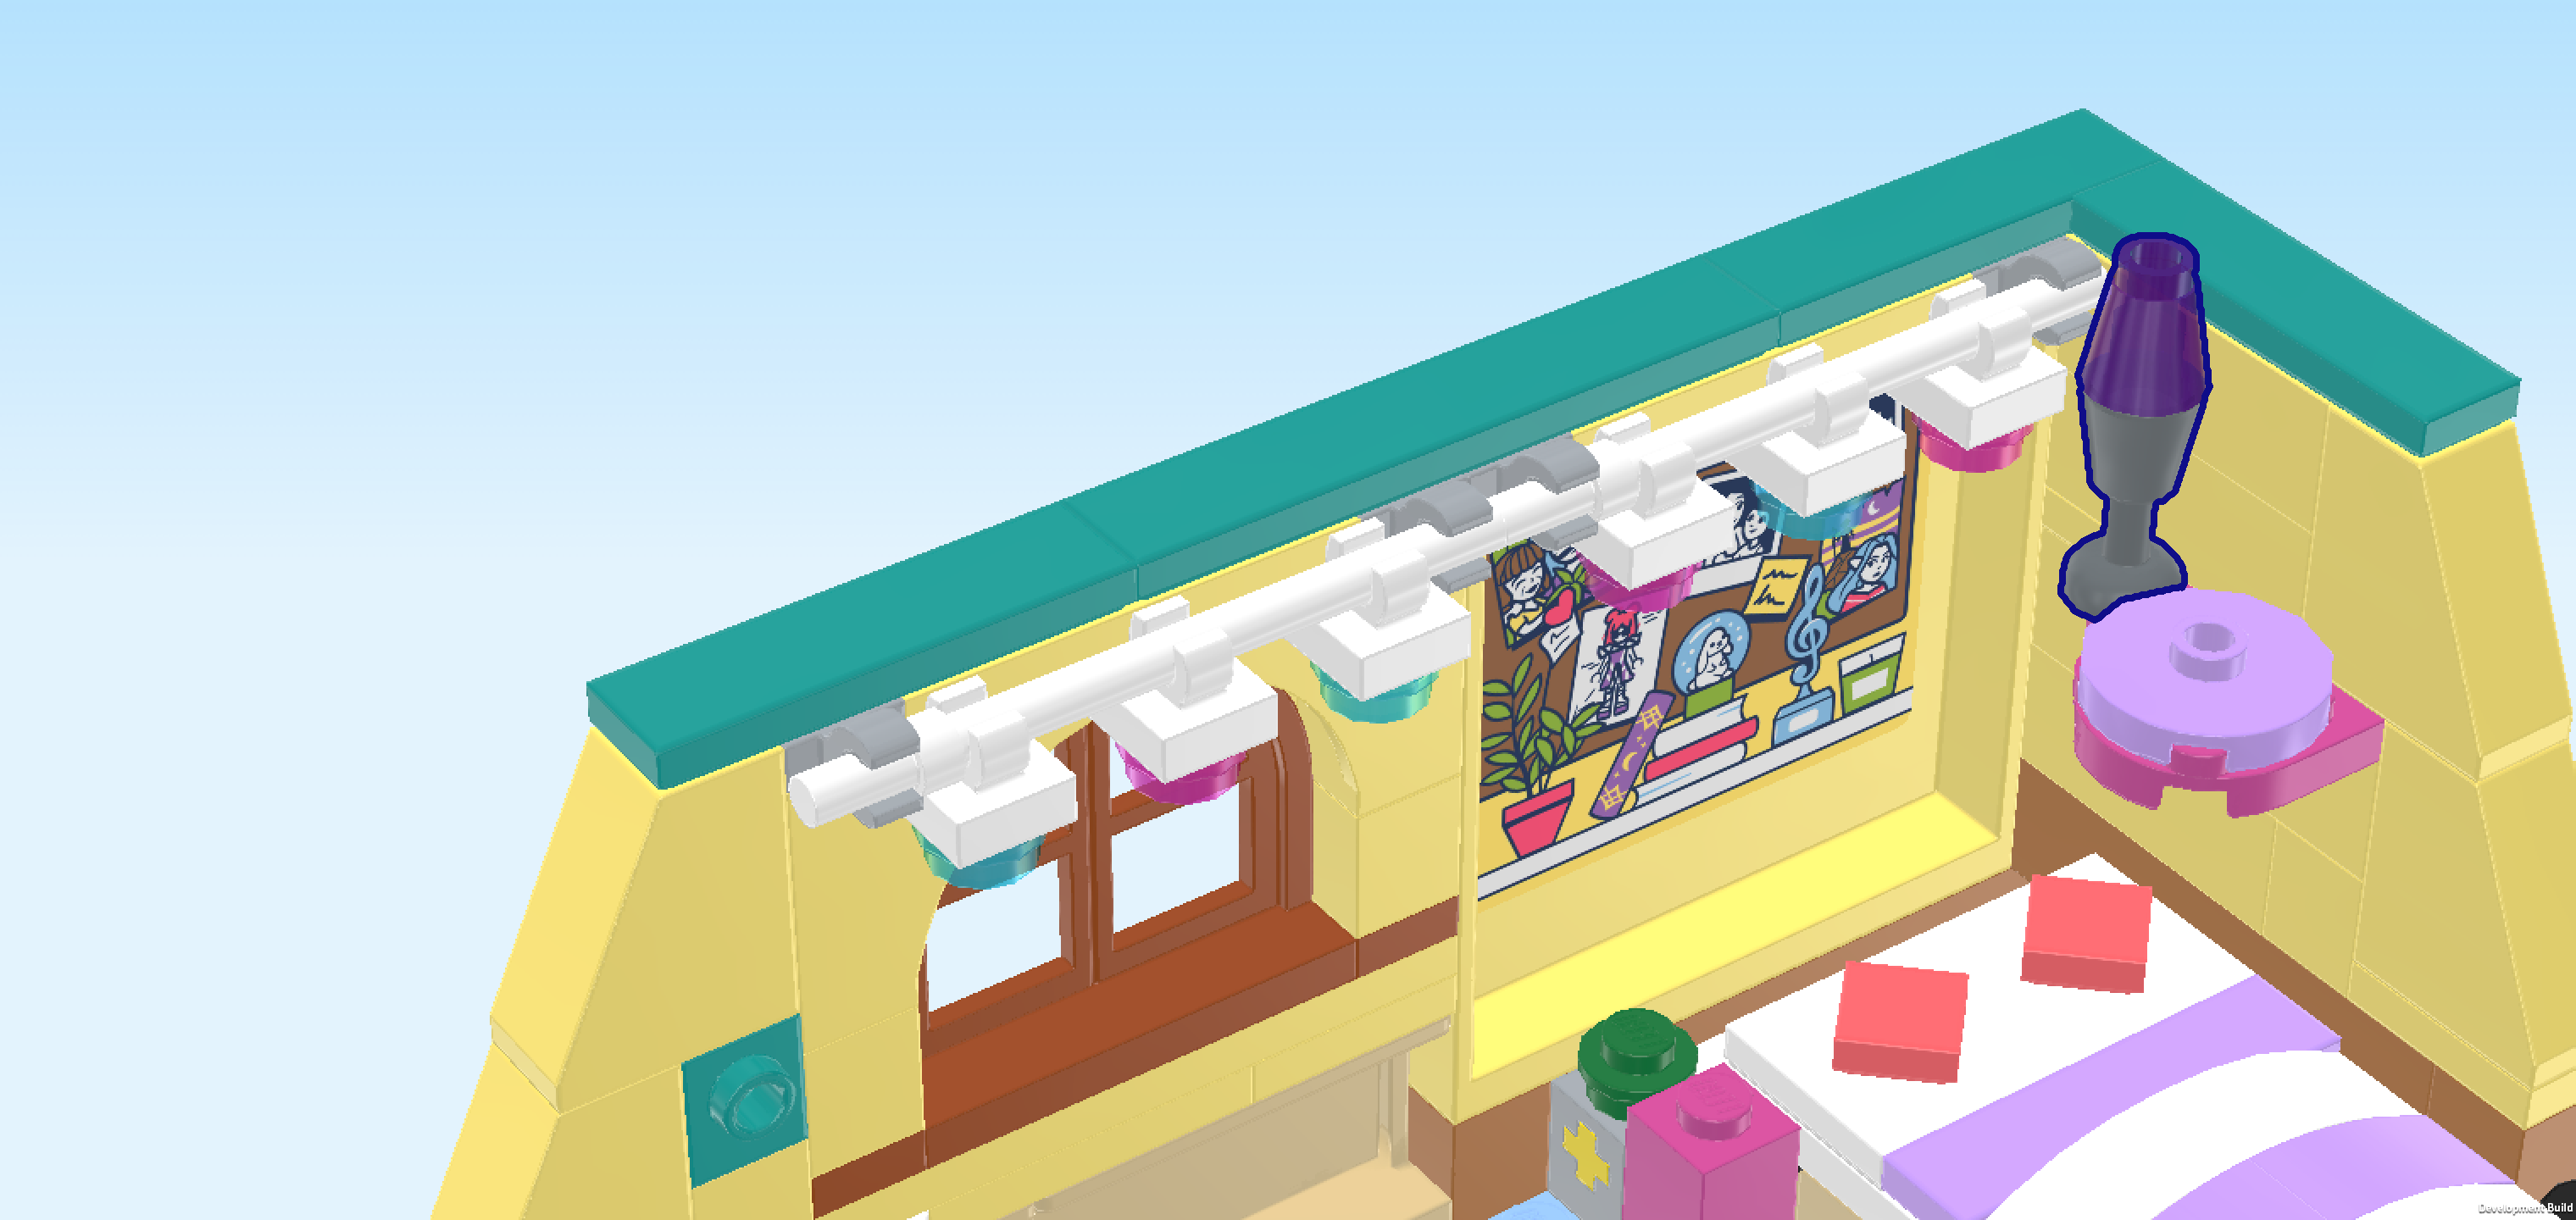
| Put the lava lamp on the heart-shaped shelf on its backmost knob. Do not use the round tile 2x2 with 1 knob, which needs to remain empty for now. |
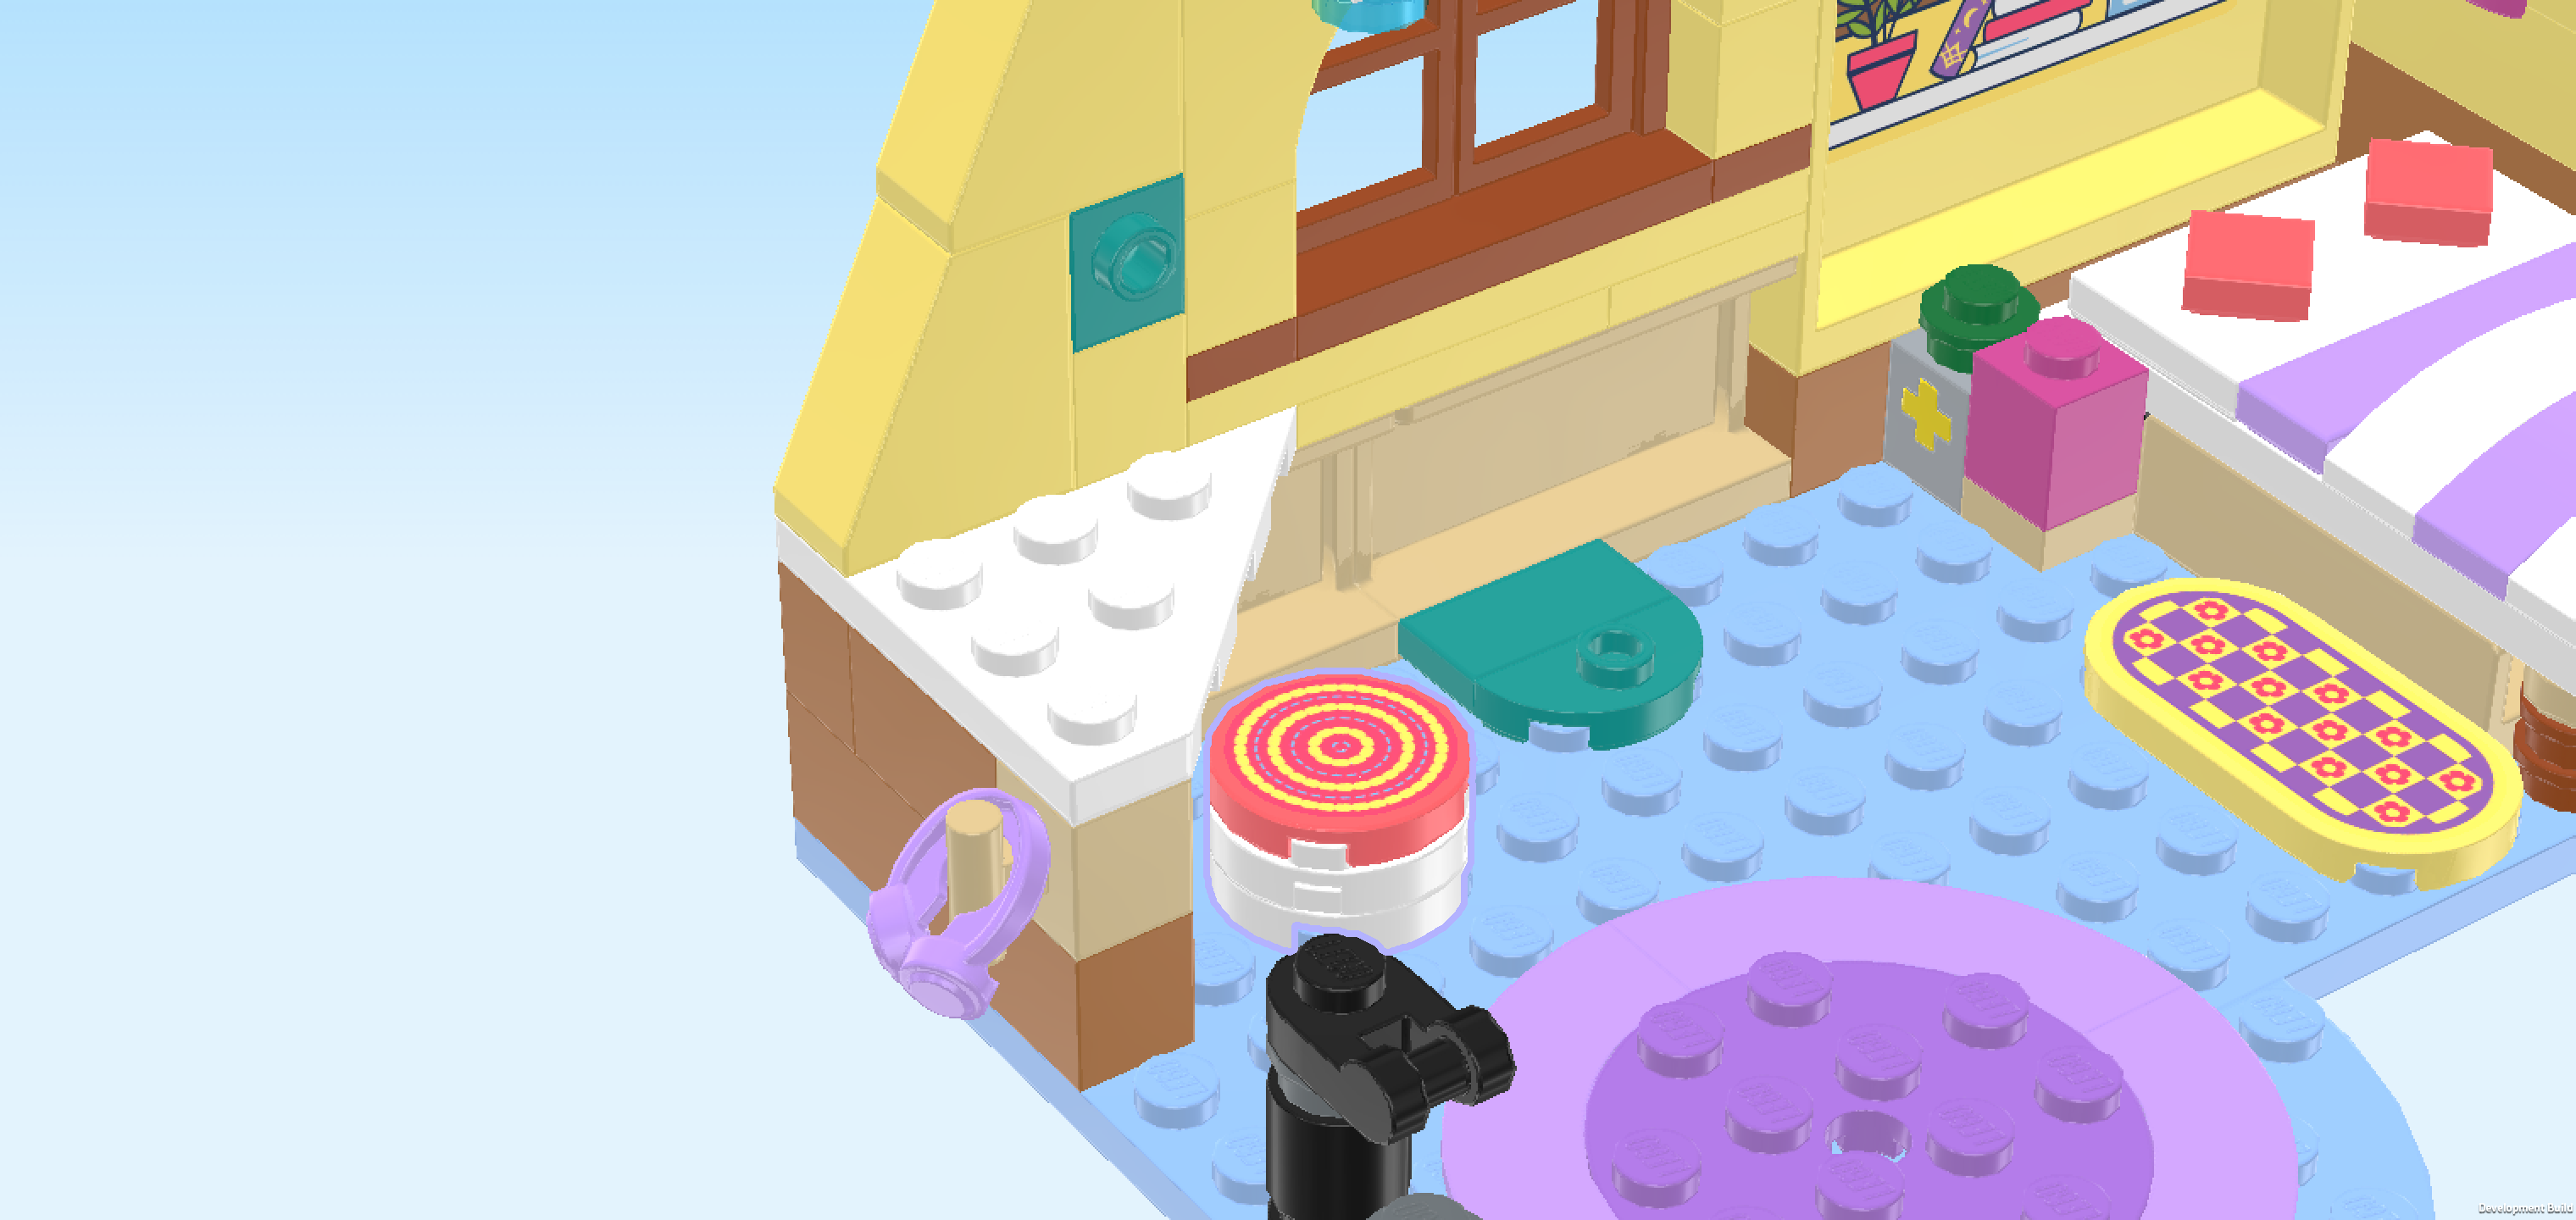
| Next, we will build the stool. |
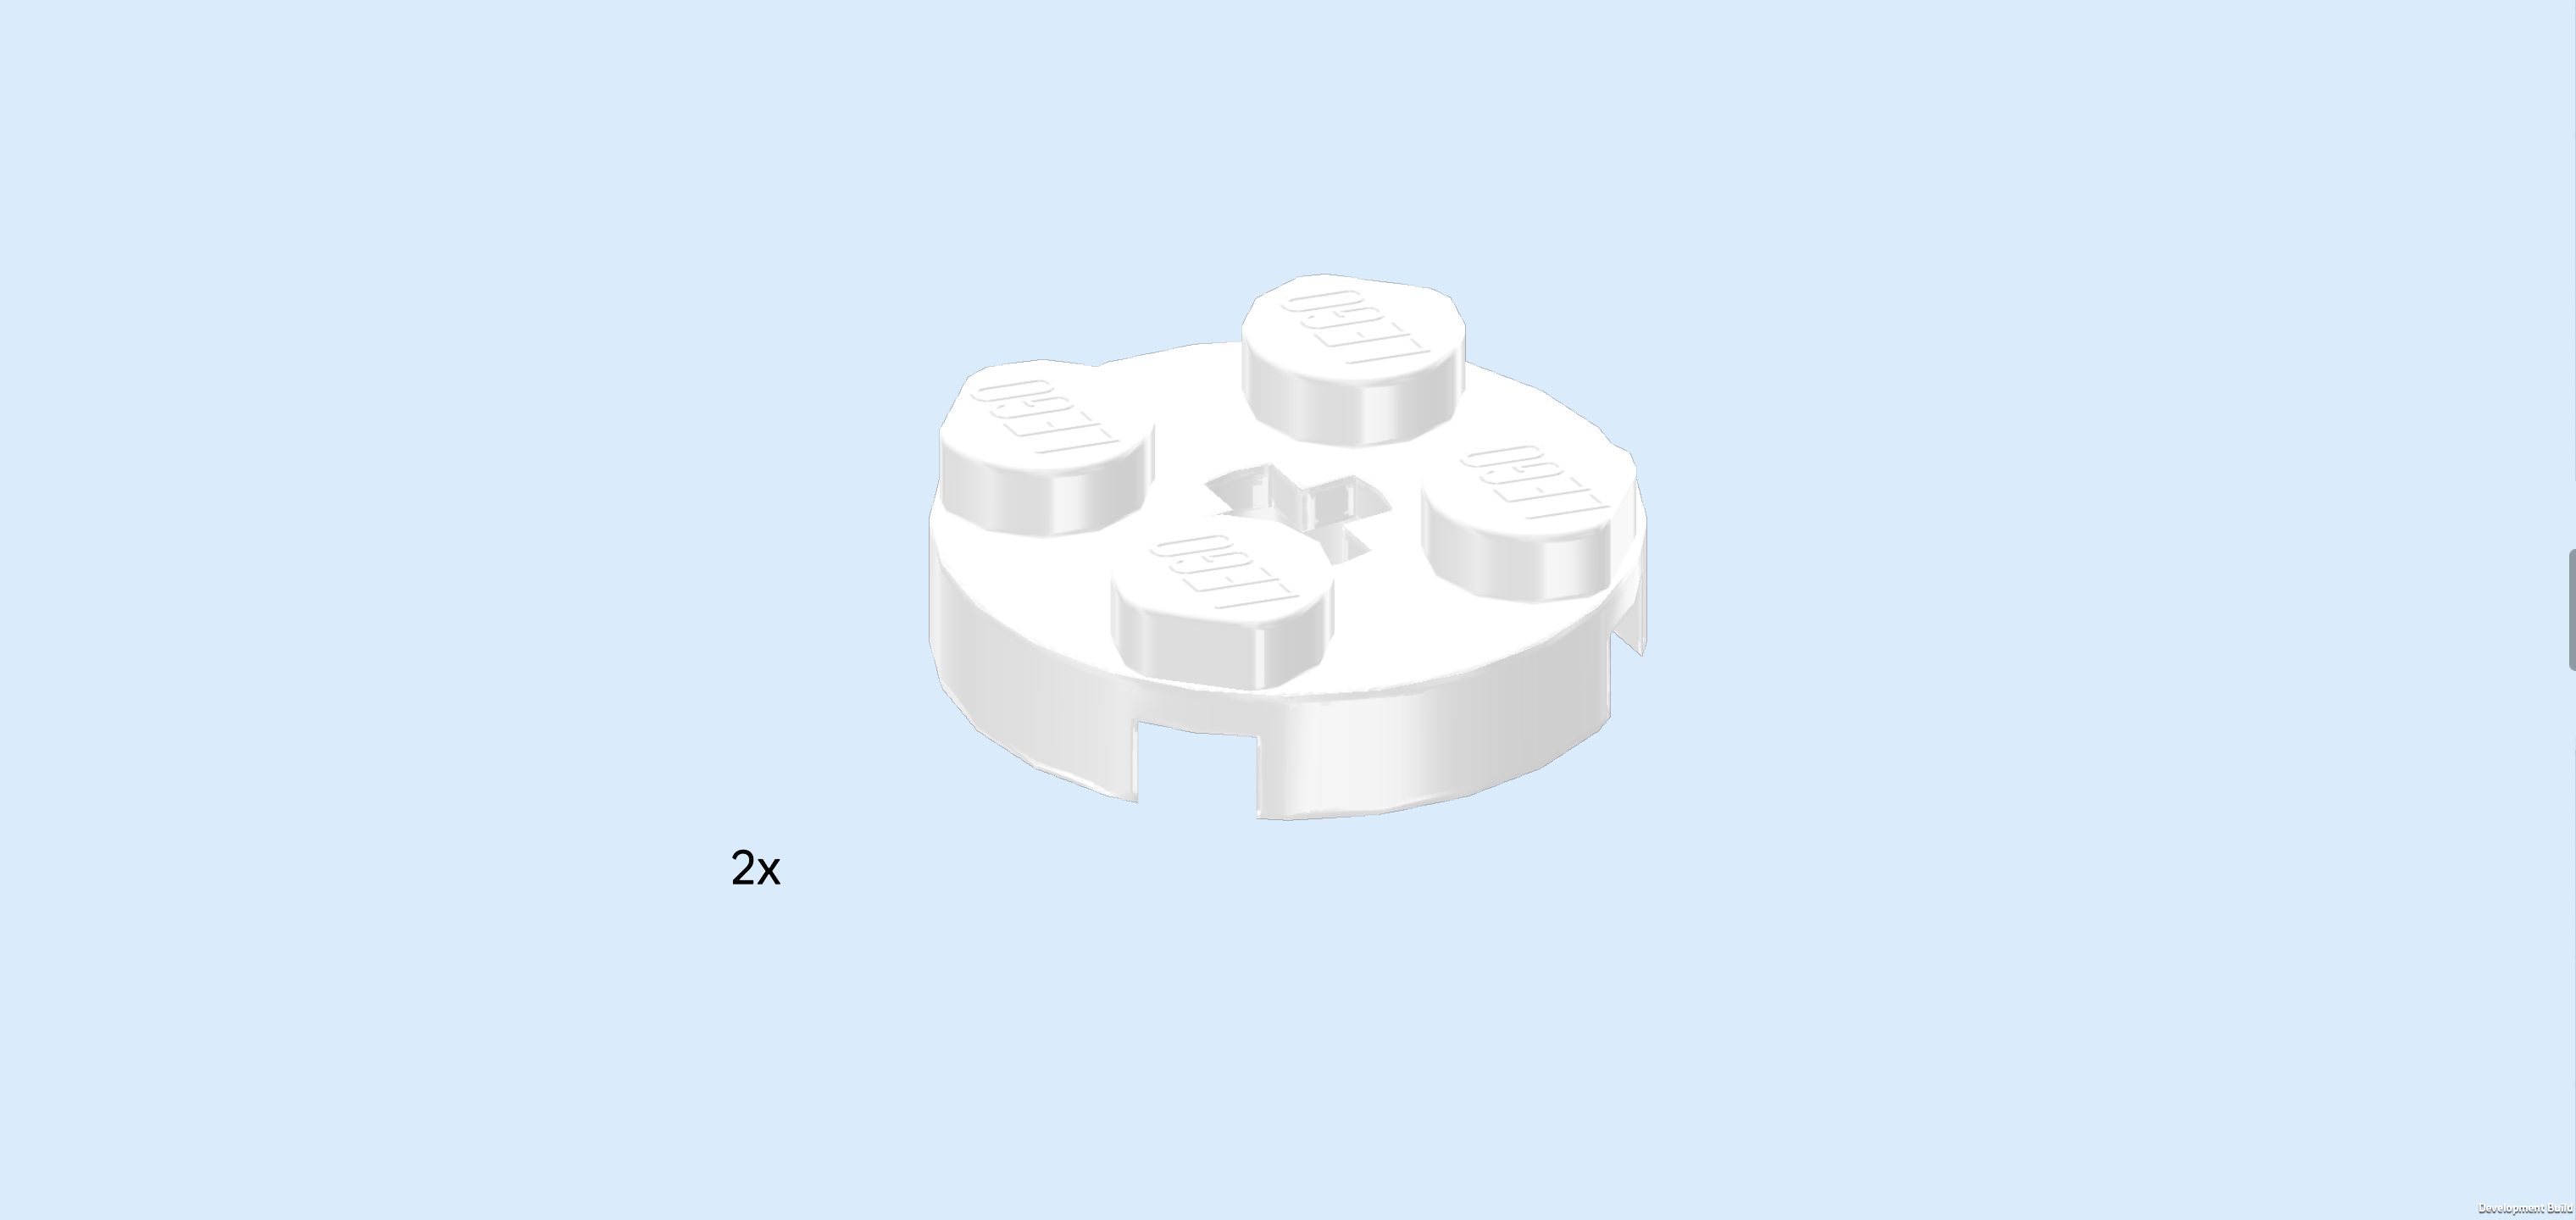
| Find 2 white round plates 2x2. |
| Stack them on top of each other. |
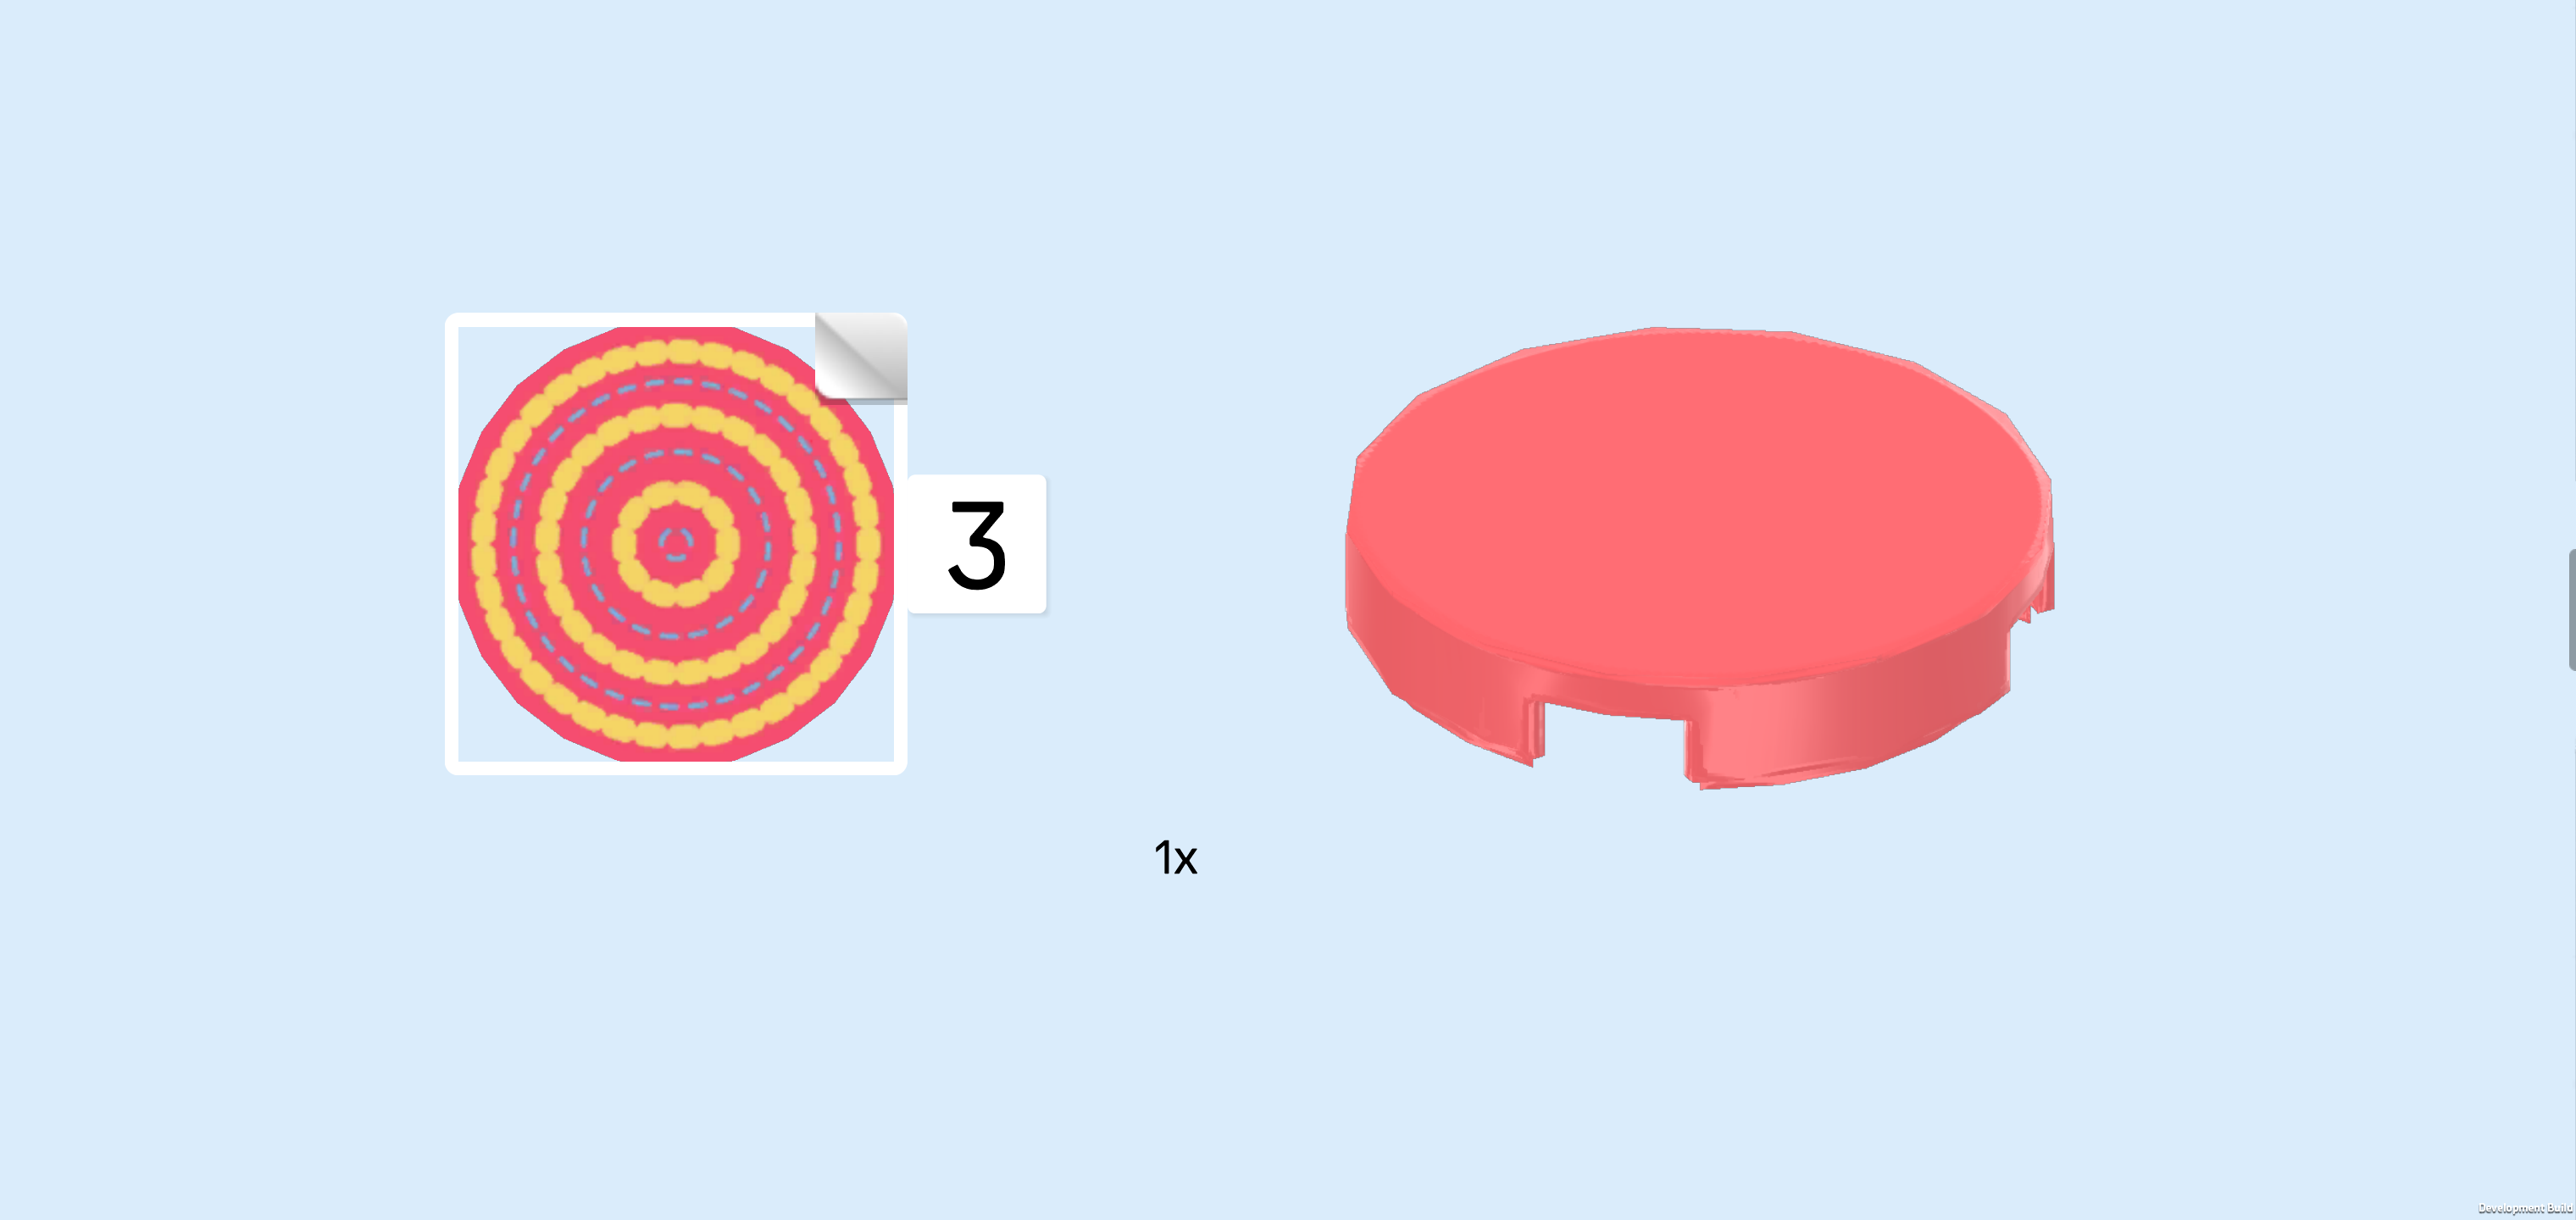
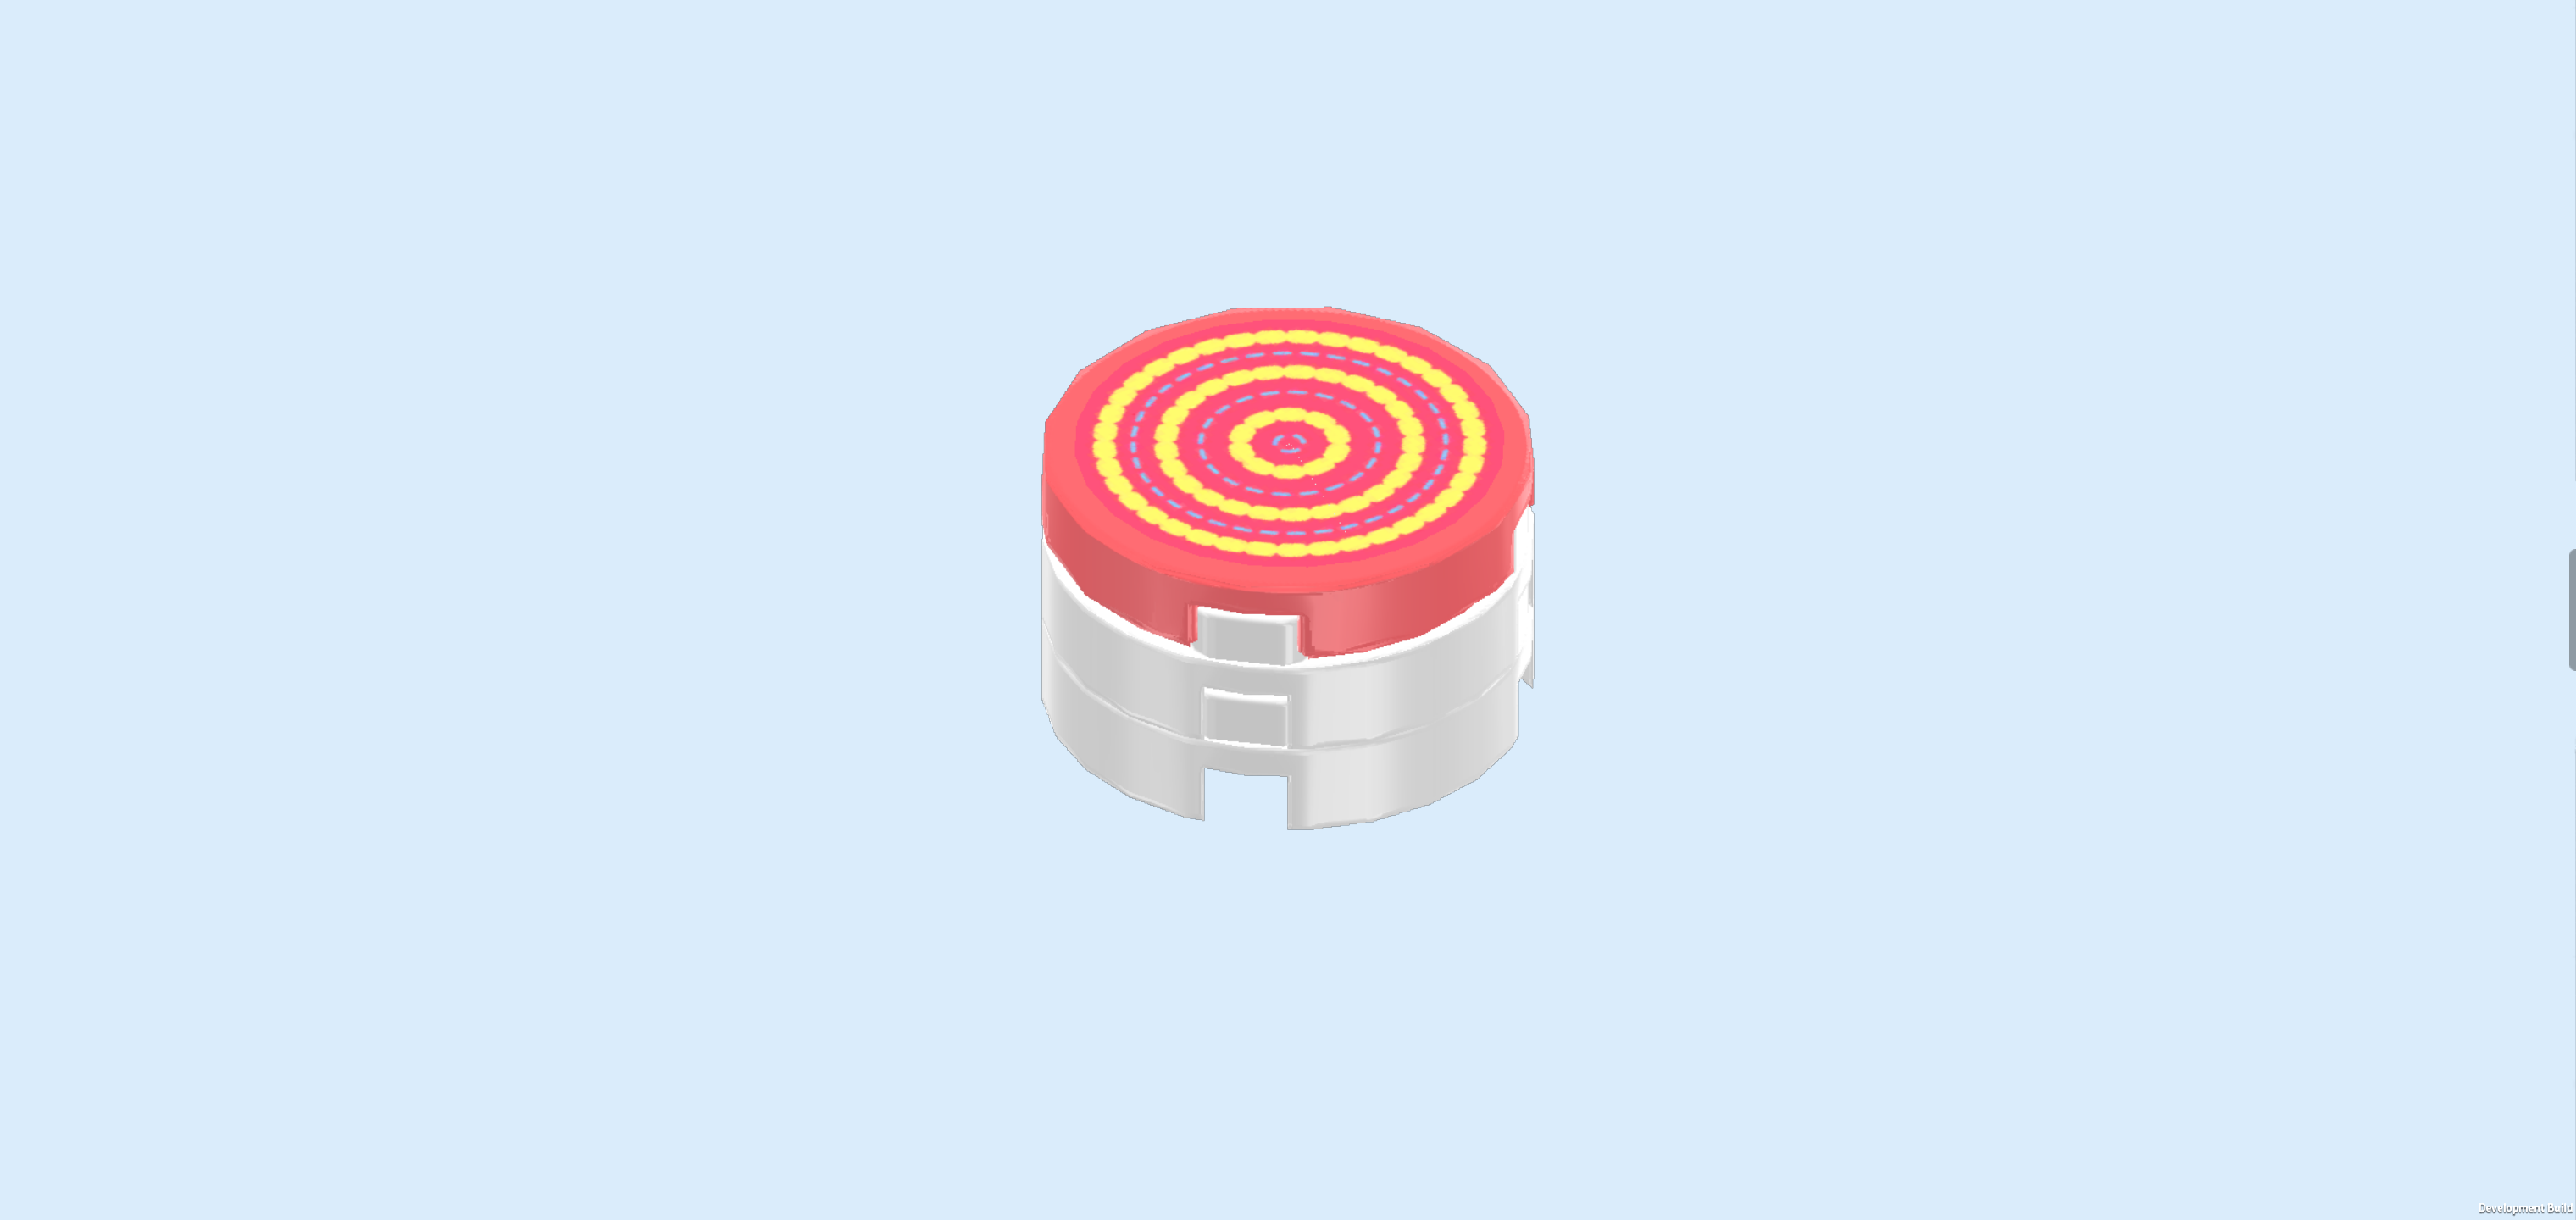
| Collect the following 2 pieces: |
| 1 round sticker 2x2 with cushion print, |
| and 1 salmon pink round tile 2x2. |
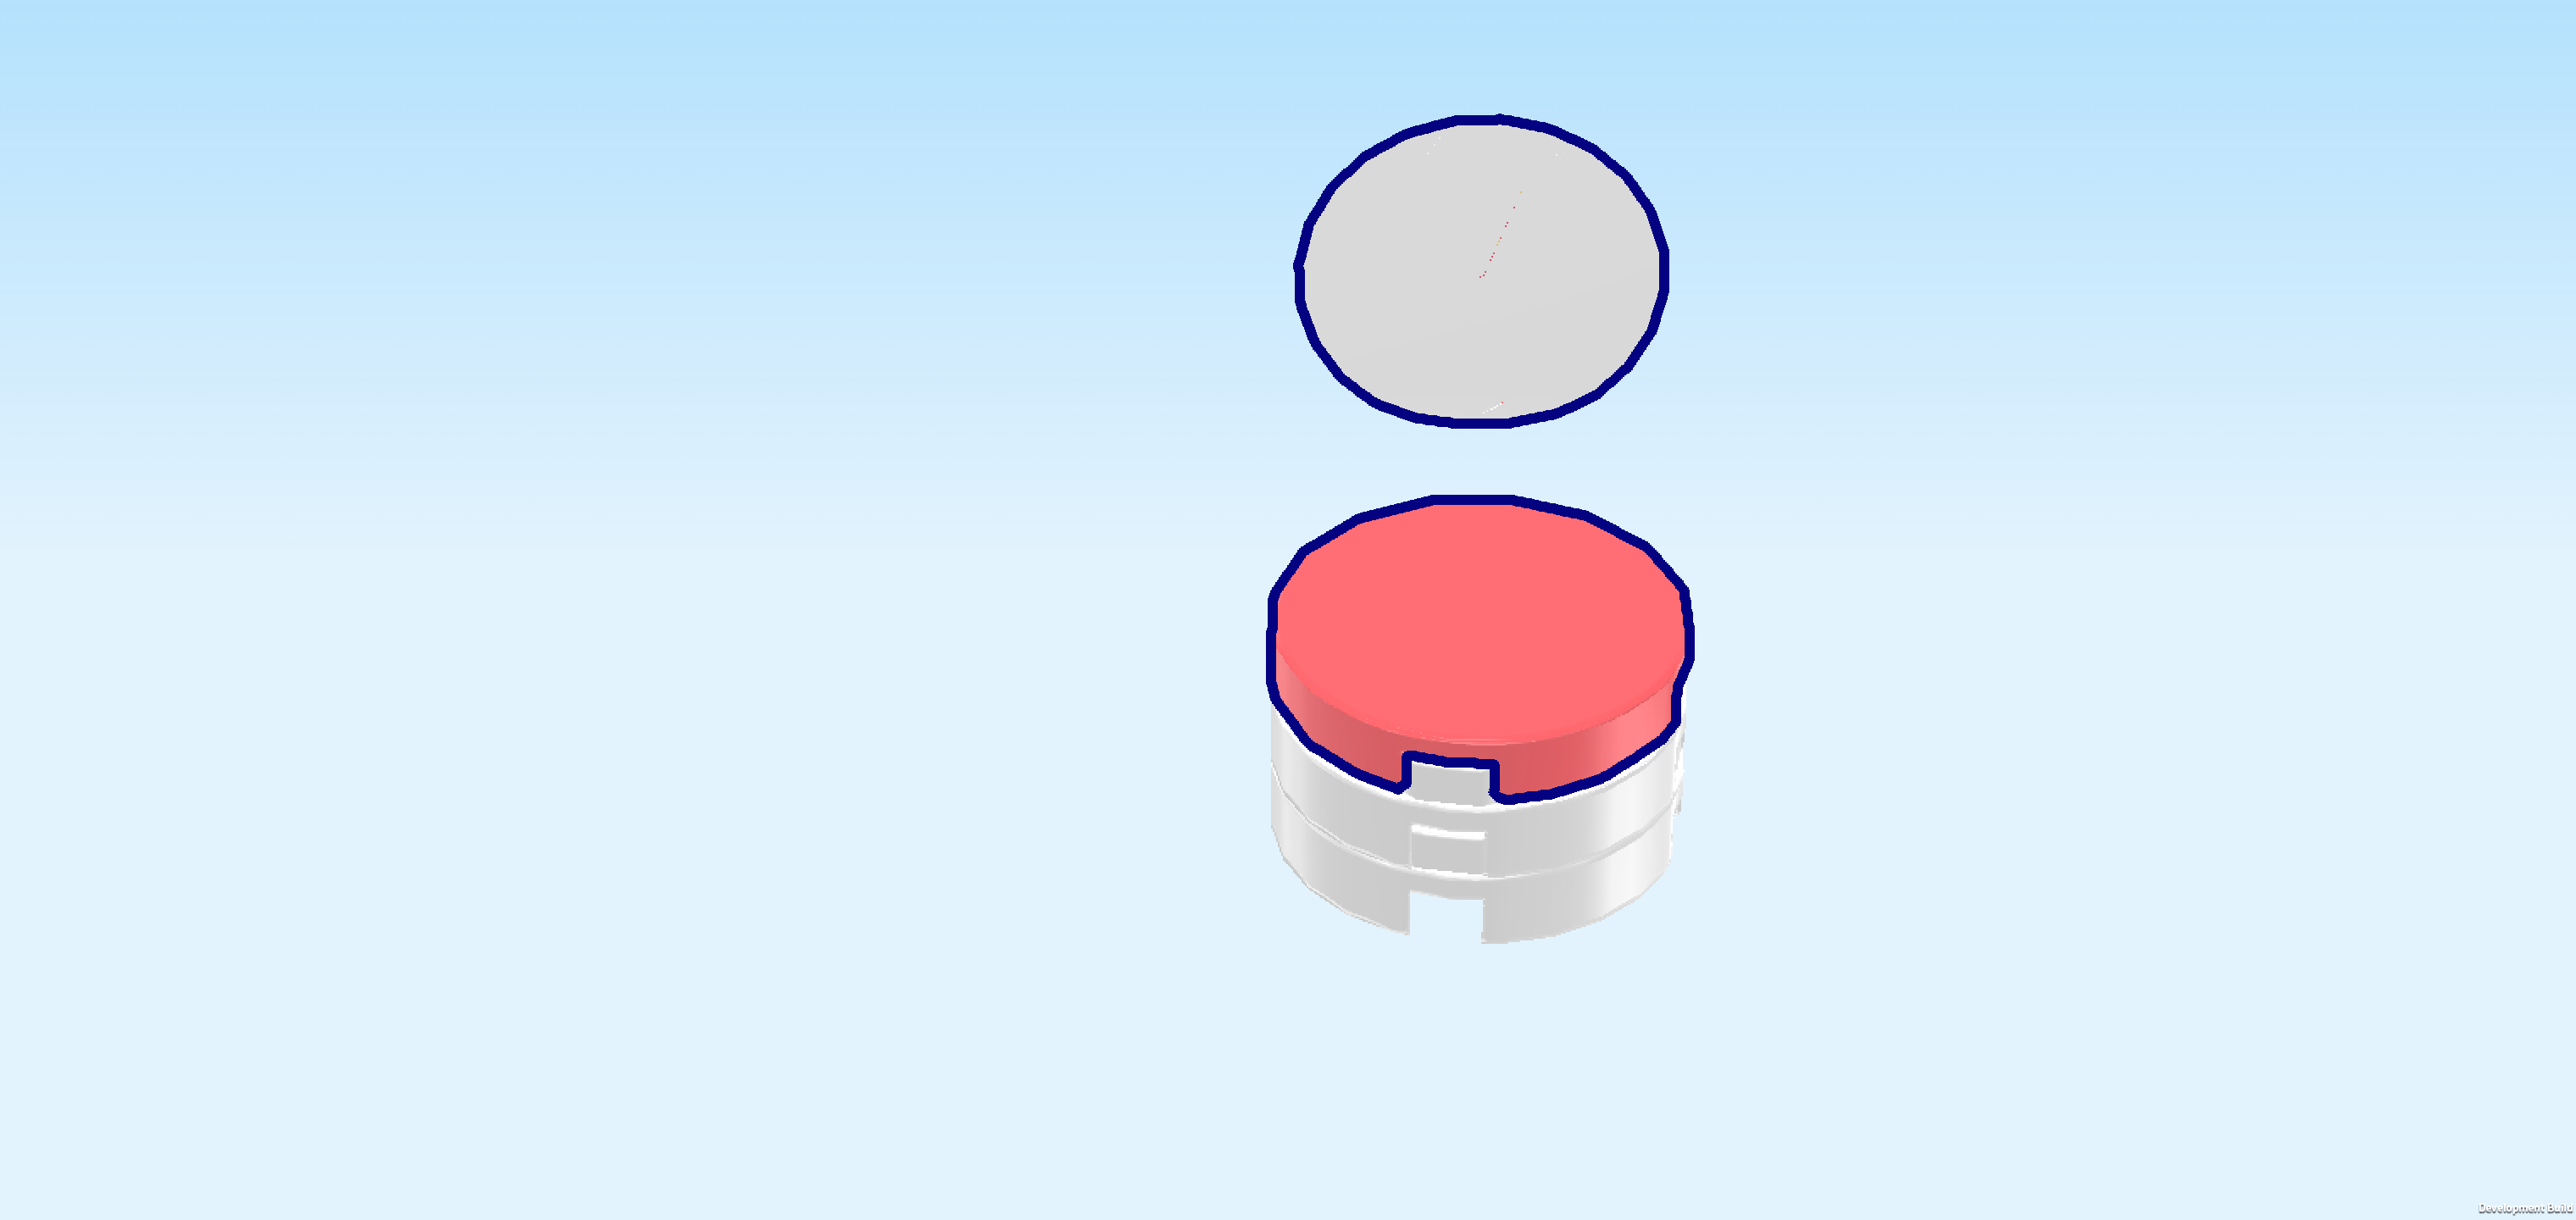
| Put the round tile on the stack of round plates. |
| Put the sticker on top. It is printed with a woven cushion fabric in thin concentric pink and yellow circles. The structure of the fabric looks like it could be raffia, a straw-like material that can be woven into a sturdy cover fabric. |
| Mount the stool to the right of the small desktop in the left back corner of the room. |
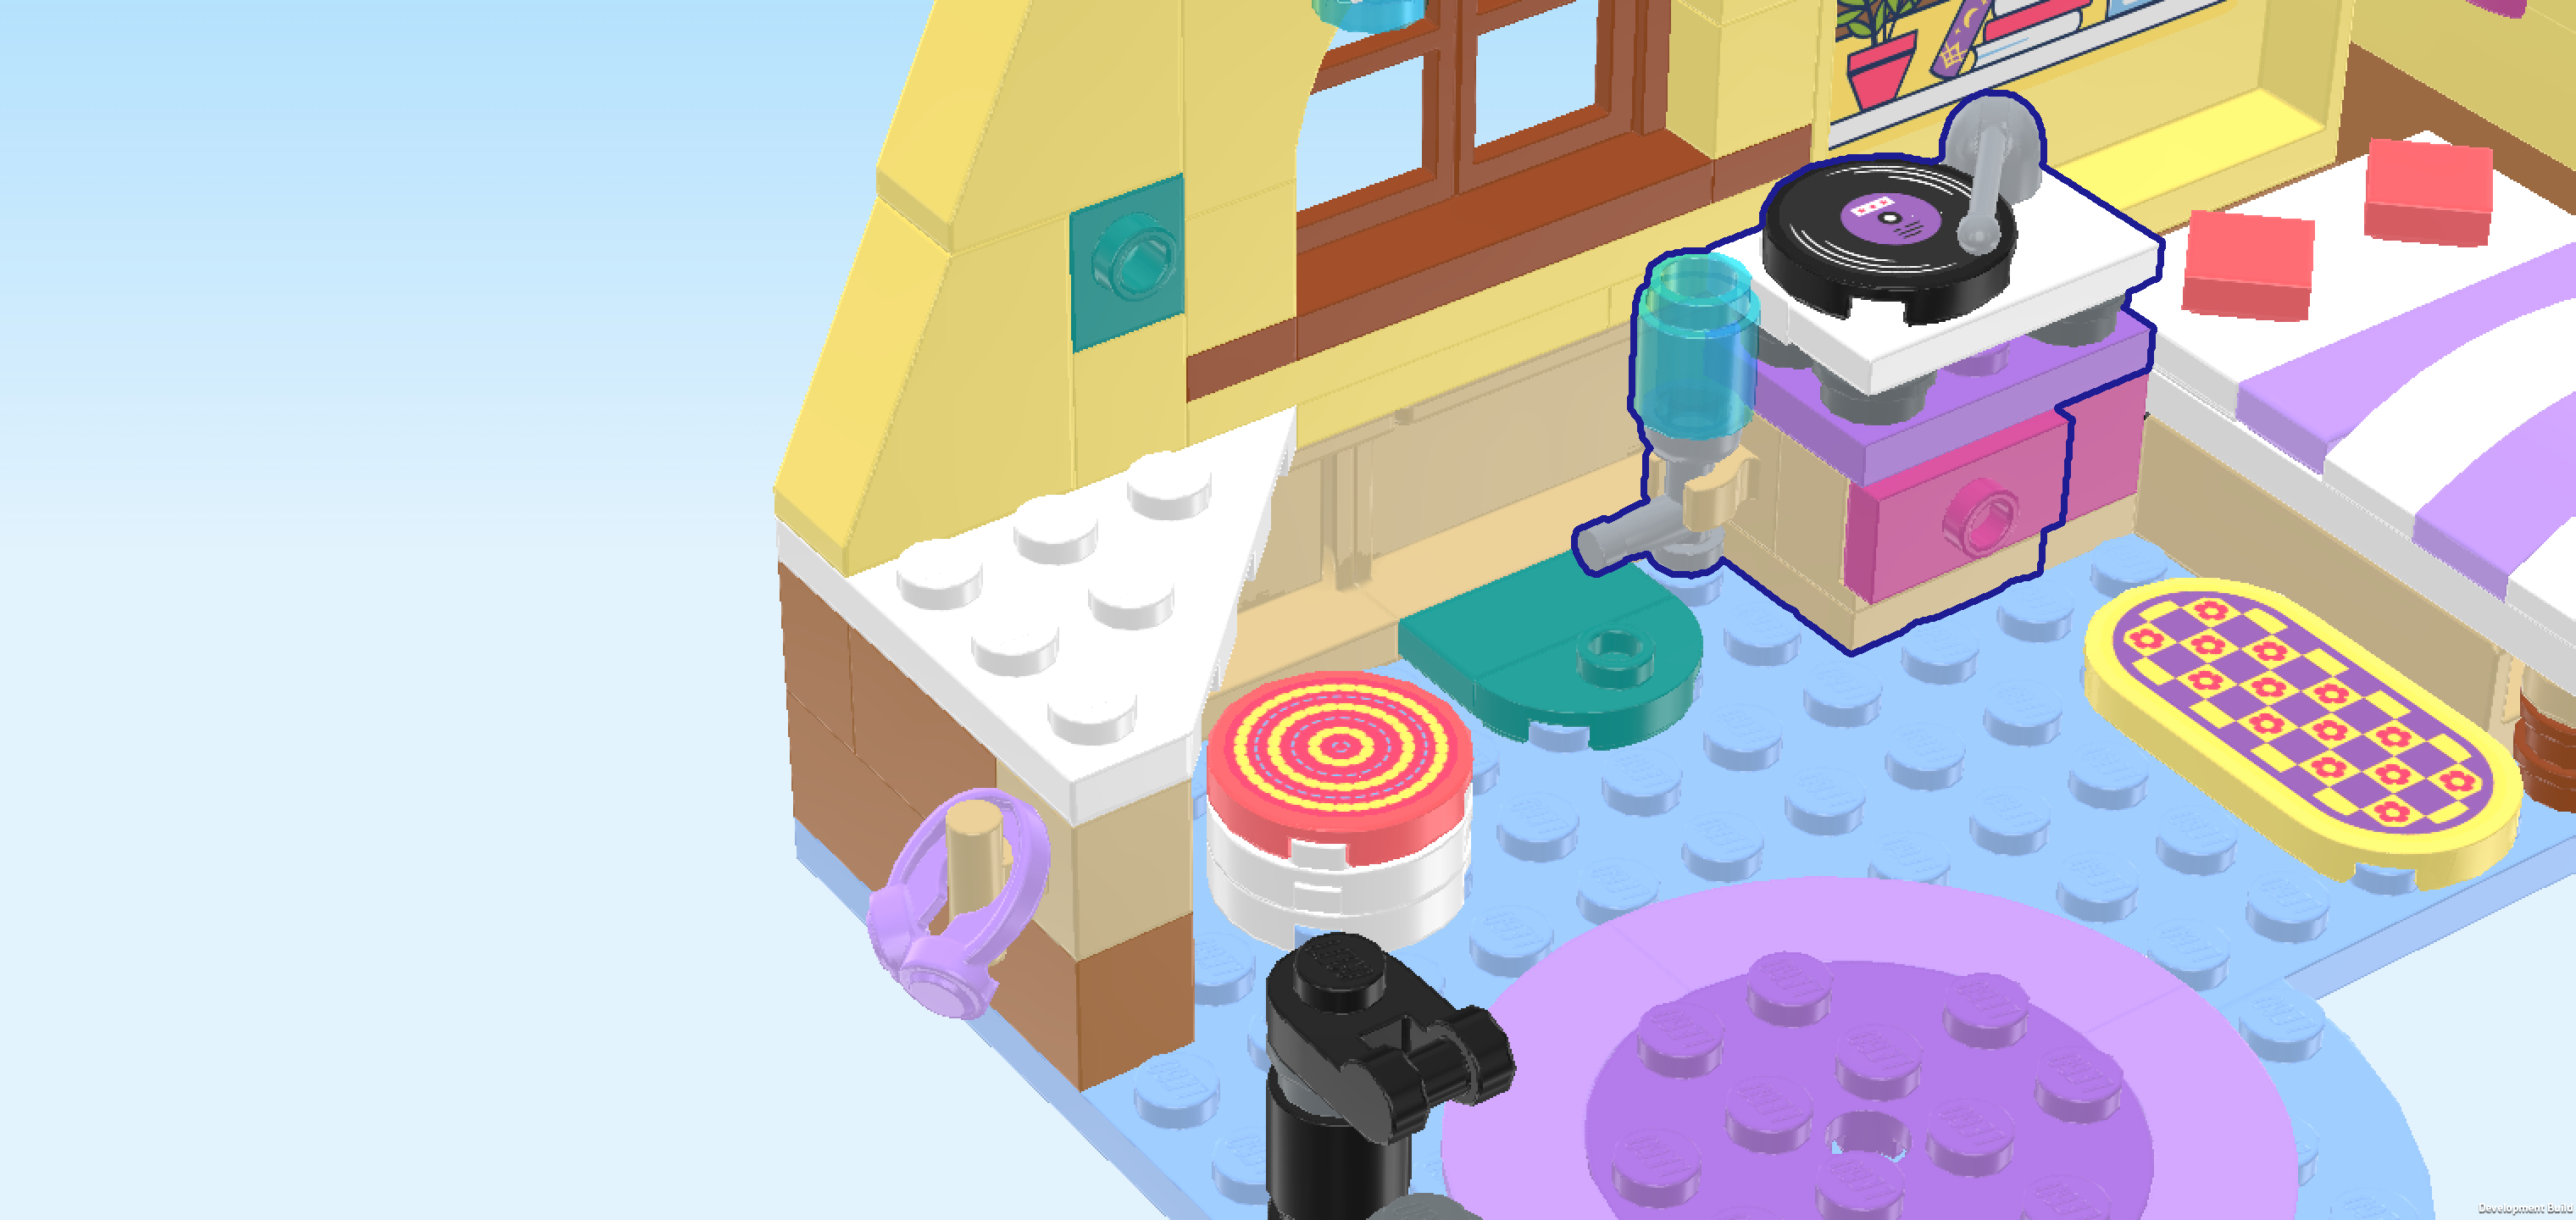
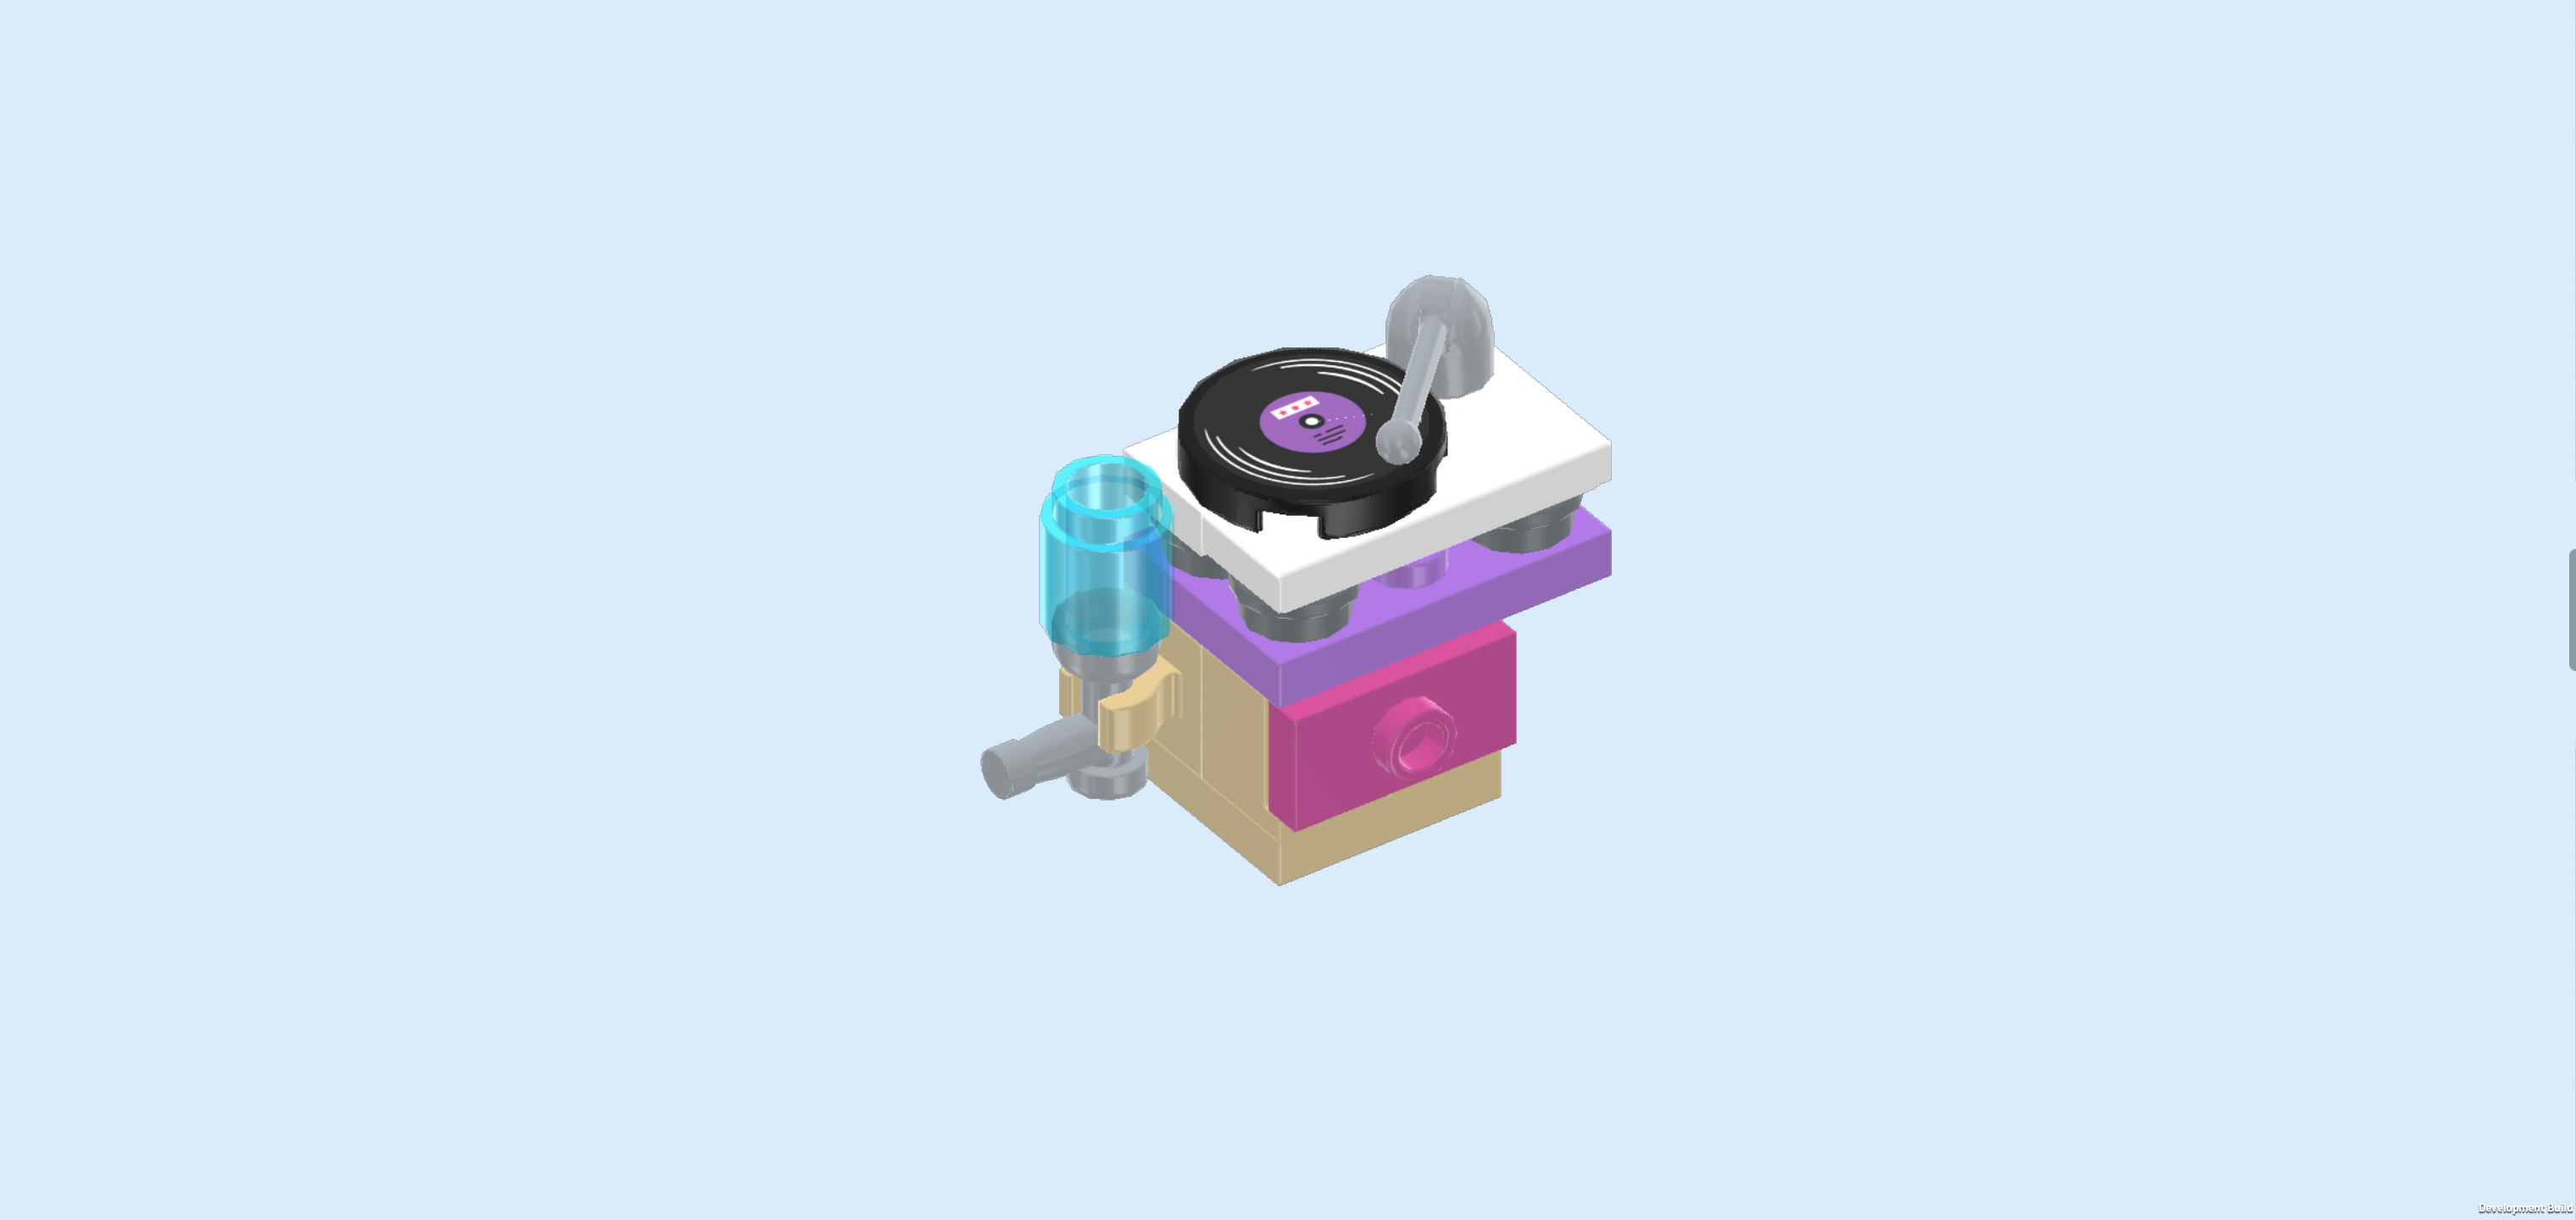
| Next, we will build the bedside table with record player. |
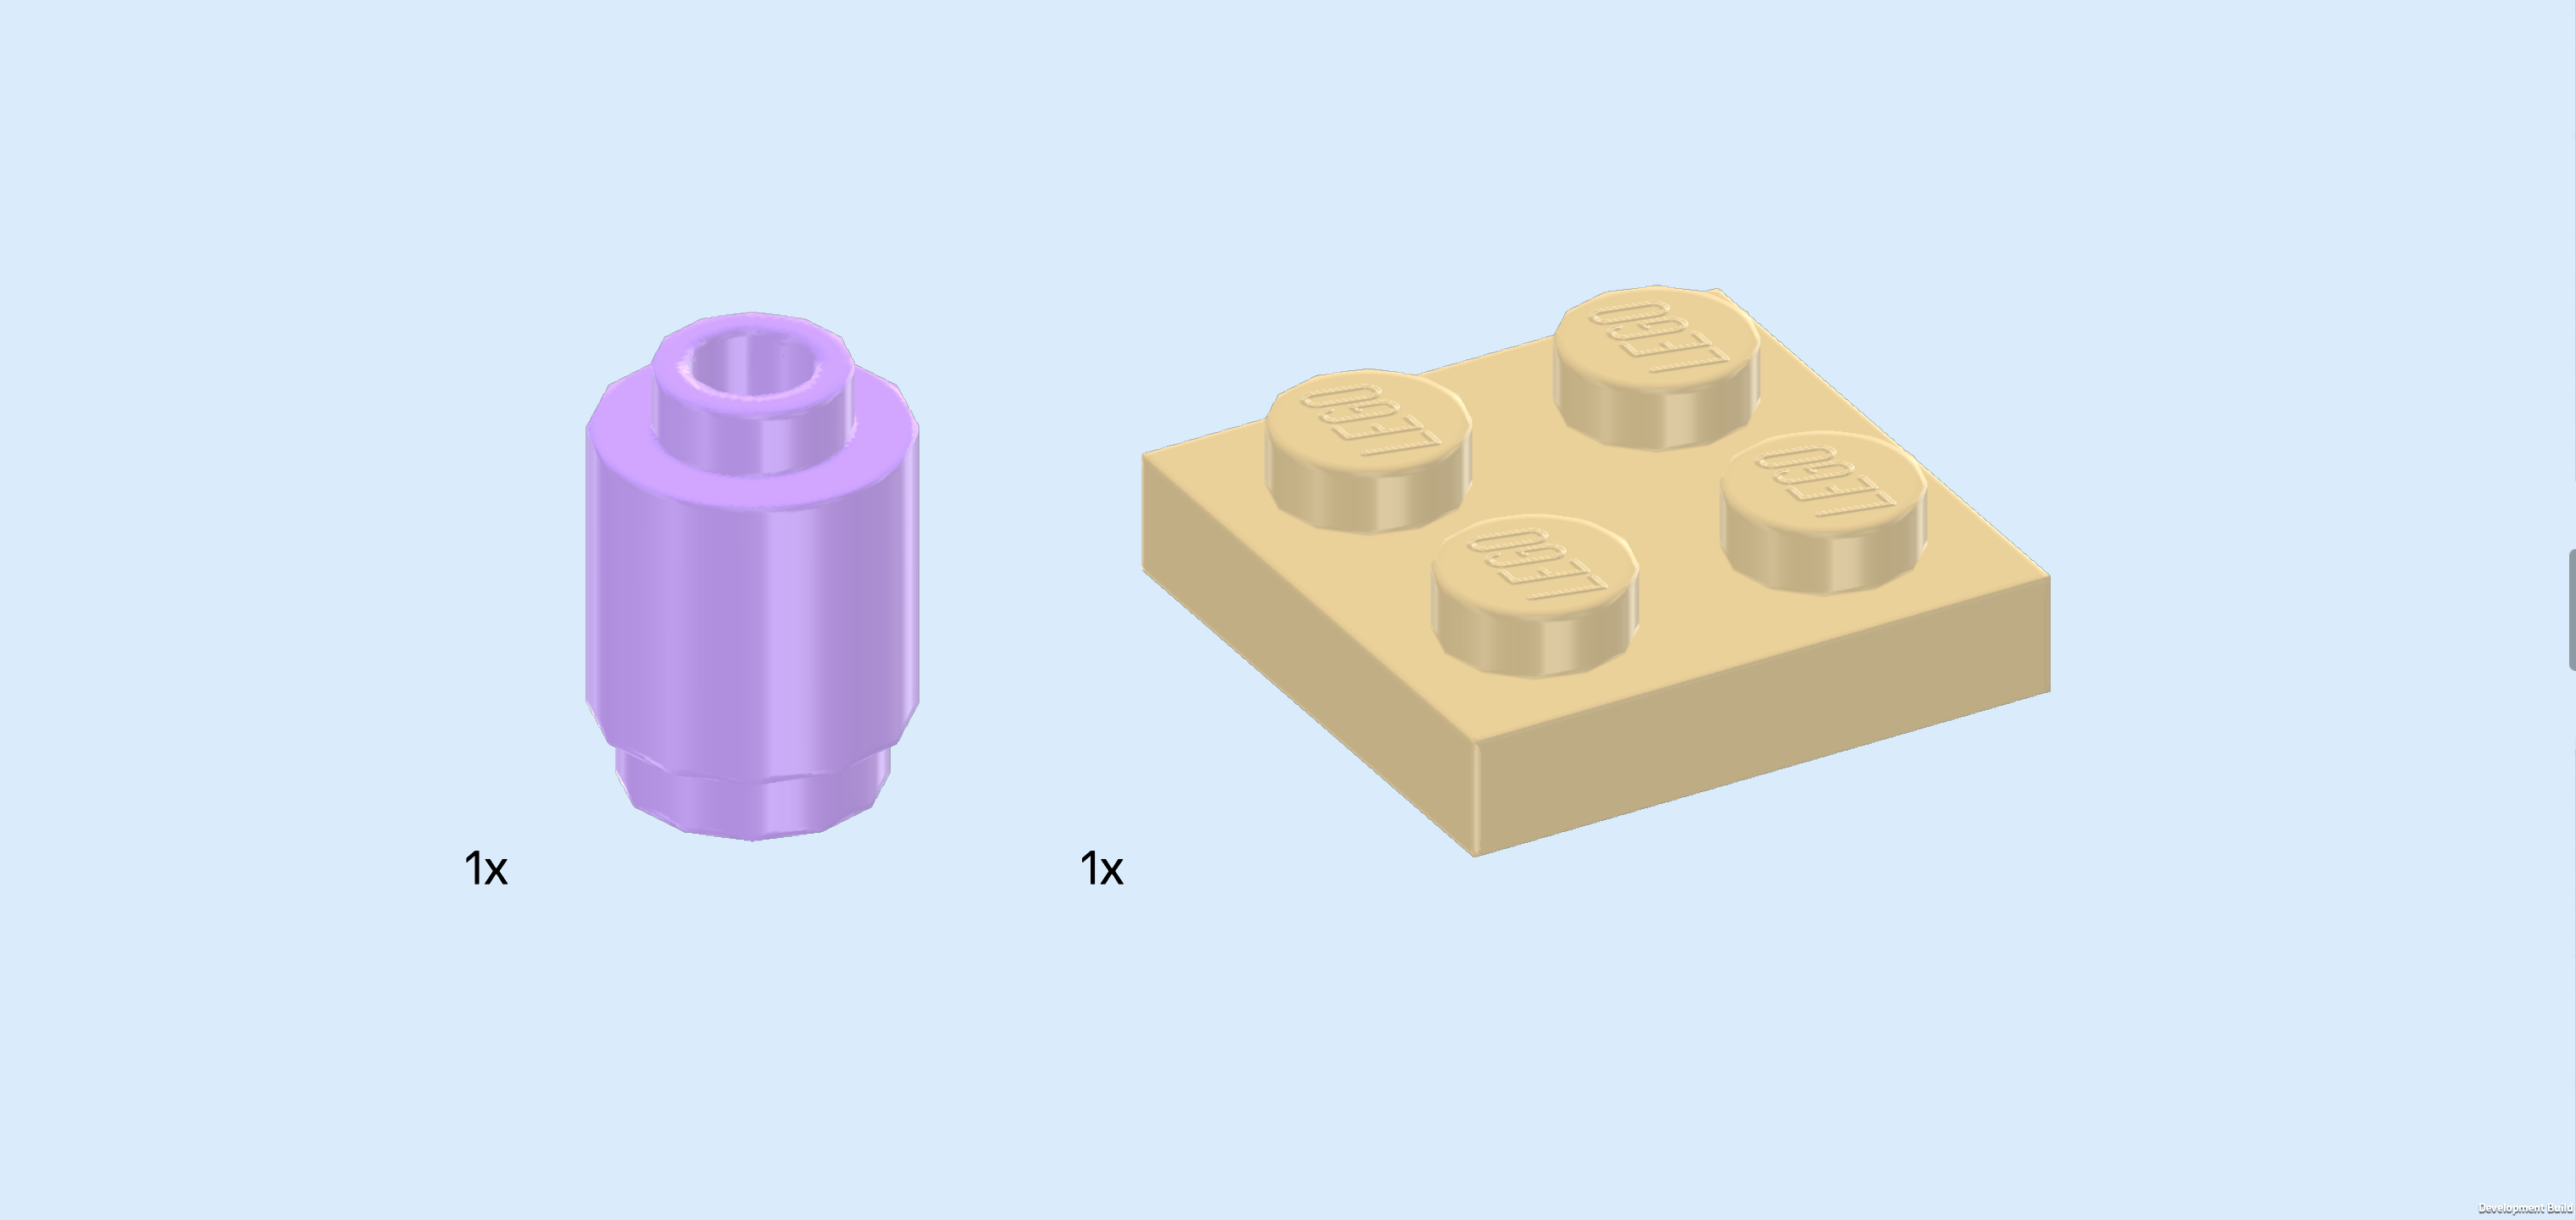
| Collect the following 2 pieces: |
| 1 light lavender round brick 1x1, |
| and 1 beige plate 2x2. |
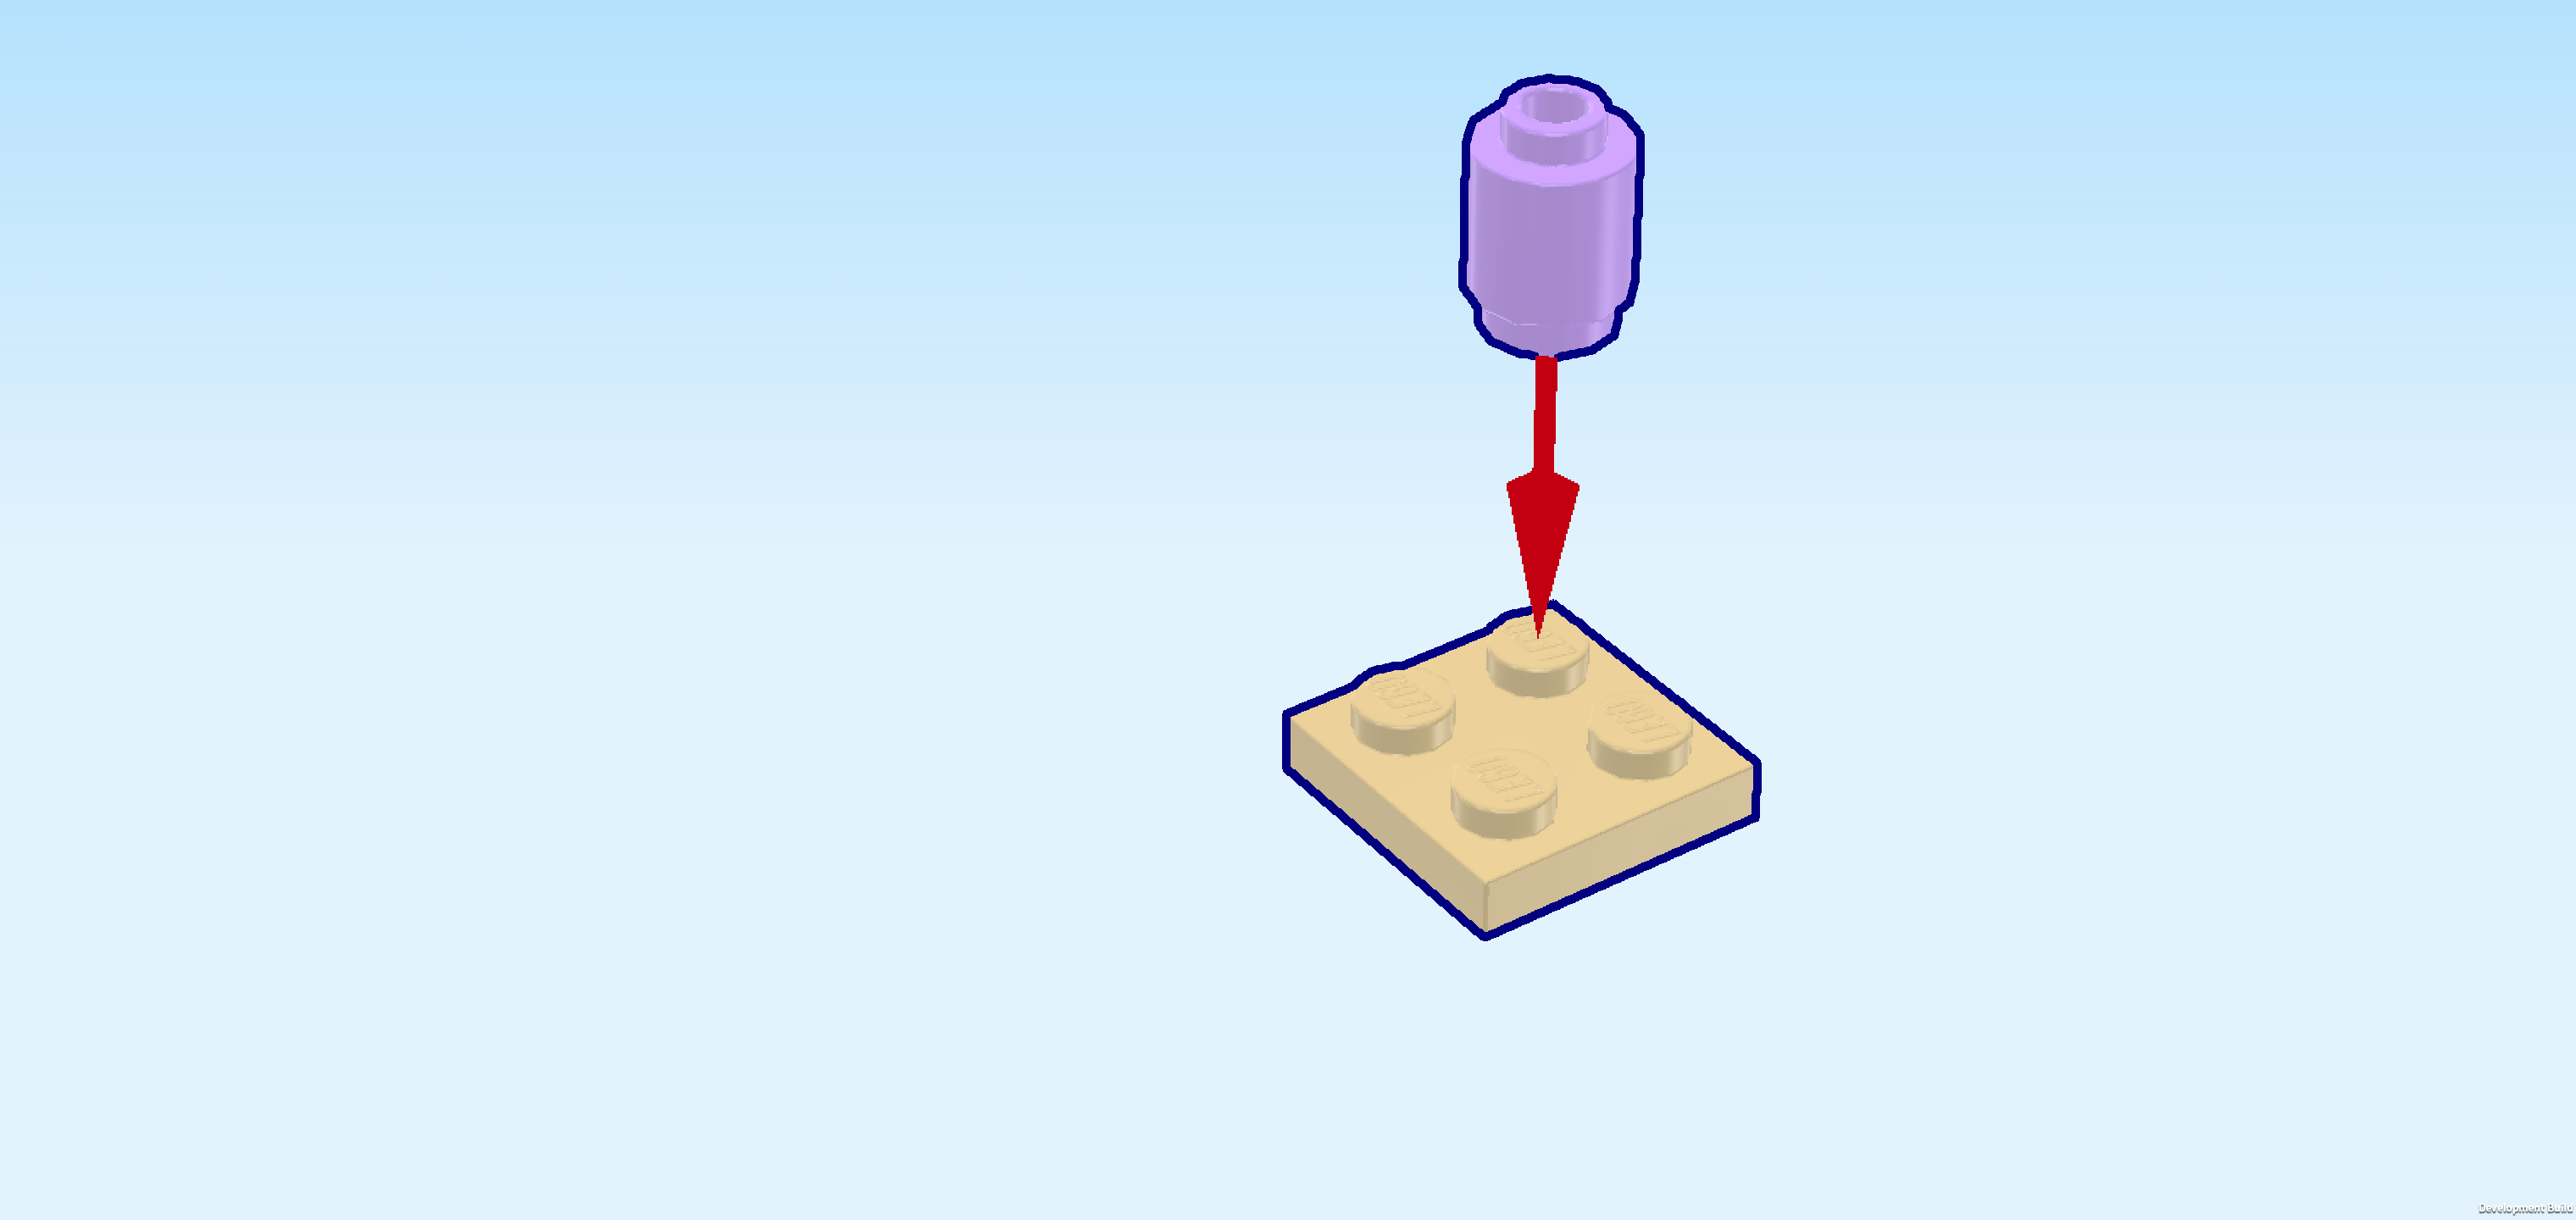
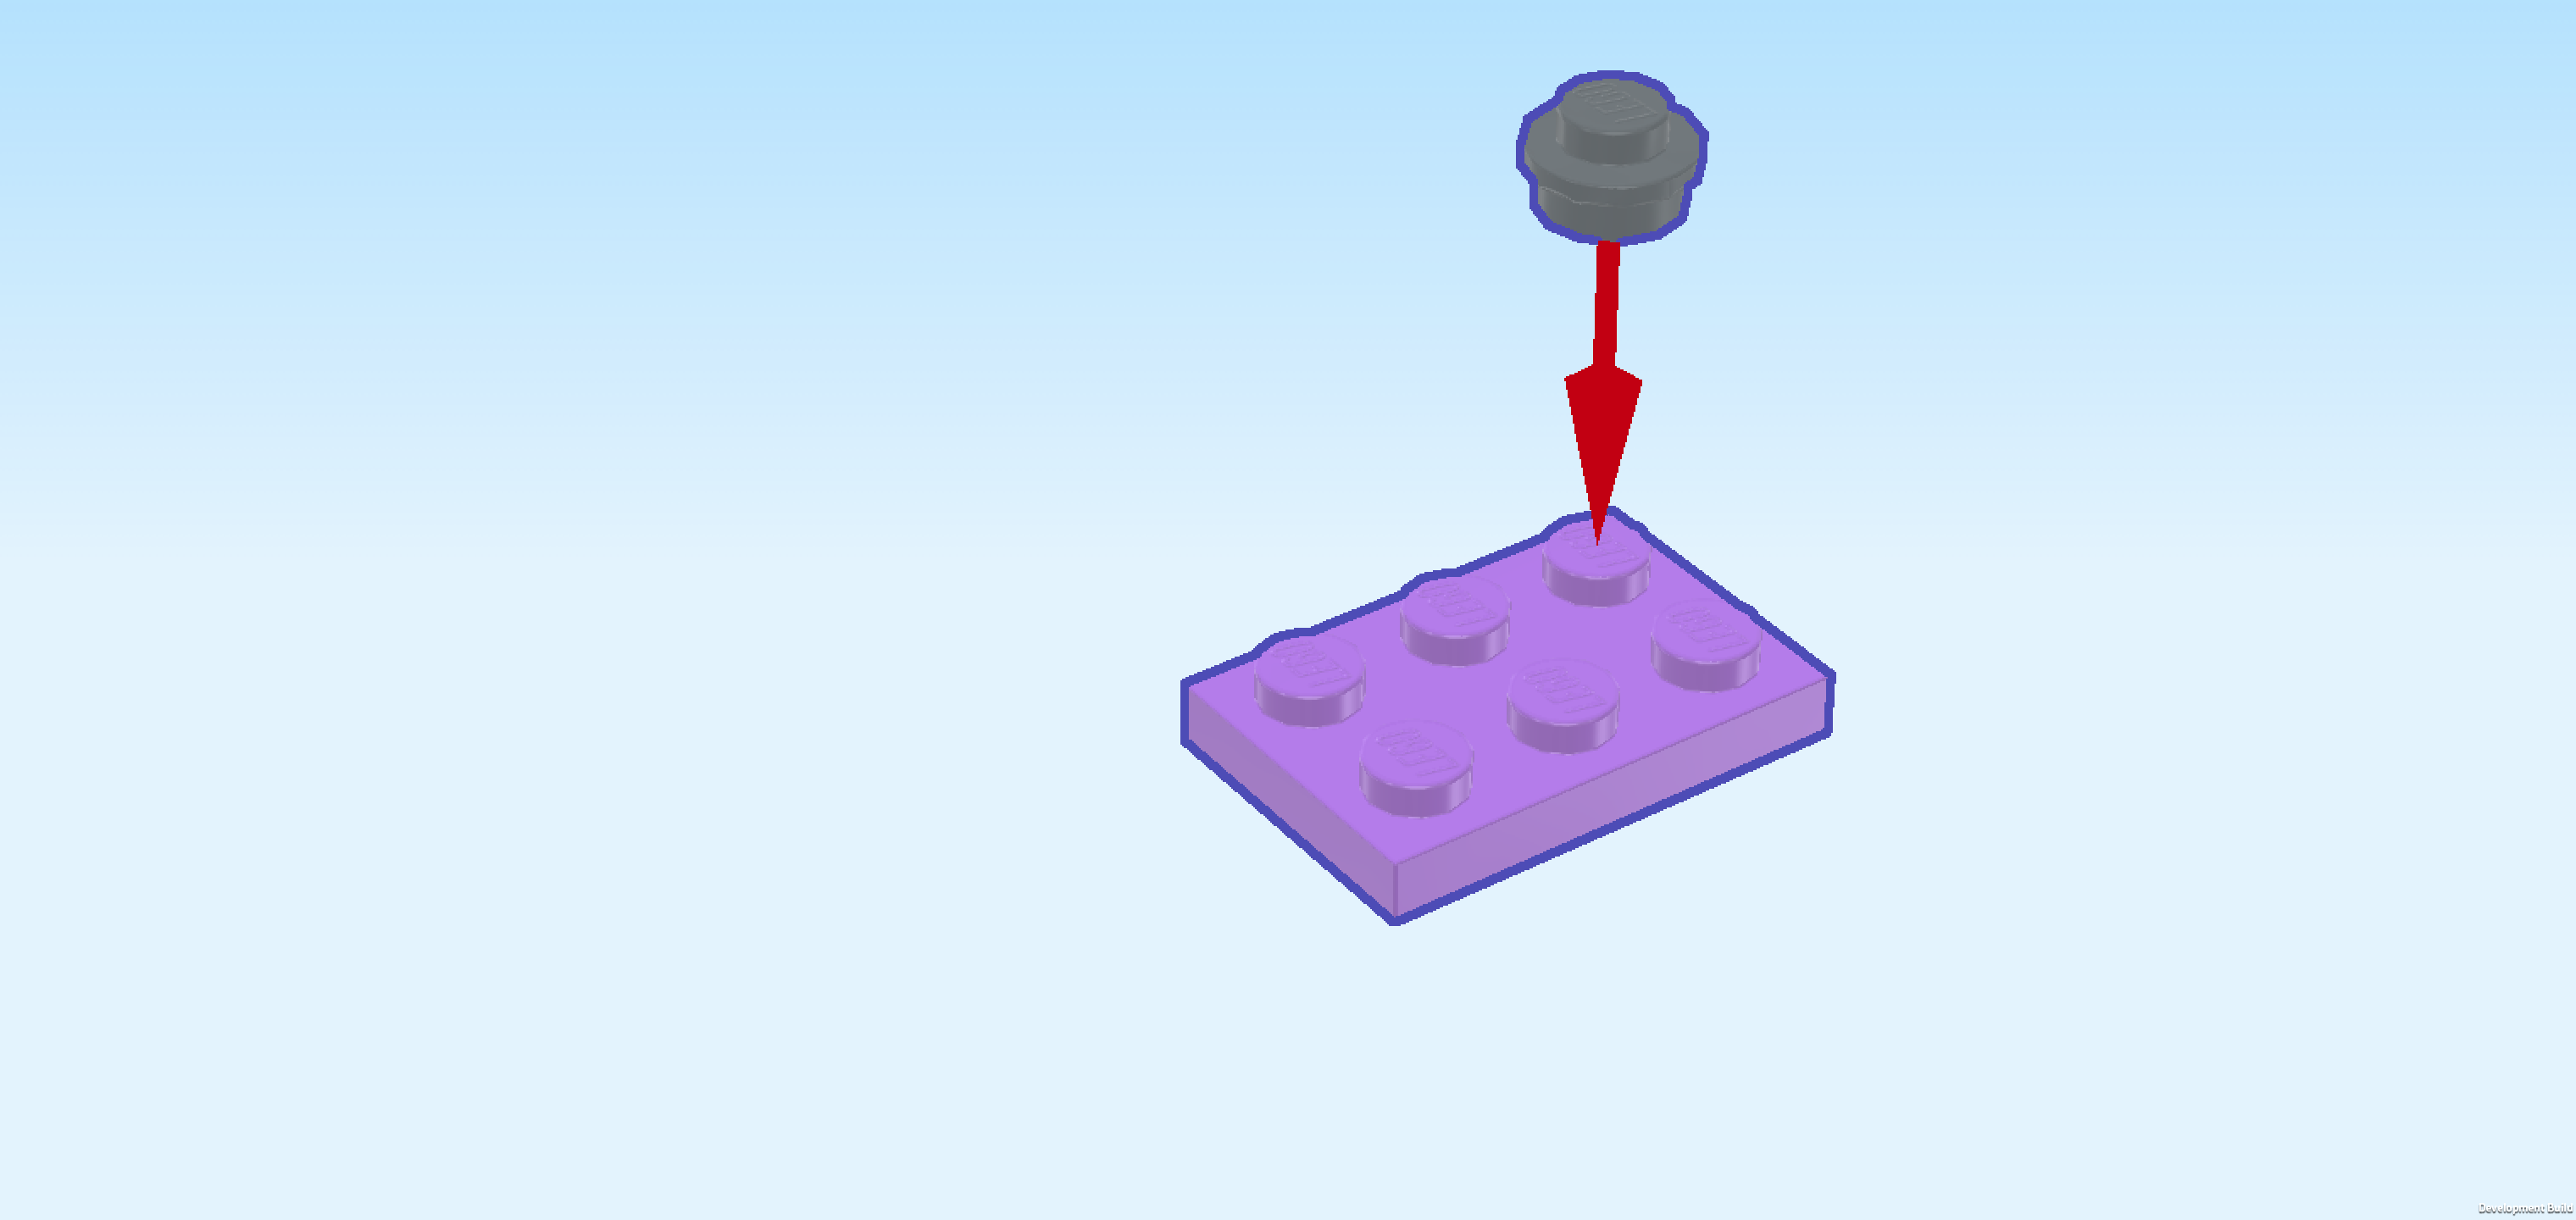
| Put the plate 2x2 on the table. Make sure its knobs from straight rows and columns in front of you. |
| Put the round brick 1x1 on the back right knob. |
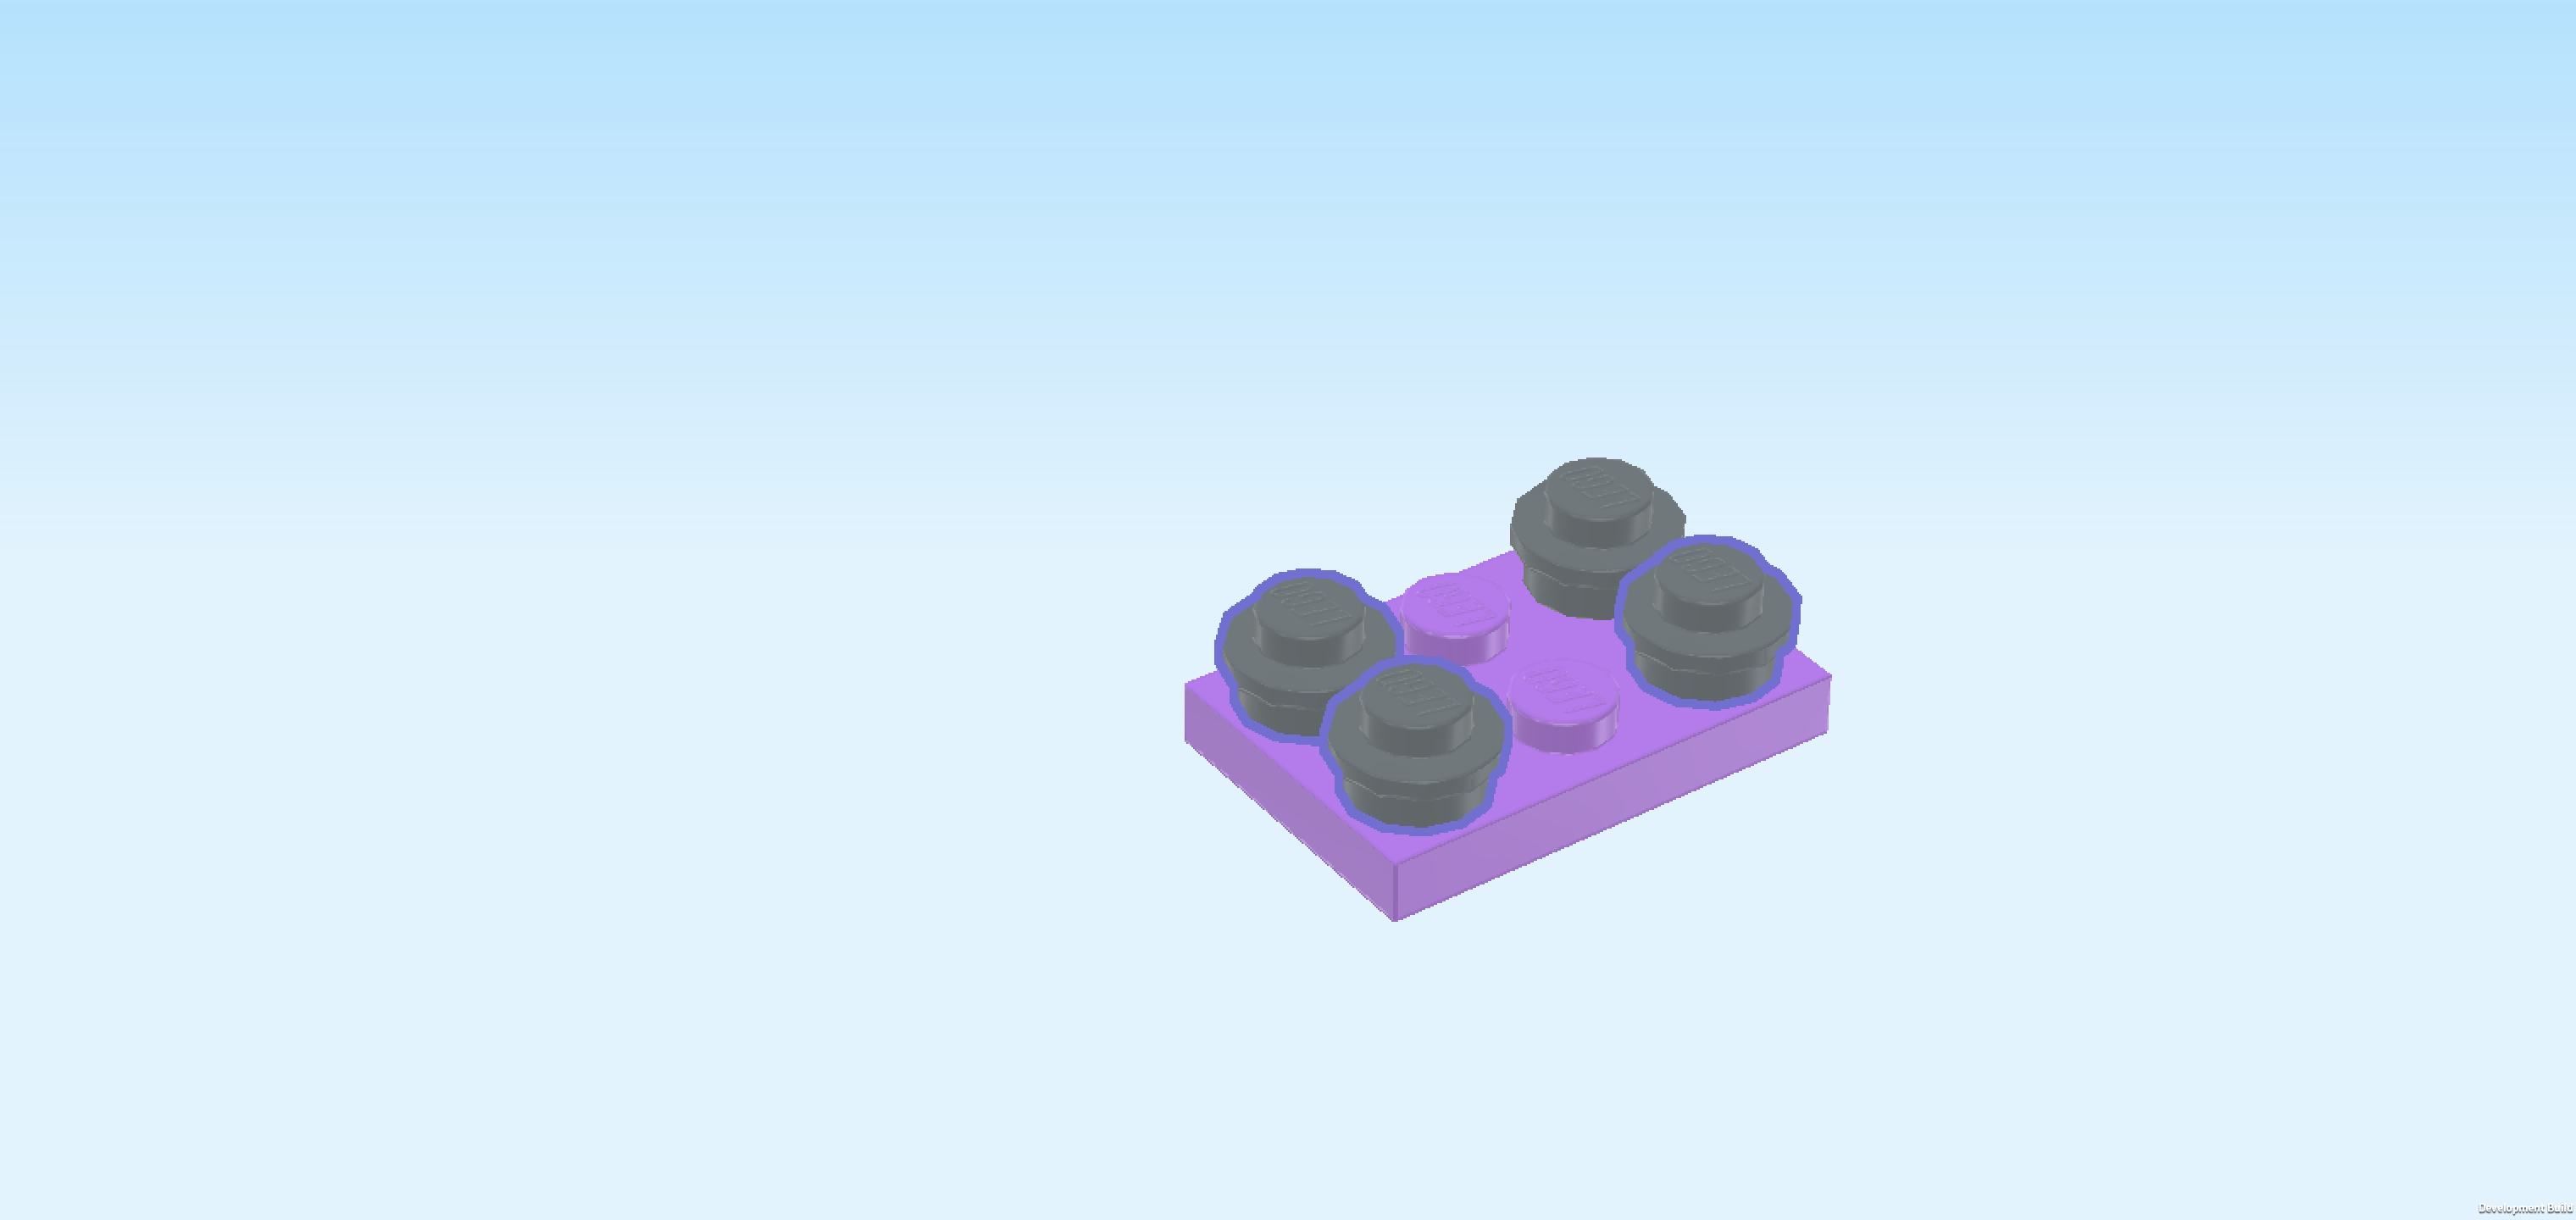
| Collect the following 3 pieces: |
| 2 beige bricks 1x1 with side knob and bottom foot, |
| and 1 beige brick 1x1 with horizontal side clasp. |
| Put the 2 bricks with side knobs on the front row, side knobs pointing to the front. |
| Put the brick 1x1 with horizontal side clasp on the back left knob, clasp to the left. |
| Find 1 bright purple plate 1x2 with 1 knob. |
| Put it upright horizontally on the 2 side knobs pointing to the front. |
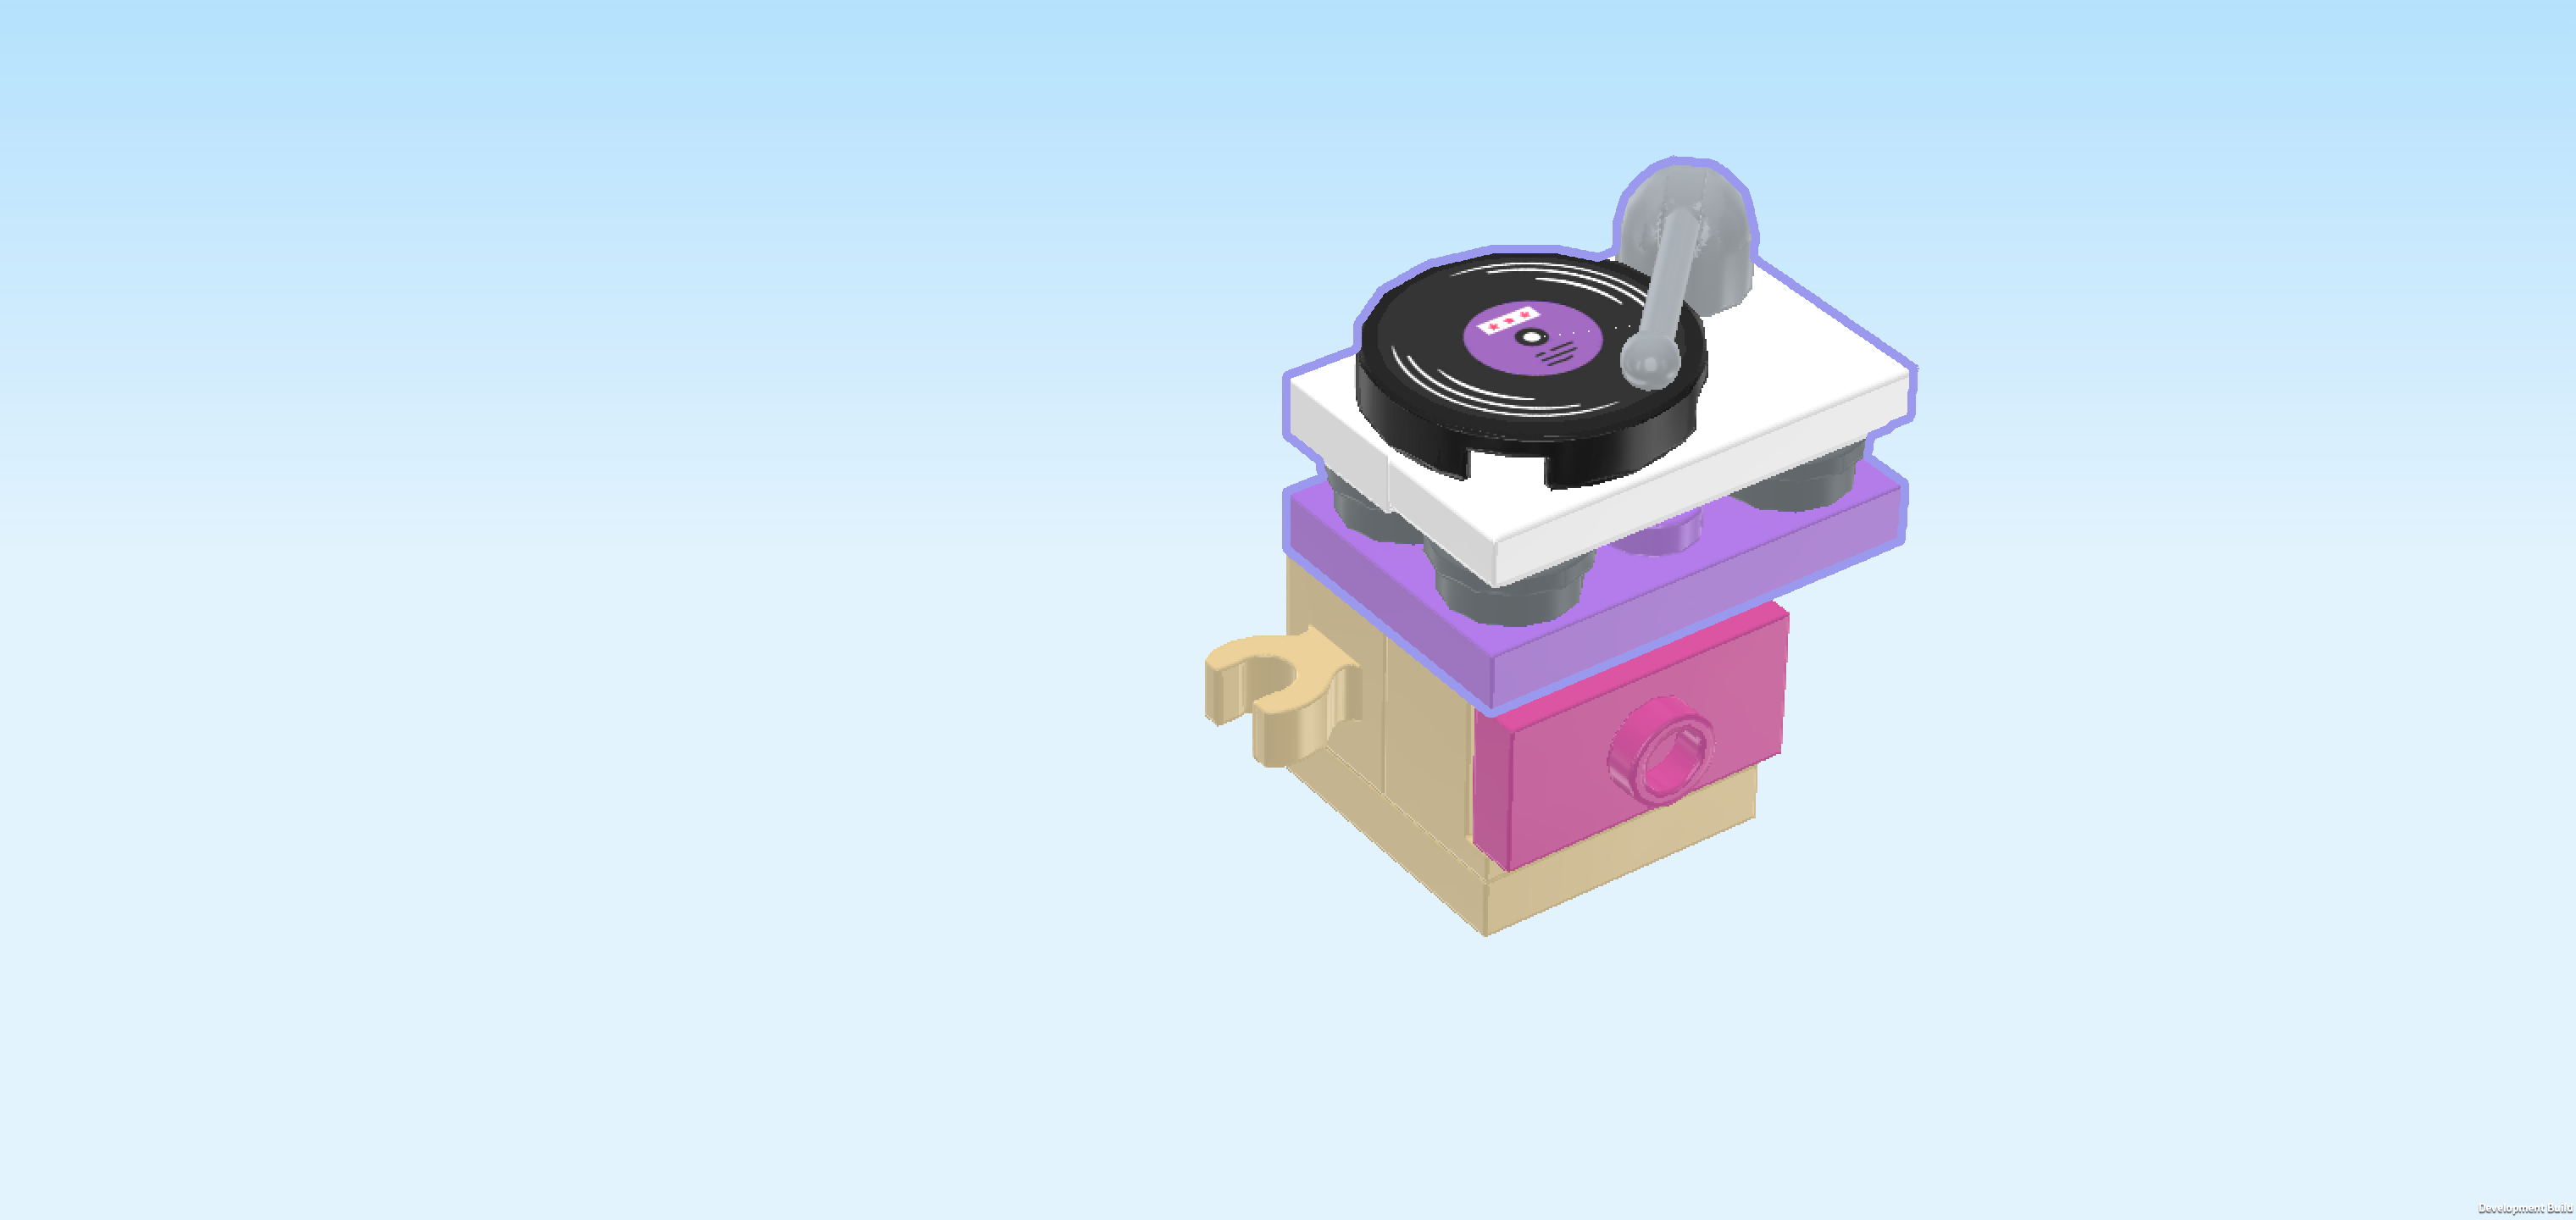
| Next, we will build the record player. |
| Collect the following 2 pieces: |
| 1 silver metallic round plate 1x1, |
| and 1 lavender plate 2x3. |
| Put the plate 2x3 horizontally on the table. |
| Put the round plate 1x1 on the back right corner knob. |
| Find another 3 silver metallic round plates 1x1. |
| Put 1 in front of the previous piece. |
| Put the other 2 on the 2 leftmost knobs. |
| Collect the following 2 pieces: |
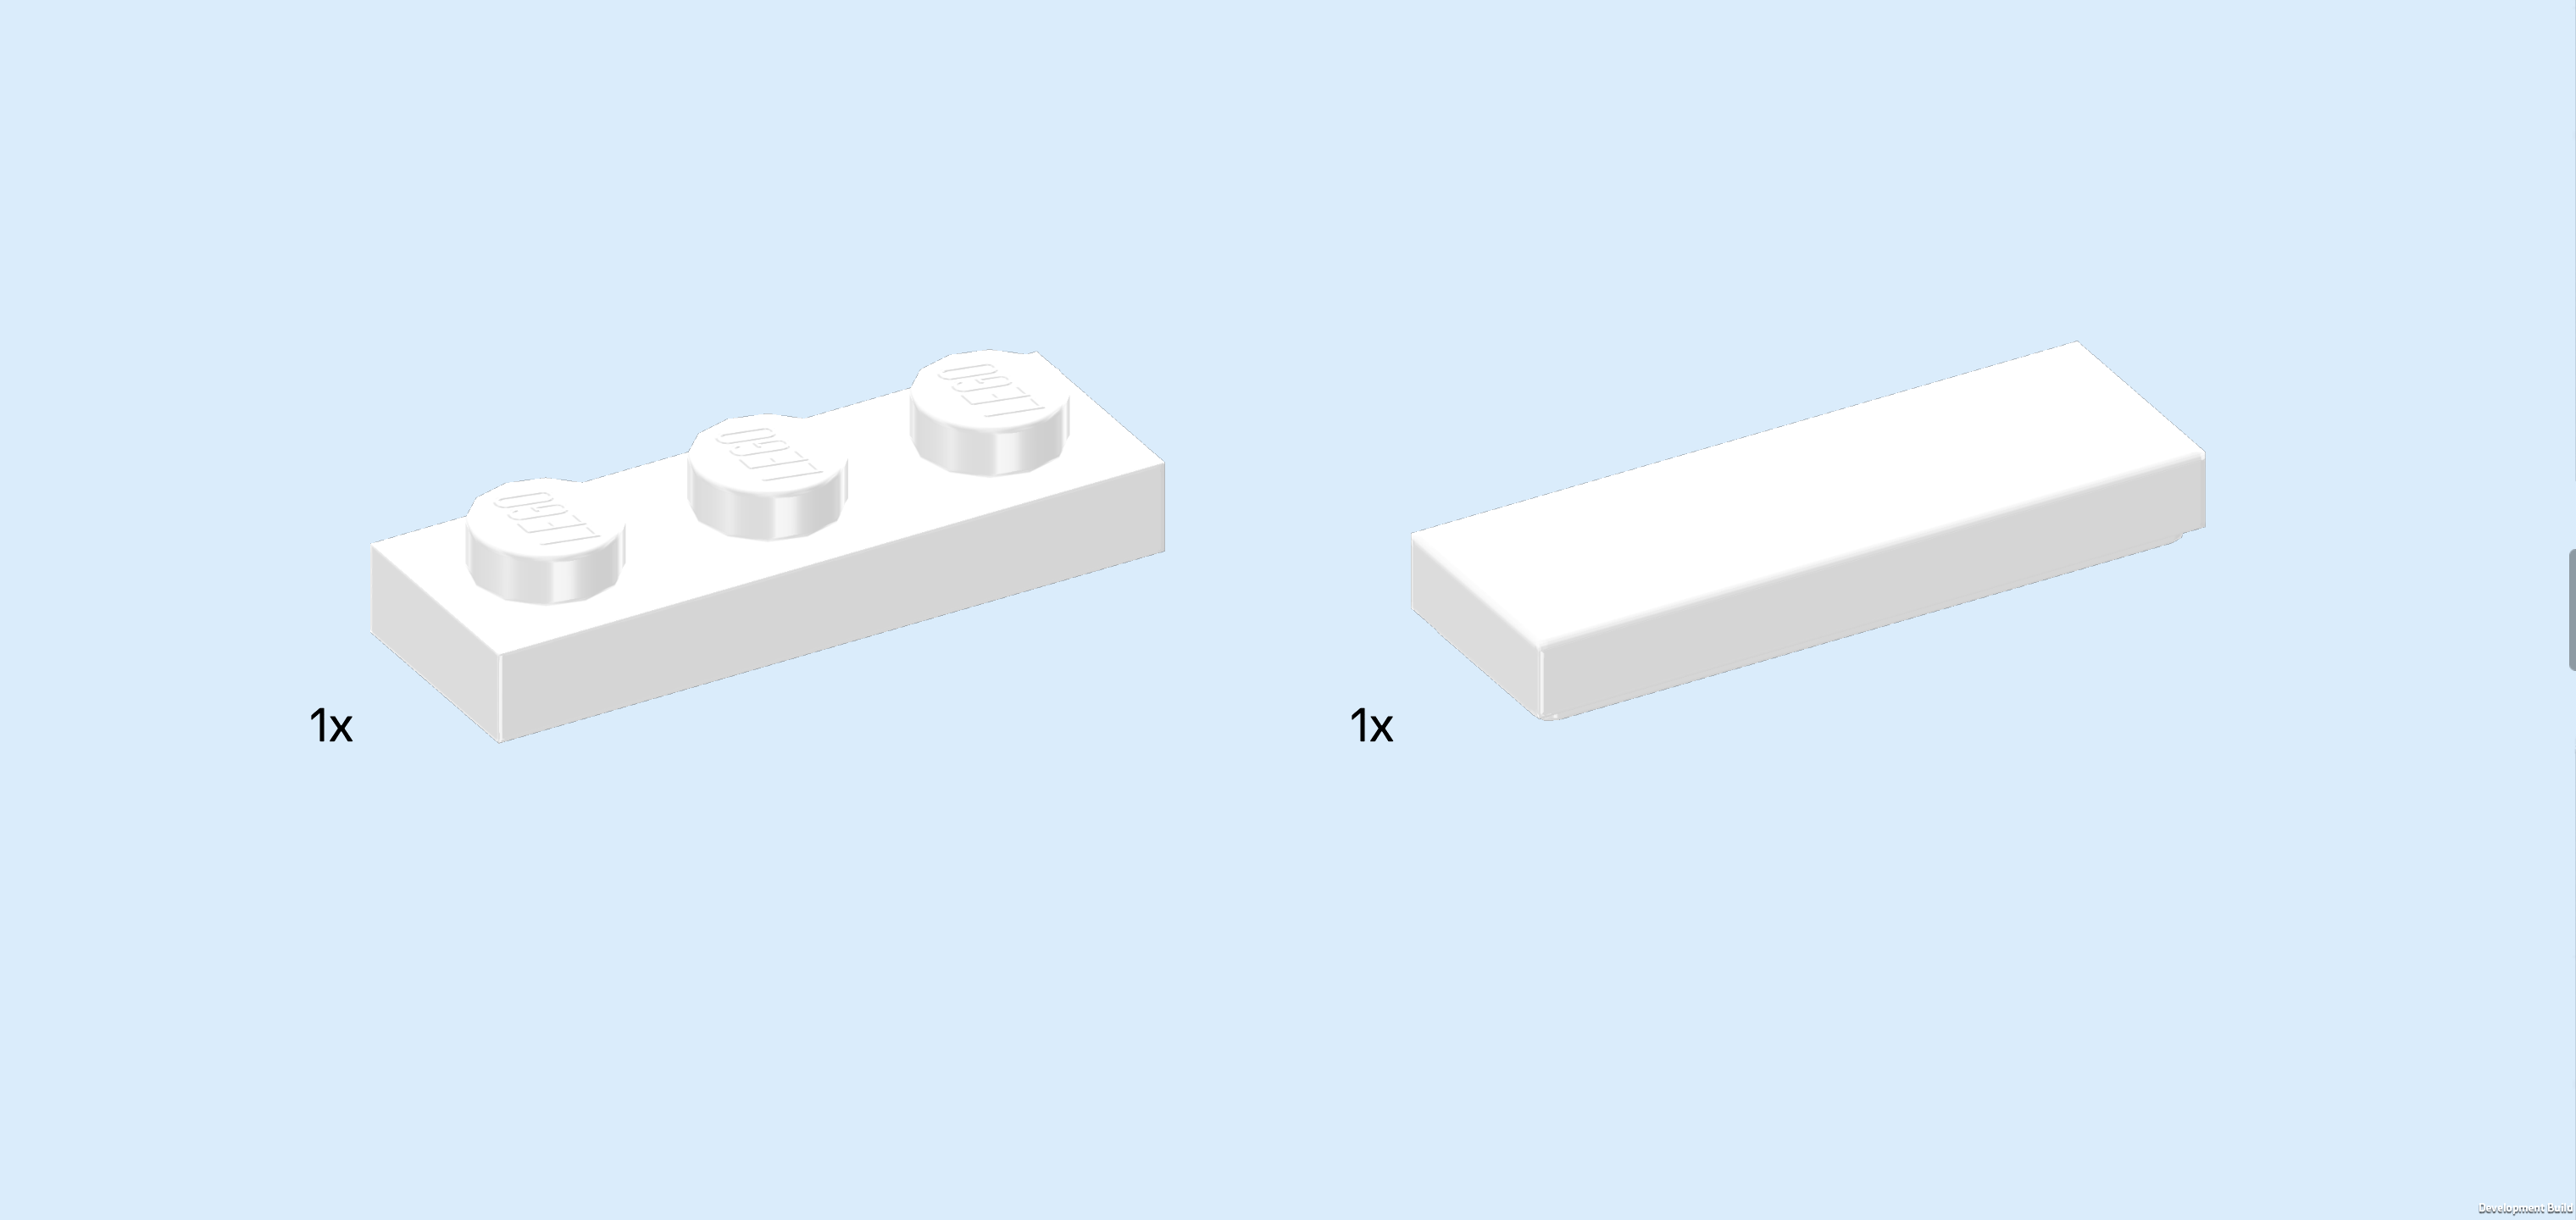
| 1 white plate 1x3, |
| and 1 white flat tile 1x3. |
| Put the plate 1x3 horizontally on the back row. |
| Put the flat tile 1x3 horizontally on the front row. |
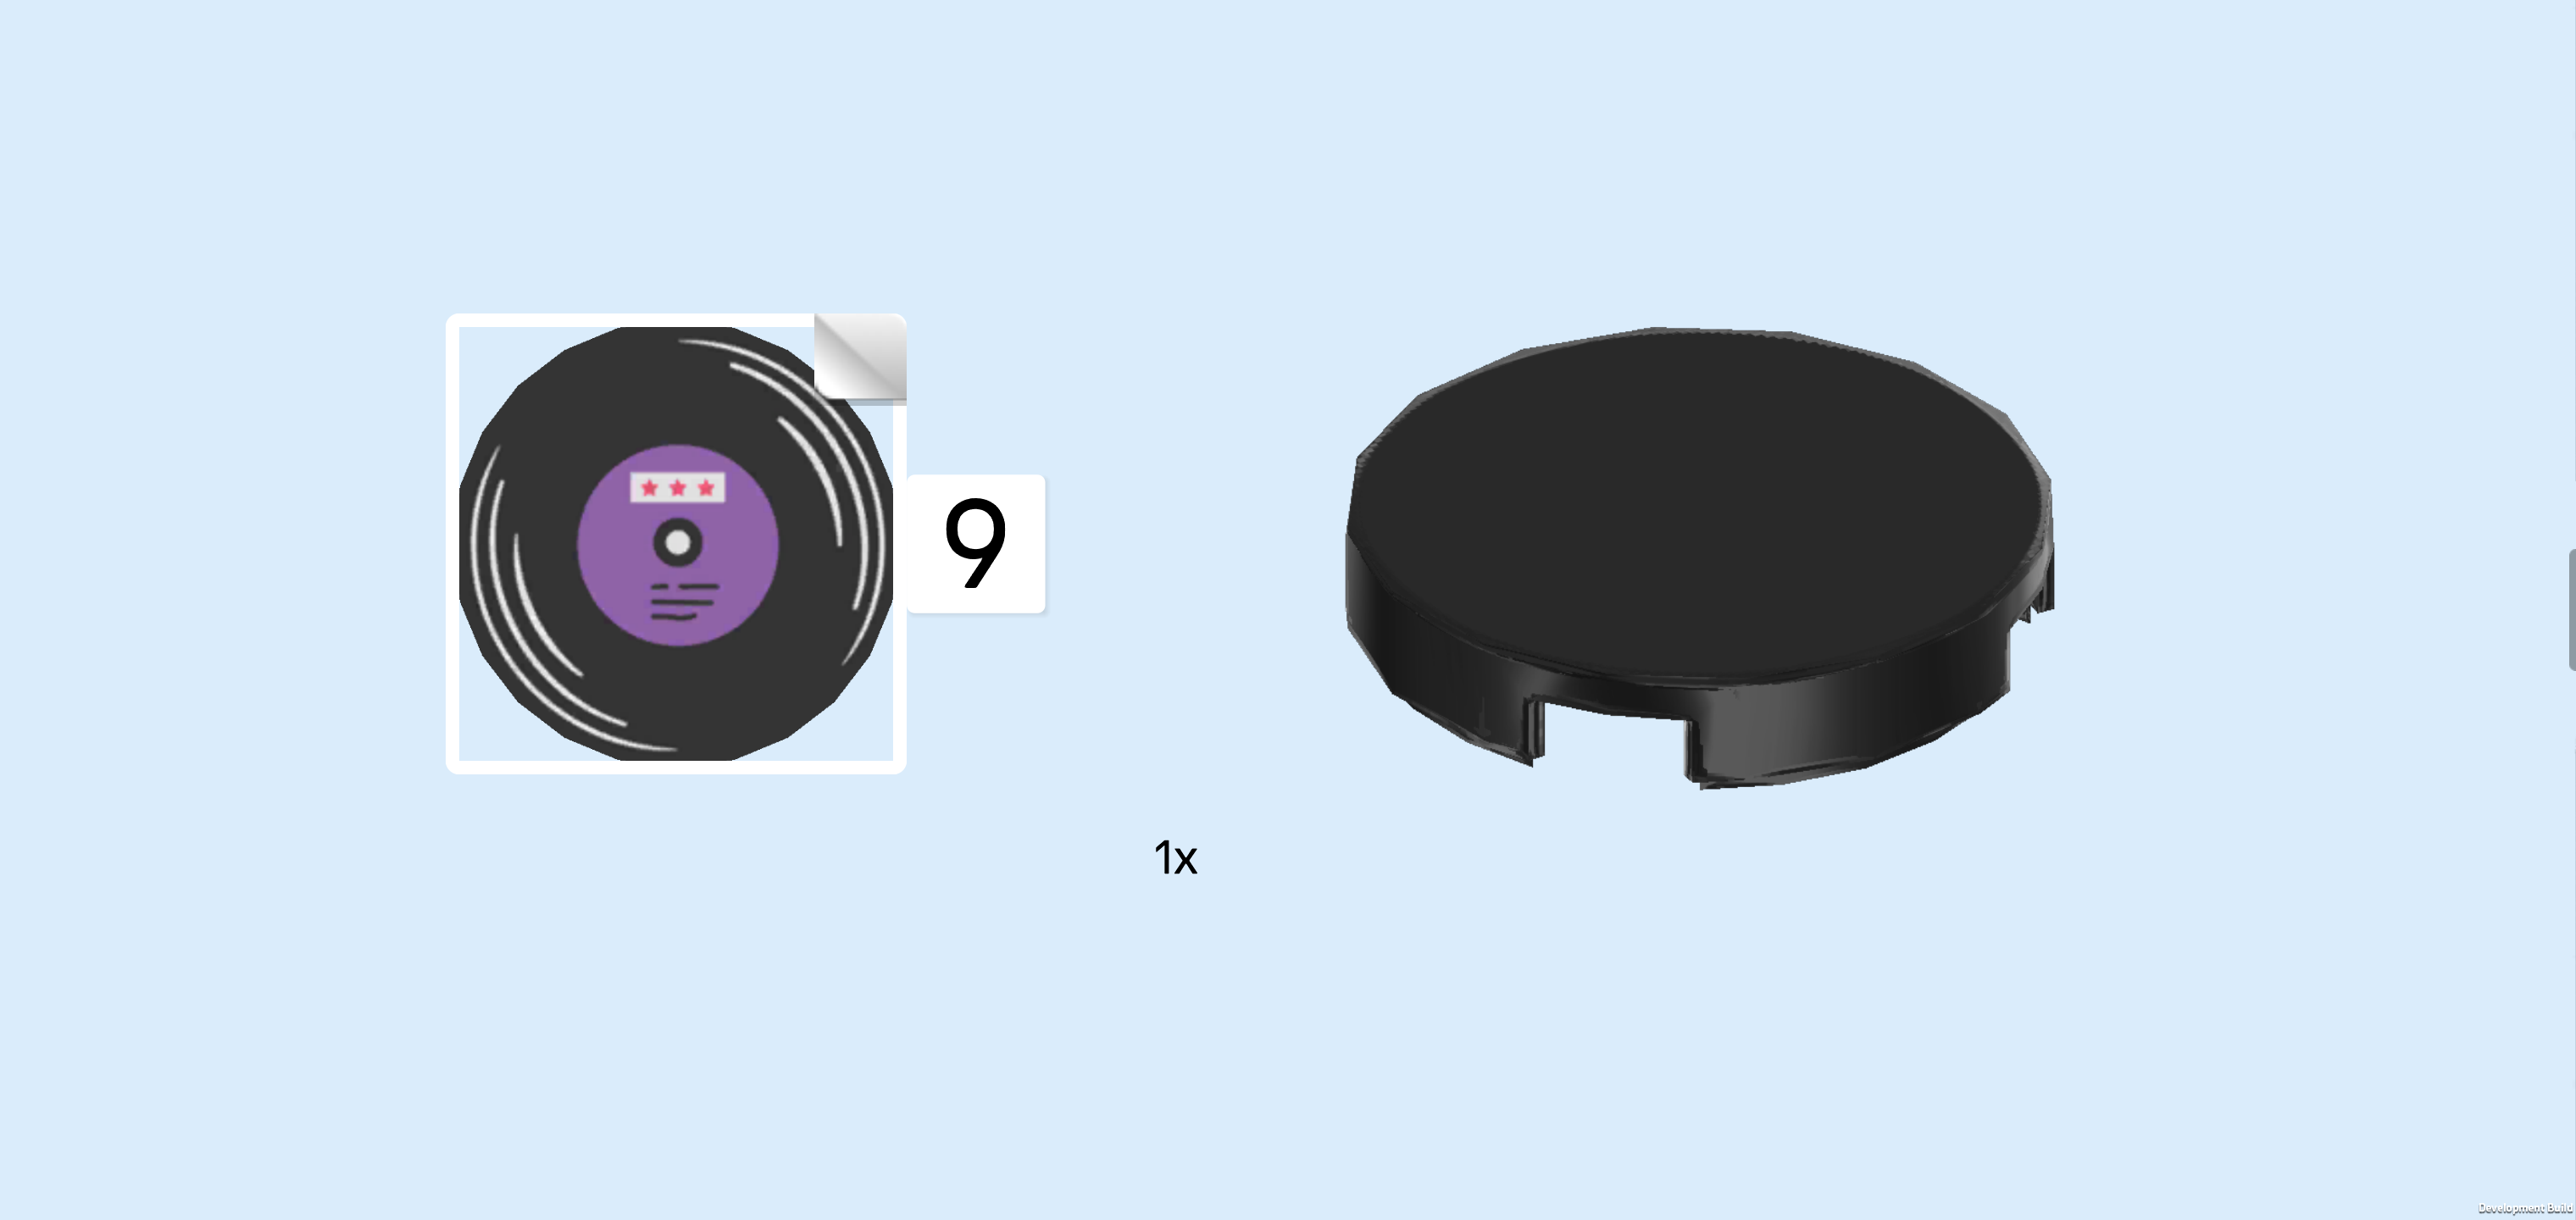
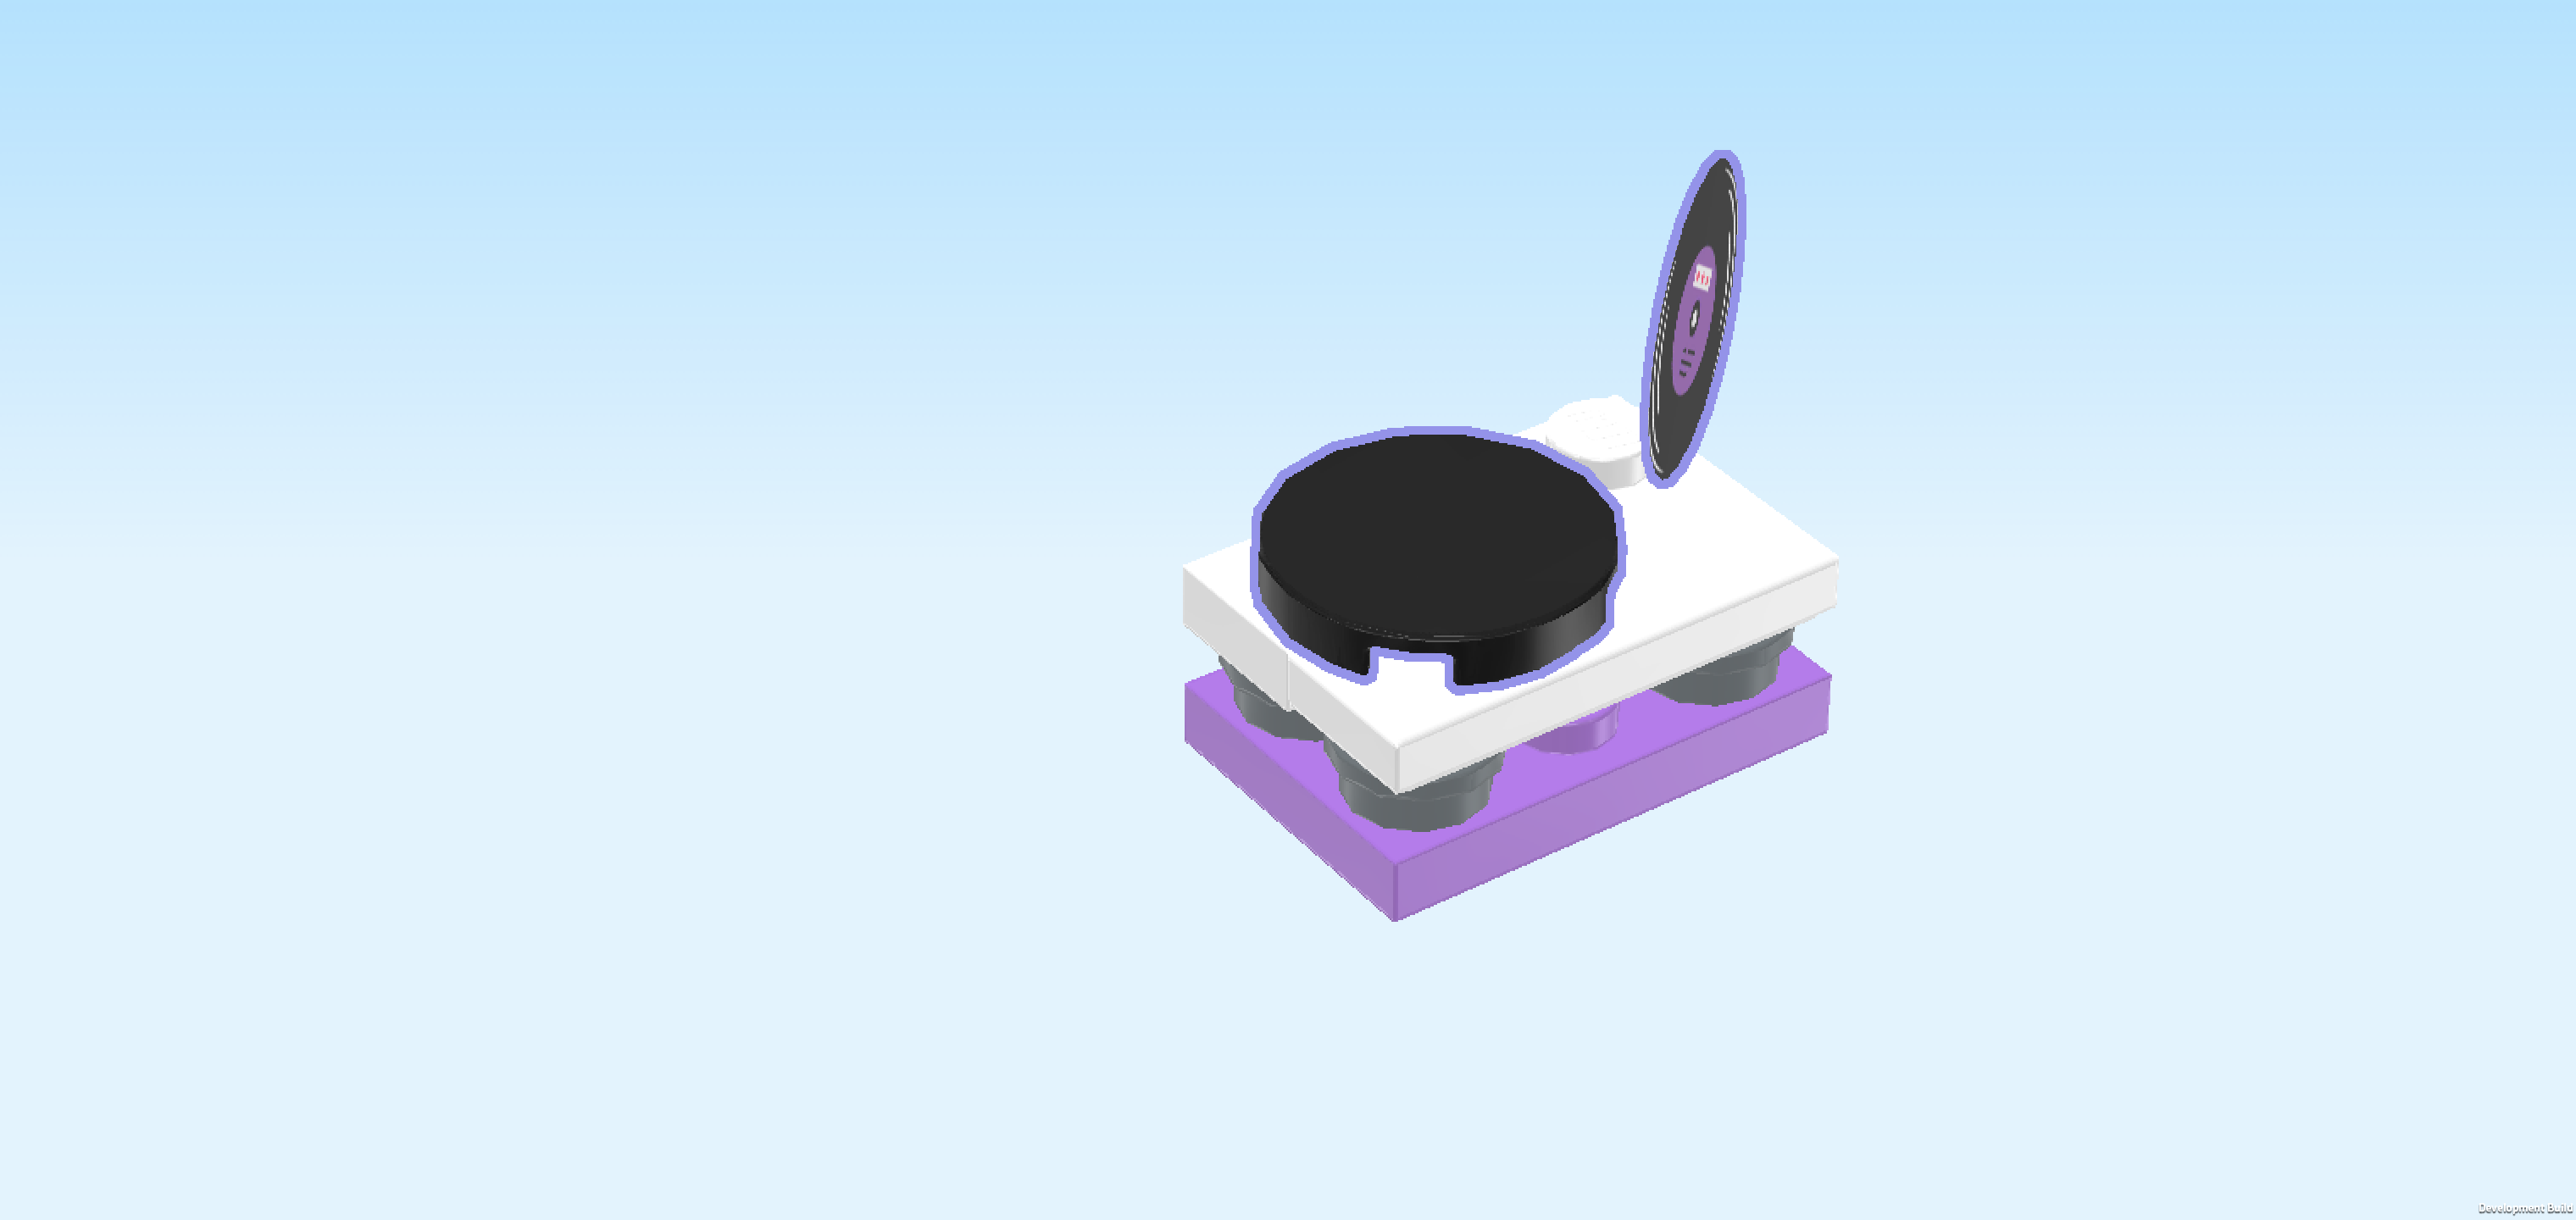
| Collect the following 2 pieces: |
| 1 round sticker 2x2 with vinyl print, |
| and 1 black round tile 2x2. |
| Put the round tile 2x2 on the left edge. The rightmost edge and knob remain empty for now. |
| Put the sticker on top of the round tile. It is printed with a vinyl record with a purple label. The artist and track names are not legible though. |
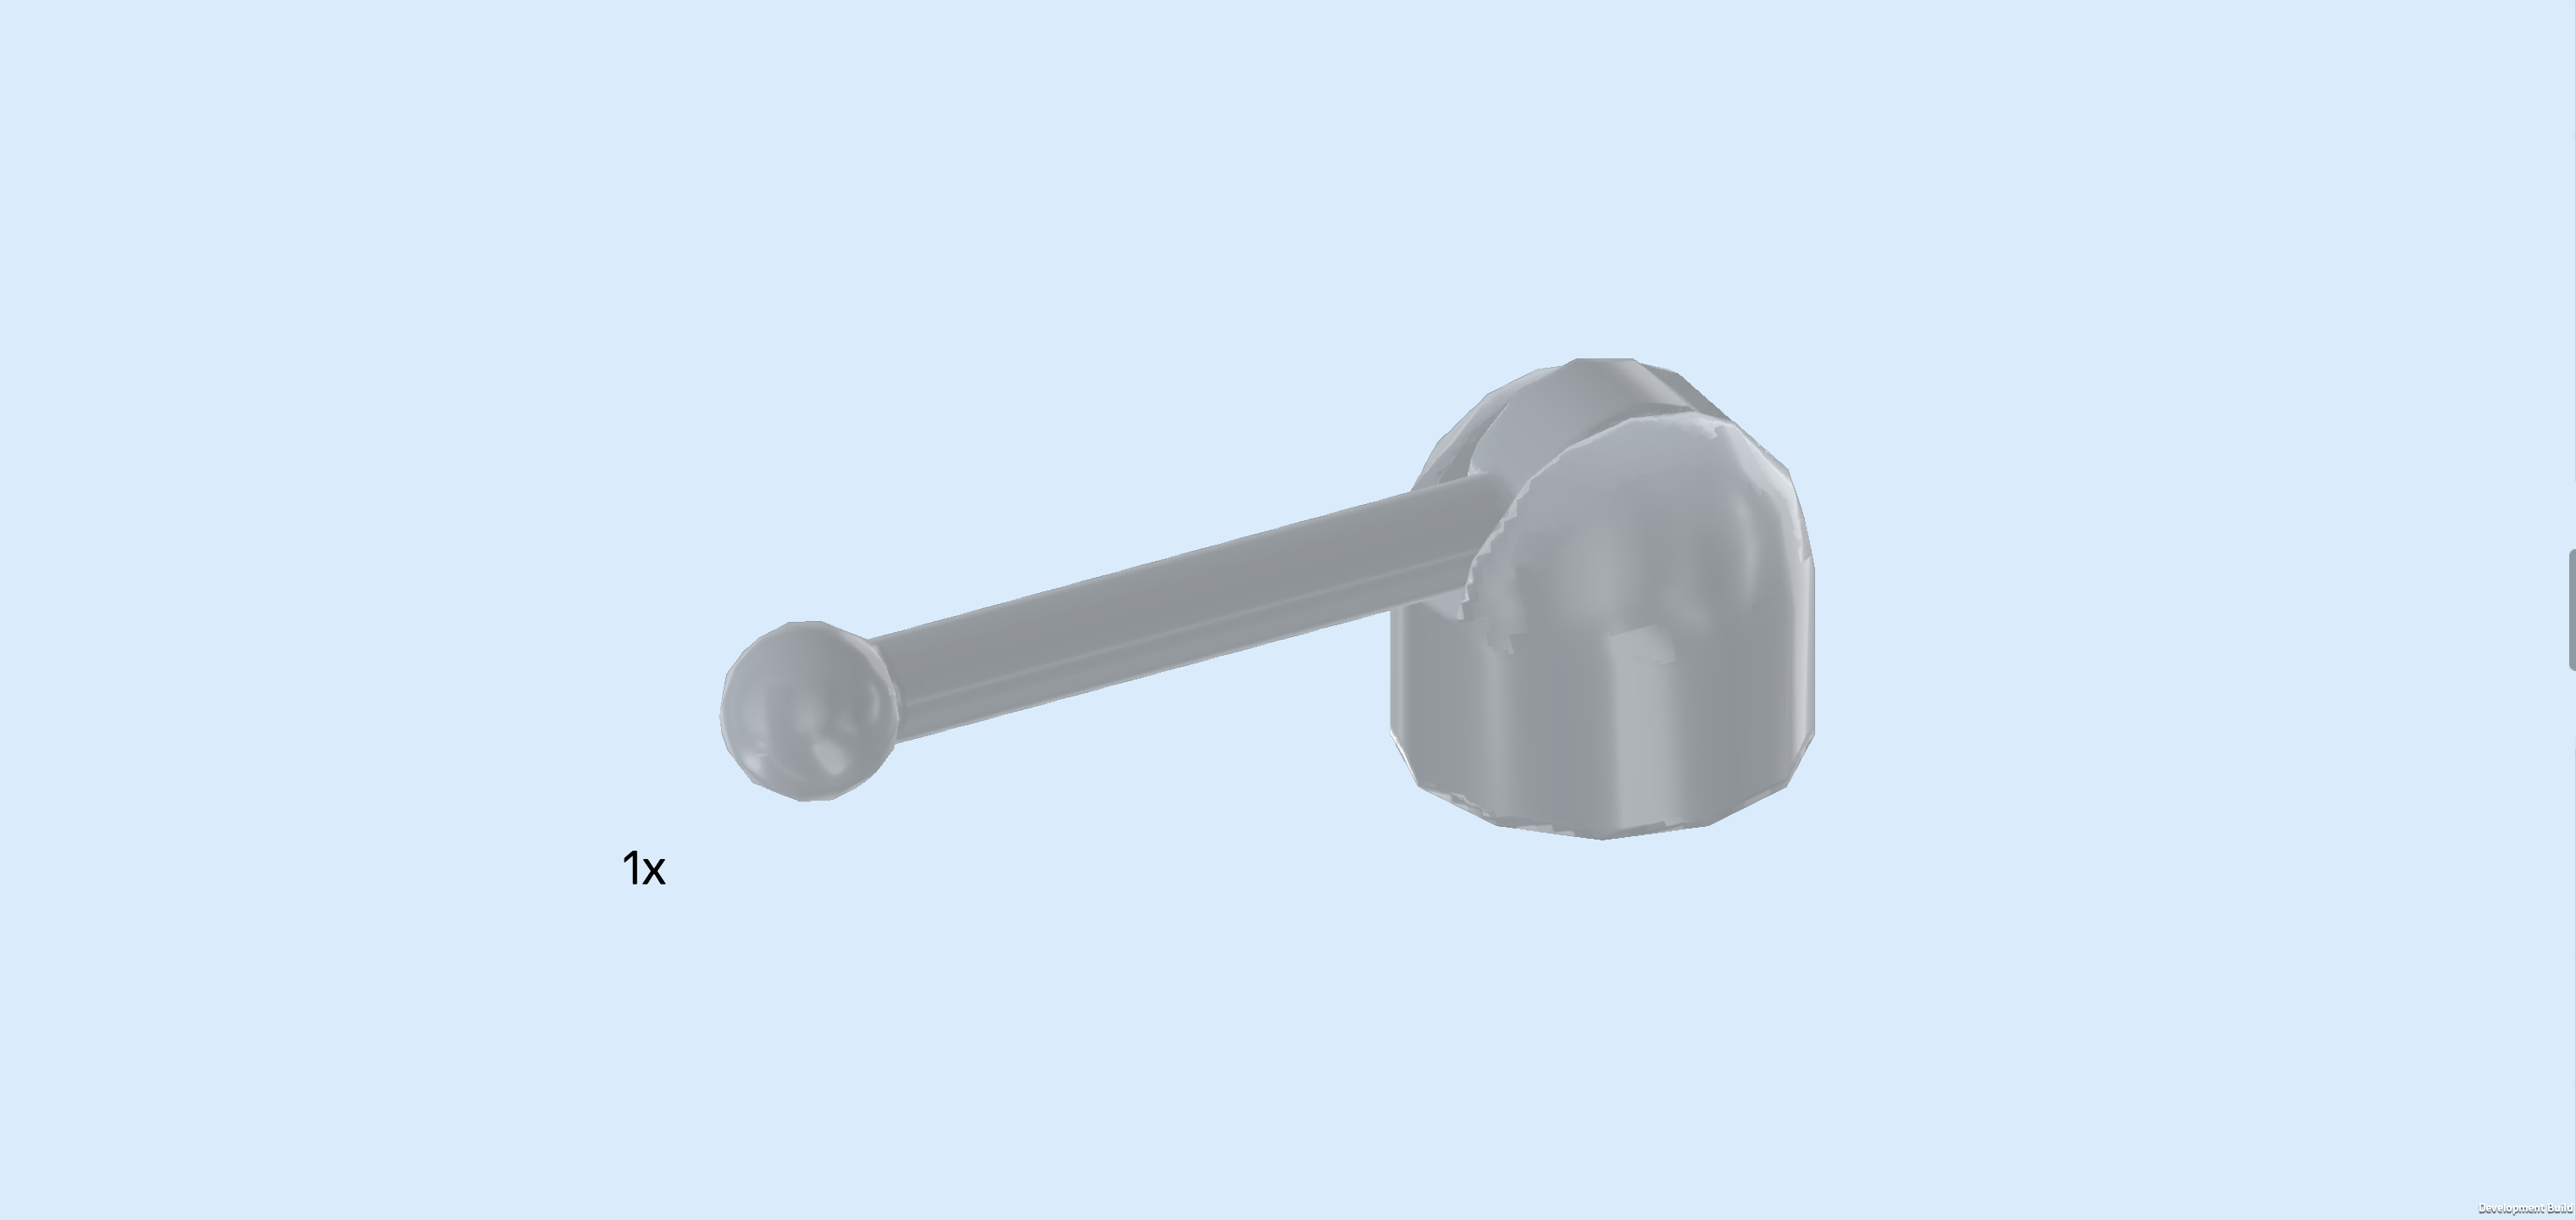
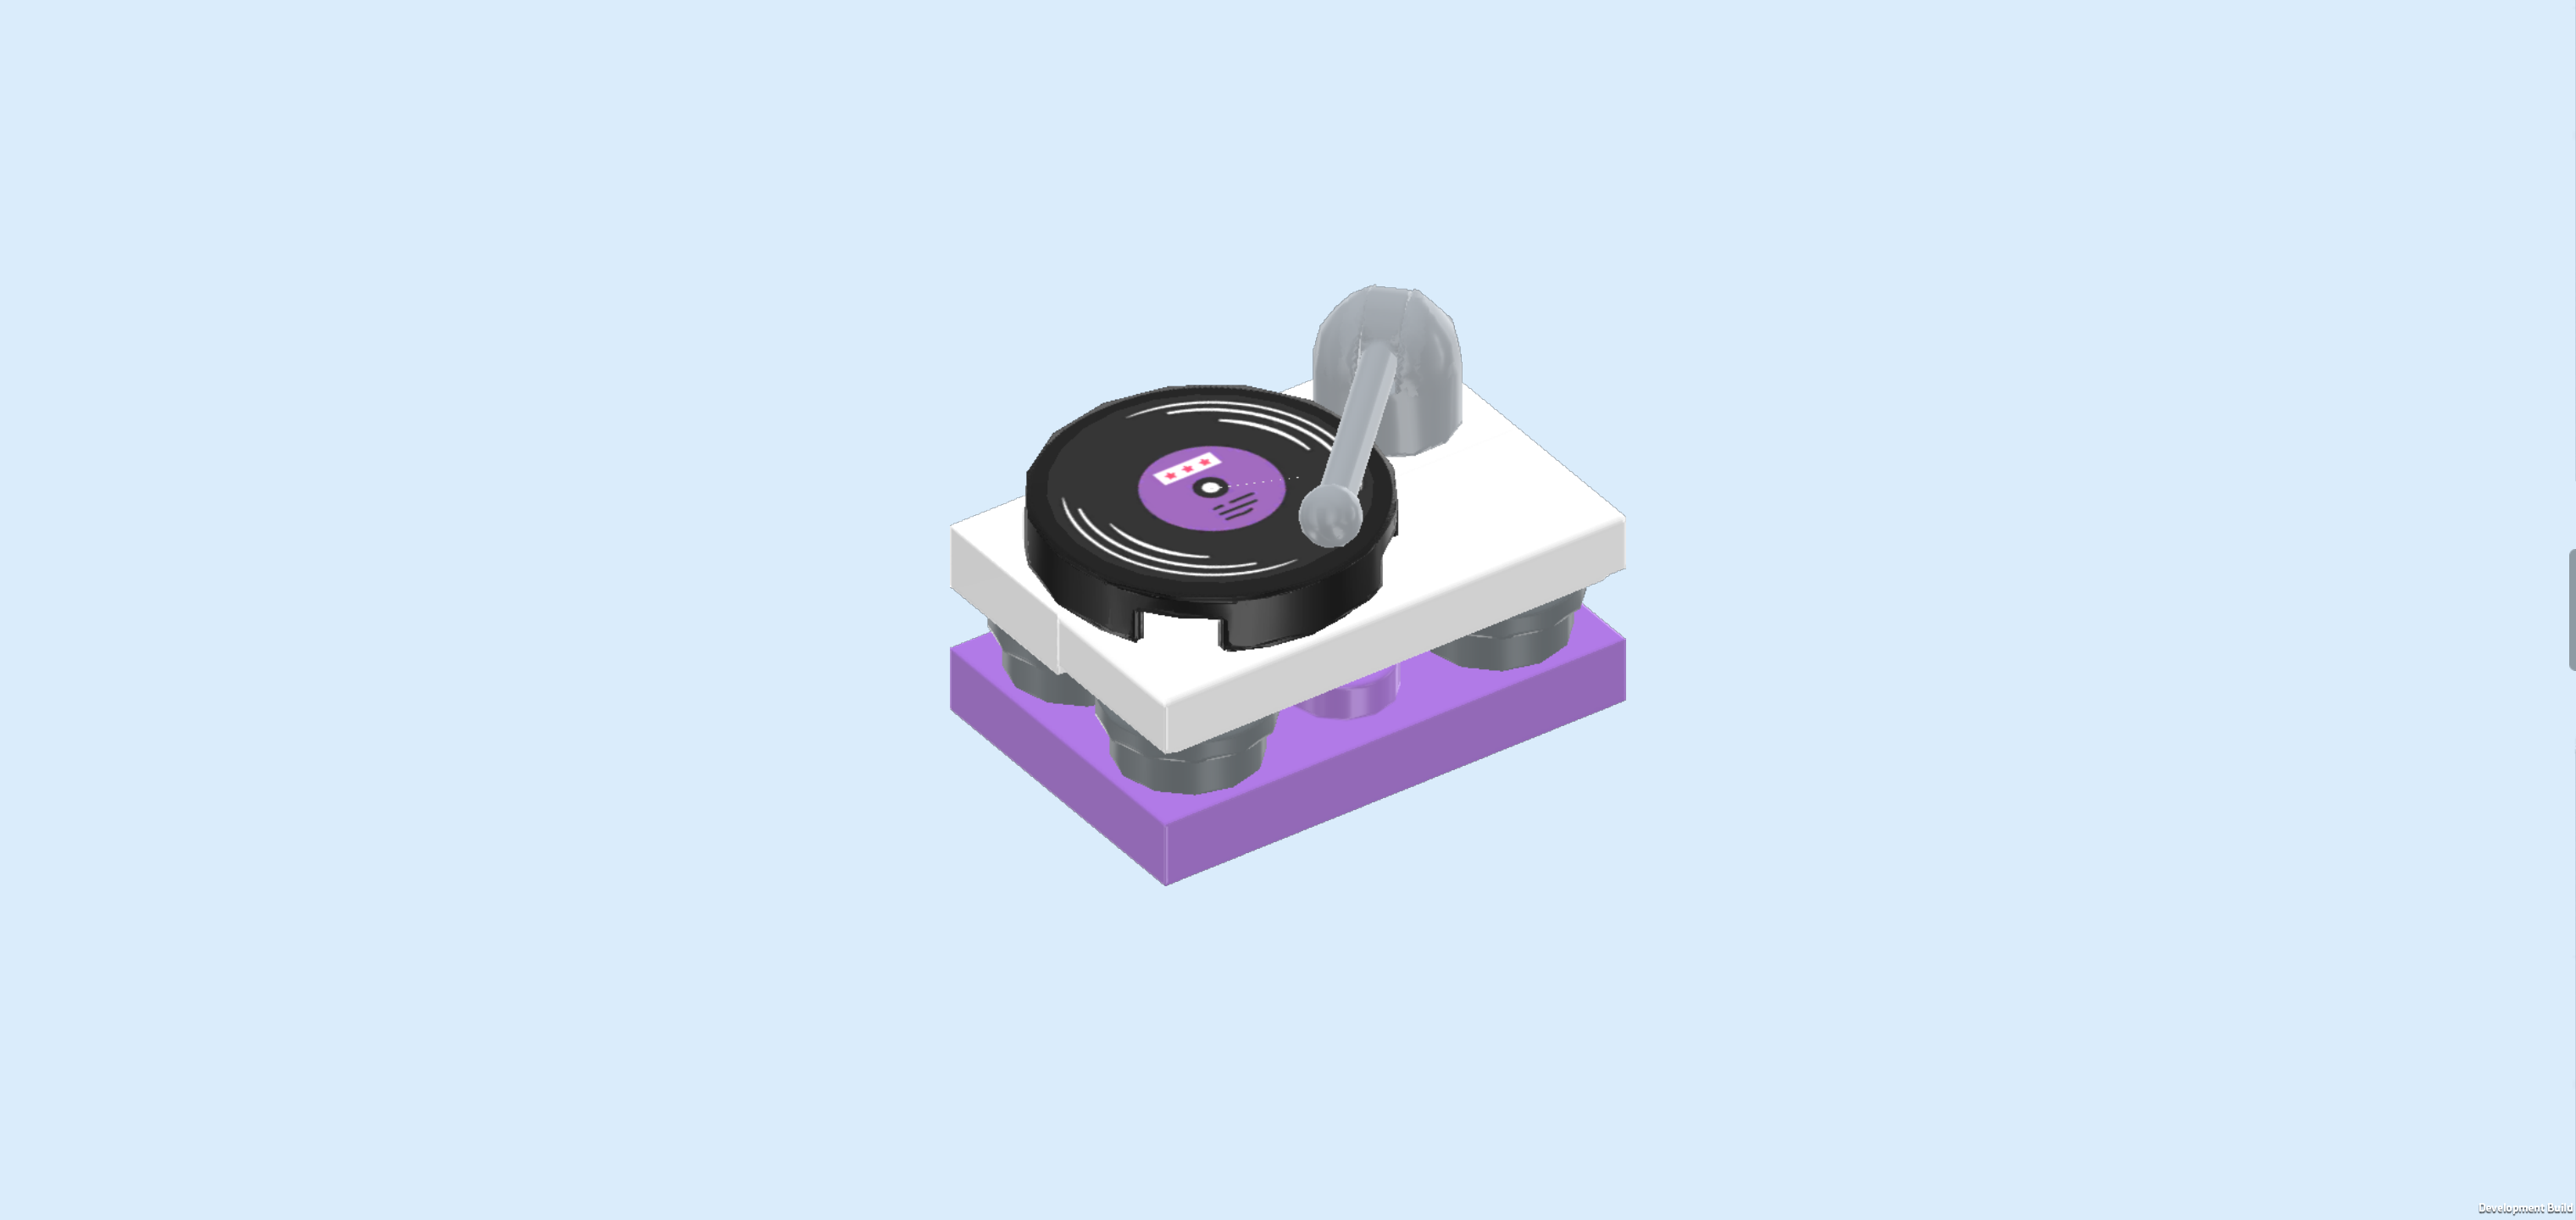
| Find 1 medium stone grey joystick. |
| Put it on the remaining knob and fold the lever towards the left so it functions as the needle of the record player. |
| The record player is finished! Mount it on top of the bedside table, 1/3 protruding to the right. This means it should be flush with the left side of the bedside table. |
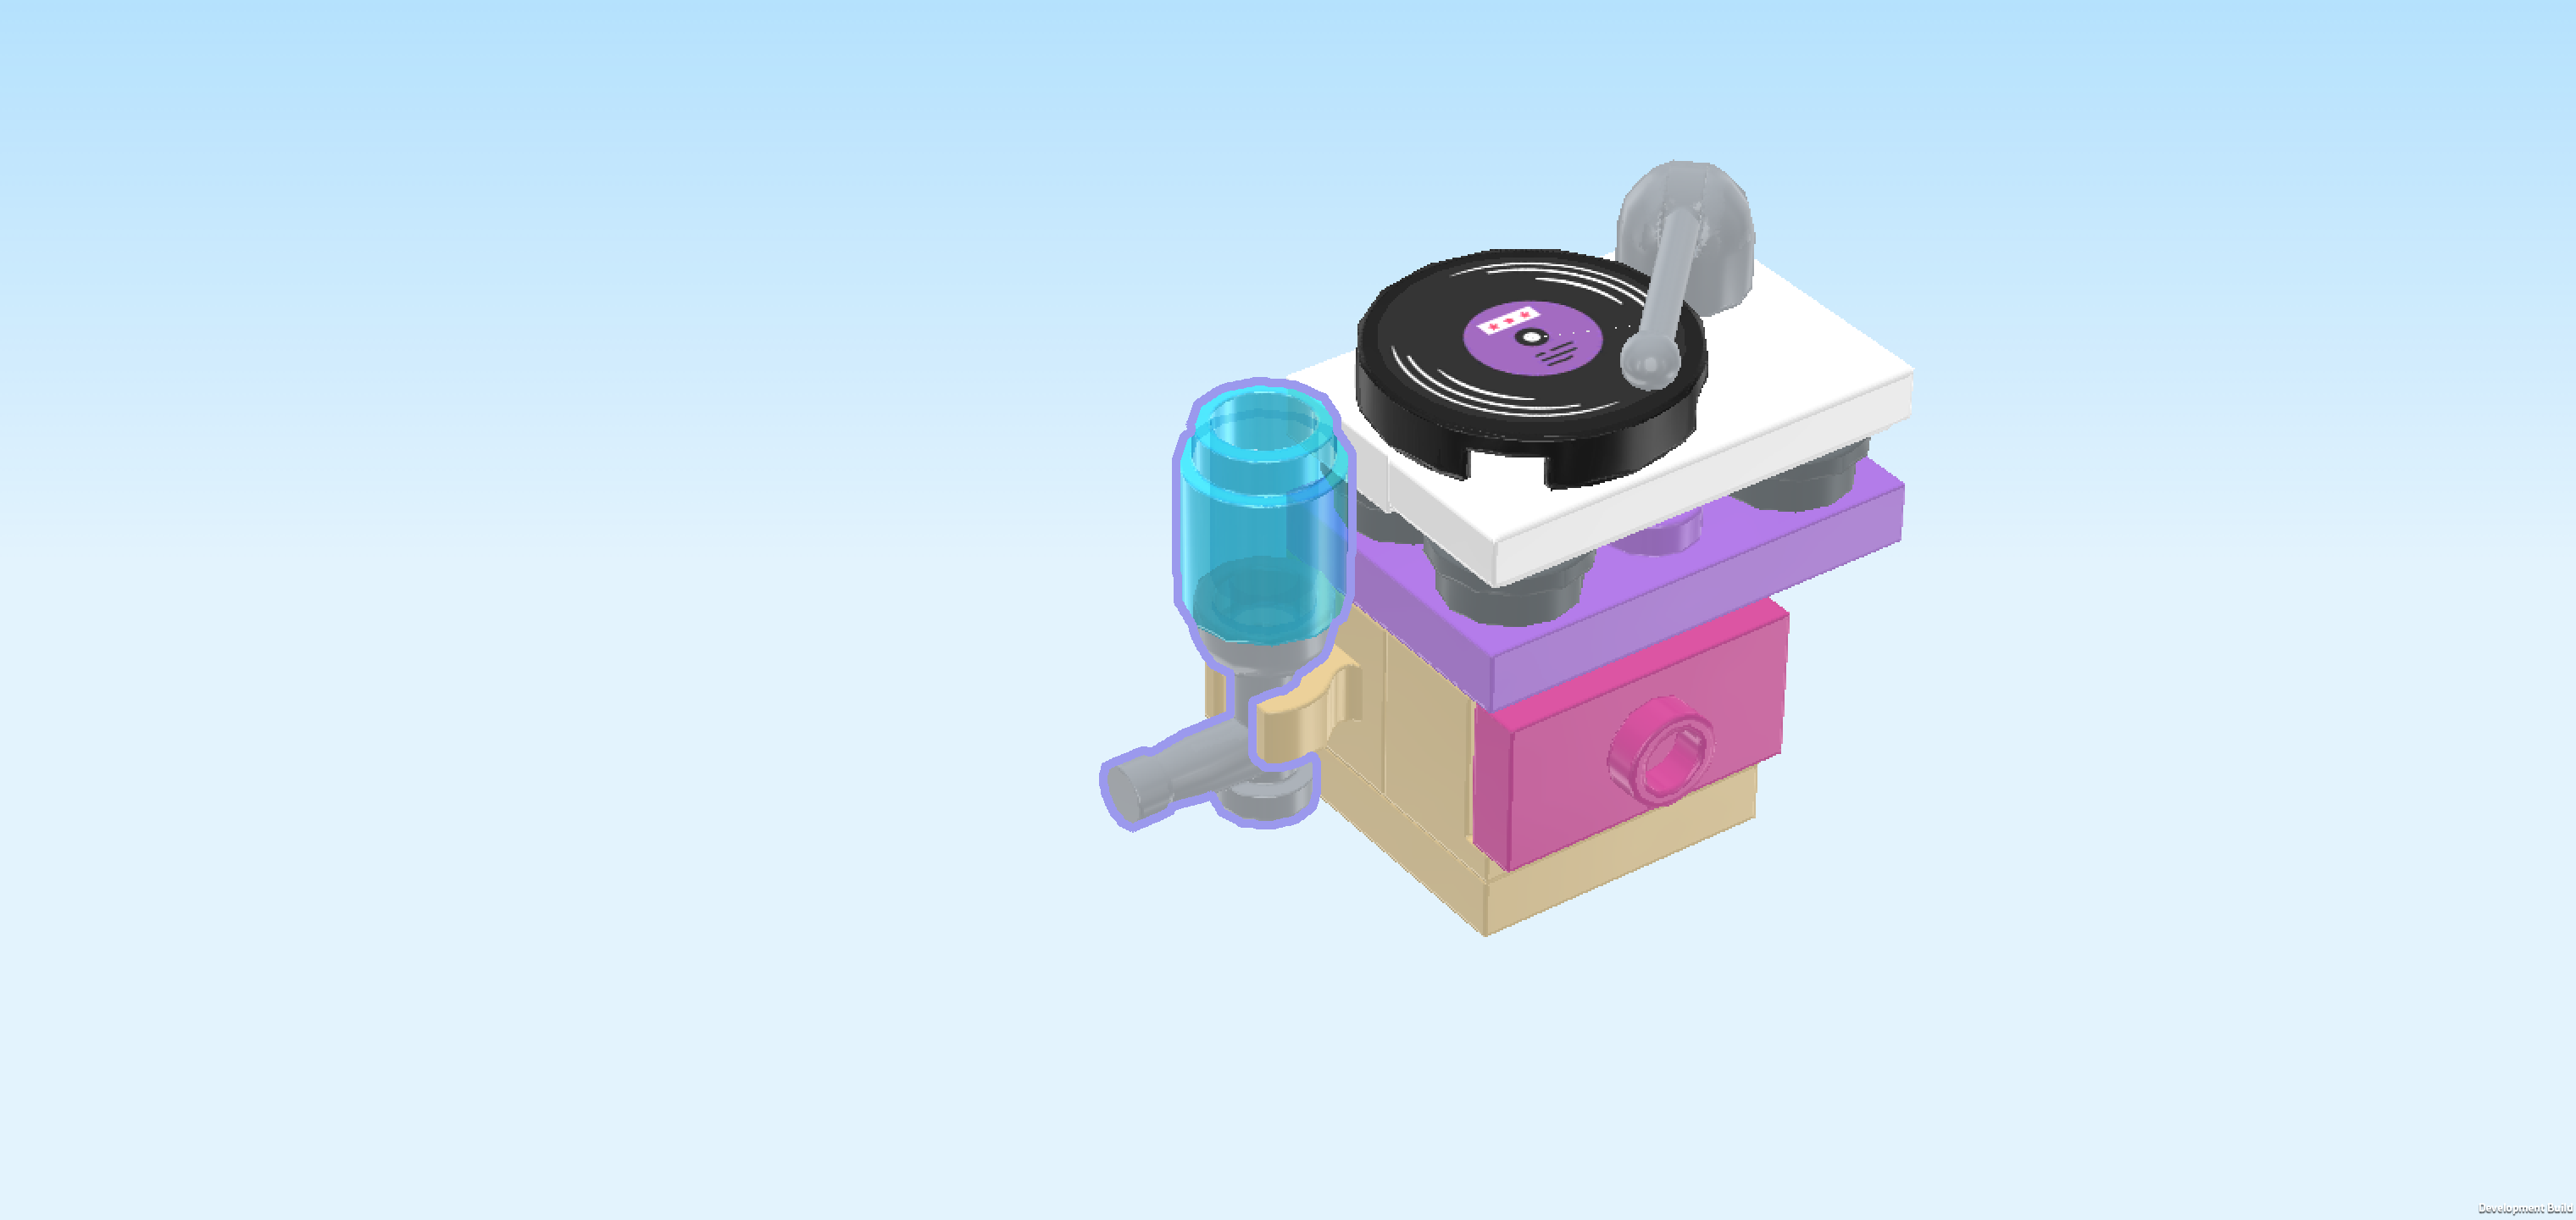
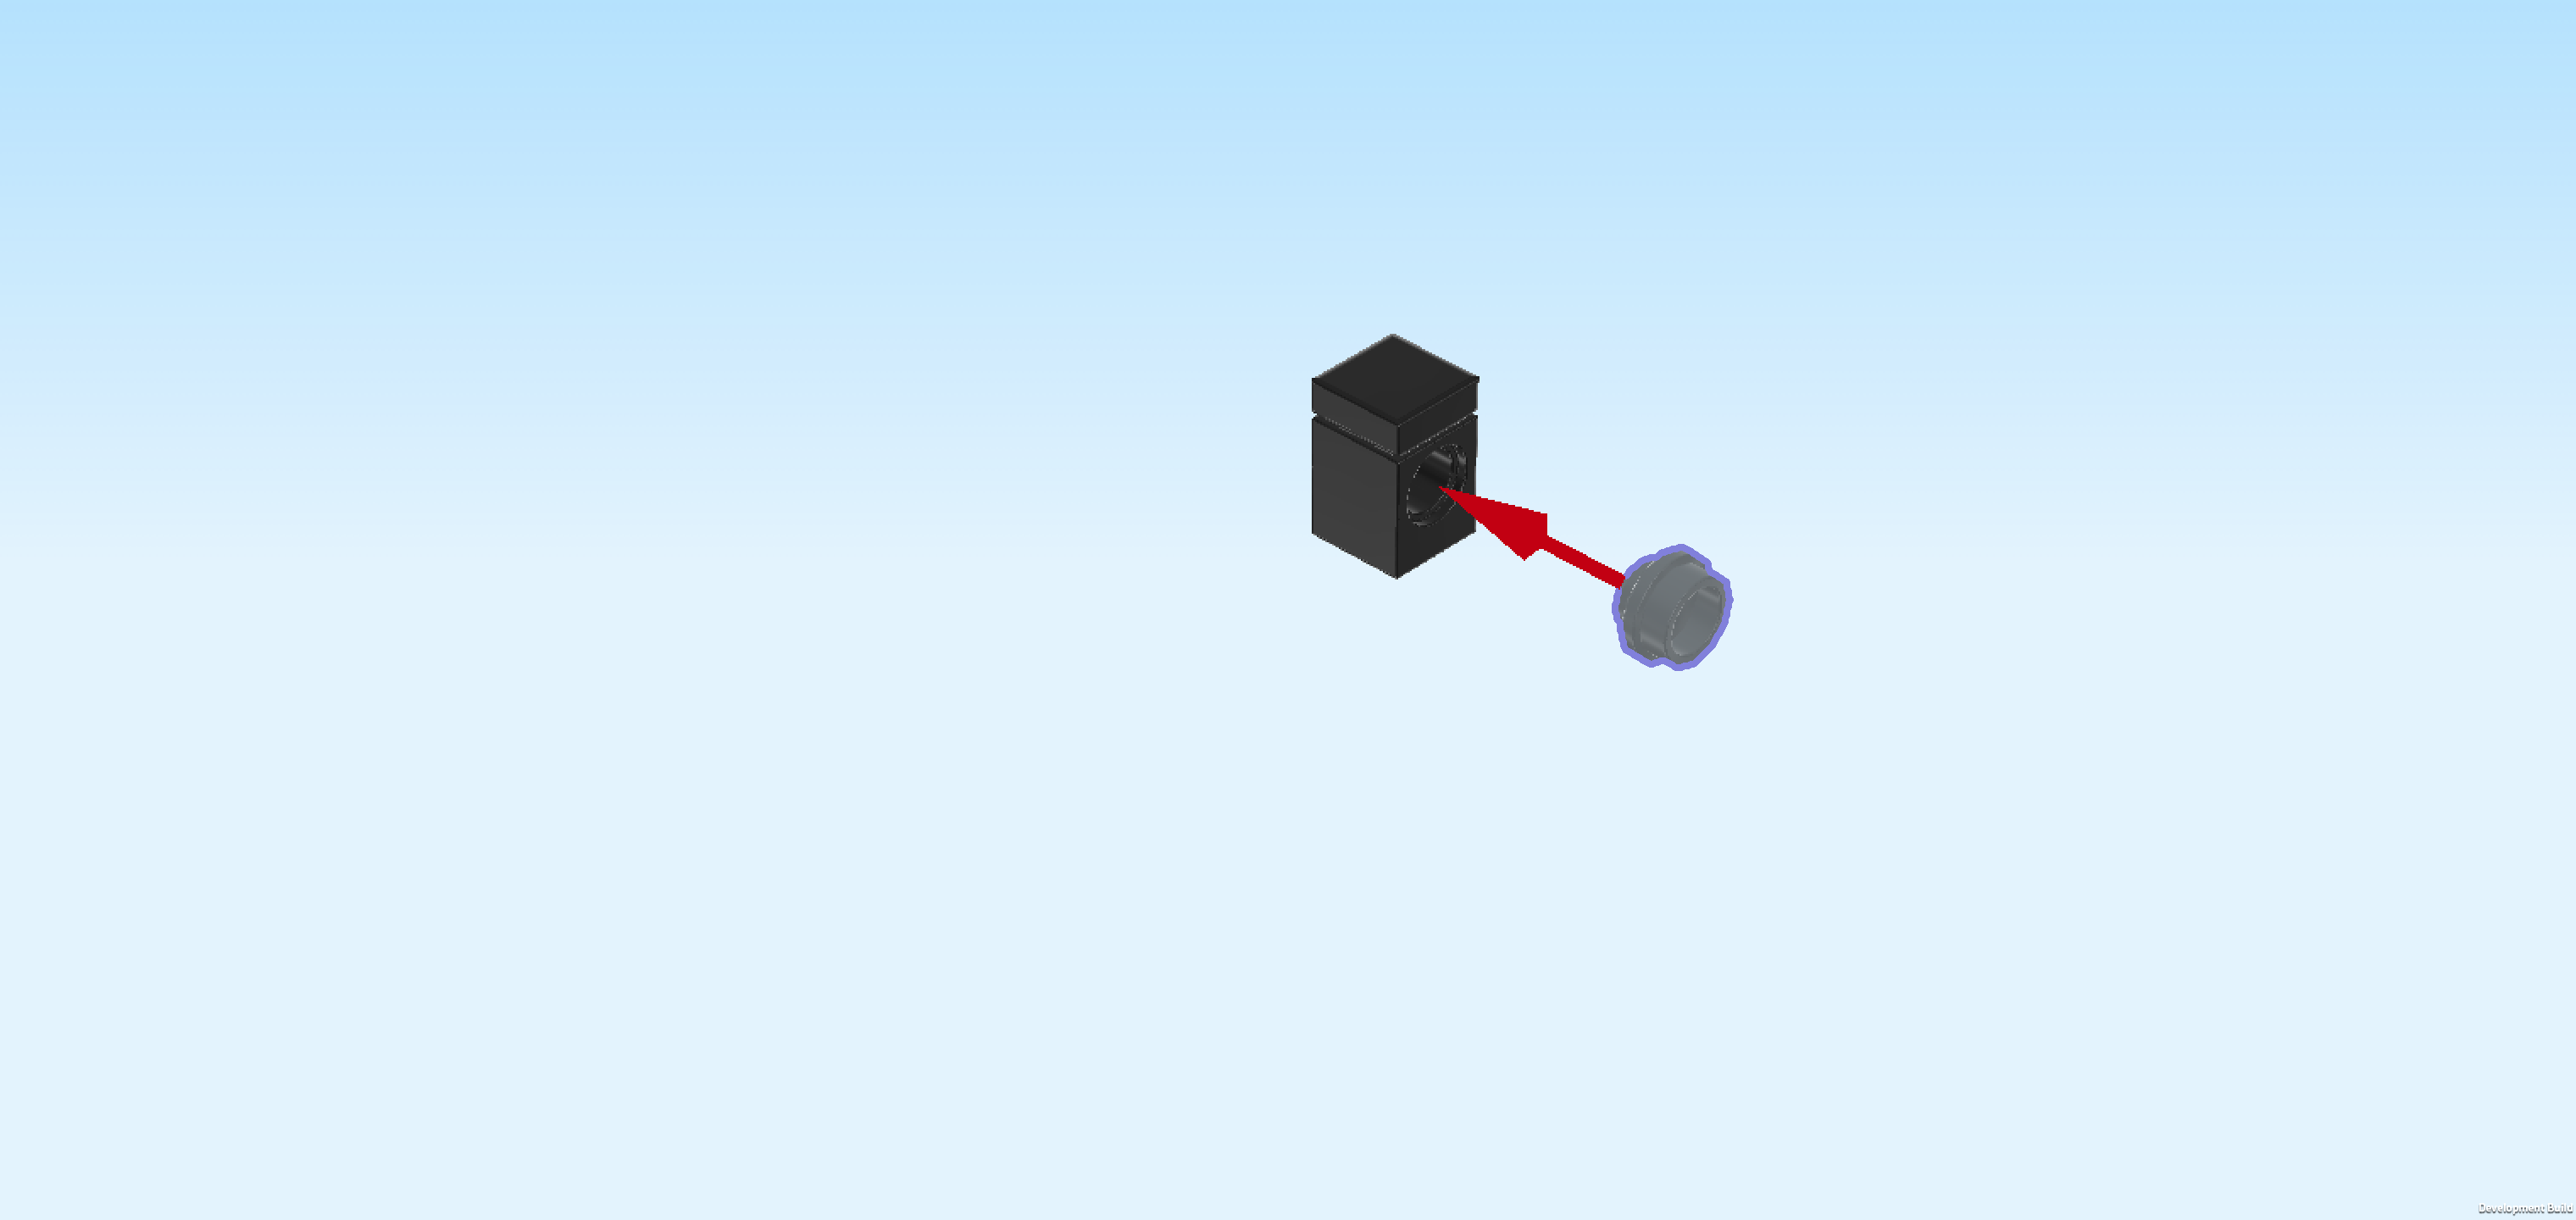
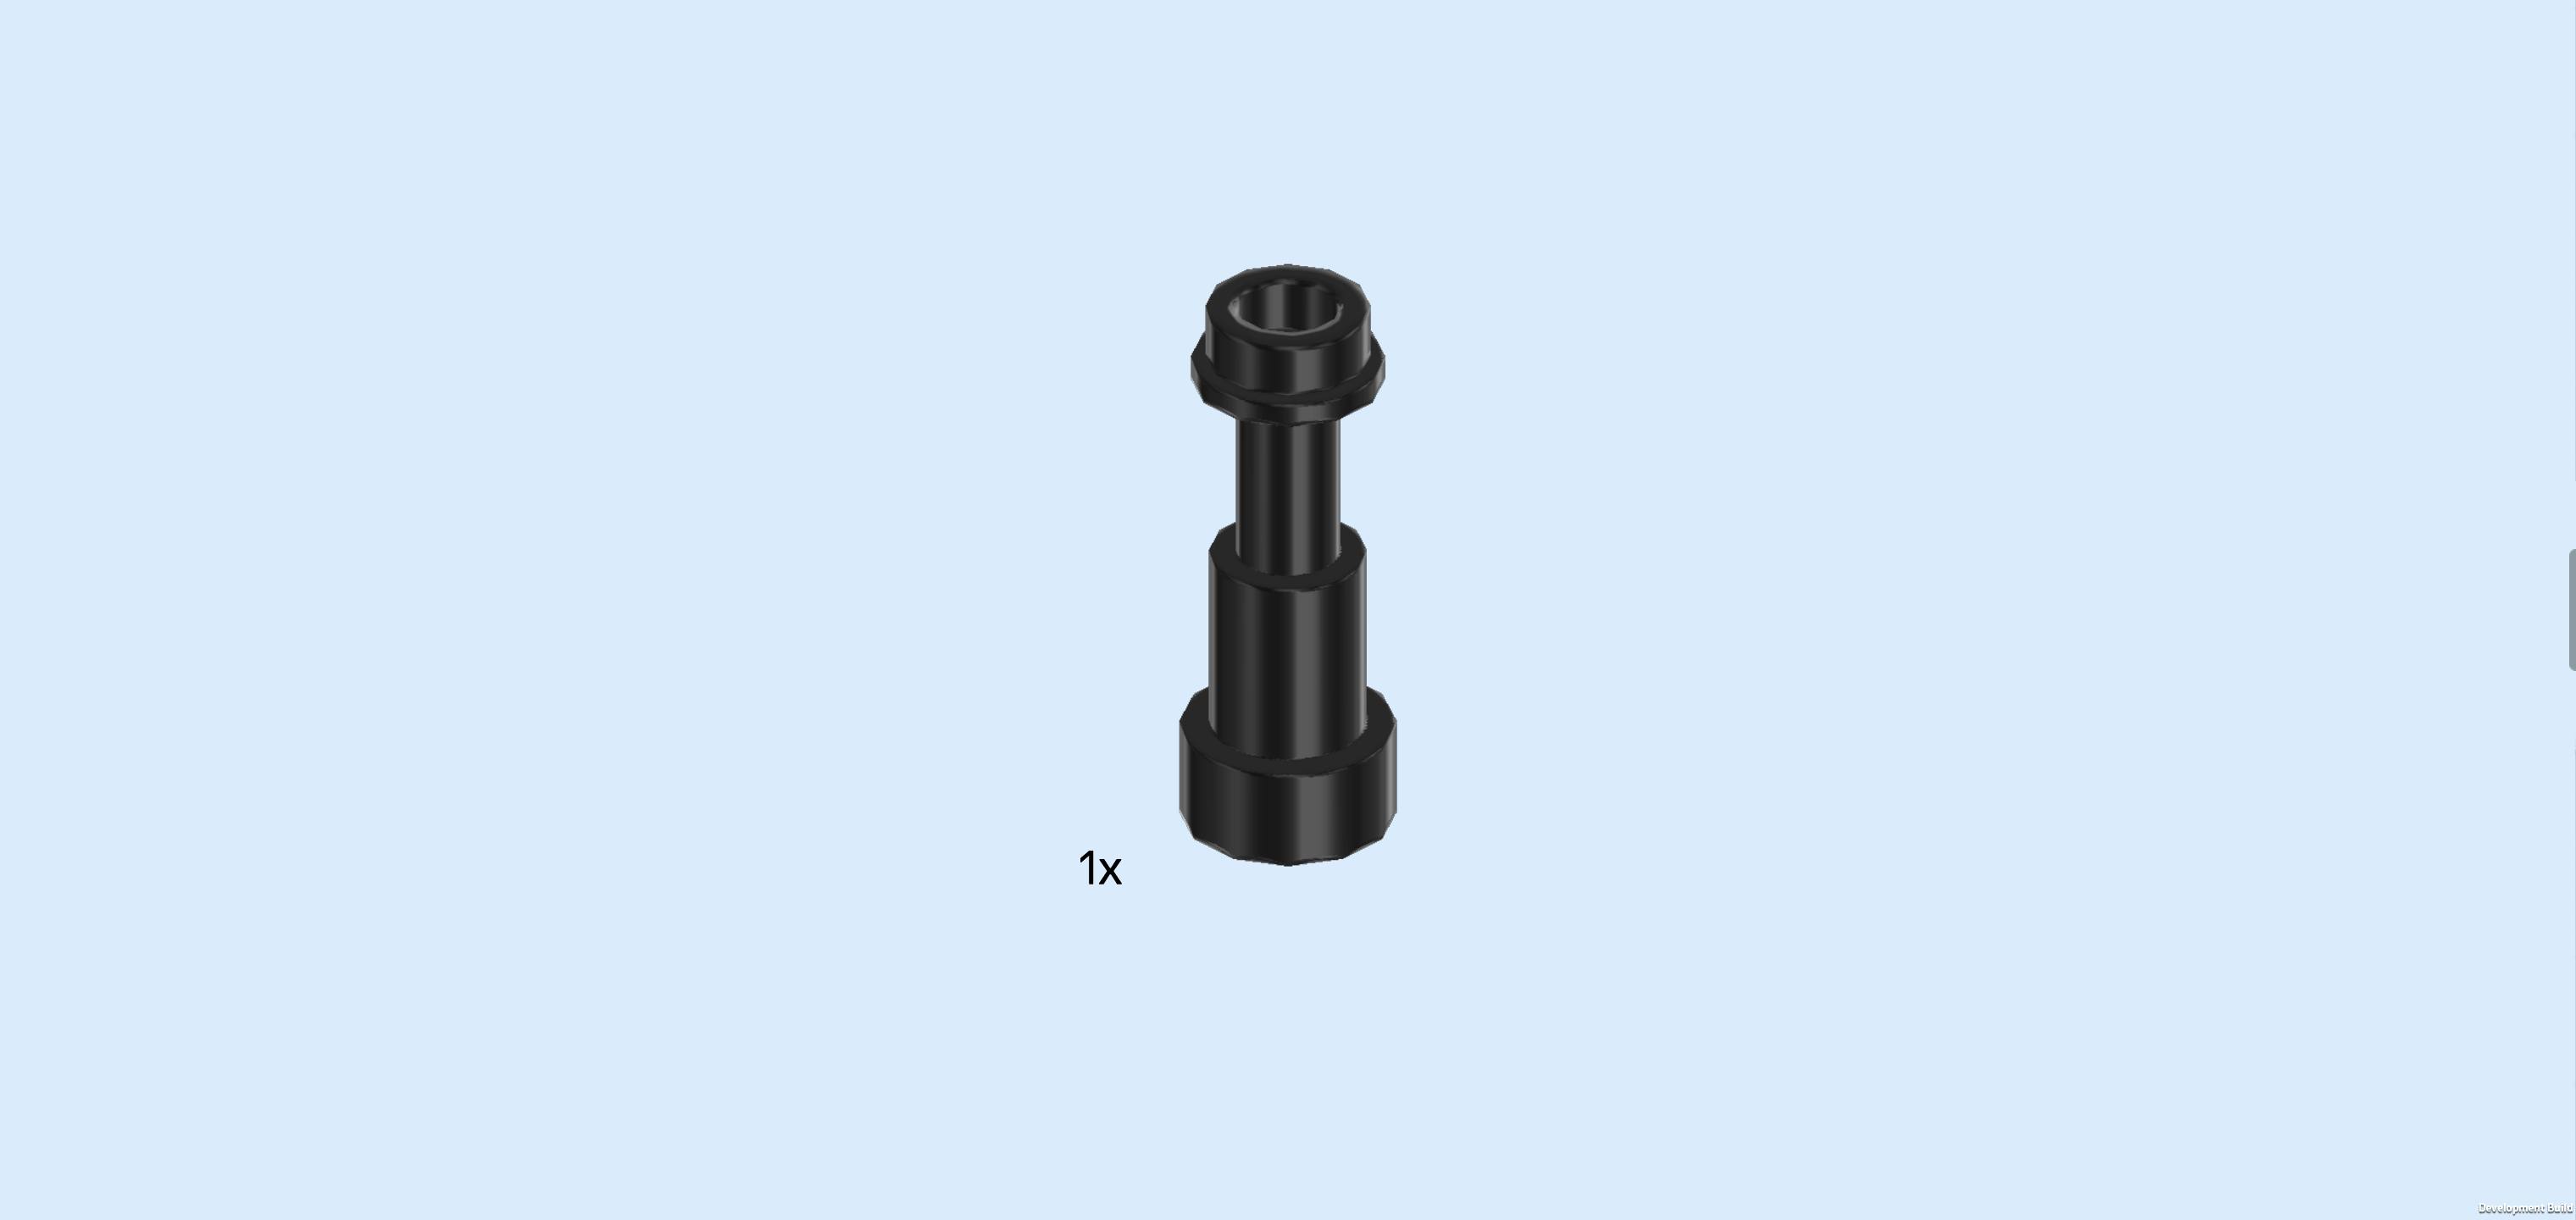
| Next up, we will assemble the pet drinking bottle for Melody. |
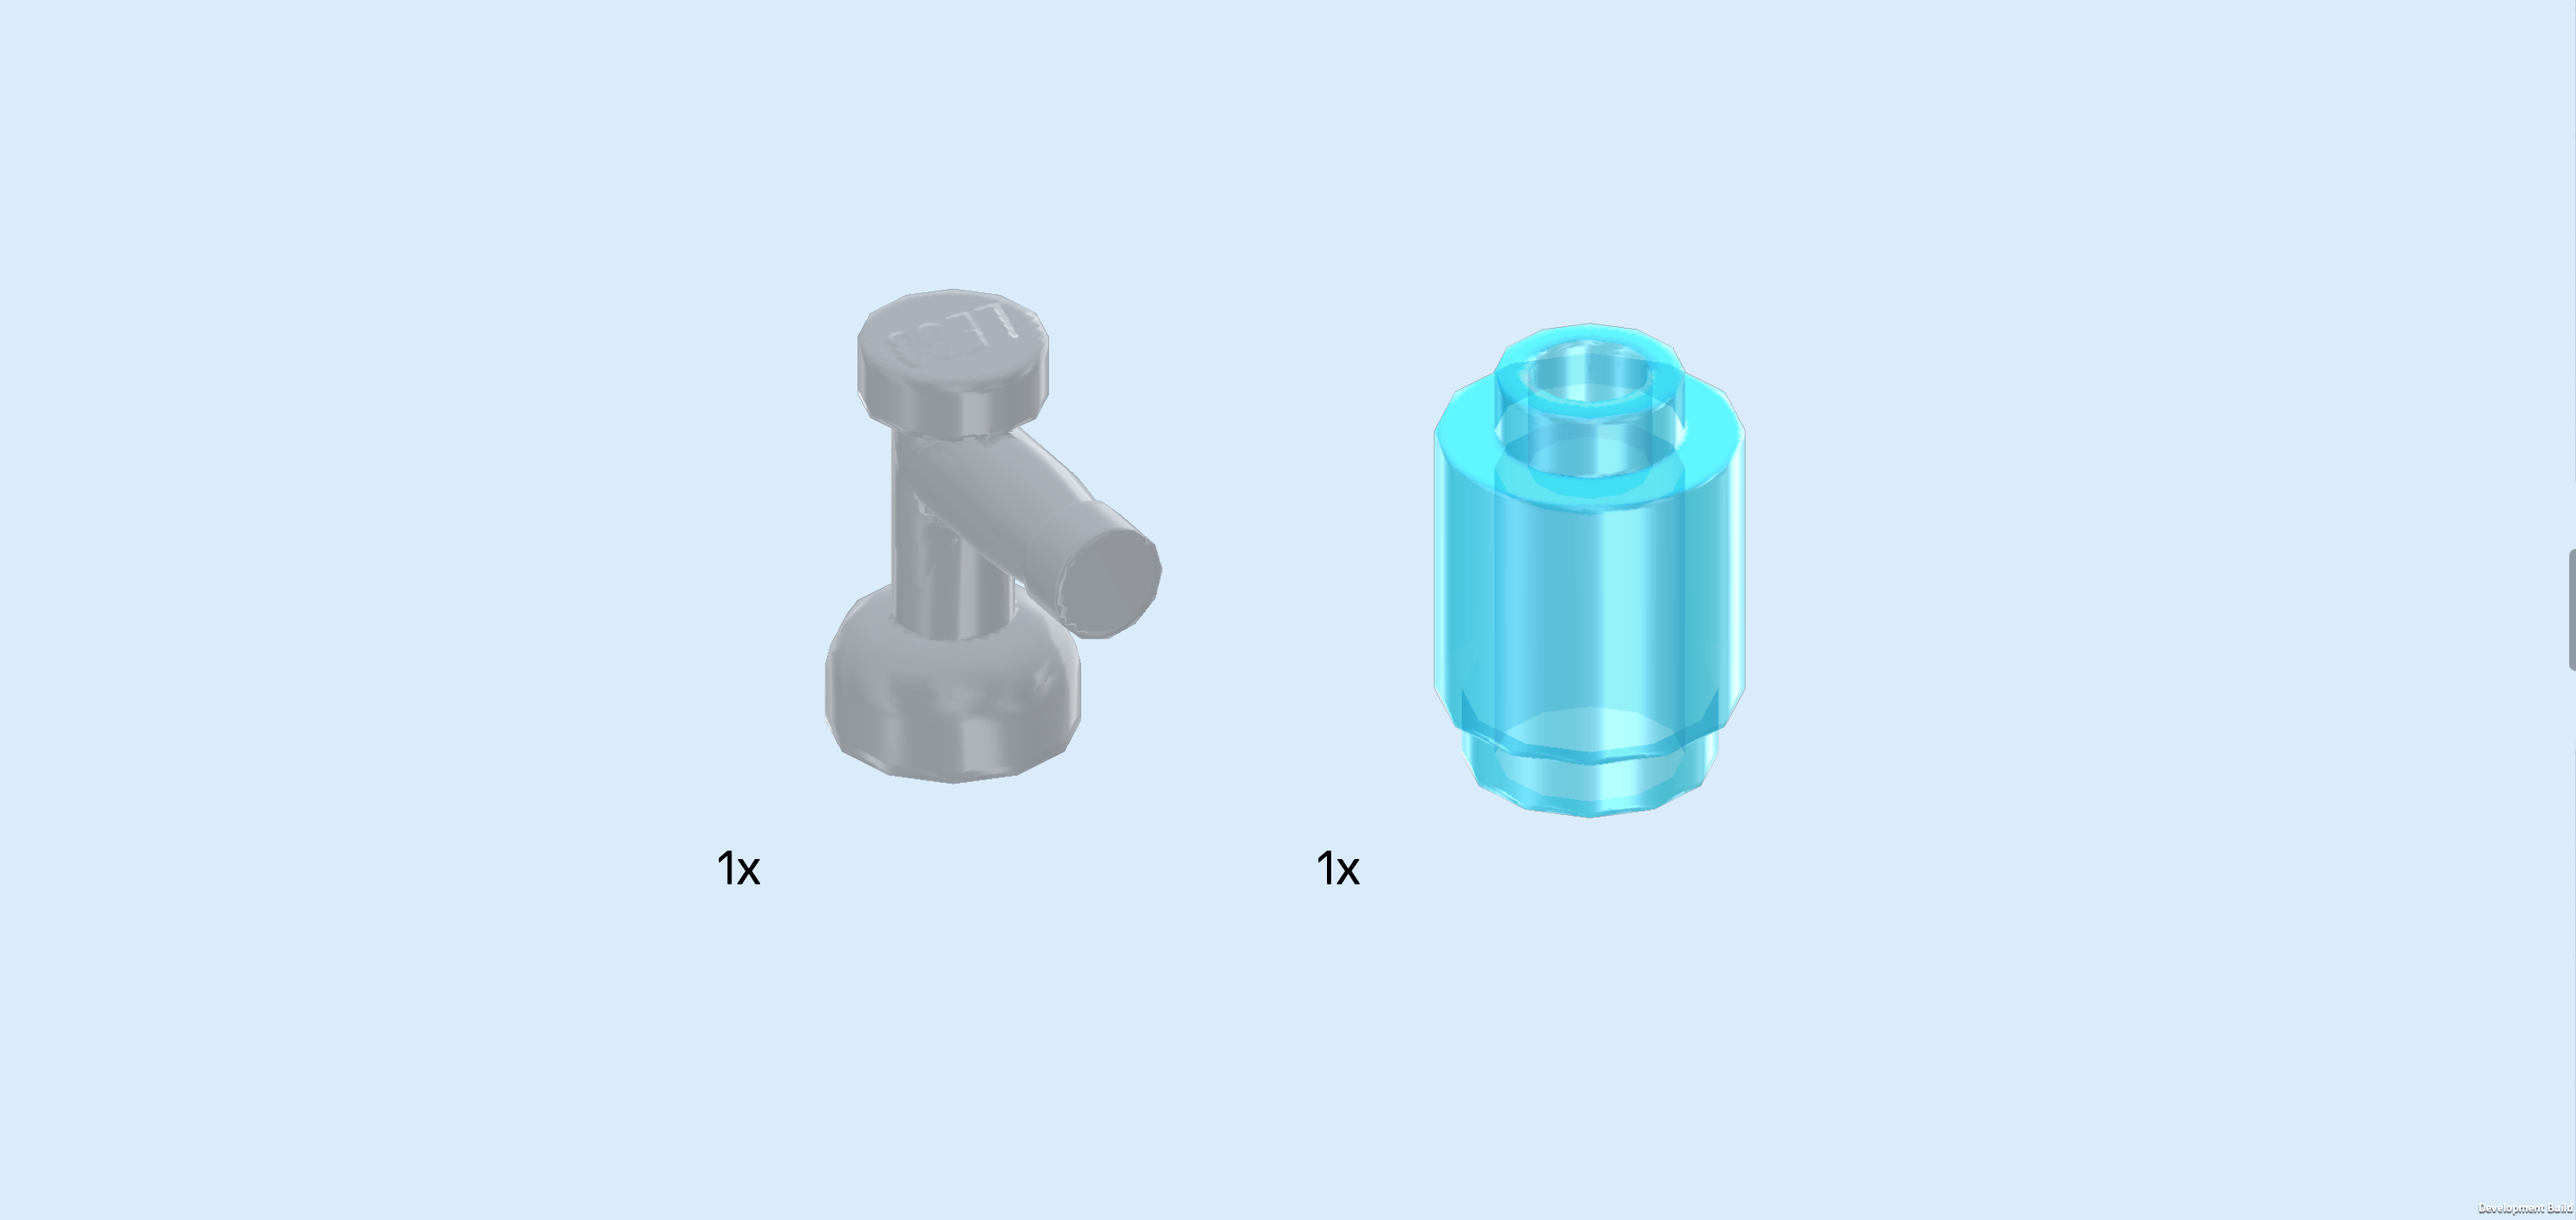
| Collect the following 2 pieces: |
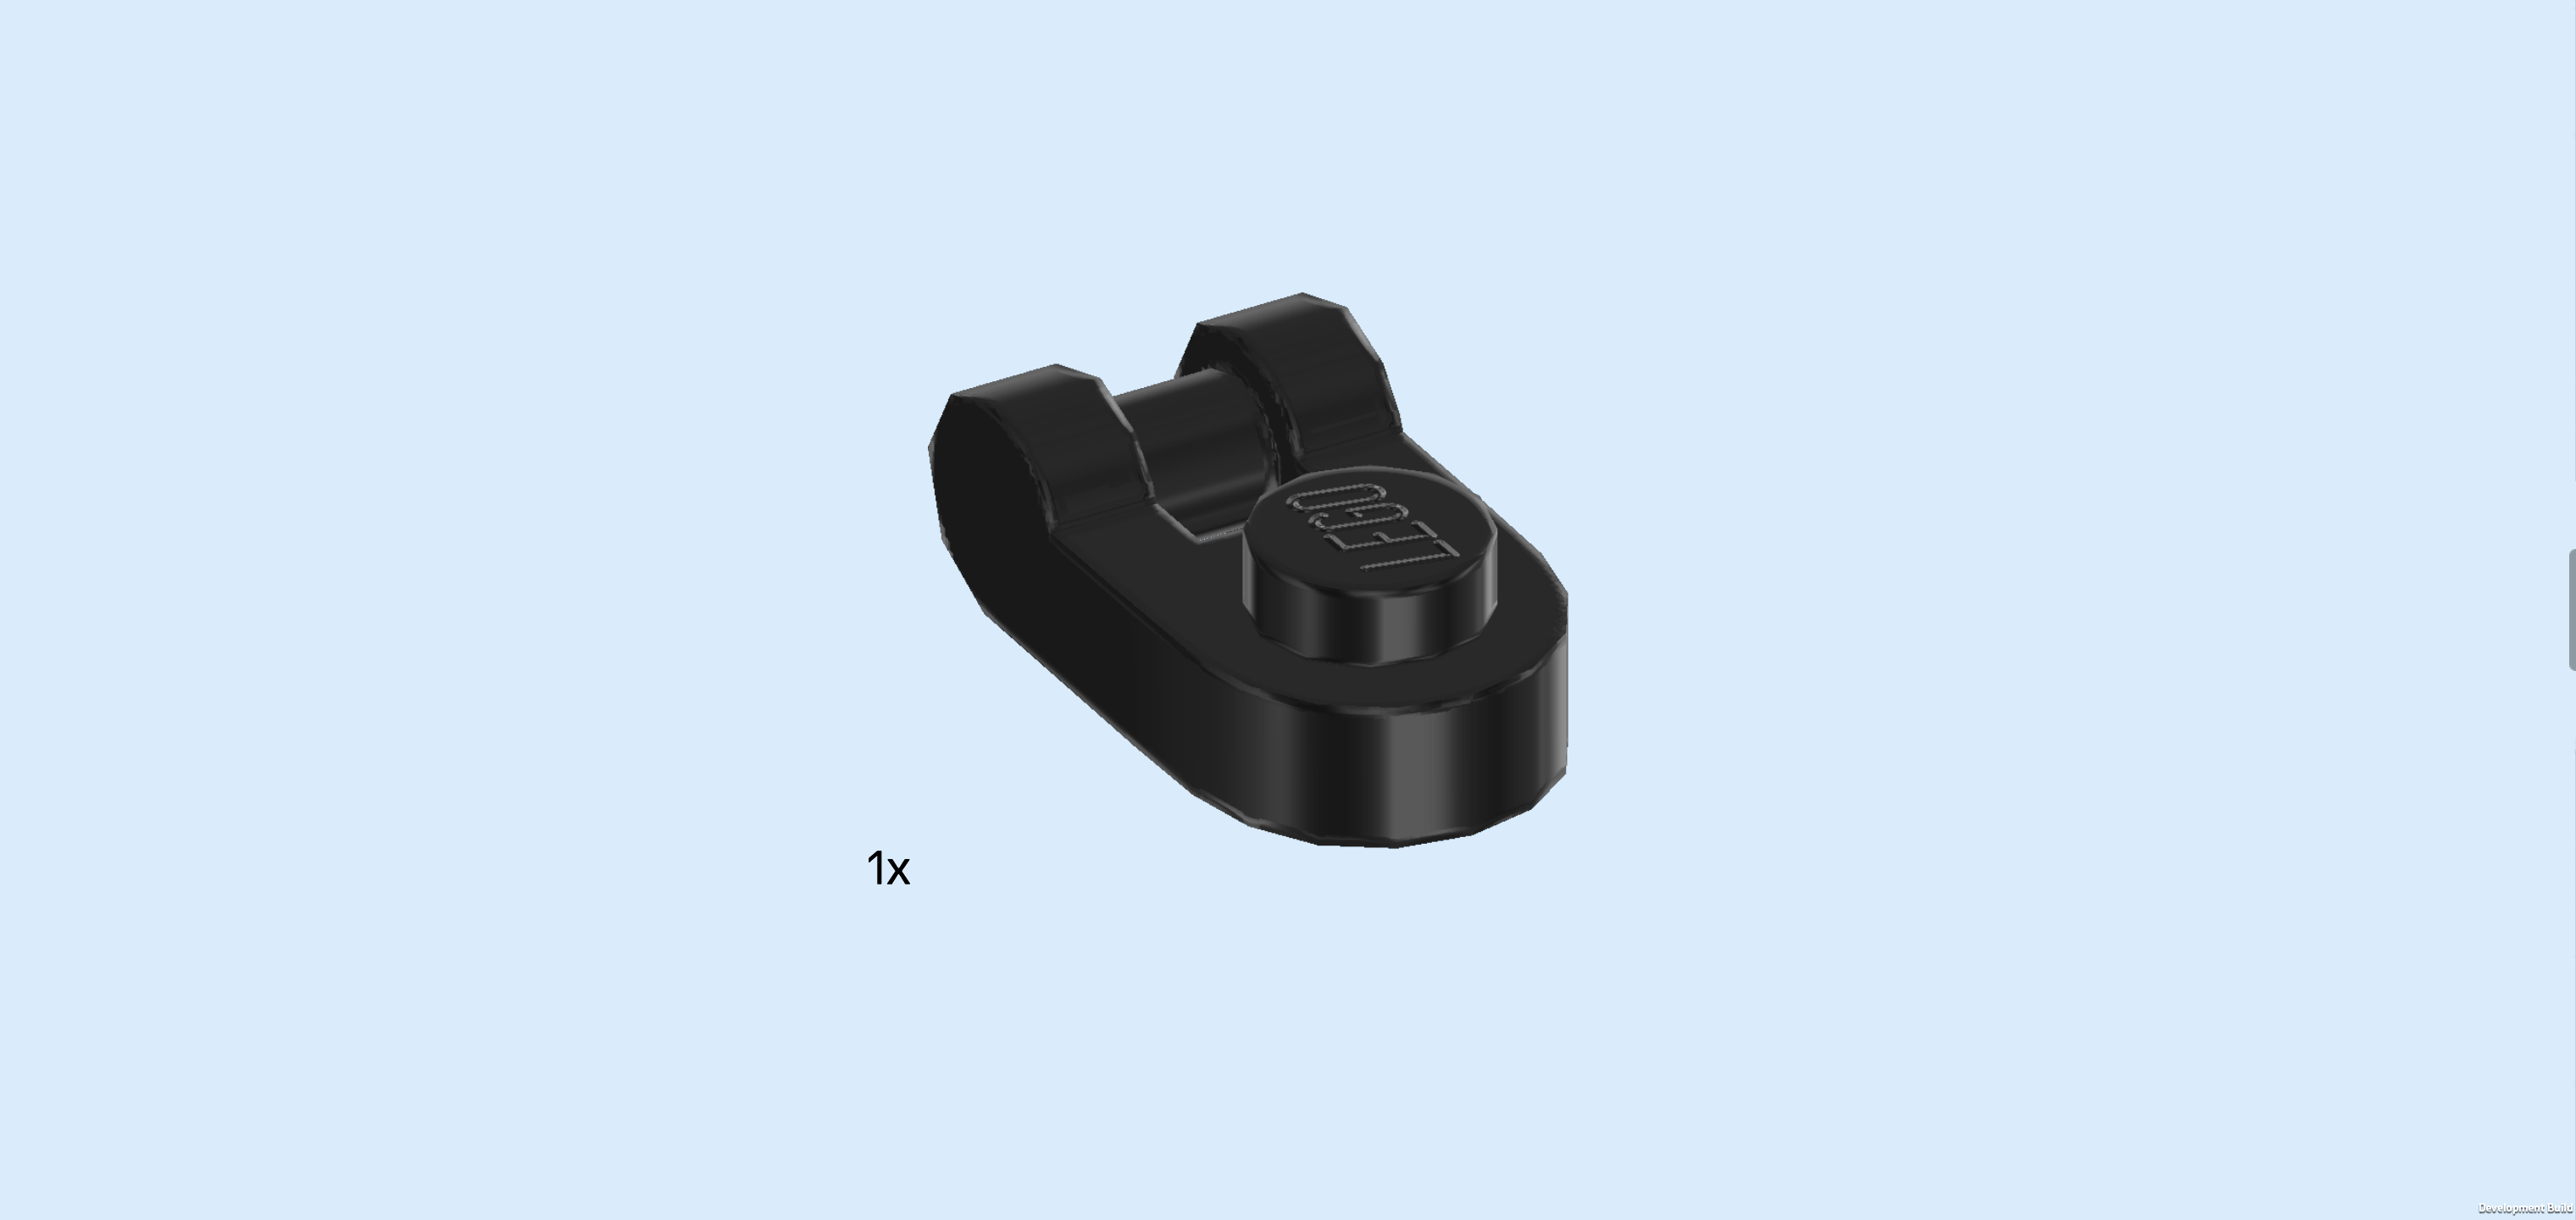
| 1 medium stone grey water tap, |
| and 1 transparent light blue round brick 1x1. |
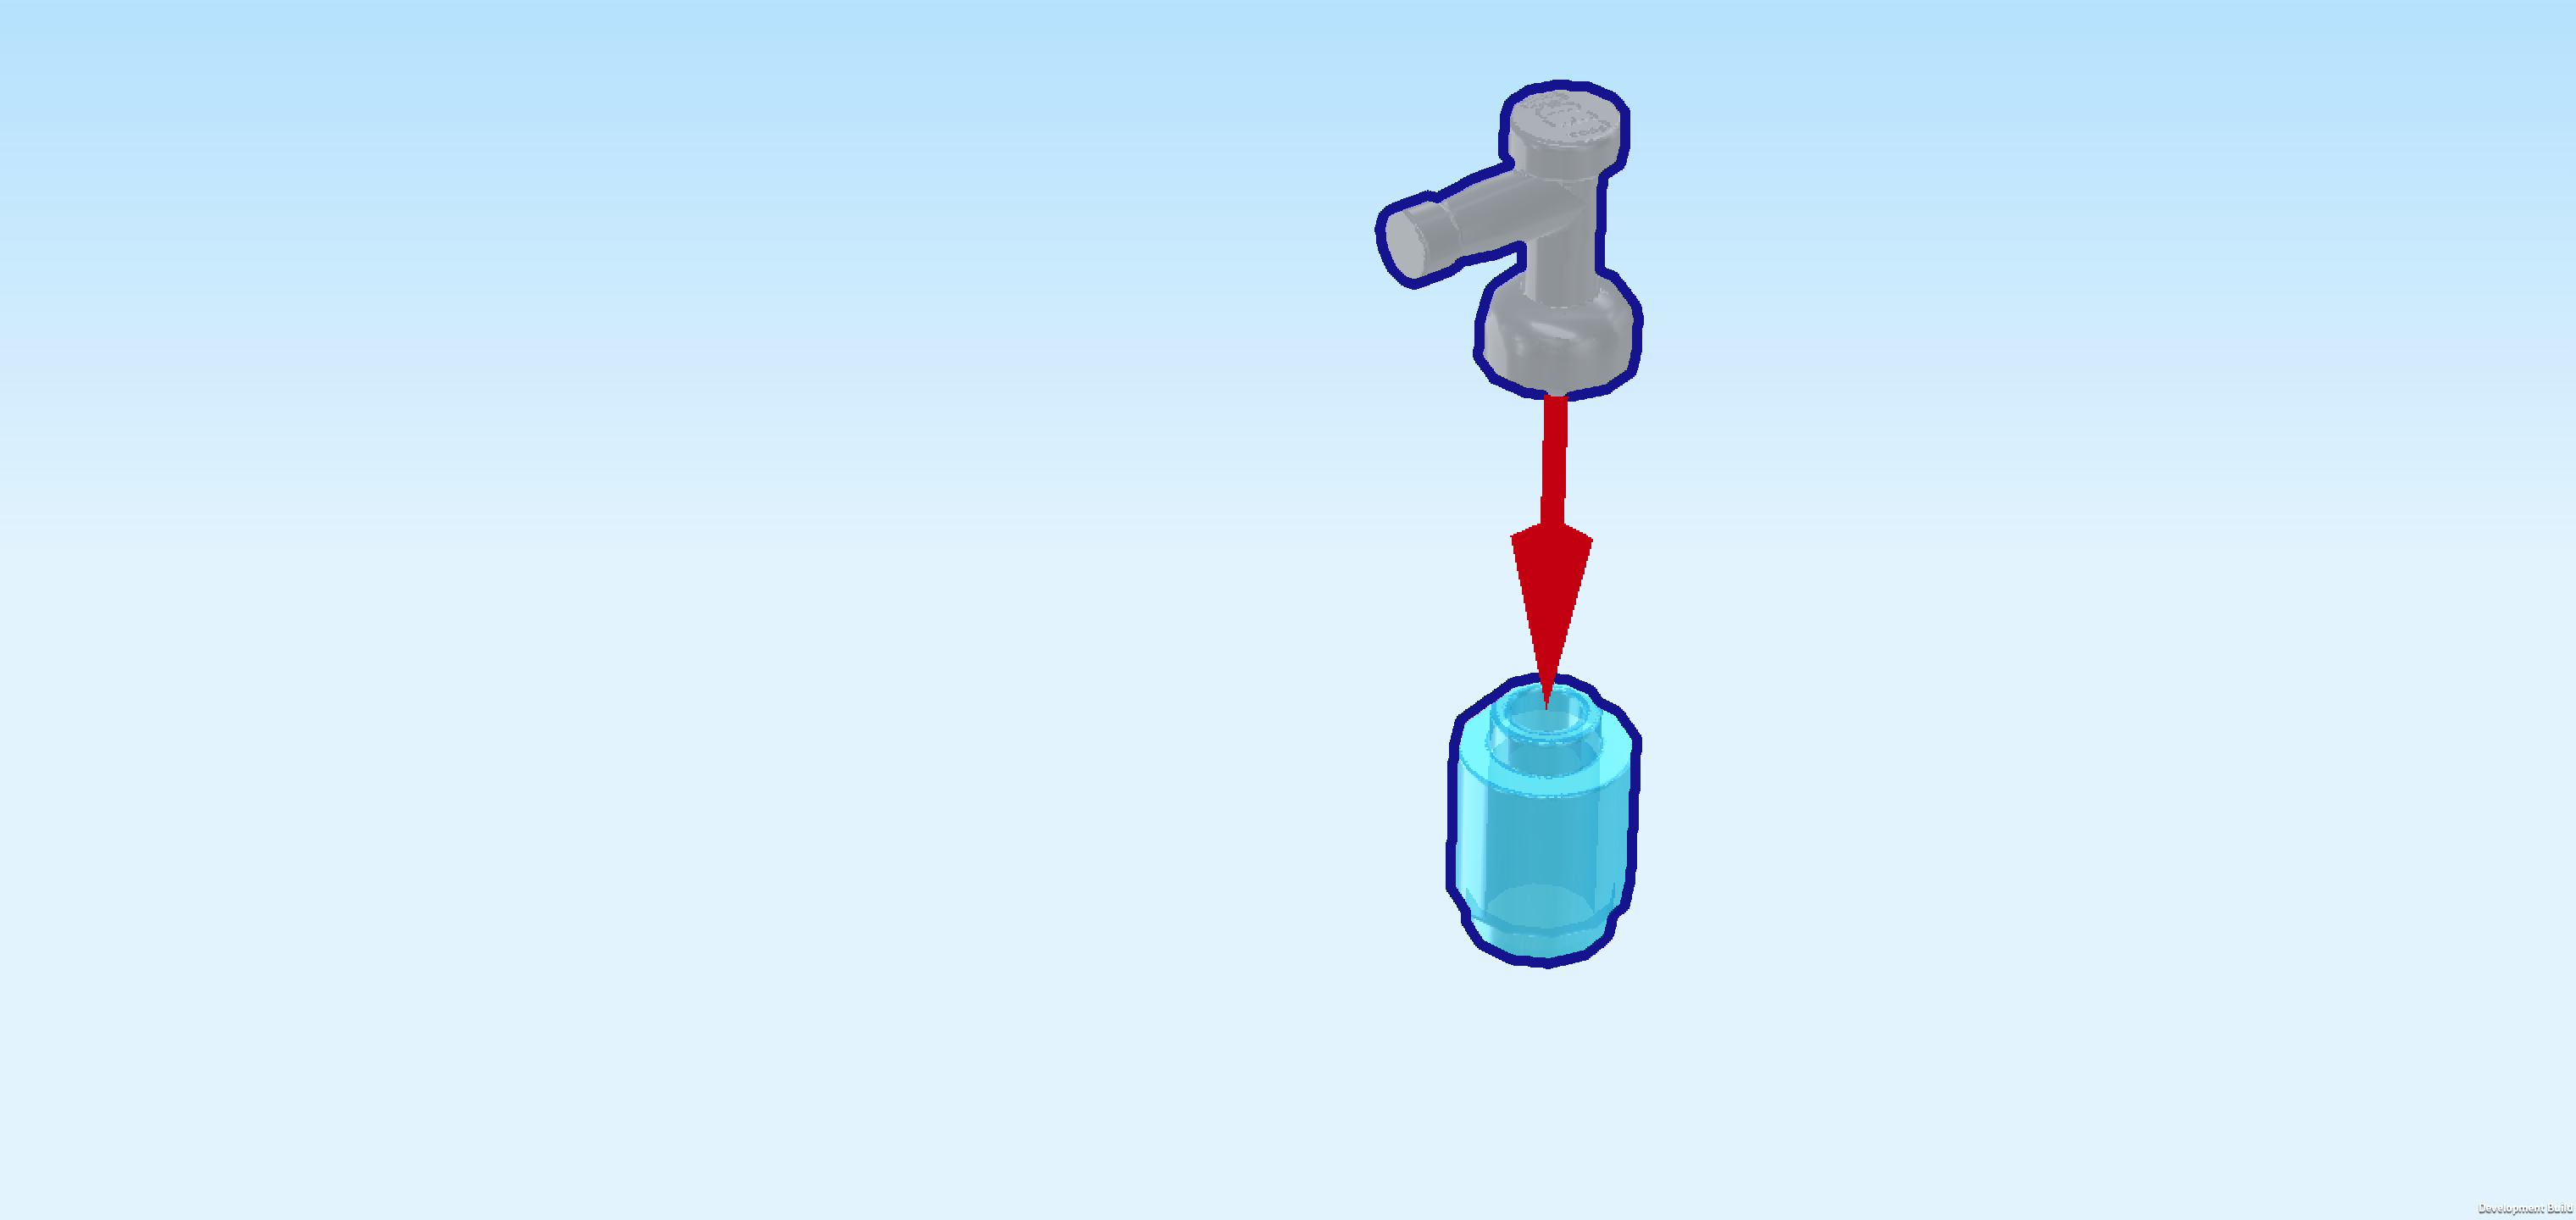
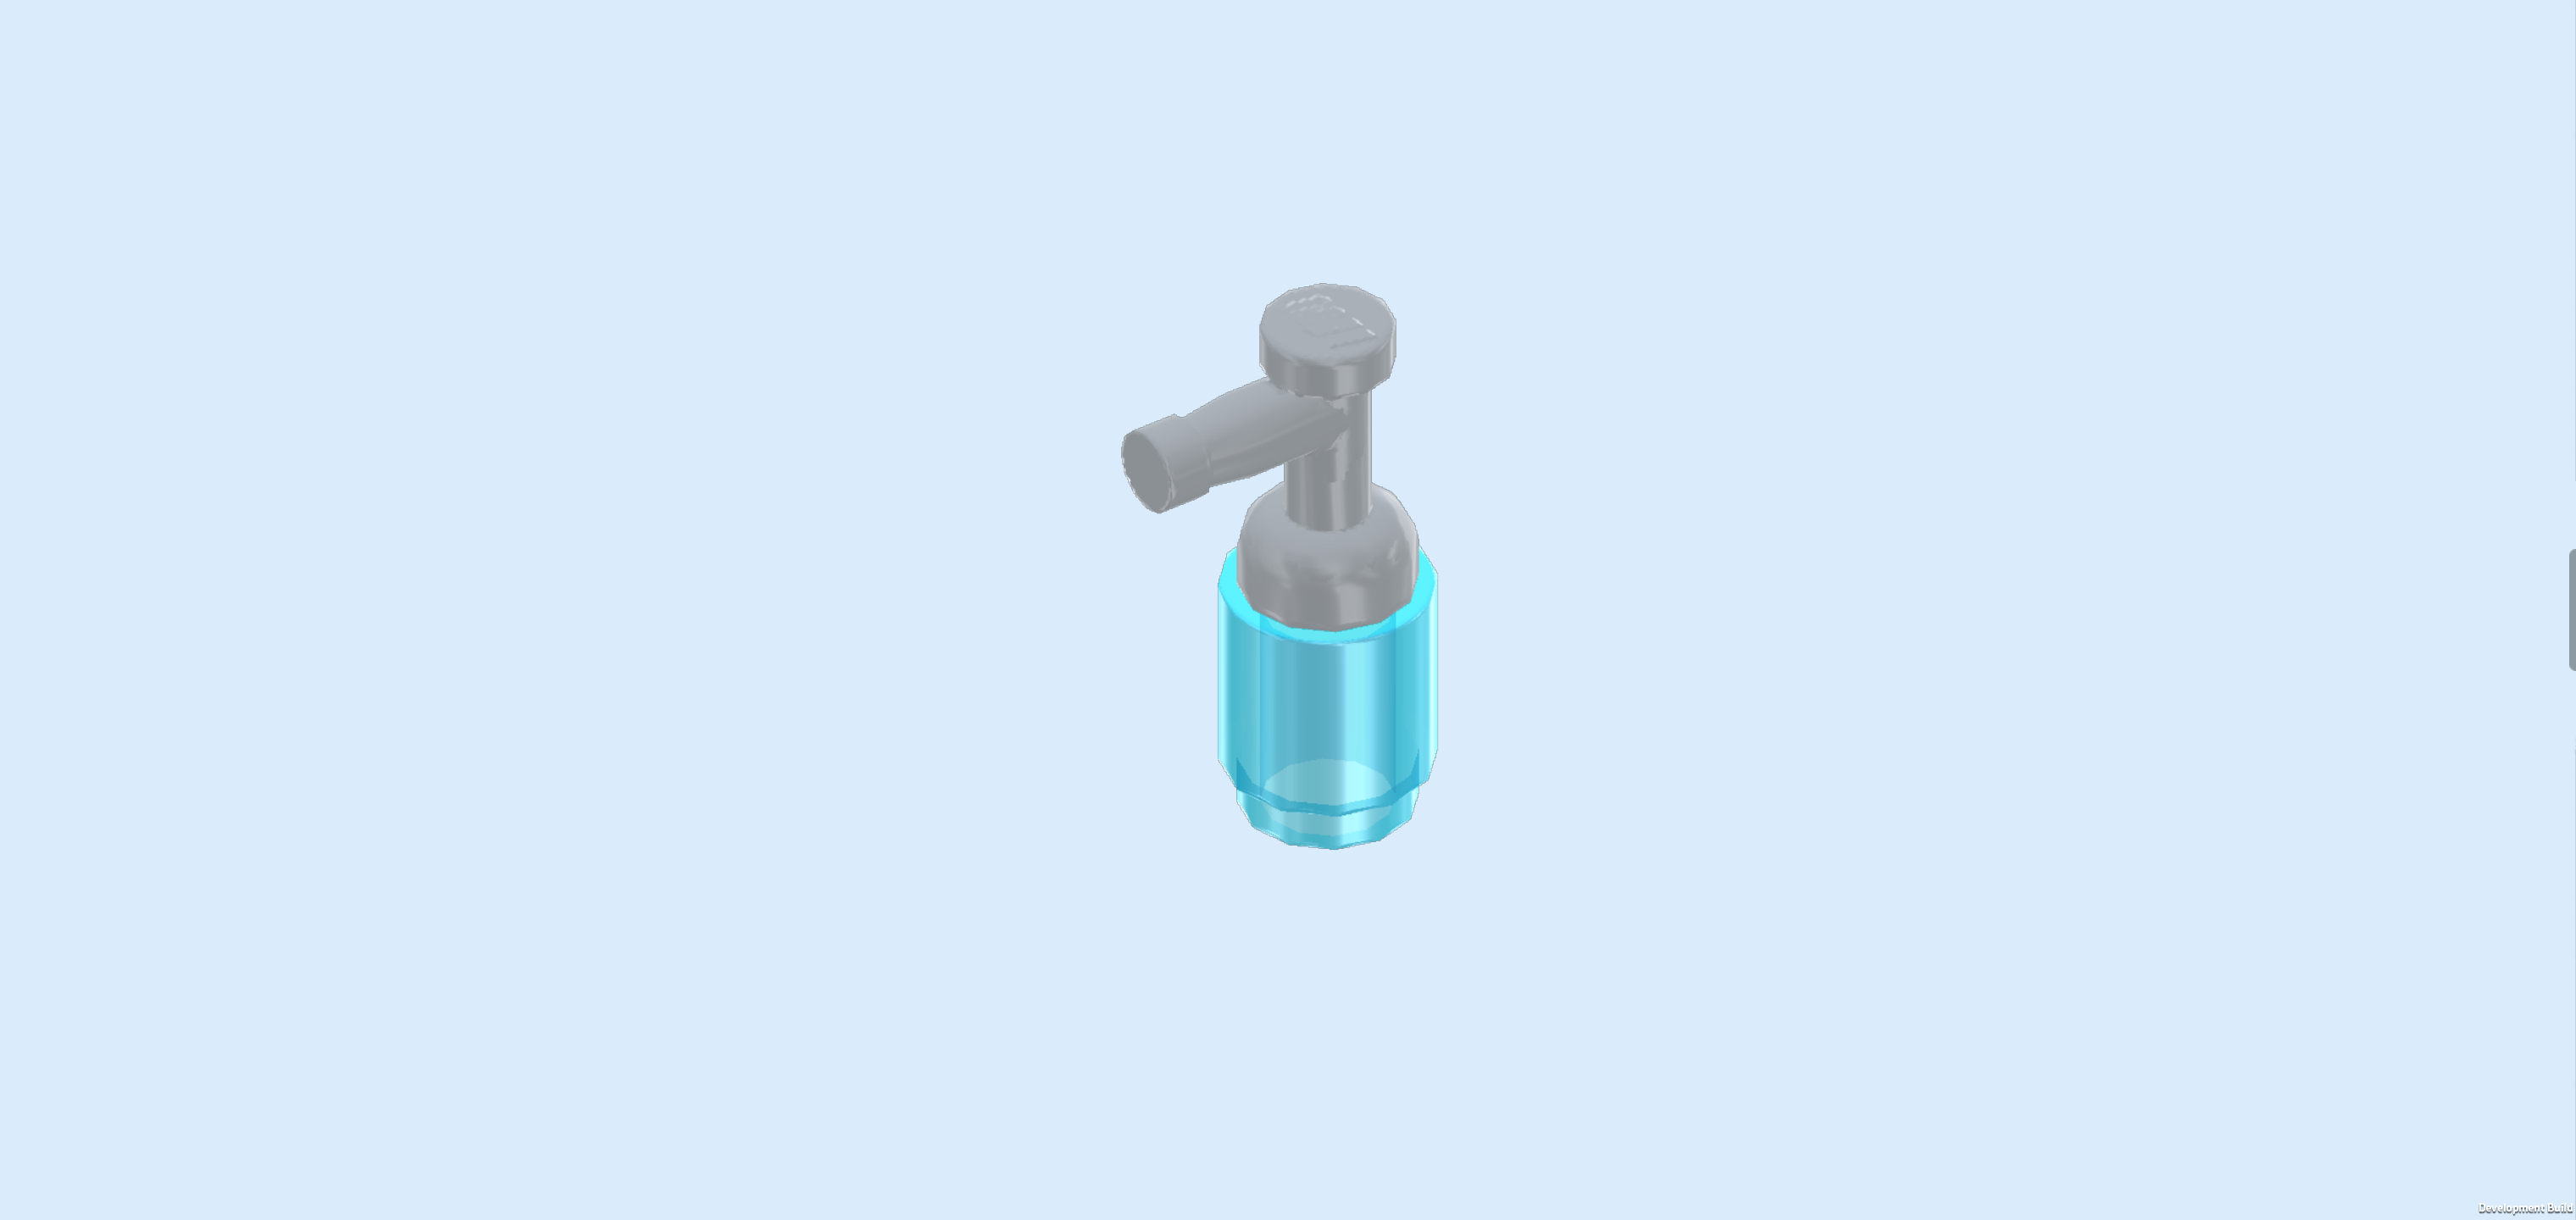
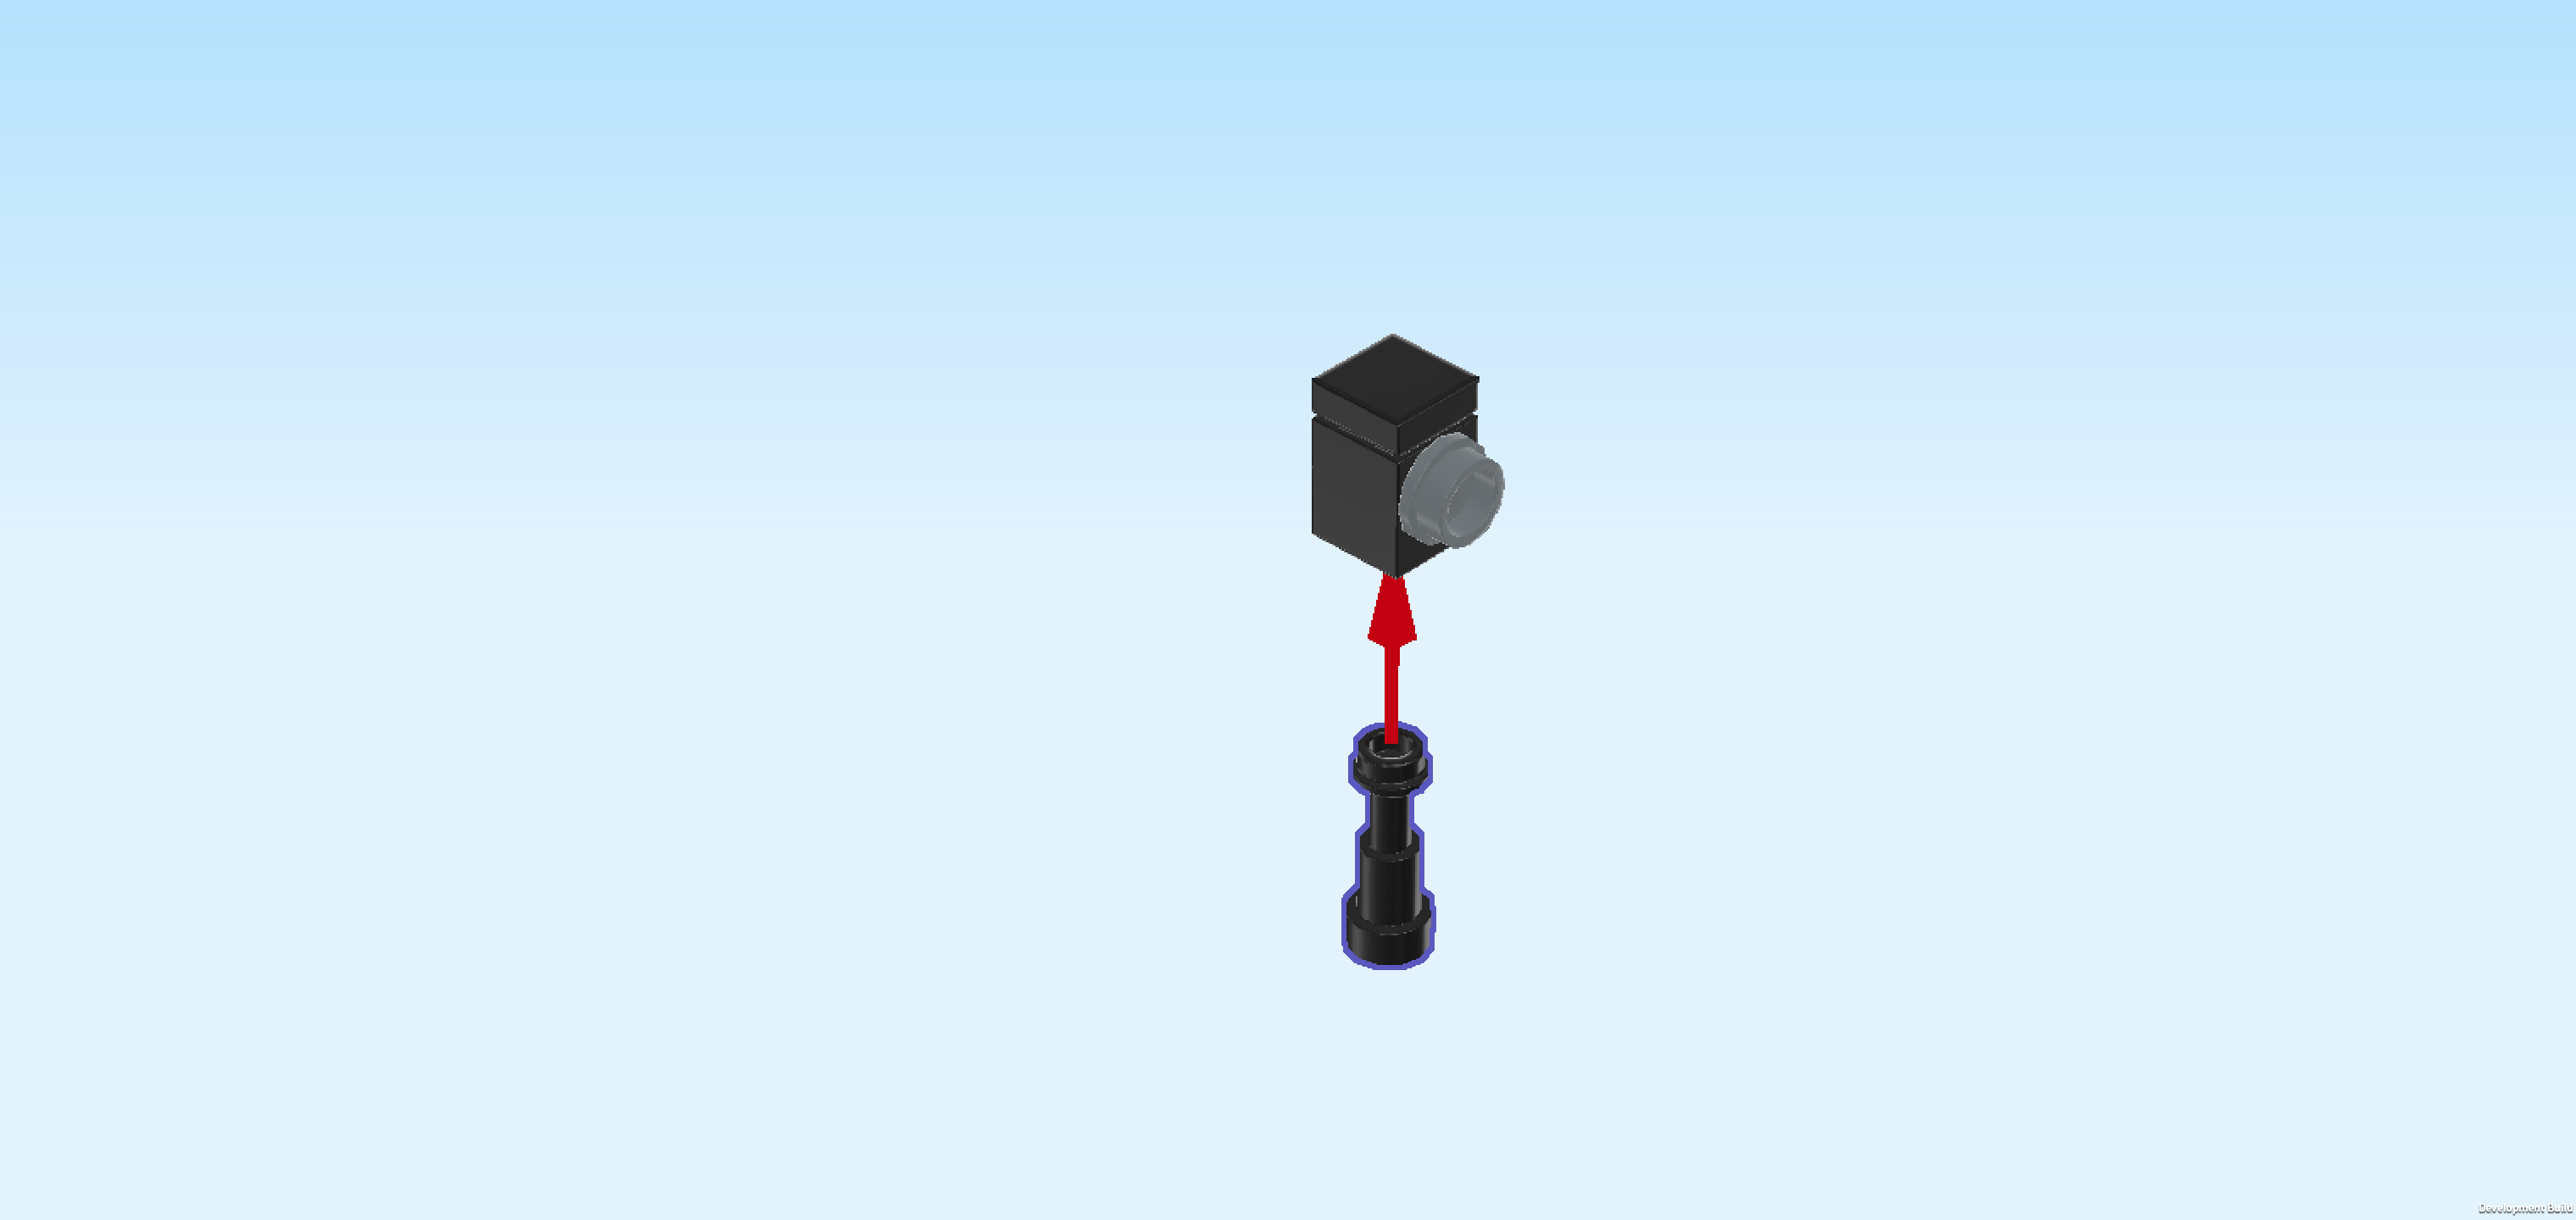
| Put the round brick on the table, and then mount the water tap on top, water tap pointing to the left. |
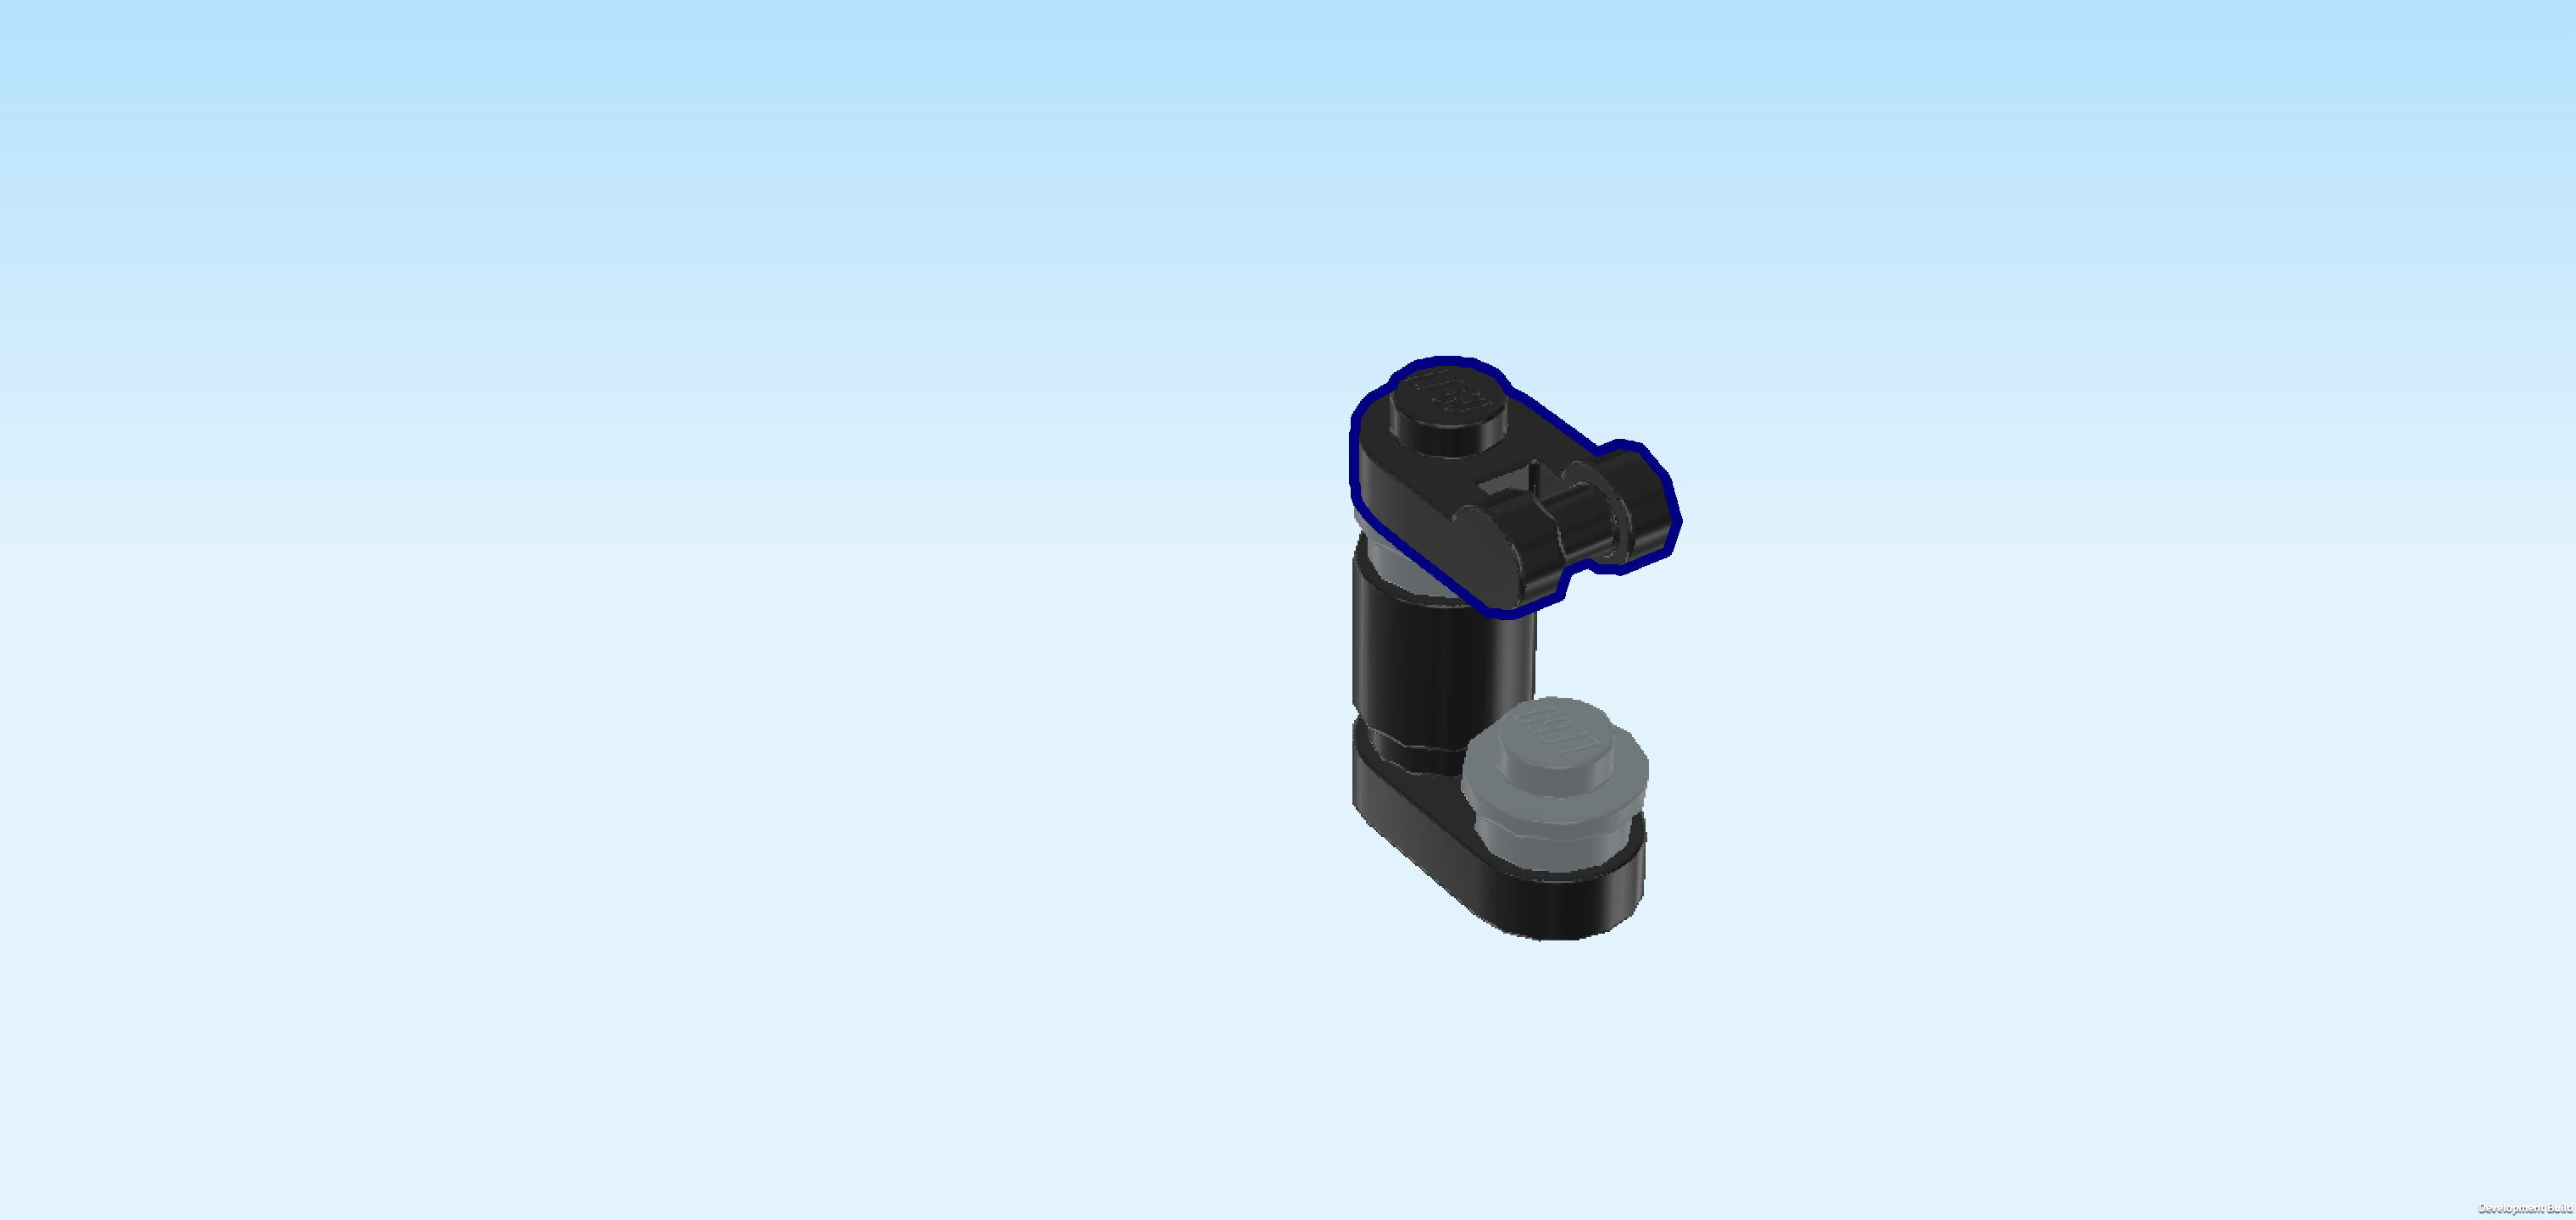
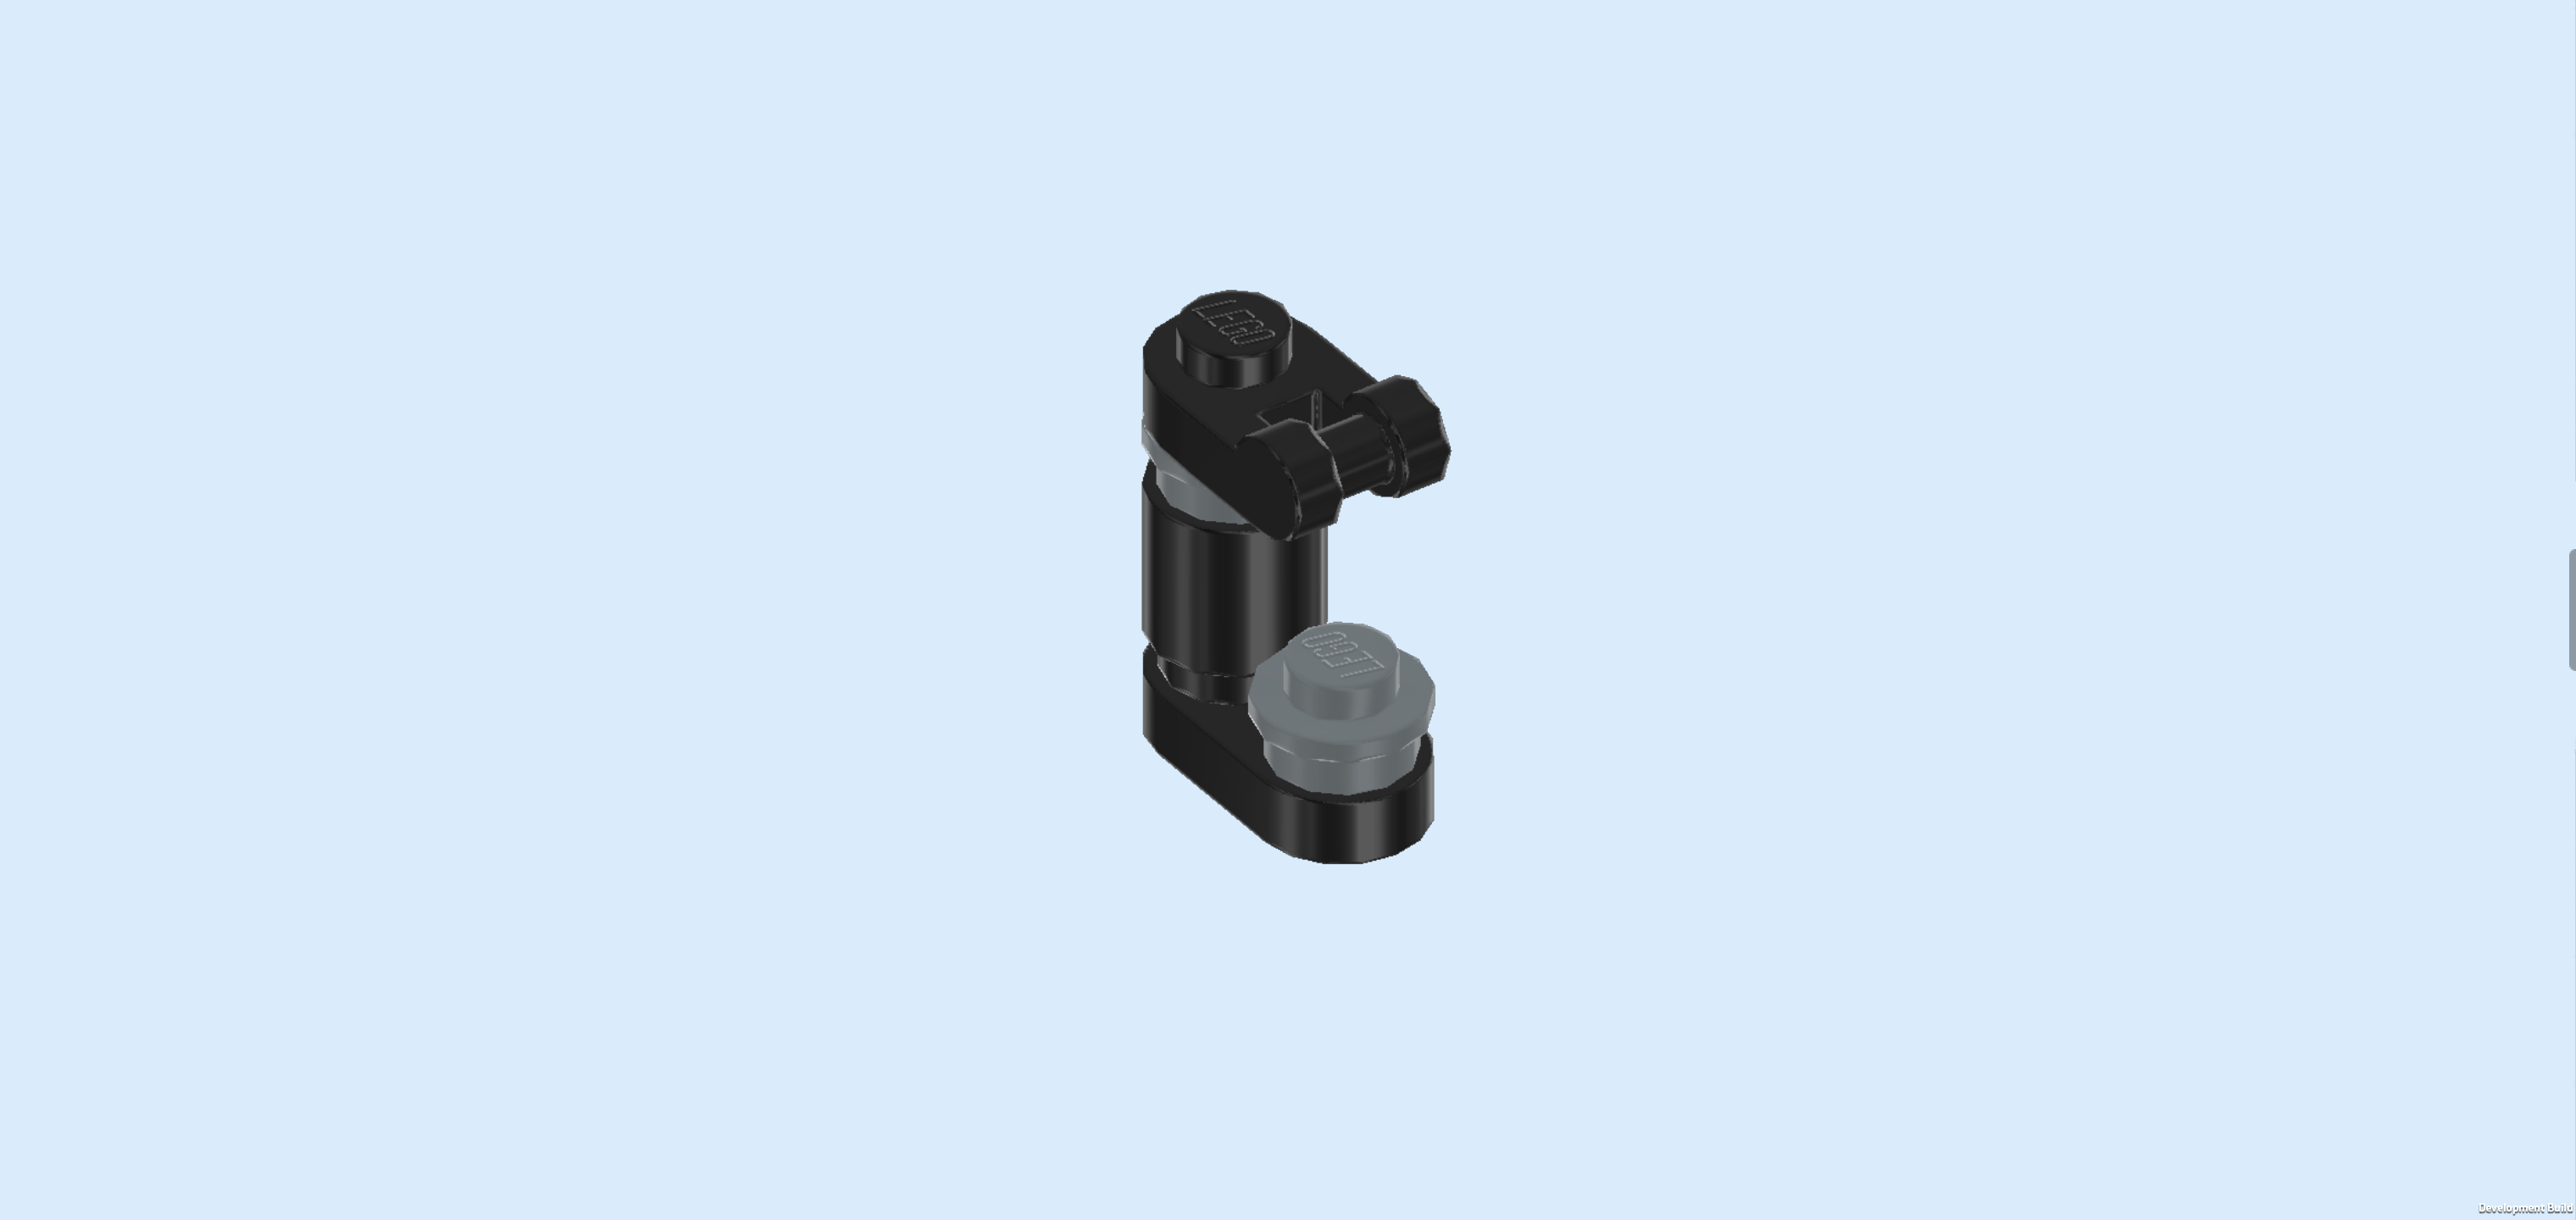
| The pet drinking bottle is finished! To mount it, turn it upside down first so that the round brick is at the top like a water tank. Then, snap the clasp of the bedside table on the water tap directly below the round brick 1x1. |
| The bedside table with record player is finished! Well done! Mount it to the left of the bed's back edge, making sure that the protruding part on the right connects to the fitting 1x2 structure already mounted there. |
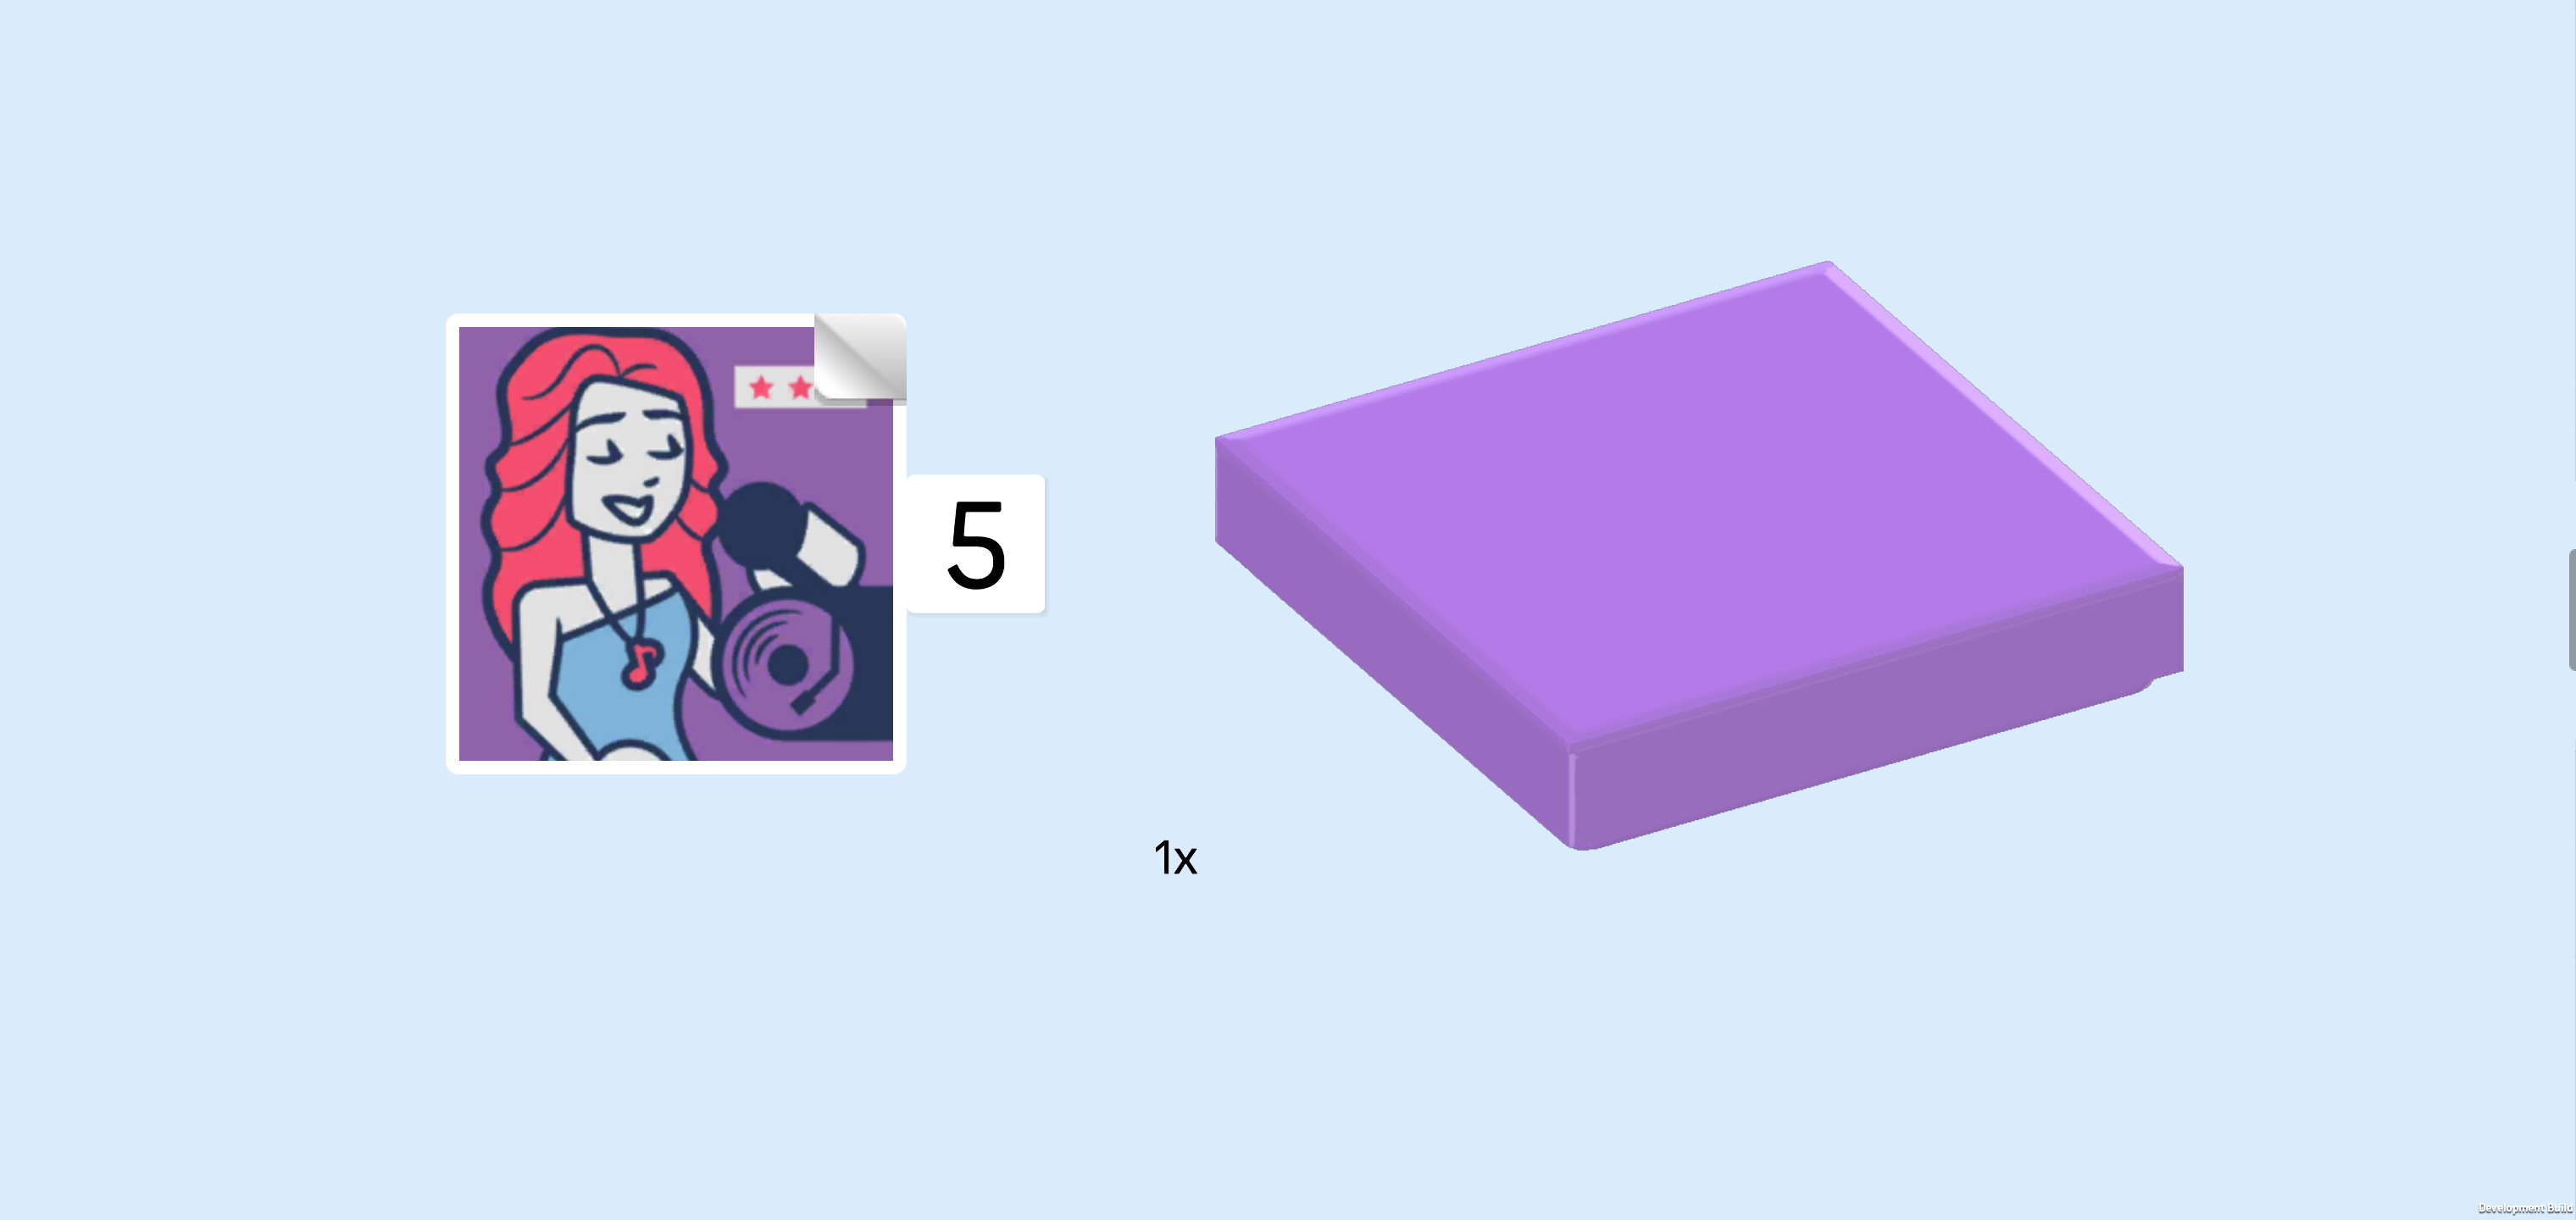
| Collect the following 2 pieces: |
| 1 square sticker 2x2, |
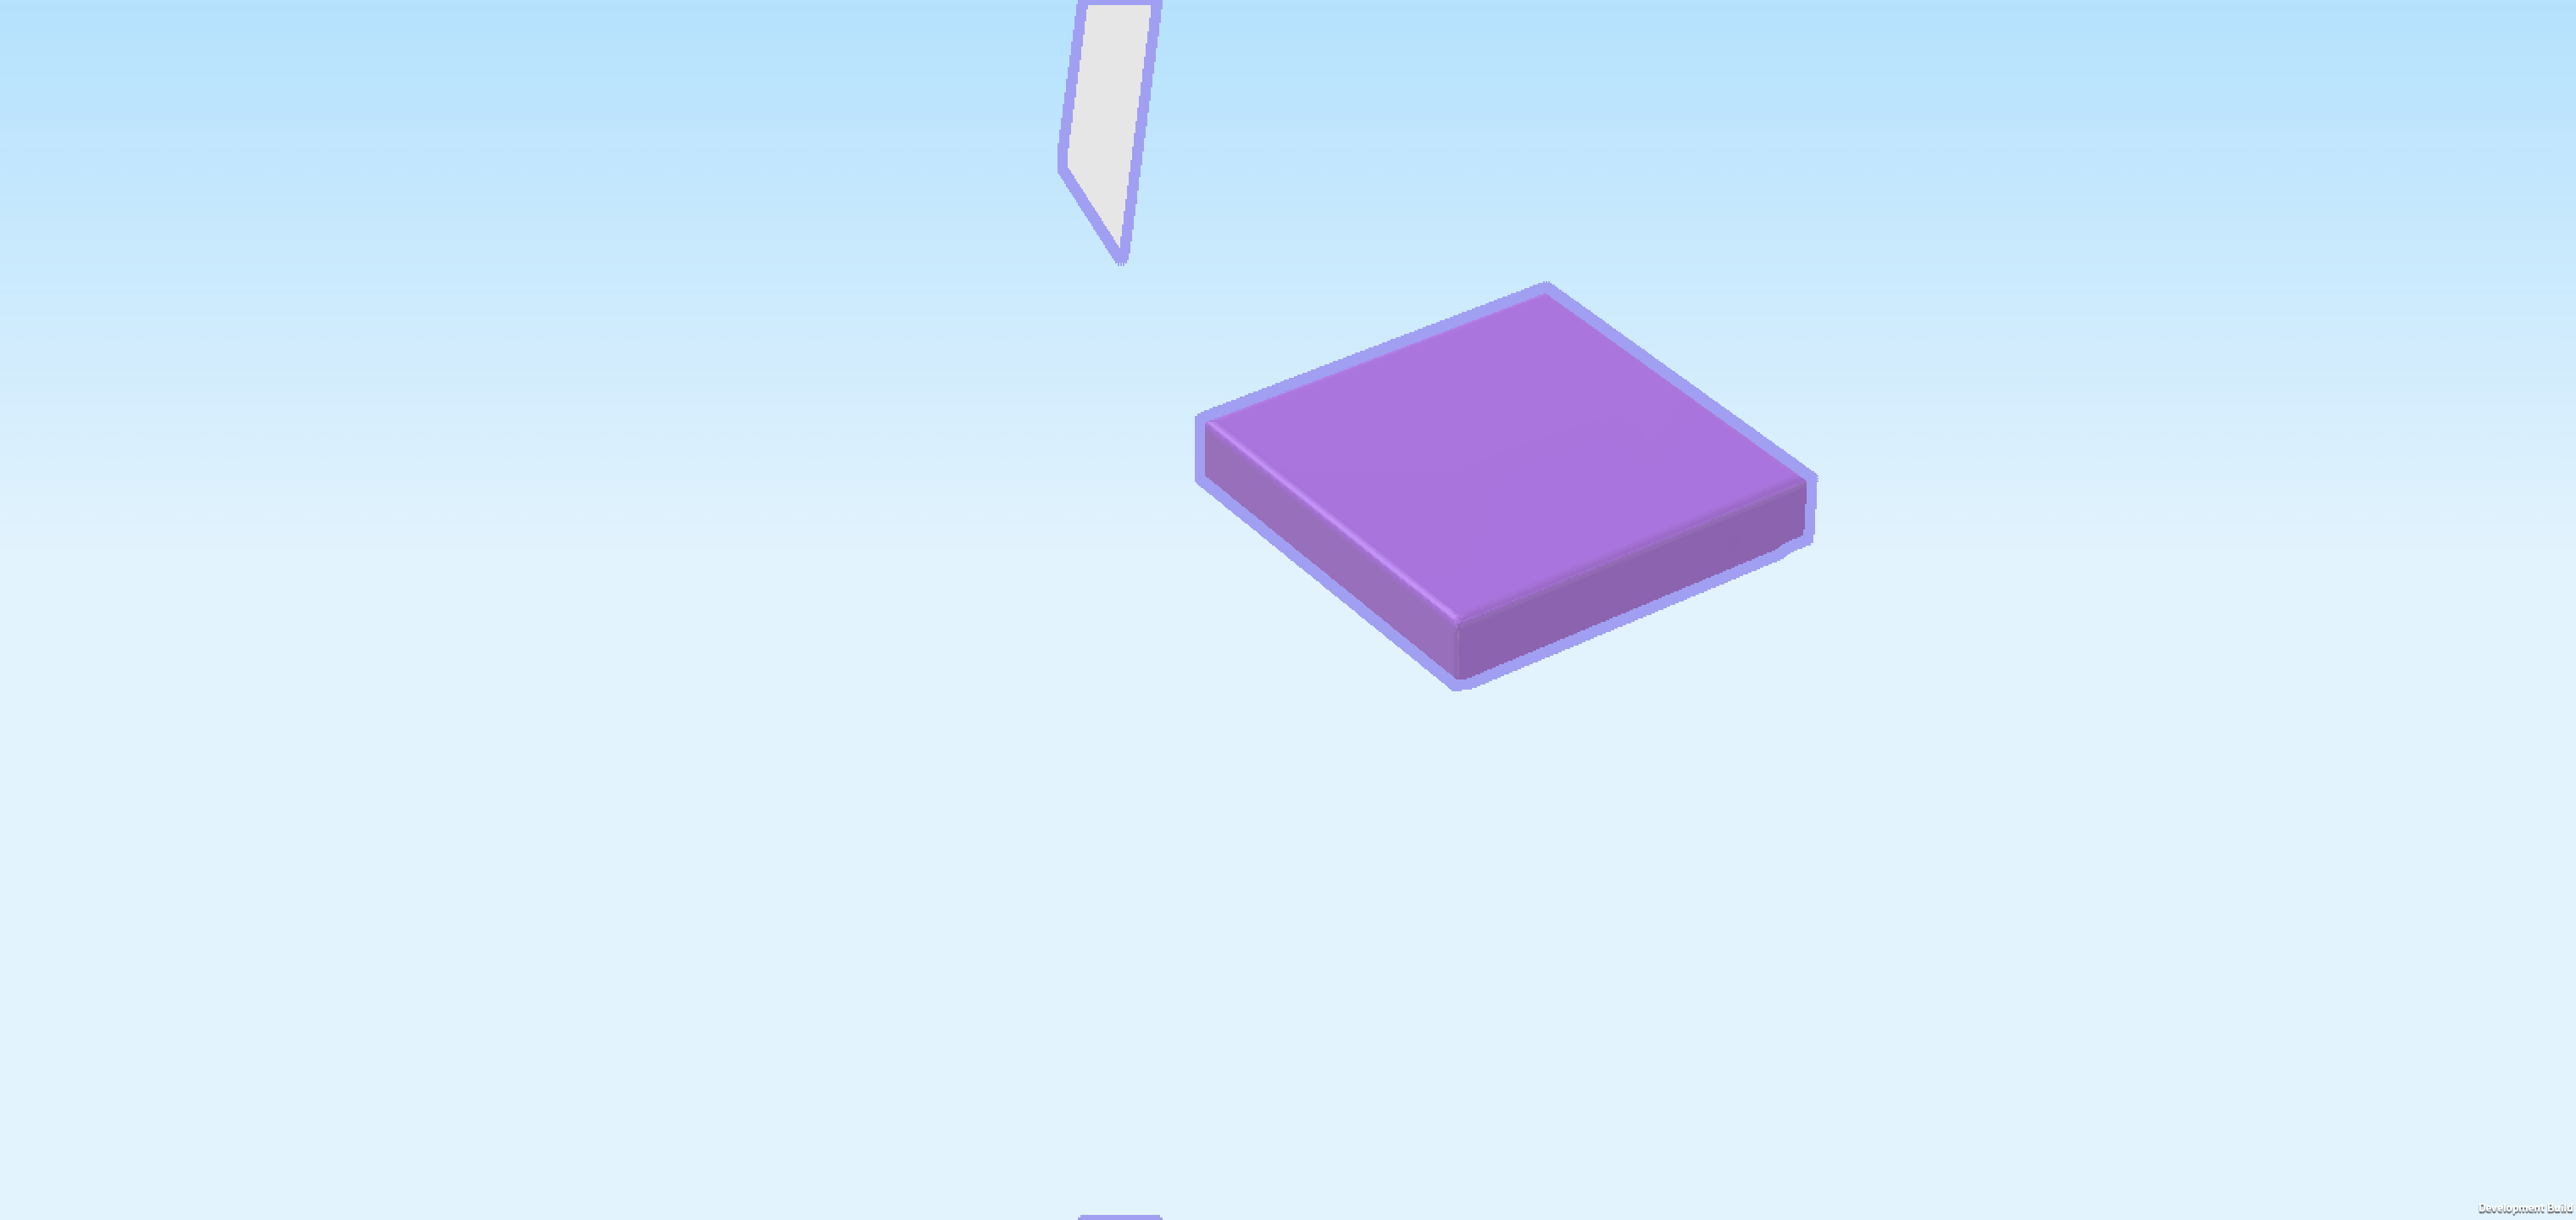
| and 1 lavender flat tile 2x2. |
| Put the flat tile on the table and the sticker on top. |
| The sticker shows a photo of Melody's mother who seems to be singing! She is holding a microphone, and there is a record player next to her on the photo. |
| Mount the flat tile with photo sticker upright on the back wall on the single side knob pointing to the front. This side knob can be found to the left of the window. |
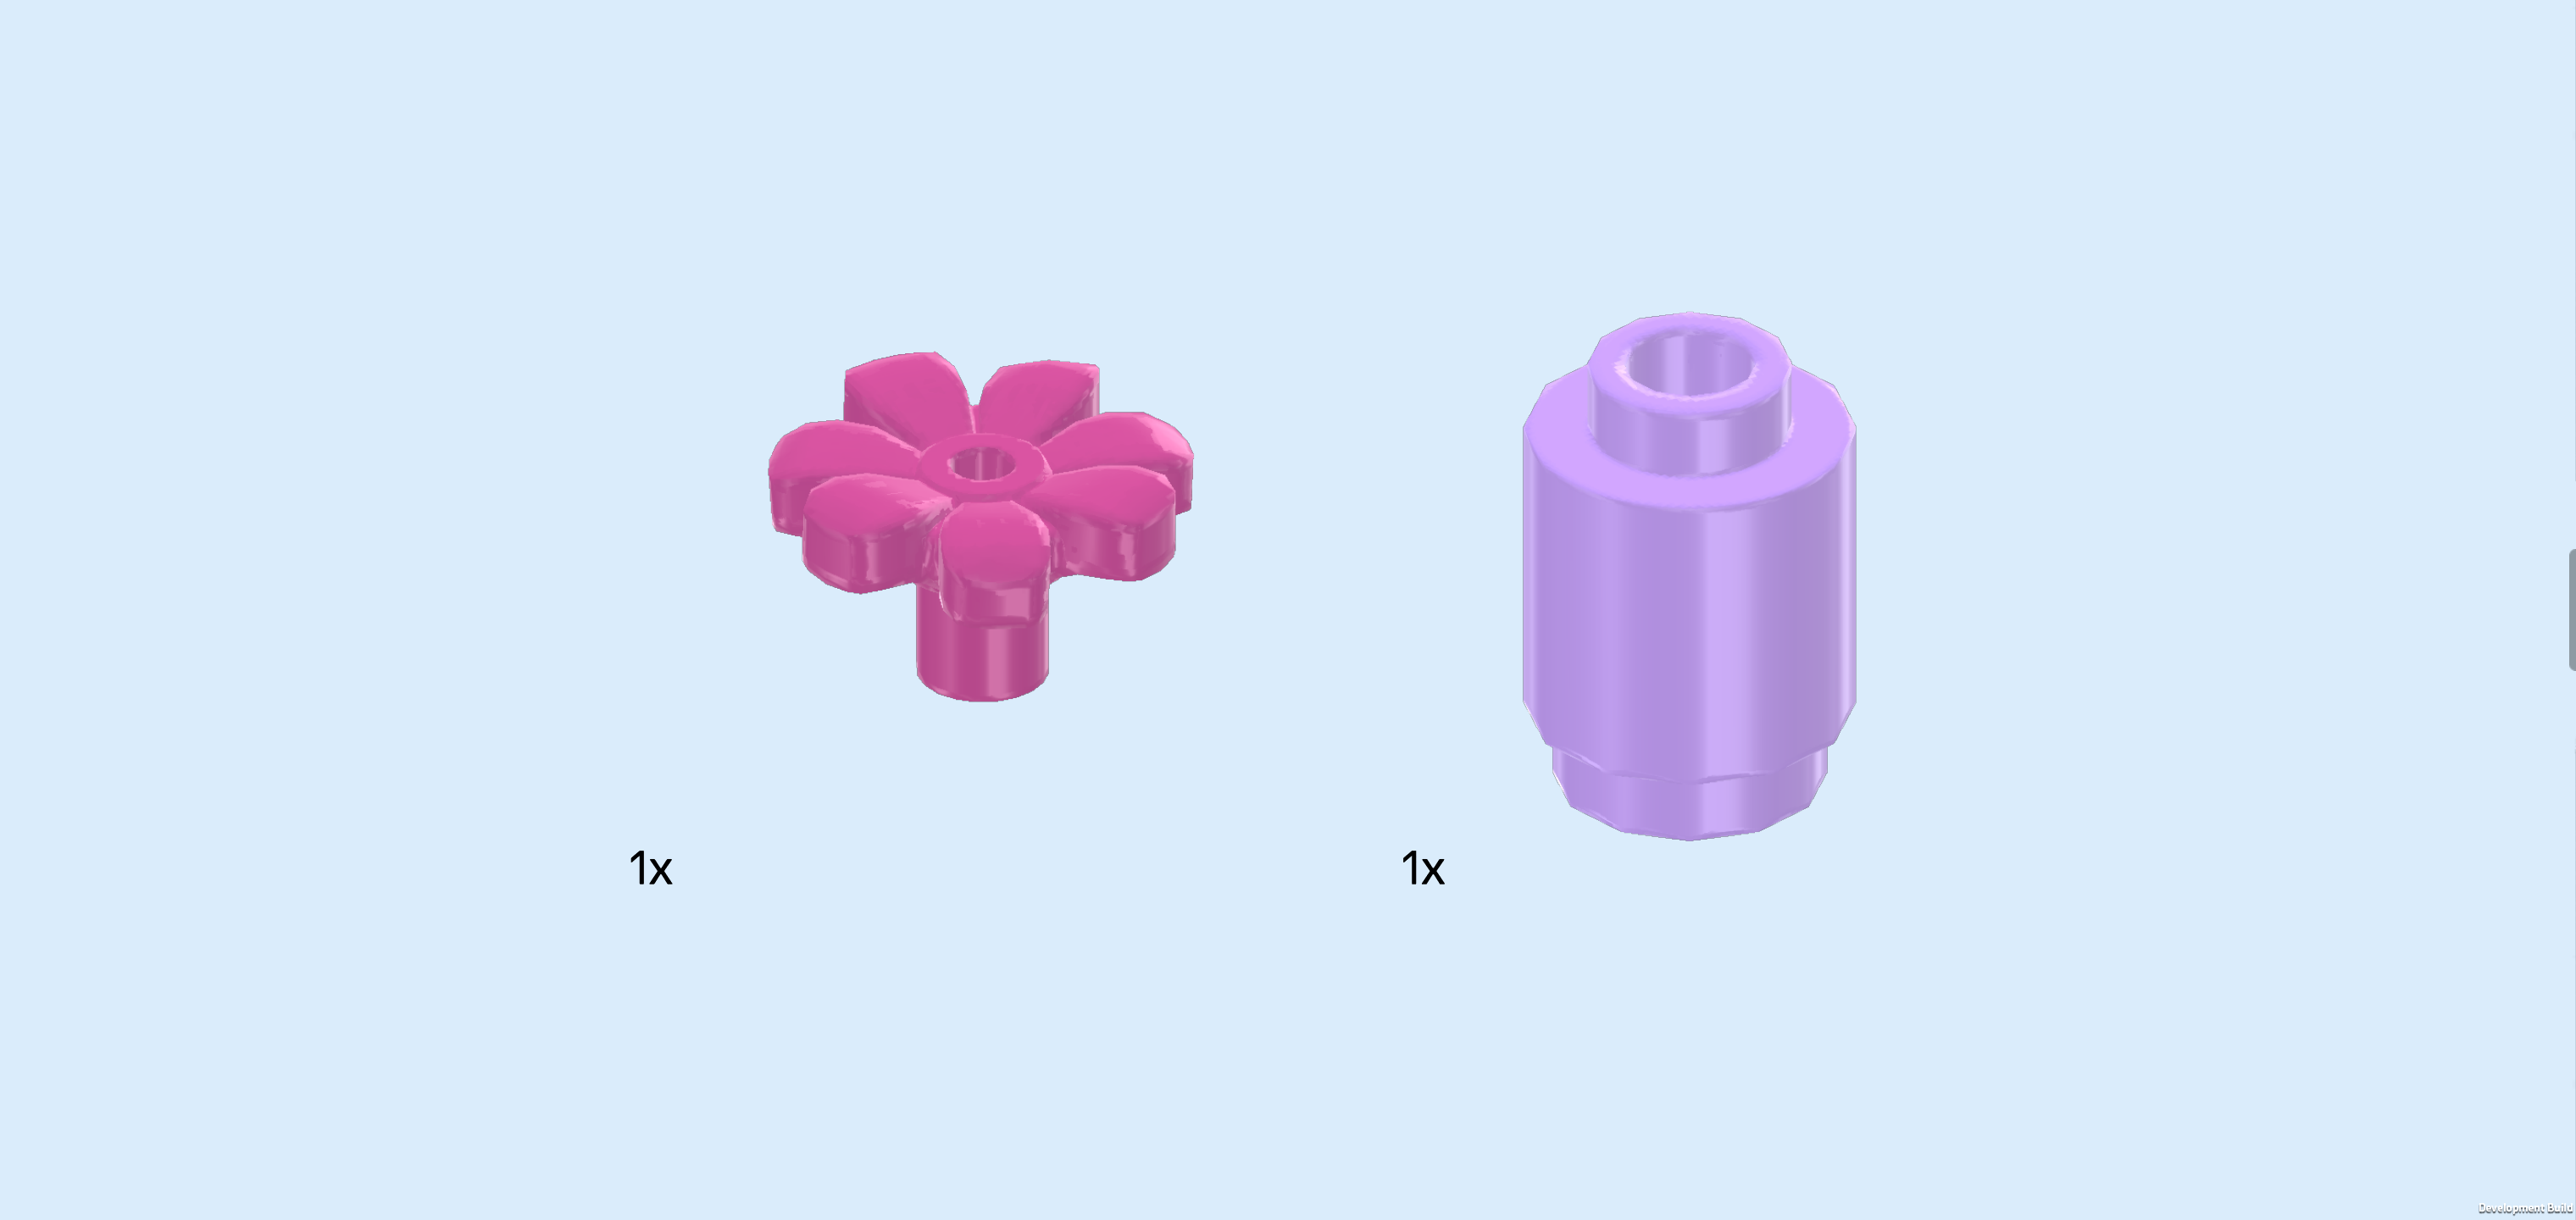
| Now, we will build the small flower vase. |
| Collect the following 2 pieces: |
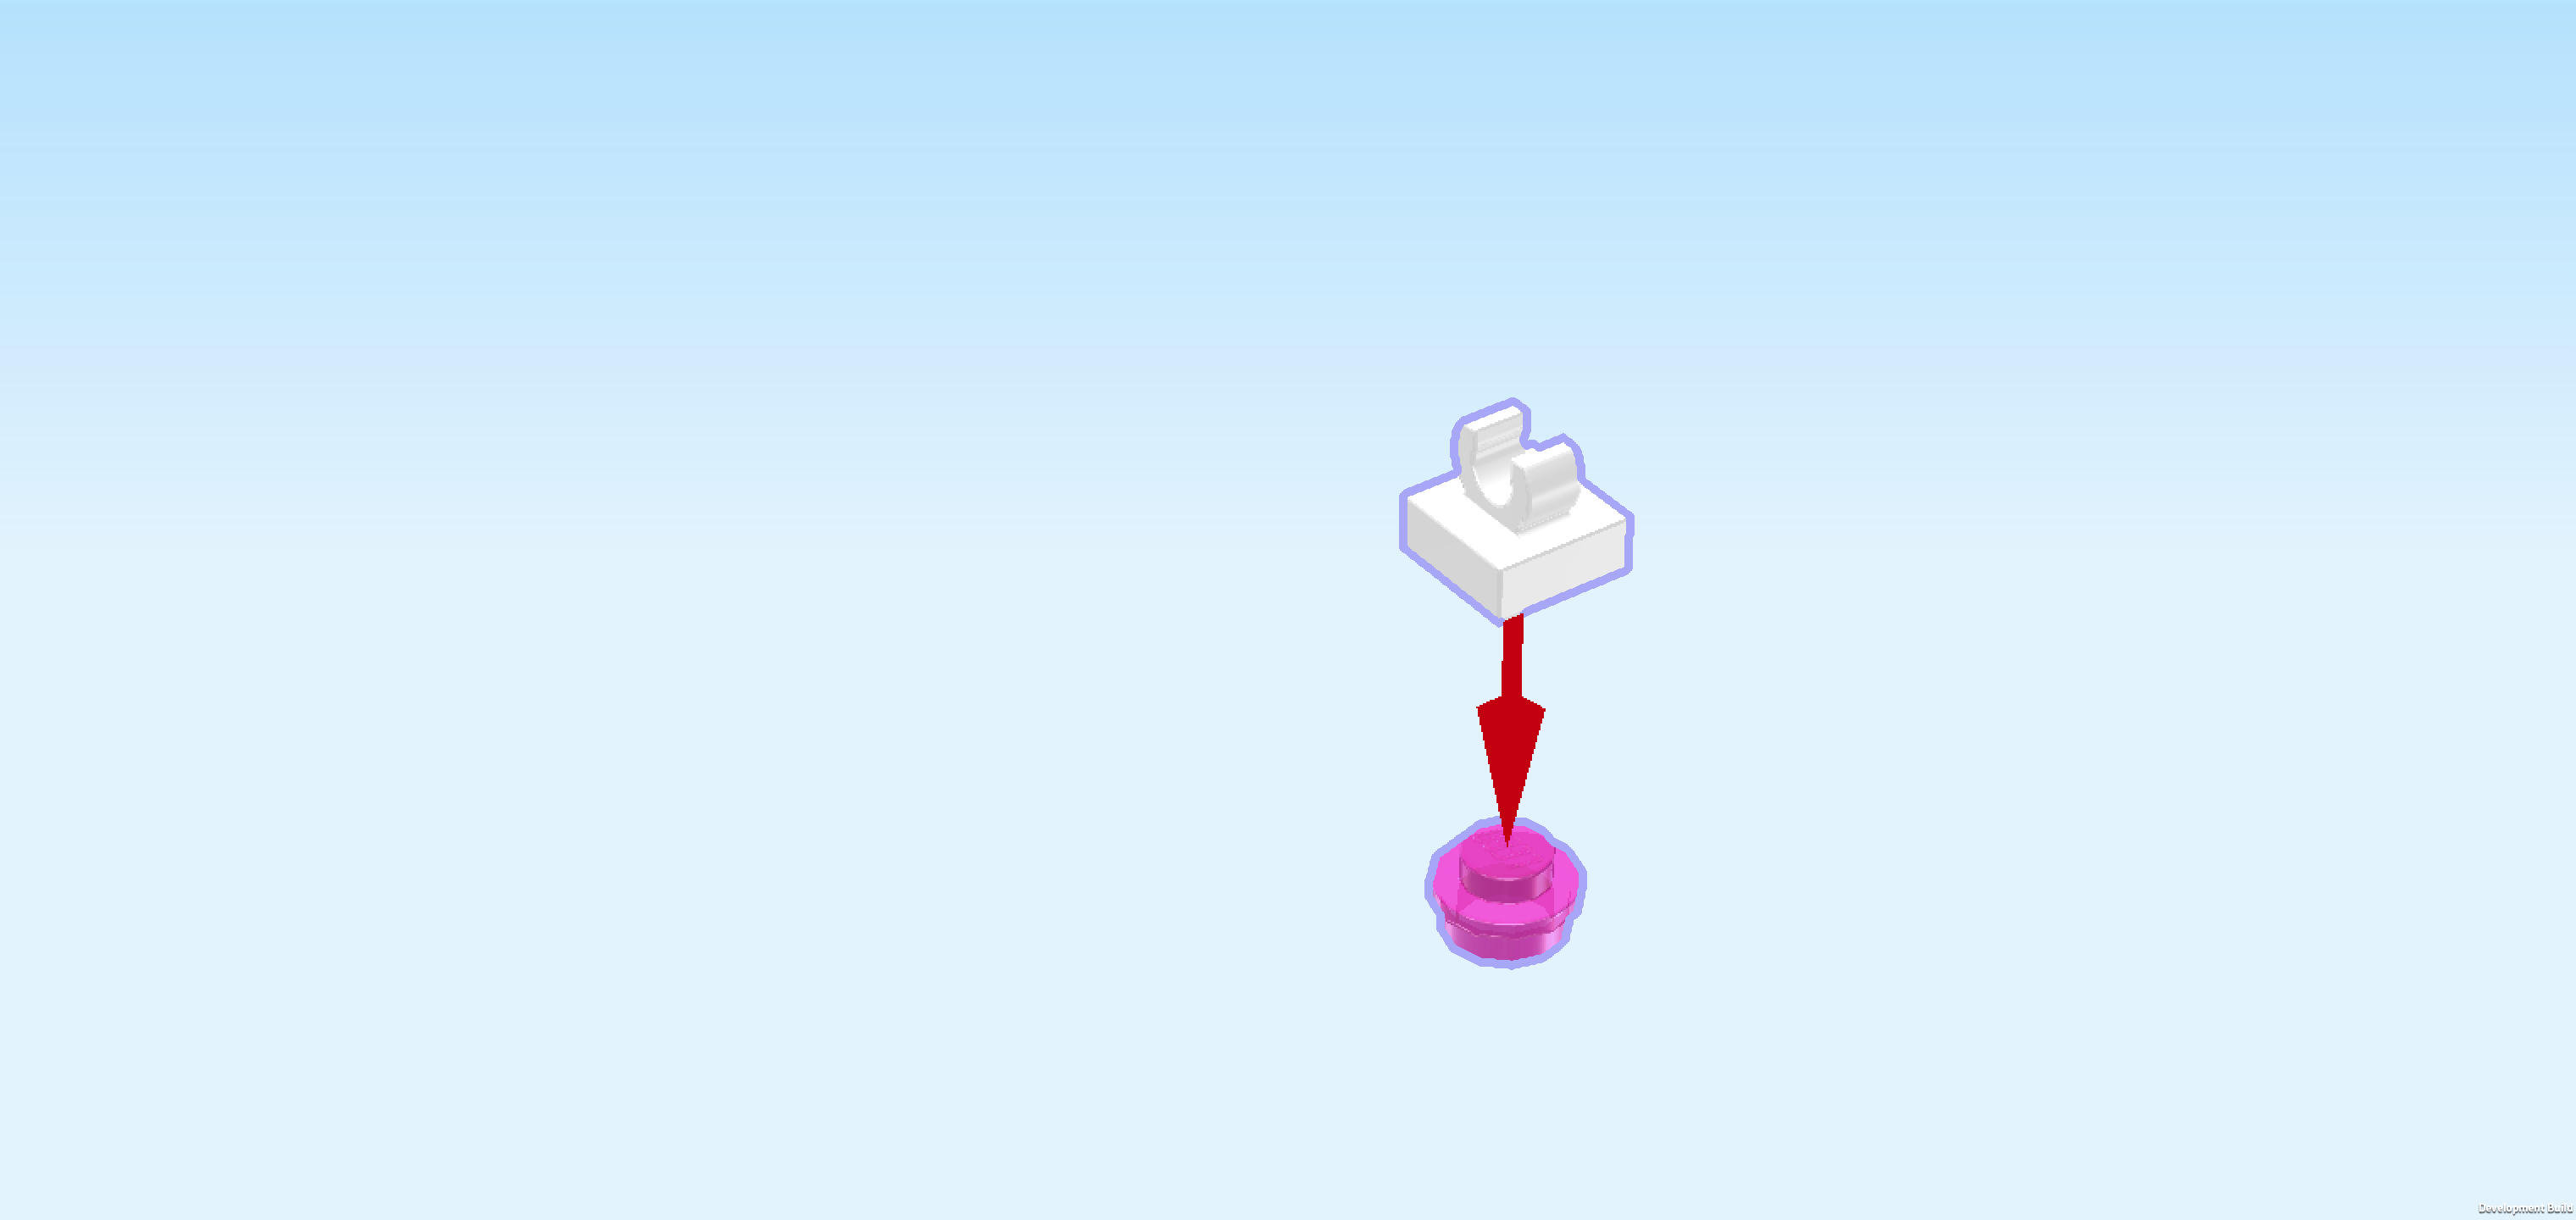
| 1 bright purple flower 1x1 with small shaft, |
| and 1 light lavender round brick 1x1. |
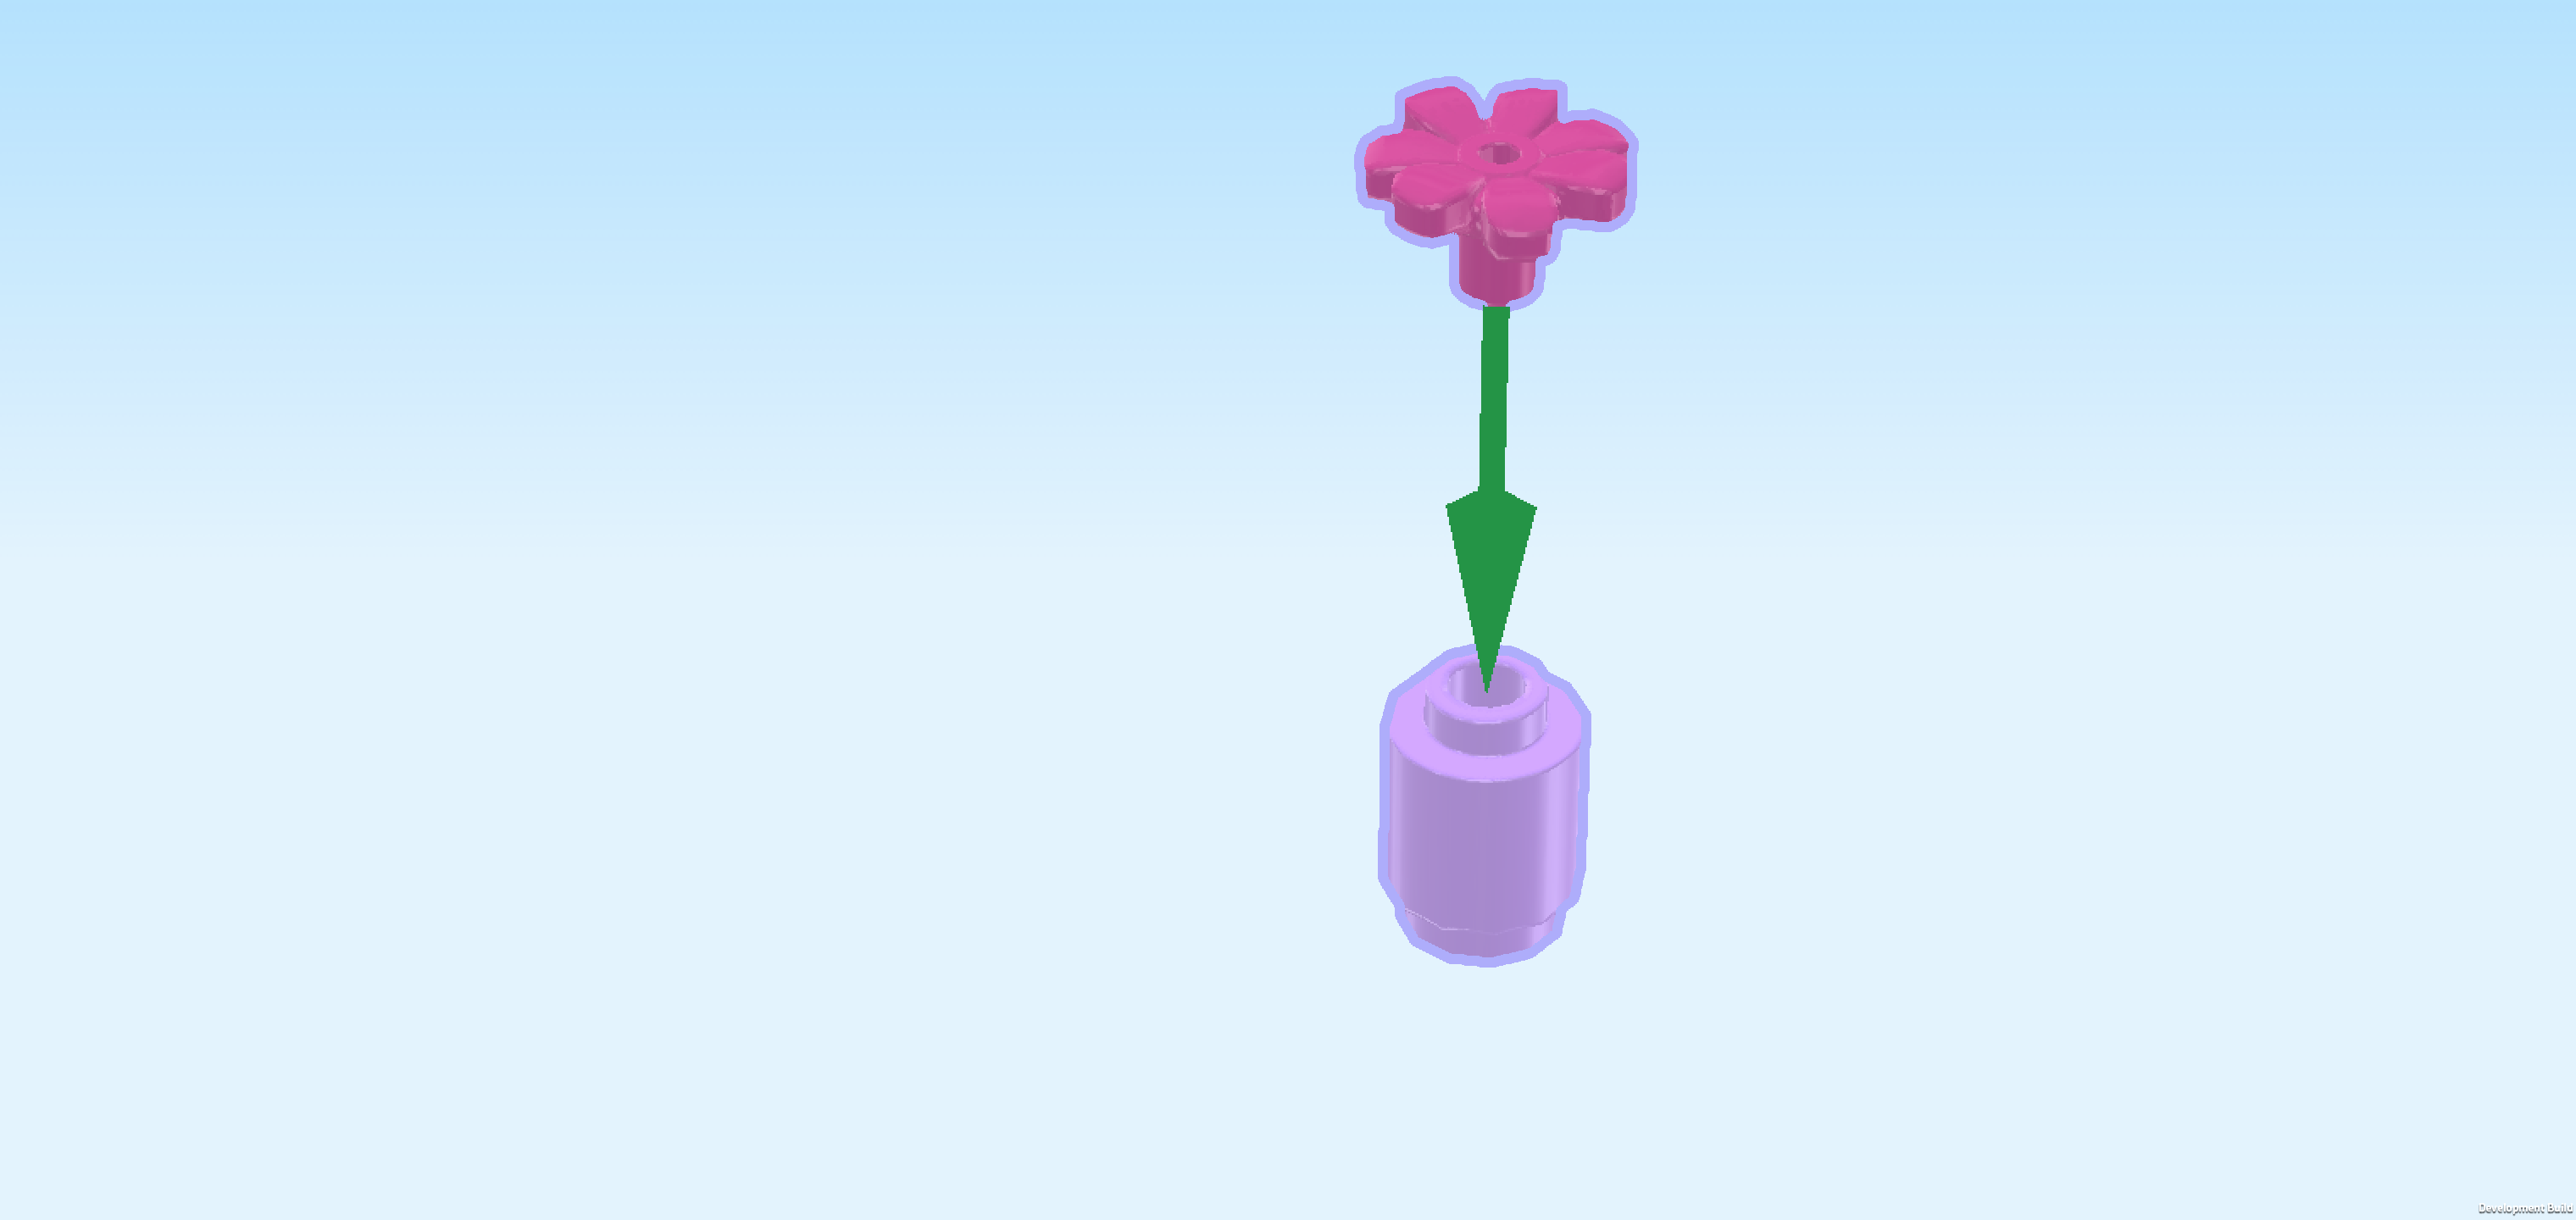
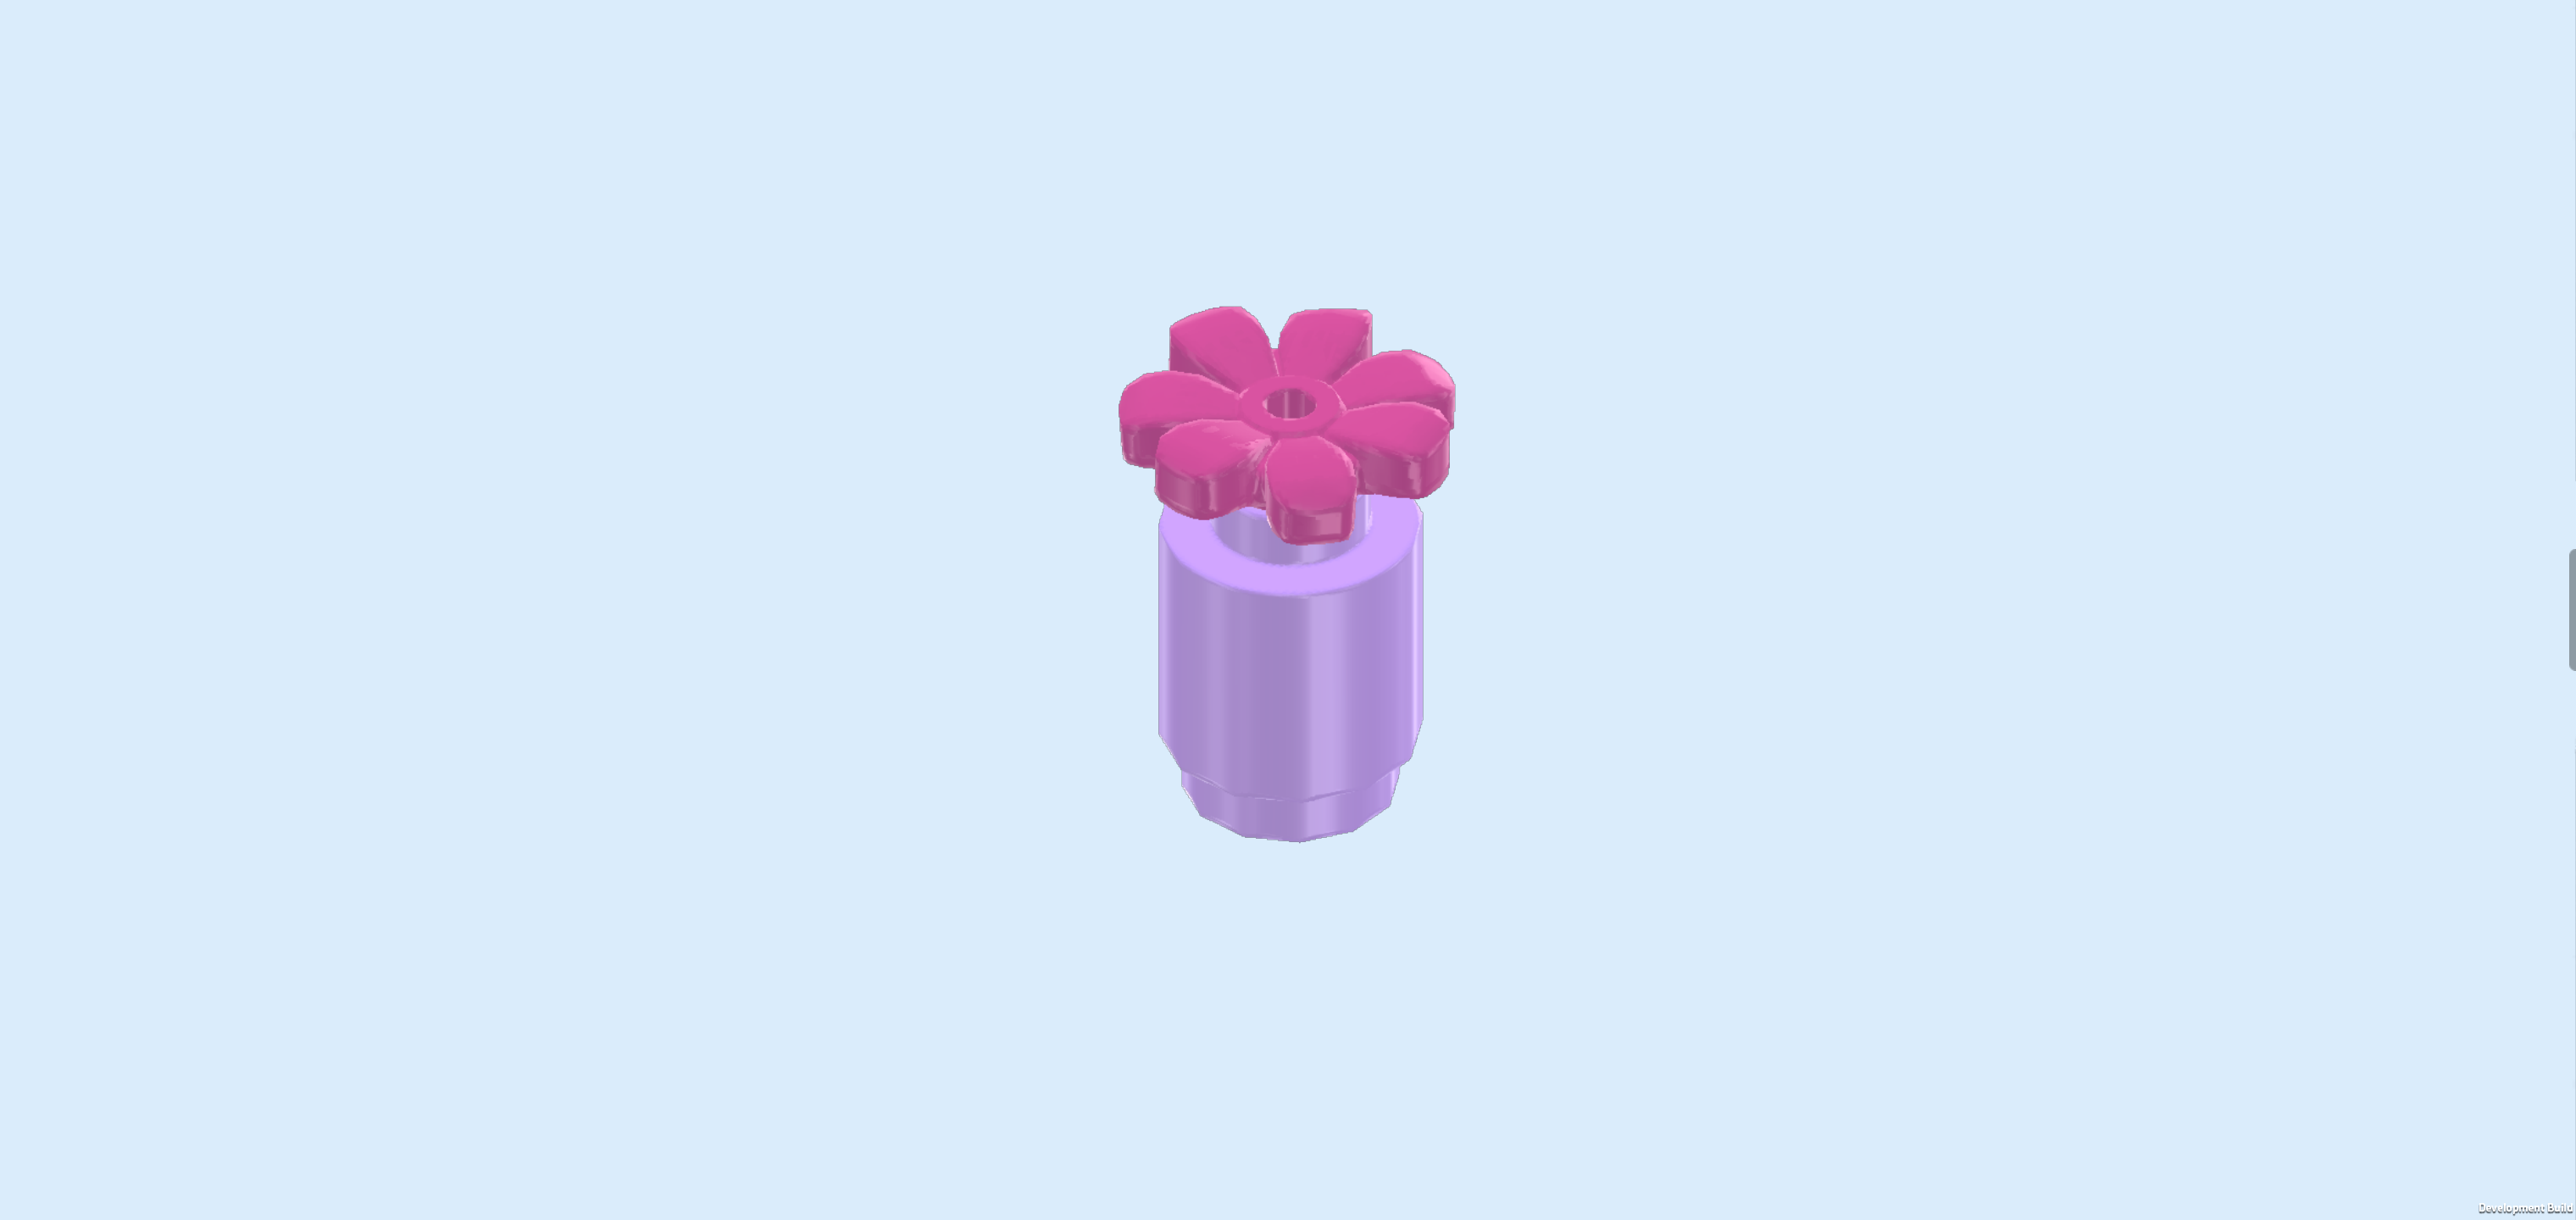
| Insert the small shaft of the flower into the hollow knob of the round brick. |
| Mount the small vase on the desk in the back left corner of the room on the second knob from the front on the left edge. |
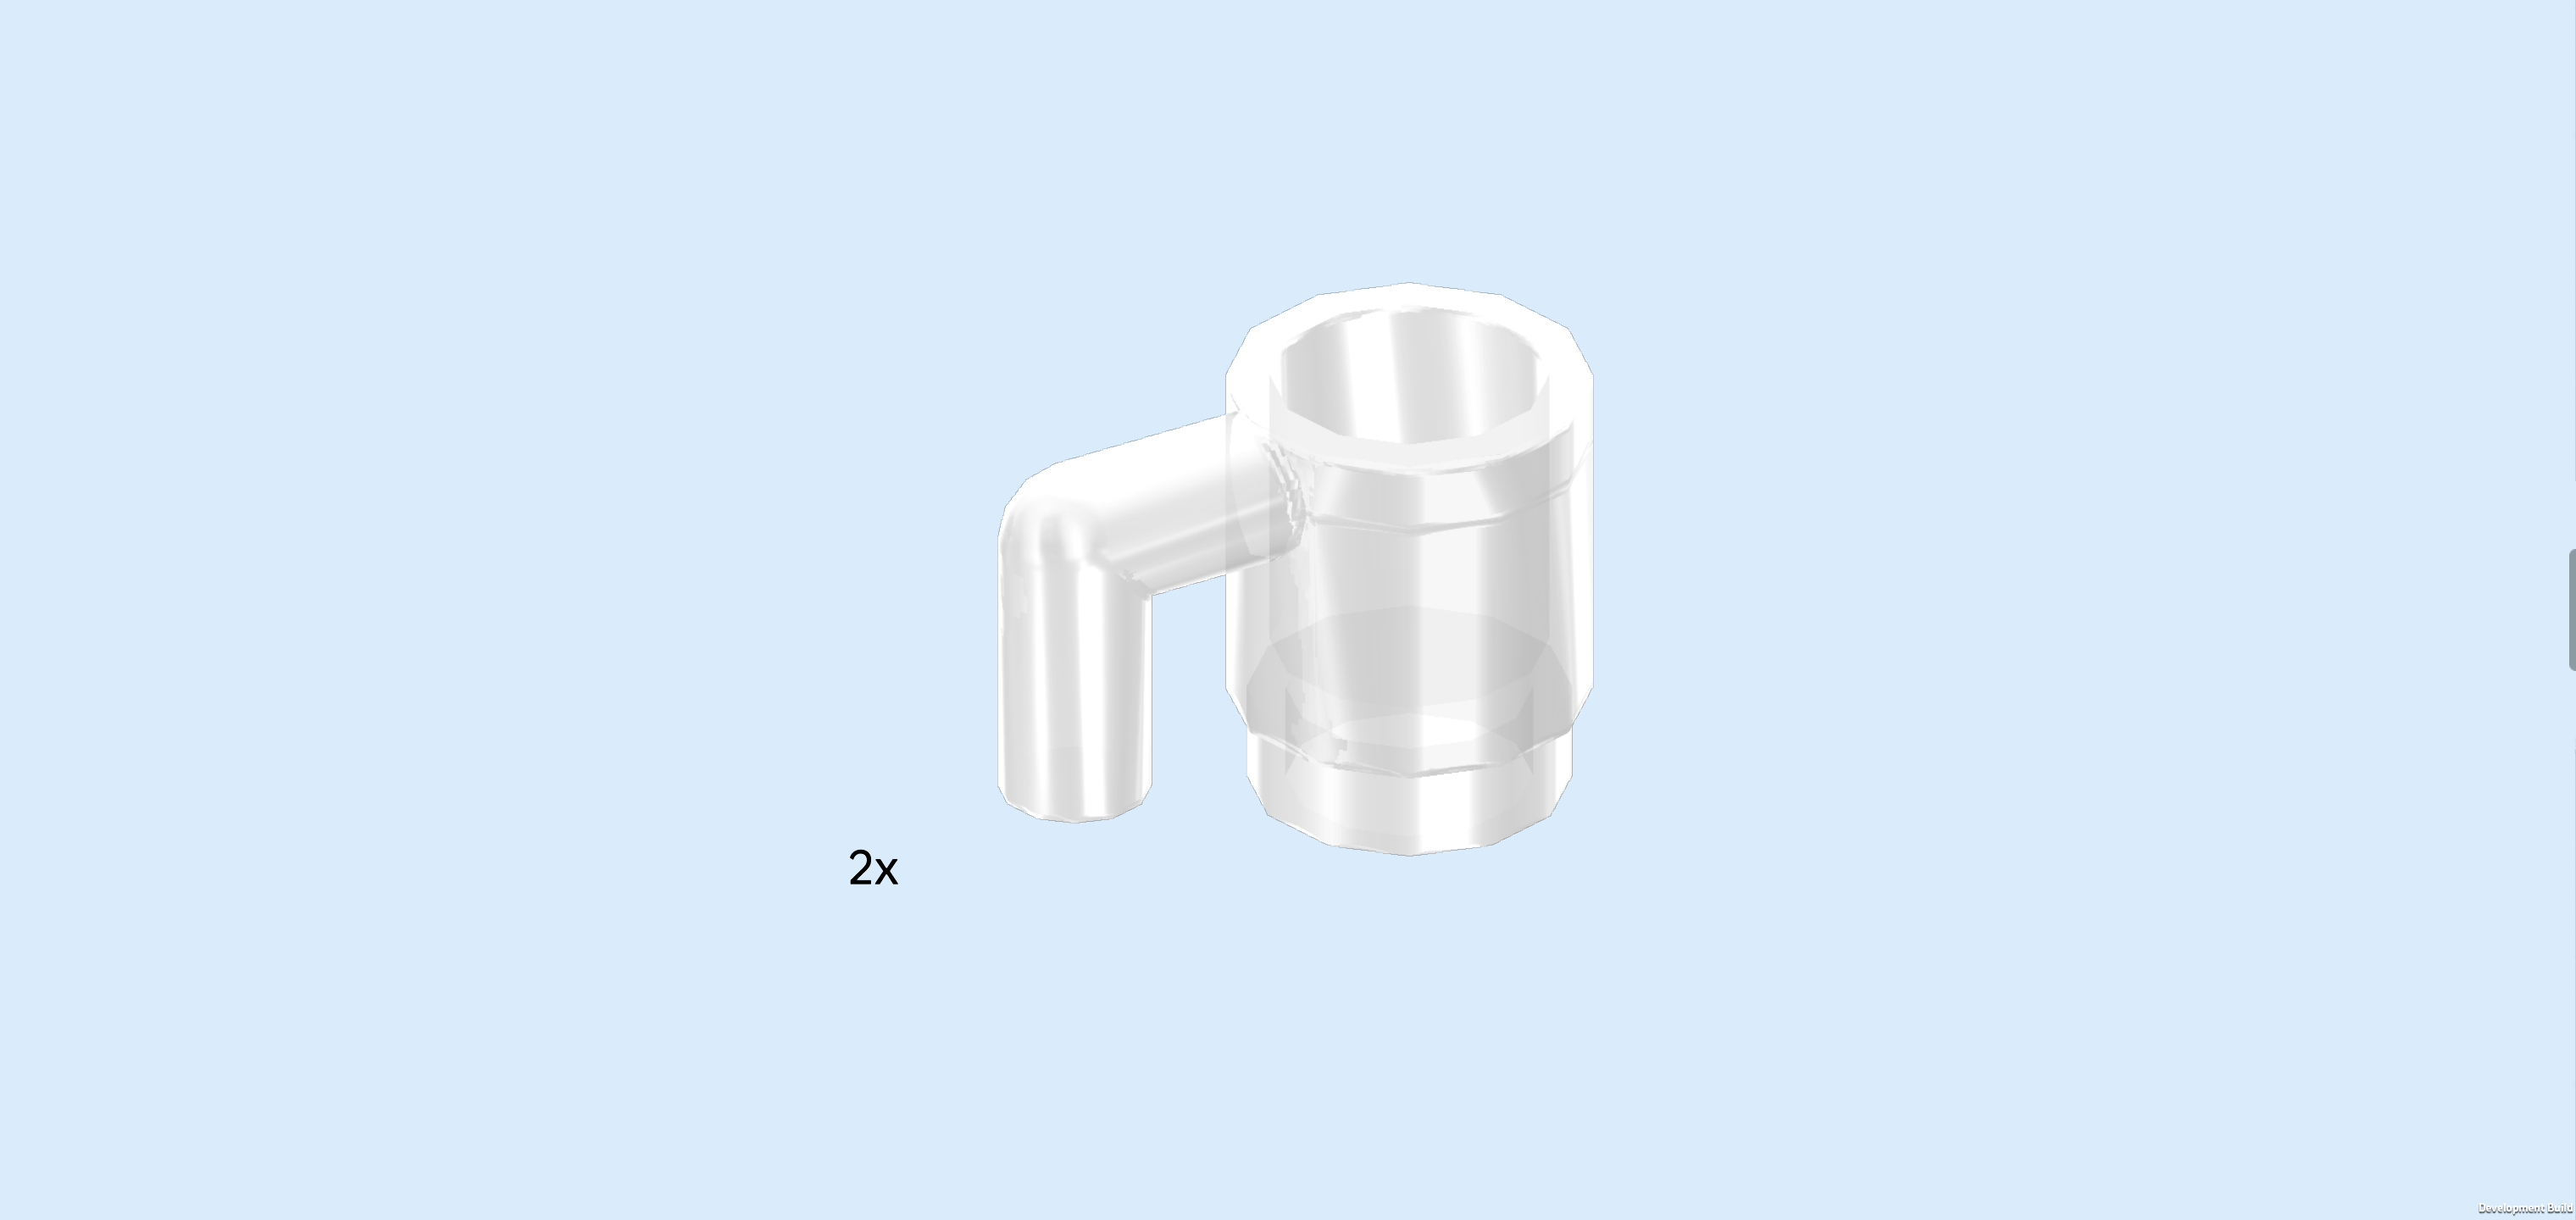
| Find 2 transparent Minifigure mugs. |
| Place them in front of and next to the vase on the desk. |
| Next, we will build the house plant. |
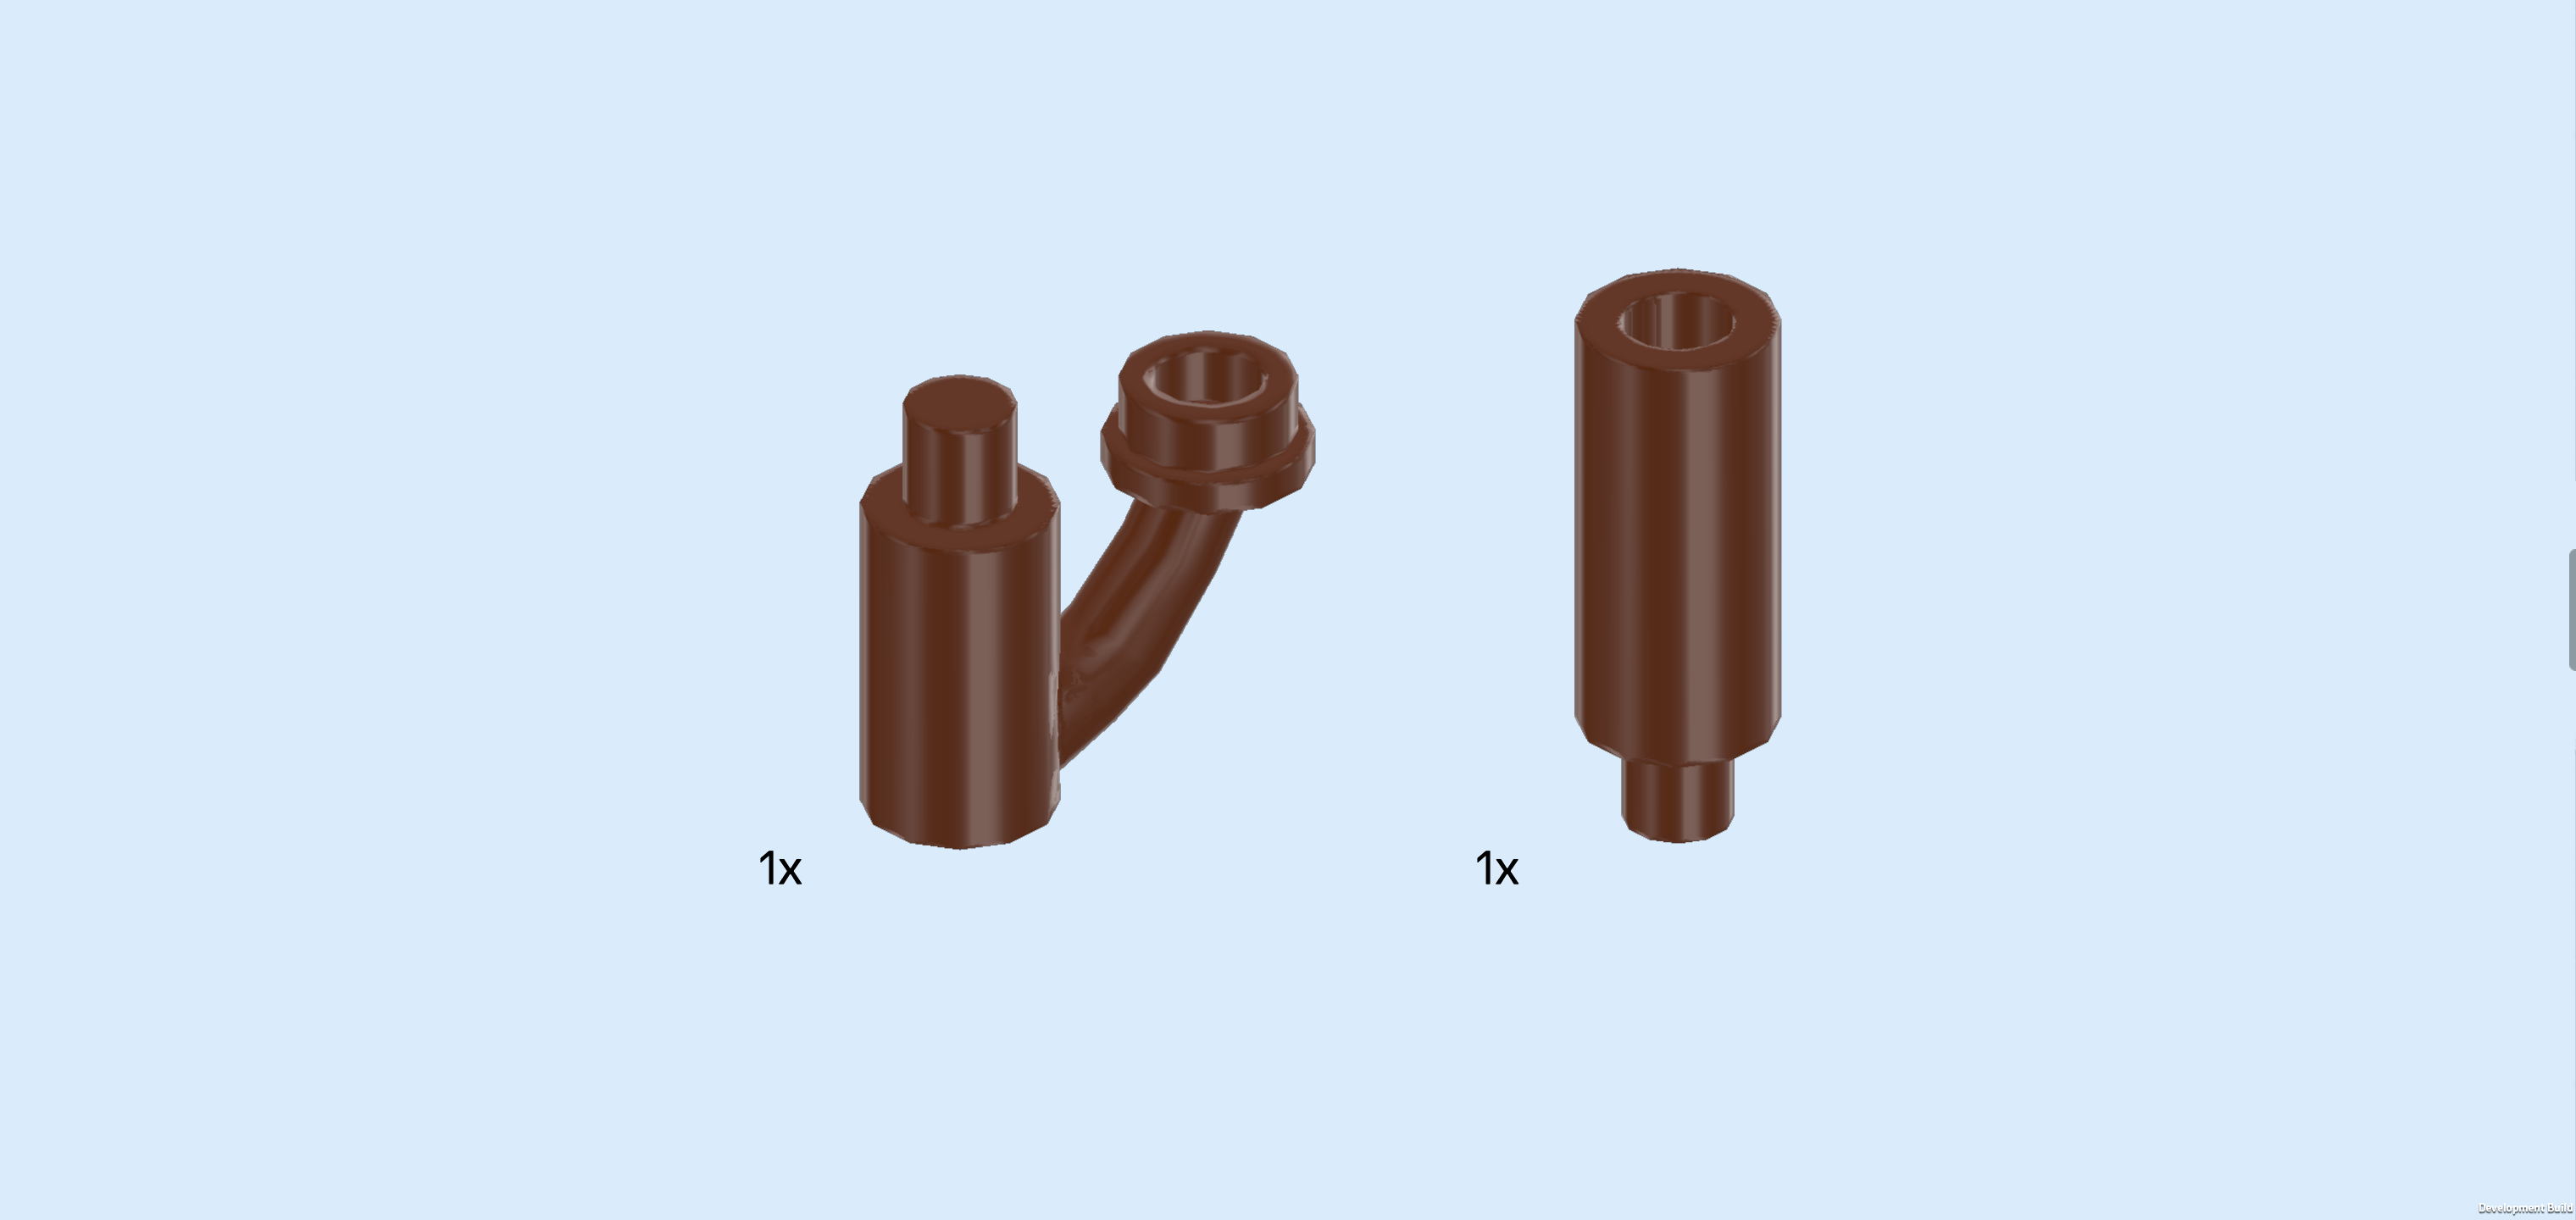
| Collect the following 2 pieces: |
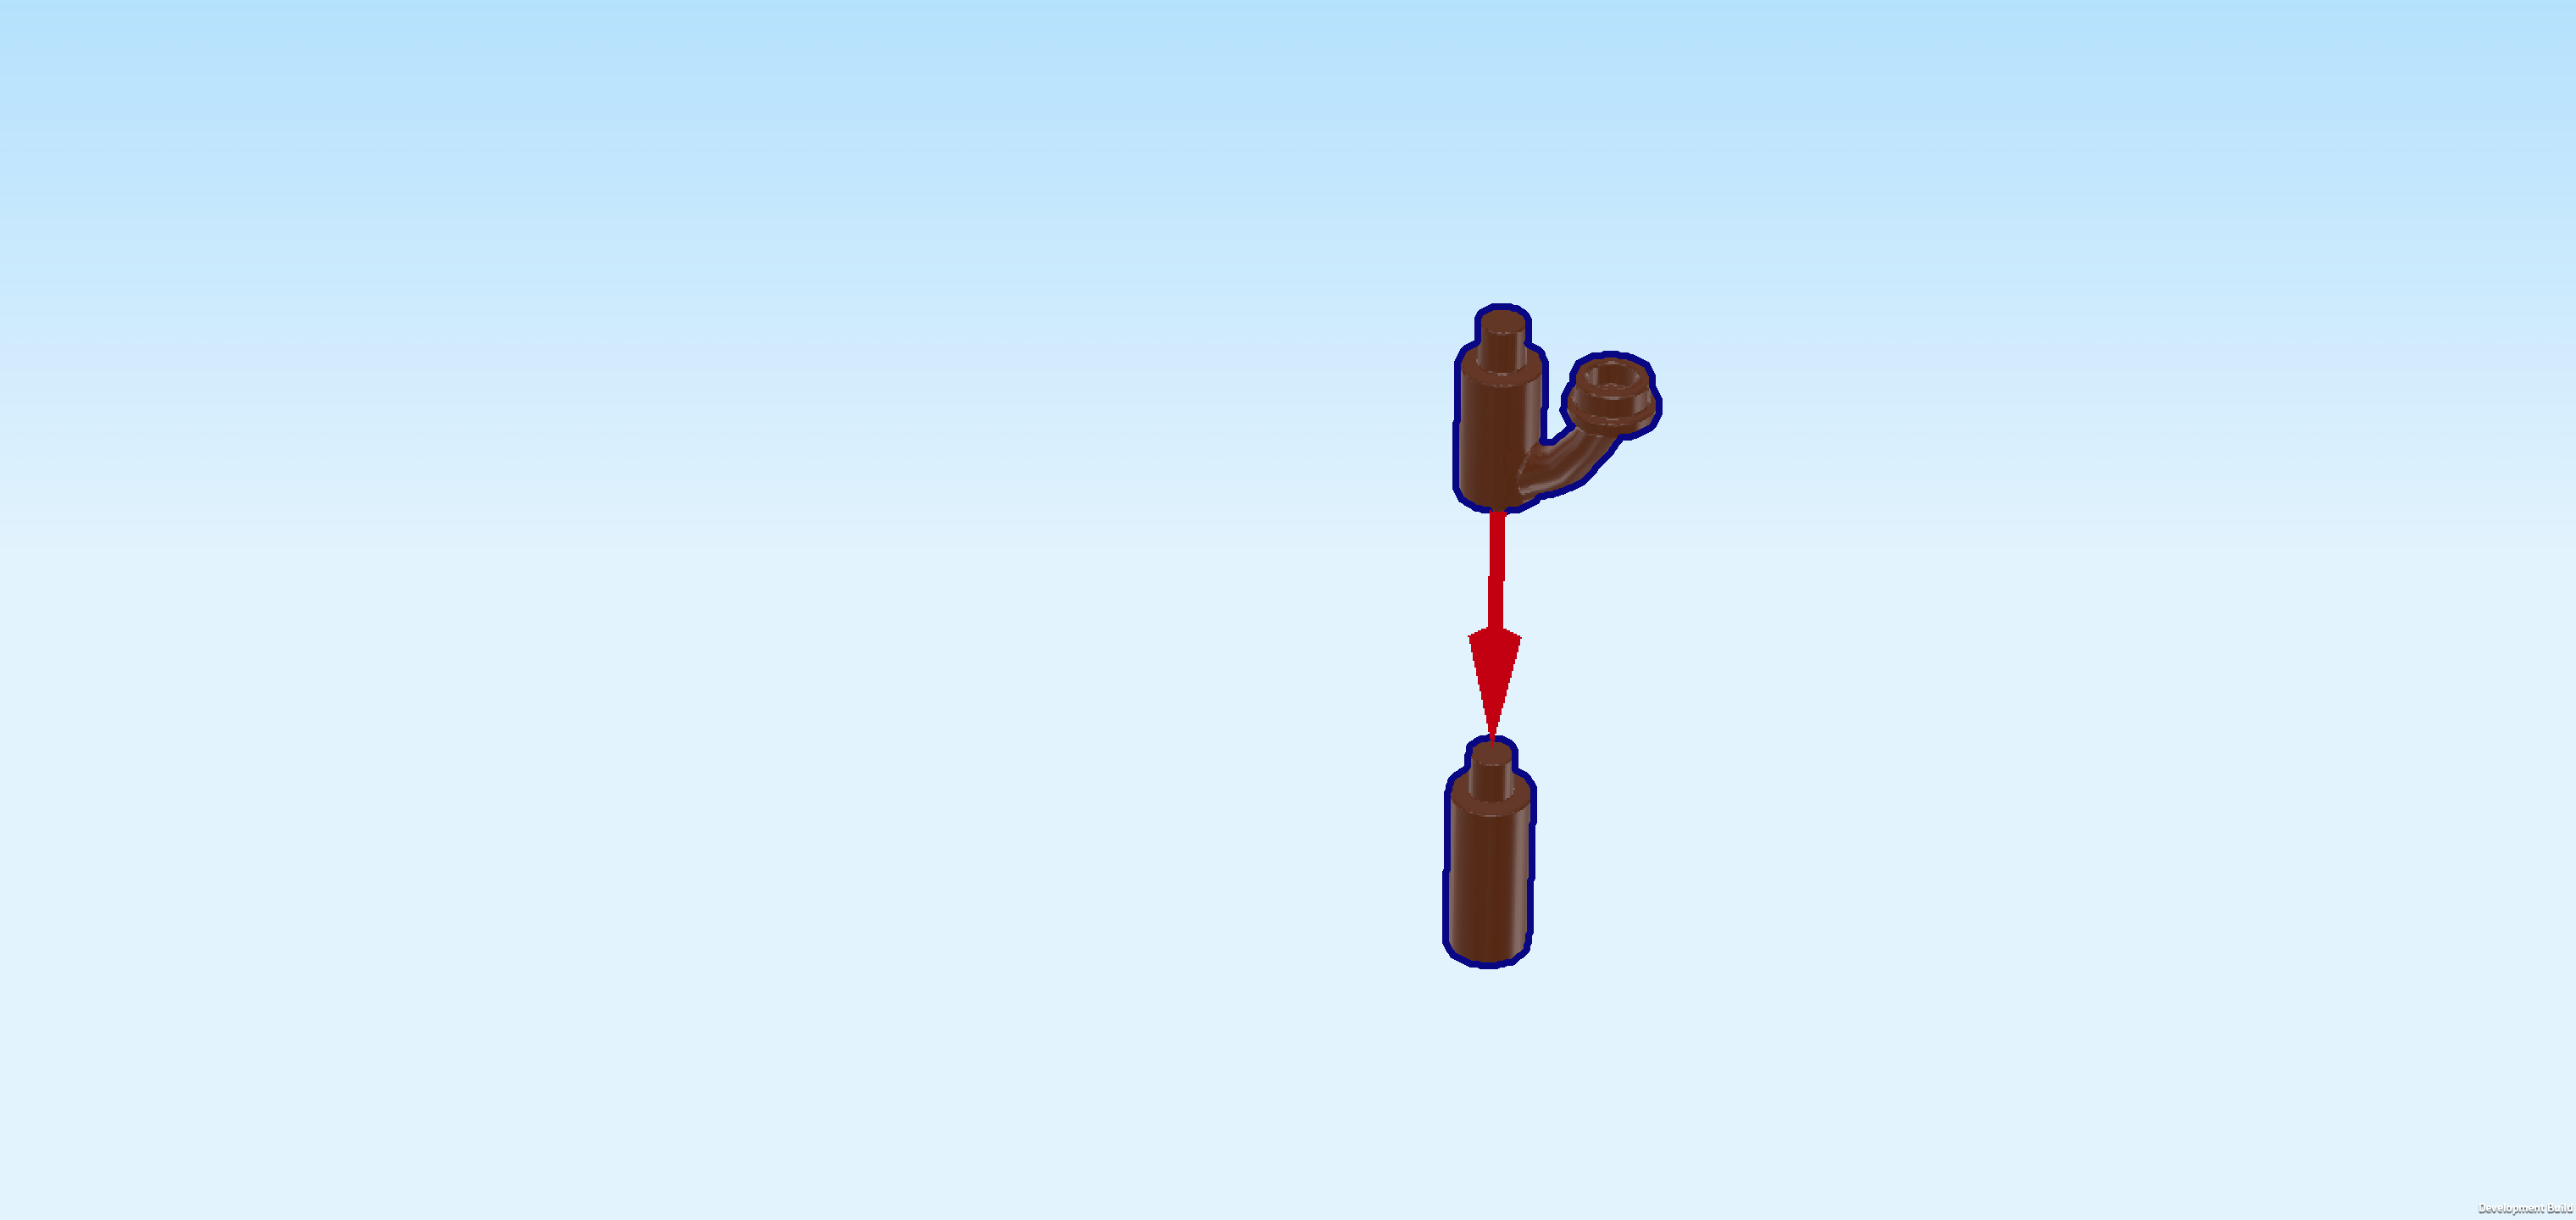
| 1 reddish brown narrow tube 1.5m with short shaft and side branch, |
| and 1 reddish brown narrow tube 2m with short shaft. |
| Hold the longer narrow tube in your hand, its small shaft pointing to the top, and then put the shorter tube on top, branch pointing to the top and to the right. |
| Collect the following 2 pieces: |
| another reddish brown narrow tube 1.5m with short shaft and side branch, |
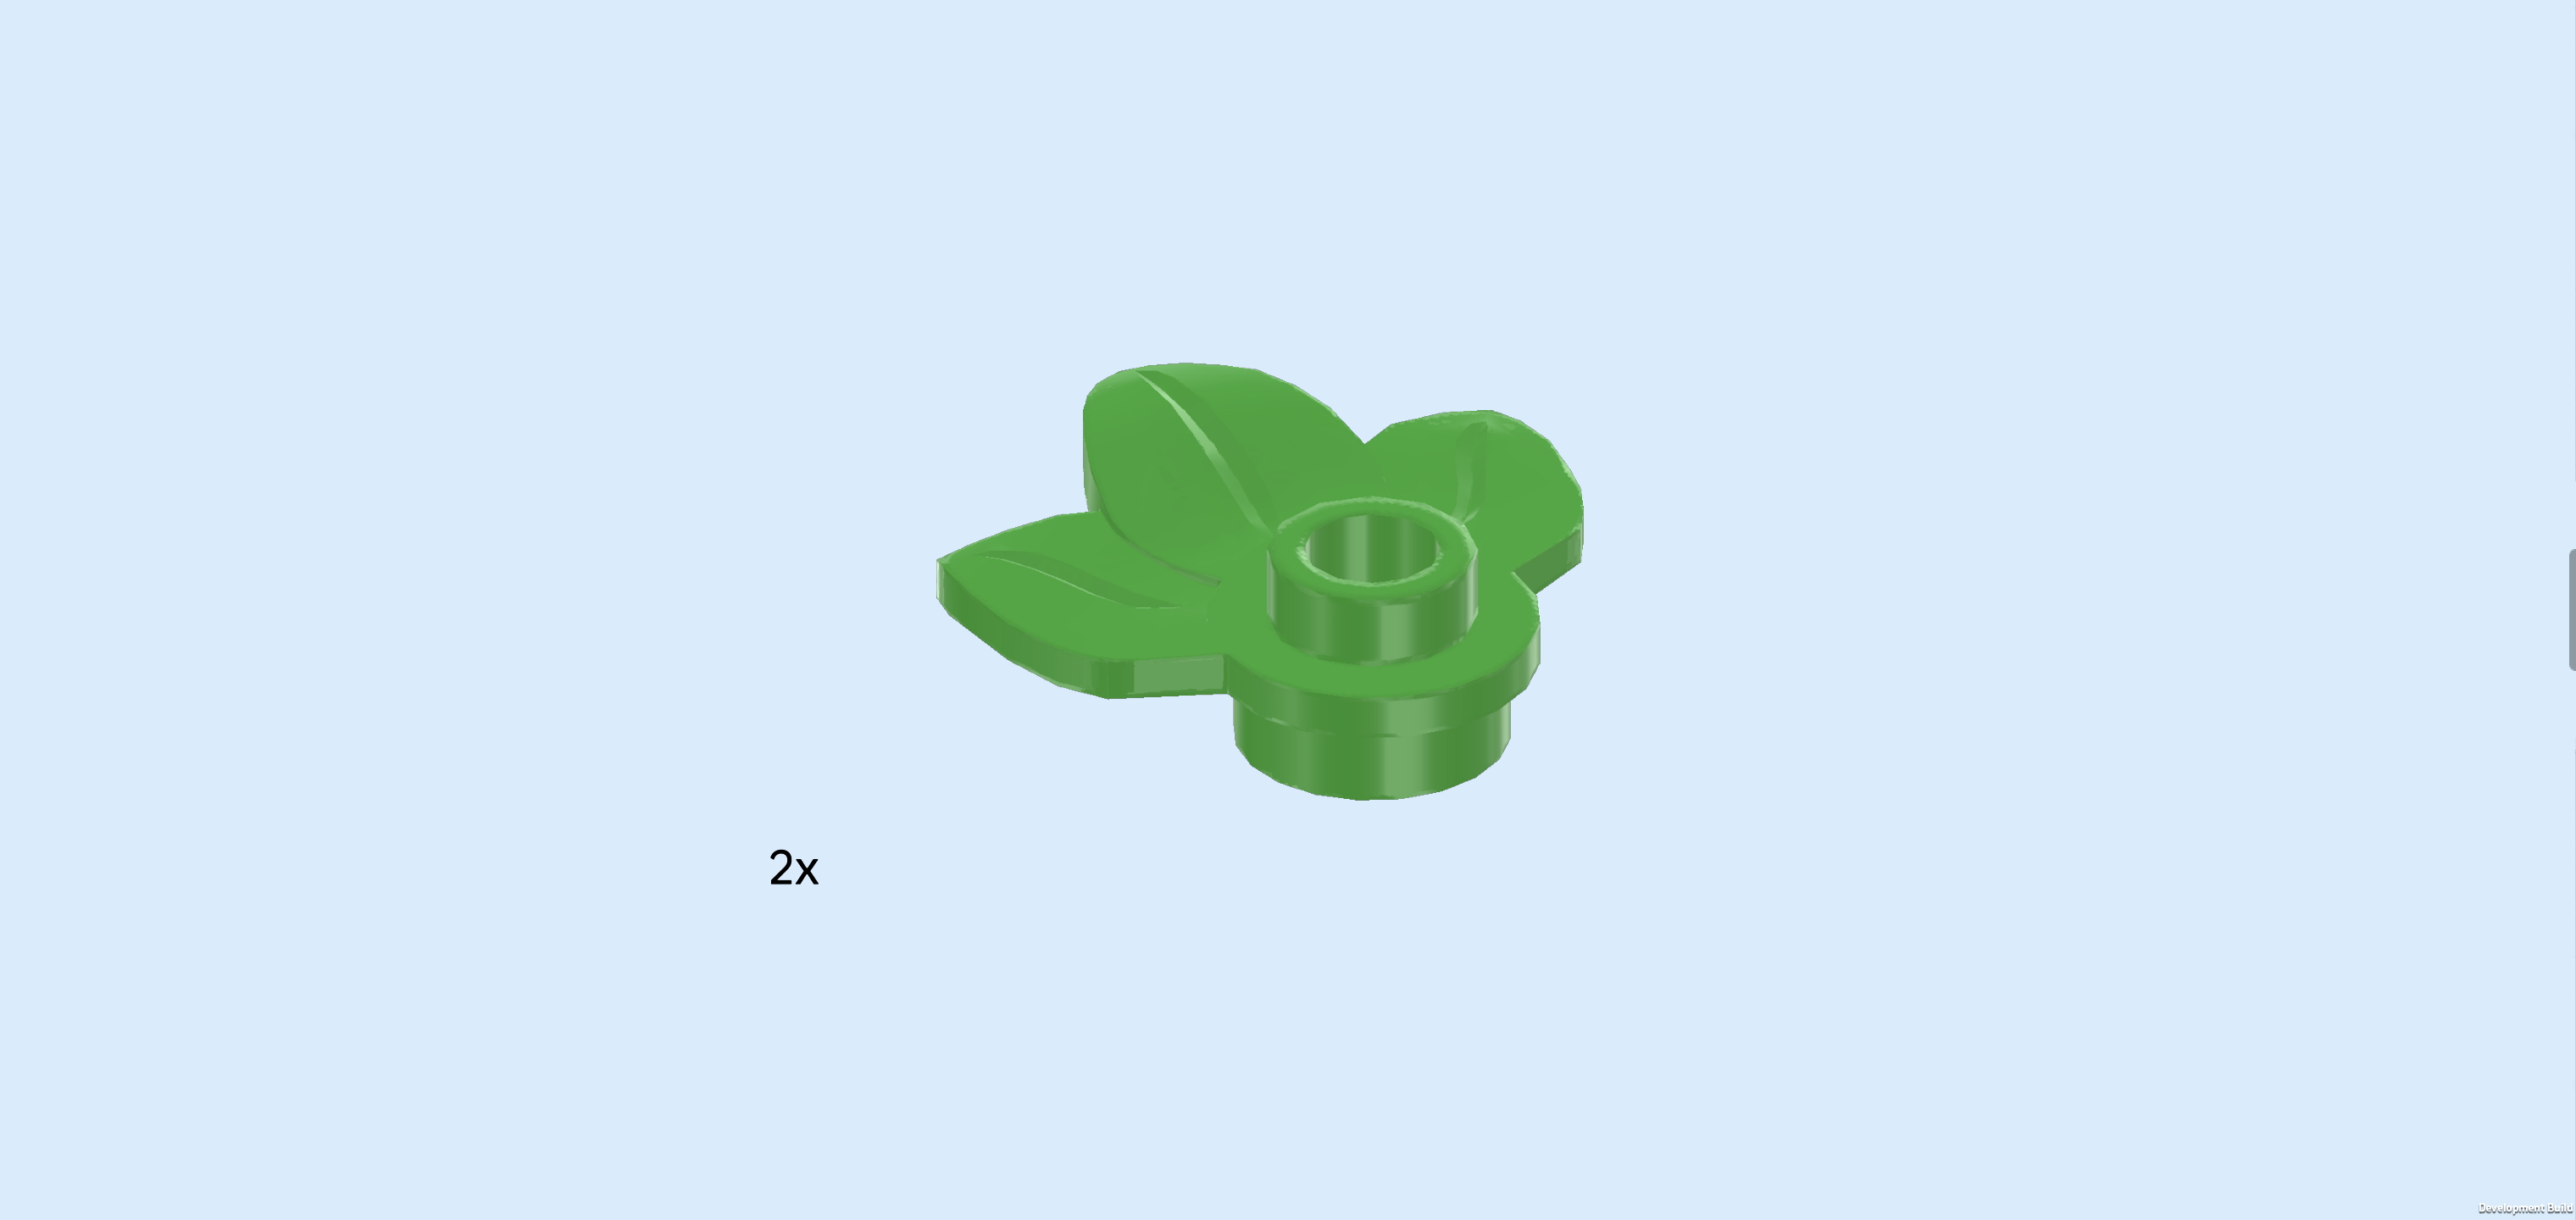
| and 1 bright green round plate 1x1 with 3 small leaves. |
| Put the narrow tube on top of the first one, branch to the left. |
| Put the plate with leaves on the branch of the first narrow tube with branch. |
| Find another 2 bright green round plates 1x1 with 3 small leaves. |
| Put 1 on the second branch of the plant. |
| Put the other one on the tip of the plant's stem, meaning that you insert the small top shaft from the bottom into the hollow knob of the plate with leaves. |
| The house plant is finished! Great job! Adjust the plates with leaves so that the leaf tips are pointing in different directions. |
| Put it on the frontmost position of the rightmost column. You will find a round tile 1x1 with top shaft there; insert that top shaft into the bottom hole of the plant stem. |
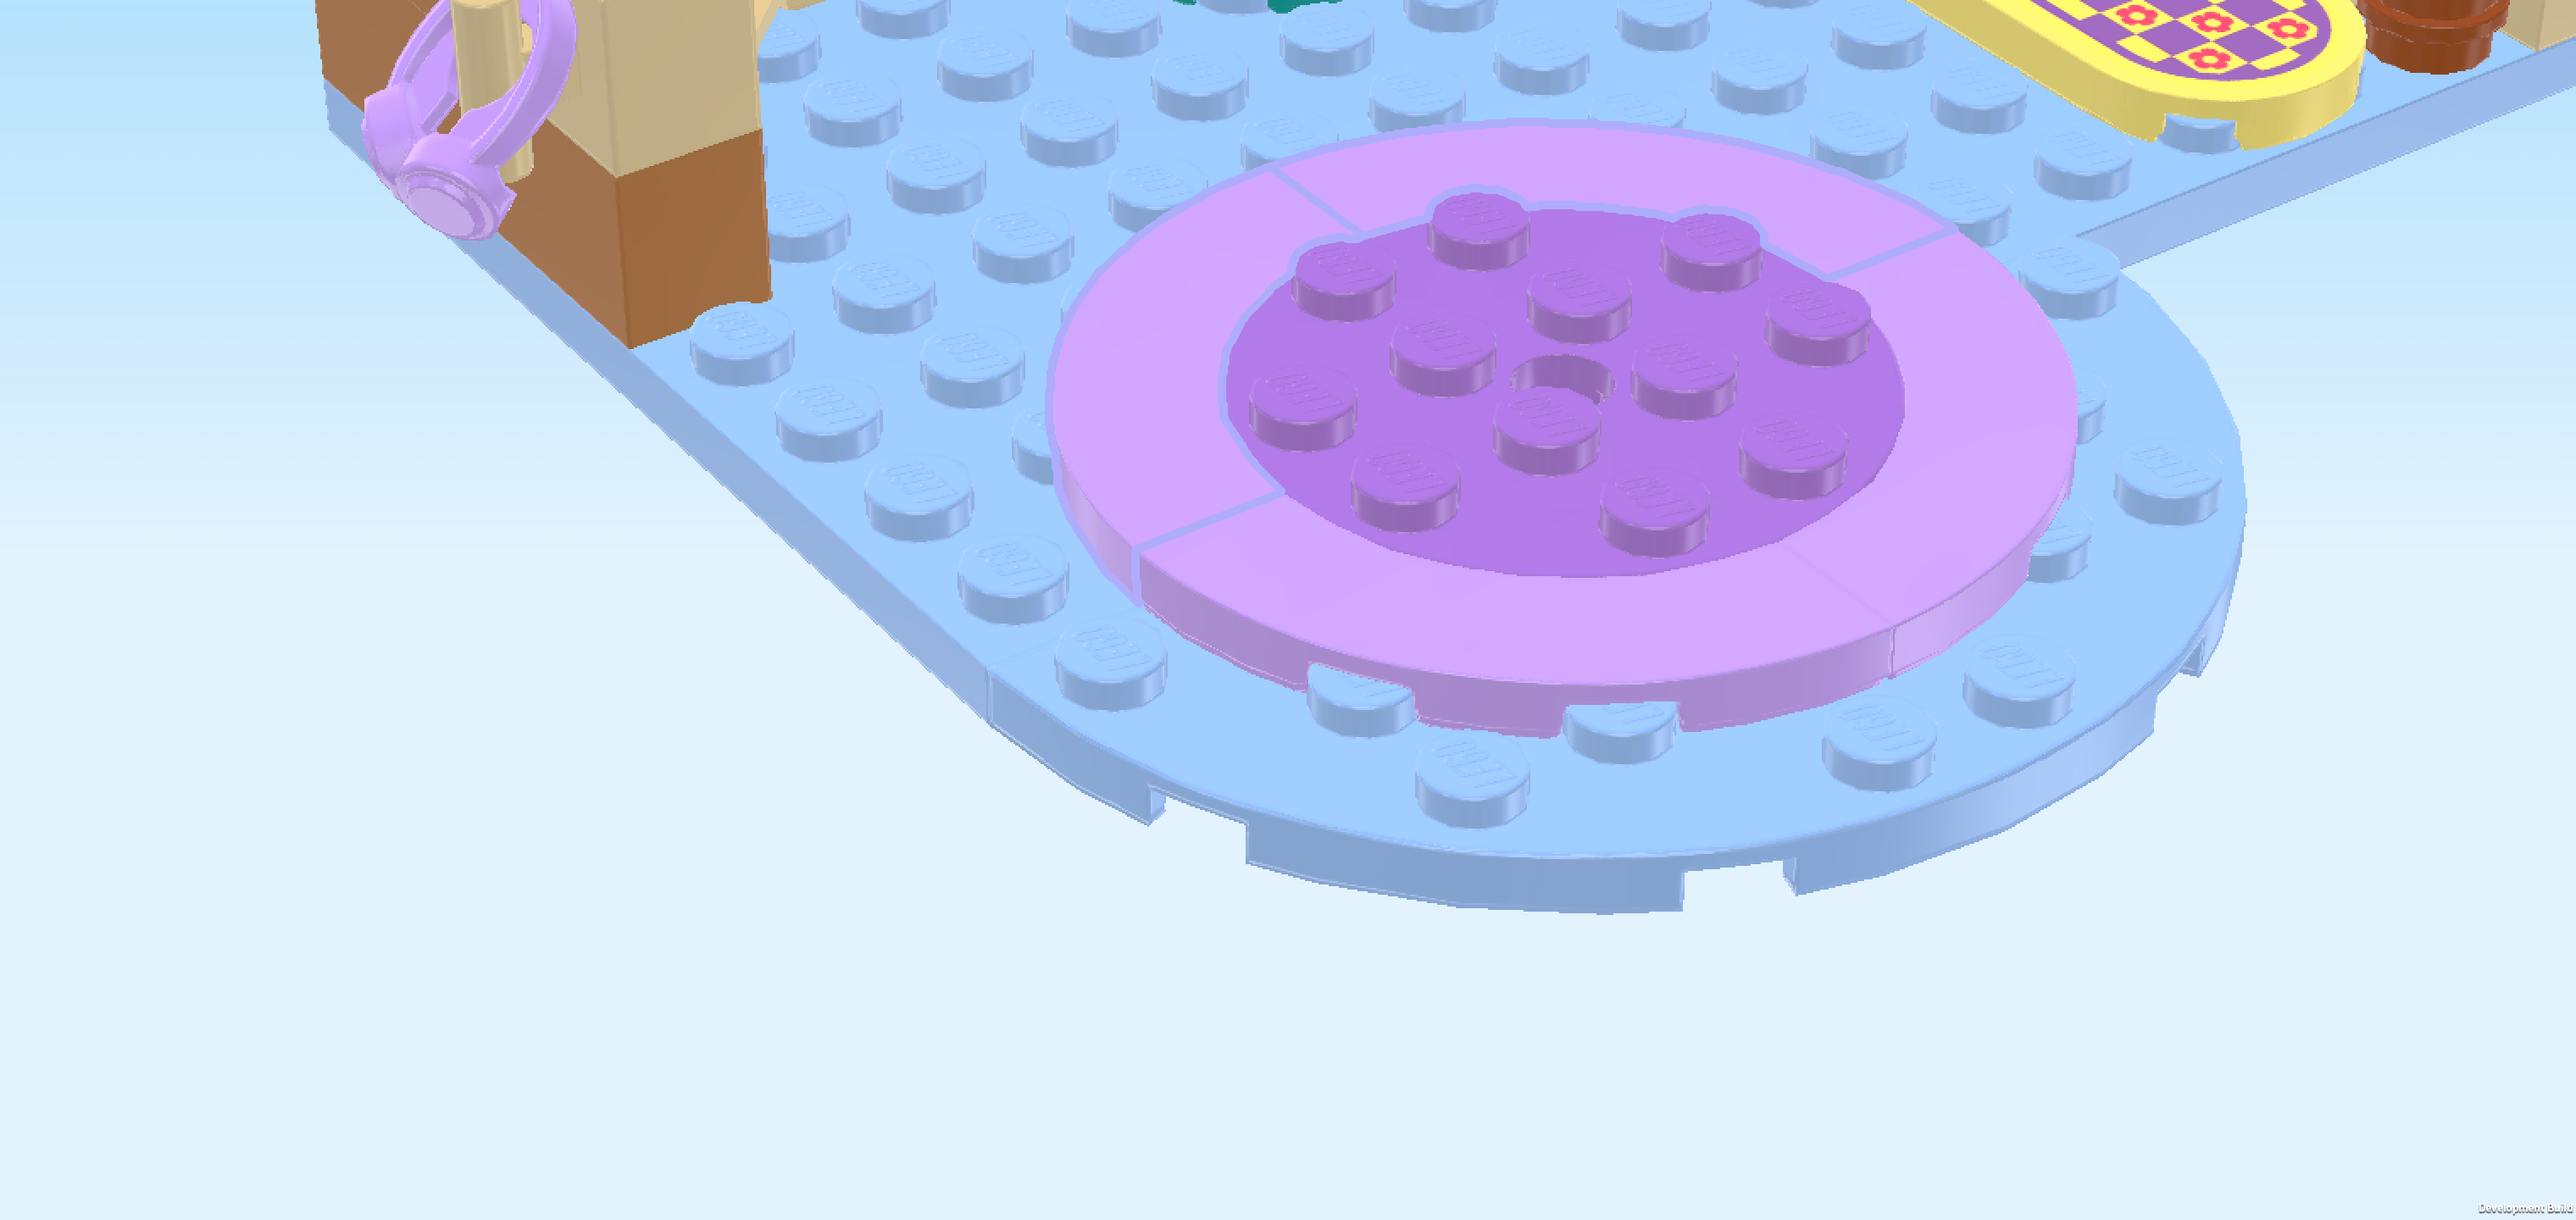
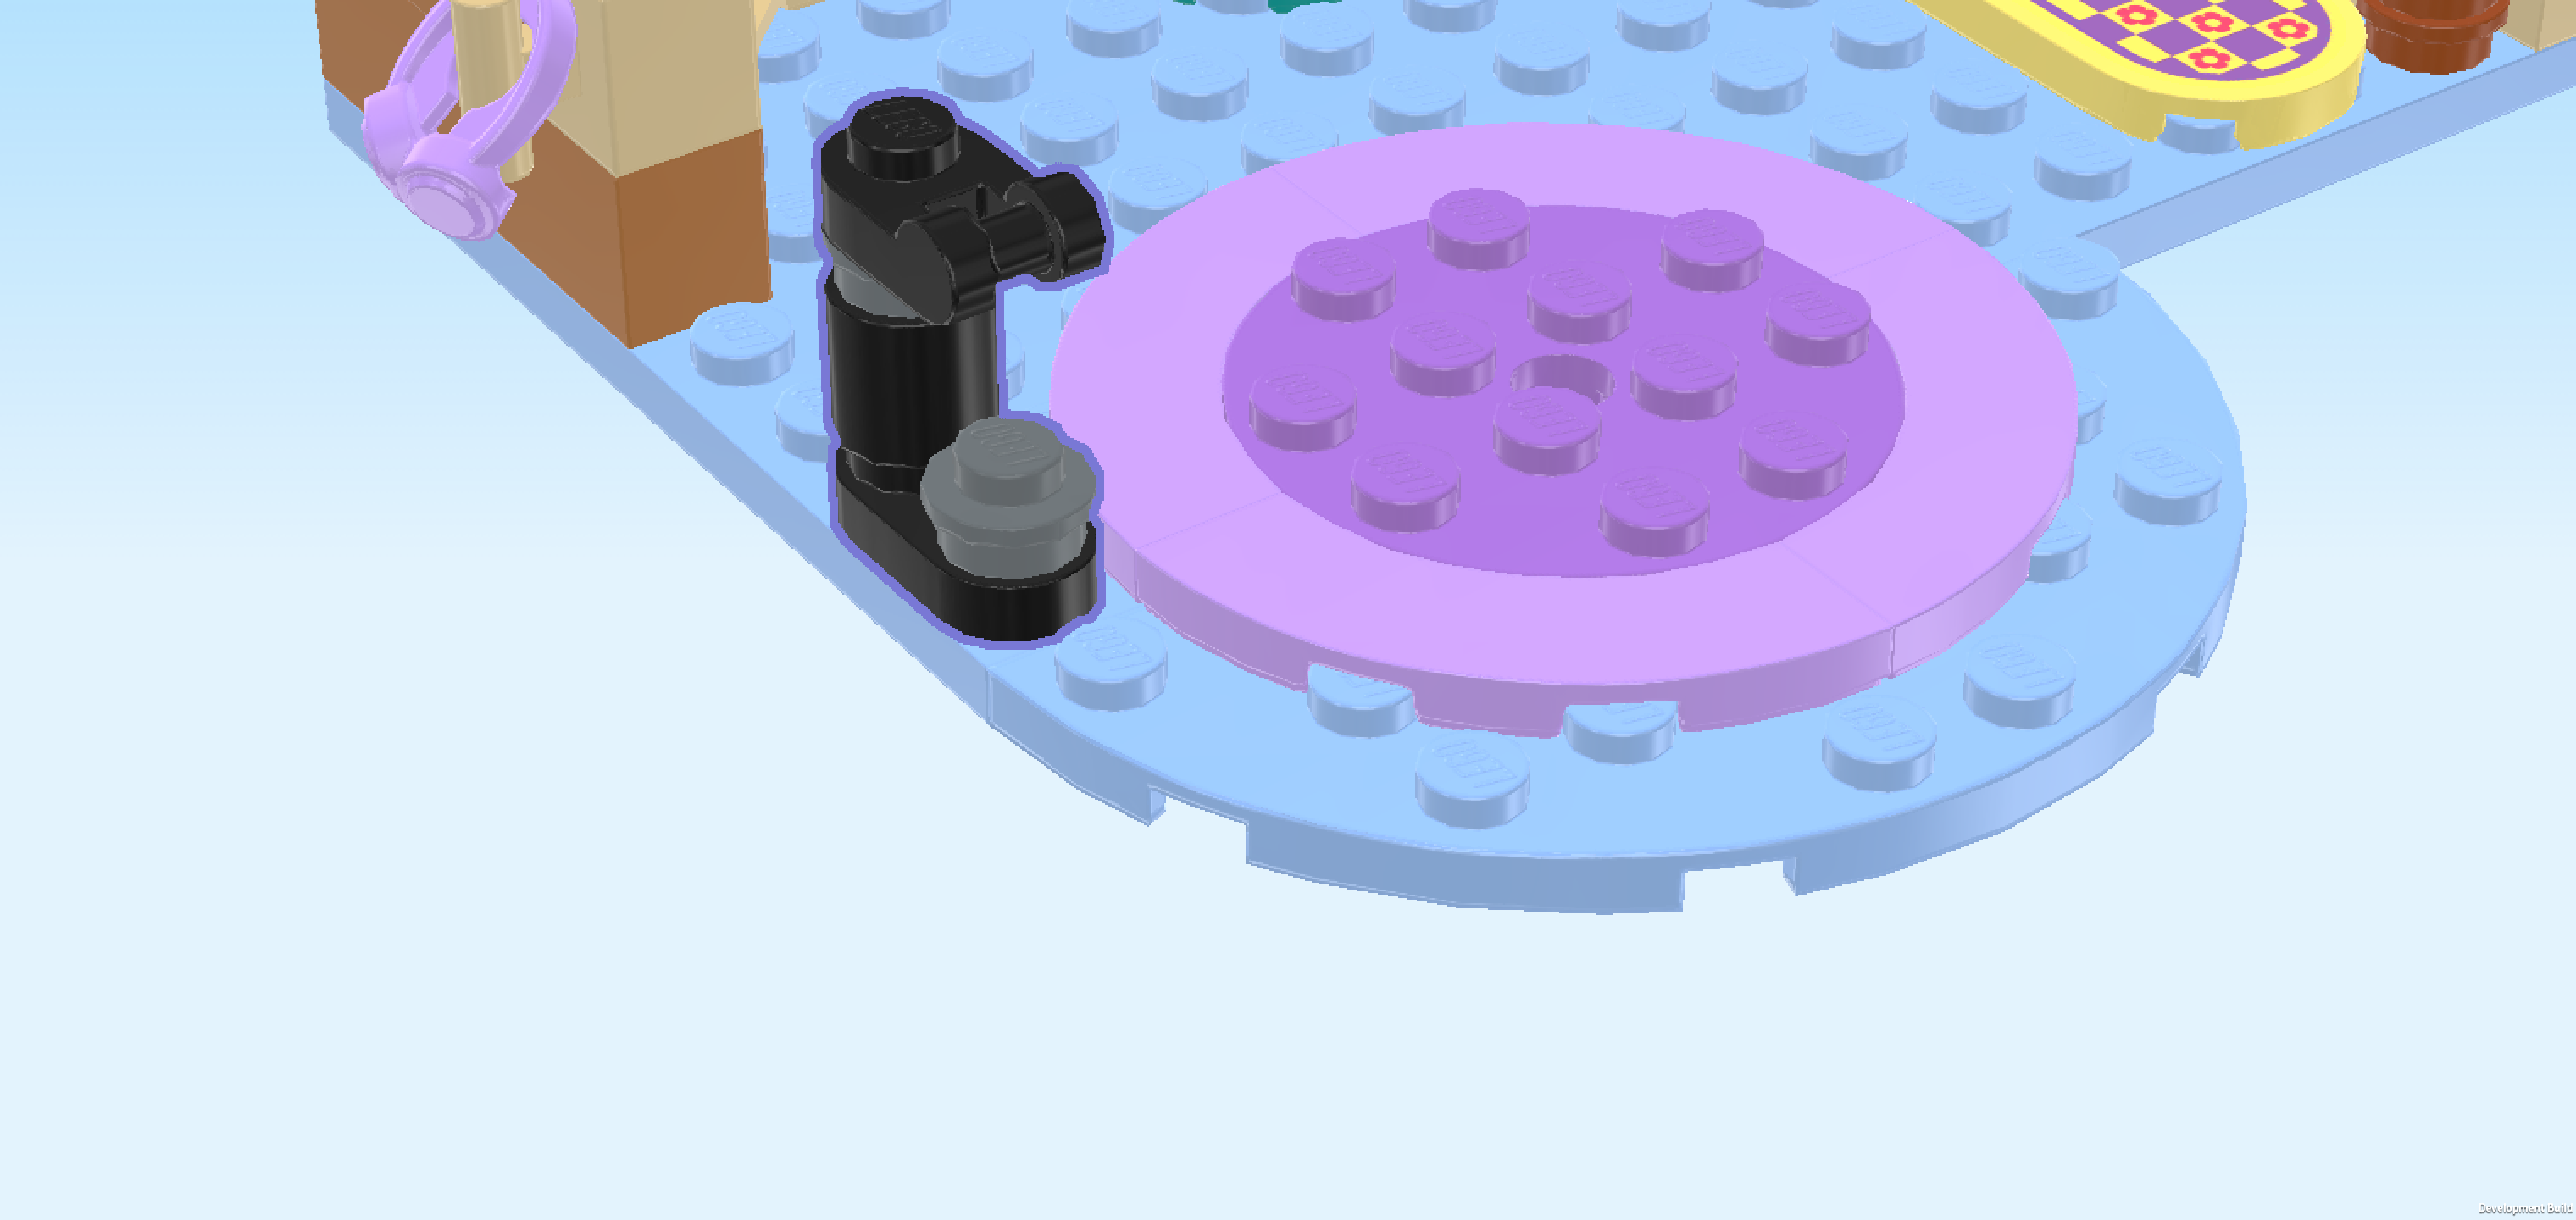
| Now, we will build the speaker. |
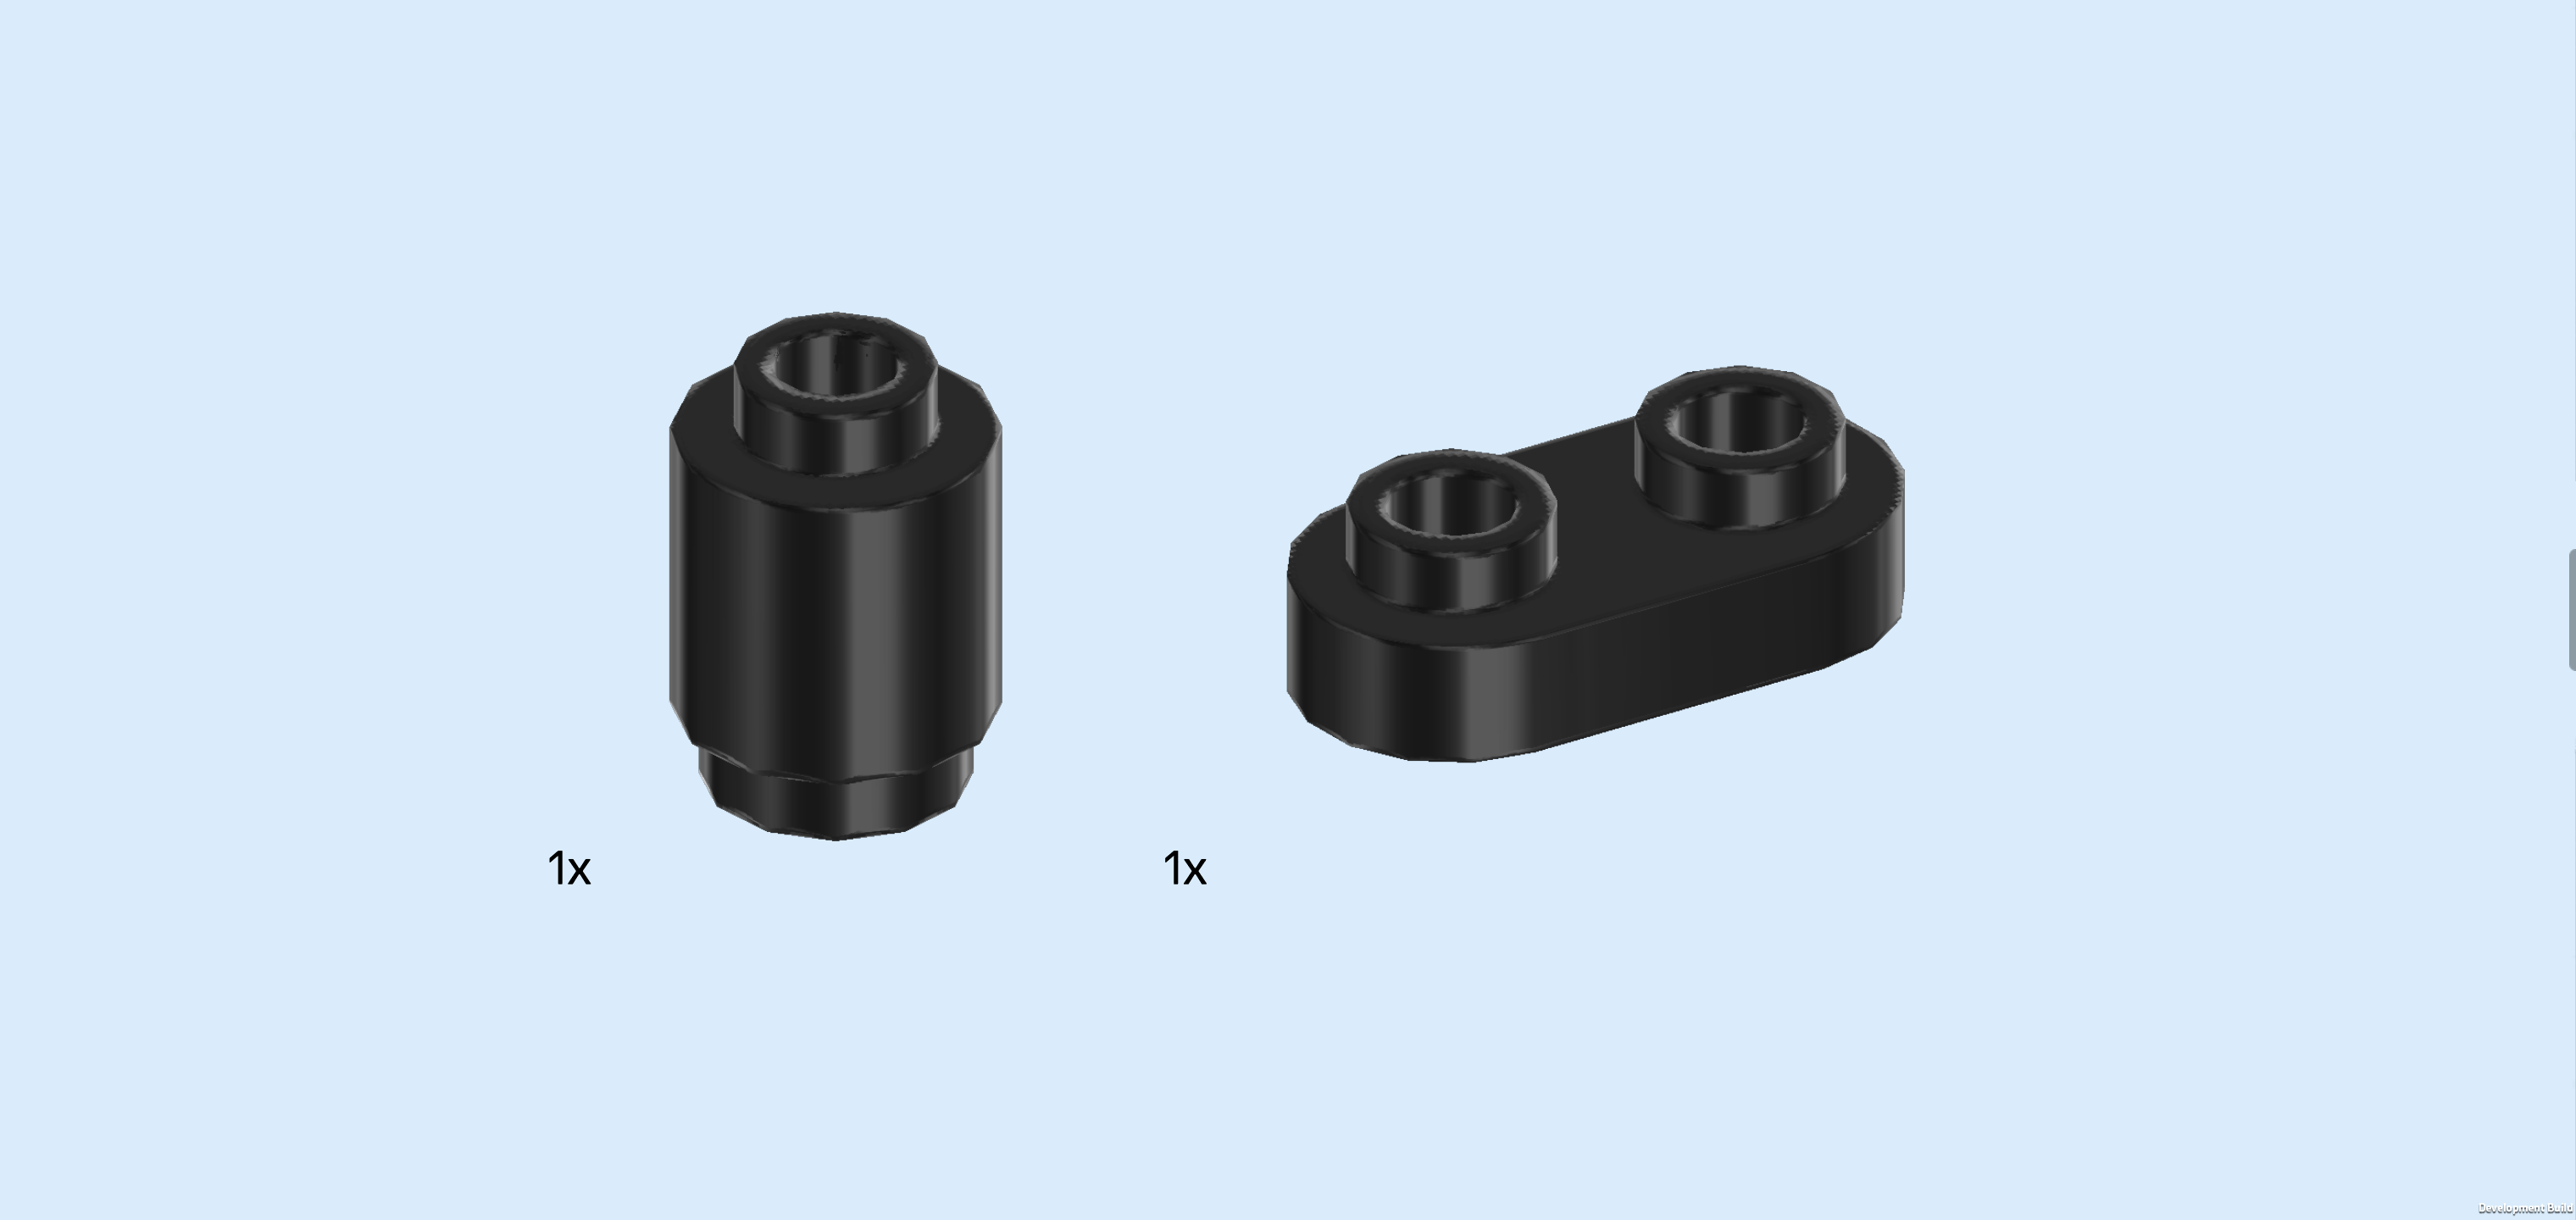
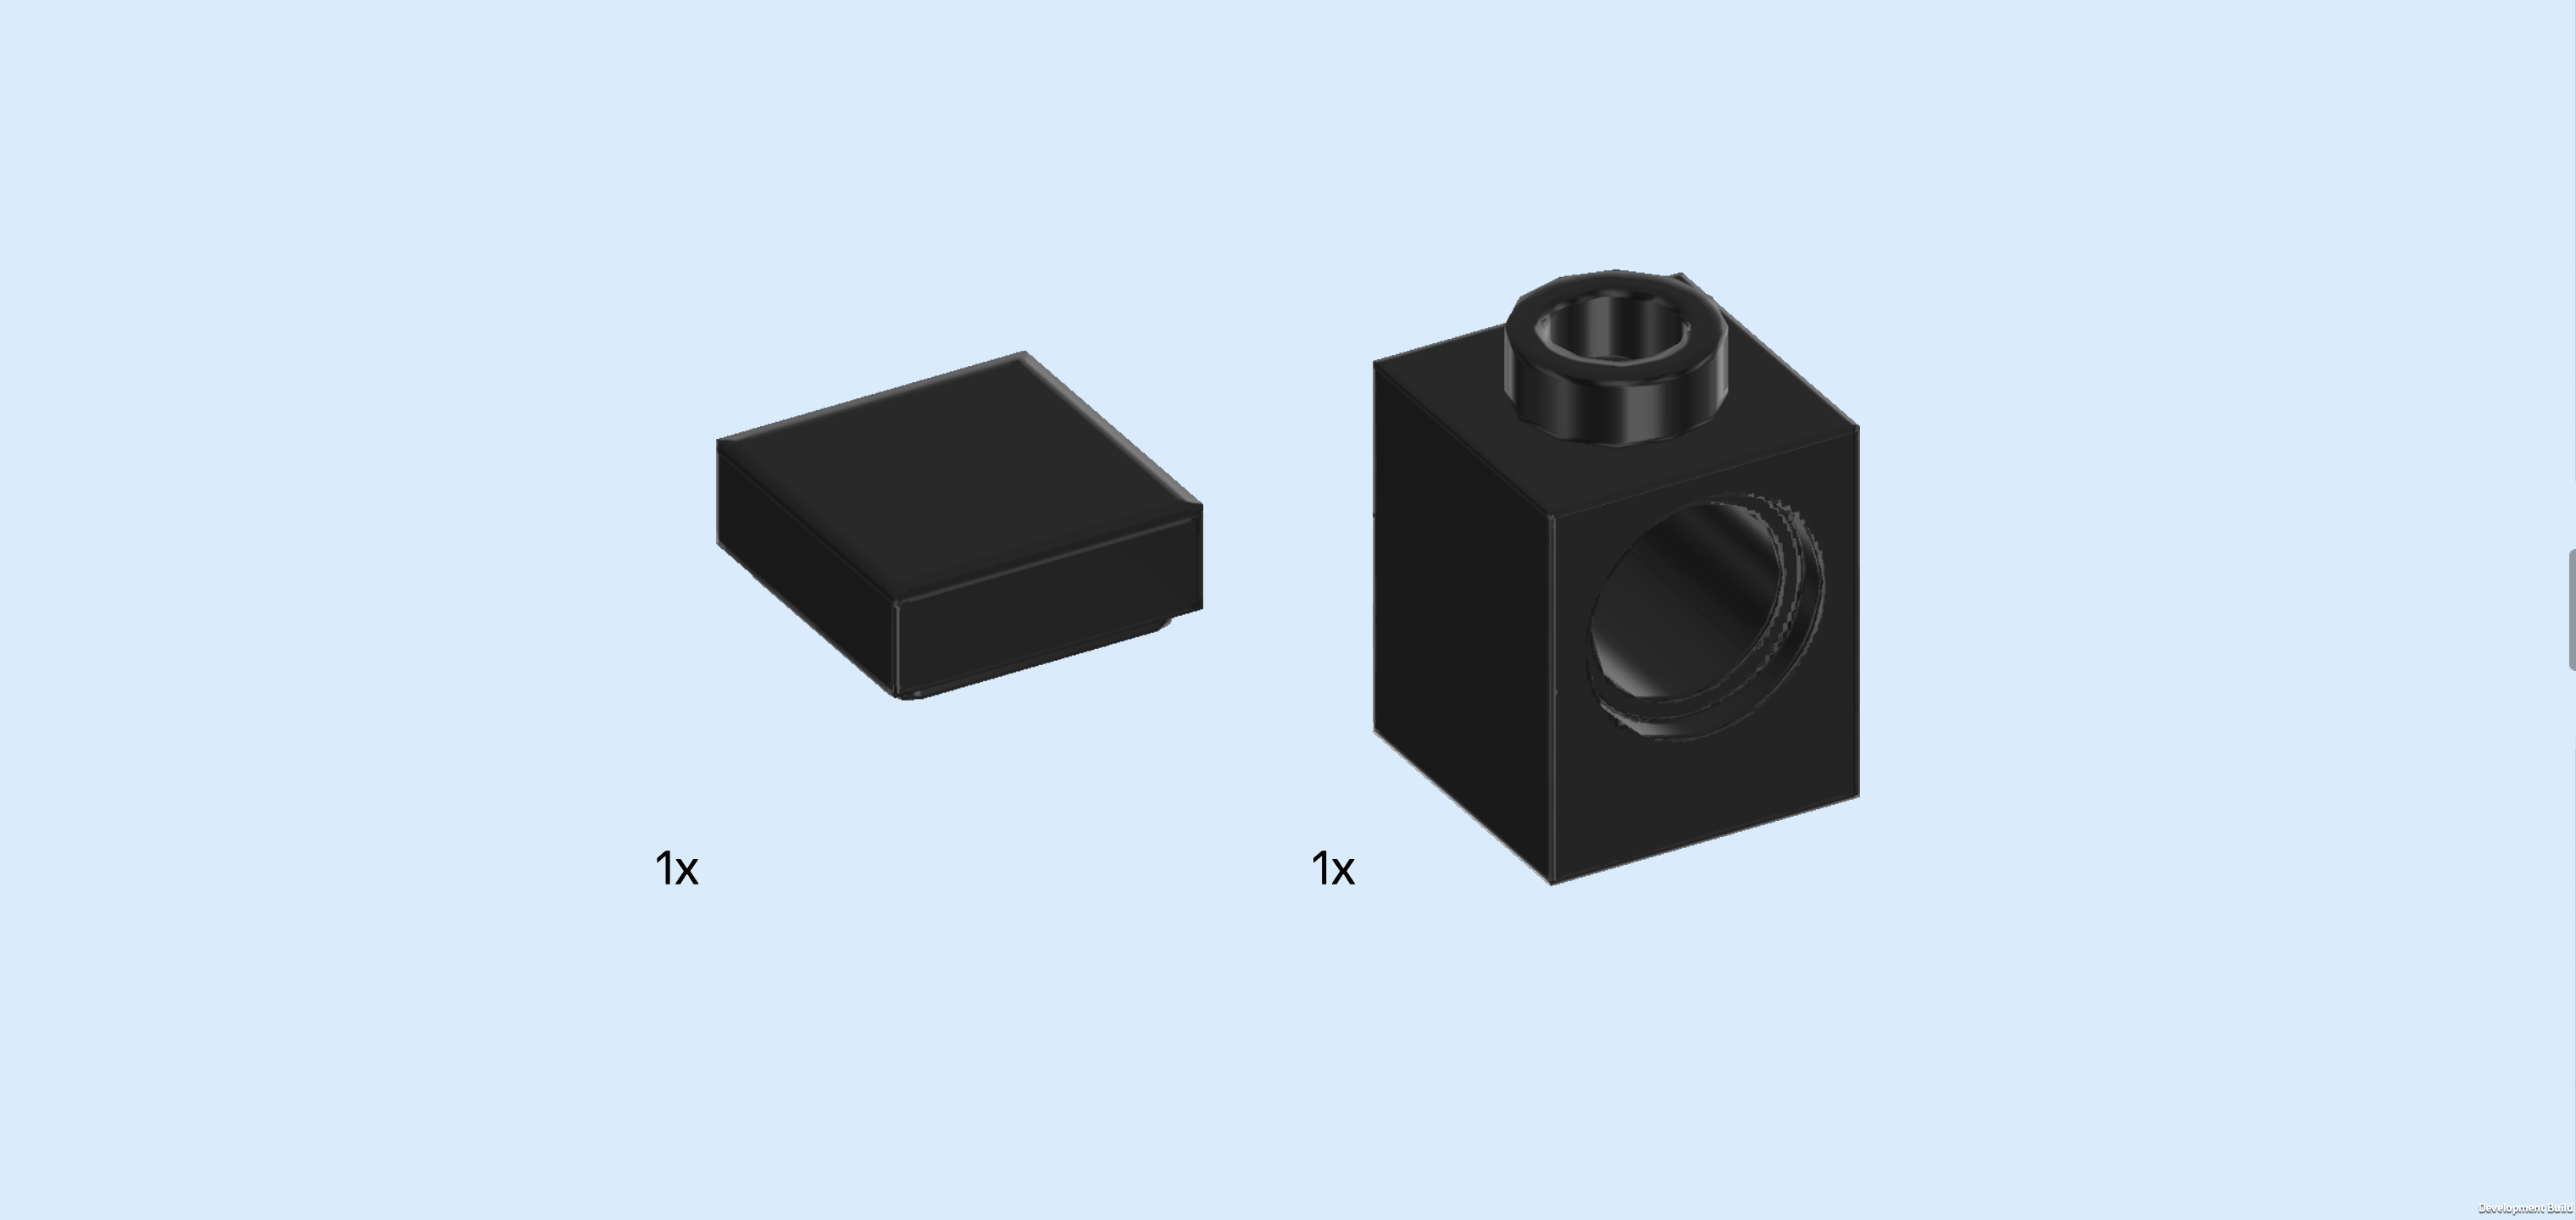
| Collect the following 2 pieces: |
| 1 black flat tile 1x1, |
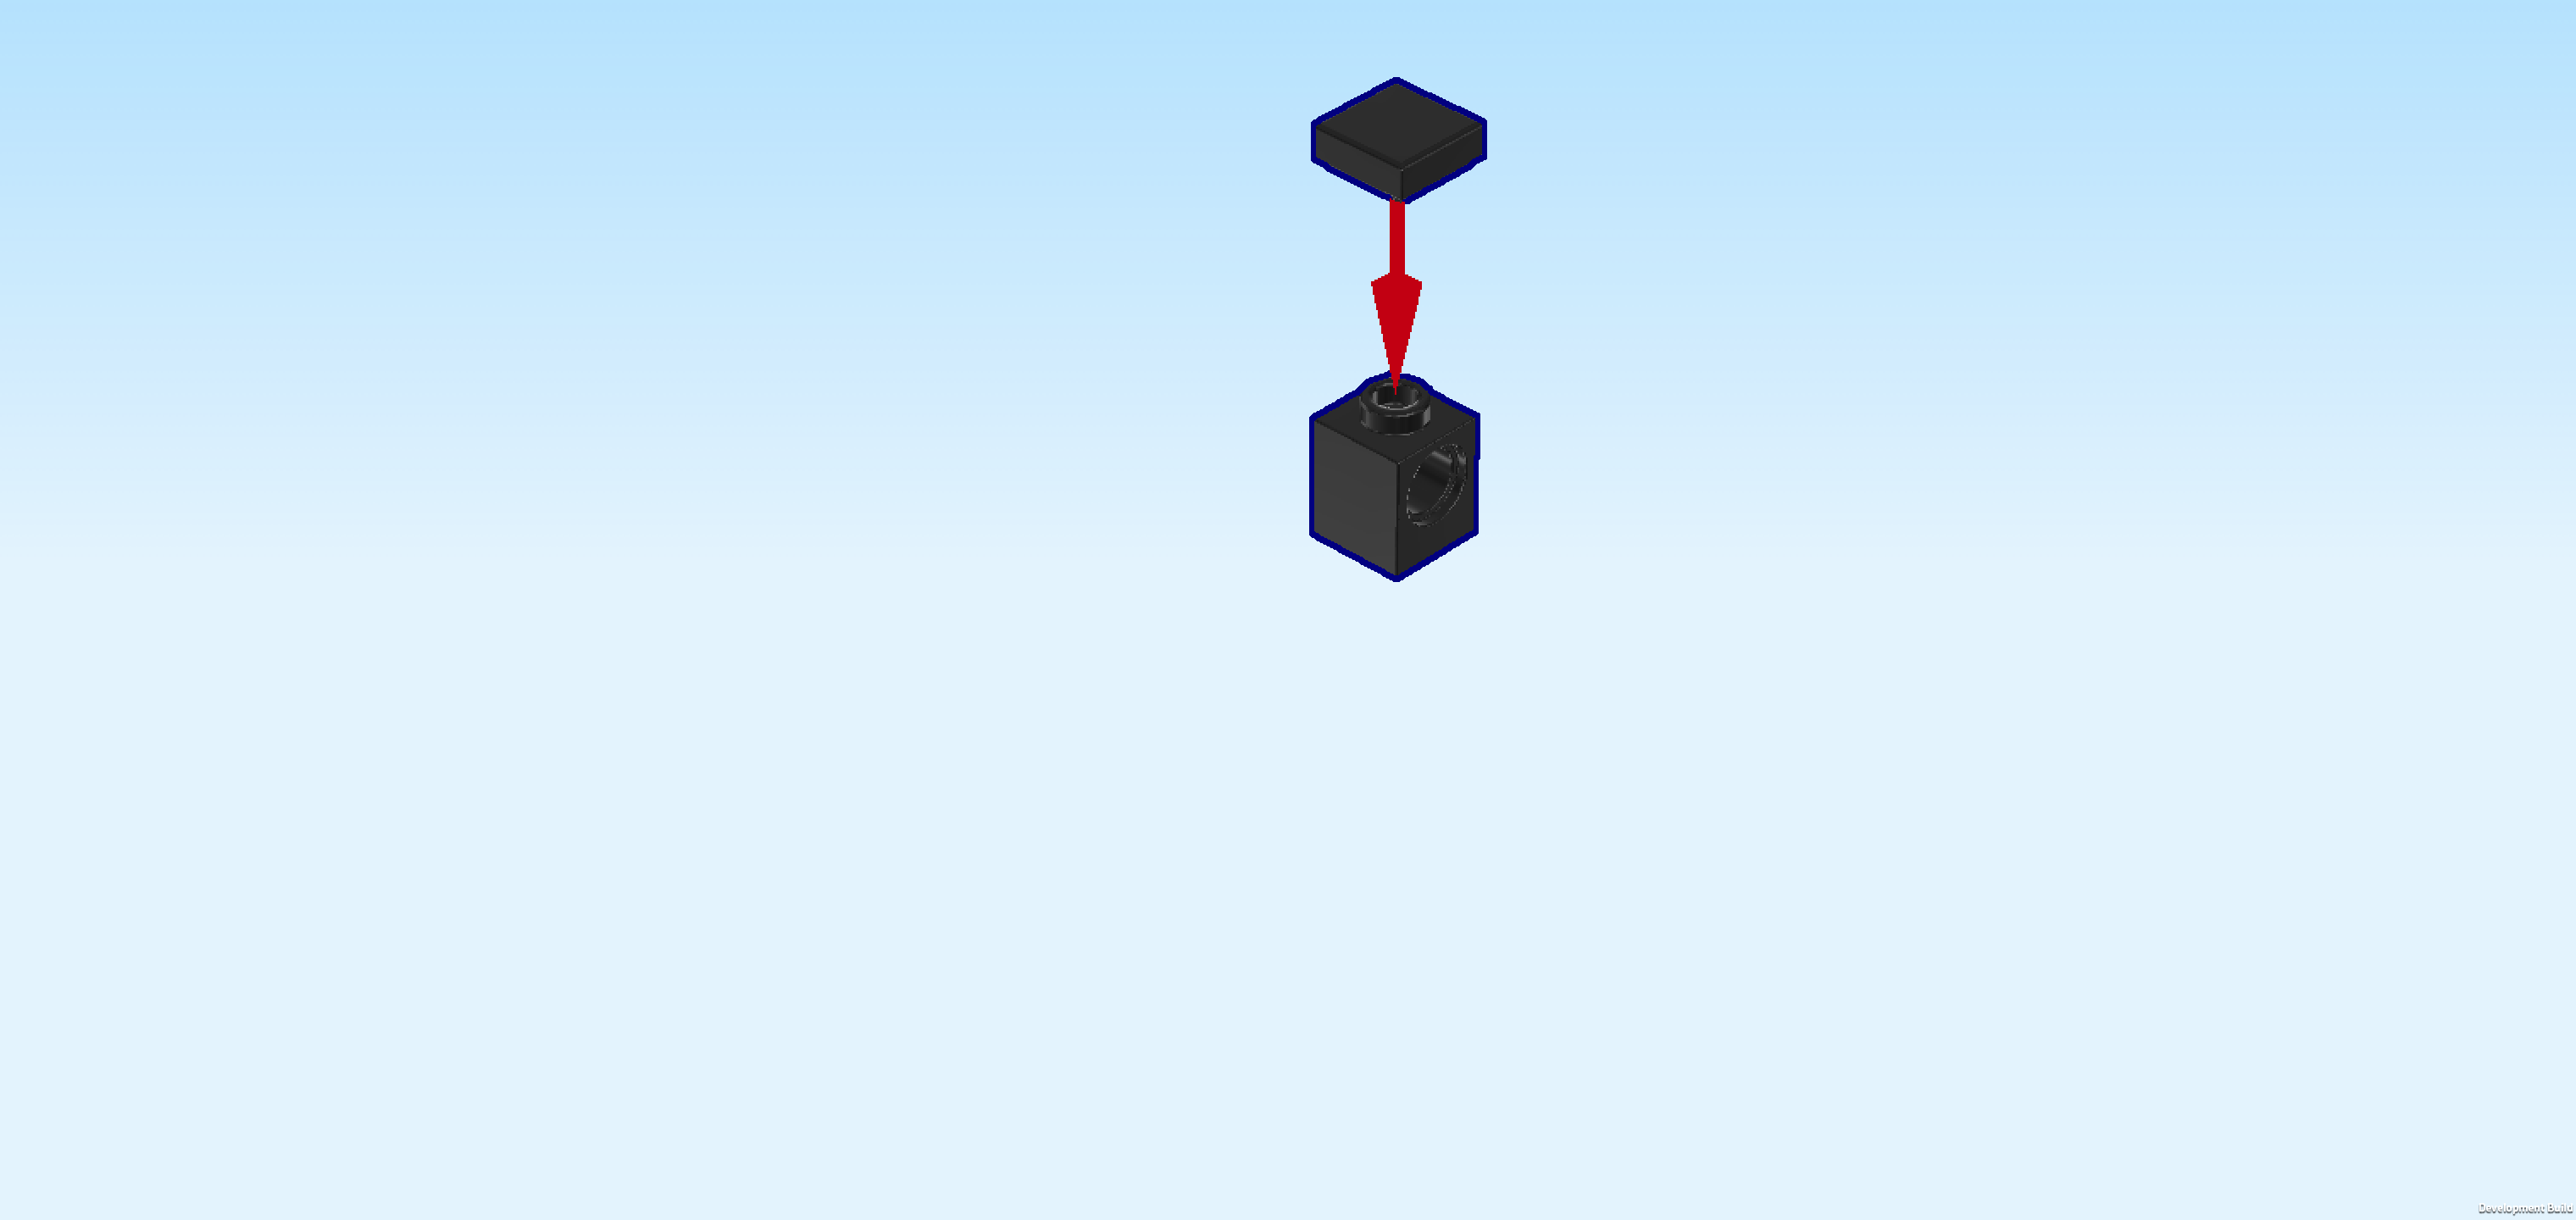
| and 1 black brick 1x1 with technic hole. |
| Put the brick 1x1 on the table, making sure that its hole is running from front to back, not from left to right. |
| Put the flat tile on top, aligning their shapes. |
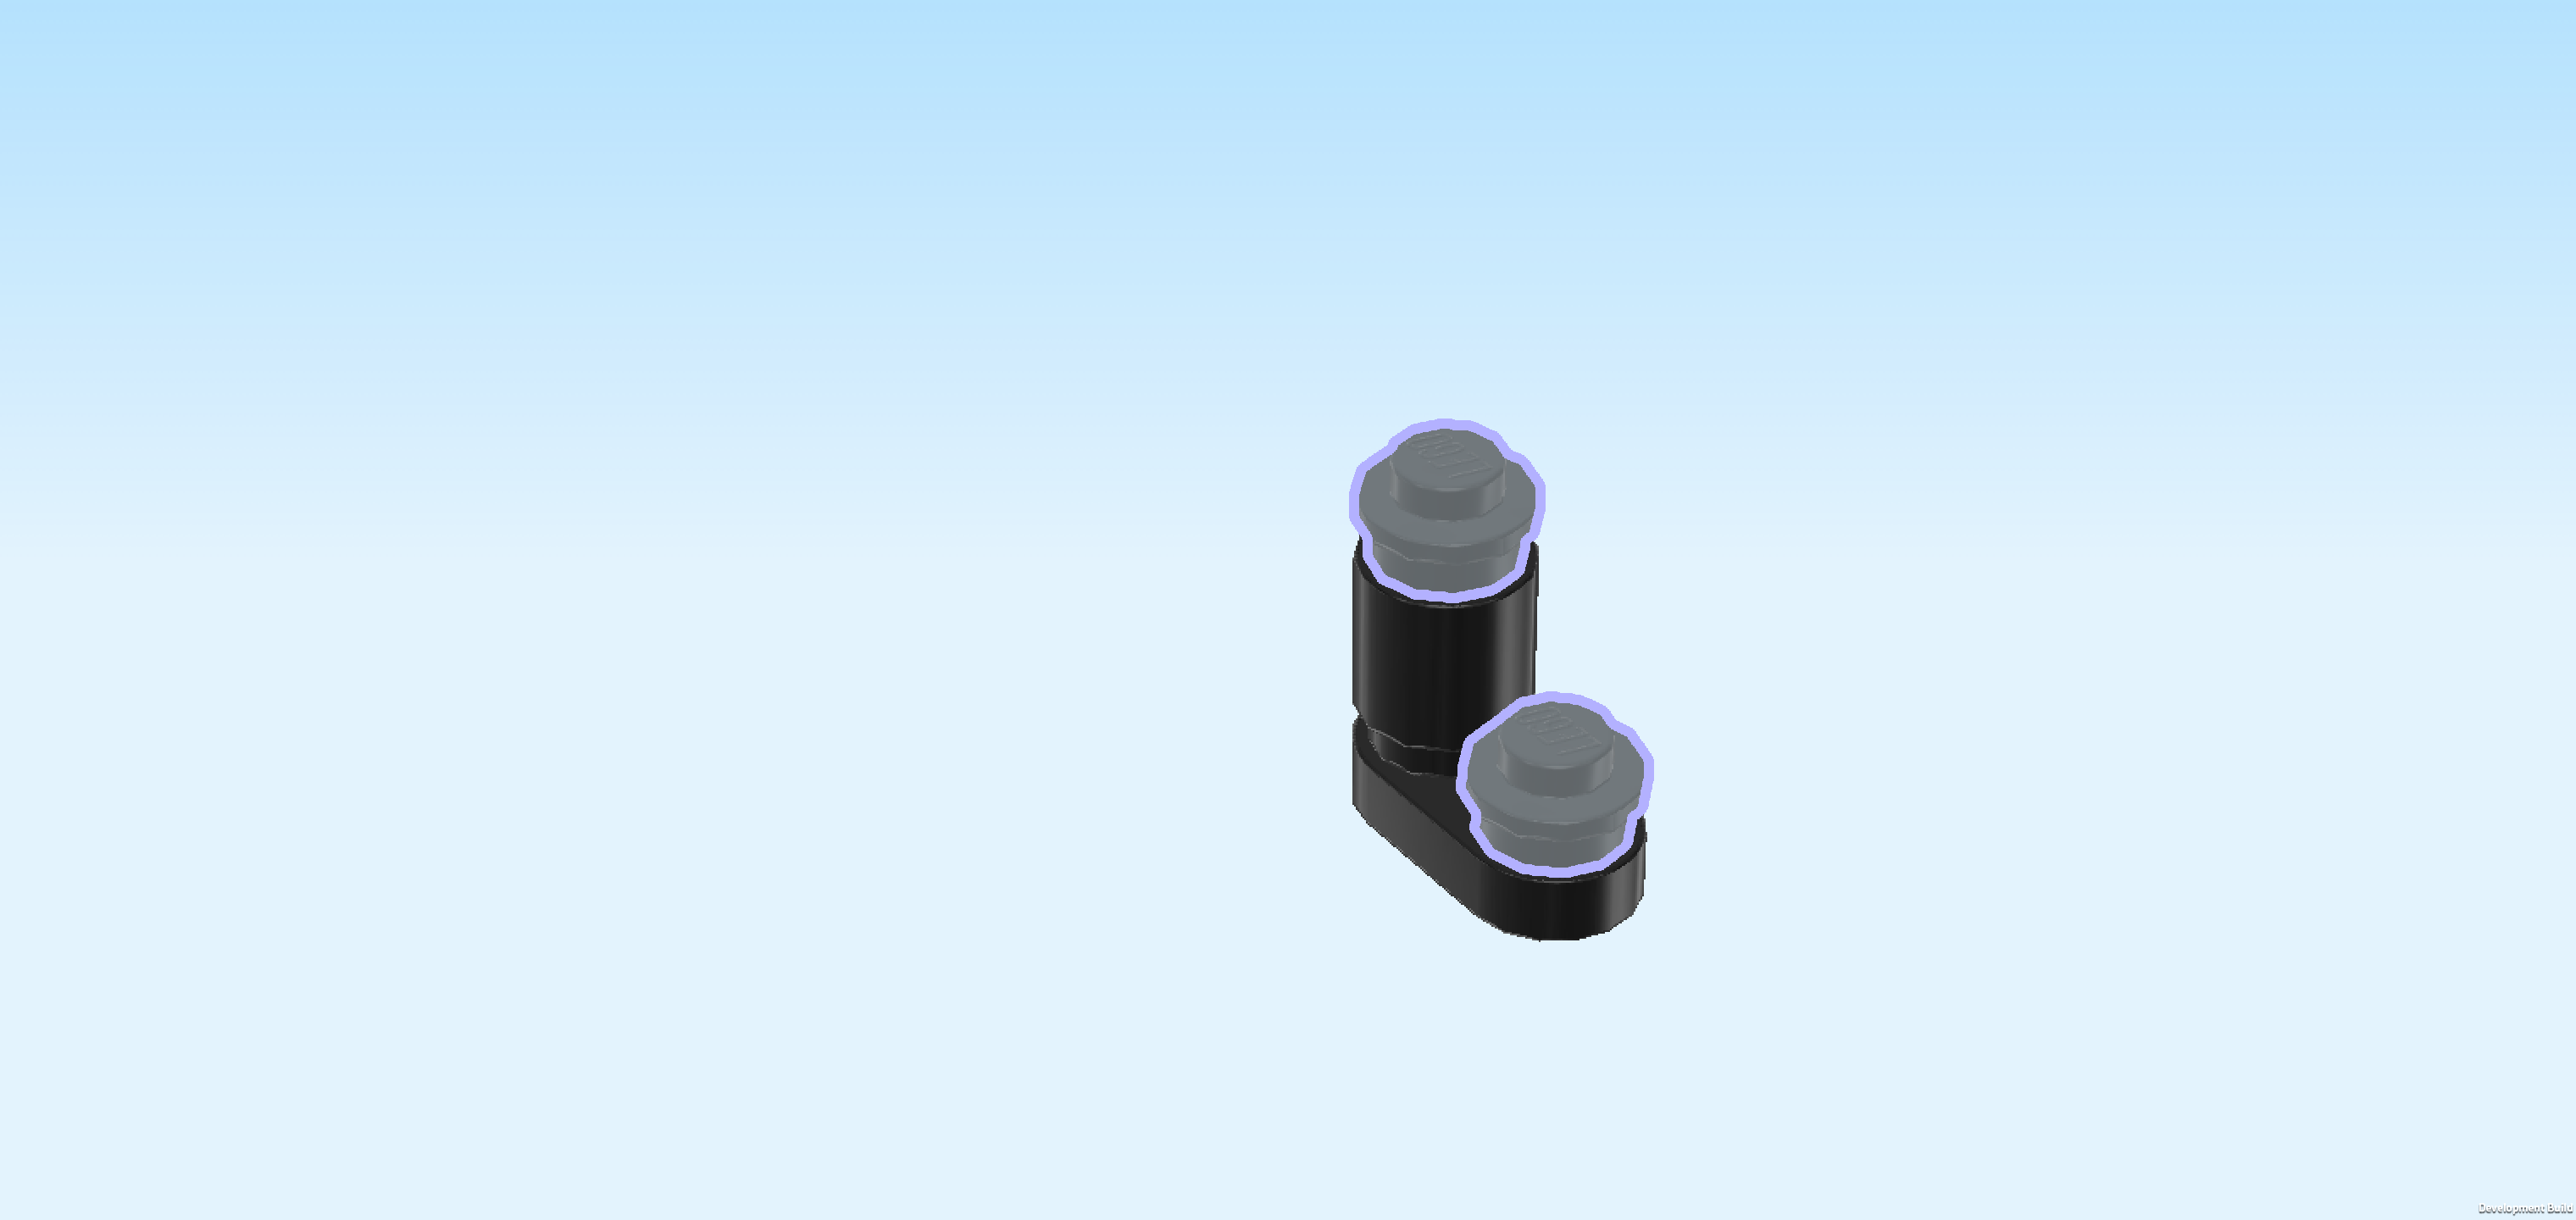
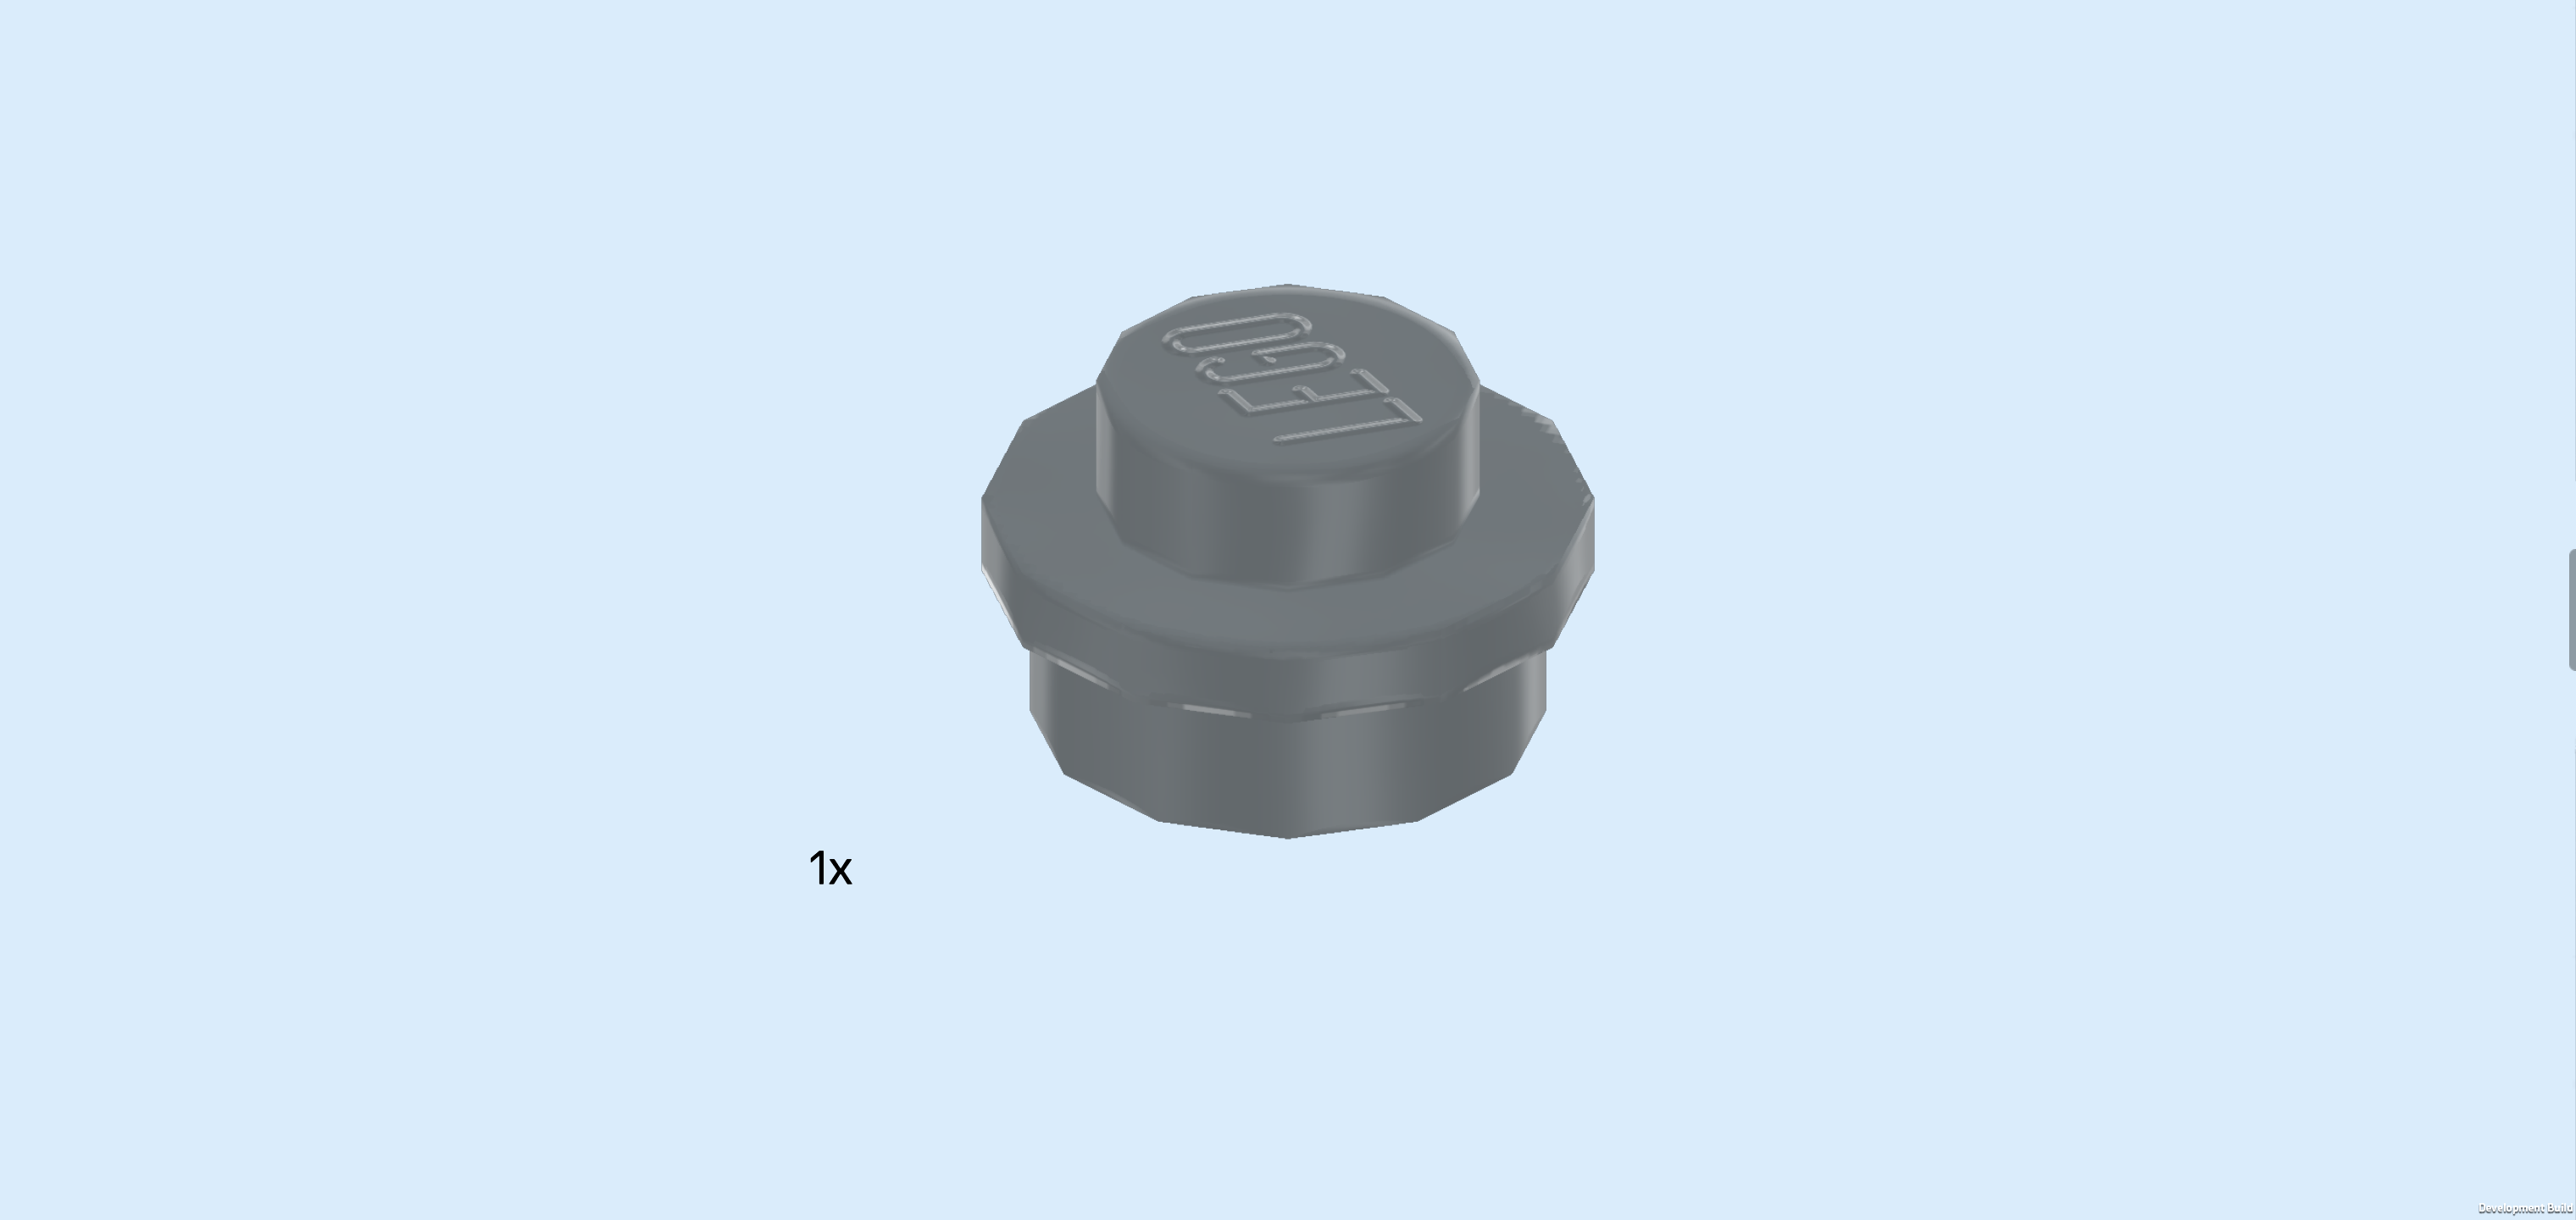
| Find 1 silver metallic round plate 1x1. |
| Flip it upright, knob pointing to the back, and then insert the knob into the brick's hole from the front. |
| Find 1 black Minifigure telescope 1x1x1½ with knob. |
| Hold it so that the thicker end is towards the bottom, and then mount the speaker structure on top of the telescope piece. |
| The speaker is finished! Great job! Mount it directly to the right of the 6x6 soft rug. Use the knob that is part of the front row of the base plate 8x16. If done correctly, there will be one empty knob to its right and 1 empty knob directly in front of it. |
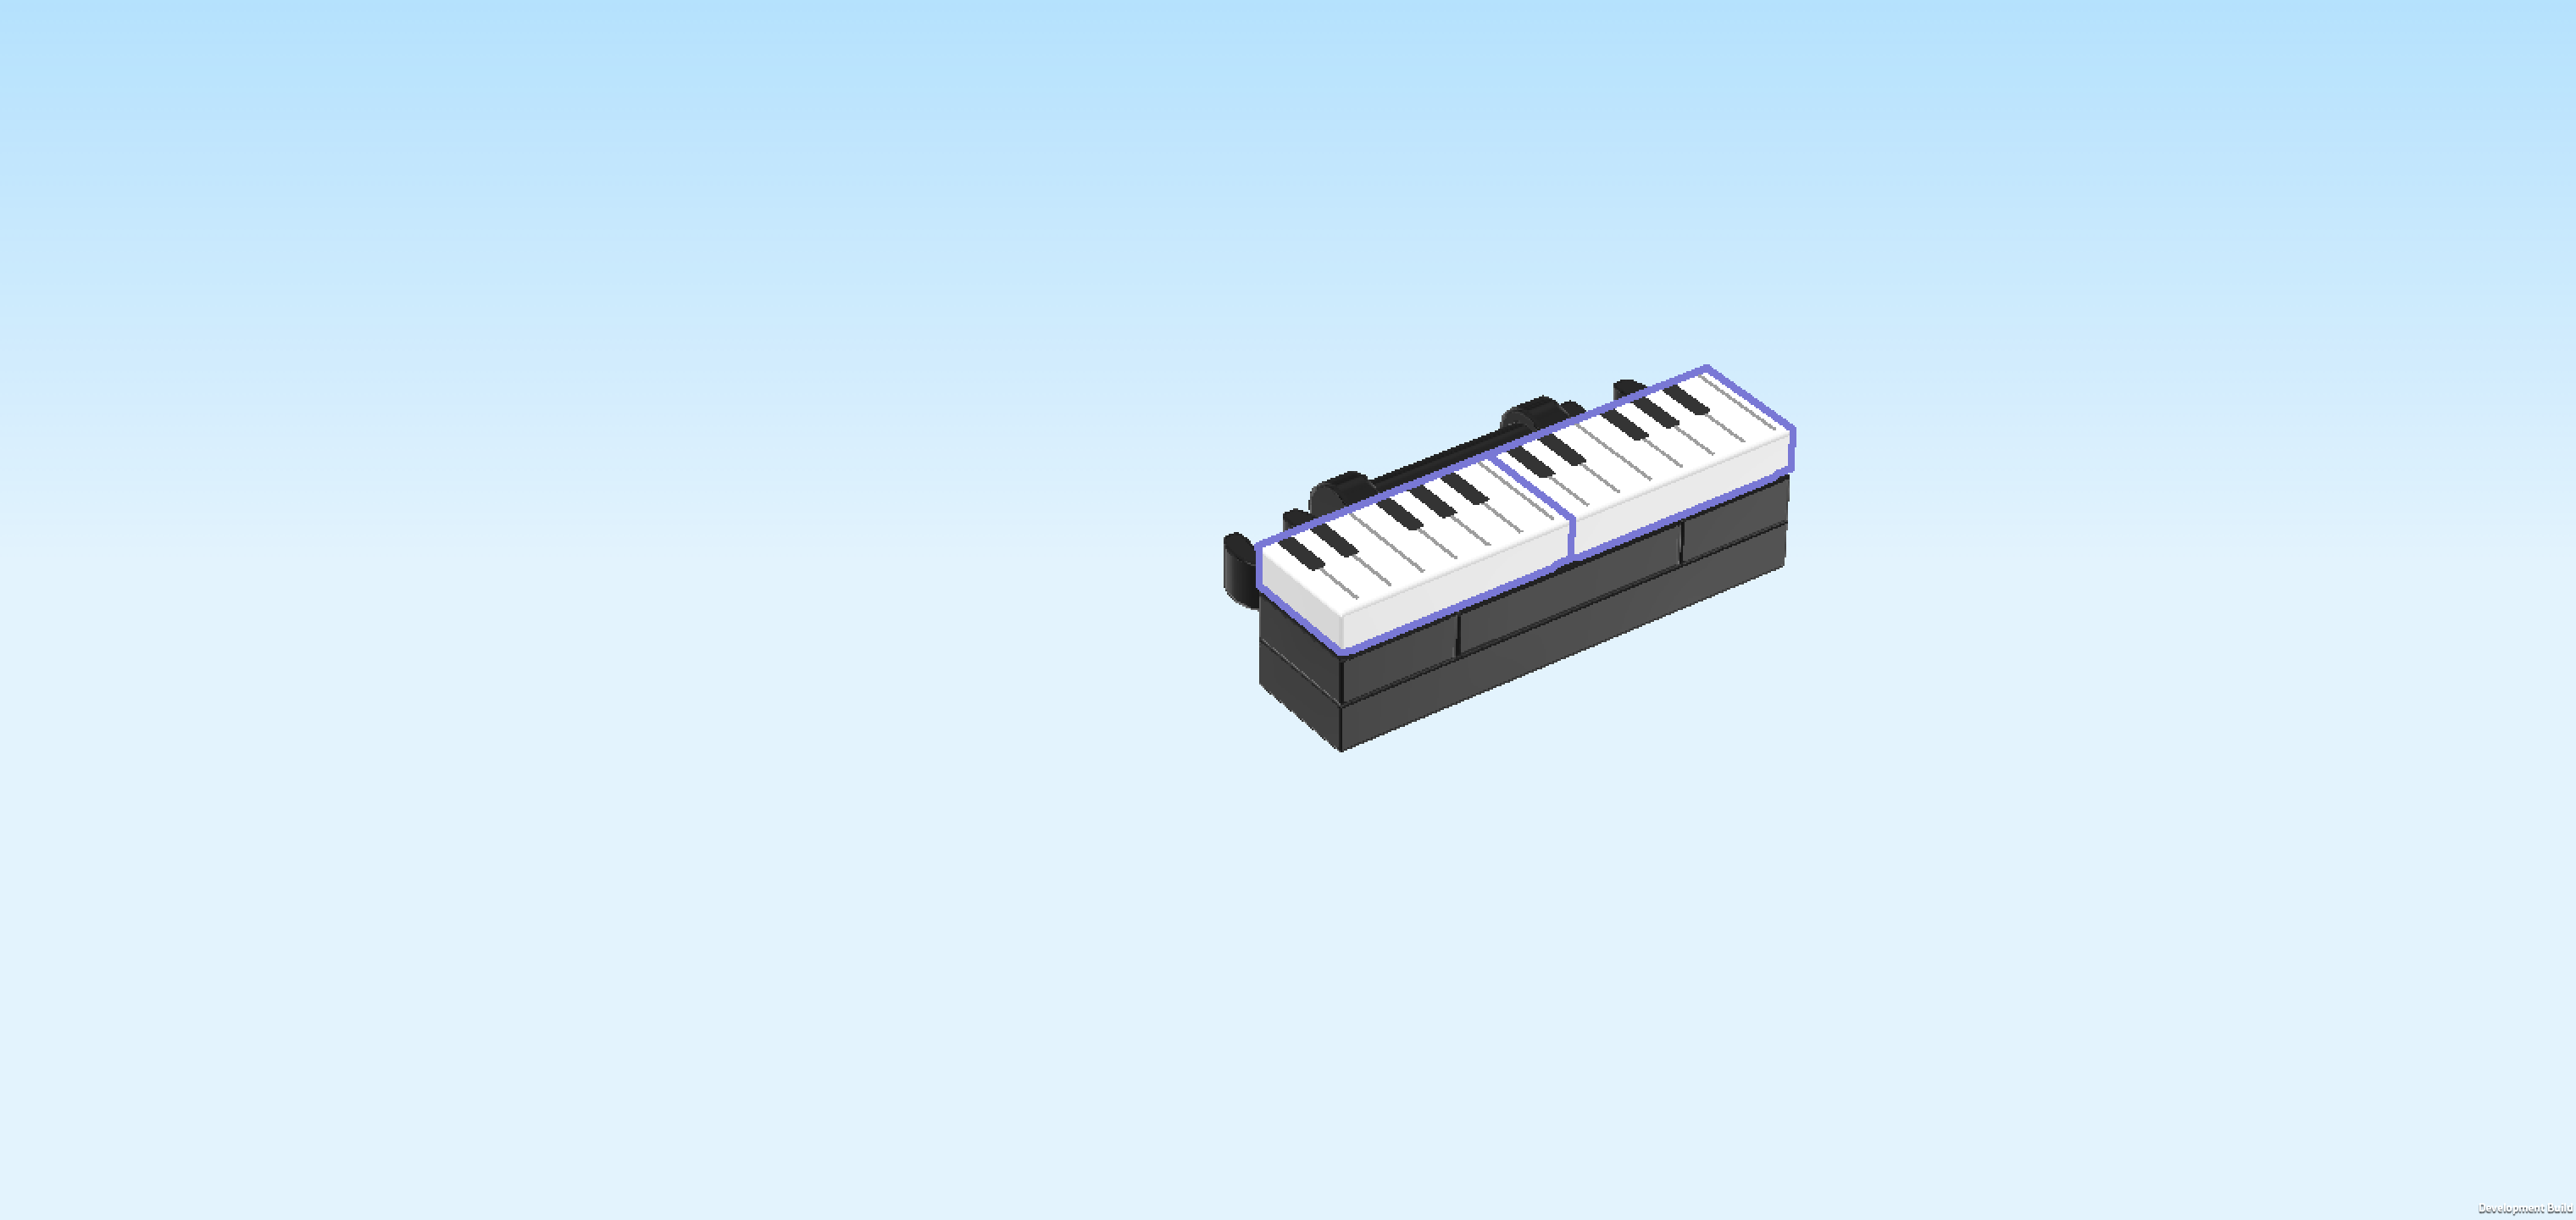
| Now, we will build the piano. |
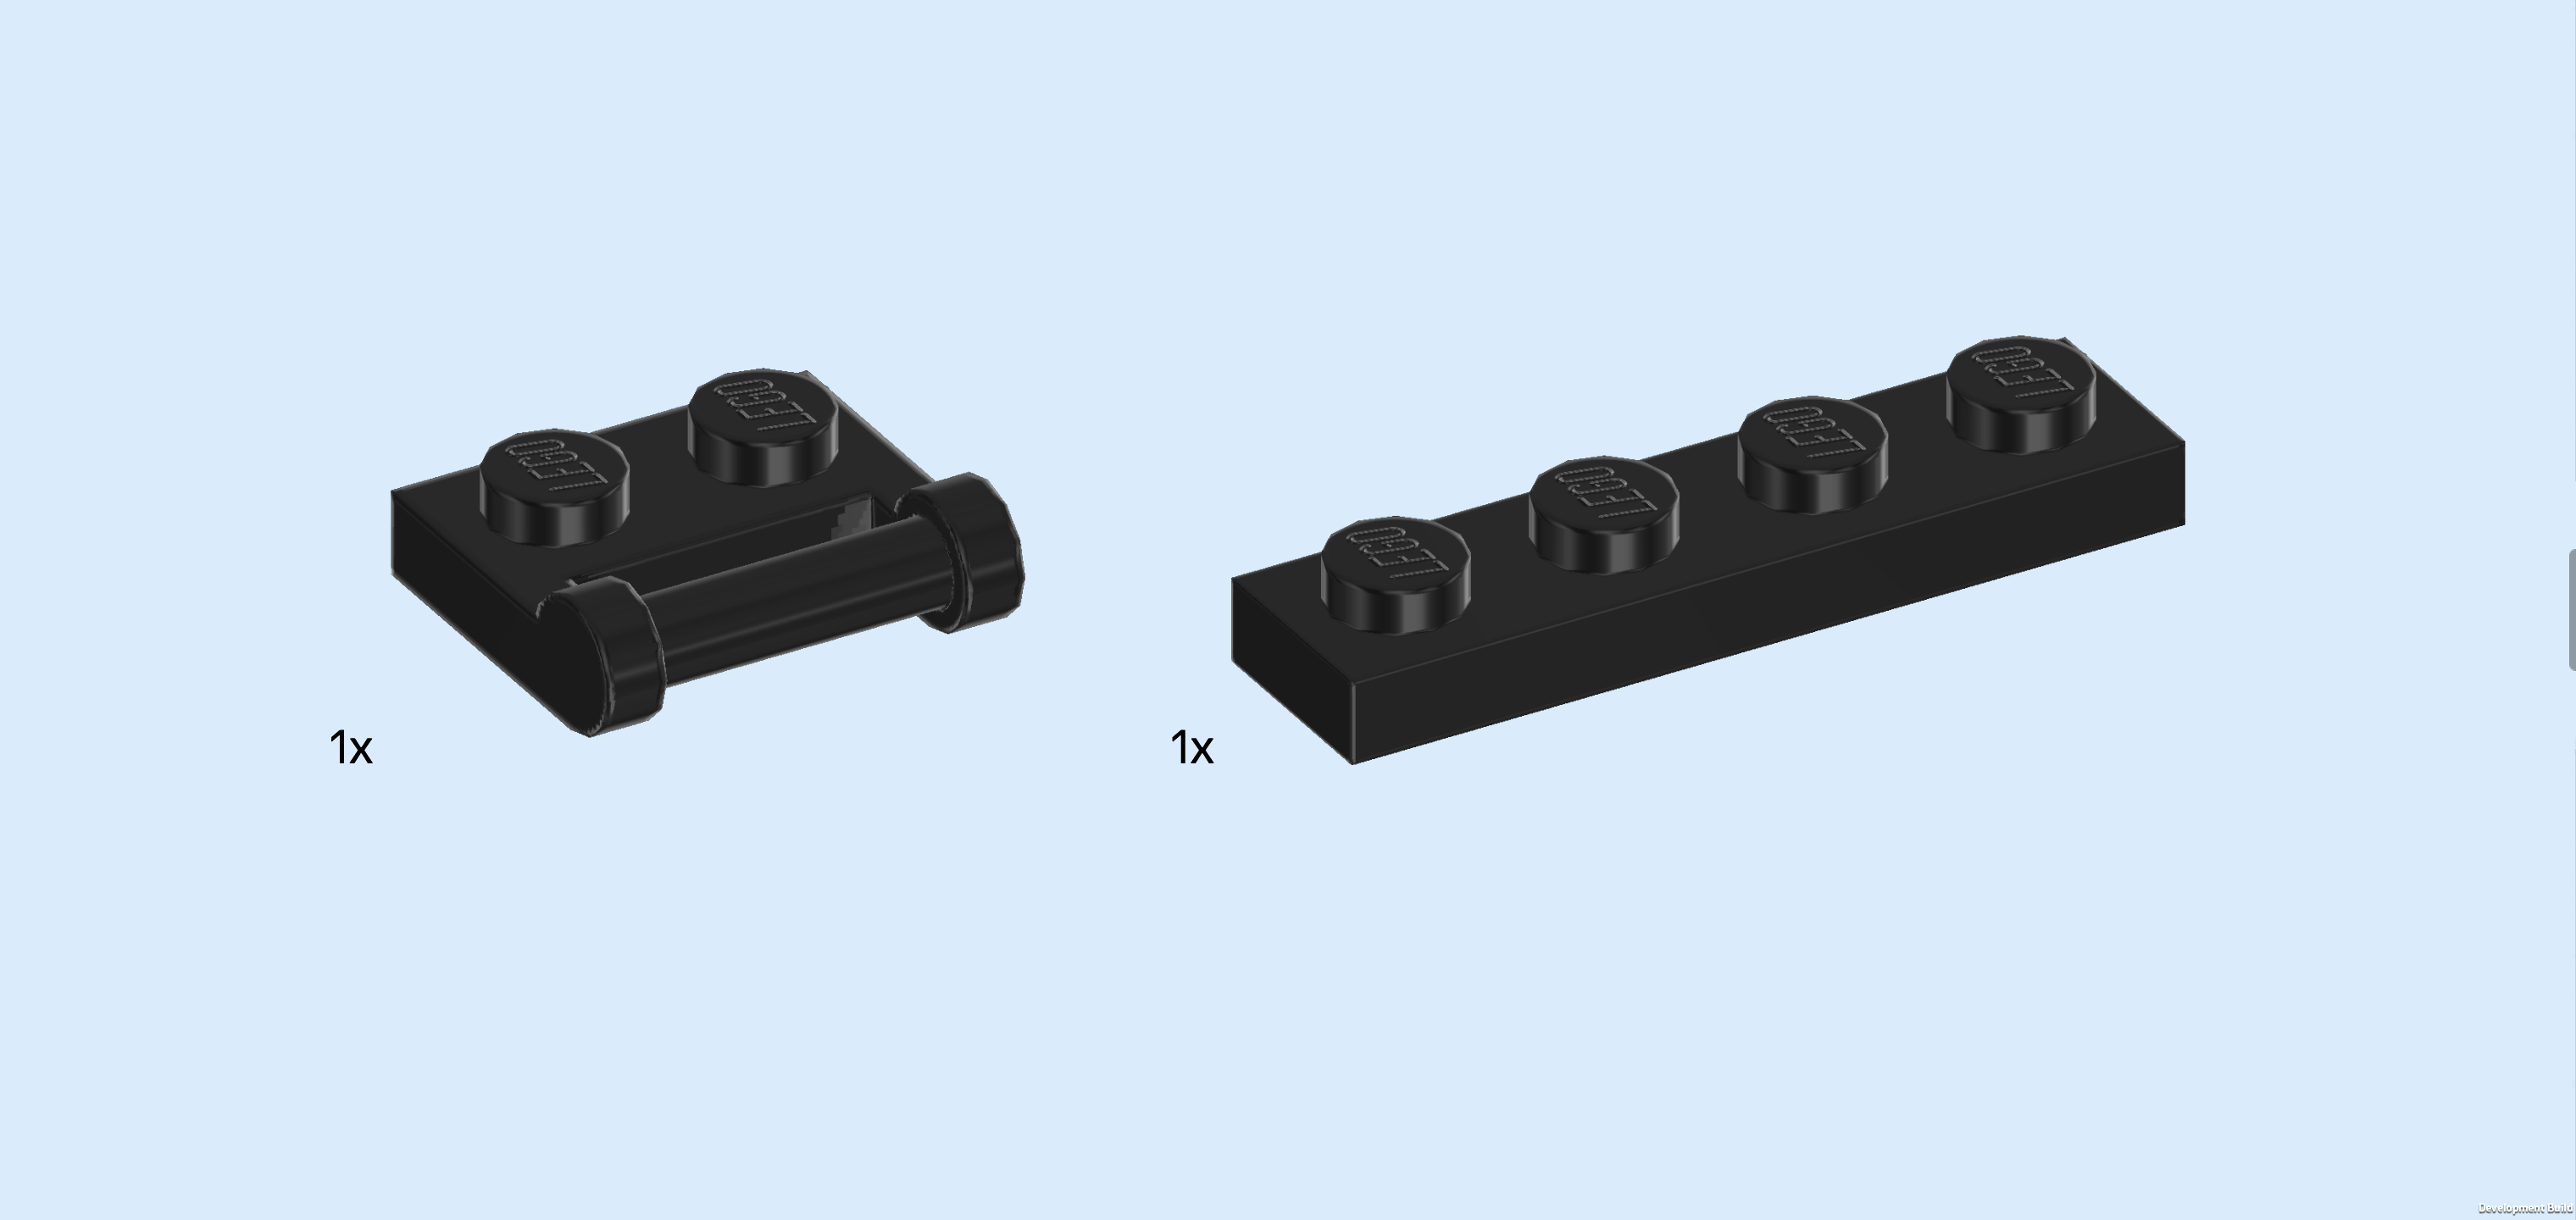
| Collect the following 2 pieces: |
| 1 black plate 1x2 with handle on long side, |
| and 1 black plate 1x4. |
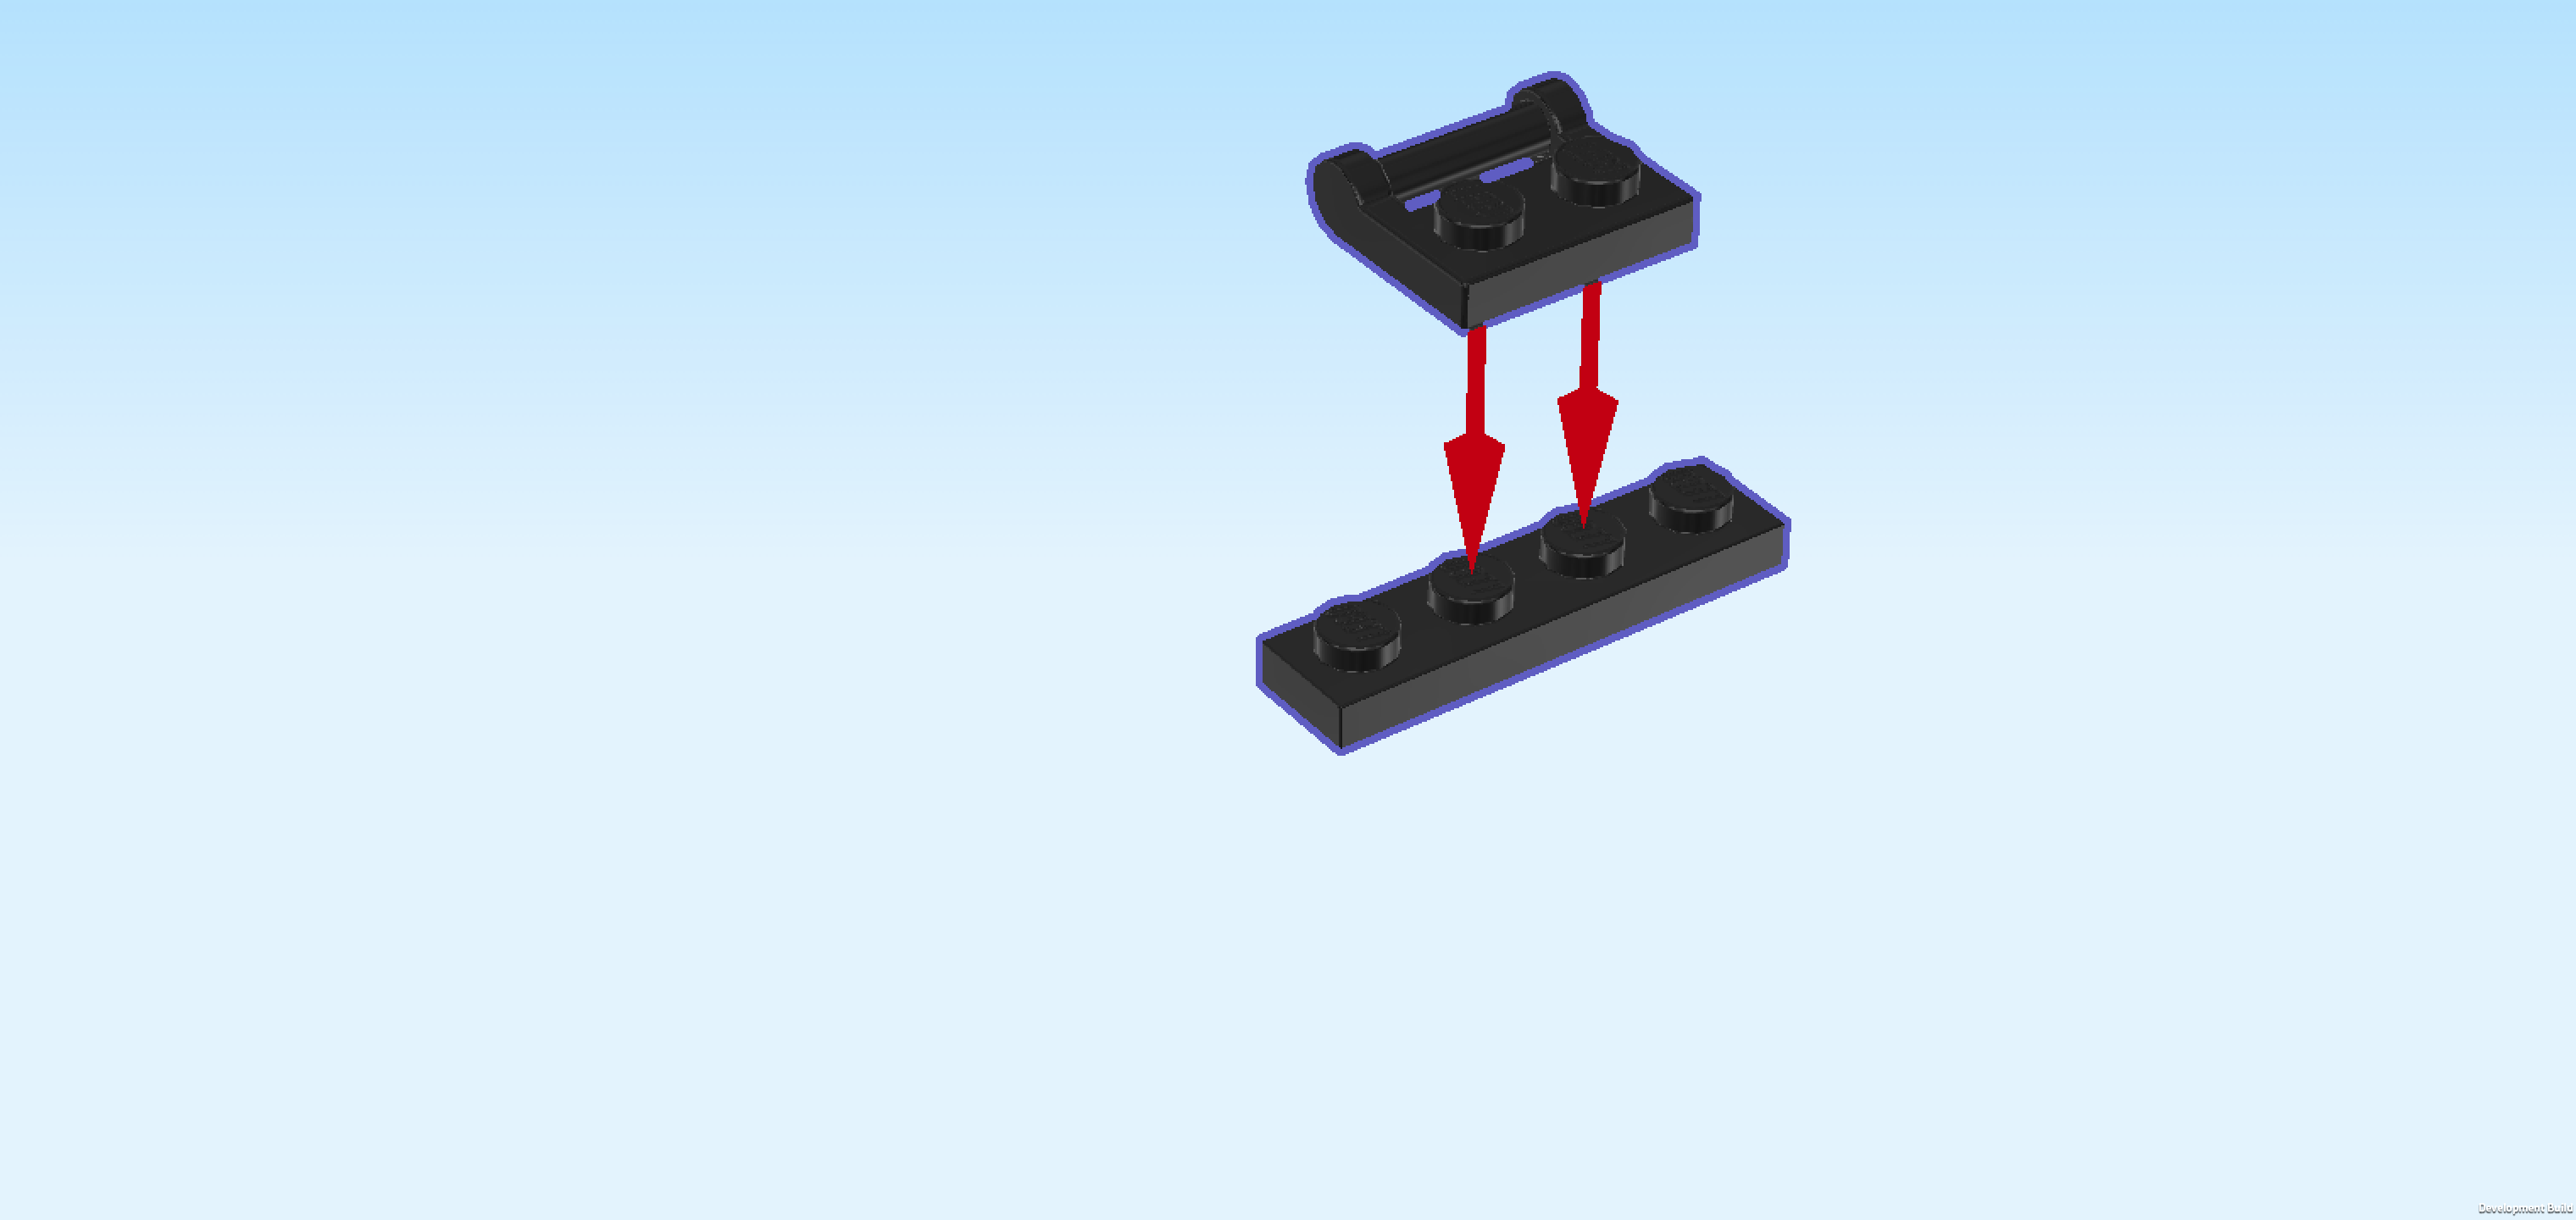
| Put the plate 1x4 horizontally on the table. |
| Put the plate 1x2 horizontally centered on top, handle to the back. |
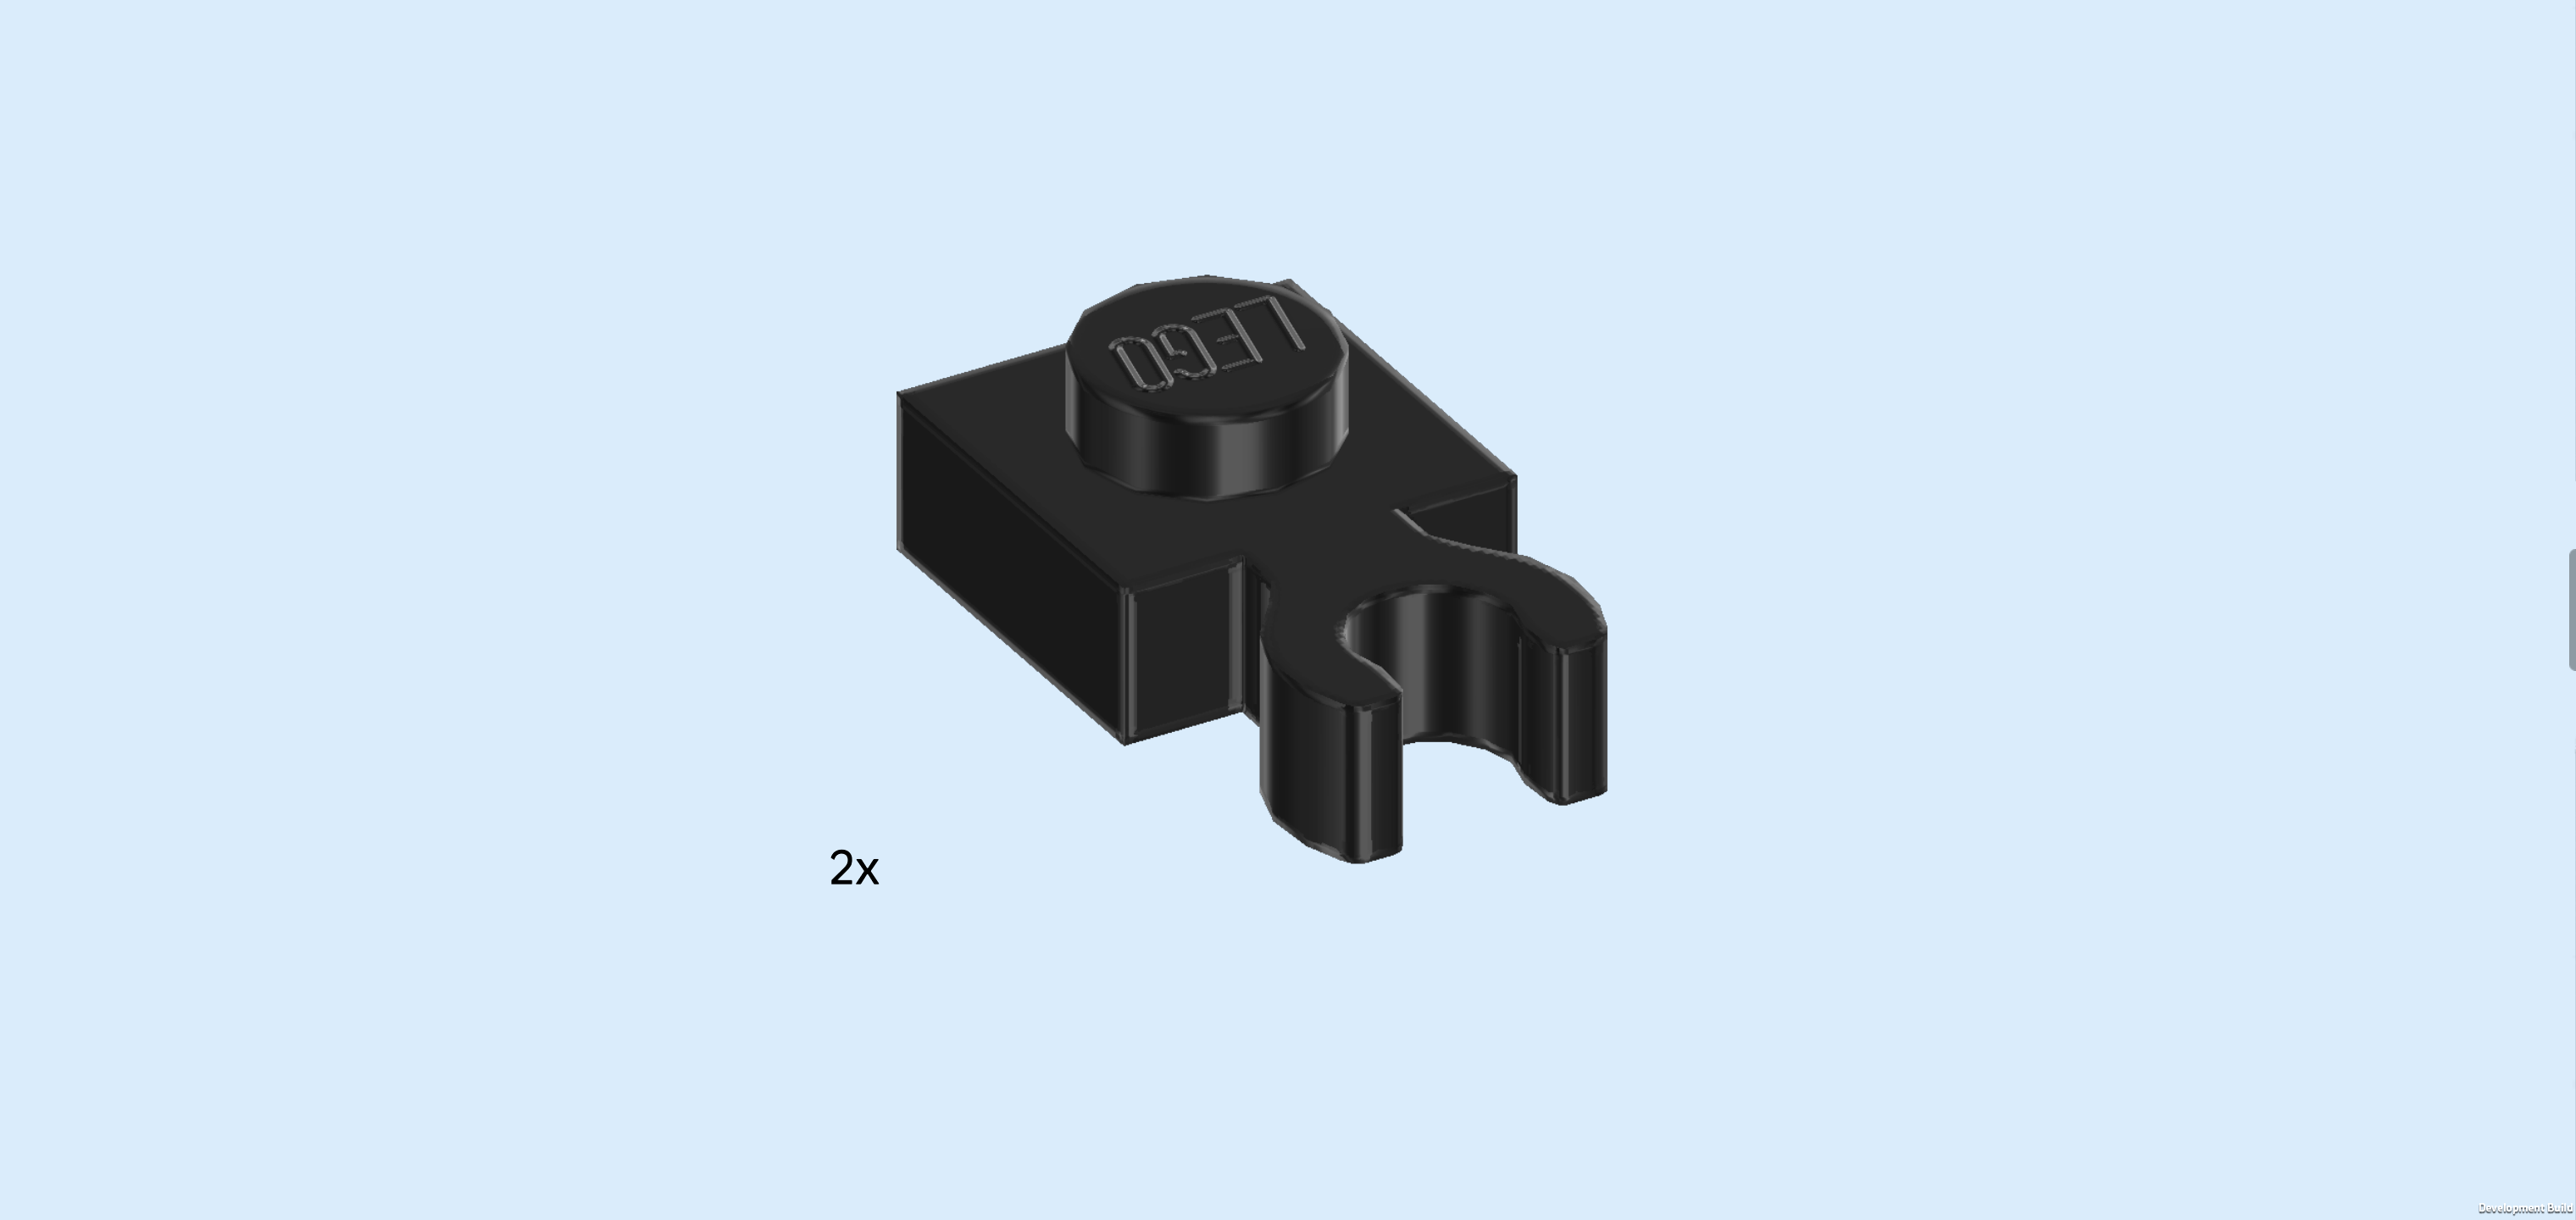
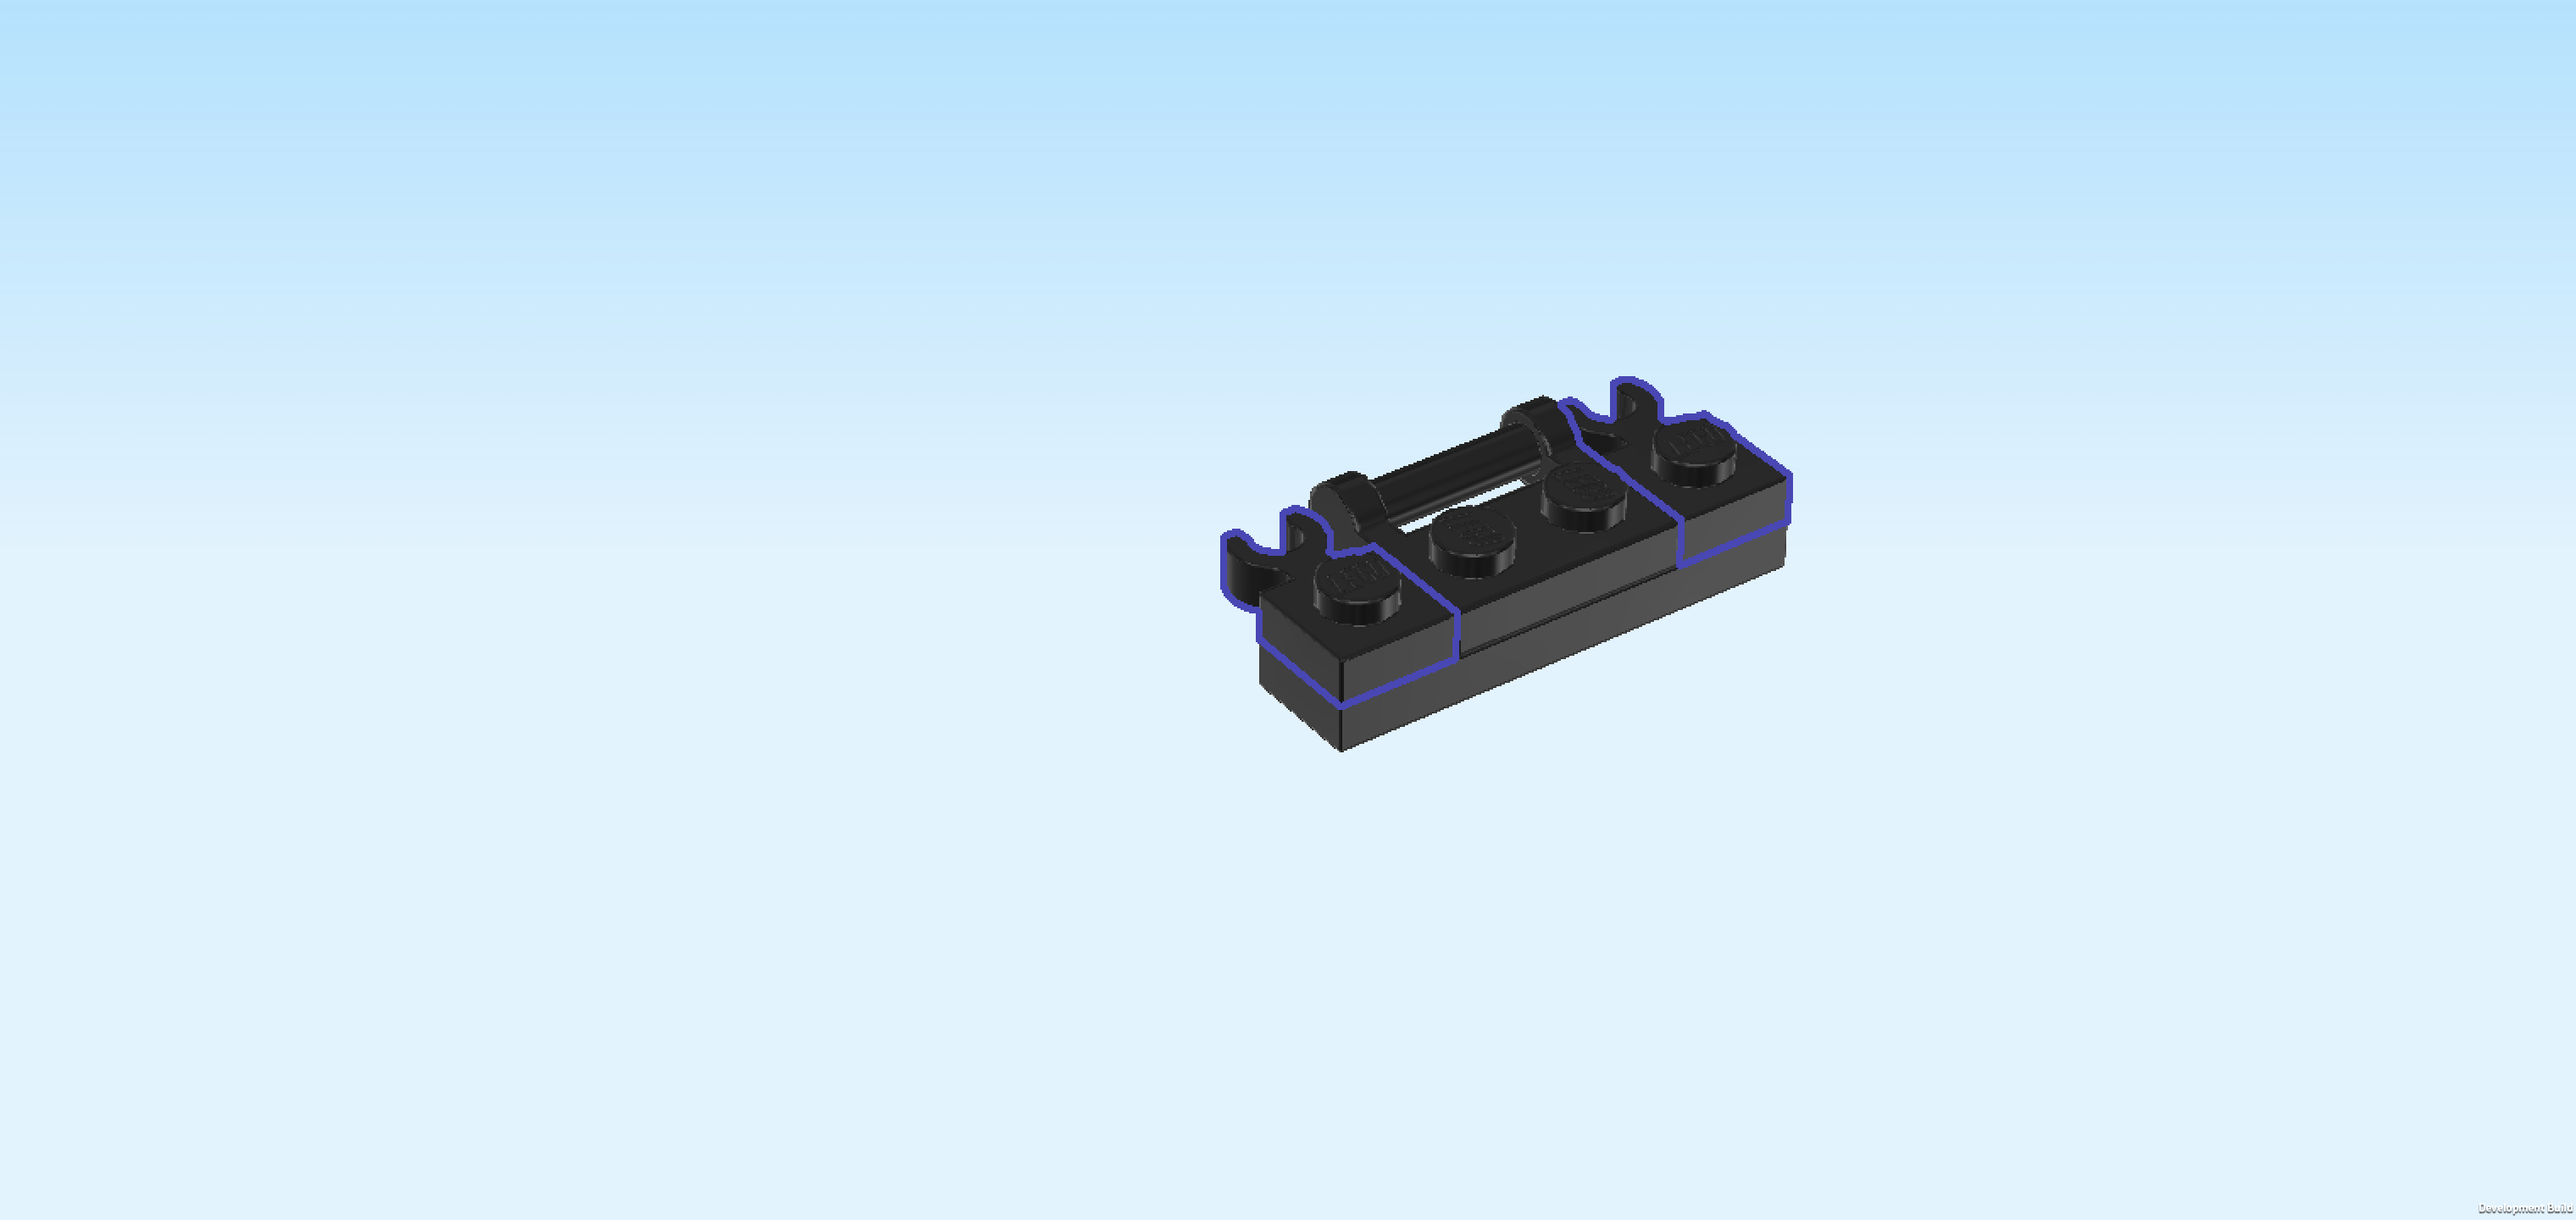
| Find 2 black plates 1x1 with horizontal side clasp. |
| Put 1 to the left of the previous piece and the other one to its right, both clasps to the back. |
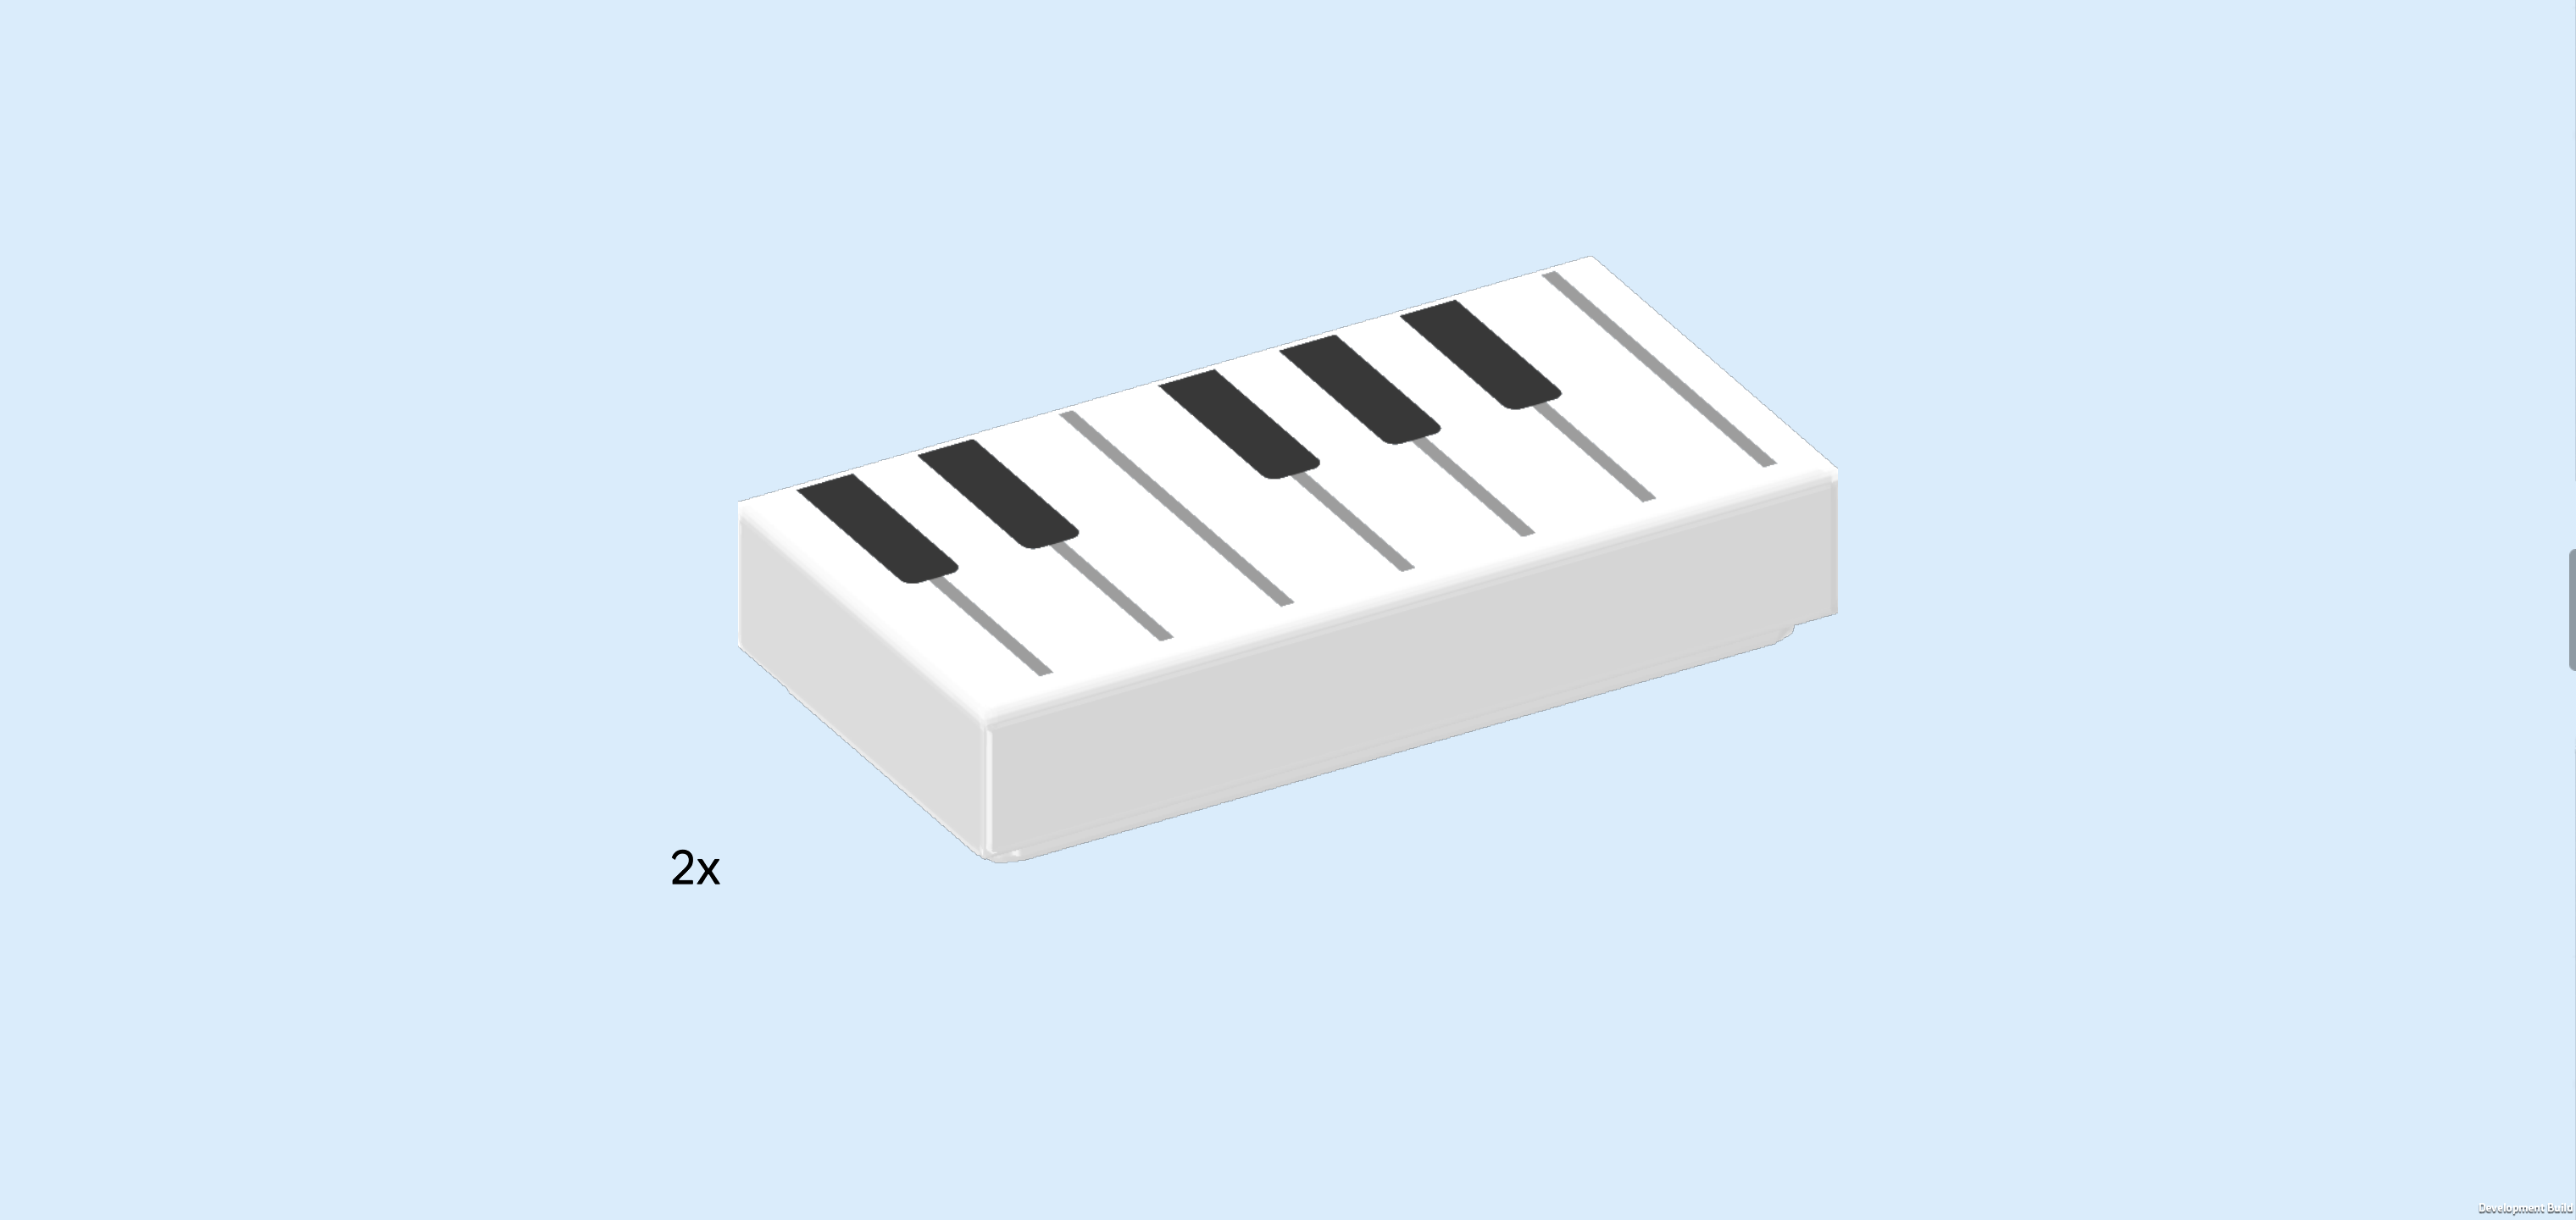
| Find 2 white flat tiles 1x2. |
| Put them horizontally next to each other on the 4 knobs of the build. They are printed with piano keys. Maybe you can feel the thicker print lines that come in groups of two and three. These should be towards the back, they represent the black piano keys. If you can't feel the print that well, you can ask a sighted person to help you with the print orientation if you like. |
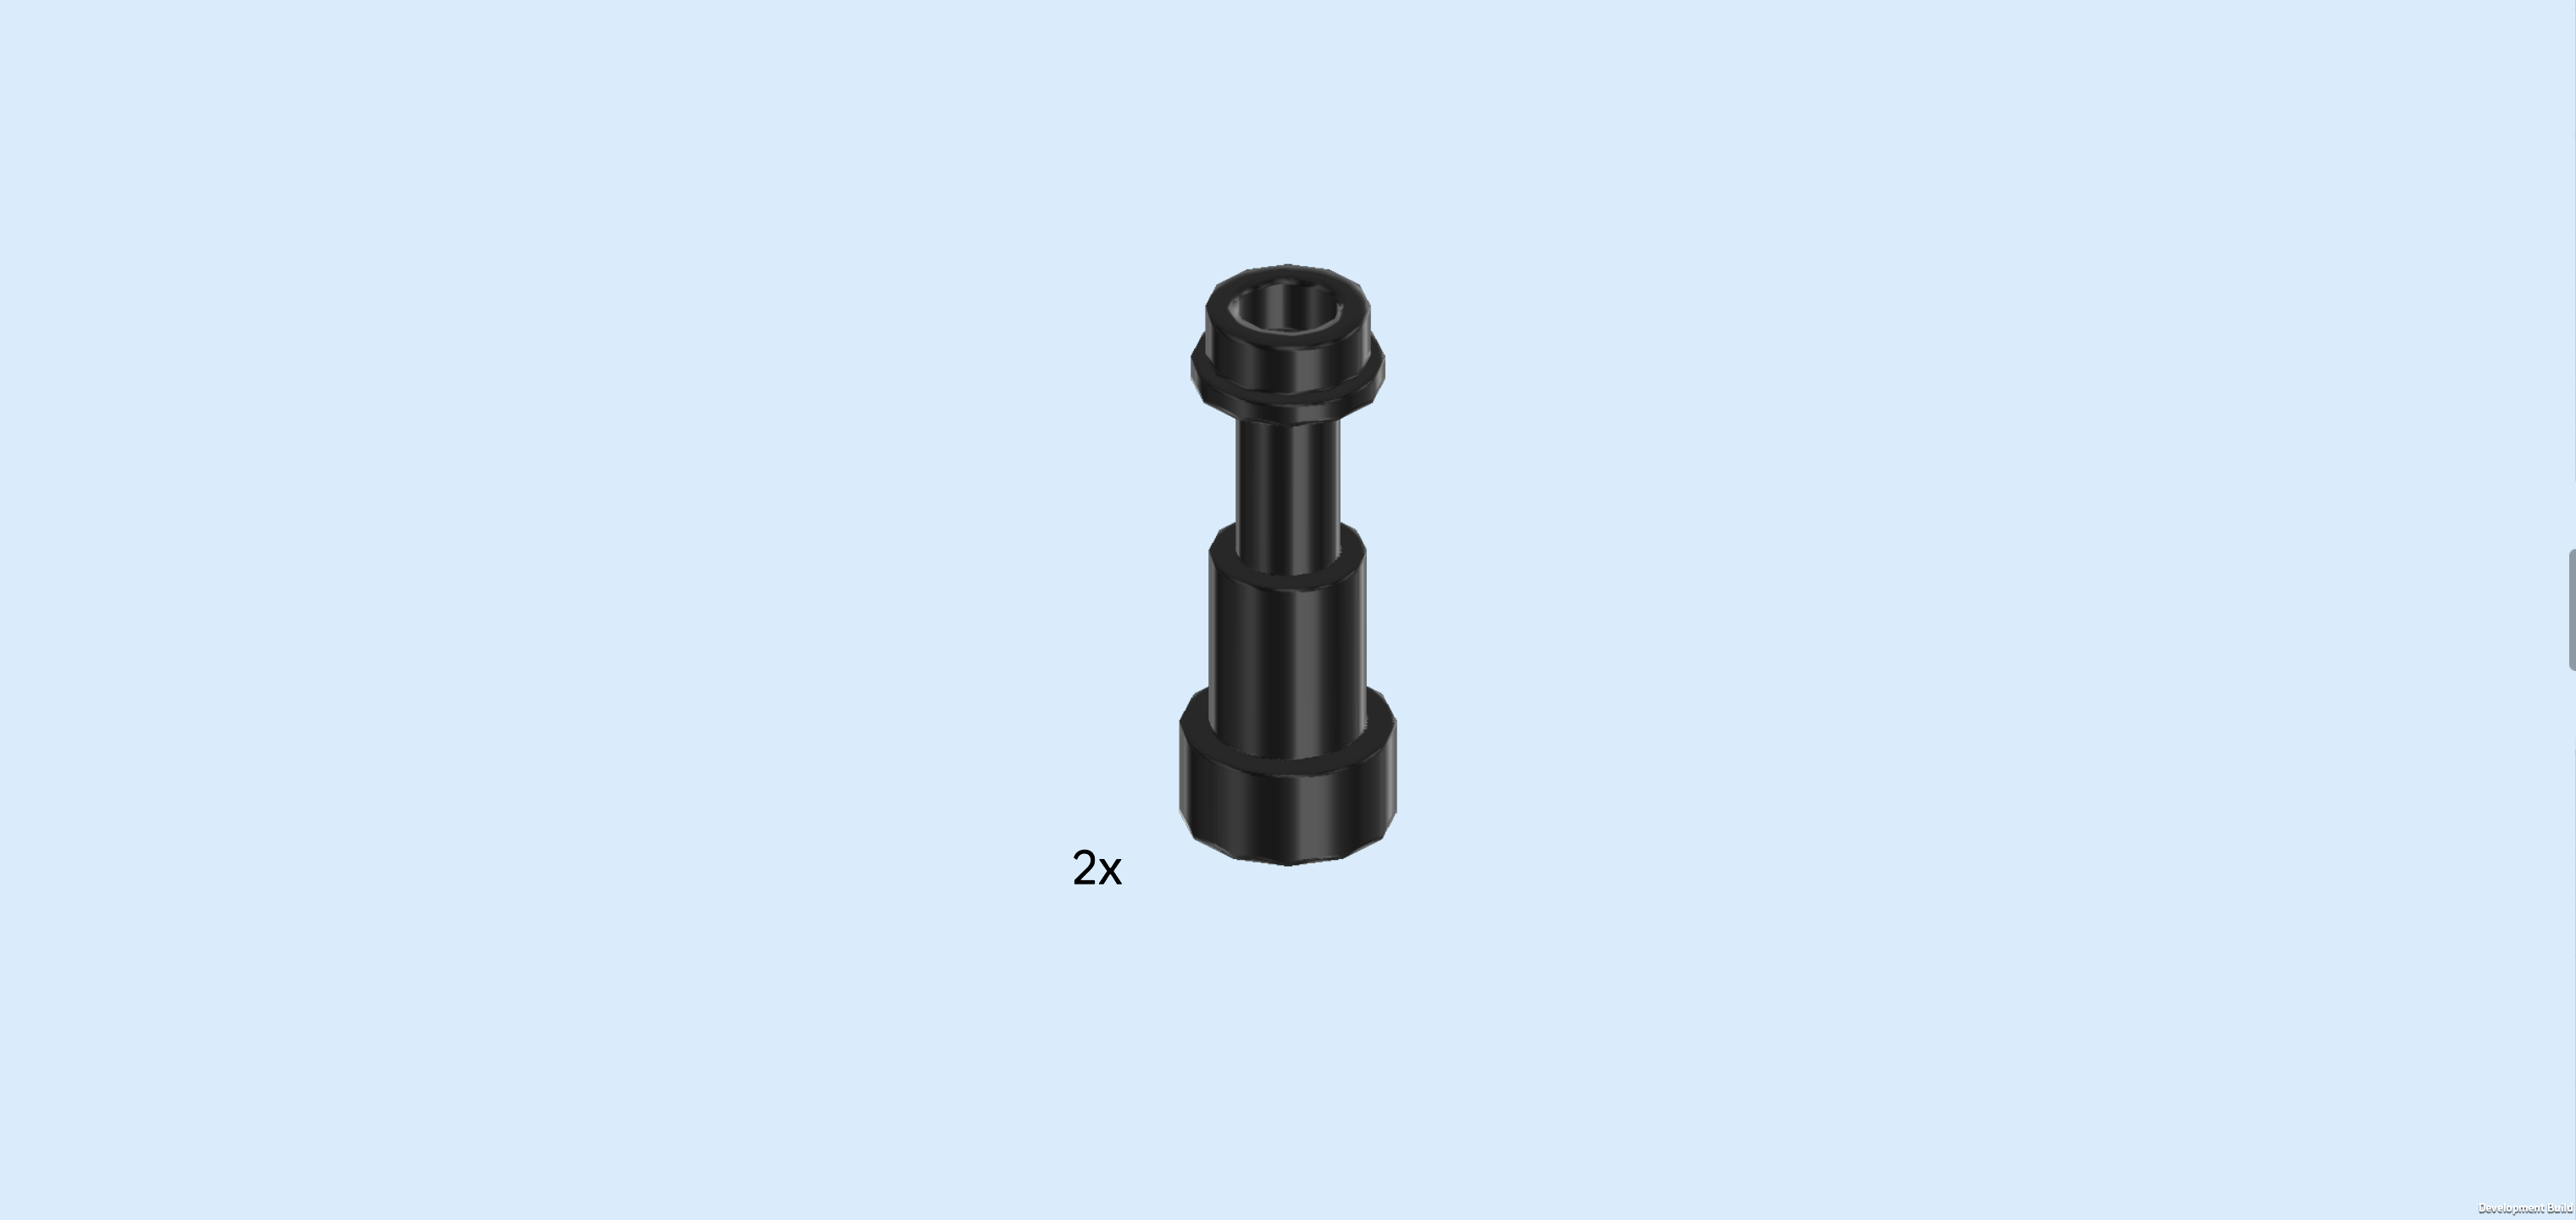
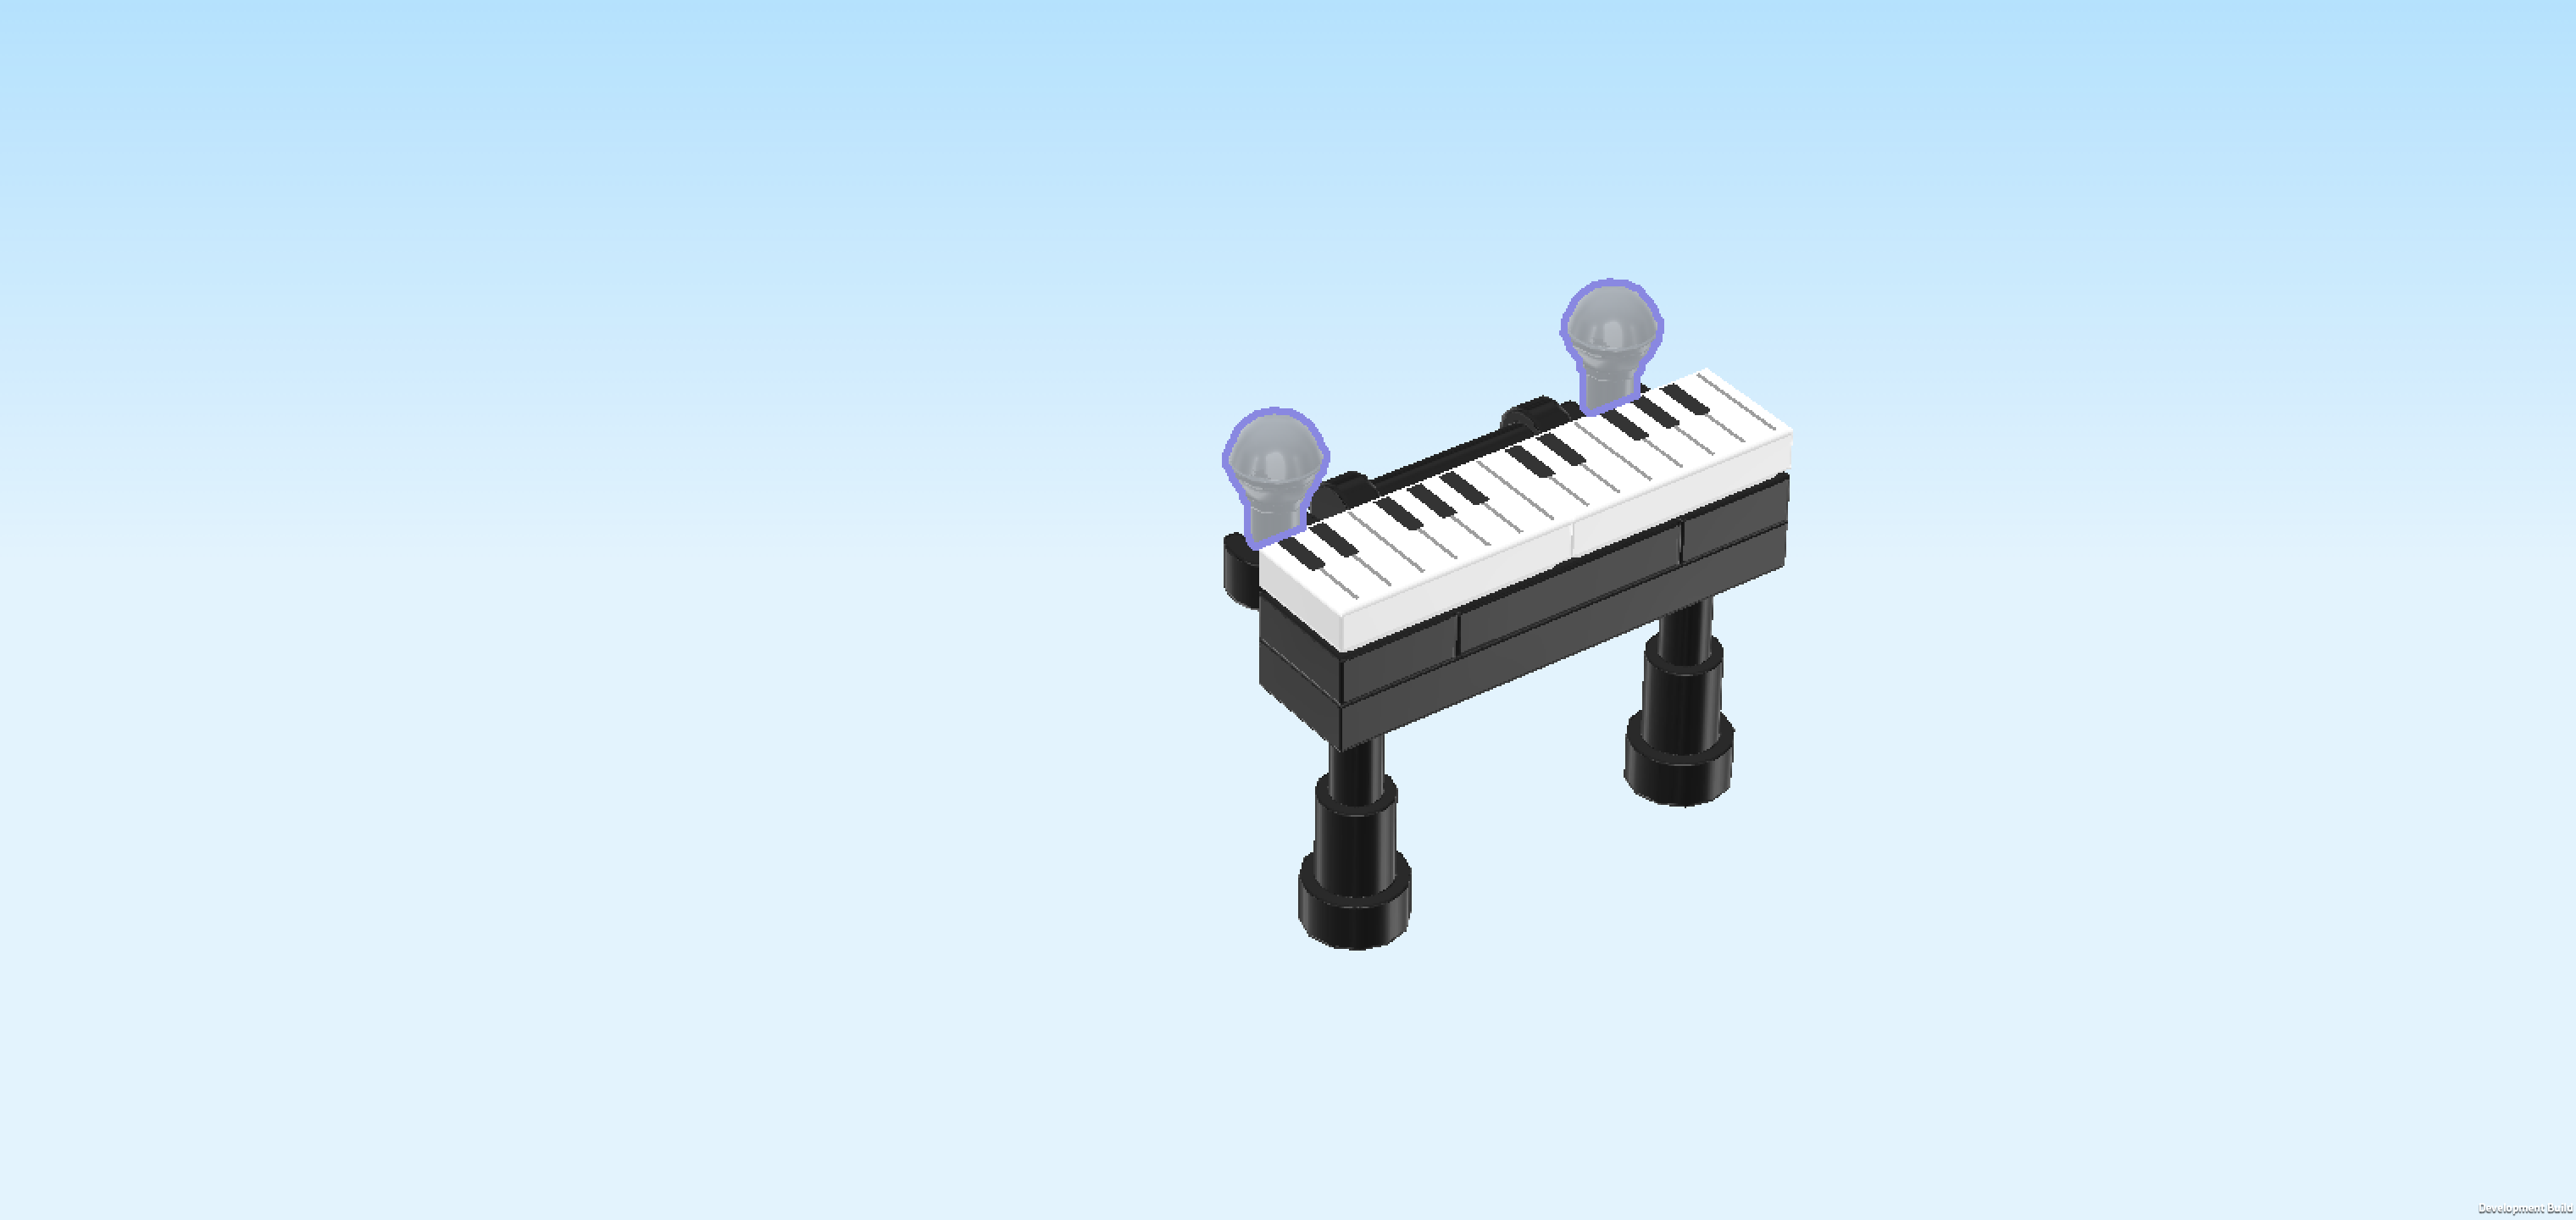
| Find 2 black Minifigure telescopes 1x1x1½ with knob. |
| They will be the feet of the piano: turn 1 so that its thicker end is at the bottom, and put it underneath the leftmost edge of the piano. Repeat symmetrically on the right with the other piece. |
| Find 2 medium stone grey Minifigure microphones with small shaft. |
| Snap their handles into the 2 clasps pointing to the back. |
| Collect the following 2 pieces: |
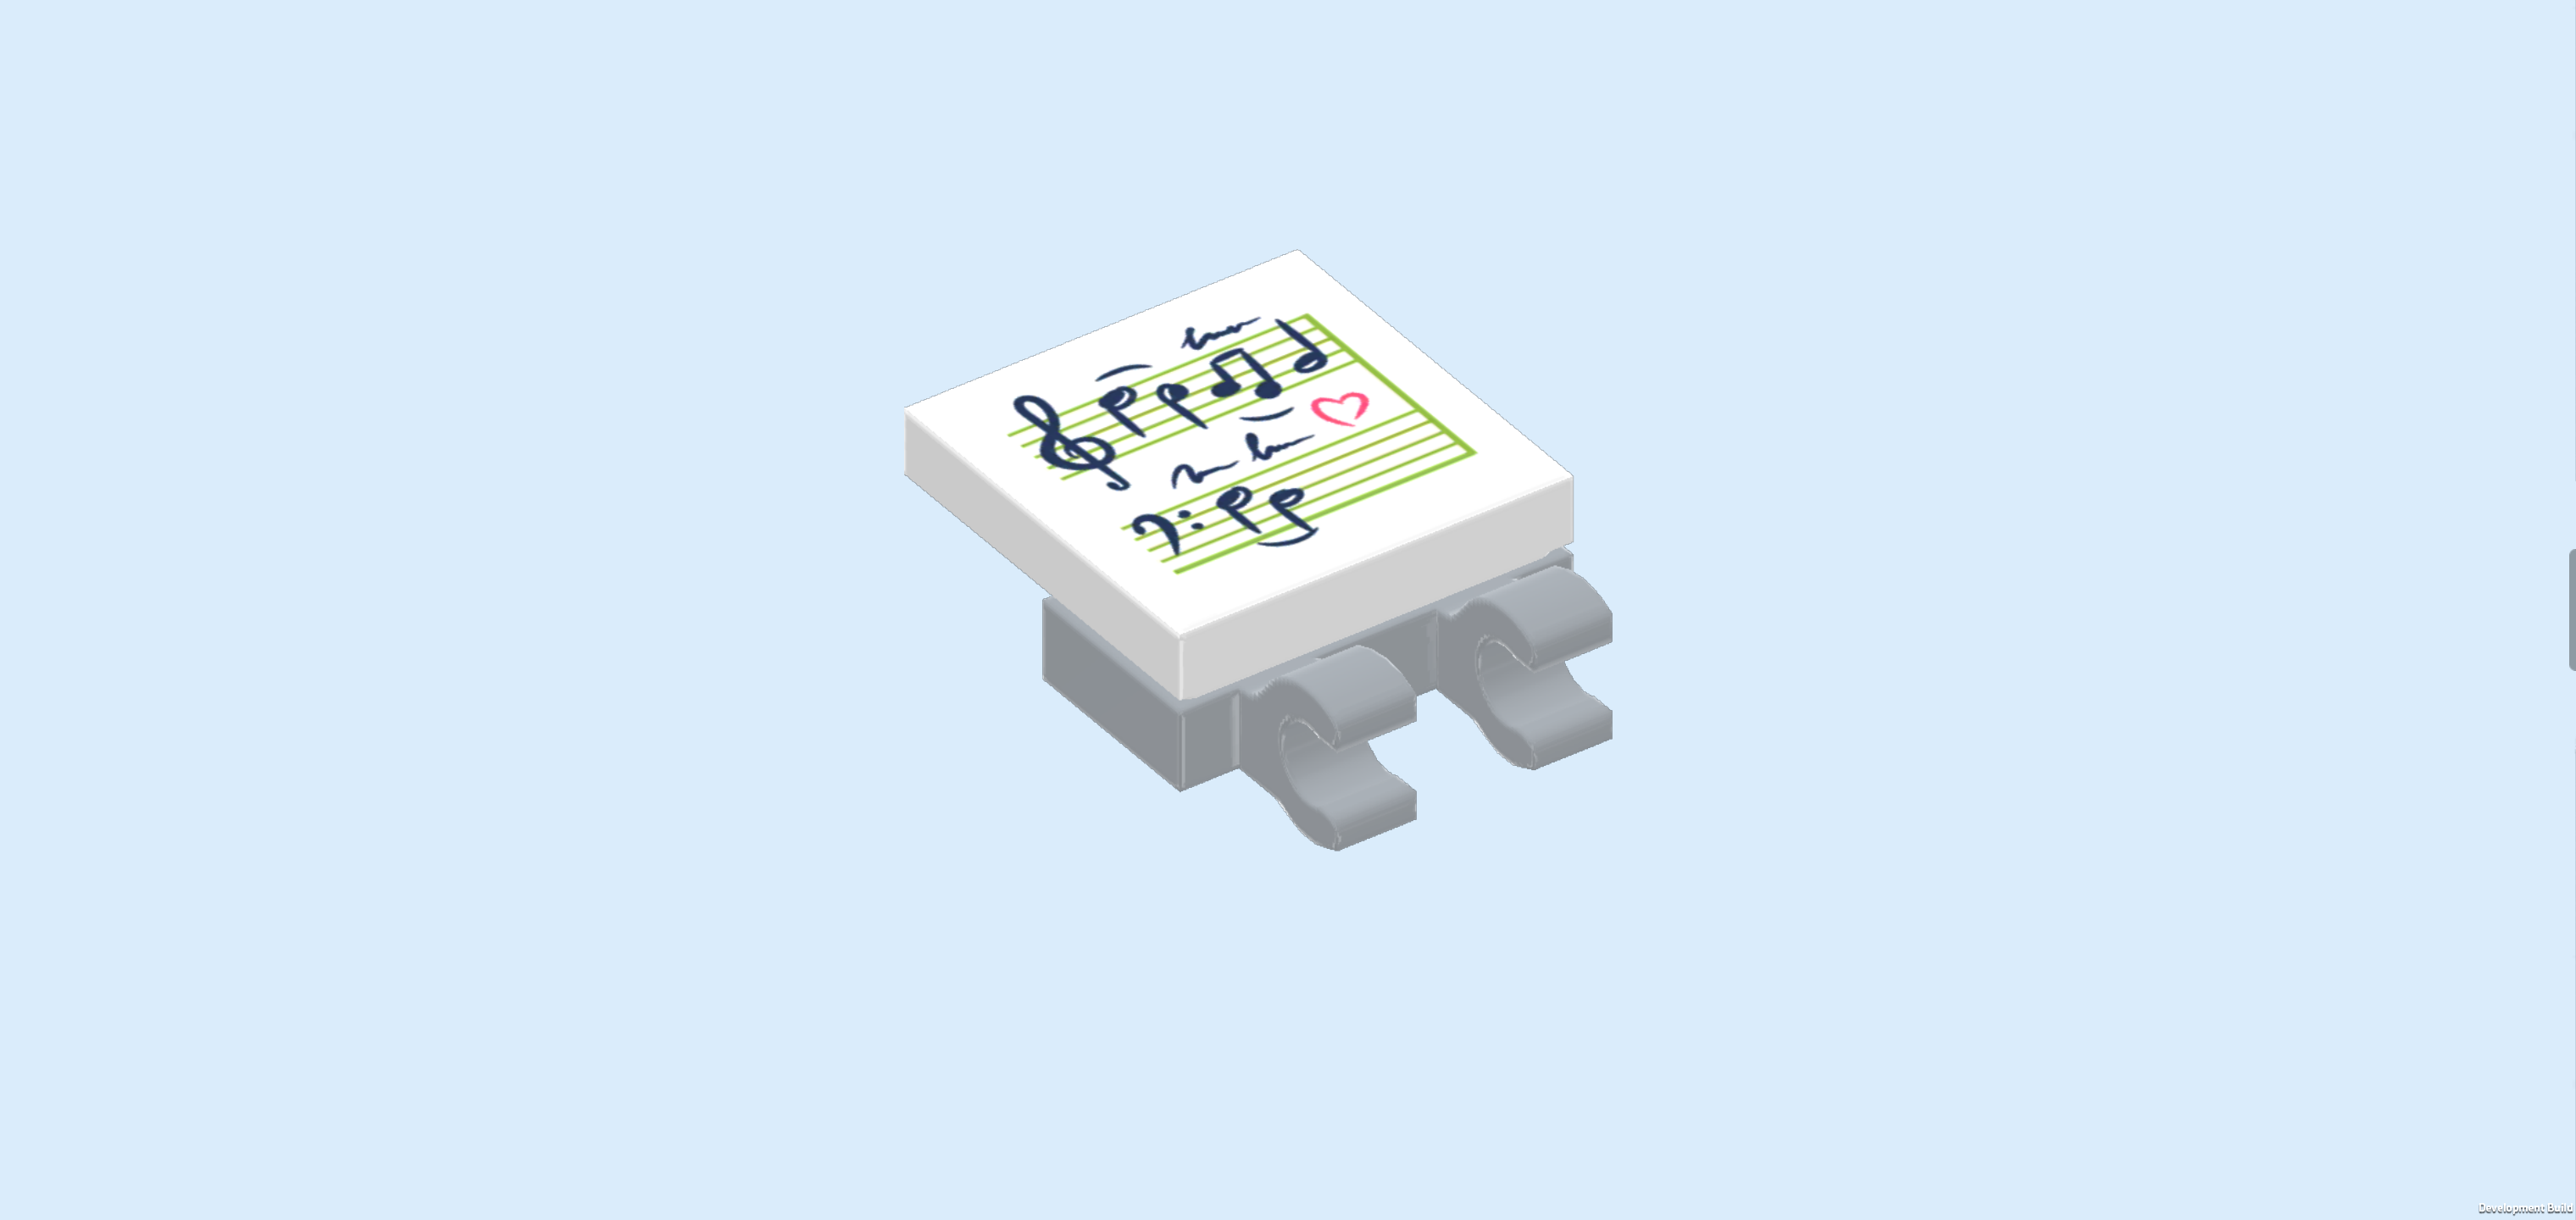
| 1 white flat tile 2x2, |
| and 1 medium stone grey plate 1x2 with 2 vertical clasps on long side. |
| Put the plate 1x2 horizontally on the table, 2 clasps to the front. |
| Put the flat tile 2x2 on top, 1/2 overhanging to the back. |
| Find 1 square sticker 2x2 with piano sheet music. |
| Put it on the flat tile. |
| The sticker is printed with 2 handwritten lines of music, one line starts with the treble clef, which is a music symbol that shows you how high or low the notes are. It is used for instruments and voices that play or sing higher sounds. On the piano, it's usually for the right hand, playing the higher notes. The second line starts with the bass clef that is for the lower voices or instruments, and on the piano, which is typically what the left hand plays. There are even a few notes scribbled in both lines. It seems like Paisley has been composing her own music! |
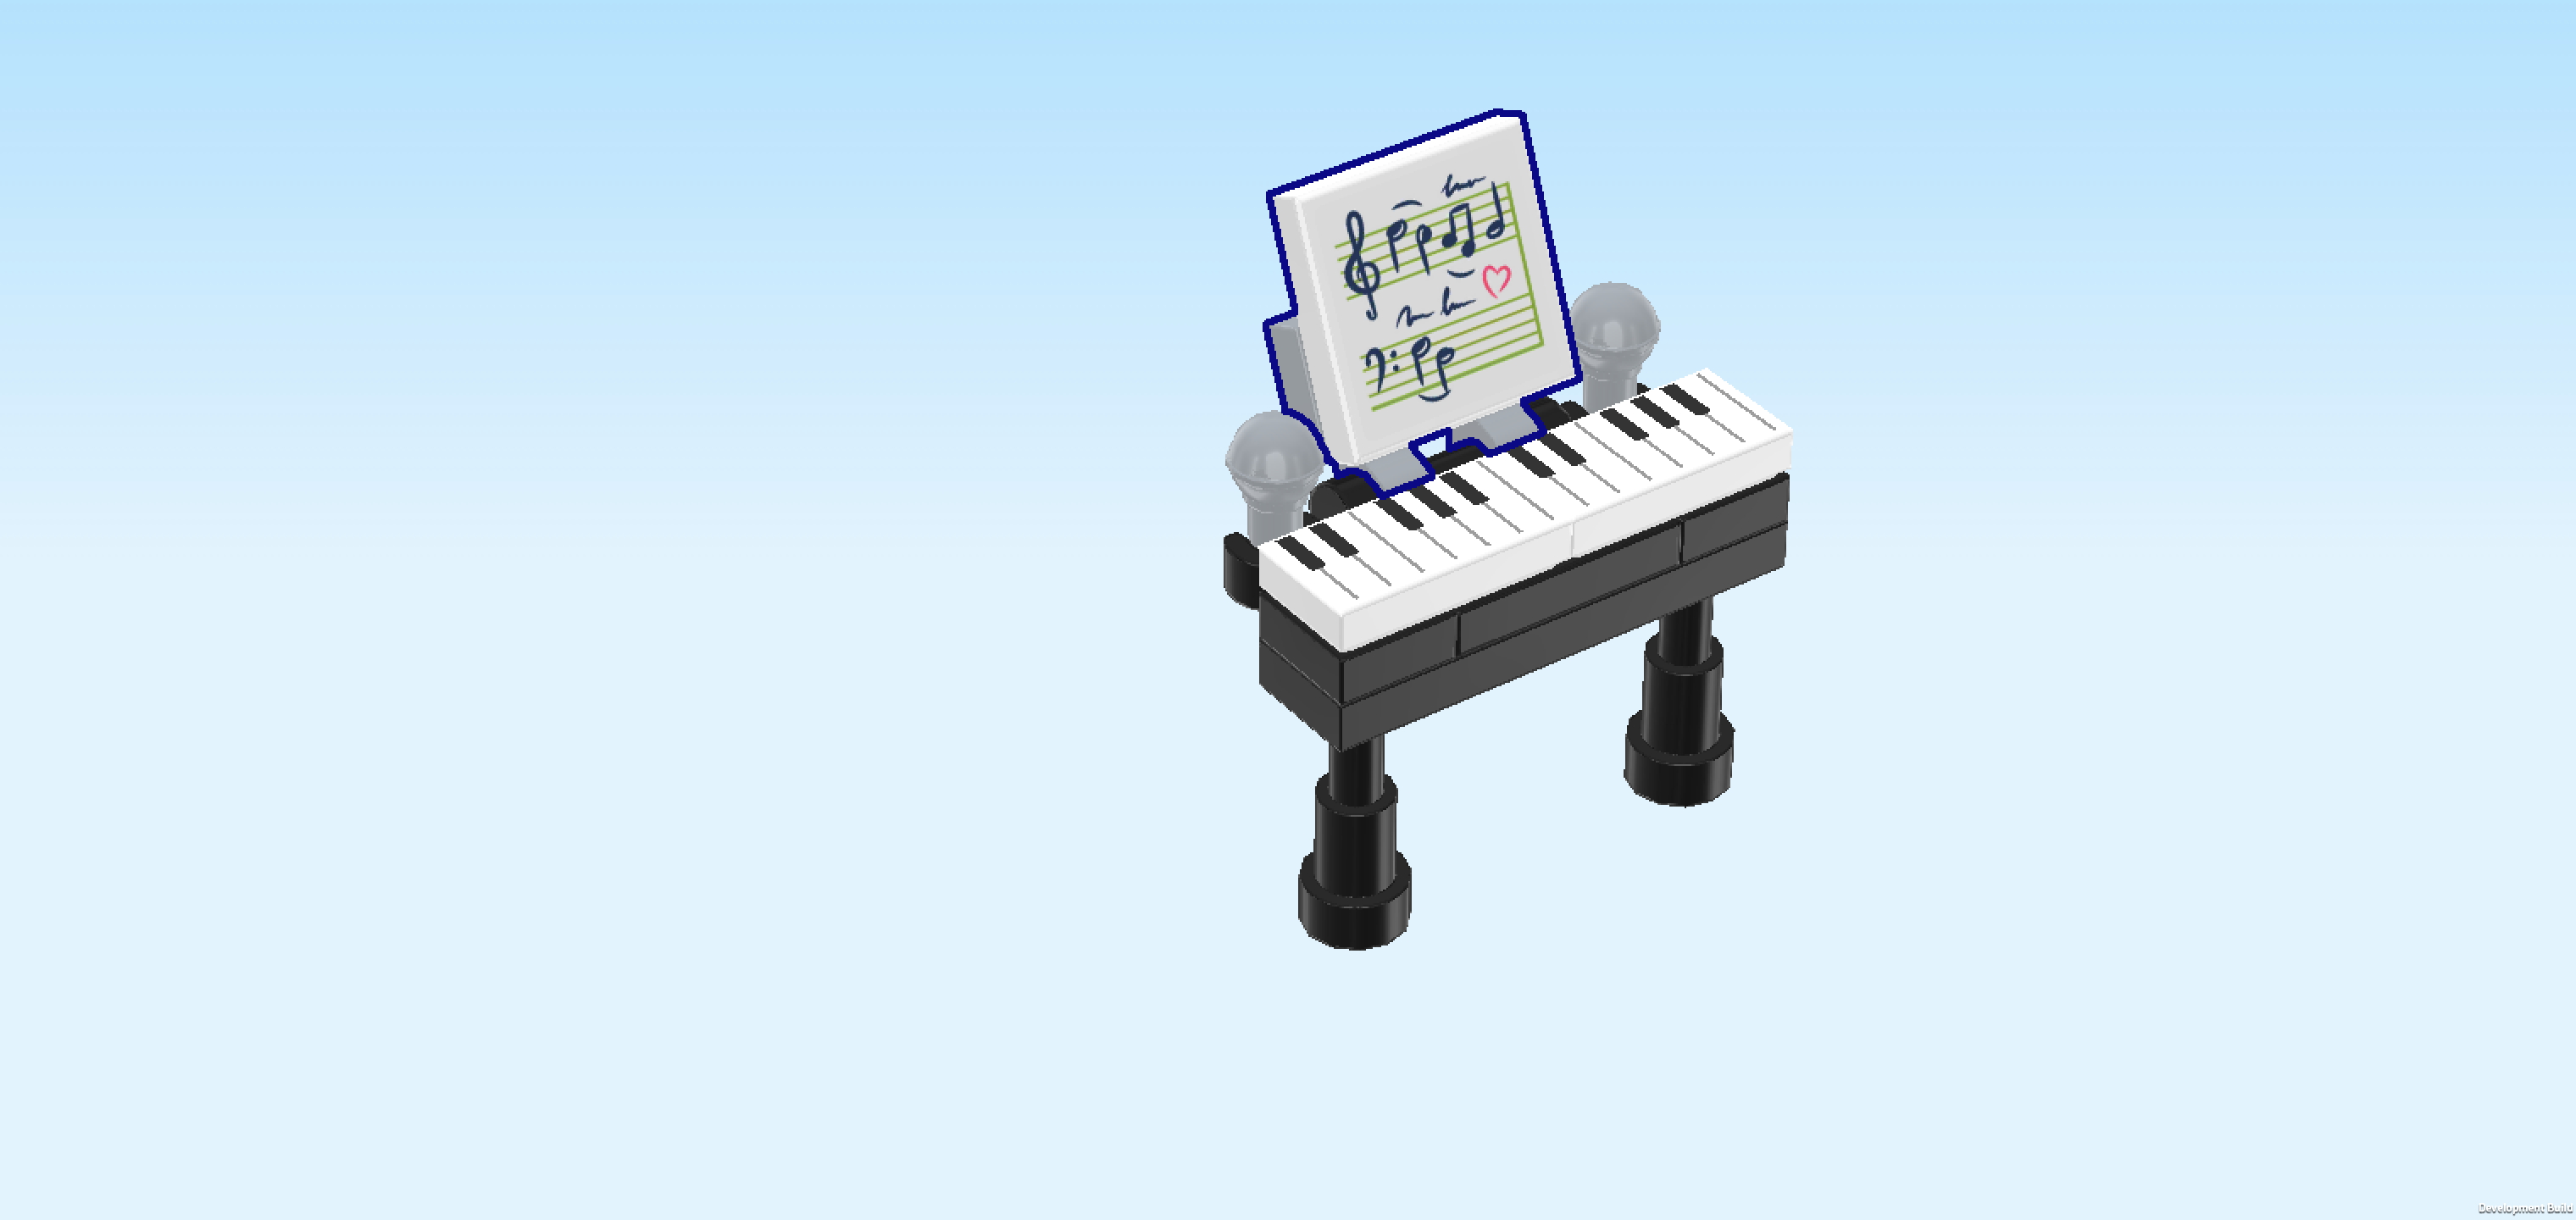
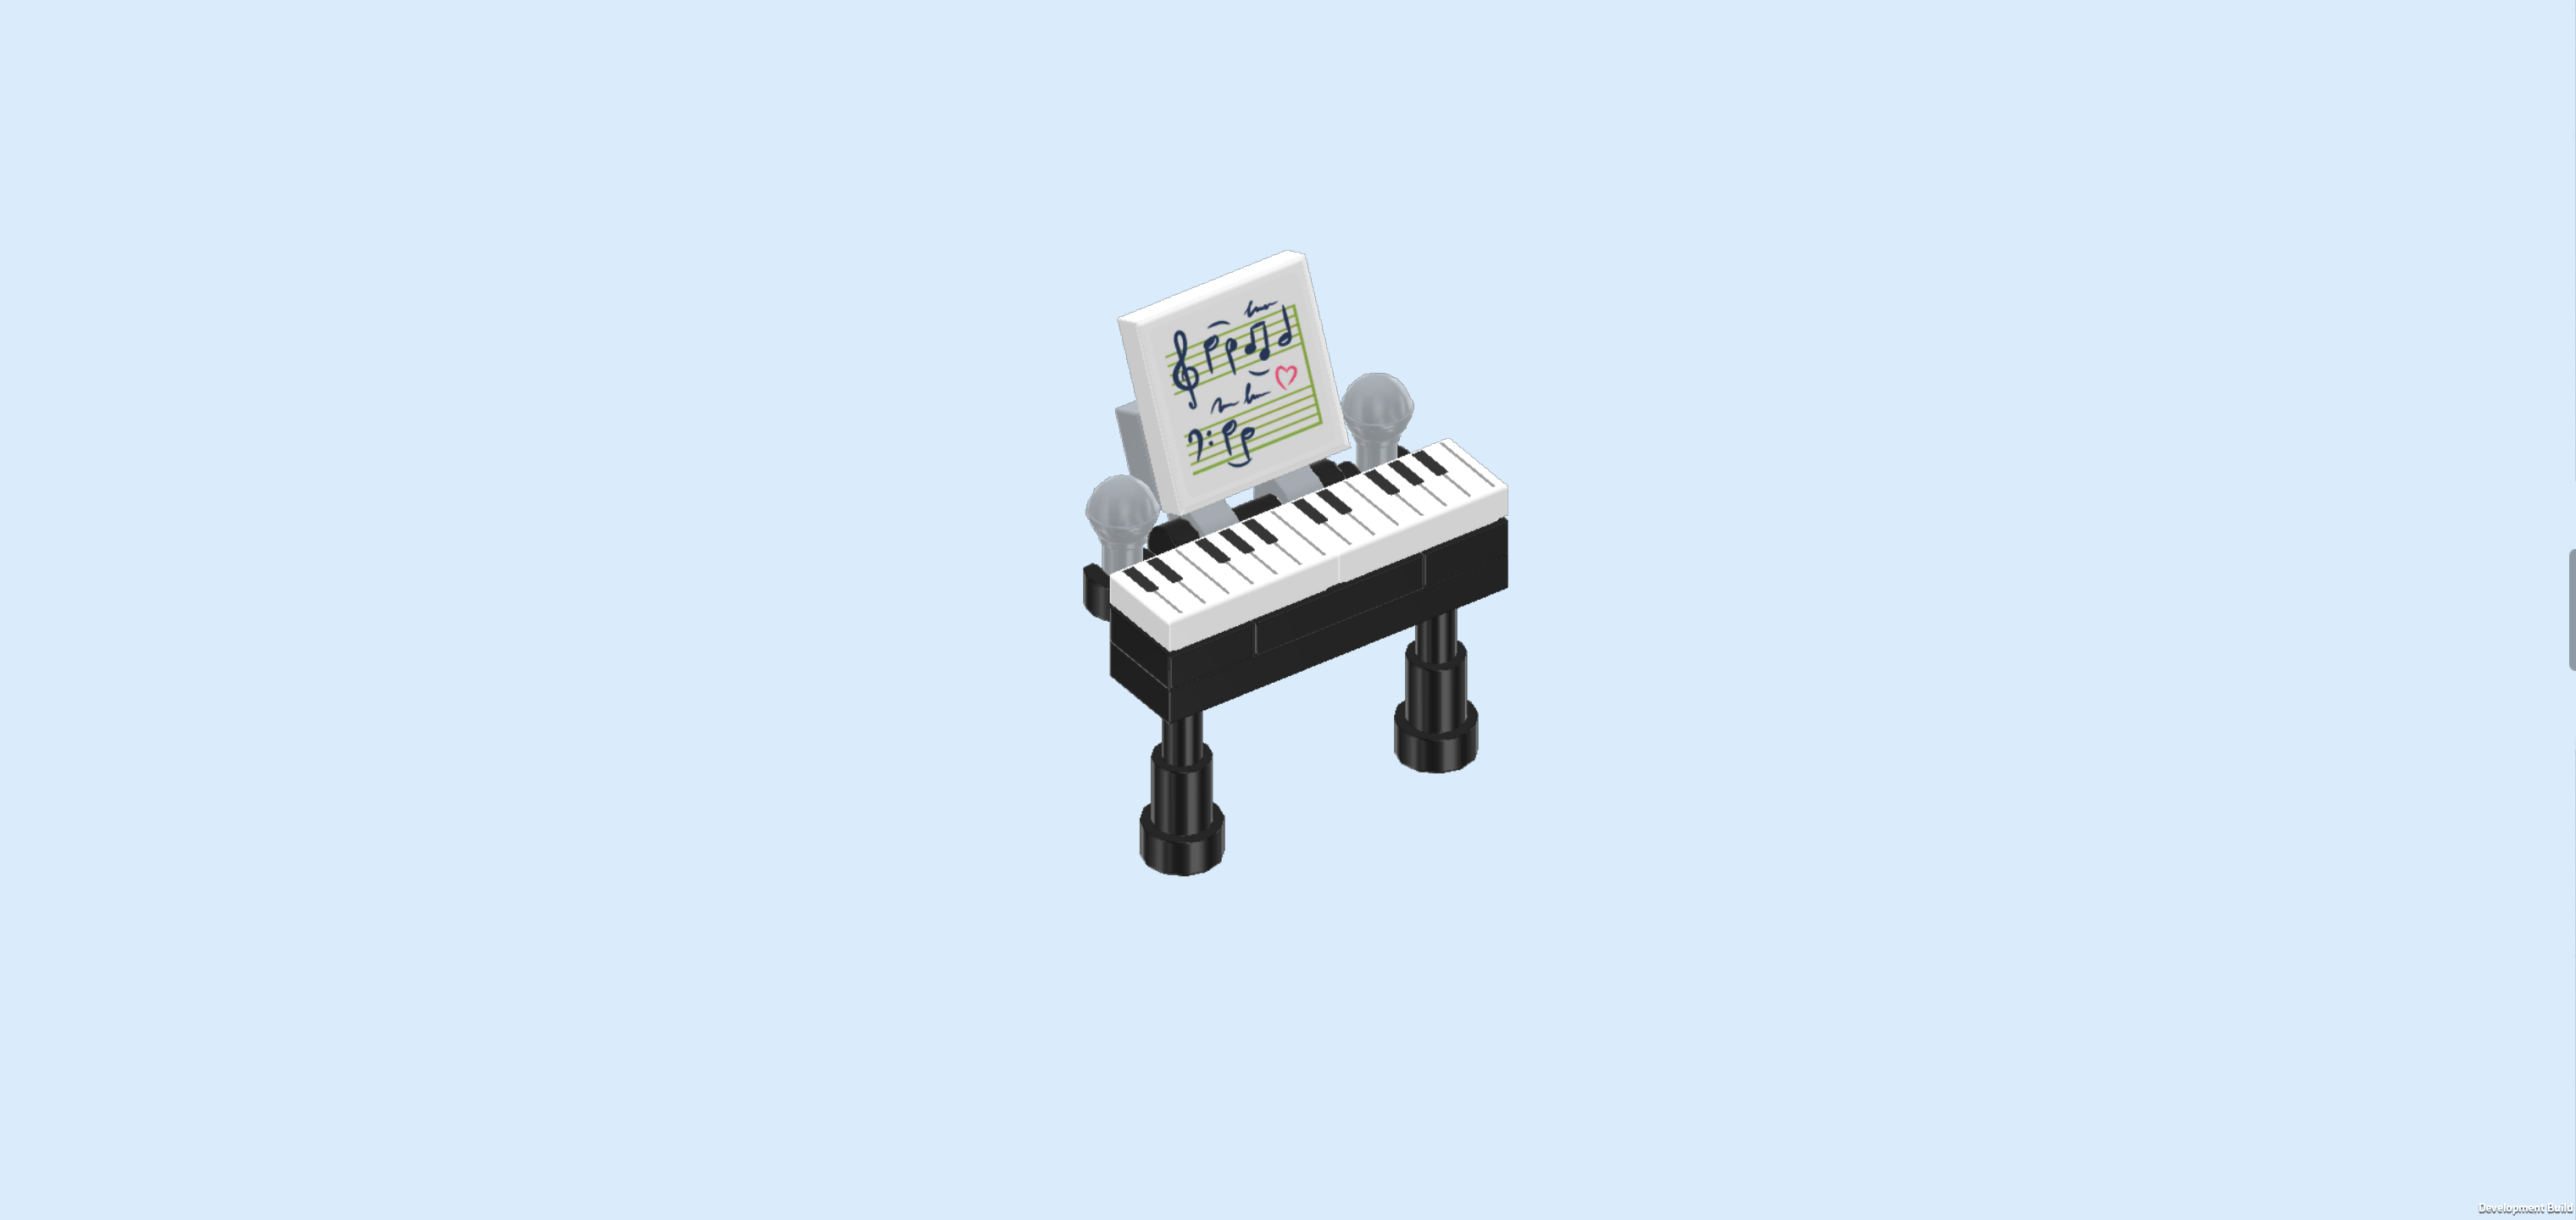
| Snap this build centered on the piano using the shaft at the back edge. Fold it up at a slight angle towards the back so that the person playing the piano can comfortably read the music while playing. |
| The piano is finished! Great job! Mount it horizontally on the round plate 3x3 in the middle of the floor extension. Use its third row from the front. |
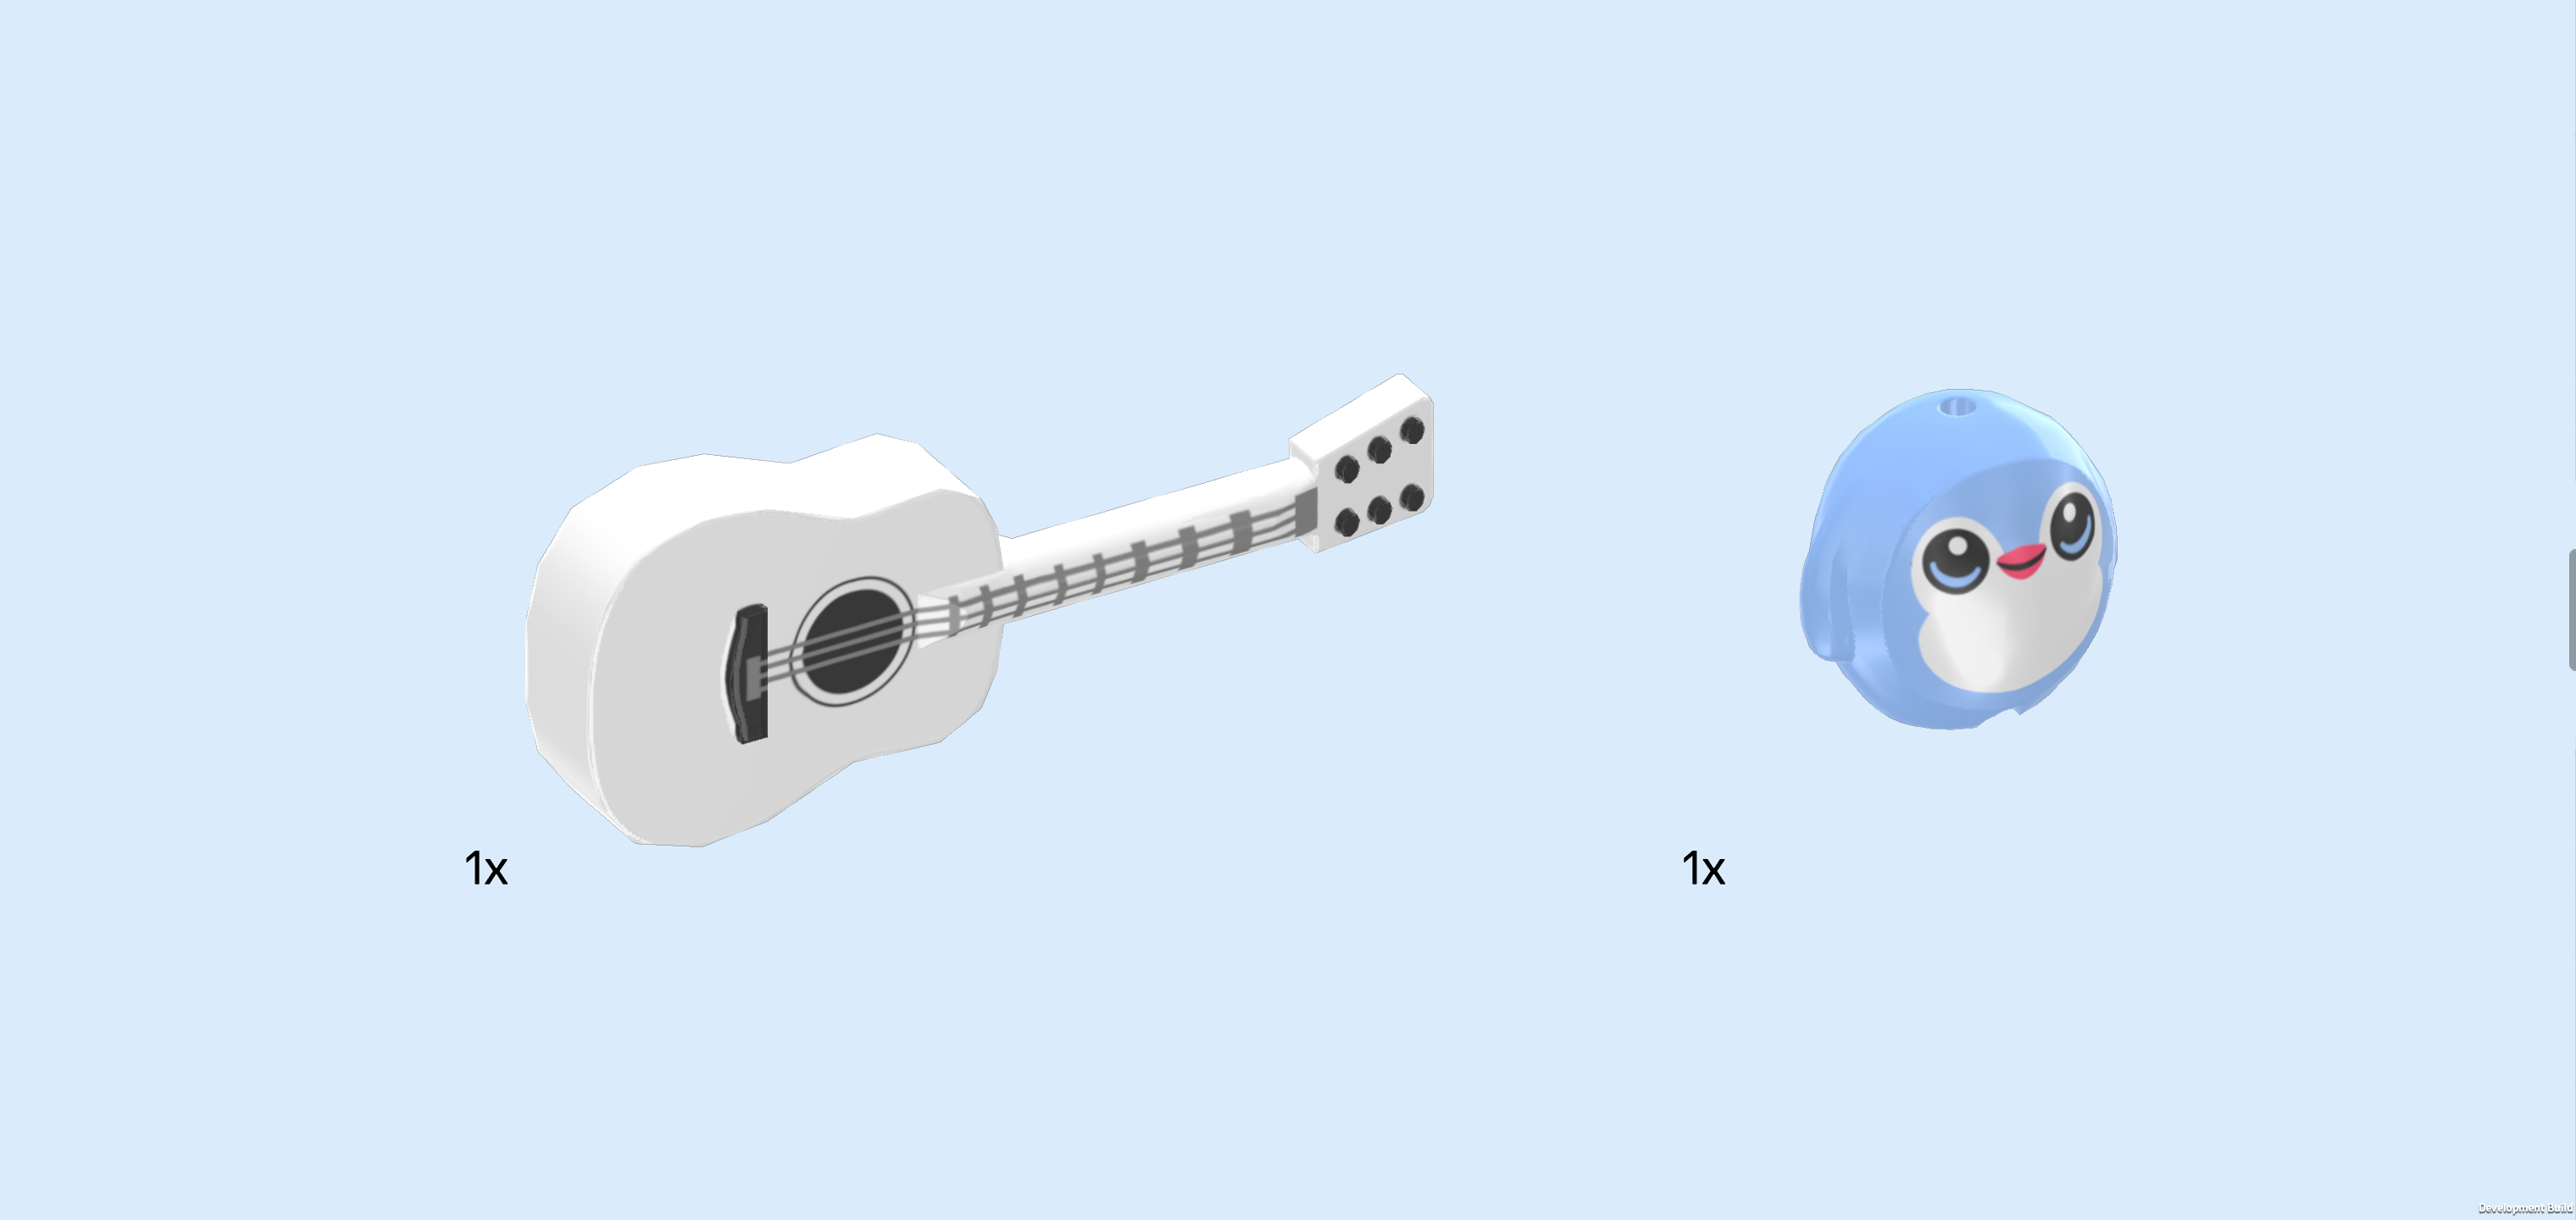
| Collect the following 2 pieces: |
| 1 white guitar, |
| and 1 baby blue round plushie penguin. |
| Carefully place the guitar on the guitar stand. To do that, hold the guitar with its neck pointing to the top, and then hang its back side on the small shaft that is protruding from the guitar stand. |
| Put the plushie penguin on the heart-shaped shelf above the bed. |
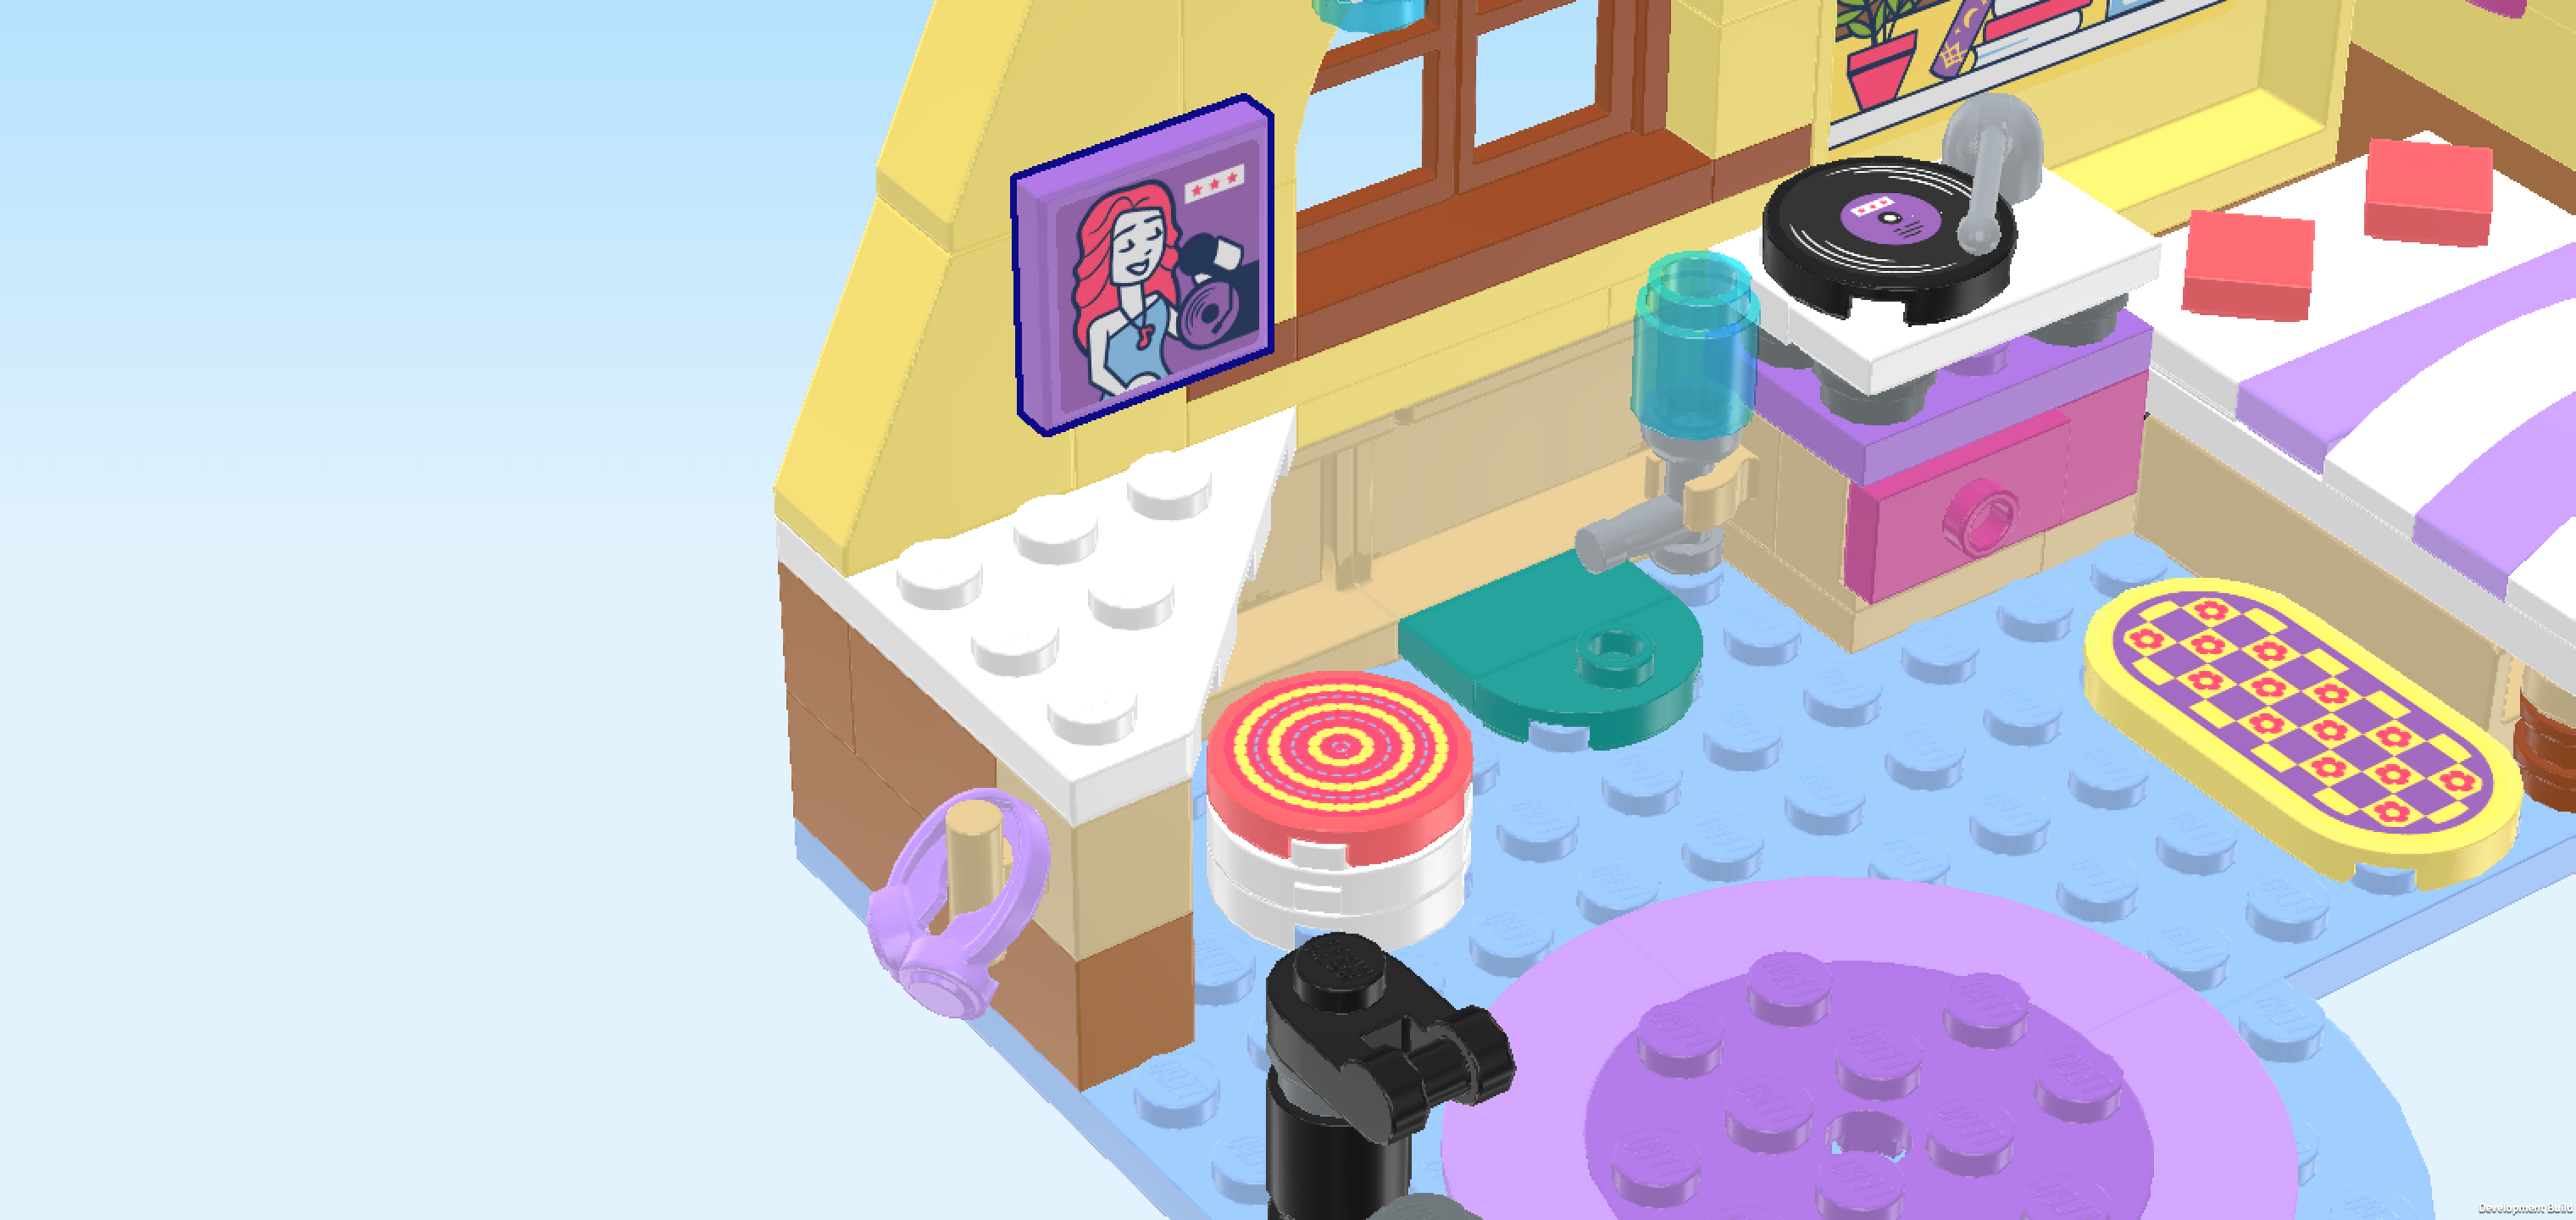
| You have finished building the entire set! Fantastic job, there were so many detailed and intricate builds to finish! But now it's time to get creative. Whatever your mood tells you to do, Paisley and Liann are up for it: following painting tutorials on your tablet or making up your own designs, having a little jam session with the guitar and the piano, writing songs together or just hanging out in Paisley's cozy room and sharing thoughts and stories. There are plenty of options for having a good time! |
| Enjoy! |