| LEGO Audio & Braille Building Instructions for the LEGO Friends set "Autumn's Room". |
| If you would like to access the help menu to find out how to use and navigate these instructions, tap with two fingers or press key "H". |
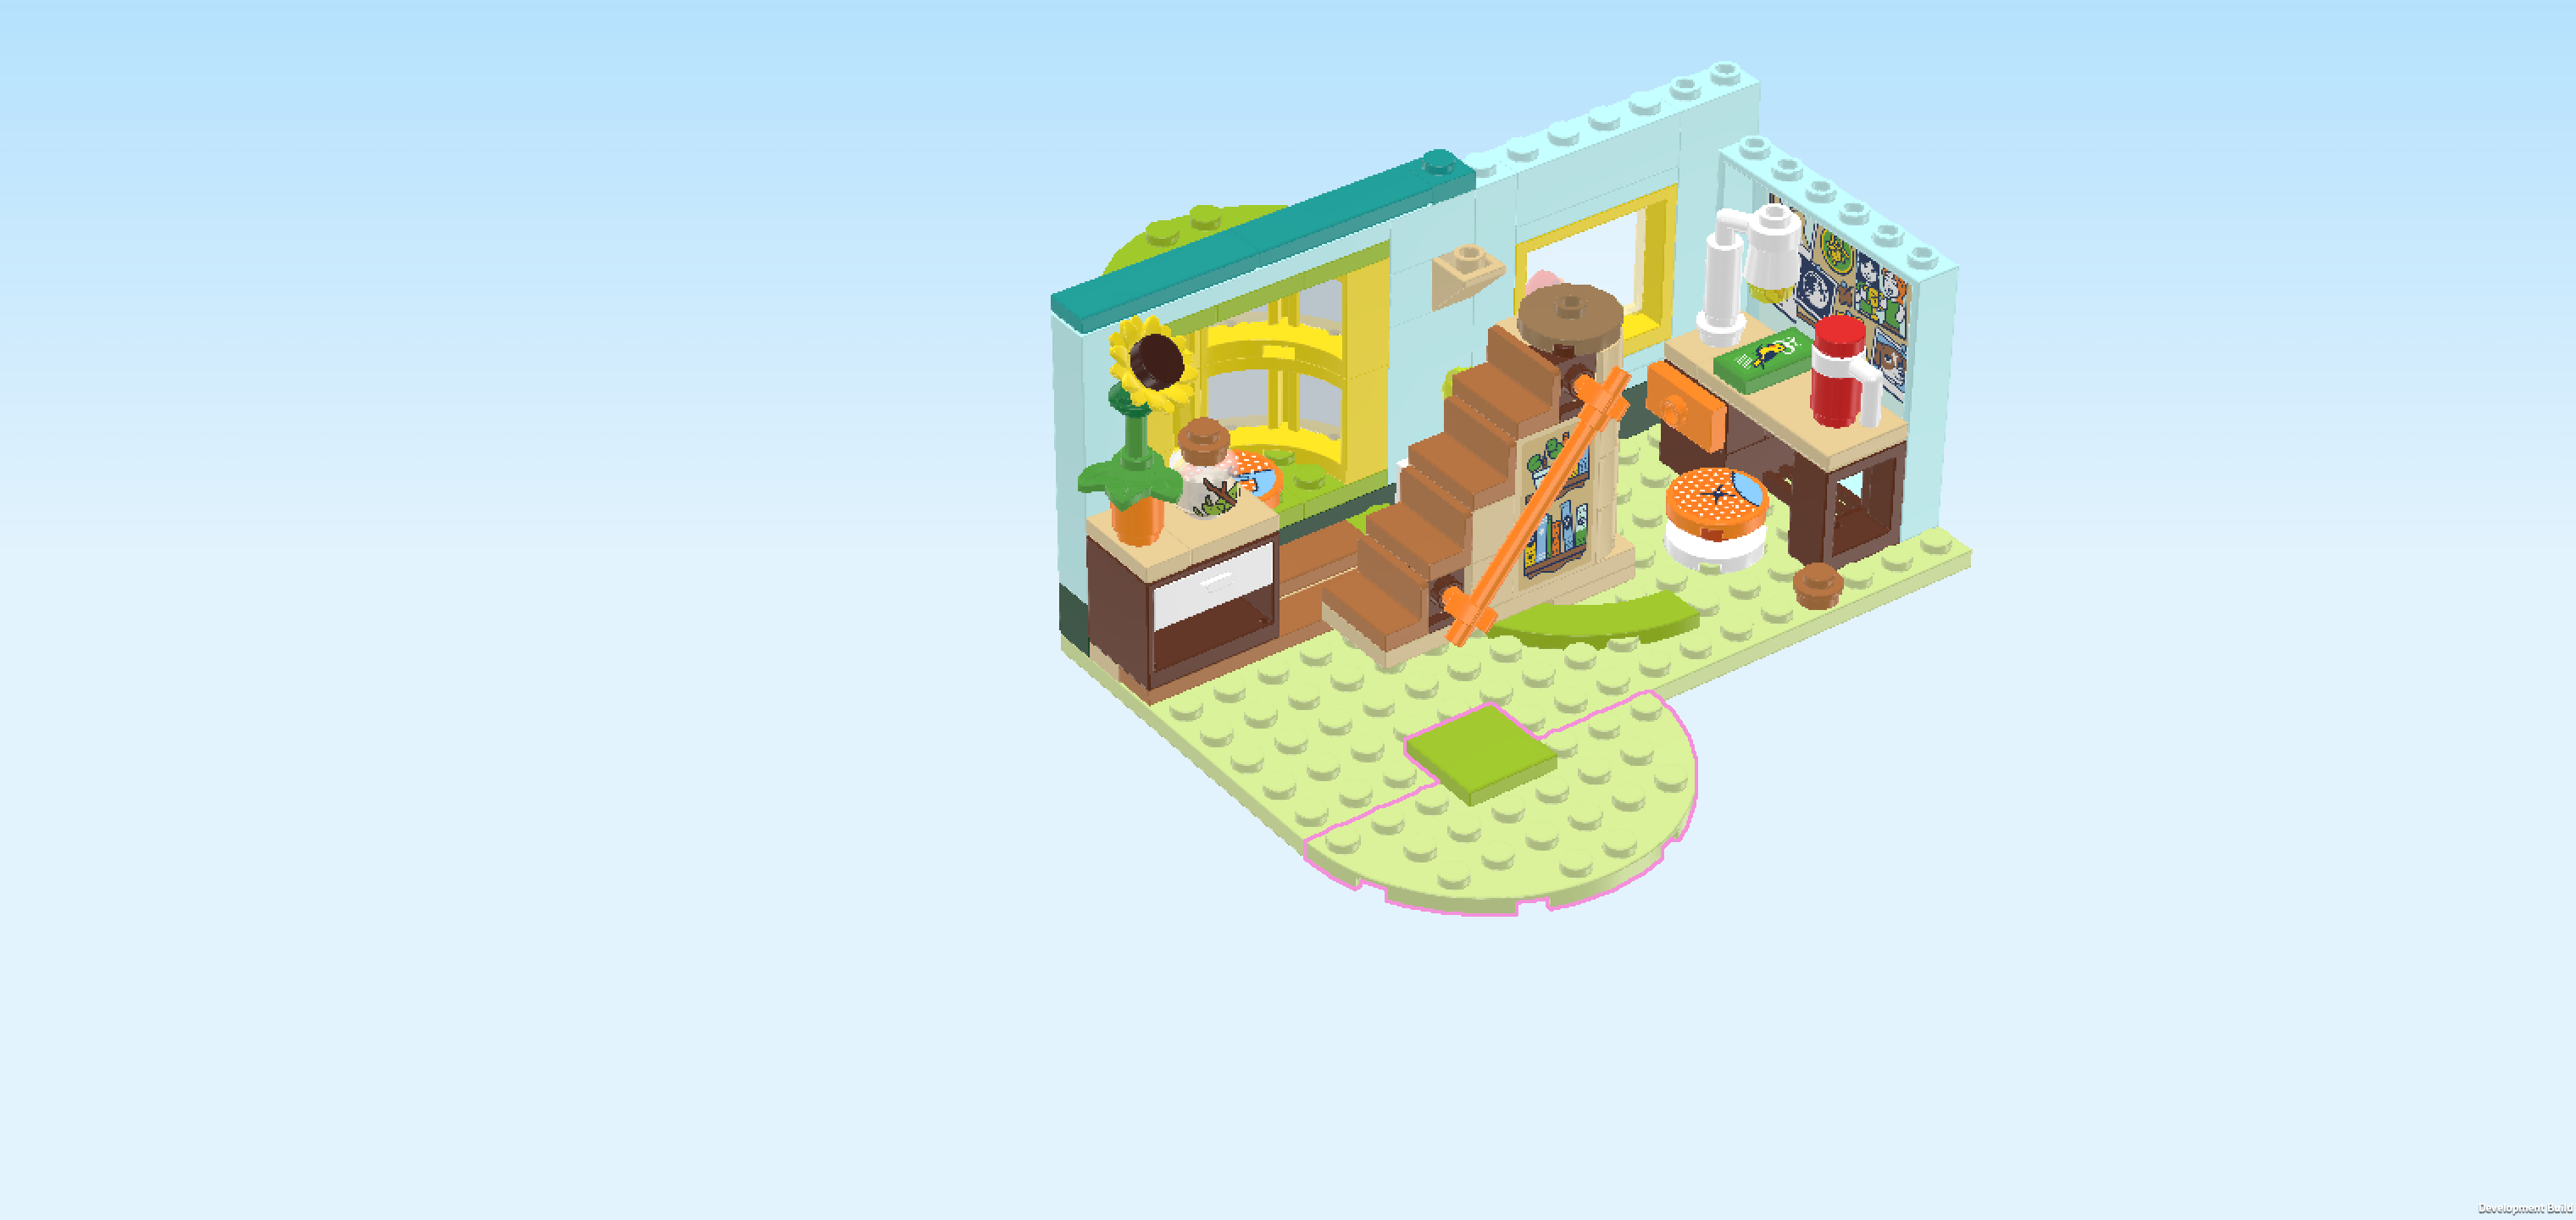
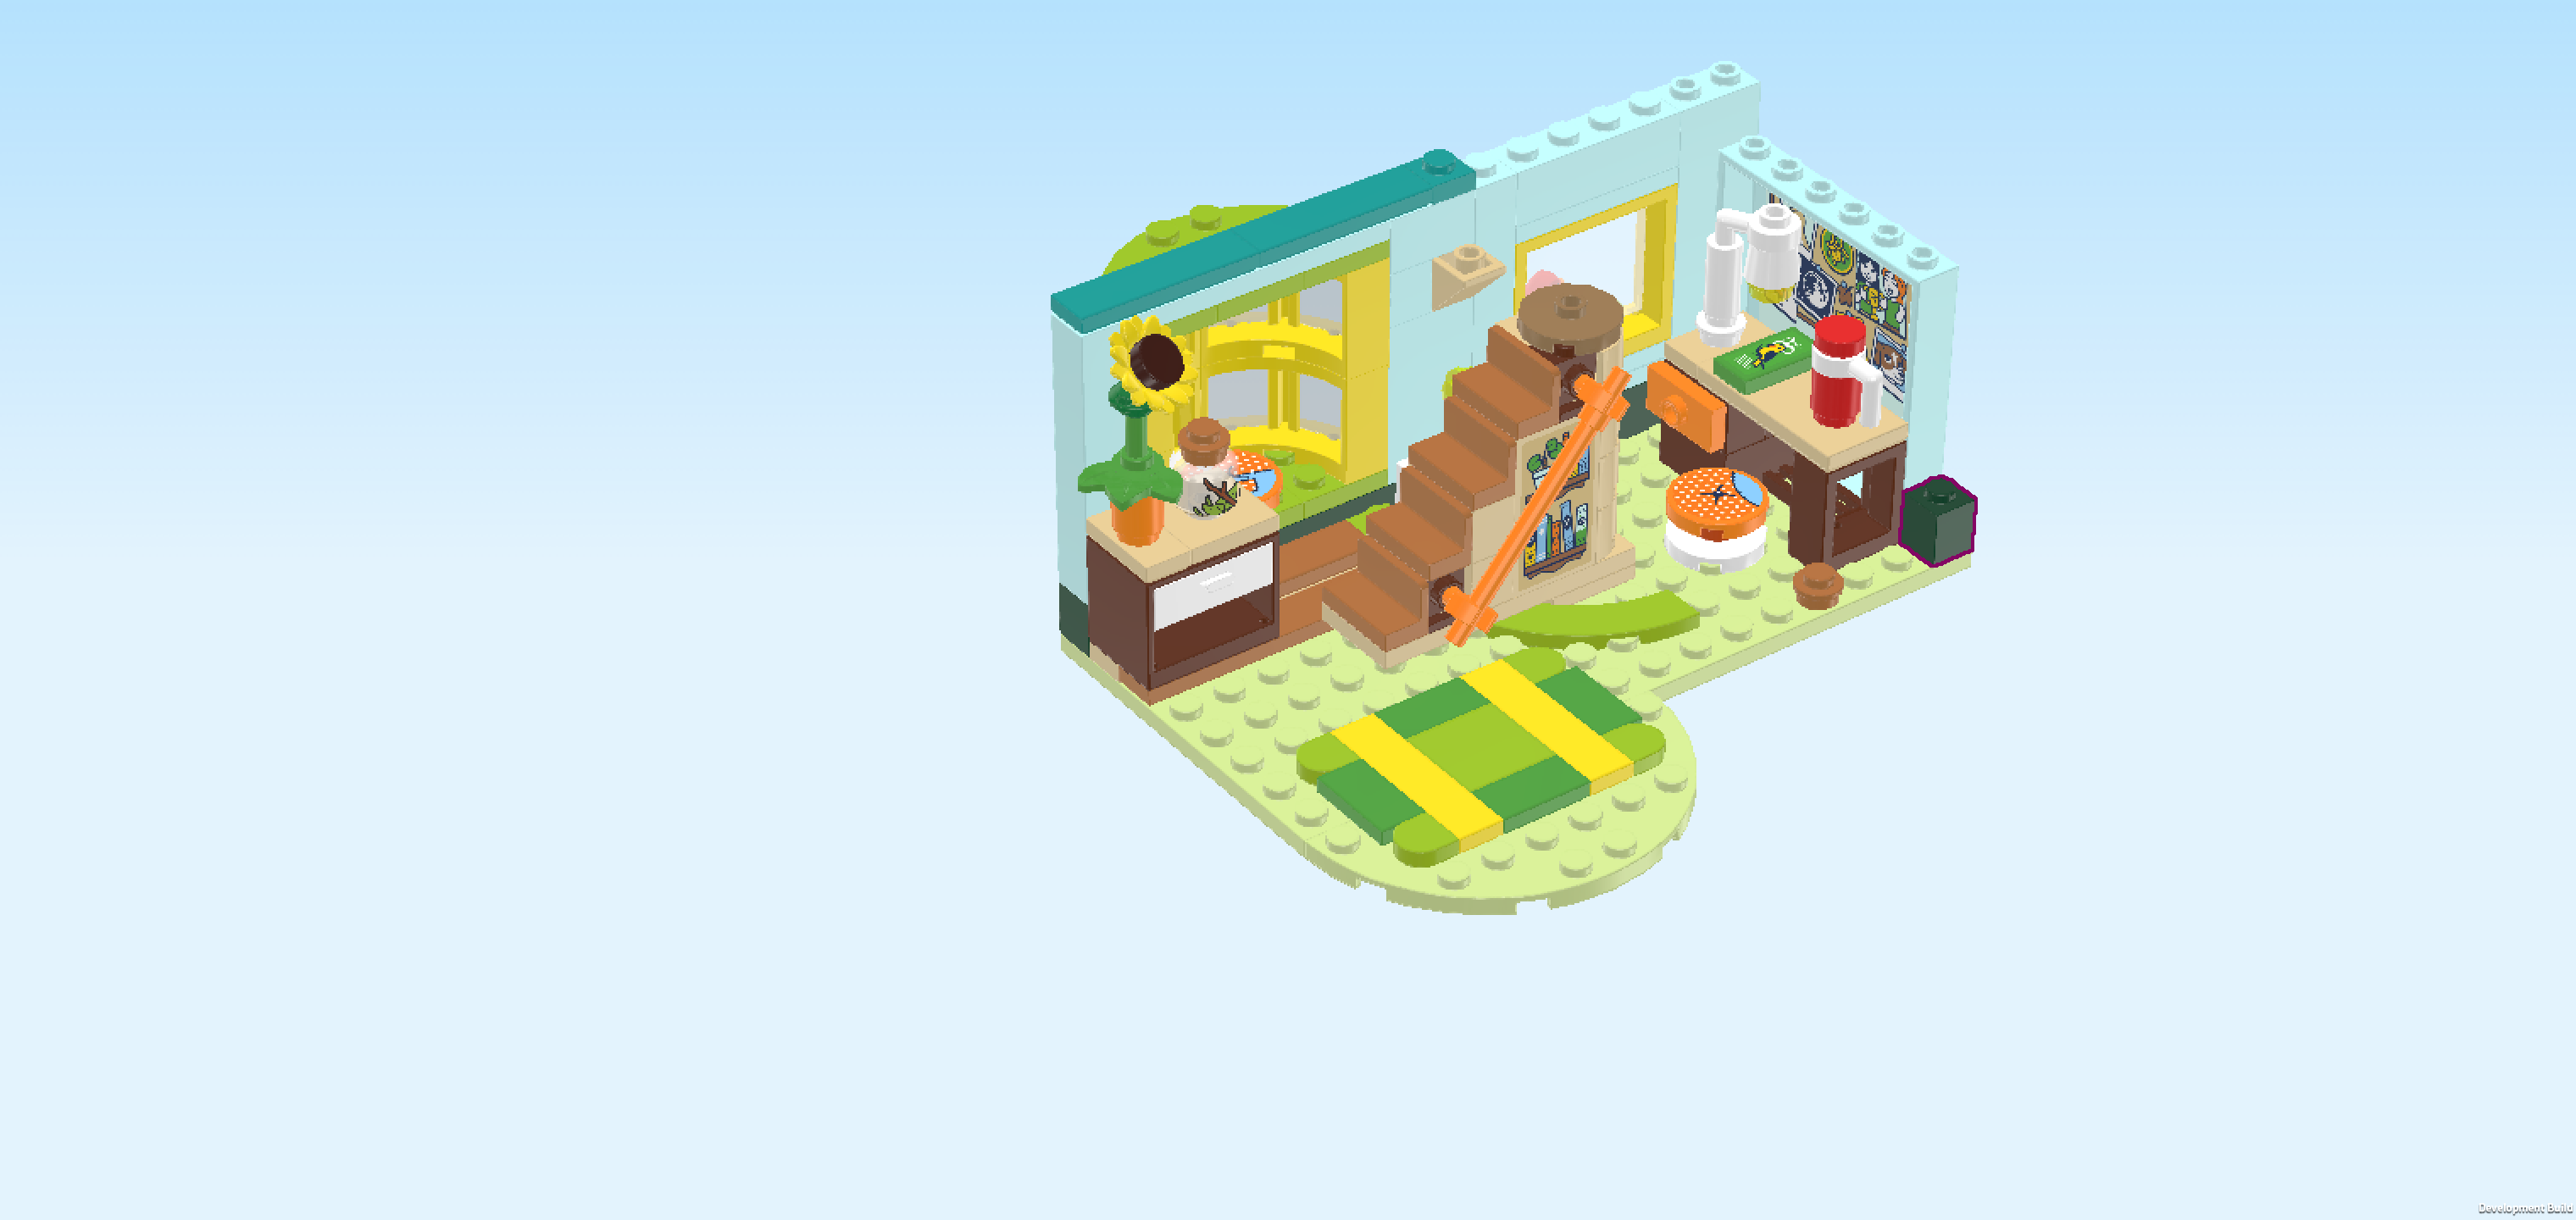
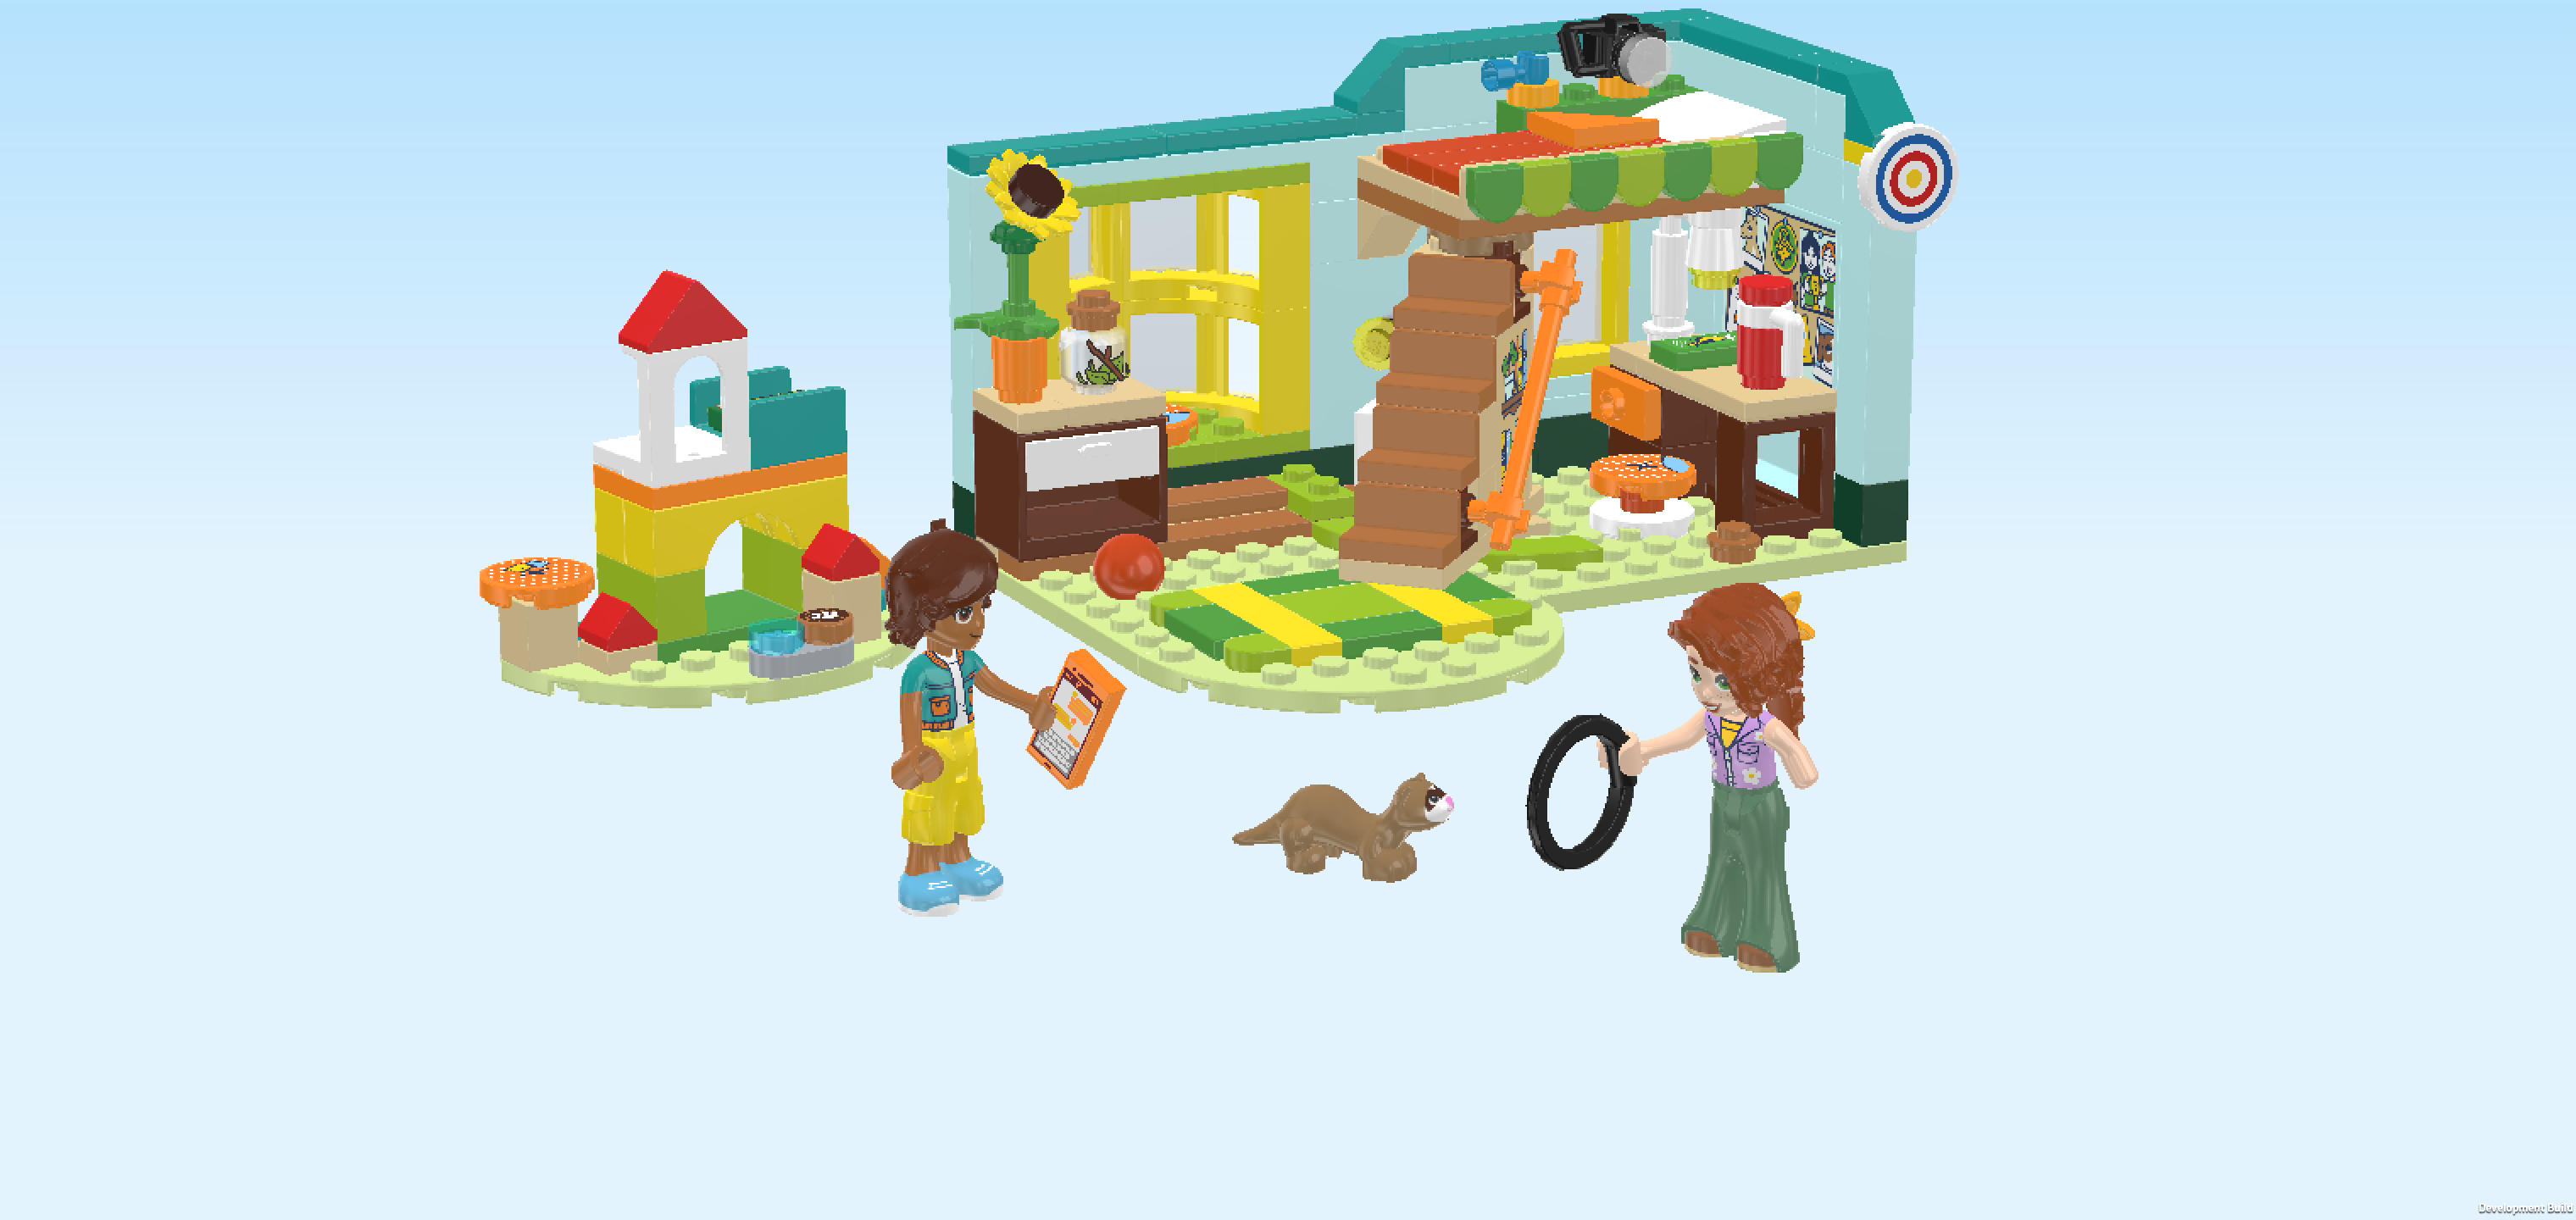
| Come hang out with Autumn and Leo! Today they're playing with Autumn's pet ferret, Bandit, in Autumn's Room. Take a tour of the room and discover how much Autumn loves animals and nature. The movable staircase leads up to Autumn's bed – look out for hidden treasures behind the staircase! Then take Bandit outside to play in the playground, where the ferret loves to climb, jump and play. |
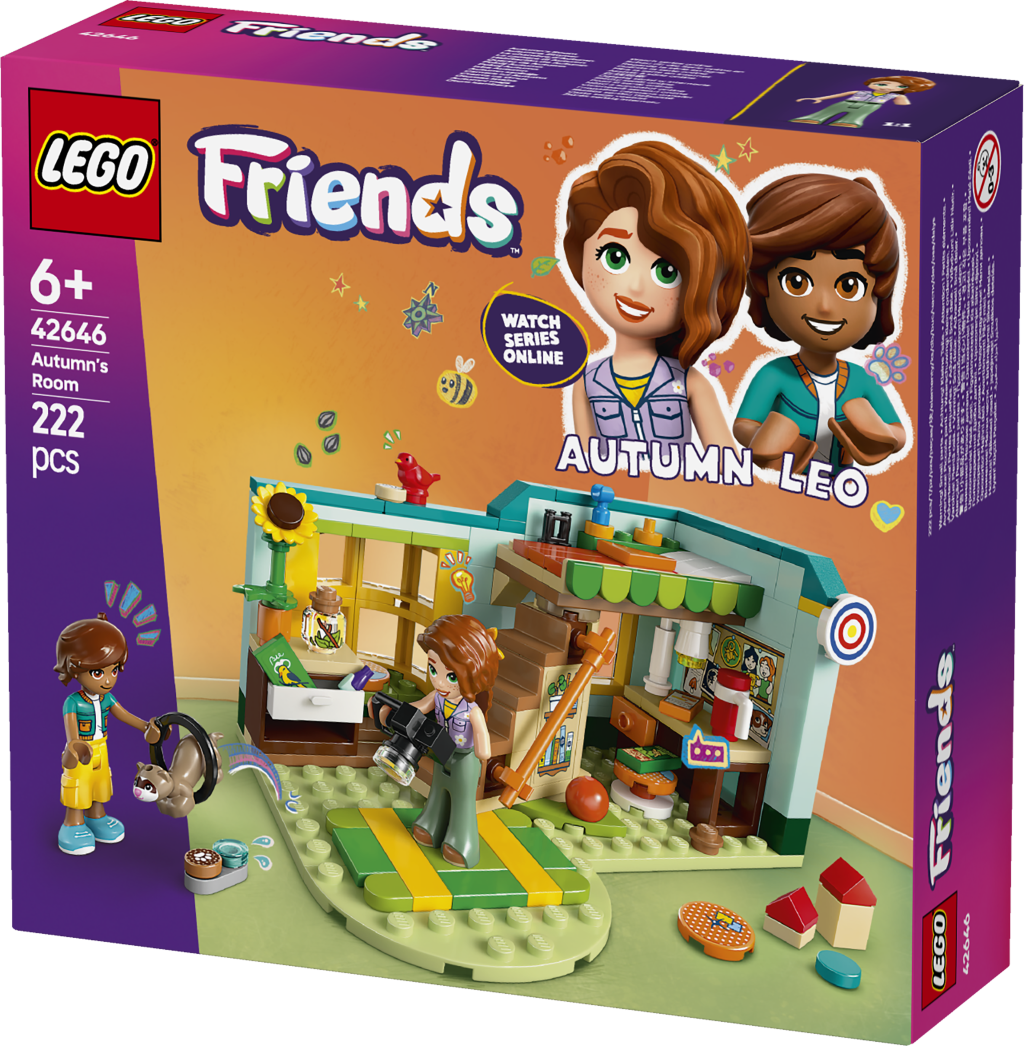
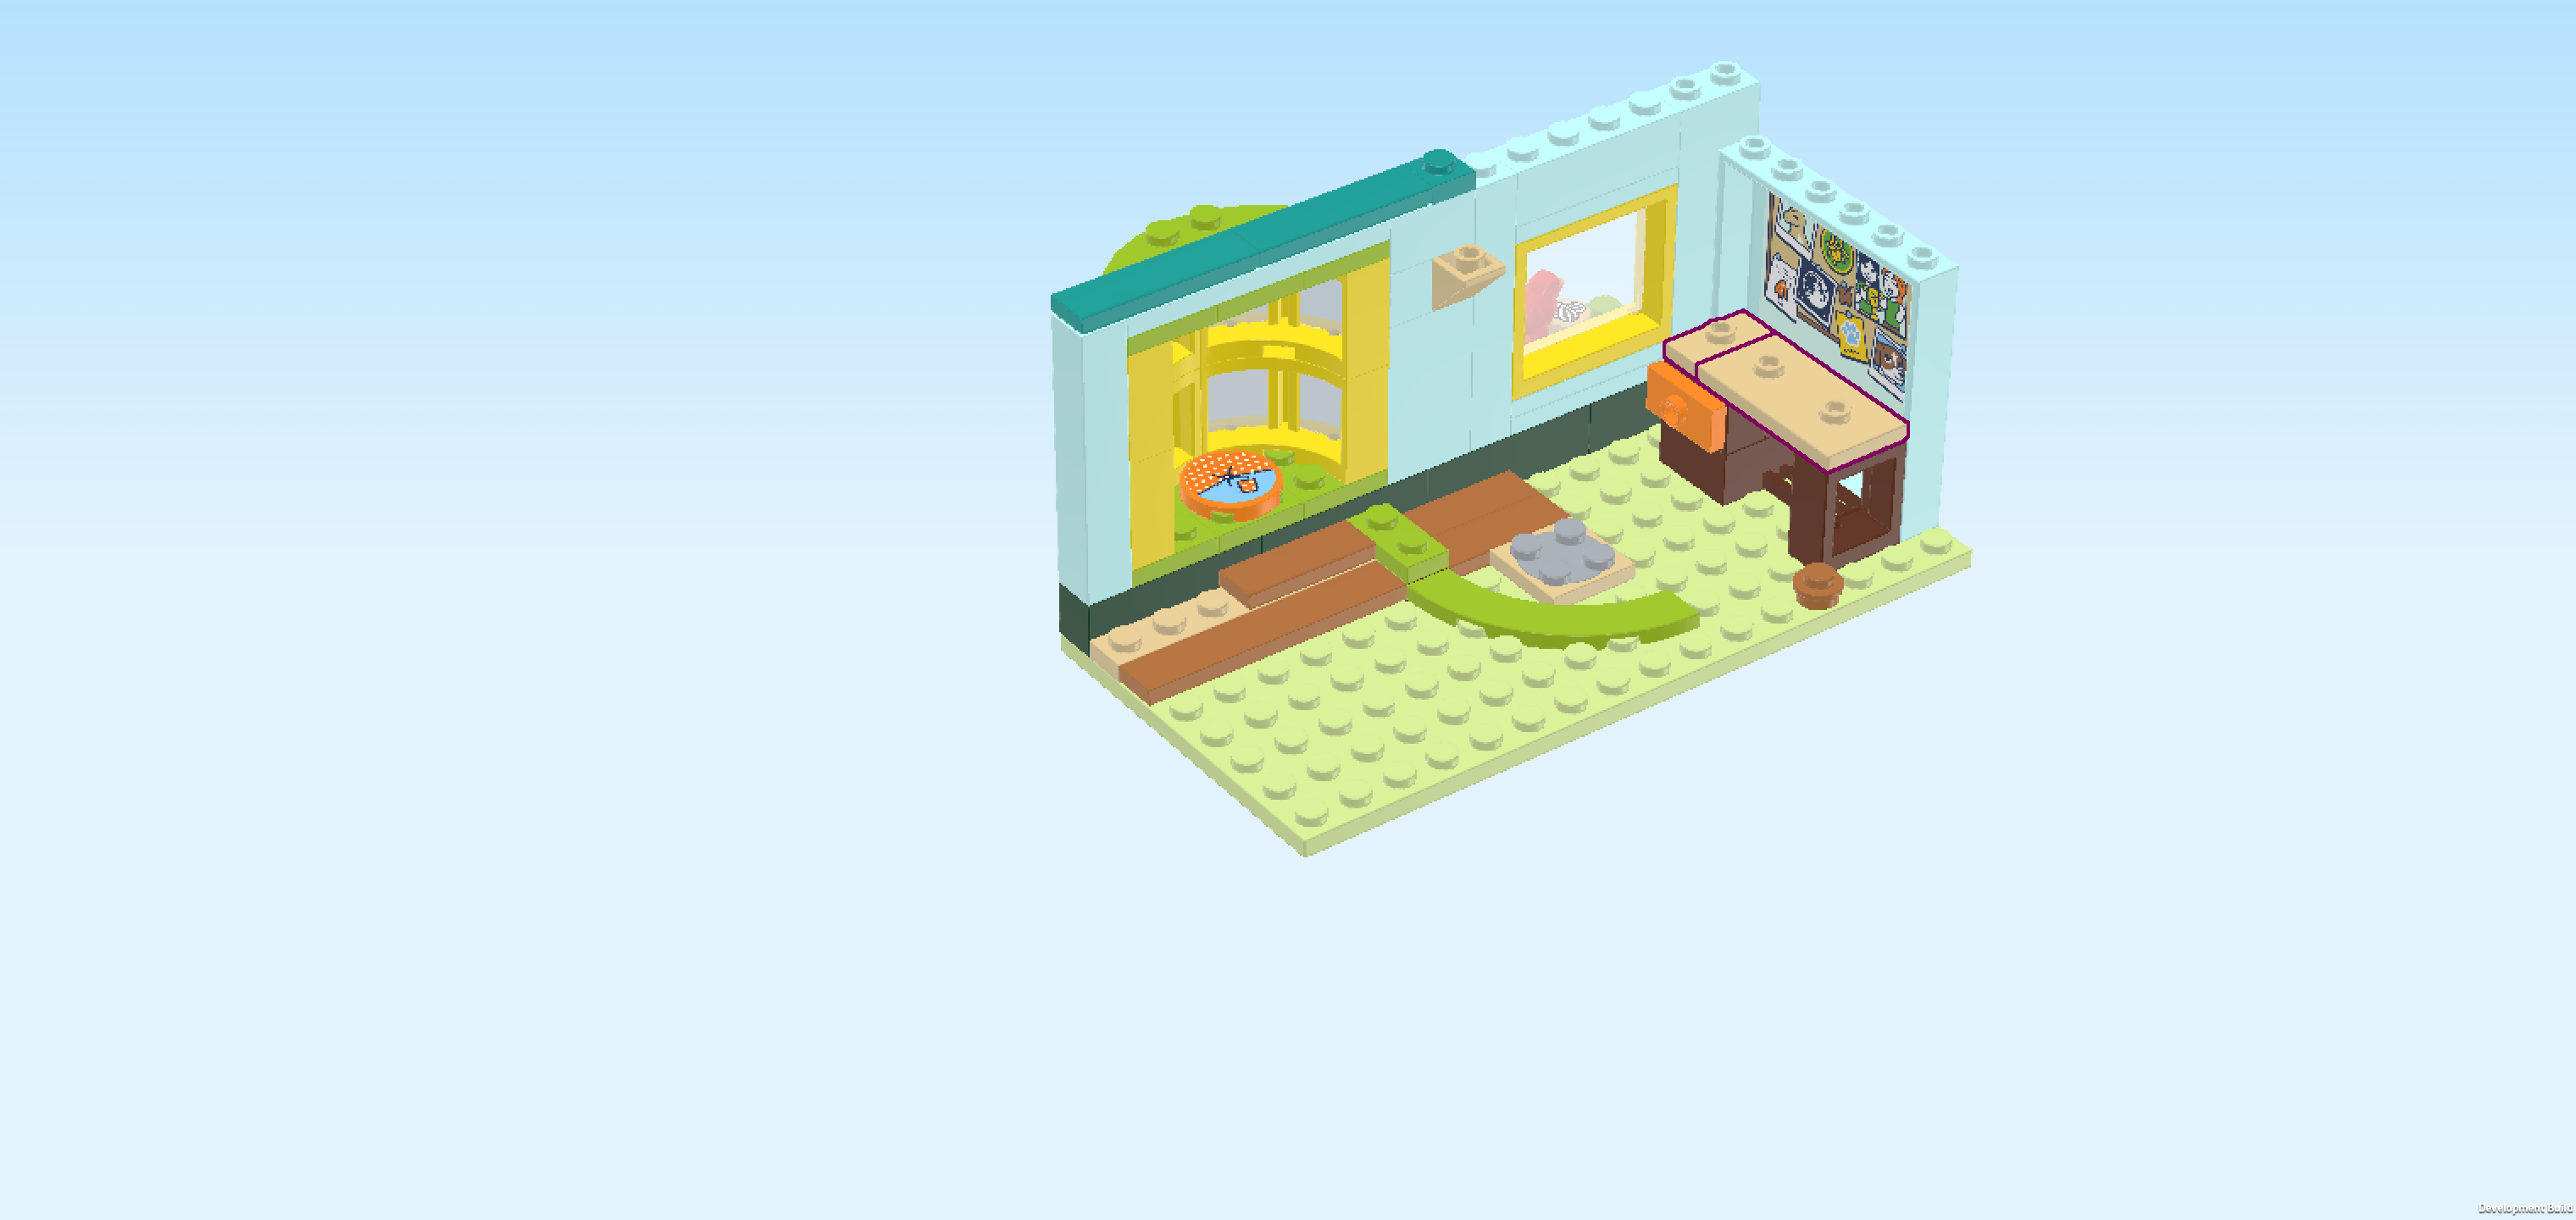
| The box cover shows Autumn's room behind a warm-orange background and on a pale green floor, matching the color of the room's floor. Autumn's room is decorated in muted colors that match her general style as well as her name. There are different kinds of muted greens and yellows in the carpet and in her loft bed mounted in the room's back right corner. The swing-out staircase leading to the bed is brown, and the walls are a pale blue and teal. There is a beautiful bay window on the back wall in the left half of her room. Other furniture includes her desk with stool and a sideboard with a drawer. Autumn is standing on the carpet with her camera in hand. She is taking pictures of Leo who is playing with Bandit. The little ferret is currently jumping through a hoop! Impressive! A few of the ferret's toys are scattered across the scene, including its food station with water and treats. In the top right corner of the box cover, there are large portraits of Autumn and Leo. There are many more details to discover about Autumn's room and Autumn herself. Let's start building! |
| Open the box. It contains 1 booklet with visual building instructions, 3 numbered bags, 1 sheet with 7 stickers, and 1 loose piece: 1 plate 8x16. We will refer to the bag numbers to guide you through the building process. Please ask a sighted person to help you identify the correct bags! |
| The sticker sheet has 9 stickers. Some of them have identical shapes but different prints, so if you would like to find and attach the stickers yourself, put the sticker sheet vertically in front of you. Try to feel the outlines of the stickers and search for the biggest sticker in the set, which is a rectangular sticker 4x5. Turn the sticker sheet so that this sticker is at the backmost edge, which is the edge that is furthest away from you. If you prefer, you can also ask a sighted person to orientate the sticker sheet such that the bold blue line is on the left edge. Alternatively, you can ask a sighted person for help whenever you are asked to attach a sticker, or you can also simply skip attaching them if you prefer. |
| Carefully open bag number 1 and any small sub-bags in it. This bag contains all bricks and pieces for the Autumn Minifigure, the Leo Minifigure, and the ferret playground with Bandit, the pet ferret. |
| If you like, you can ask a sighted person to sort the pieces by color before you start building. We recommend using trays or bowls. This can make finding the correct pieces easier! However, if you would like to build without brick colors entirely, you can also ignore them or disable them by swiping with two fingers or pressing the key "c". There are different ways to sort and organize the bricks and your building process. It is up to you! |
| First, we will build the Autumn Minifigure. |
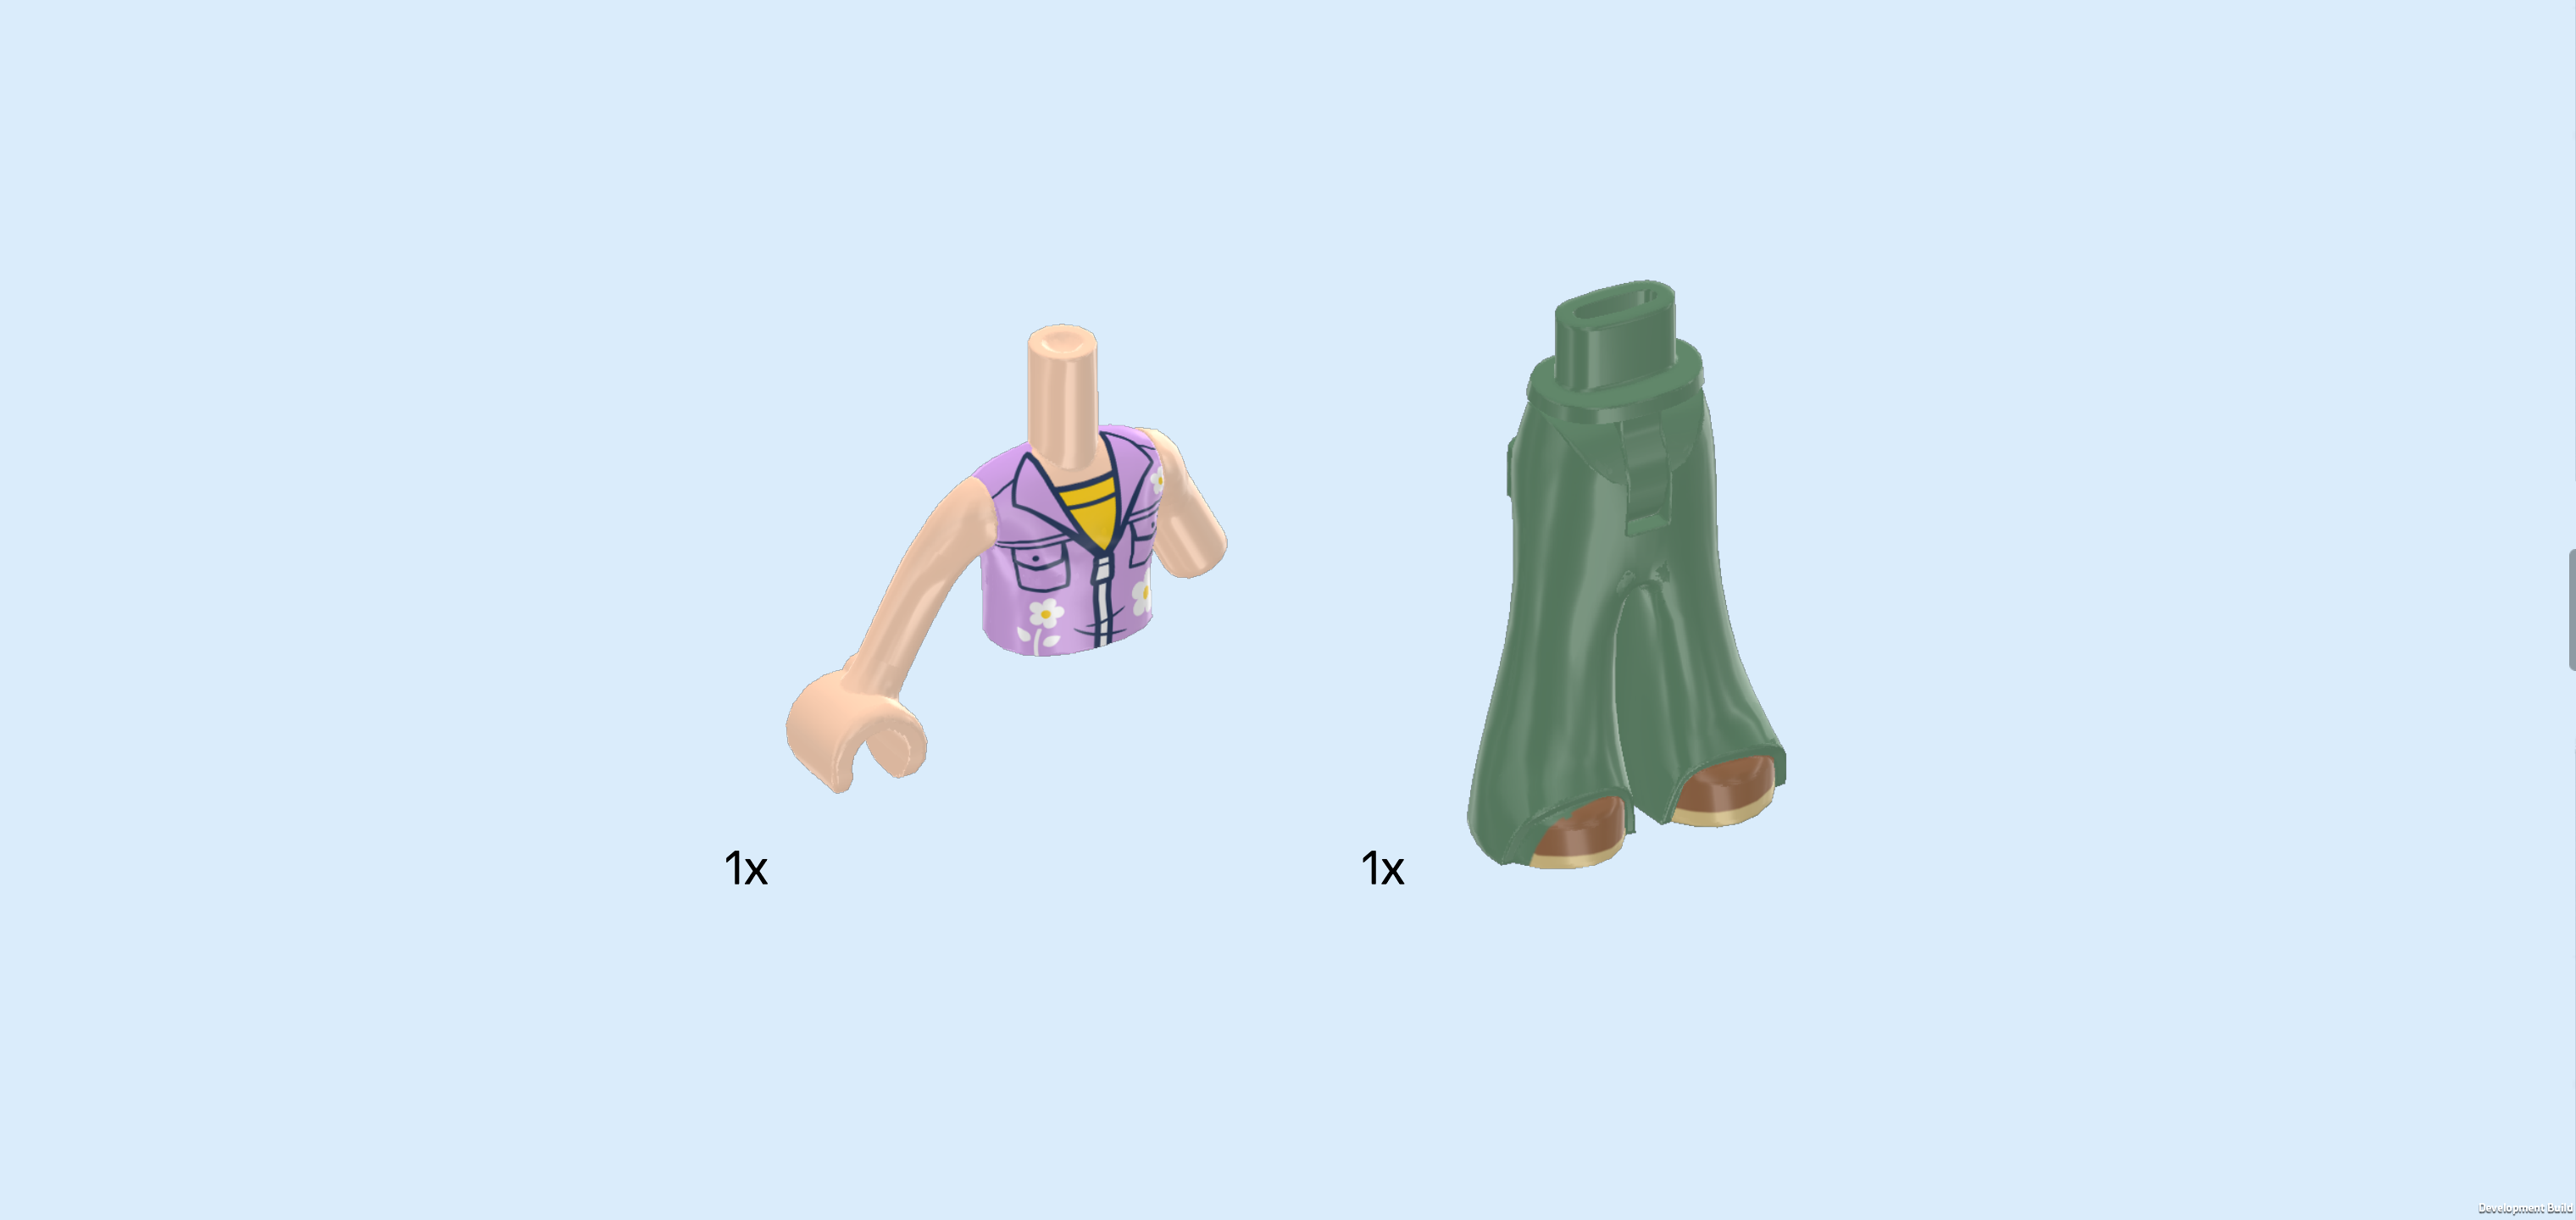
| Collect the following 2 pieces: |
| 1 light nougat brown Minidoll upper body with limb difference, |
| and 1 sand green pair of Minidoll legs with bell-bottomed pants. |
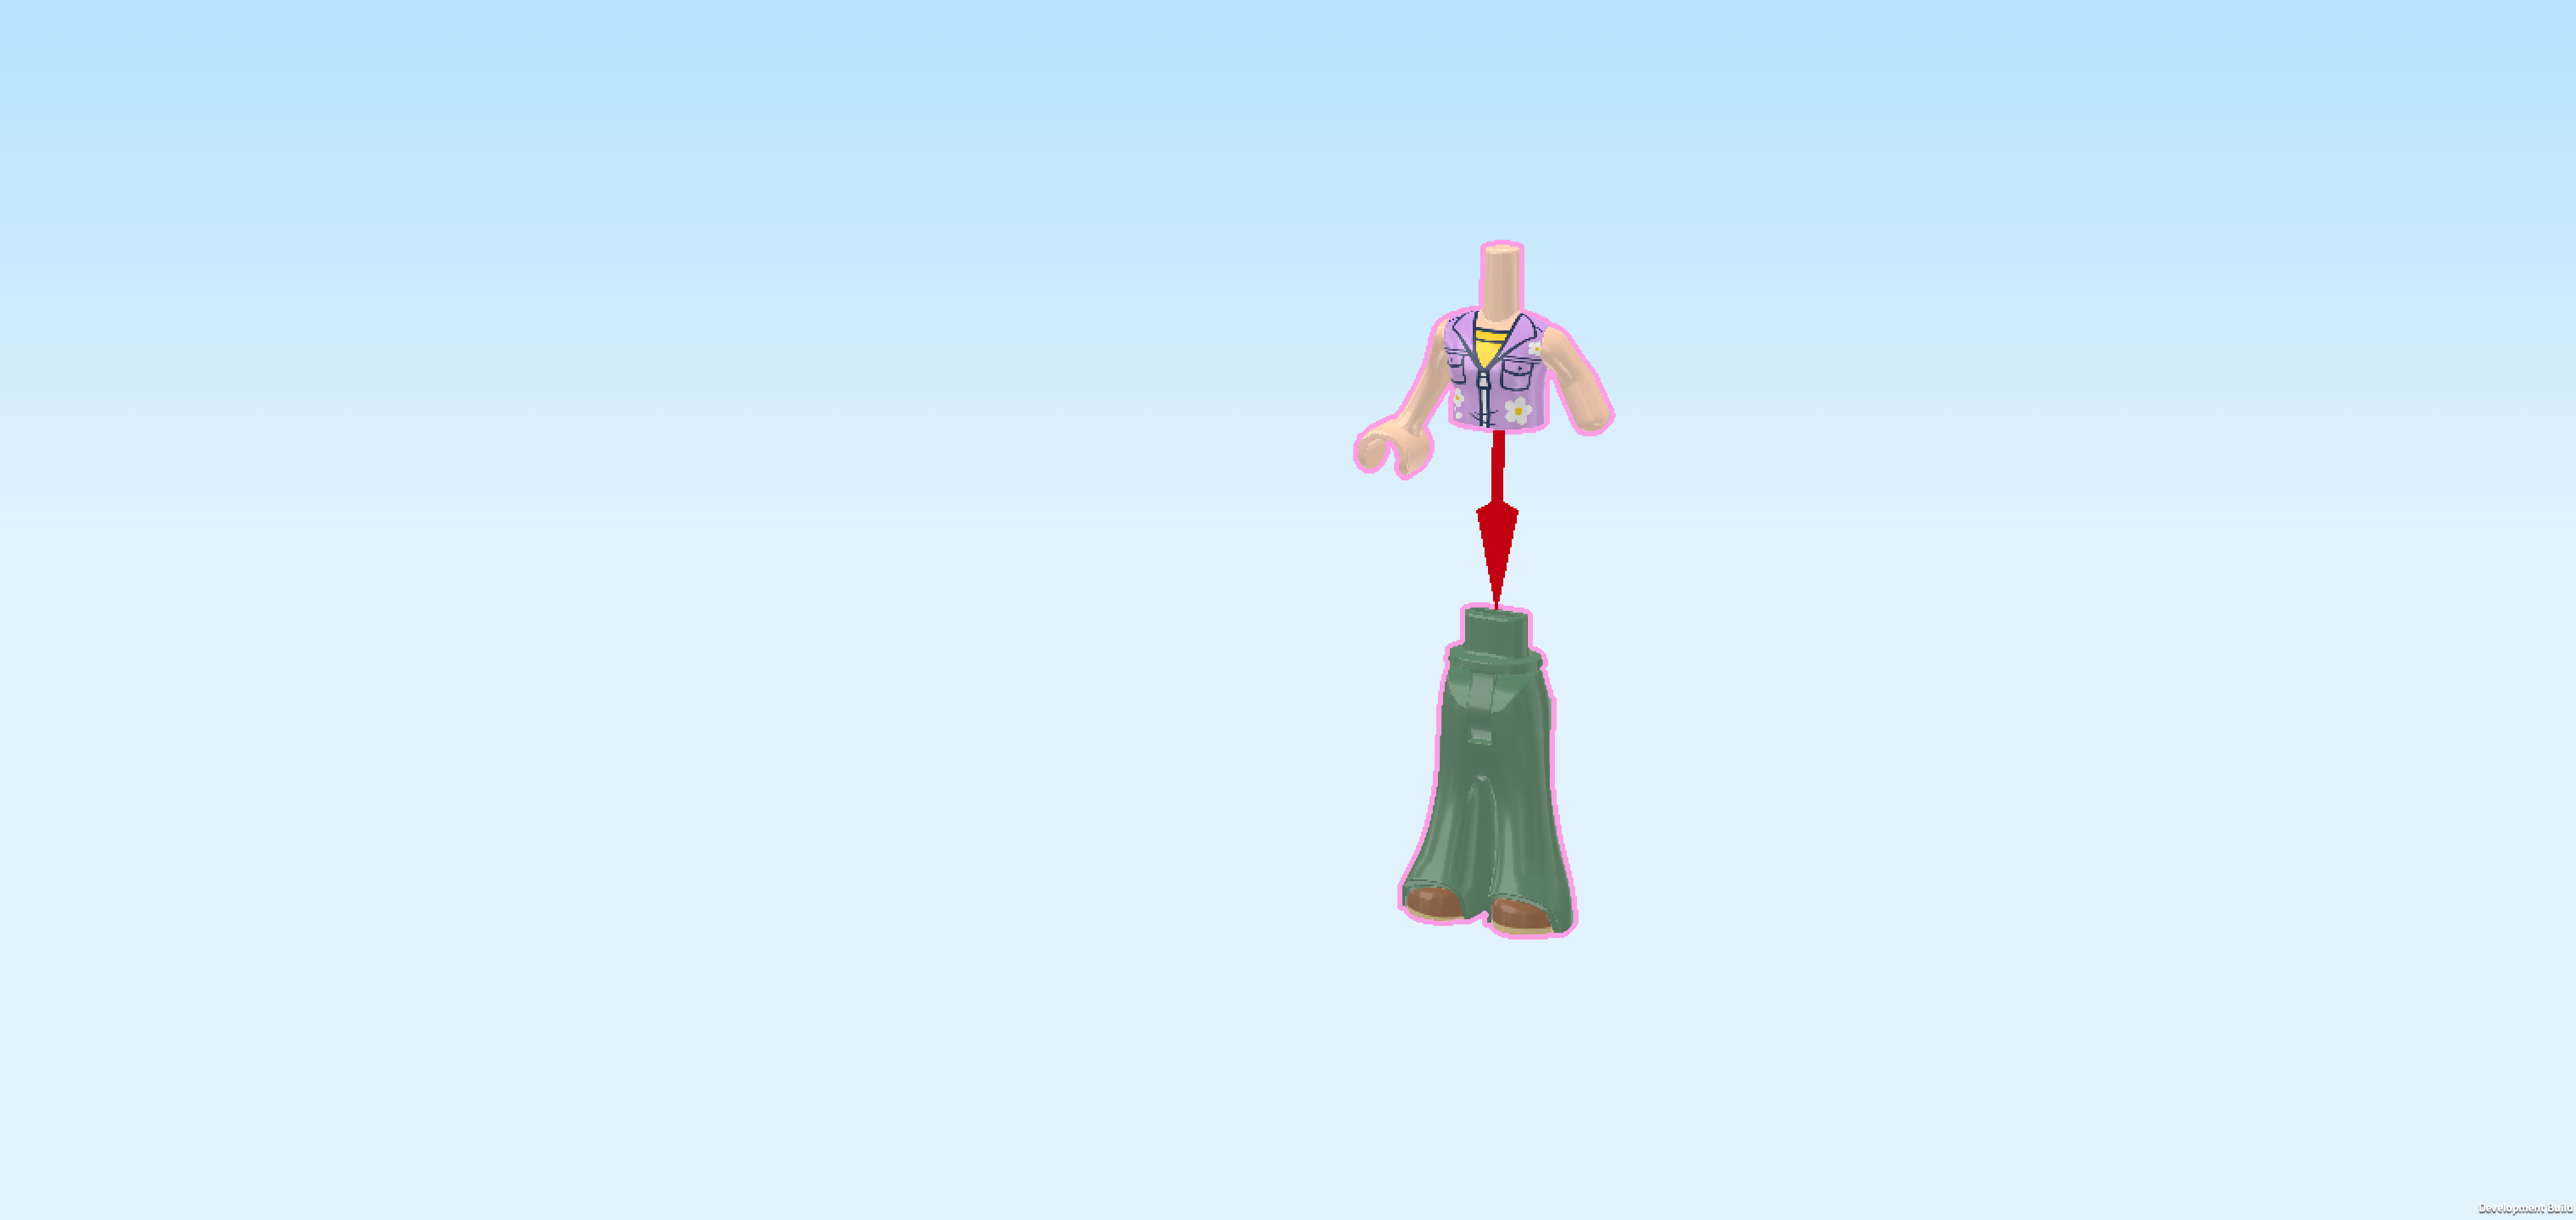
| Put the upper body on the legs. |
| Collect the following 2 pieces: |
| 1 dark orange wavy hairpiece with side parting and plait, |
| and 1 light nougat brown Minidoll head. |
| Put the head on the body and the hair on top. |
| Collect the following 2 pieces: |
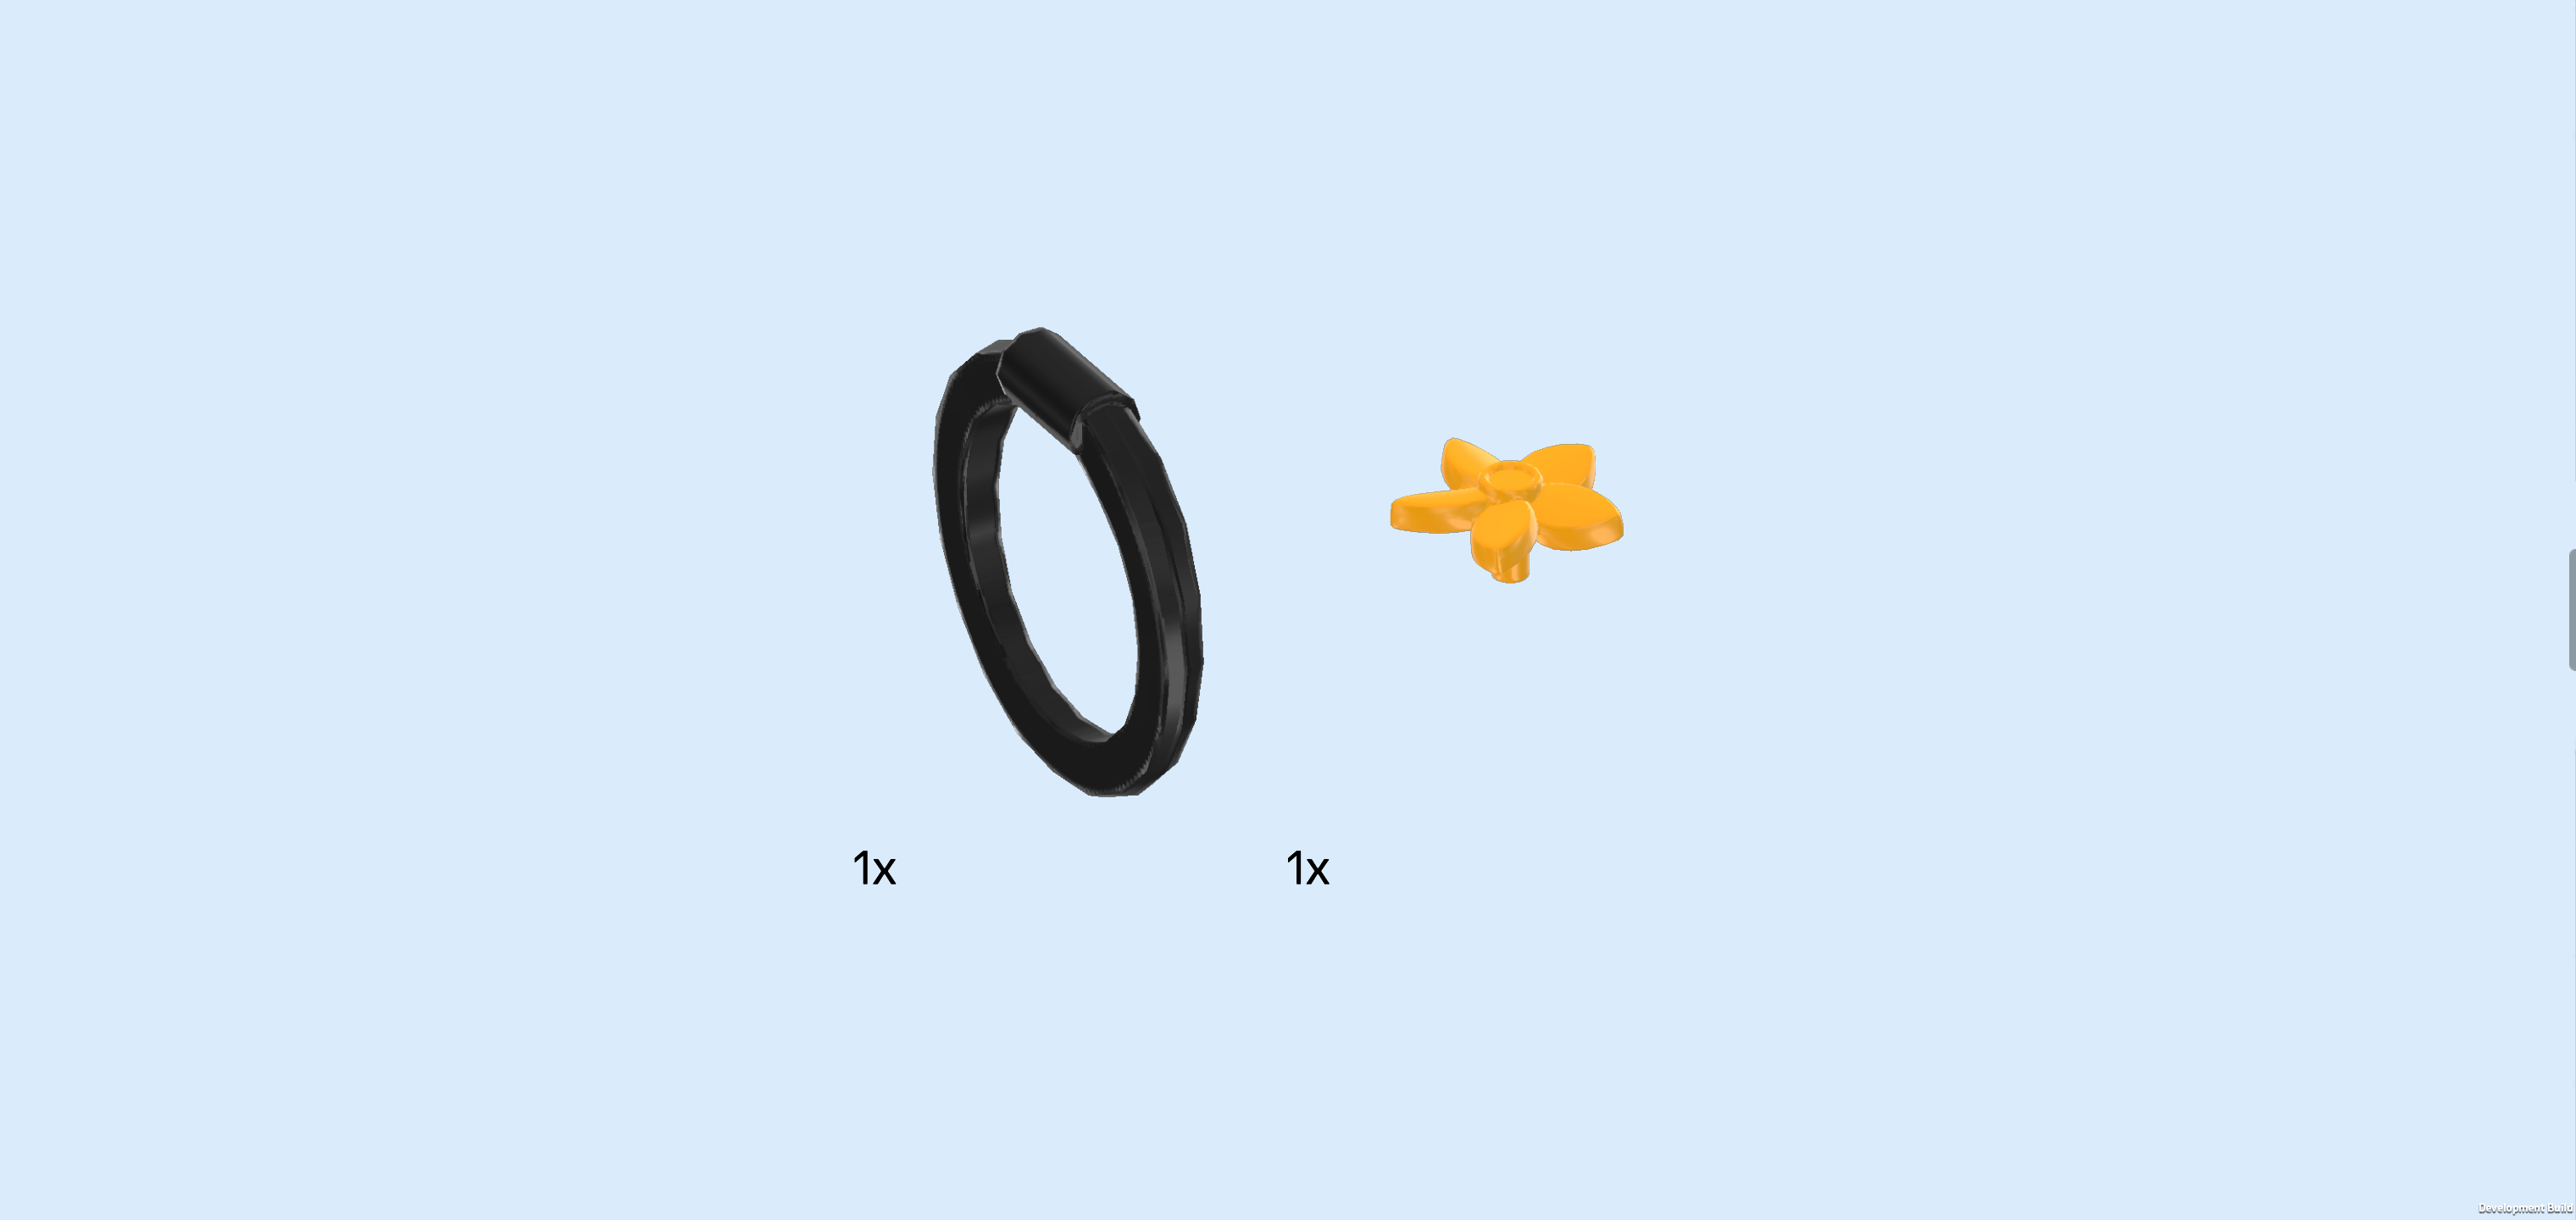
| 1 black hula hoop, |
| and 1 flame yellowish orange flower piece 1x1 with 5 petals and small pin. |
| Snap the grip of the hula hoop into Autumn's hand. |
| Insert the small pin of the flower piece into the small hole at the back of Autumn's hairpiece. |
| The Autumn Minifigure is finished! Great job! Autumn has pale pink skin, ginger hair and eyebrows, green eyes, and cheeks full of pale freckles. She has a happy smile on her face. She is wearing a lavender-colored zip-up vest with a wide V-neck collar and two chest pockets. The vest is printed with white flowers below the chest pockets. A yellow top is visible underneath the vest's V-neck. Autumn's trousers are bell-bottoms in a muted green, and her shoes are brown. |
| Next, we will build the Leo Minifigure. |
| Collect the following 2 pieces: |
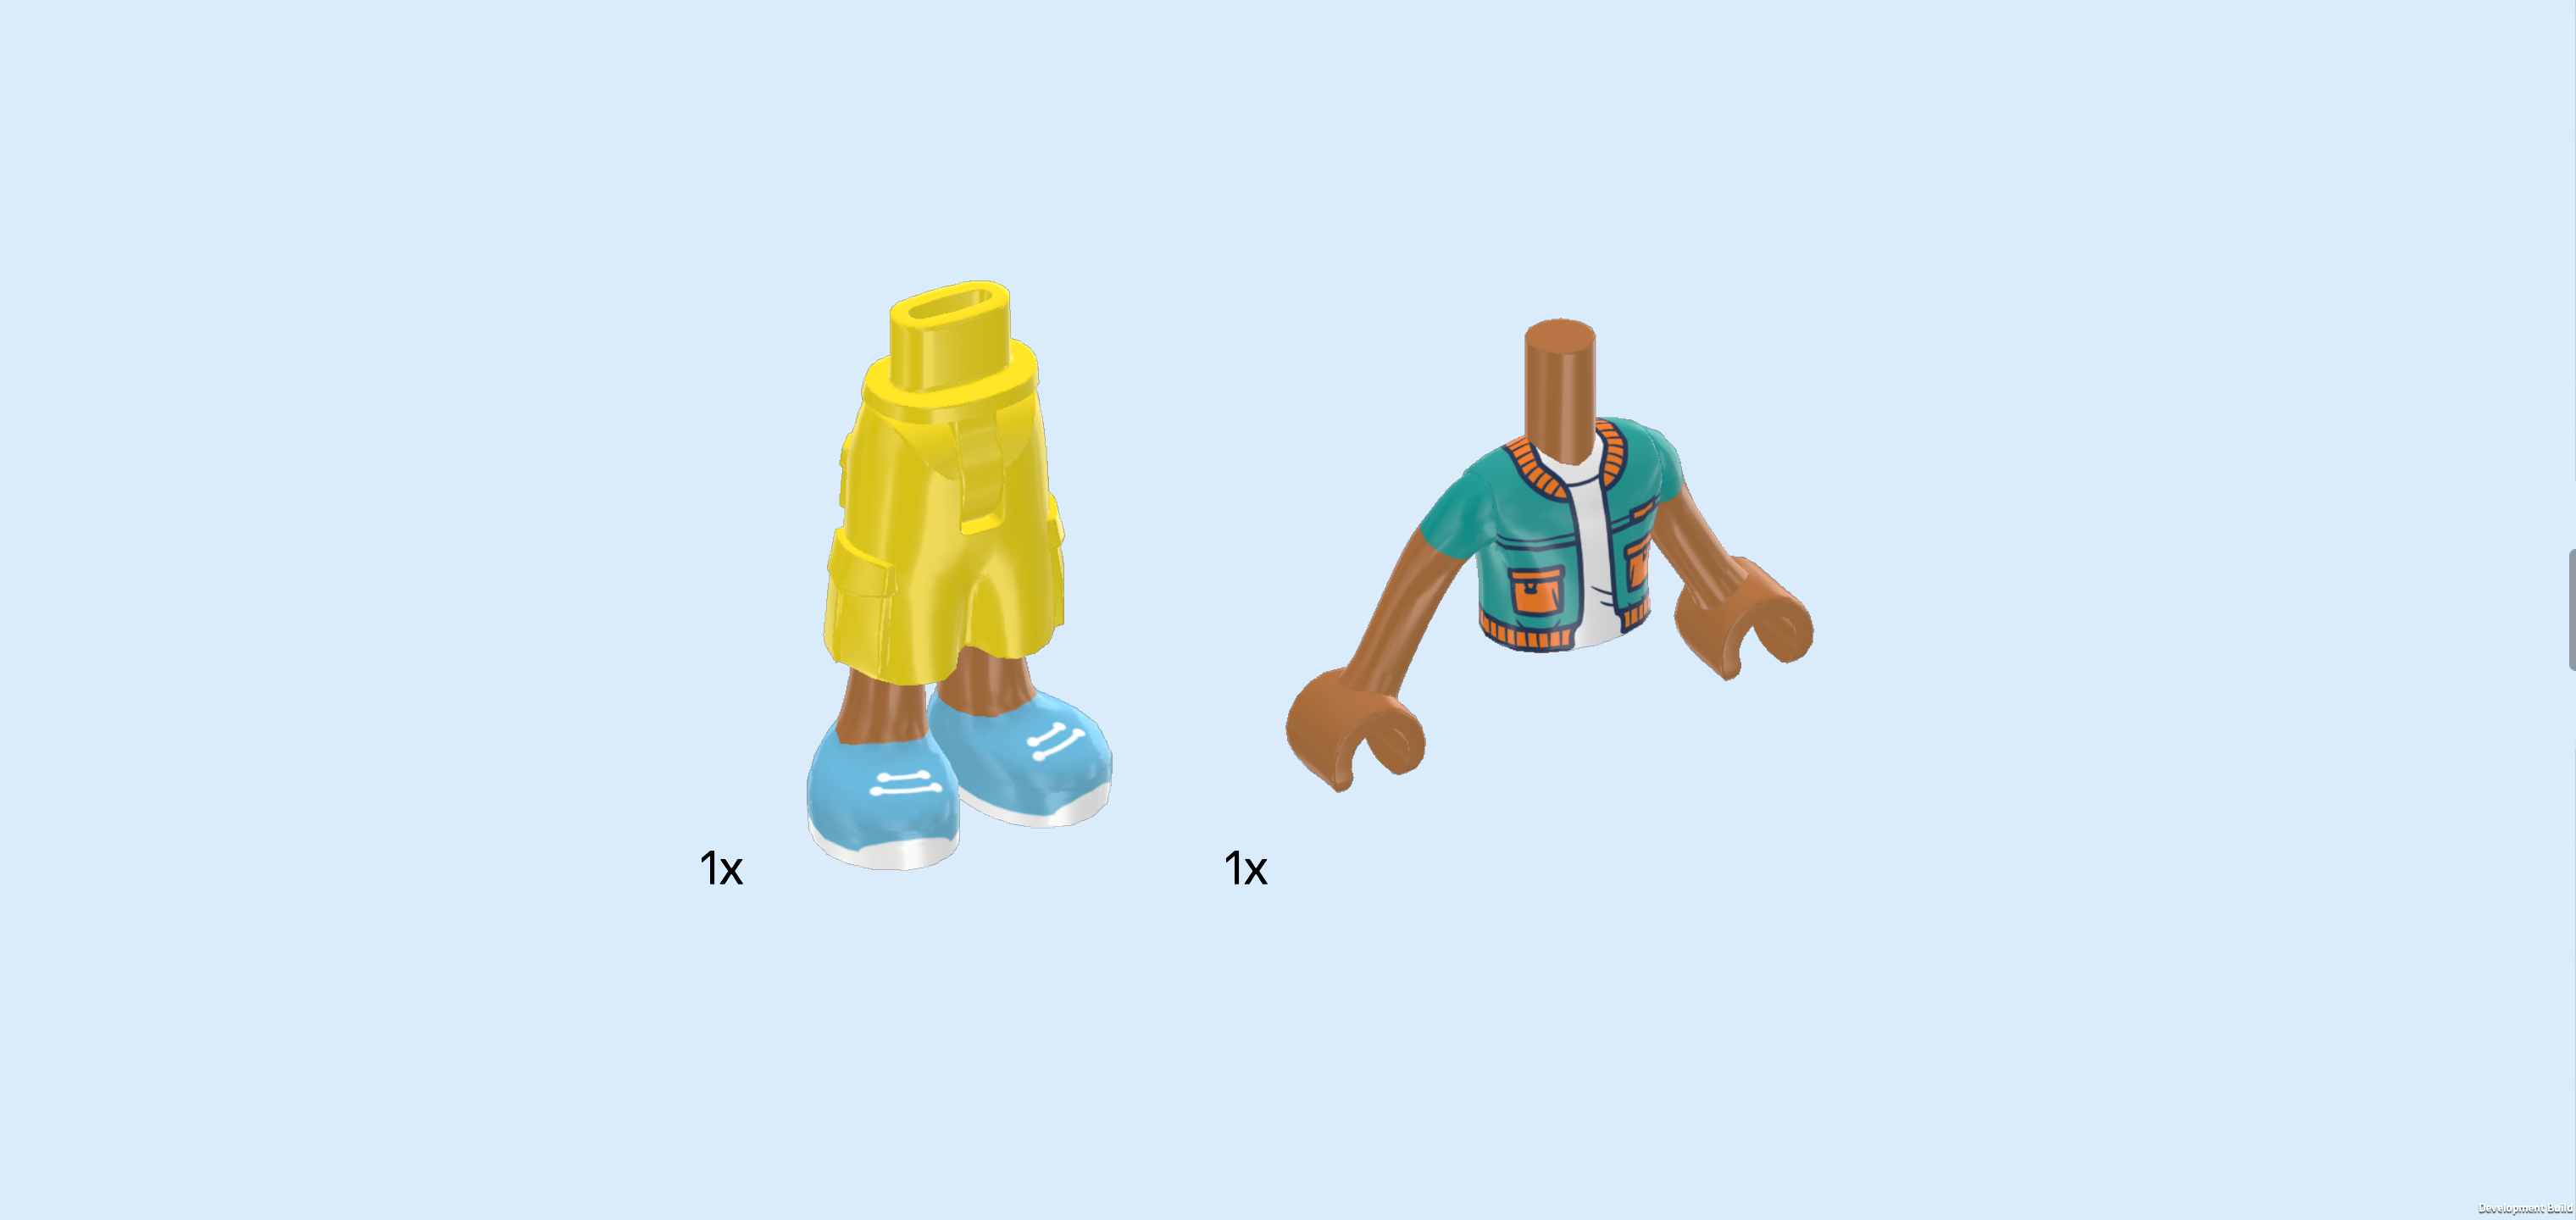
| 1 bright yellow and medium nougat brown Minidoll pair of legs with baggy Bermuda pants, |
| and 1 medium nougat brown and teal blue Minidoll upper body. |
| Put the upper body on the legs. |
| Collect the following 2 pieces: |
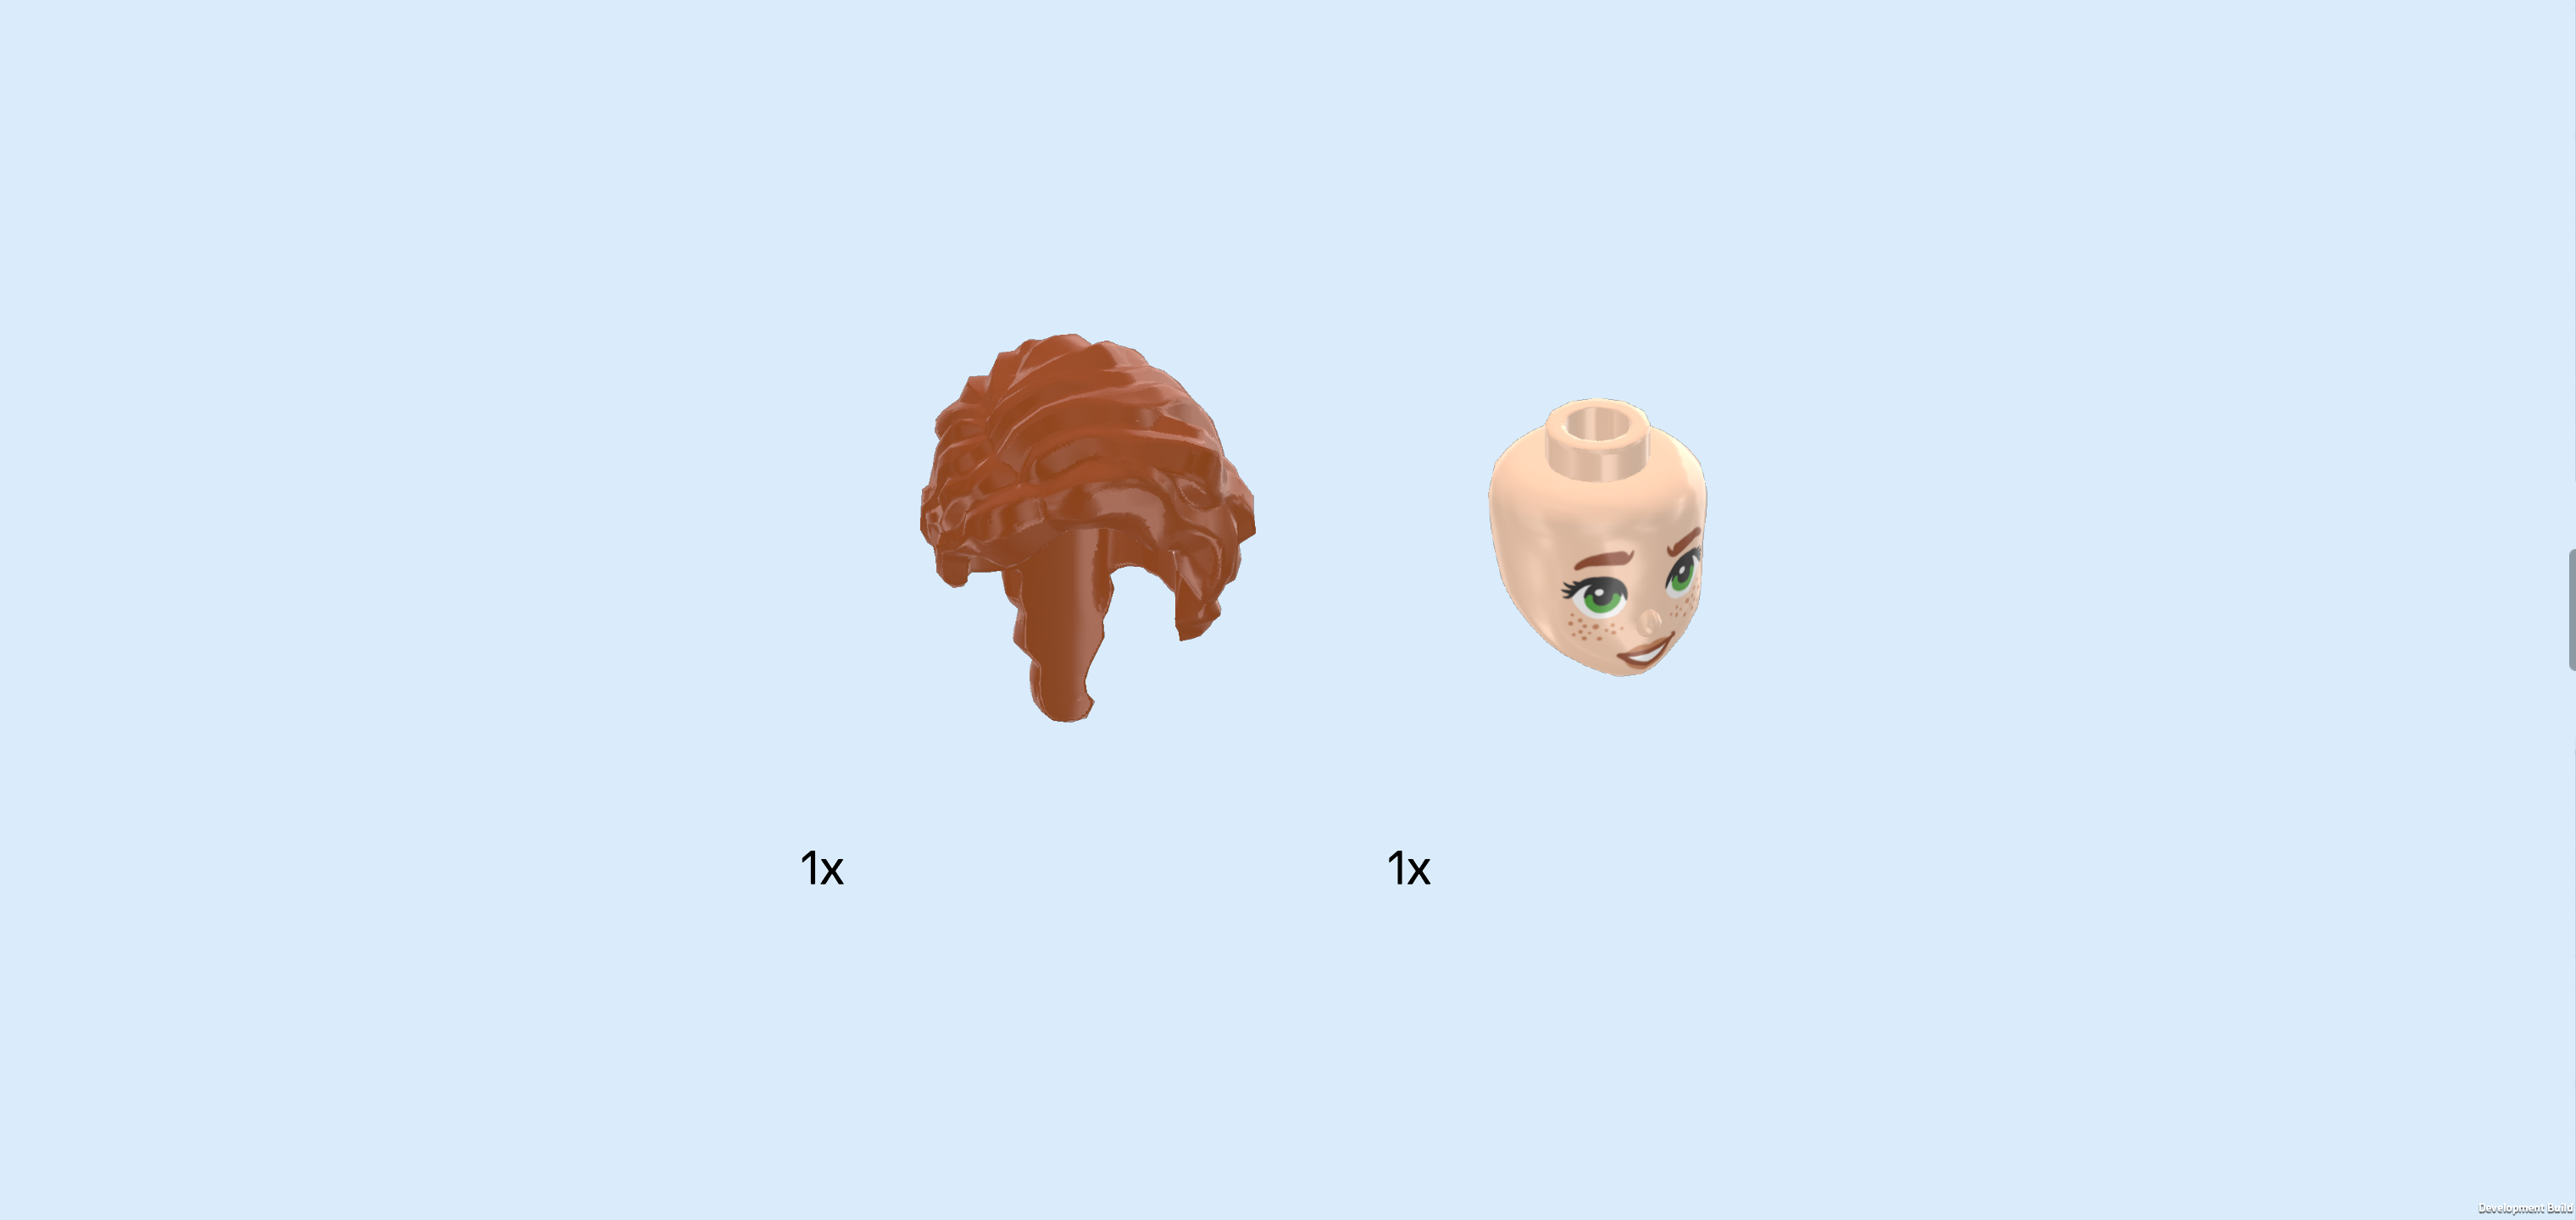
| 1 reddish brown short hairpiece with side parting, |
| and 1 medium nougat brown Minidoll head. |
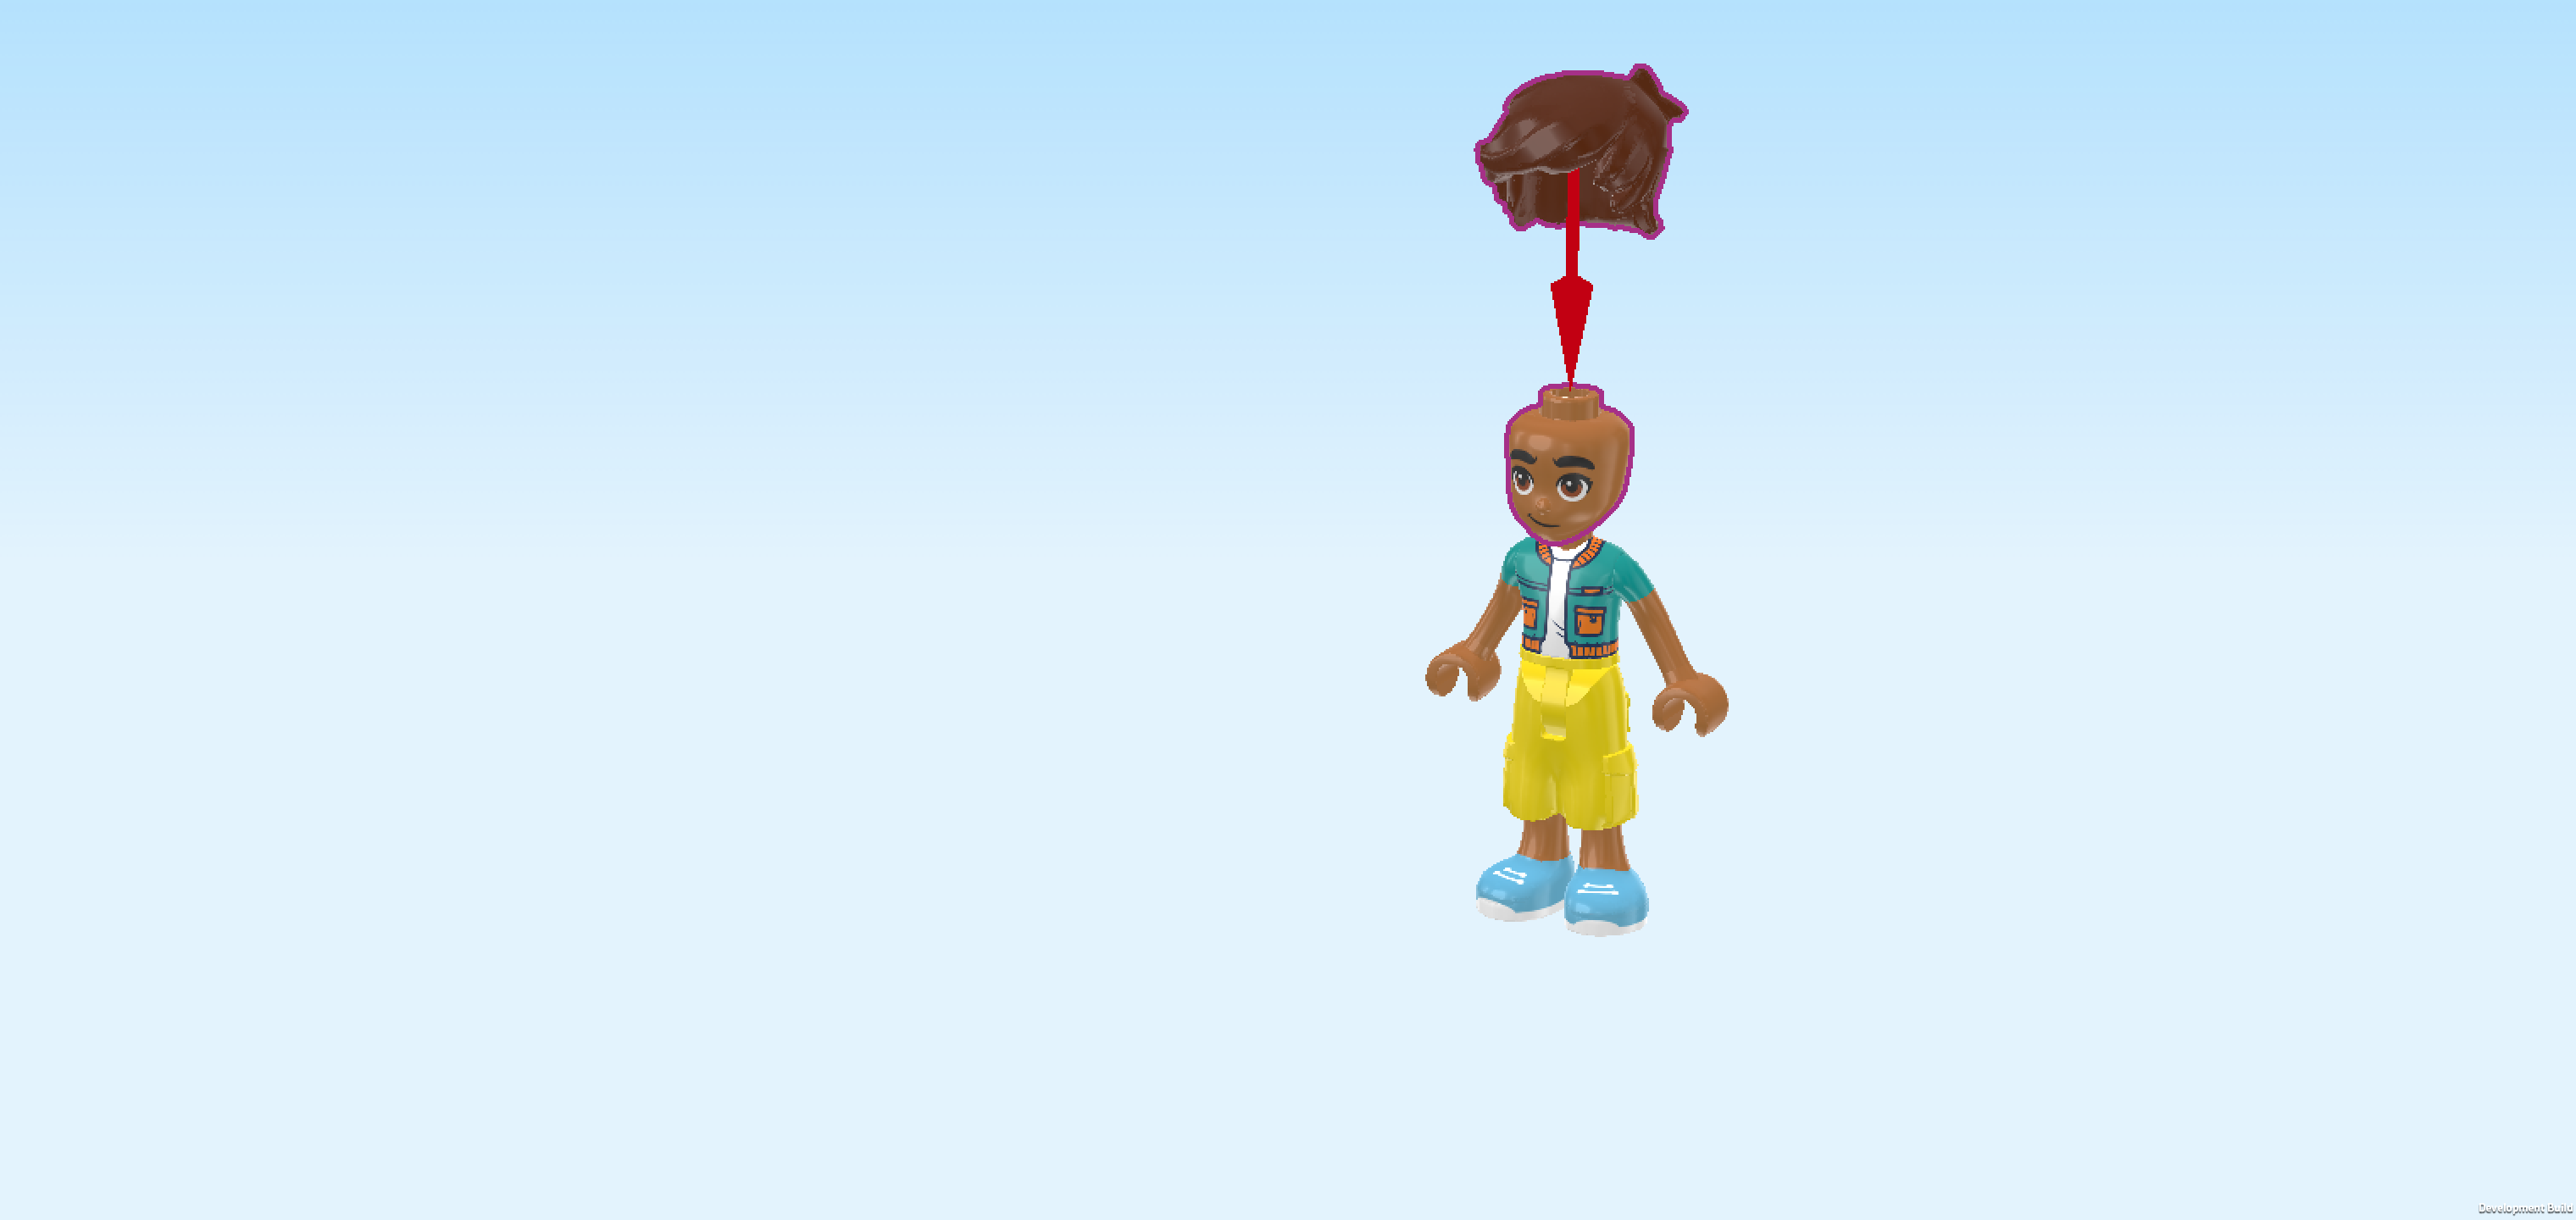
| Put the head on the body and the hair on the head. |
| Collect the following 2 pieces: |
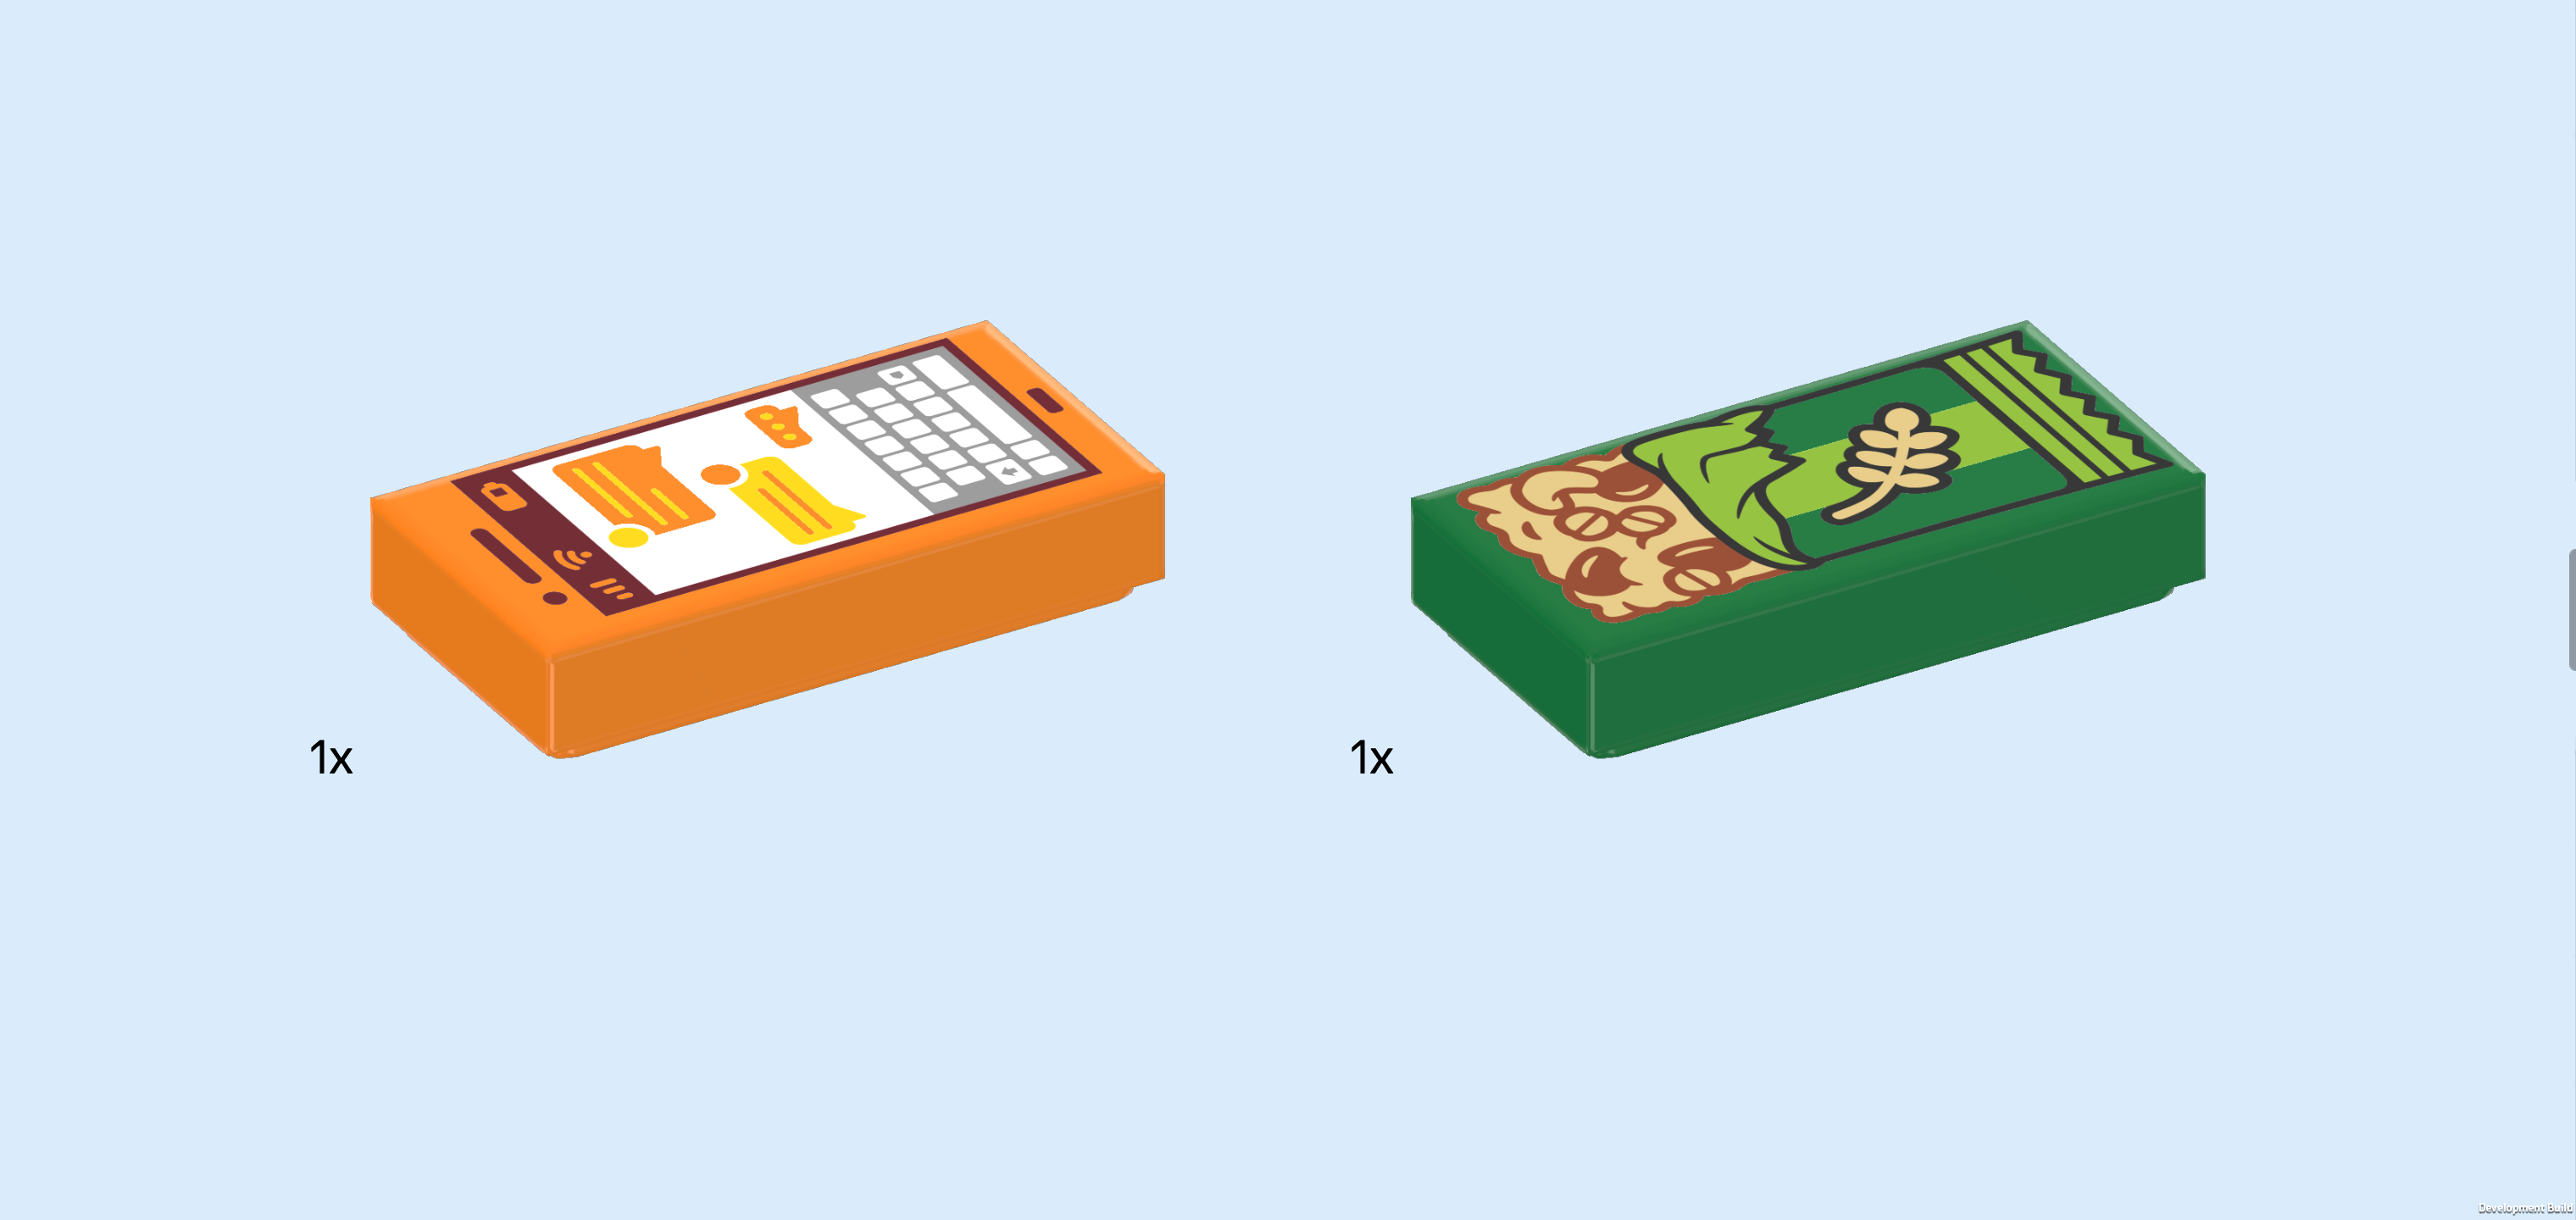
| 1 bright orange flat tile 1x2, |
| and 1 dark green flat tile 1x2. |
| Snap the bright orange flat tile into Leo's right hand. This is printed with his smartphone screen, showing a text conversation with illegible text bubbles, a keyboard for typing, and the standard smartphone icons at the top of the screen: Wi-Fi reception, mobile reception and state of charge. Currently, the battery still has about half of its charge left, so there is no need to charge the phone yet. |
| Snap the dark green flat tile into Leo's left hand. This piece is printed with a package of bird seeds! It has a green wrapper printed with an ear of wheat. The wrapper is partly pulled off, revealing some of the bird food. We will find out later why Leo has bird food with him! |
| The Leo Minifigure is finished! Well done! Leo is wearing baby blue lace-ups with white soles, a bright yellow pair of baggy Bermuda shorts and a teal blue jacket with short sleeves, two orange pockets and an orange collar and hem. Leo has a tanned skin tone, brown eyes and eyebrows, and dark lips that are curled into a bashful smile. He is one of Autumn's good friends and likes to visit her house to chat and play! |
| Now, we will build the ferret playground. |
| Collect the following 2 pieces: |
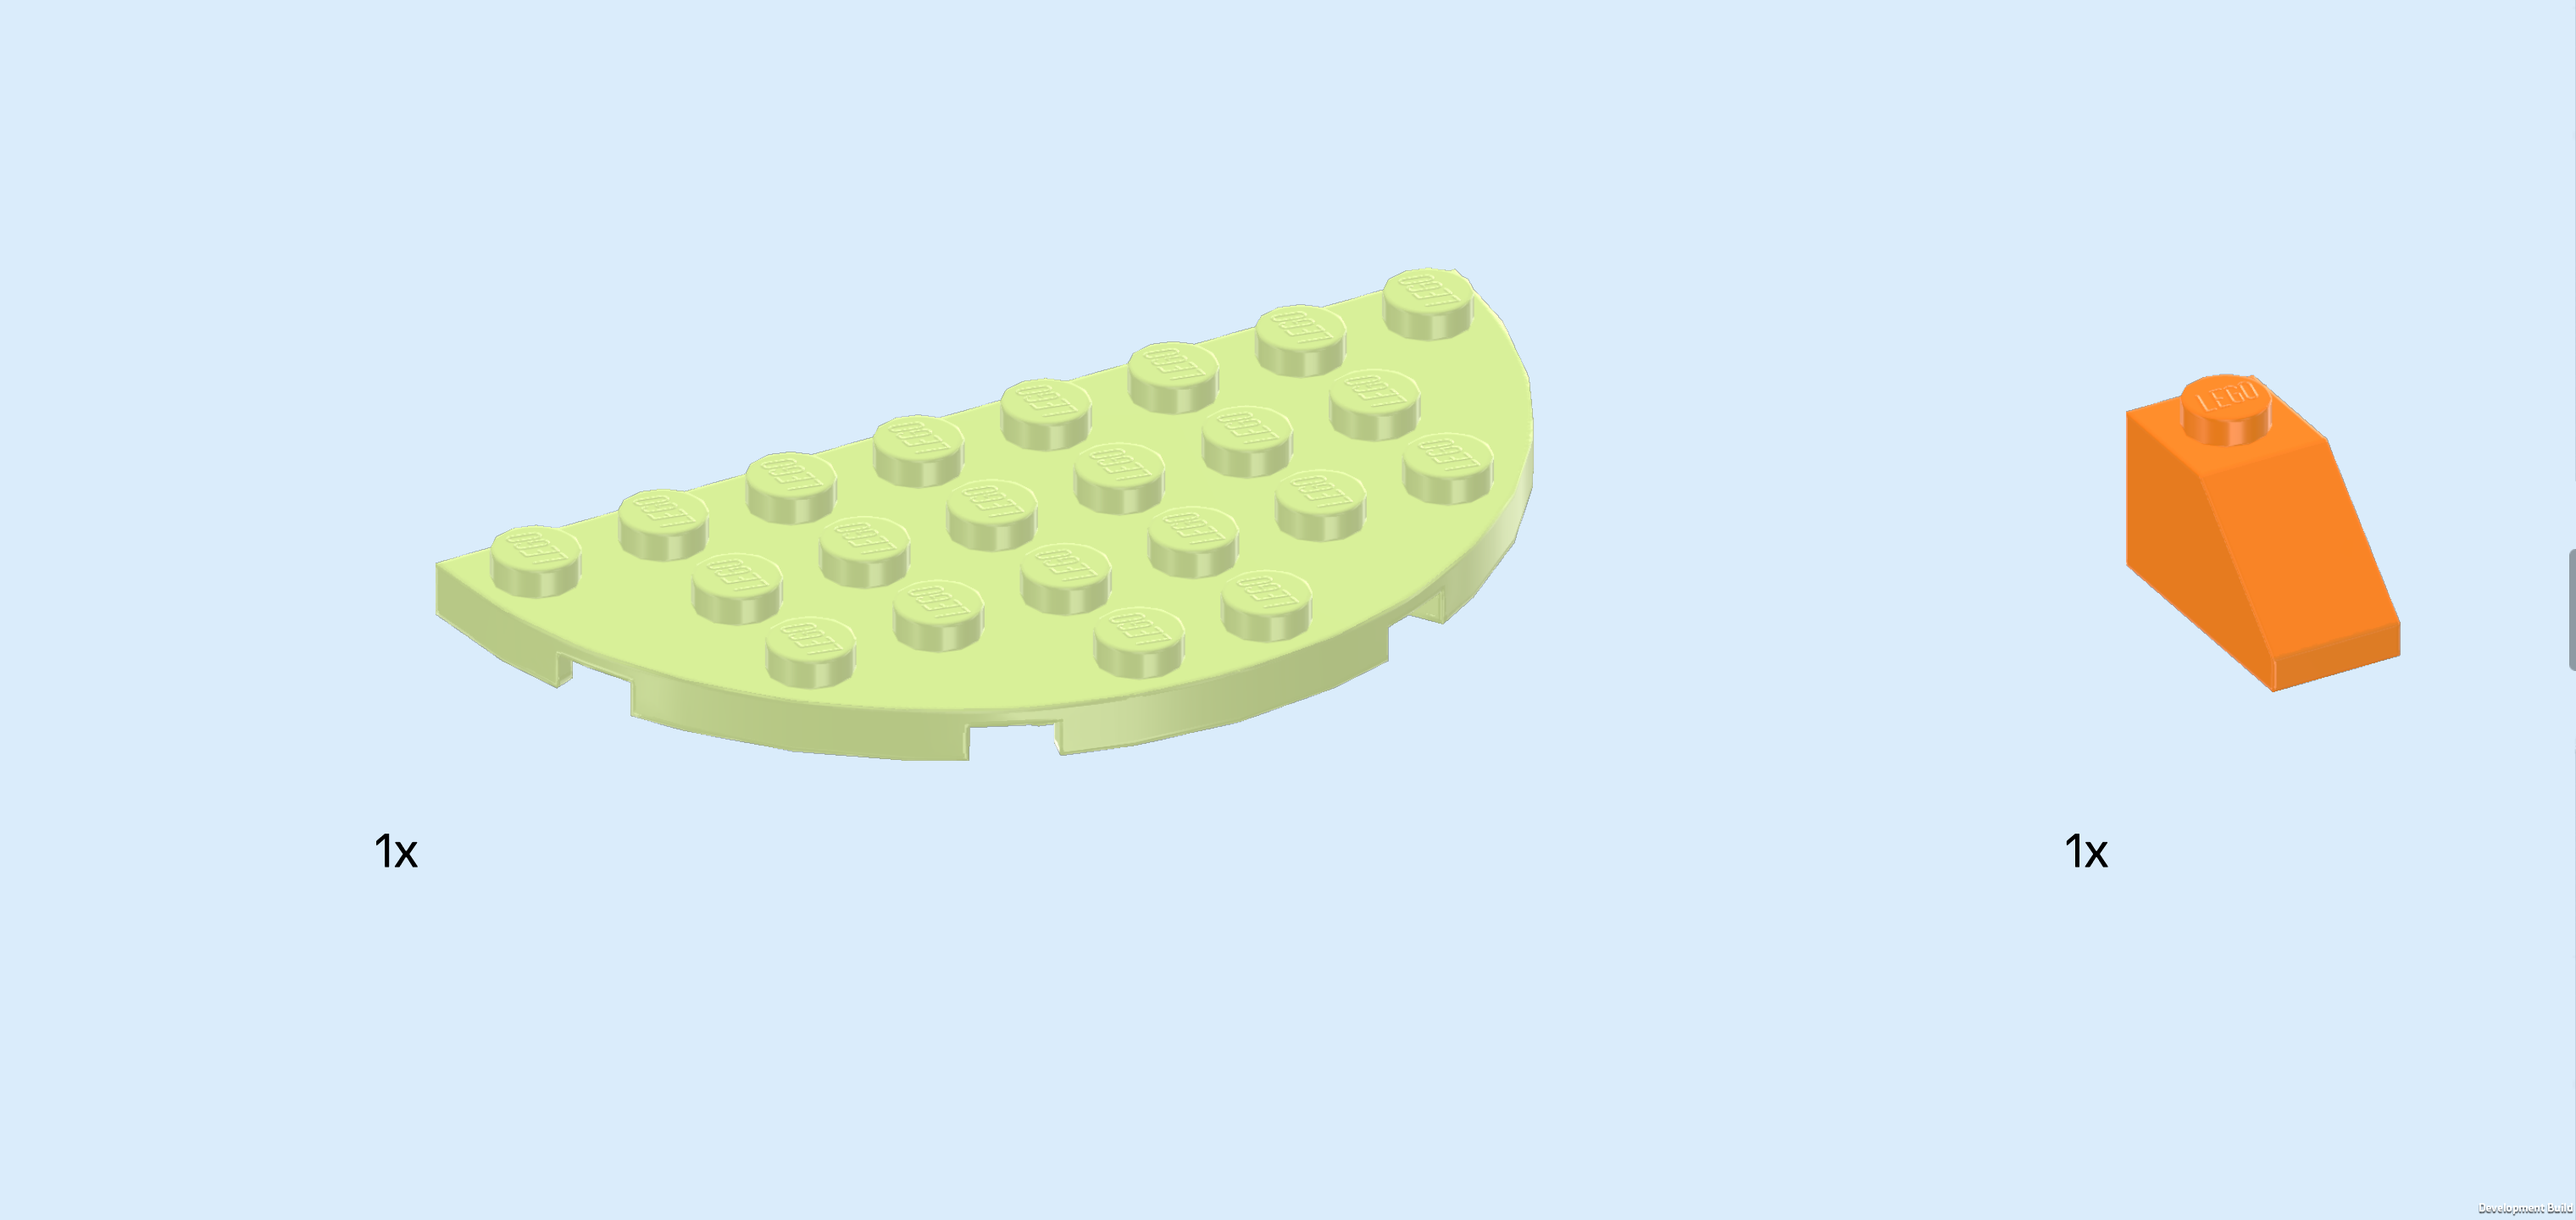
| 1 pale lime green half-circle plate 4x8, |
| and 1 bright orange roof tile 1x2, 45°. |
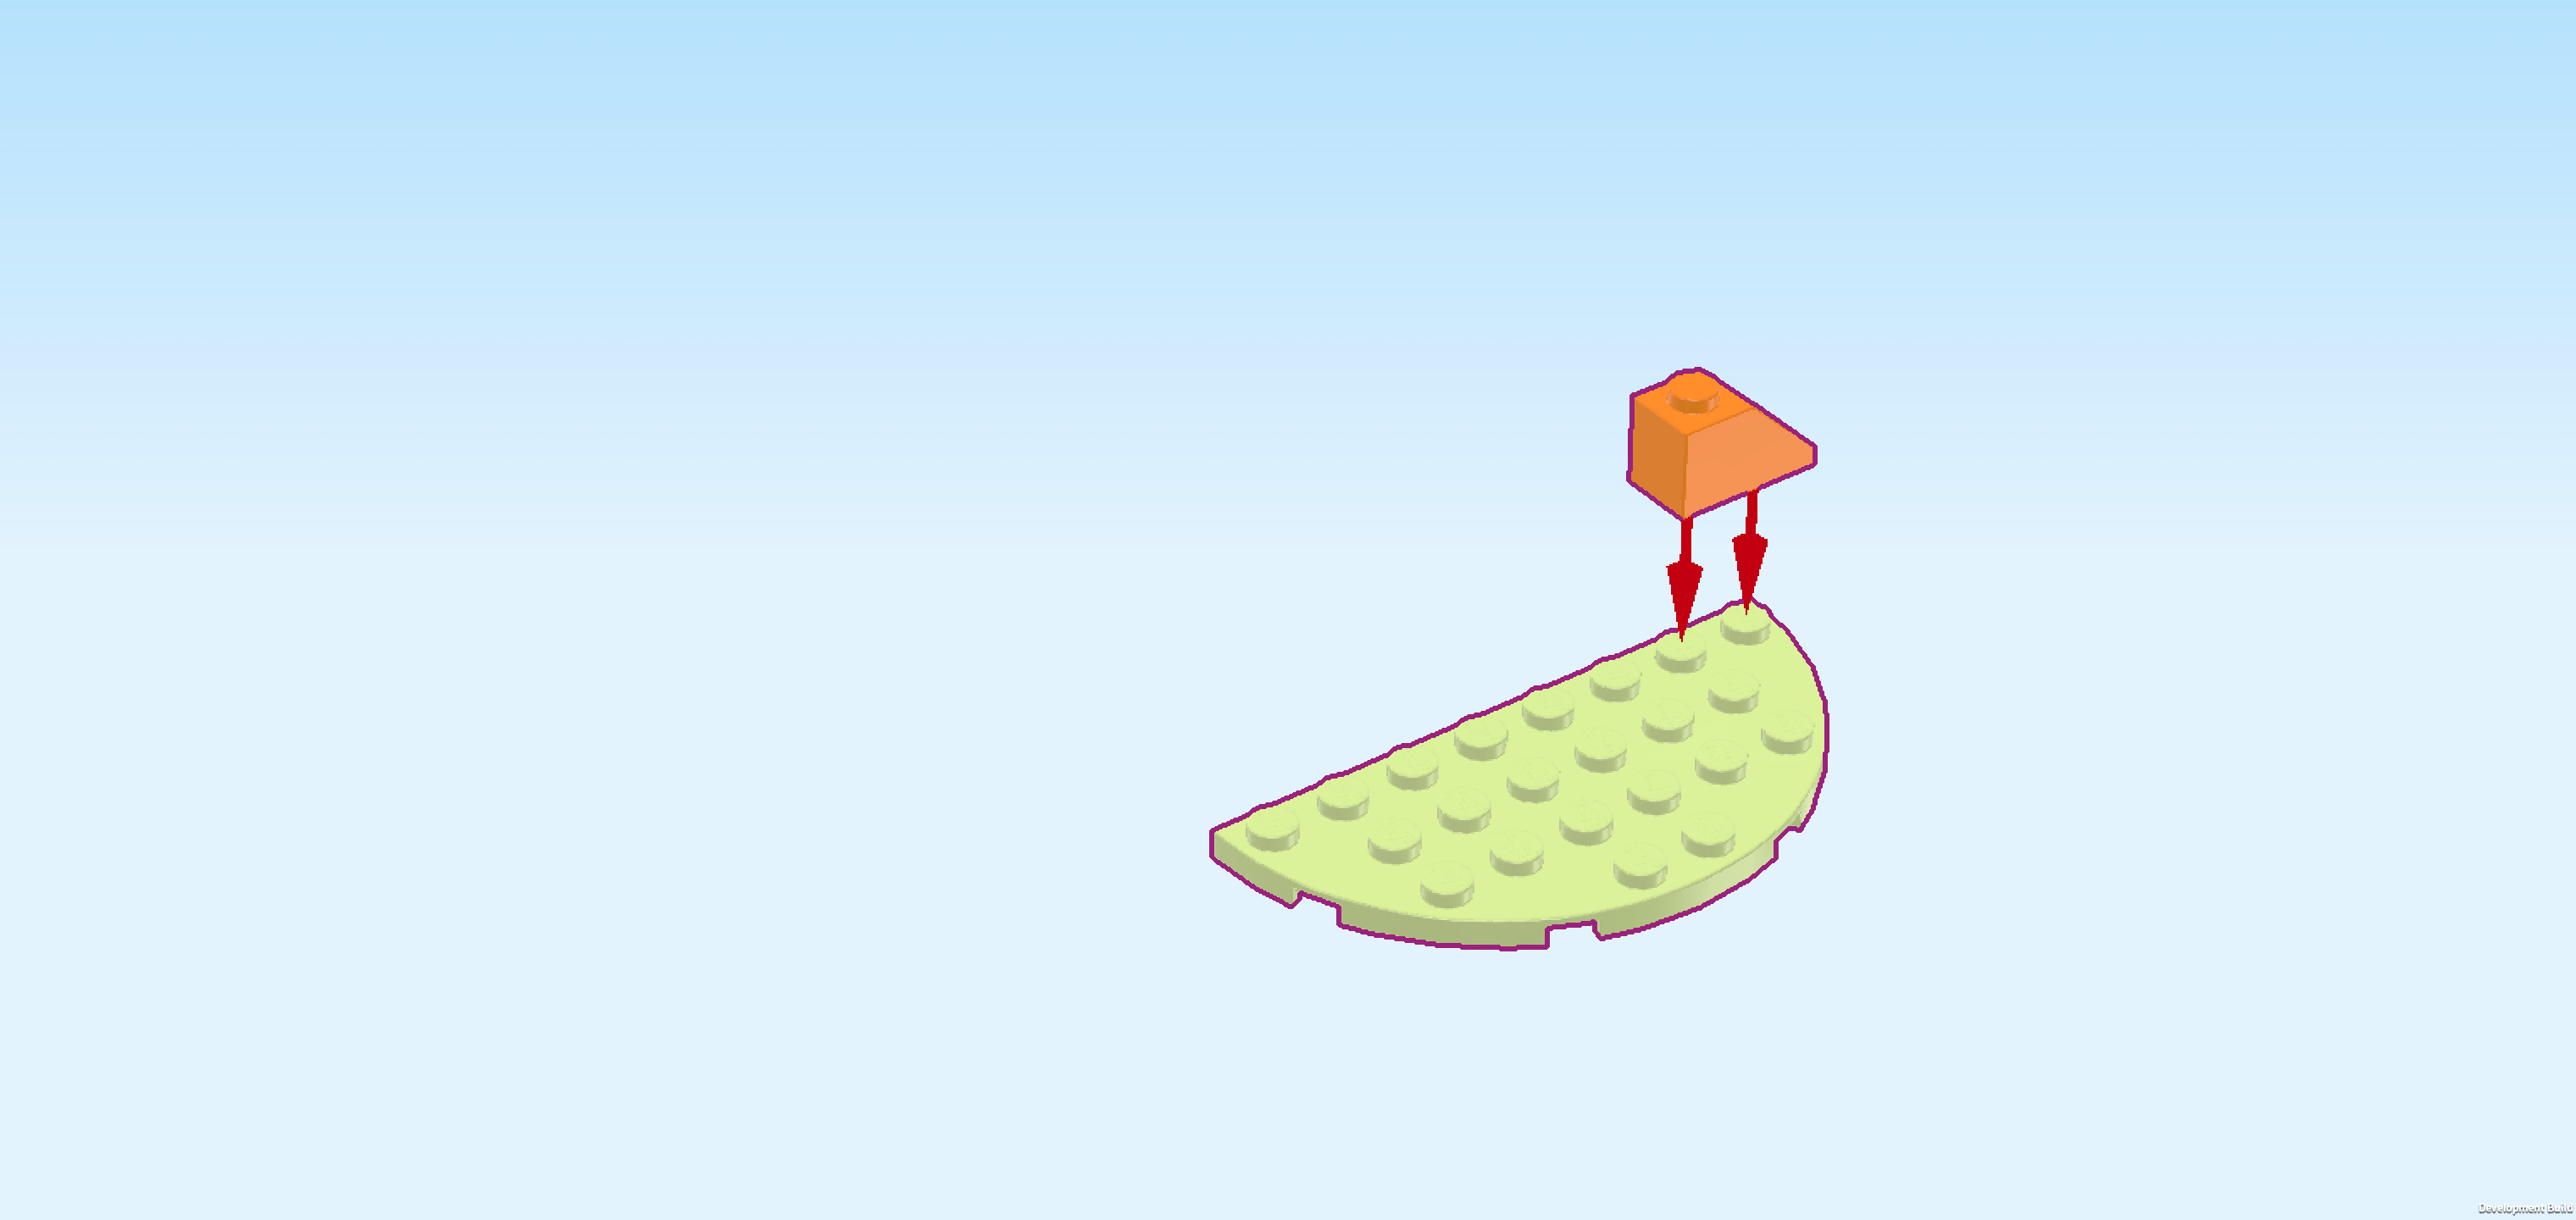
| Put the half-circle plate 4x8 horizontally on the table, half circle to the front. |
| Put the roof tile 1x2 horizontally on the backmost row, starting from the right edge, slope to the right. |
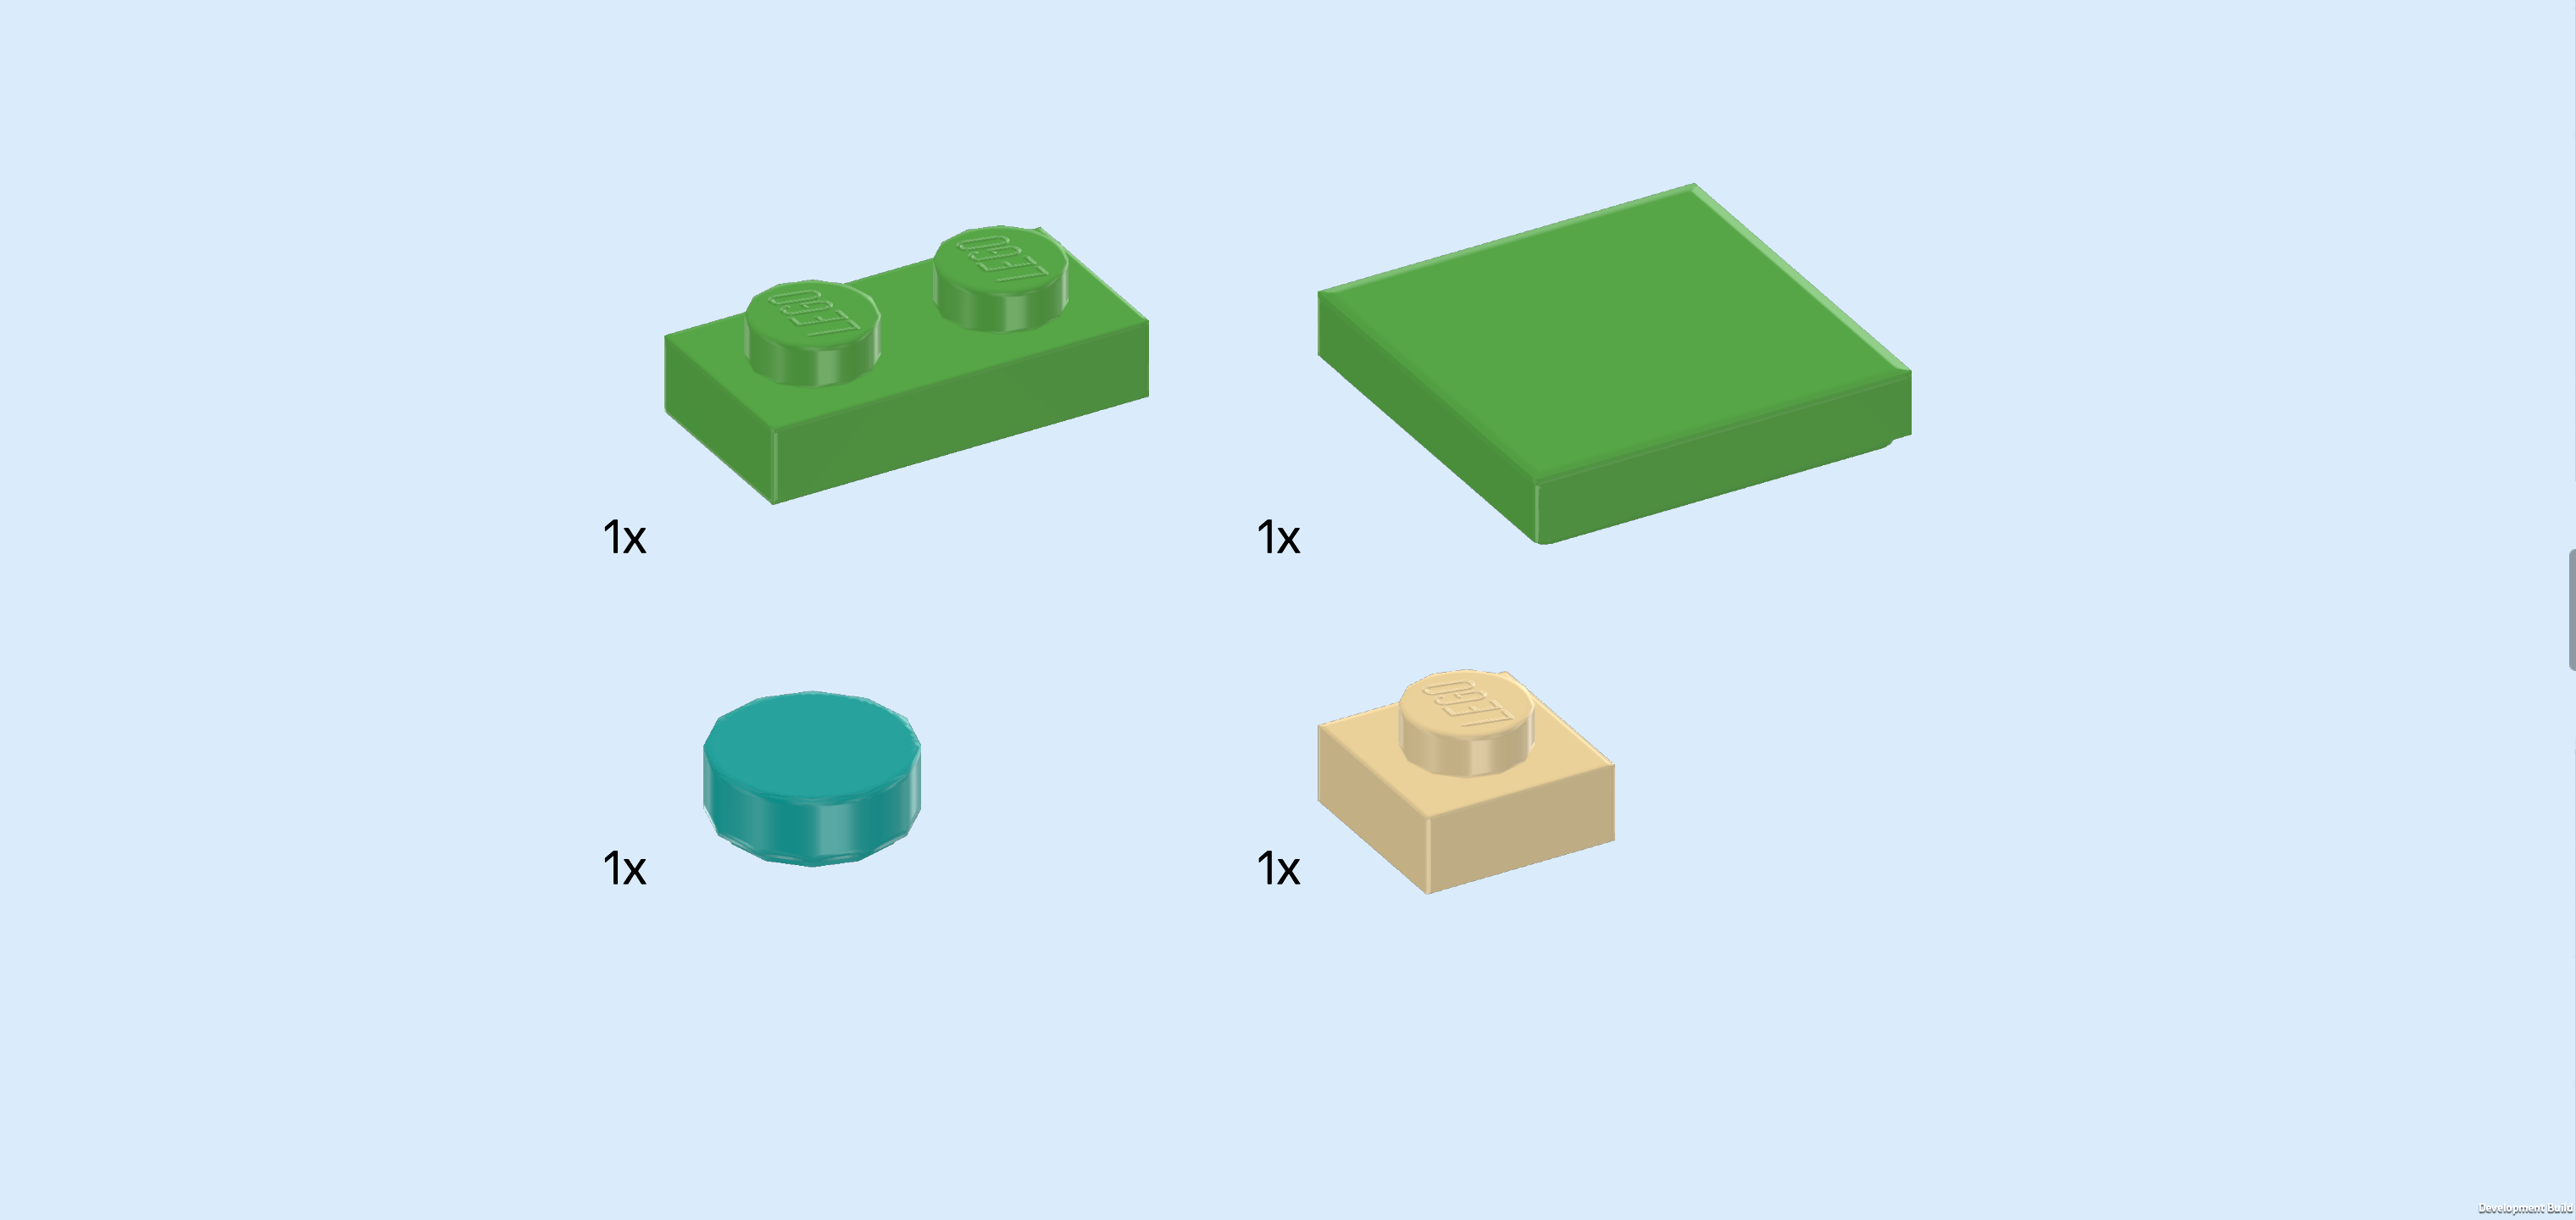
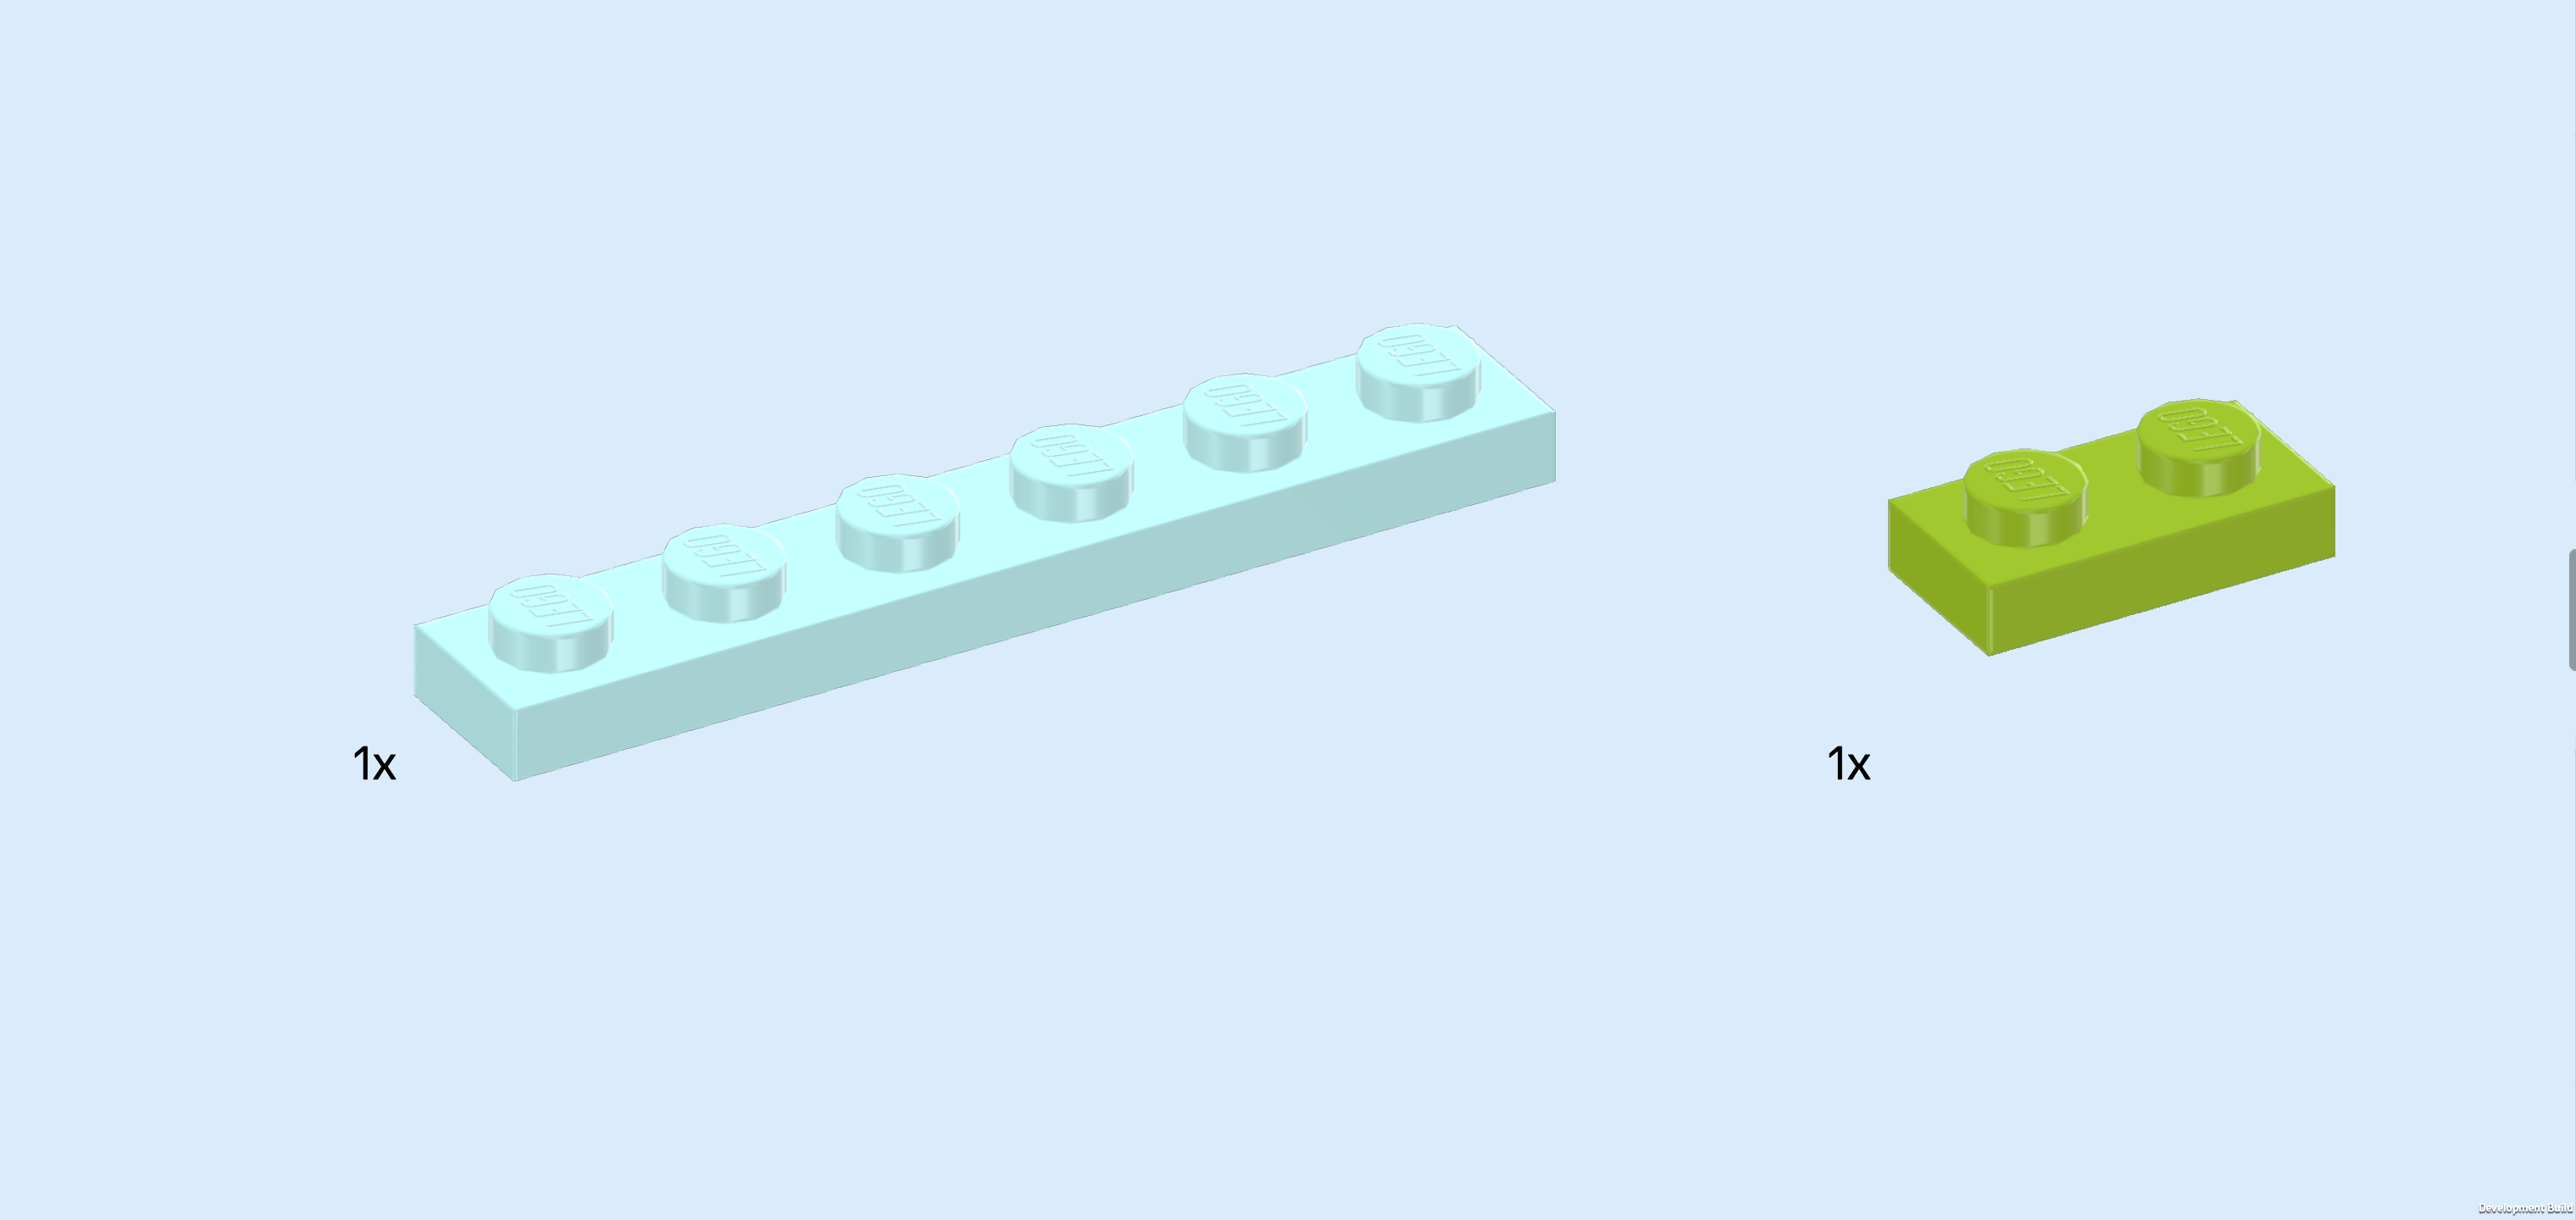
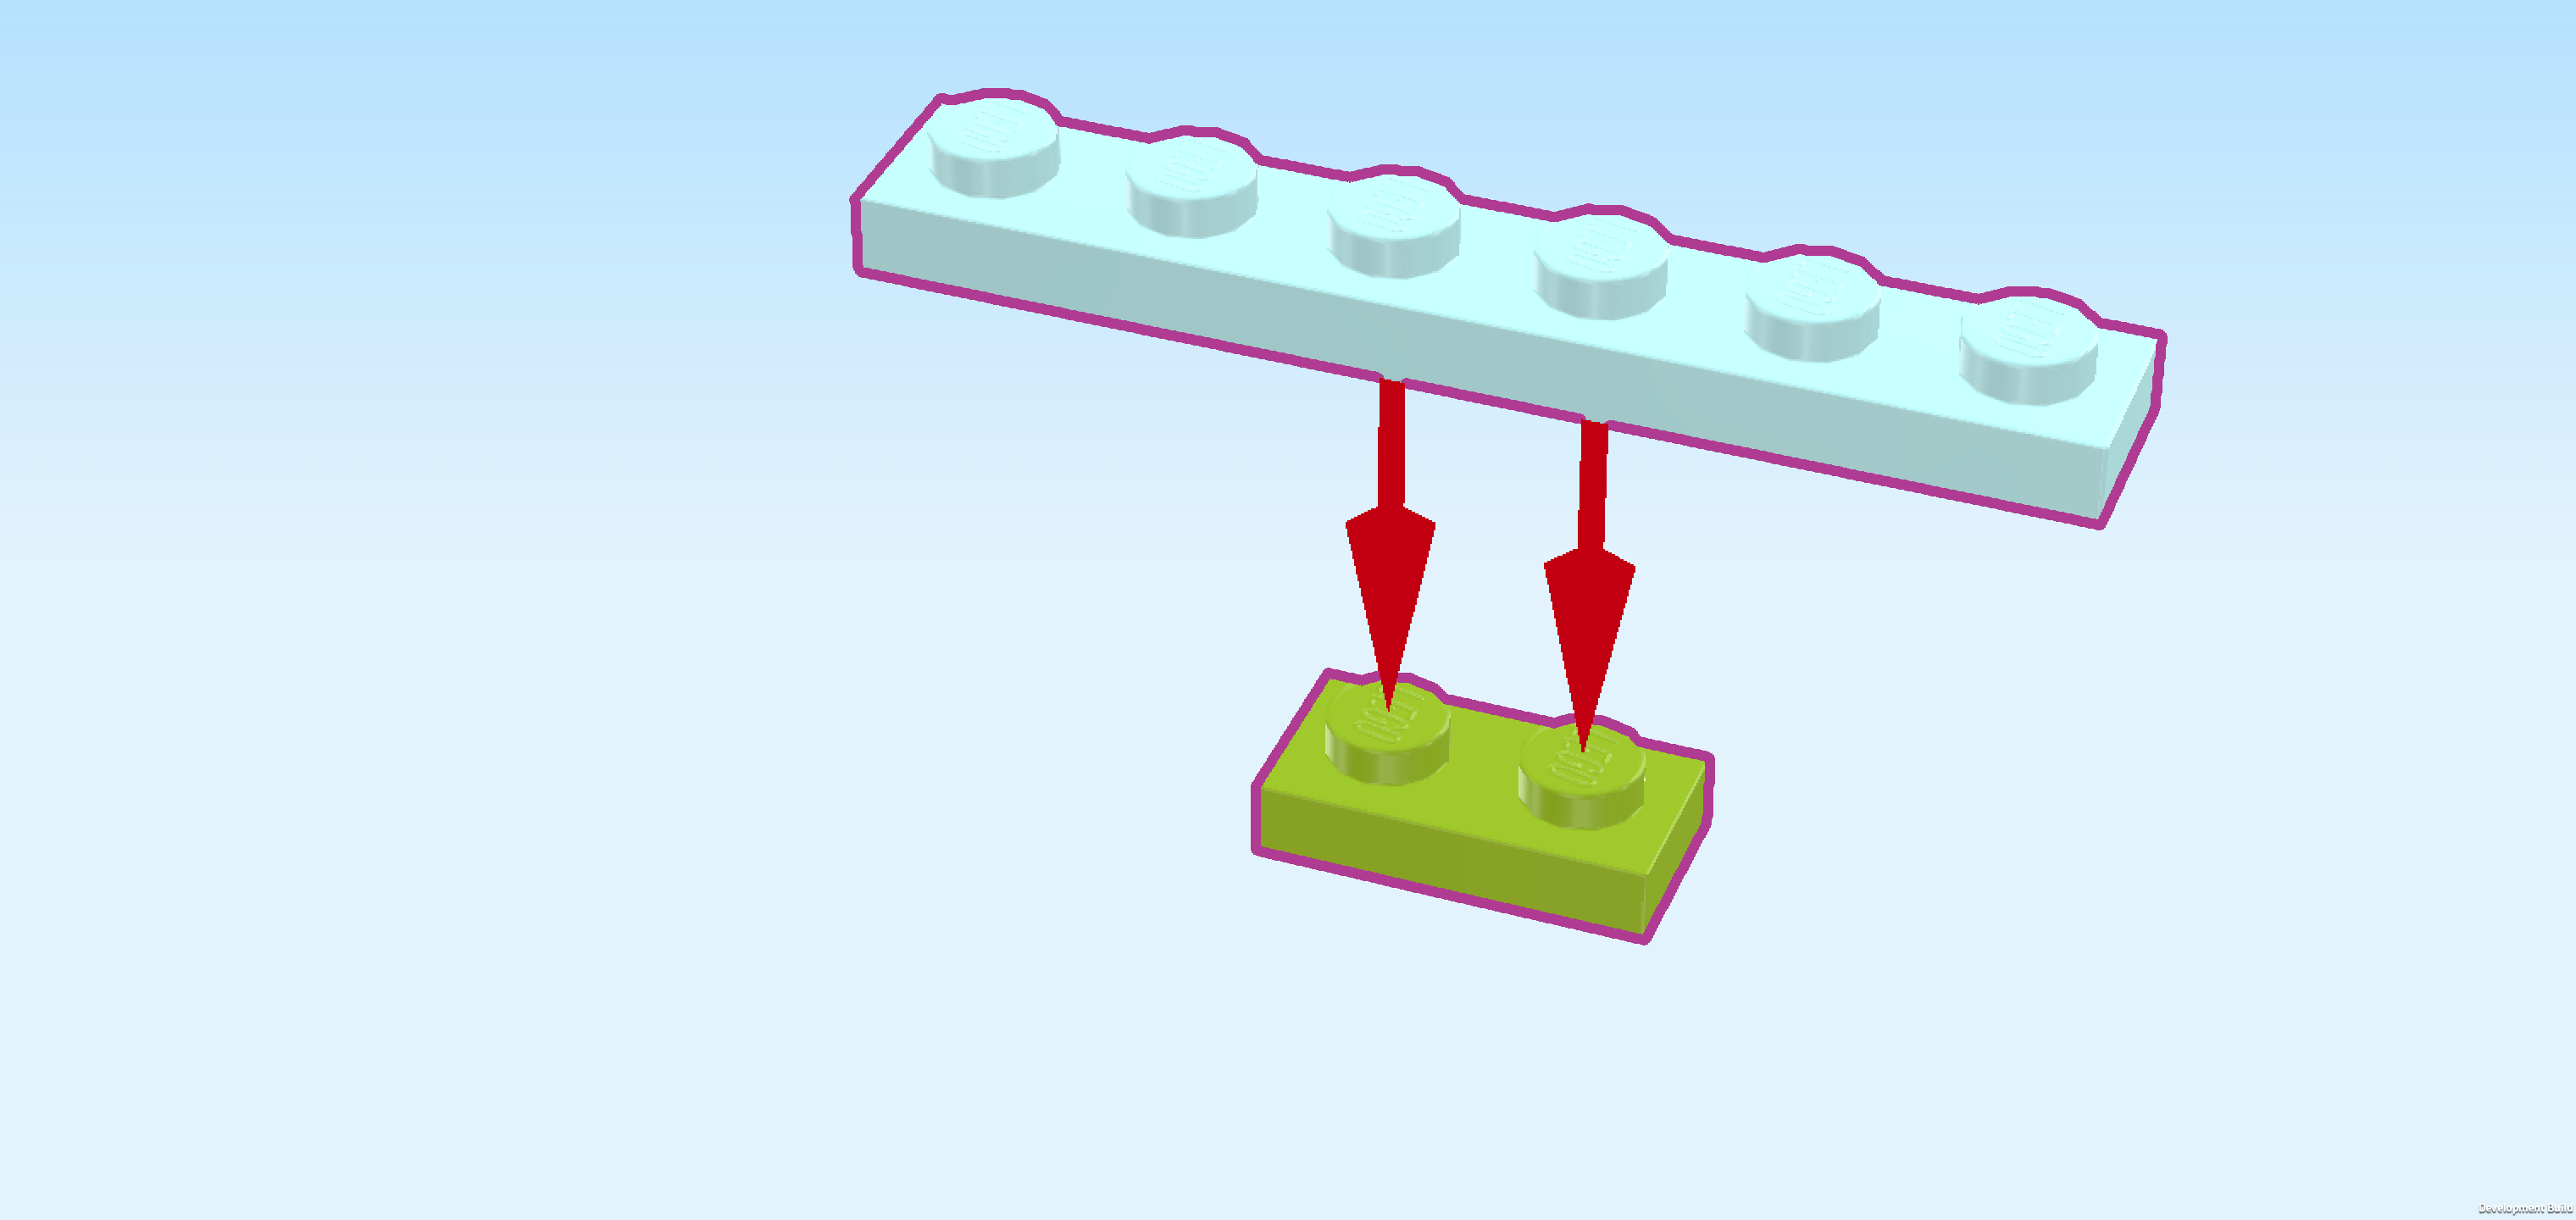
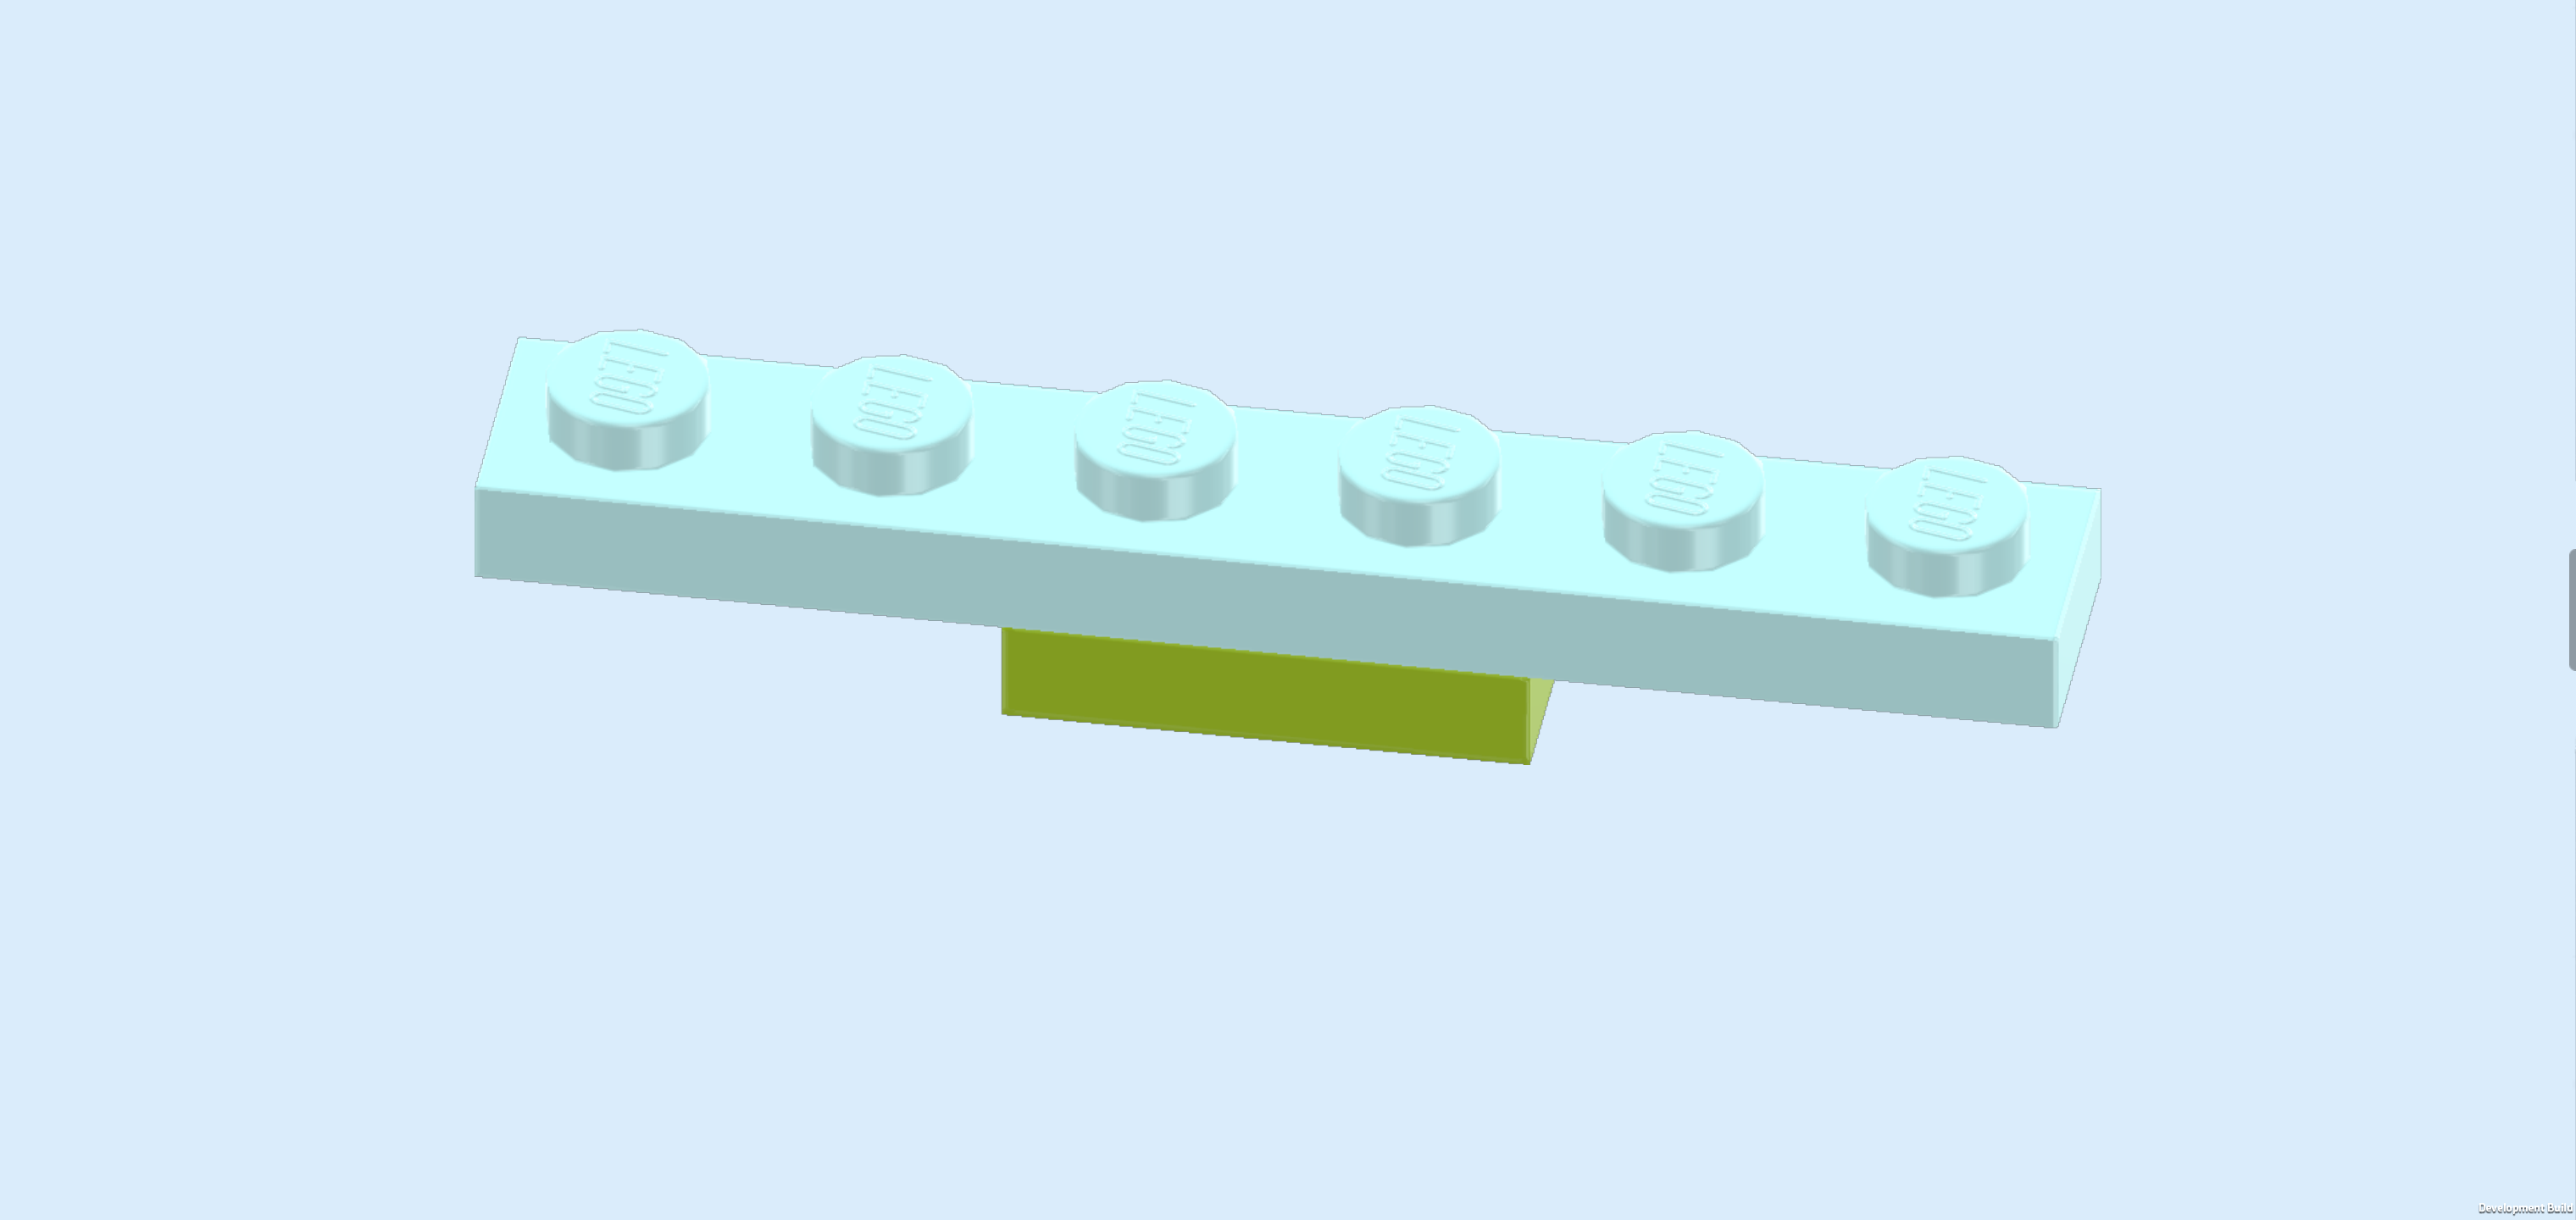
| Collect the following 2 pieces: |
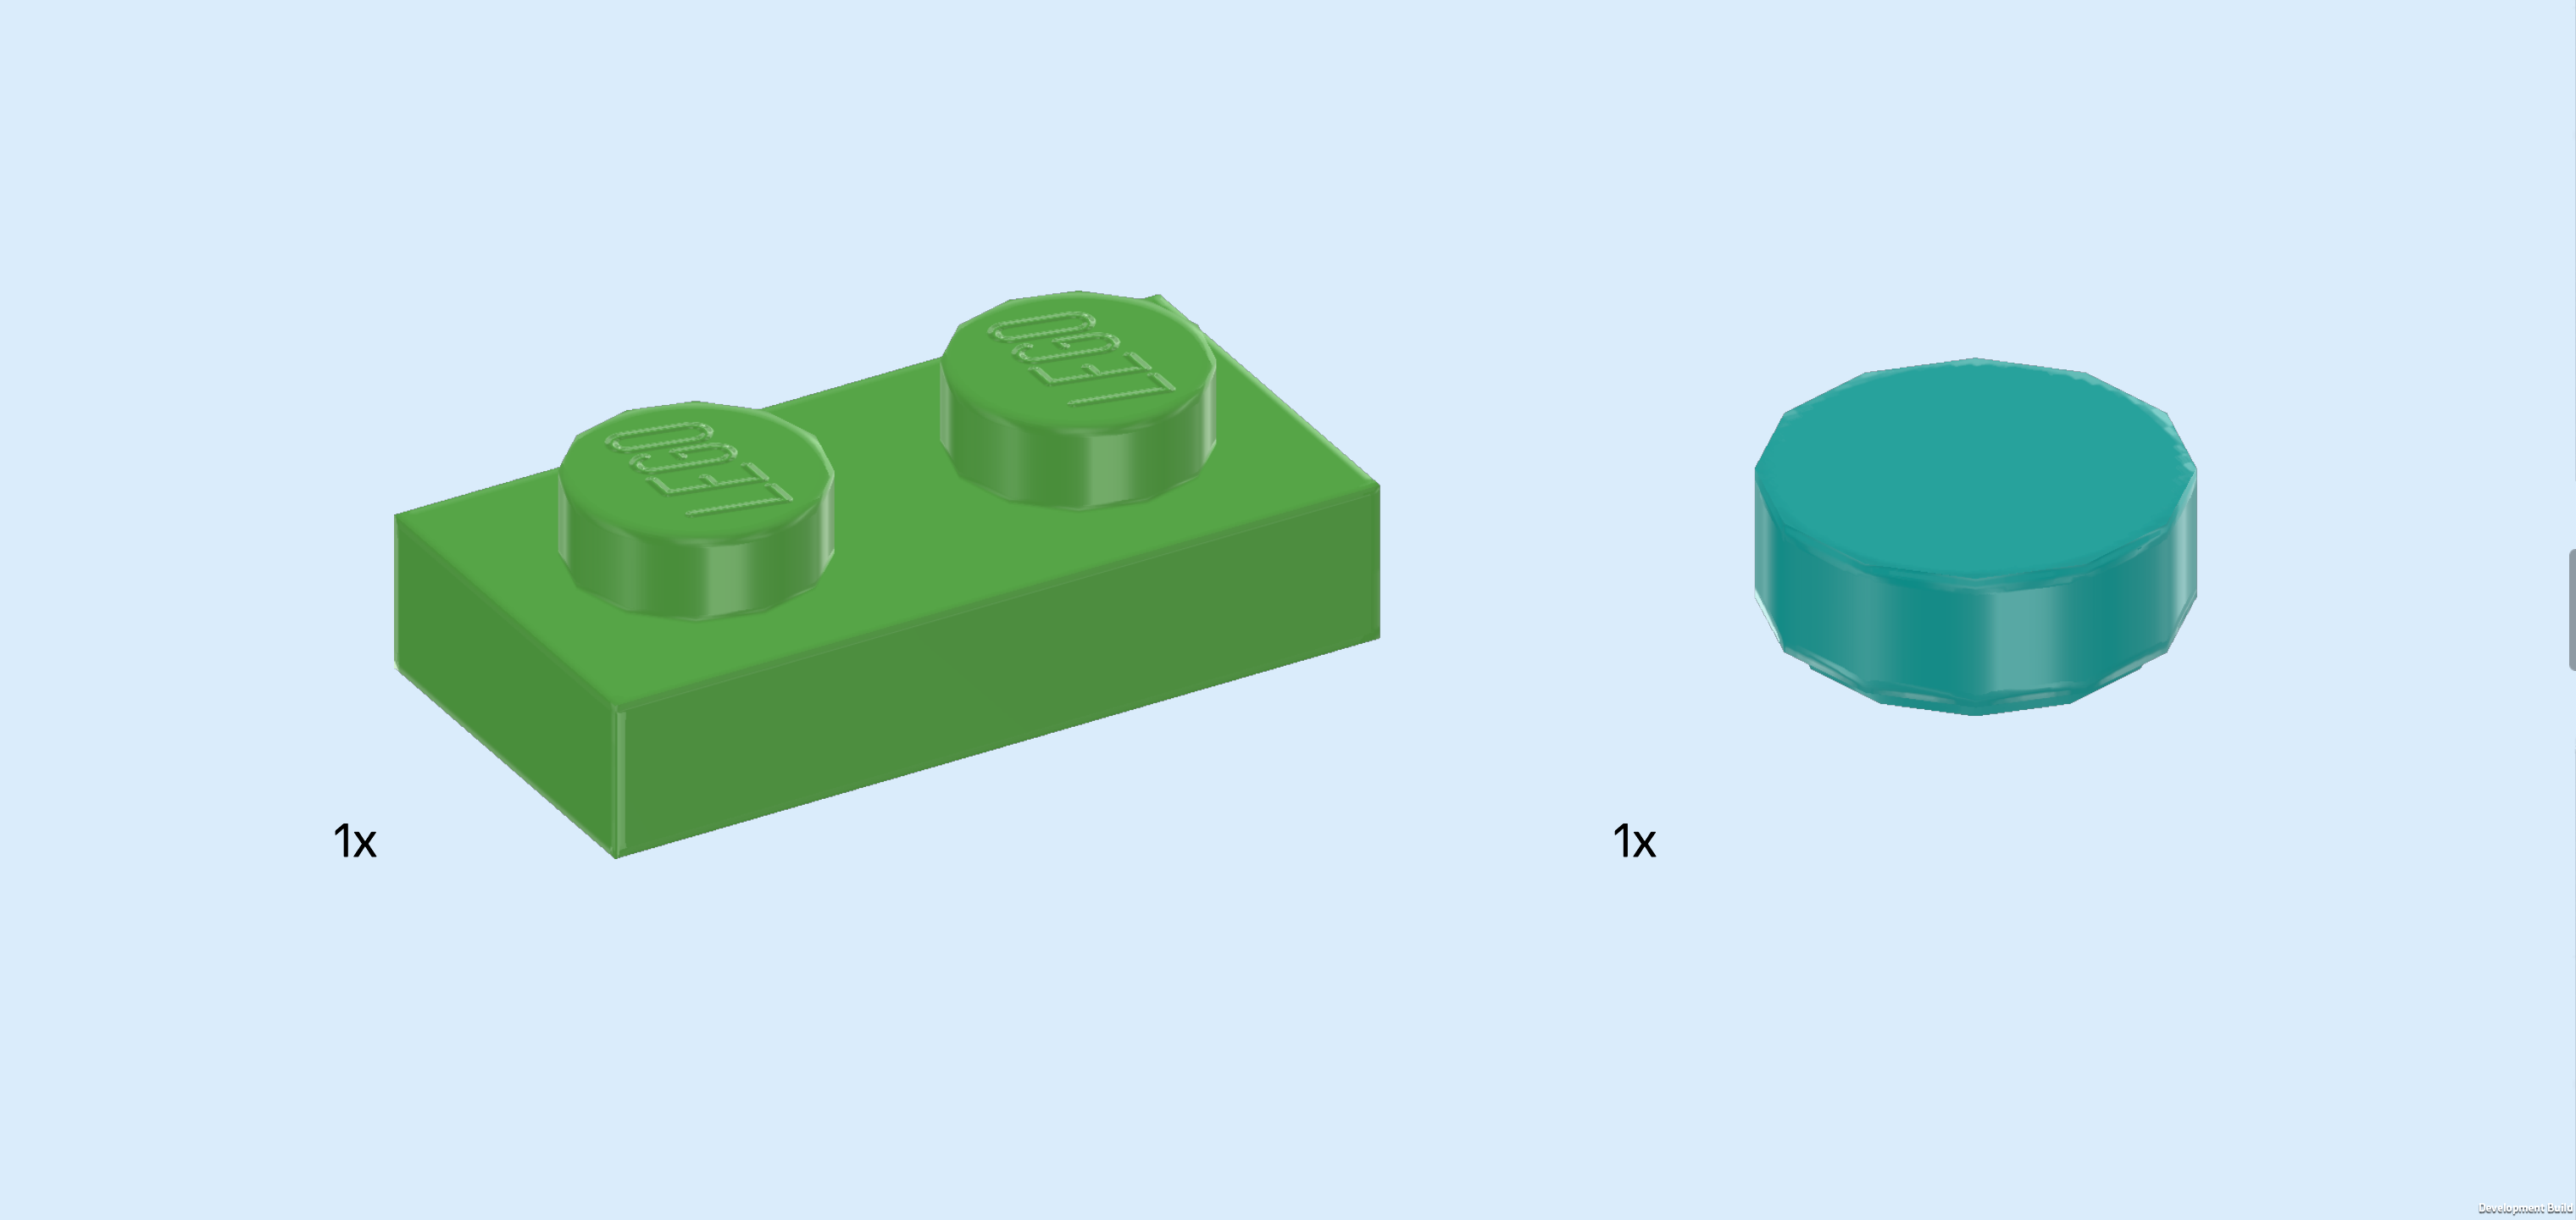
| 1 bright green plate 1x2, |
| and 1 teal blue round tile 1x1. |
| Put the round tile 1x1 in front of the previous piece. |
| Put the plate 1x2 vertically to the left of the 2 previous pieces. |
| Collect the following 4 pieces: |
| 1 bright green plate 1x2, |
| 1 bright green flat tile 2x2, |
| 1 teal blue round tile 1x1, |
| and 1 beige plate 1x1. |
| Put the flat tile 2x2 to the left of the previous piece. |
| Put the plate 1x2 vertically to the left of the previous piece. |
| Put the round tile 1x1 to the left of the previous piece on the backmost row. |
| Put the plate 1x1 in front of the previous piece. |
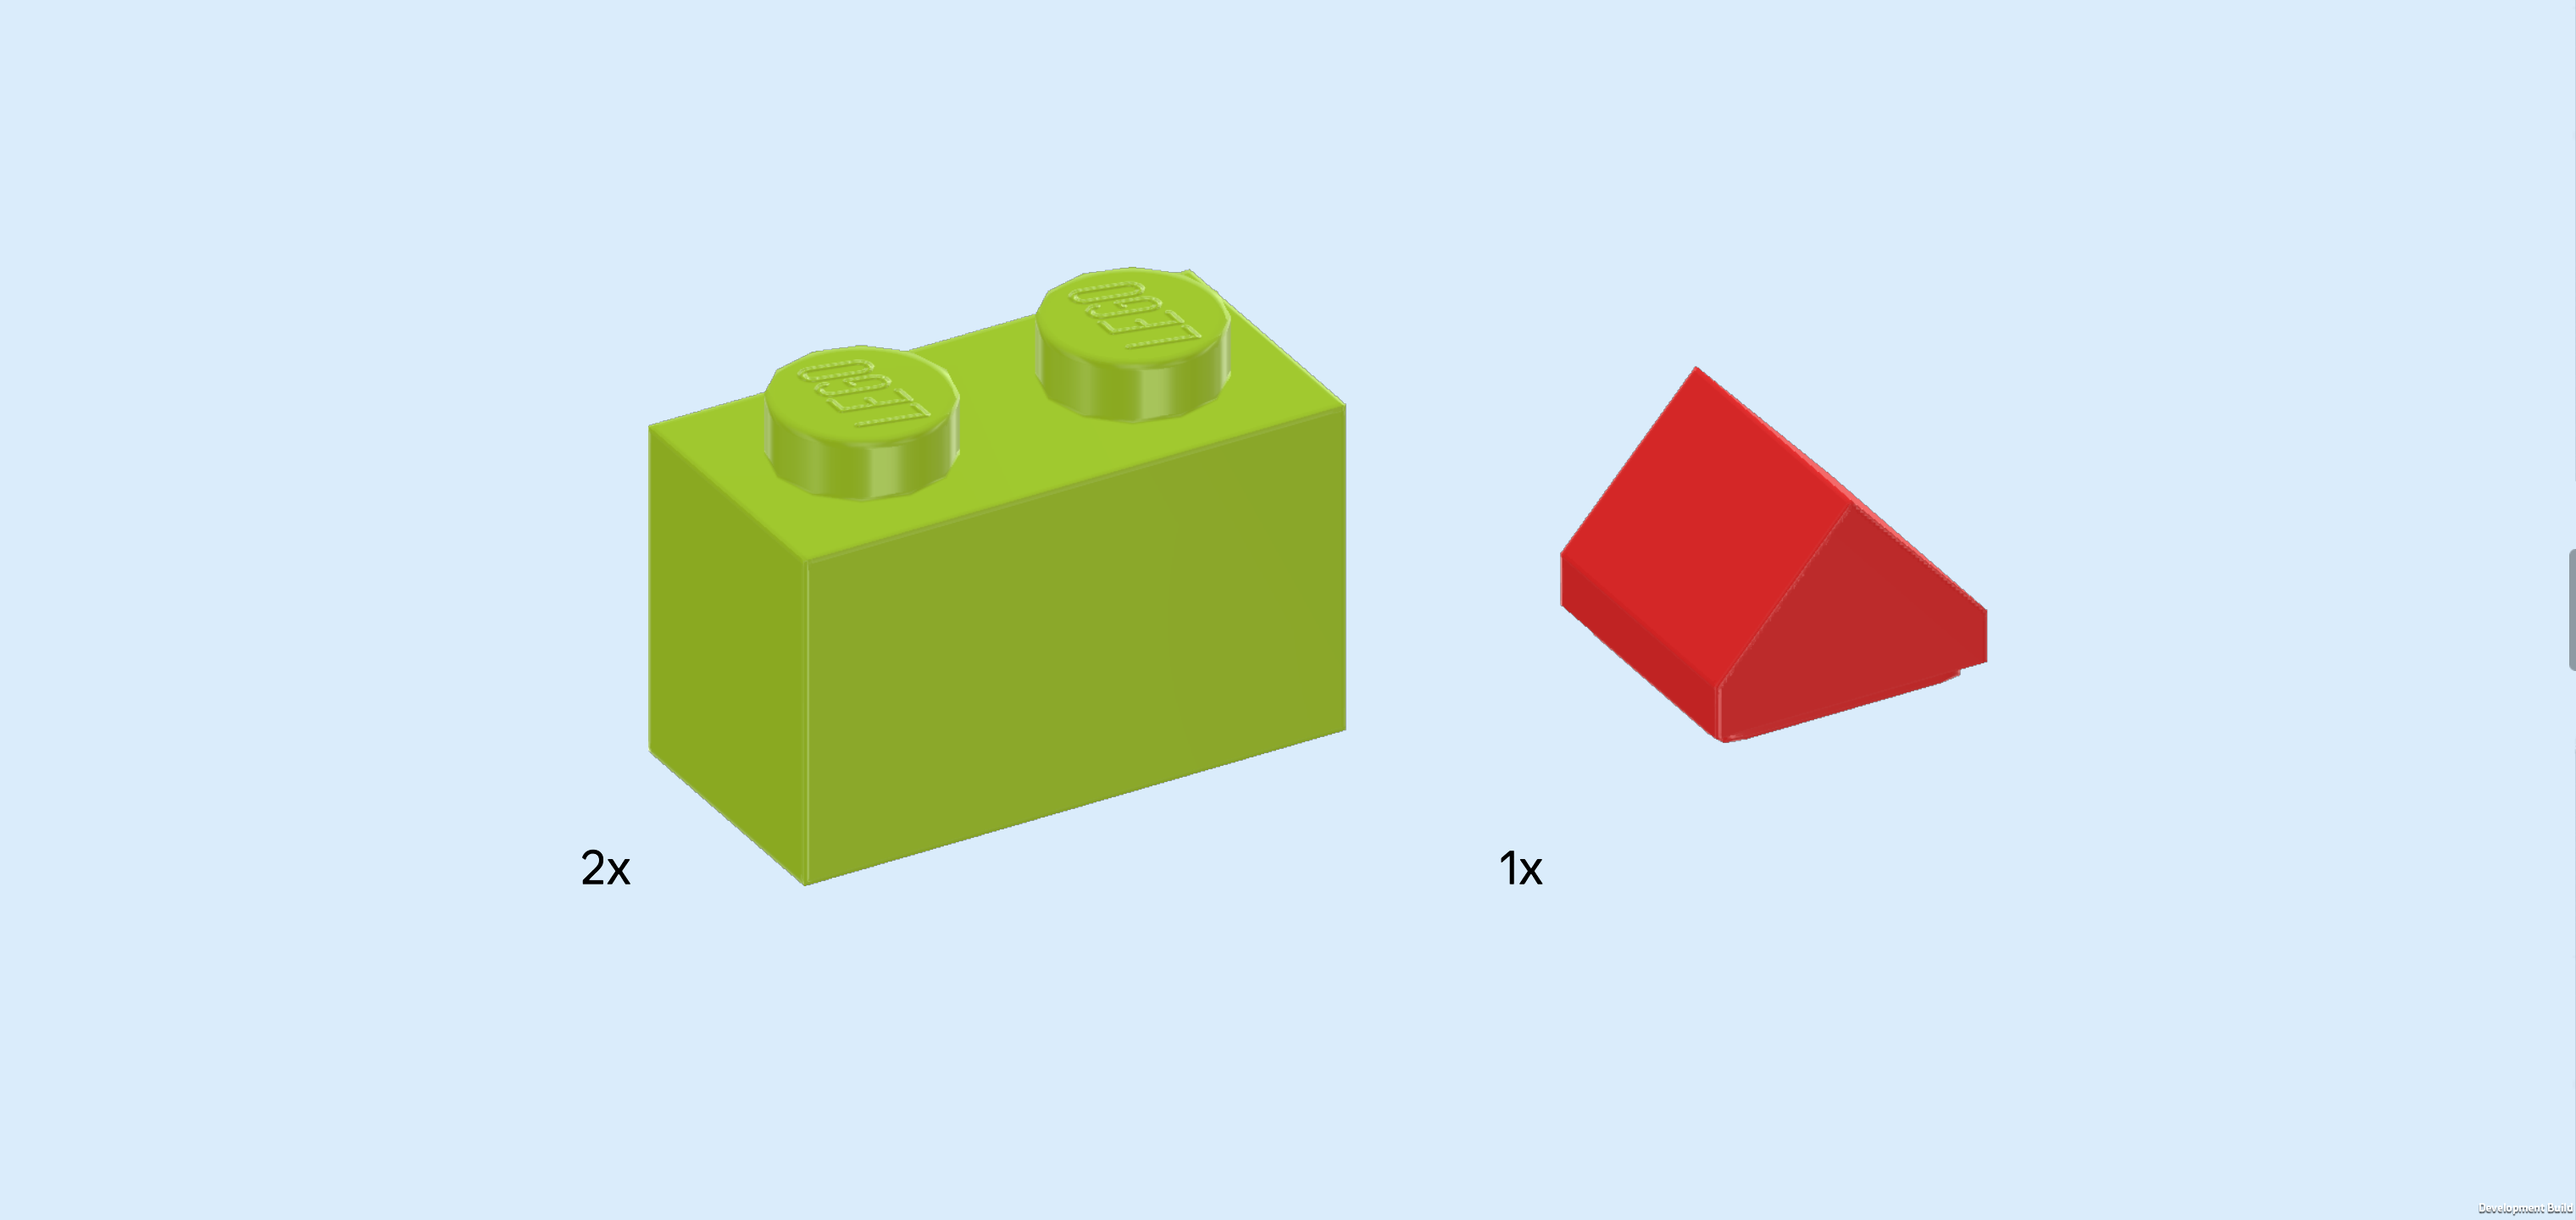
| Collect the following 3 pieces: |
| 2 bright yellowish green bricks 1x2, |
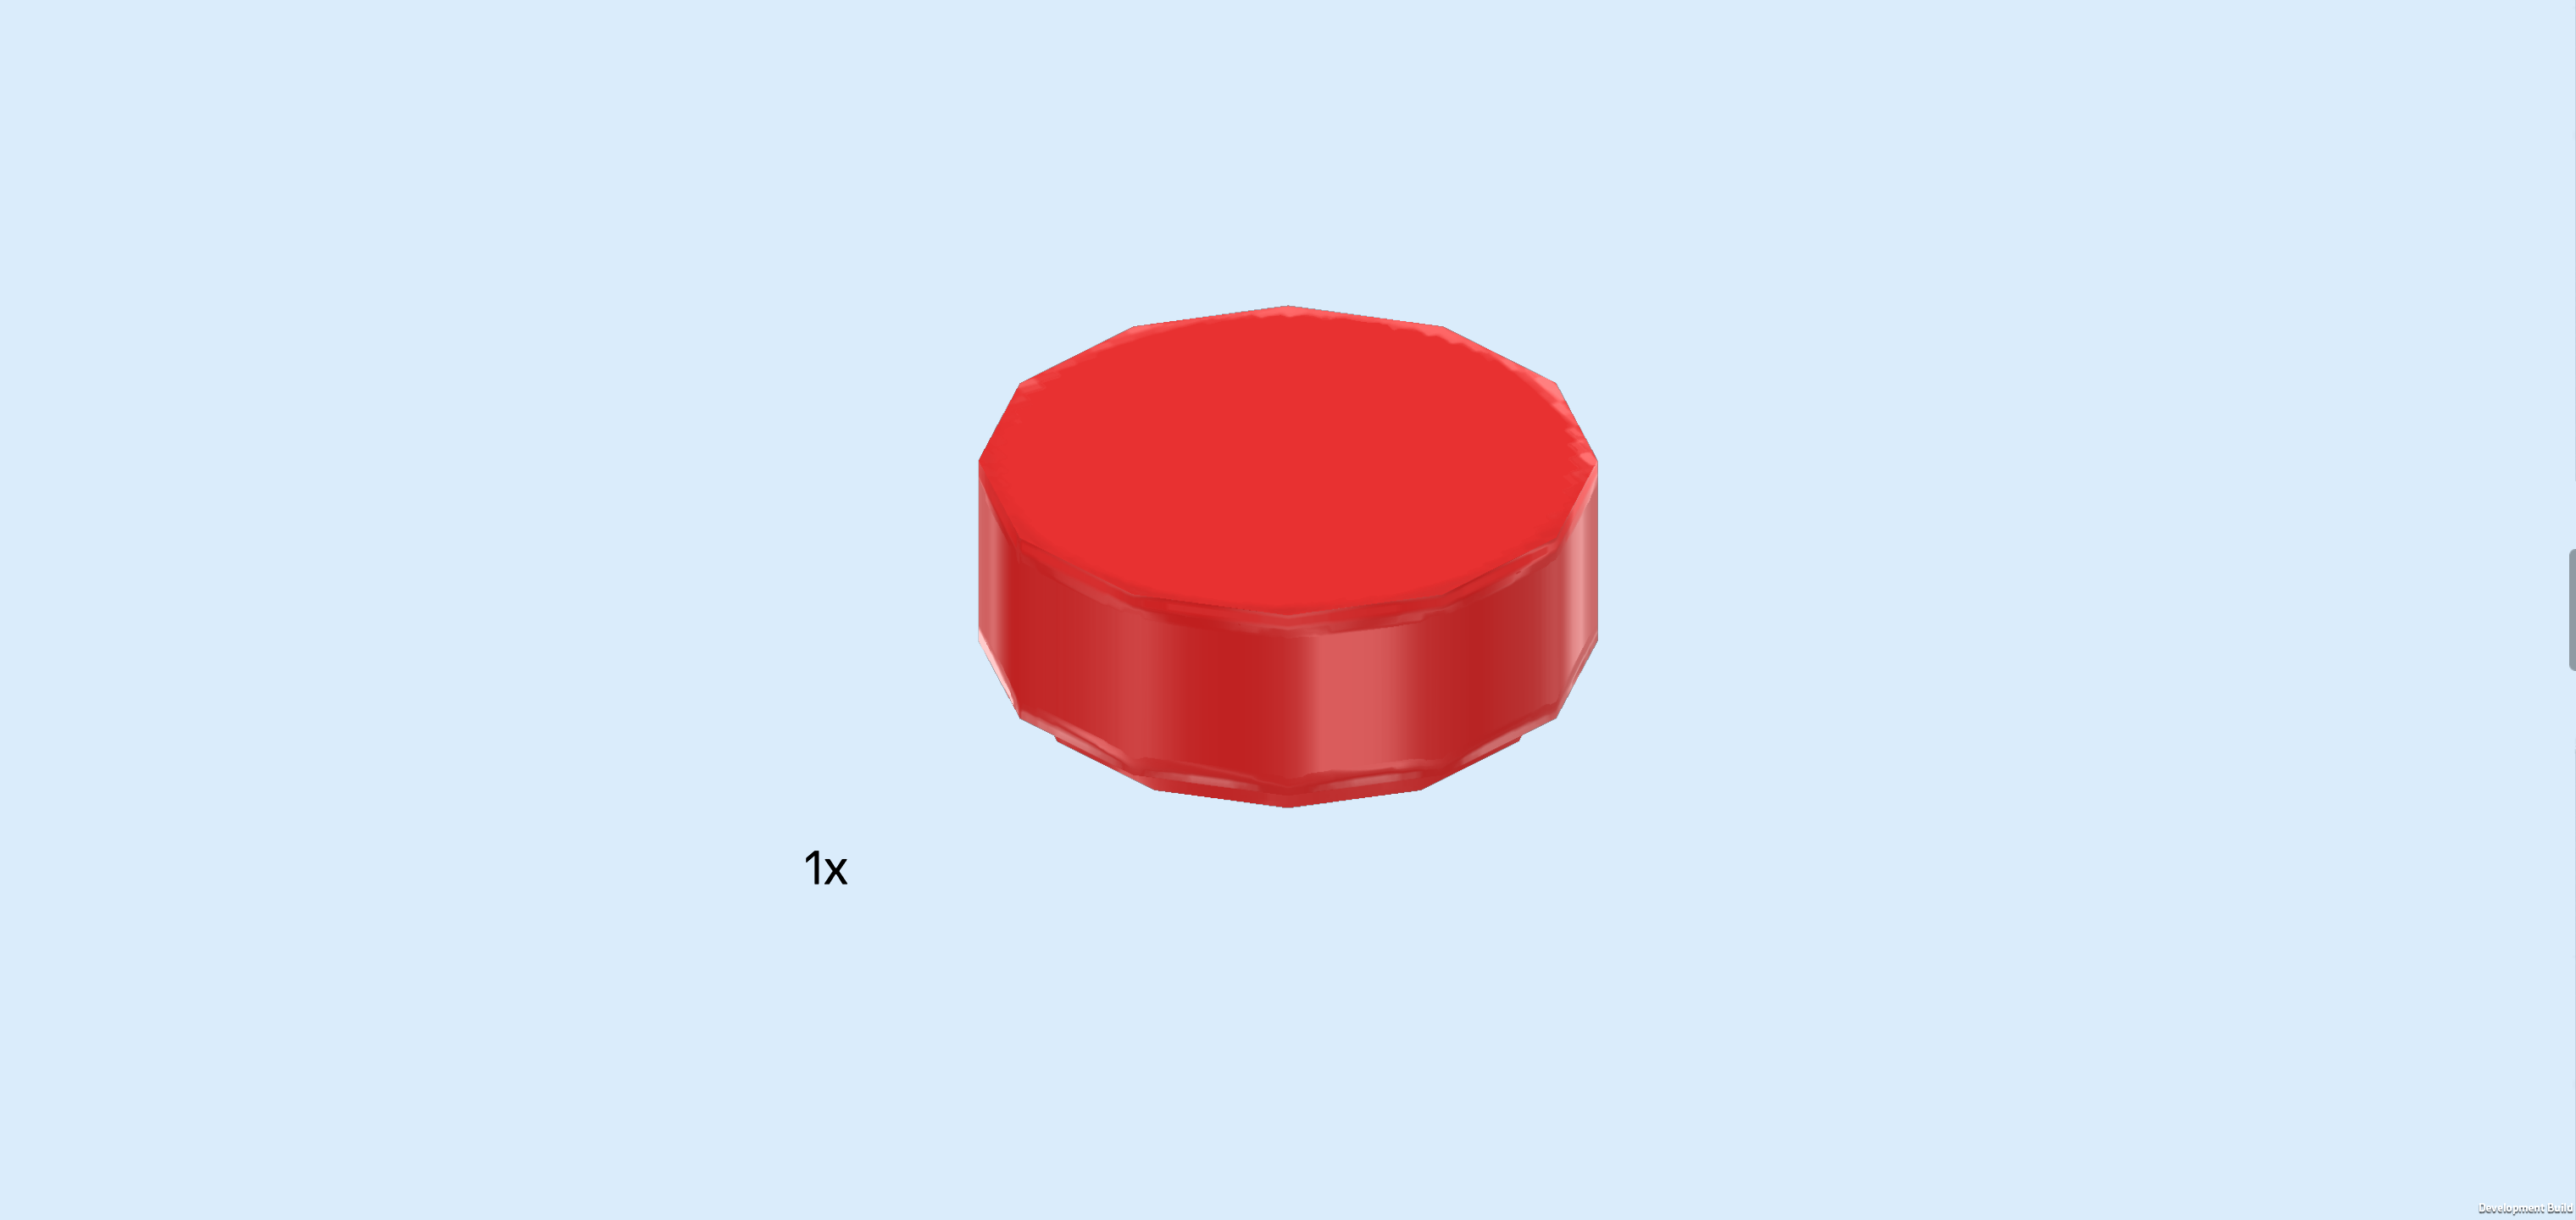
| and 1 bright red smooth double roof tile 1x1. |
| Put the smooth double roof tile on top of the previous piece. Make sure the 2 slopes are to the left and right, not to the front and back. |
| Put 1 brick 1x2 vertically to the right of the previous piece. This means it will sit on the plate 1x2 we have mounted earlier. |
| Repeat symmetrically on the plate 1x2 on the right side. |
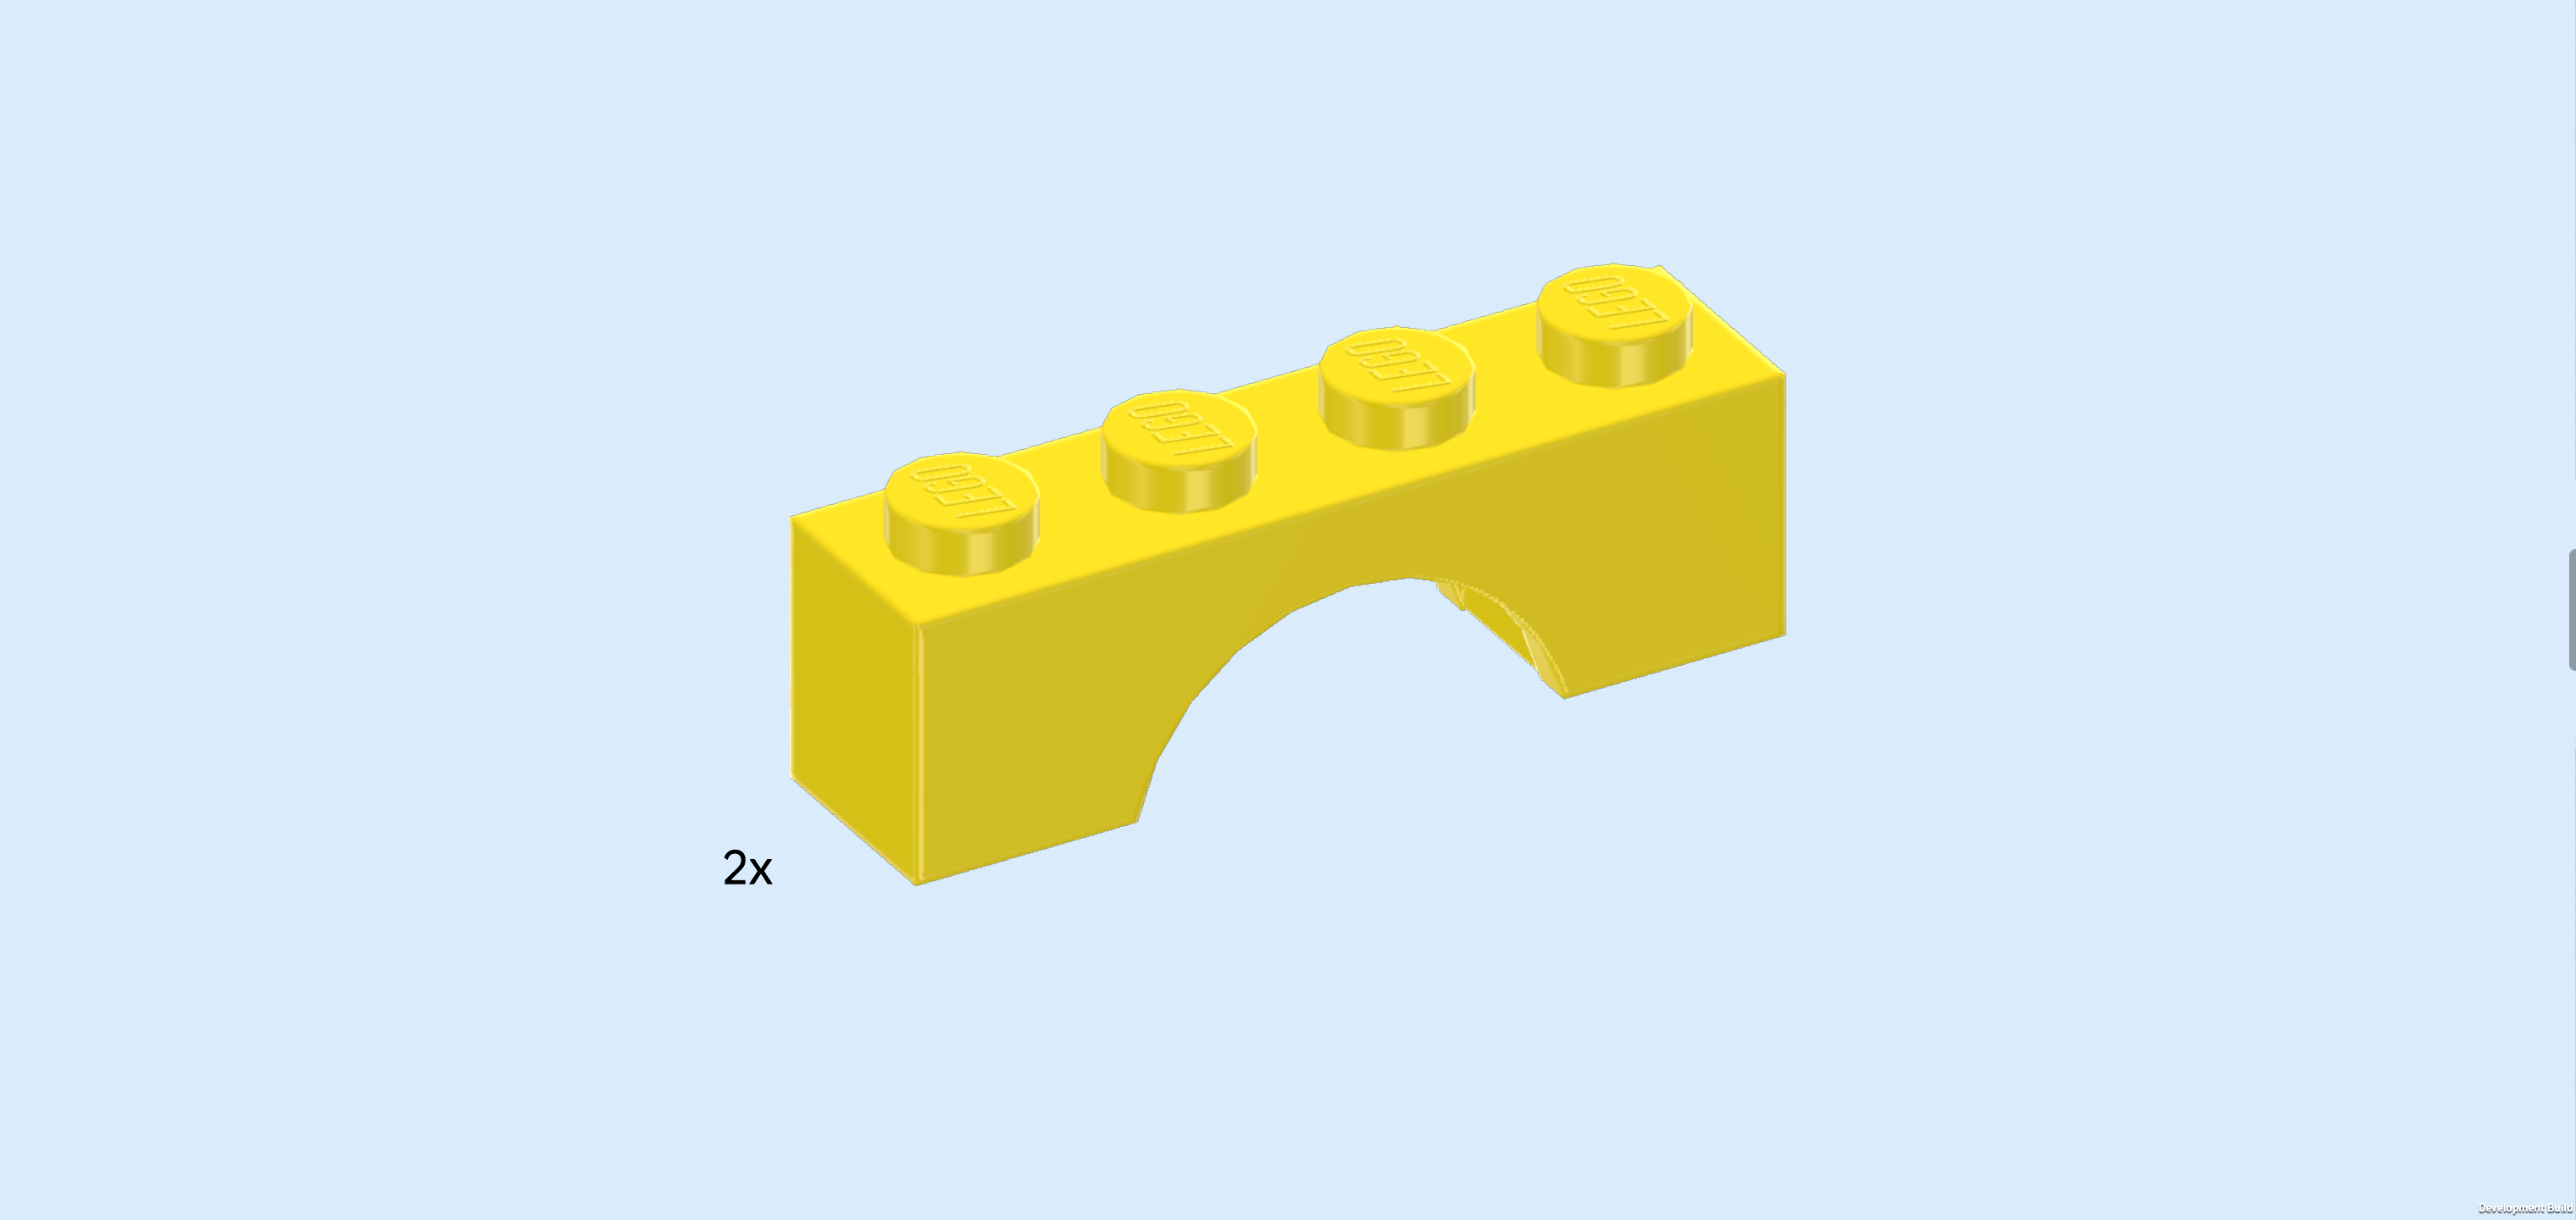
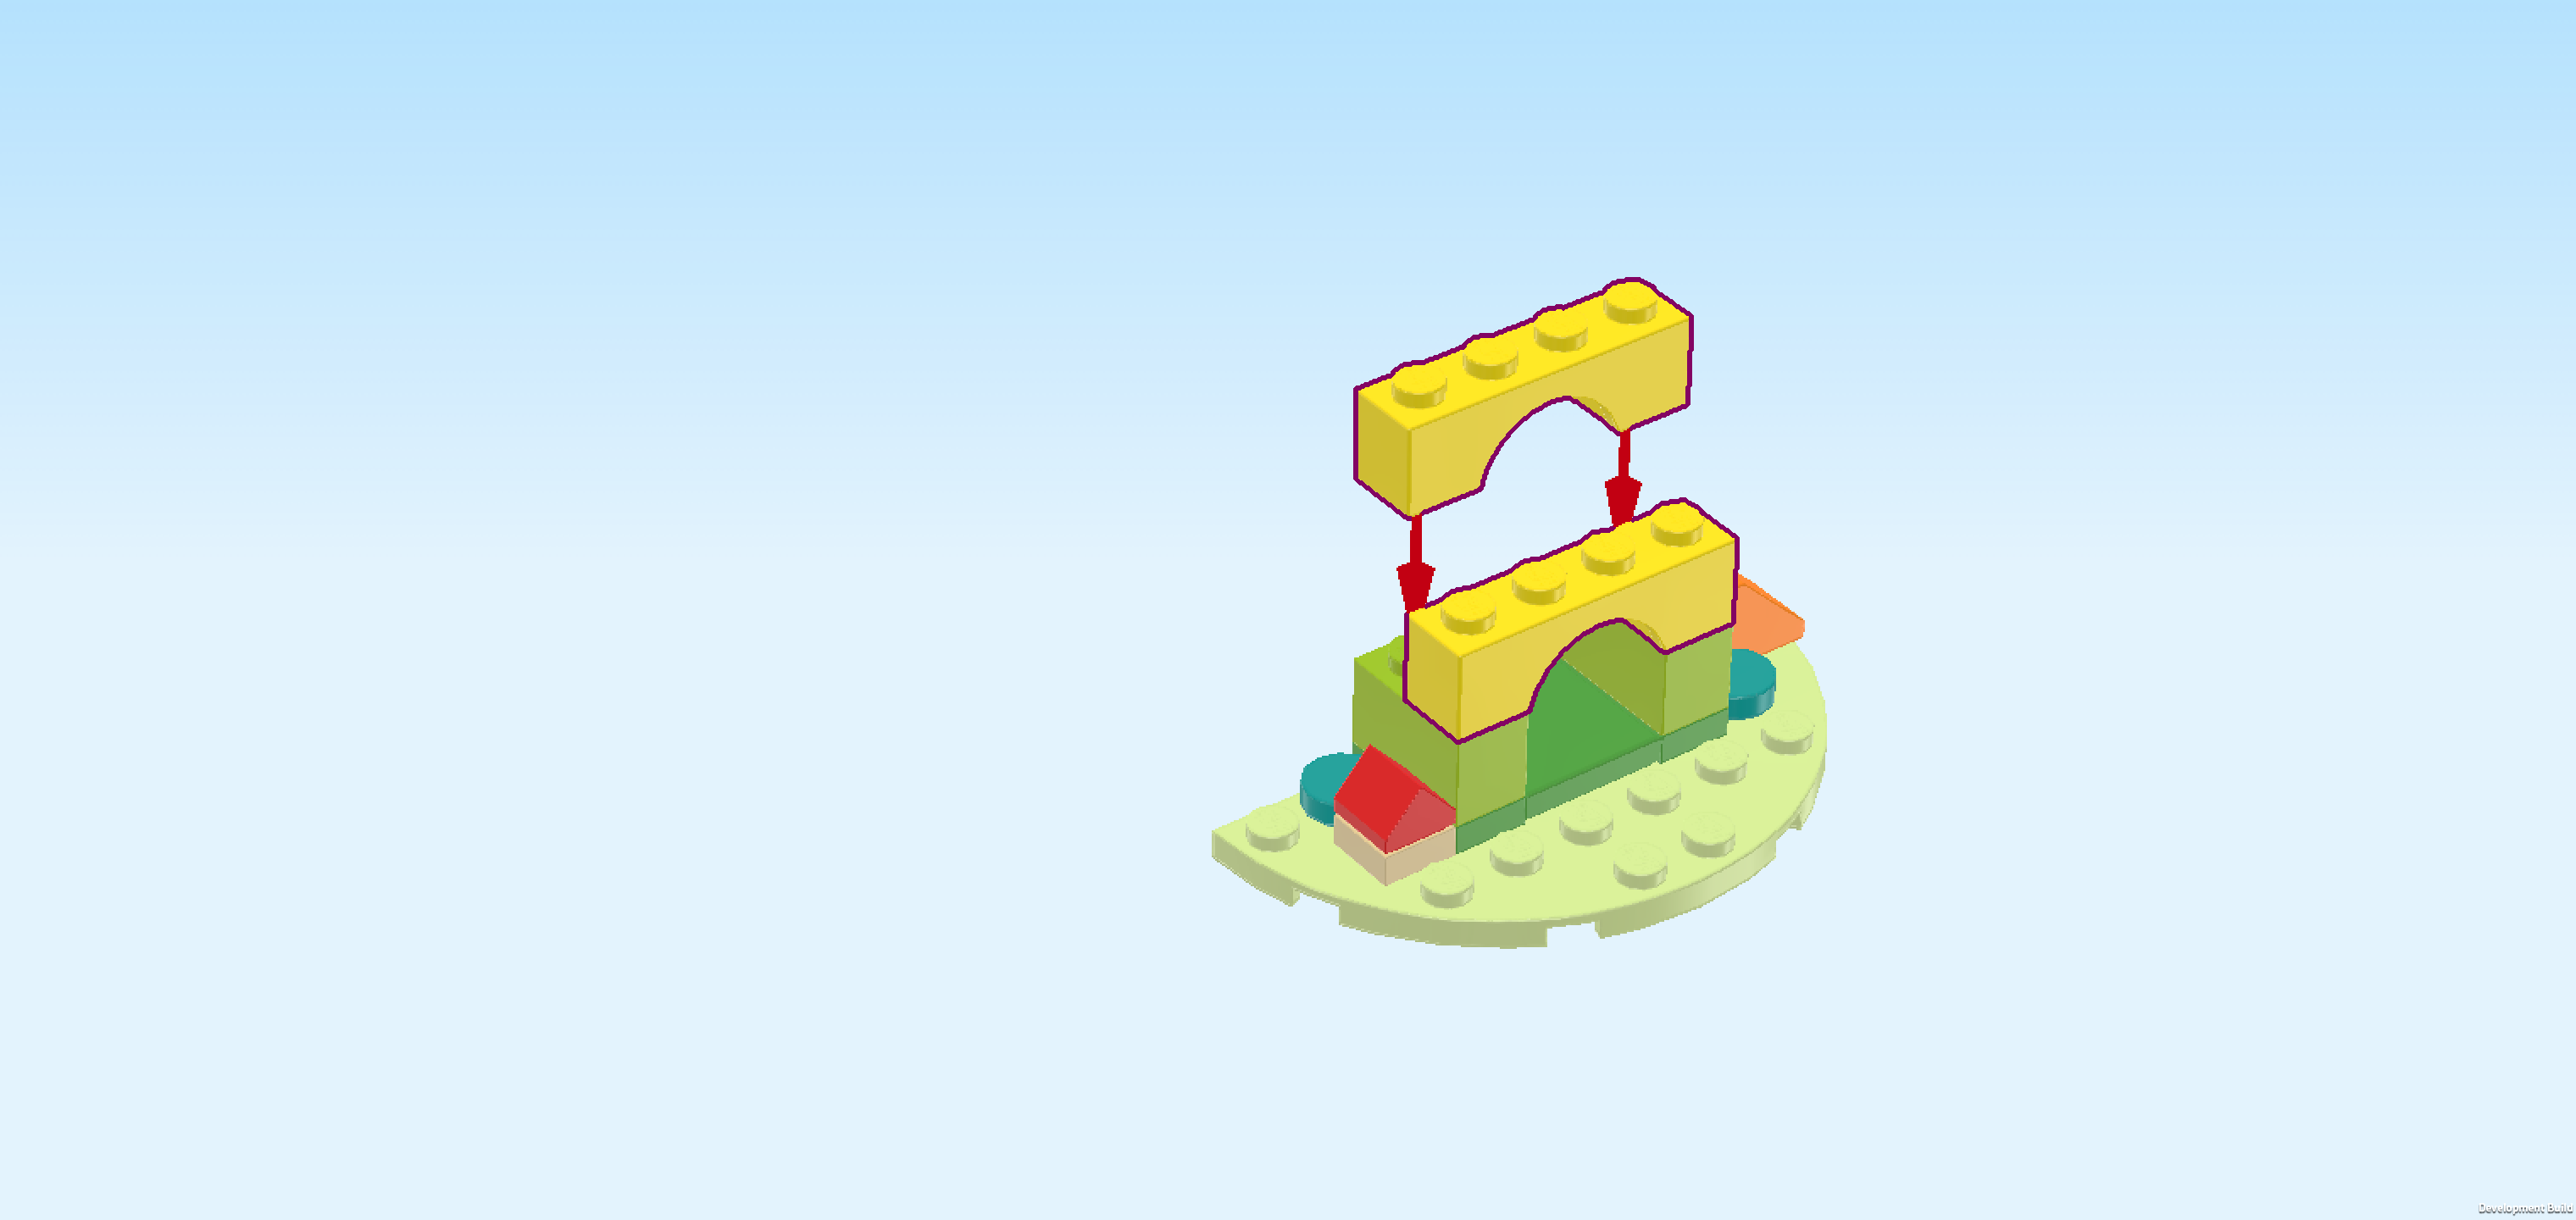
| Find 2 bright yellow bricks 1x4 with inside arch. |
| Put 1 horizontally on the back knobs of the 2 previous pieces. |
| Put the other one horizontally in front of the previous piece. |
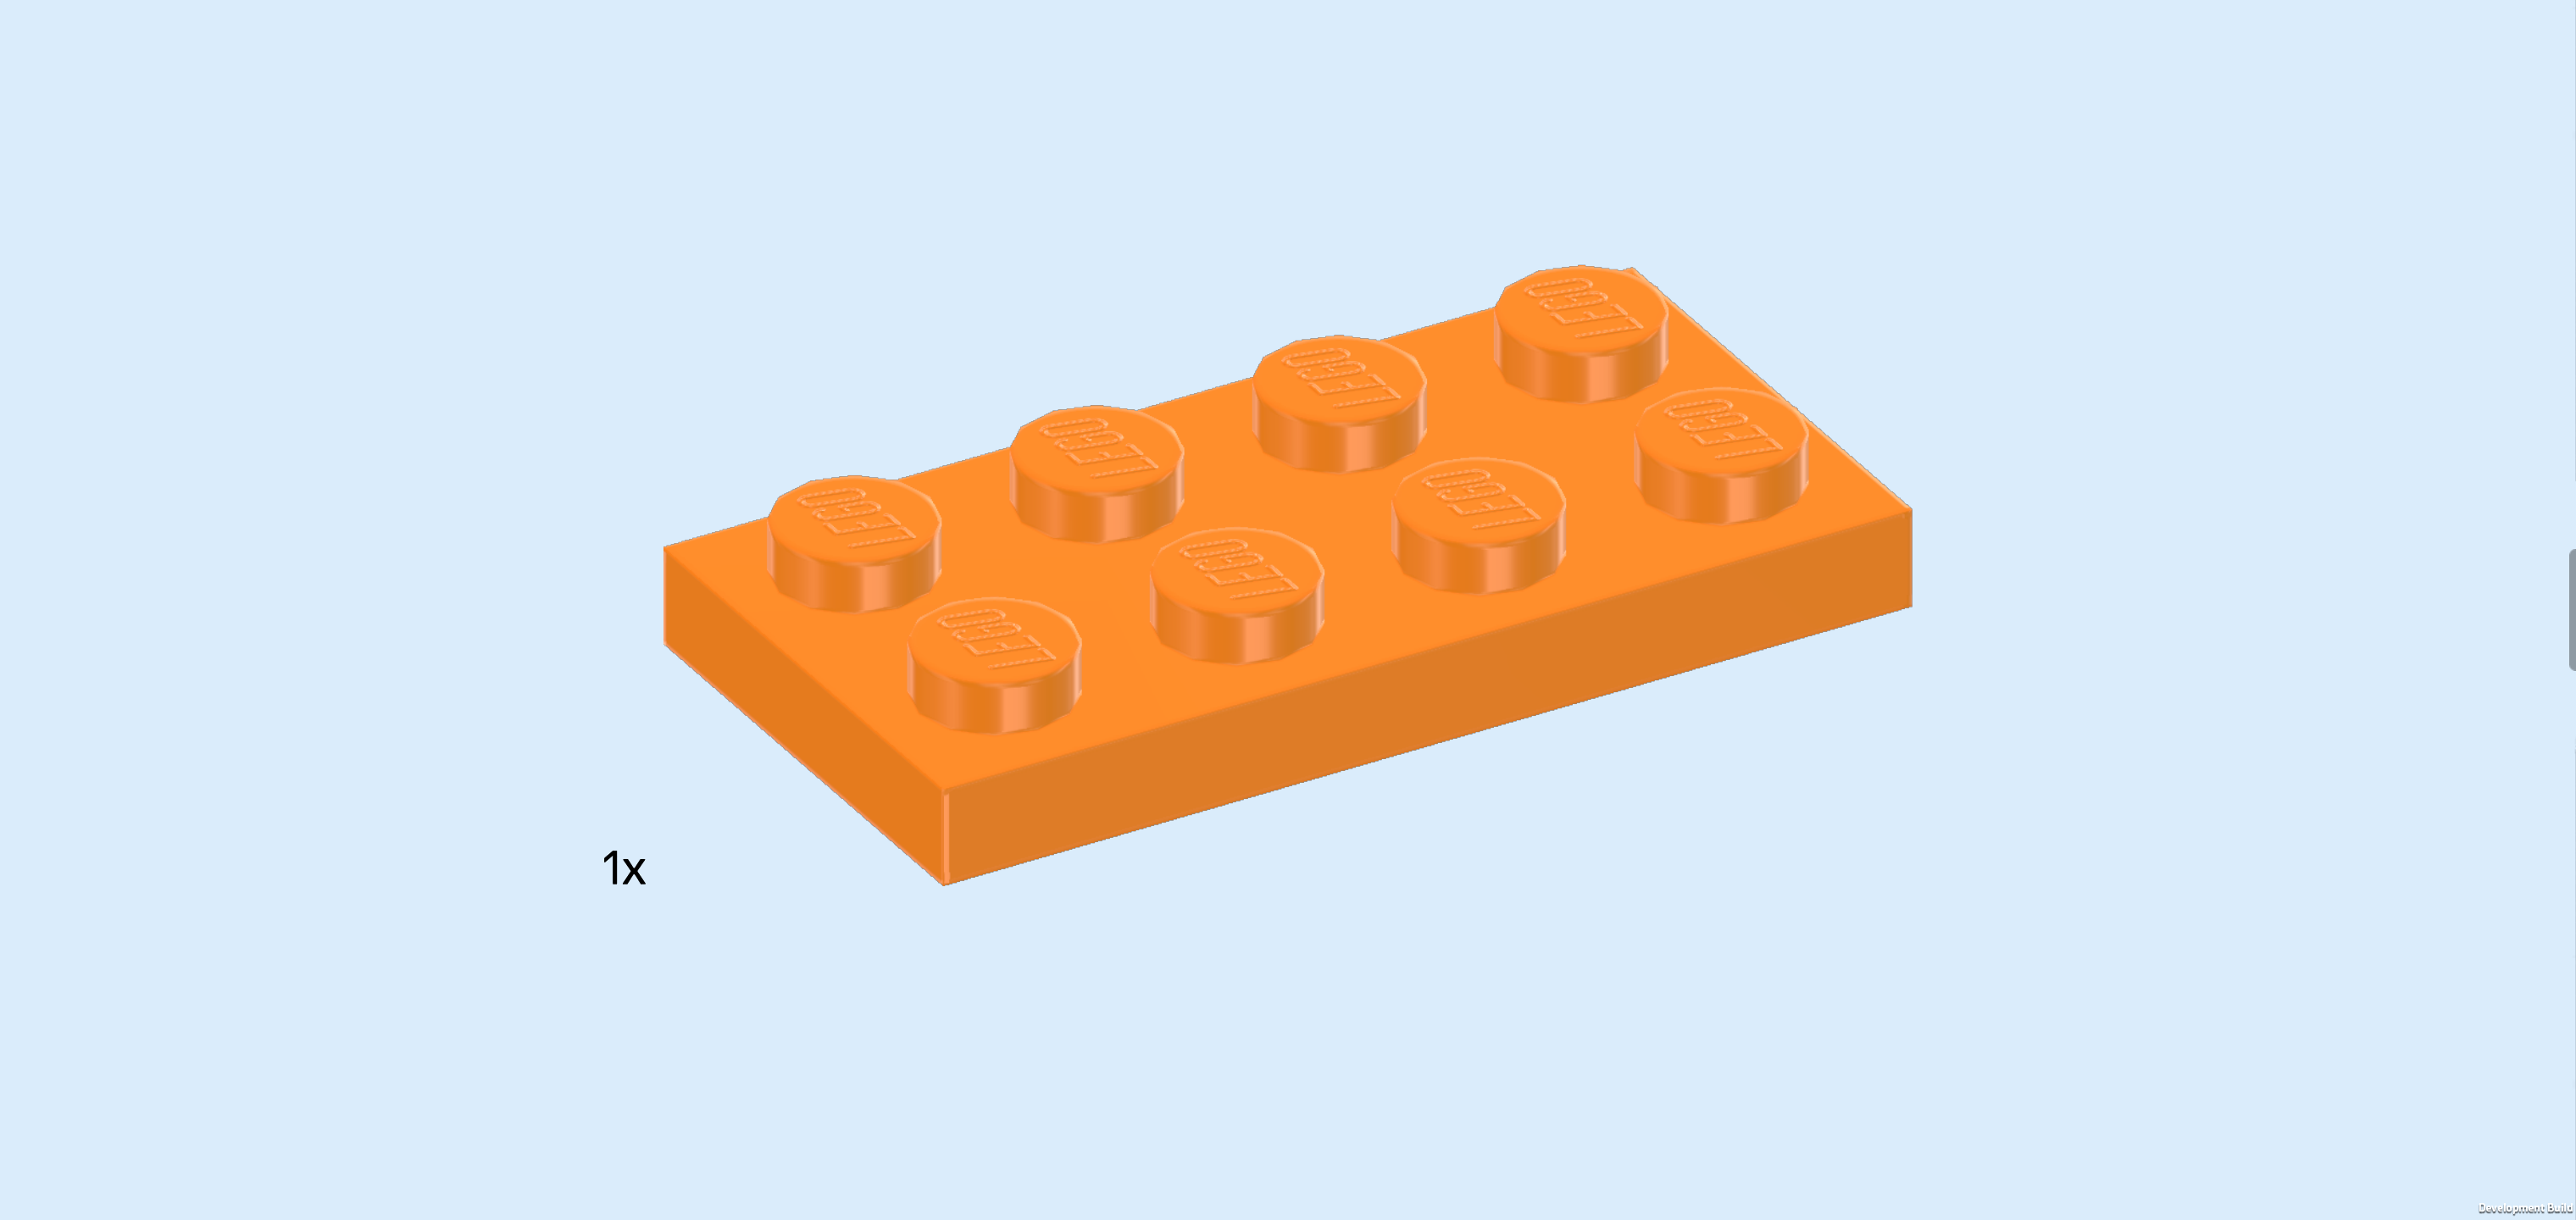
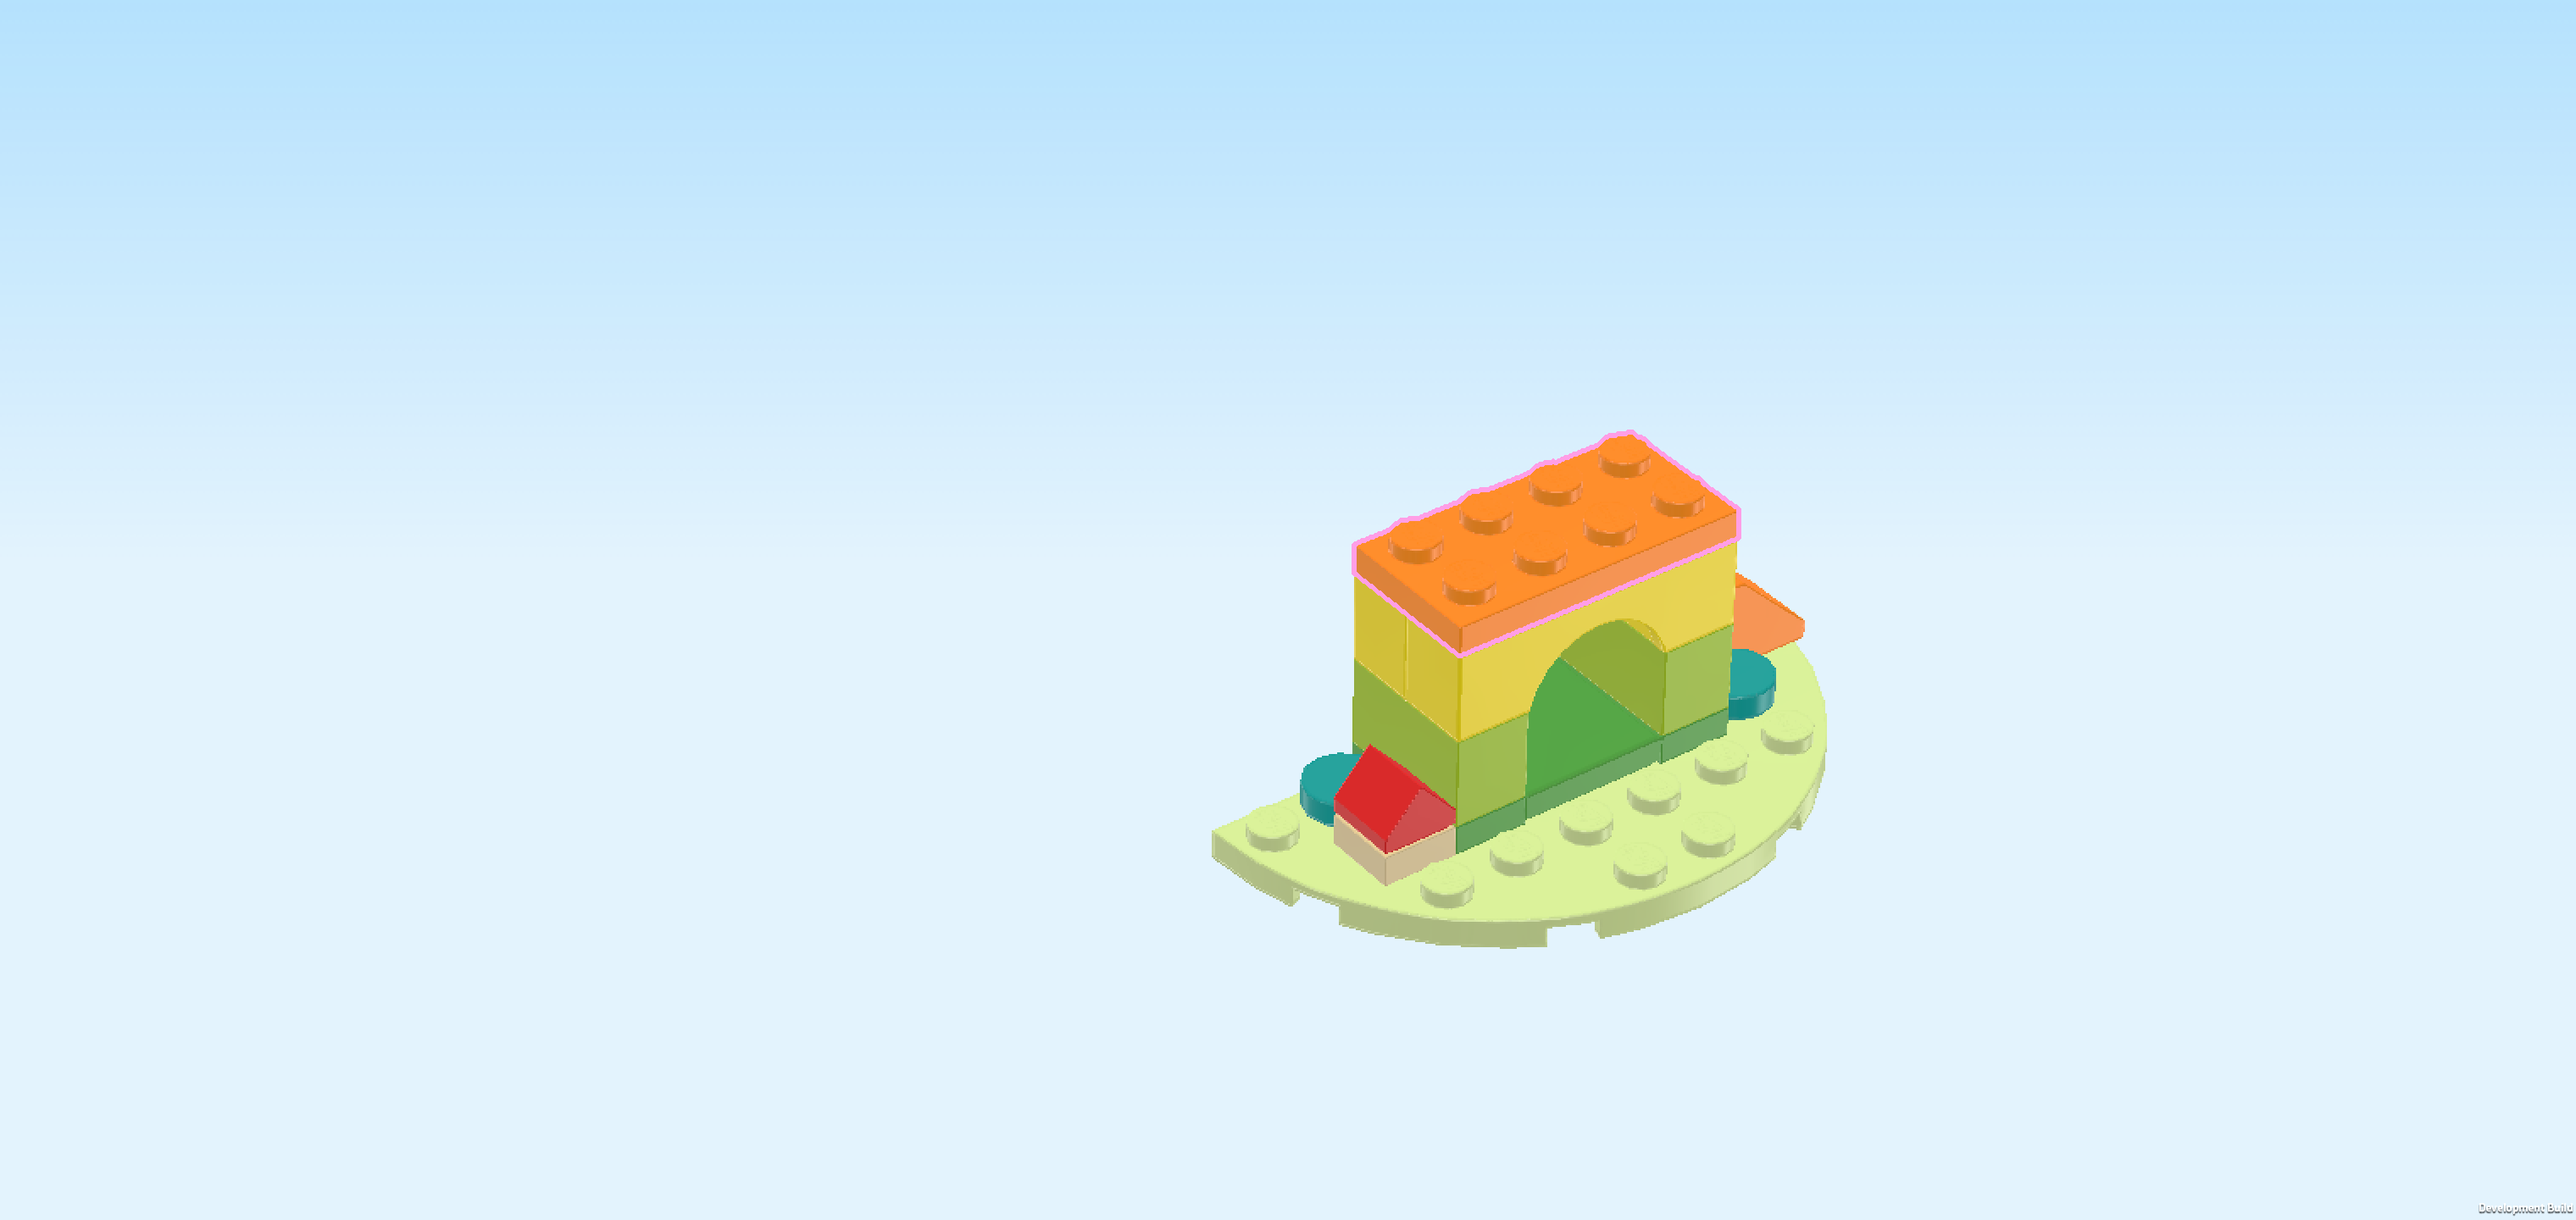
| Find 1 bright orange plate 2x4. |
| Put it horizontally on top of the 2 previous pieces. |
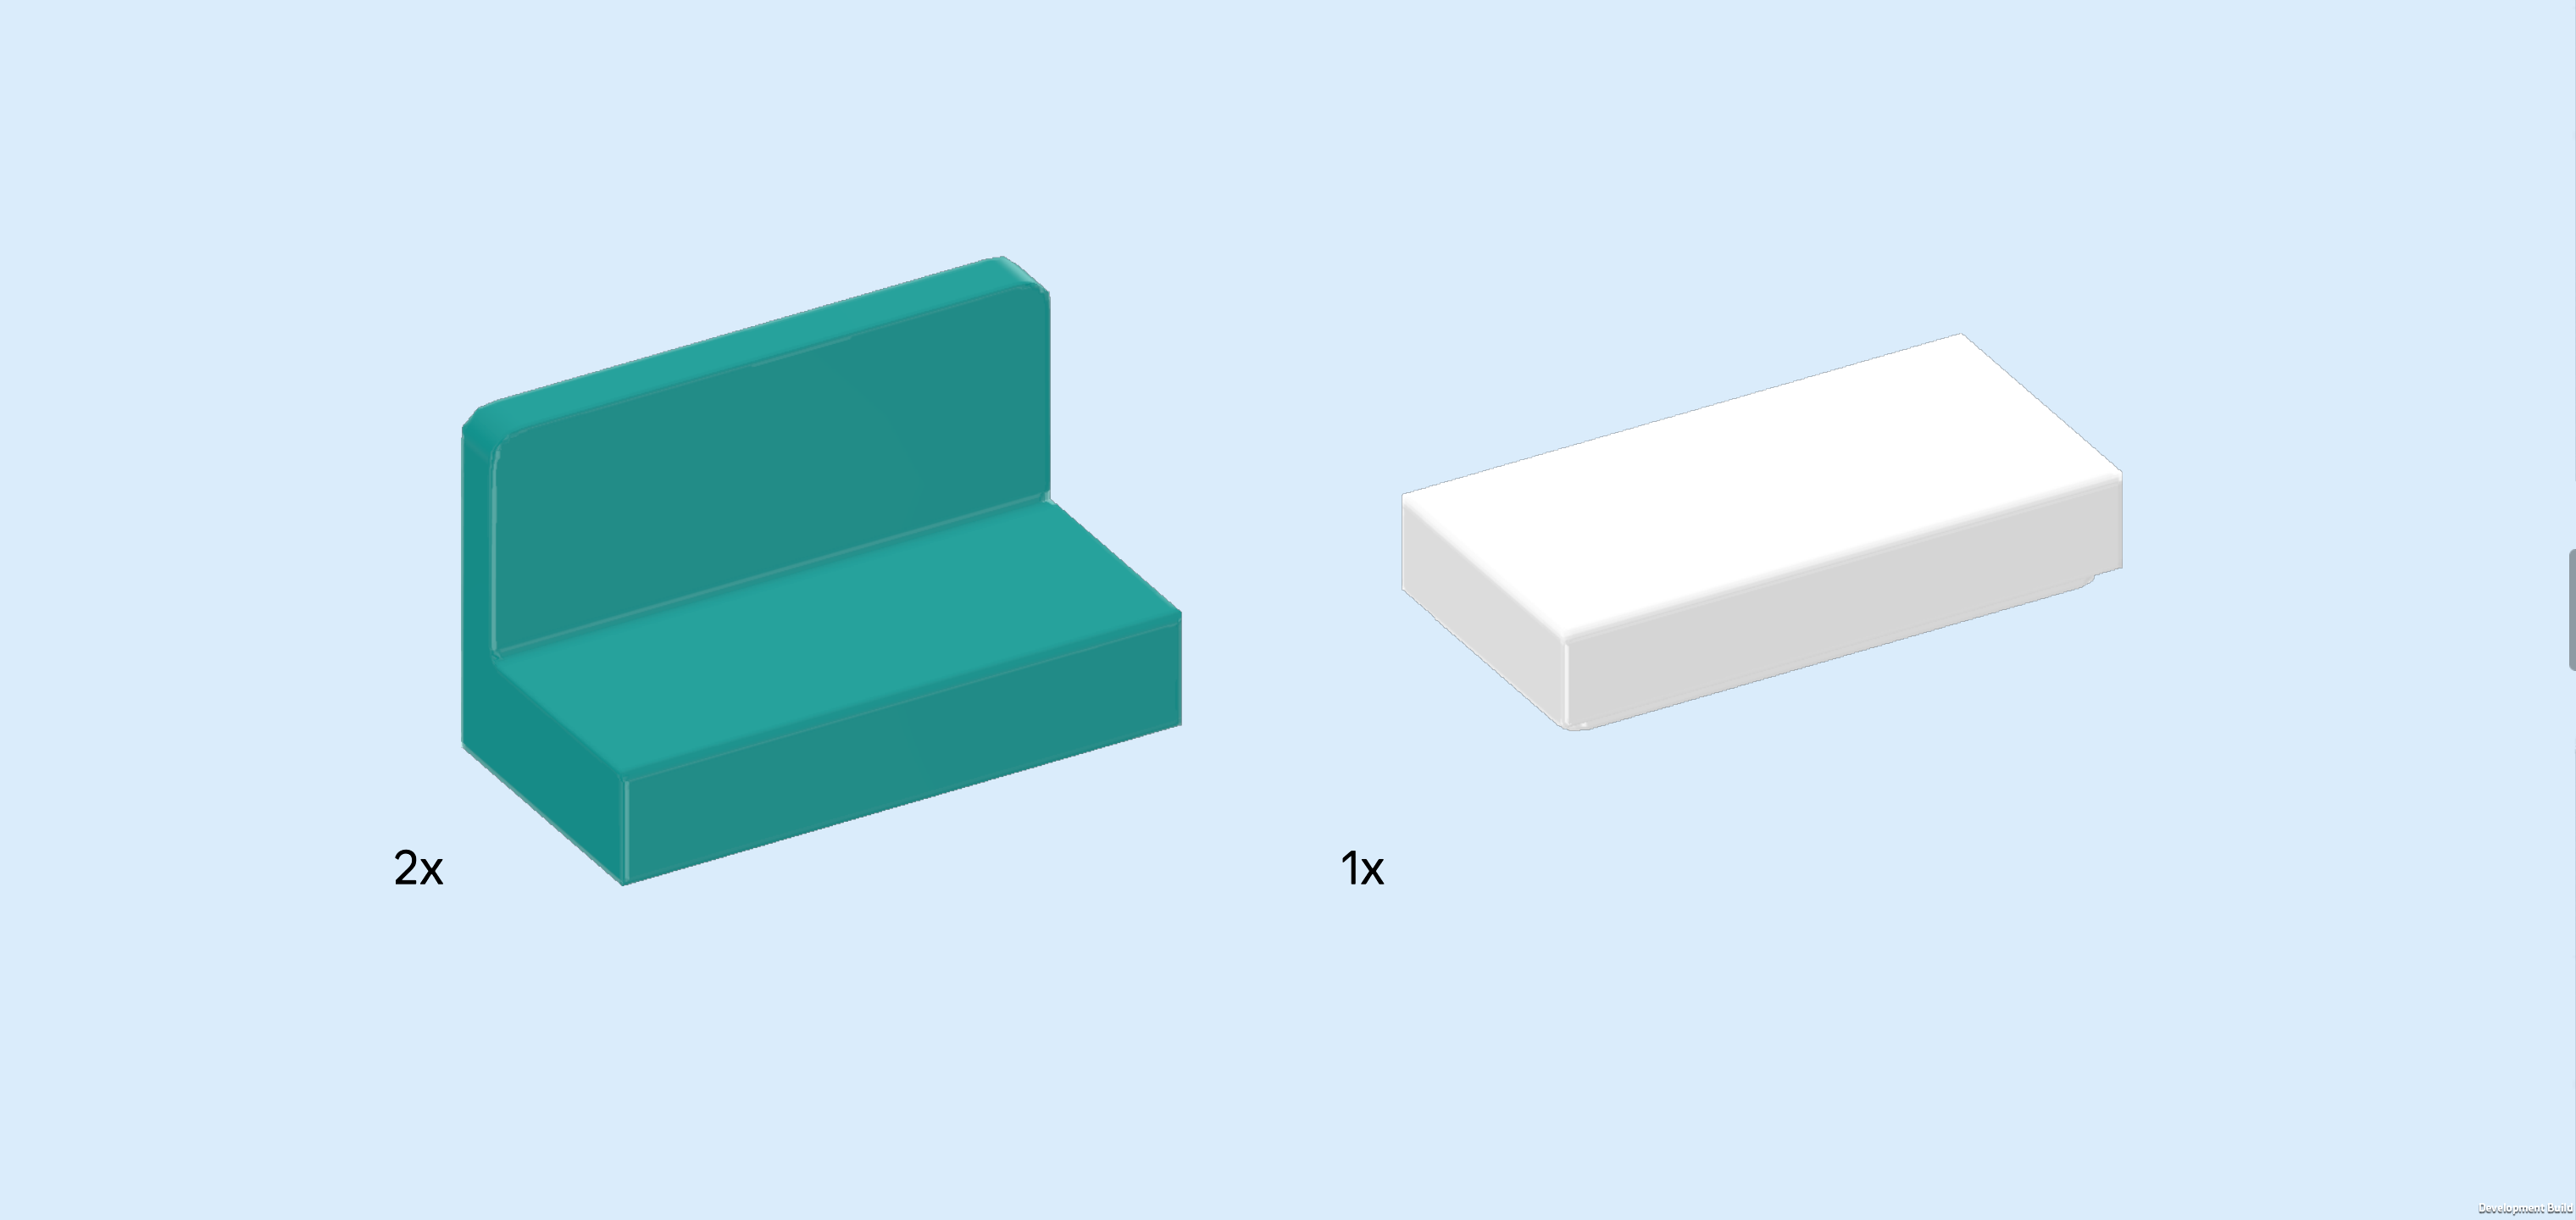
| Collect the following 3 pieces: |
| 2 teal blue panel elements 1x2x1 with panel on long side, |
| and 1 white flat tile 1x2. |
| Put 1 panel element 1x2x1 horizontally on the right half of the previous piece's back row, panel to the back. |
| Put the other panel element horizontally in front of the previous piece, panel to the front. |
| Put the flat tile 1x2 horizontally to the left half of the first panel element we have mounted. This means it will sit on the back row. |
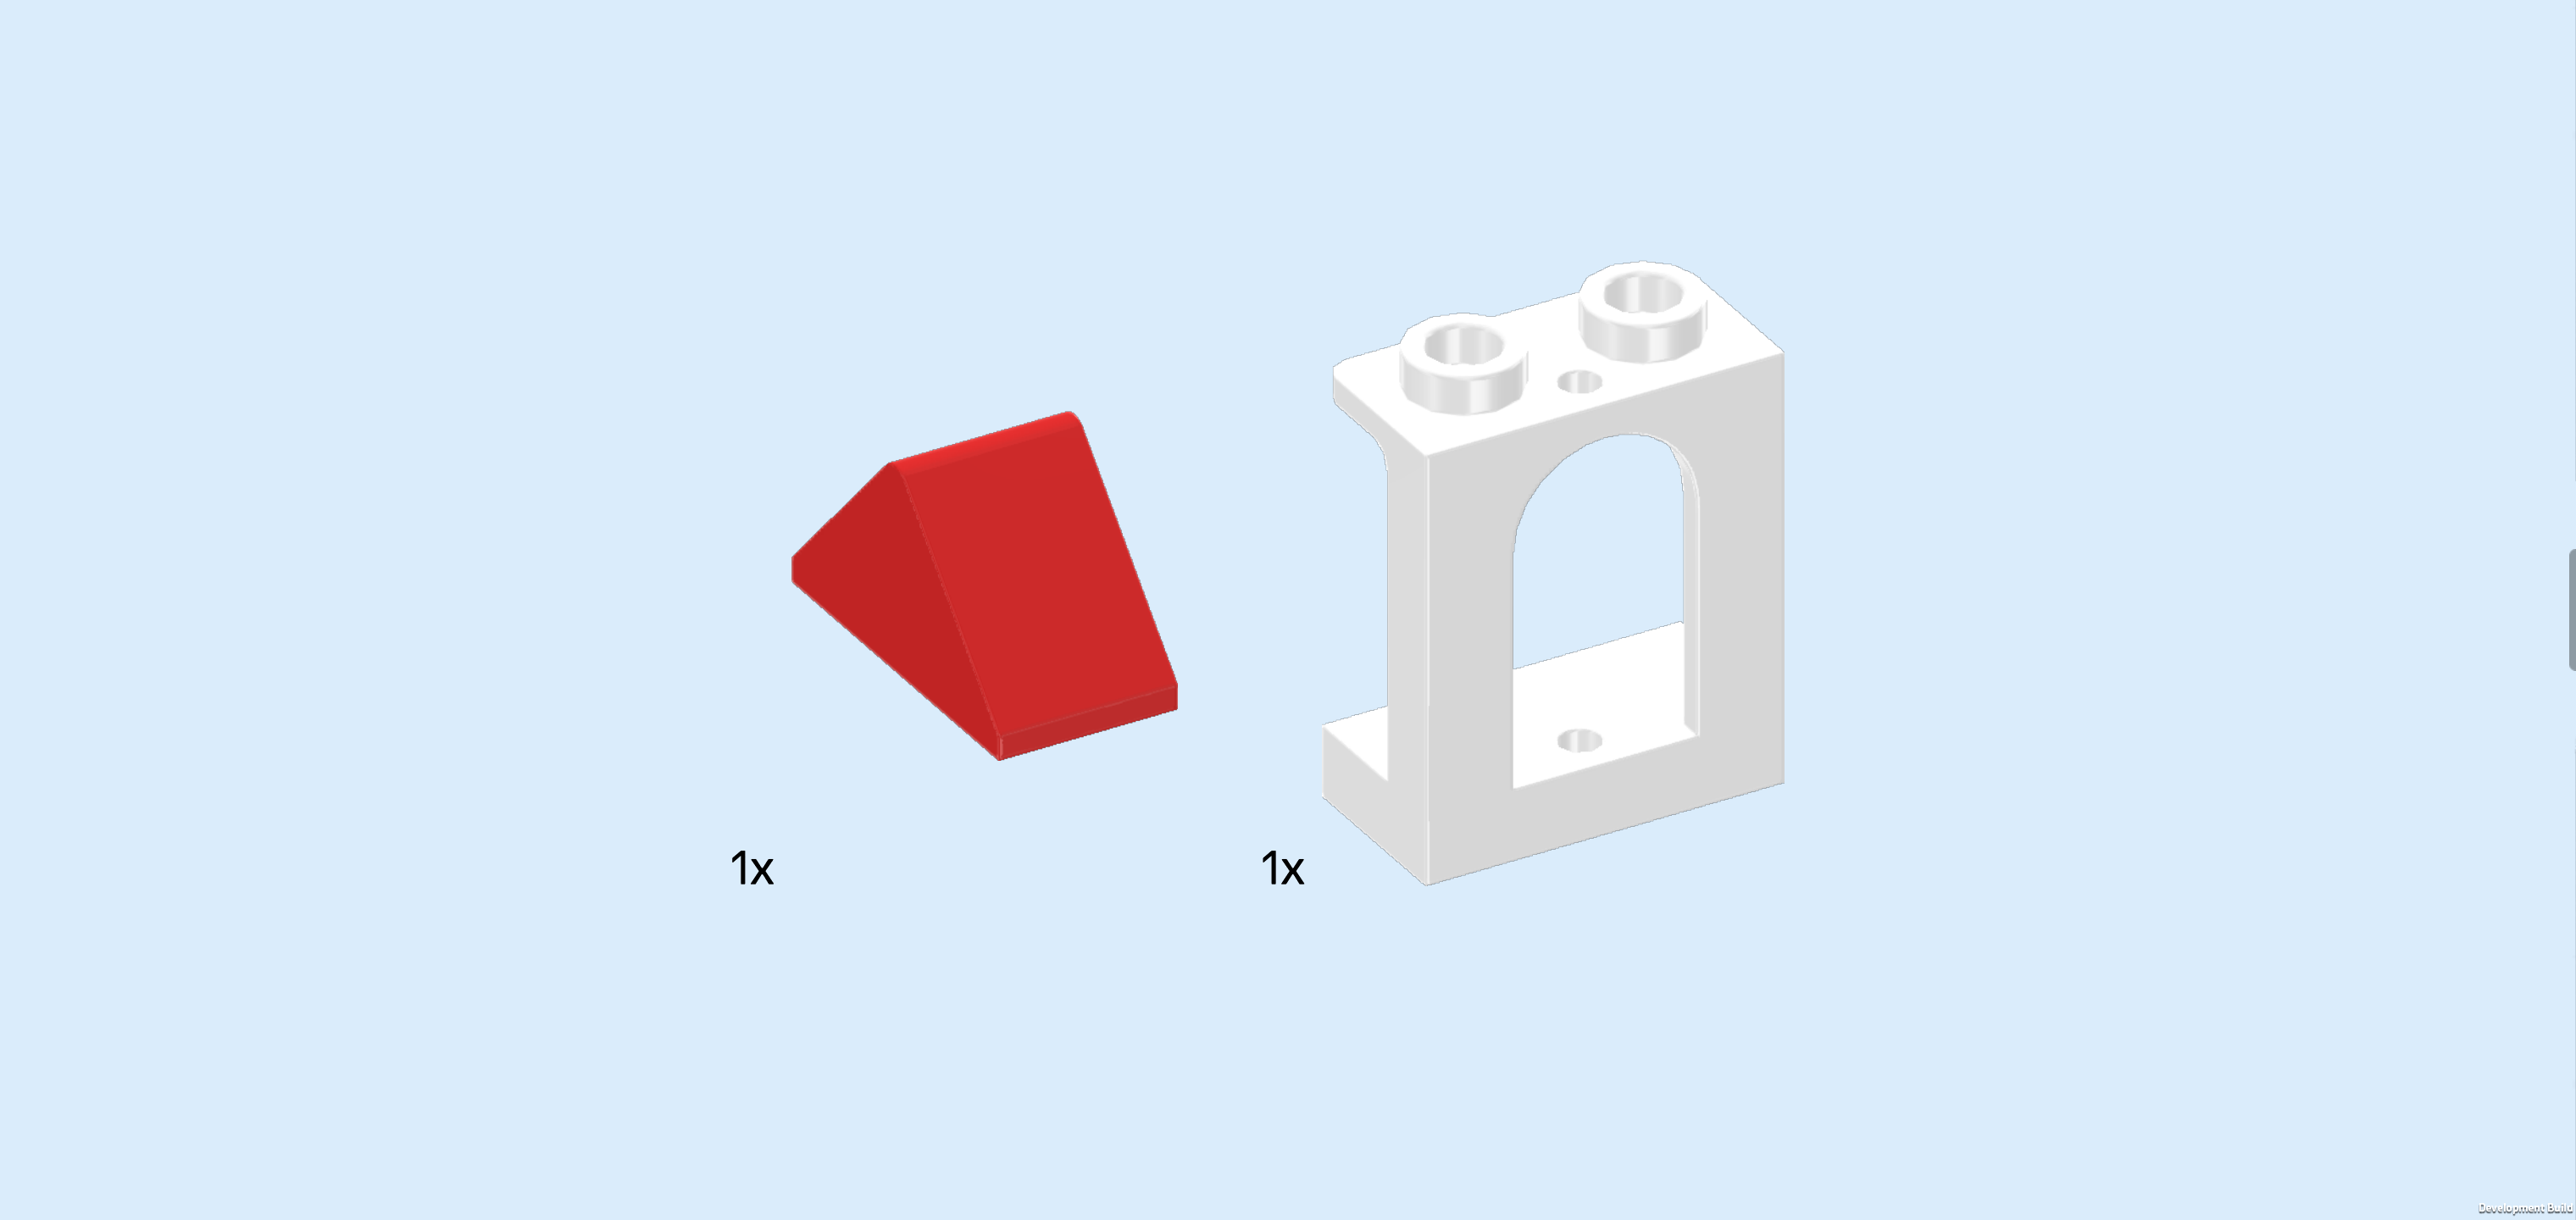
| Collect the following 2 pieces: |
| 1 bright red smooth double roof tile 1x2, |
| and 1 white wall element 1x2x2 with arched window. |
| Put the wall element horizontally in front of the previous piece, panel with window cutout towards the front. |
| Put the smooth double roof tile 1x2 horizontally on top of the previous piece. |
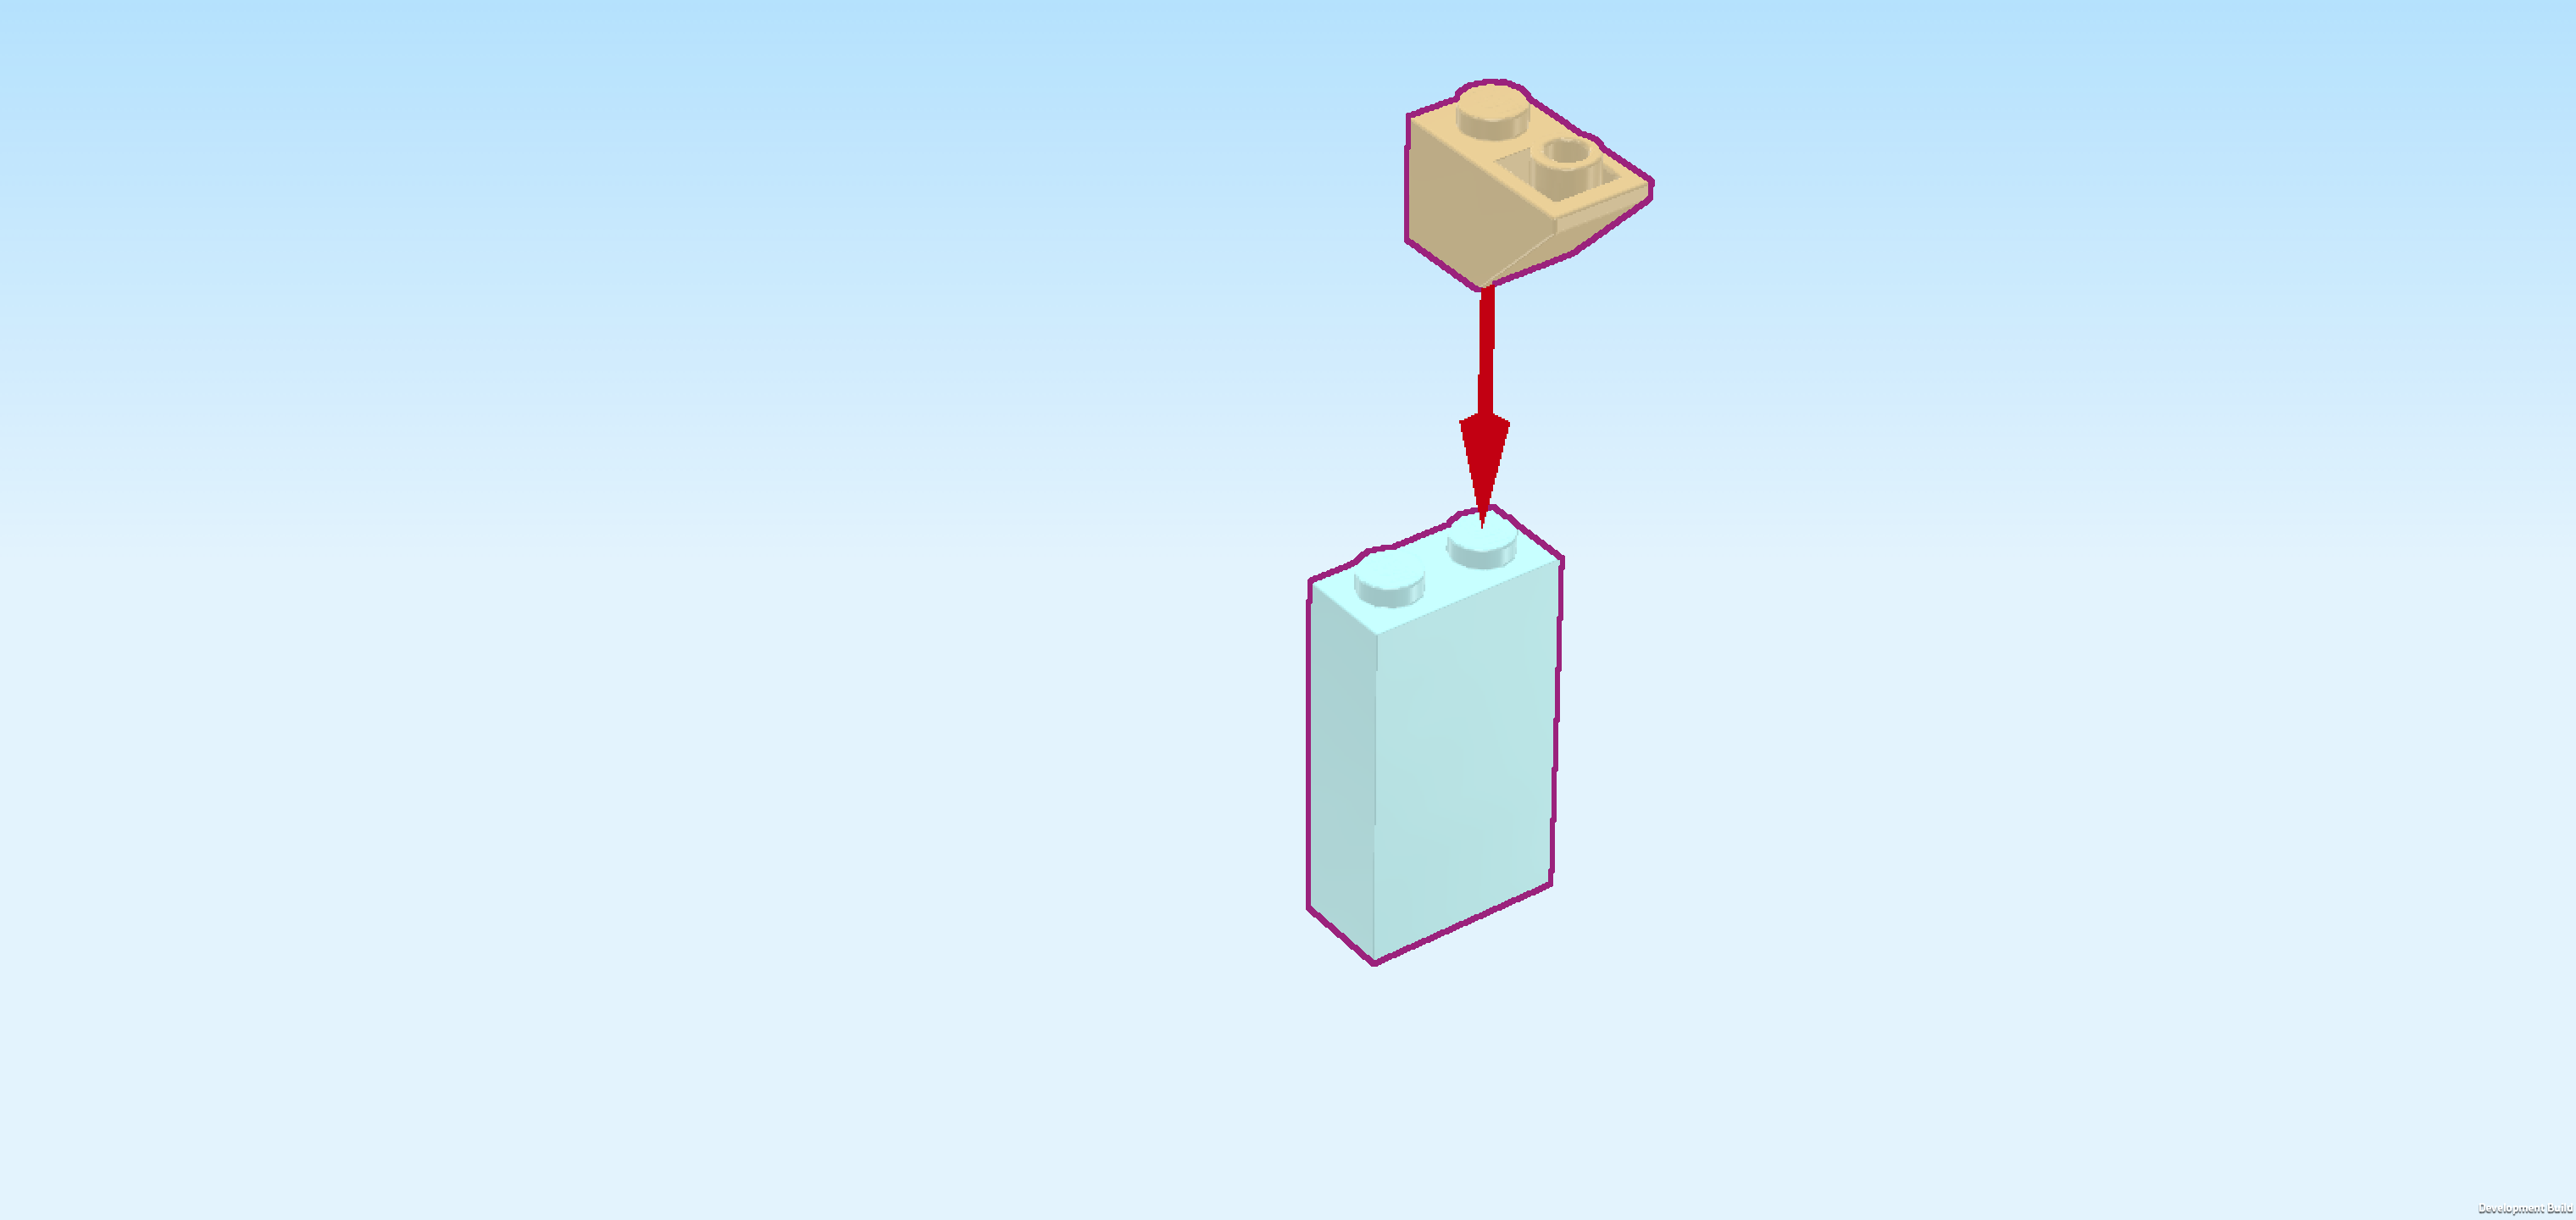
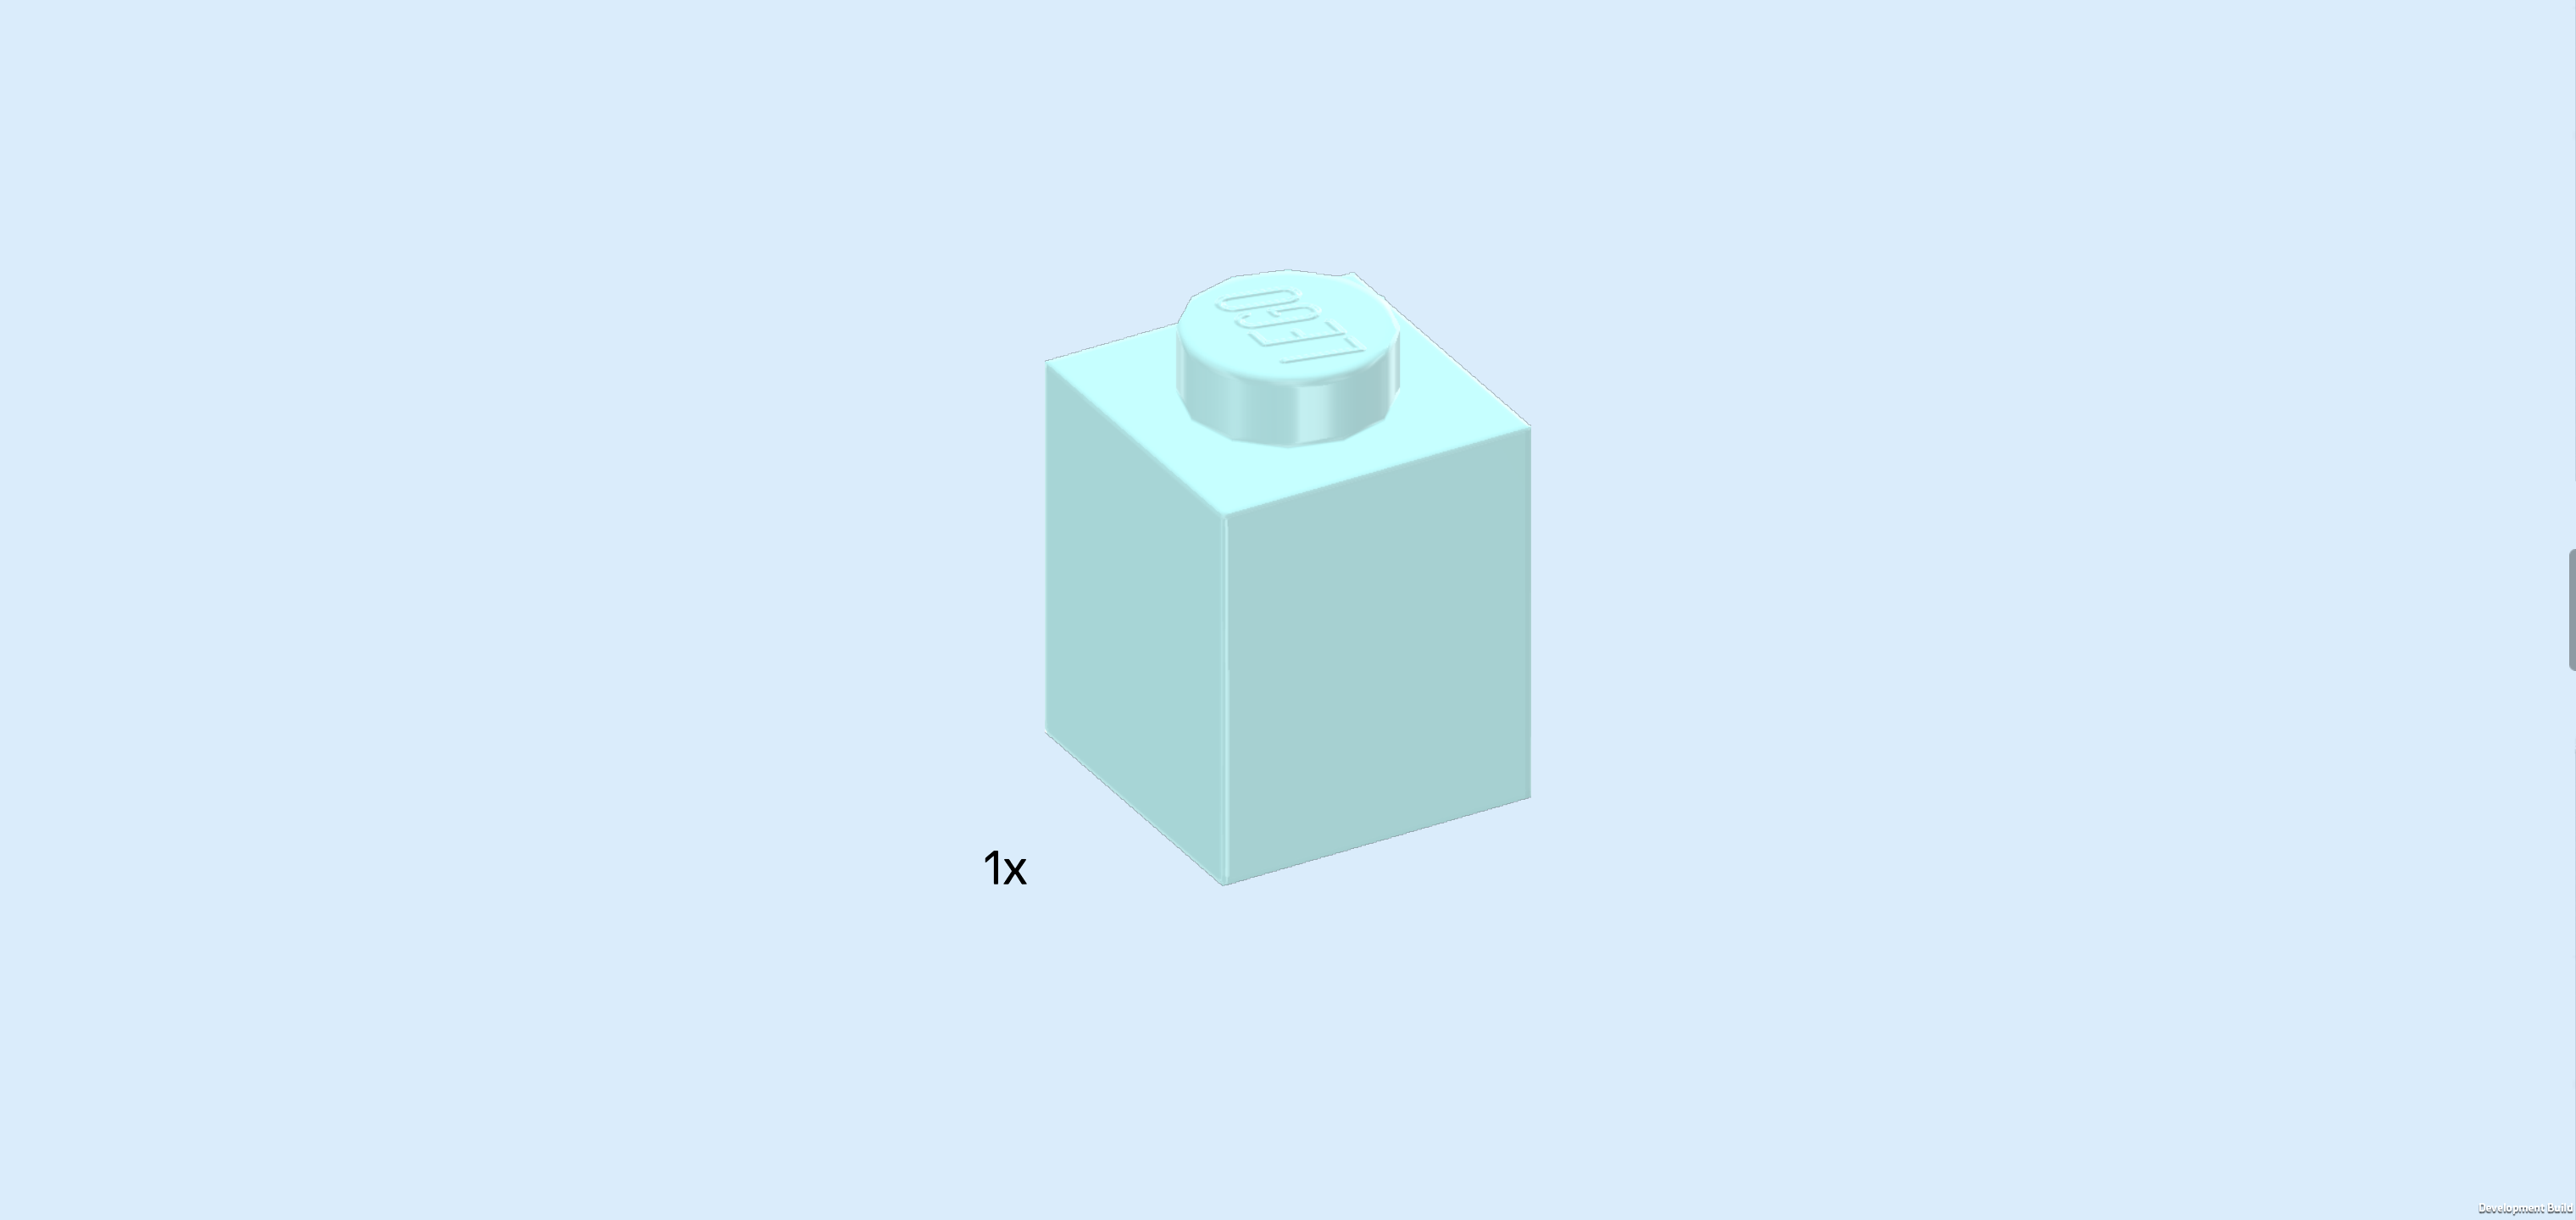
| Find 2 beige bricks 1x1. |
| Put 1 on the leftmost backmost knob of the base plate. |
| Put the other one on the second row from the front on its second knob from the right. |
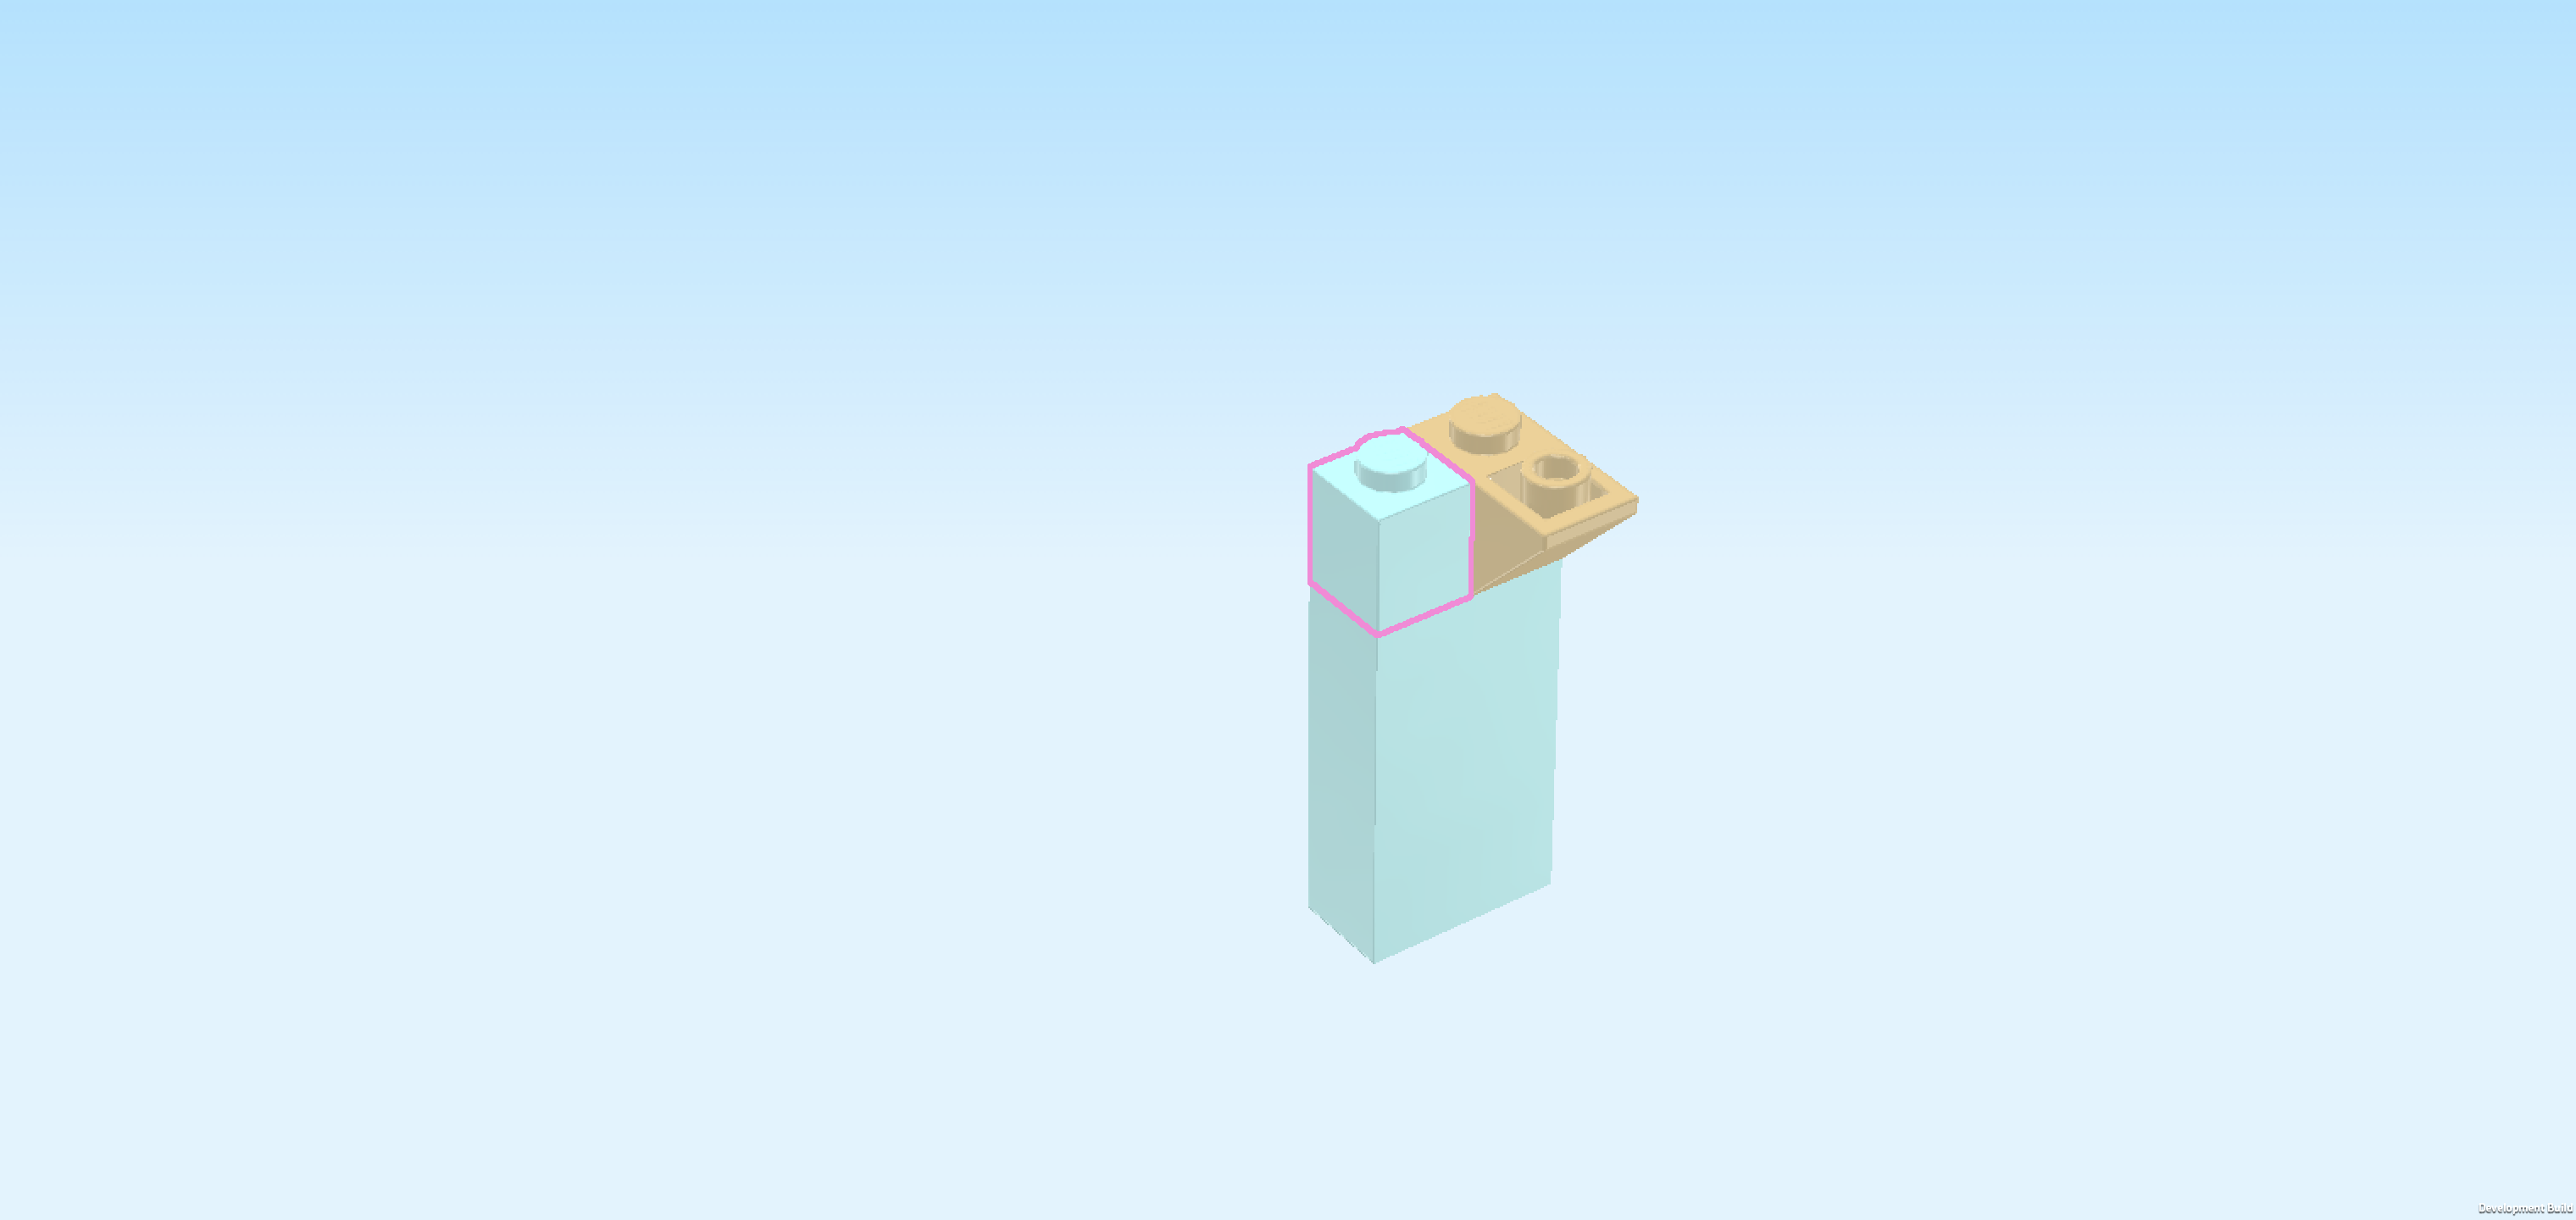
| Find 1 bright red smooth double roof tile 1x1. |
| Put it on top of the previous piece, slopes to the left and right. |
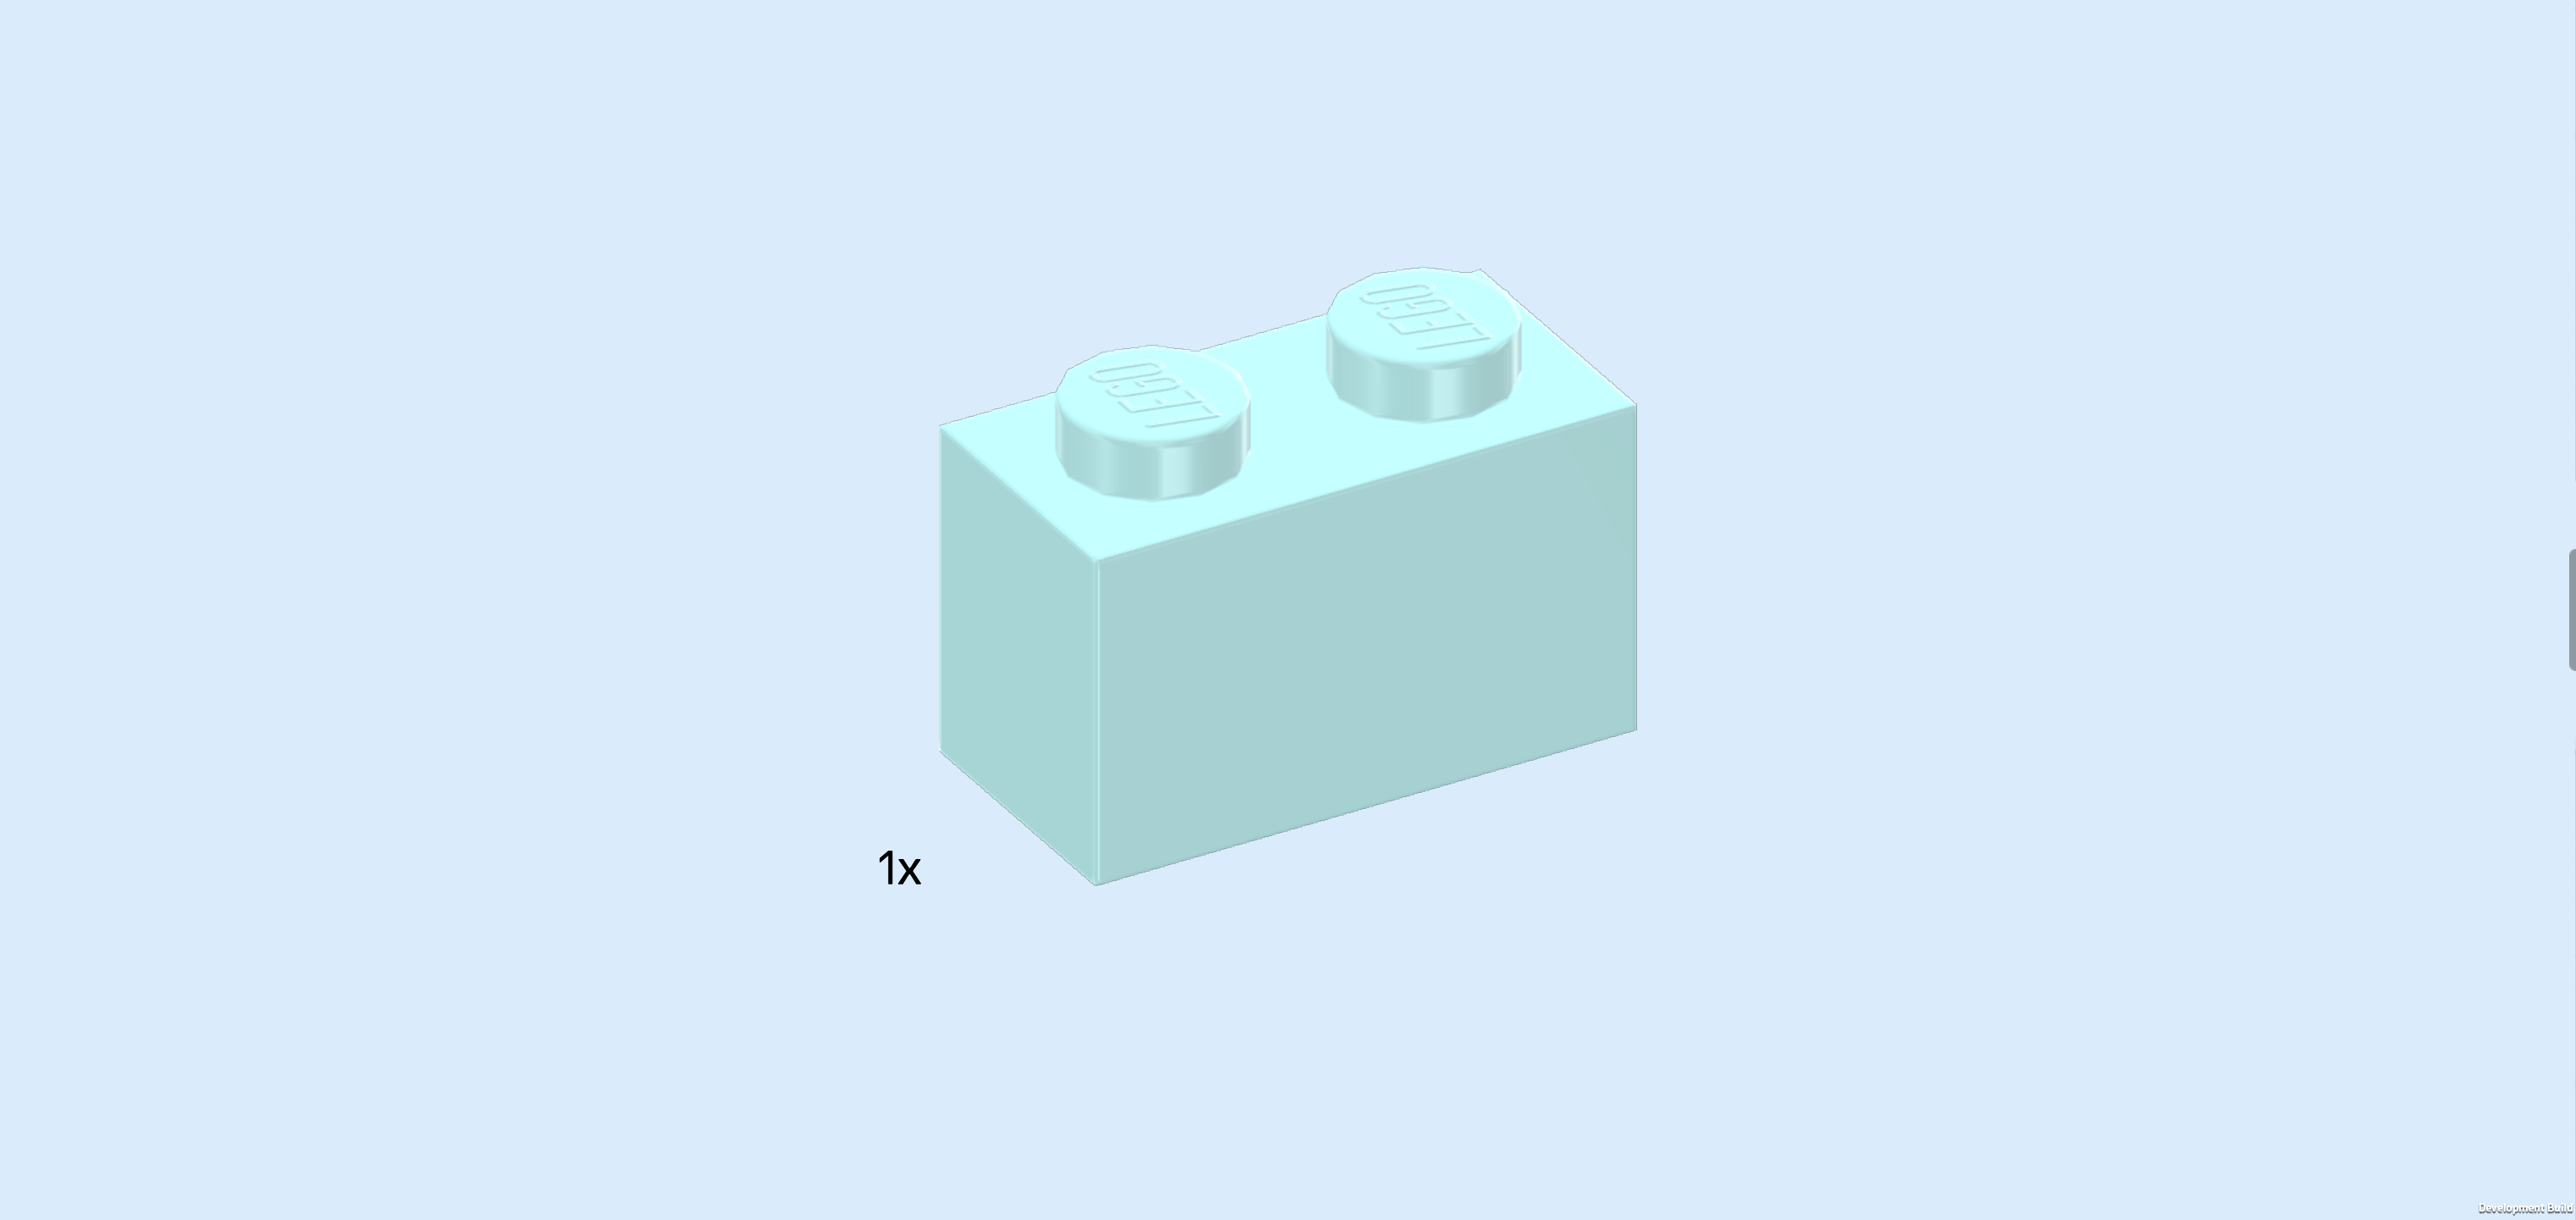
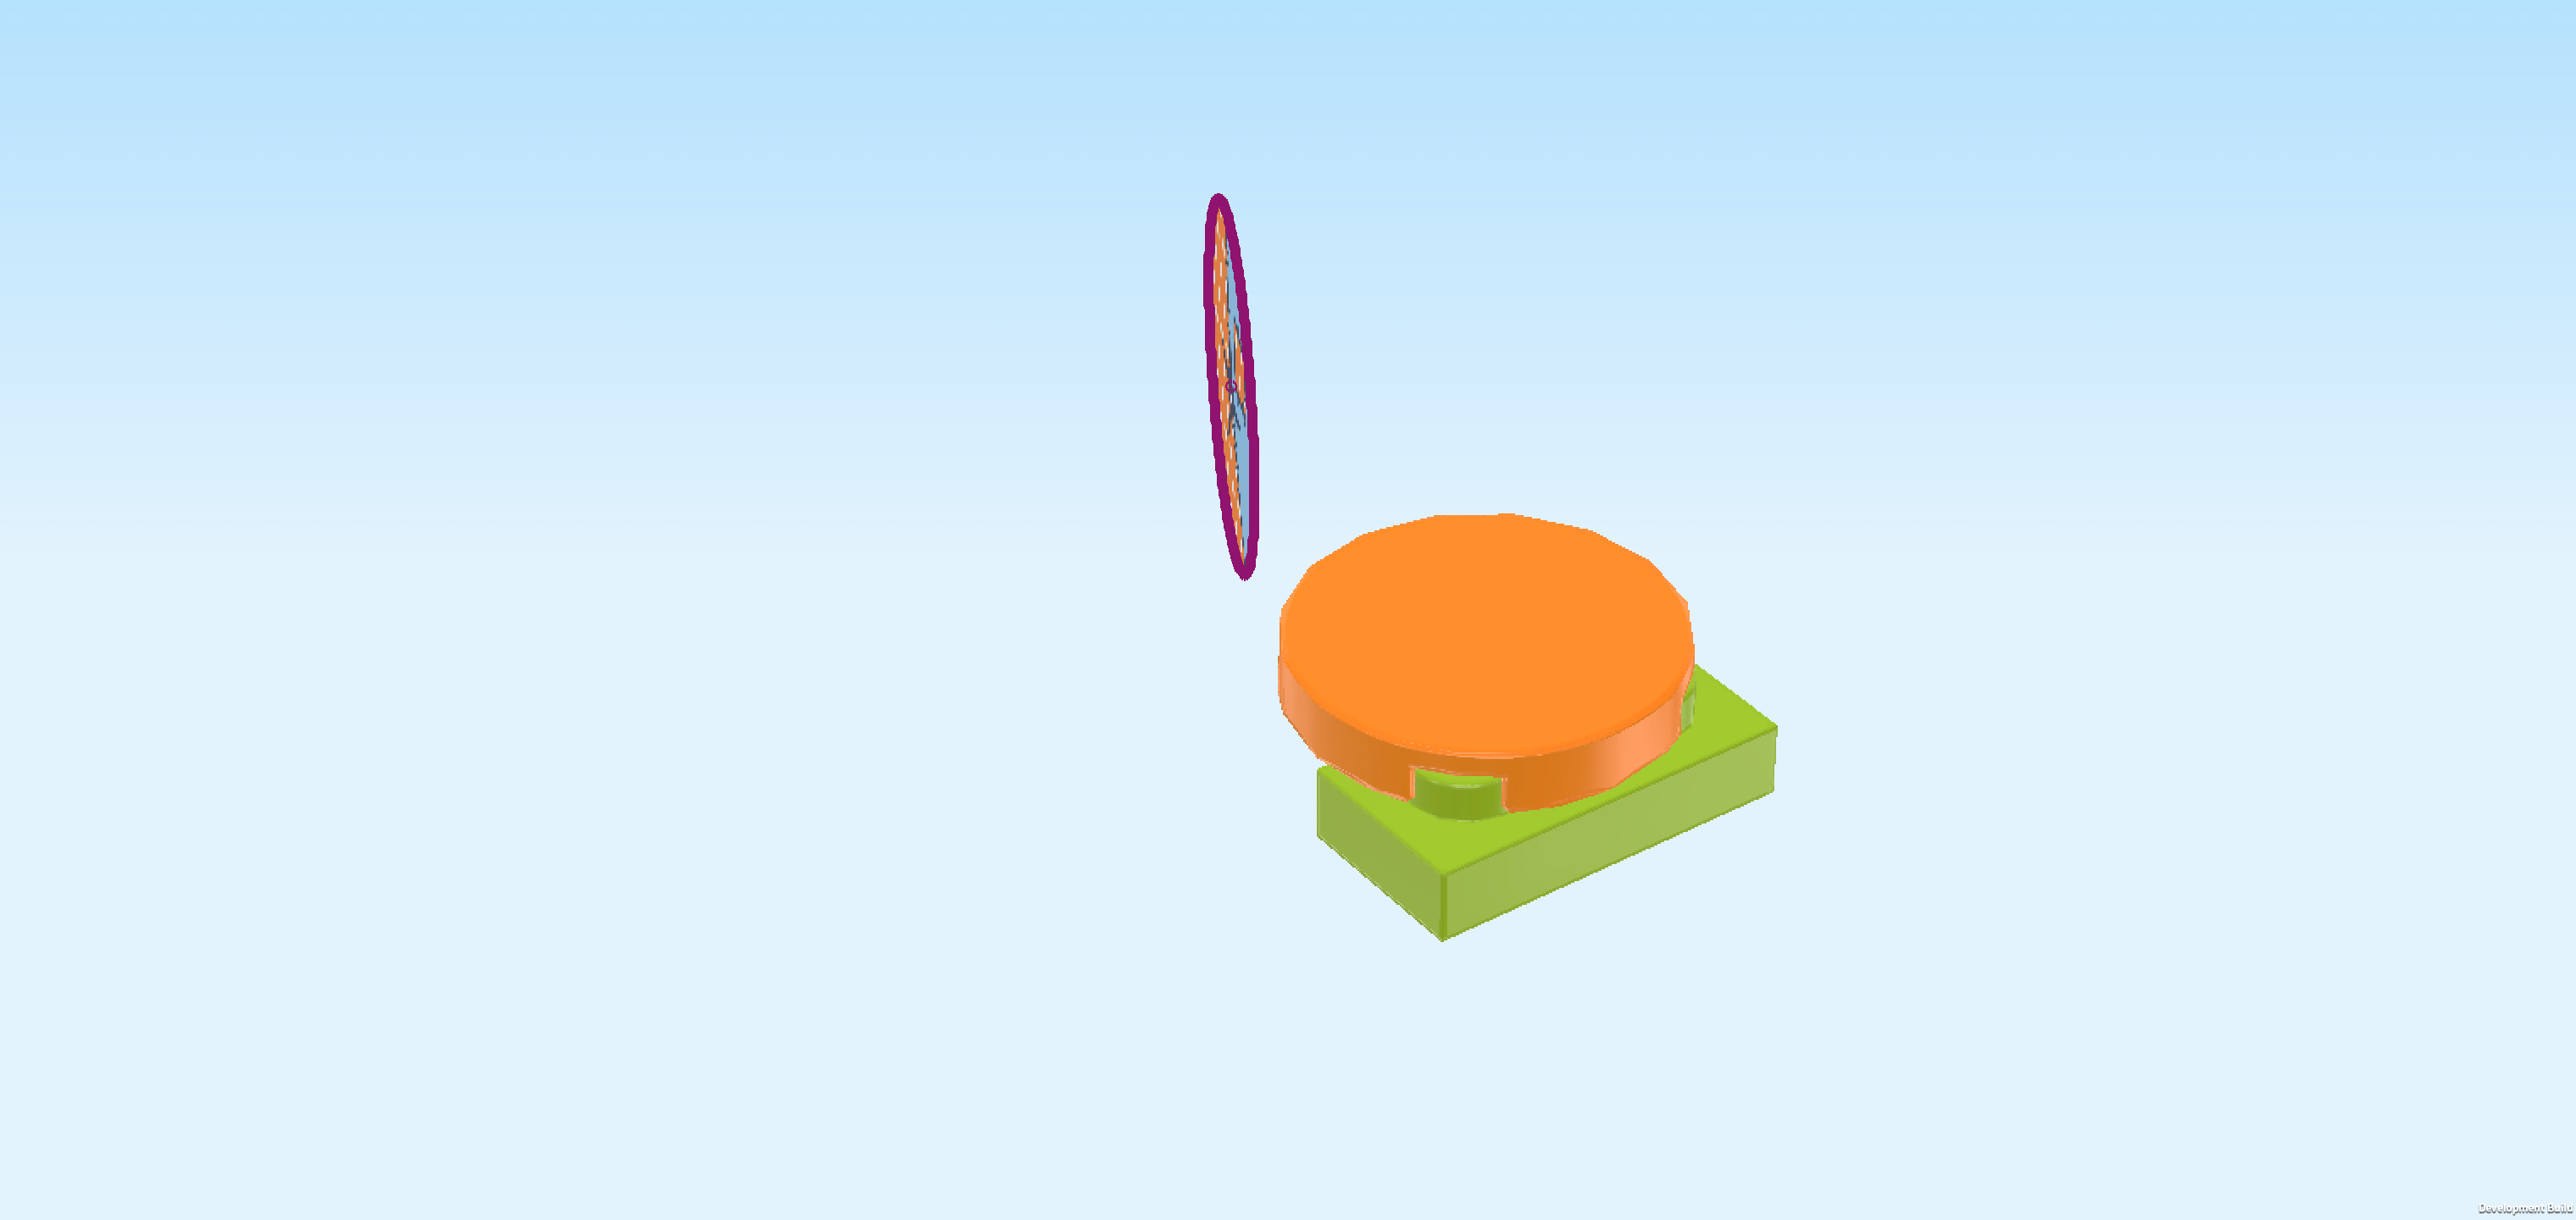
| Collect the following 2 pieces: |
| 1 bright orange round tile 2x2, |
| and 1 medium stone grey rounded plate 1x2. |
| Put the round tile 2x2 centered on the brick 1x1 that is mounted in the back left corner of the half-circle plate. |
| Put the rounded plate 1x2 horizontally on the 2 frontmost knobs of the half-circle plate. |
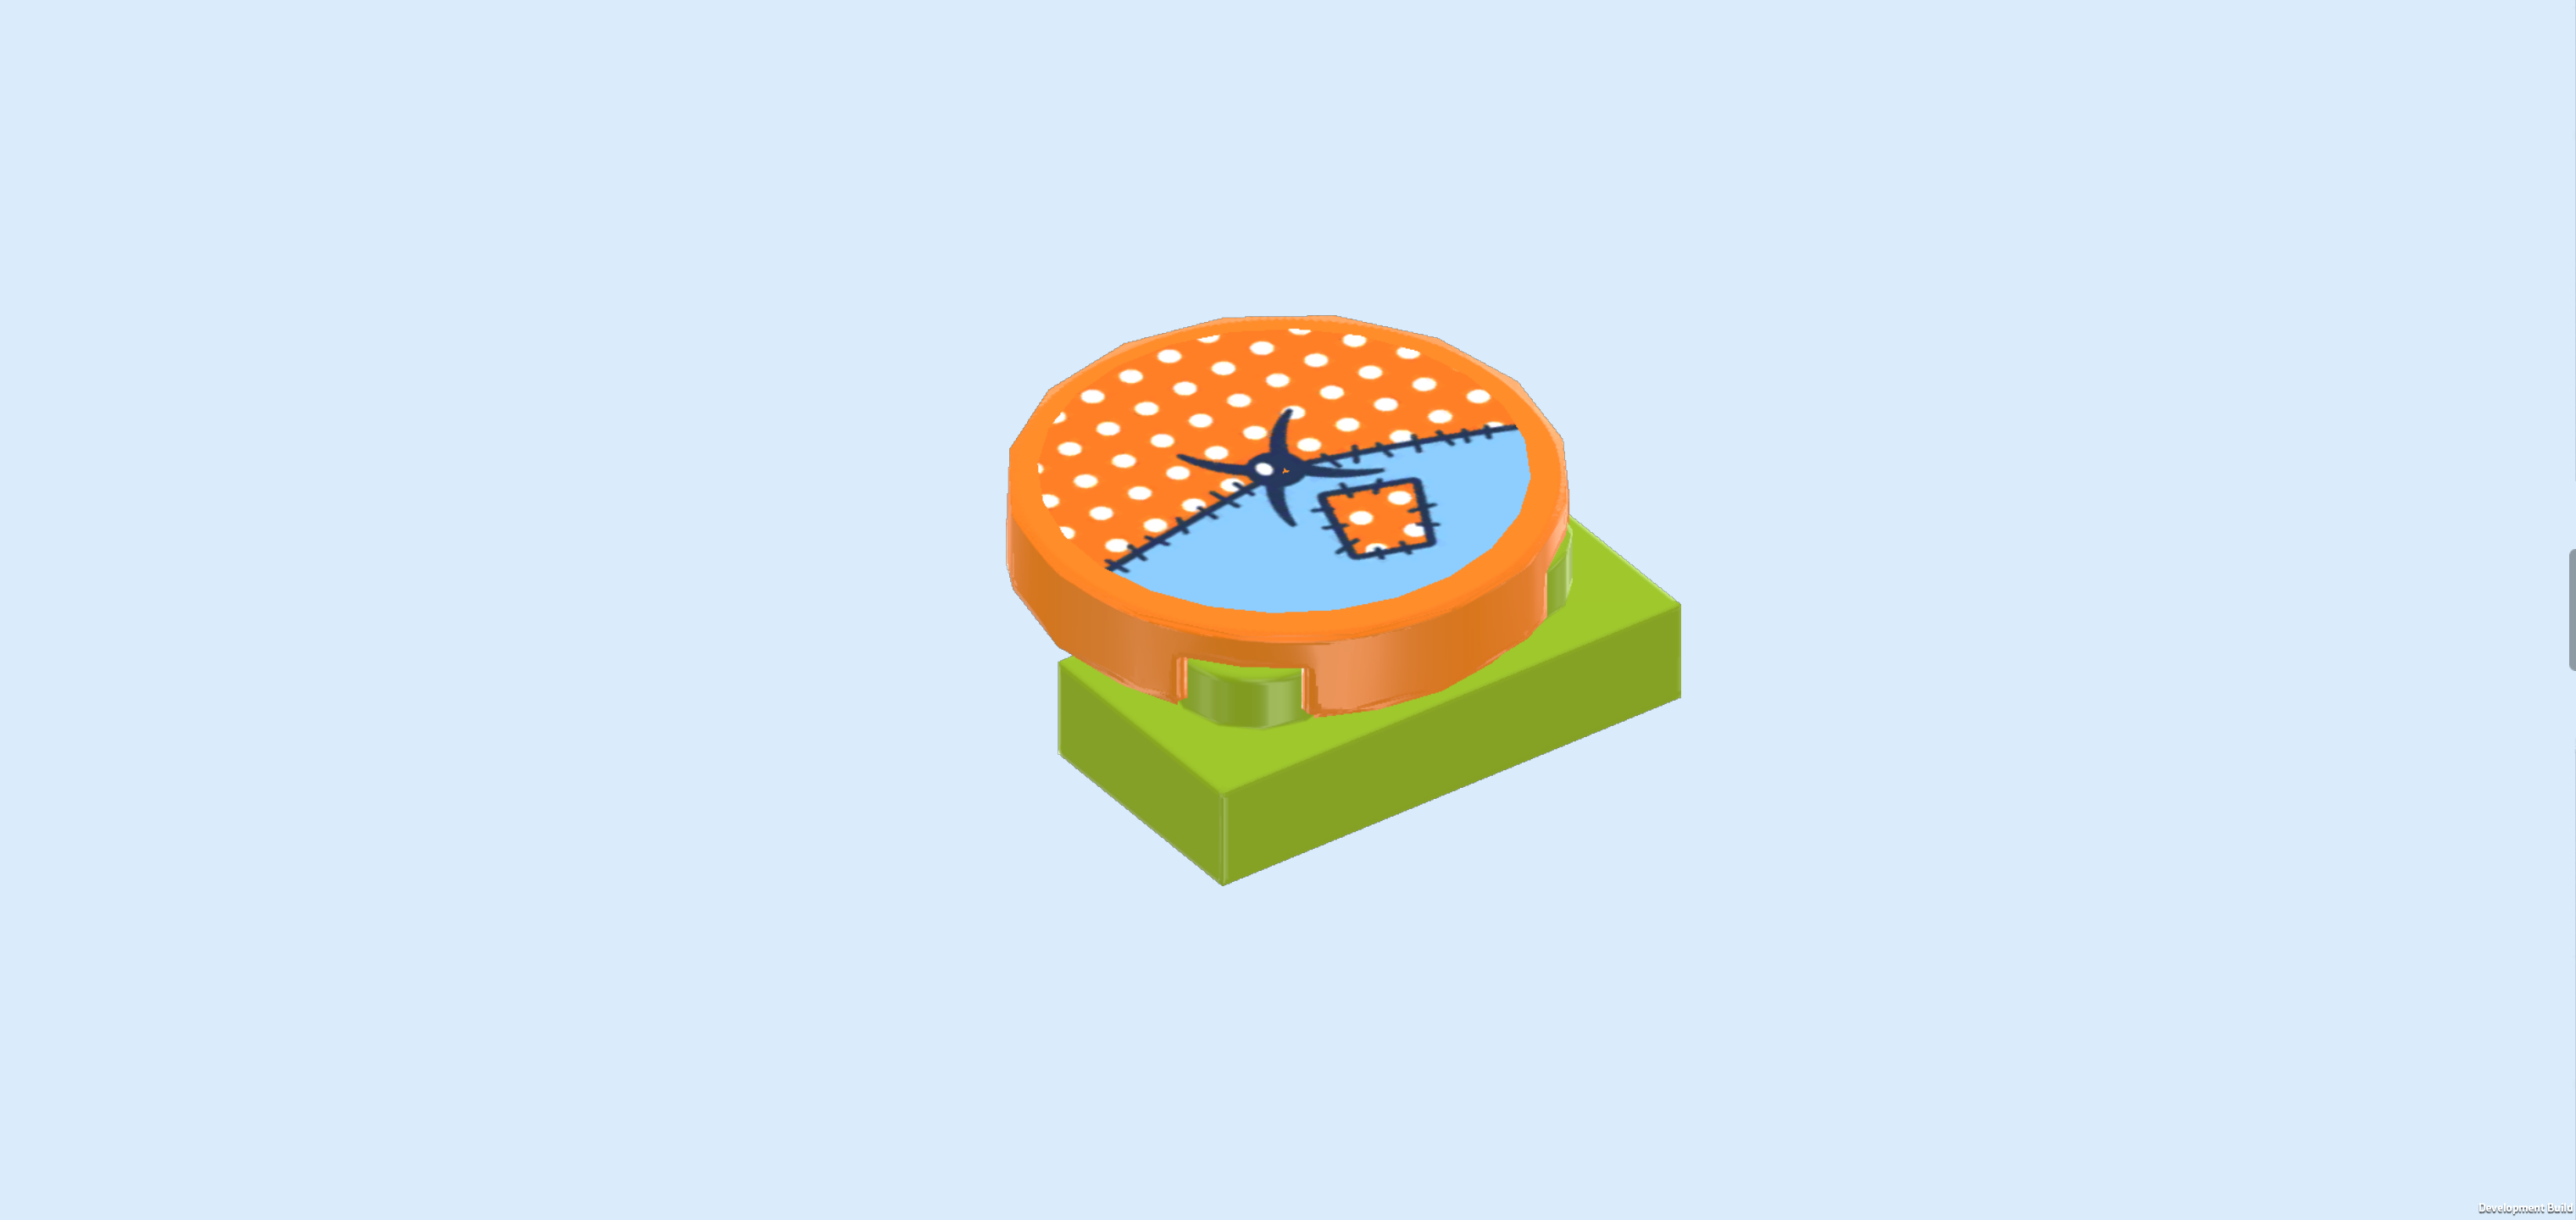
| Continue if you want to decorate the round tile 2x2 with a sticker now. If not, skip the next 3 sentences. |
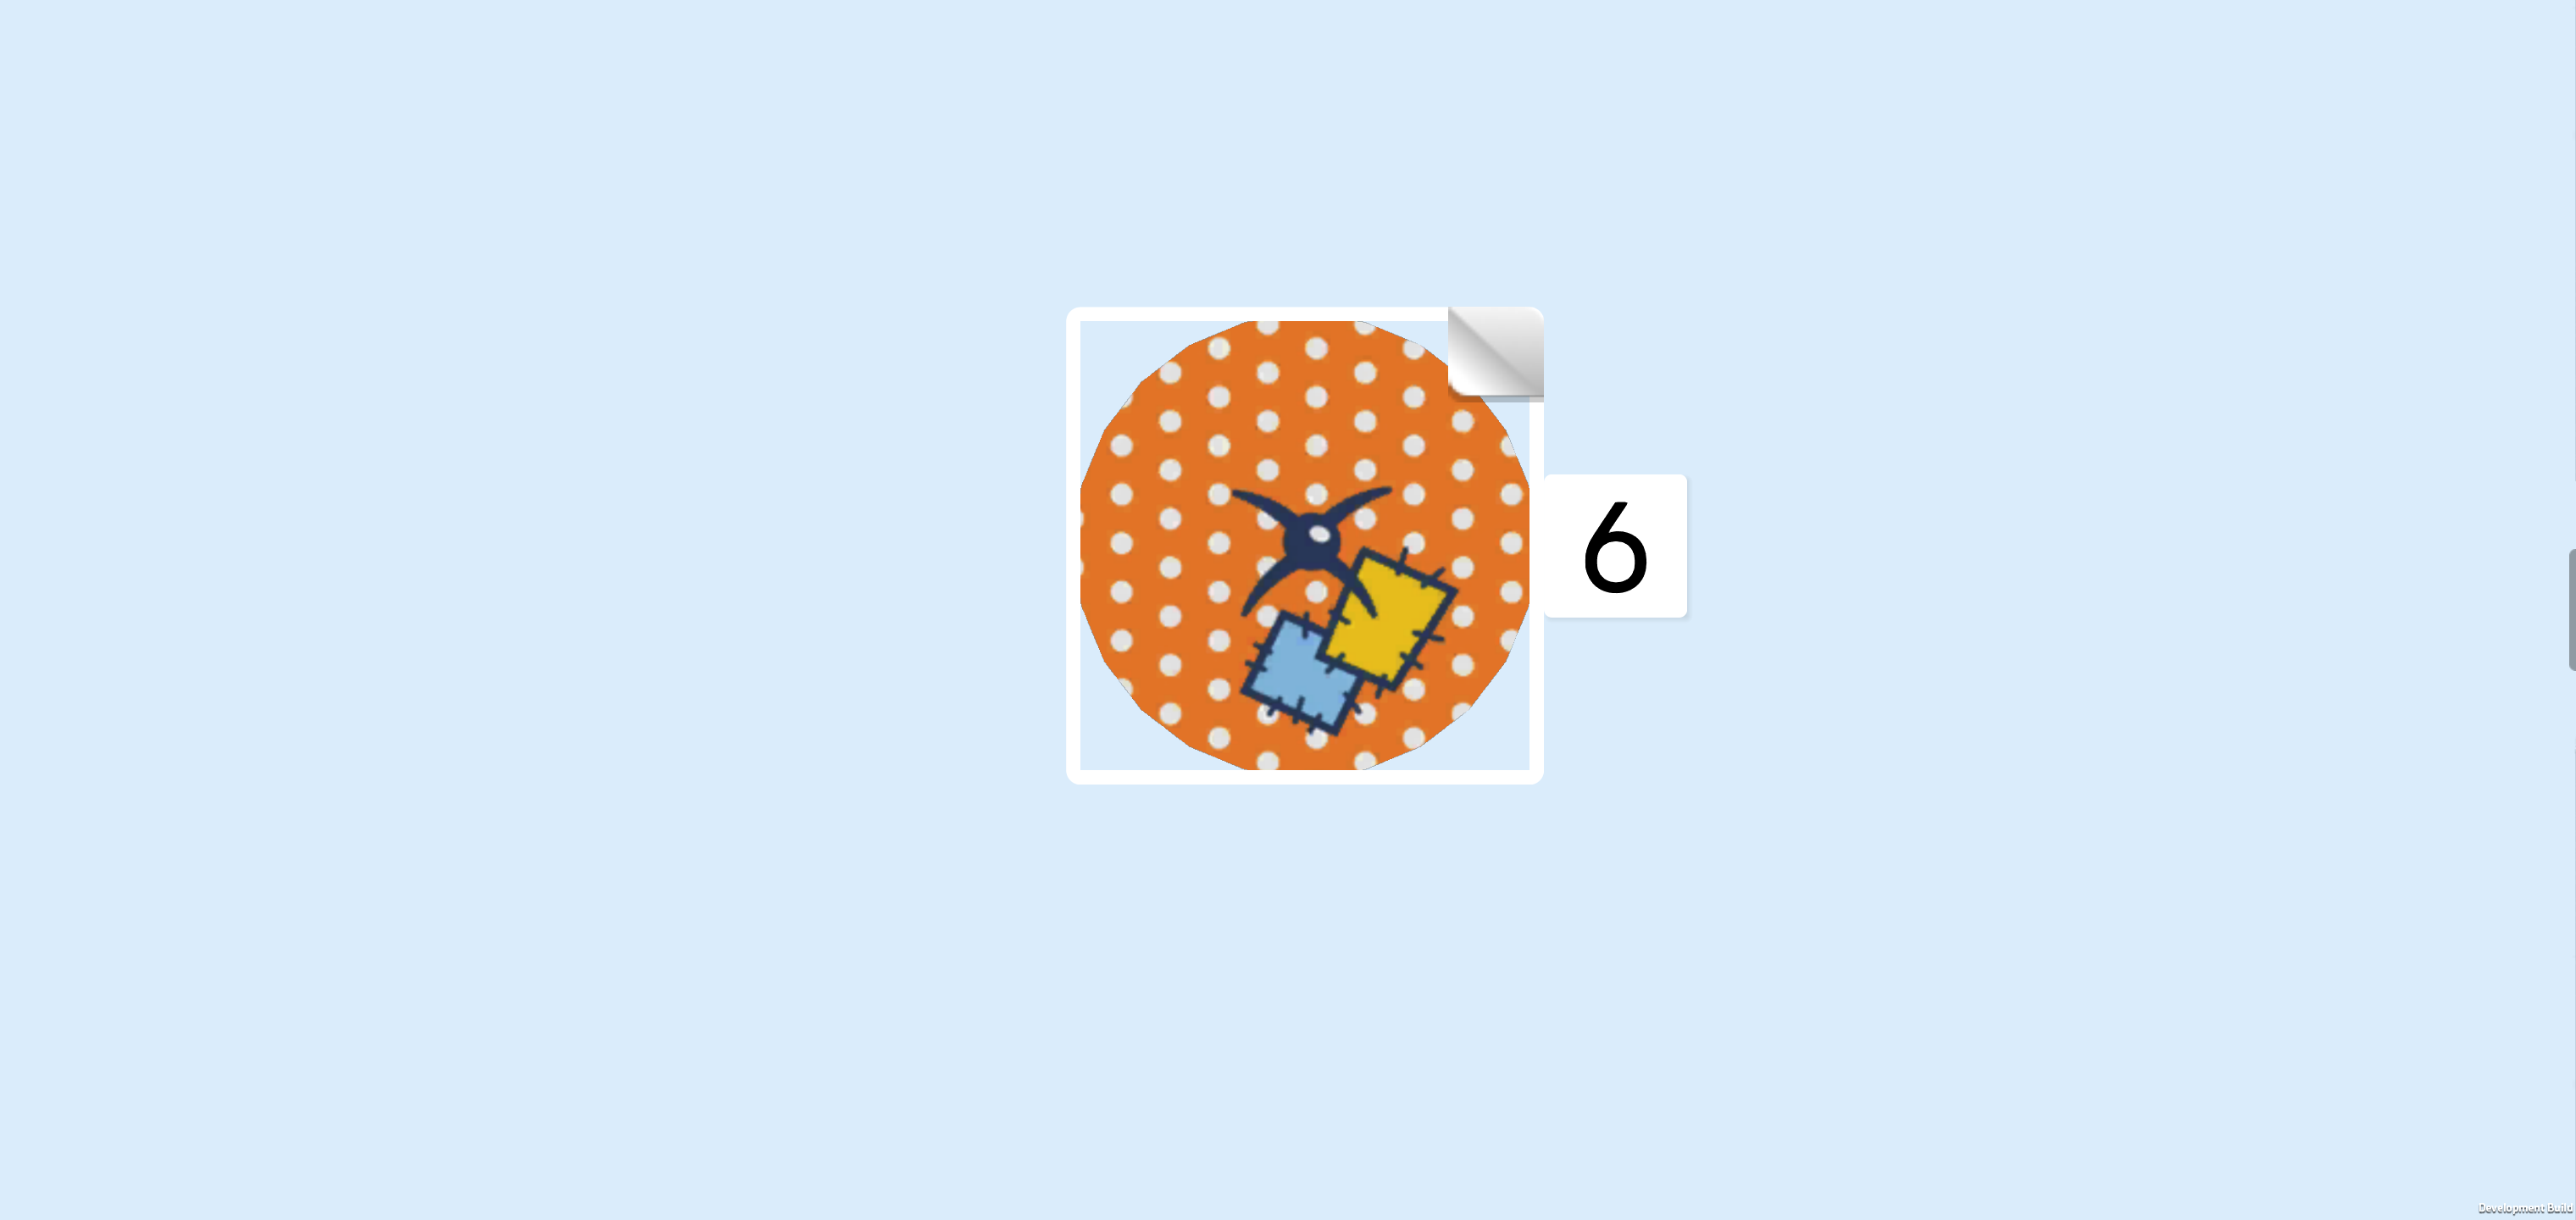
| Find 1 round sticker 2x2 with cushion print. |
| Put the sticker on the round plate 2x2 that we have mounted in the previous step. |
| The sticker has a cushion print with an orange fabric with grey dots and a black button sewn on in the middle of the cushion. This cushion has 2 patches sewn on: a square blue patch and a rectangular yellow patch that is partly overlapping the blue patch. Seems like this cushion is well loved! |
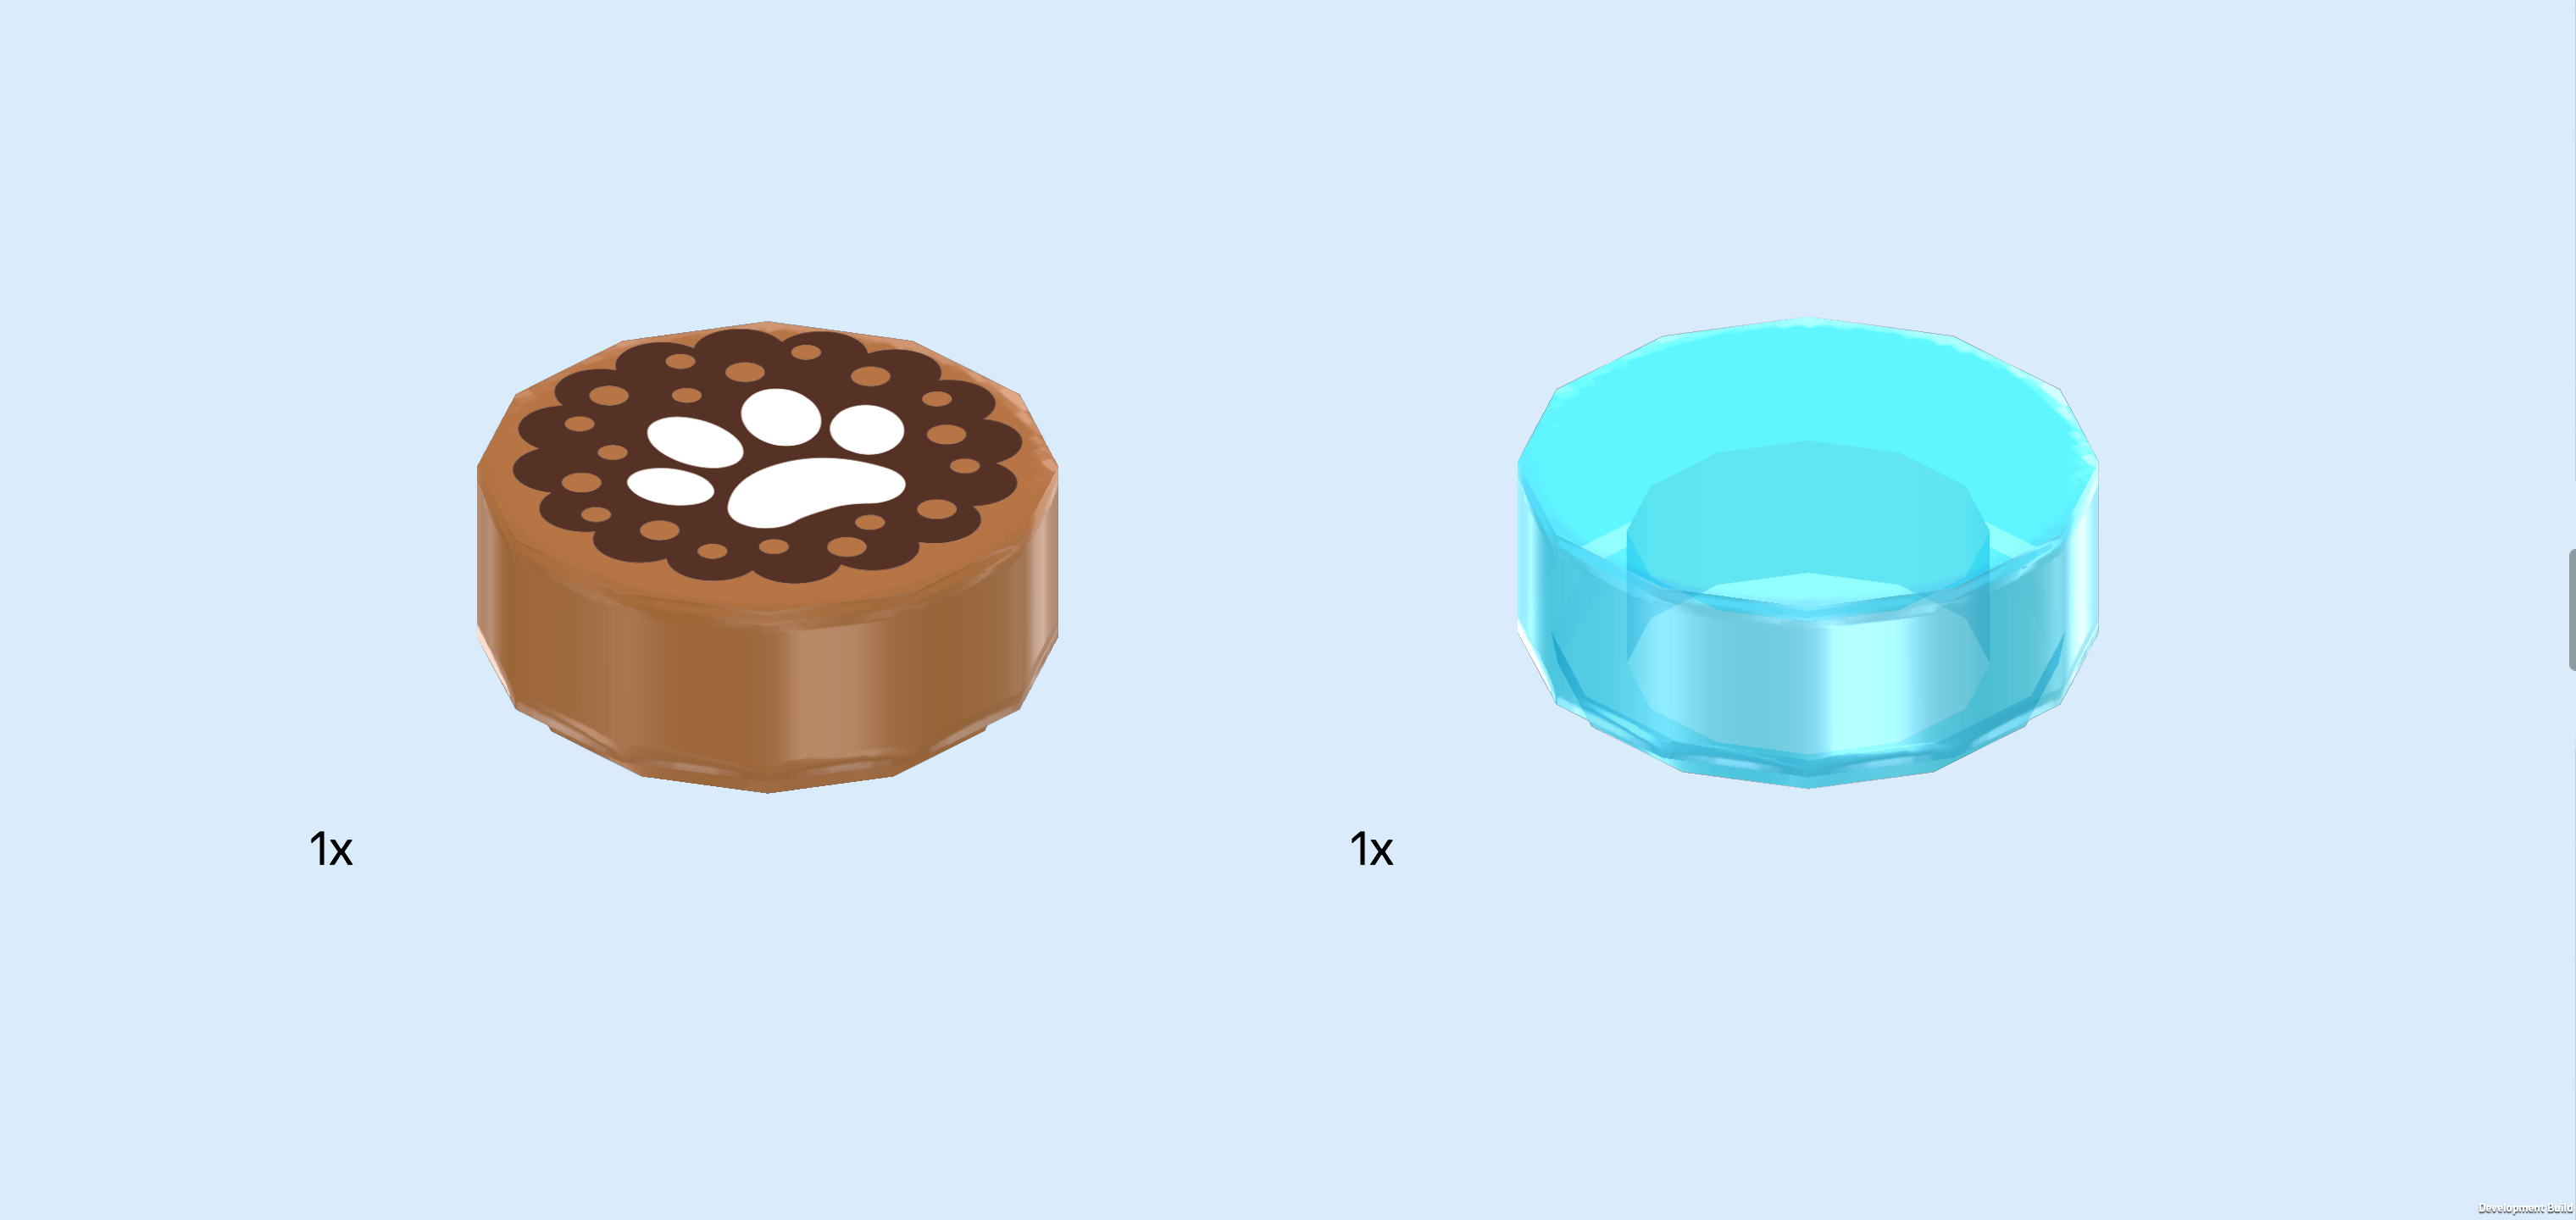
| Collect the following 2 pieces: |
| 1 medium nougat brown round tile 1x1, |
| and 1 transparent light blue round tile 1x1. |
| Put the medium nougat brown round tile 1x1 on the right knob of the rounded plate 1x2 at the frontmost edge. The print of this piece is a pet treat: it is a grainy dark brown cookie with a white paw printed on its center. |
| Put the transparent light blue round tile 1x1 to the left of the previous piece. |
| This is the food and water station for Autumn's pet ferret! |
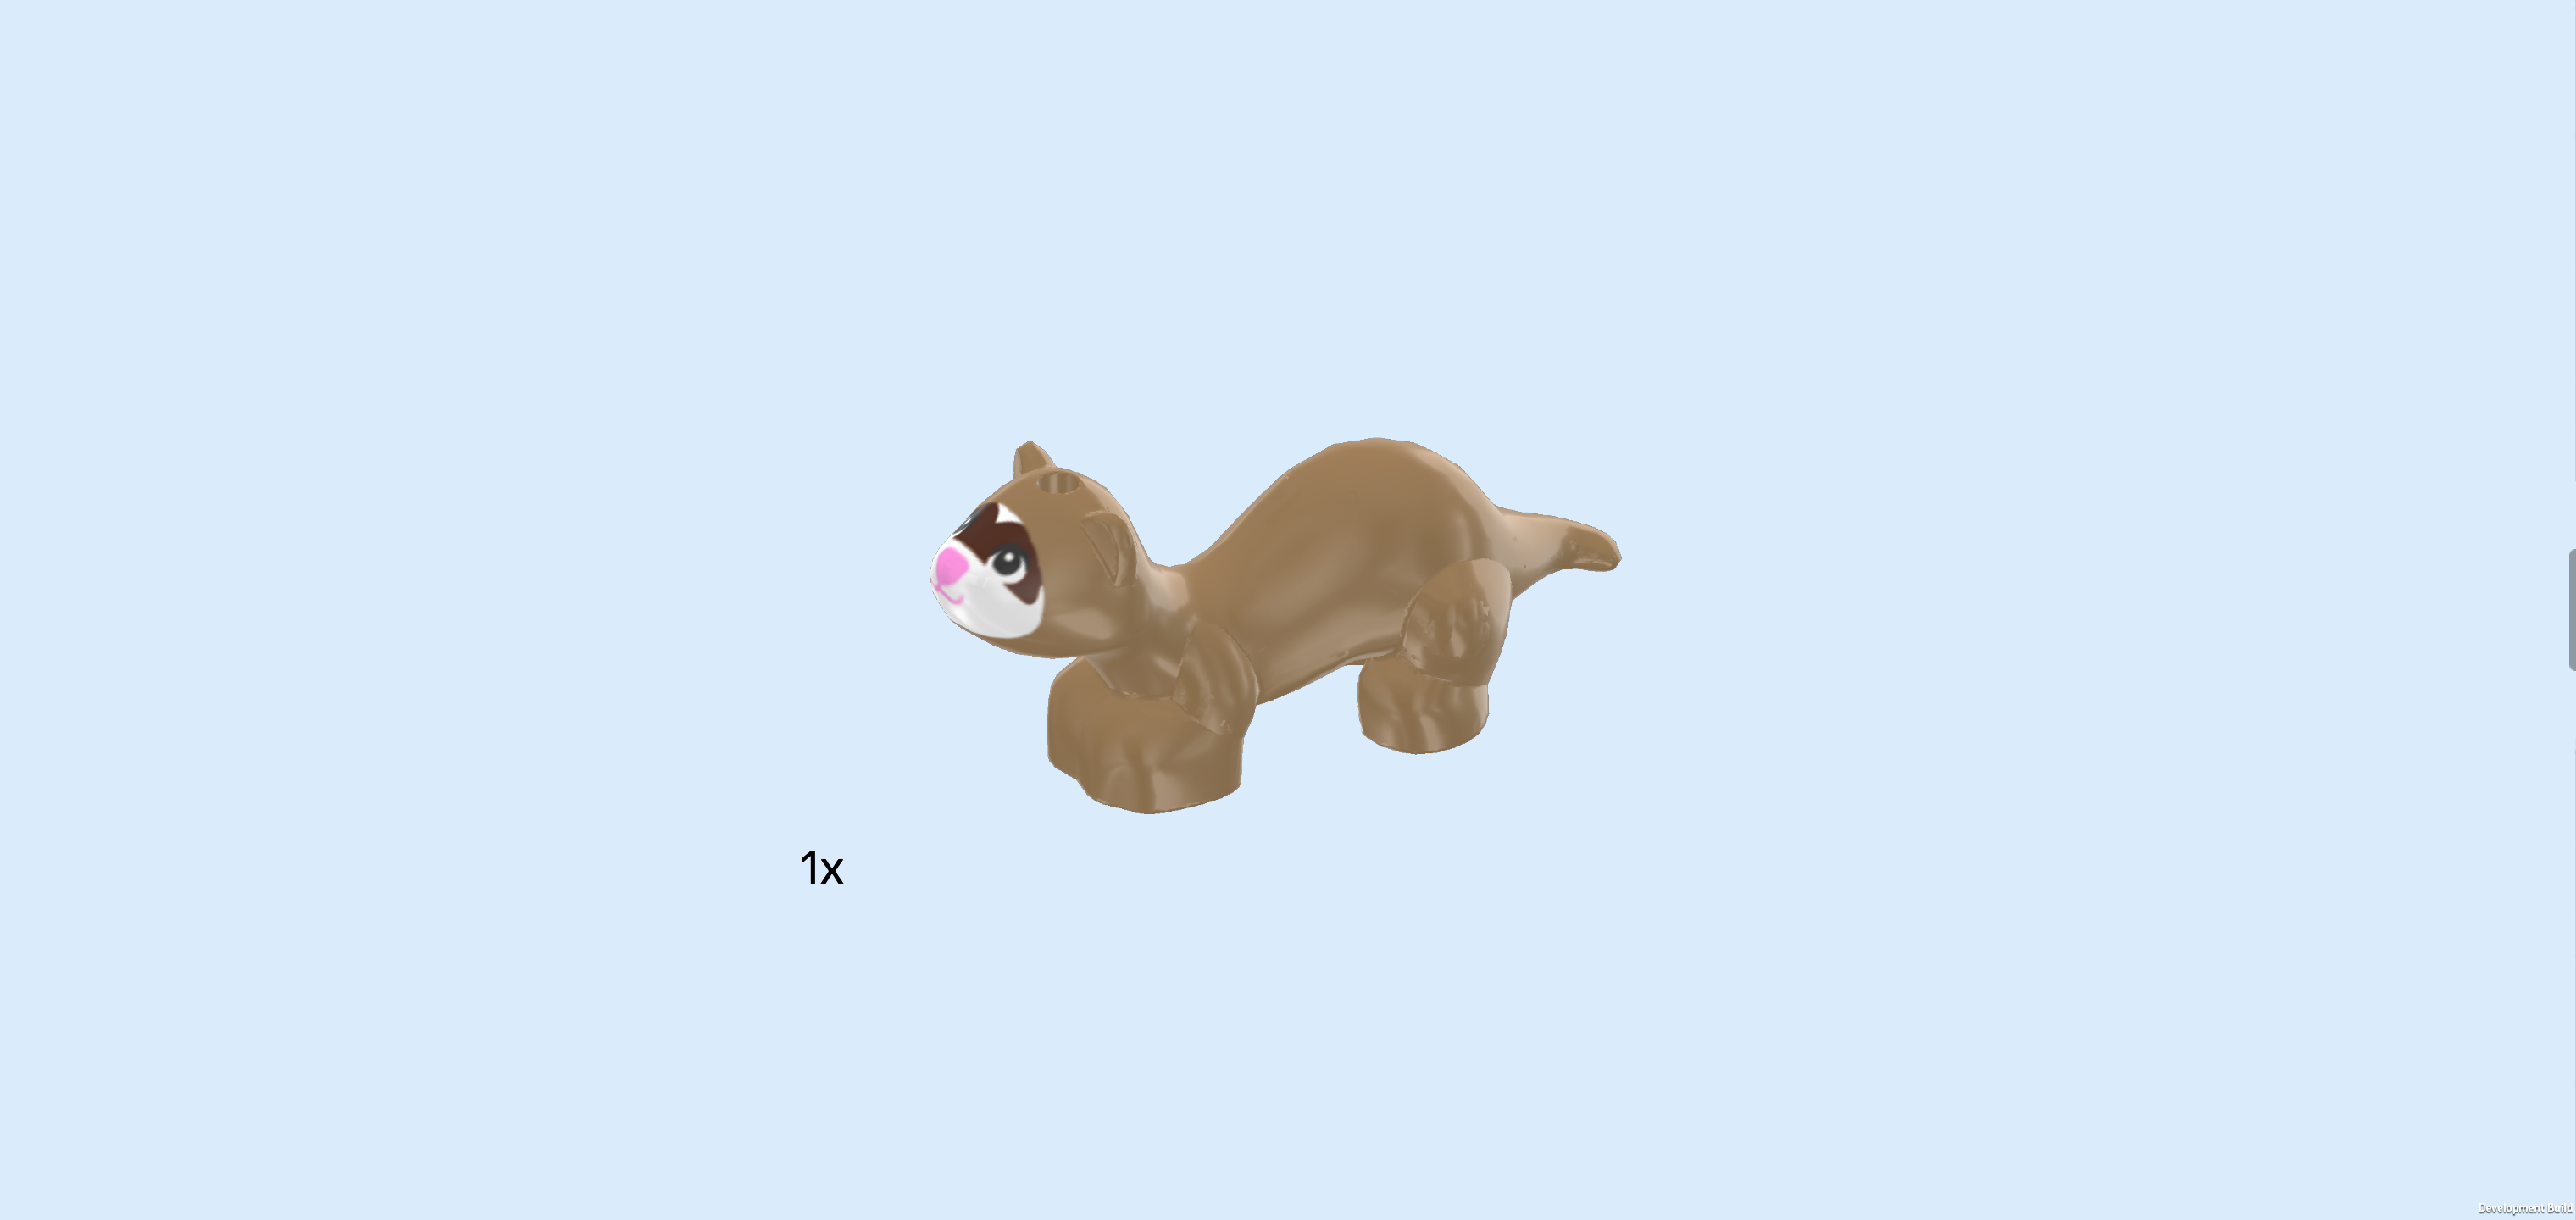
| Find 1 mud grey ferret figurine. |
| You can put the ferret into the opening of its play tower so it peeks out towards the front! But of course, also the jumping pad with cushion and the tower are favorite spots of Bandit, the ferret. |
| You have finished building the ferret playground! Well done! Bandit loves jumping through hoops and playing with Autumn. If the ferret wants to rest, there are plenty of cozy spots in the play tower. |
| With this, we have finished building everything from bag 1. Well done! We usually pack a few extra pieces, so if you still have some pieces left there is no need to worry that you forgot something. If you like, you can take a break now and return to the instructions later by skipping to the section introducing bag 2. If you want to continue building right away, simply move on to the next sentence. |
| Open bag number 2. You can choose to have the bricks sorted by color again. This bag contains all bricks and pieces for the floor plan of Autumn's room. |
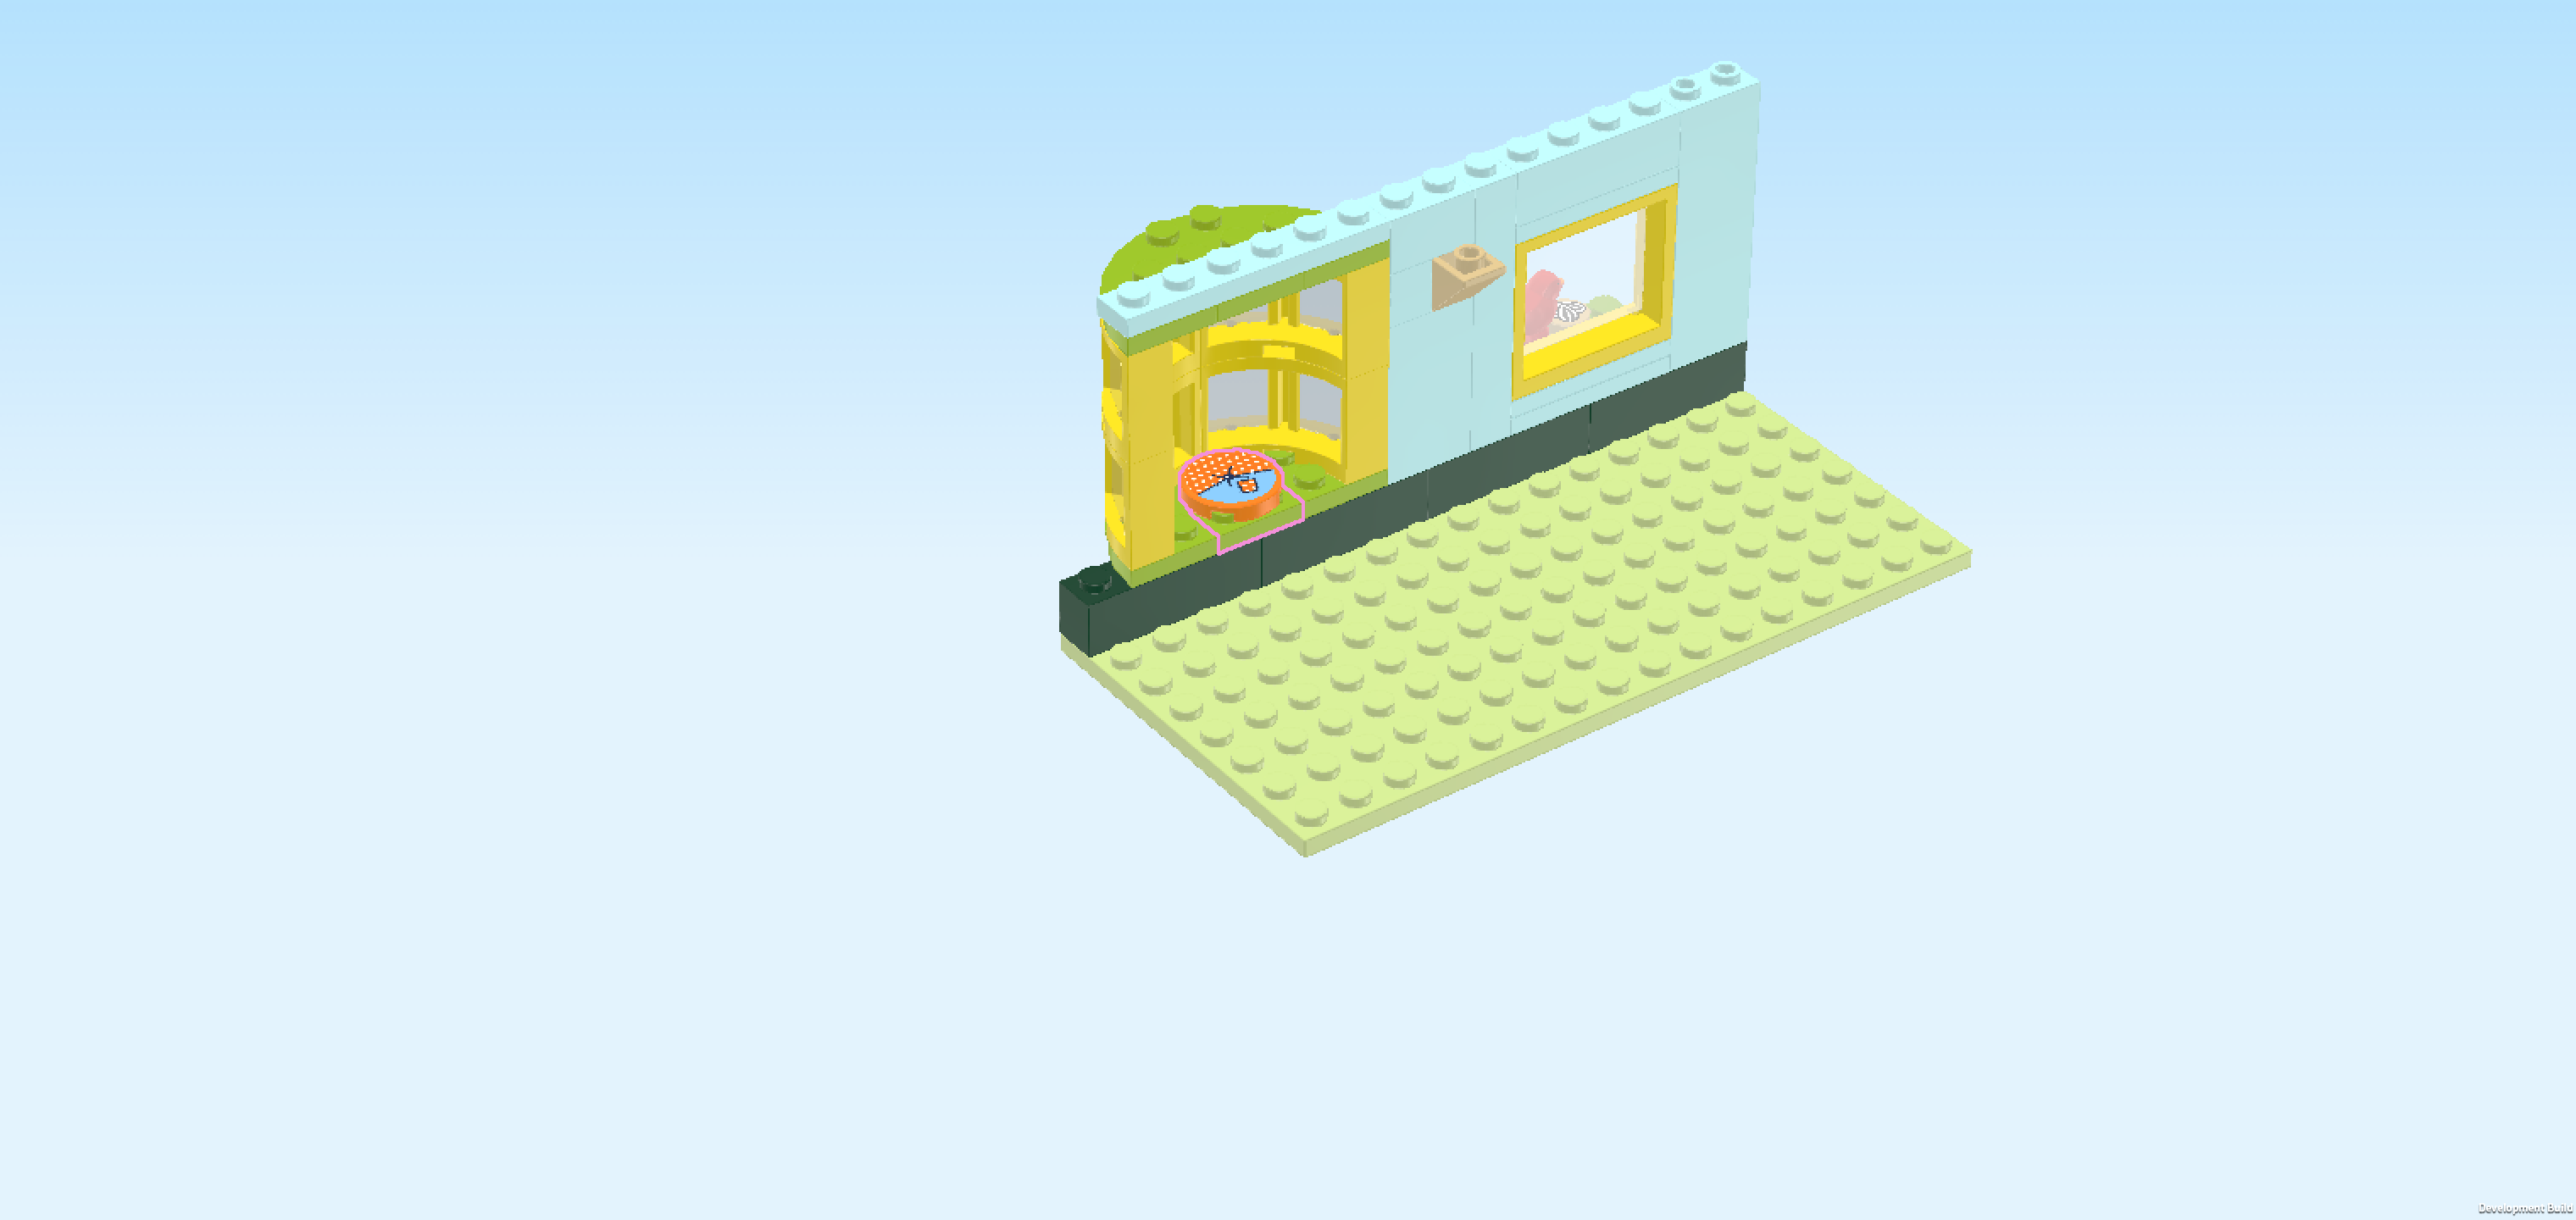
| Now, we will build the floor plan of Autumn's room with 2 walls, desk and bay window. |
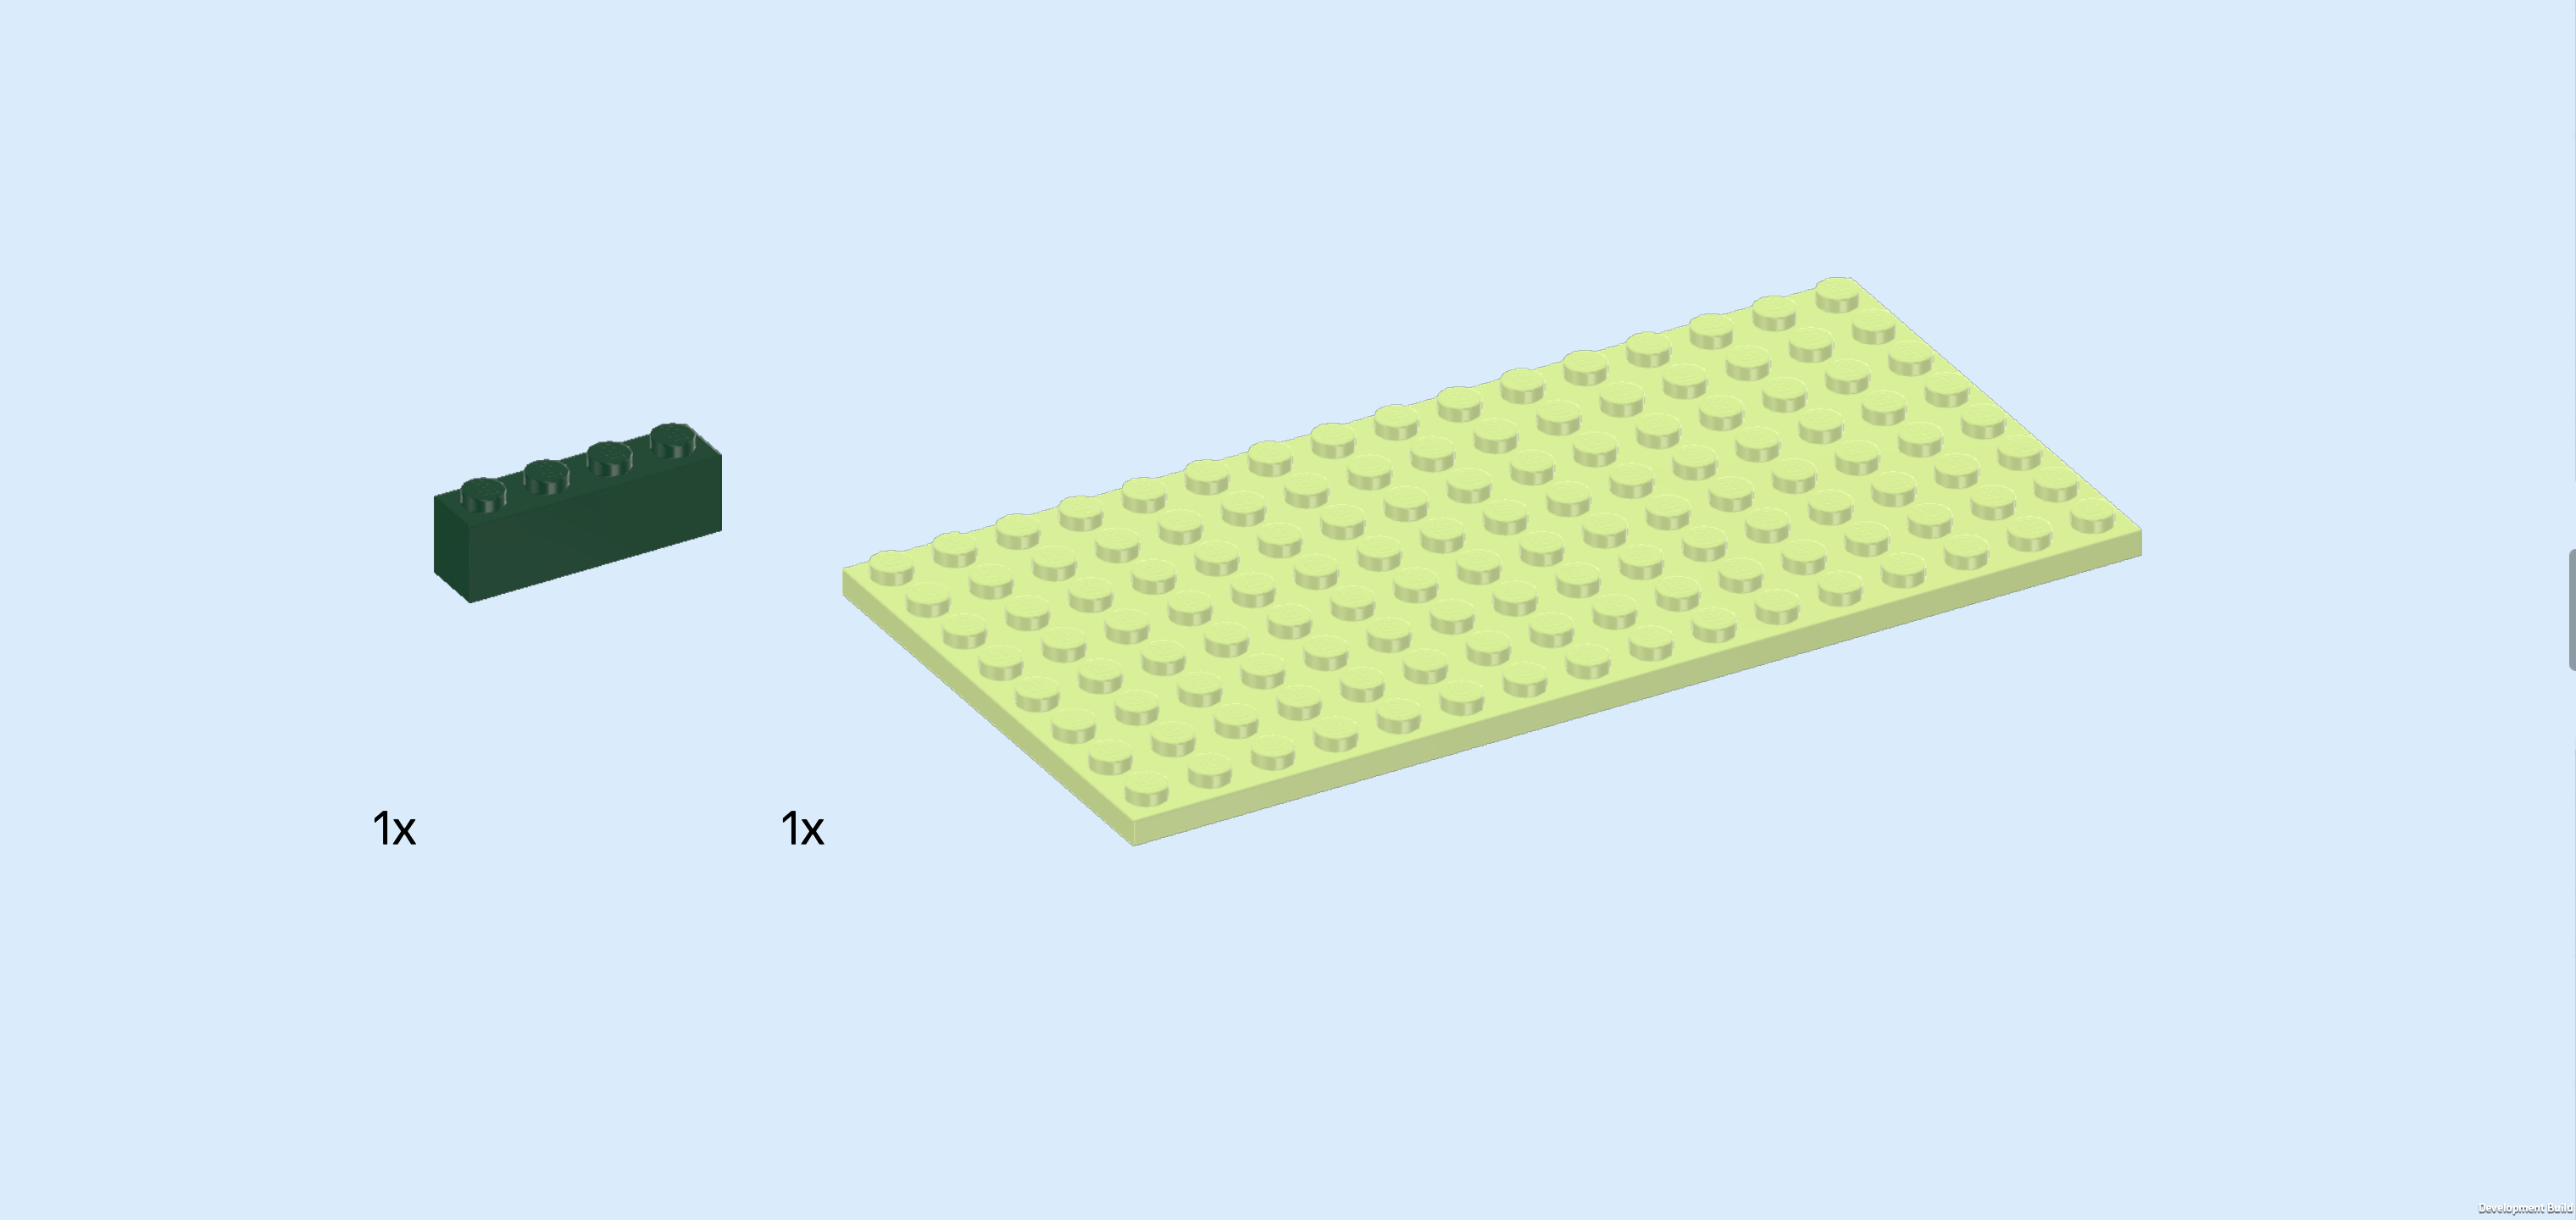
| Collect the following 2 pieces: |
| 1 mossy green brick 1x4, |
| and 1 pale lime green plate 8x16. |
| Put the plate 8x16 horizontally on the table. Make sure its knobs form straight rows and columns in front of you. |
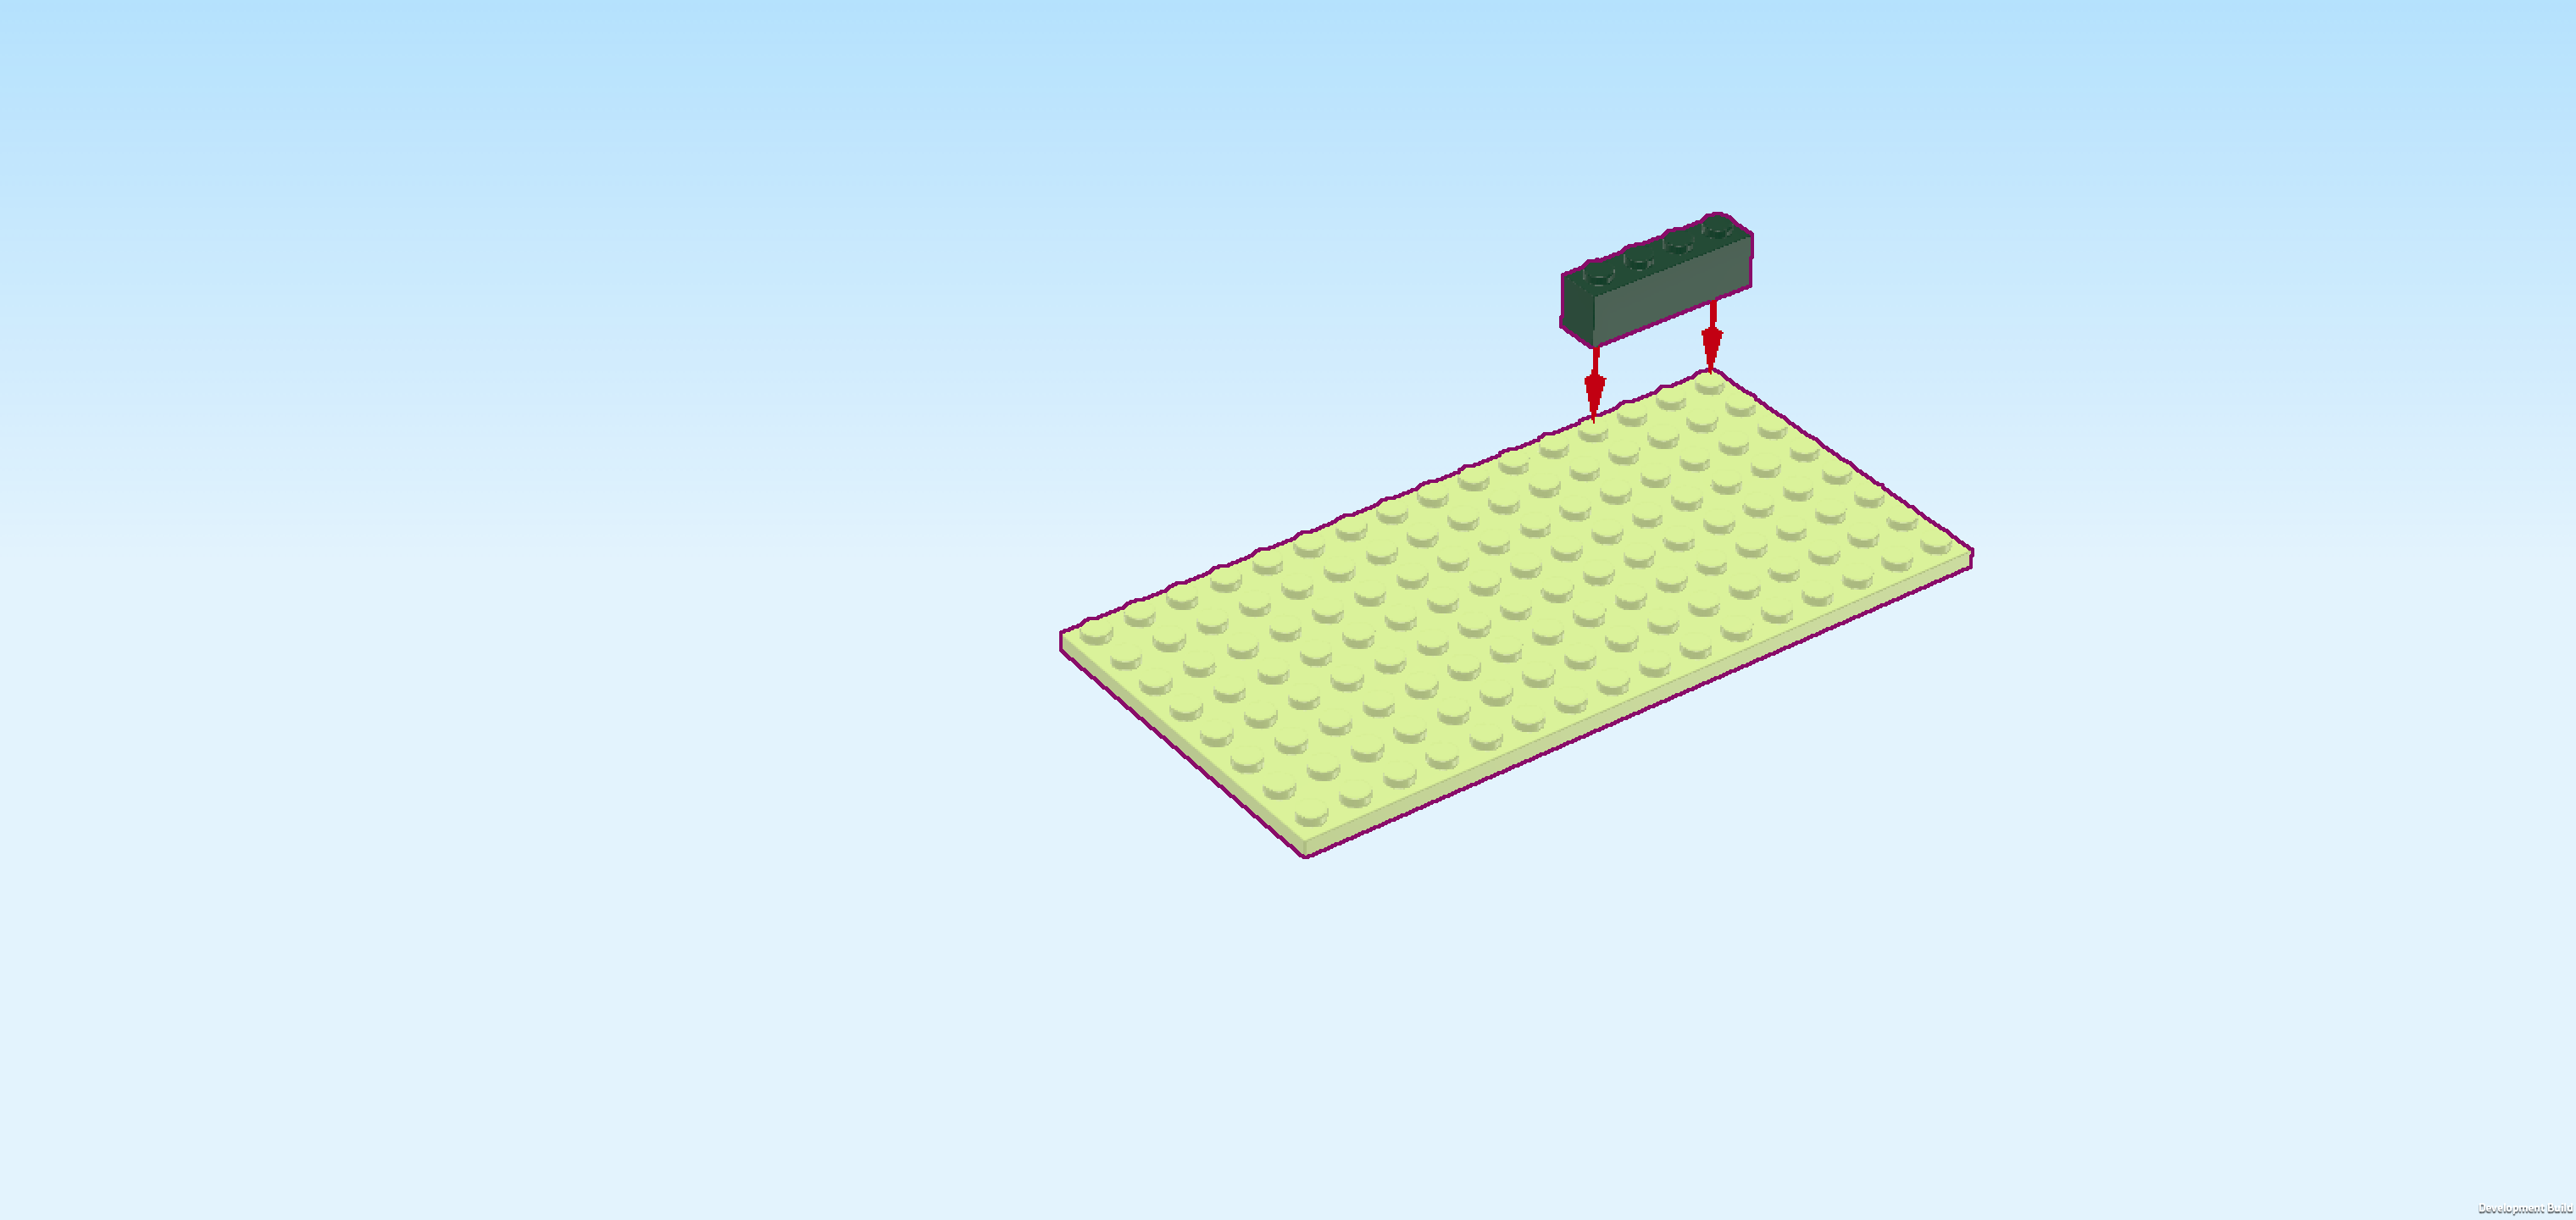
| Put the brick 1x4 horizontally on the backmost row, starting from the right edge. |
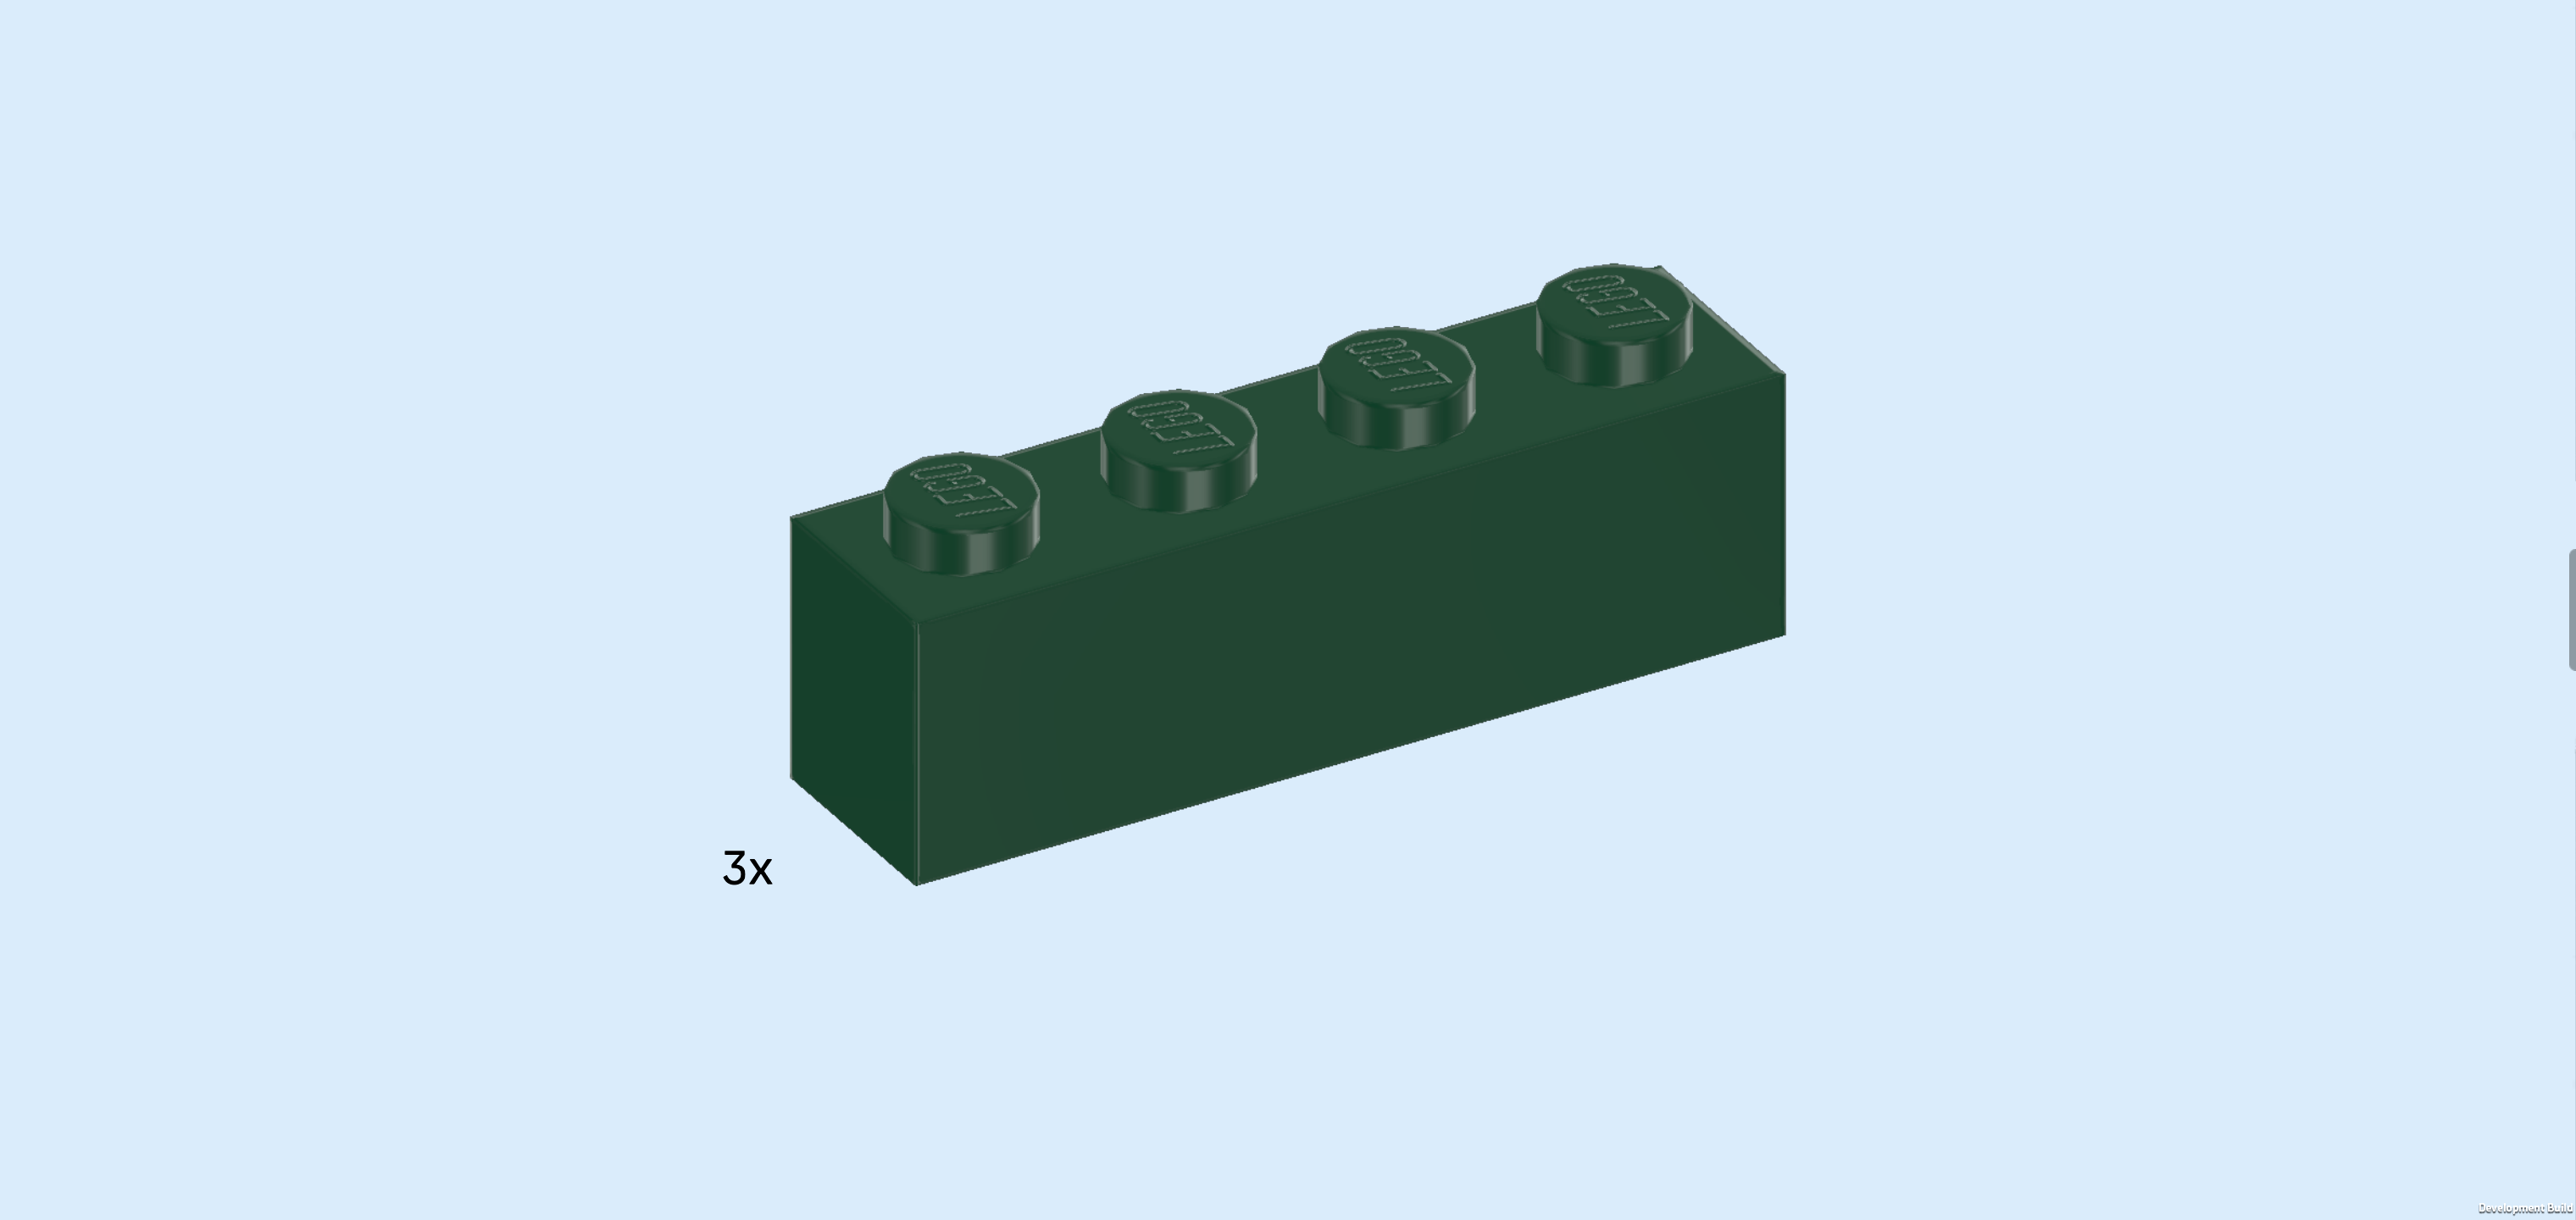
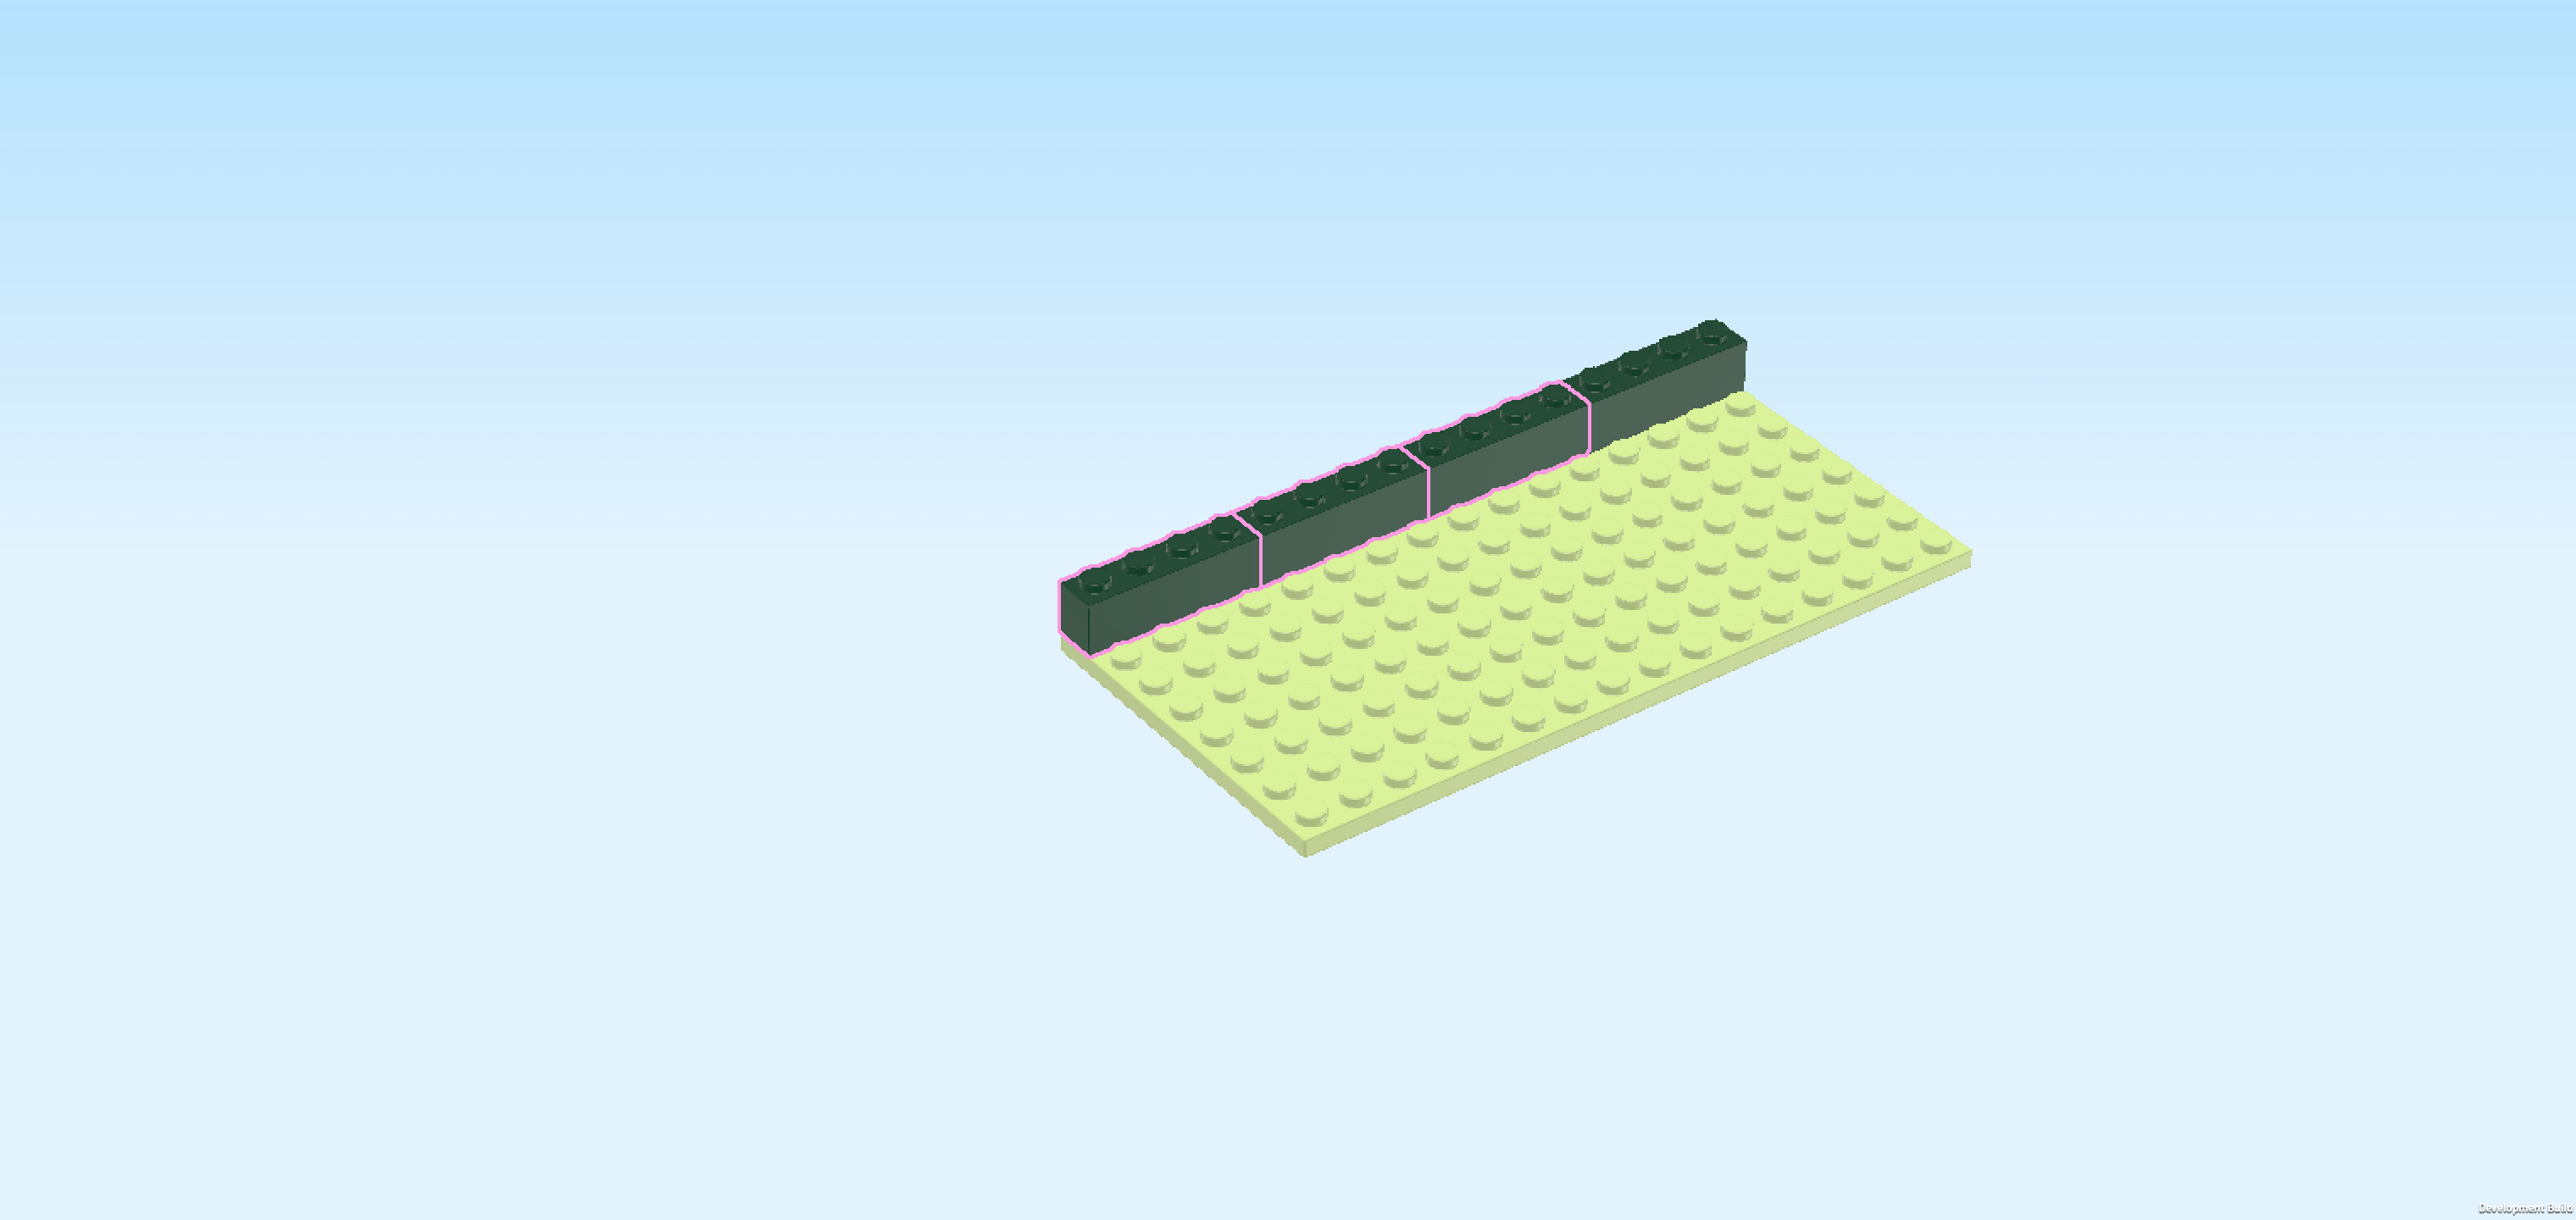
| Find 3 mossy green bricks 1x4. |
| Put them horizontally next to each other to the left of the previous piece to cover the entire back row. |
| Find 1 aqua blue brick 1x2x5. |
| Put it horizontally on the backmost row, starting from the right edge. This means it will sit on the first brick 1x4 that we have mounted there. |
| Next, we will build the small window with bird. |
| Collect the following 2 pieces: |
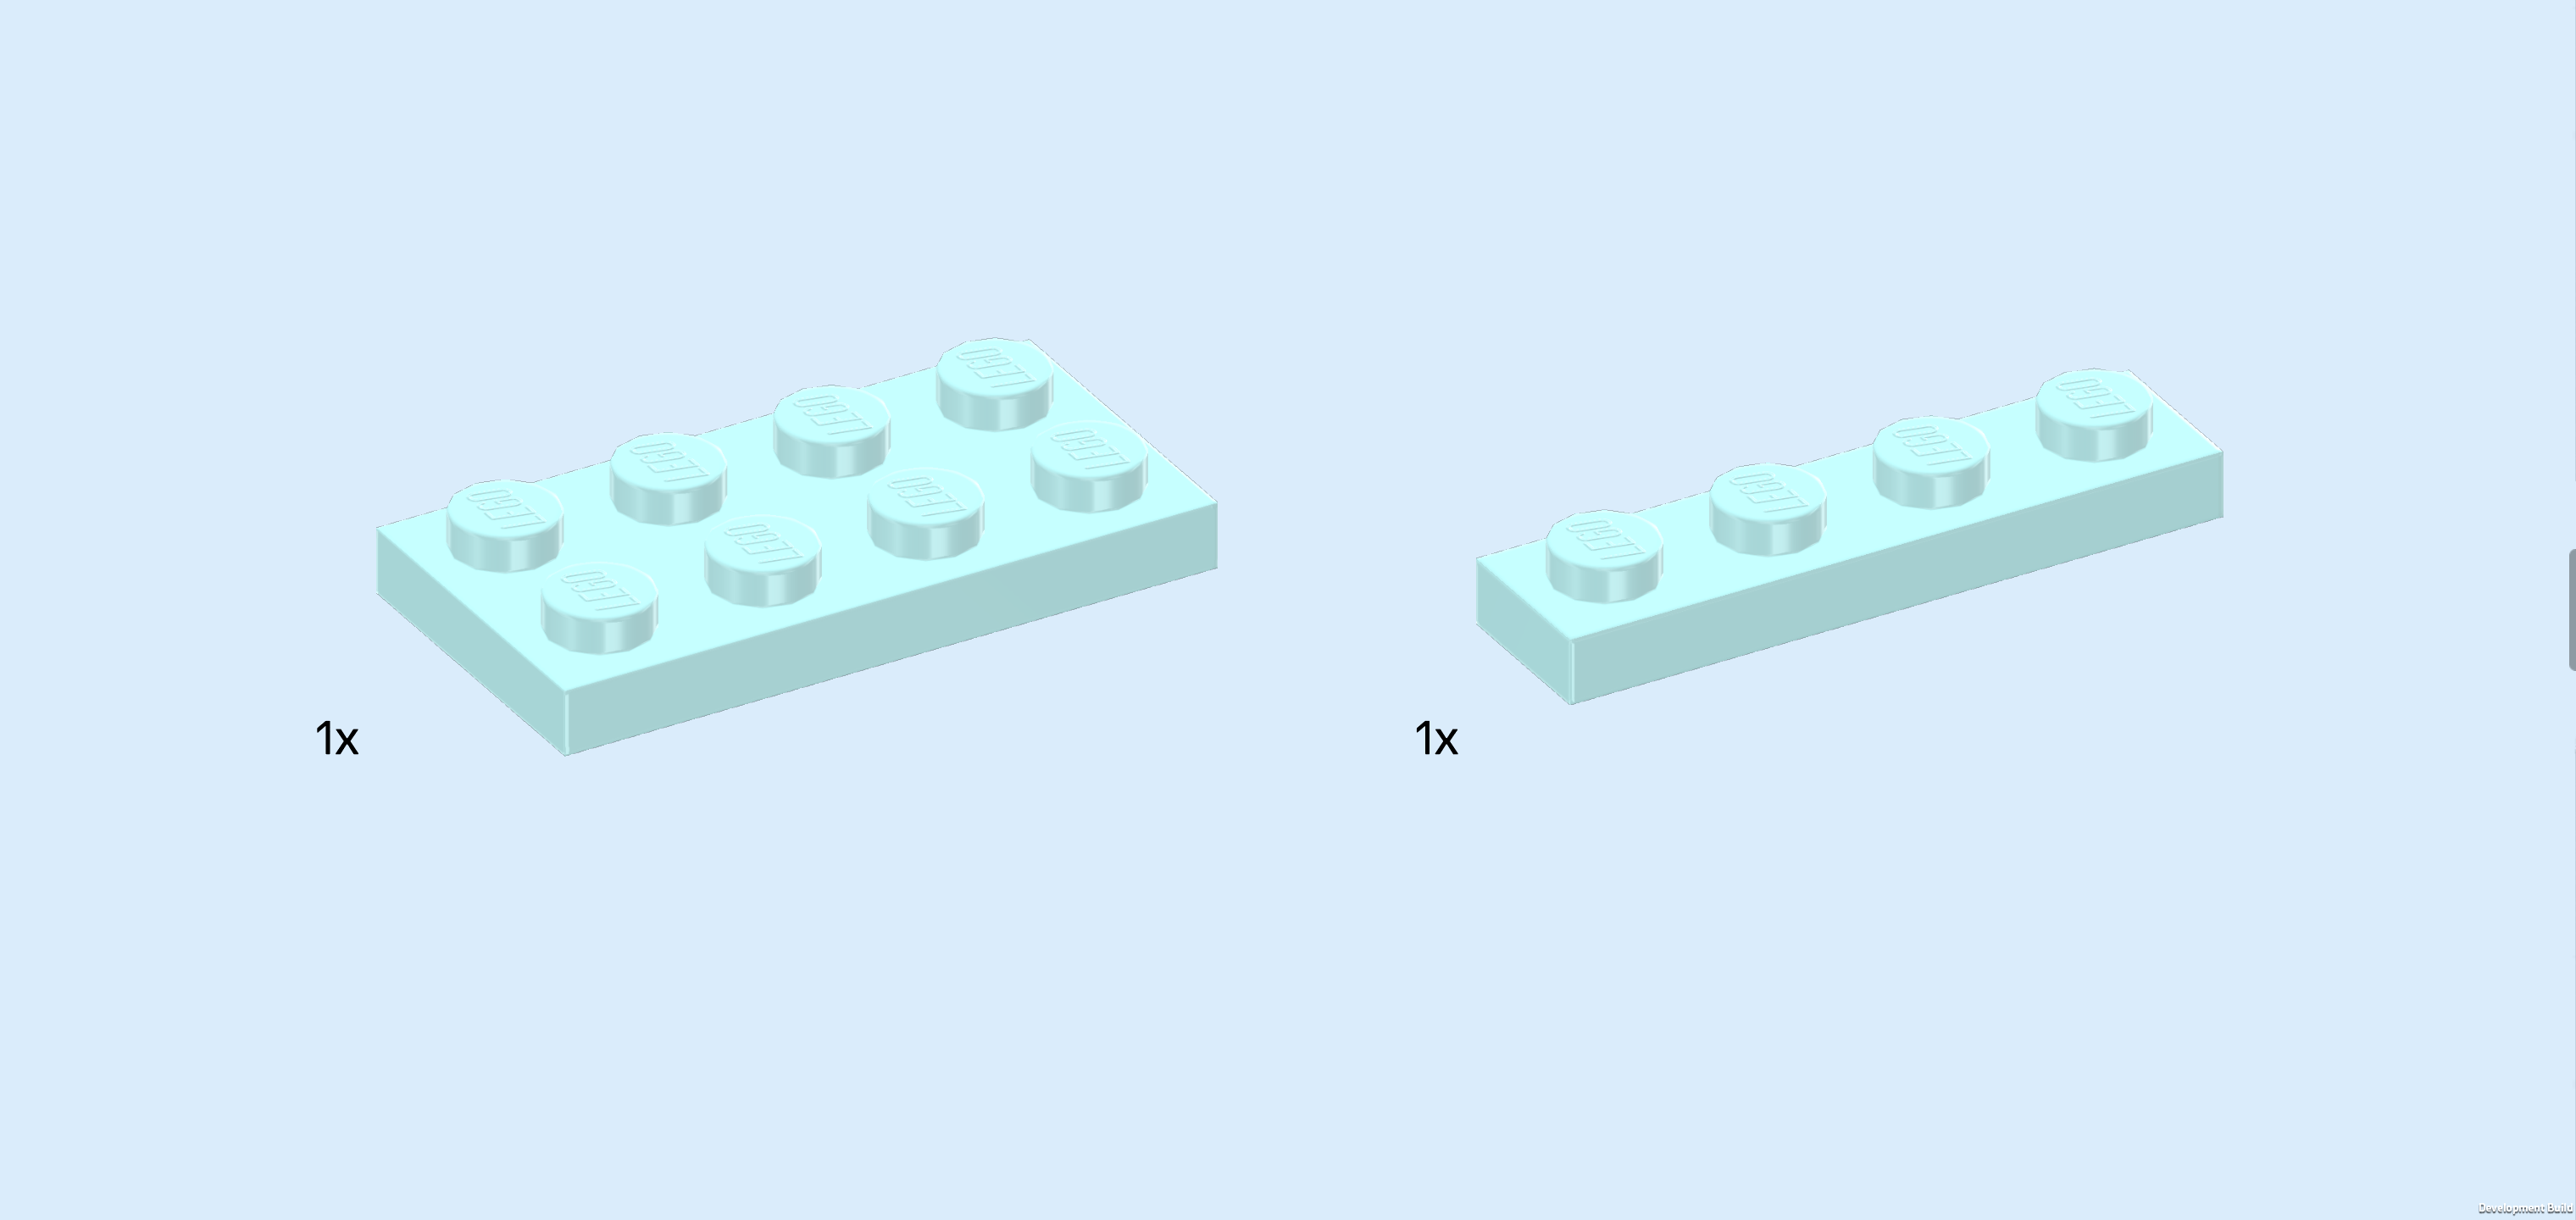
| 1 aqua blue plate 2x4, |
| and 1 aqua blue plate 1x4. |
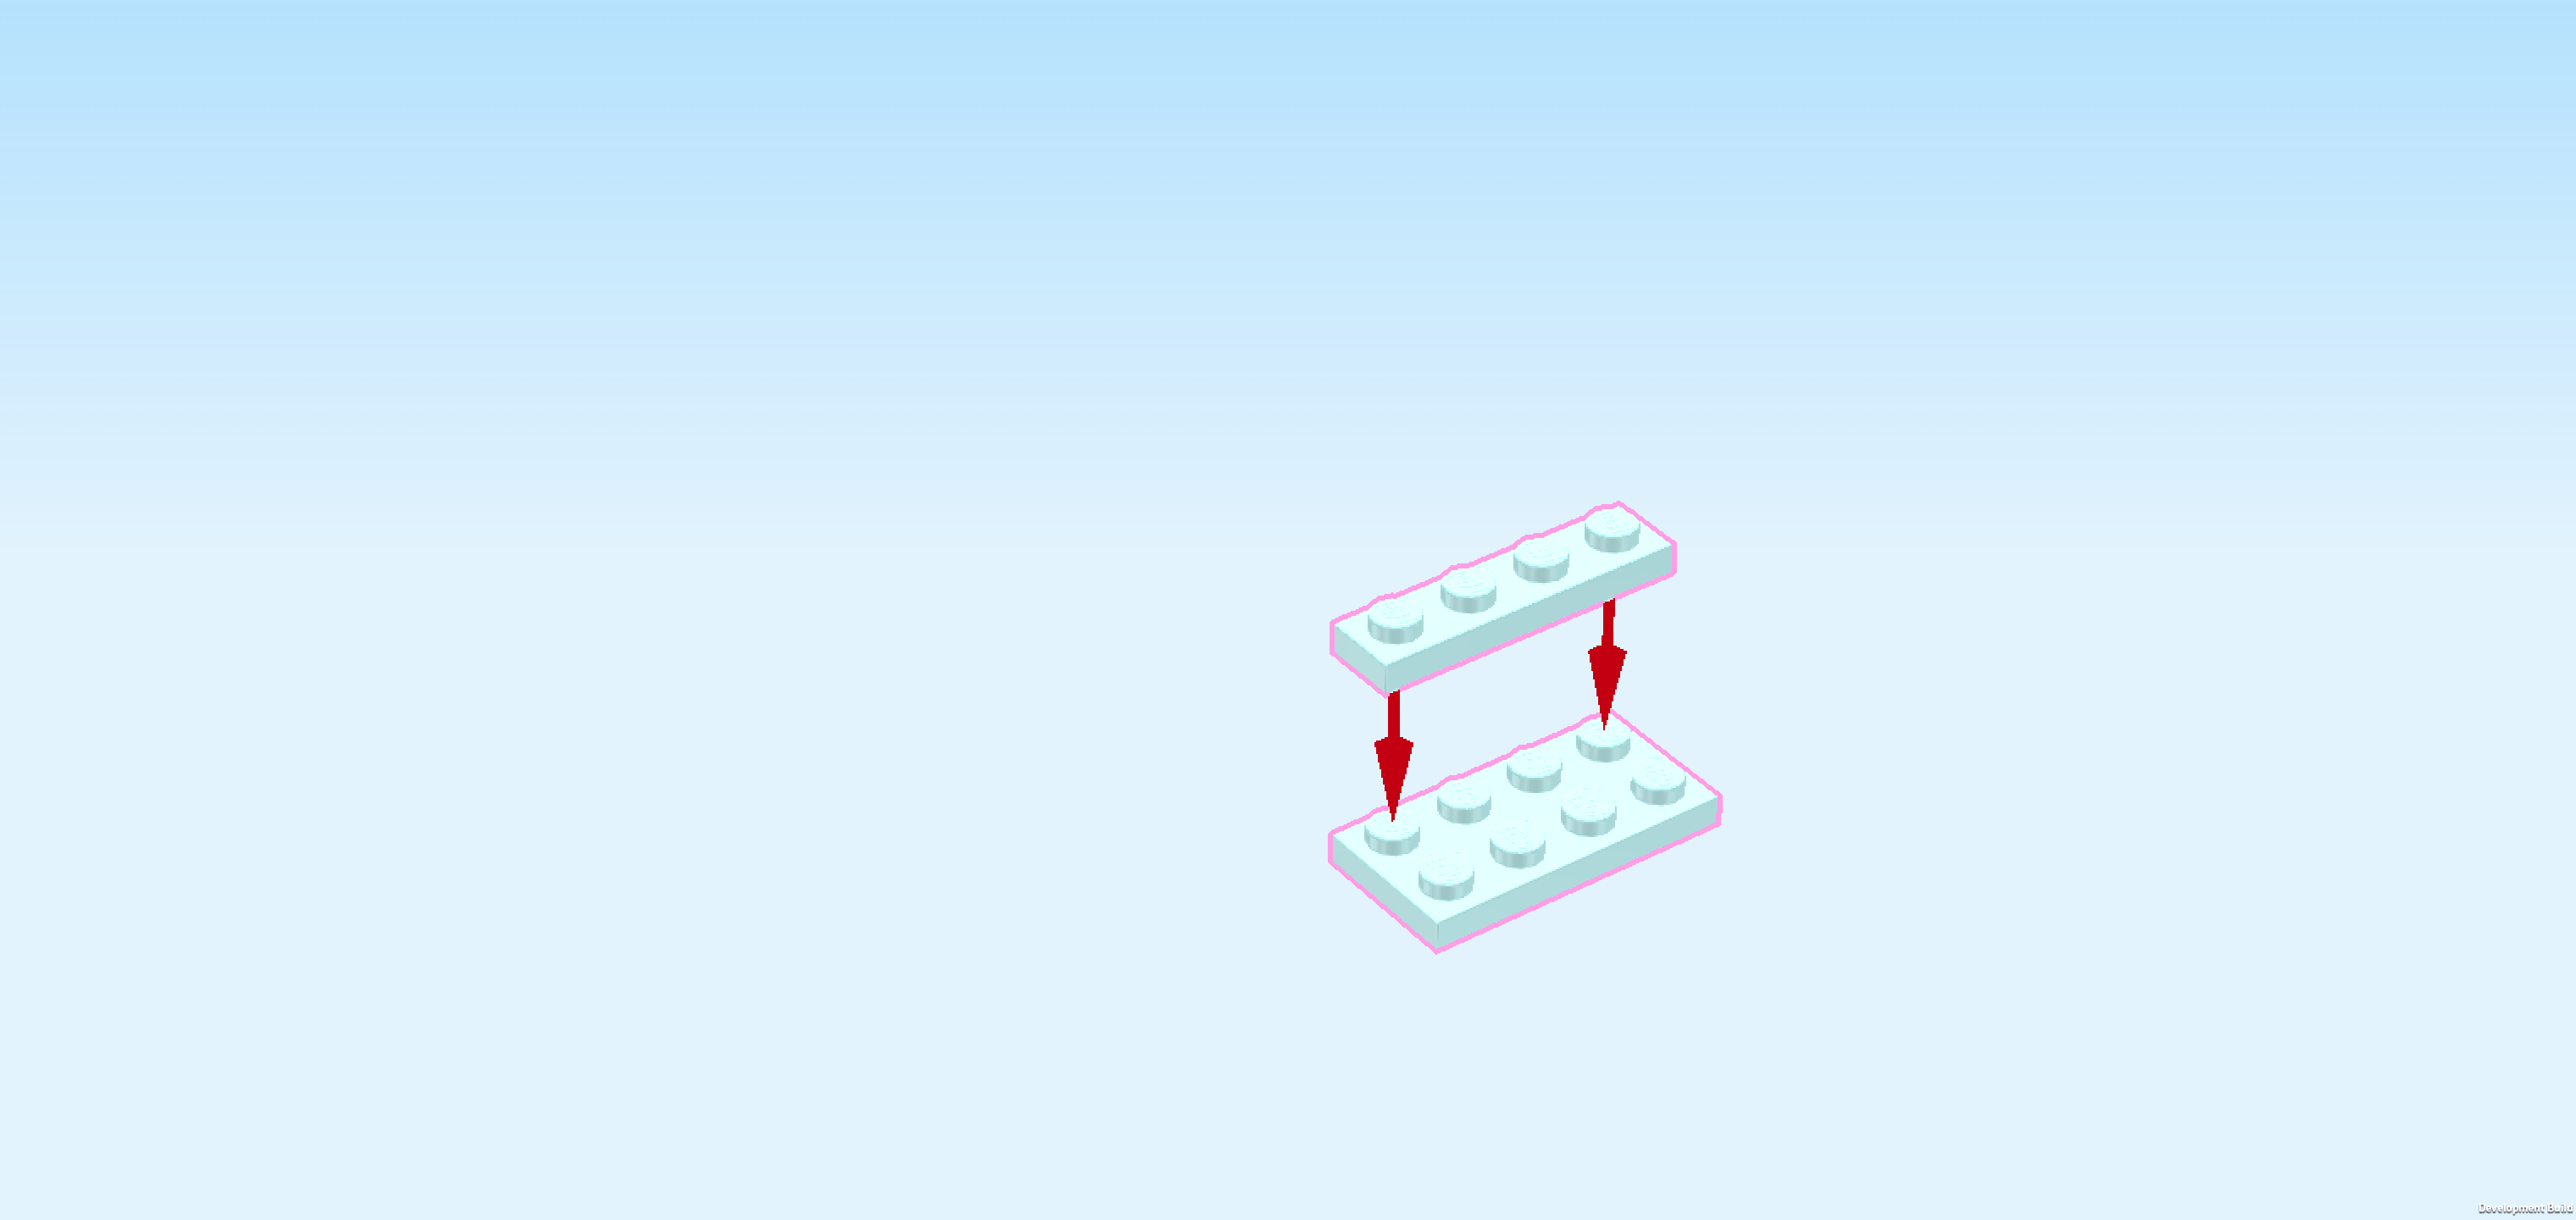
| Put the plate 2x4 horizontally on the table. |
| Put the plate 1x4 horizontally on the previous piece's back row. |
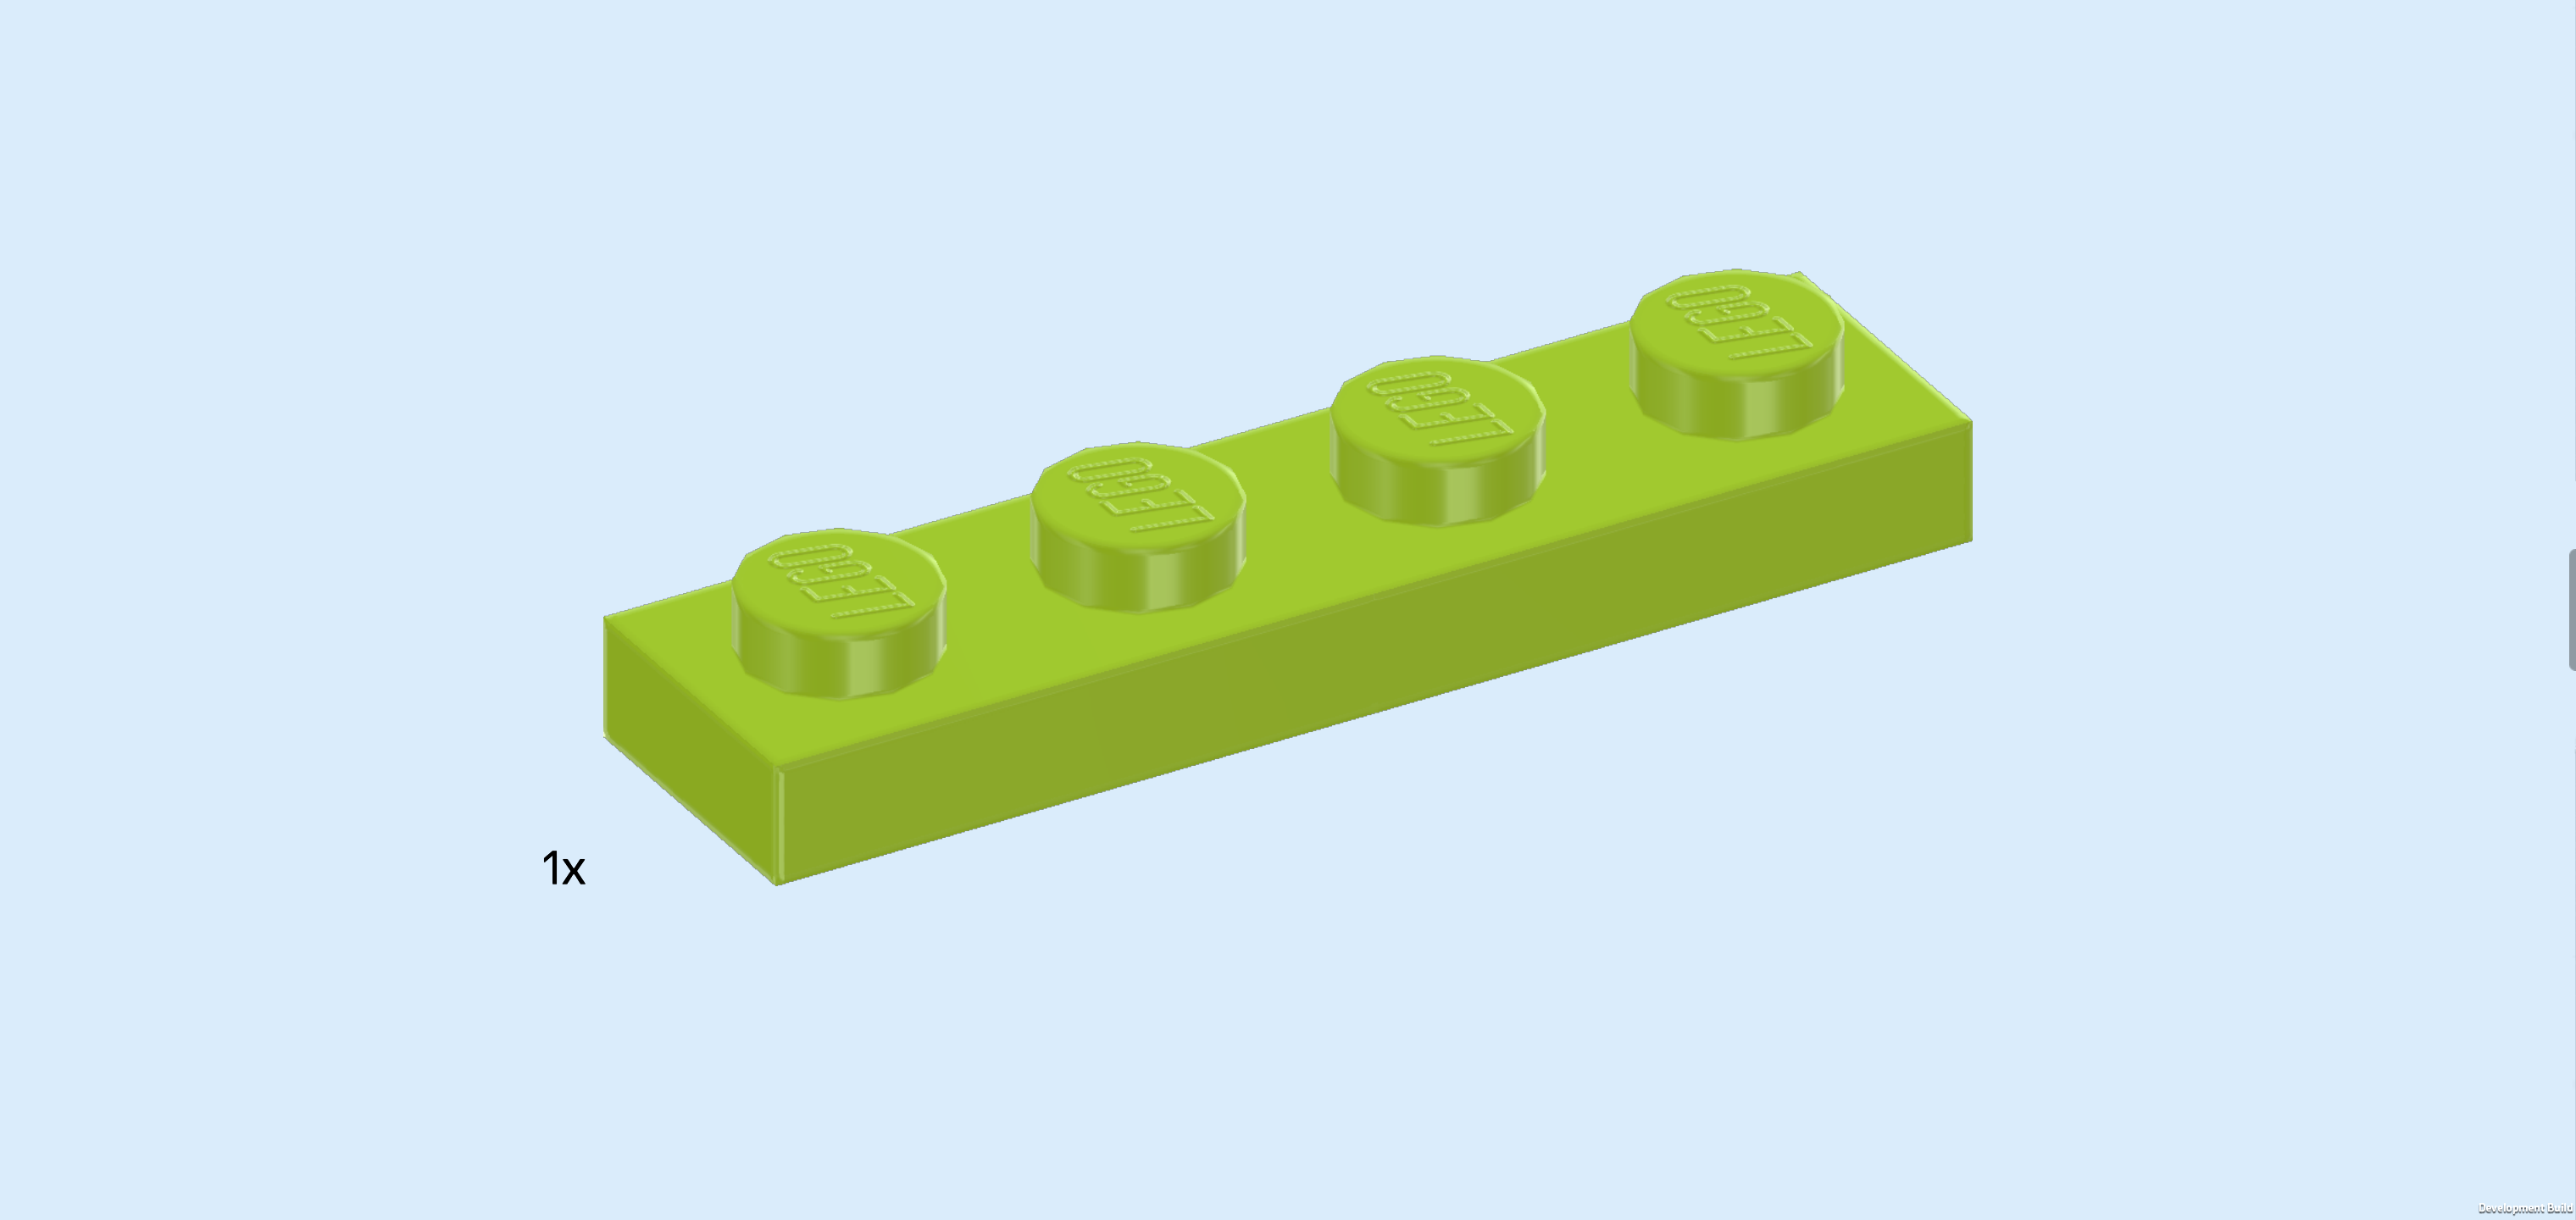
| Find 1 bright yellowish green plate 1x4. |
| Put it horizontally in front of the previous piece. |
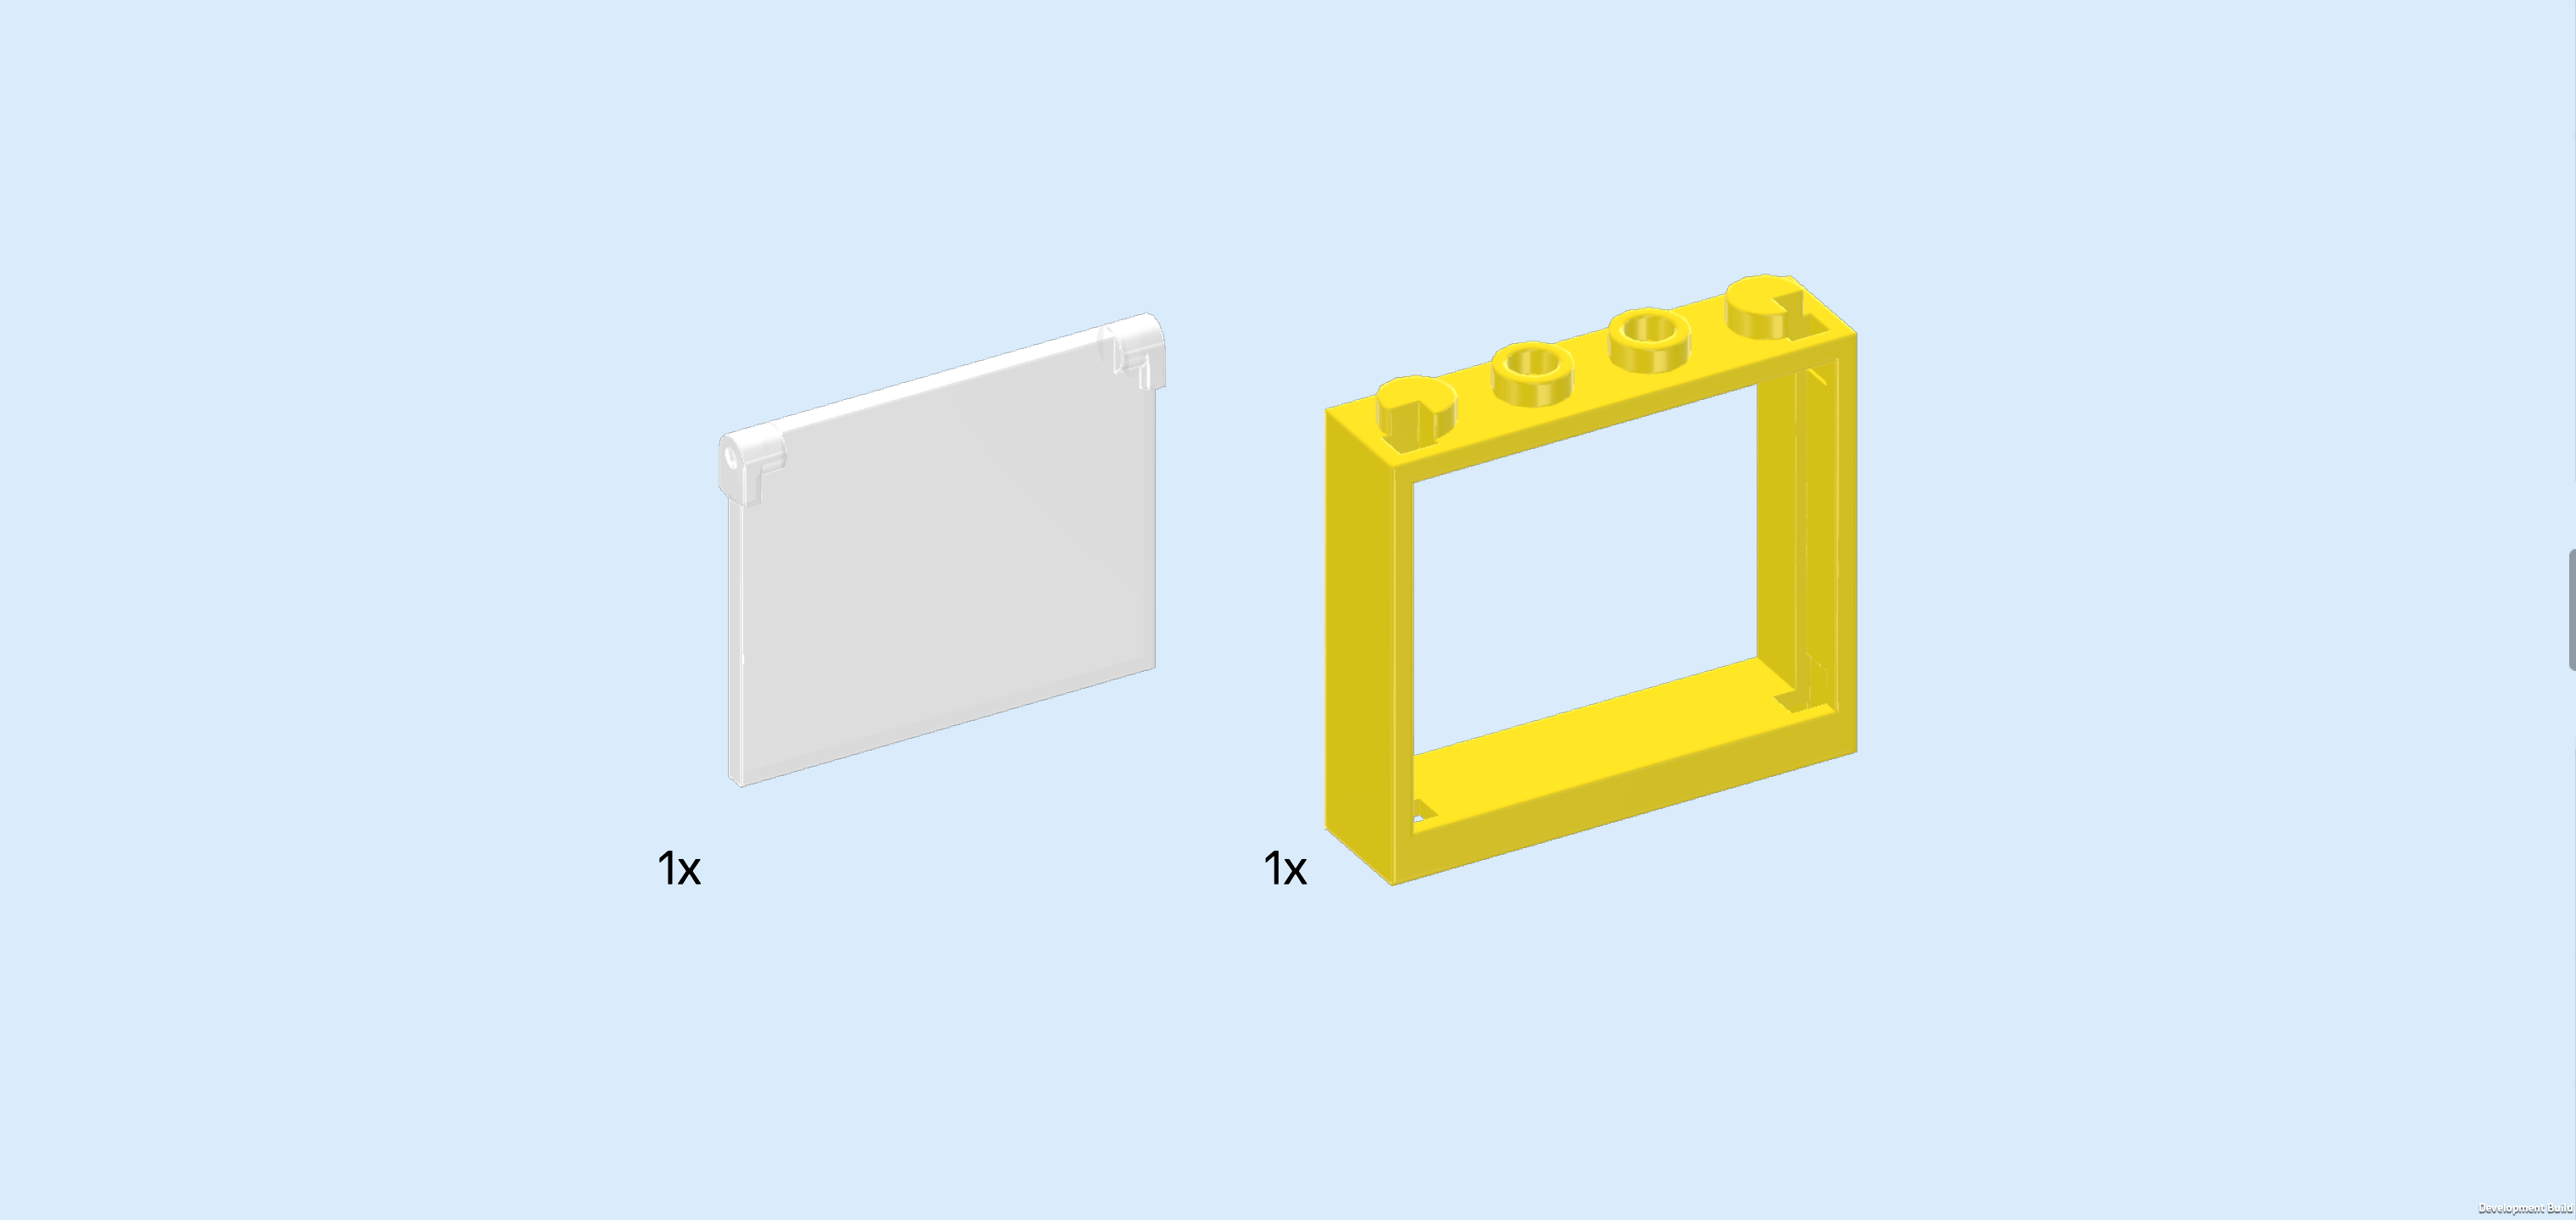
| Collect the following 2 pieces: |
| 1 transparent glass 1x4x3 for window frame, |
| and 1 bright yellow window frame 1x4x3. |
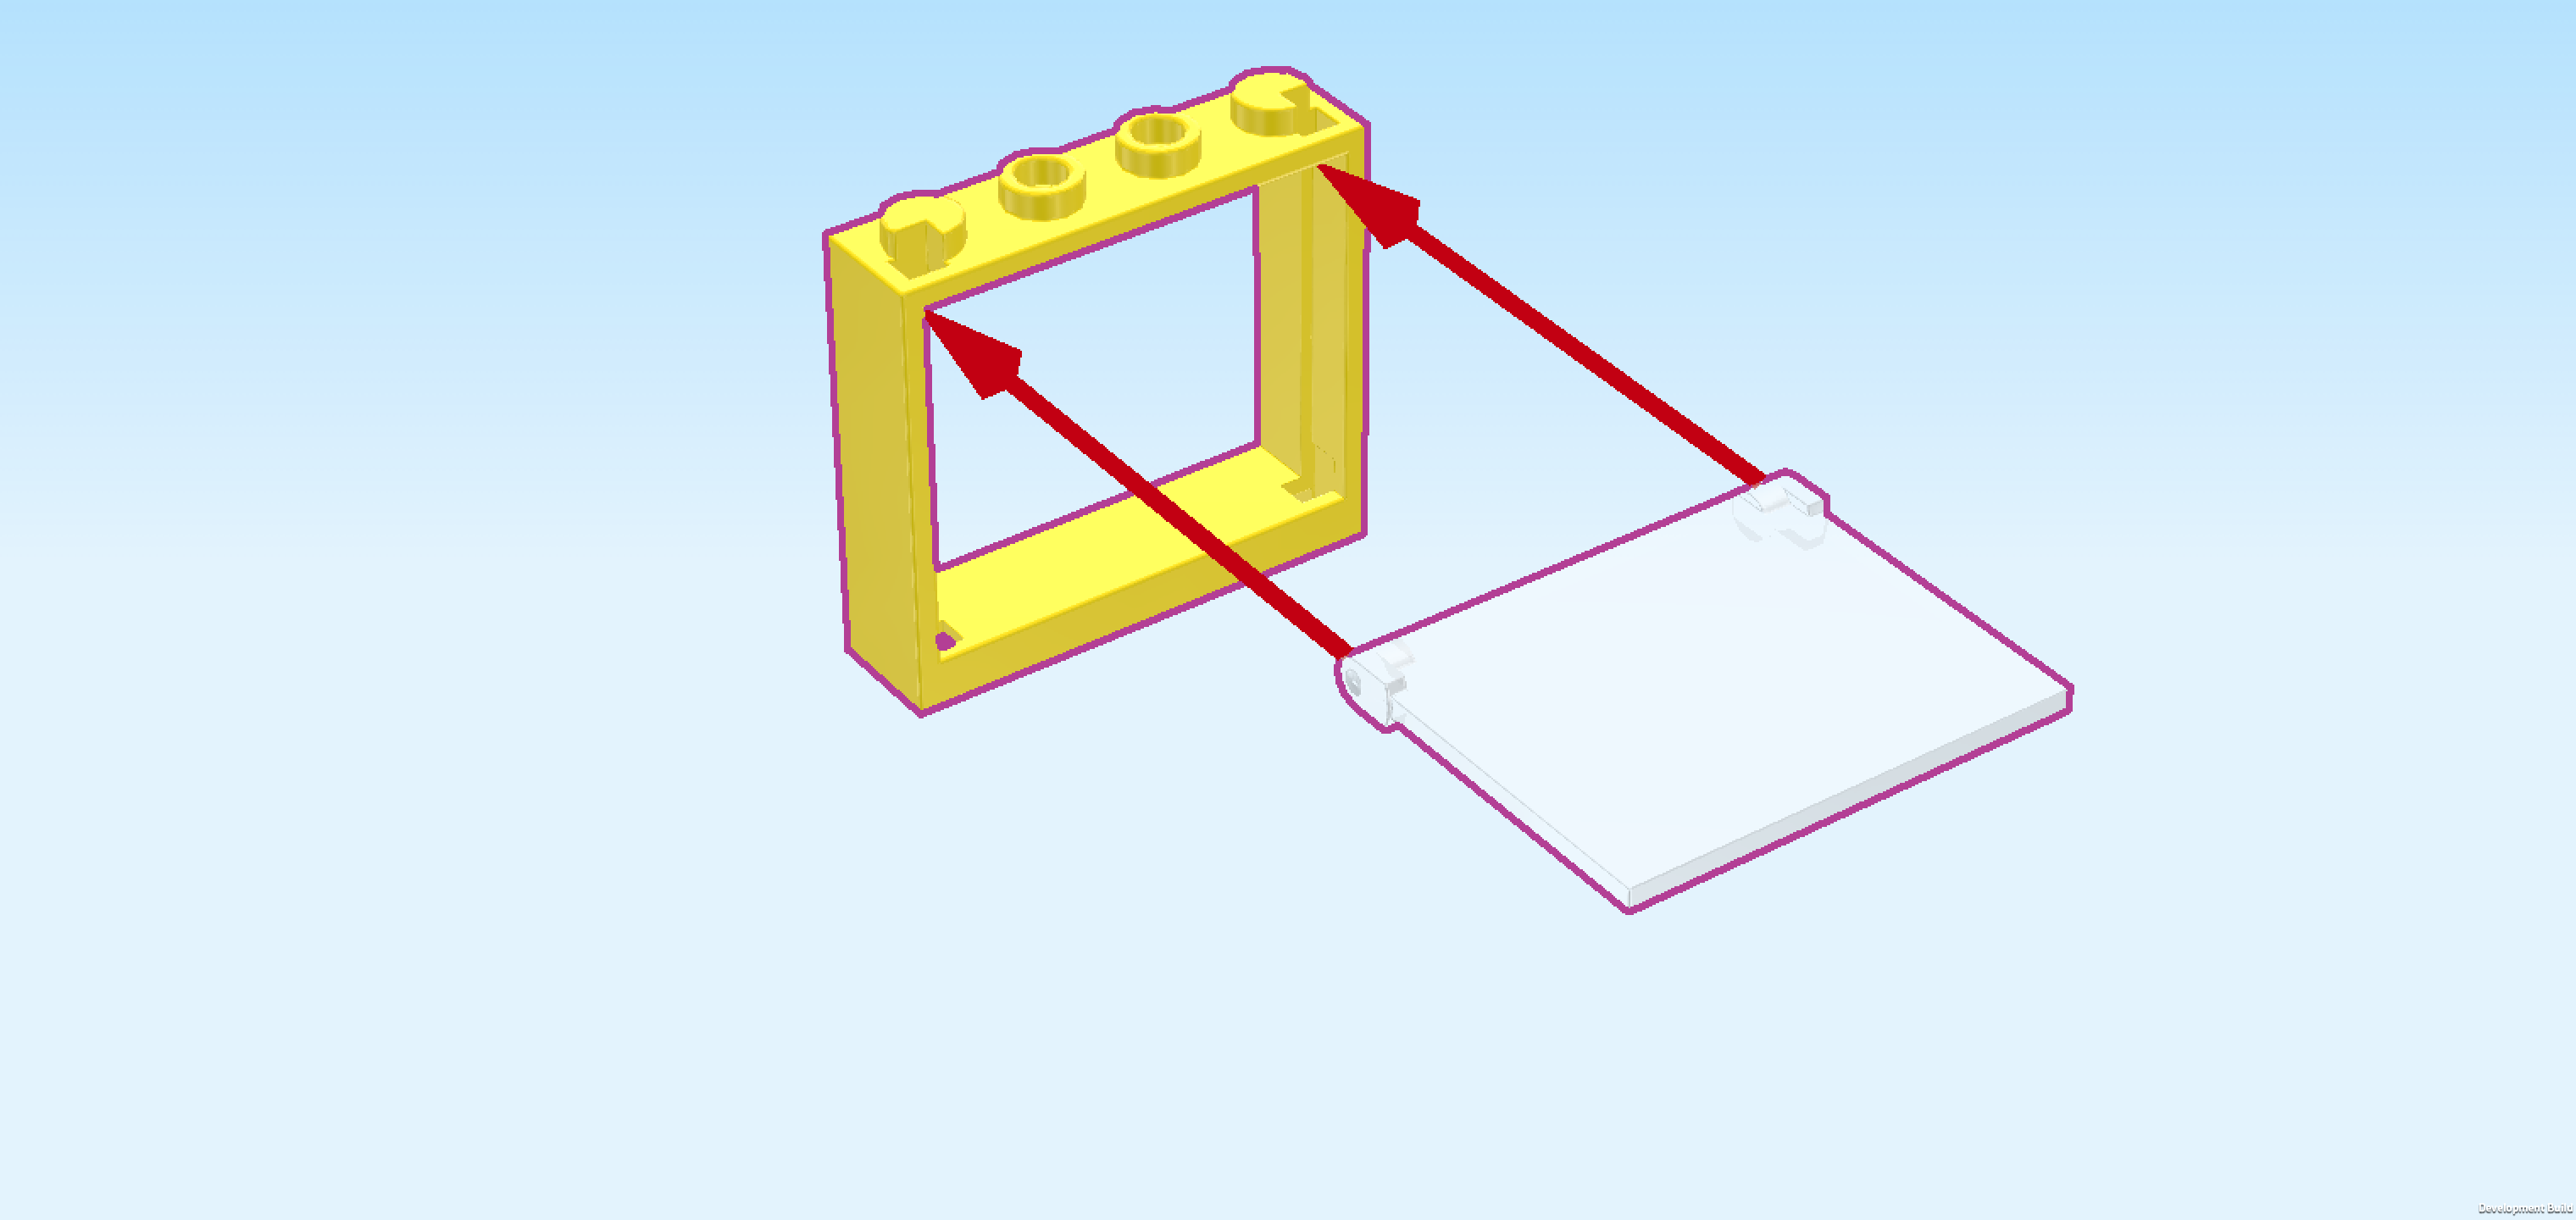
| Put the window frame flat on the table, knobs pointing to the back. Make sure that the grooves for the window glass that are located on the inside of the frame are towards the top. |
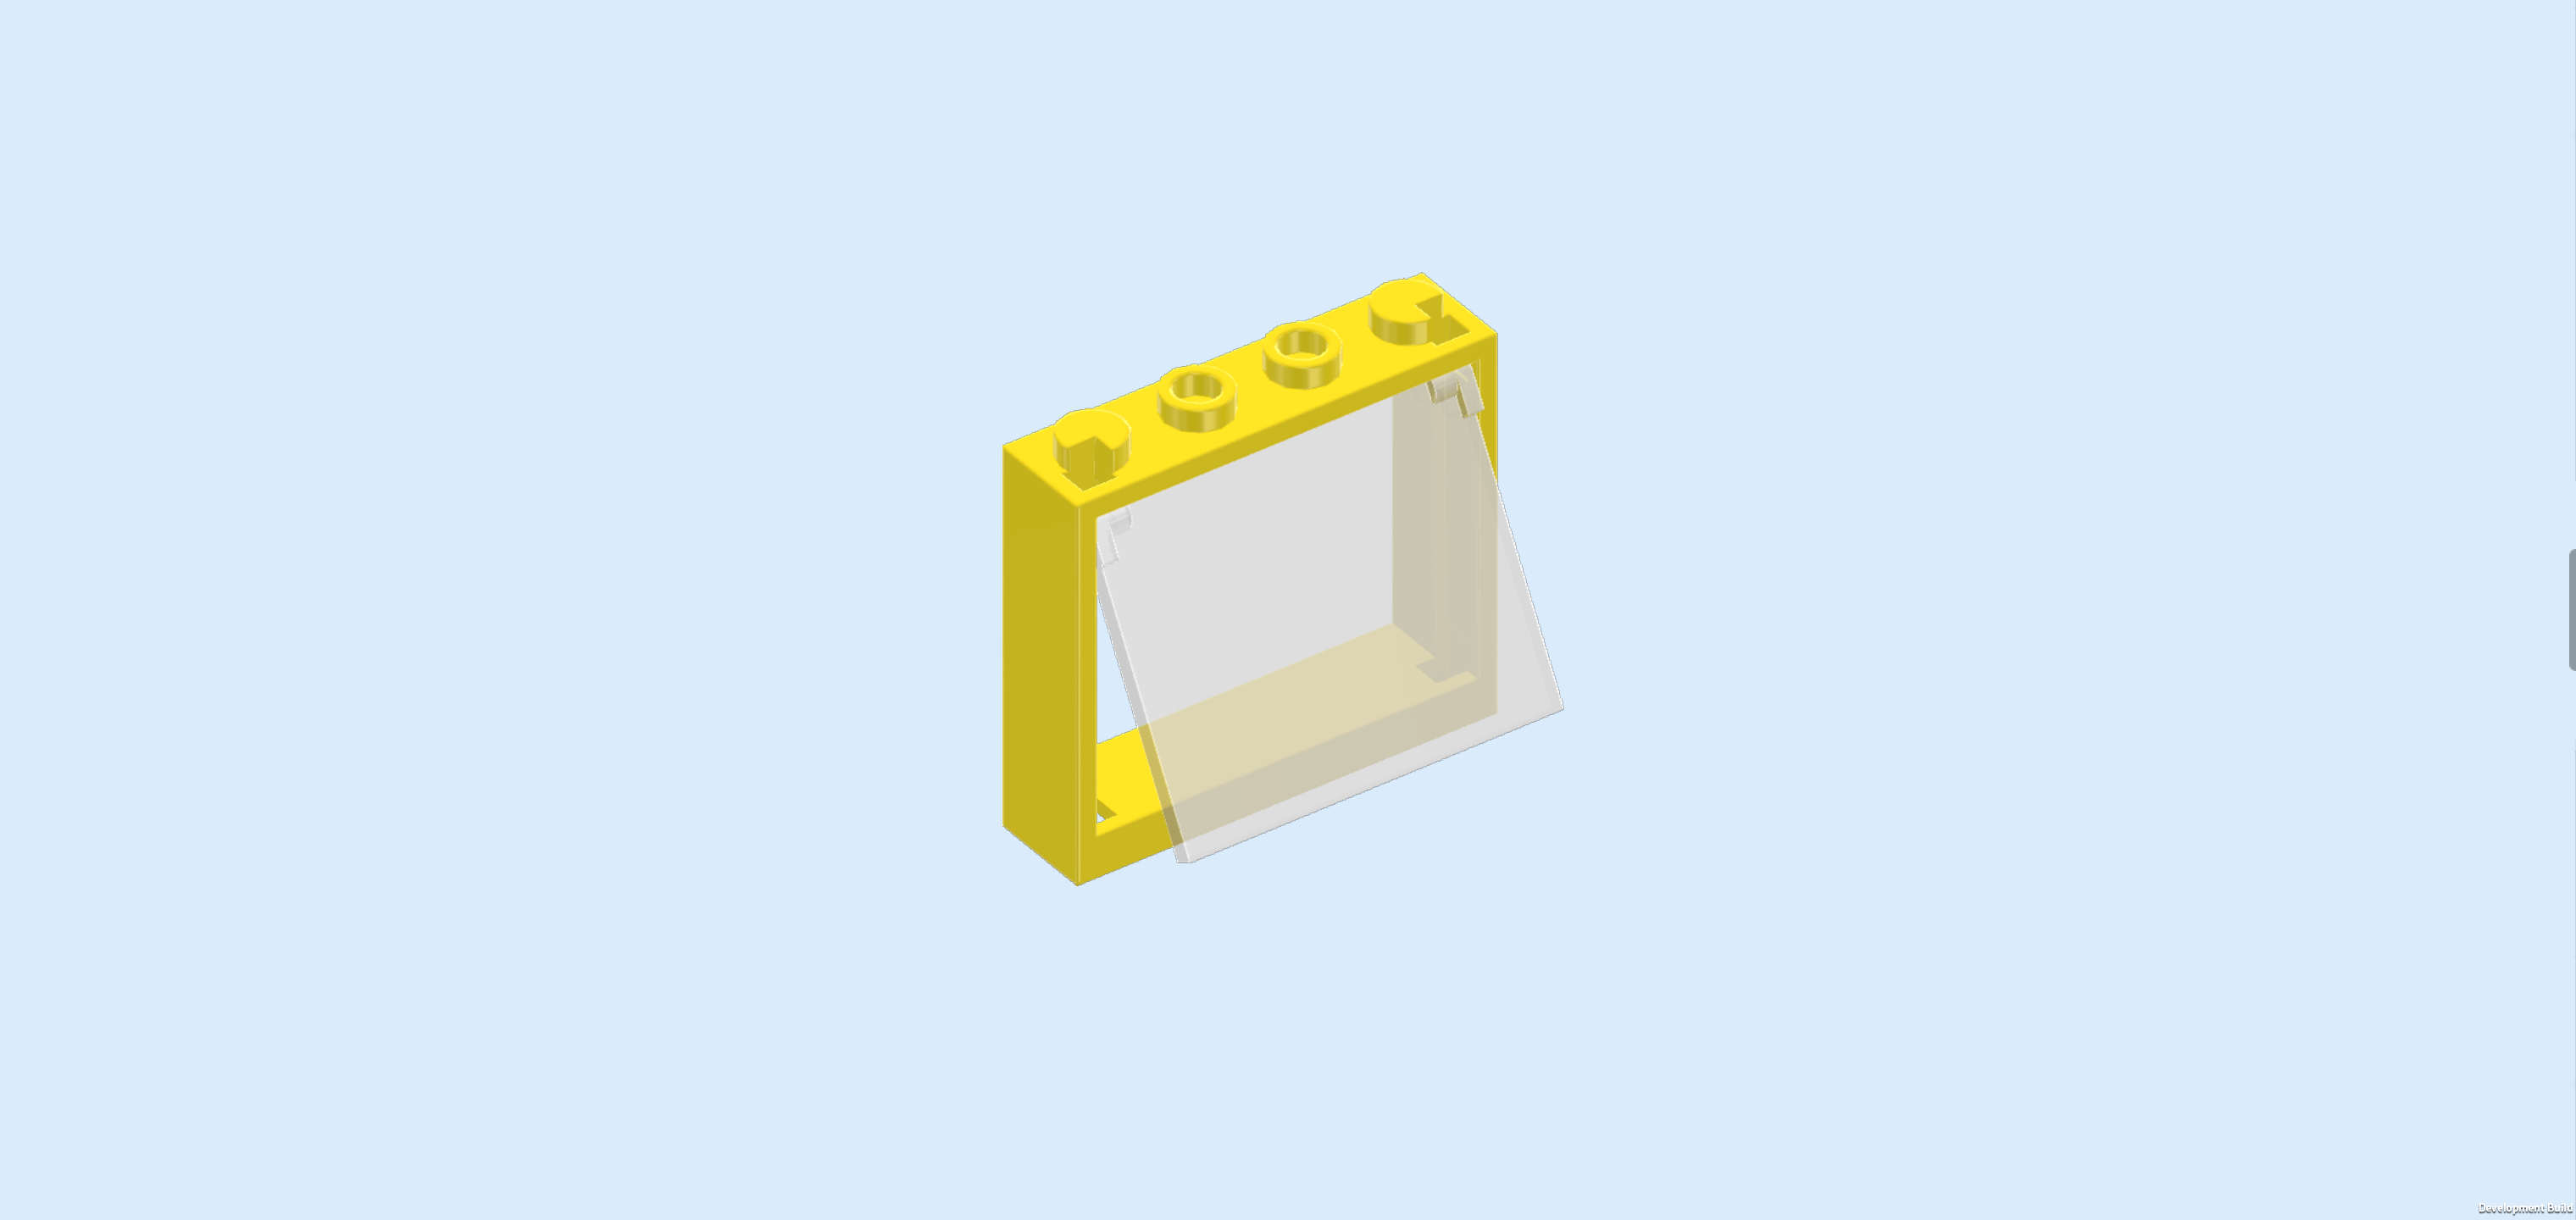
| Snap the window glass into the grooves of the window frame. Make sure to insert the 2 small nubs of the glass into the corresponding grooves next to the knobs of the frame. |
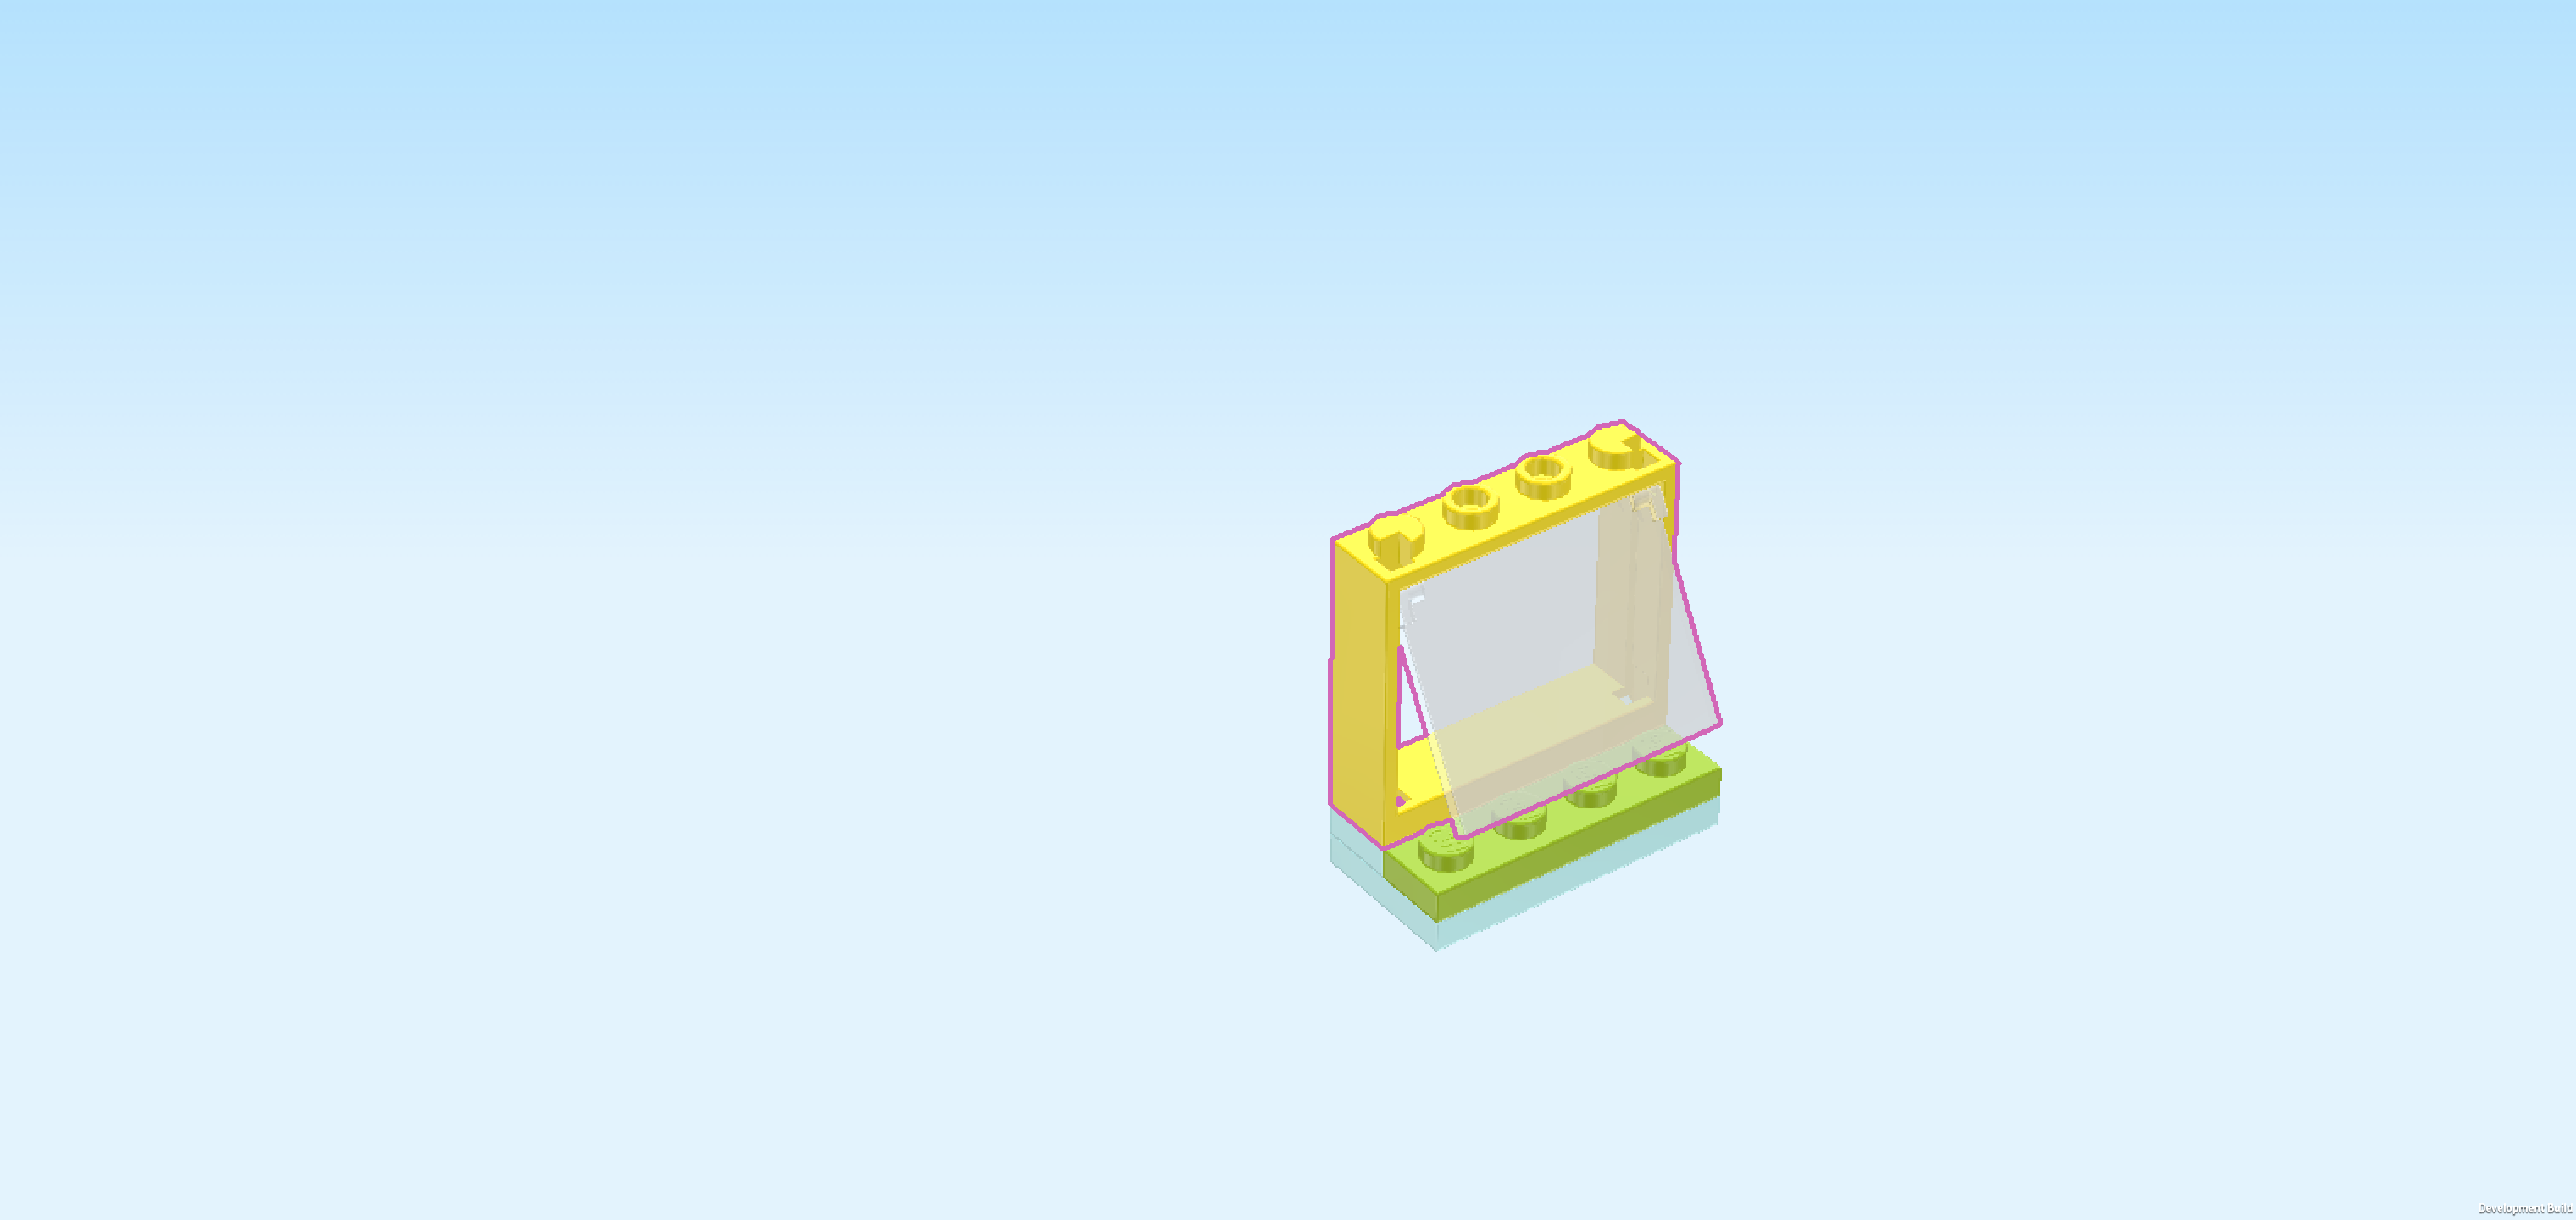
| Flip the assembled window upright, knobs to the top, and make sure that the window glass is mounted at the top edge and opens towards the front. |
| Mount the window horizontally on the back row of the small window structure we have built before. |
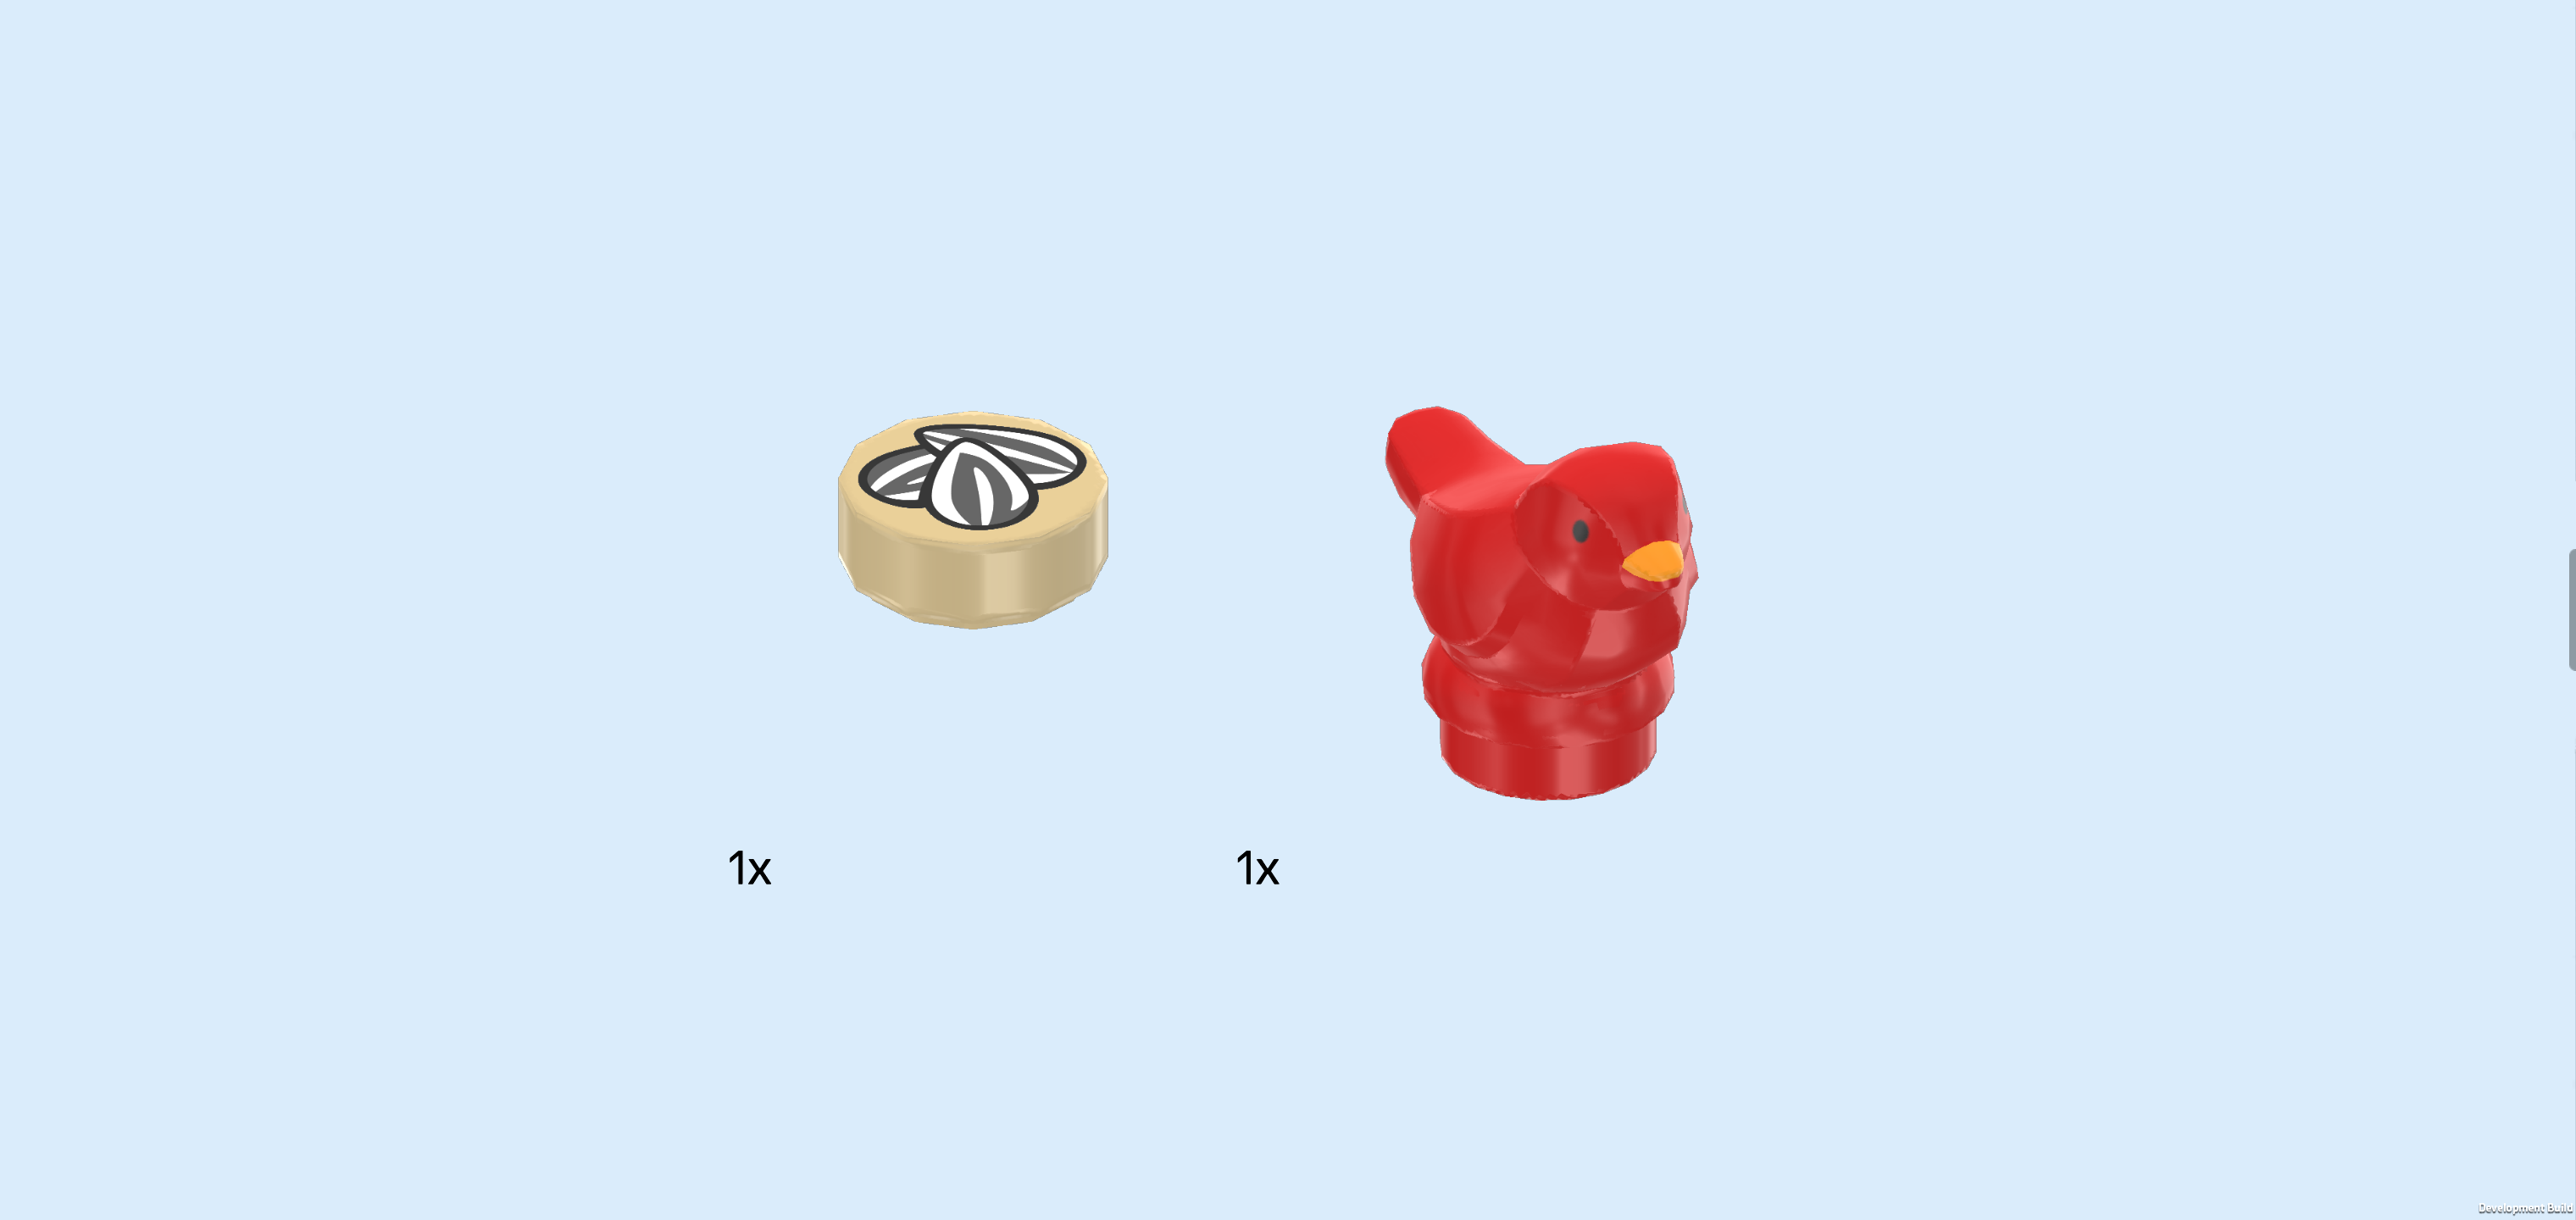
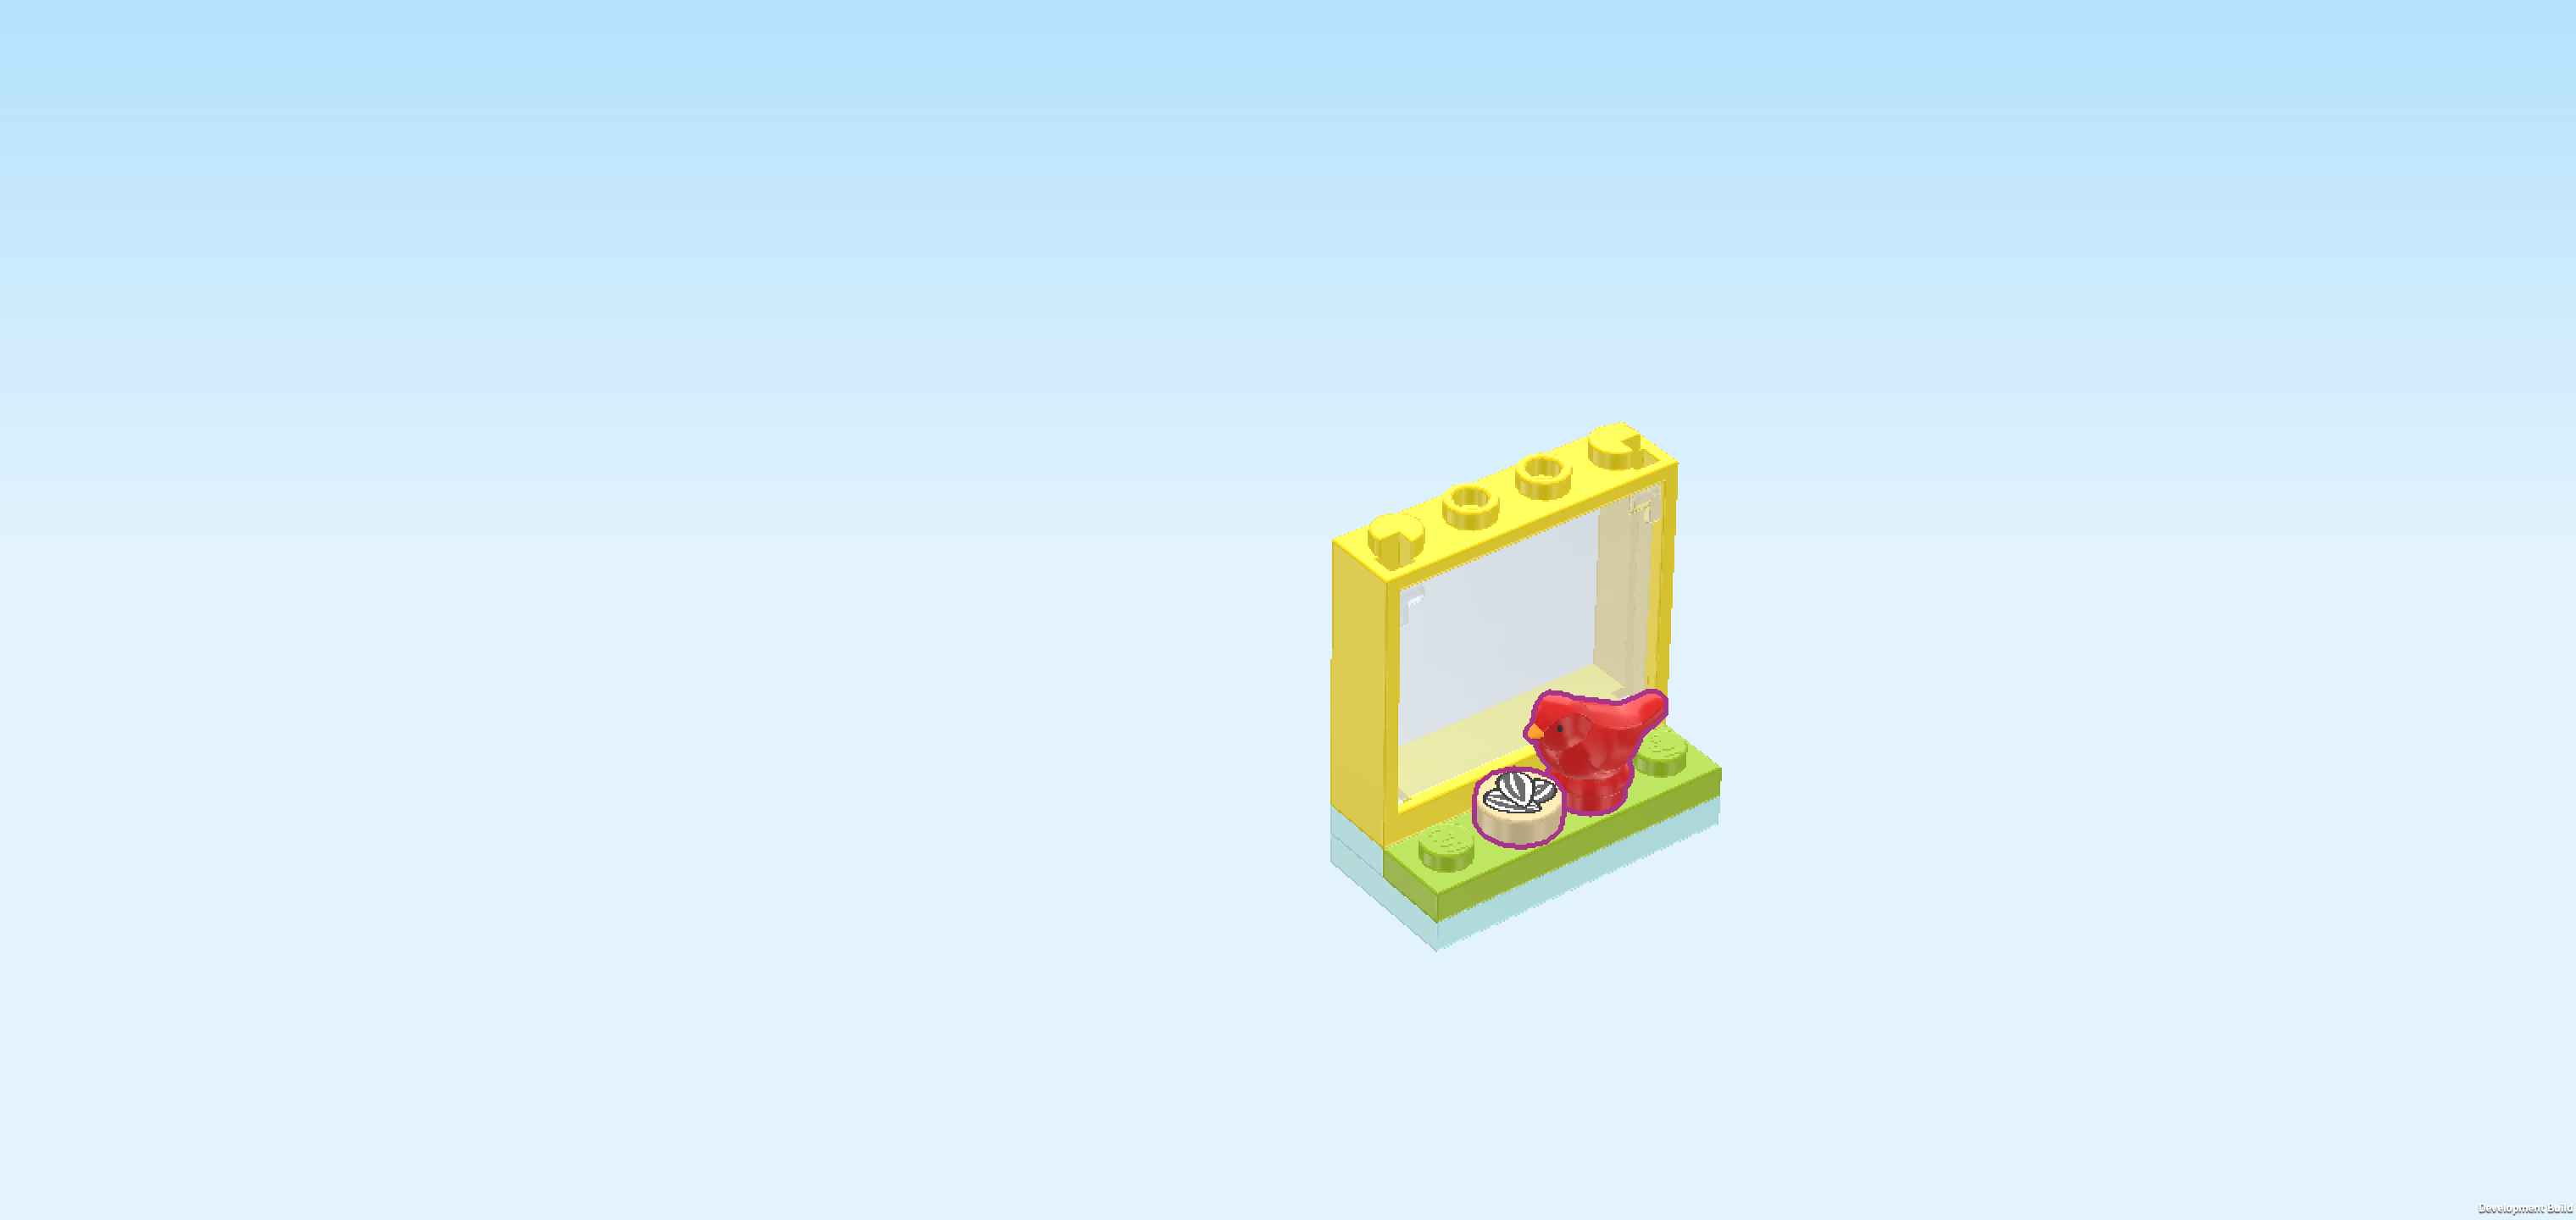
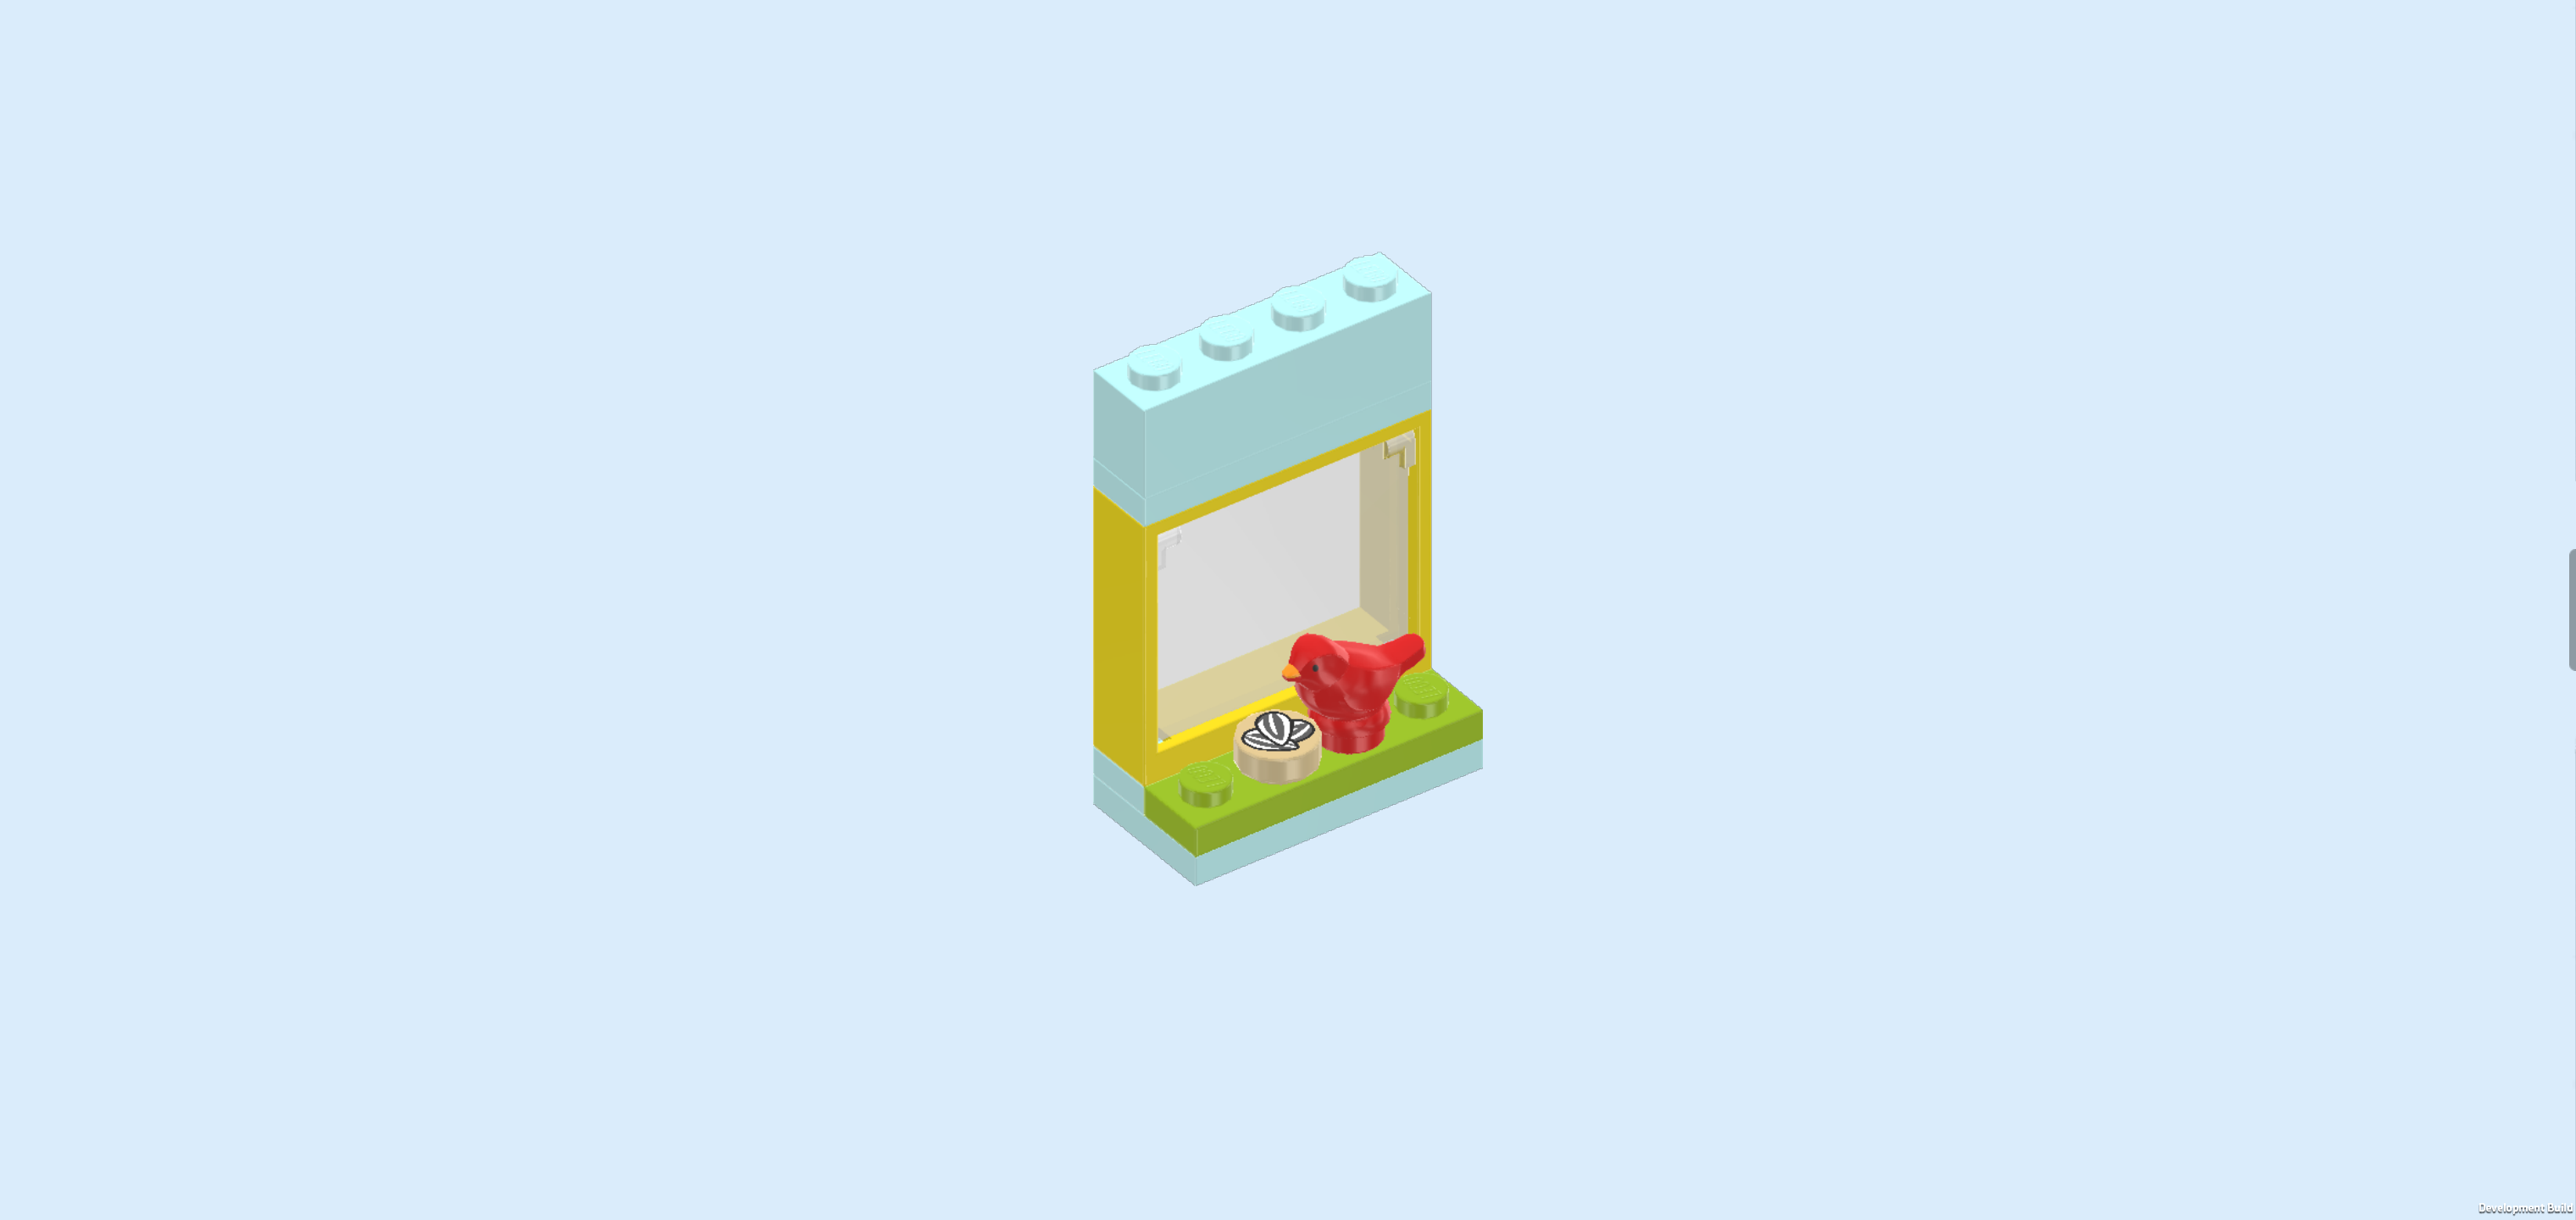
| Collect the following 2 pieces: |
| 1 beige round tile 1x1, |
| and 1 bright red bird figurine. |
| Put the round tile 1x1 on the second knob from the left in front of the window. The piece is printed with 3 sunflower seeds that are still in their pods. The sunflower seed pods have characteristic black and white stripes and are a known delicacy for birdies. |
| Put the bird to the right of the previous piece, beak to the left. |
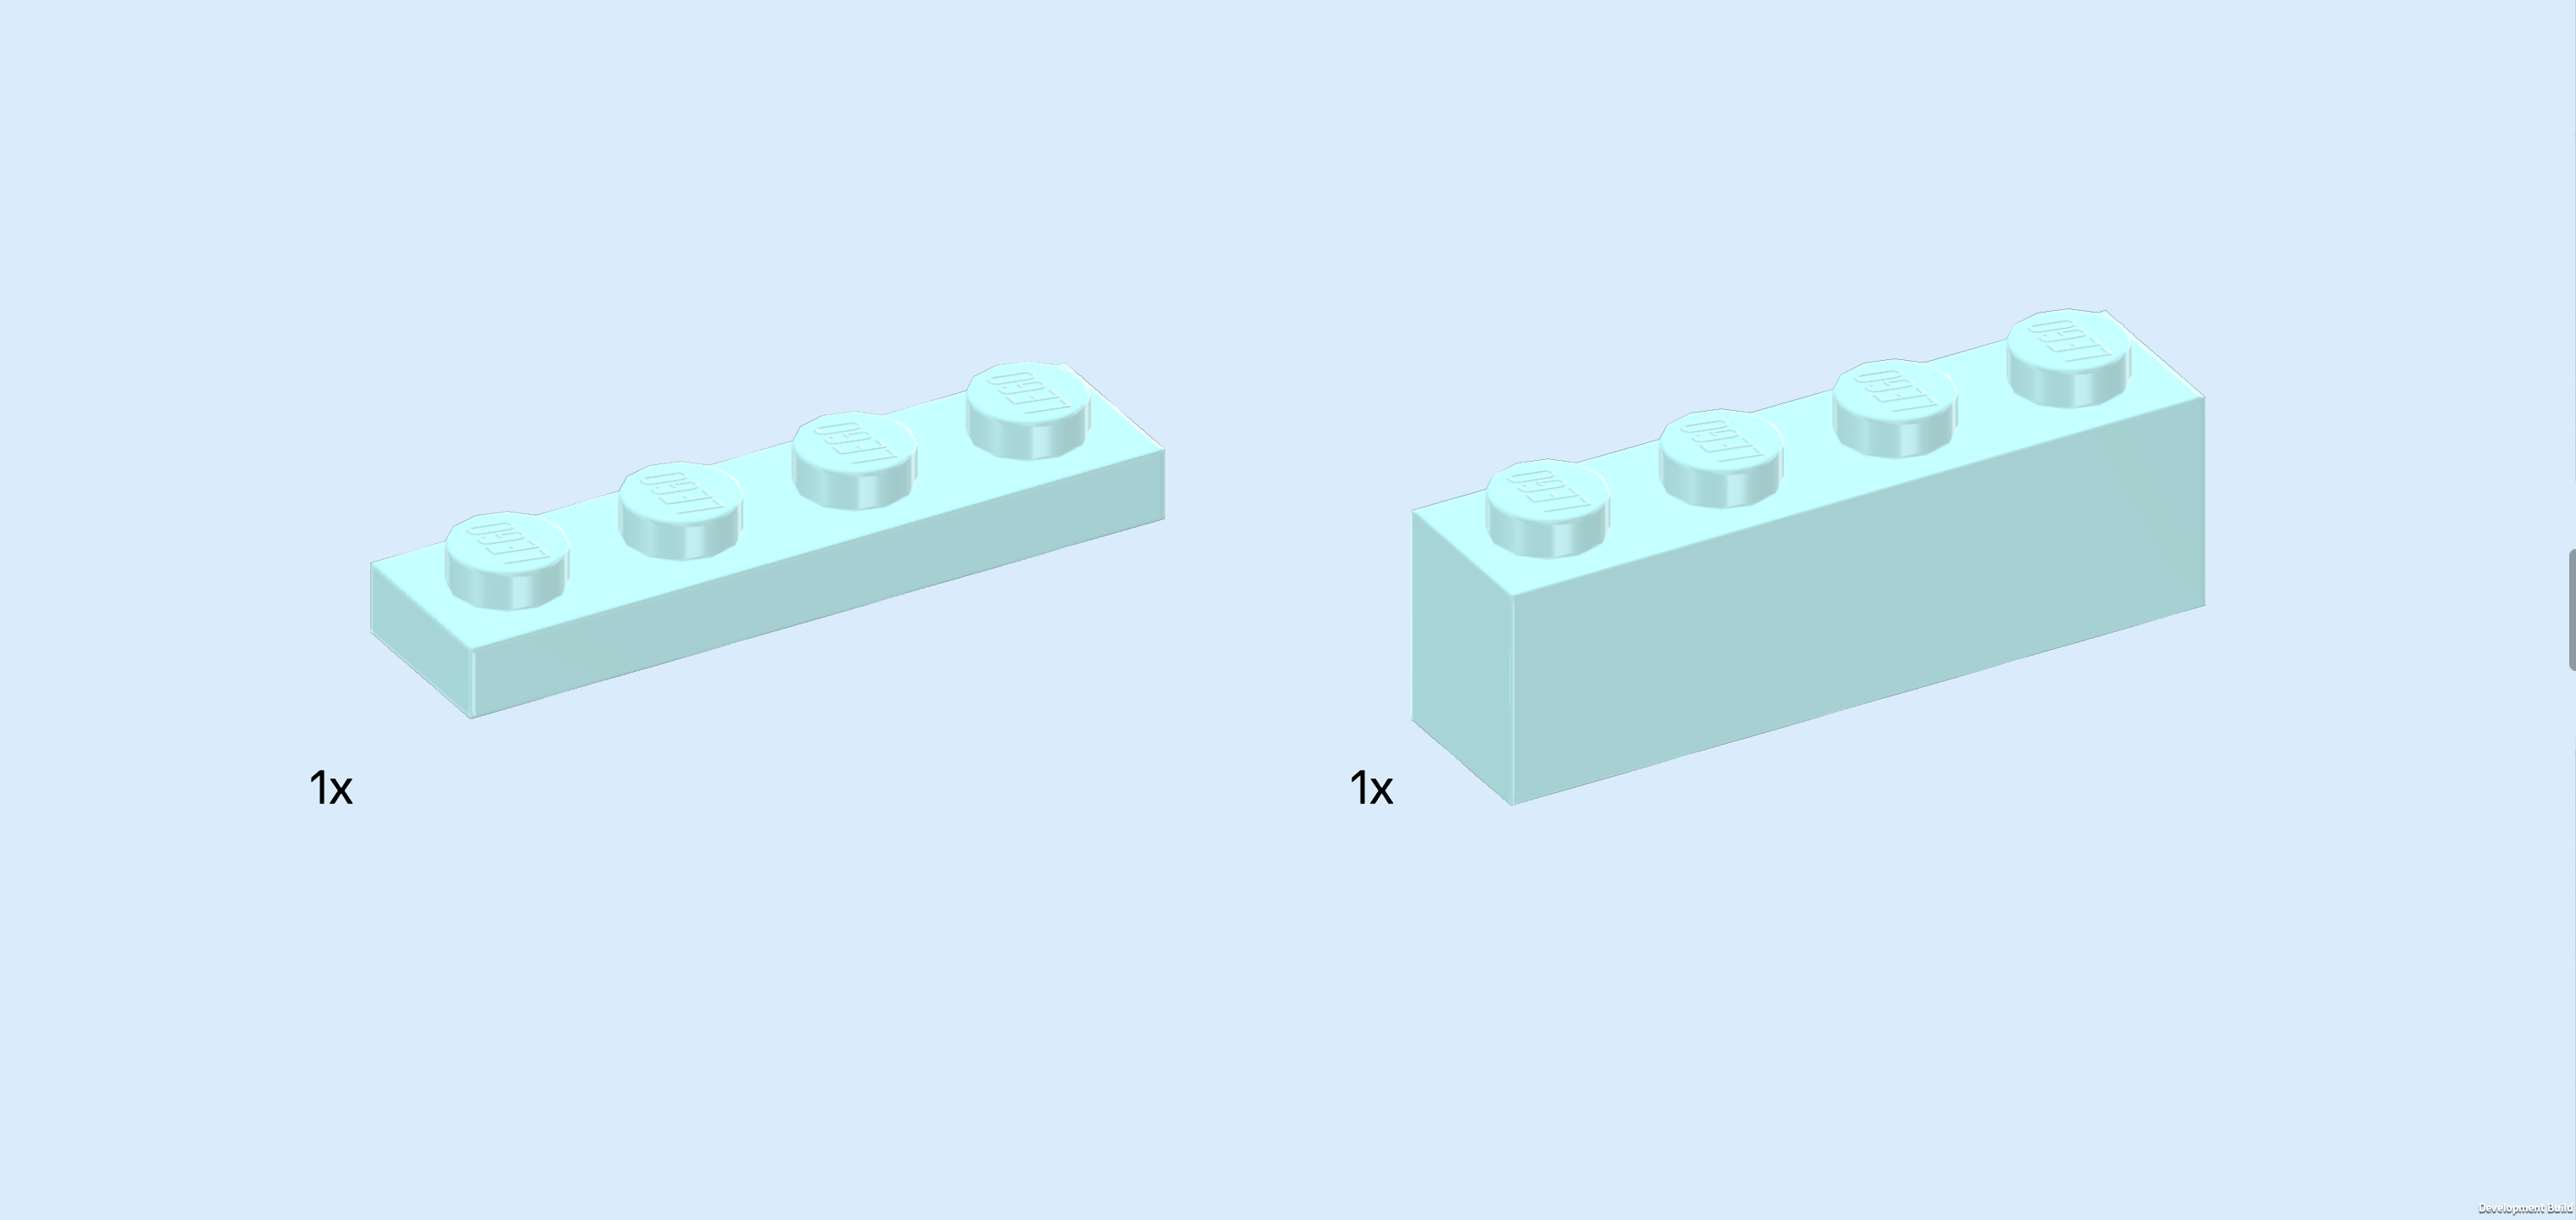
| Collect the following 2 pieces: |
| 1 aqua blue plate 1x4, |
| and 1 aqua blue brick 1x4. |
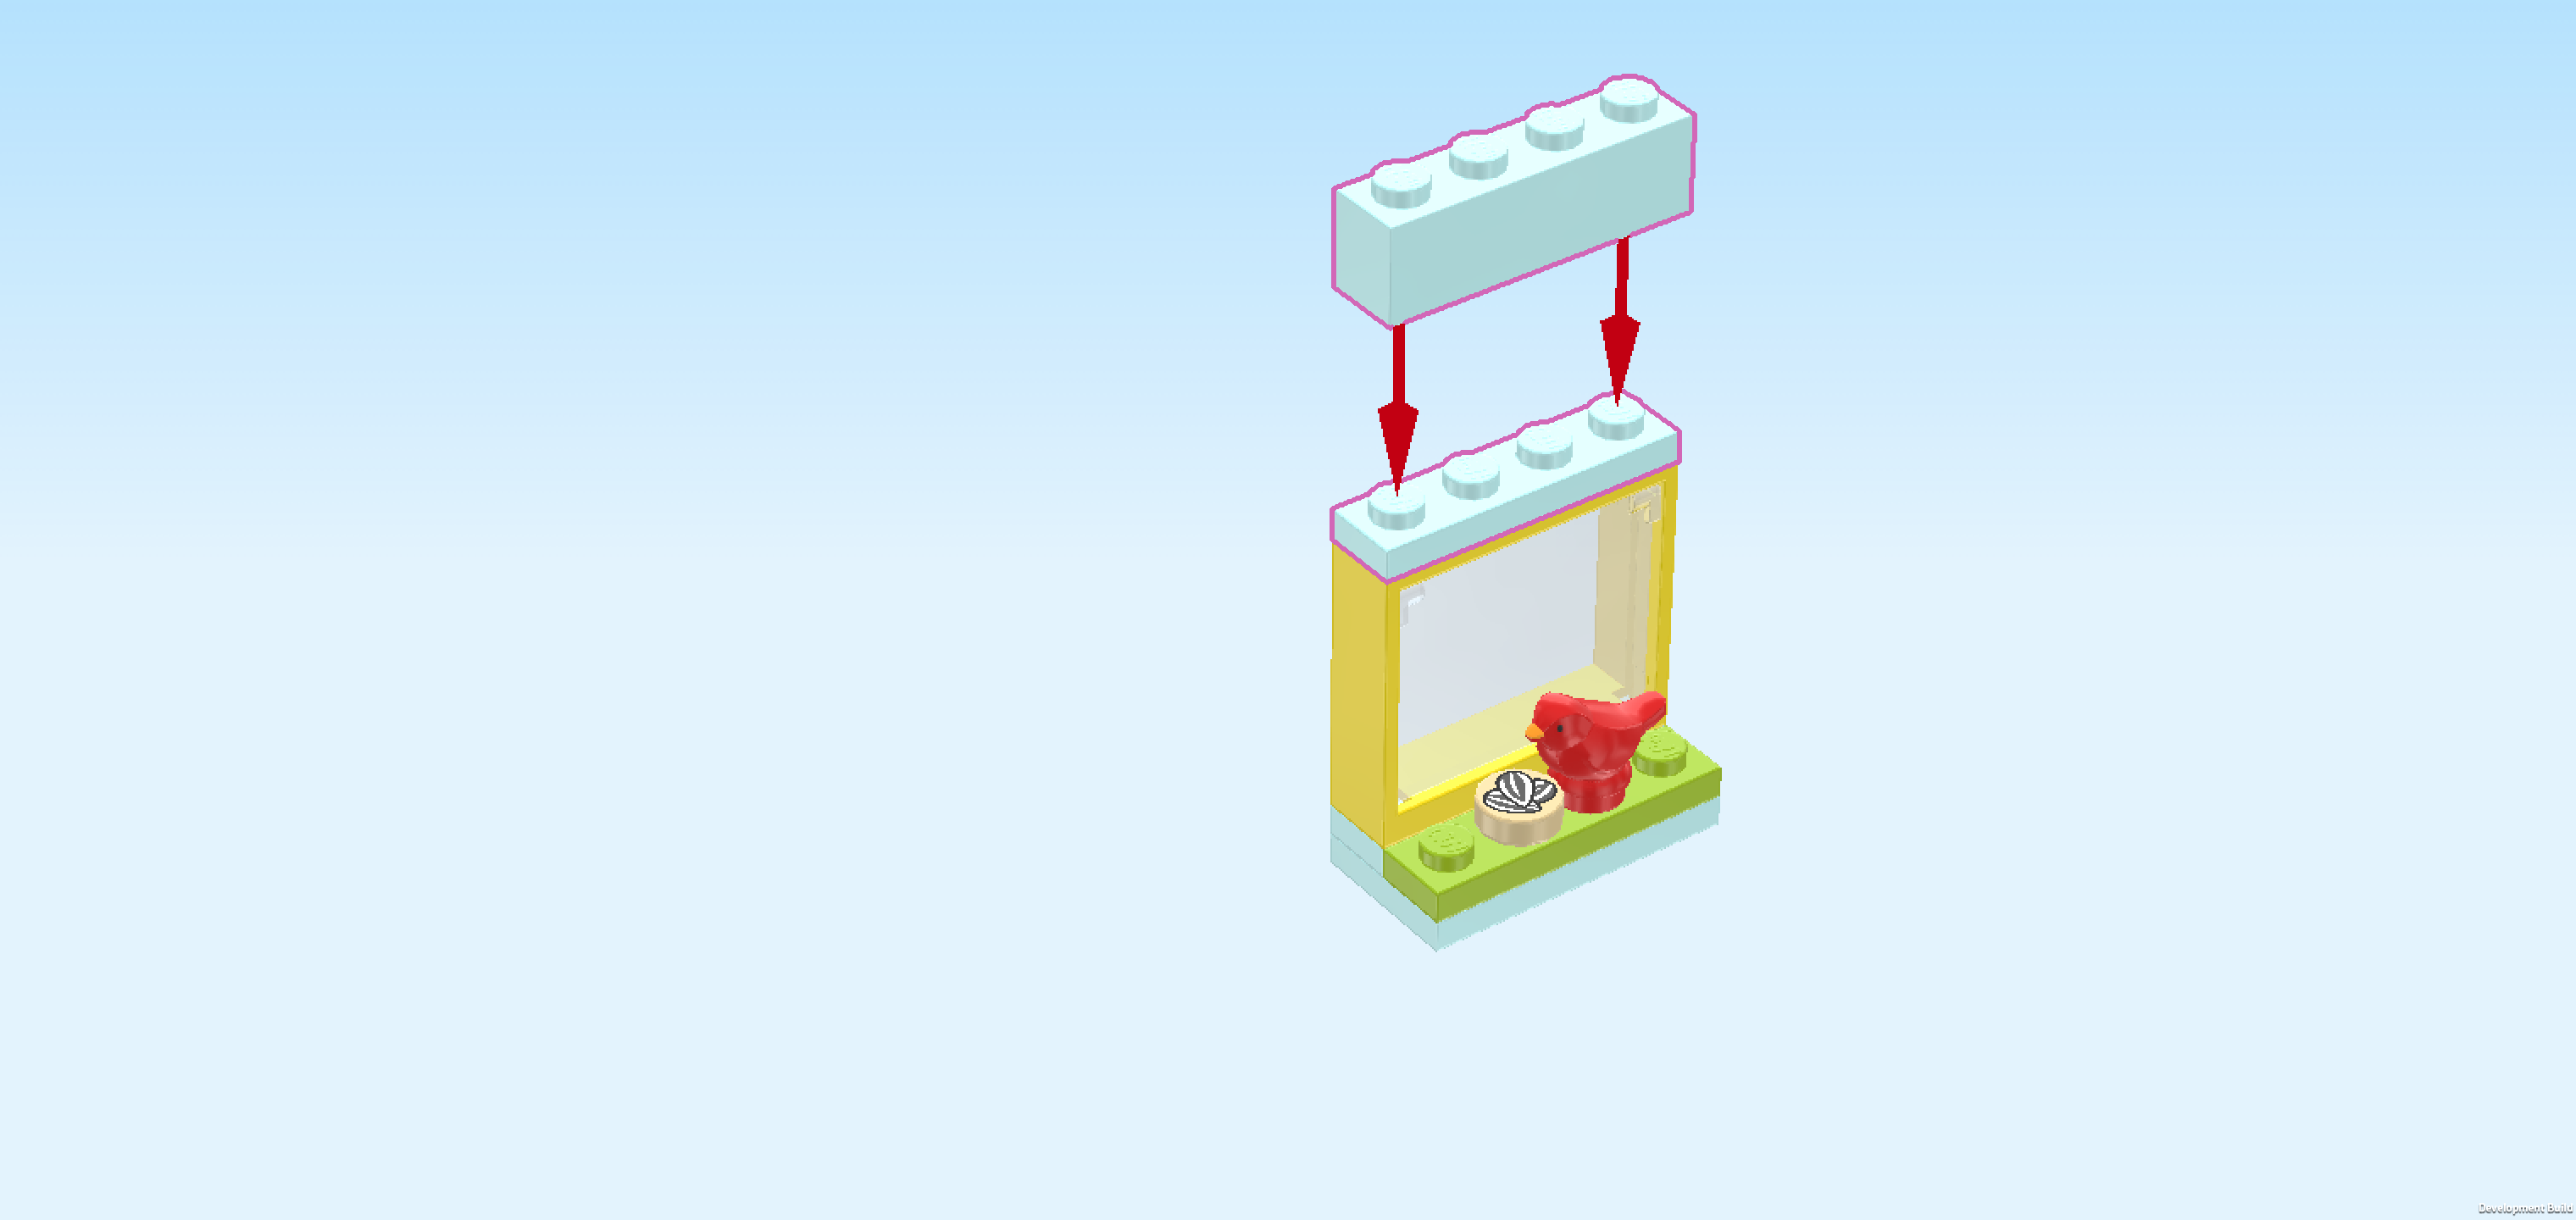
| Put the plate 1x4 horizontally on top of the window frame. |
| Put the brick 1x4 horizontally on top of the previous piece. |
| The small window with bird is finished! Well done! Before you mount it, turn it around so that the bird and bird food are towards the back. Mount it horizontally on the backmost row directly to the left of the brick 1x2x5, 1/2 overhanging to the back. |
| Find 1 aqua blue brick 1x1x5. |
| Put it to the left of the window. |
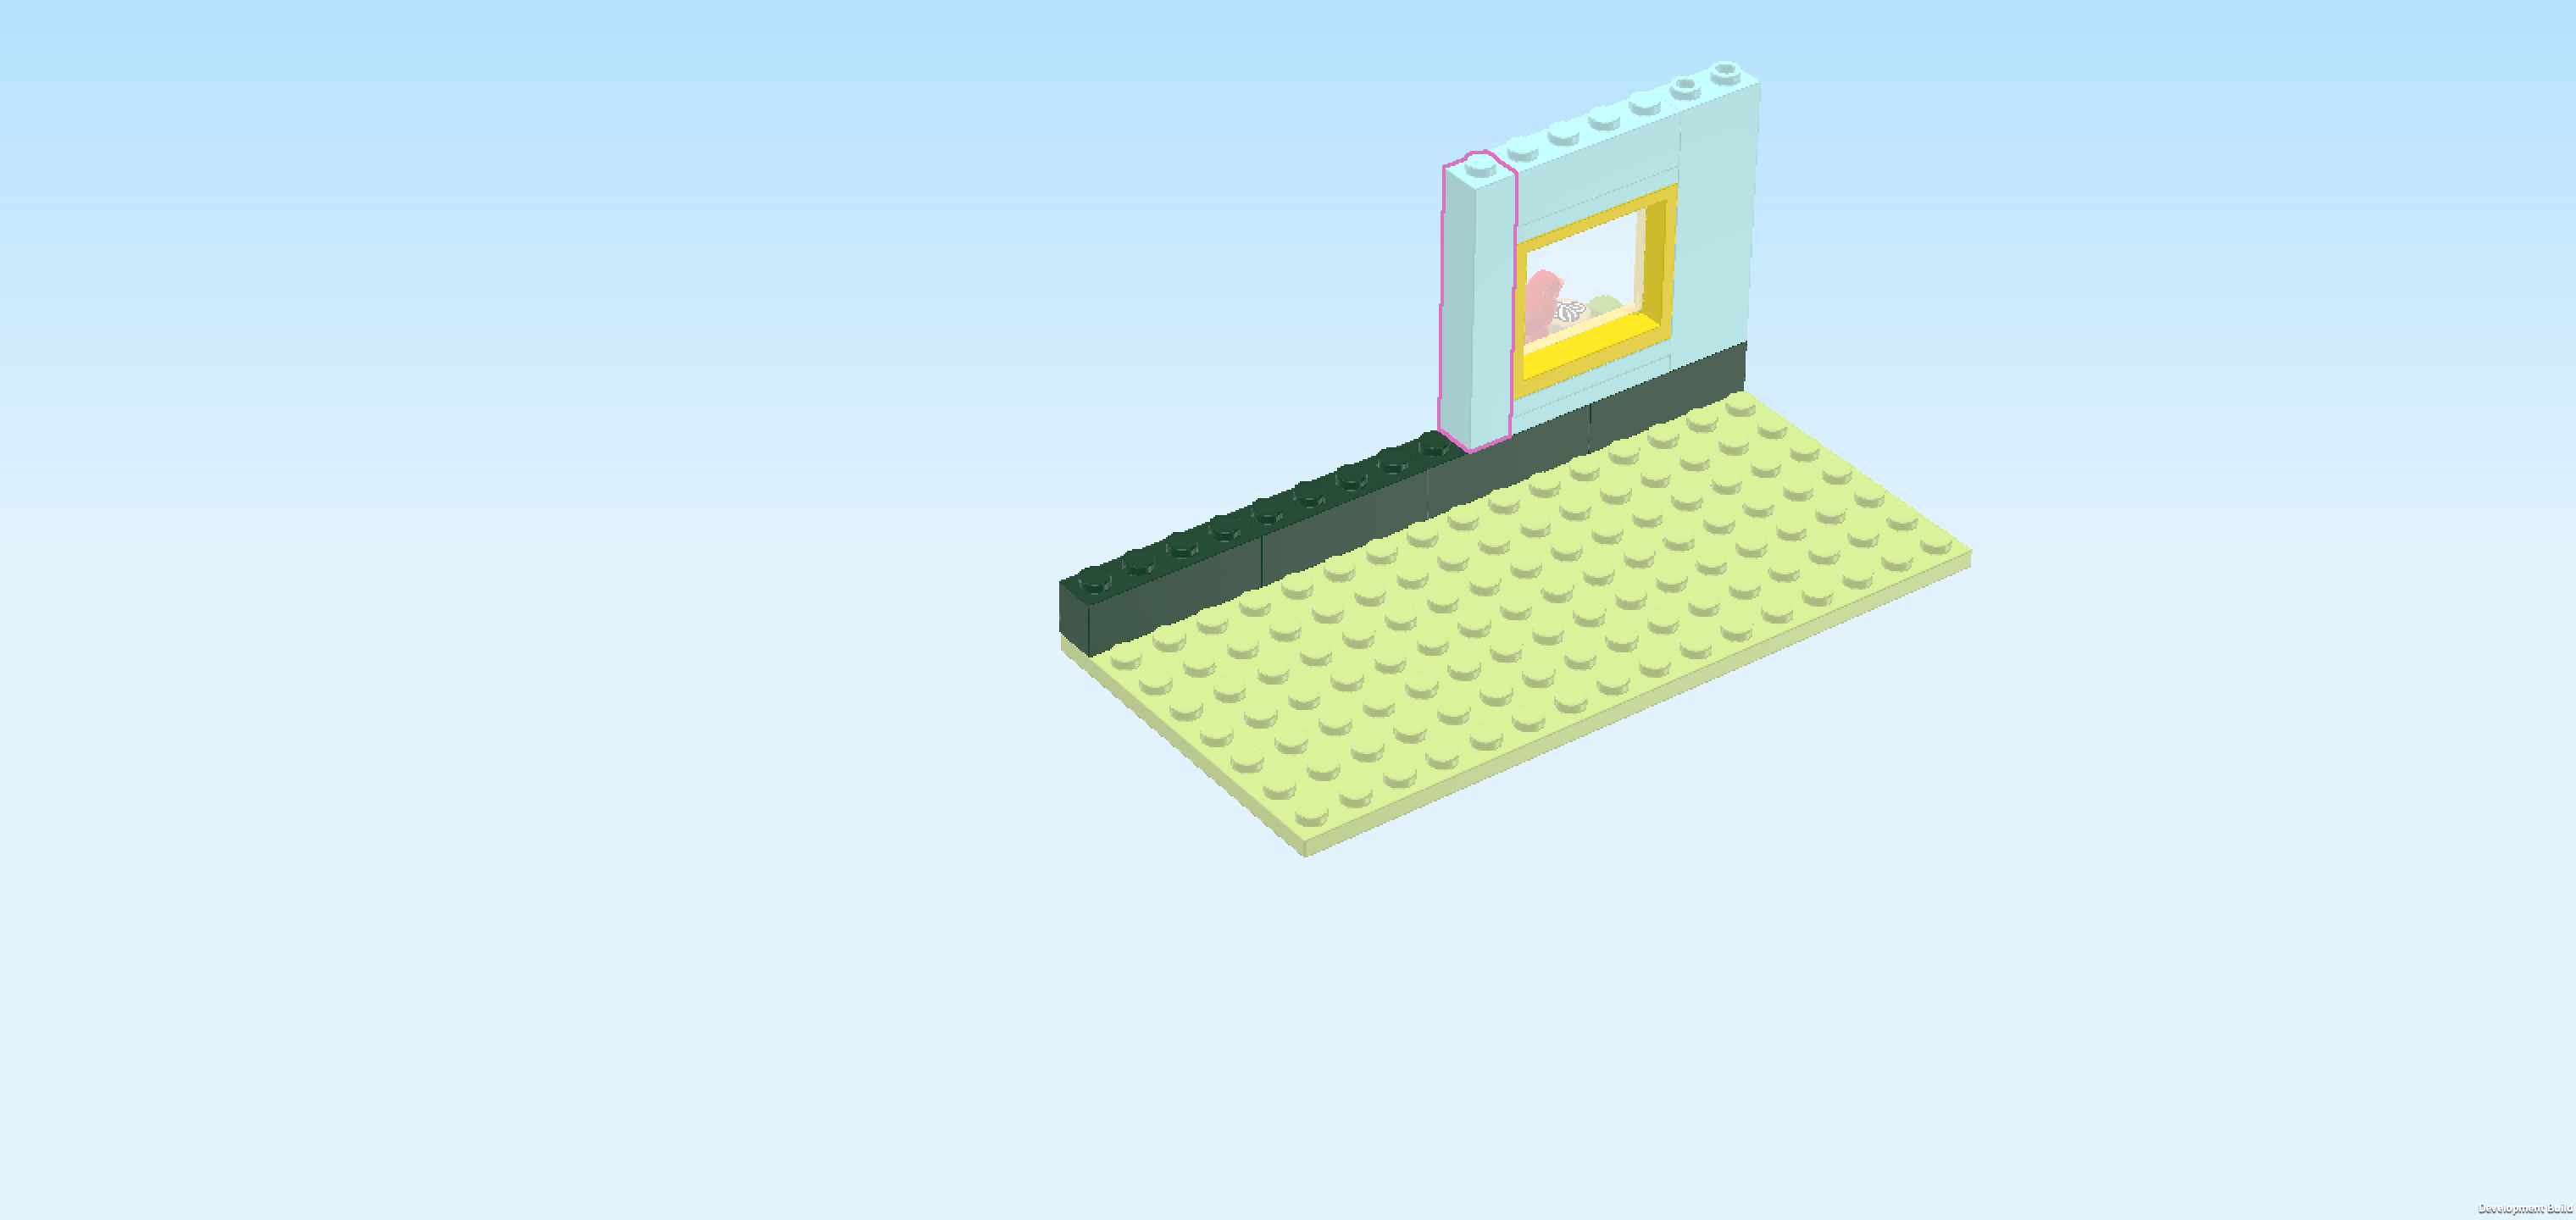
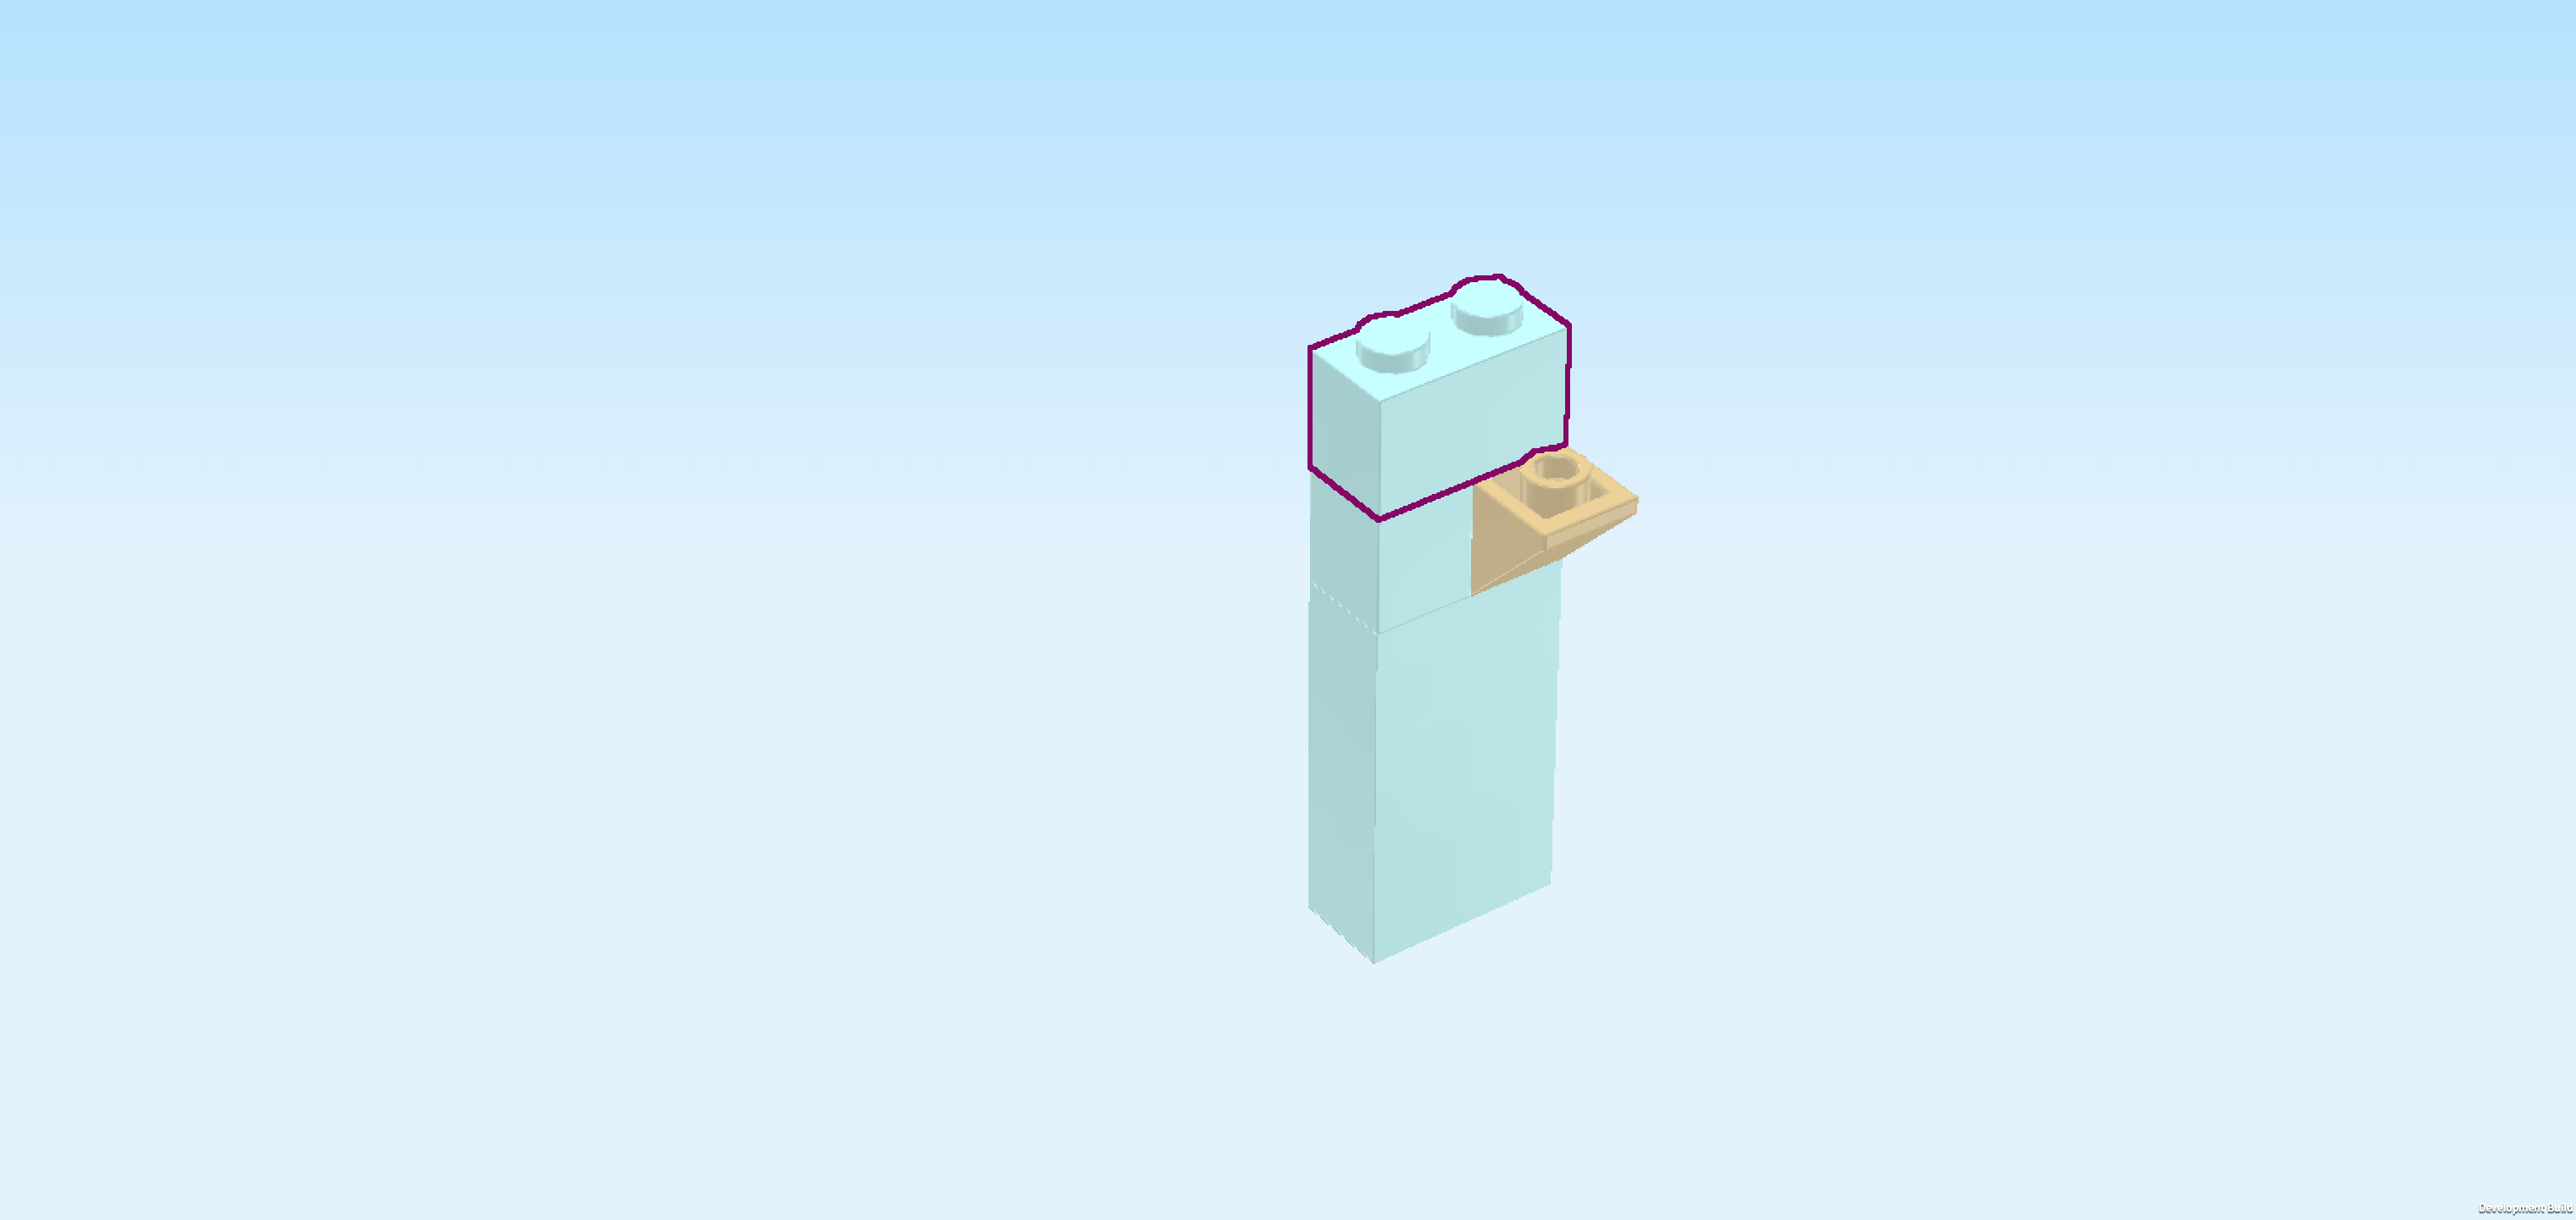
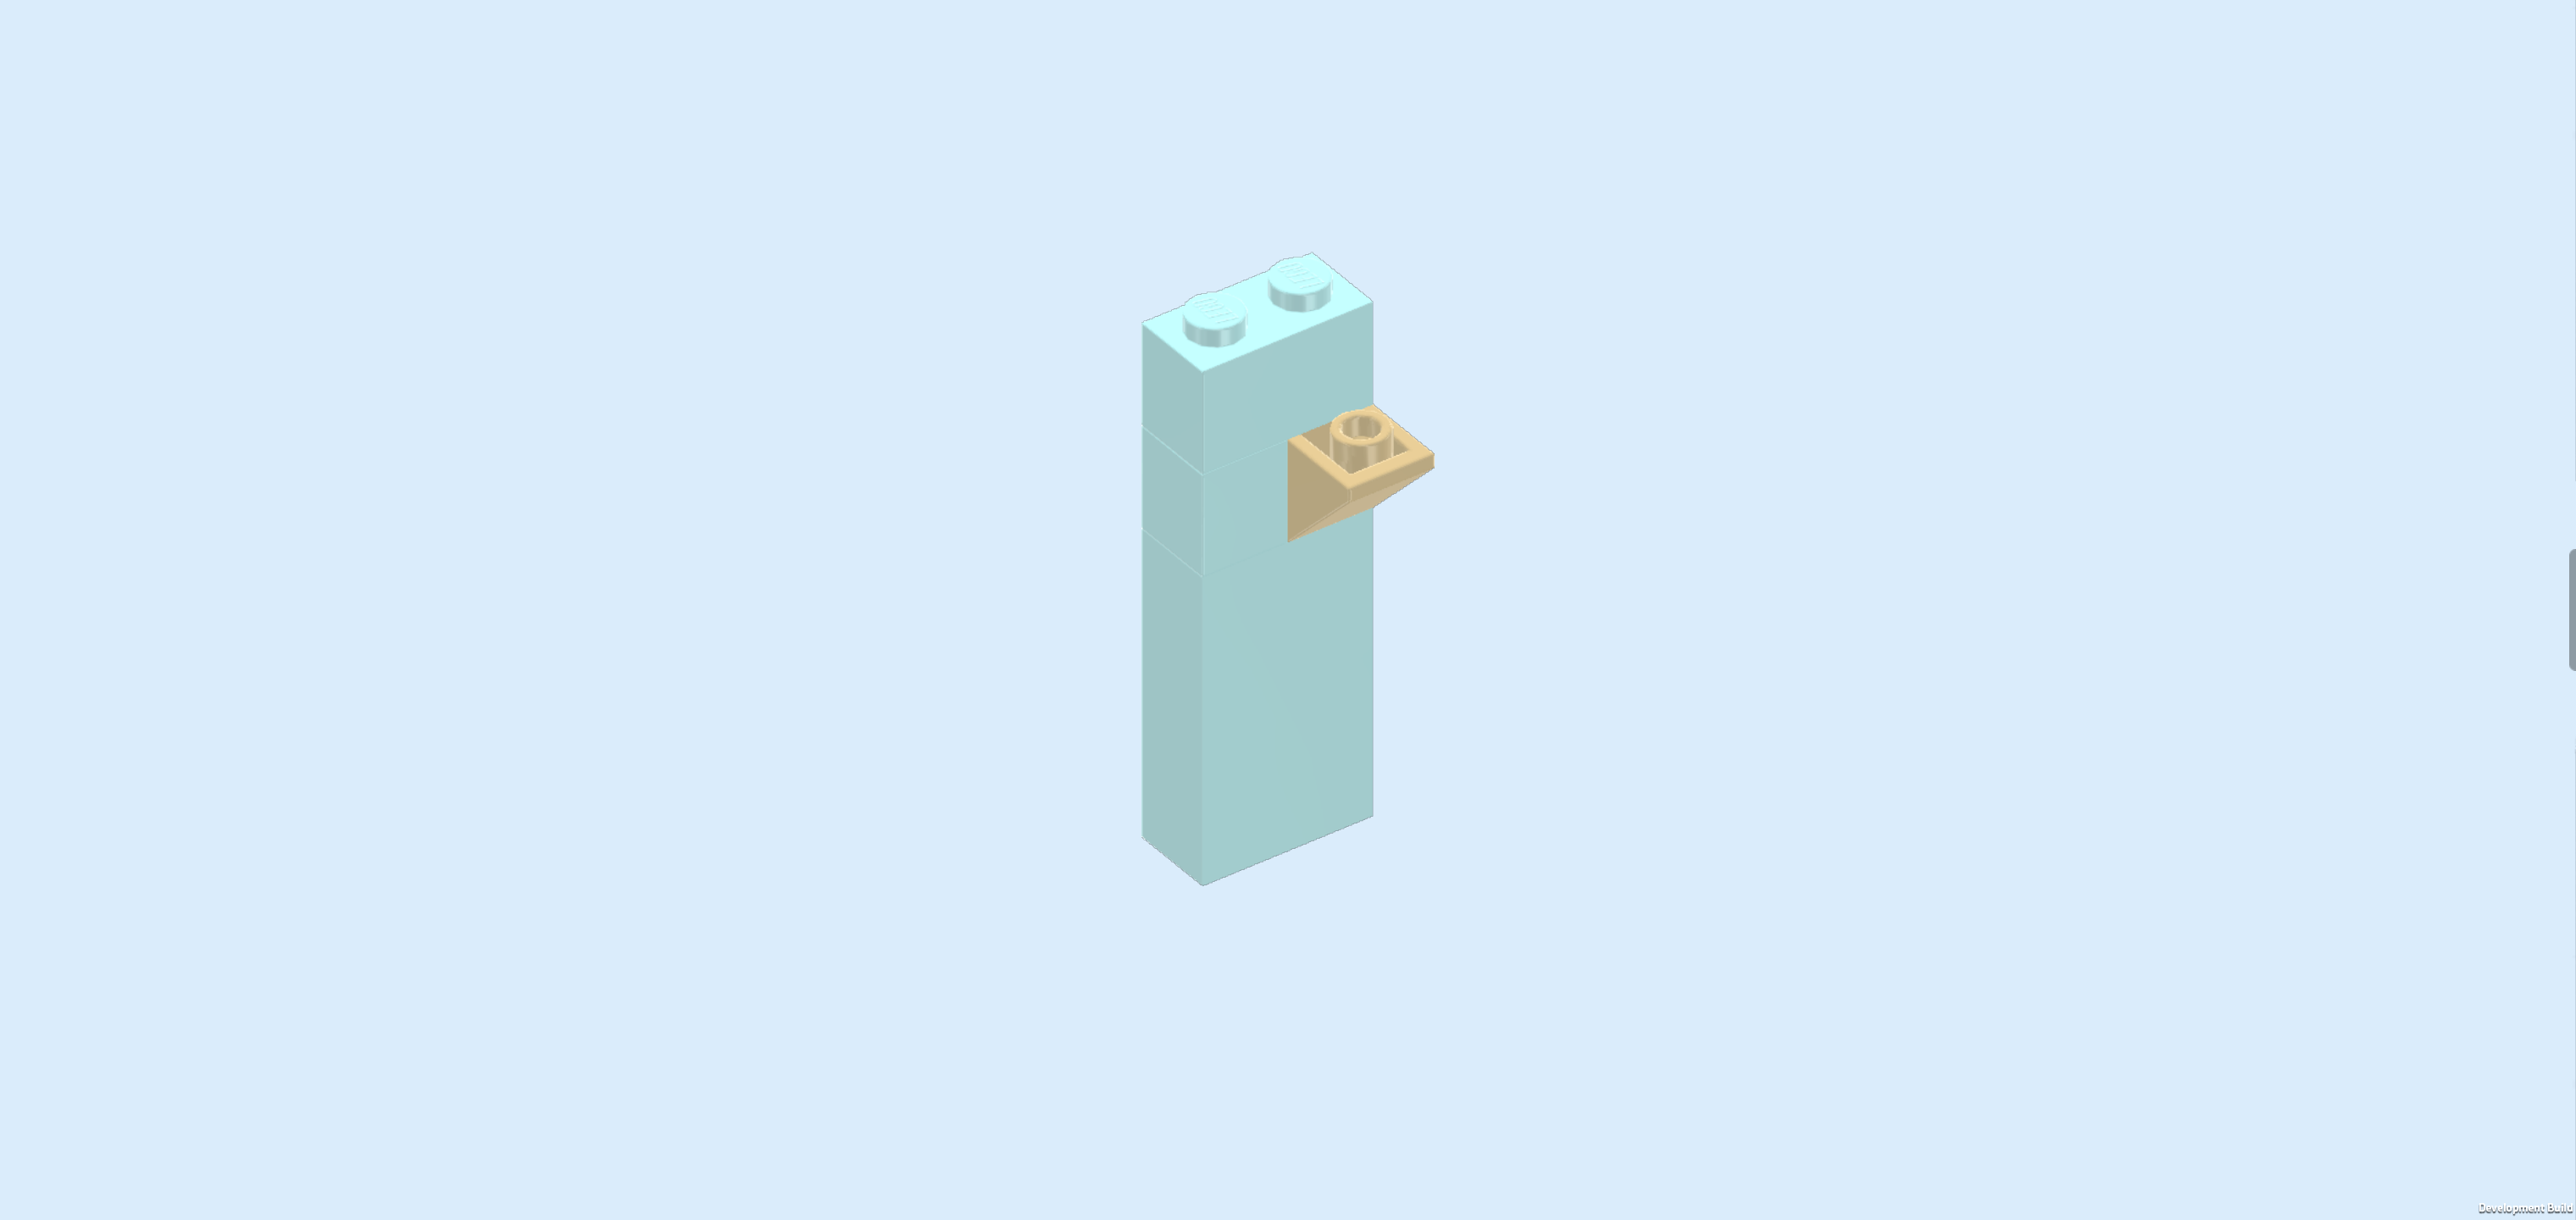
| Now, we will build a wall element with mounting extension. |
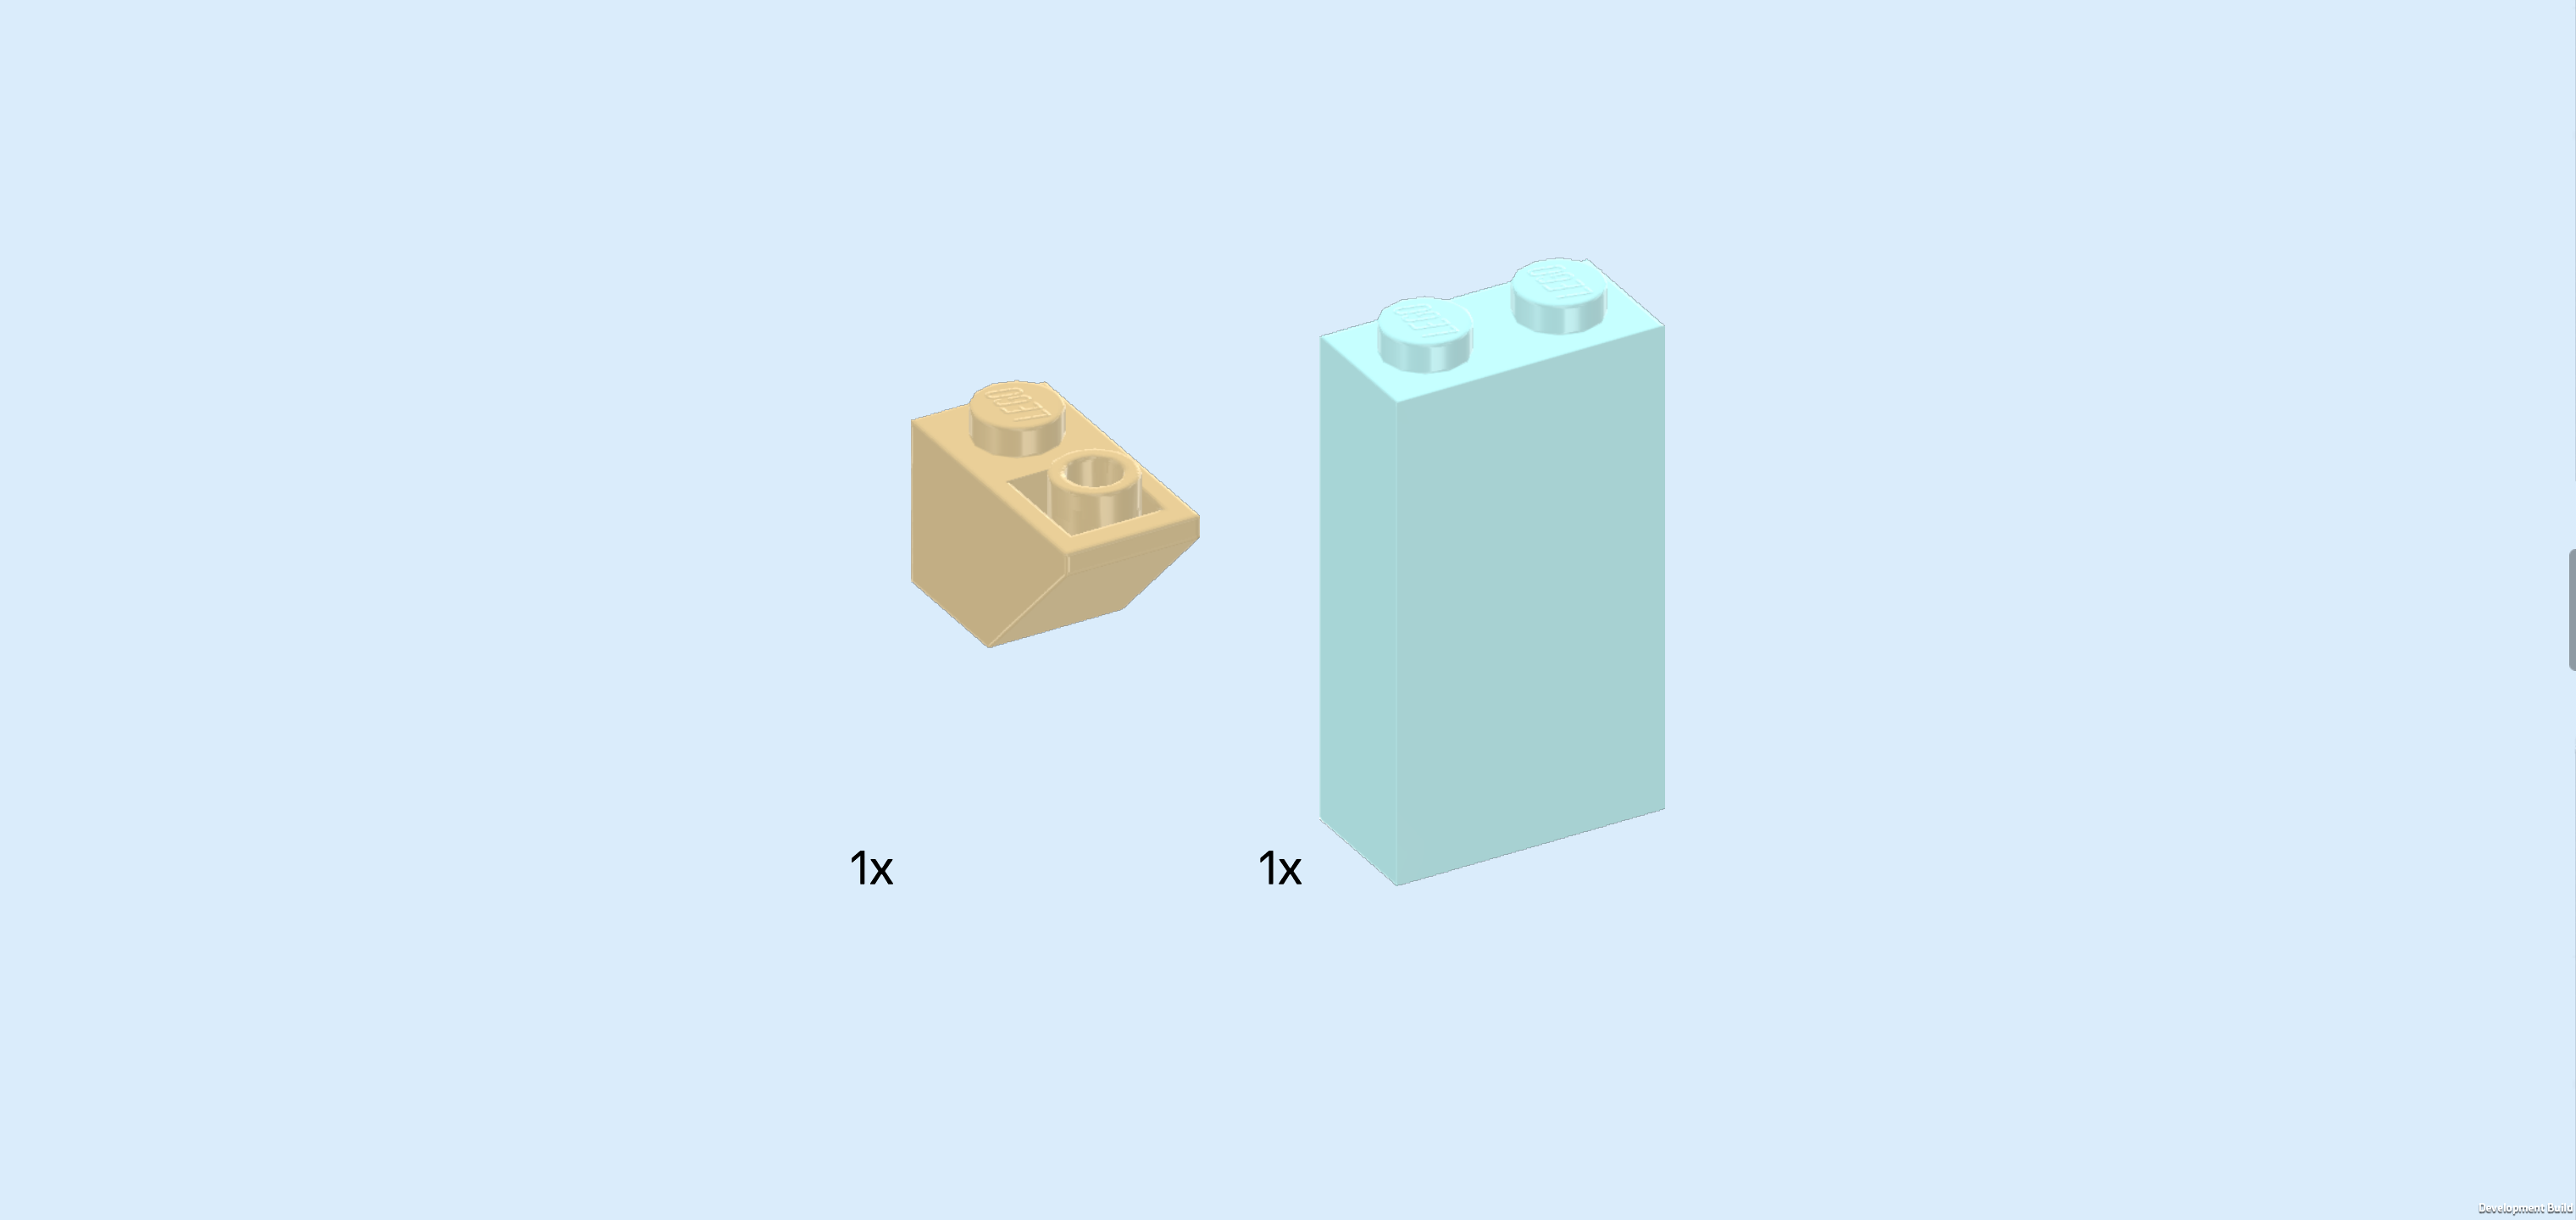
| Collect the following 2 pieces: |
| 1 beige inverted roof tile 1x2, 45°, |
| and 1 aqua blue brick 1x2x3. |
| Put the brick 1x2x3 horizontally on the table. |
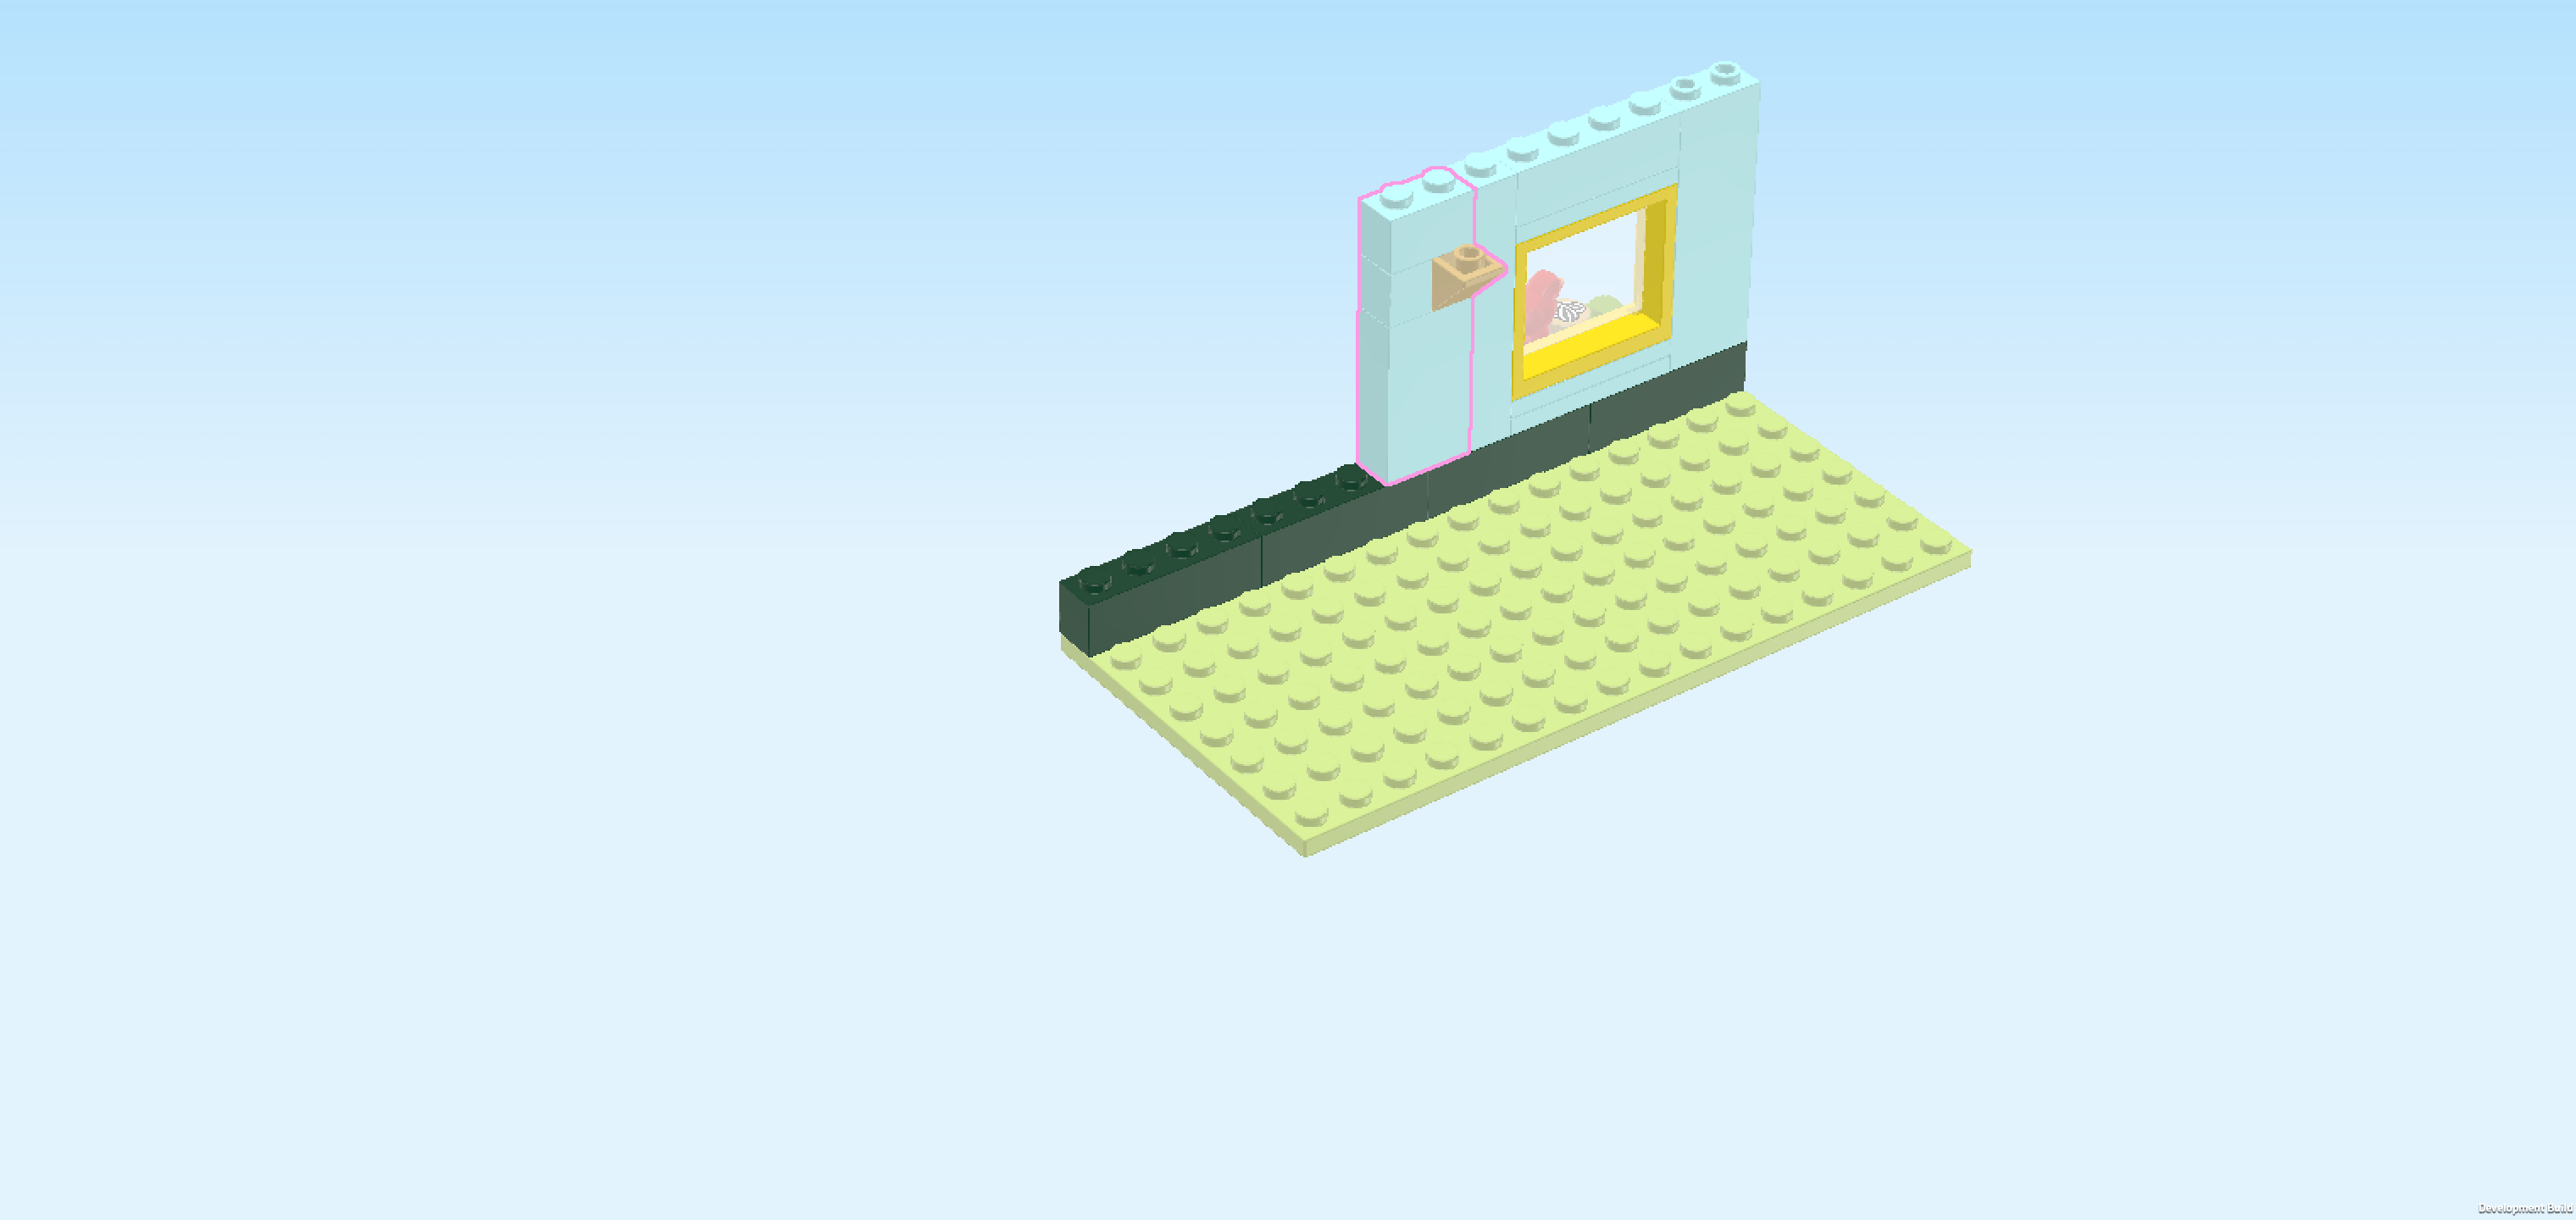
| Put the inverted roof tile 1x2 on the previous piece's right knob, 1/2 with slope overhanging to the front. |
| Find 1 aqua blue brick 1x1. |
| Put it to the left of the previous piece. |
| Find 1 aqua blue brick 1x2. |
| Put it horizontally on top. |
| The wall element with mounting extension is finished! Great job! Mount it in its building orientation to the left of the brick 1x1x5 on the backmost row. |
| Much later in this building process, we will use the mounting extension to mount Autumn's loft bed. |
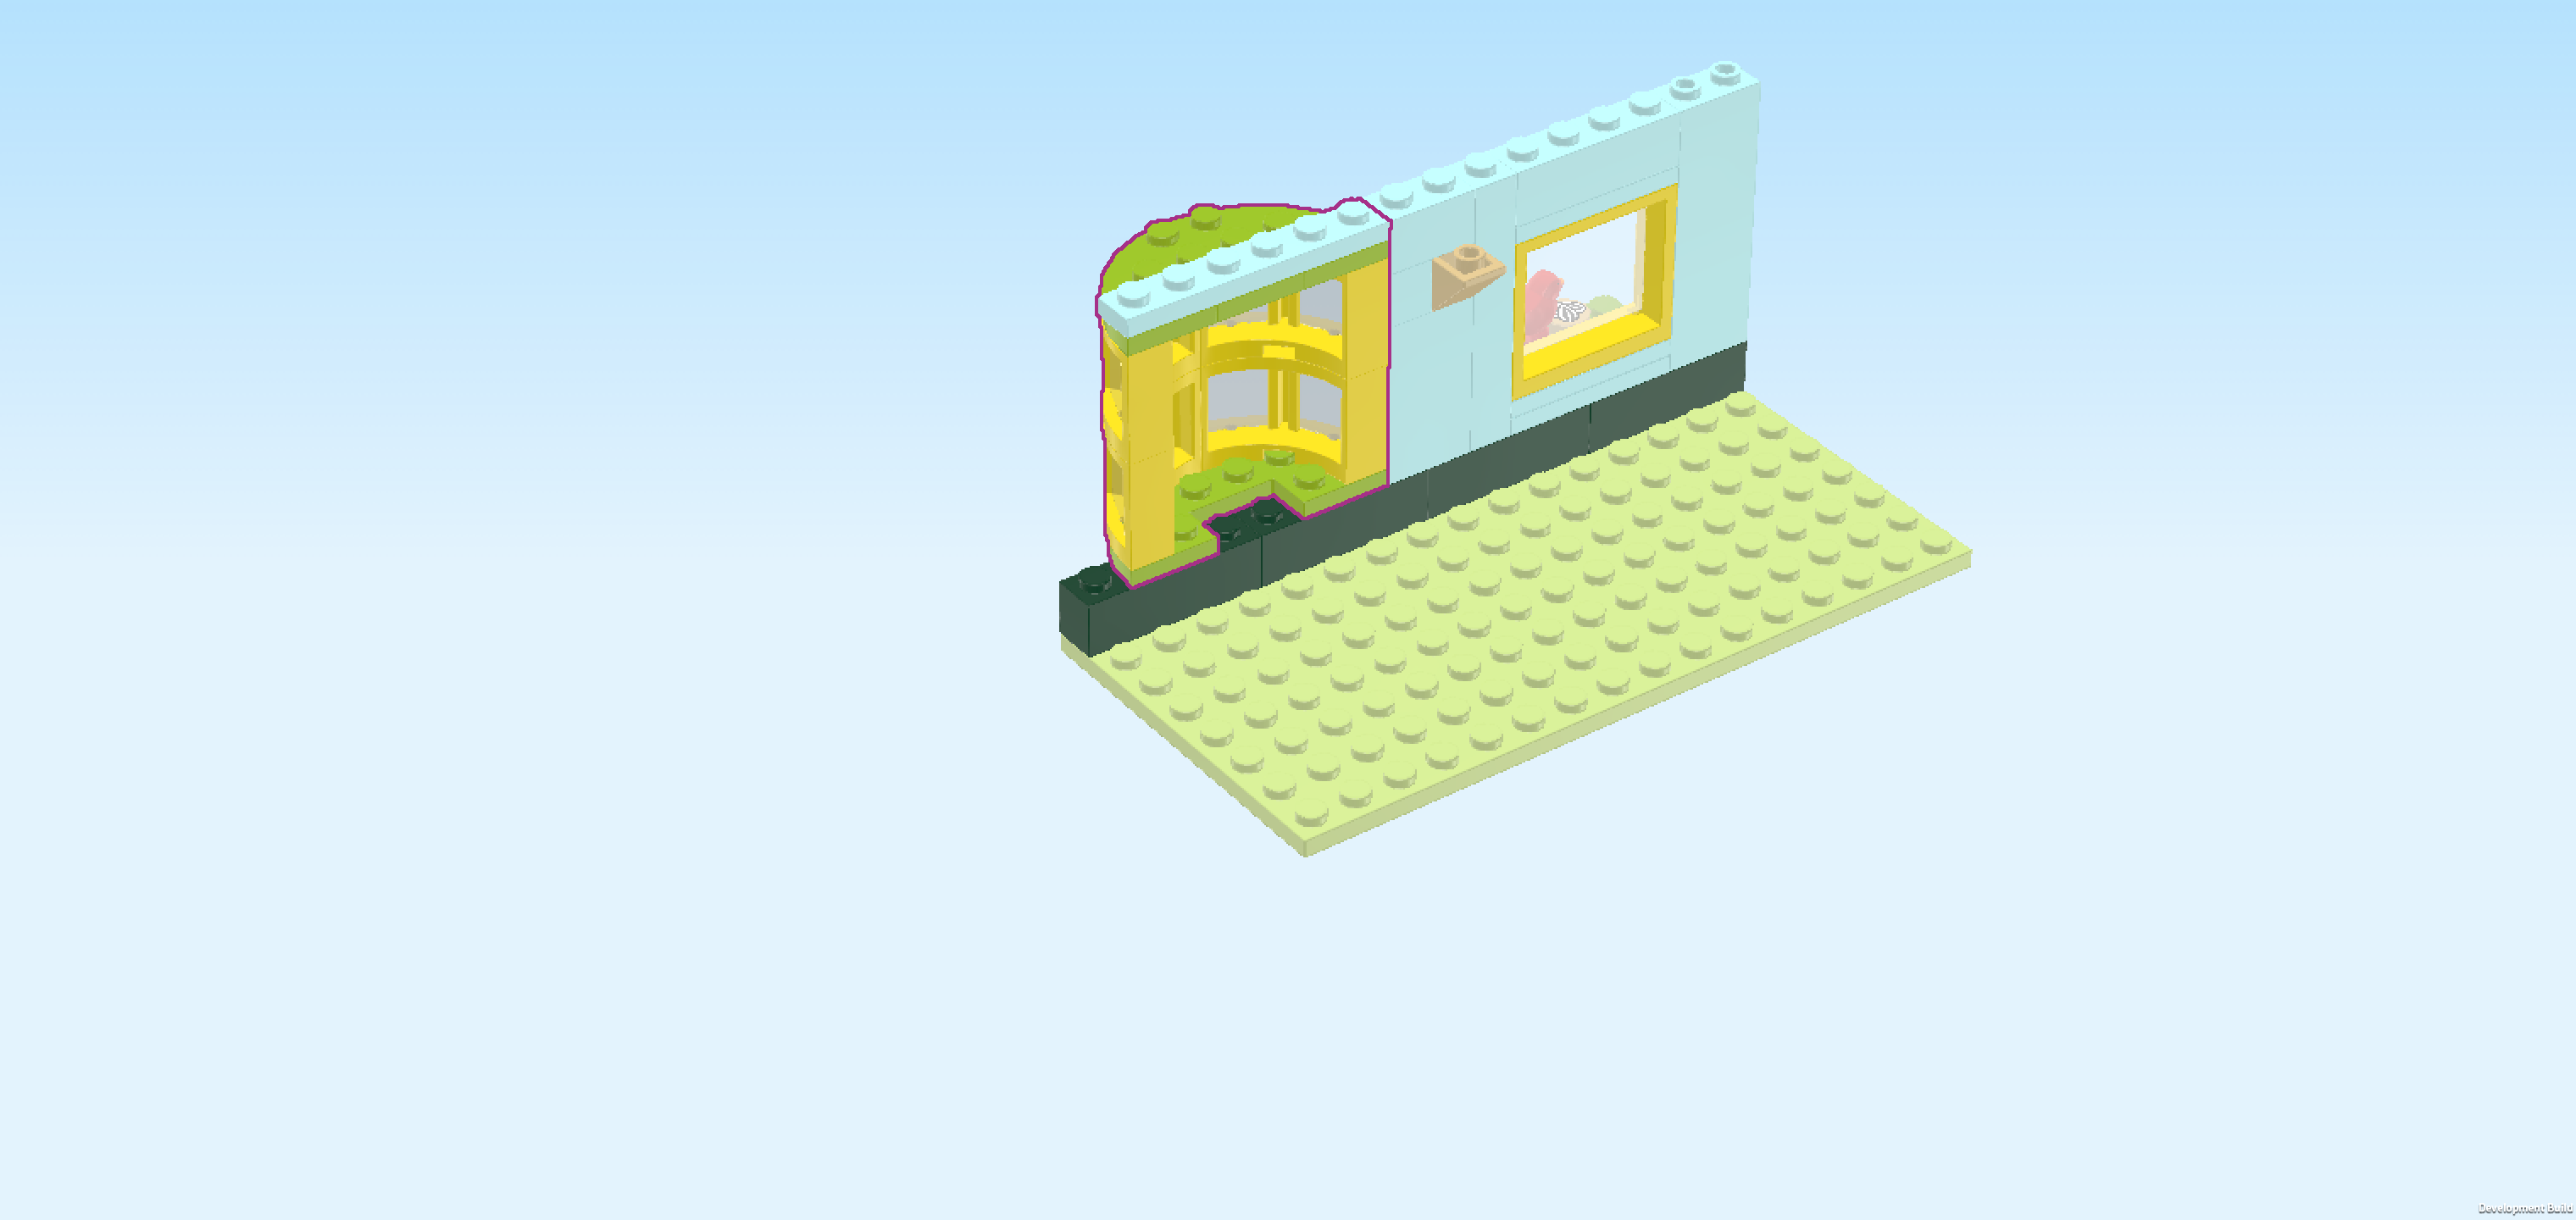
| Next, we will build the bay window. |
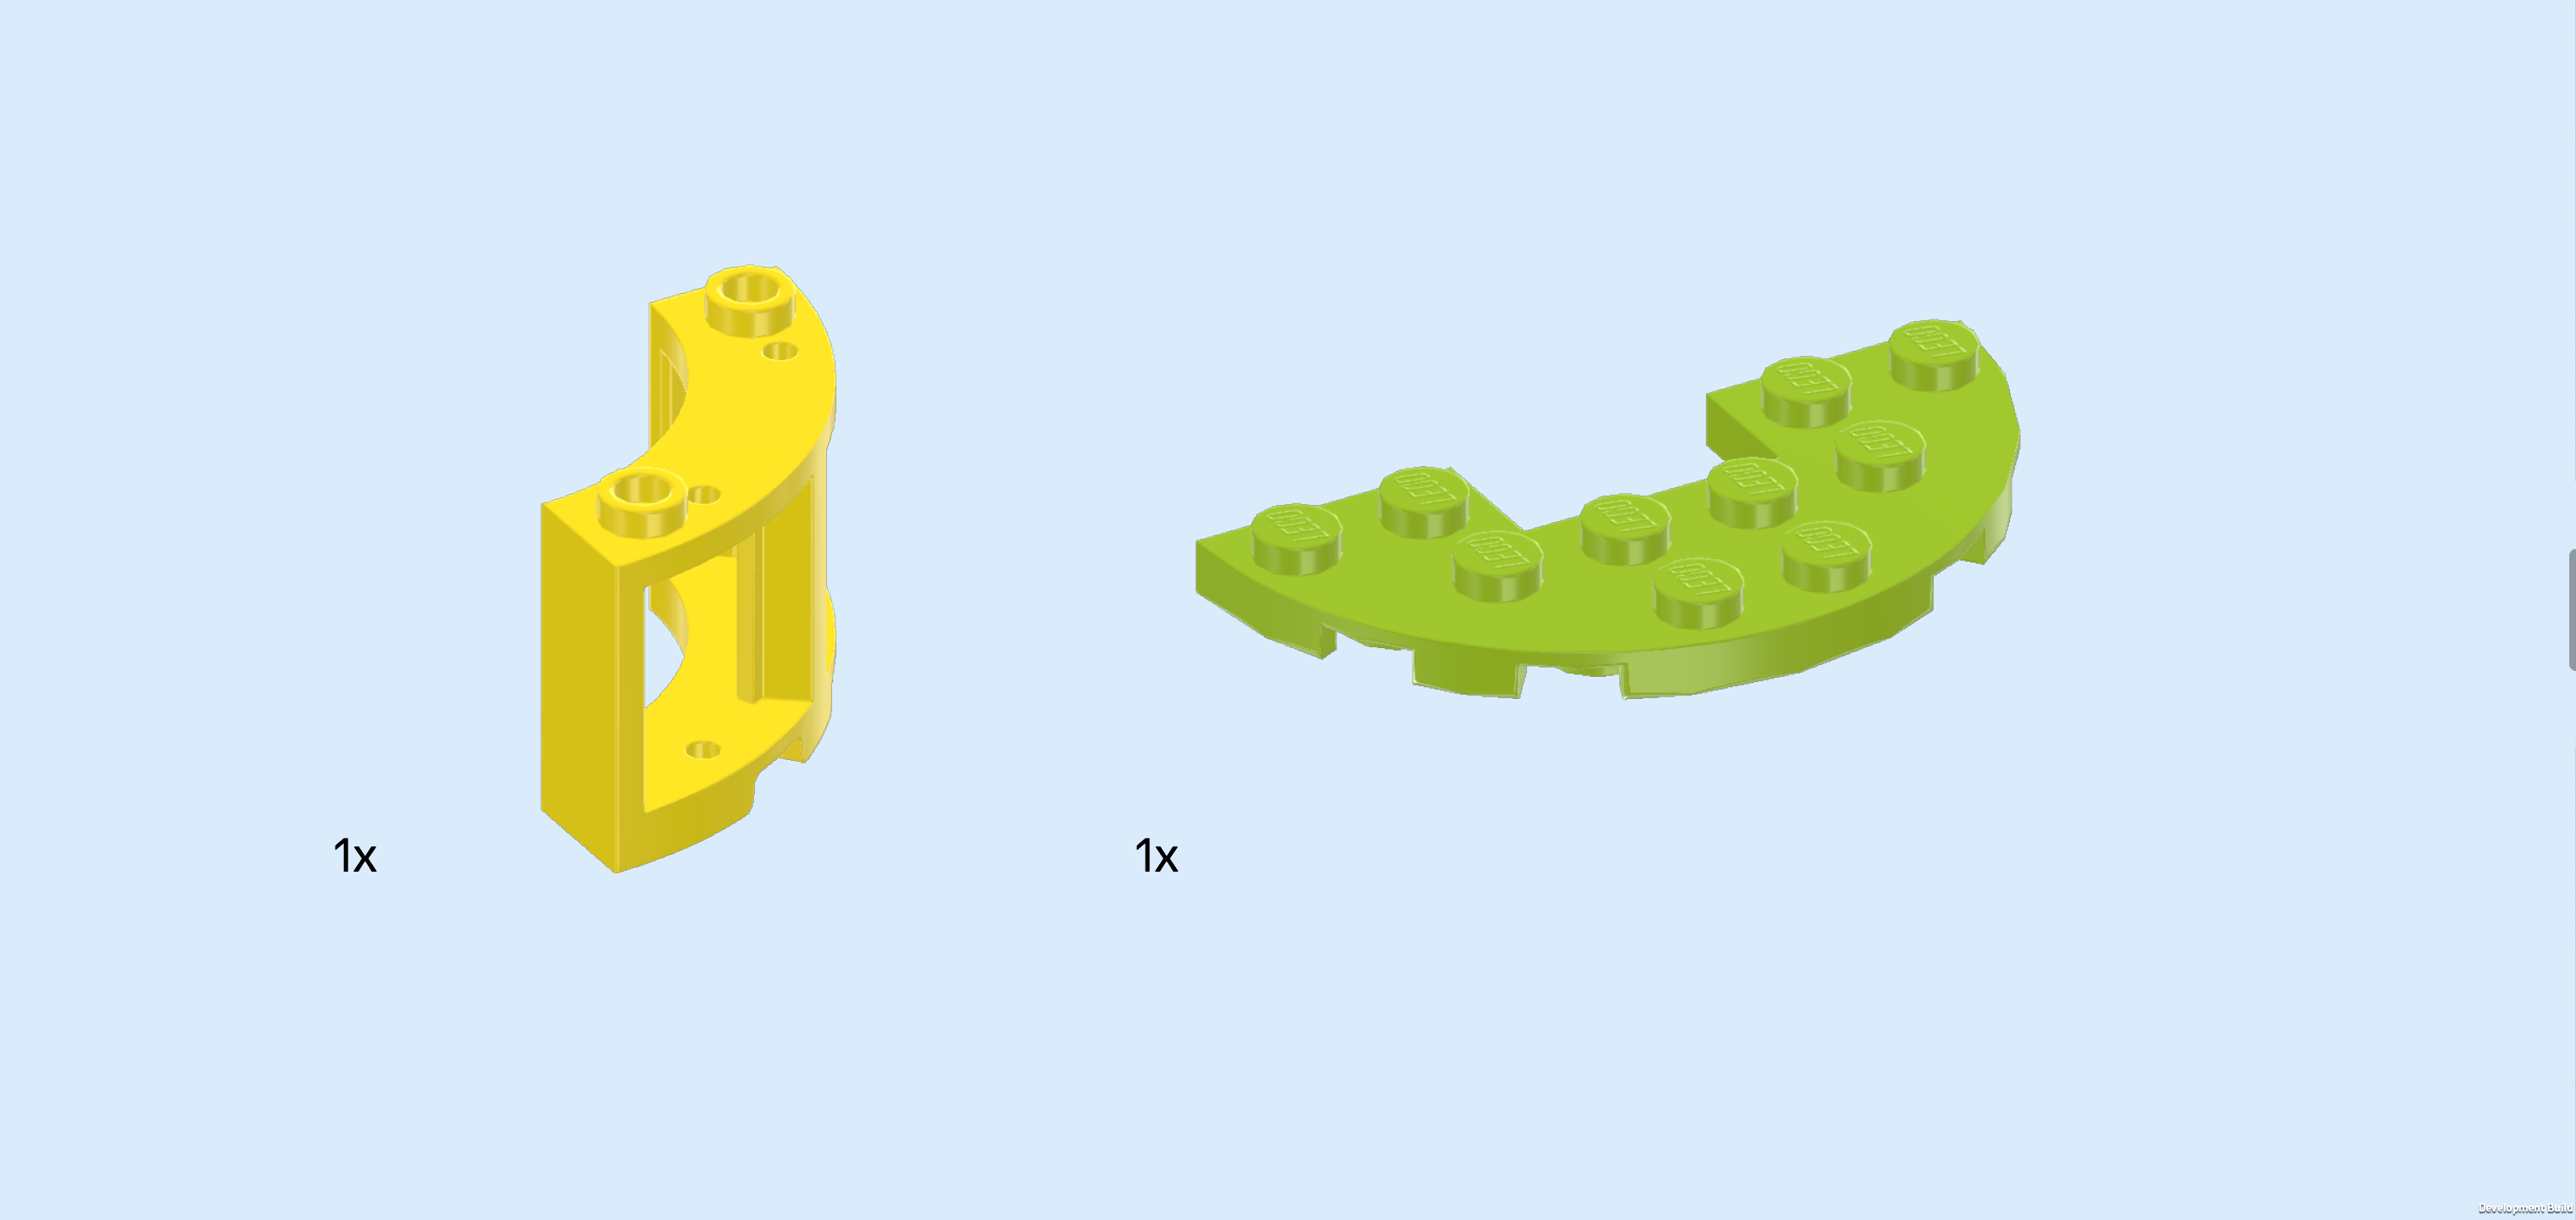
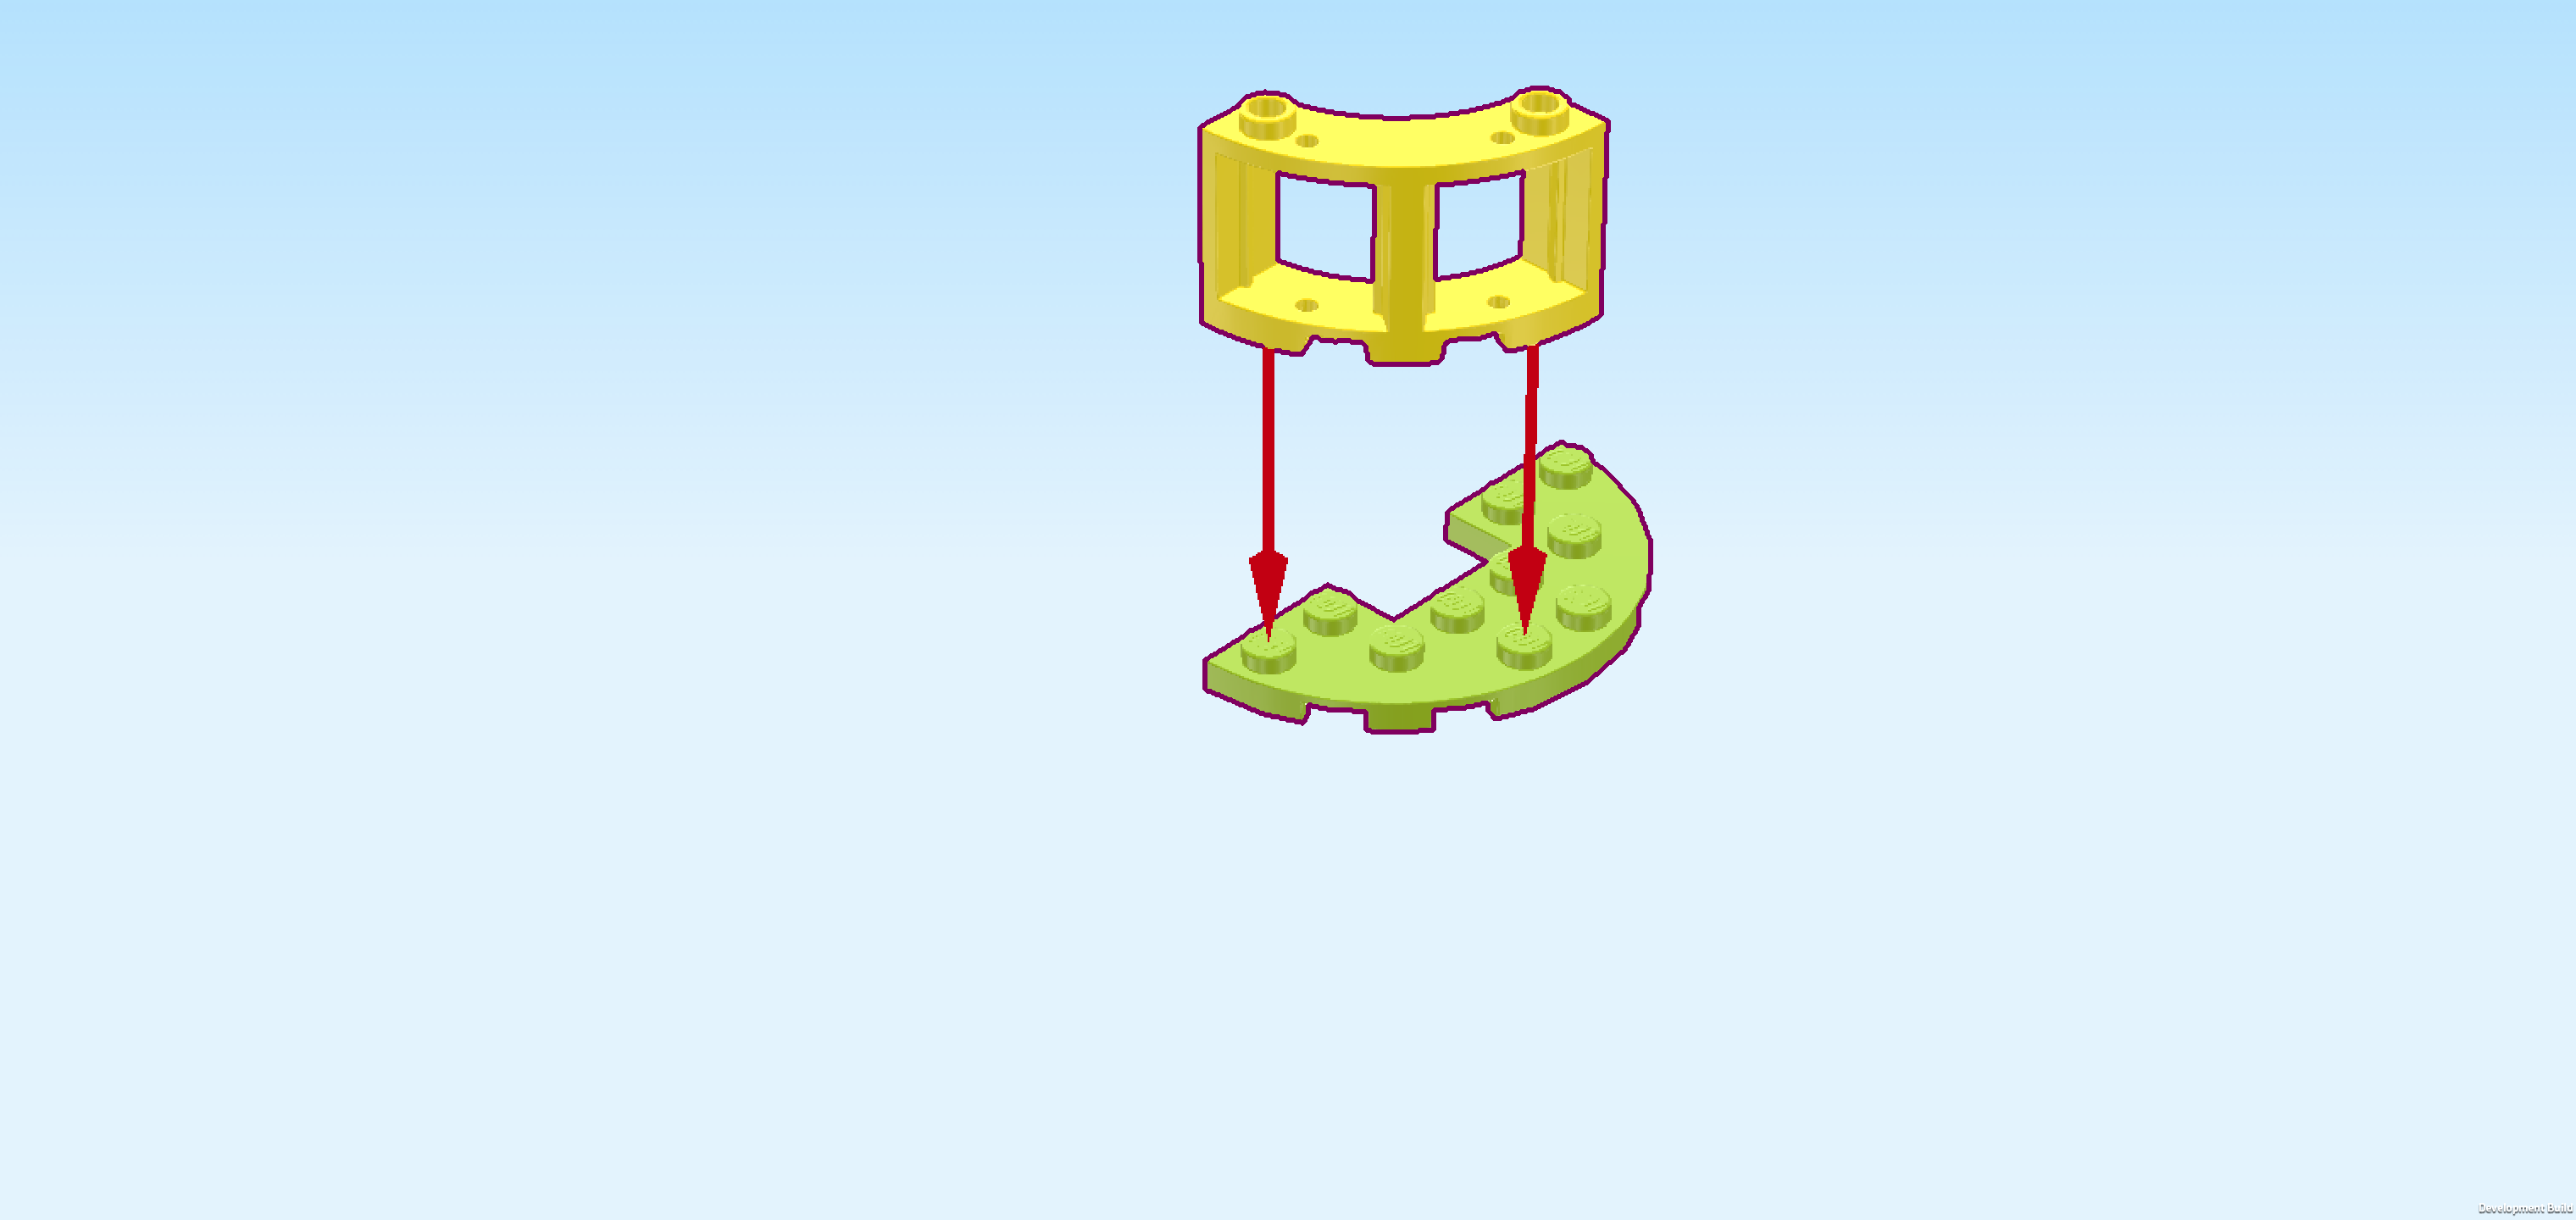
| Collect the following 2 pieces: |
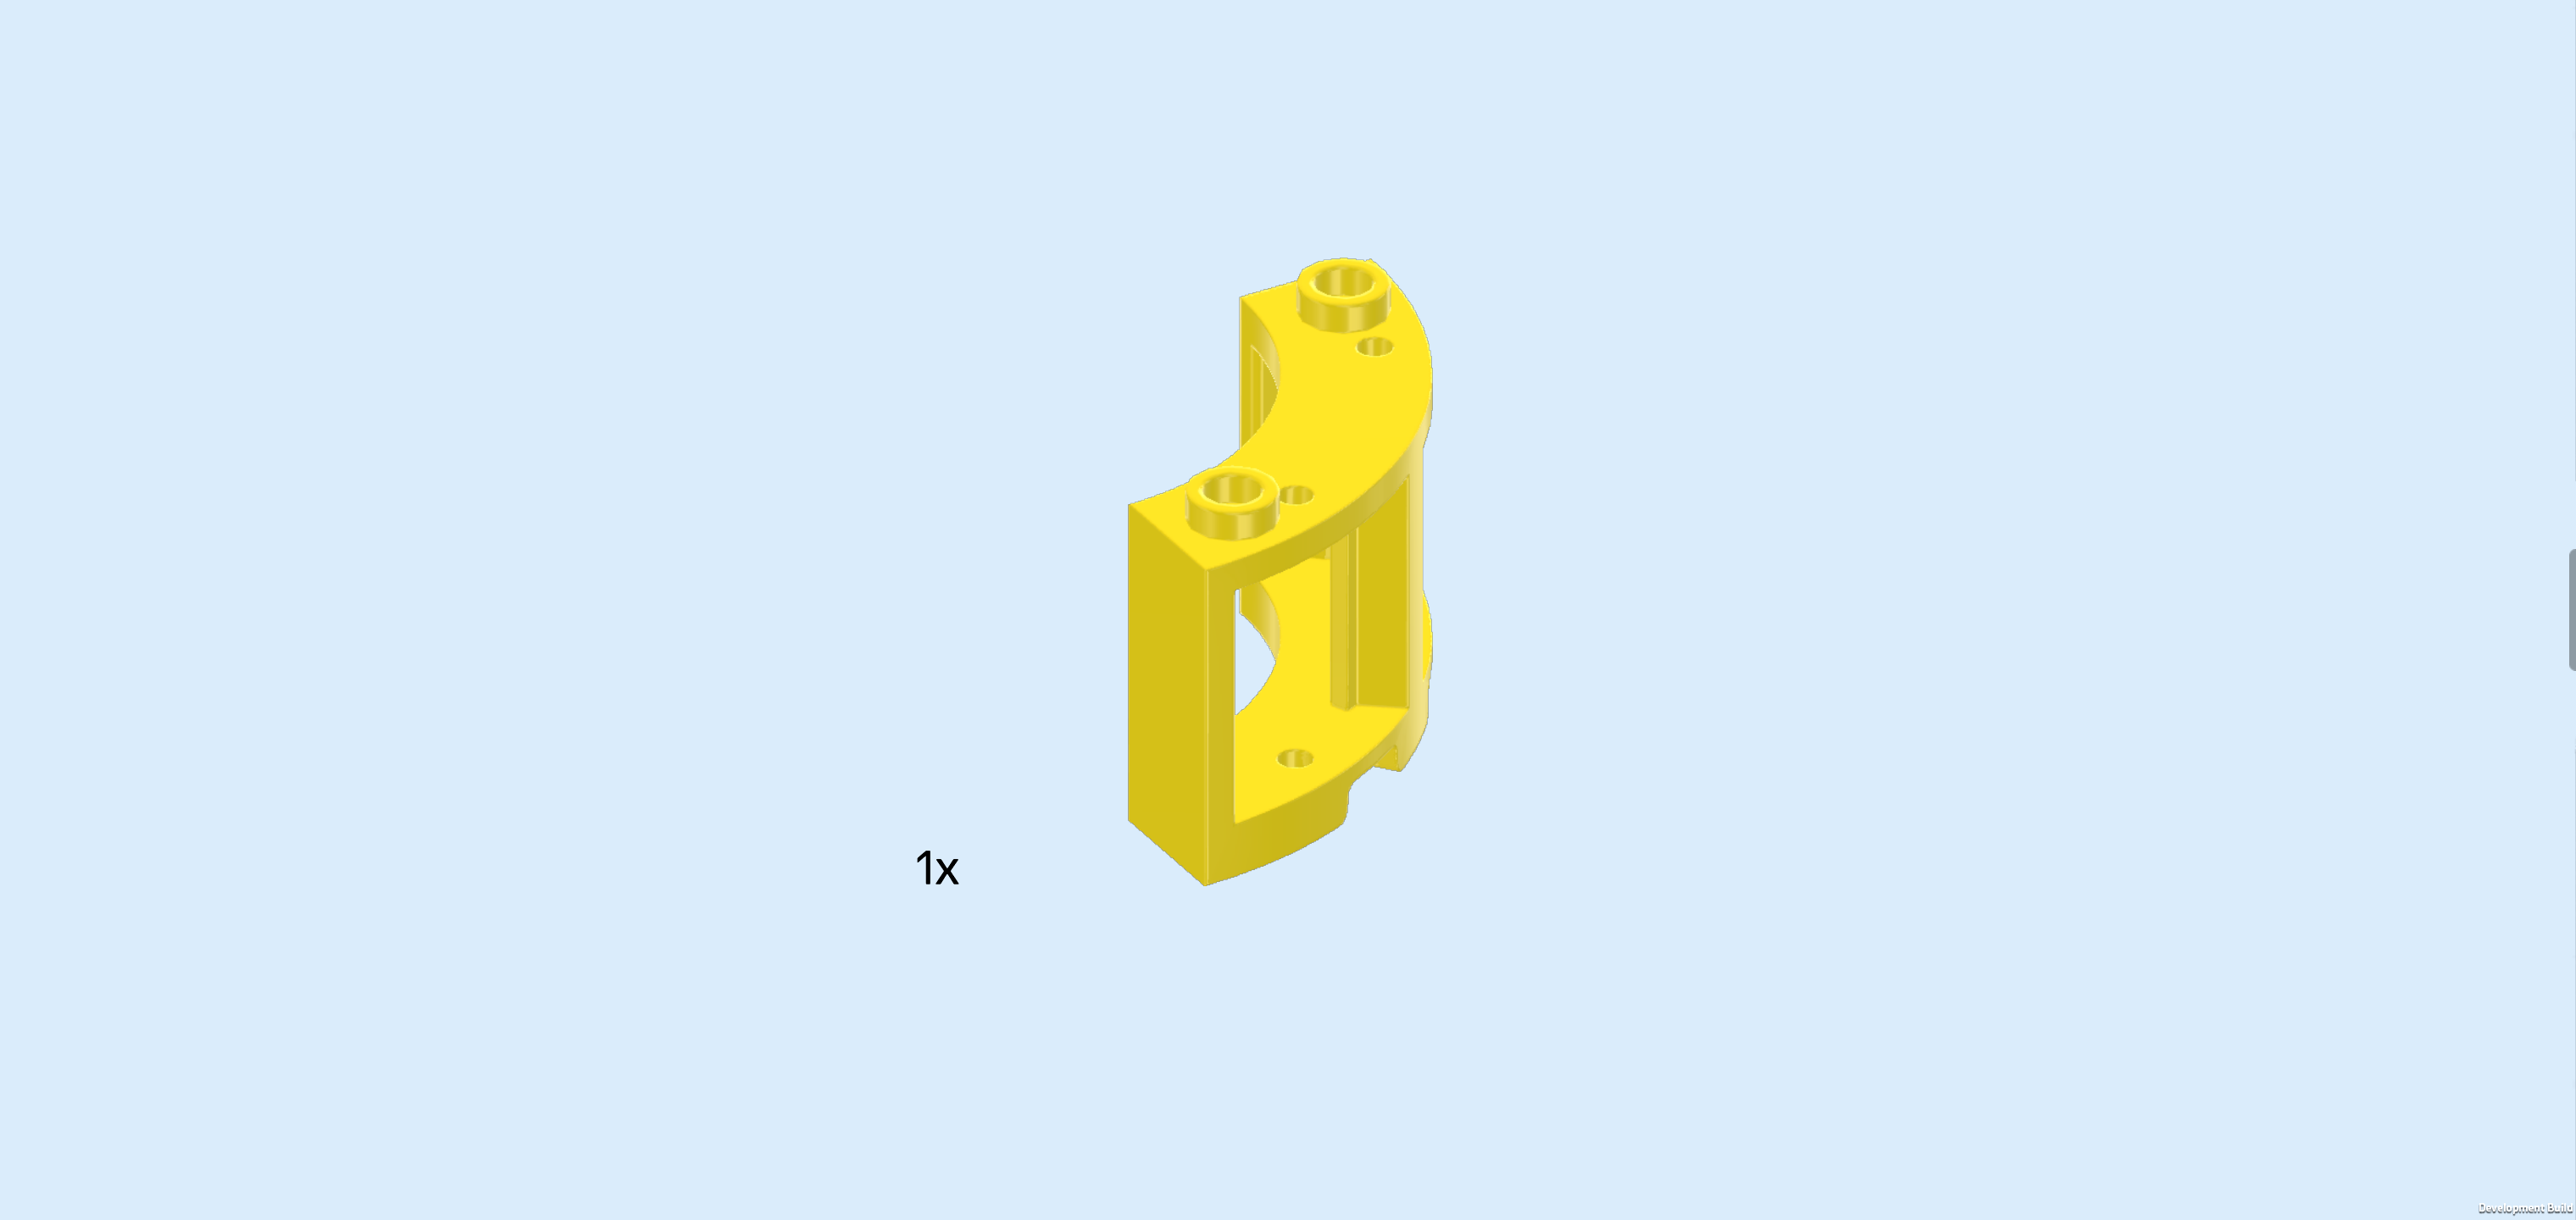
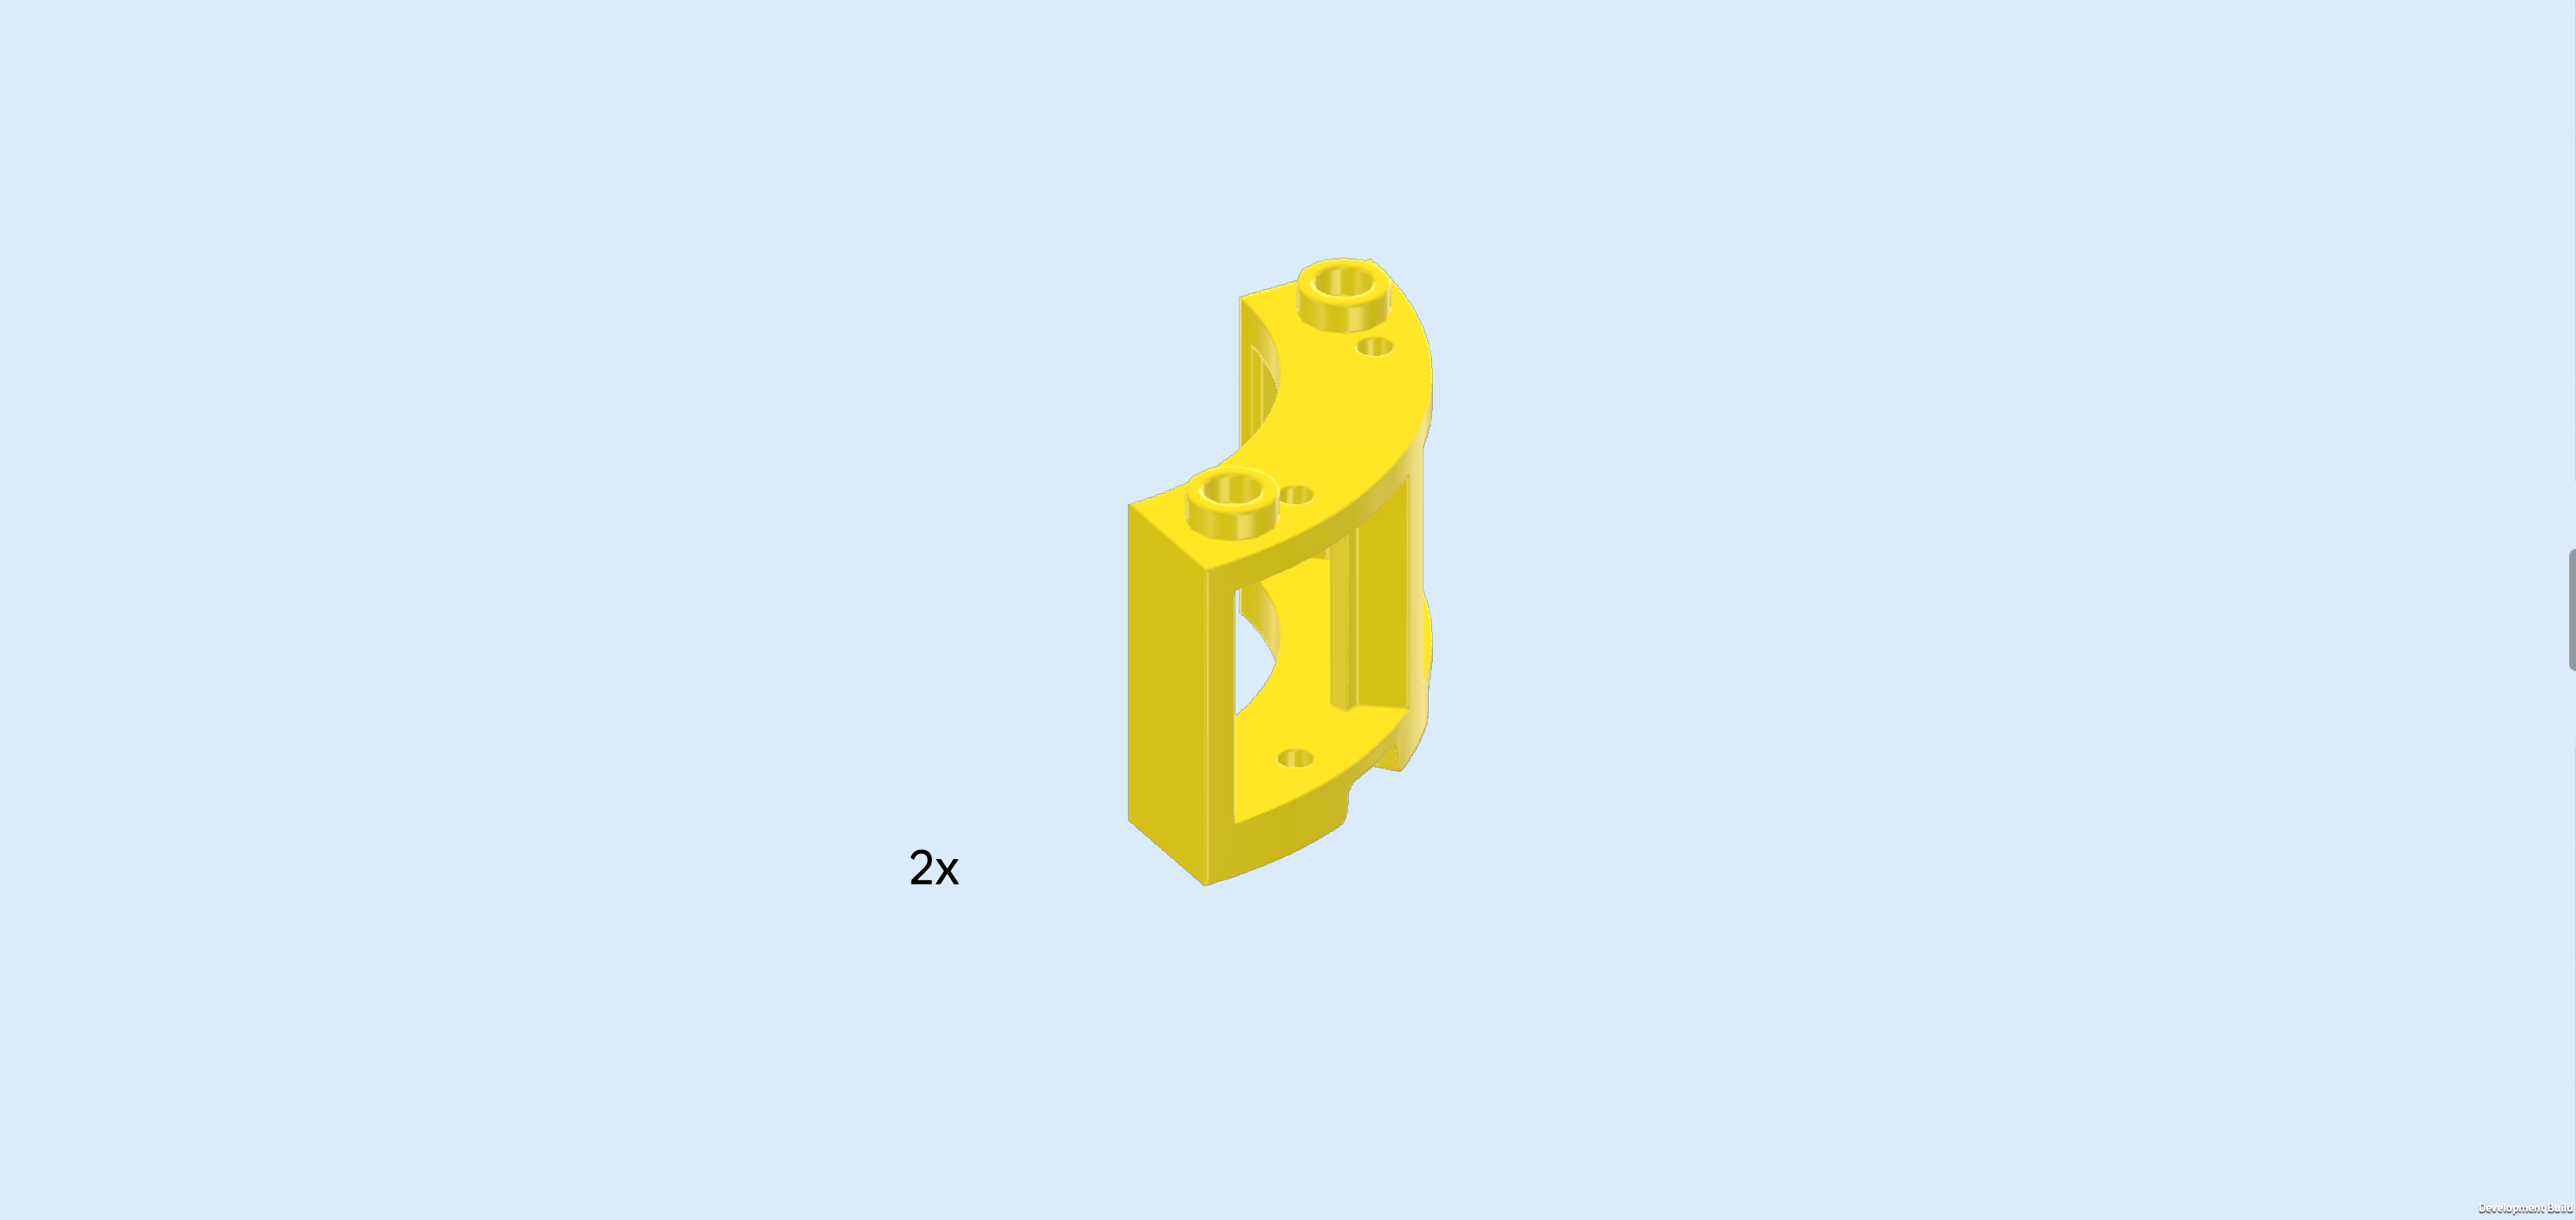
| 1 bright yellow quarter-circle window frame 3x3, |
| and 1 bright yellowish green half-circle plate 3x6 with cut-out 1x2. |
| Put the half-circle plate 3x6 horizontally on the table, half circle to the front, cut-out at the back. |
| Put the quarter-circle window frame on the left half of the half-circle plate, matching its shape. |
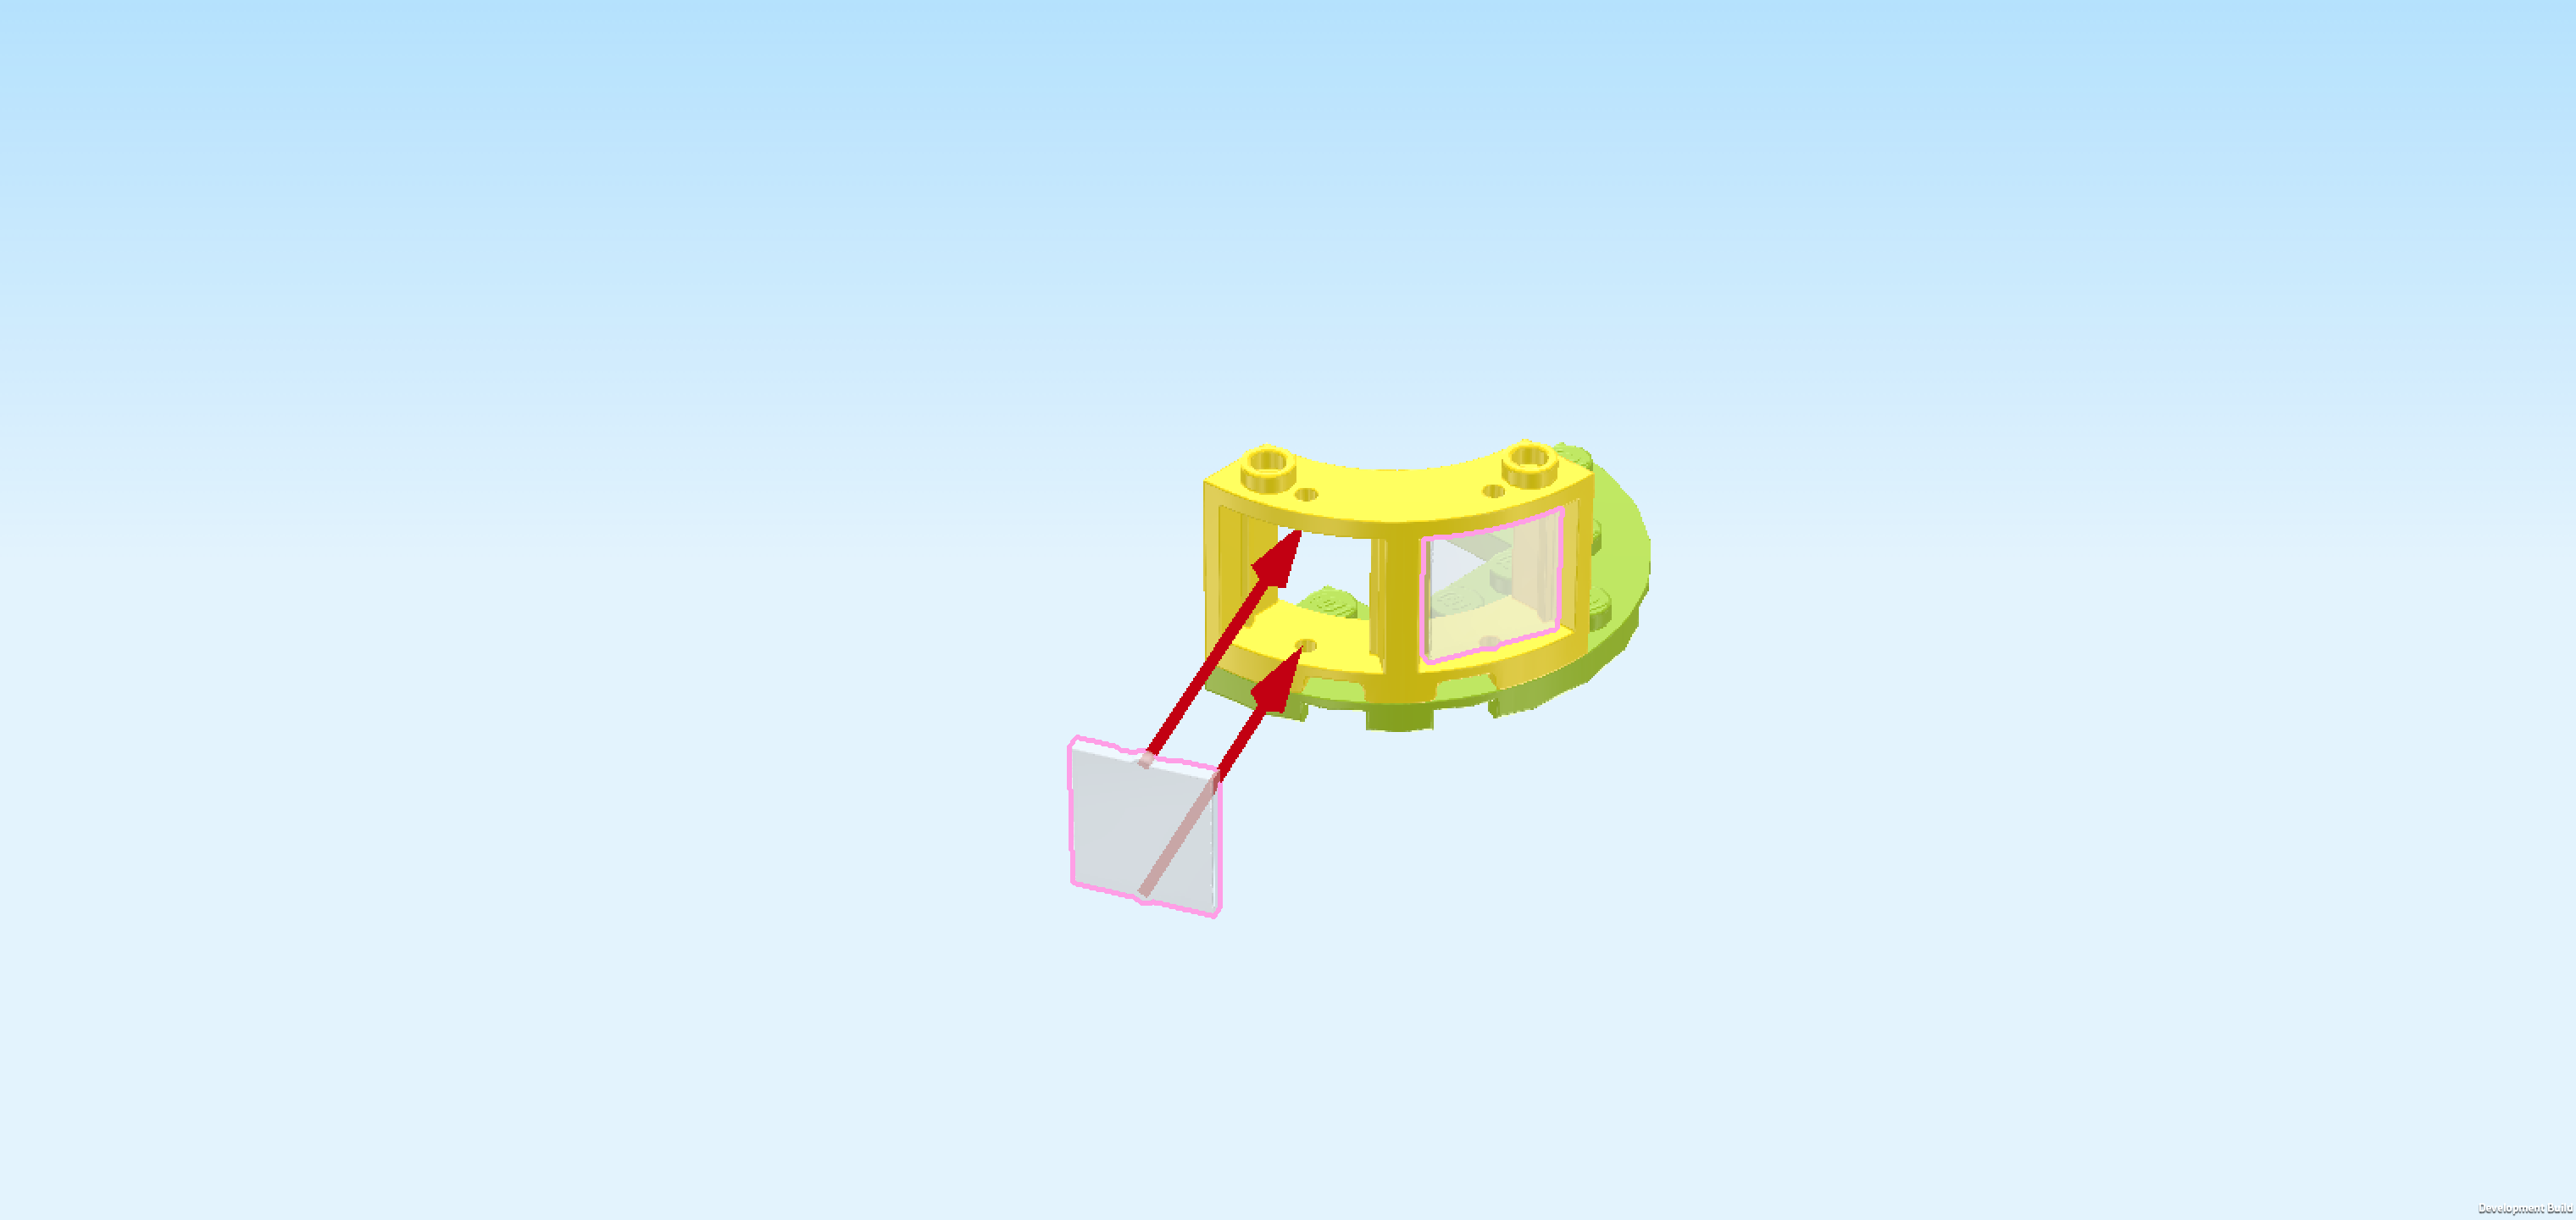
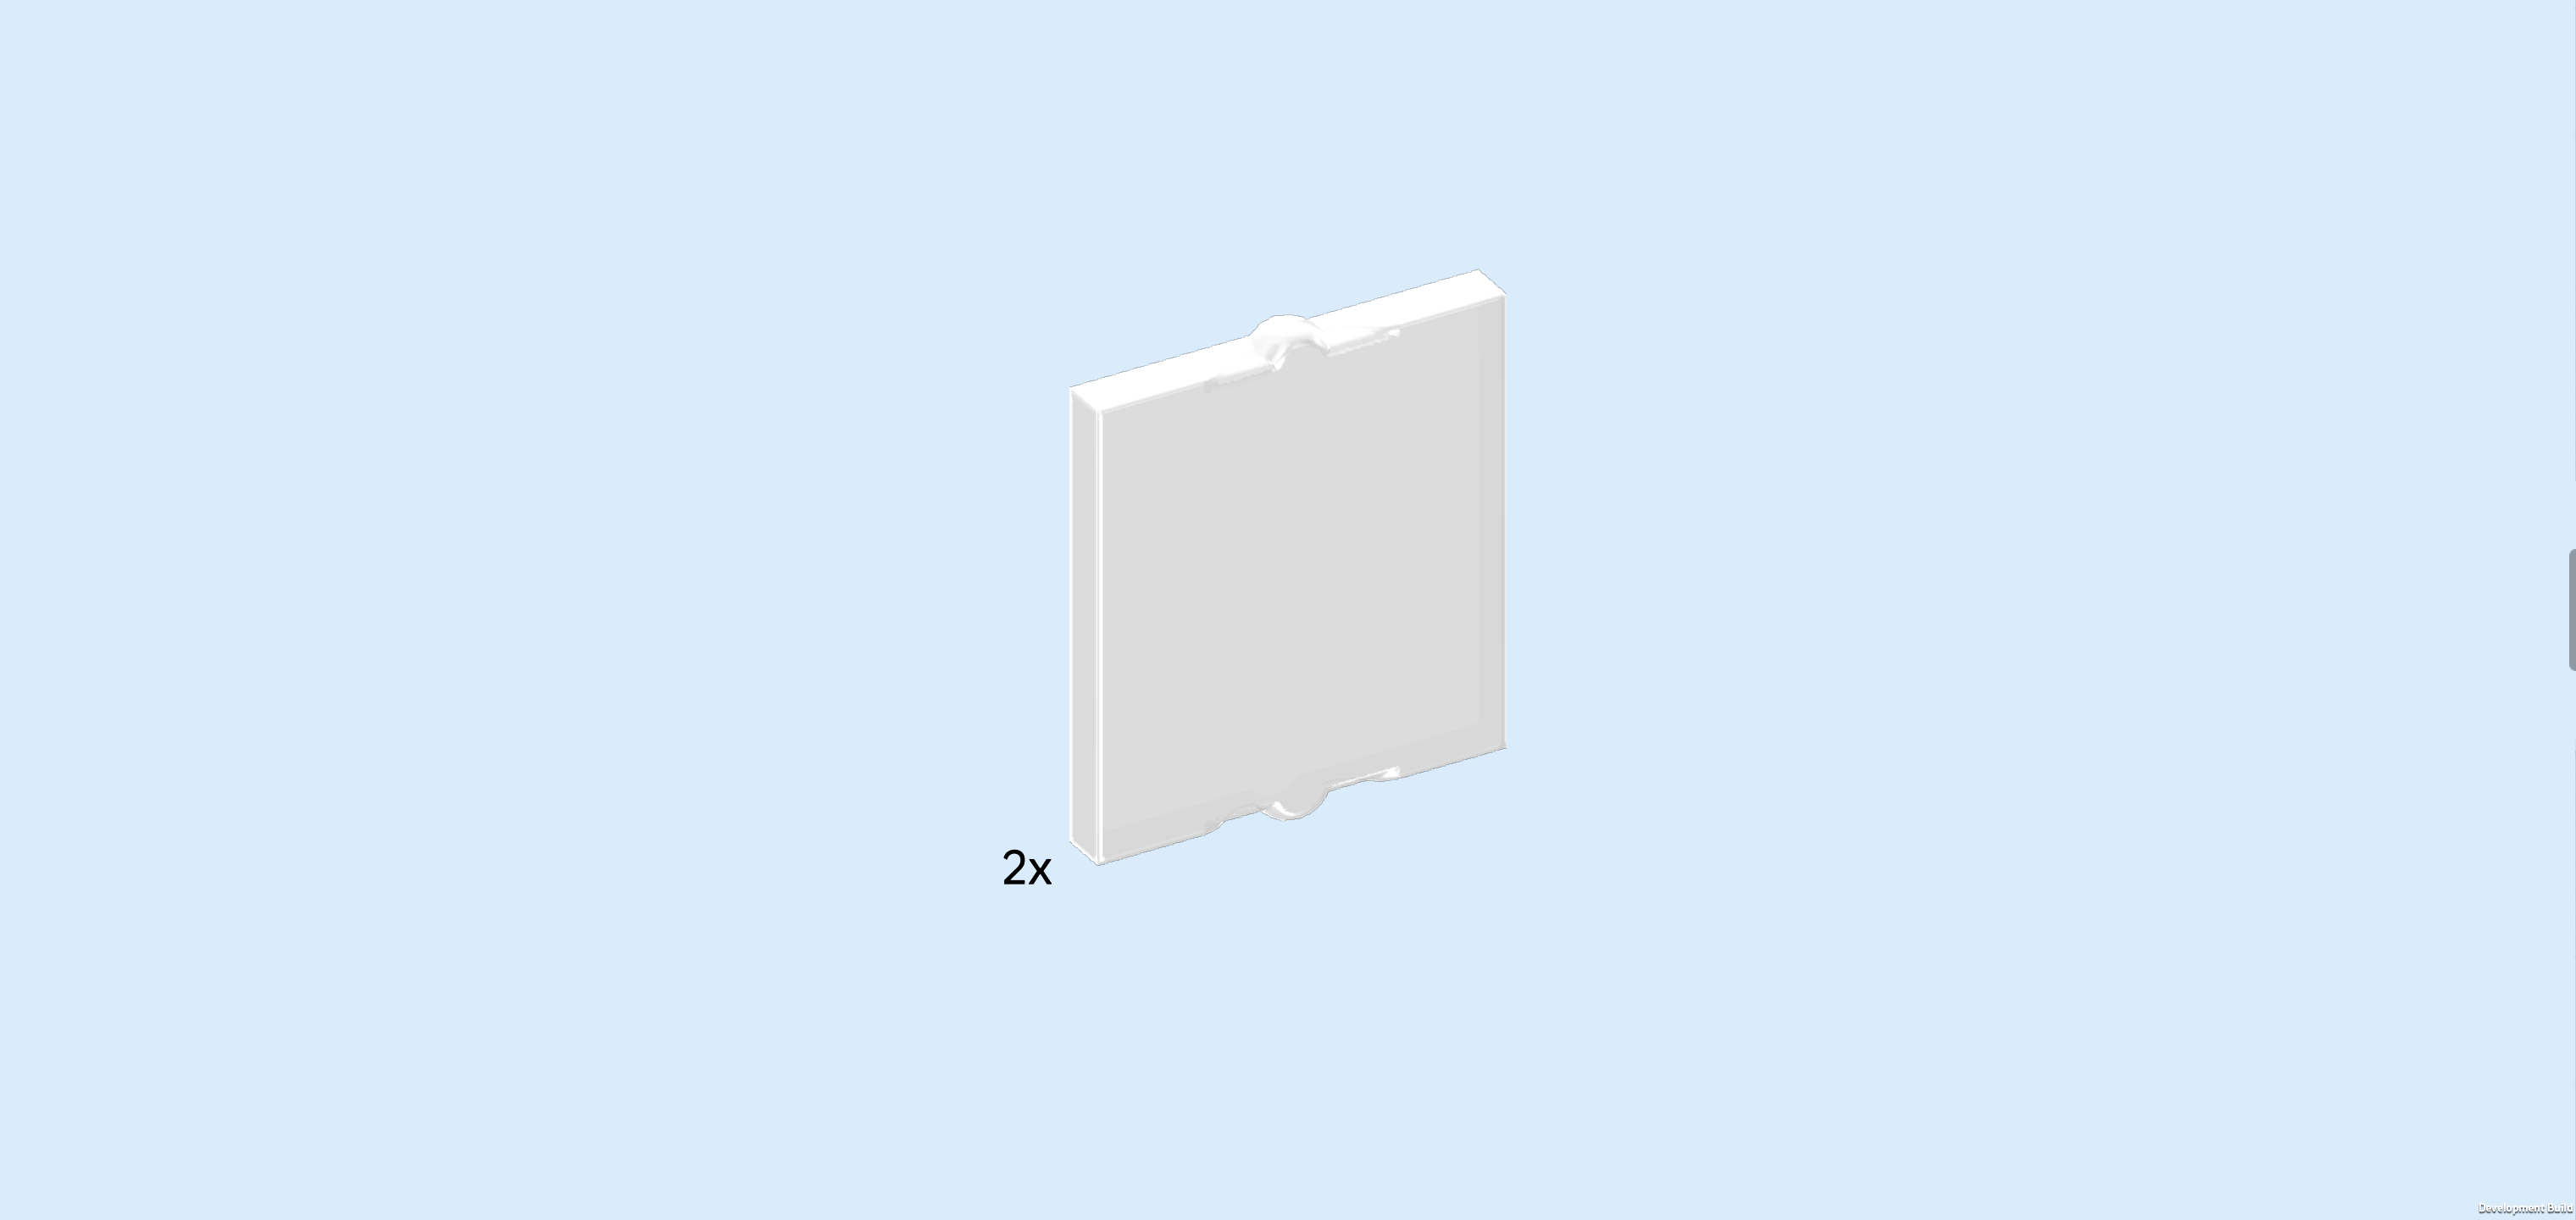
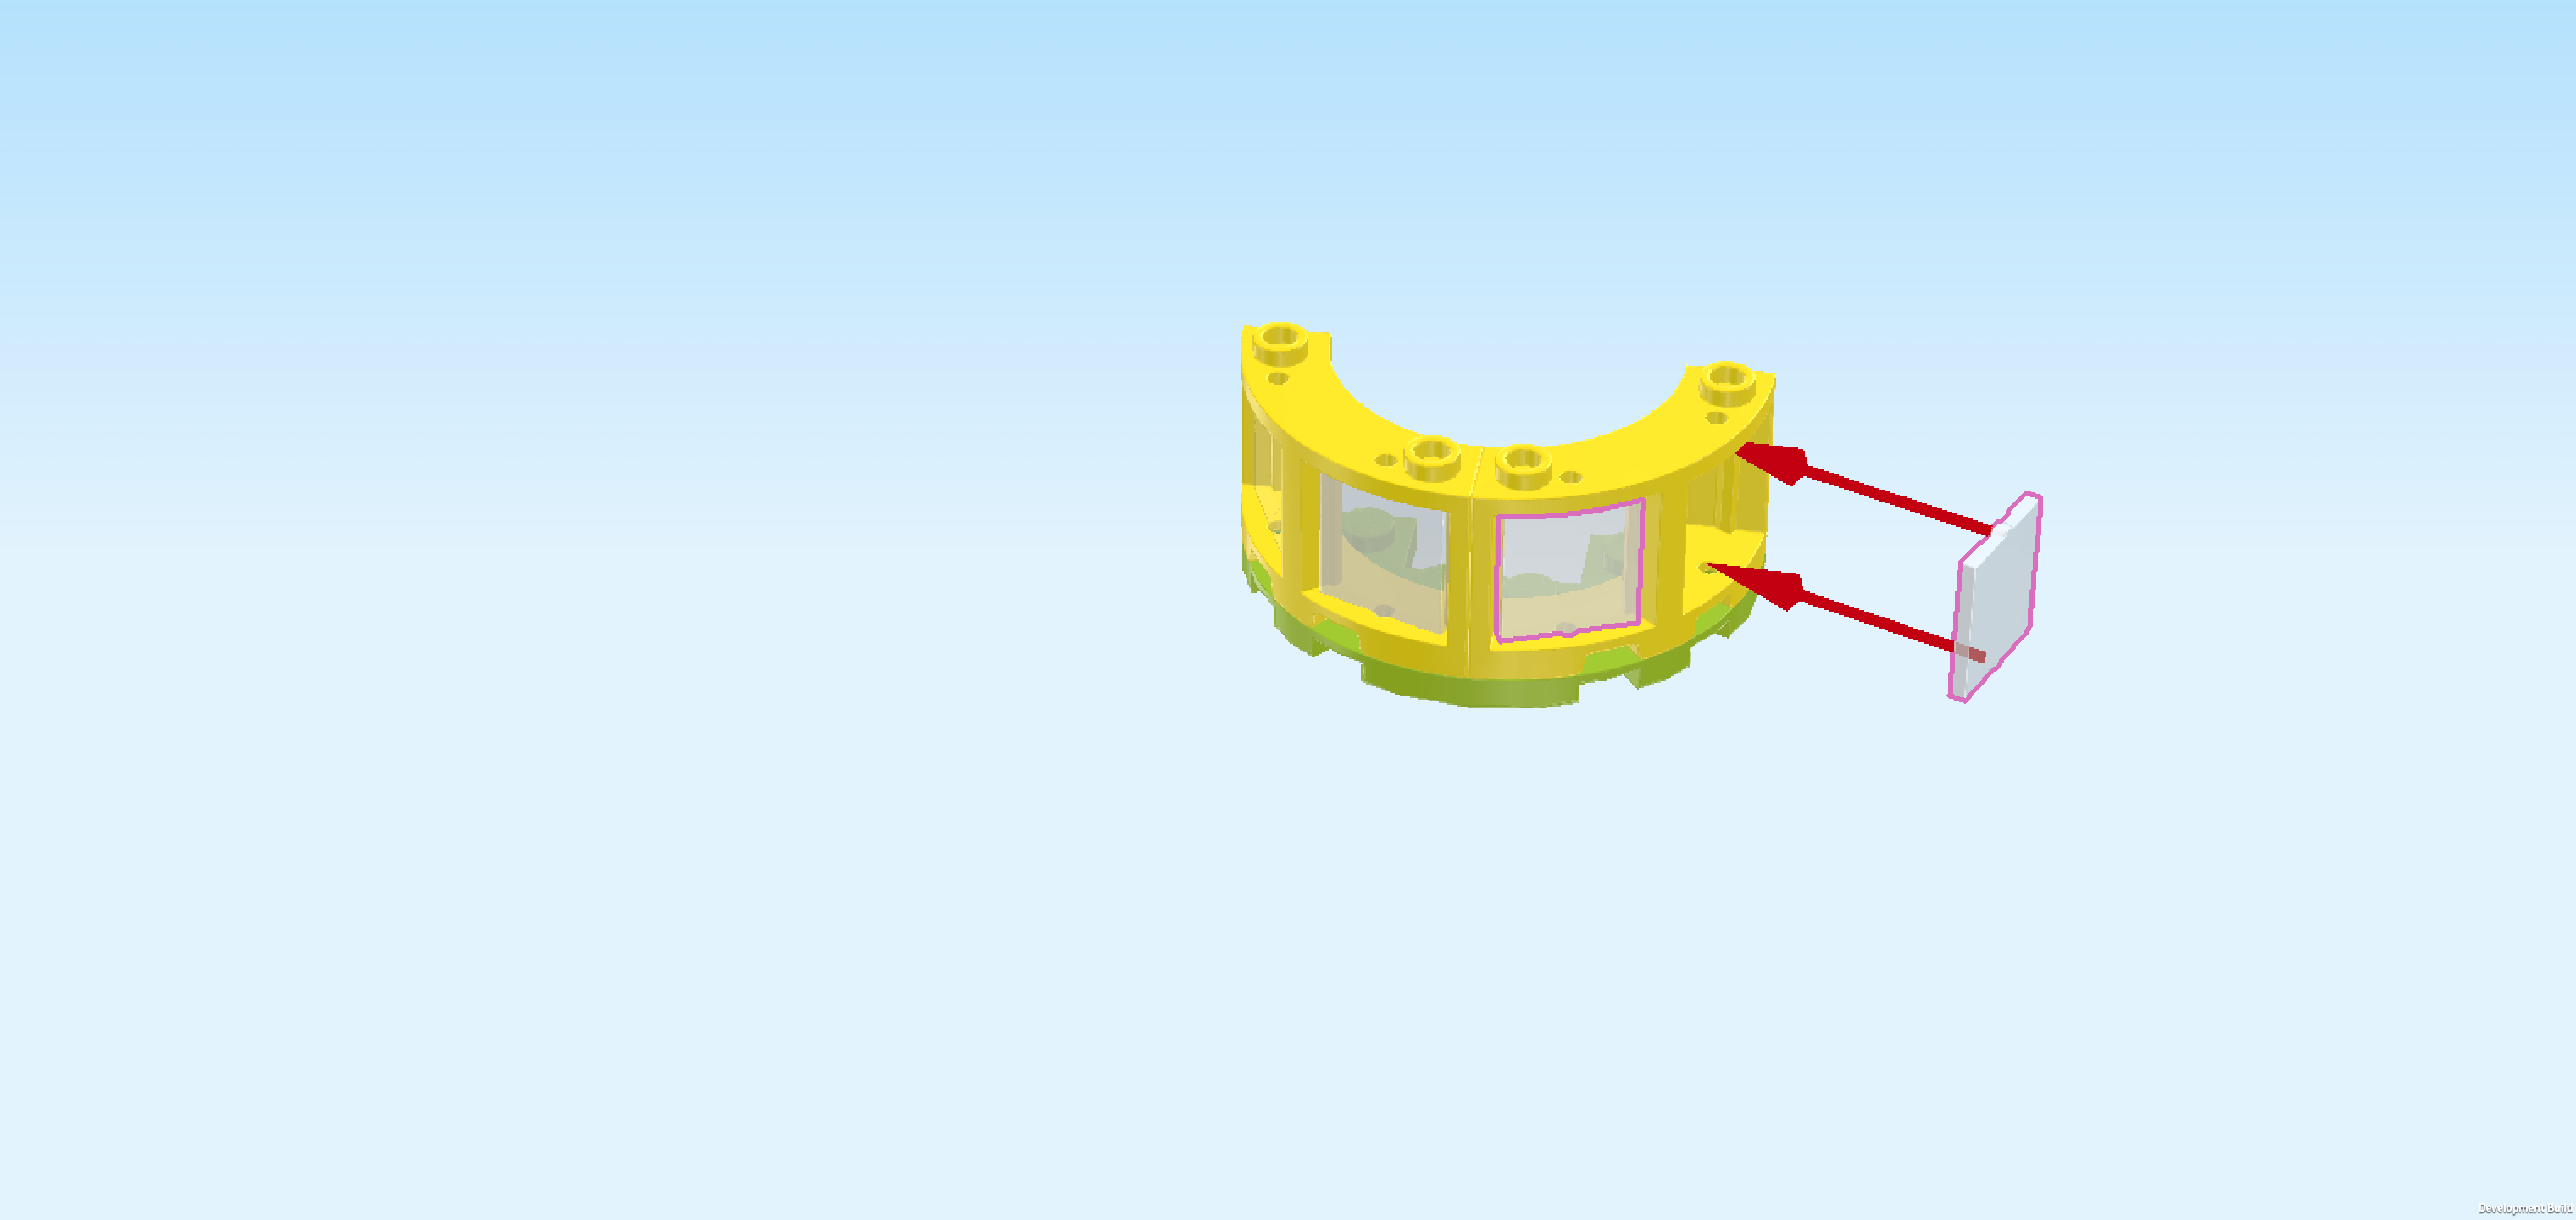
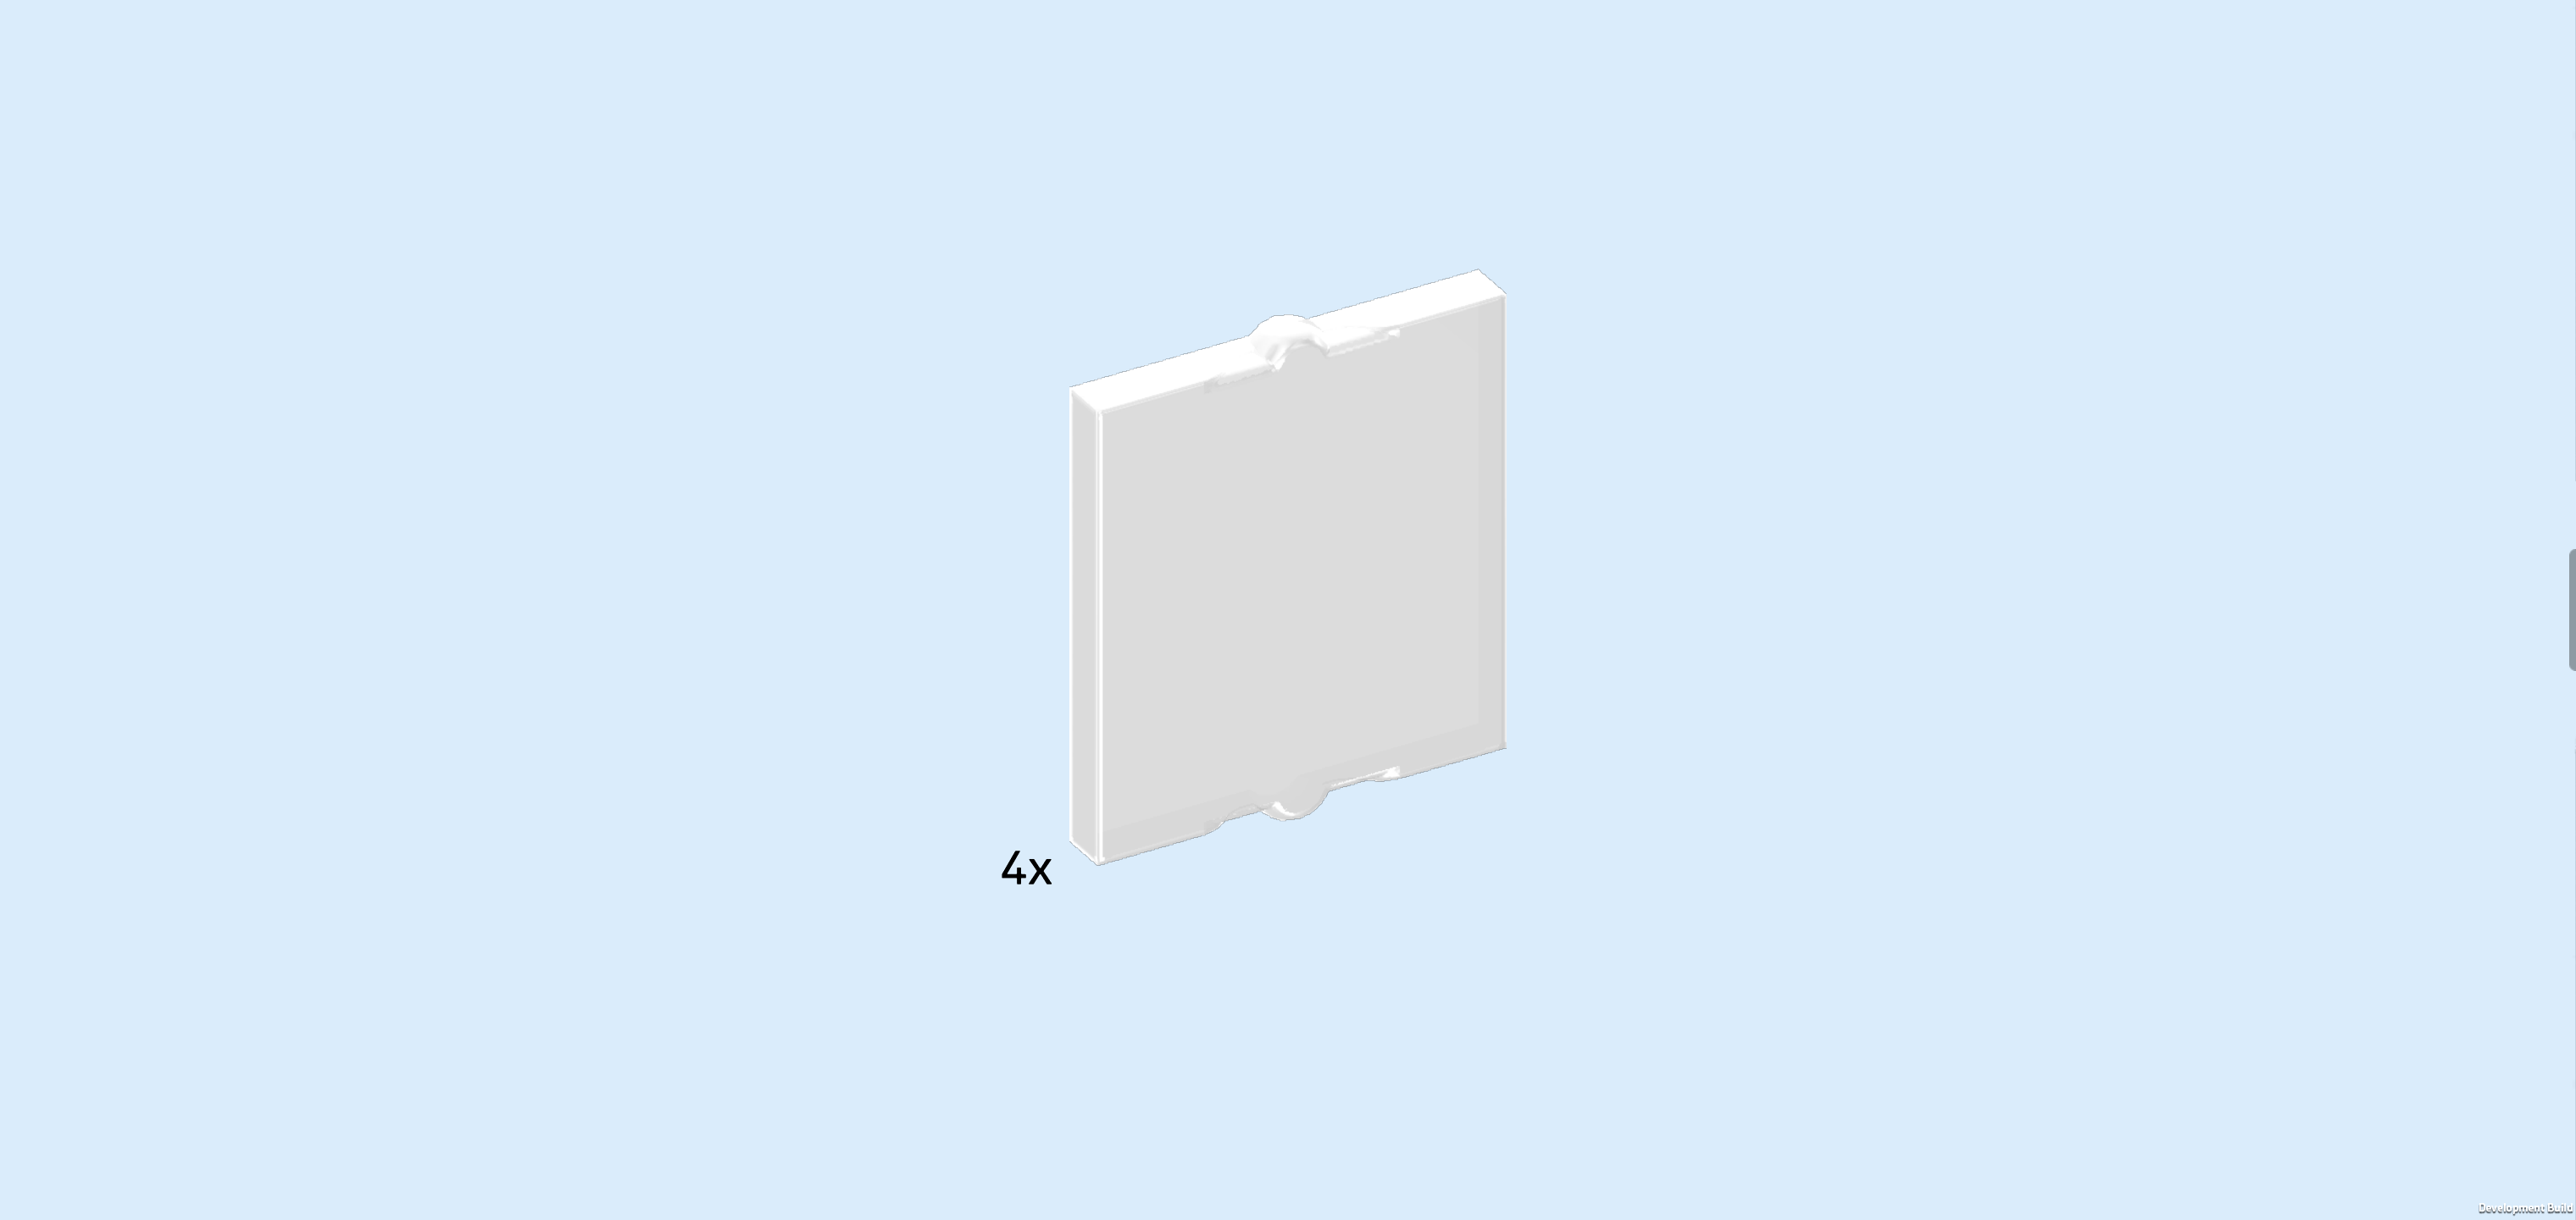
| Find 2 transparent glasses 1x2x2 for window frame. |
| The glasses have small nubs on 2 of their edges. Hold 1 upright in front of you so that its nubs are at the top and bottom. Then, snap the glass into one of the window frame cutouts. |
| Repeat with the second glass. |
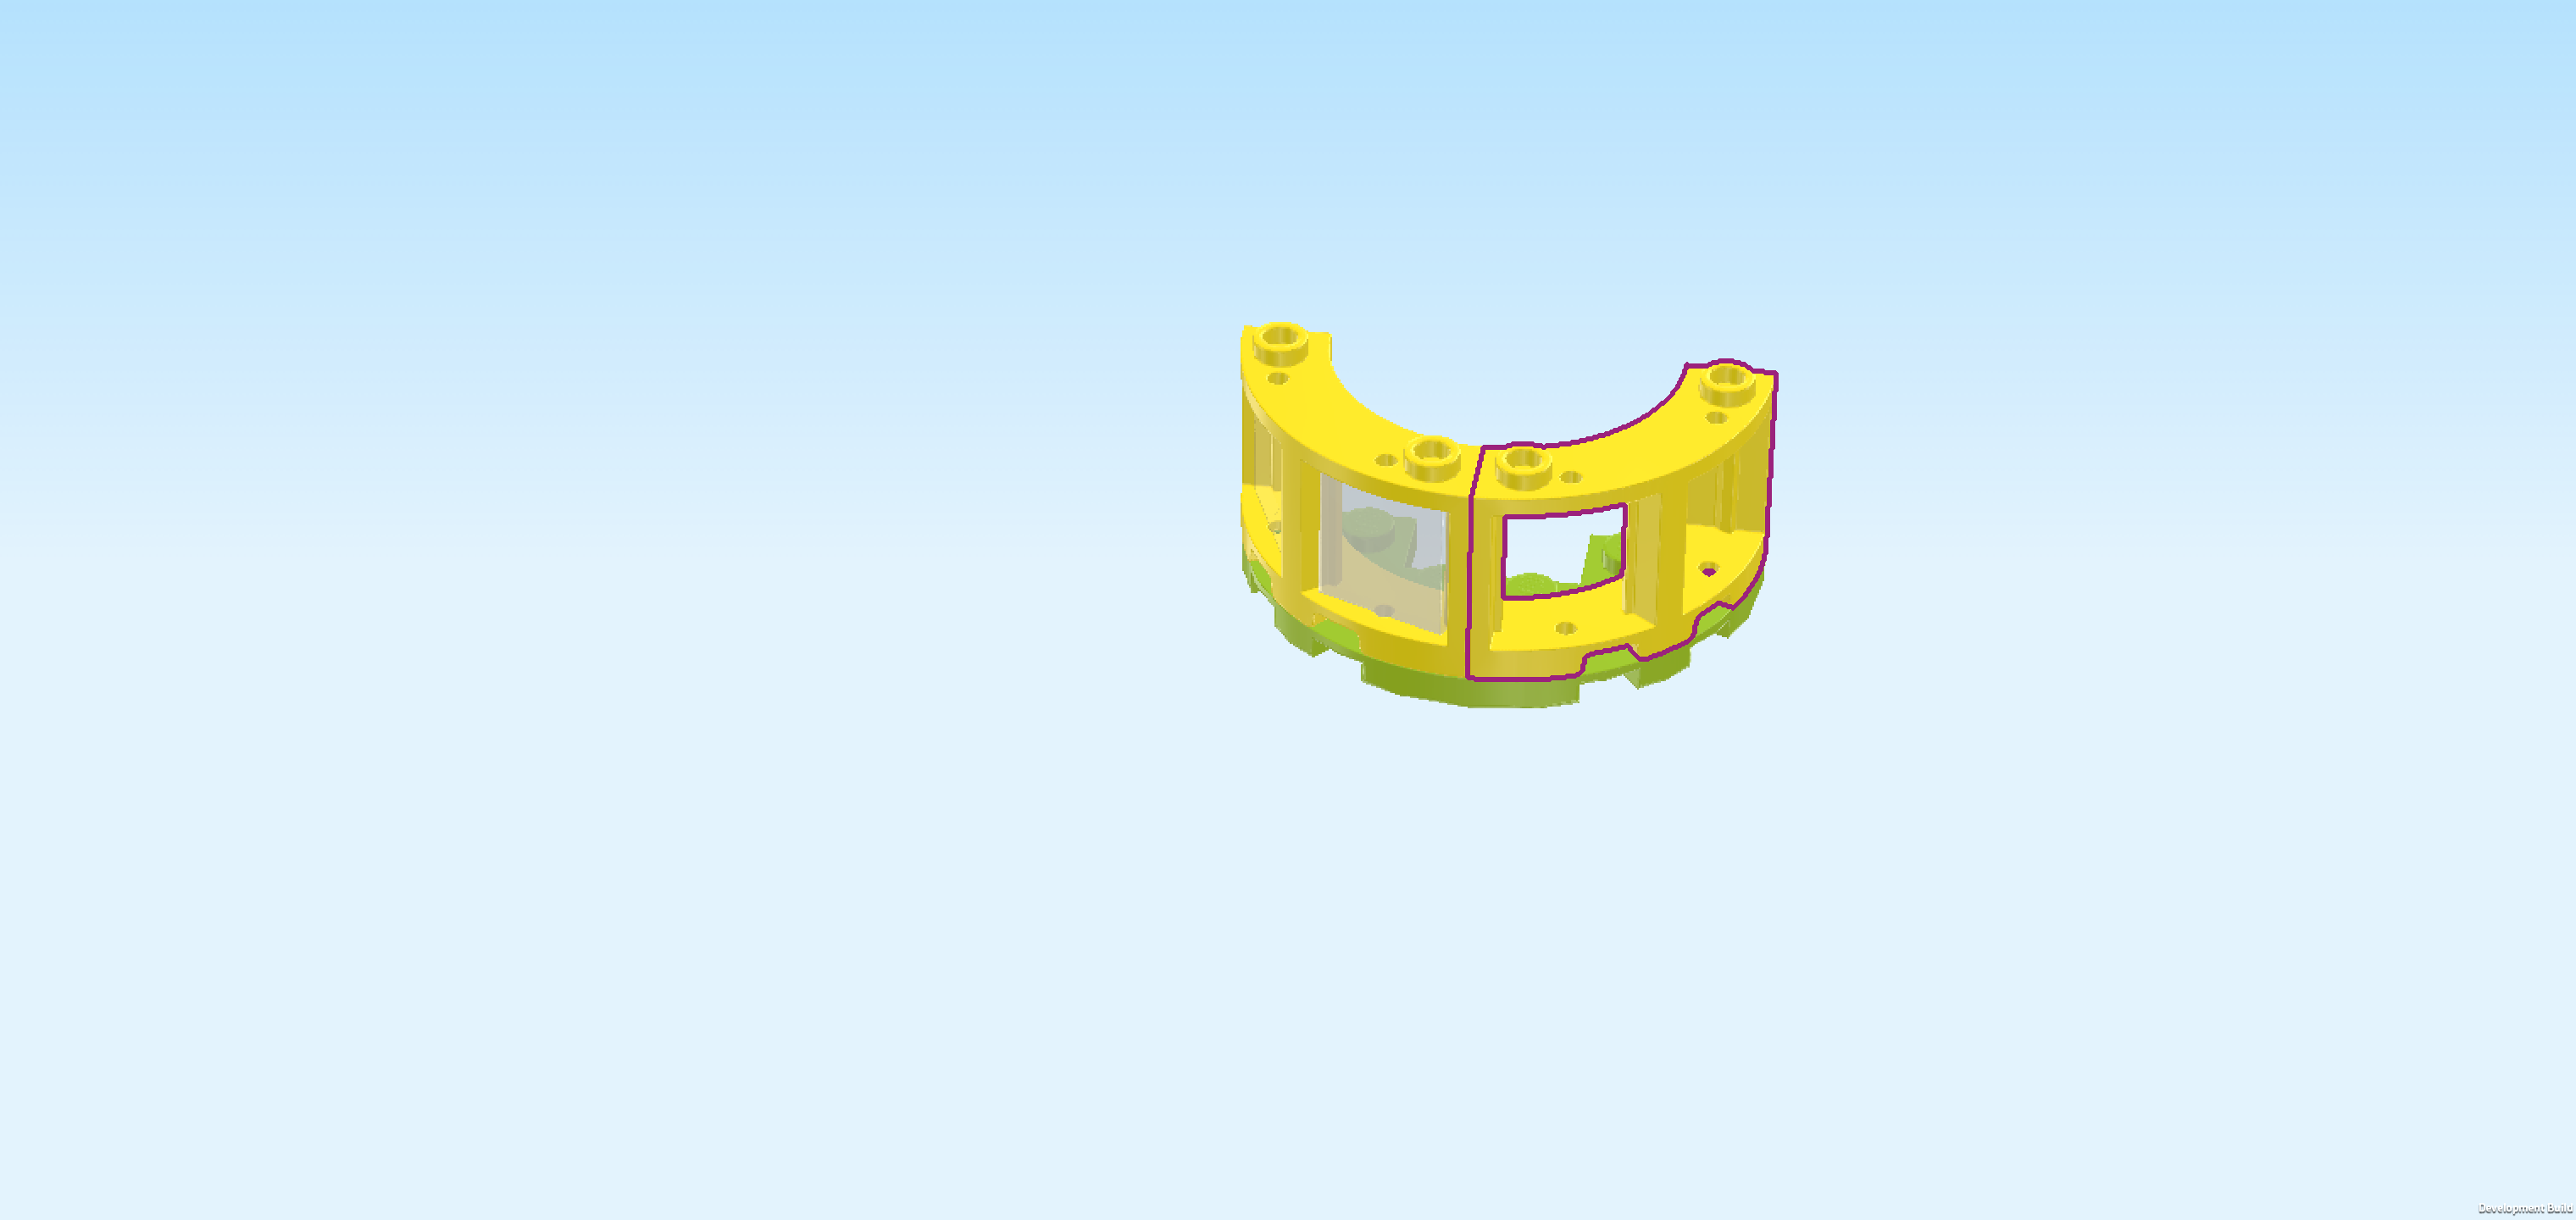
| Find 1 bright yellow quarter-circle window frame 3x3. |
| Put it on the right half of the half-circle plate, again matching the arched shape. |
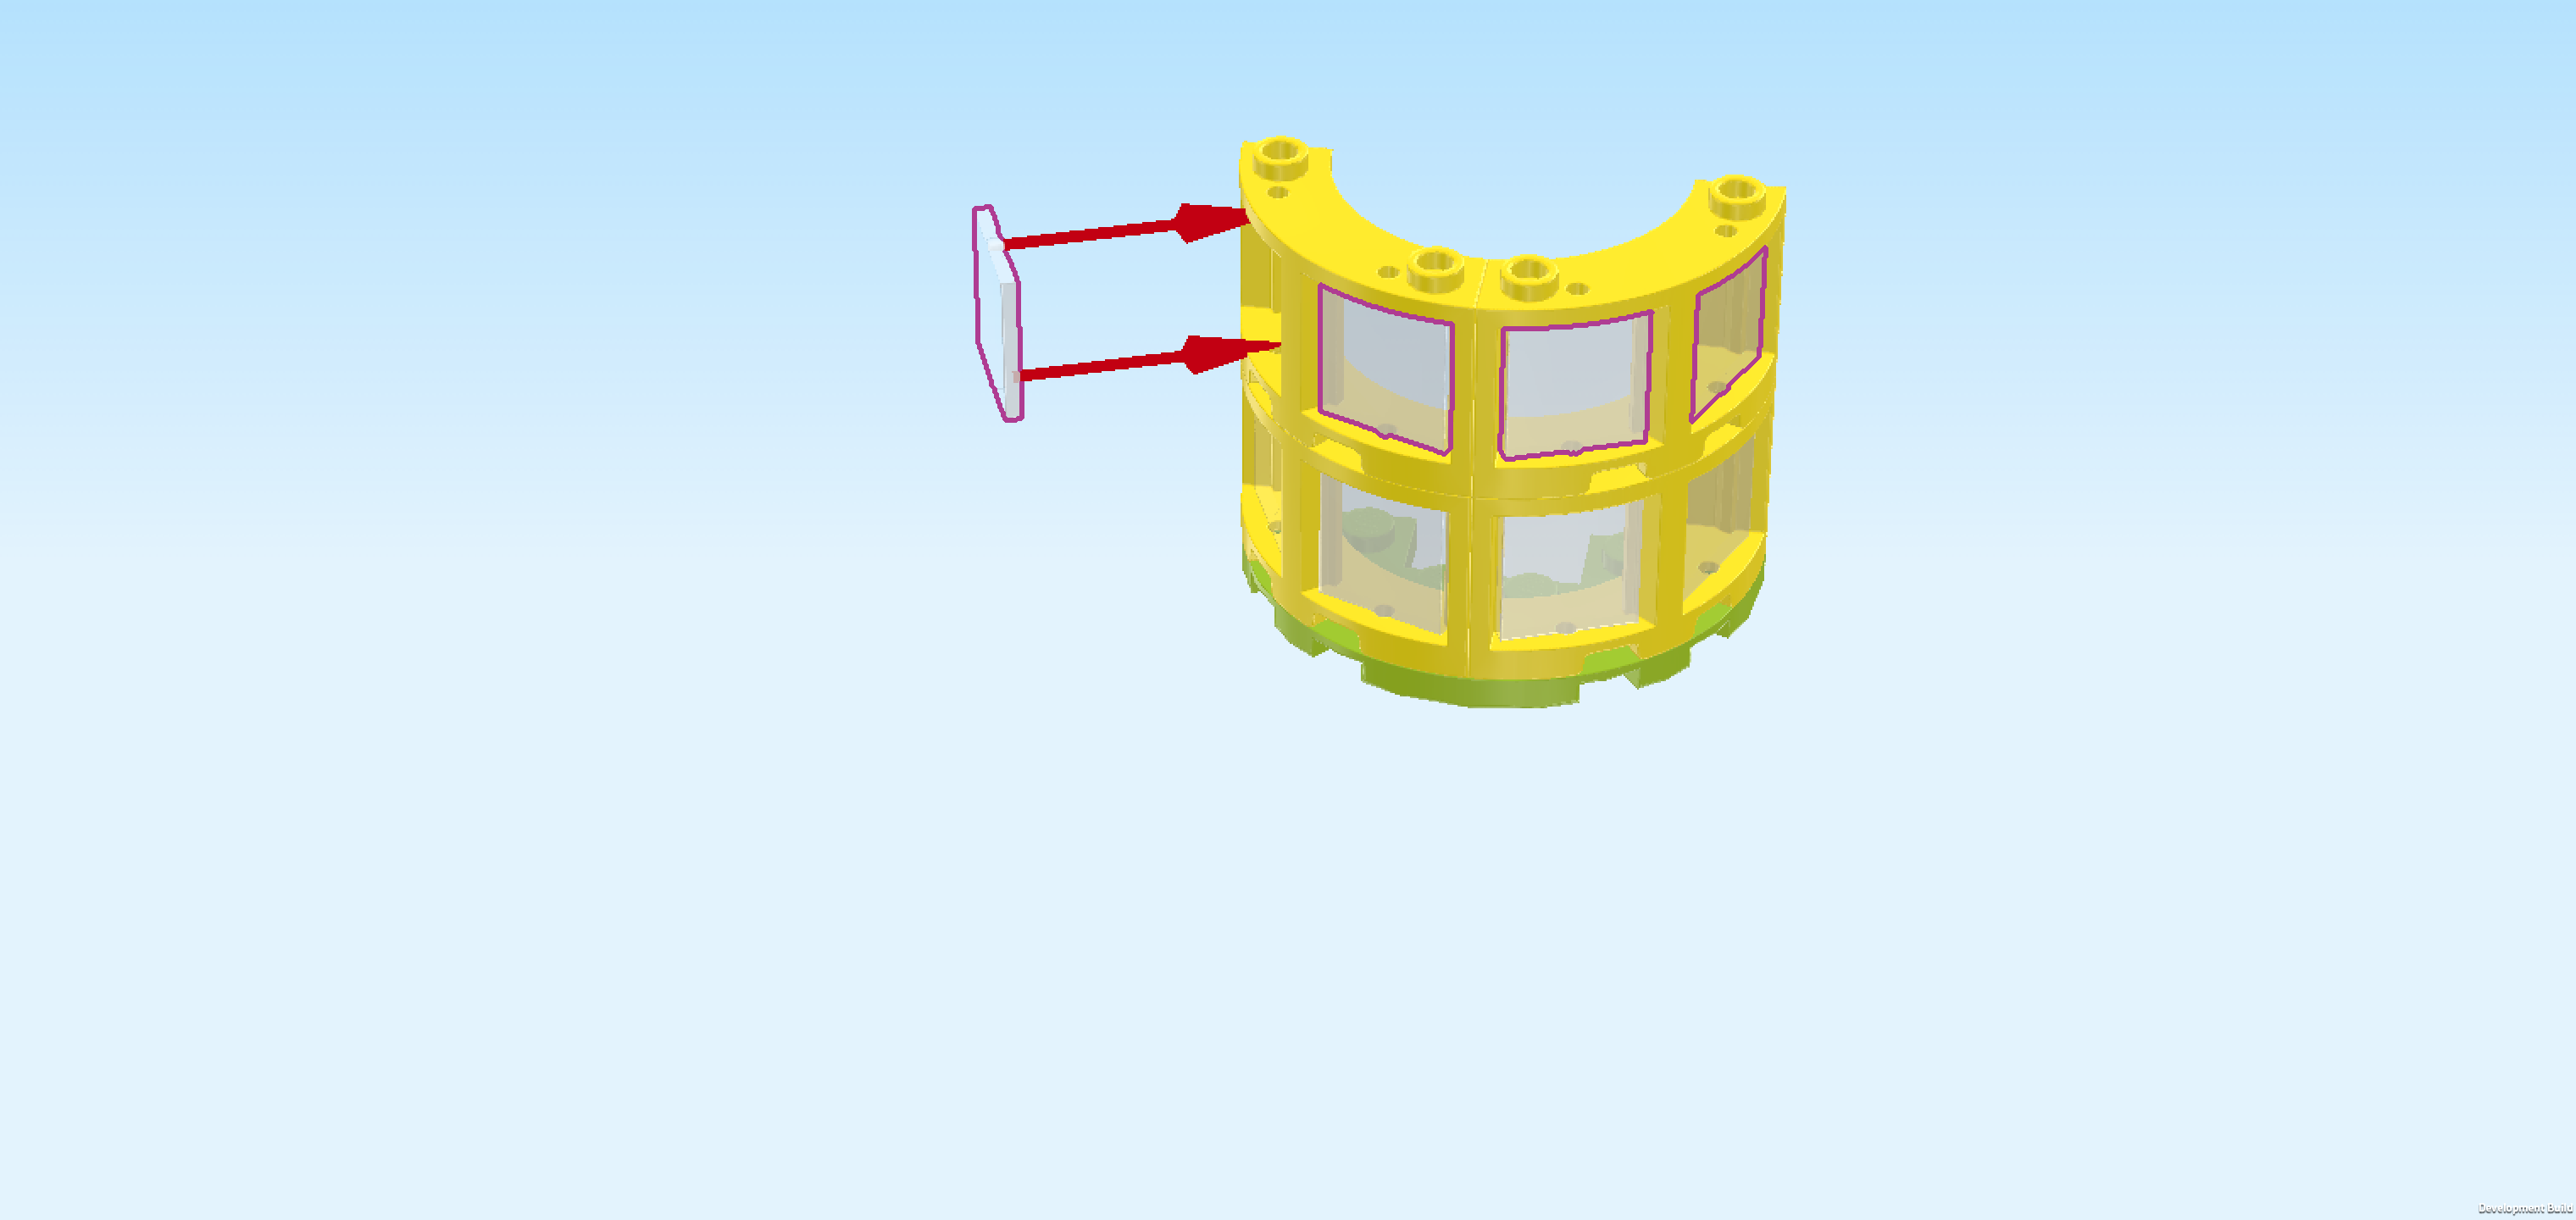
| Find 2 transparent glasses 1x2x2 for frame. |
| Insert them into the window frame like before. |
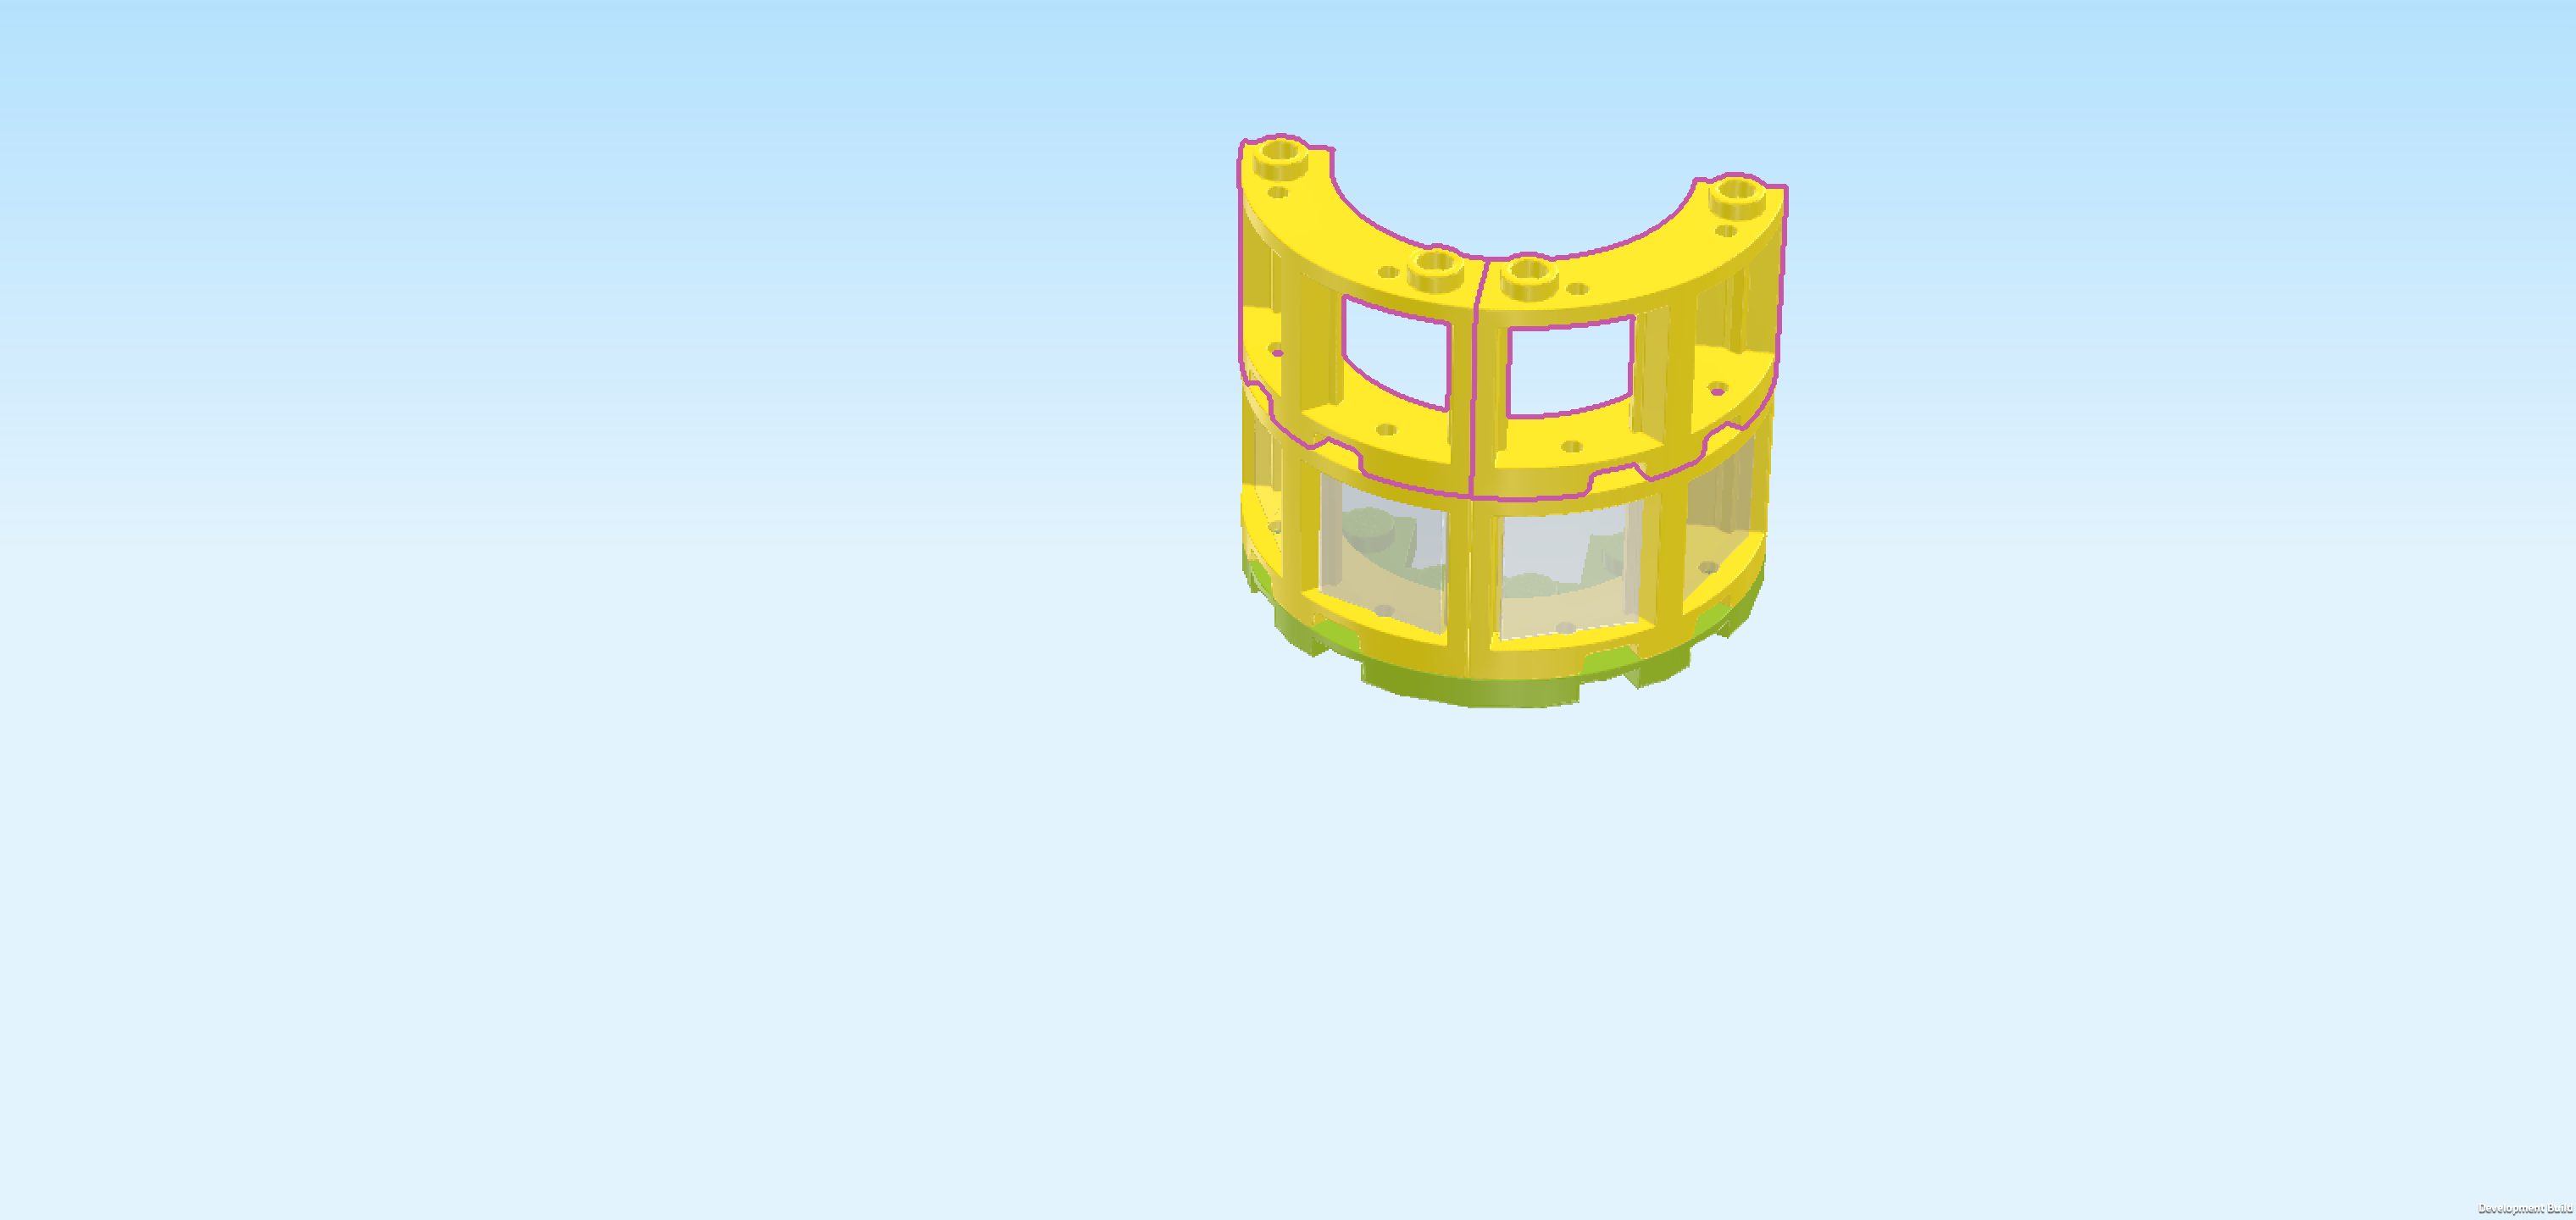
| Find 2 bright yellow quarter-circle window frames 3x3. |
| Put them on top of the first 2 window frames we have mounted previously, matching their shapes. |
| Find 4 transparent glasses 1x2x2 for frame. |
| Snap the glasses into the 4 window cutouts of the 2 new window frames like before. |
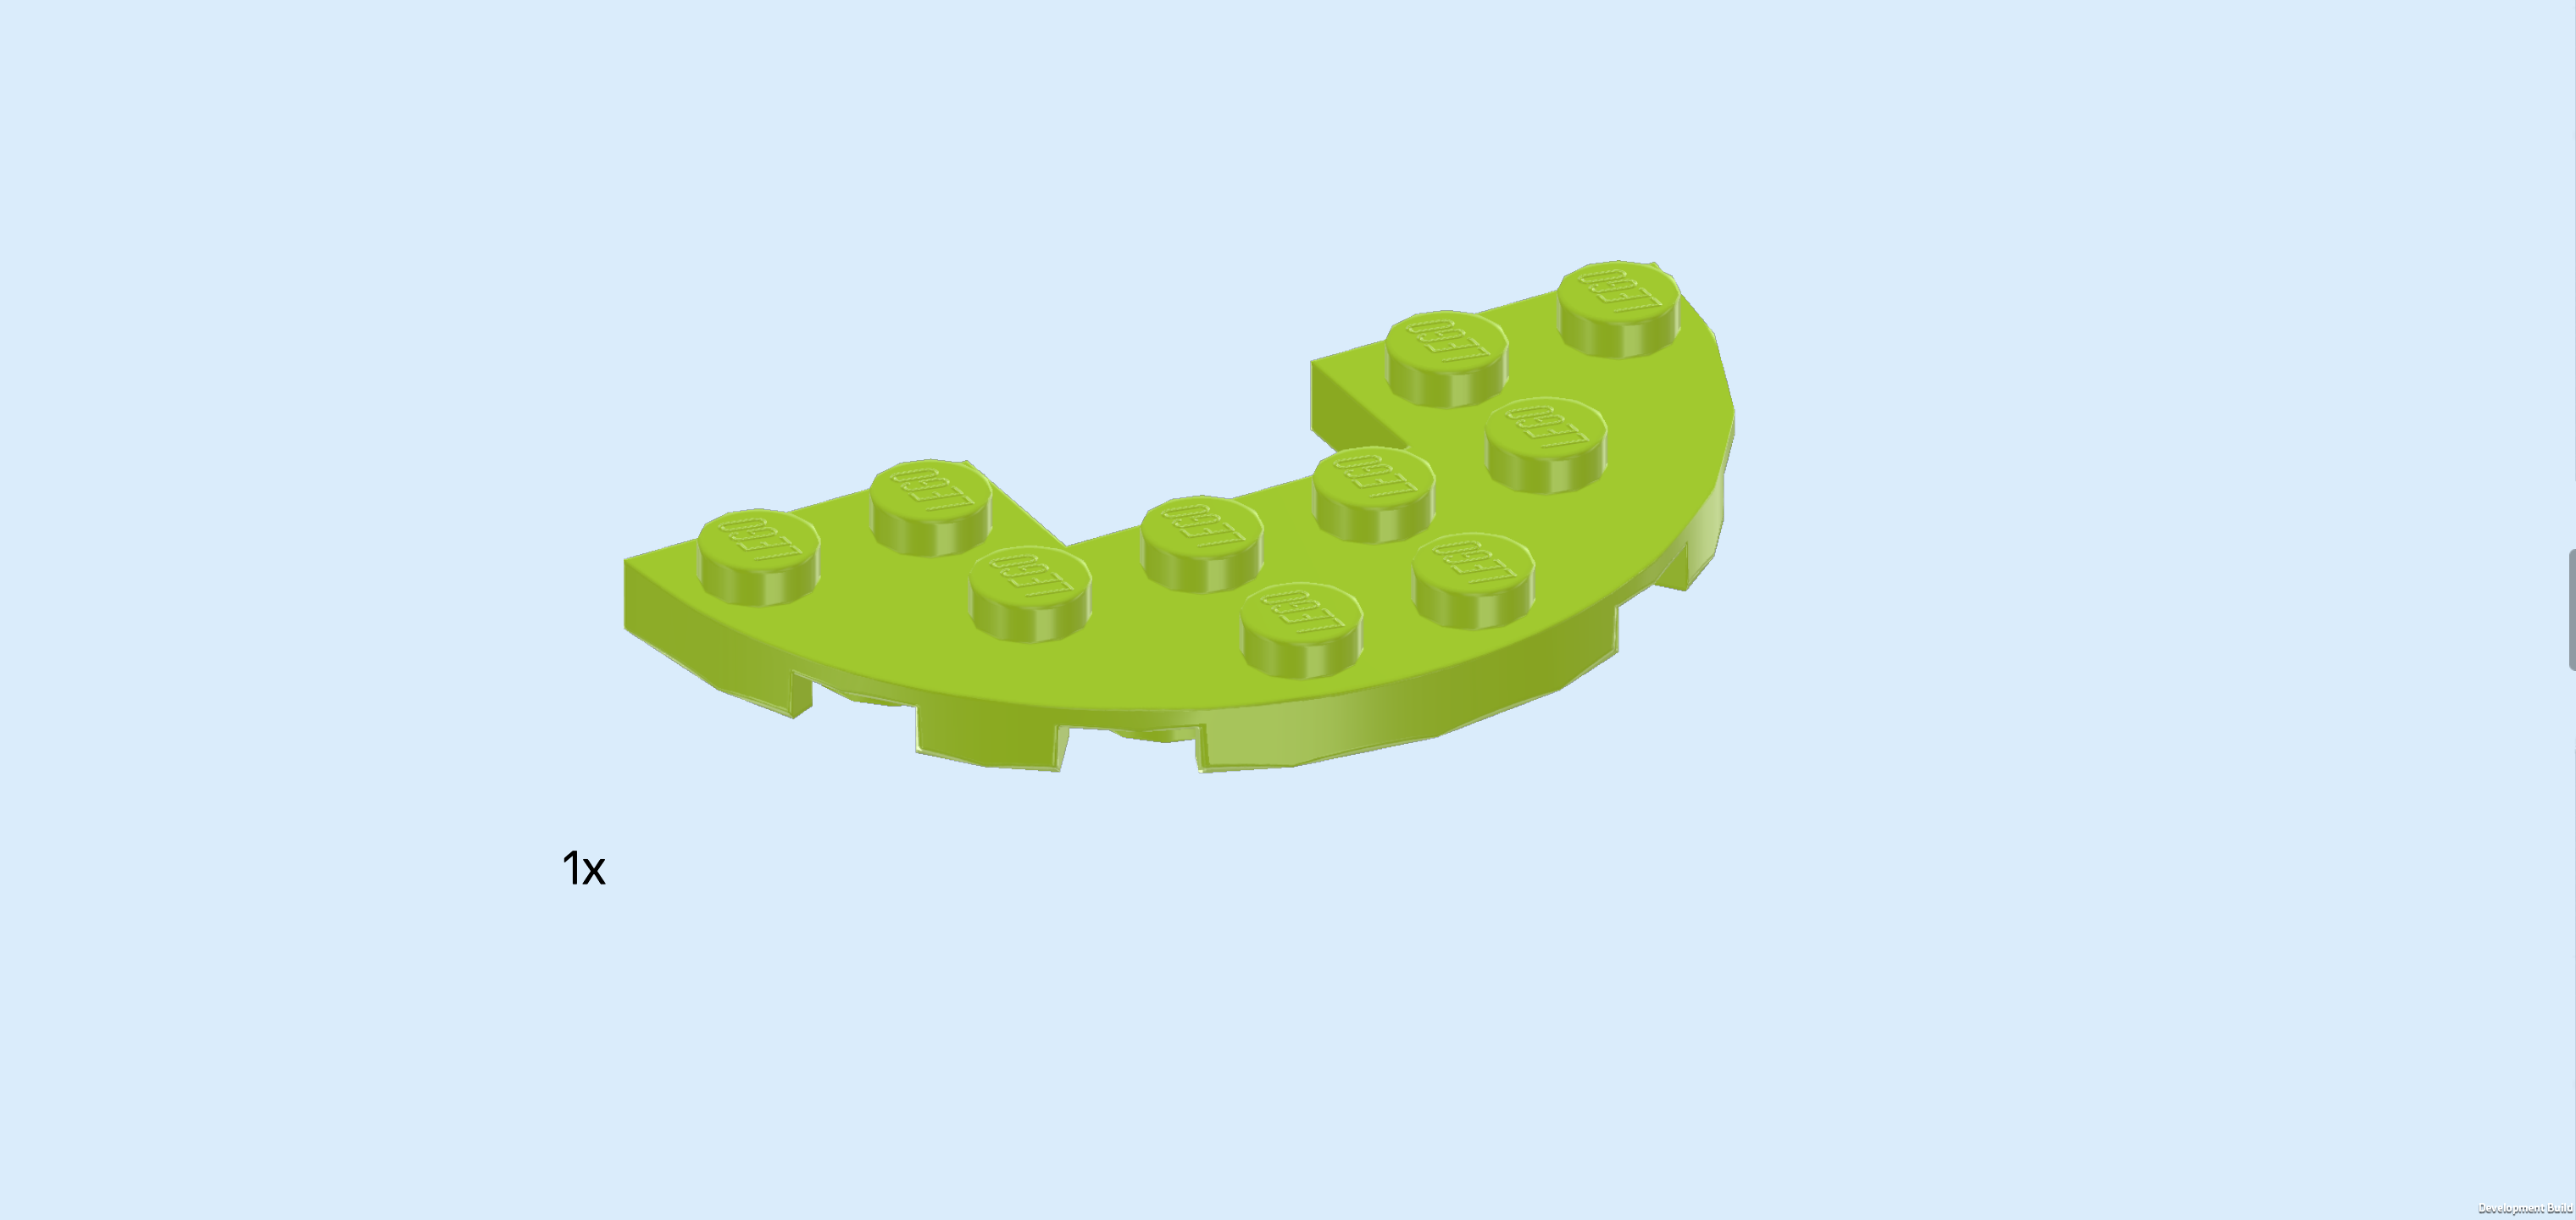
| Find 1 bright yellowish green half-circle plate 3x6 with cut-out 1x2. |
| Put it horizontally on top of the window frames, matching their shapes. If done correctly, the bottom half-circle plate and the new one have the exact same orientation. |
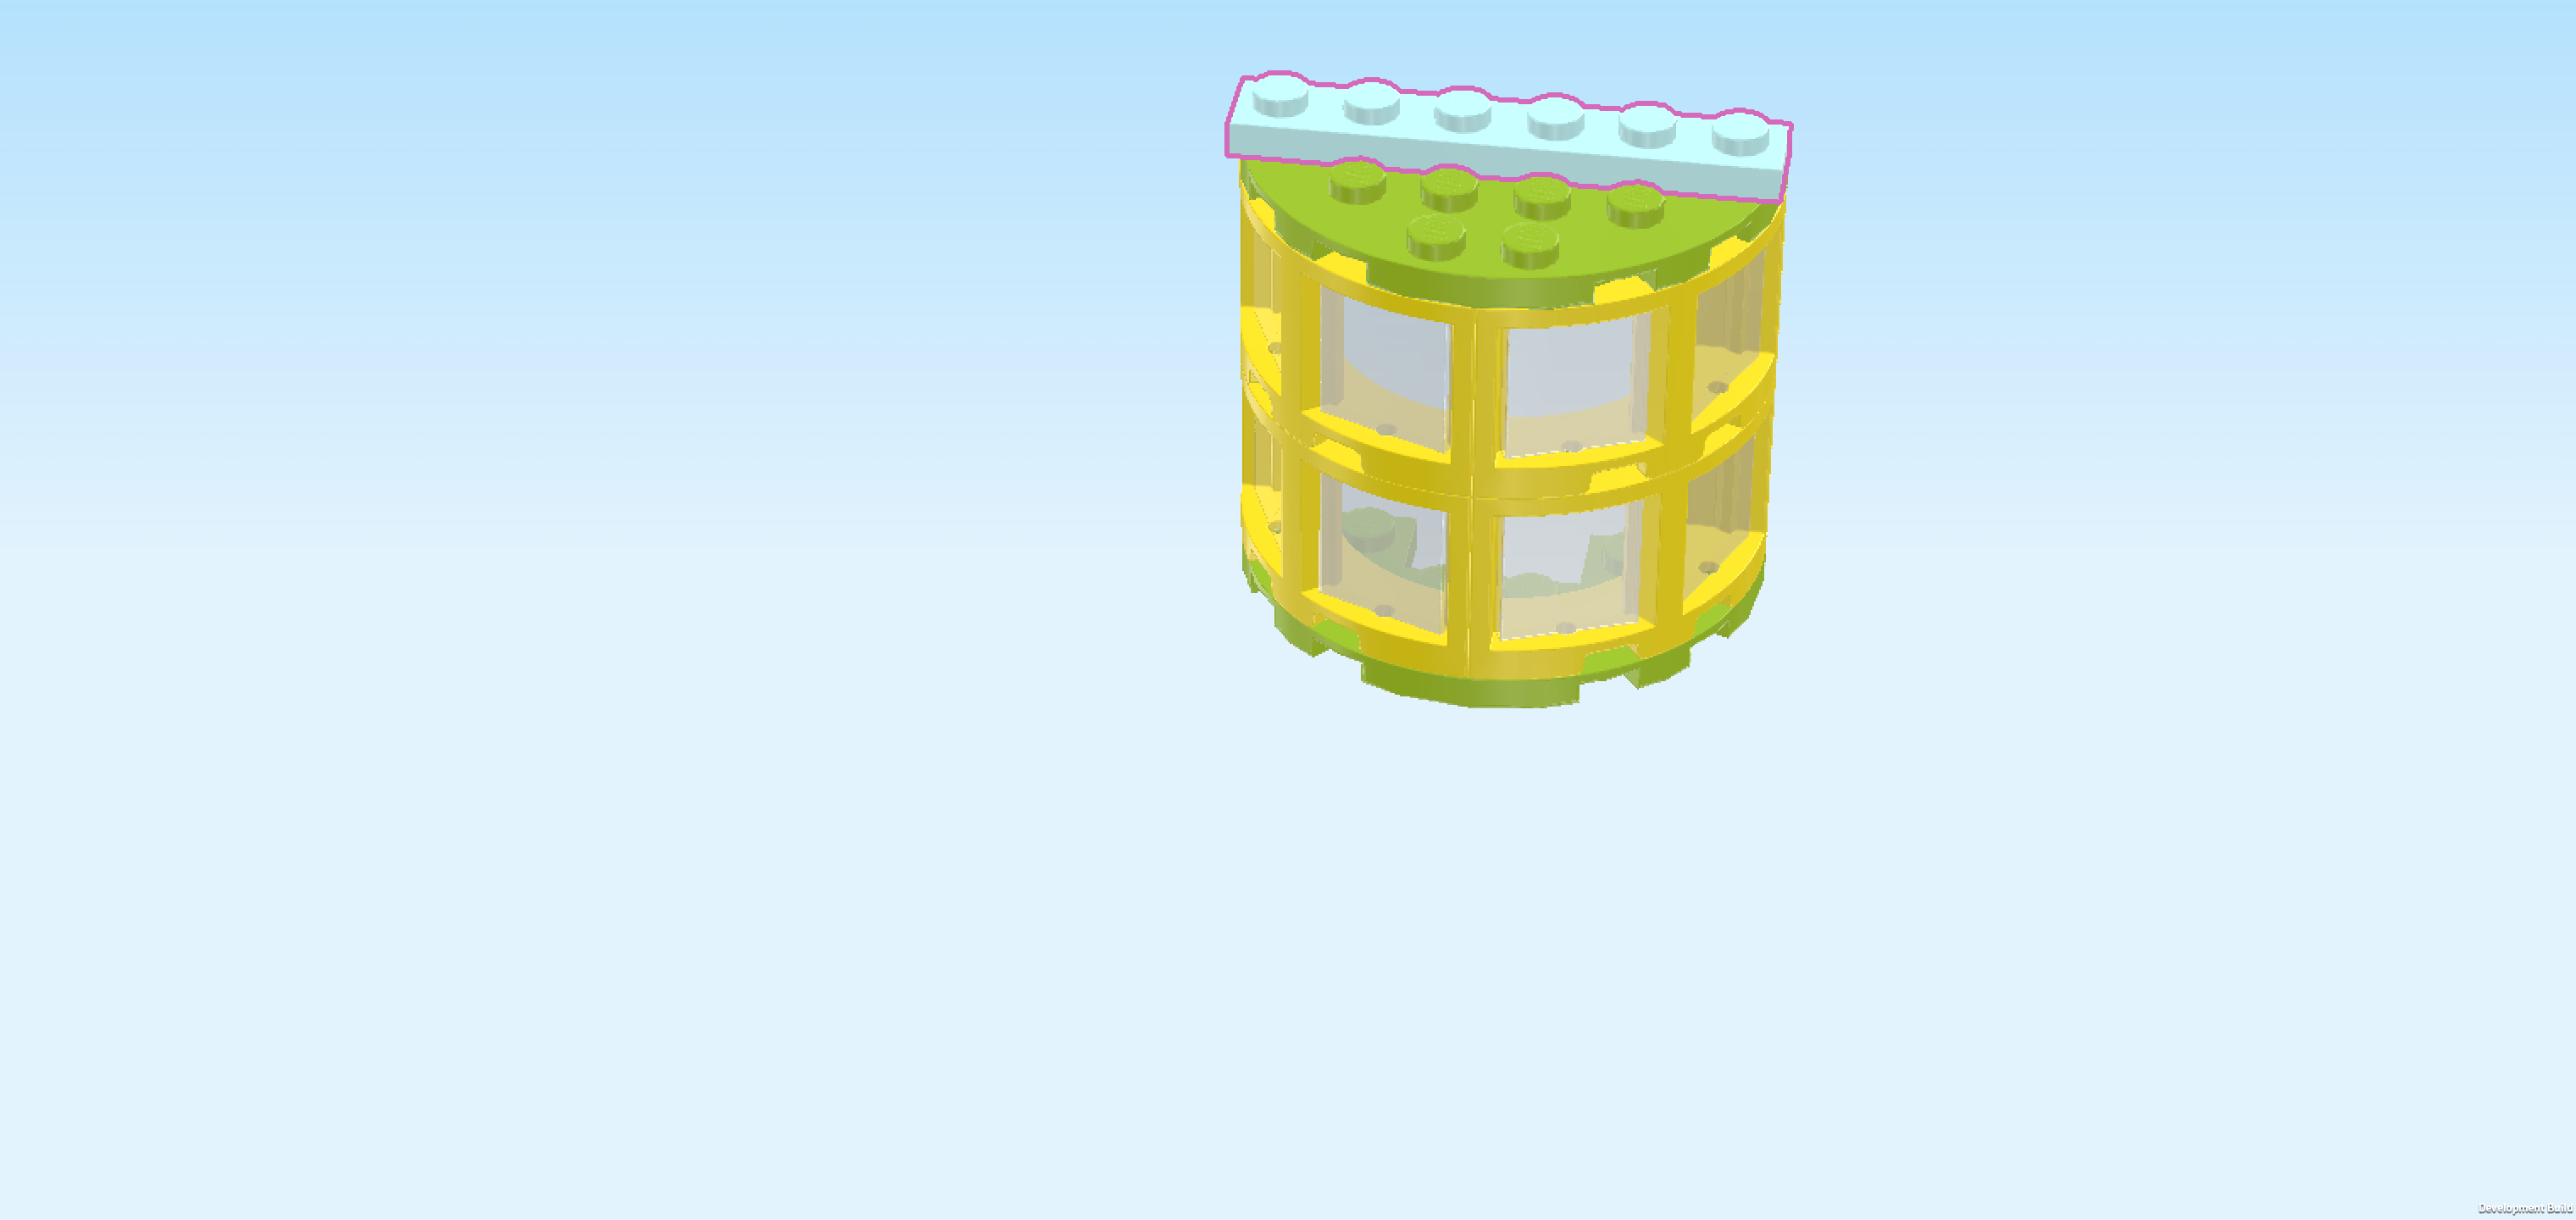
| Now, let's make the top beam of the window frame. |
| Collect the following 2 pieces: |
| 1 aqua blue plate 1x6, |
| and 1 bright yellowish green plate 1x2. |
| Put the plate 1x2 horizontally on the table. |
| Put the plate 1x6 horizontally centered on top, symmetrically overhanging to the left and right. |
| Mount the top beam horizontally on the back edge of the bay window. The plate 1x2 at the bottom will fit neatly into the cut-out of the half-circle plate we have mounted last. |
| The bay window is finished! Great job! Before you mount it, turn it around so that the half circle with windows is towards the back. Mount it horizontally on the backmost row, directly to the left of the wall element we have mounted there earlier, bay window protruding towards the back. |
| Next, we will assemble the window seat. |
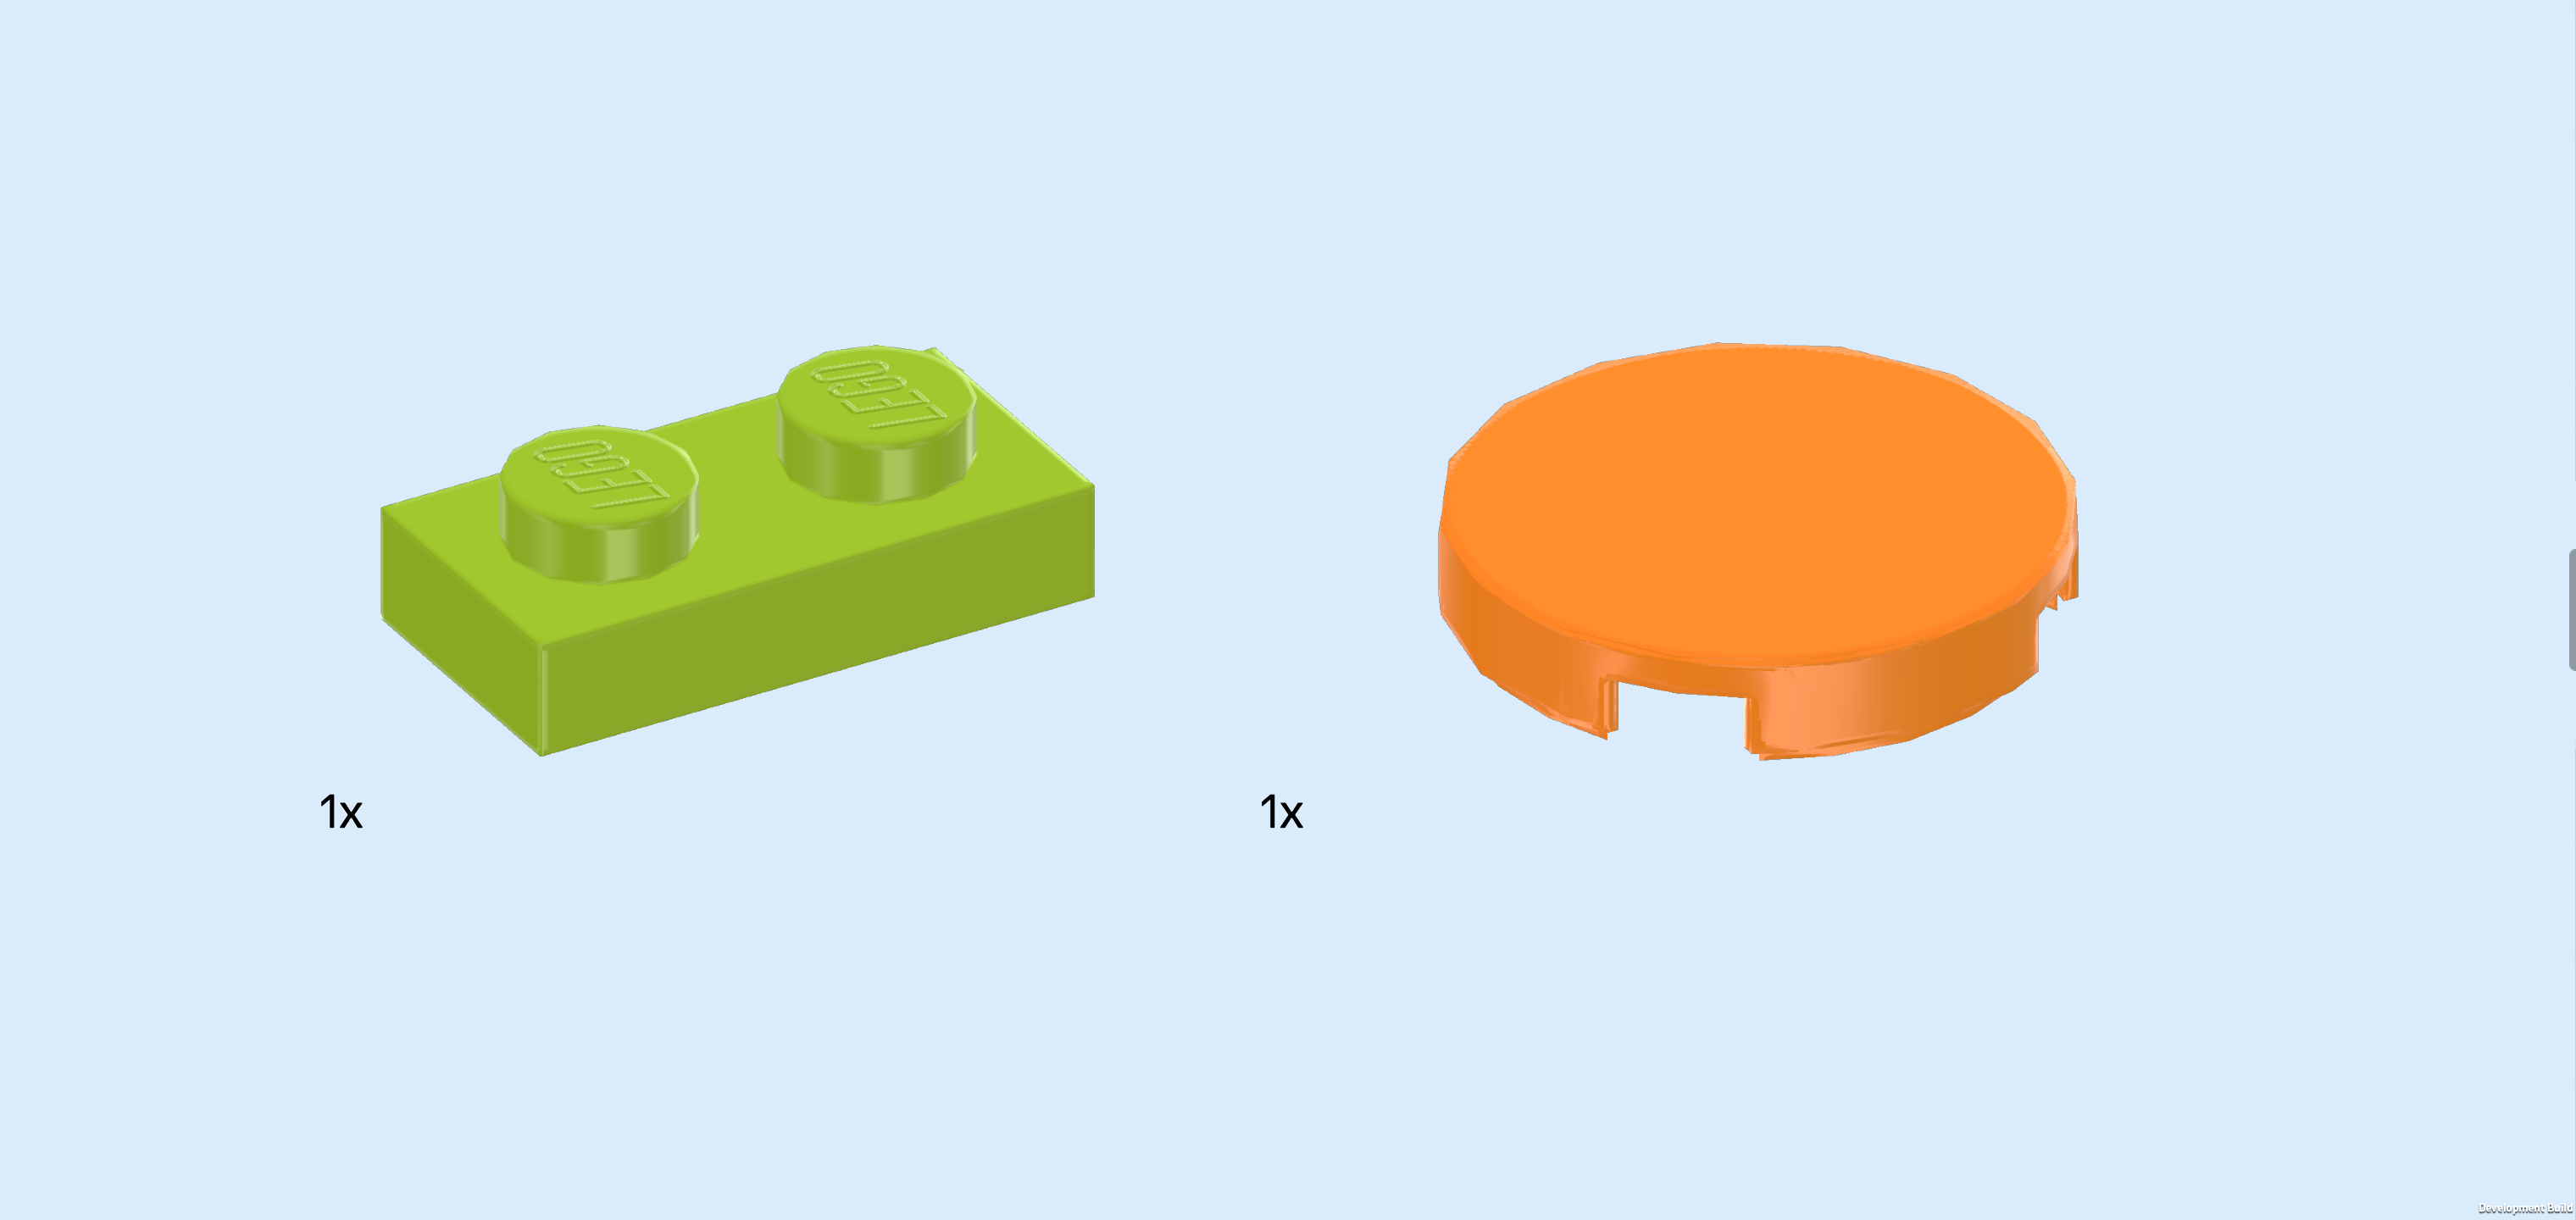
| Collect the following 2 pieces: |
| 1 bright yellowish green plate 1x2, |
| and 1 bright orange round tile 2x2. |
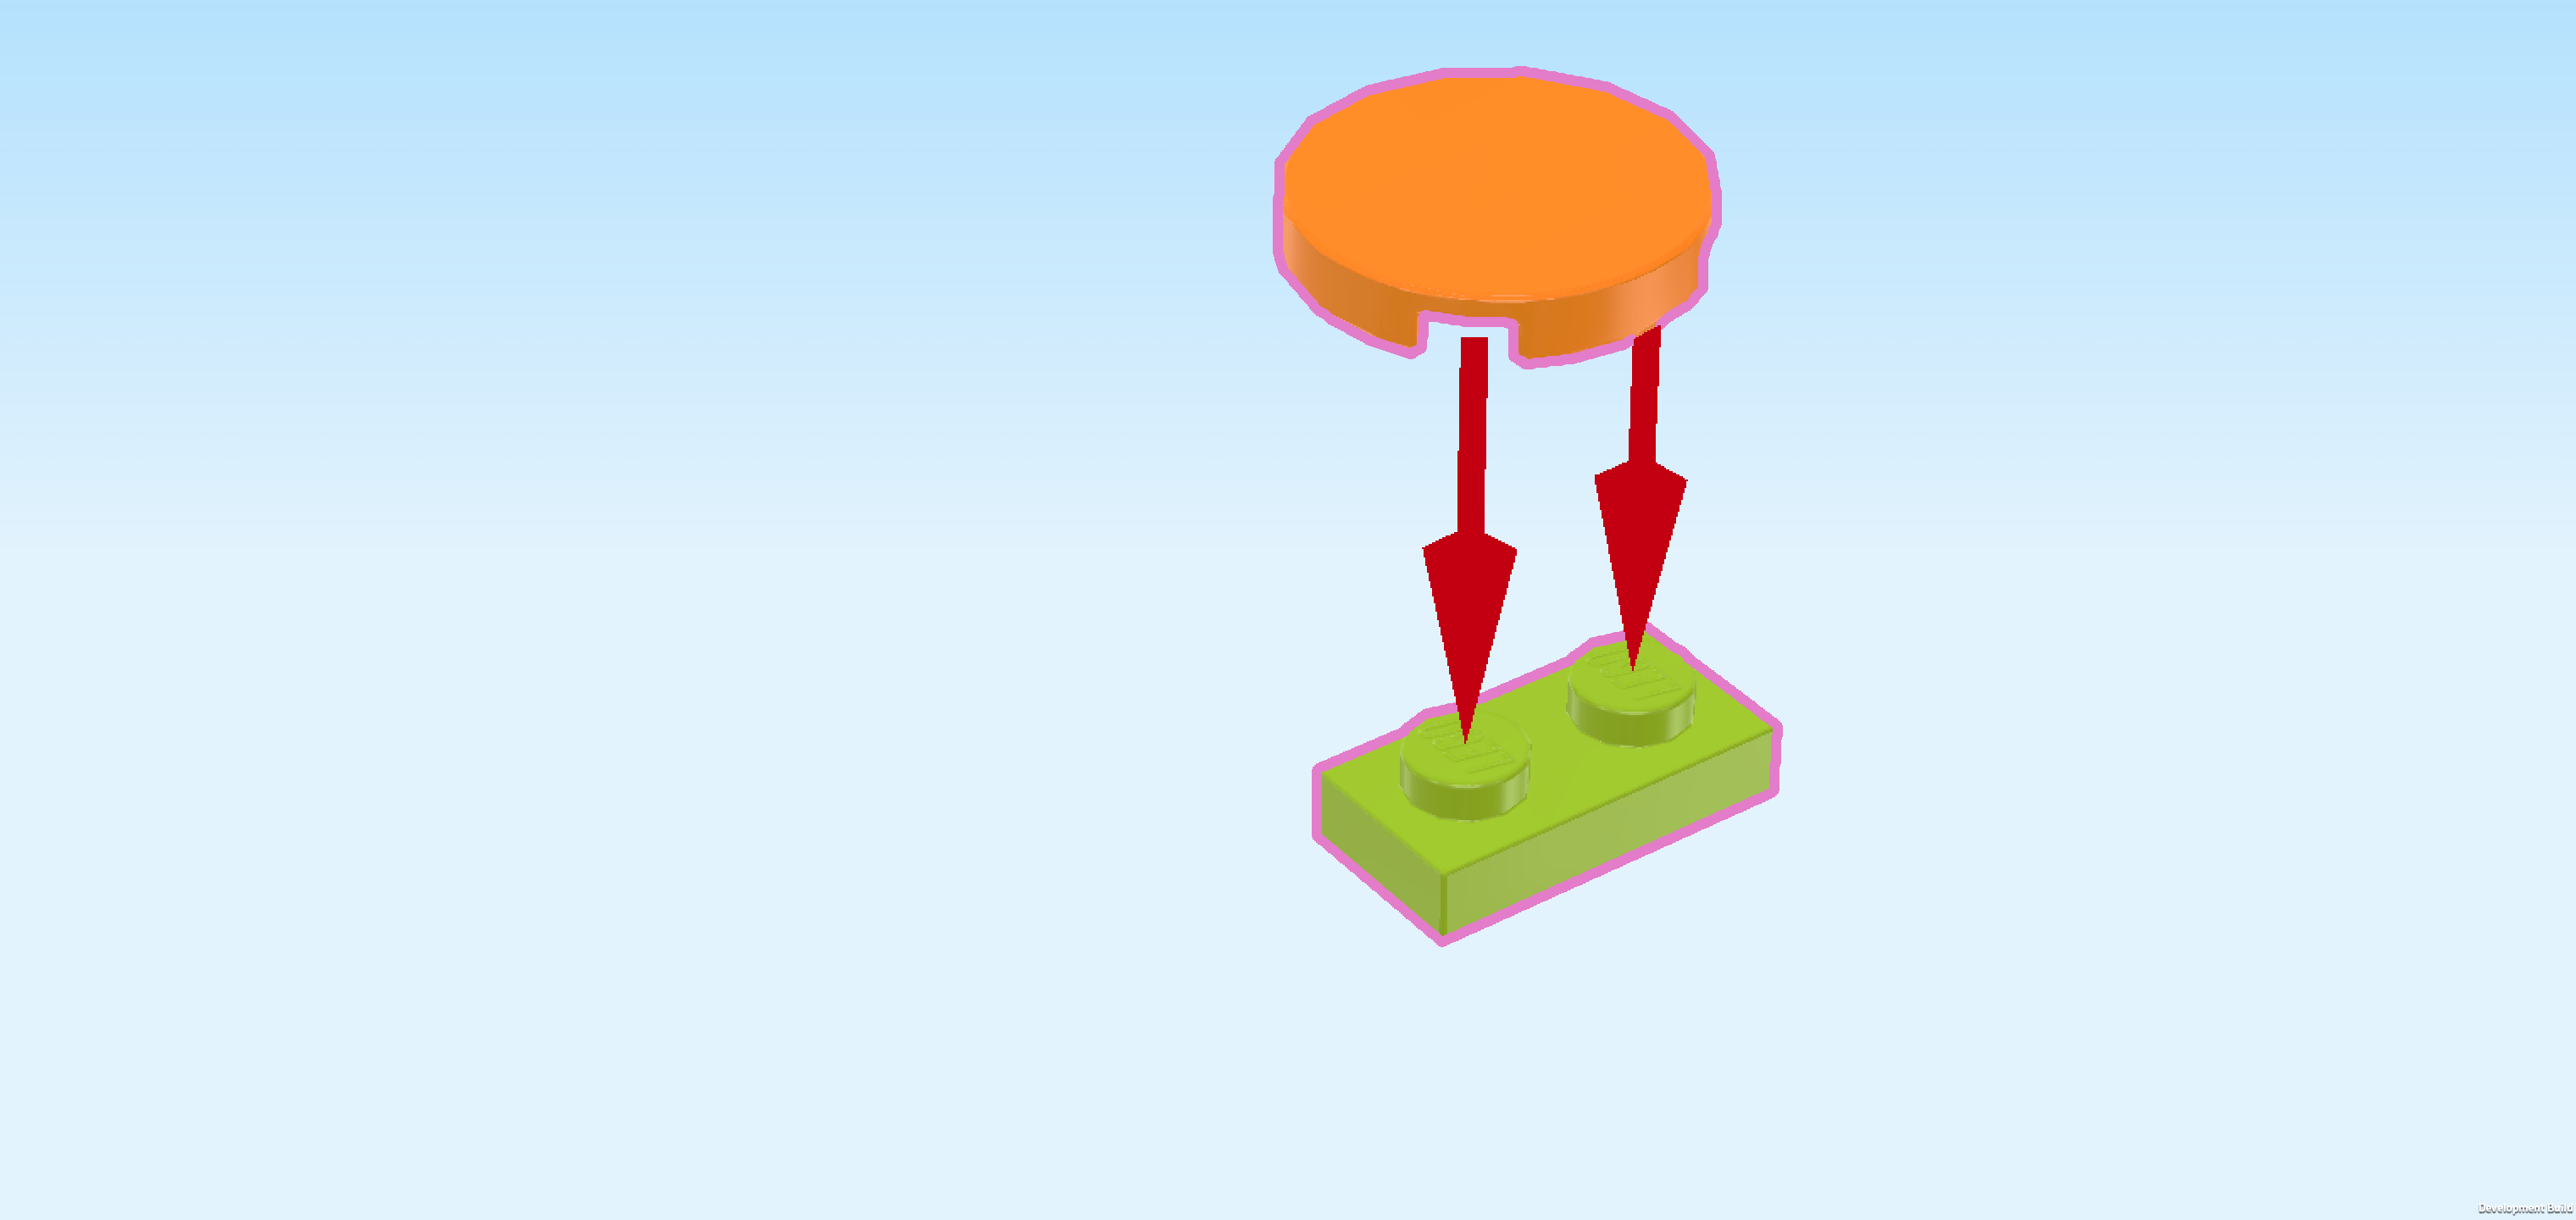
| Put the plate 1x2 horizontally on the table. |
| Put the round tile 2x2 on top, 1/2 overhanging to the back. |
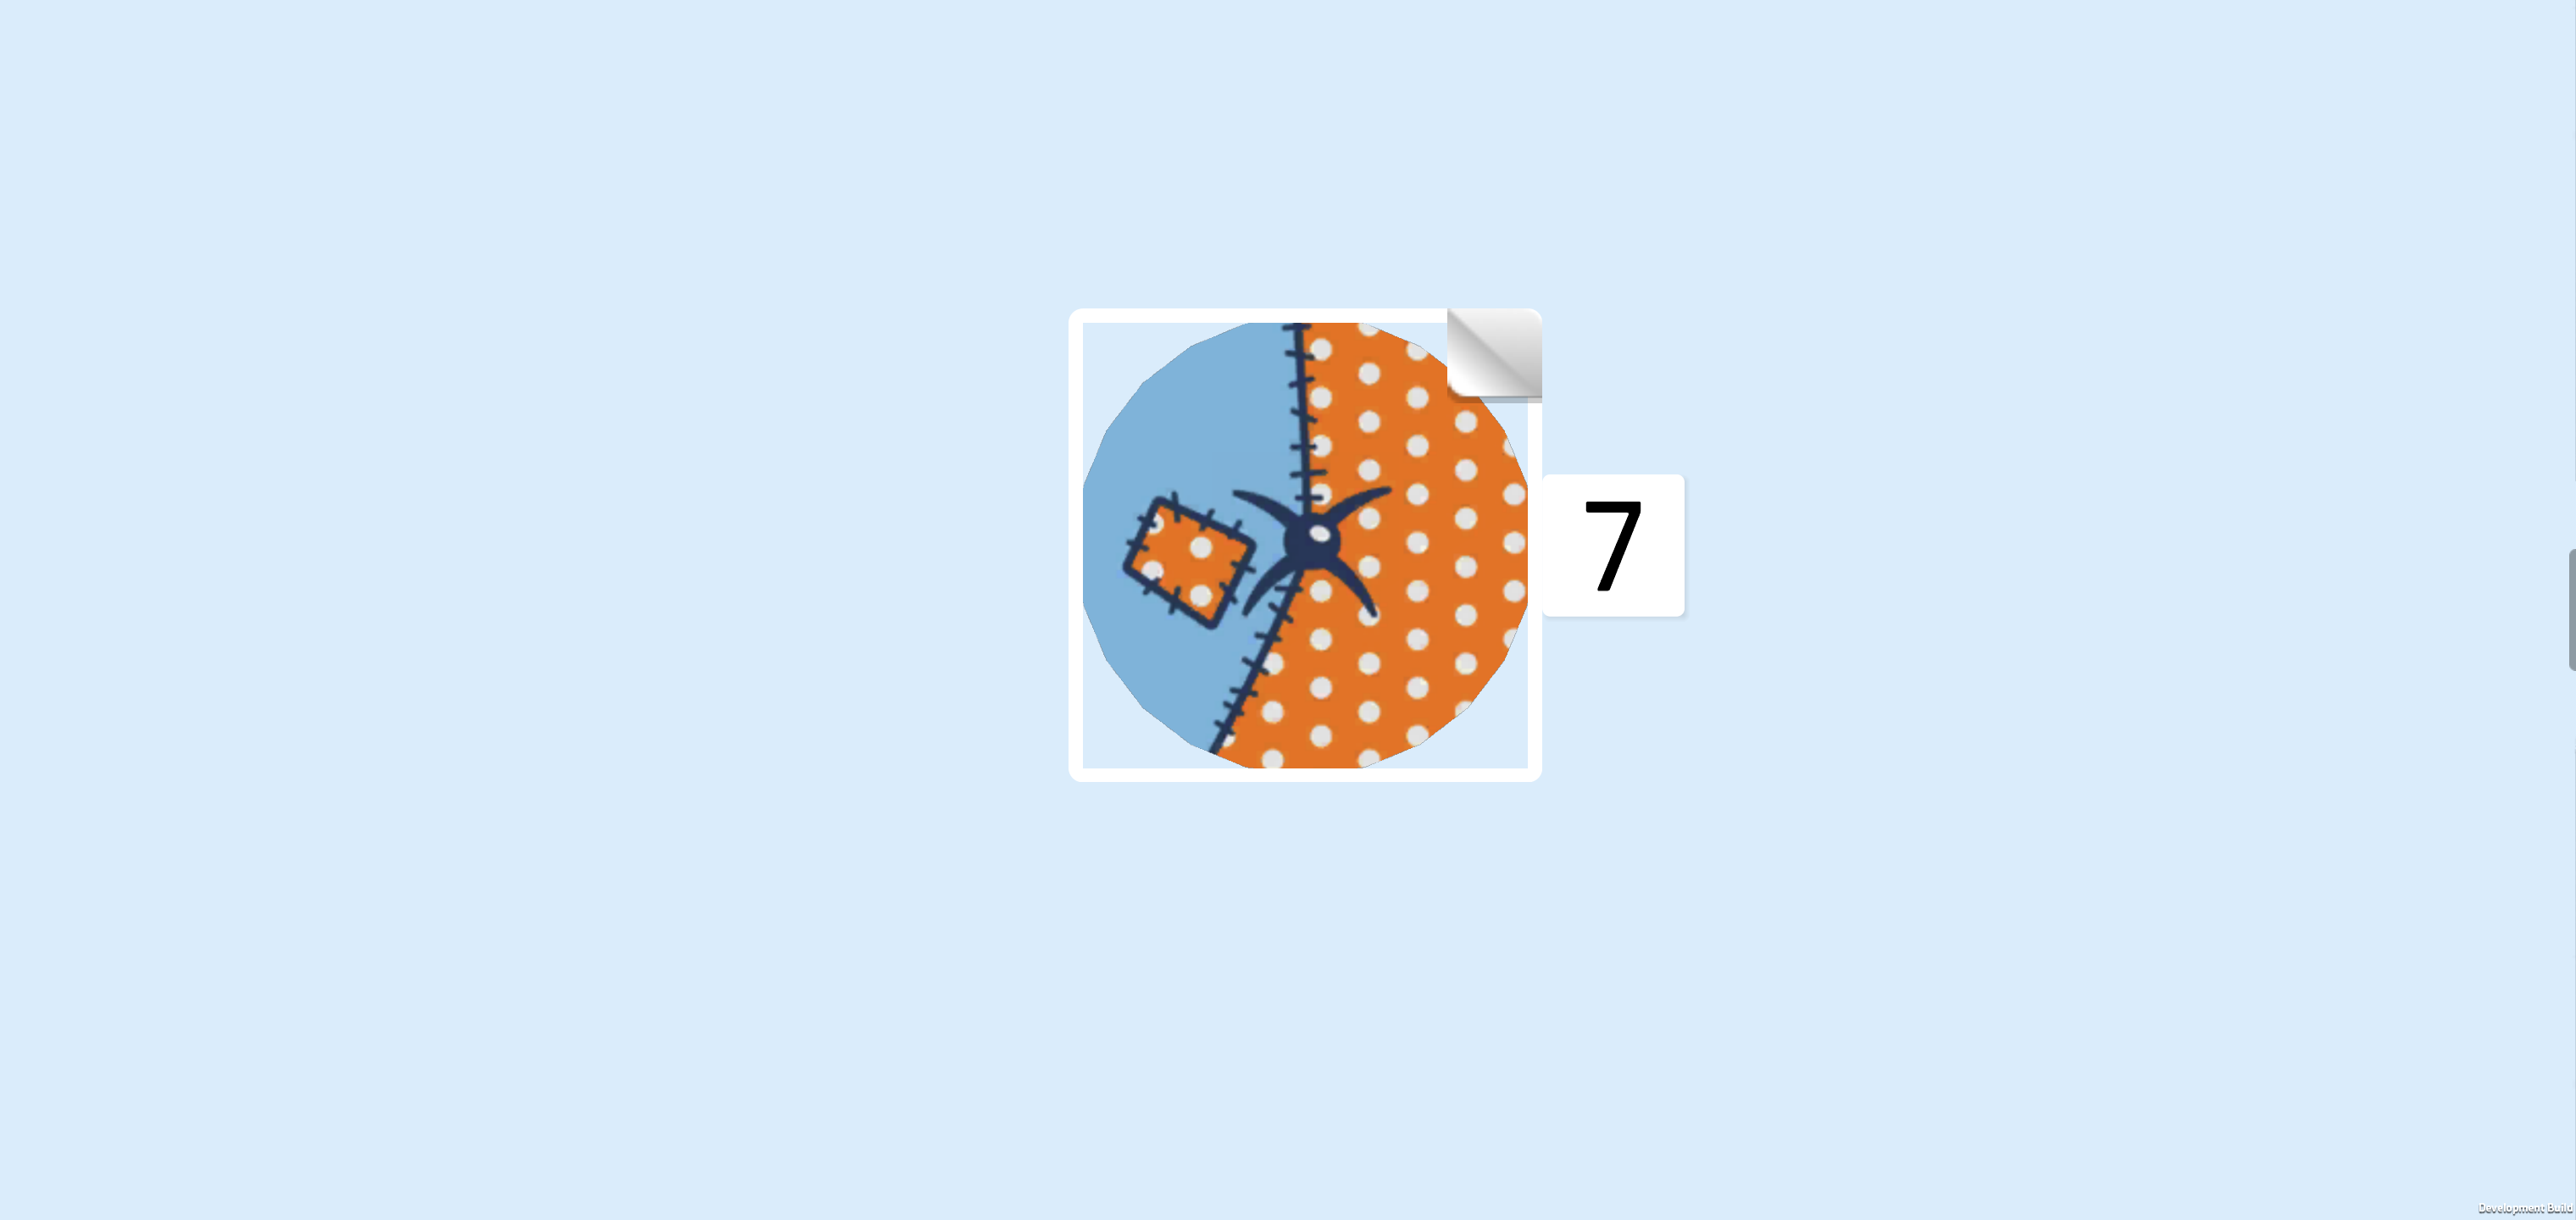
| Continue if you want to decorate this piece with a sticker now. If not, skip the next 3 sentences. |
| Find 1 round sticker 2x2. |
| Put it on top of the round tile 2x2. |
| The sticker is printed with a cushion pattern again. The base fabric is orange with grey dots. Almost half of this cushion has a blue patch sewn on, and the blue patch itself again has a small patch of the base fabric sewn on. In the middle, there is a black button like before. |
| The window seat is finished! Mount it on the windowsill of the bay window. The plate 1x2 at the bottom will fit horizontally into the cutout of the bay window base plate. |
| Find 1 aqua blue brick 1x1x5. |
| Put it on the leftmost knob of the backmost row. With this, we have finished building the base of the back wall of Autumn's room. Great going! |
| Collect the following 3 pieces: |
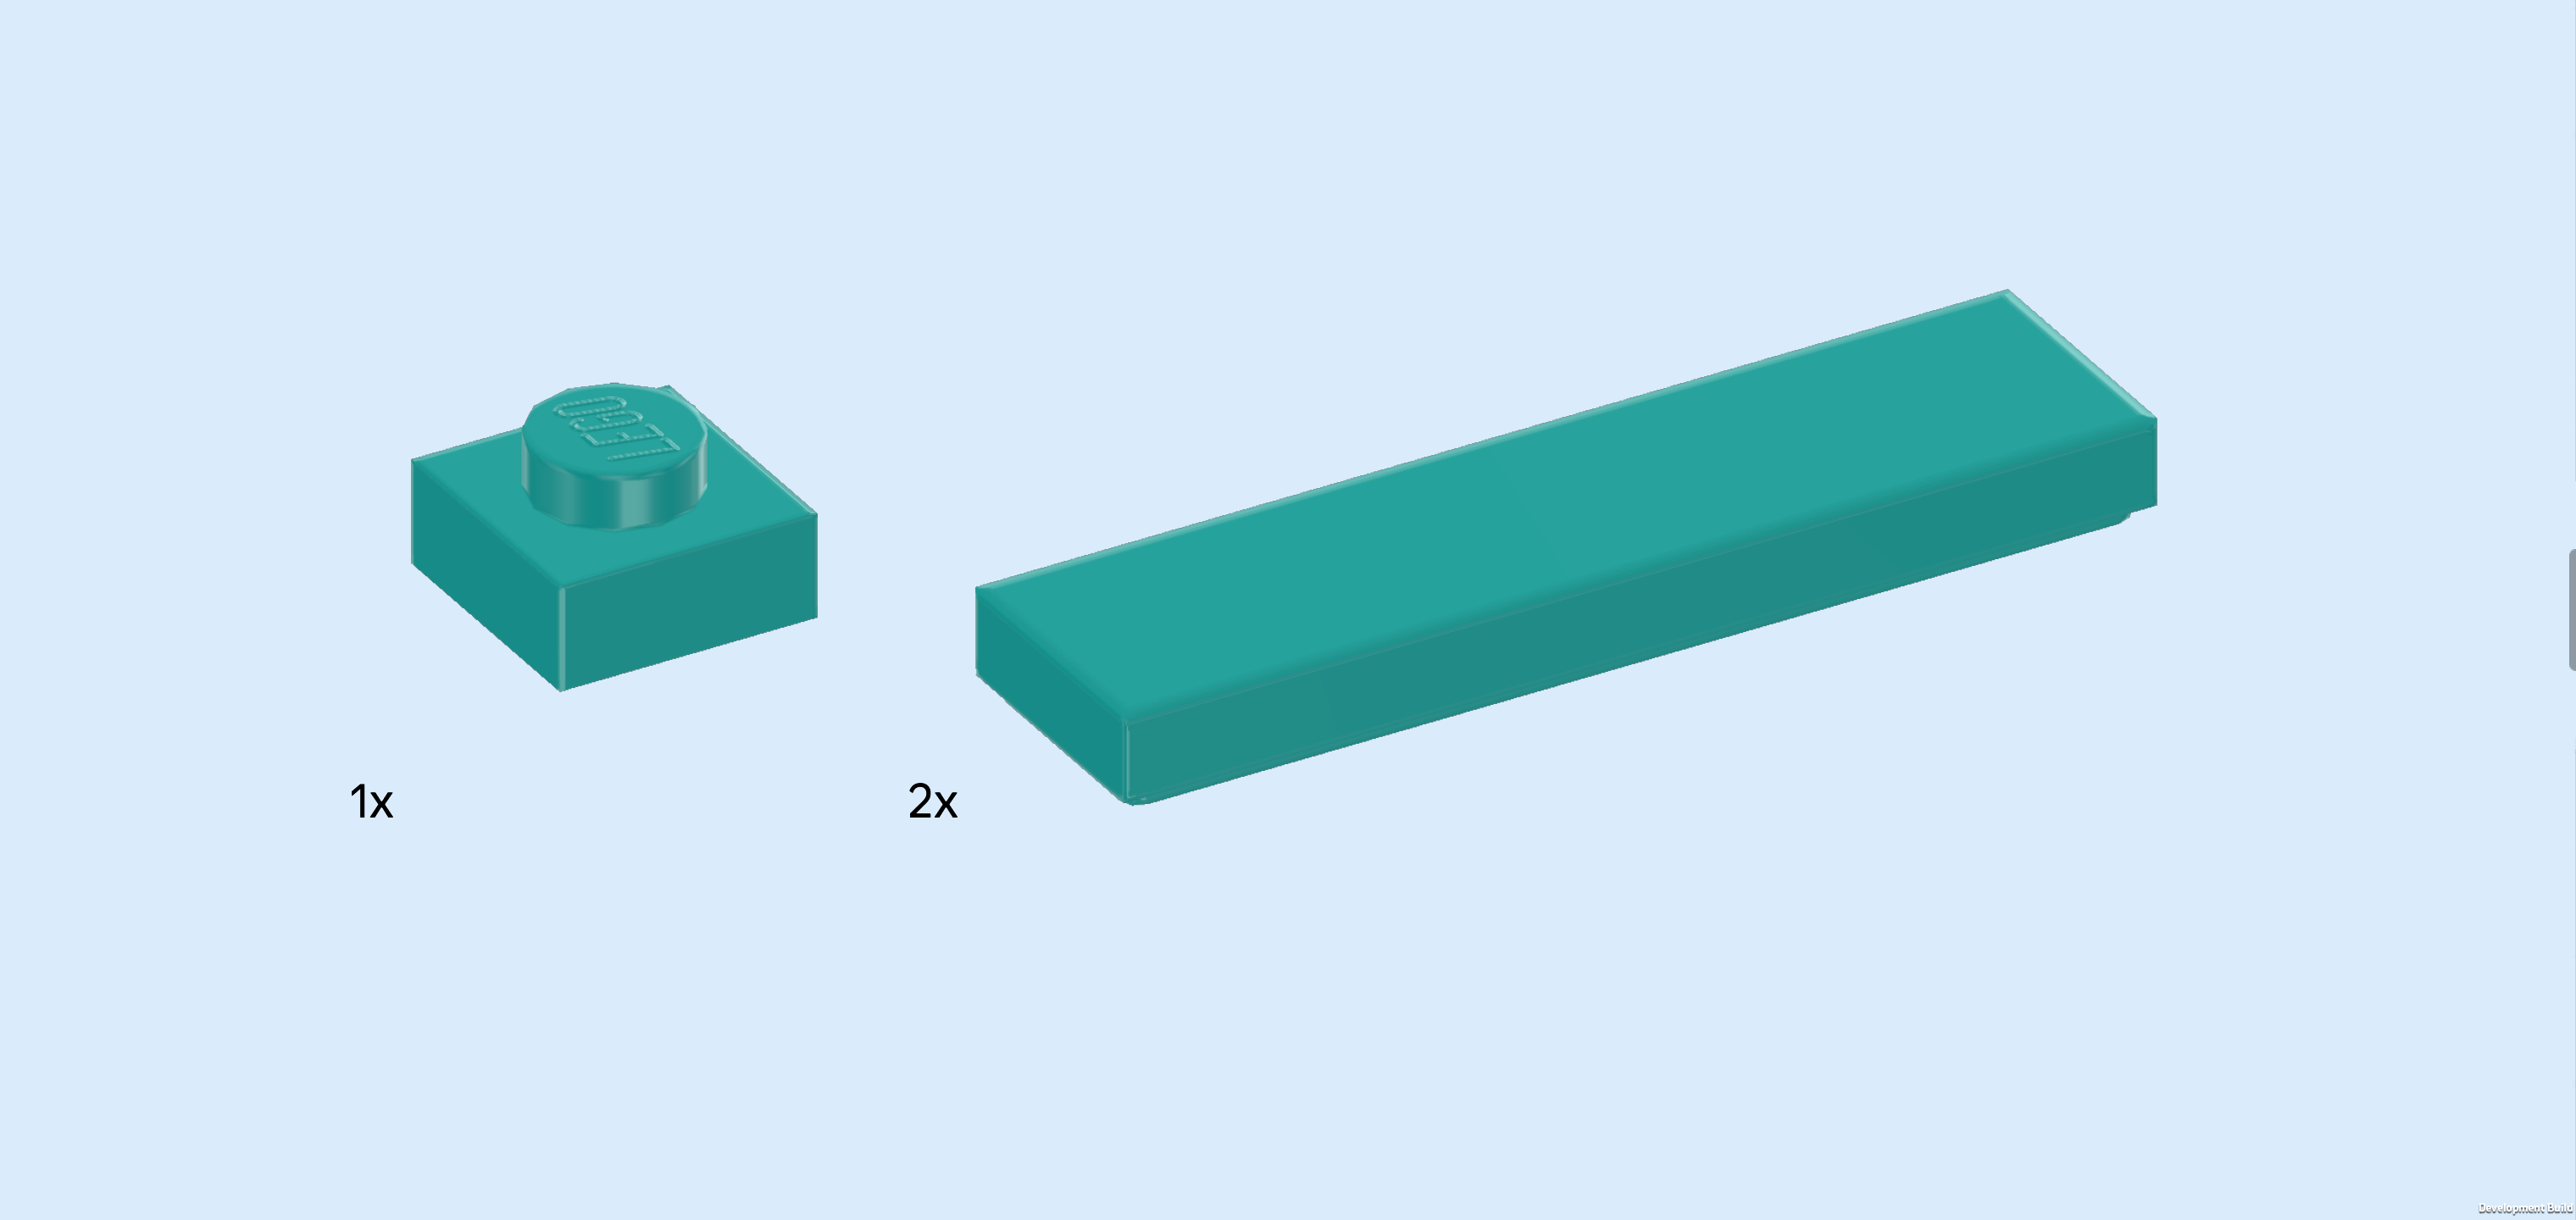
| 1 teal blue plate 1x1, |
| and 2 teal blue flat tiles 1x4. |
| Put 1 flat tile 1x4 horizontally on the back wall, starting from its left edge. |
| Put the other flat tile 1x4 horizontally to the right of the previous piece. |
| Put the plate 1x1 to the right of the previous piece. |
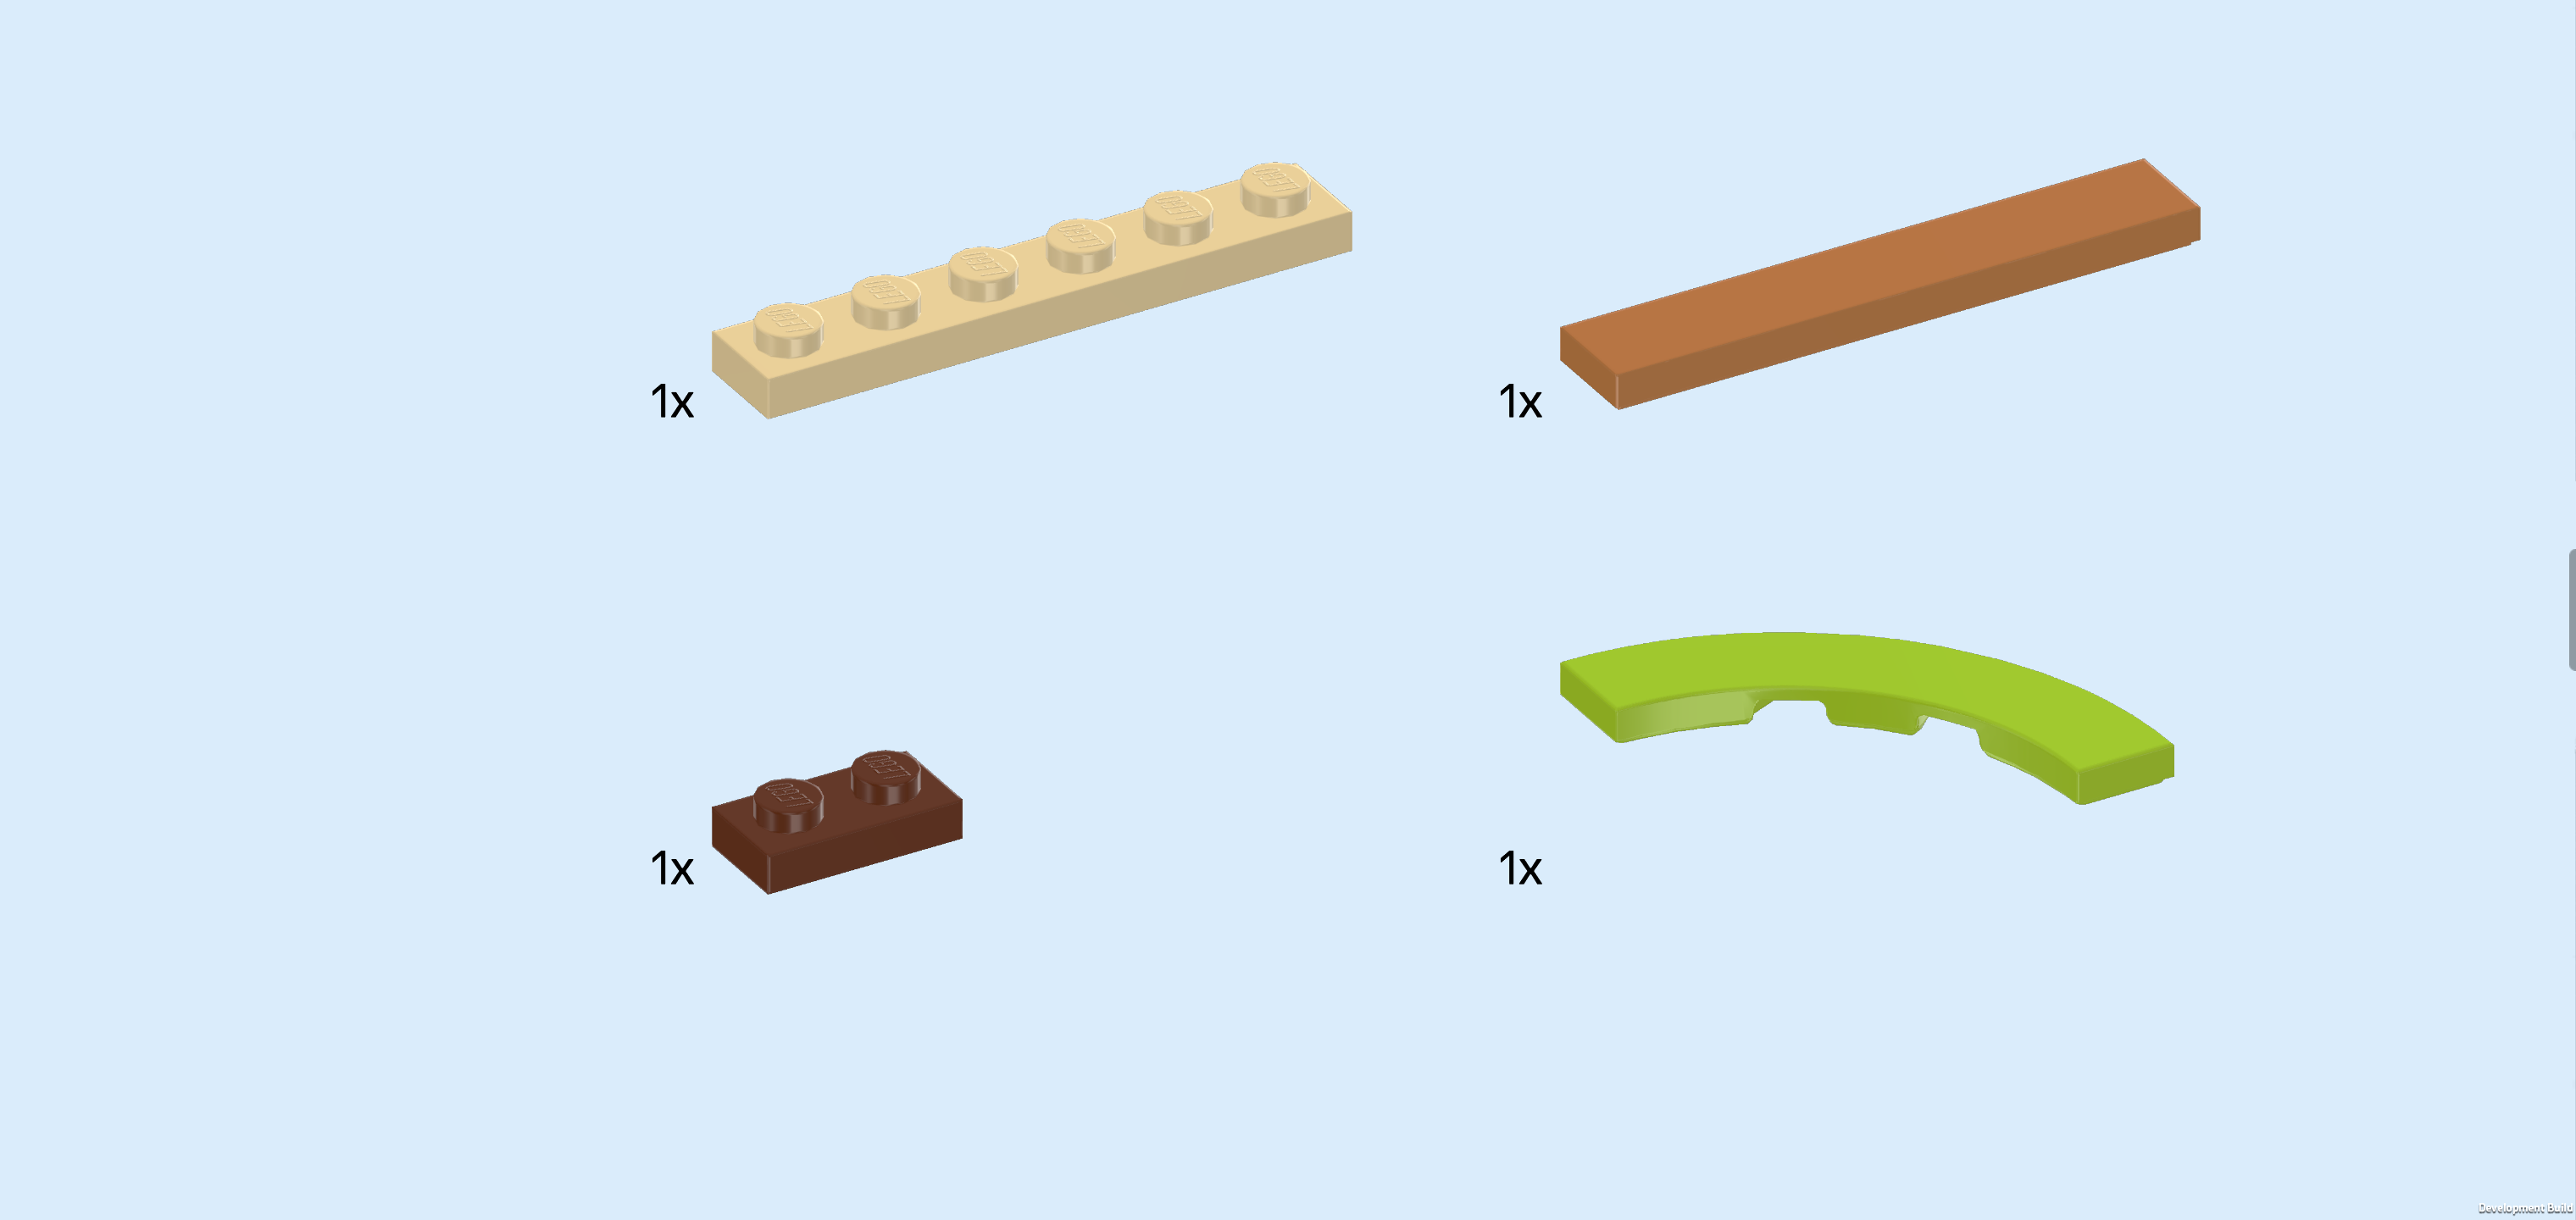
| Collect the following 4 pieces: |
| 1 beige plate 1x6, |
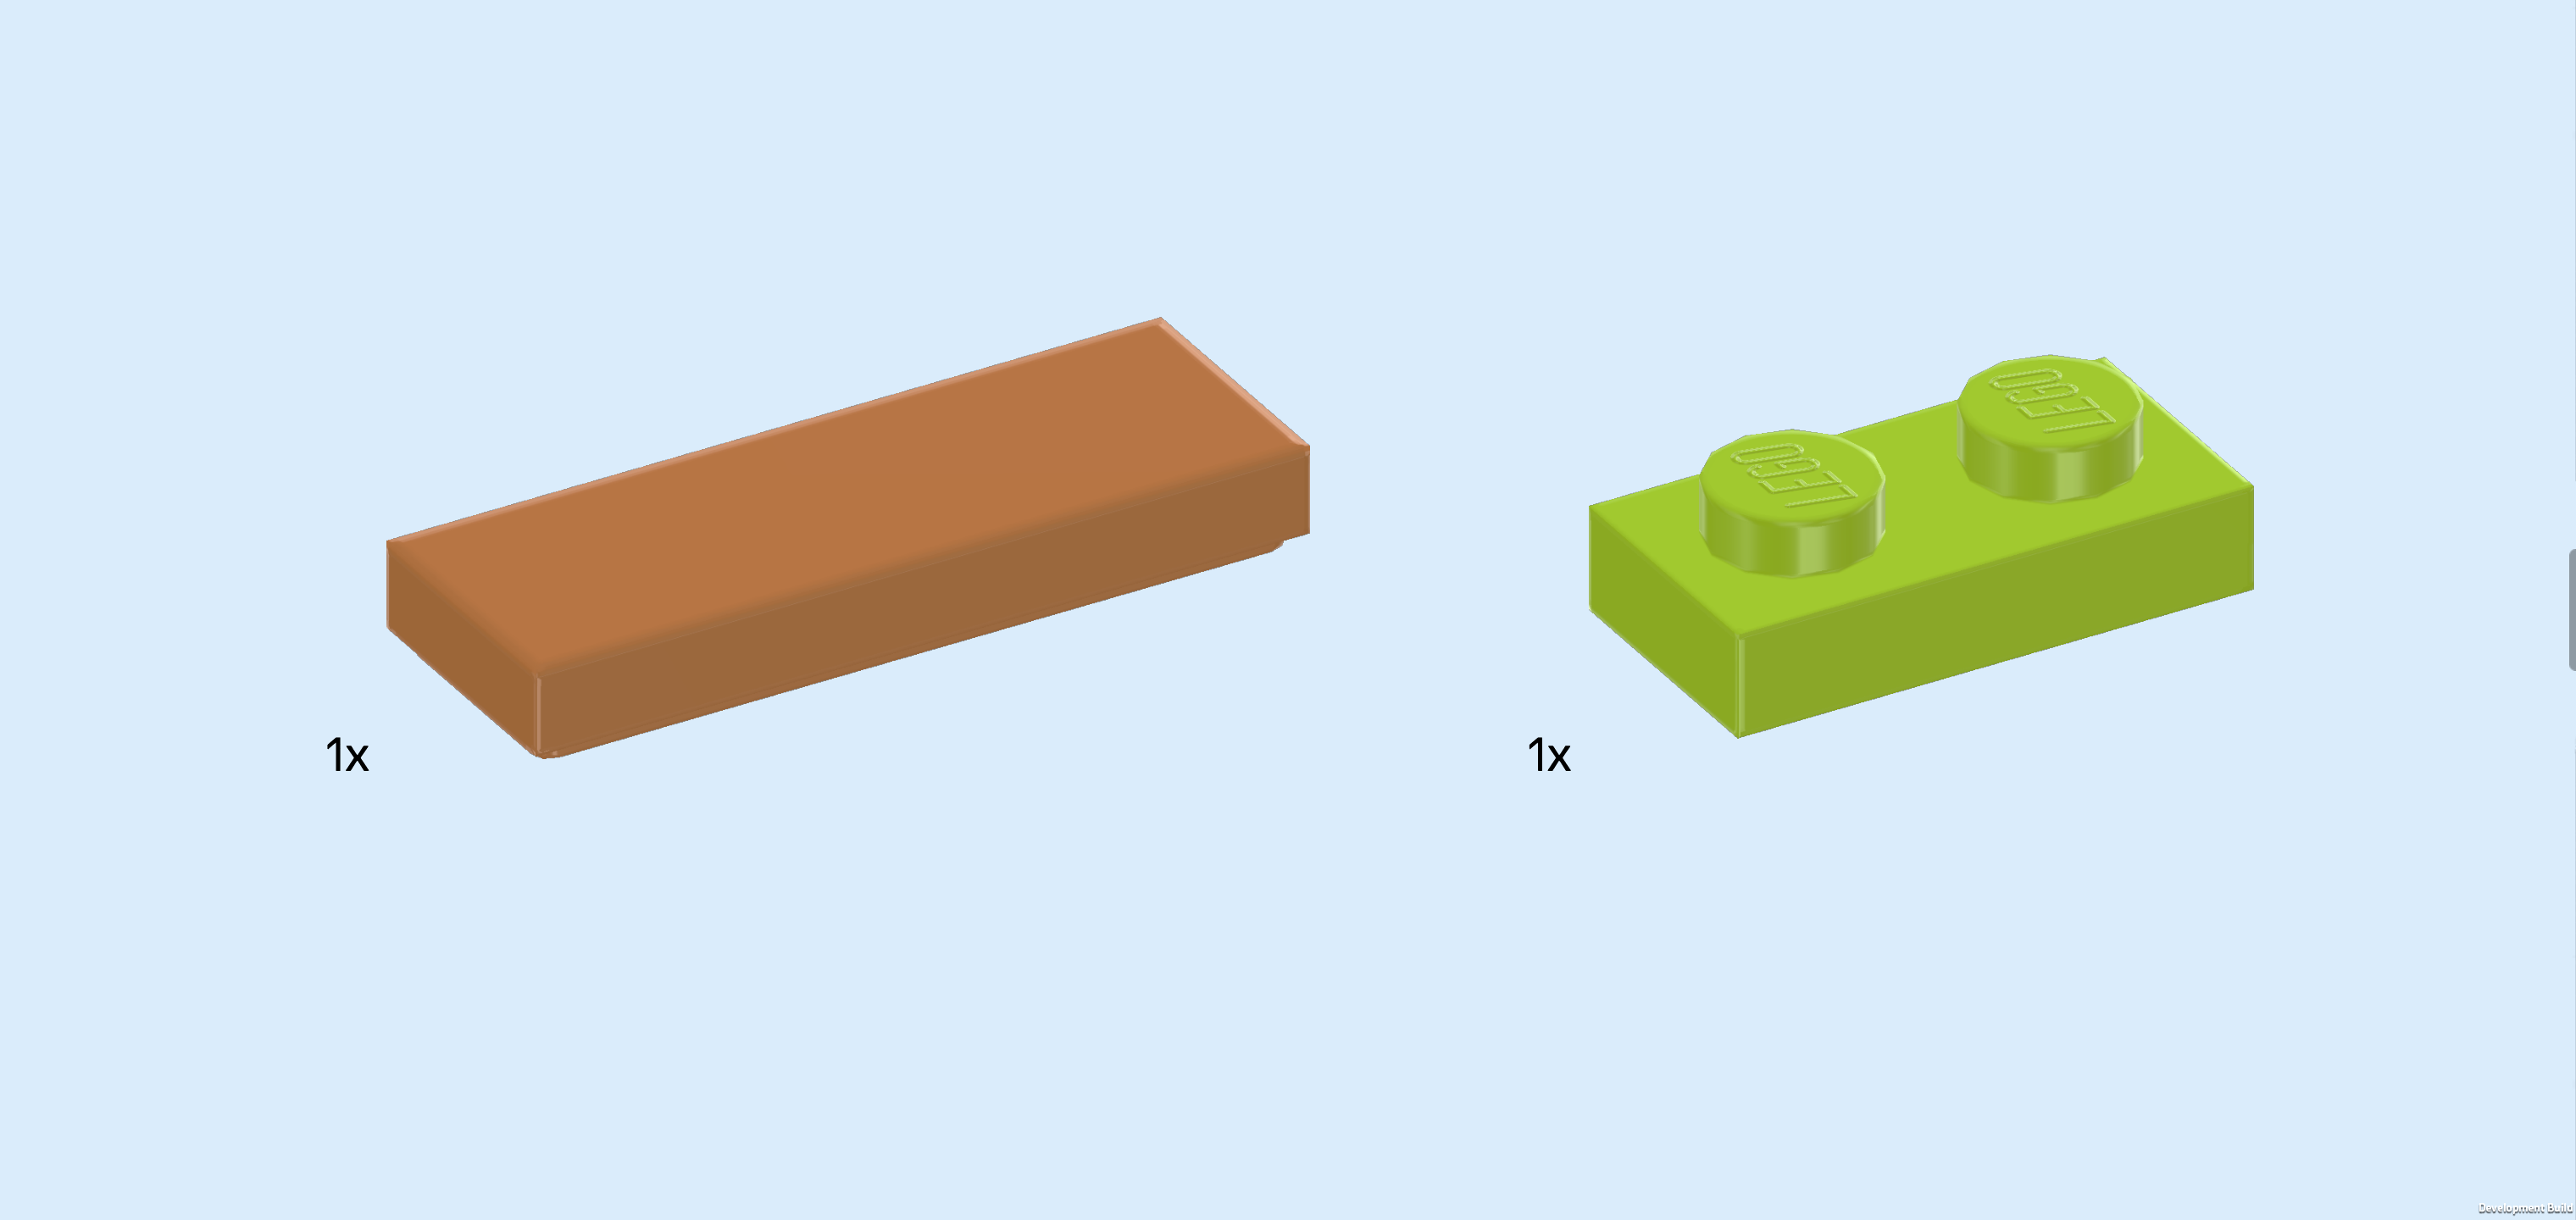
| 1 medium nougat brown flat tile 1x6, |
| 1 reddish brown plate 1x2, |
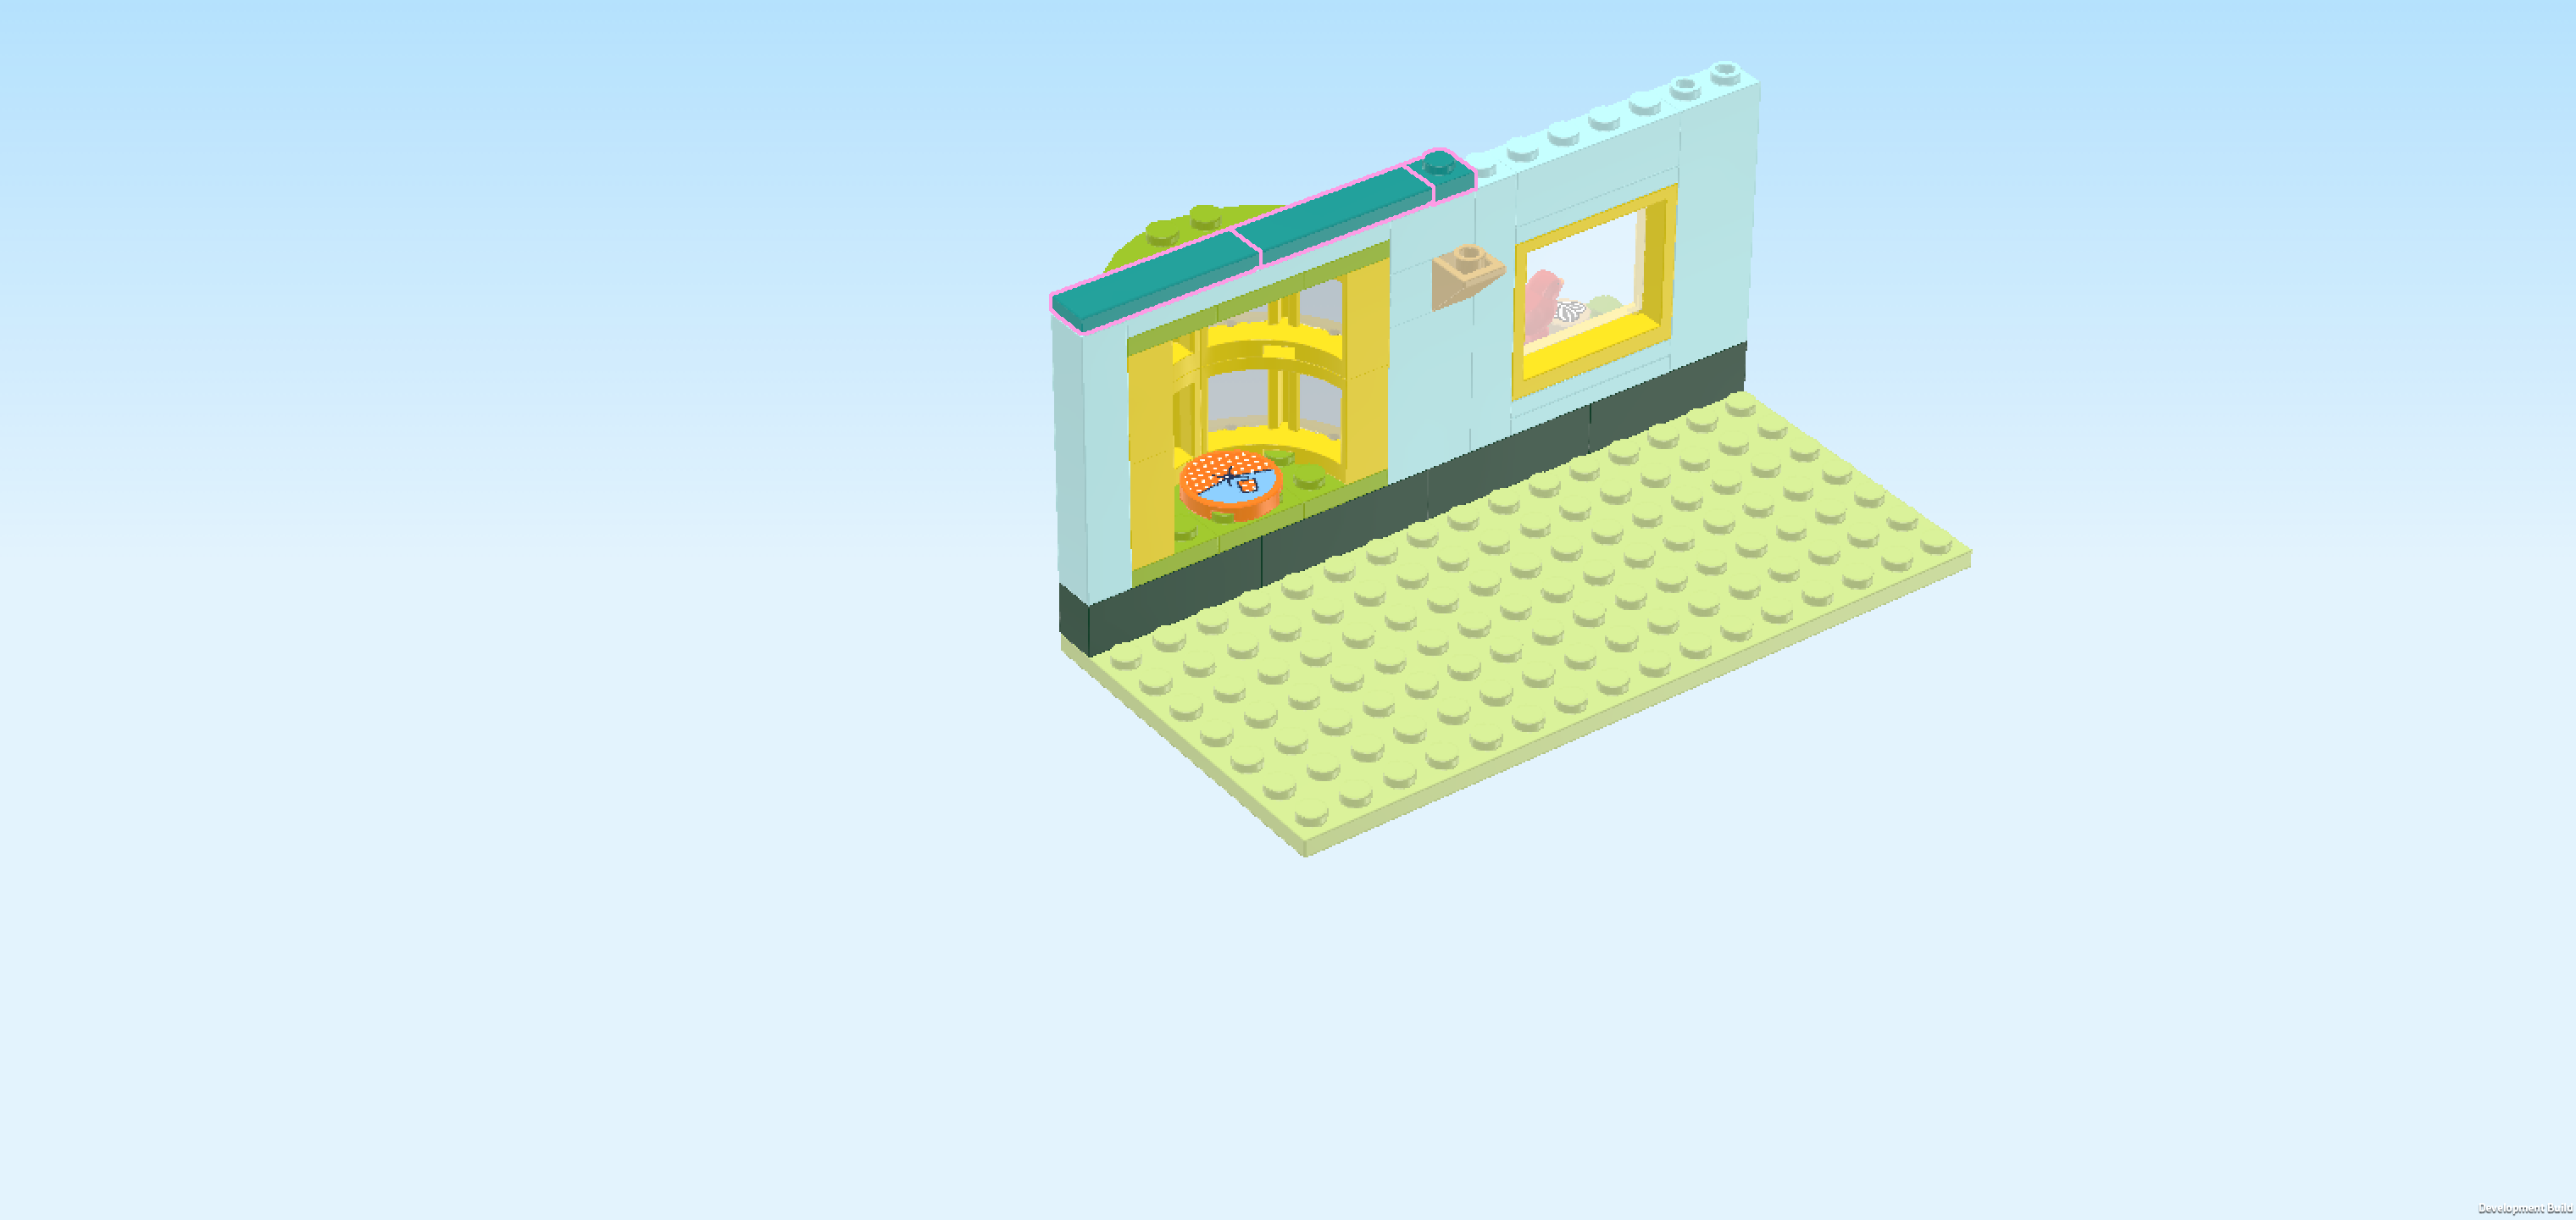
| and 1 bright yellowish green quarter-arched flat tile 4x4. |
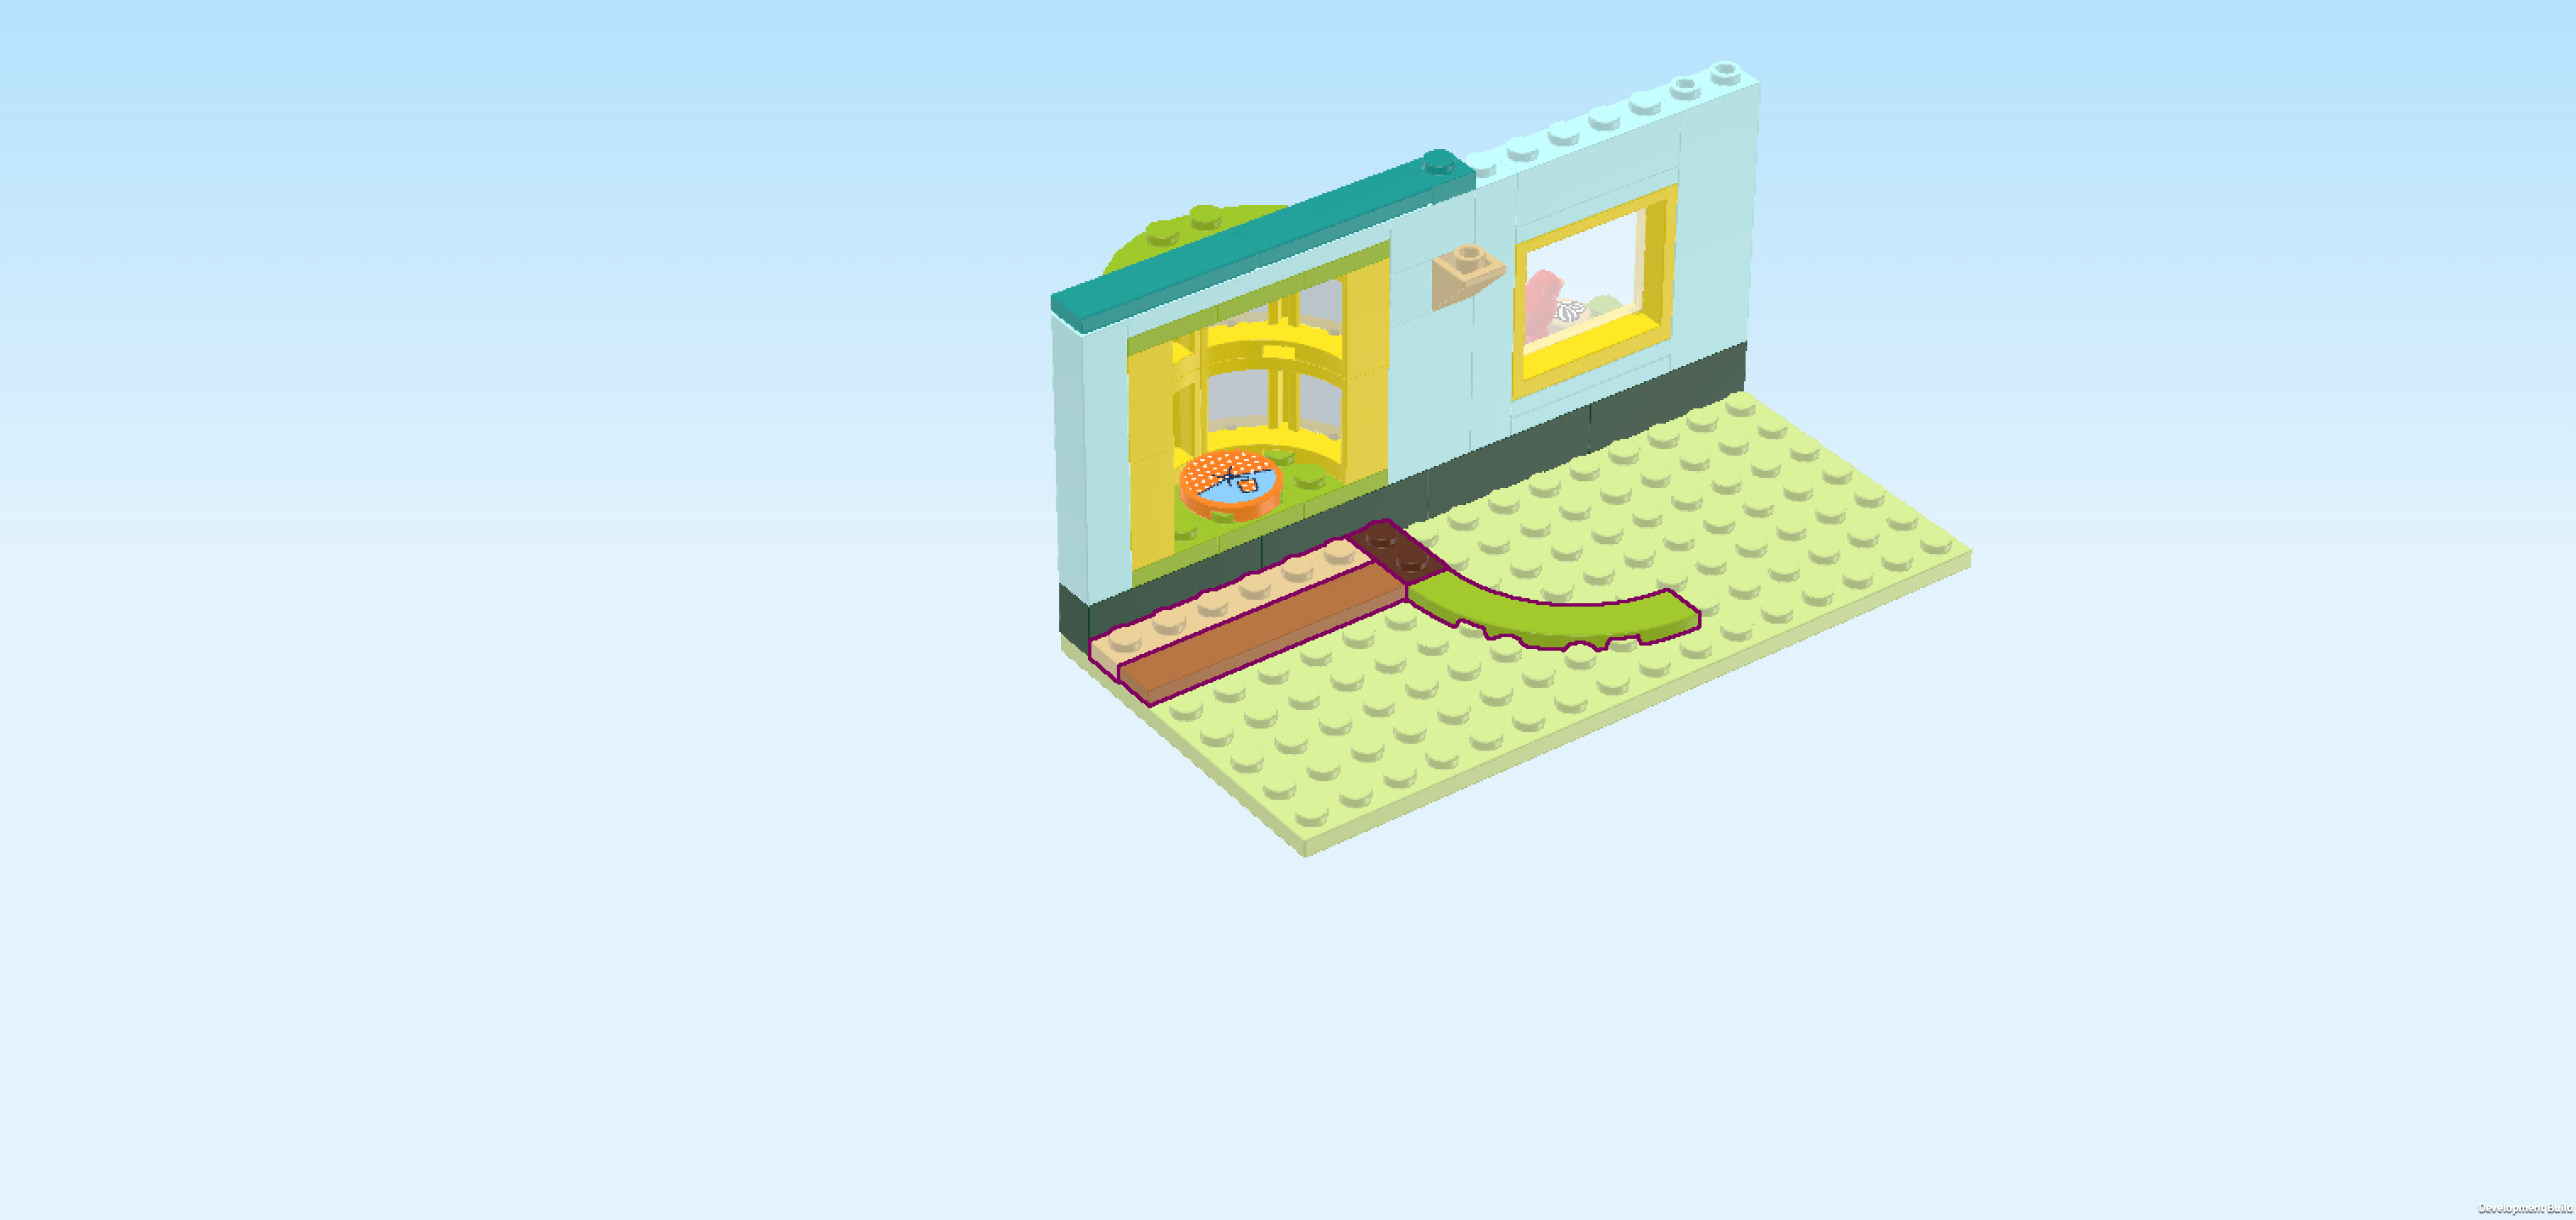
| Put the plate 1x6 horizontally in front of the back wall, starting from the left edge. This means it will be mounted on the base plate. |
| Put the flat tile 1x6 horizontally in front of the previous piece. |
| Put the plate 1x2 vertically to the right of the 2 previous pieces. |
| Put the quarter-arched flat tile 4x4 in front of the previous piece, making sure that it bends towards the front right. |
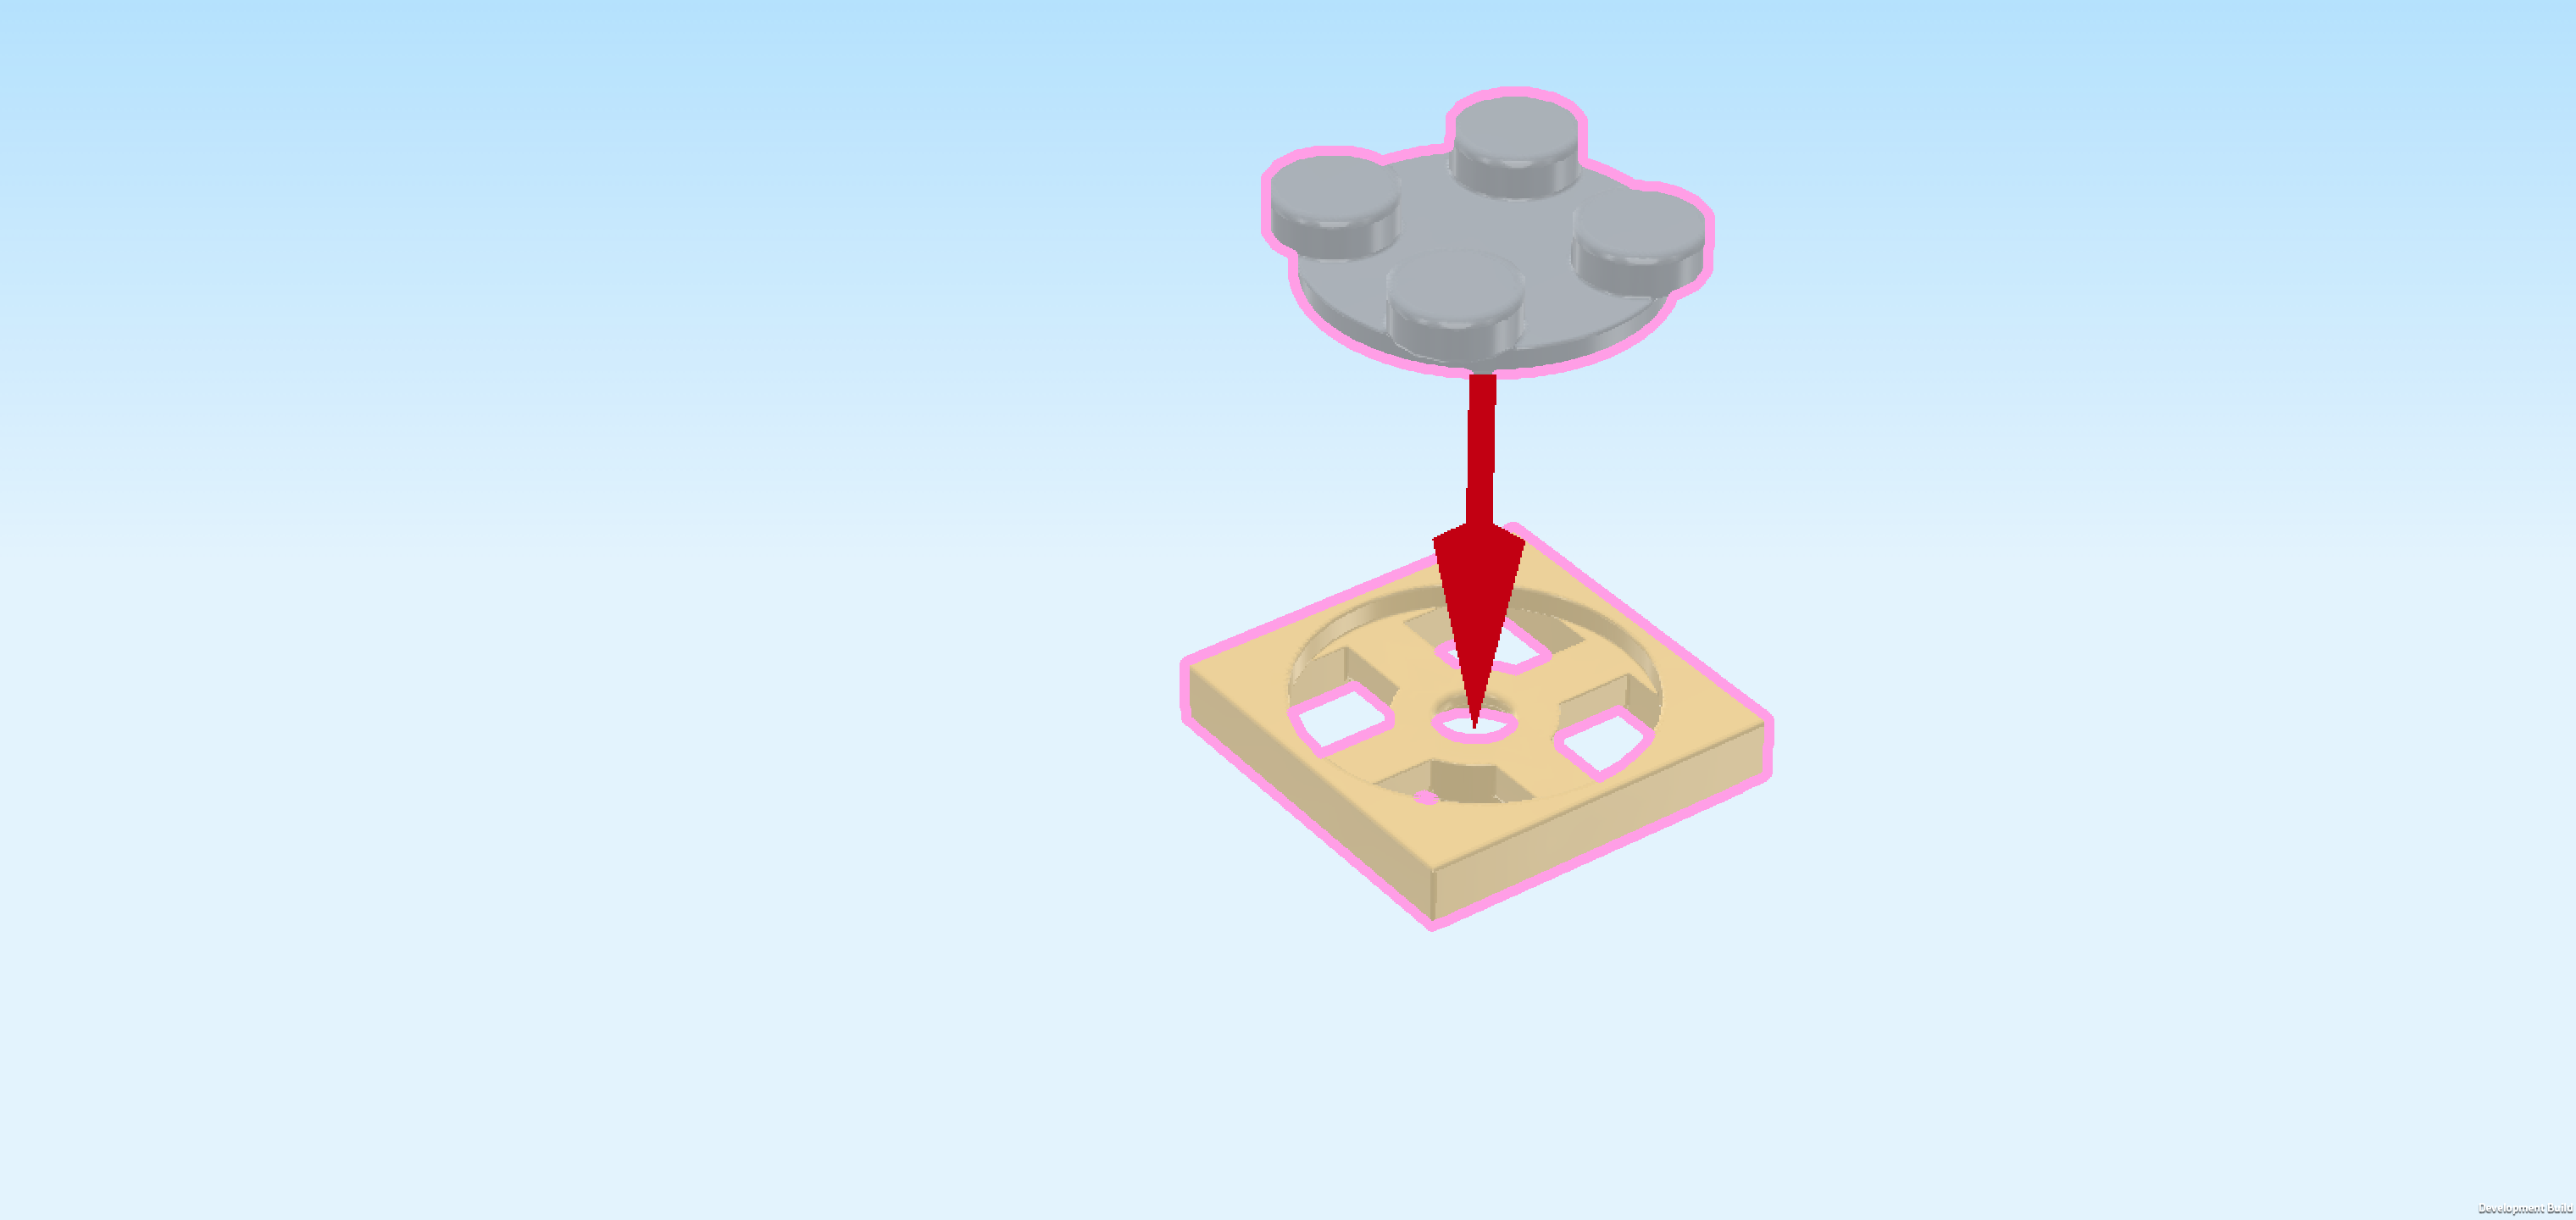
| Next, we will assemble a swivel plate. |
| Note that in some cases, it is possible that the swivel plate comes pre-assembled. Continue for detailed instructions. |
| Collect the following 2 pieces: |
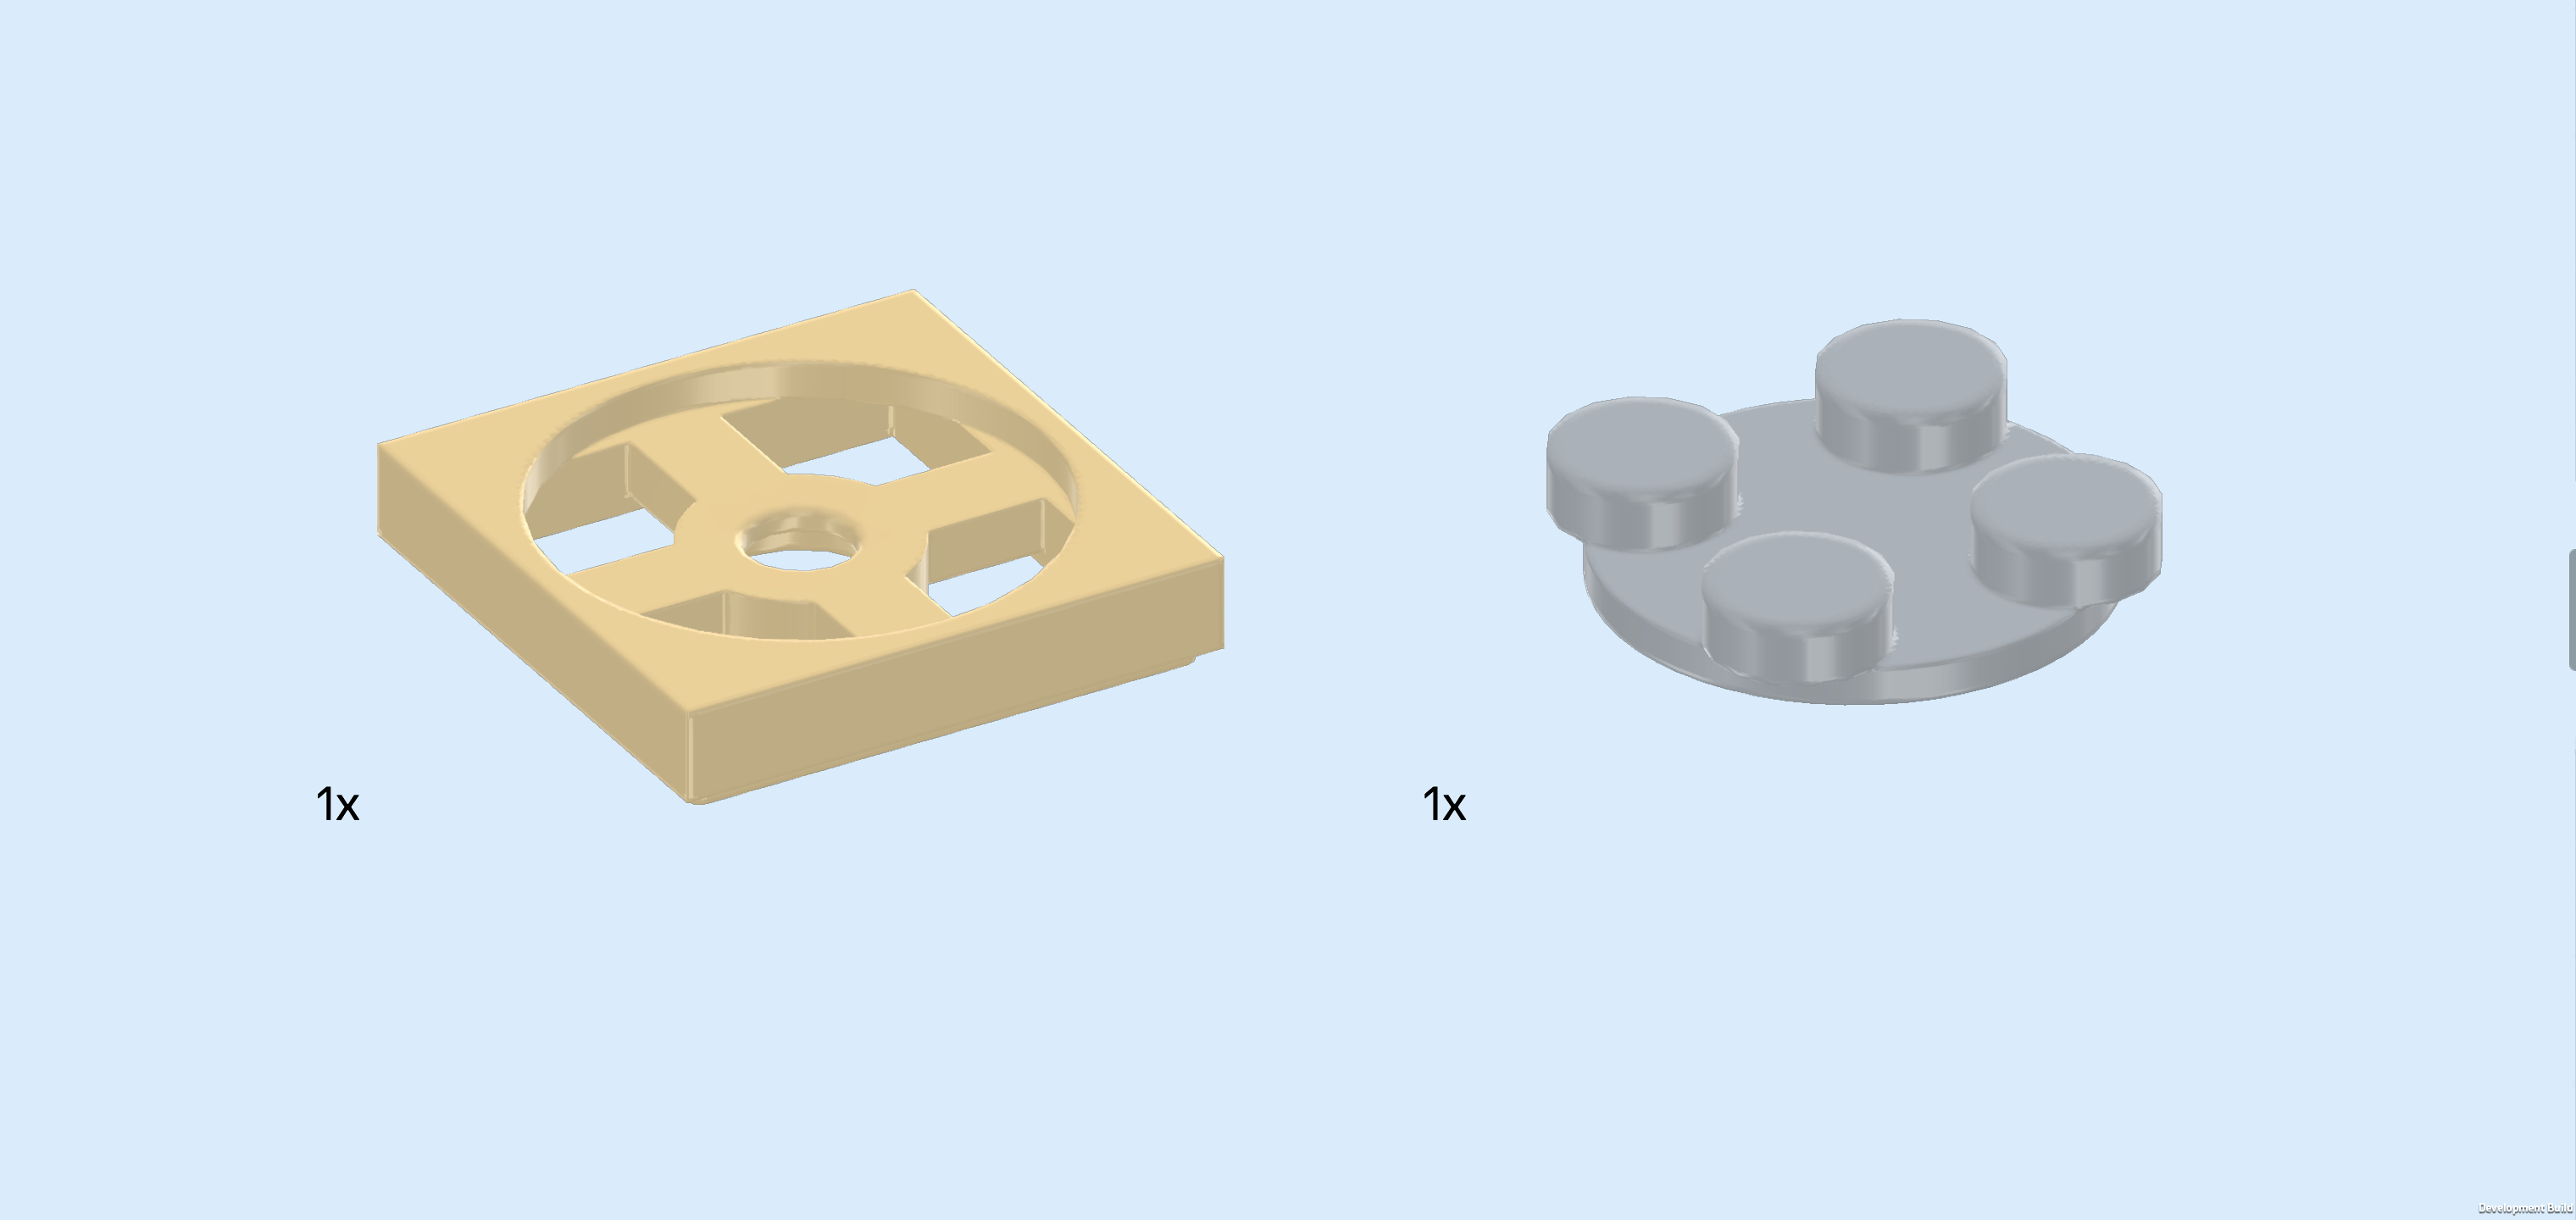
| 1 beige socket for swivel plate 2x2, |
| and 1 medium stone grey rotating part for swivel plate 2x2. |
| Snap the rotating part into the swivel plate socket. If done correctly, the rotating part should rotate smoothly in the socket. |
| We will mount the swivel plate in the next step, put it aside for a short moment. |
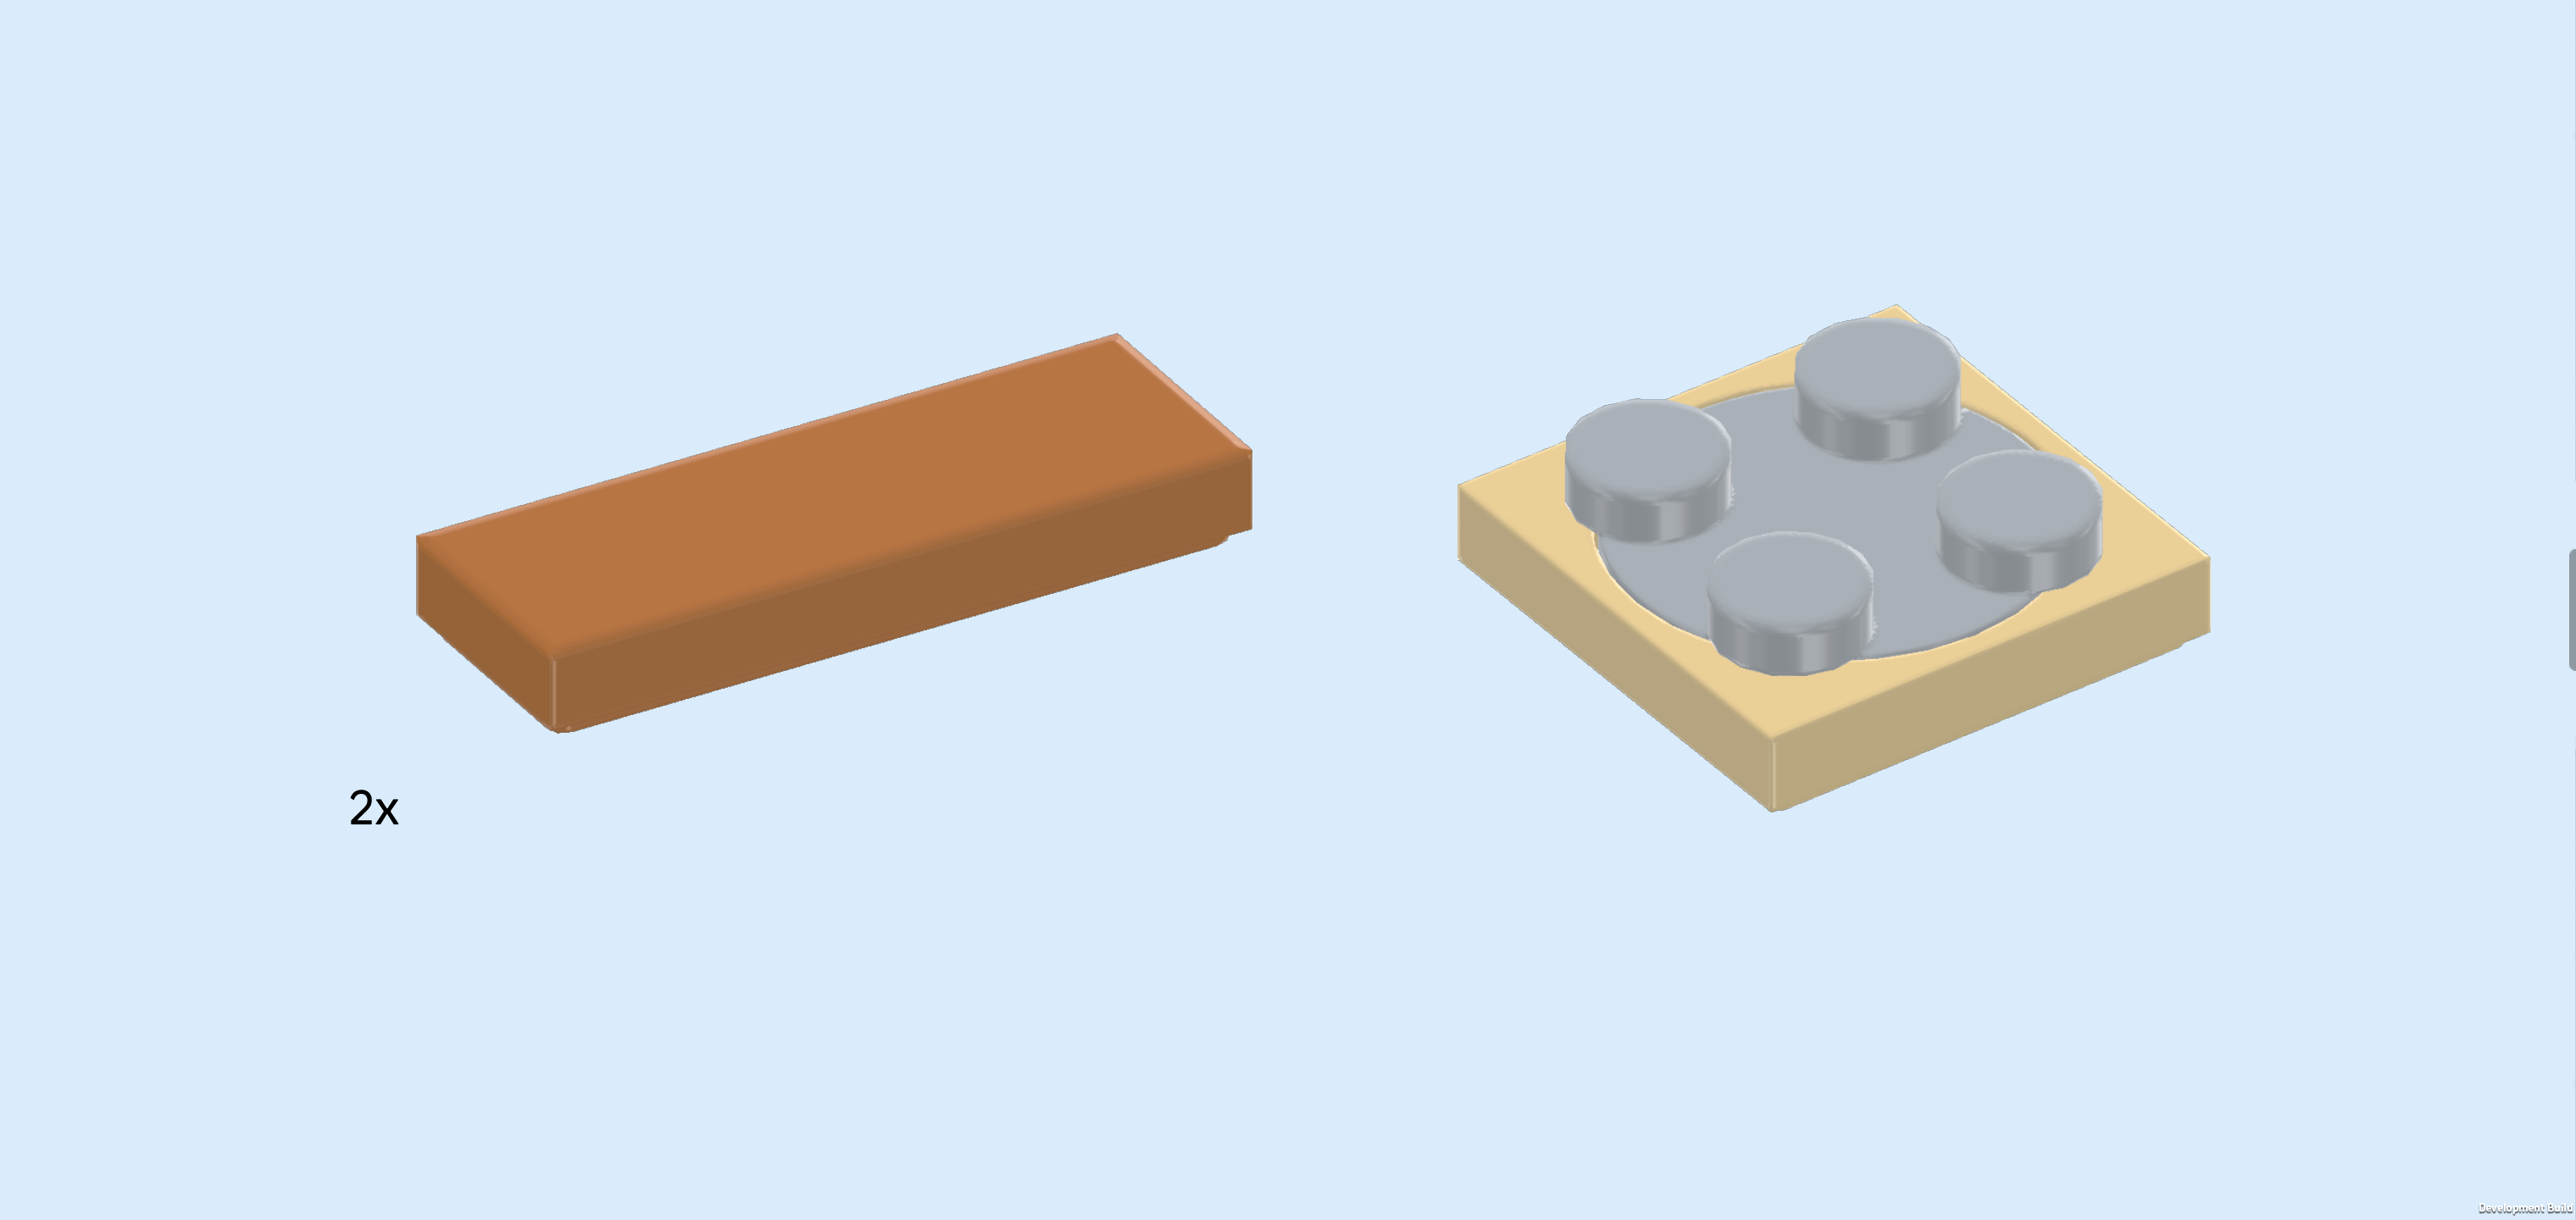
| Find 2 medium nougat brown flat tiles 1x3. |
| Put 1 horizontally in front of the back wall directly to the right of the vertically mounted plate 1x2 that we have mounted earlier. |
| Put the other one horizontally in front of the previous piece. |
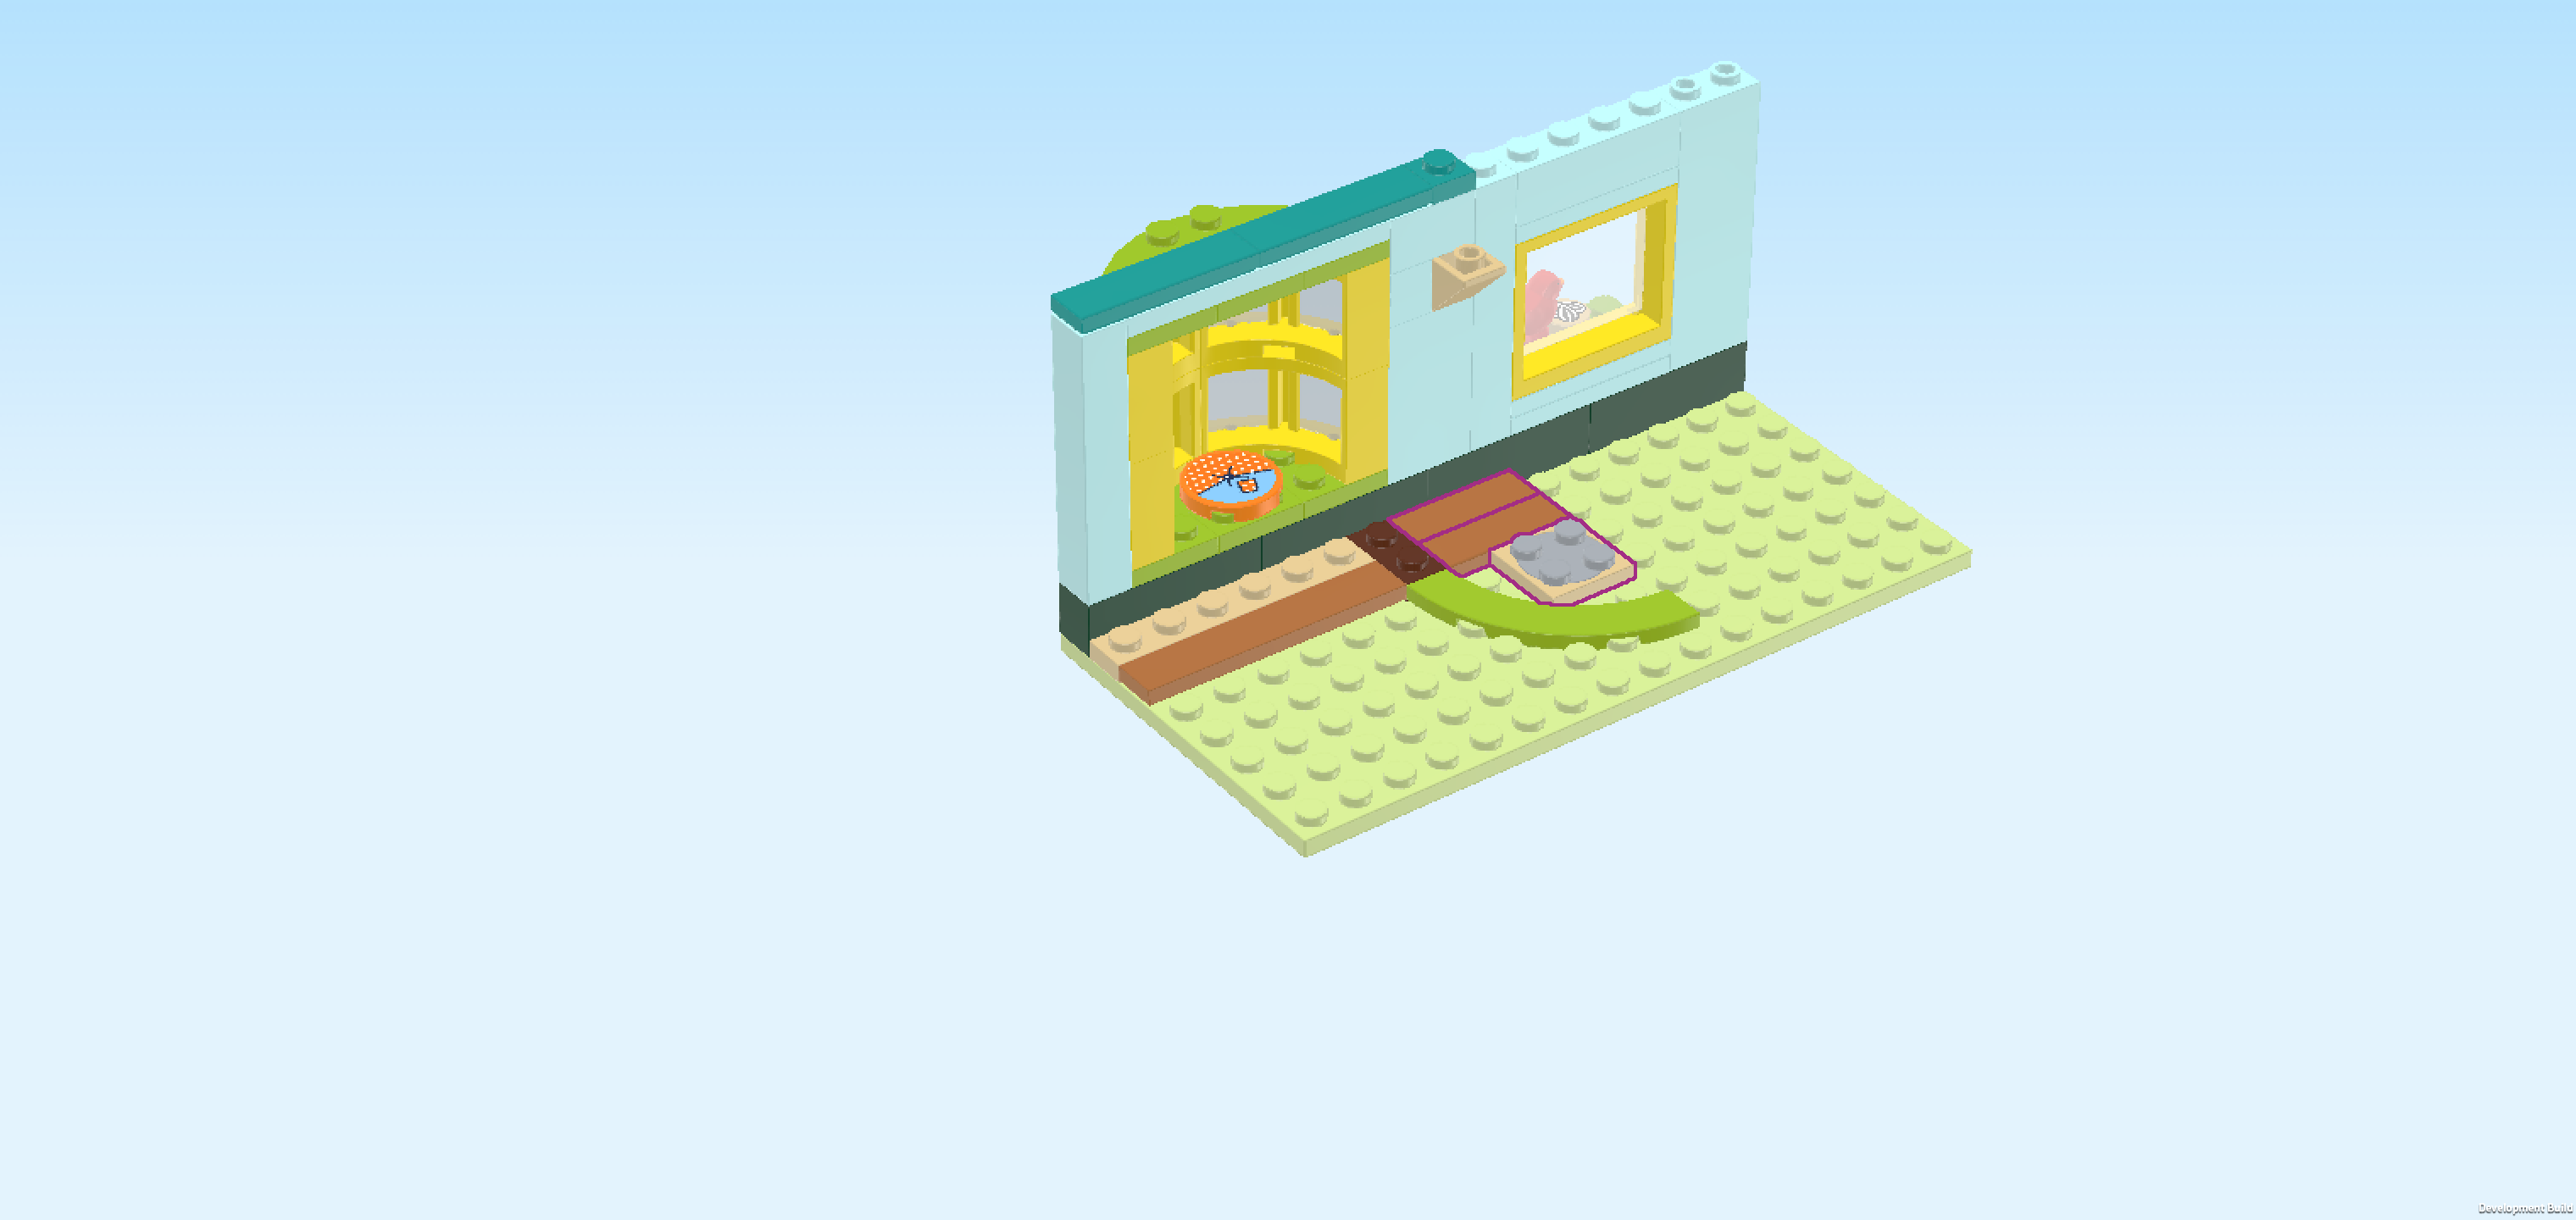
| Mount the swivel plate in front of the previous piece, aligning their right edges. The swivel plate will sit in the inner arch of the quarter-arched flat tile 4x4. |
| Collect the following 2 pieces: |
| 1 medium nougat brown flat tile 1x3, |
| and 1 bright yellowish green plate 1x2. |
| Put the plate 1x2 vertically to the left of the 2 flat tiles 1x3 from the previous step. This means it will sit on another plate 1x2 we have mounted there earlier. |
| Put the flat tile 1x3 horizontally to the left of the previous piece's back knob. This means it will sit directly in front of the back wall. |
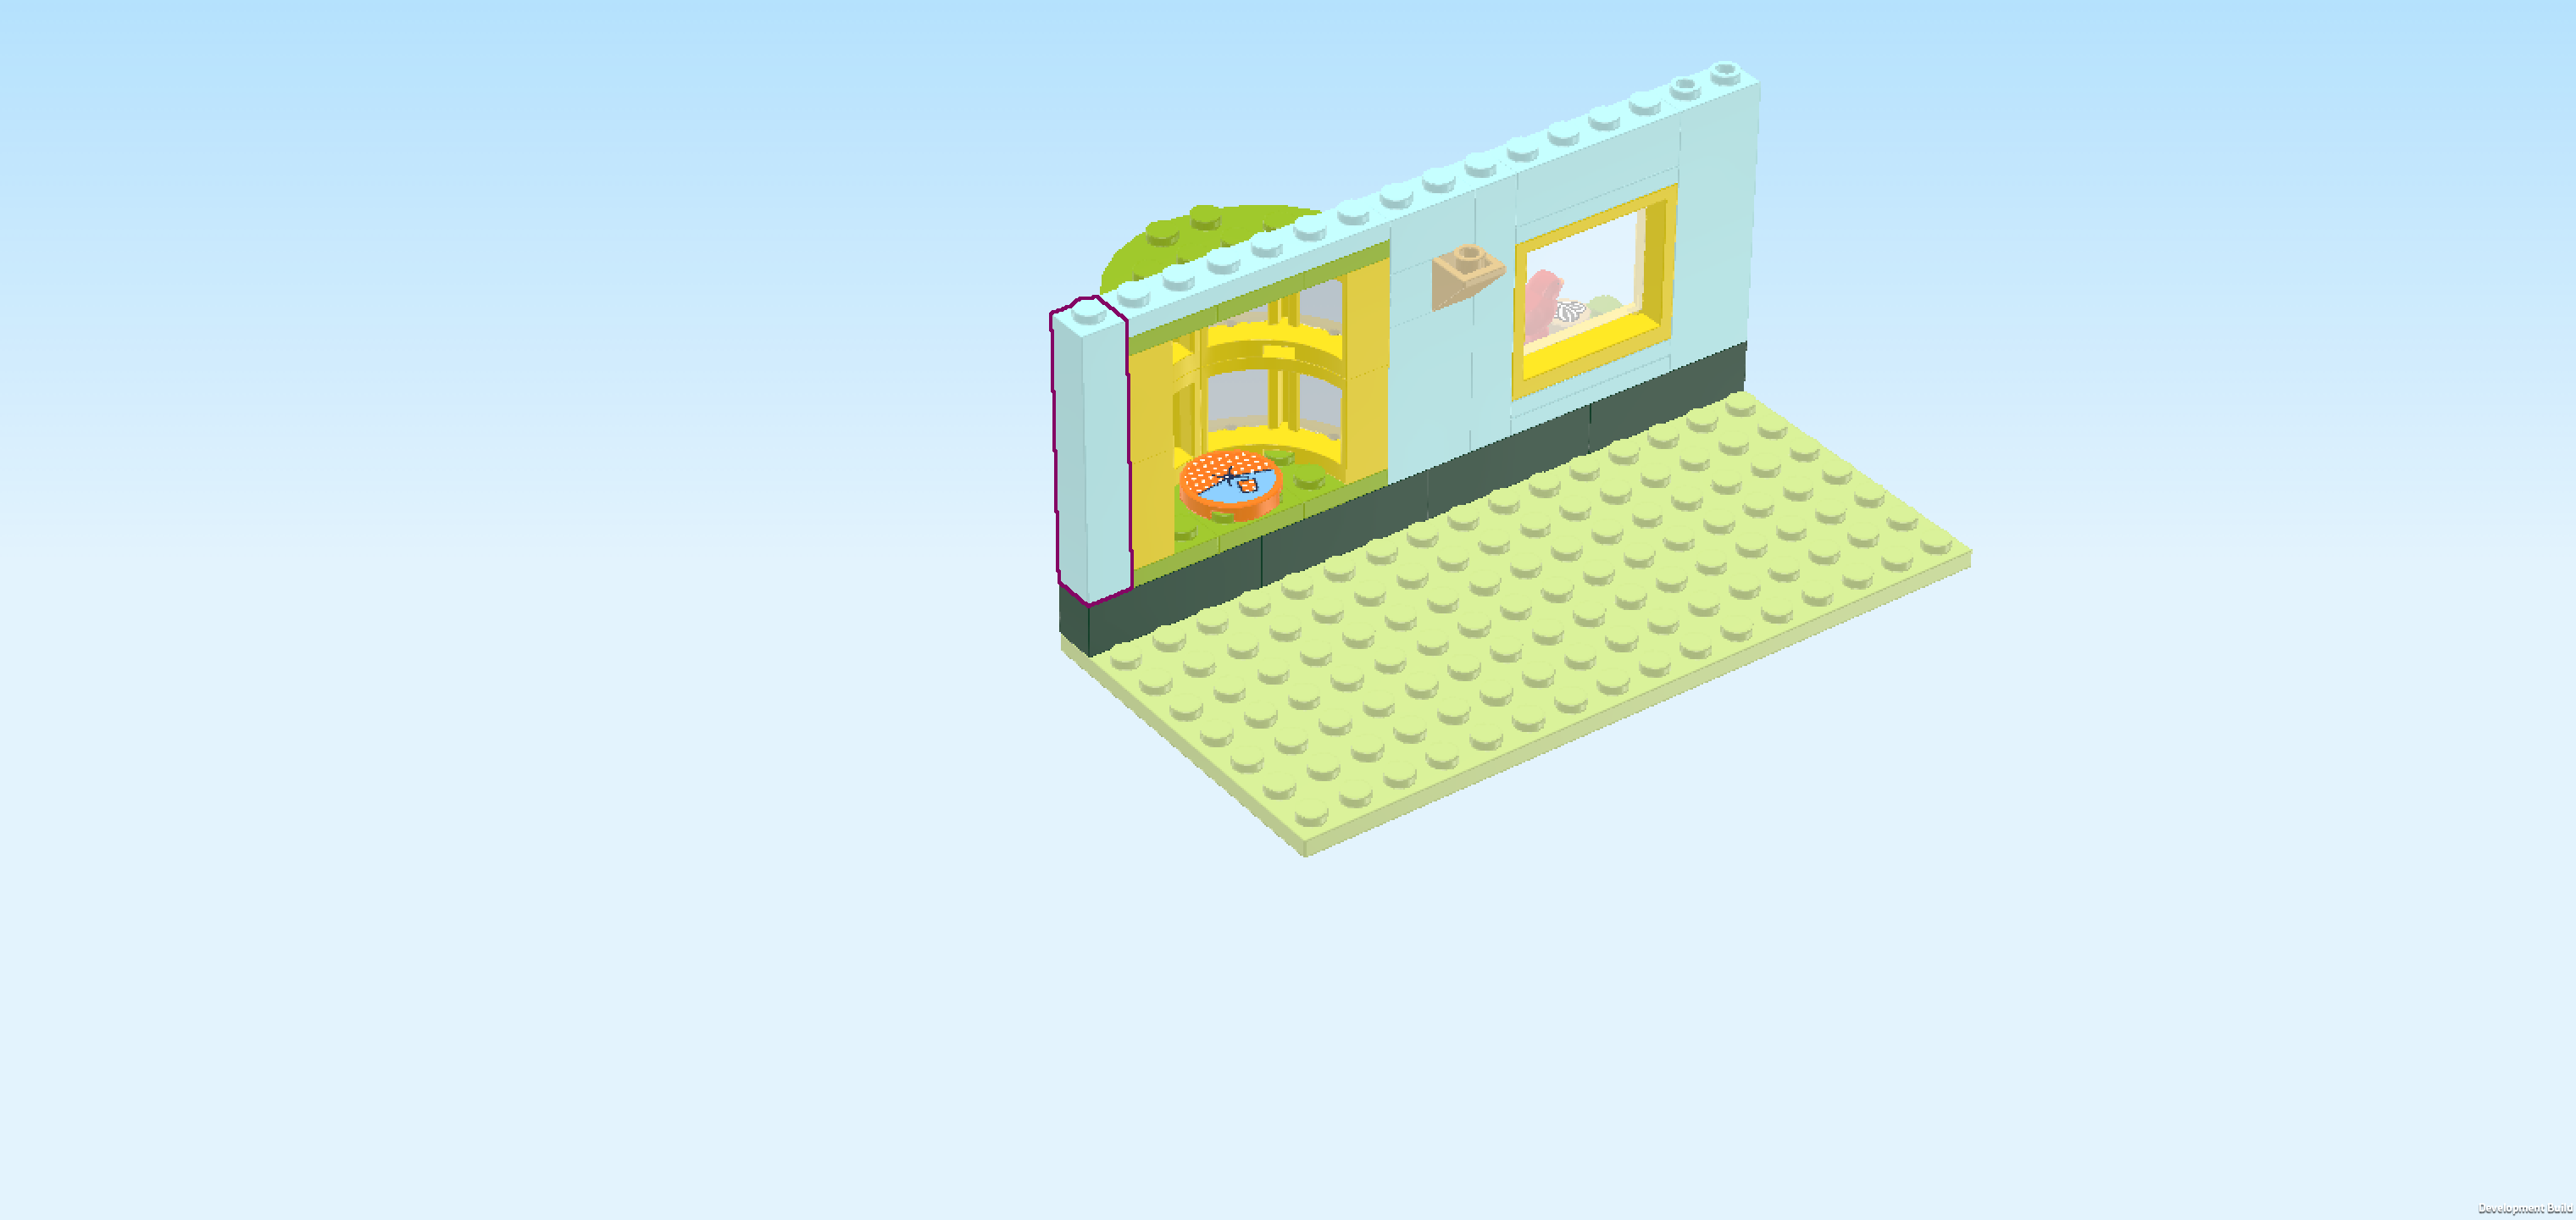
| Collect the following 2 pieces: |
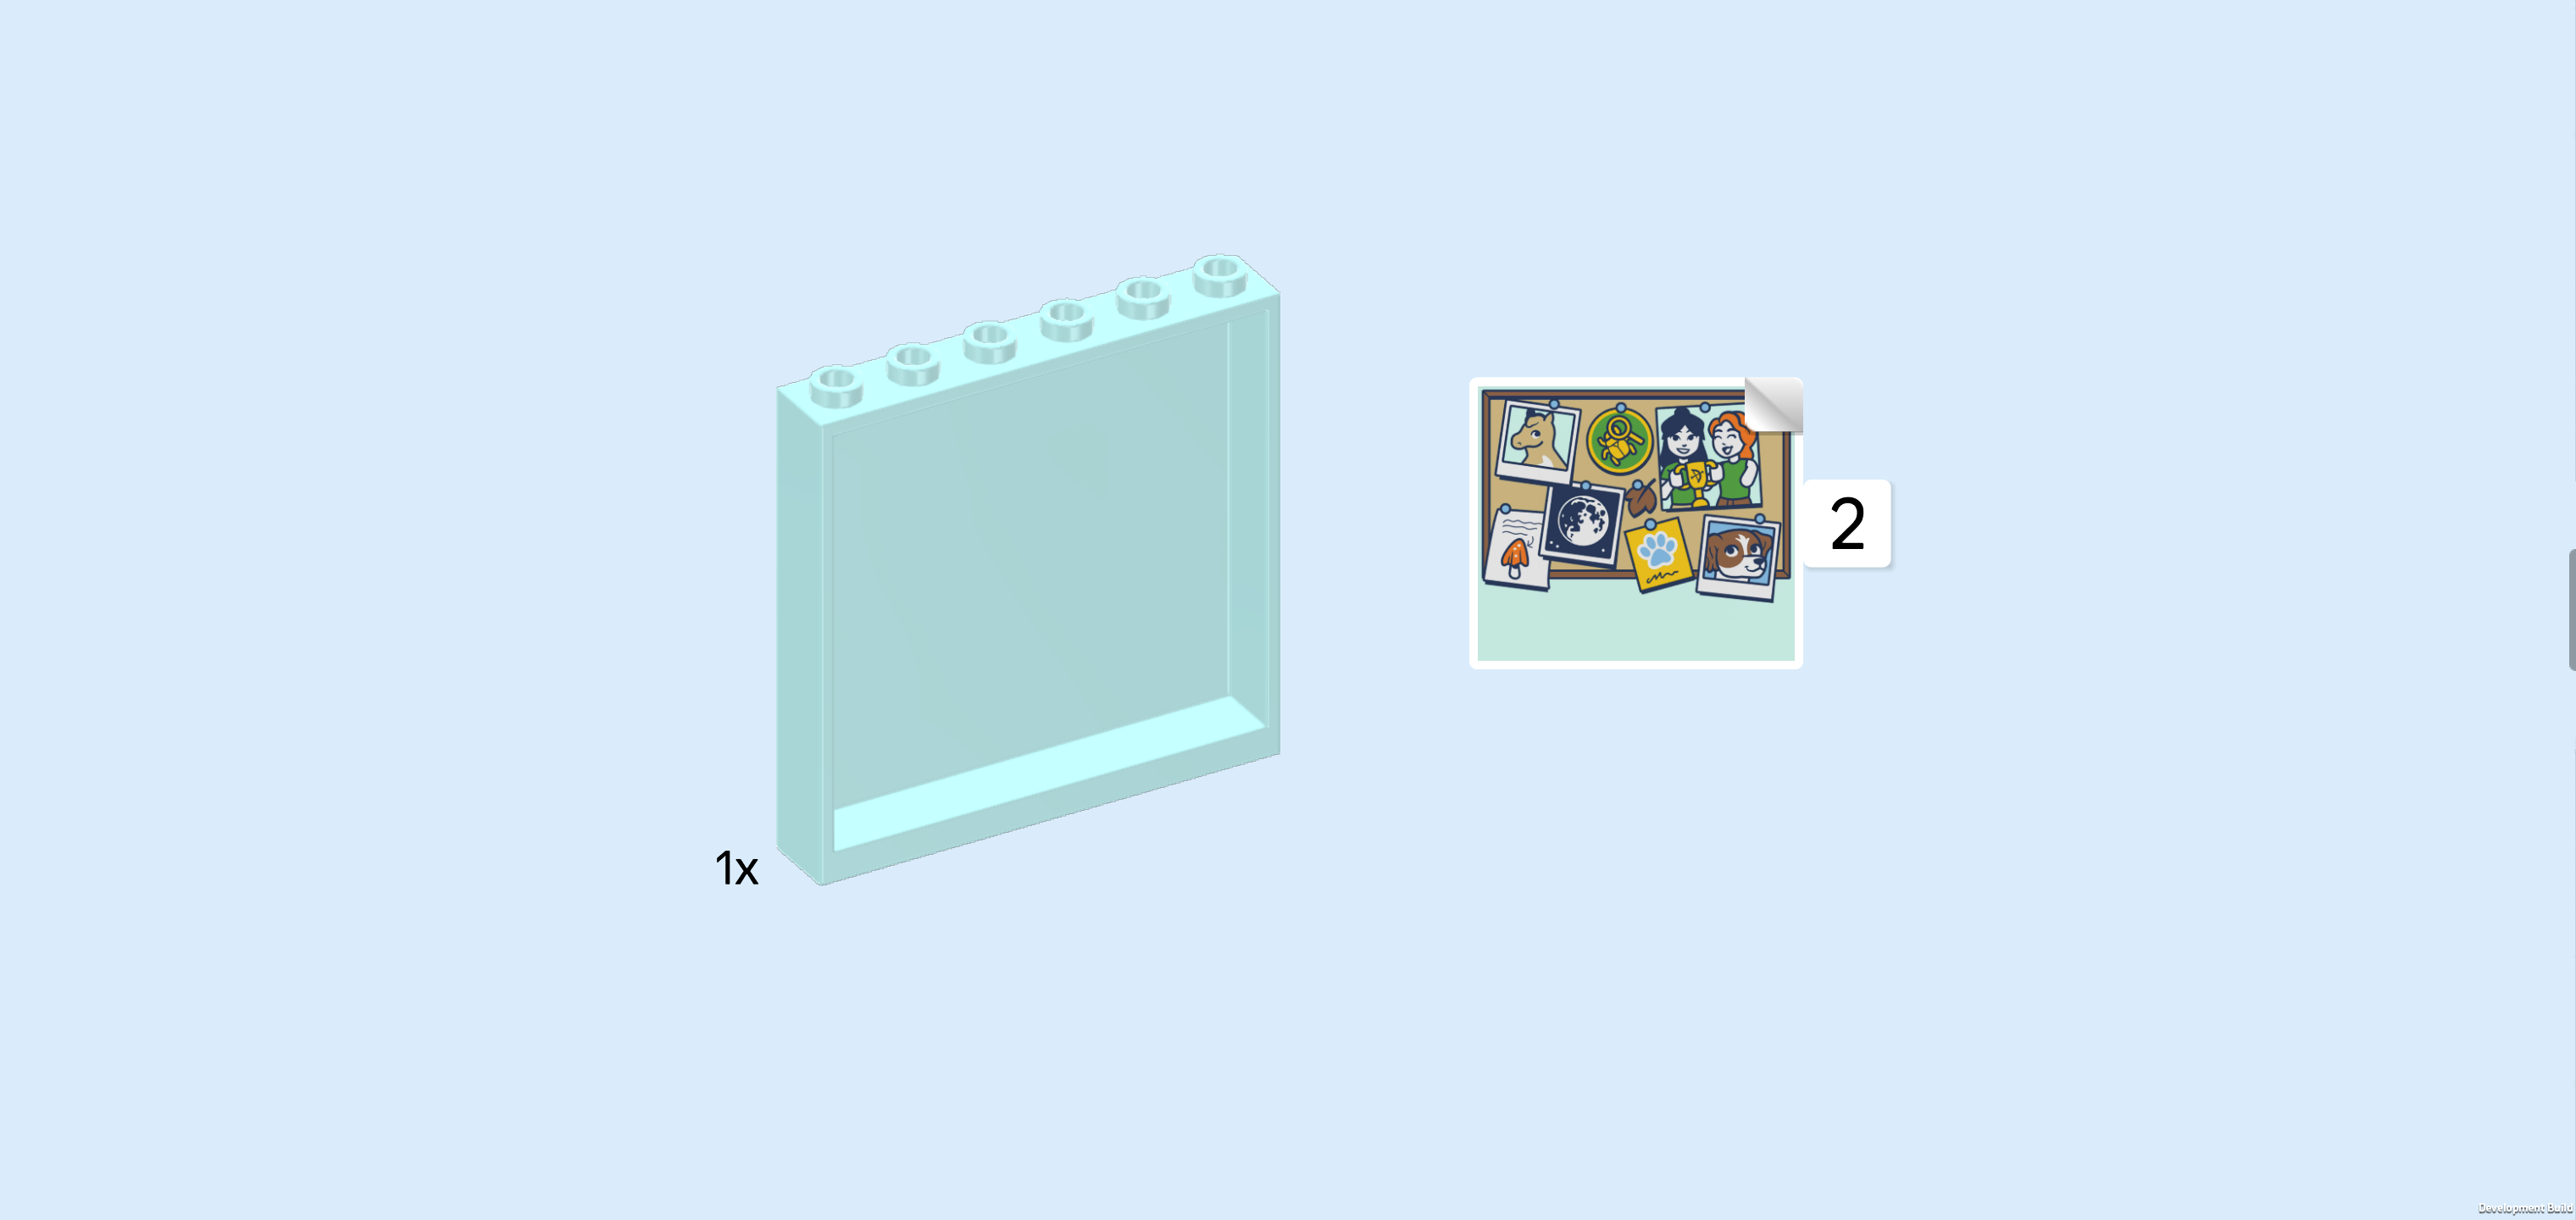
| 1 aqua blue wall element 1x6x5 with sides and top knobs, |
| and 1 sticker 4x5. |
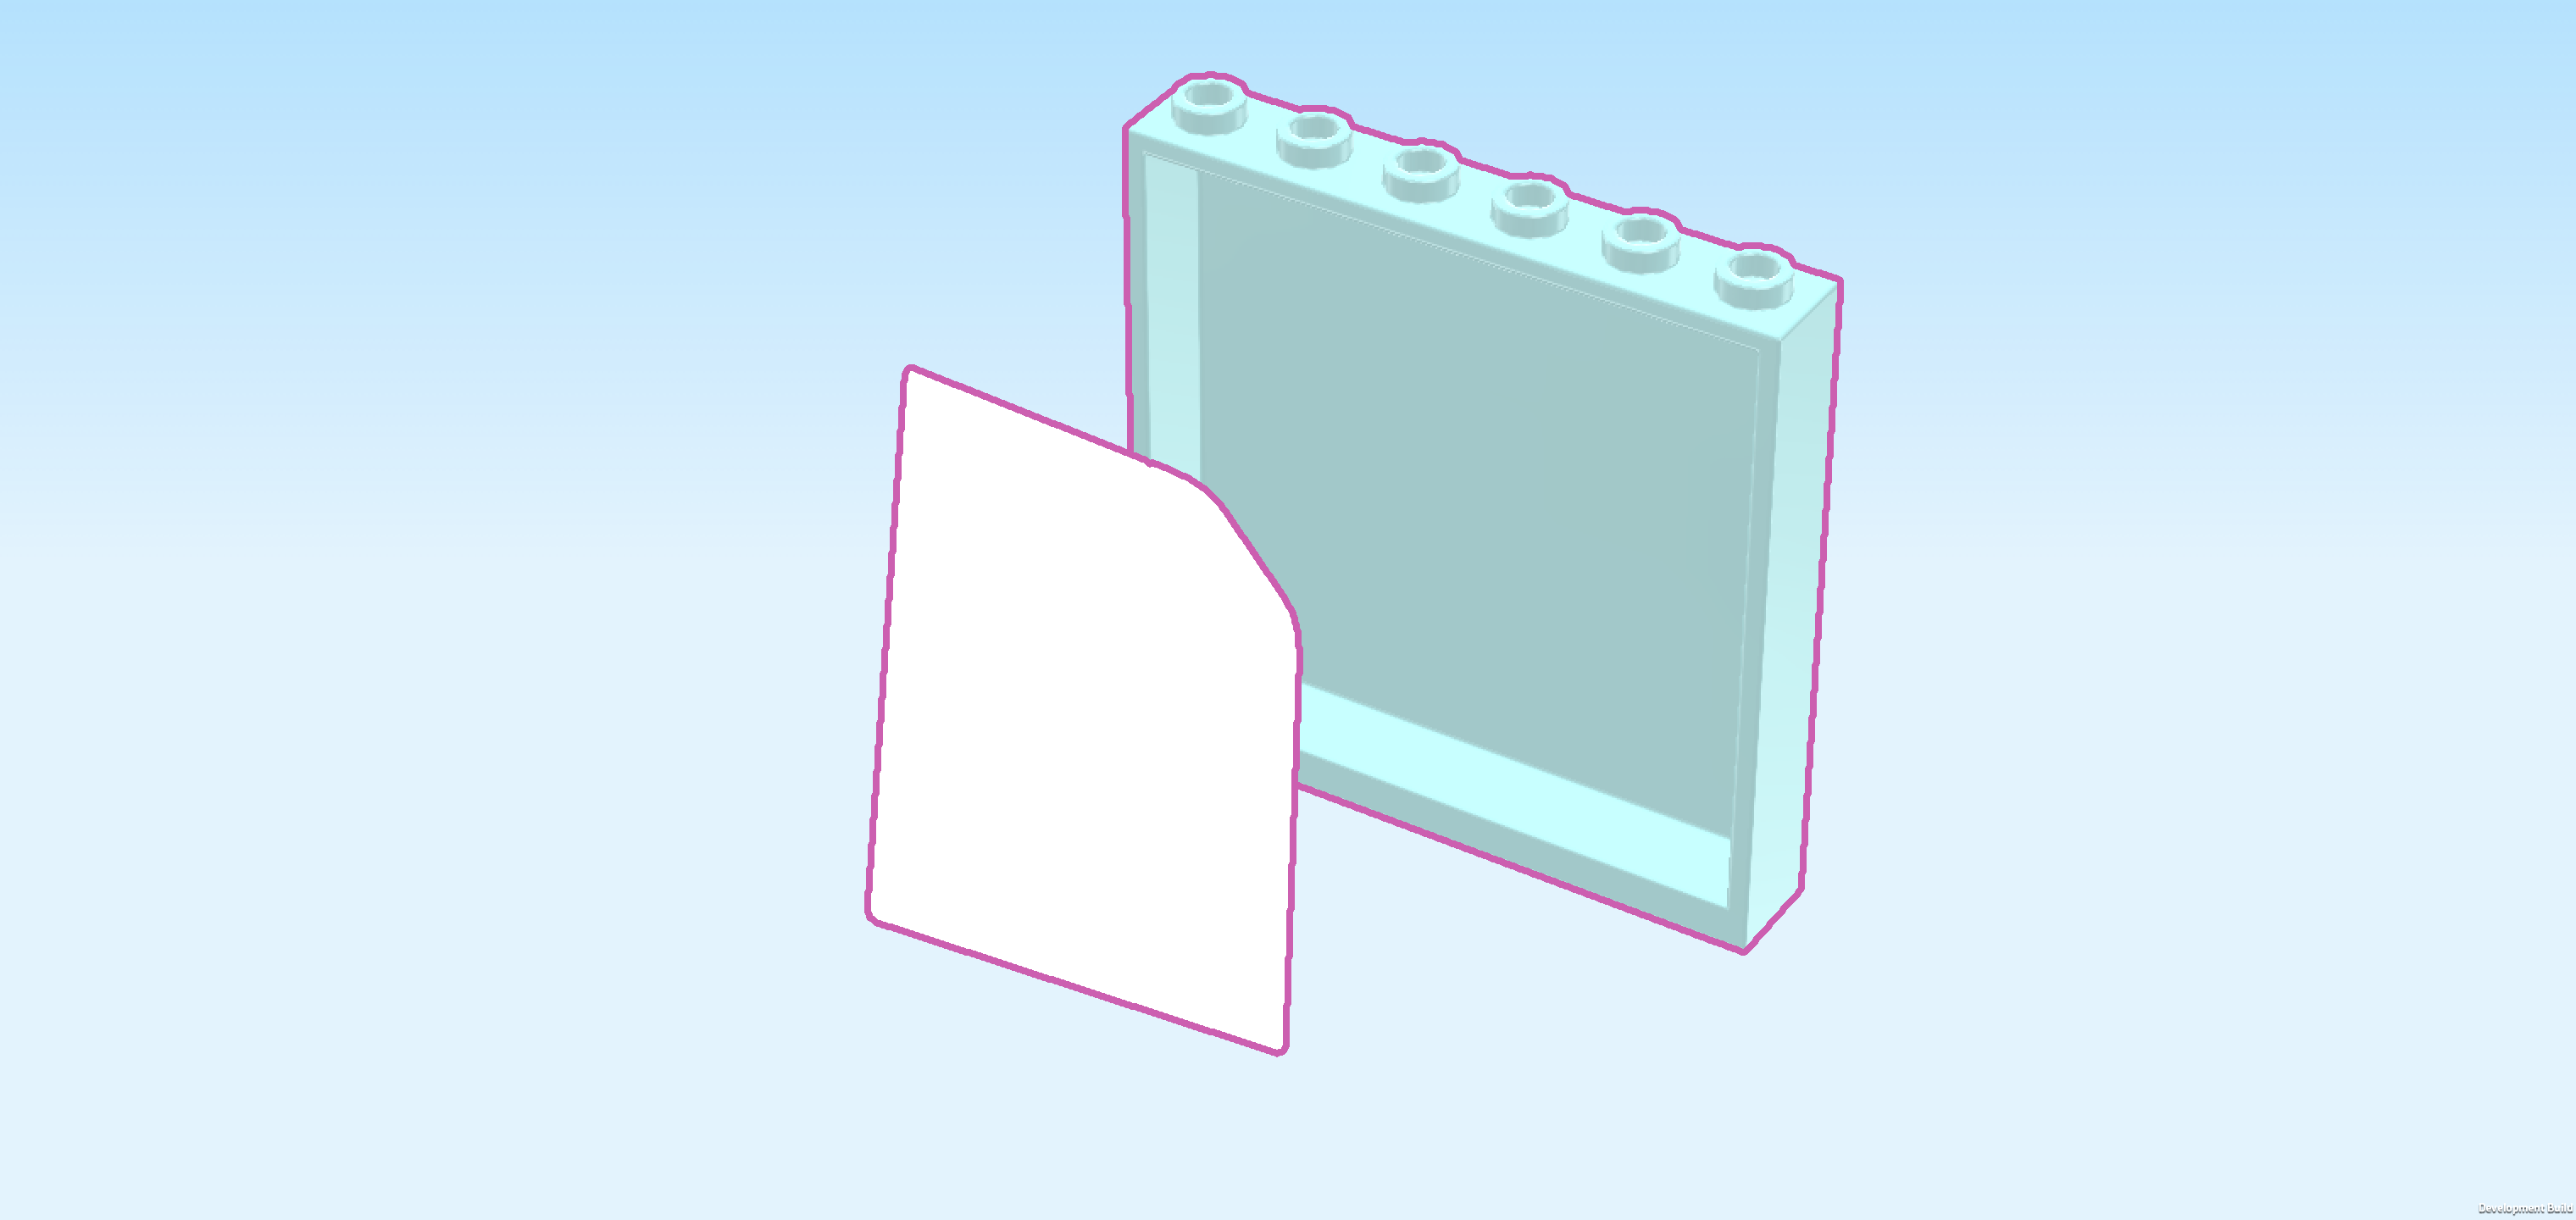
| Flip the wall element 1x6x5 upright so that its knobs are towards the top and turn it horizontally so that its hollow side is towards you. |
| Put the sticker inside the hollow side of the wall element, starting from the top edge. This means that at the bottom, there will be some wall panel left that is not covered by the sticker. |
| The sticker is printed with a brown pinboard that is probably made from cork. There are a lot of photos, pictures and notes on it. There is a photo of a light brown foal, one of a cute brown dog with white patches, one photo of Autumn with a friend who are holding a trophy together, positively beaming. Other pinboard items are a beautiful detailed picture of the night moon, one round picture of a beetle with a magnifying glass, a yellow pamphlet with a white paw and some scribbling on it that might be a pet club pass or something of the likes. And, last but not least, a dried leaf is pinned on in the center of the pinboard. This autumn leaf, of course, is Autumn's trademark! |
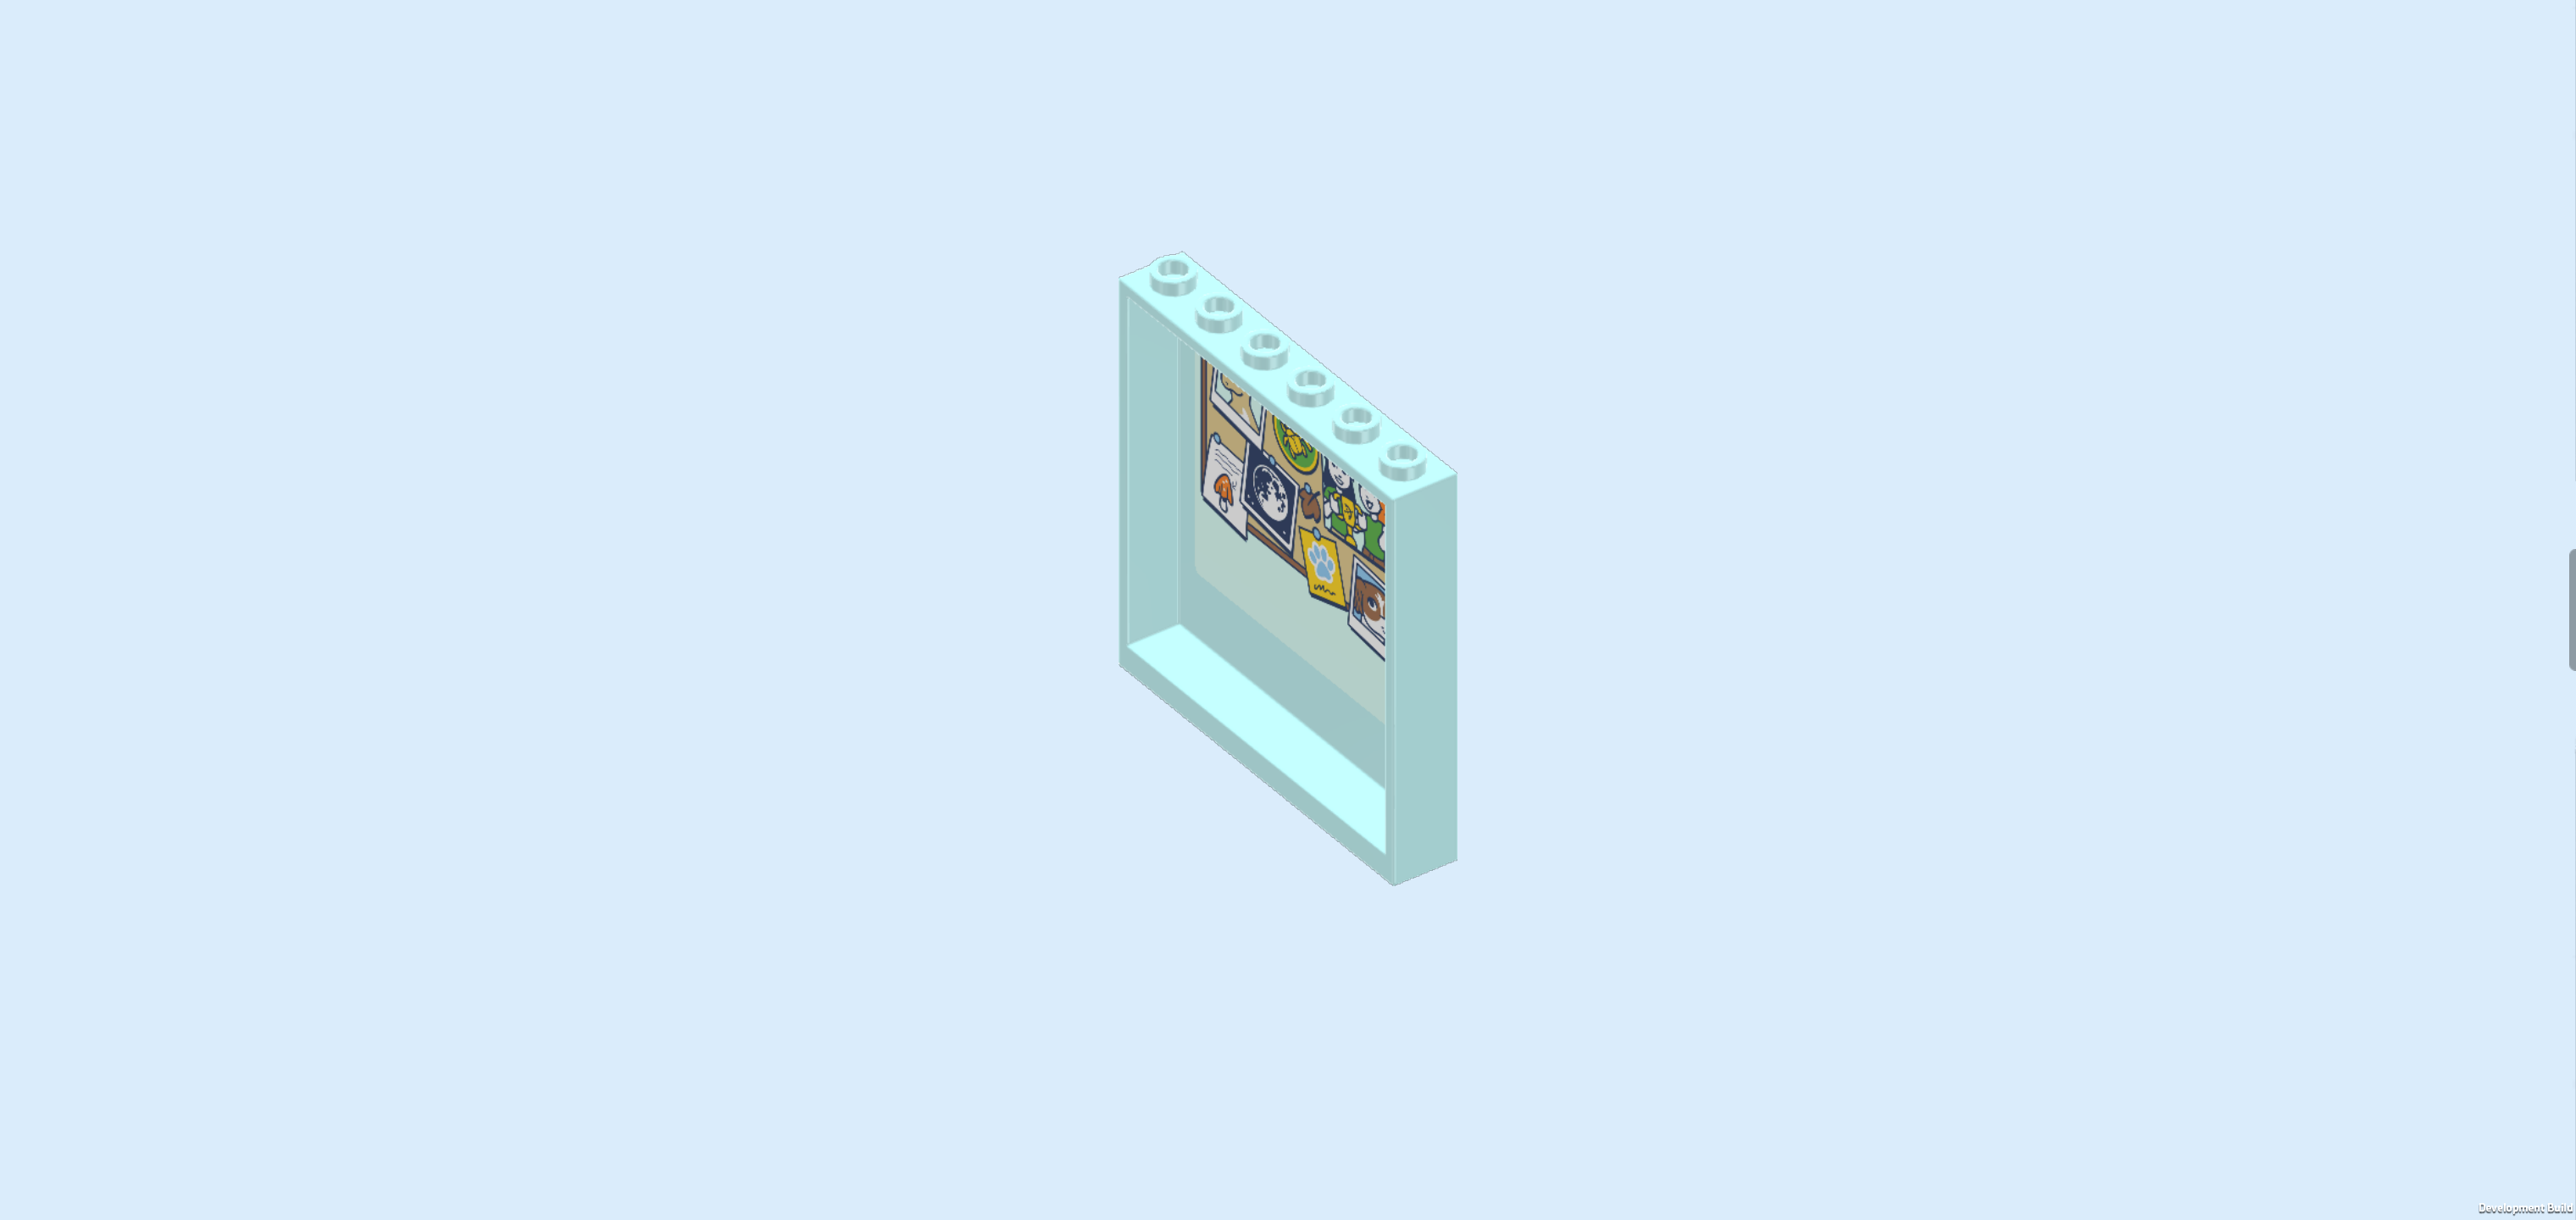
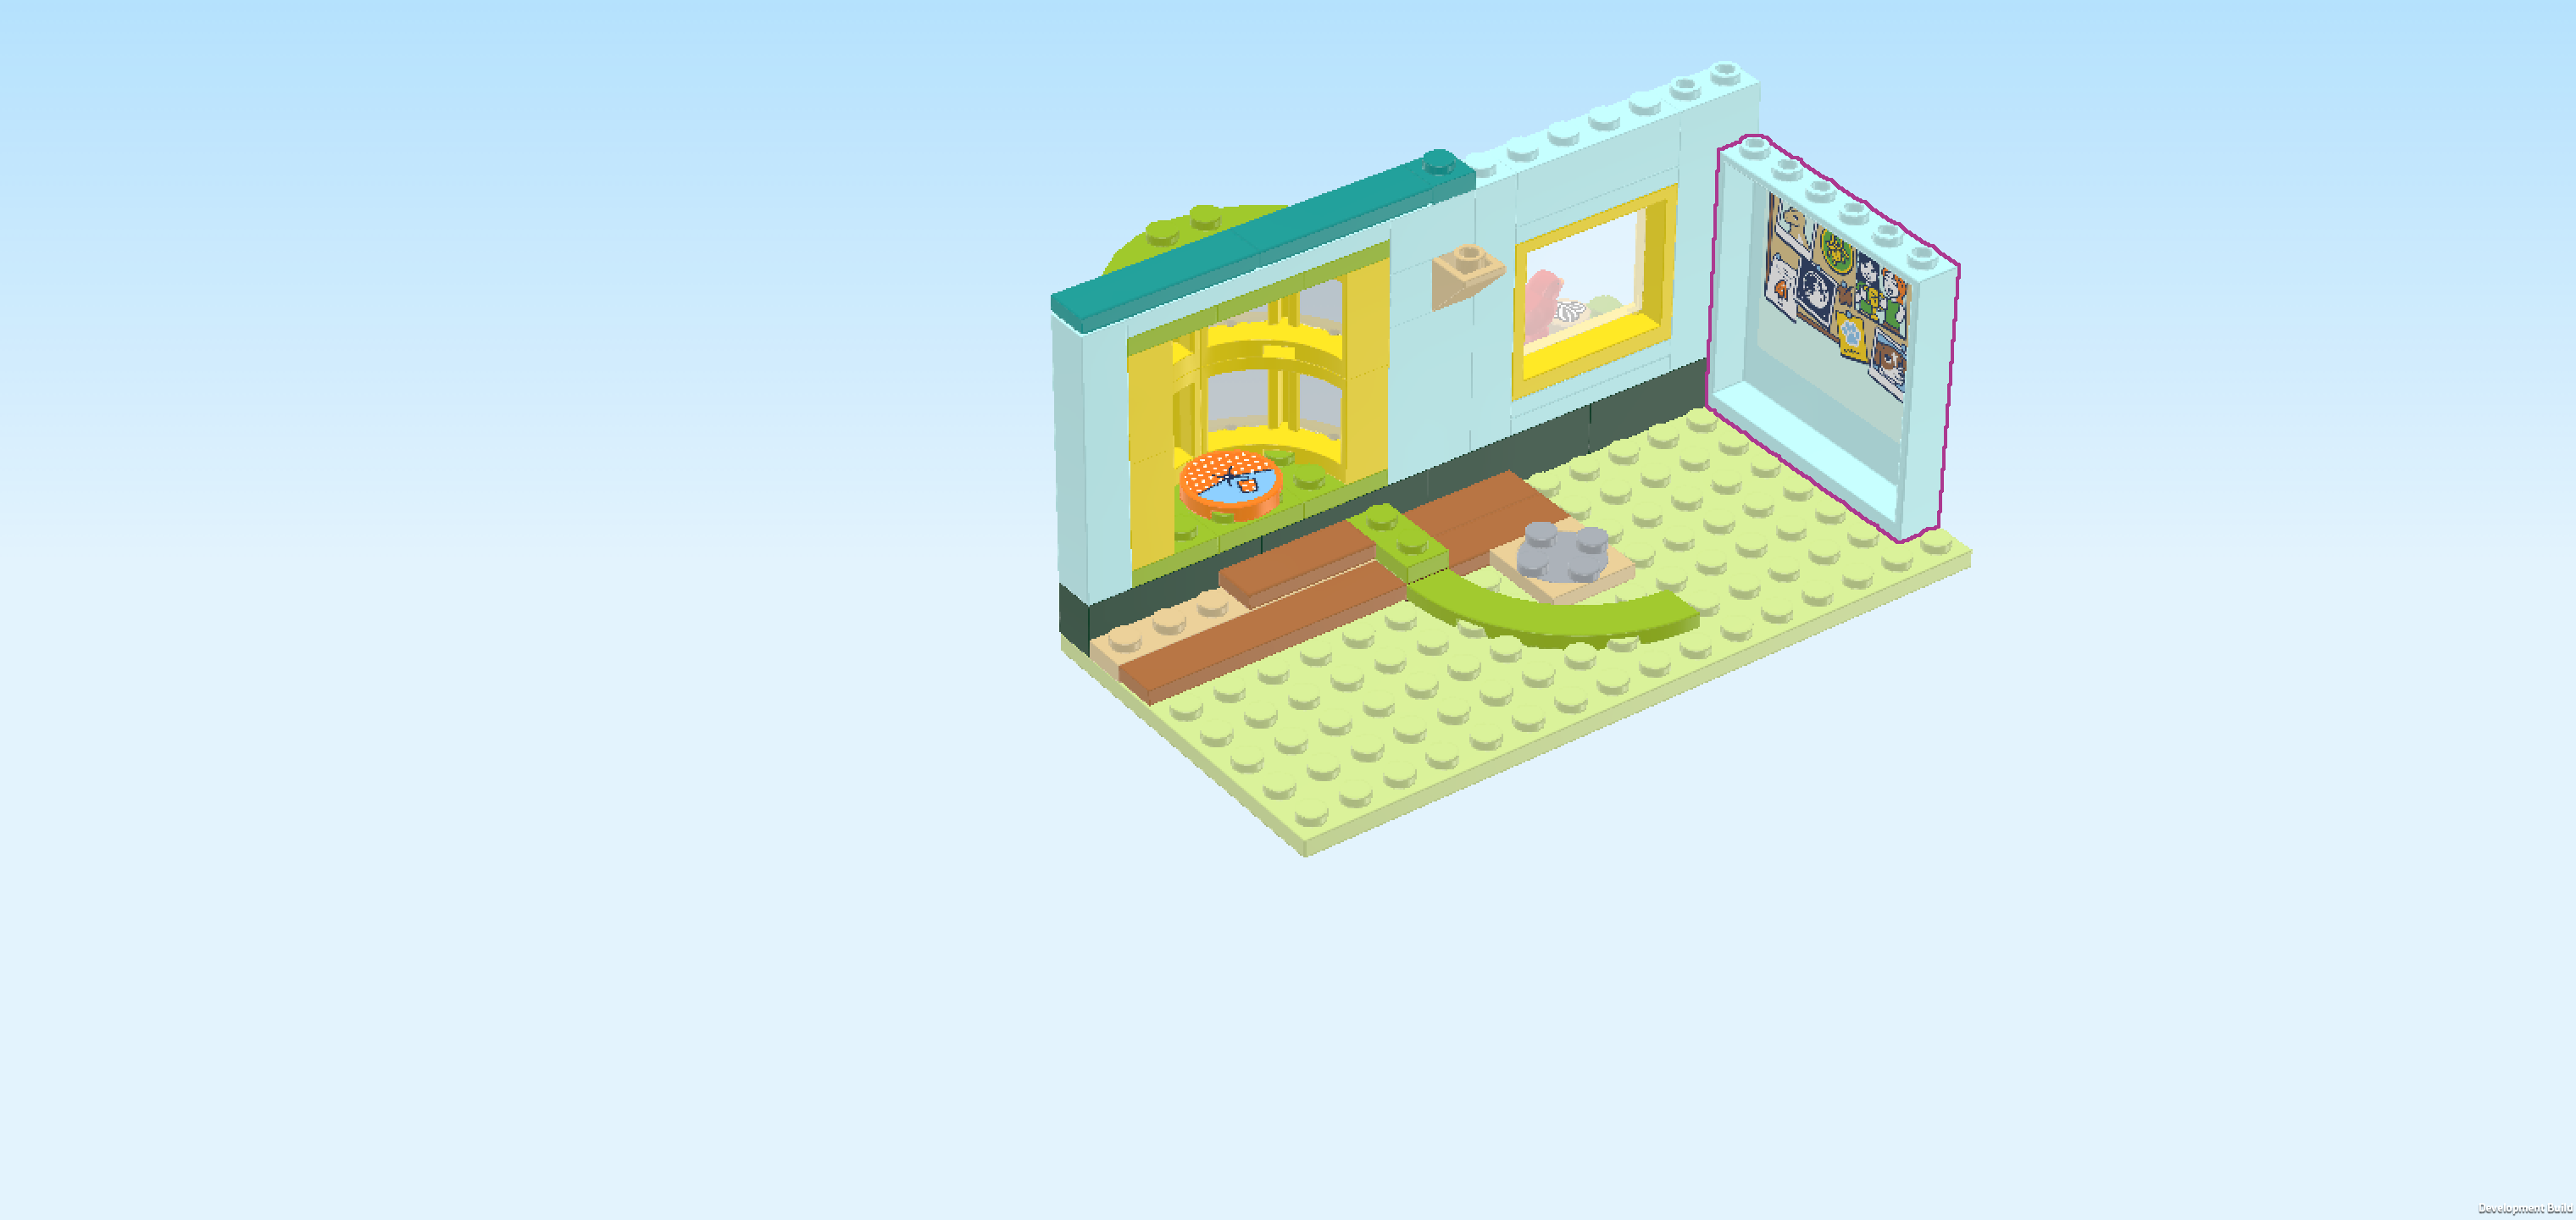
| Turn the wall element vertically so that its hollow part with the sticker is towards the left. Mount it on the rightmost column of the base plate directly in front of the back wall. If done correctly, the frontmost knob of this column remains empty for now. |
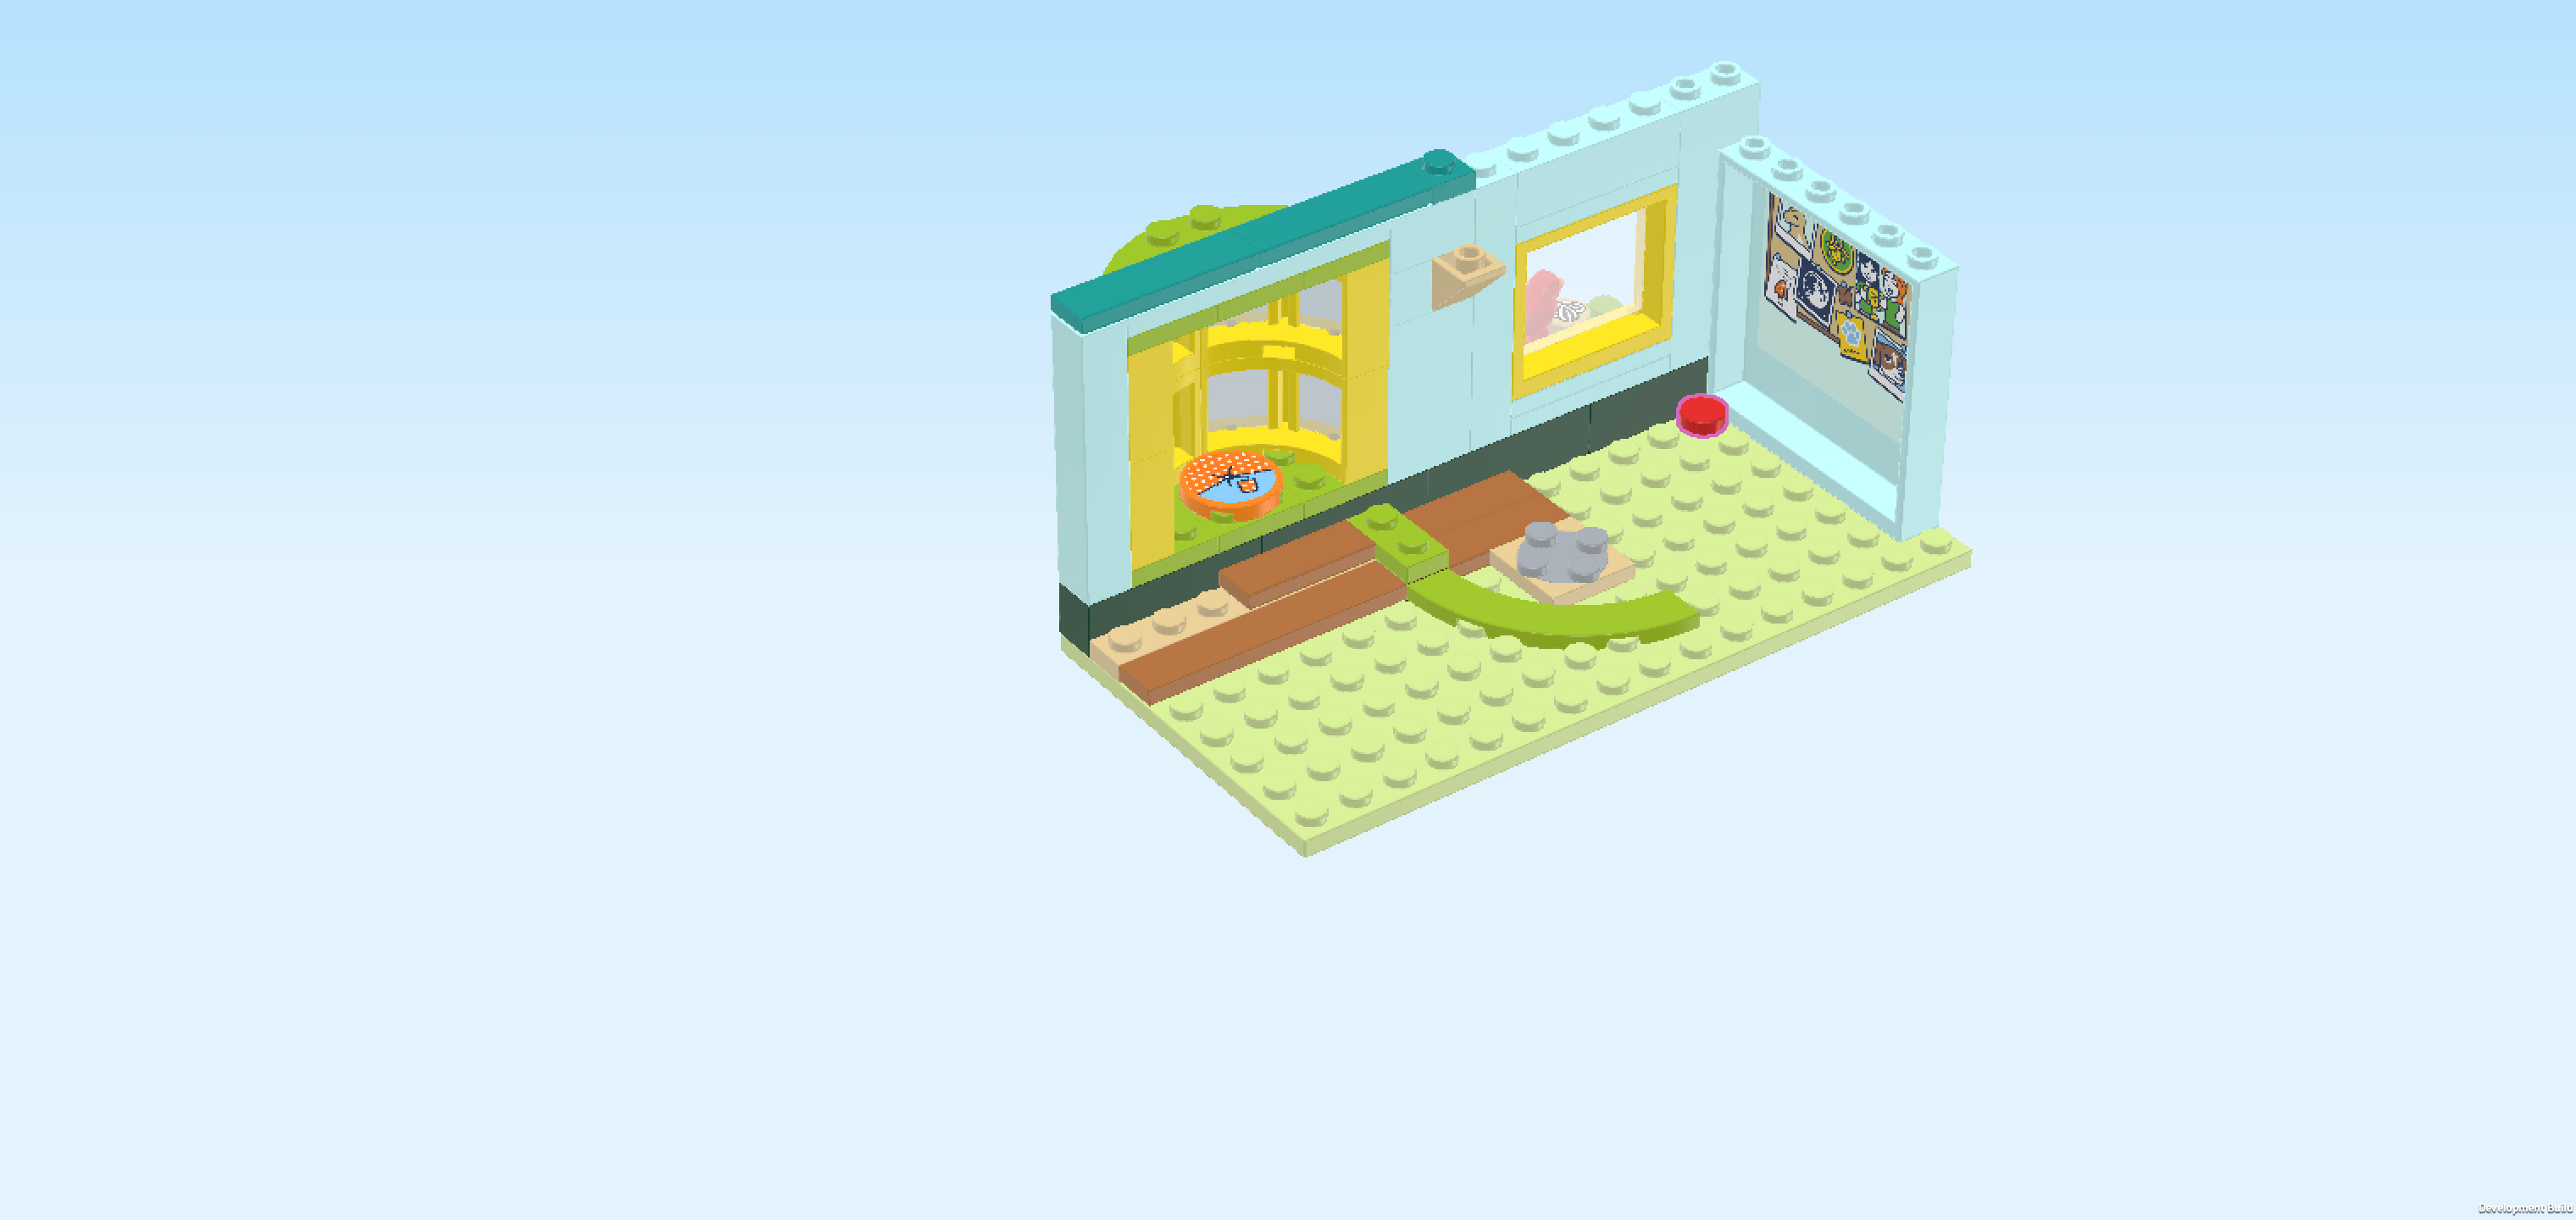
| Find 1 bright red round tile 1x1. |
| Put it on the base plate into the back right wall corner we have just created with the back wall and the new wall element. |
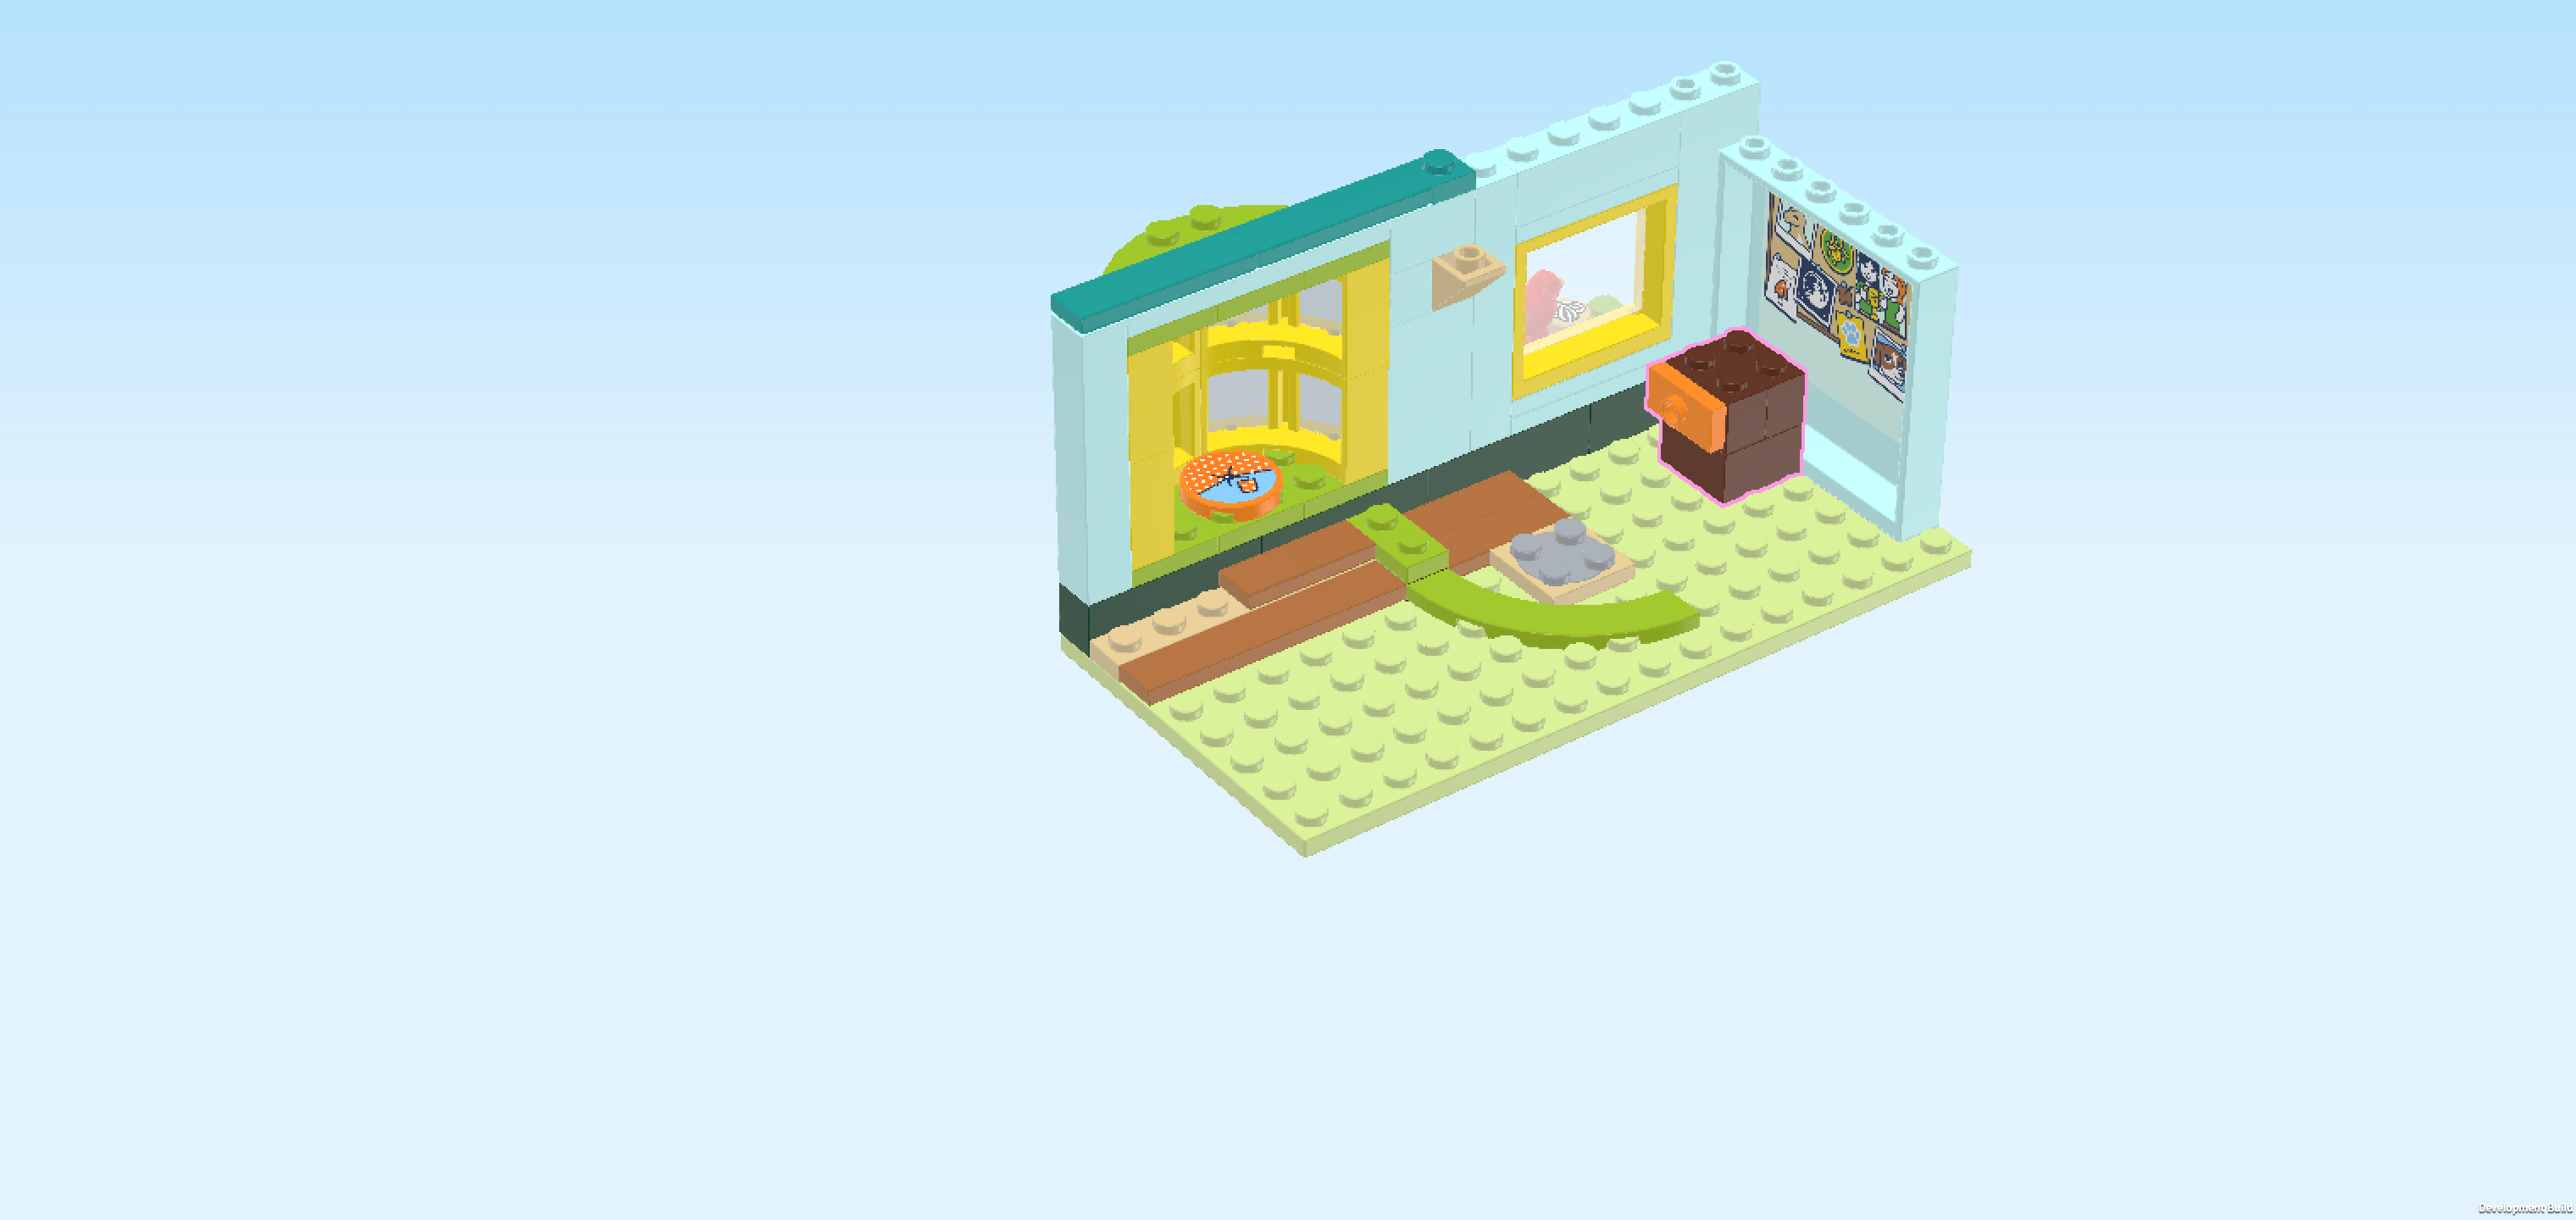
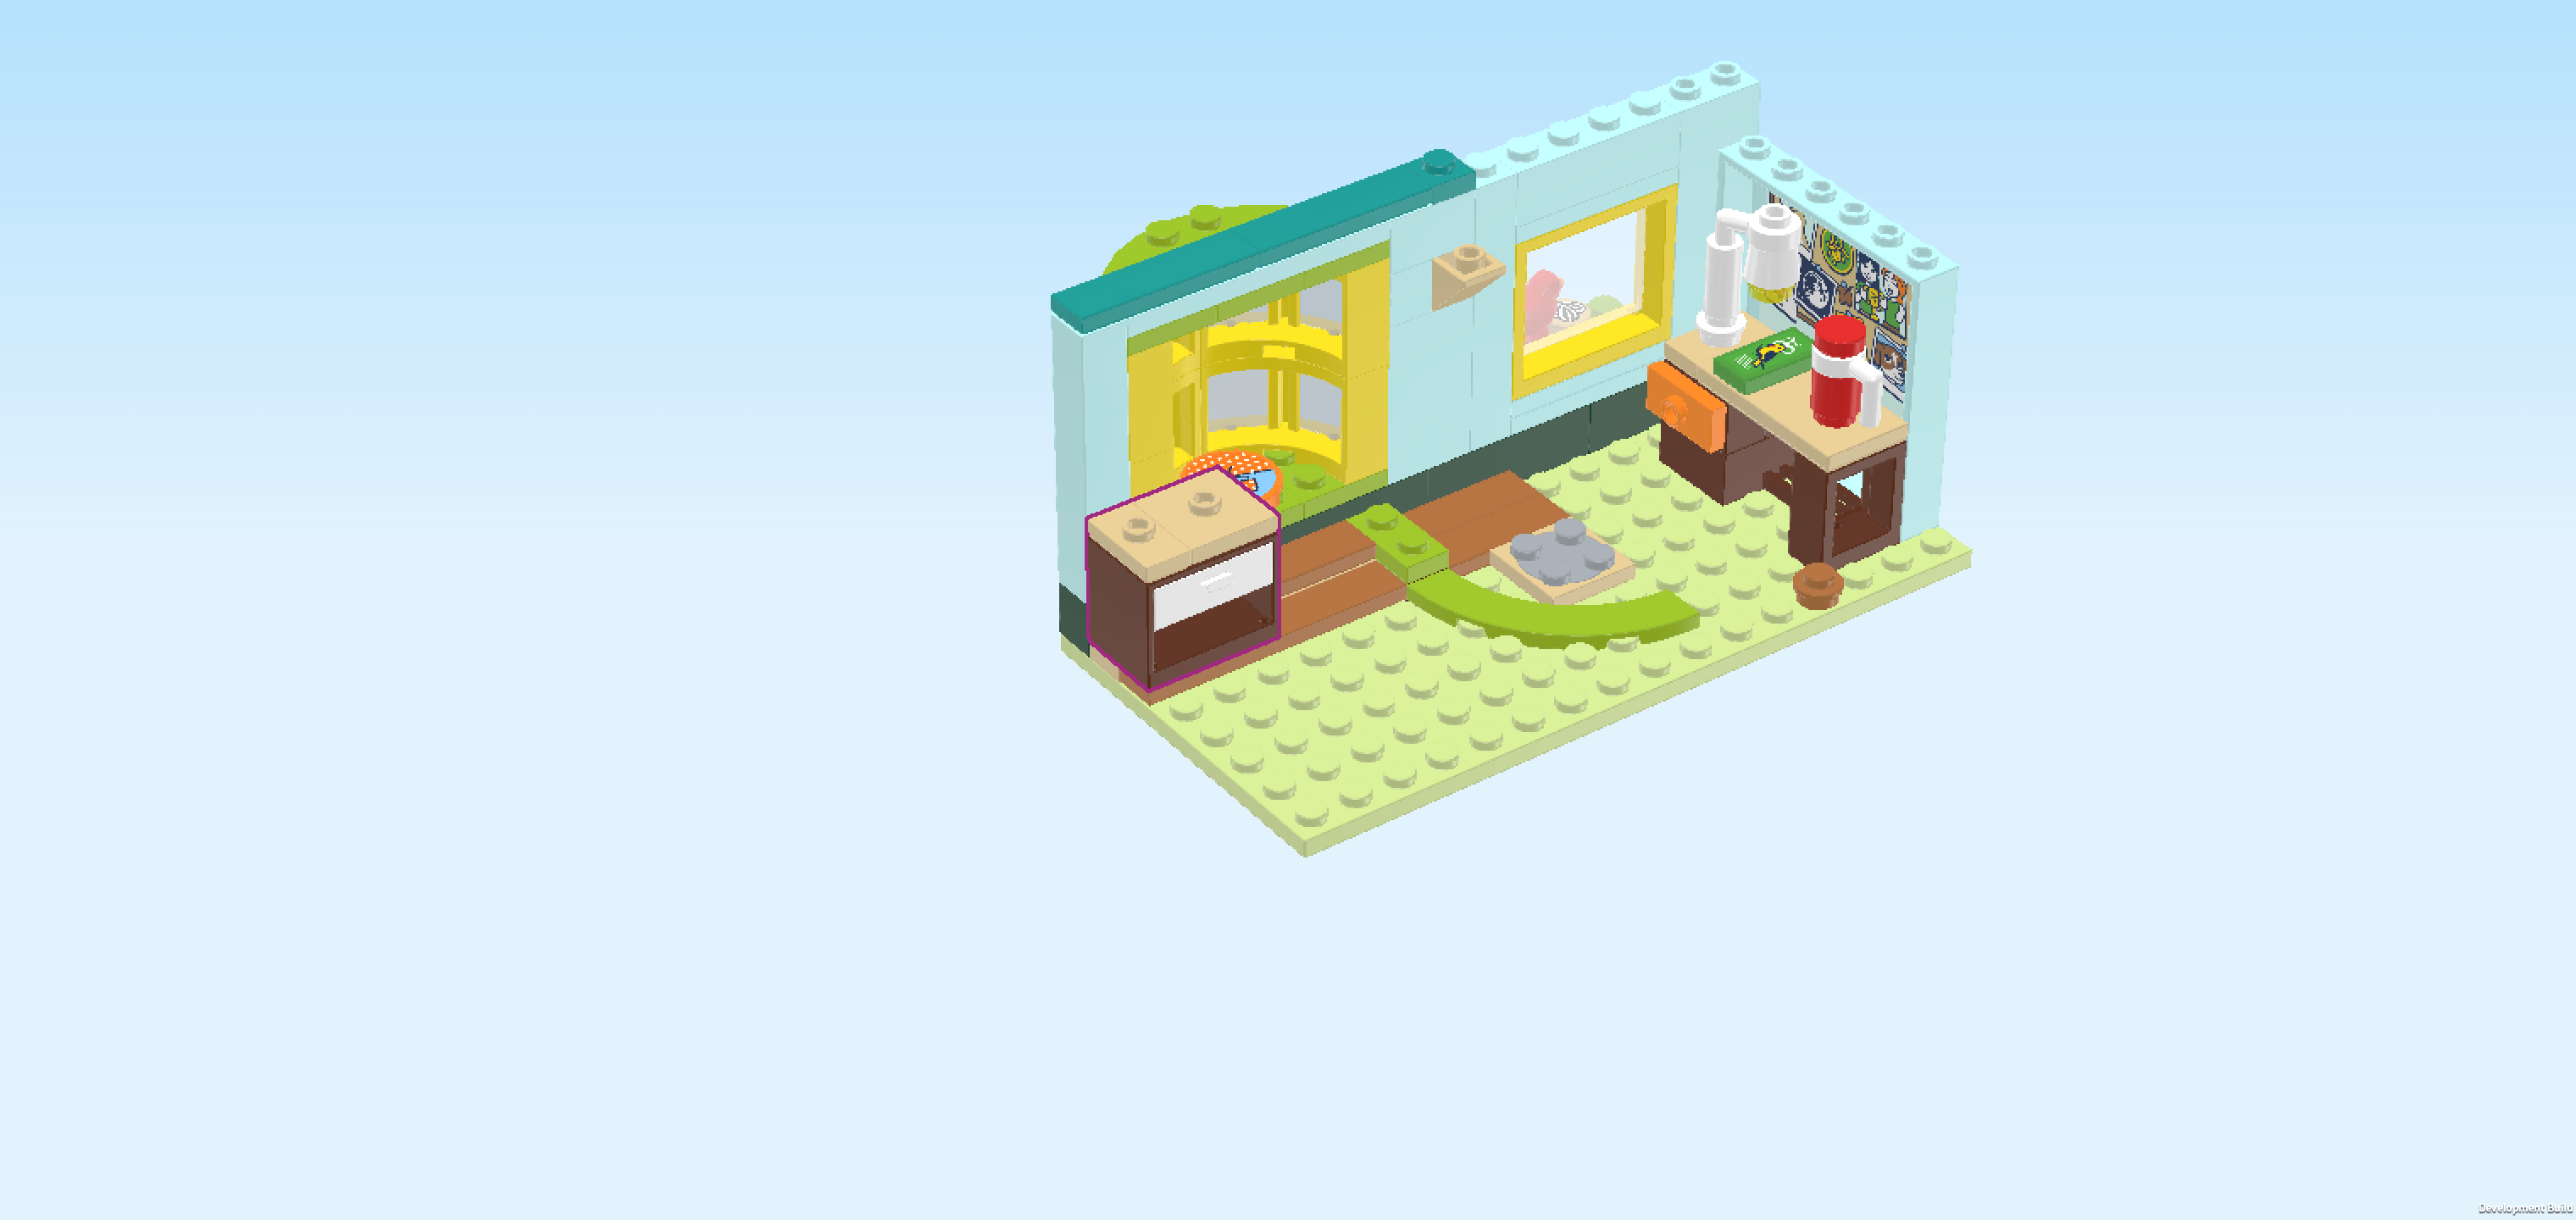
| Now, we will build a drawer cabinet. |
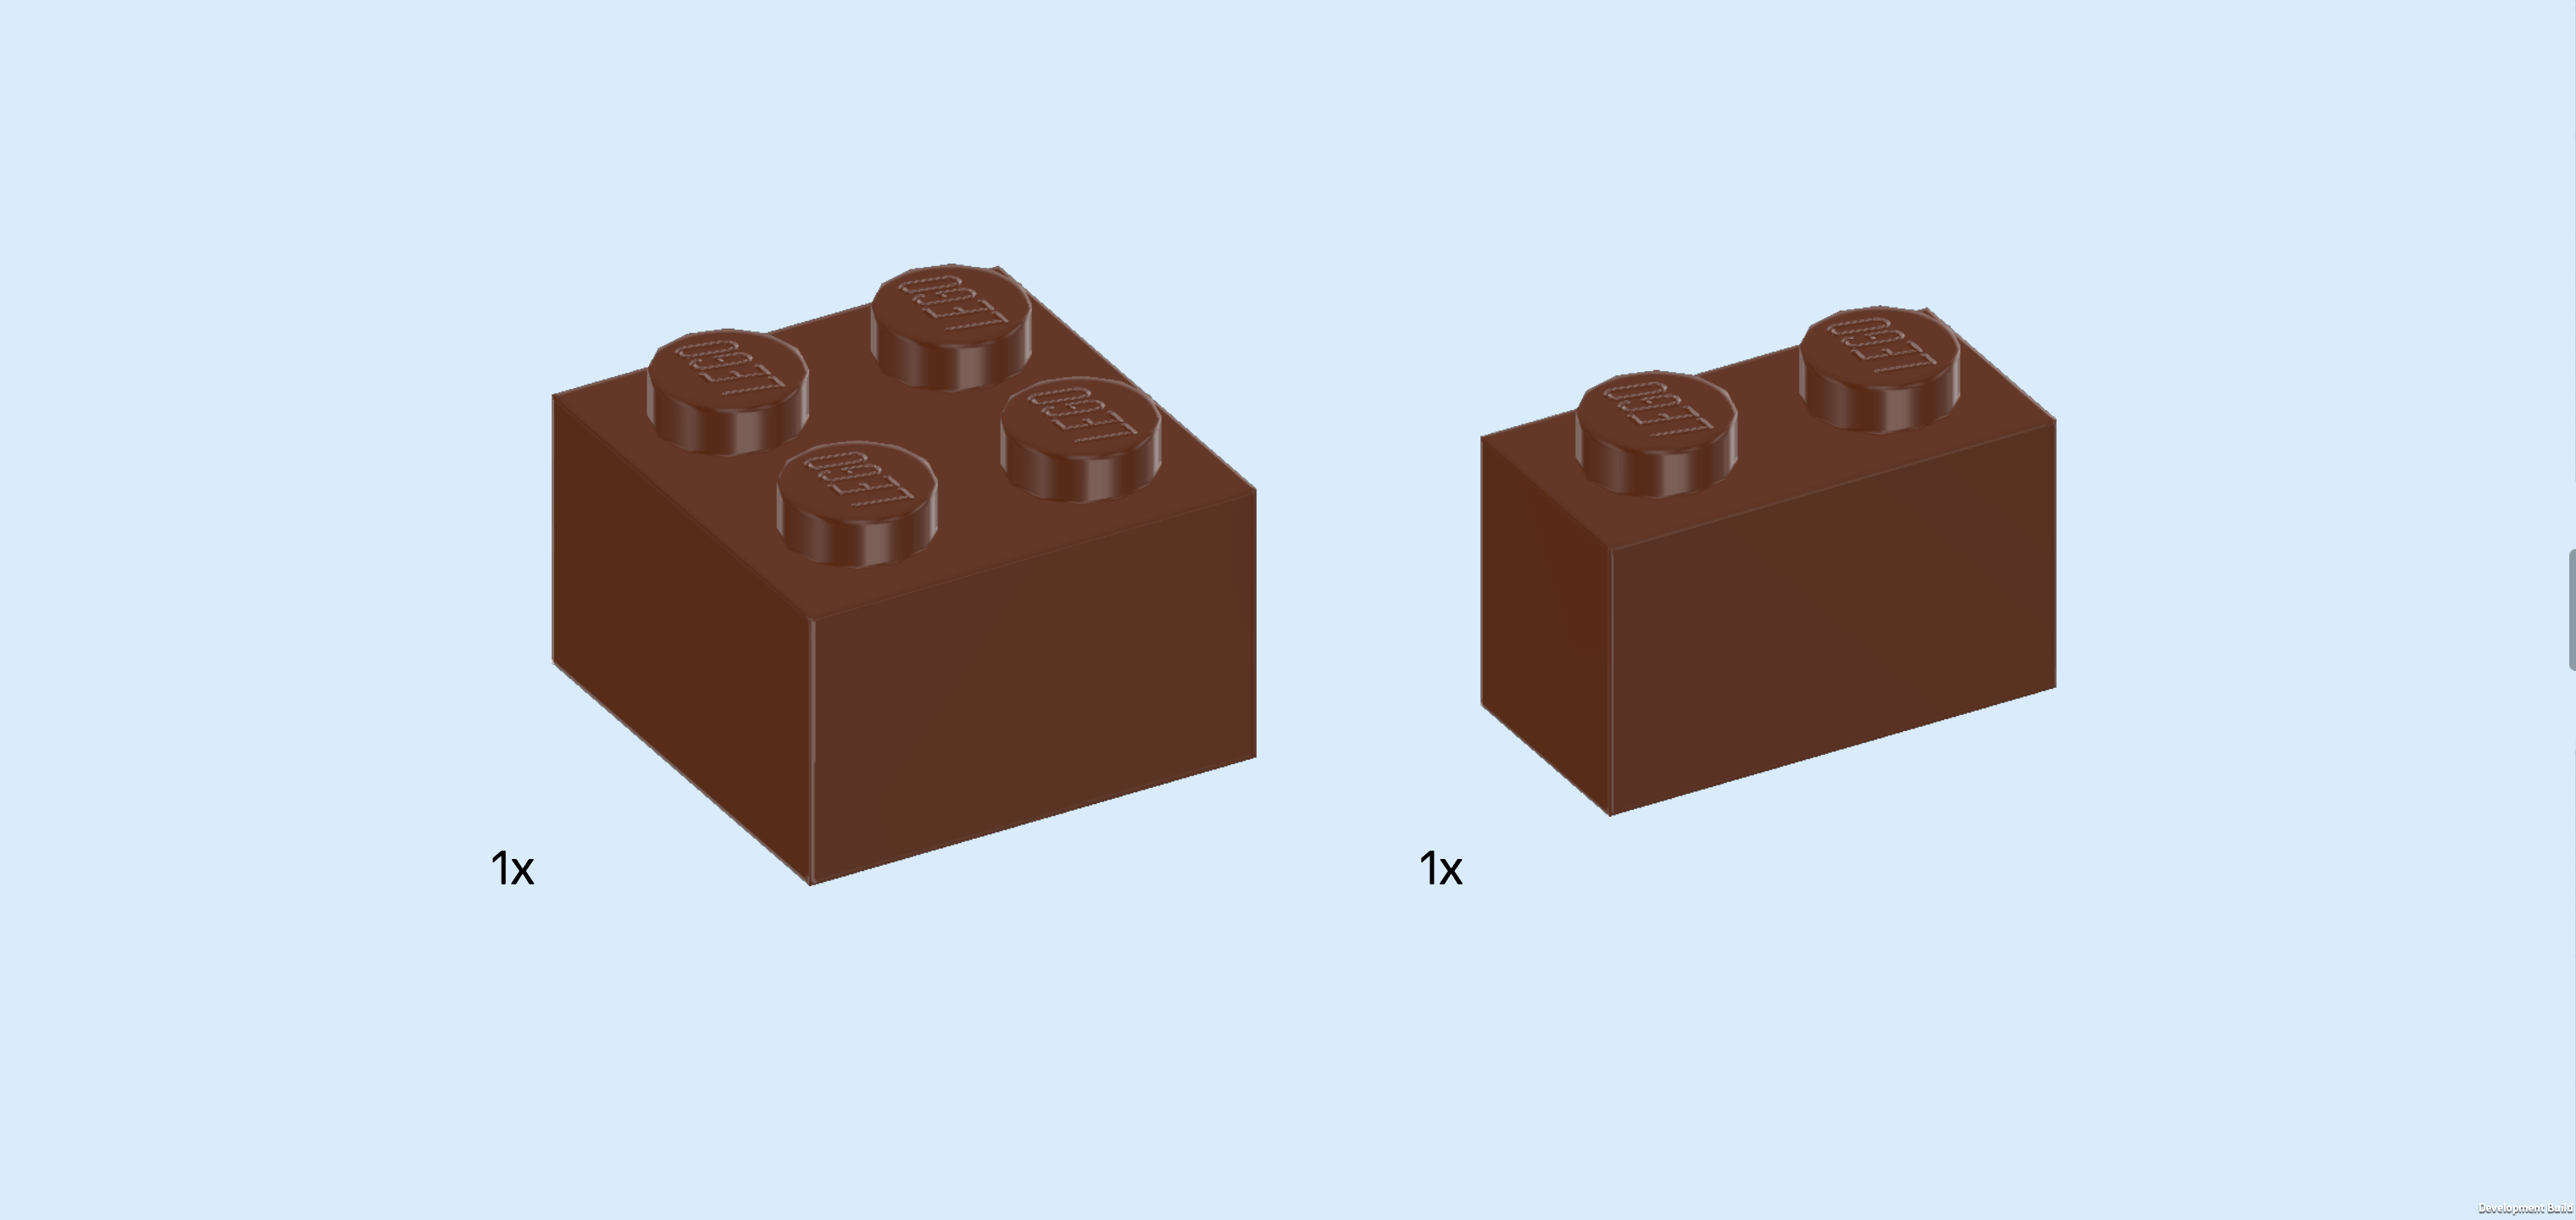
| Collect the following 2 pieces: |
| 1 reddish brown brick 2x2, |
| and 1 reddish brown brick 1x2. |
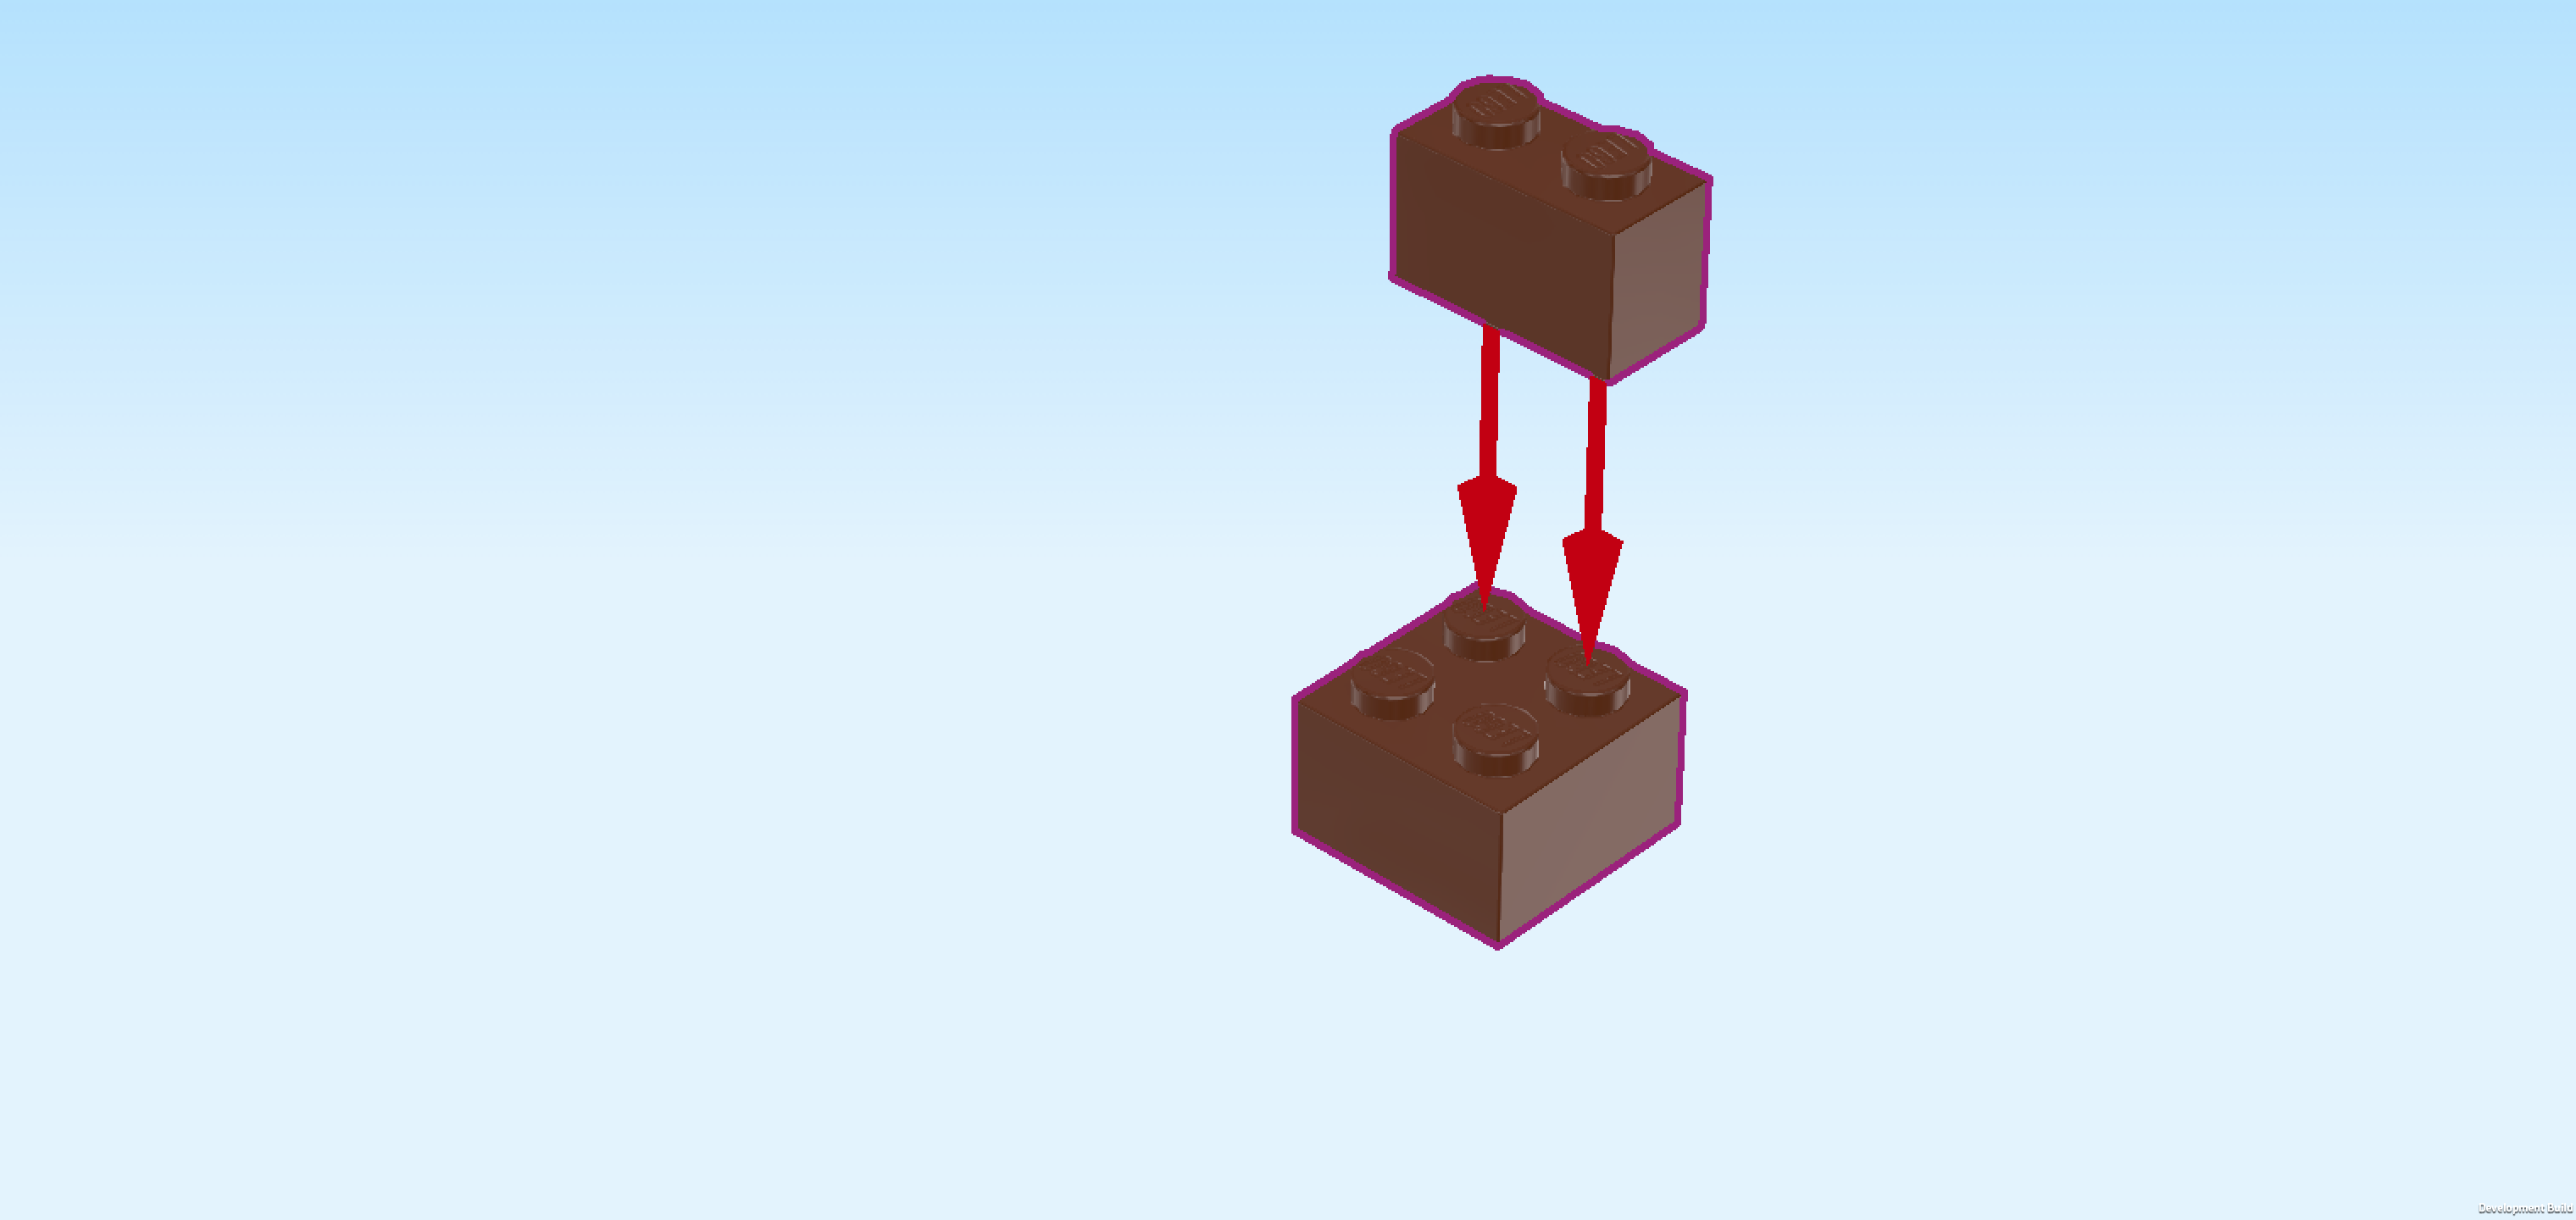
| Put the brick 2x2 on the table. Make sure its knobs form straight rows and columns in front of you. |
| Put the brick 1x2 vertically on the right column of the previous piece. |
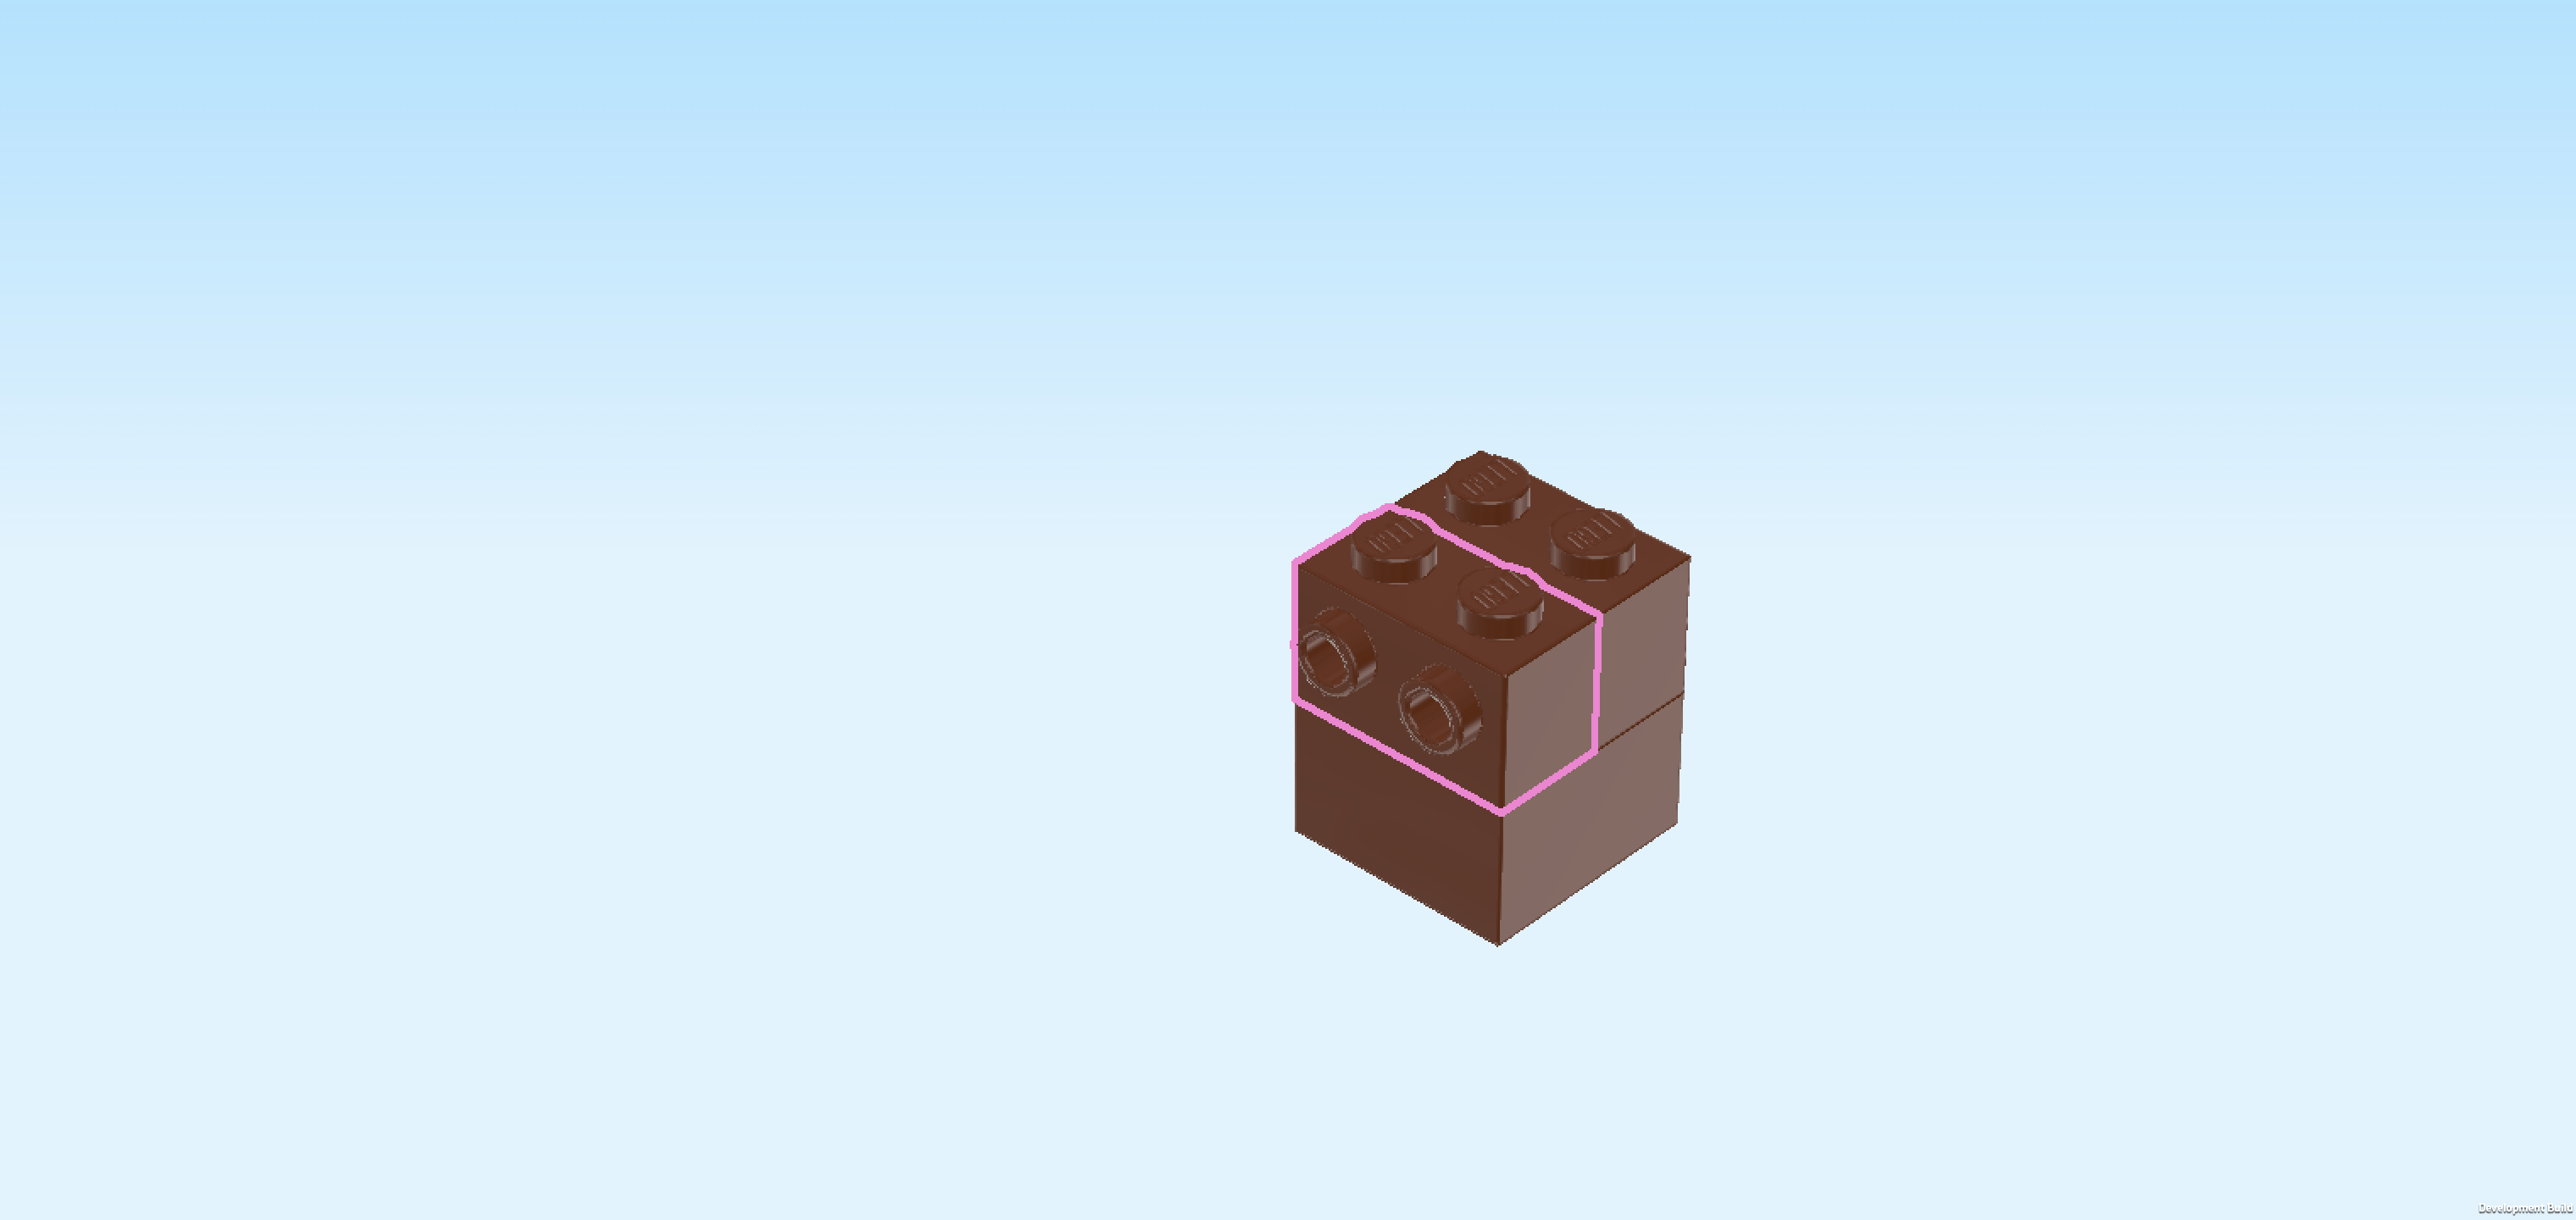
| Find 1 reddish brown brick 1x2 with 2 side knobs. |
| Put it vertically to the left of the previous piece, side knobs to the left. |
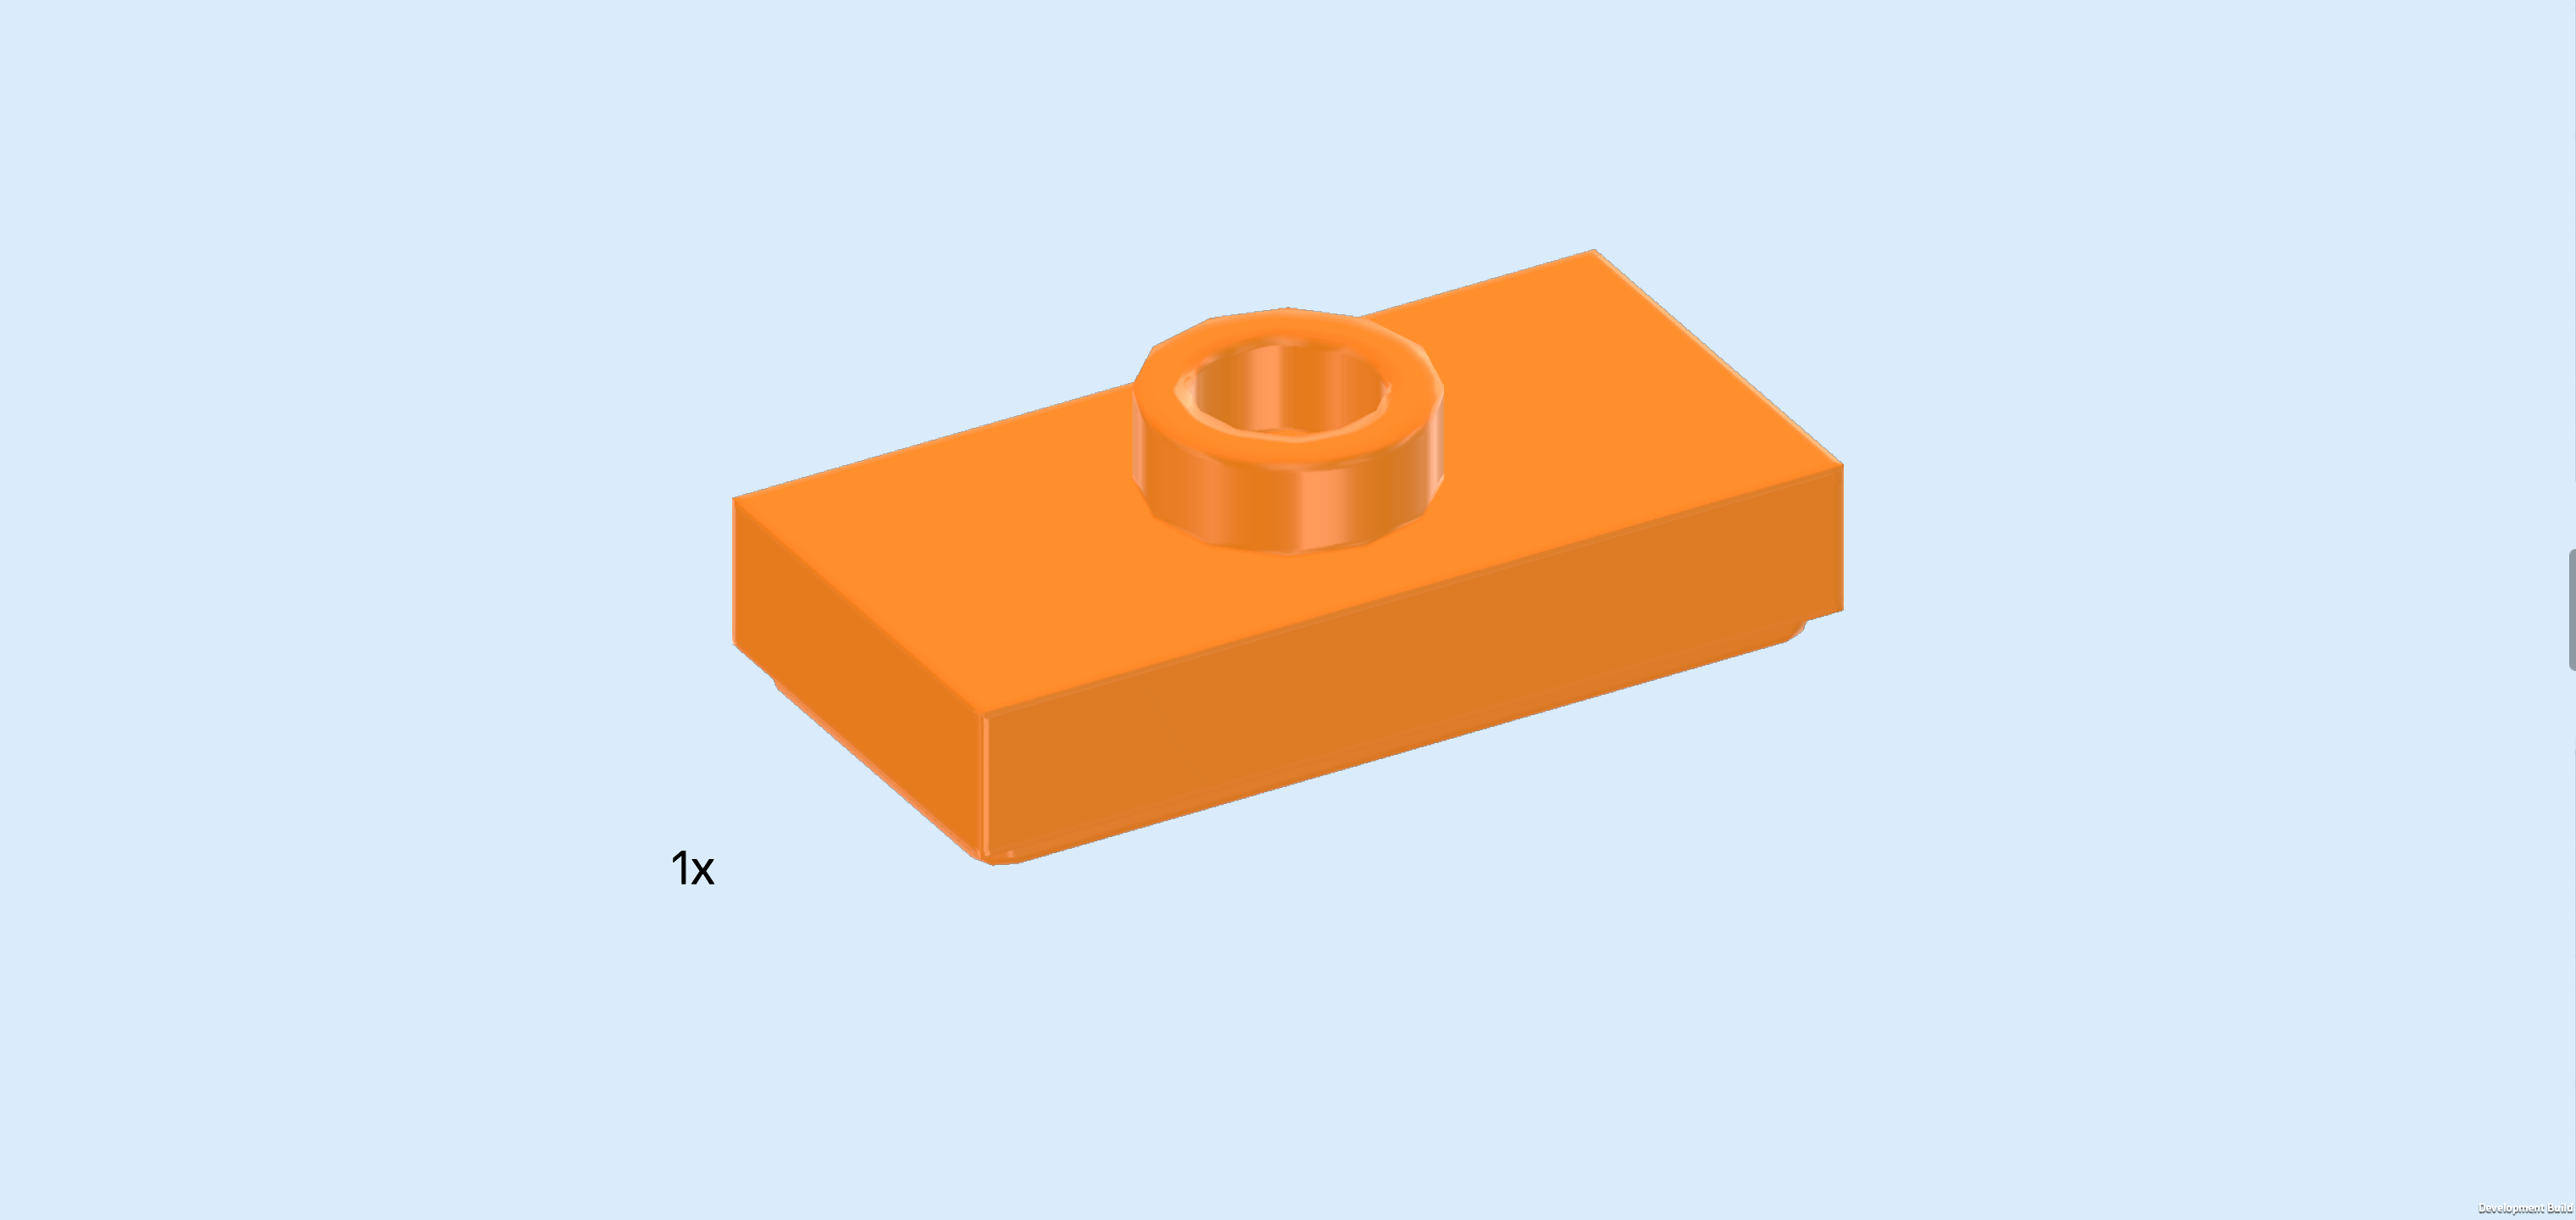
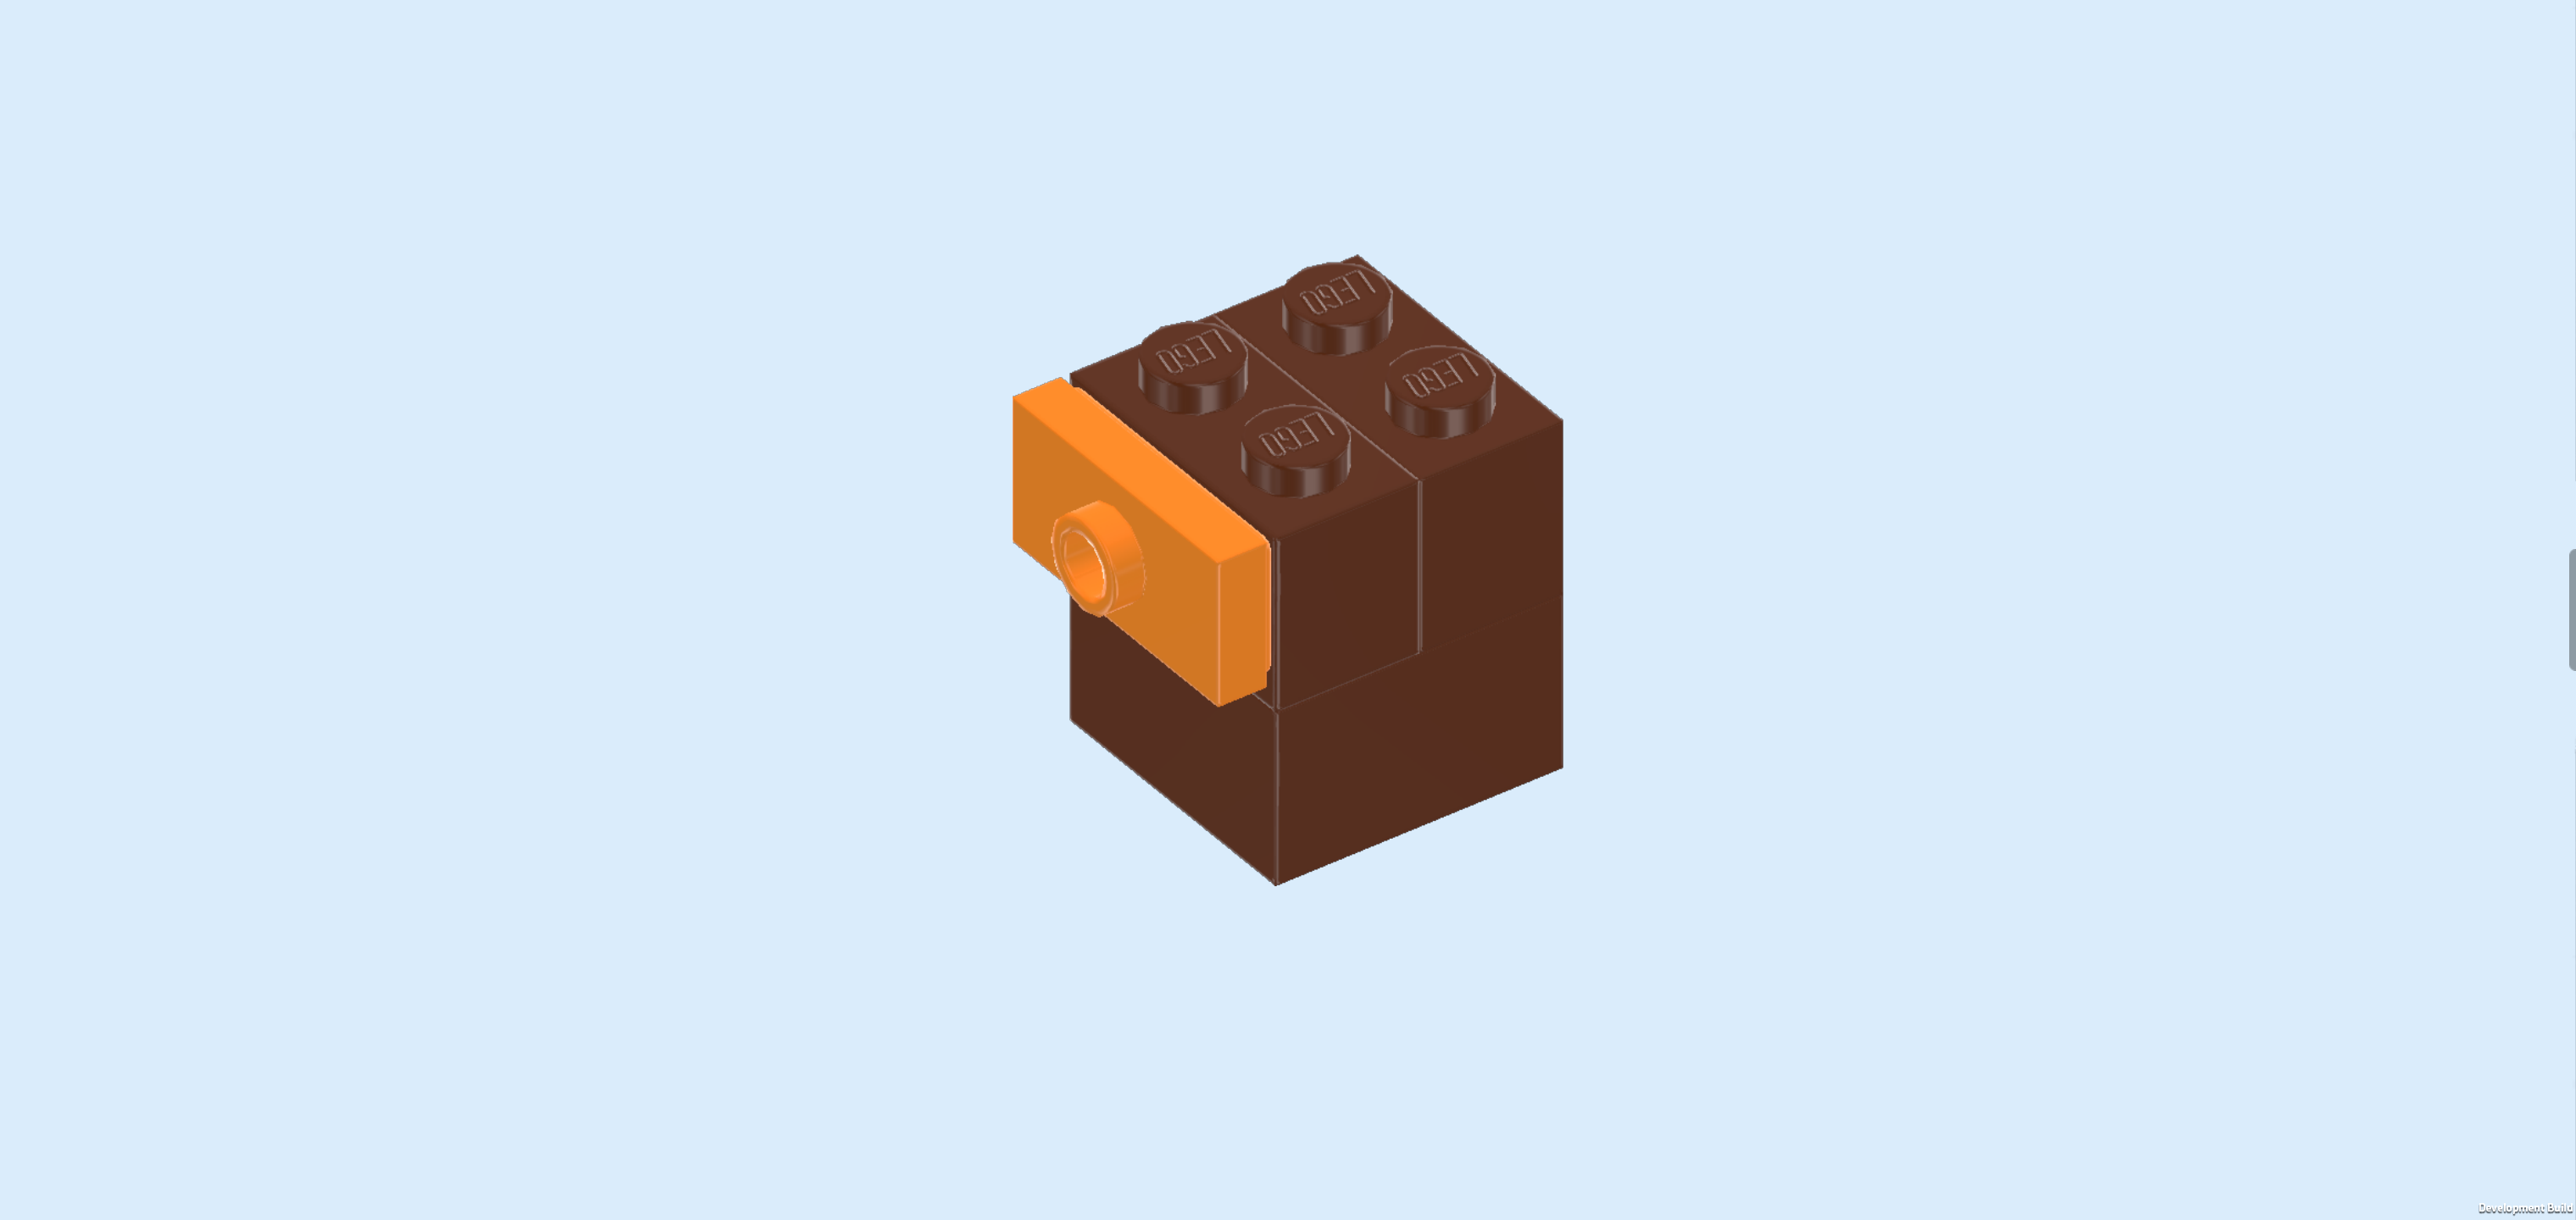
| Find 1 bright orange plate 1x2 with 1 knob. |
| Put it upright on the 2 side knobs of the previous piece, its knob pointing to the left. |
| The drawer cabinet is finished! Well done! Mount it in its building orientation directly in front of the previous piece and also directly to the left of the stickered side wall. Make sure the cabinet's side knob is still pointing to the left. |
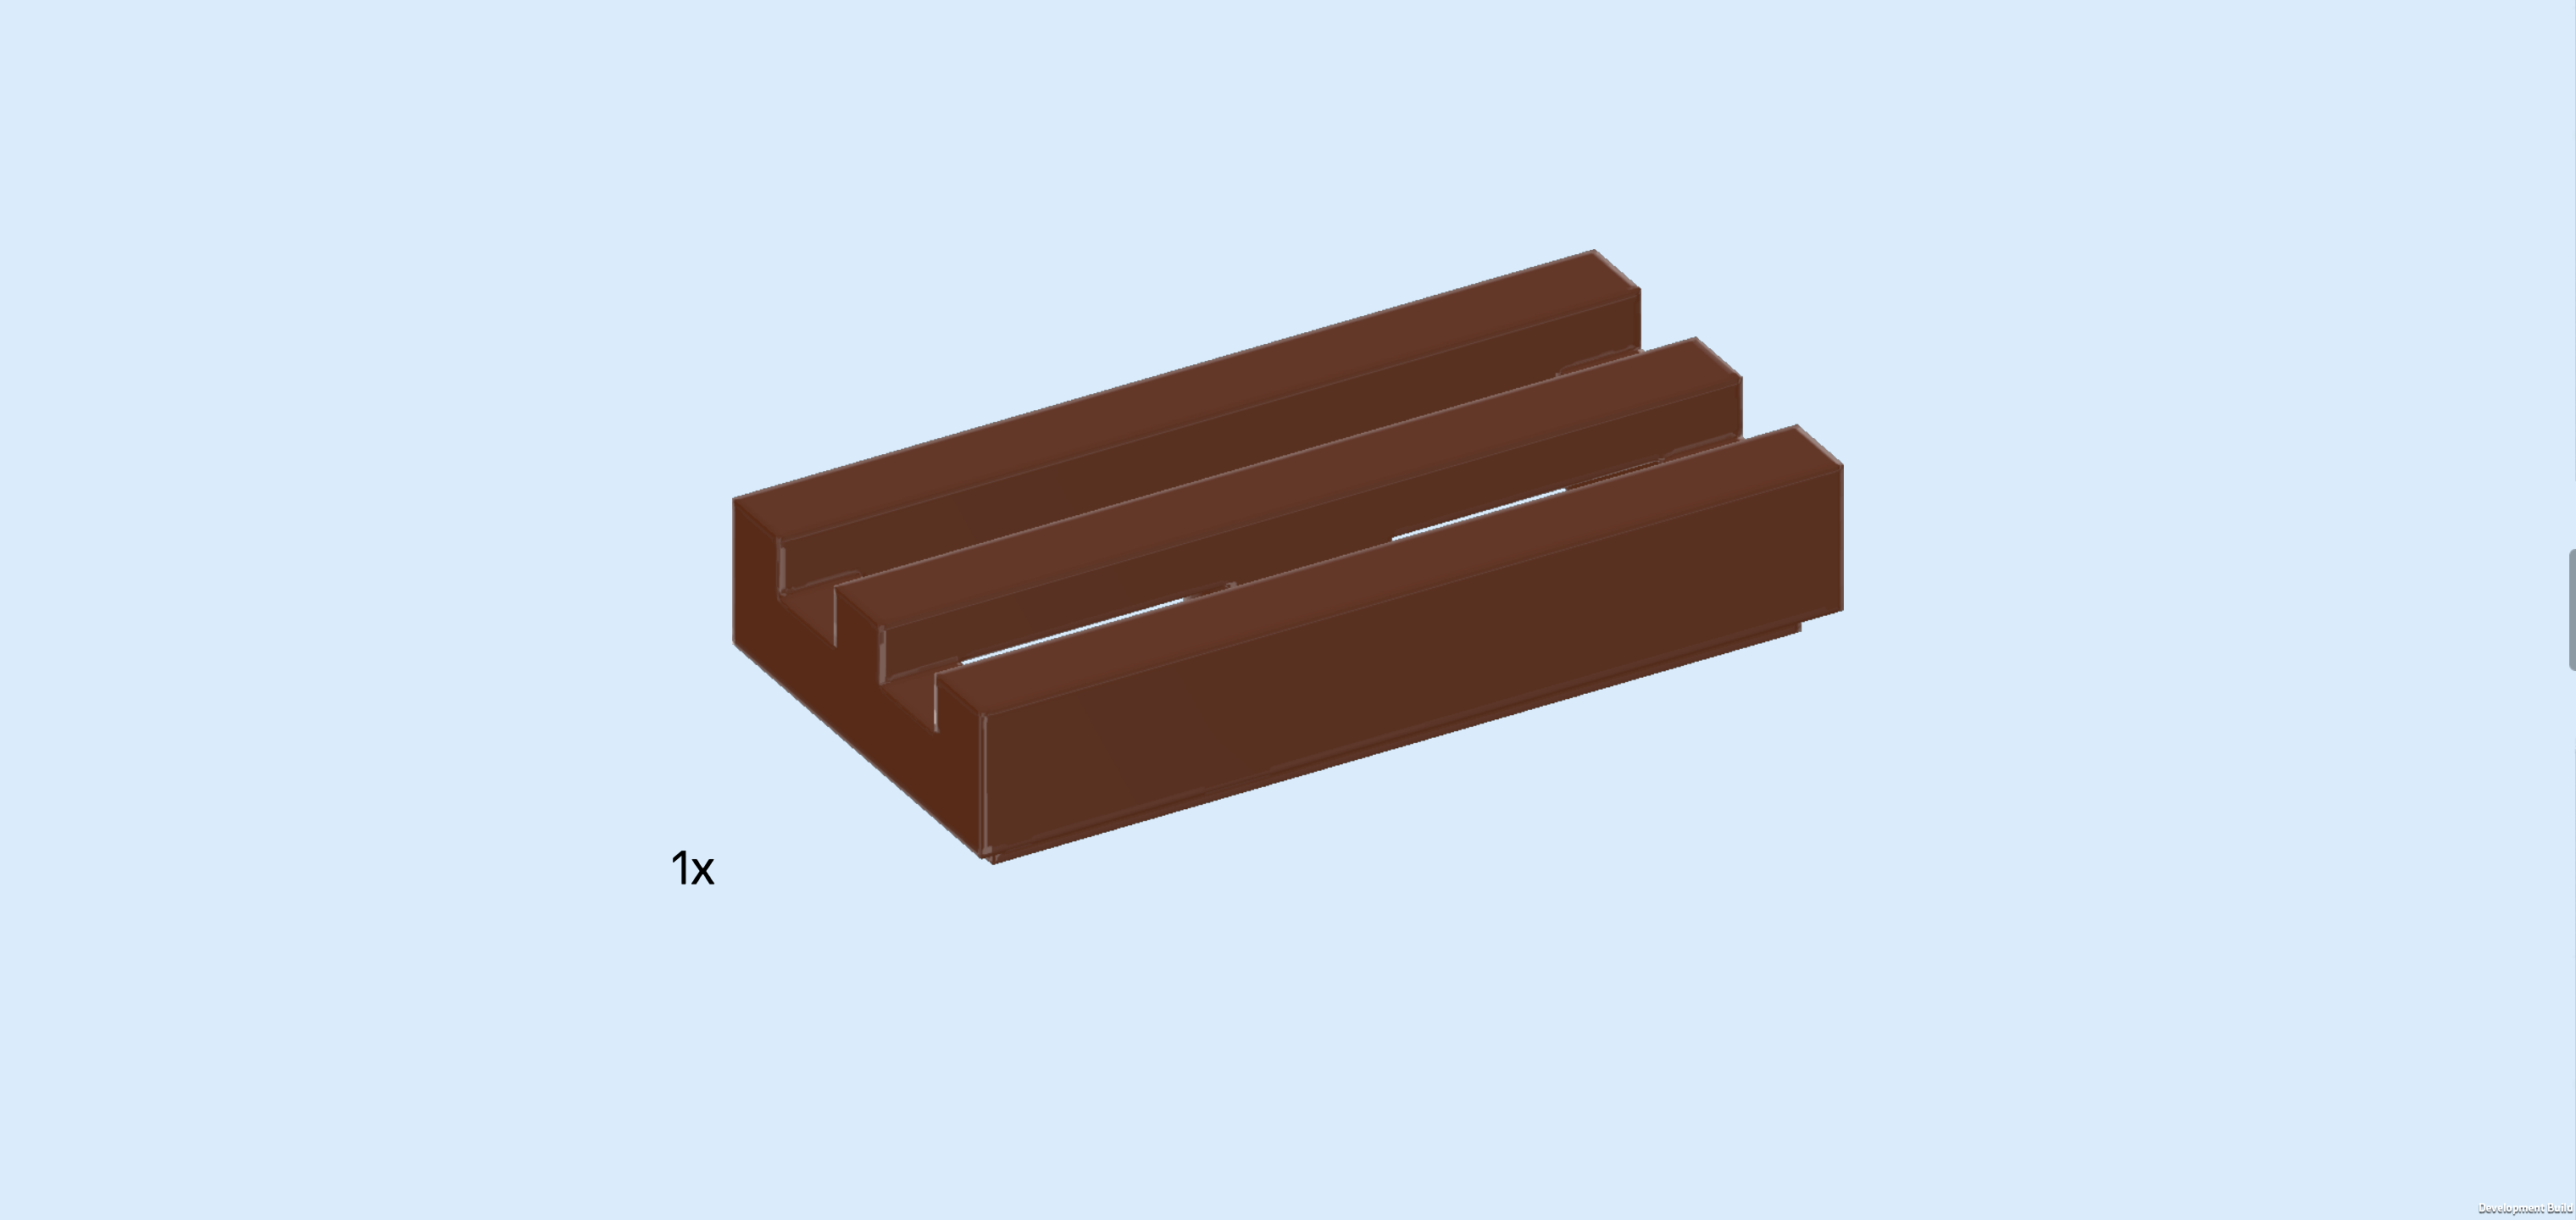
| Find 1 reddish brown grille tile 1x2. |
| Put it vertically in front of the drawer cabinet's right half. This means it will sit directly next to the right side wall. |
| Collect the following 2 pieces: |
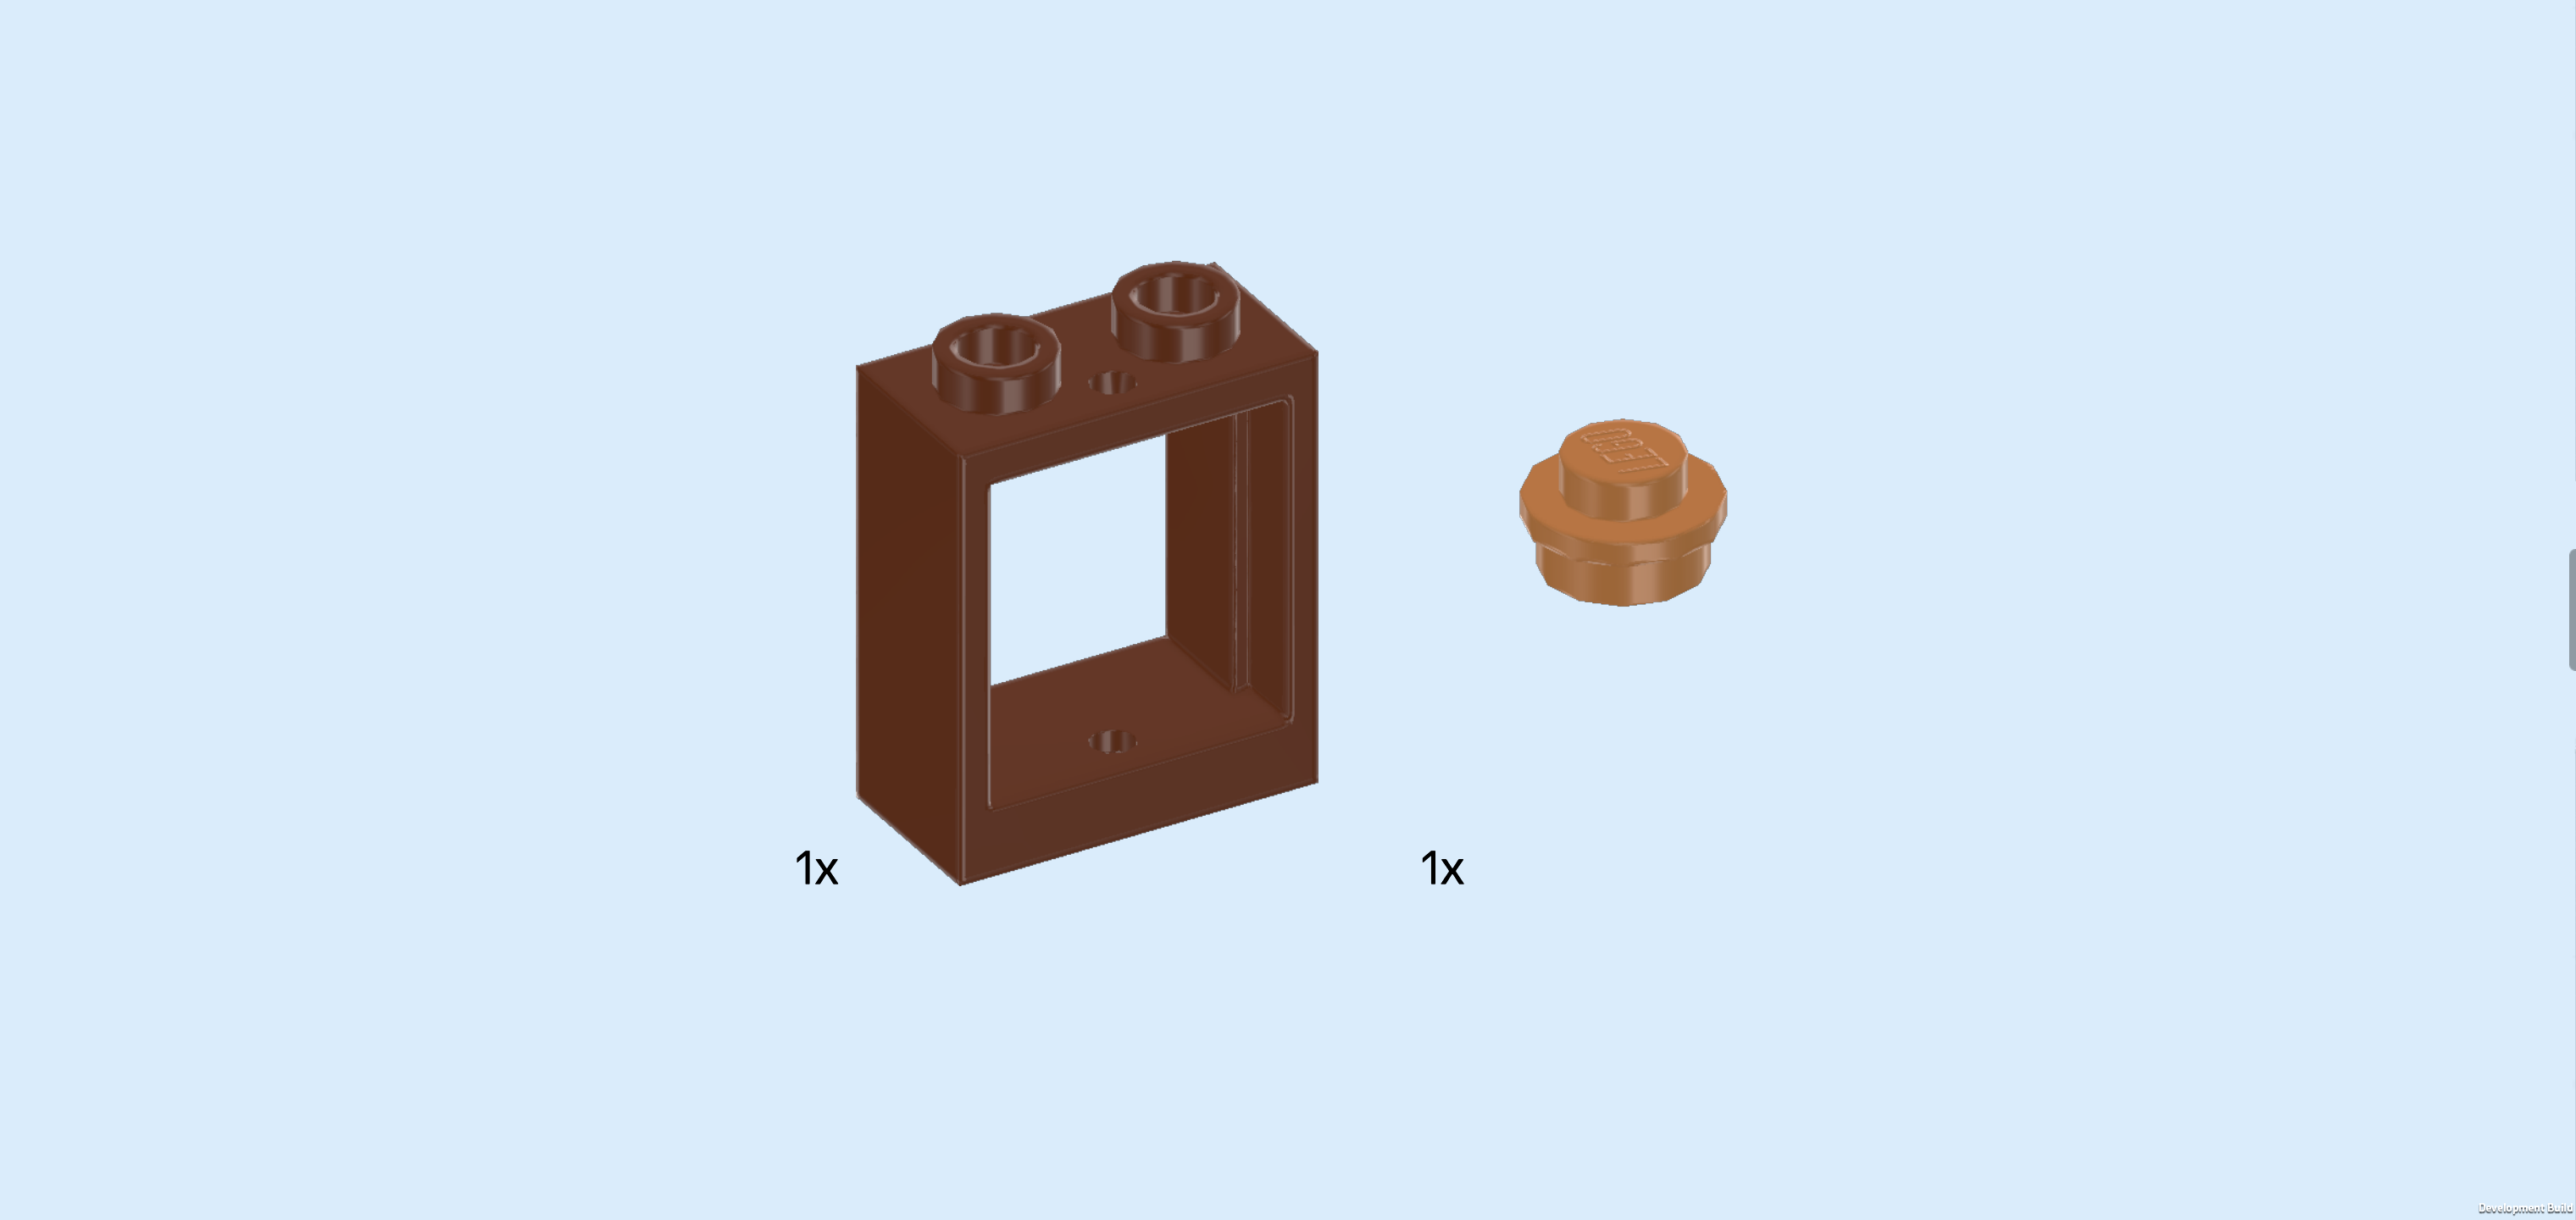
| 1 reddish brown window frame 1x2x2, |
| and 1 medium nougat brown round plate 1x1. |
| Put the window frame 1x2x2 horizontally in front of the previous piece. Make sure its front edge is flush with side wall's front edge. |
| Put the round plate 1x1 on the frontmost row of the base plate on its fourth knob from the right. |
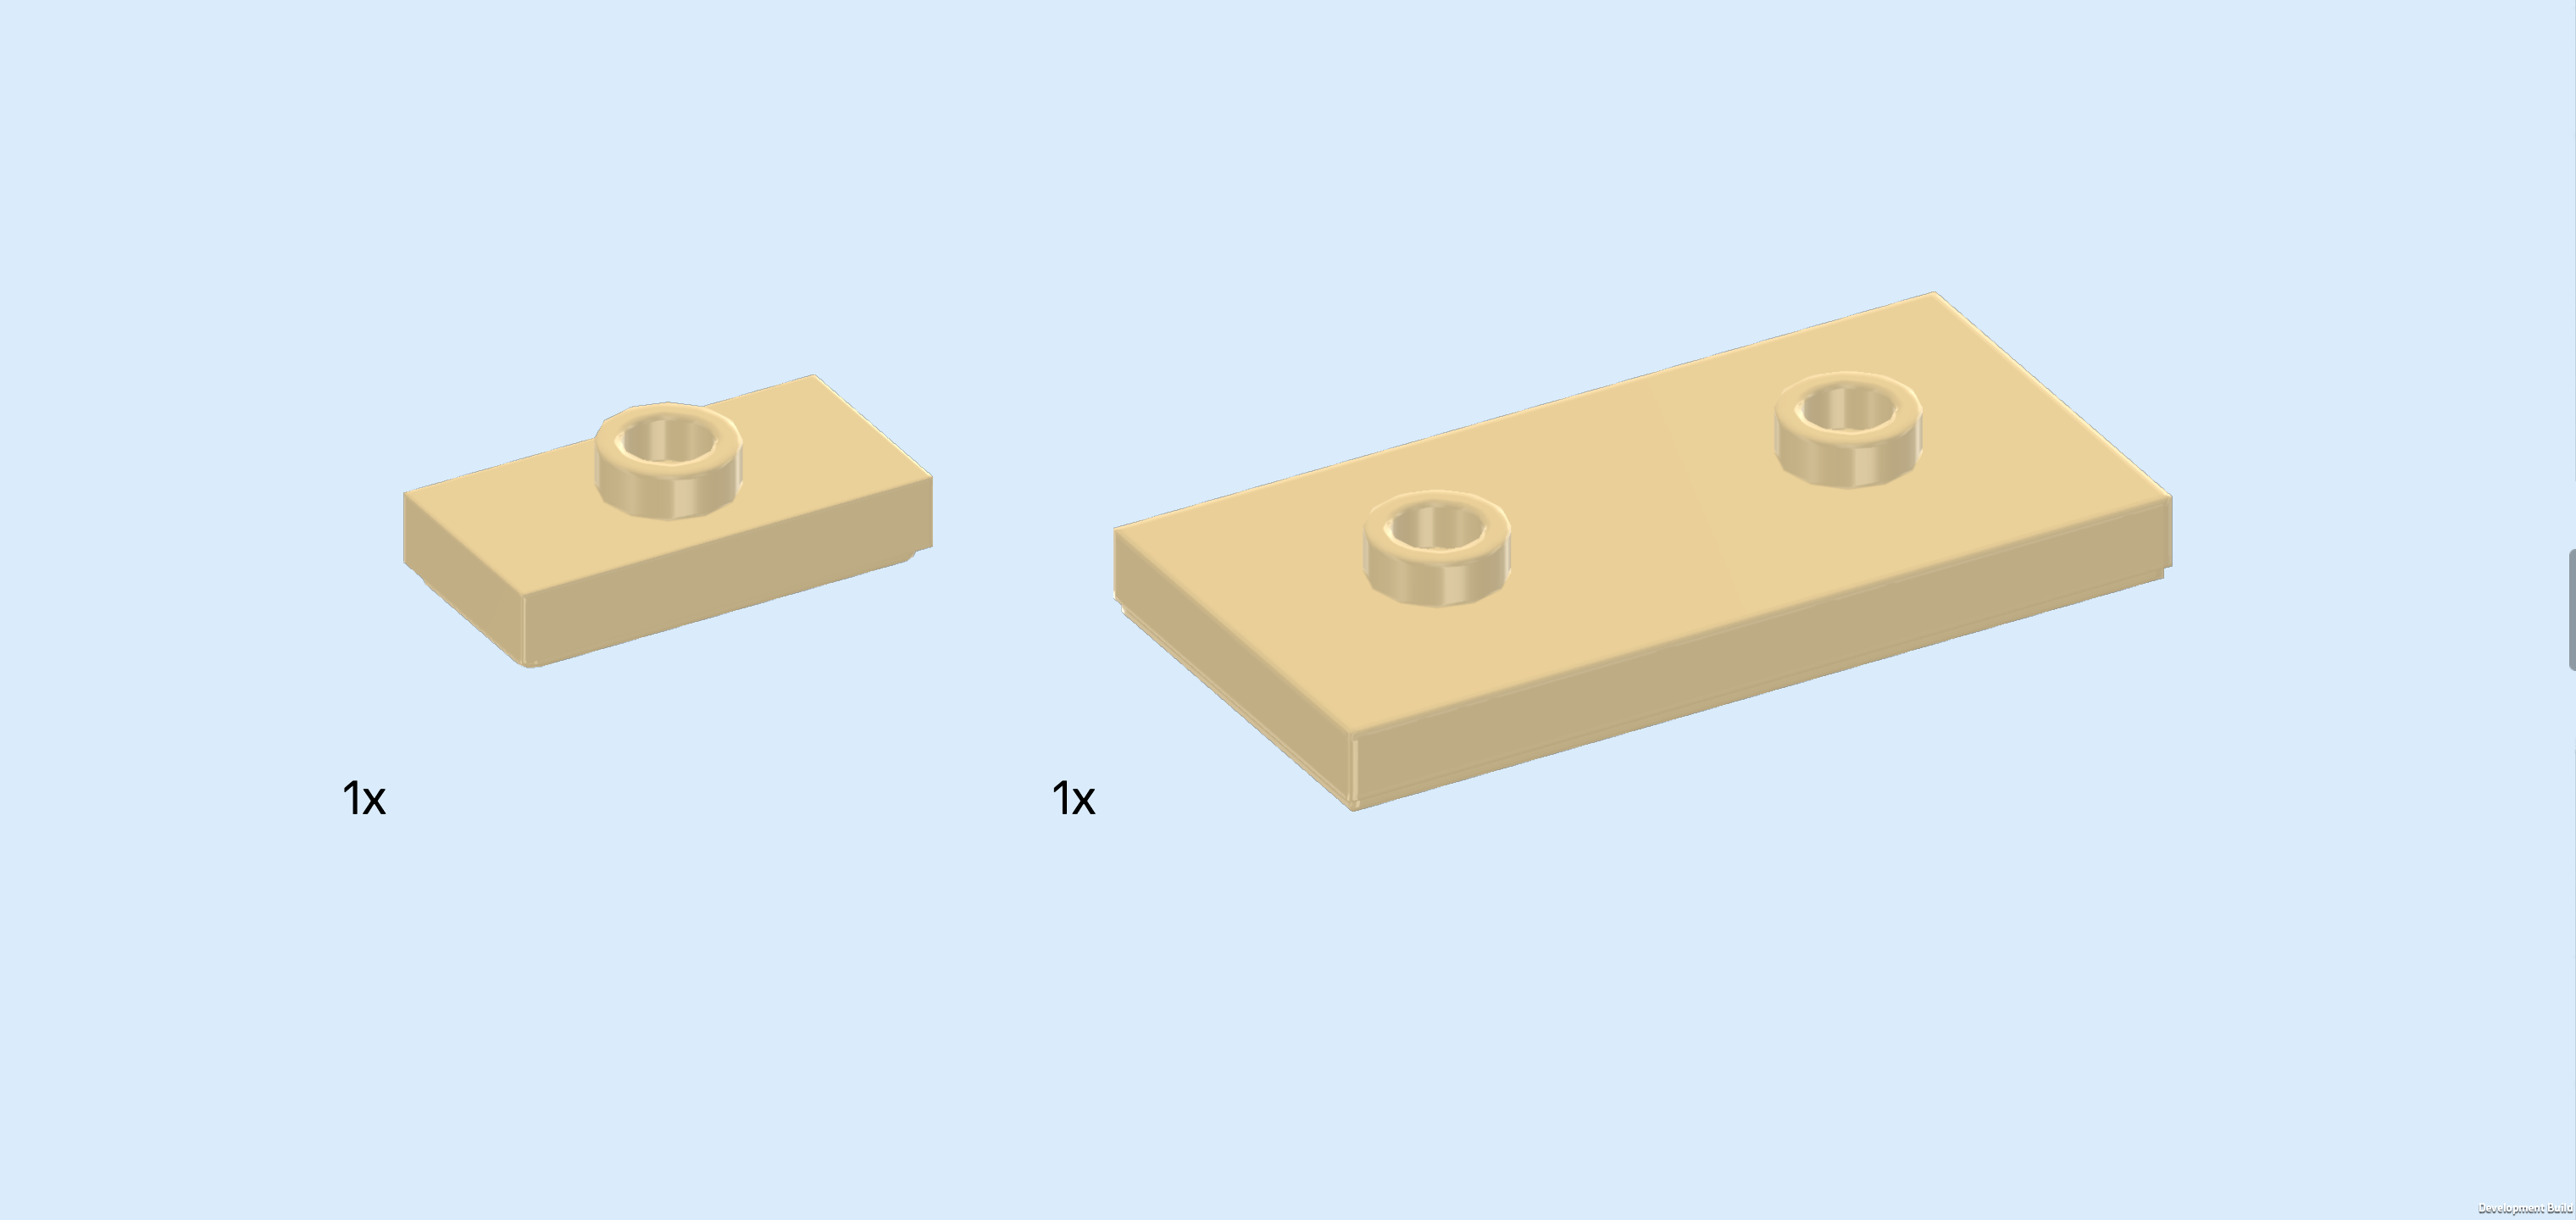
| Collect the following 2 pieces: |
| 1 beige plate 1x2 with 1 knob, |
| and 1 beige plate 2x4 with 2 knobs. |
| Put the plate 1x2 horizontally on the backmost edge of the drawer cabinet. |
| Put the plate 2x4 vertically in front of the previous piece. With this, we have built Autumn's desk! |
| Next, we will build a reusable water bottle. |
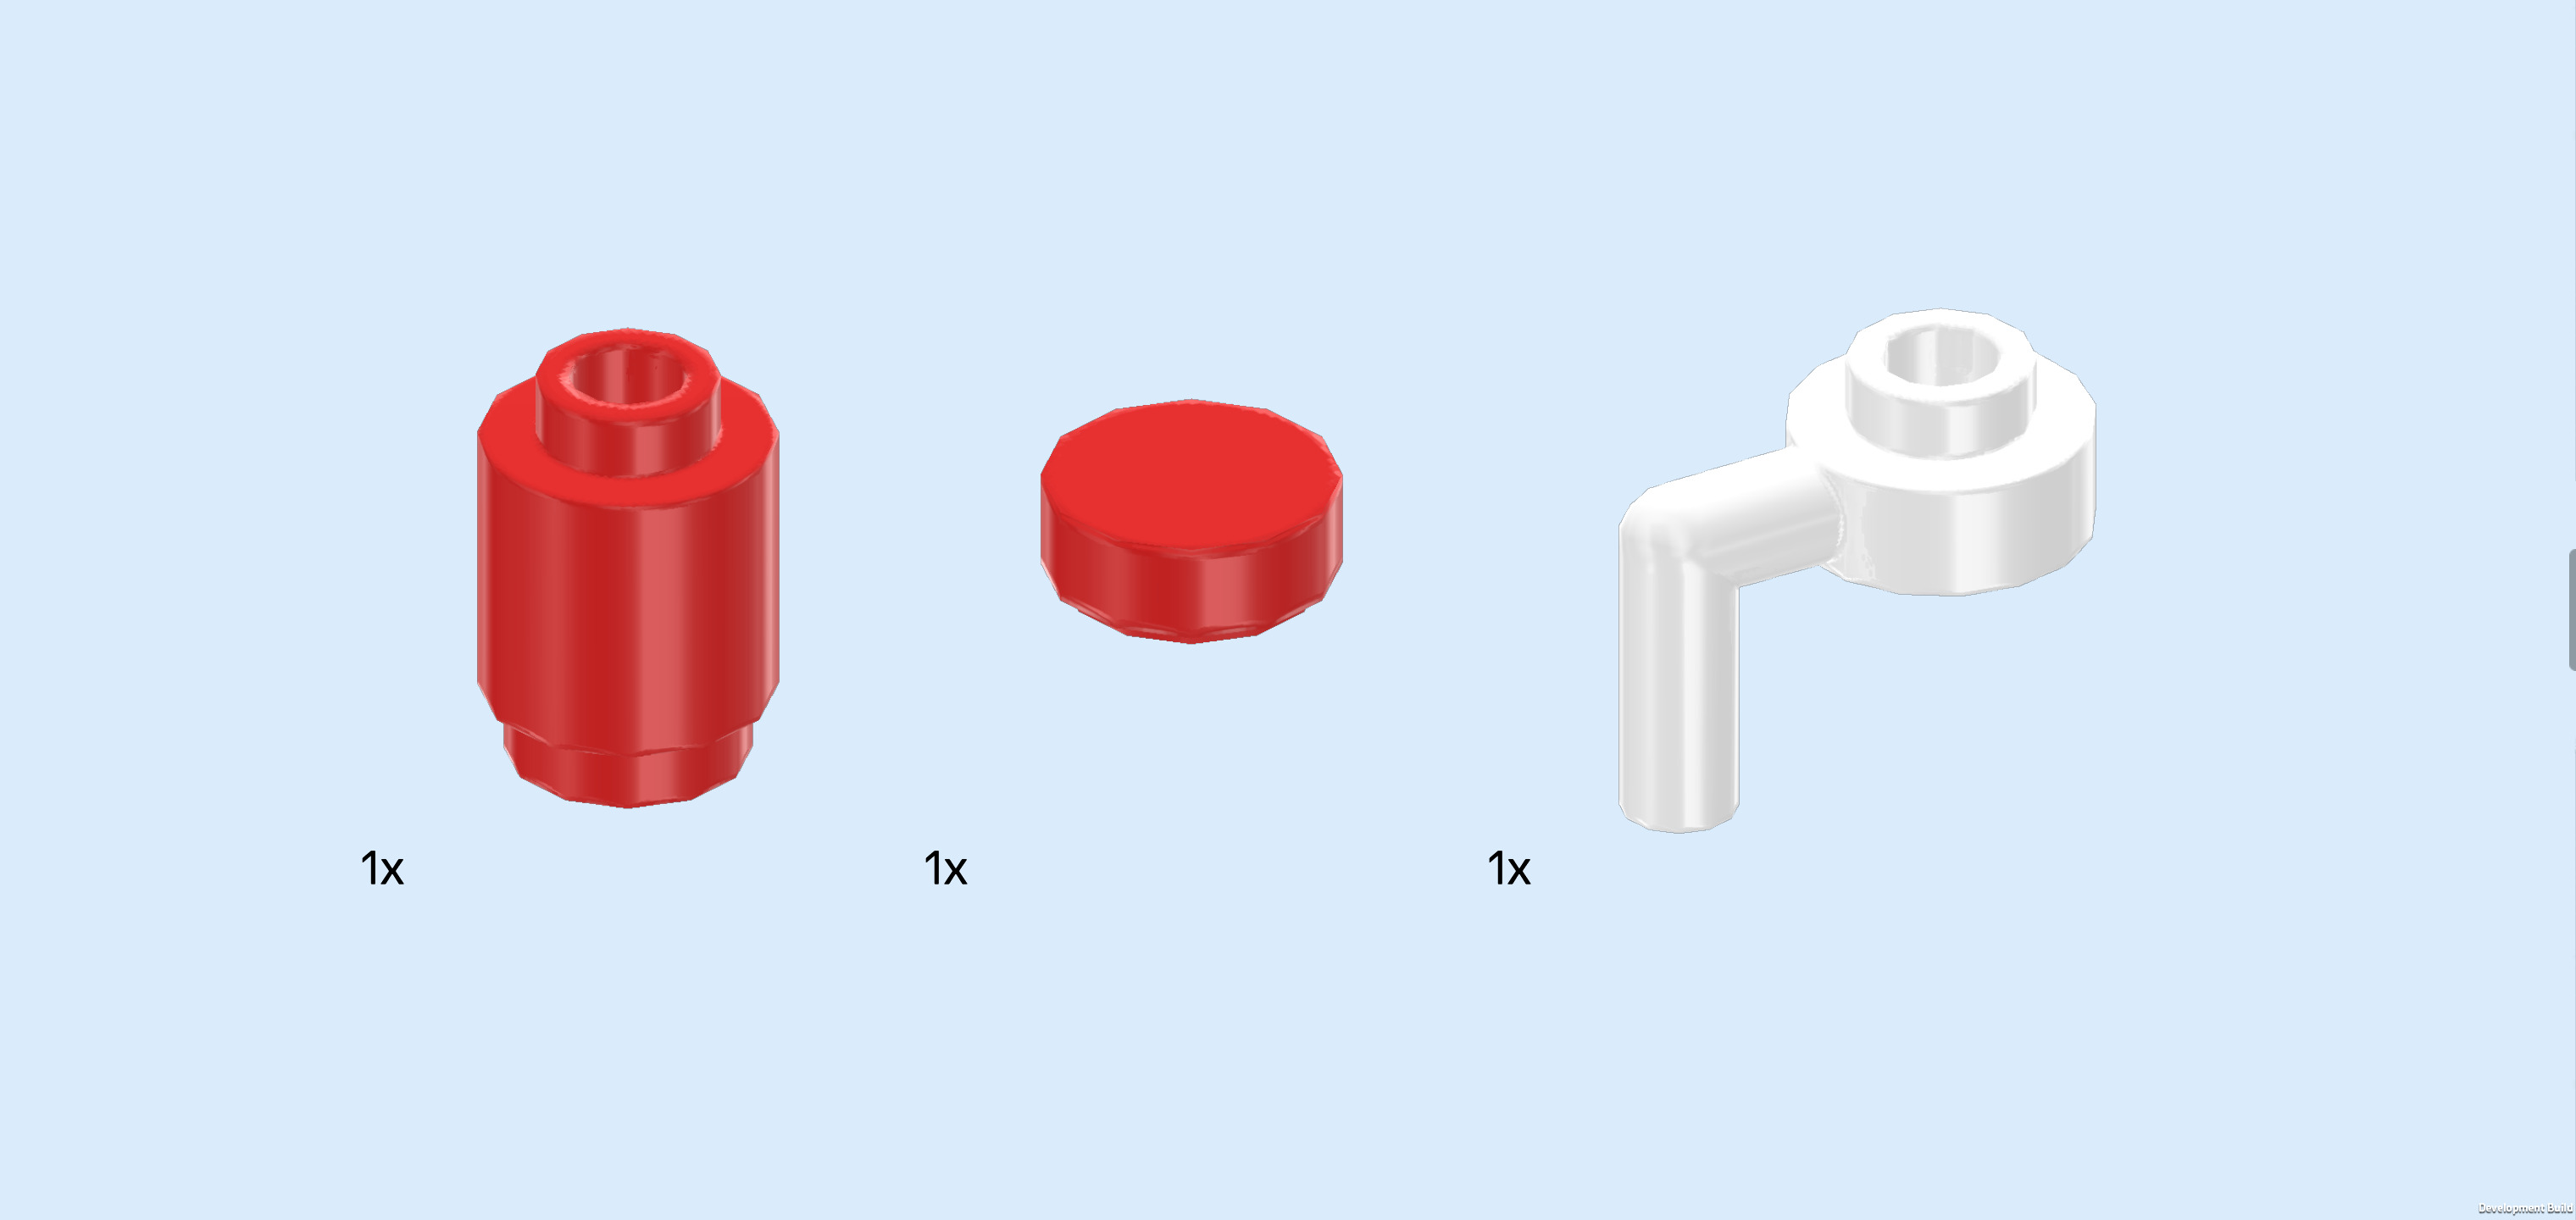
| Collect the following 3 pieces: |
| 1 bright red round brick 1x1, |
| 1 bright red round tile 1x1, |
| and 1 white round plate 1x1 with downward hook. |
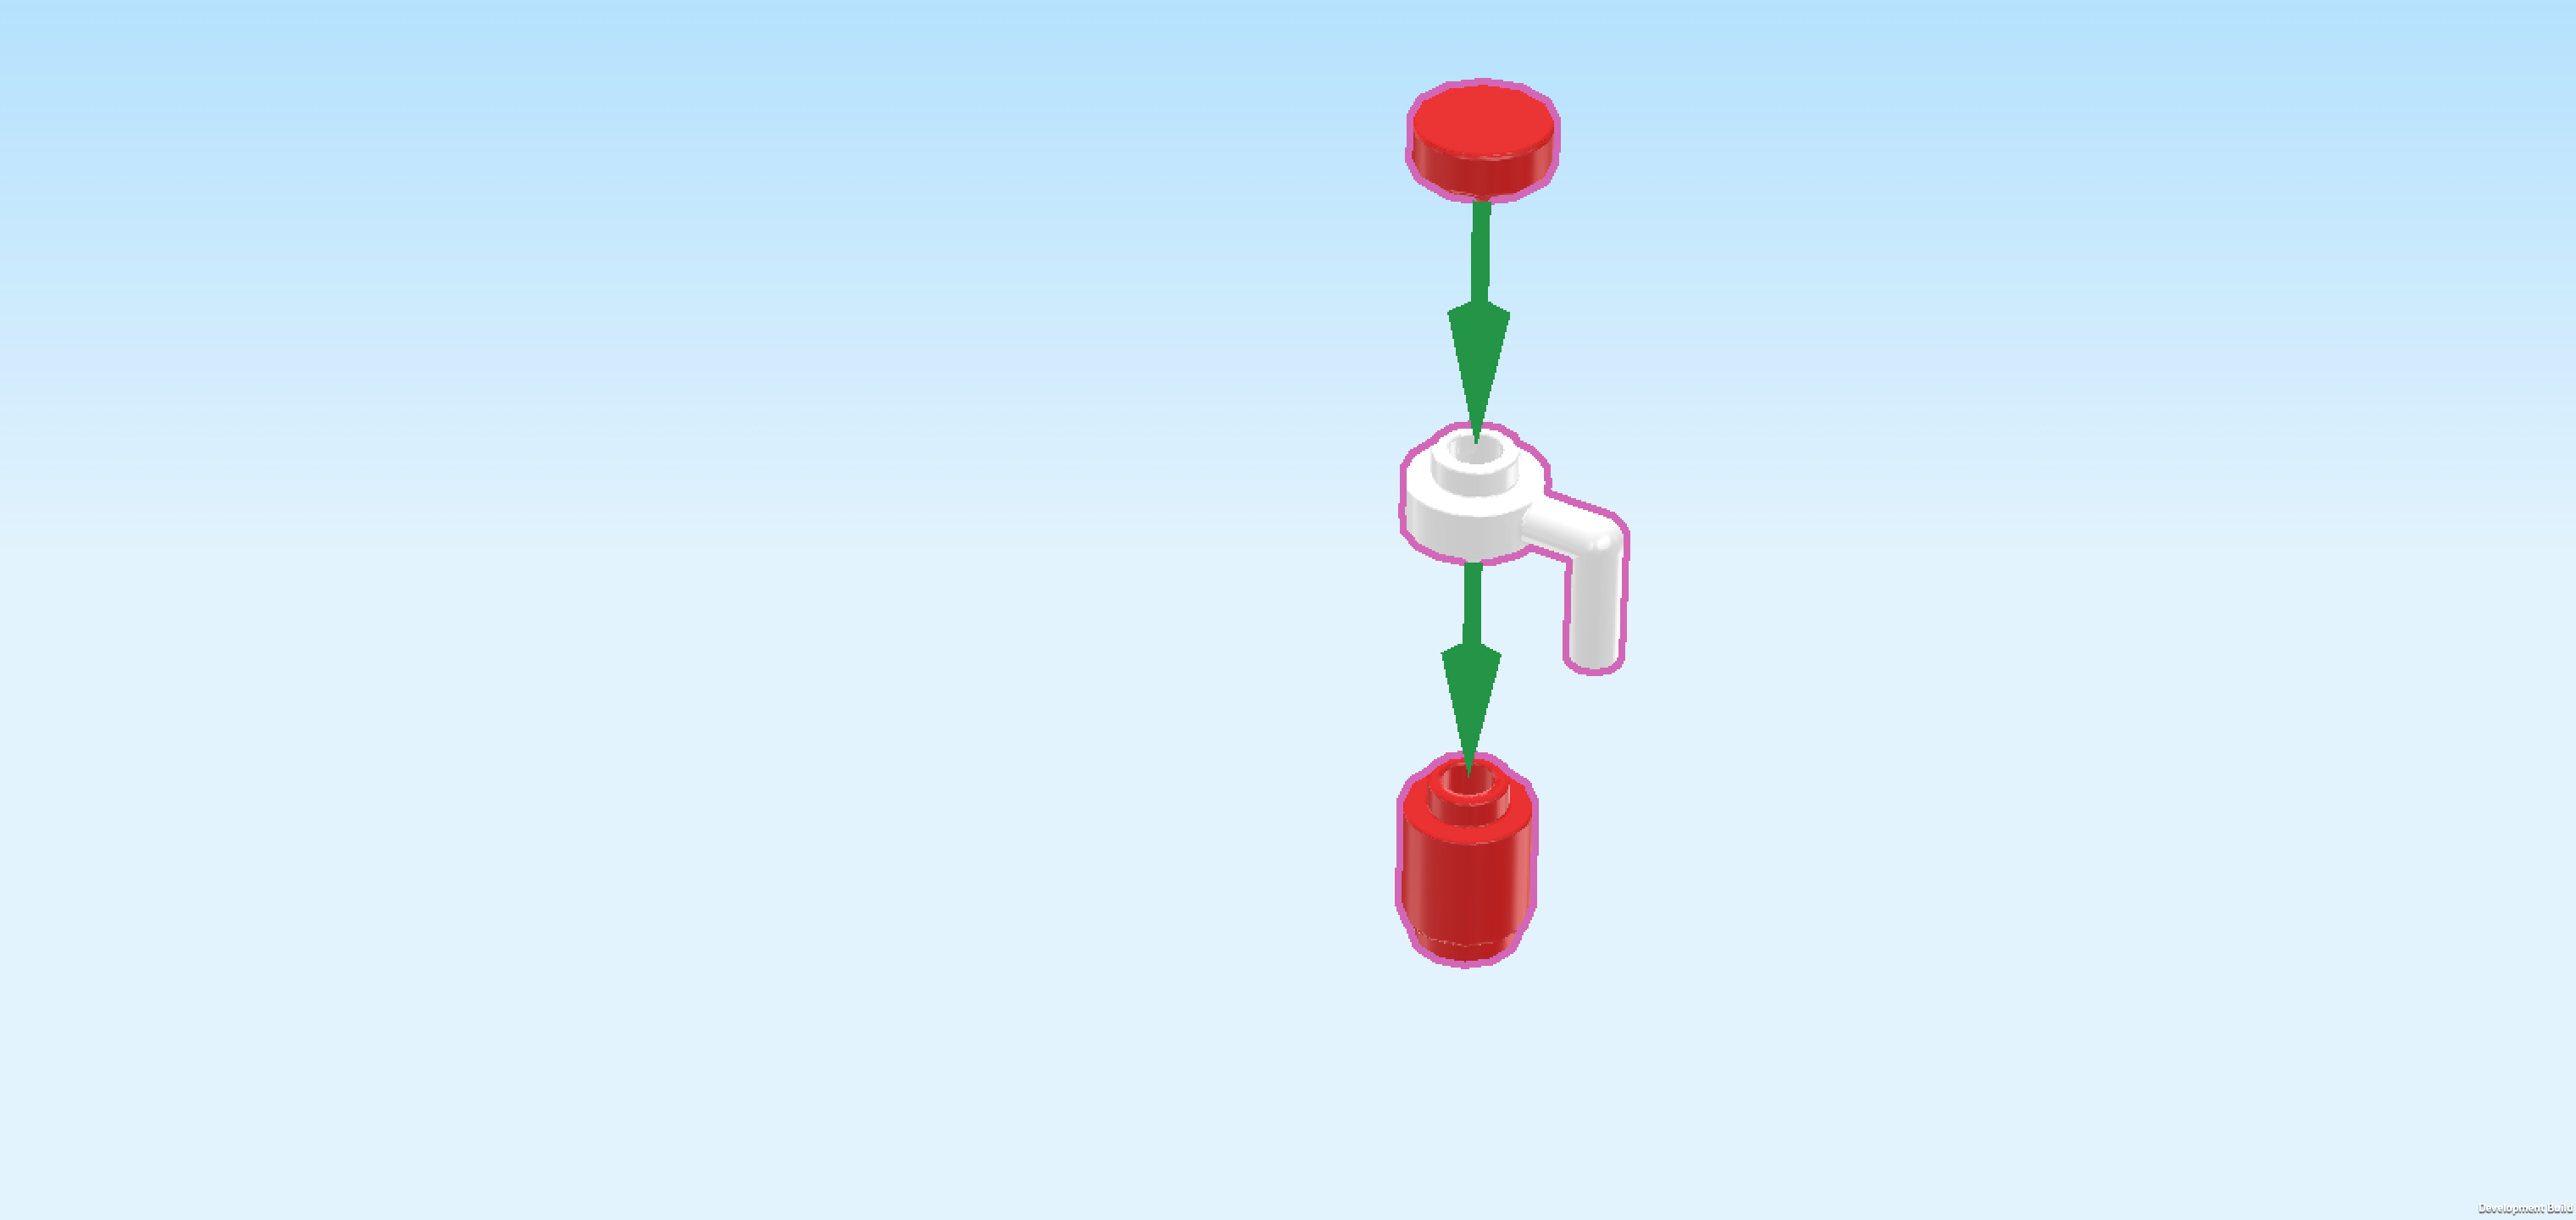
| Put the round brick 1x1 on the table. |
| Put the round plate with downward hook on top, hook to the front. |
| Put the round tile 1x1 on top. |
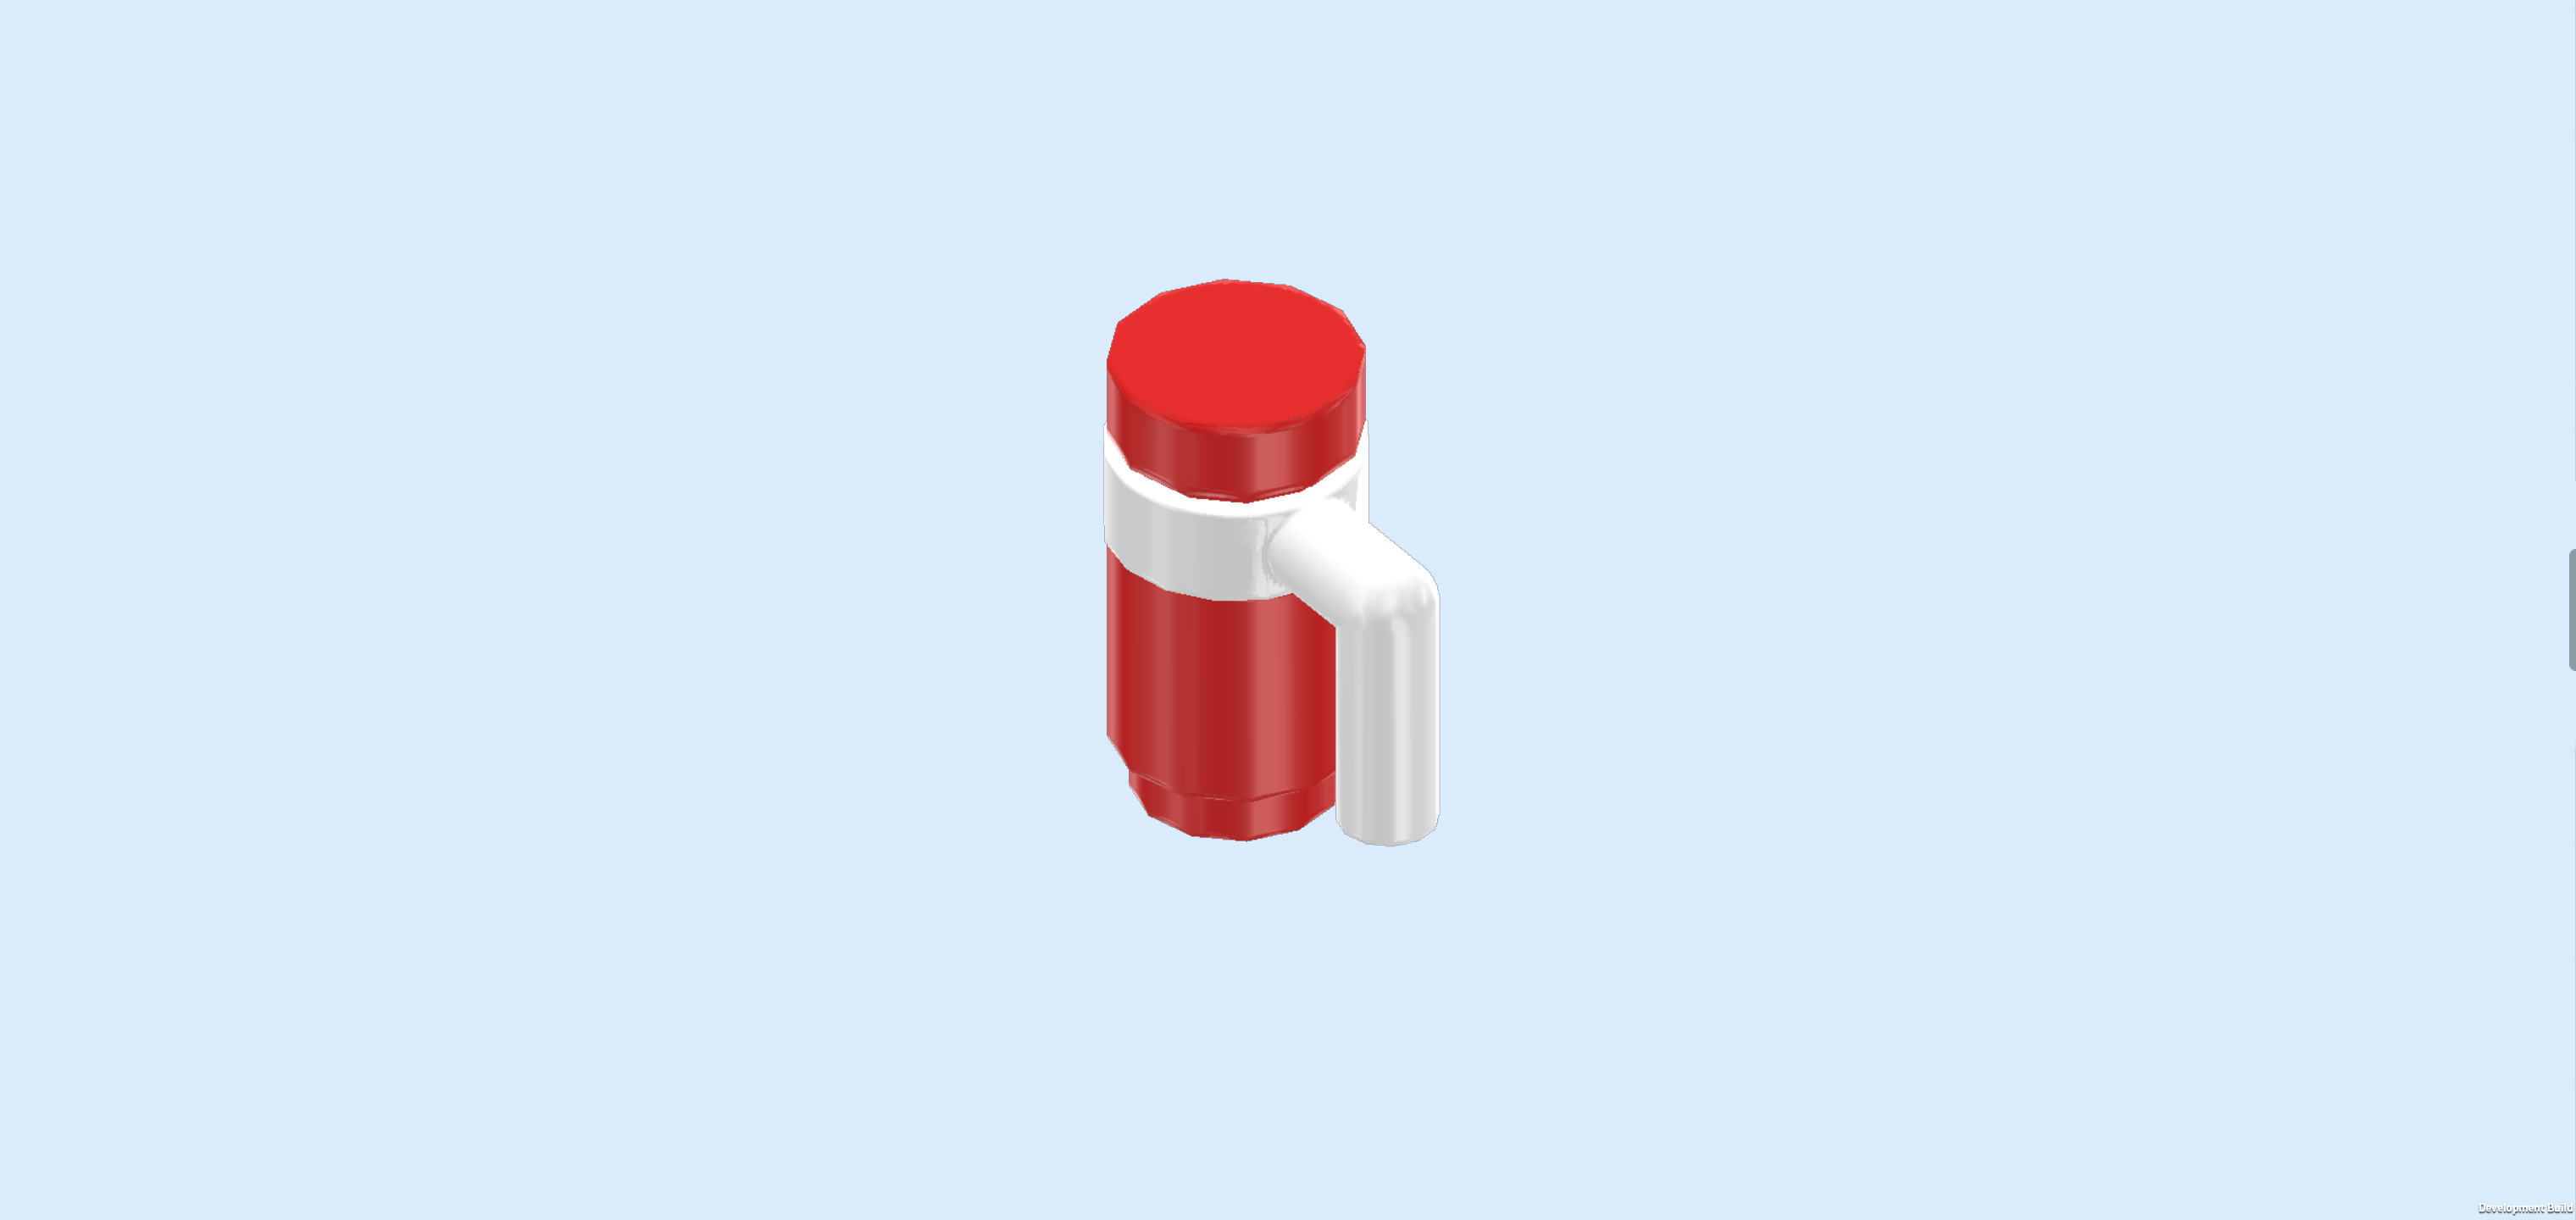
| The reusable water bottle is finished! Put it on the frontmost knob of the desktop, hook to the front. Of course, you can later place the water bottle wherever you want or need it. |
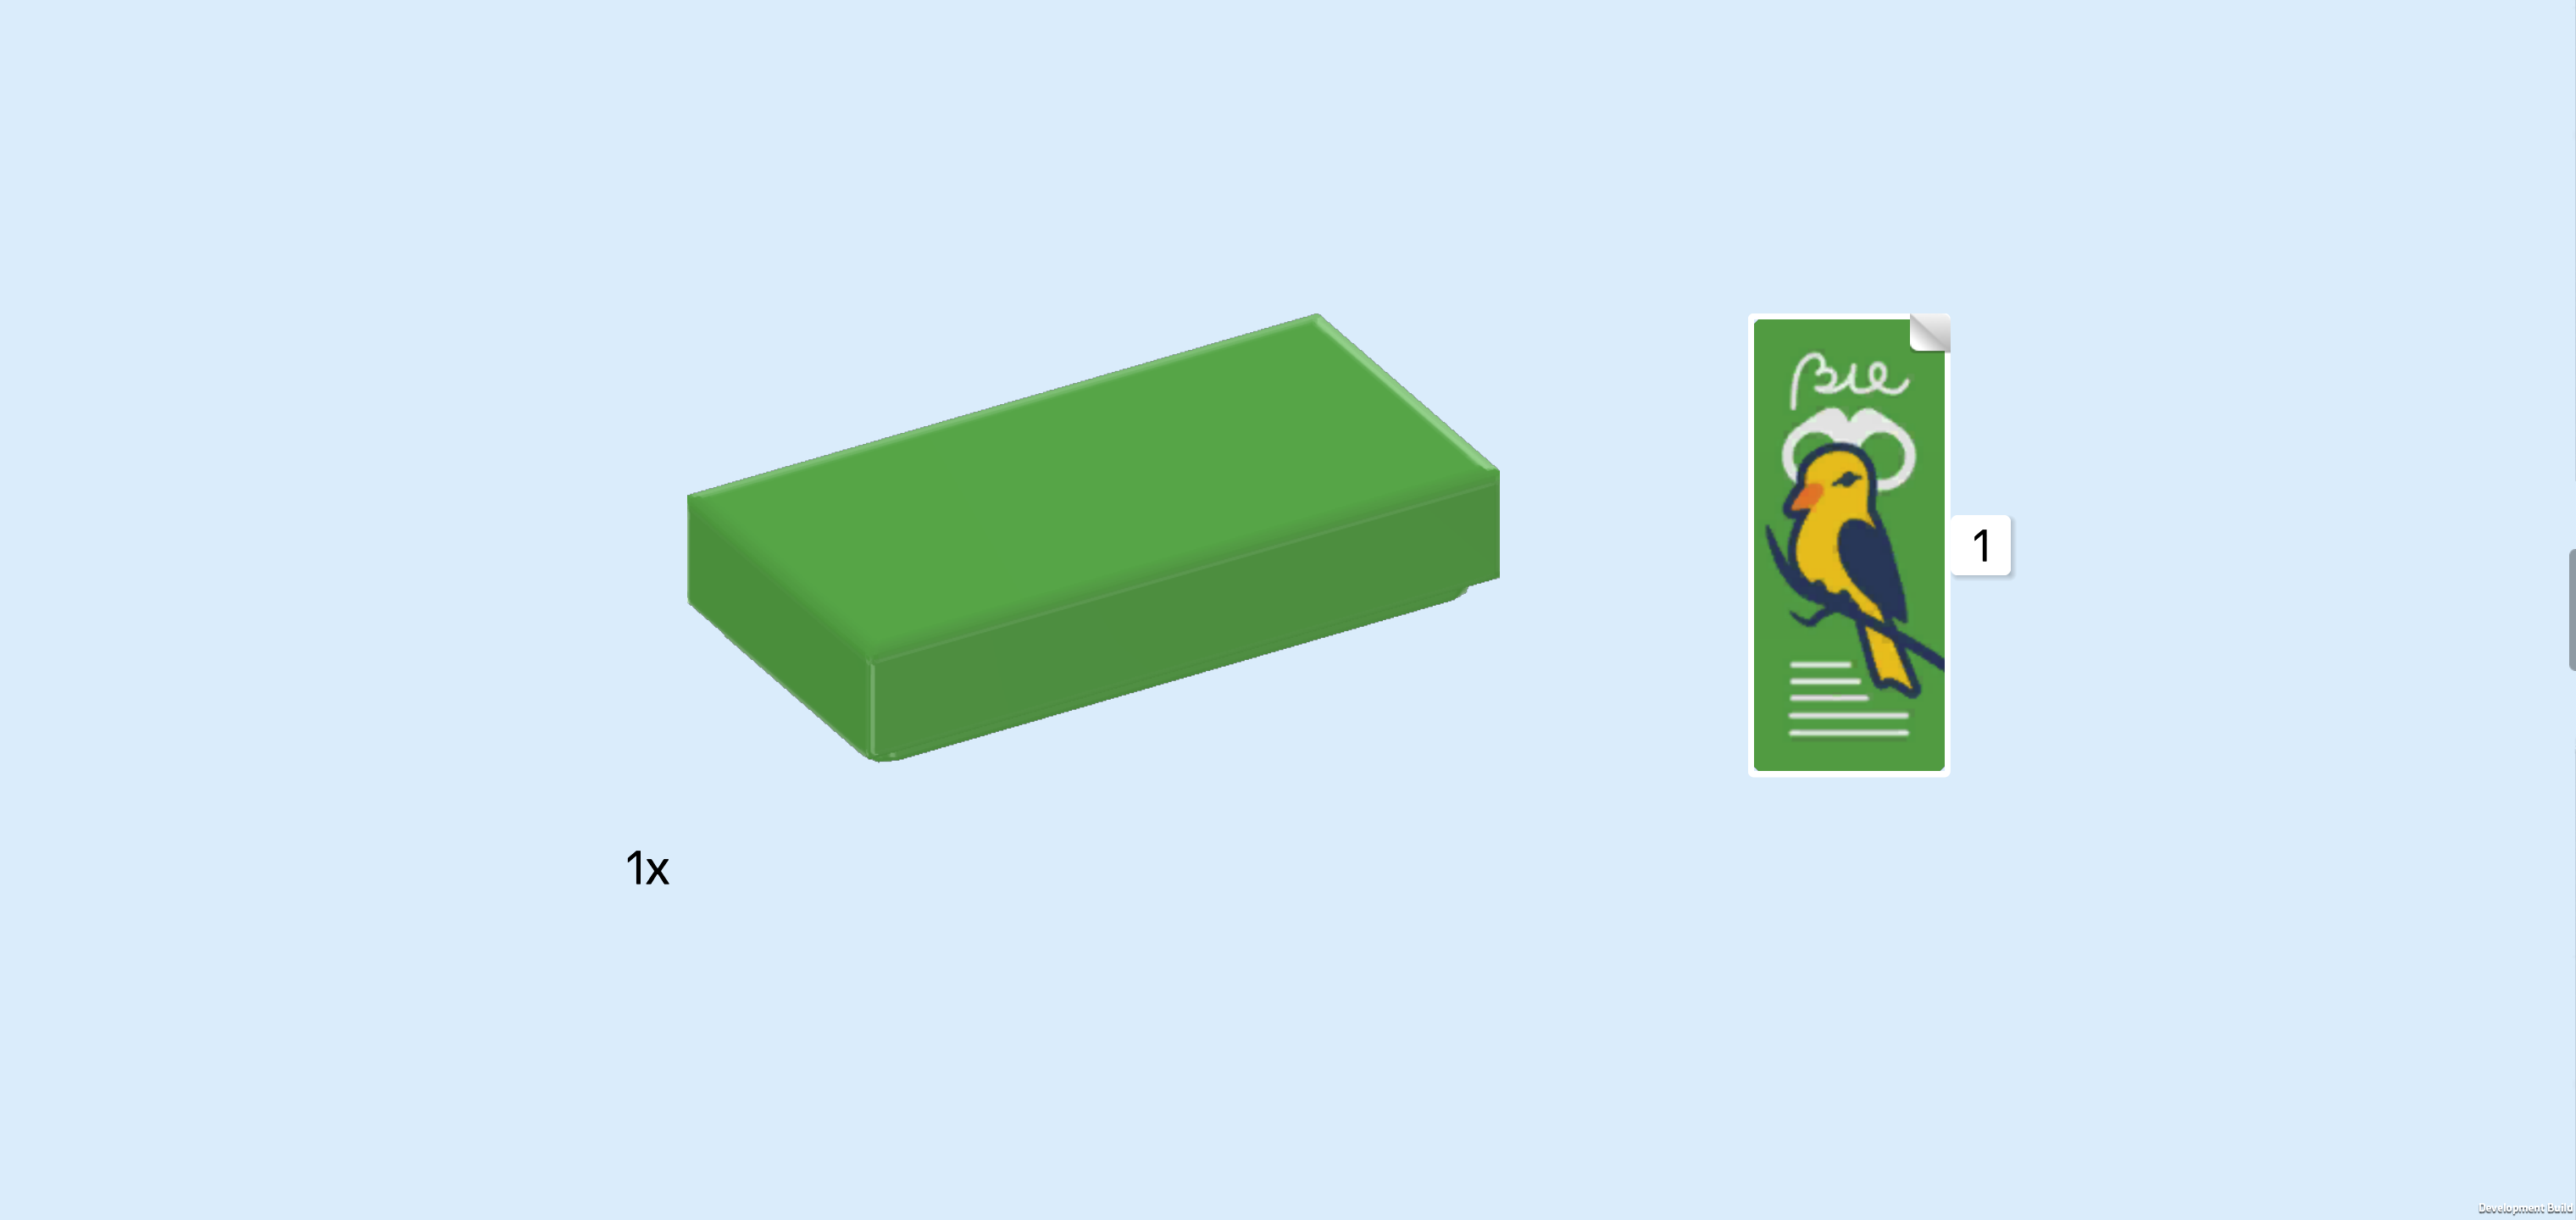
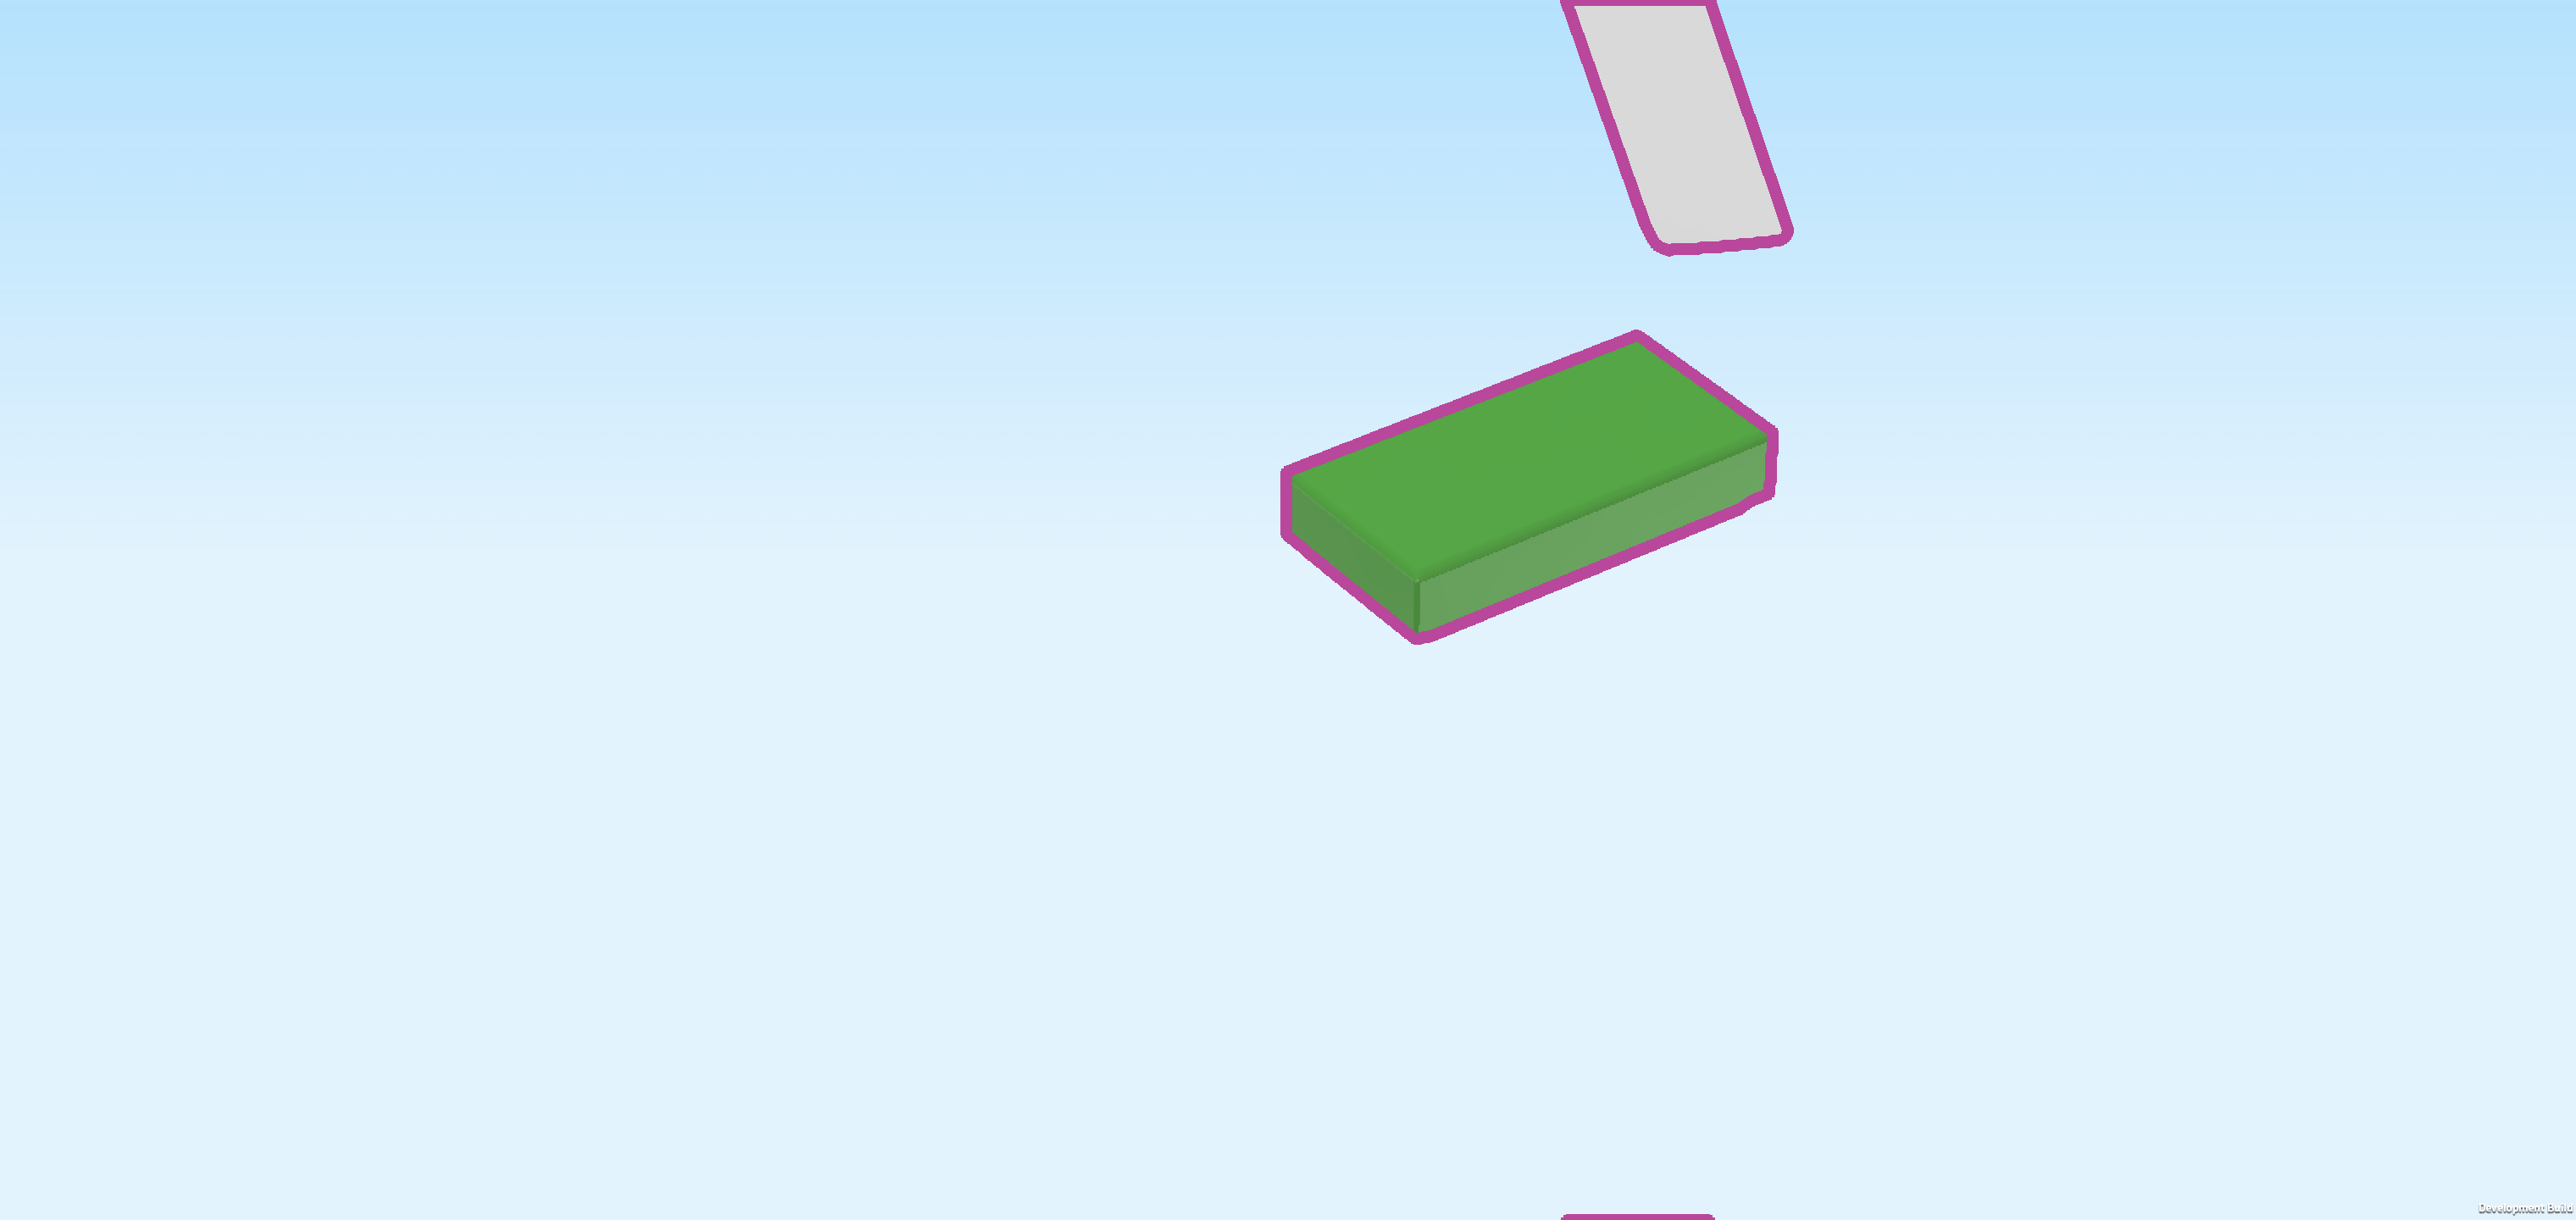
| Collect the following 2 pieces: |
| 1 bright green flat tile 1x2, |
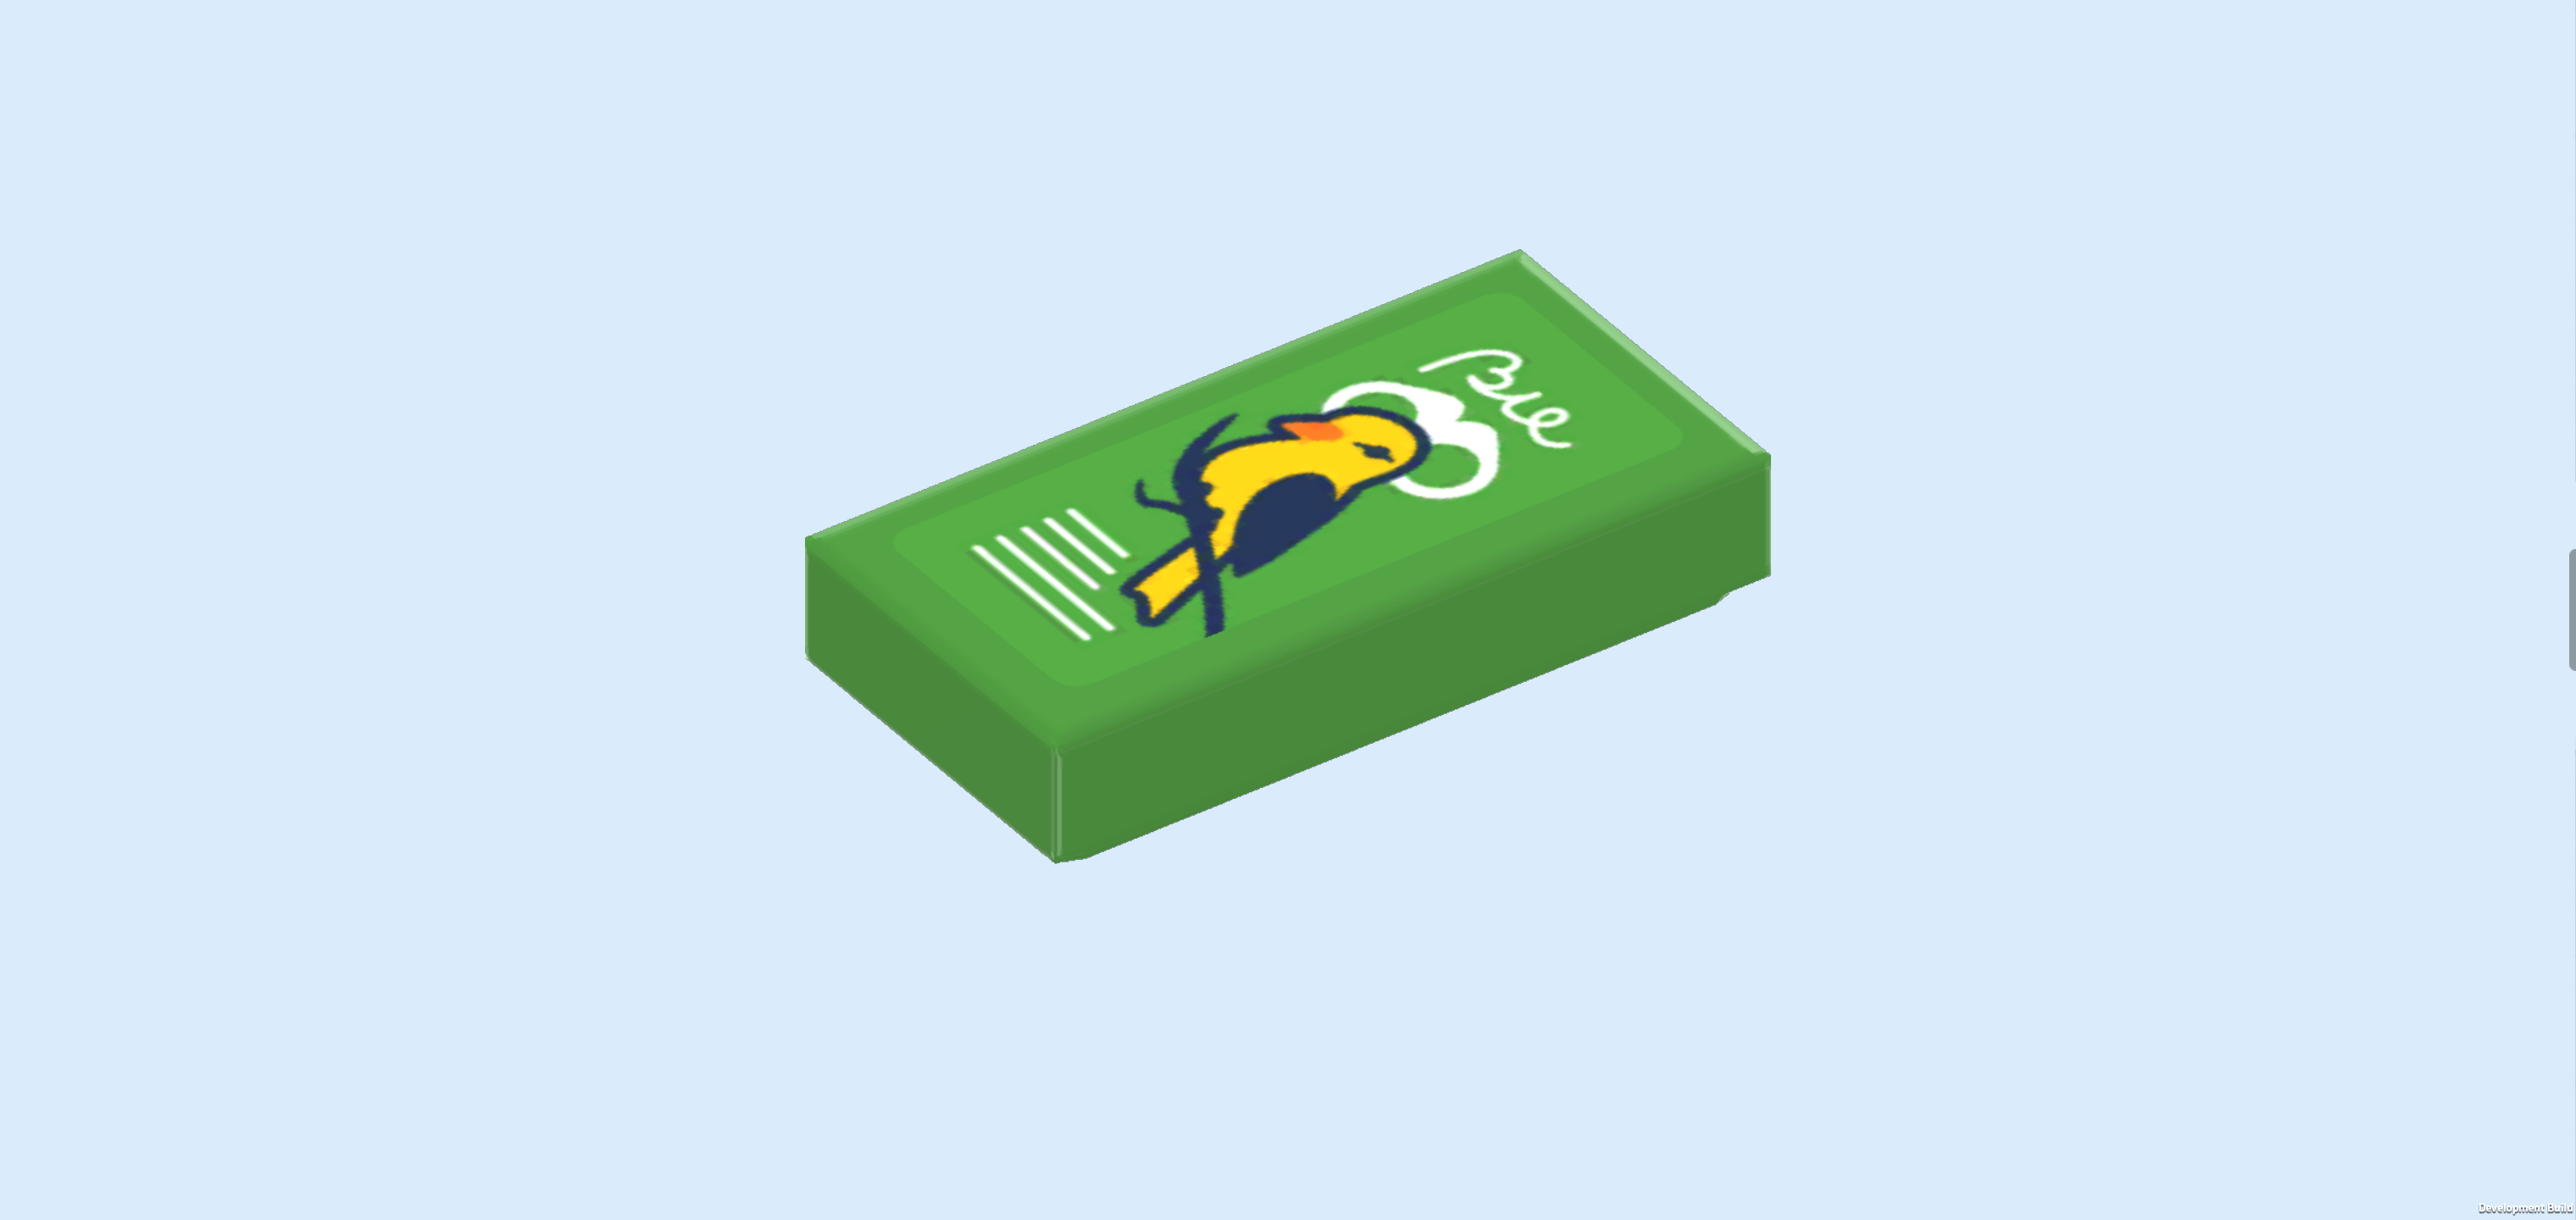
| and 1 rectangular sticker 1x2. |
| Put the flat tile 1x2 vertically on the table. |
| Put the sticker on the flat tile, matching its shape. It is a green sticker with a yellow bird on it that is sitting on a twig. The bird has dark blue wings, an orange beak, and exotic white head feathers that look like a fountain. At the bottom, there are some white lines which probably represent some text. |
| Mount this tile horizontally on the knob behind the reusable water bottle. This is the middle knob of the desktop. |
| Next up, we will build the desk lamp. |
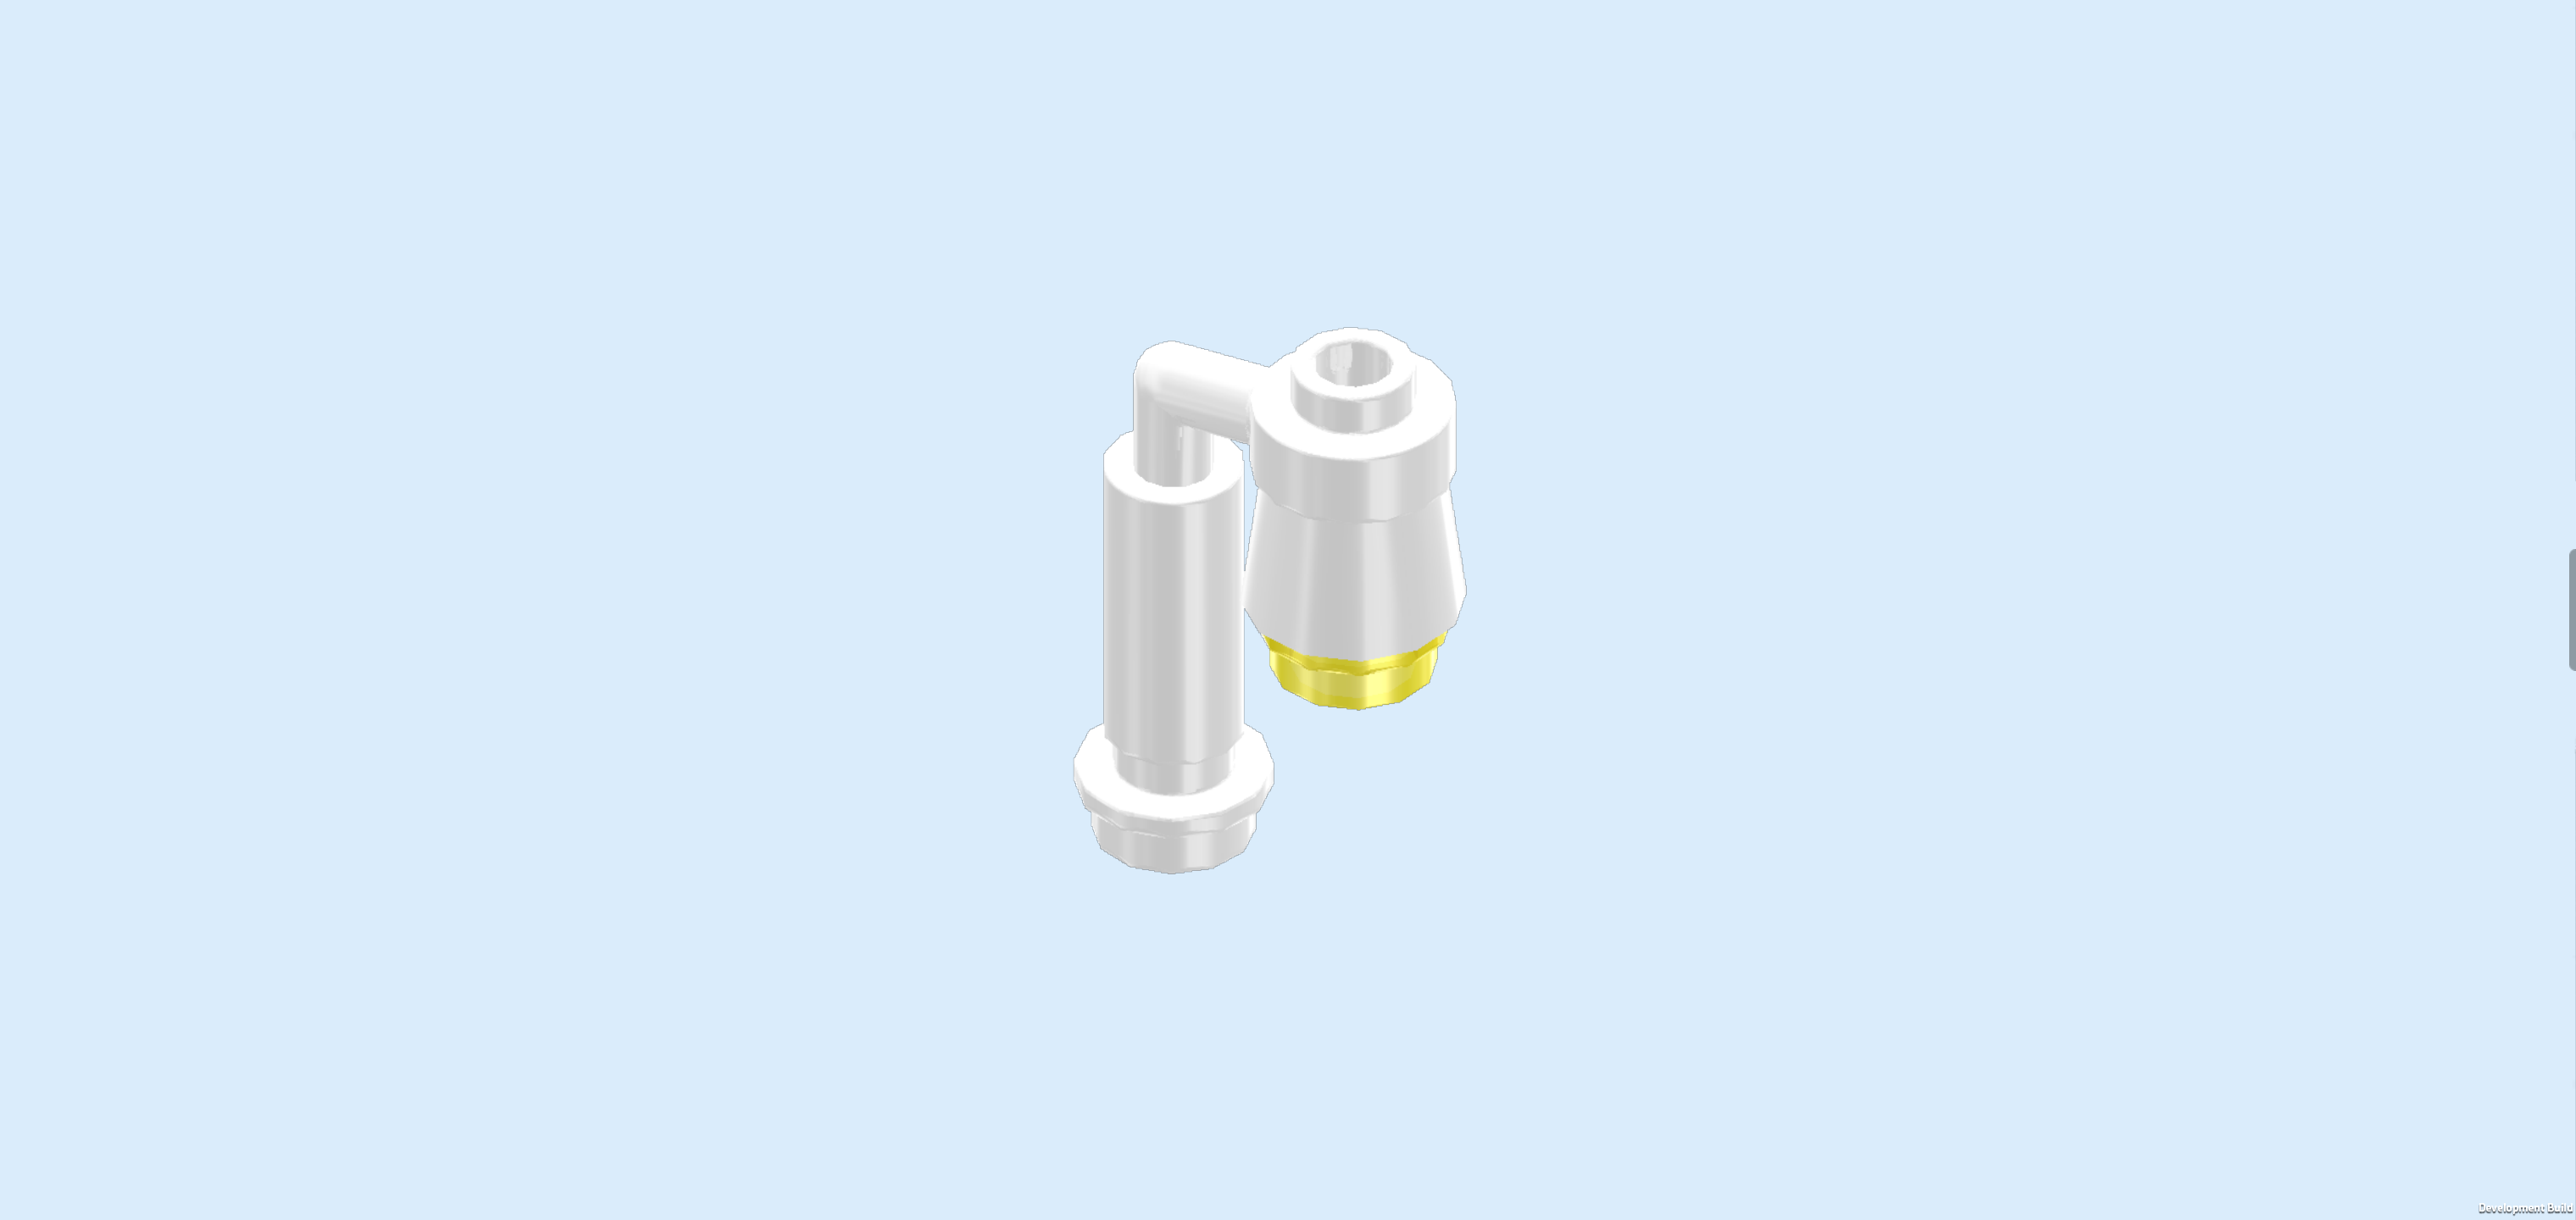
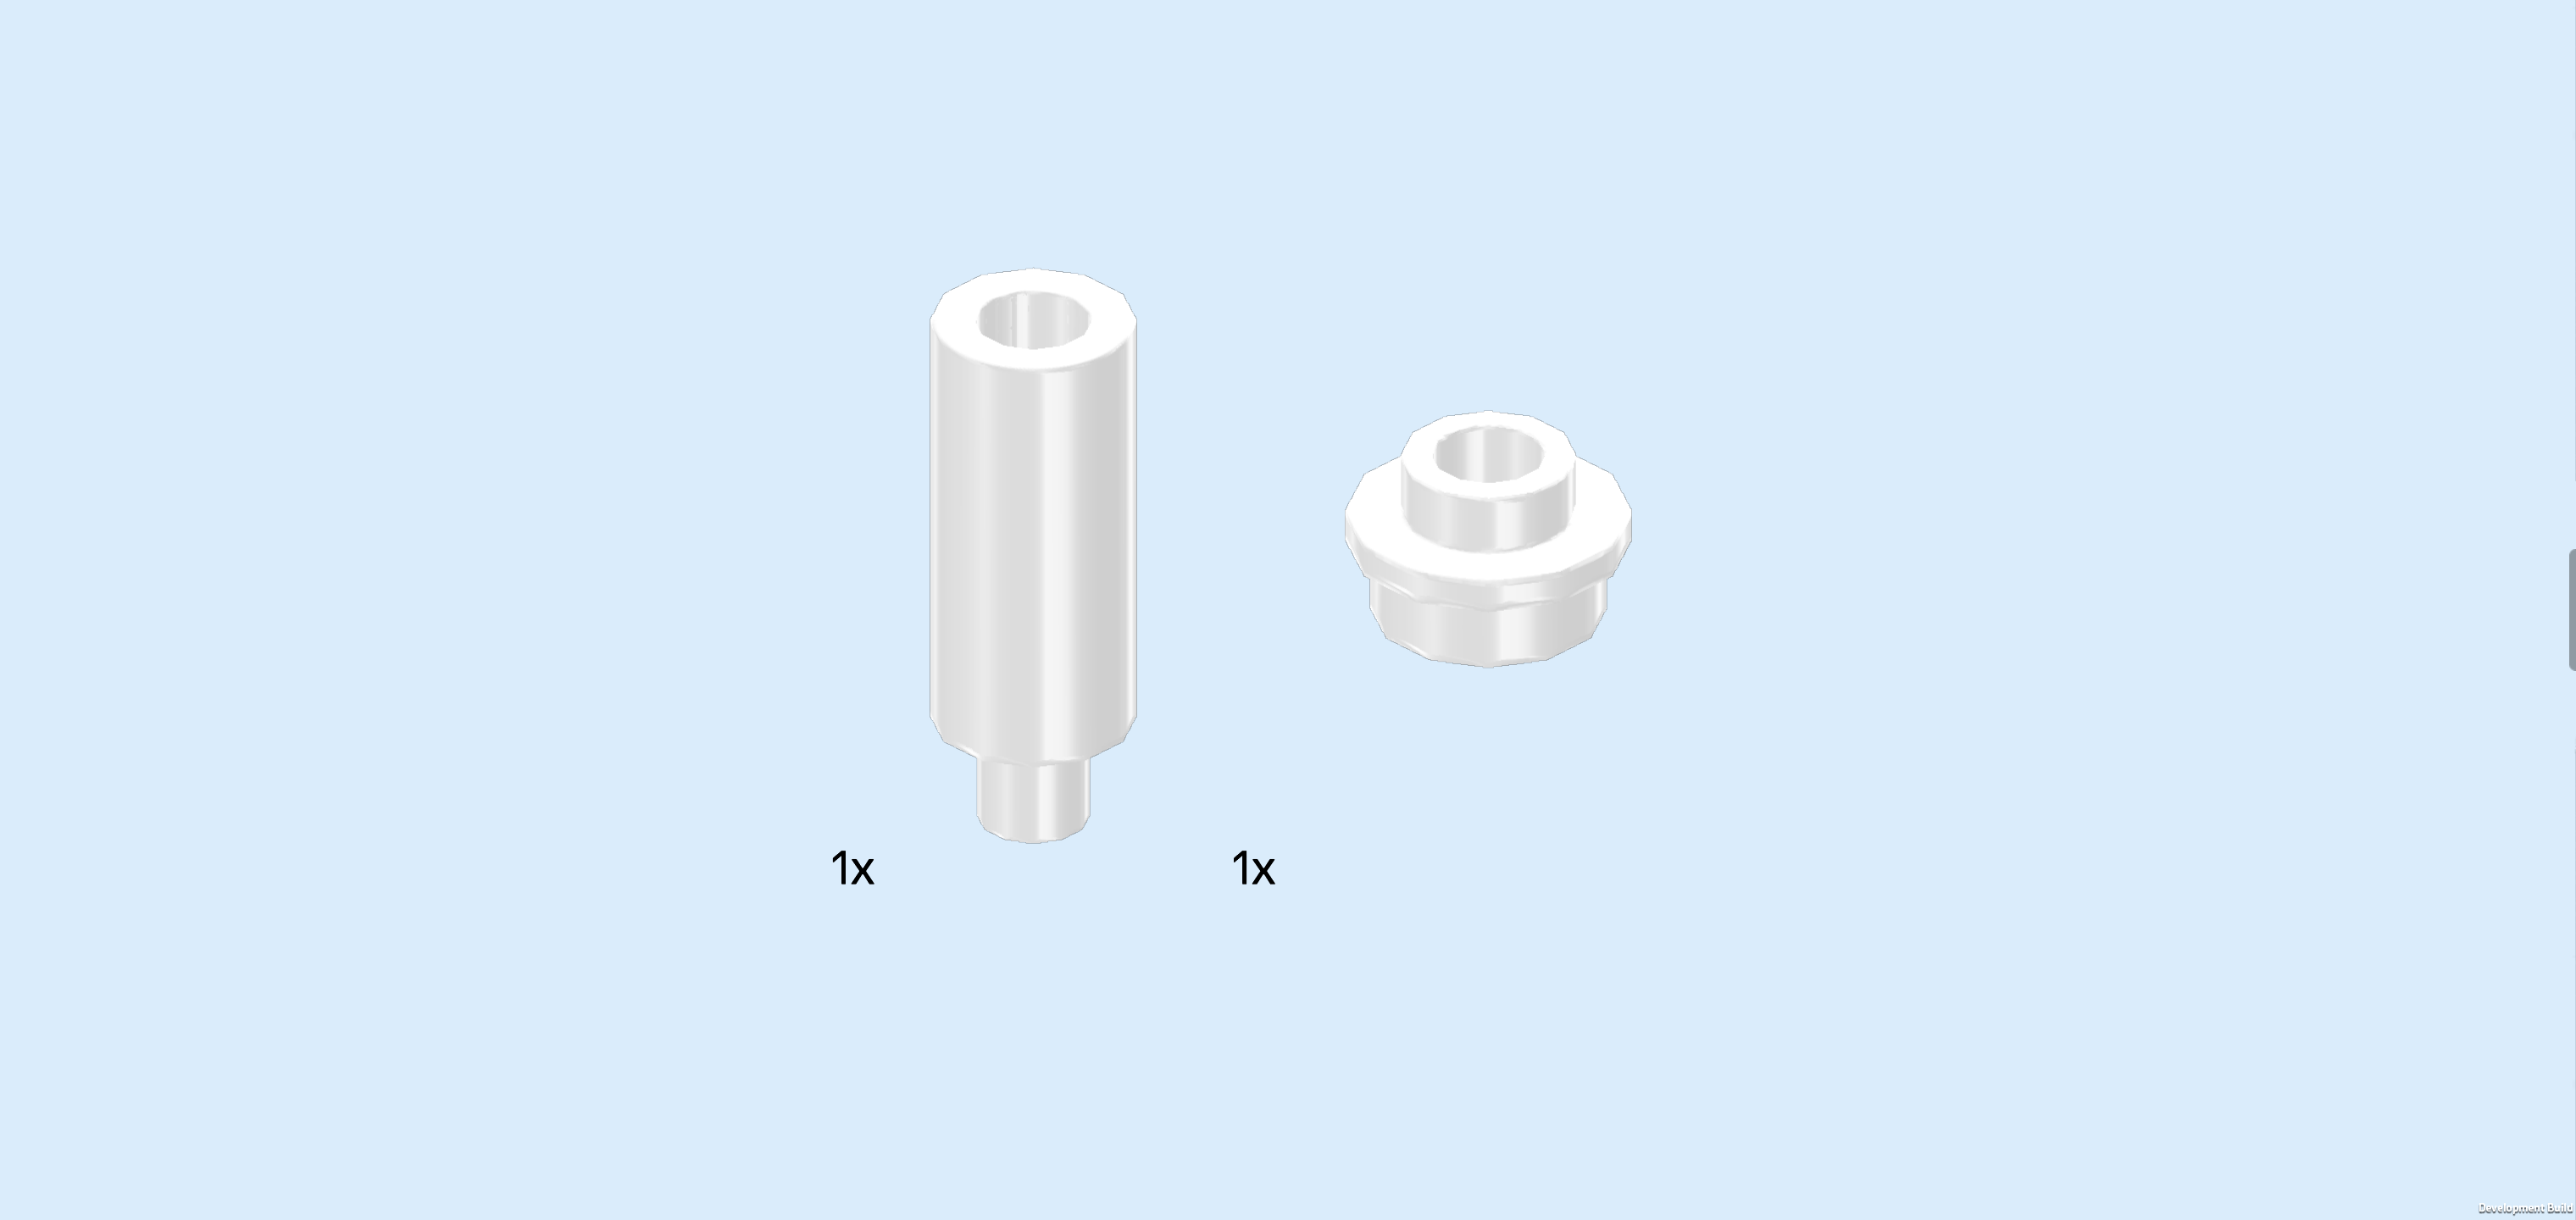
| Collect the following 2 pieces: |
| 1 white narrow tube 2m with short shaft, |
| and 1 white round plate 1x1 with through-hole. |
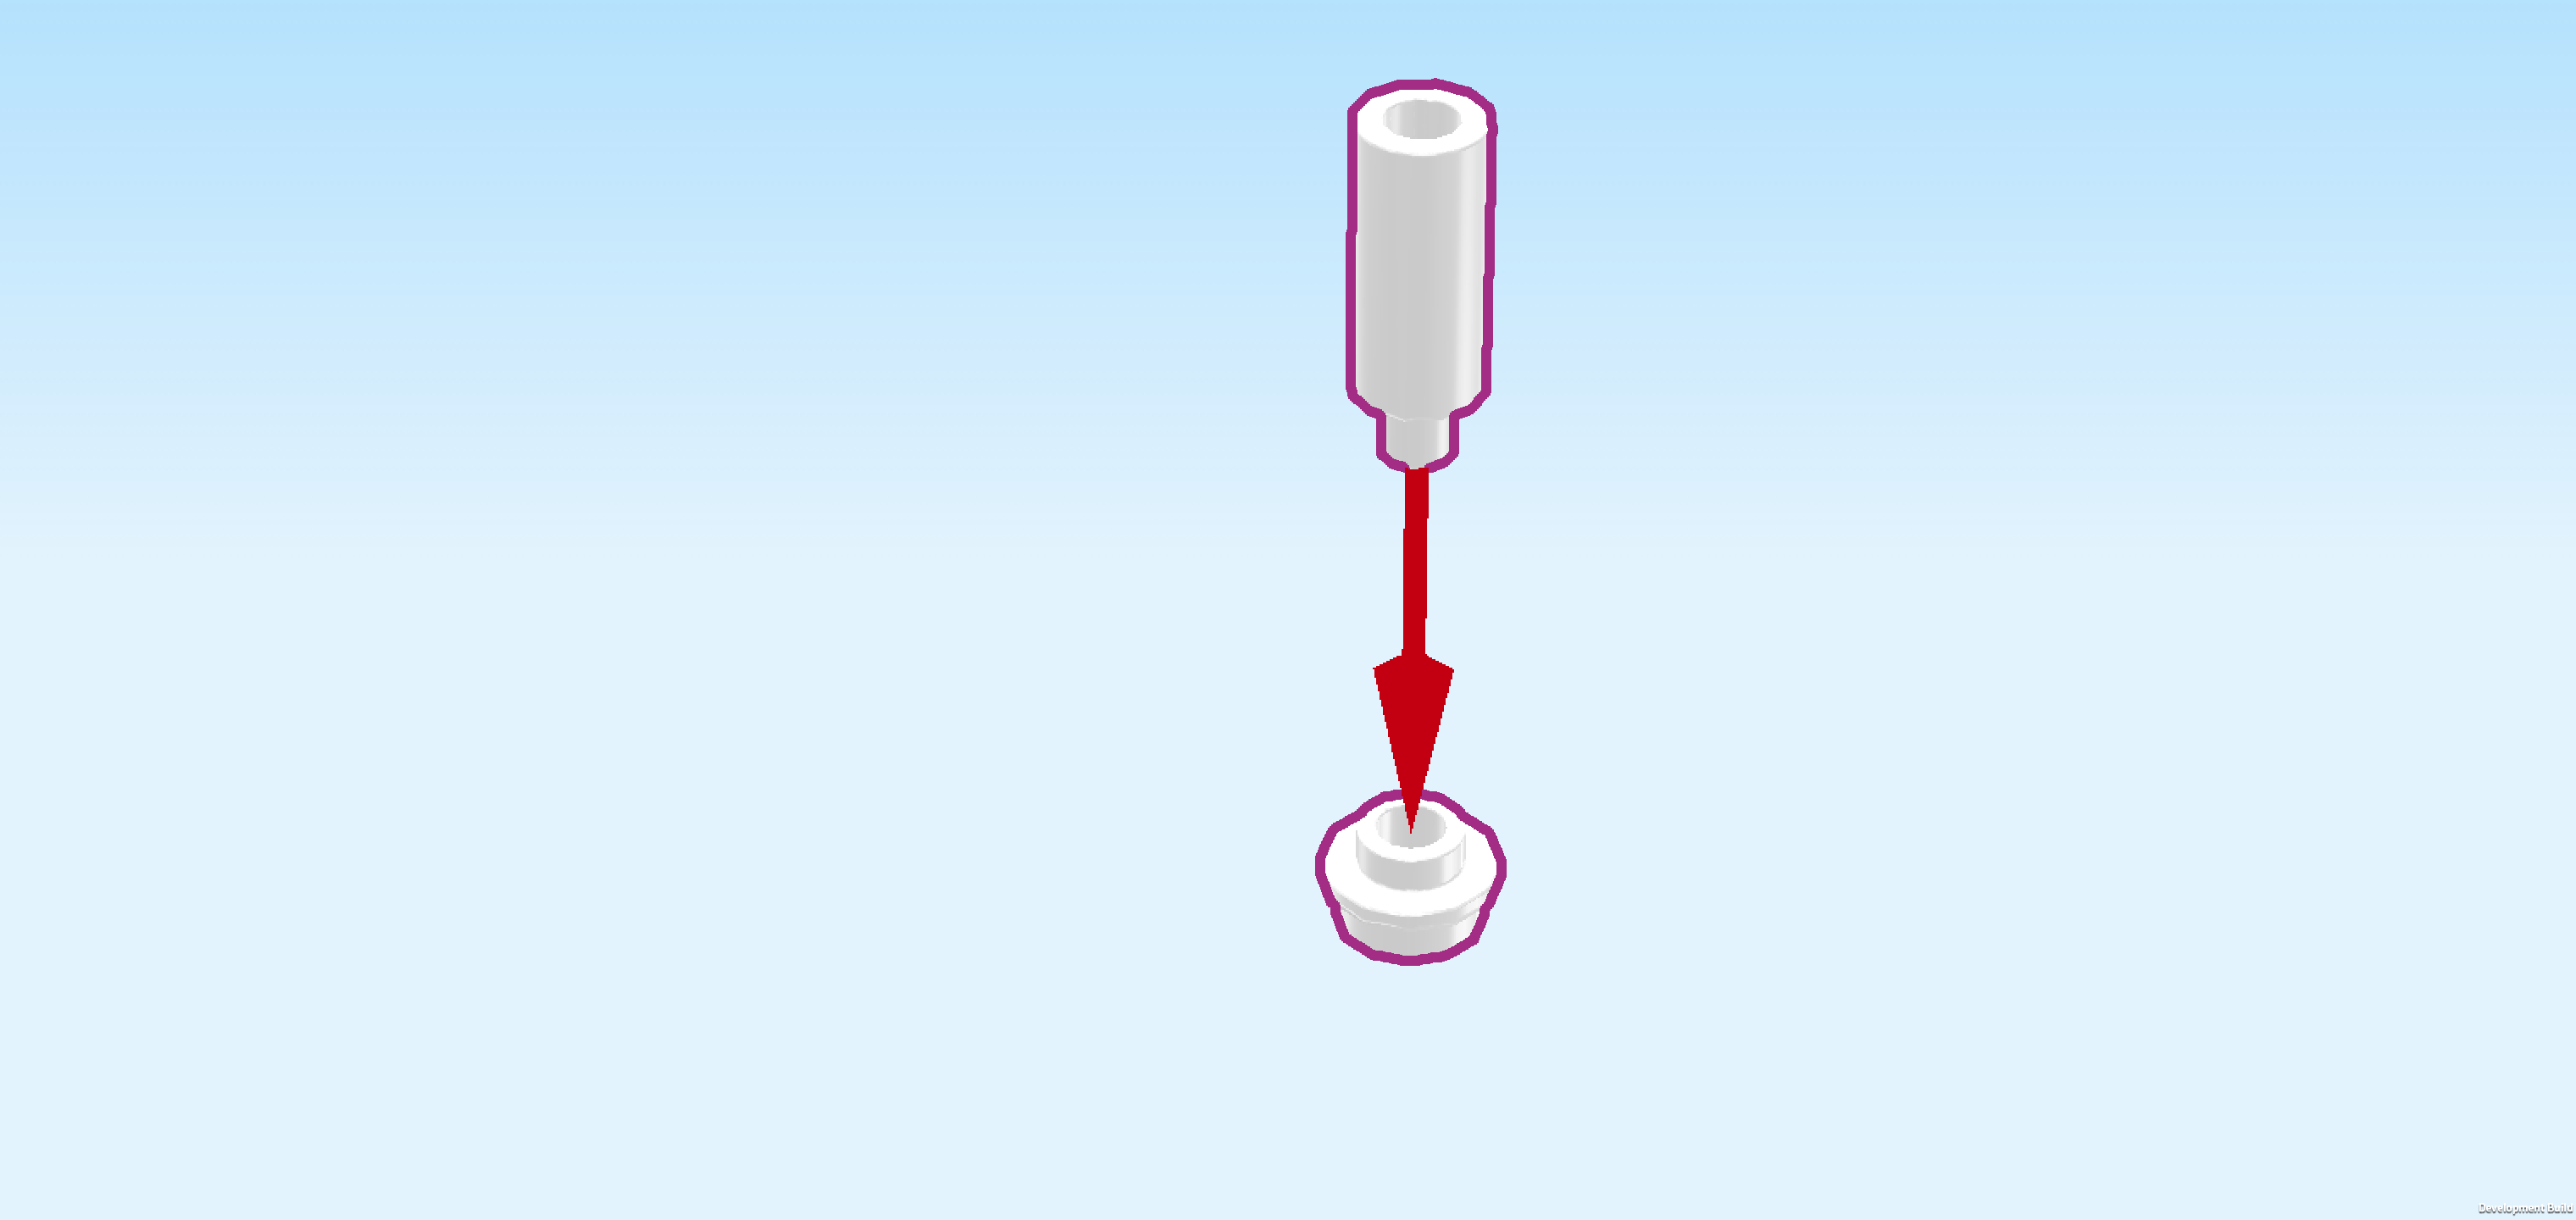
| Put the round plate with through-hole on the table. |
| Insert the shaft of the tube from the top into the hollow knob of the round plate. |
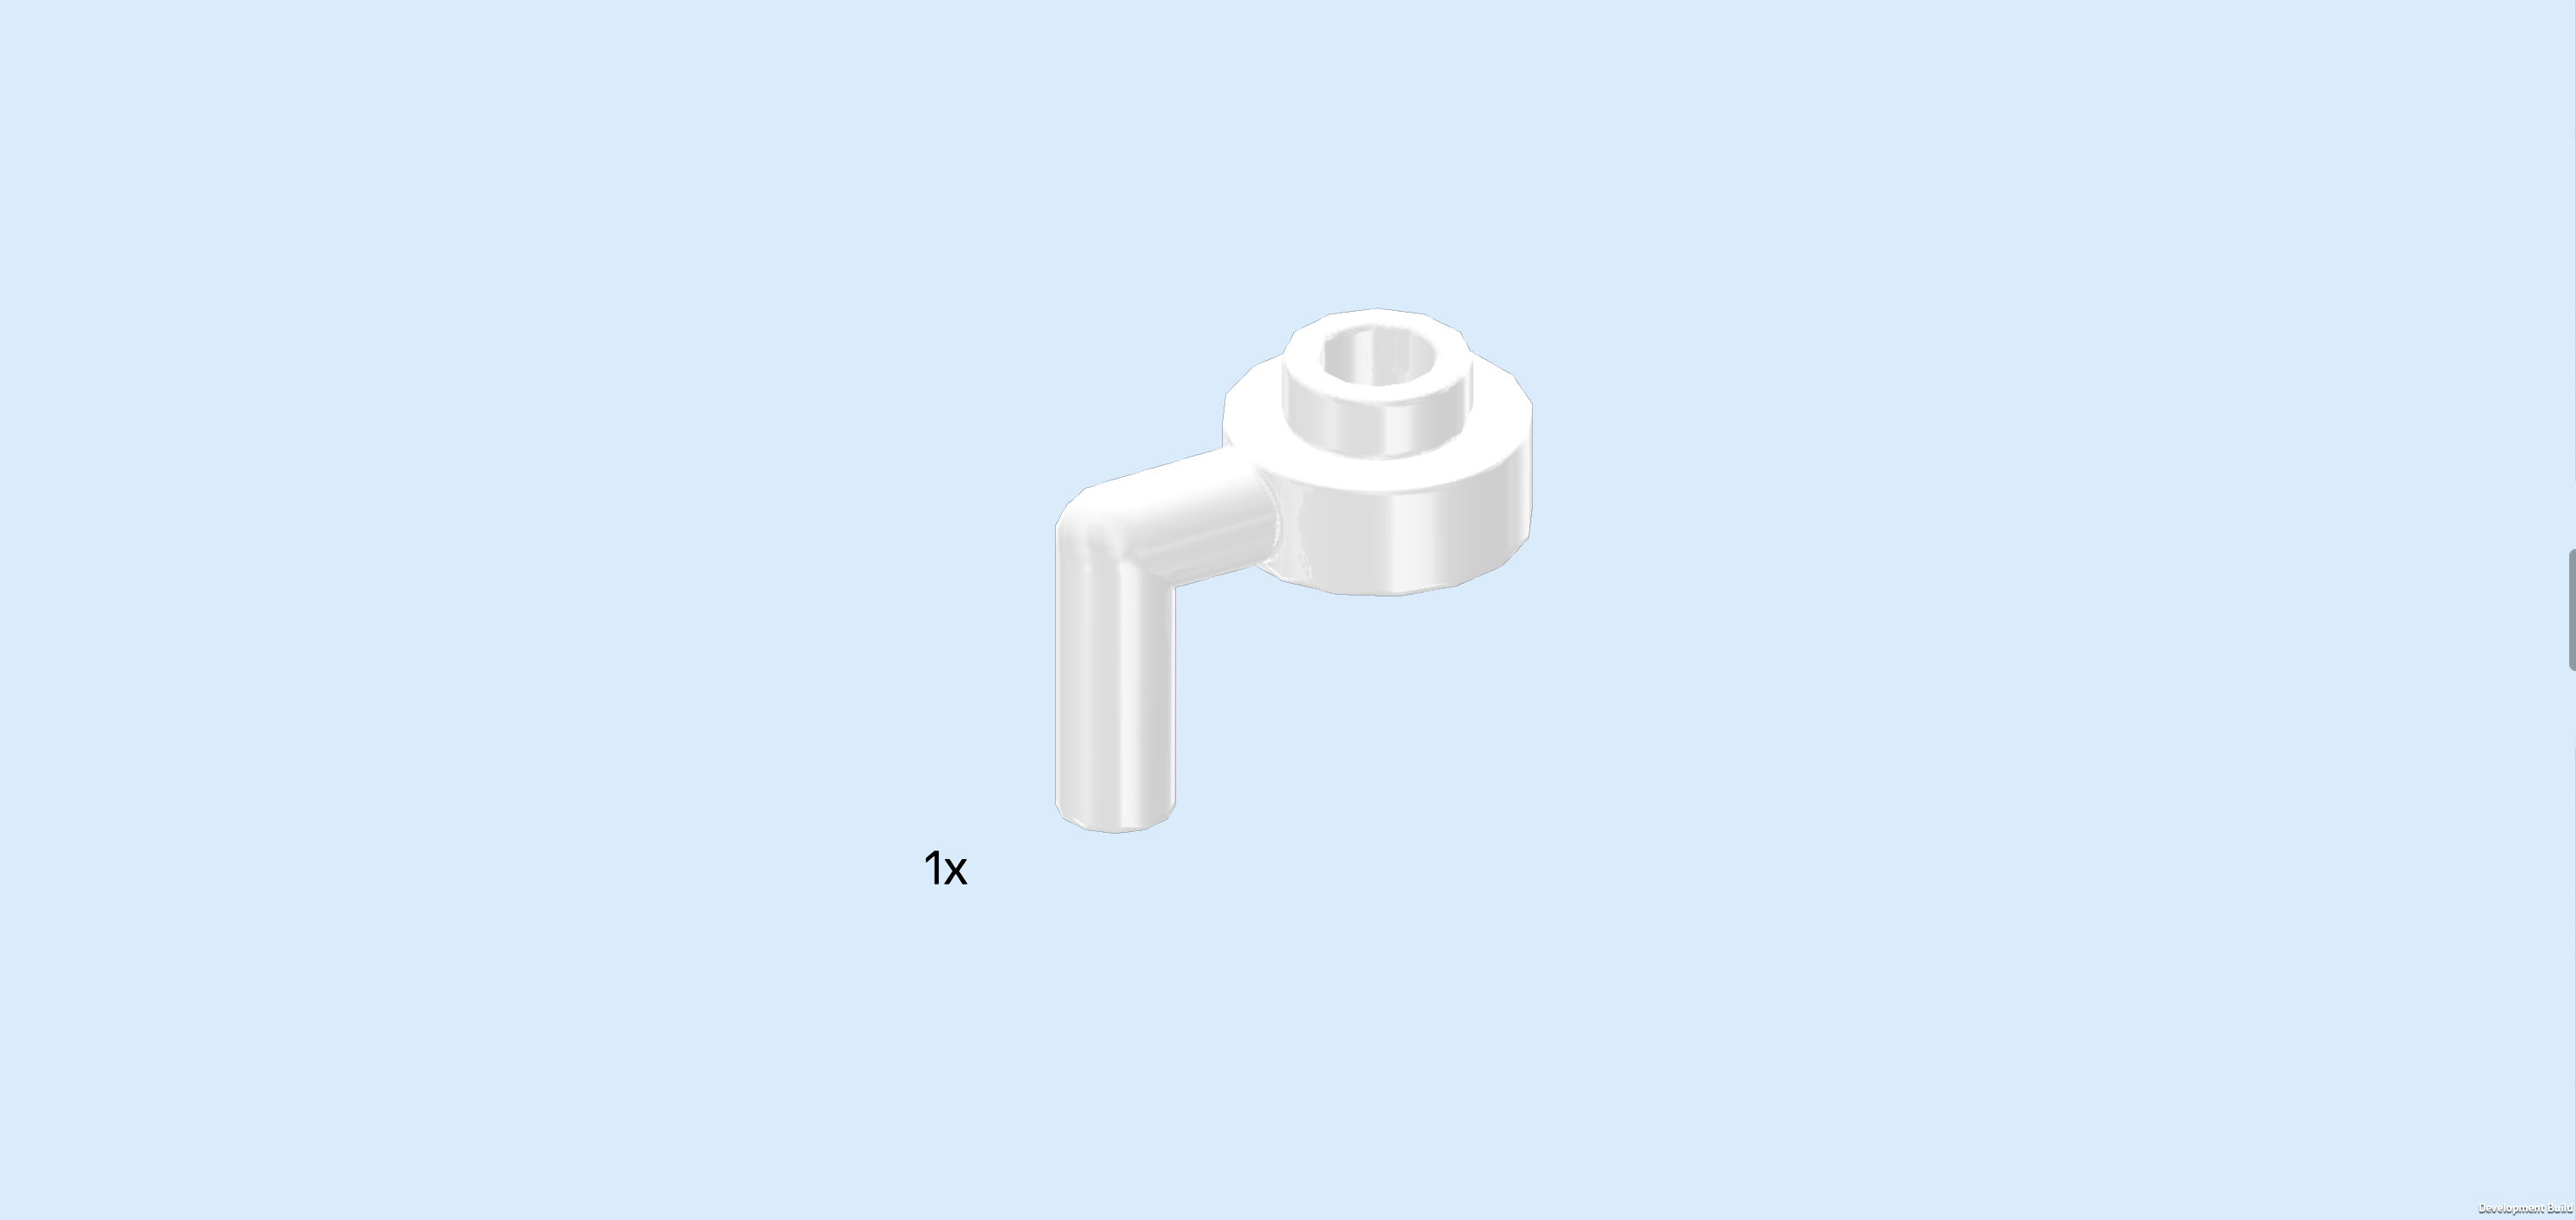
| Find 1 white round plate 1x1 with downward hook. |
| Insert the bottom end of the downward hook into the top opening of the narrow tube, round plate 1x1 protruding to the right. |
| Now, let's assemble the lampshade. |
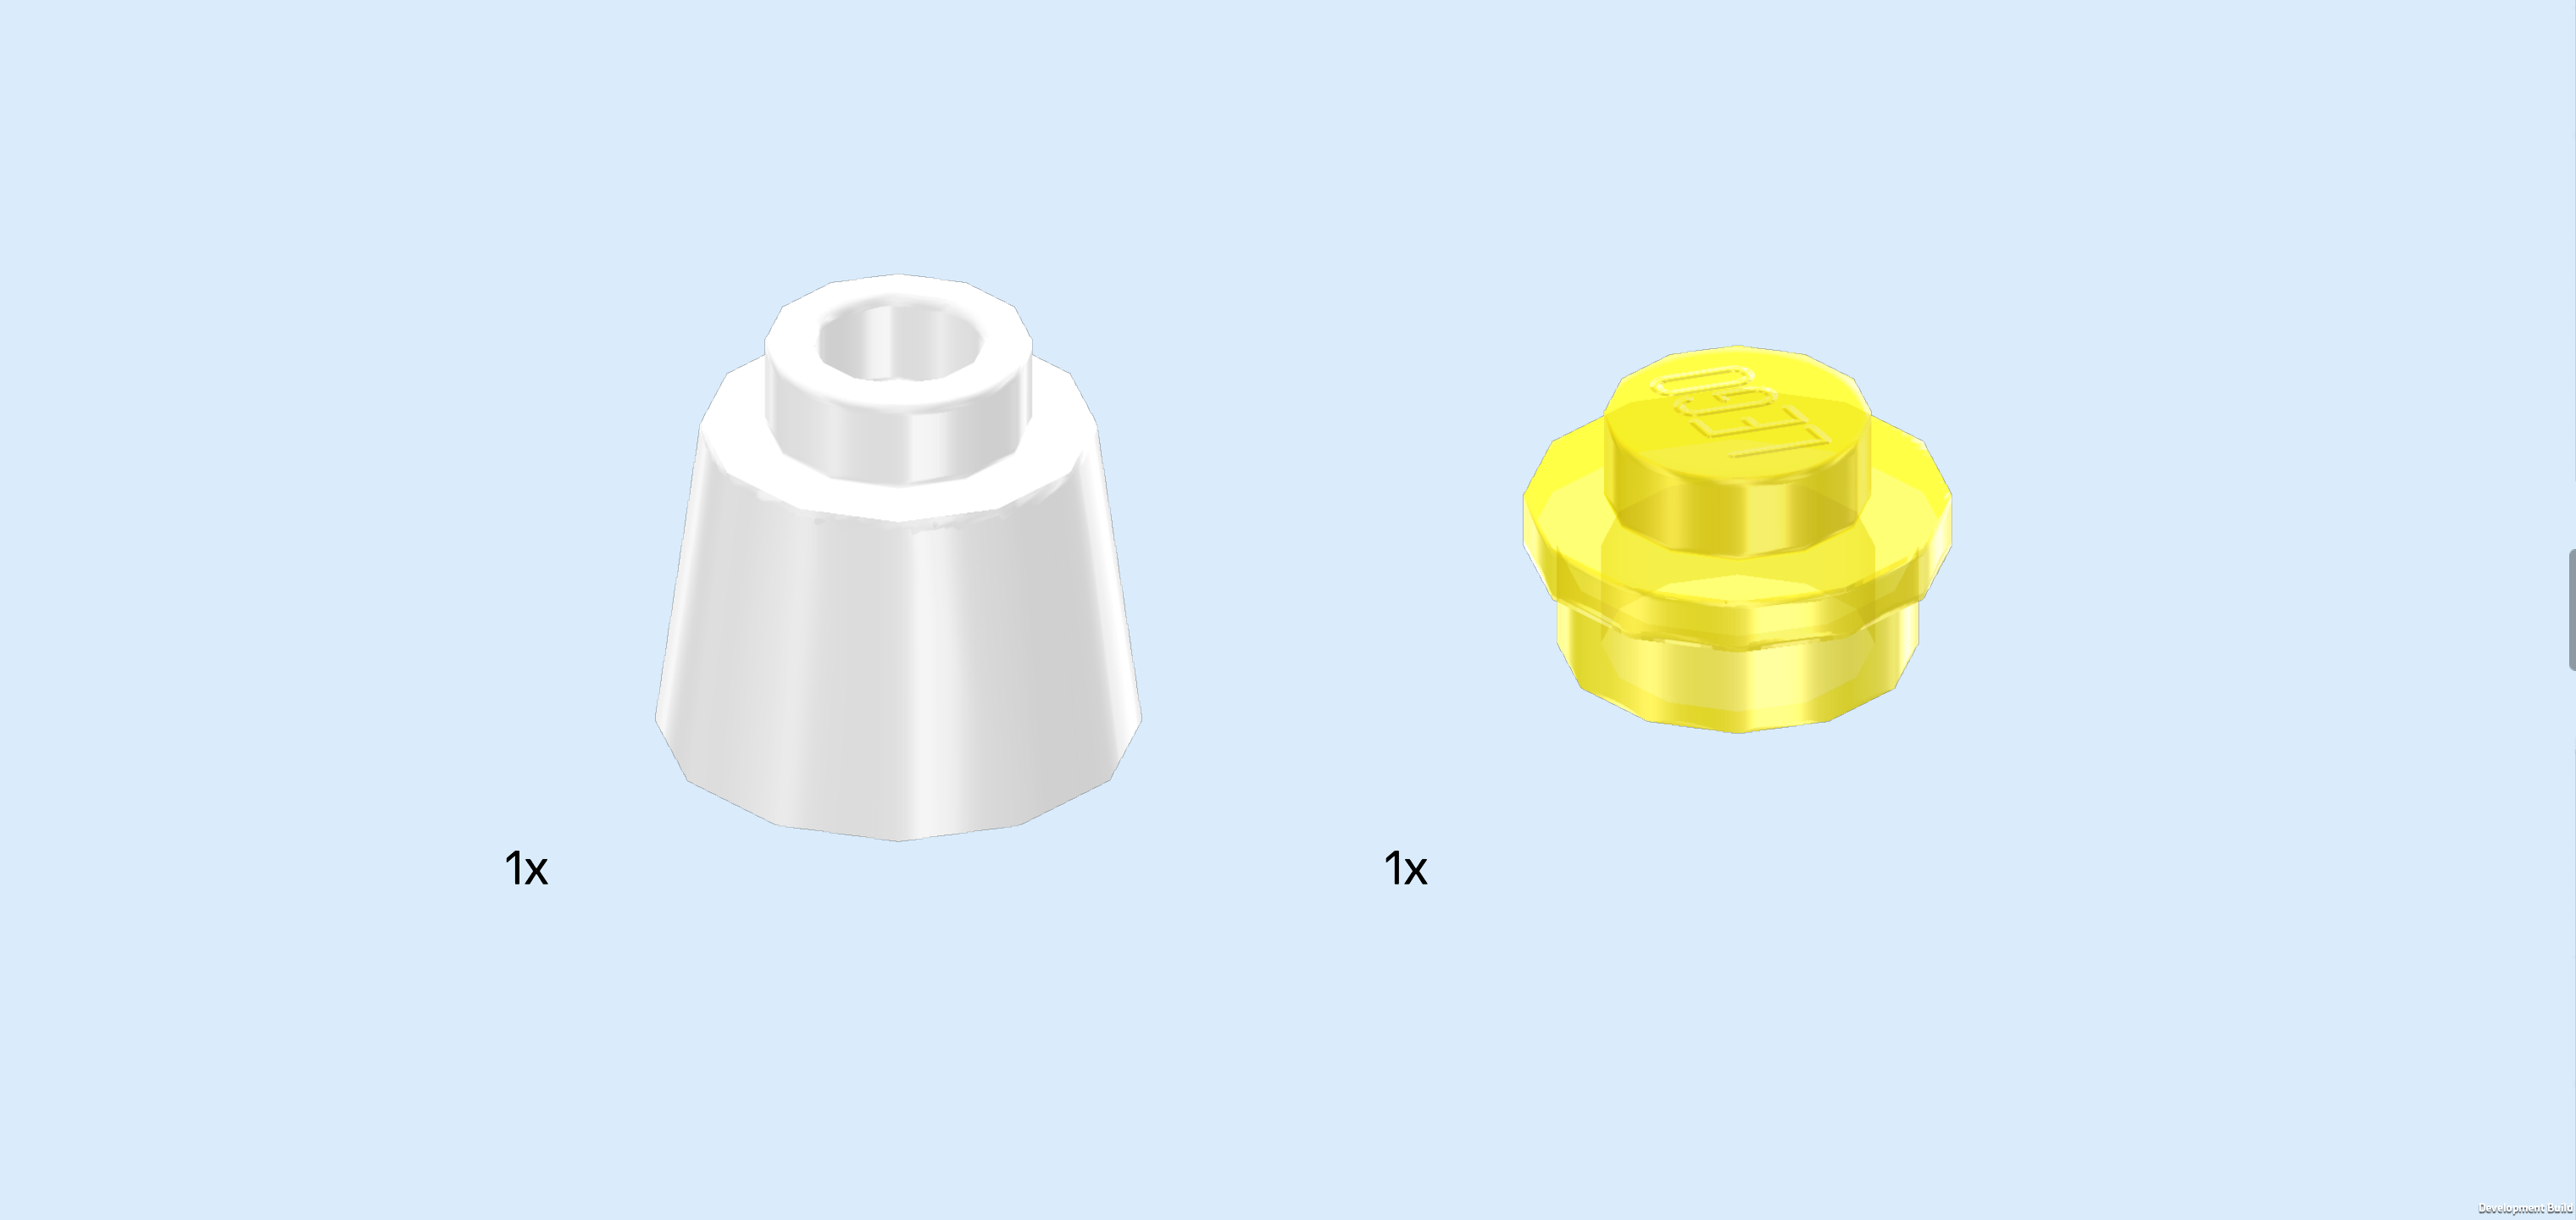
| Collect the following 2 pieces: |
| 1 white cone brick 1x1x⅔, |
| and 1 transparent yellow round plate 1x1. |
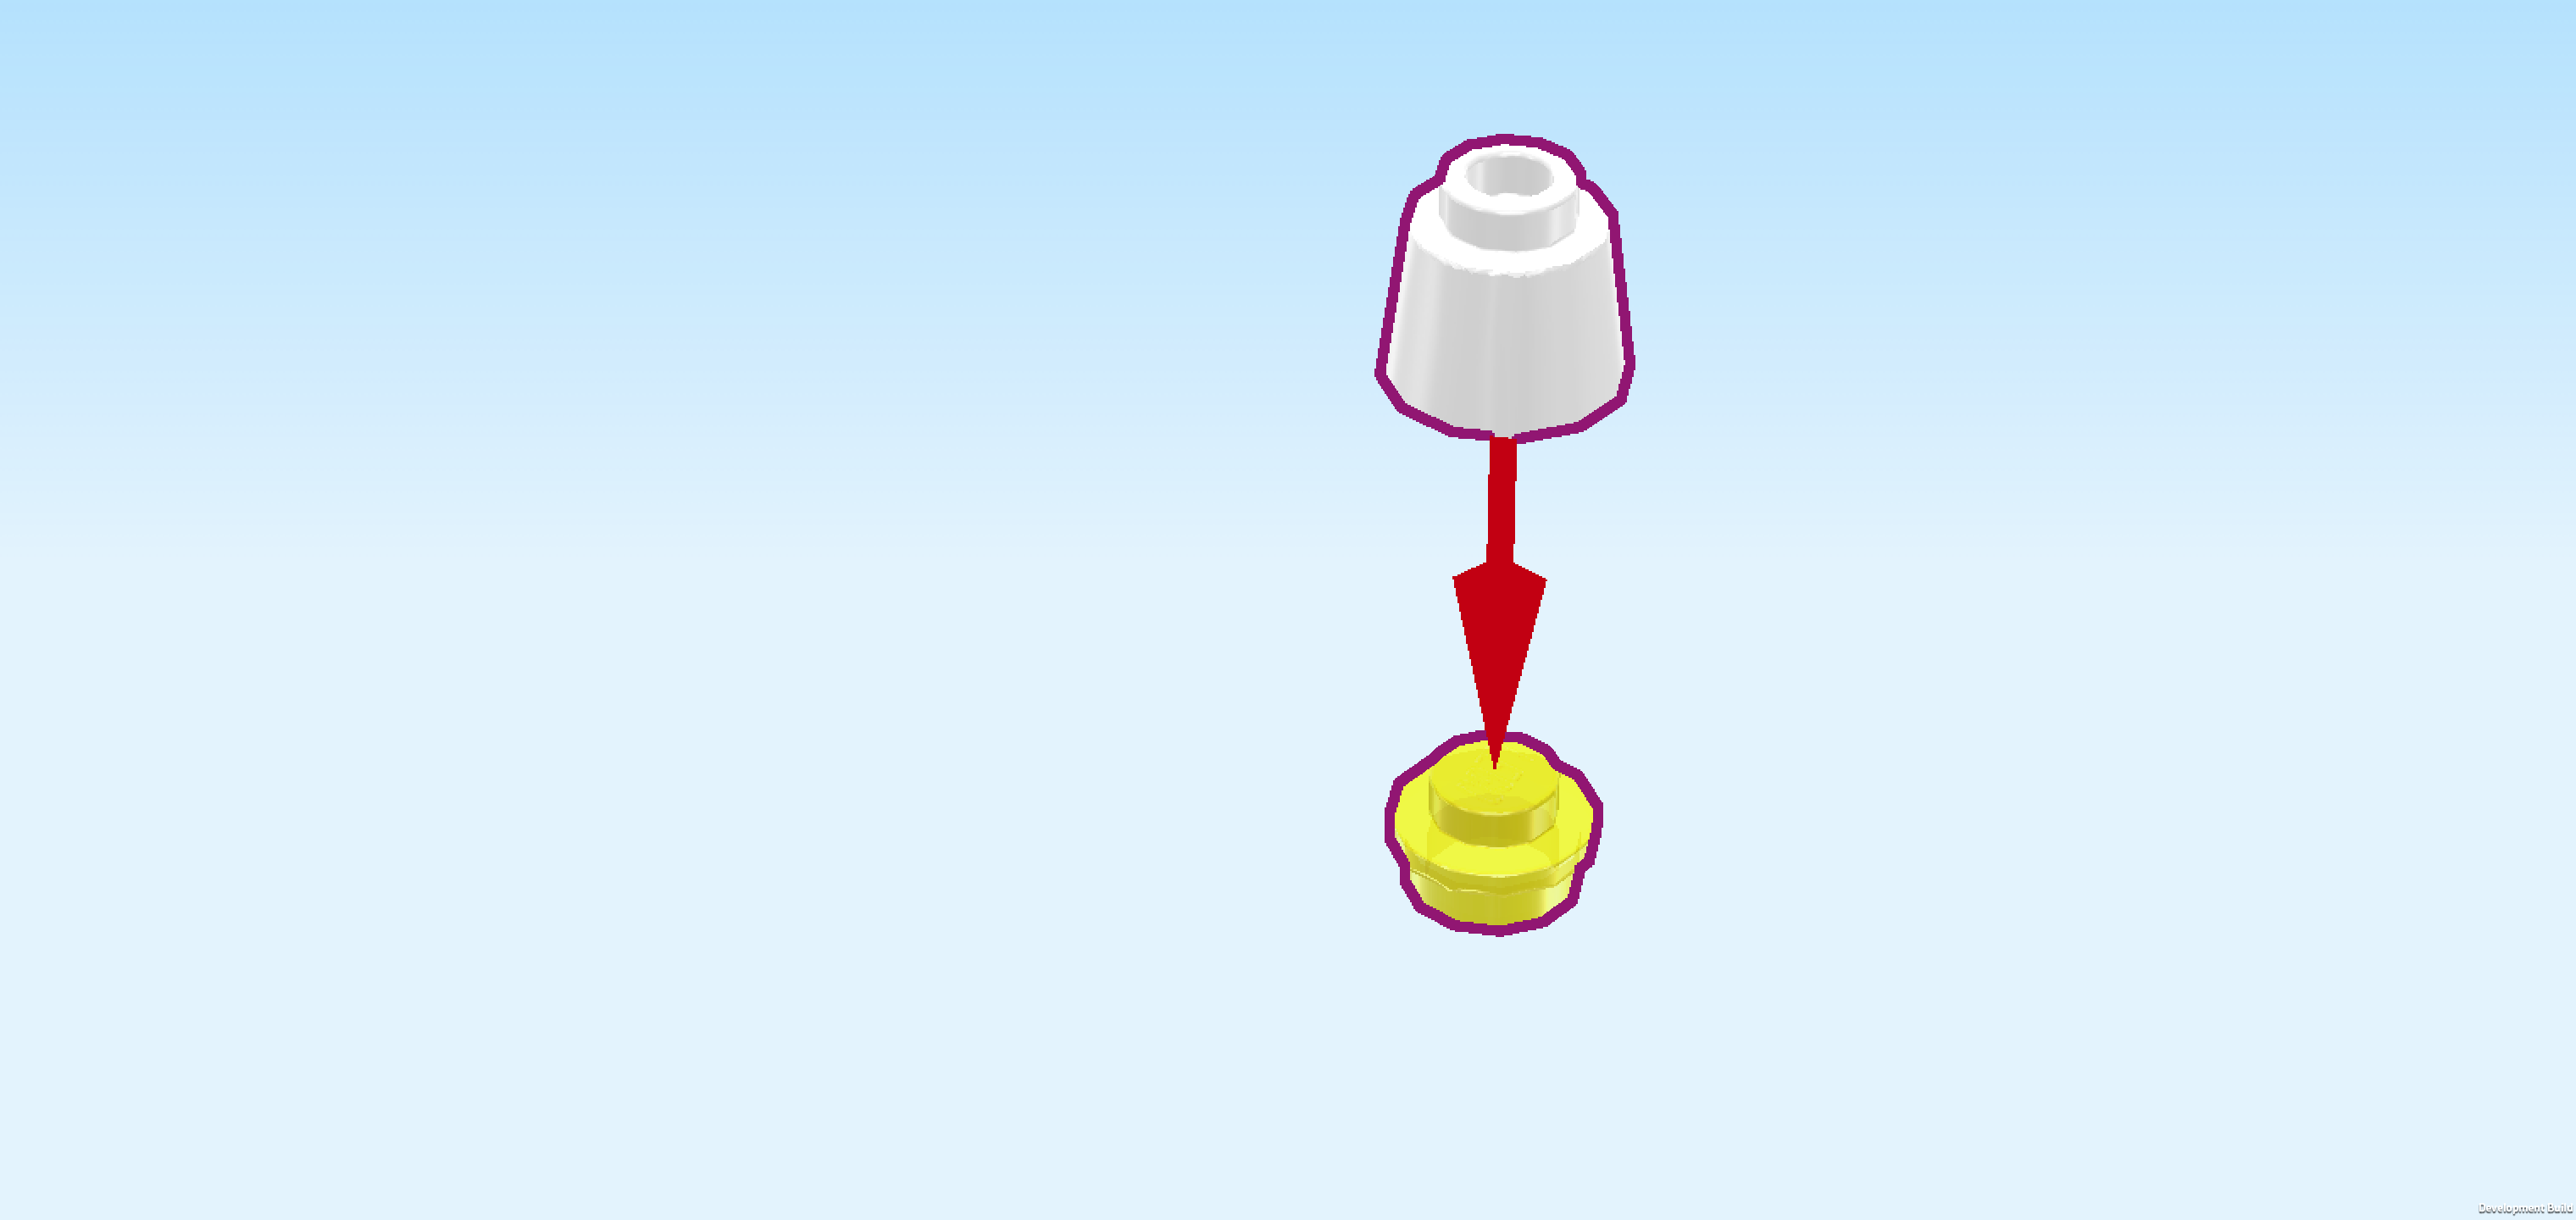
| Put the round plate 1x1 on the table. |
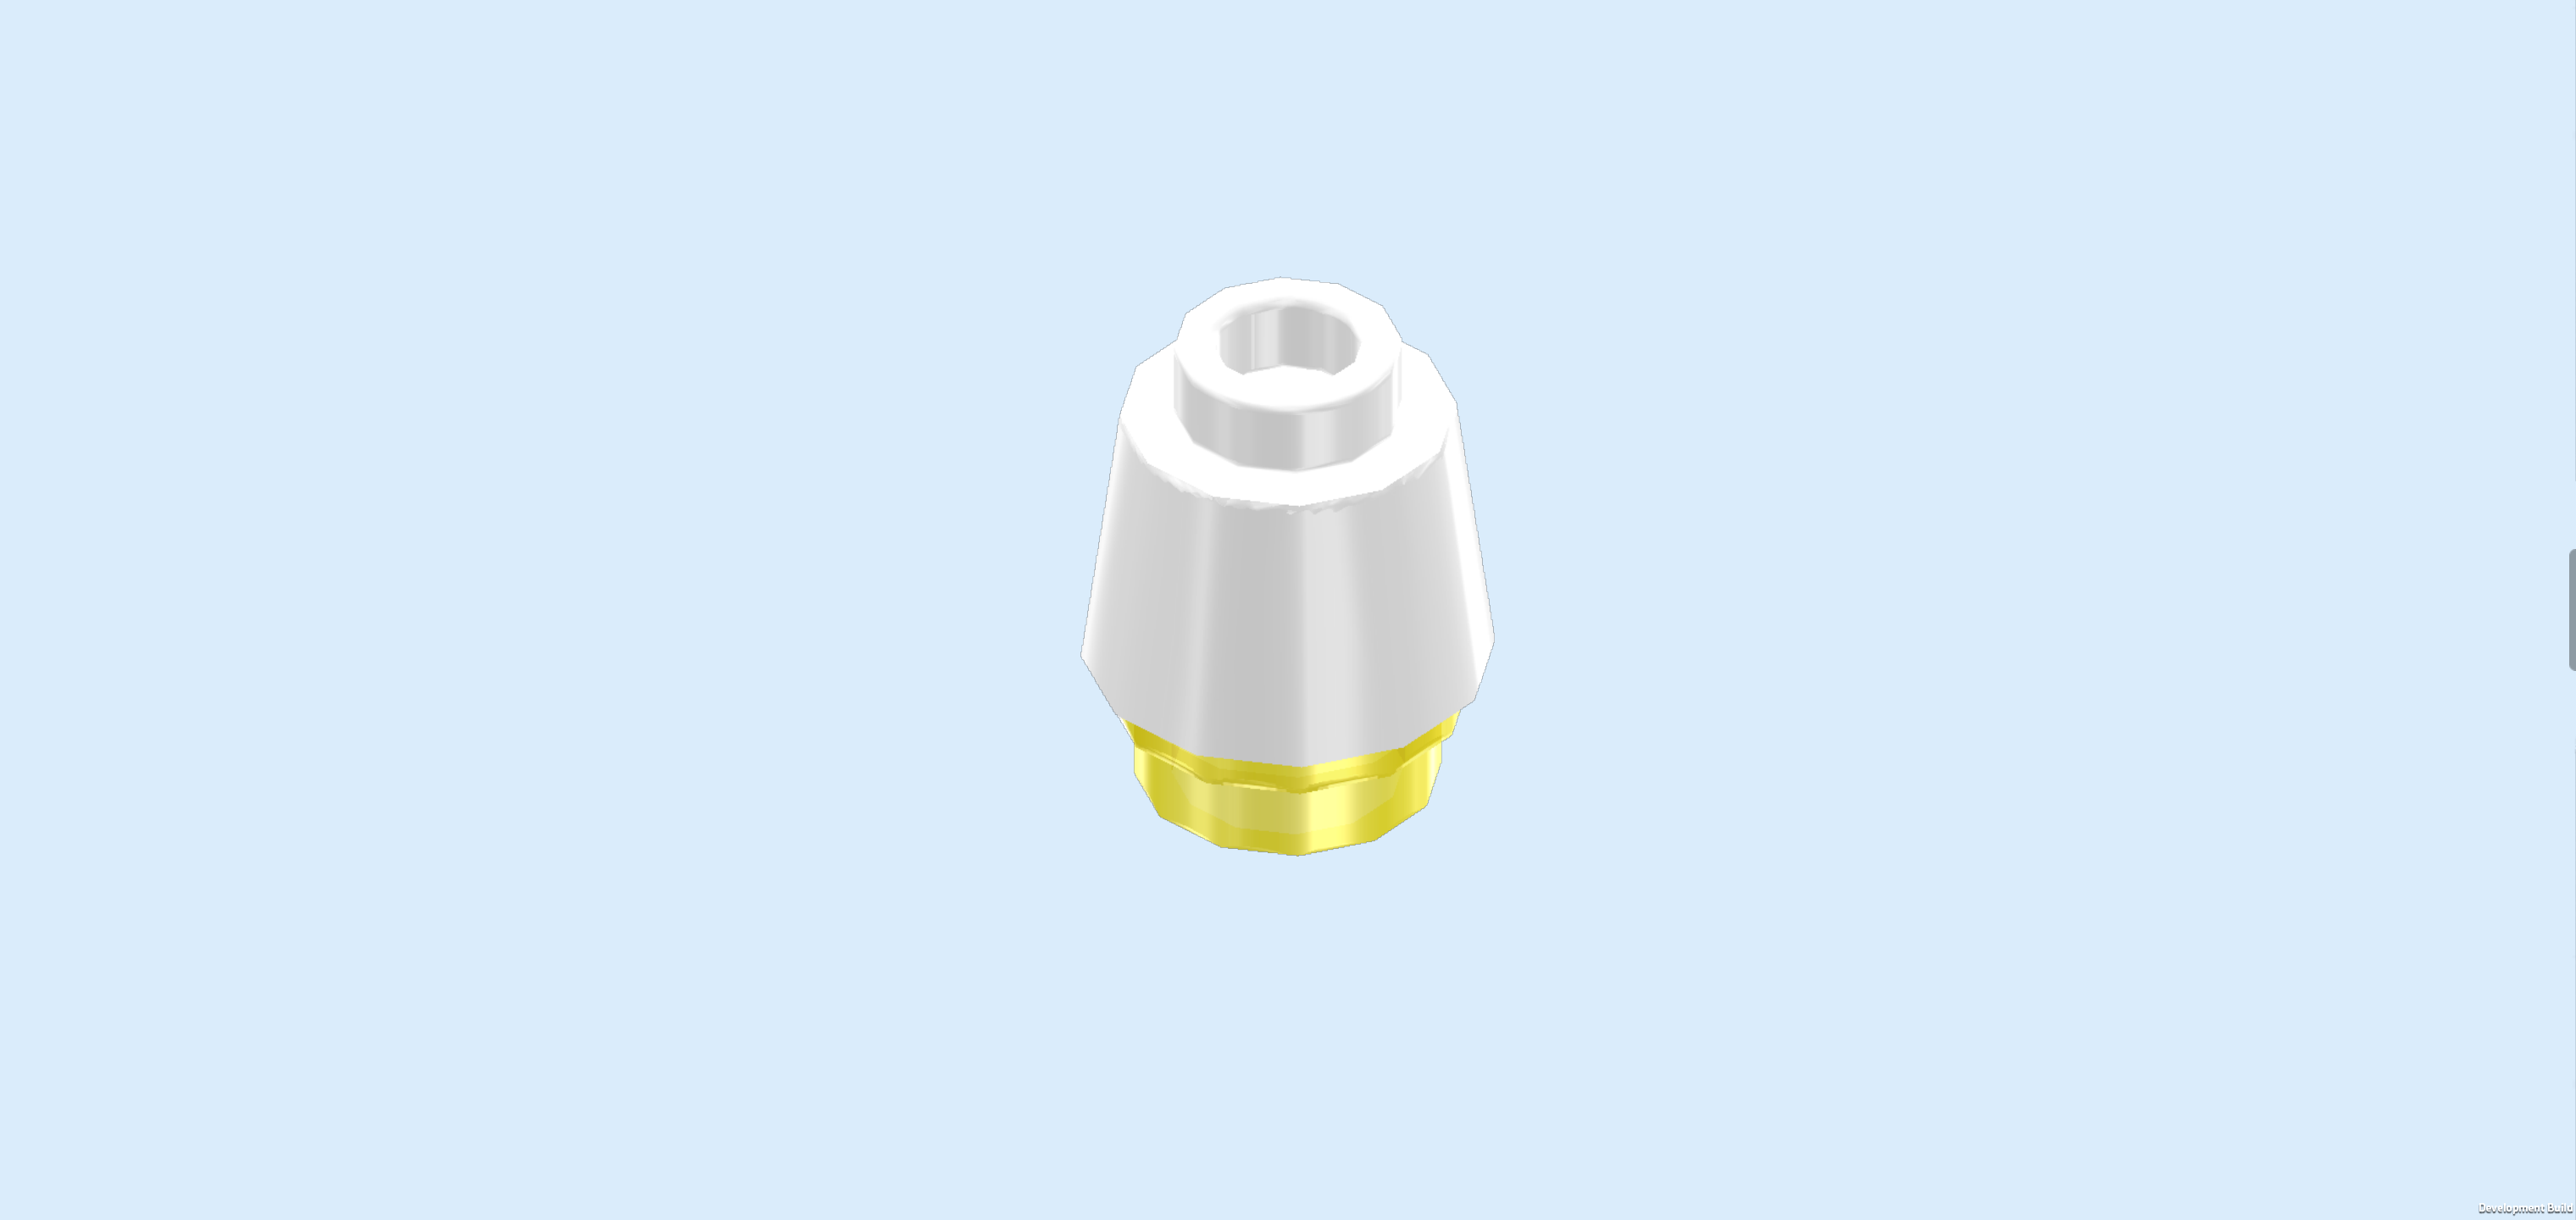
| Put the cone brick 1x1x⅔ on top, wide cone opening towards the bottom. |
| Mount the lampshade from the bottom on the bottom side of the round plate 1x1 with downward hook. |
| The desk lamp is finished! Well done! Mount it on the backmost knob of the desktop, lampshade towards the front, hovering above the tile with bird sticker. |
| Next up, we will build a sideboard. |
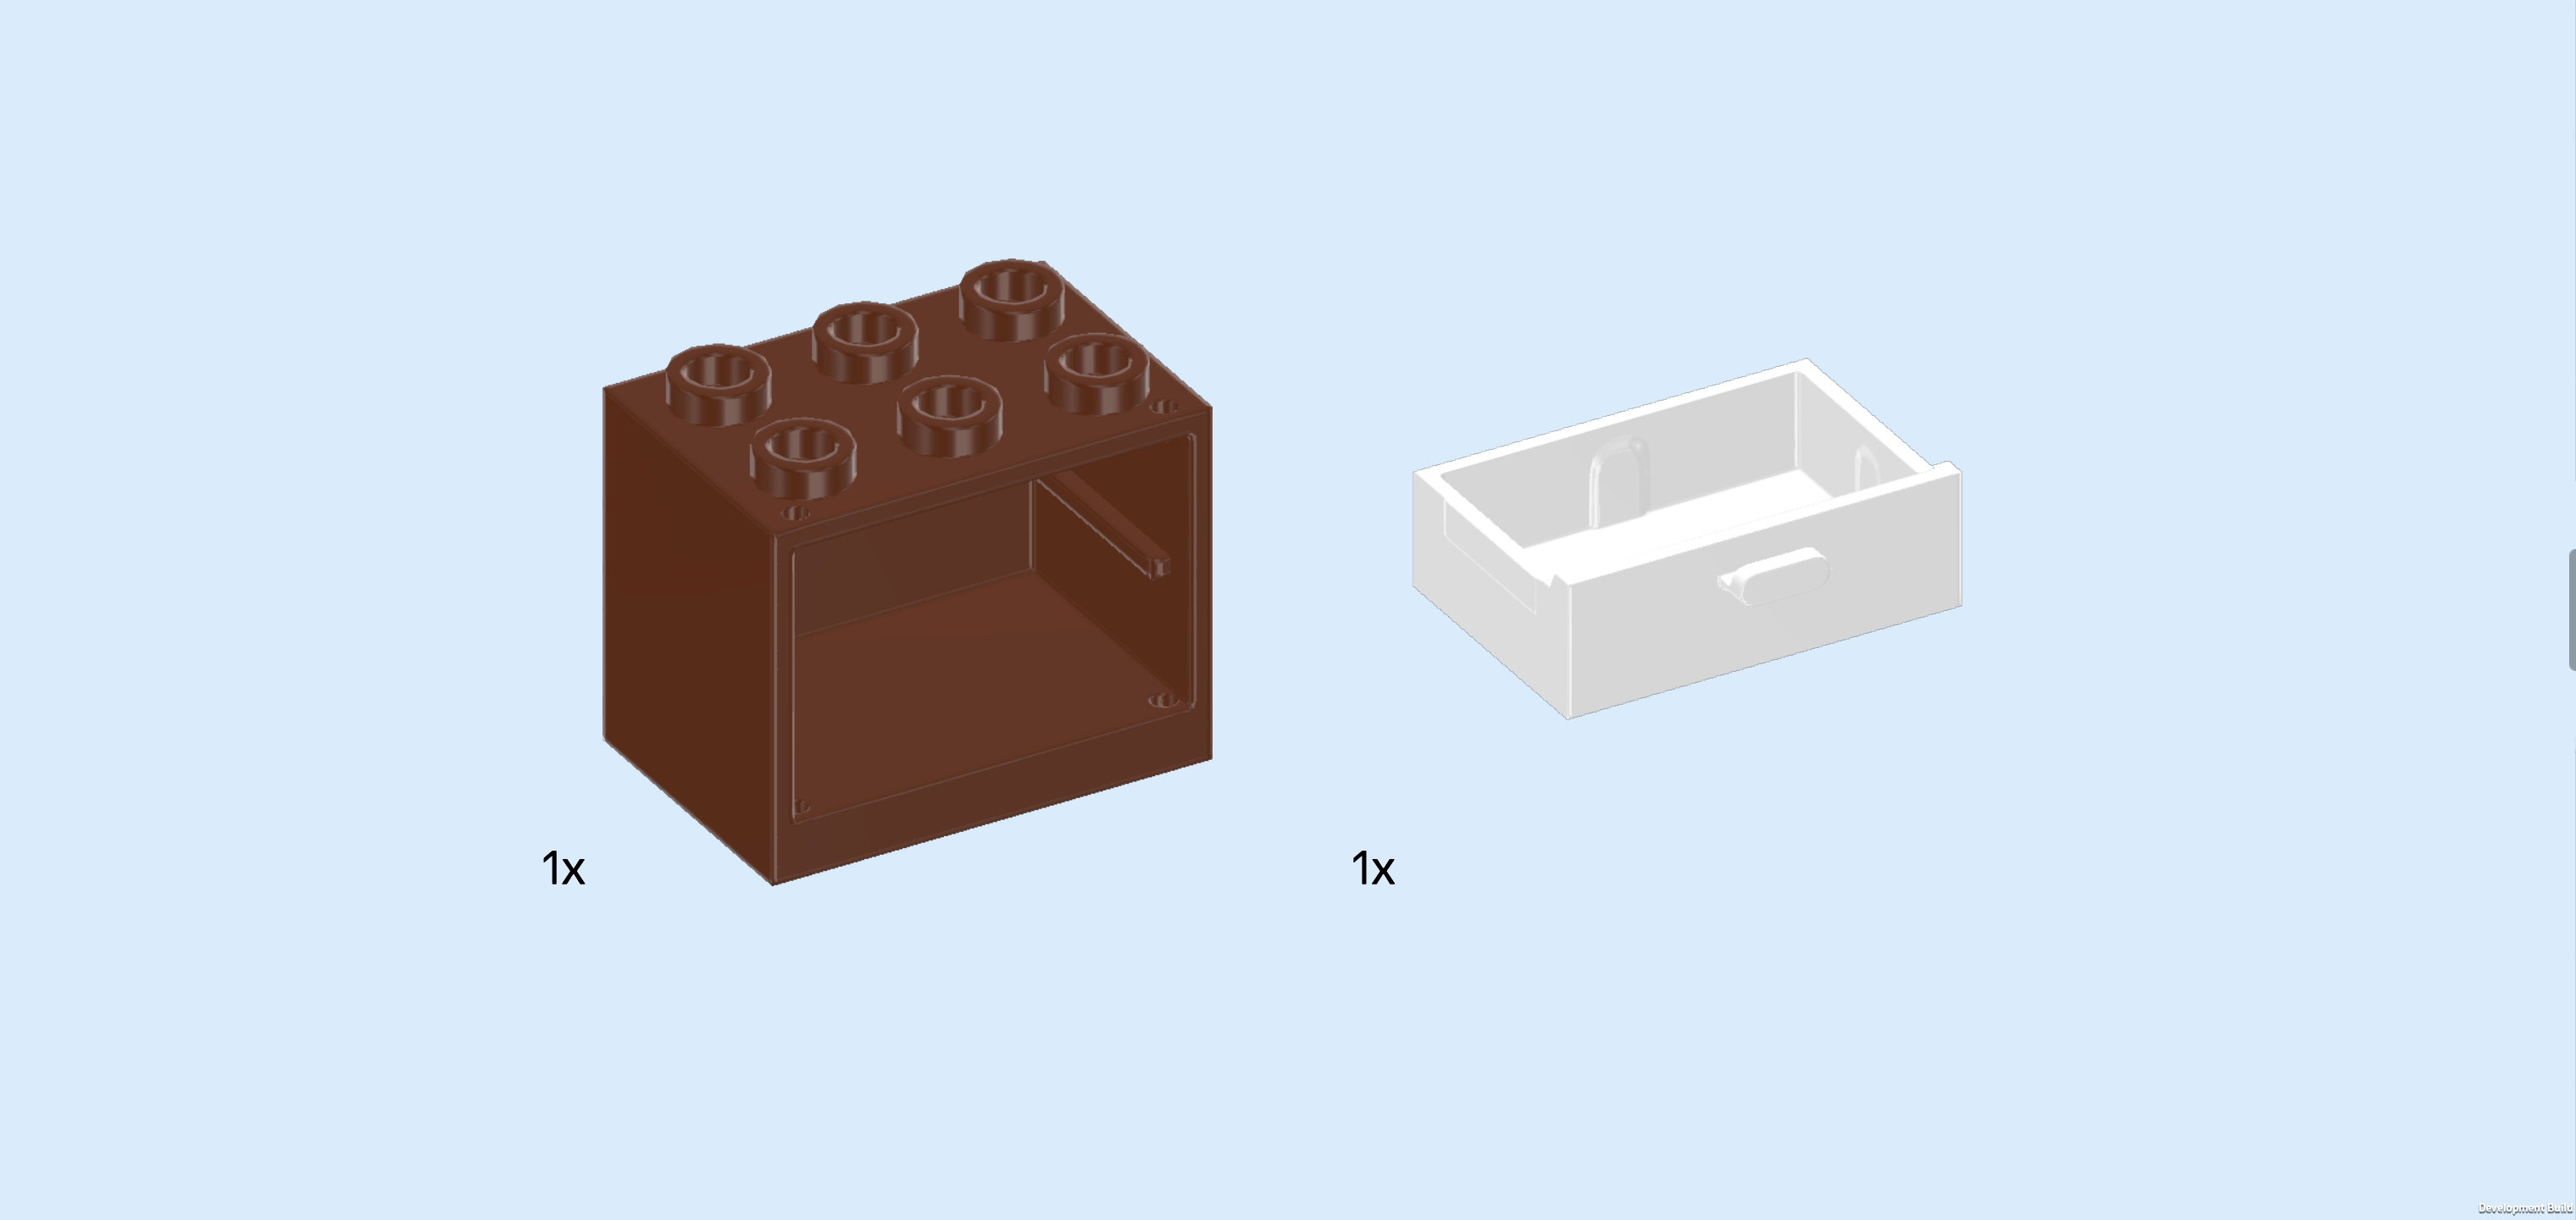
| Collect the following 2 pieces: |
| 1 reddish brown cupboard element 2x3x2, |
| and 1 white drawer for cupboard 2x3x1. |
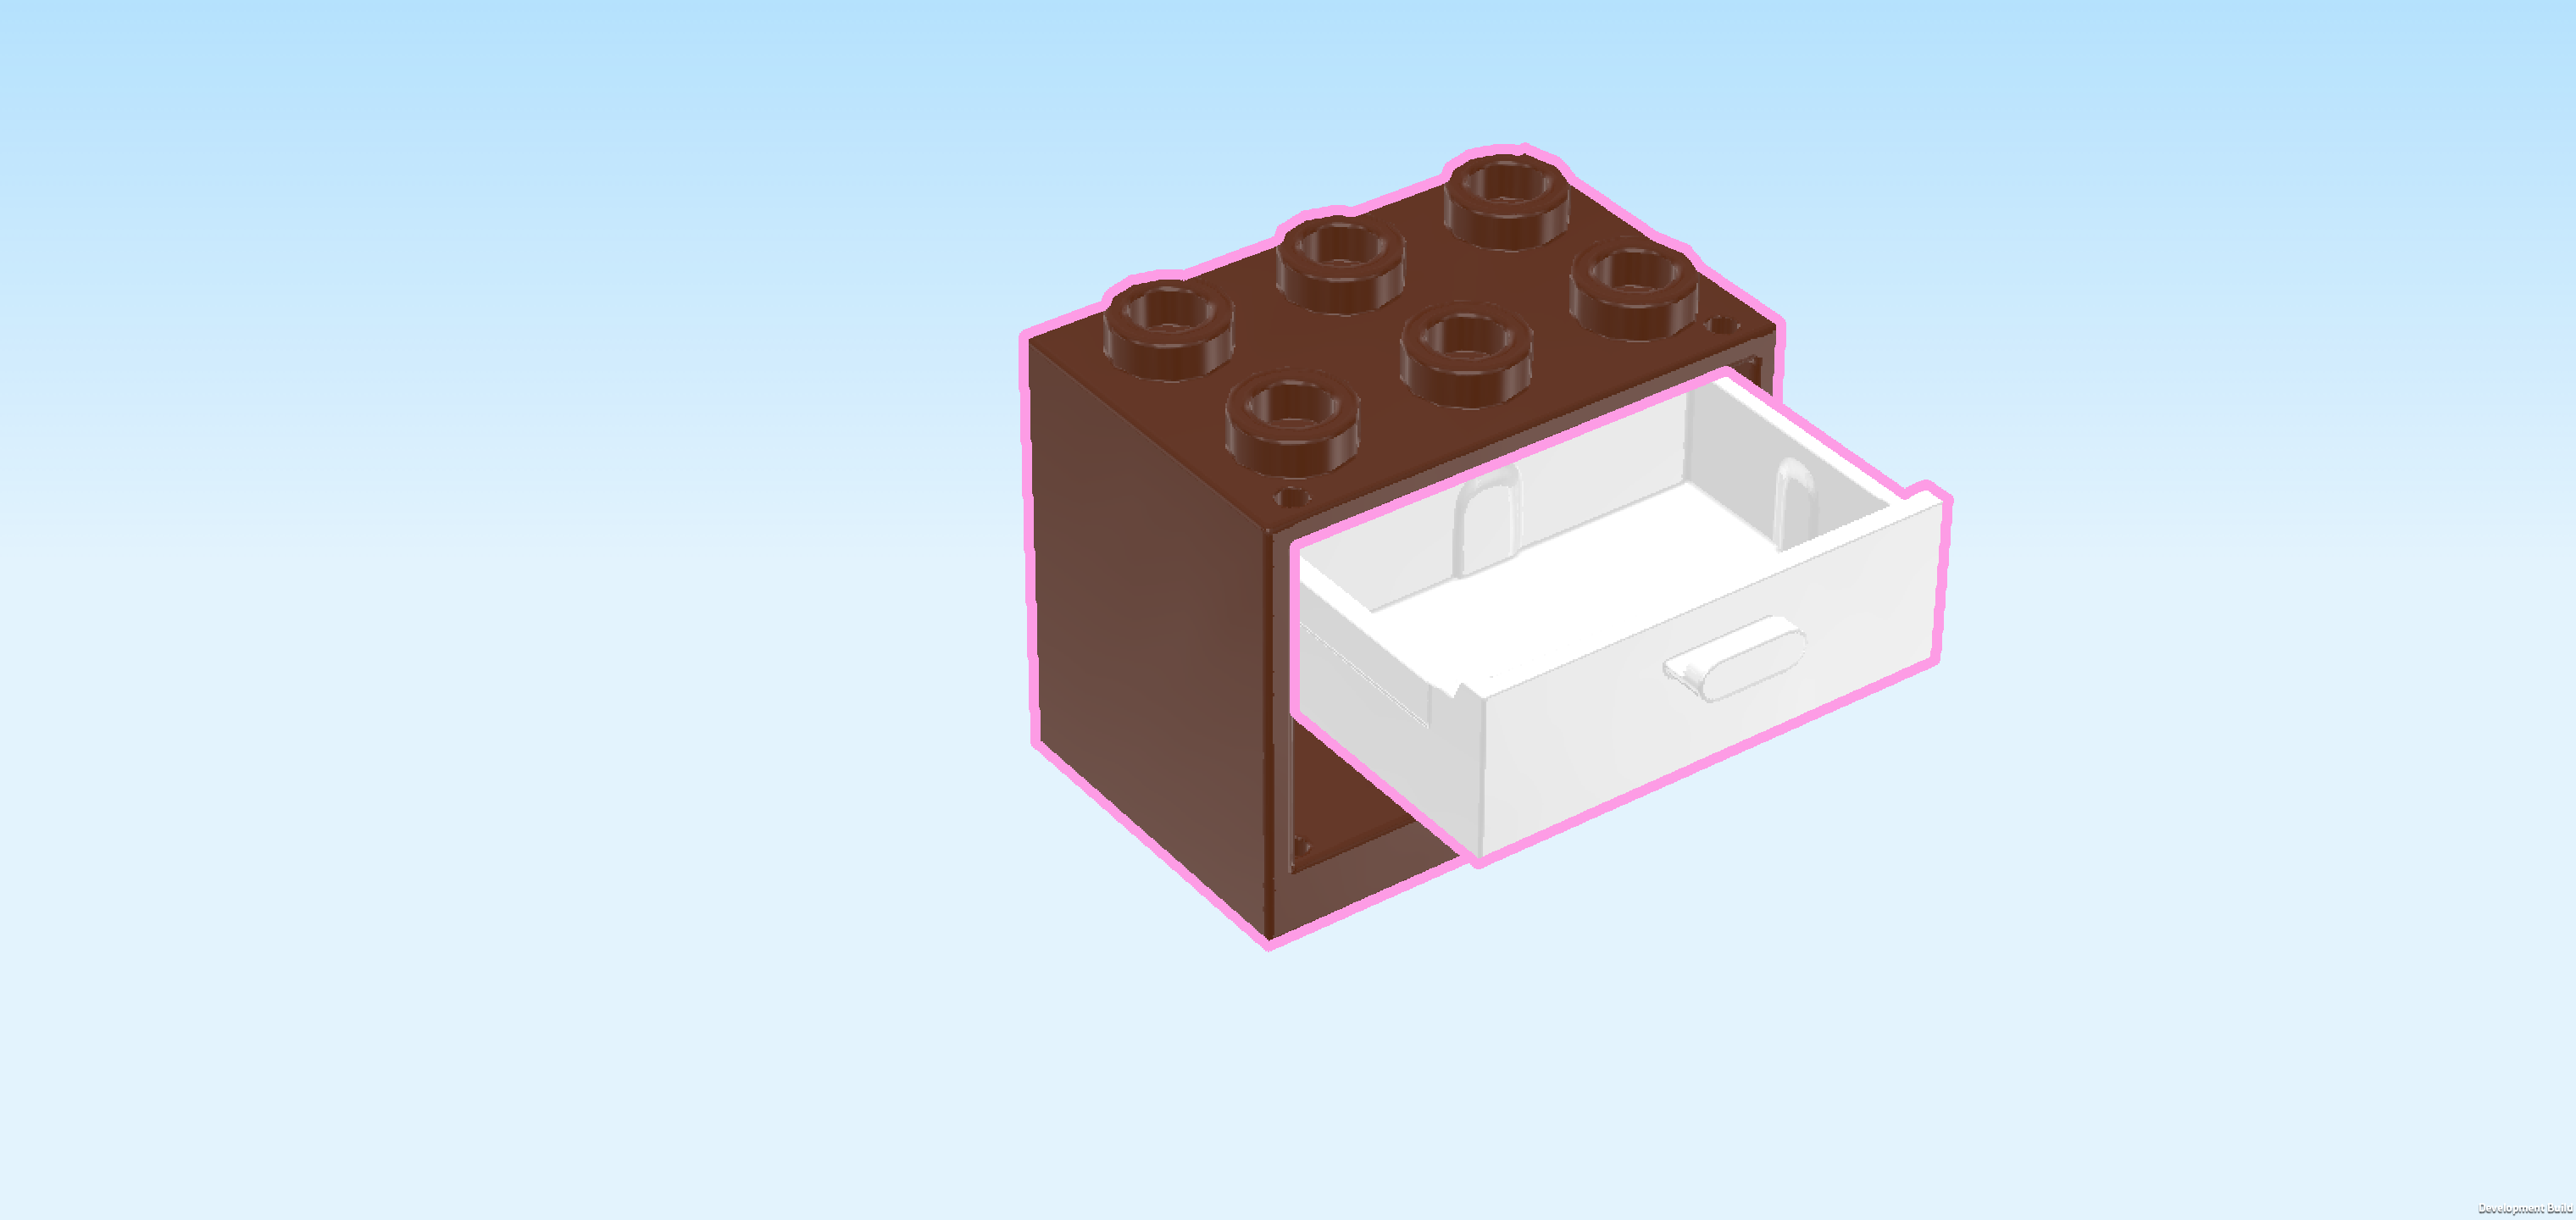
| Put the cupboard element 2x3x2 horizontally on the table, opening towards the front. |
| Insert the drawer 2x3x1 horizontally into the top half of the cupboard. |
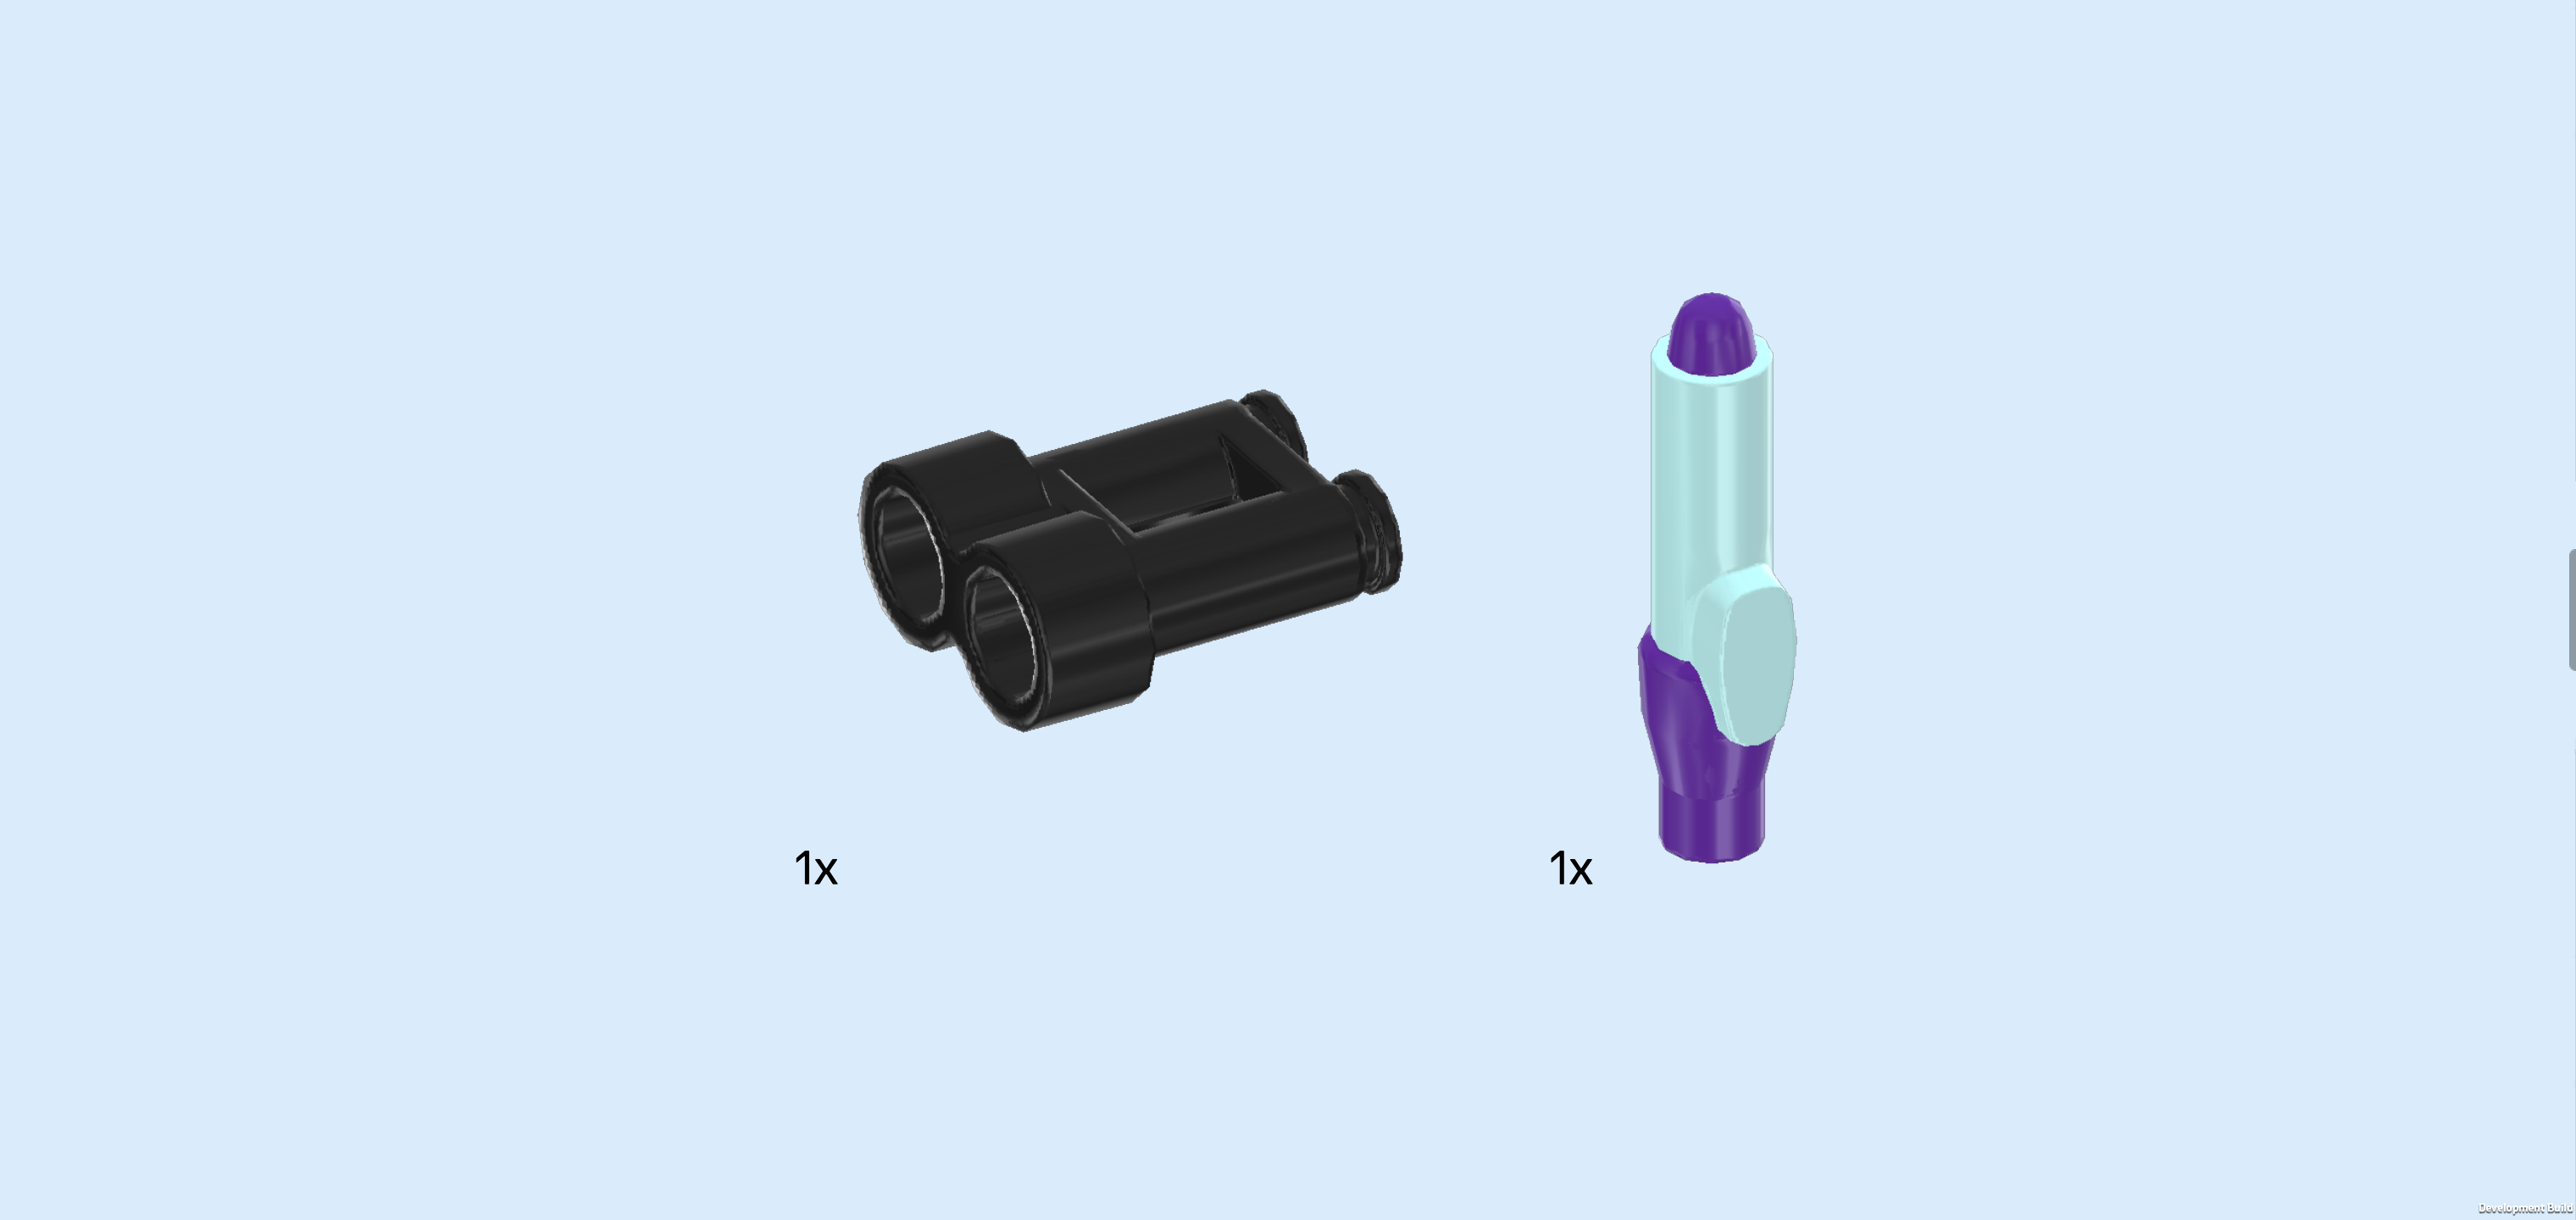
| Collect the following 2 pieces: |
| 1 black pair of Minifigure binoculars, |
| and 1 aqua blue and medium lilac Minifigure pen. |
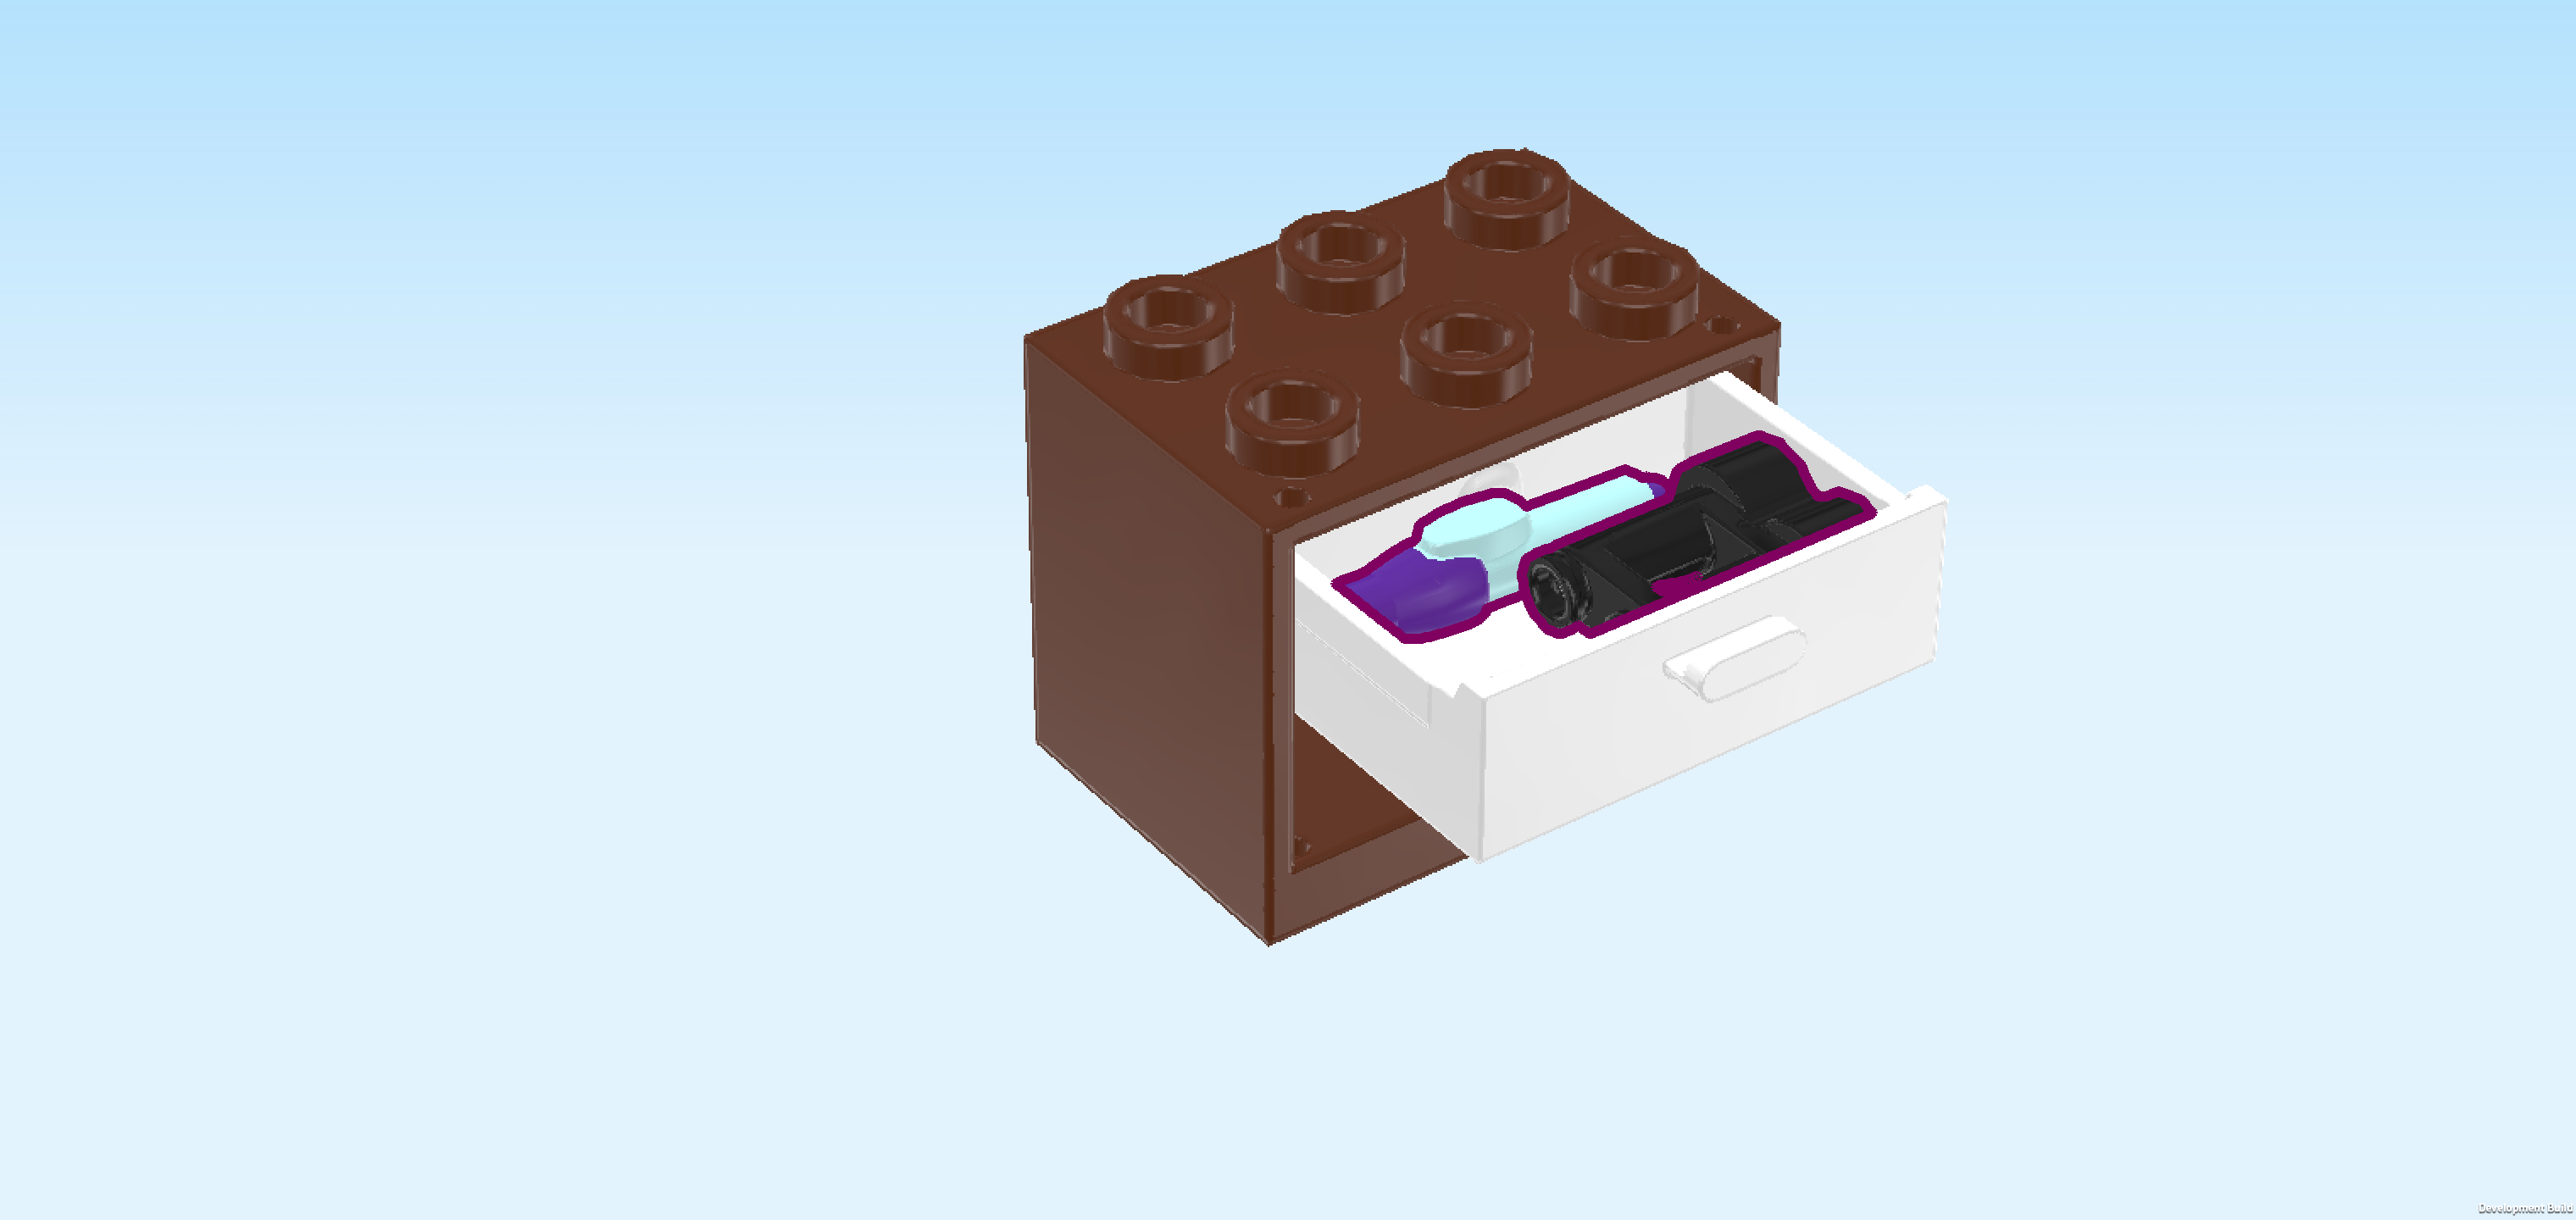
| Put the binoculars and the pen into the drawer and close it. The binoculars are great for birdwatching! |
| Collect the following 2 pieces: |
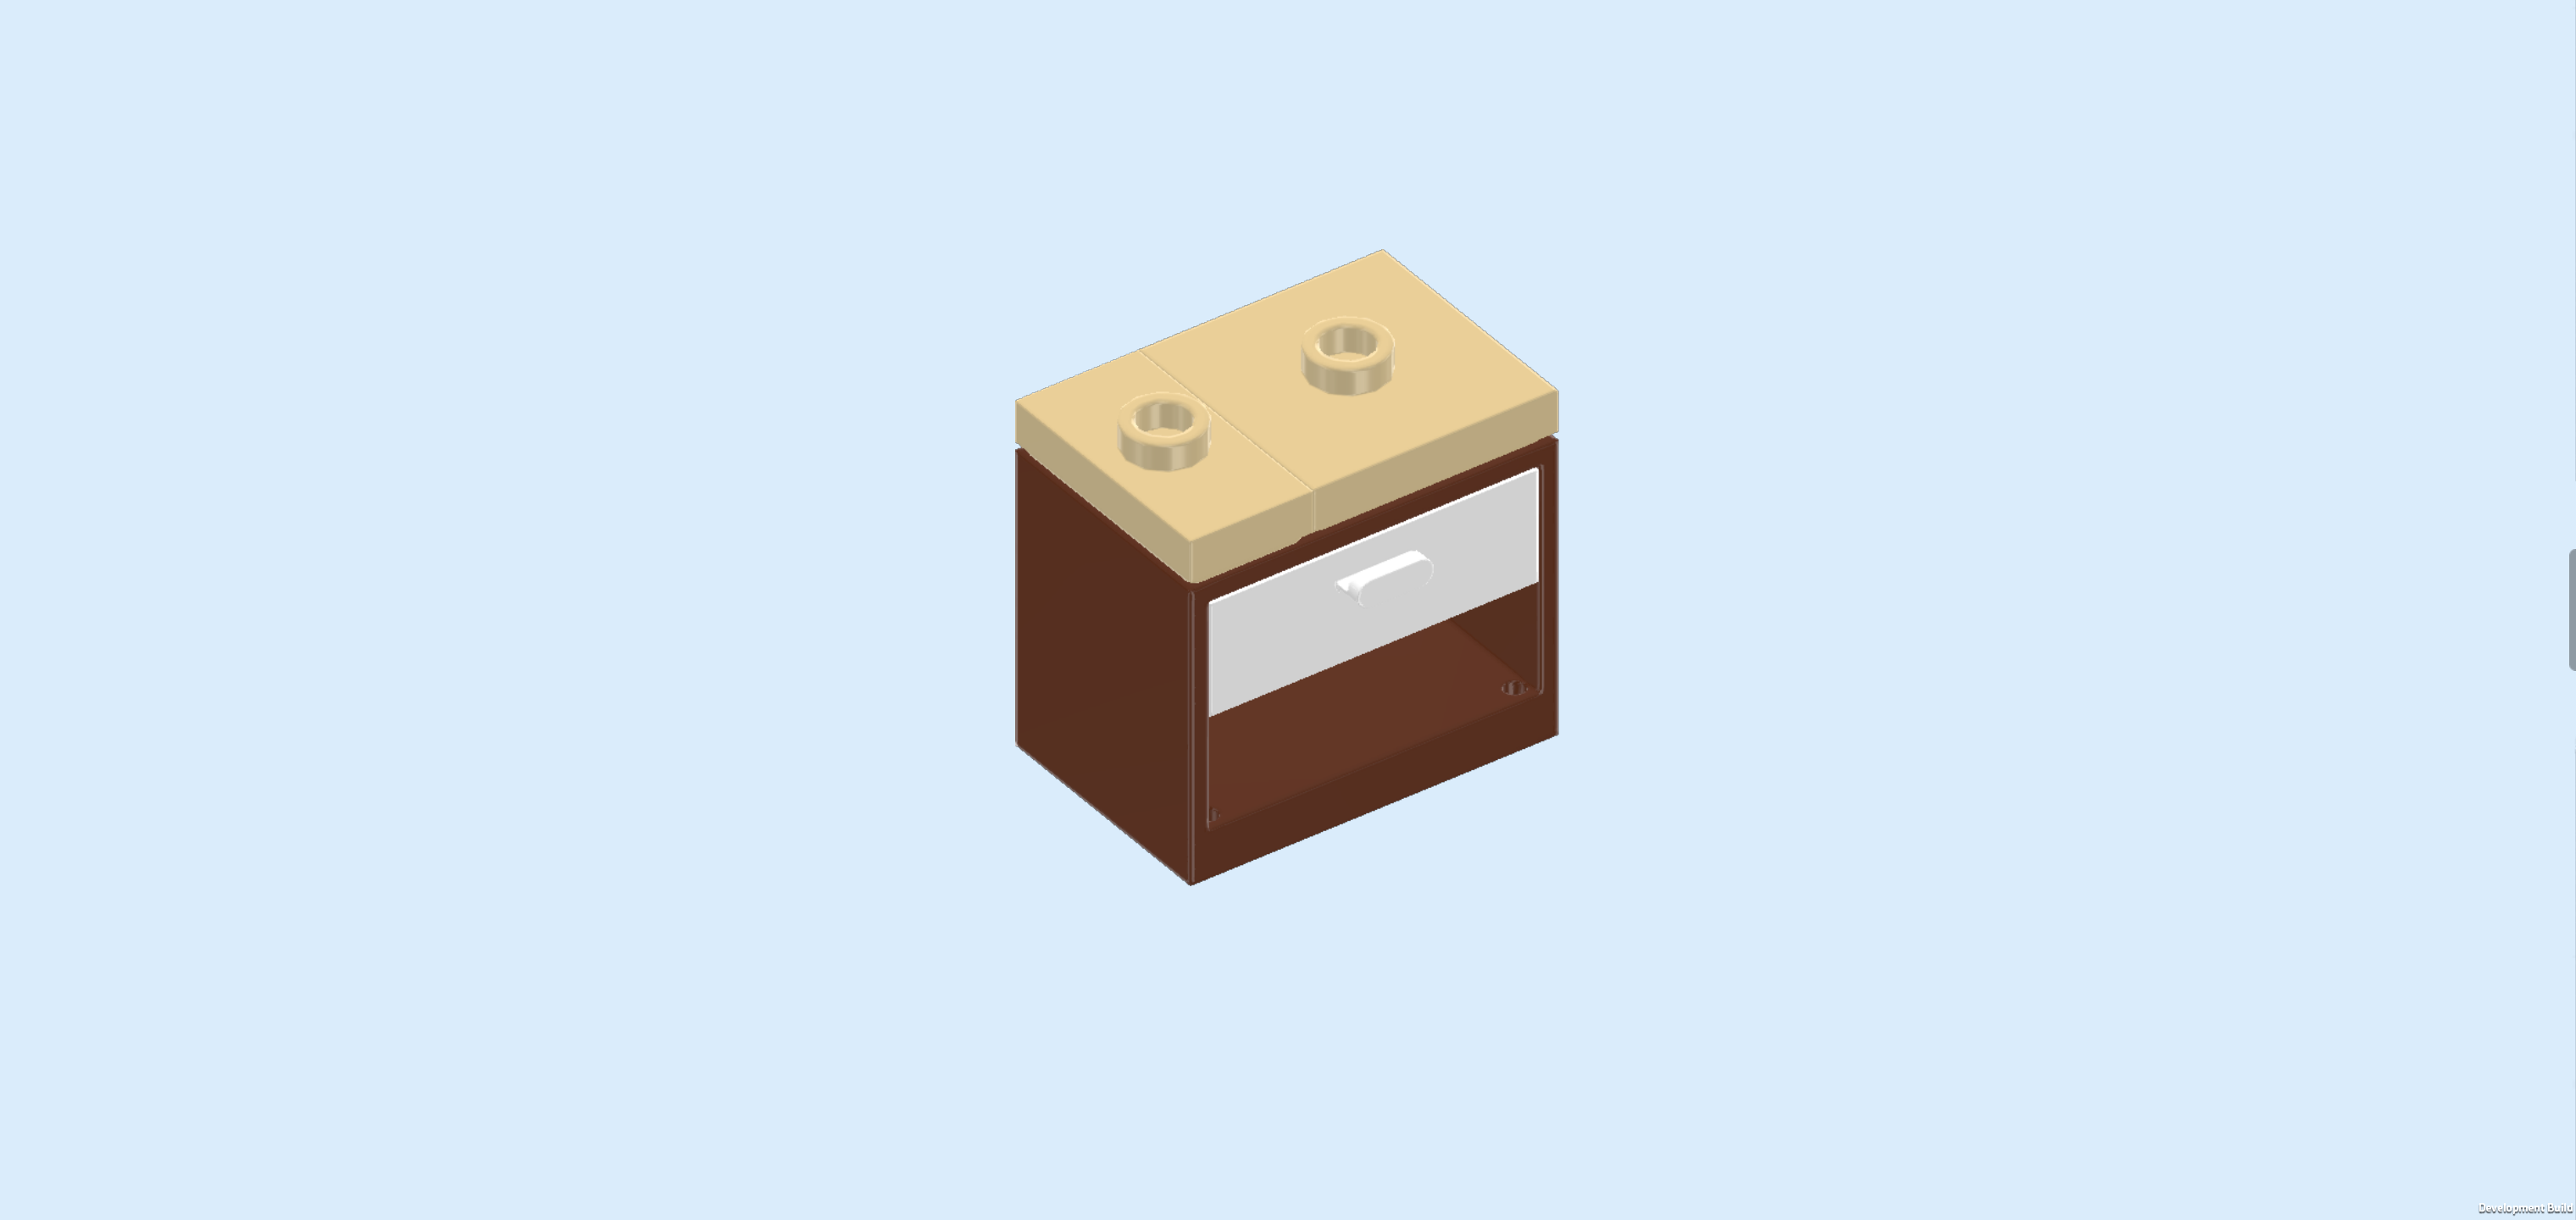
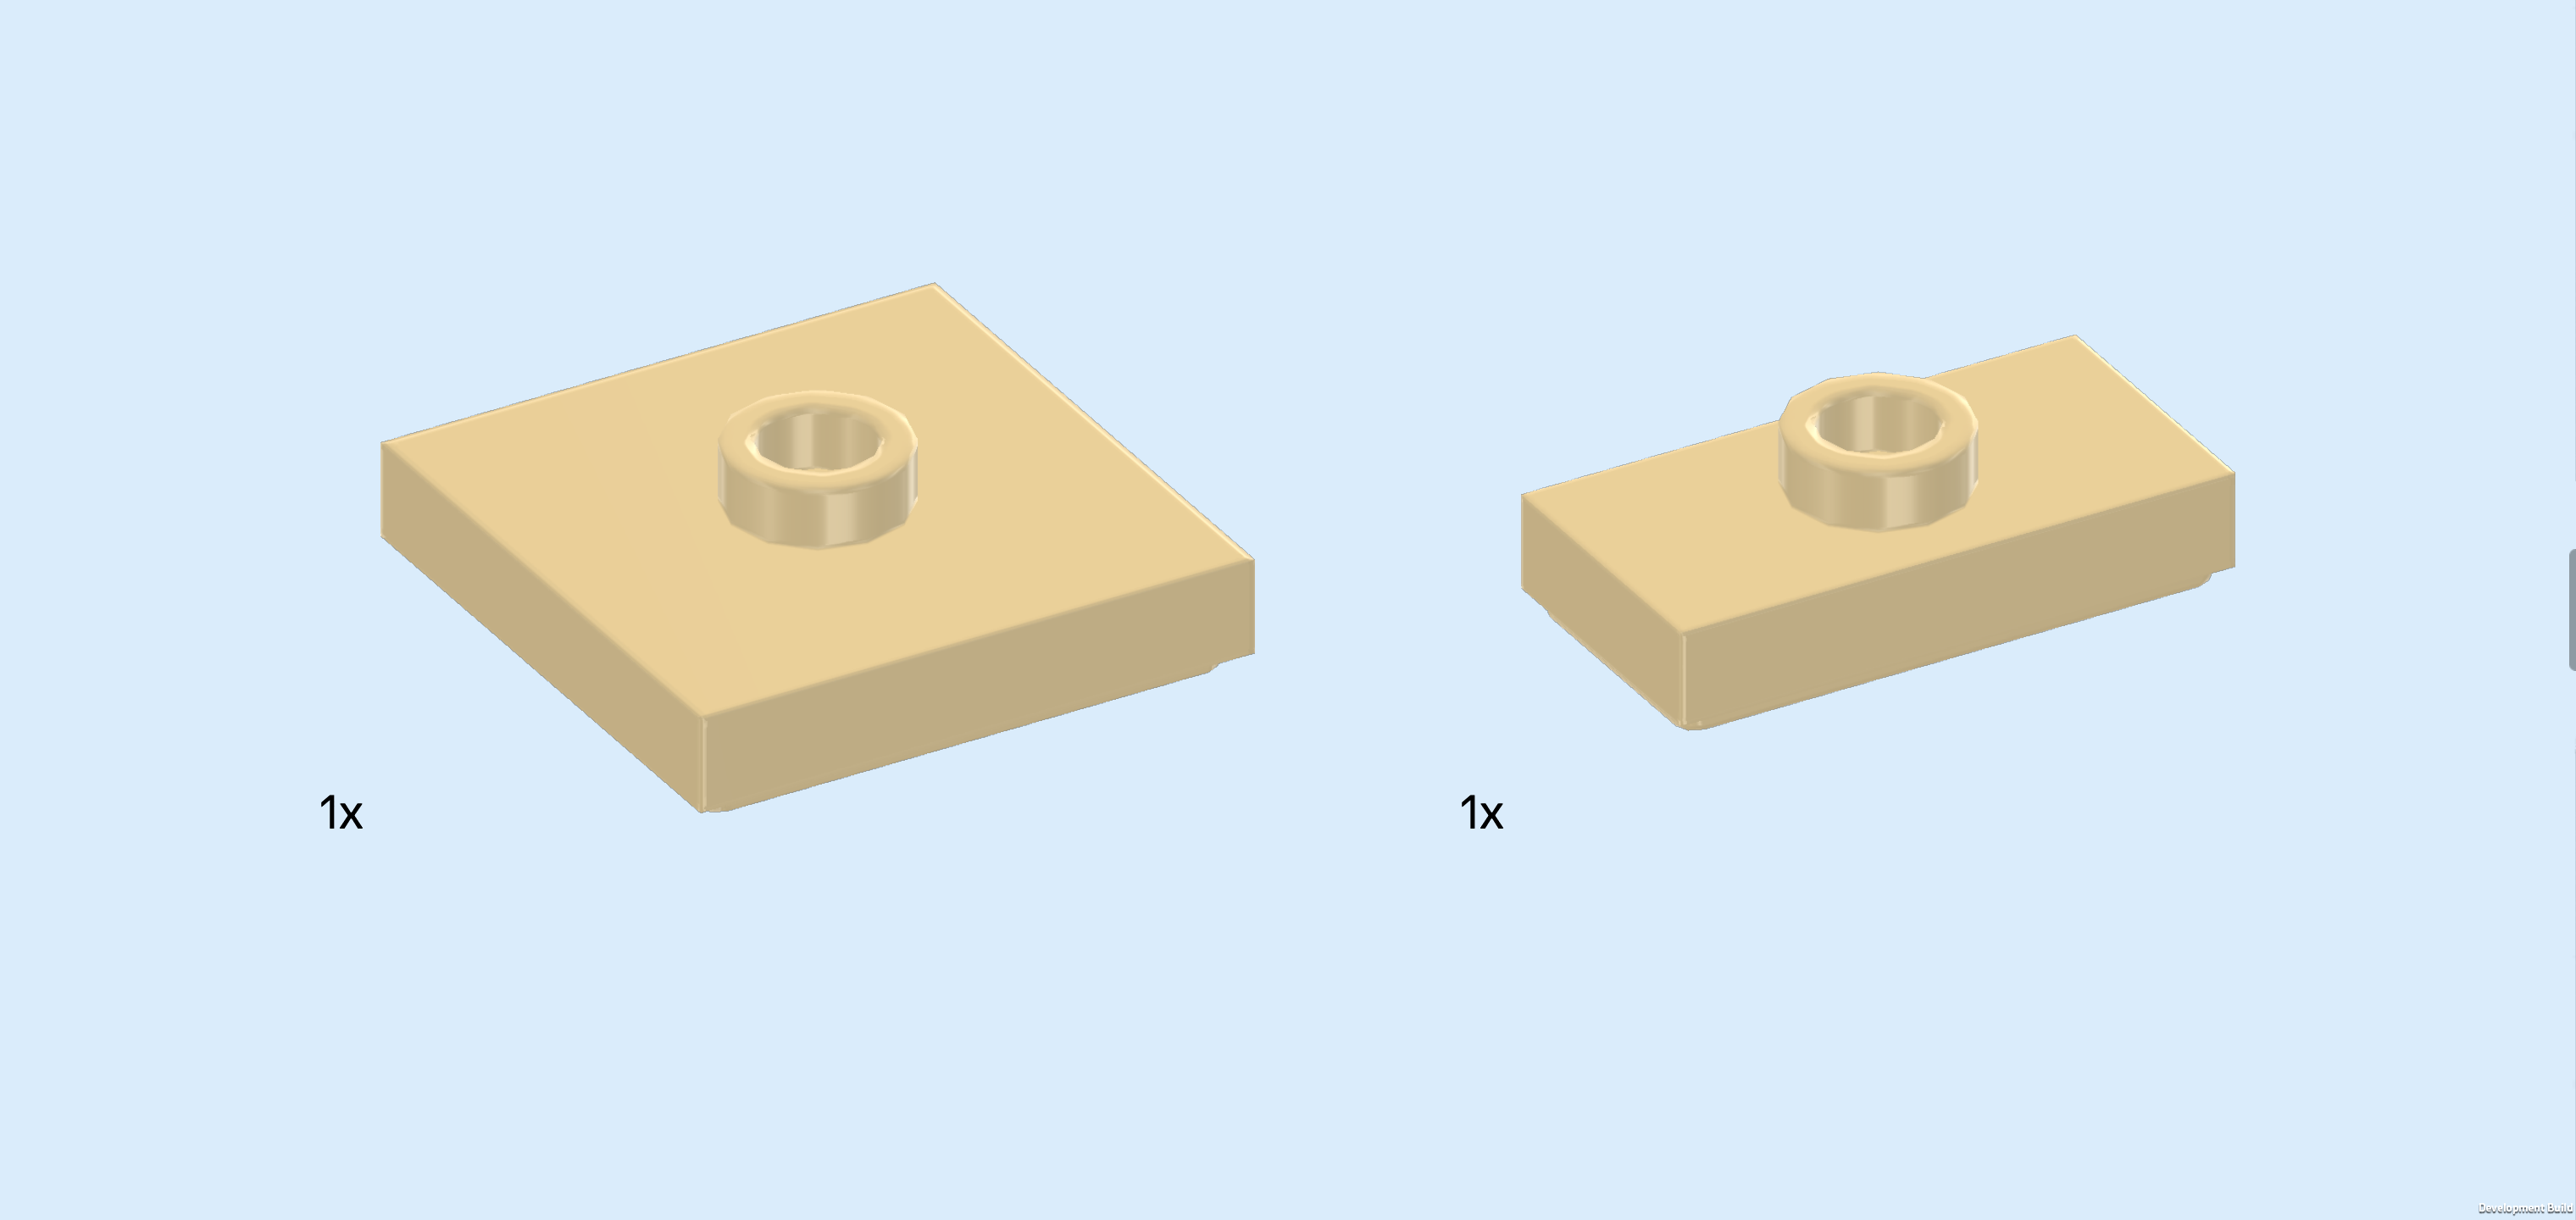
| 1 beige plate 2x2 with 1 knob, |
| and 1 beige plate 1x2 with 1 knob. |
| Put the plate 2x2 on top of the cupboard on the 2 right columns. |
| Put the plate 1x2 vertically to the left of the previous piece. |
| The sideboard is finished! Well done! Mount it horizontally directly in front of the back wall, starting from the left edge, drawer towards the front. |
| Collect the following 2 pieces: |
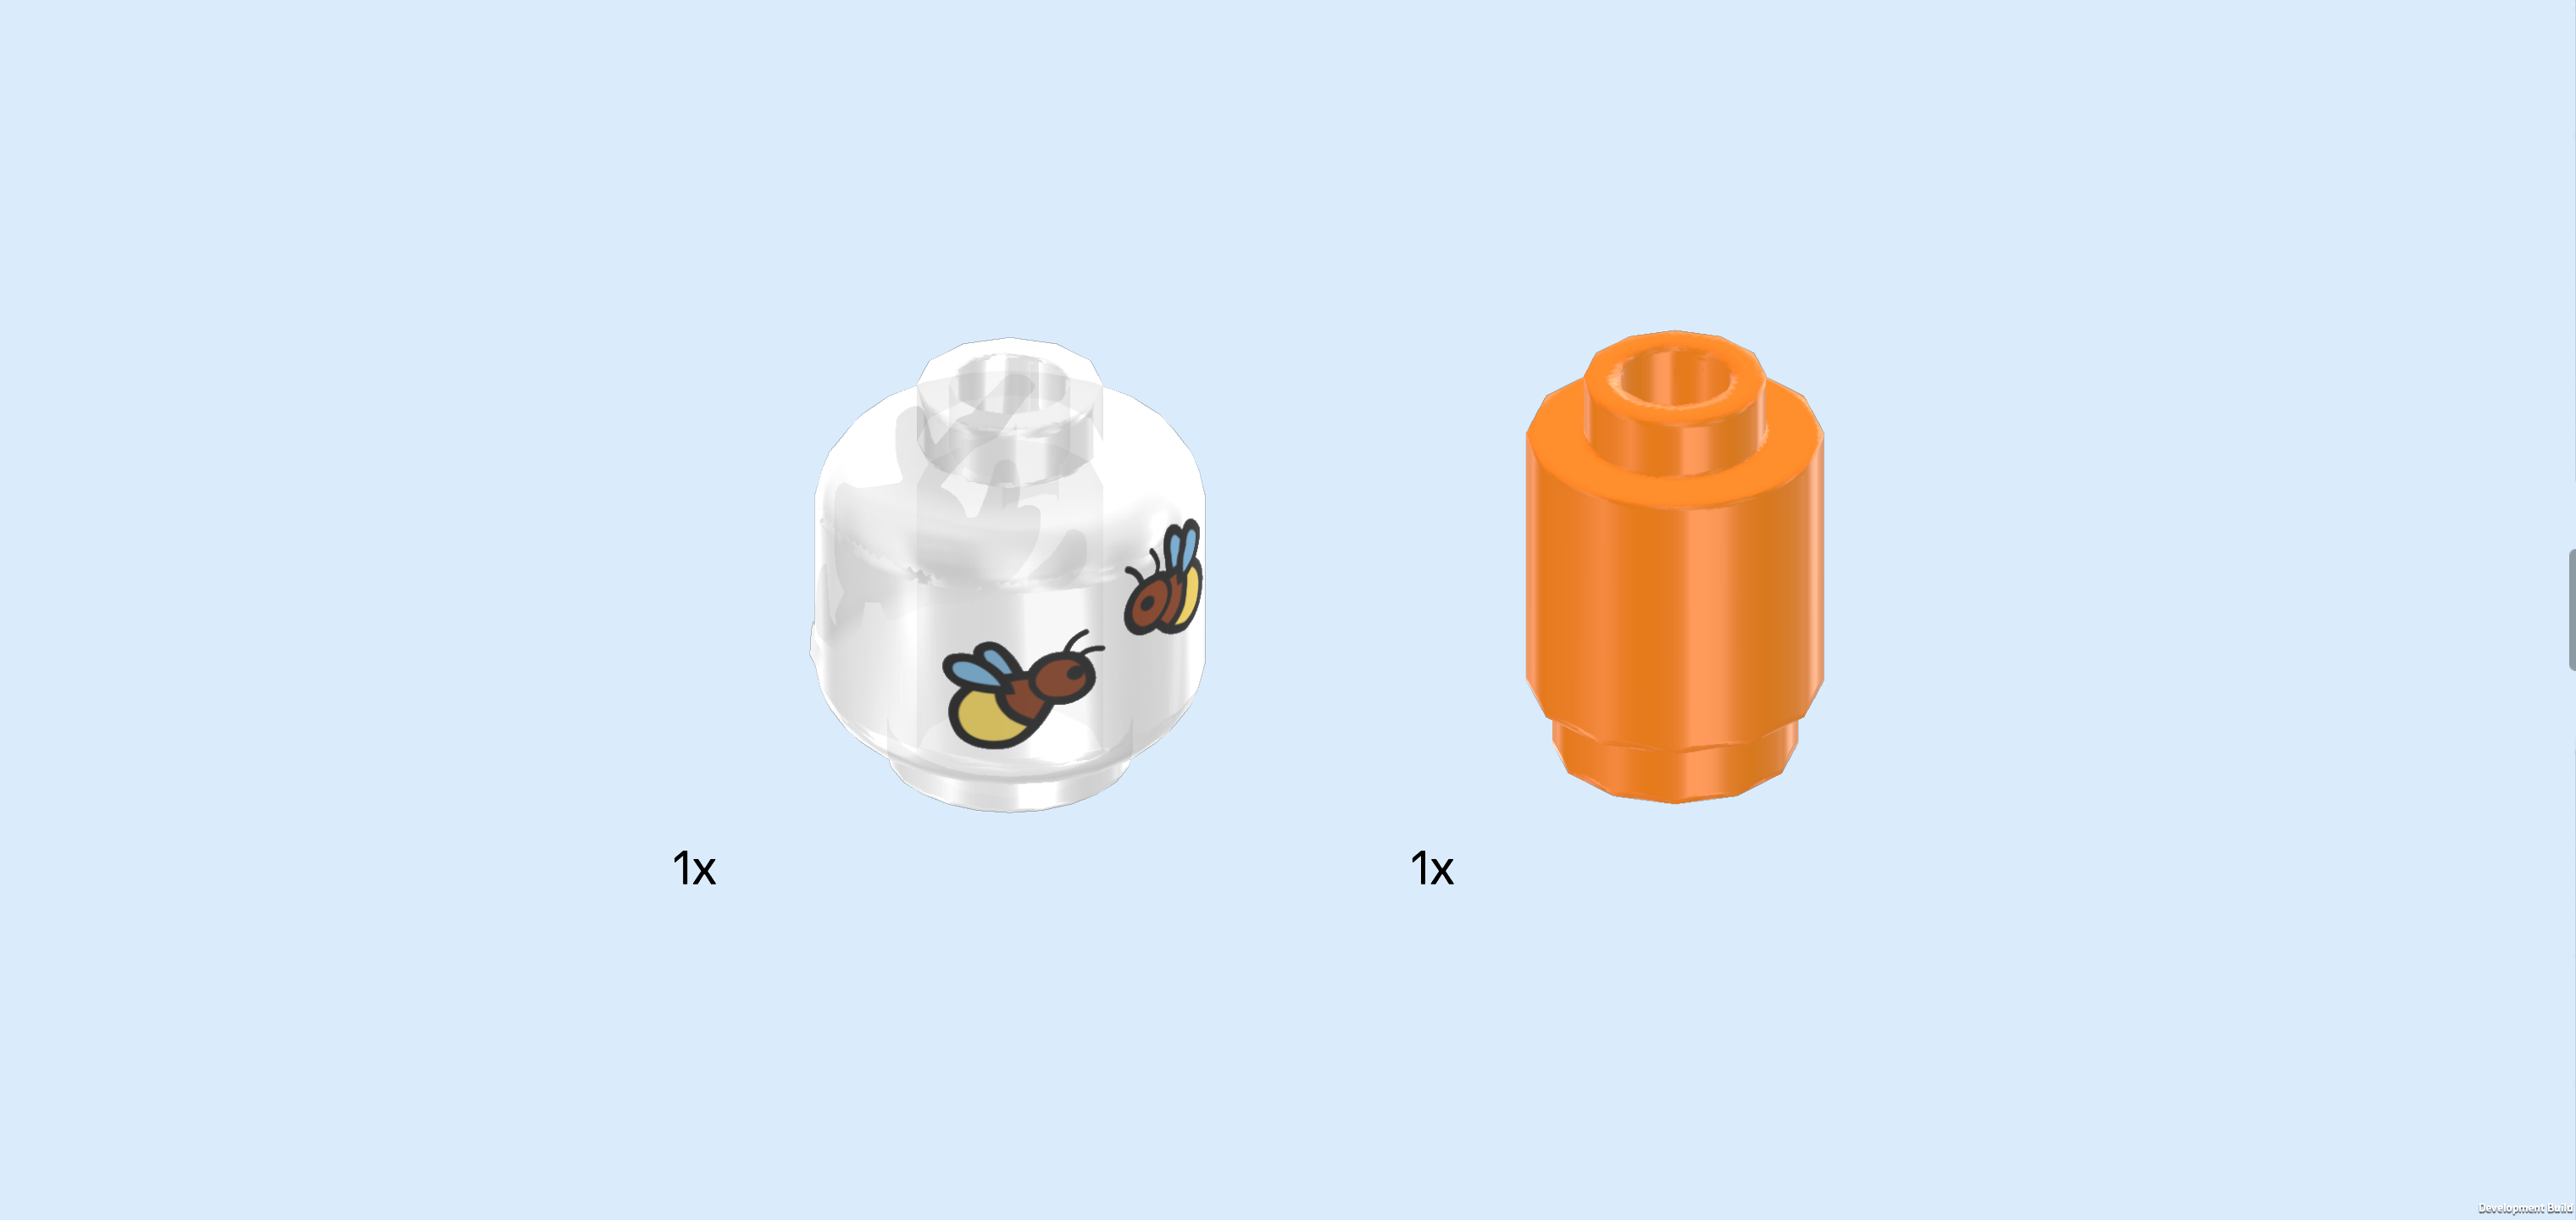
| 1 transparent Minifigure head, |
| and 1 bright orange round brick 1x1. |
| Put the round brick 1x1 on the left knob of the sideboard. |
| Put the Minifigure head to the right of the previous piece. In this case, this transparent piece is not used or printed as a head but rather, it is printed with two small honeybees. This could be a jar of honey, or maybe it's an observation jar for insects. We know that Autumn loves animals of all kinds and sizes! |
| Collect the following 2 pieces: |
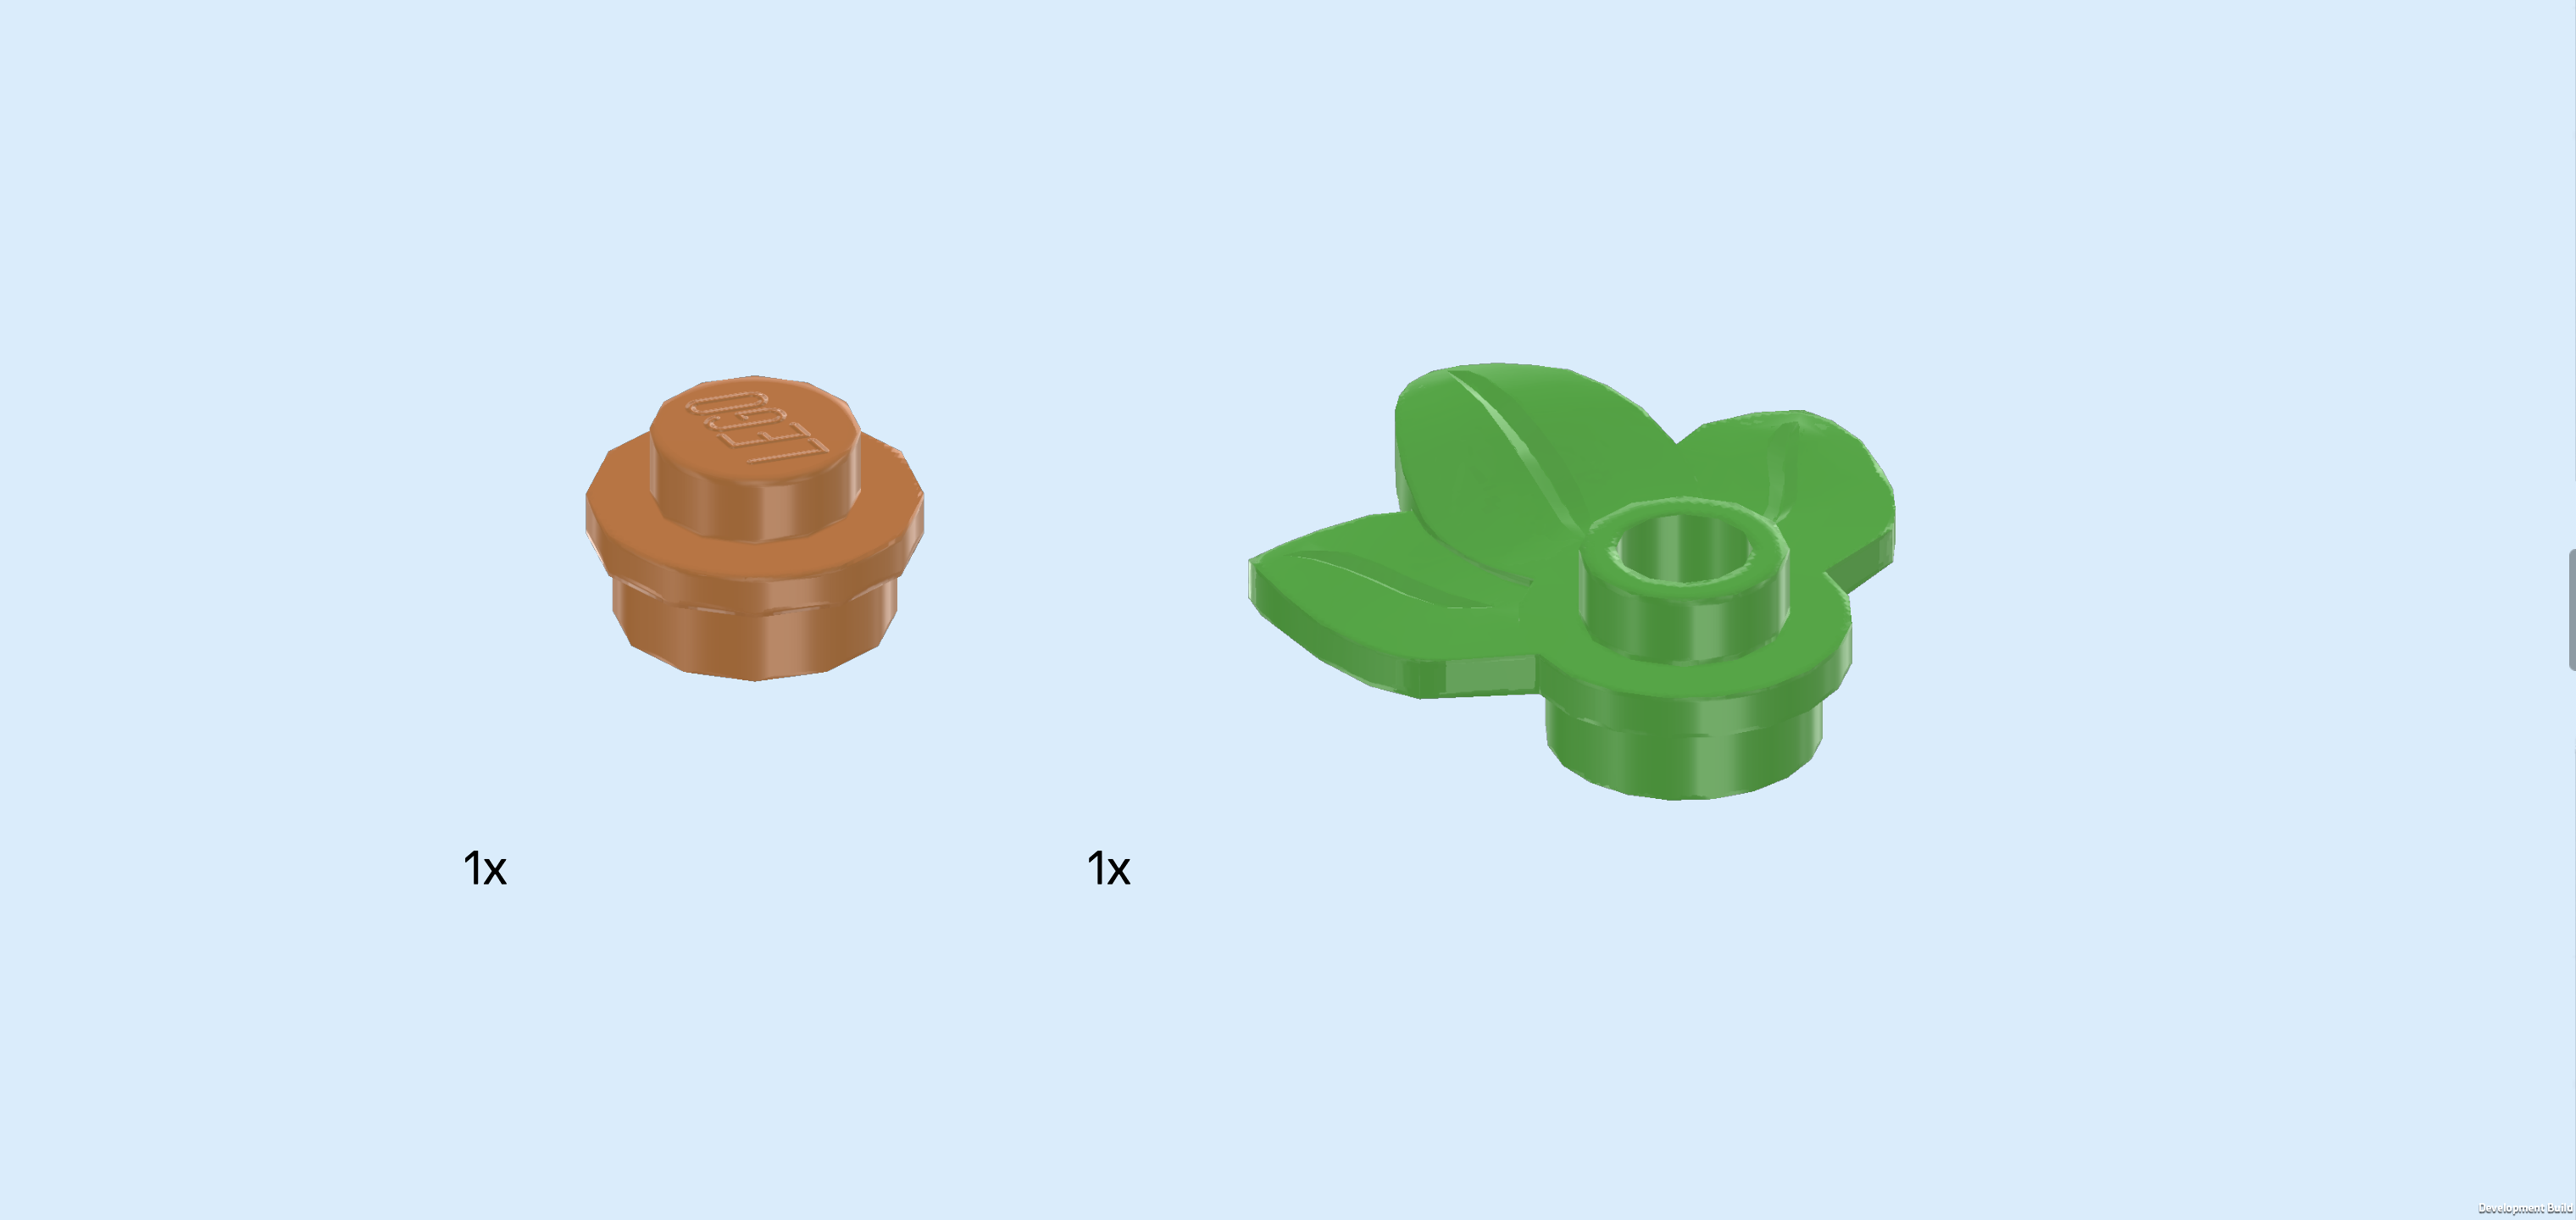
| 1 medium nougat brown round plate 1x1, |
| and 1 bright green round plate 1x1 with 3 small leaves. |
| Put the round plate 1x1 on top of the previous piece. This is the lid of the honey jar or the insect observation jar. |
| Put the round plate with leaves to the left of the previous piece, this means on the round brick 1x1, leaves pointing to the front left. |
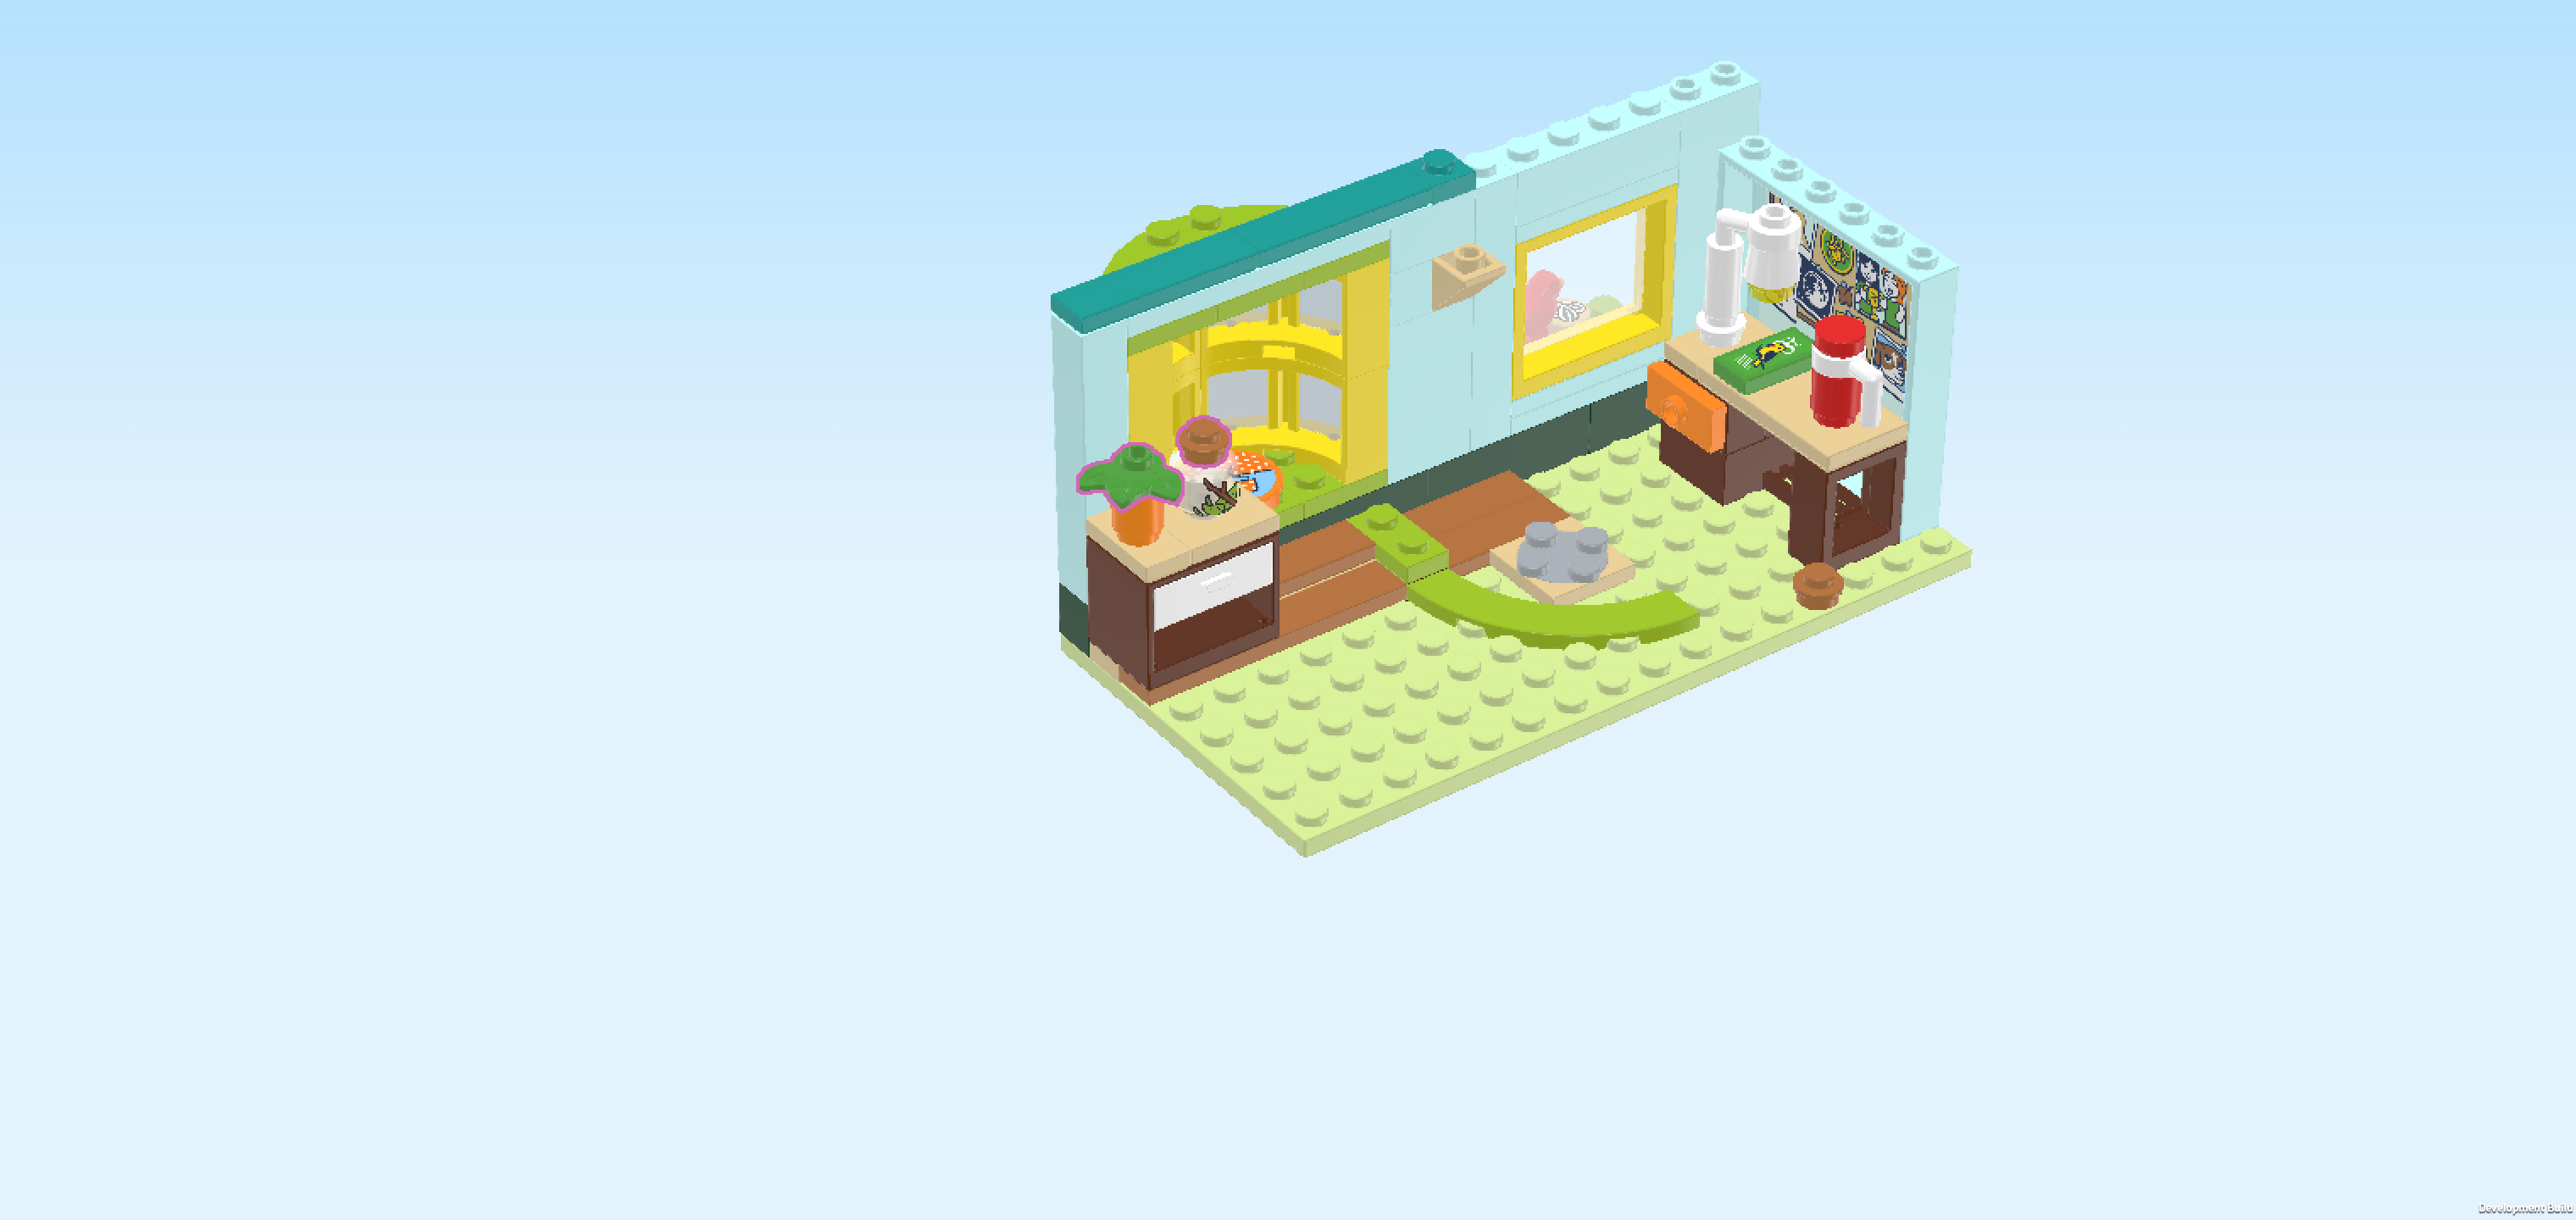
| Next, we will build a sunflower. |
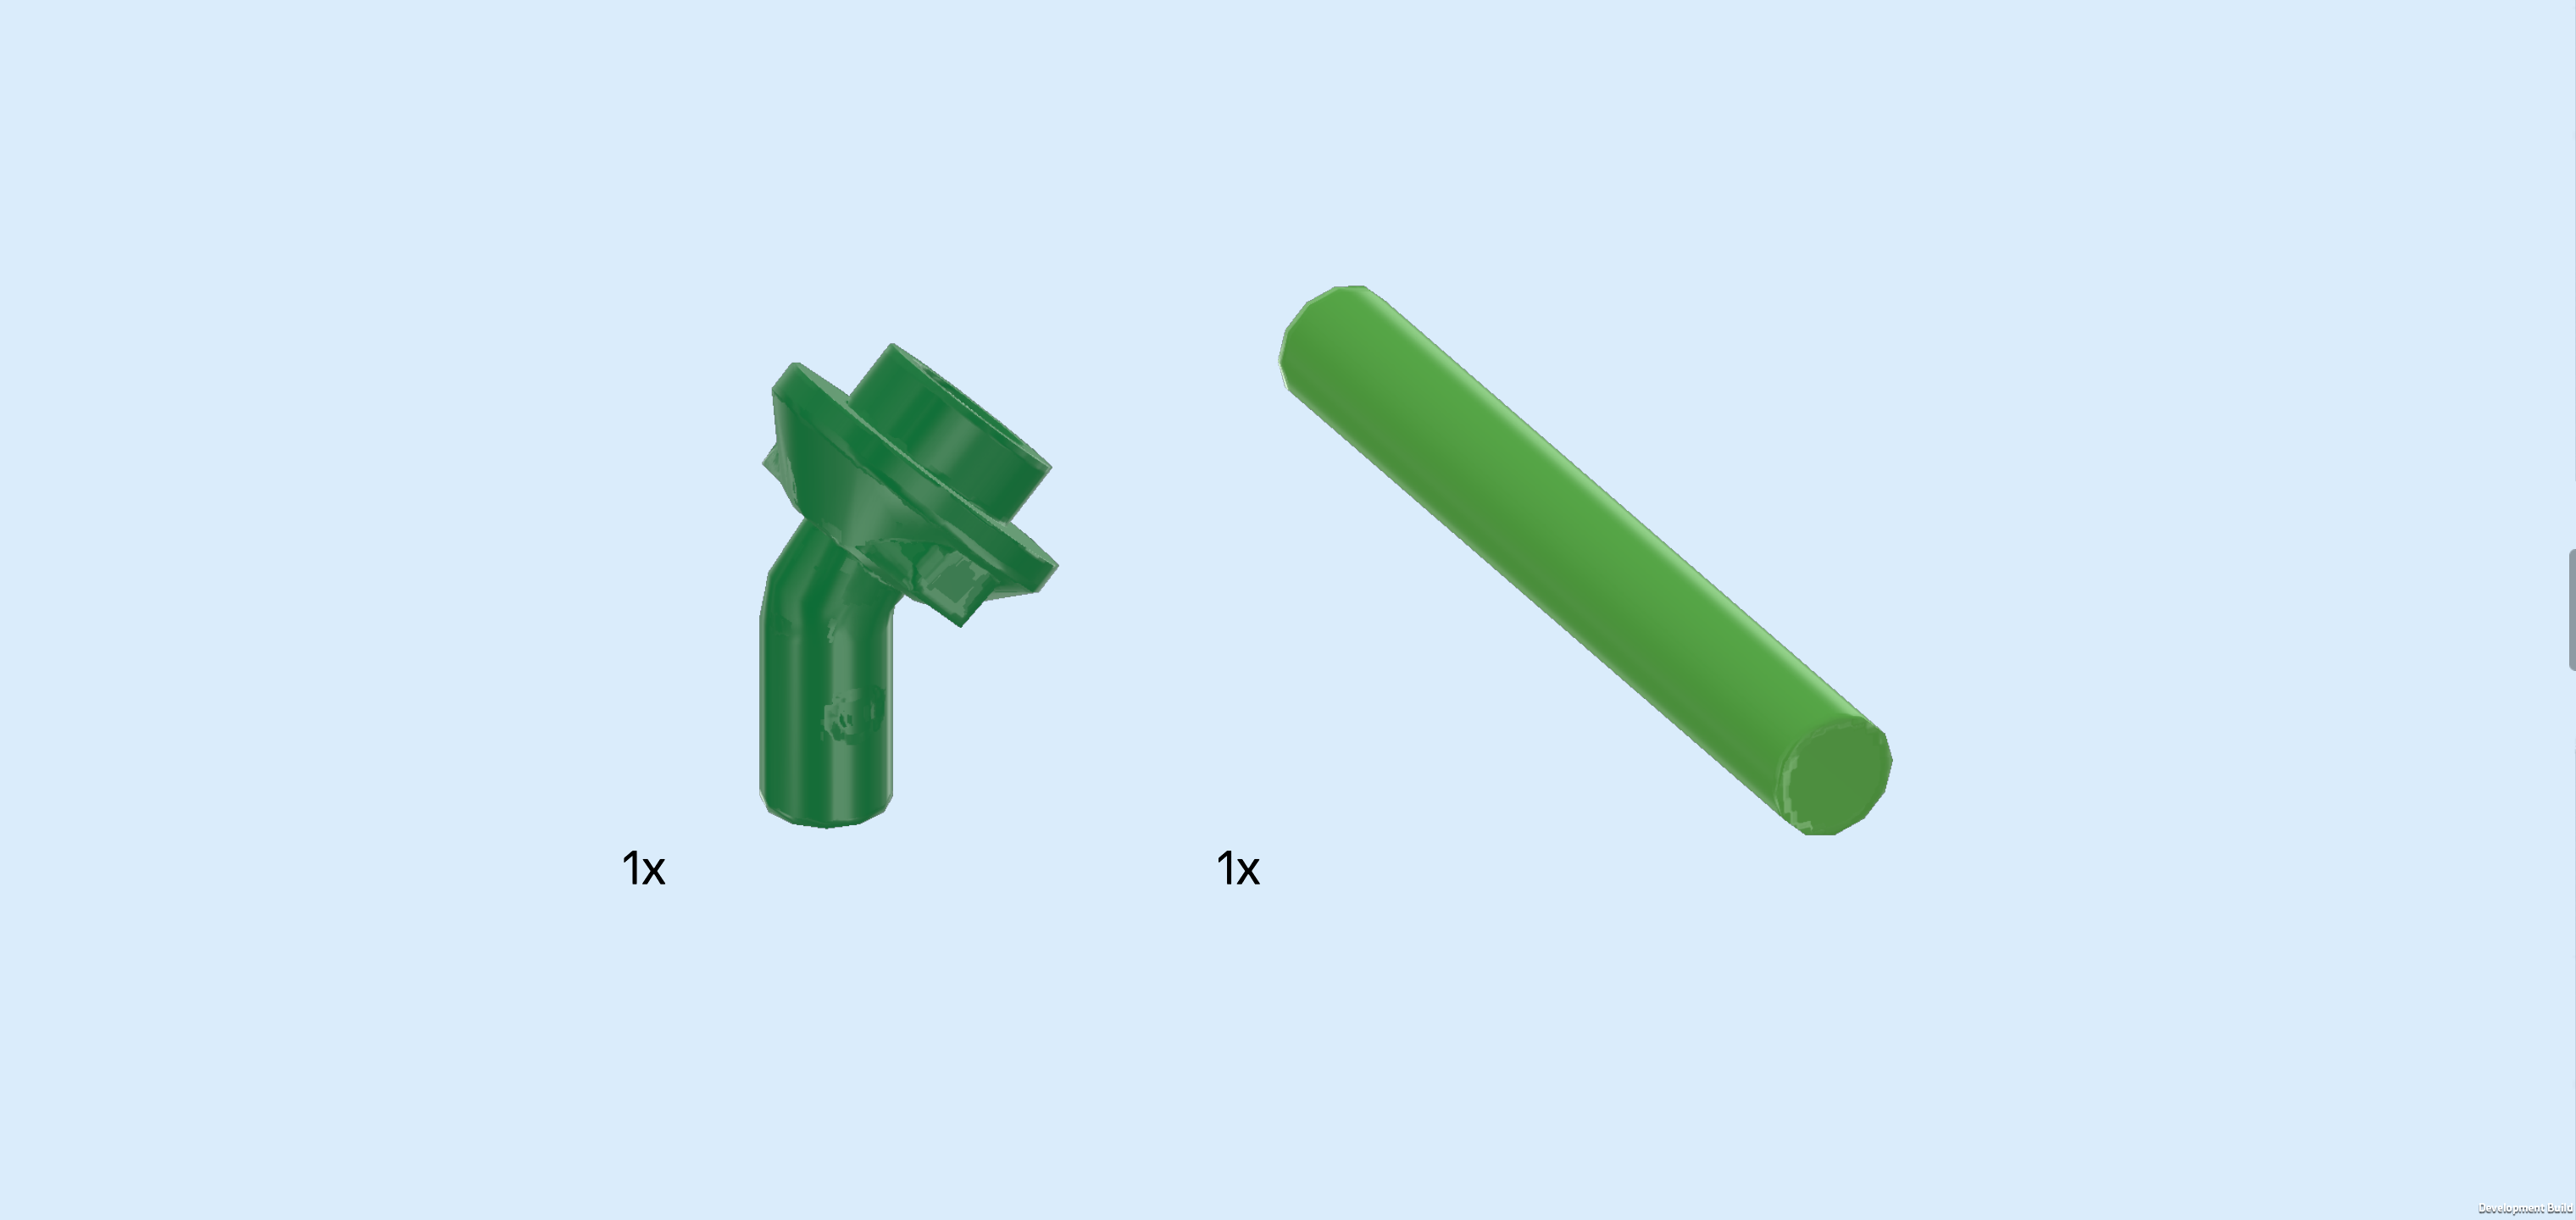
| Collect the following 2 pieces: |
| 1 dark green round plate 1x1 with angled handle, |
| and 1 bright green shaft 3m. |
| Hold the shaft vertically upright in your hand. Insert its top end from the bottom into the round plate with angled handle, handle pointing to the top right. |
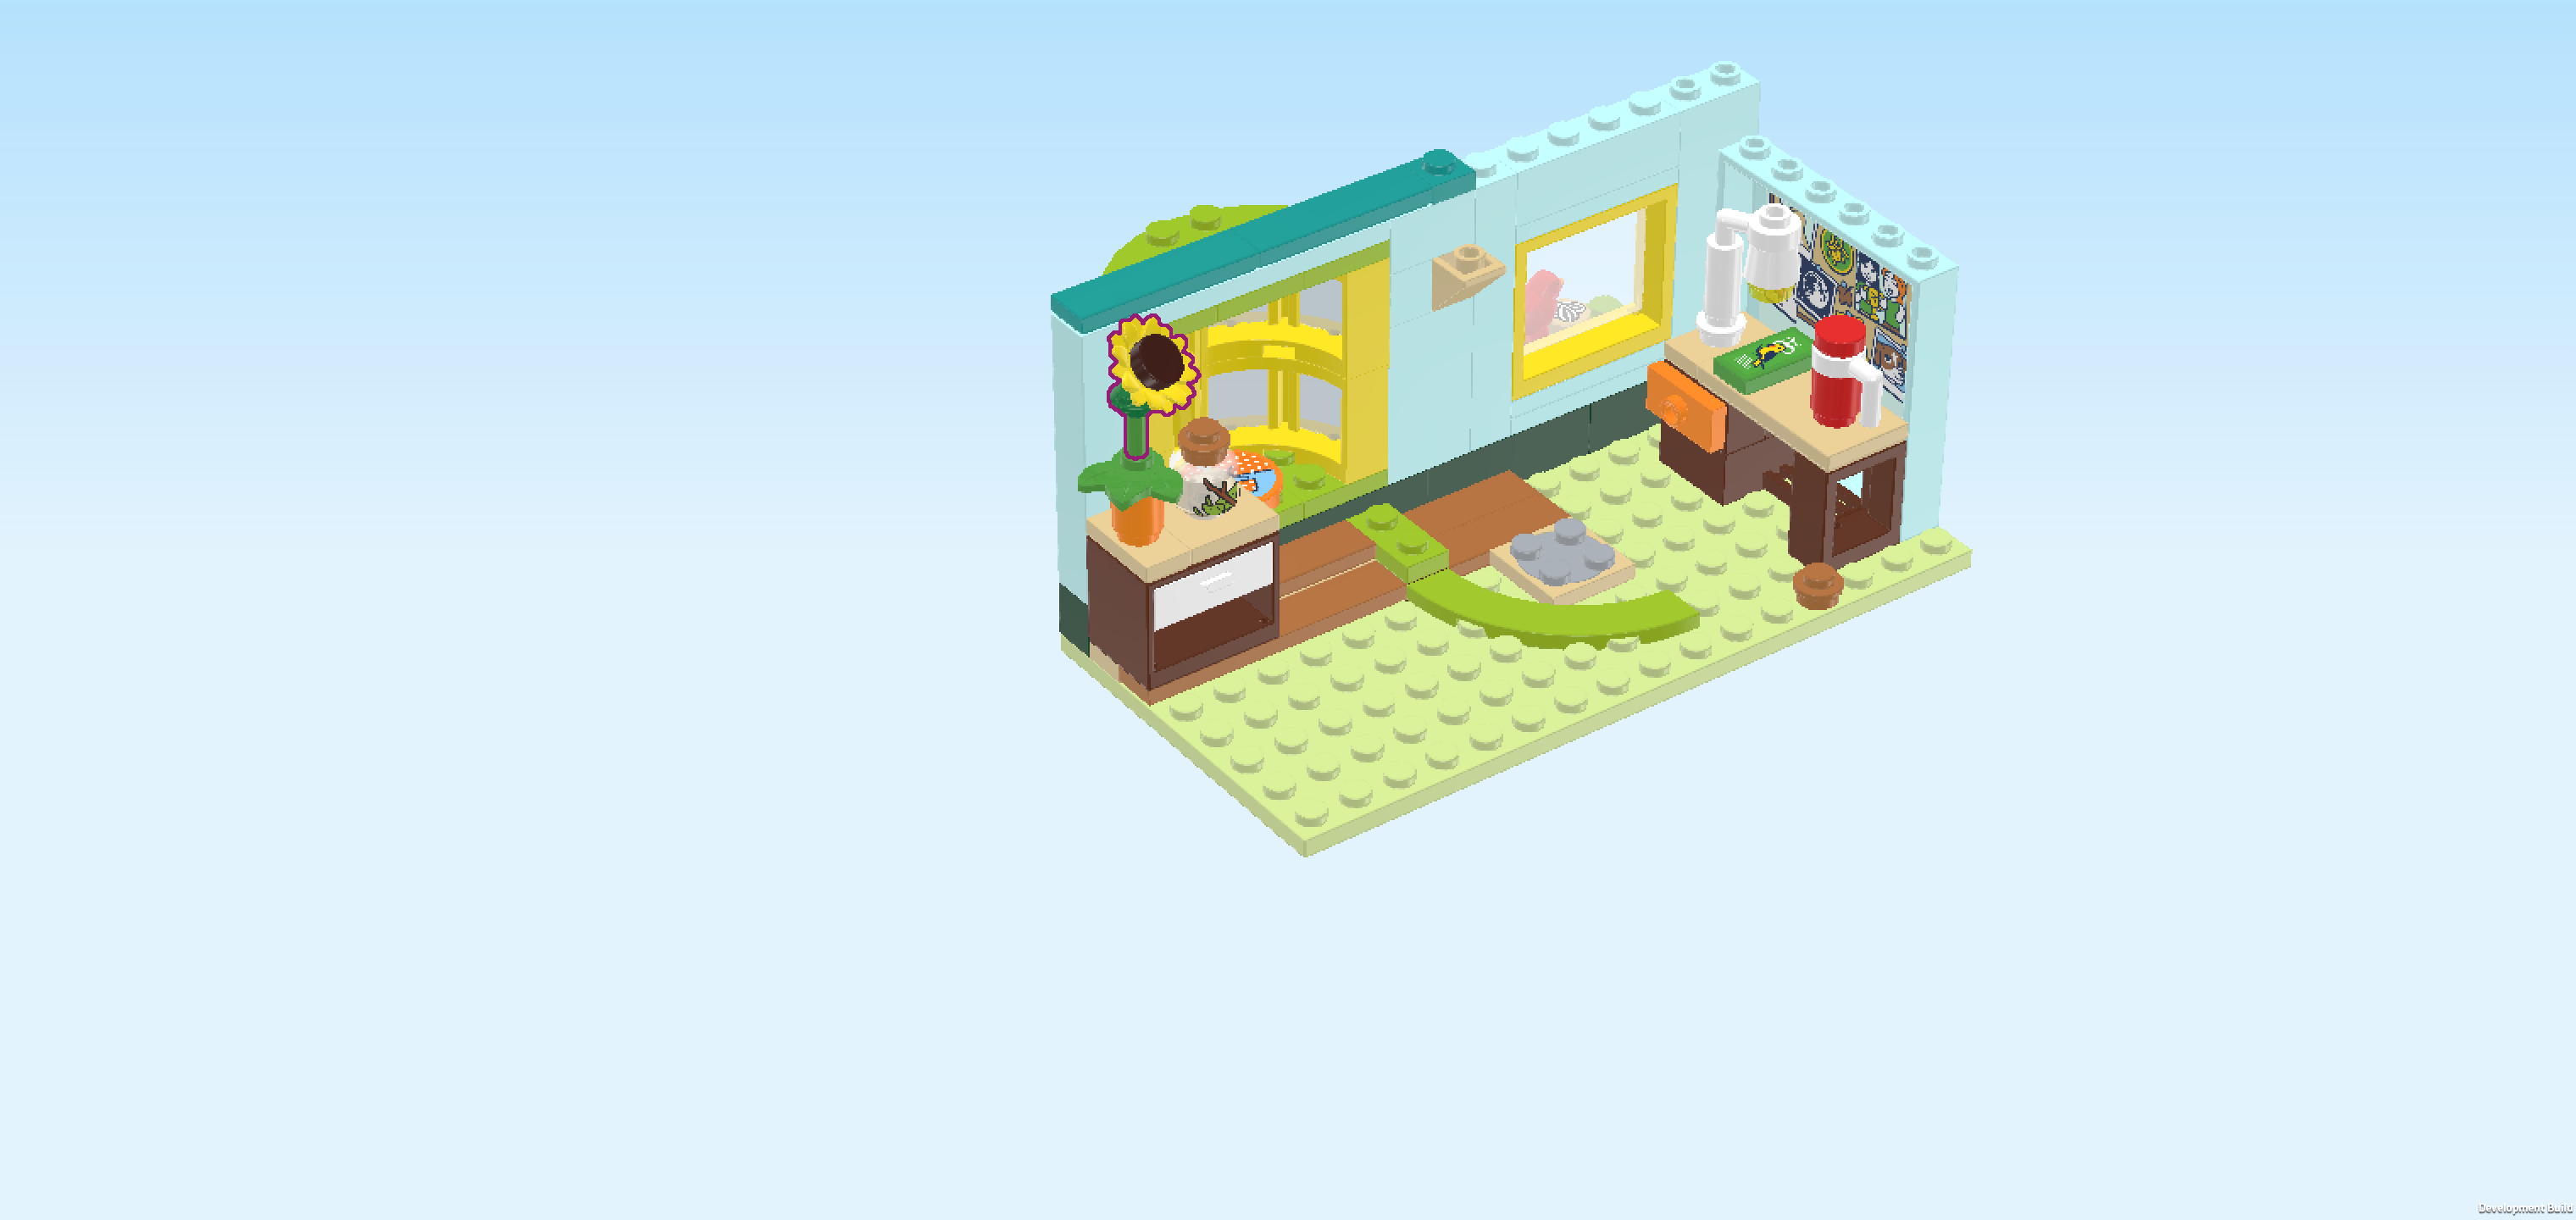
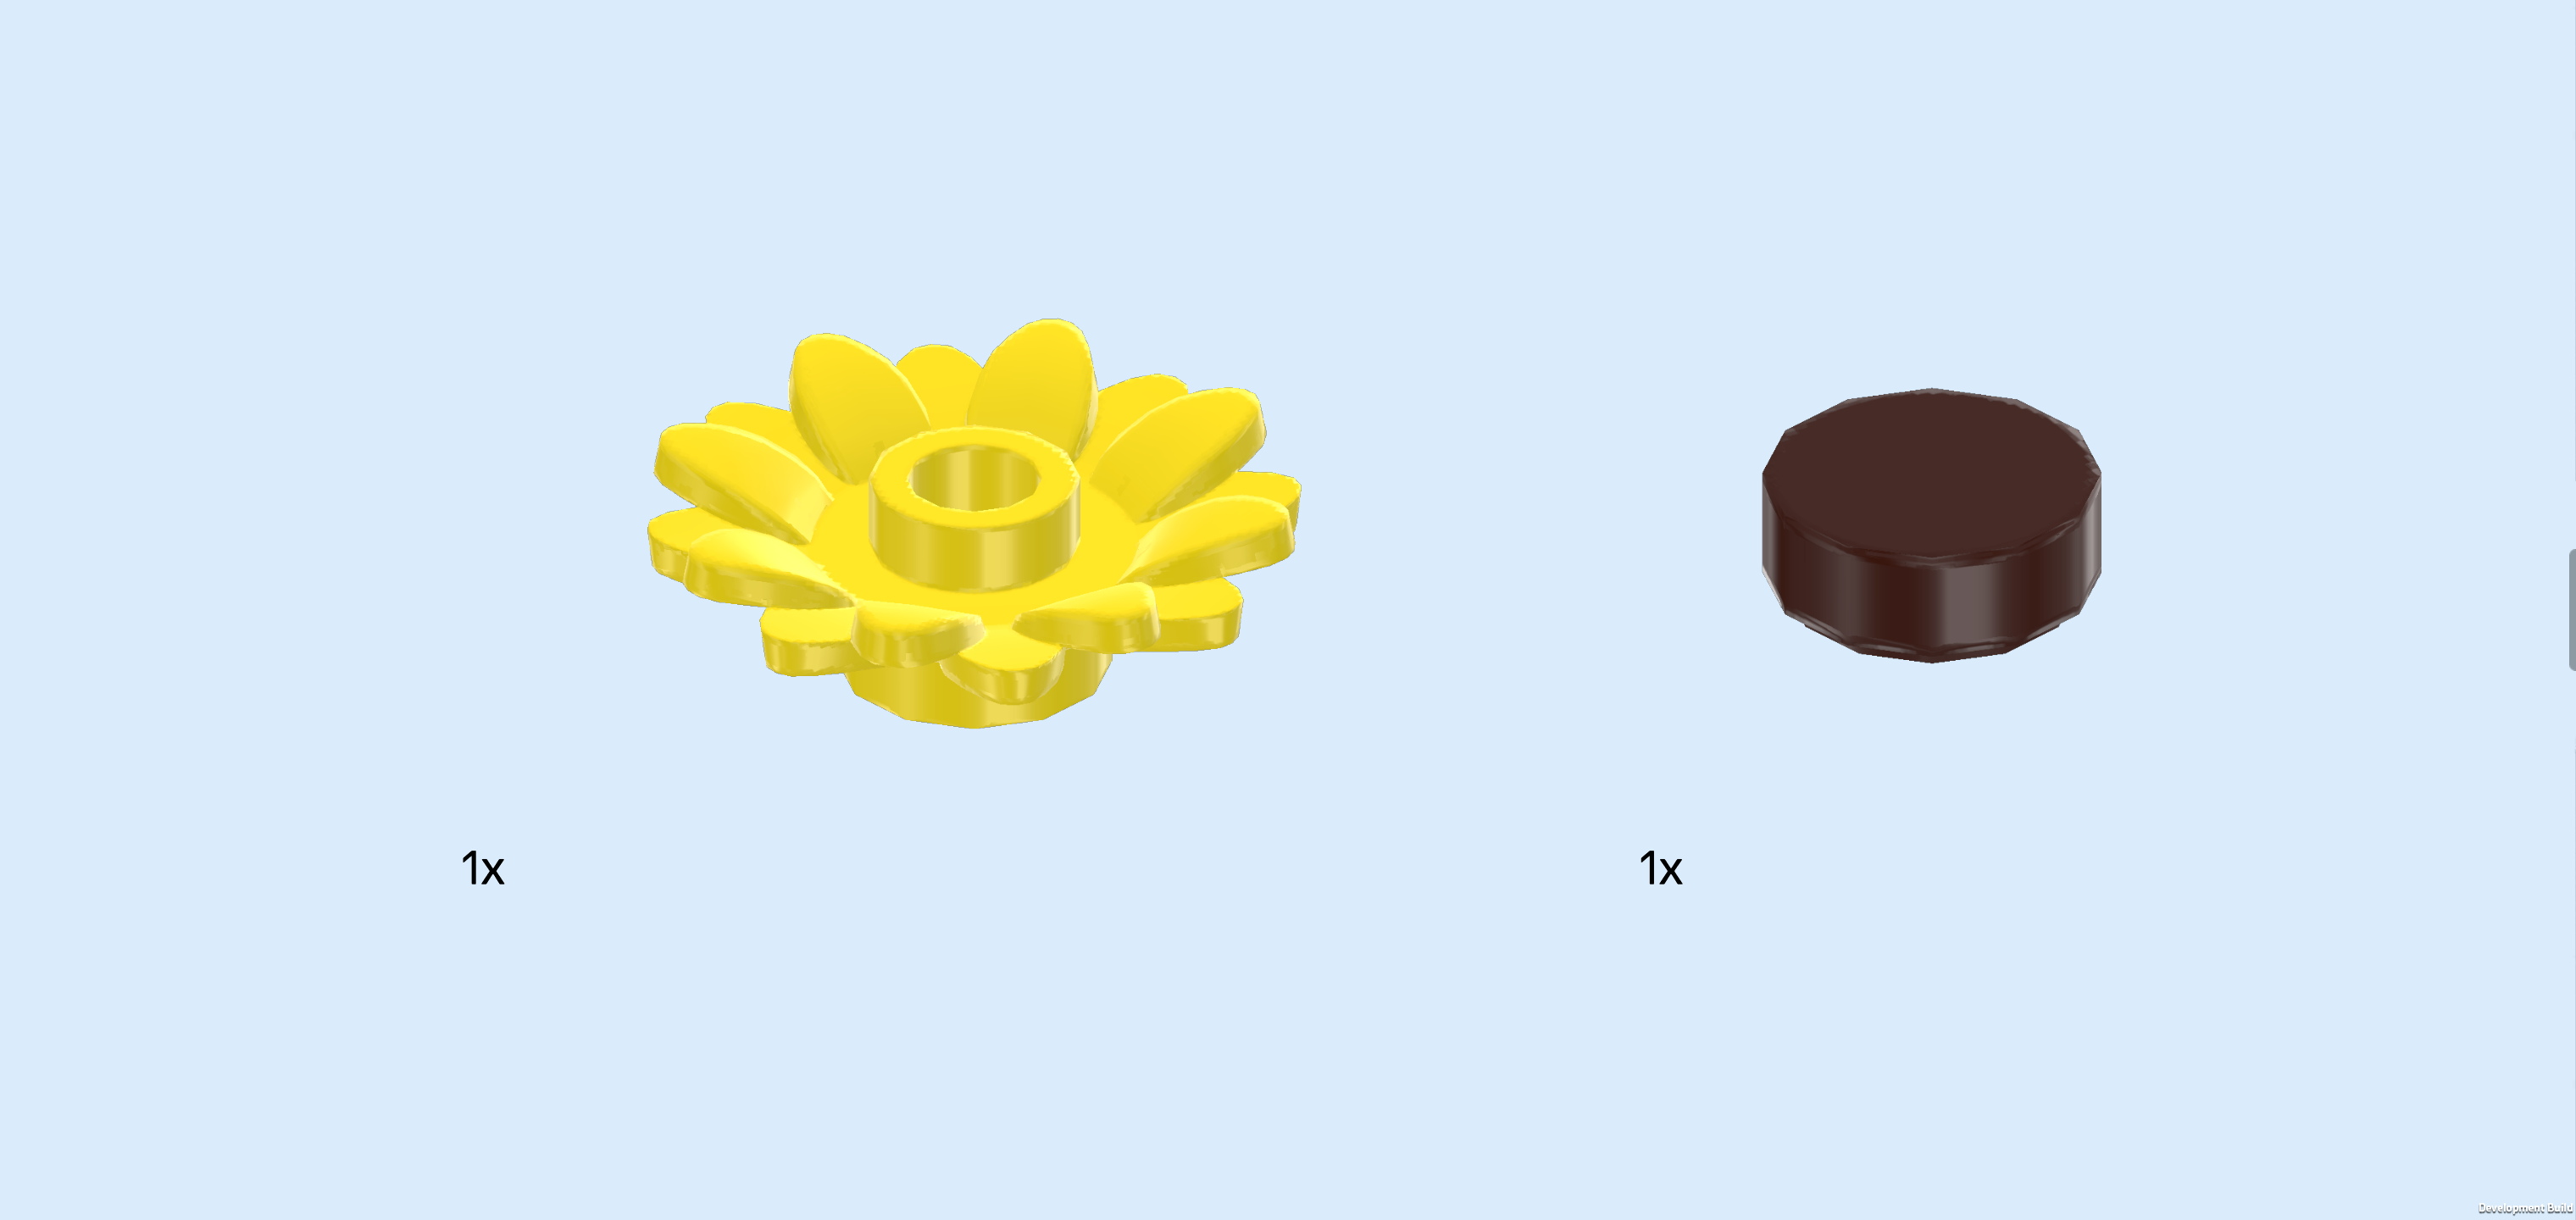
| Collect the following 2 pieces: |
| 1 bright yellow sunflower blossom 1x1, |
| and 1 dark brown round tile 1x1. |
| Put the bottom side of the sunflower blossom 1x1 on the angled handle of the previous piece. |
| Put the round tile 1x1 on the middle knob of the sunflower blossom. |
| The sunflower is finished! Great job! Insert the bottom end of its shaft into the round plate with leaves located on the sideboard. This is a flower vase! |
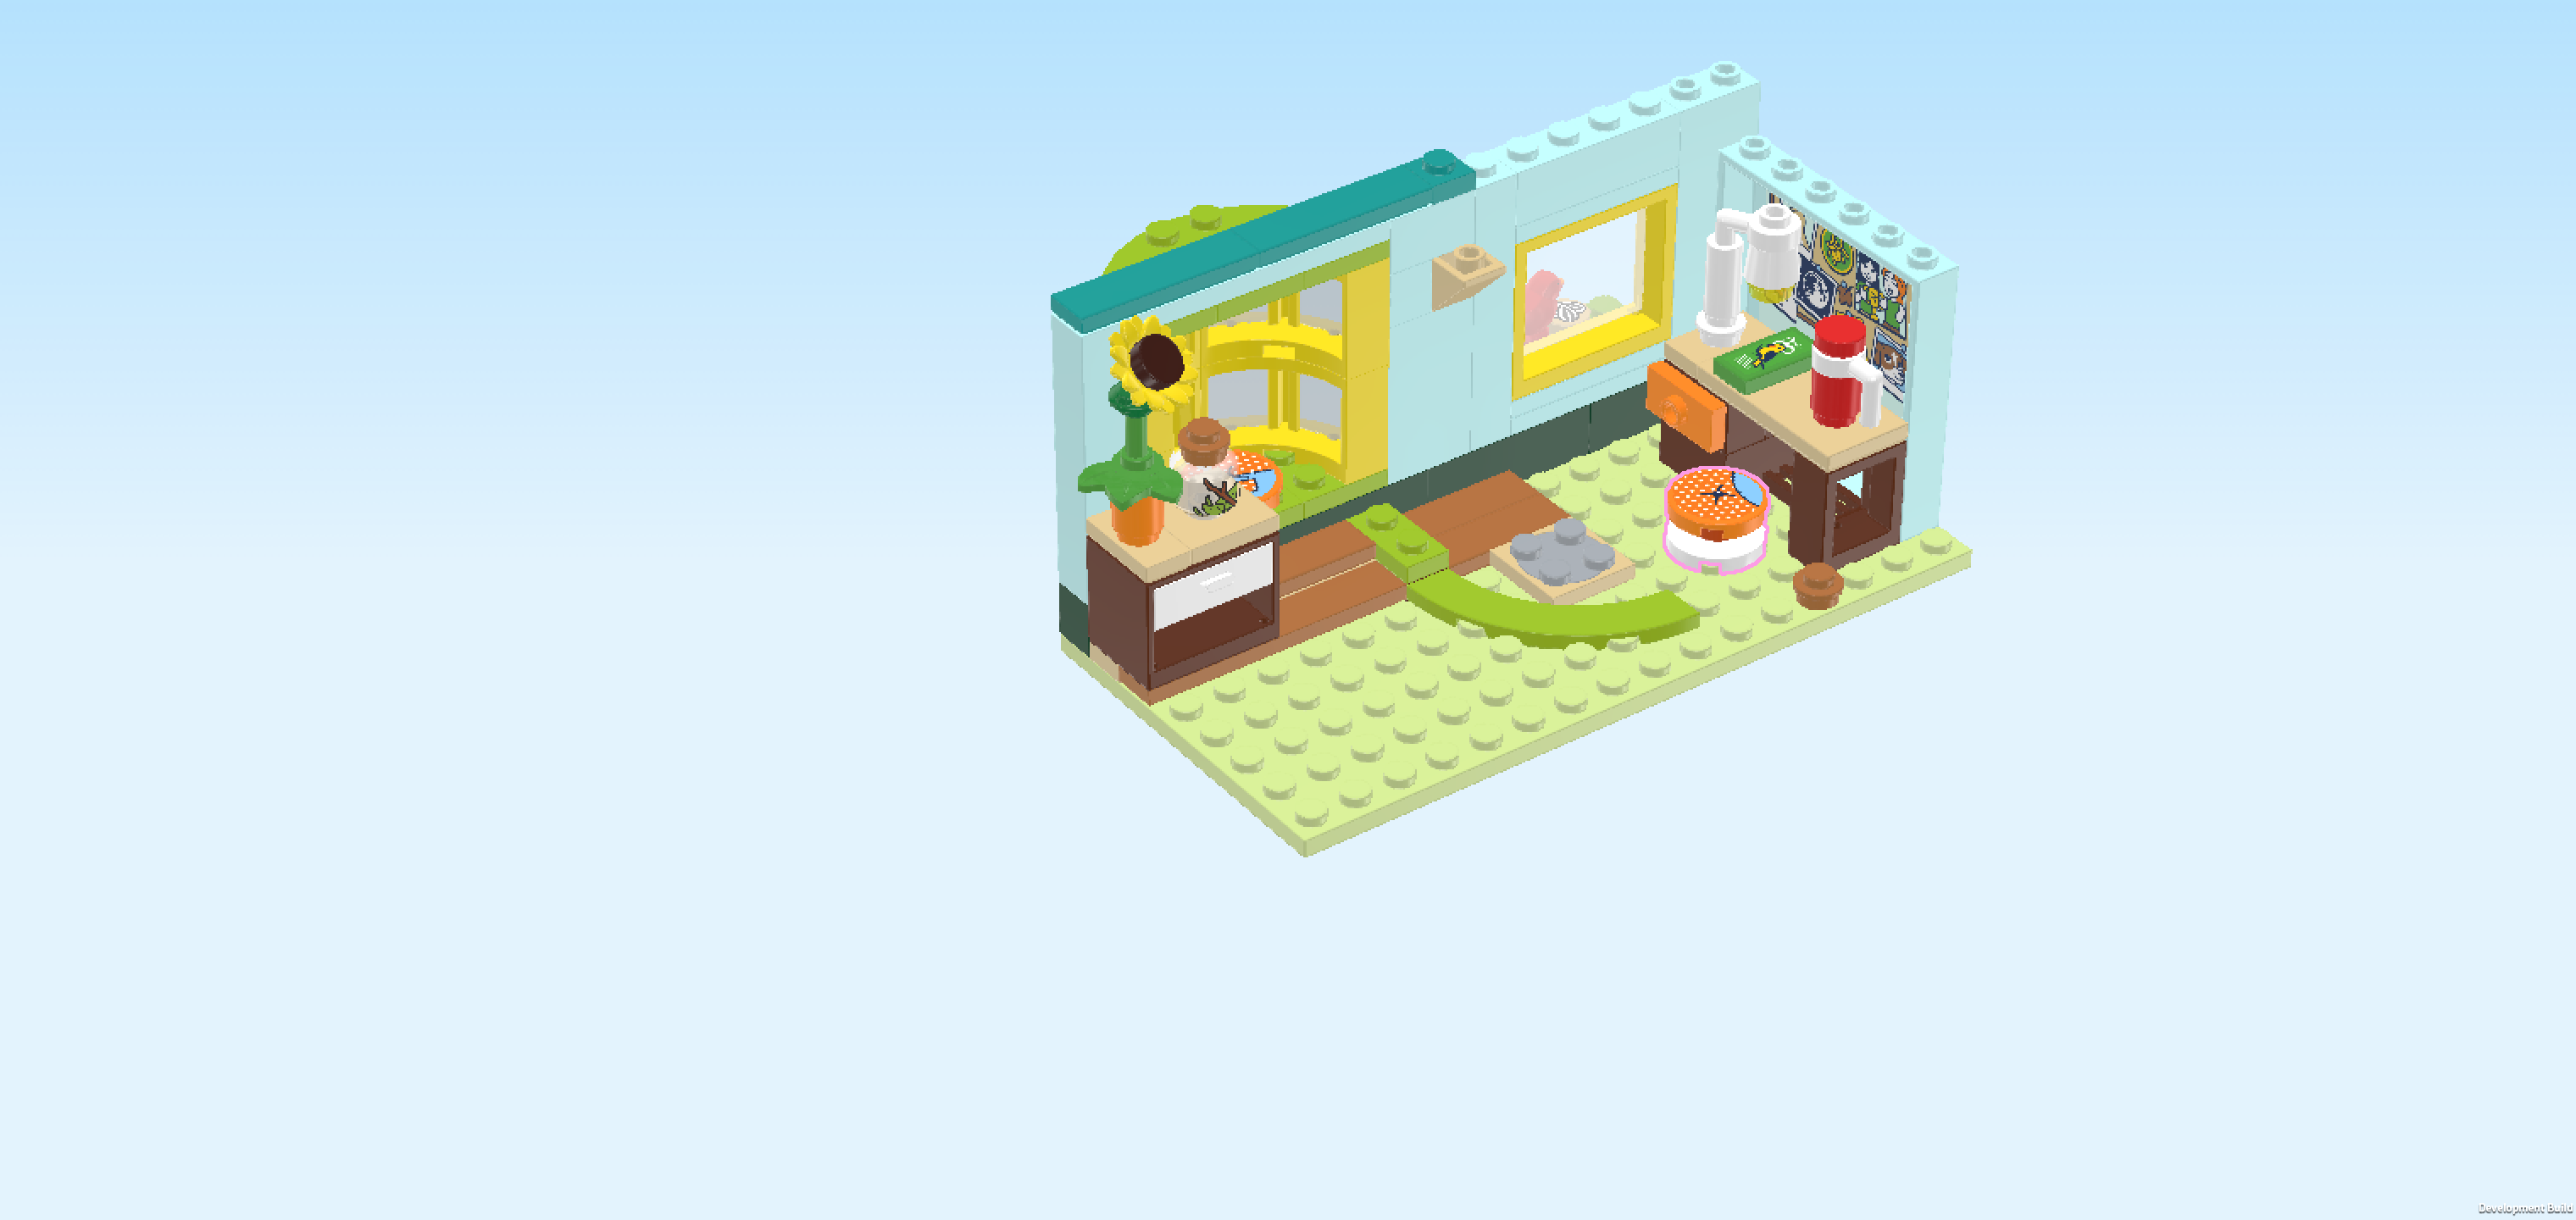
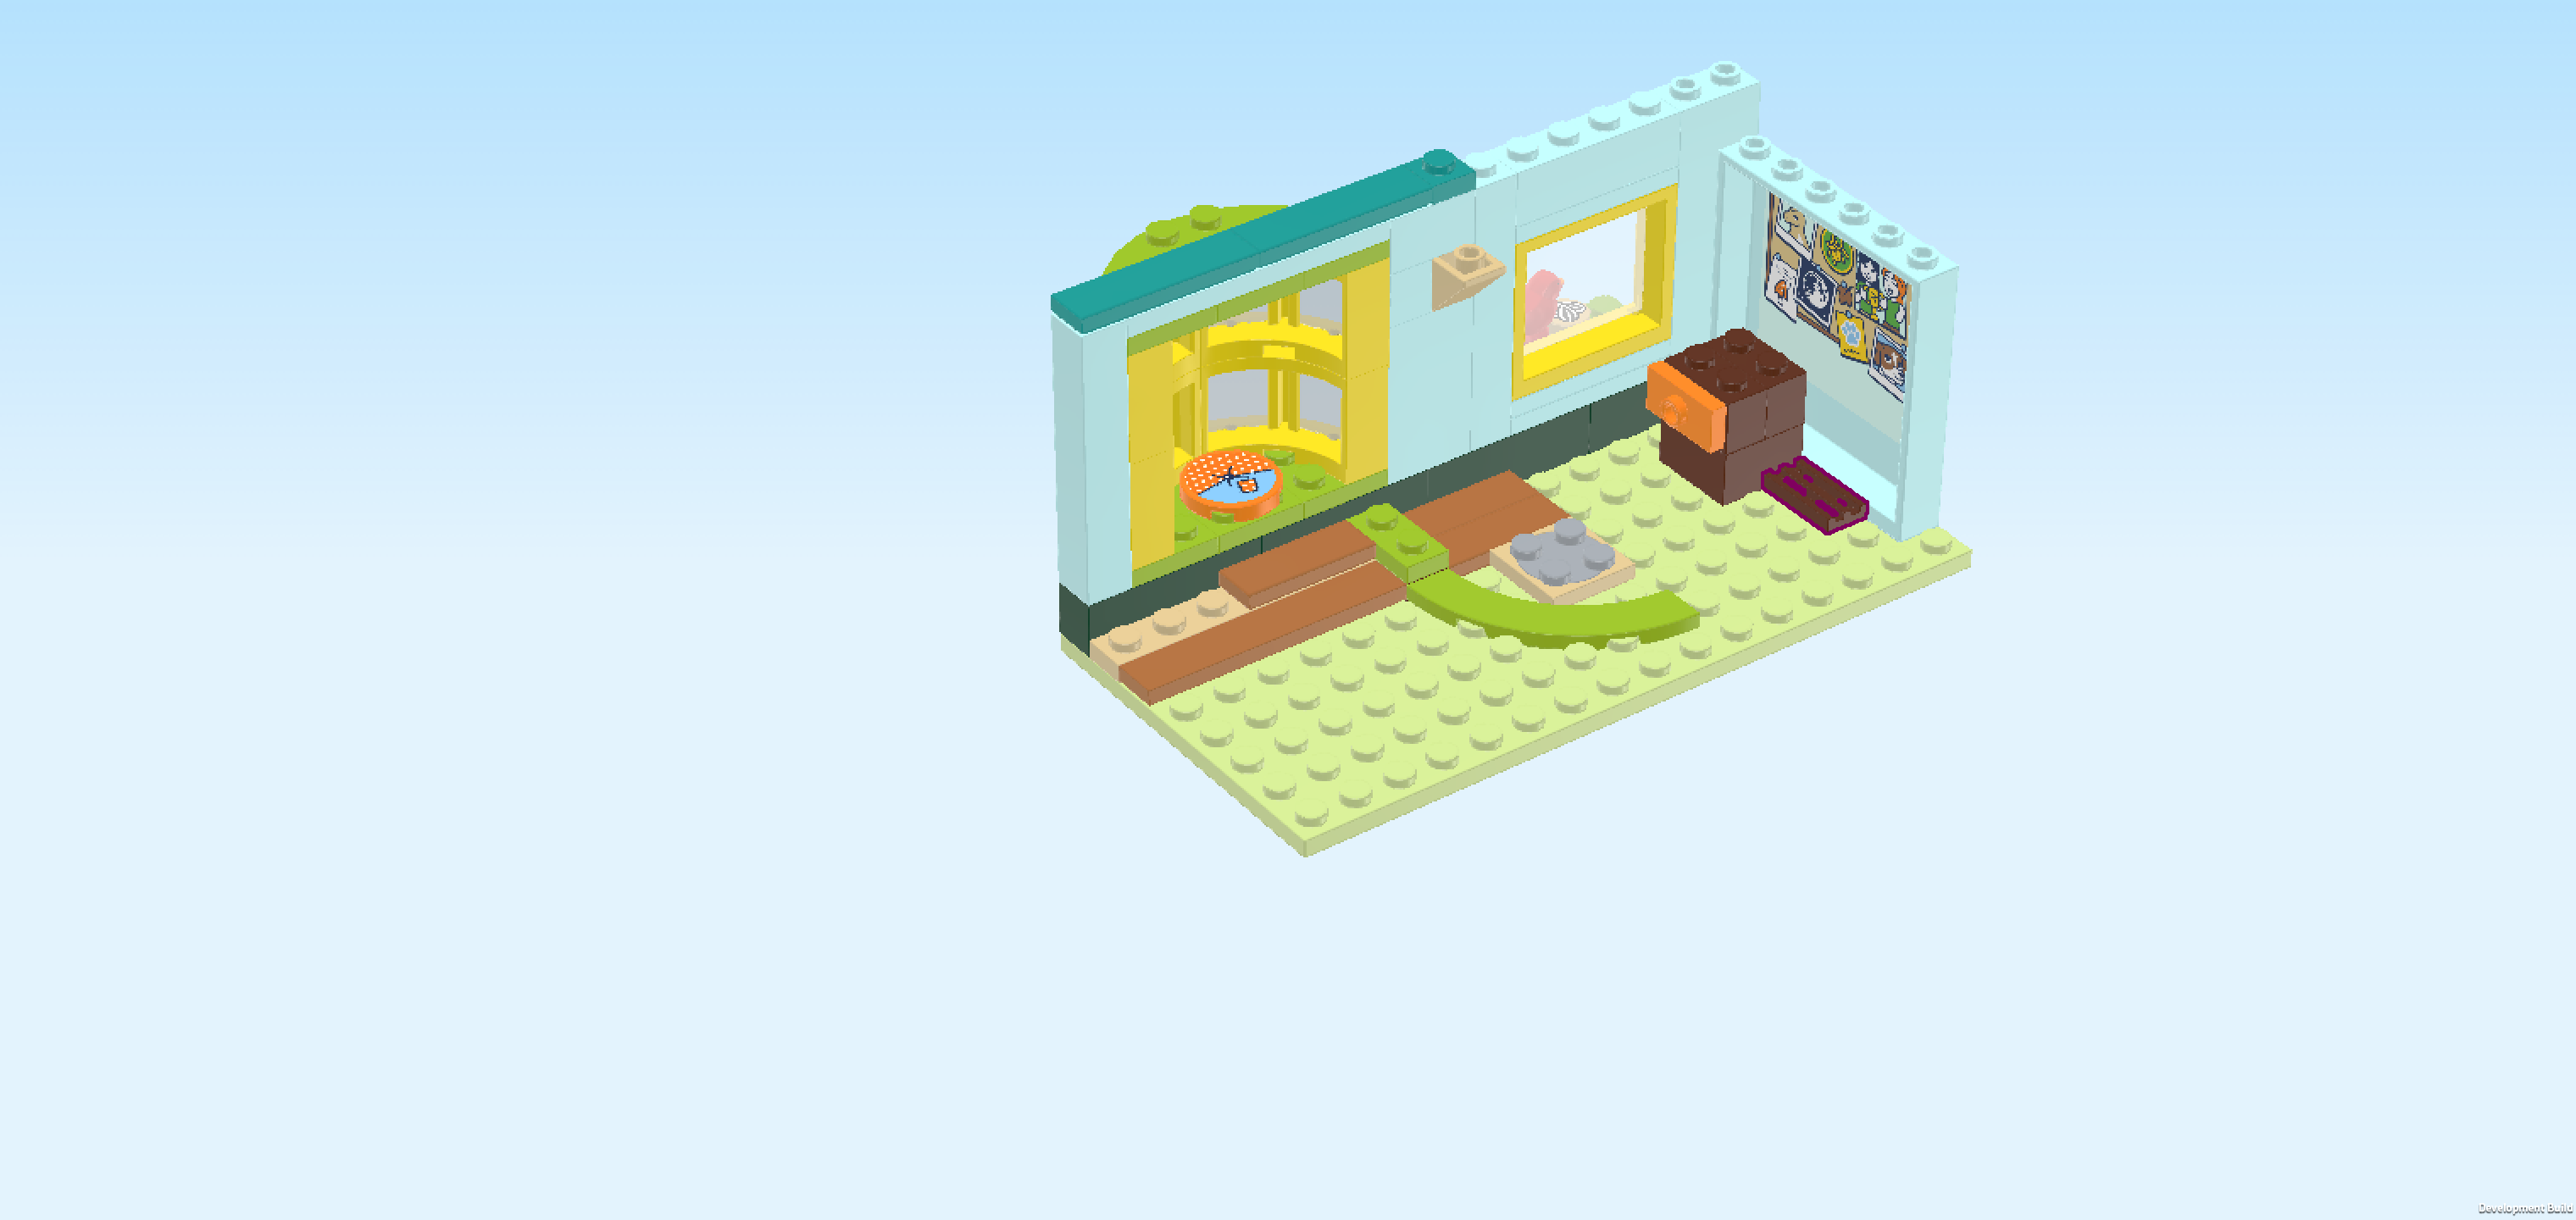
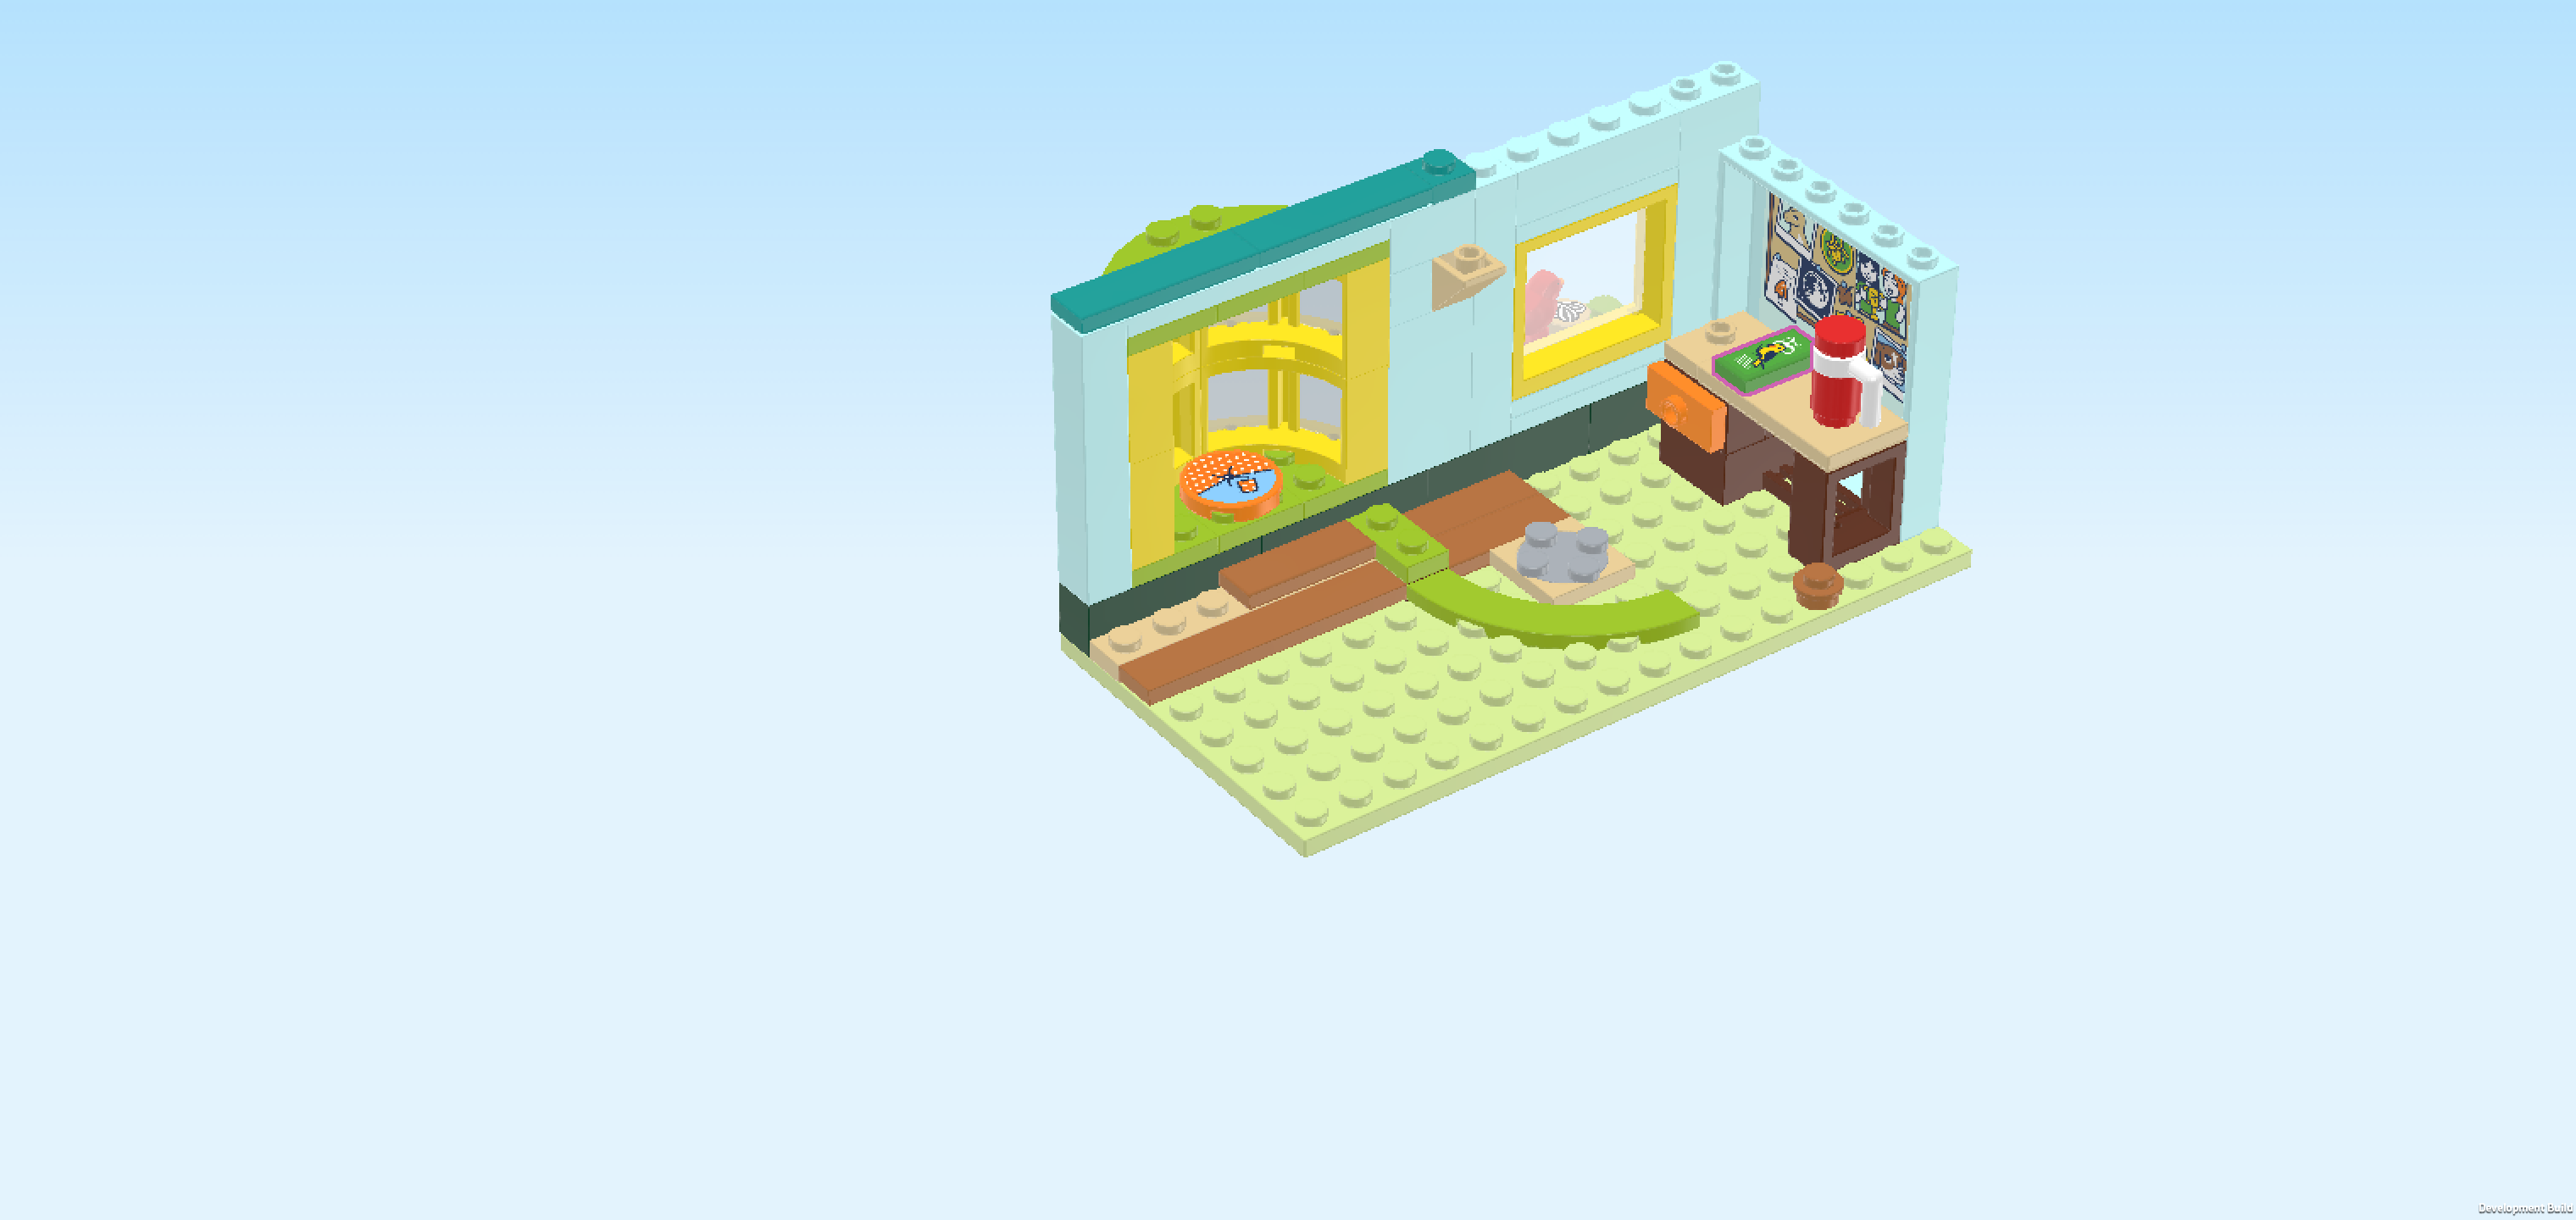
| The floor plan of Autumn's room with 2 walls, desk and bay window is finished! Well done! Autumn's room is taking shape, and it already has a lot of lovely details. With this, we have also finished building bag 2. You probably have a few extra pieces left over again. To continue building right away, move on to the next sentence. If you would like to take a break now and return to the instructions later, you can skip to the sentence introducing bag 3. |
| Open bag number 3. You can choose to have the bricks sorted by color again. This bag contains all bricks and pieces for the desk stool, the stairs with bookcase, the floor extension with carpet and the loft bed. |
| Next, we will build the desk stool. |
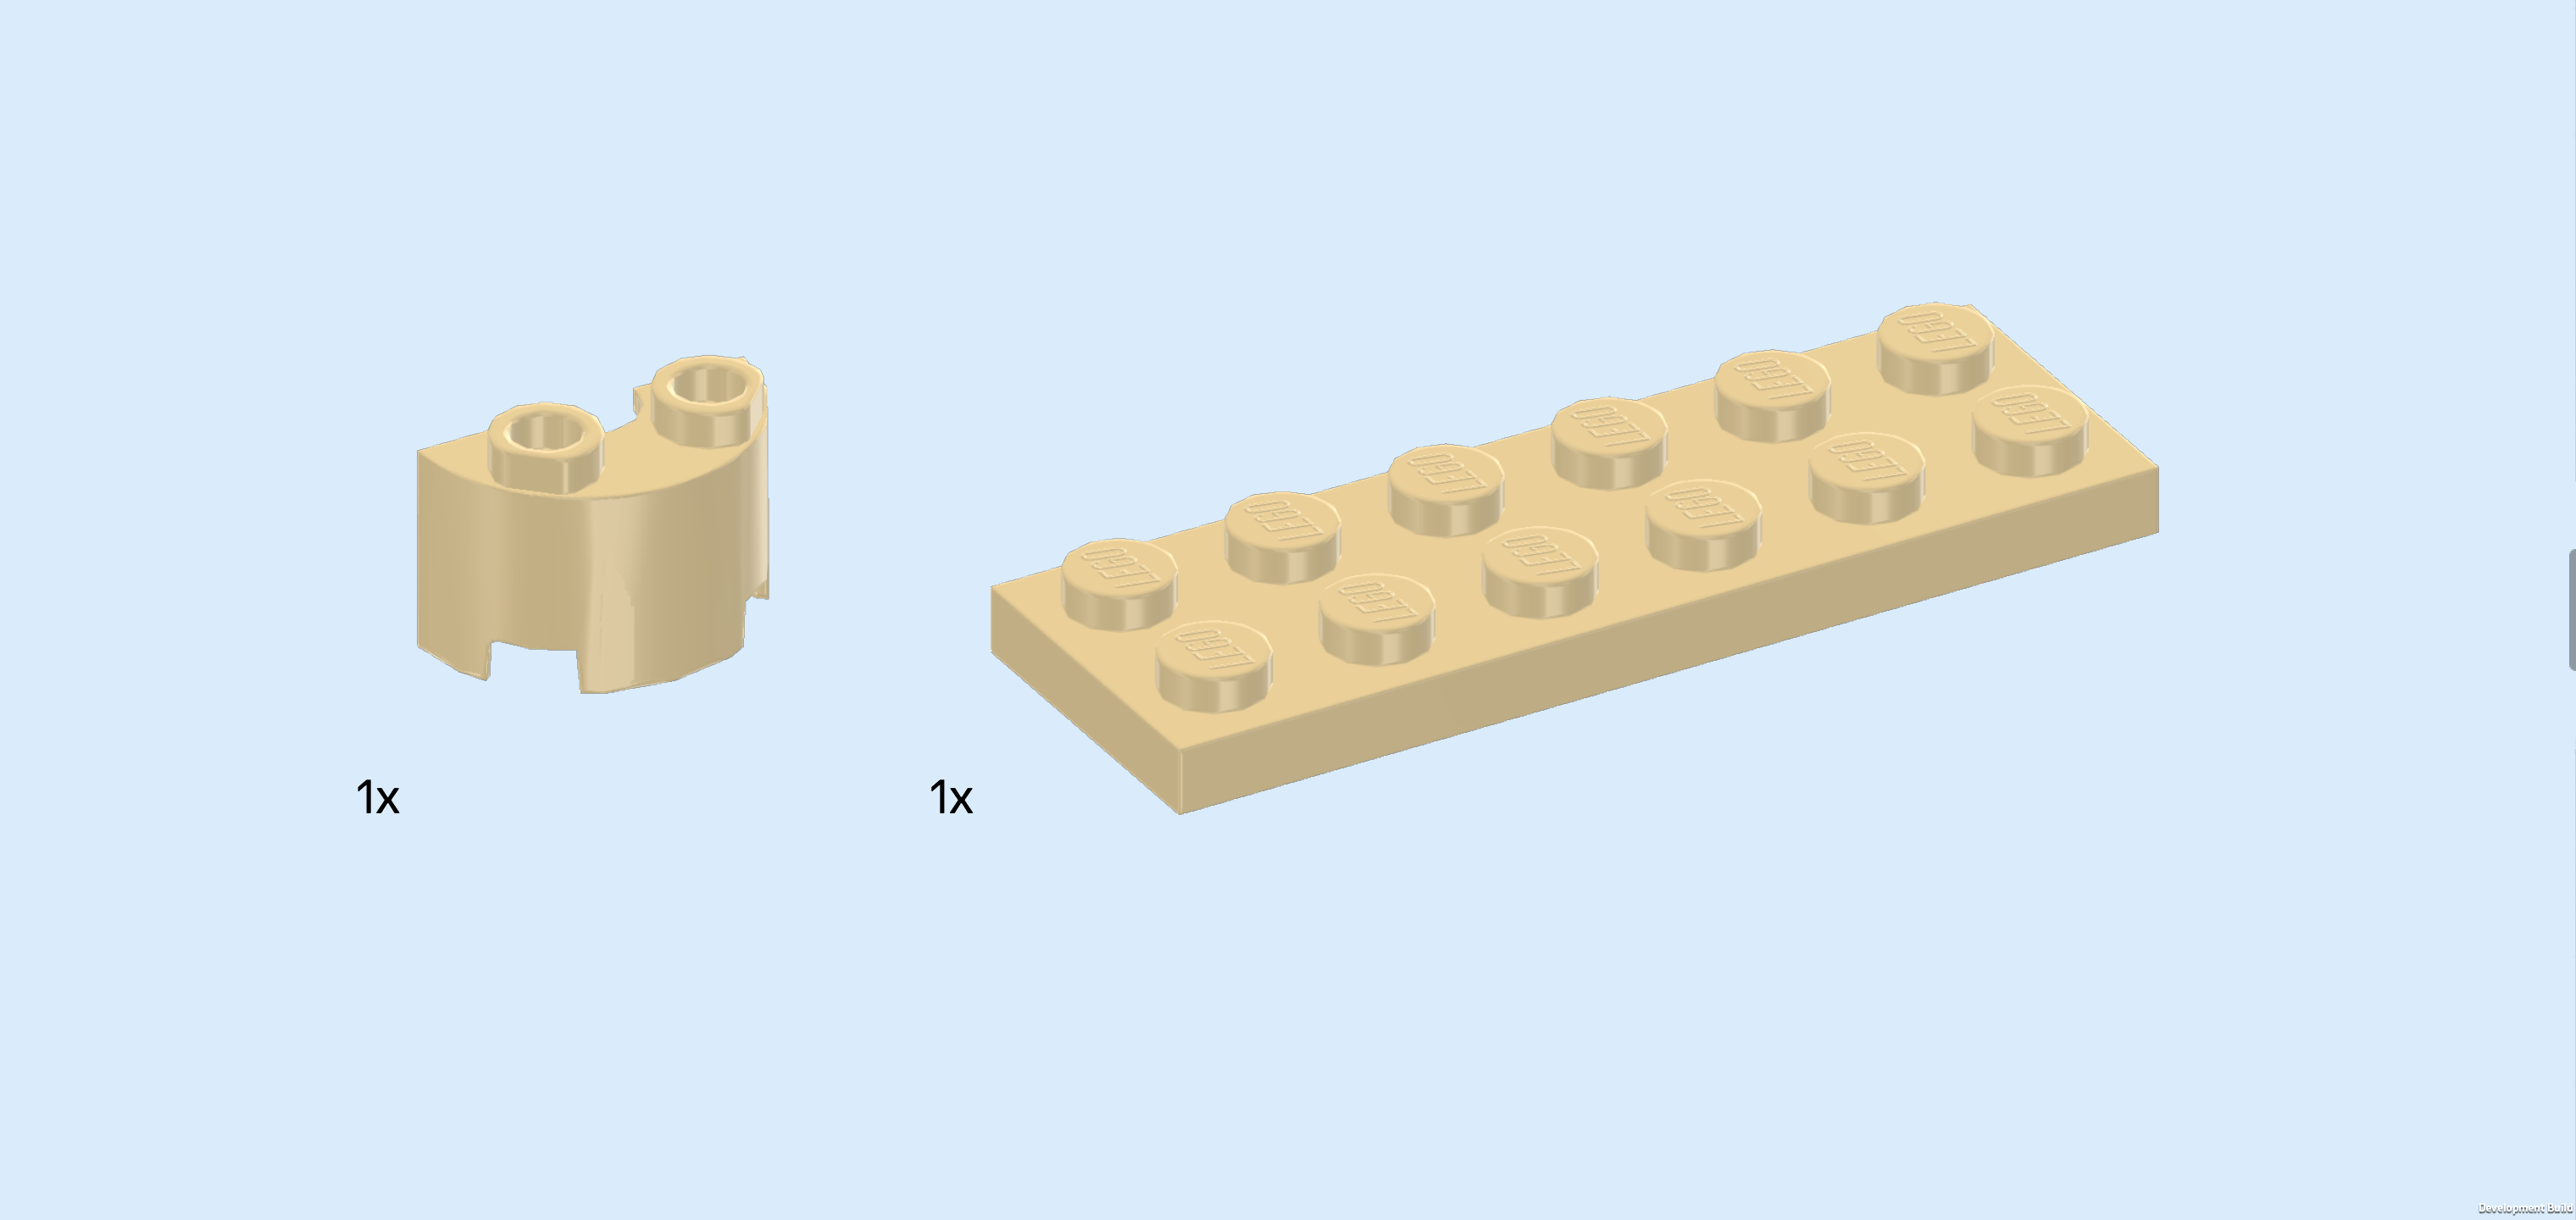
| Collect the following 2 pieces: |
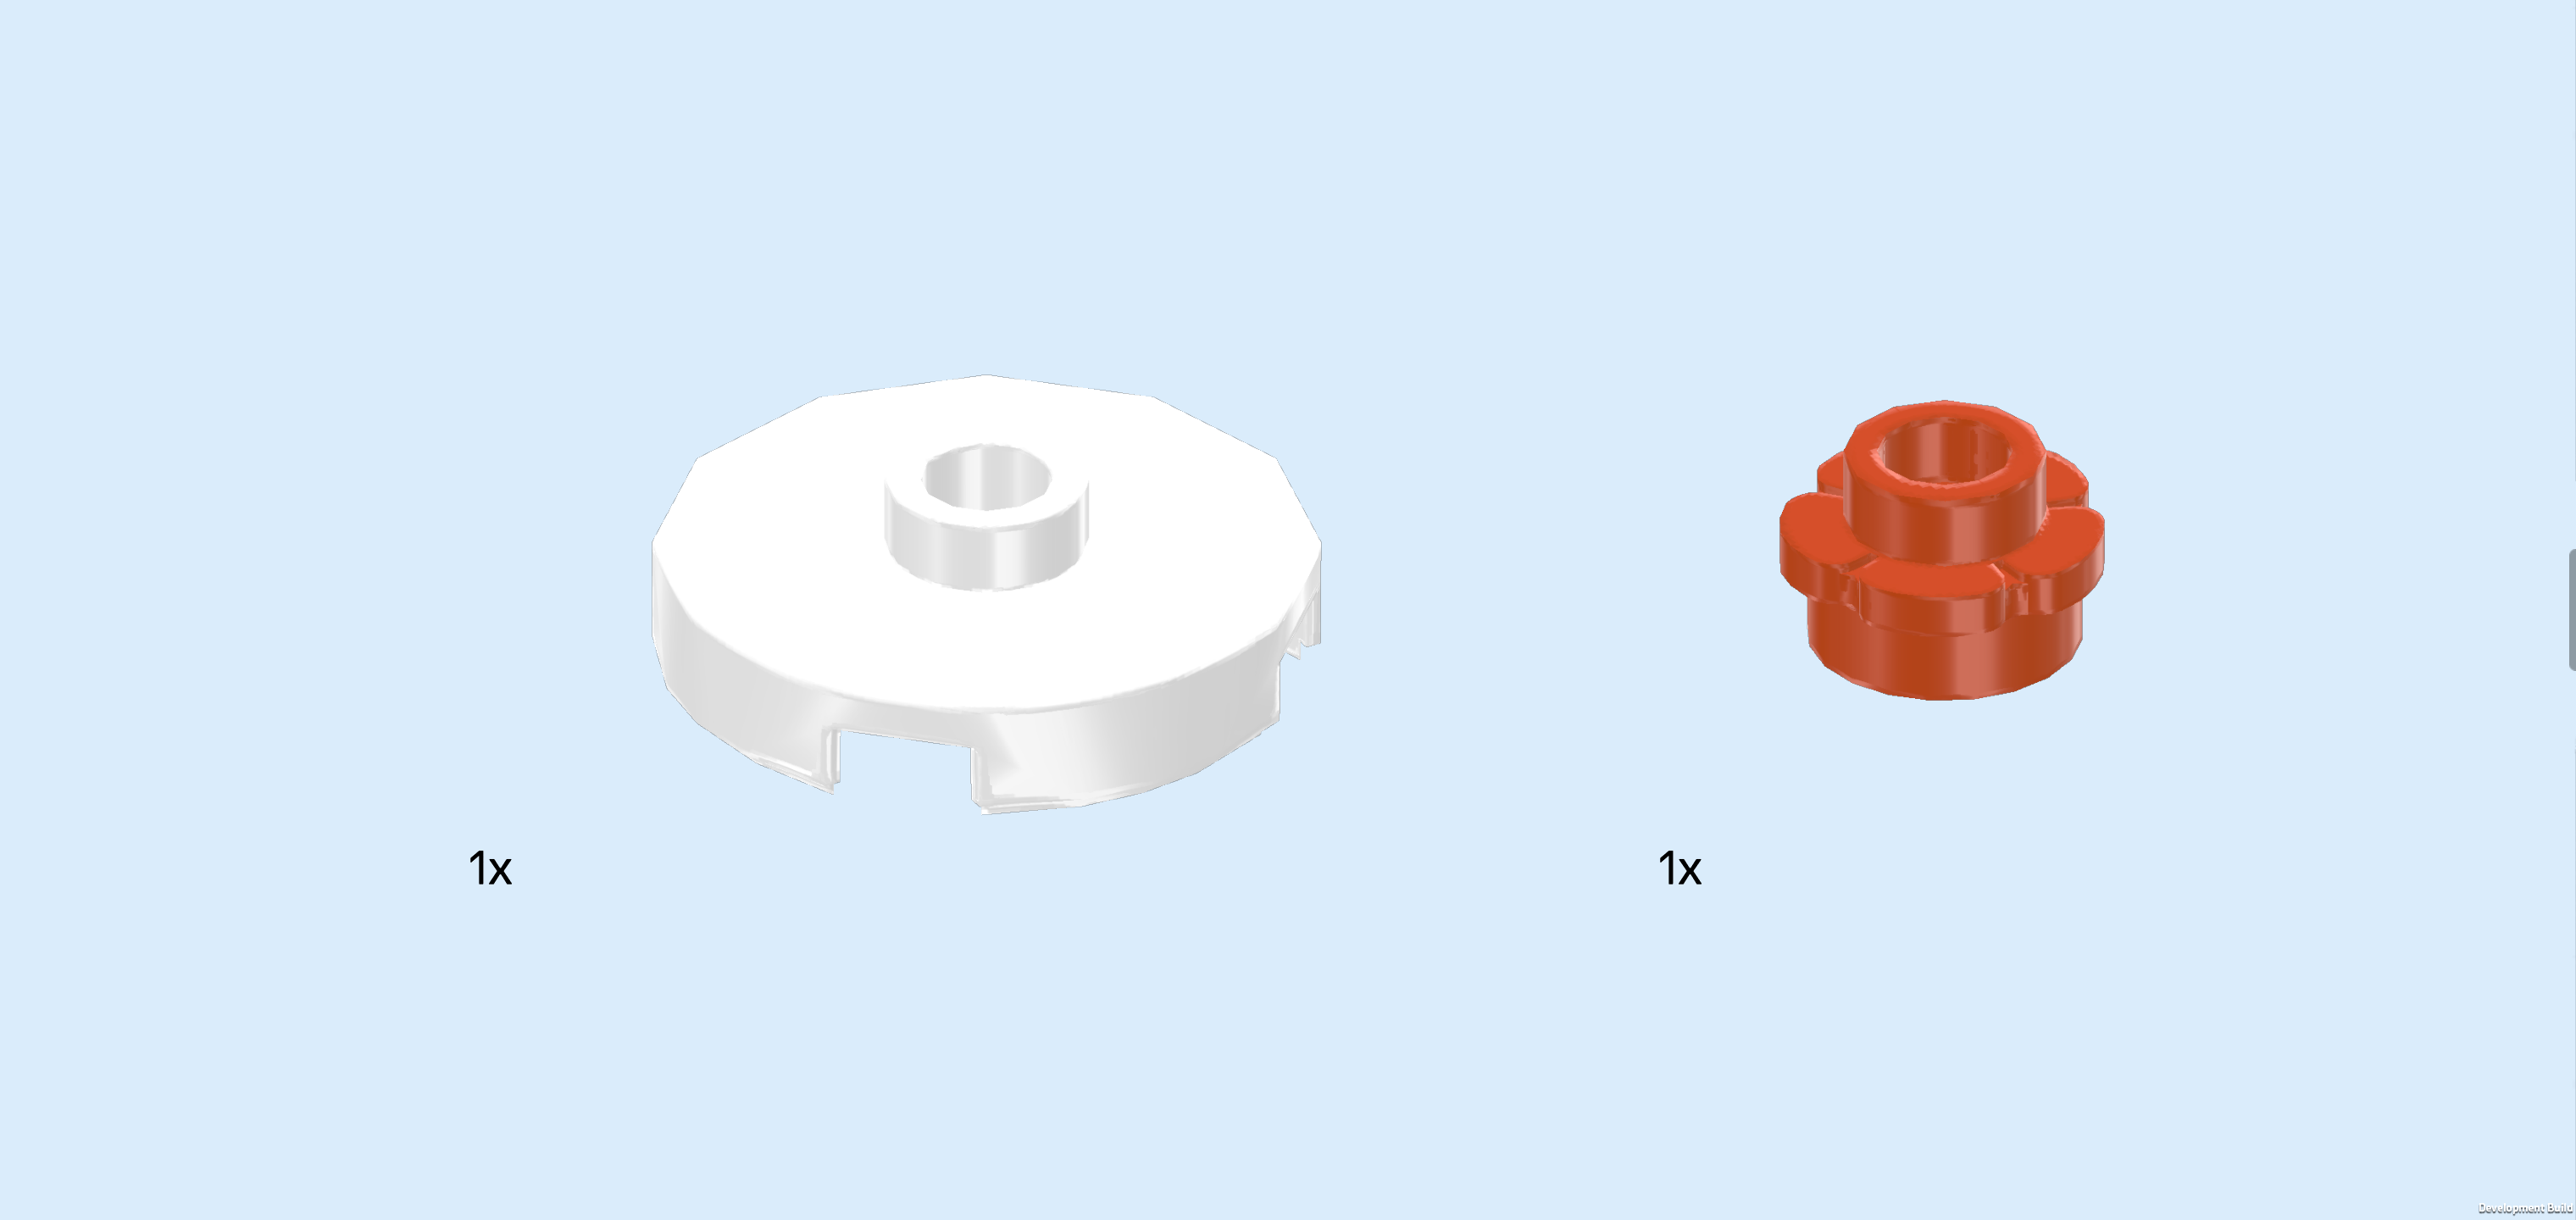
| 1 white round plate 2x2 with 1 knob, |
| and 1 reddish orange flower piece 1x1 with through-hole. |
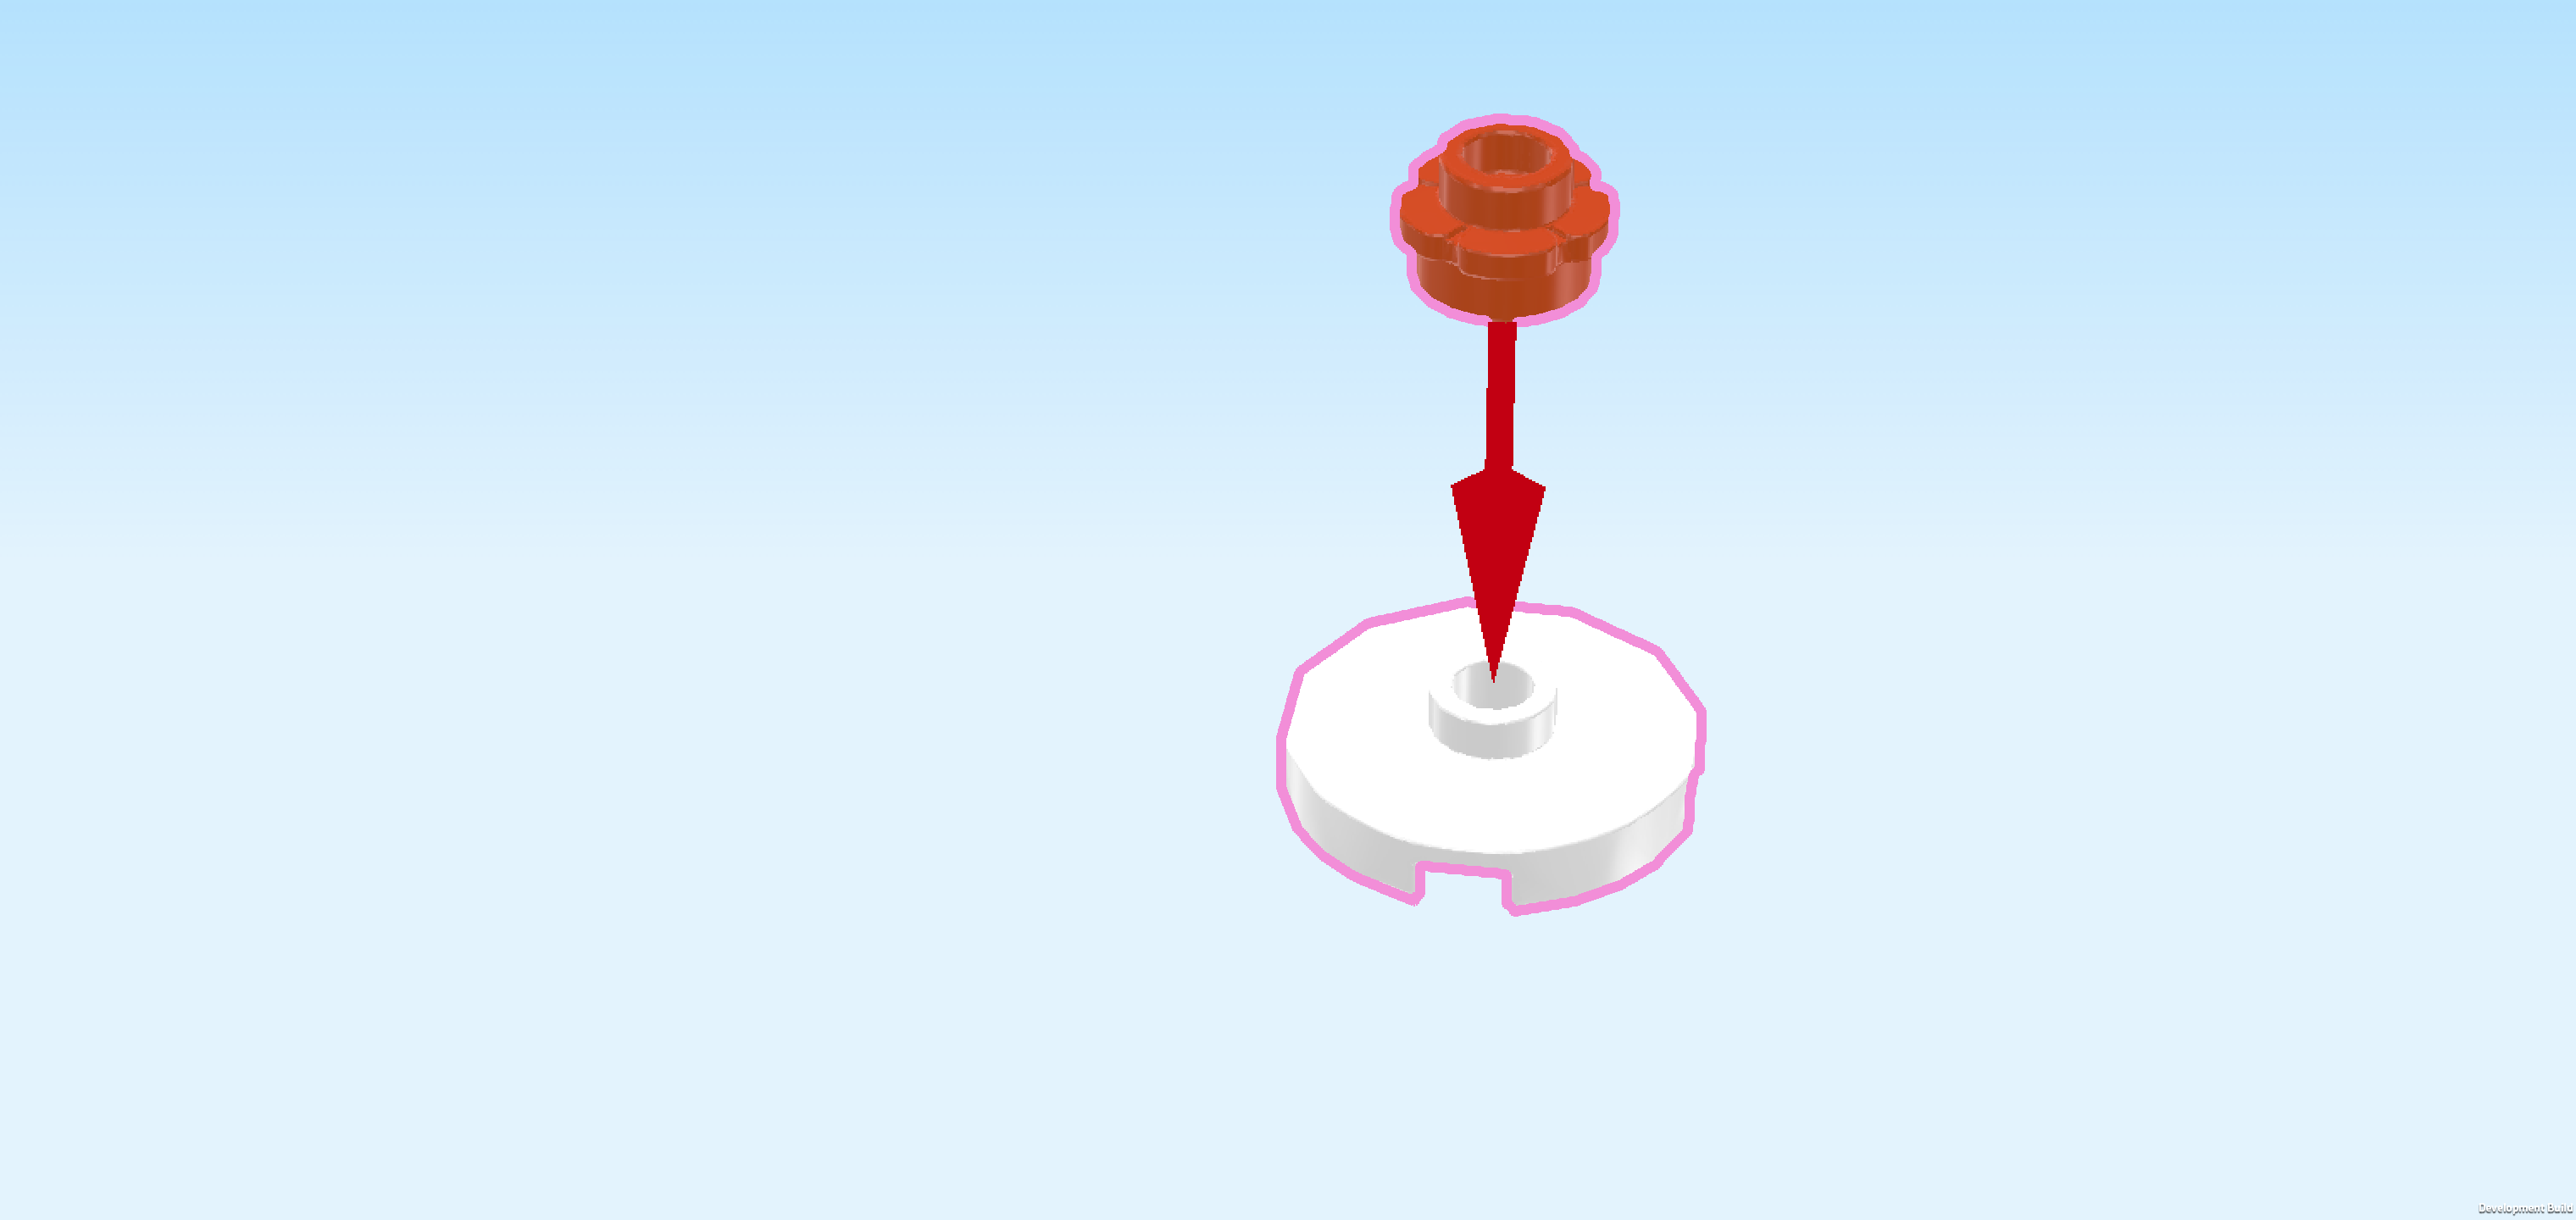
| Put the round plate 2x2 on the table. |
| Put the flower piece 1x1 on top. |
| Collect the following 2 pieces: |
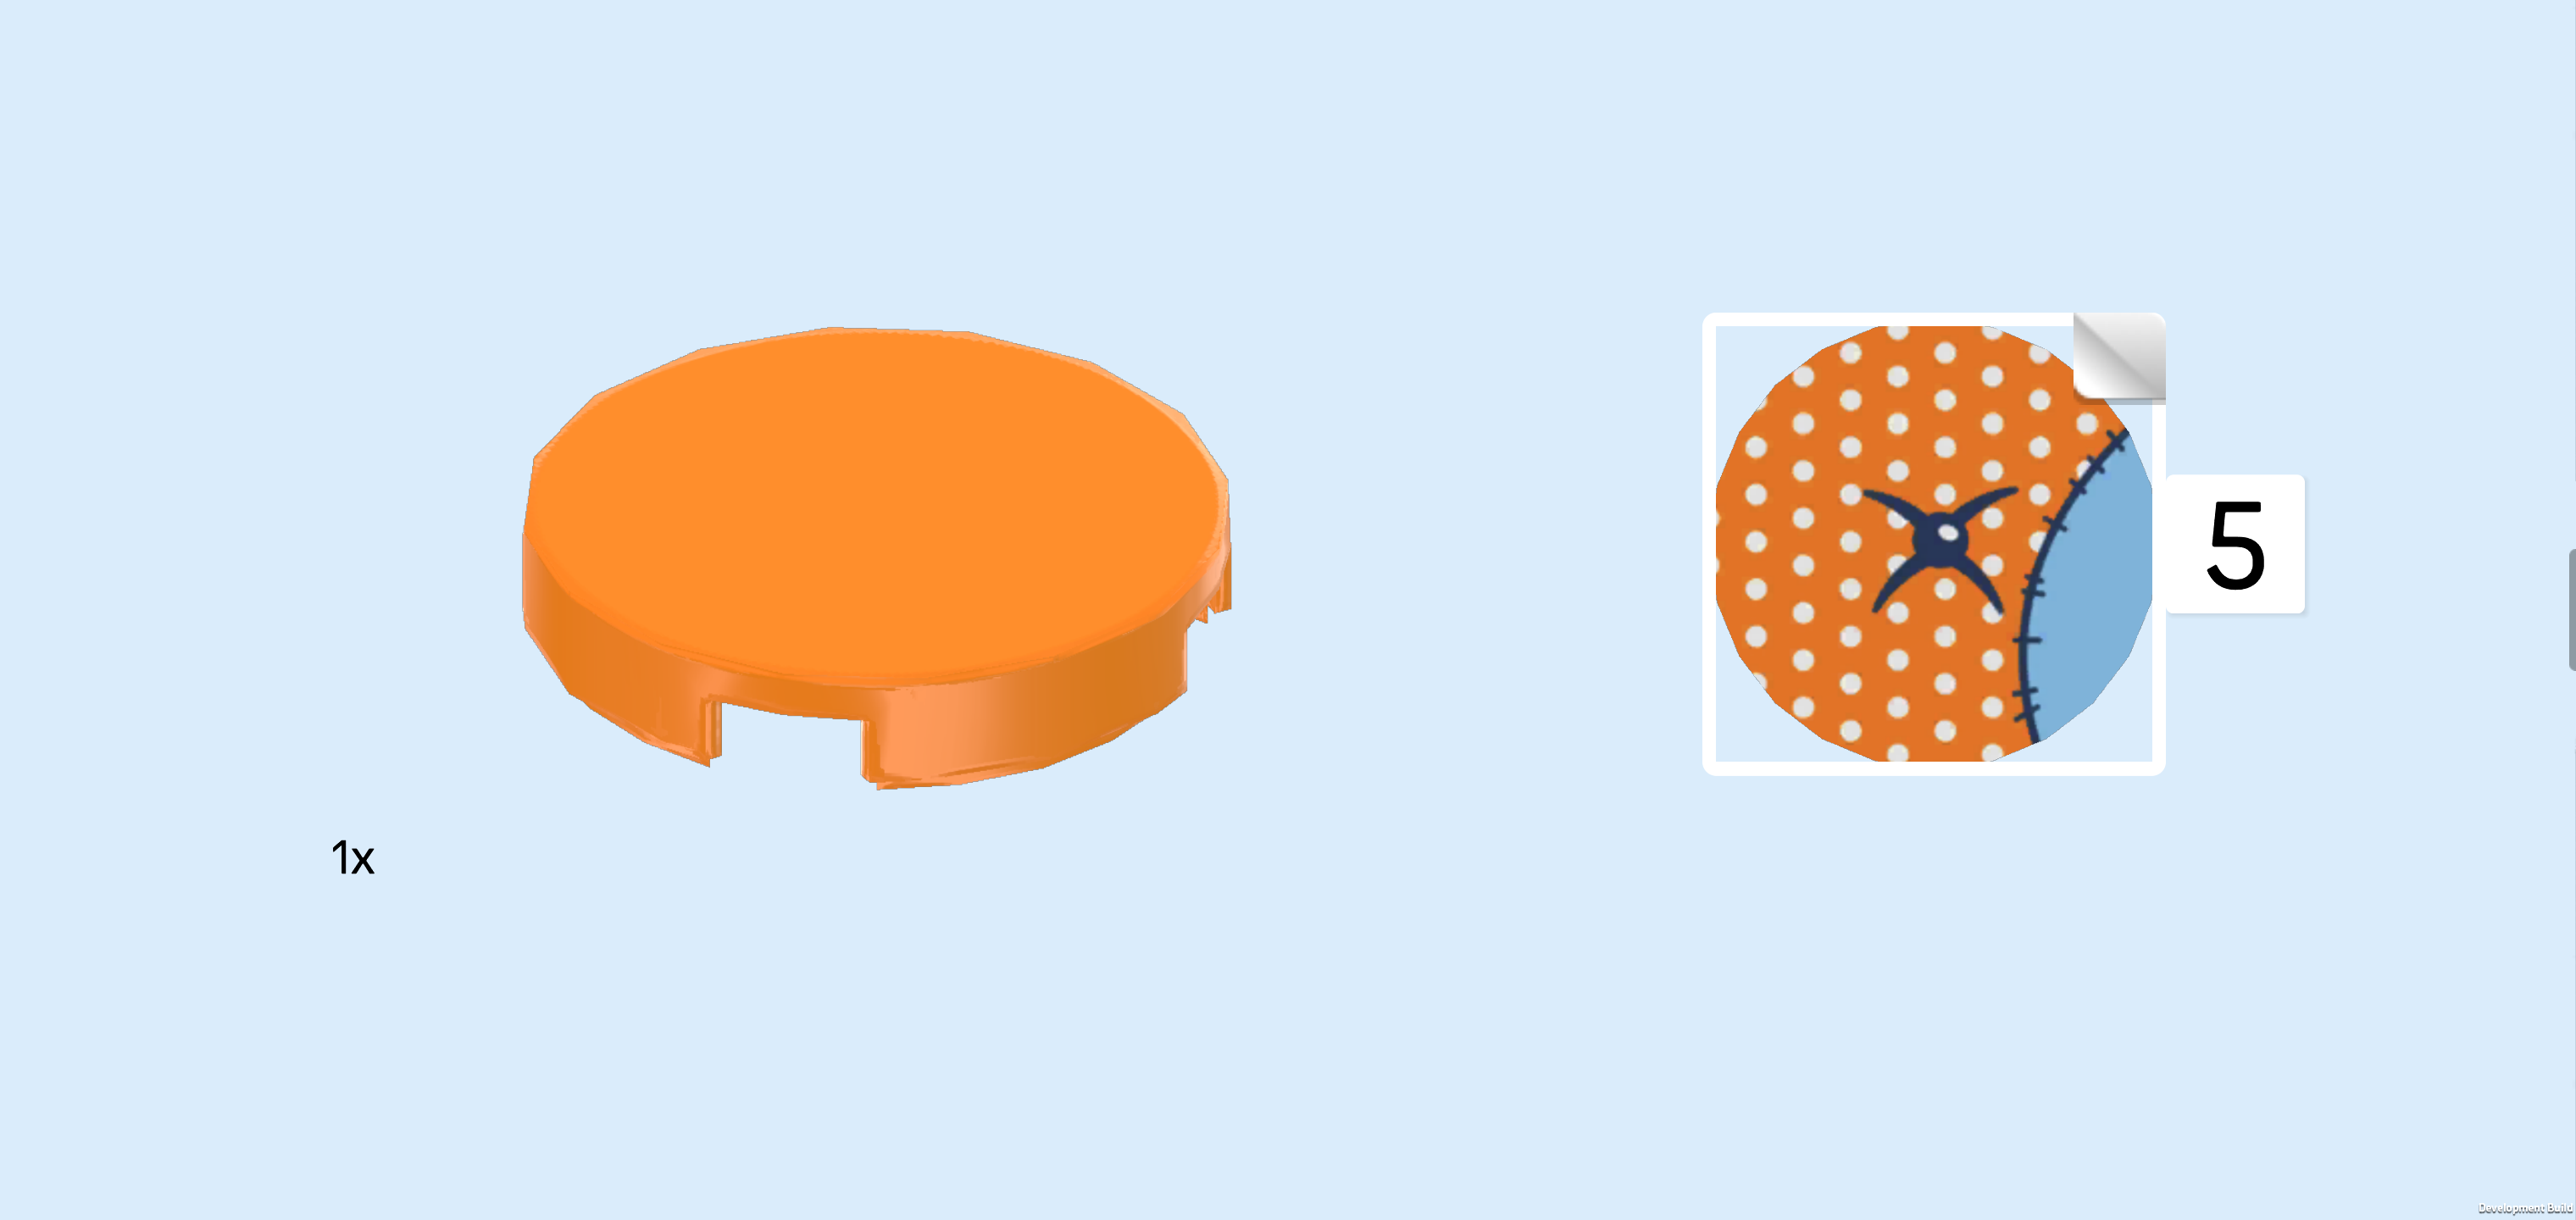
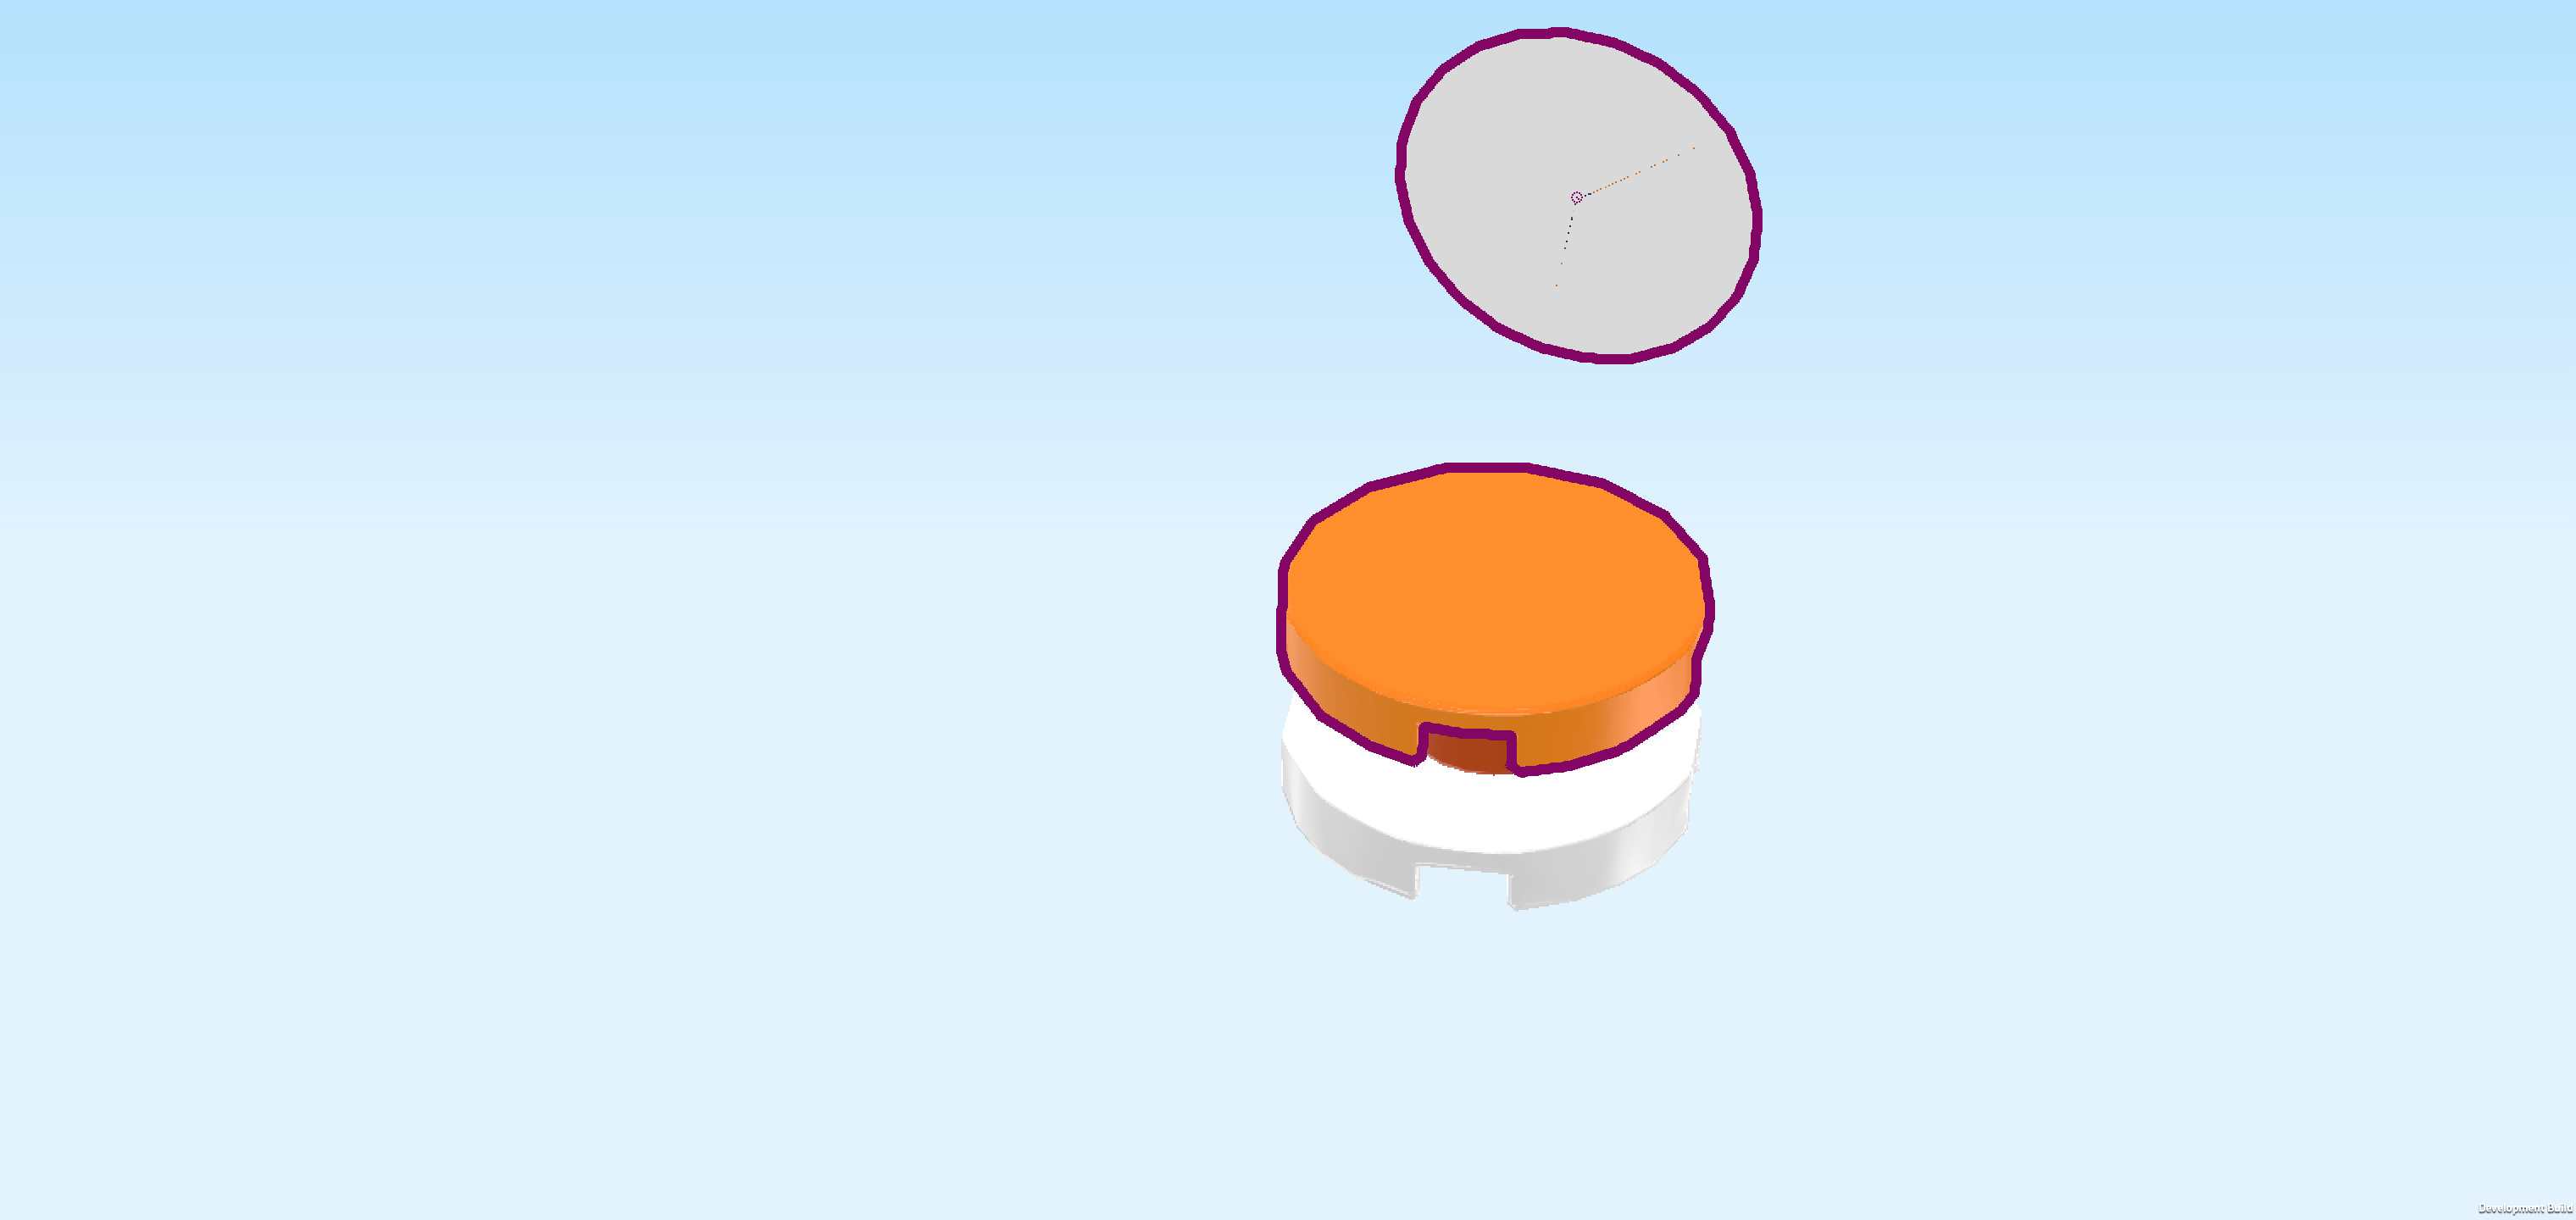
| 1 bright orange round tile 2x2, |
| and 1 round sticker 2x2. |
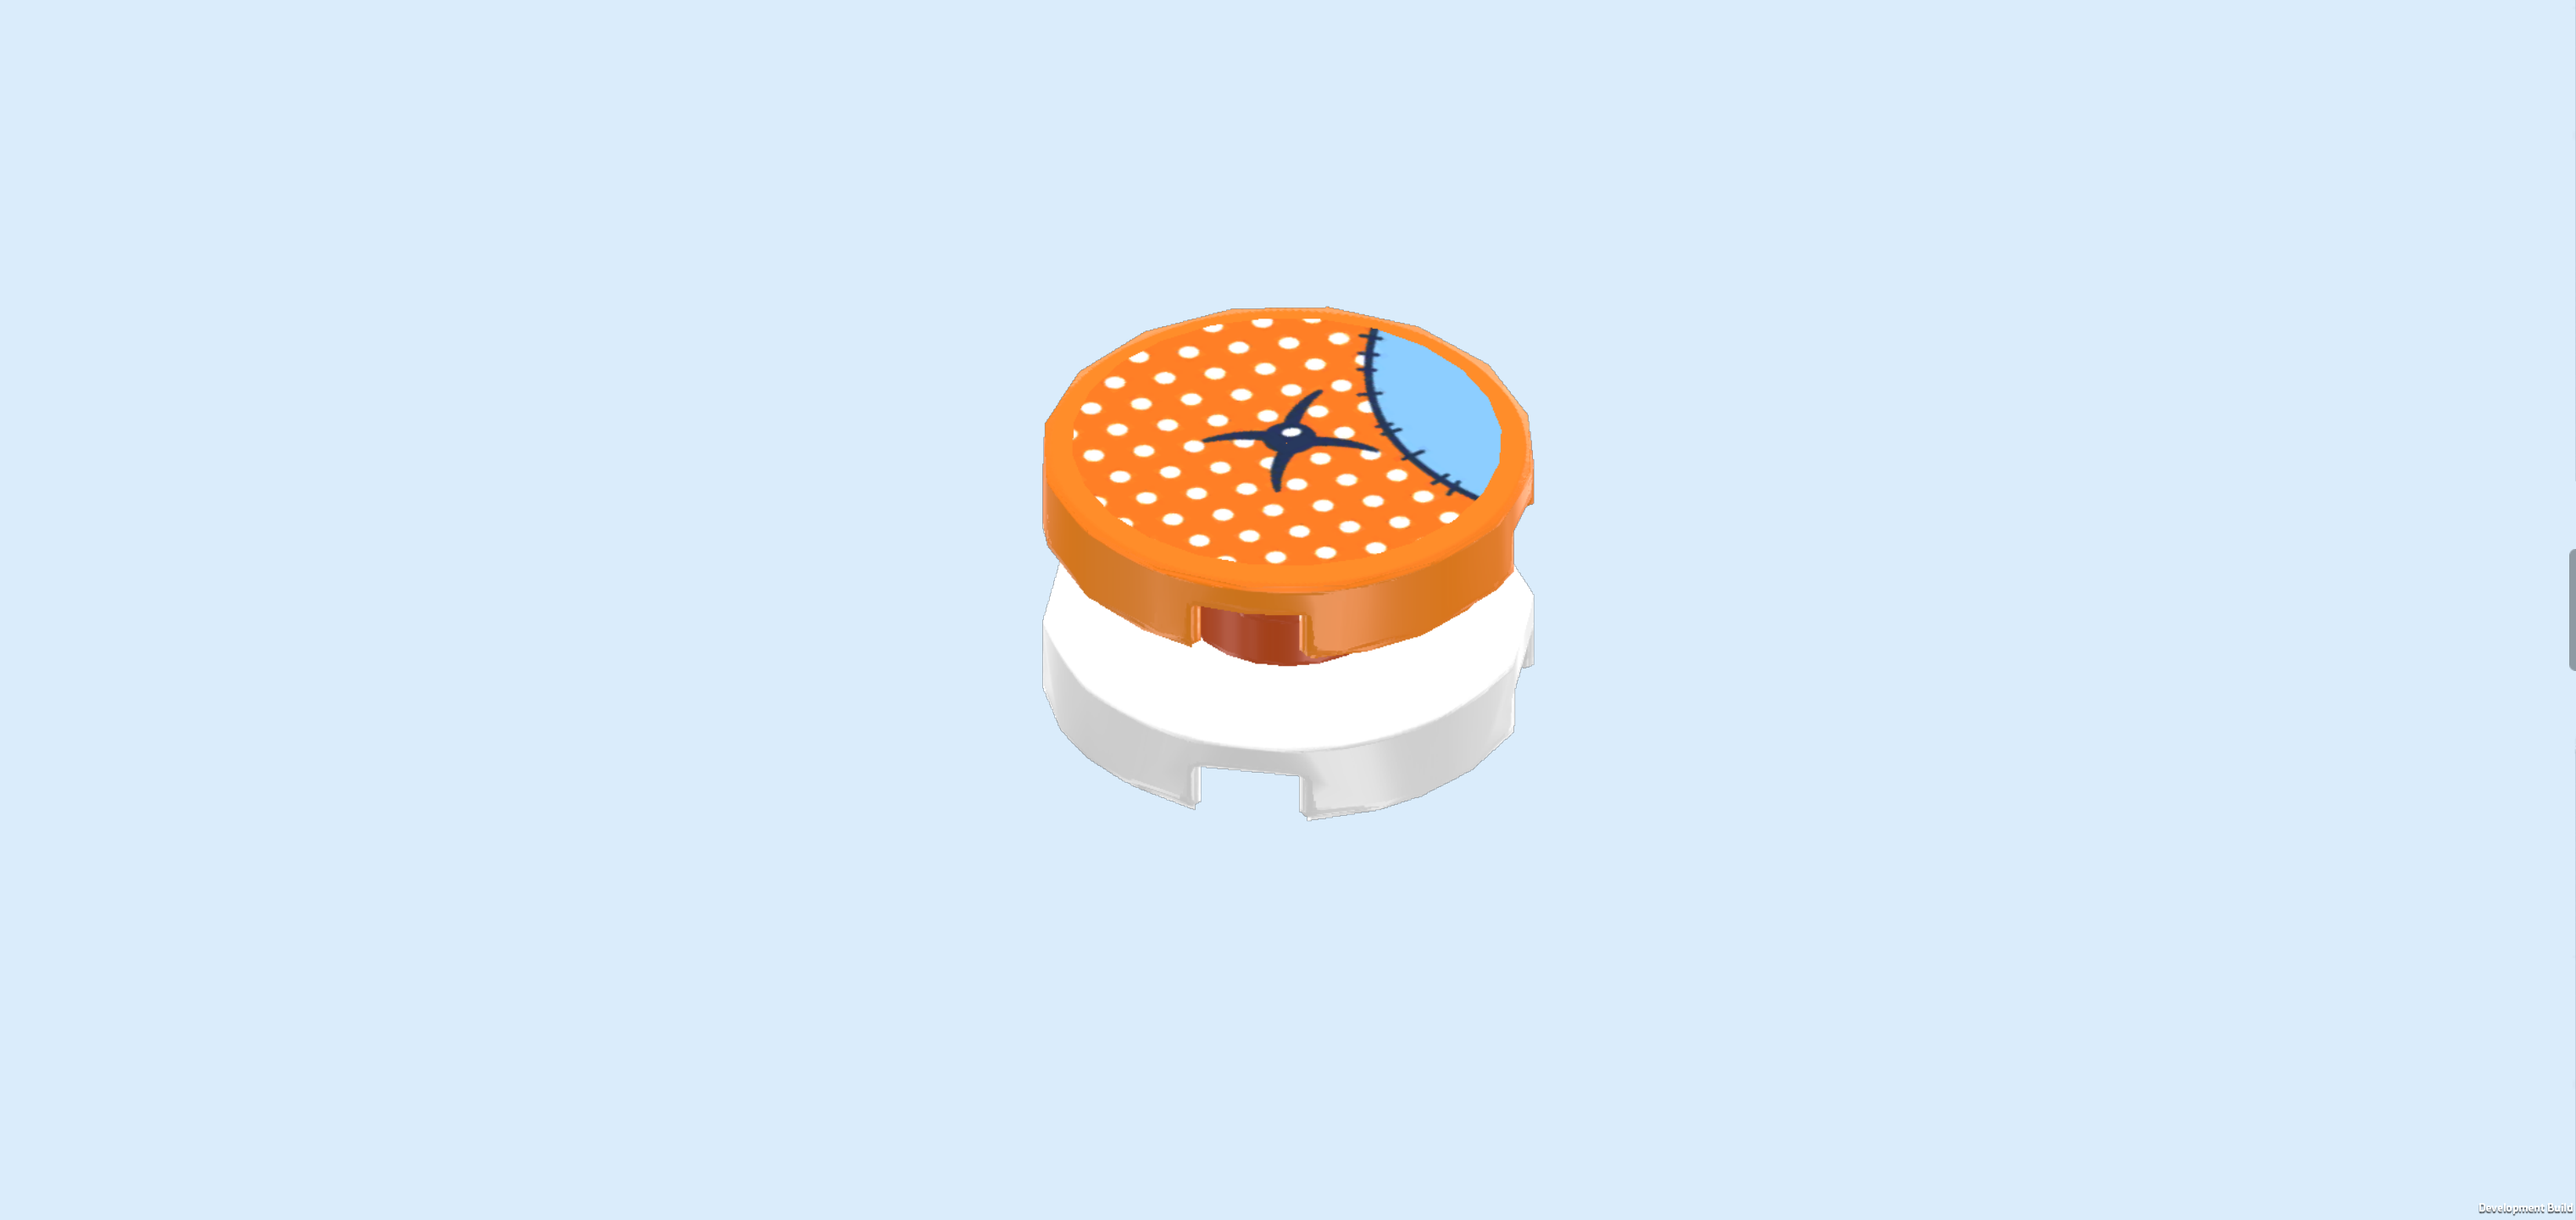
| Put the round tile 2x2 centered on top of the 2 previous pieces. |
| Put the round sticker 2x2 on the round tile. It is printed with a cushion, the main fabric is orange with grey dots. It has an arc-shaped blue patch on its side. A black button is sewn on in the middle of the cushion. |
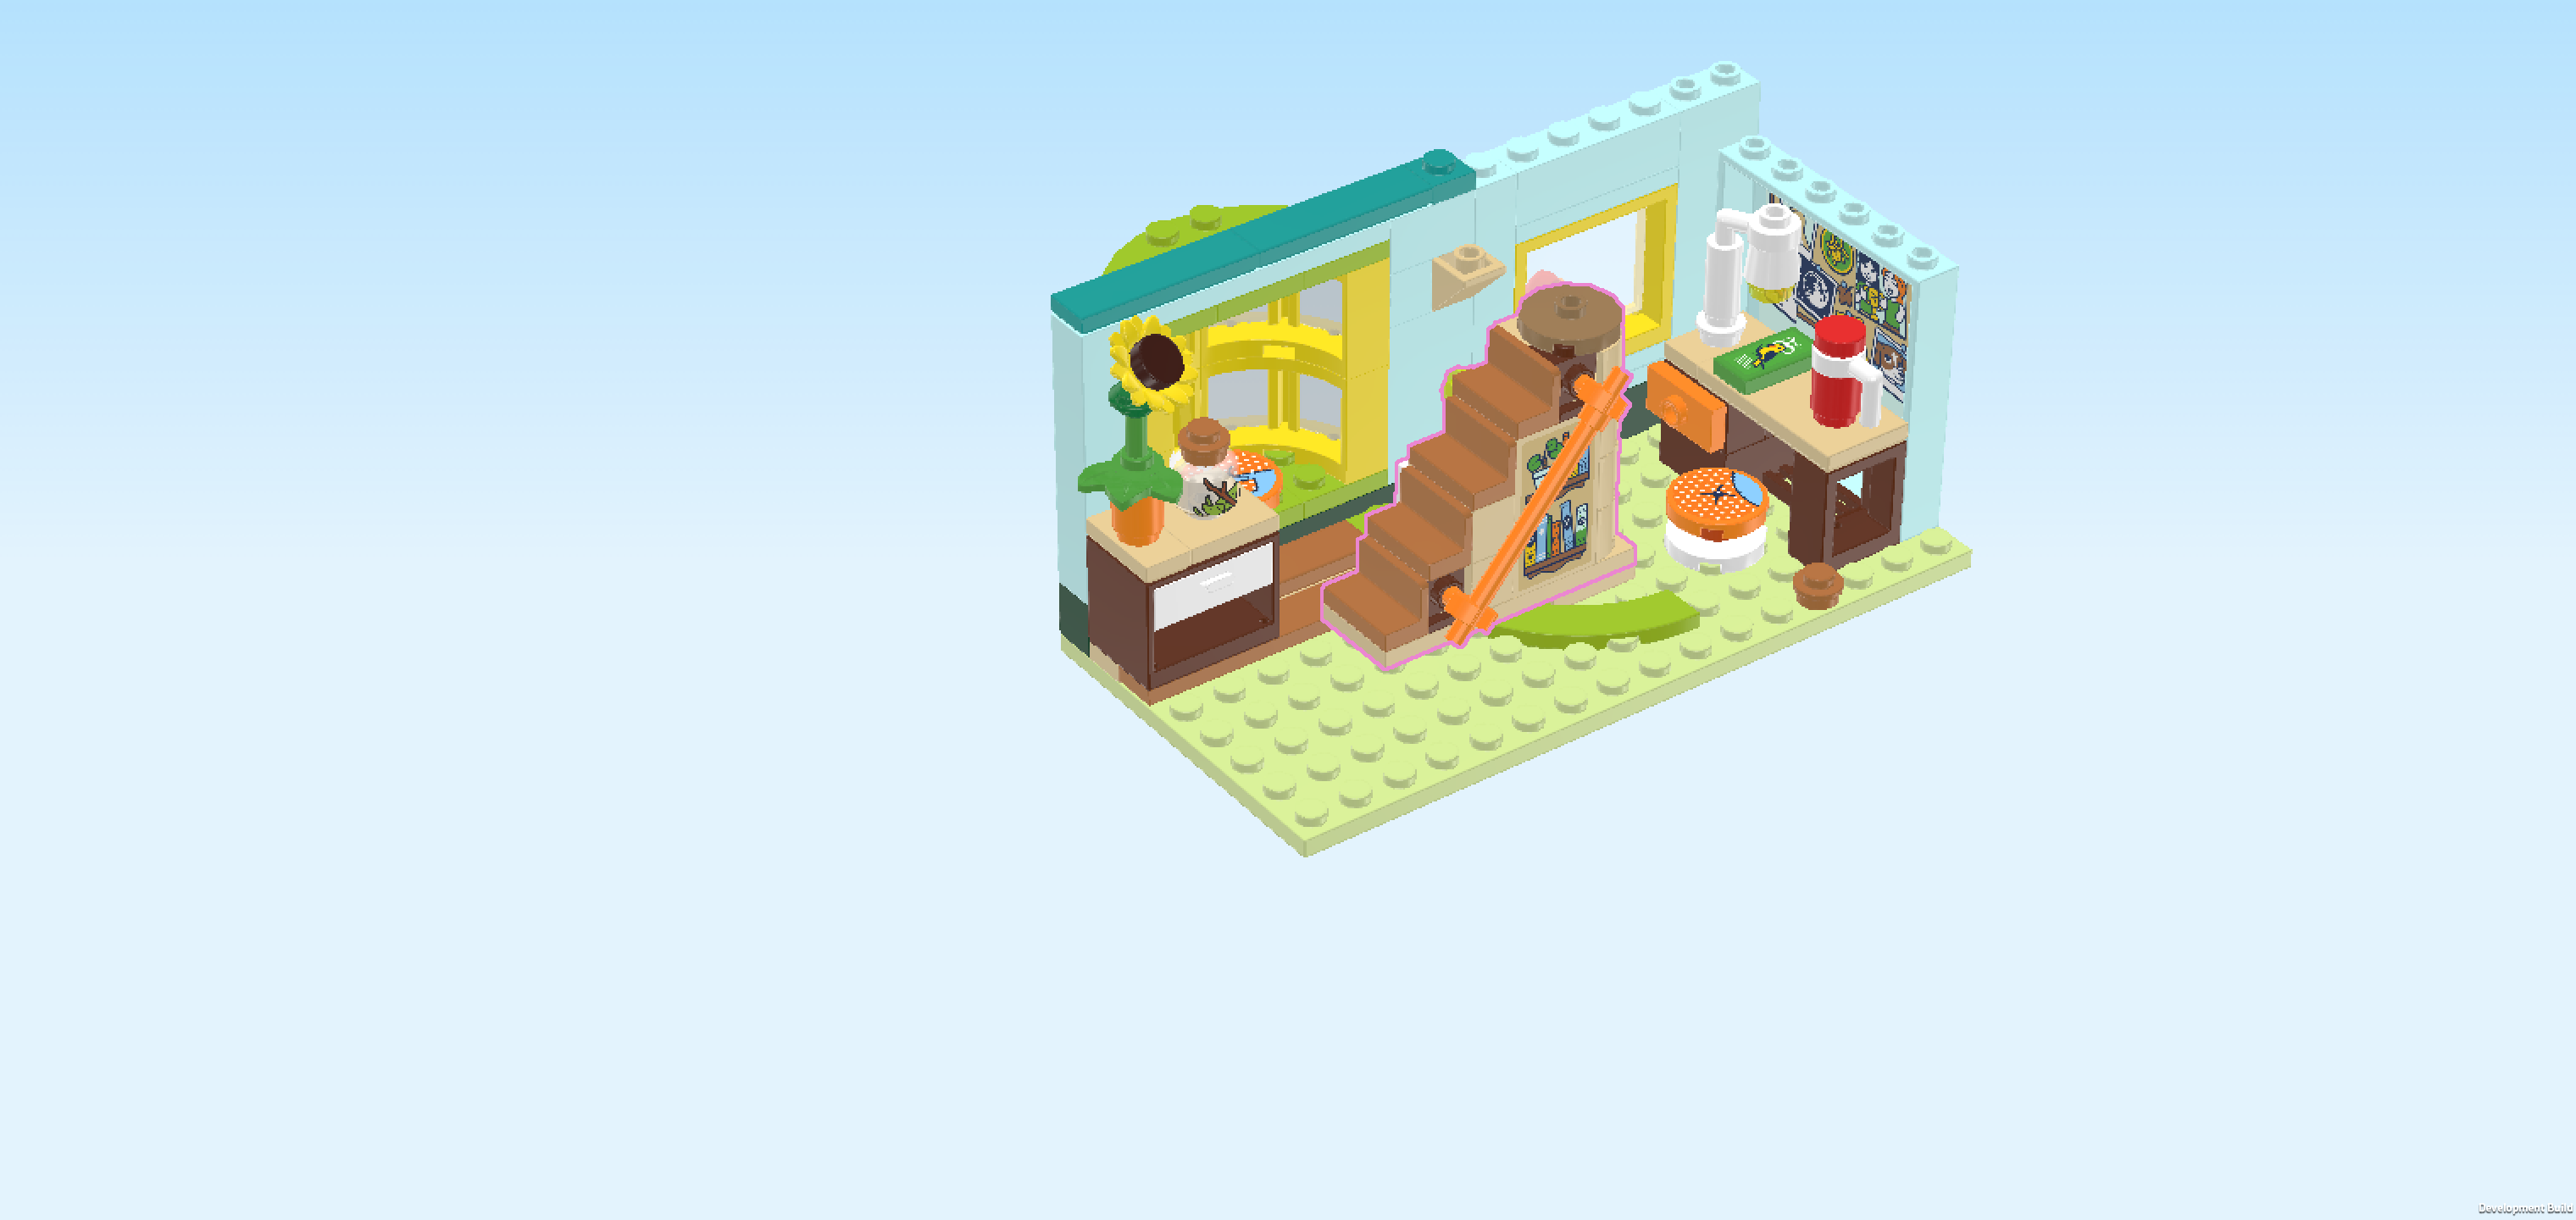
| The desk stool is finished! Mount it to the left of the large desk opening. This means it will sit on the fourth and fifth column from the right and on the third and fourth row from the front. |
| Next, we will build the stairs with bookcase. |
| Collect the following 2 pieces: |
| 1 beige half-circle brick 1x2 with 2 knobs, |
| and 1 beige plate 2x6. |
| Put the plate 2x6 horizontally on the table. |
| Put the half-circle brick 1x2 vertically on the rightmost column, half circle to the right. |
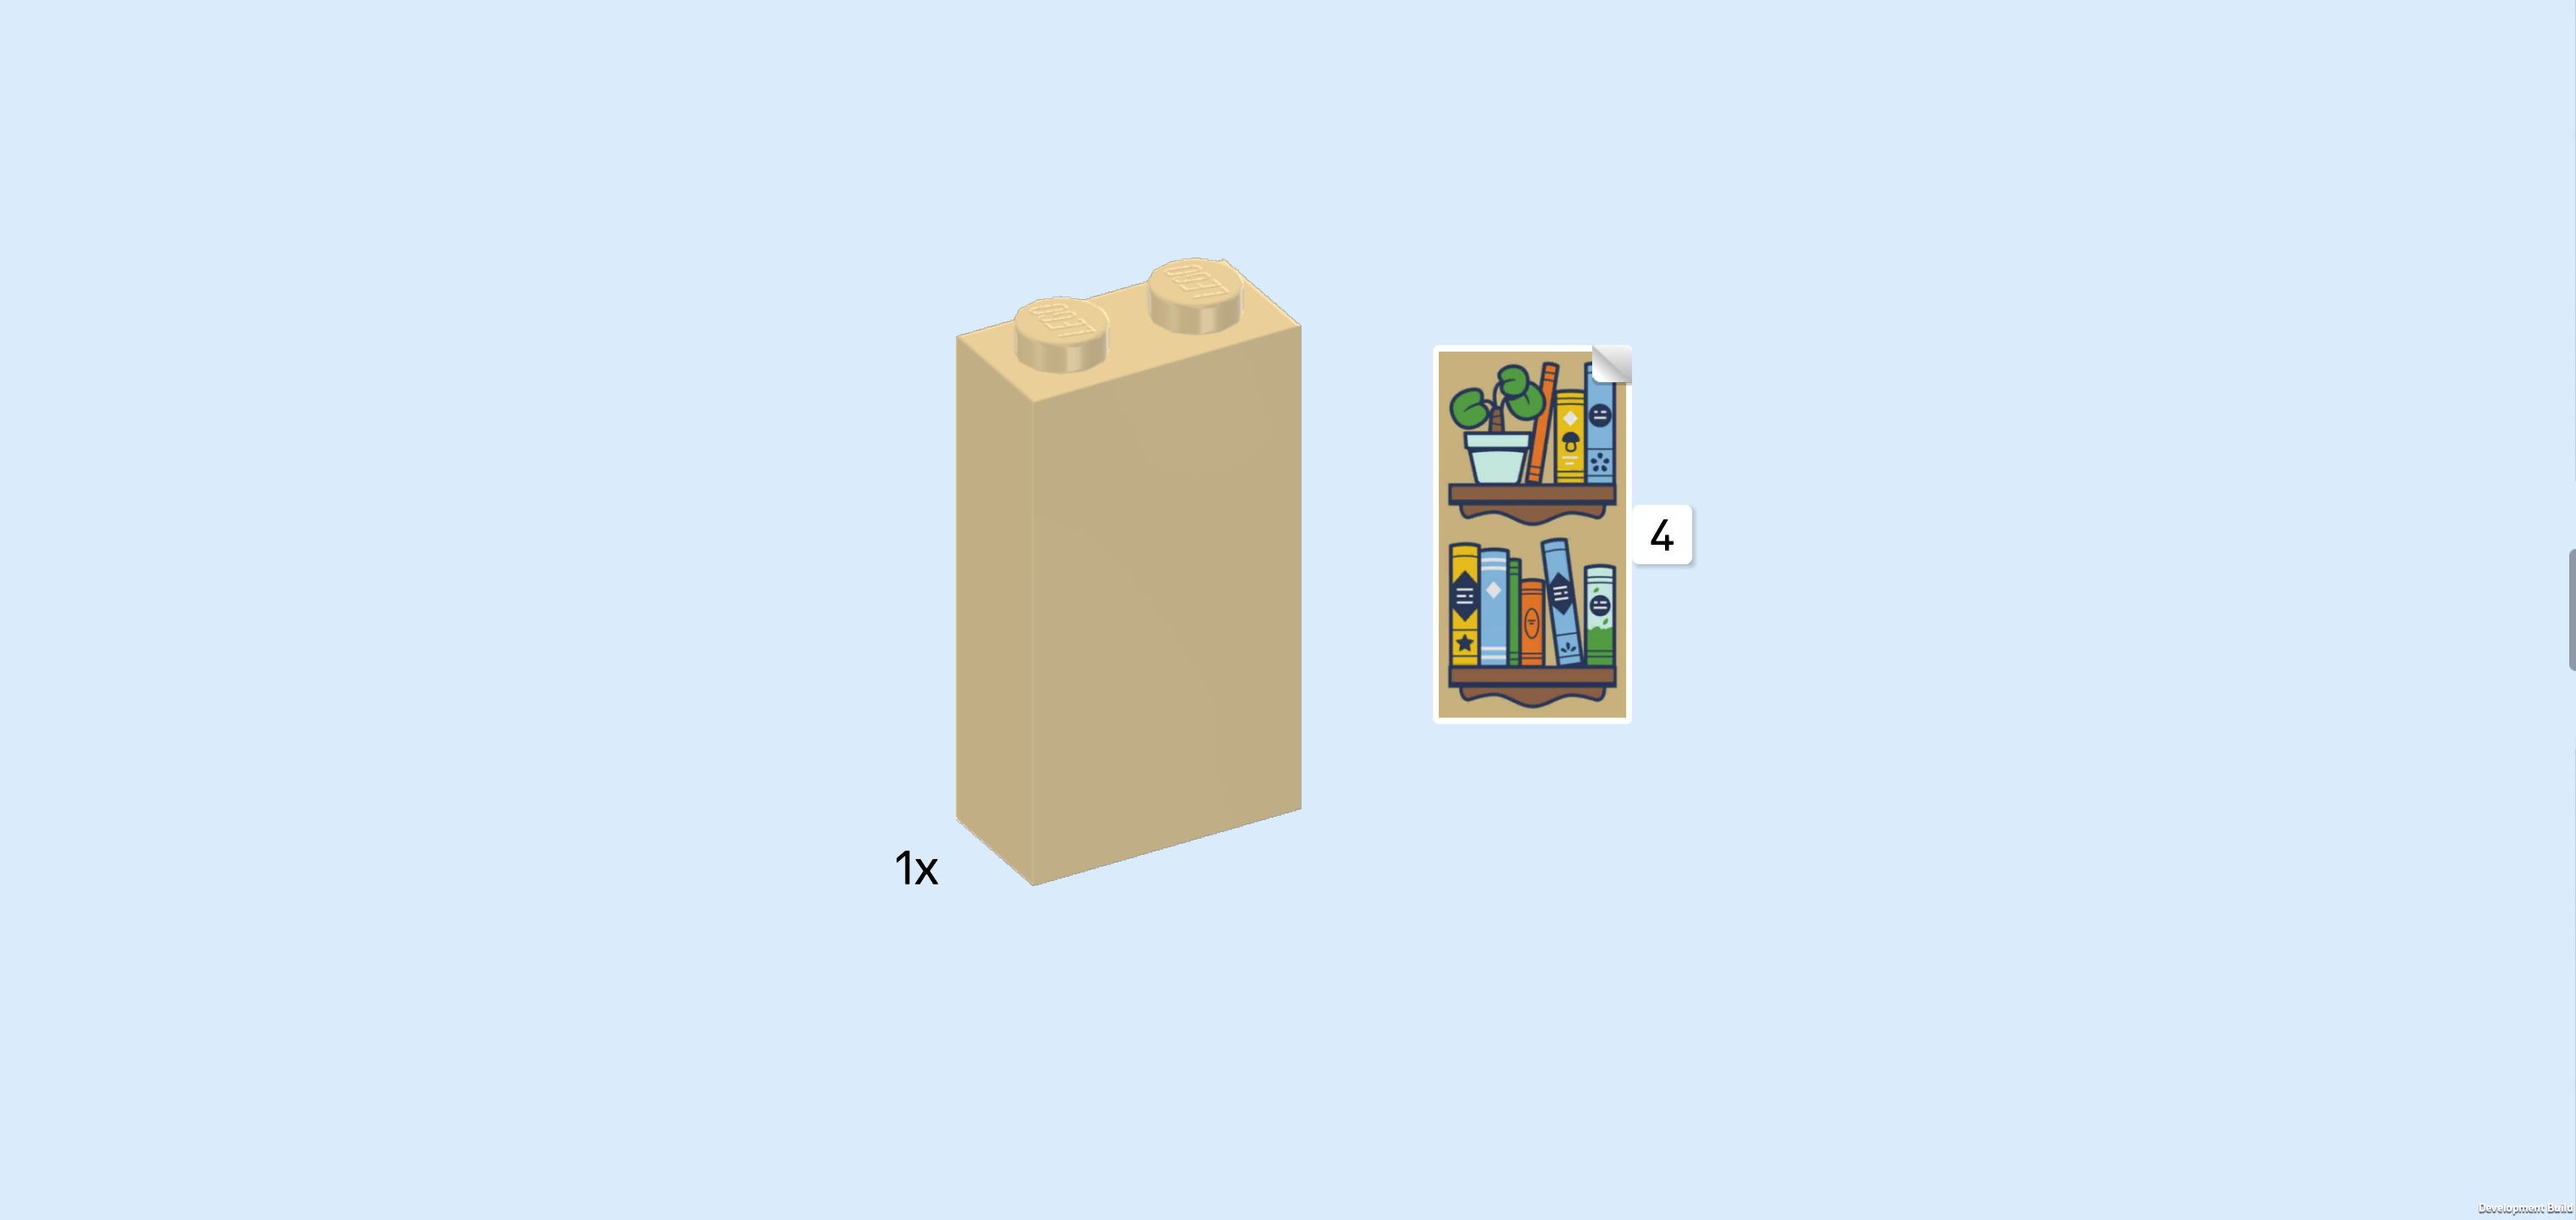
| Collect the following 2 pieces: |
| 1 beige brick 1x2x3, |
| and 1 sticker 2x3 with bookcase. |
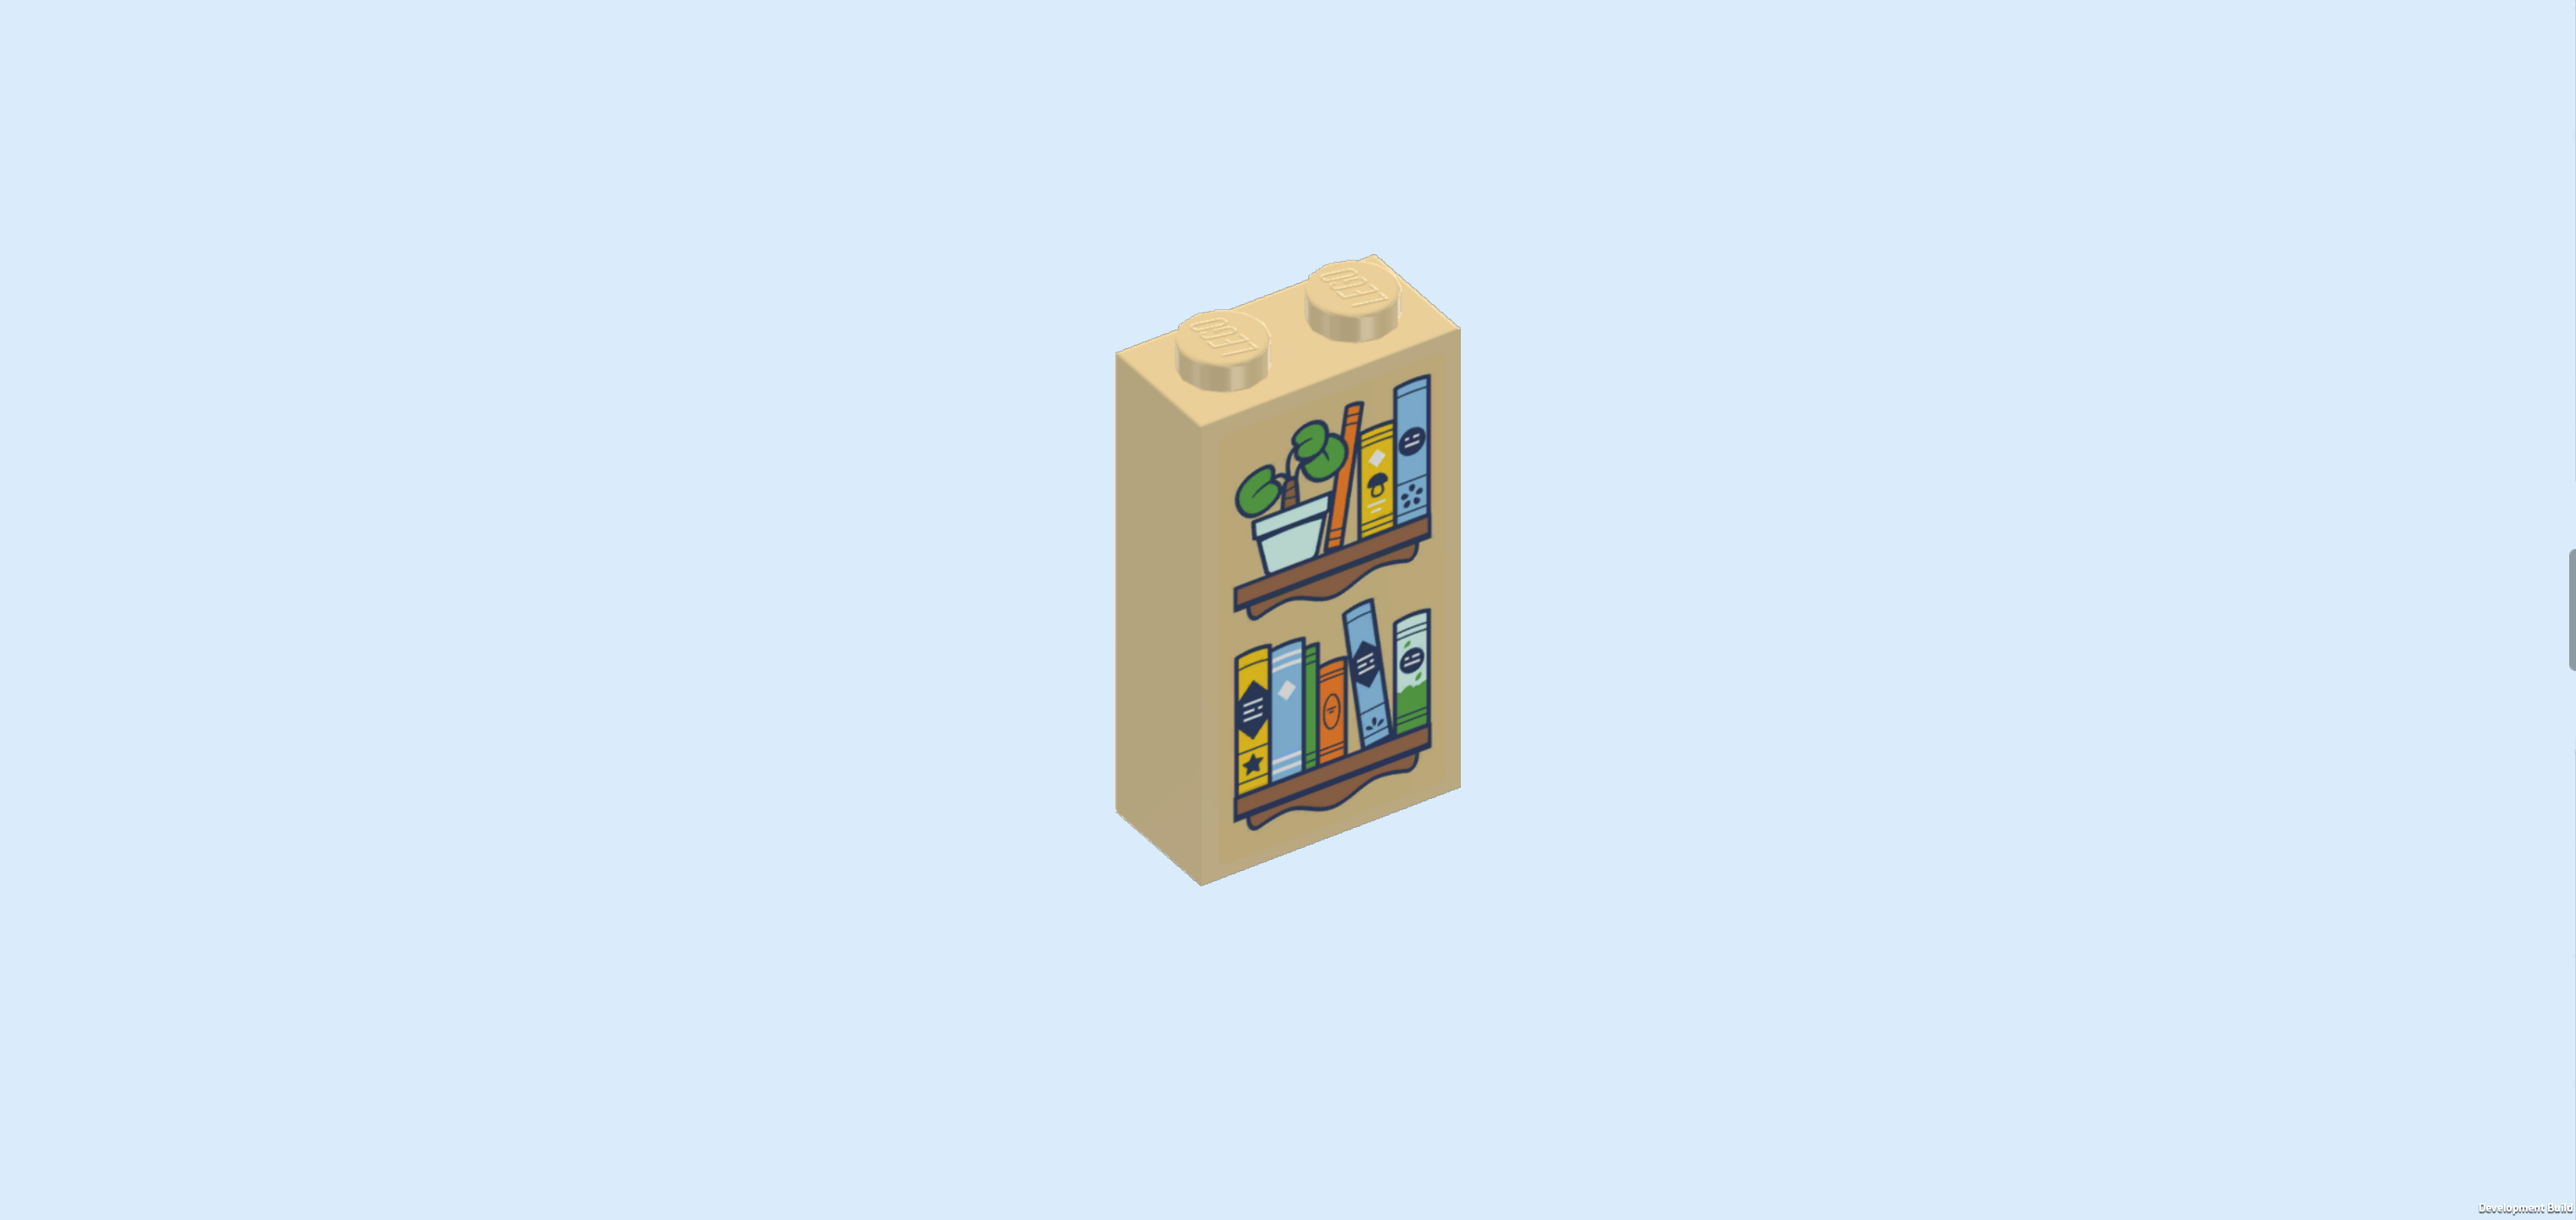
| Put the brick 1x2x3 horizontally on the table. |
| Attach the sticker on the large front surface. The sticker is printed with a bookcase with 2 shelves: there are 6 different books on the lower shelf, they have different sizes and colors. The top shelf features 3 books and a small white pot with a green plant. The plant looks like a pilea which is also called UFO plant or Chinese Money Plant for its round, satellite-dish shaped leaves. |
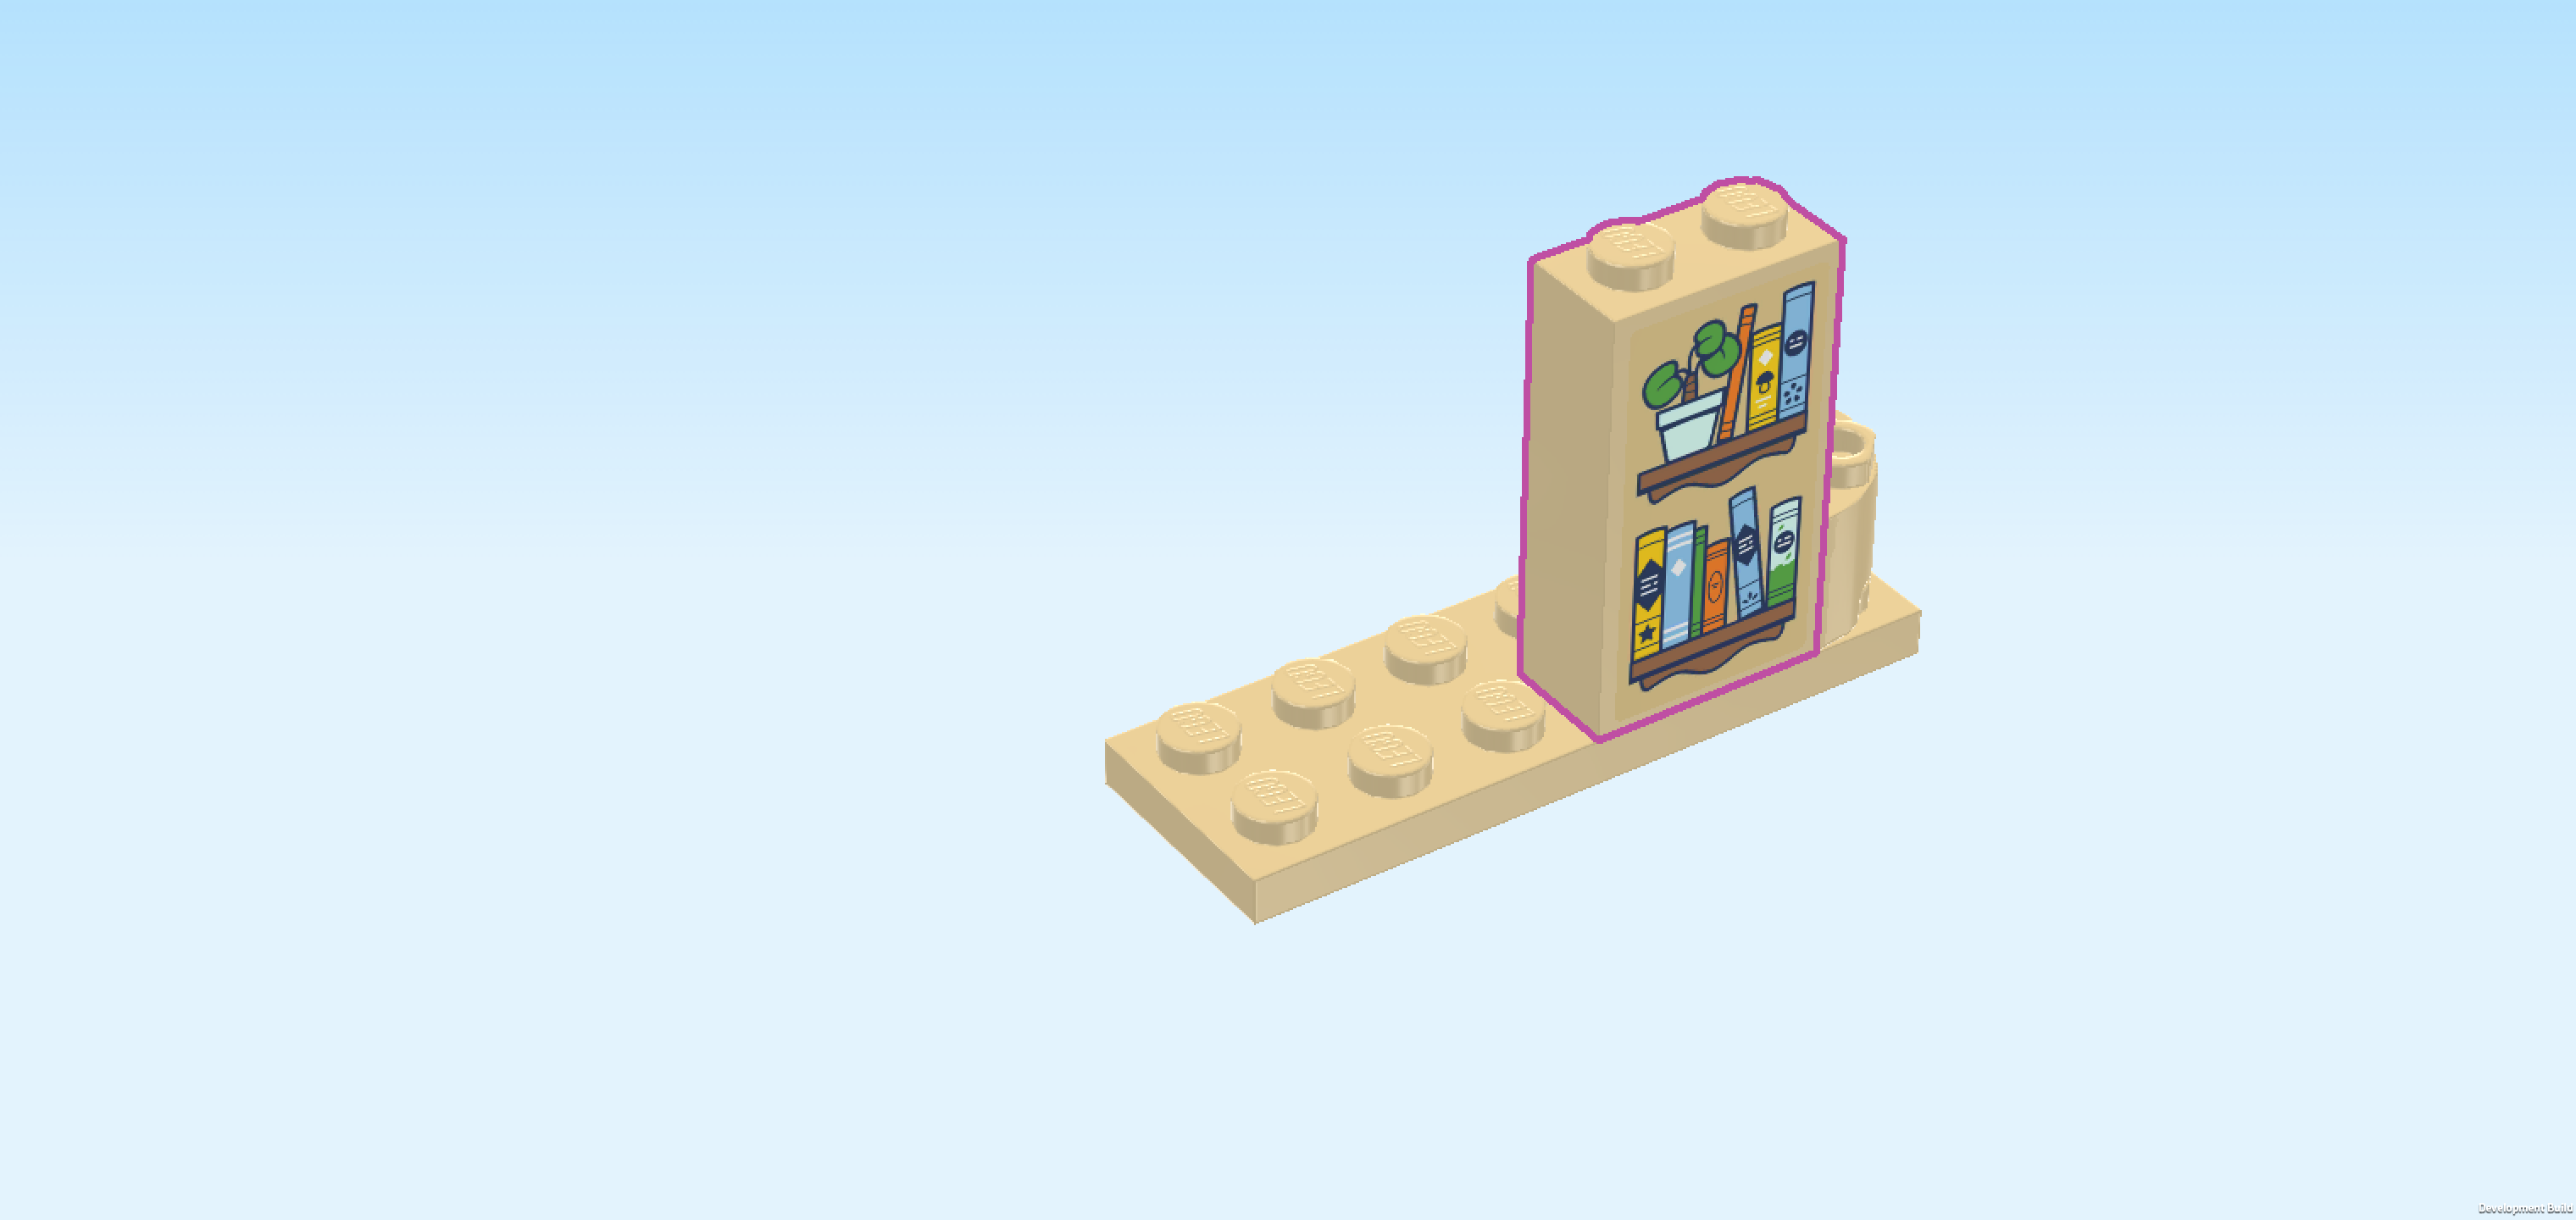
| Mount the brick horizontally on the front row of the plate 2x6 directly to the left of the half-circle brick. Make sure the sticker is towards the front. |
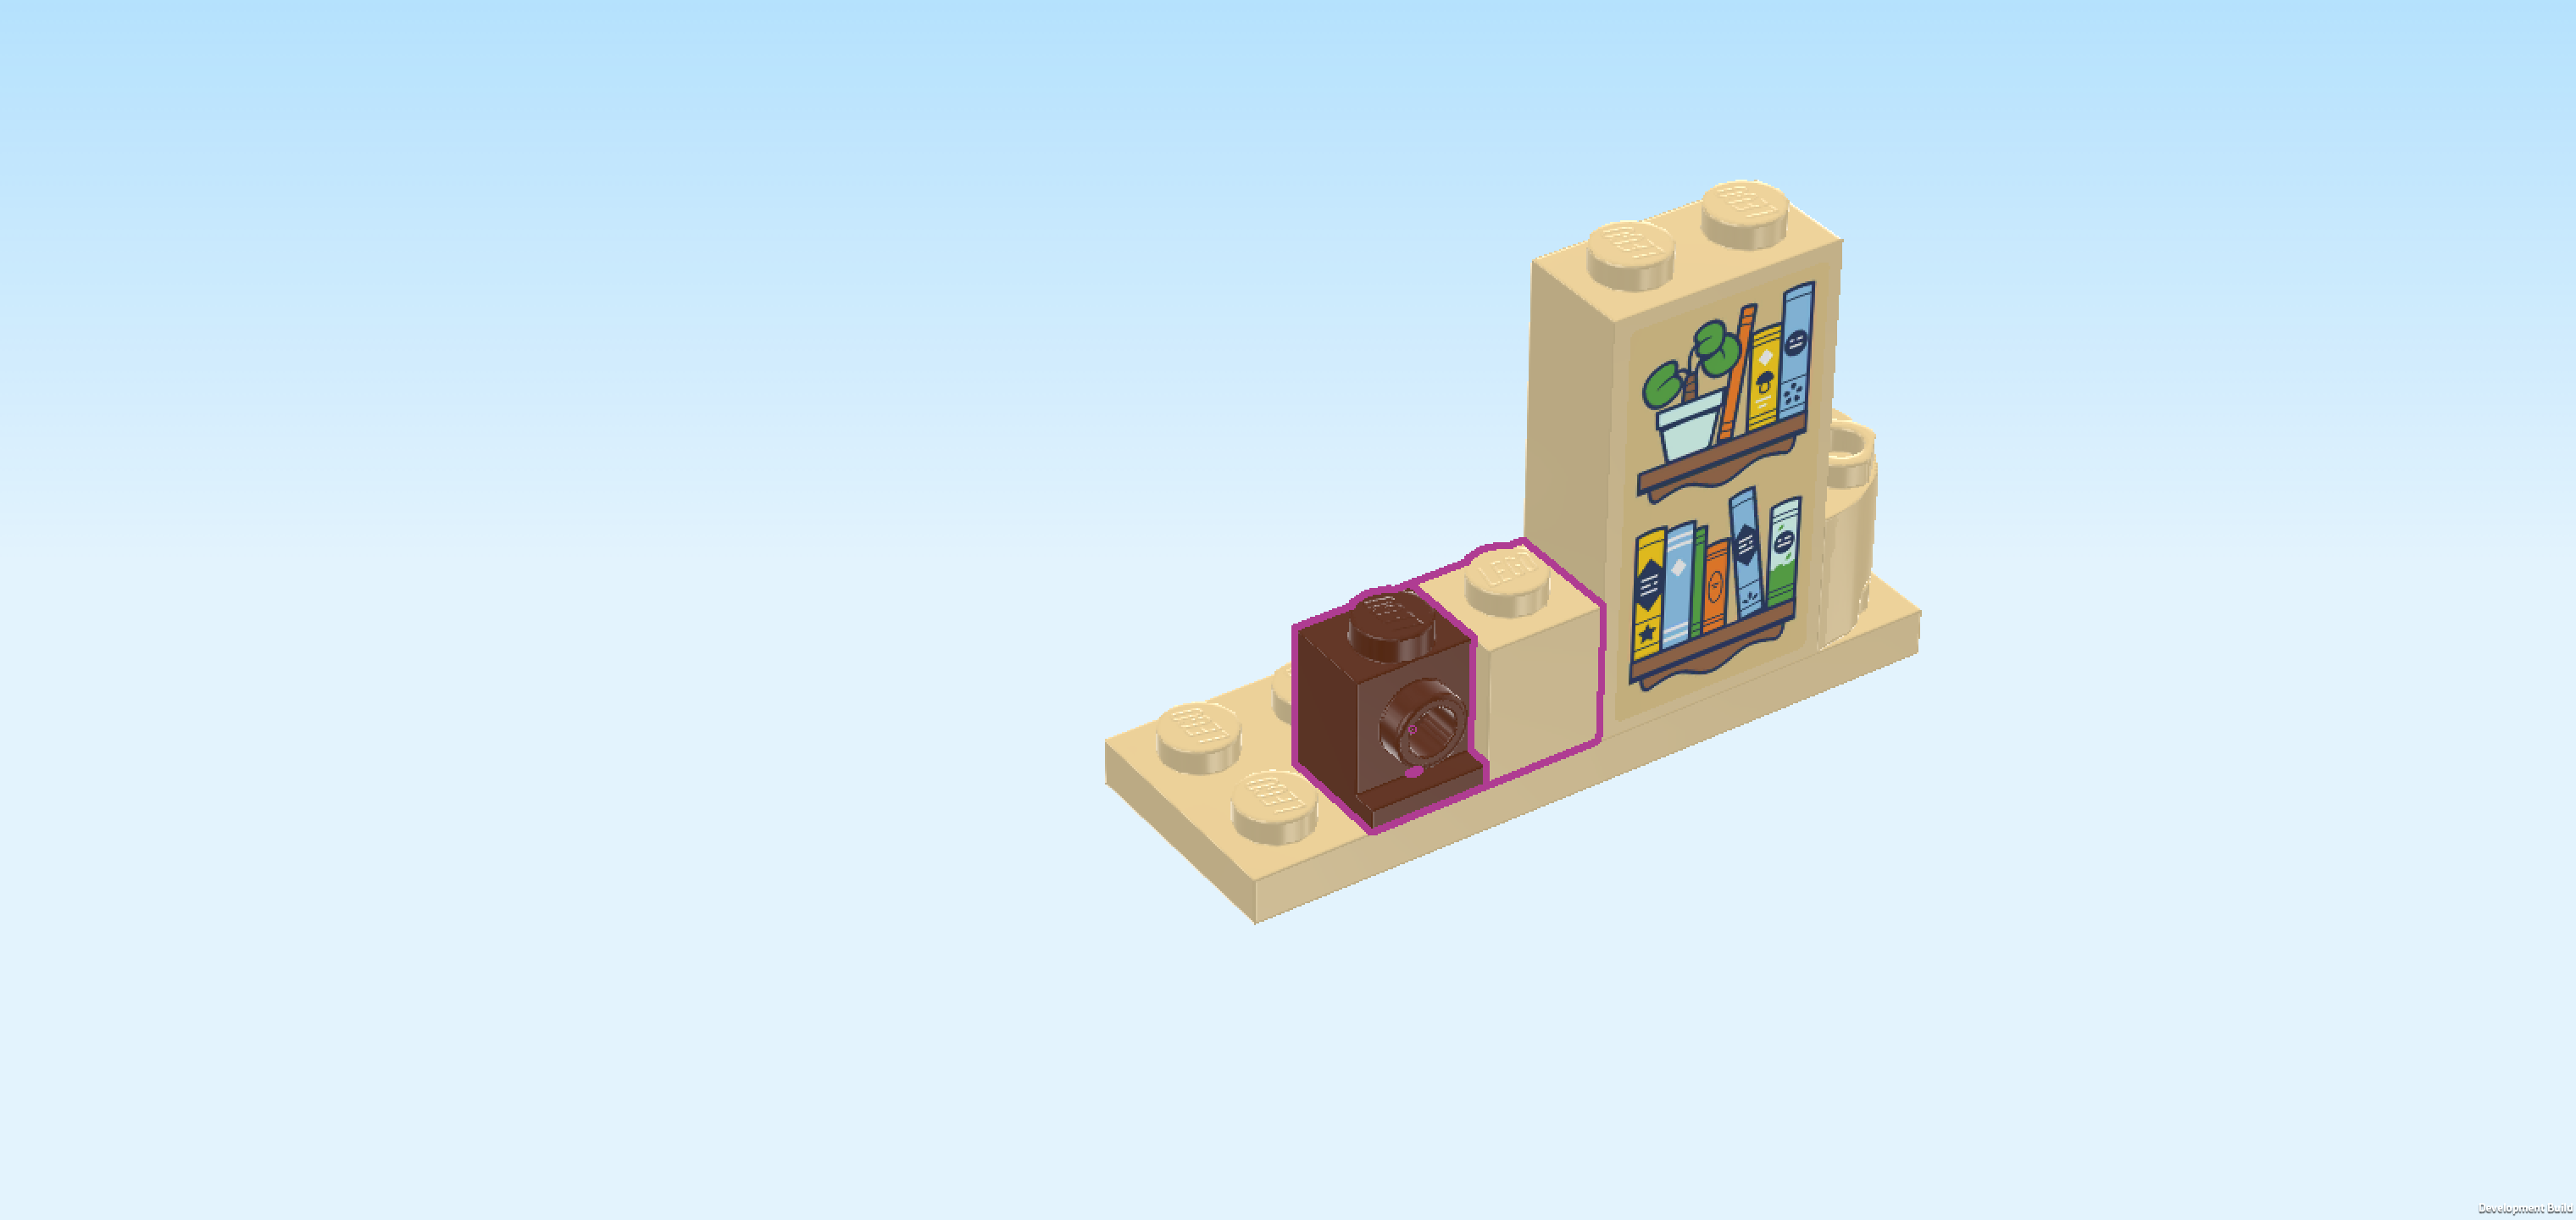
| Collect the following 2 pieces: |
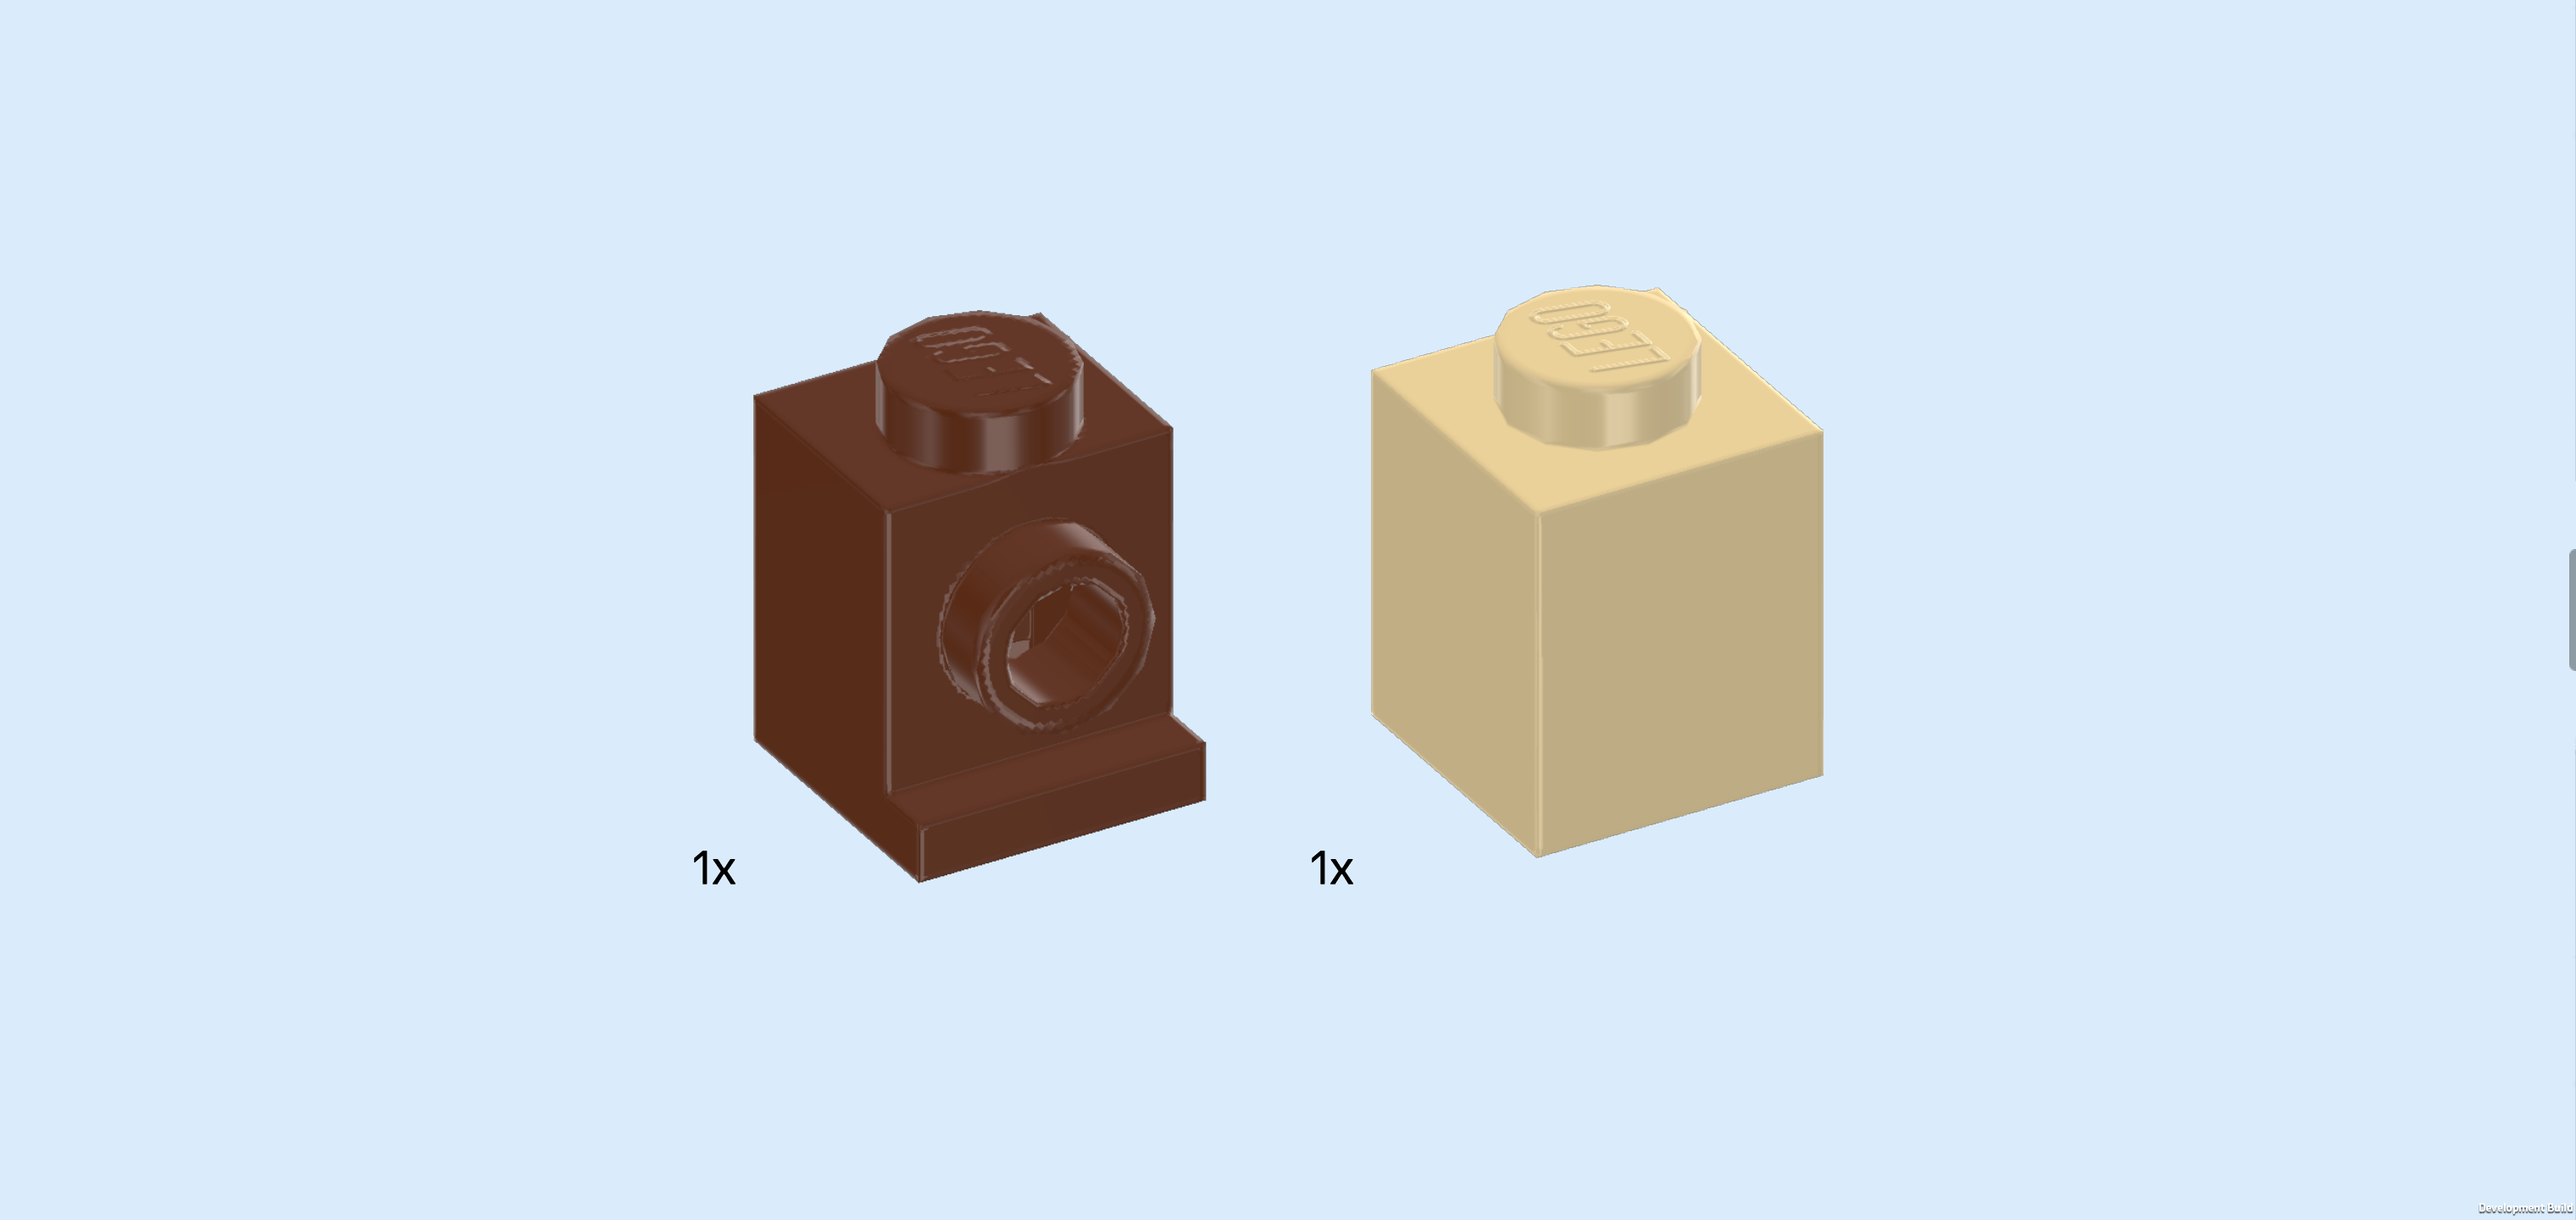
| 1 reddish brown brick 1x1 with side knob and bottom foot, |
| and 1 beige brick 1x1. |
| Put the brick 1x1 to the left of the previous piece. |
| Put the brick 1x1 with side knob and bottom foot to the left of the previous piece, side knob to the front. |
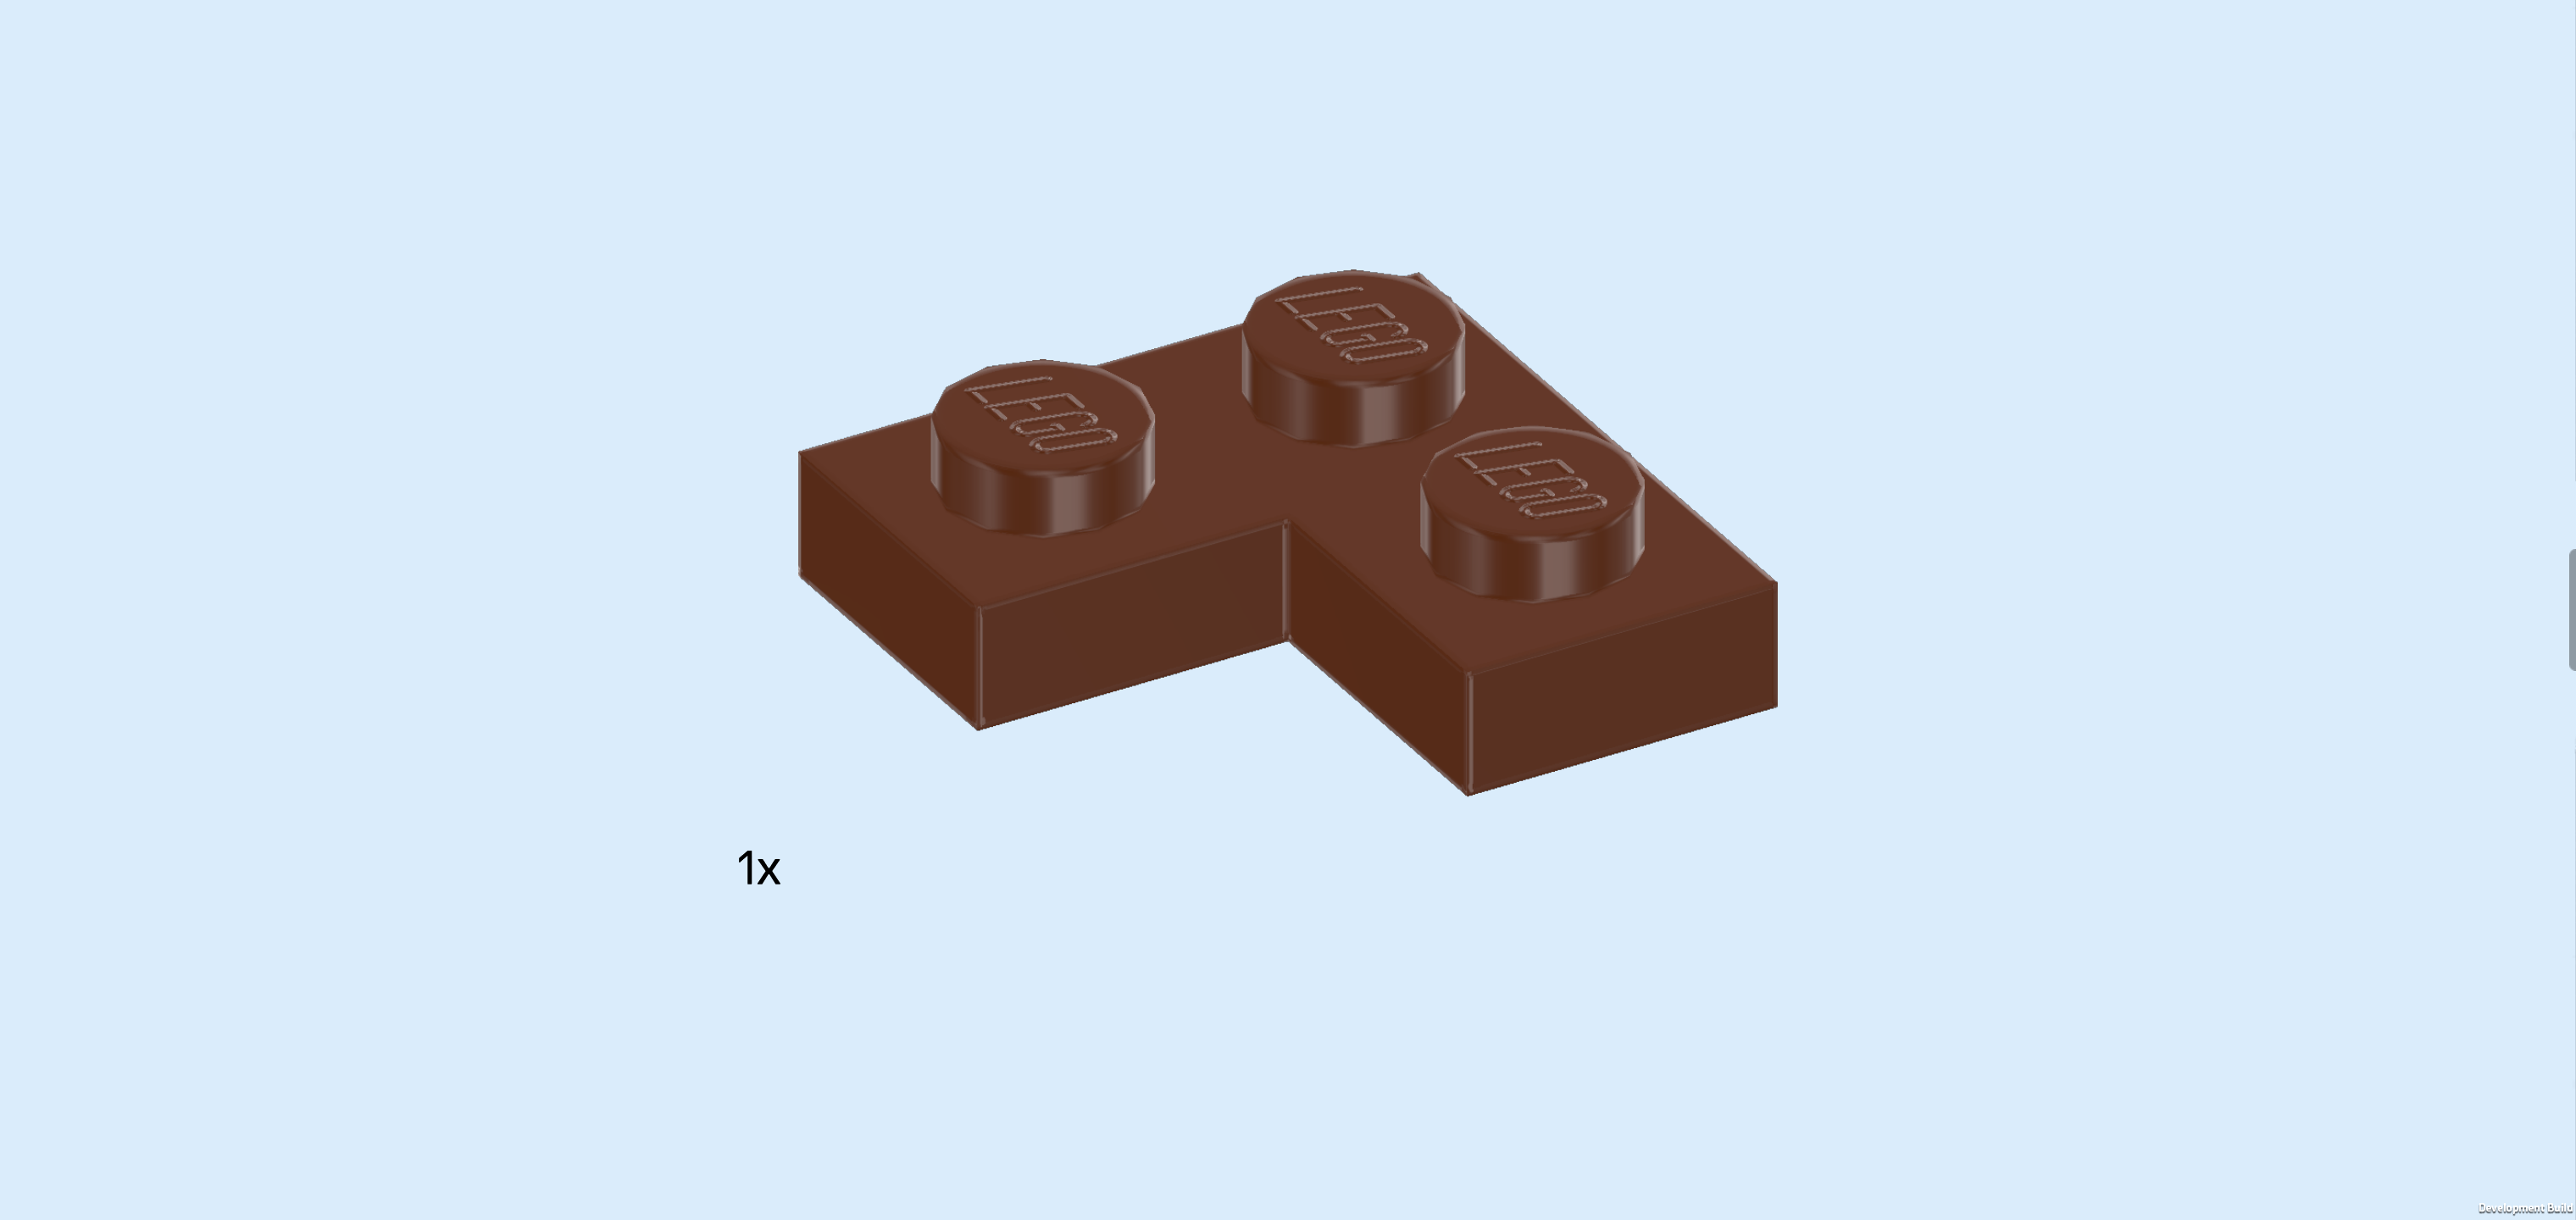
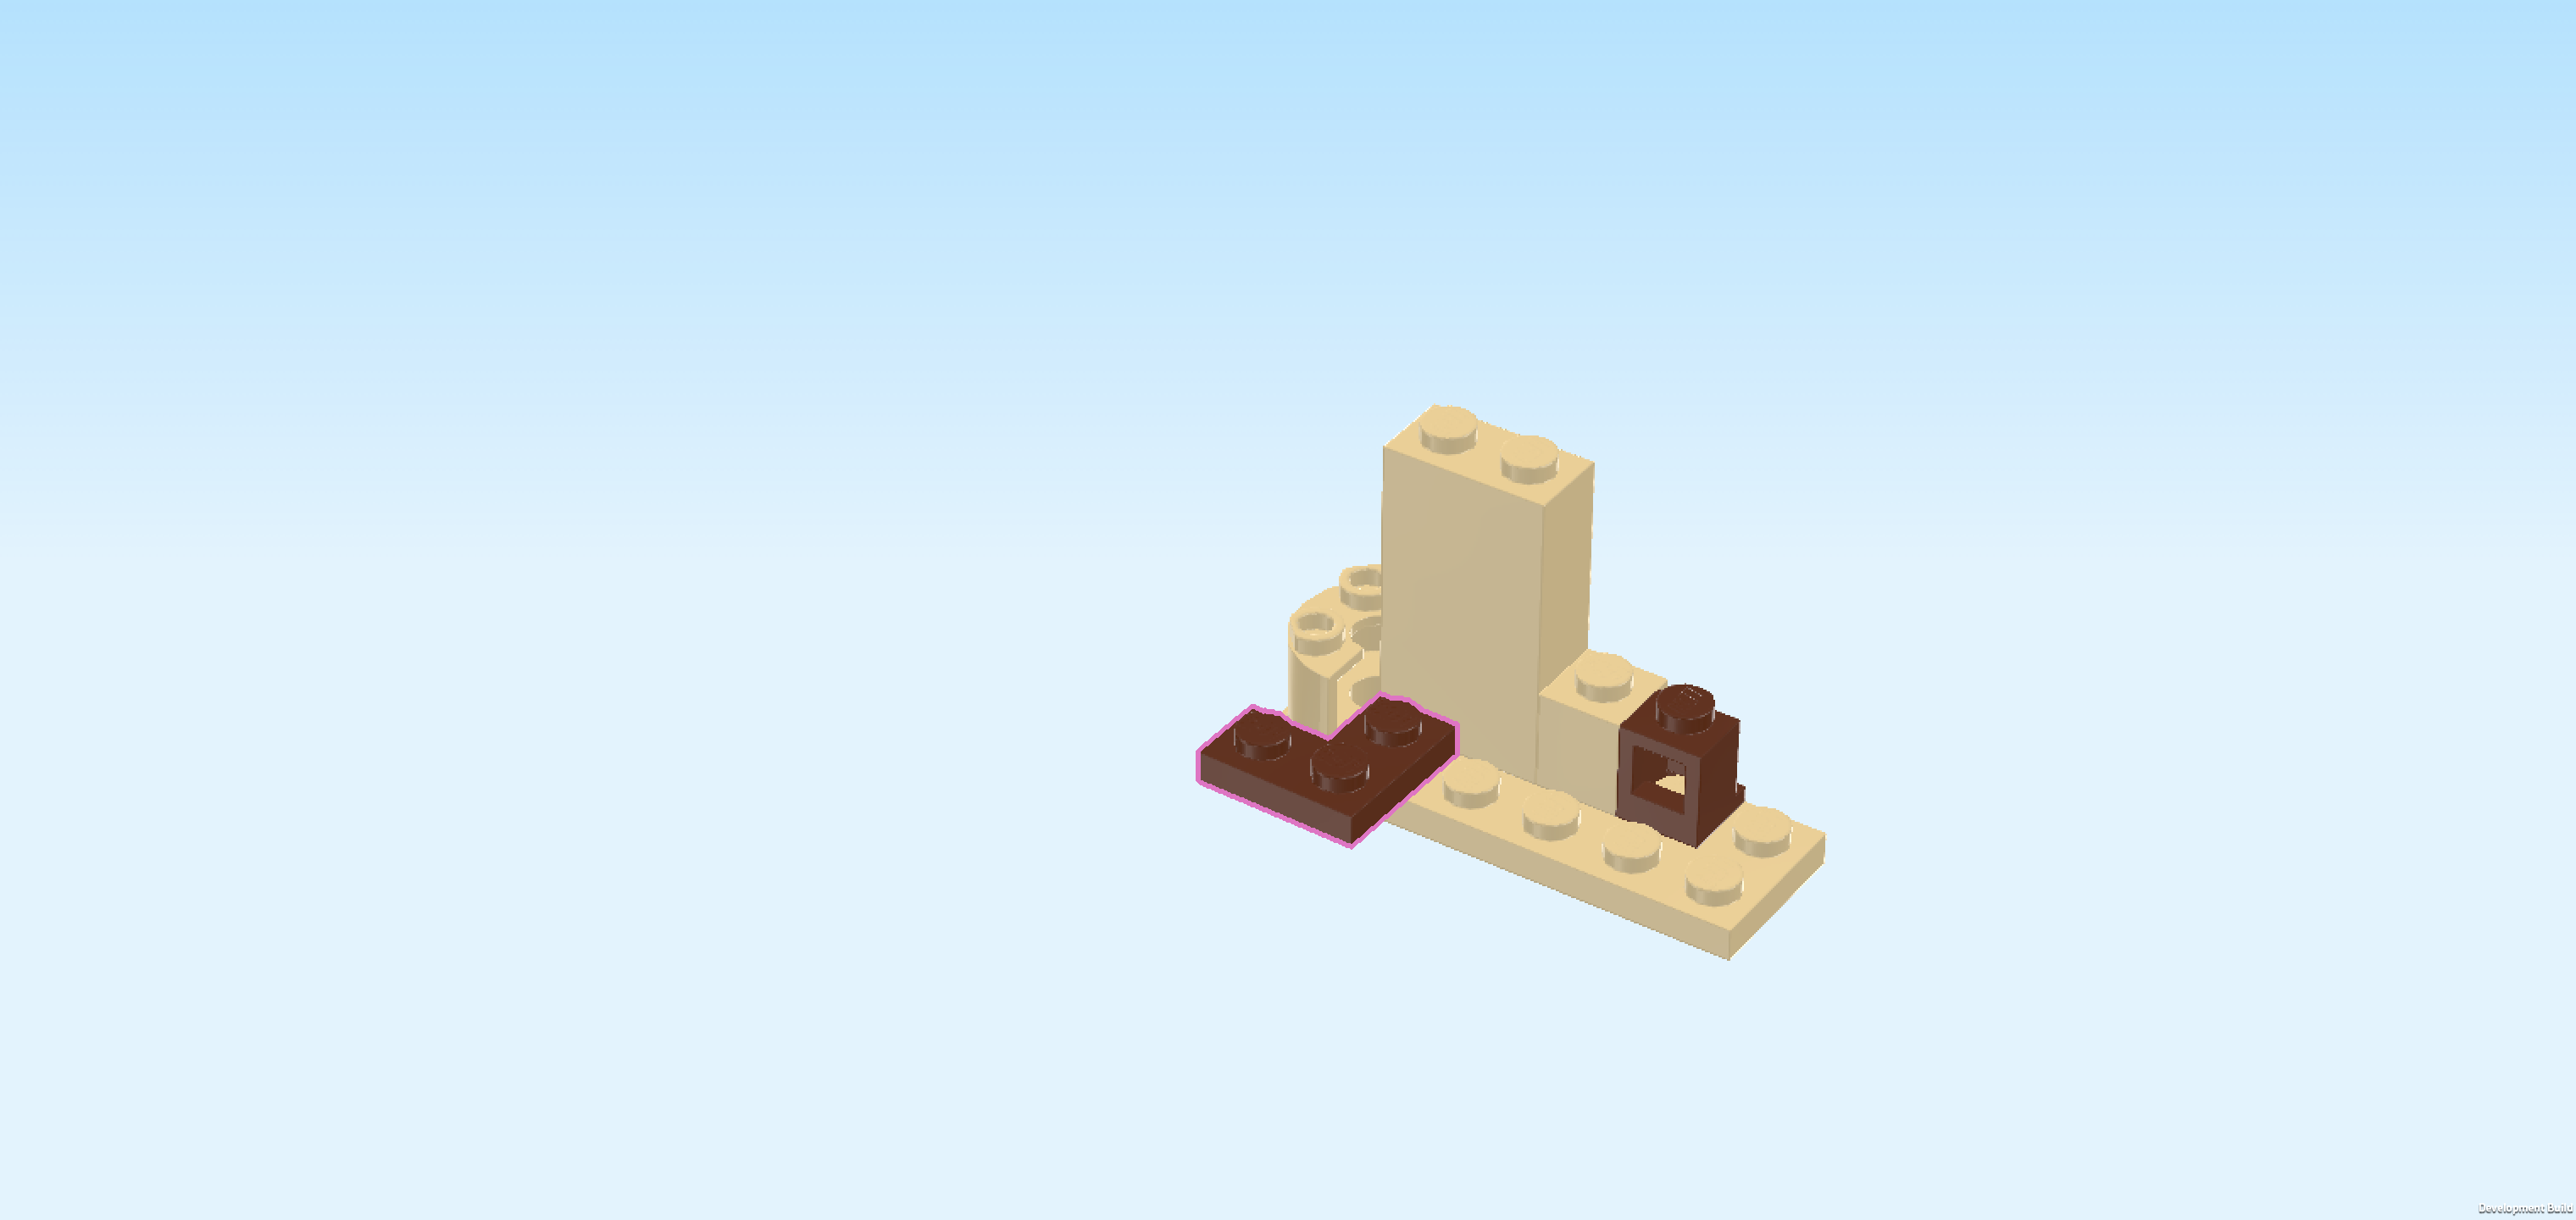
| Find 1 reddish brown corner plate 1x2 - 1x2. |
| Before you mount it, turn the current build around so that it is still oriented horizontally but the 3 previous pieces are now at the back. |
| Turn the corner plate so that its outer corner is on the front right. Mount the part that is pointing to the back on the front row, directly to the right of the half-circle brick, 1 row overhanging to the front. The corner plate will hug the front half of the half-circle brick. |
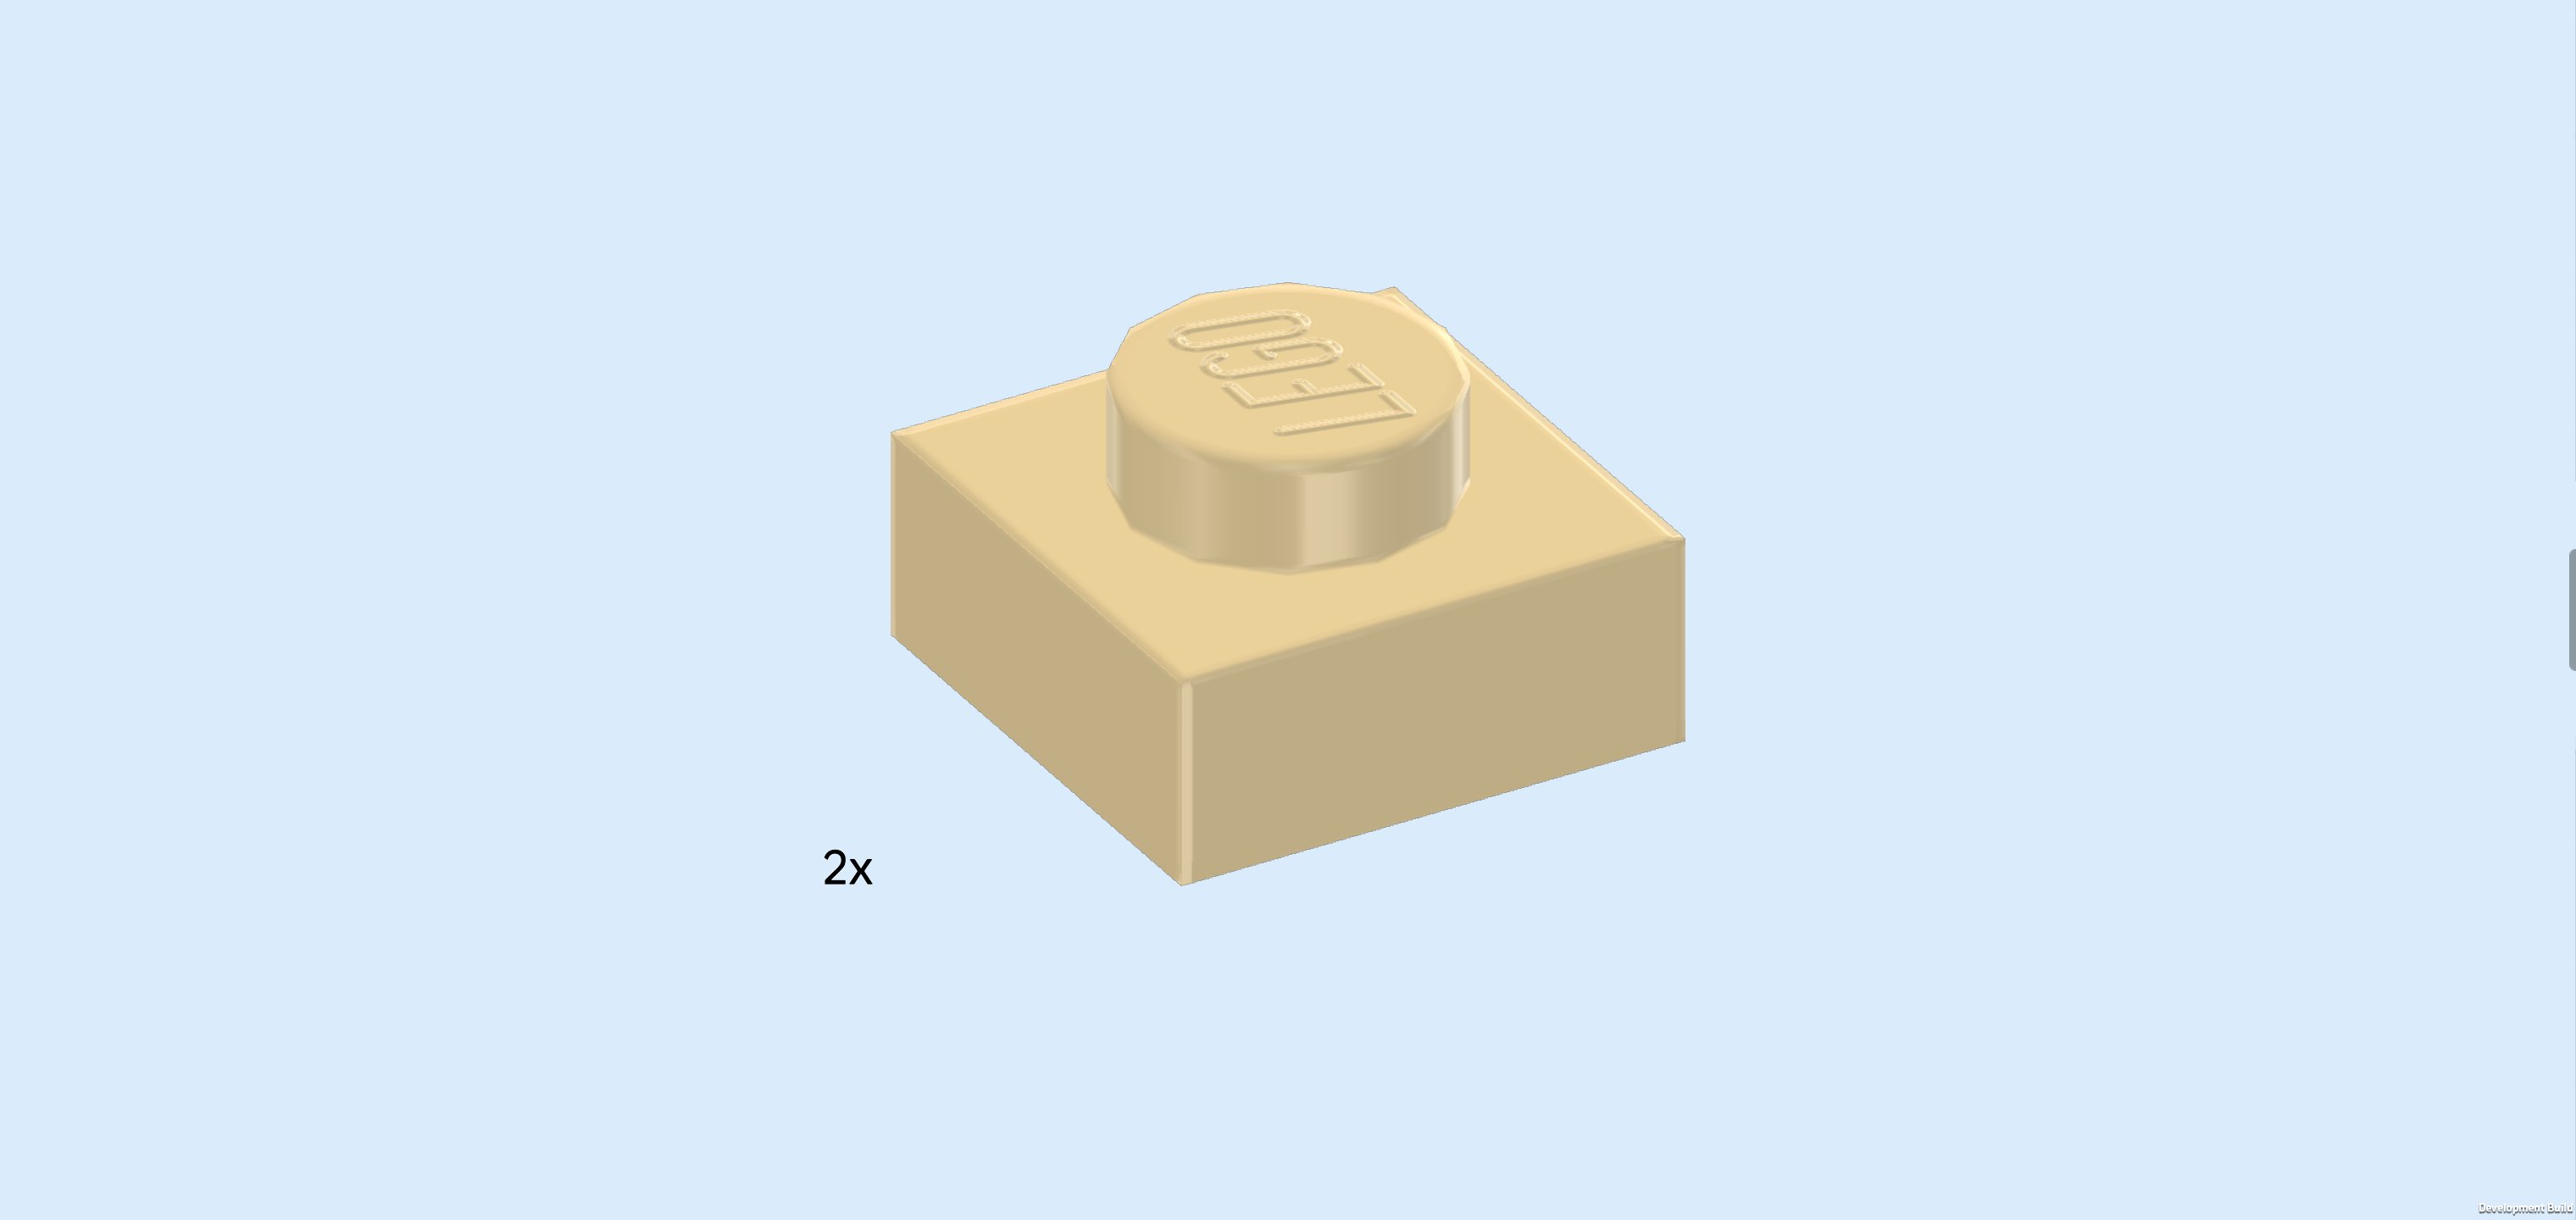
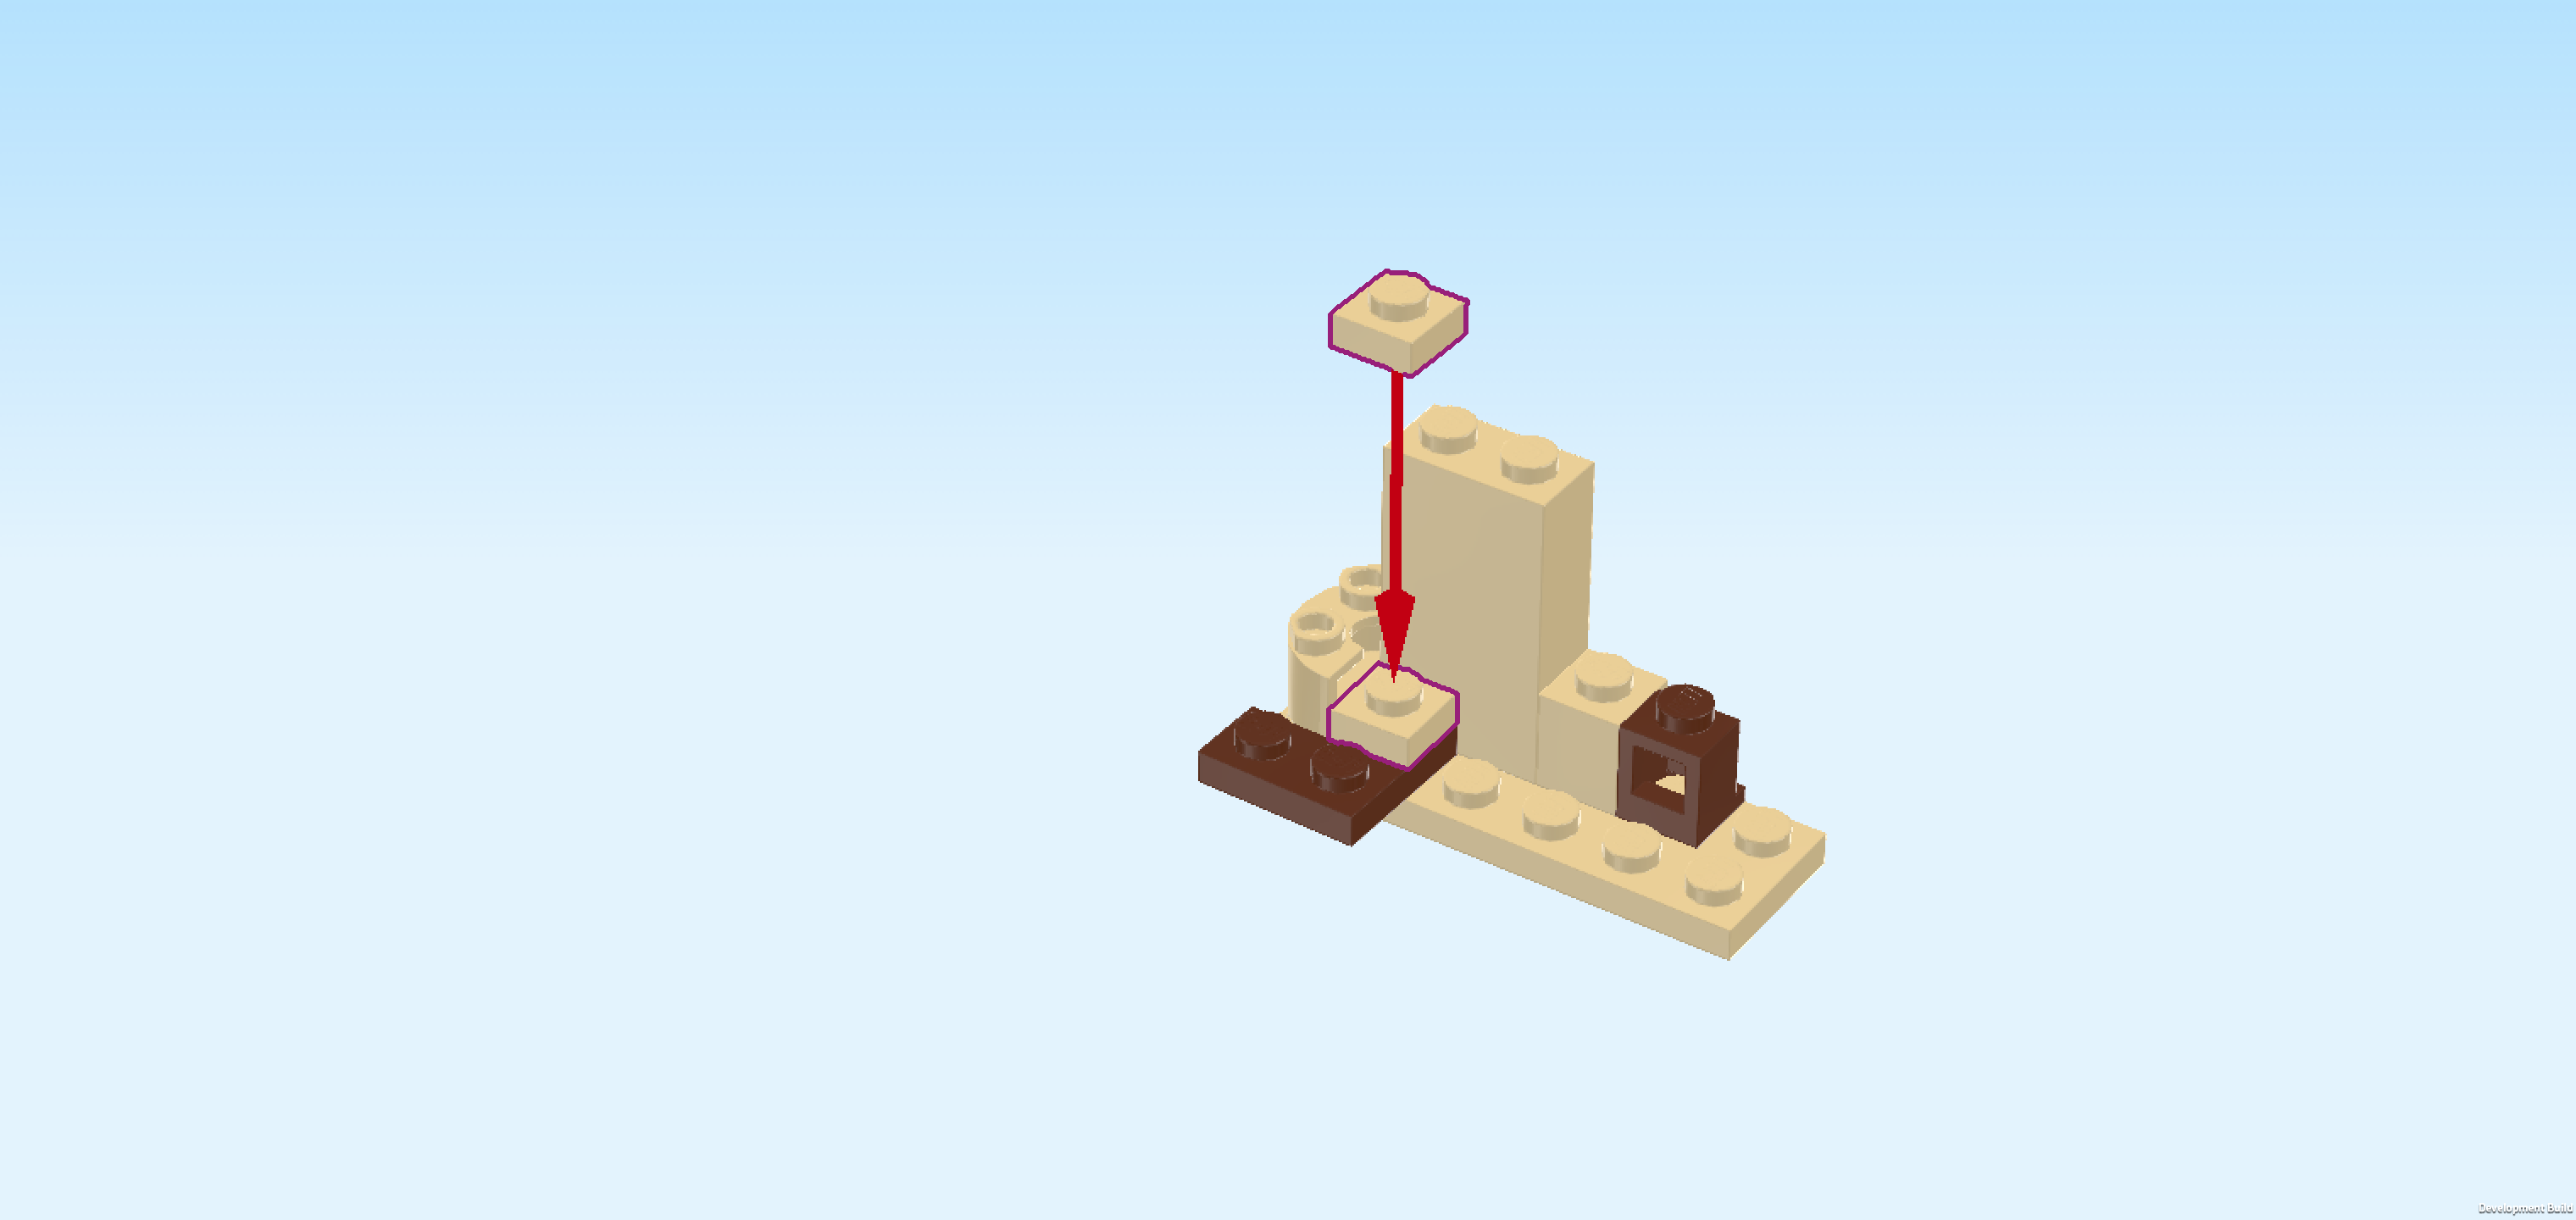
| Find 2 beige plates 1x1. |
| Put 1 on the backmost knob of the previous piece, and then stack the other one on top of the first one. |
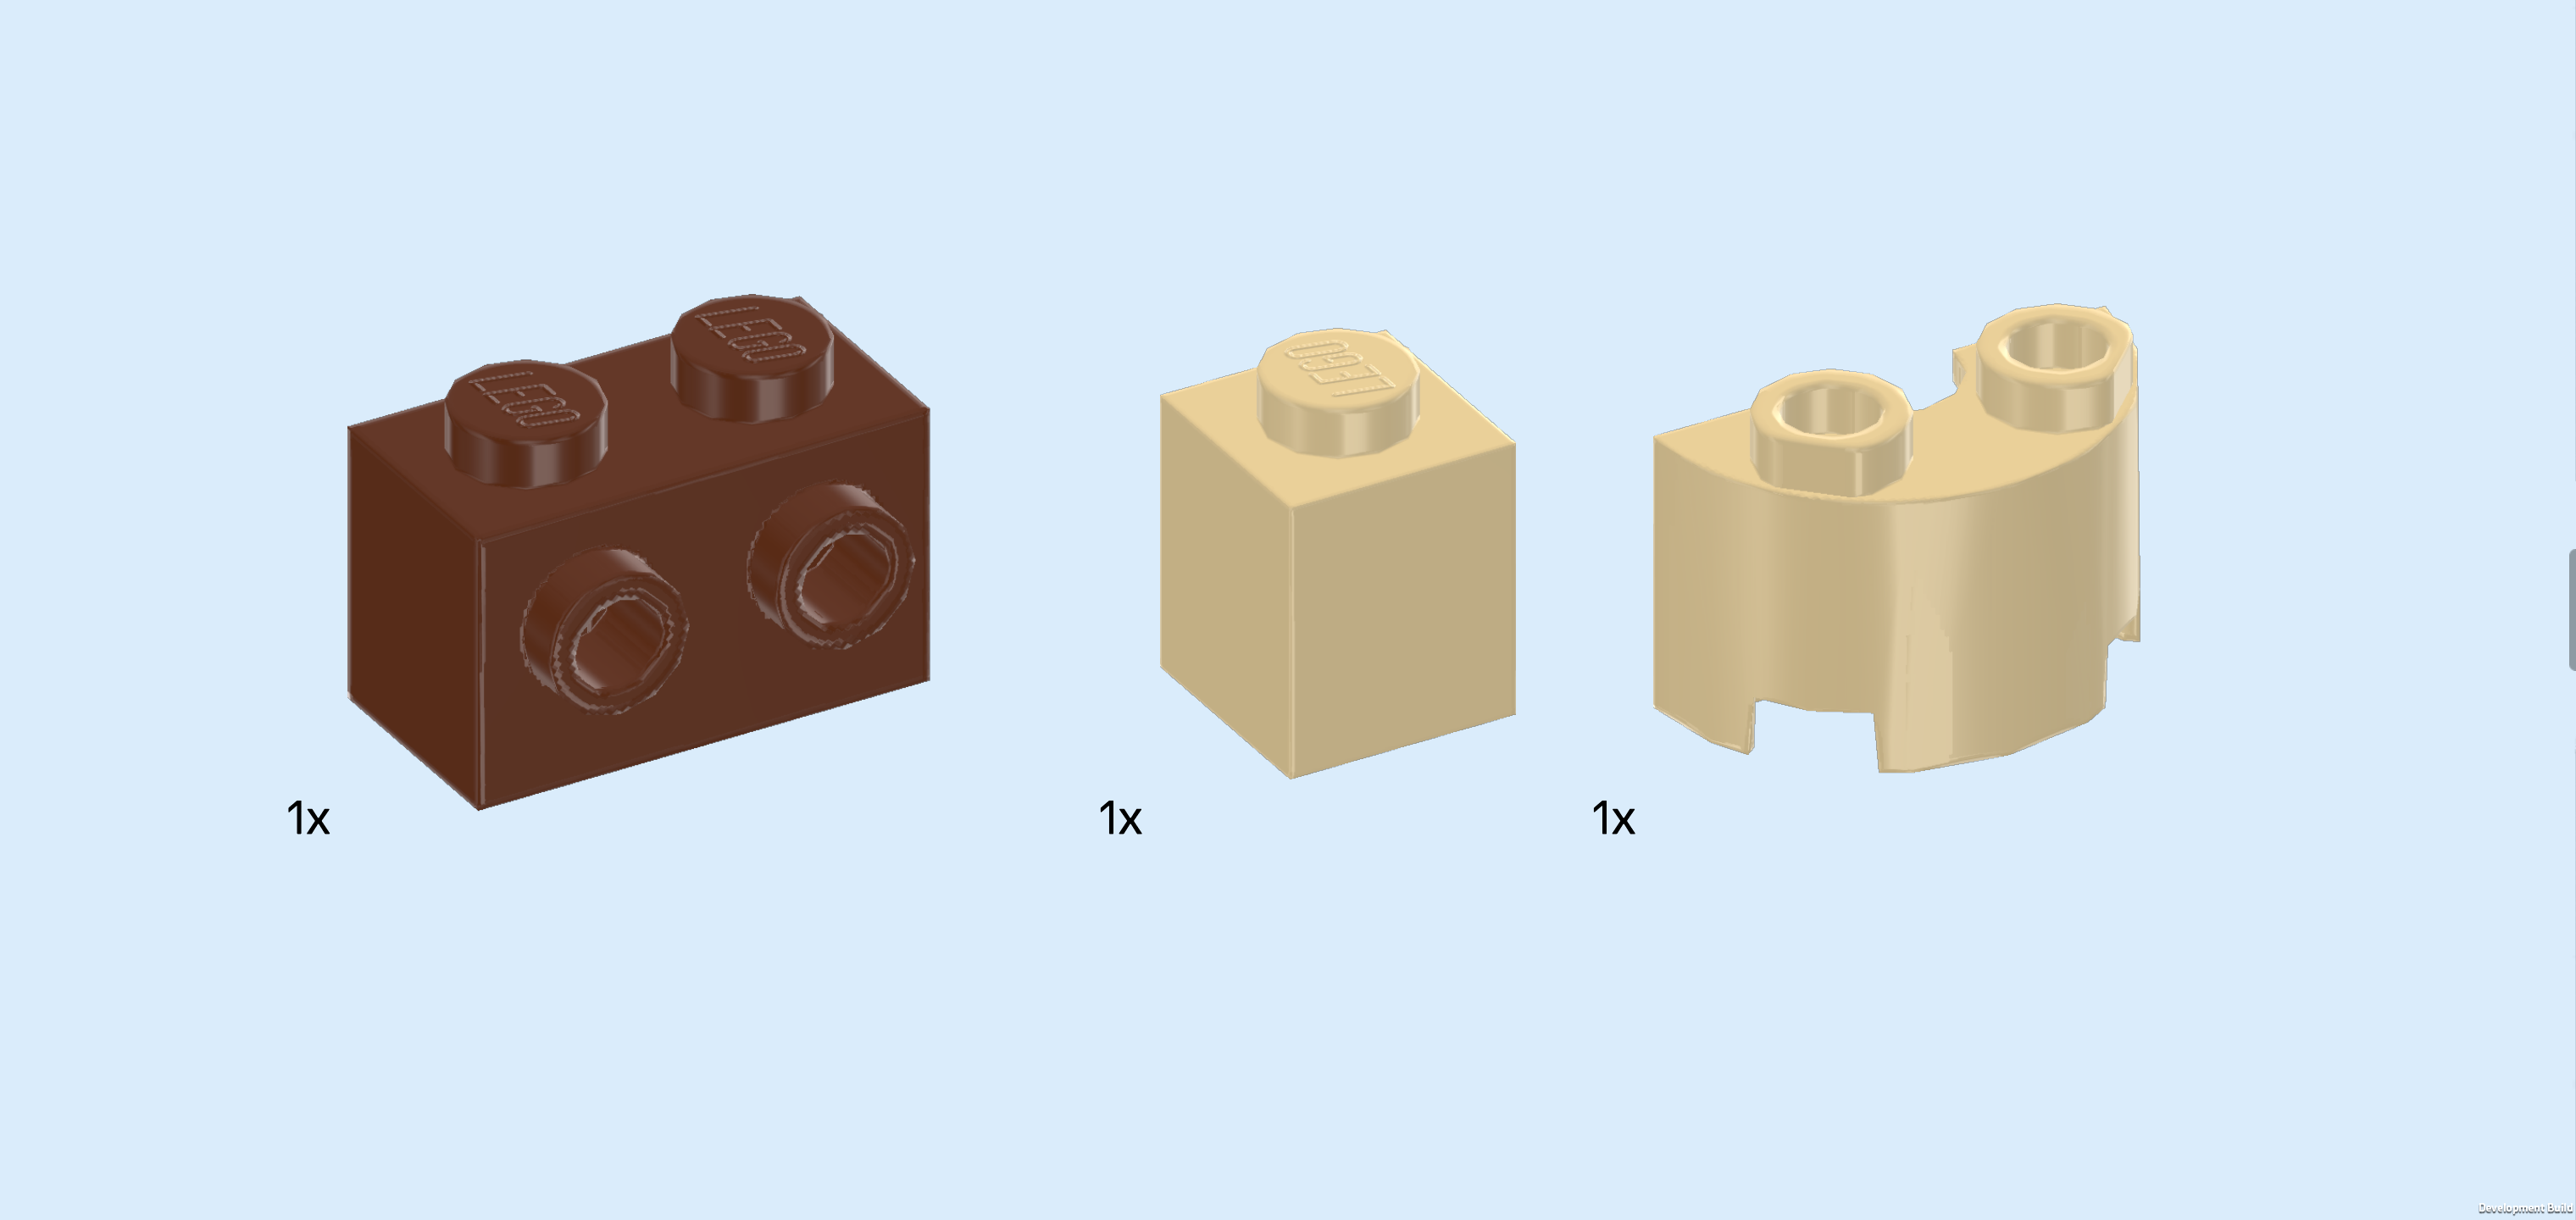
| Collect the following 3 pieces: |
| 1 reddish brown brick 1x2 with 2 side knobs, |
| 1 beige brick 1x1, |
| and 1 beige half-circle brick 1x2 with 2 knobs. |
| Put the brick 1x2 horizontally to the right of the previous piece, side knobs to the front. |
| Put the brick 1x1 to the right of the previous piece. |
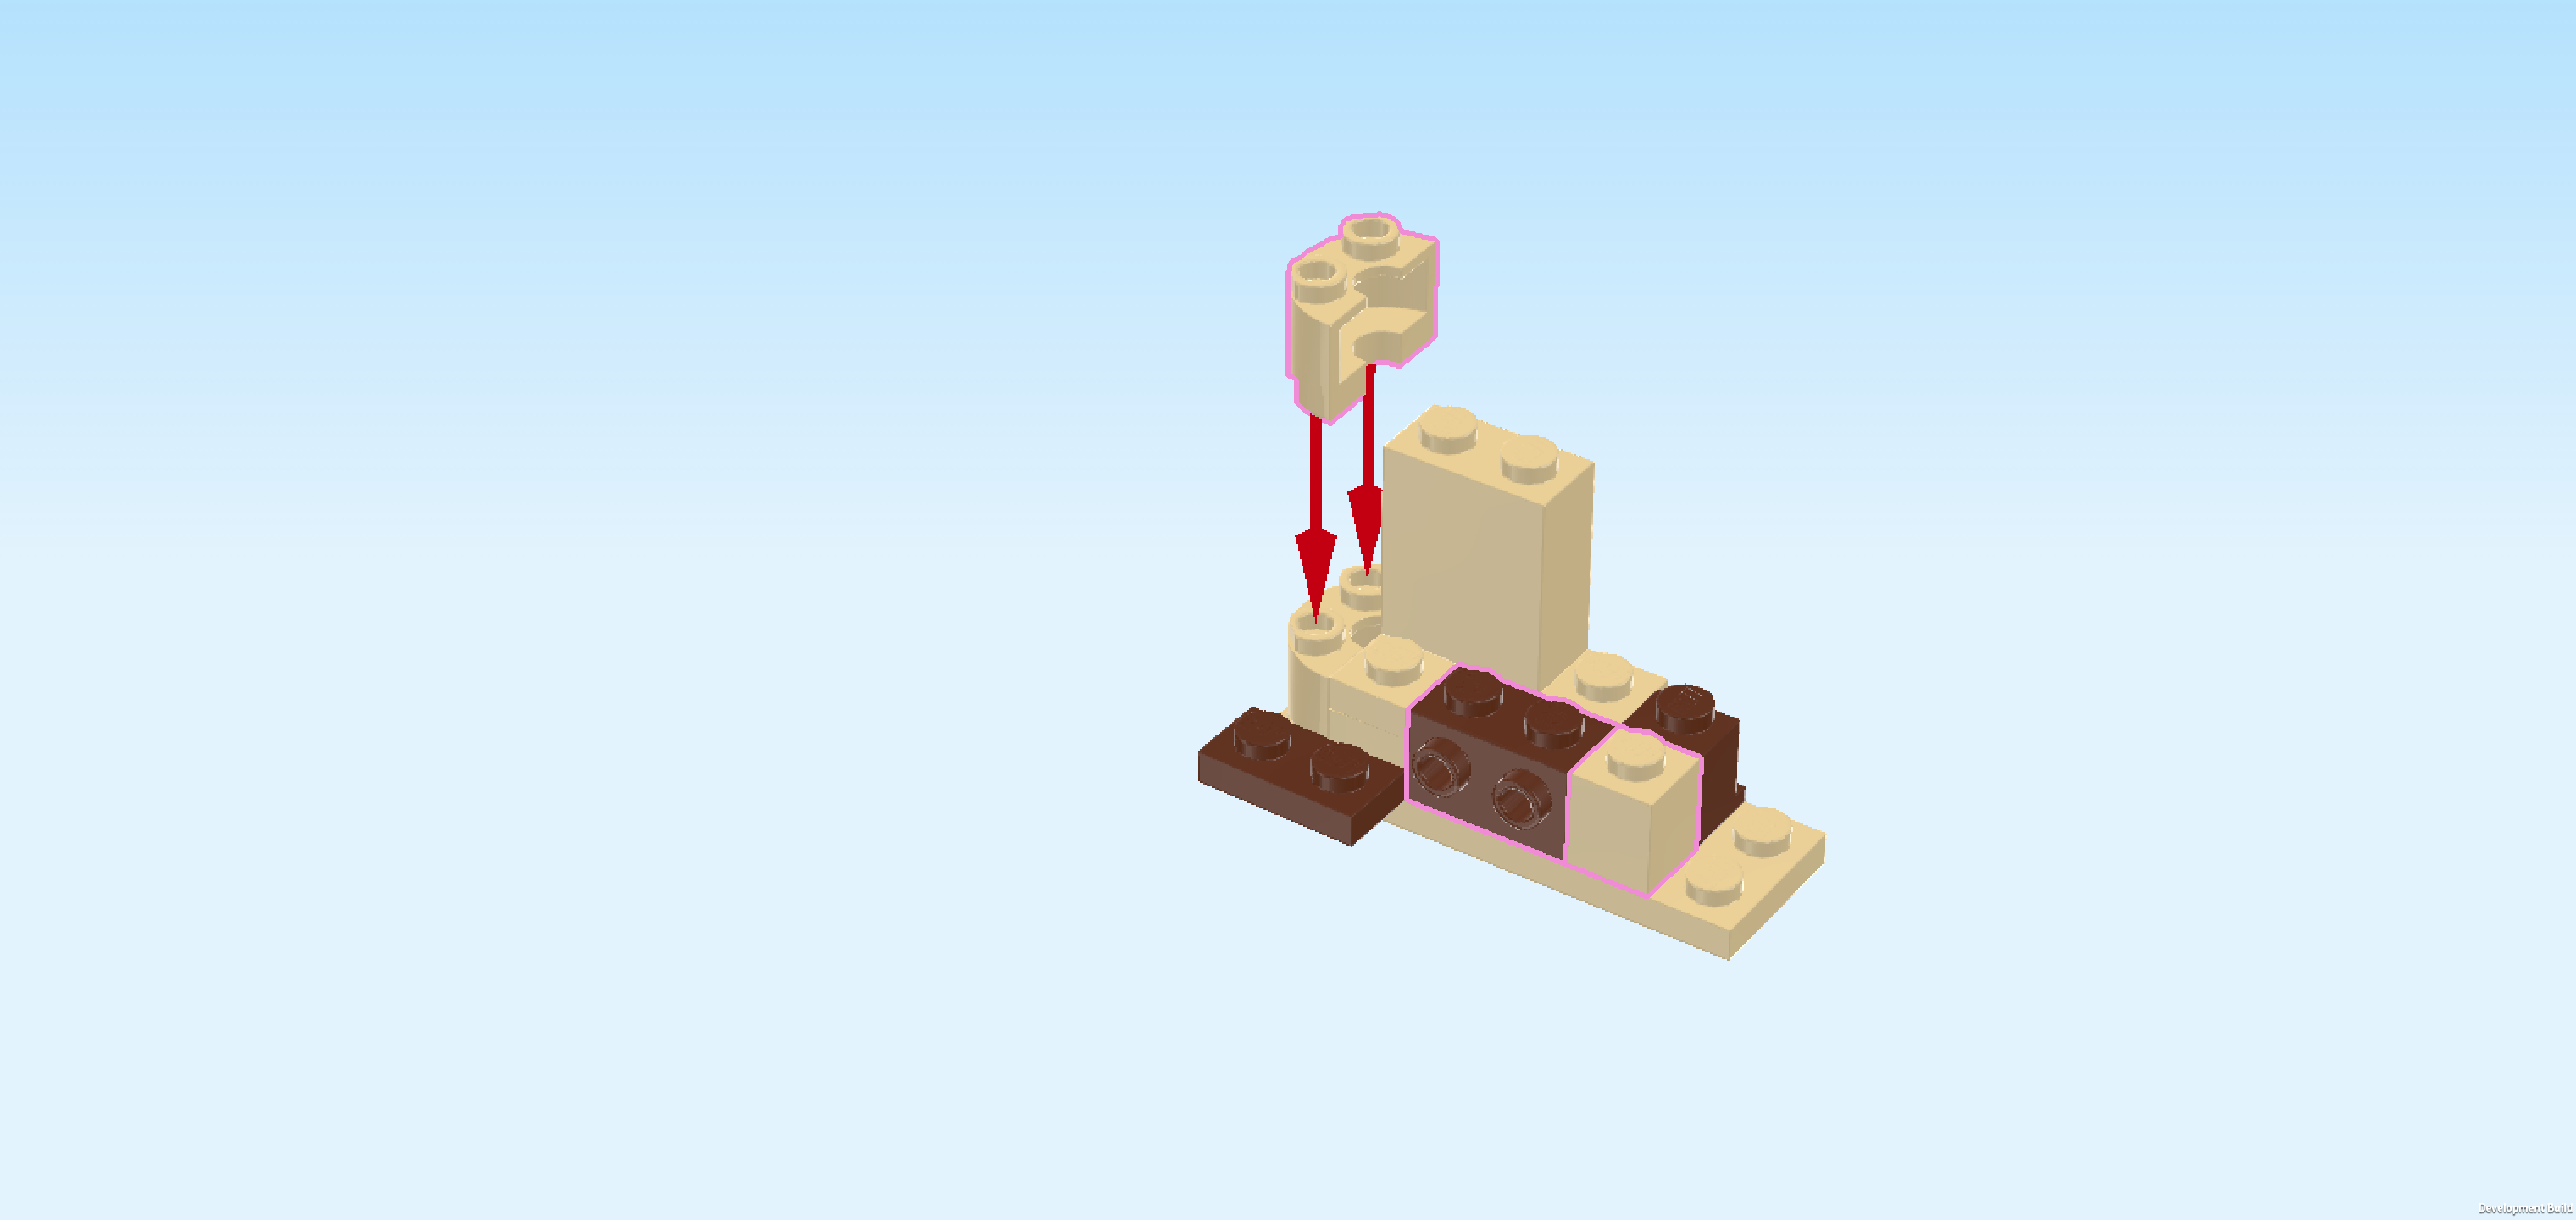
| Put the half-circle brick 1x2 vertically on the leftmost edge on top of the first half-circle brick, matching its shape. |
| Find another beige half-circle brick 1x2 with 2 knobs. |
| Put it vertically on top of the previous piece, matching its shape. |
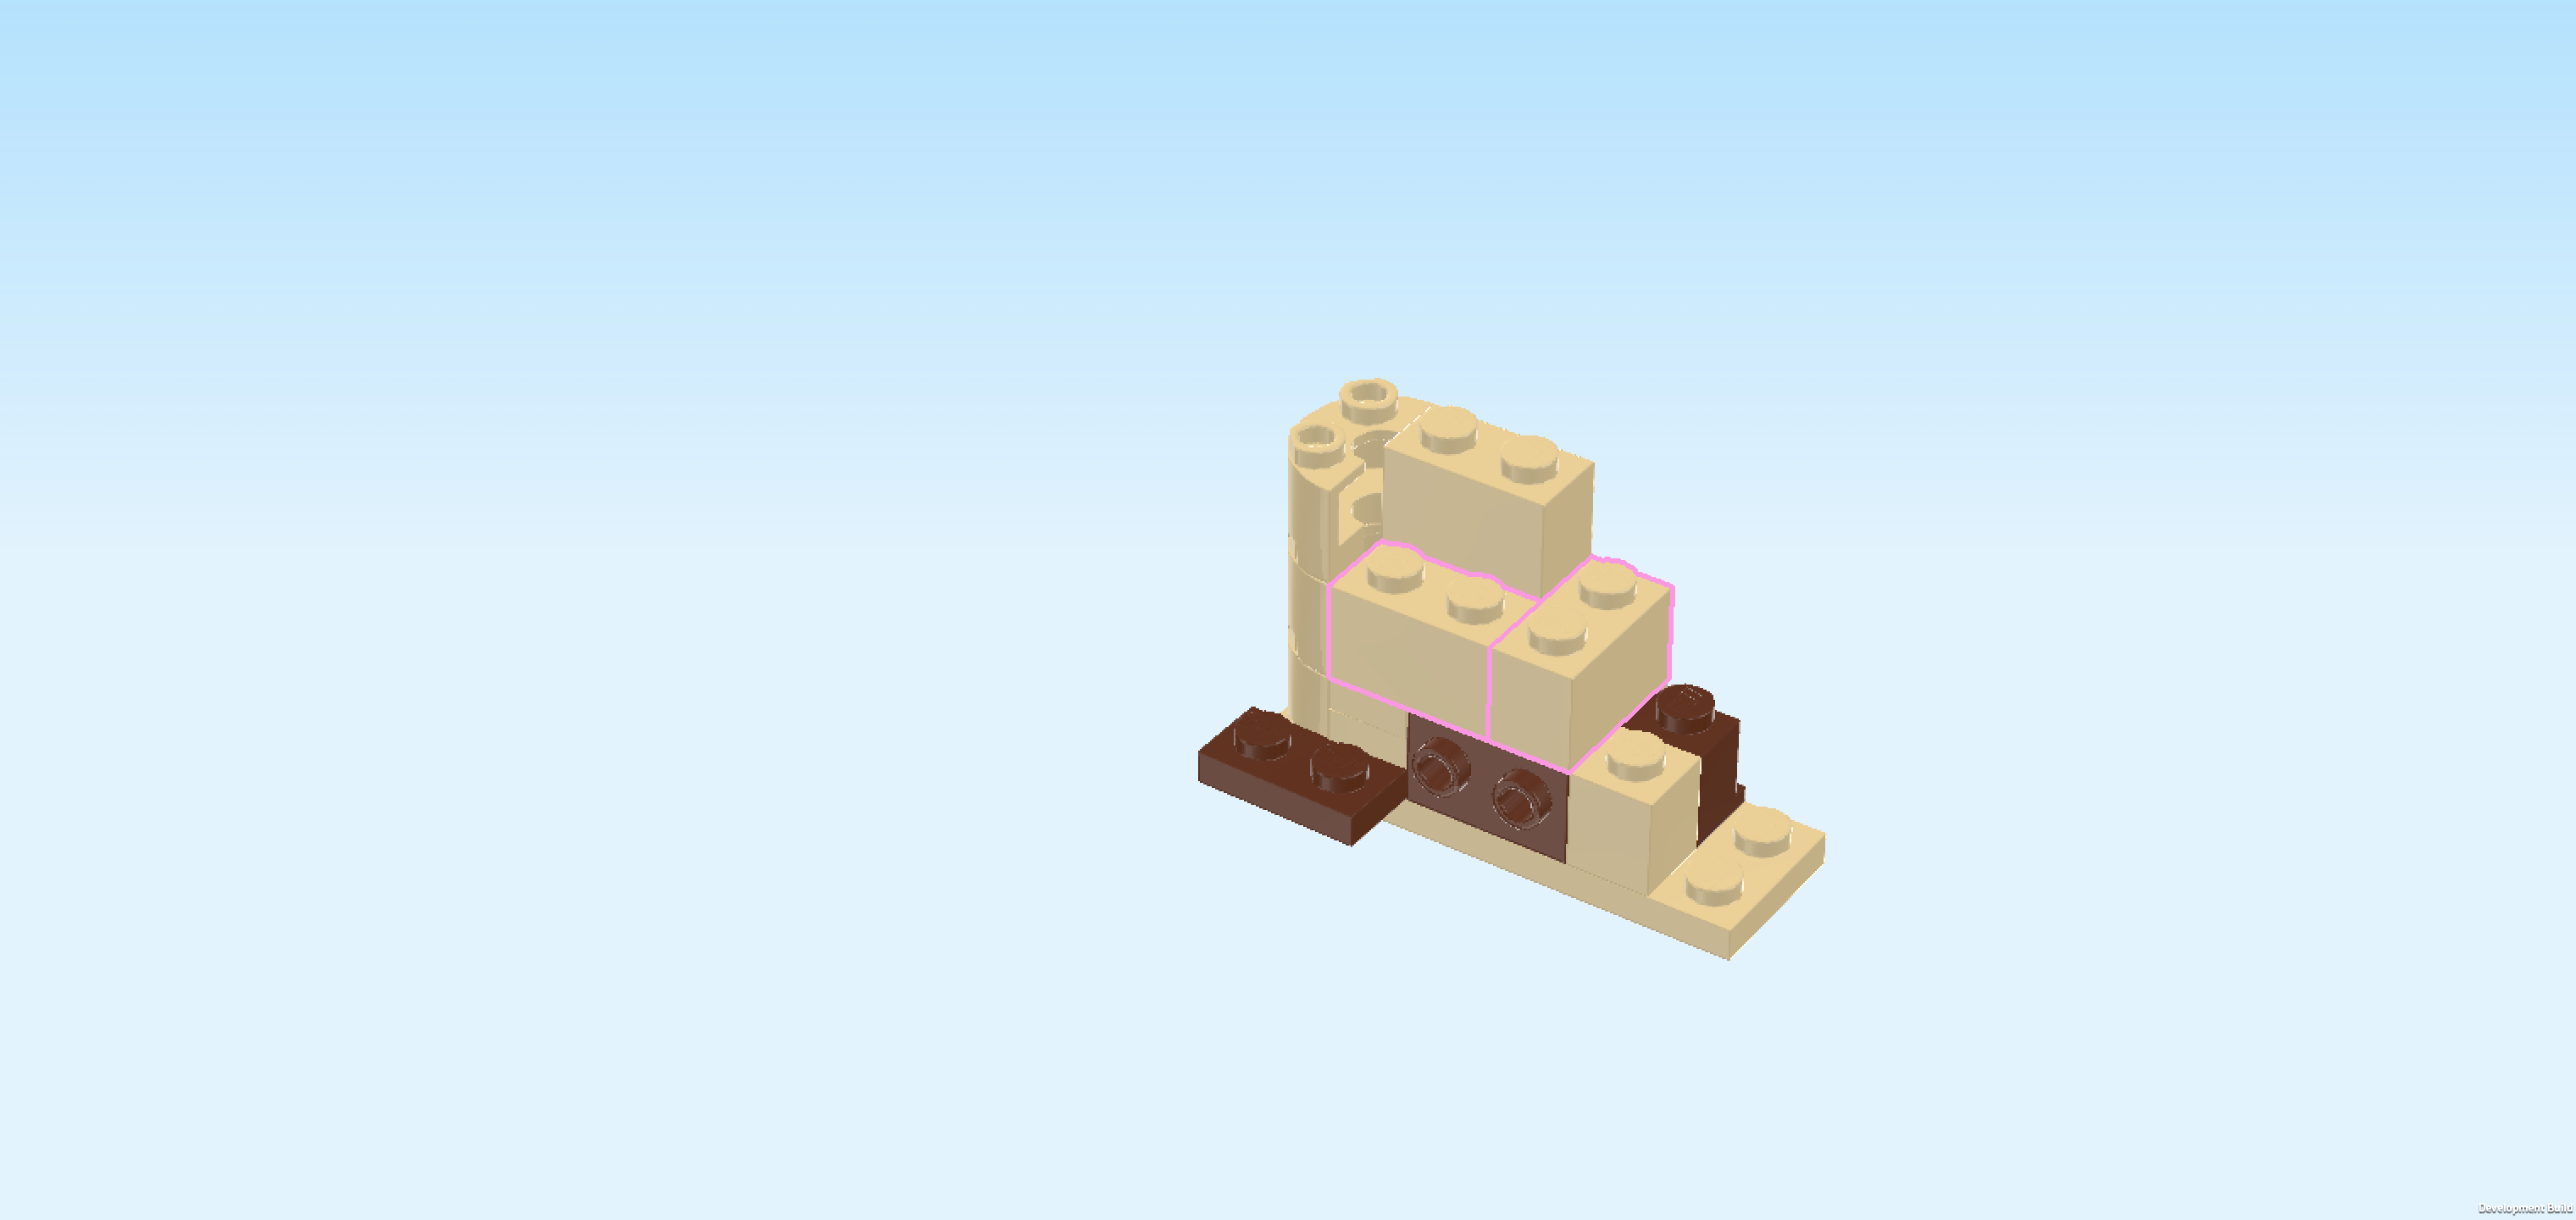
| Find 2 beige bricks 1x2. |
| Put 1 horizontally to the right of the previous piece's front half. |
| Put the other one vertically to the right of the previous piece. |
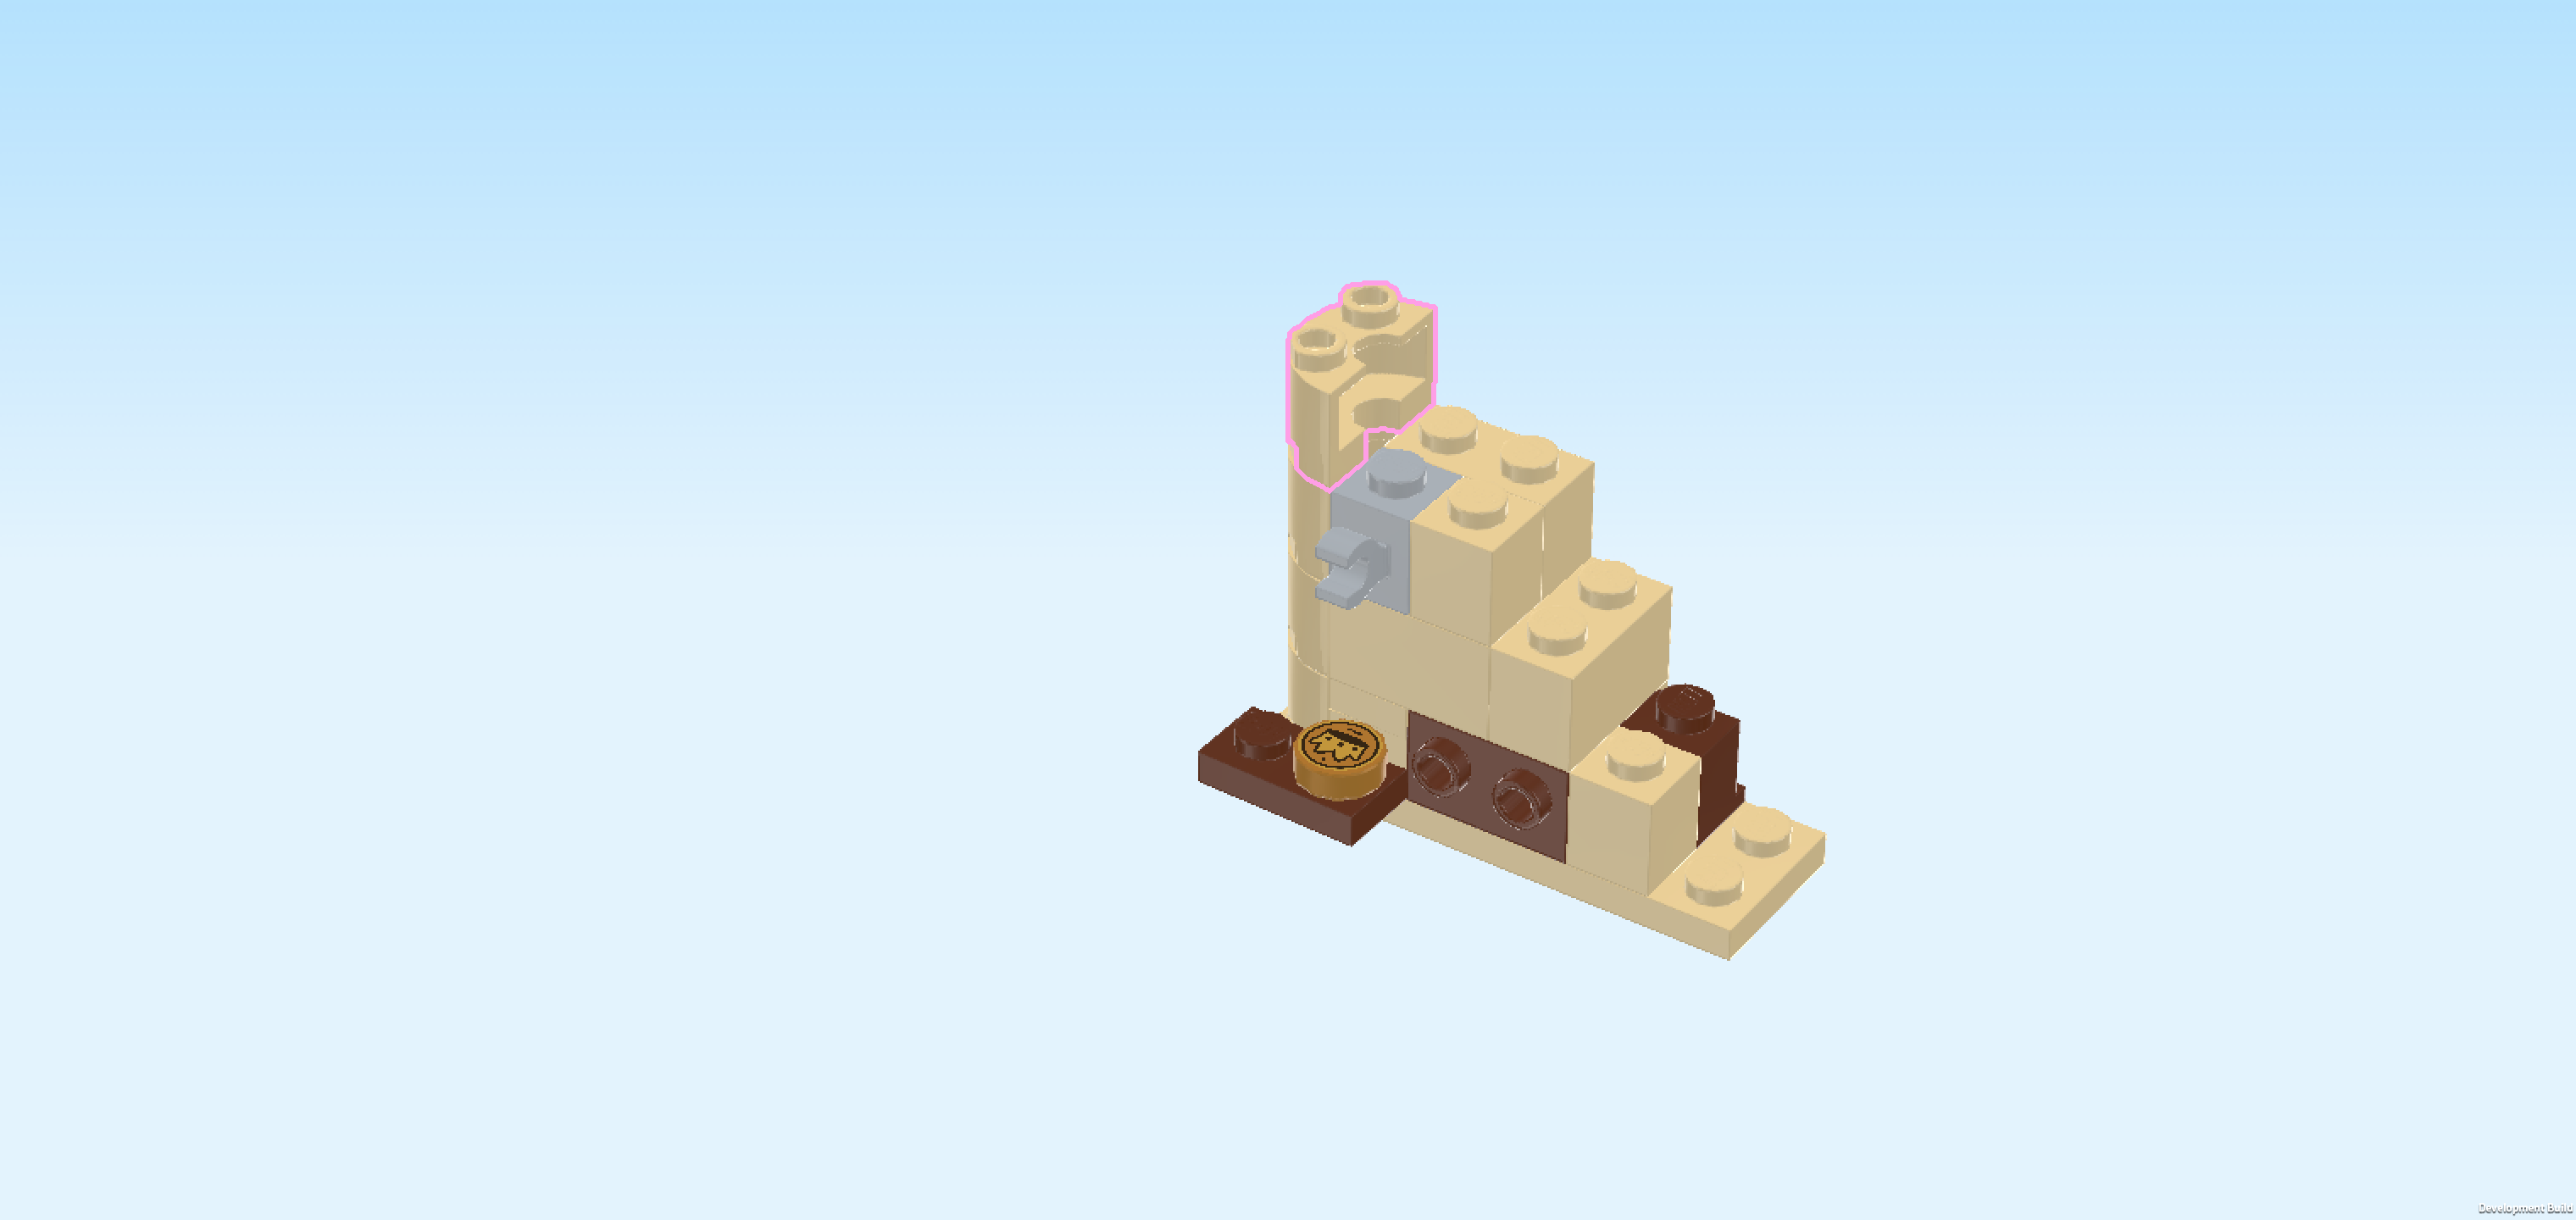
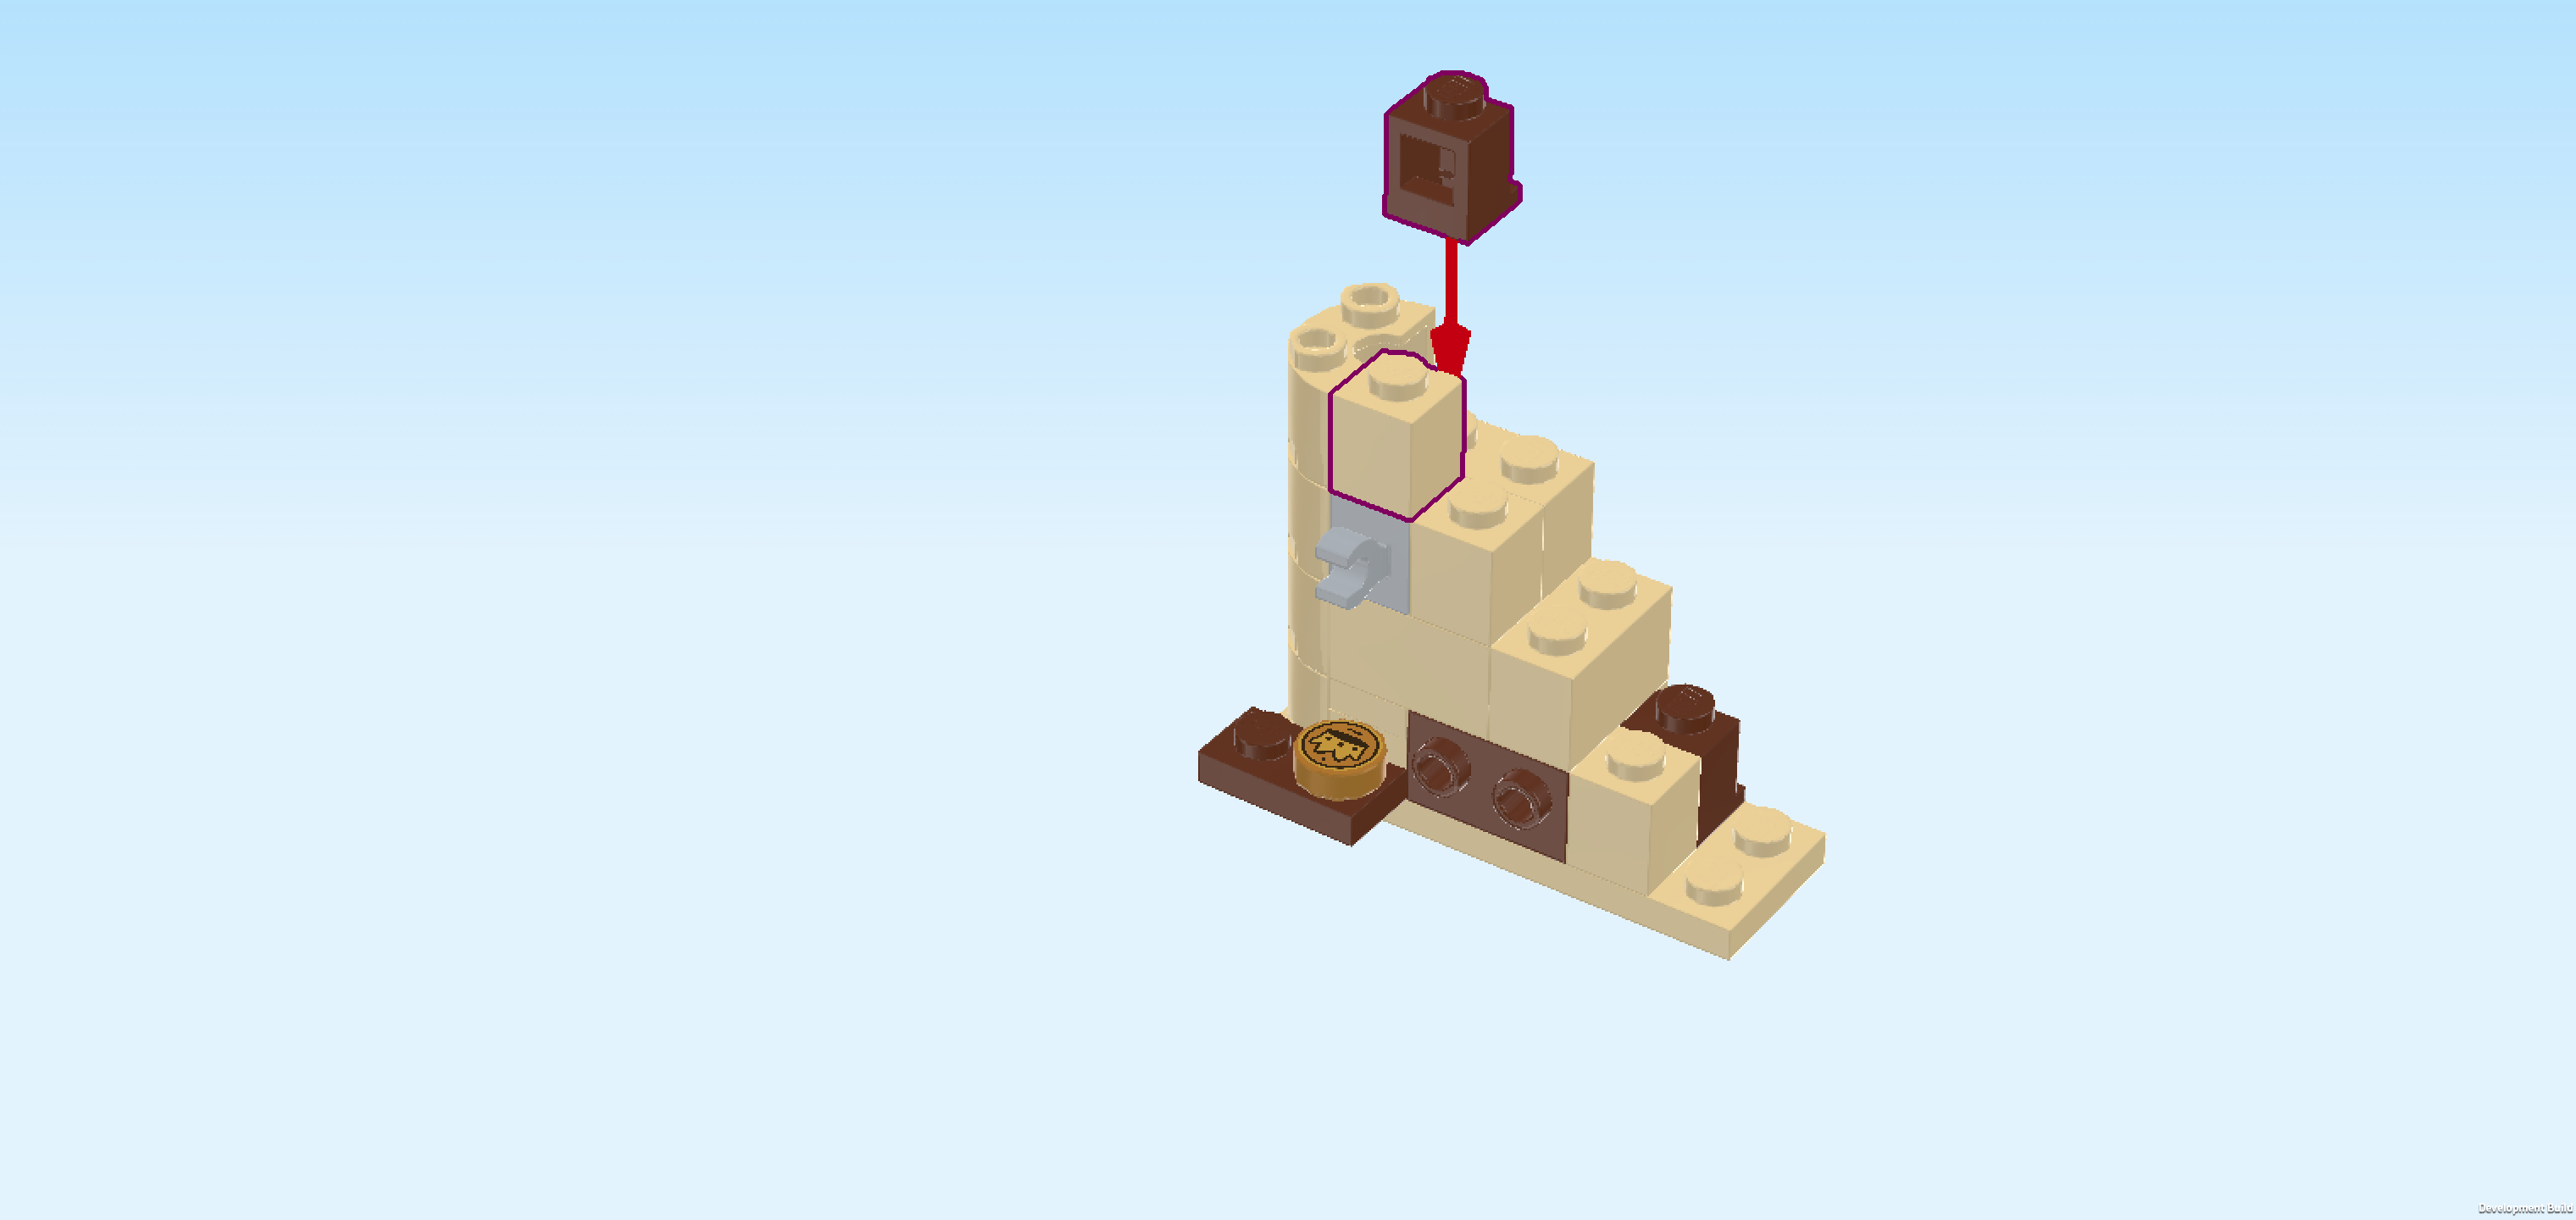
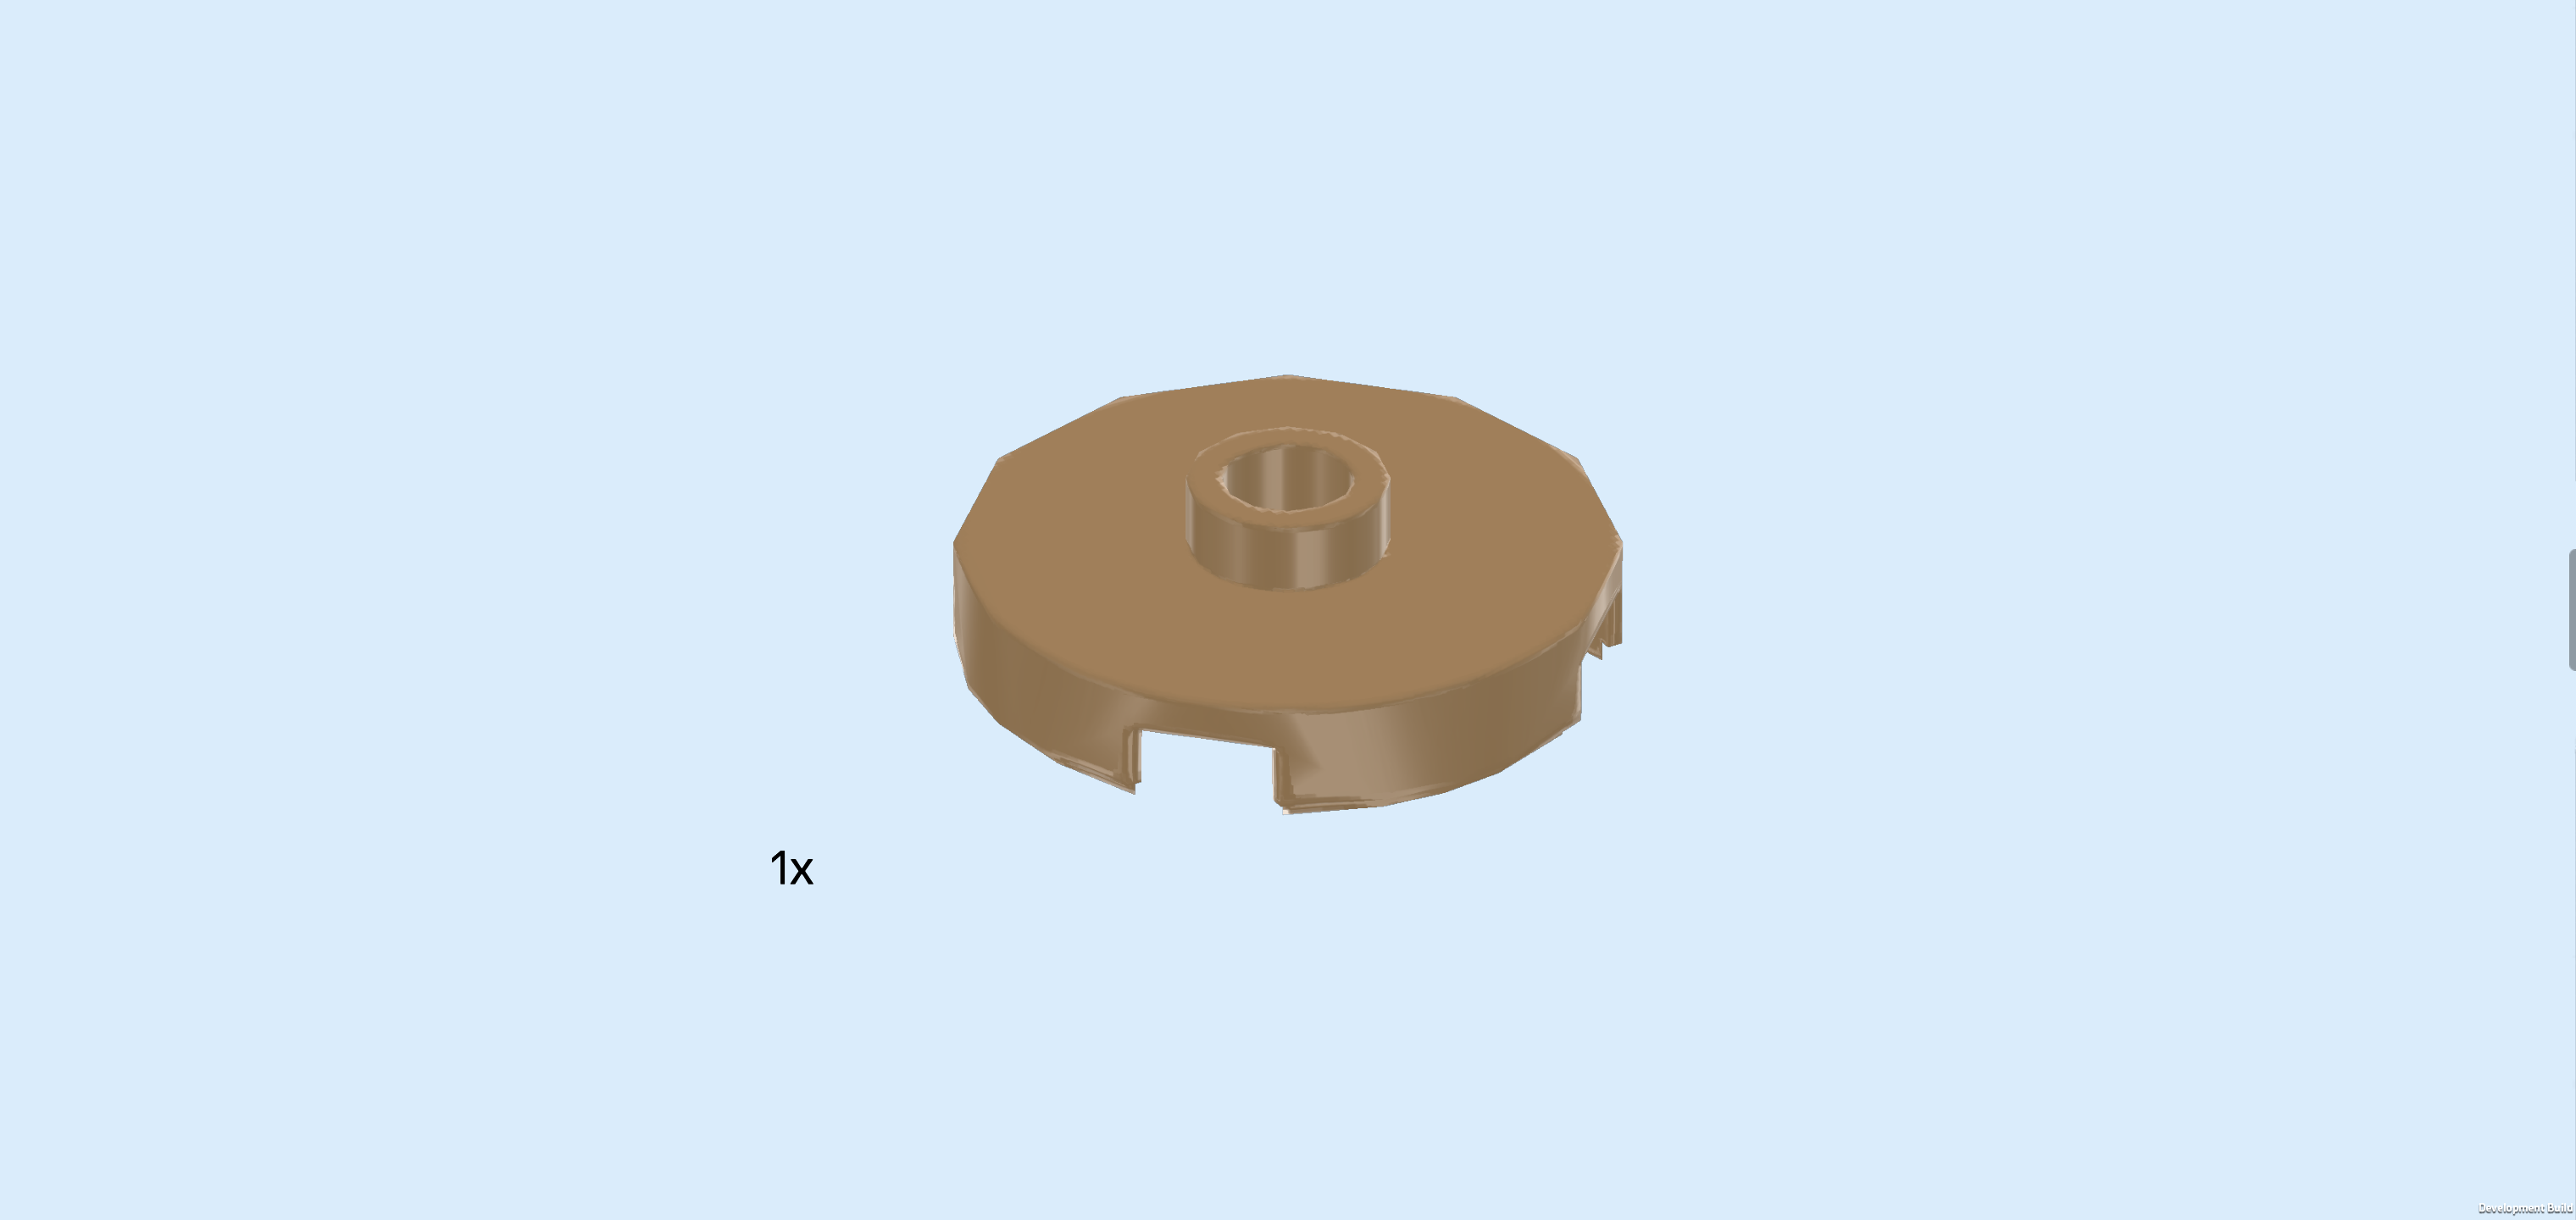
| Collect the following 3 pieces: |
| 1 warm gold round tile 1x1, |
| 1 beige brick 1x1, |
| and 1 medium stone grey brick 1x1 with vertical side clasp. |
| Put the round tile 1x1 on the frontmost row that is protruding towards the front, using the right knob. |
| This tile has a coin print with a golden crown. It looks like it's a special gold coin! |
| Put the brick with side clasp directly behind the previous piece, which means that it will sit on a higher level than the previous piece, clasp to the front. |
| Put the brick 1x1 to the right of the previous piece. |
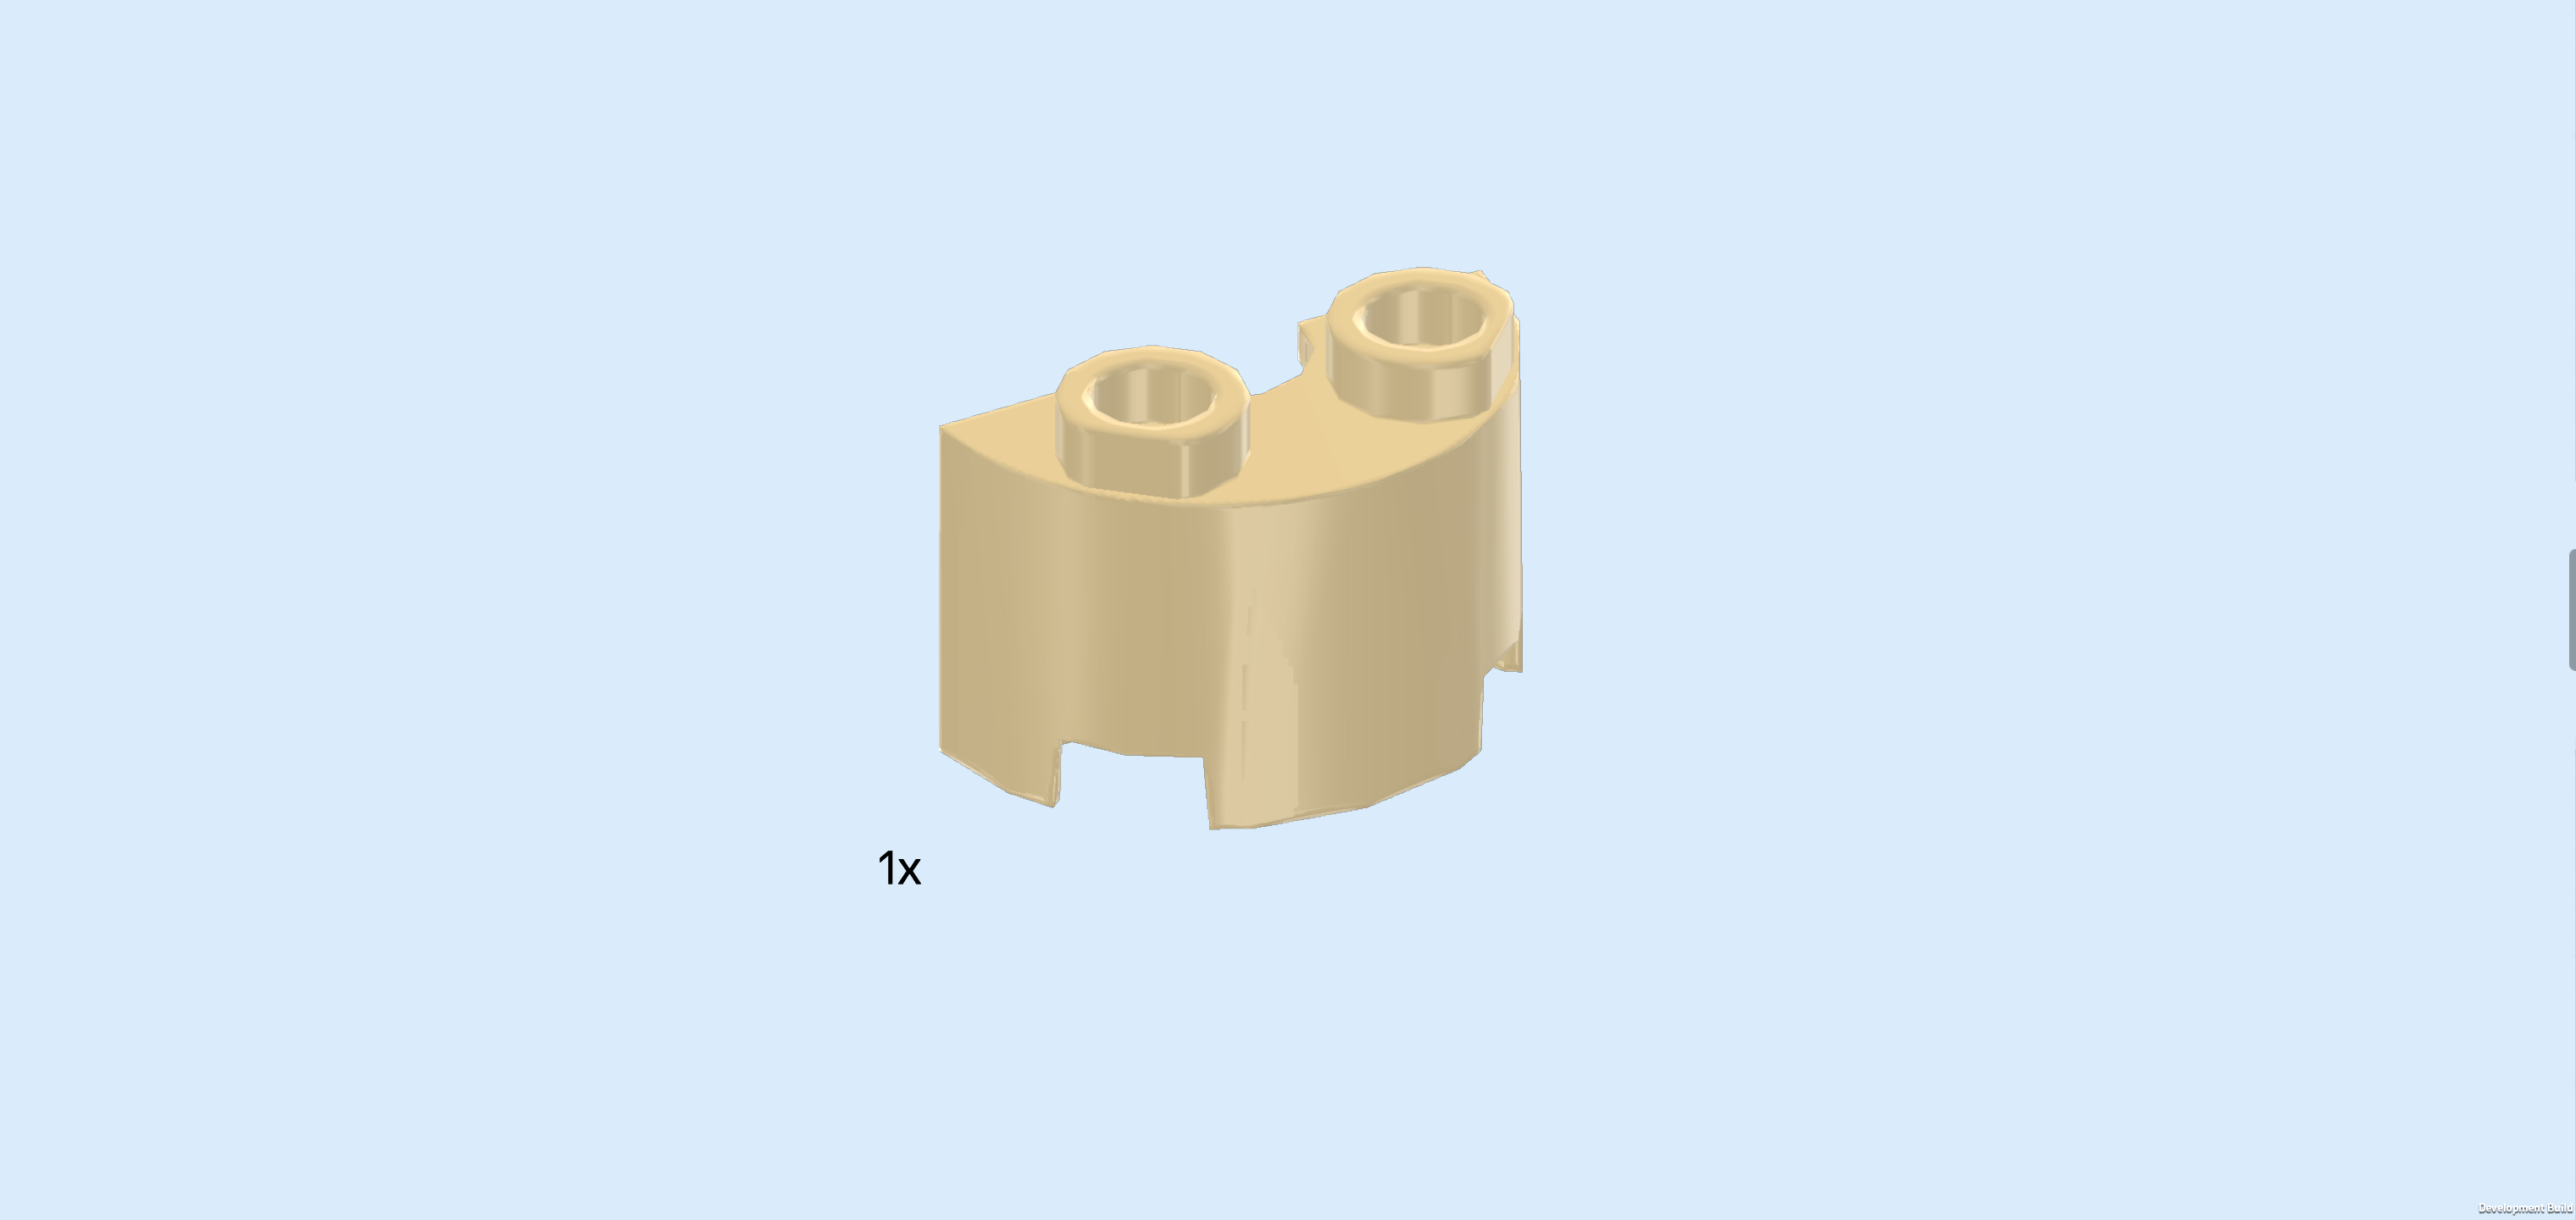
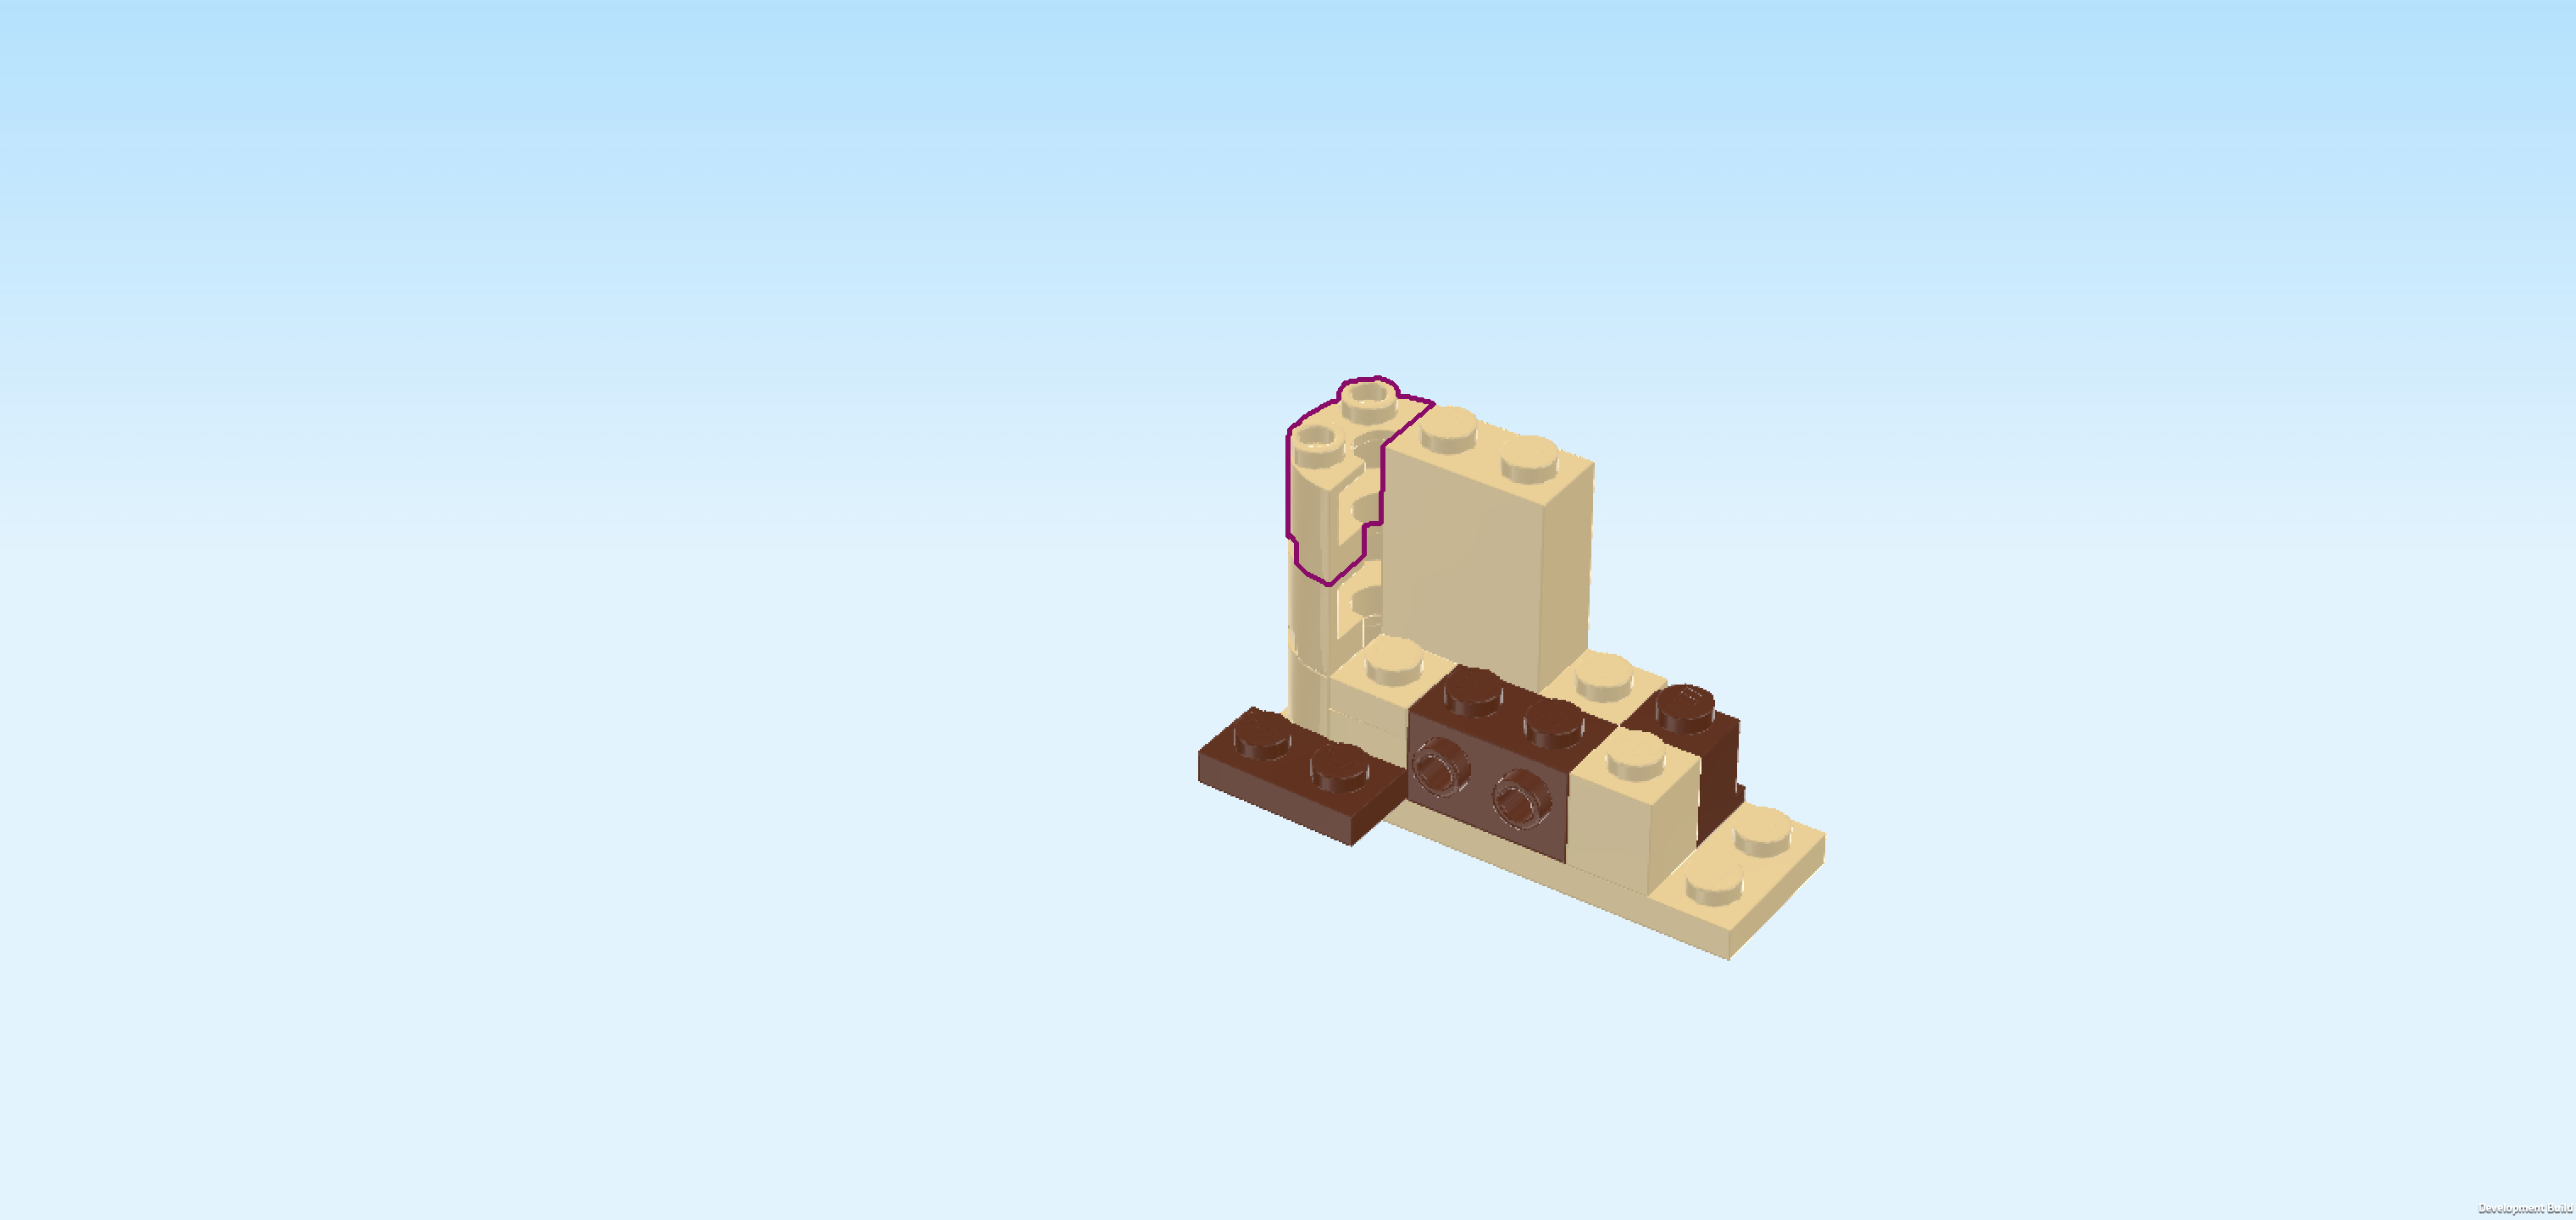
| Find 1 beige half-circle brick 1x2 with 2 knobs. |
| Put it vertically on the leftmost edge, matching the shape of the half-circle bricks below. |
| Collect the following 2 pieces: |
| 1 reddish brown brick 1x1 with side knob and bottom foot, |
| and 1 beige brick 1x1. |
| Put the brick 1x1 with side knob to the right of the previous piece on the back row, side knob to the back. |
| Put the brick 1x1 in front of the previous piece. |
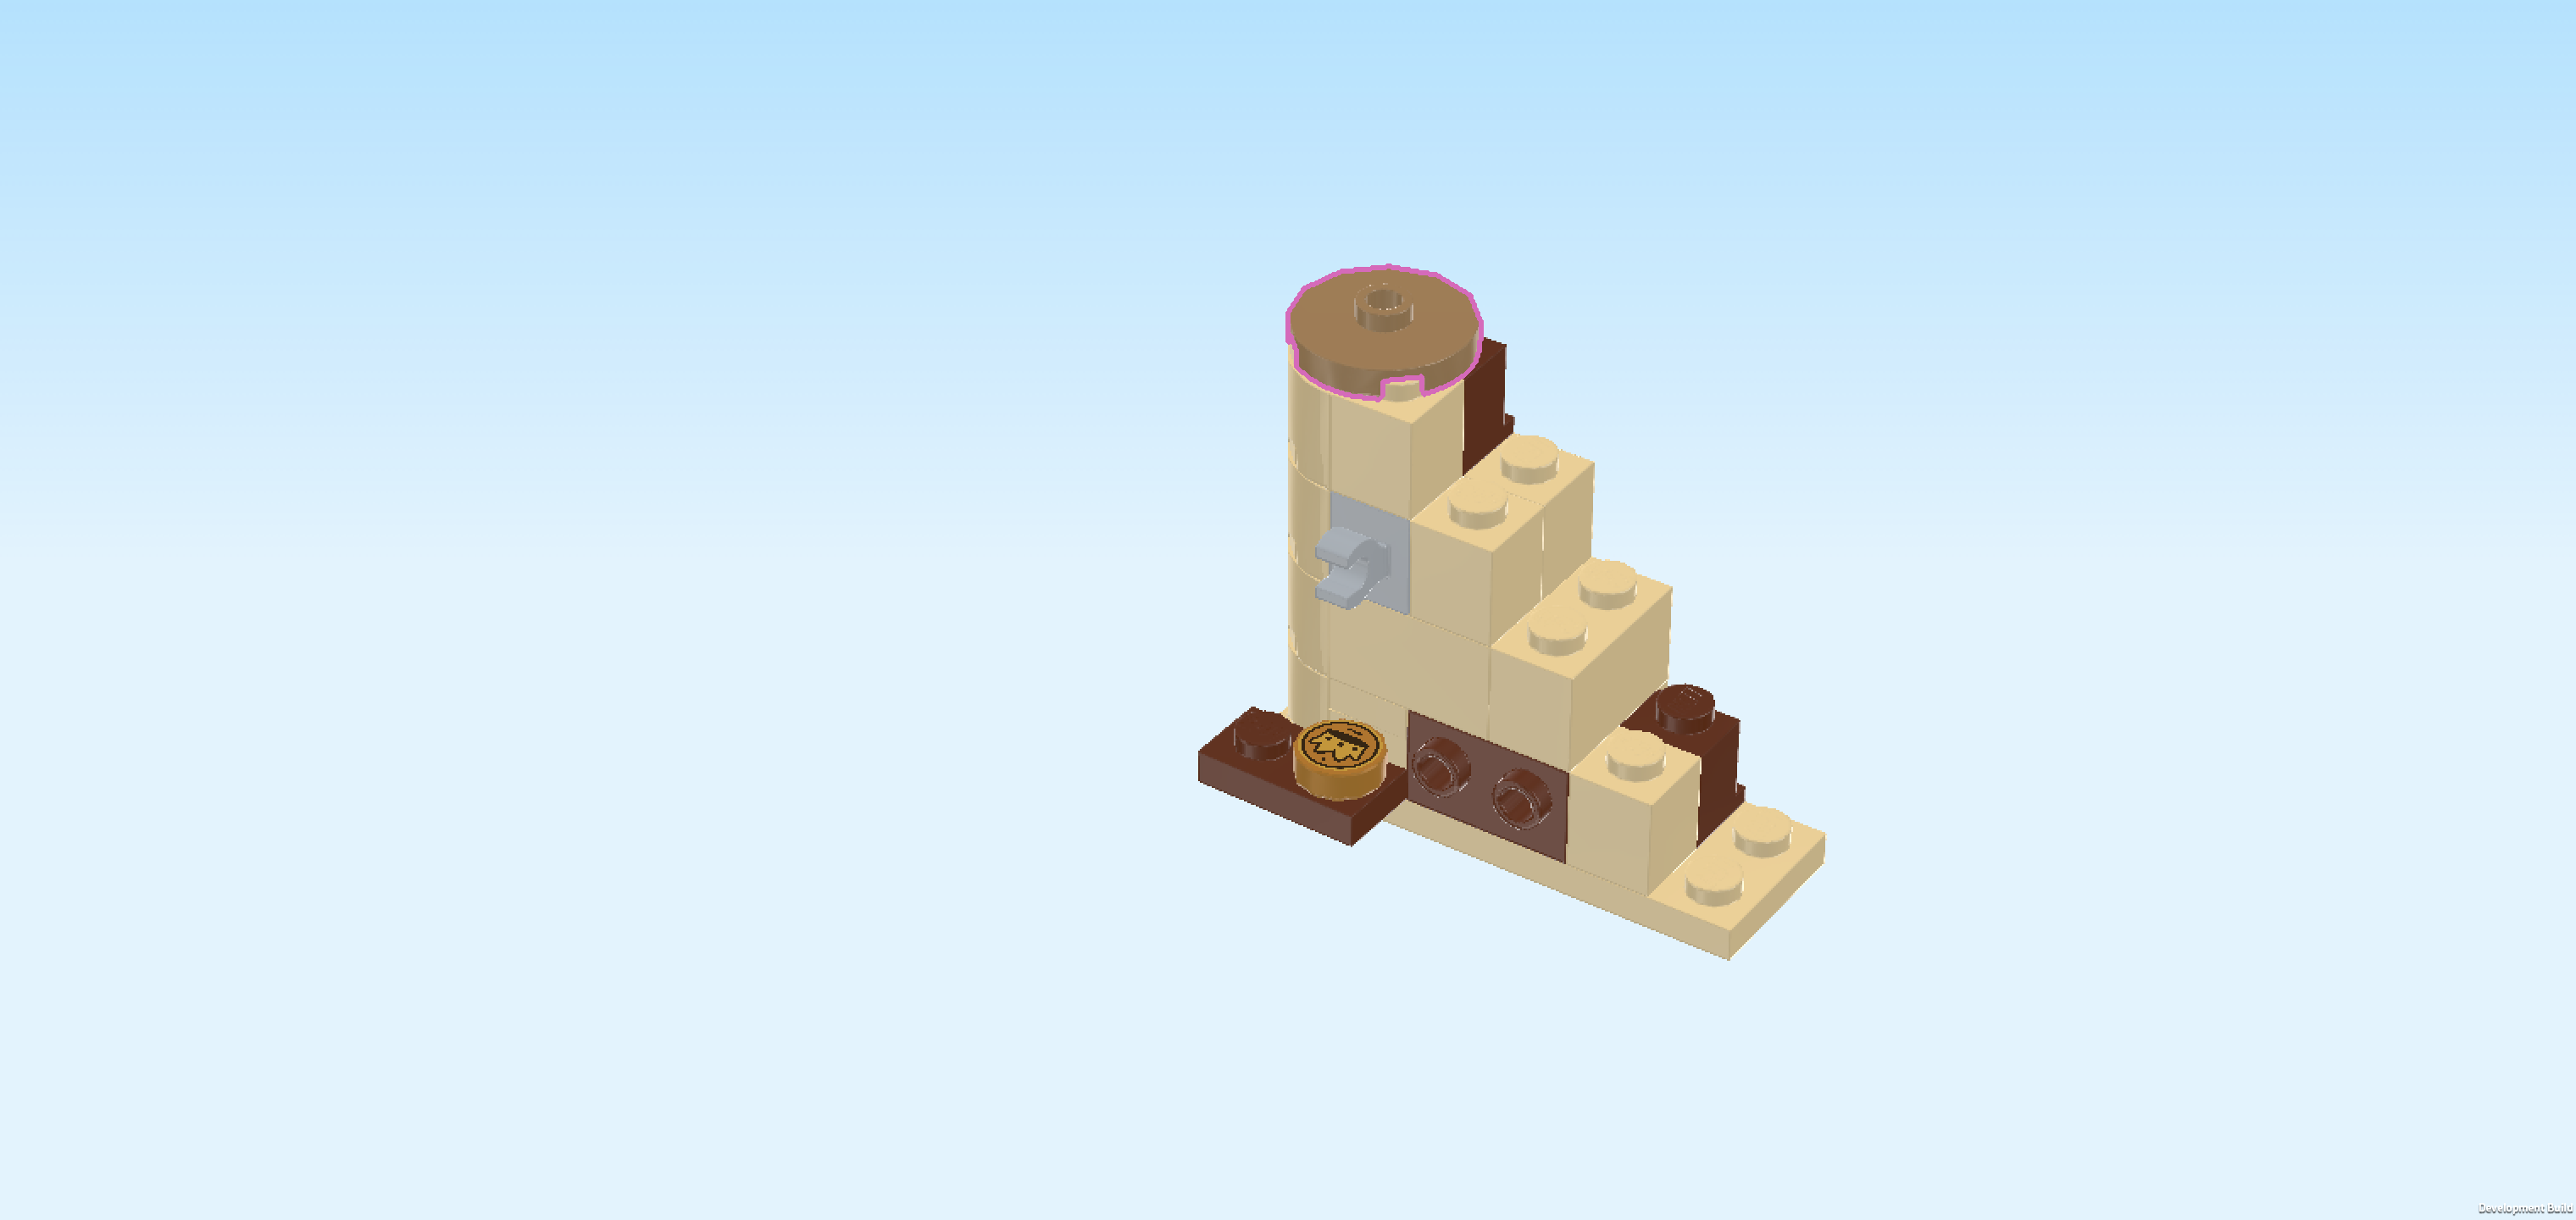
| Find 1 mud grey round plate 2x2 with 1 knob. |
| Put it on top of the 3 previous pieces. This means it will sit on the leftmost edge, matching the rounded shape on the left. |
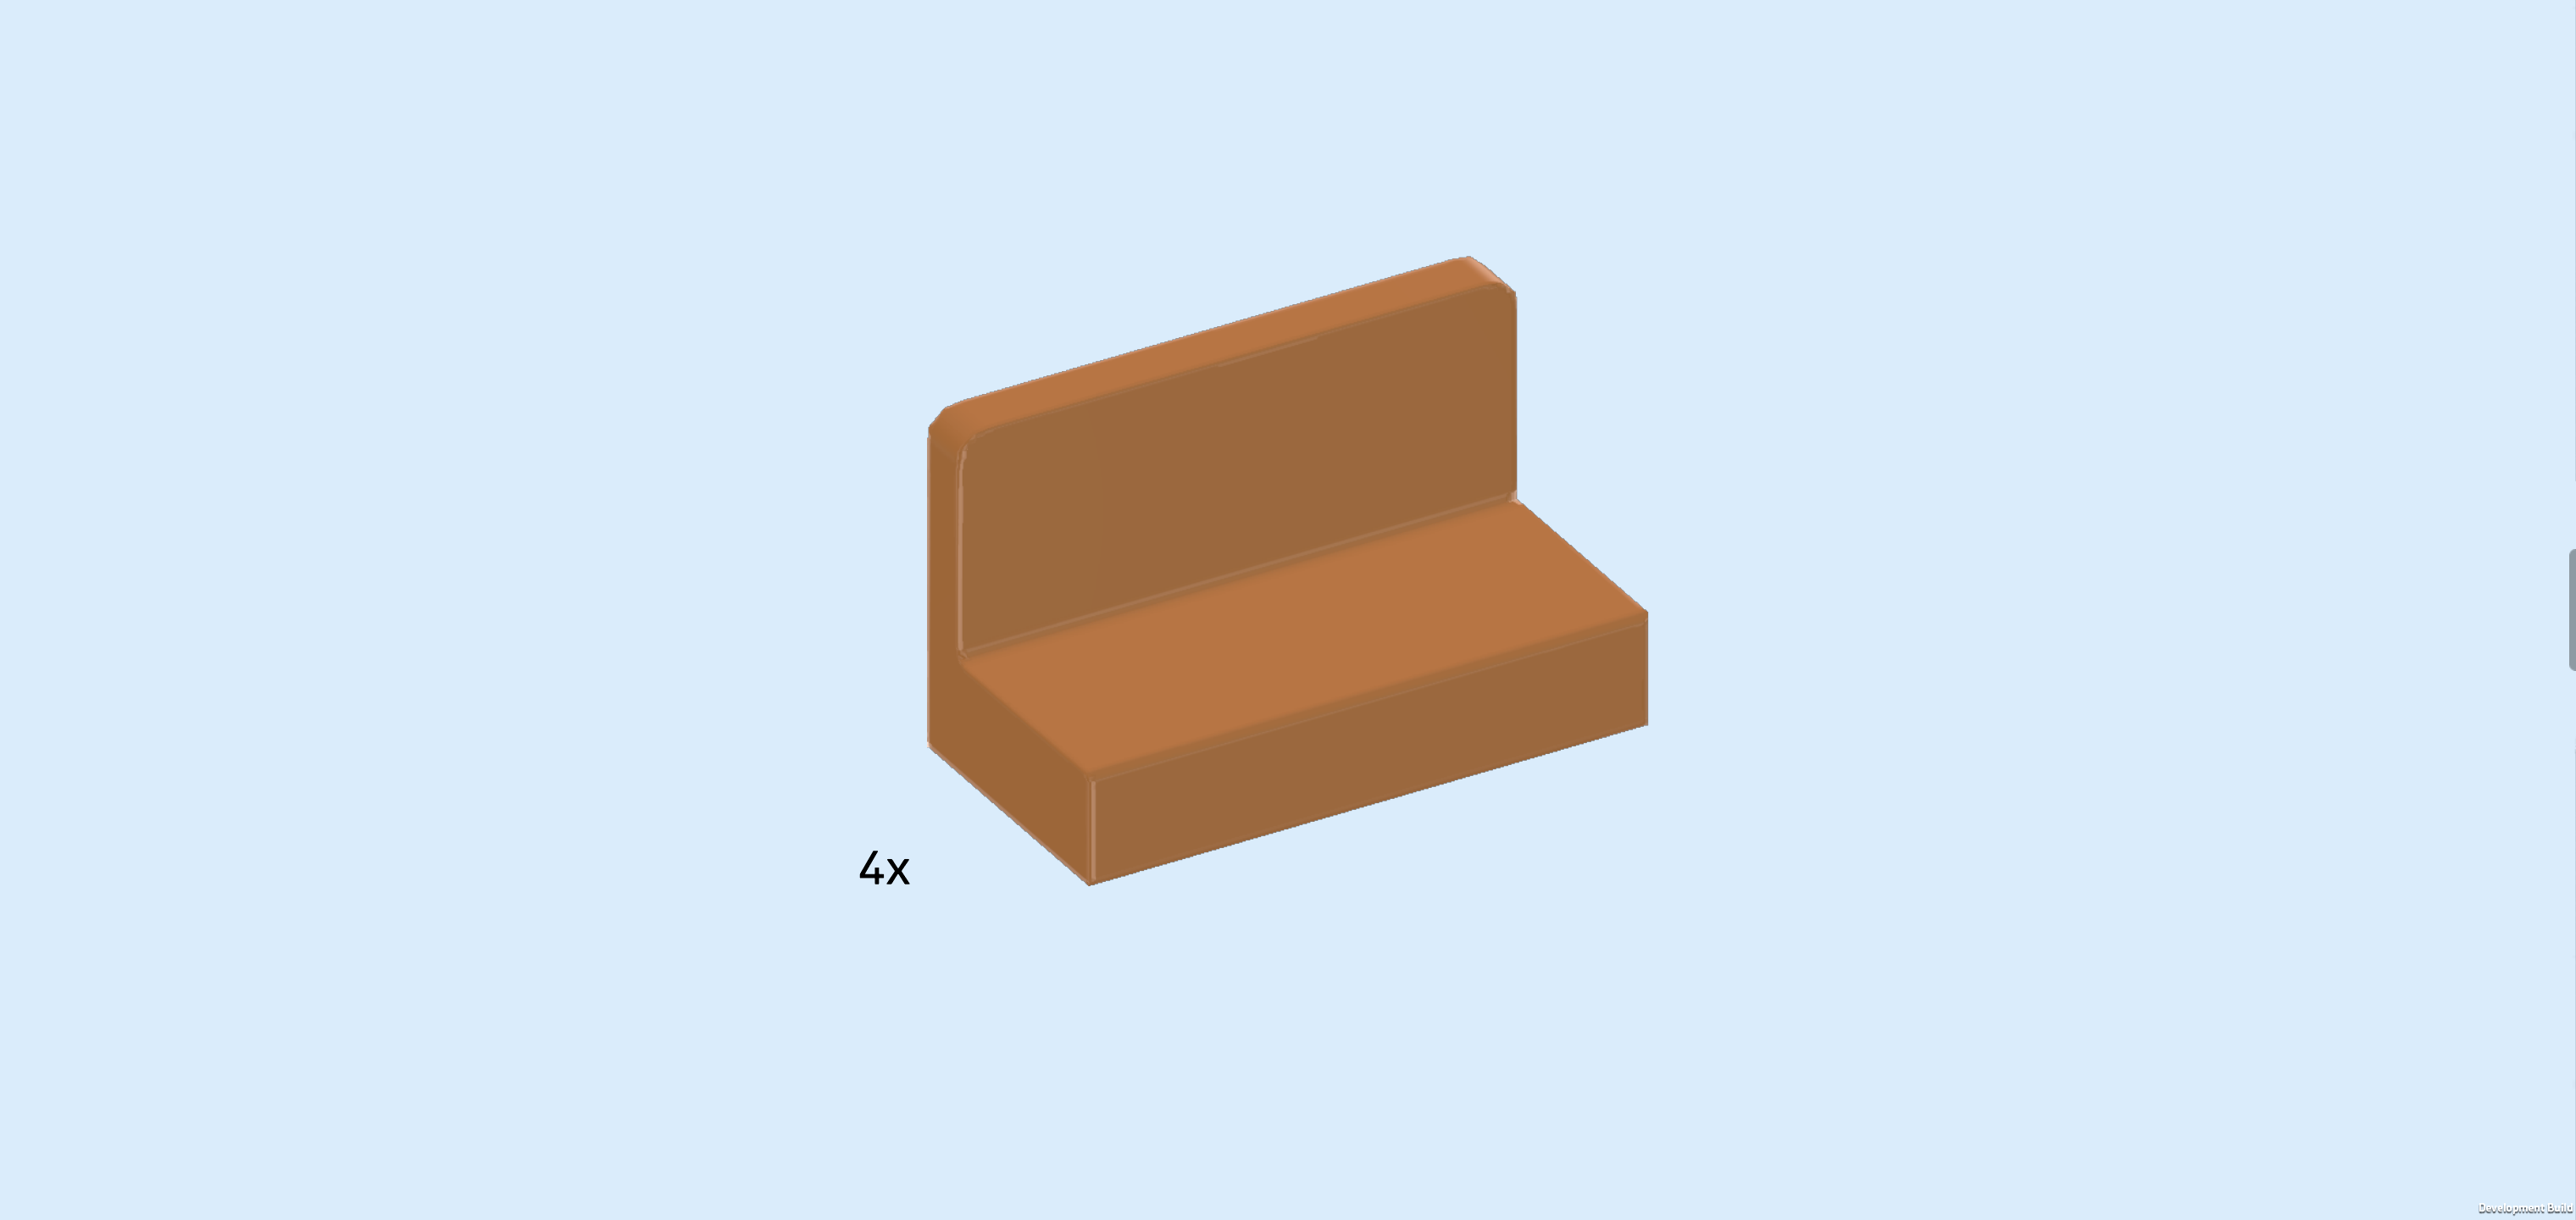
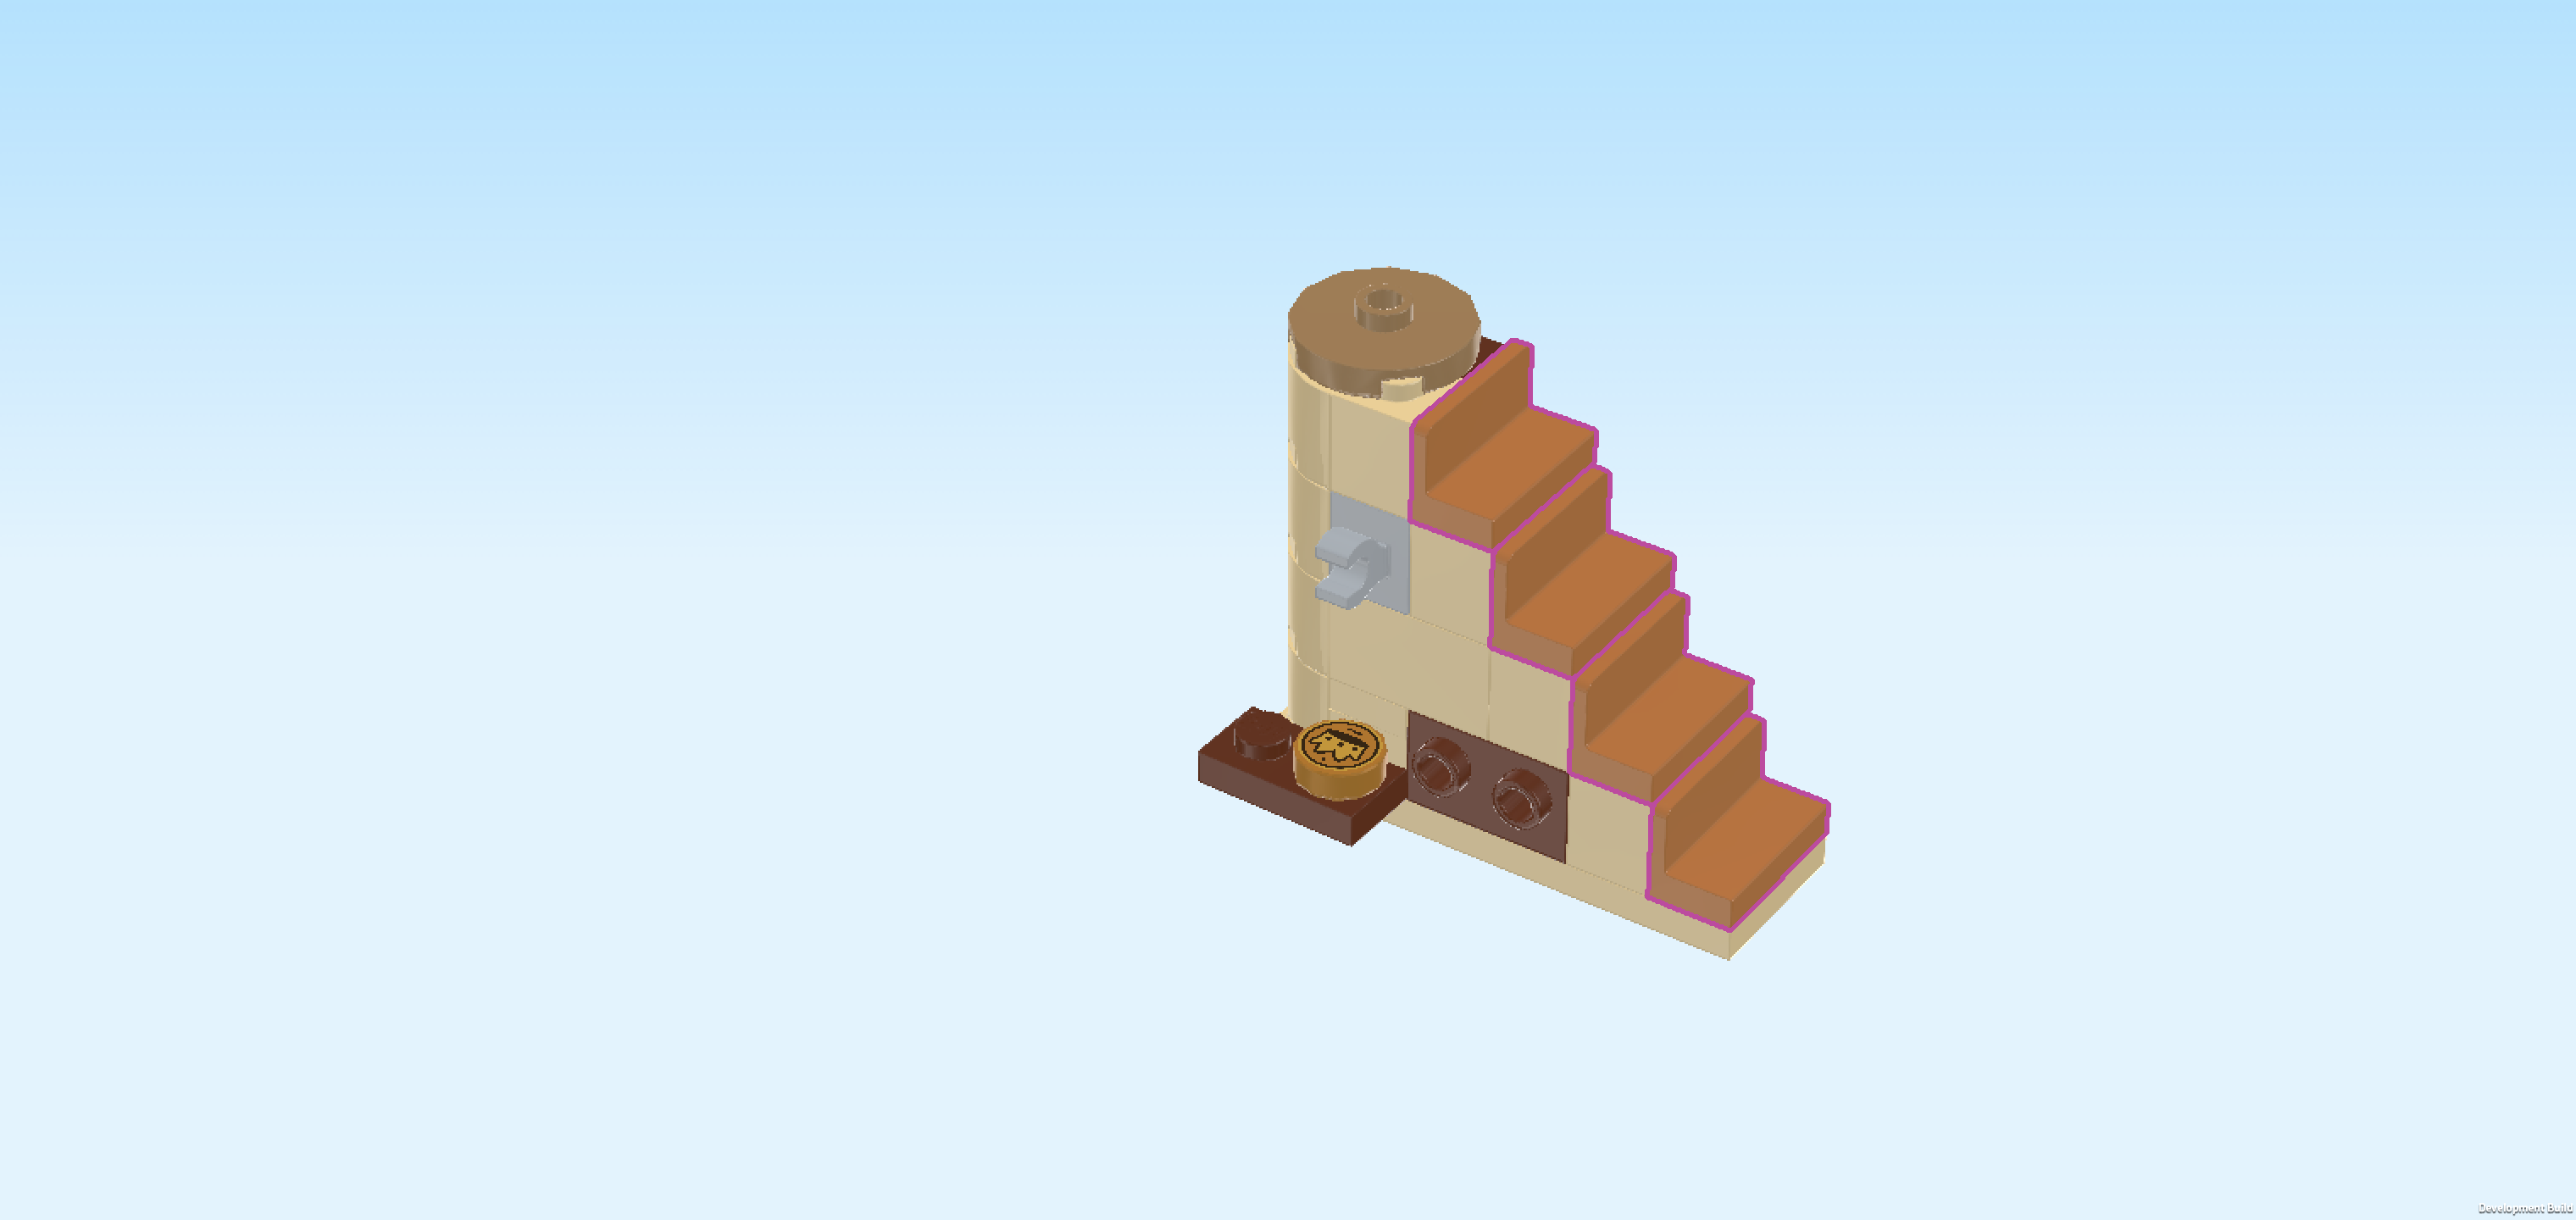
| Find 4 medium nougat brown panel elements 1x2x1 with panel on long side. |
| Put 1 vertically on the rightmost column of the structure, panel to the left. |
| Repeat on the remaining 3 steps of the stairs: put 1 panel element on each step and make sure that each panel is towards the left. |
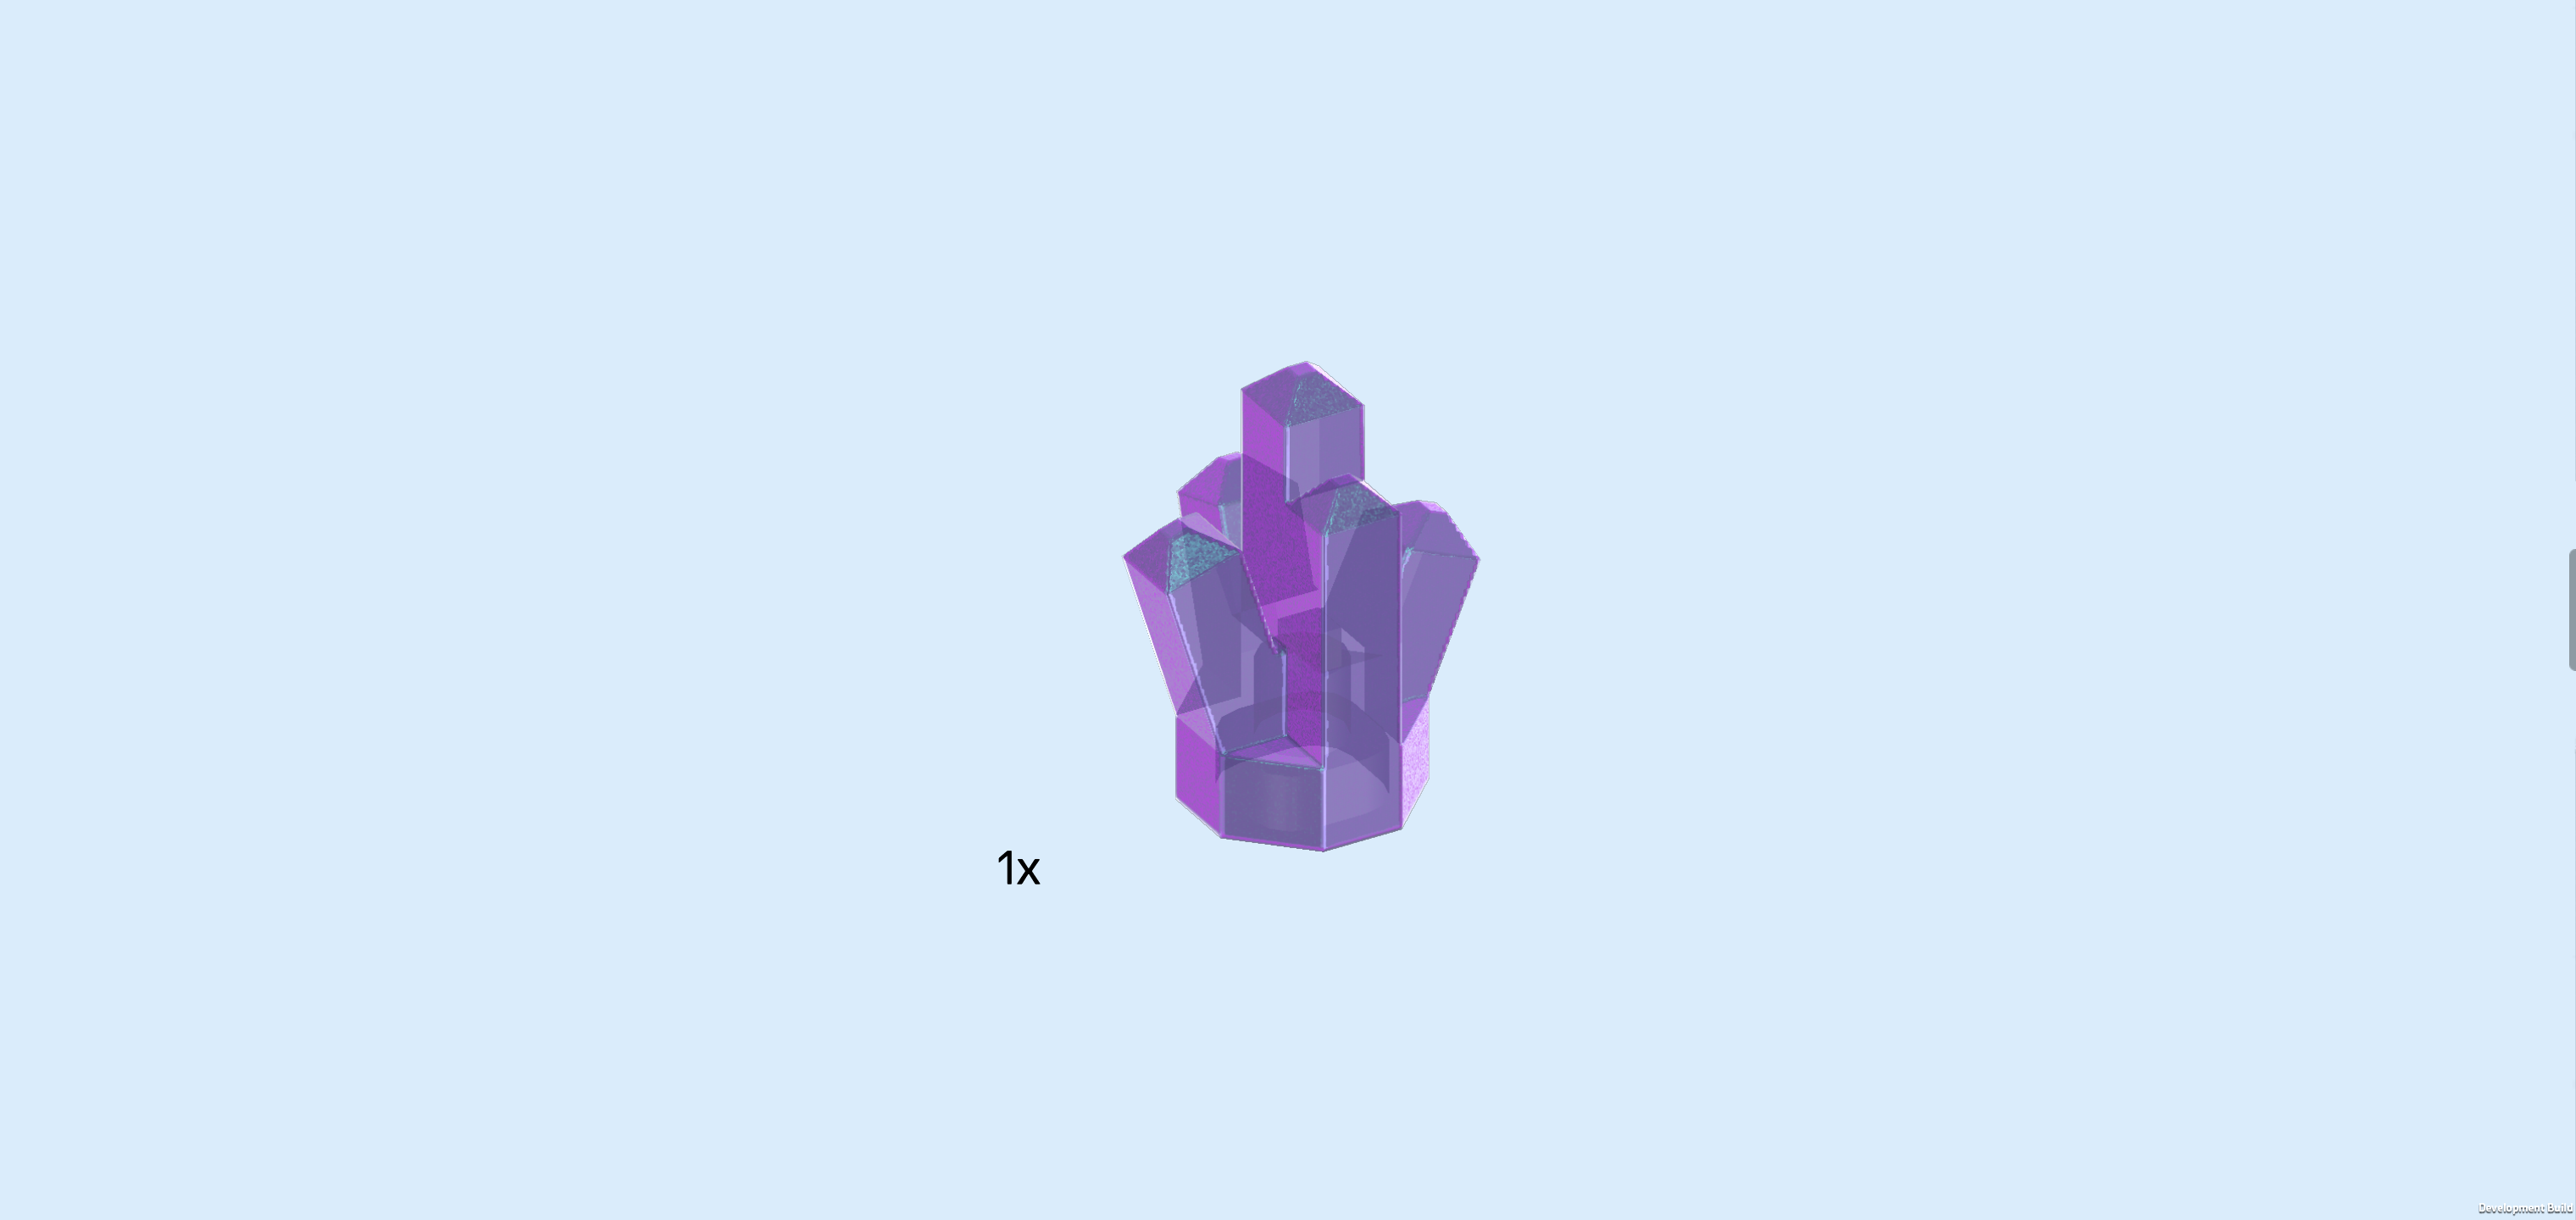
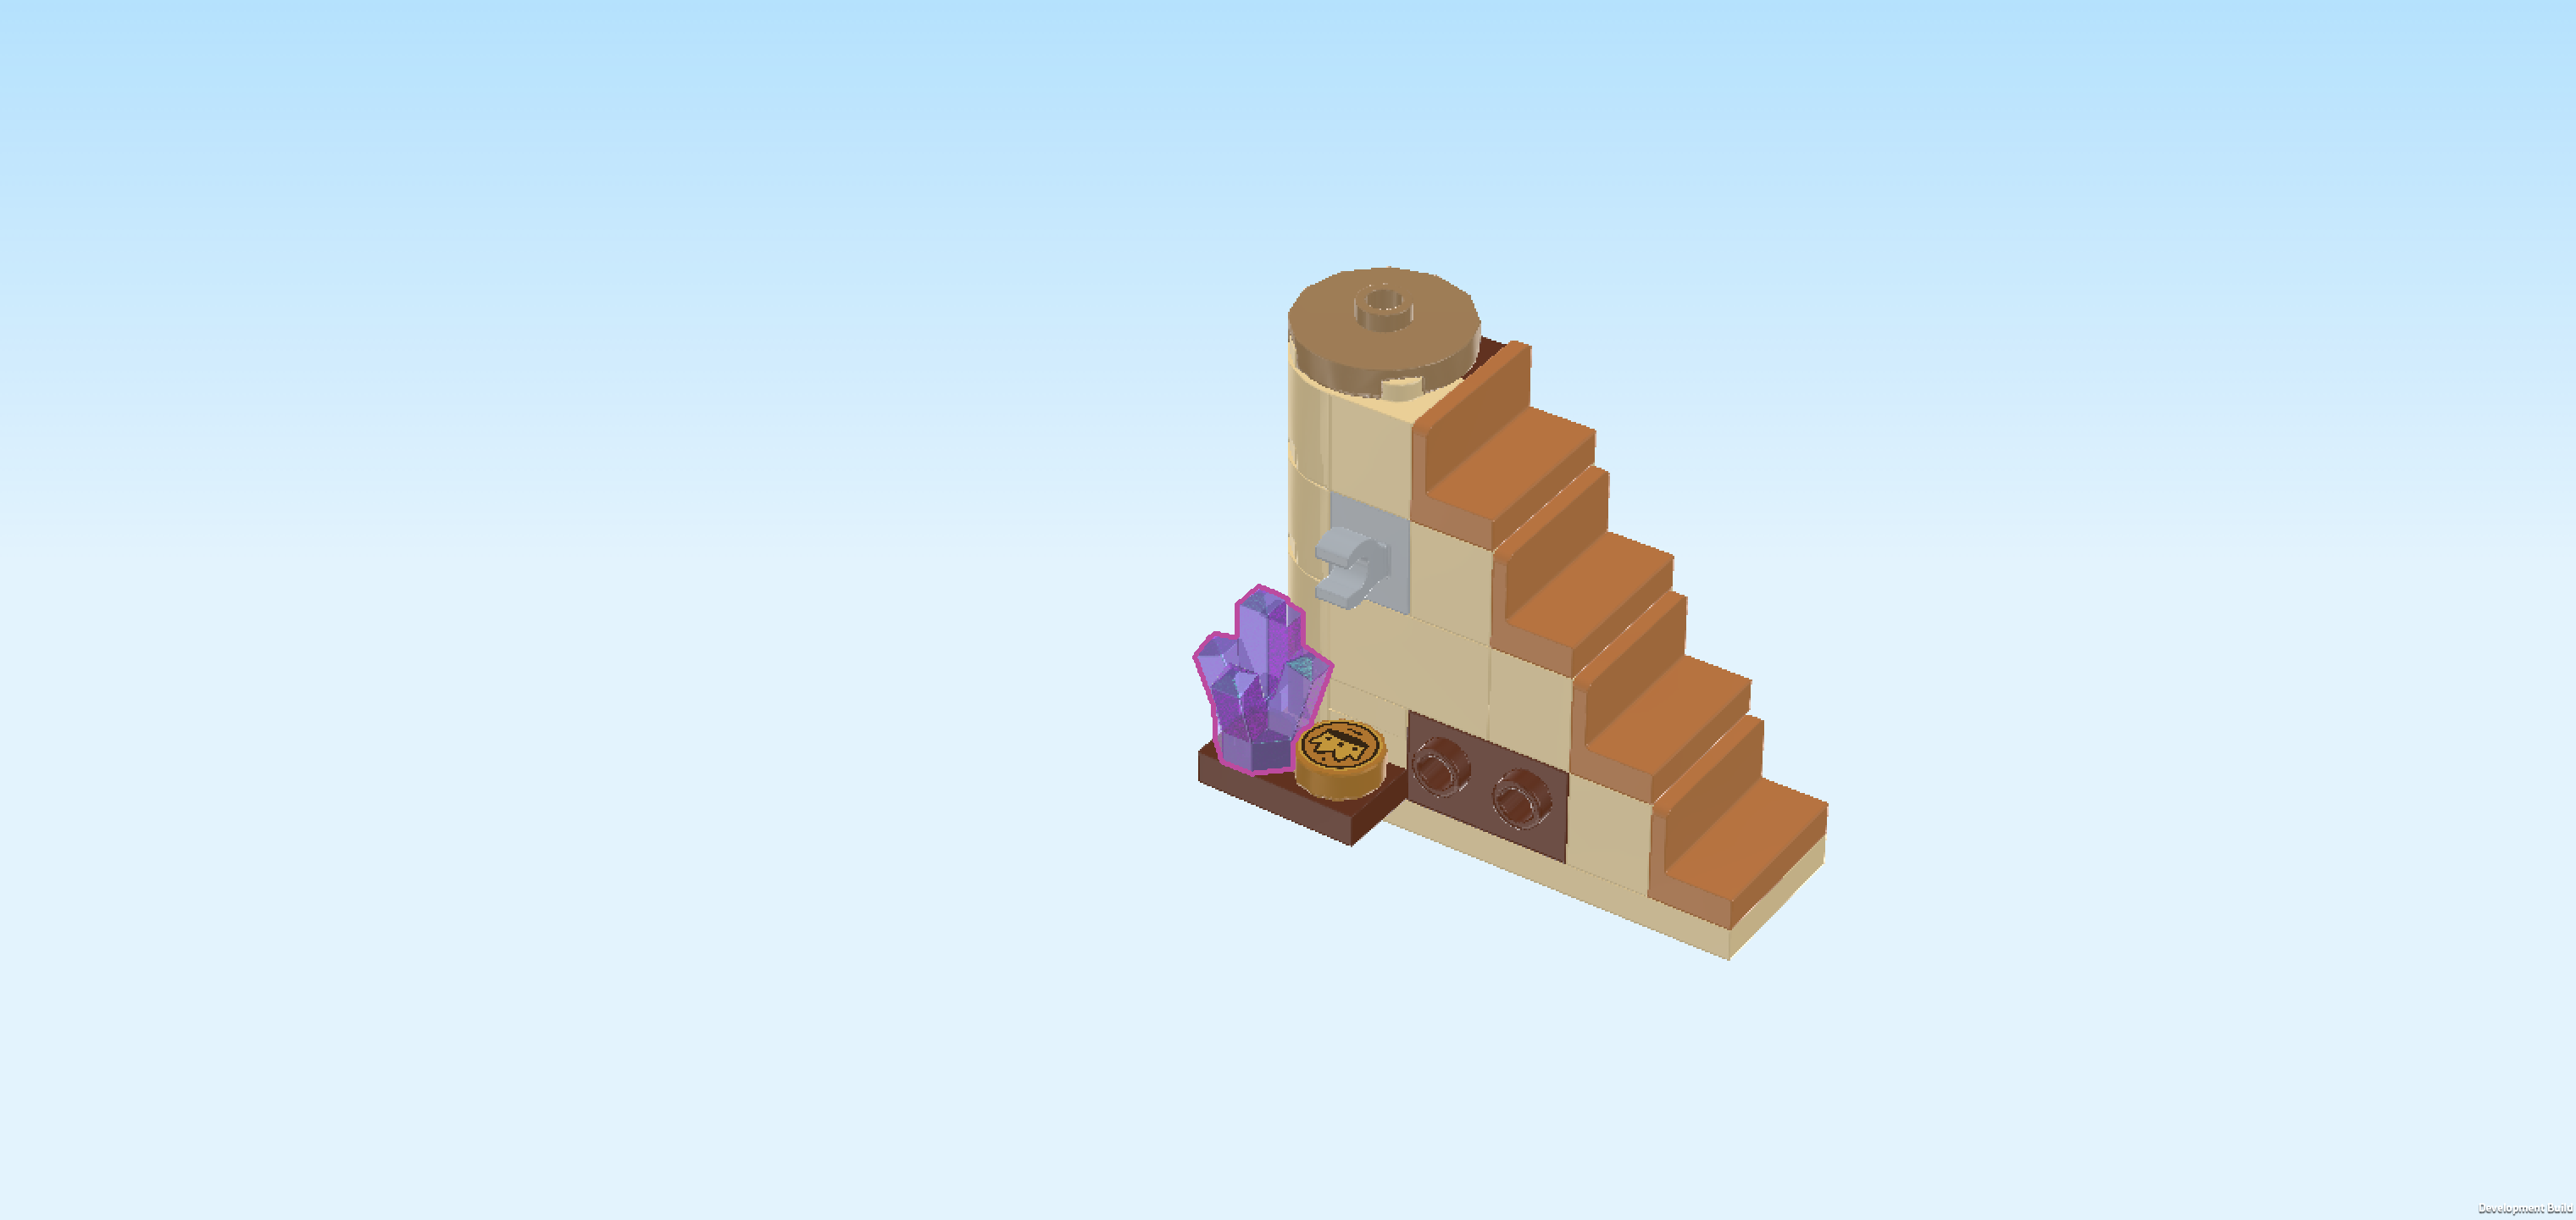
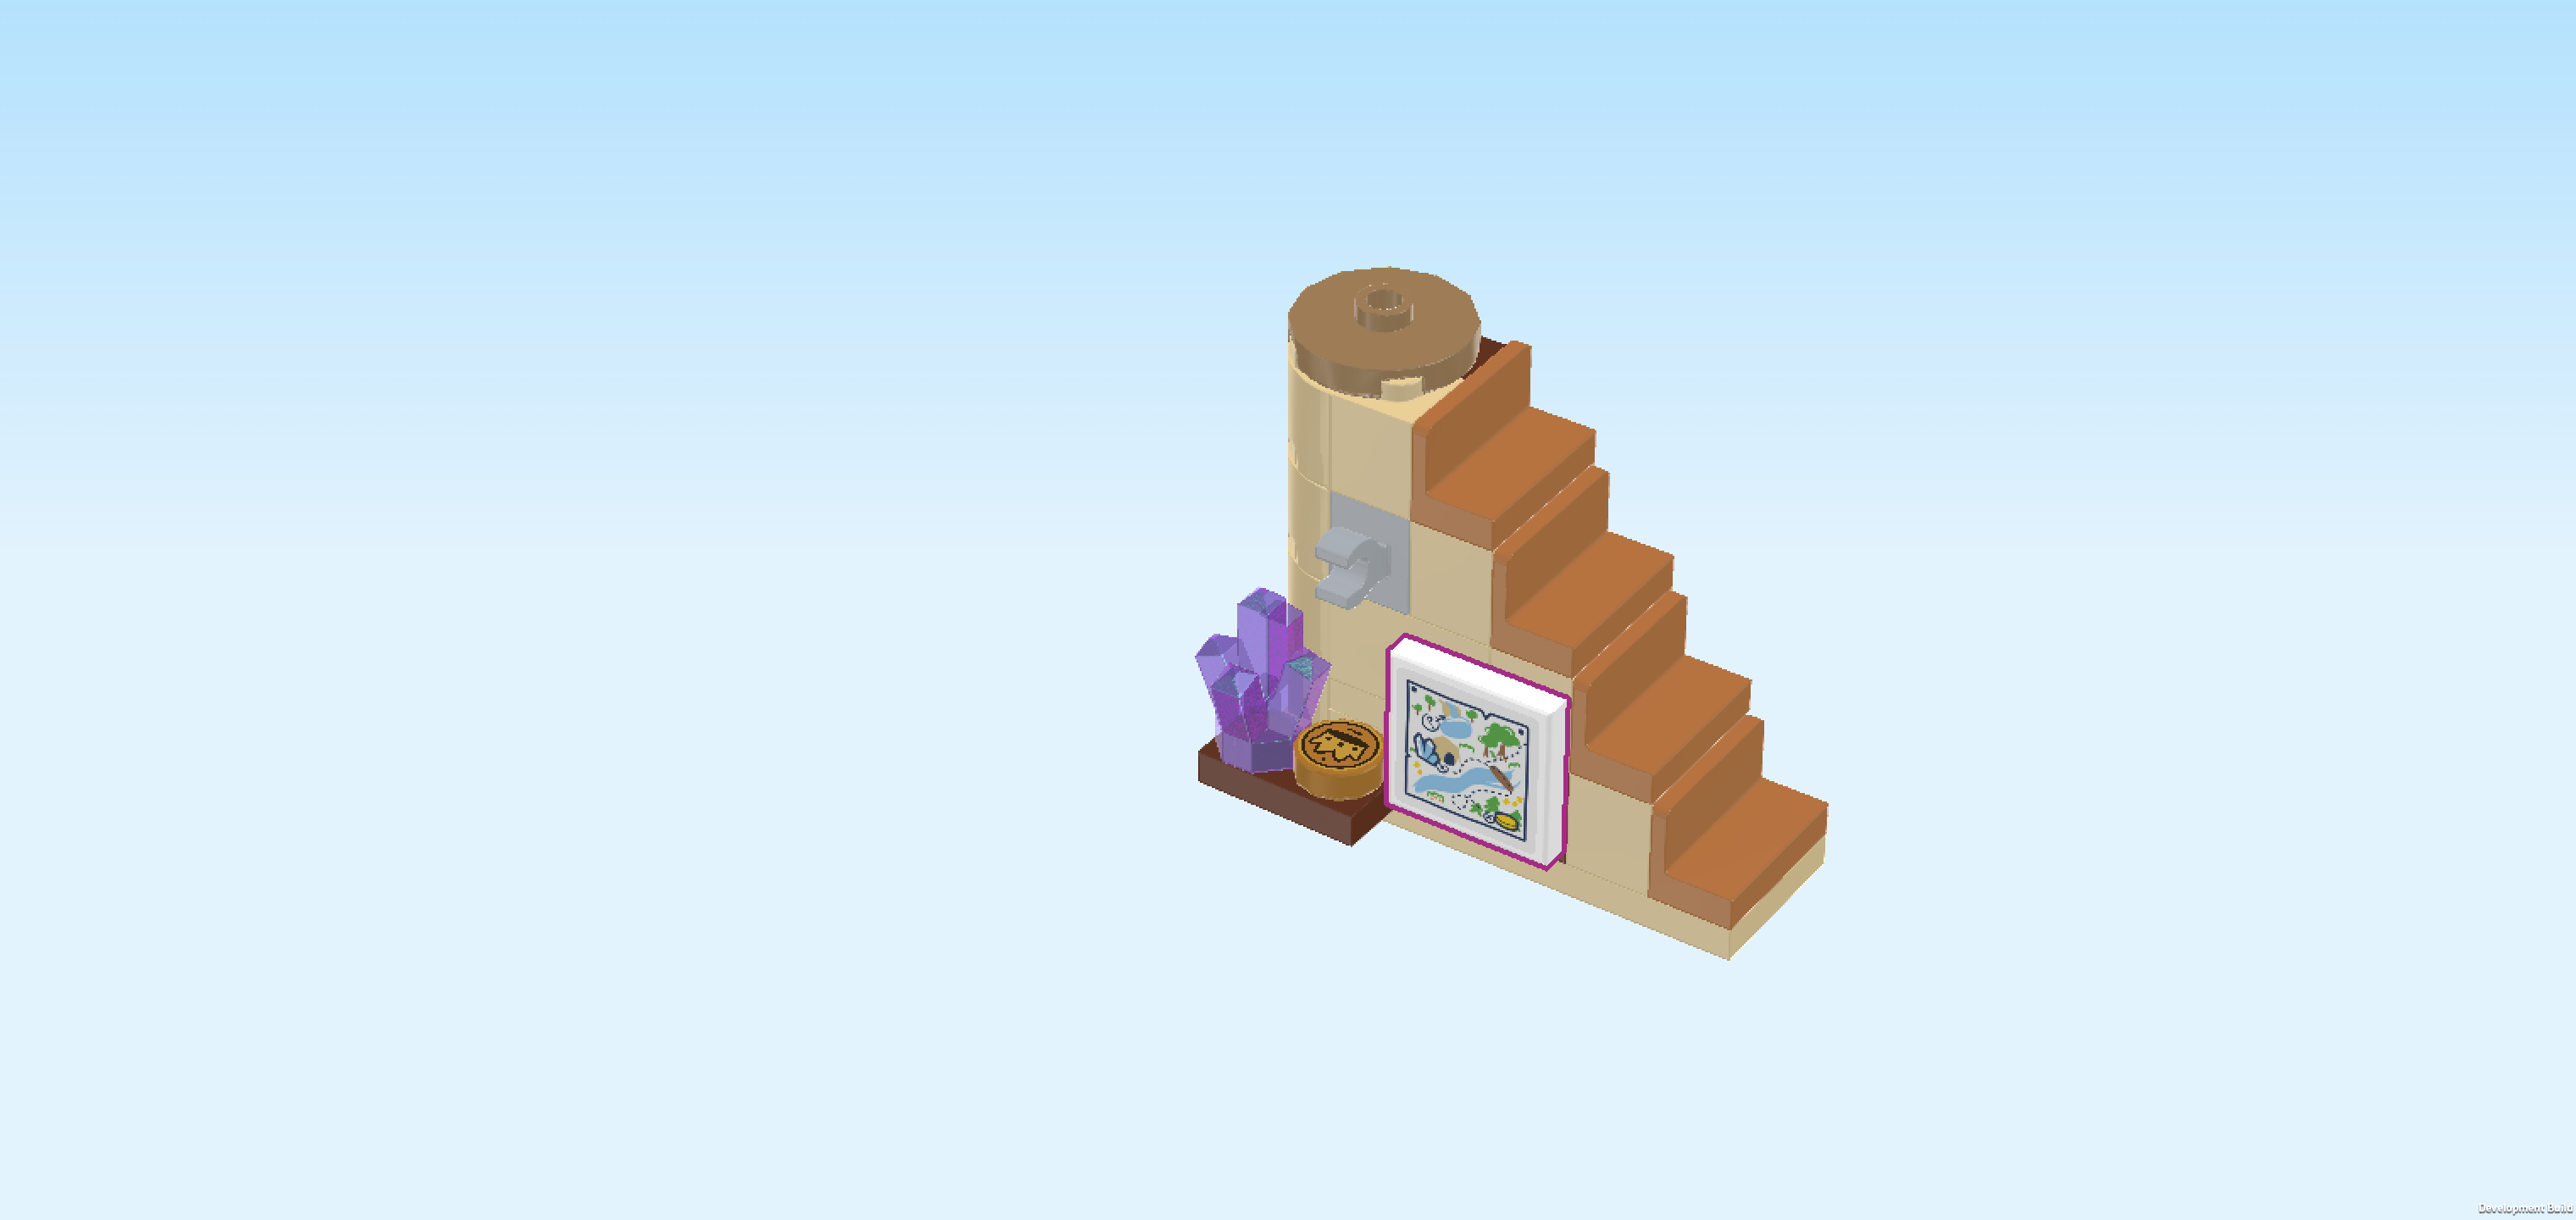
| Find 1 pearl violet energy crystal. |
| Put it on the front left corner knob at the bottom of the structure. This means it will be mounted next to the coin 1x1. Seems like this is a little treasure trove! |
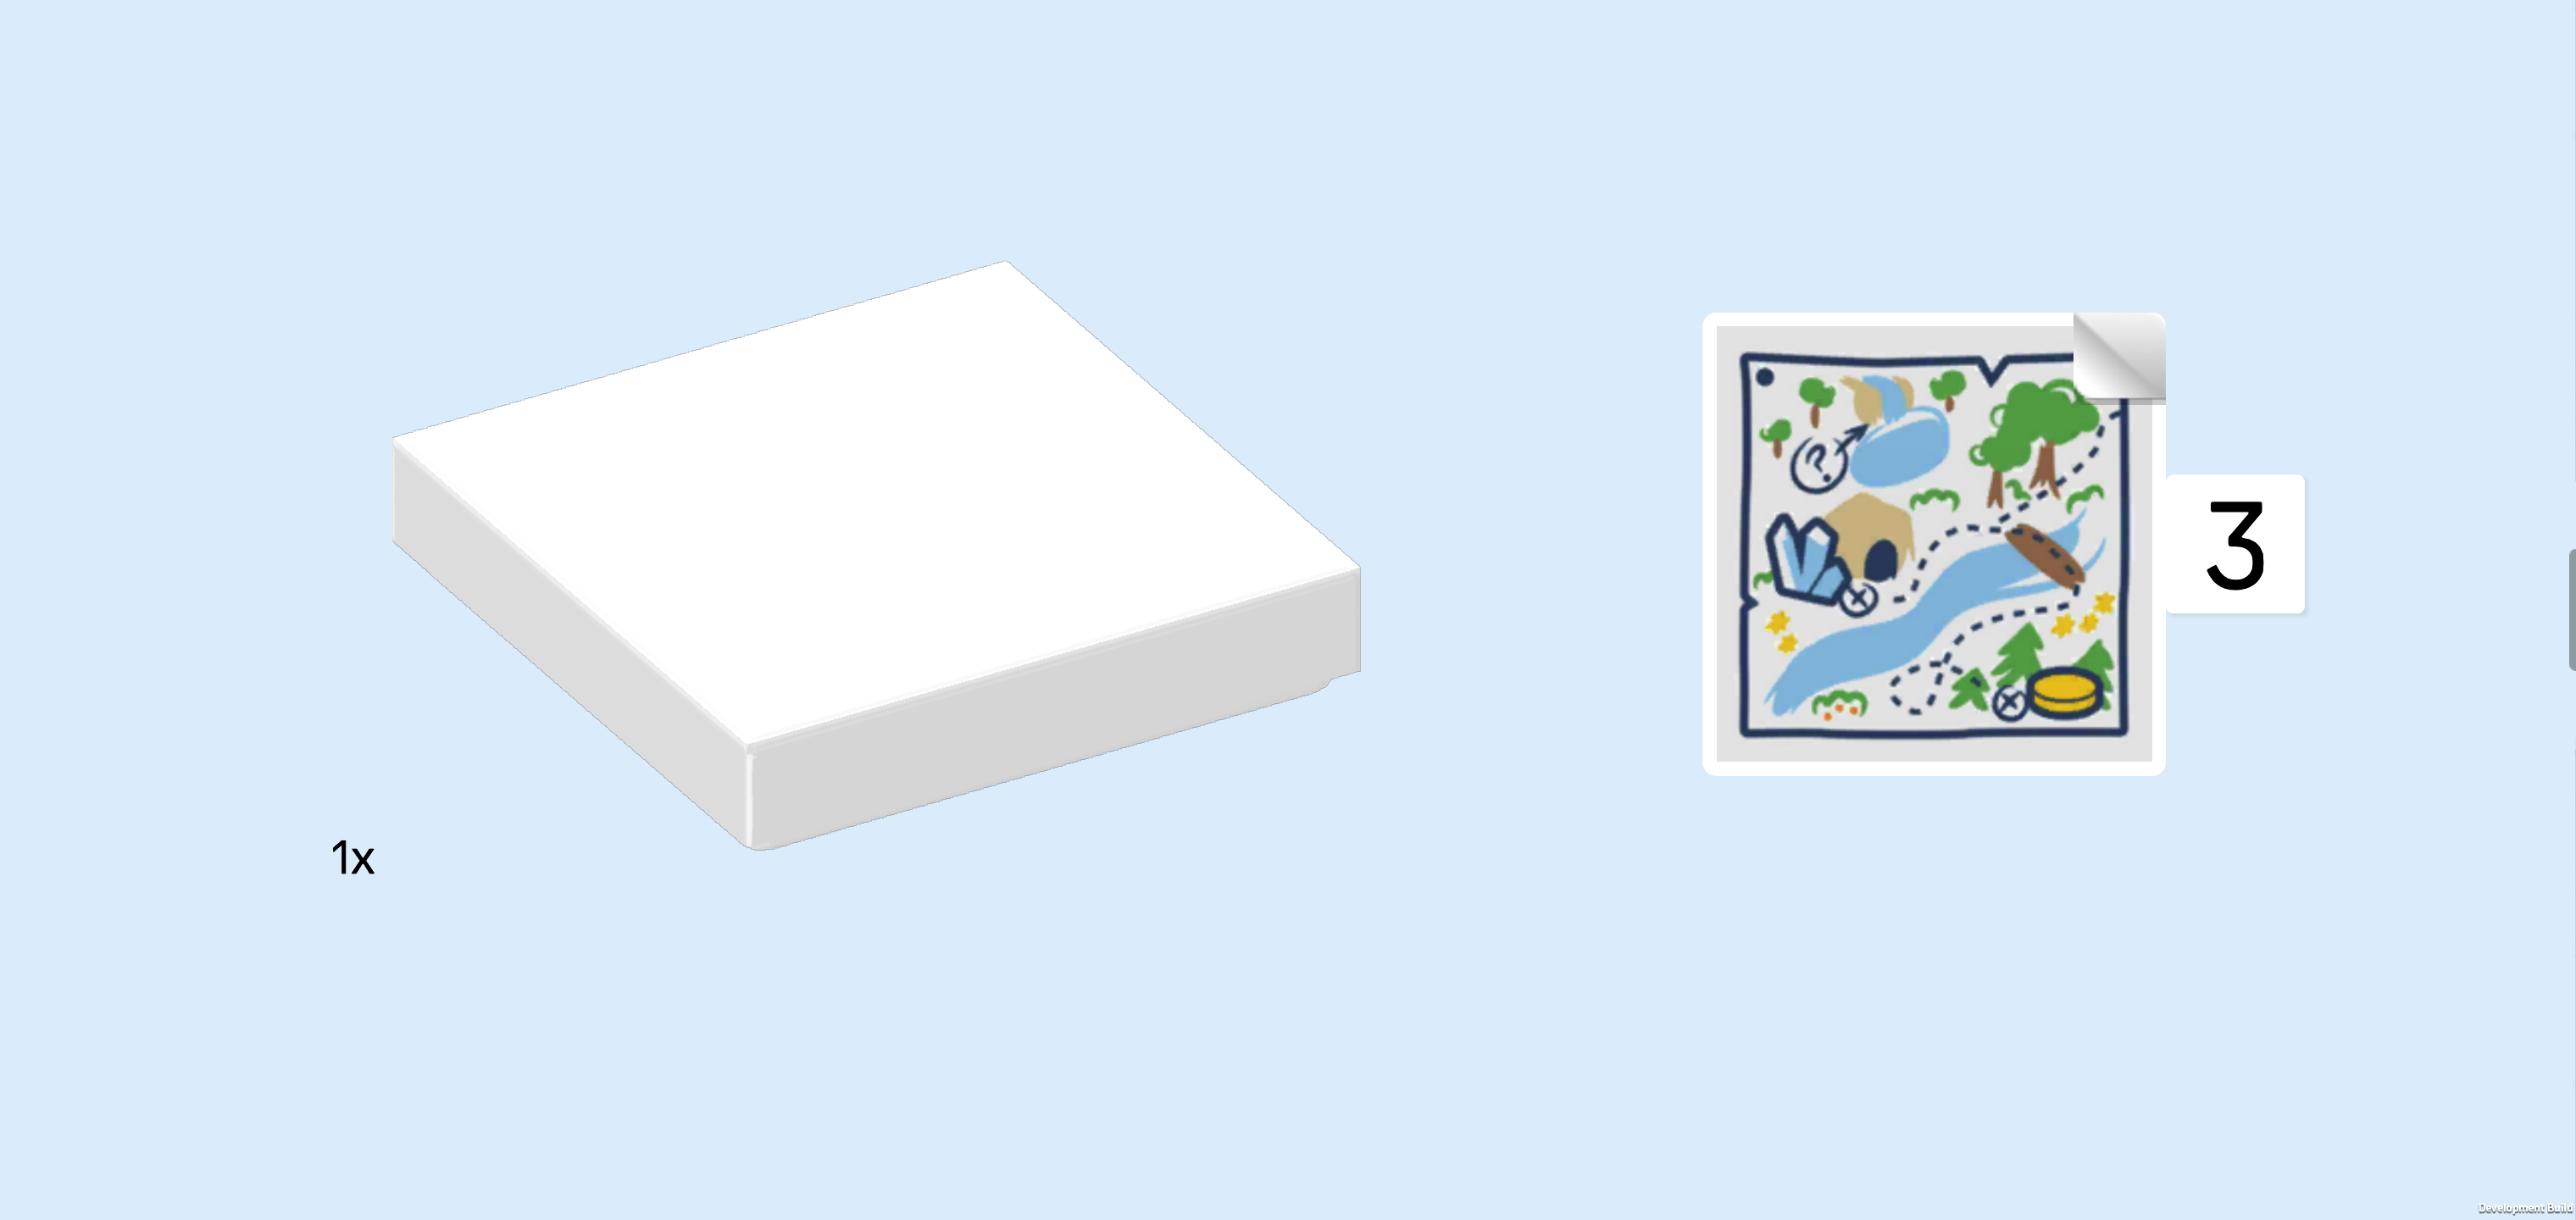
| Collect the following 2 pieces: |
| 1 white flat tile 2x2, |
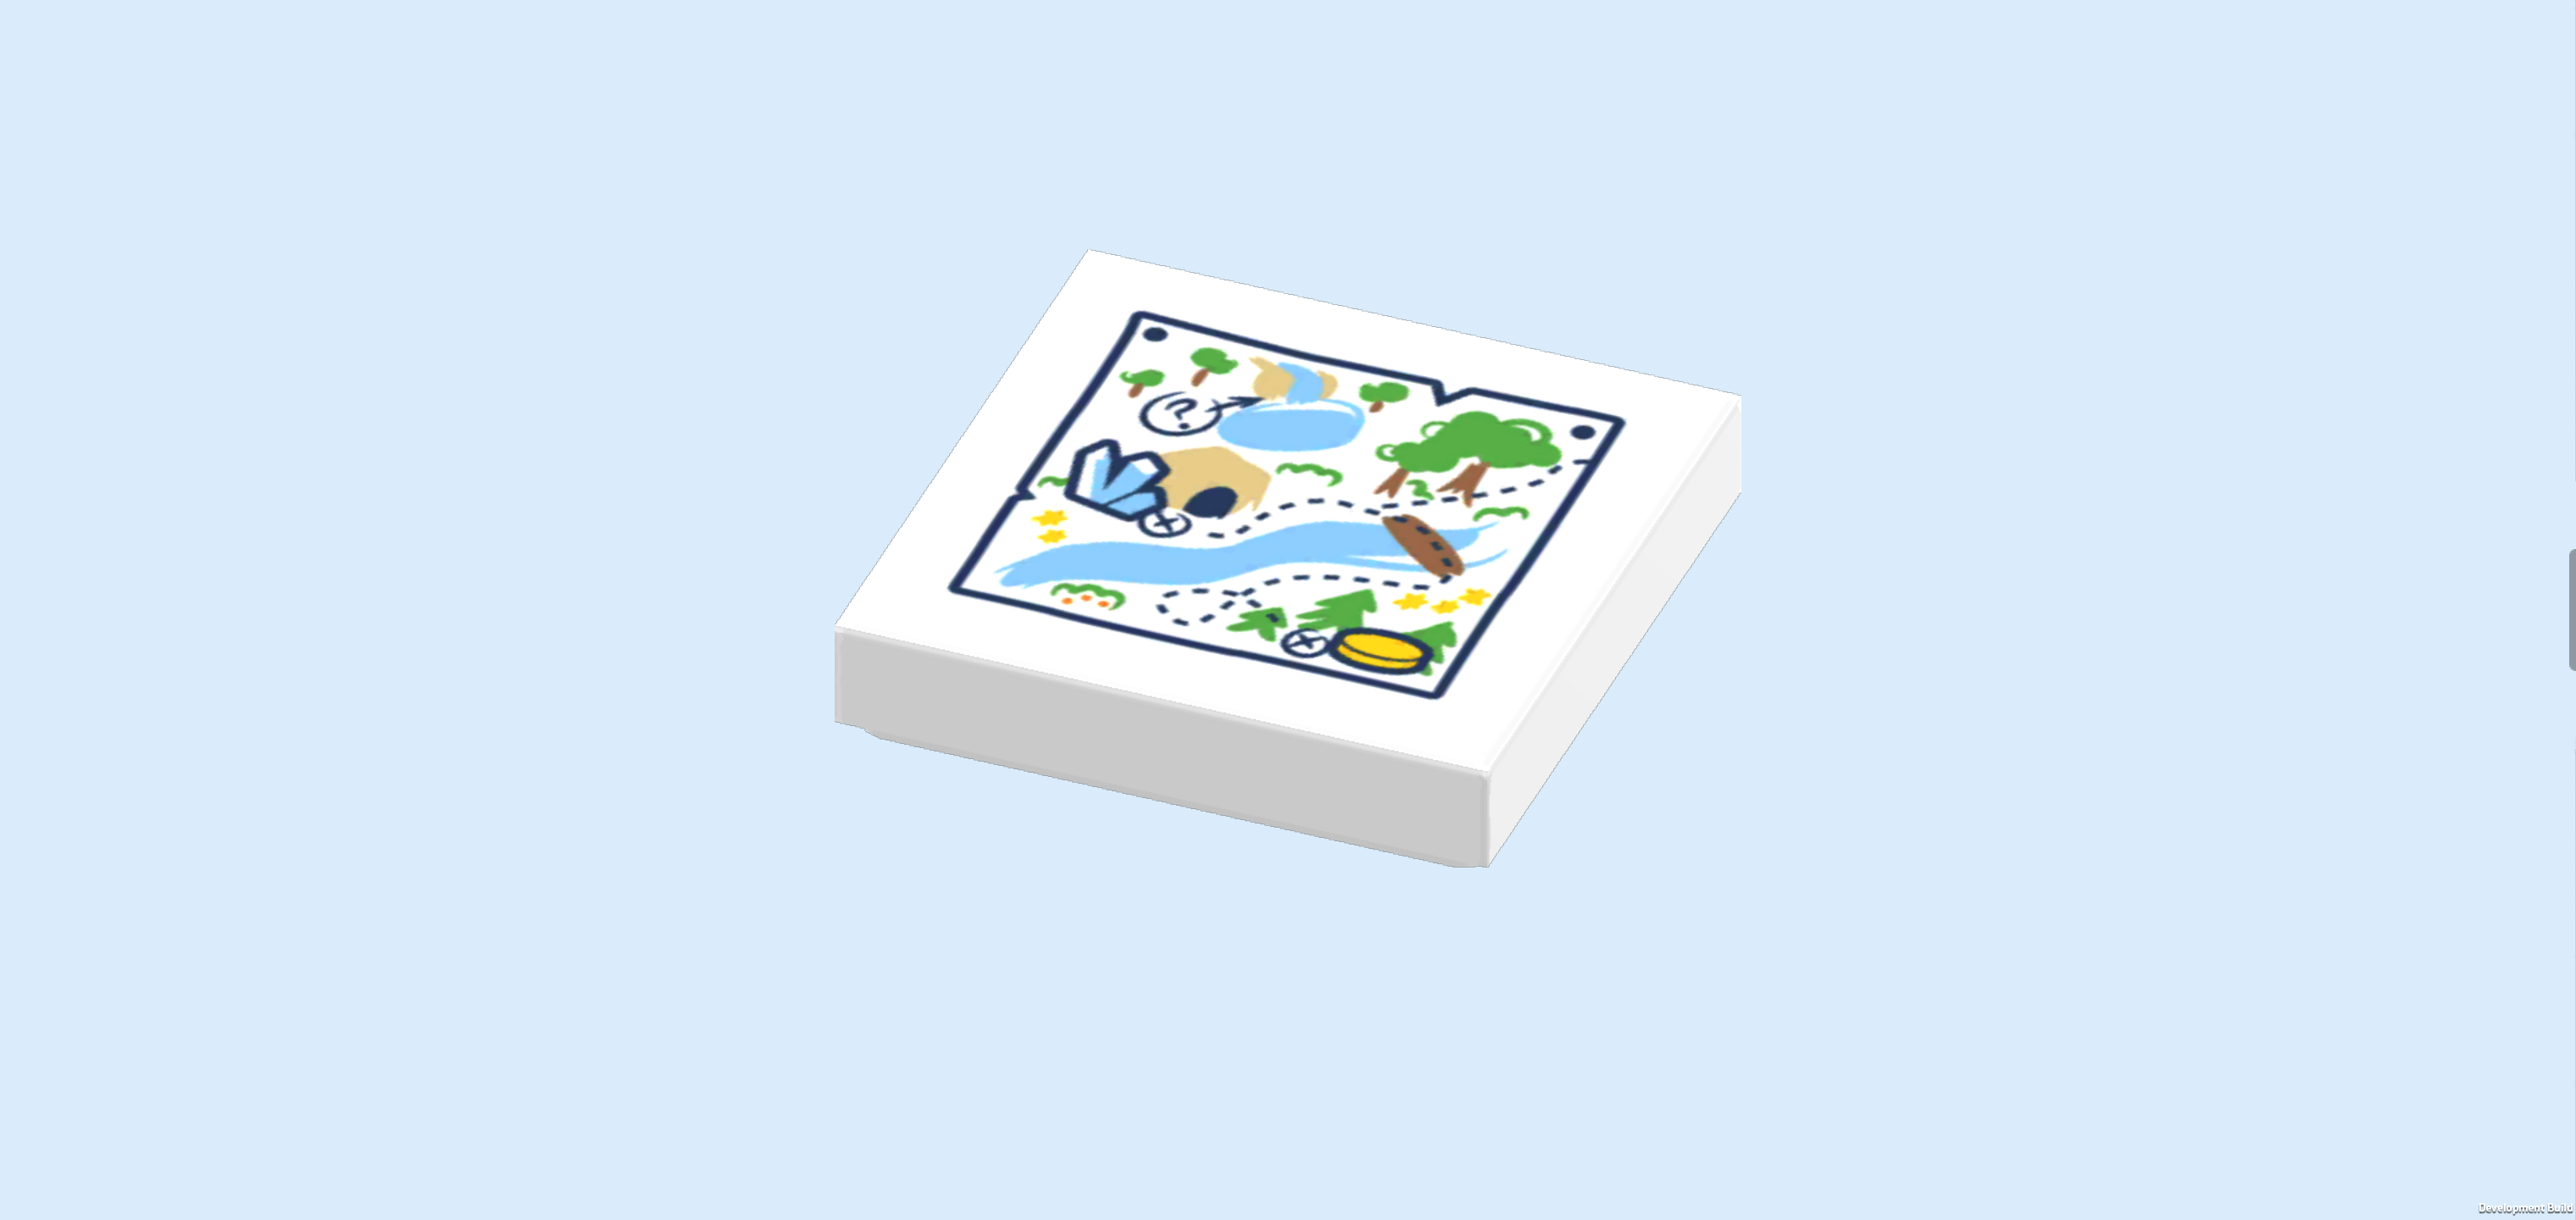
| and 1 square sticker 2x2 with treasure map. |
| Put the flat tile 2x2 on the table. |
| Put the sticker on top, matching its shape. The sticker is printed with a treasure map: it is a schematic drawing of a river with a bridge, trees, a waterfall with a small lake, some rocks, and so on. Two locations are marked with an X: one seems to hold energy crystals, and the other one seems to be a hiding place for gold. But someone also scribbled a question mark on the map. It seems like our treasure hunters are yet to find their big treasures! |
| Mount the flat tile upright on the 2 side knobs pointing to the front. Make sure that it is the bottom half of the flat tile that connects to those knobs. |
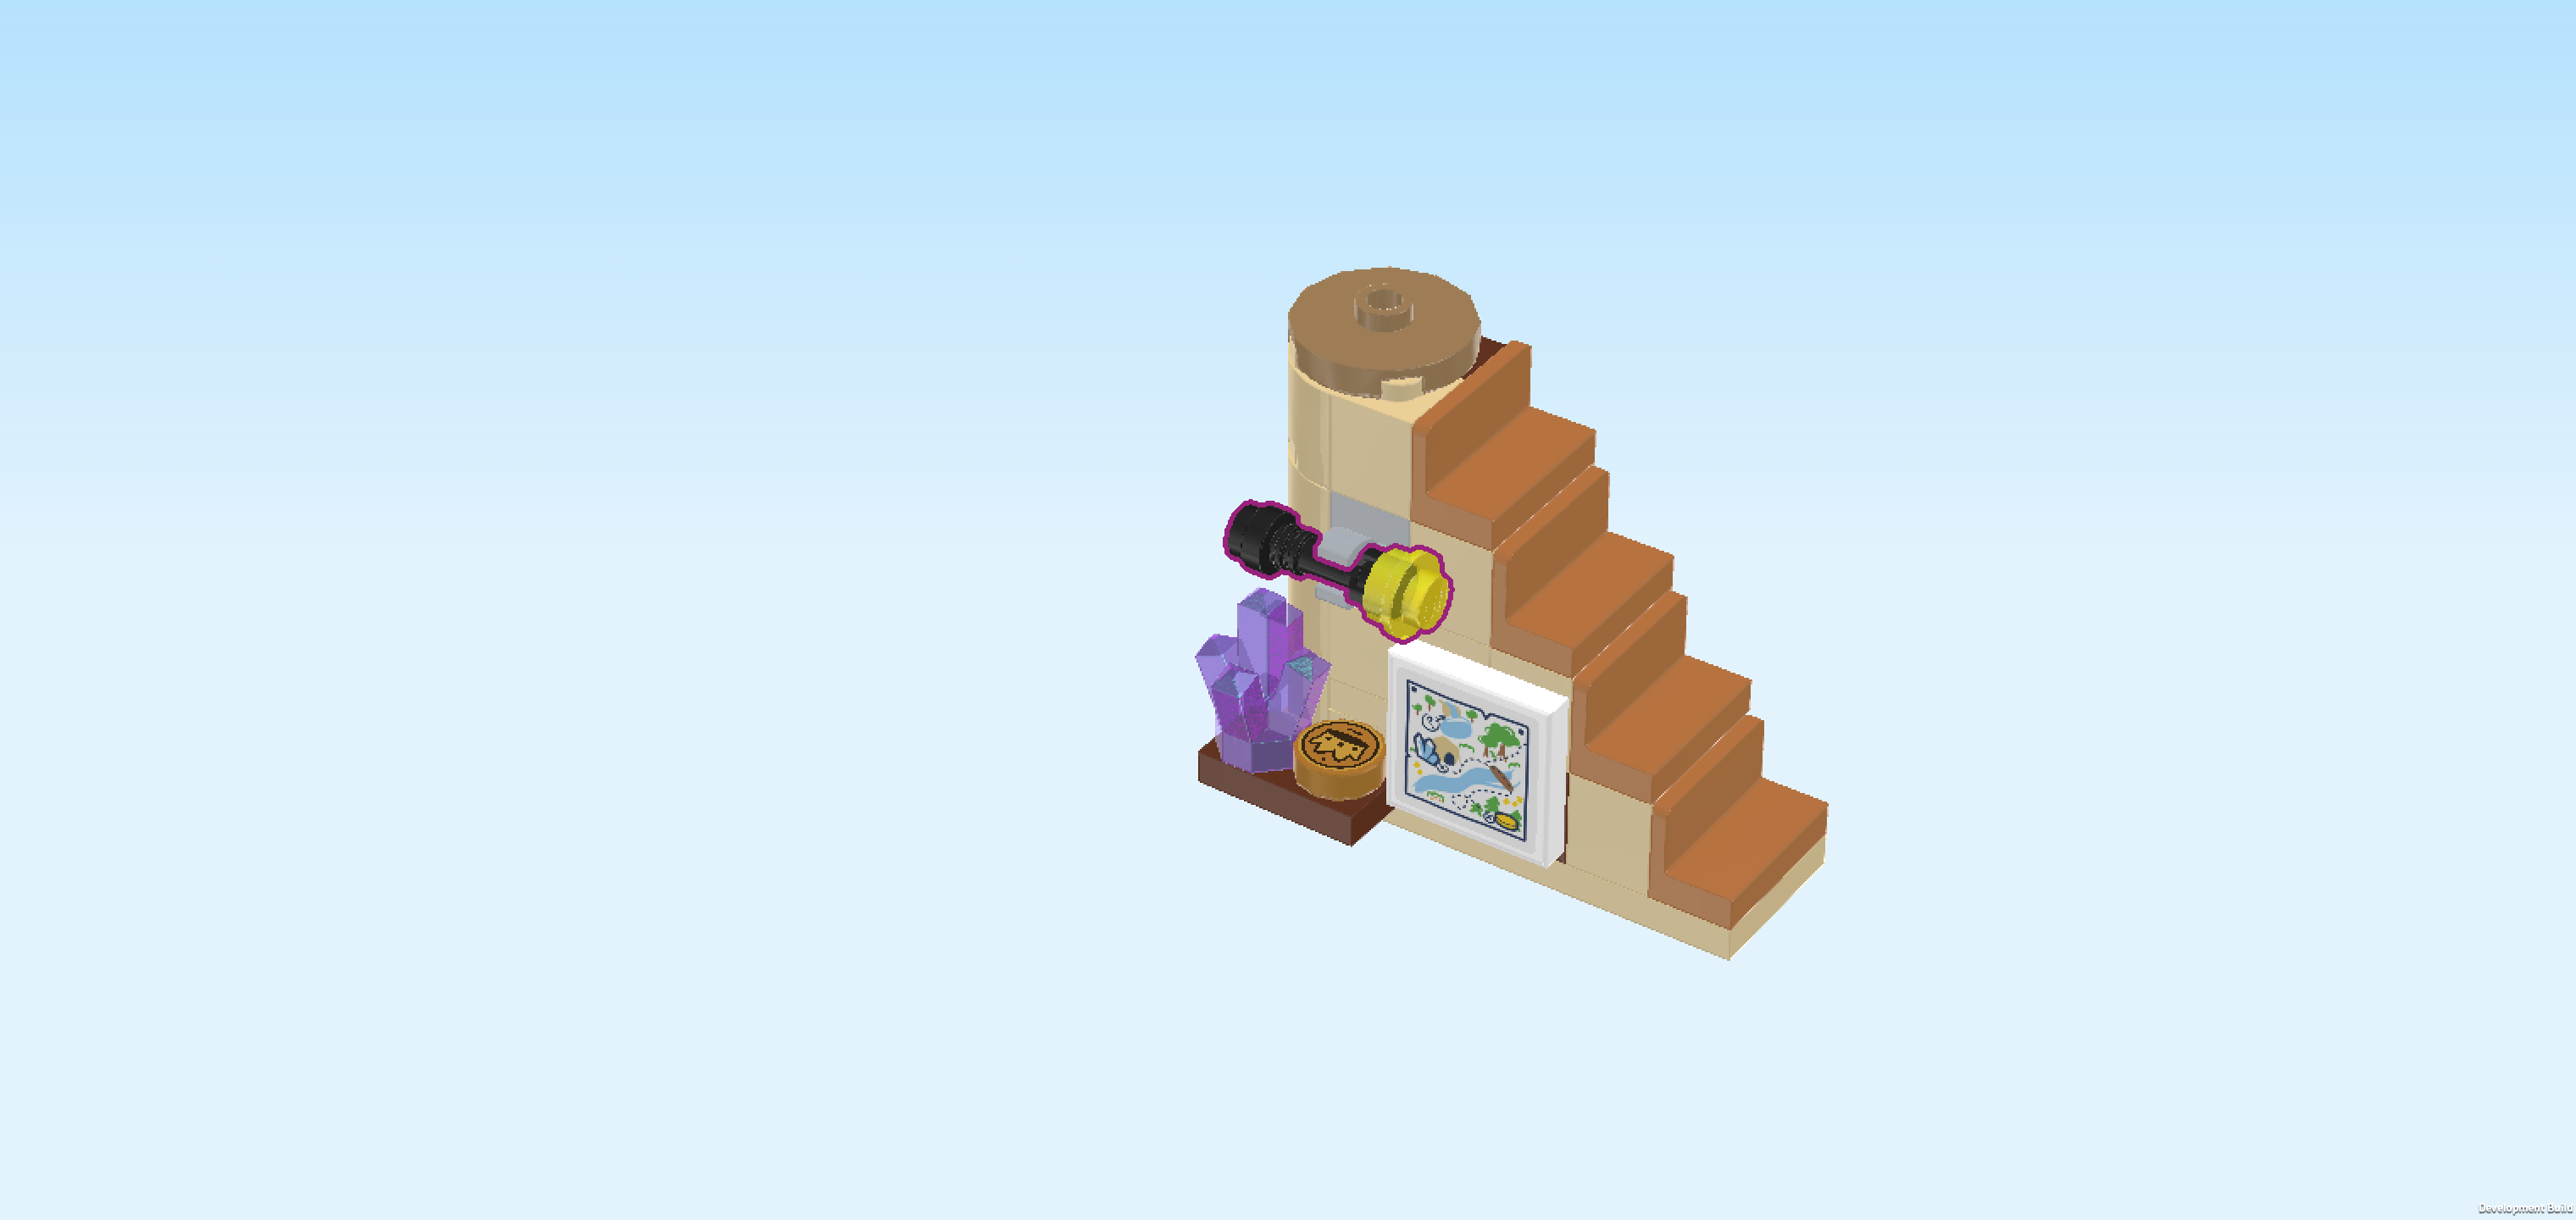
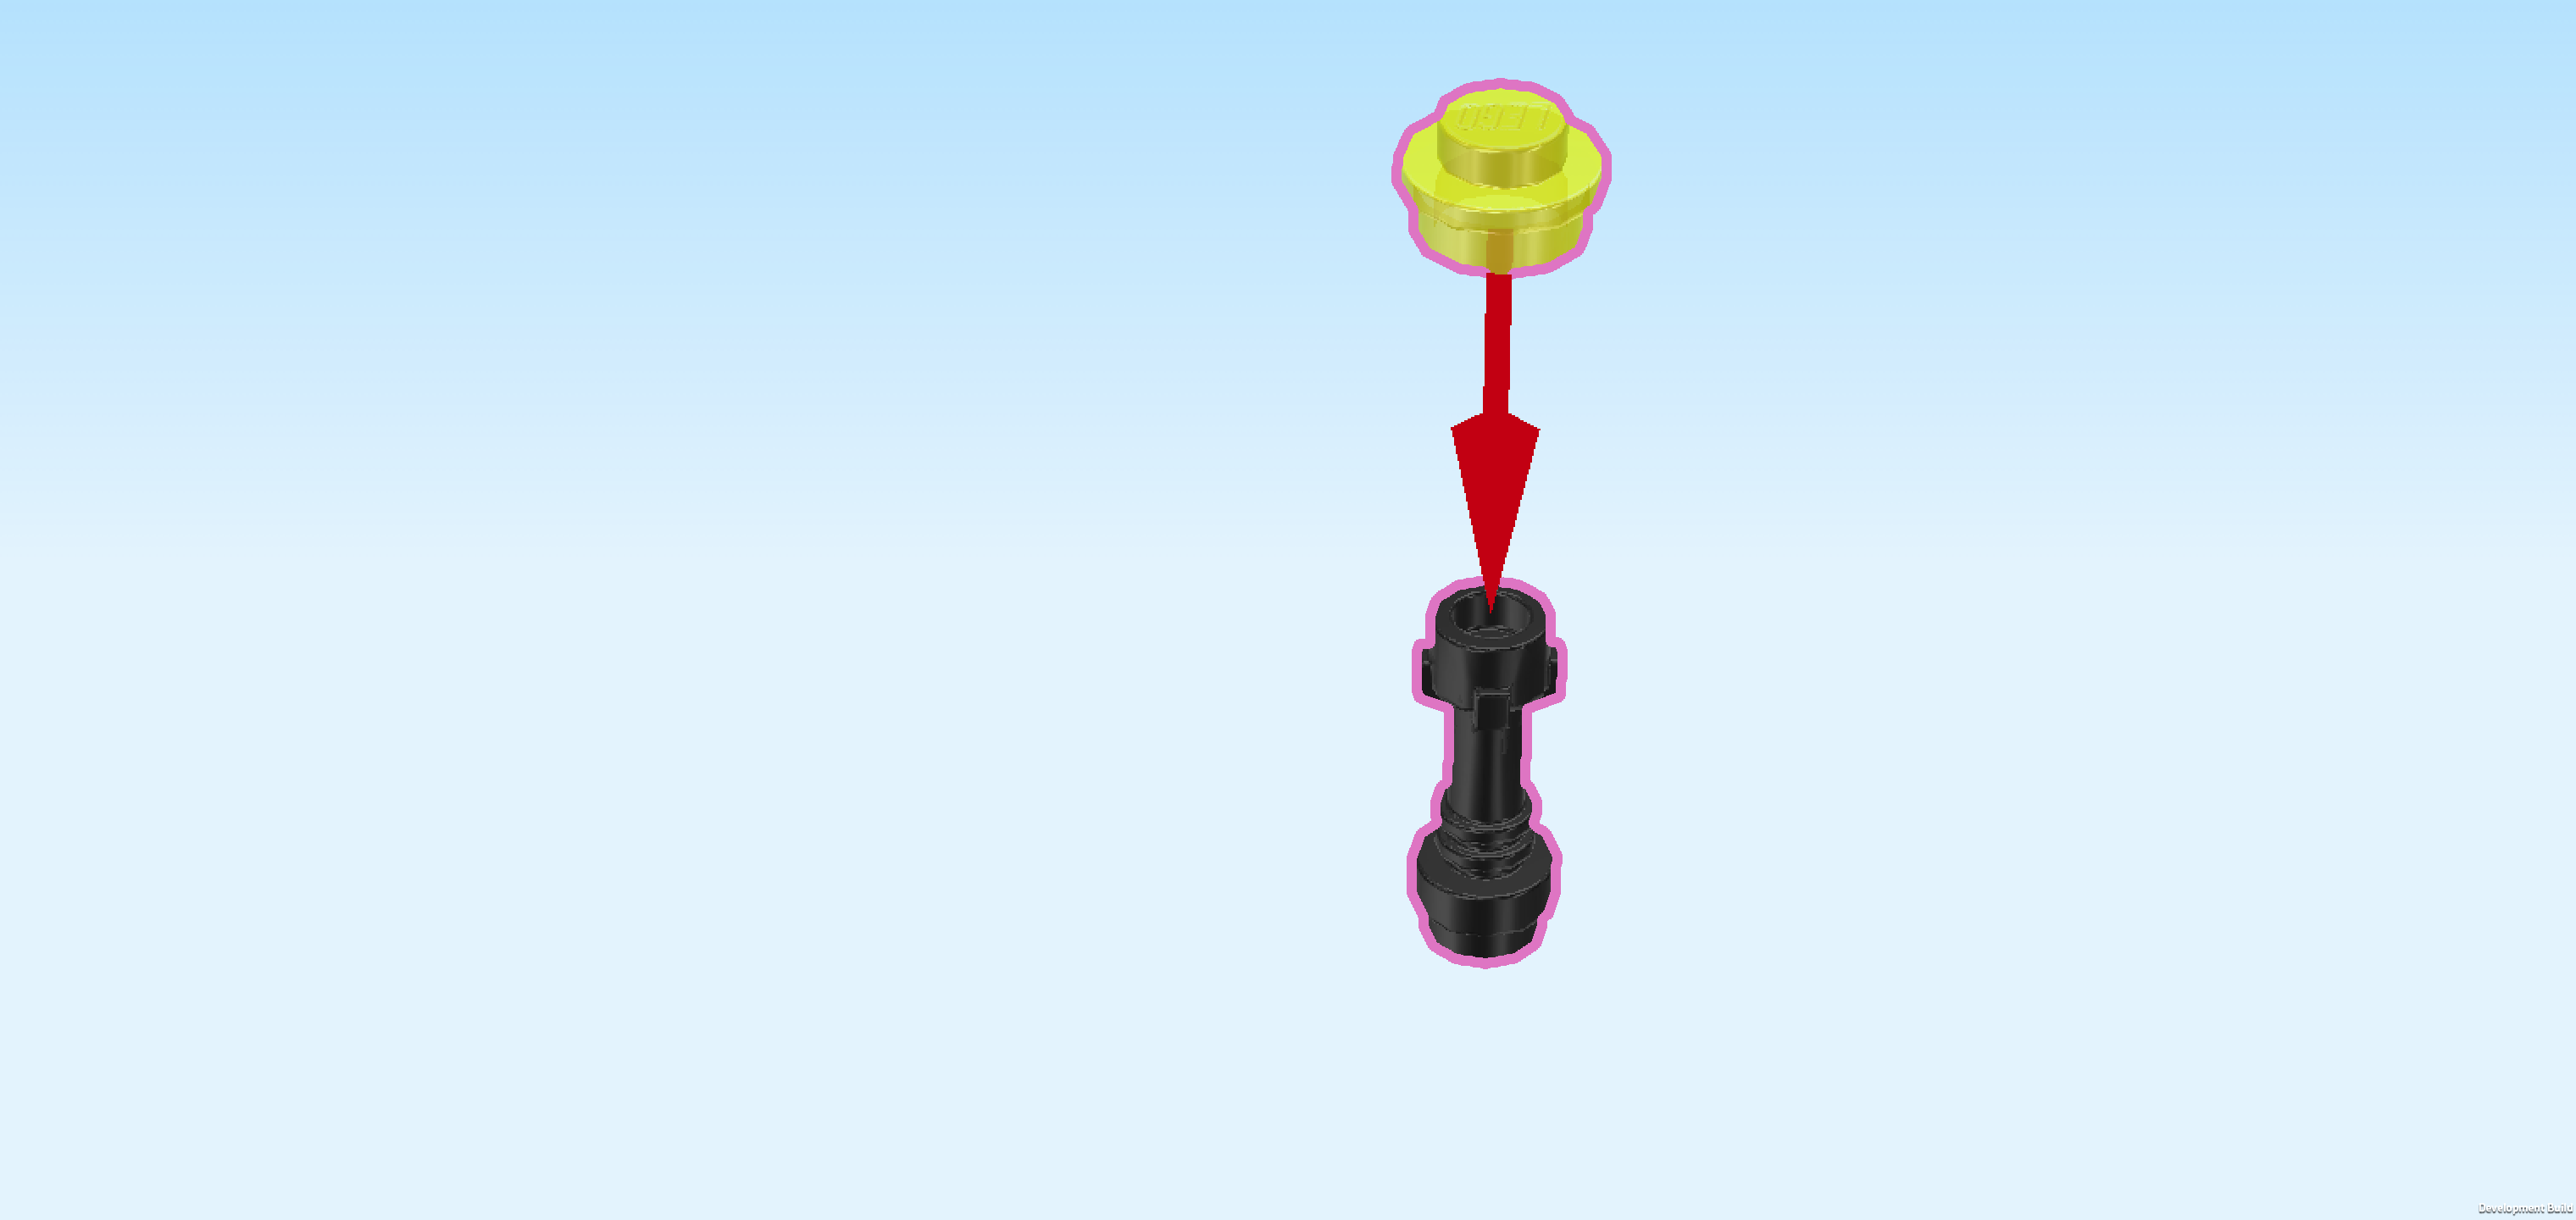
| Next, we will assemble a flashlight. |
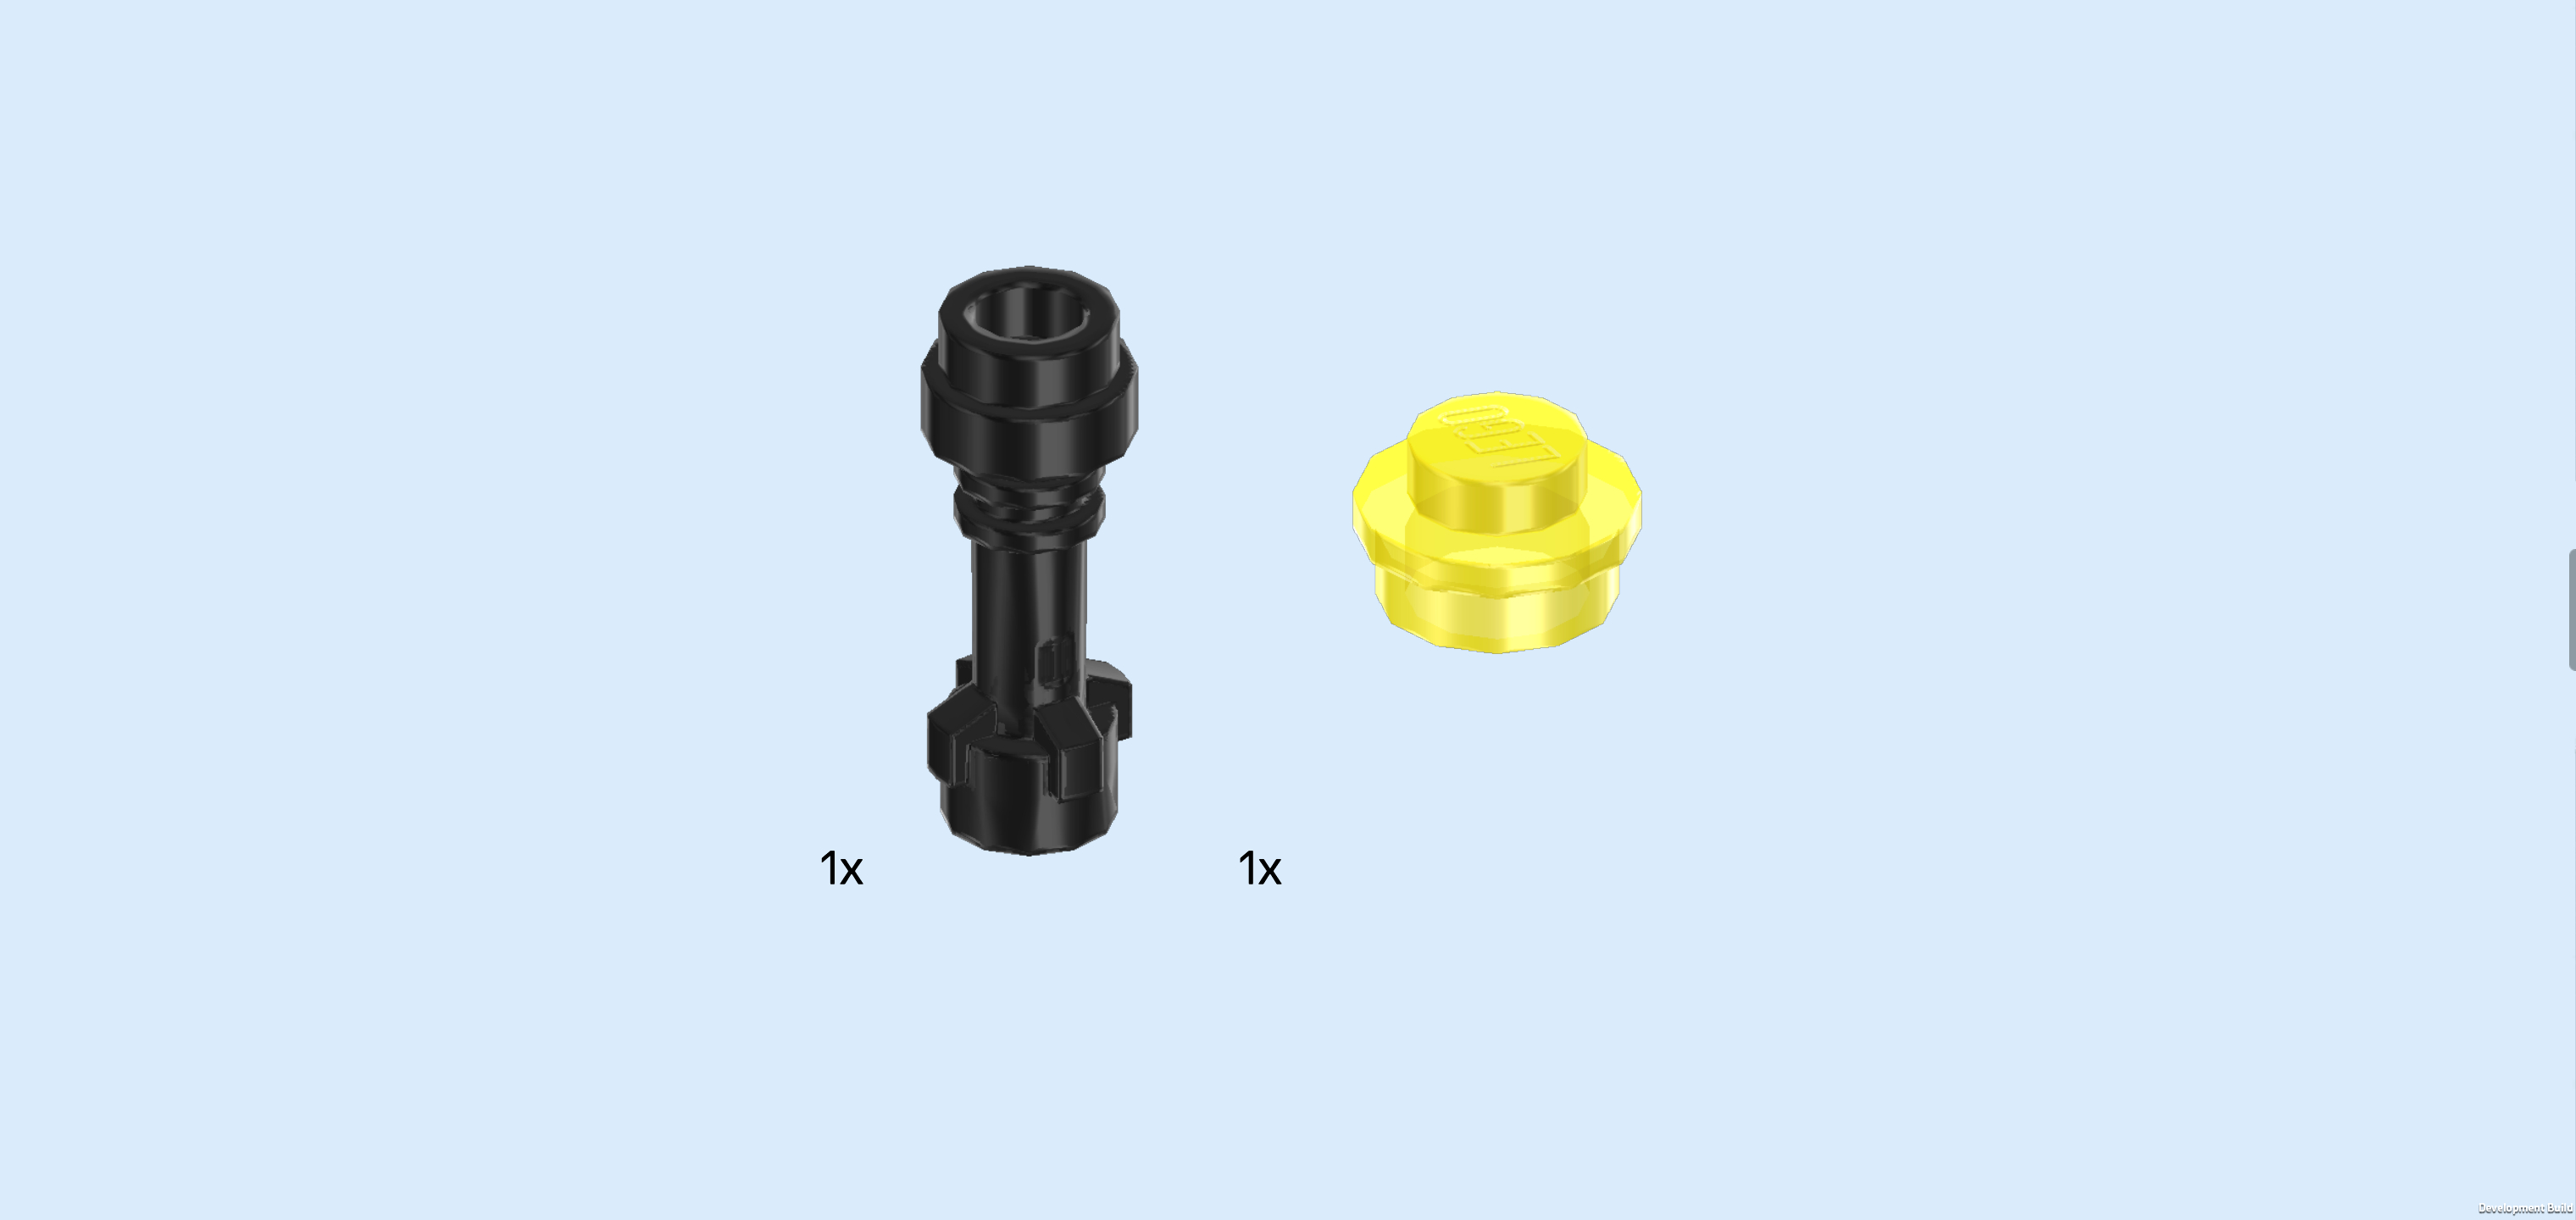
| Collect the following 2 pieces: |
| 1 black lightsaber holder, (This is a bar-shaped piece with two thicker ends, one of which is a hollow knob), |
| and 1 transparent yellow round plate 1x1. |
| Put the round plate 1x1 on the slightly smaller end of the lightsaber holder. |
| The flashlight is finished! Snap its handle into the clasp hovering above the gold coin and the energy crystal, round plate 1x1 to the right. |
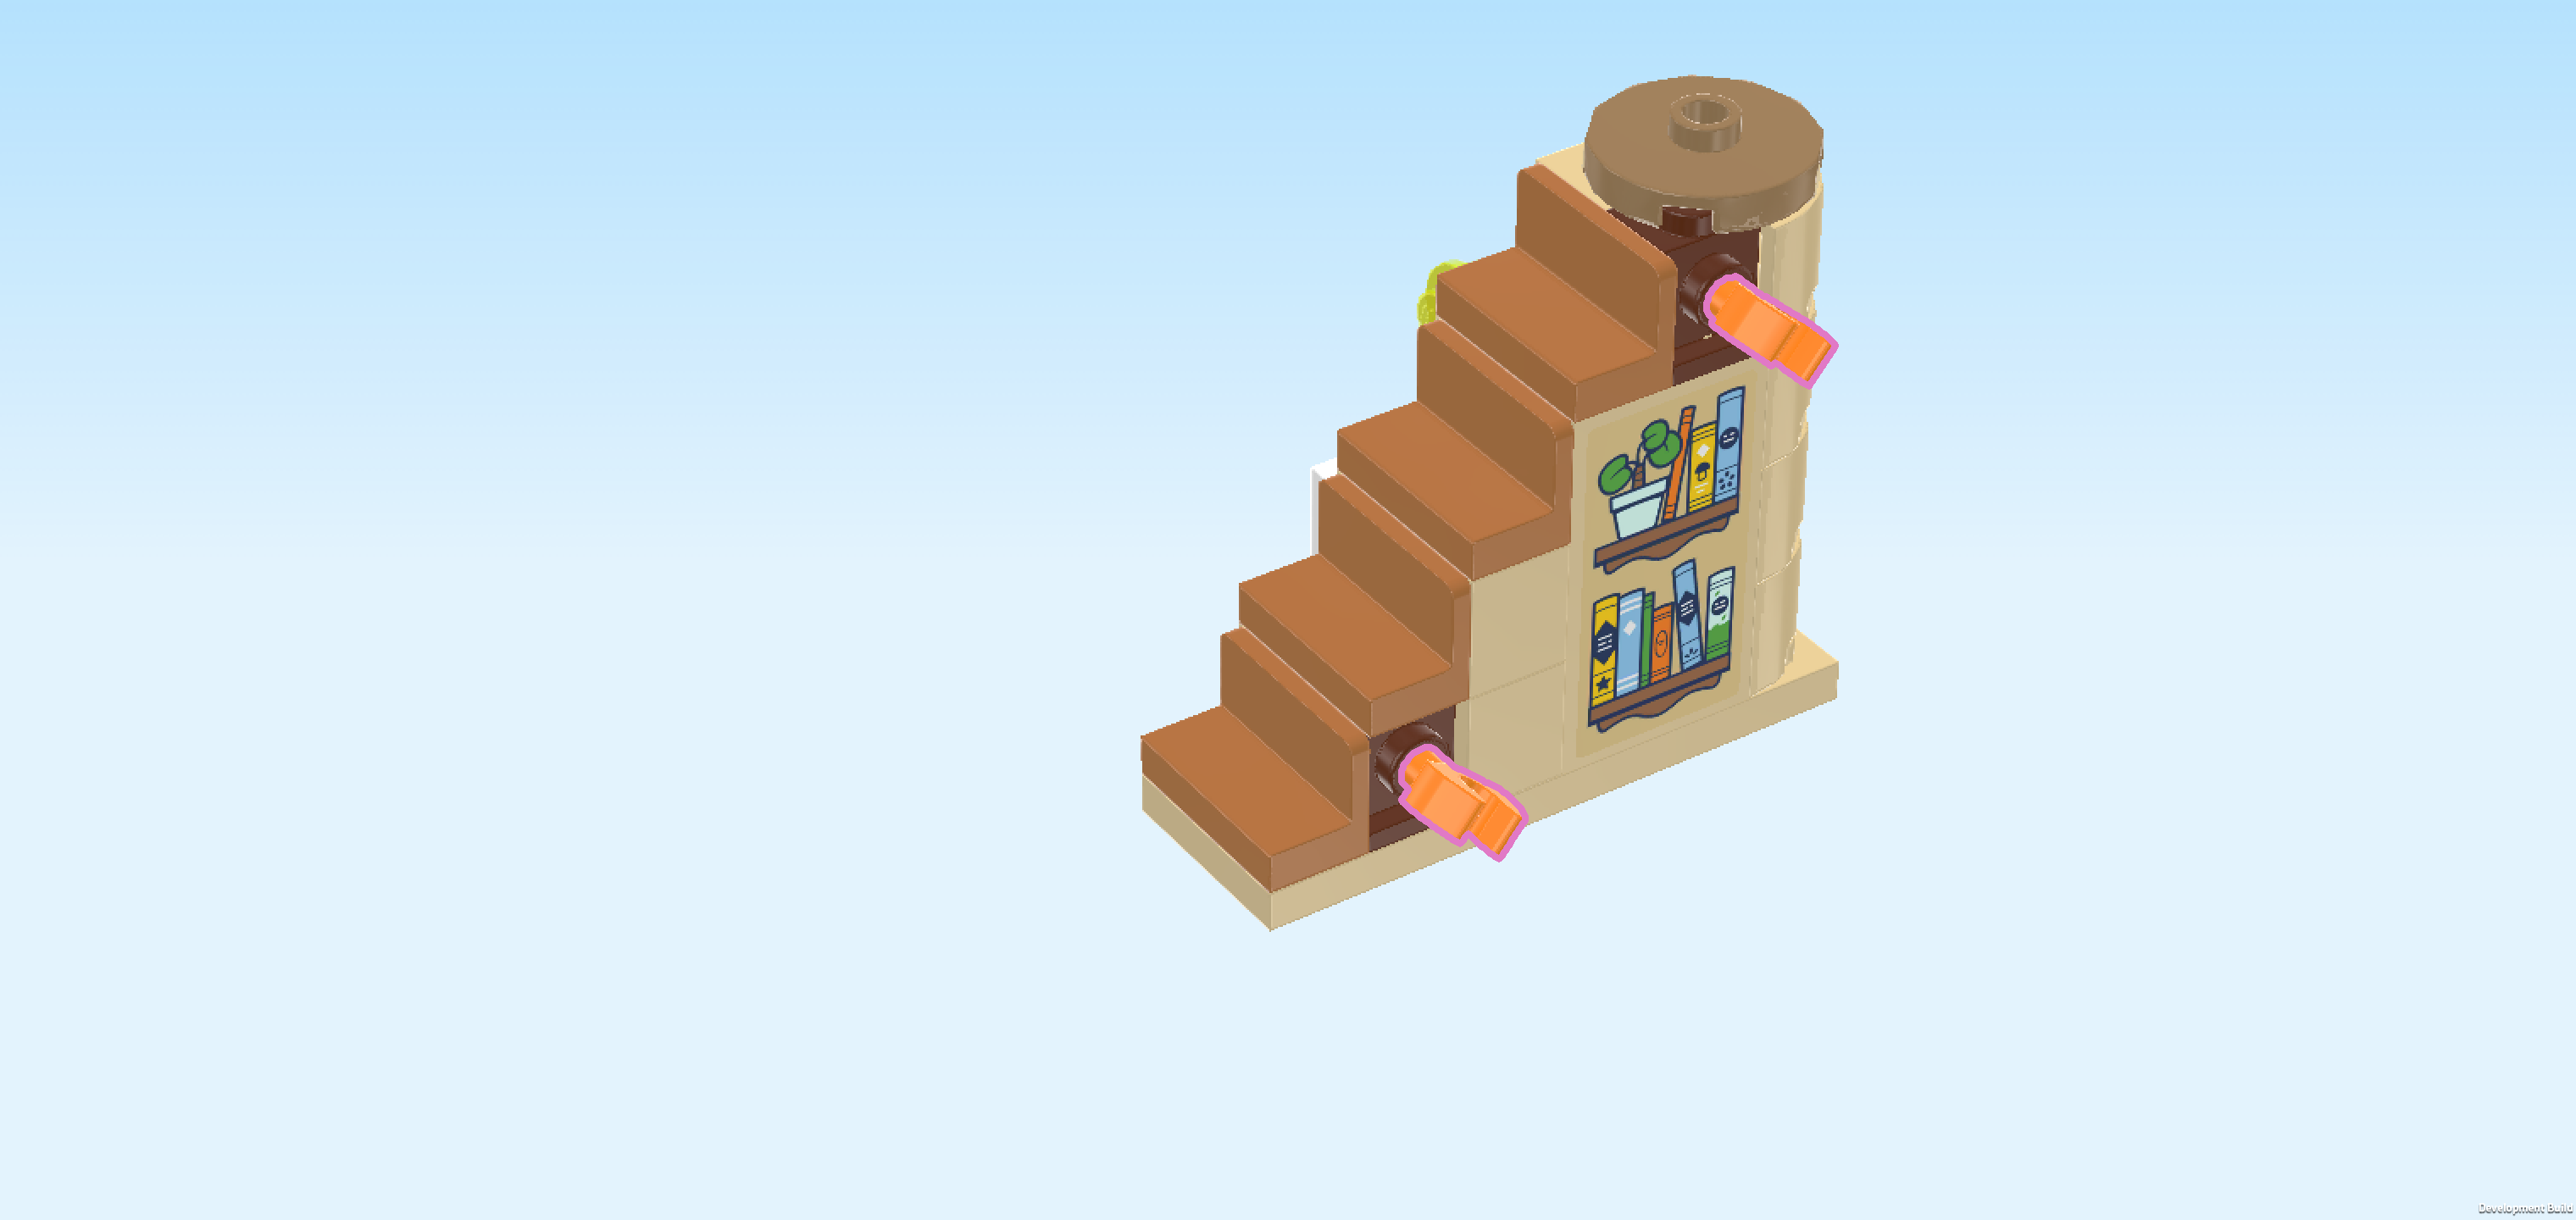
| Find 2 bright orange Minifigure wrenches. |
| Before you mount them, turn the stair structure around again so that it is oriented horizontally again, but the protrusion with energy crystal and gold coin is now towards the back. |
| Insert the handle of 1 wrench into the hollow knob pointing to the front in the left bottom area of the stairs, wrench head protruding to the front. |
| Repeat with the second wrench on the front side knob at the top right corner of the structure. |
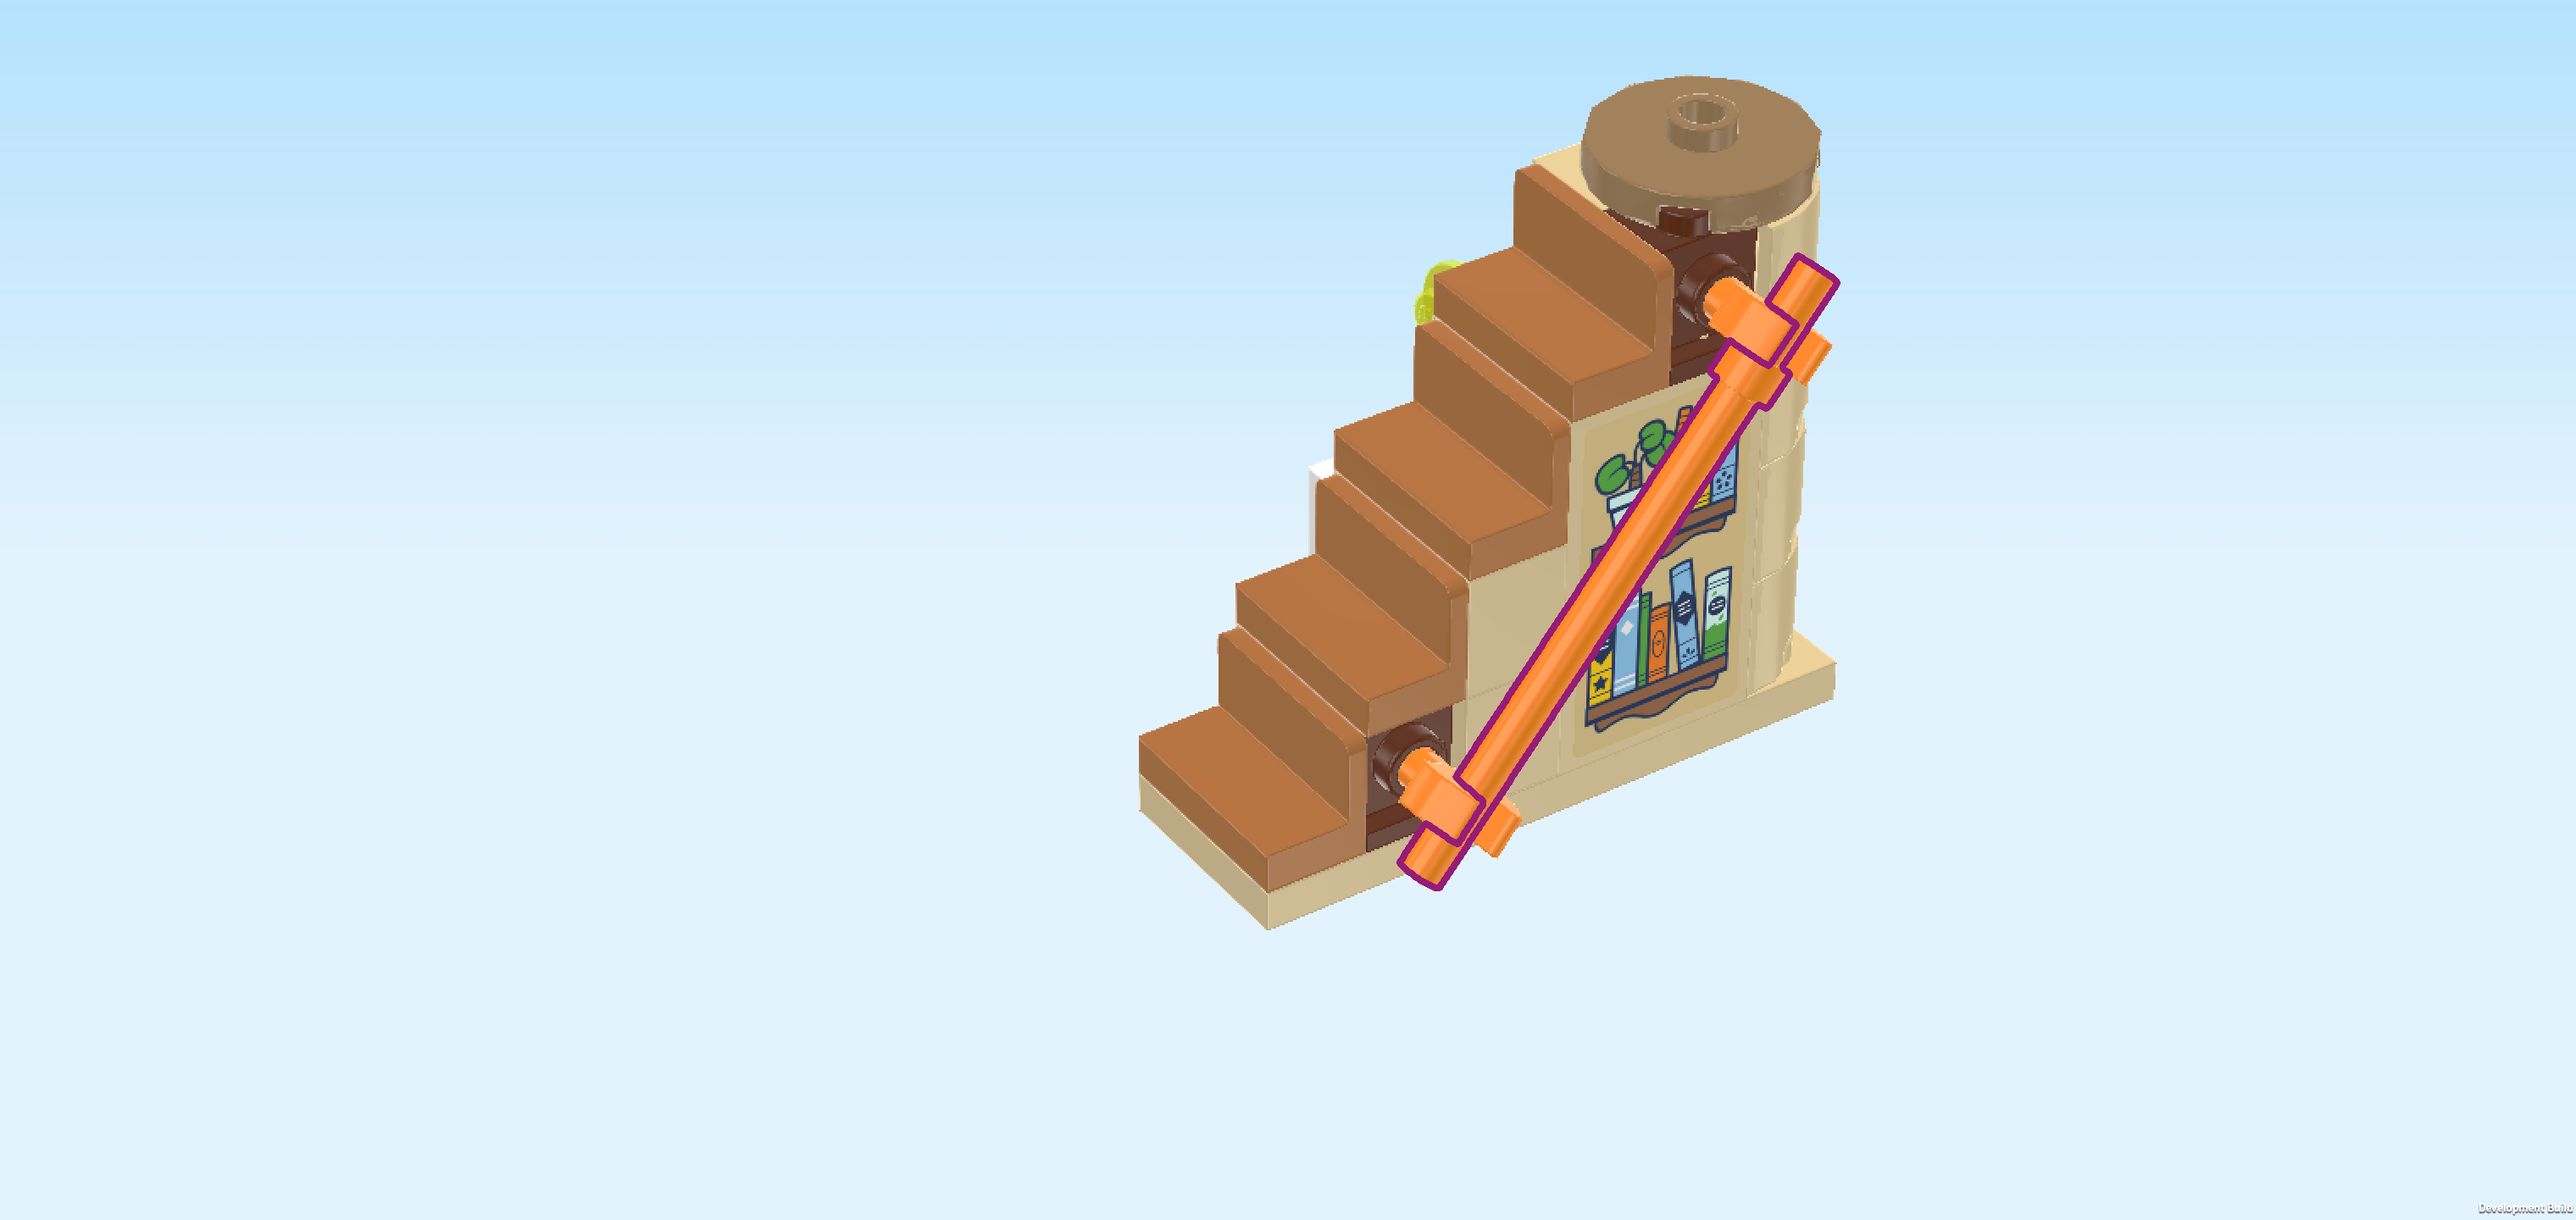
| Find 1 bright orange shaft 6m with ring. |
| We will snap this shaft diagonally into the 2 wrench heads. To be able to do that, you have to adjust both wrench heads such that their tips are adjusted in a diagonal fashion: make sure one wrench head tip is at the top left and the other one at the bottom right. Make sure their orientation is parallel. |
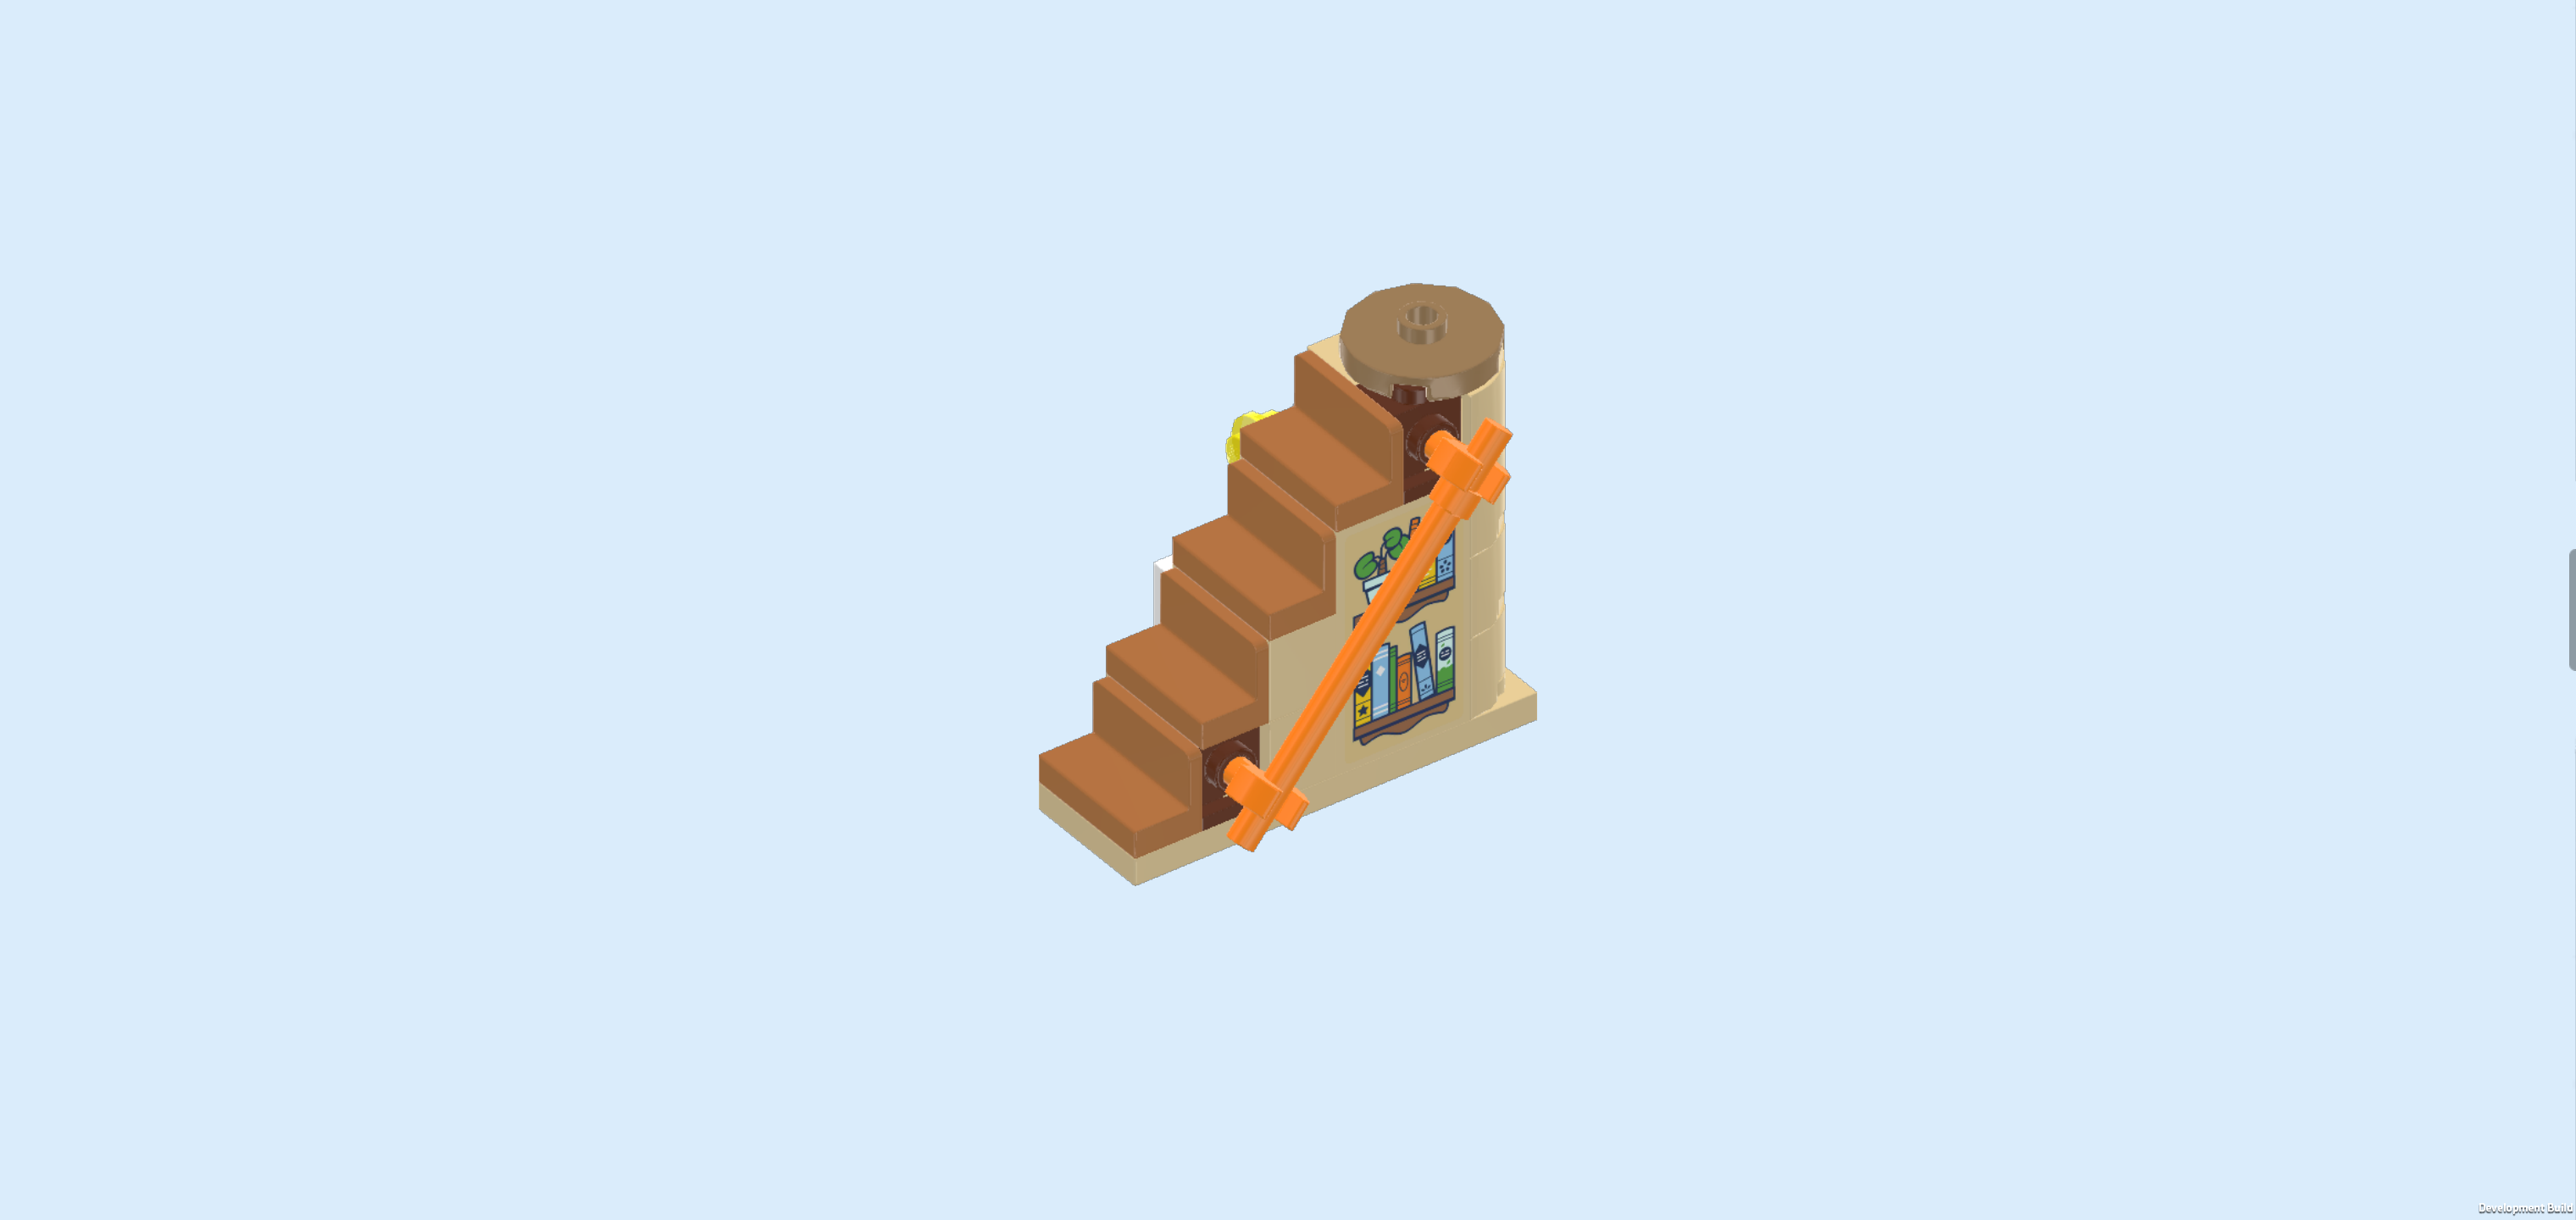
| Hold the shaft horizontally and diagonally in front of you, matching the general shape of the stairs. Make sure the end with the stop ring is on the top right. Snap the shaft into the 2 wrench heads such that it protrudes symmetrically to the bottom left and the top right. |
| The stairs with bookcase are finished! Well done! Mount this build horizontally on the swivel plate; you might have do adjust the rotating part of the swivel plate a bit to make that work. Make sure the rightmost edge of the stairs is flush with the right edge of the socket of the swivel plate. Once it's mounted, you can actually swing out the staircase and reveal the hidden stash with treasure map, flashlight and treasure! How exciting! |
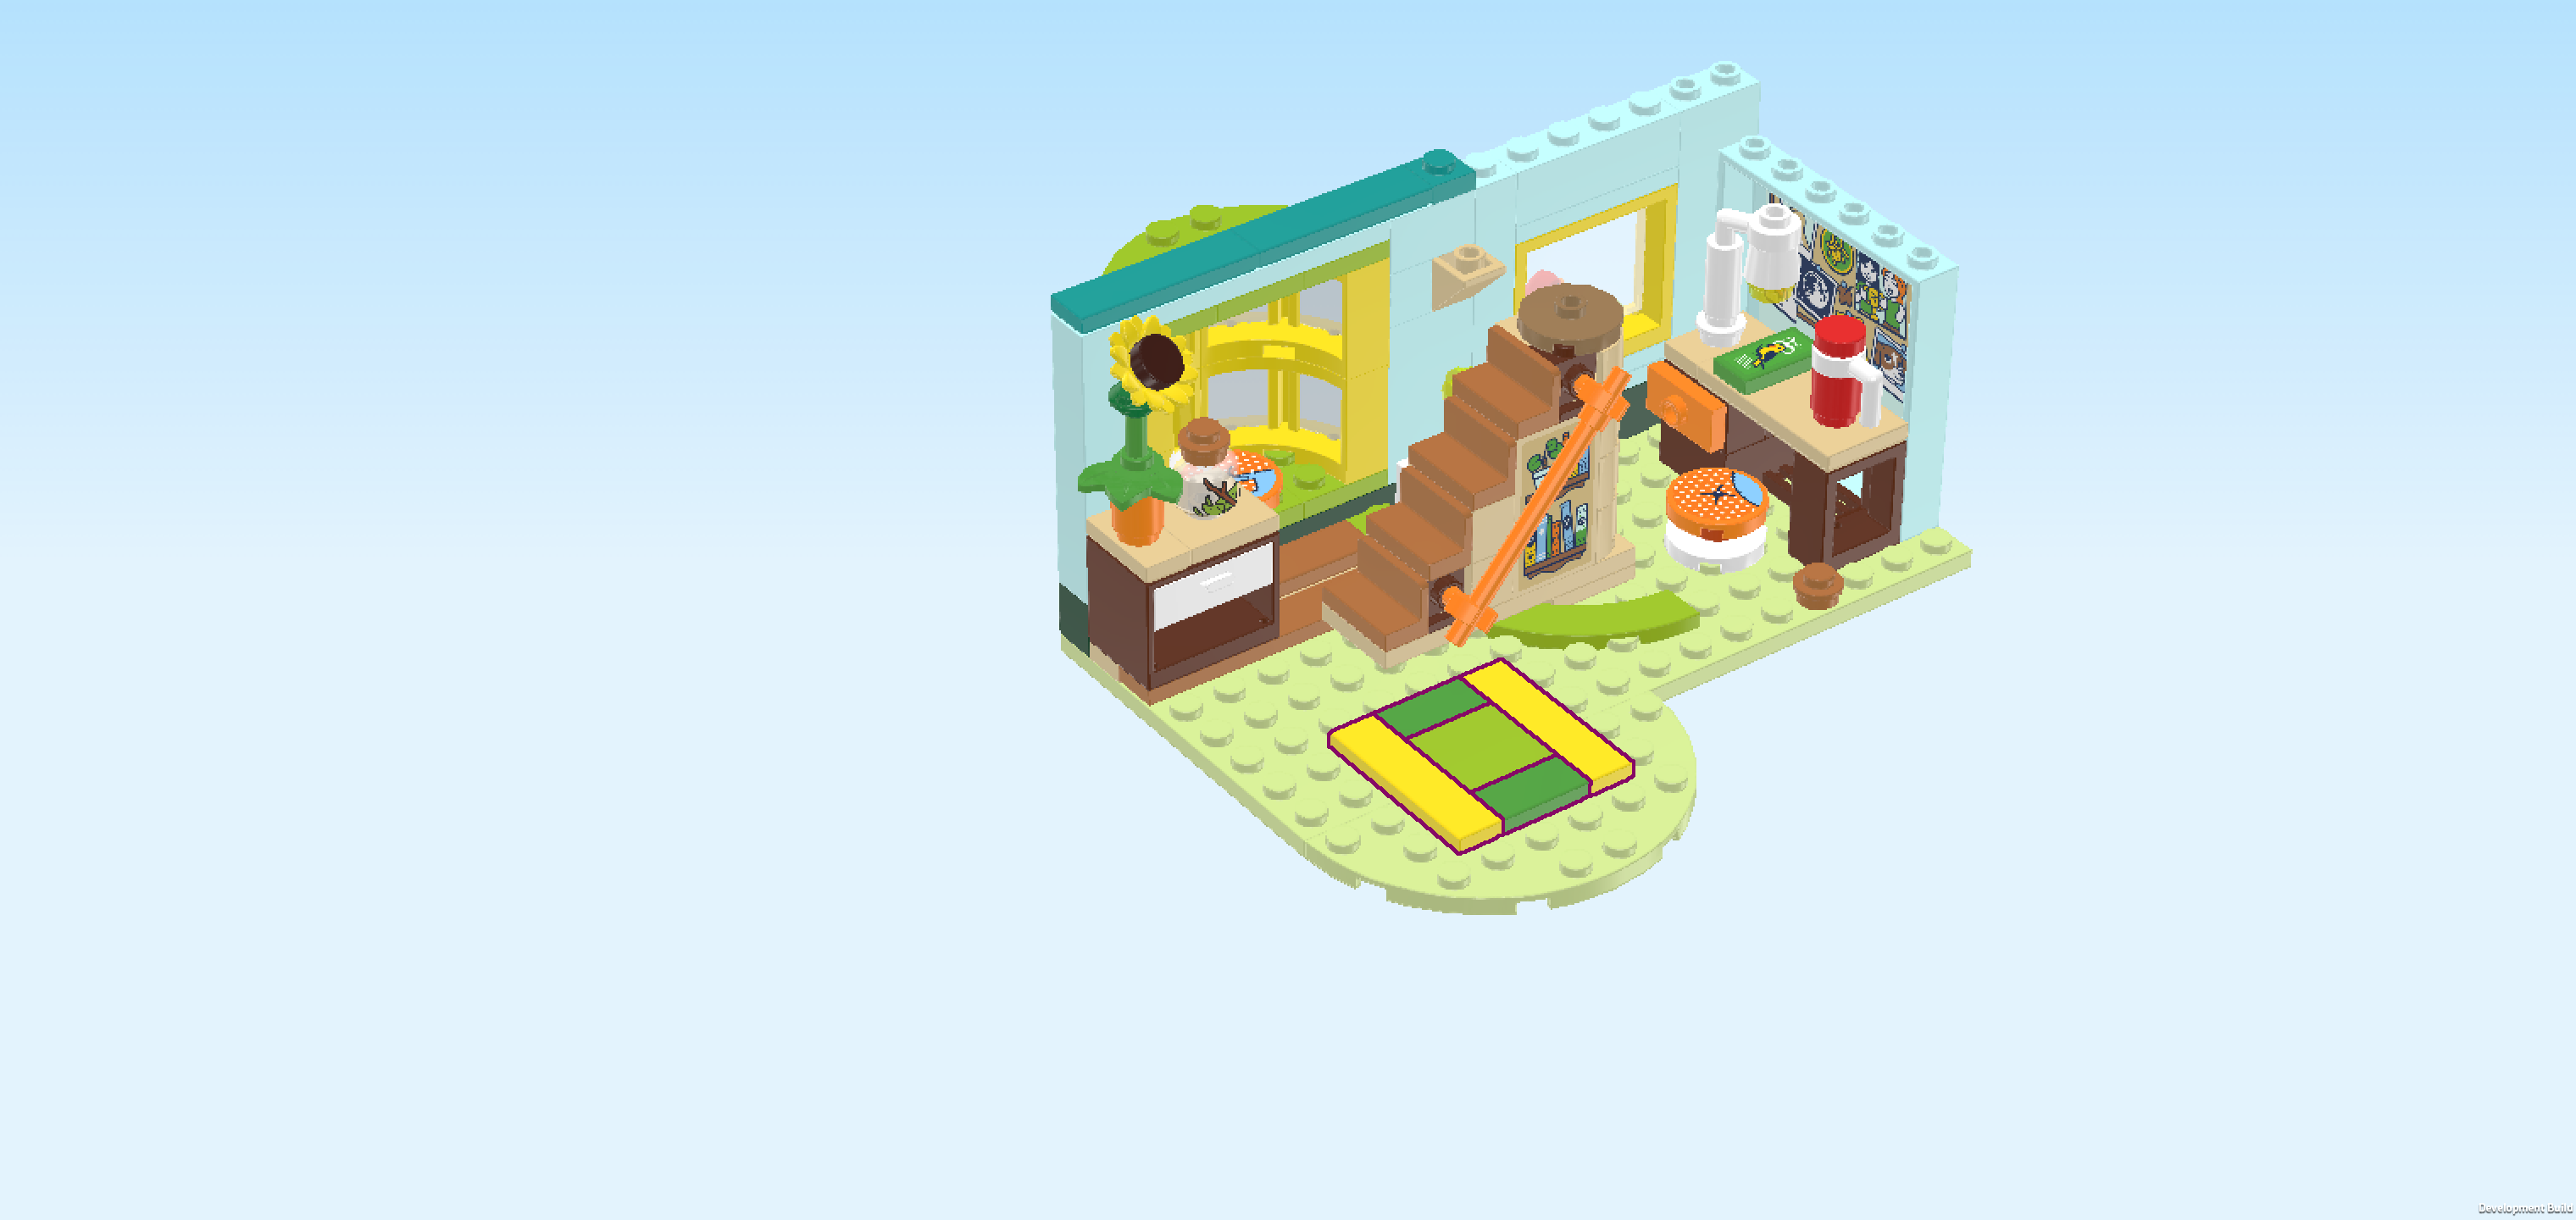
| Next up, we will build the floor extension with carpet. |
| Collect the following 2 pieces: |
| 1 pale lime green half-circle plate 4x8, |
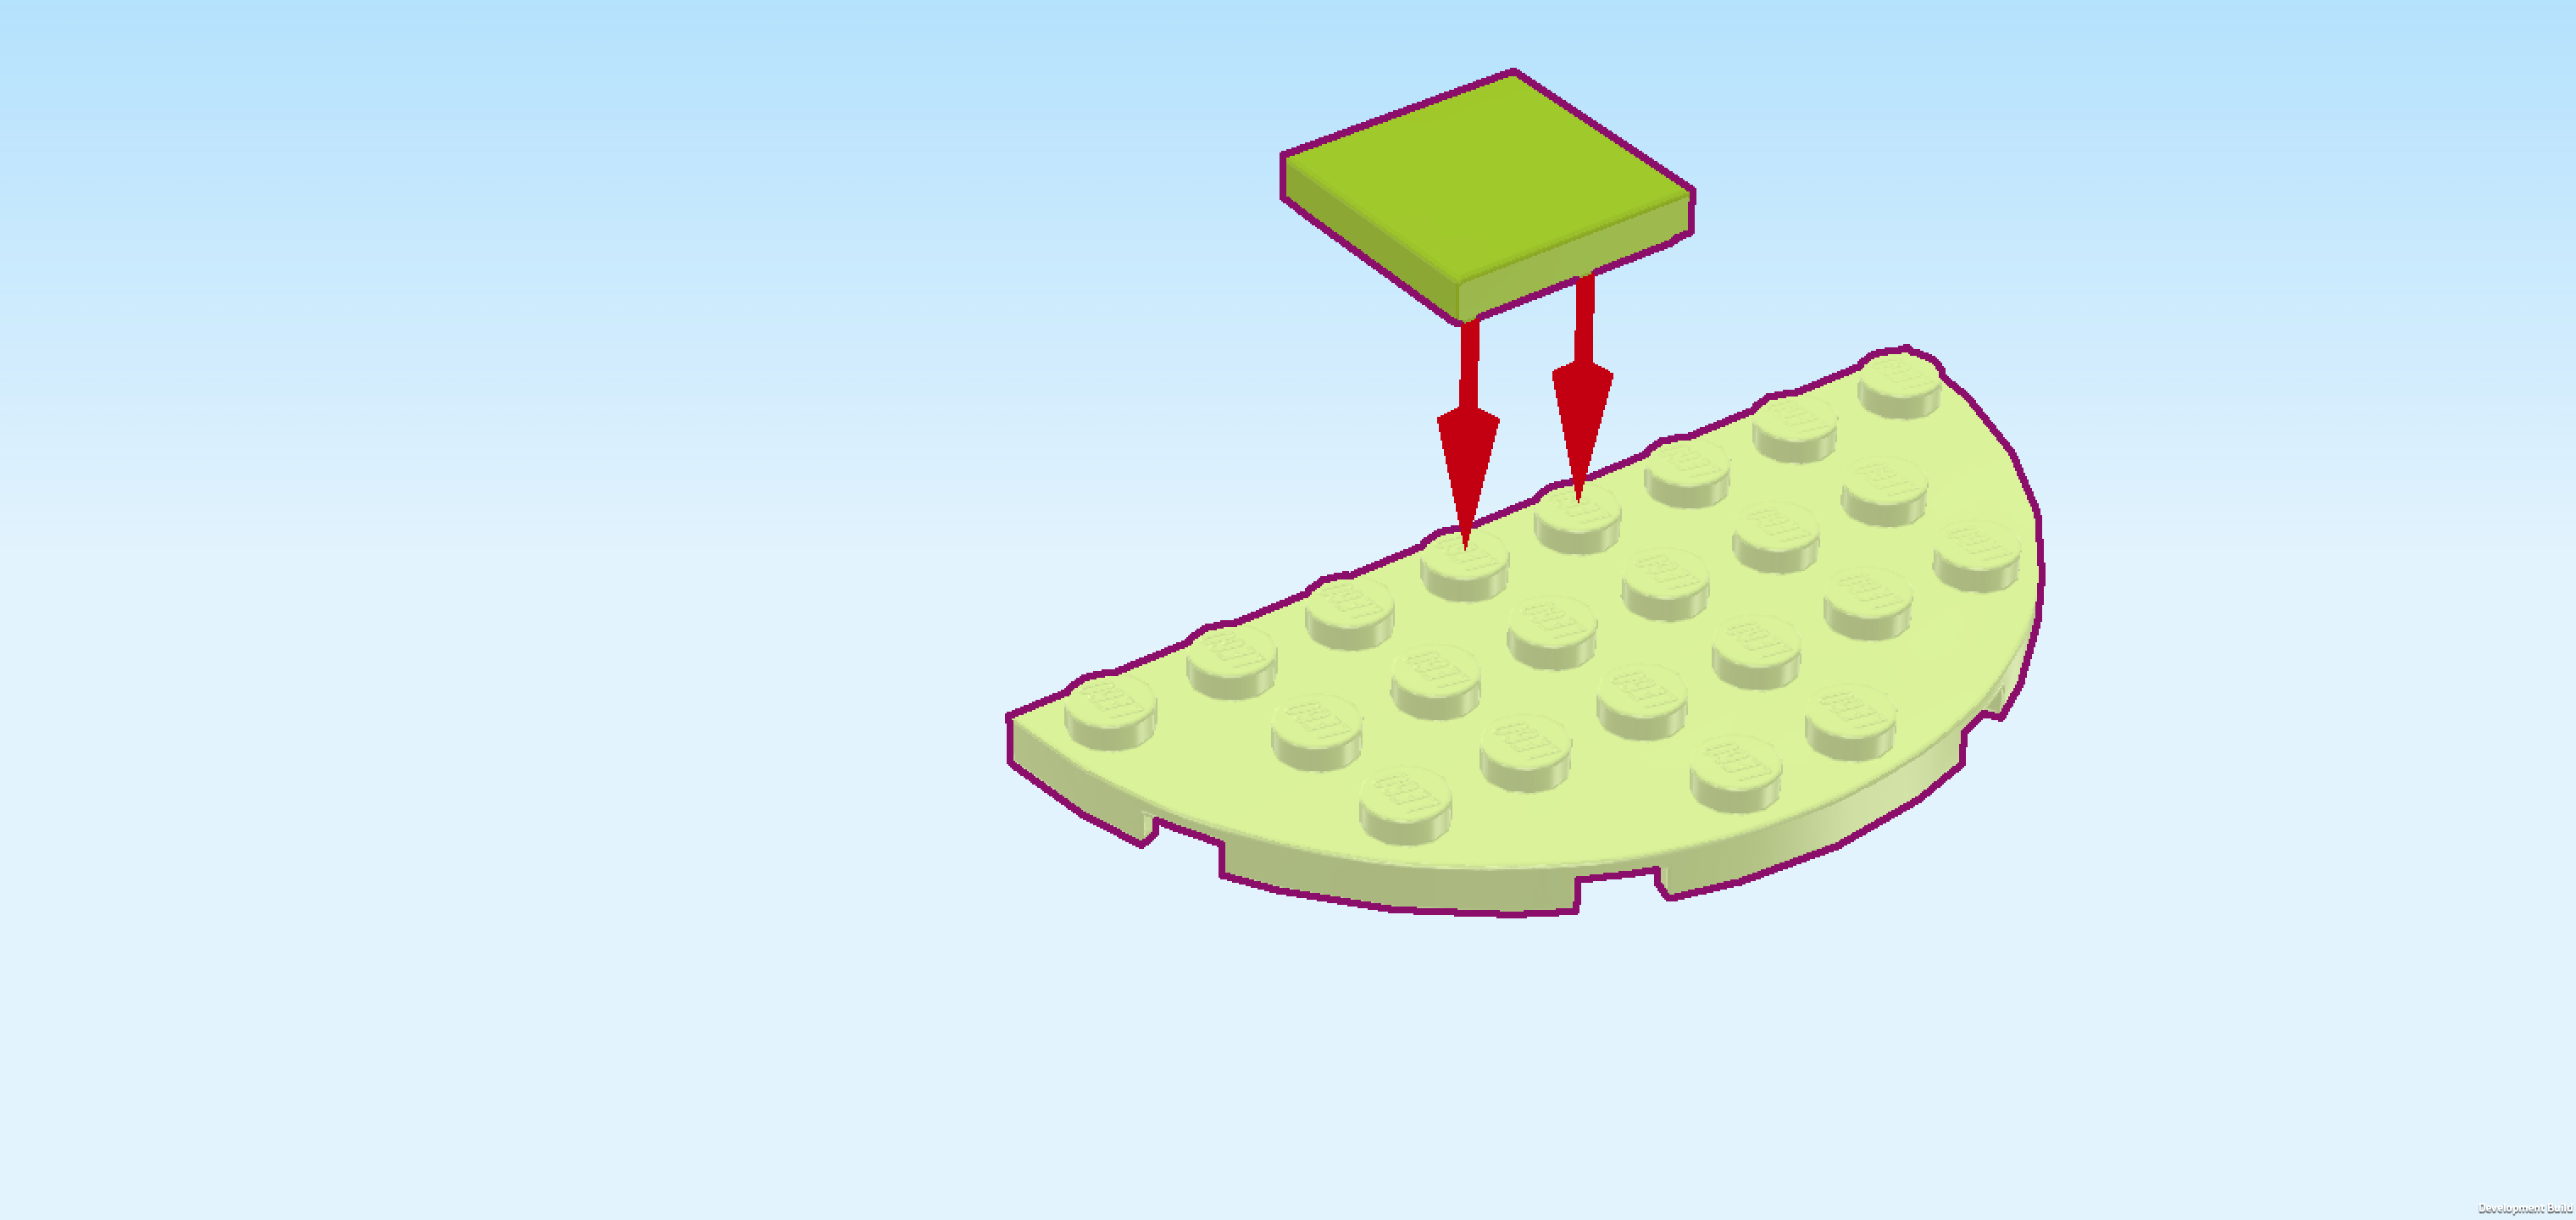
| and 1 bright yellowish green flat tile 2x2. |
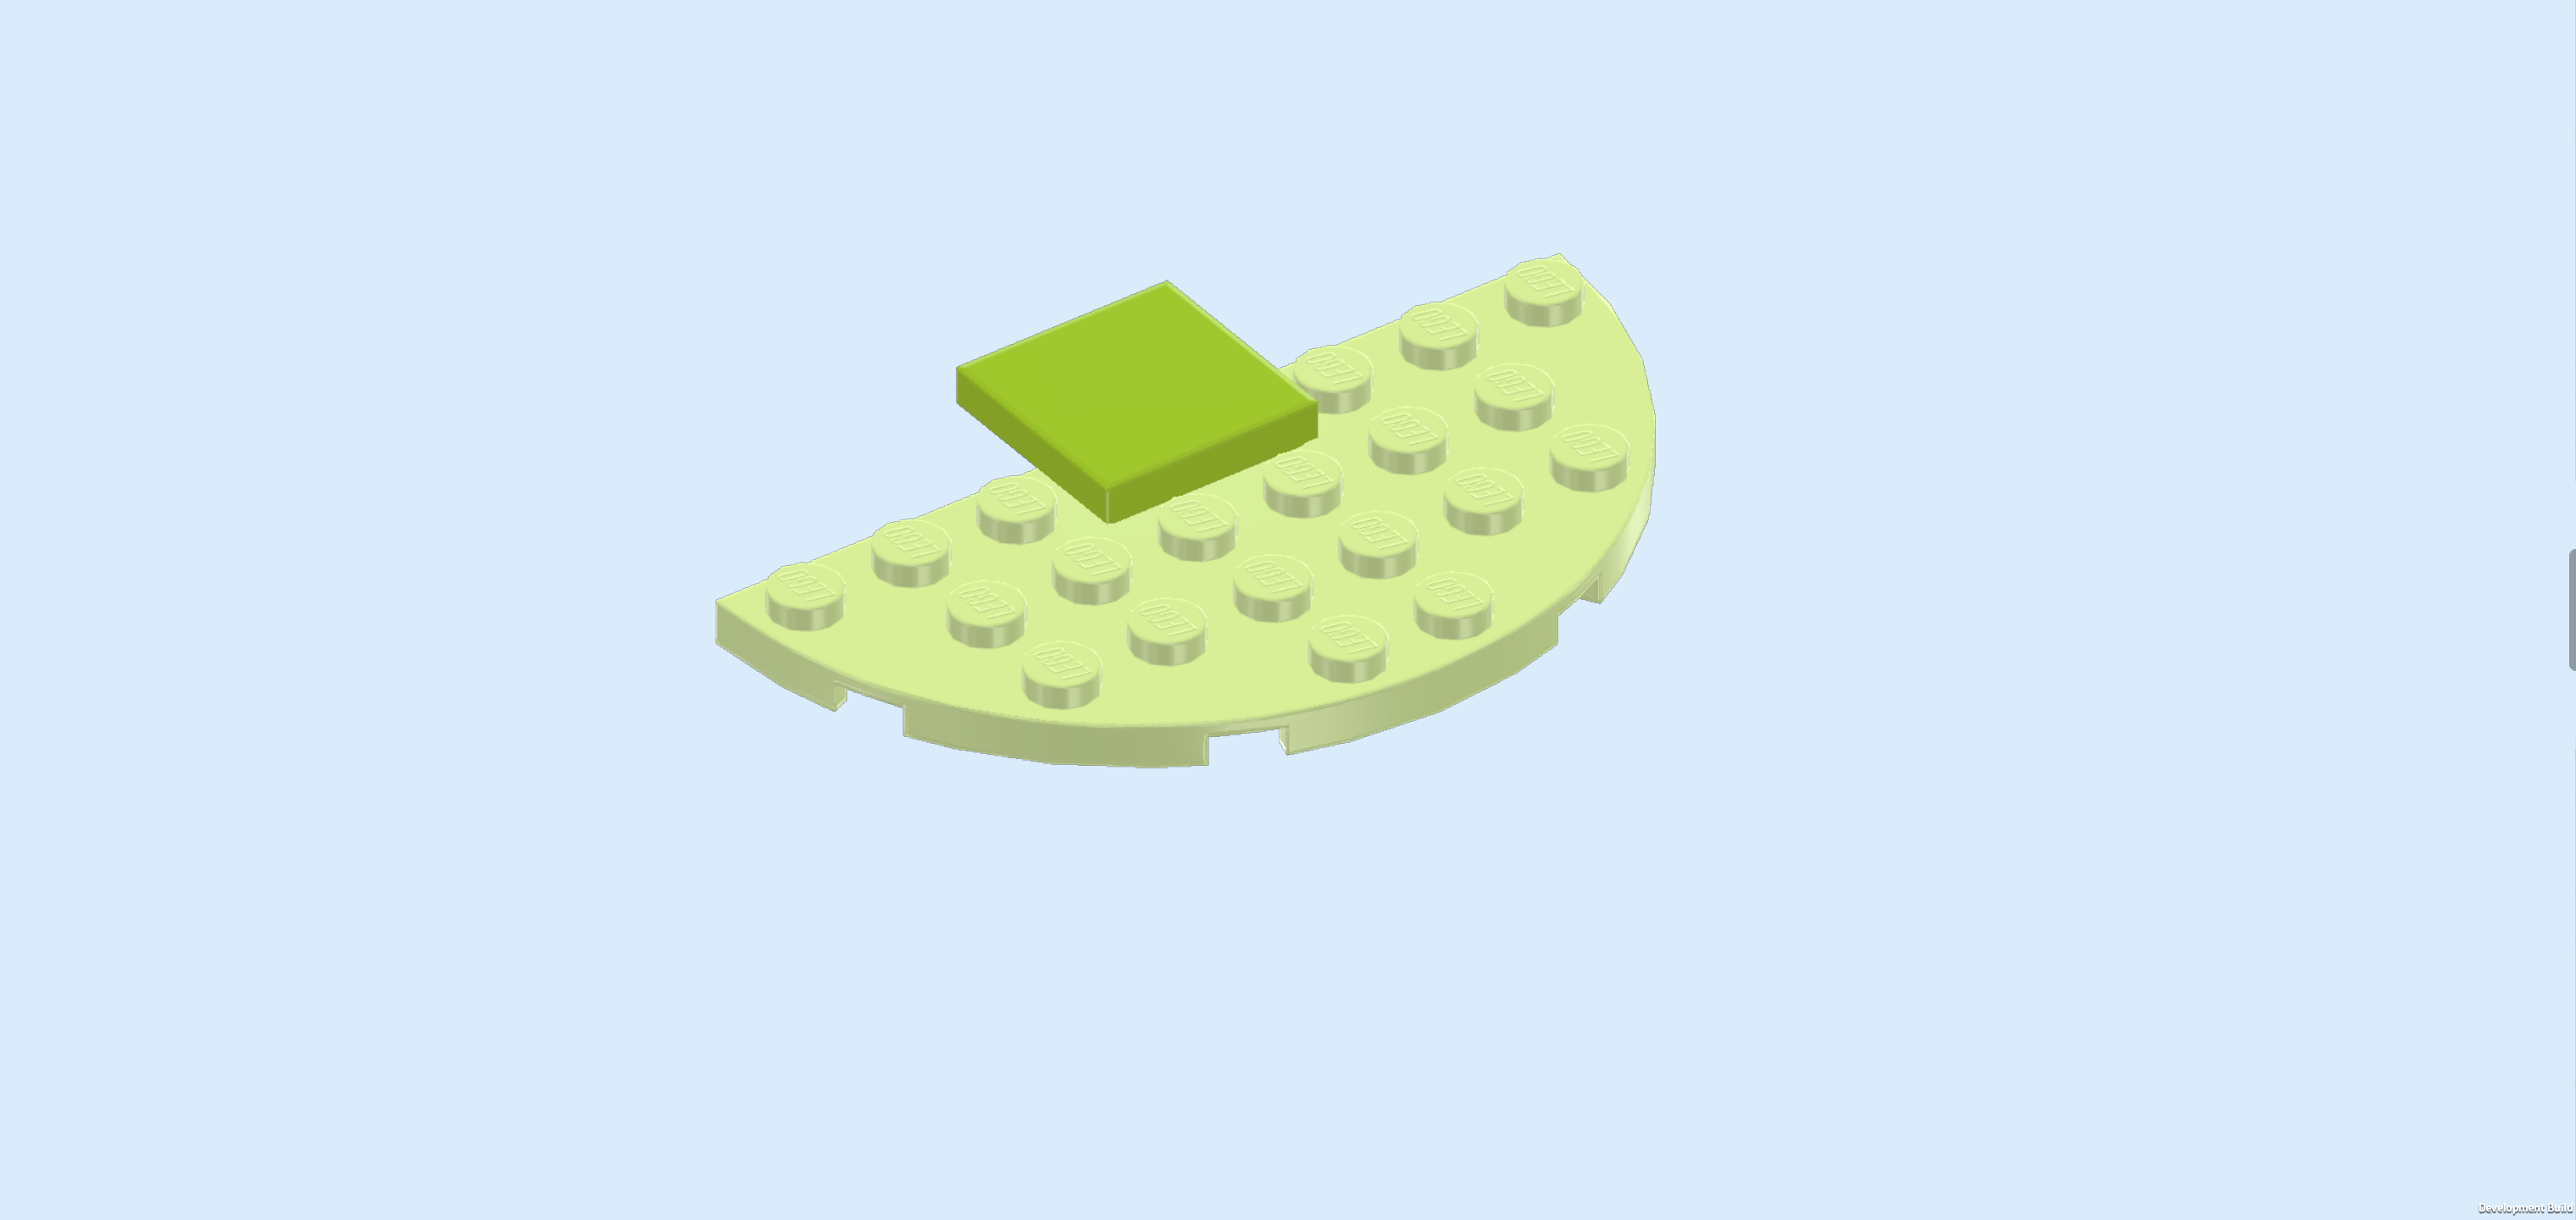
| Put the half-circle plate 4x8 on the table, half circle to the front. |
| Put the flat tile 2x2 centered on the backmost row, 1/2 overhanging to the back. |
| Mount the floor extension in front of the left half of the base plate 8x16. This means that you put the overhanging part of the previous piece on the frontmost row of the base plate 8x16, making sure that the left corner of the half-circle plate is flush with the left edge of the base plate. |
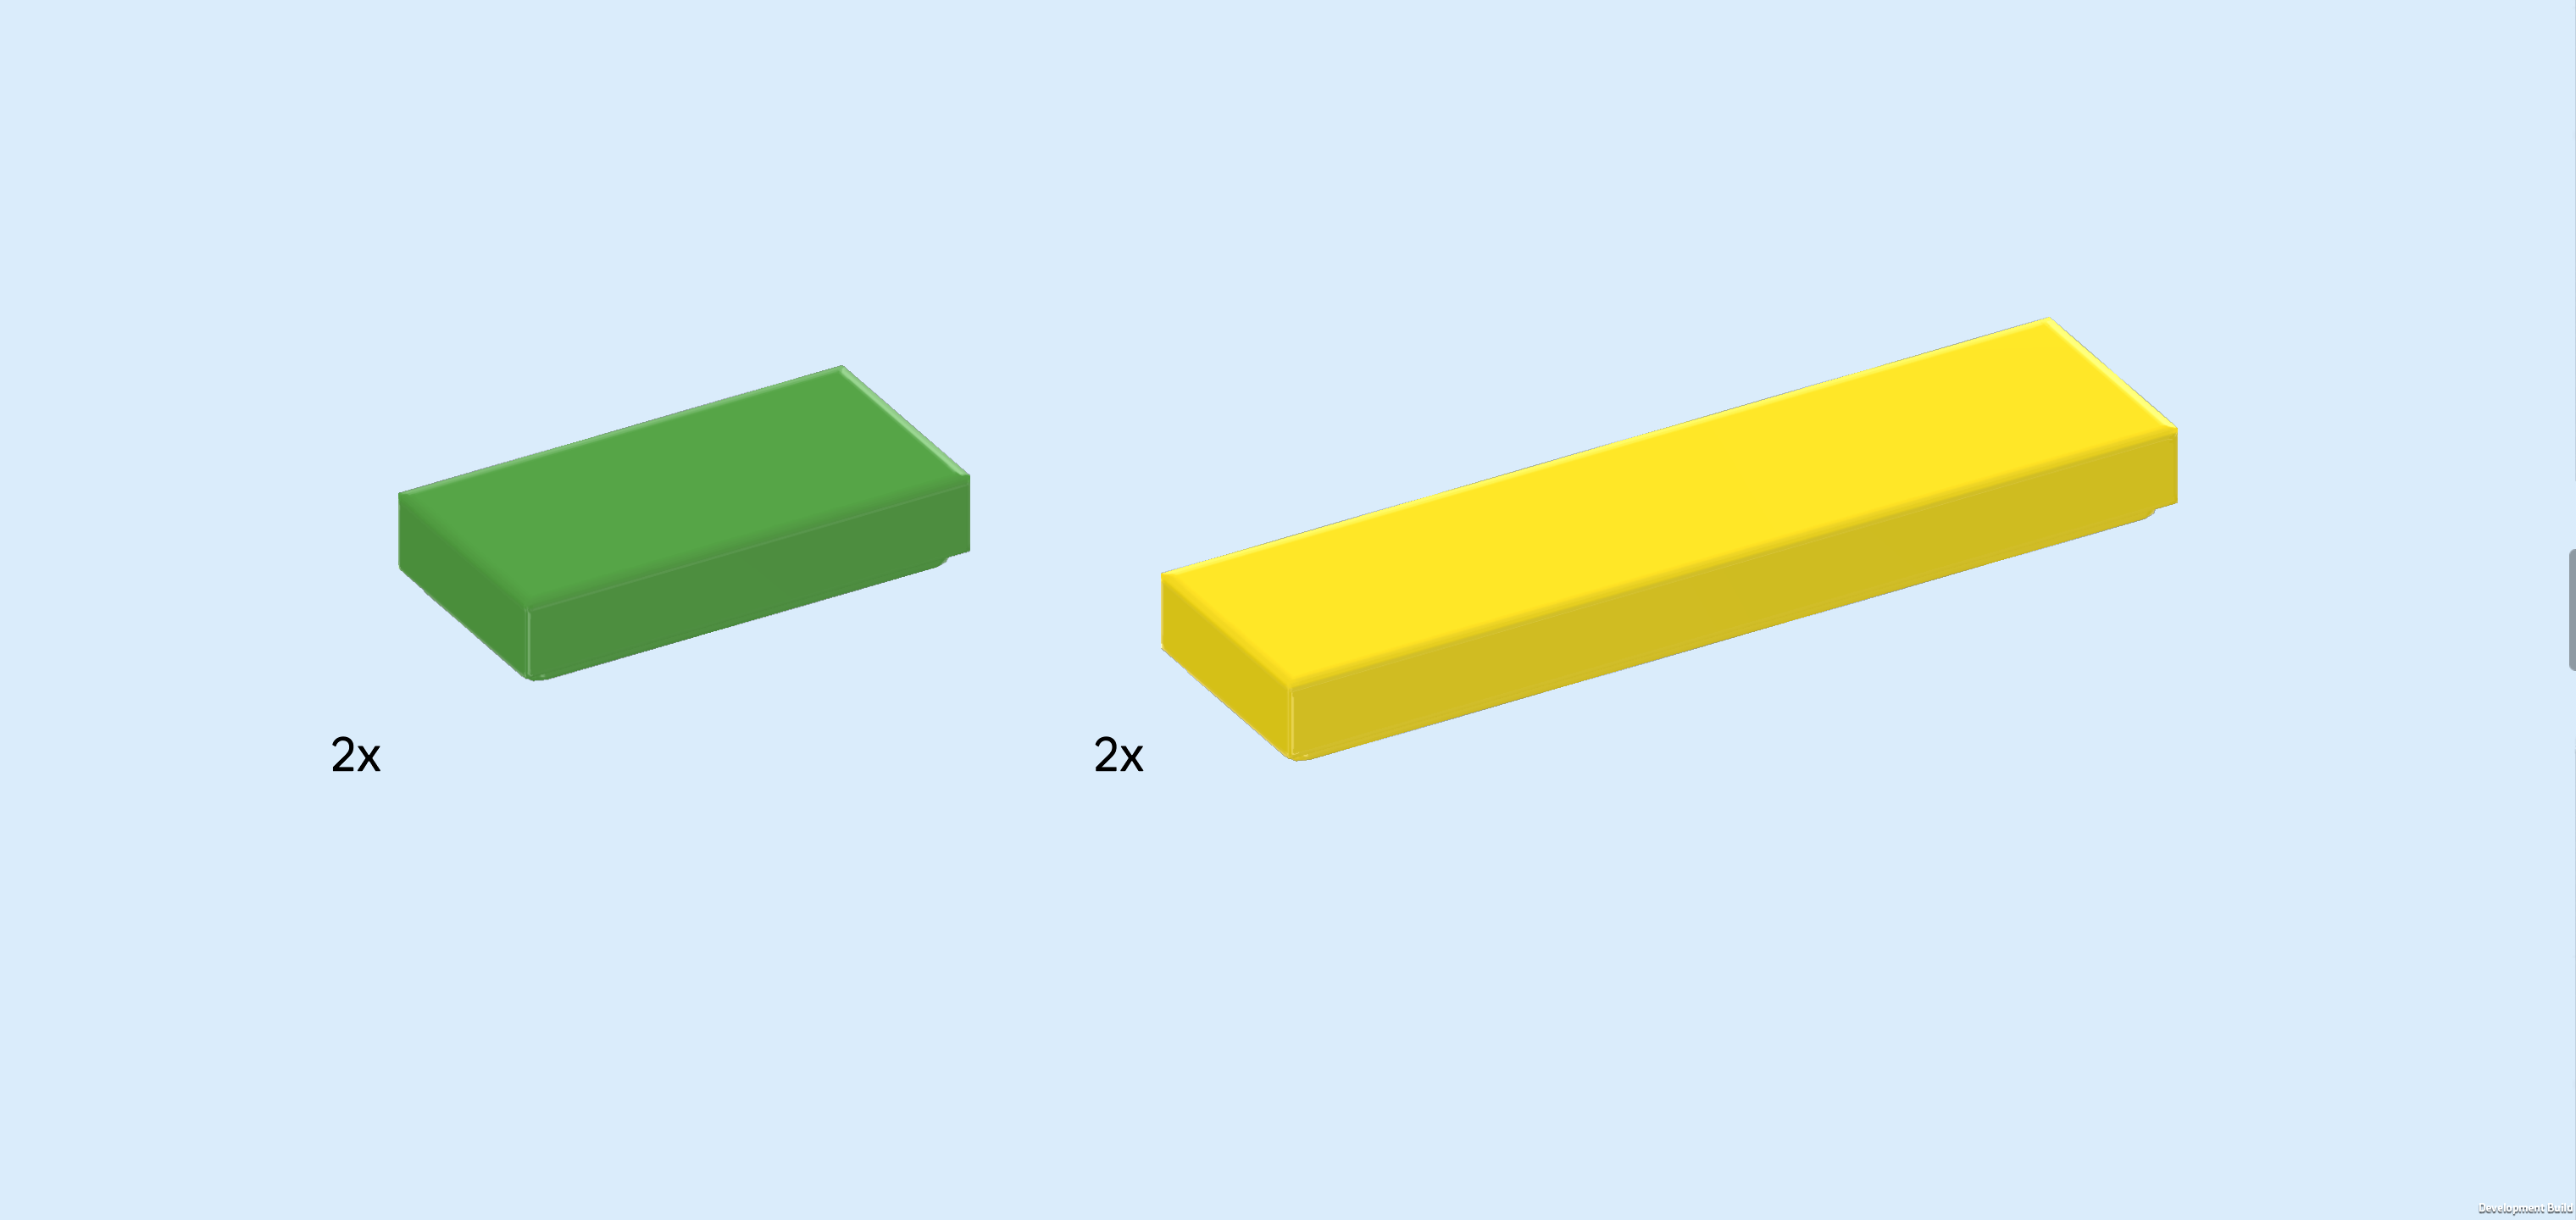
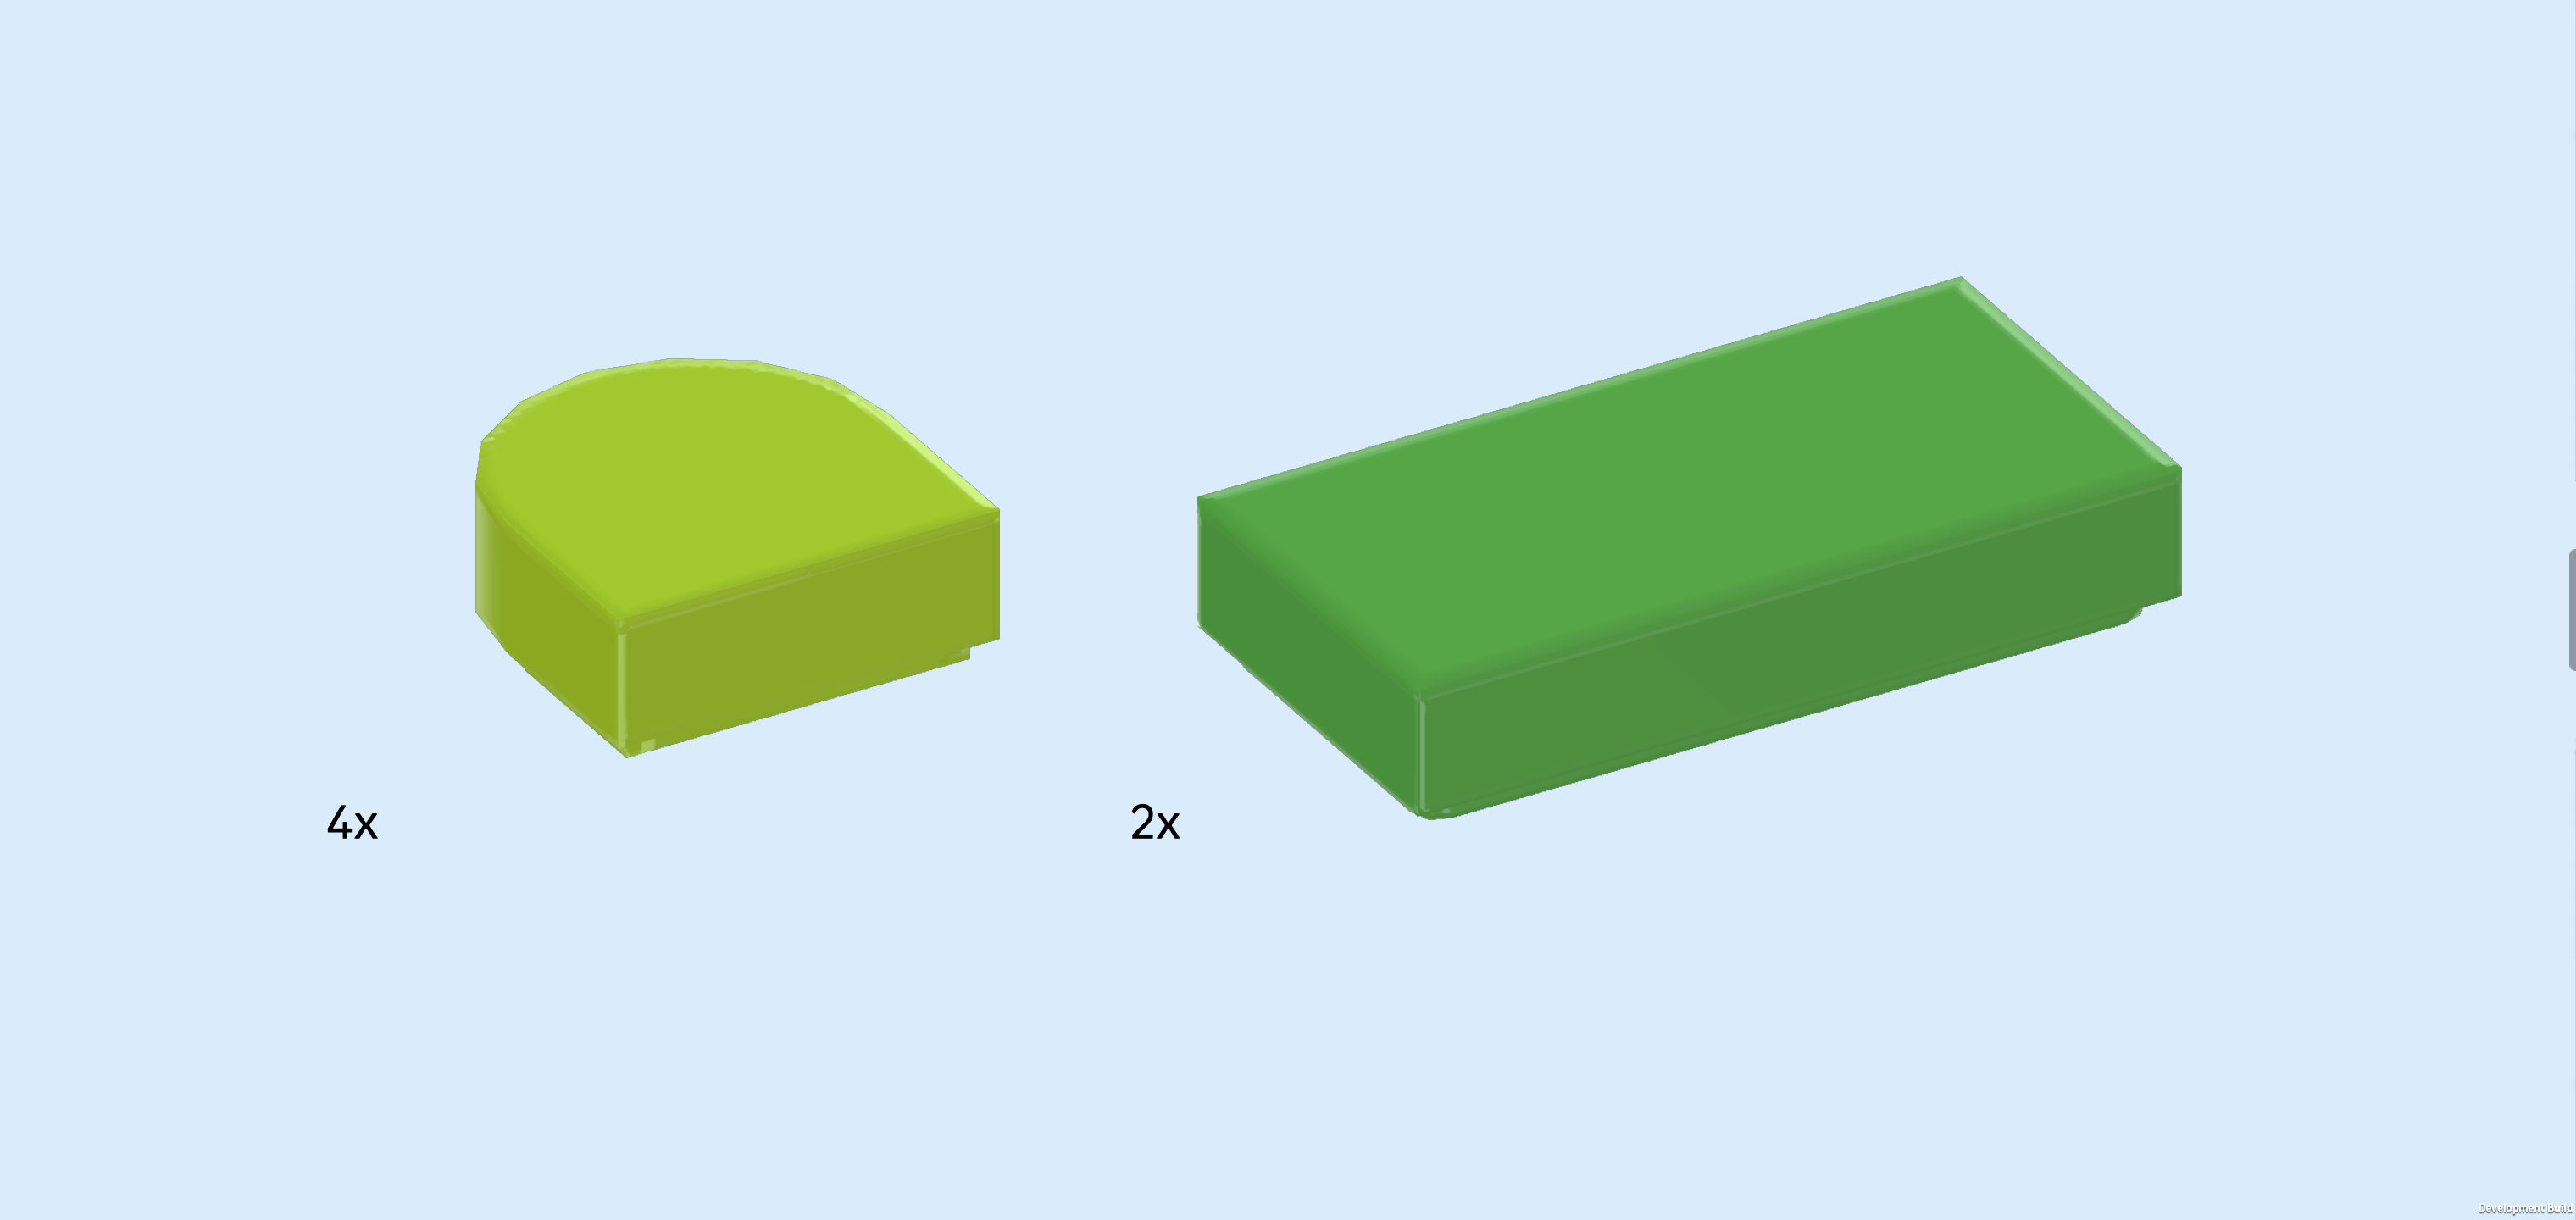
| Collect the following 4 pieces: |
| 2 bright green flat tiles 1x2, |
| and 2 bright yellow flat tiles 1x4. |
| Put 1 flat tile 1x2 horizontally behind the flat tile 2x2 from the previous step. |
| Repeat symmetrically at the front. |
| Put 1 flat tile 1x4 vertically to the right of the 3 previous pieces. |
| Repeat symmetrically on the left with the other flat tile 1x4. |
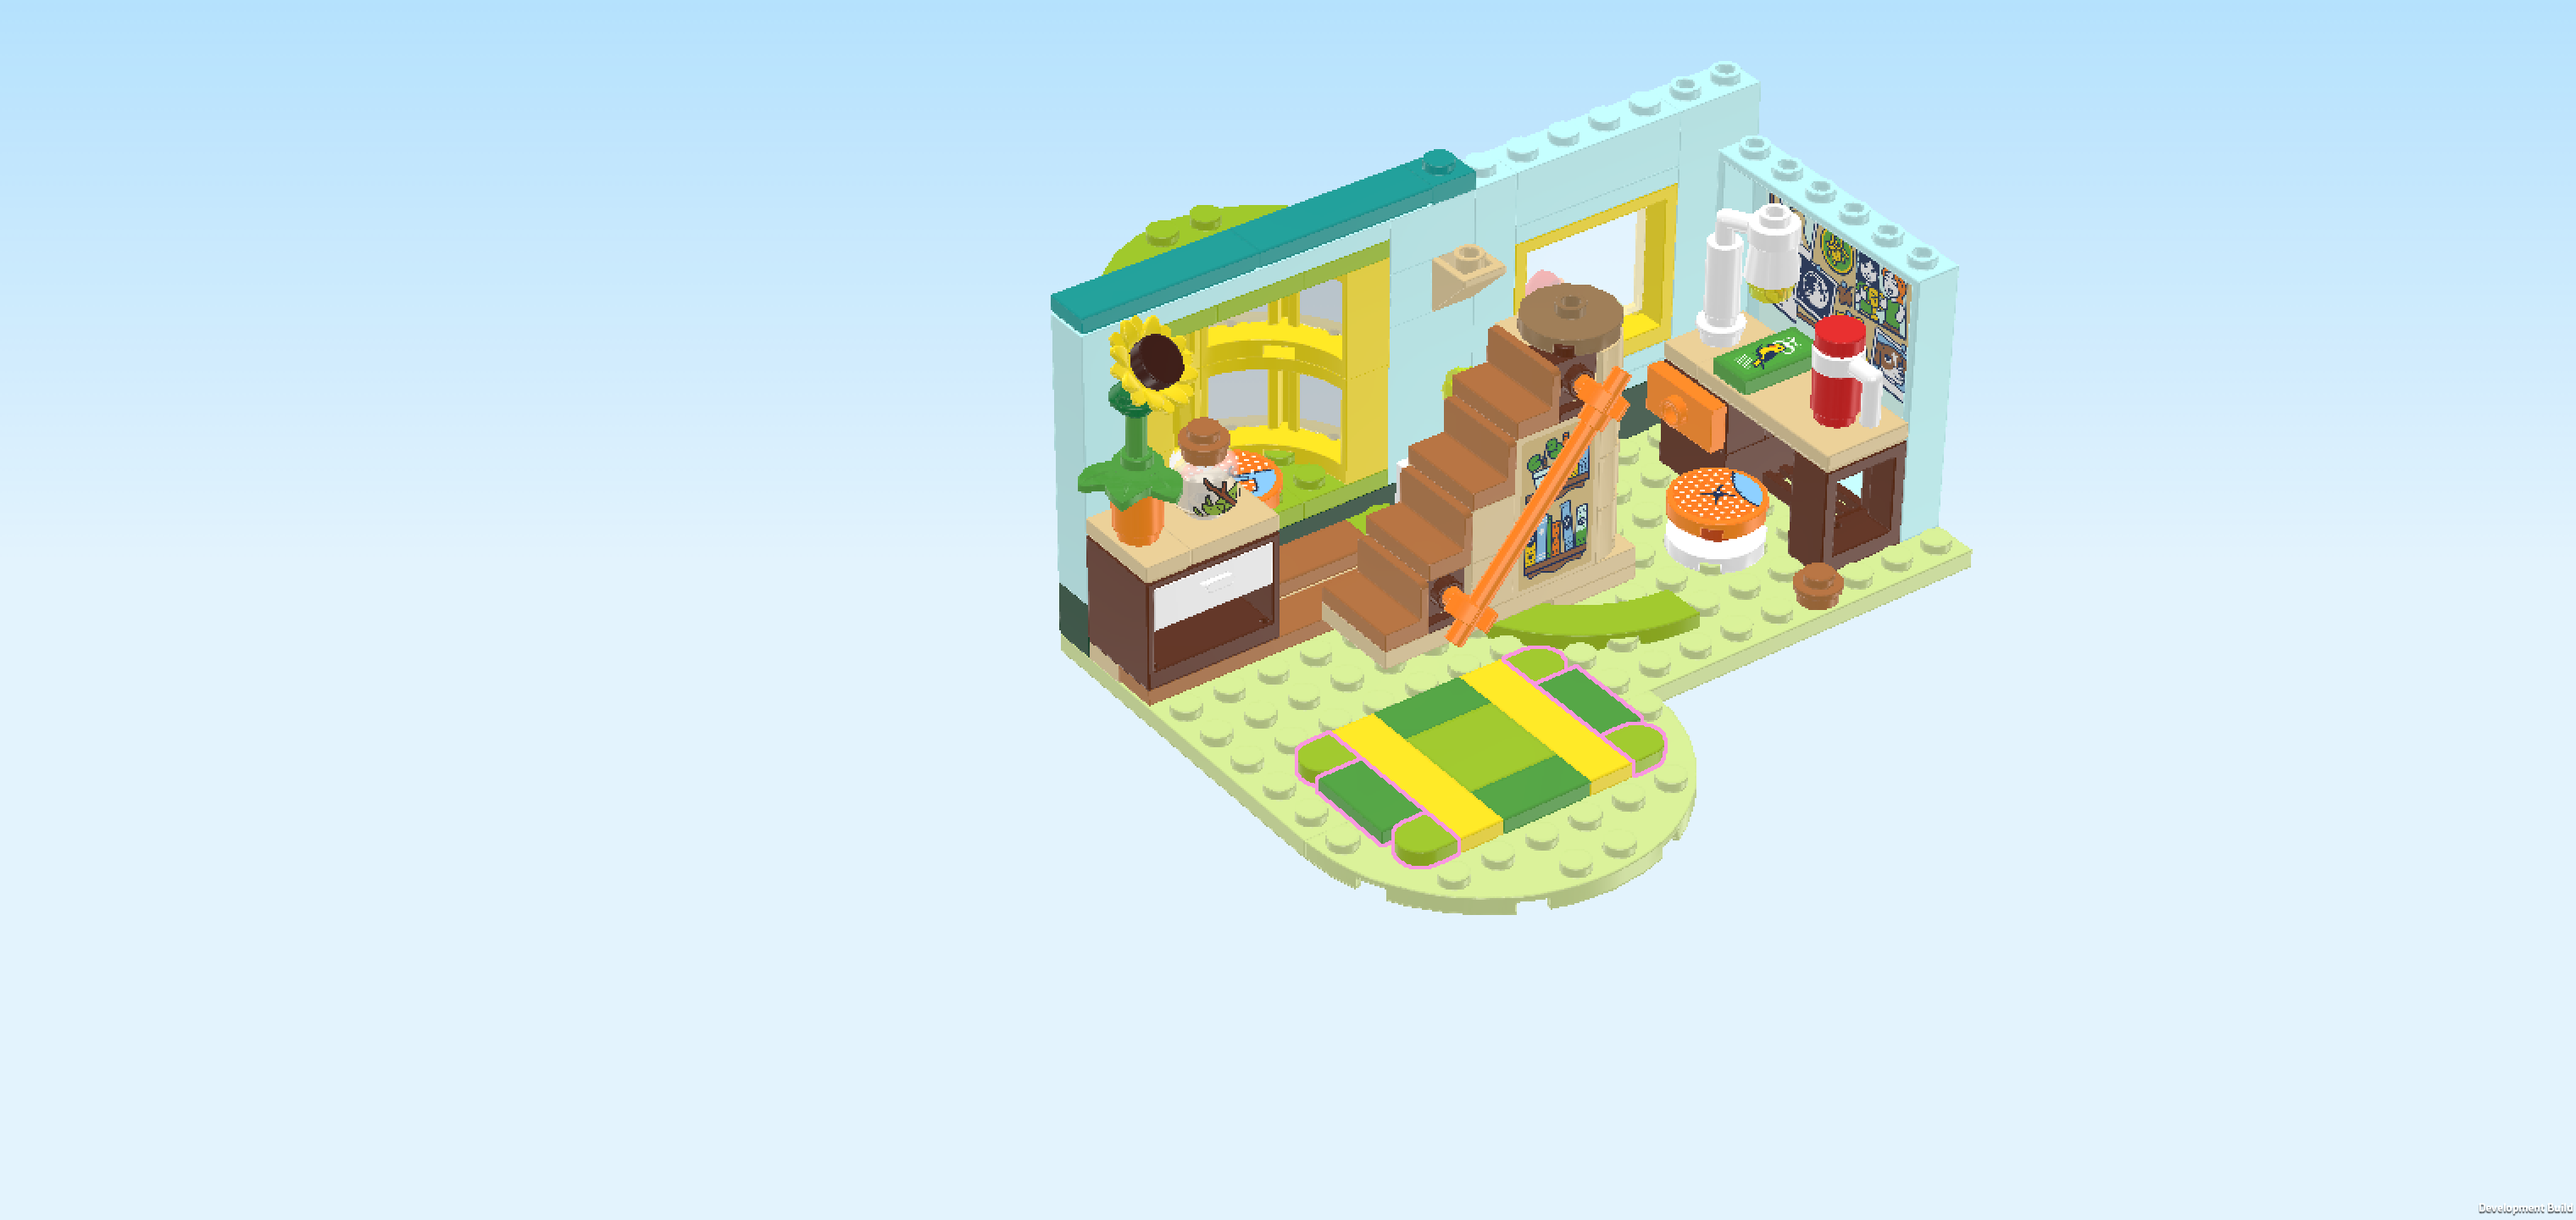
| Collect the following 6 pieces: |
| 4 bright yellowish green half-circle tiles 1x1, |
| and 2 bright green flat tiles 1x2. |
| Put 1 half-circle tile 1x1 to the left of the previous piece's backmost quarter, half circle to the left. |
| Put 1 flat tile 1x2 vertically in front of the previous piece. |
| Put 1 half-circle tile 1x1 in front of the previous piece, half circle to the left again. |
| Repeat symmetrically on the right with the 3 remaining pieces. |
| The floor extension with carpet is finished! Well done! If you swing the staircase out, you will notice that the carpet fits neatly underneath it. |
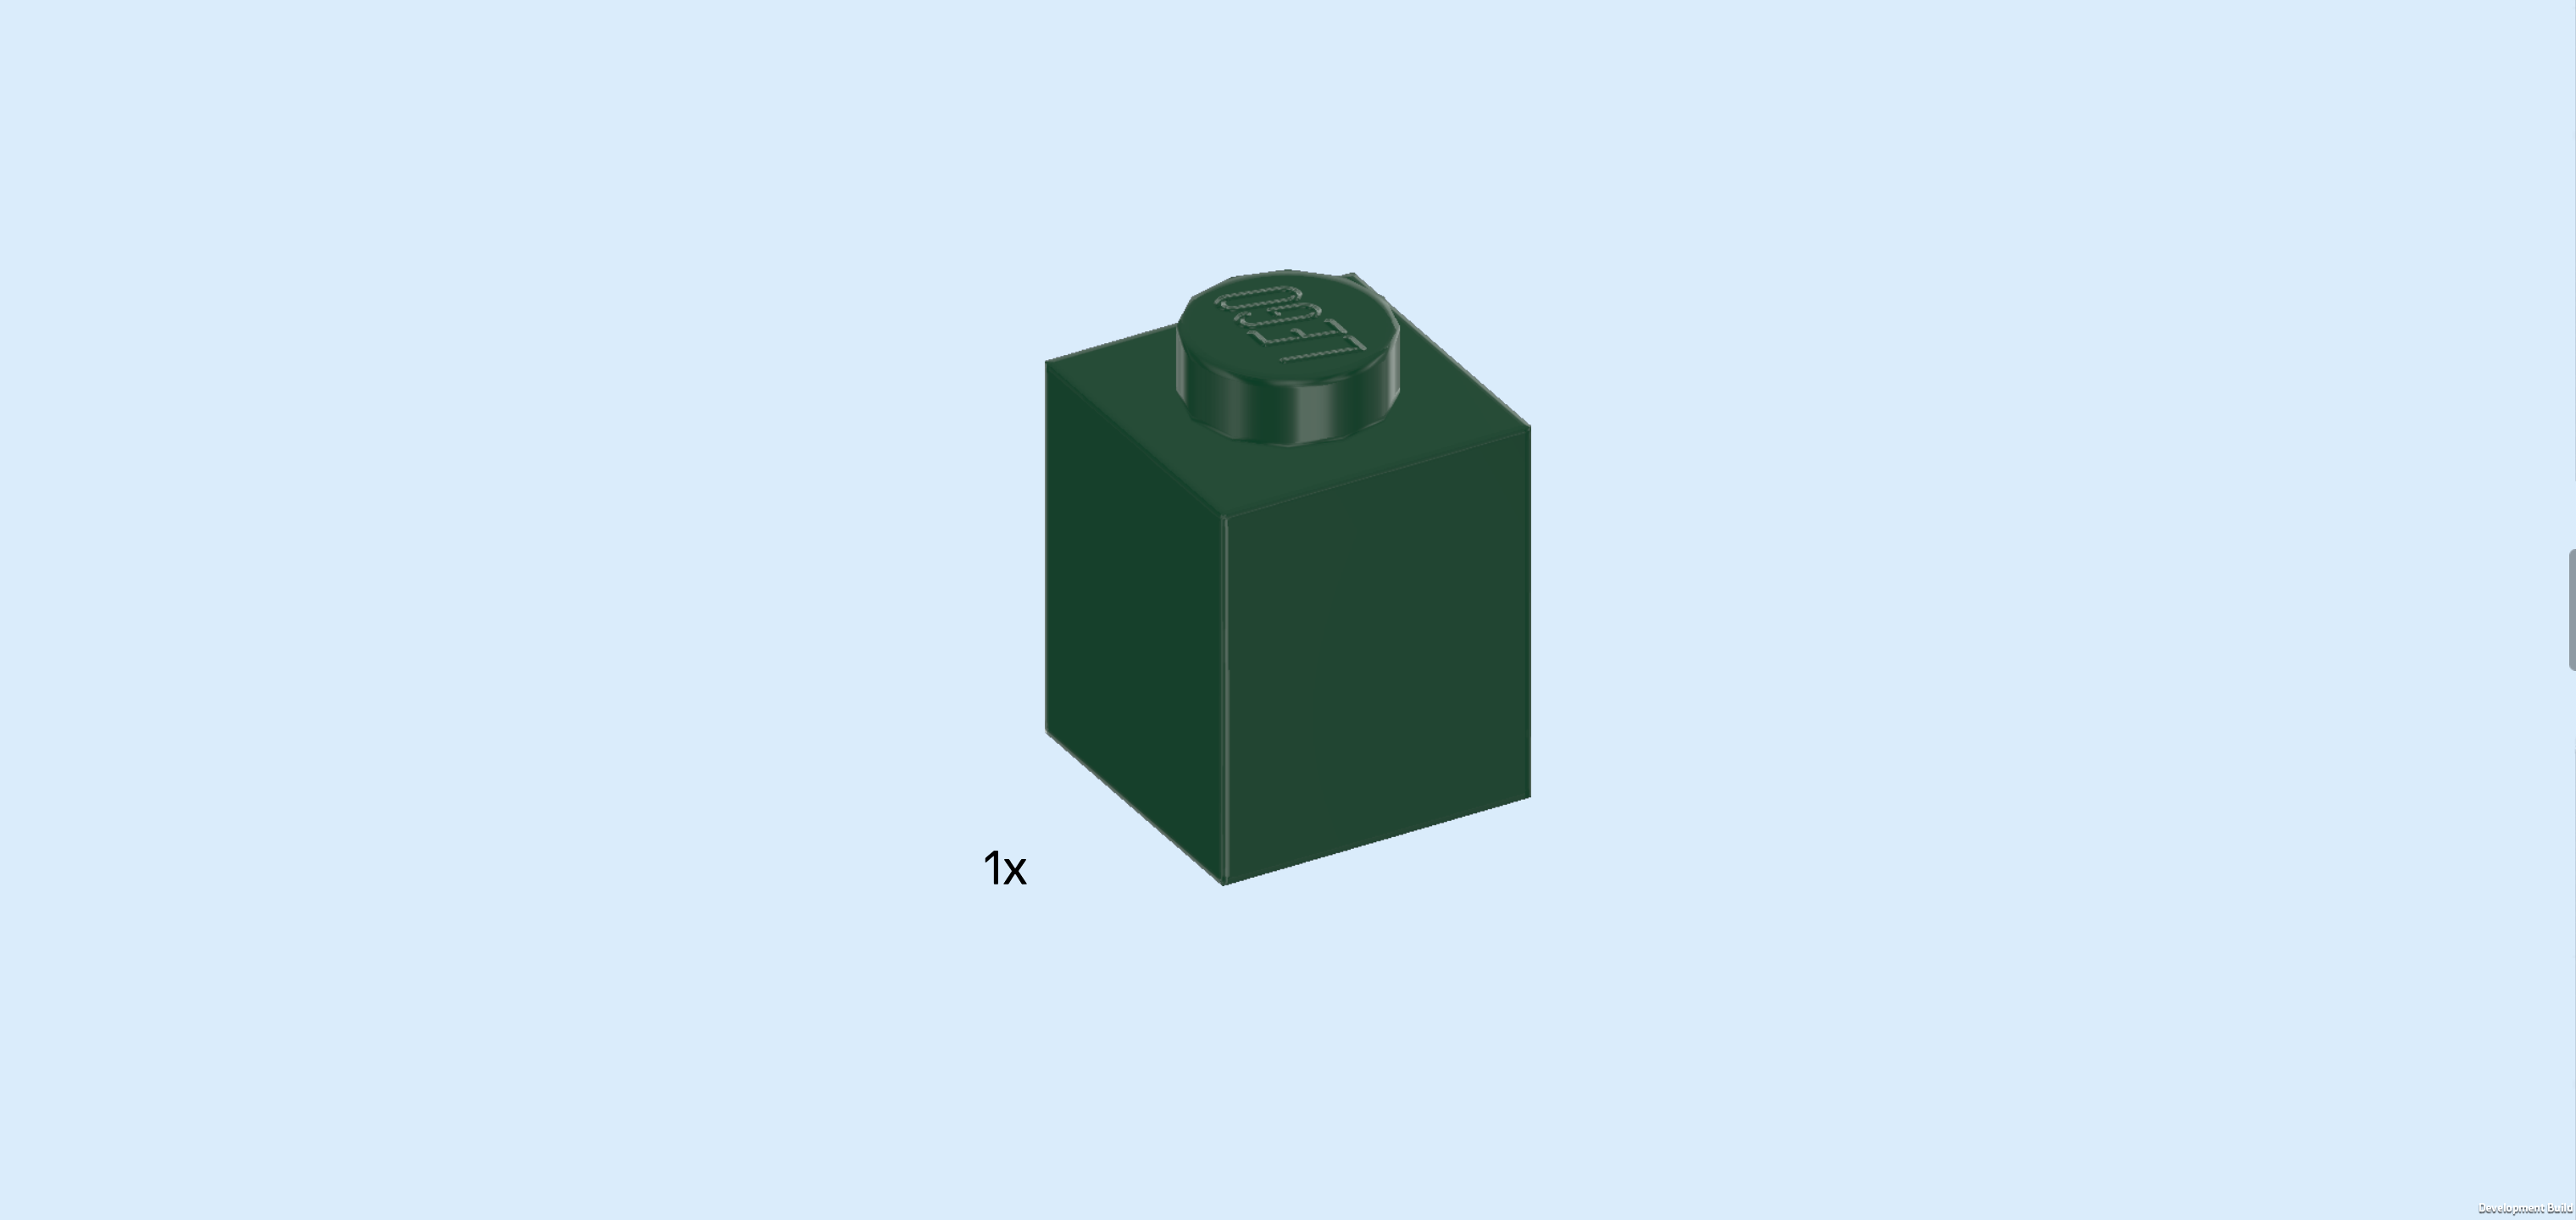
| Find 1 mossy green brick 1x1. |
| Put it in the front right corner of the base plate 8x16. This means it will sit in front of the right side wall. |
| Collect the following 2 pieces: |
| 1 aqua blue brick 1x2, |
| and 1 aqua blue brick 1x1x5. |
| Put the brick 1x1x5 on top of the previous piece. |
| Put the brick 1x2 vertically behind the previous piece. |
| Next, we will build the loft bed. |
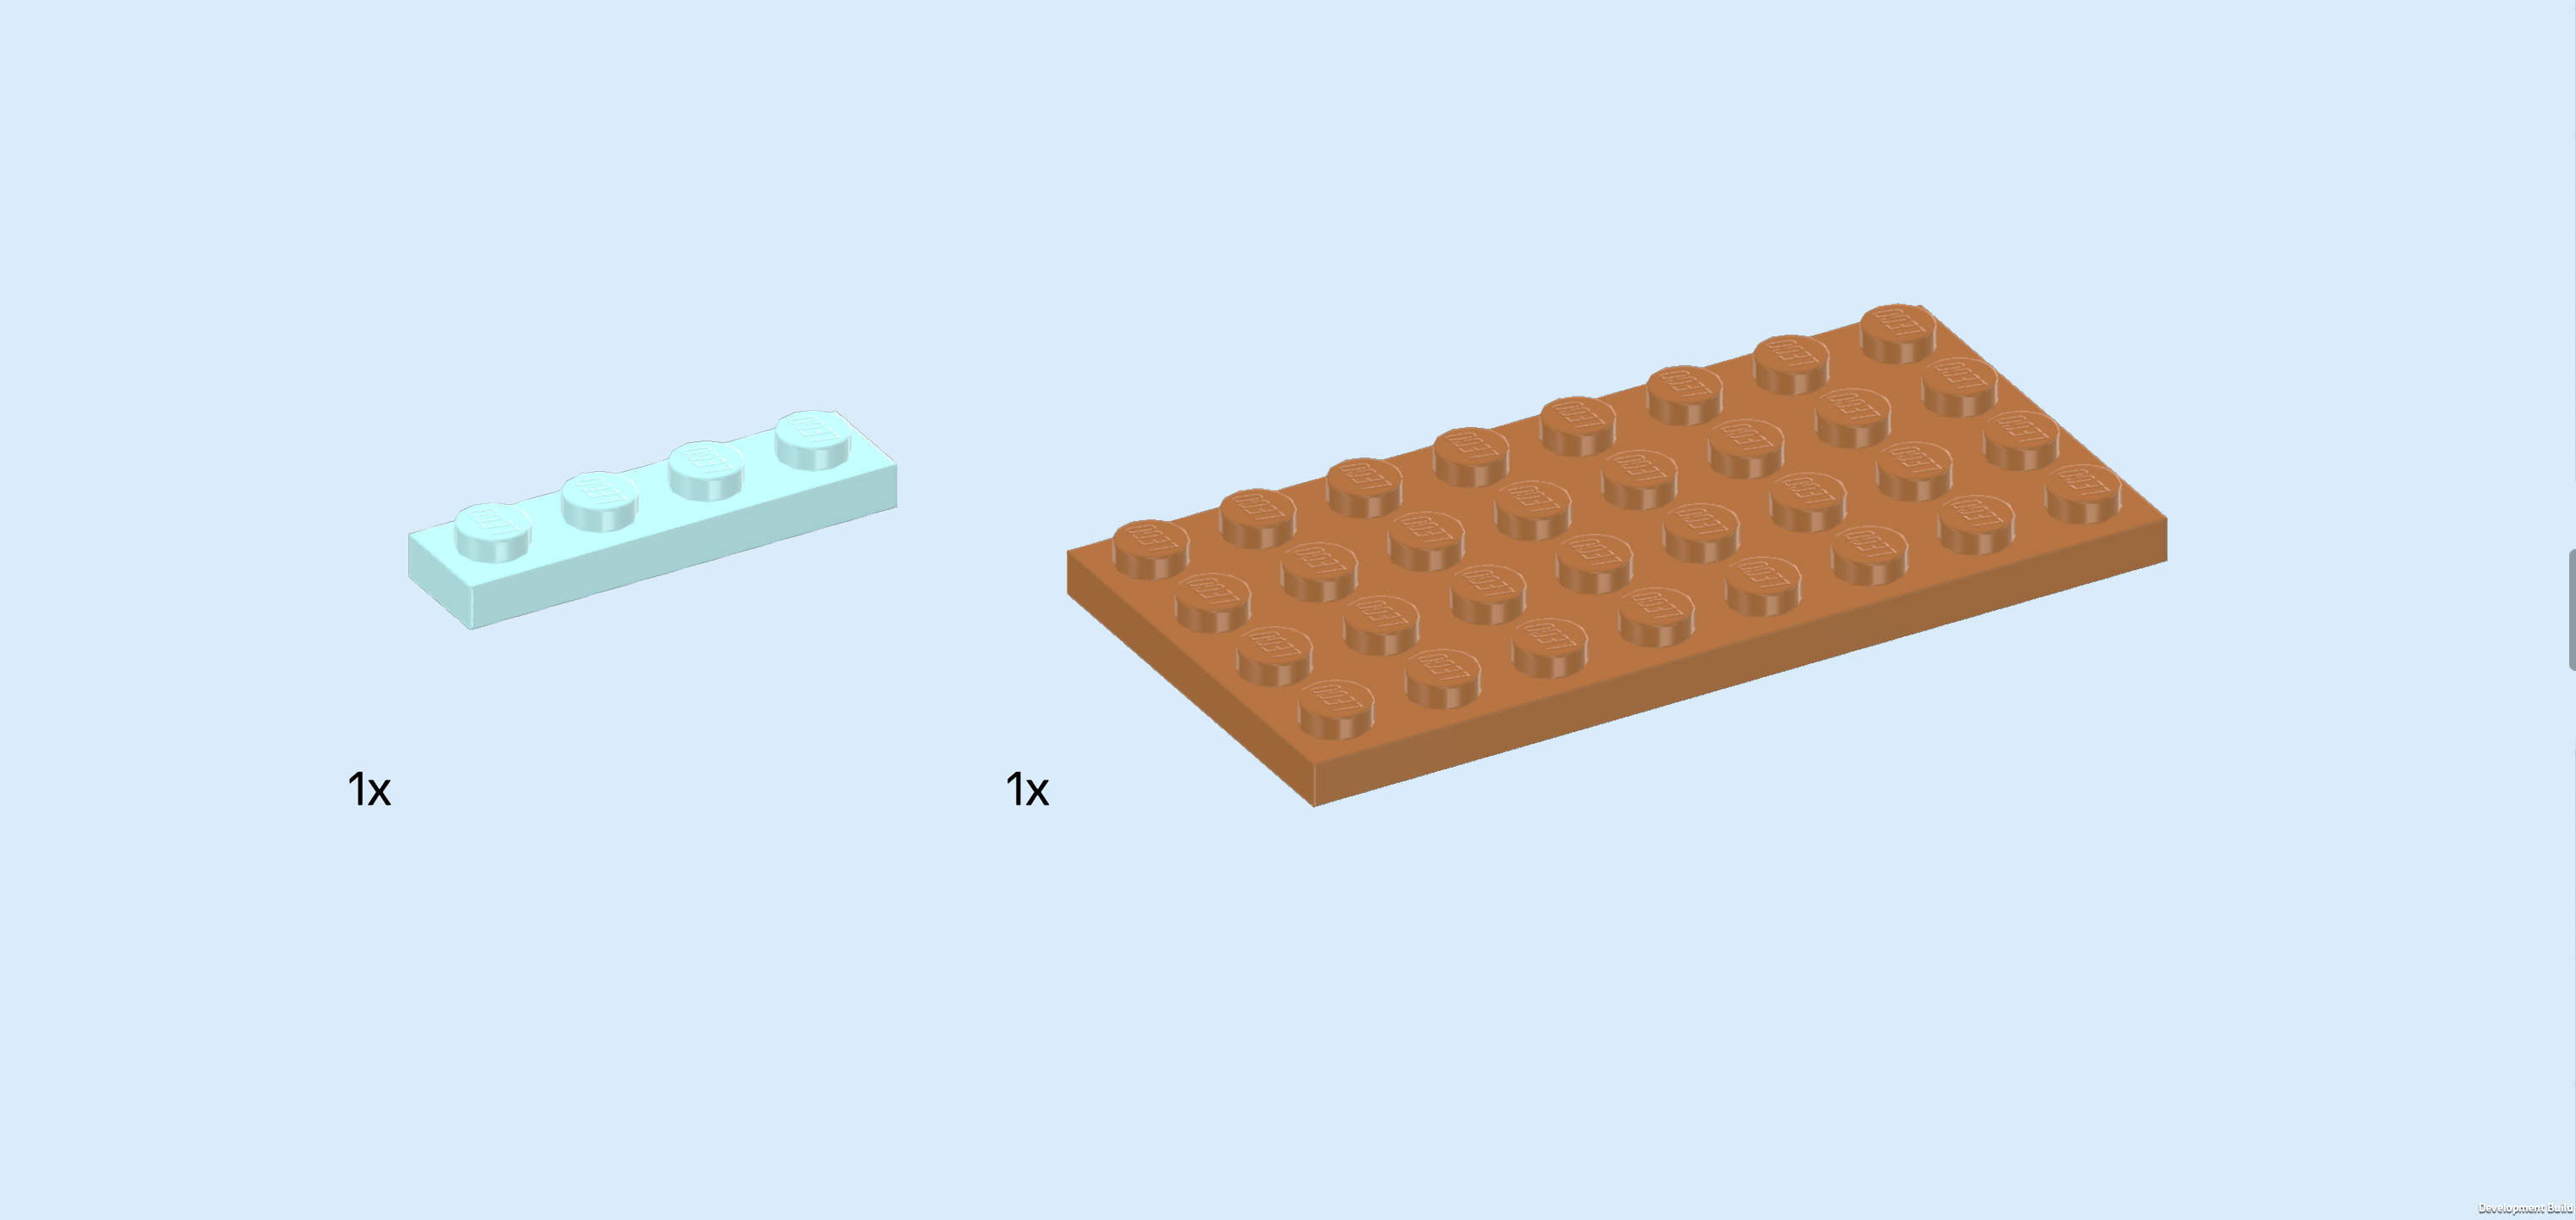
| Collect the following 2 pieces: |
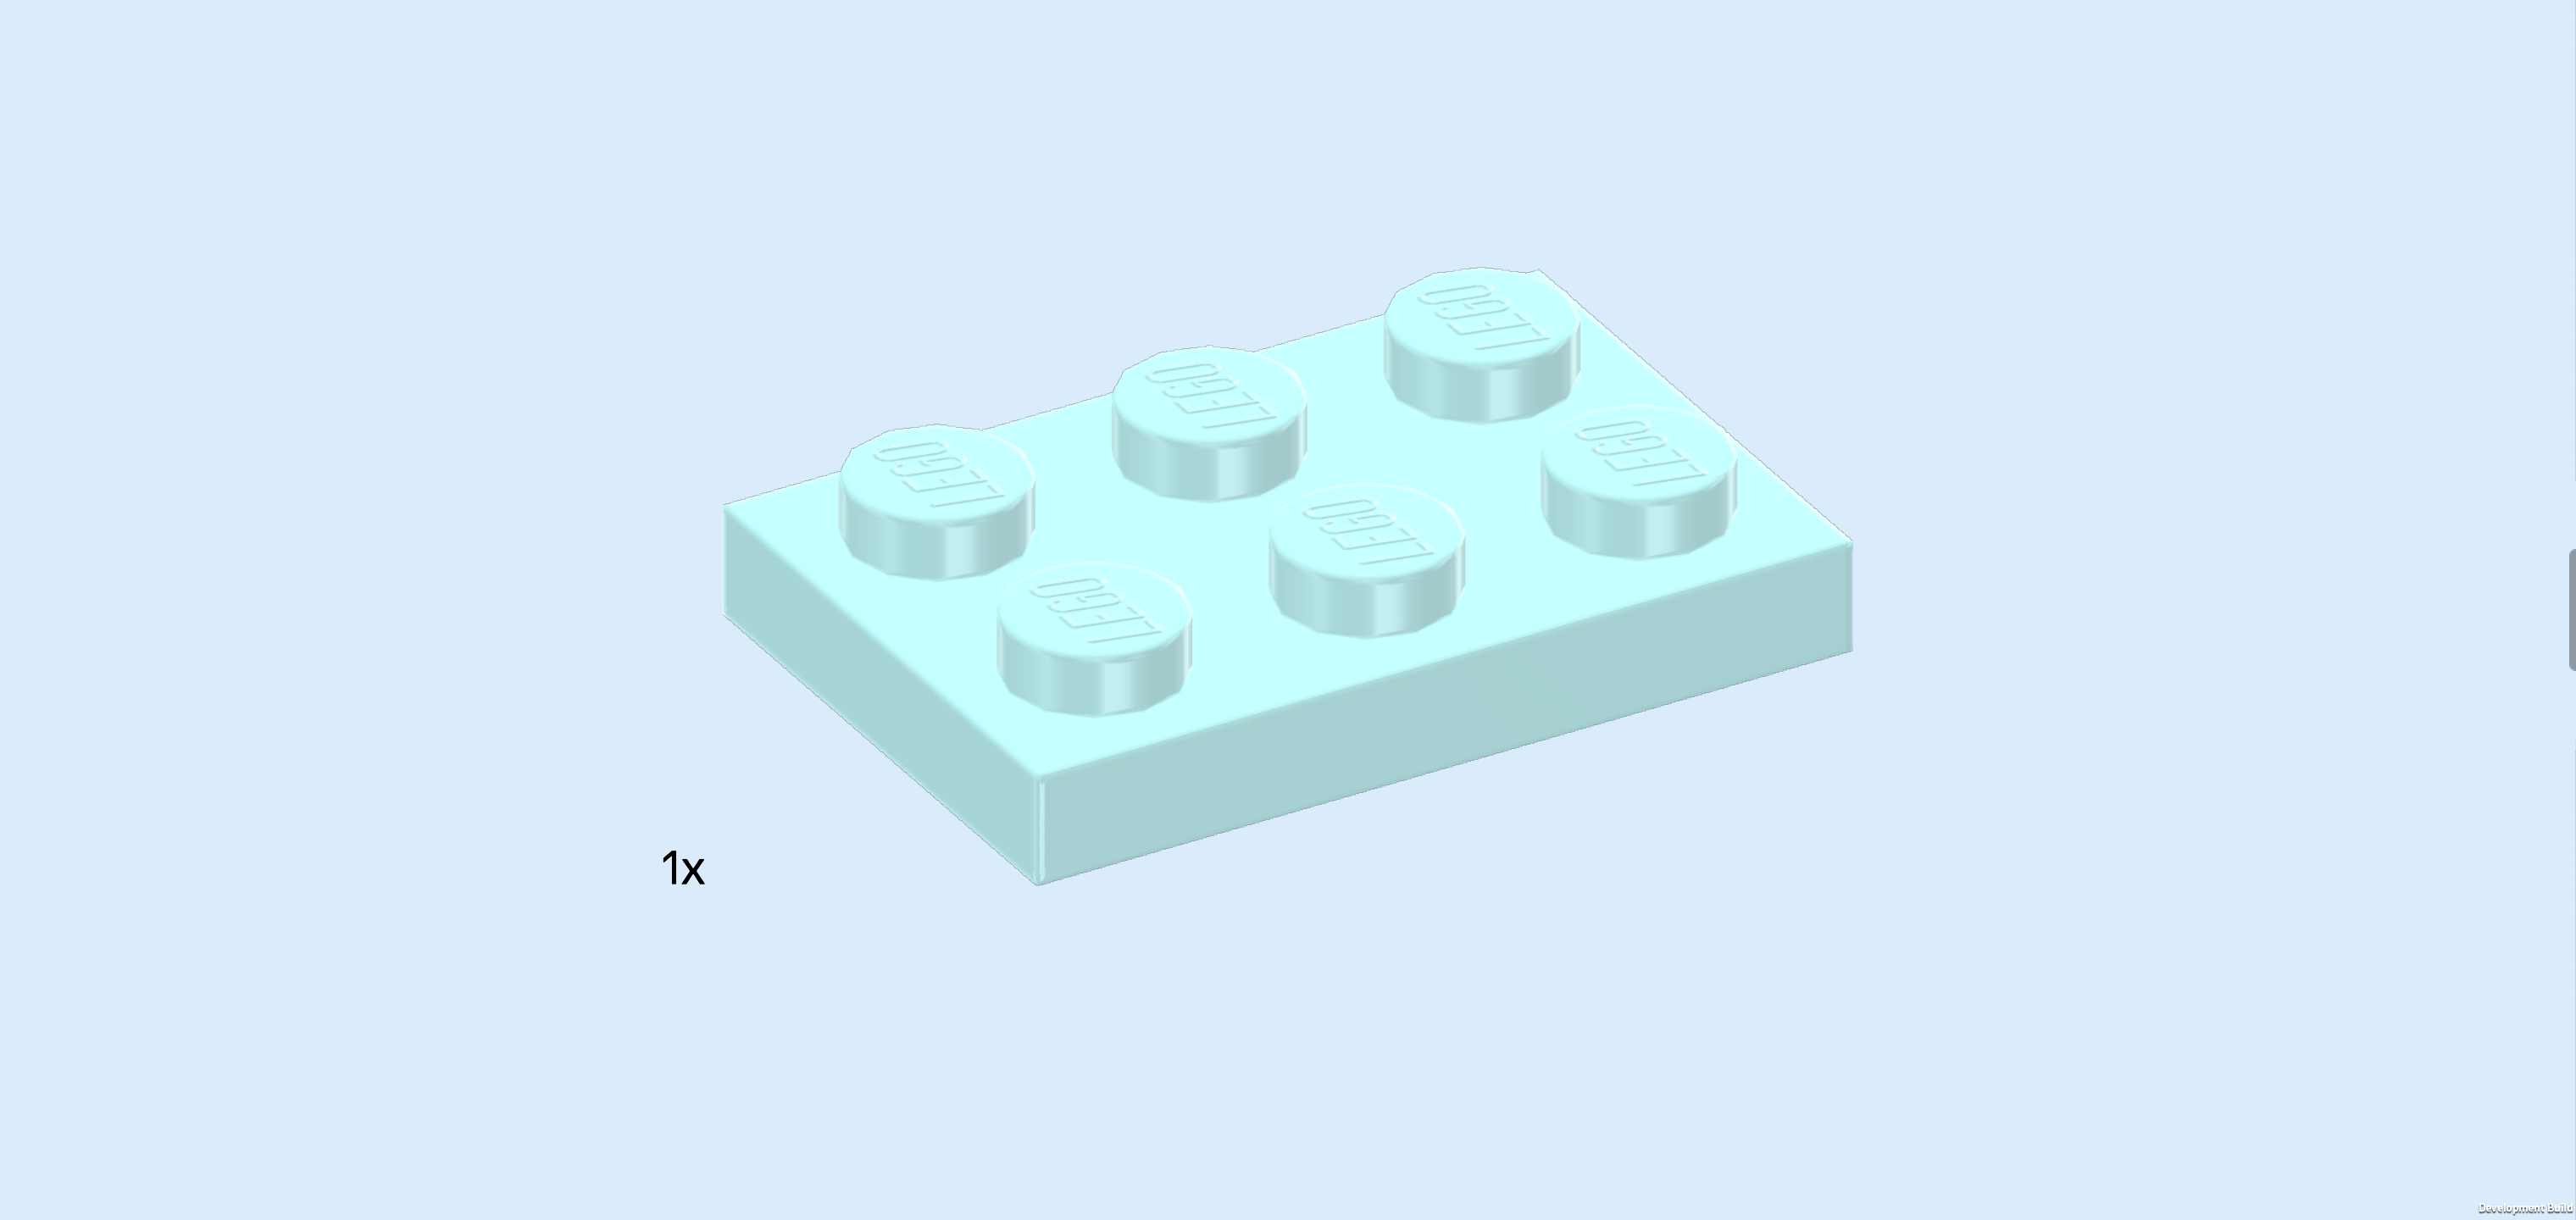
| 1 aqua blue plate 1x4, |
| and 1 medium nougat brown plate 4x8. |
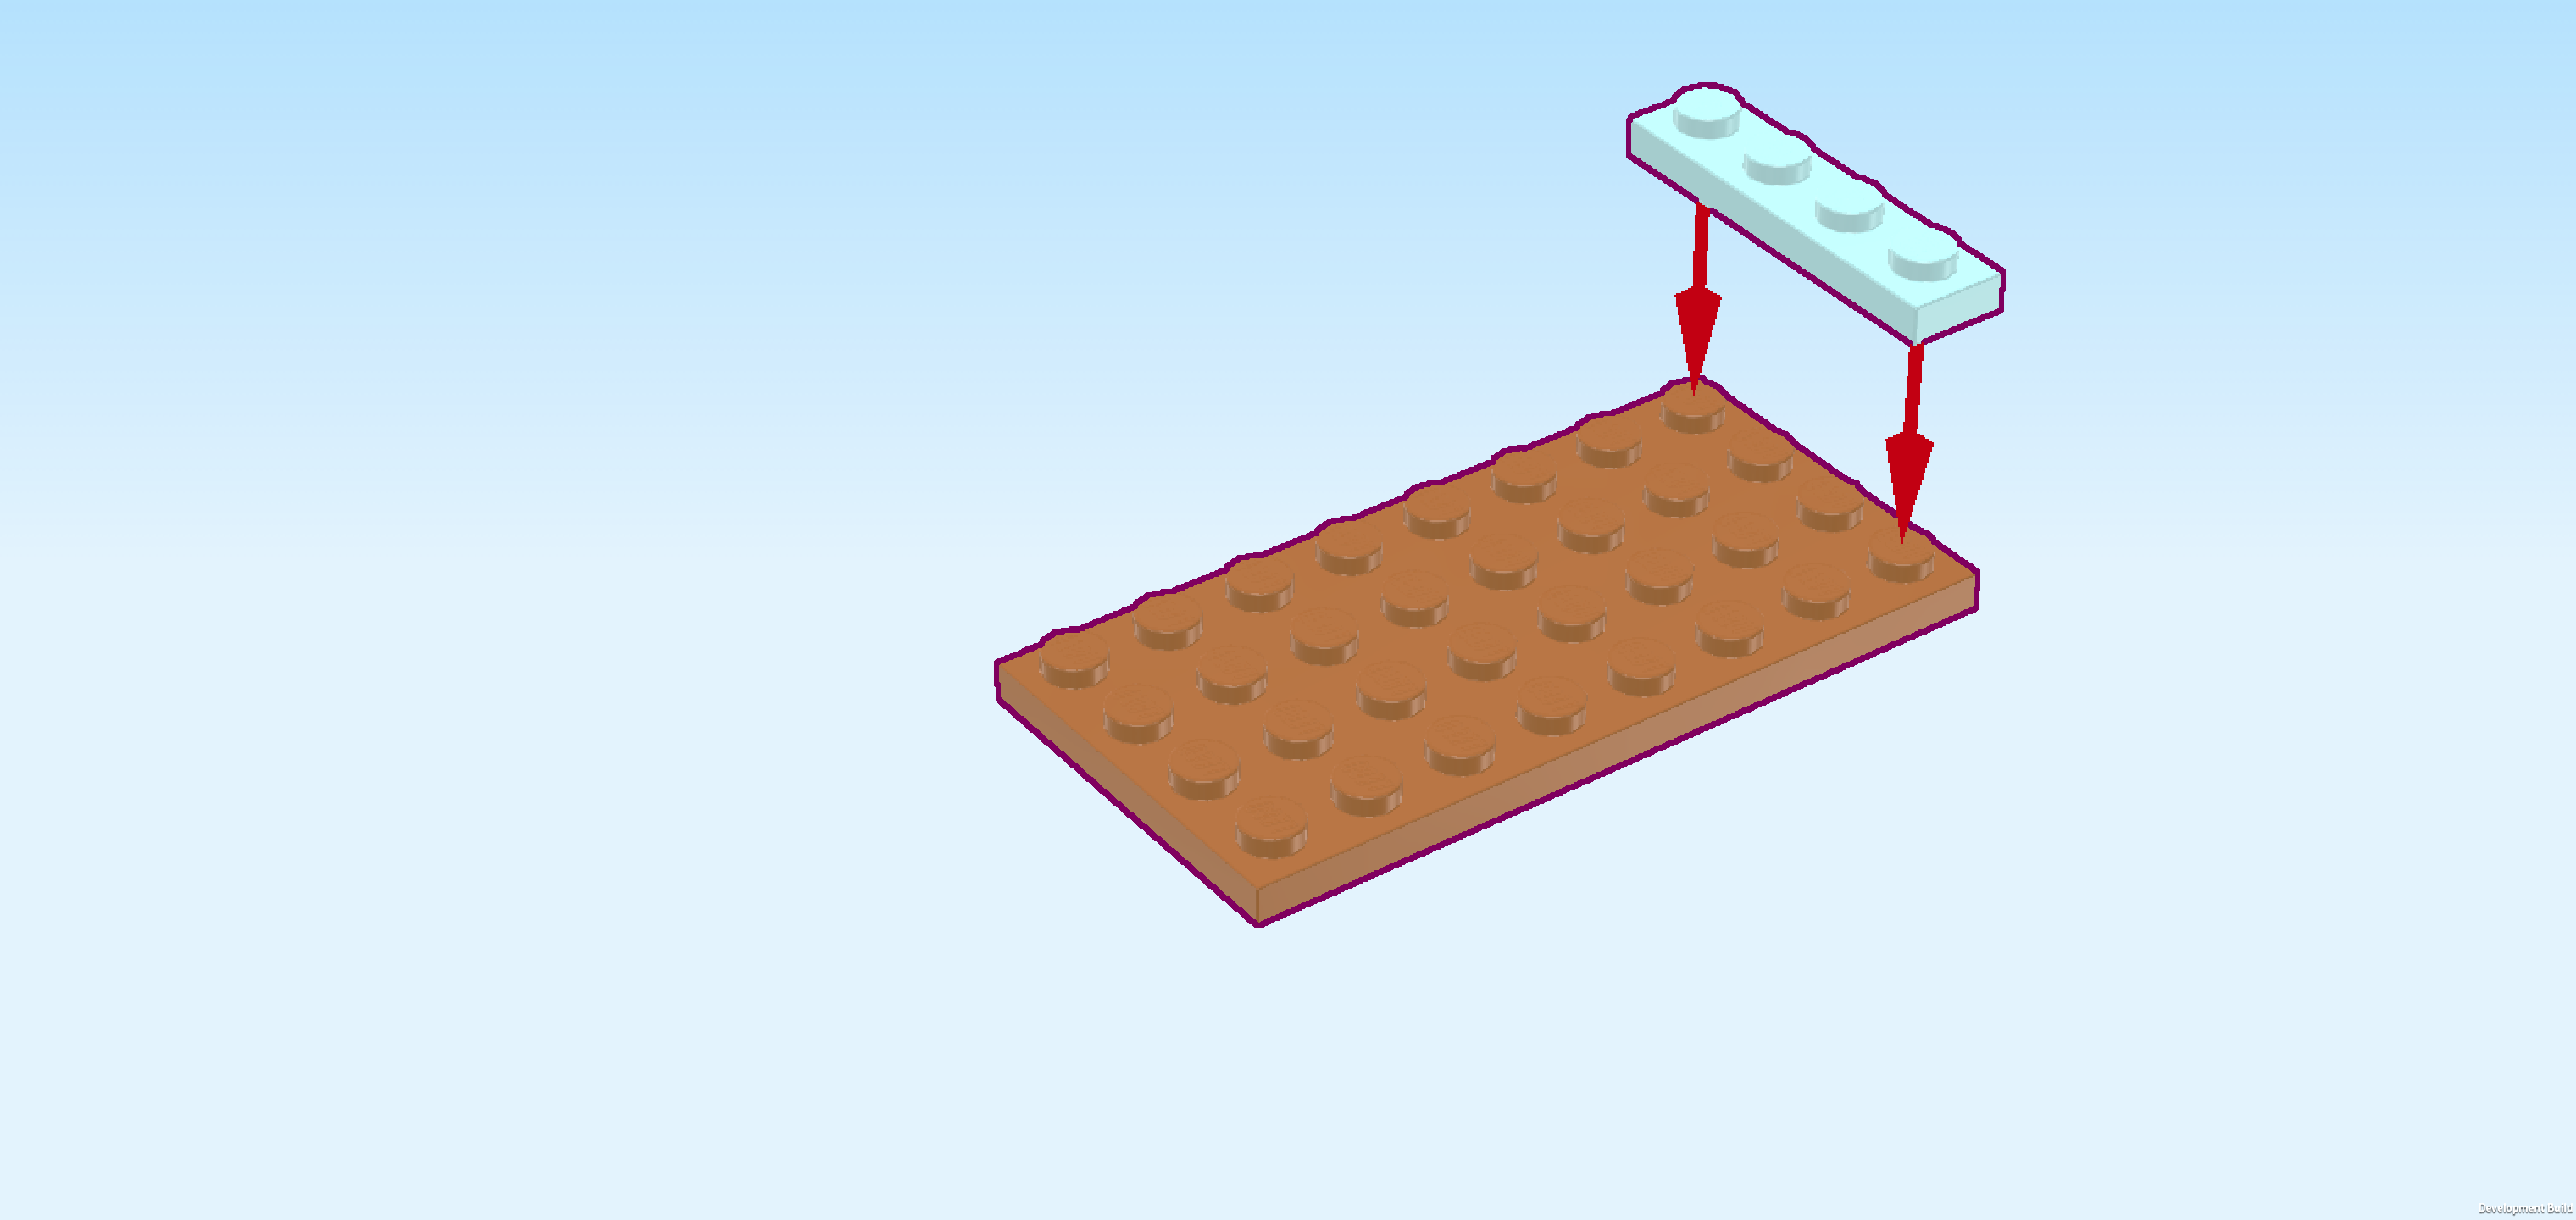
| Put the plate 4x8 horizontally on the table. |
| Put the plate 1x4 vertically on the rightmost column. |
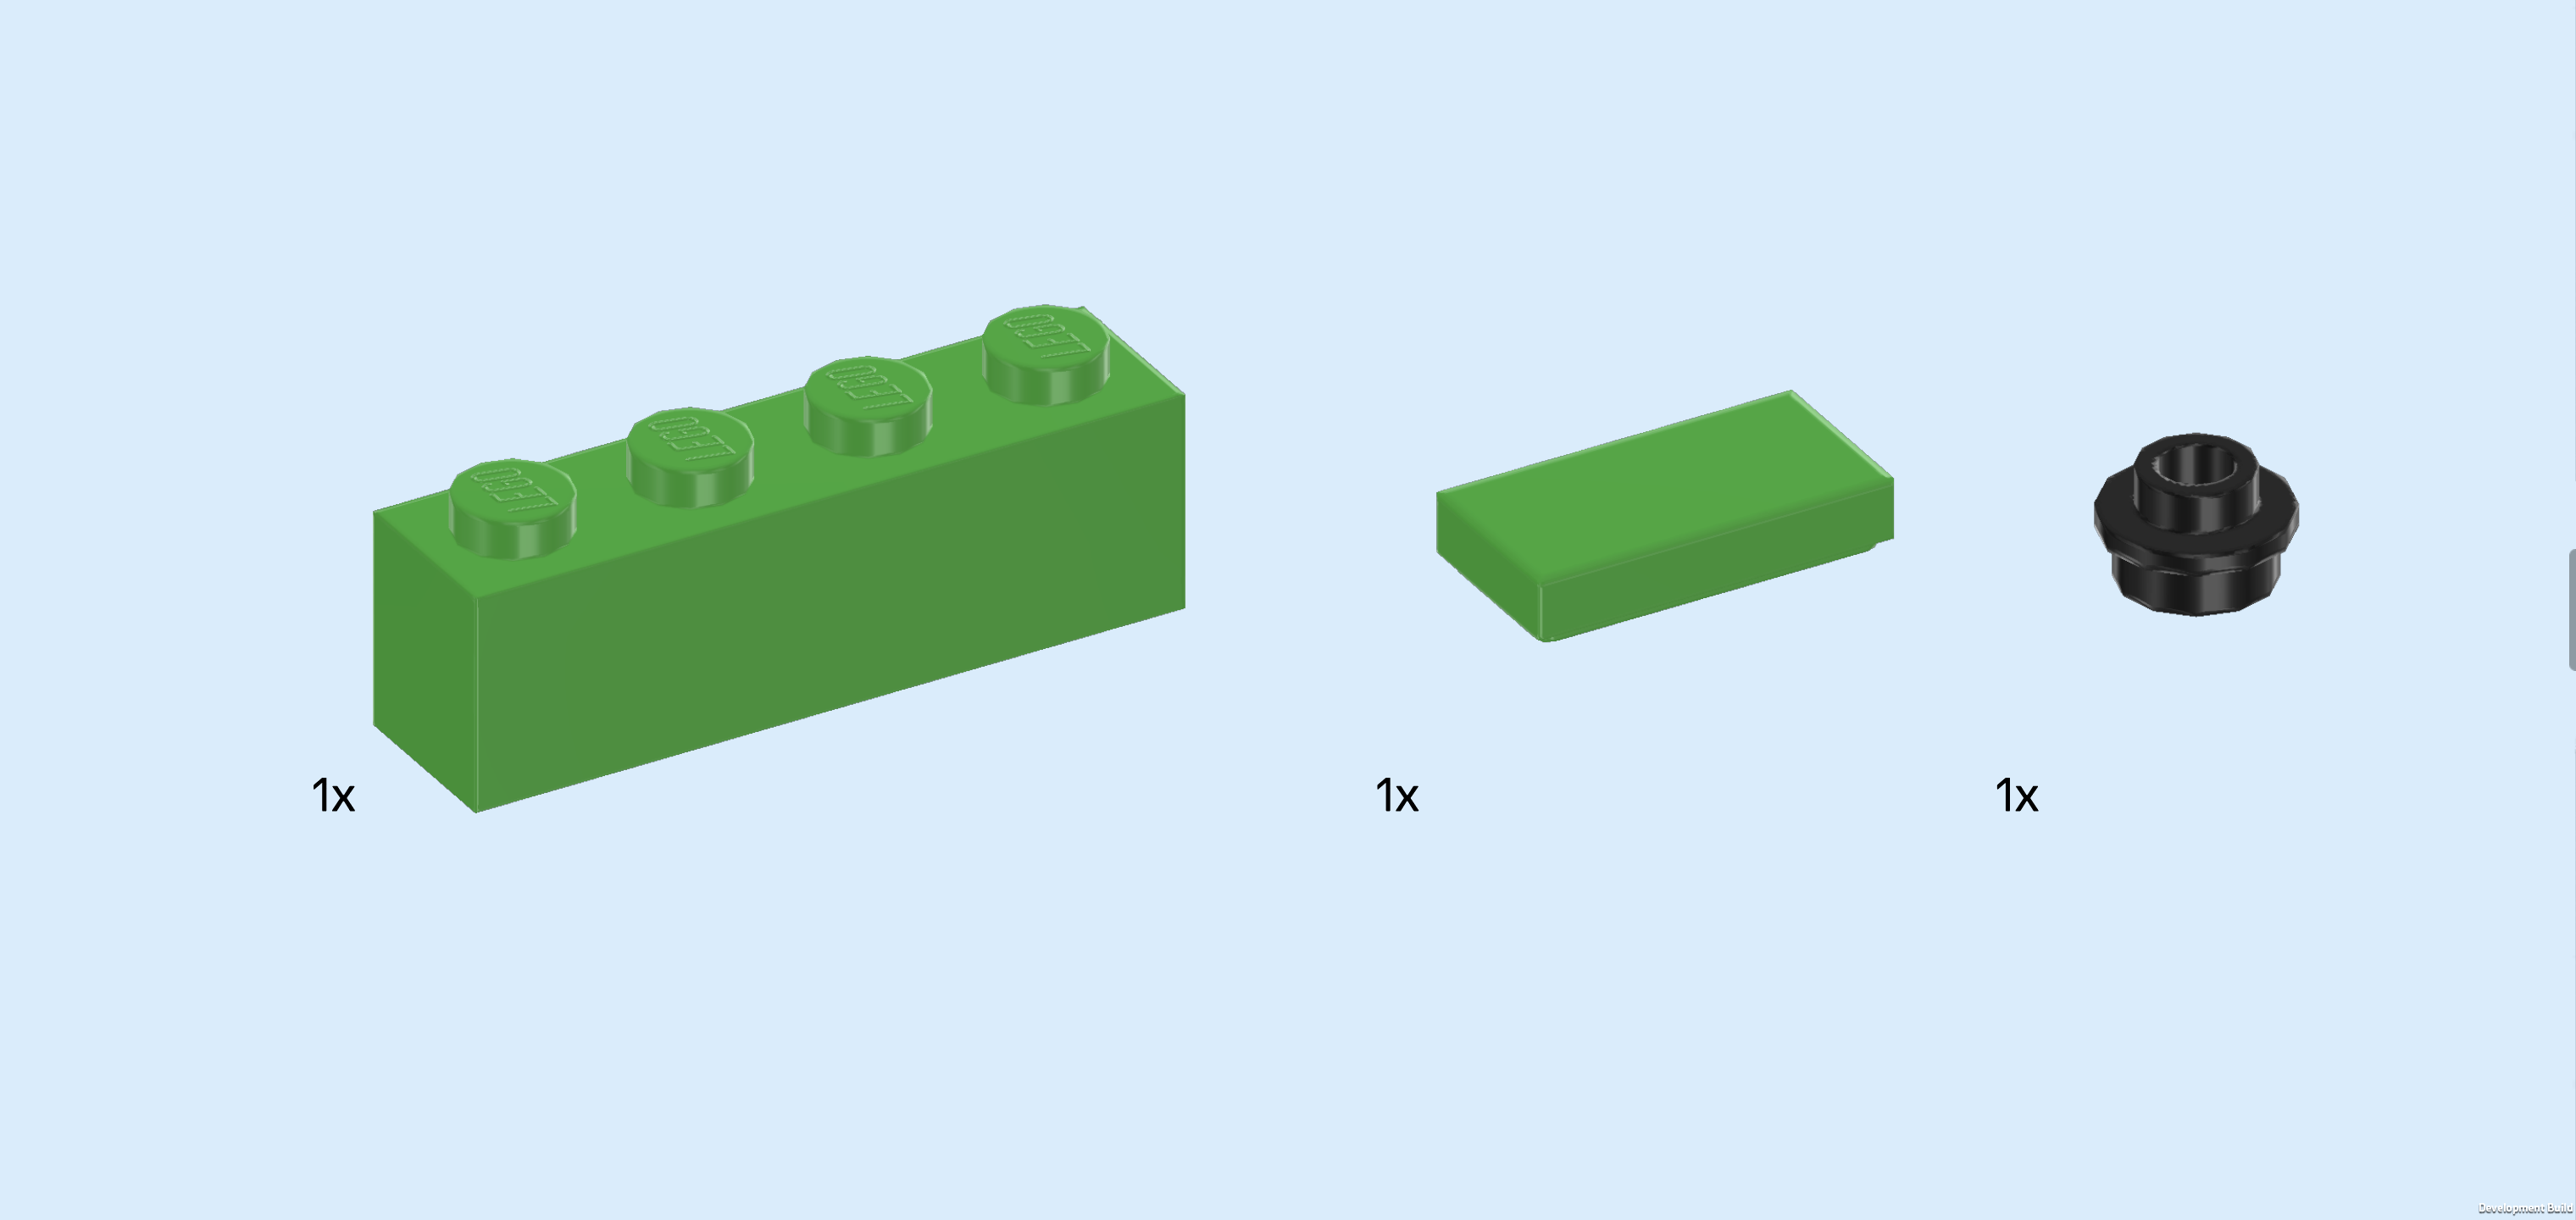
| Collect the following 3 pieces: |
| 1 bright green brick 1x4, |
| 1 bright green flat tile 1x2, |
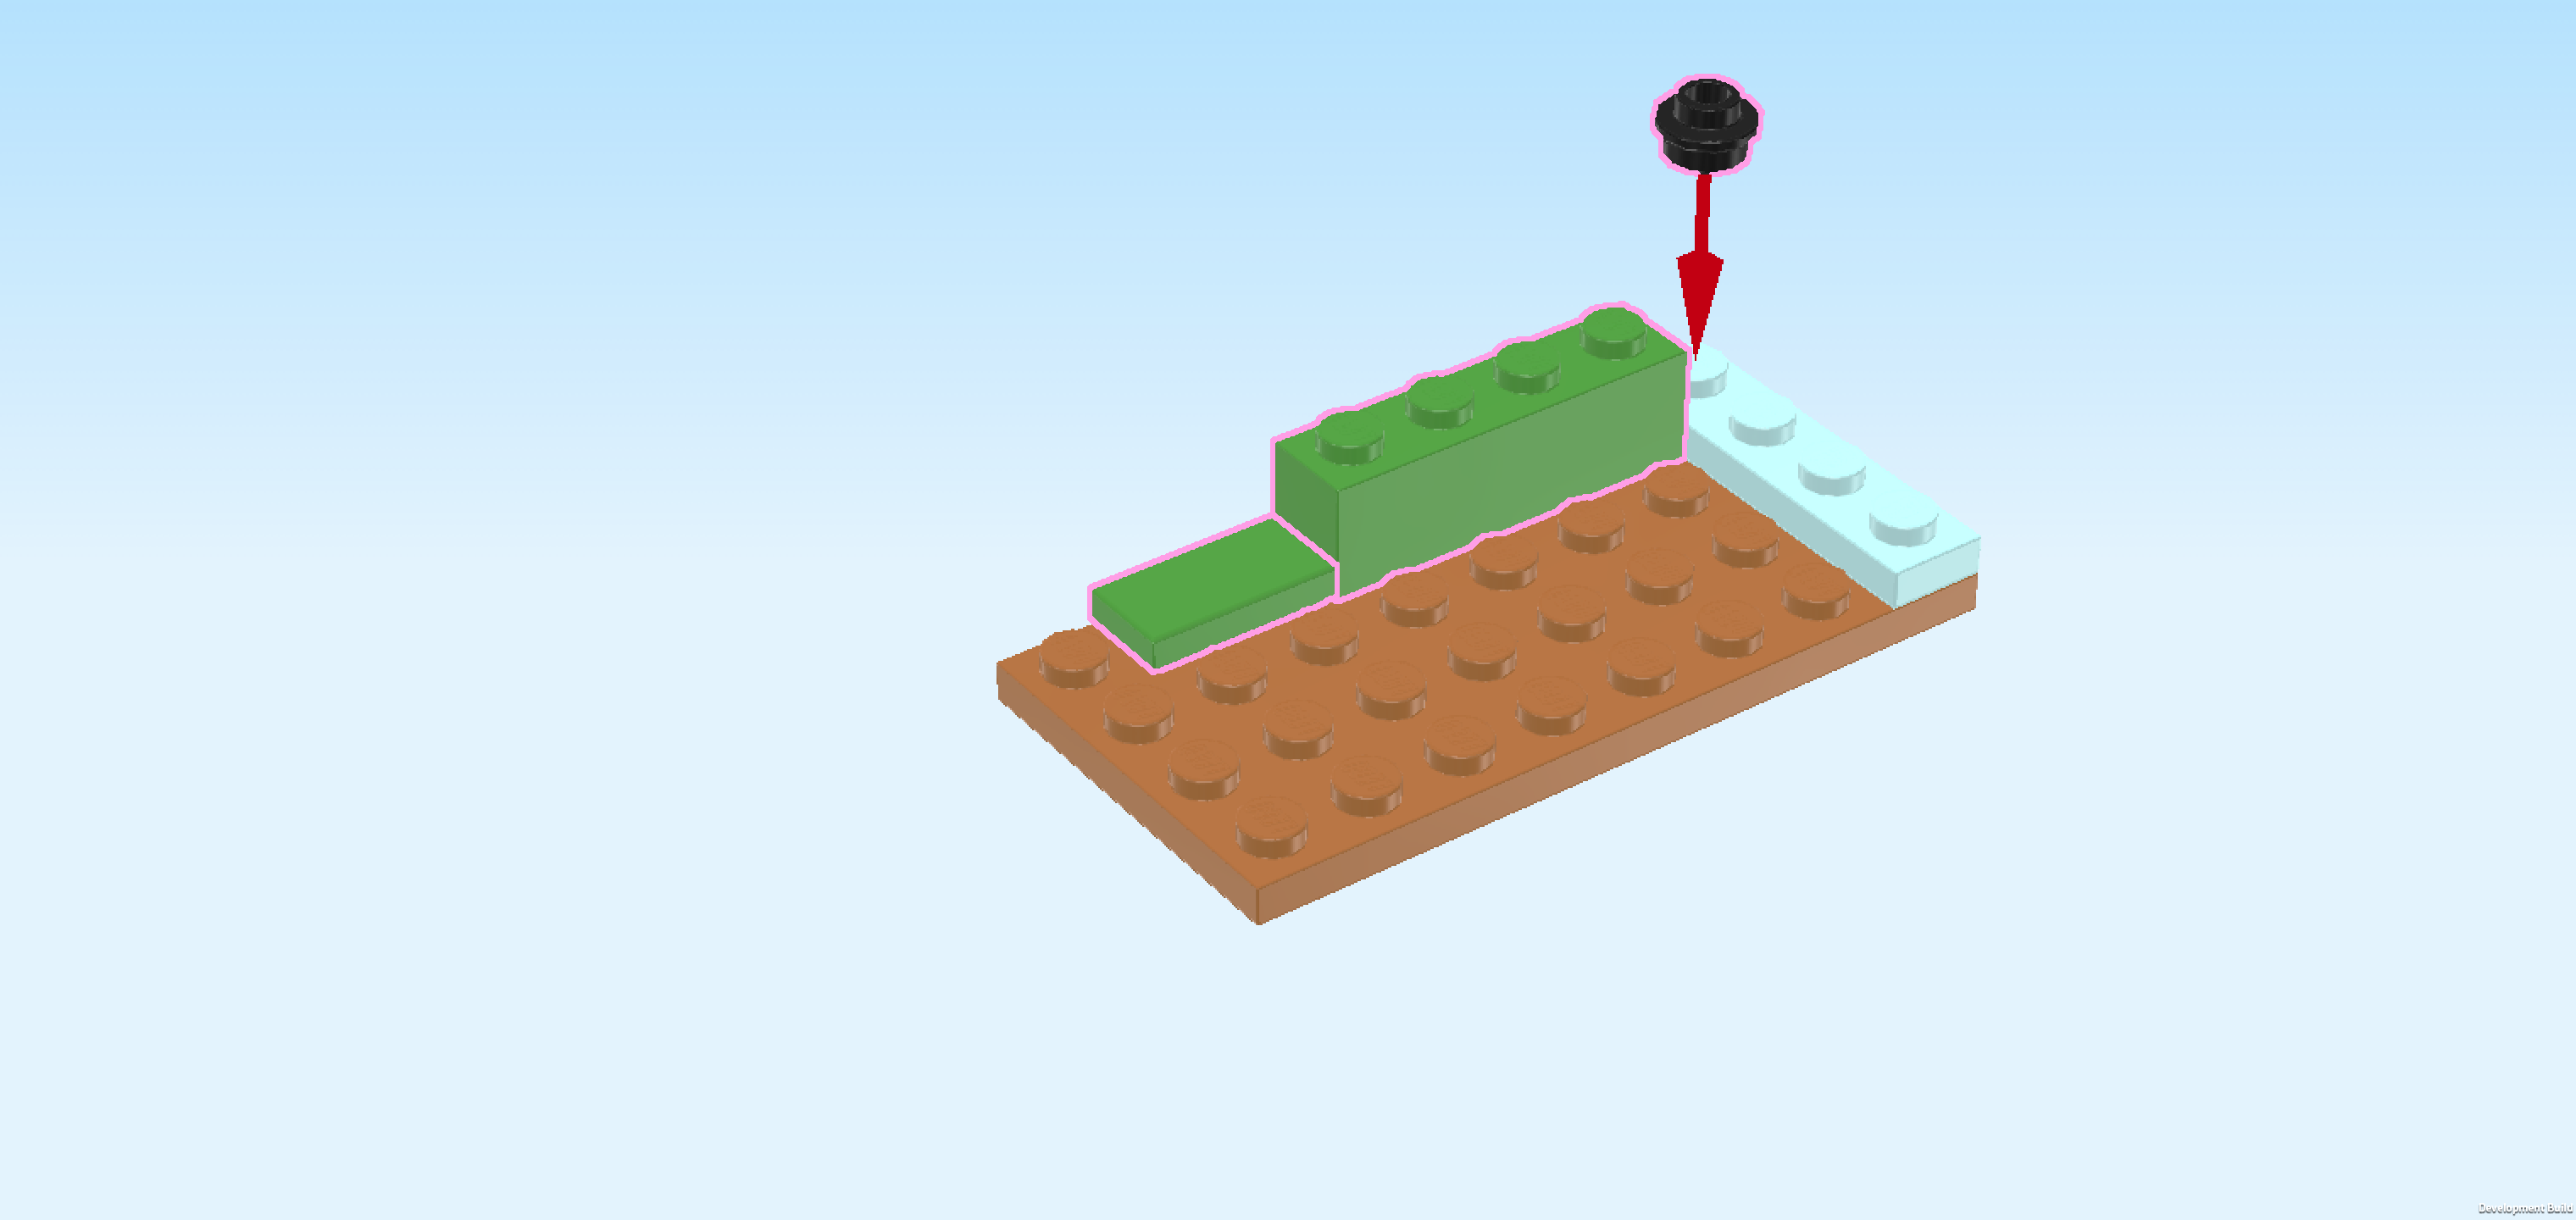
| and 1 black round plate 1x1 with through-hole. |
| Put the round plate 1x1 on the previous piece's backmost knob. |
| Put the brick 1x4 horizontally to the left of the previous piece. |
| Put the flat tile 1x2 horizontally to the left of the previous piece. |
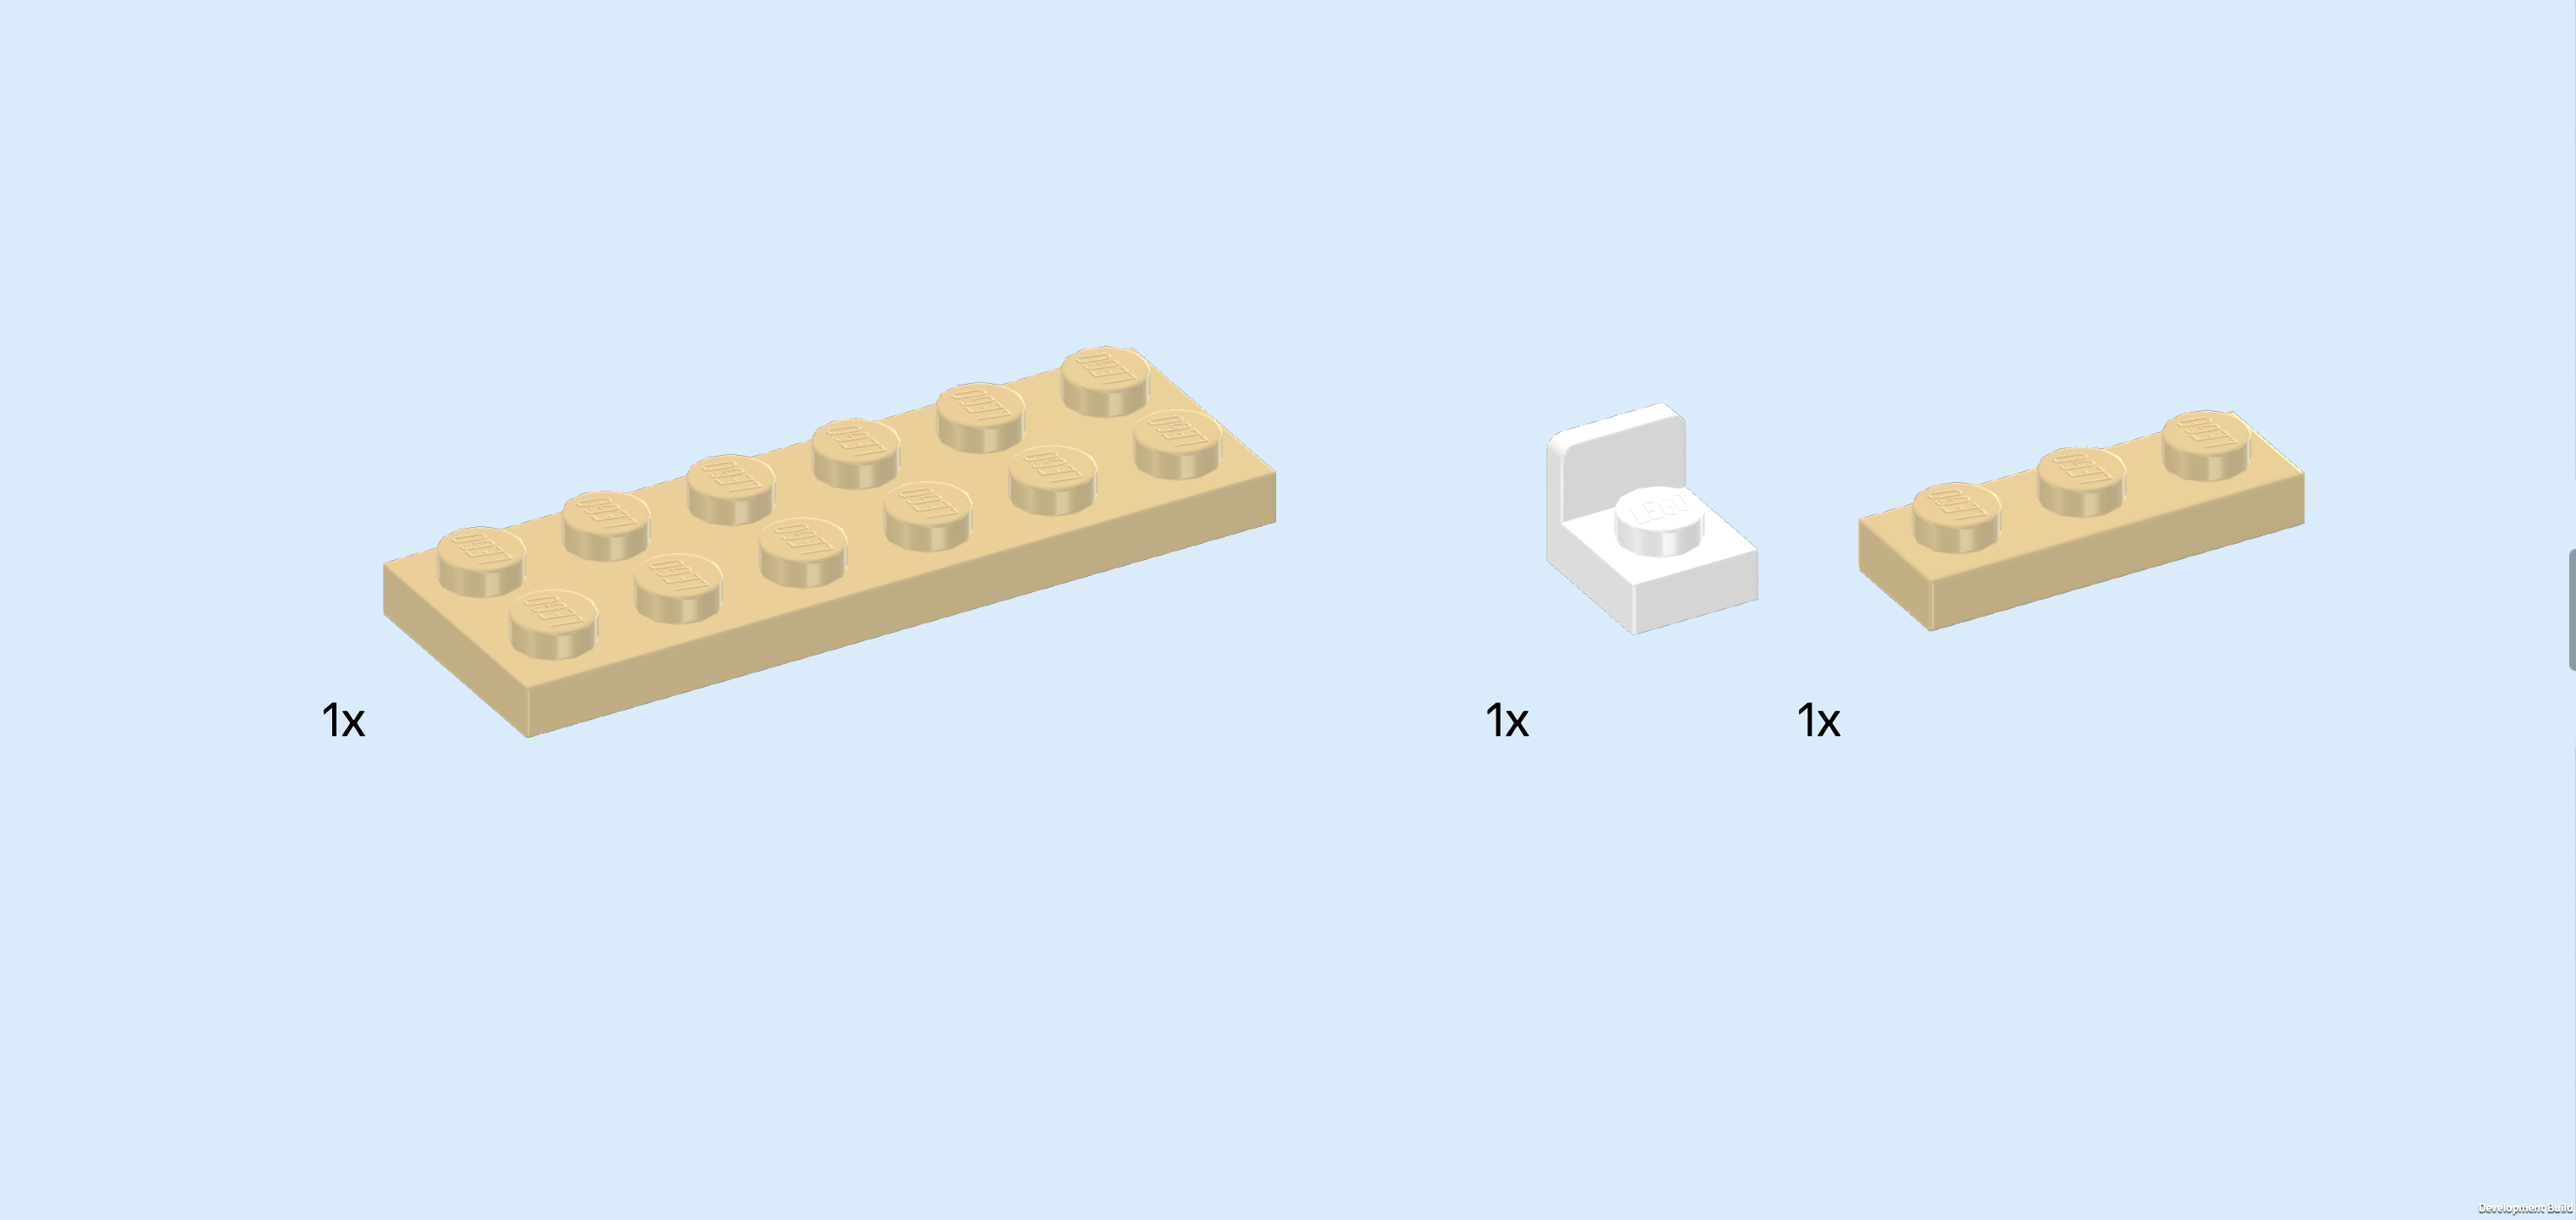
| Collect the following 3 pieces: |
| 1 beige plate 2x6, |
| 1 white bottom angle plate 1x1 - 1x1 with 1 side knob, |
| and 1 beige plate 1x3. |
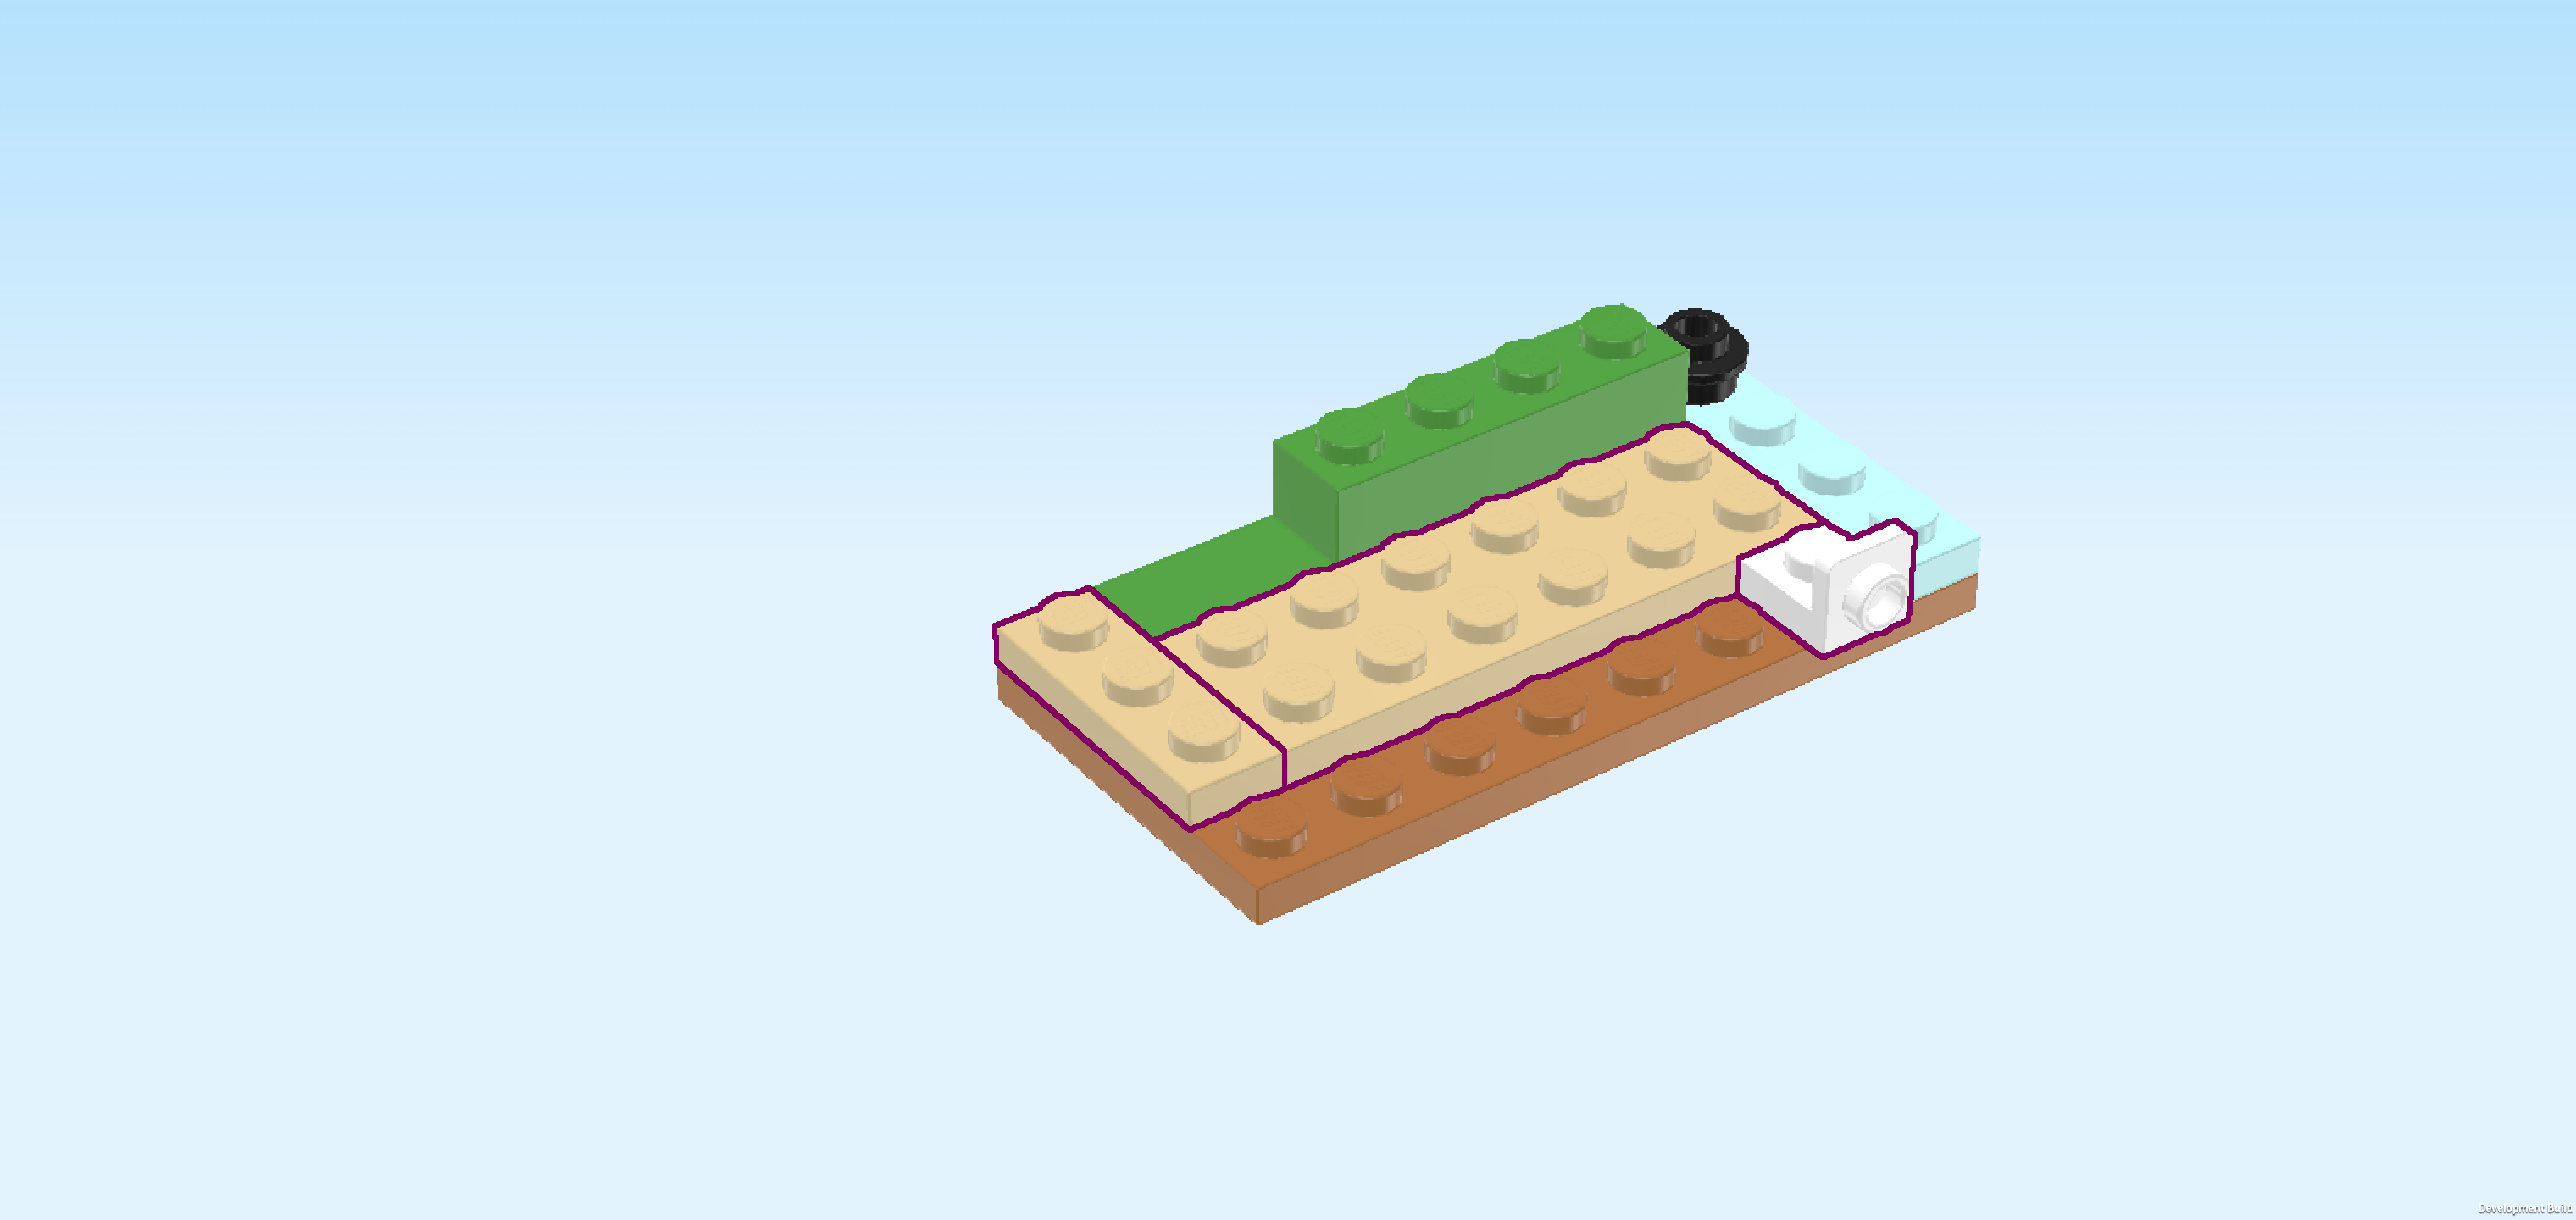
| Put the plate 2x6 in front of the 2 previous pieces. This means it will sit centered on the 2 middle rows of the base plate. |
| Put the plate 1x3 vertically on the leftmost column, starting from the back edge. |
| Put the bottom angle plate 1x1 on the frontmost row on the second knob from the right, side knob to the front. |
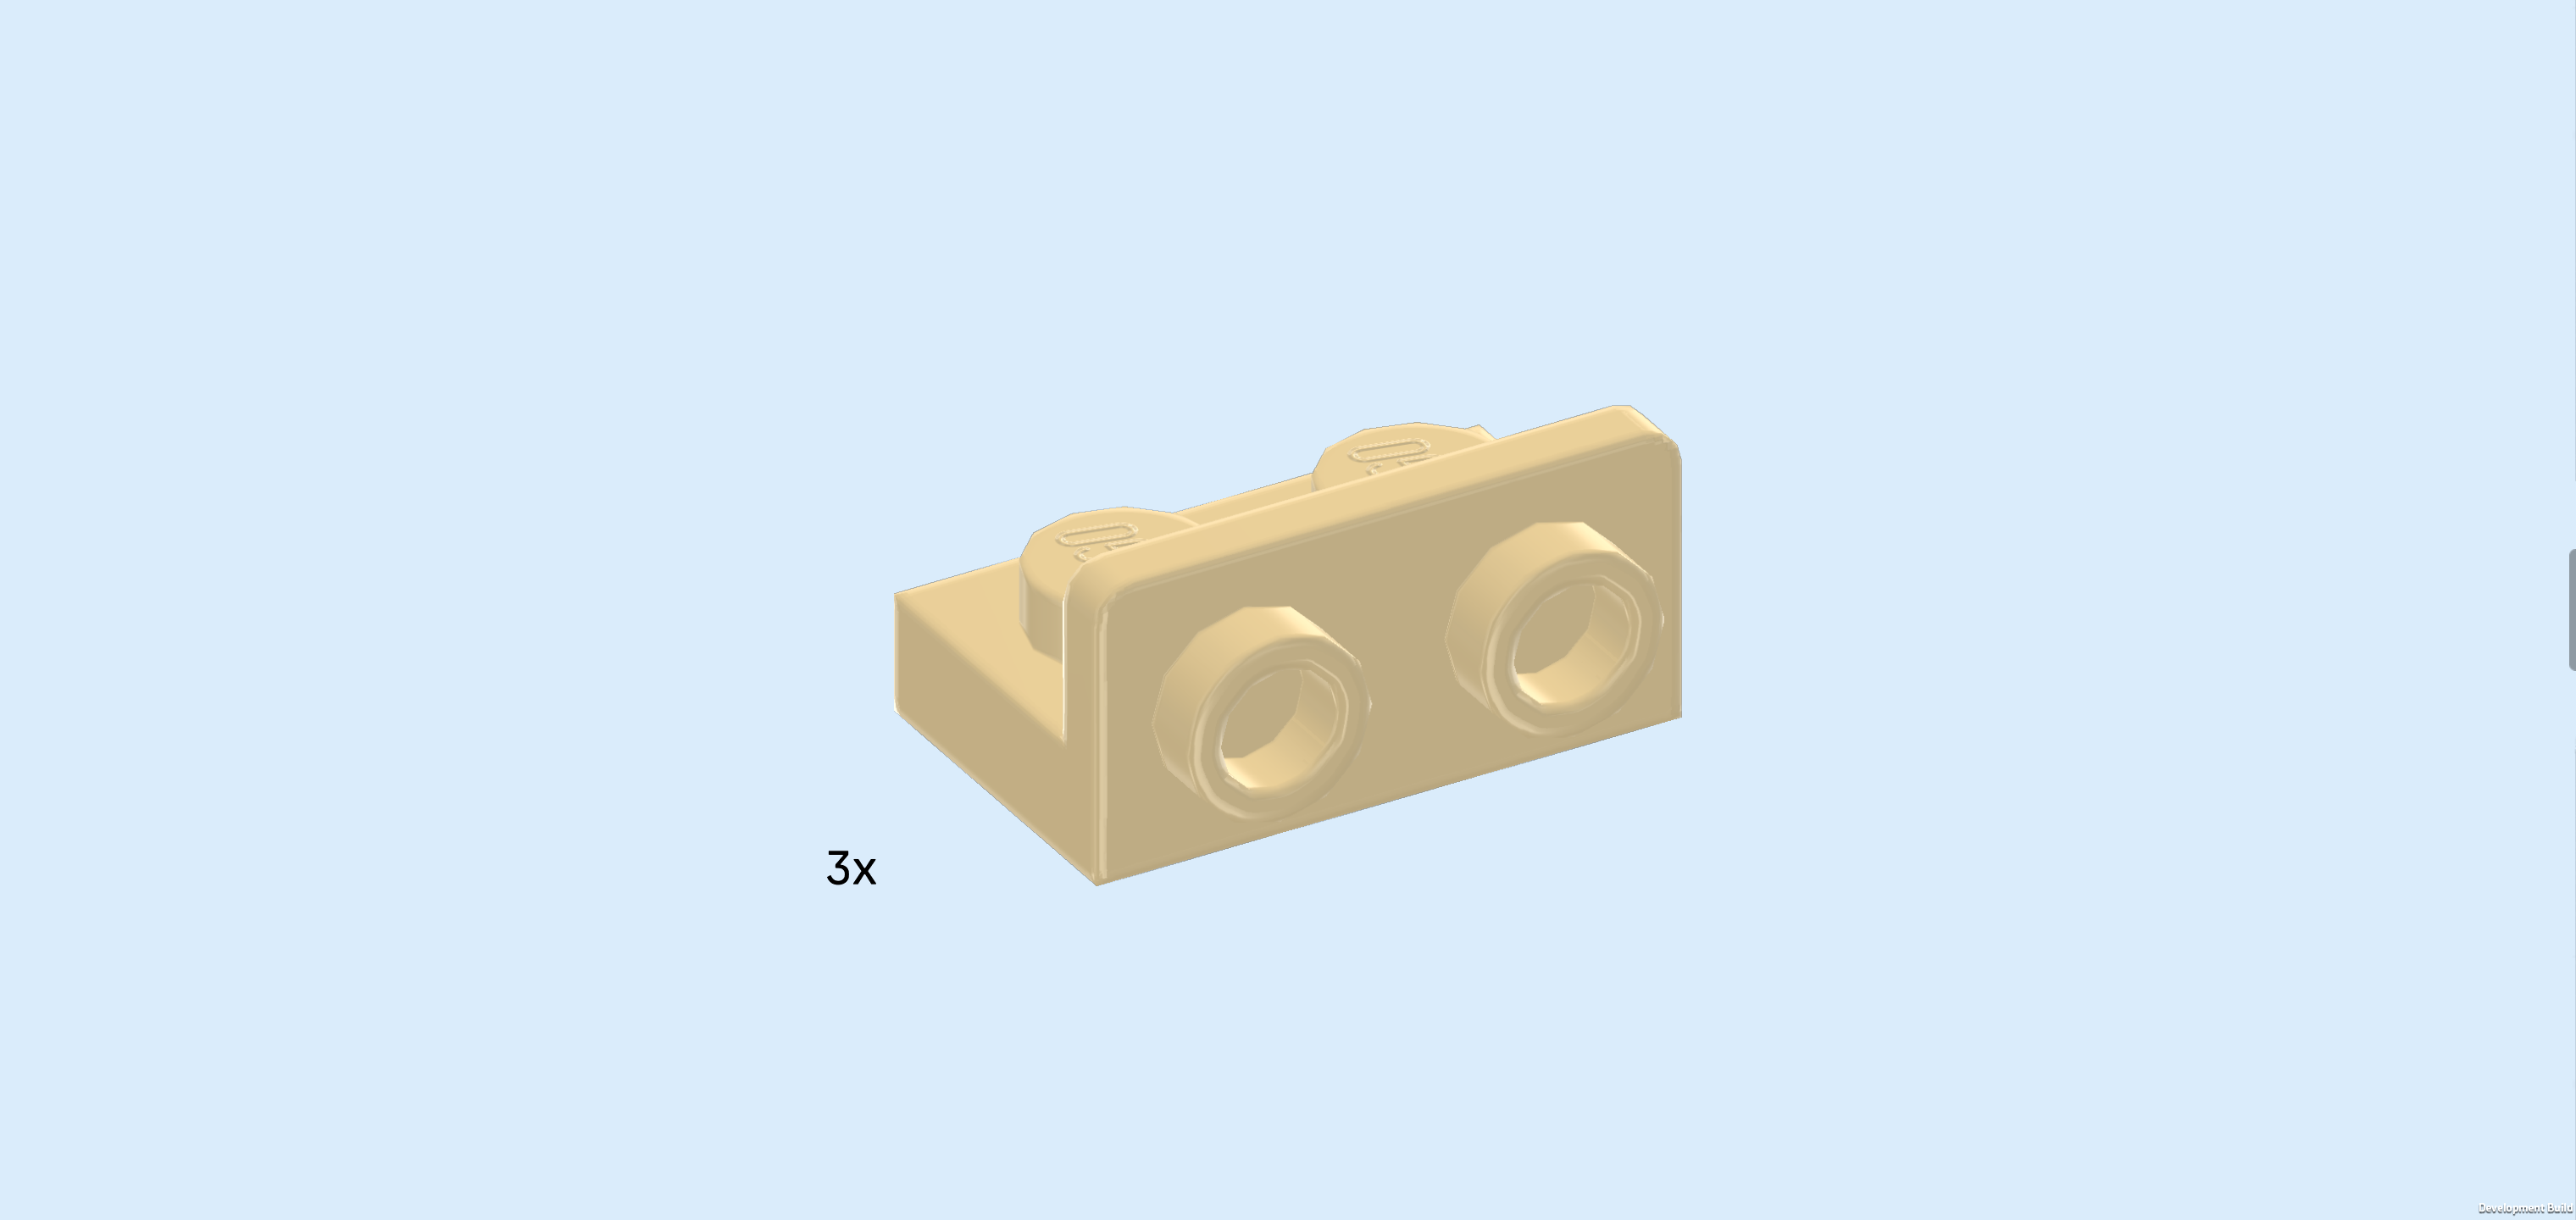
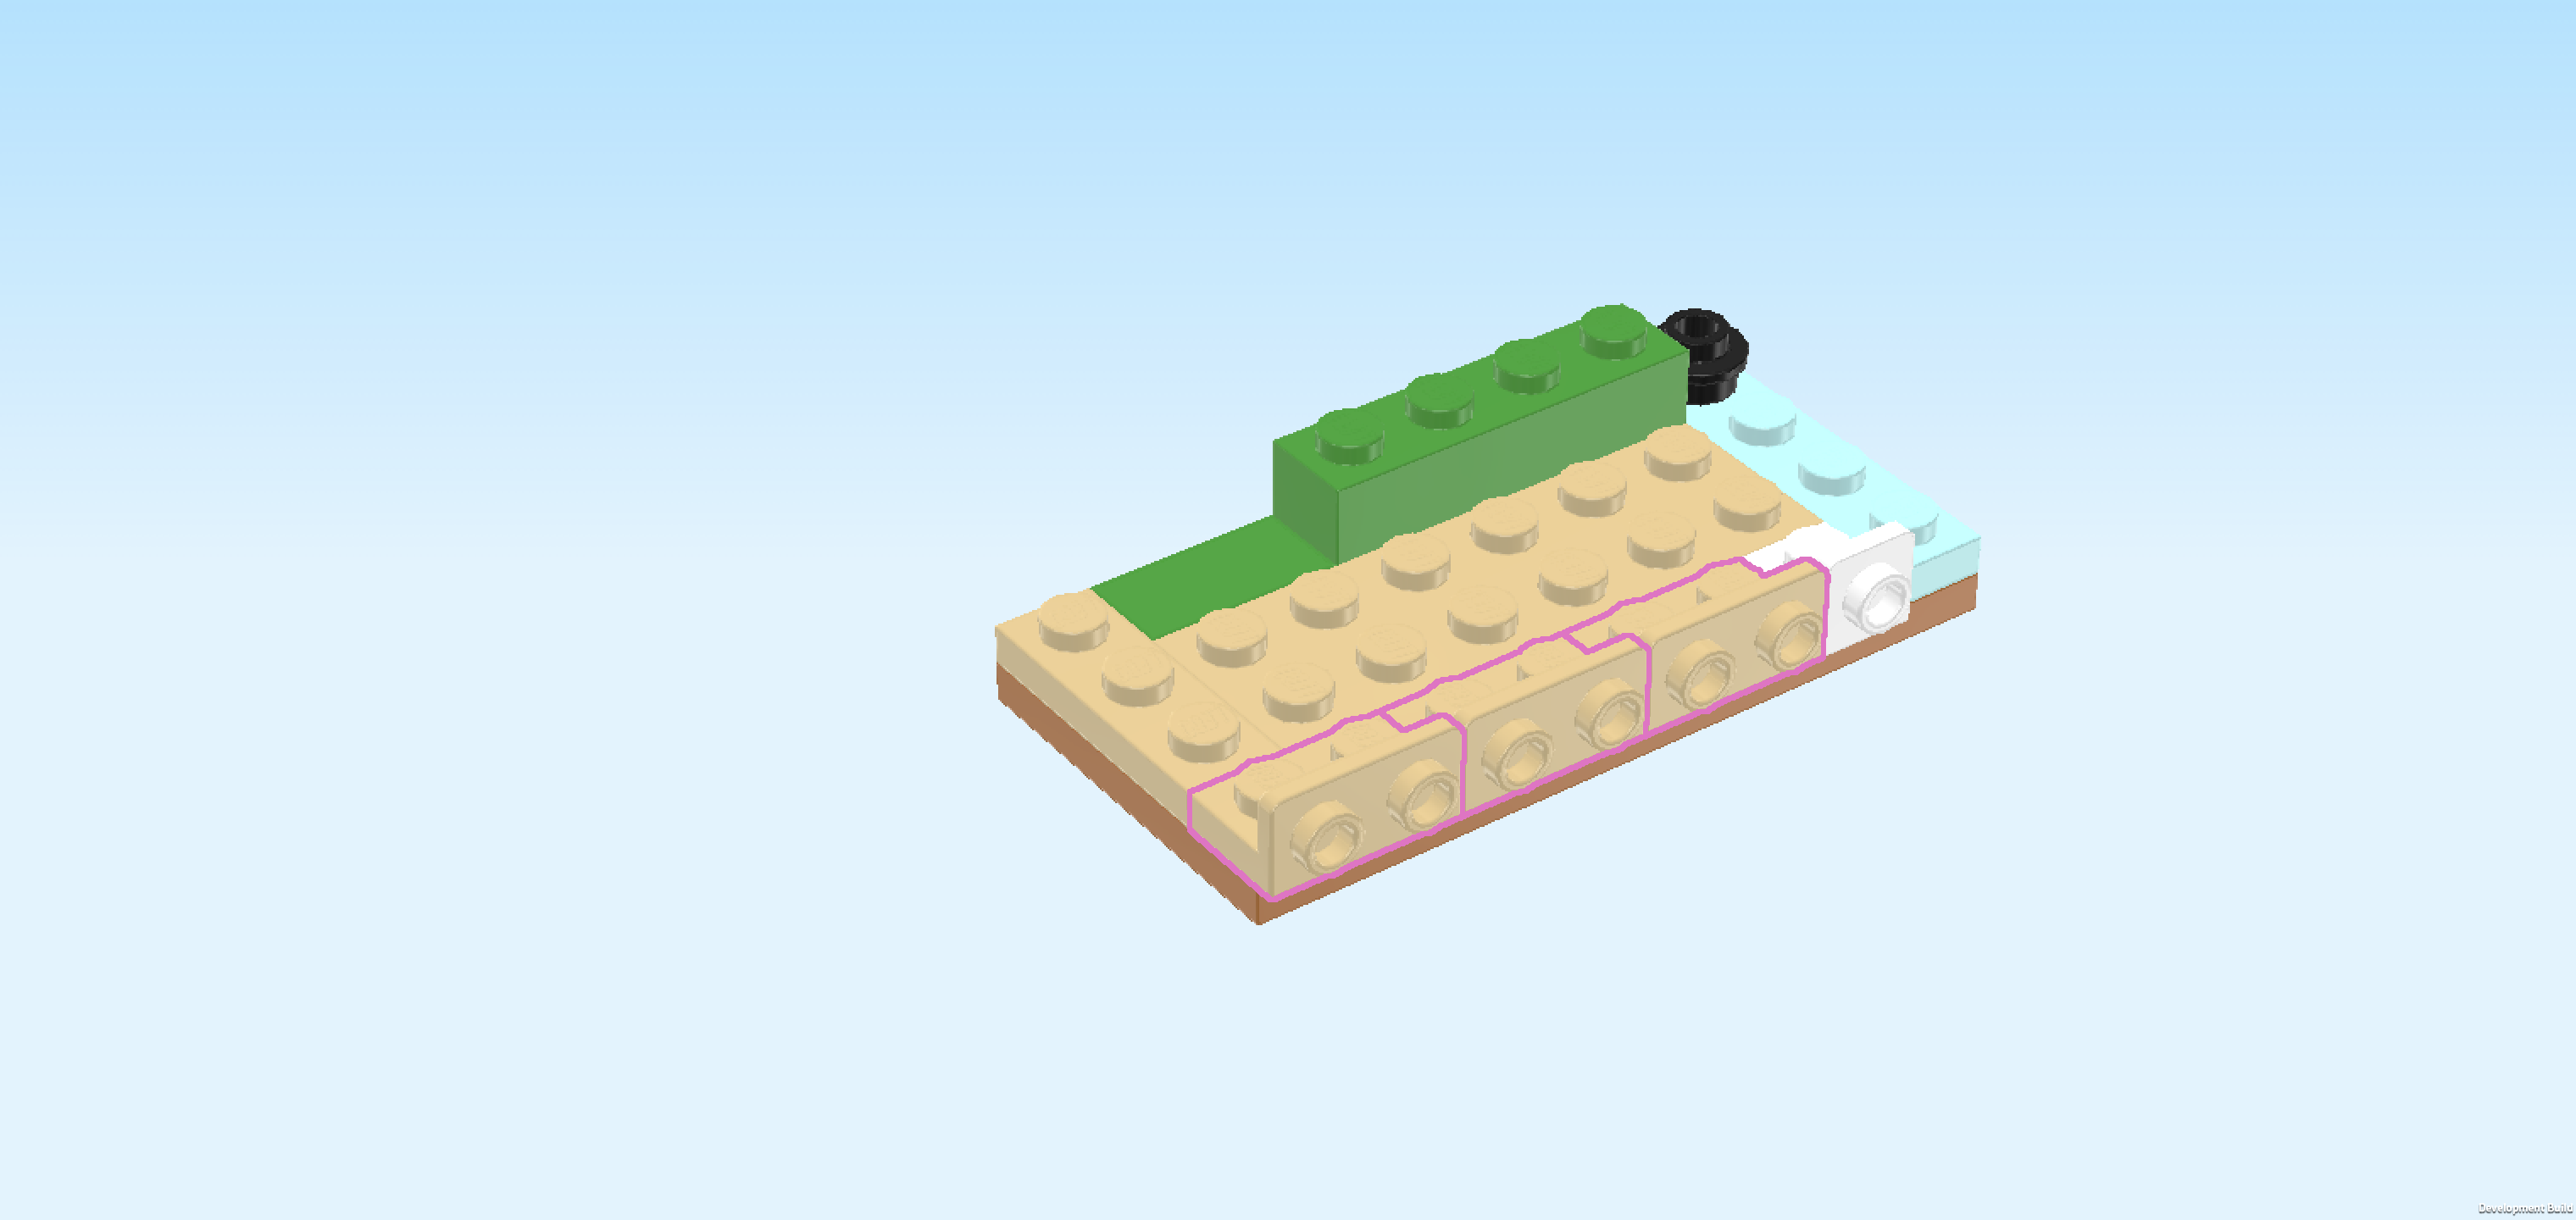
| Find 3 beige bottom angle plates 1x2 - 1x2 with 2 side knobs. |
| Put them horizontally next to each other to the left of the previous piece, all side knobs to the front. This means that together, they will cover the remaining knobs of the frontmost row. |
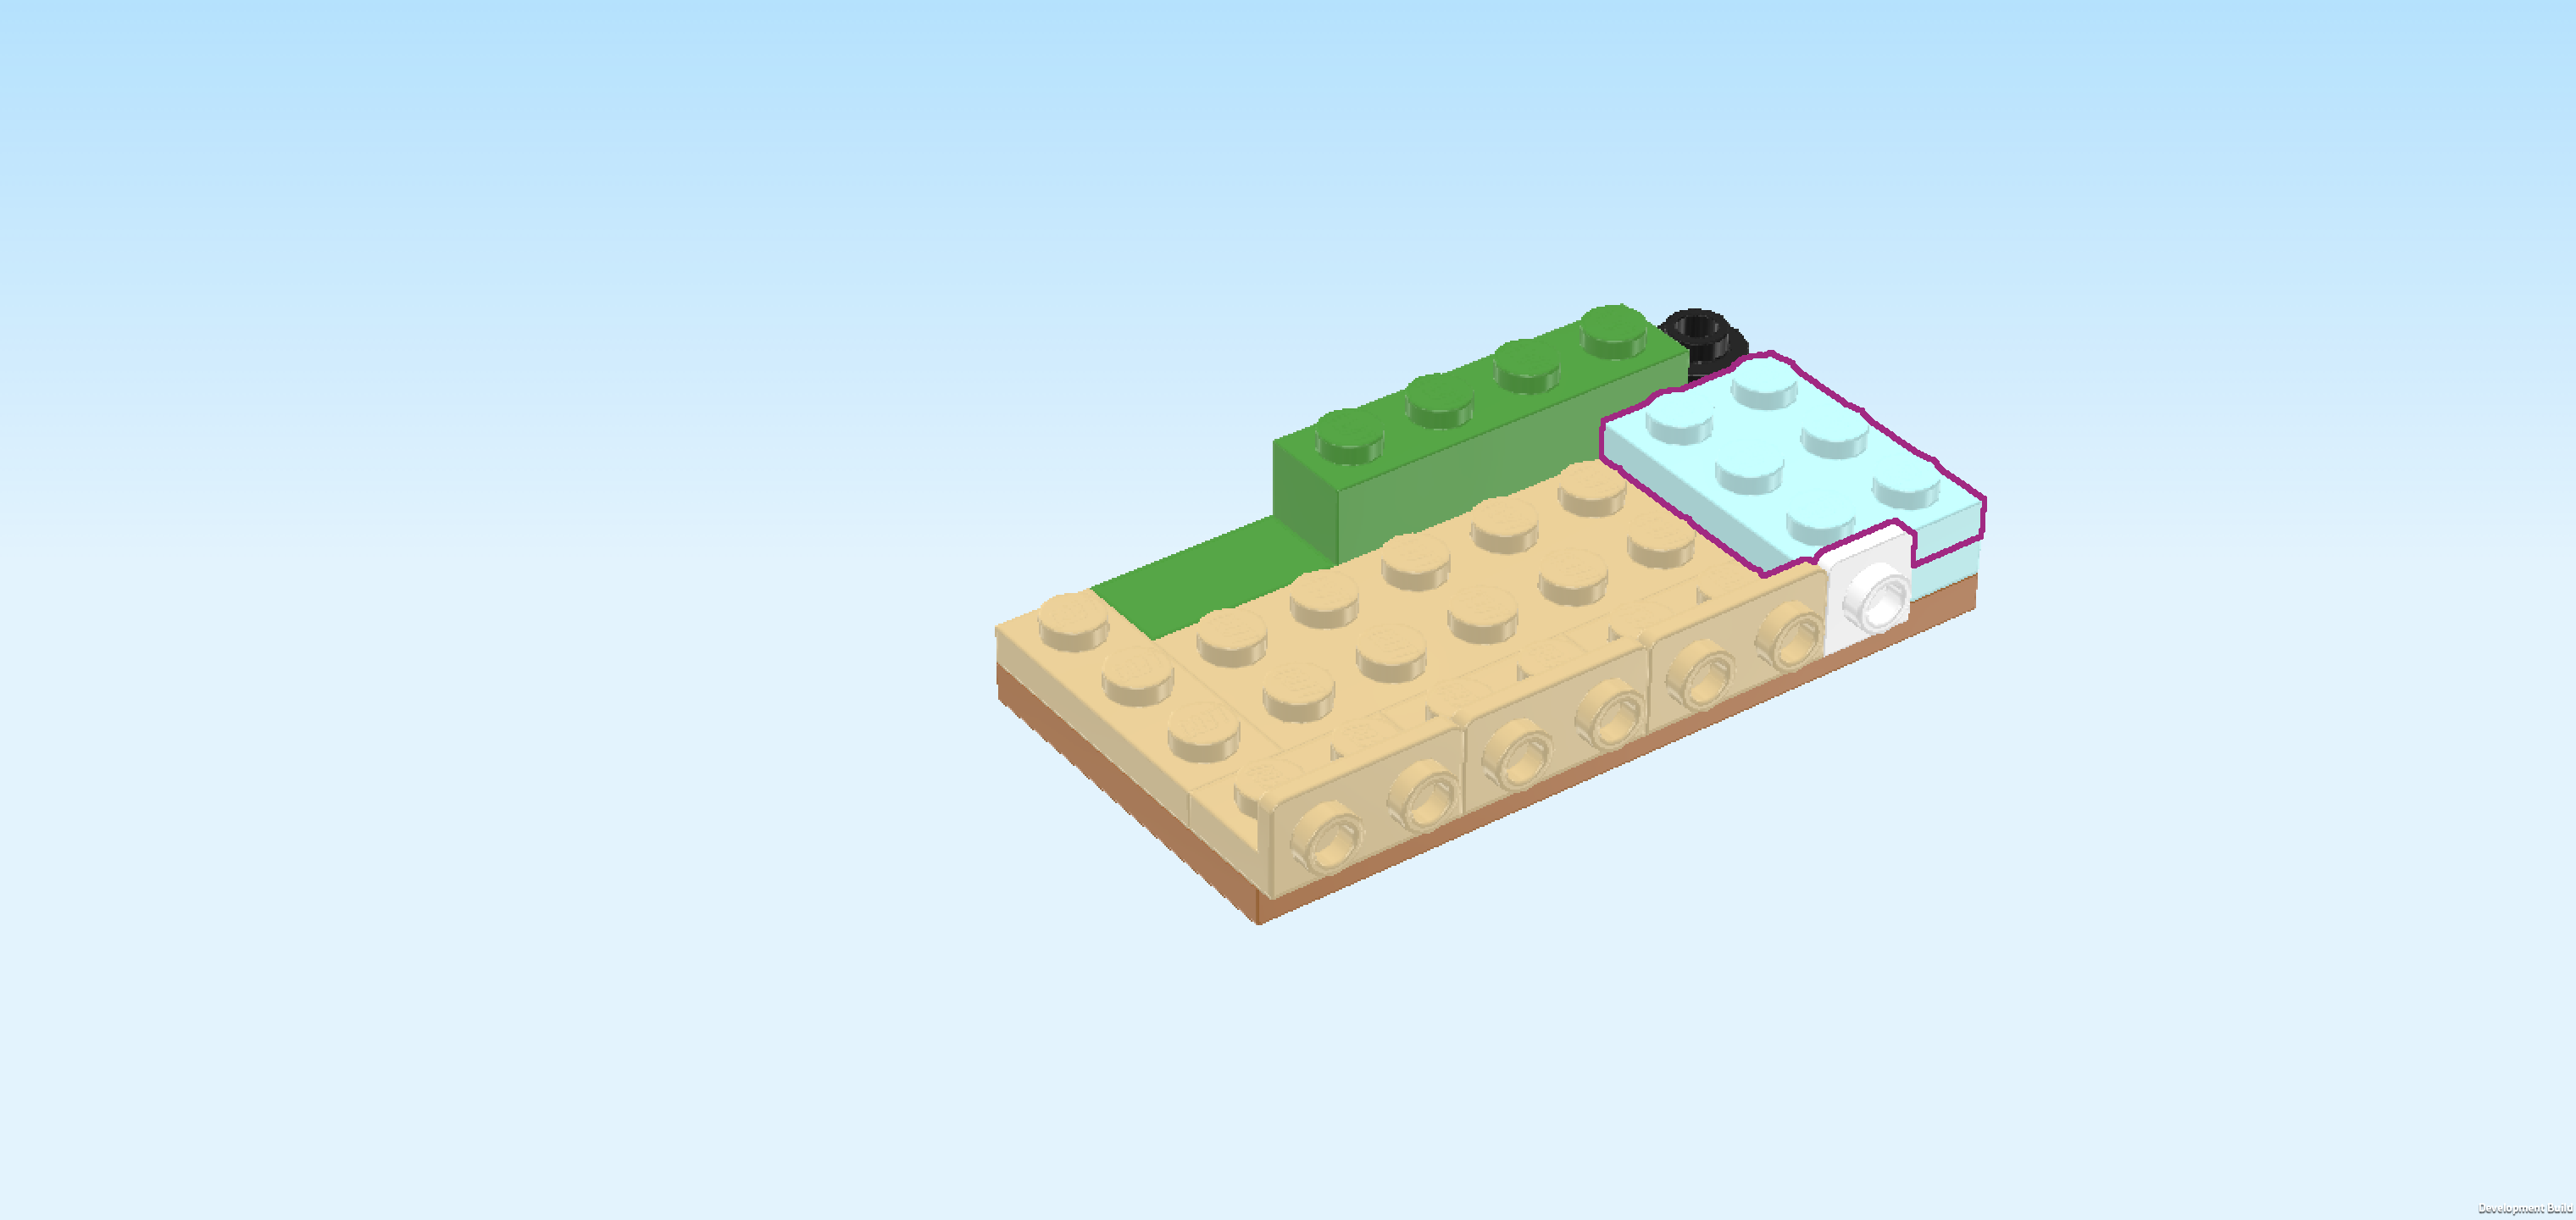
| Find 1 aqua blue plate 2x3. |
| Put it vertically on the 2 rightmost columns, starting from the front edge. |
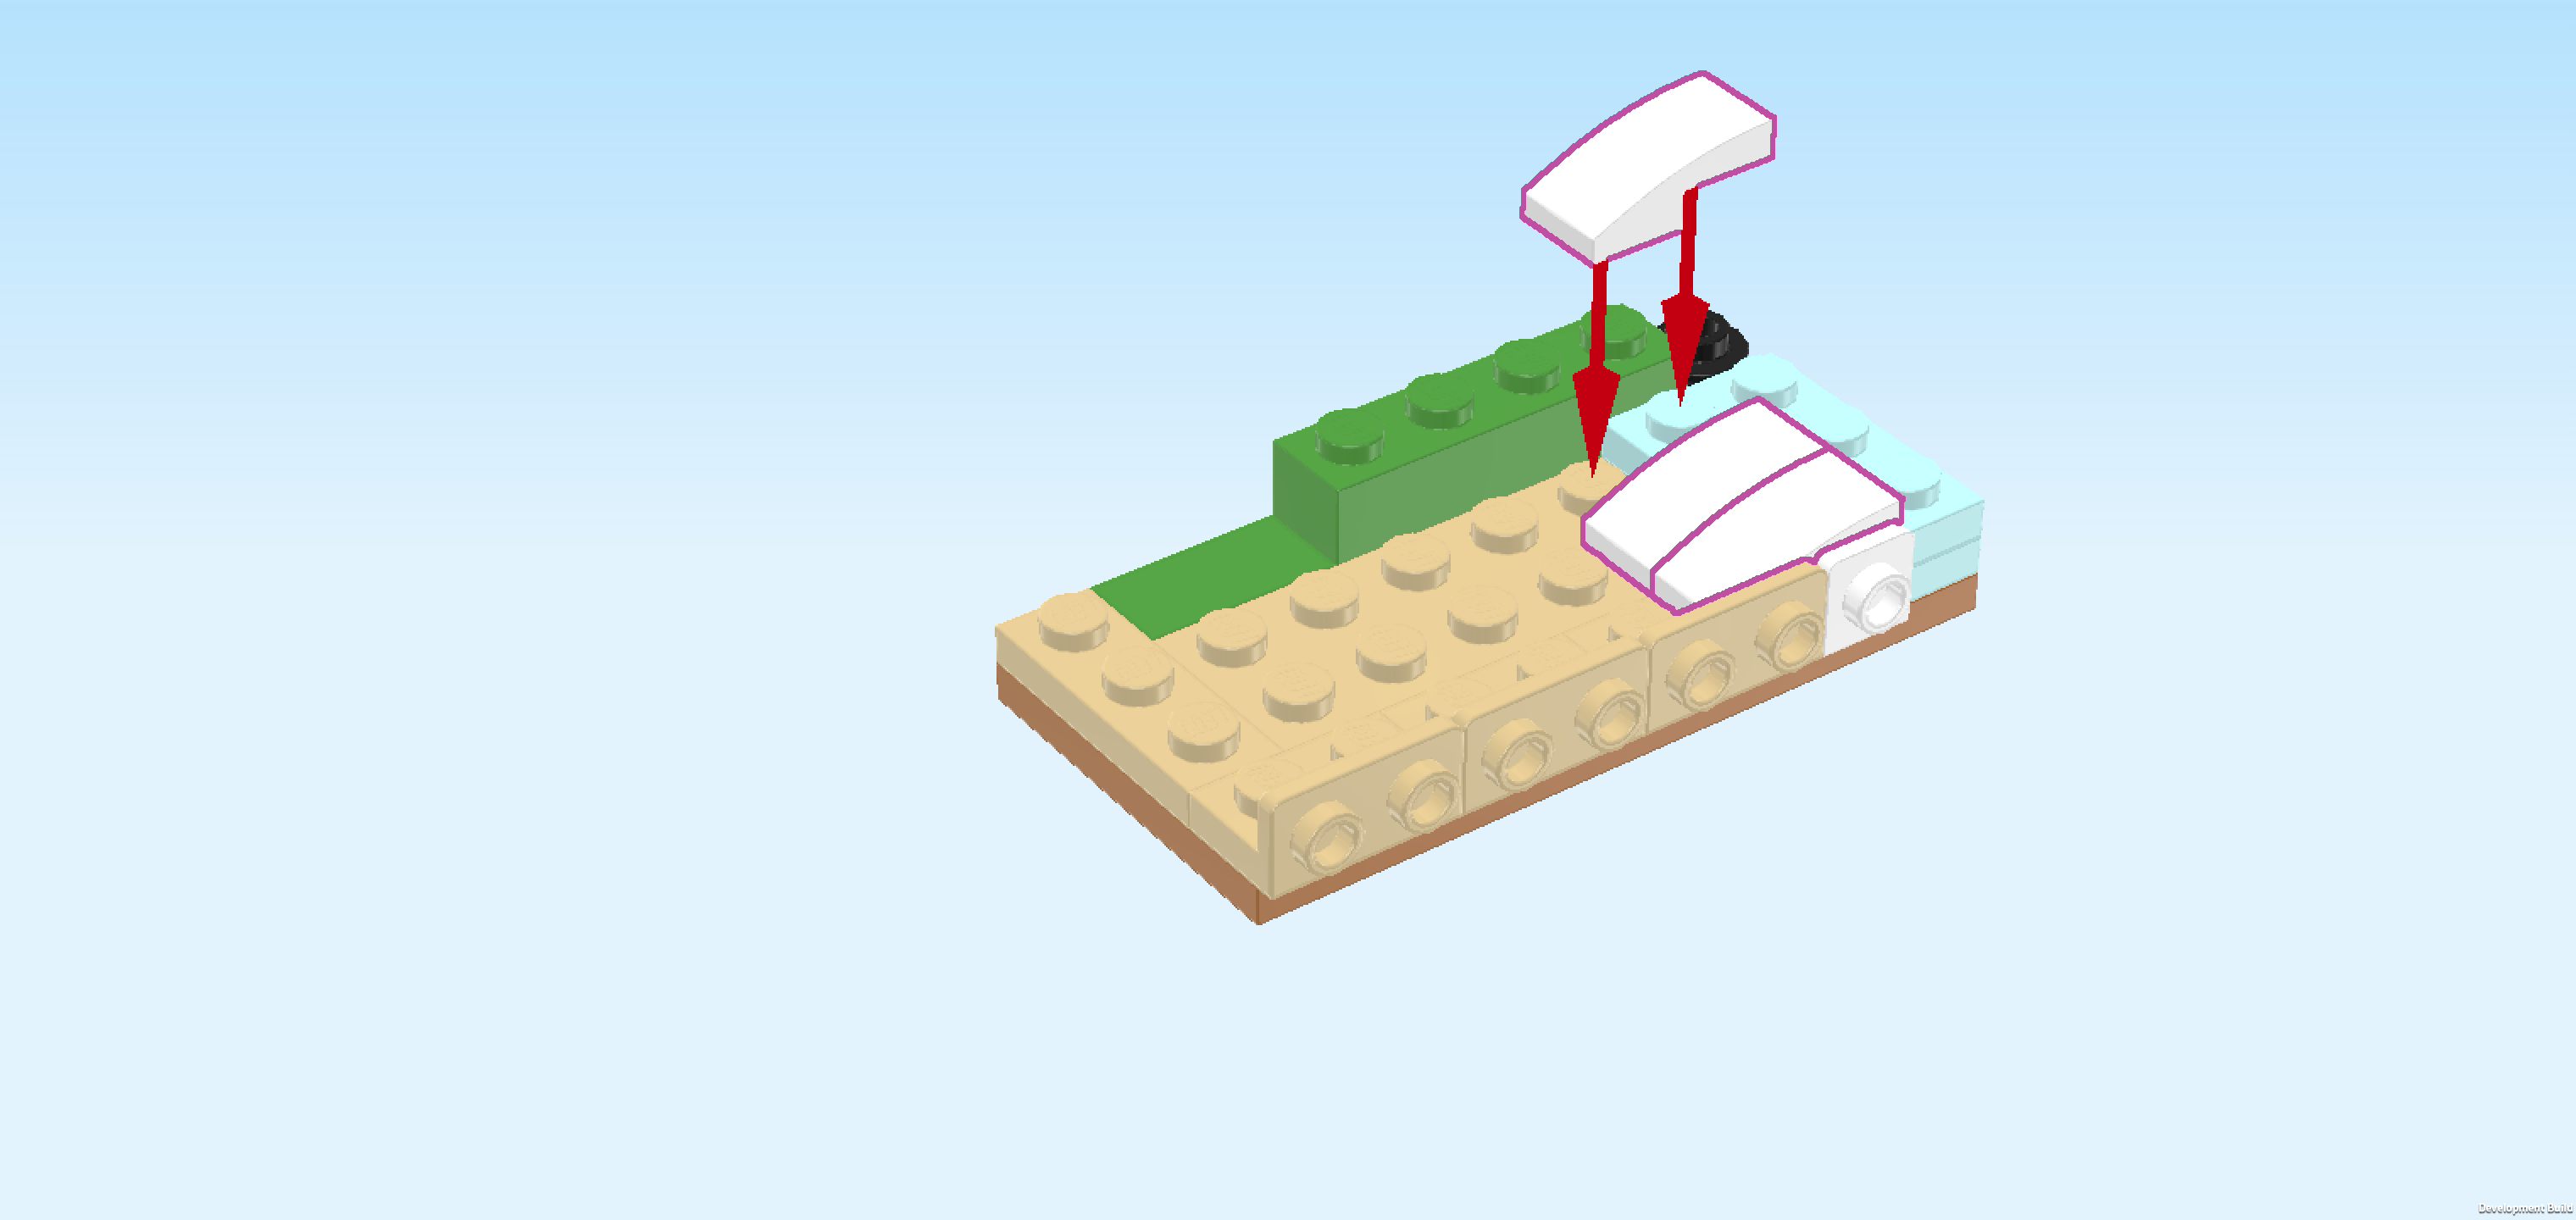
| Find 3 white one-stepped curve tiles 1x2. |
| Put 1 horizontally on the frontmost row, skipping its rightmost knob, curve to the left. |
| Put 1 horizontally behind the previous piece, curve to the left. |
| Put the last one horizontally behind the previous piece, curve to the left. |
| You have just built the pillow of Autumn's bed! |
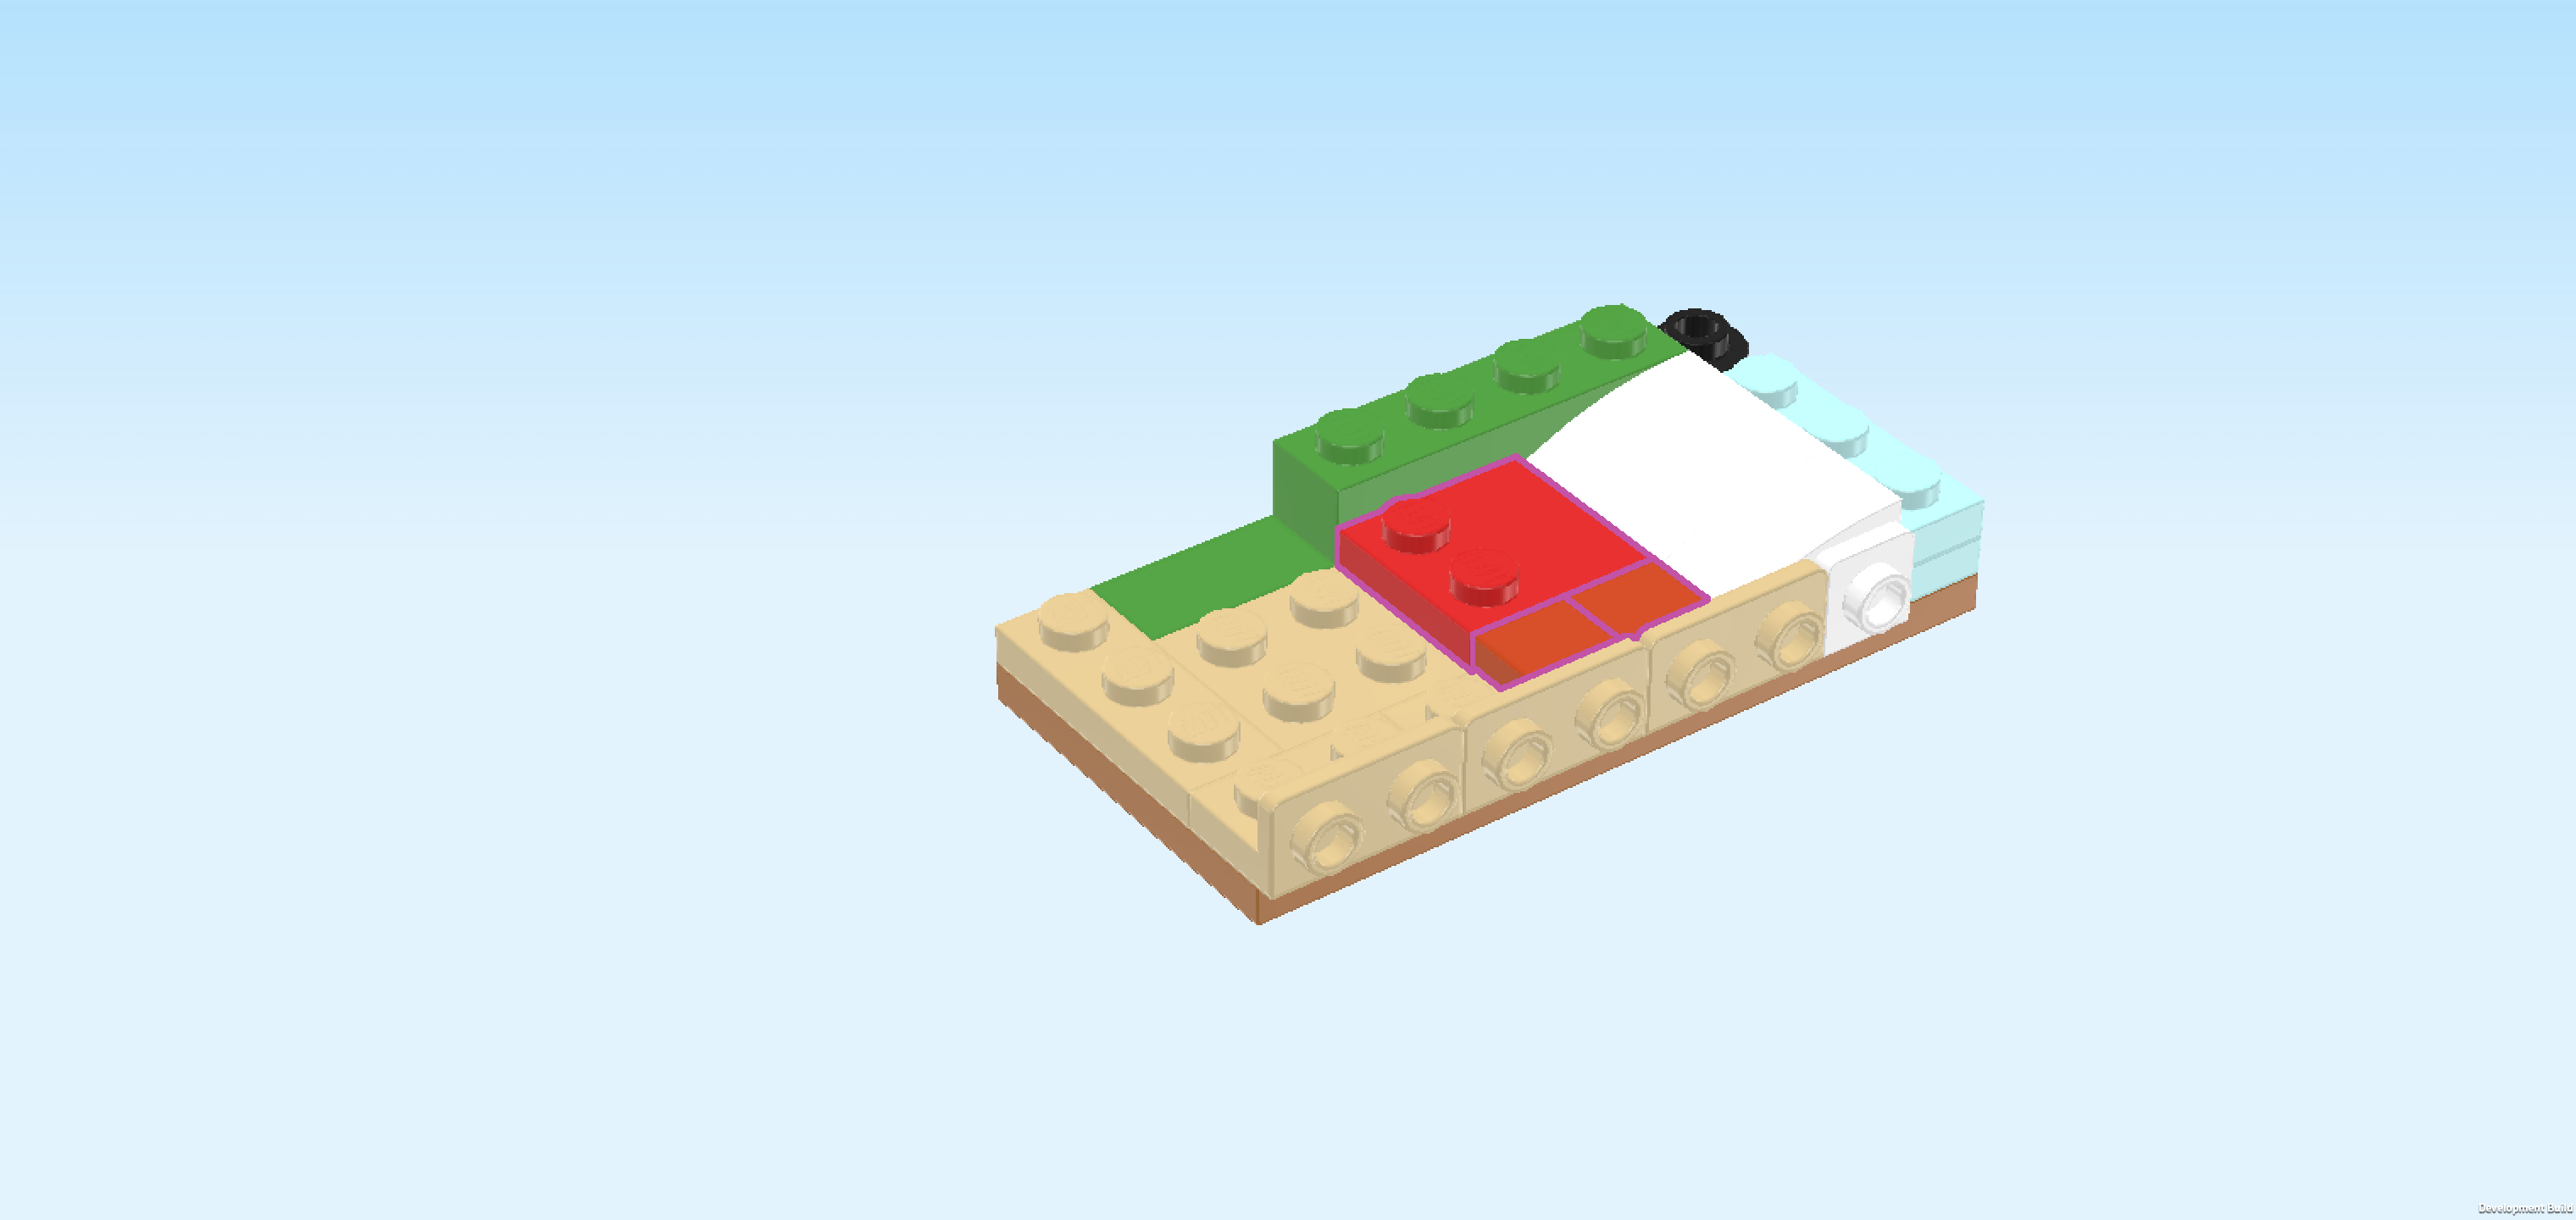
| Collect the following 3 pieces: |
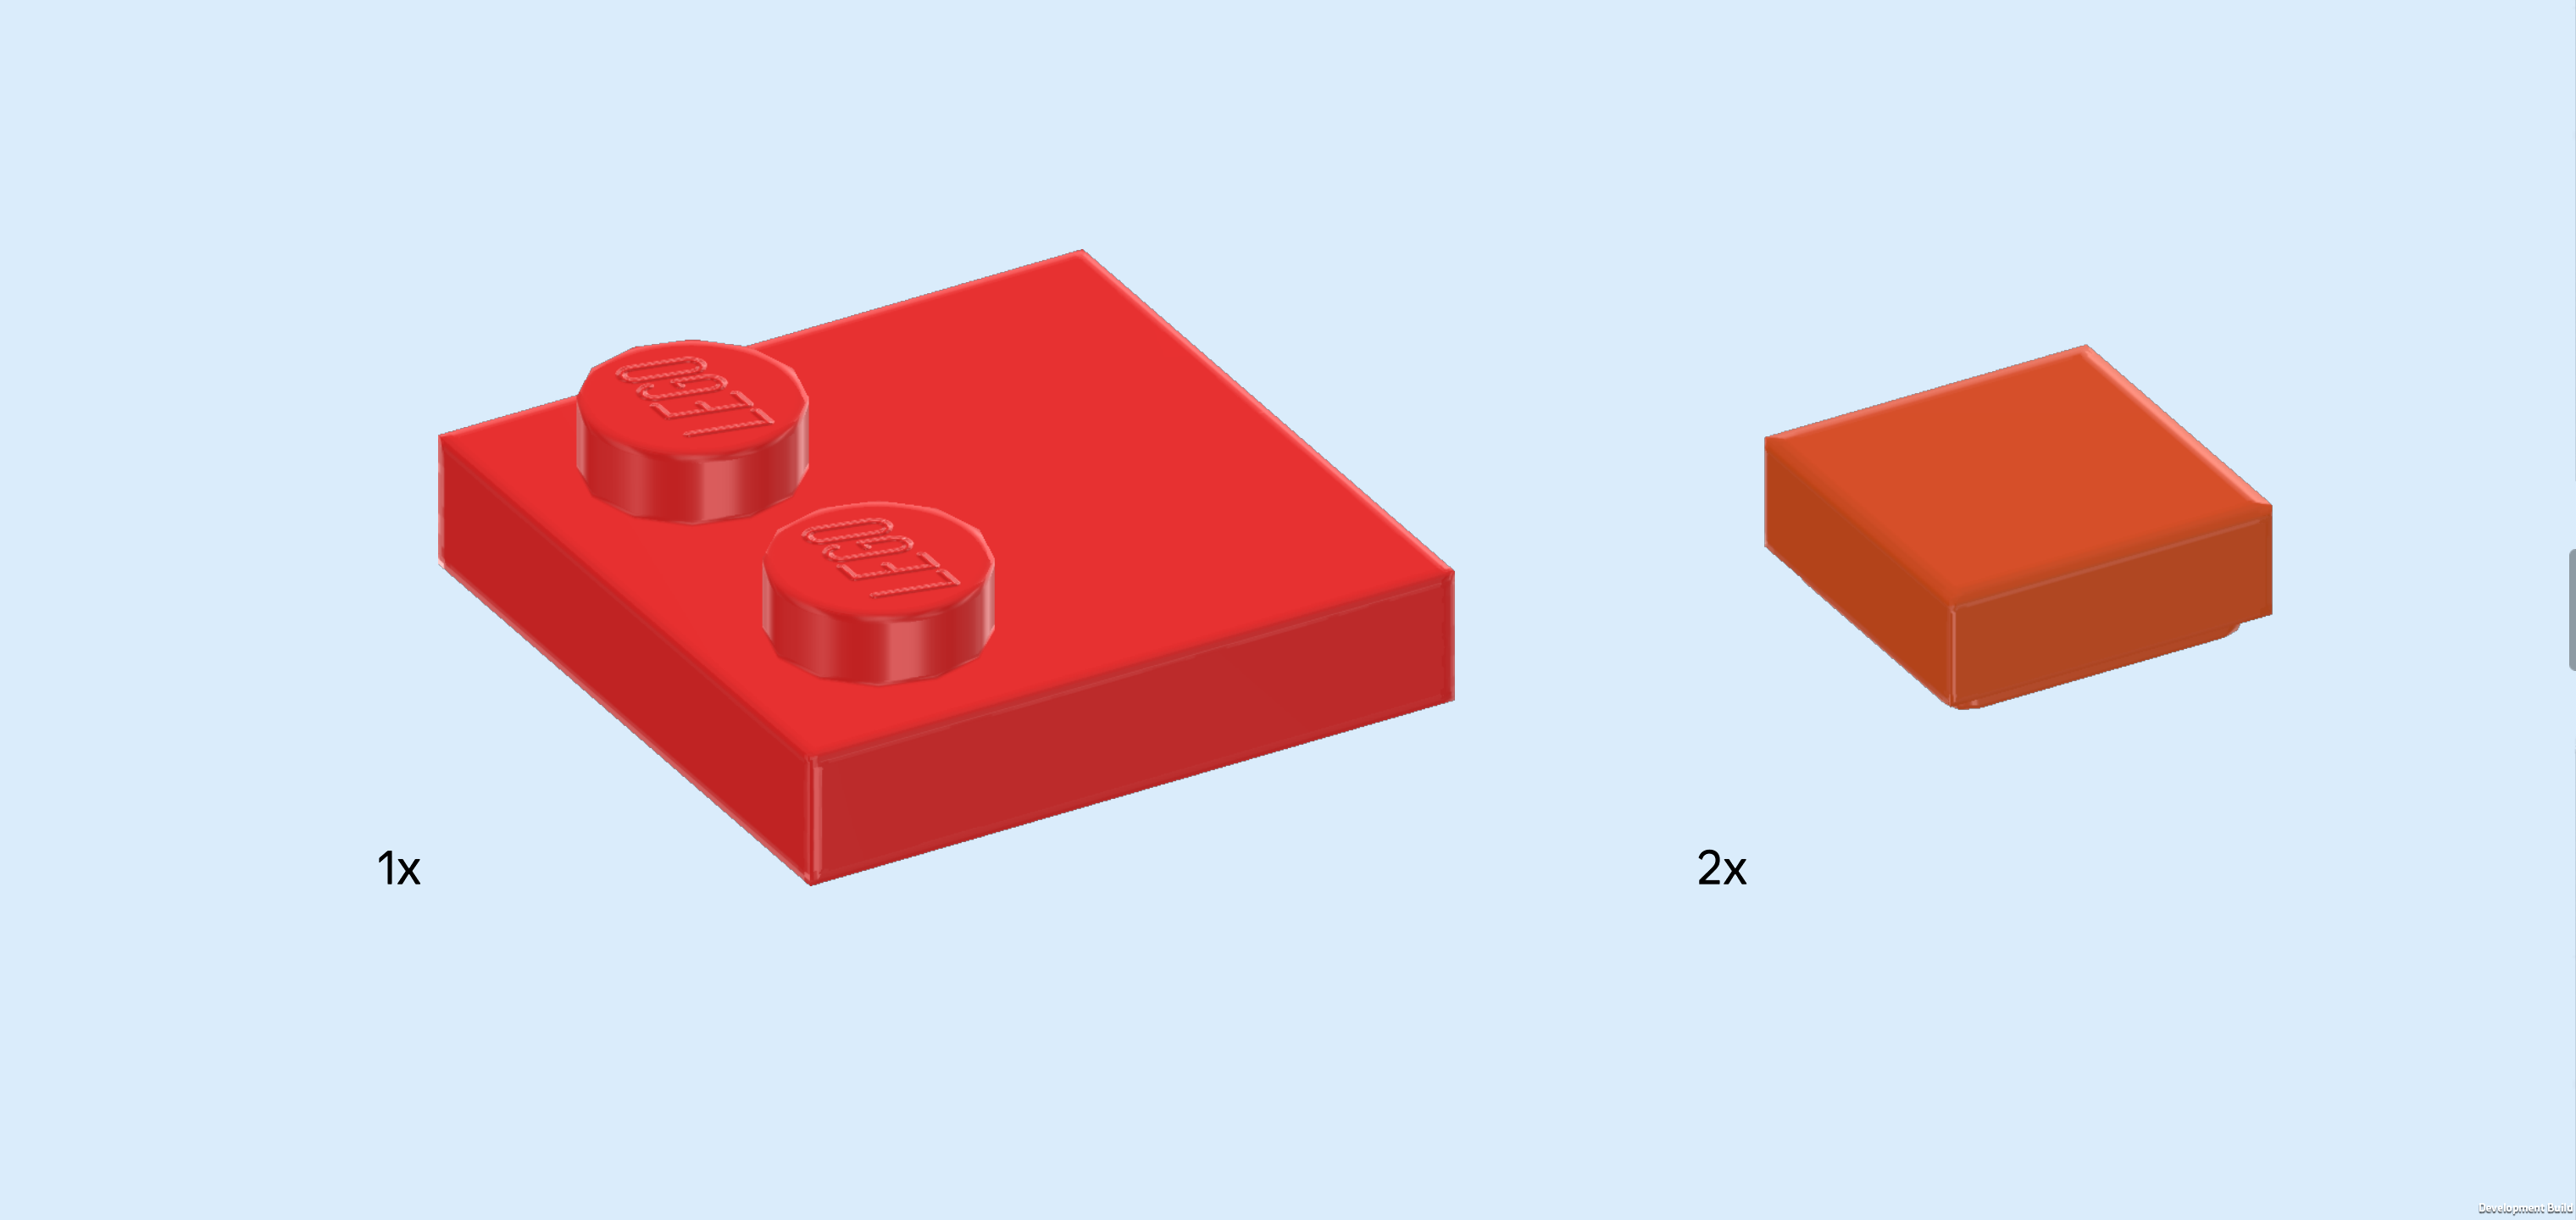
| 1 bright red plate 2x2 with 2 knobs, |
| and 2 reddish orange flat tiles 1x1. |
| Put the plate 2x2 to the left of the 2 previous pieces, its 2 knobs forming a column on the left. |
| Put the 2 flat tiles on the 2 knobs in front of the previous piece. This means they will sit next to each other on the frontmost row. |
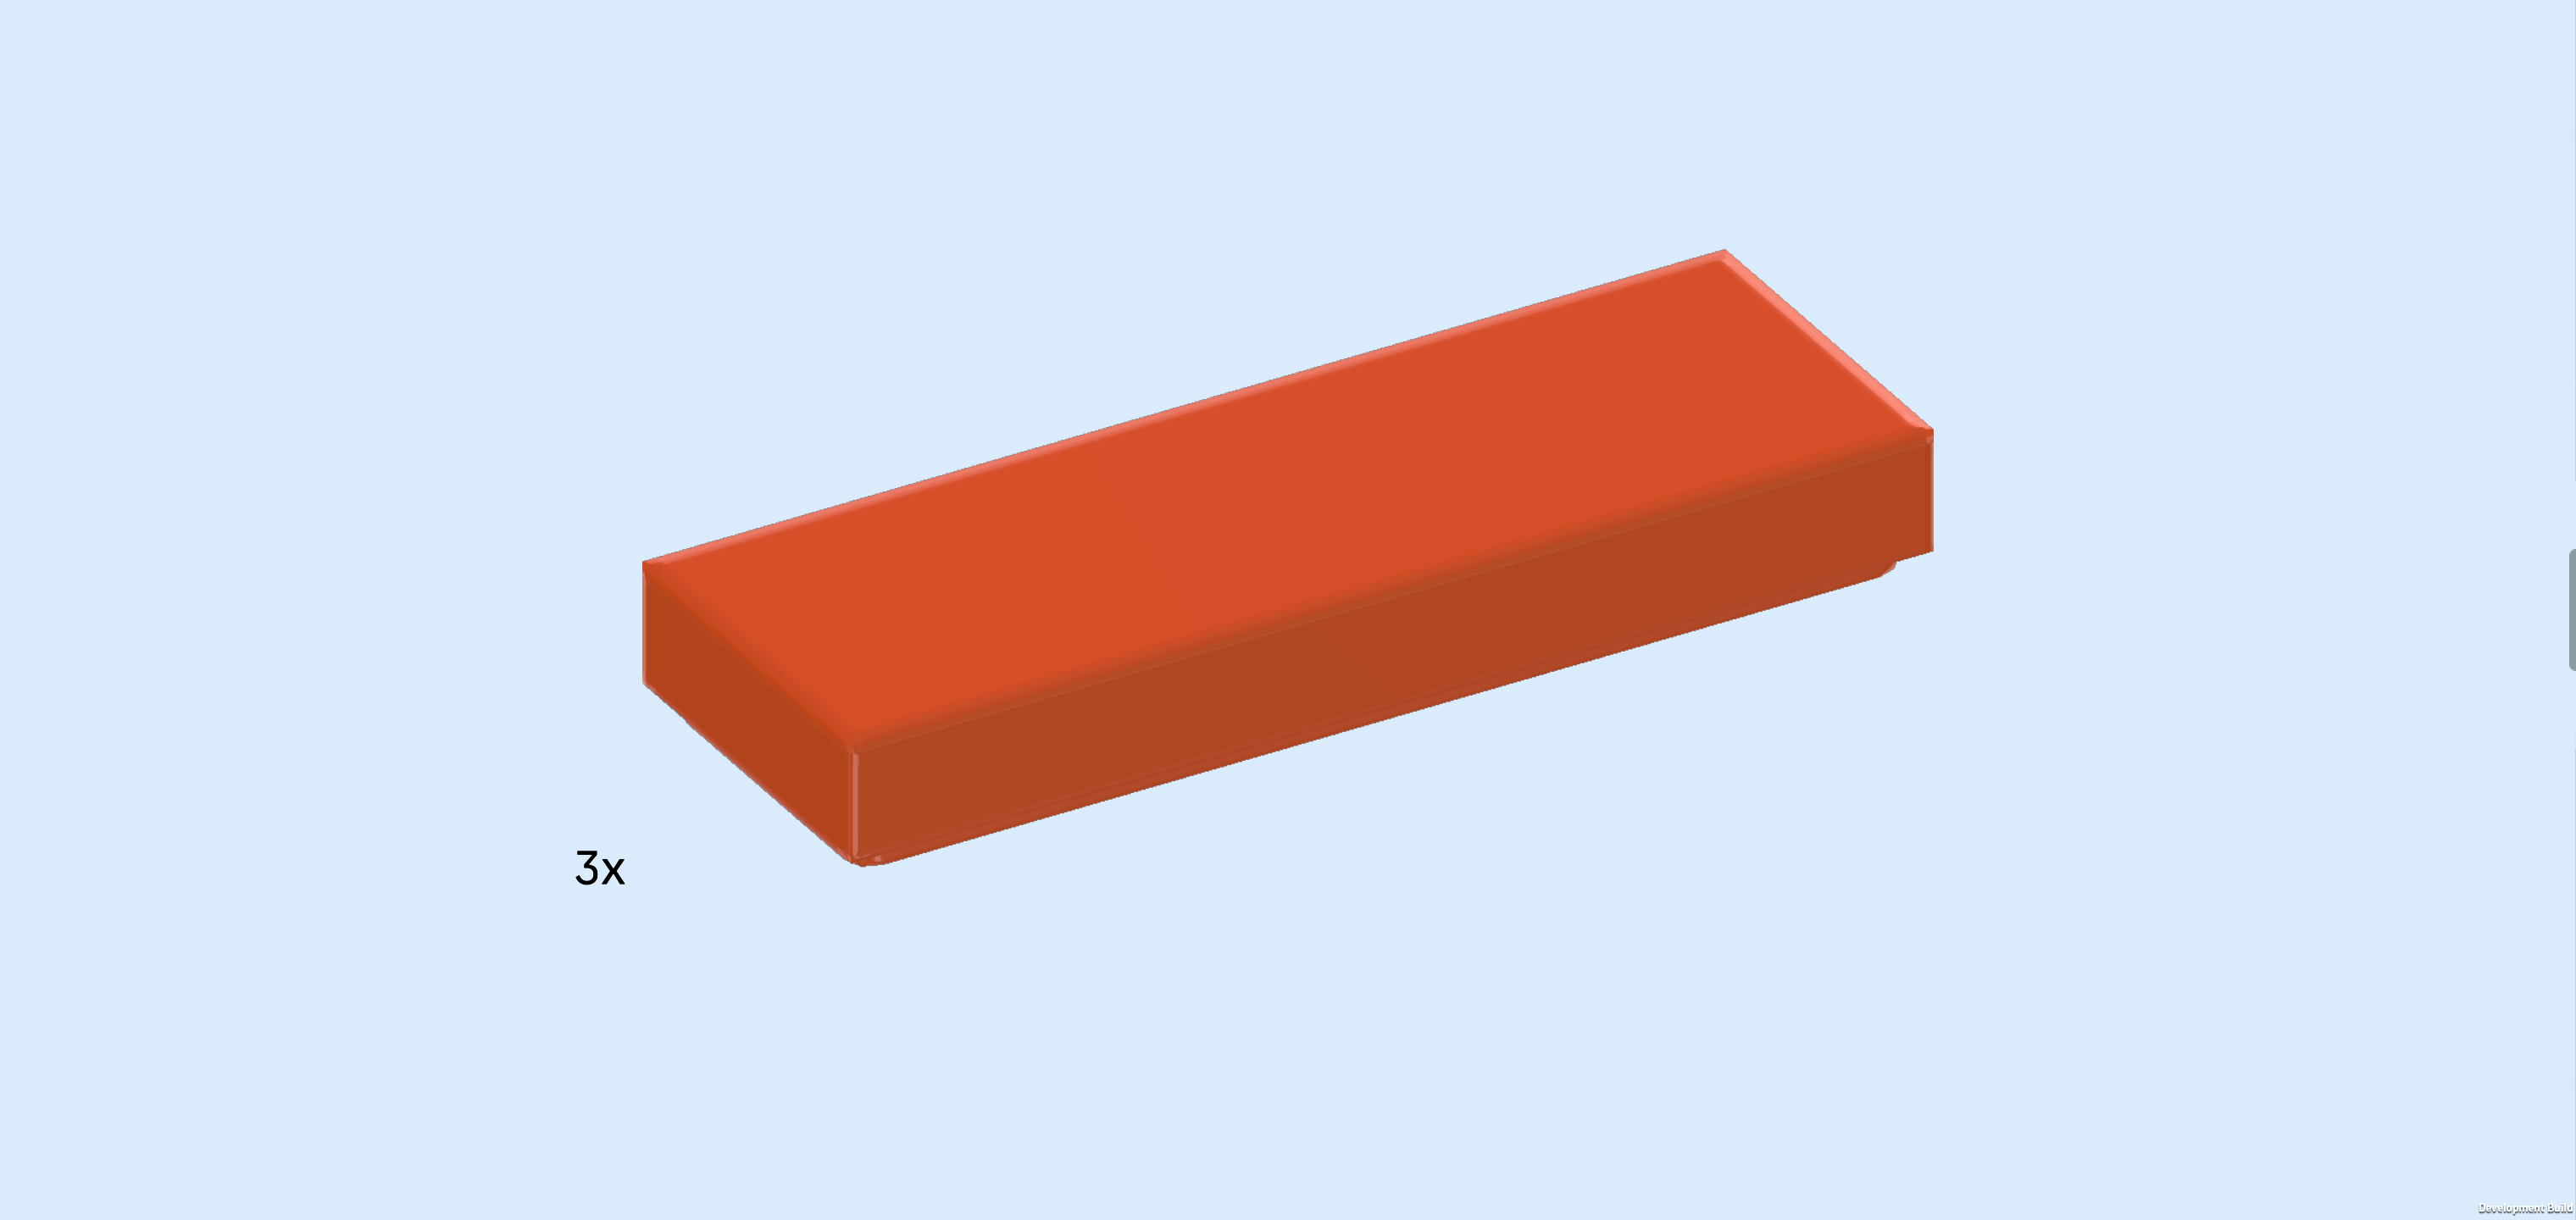
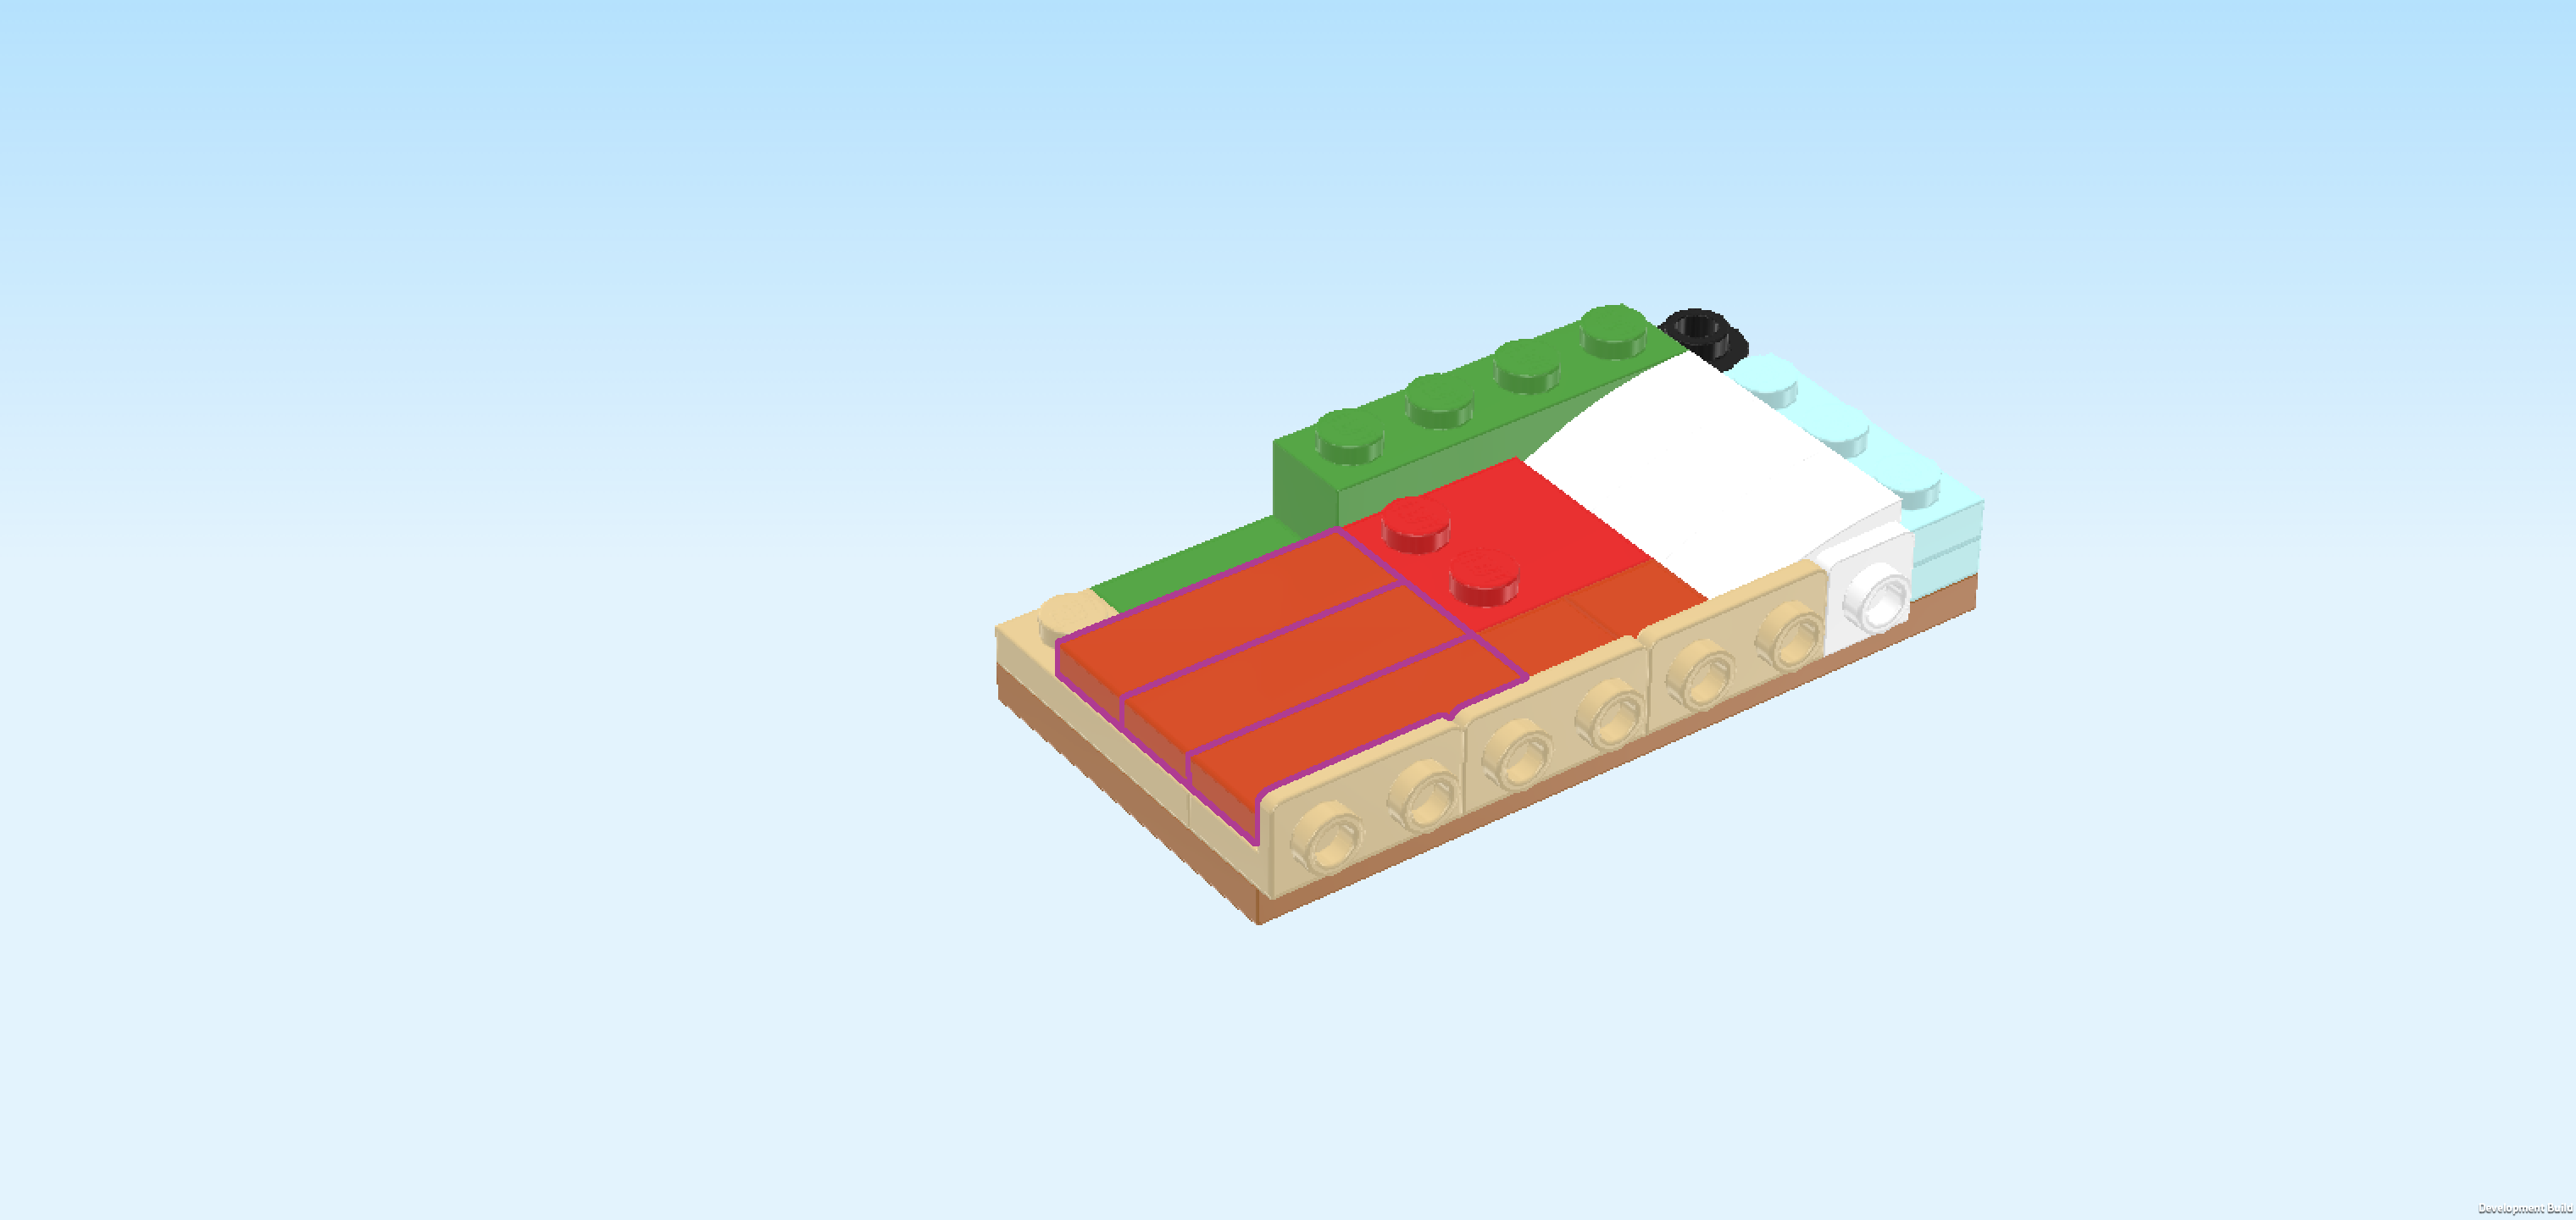
| Find 3 reddish orange flat tiles 1x3. |
| Put 1 horizontally on the frontmost row to the left of the 2 previous pieces. |
| Put 1 horizontally behind the previous piece. |
| Put the last one horizontally behind the previous piece. |
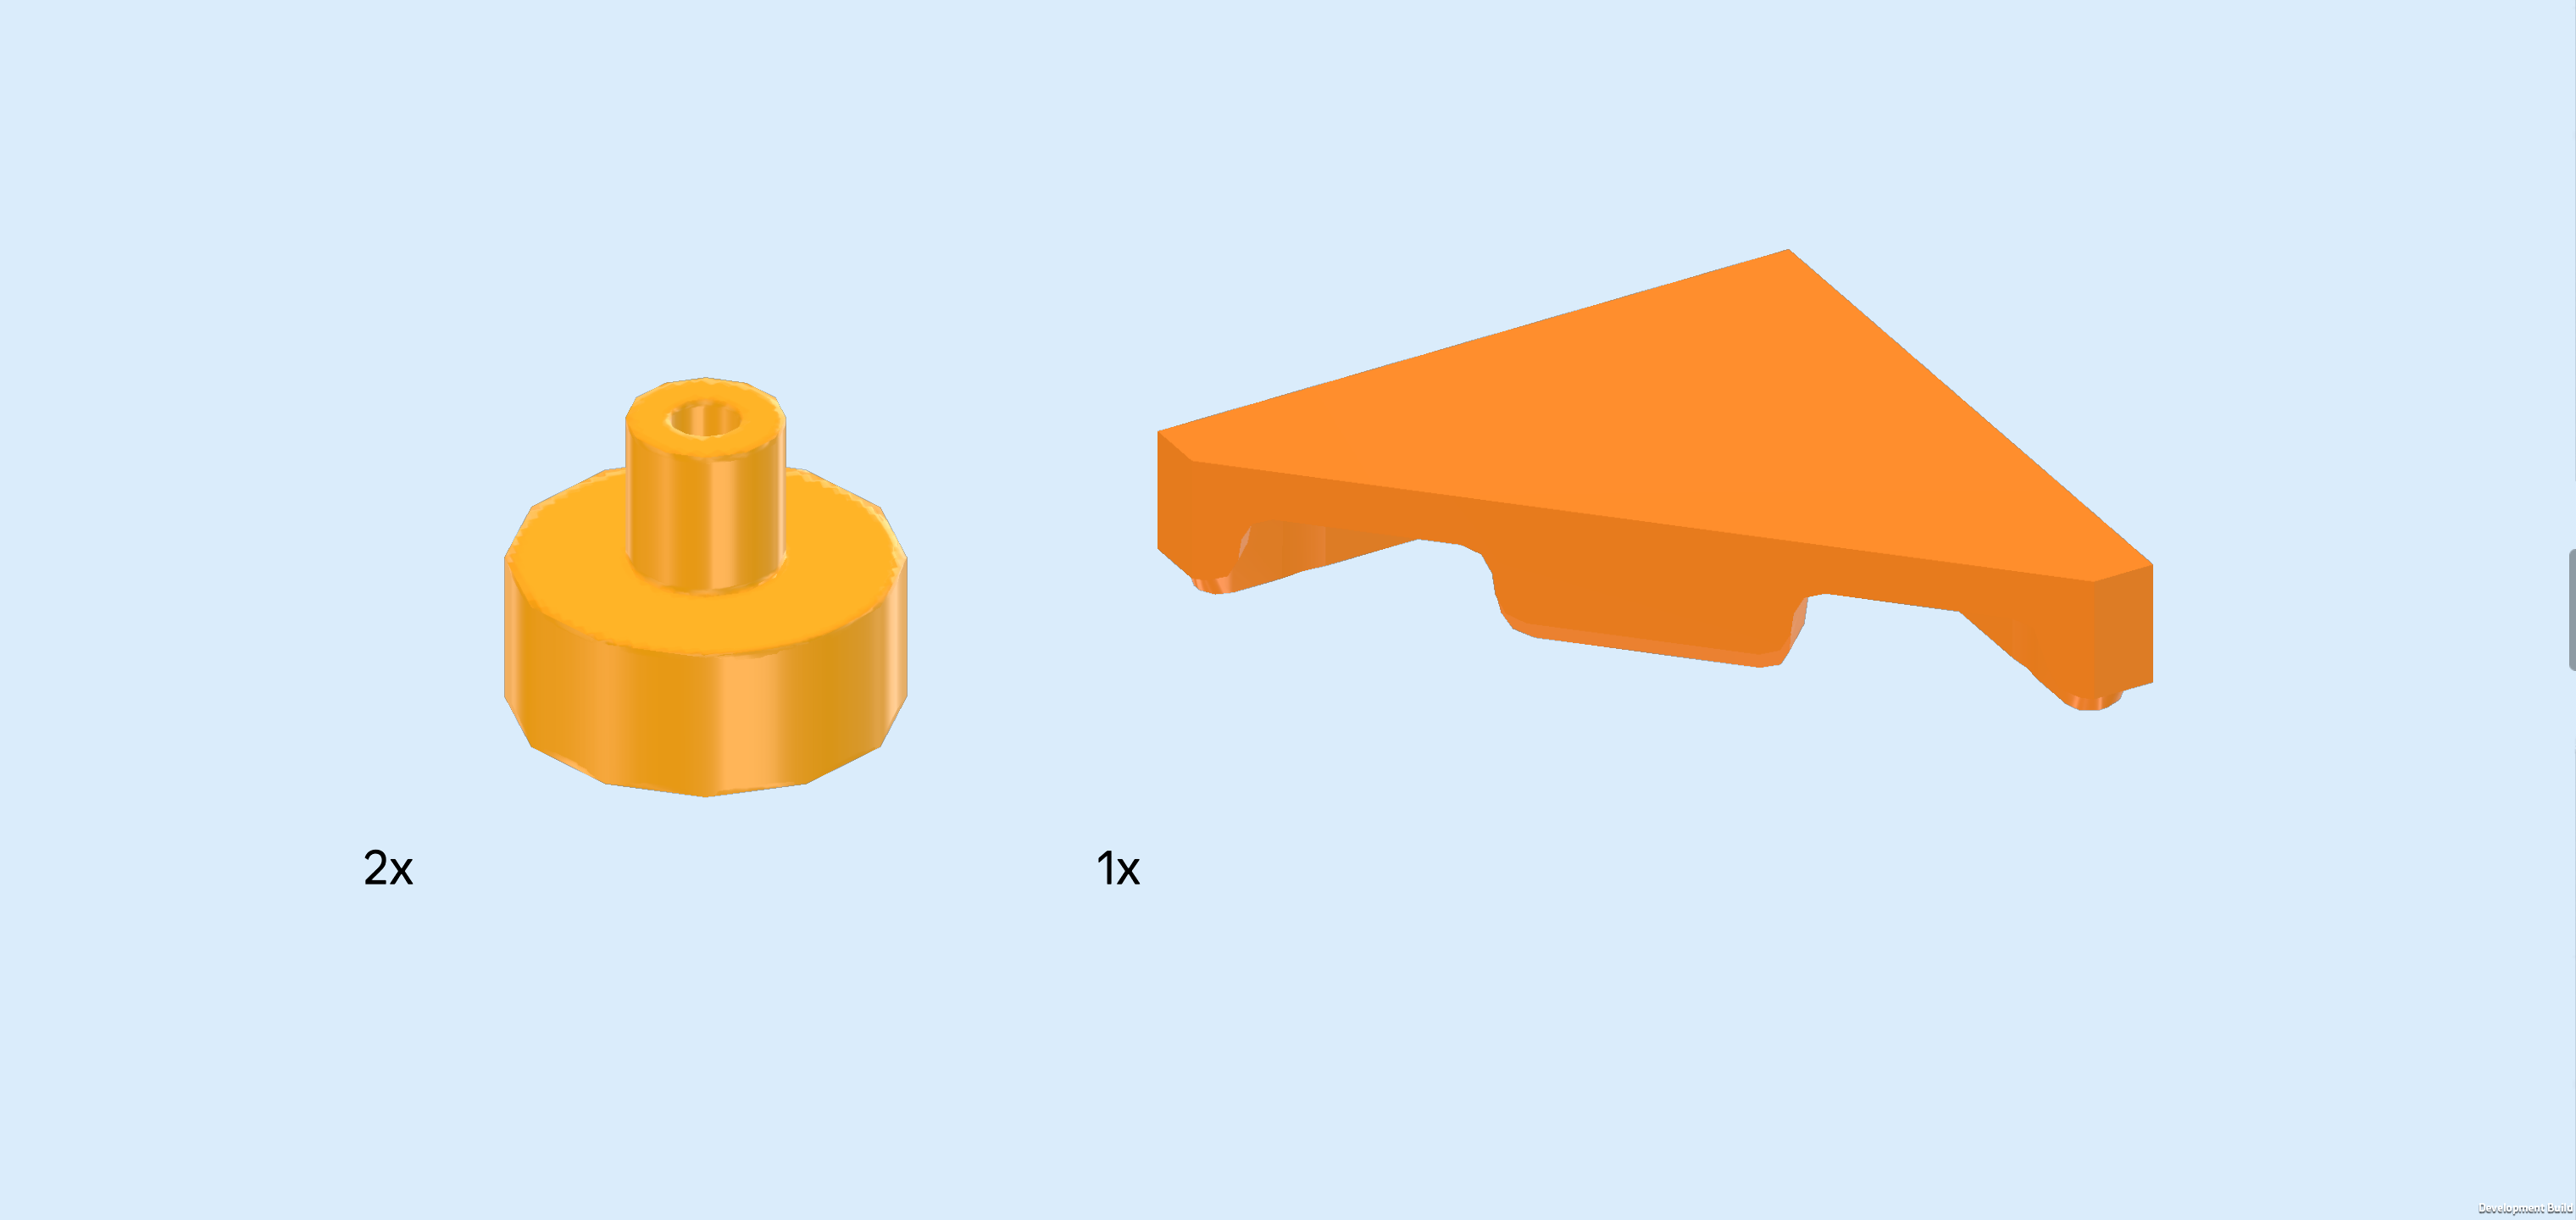
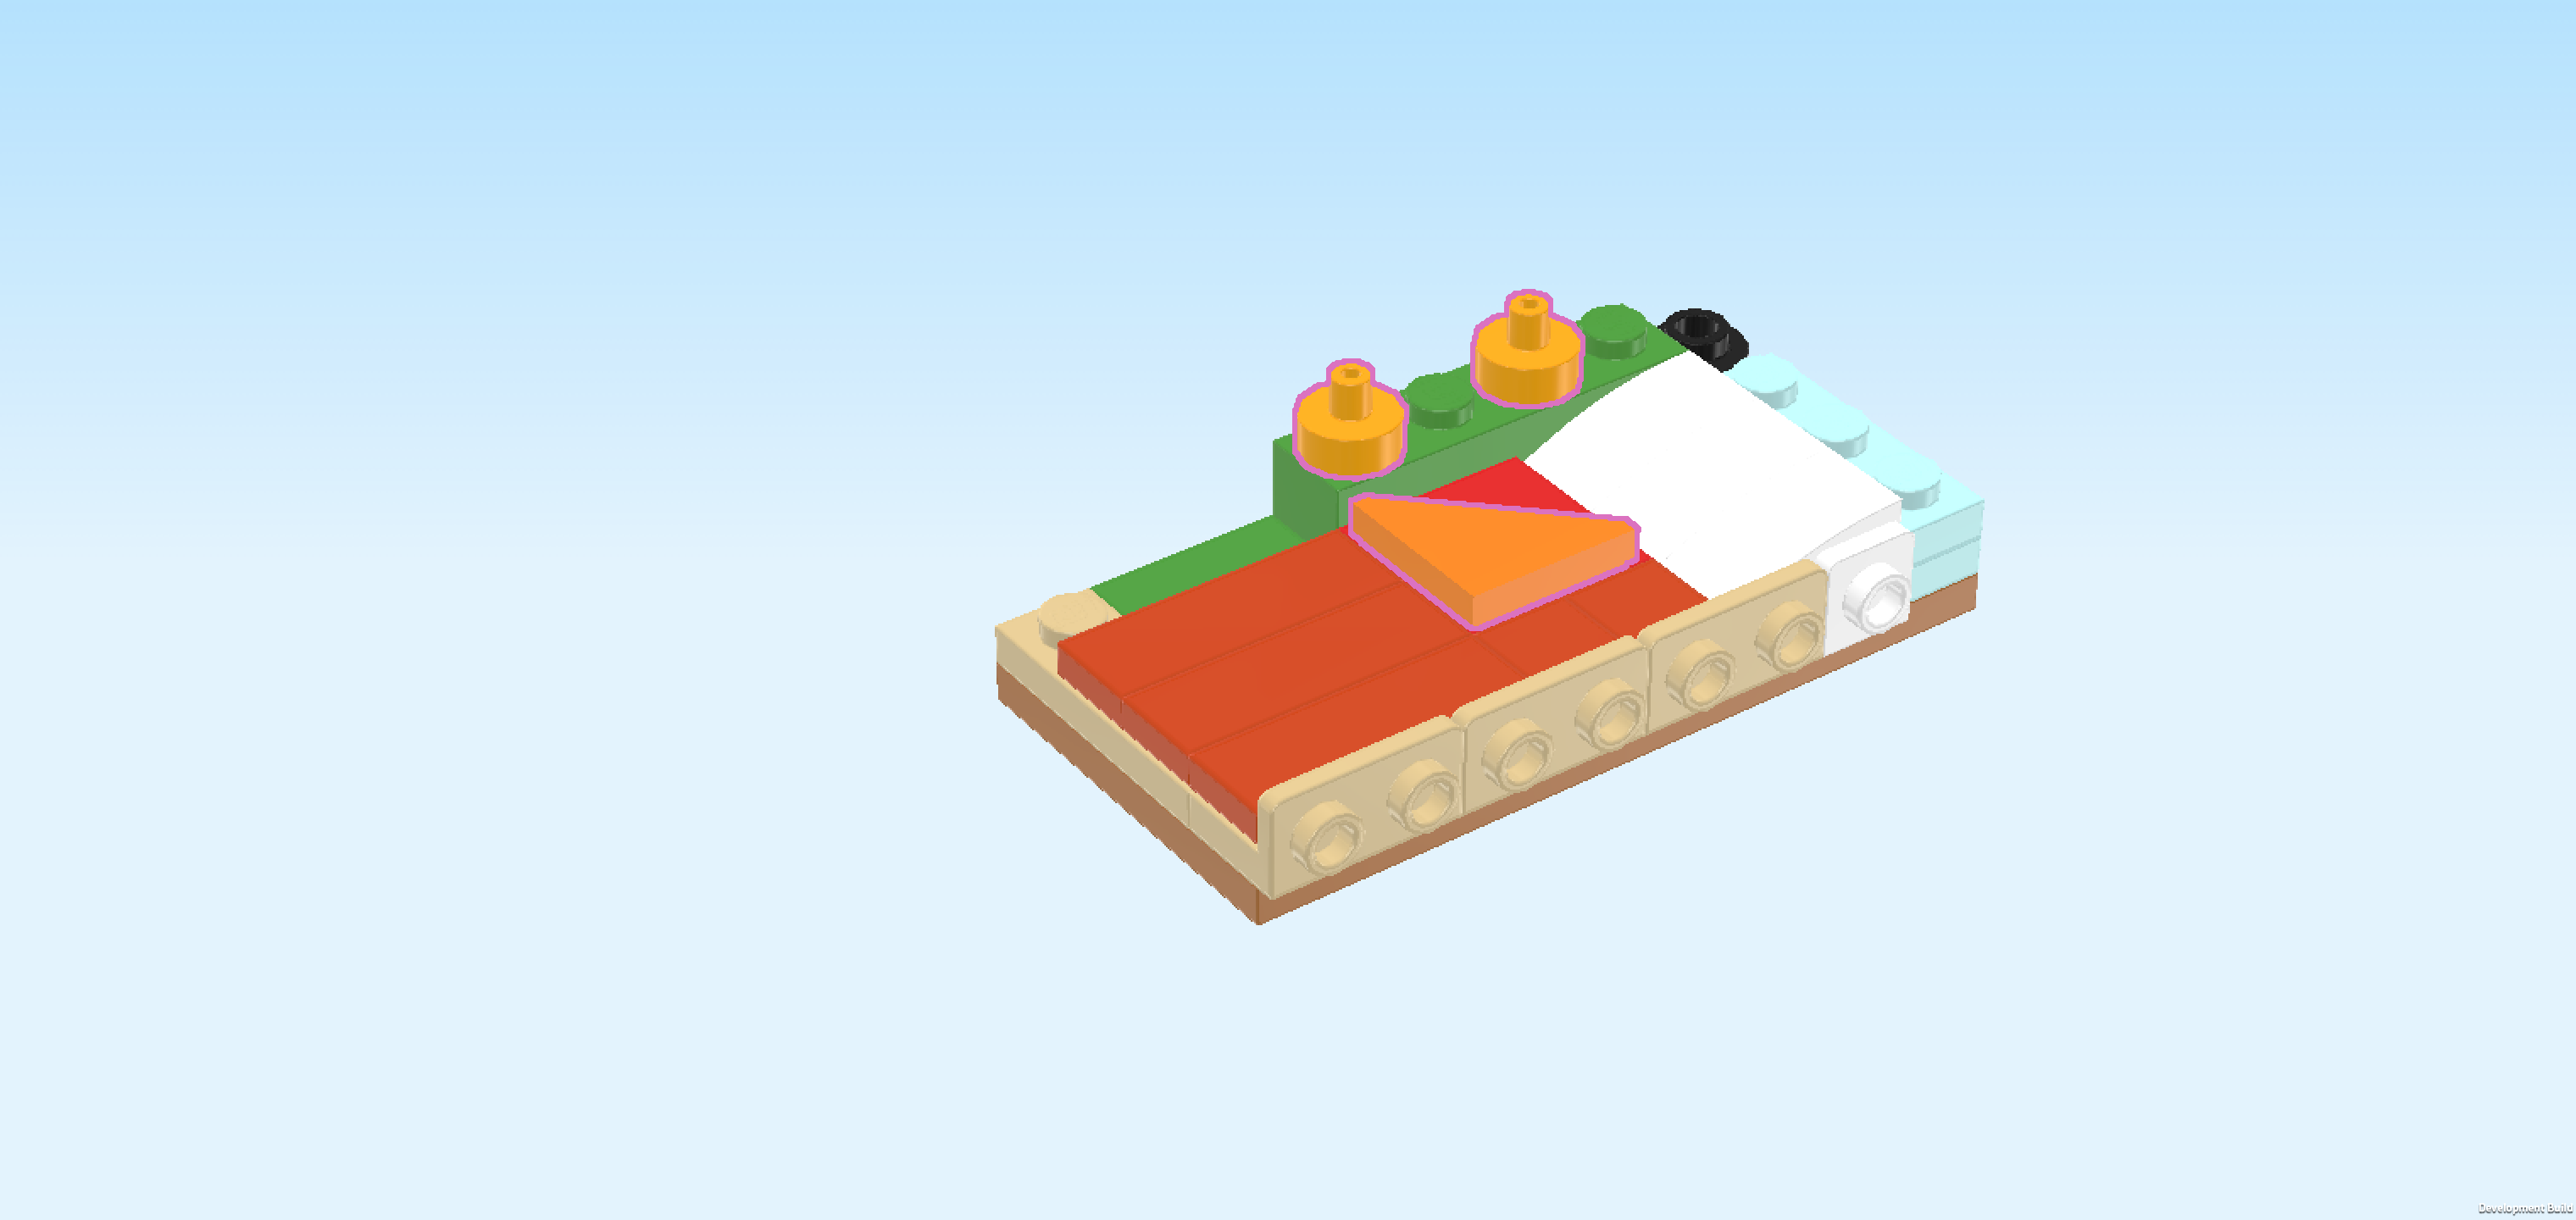
| Collect the following 3 pieces: |
| 2 flame yellowish orange round tiles 1x1 with small top shaft, |
| and 1 bright orange triangular flat tile 1x2 - 1x2. |
| Put 1 round tile with shaft on the backmost row on the third knob from the right. |
| Skip 1 knob to the left and mount the other round tile with shaft. This means it will sit on the leftmost knob of the brick 1x4. |
| Hold the triangular flat tile 1x2 so that its right-angled corner is at the front left, and then mount it in front of the previous piece. This means that its left edge will connect to the 2 singular knobs on an otherwise smooth surface. |
| This triangular flat tile actually represents the folded corner of the bedsheets of Autumn's bed! |
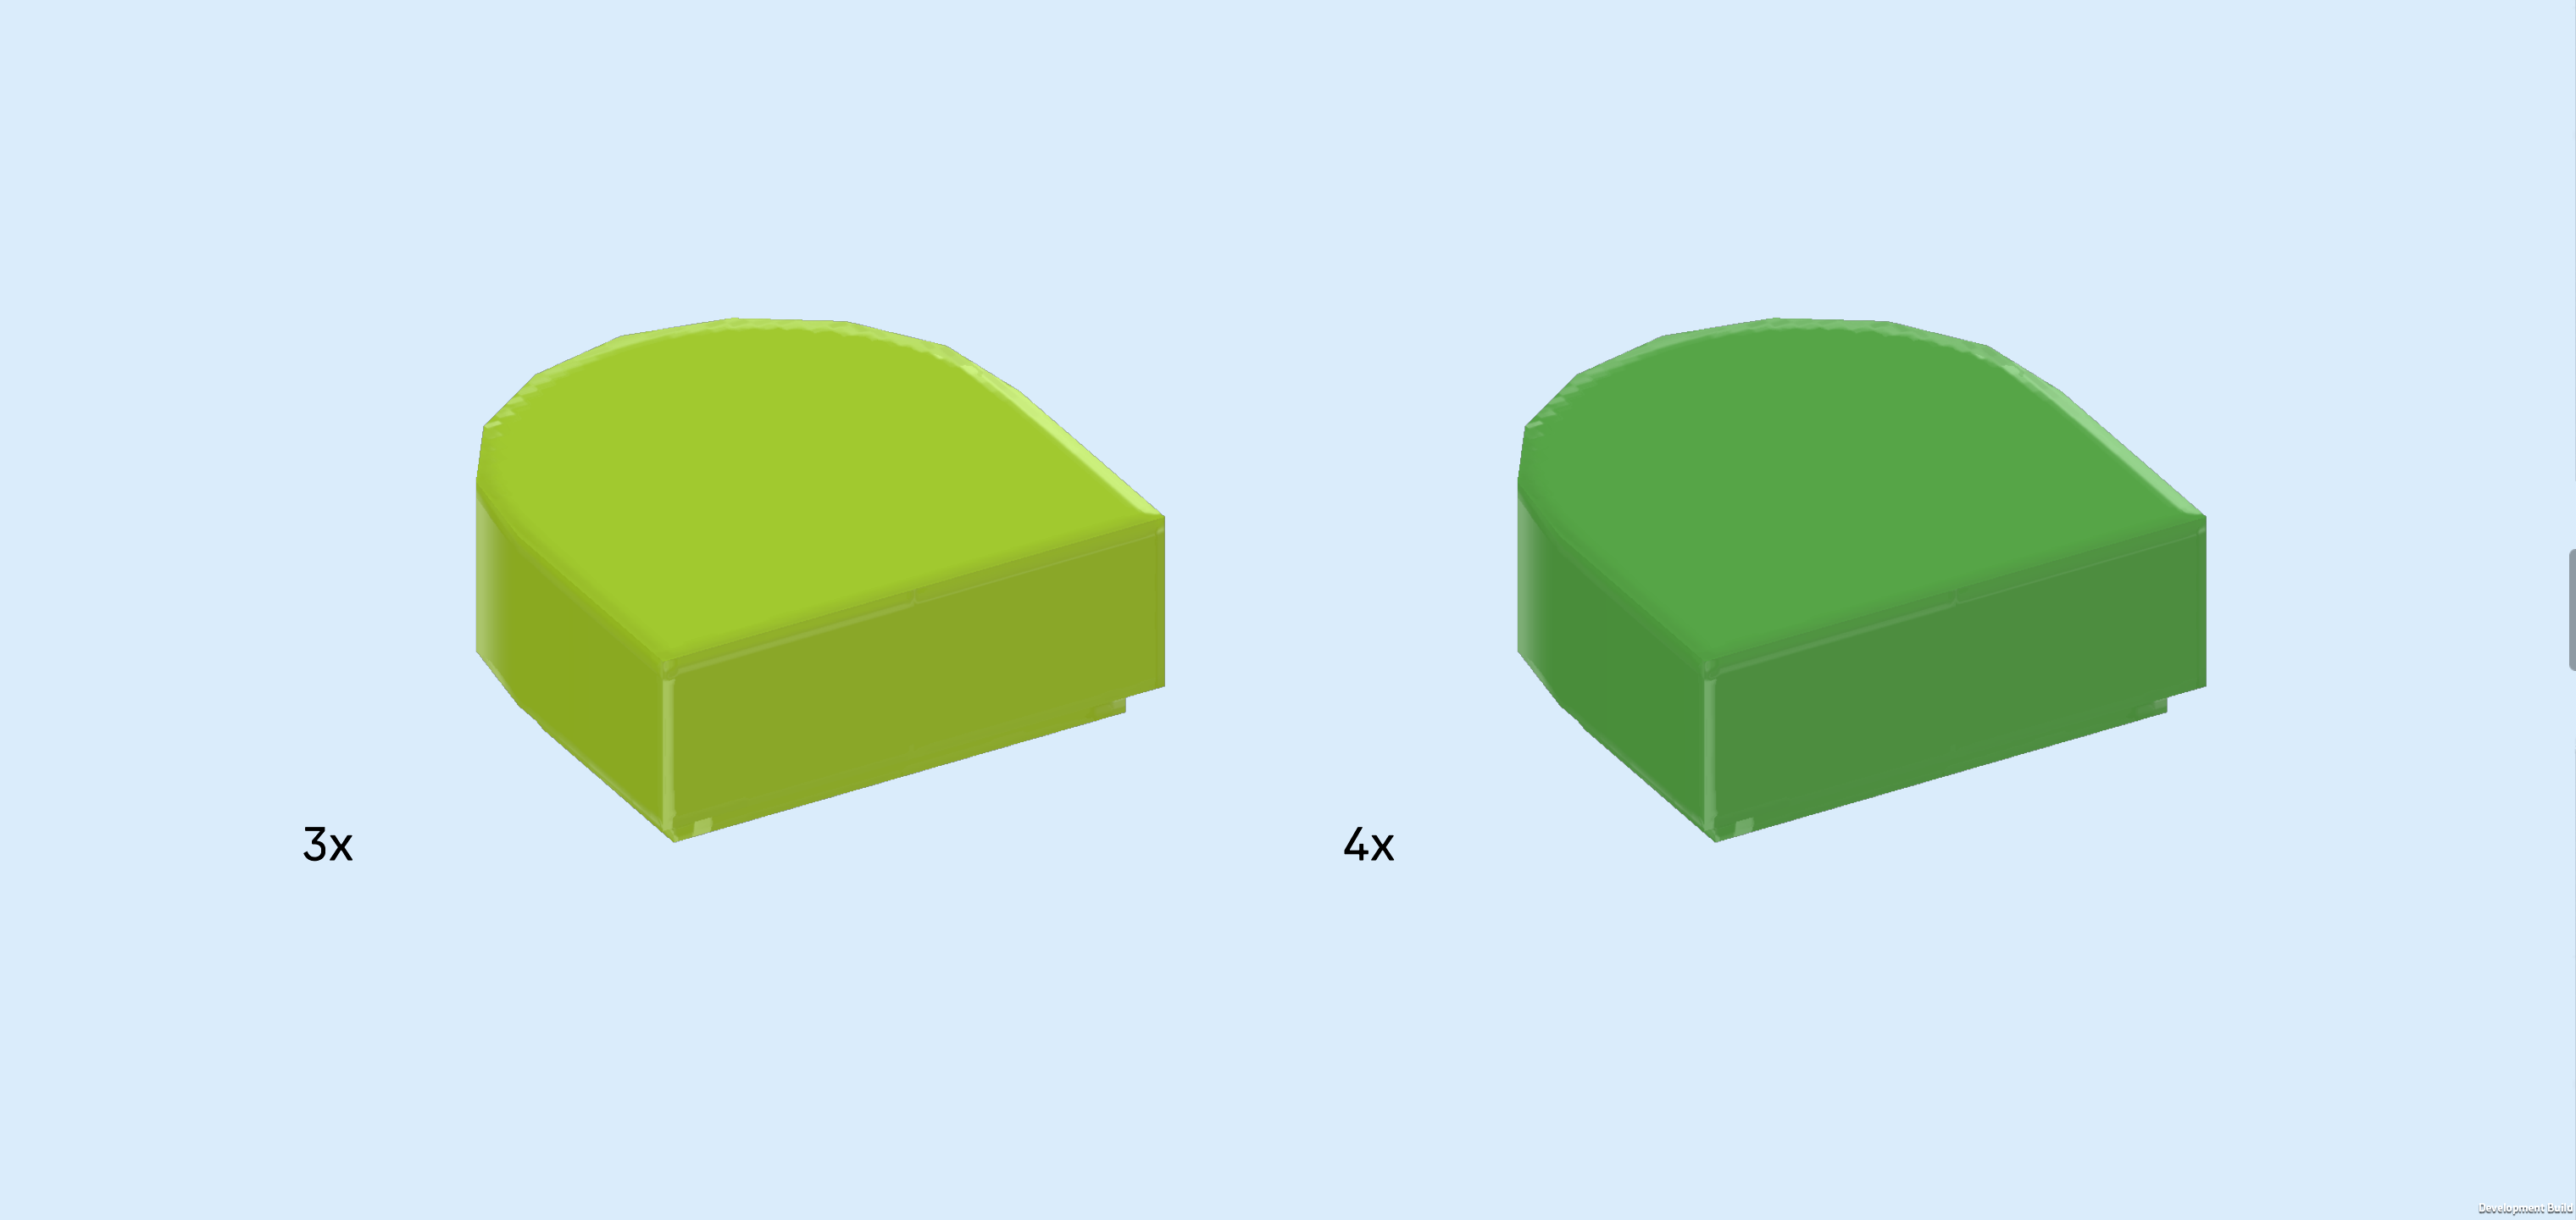
| Collect the following 7 pieces: |
| 3 bright yellowish green half-circle tiles 1x1, |
| and 4 bright green half-circle tiles 1x1. |
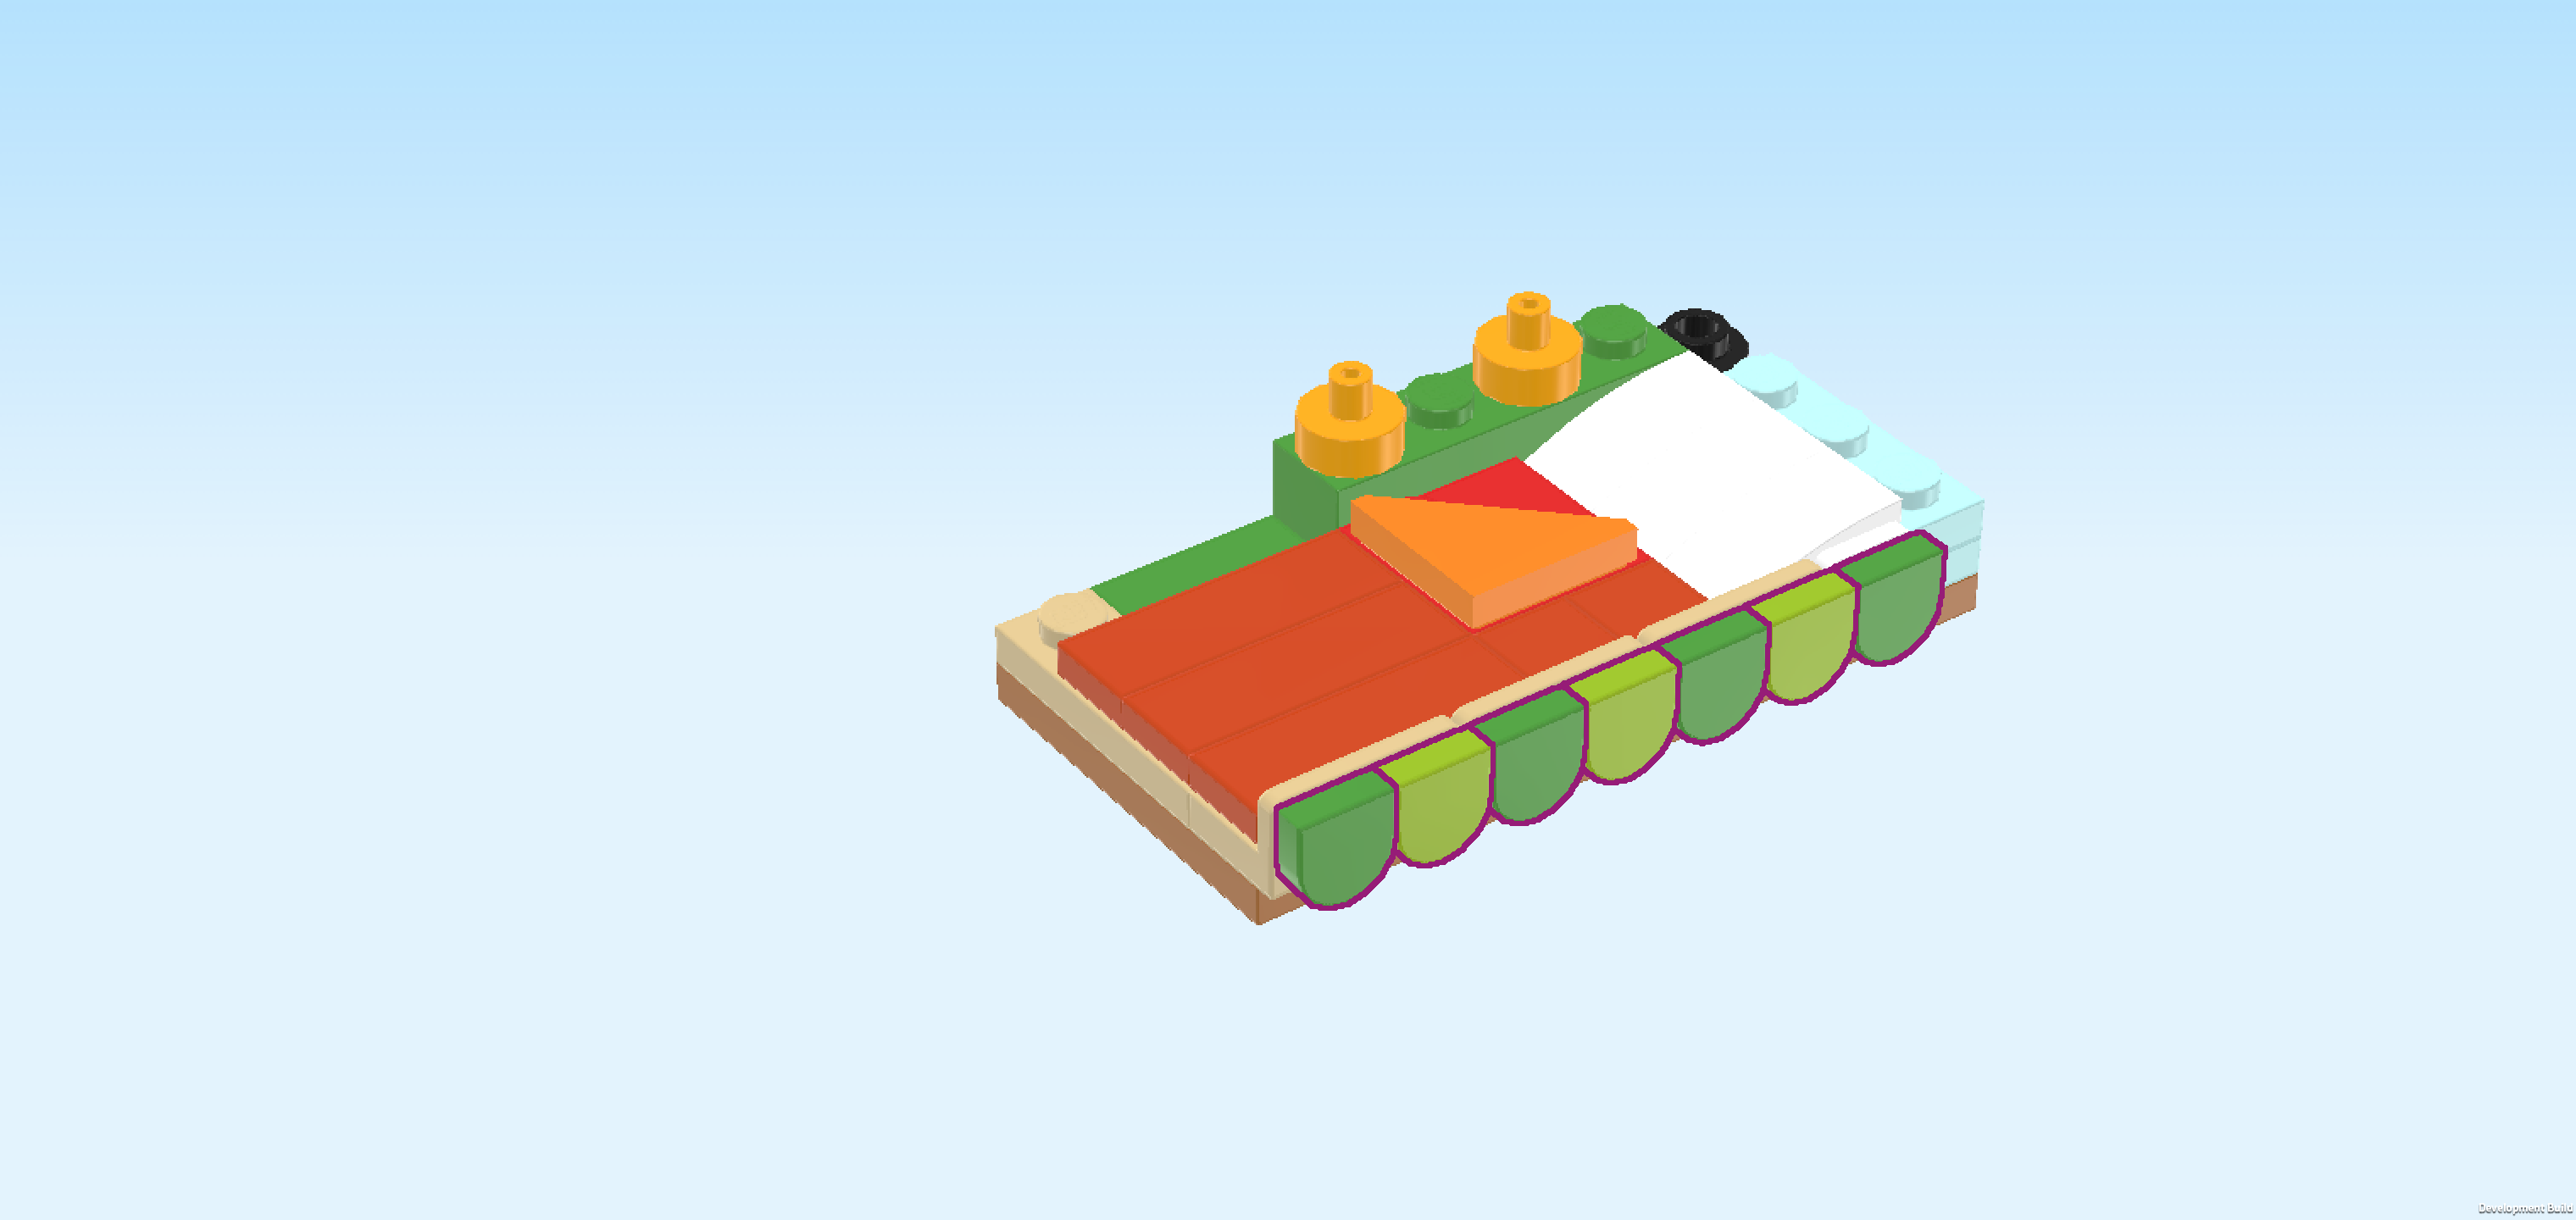
| Flip 1 bright green half-circle tile upright so that its smooth surface is towards you and the half circle is pointing to the bottom. Then mount it on the leftmost side knob pointing to the front. |
| We will mount the remaining 6 pieces in the same orientation, colors alternating. Continue for detailed instructions. |
| Put 1 bright yellowish green half-circle tile upright to the right of the previous piece, half circle to the bottom. |
| Put 1 bright green half-circle tile to the right of the previous piece, half circle to the bottom. |
| Put 1 bright yellowish green half-circle tile to the right of the previous piece, half circle to the bottom. |
| Put 1 bright green half-circle tile to the right of the previous piece, half circle to the bottom. |
| Put the last bright yellowish green half-circle tile to the right of the previous piece, half circle to the bottom. |
| Put the remaining bright green half-circle tile to the right of the previous piece, half circle to the bottom. |
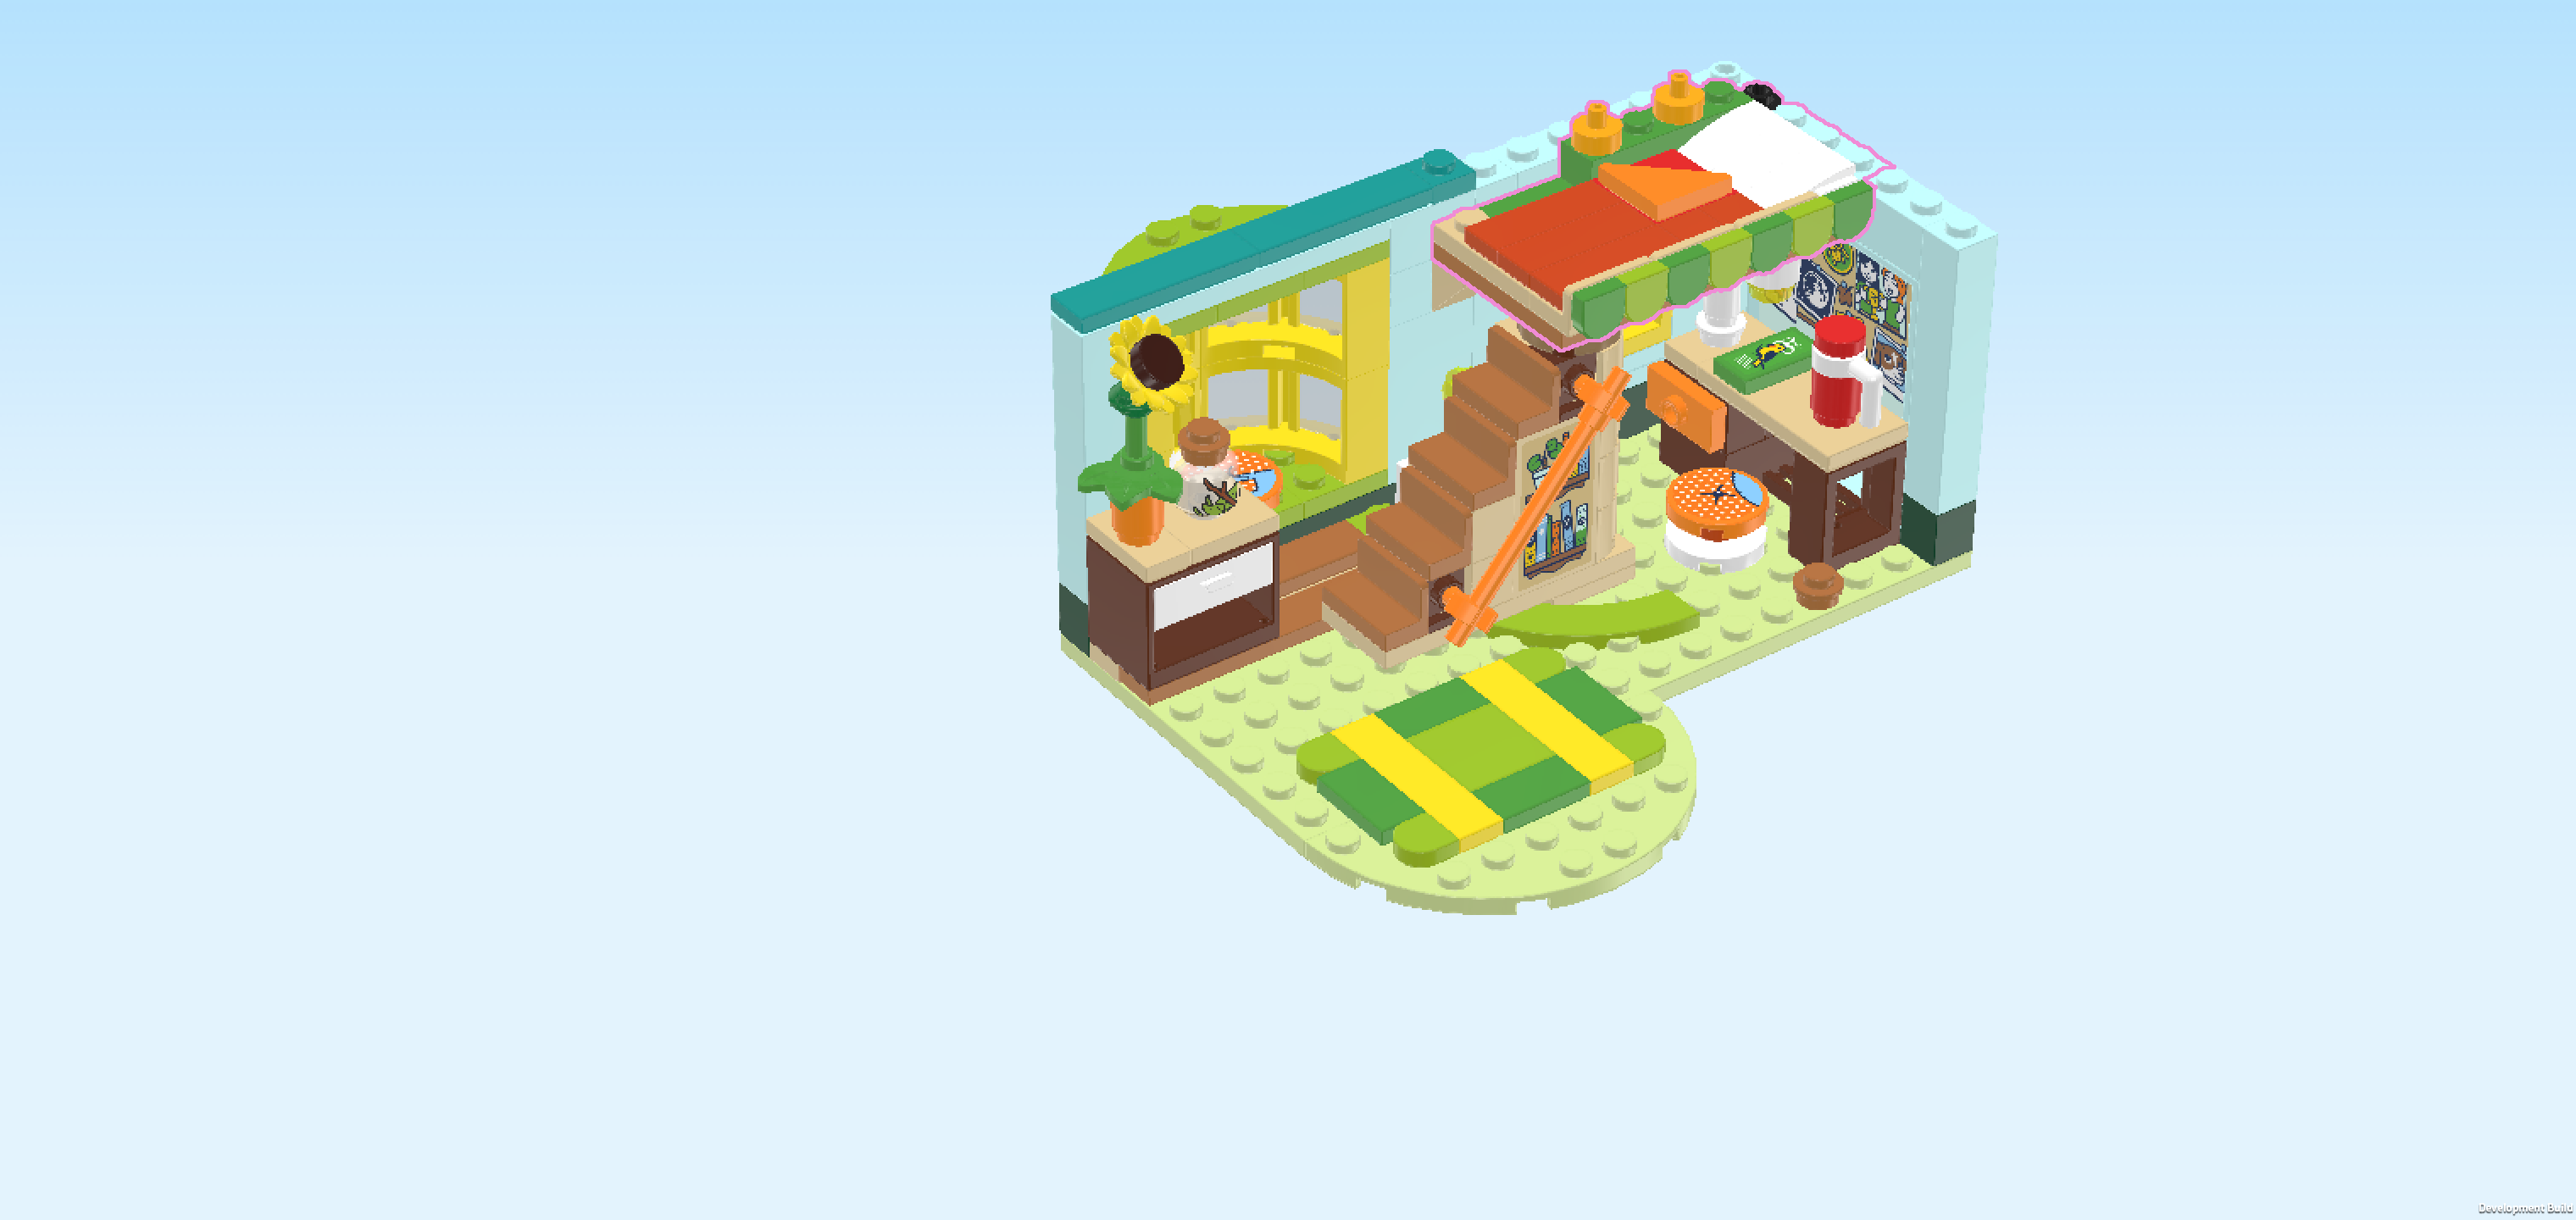
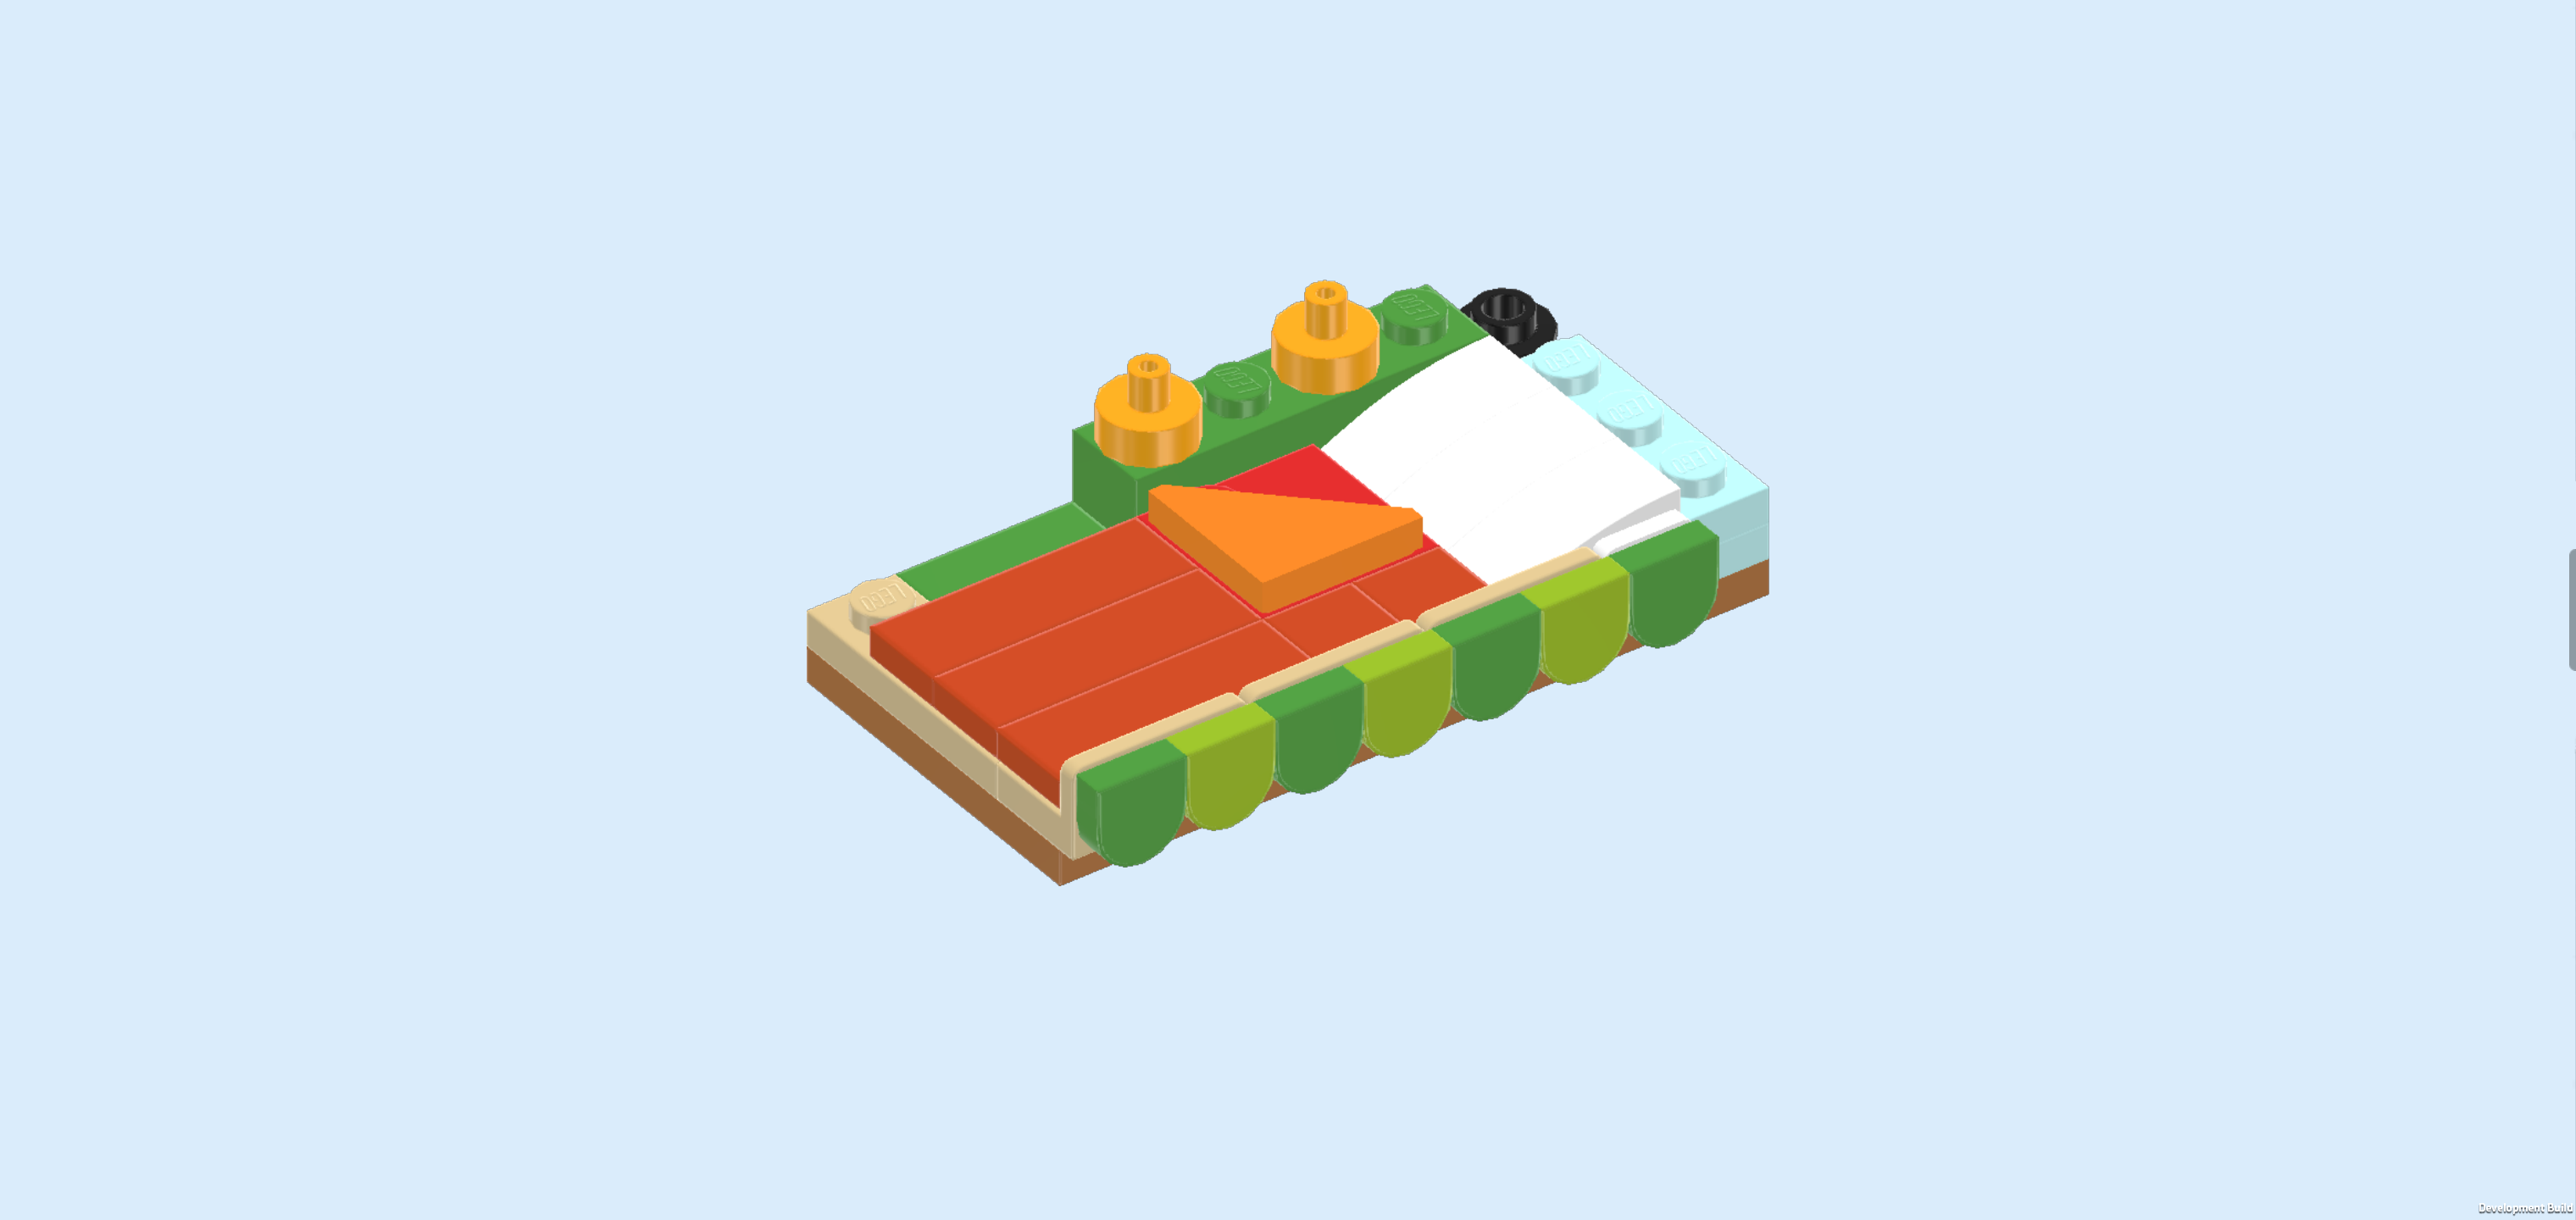
| The loft bed is finished! Great job! Keep its building orientation, and mount its rightmost column on the back half of the right side wall. Its back left corner will connect to the mounting extension on the back wall, and it will also rest on the top plate of the staircase. If done correctly, you should still be able to swing out the staircase smoothly. |
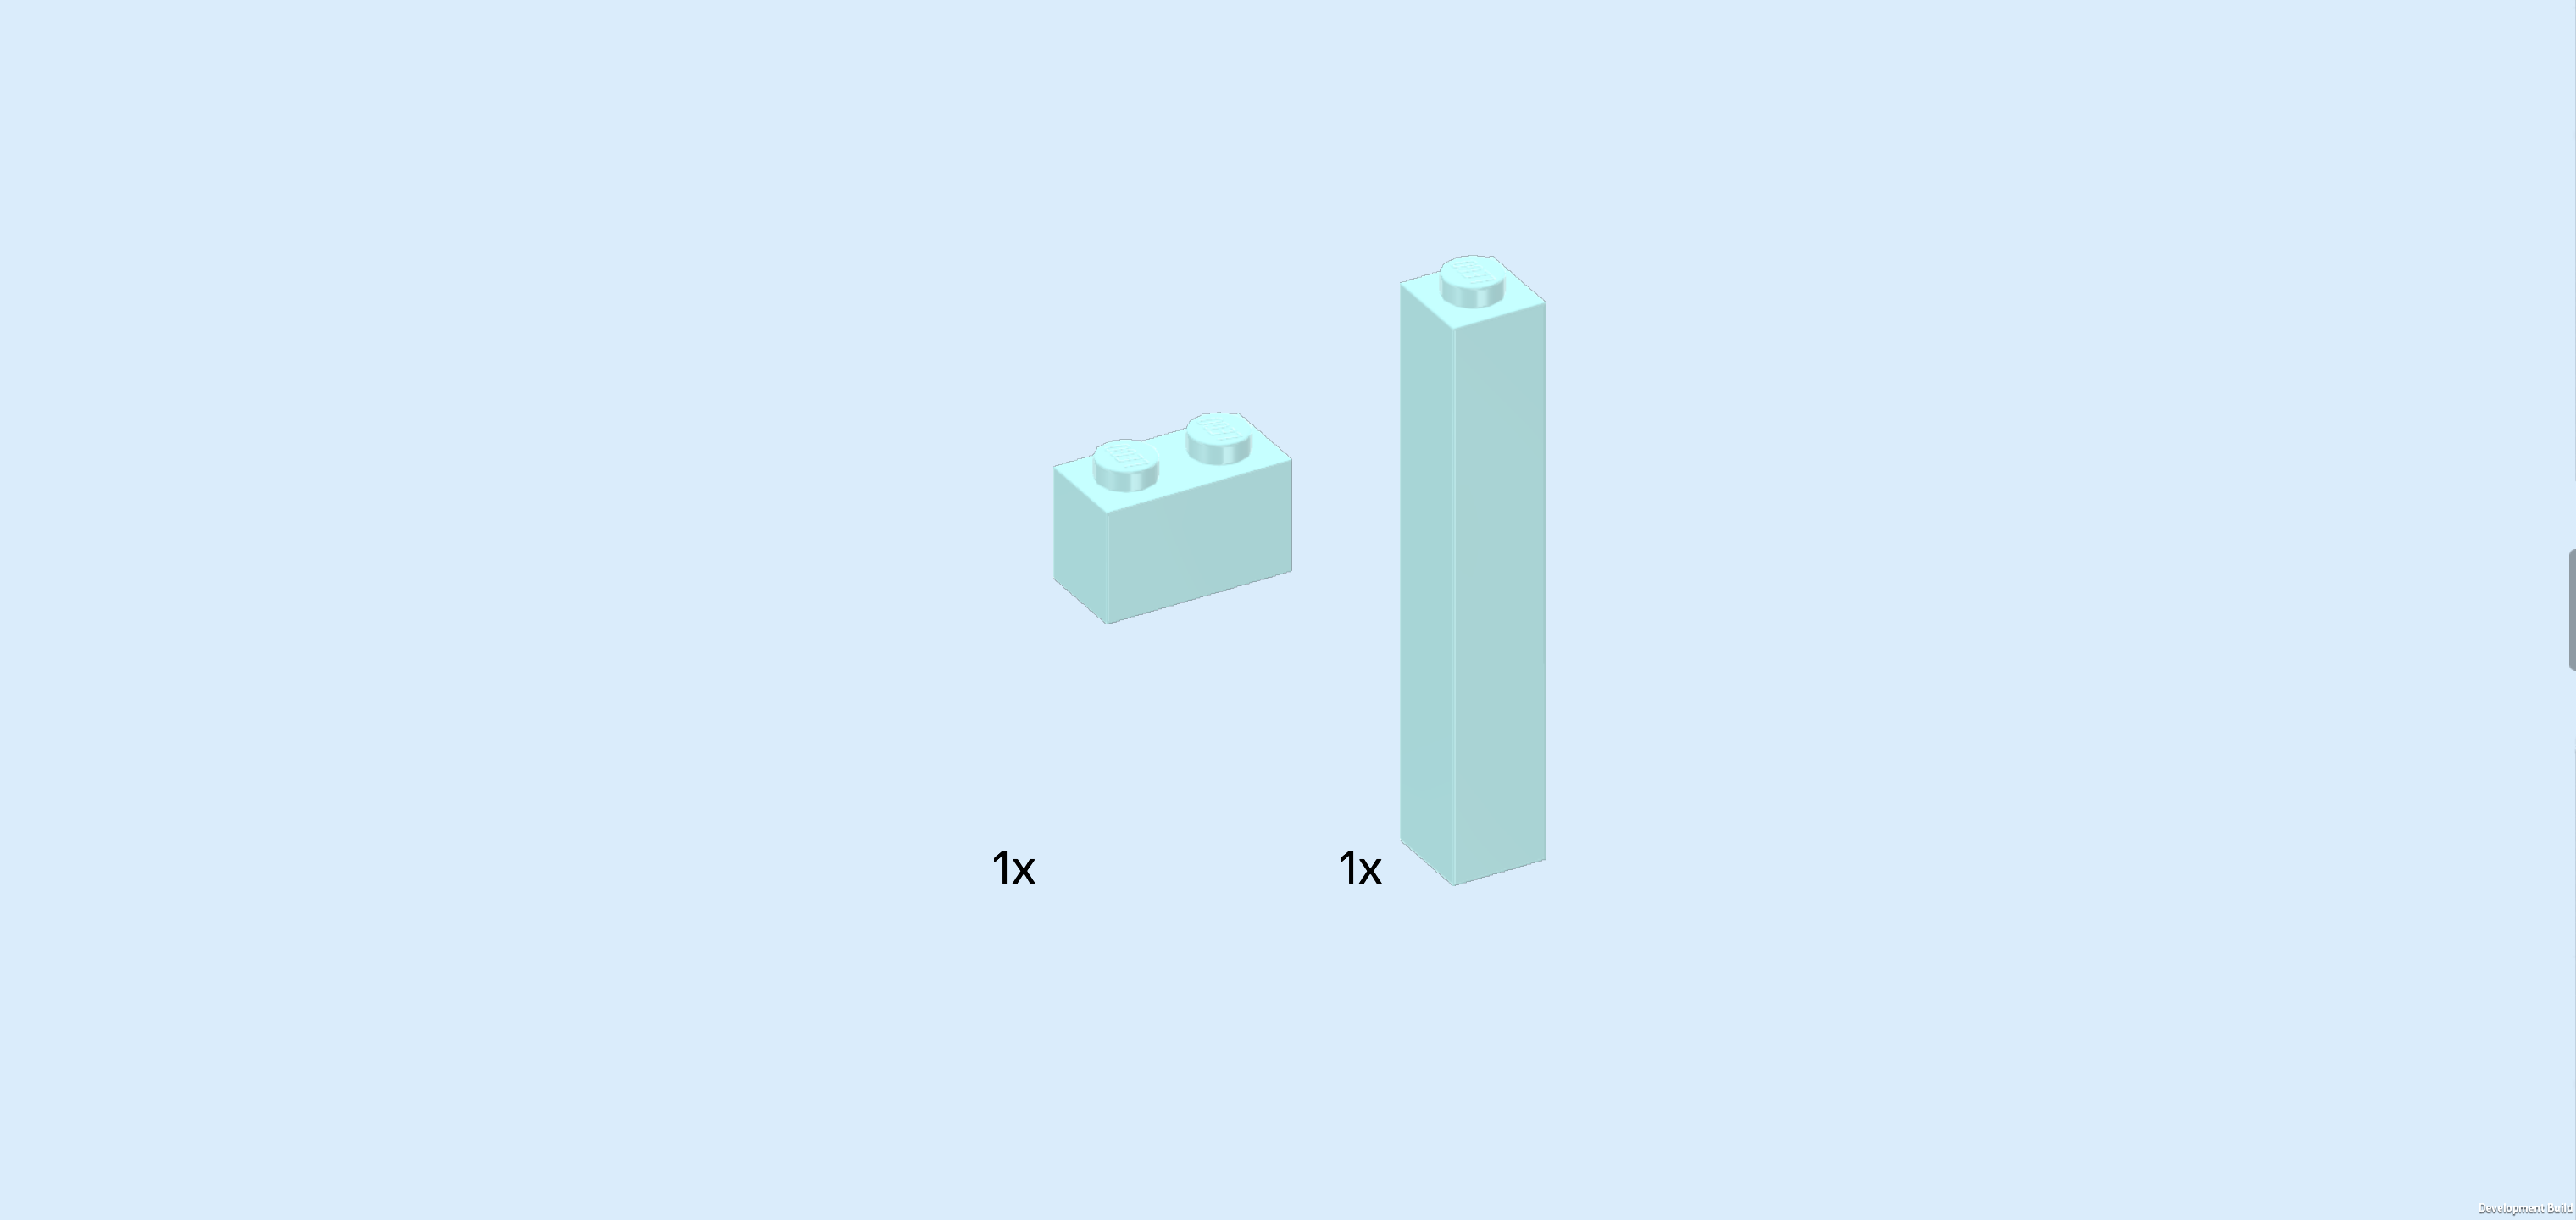
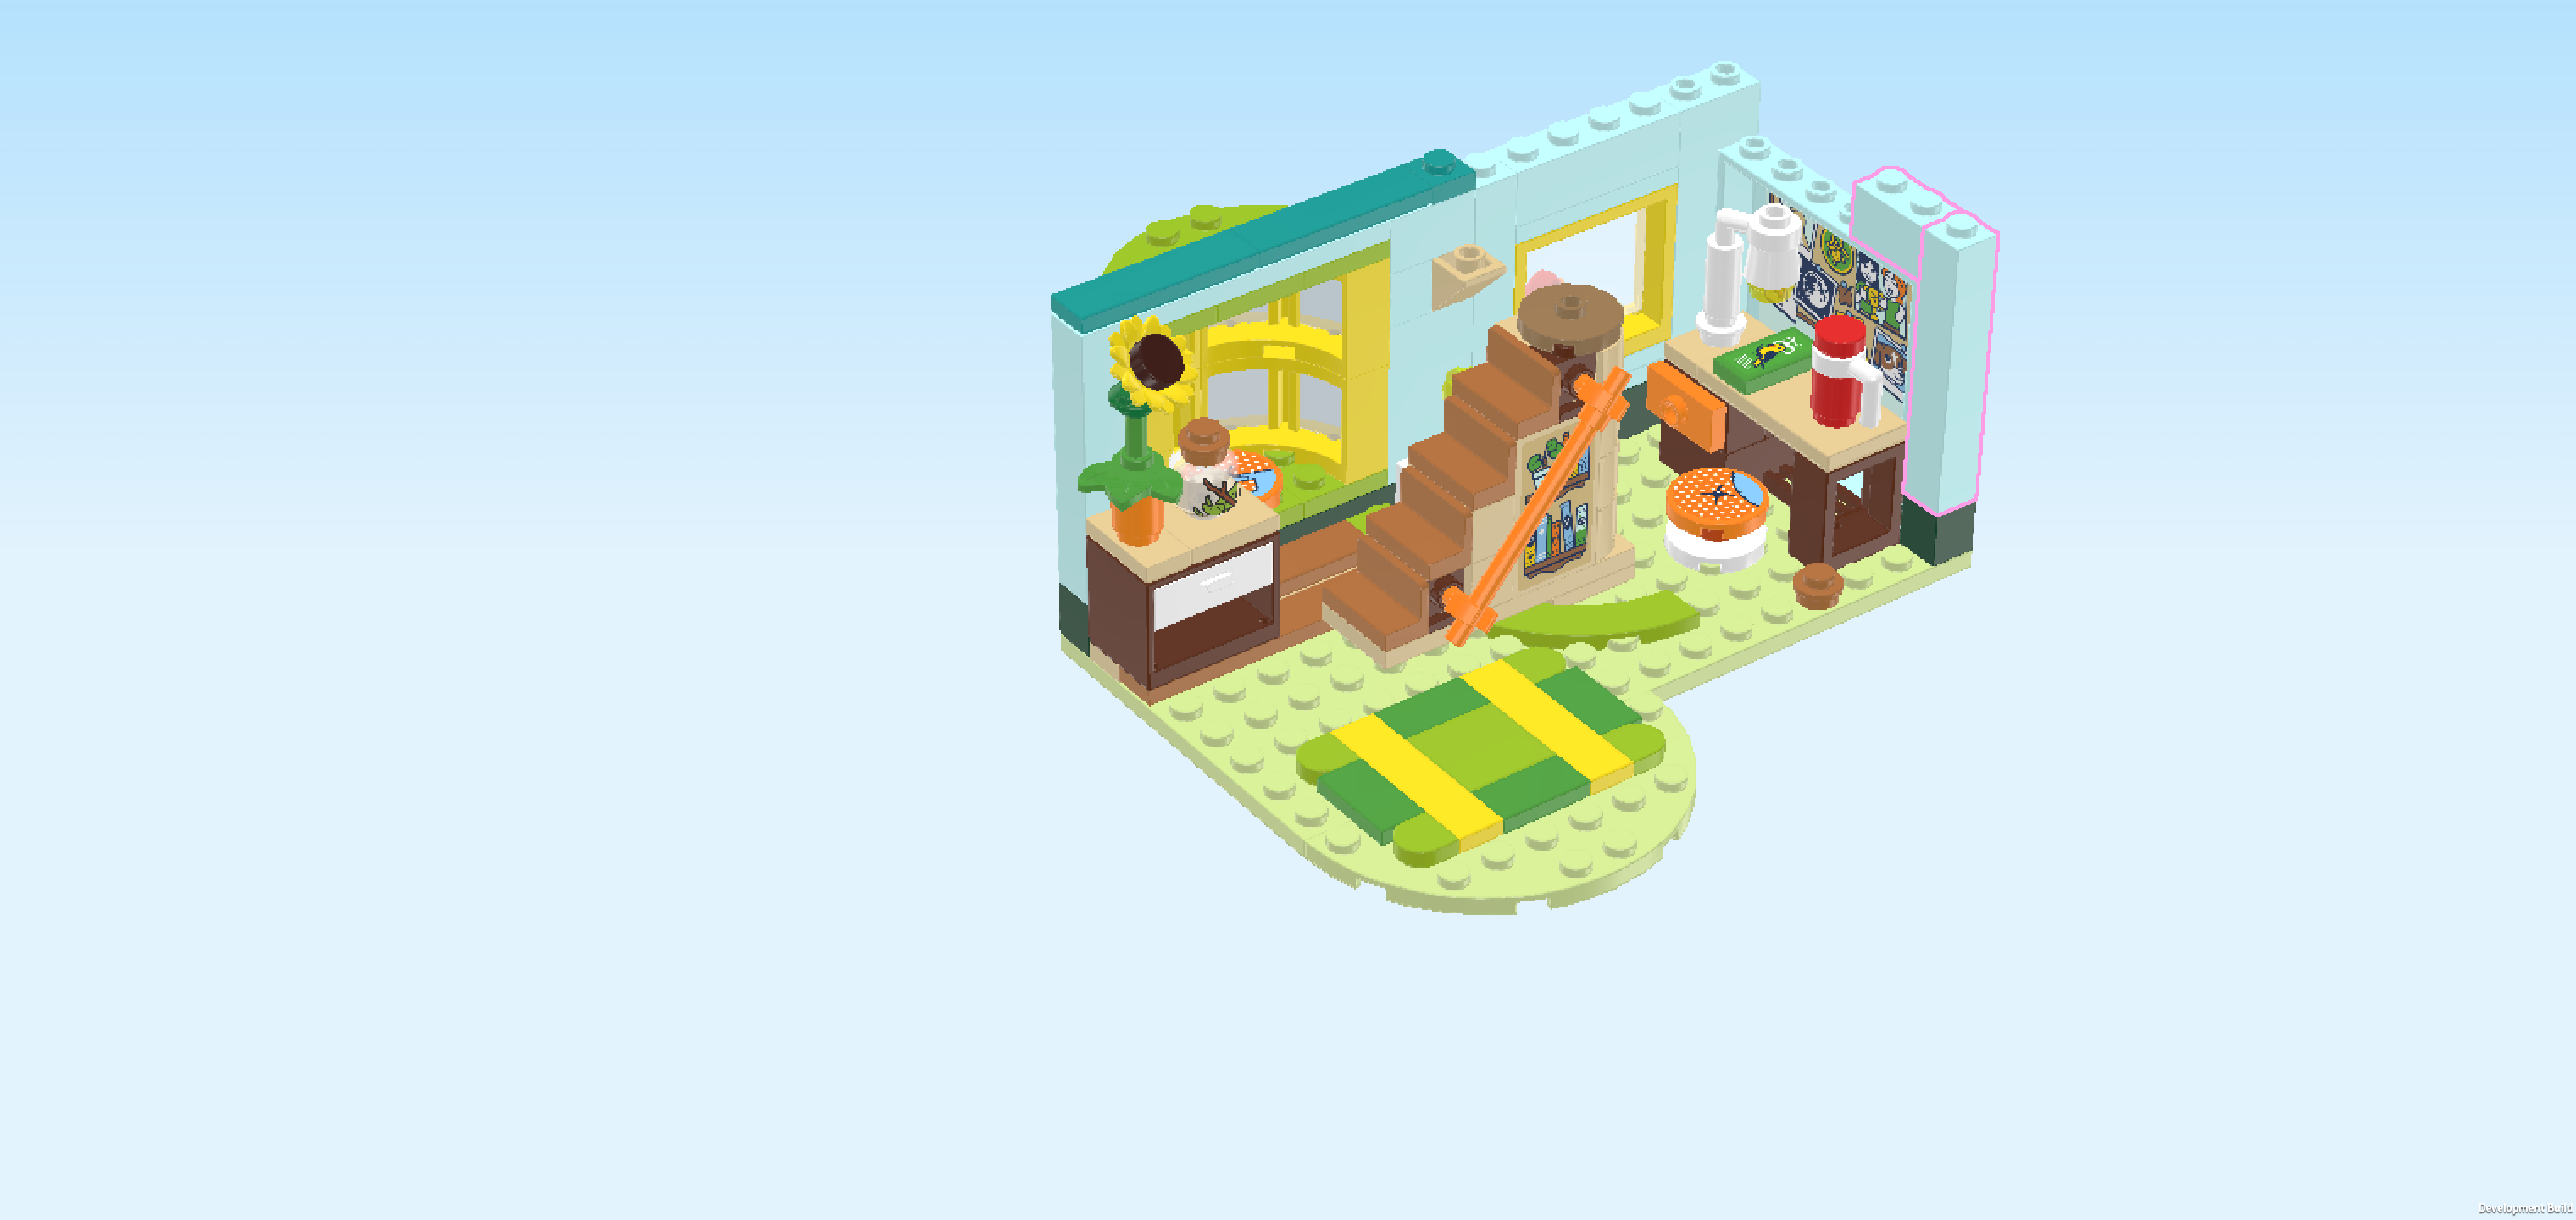
| Collect the following 4 pieces: |
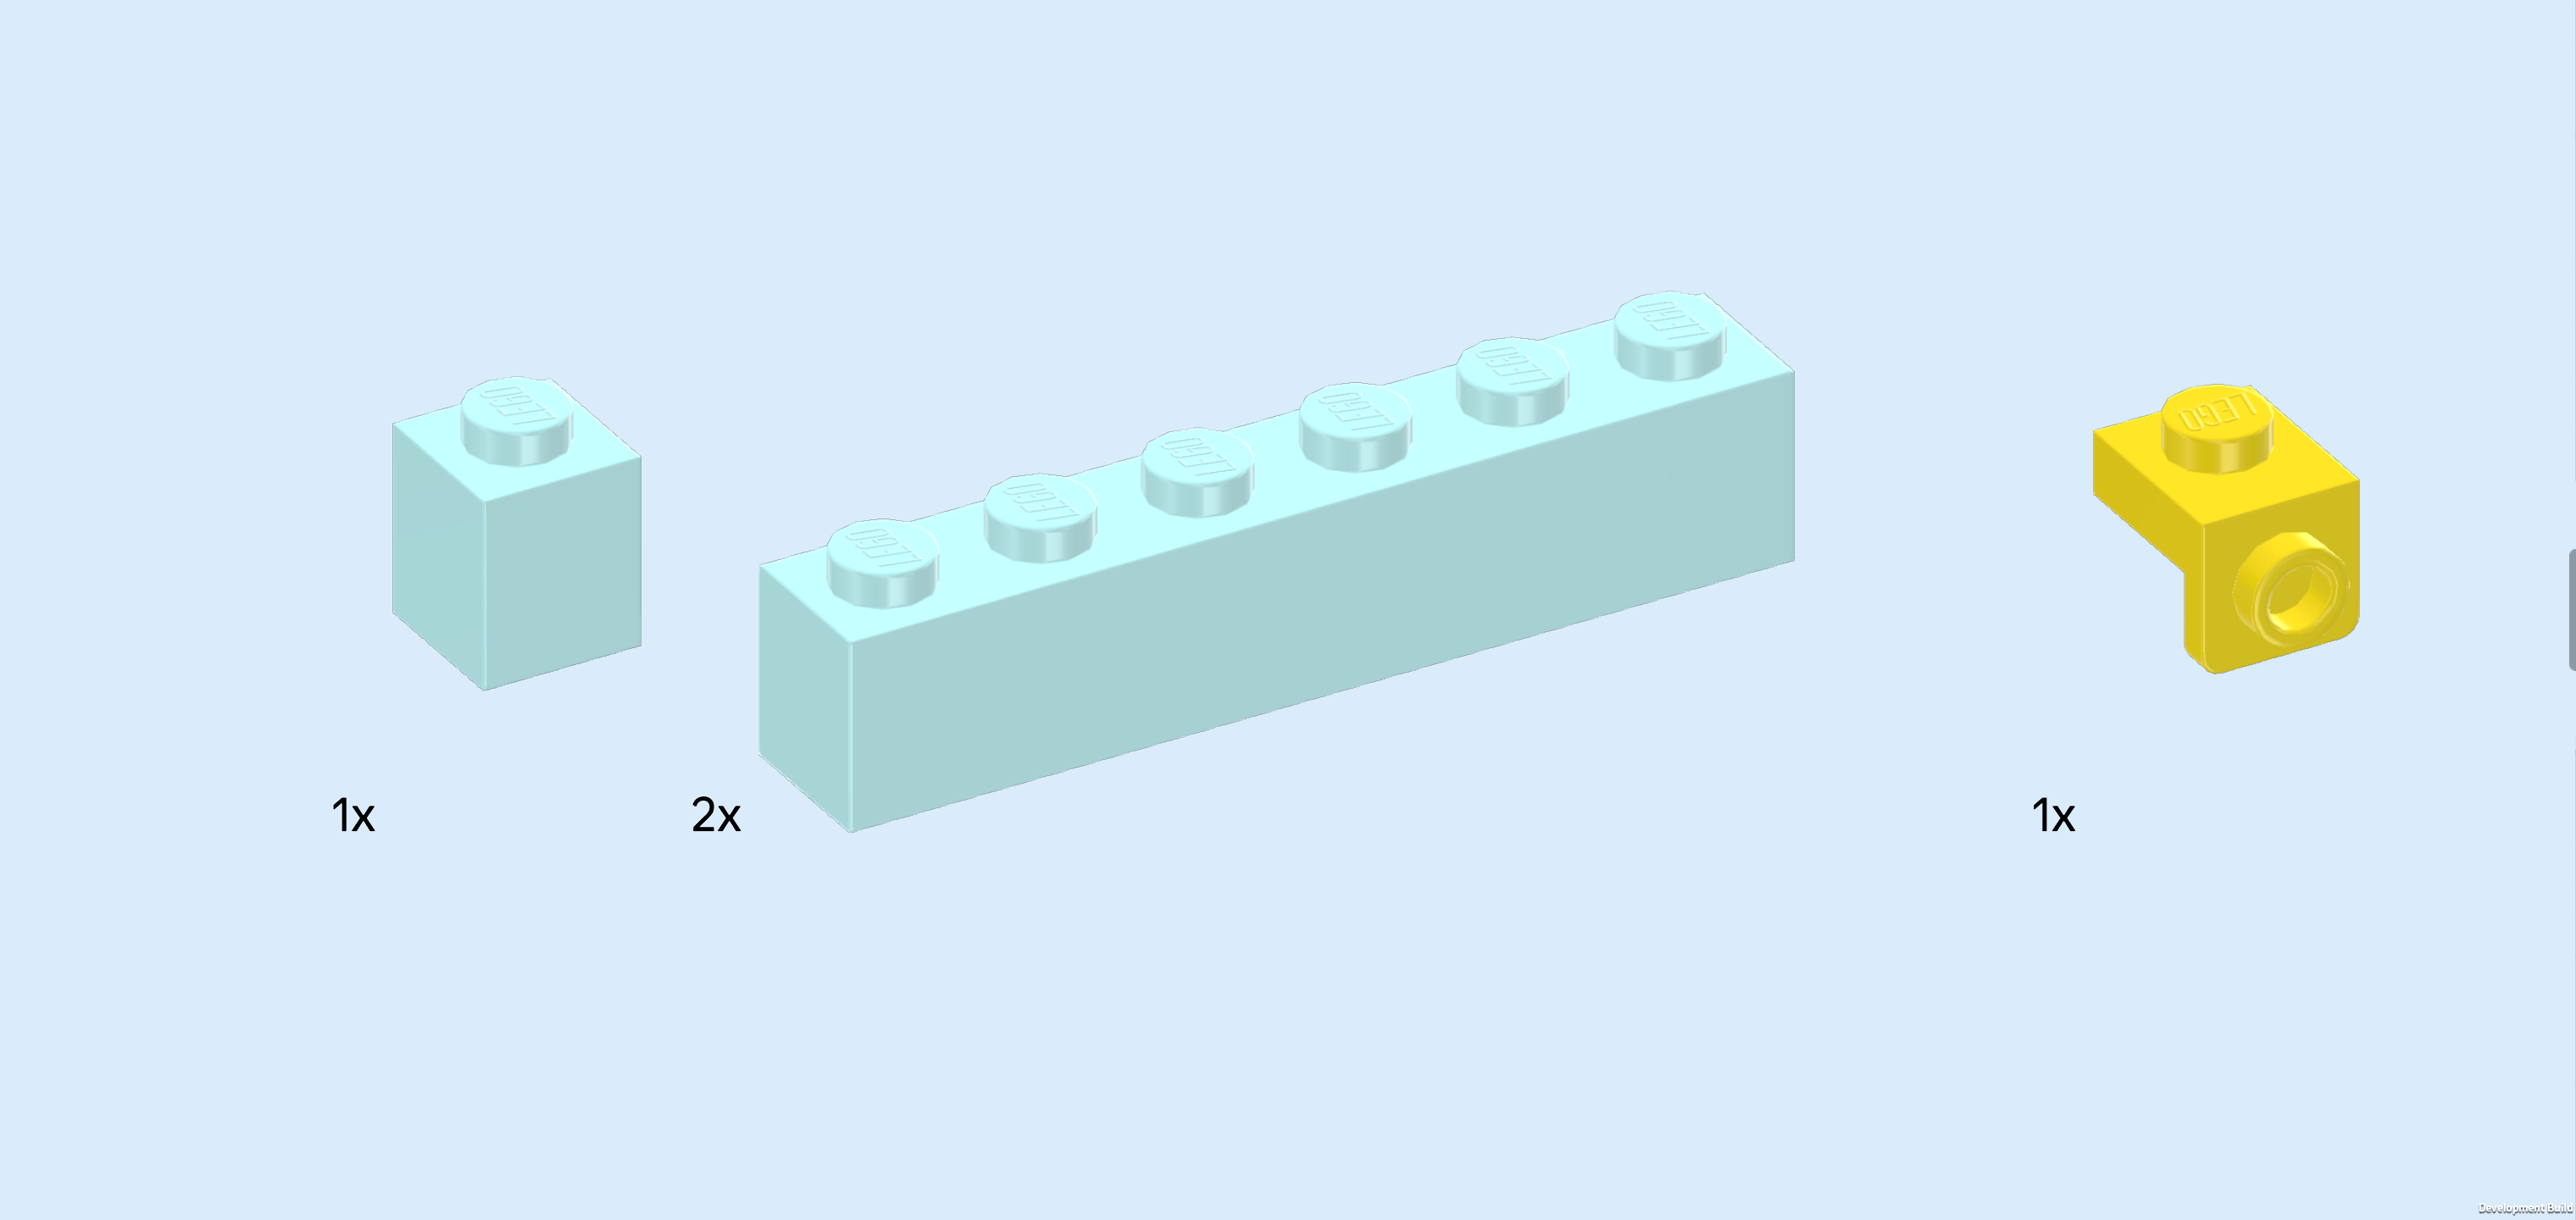
| 1 aqua blue brick 1x1, |
| 2 aqua blue bricks 1x6, |
| and 1 bright yellow top angle plate 1x1 - 1x1 with side knob. |
| Put the top angle plate 1x1 on the frontmost knob of the right side wall, side knob to the front. |
| Put the brick 1x1 behind the previous piece. |
| Put 1 brick 1x6 vertically behind the previous piece. |
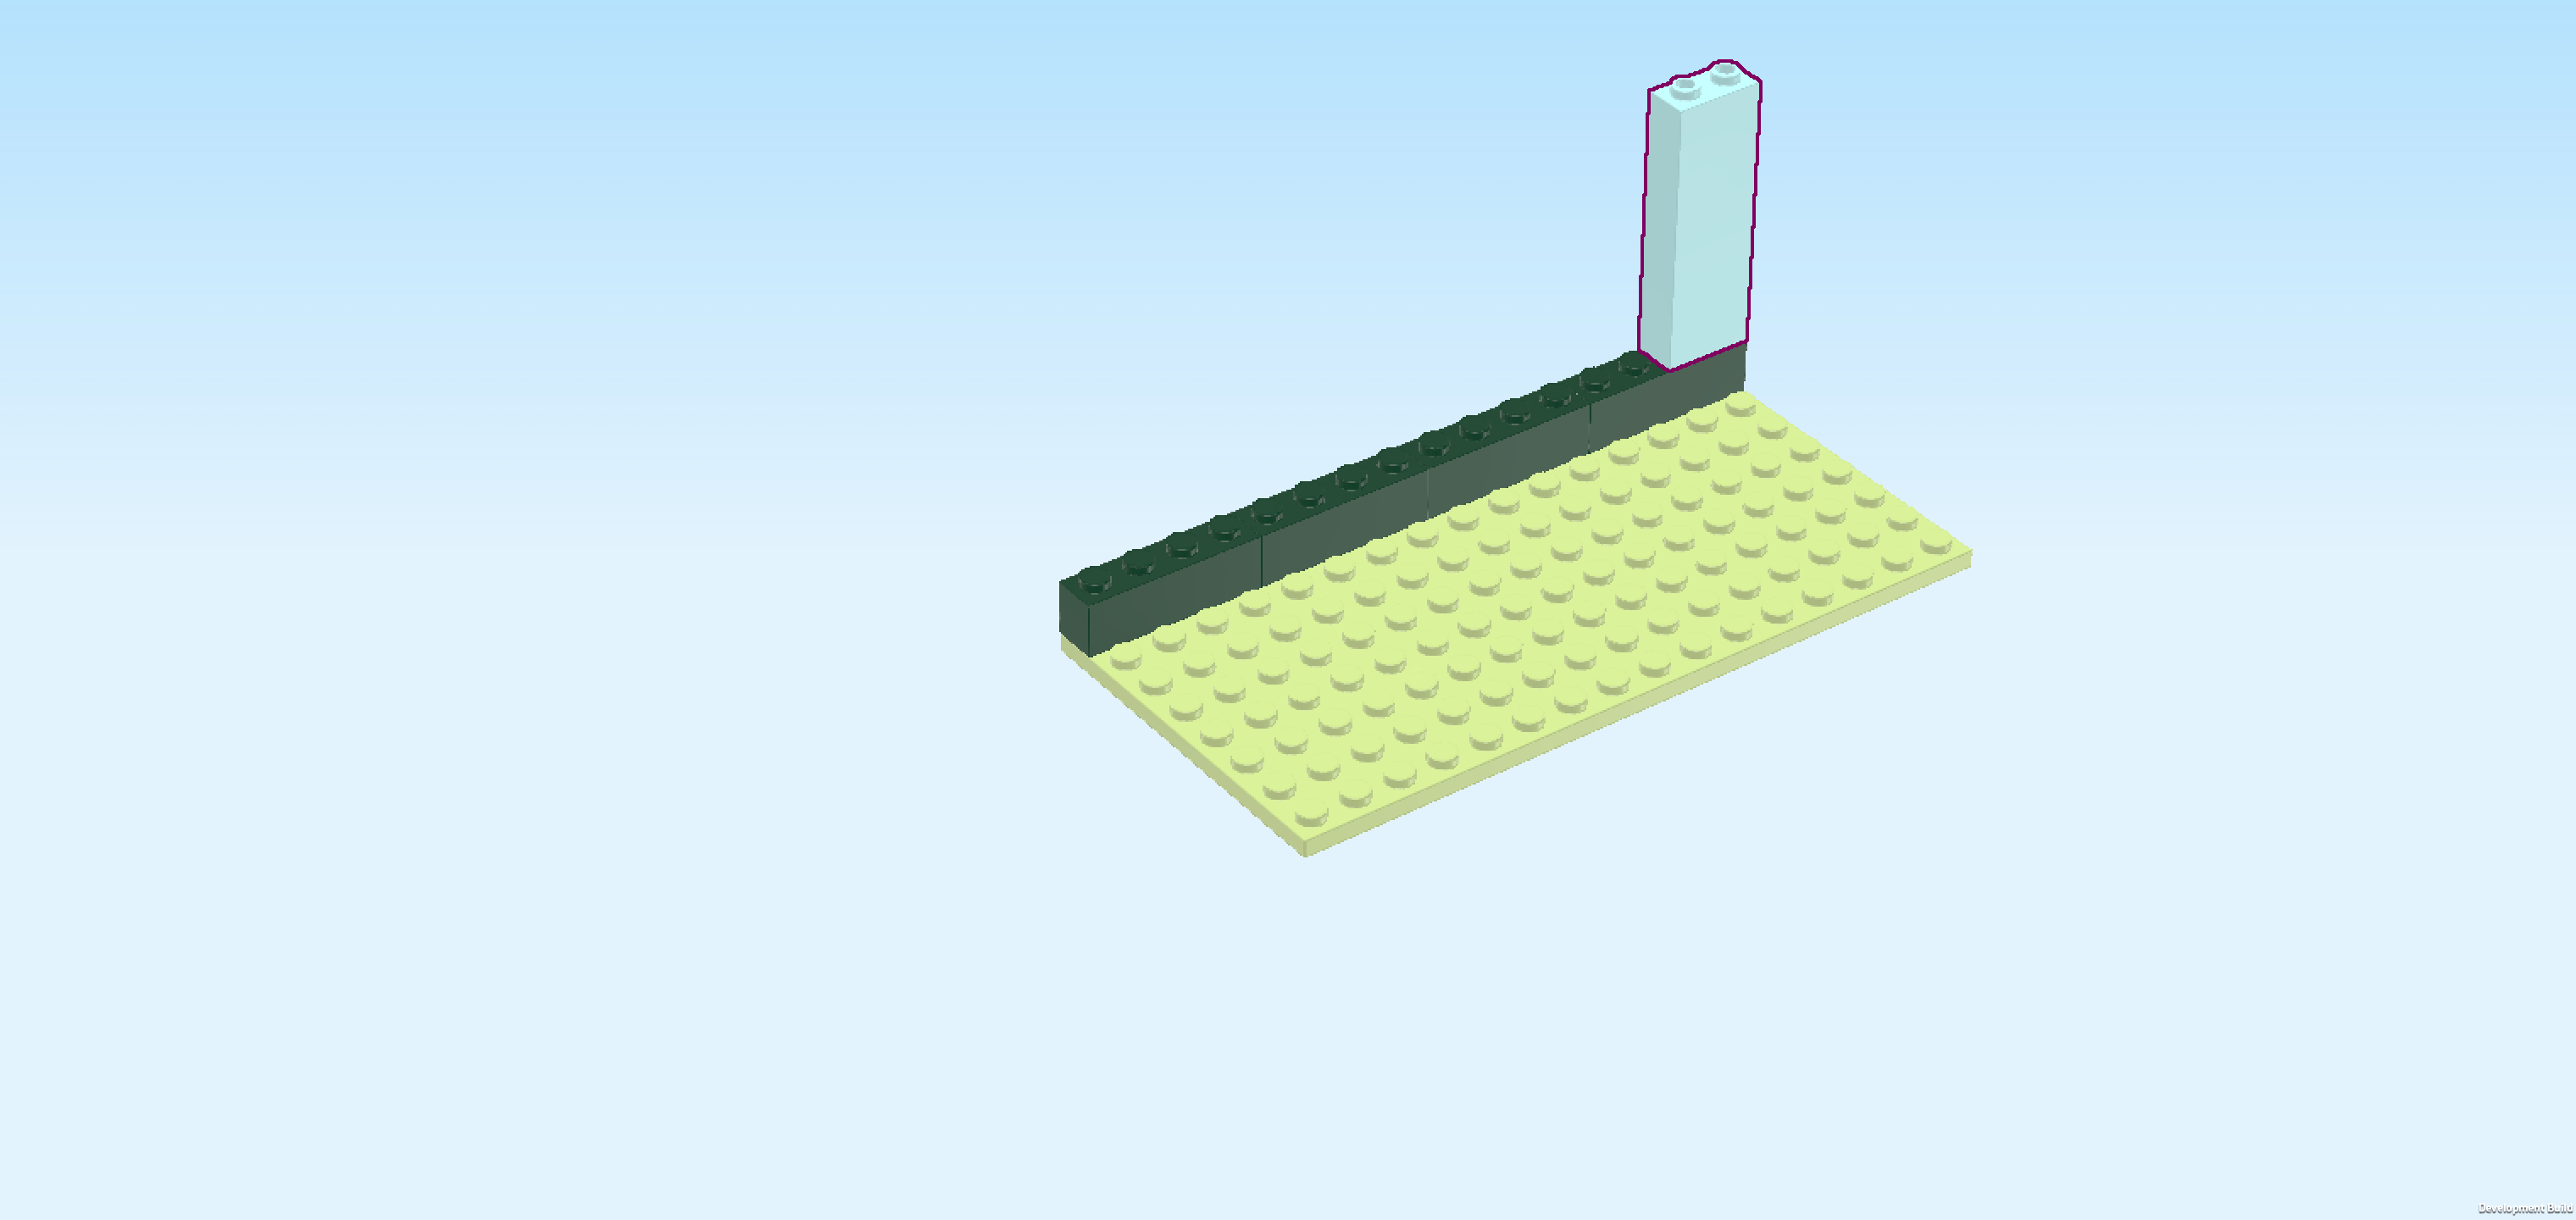
| Put the other brick 1x6 horizontally to the left of the previous piece on the back wall. |
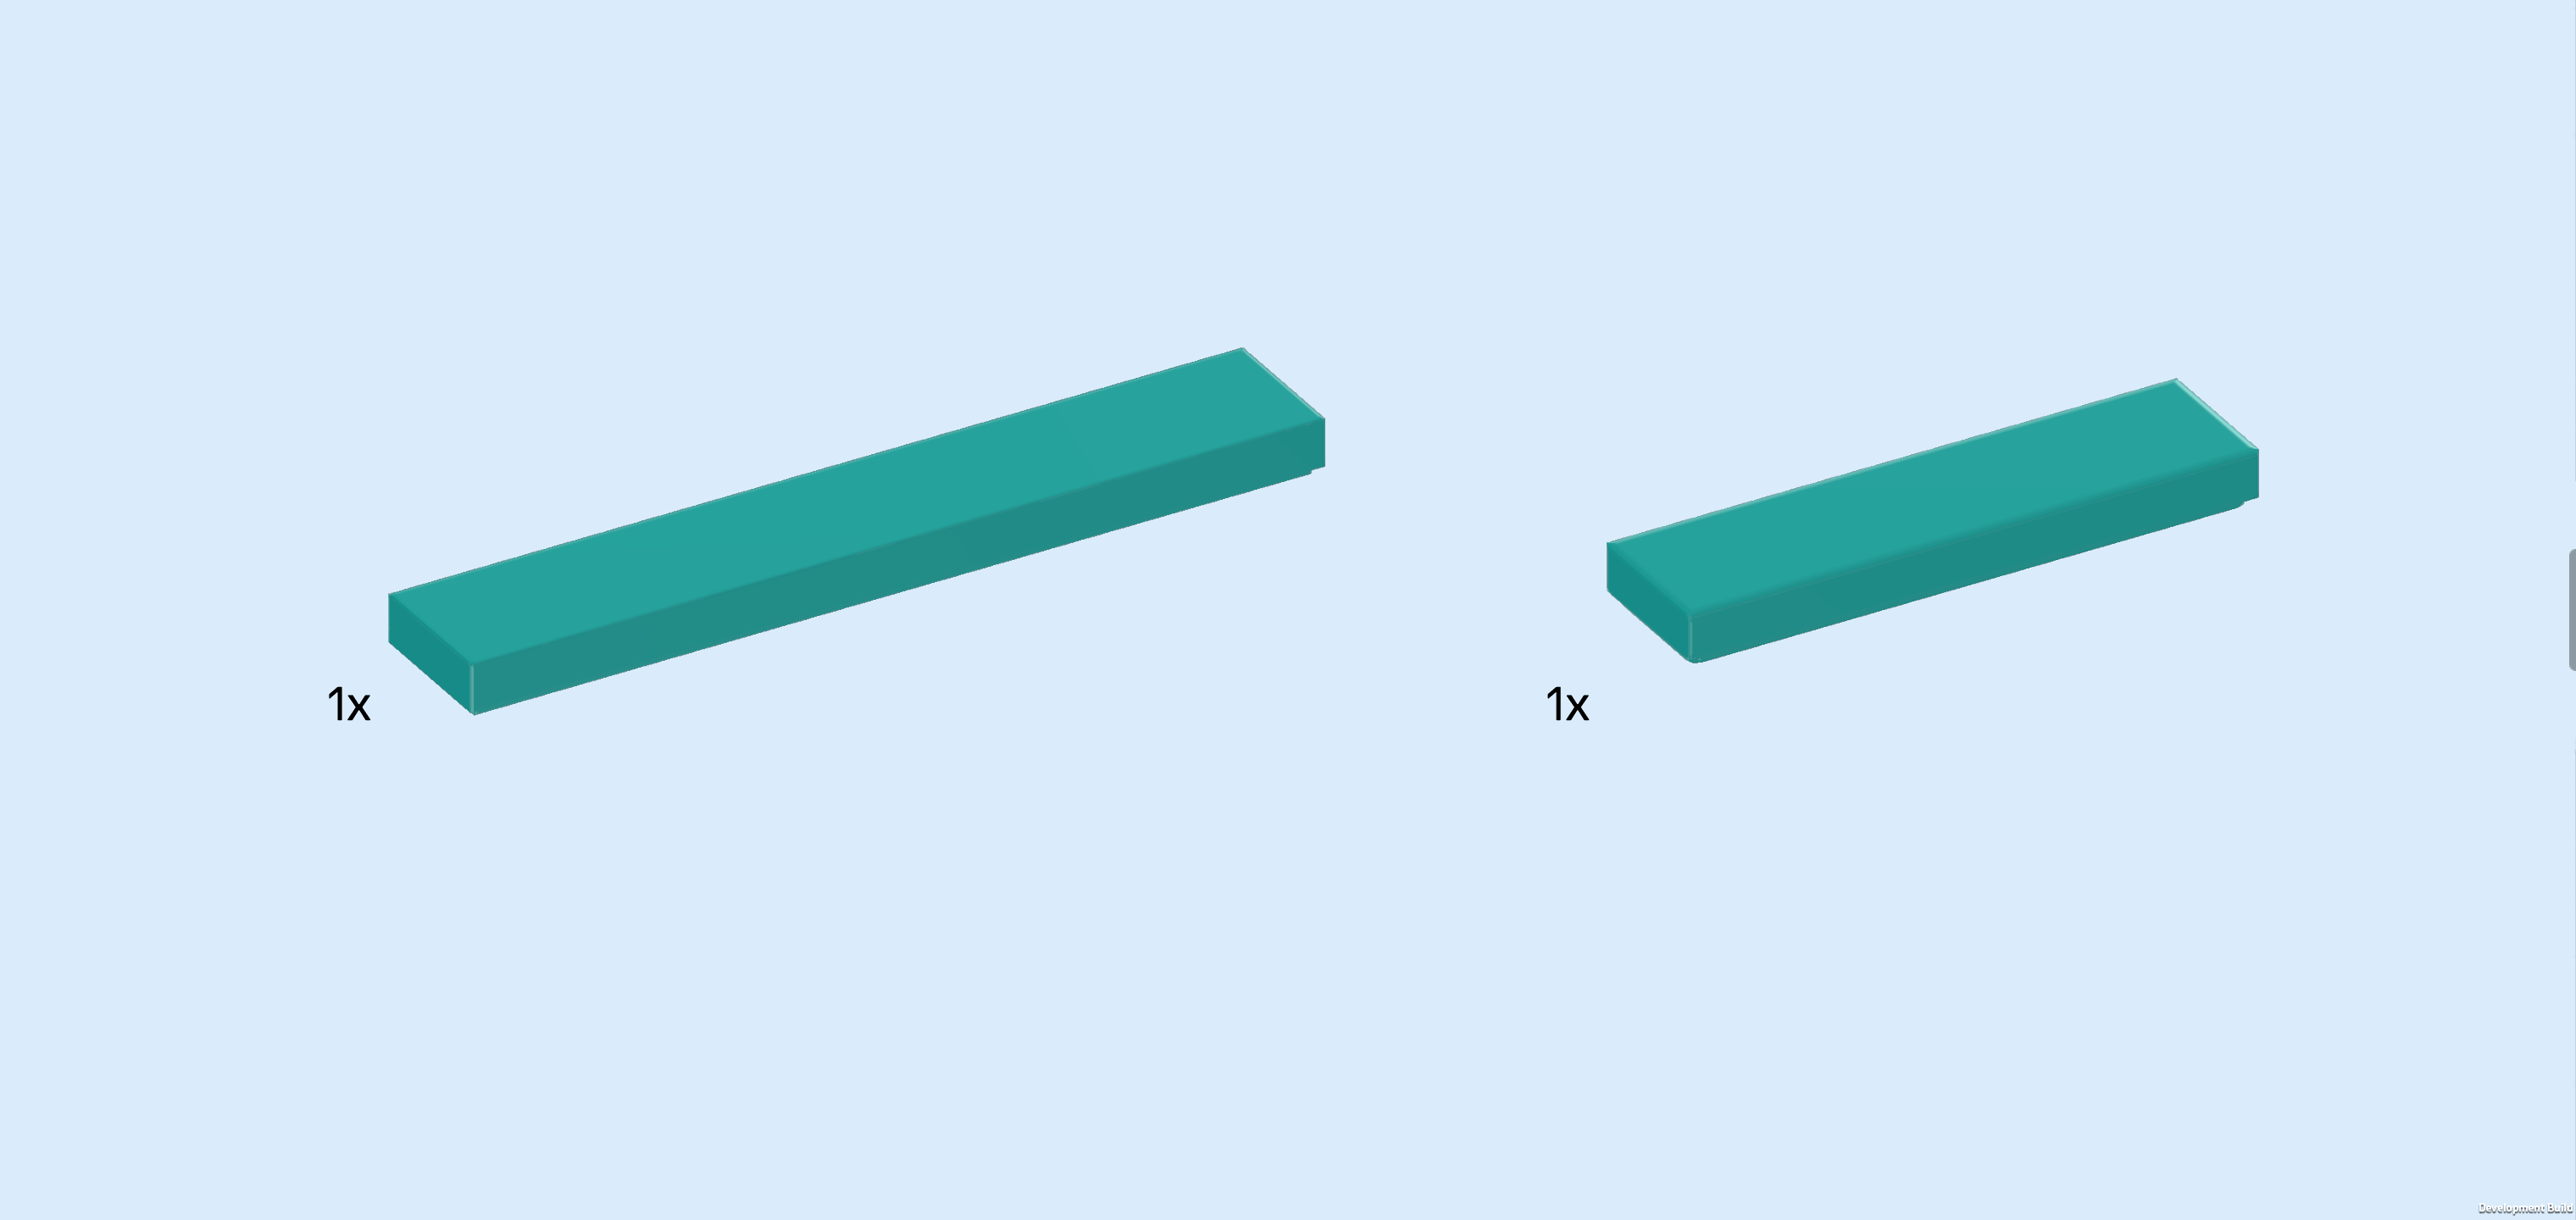
| Collect the following 2 pieces: |
| 1 teal blue flat tile 1x6, |
| and 1 teal blue flat tile 1x4. |
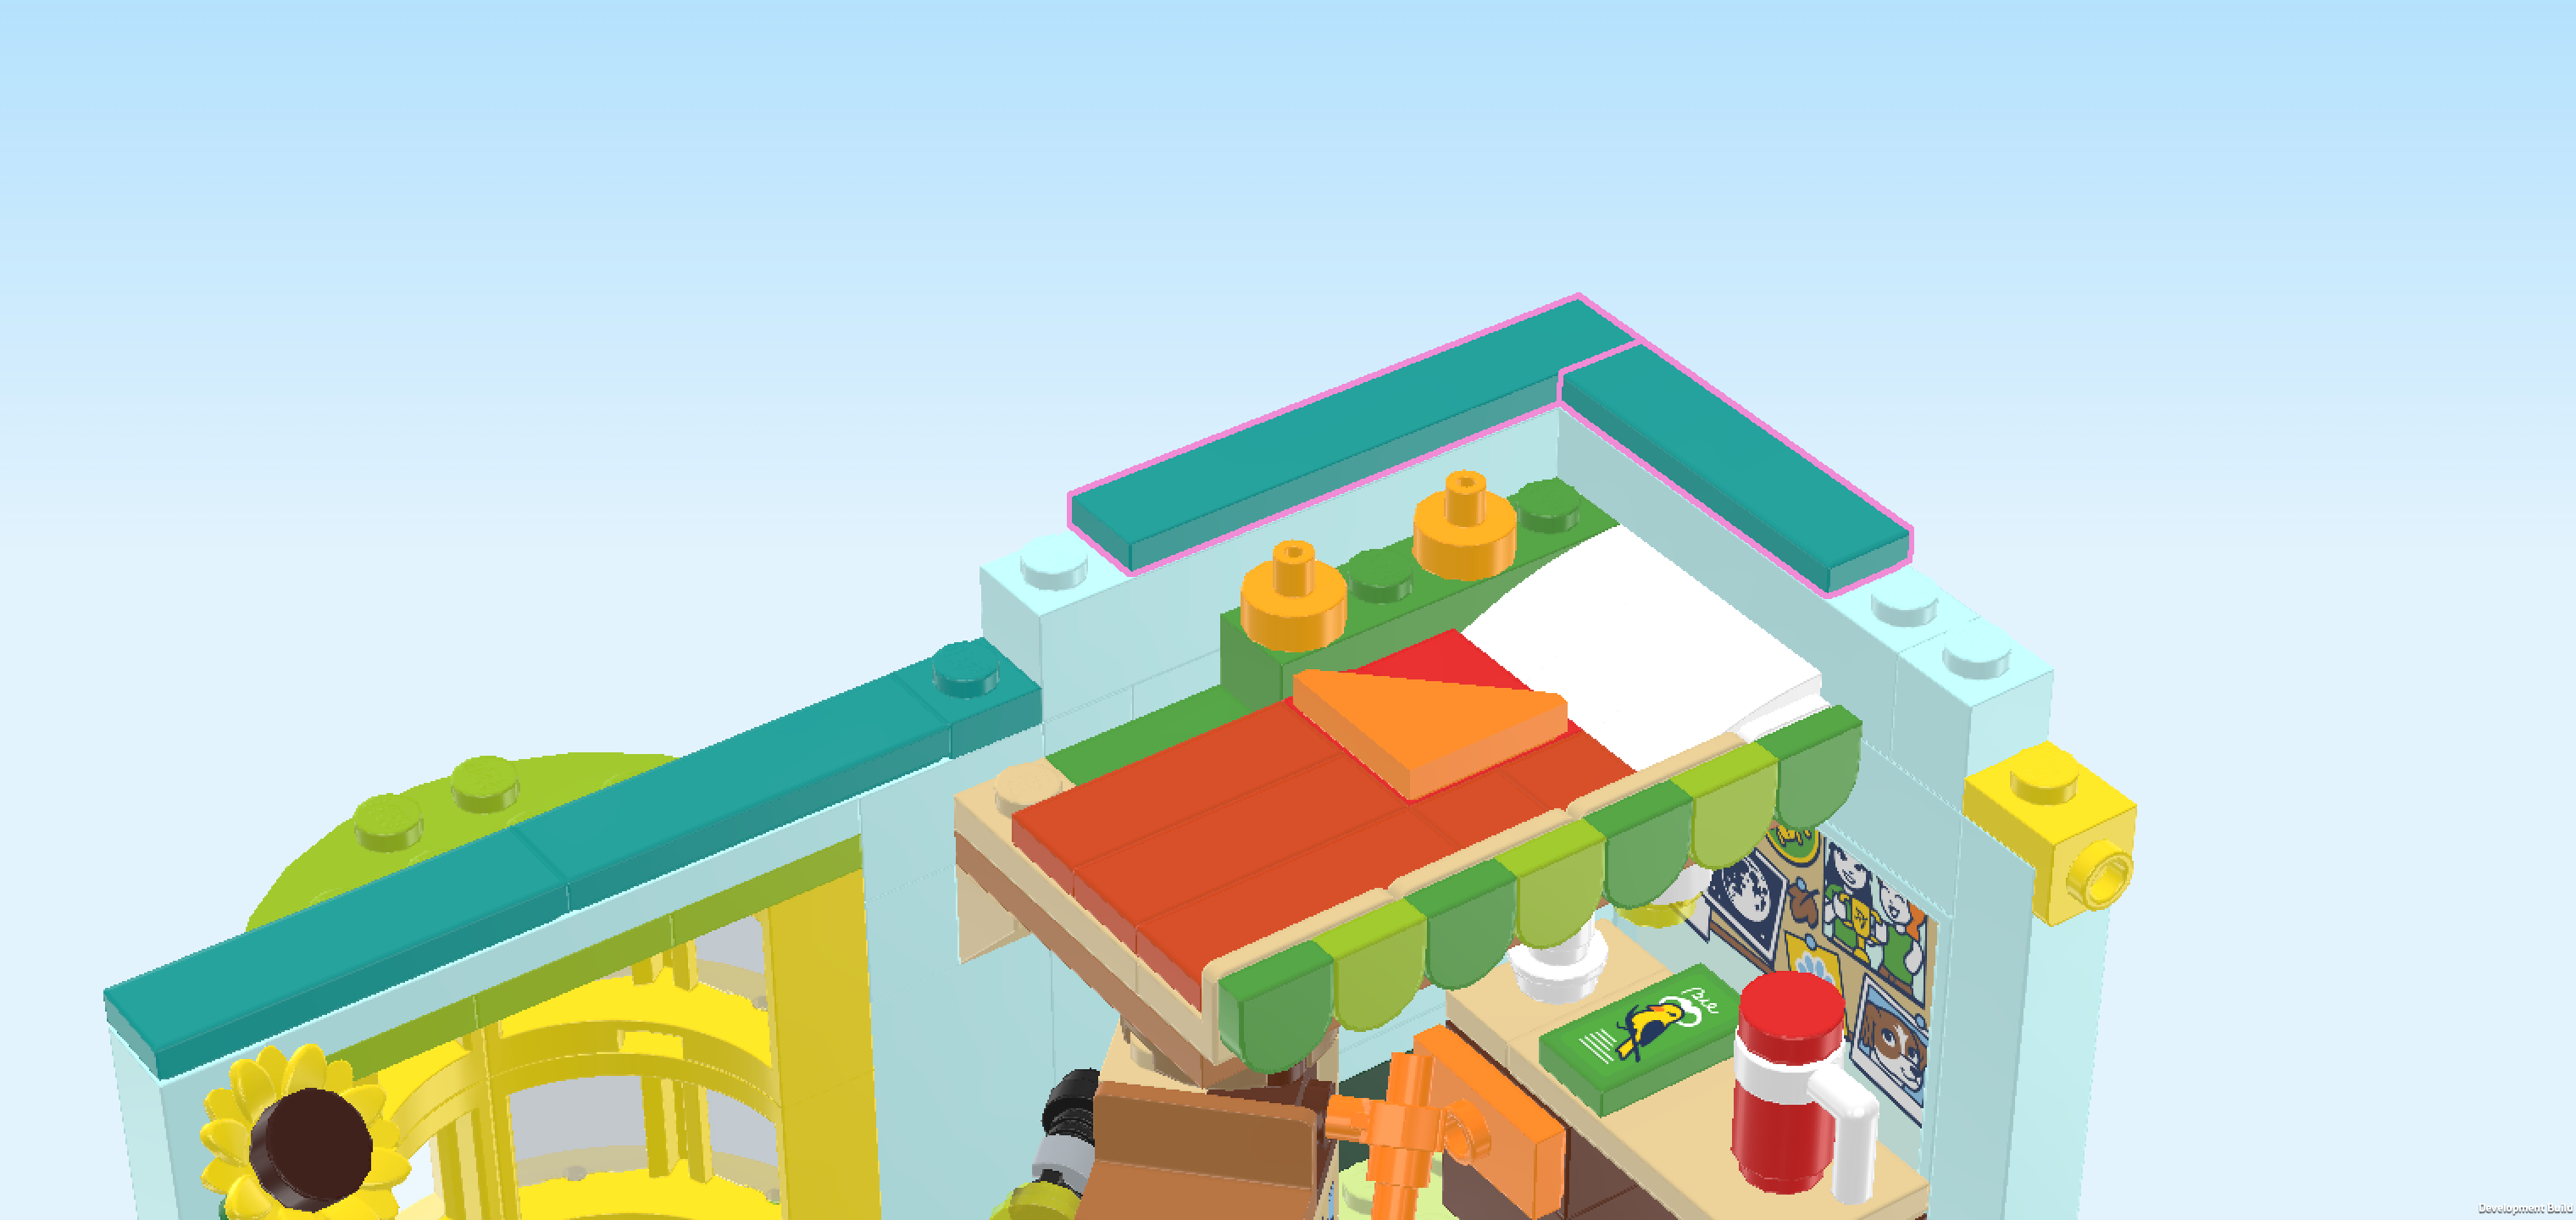
| Put the flat tile 1x6 horizontally on the backmost row, starting from the right edge. |
| Put the flat tile 1x4 vertically in front of the previous piece on the right side wall. |
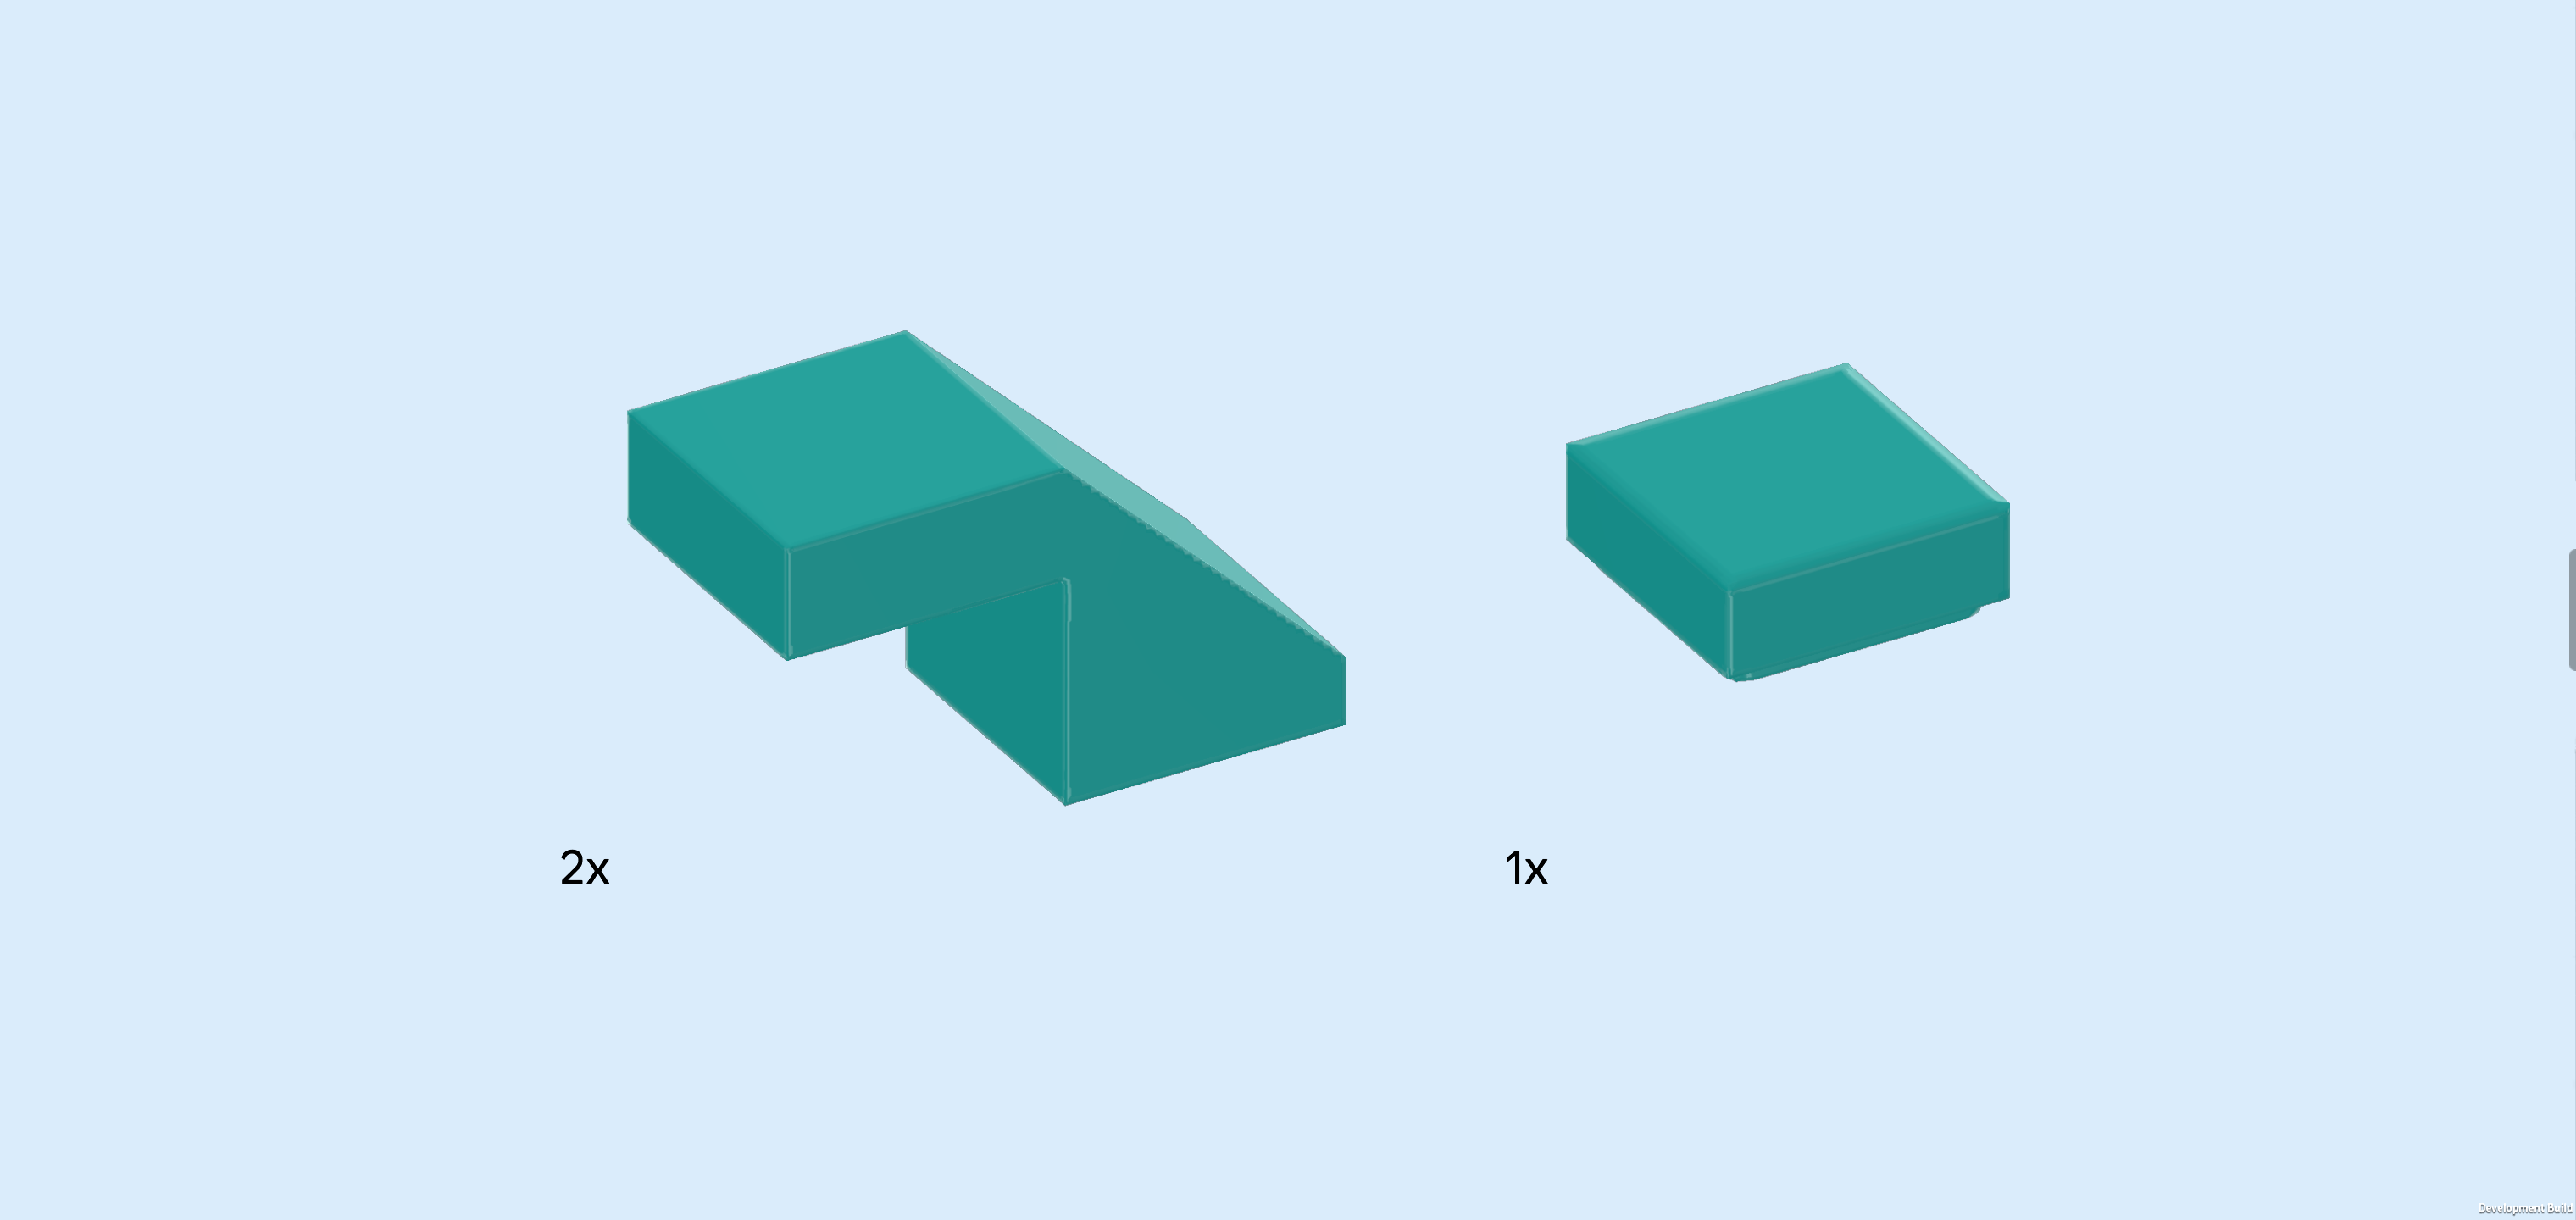
| Collect the following 3 pieces: |
| 2 teal blue smooth roof tiles 1x1 with overhanging top tile 1x1, |
| and 1 teal blue flat tile 1x1. |
| Put the flat tile 1x1 in front of the previous piece. |
| Put 1 smooth roof tile with overhanging top tile vertically in front of the previous piece, slope to the front. |
| Put the other smooth roof tile with overhanging top tile horizontally on the 2 empty knobs with height difference located on the back wall, slope to the left. |
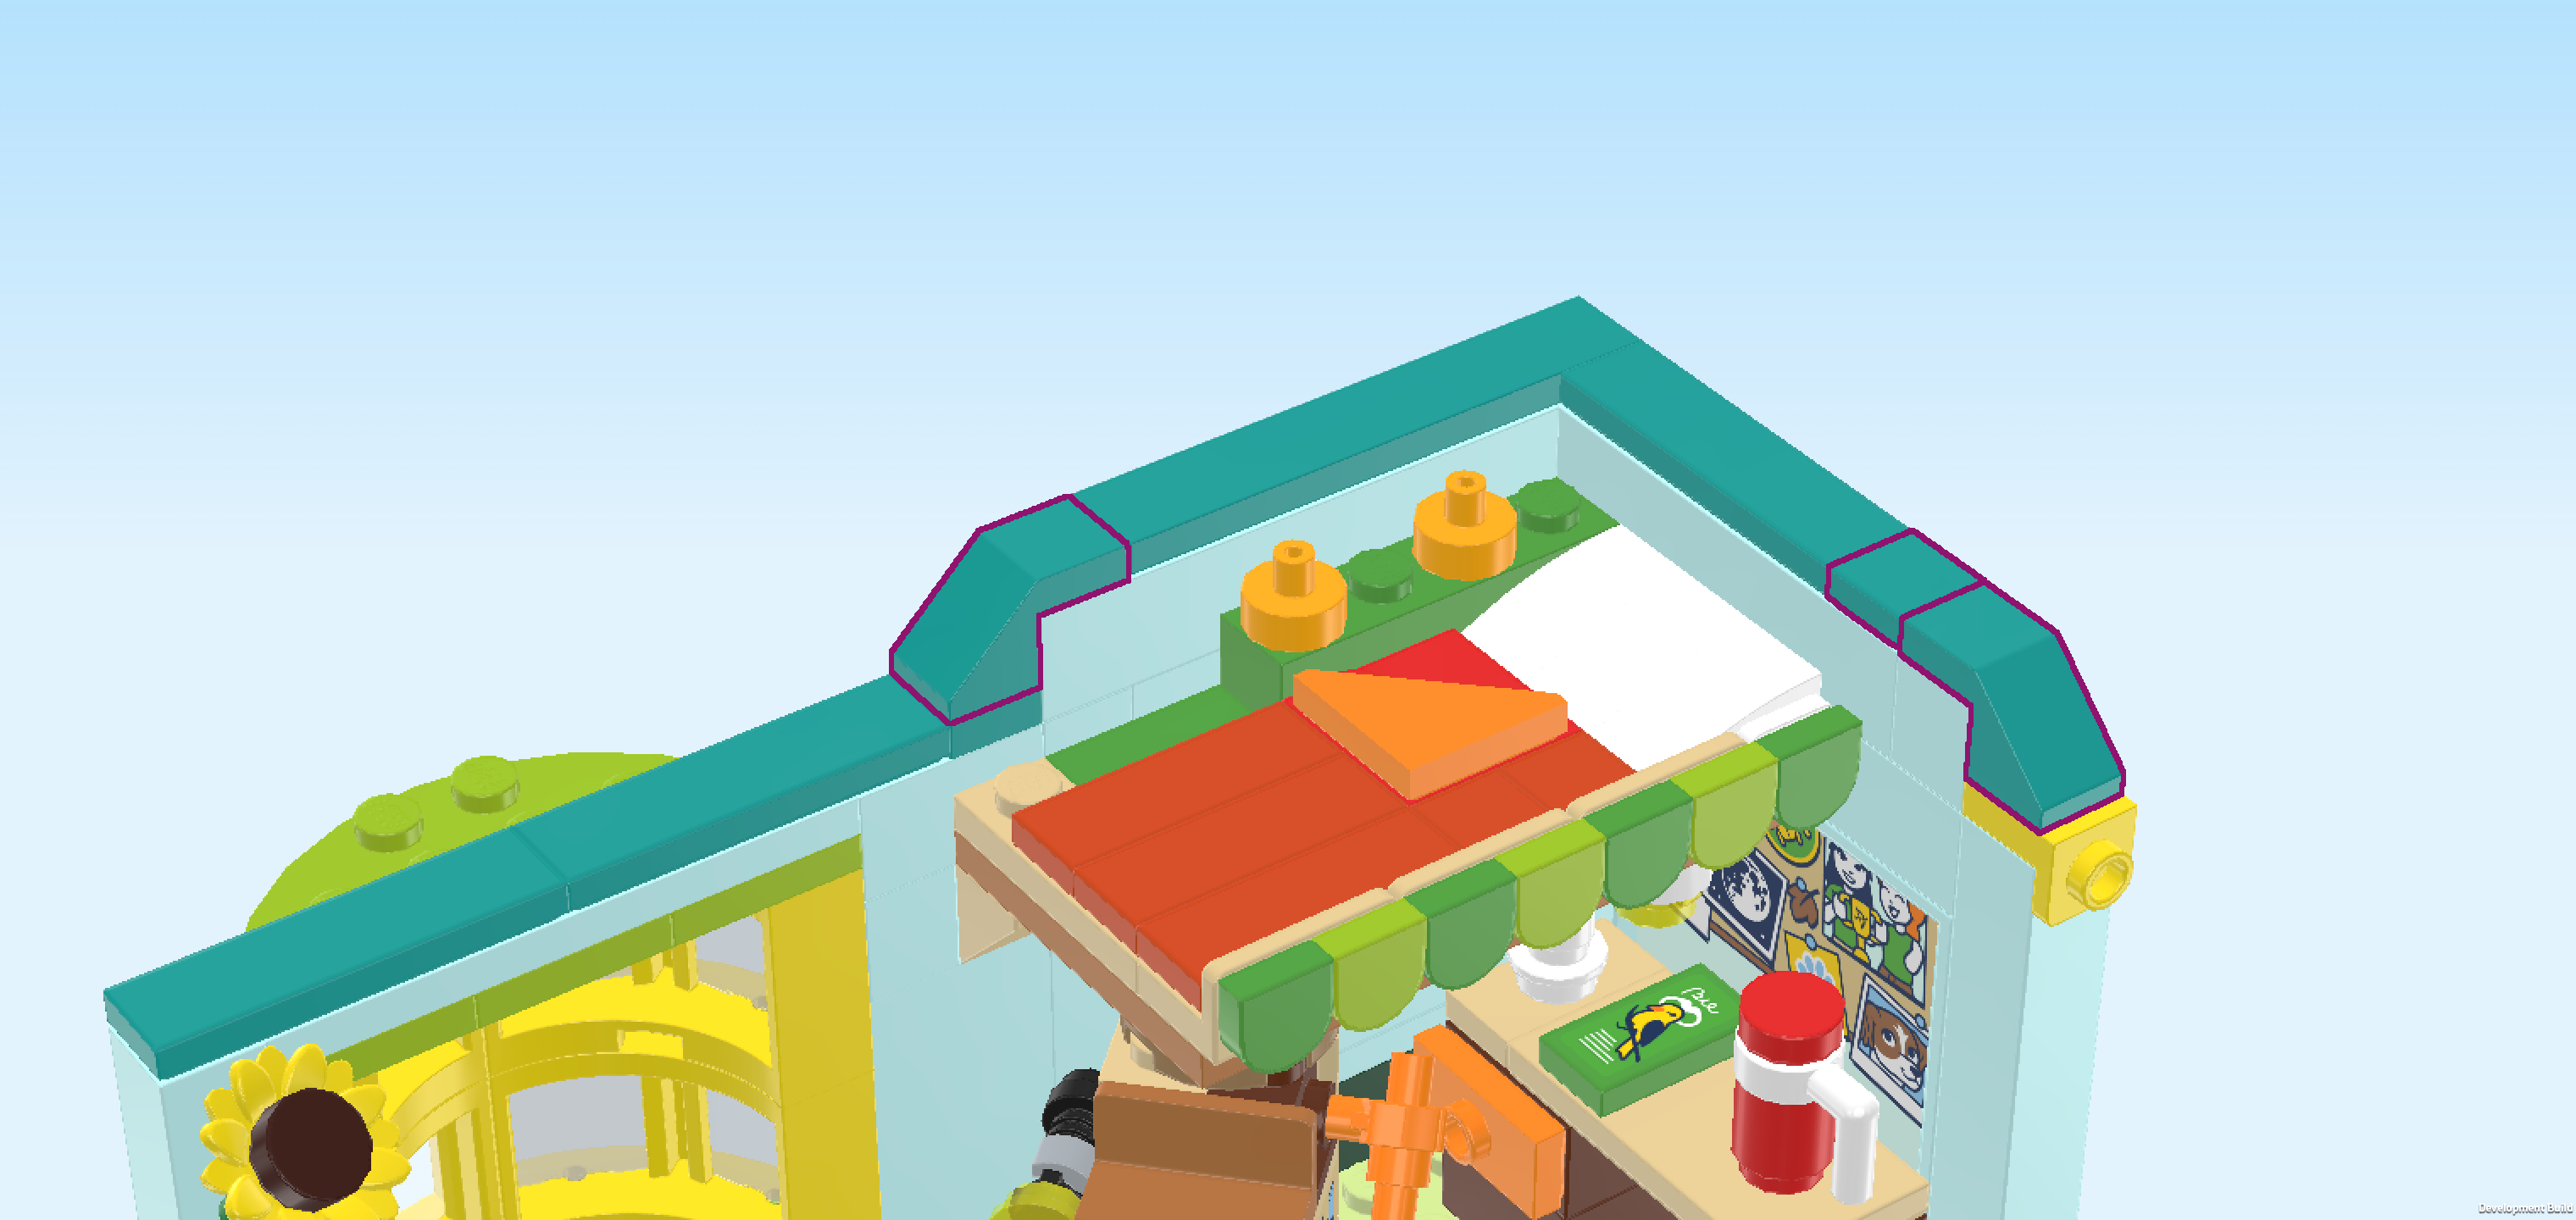
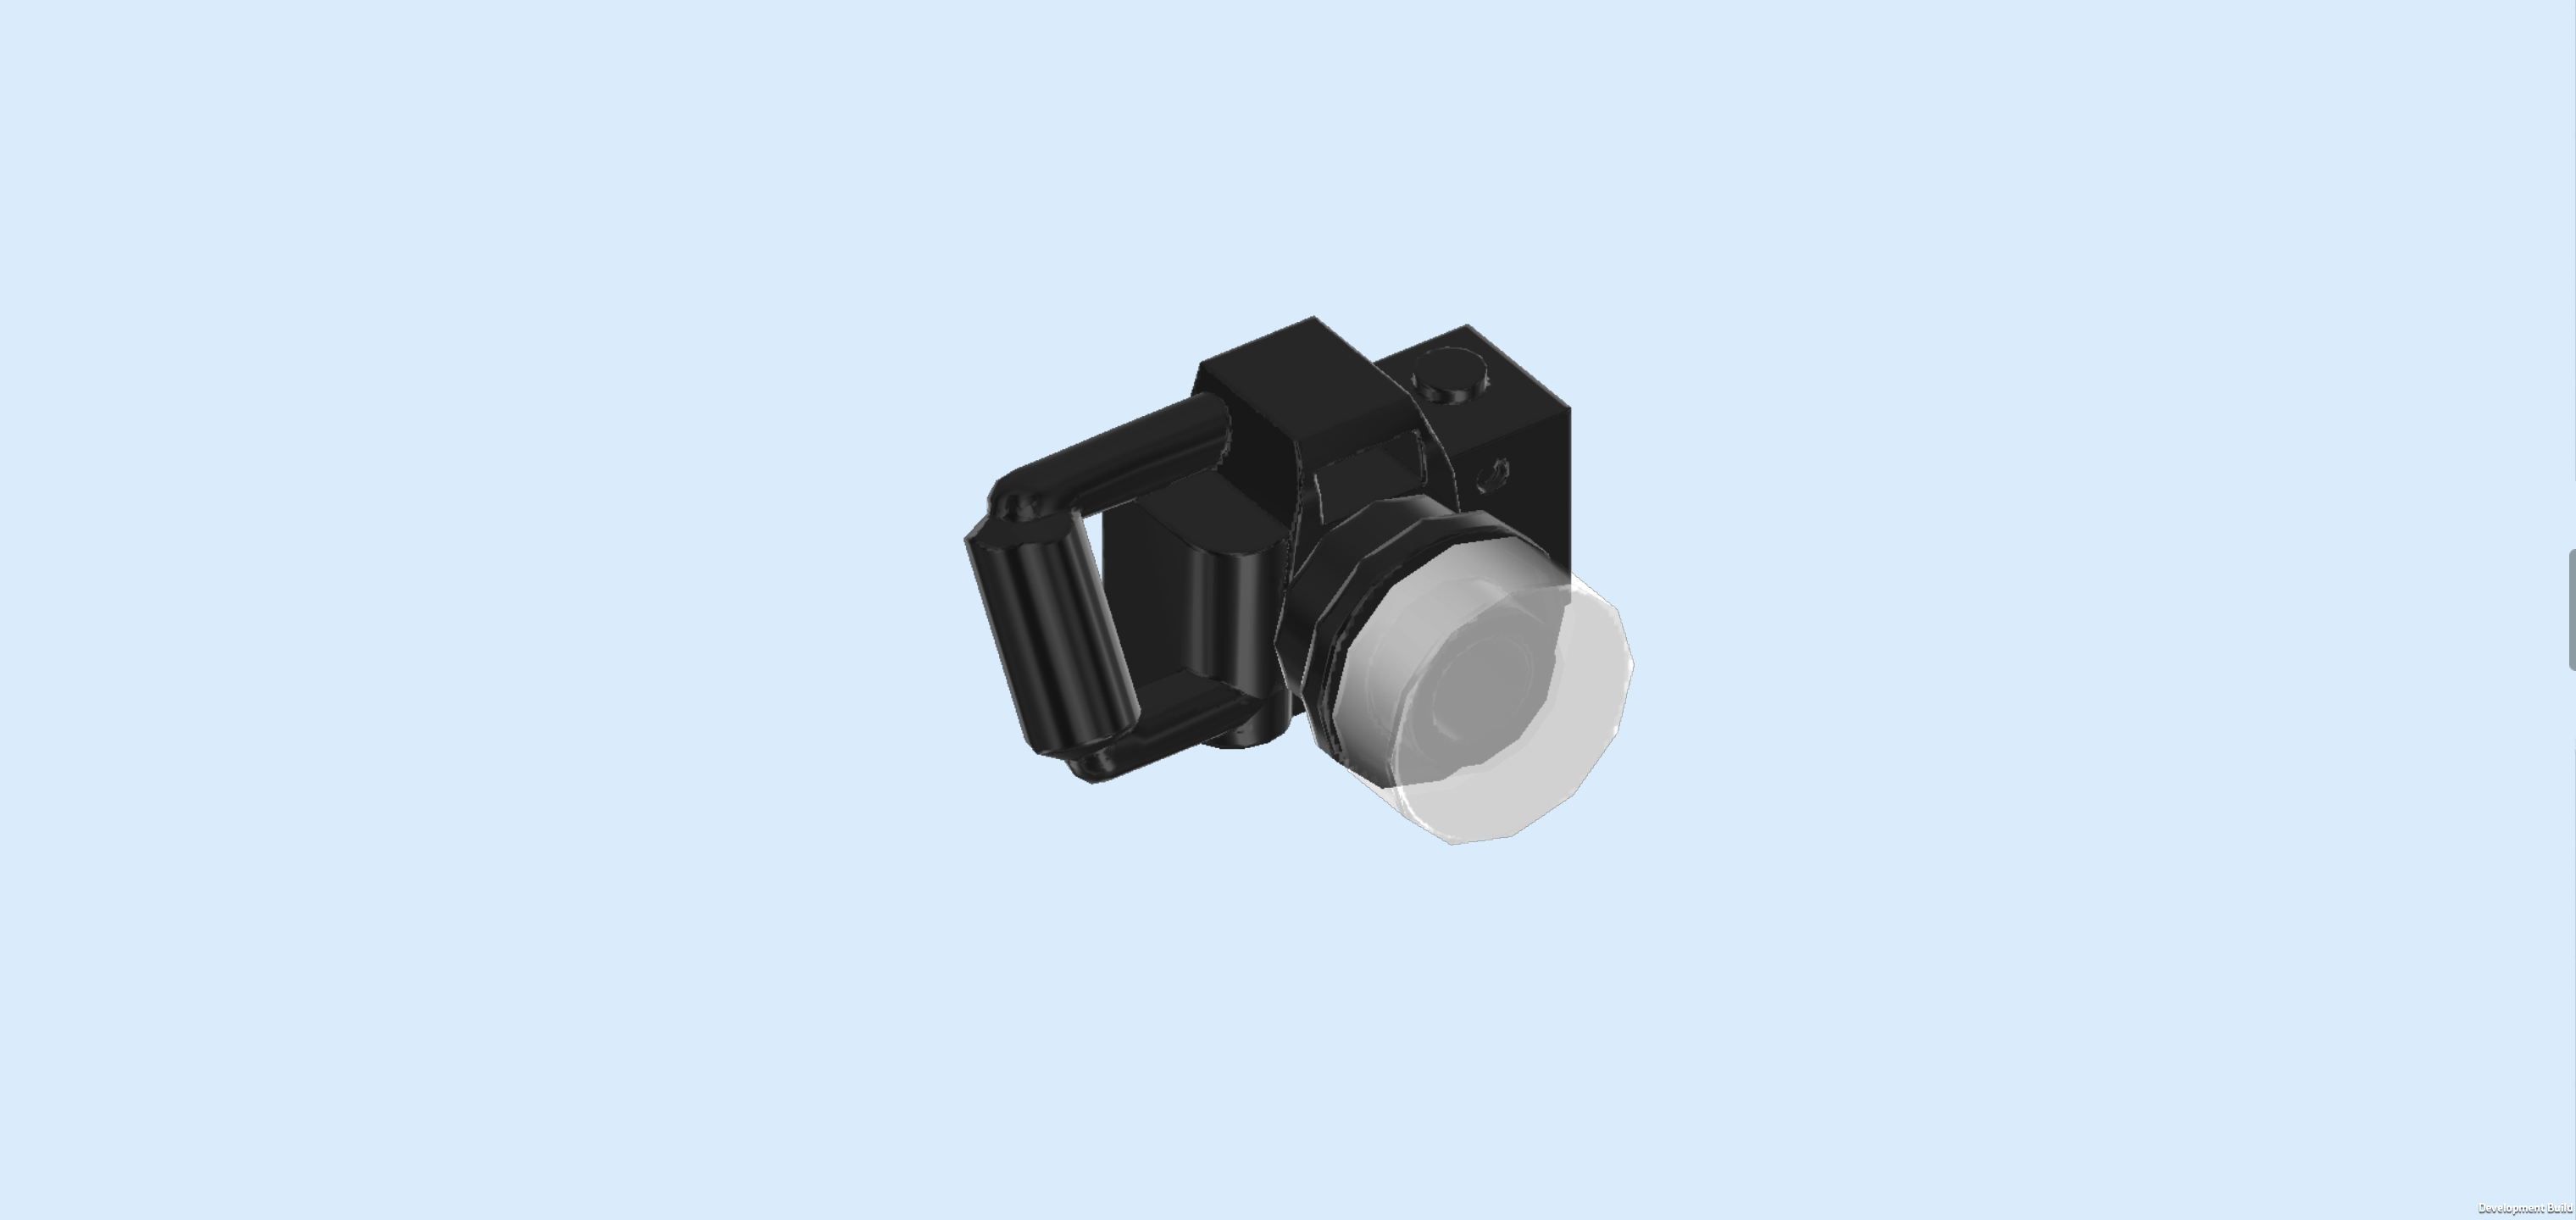
| Now, let's assemble Autumn's camera. |
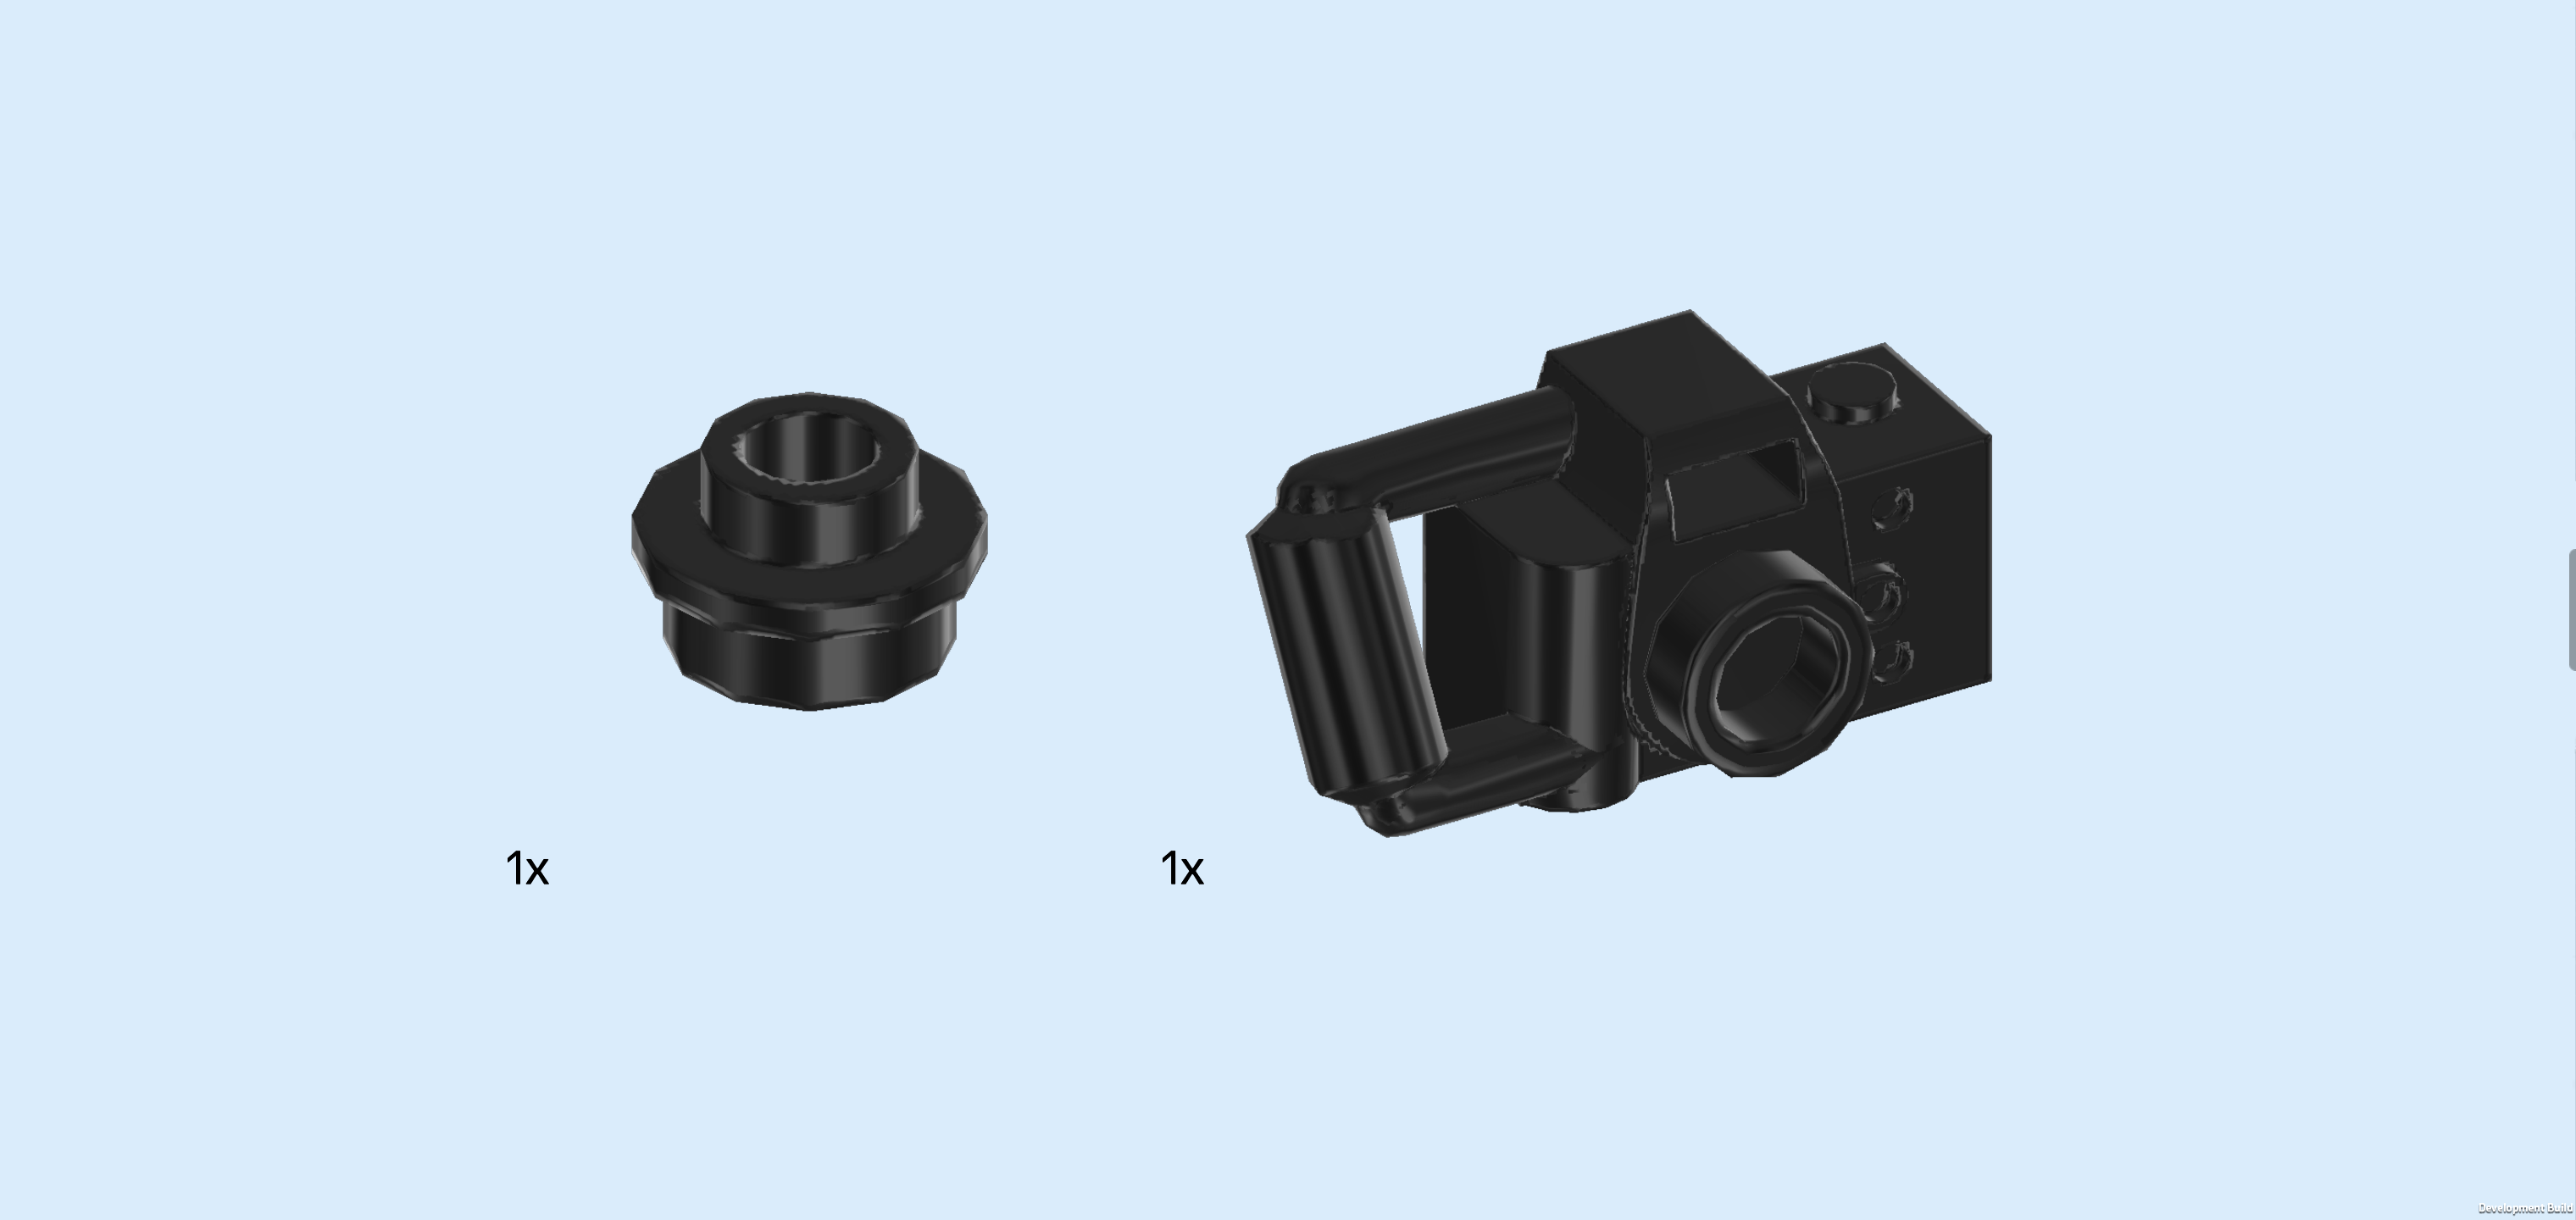
| Collect the following 2 pieces: |
| 1 black round plate 1x1 with through-hole, |
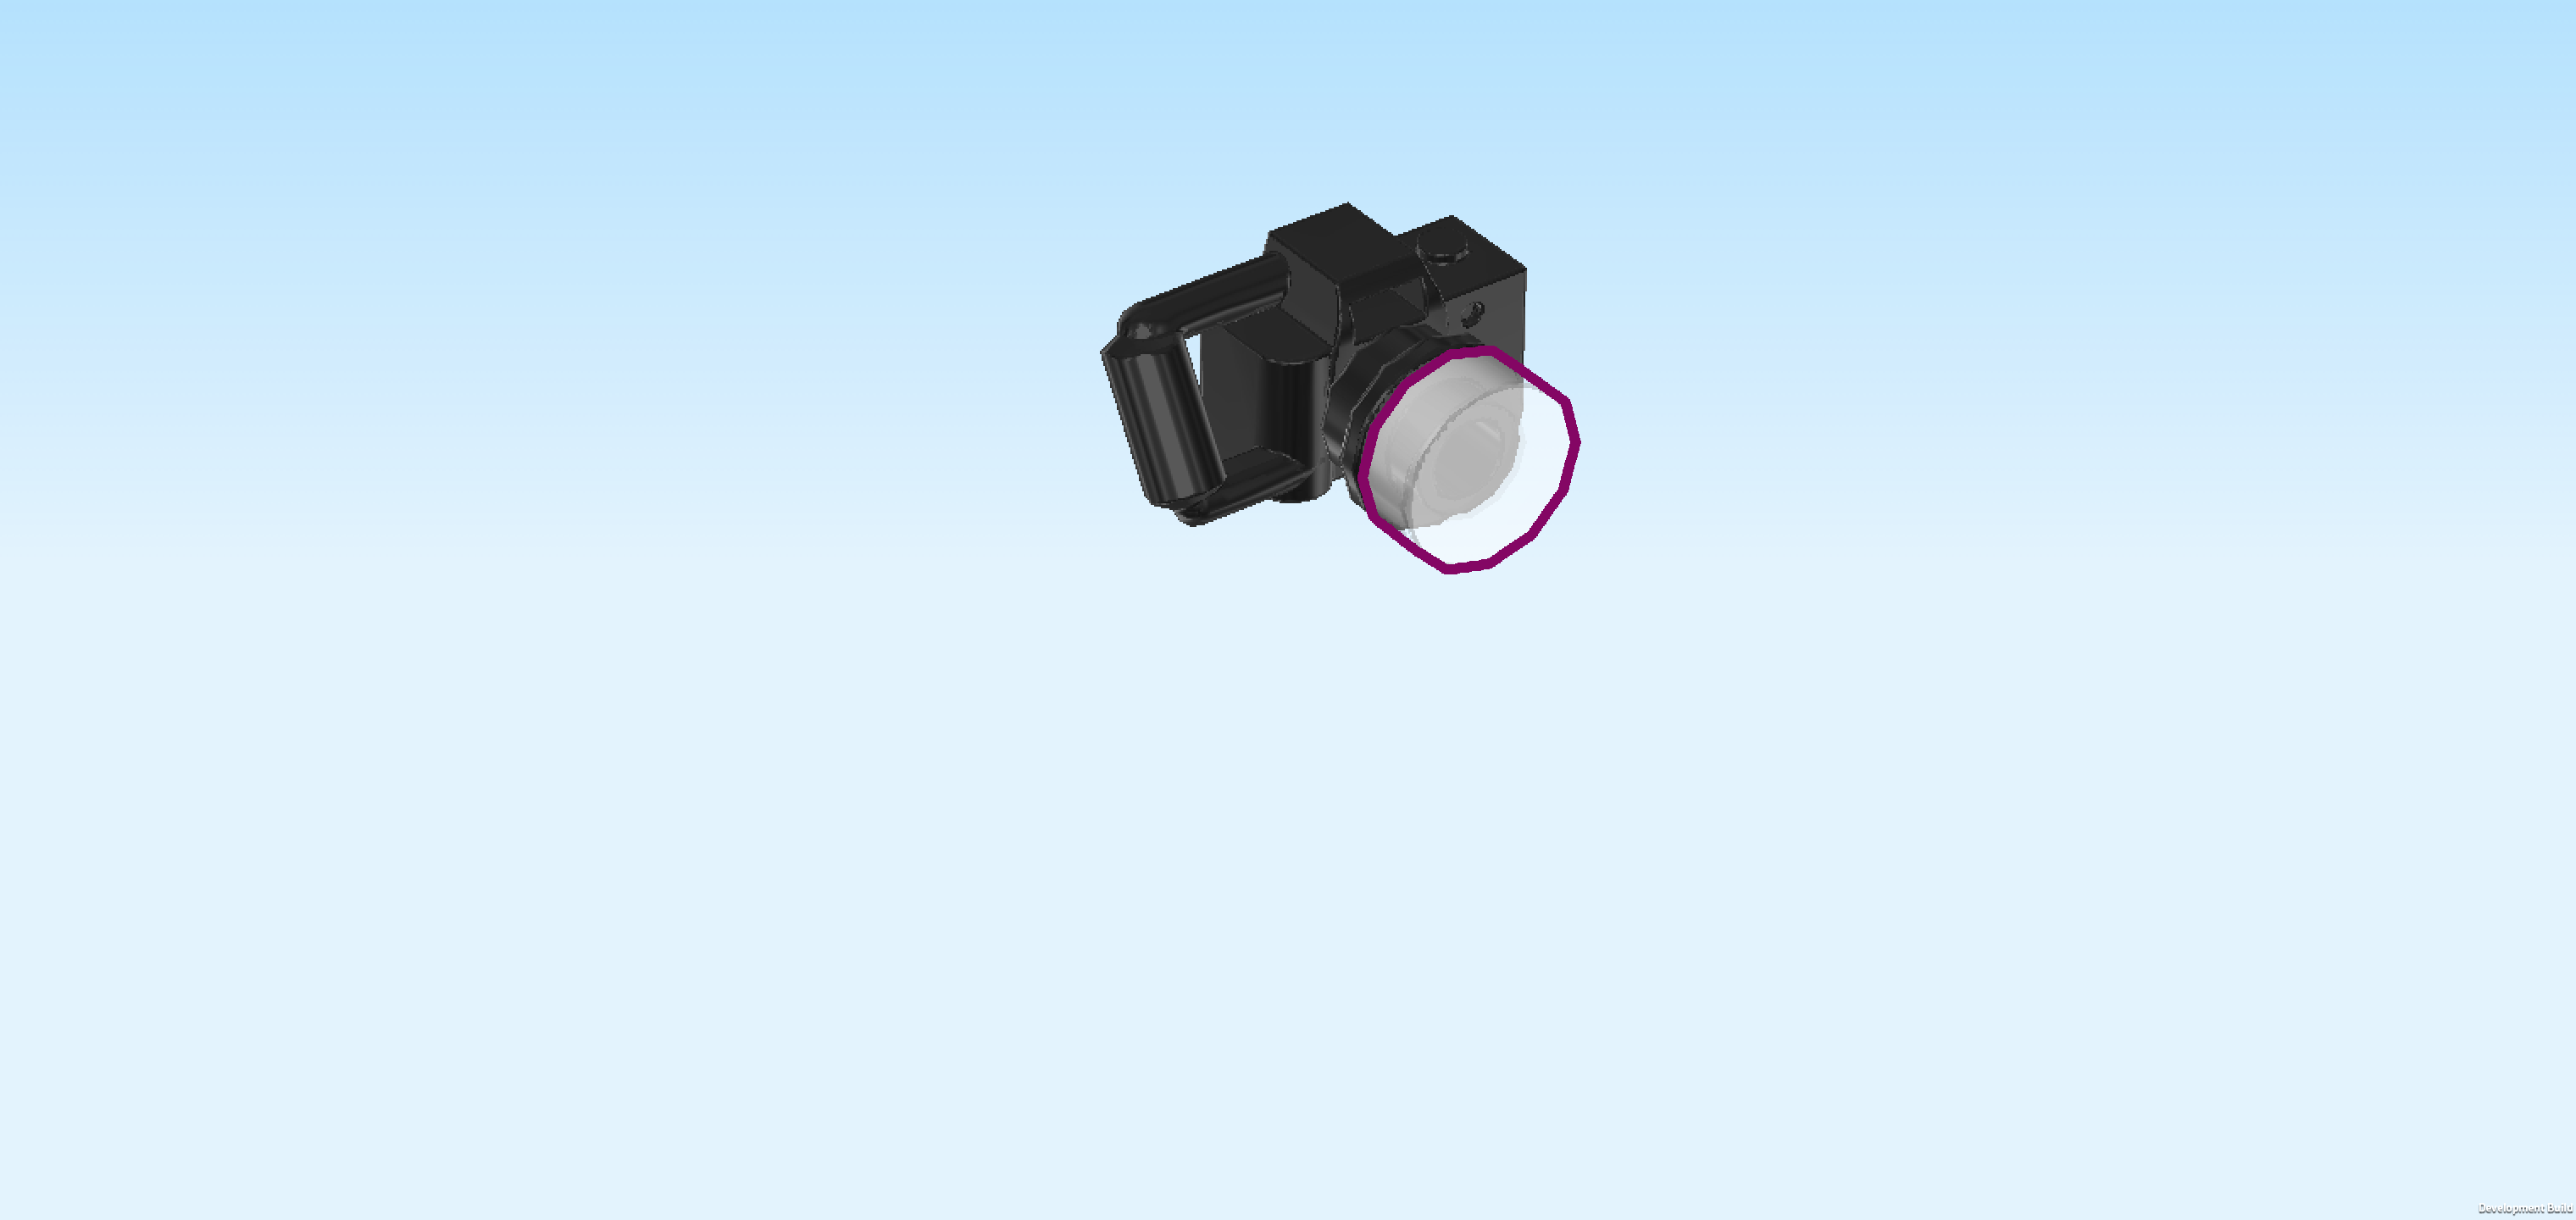
| and 1 black Minifigure camera piece. |
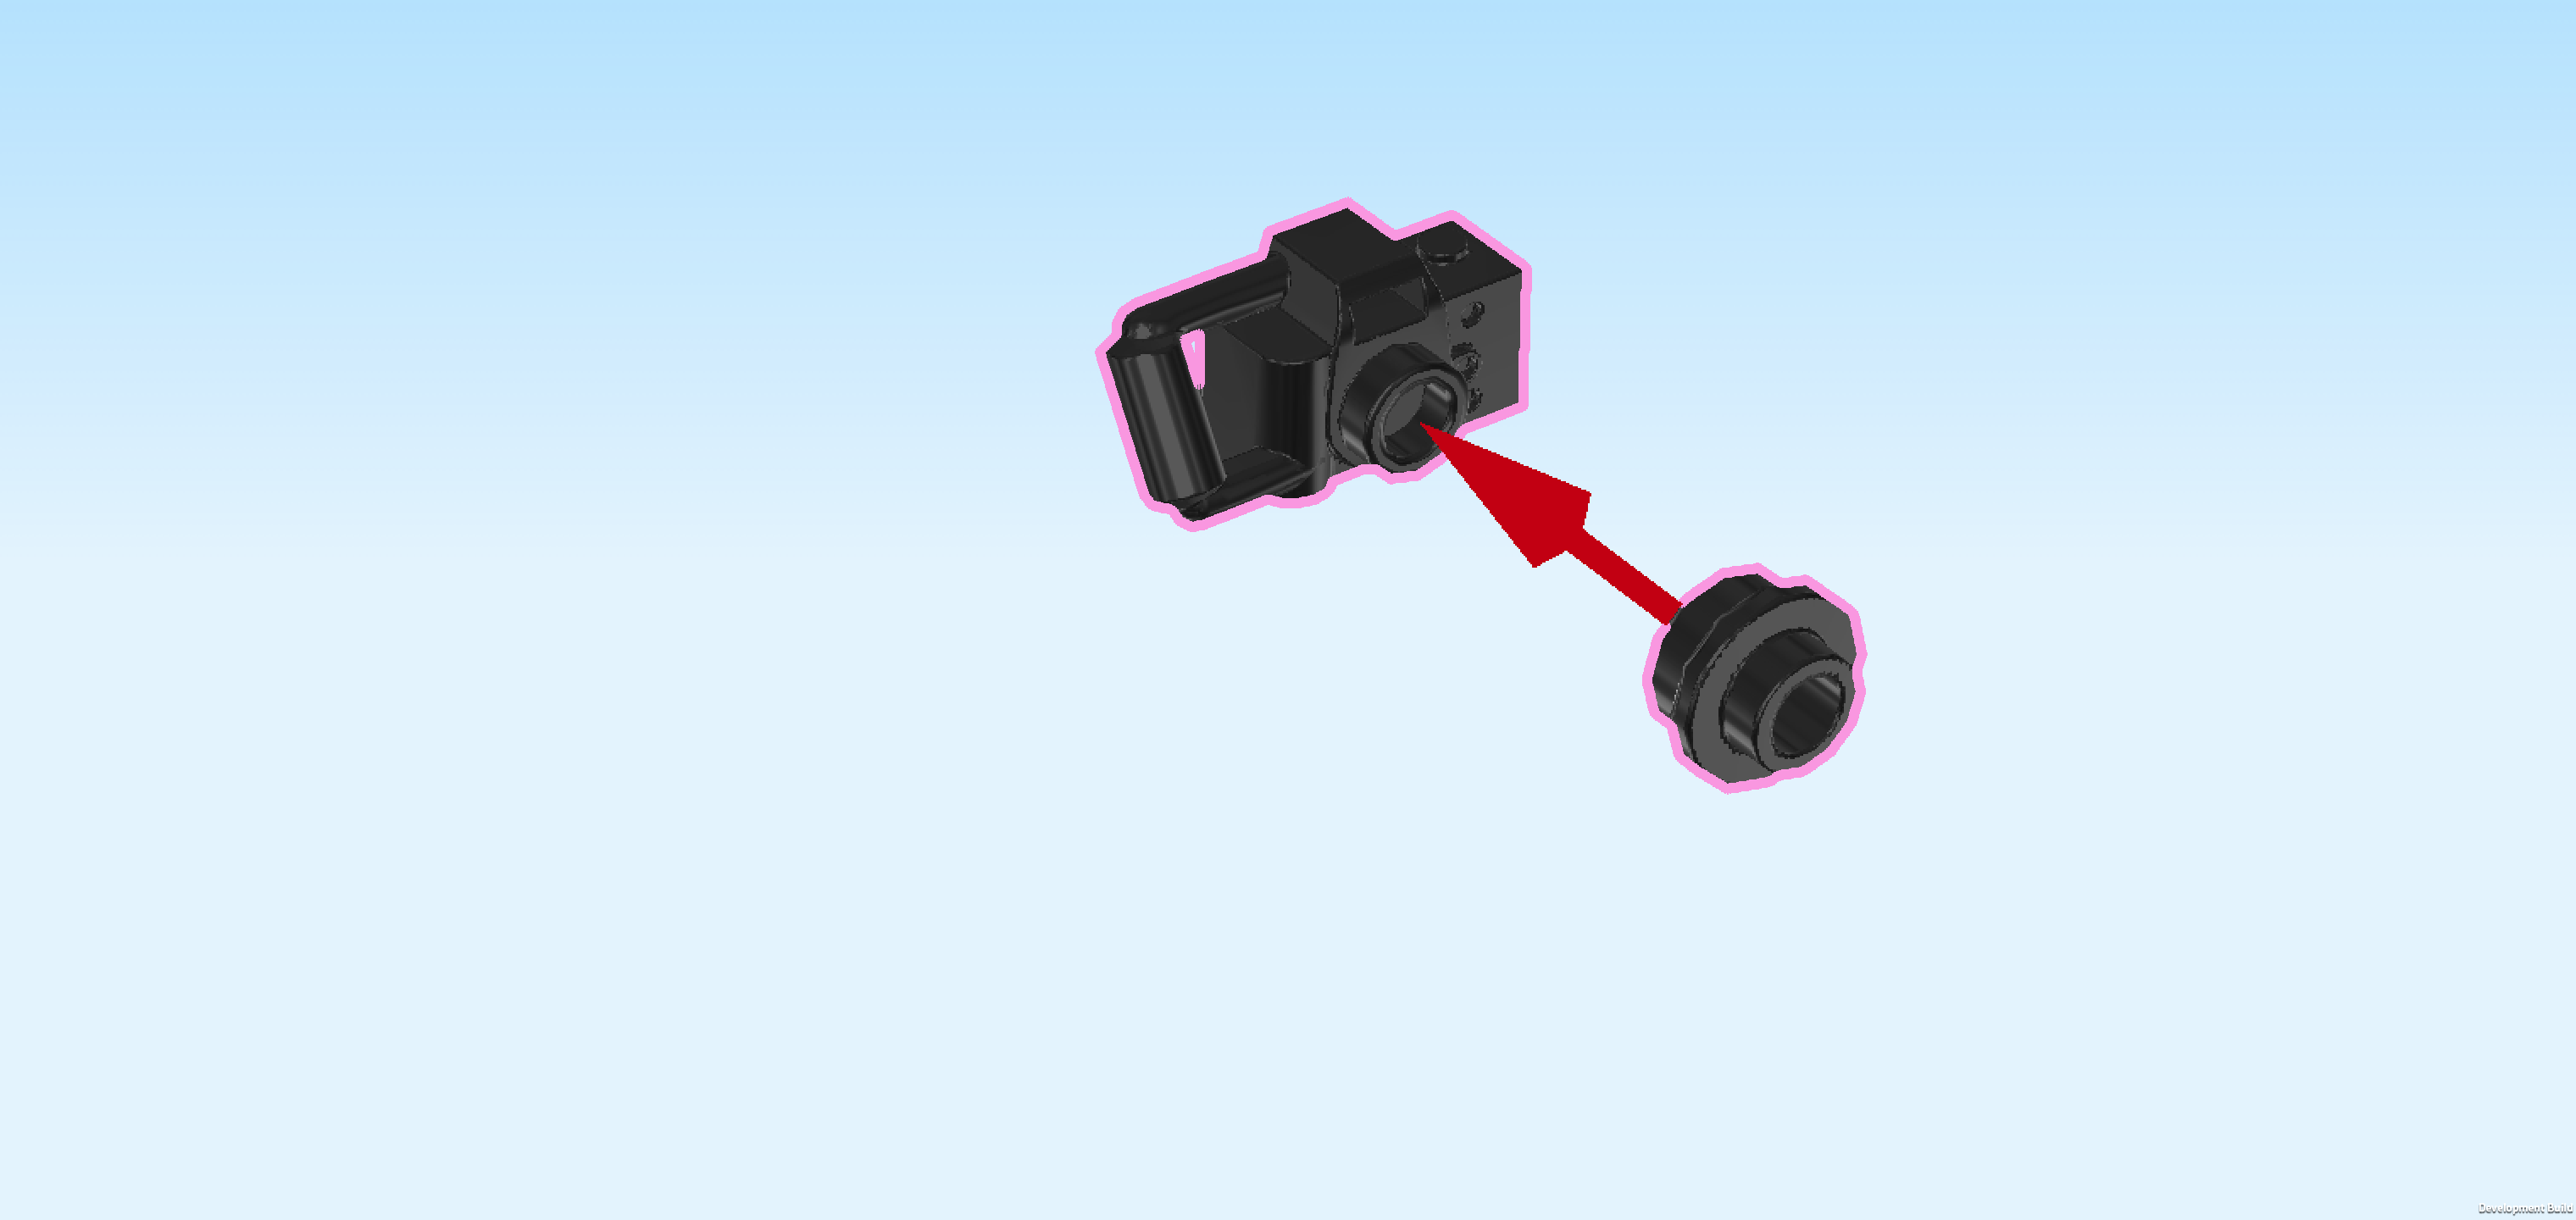
| Put the round plate 1x1 upright on the front knob of the camera piece. |
| Find 1 transparent round tile 1x1. |
| Put it upright on the round plate 1x1 from the previous step. This is the camera lens! |
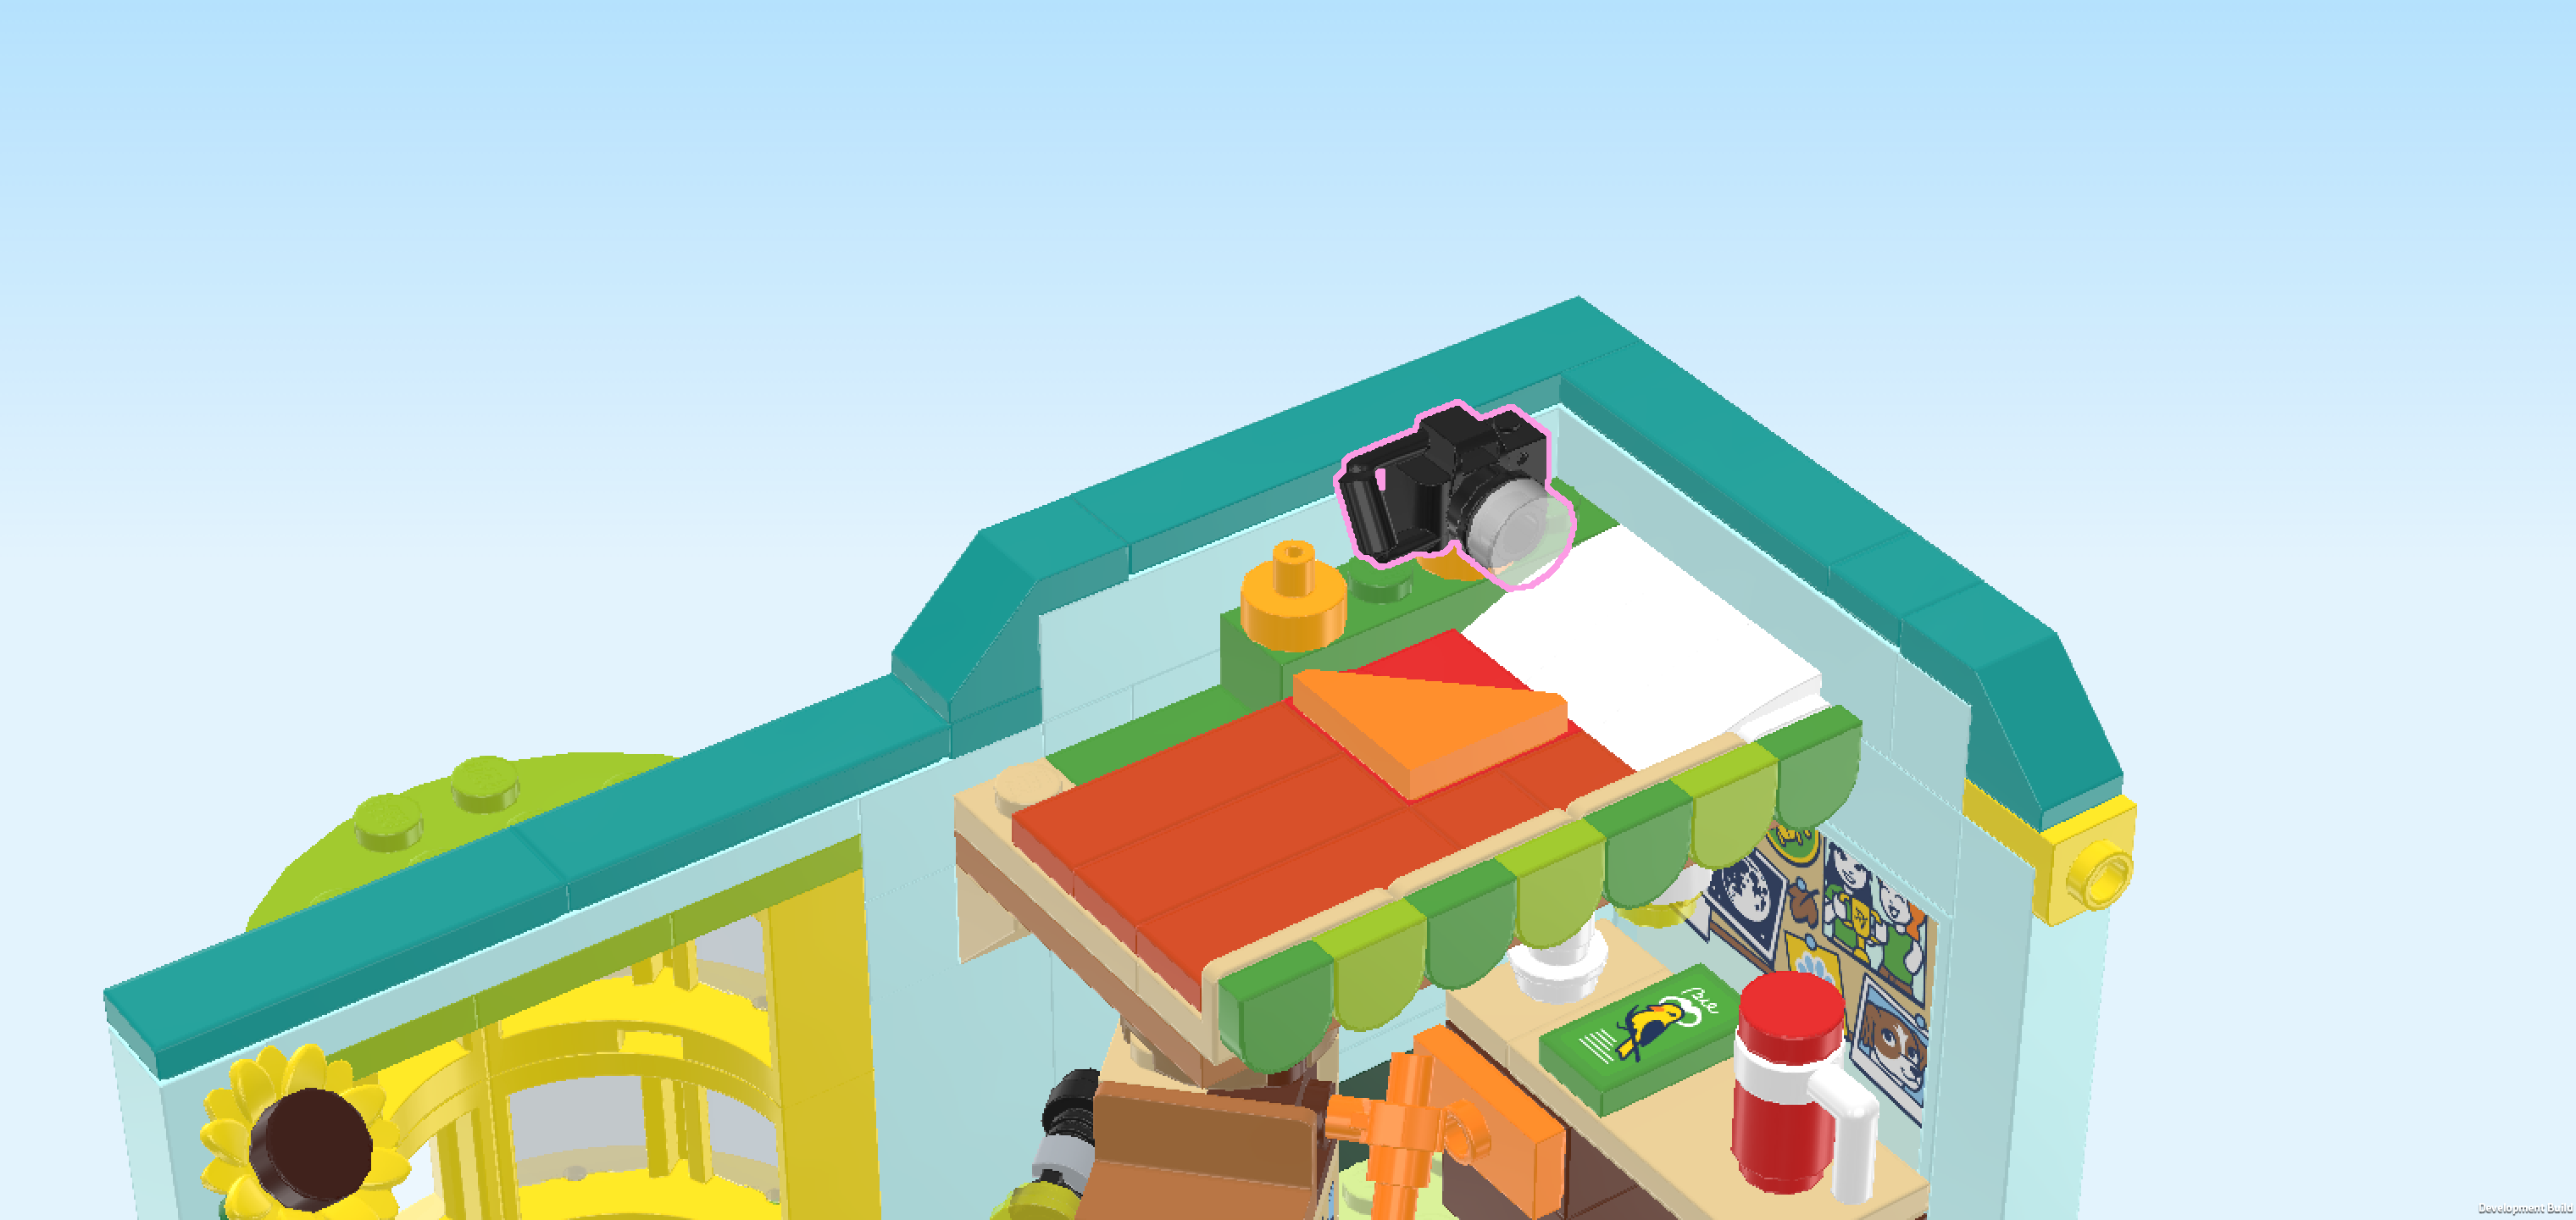
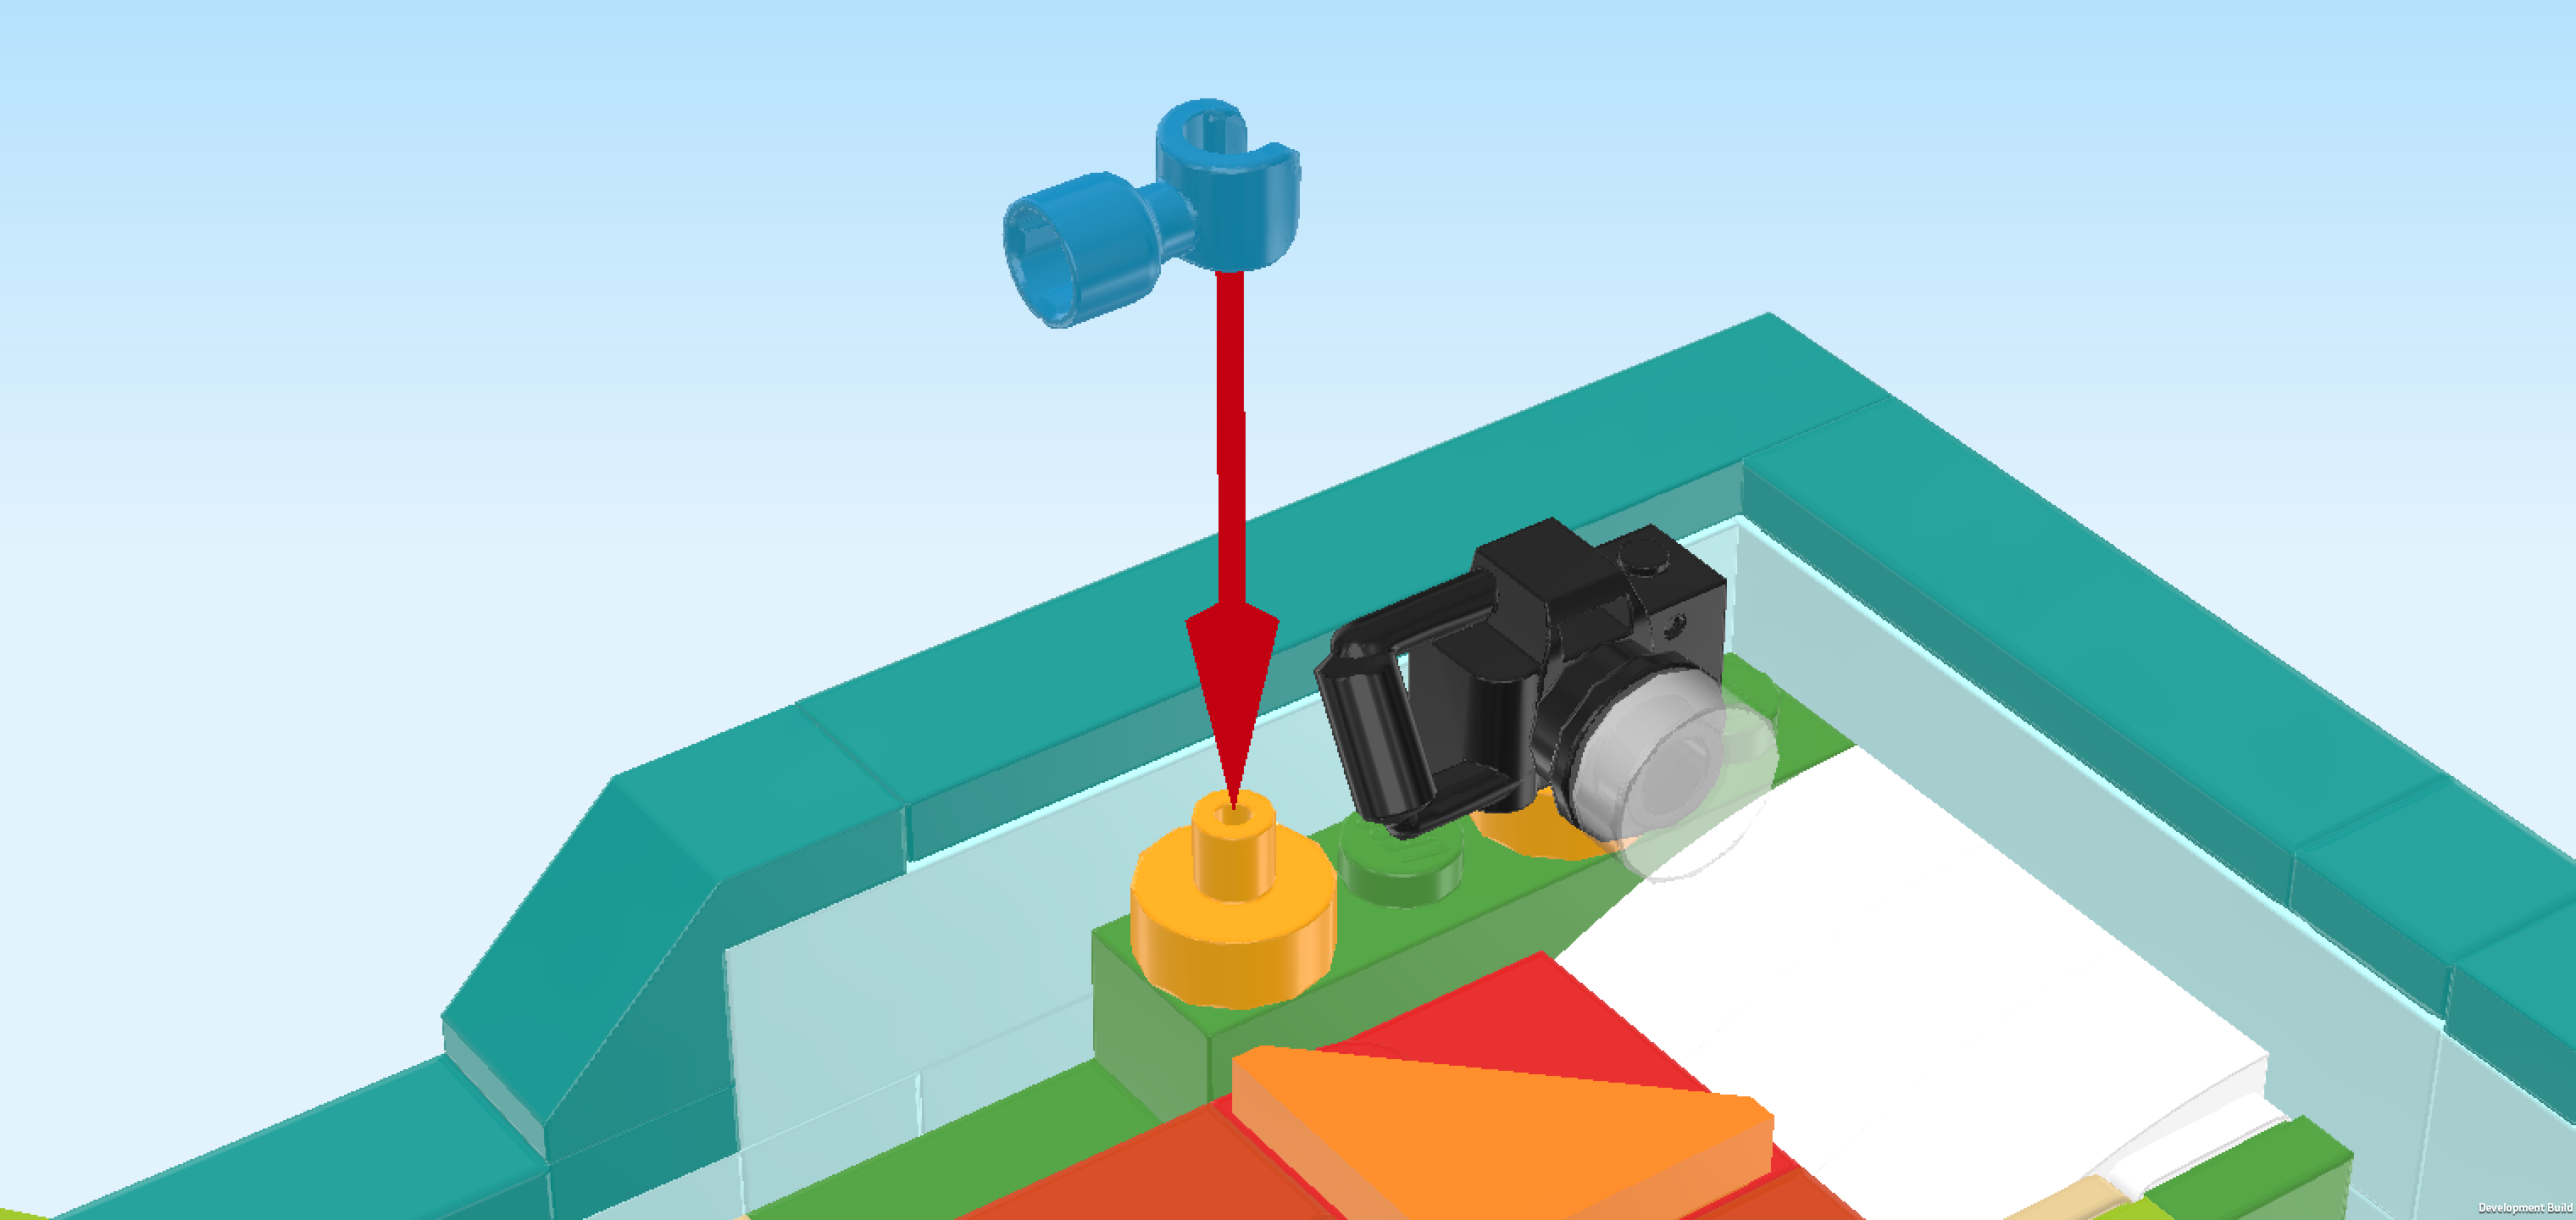
| Put the camera on the right round tile 1x1 with top shaft that is mounted at the back edge of the loft bed. |
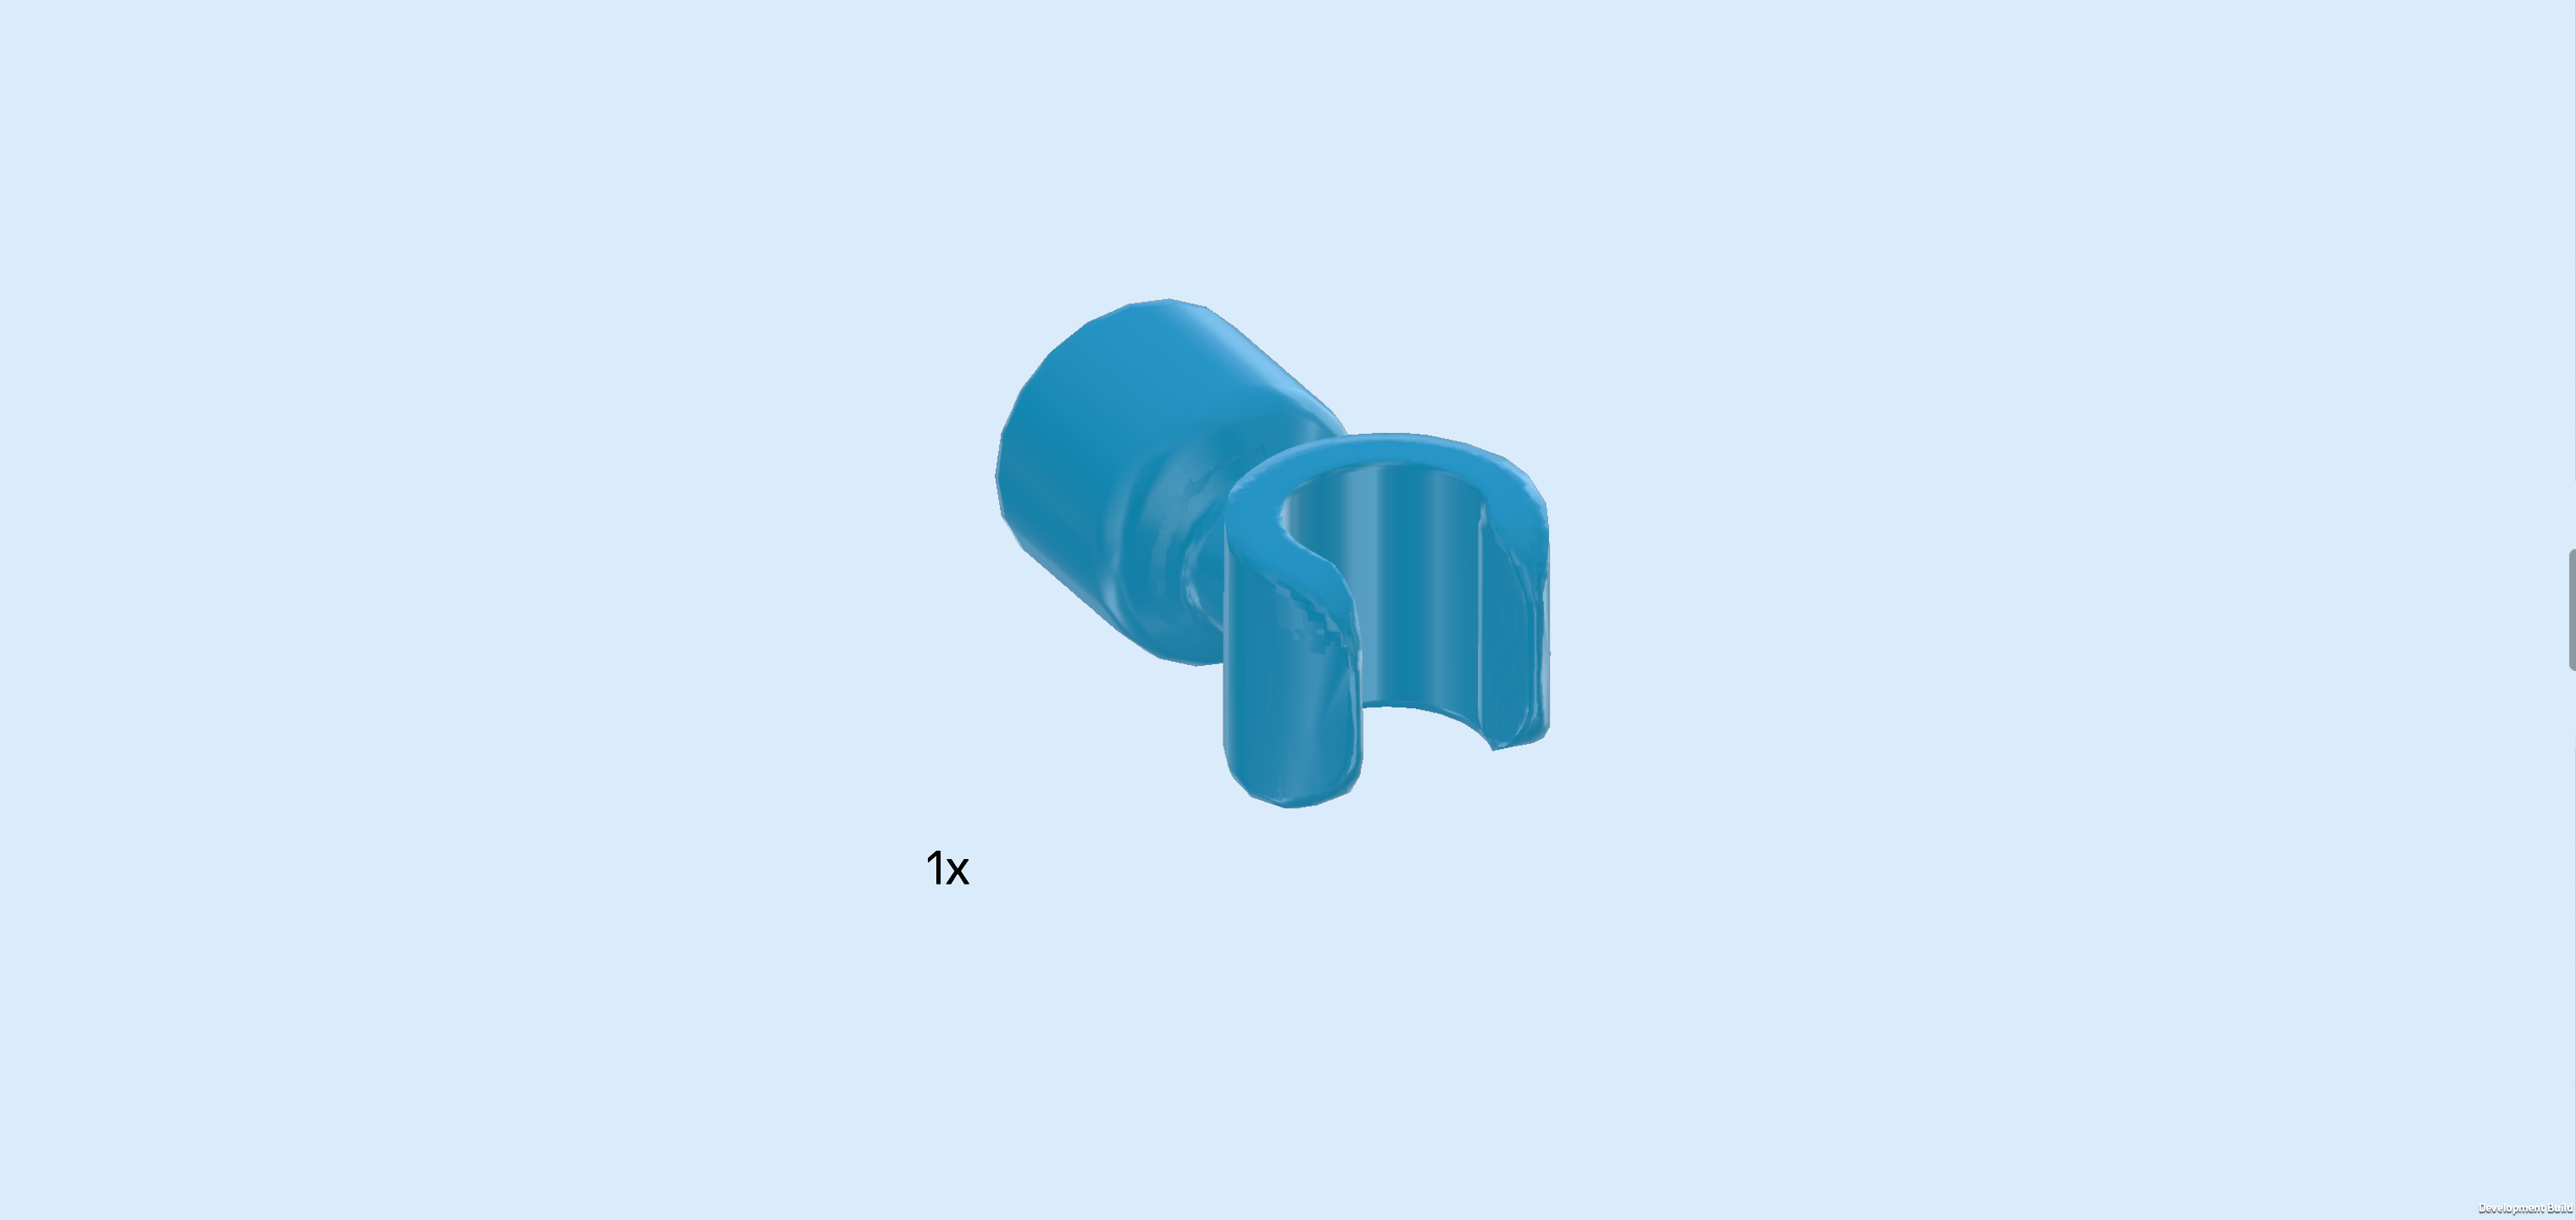
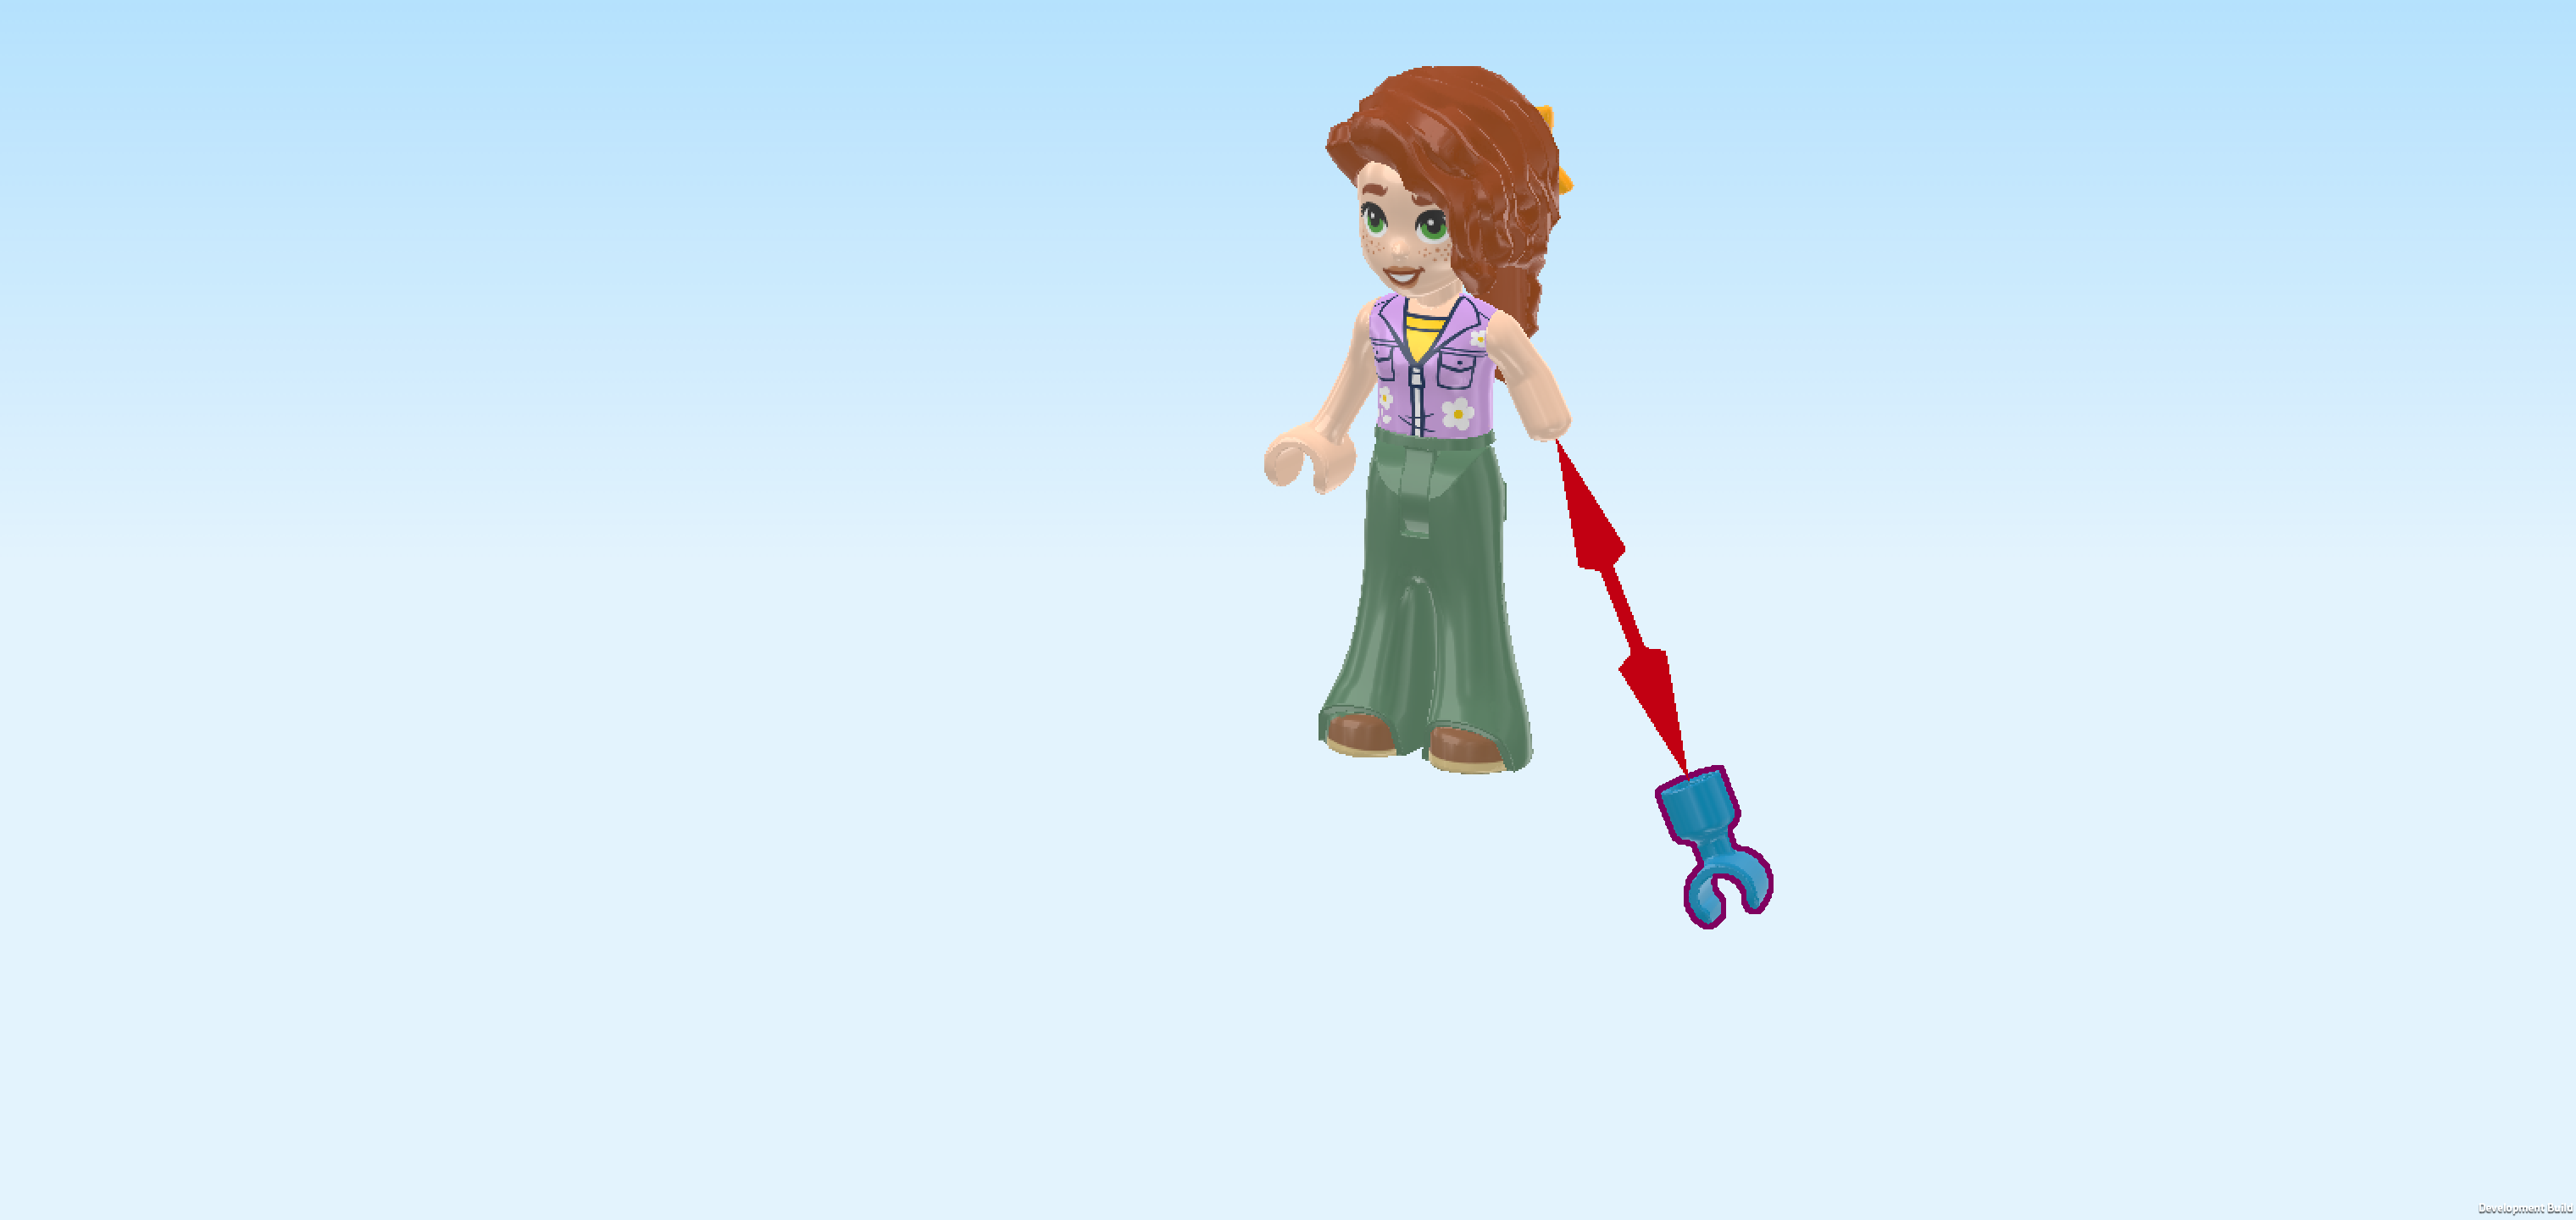
| Find 1 dark azure blue Minifigure lower arm with hand. |
| This is Autumn's artificial limb. You can either attach it to her arm or you can stow it away on the round tile 1x1 with top shaft to the left of the camera. |
| To stow it on the round tile with top shaft next to the loft bed, snap the hand of the artificial limb from the left on the top shaft. |
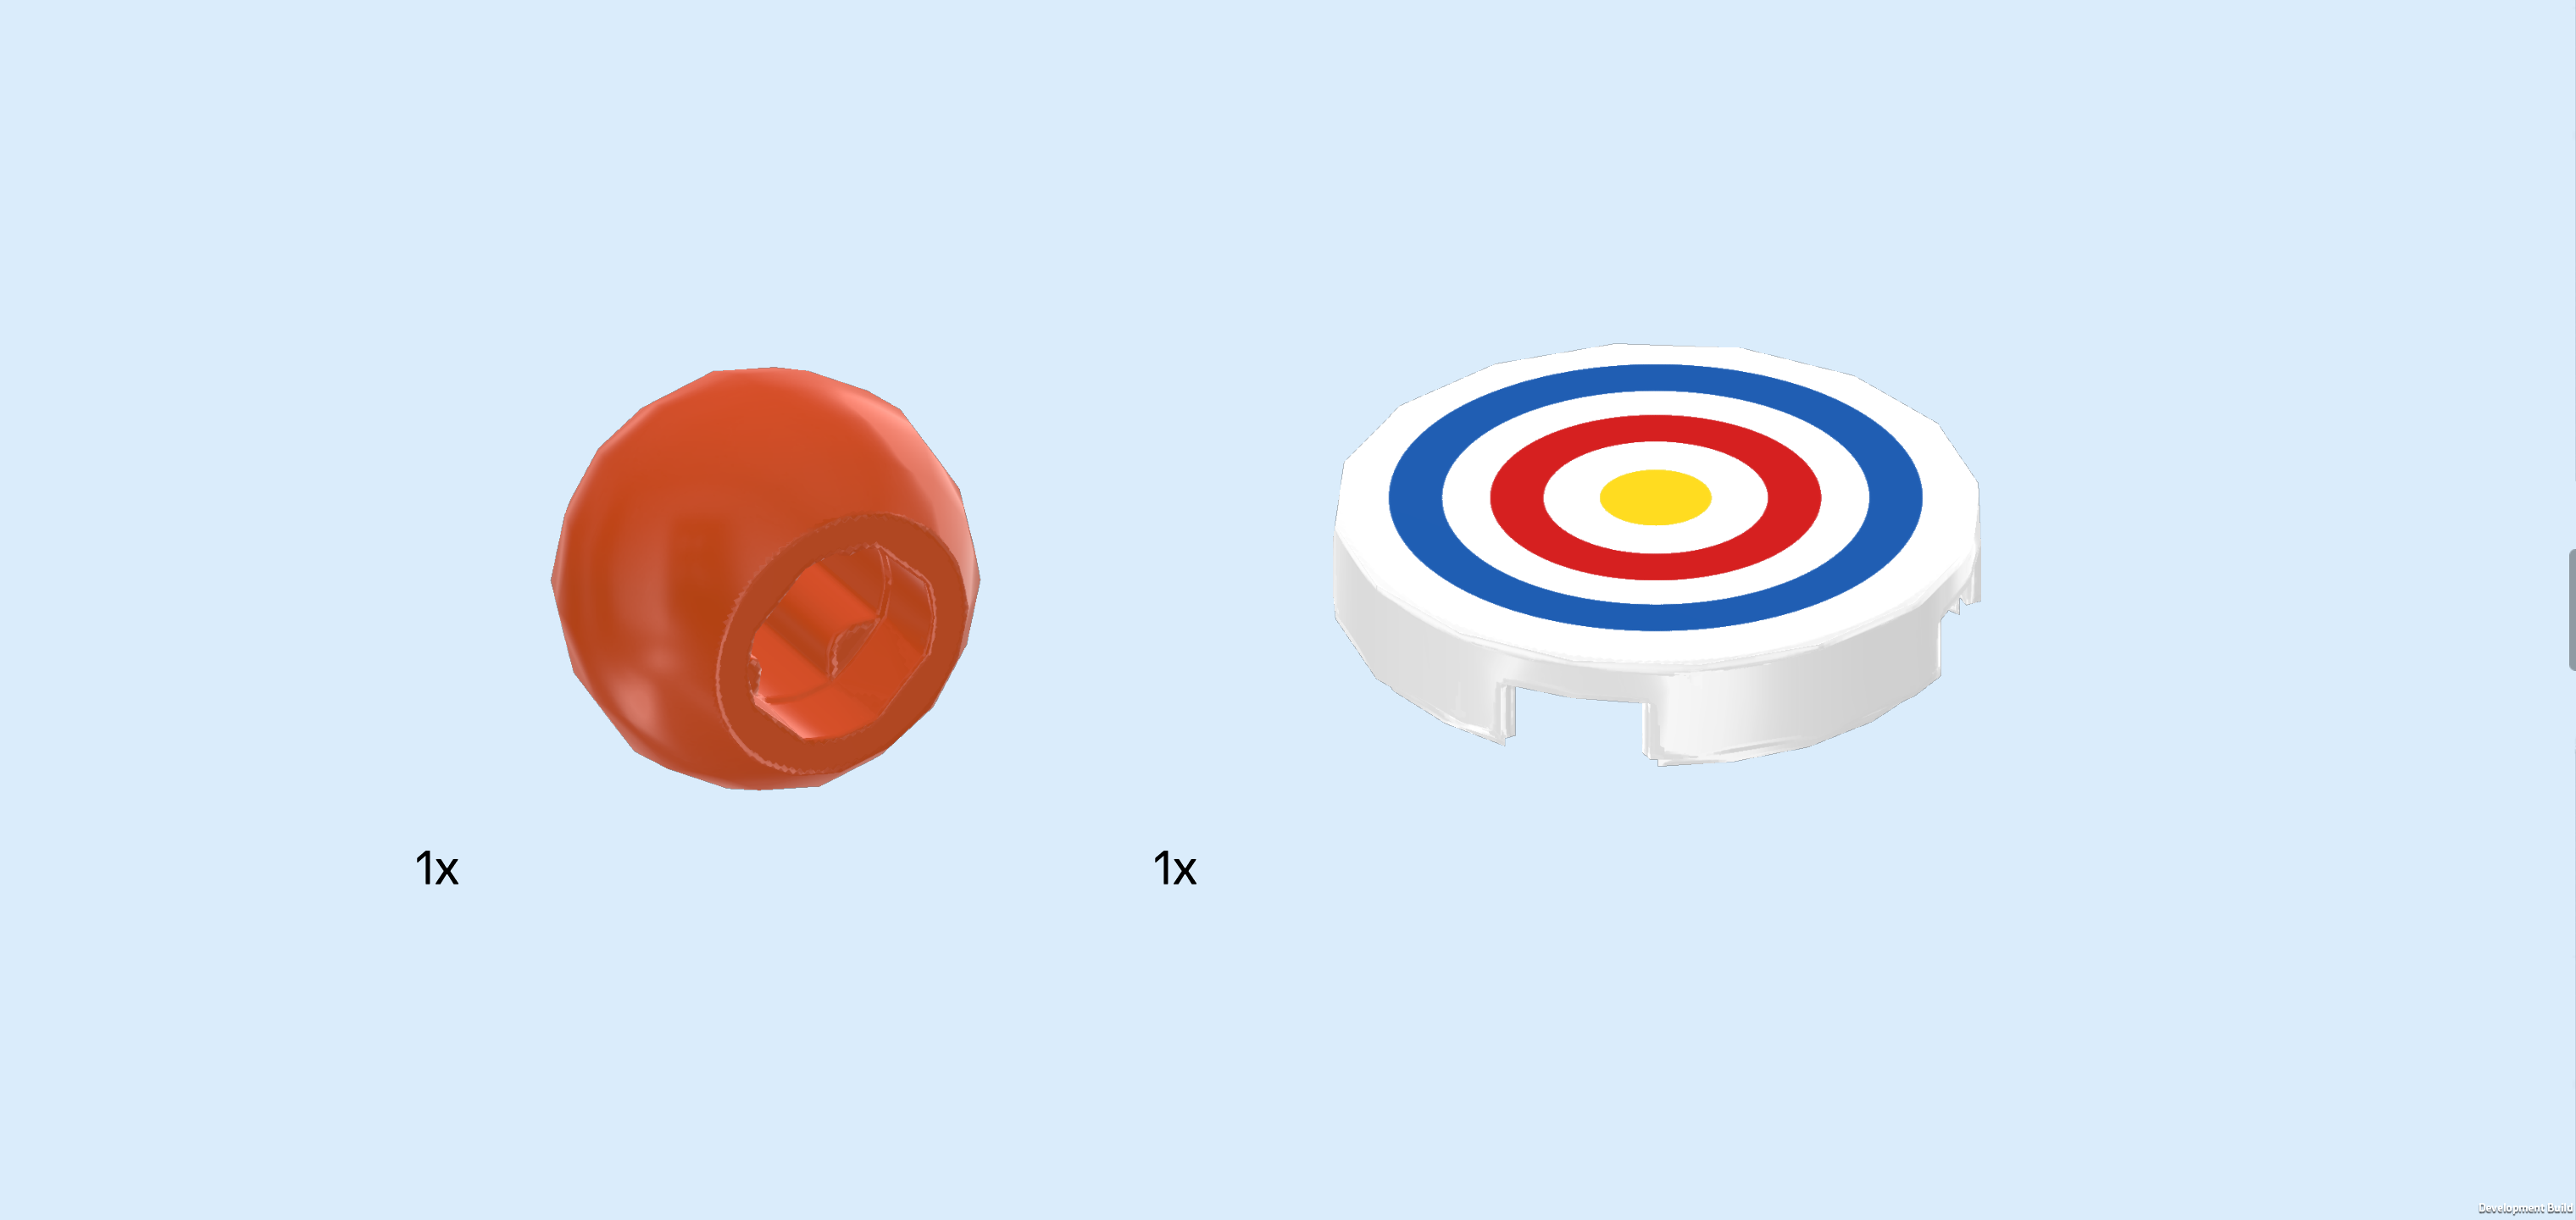
| Collect the following 2 pieces: |
| 1 reddish orange technic ball 1m with hole, |
| and 1 white round tile 2x2. |
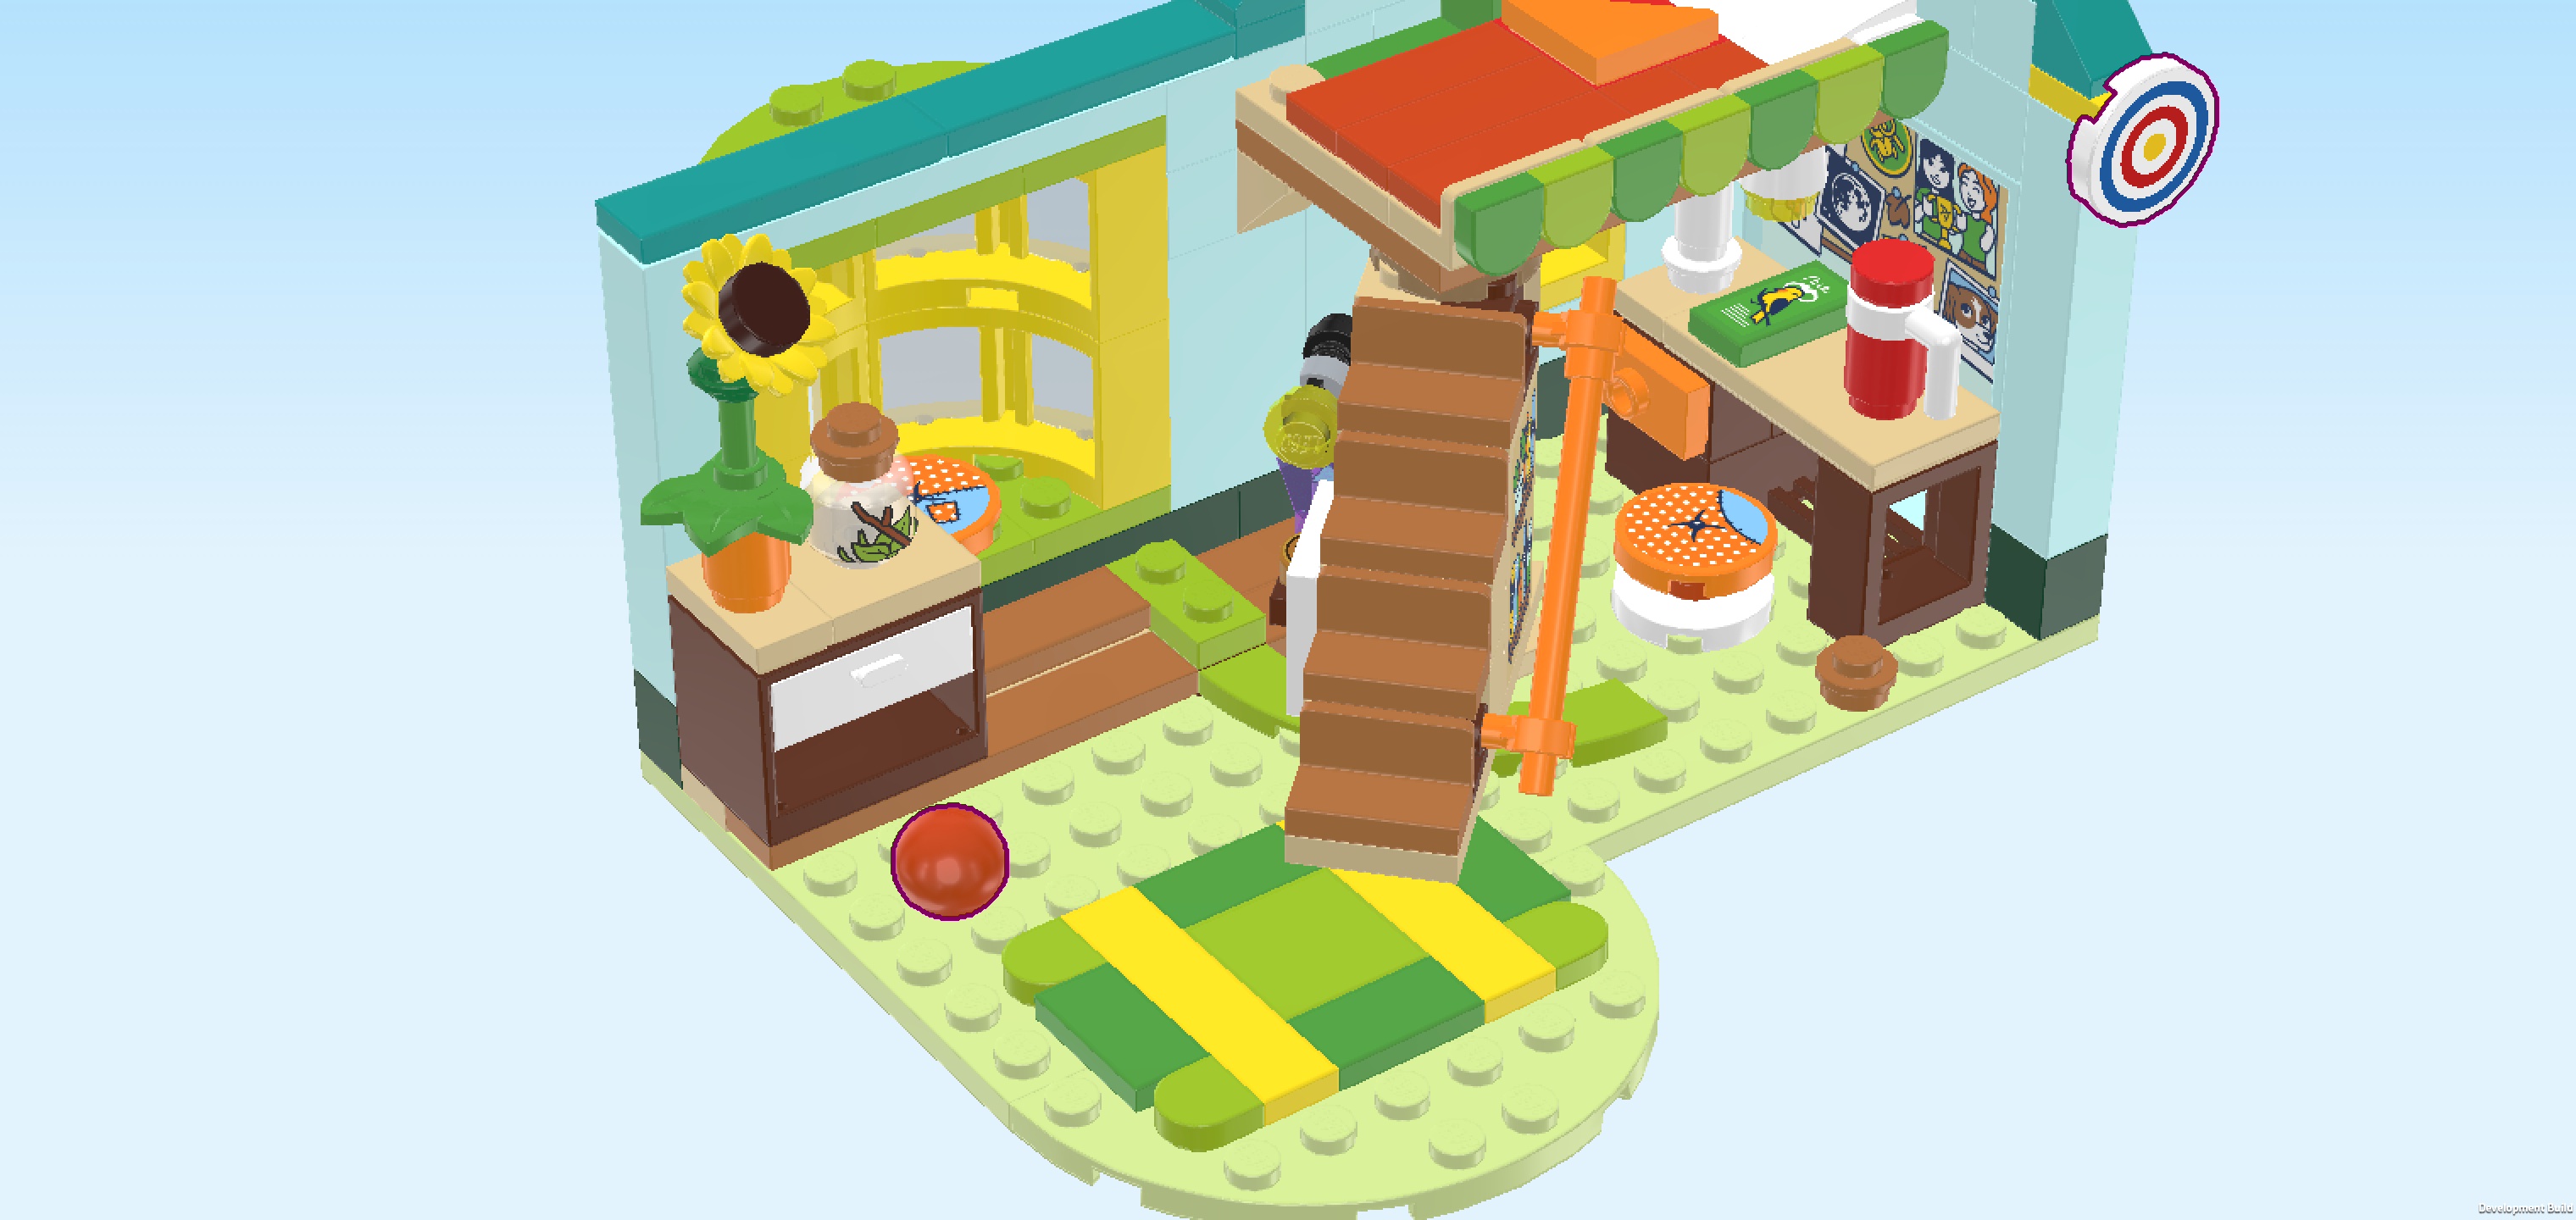
| Put the technic ball 1m on a knob between the carpet and the sideboard. Since this is one of Bandit's toys, you can stow and use it wherever you like. |
| Mount the round tile 2x2 upright on the side knob pointing to the front from the right side wall. This tile has a target print. Its outer circle is white, followed by blue, white, red, white circles and a yellow dot for the bull's eye. |
| You have finished building the entire set! Fantastic job, what a cool room with plenty of details and even hidden treasures! Autumn and Leo love hanging out together in Autumn's room. With Bandit around, there is never a dull moment. It's time for you to explore and enjoy the room. |
| Enjoy! |