LEGO 42634 Horse and Pony Trailer 

LEGO Audio & Braille Building Instructions for the LEGO Friends set "Horse and Pony Trailer".

Transport your LEGO horses in style with the horses and pony trailer! Build this detailed trailer and take care of your own horse adventures. Liann and Zoya are going on a riding trip. First, they load the horse and pony onto the trailer, then drive to the forest. When they arrive, they give the horses a brush and get them ready for a ride. They find a fallen tree, which makes an obstacle for the horse and pony to jump over. After a fun day, the friends reward the horses with tasty treats.

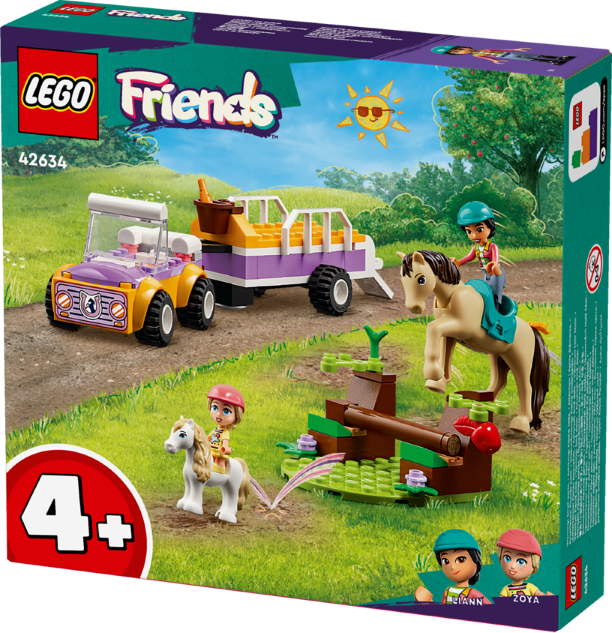
The box cover shows the two friends Liann and Zoya in full action with their horses. Liann is riding the bigger horse and currently attempting to jump over the fallen tree obstacle! Her horse is on its hind legs! Zoya is ahead of them, she is riding the pony and has just landed her jump without kicking off the tree trunk! Great job! The obstacle consists of two tree stumps and a fallen tree trunk which is placed horizontally across the two tree stumps, but it is not fixed so it might fall off at the slightest touch. Quite a tricky setup! The obstacle is located on a green meadow with brown patches all around the obstacle. It is clear that the friends come here often to train with their horses. At the back on a dirt road, the orange and lavender-colored car with trailer is parked. The car is a cute little cabrio with a padded back seat. The trailer has a hatch that the horses can use as a ramp. It is also equipped with a detachable bucket for carrots and utilities. It is a sunny day in this scene, so the conditions are perfect for a training session. Let's get started!

Open the box. This can be tricky; ask someone to help you!

The box contains 2 booklets with visual building instructions, 2 bags with numbers printed on them, and 2 loose pieces: 1 horse figure, and 1 waggon bottom 10x4 with mudguards and connectors. Ask a sighted person to help you identify the correct bag!

Carefully open bag number 1 and any small sub-bags in it. This bag contains all bricks and pieces for the Liann Minidoll, Liann's horse with carrot bucket, and the car.

Before you start building, ask a sighted person to help you sort the pieces by color. This makes finding the correct pieces even easier!

First, we will build the Liann Minidoll.

Collect the following 2 pieces:

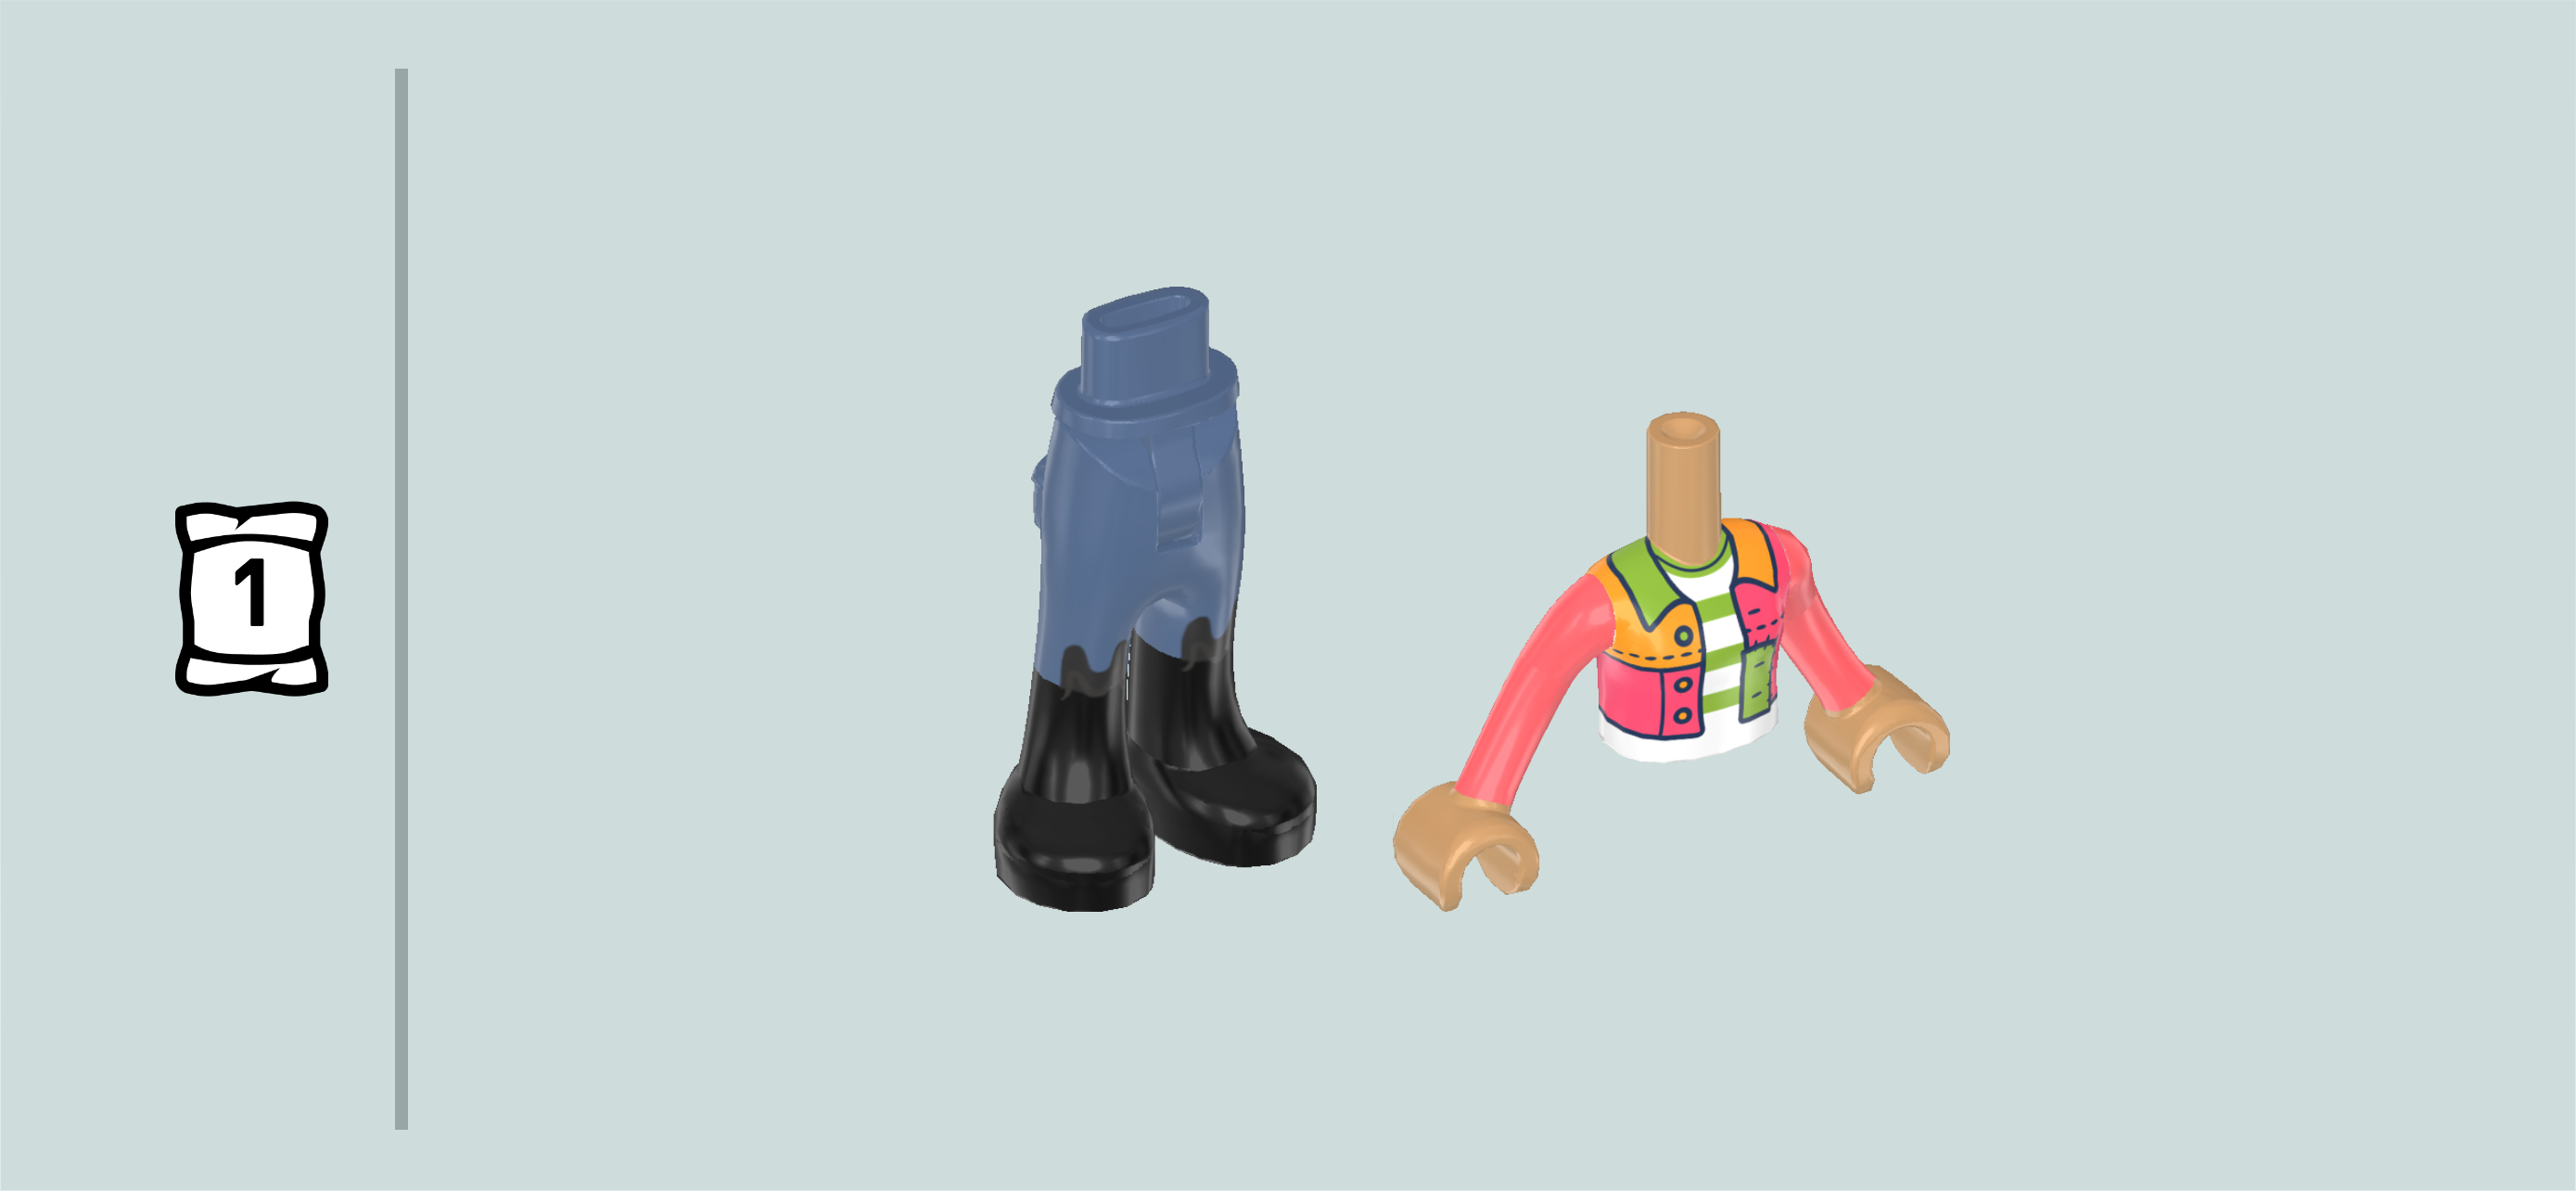
1 salmon pink and white Minidoll upper body,

and 1 sand blue and black pair of Minidoll legs with long trousers and back pockets.

Put the upper body on the legs.

Collect the following 2 pieces:

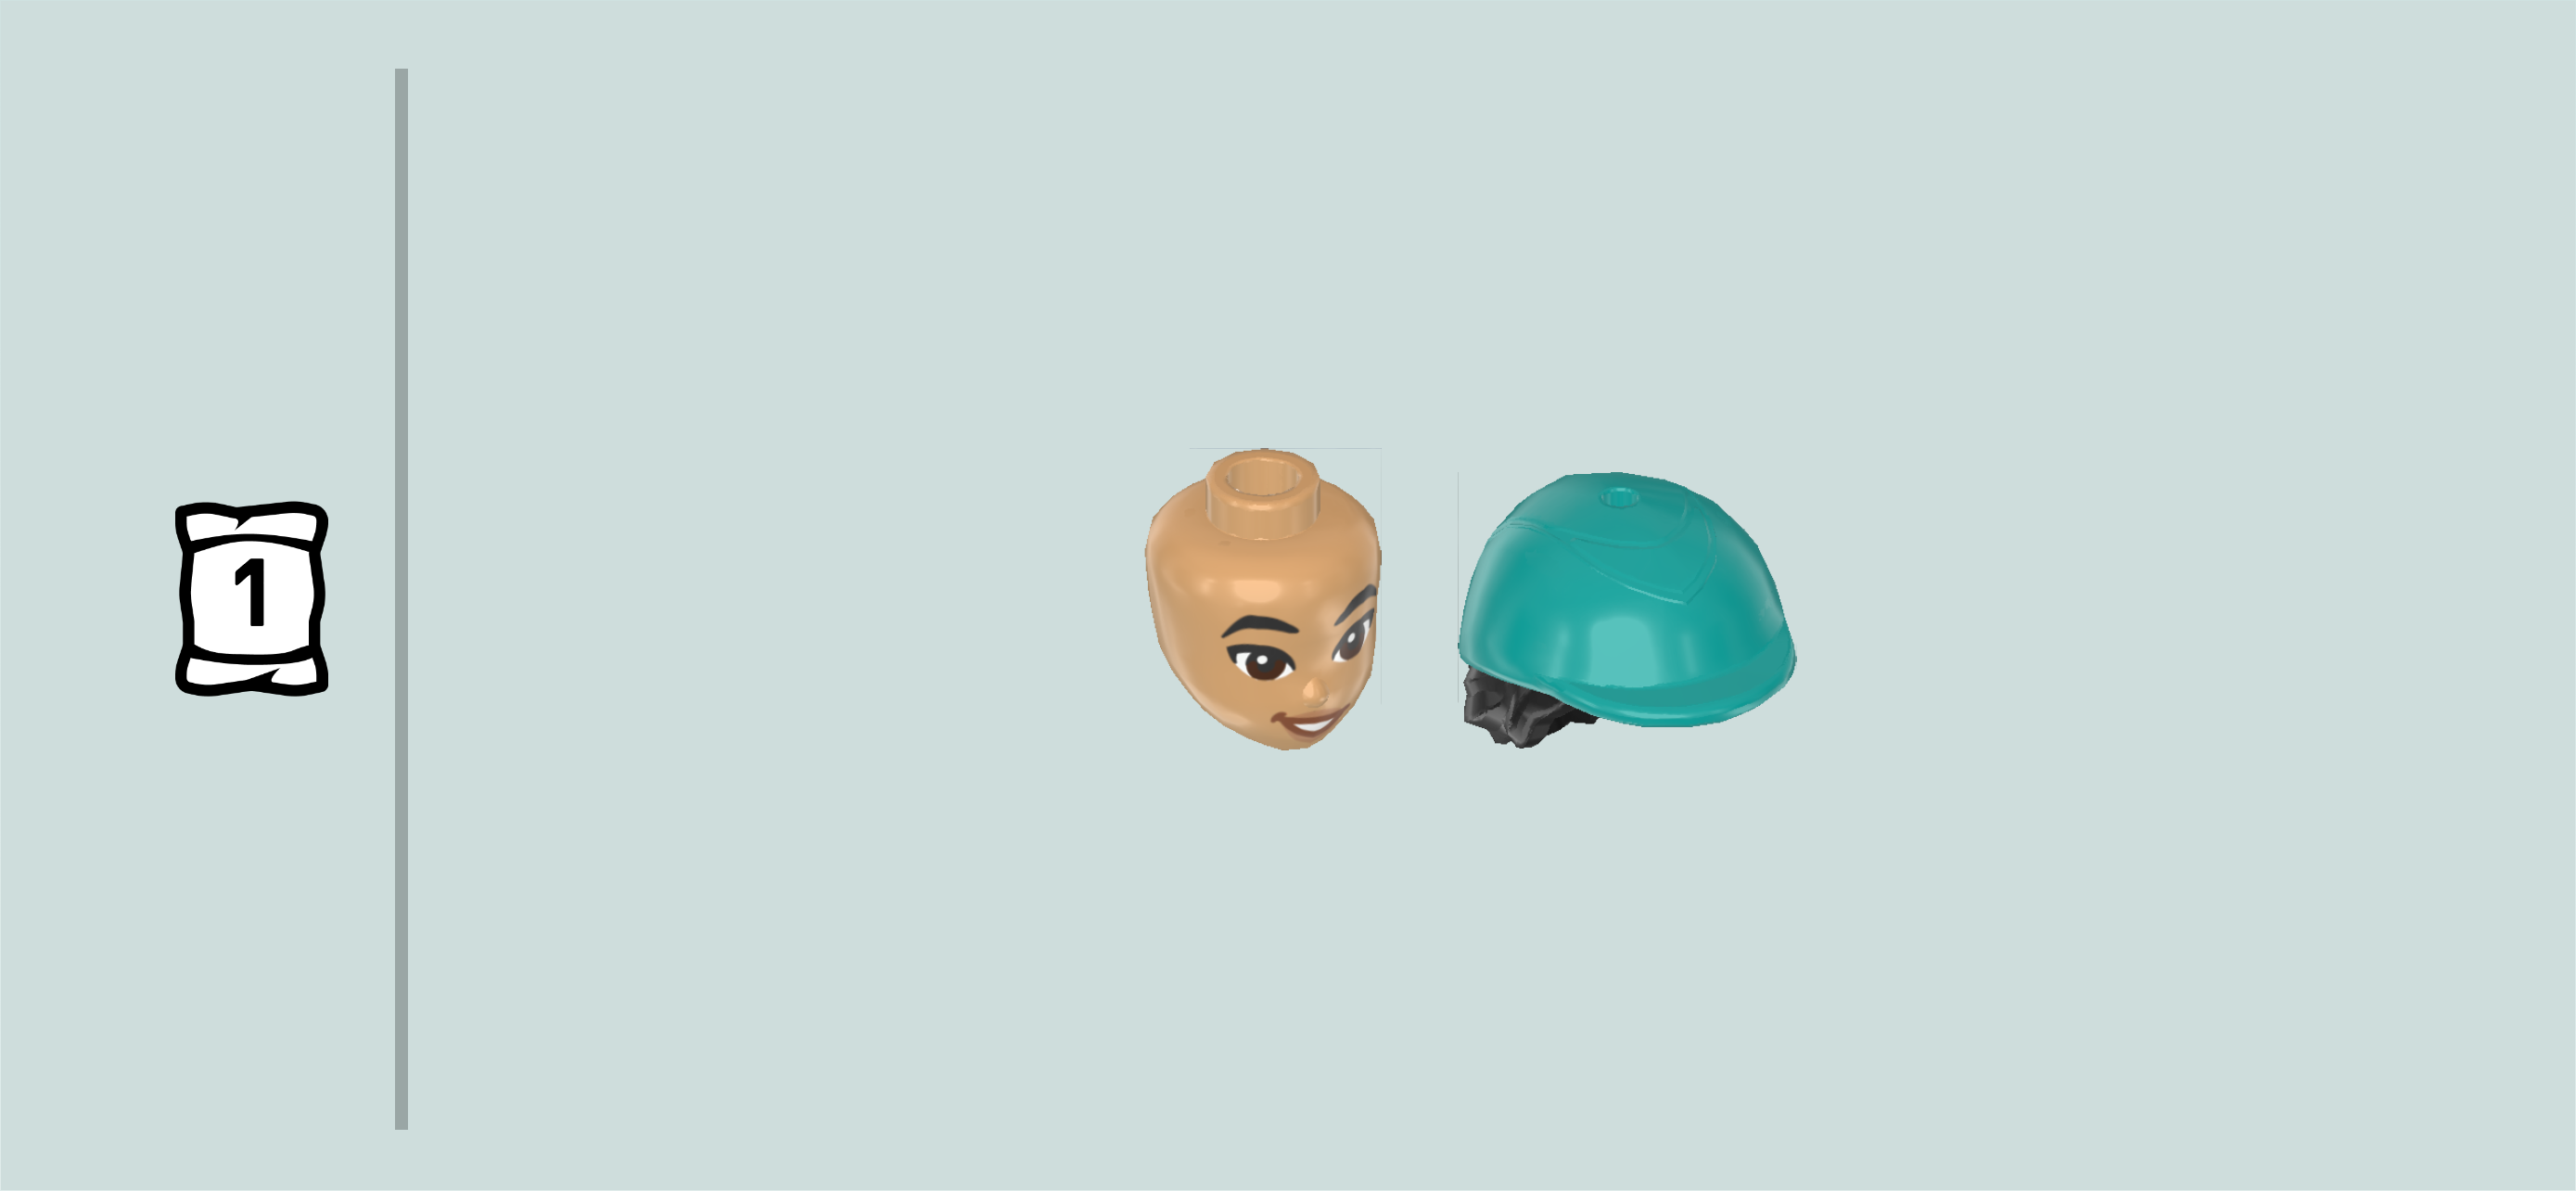
1 warm tan Minidoll head,

and 1 black and teal blue riding hat with hair in a low bun.

Put the Minidoll head on the body.

Put the riding hat on the head.

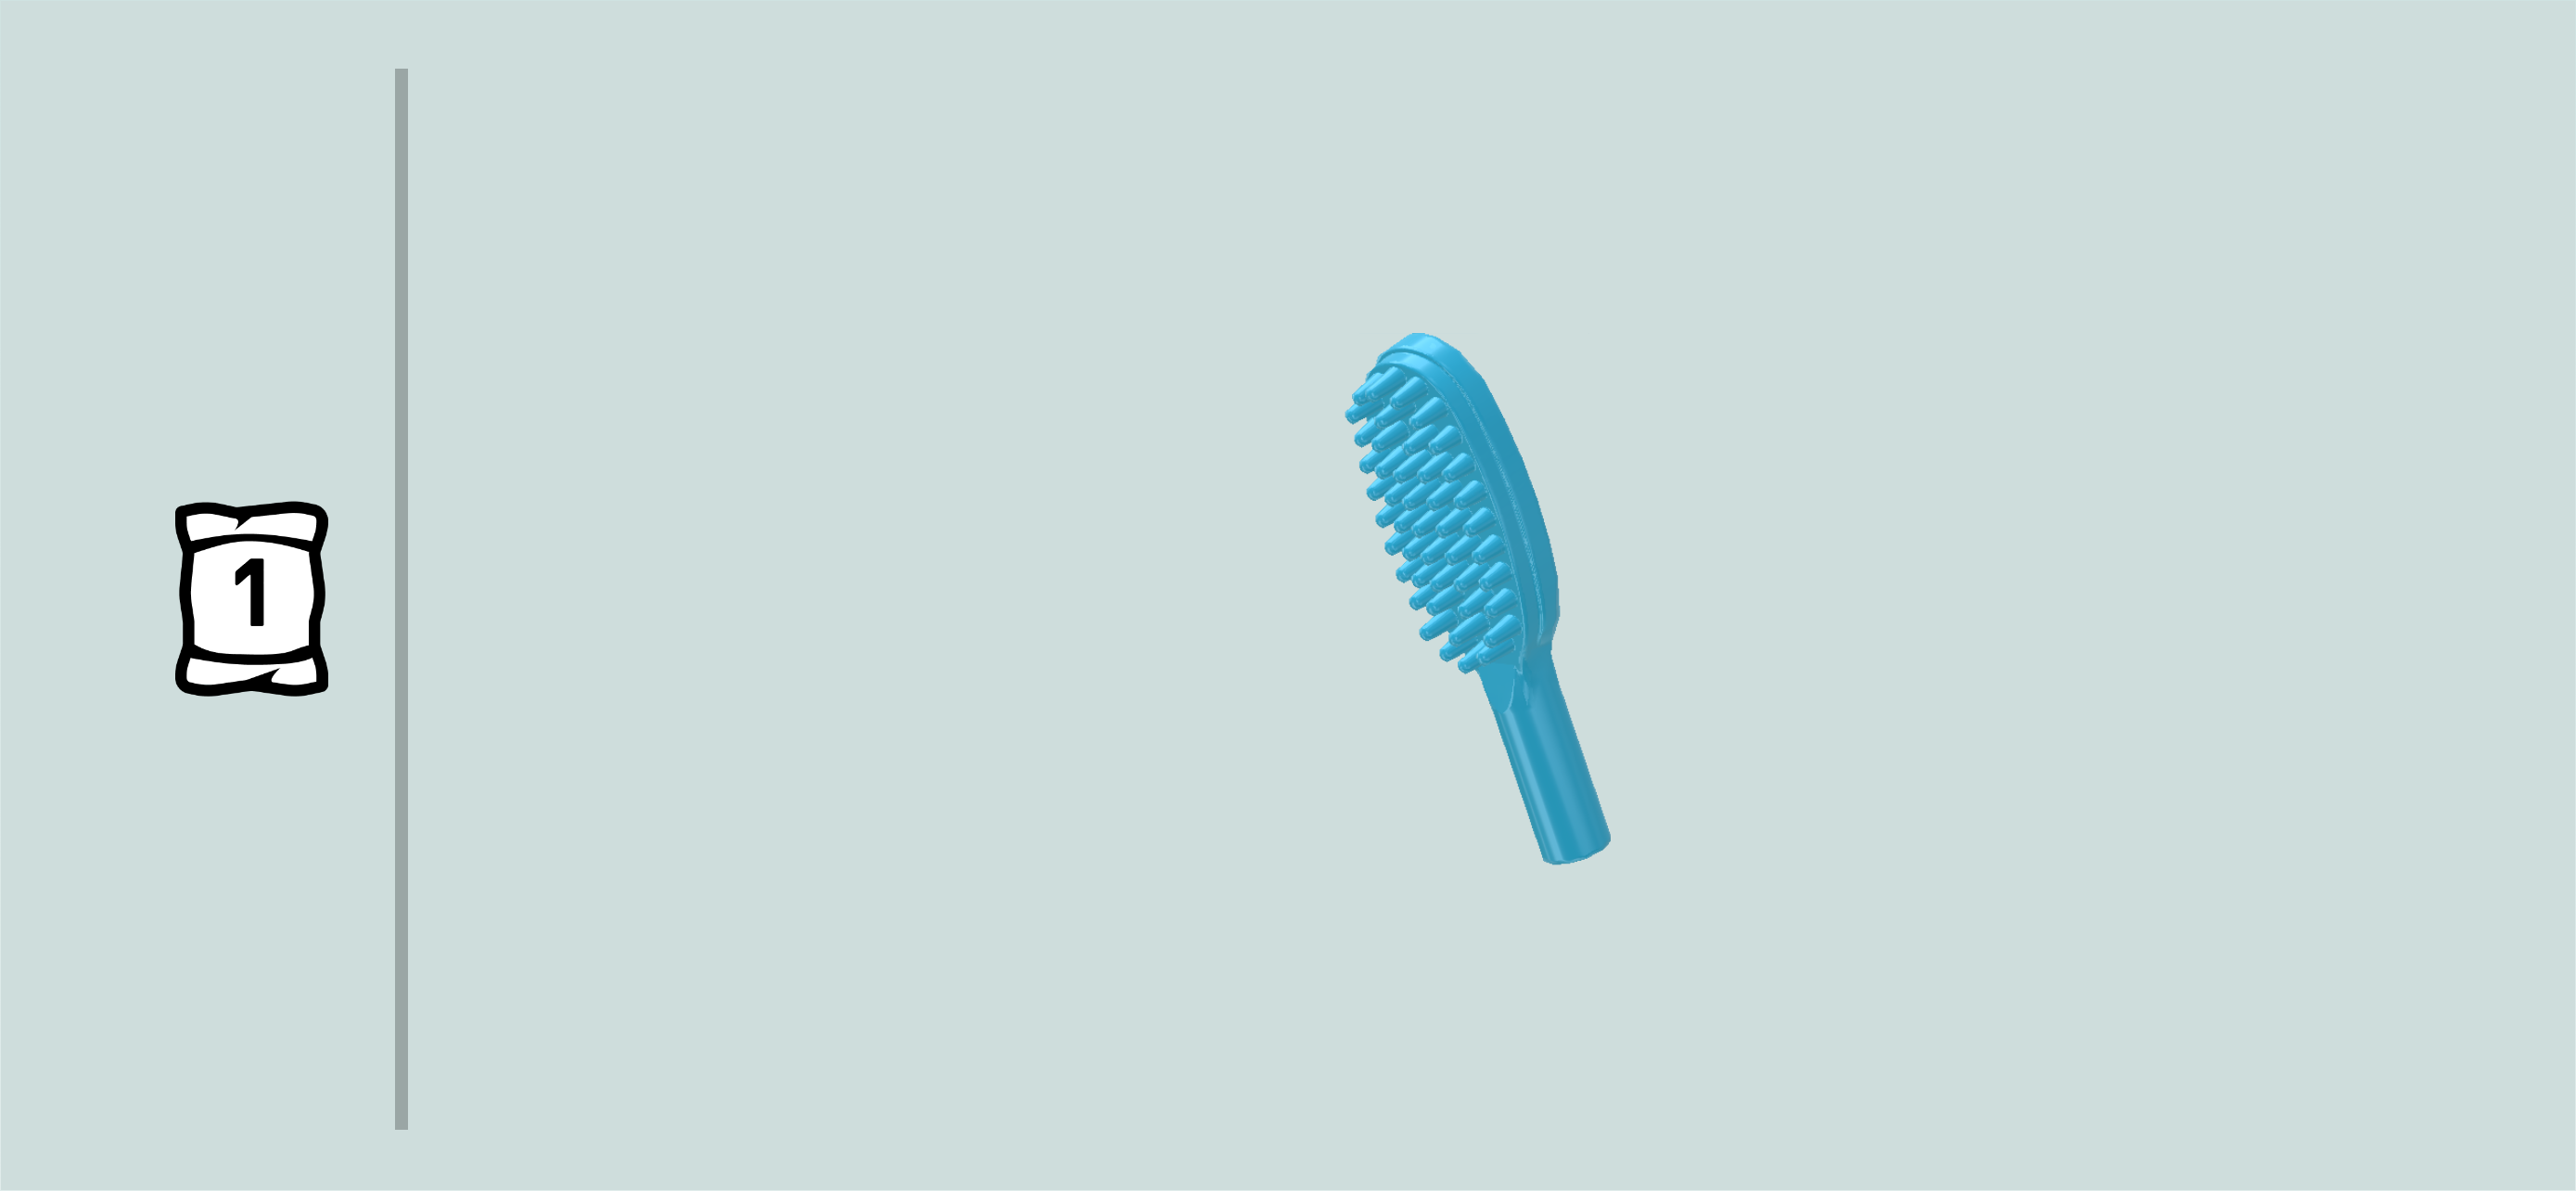
Find 1 medium azure blue hairbrush.

Snap its handle into the right hand.

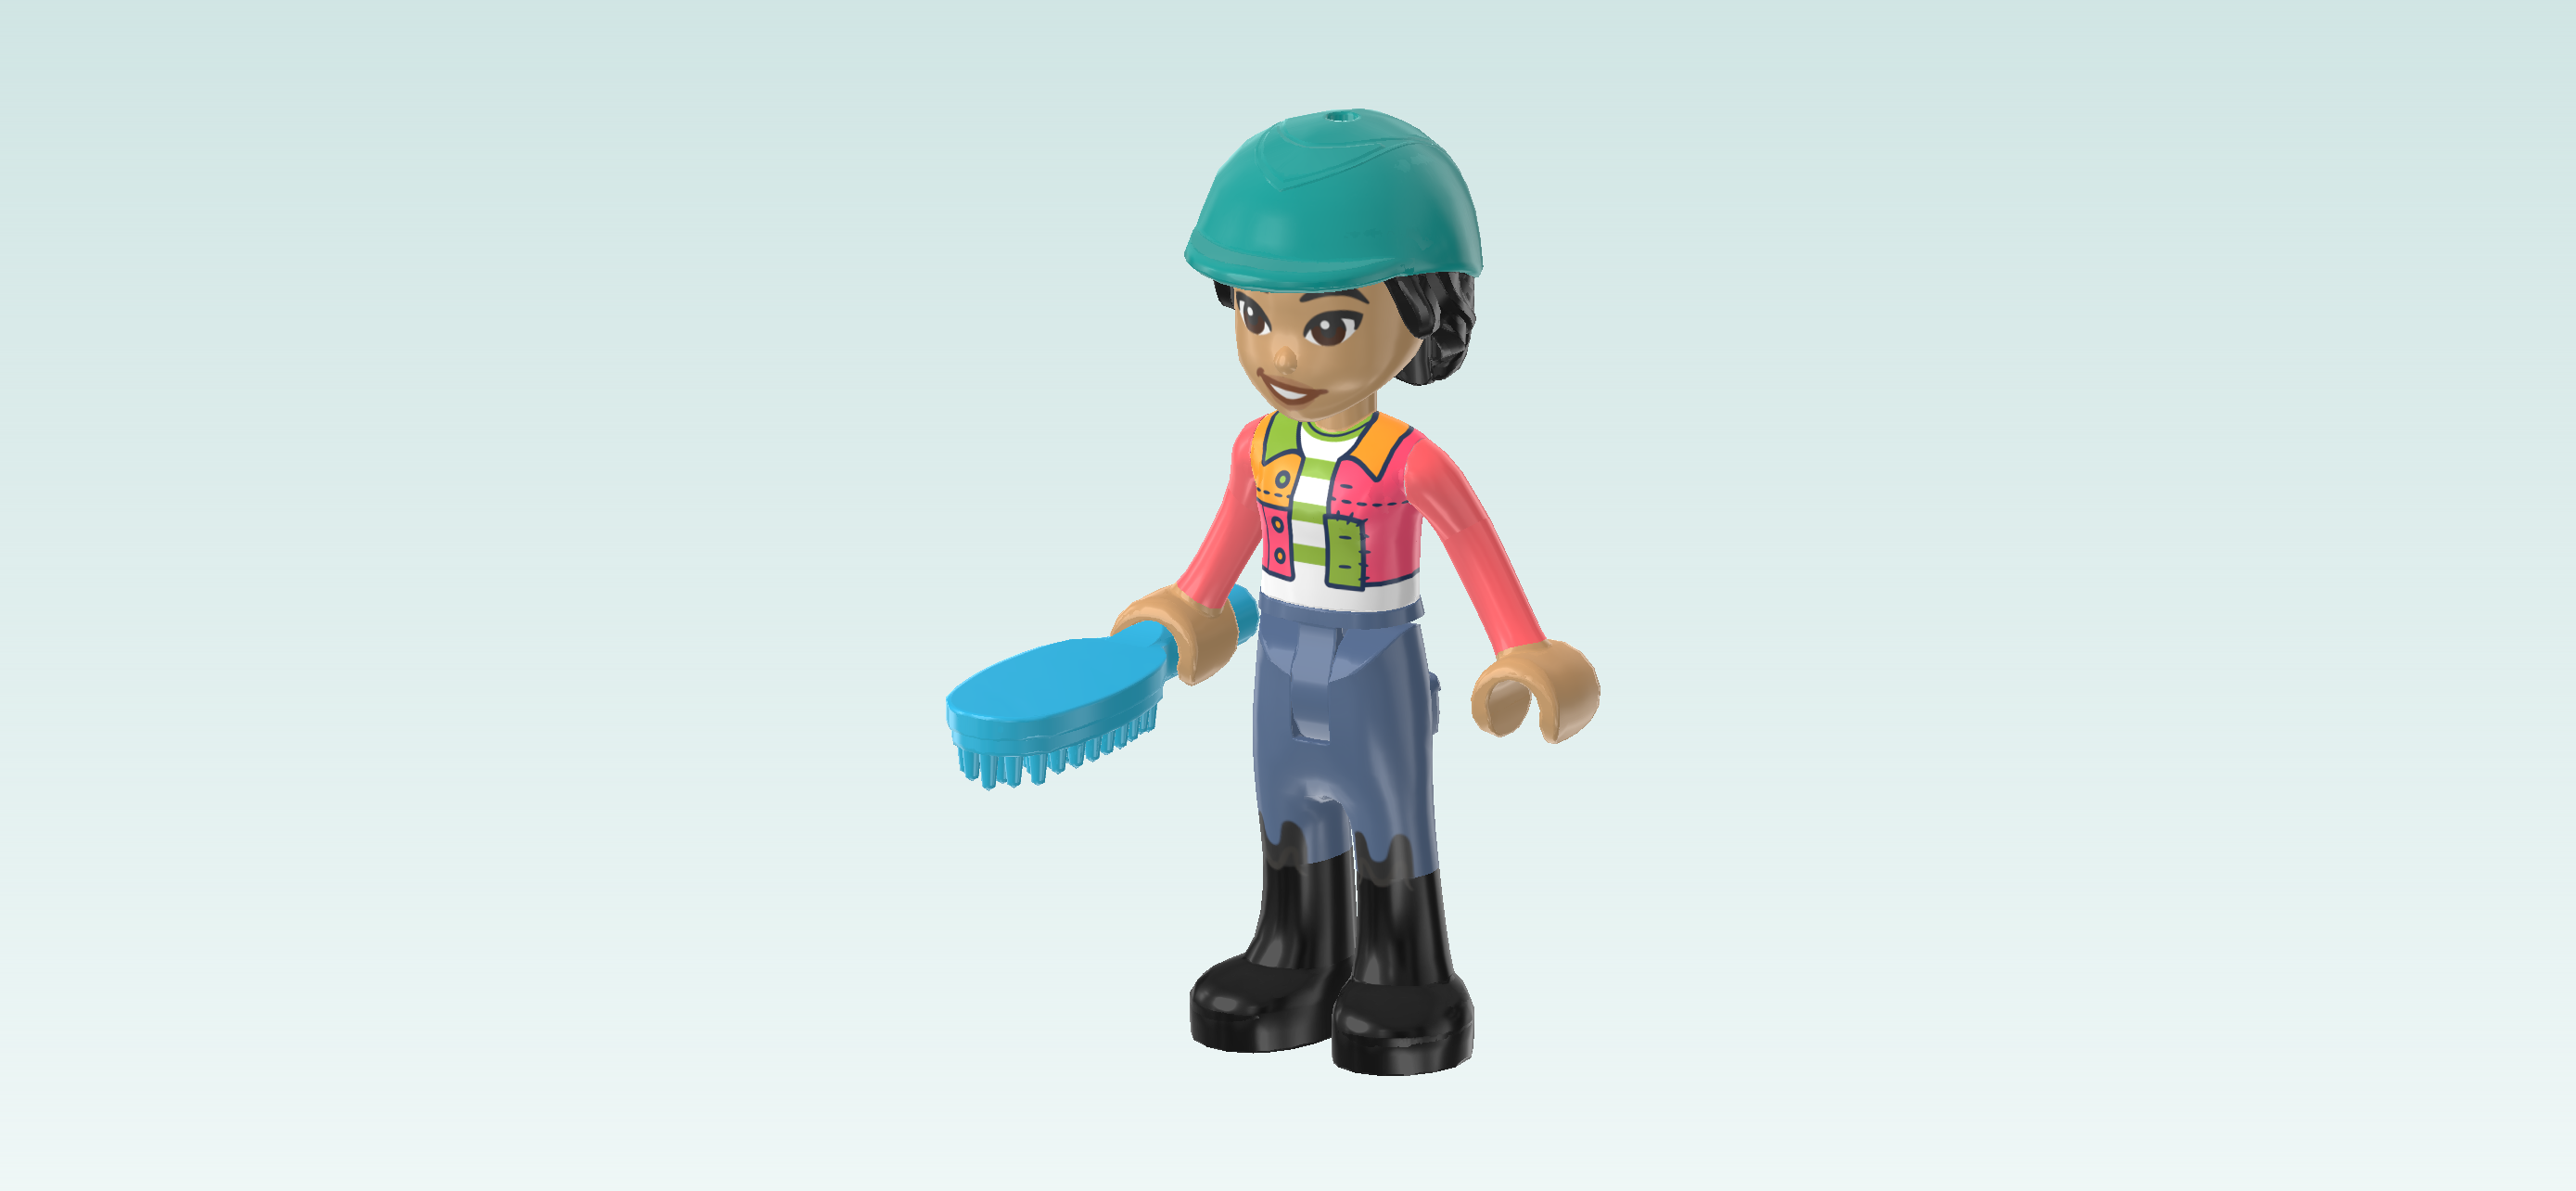
The Liann Minidoll is finished! Well done! Liann is wearing a white shirt with horizontal green stripes and a salmon pink button-down jacket with a collar (the jacket has patches in different colors, for instance one side of the collar is light pink and the other is light green, the button tab has one green patch, the upper left chest part of the jacket is light pink, and so on). She is wearing sand blue trousers and black riding boots. Liann has a warm tan skin tone, dark brown eyes, dark brown eyebrows and black hair. Her lips are dark red, and she has an enticing smile on her face. She is all ready to go horseback riding, so let's continue!
Next, we will assemble Liann's horse.

First, we need to make the horseback.

Collect the following 2 pieces:

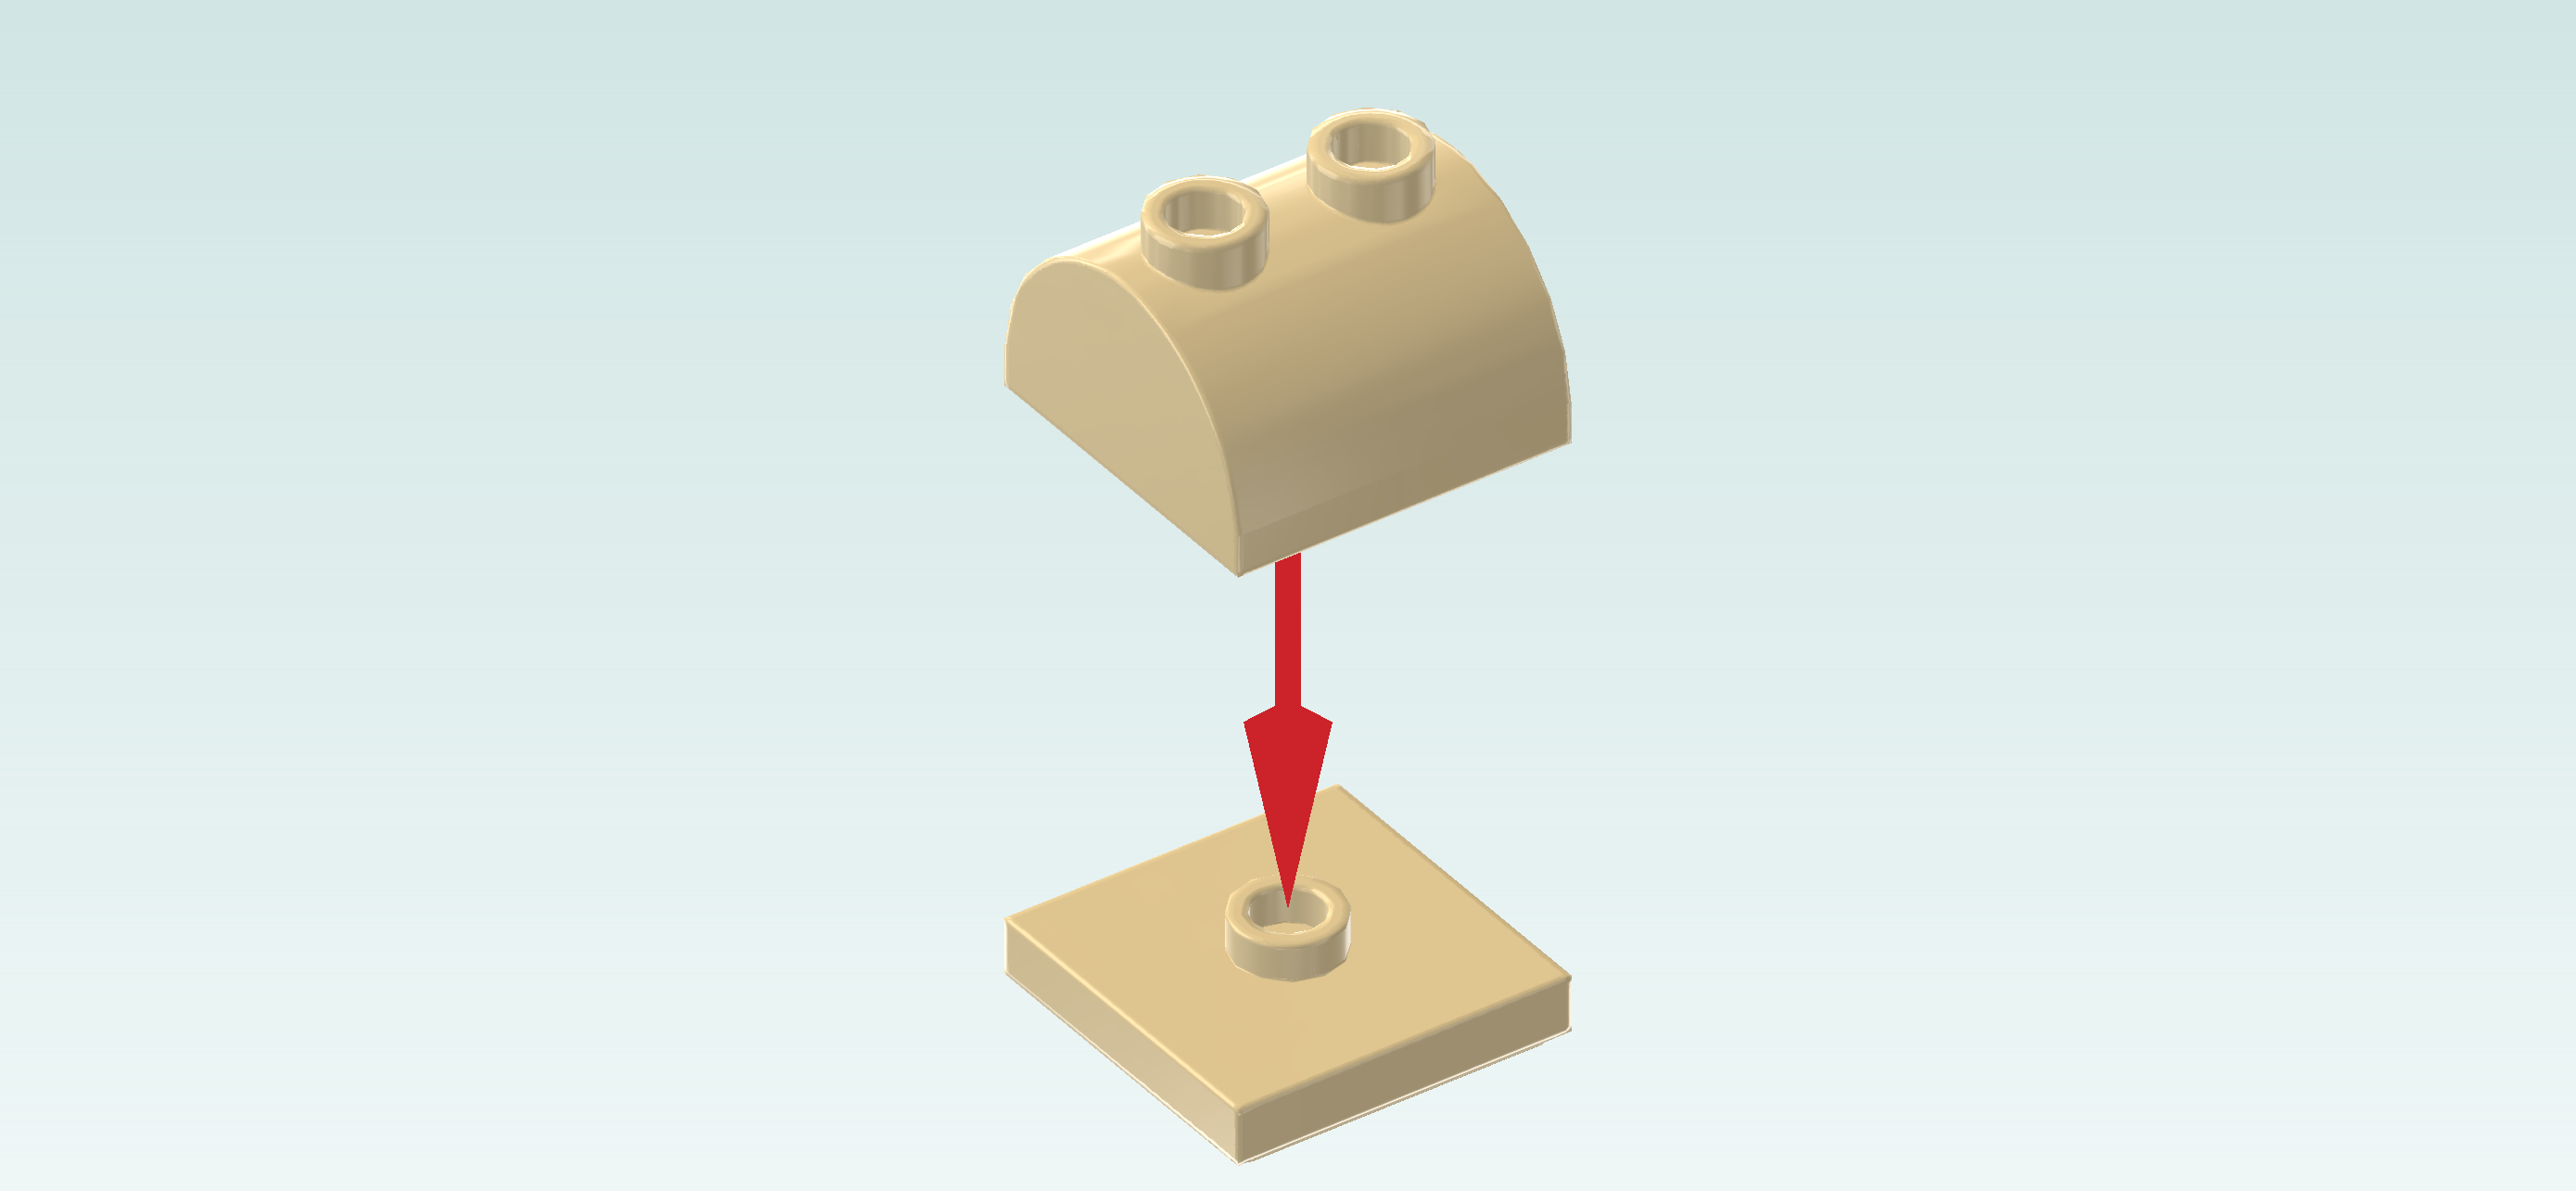
1 pale ocher yellow half-cylinder brick 2x2 with 2 knobs,

and 1 pale ocher yellow plate 2x2 with 1 knob.

Put the plate 2x2 on the table.

Put the half-cylinder brick on top. Make sure the knobs form a horizontal row, and make sure all edges are aligned.

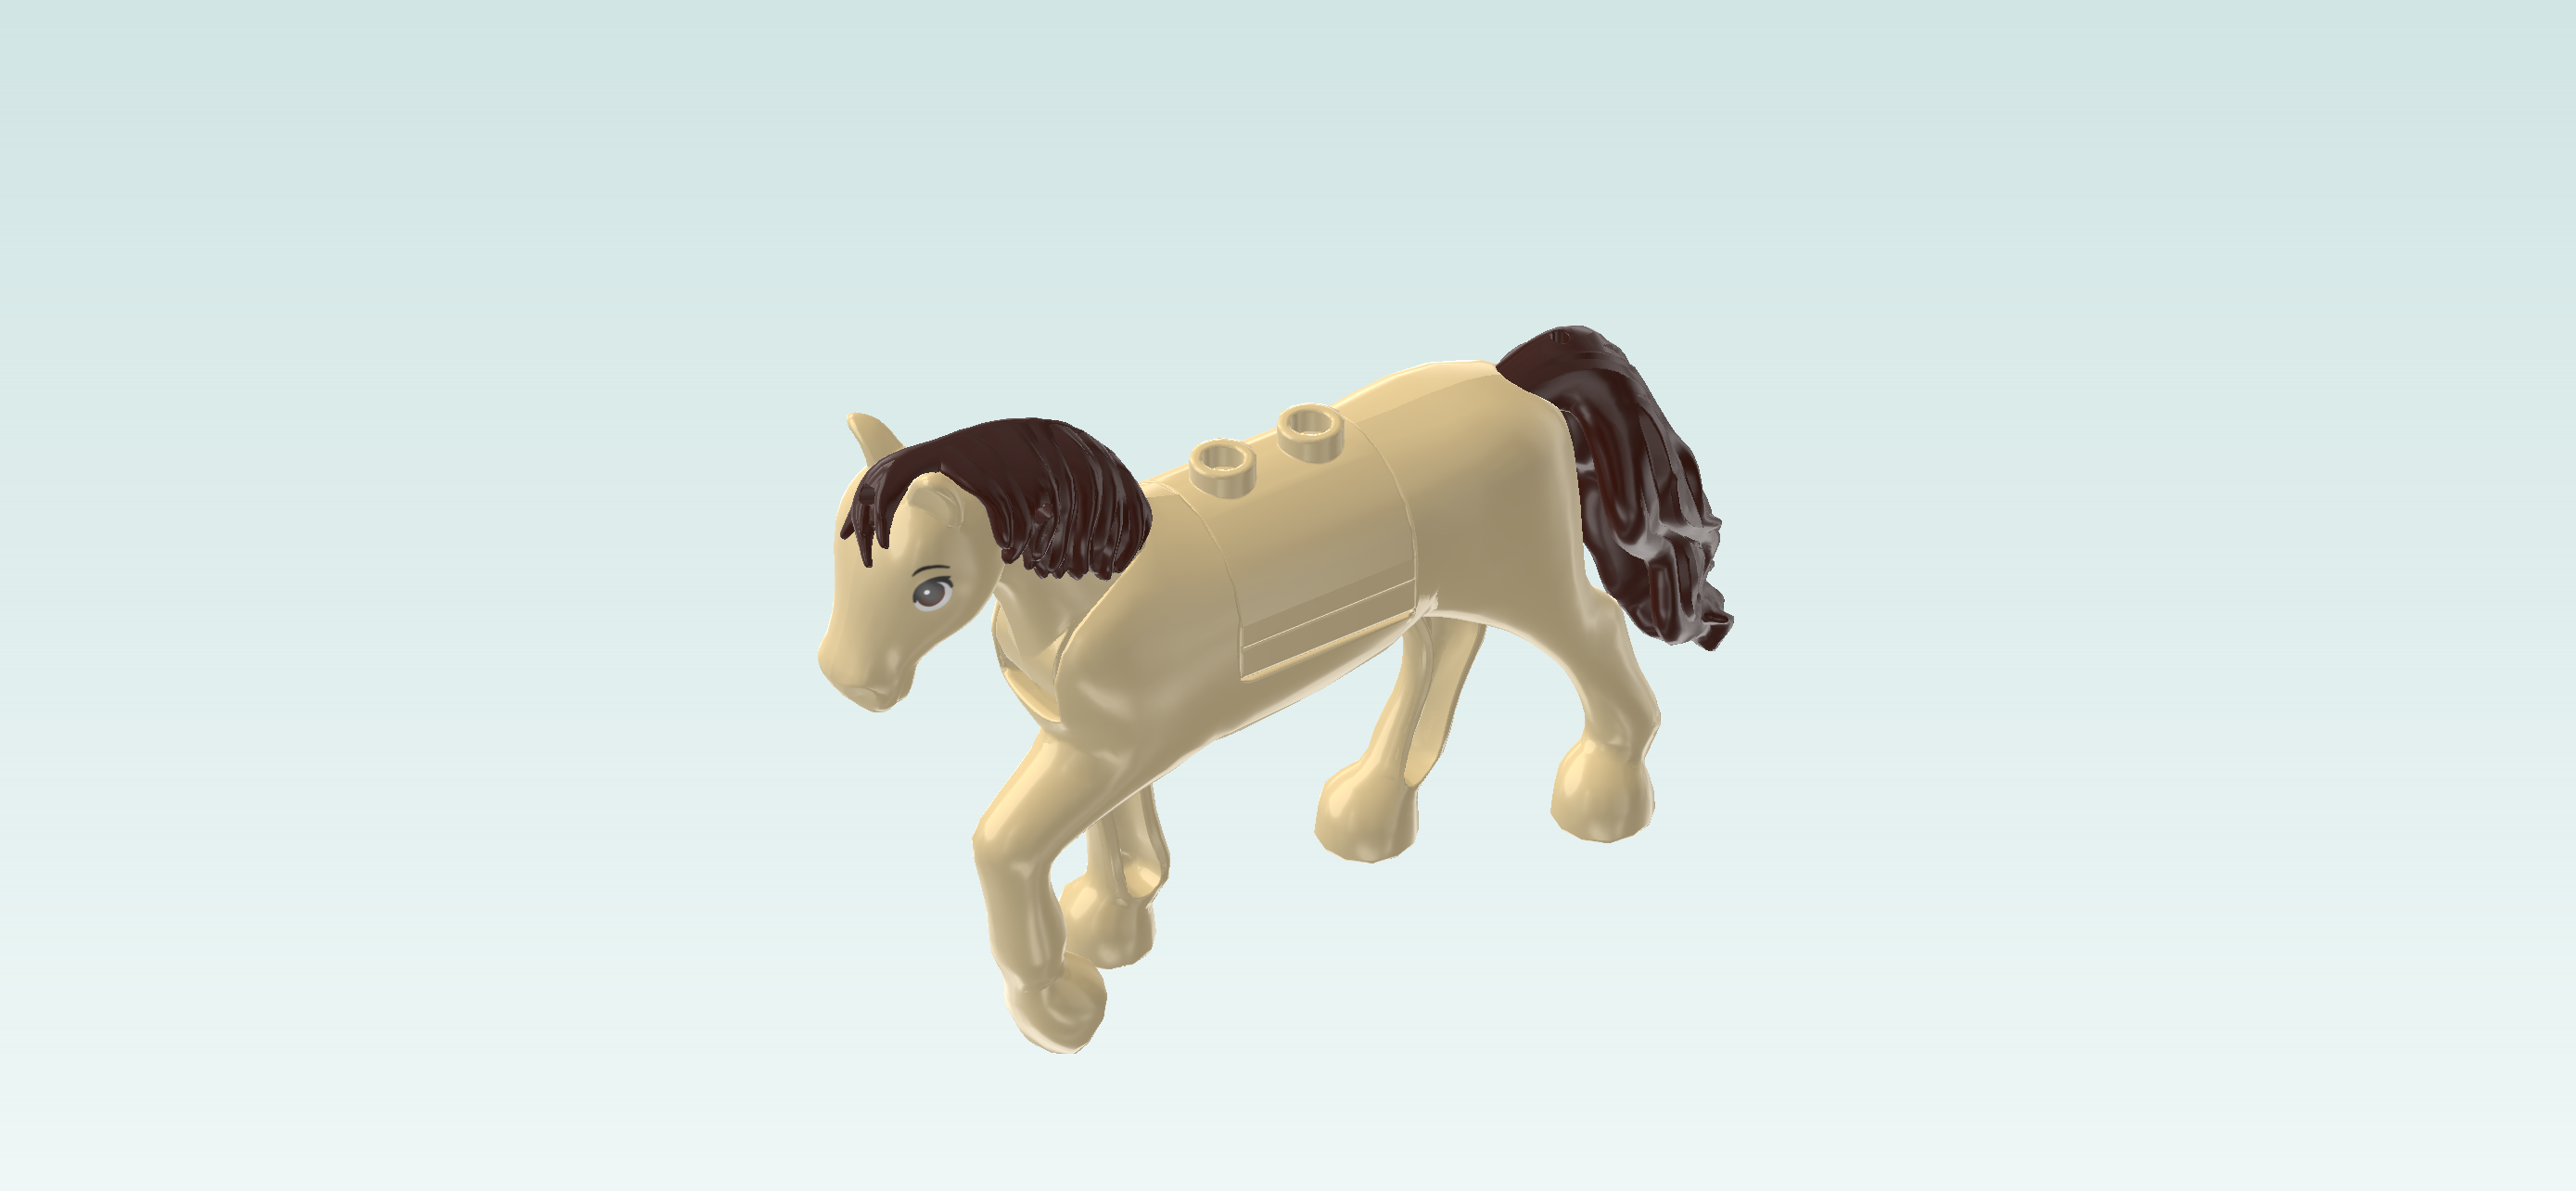
Find 1 pale ocher yellow horse figure. (This piece was loose in the box.)

Put the horseback in the recess of the horse figure, making sure that the curve of the half-cylinder matches the shape of the horse.

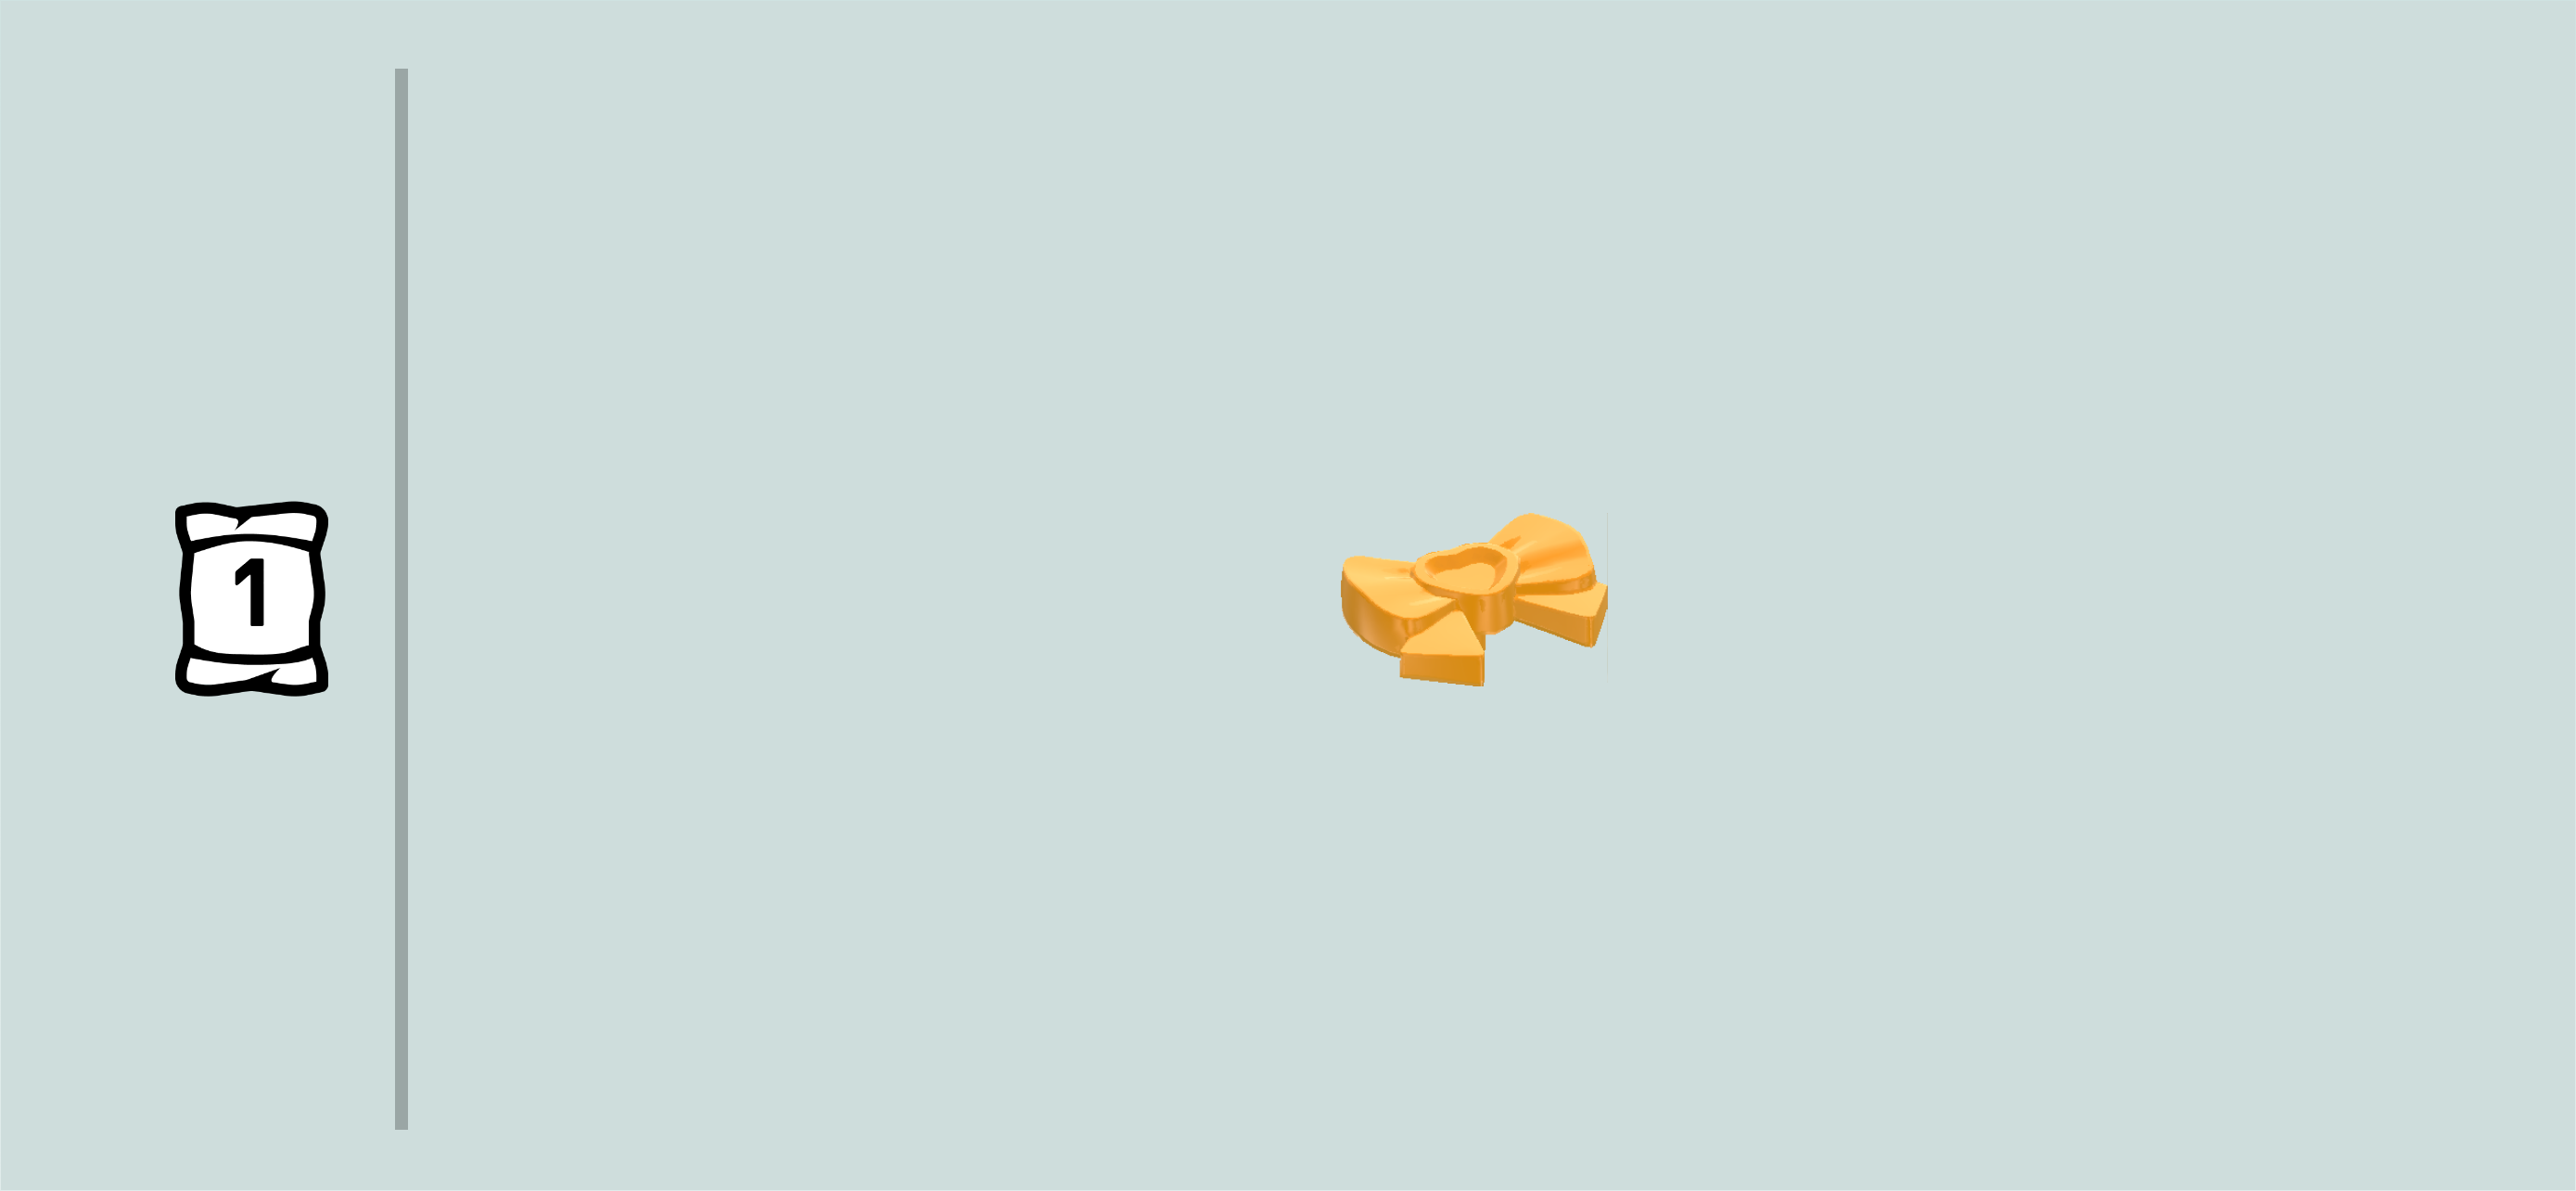
Find 1 flame yellowish orange hair bow with pin.

Insert the pin into the small hole at the top of the horse's tail.

Find 1 teal blue saddle 2x2 with 1 knob.

If you want to prepare the horse for horseback riding, you need to exchange the horseback for the saddle.

Take out the horseback and insert the saddle into the recess. Make sure that its top knob is pointing to the horse's tail.

Liann's horse is finished! Well done! The horse skin is pale ocher yellow and the horse's mane and tail are dark brown. As soon as the horse is saddled up, Liann can mount the horse and go for a ride. But do not forget to brush the horse first!

Now, we will assemble the bucket with carrot.

Collect the following 2 pieces:

1 bright orange carrot, (This is a small, thin piece with a slightly conical form and small grooves)

and 1 reddish brown bucket with tab.

Insert the carrot into the bucket.

You have finished building Liann, her horse and the bucket with carrot! Great job! You can feed your horse a carrot as a reward after a long ride.

Next, we will build the car.

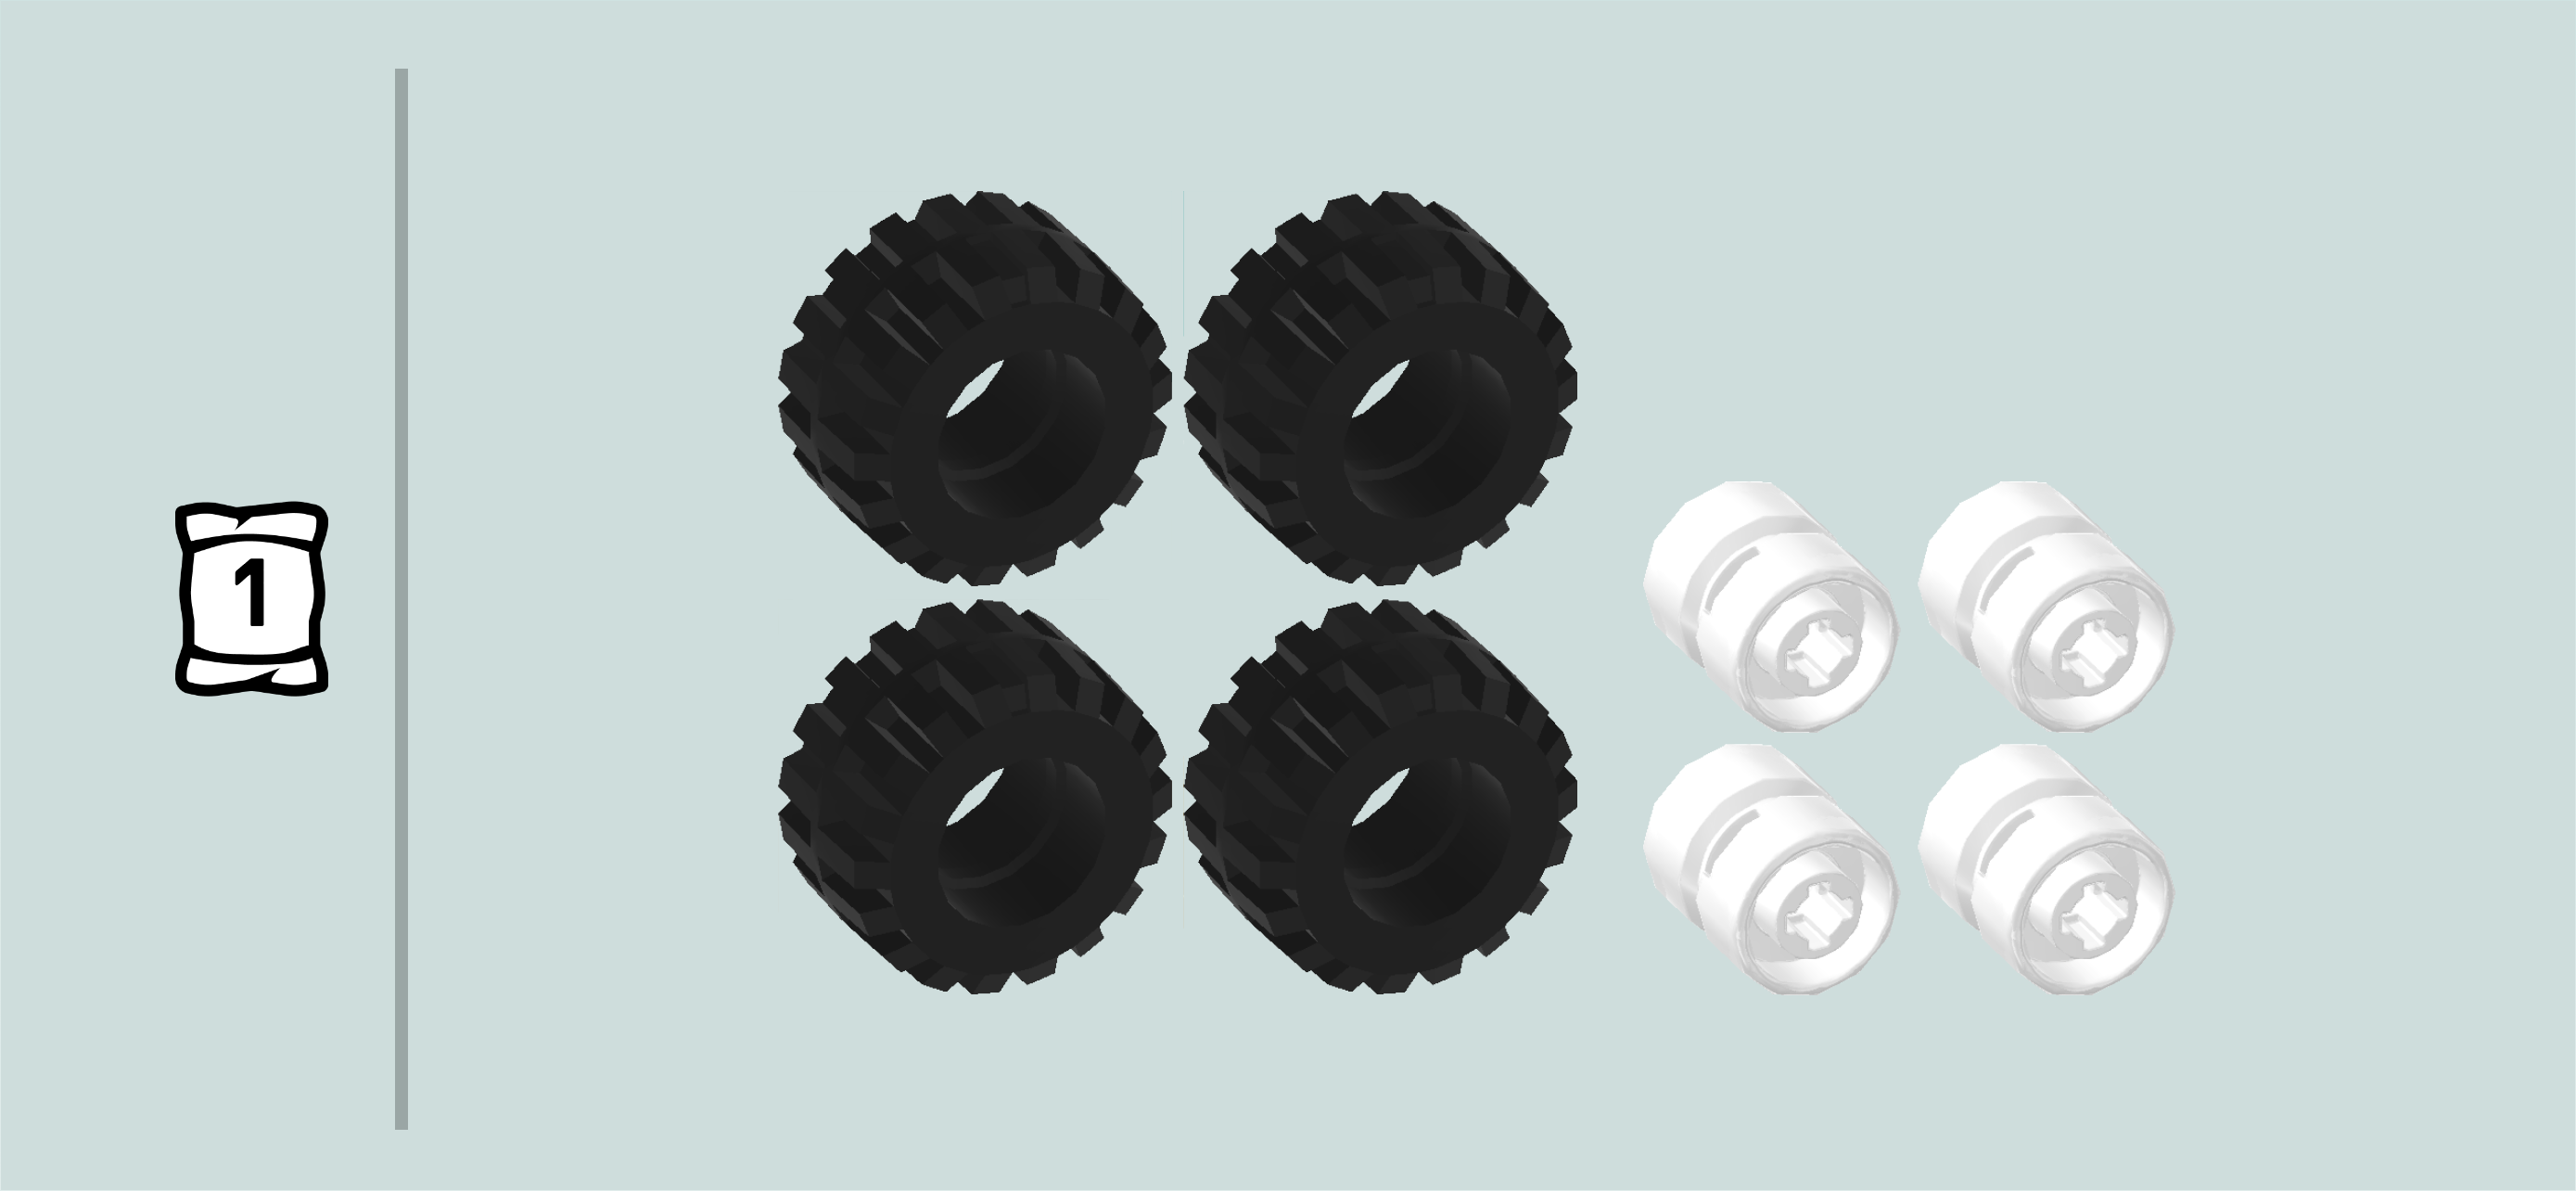
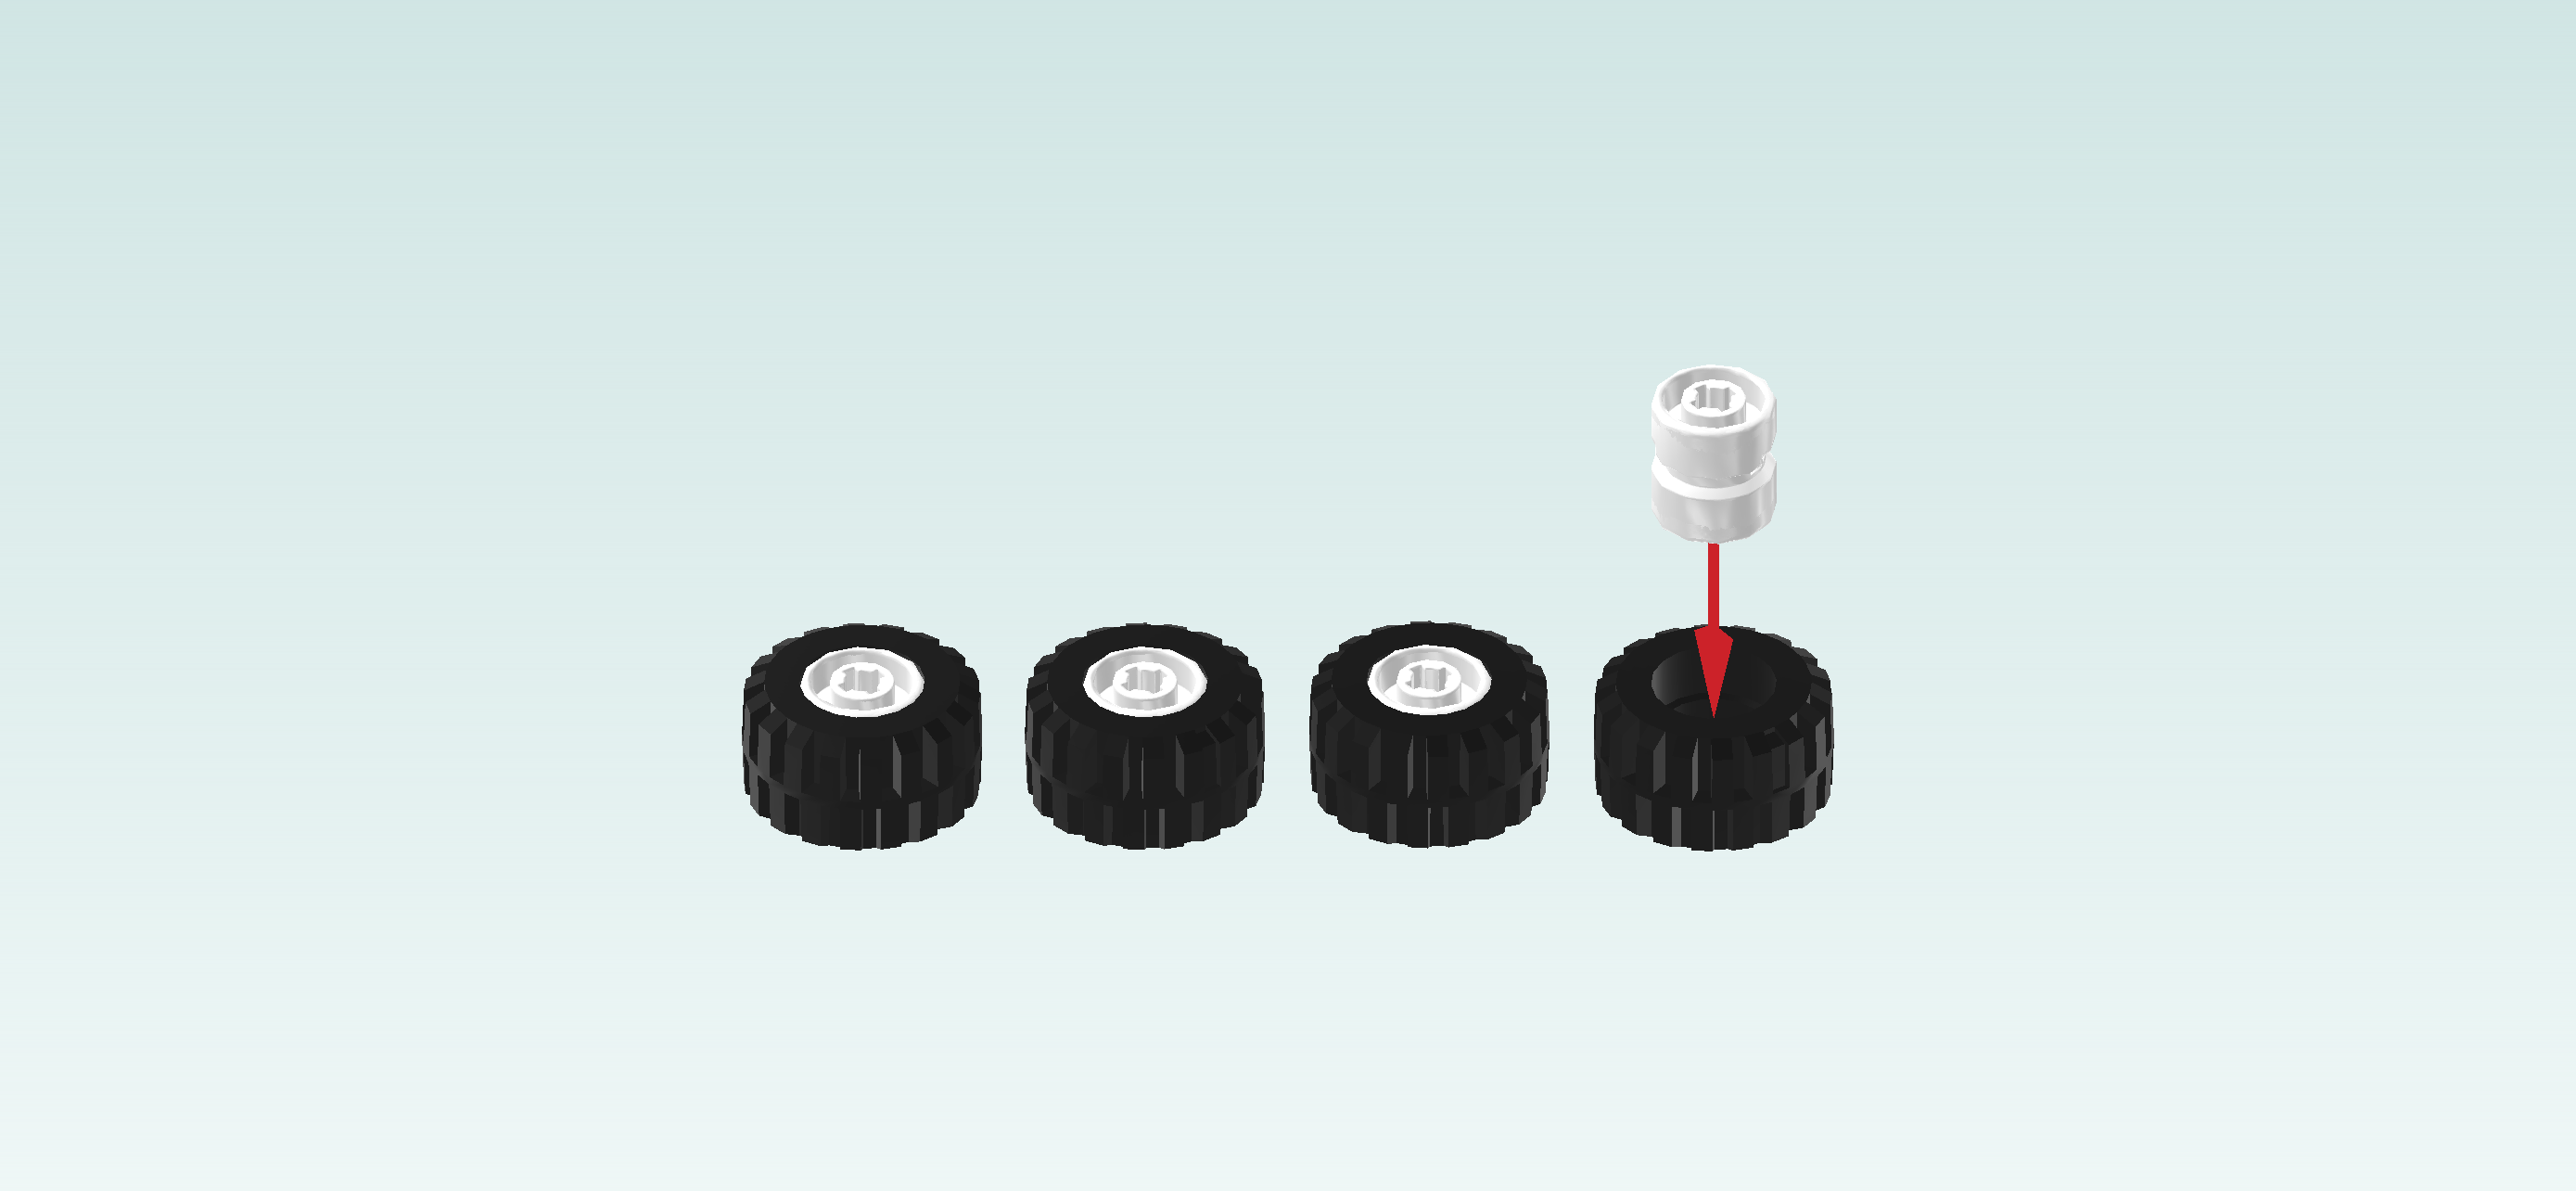
First, let's assemble the 4 car wheels.

Collect the following 8 pieces:

4 black wide rubber tires with high profile,

and 4 white wide rims with cross hole.

Insert the rims into the tires.

Find 1 waggon bottom 10x4 with mudguards and connectors. (This piece was loose in the box.)

Snap the 4 wheels on the 4 connector pins of the waggon bottom.

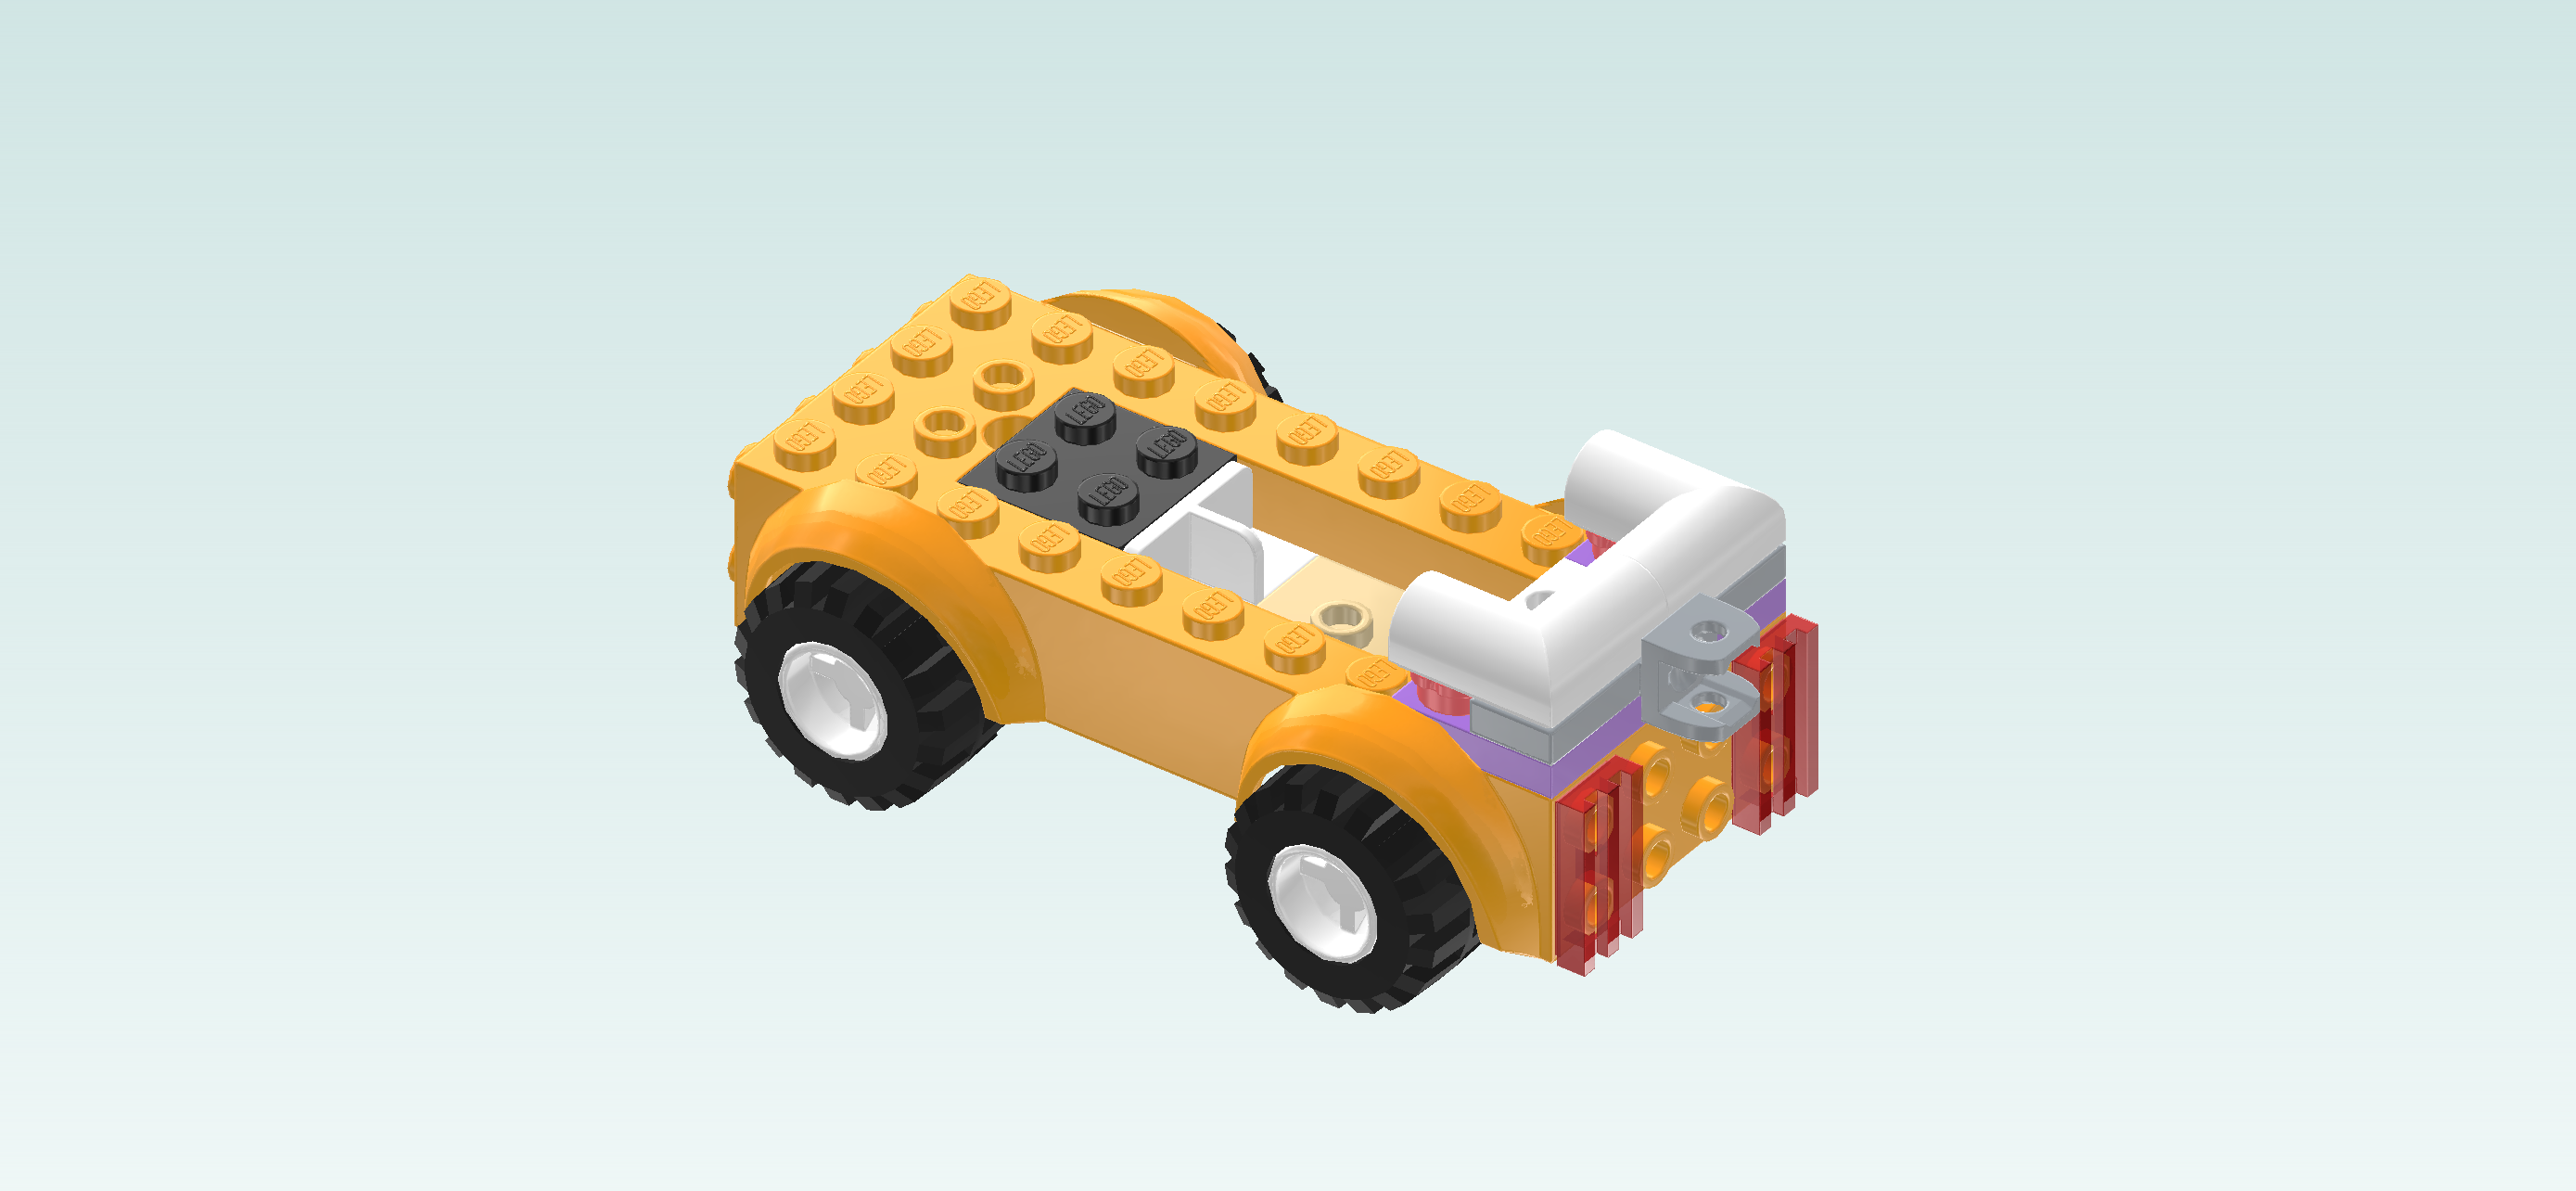
Once that's done, put the car horizontally on the table. This will be our building orientation. This means that its short edges with side knobs are to the left and right.

Find 1 black brick 2x2.

Put it into the middle recess of the waggon bottom in its leftmost corner. This means it will sit on the third and fourth column from the left.

Find 1 white panel element 1x2x1 with middle partition.

Put it vertically to the right of the previous piece, long back panel to the left.

Collect the following 2 pieces:

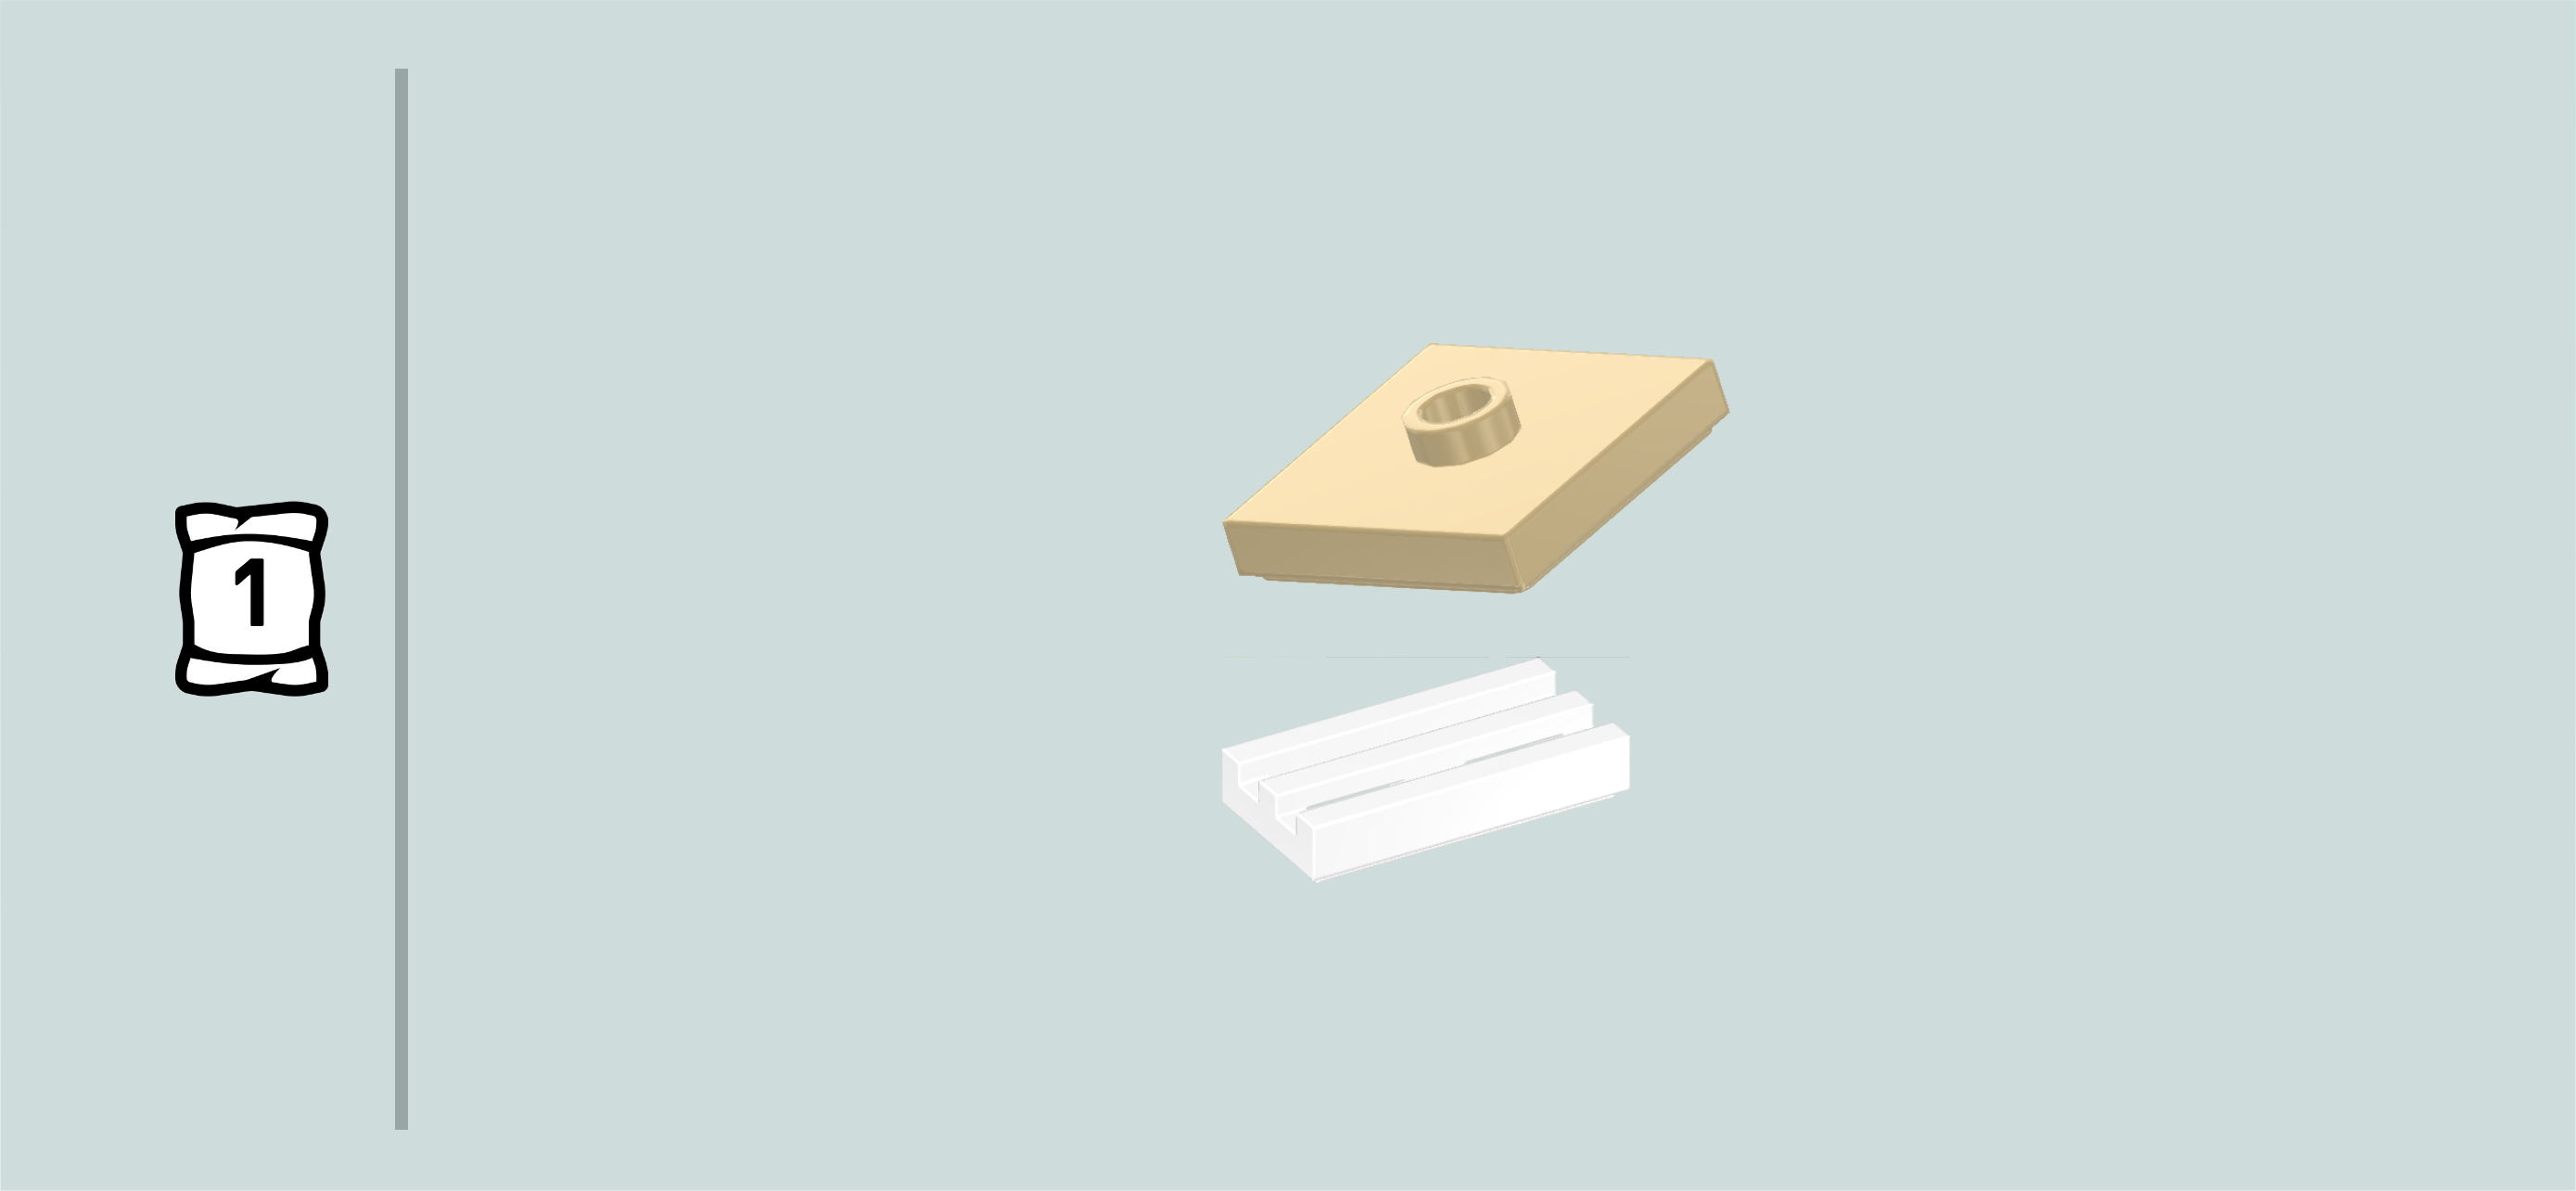
1 pale ocher yellow plate 2x2 with 1 knob,

and 1 white grille tile 1x2.

Put the plate 2x2 to the right of the previous piece.

Put the grille tile 1x2 vertically to the right of the previous piece.

Find 2 transparent red grille tiles 1x2.

Put 1 upright vertically on the 2 backmost knobs of the side knobs pointing to the right.

Put the other one upright vertically on the 2 frontmost knobs of the side knobs pointing to the right.

Find 2 lavender corner plates 1x2 - 1x2.

Turn 1 so that its outer corner is pointing to the back right.

Mount it on the back right corner of the waggon bottom surface, making sure that the outer corners of plate and waggon bottom are aligned.

Put the other one in front of the previous piece, making sure that the outer corners of plate and waggon bottom are aligned.

Find 1 white plate 1x2 with 1 knob.

Put it vertically centered on the second column from the right. This means it will sit between the left halves of the 2 previous pieces.

Collect the following 3 pieces:

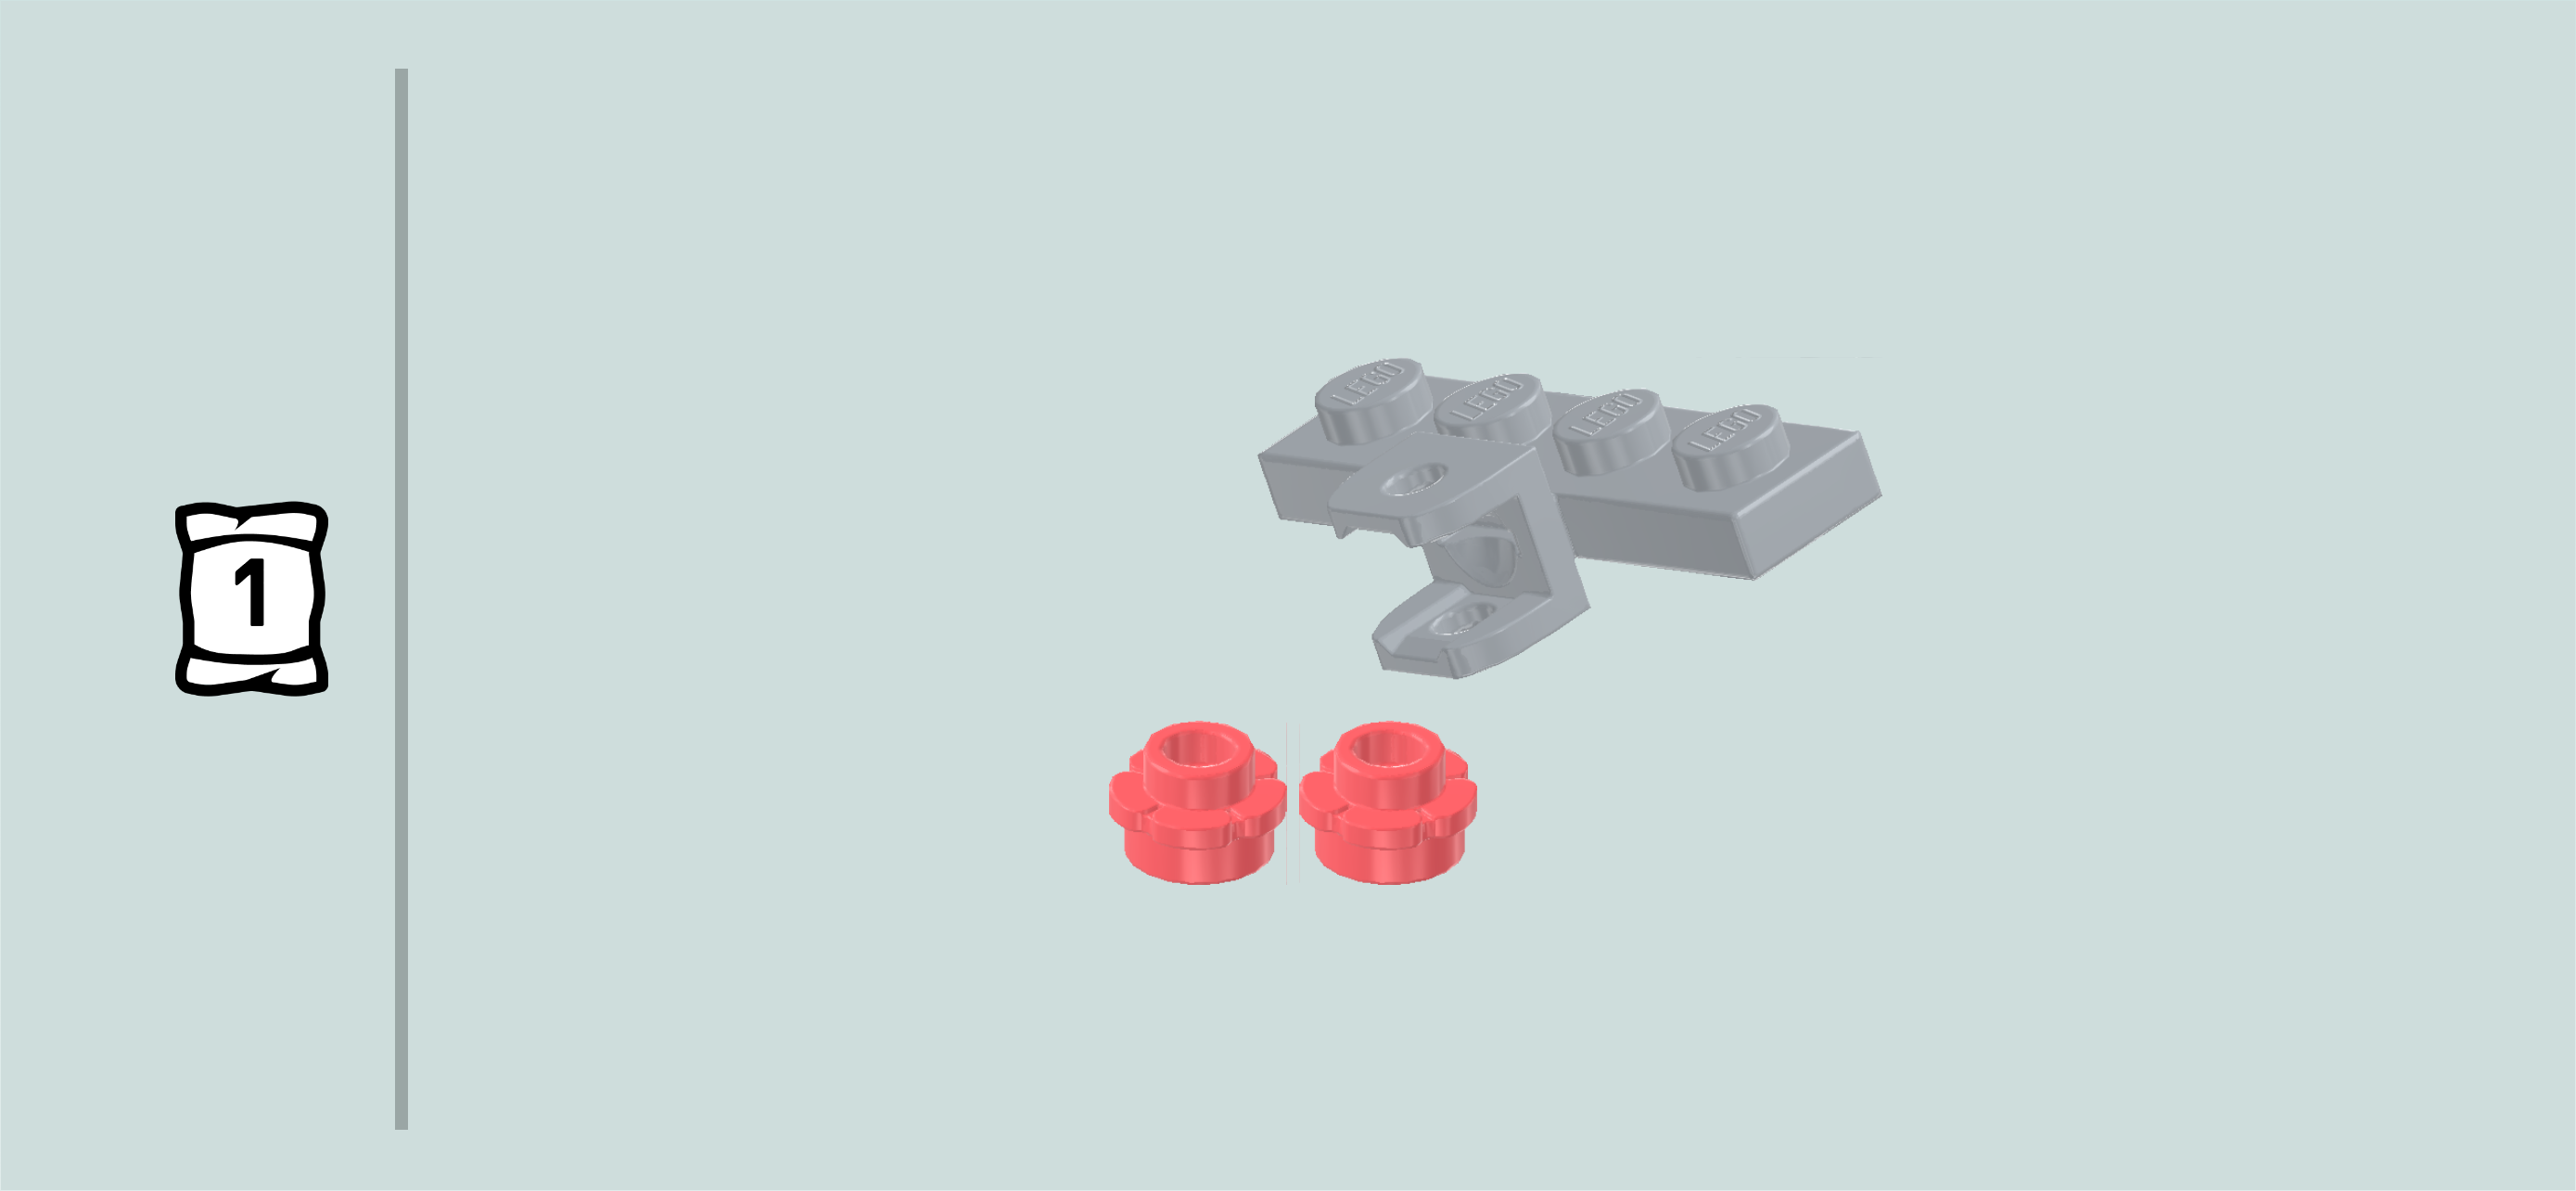
1 medium stone grey plate 1x4 with ball socket on long side,

and 2 salmon pink flower pieces 1x1 with through-hole.

Put the plate 1x4 vertically on the rightmost column, ball cup overhanging to the right.

Put 1 flower piece 1x1 to the left of the previous piece's backmost knob.

Repeat symmetrically at the front.

The ball cup of the plate 1x4 will later be used to connect the trailer!

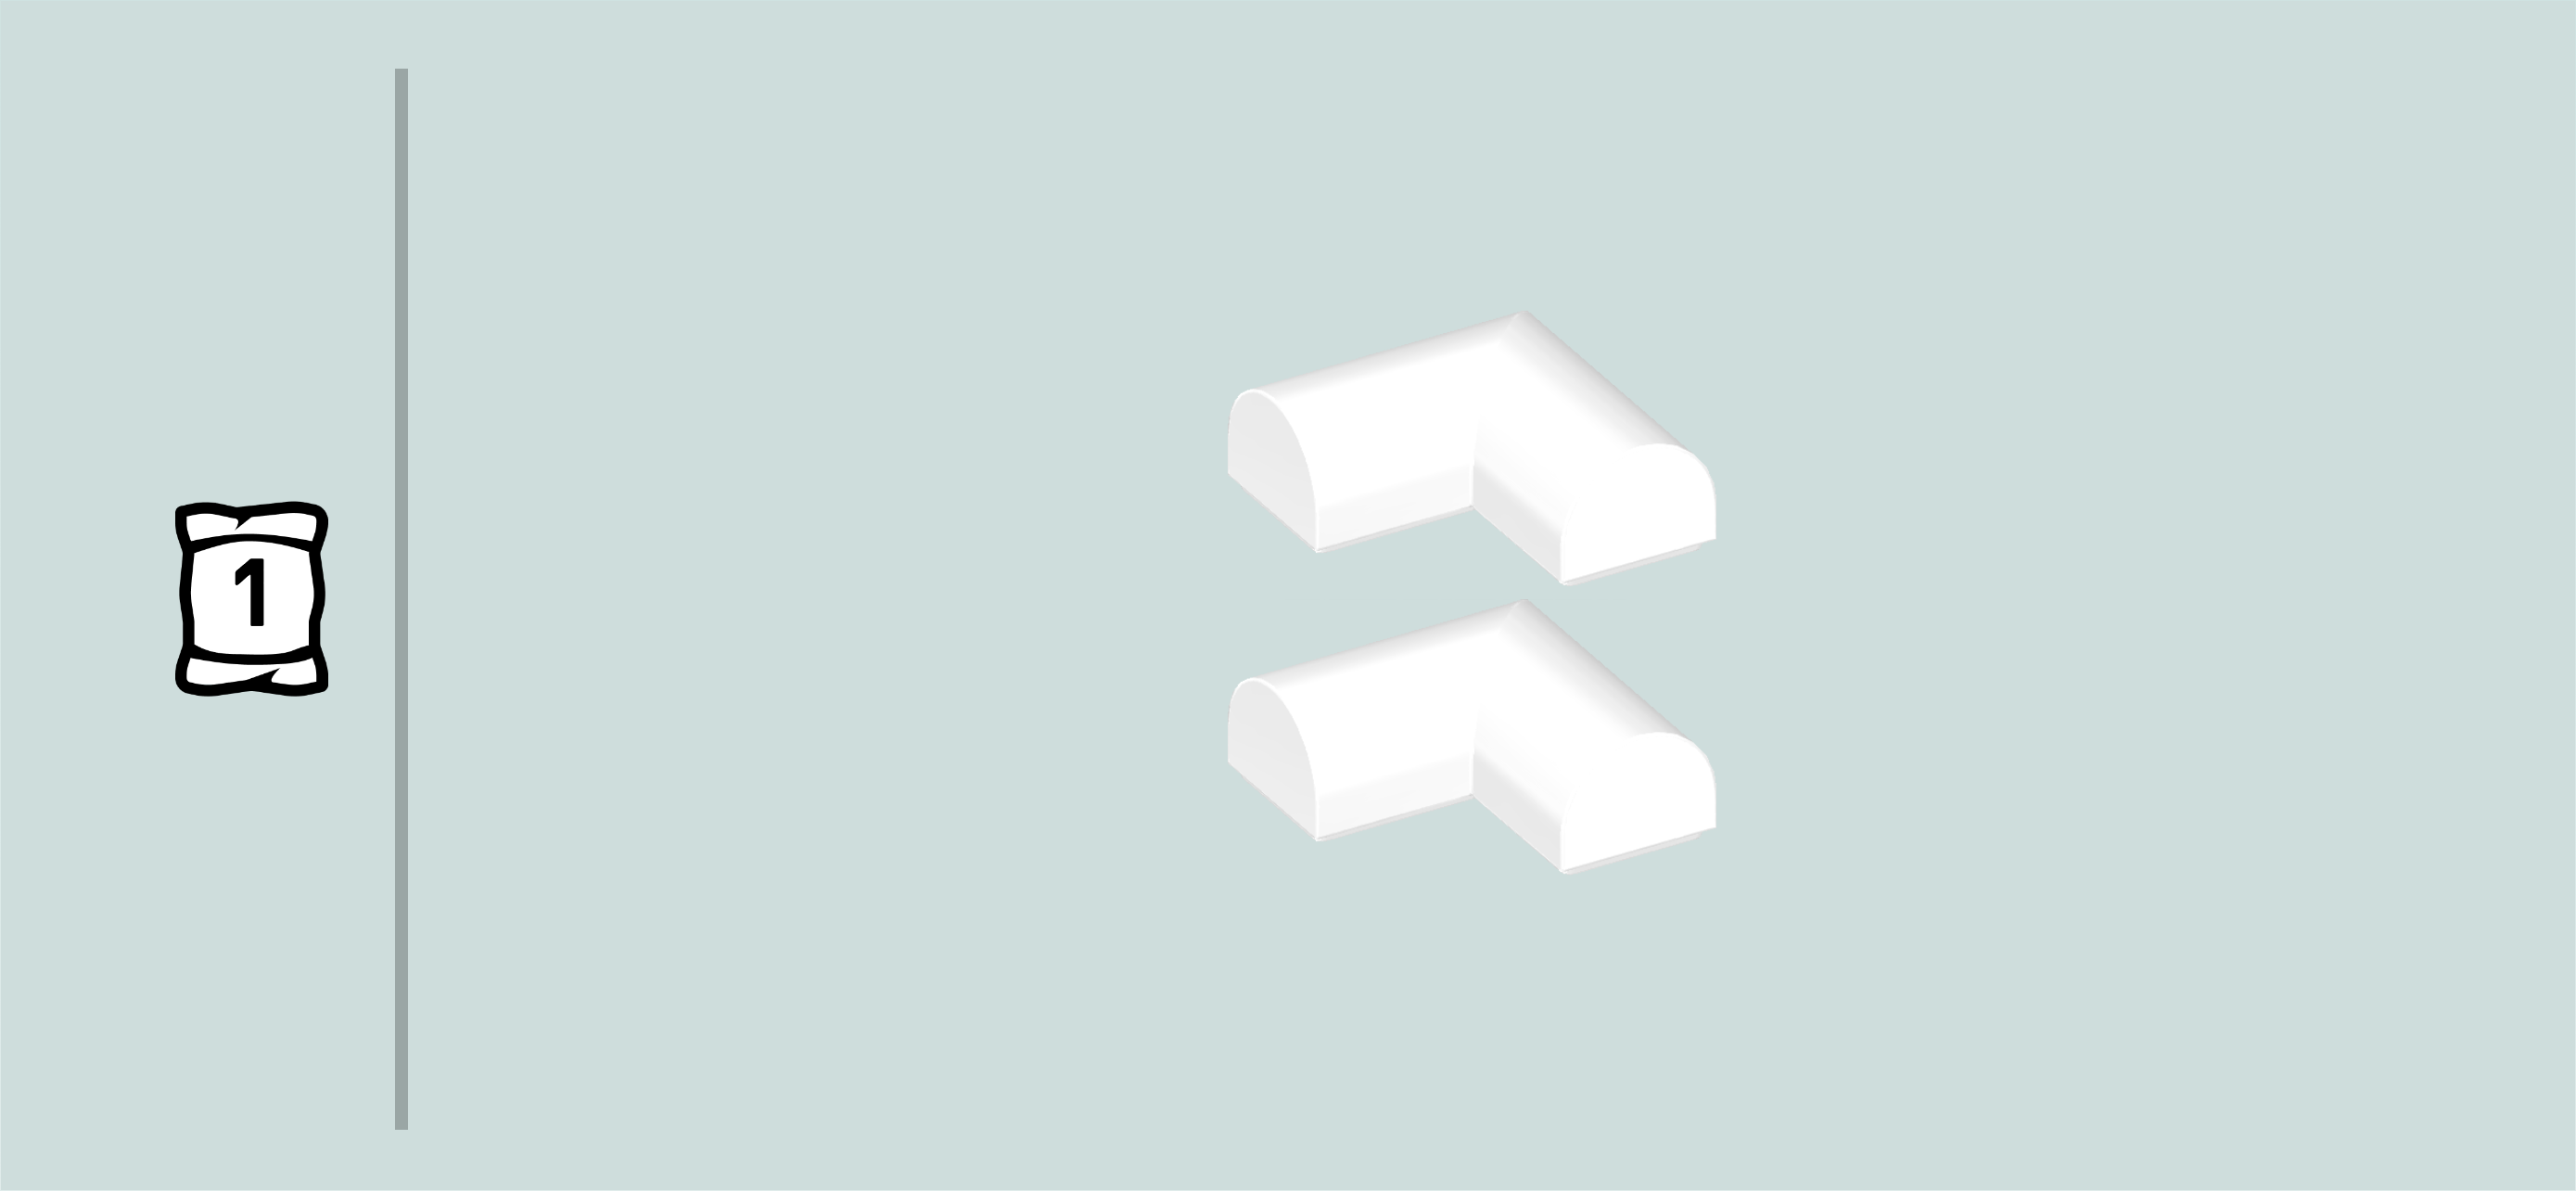
Find 2 white half-cylinder corner tiles 2x2.

Turn 1 so that its outer corner is pointing to the back right.

Put it on the back right corner of the car, aligning the outer corner of the tile with the back right corner of the car.

Put the other one in front of the previous piece, aligning the outer corners of the tile and car.

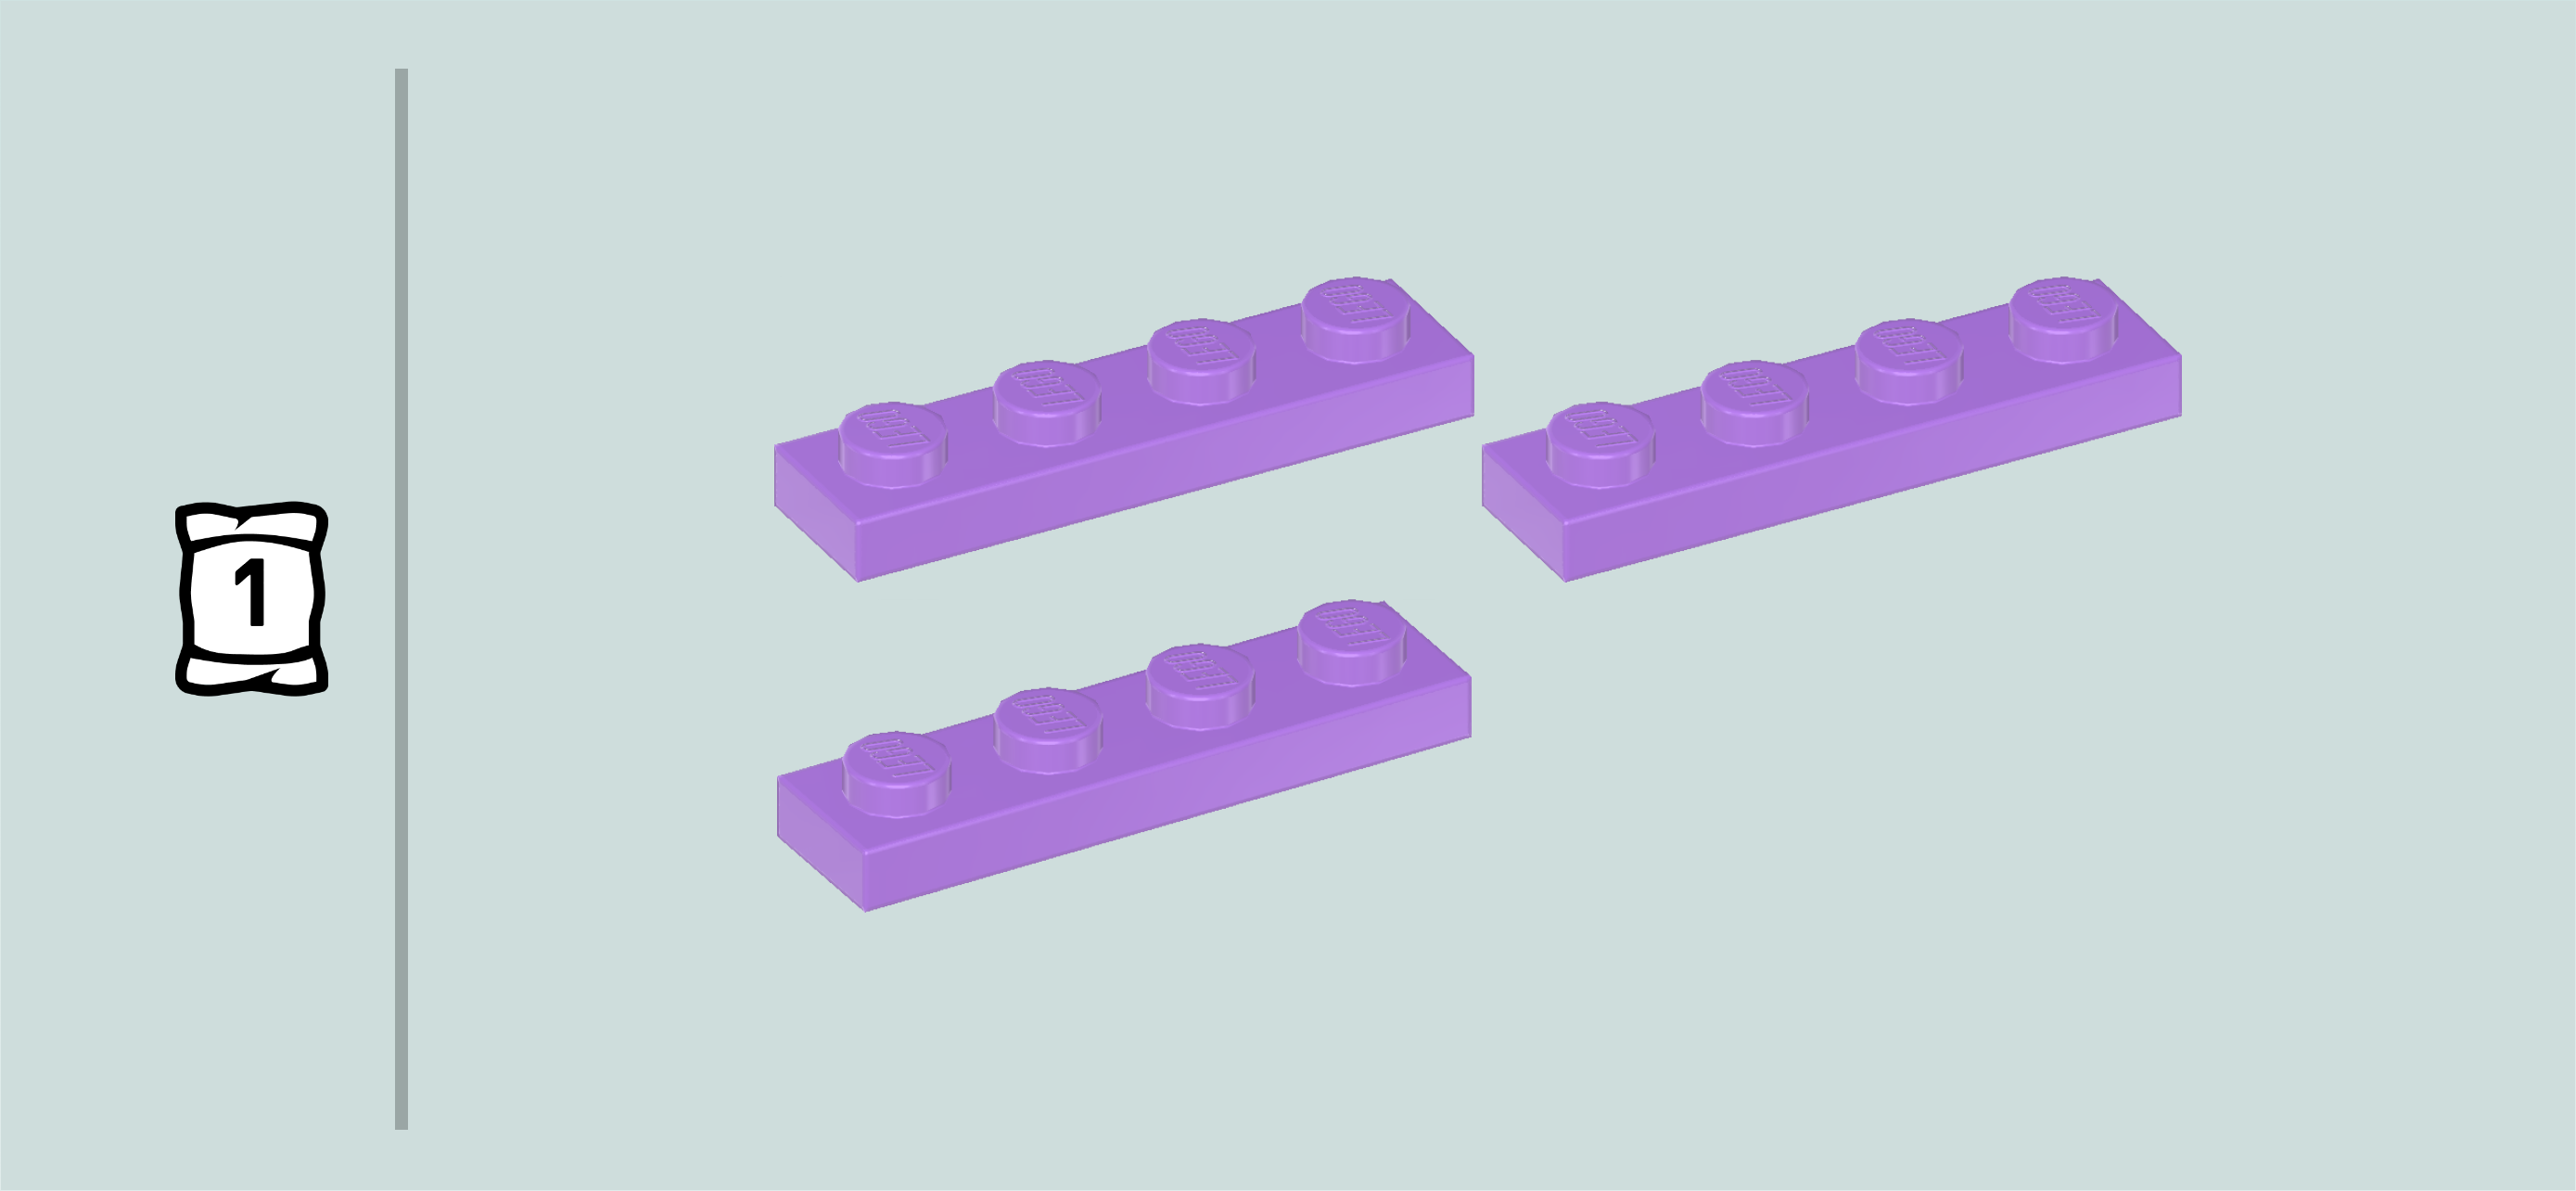
Find 3 lavender plates 1x4.

Put 1 horizontally to the left of the previous piece on the frontmost row.

Repeat symmetrically at the back.

Put the last one vertically to the left of the 2 previous pieces.

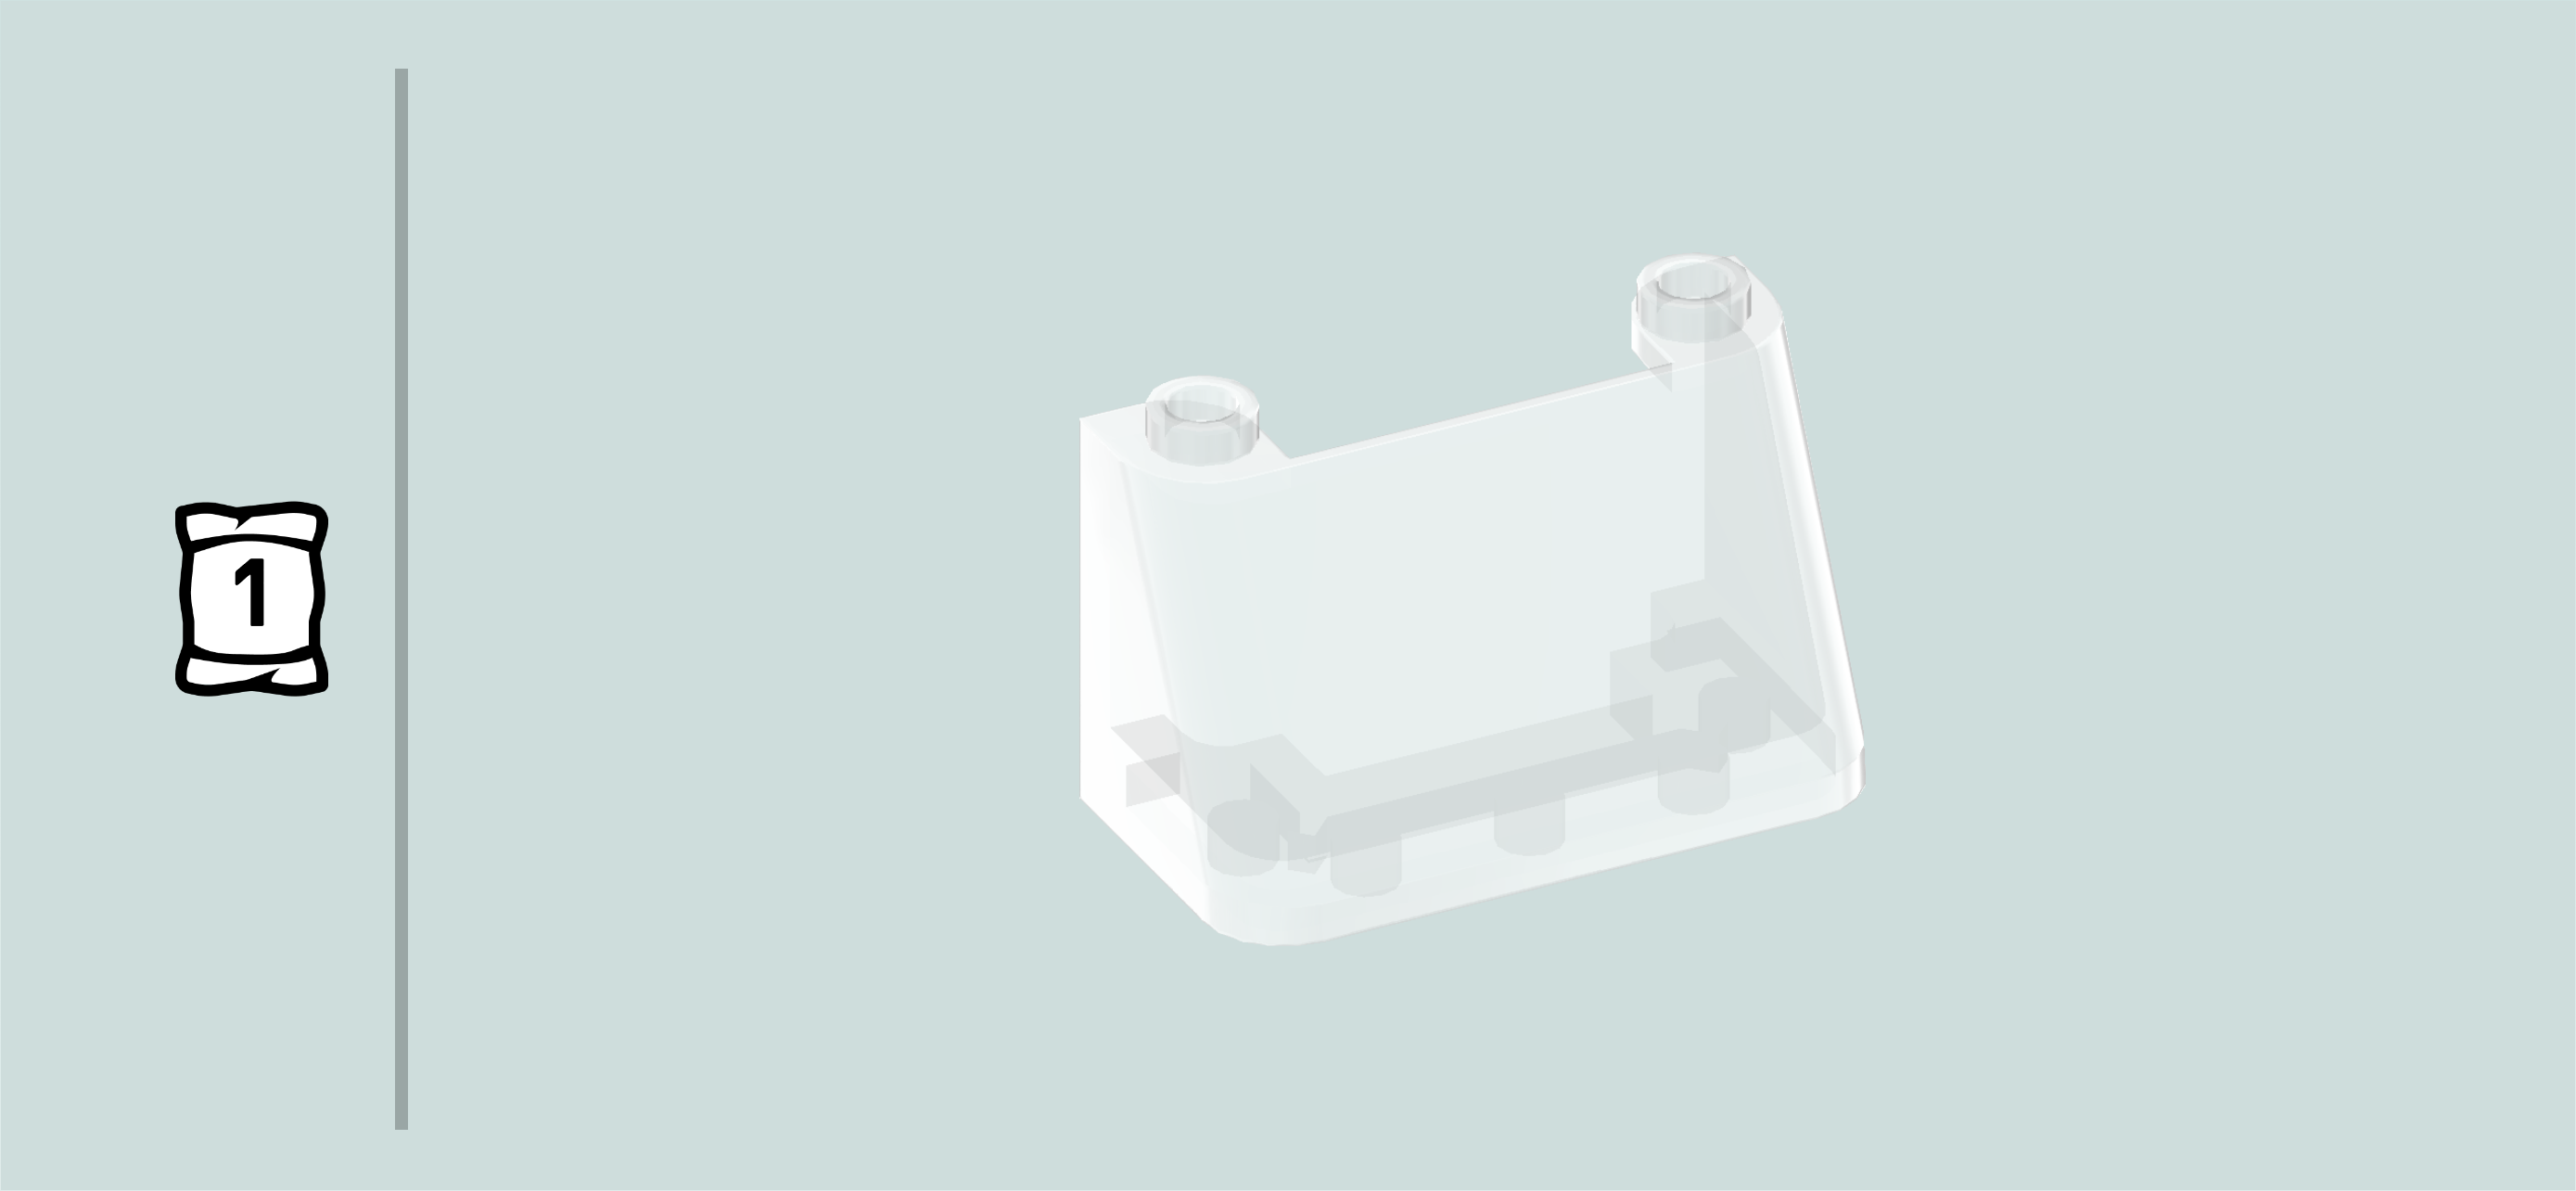
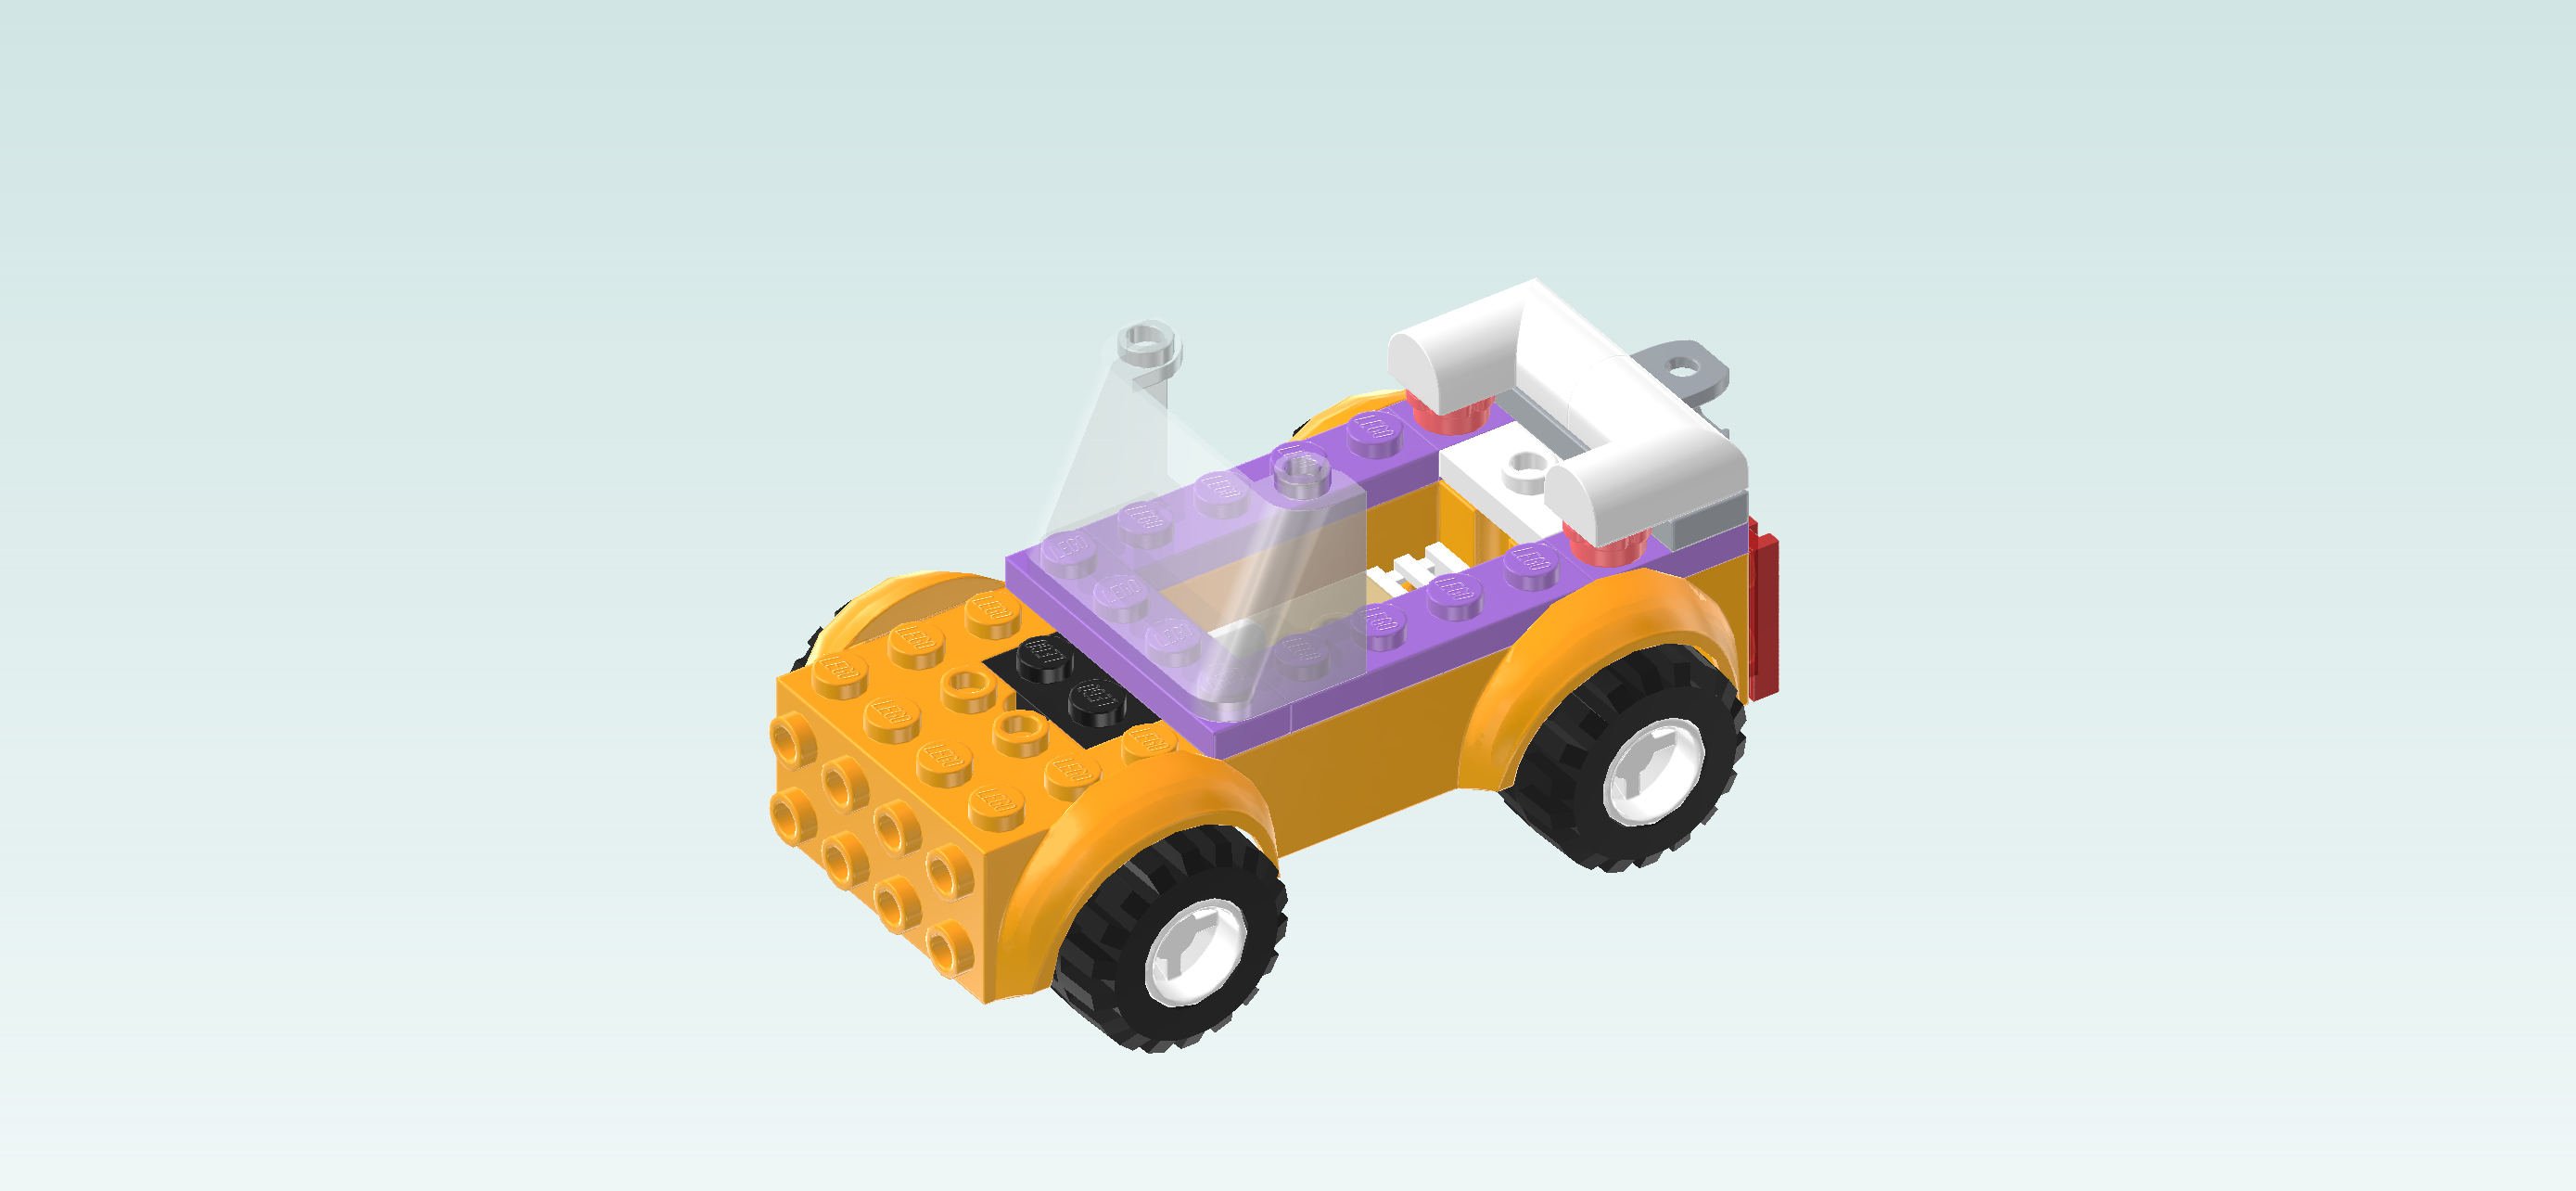
Find 1 transparent windscreen 2x4x2.

Put it vertically on top of the previous piece, side windows towards the right, slope to the left.

Find 1 lavender curved hood plate 3x4 with 2 knobs.

Put it vertically to the left of the windscreen, 2 knobs forming a column on the right.

Collect the following 2 pieces:

1 white half-cylinder tile 1x4,

and 1 white grille tile 1x2.

Put the half-cylinder tile vertically on top of the windscreen.

Put the grille tile 1x2 on the 2 knobs of the engine hood plate.

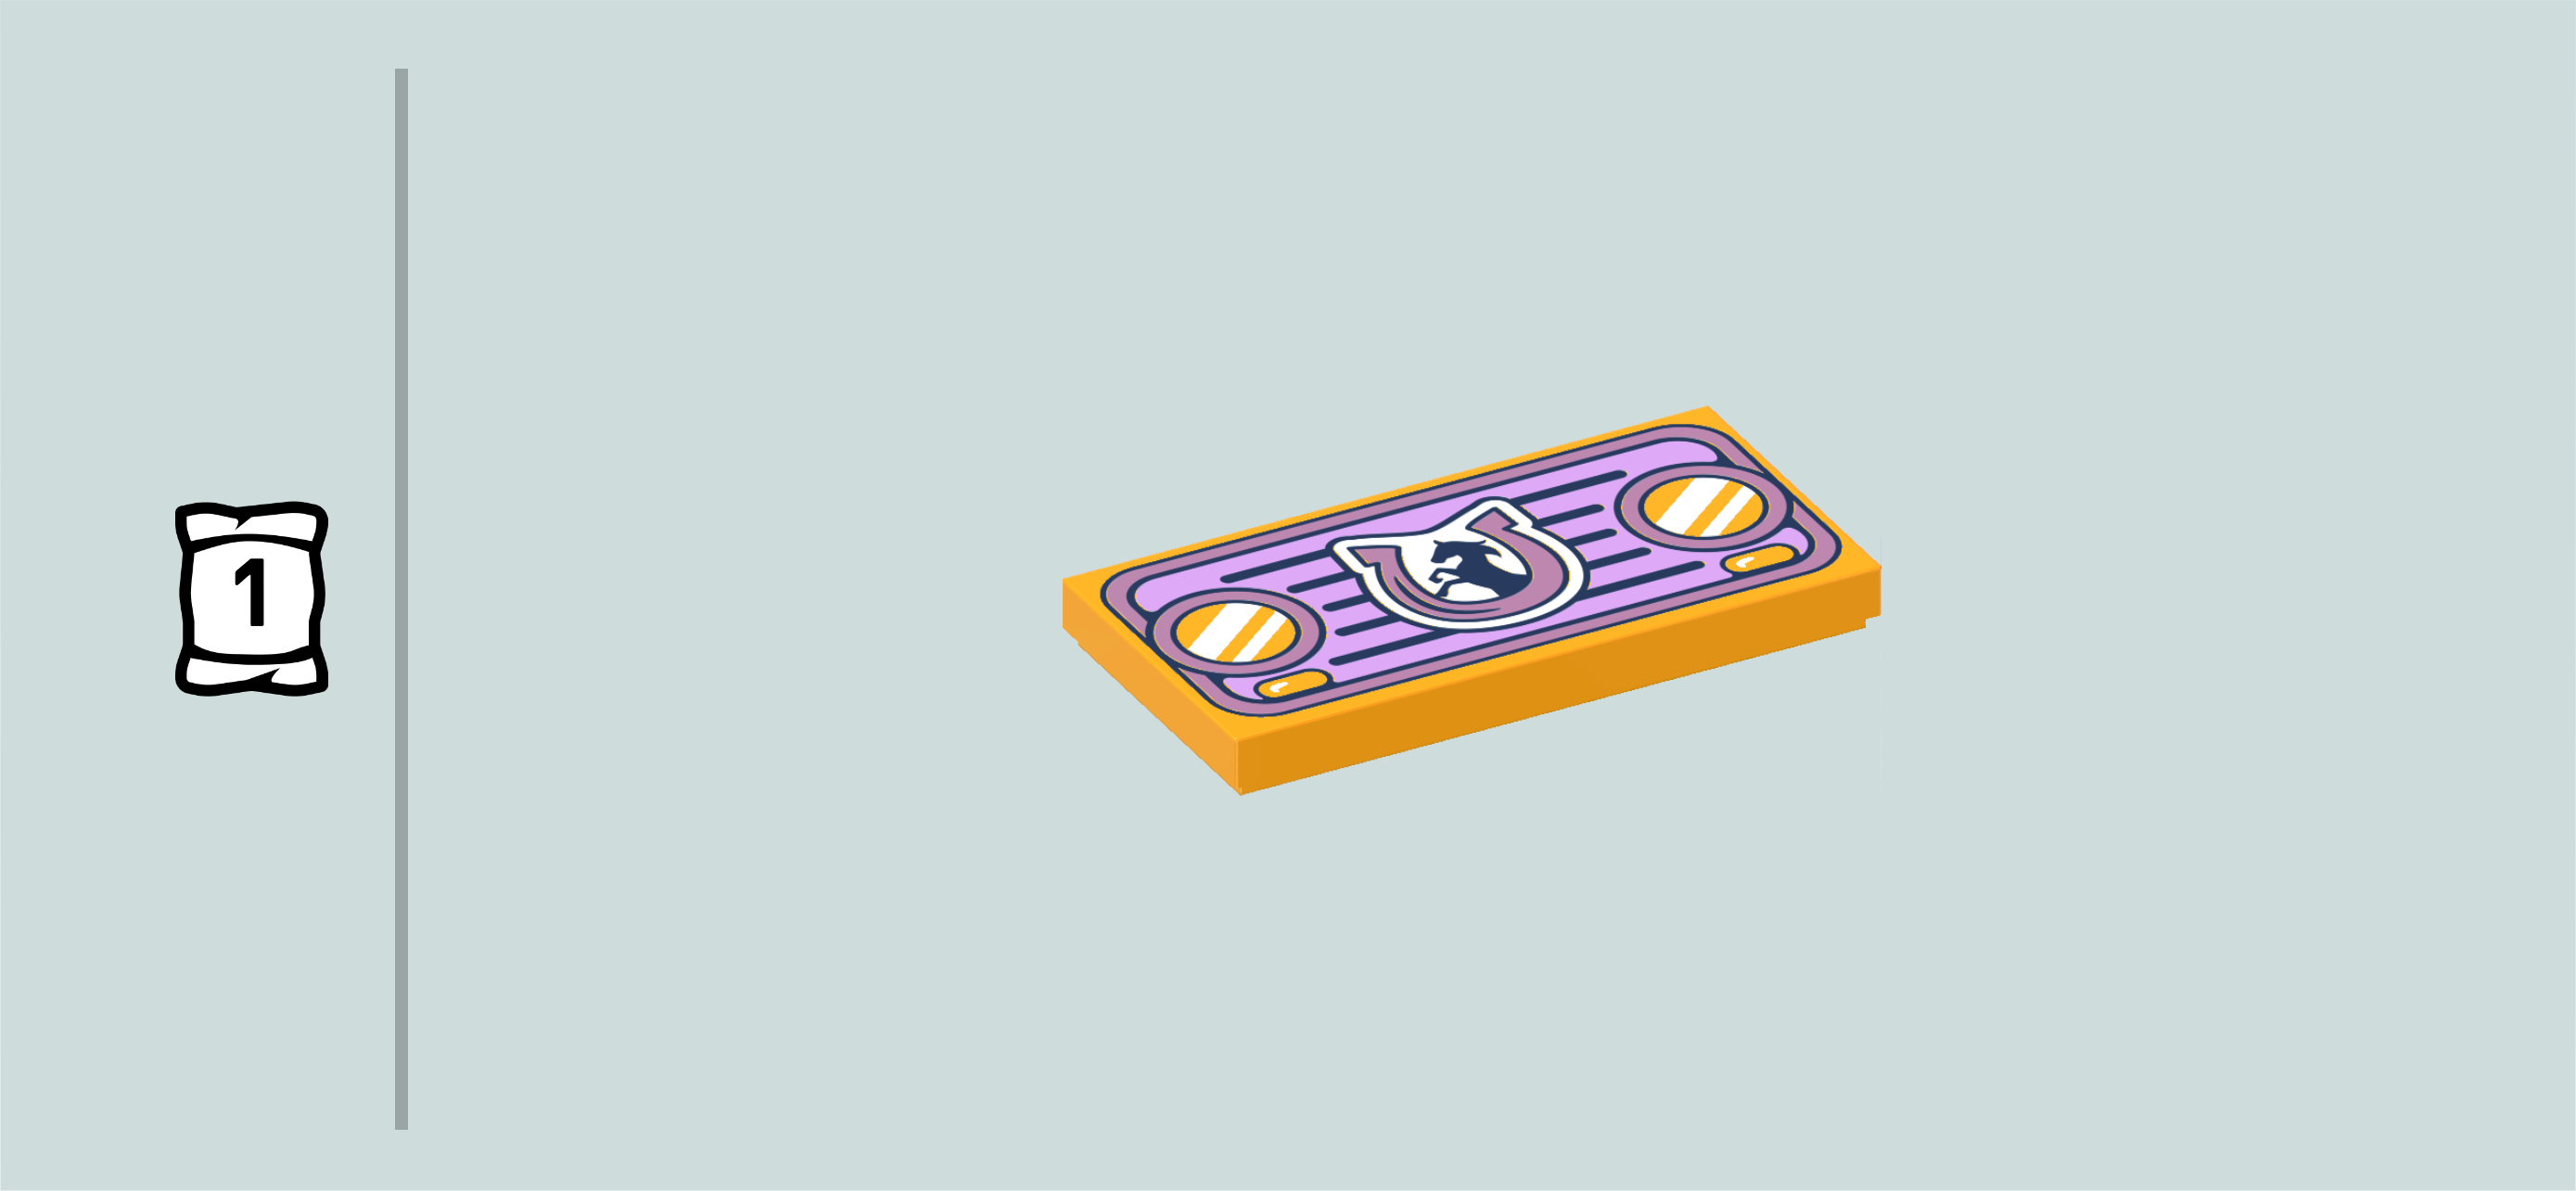
Find 1 flame yellowish orange flat tile 2x4. (This piece is printed.)

Put it upright horizontally on the side knobs pointing to the left.

The tile is printed with the warm yellow headlights and the light lavender-colored front grille. The plating is also lavender-colored. In the middle of the front grille is the car emblem: it's a lavender horseshoe behind a white background with a black rearing horse in the middle.

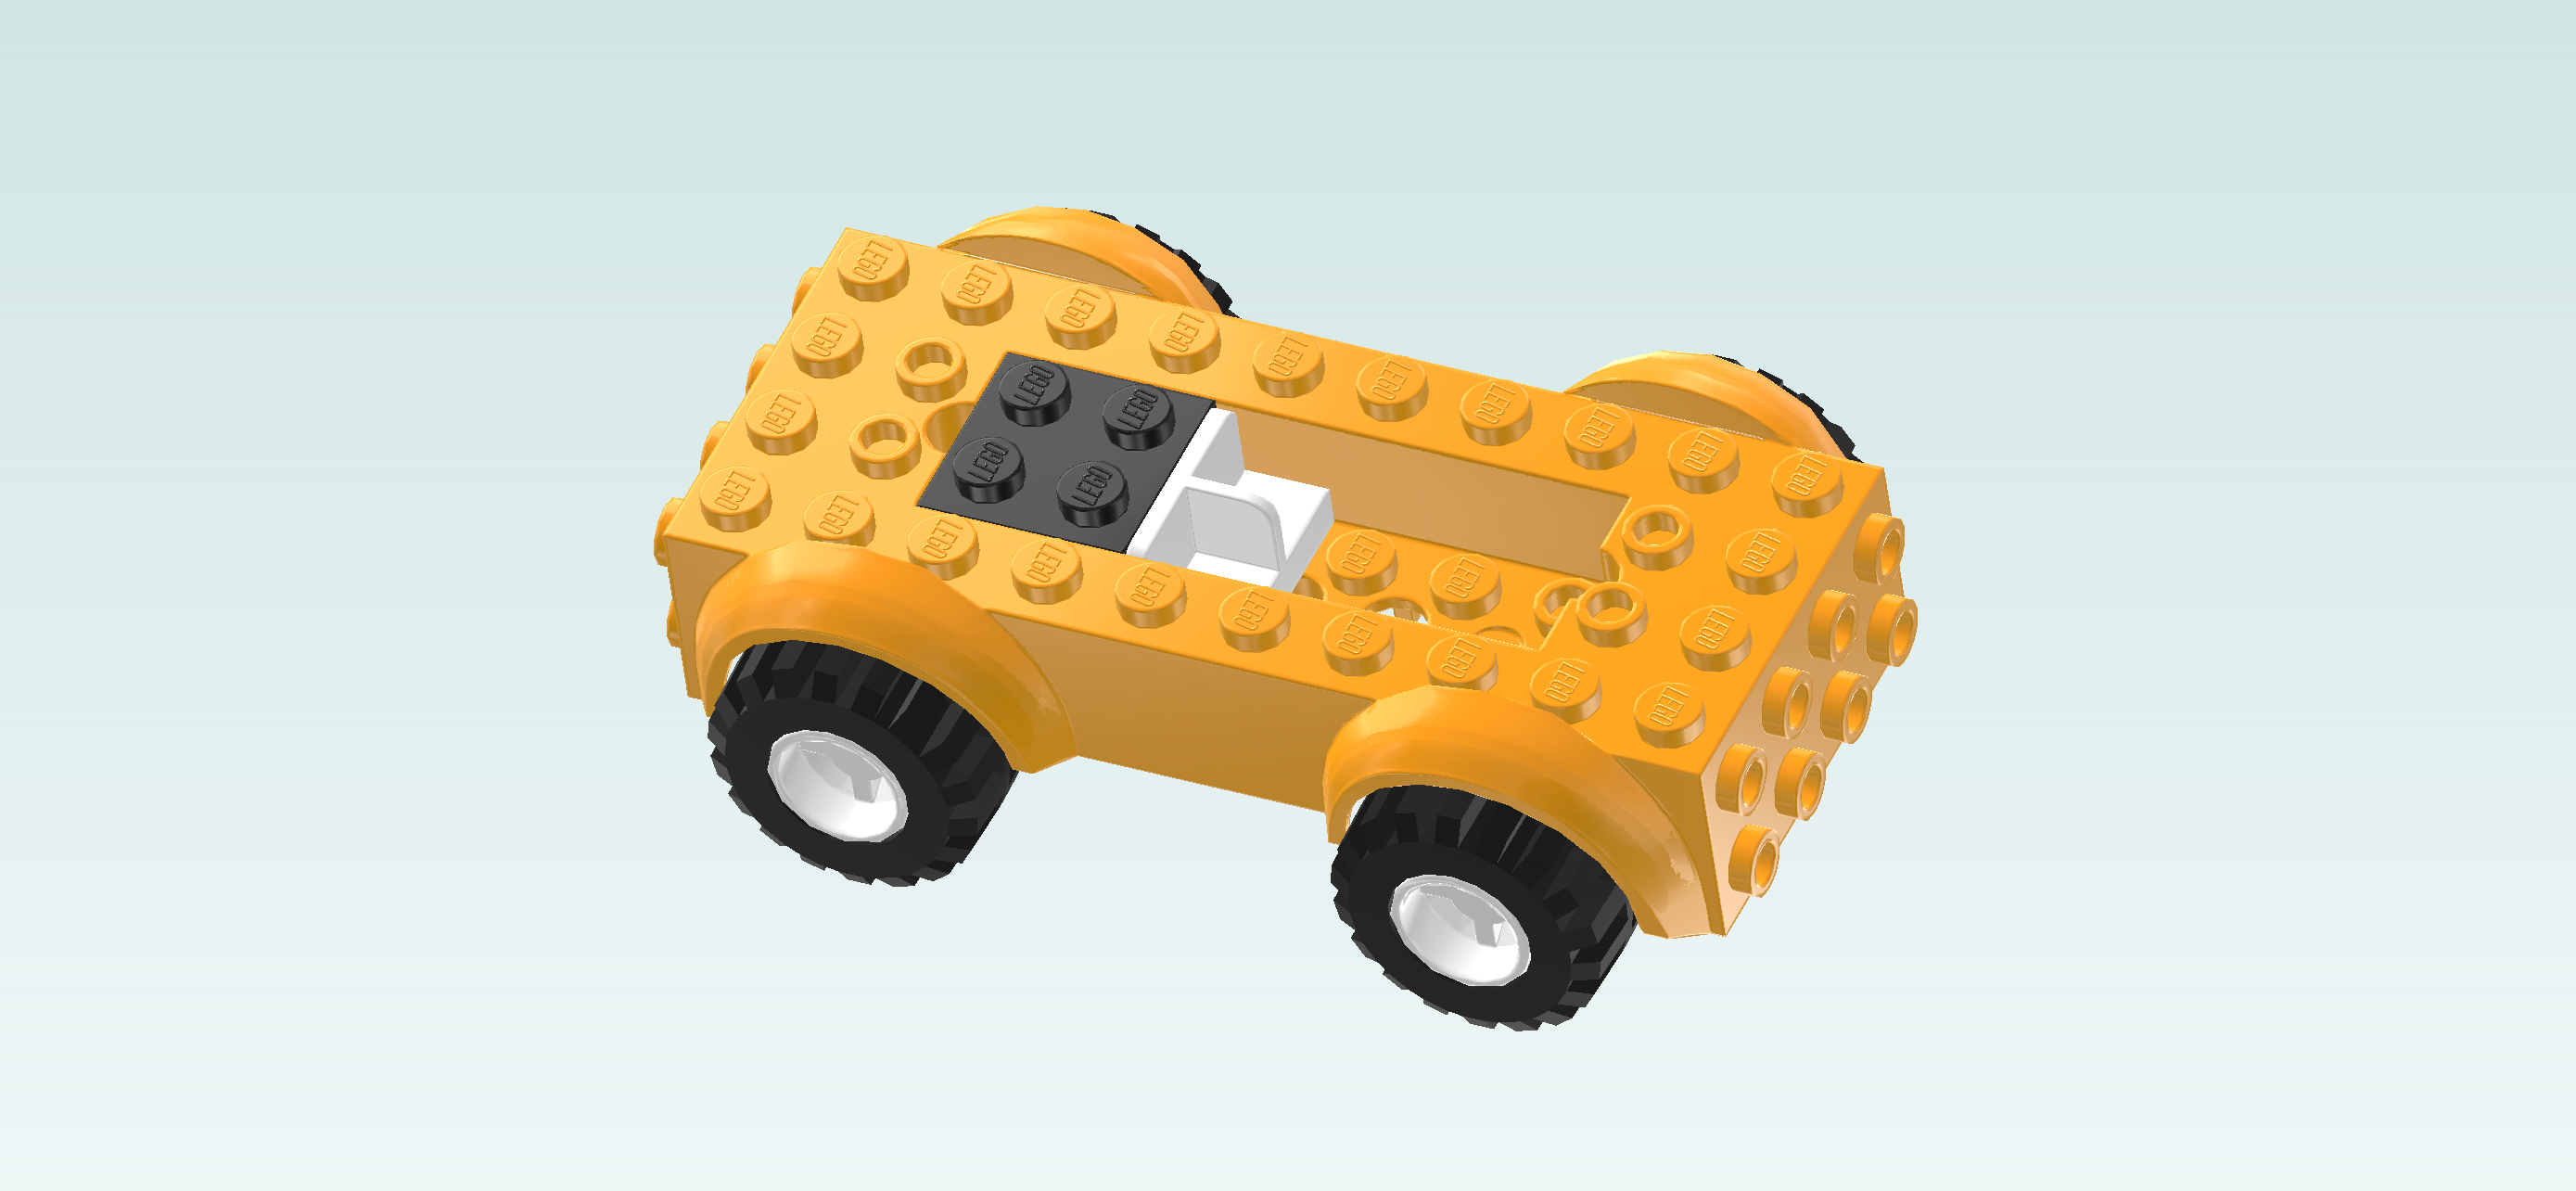
The car is finished! Well done! You can seat Liann in the driver's seat and take it for a test drive!

Open bag number 2. You can choose to have the bricks sorted by color again. This bag contains all bricks and pieces for the Zoya Minidoll, Zoya's pony, the horse obstacle, and the horse trailer.

We will continue with building the Zoya Minidoll.

Collect the following 2 pieces:

1 lemon yellow small Minidoll body with skirt,

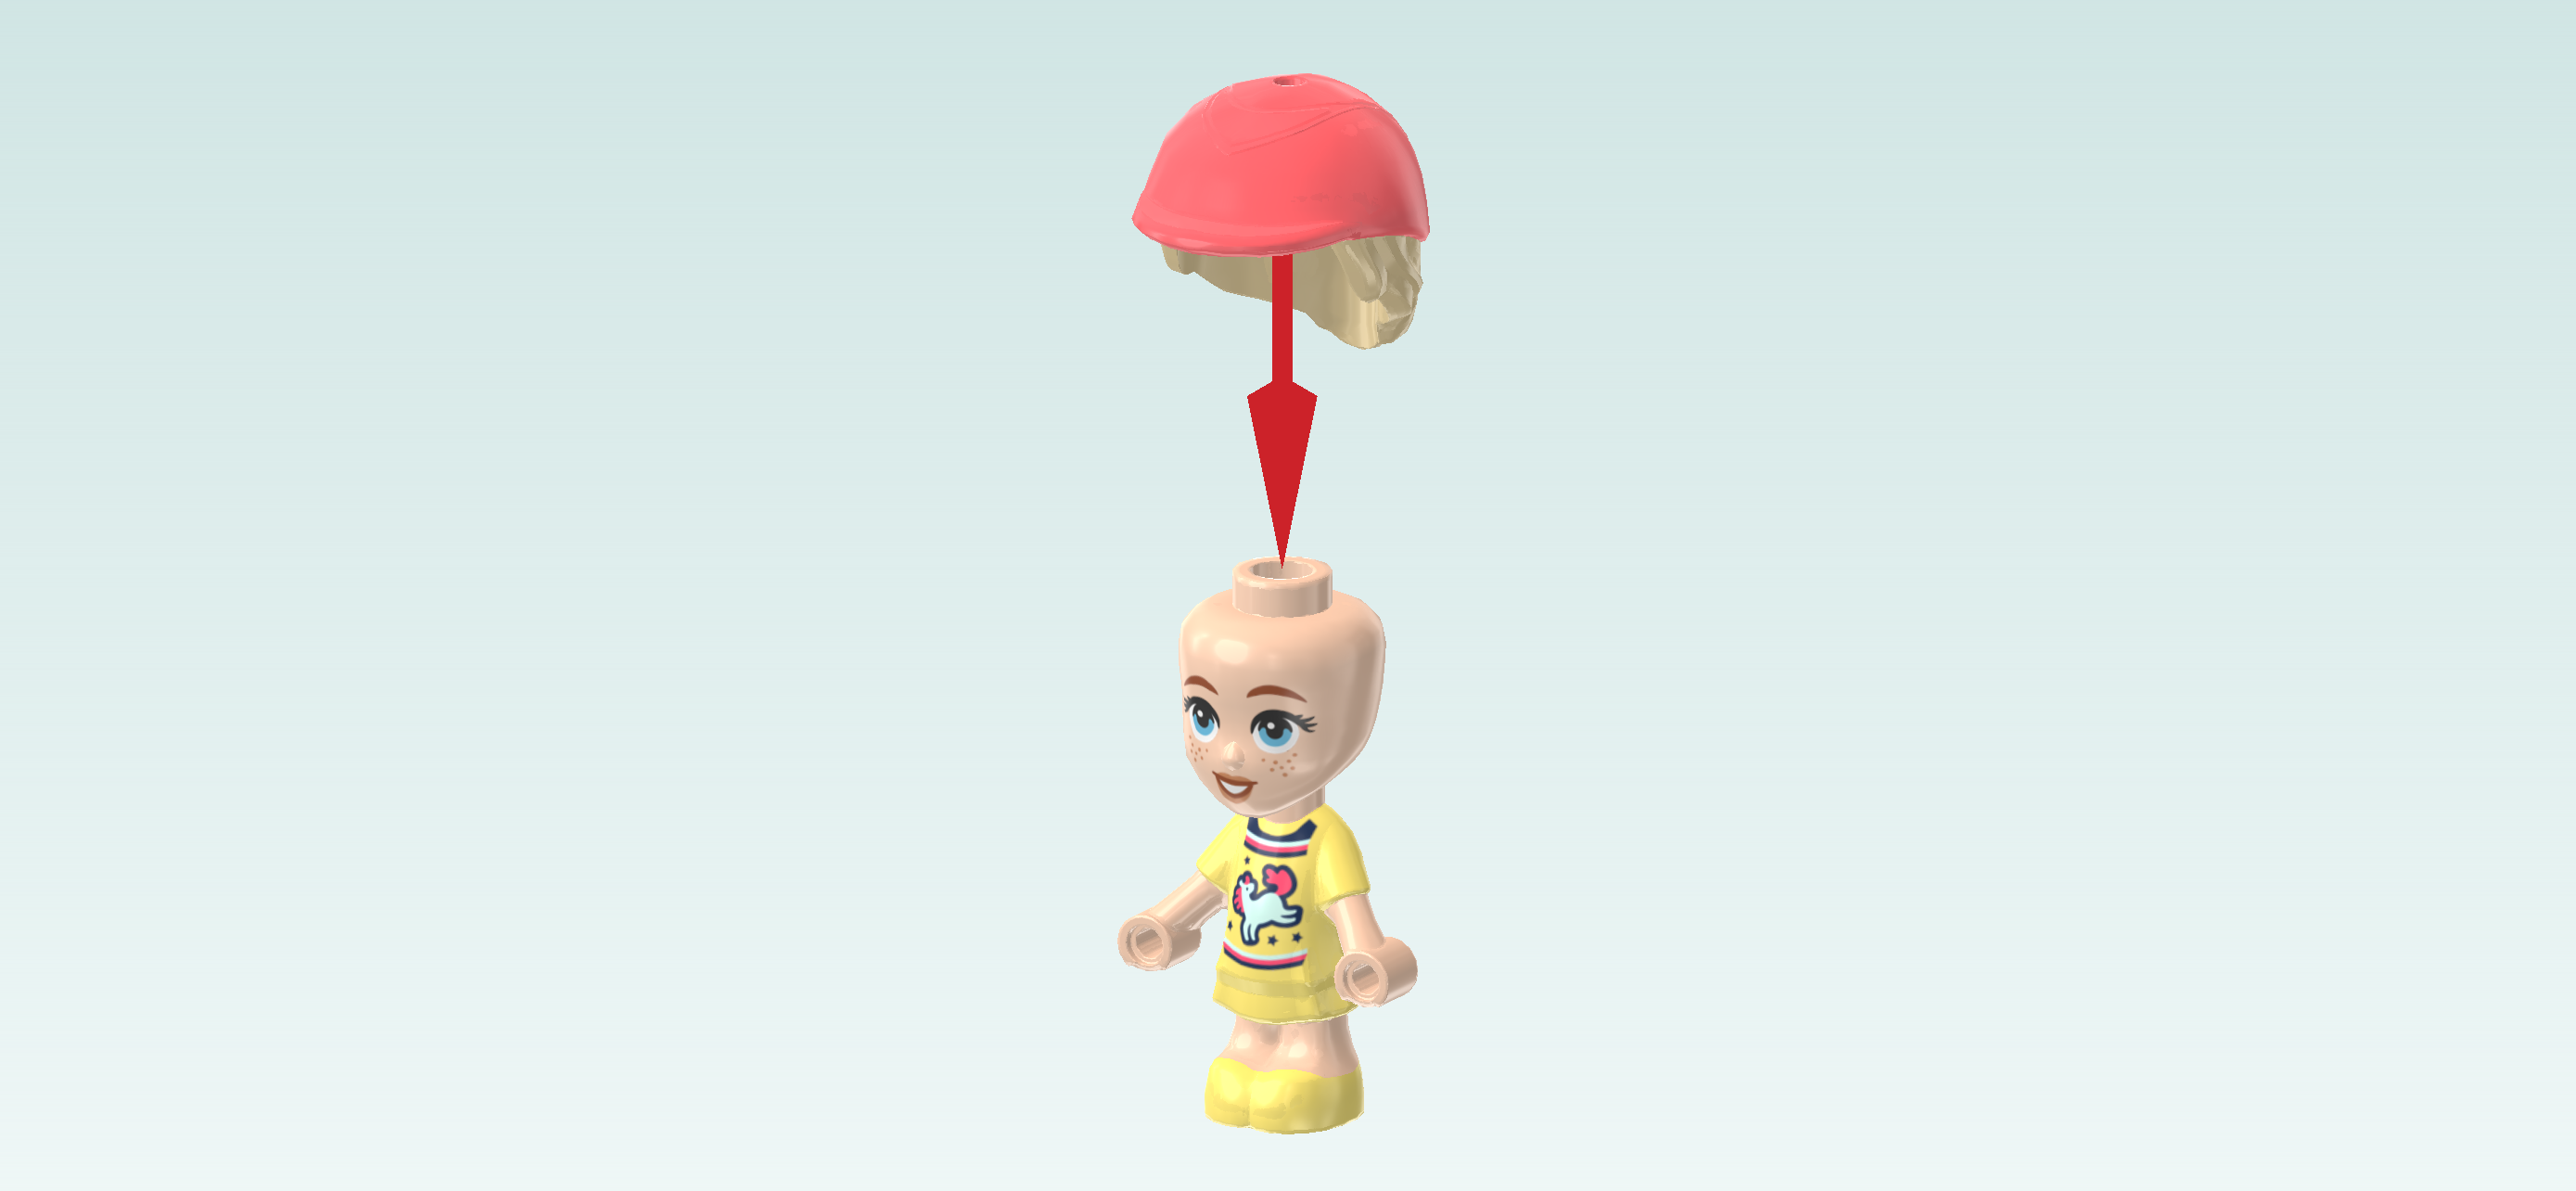
and 1 light nougat brown Minidoll head.

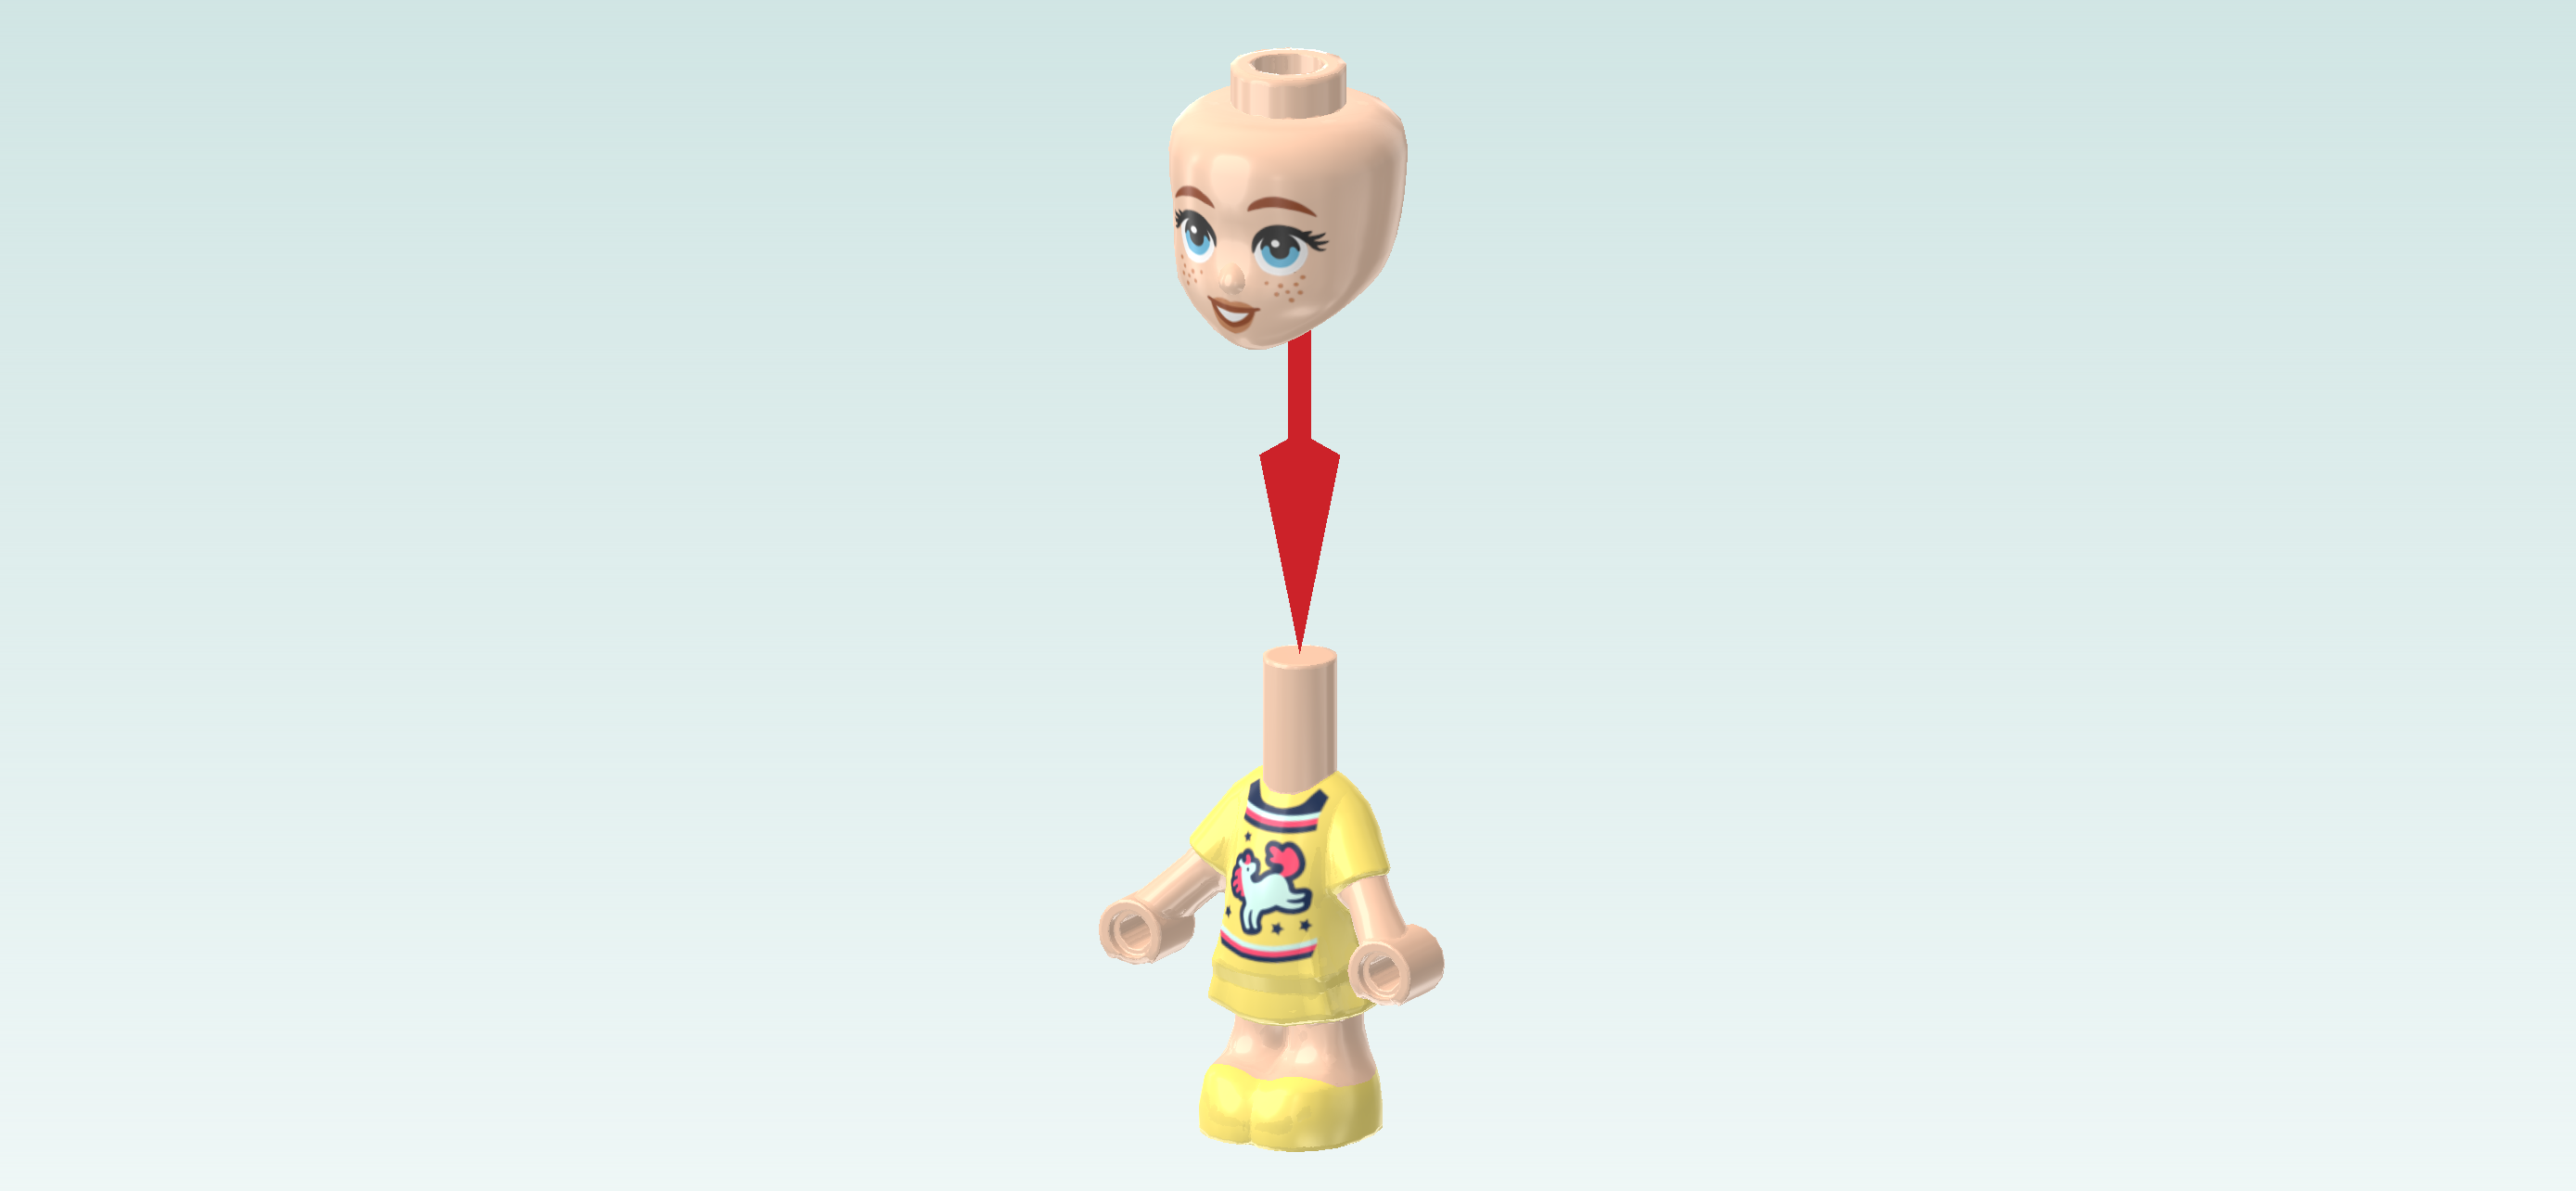
Put the head on the body.

Find 1 salmon pink riding hat with hair in a low bun.

Put it on the head.

The Zoya Minidoll is finished! Zoya is wearing a light yellow dress and light yellow shoes. The dress has black and pink hems and a print of a white horse with a pink mane on the chest. Zoya has light nougat brown skin, light blonde hair and blue eyes. Her lips are pale pink, and she has pale freckles on her cheeks.

Next, we will assemble Zoya's pony.

Collect the following 2 pieces:

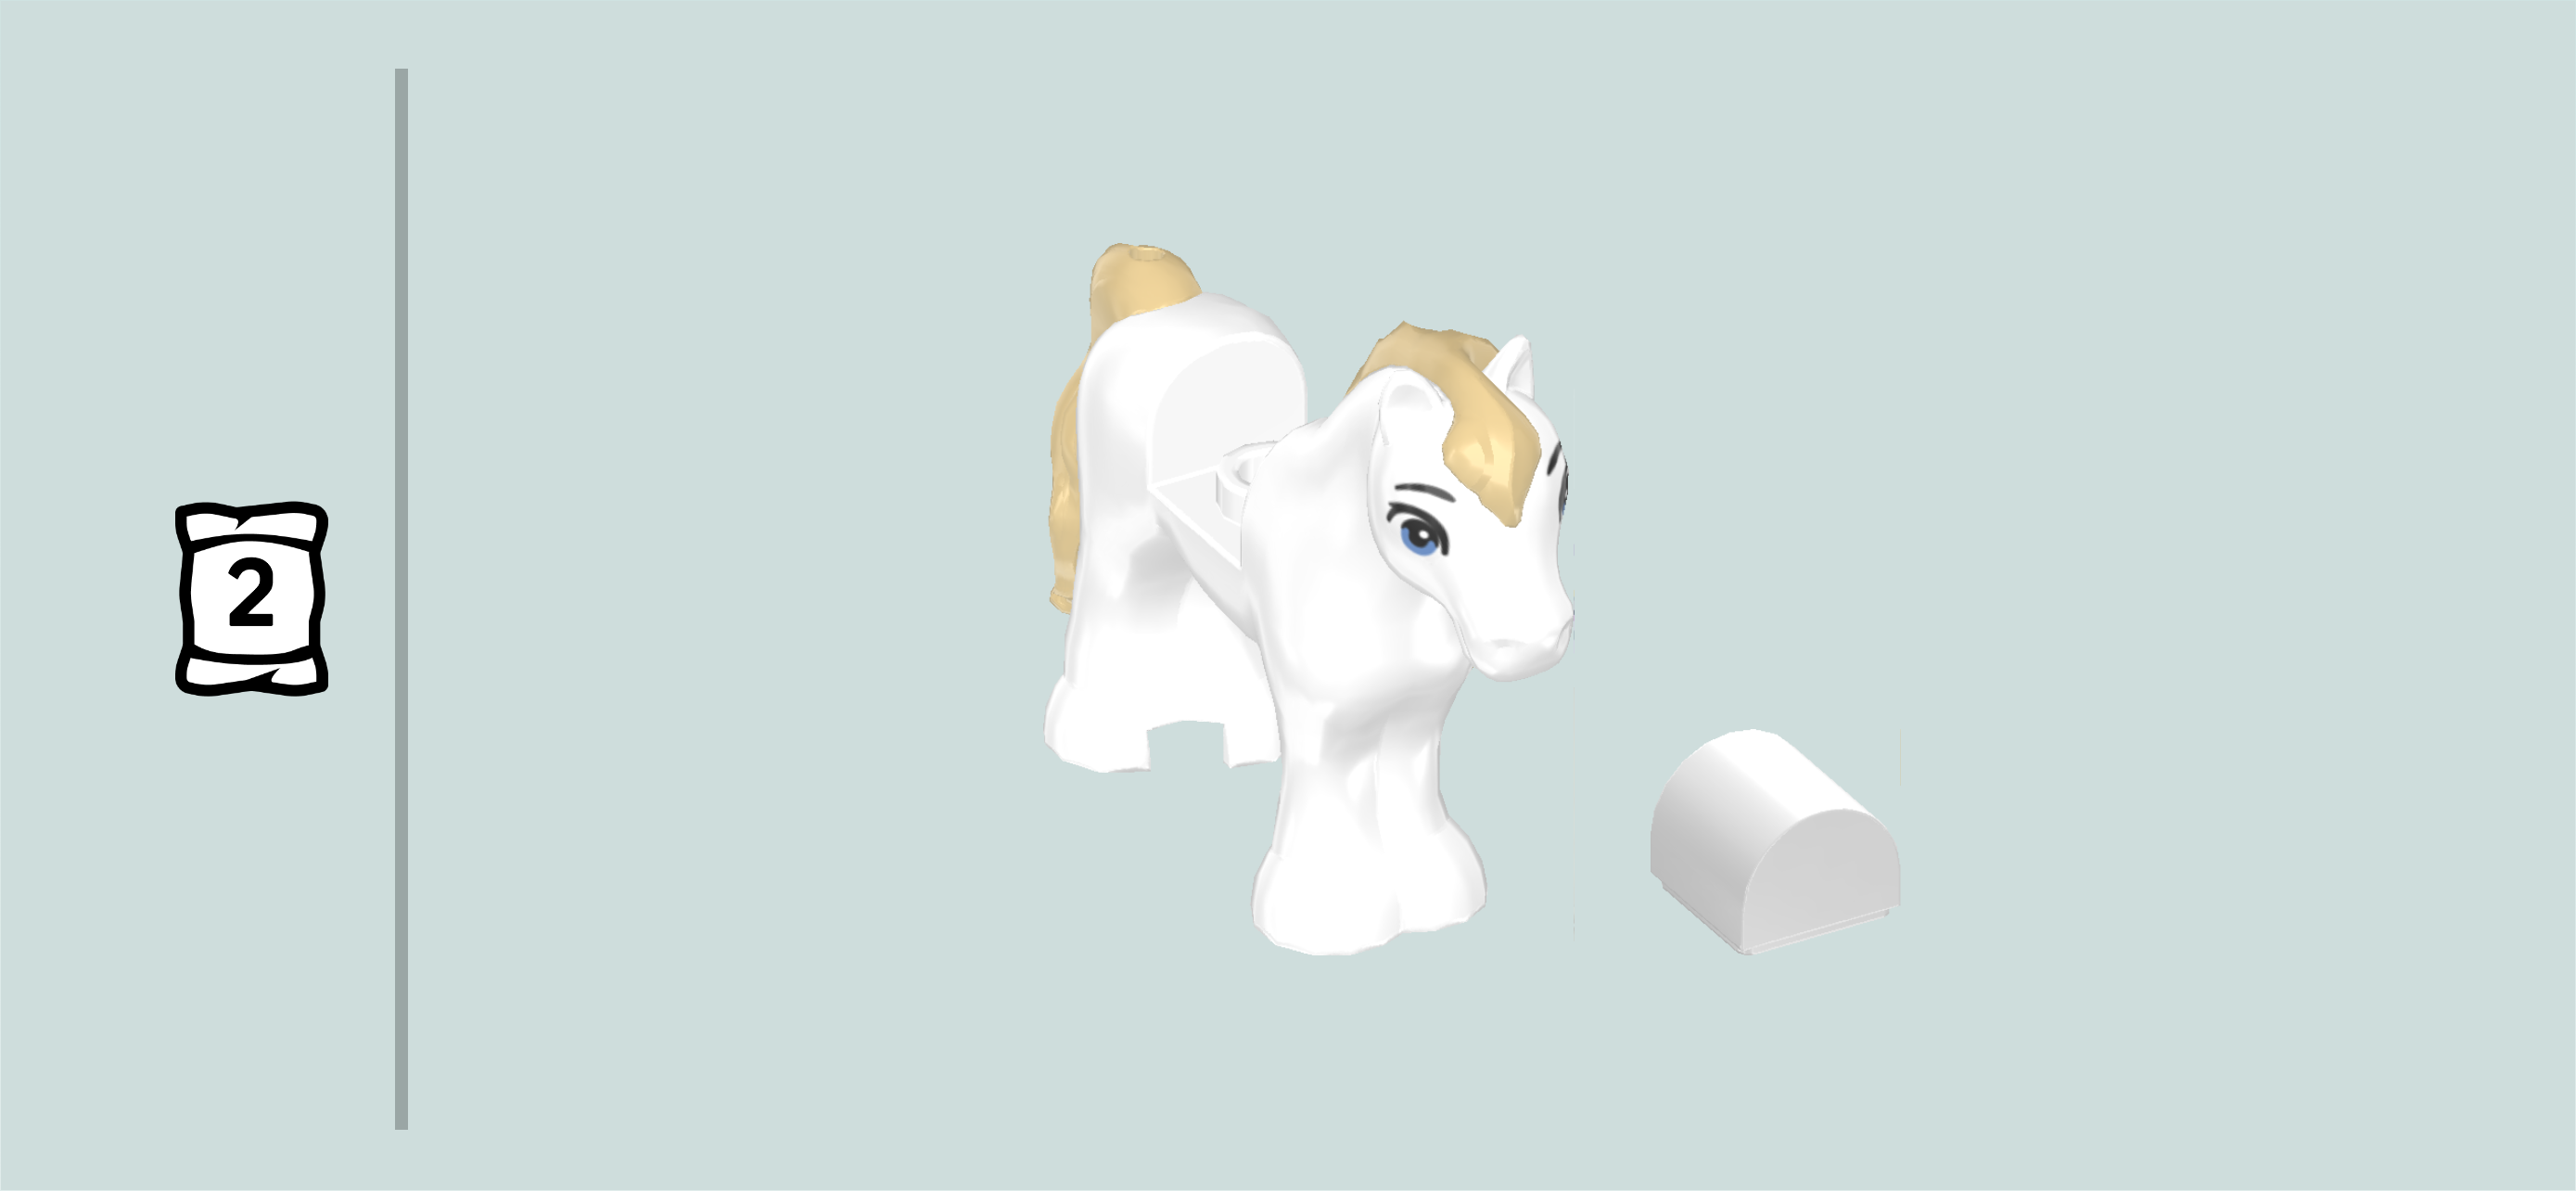
1 white half cylinder 1x1,

and 1 white and pale ocher yellow pony figure.

Put the pony horizontally on the table.

Insert the half cylinder into the pony's recess, making sure that the curve runs from front to back so it fits seamlessly into the pony's back.

Zoya's pony is finished! Great job! It has white skin and an ash blonde mane and tail. When Zoya wants to ride the pony, take out the half cylinder and place Zoya in the recess instead.

Find 1 bright red mini apple with stalk and leaf.

This apple is a tasty snack for the horses! You can give it to them as a reward after a long ride.

Next up, we will build the horse obstacle with 2 tree stumps.

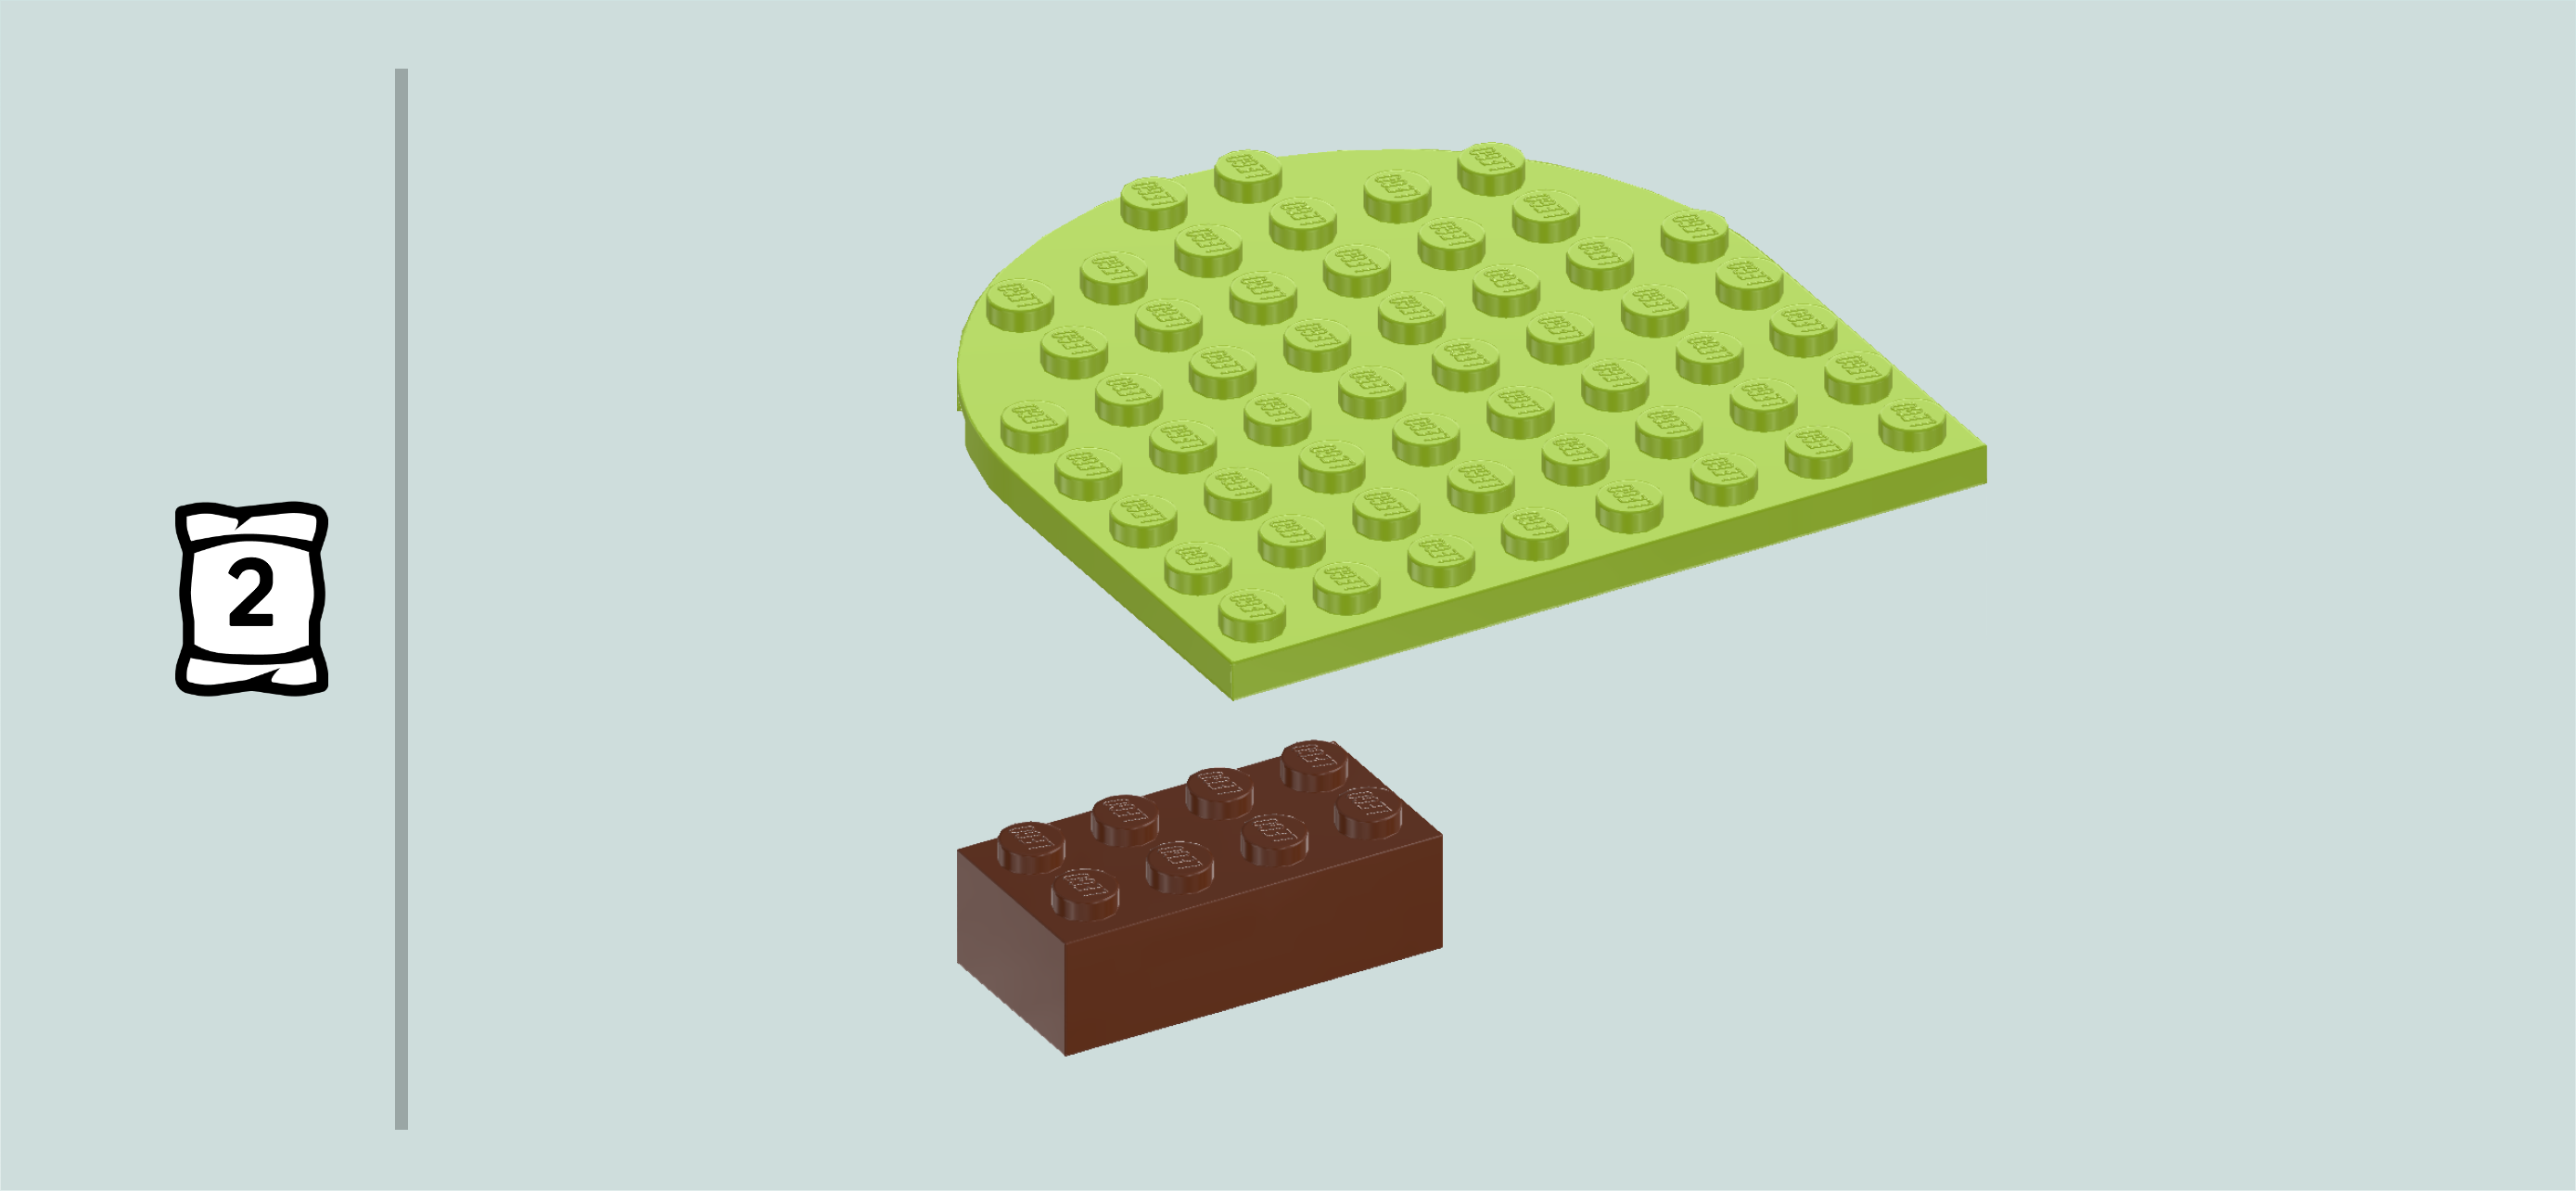
Collect the following 2 pieces:

1 bright yellowish green plate 8x8 with half circle,

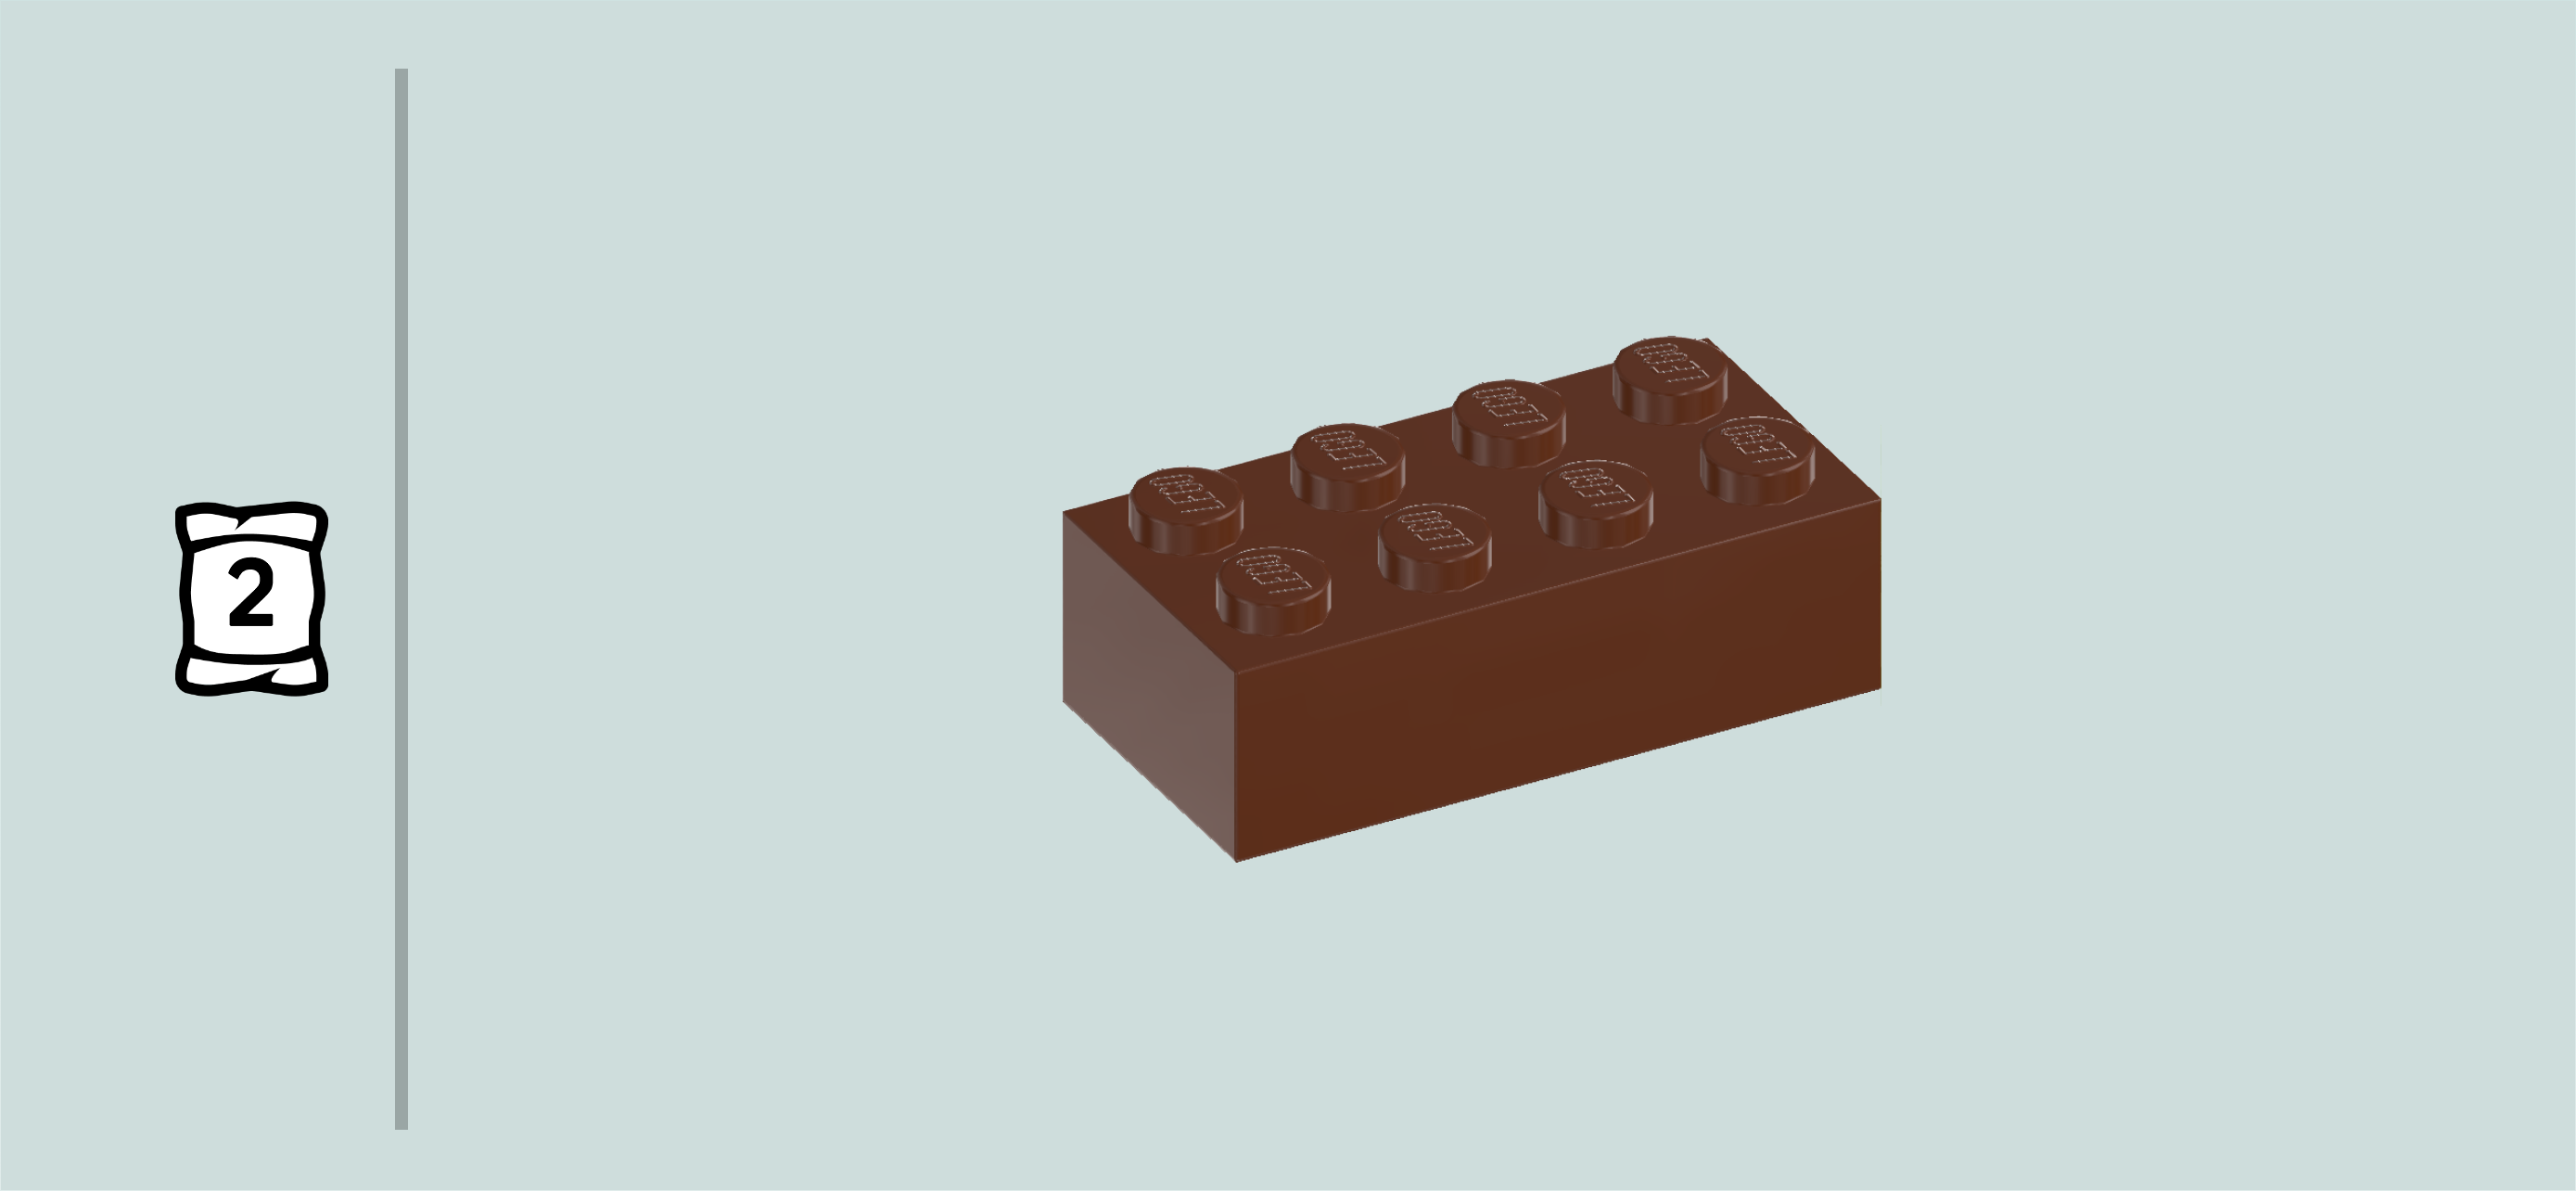
and 1 reddish brown brick 2x4.

Put the plate 8x8 on the table, half circle towards the front. Make sure its knobs form straight rows and columns in front of you.

Put the brick 2x4 vertically on the 2 rightmost columns, starting from the back edge.

Find another reddish brown brick 2x4.

Put it vertically on the 2 leftmost columns, starting from the back edge.

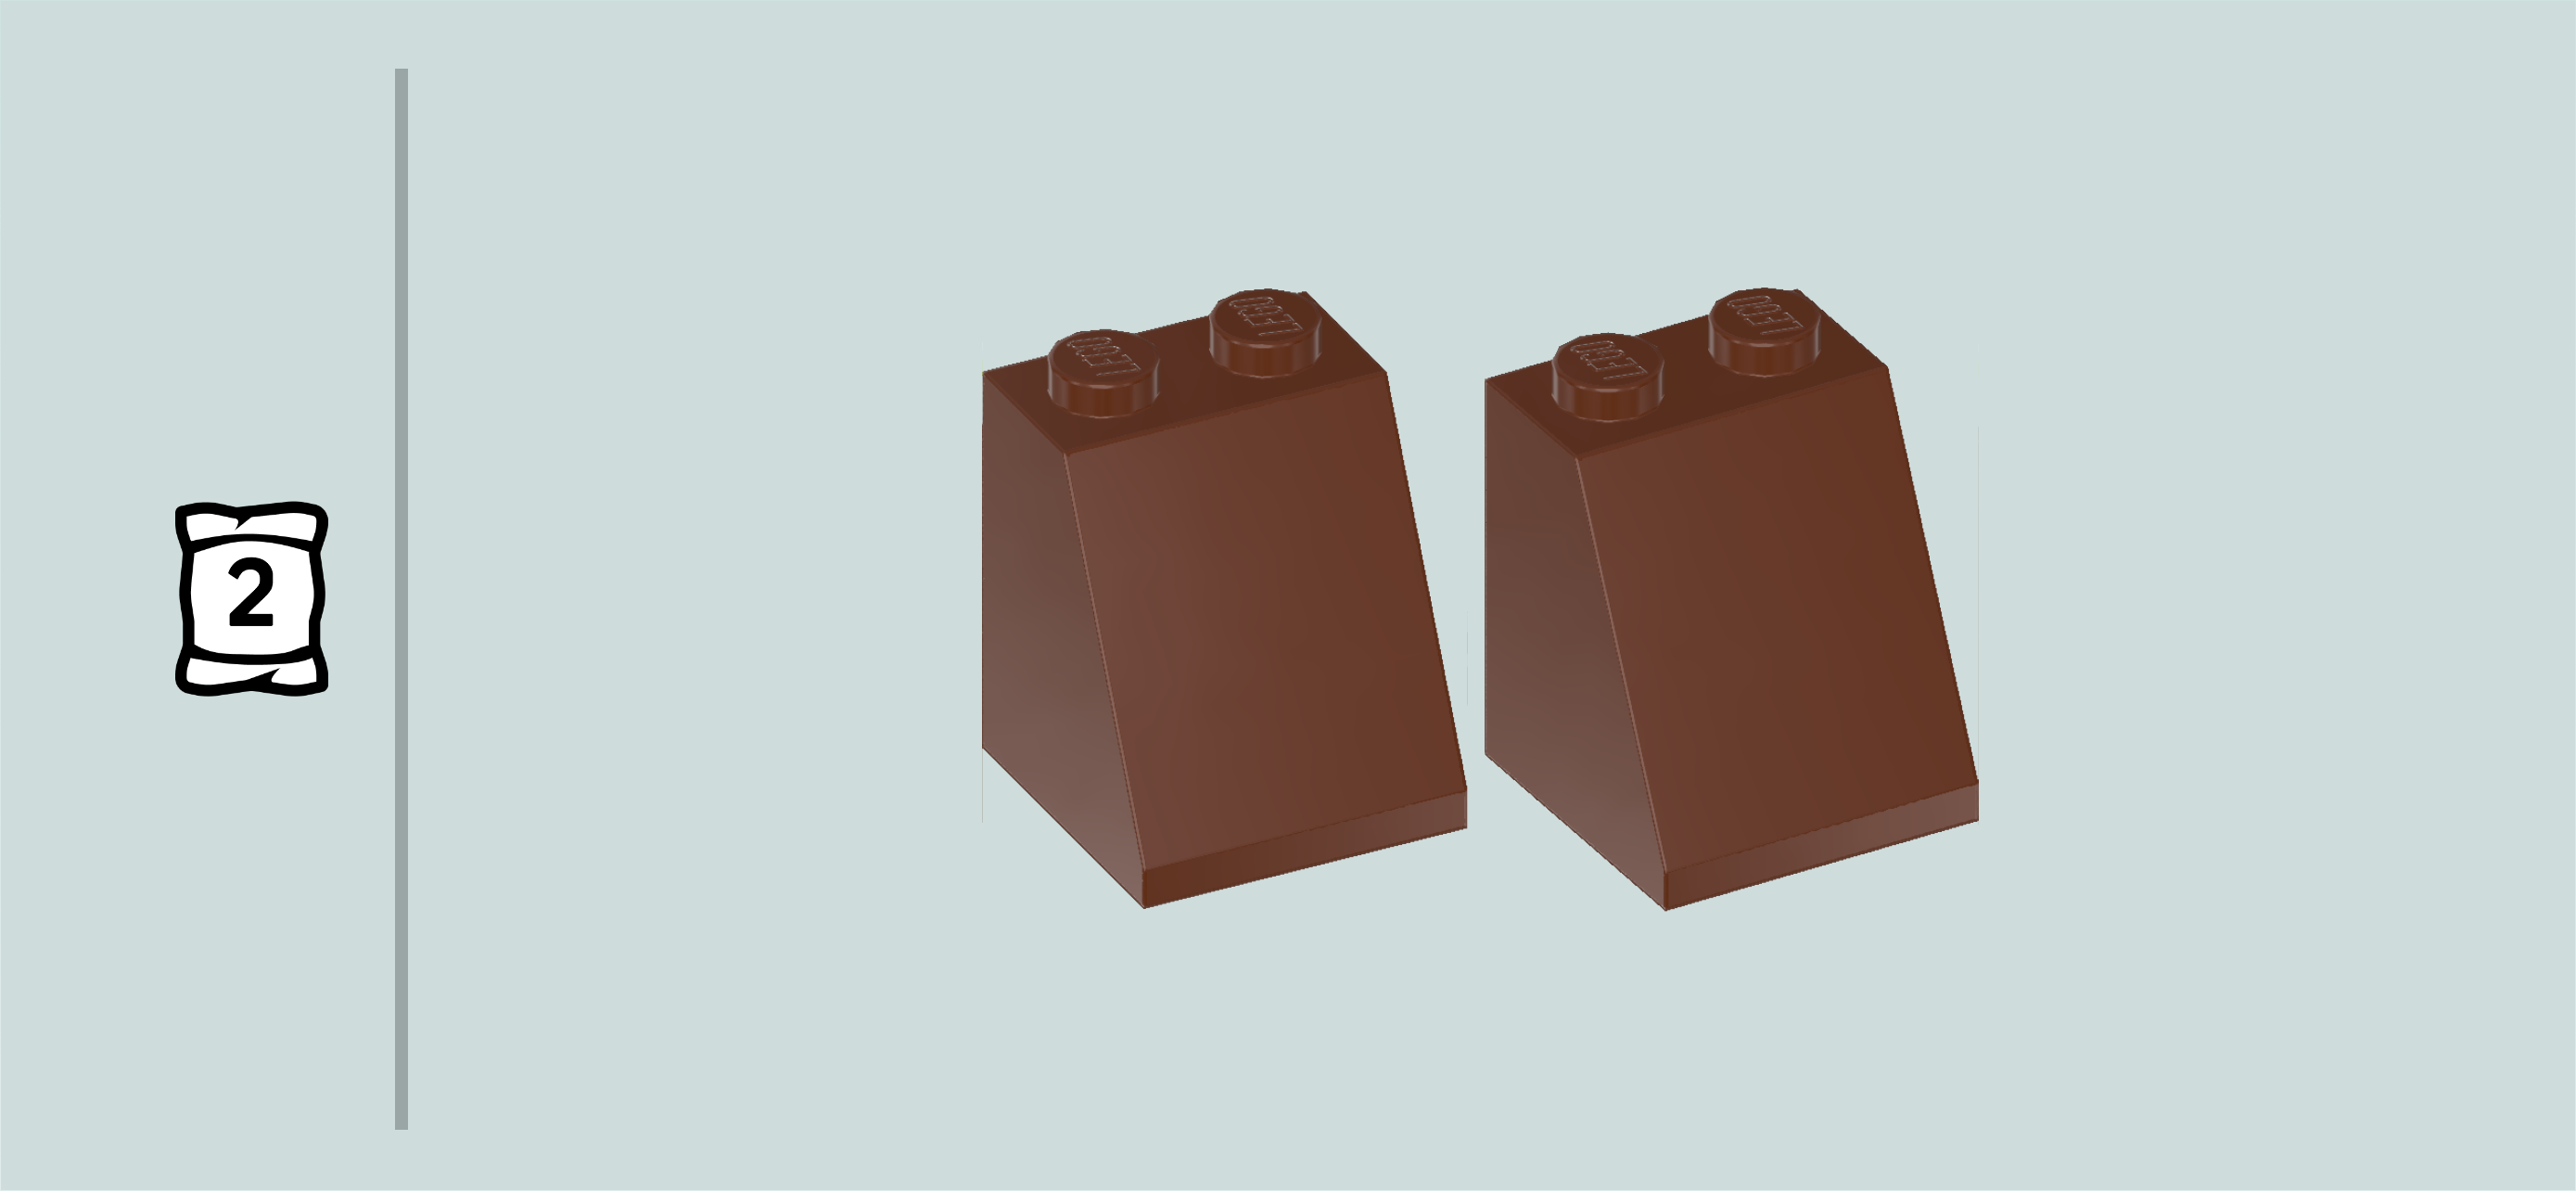
Find 2 reddish brown roof tiles 2x2x2, 65°.

Put 1 on the previous piece's back half, slope to the front.

Repeat symmetrically on the right.

Collect the following 4 pieces:

2 medium nougat brown grille tiles 1x2,

and 2 bright green smooth roof tiles 1x2x⅔.

Put 1 grille tile 1x2 horizontally in front of the previous piece.

Put 1 smooth roof tile horizontally in front of the previous piece, slope to the back.

Repeat symmetrically on the left with the 2 remaining pieces, again slope to the back.

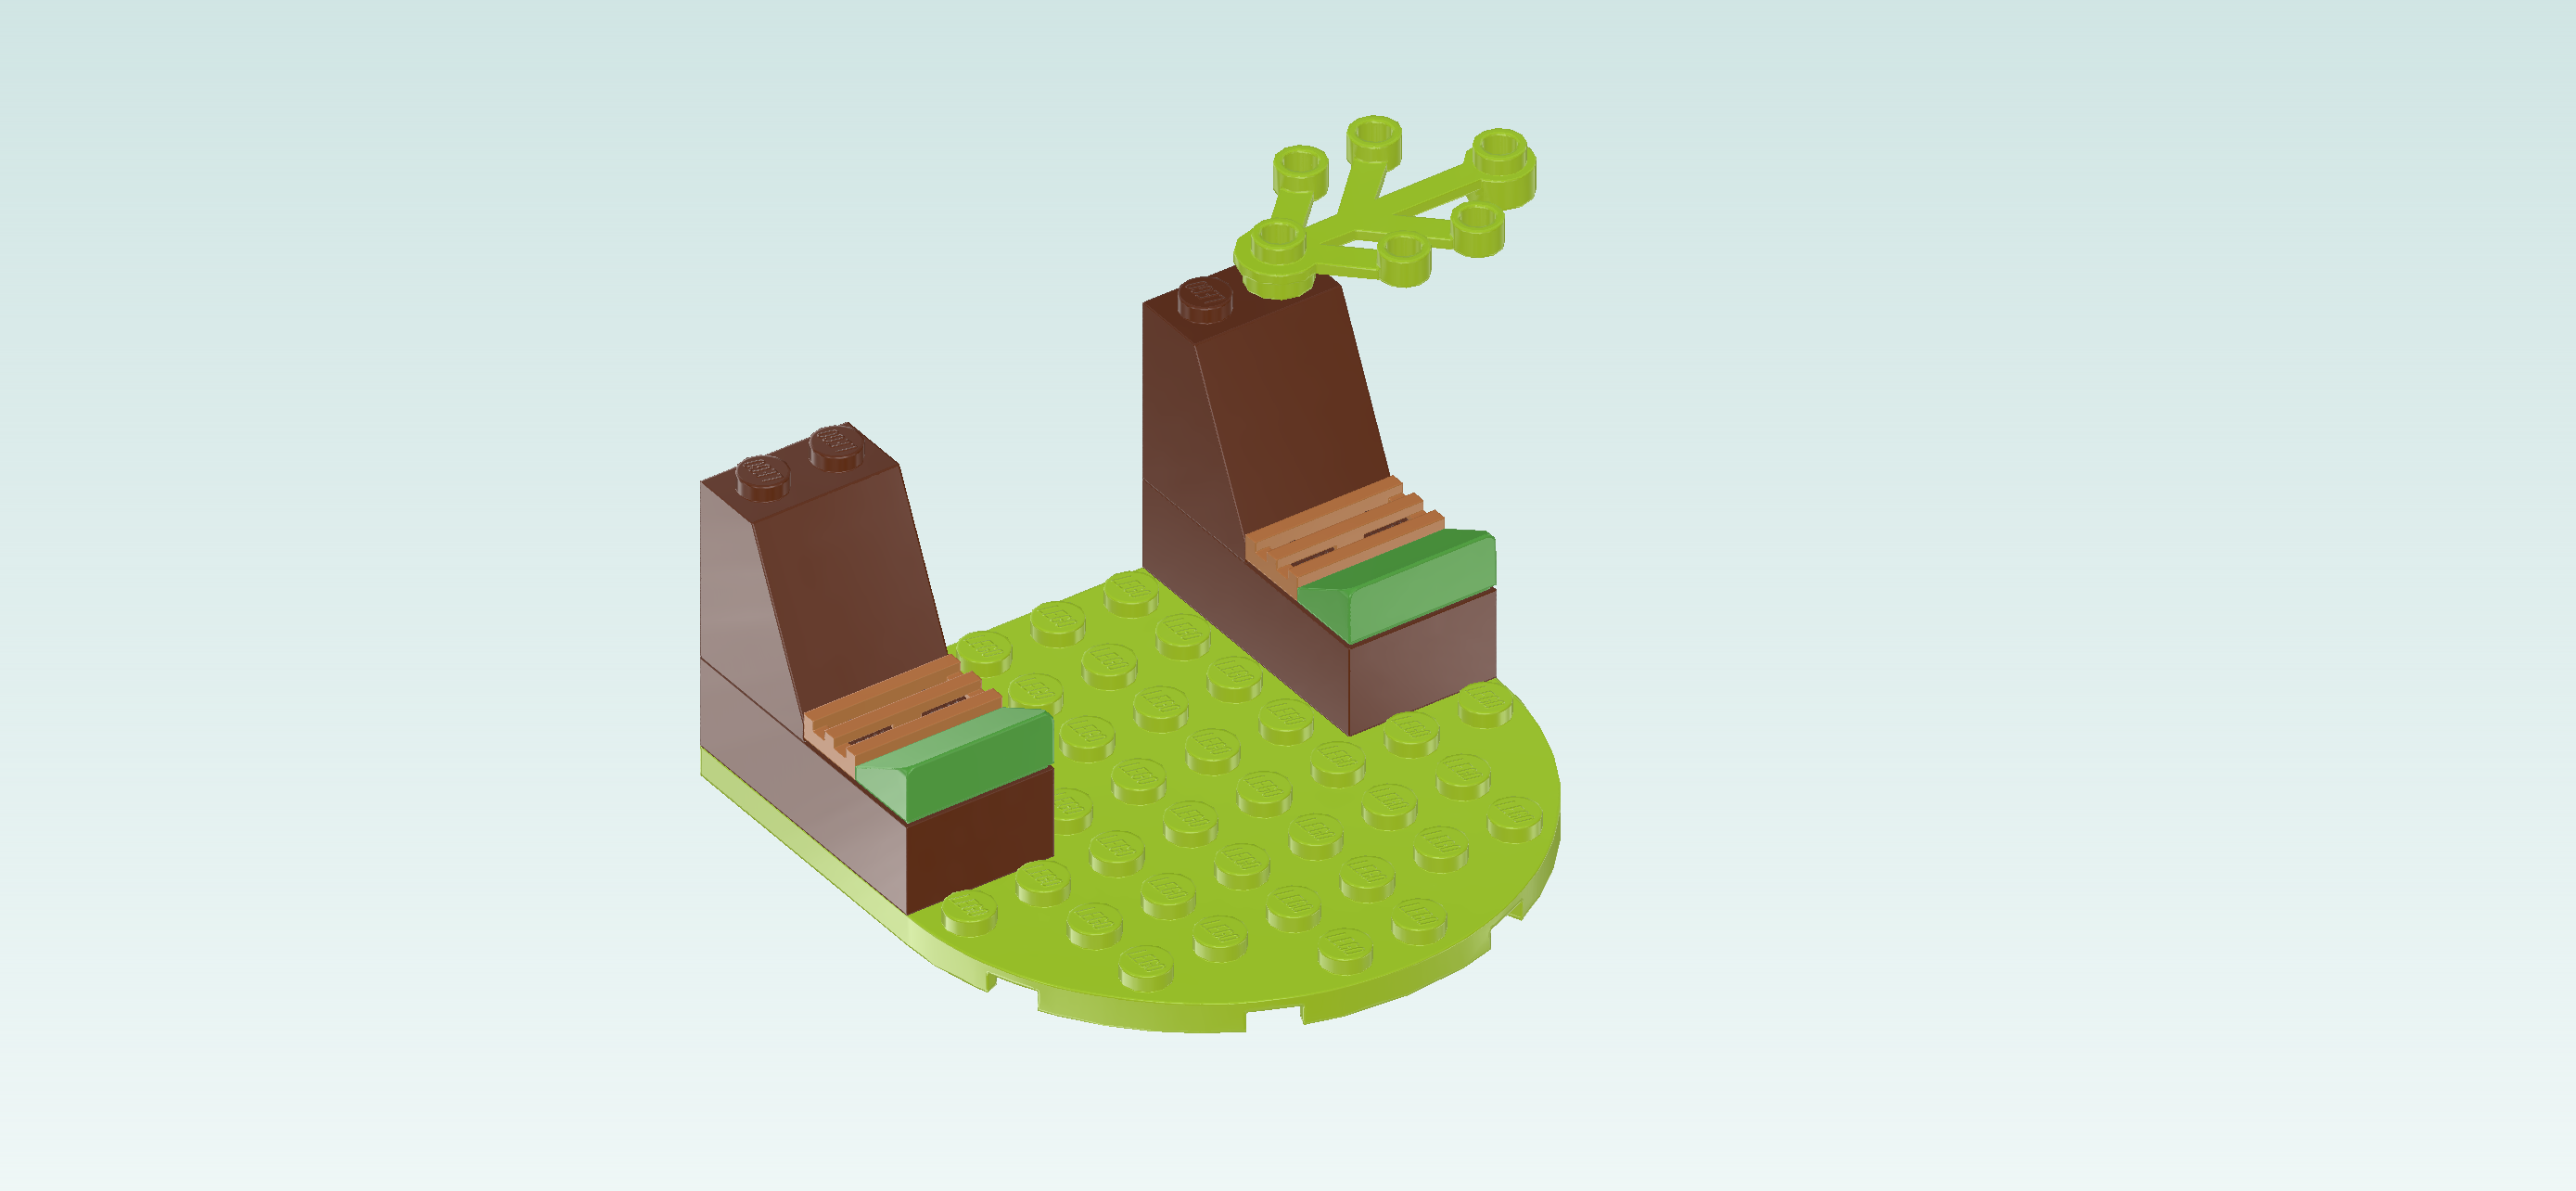
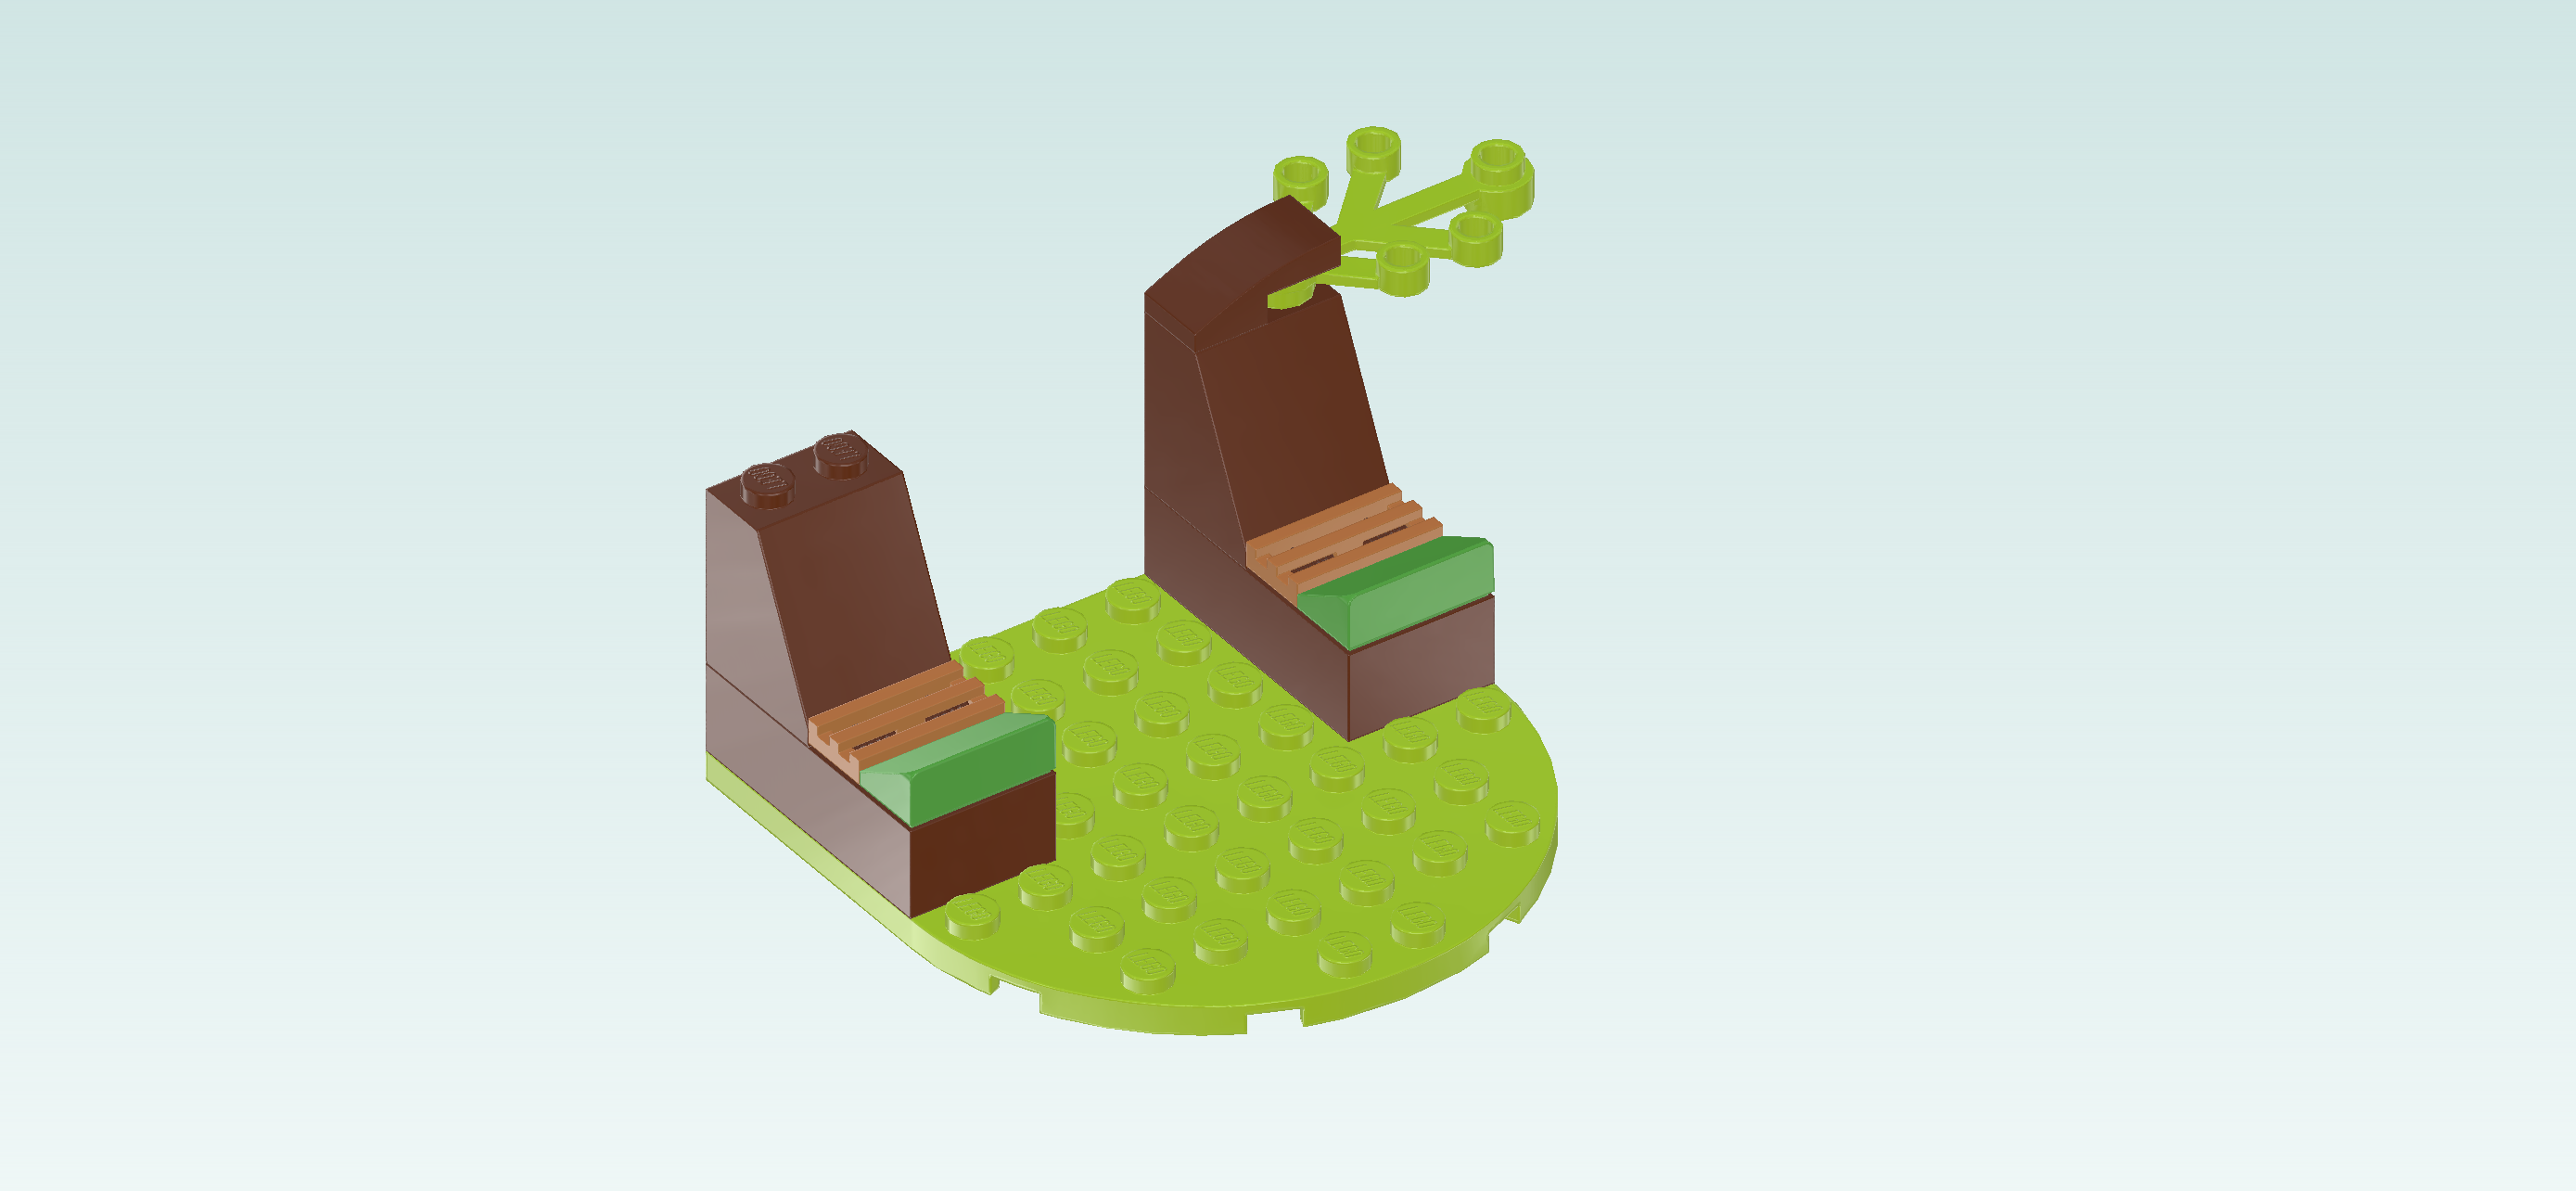
Find 1 bright yellowish green flat plant element with 6 knobs.

Turn it horizontally so that its 5 twigs are pointing to the right.

Mount its leftmost knob on the rightmost knob of the backmost row, 5 twigs overhanging to the right. This means it will be mounted on the right roof tile 2x2x2.

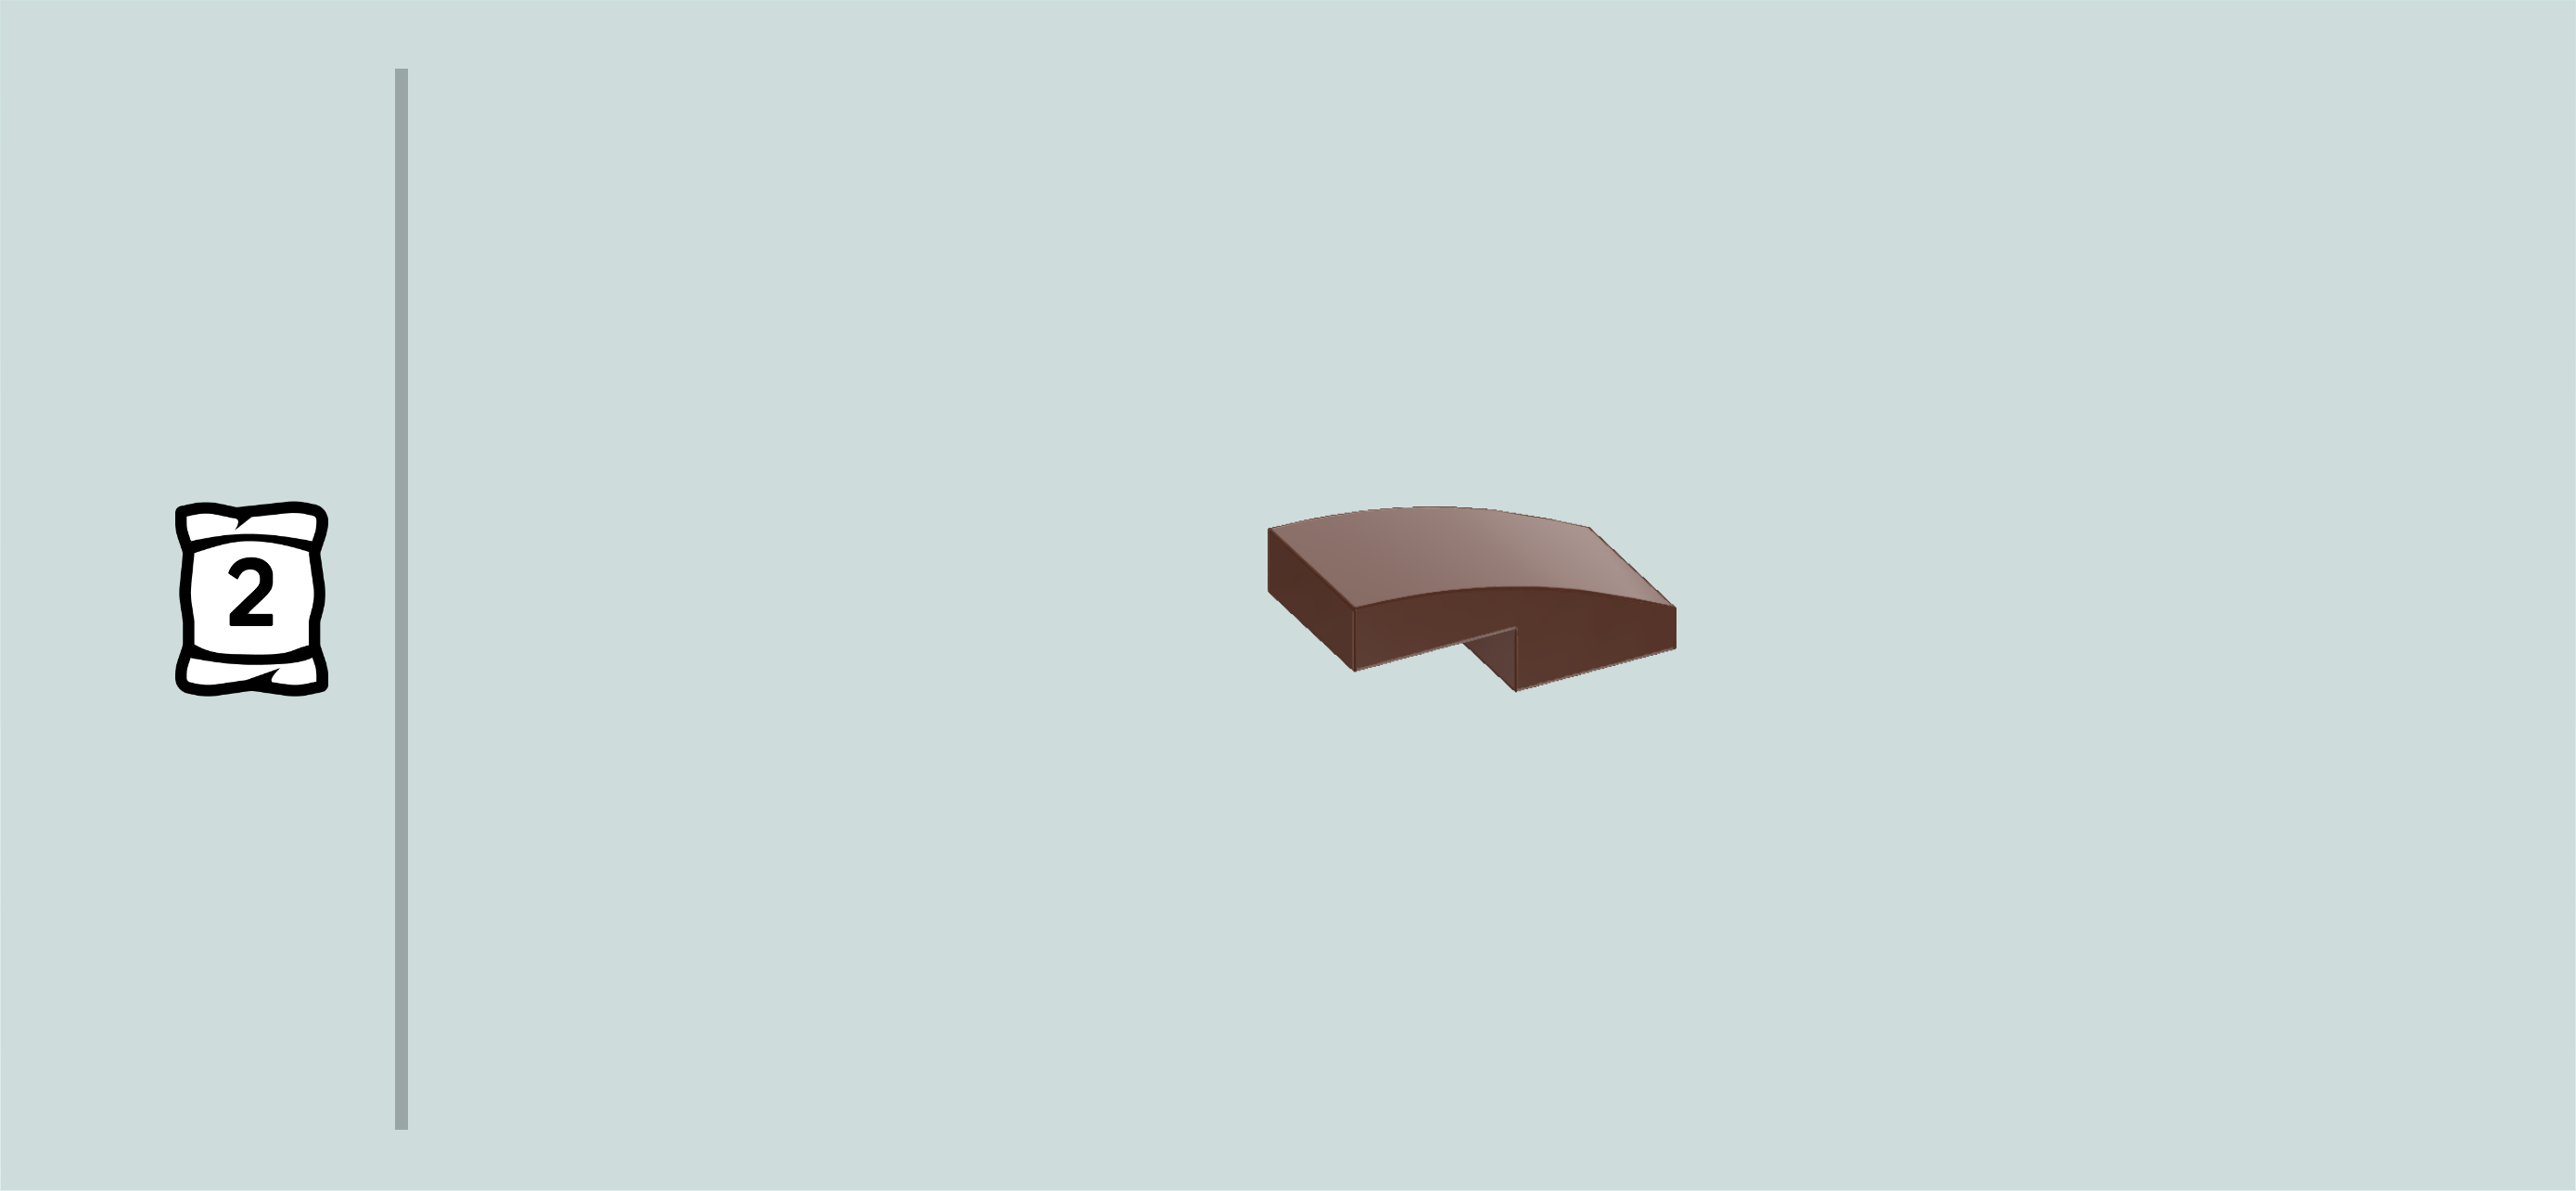
Find 1 reddish brown one-stepped curve tile 1x2.

Put it horizontally on the previous piece and the knob to its left, curve to the left.

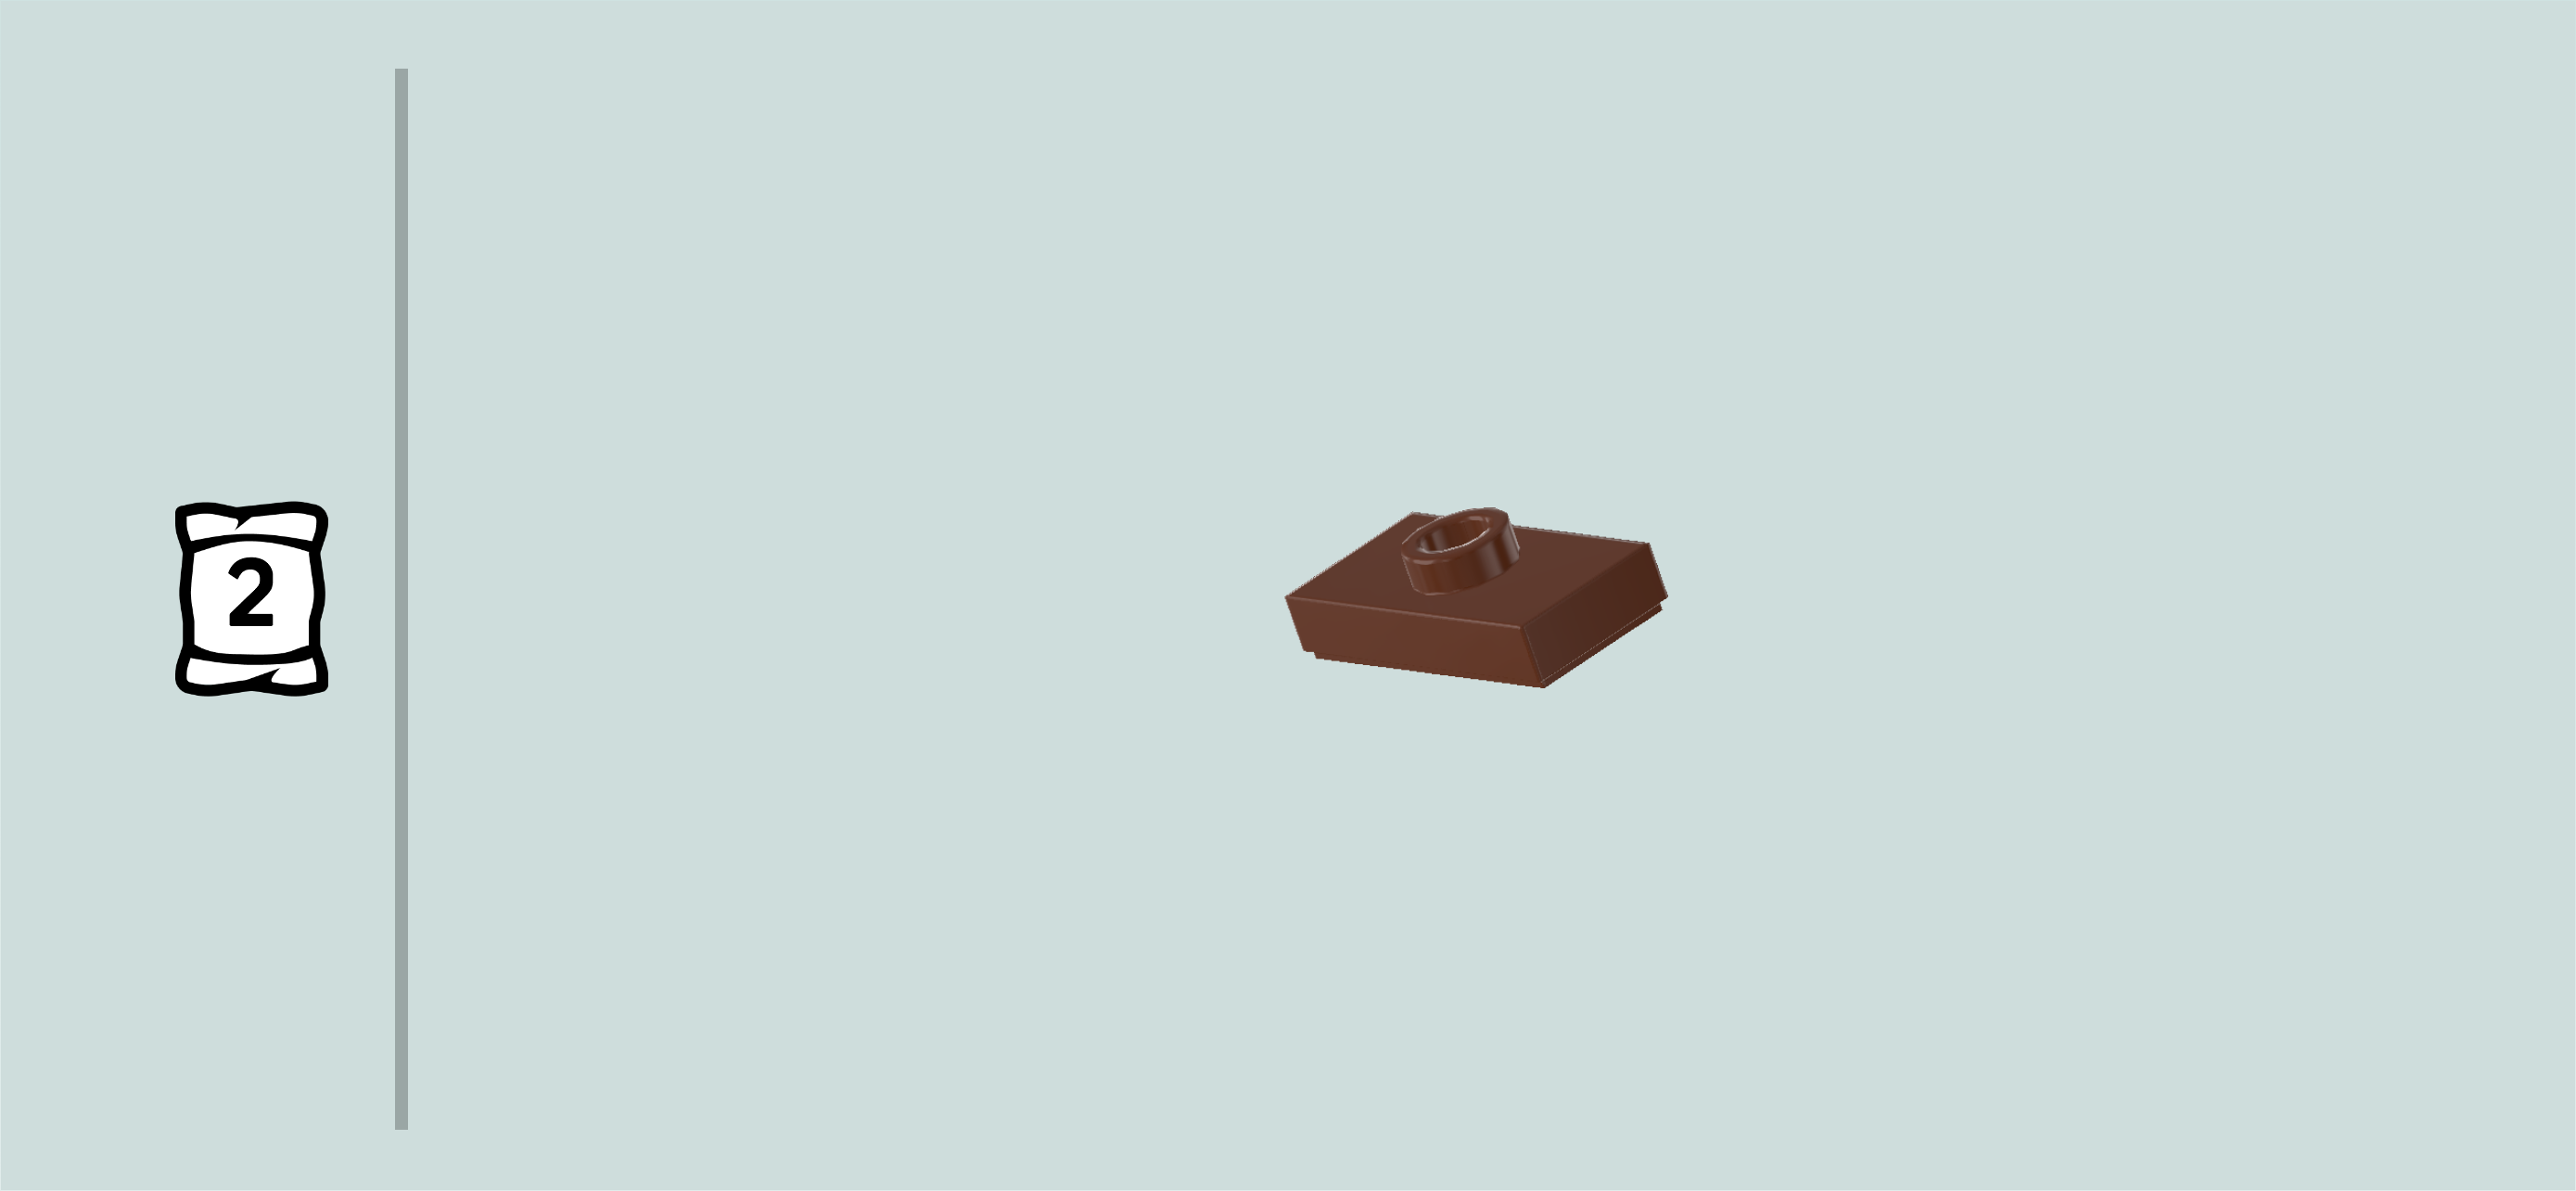
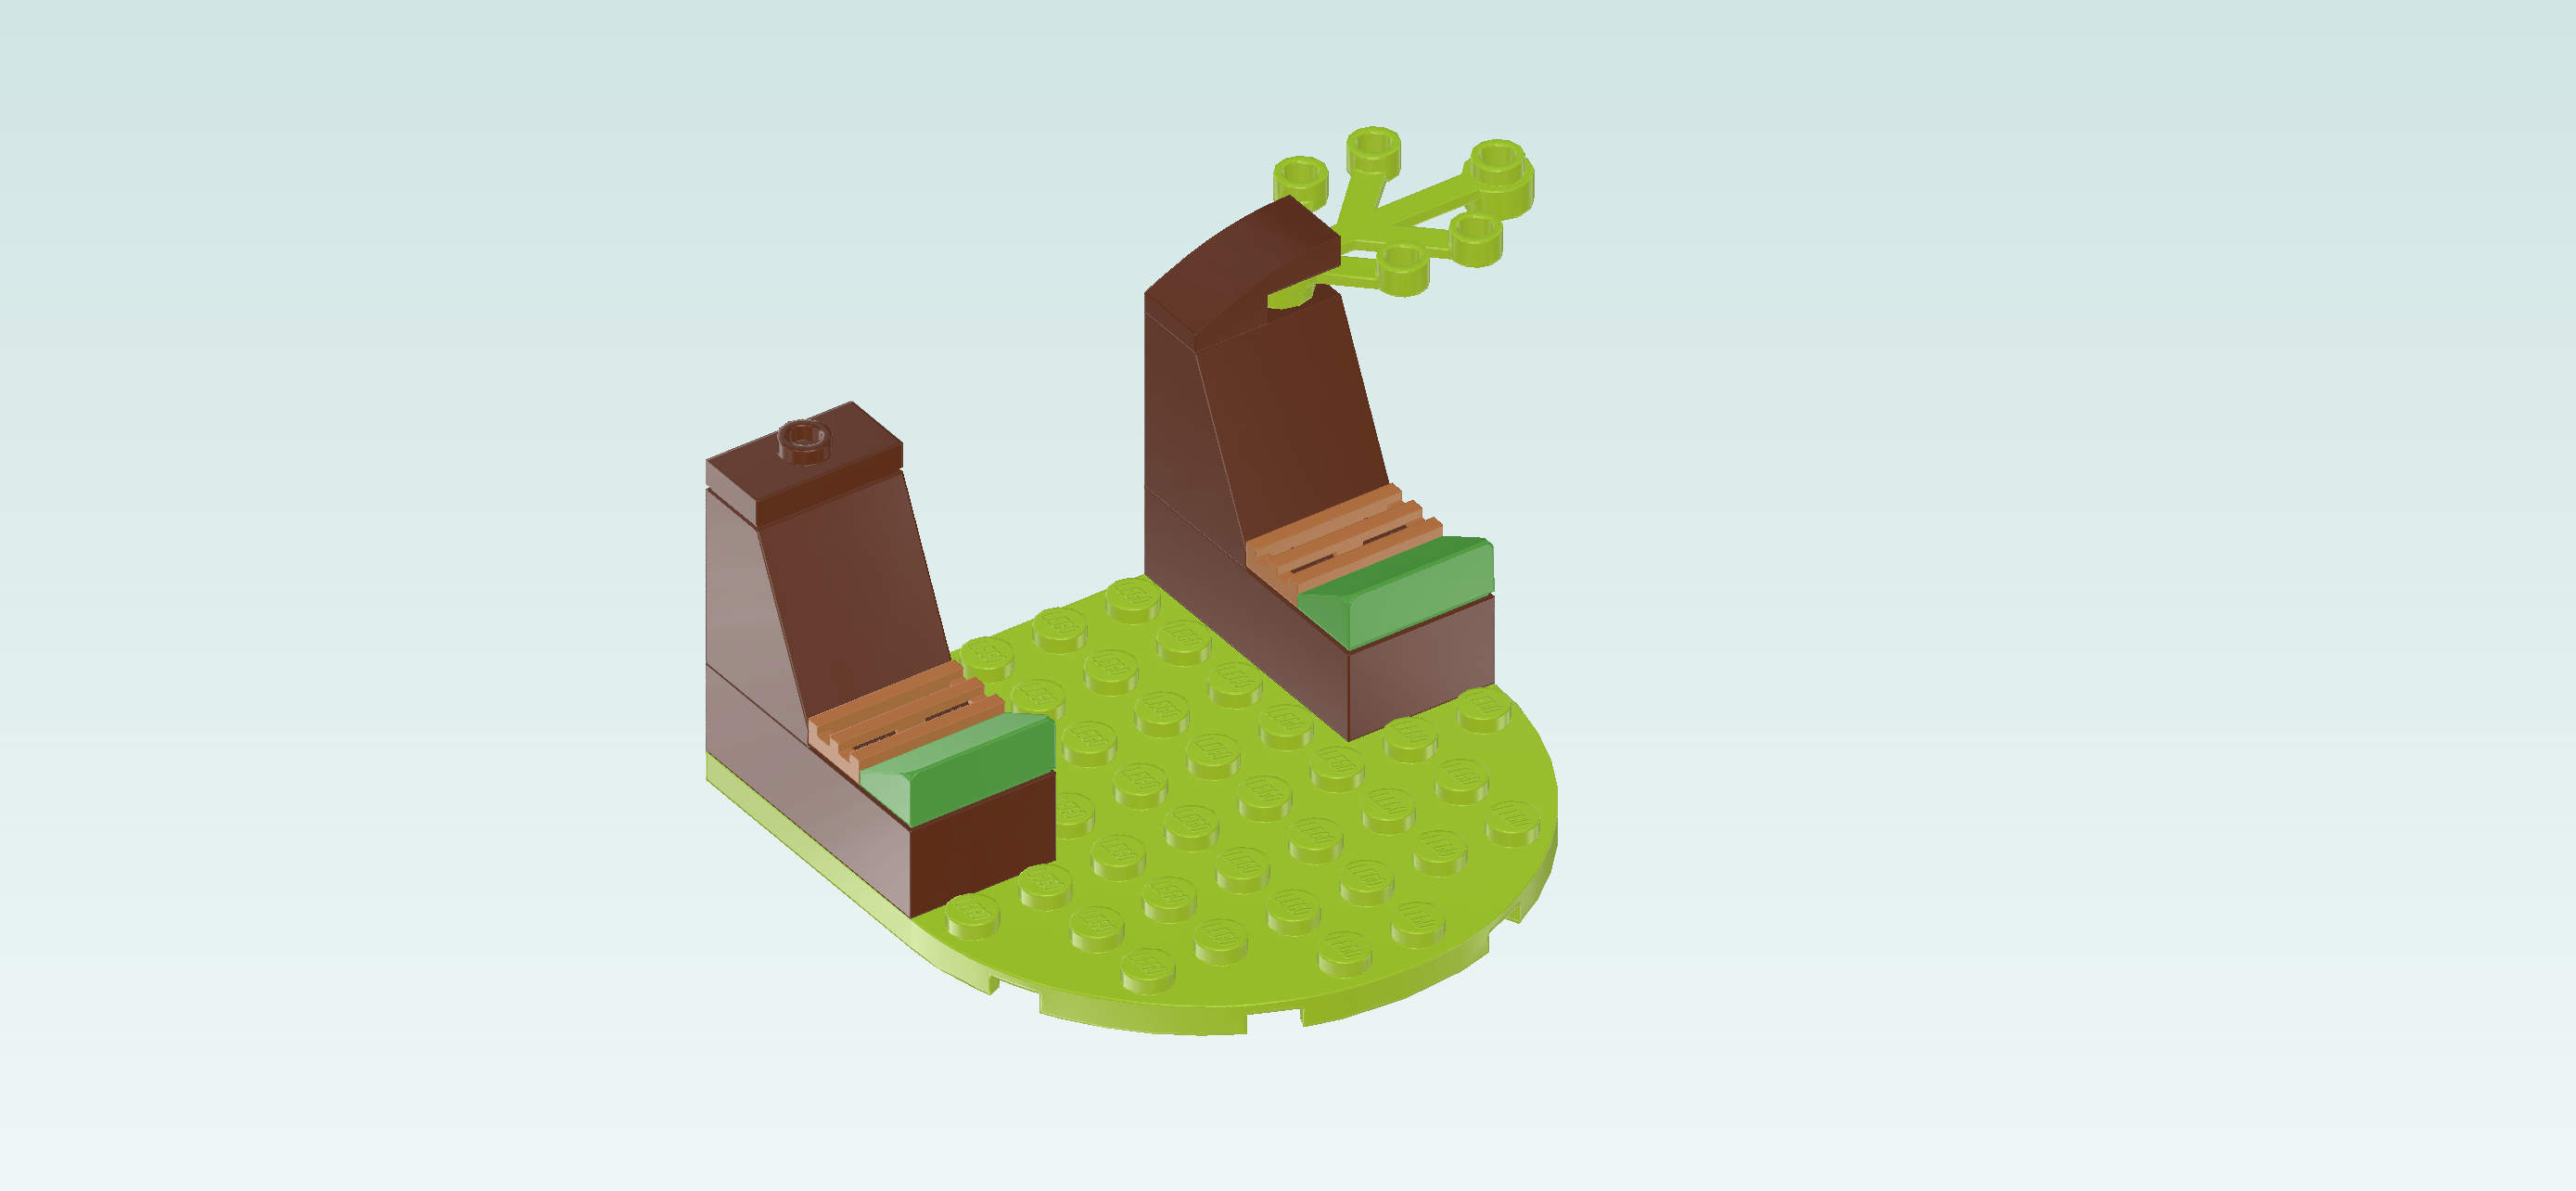
Find 1 reddish brown plate 1x2 with 1 knob.

Put it horizontally on the left roof tile 2x2x2. This means it will sit on the 2 leftmost knobs of the backmost row.

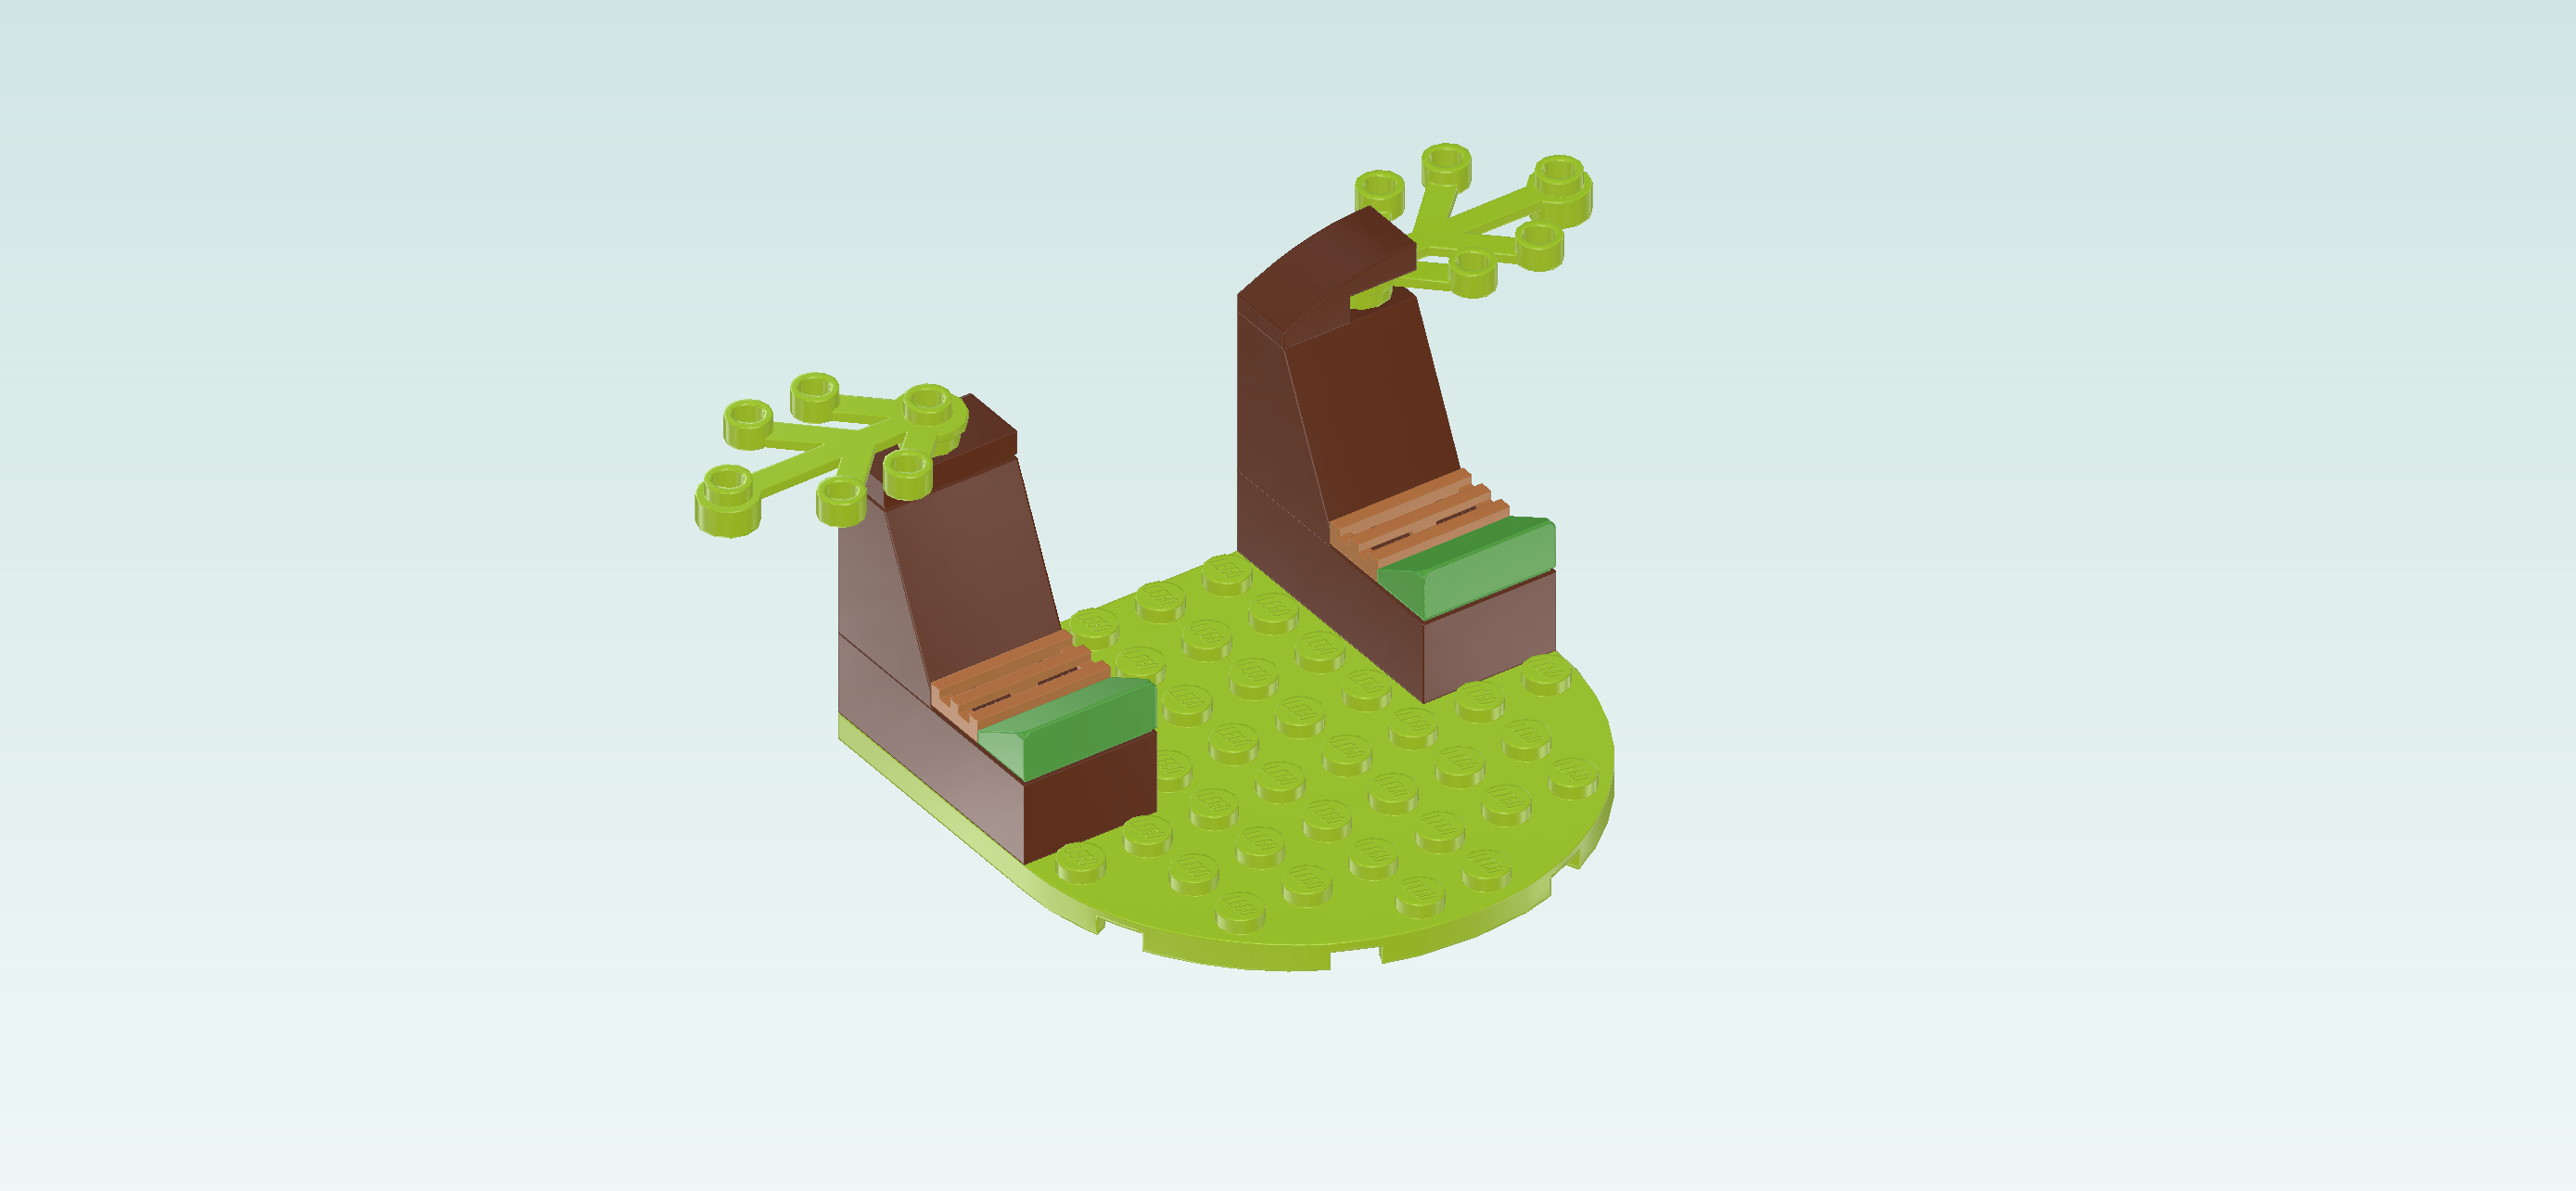
Find 1 bright yellowish green flat plant element with 6 knobs.

Turn it horizontally so that its 5 twigs are pointing to the left.

Mount its rightmost knob on the previous piece, 5 twigs overhanging to the left.

Find 1 bright green shaft 2m with twig leaves. (2m means that this piece is about 2 knobs long.)

Insert the shaft into the previous piece's rightmost knob.

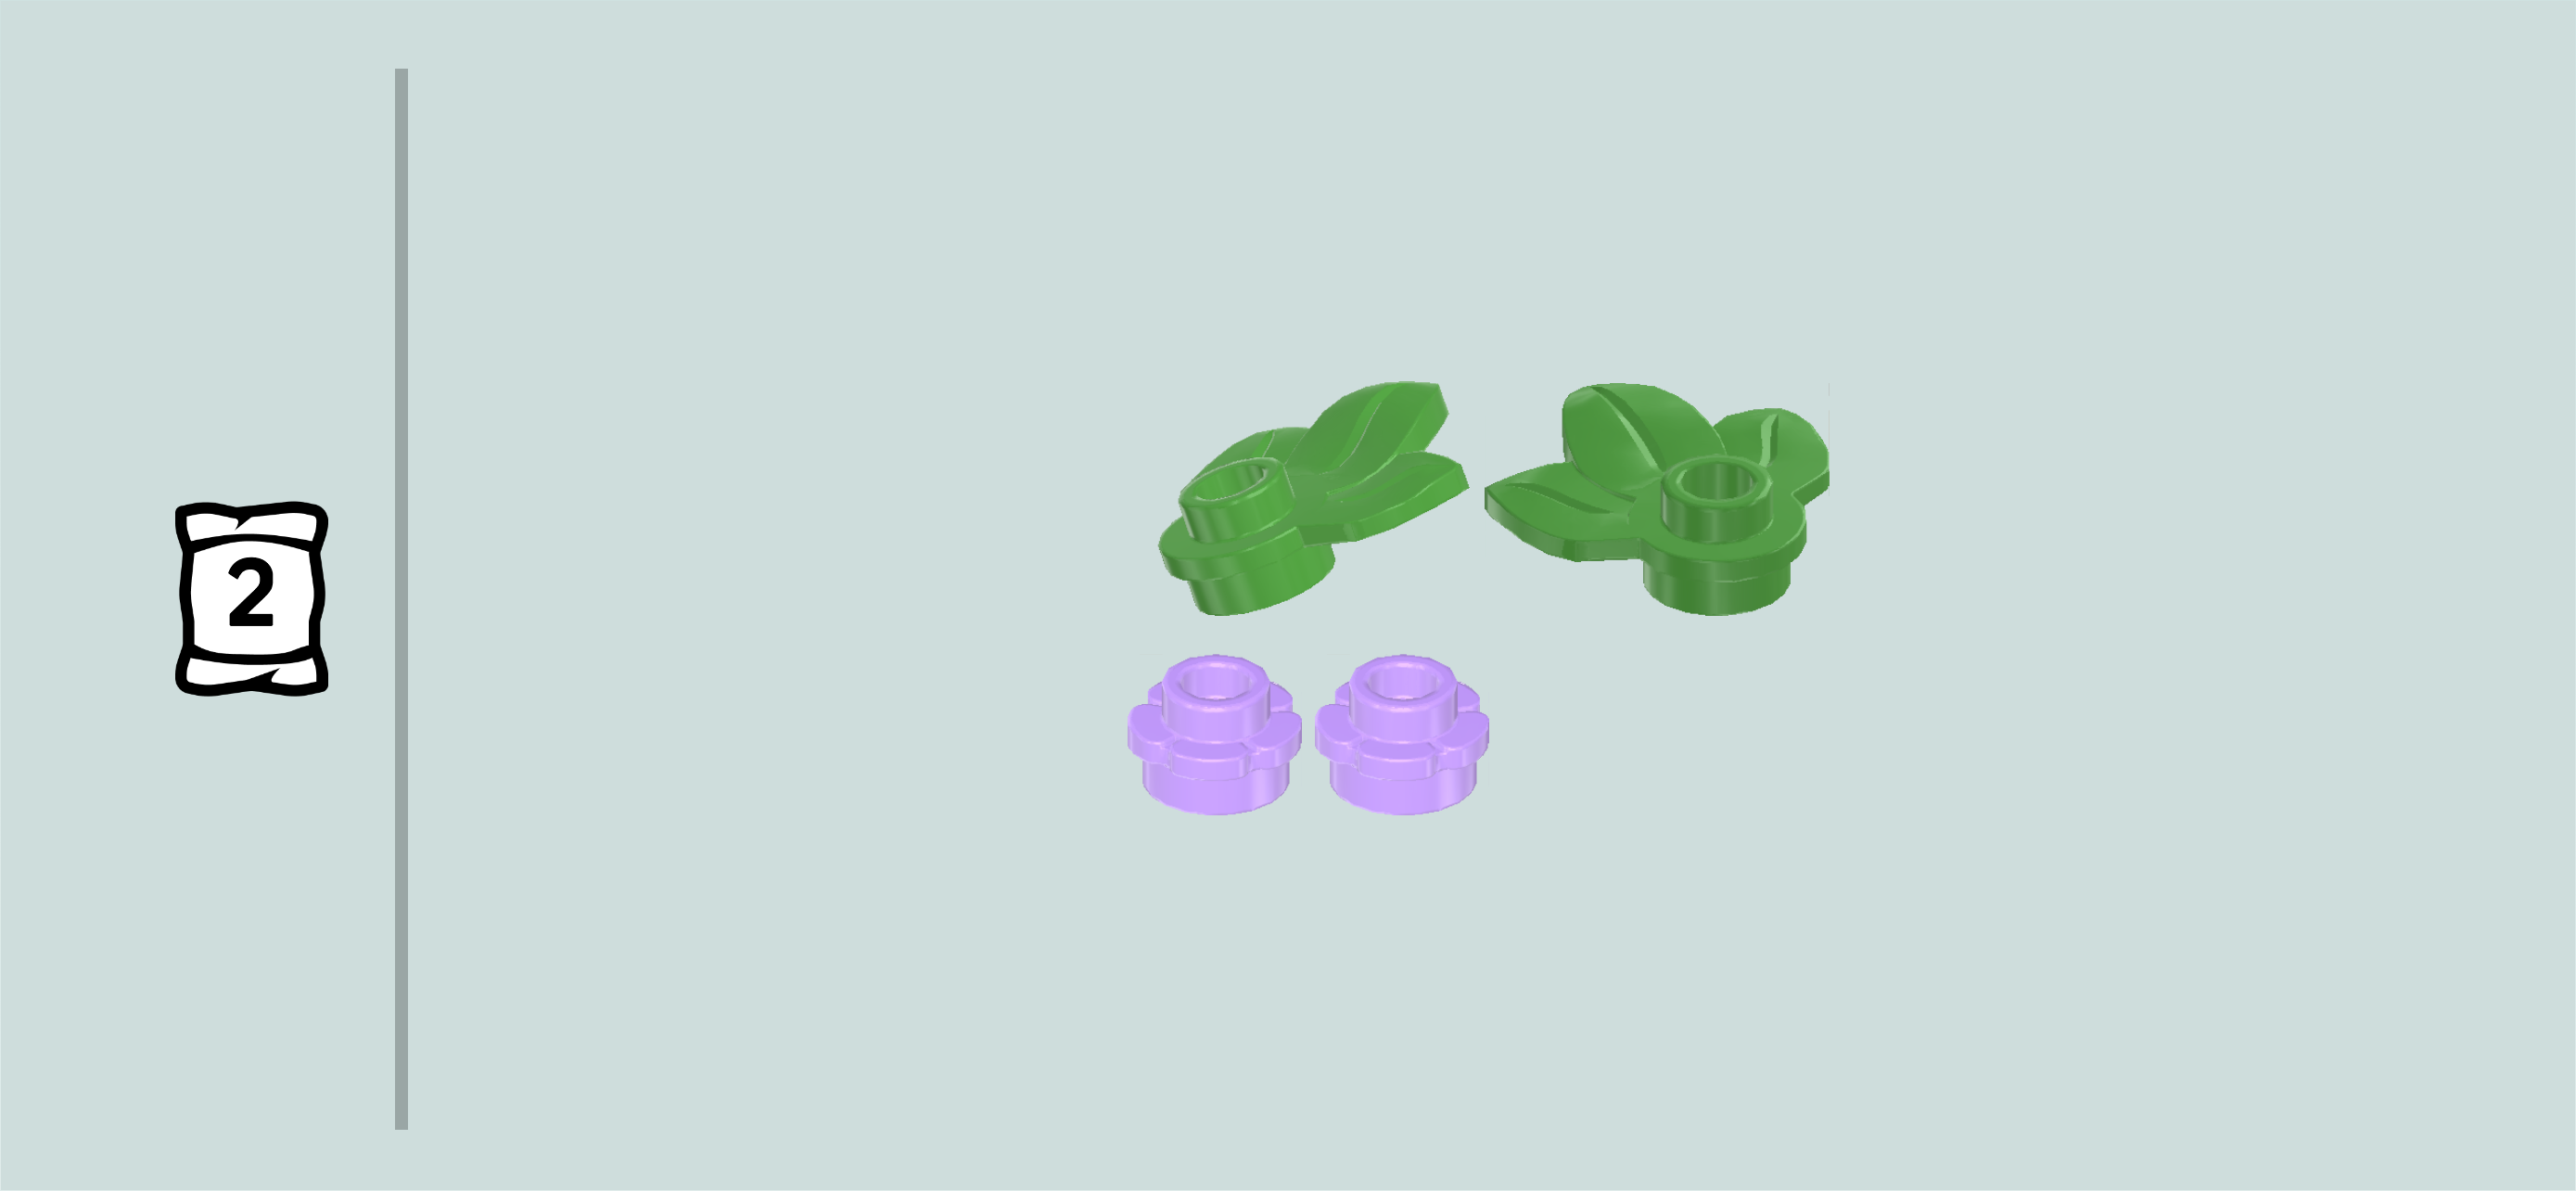
Next up, we will make 2 small flowers.

Collect the following 4 pieces:

2 light lavender flower pieces 1x1 with through-hole,

and 2 bright green round plates 1x1 with 3 small leaves.

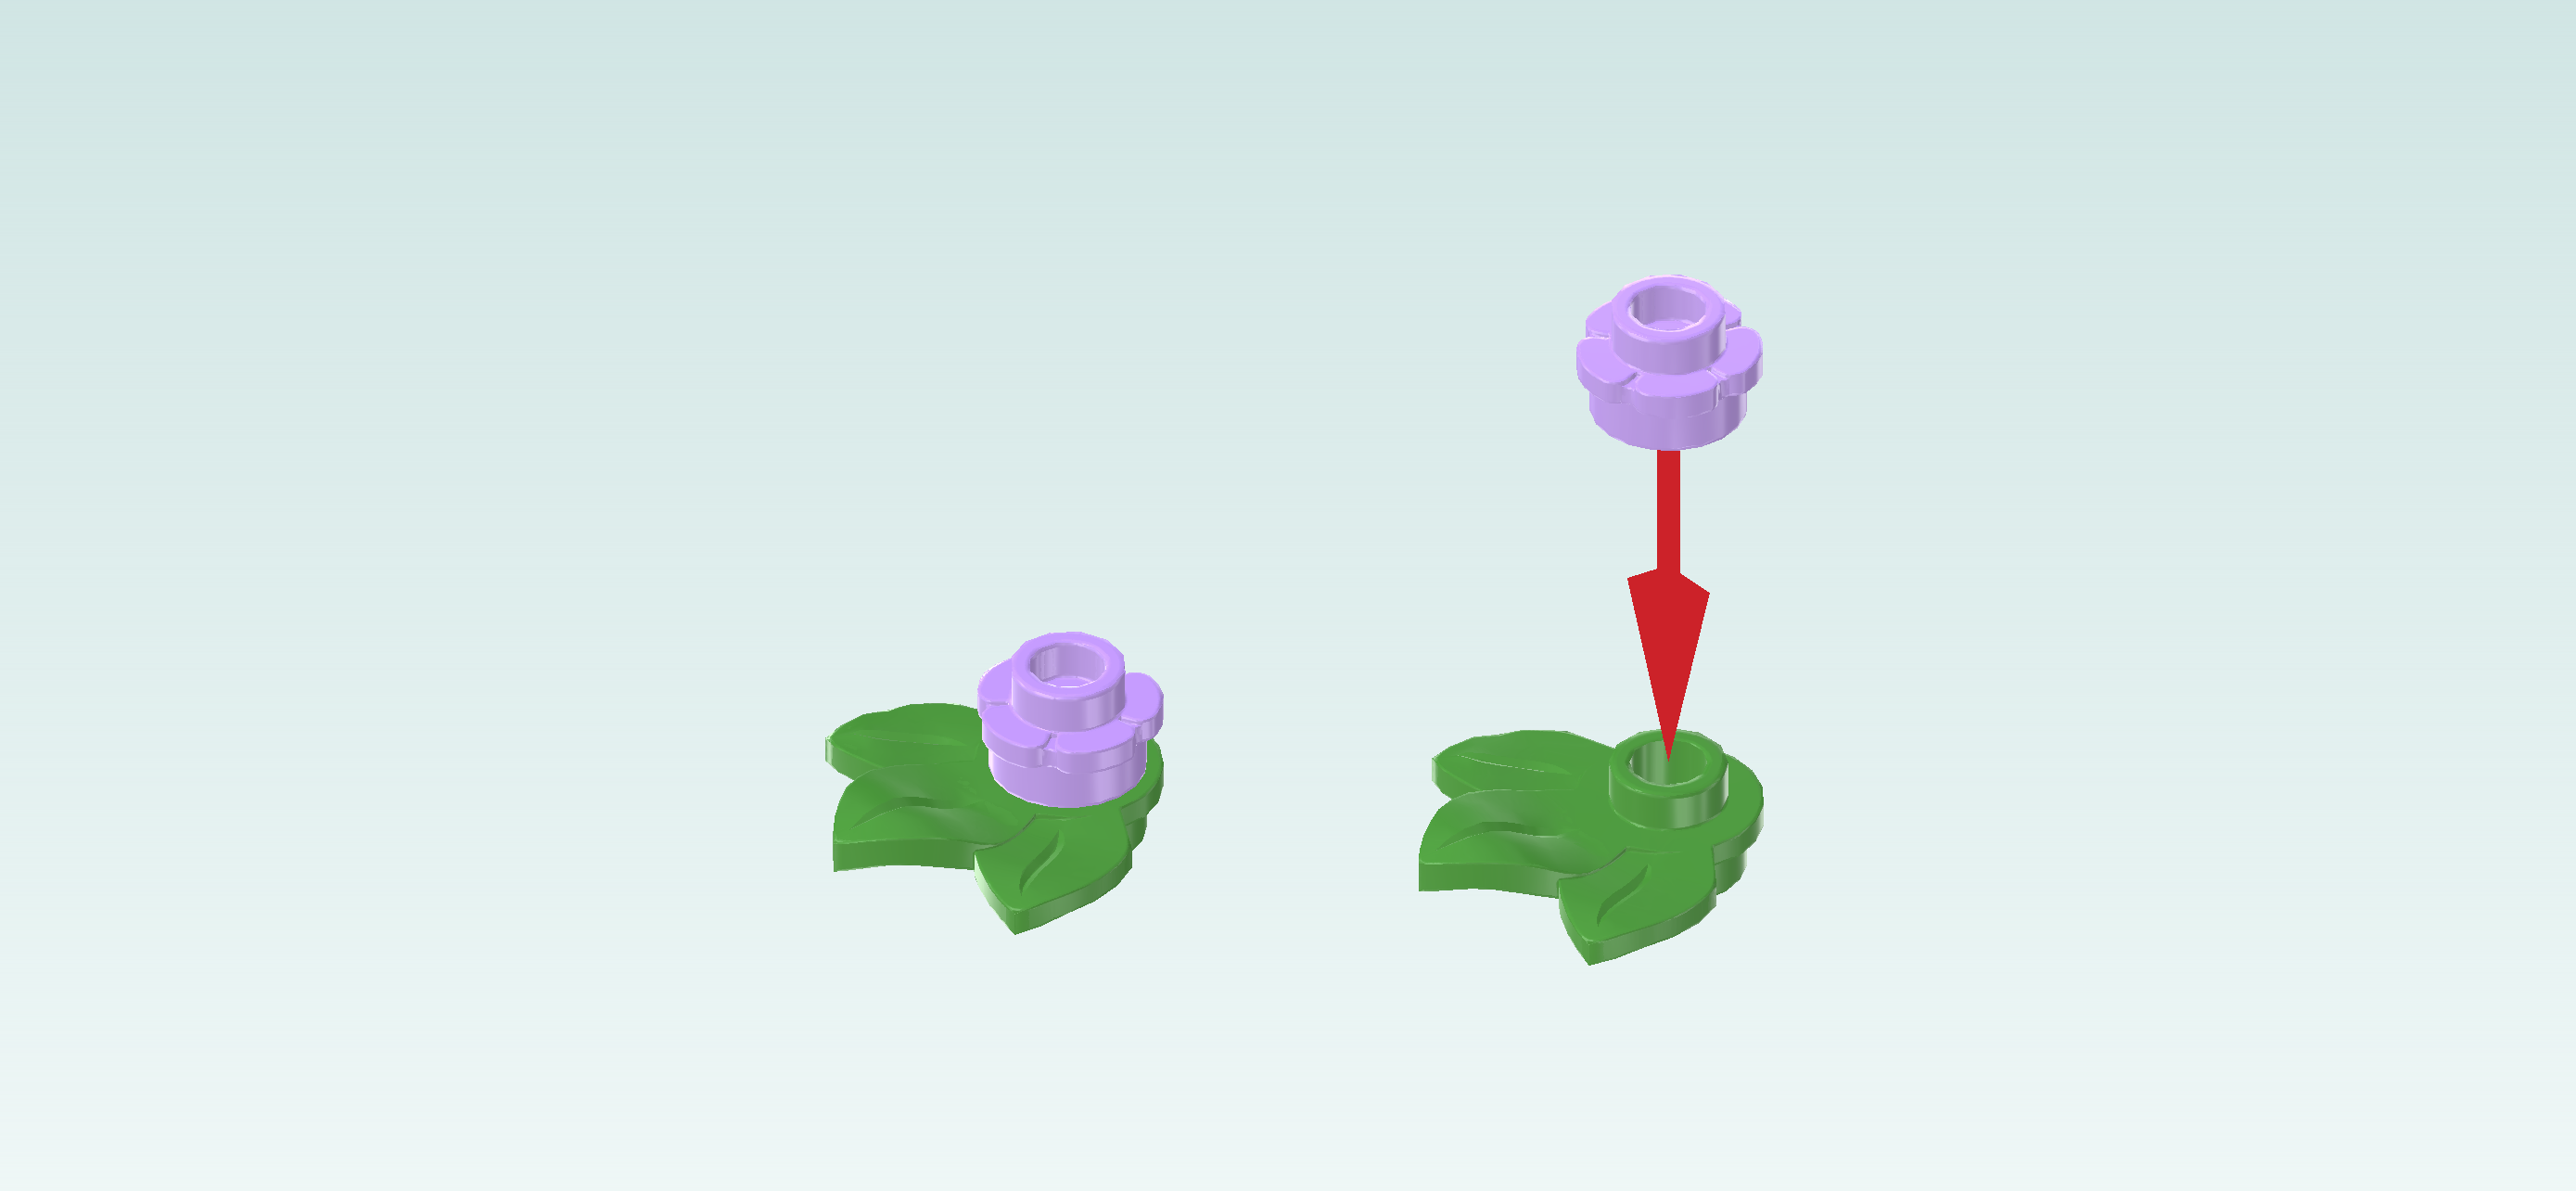
Put 1 round plate with 3 leaves on the table.

Put 1 flower piece on top.

Repeat with the 2 remaining pieces.

Mount 1 small flower on the frontmost knob of the rightmost column, 3 leaves pointing to the front right.

Repeat symmetrically on the left, 3 leaves pointing to the front left.

Now, we will assemble the fallen tree trunk for the obstacle.

Collect the following 2 pieces:

1 reddish brown round pillar 1x1x6,

and 1 reddish brown round tile 1x1. (This piece is printed.)

Put the round tile on the knob of the pillar.

The round tile is printed with the growth rings of the tree in light brown.

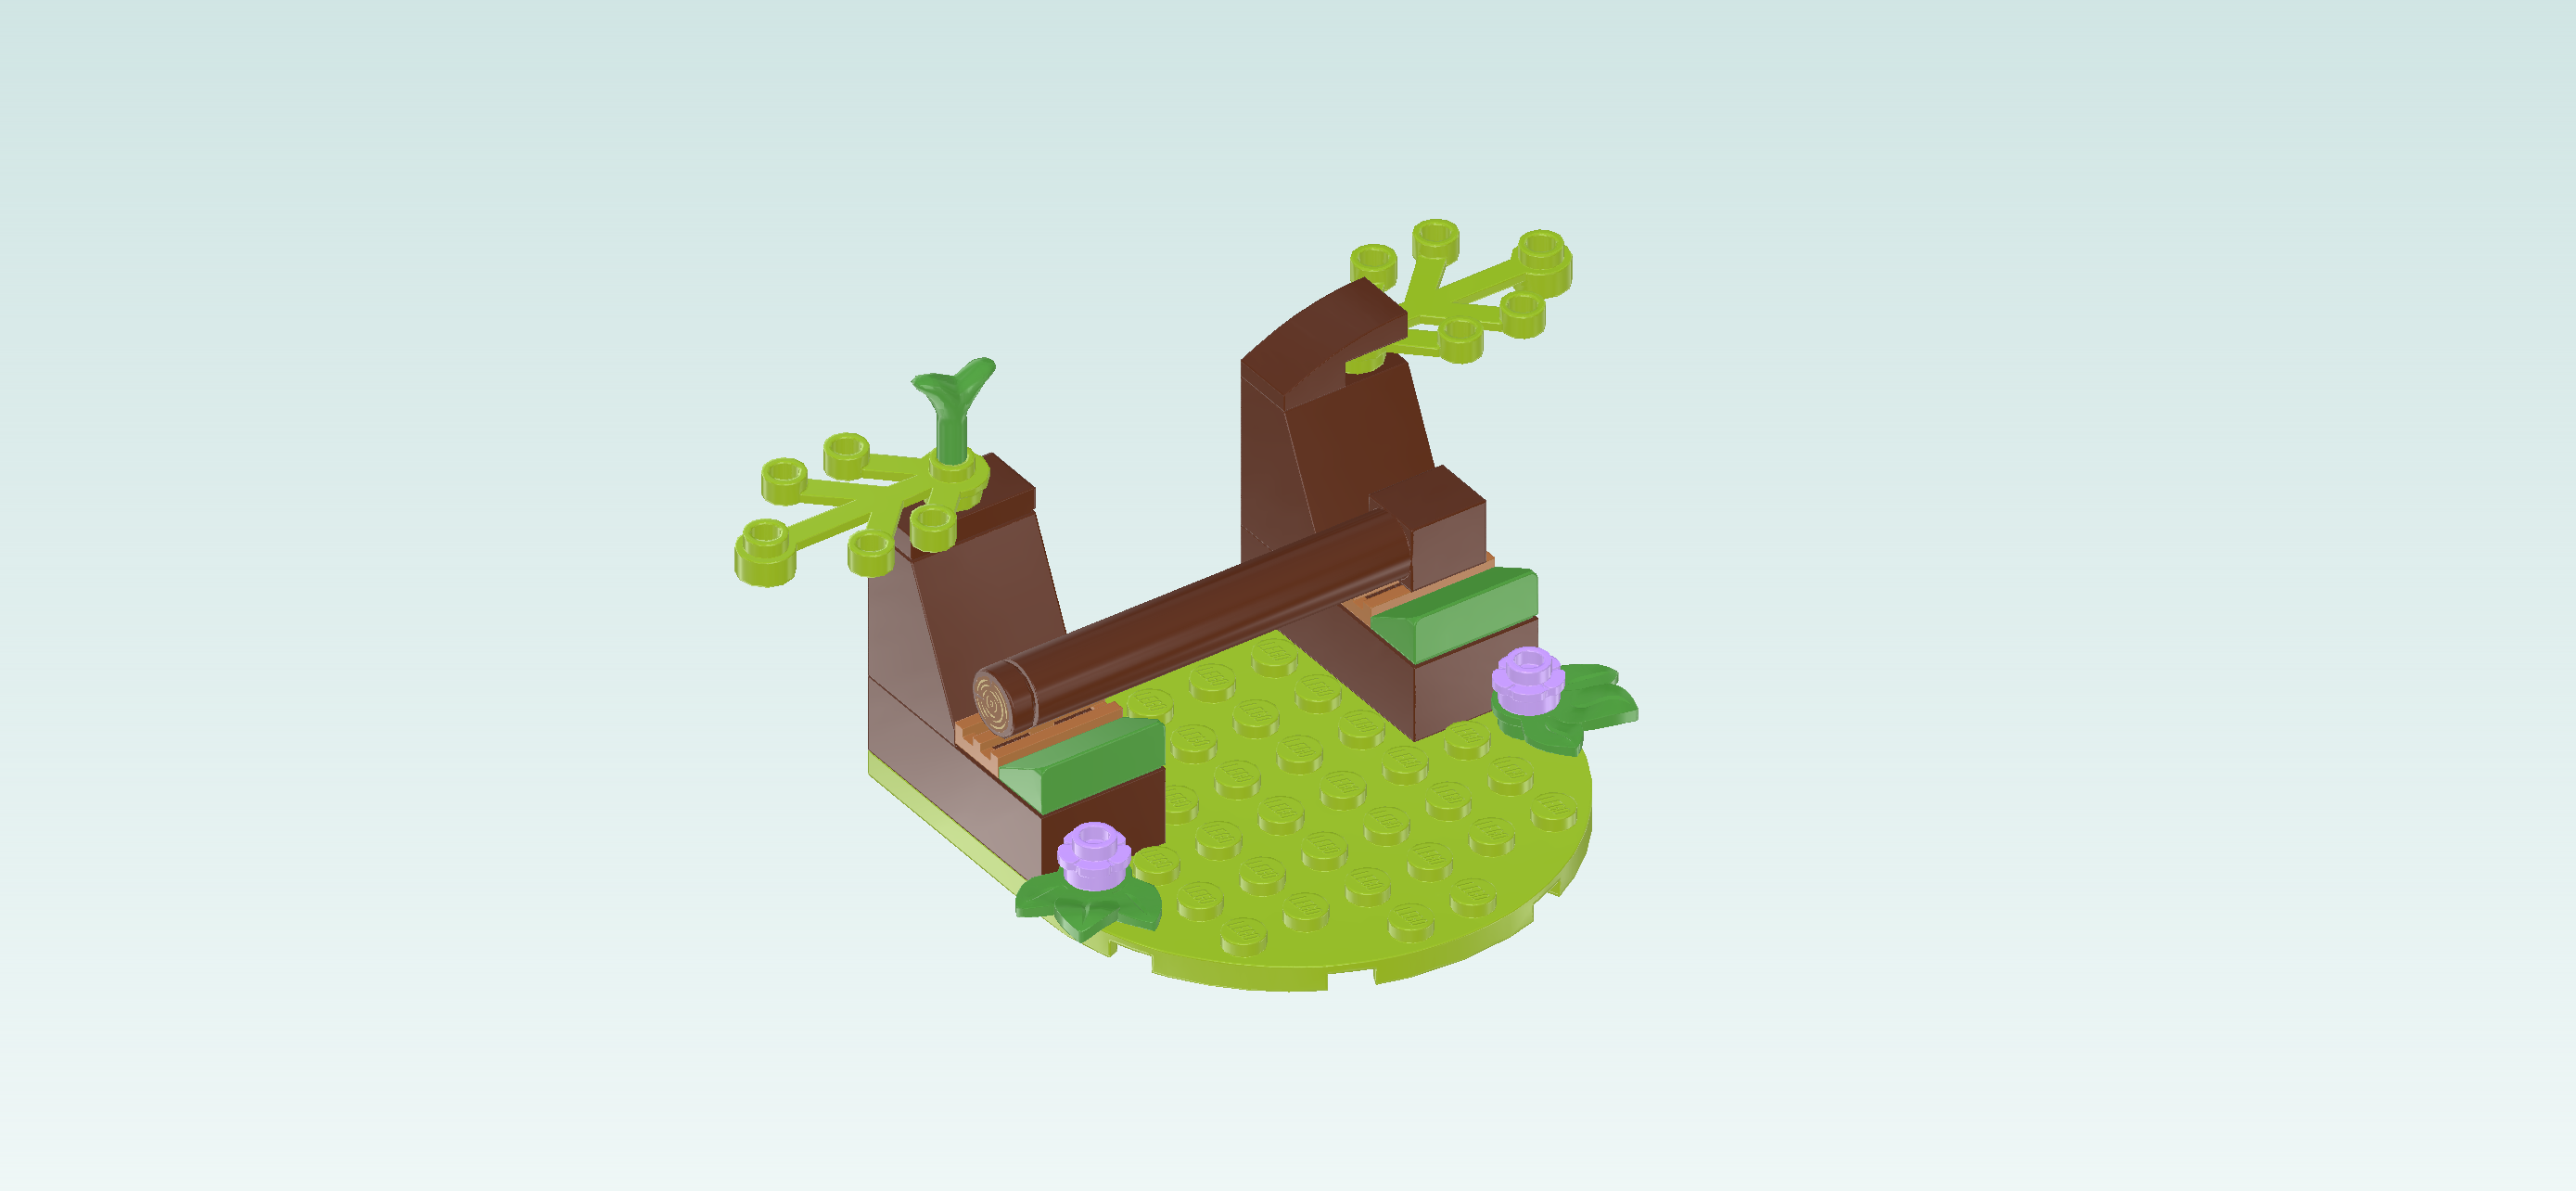
Put the fallen tree trunk horizontally on the 2 grille tiles in front of the tree stumps. This is a loose fit.

The horse obstacle with 2 tree stumps is finished! Well done! Liann and Zoya can now attempt to jump over the obstacle without kicking off the tree trunk! Will their horses be up for the challenge?

Next, we will build the horse trailer.

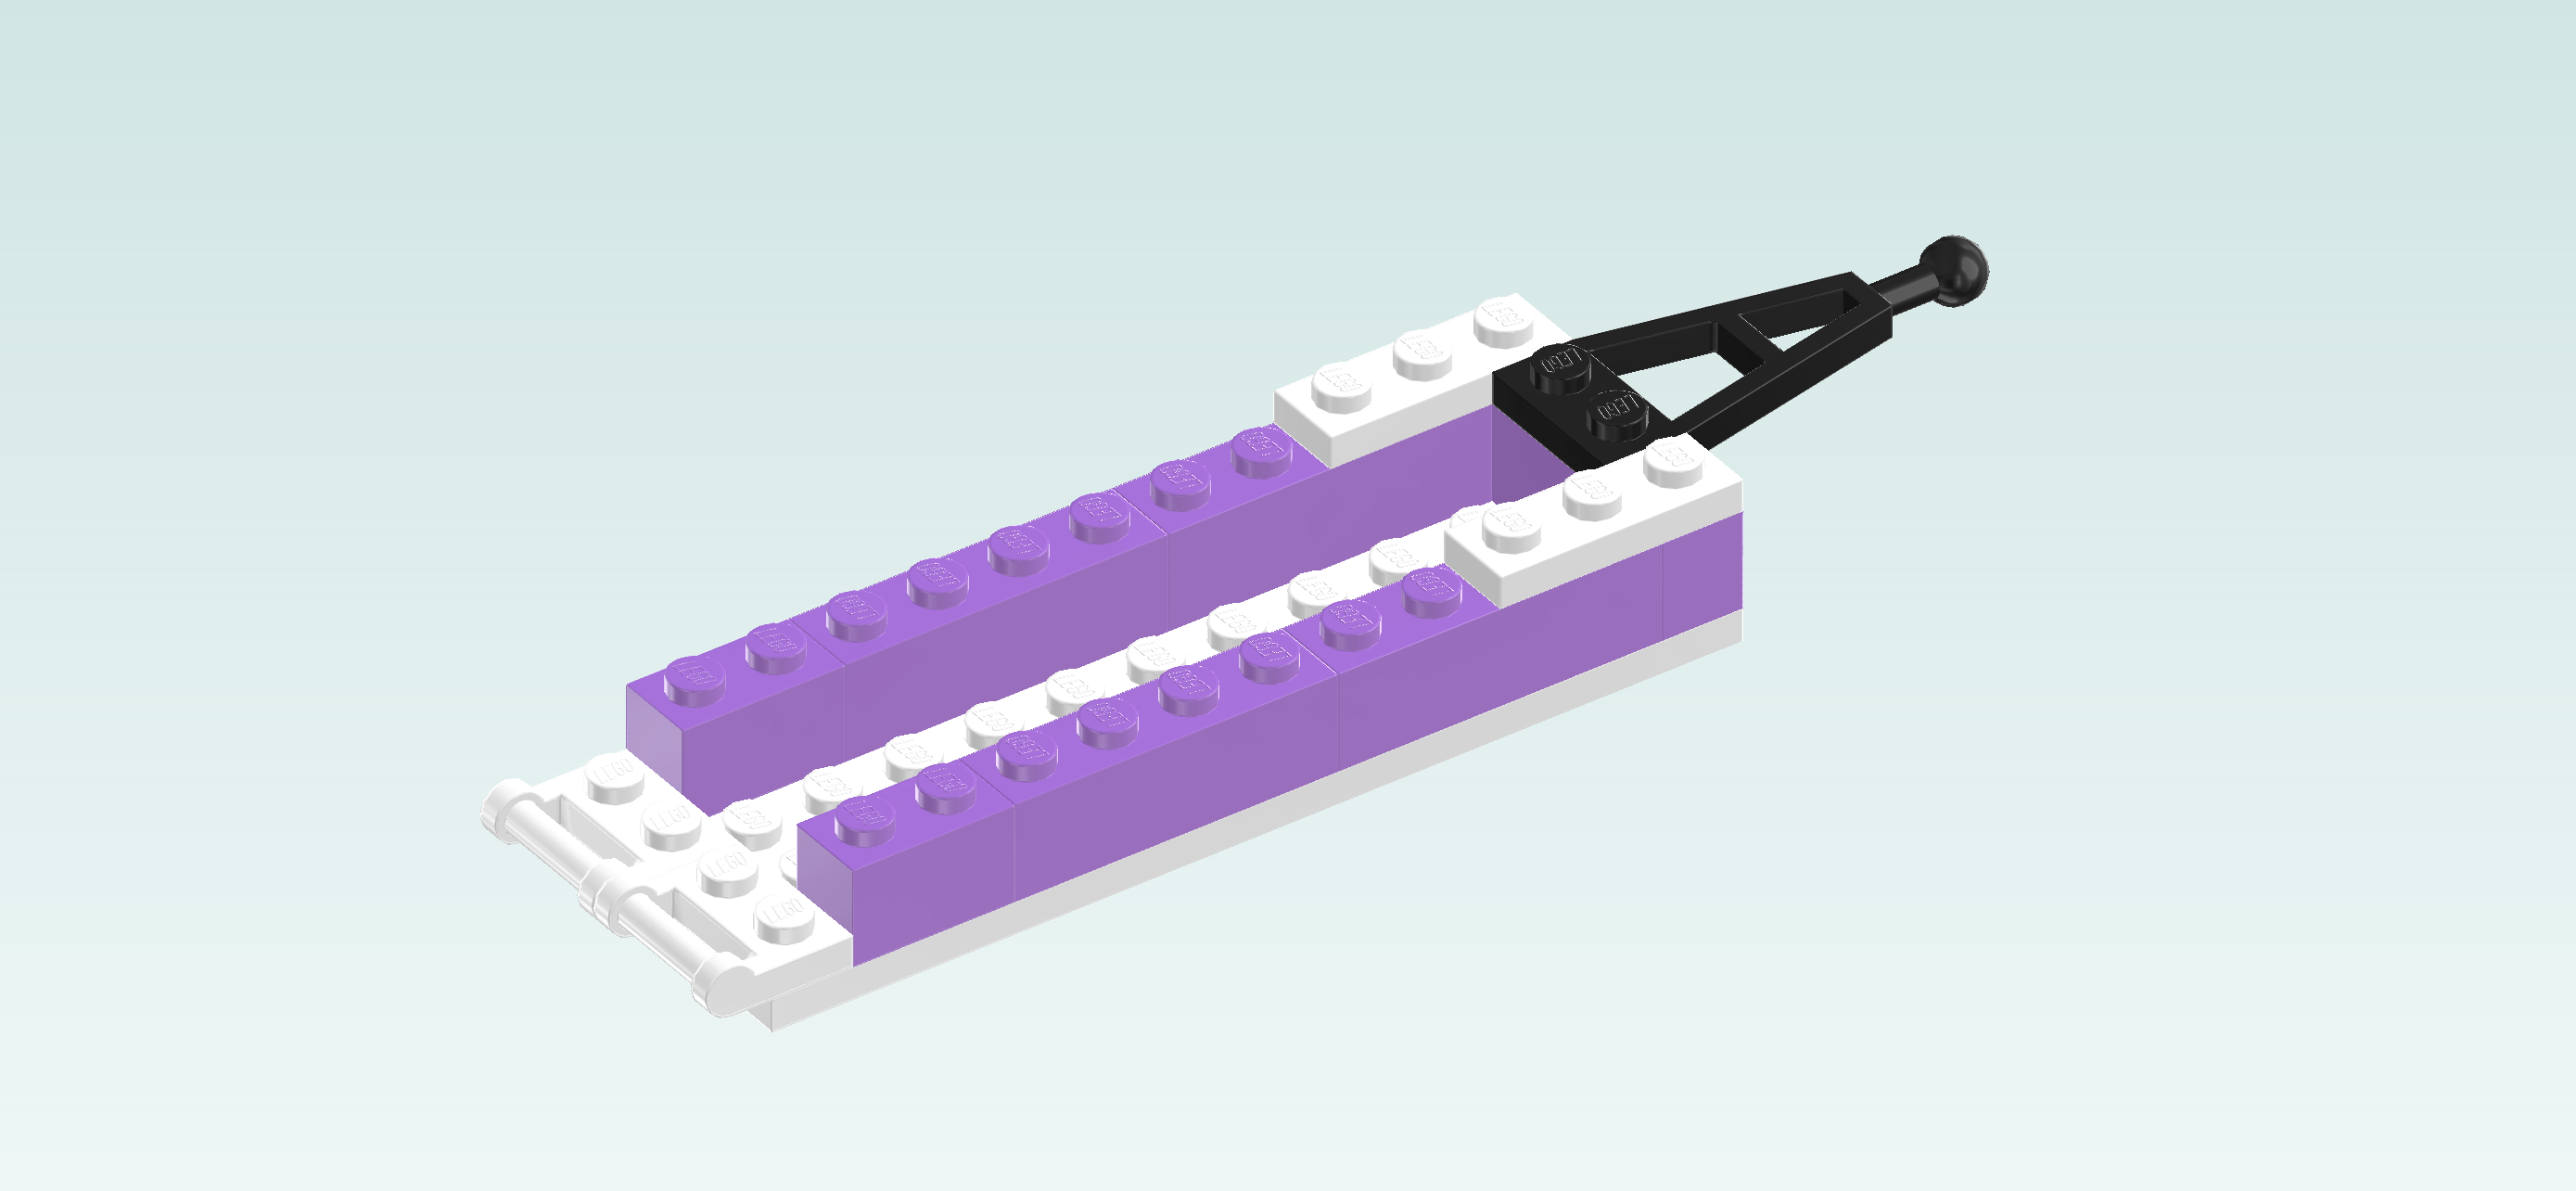
Collect the following 2 pieces:

1 white plate 4x12,

and 1 lavender brick 1x4.

Put the plate 4x12 horizontally on the table.

Put the brick 1x4 vertically on the rightmost column.

Find 4 lavender bricks 1x4.

Put 1 horizontally on the frontmost row directly to the left of the previous piece.

Put 1 horizontally to the left of the previous piece.

Repeat symmetrically at the back with the 2 remaining pieces.

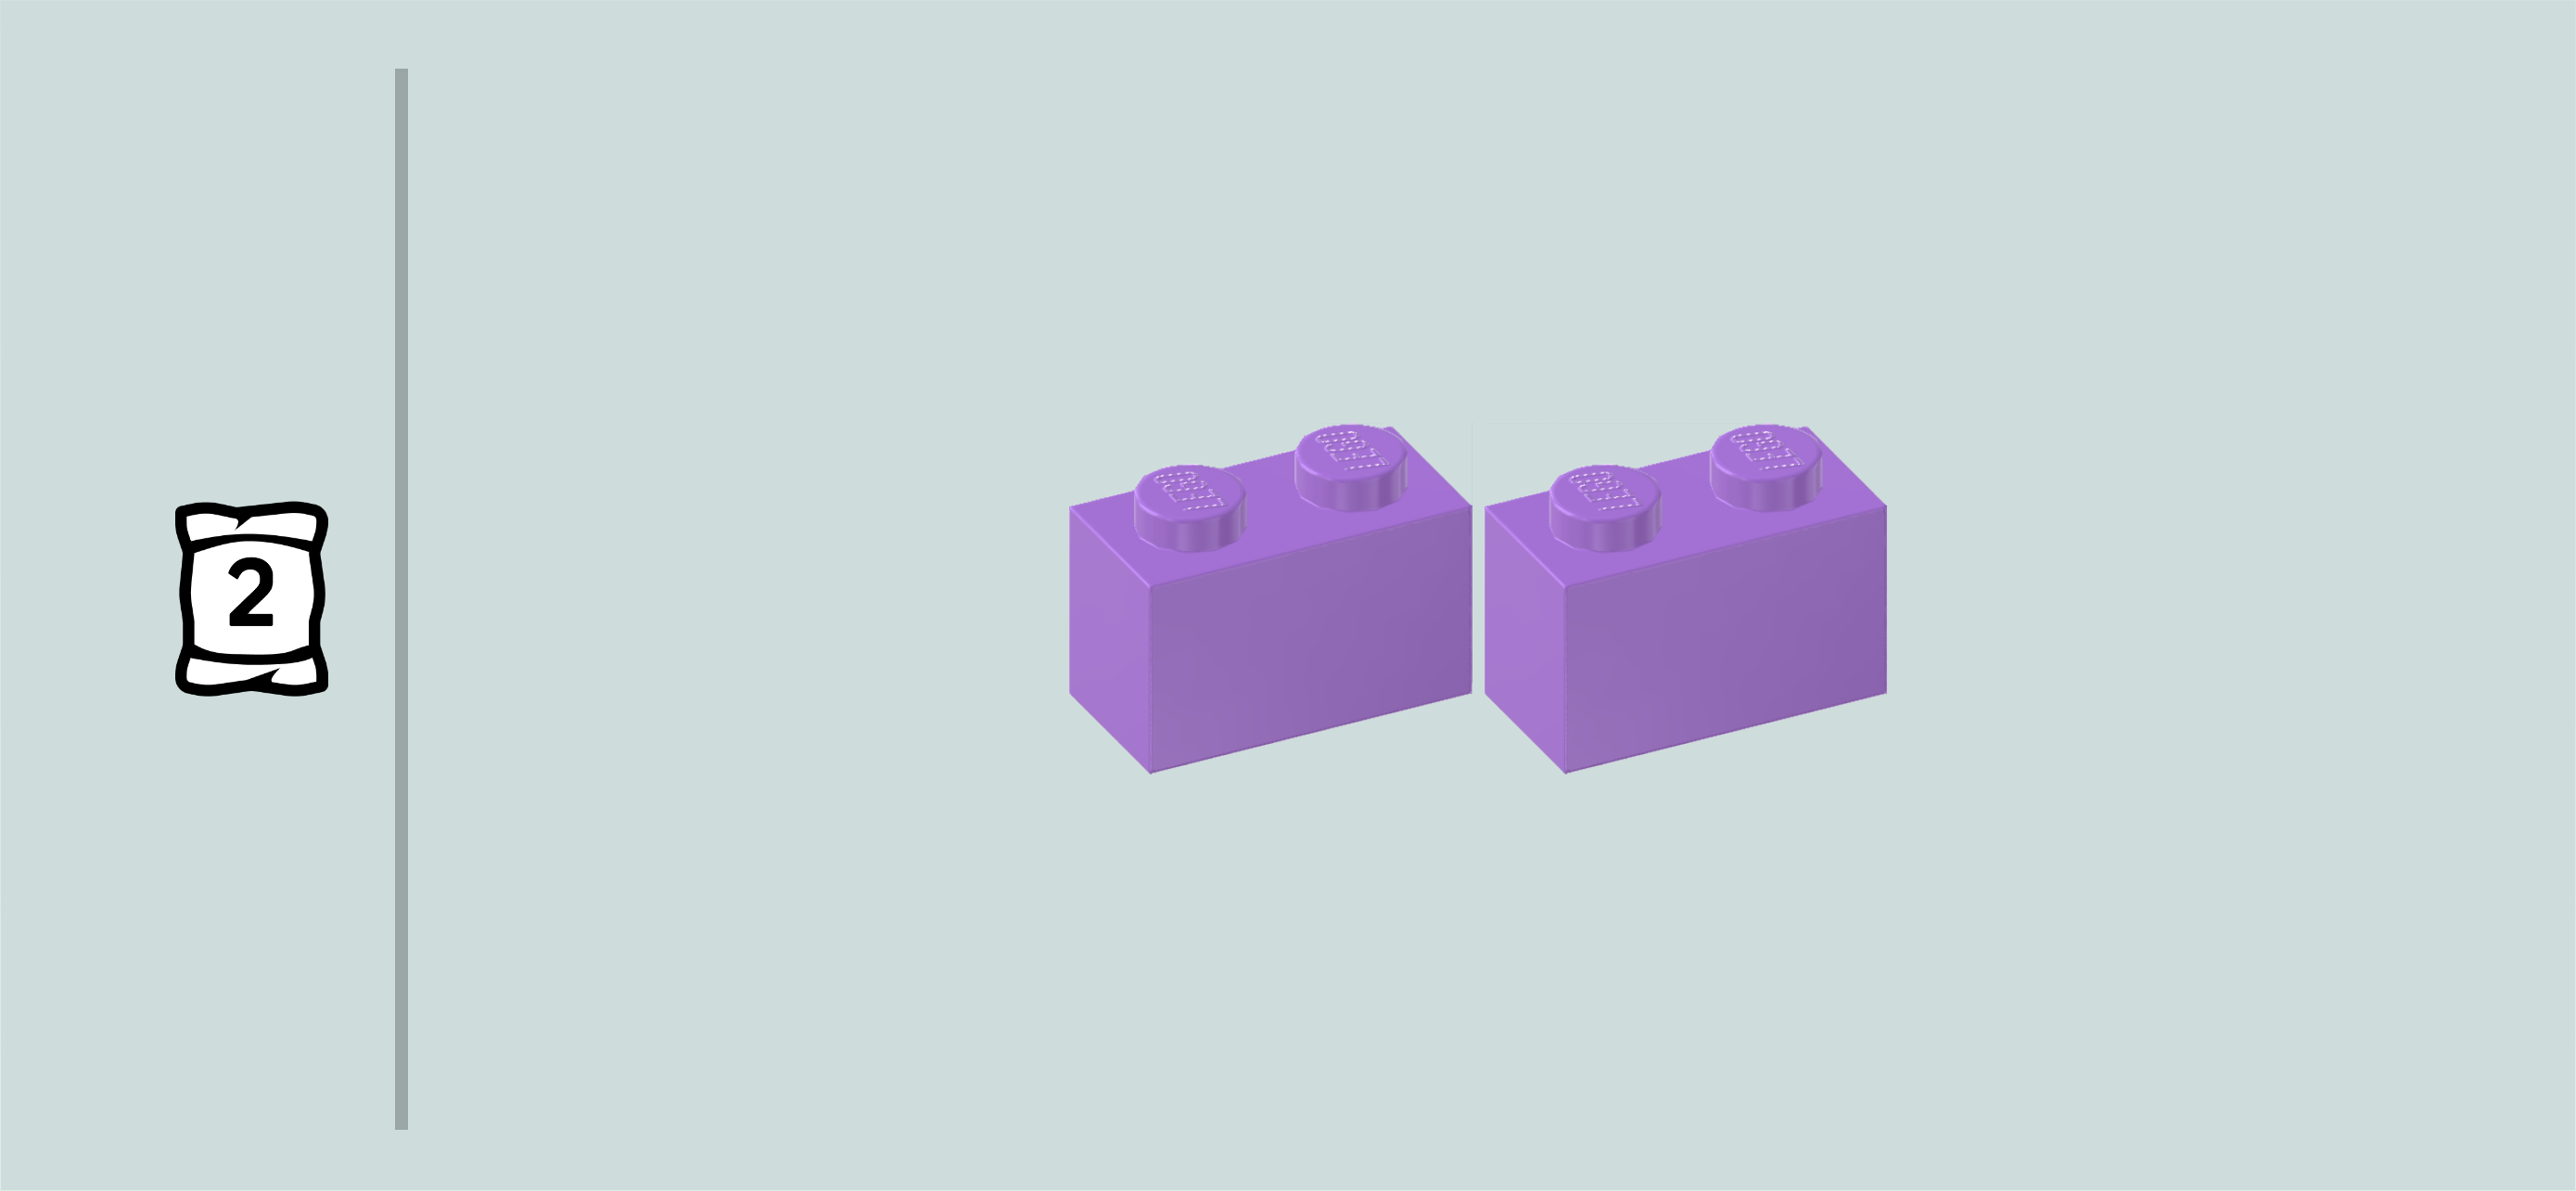
Find 2 lavender bricks 1x2.

Put 1 horizontally to the left of the 2 previous pieces. This means it will sit on the backmost row, leaving the leftmost knob of that row empty for now.

Repeat symmetrically at the front.

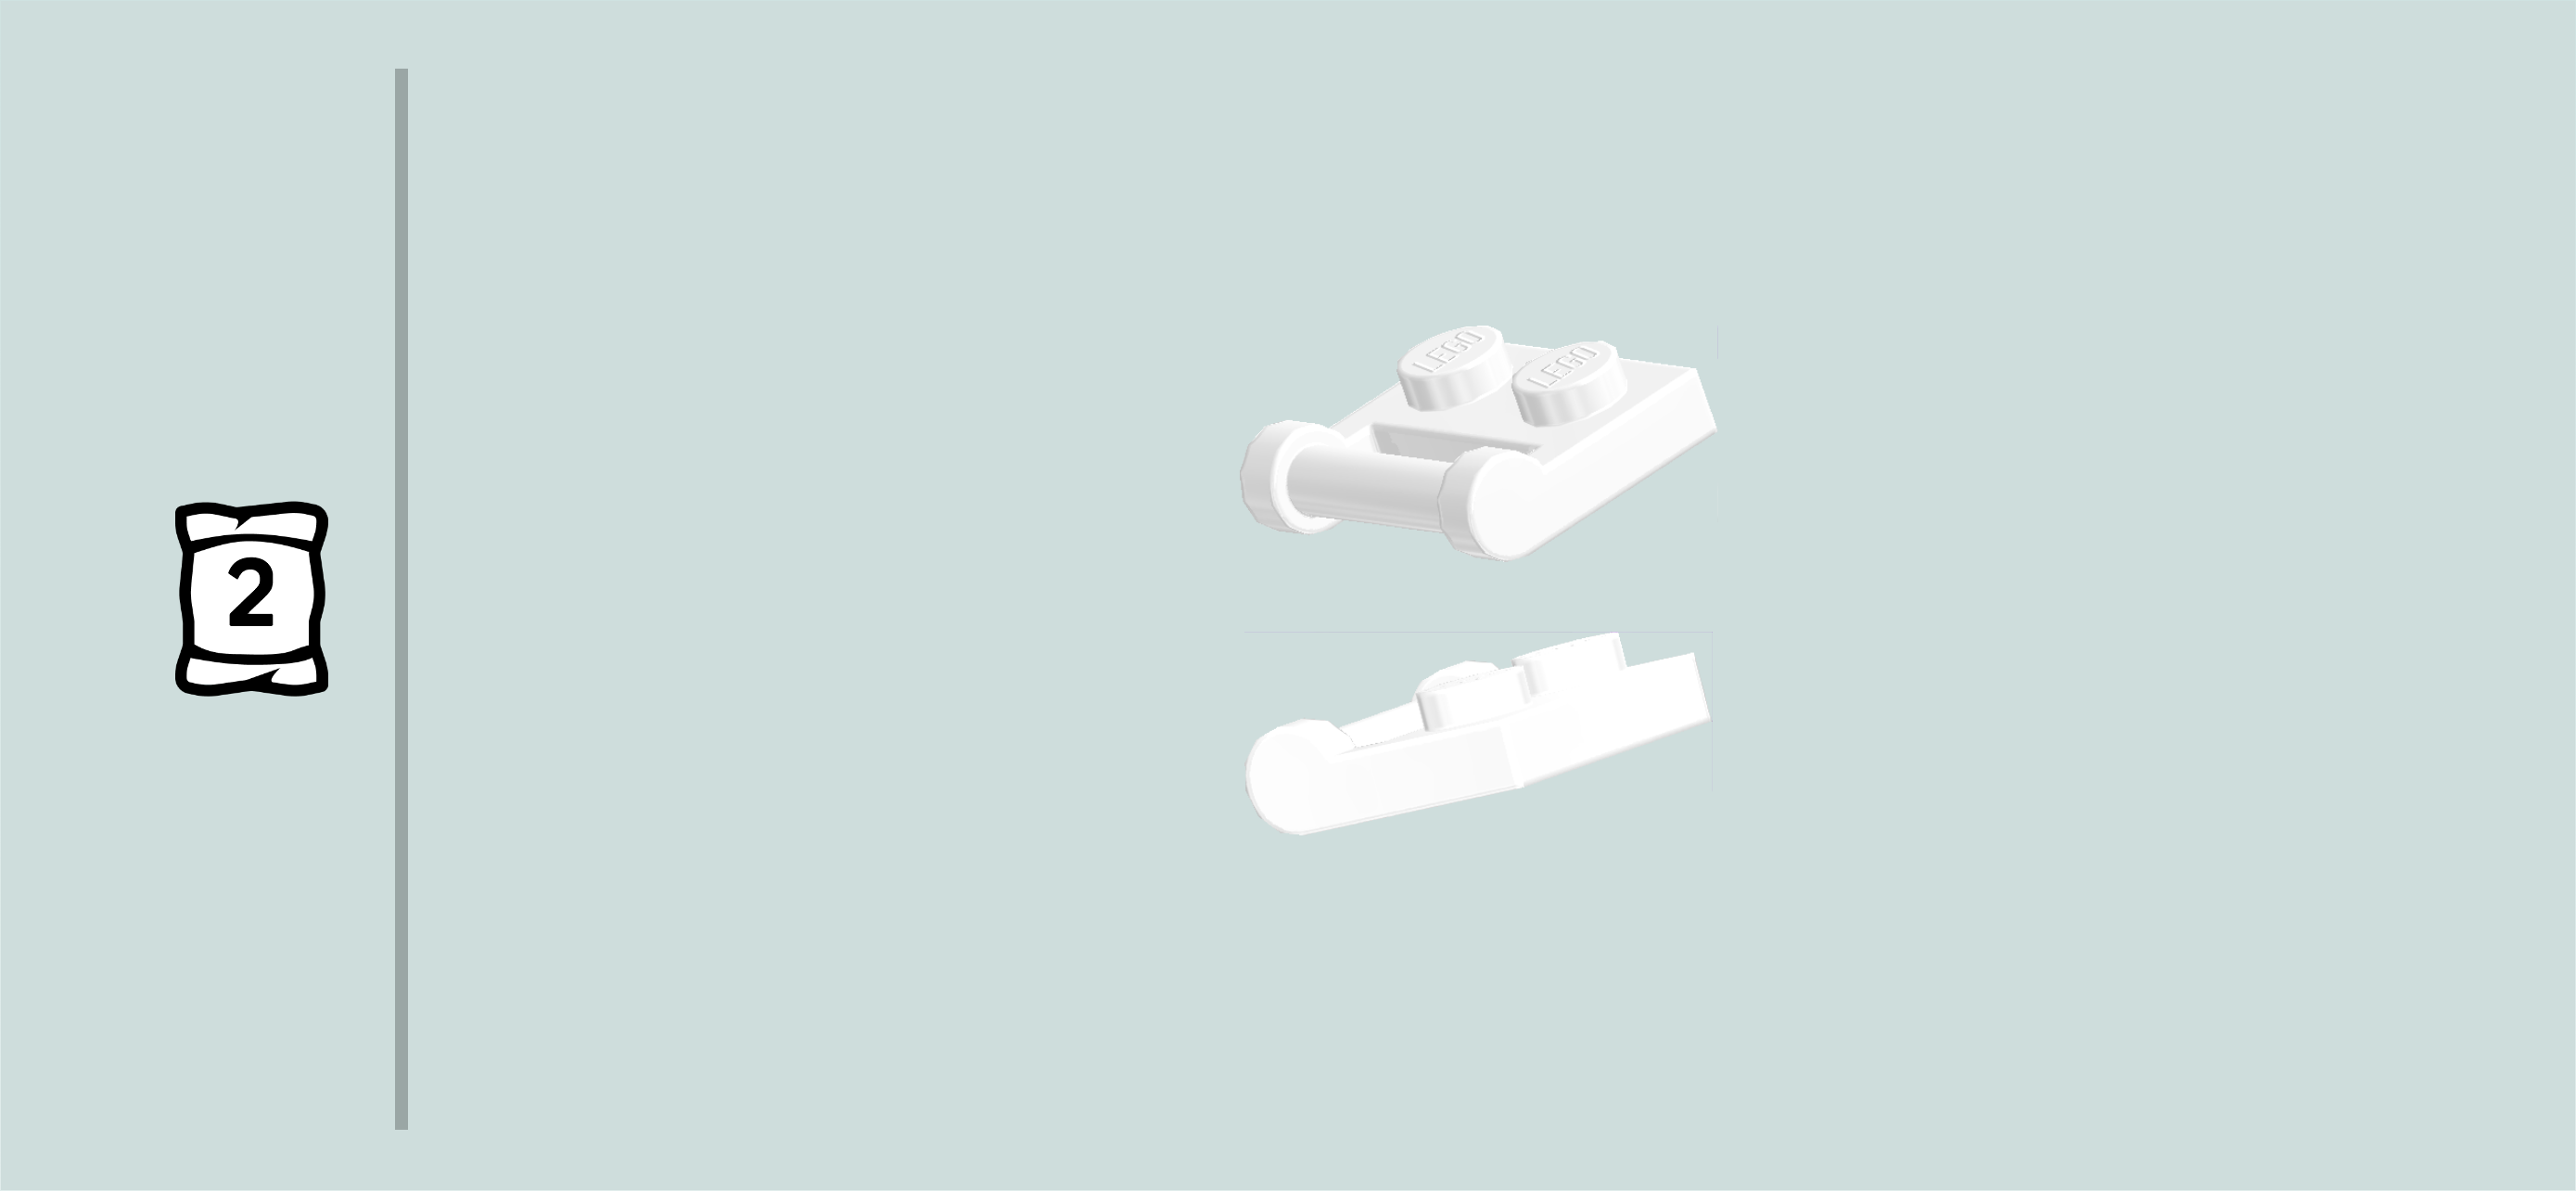
Find 2 white plates 1x2 with handle on long side.

Put 1 vertically on the leftmost column's back half, handle to the left.

Put the other one vertically in front of the previous piece, handle to the left.

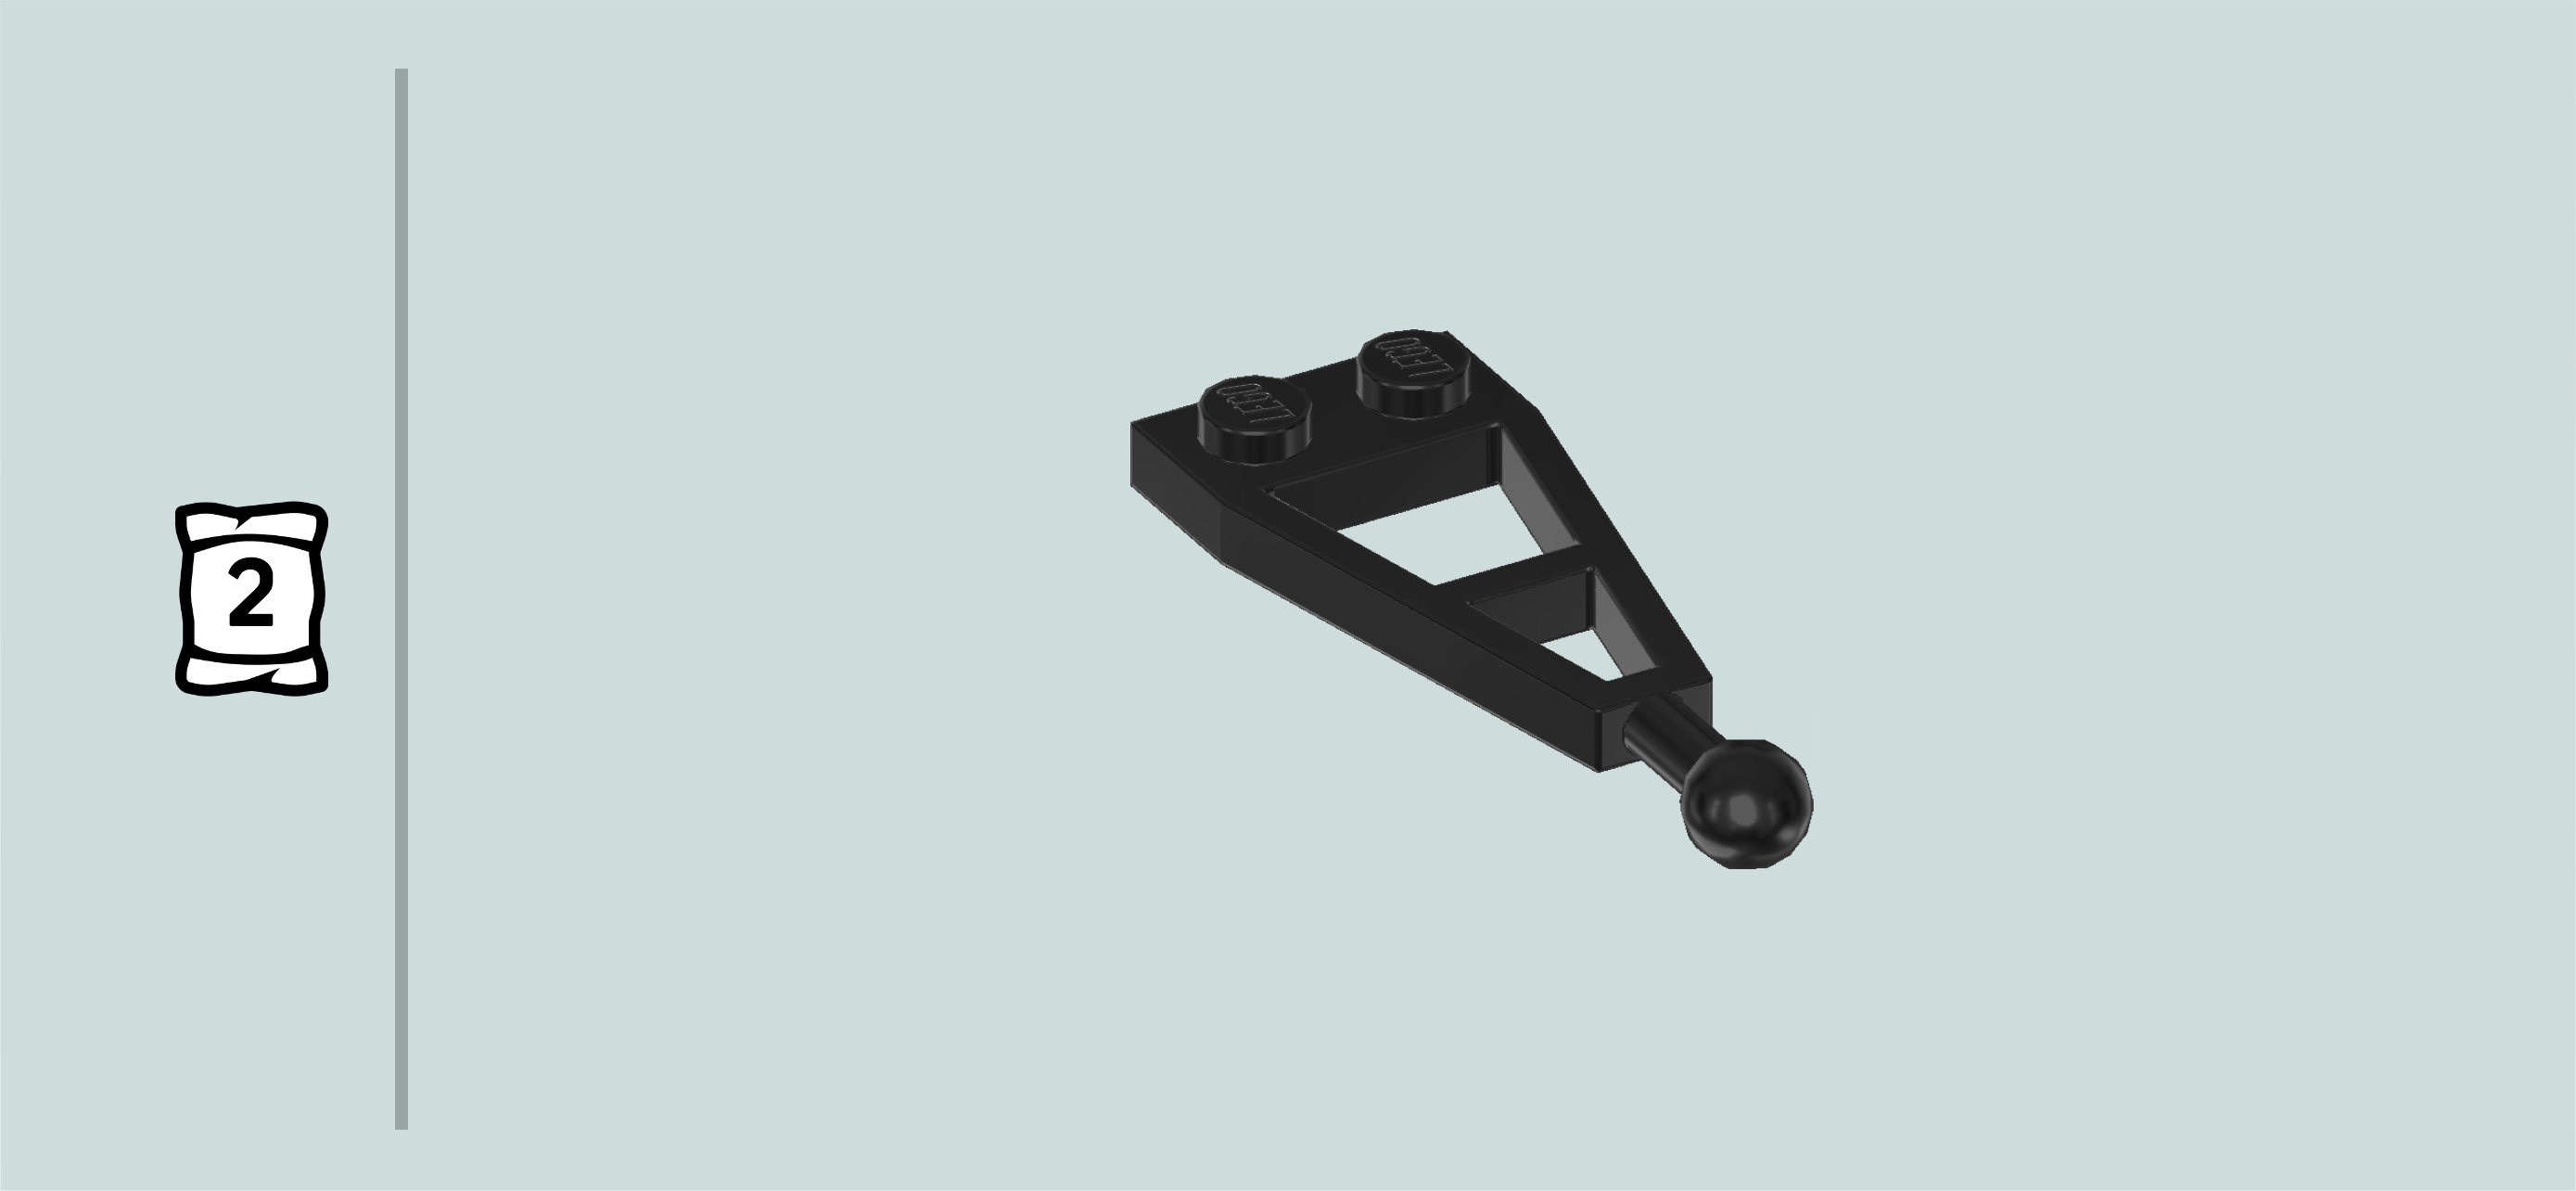
Find 1 black plate 1x2 with towing extension 3m and ball. (3m means that the towing extension is 3 knobs long.)

Put it centered on the rightmost column, towing extension with ball overhanging to the right.

Find 2 white plates 1x3.

Put 1 horizontally on the backmost row, starting from the right edge.

Repeat symmetrically at the front.

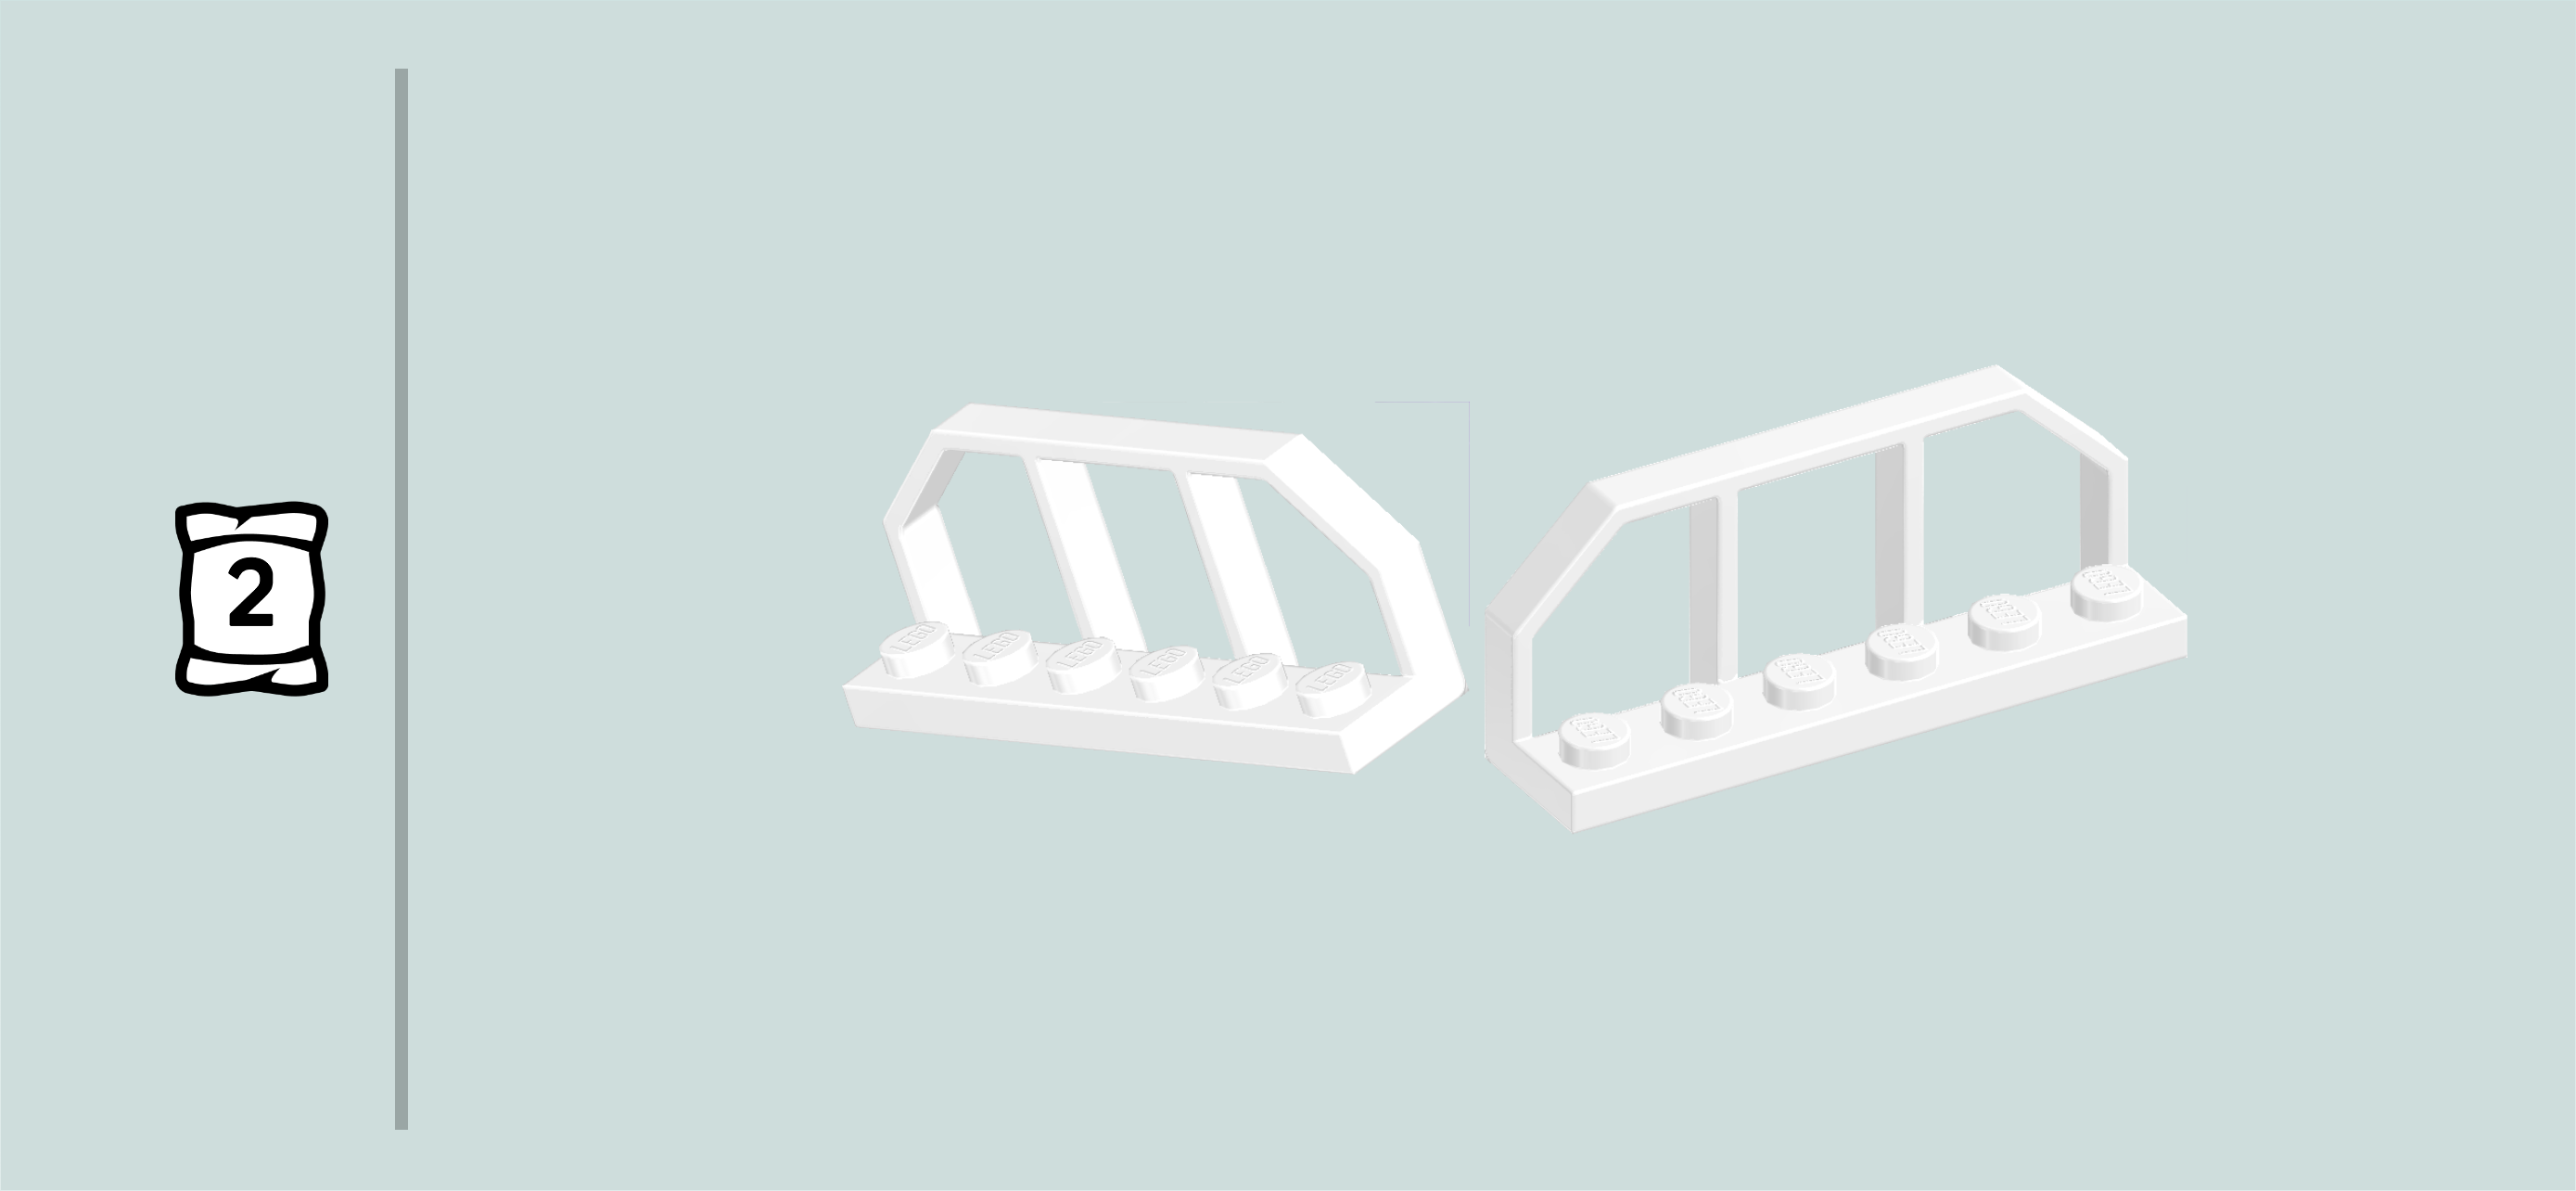
Find 2 white handrail elements with bottom plate 1x6.

Put 1 horizontally to the left of the previous piece, handrail towards the front.

Repeat symmetrically at the back, handrail towards the back.

Find 2 salmon pink flower pieces 1x1 with through-hole.

Put 1 to the left of the previous piece.

Repeat symmetrically at the front.

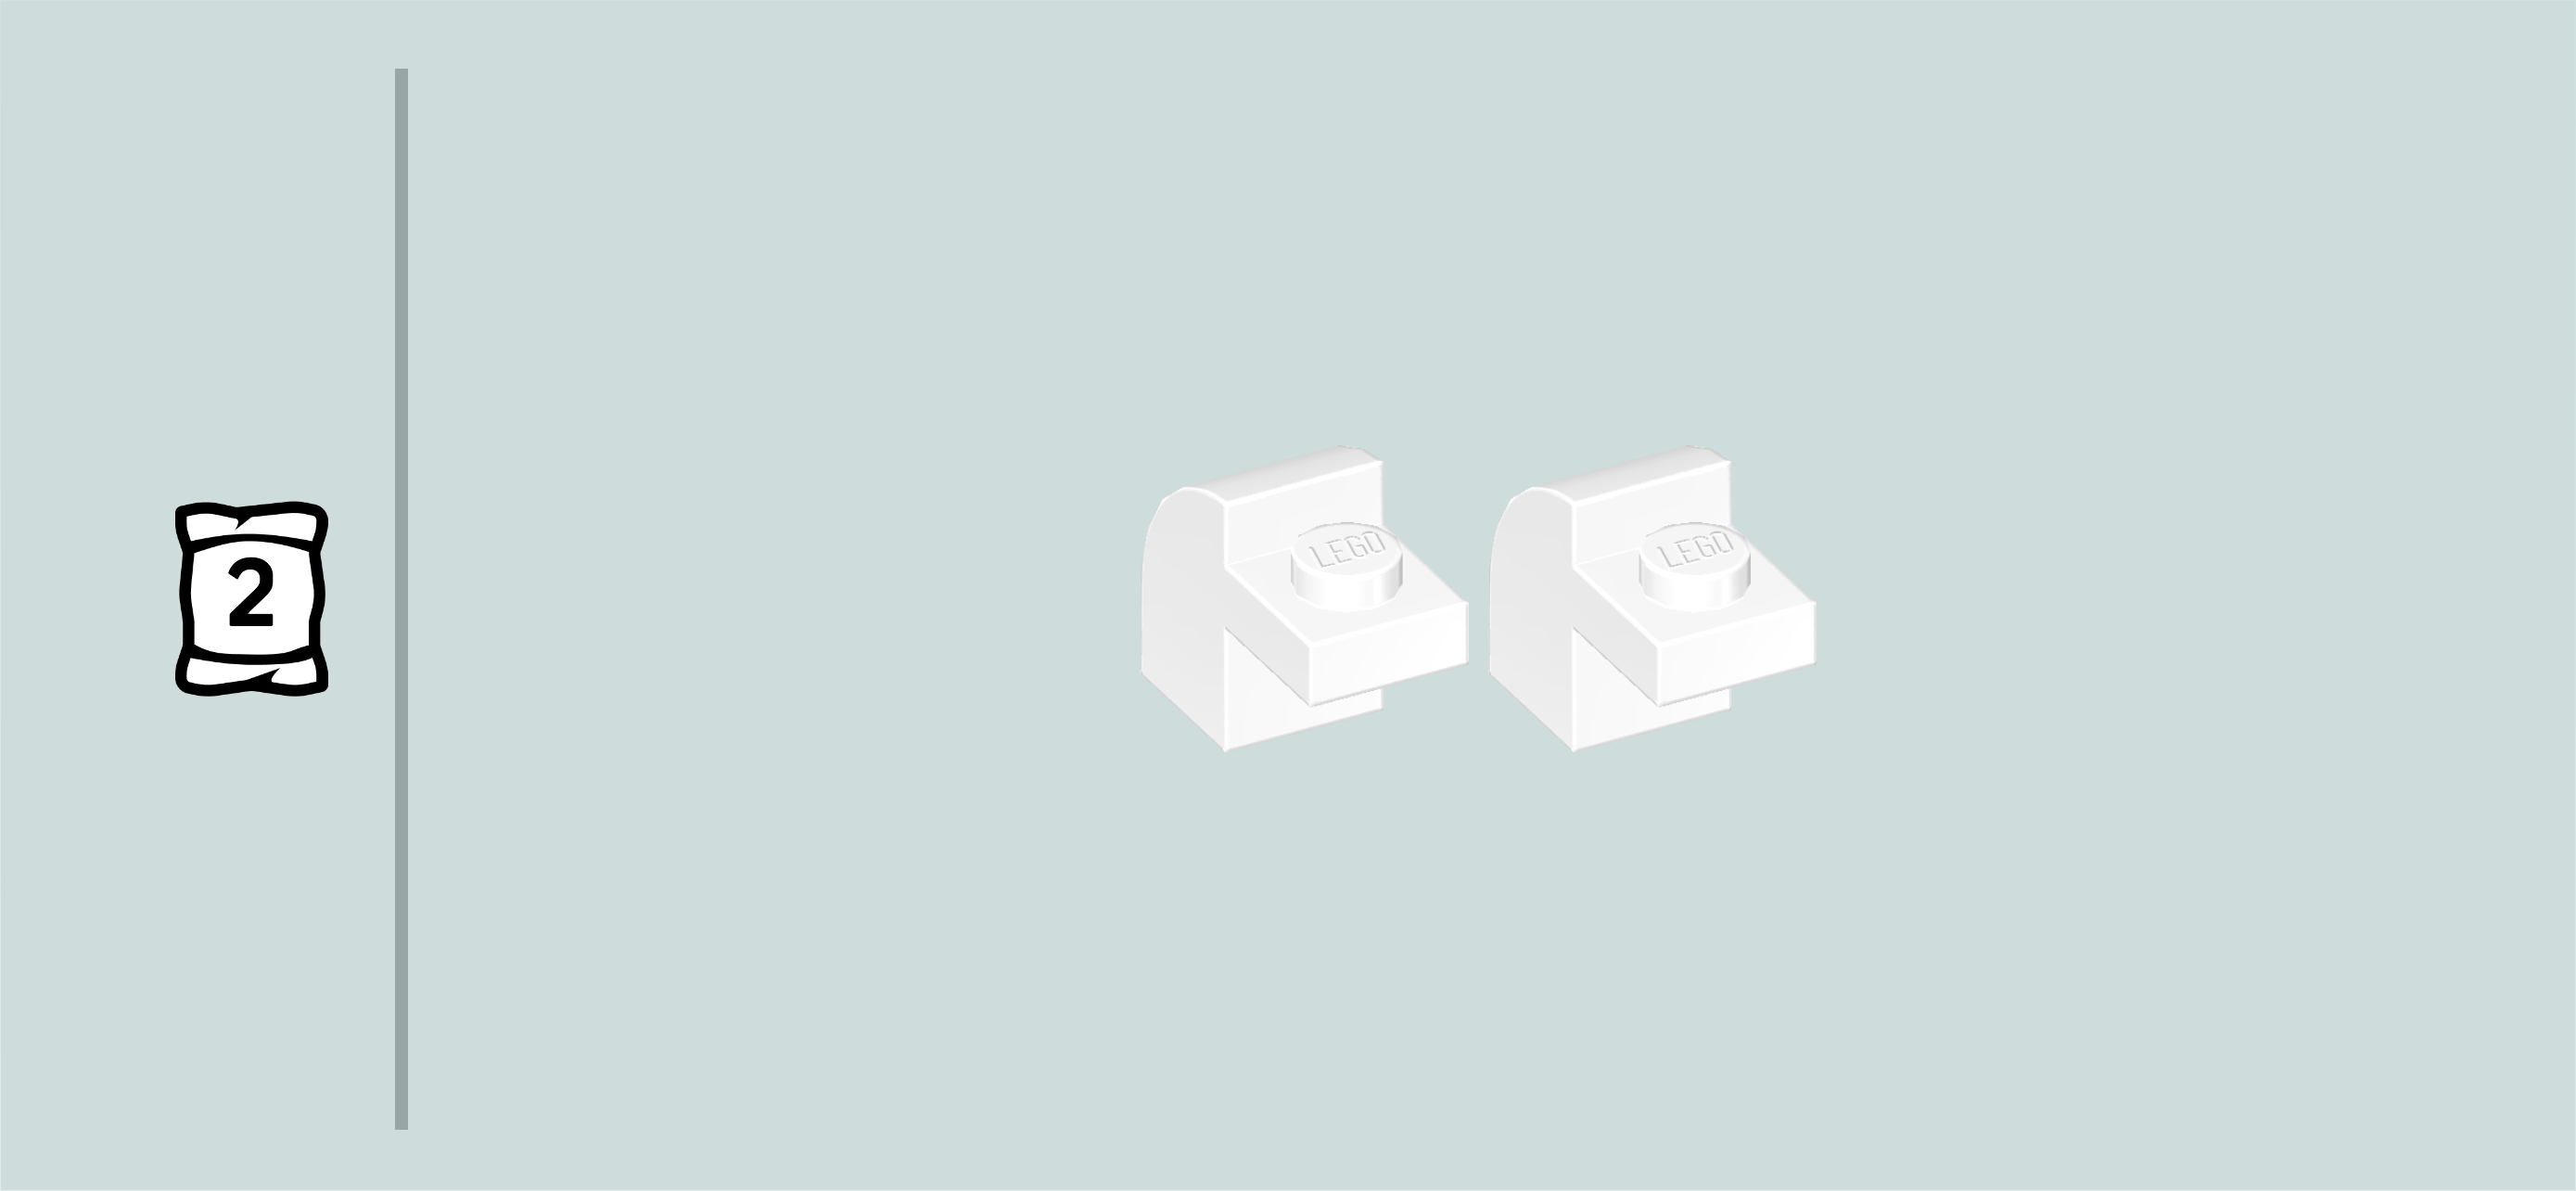
Find 2 white smooth curve bricks 1x1 with protruding plate 1x1.

Hold 1 horizontally, protruding plate pointing to the right.

Mount the curve brick part on the leftmost knob of the backmost row, the protruding plate connecting to the higher part.

Repeat symmetrically at the front.

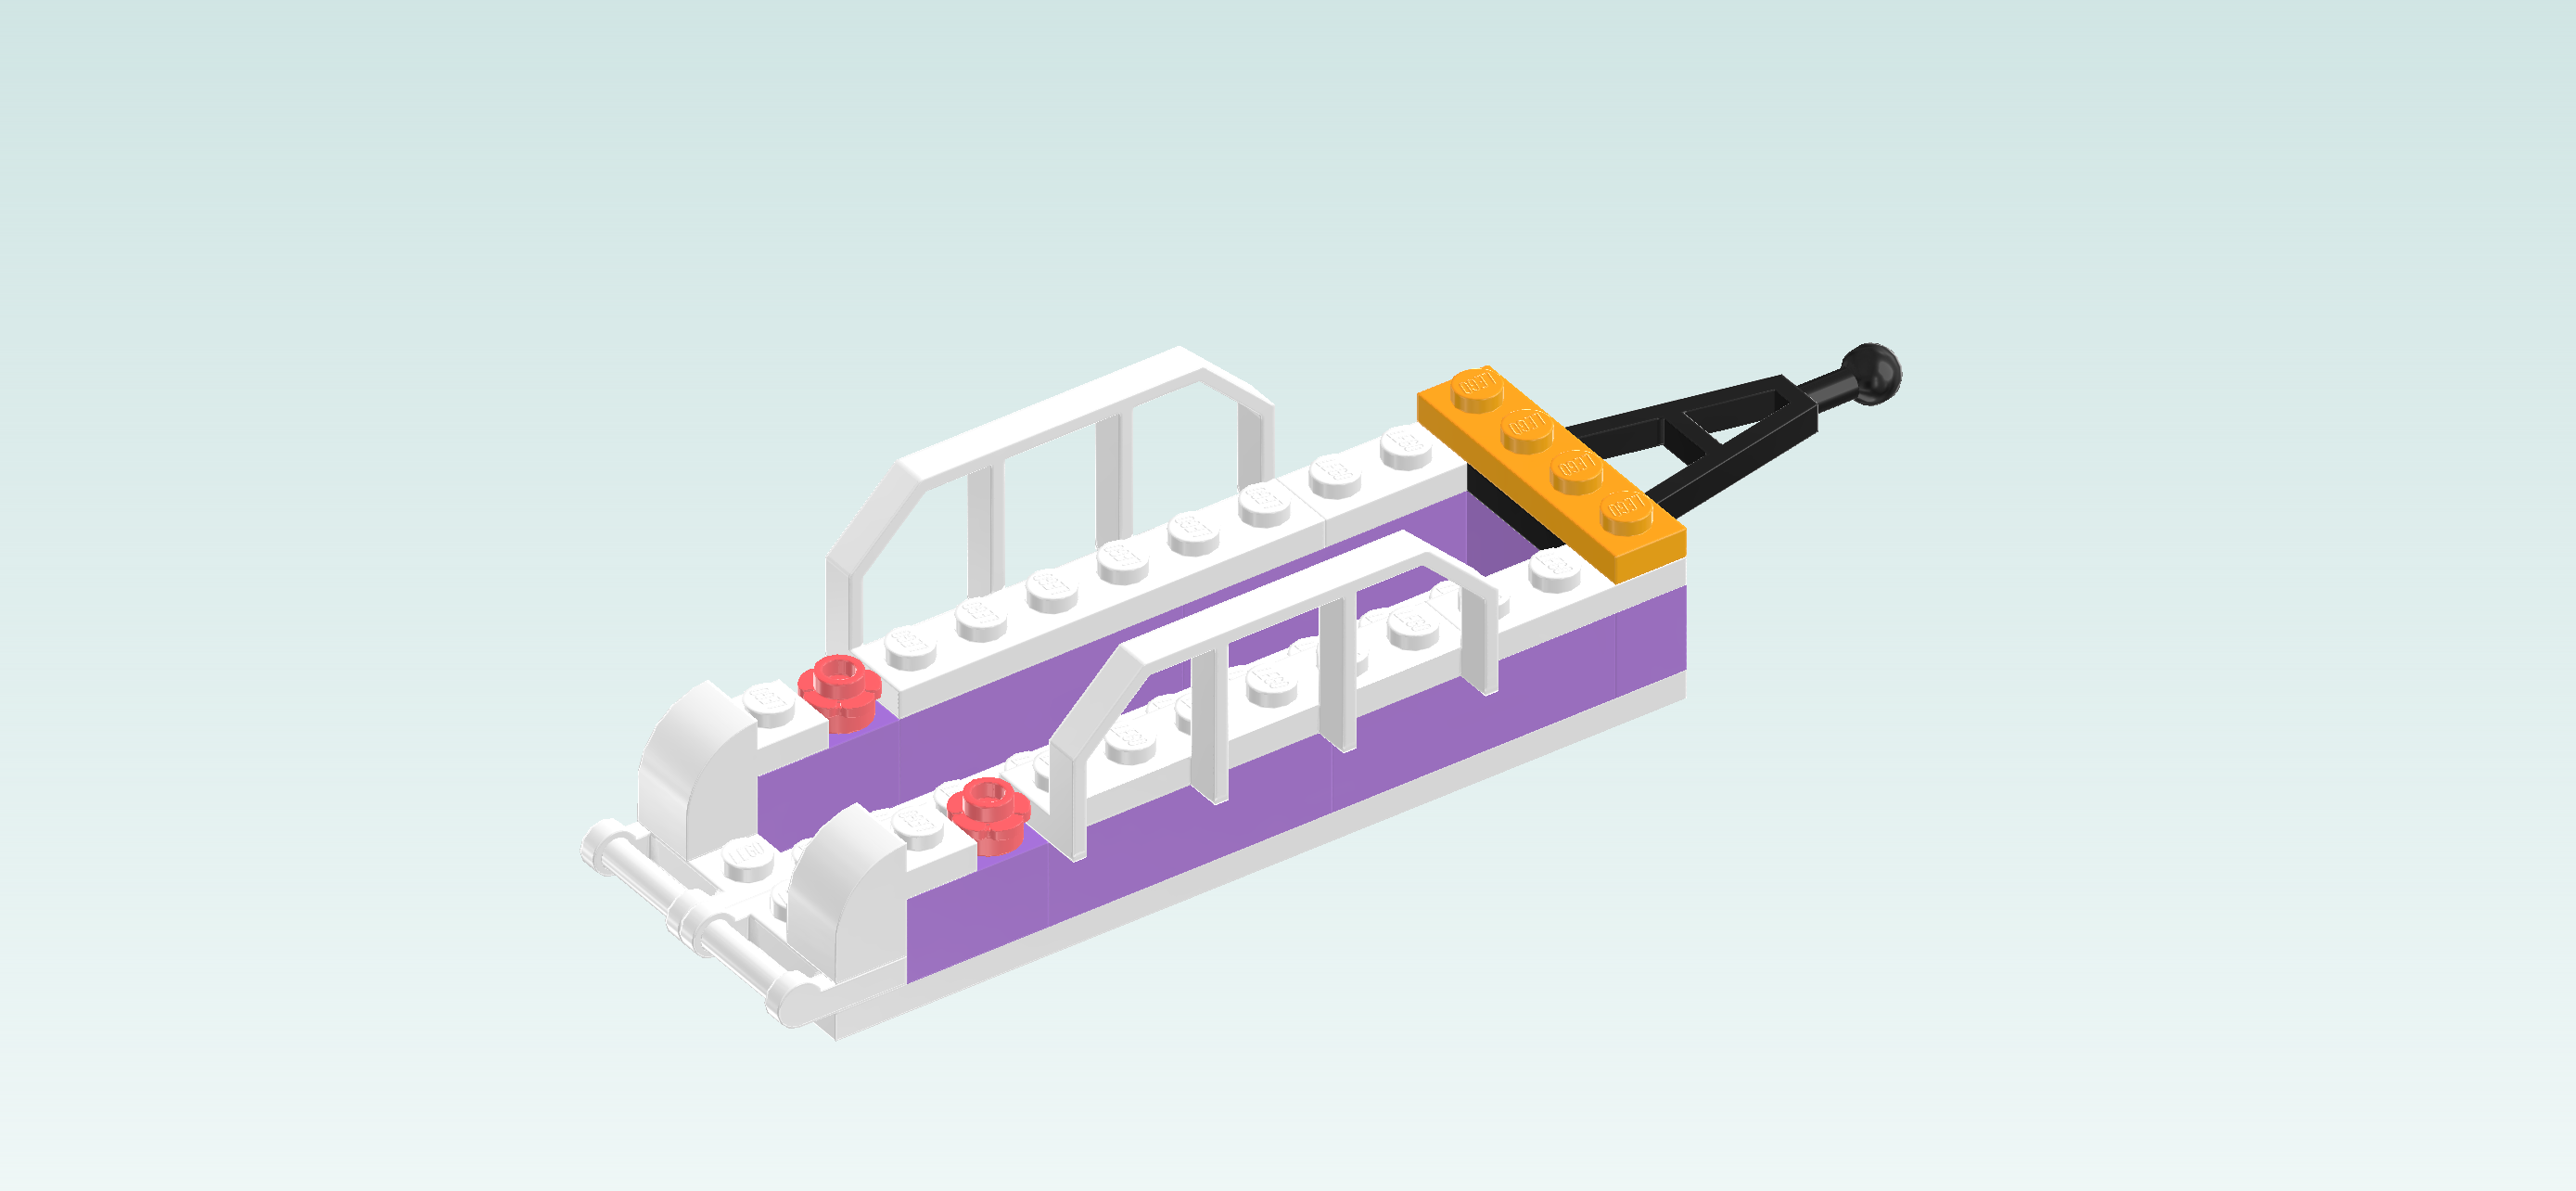
Find 1 flame yellowish orange plate 1x4.

Put it vertically on the rightmost column.

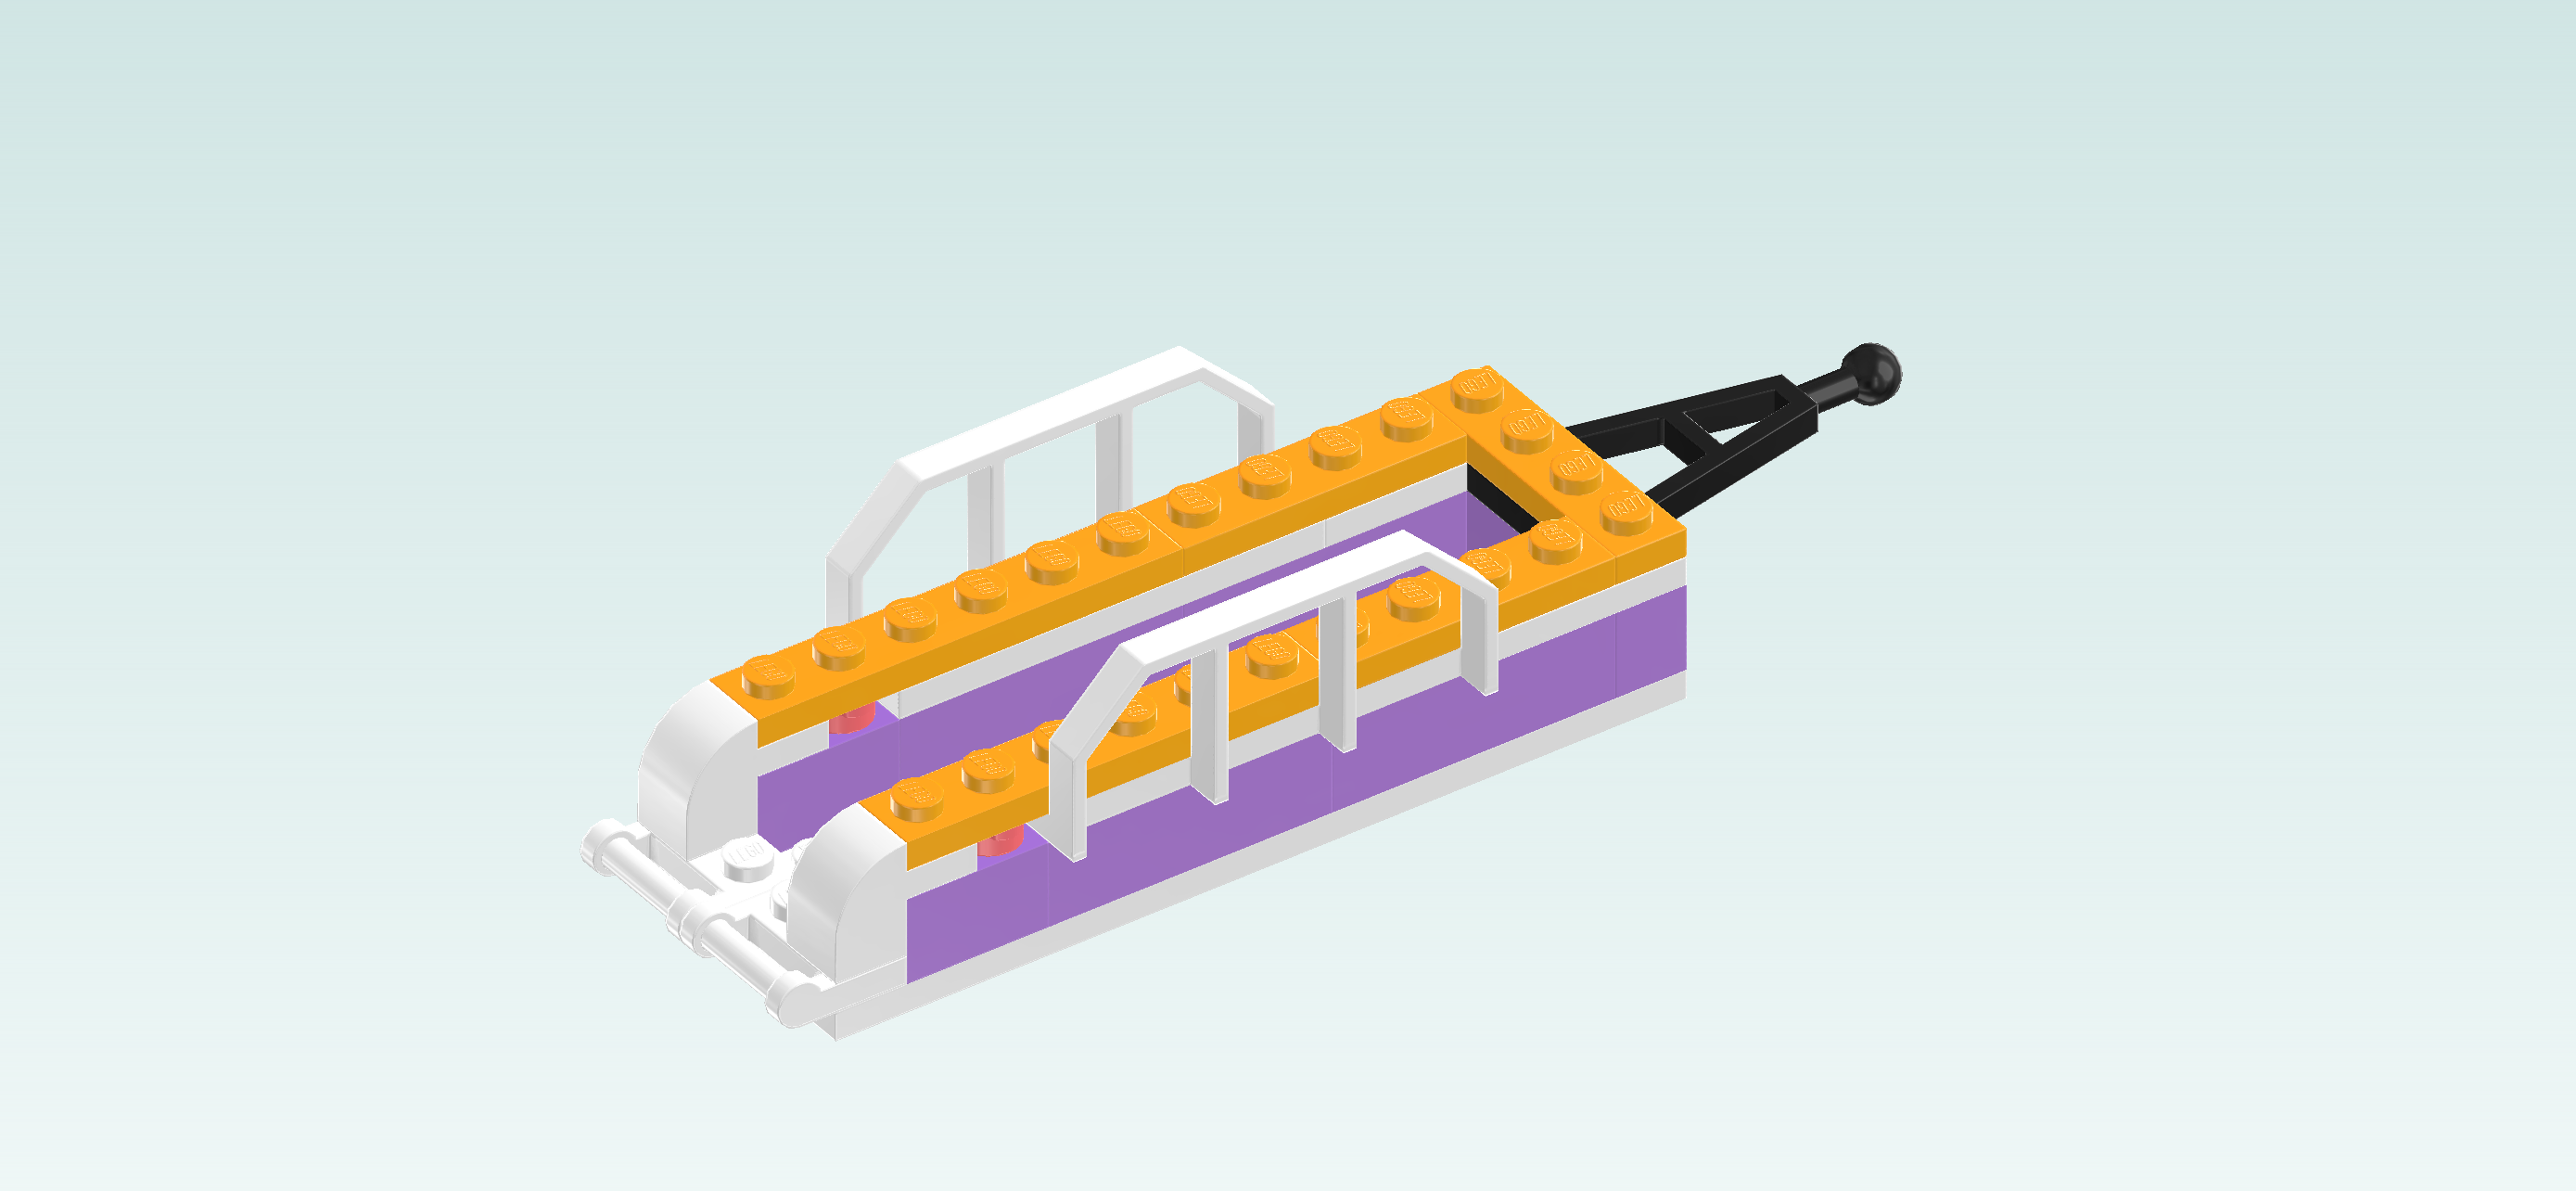
Collect the following 4 pieces:

2 flame yellowish orange plates 1x4,

and 2 flame yellowish orange plates 1x6.

Put 1 plate 1x4 horizontally on the frontmost row directly to the left of the previous piece.

Put 1 plate 1x6 horizontally to the left of the previous piece.

Repeat symmetrically at the back with the 2 remaining pieces.

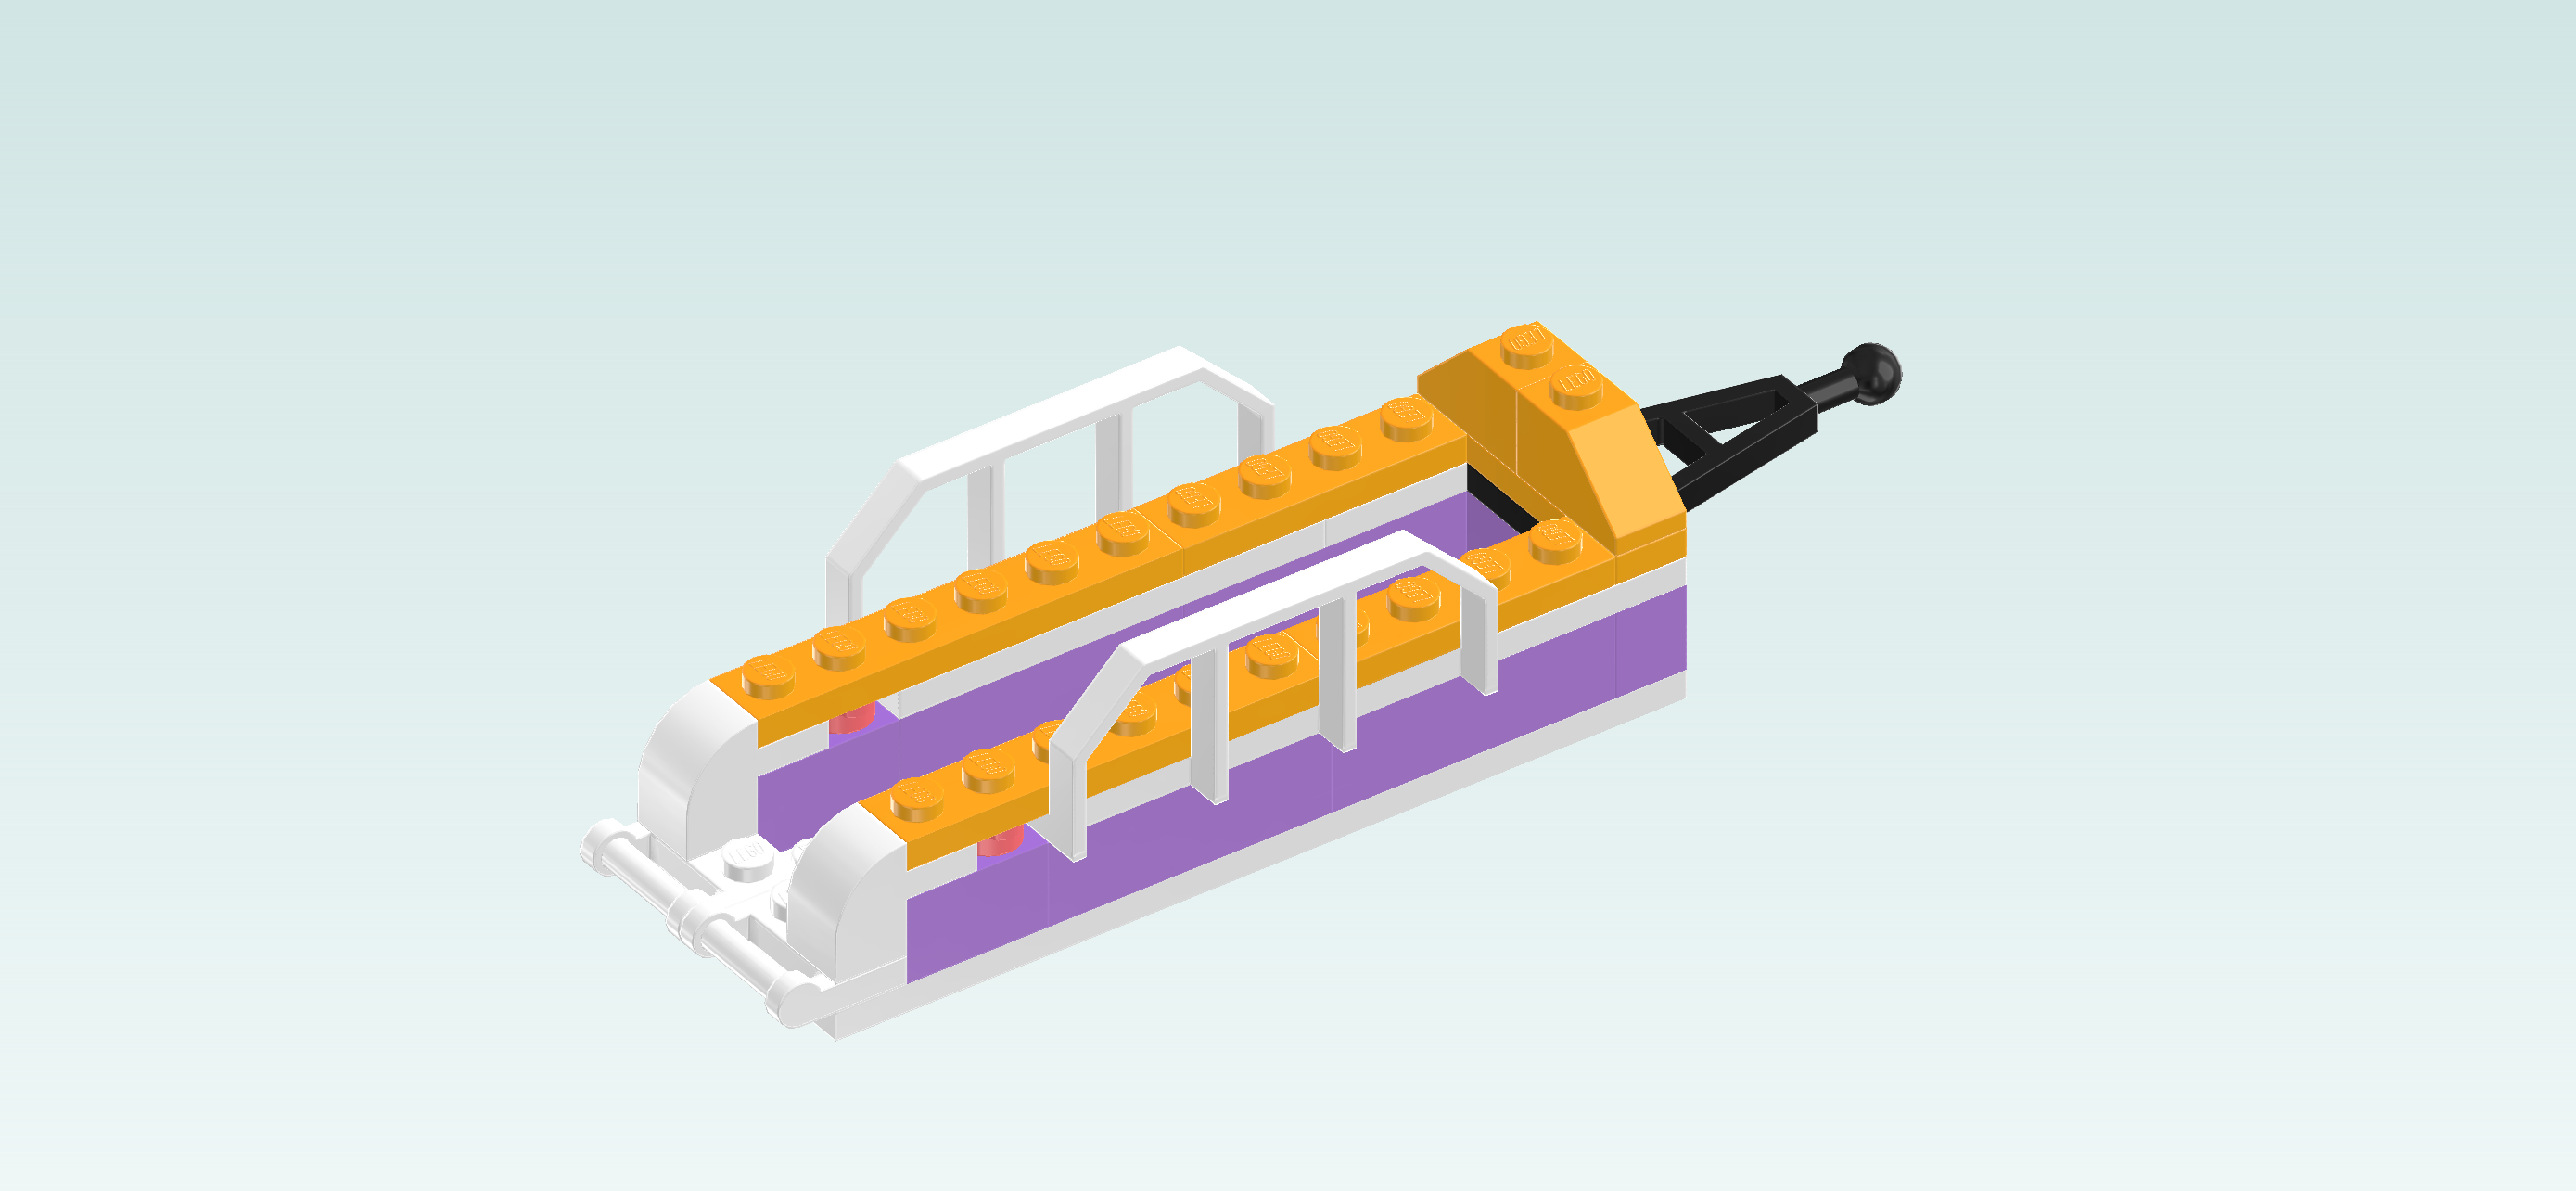
Find 2 flame yellowish orange roof tiles 1x2, 45°.

Put 1 vertically on the rightmost column's back half, slope to the back.

Put the other one vertically in front of the previous piece, slope to the front.

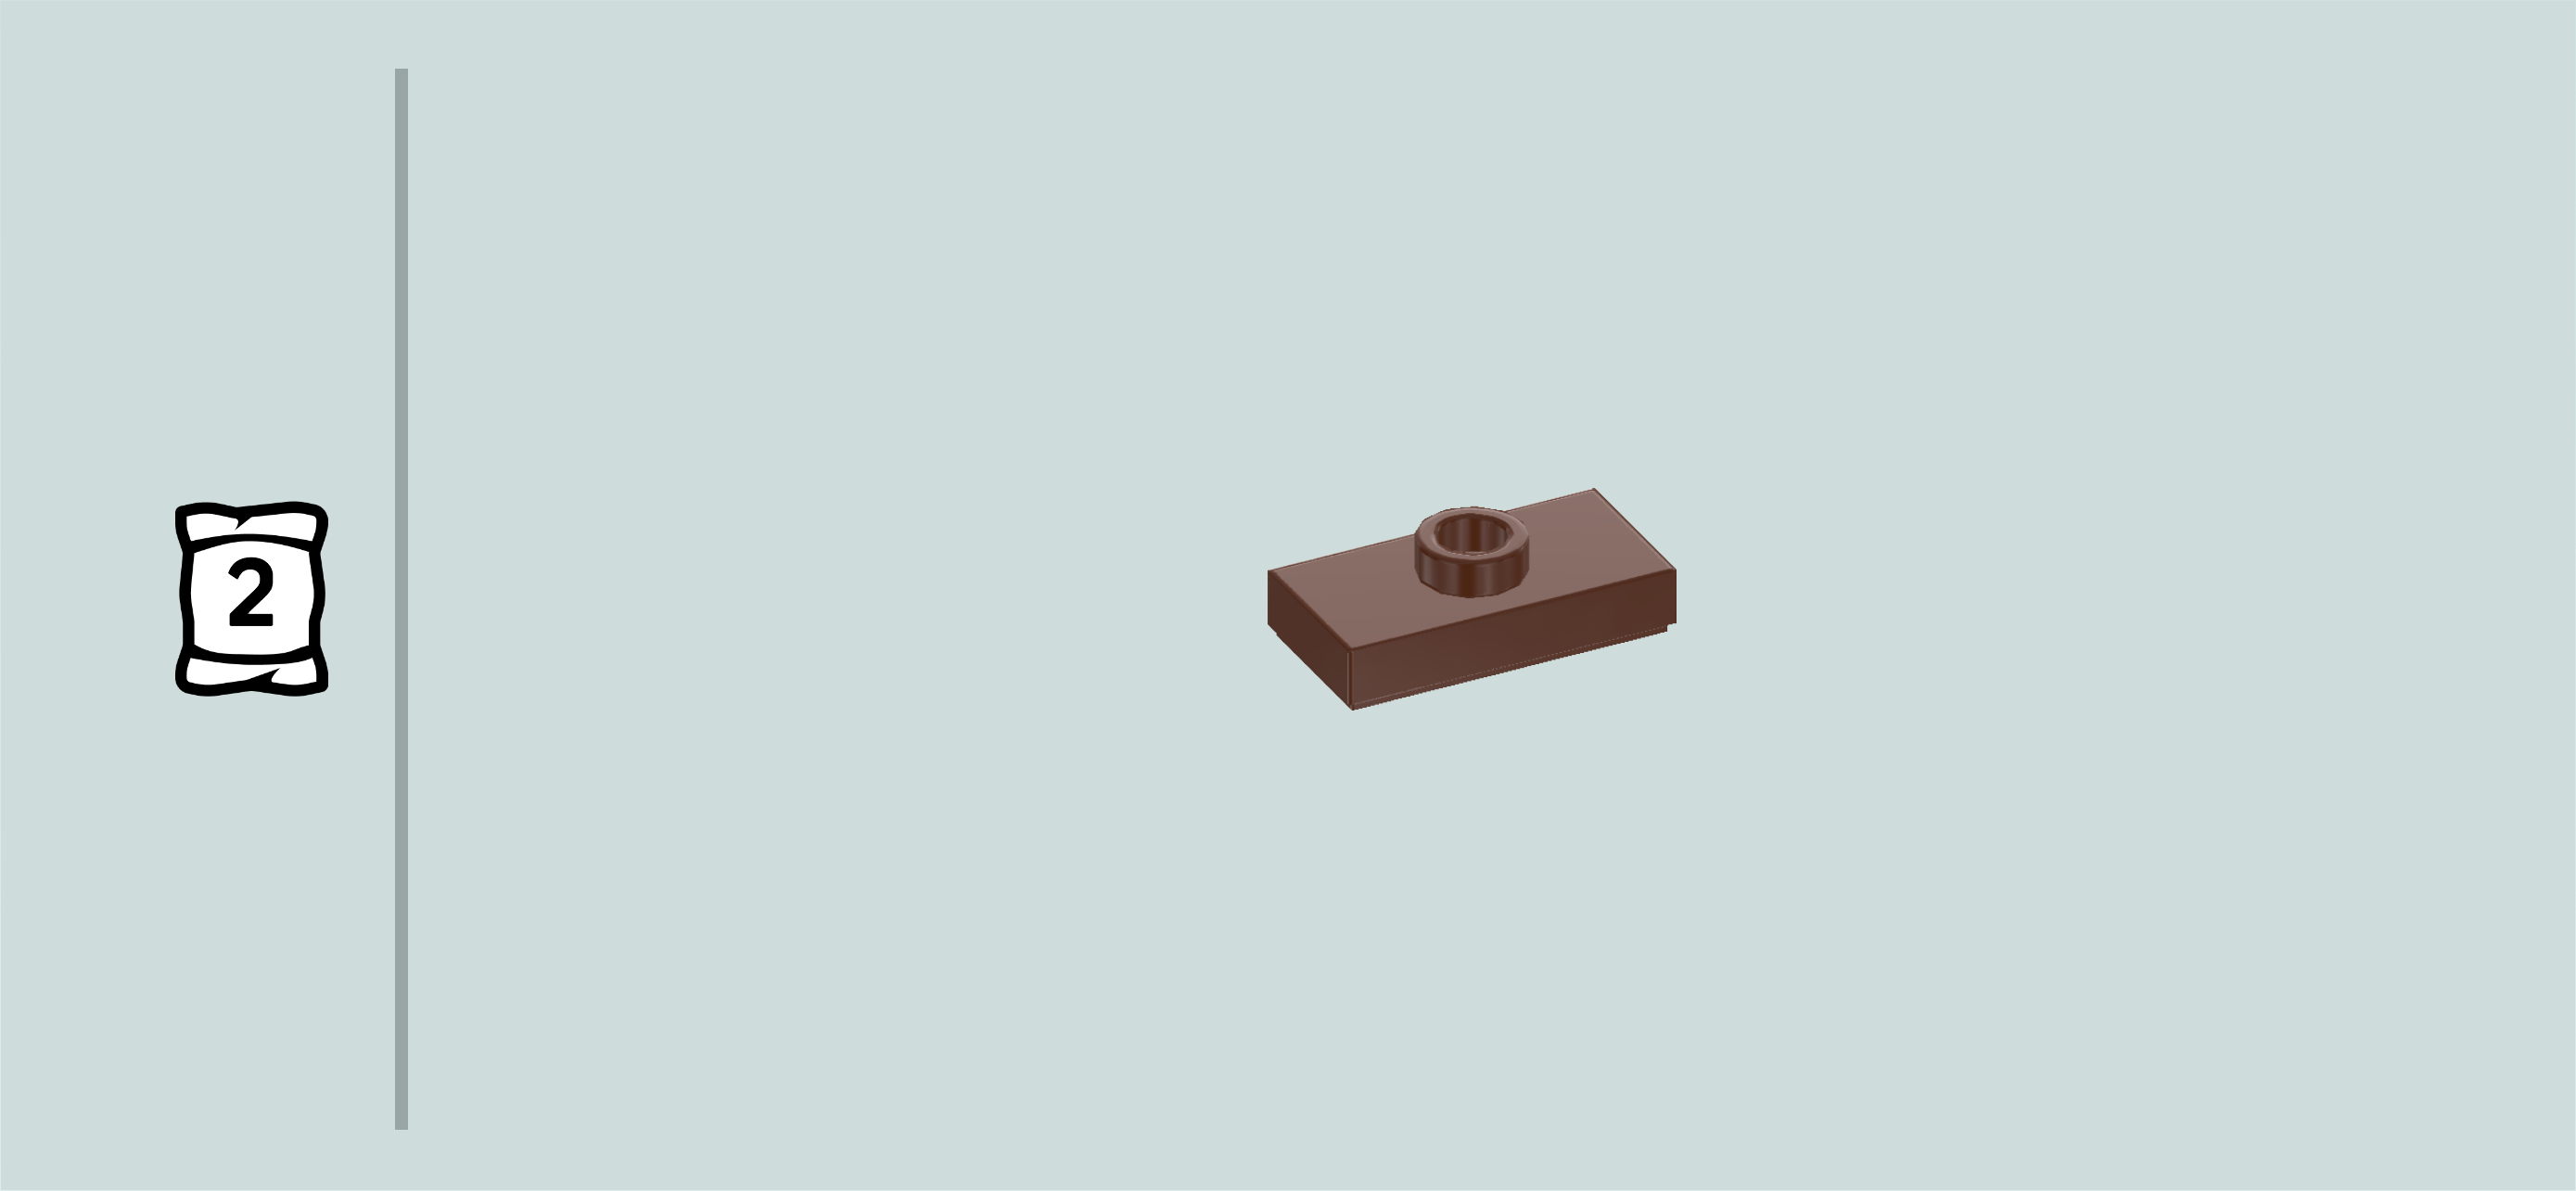
Find 1 reddish brown plate 1x2 with 1 knob.

Put it vertically on the 2 previous pieces. When we are finished building the trailer, the bucket will be mounted on this piece.

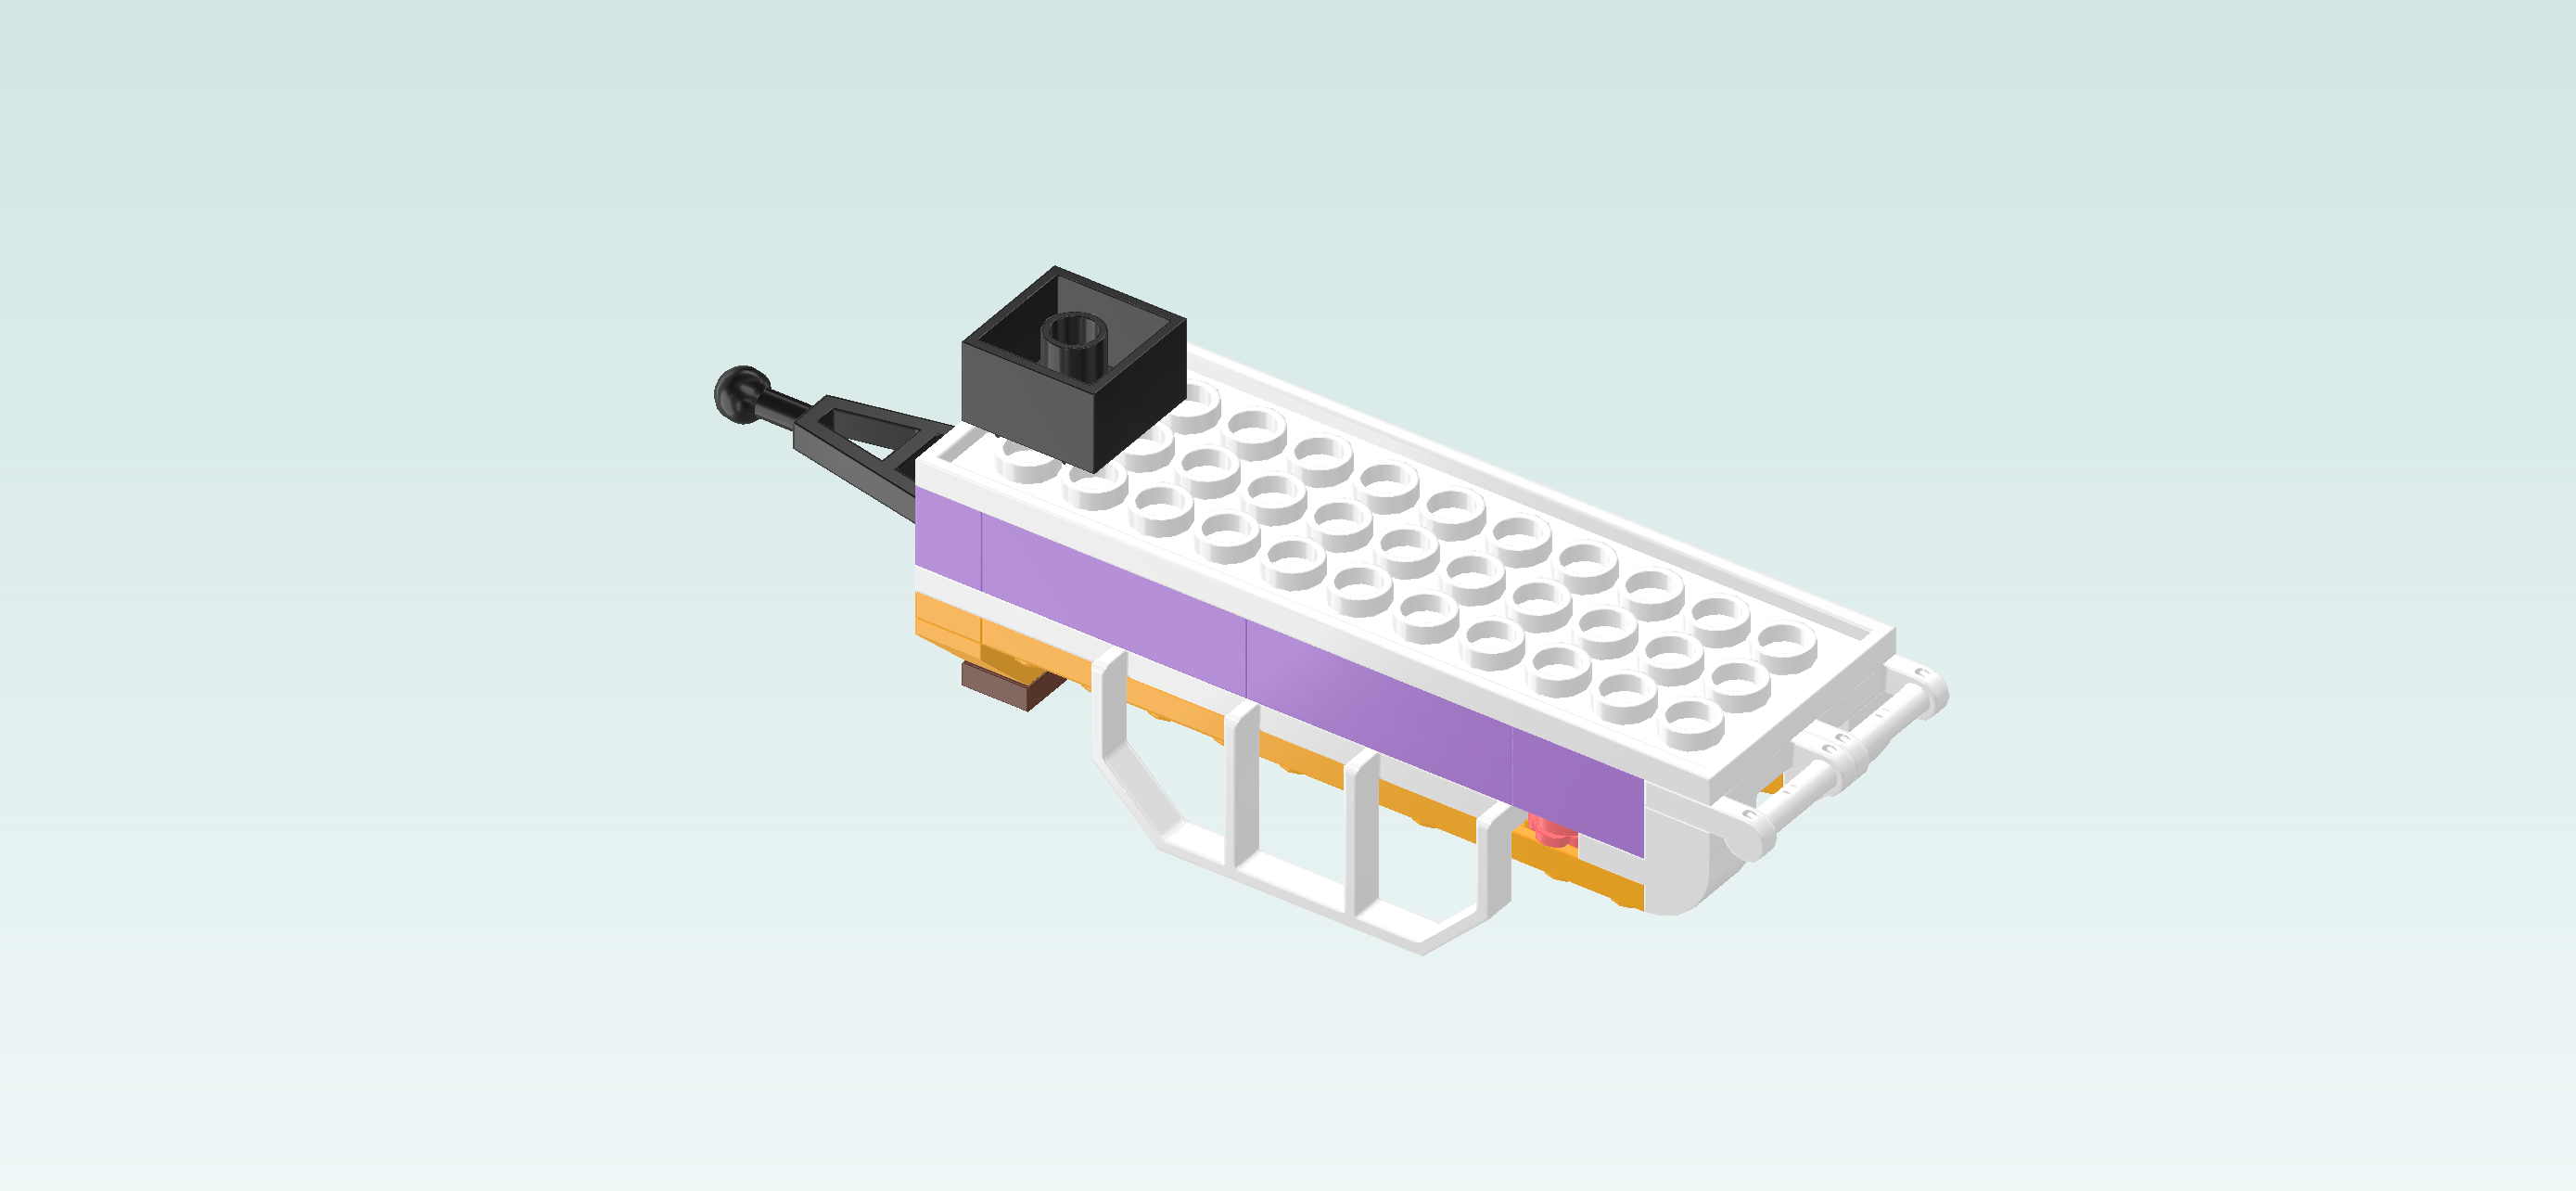
Find 1 black brick 2x2.

First, flip the trailer structure upside down and turn it left to right. This means the handrails should now touch the table, and the towing extension with ball should point to the left.

Put the brick 2x2 centered on the left edge. This means it will sit on the 2 leftmost columns directly to the right of the towing extension.

Collect the following 2 pieces:

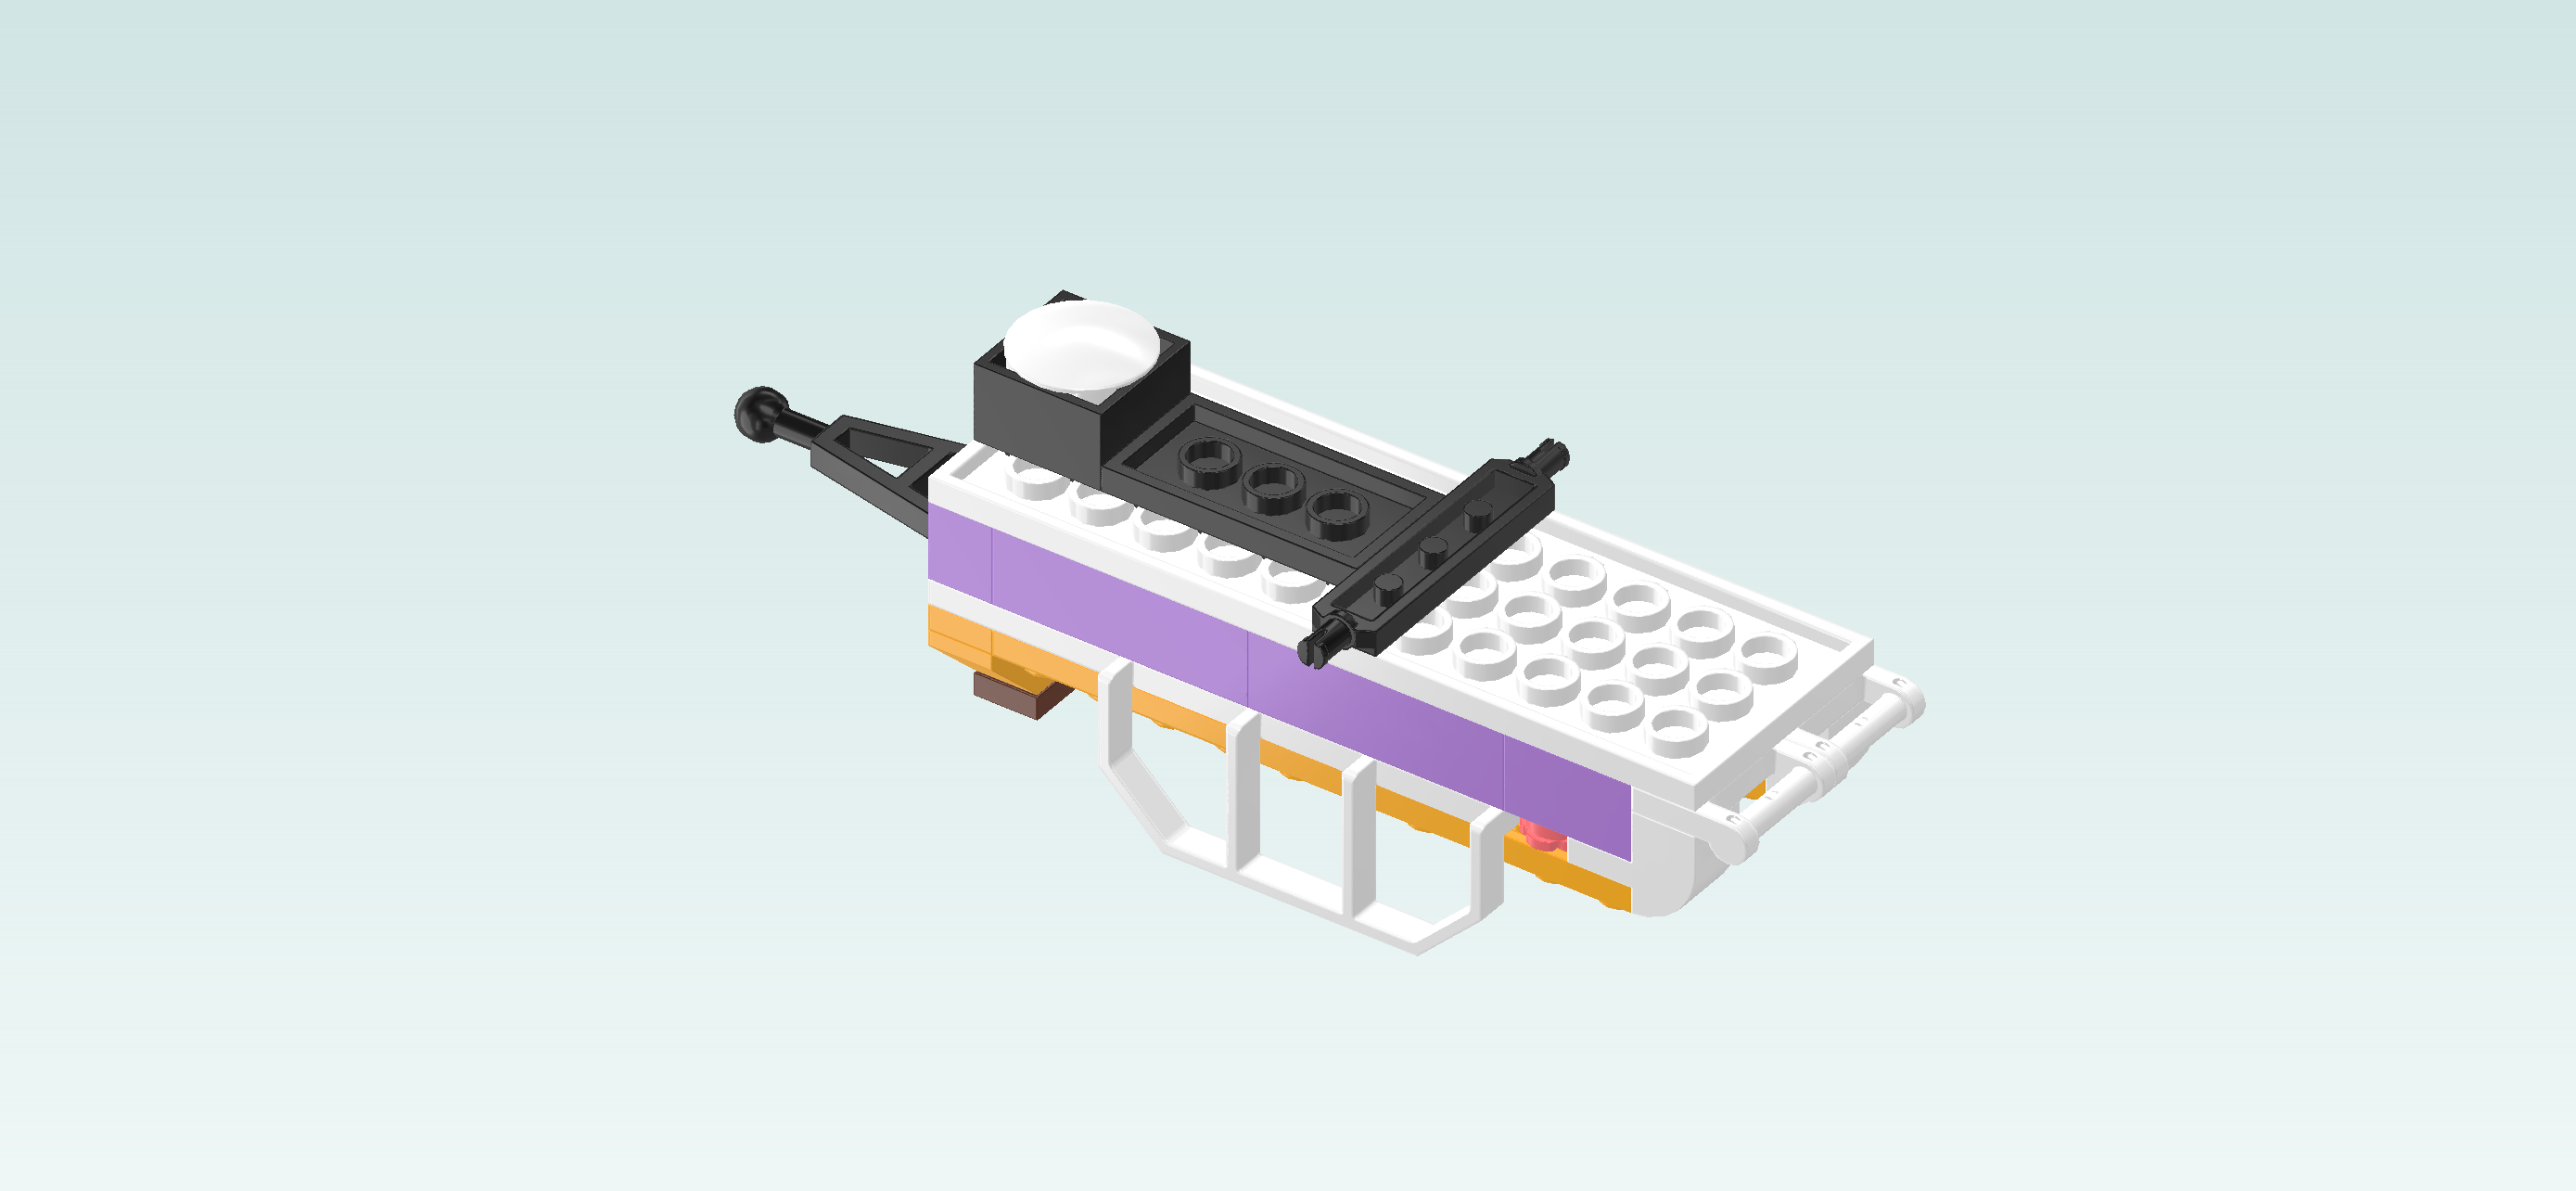
1 black plate 2x4,

and 1 black bearing plate 1x4 with 2 pin connectors.

Put the plate 2x4 horizontally to the right of the previous piece.

Put the bearing plate 1x4 vertically centered to the right of the previous piece, connectors pointing to the front and back.

Find 1 white inverted curve disk 2x2 with 4 knobs.

Put it on the brick 2x2 mounted on the left edge.

Next, we will assemble the 2 trailer wheels.

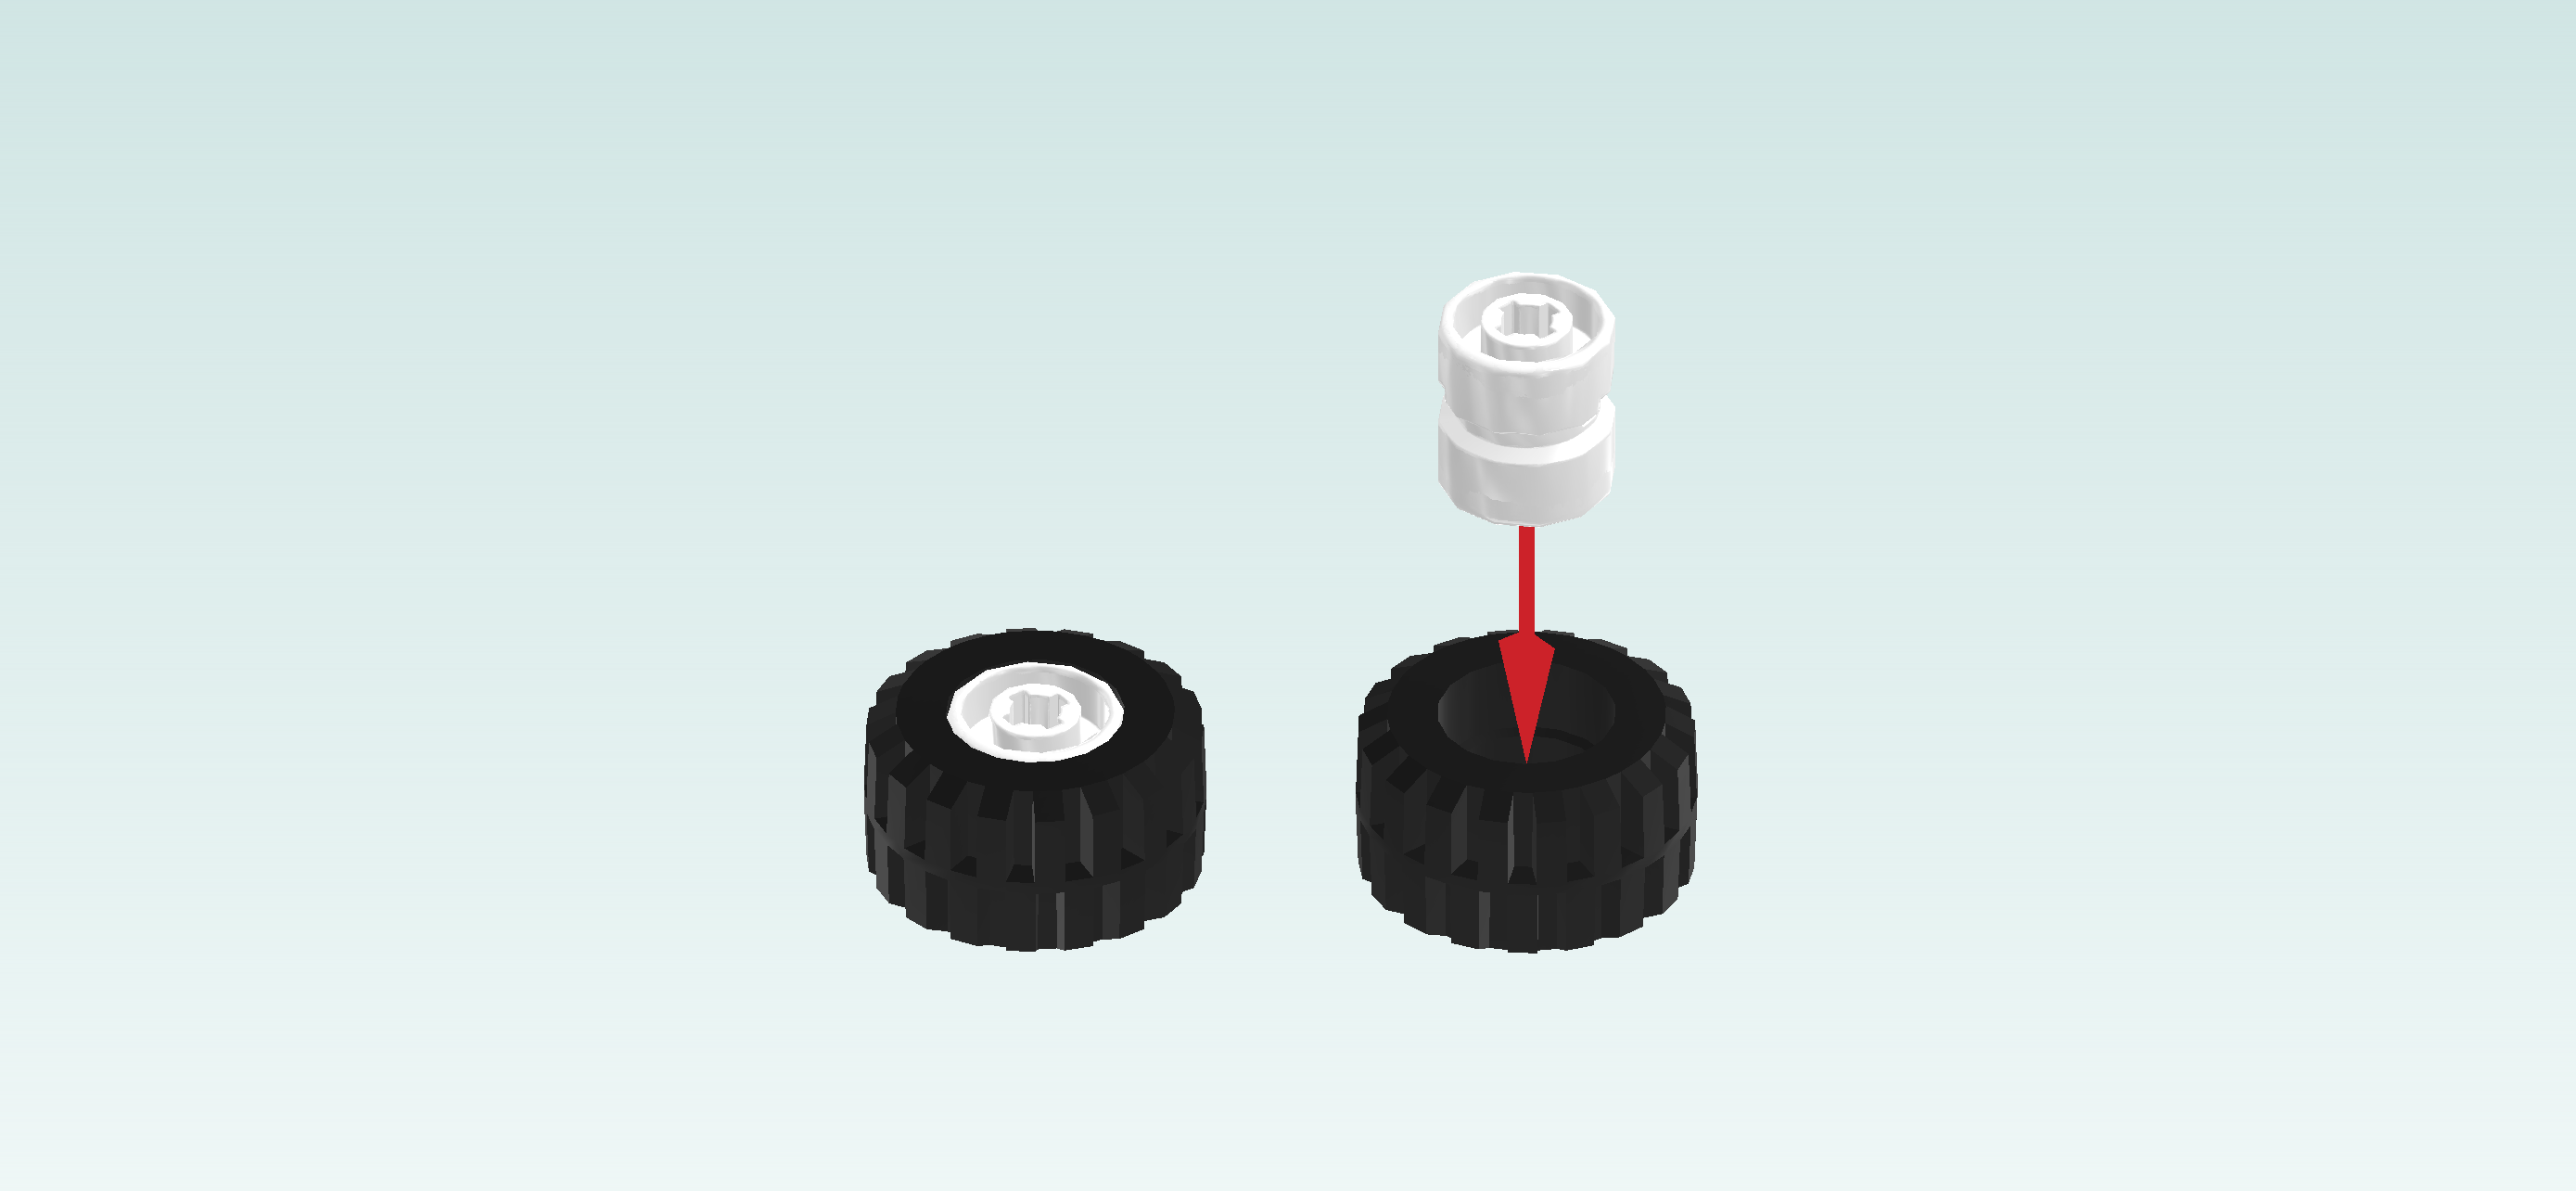
Collect the following 4 pieces:

2 white wide rims with cross hole,

and 2 black wide rubber tires with high profile.

Insert the rims into the tires.

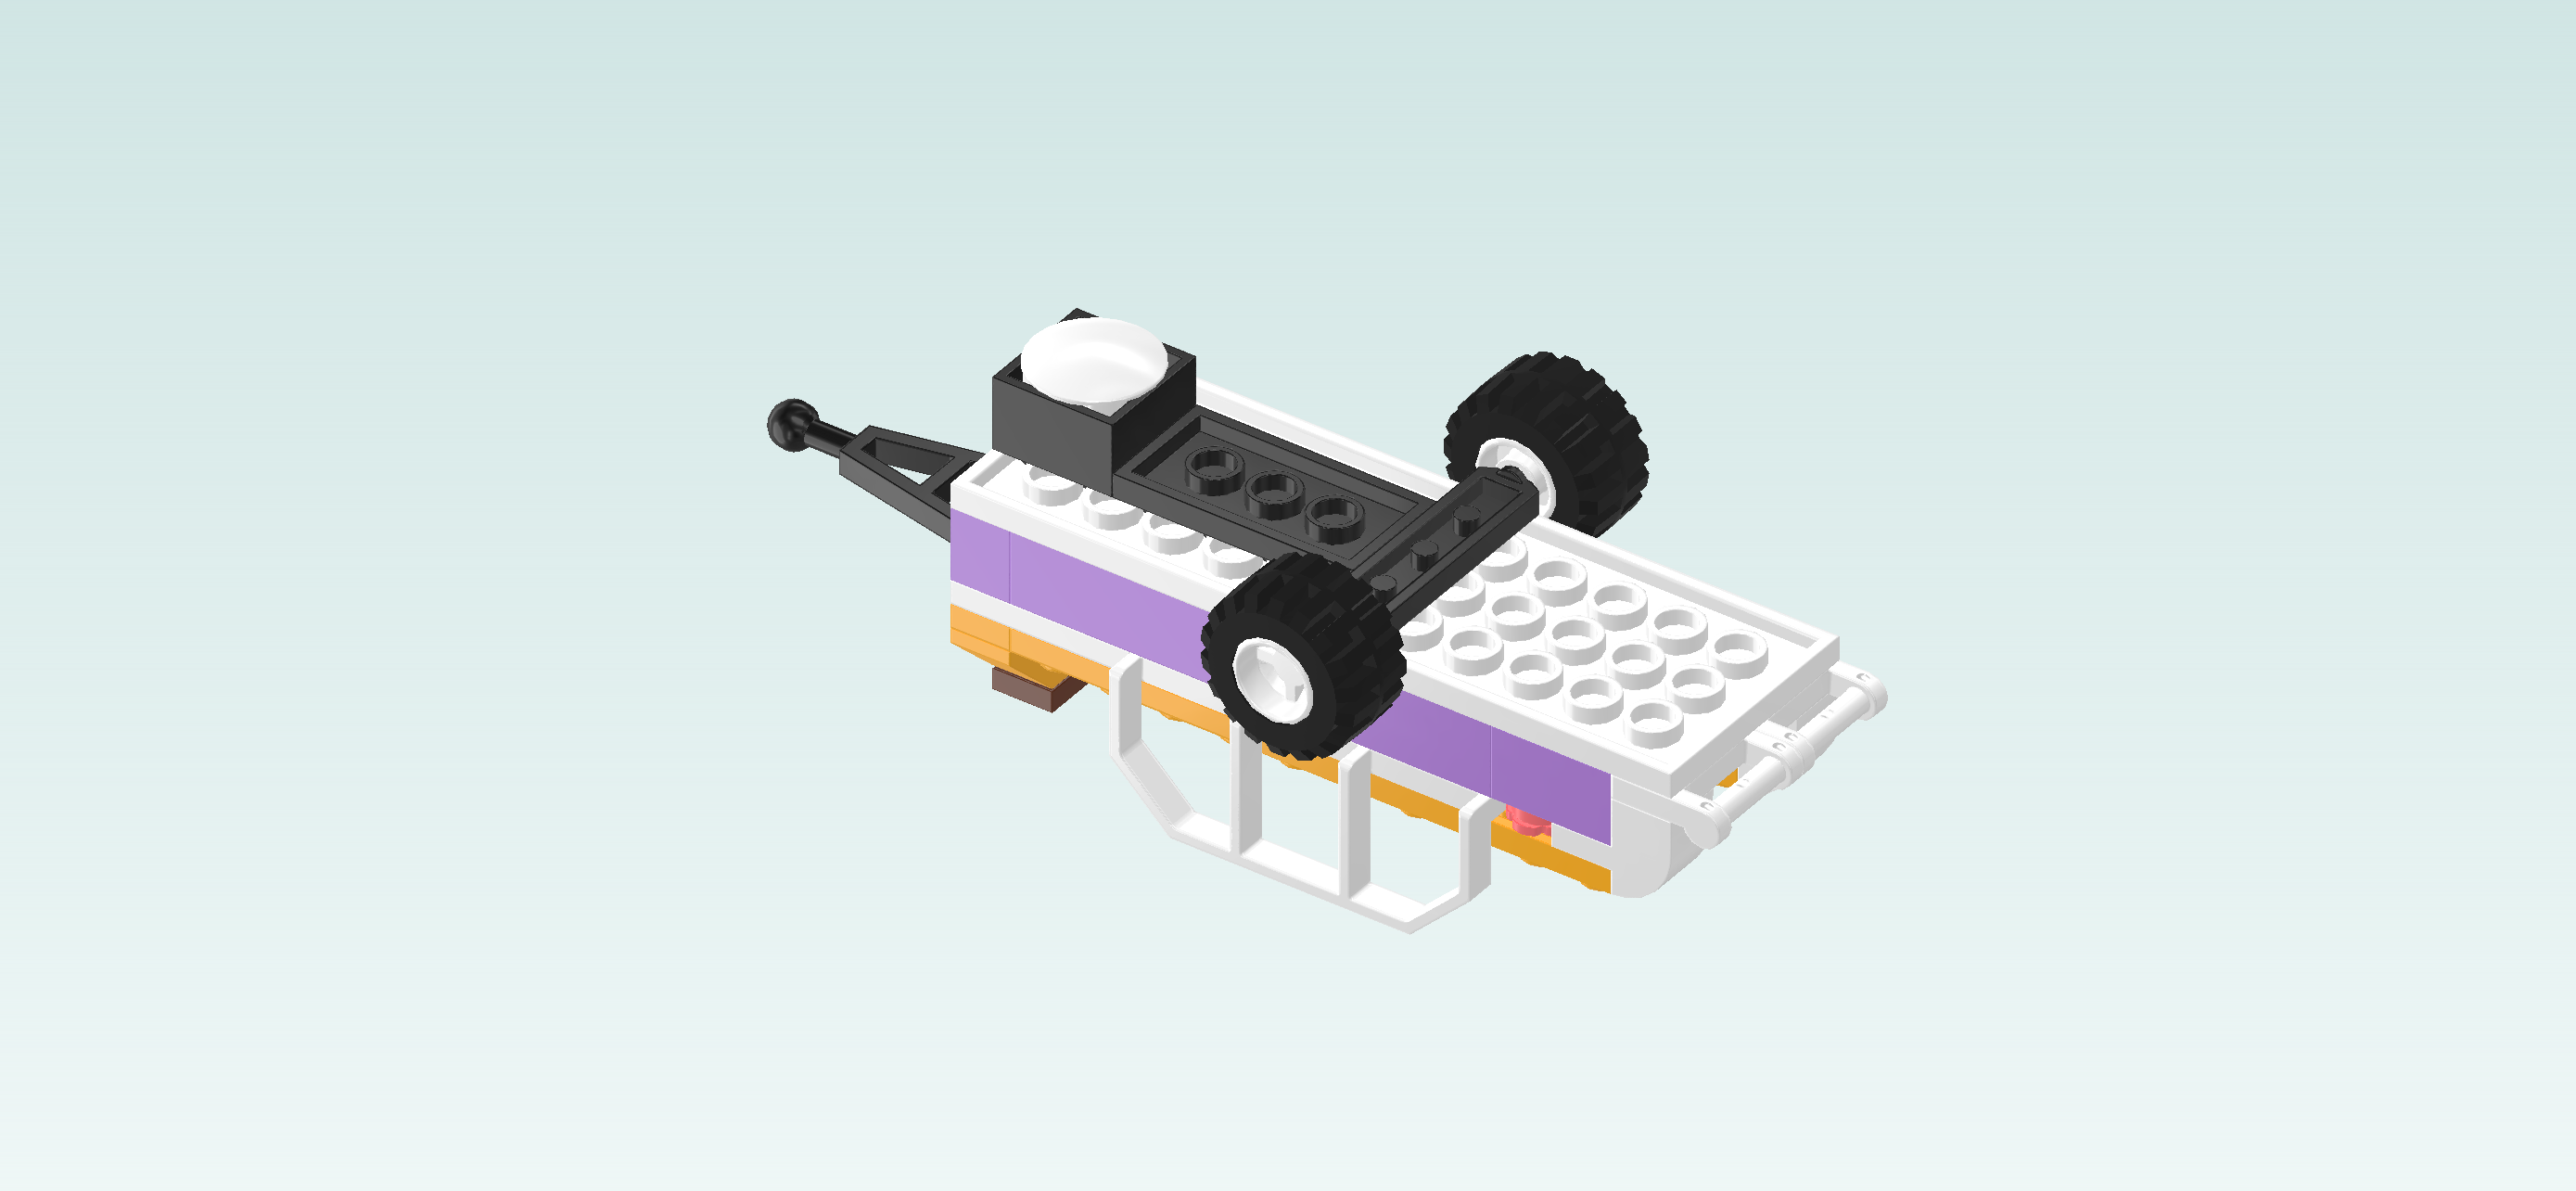
The 2 trailer wheels are finished! Snap them on the 2 connectors of the bearing plate.

Find 1 white tile 2x3 with 2 side clasps.

First, flip the trailer right side up again and turn it left to right. The towing extension should now be pointing to the right again.

Snap the clasps of the tile on the 2 handles on the left edge of the trailer.

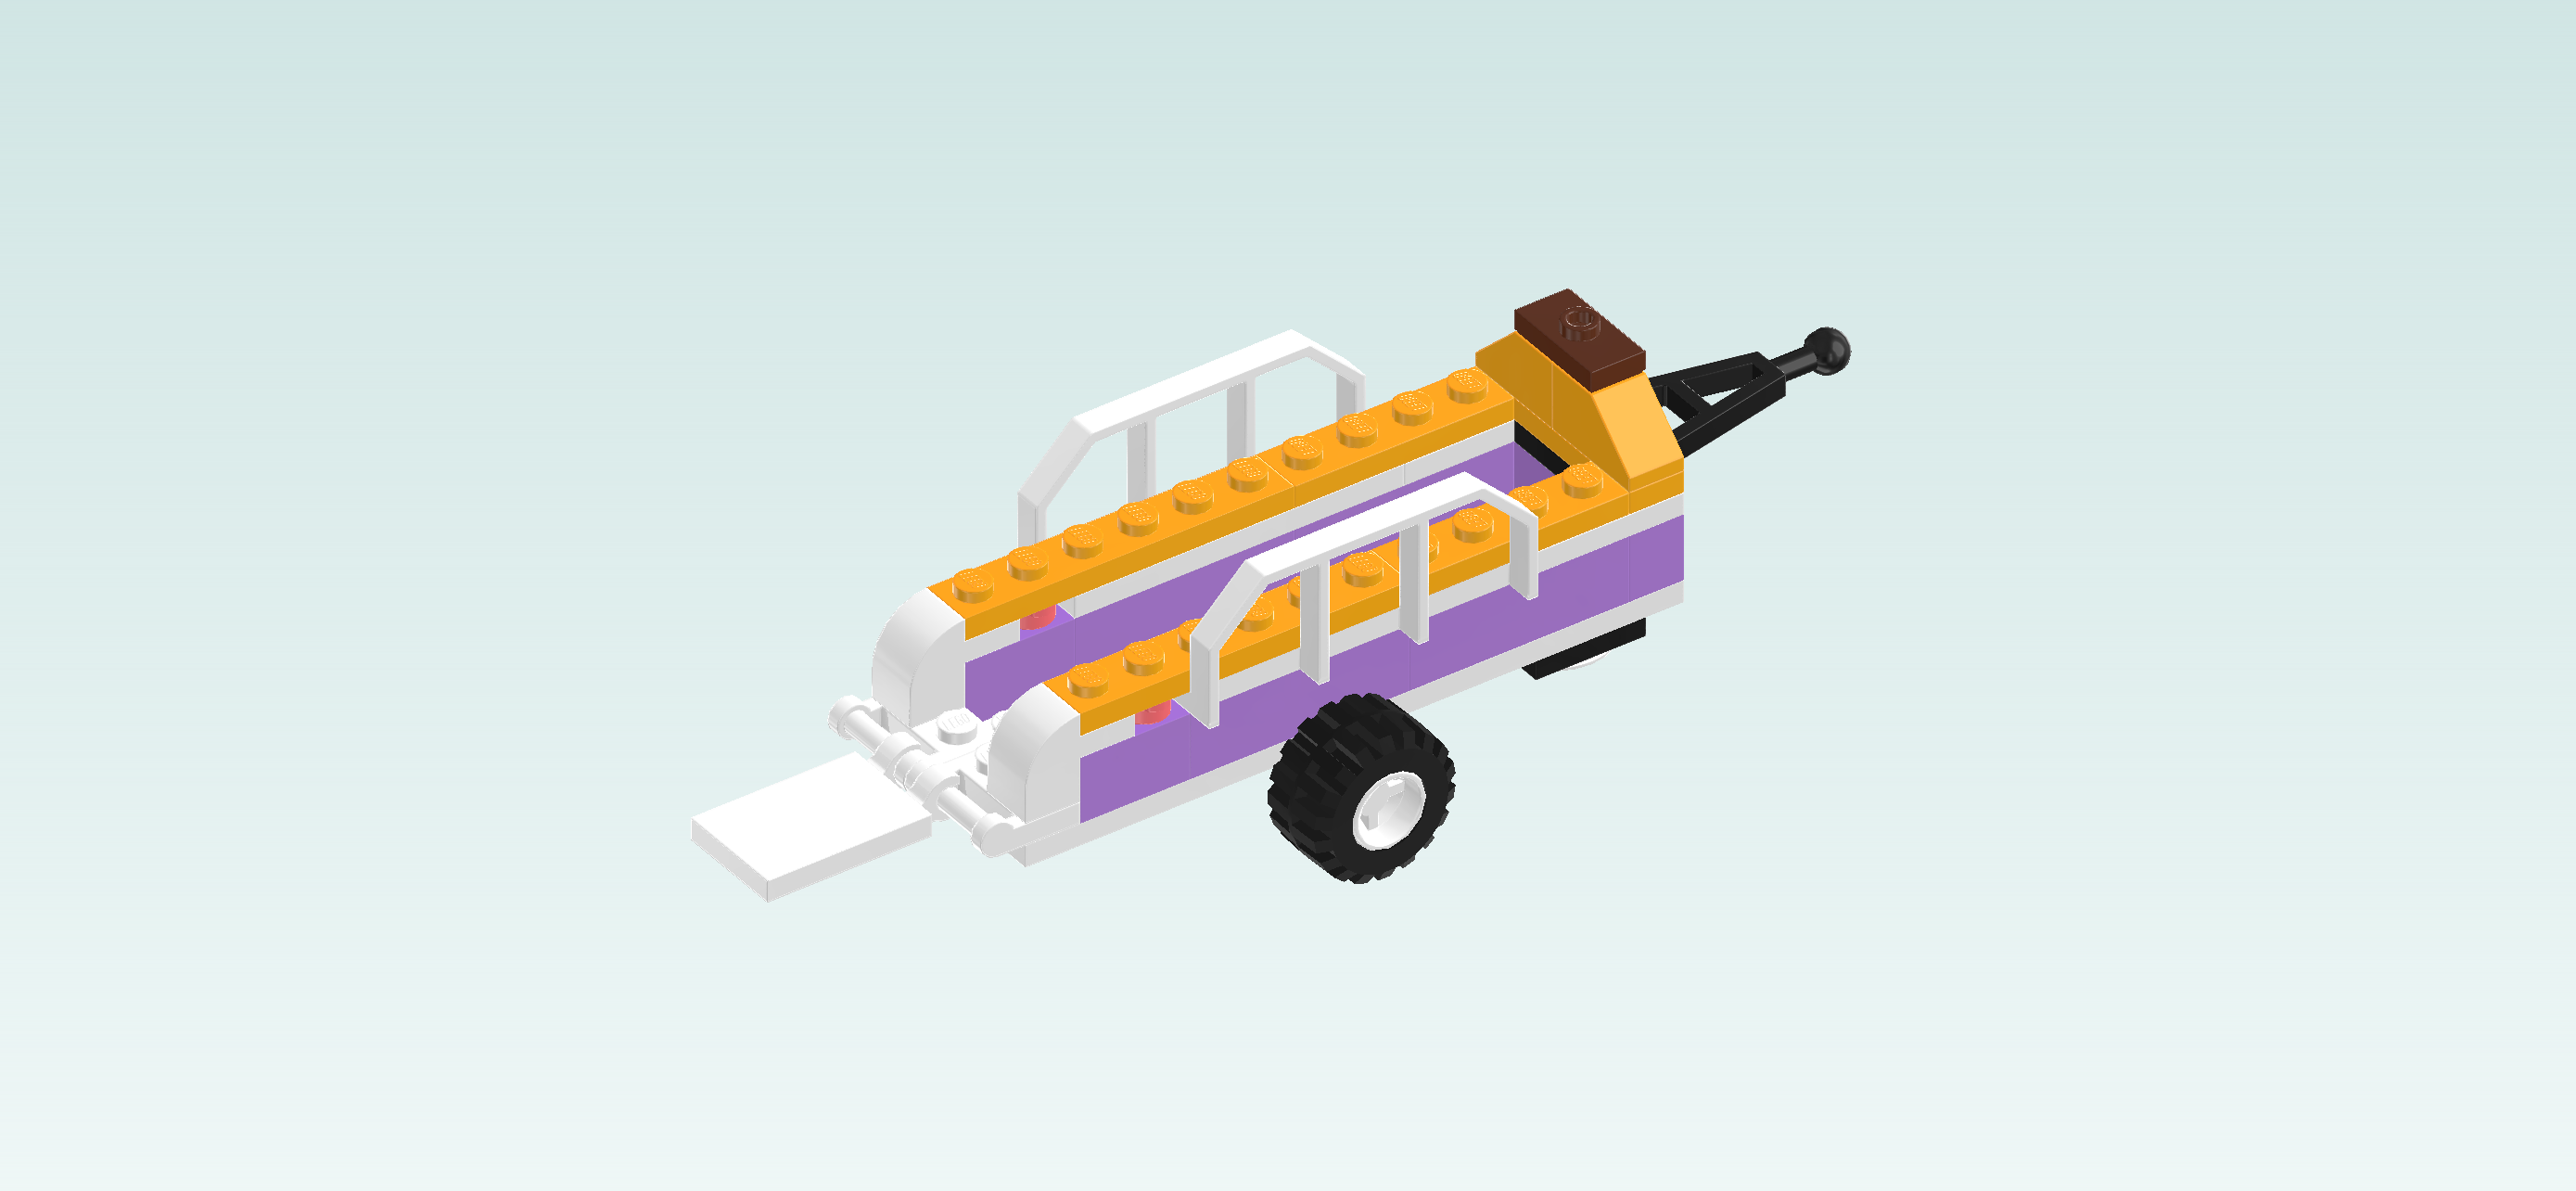
The horse trailer is finished! Well done! You can use the hatch as a ramp for the horses to get on the trailer comfortably. Make sure to close it before you take off.

To store the bucket with carrot on the trailer, you can put the hole of its tab around the single knob next to the towing extension.

You have finished building the entire set! Very well done! Once the trailer is linked with the car and the horse is in the trailer, close the hatch, put Liann on the driver's seat, and off you go to your next riding adventure! You can put Zoya on the back seat that is slightly higher. Will the two friends tackle the fallen tree obstacle with their horses? It's for you to find out!

Enjoy!