| LEGO Audio & Braille Building Instructions for the LEGO Friends set "Electric Car and Charger". |
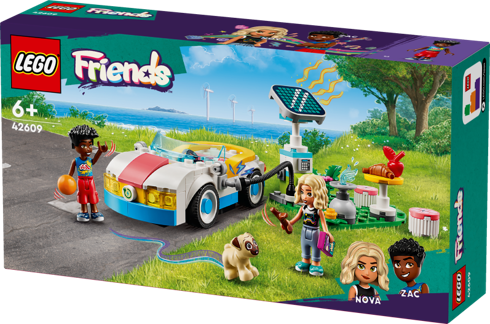
| Ready to join Zac for a drive in his electric car? He calls his friend Nova and they meet at the solar-powered charging station. They enjoy a snack at the picnic table while they wait for the car to charge. There’s even food and drink for Zac’s dog, Dango. Once the car is charged, the friends enjoy a drive together. What a fun way to spend the day! |
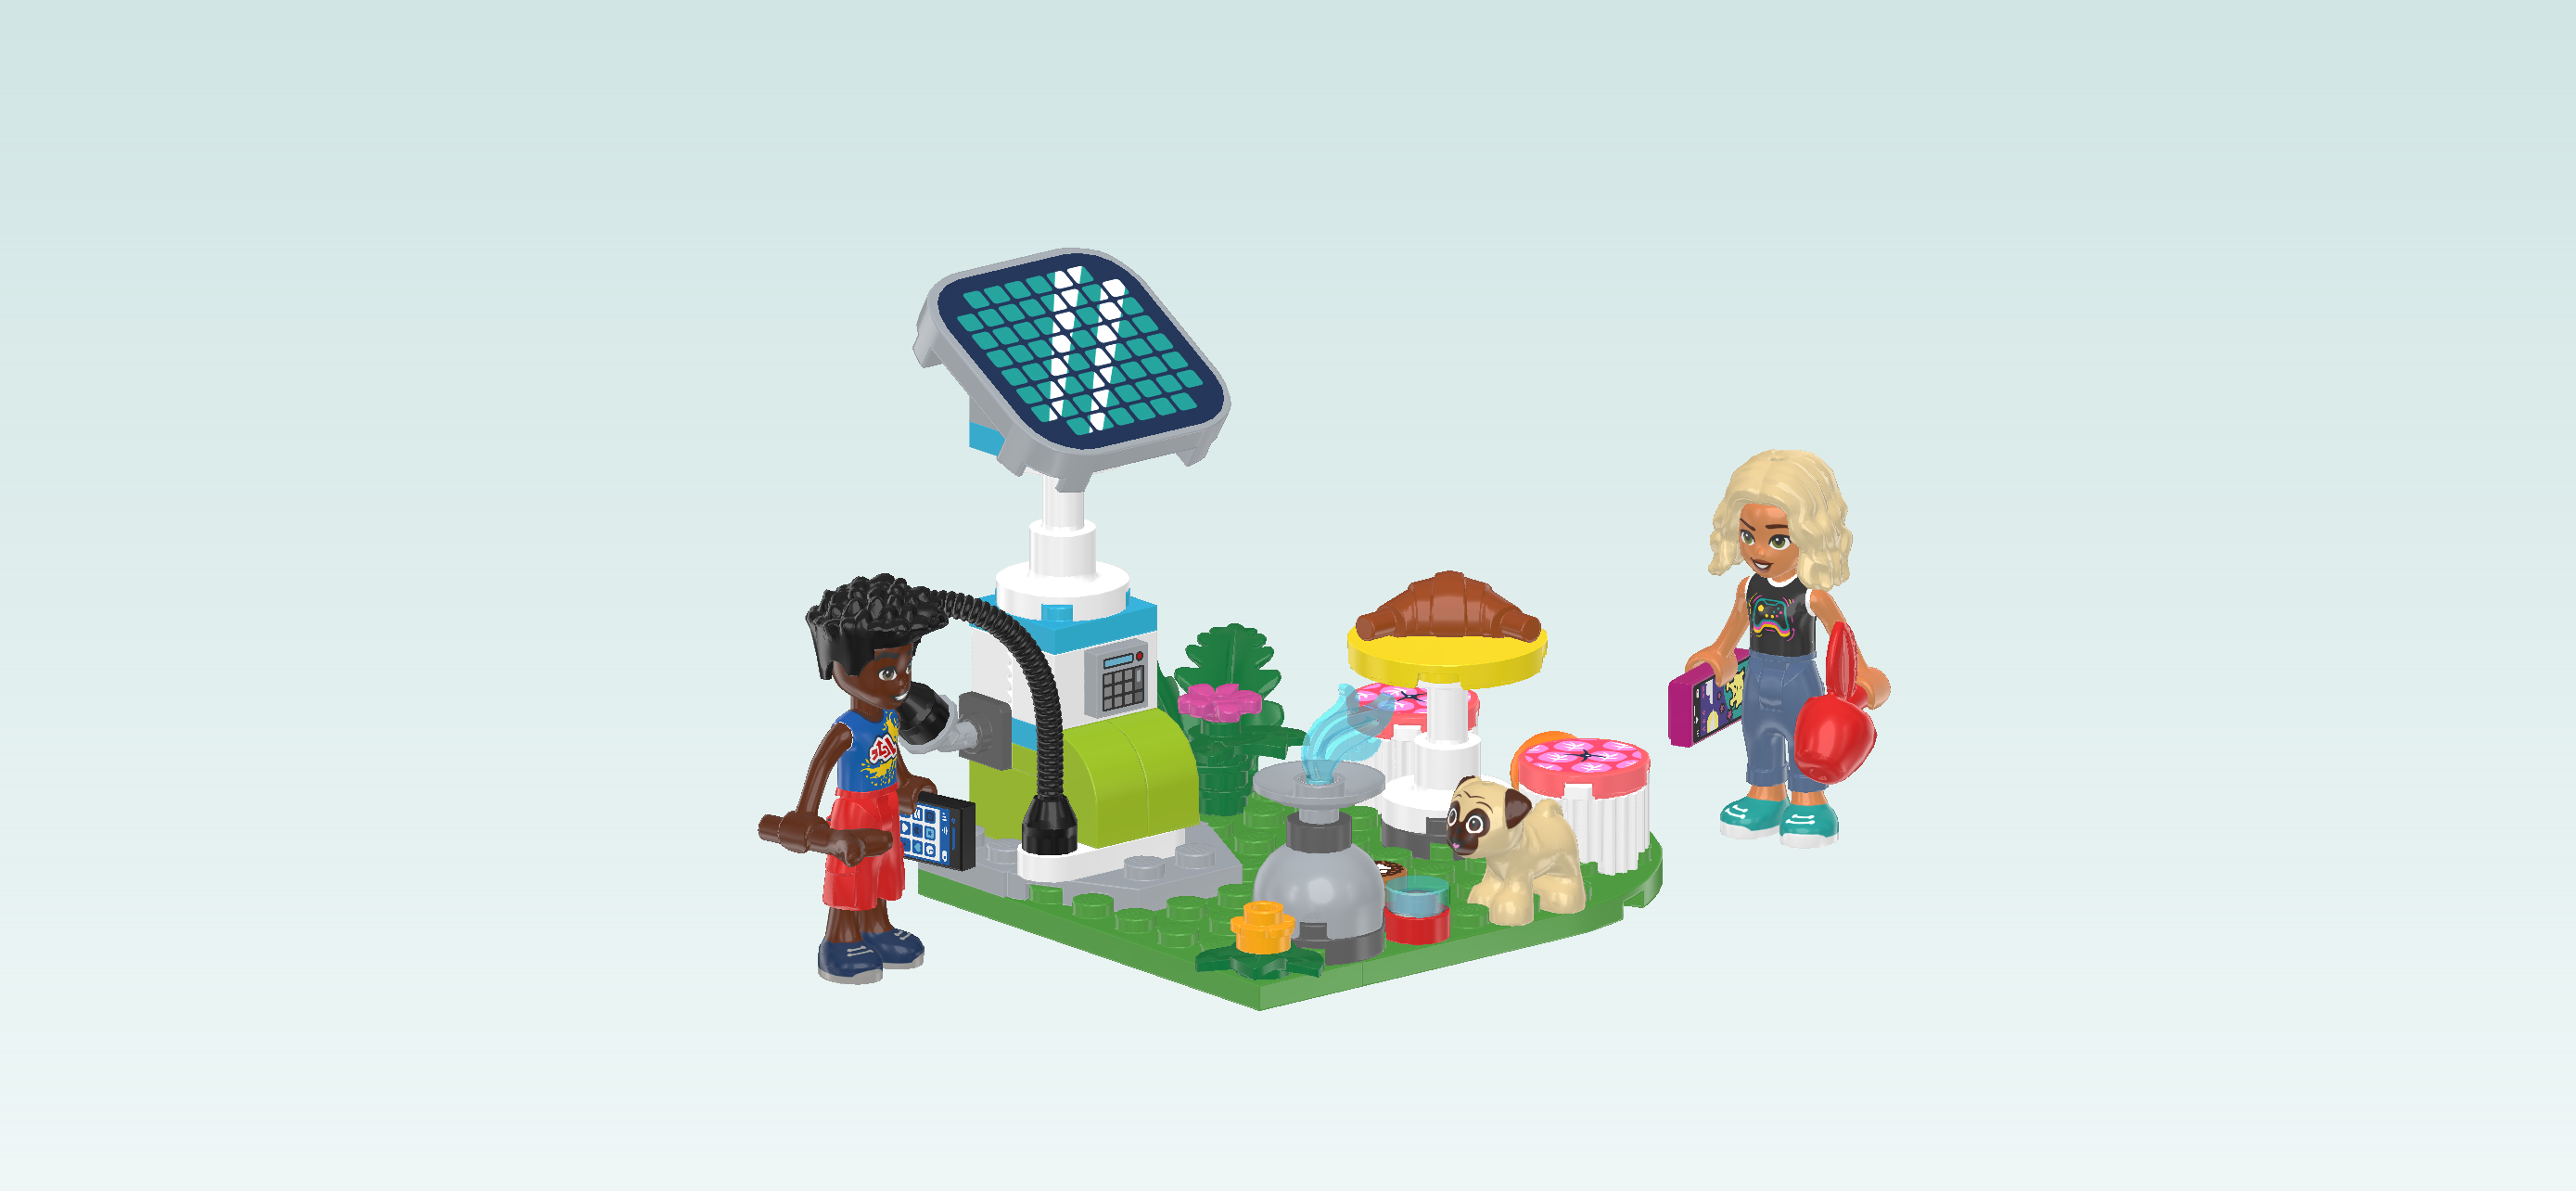
| The box cover shows a sunny scene in Heartlake City, or to be precise, on its outskirts. The modern white convertible with a bright blue underbody and yellow and pink details is parked on a paved area next to a lush green meadow. The car is plugged into the solar power charging station. The car has two seats for the two friends Zac and Nova, plus an extra one at the back for Dango to join in on the fun. Zach, who is holding Dango's orange ball, is standing in front of the car. He is waving to Nova who is waiting for her friend on the meadow. Zac's dog Dango has already sprinted ahead of Zac to meet Nova who is waving with a stick that she wants to throw for Dango. Conveniently, the charging station is right next to a cozy little picnic table where some tasty treats await the friends: croissants, apples and more. In the background of the scene, there are trees and bushes, and on the horizon the sea is visible. There are three wind energy plants in the water! It's great to see that Heartlake City is making use of sustainable energy resources! Let's get started! |
| Open the box. This can be tricky; ask someone to help you! |
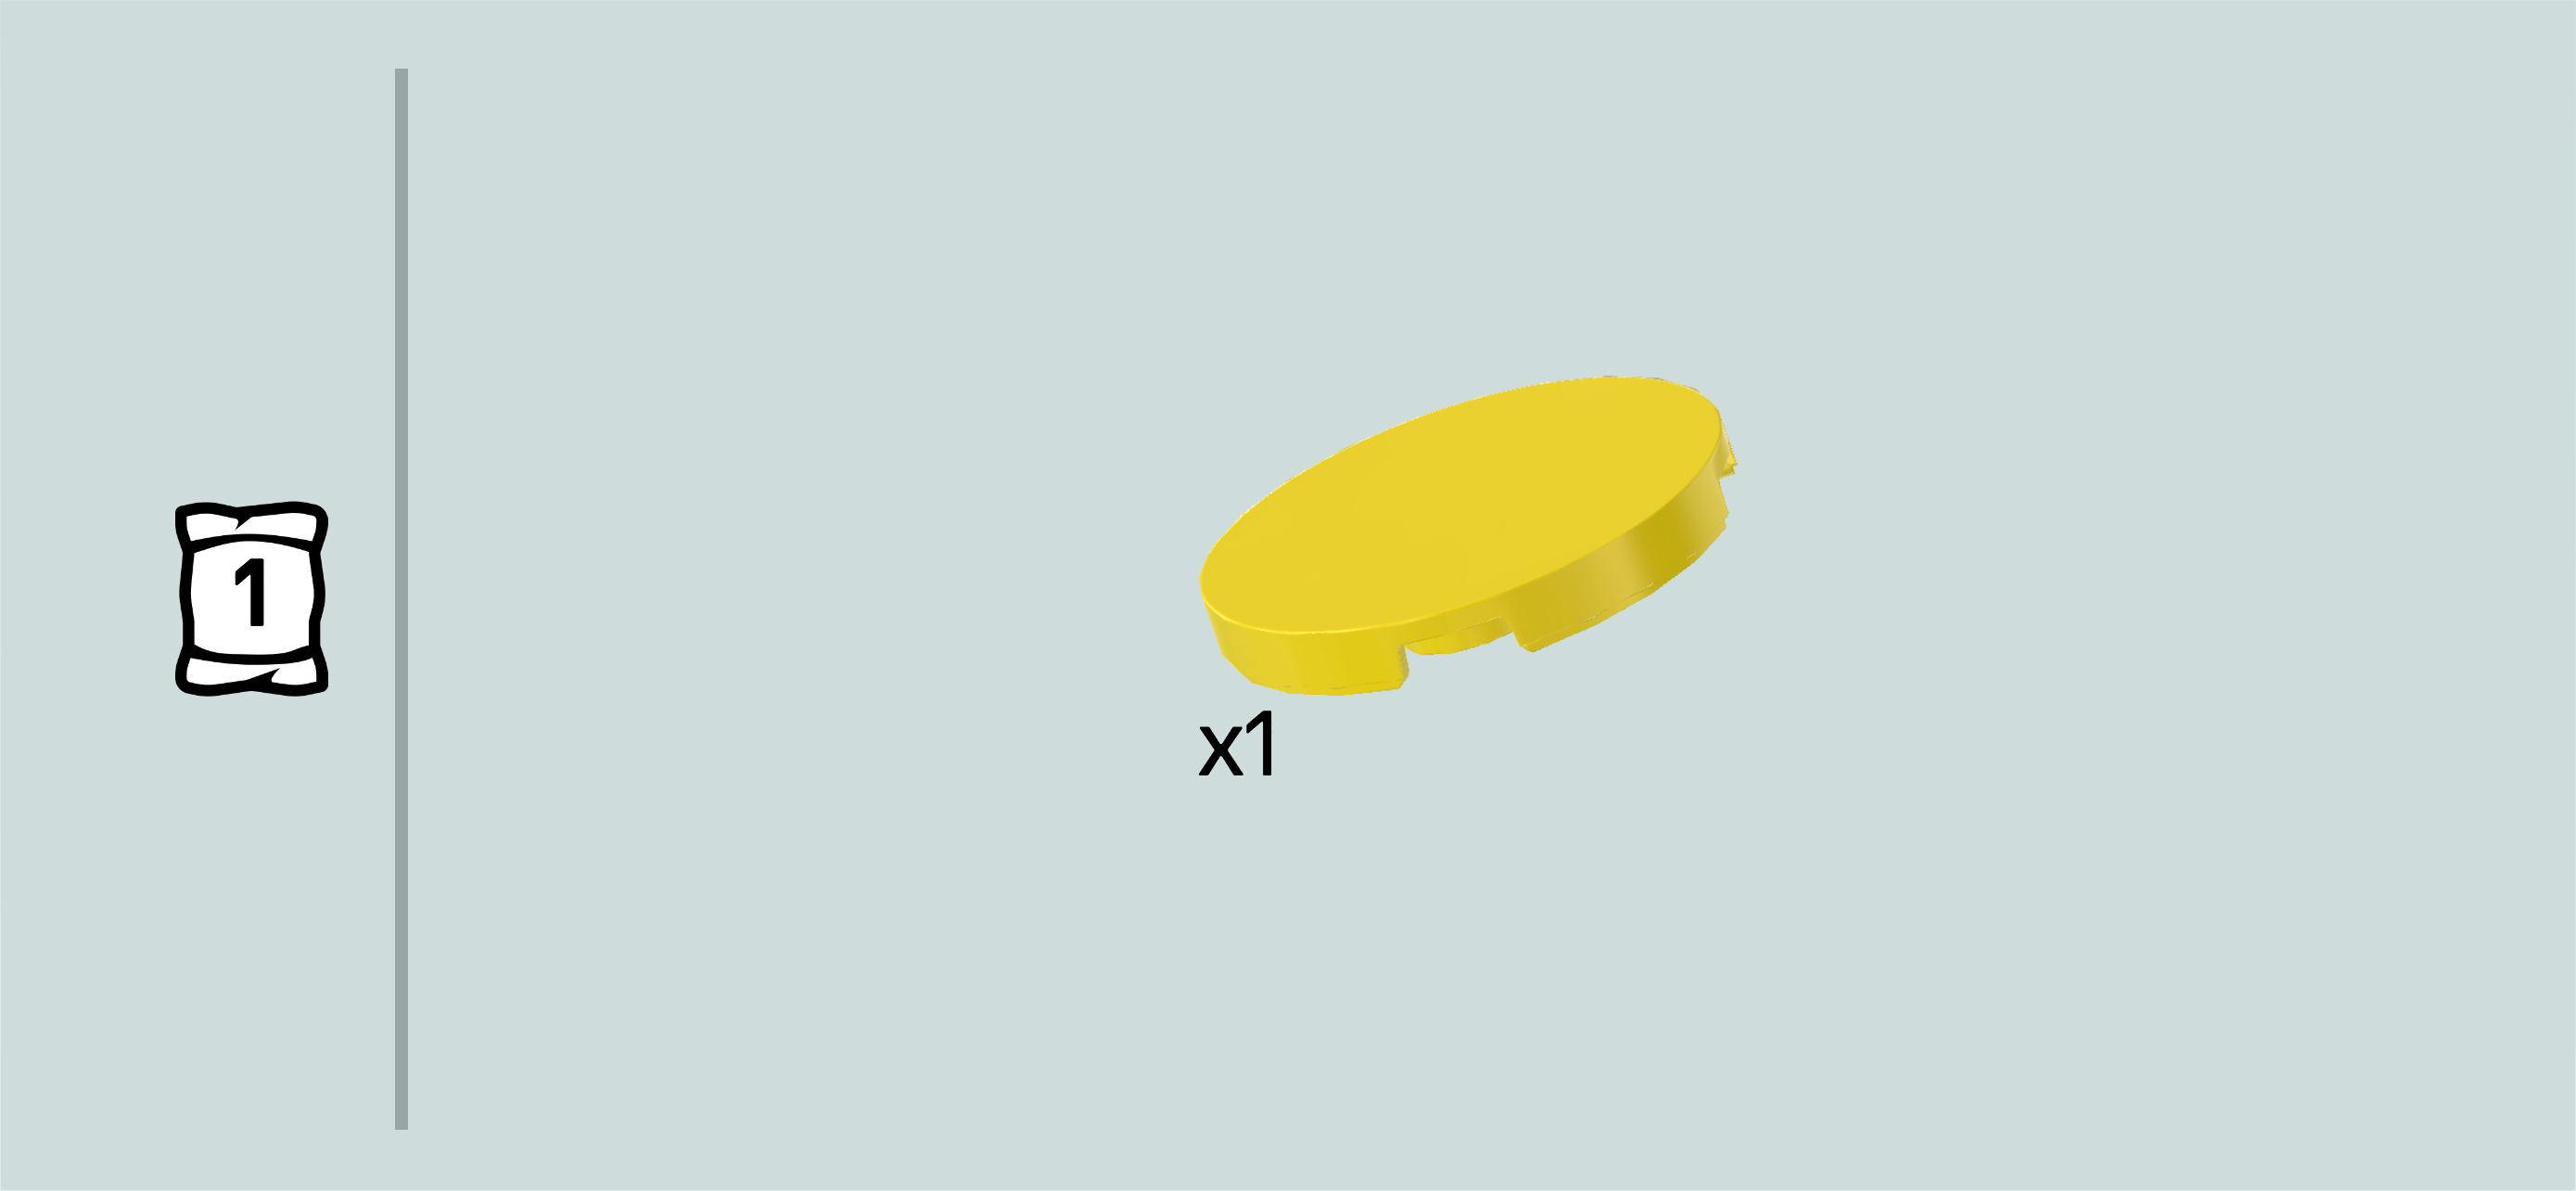
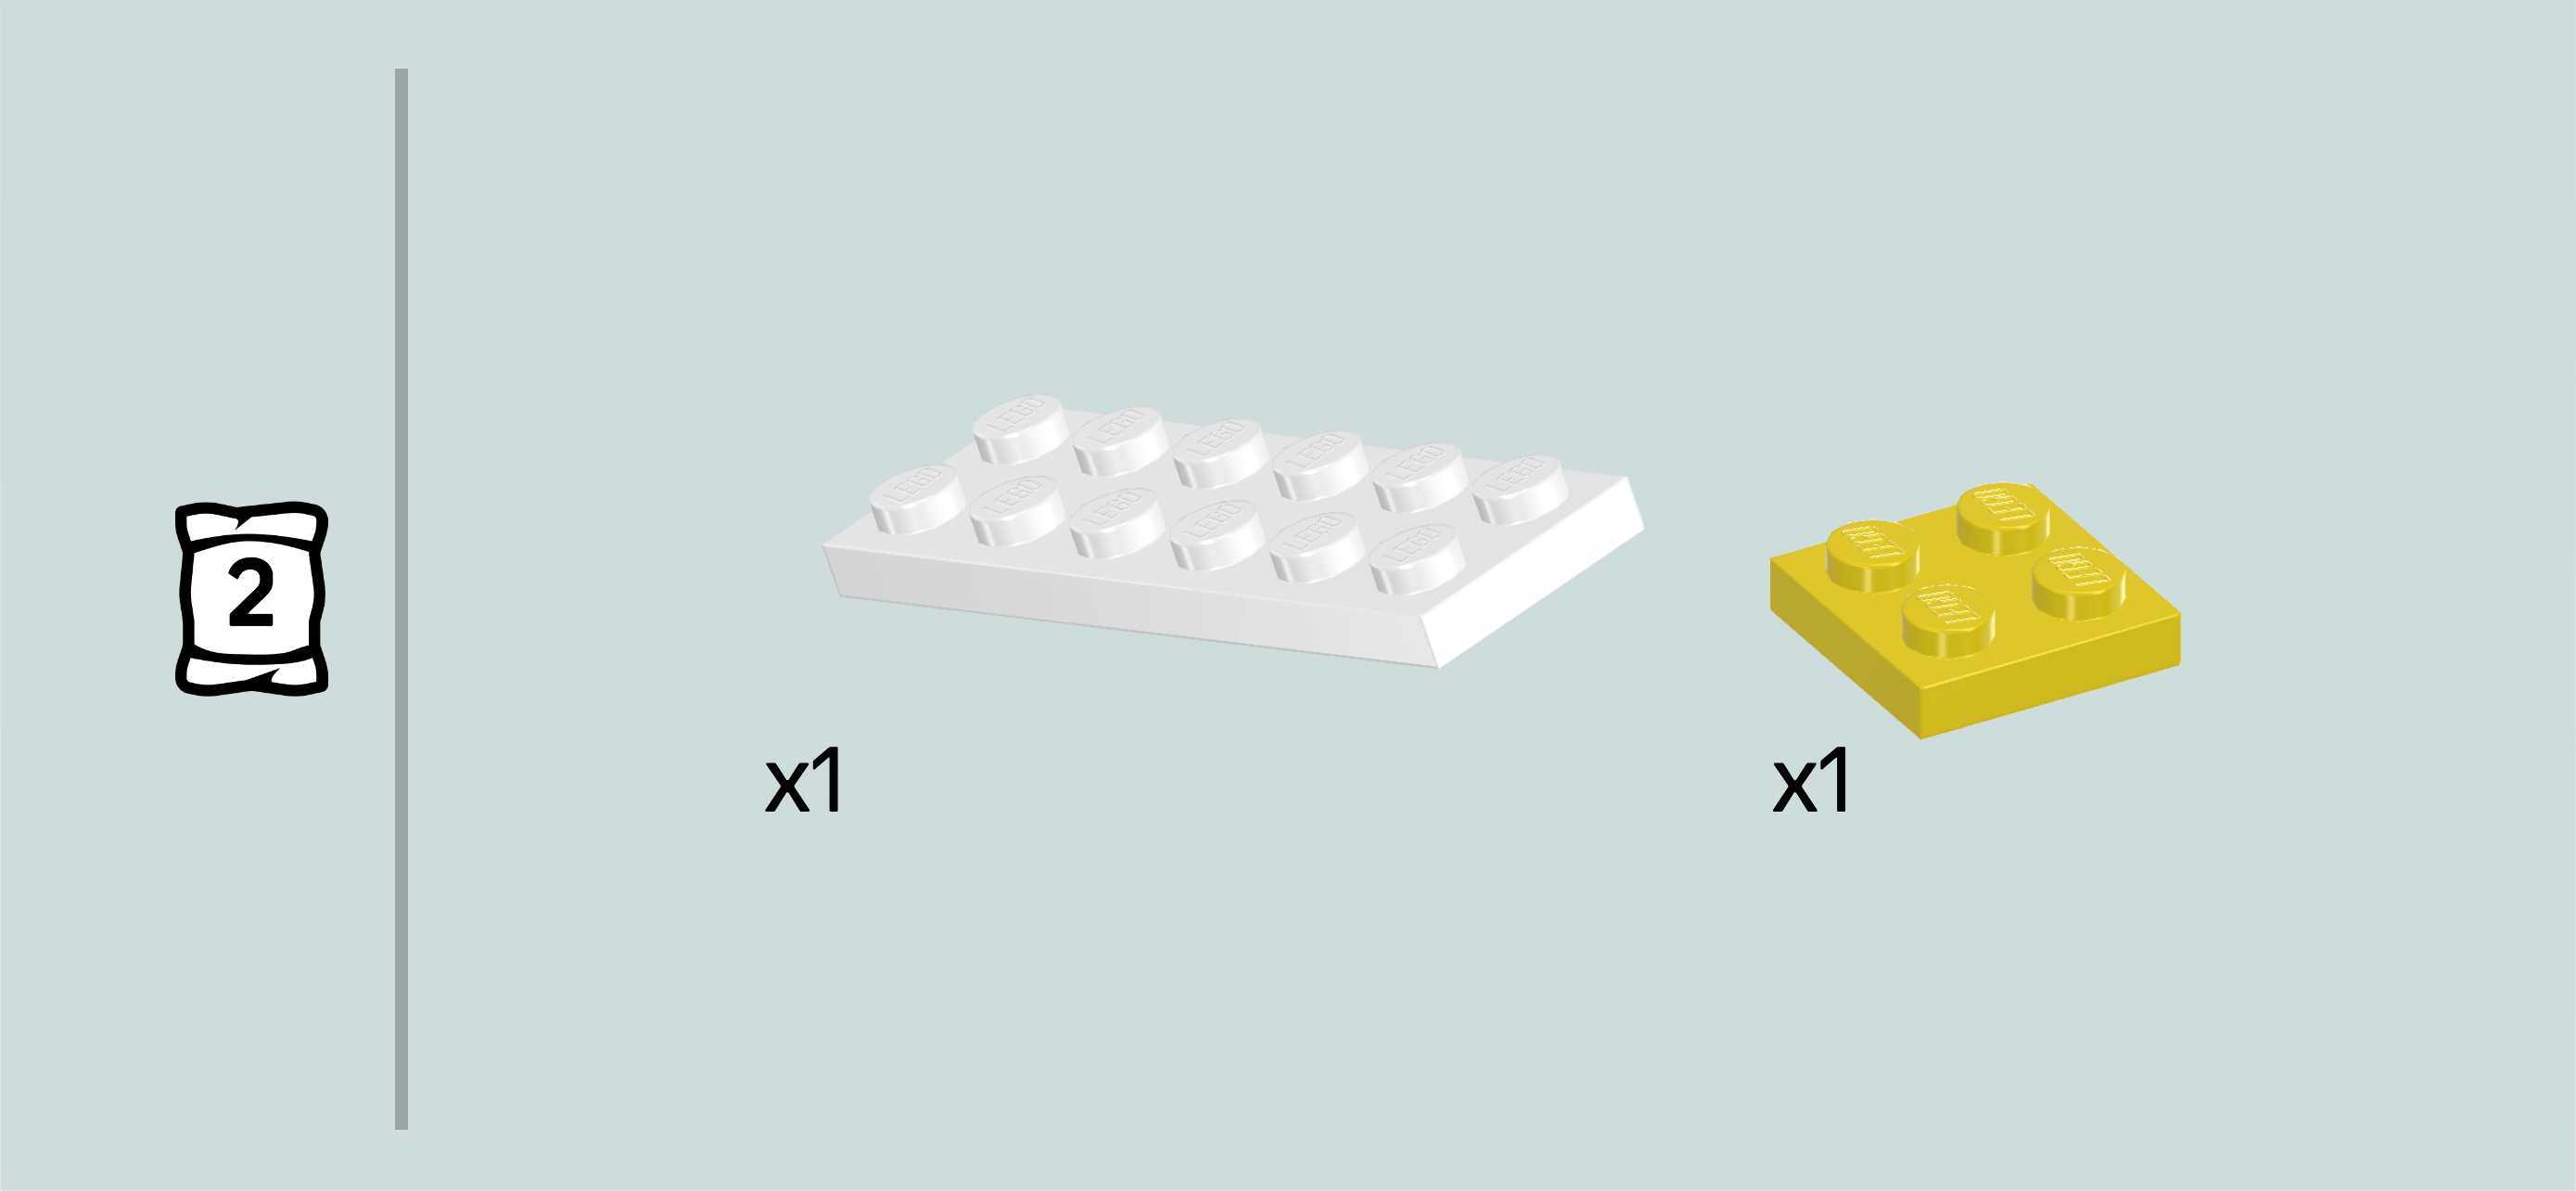
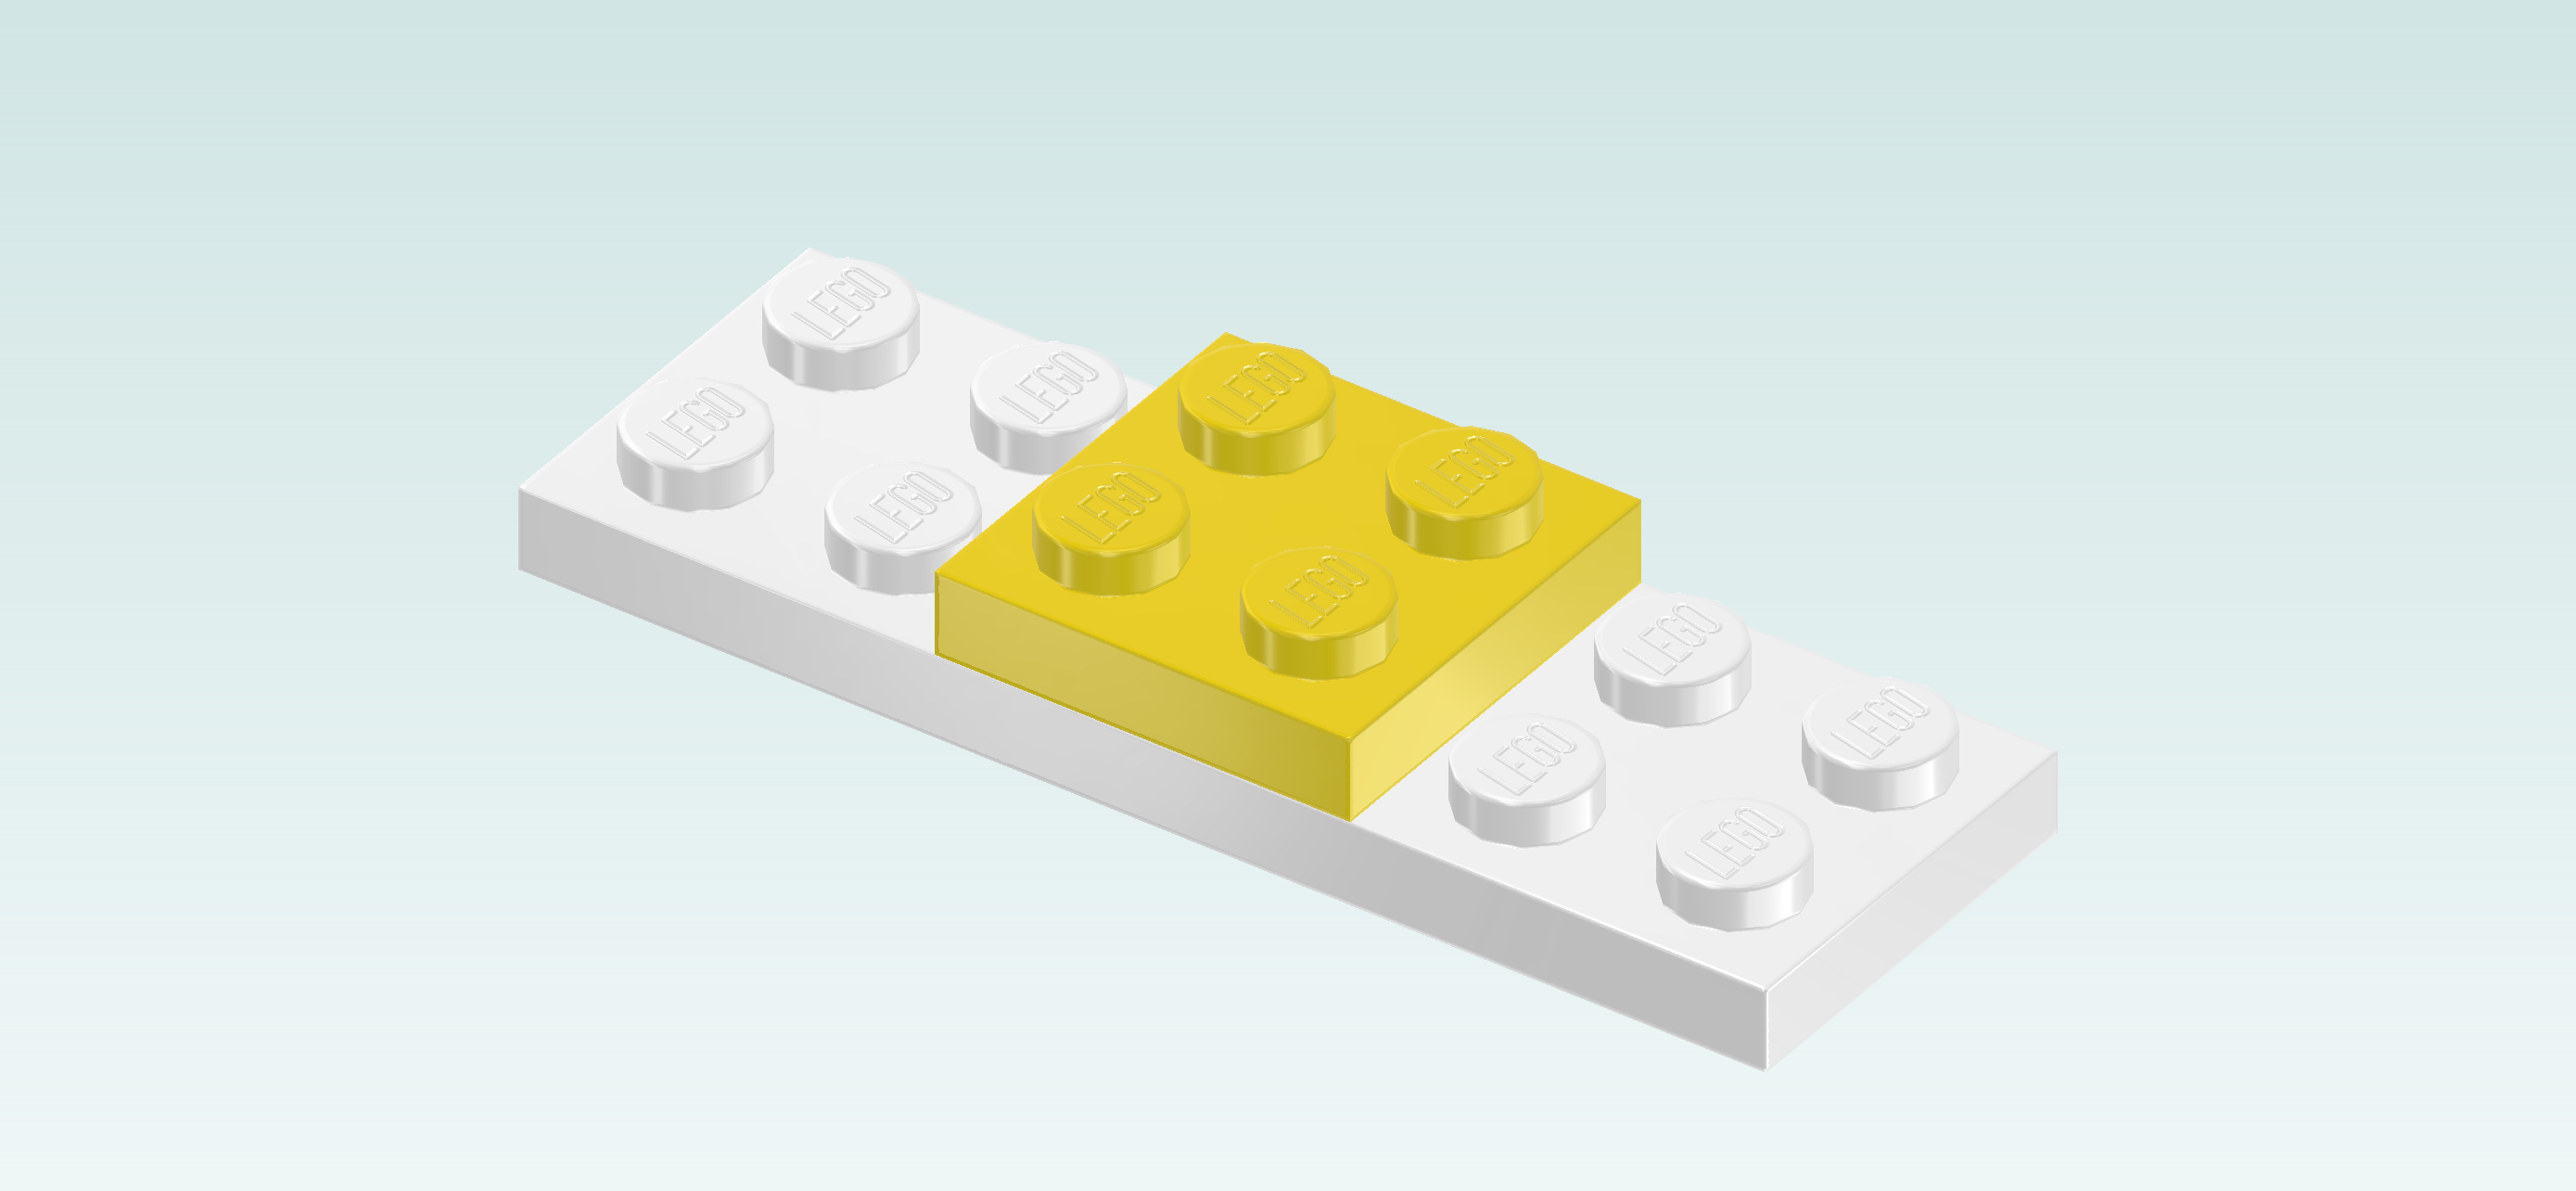
| The box contains 1 booklet with visual building instructions, 2 numbered bags, 2 loose pieces (1 plate 4x12 and 1 plate 8x8 with half circle) , and 1 sheet with 3 stickers. Ask a sighted person to help you find the correct bag! |
| Carefully open bag number 1 and any small sub-bags in it. This bag contains all bricks and pieces for the Zac Minidoll with Dango the dog, the Nova Minidoll, the solar charging station and the picnic area. |
| Before you start building, ask a sighted person to help you sort the pieces by color. This makes finding the correct pieces even easier! |
| First, we will build the Zac Minidoll. |
| Collect the following 2 pieces: |
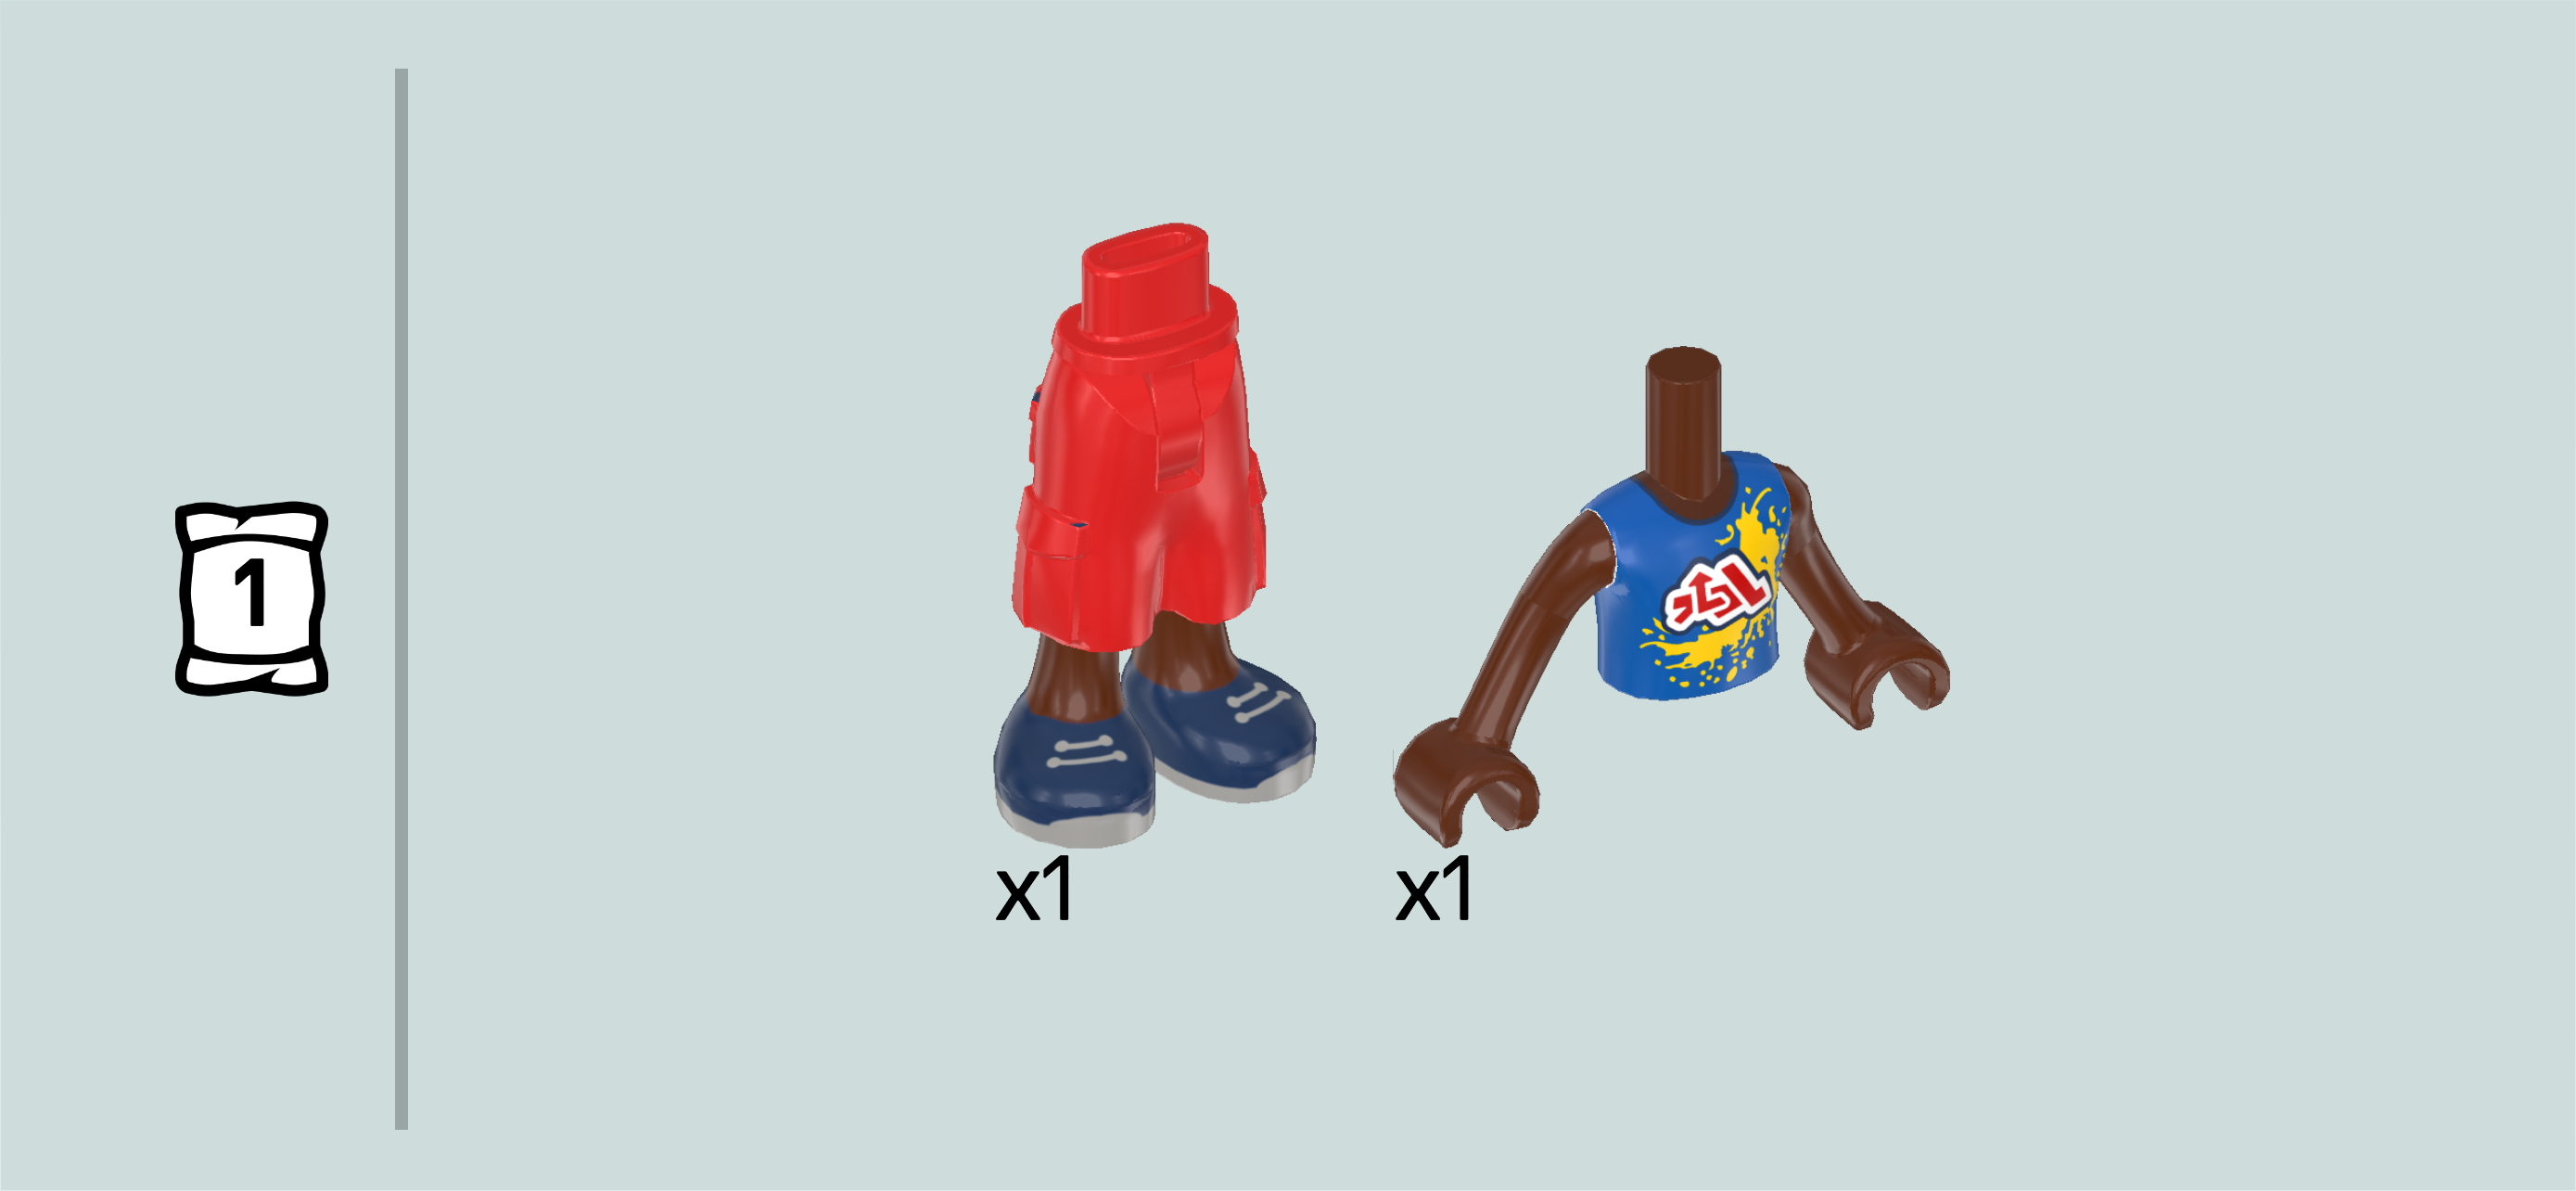
| 1 bright red and reddish brown Minidoll pair of legs with baggy Bermuda shorts, |
| and 1 reddish brown and white Minidoll upper body. |
| Put the upper body on top of the legs. |
| Collect the following 2 pieces: |
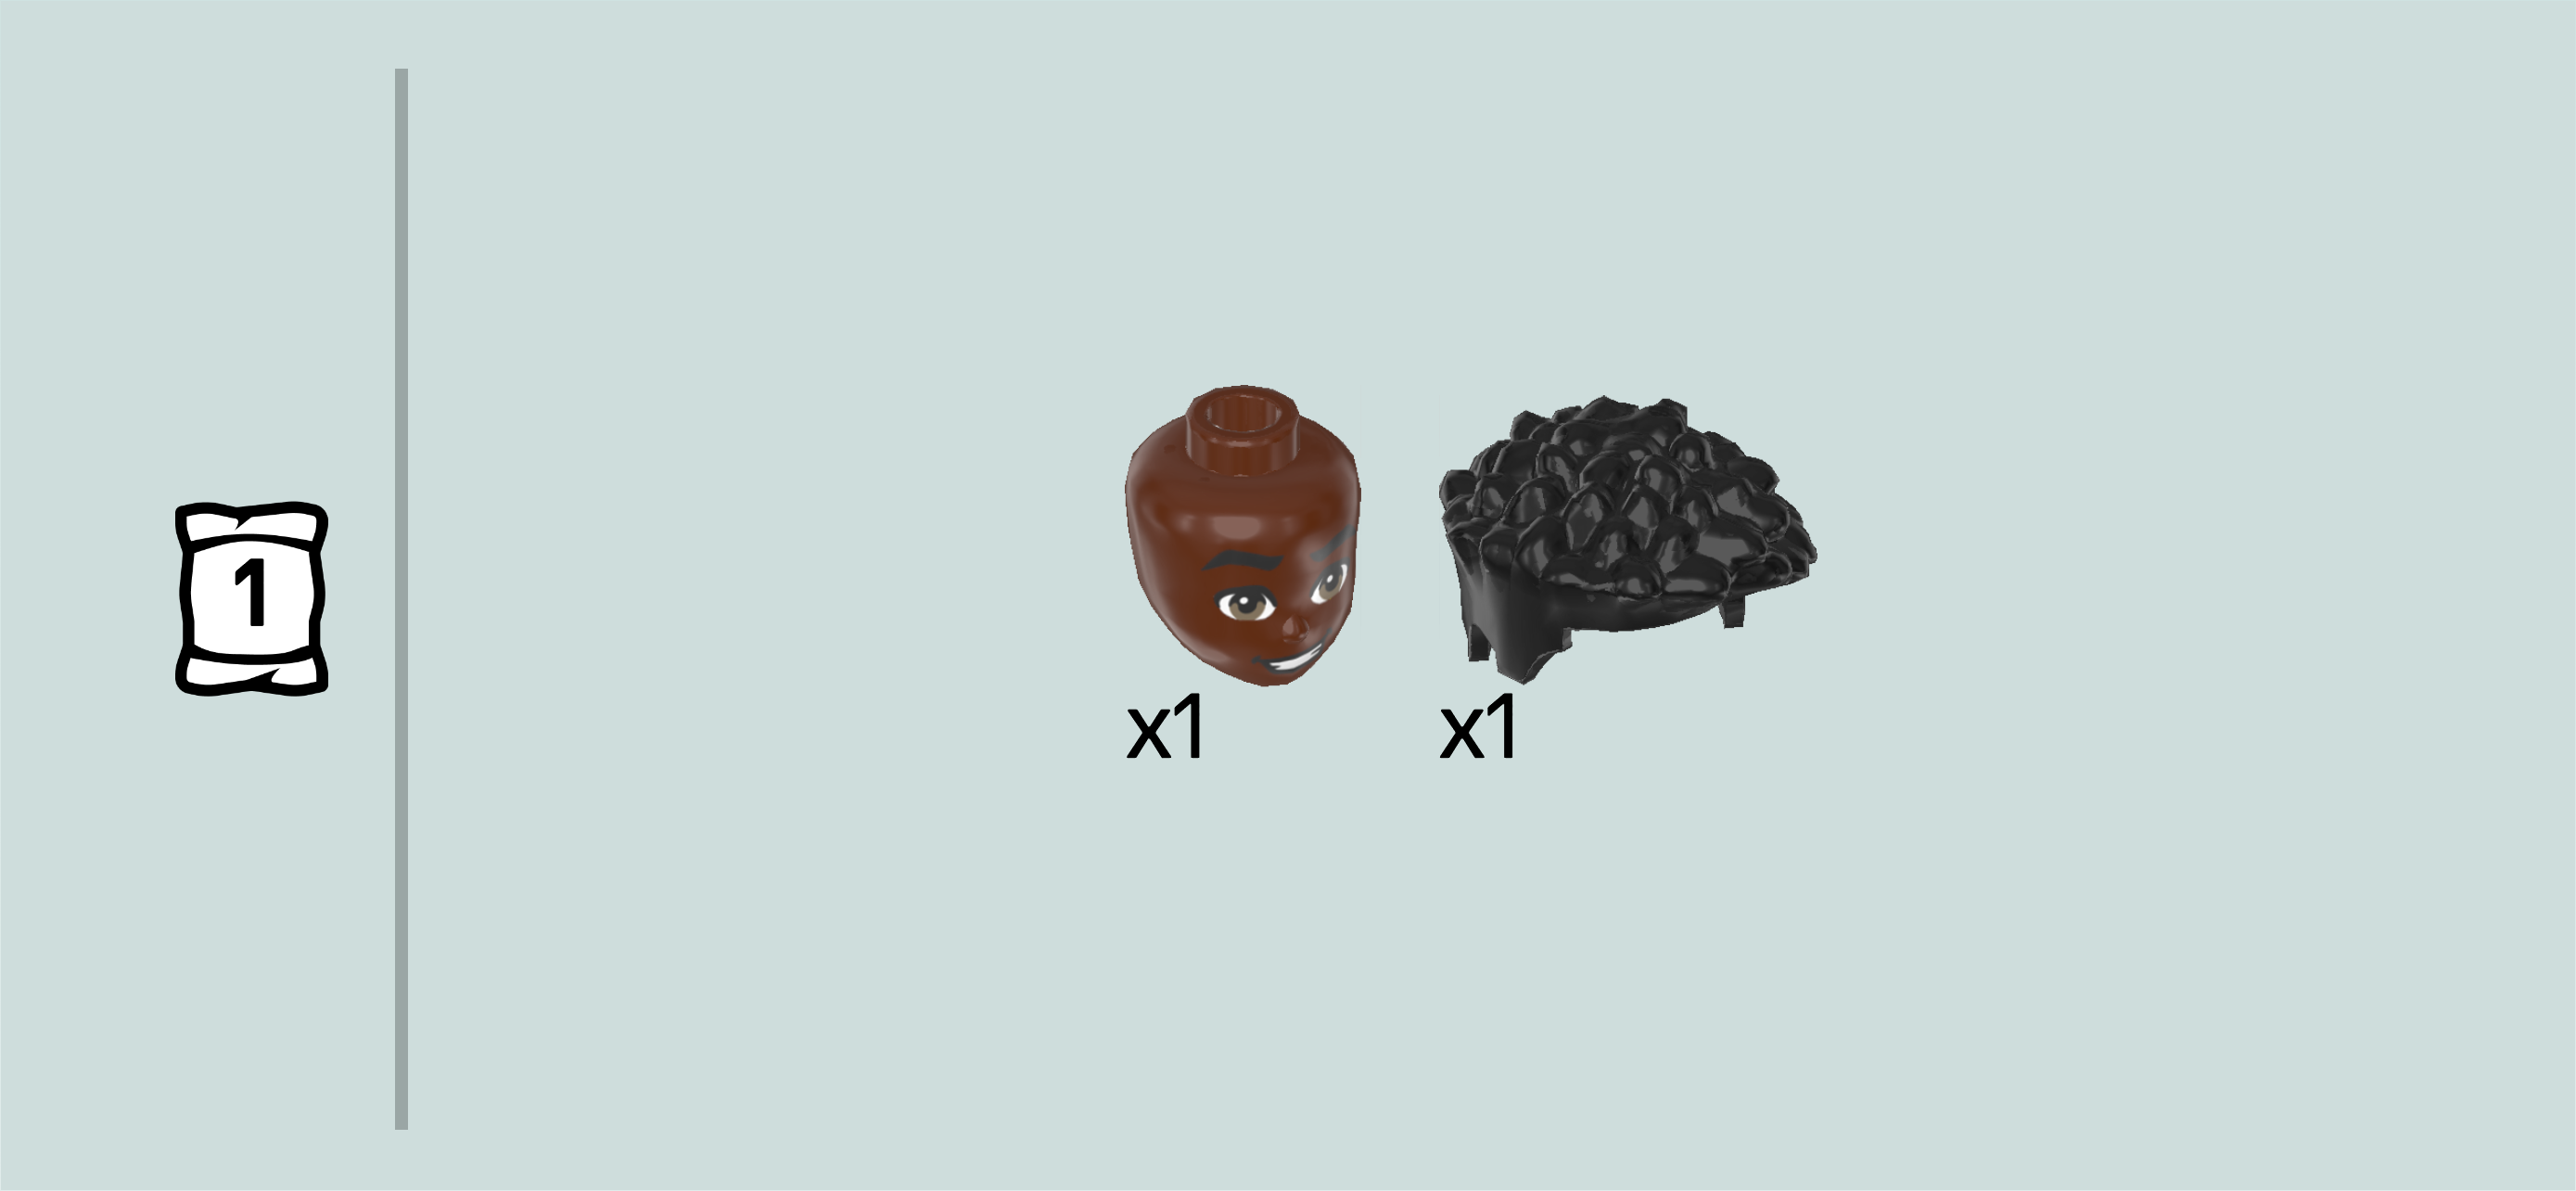
| 1 reddish brown Minidoll head, |
| and 1 black afro hairpiece with sidecut. |
| Put the Minidoll head on the body. |
| Put the hair on the head. |
| Collect the following 3 pieces: |
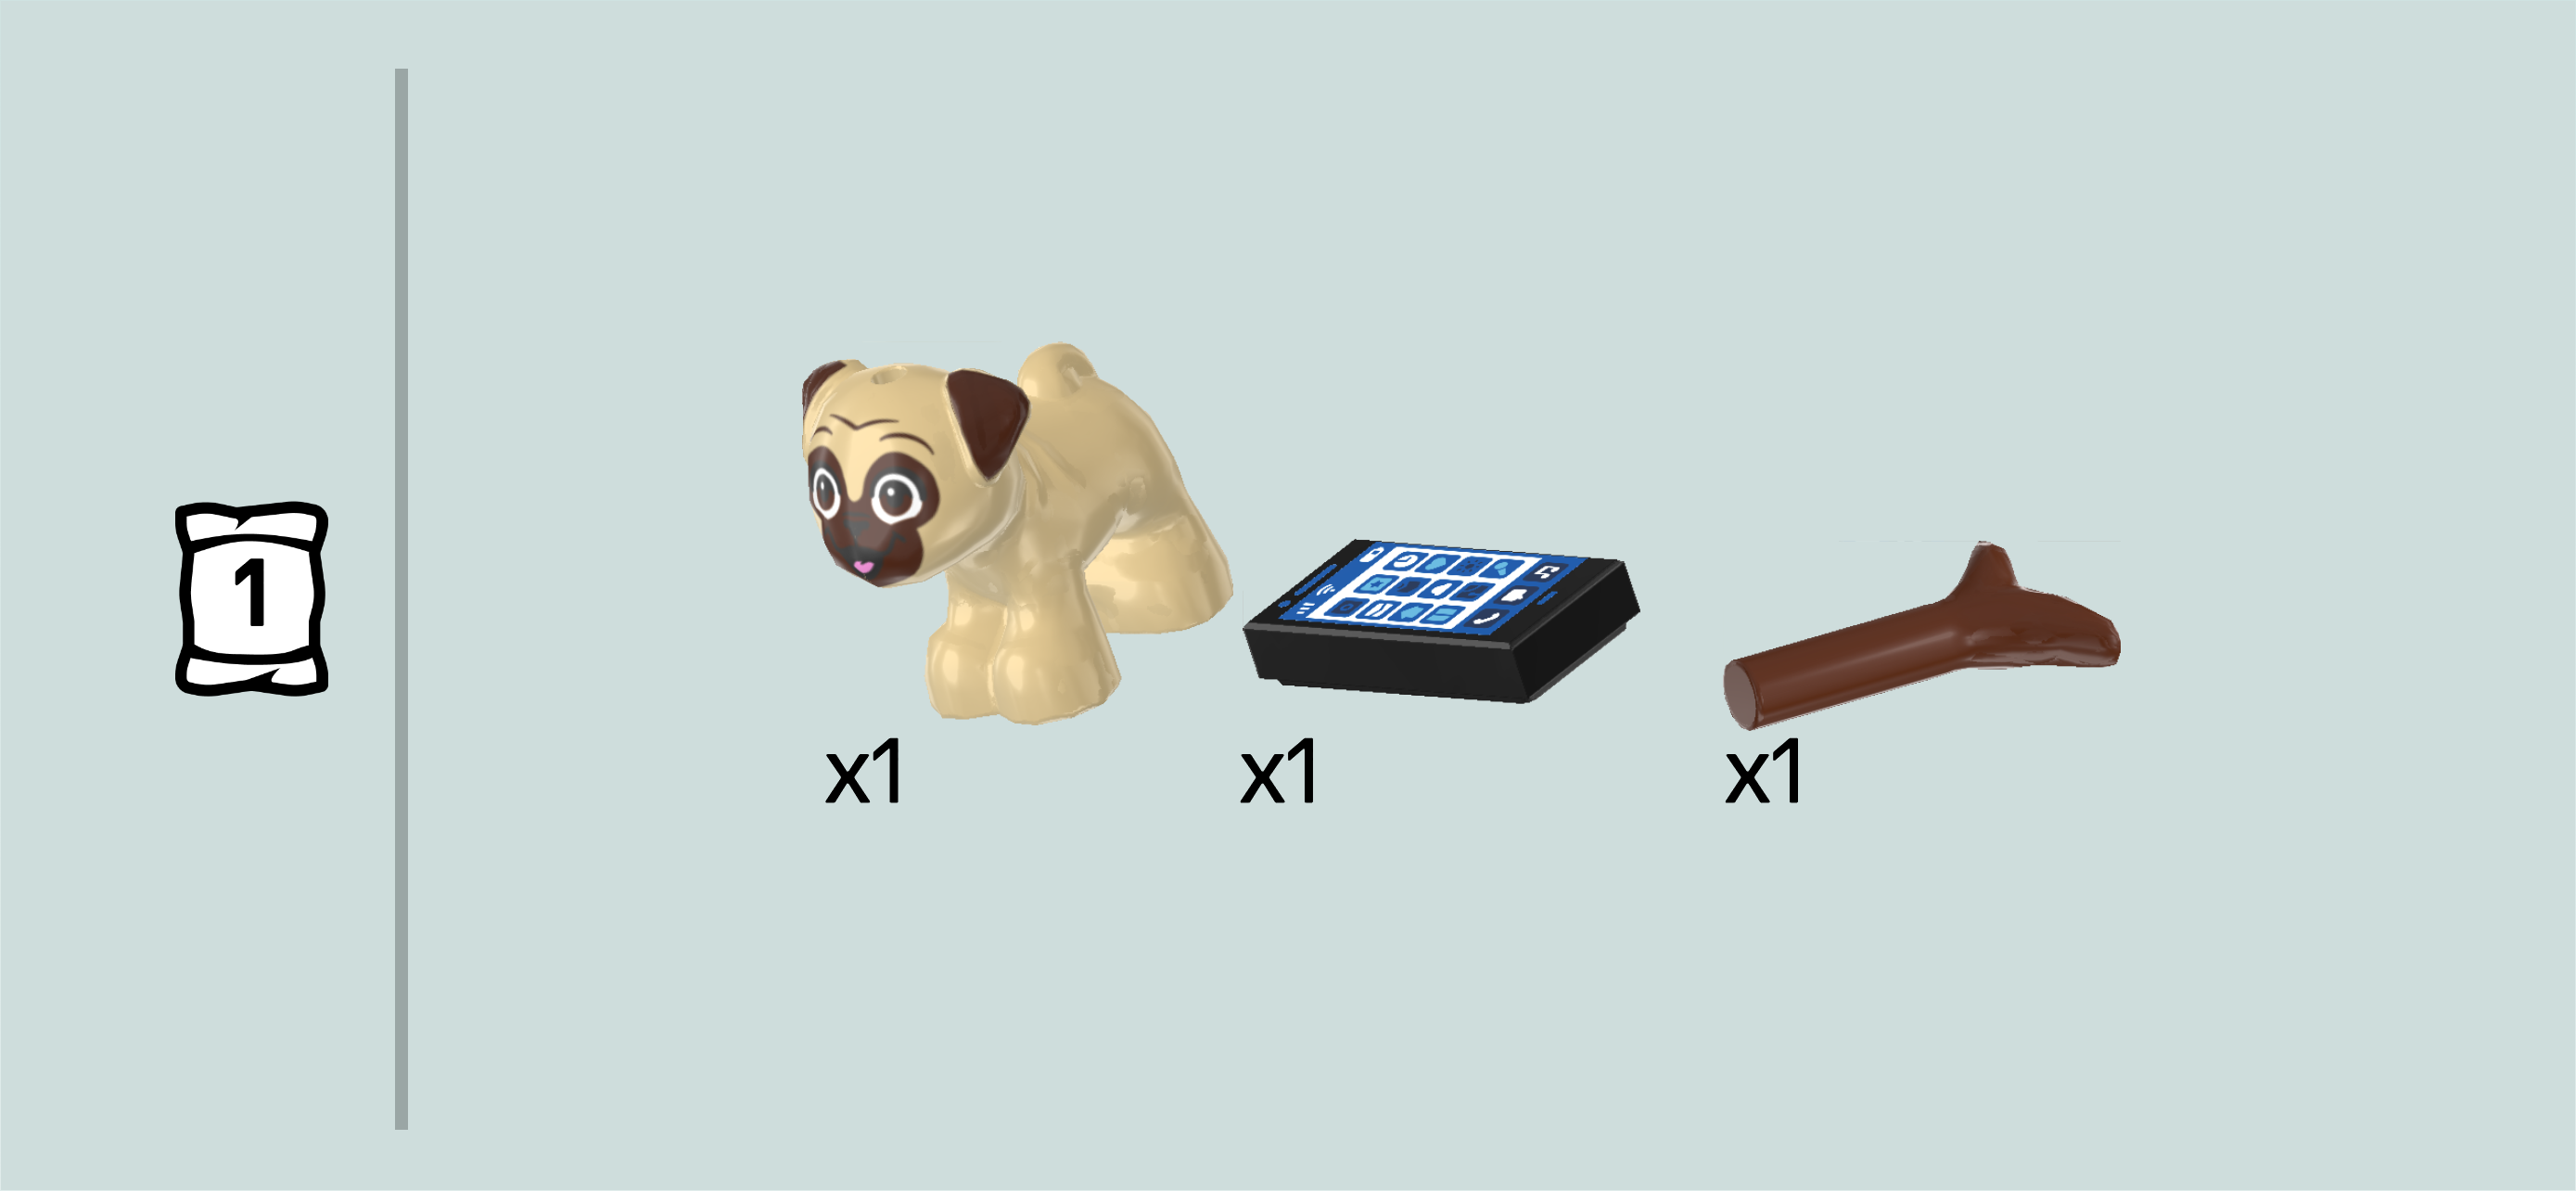
| 1 black flat tile 1x2 (this piece is printed), |
| 1 reddish brown shaft 2m with twig leaves, |
| and 1 pale ocher yellow pug dog figurine. |
| Snap the flat tile 1x2 in Zac's hand. This piece is printed with the unlocked home screen of a smartphone. There are plenty of app icons on the home screen, and at the top of the screen there are icons for the state of charge, Wi-Fi connectivity and cell reception. |
| Dango is a little pug with dark brown ears, a dark brown snout and a cute wrinkly face. The rest of his fur is ocher yellow. |
| The Zac Minidoll is finished! Well done! He is wearing blue shoes with grey soles and white laces, a red pair of baggy shorts with lots of pockets, and a blue tank top with a cool front print: it's a huge splash of yellow with red signs on top, mimicking a fantasy script. Zac's dog Dango loves playing fetch, so throw him the stick if you like! |
| Next, we will build the Nova Minidoll. |
| Collect the following 2 pieces: |
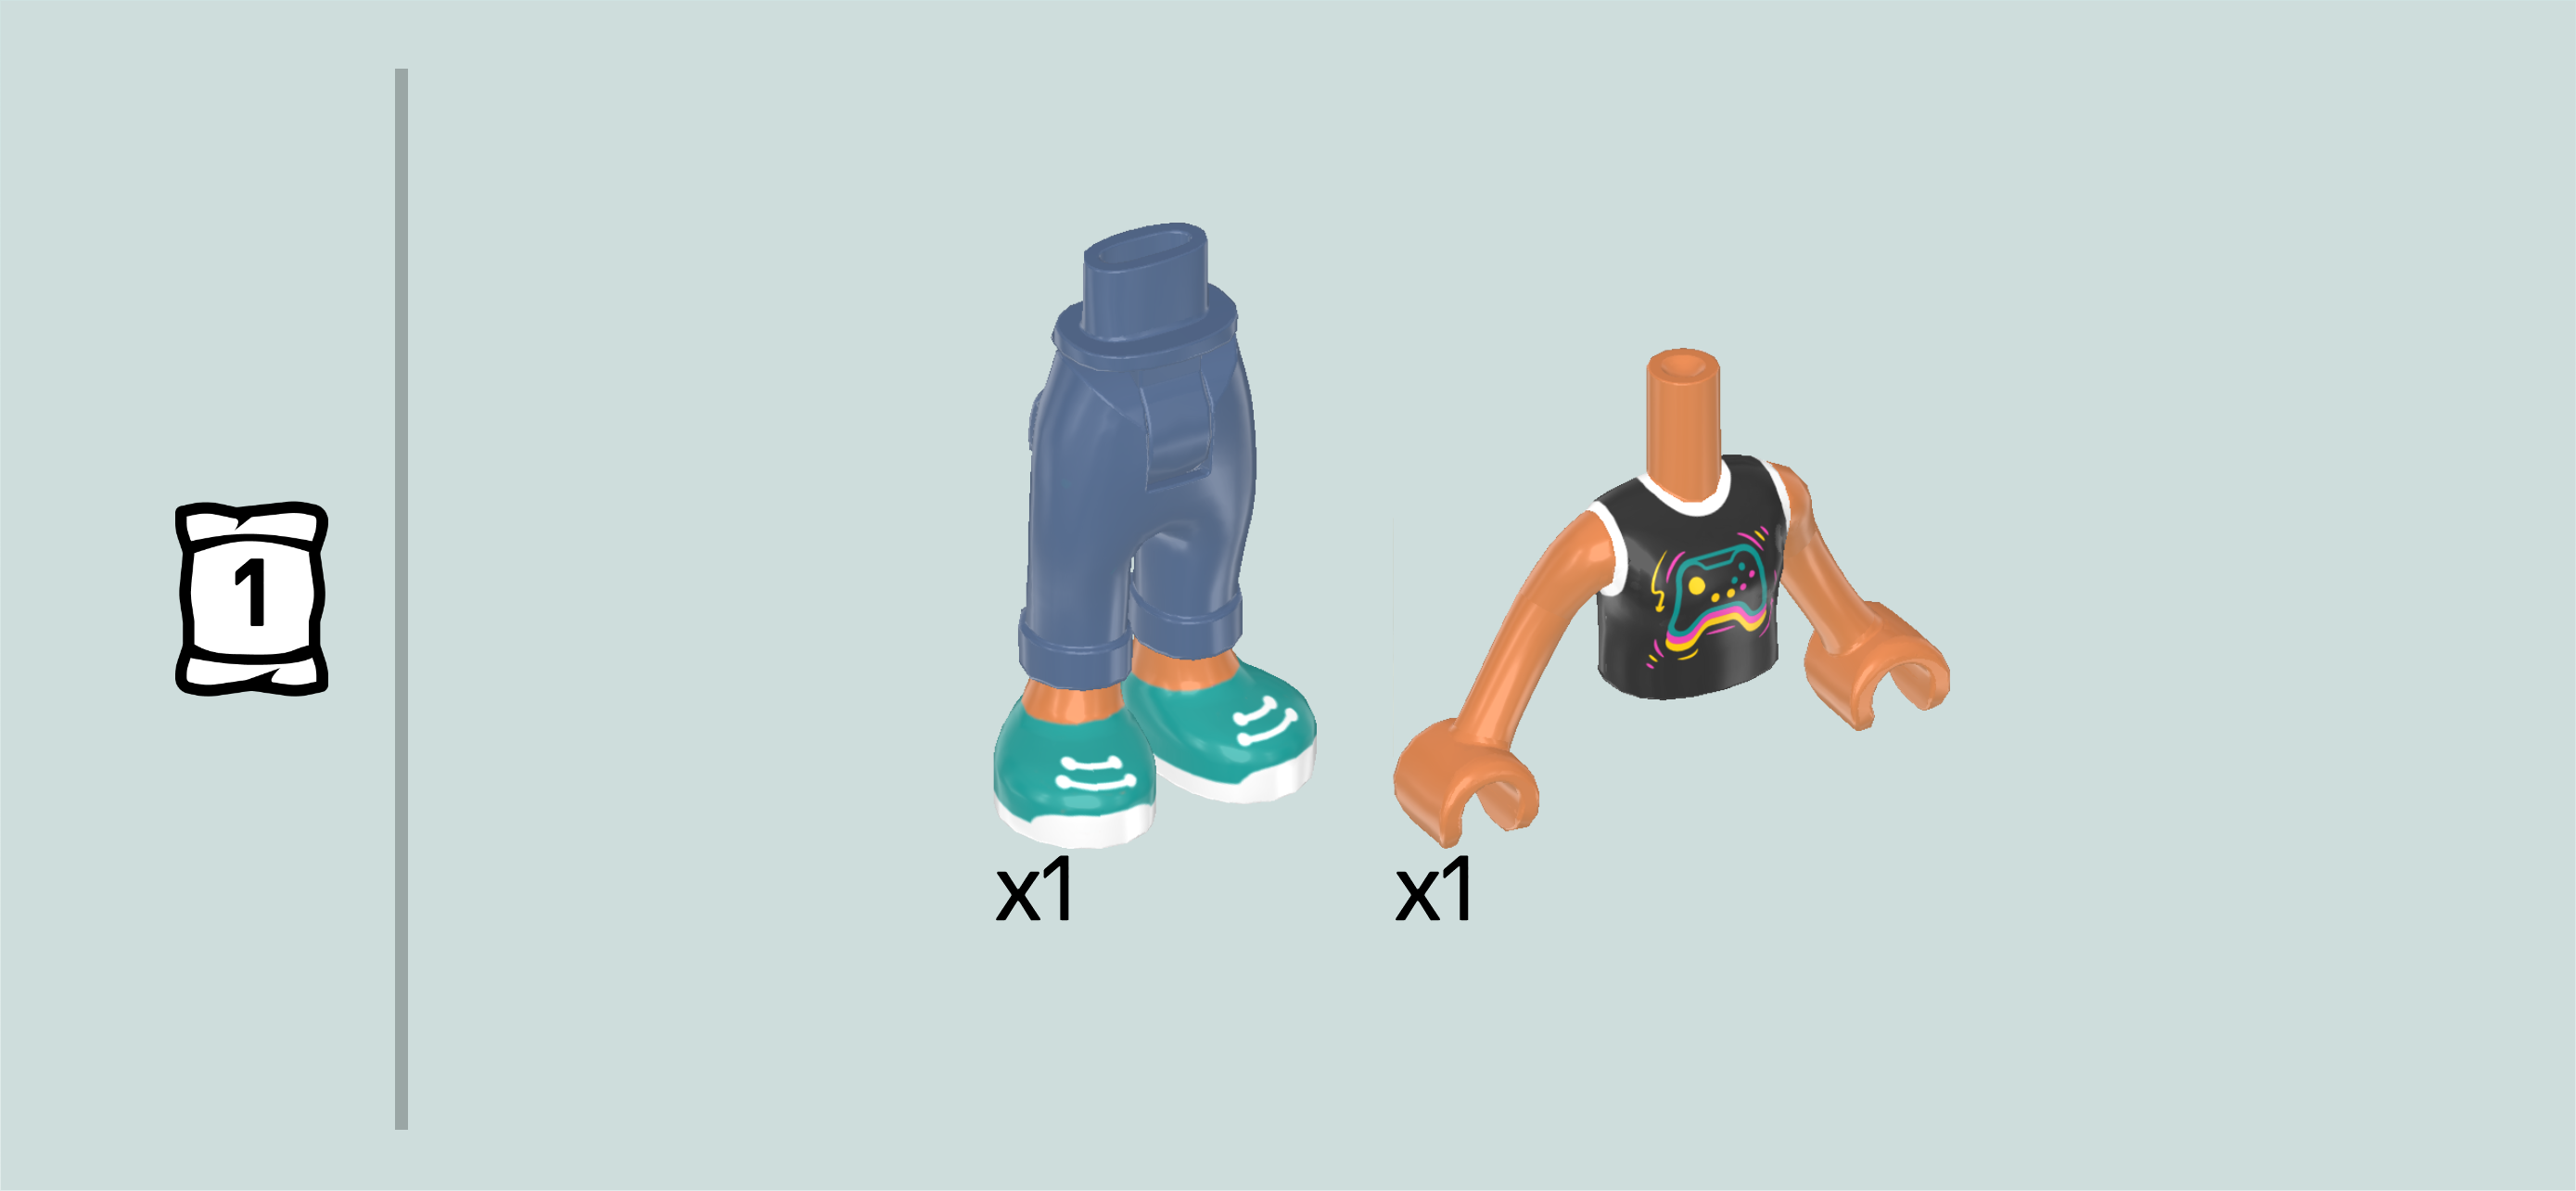
| 1 nougat brown and white Minidoll upper body, |
| and 1 sand blue and nougat brown pair of legs with long pants and turned up cuffs. |
| Put the upper body on top of the legs. |
| Collect the following 2 pieces: |
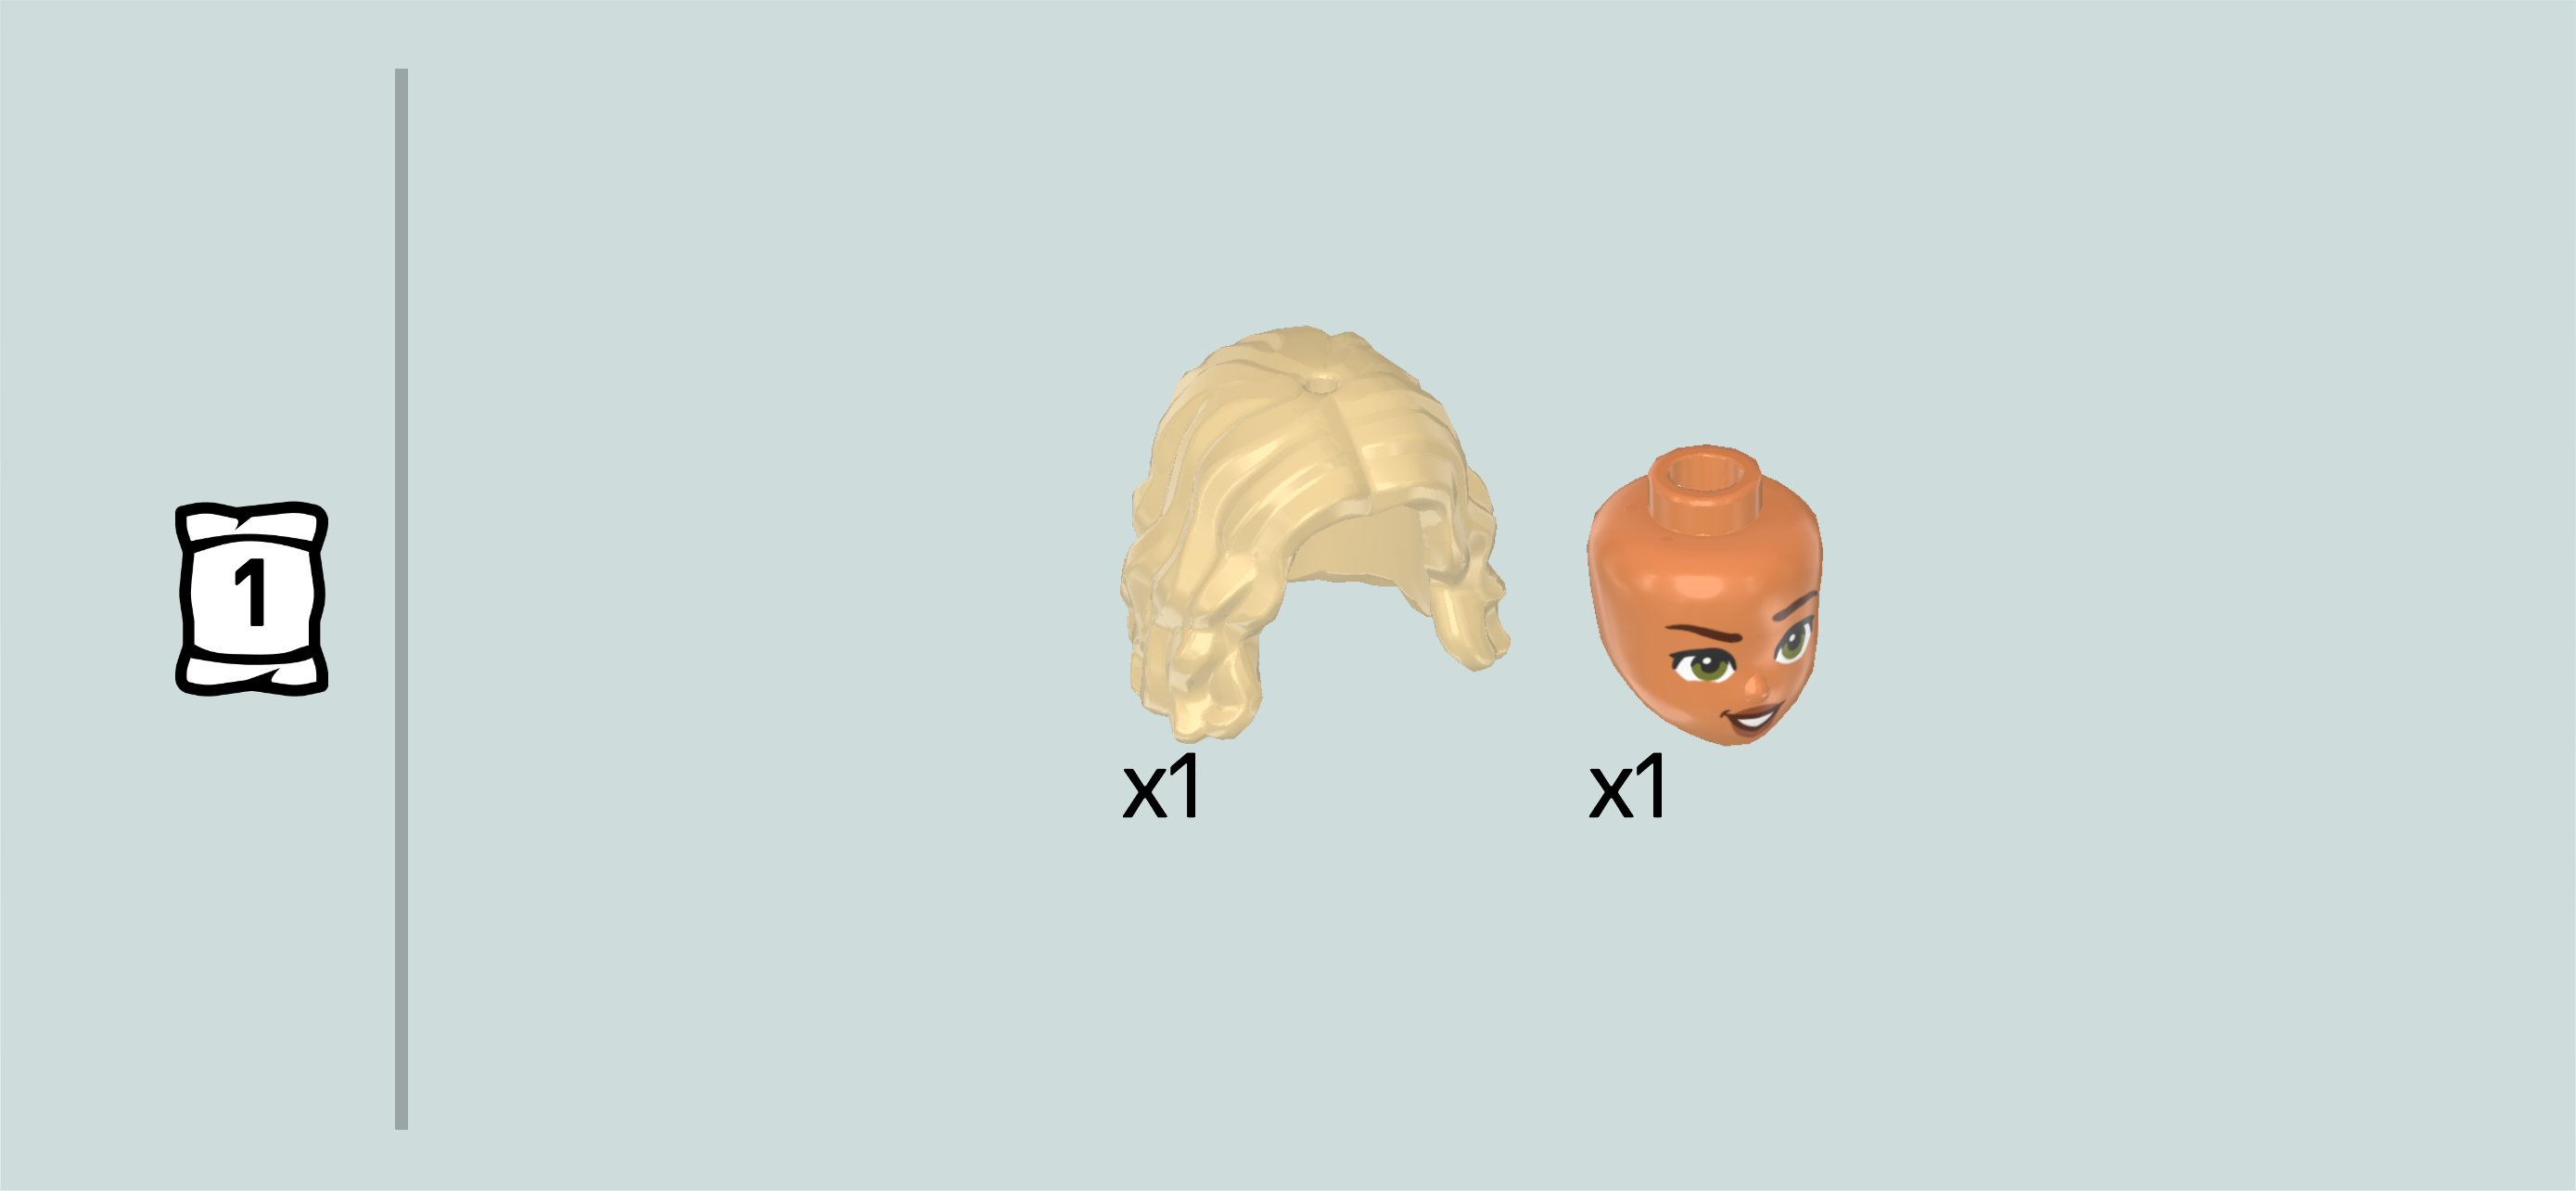
| 1 nougat brown Minidoll head, |
| and 1 pale ocher yellow shoulder-length wavy hairpiece with middle parting. |
| Put the Minidoll head on the body. |
| Put the hair on the head. |
| Collect the following 2 pieces: |
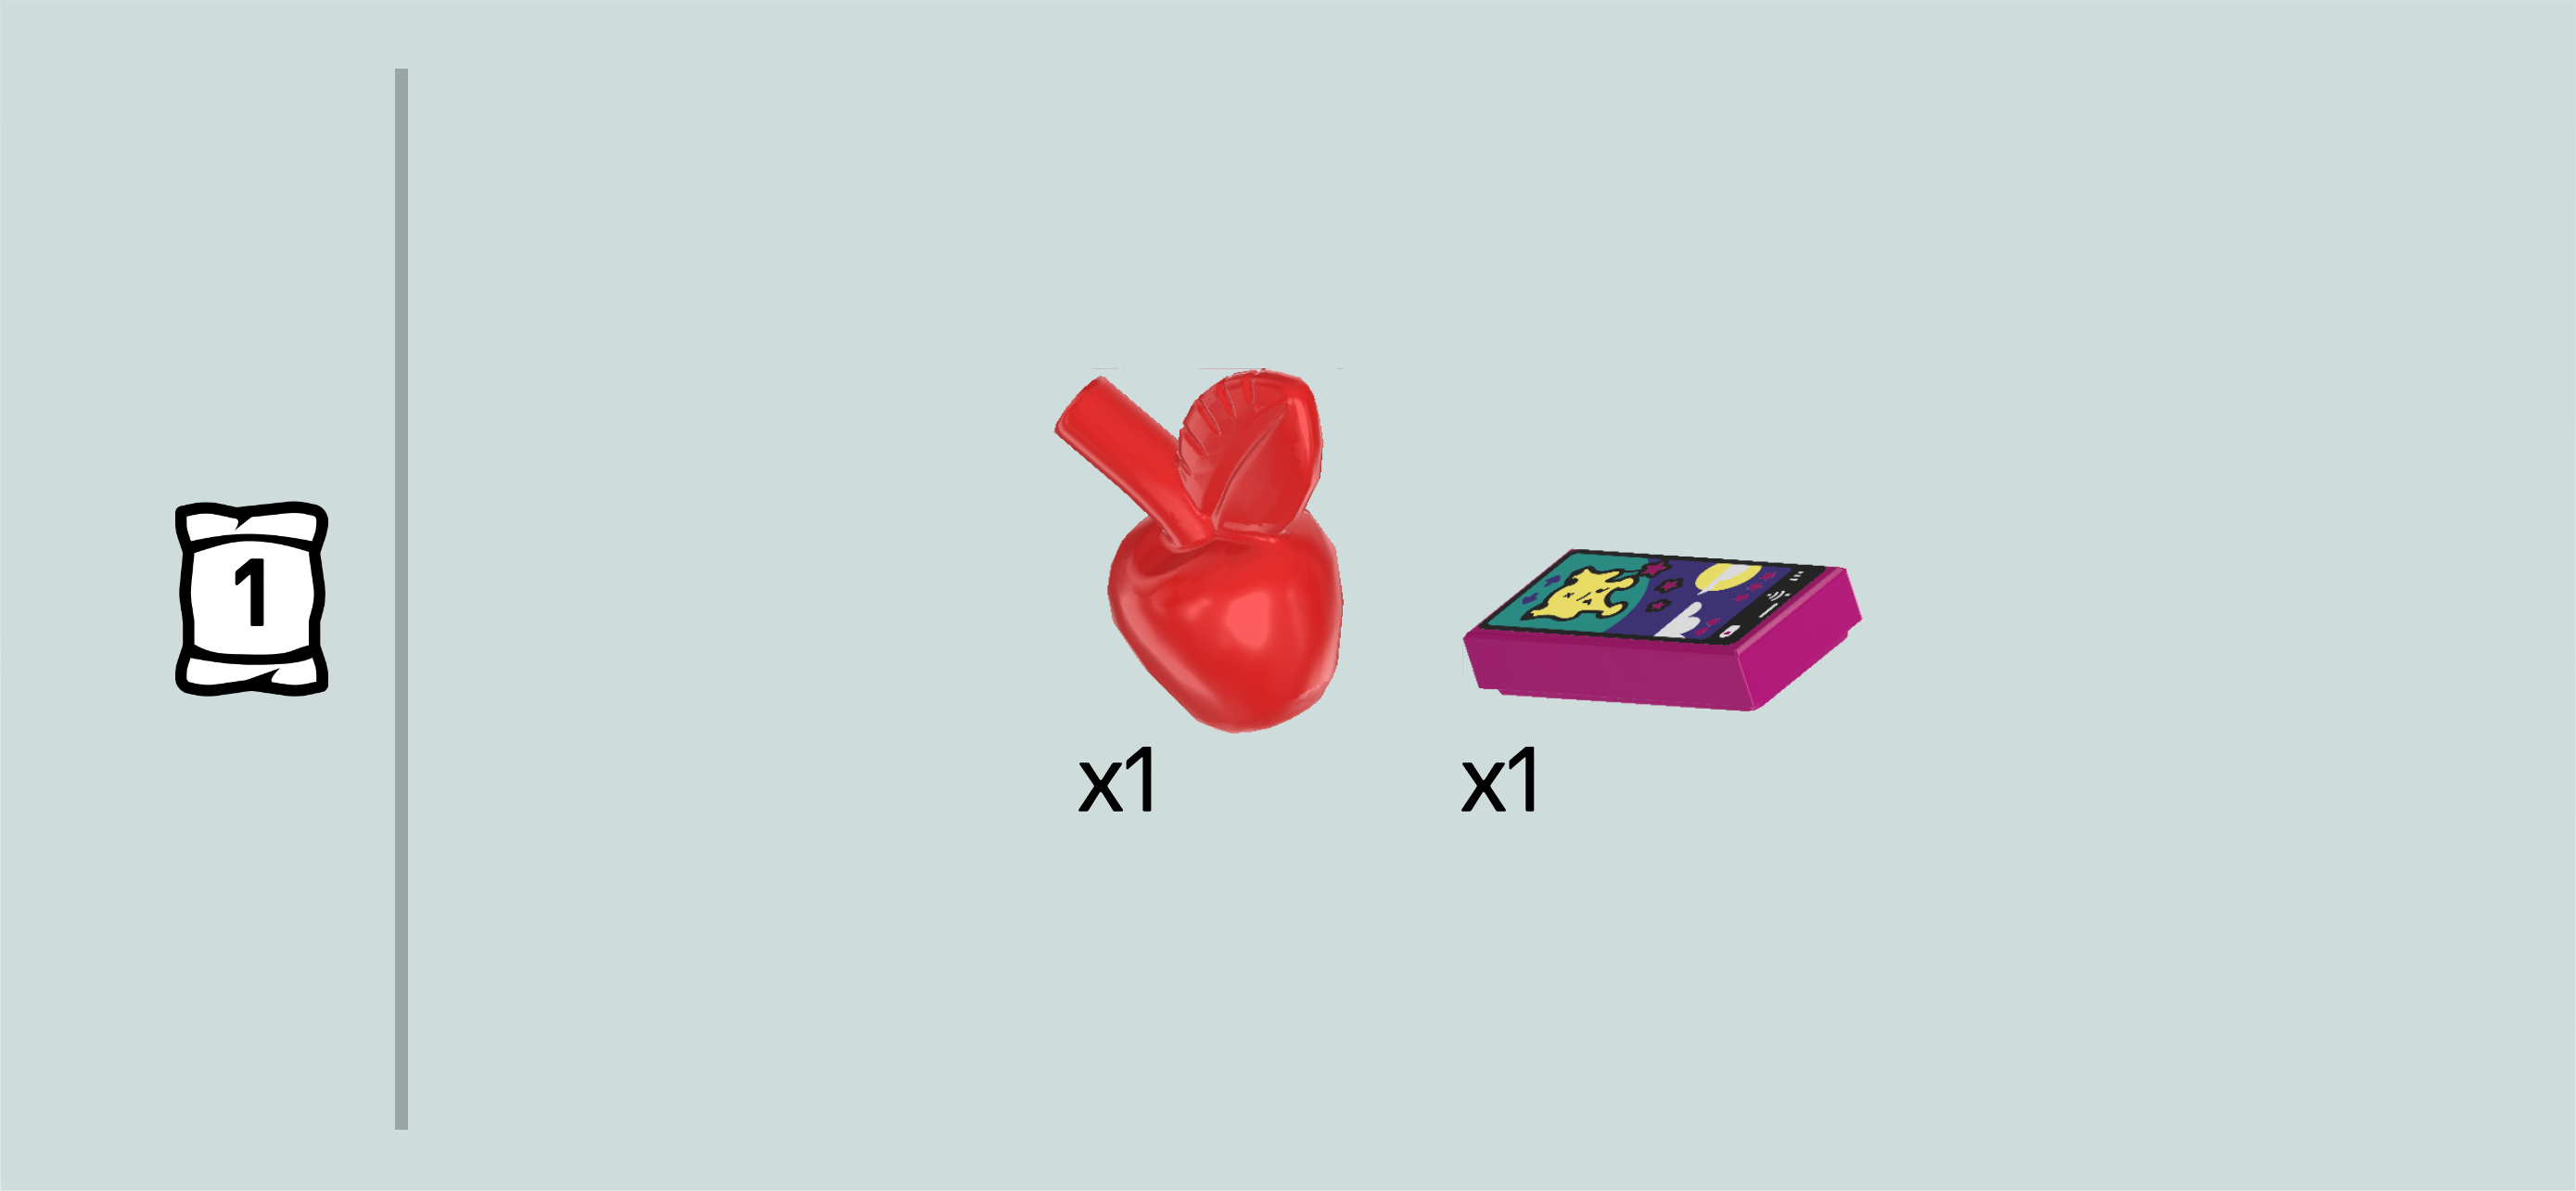
| 1 bright red mini apple with stalk and leaf, |
| and 1 purple violet flat tile 1x2. |
| Snap the stalk of the apple into Nova's hand. |
| Snap the flat tile into Nova's other hand. This tile actually is Nova's mobile phone! She seems to be playing a game with a yellow polymorphous character in a fantasy landscape. The screen shows two arrows for swiping left and right, and you can also see her full Wi-Fi reception as well as the state of charge. |
| The Nova Minidoll is finished! Well done! Nova is wearing teal shoes with white soles and laces, blue capri pants and a black tank top with a white collar and white cuffs. The chest print of the shirt is the silhouette of a gaming controller in neon RGB colors (so neon pink, neon blue and neon yellow) with neon-yellow and neon-pink buttons and decorations. Her skin tone is pinkish beige, she has ash blonde hair and grey eyes. |
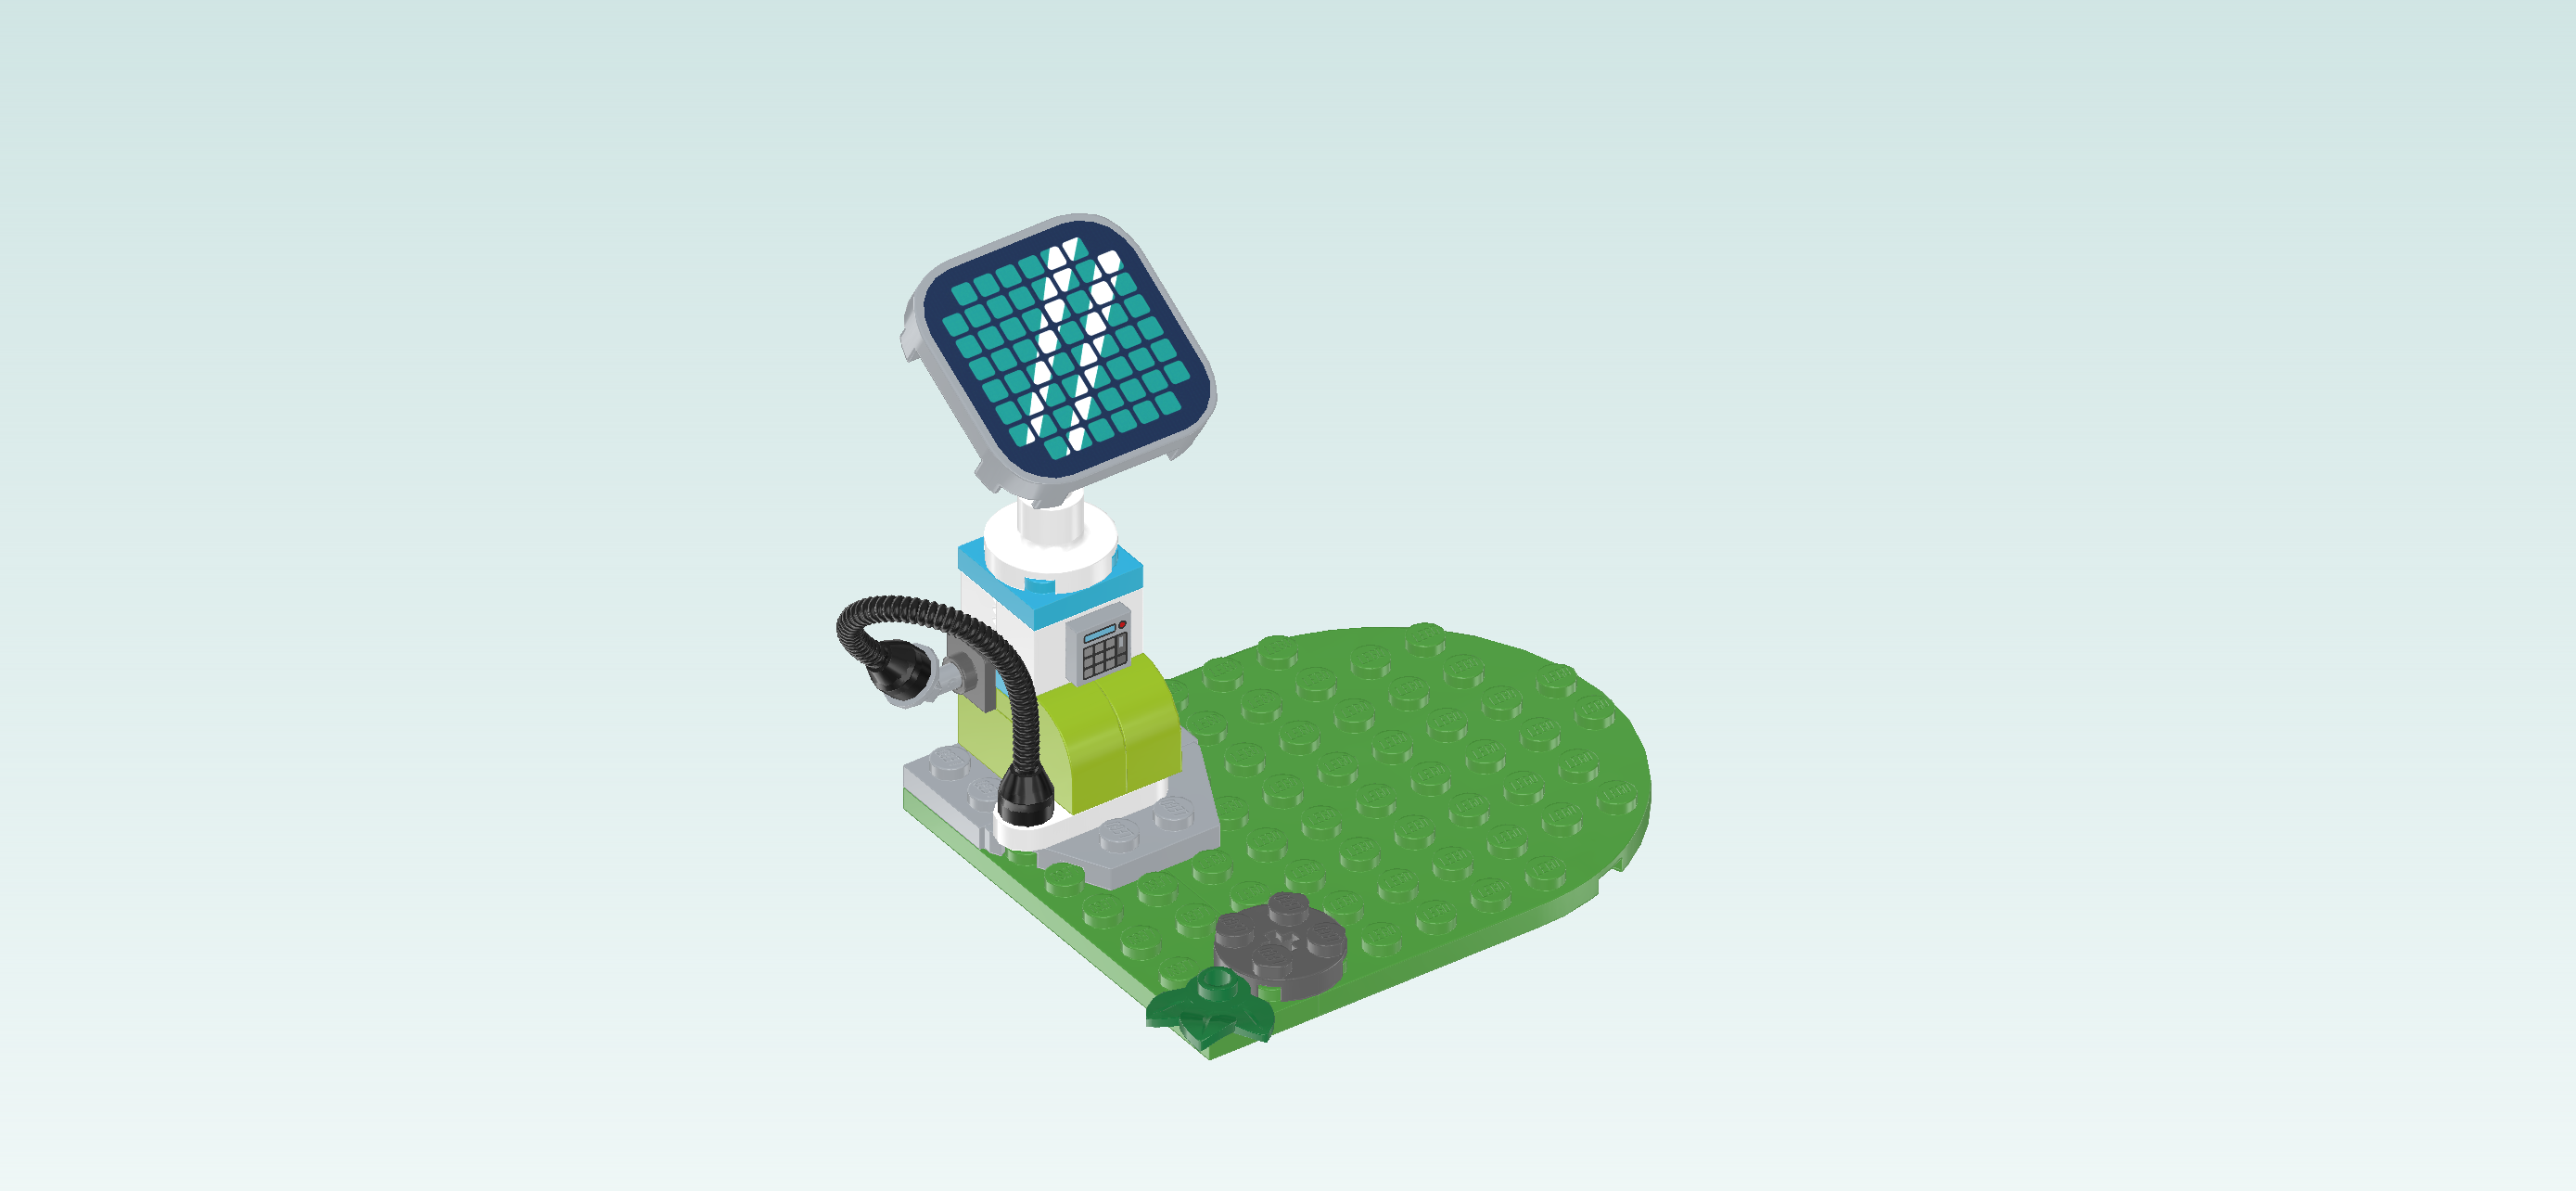
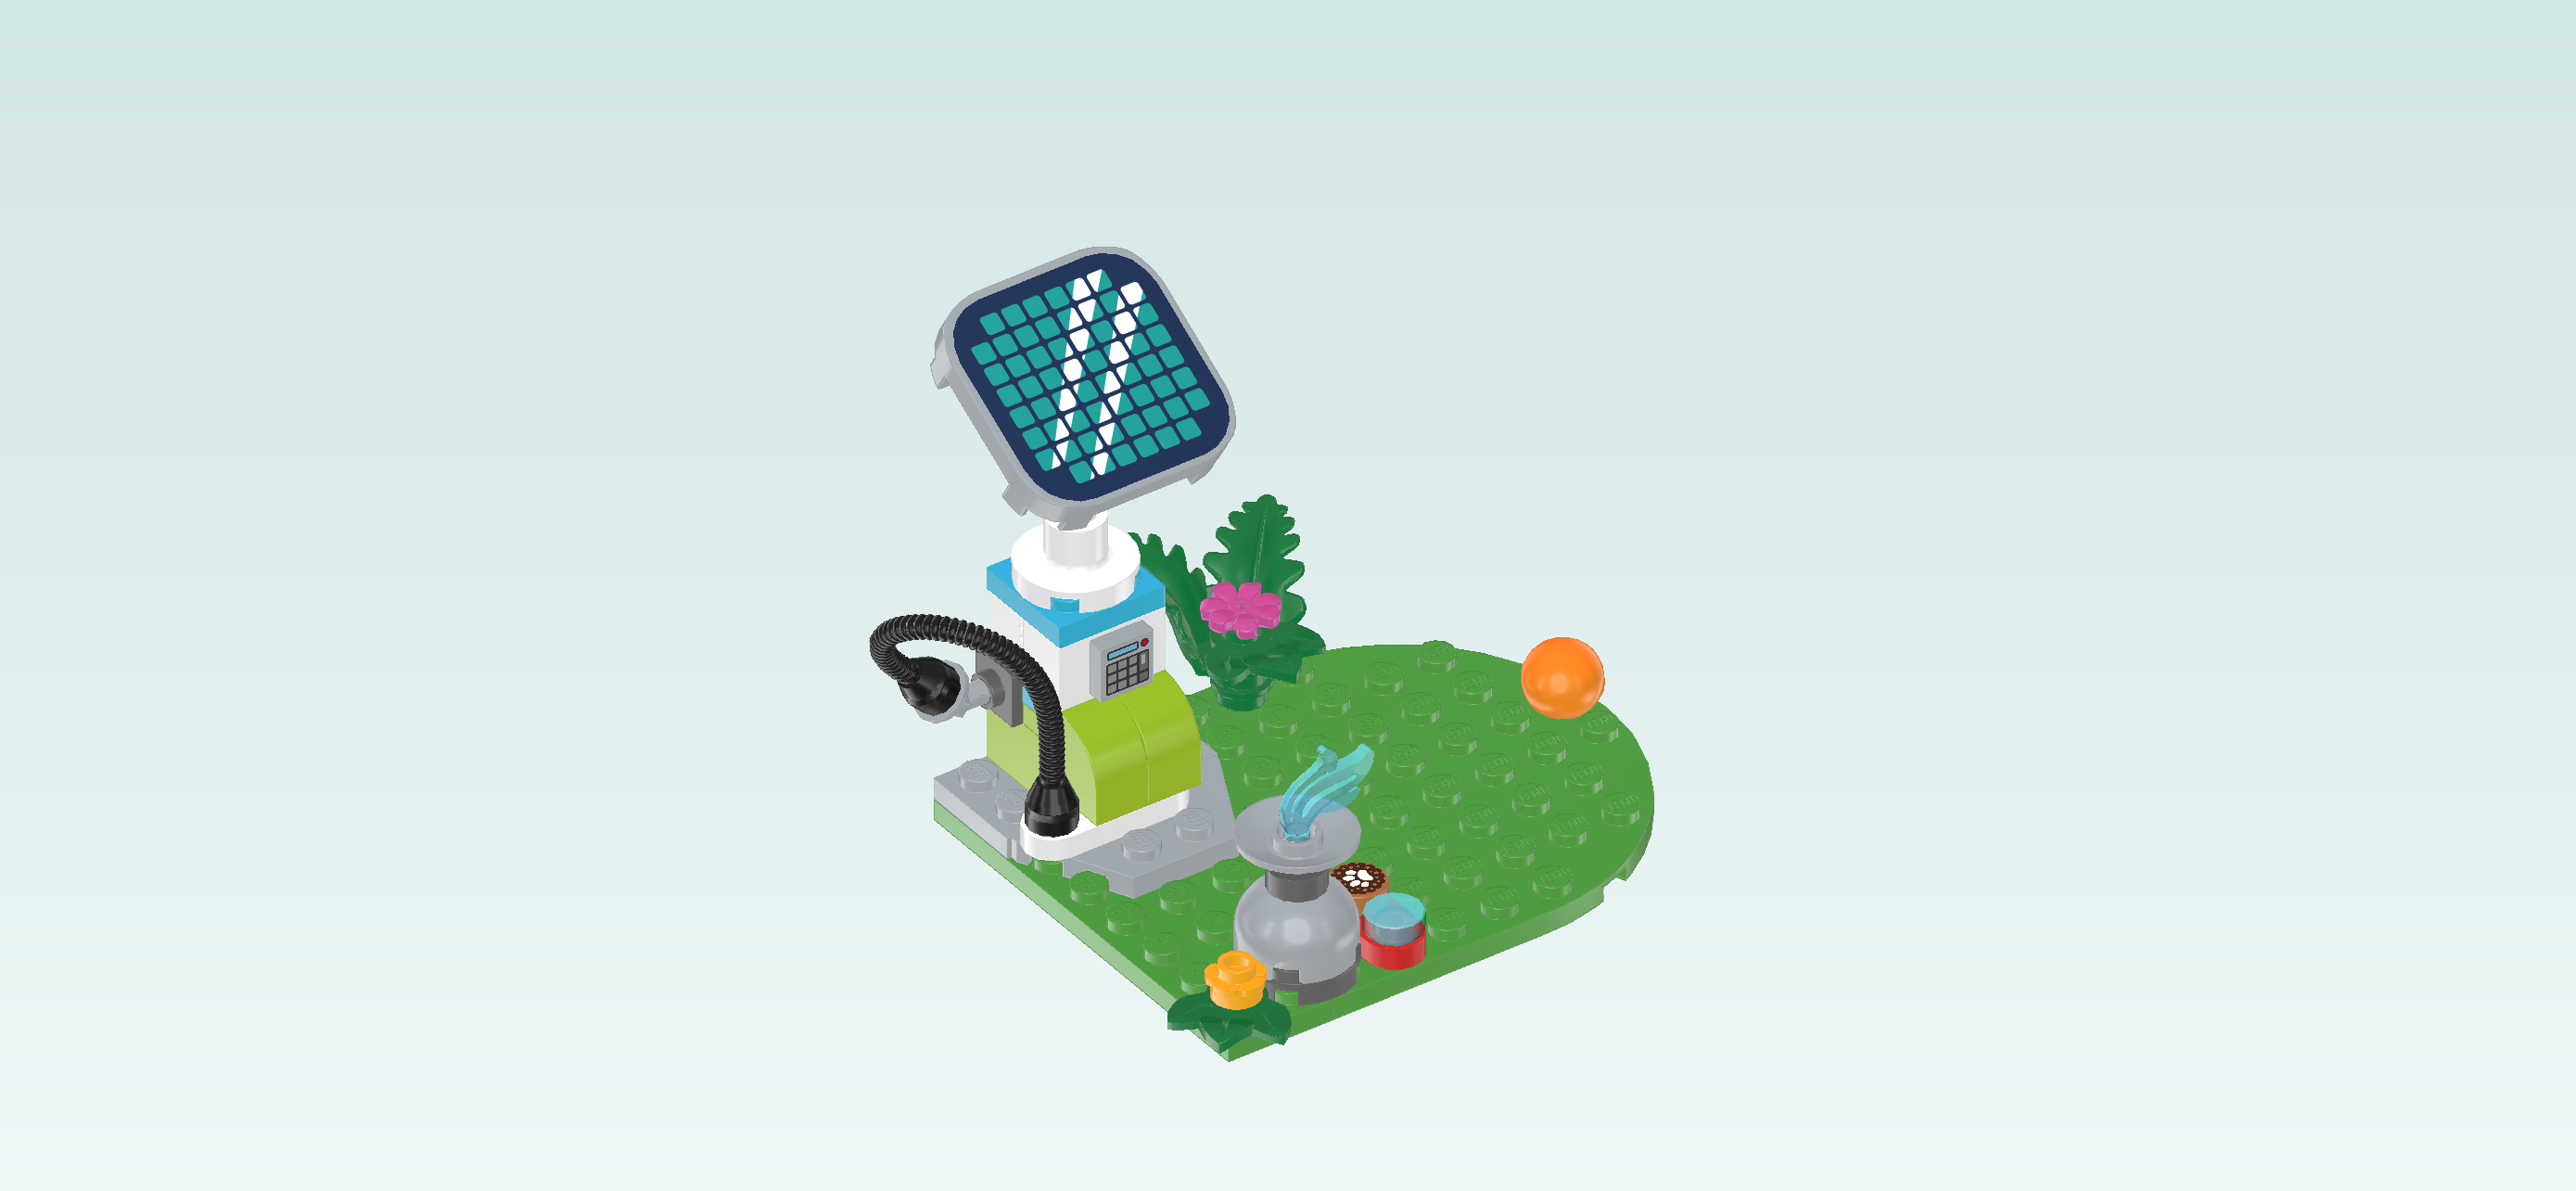
| Next, we will build the solar charging station with picnic area. |
| Collect the following 2 pieces: |
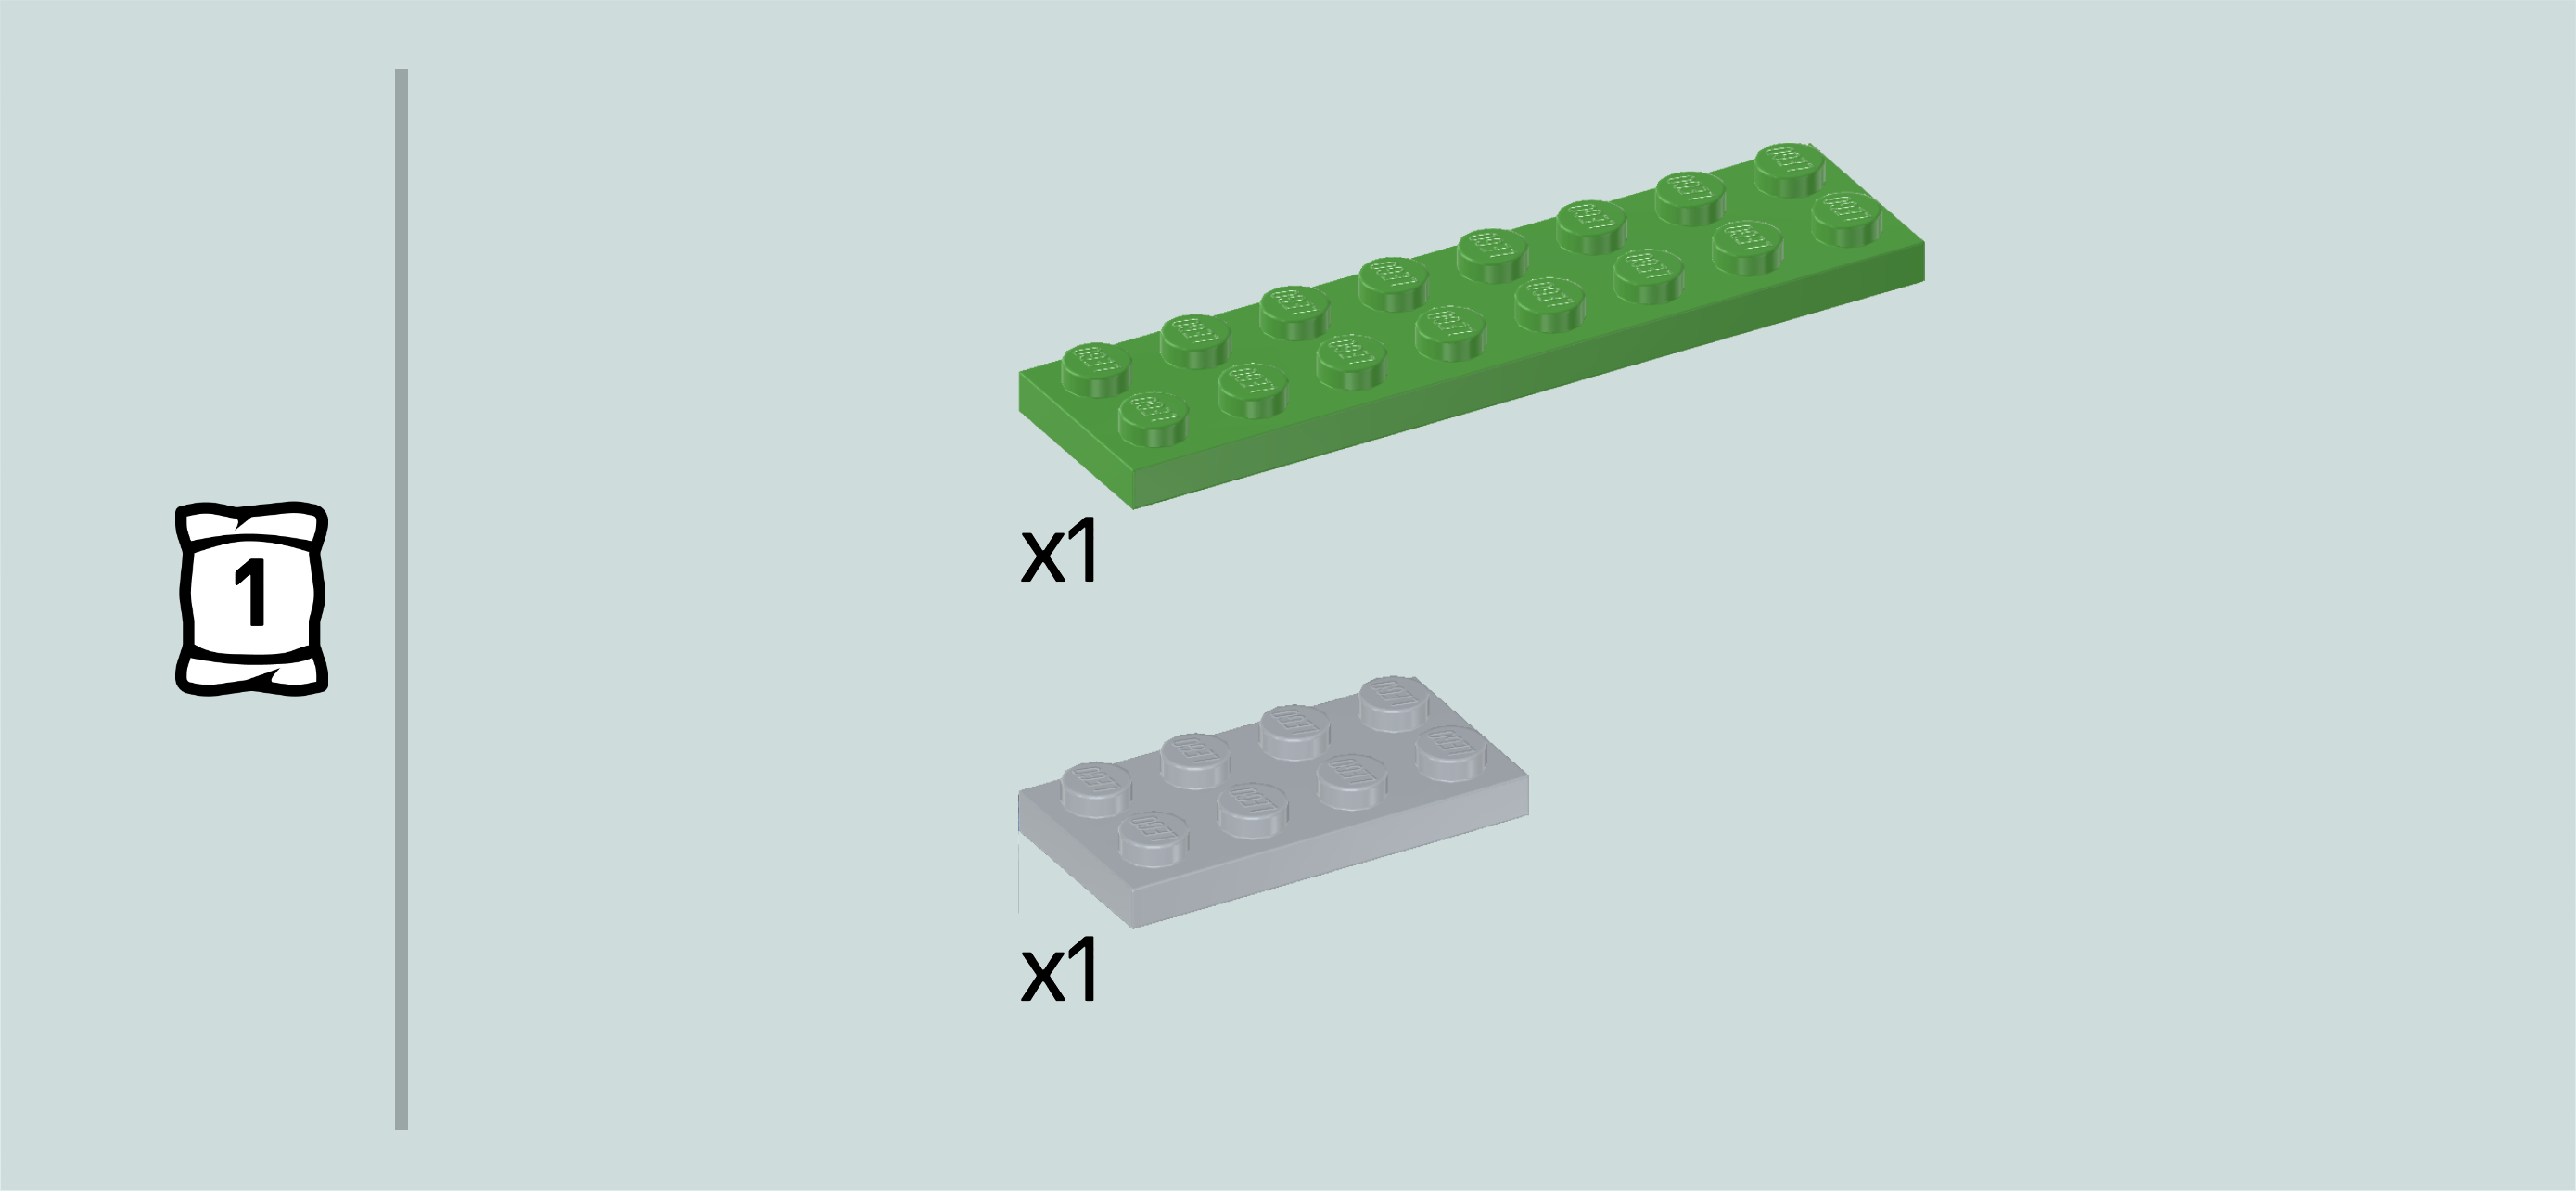
| 1 medium stone grey plate 2x4, |
| and 1 bright green plate 2x8. |
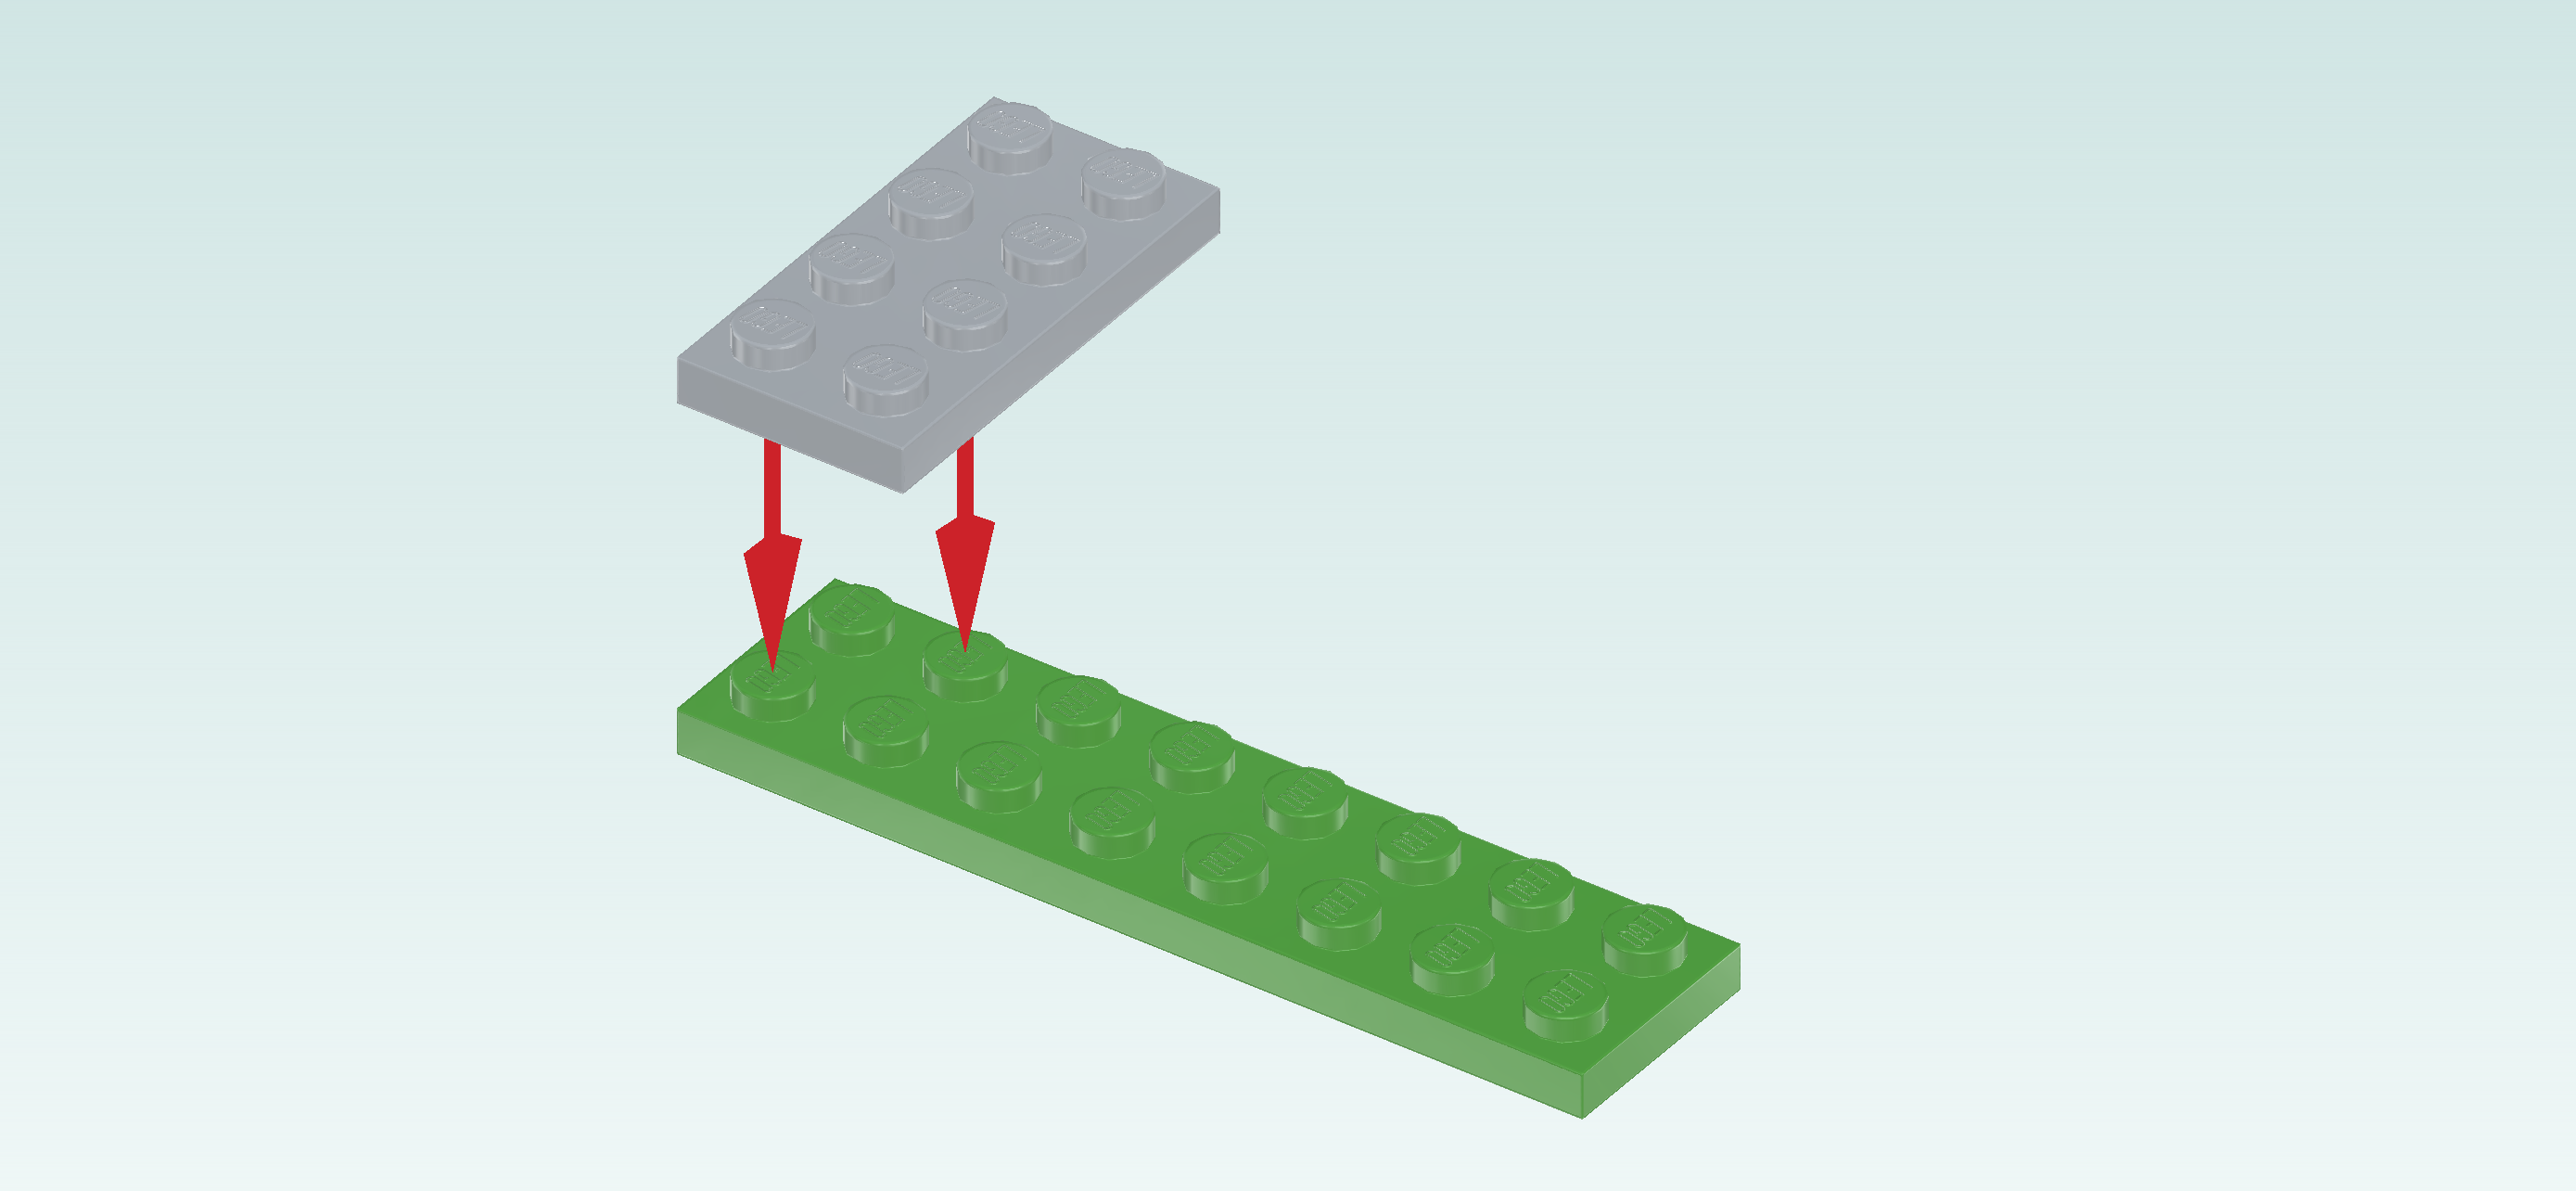
| Put the plate 2x8 vertically on the table. |
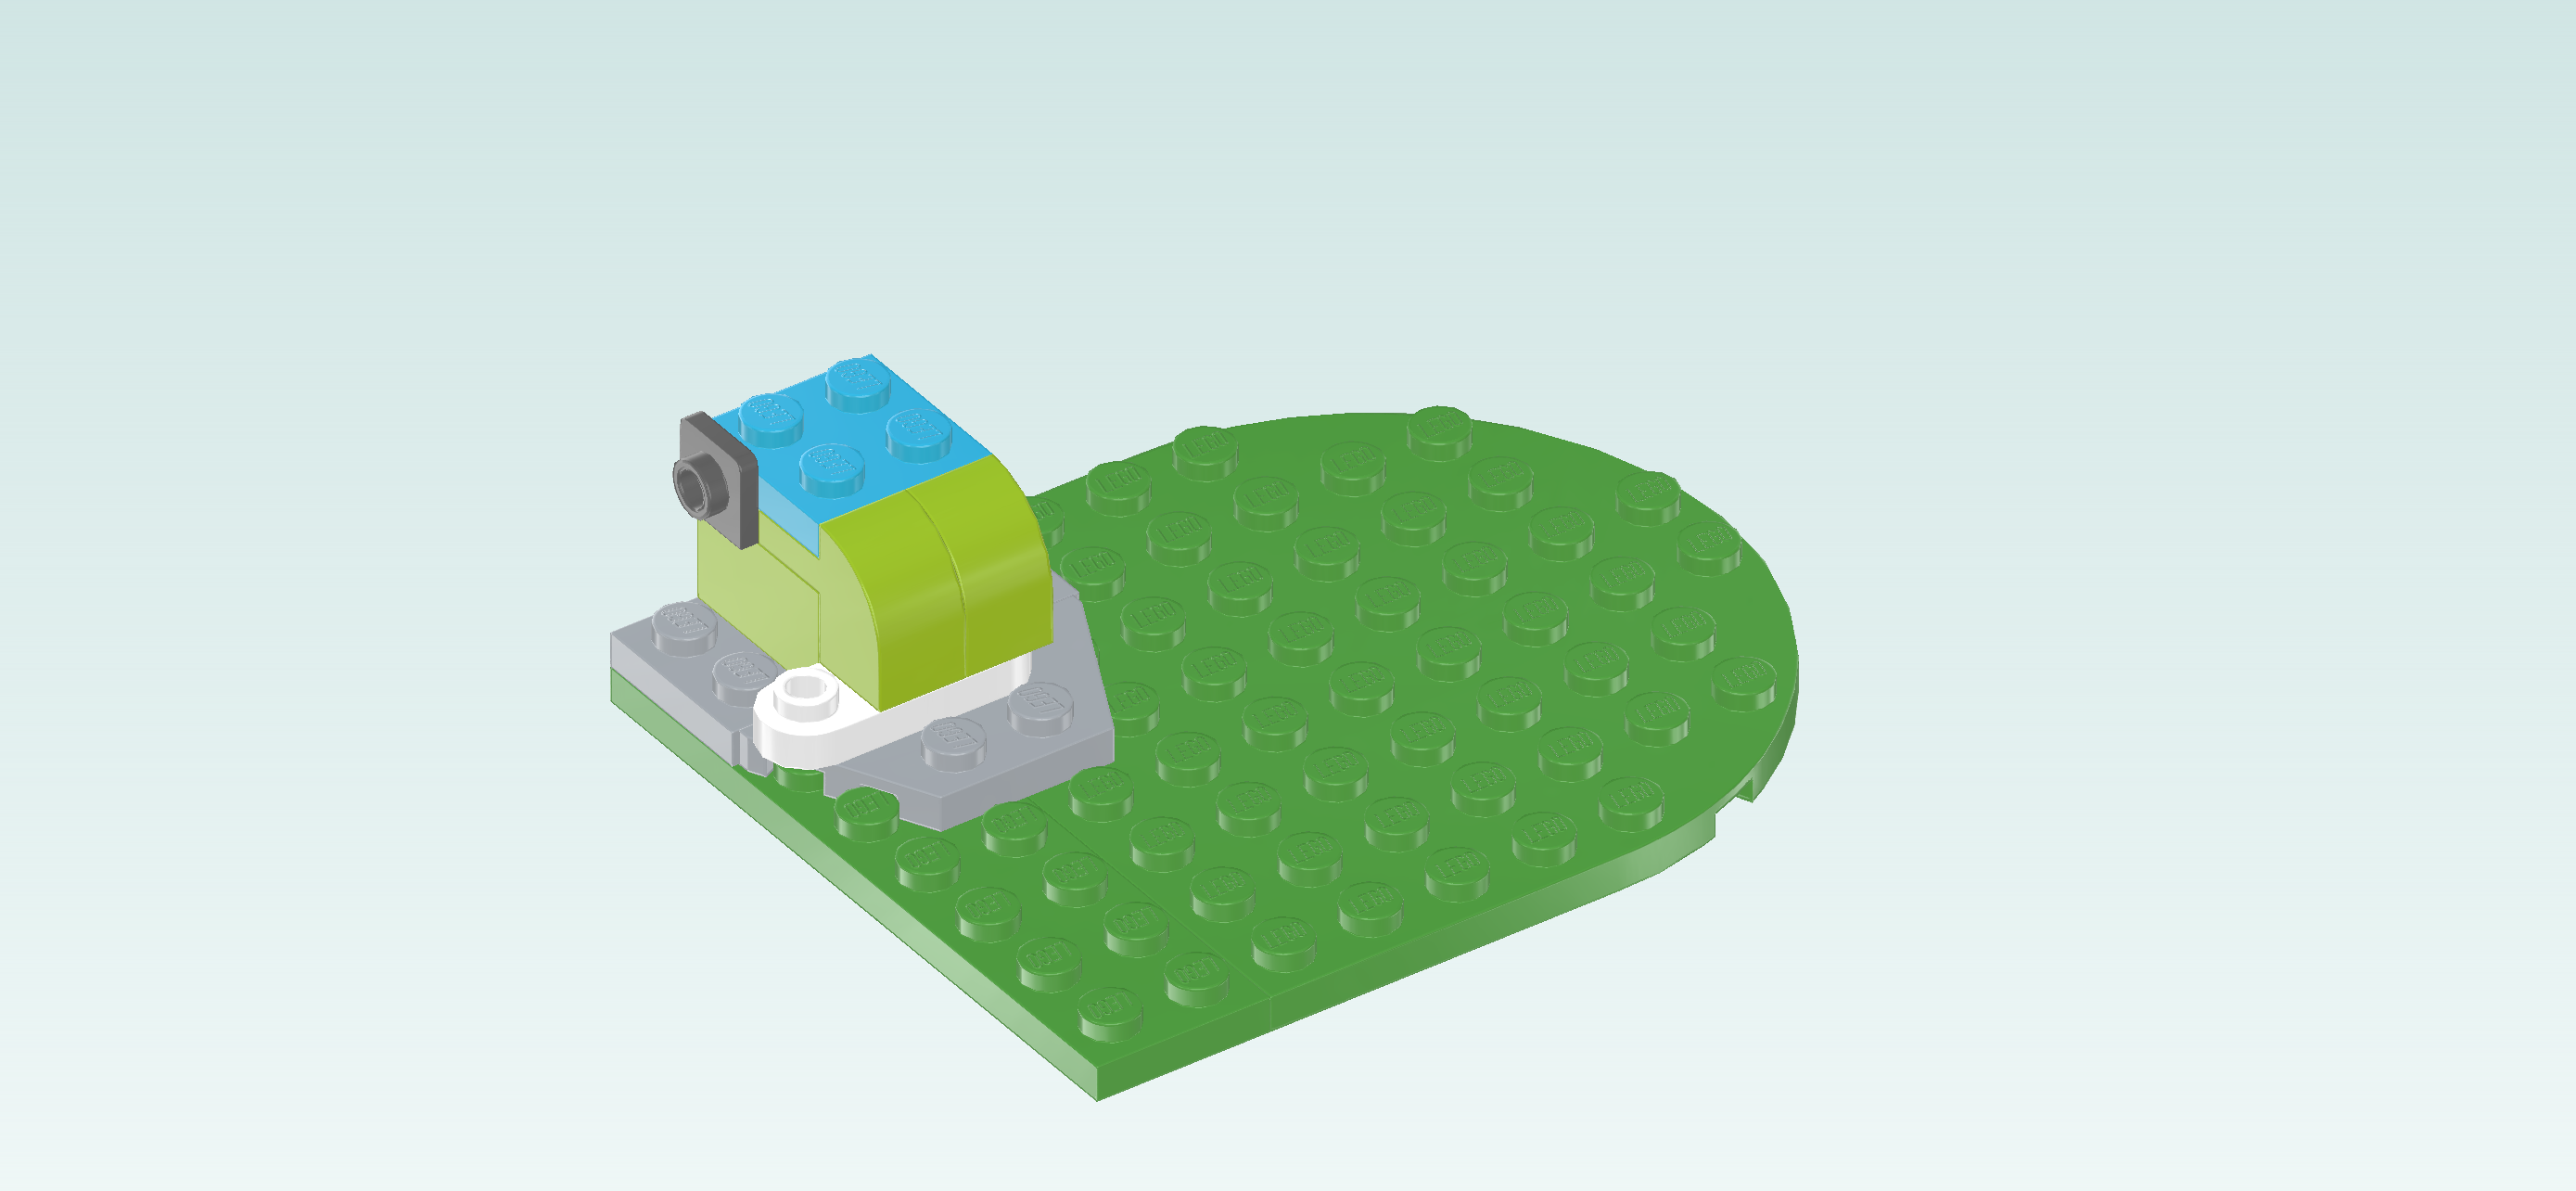
| Put the plate 2x4 horizontally on the 2 back rows, 2 columns overhanging to the right. |
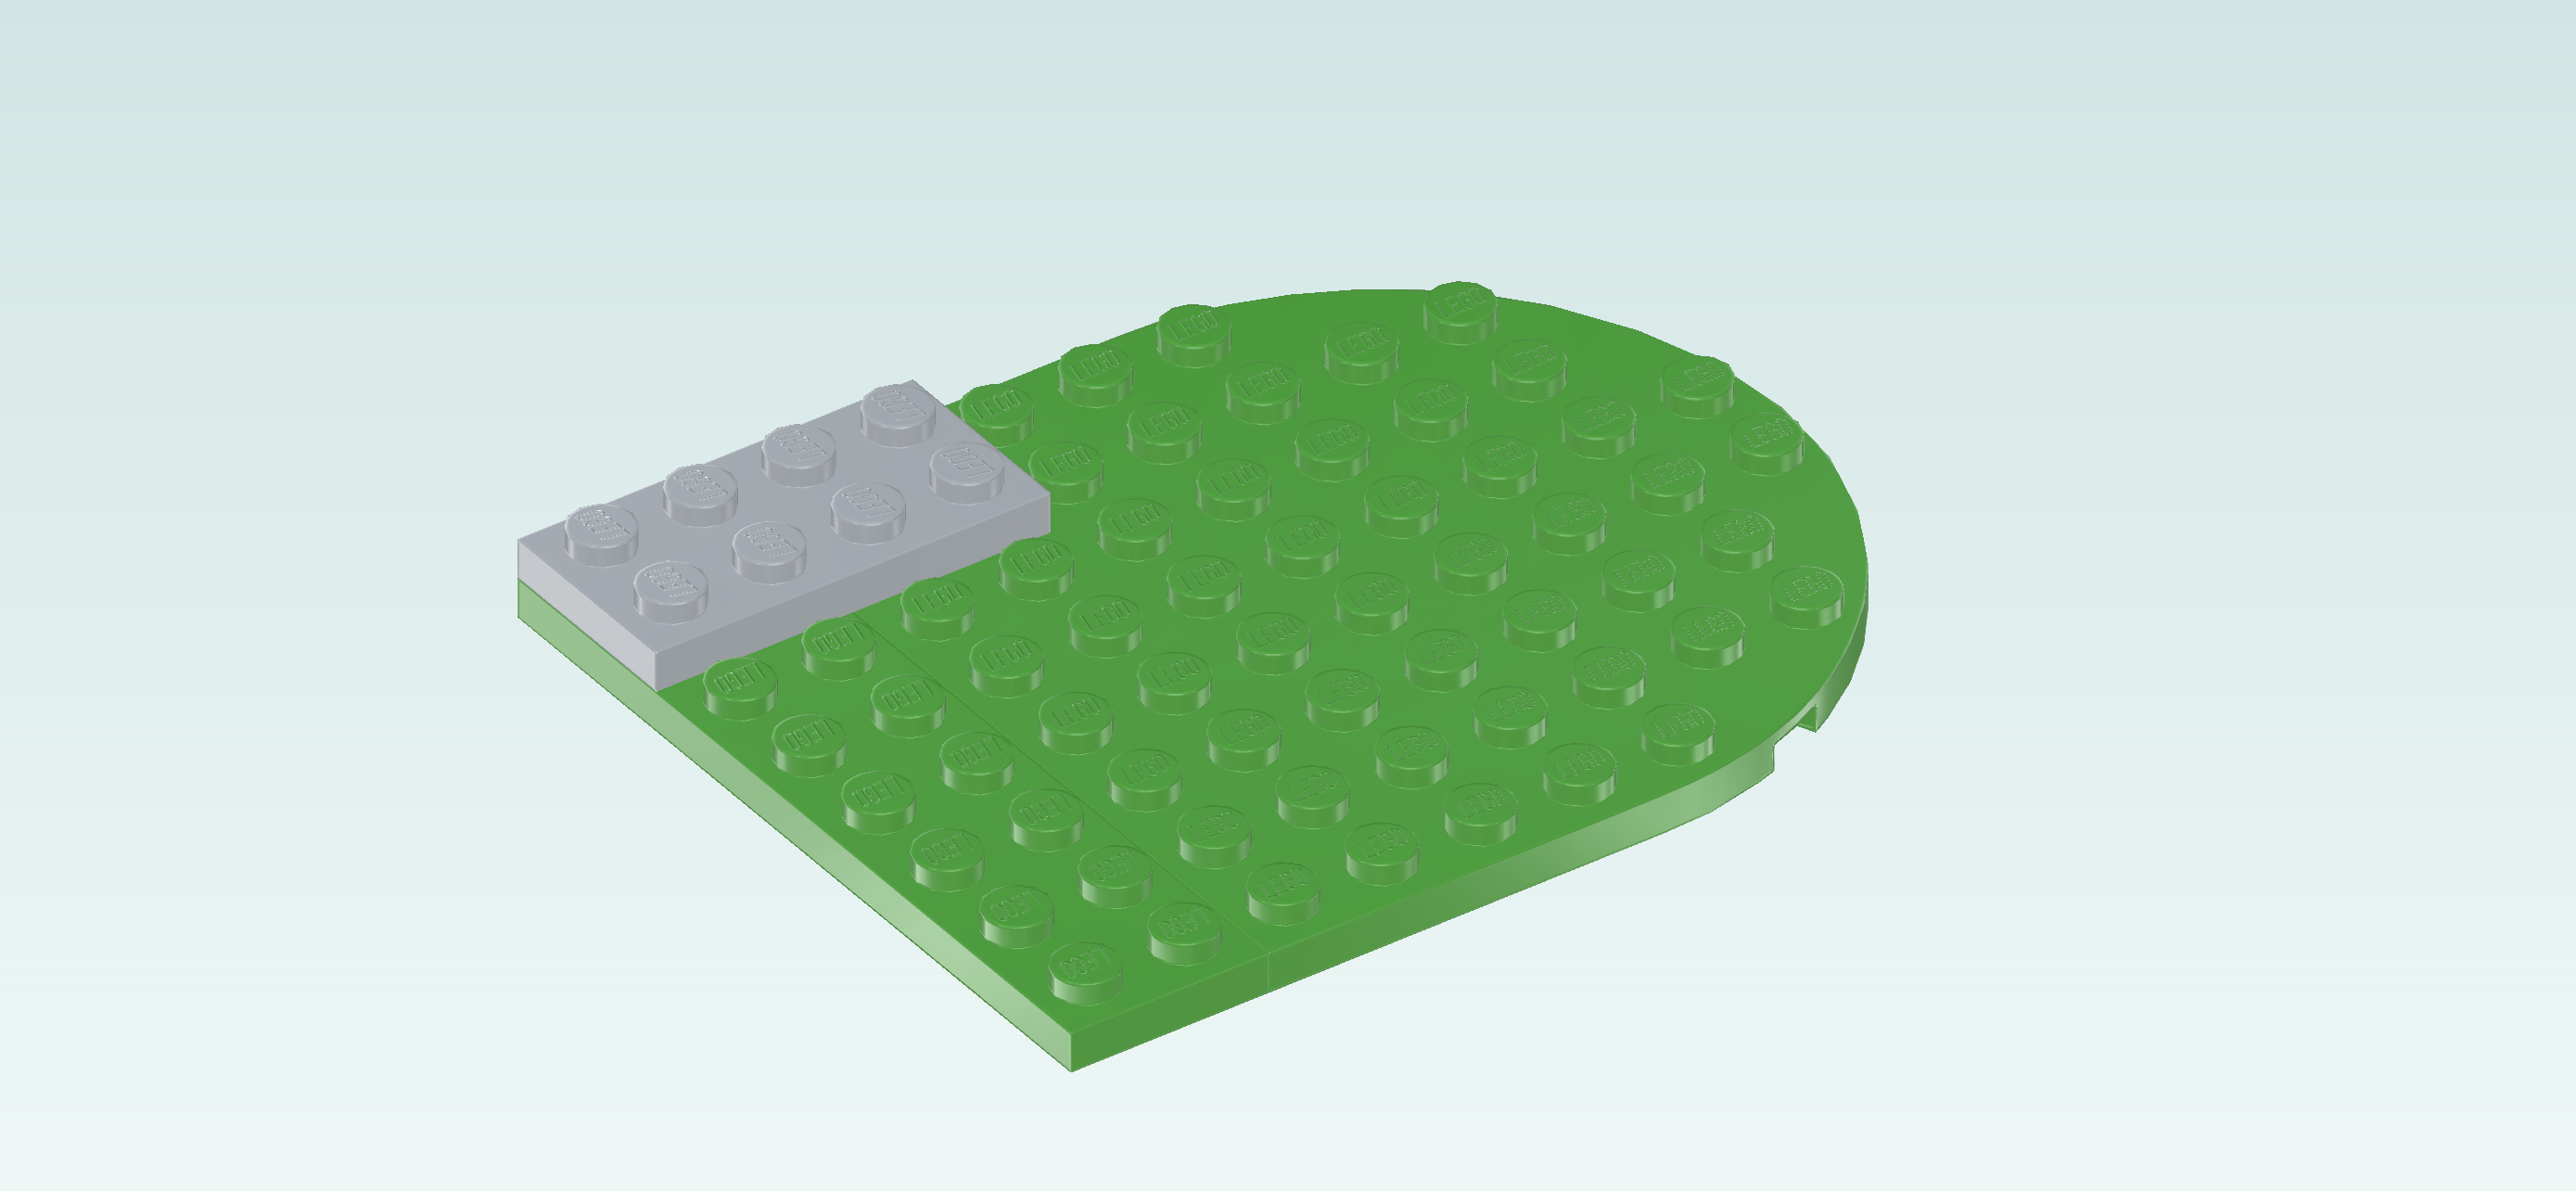
| Find 1 bright green plate 8x8 with half circle. |
| Turn it so that the half circle is pointing to the right, and put its left edge underneath the overhanging plate of the previous step. |
| If done correctly, the long edge of the plate 2x8 is flush with the half-circle plate. |
| Find 1 medium stone grey trapezoid plate 2x4. |
| Put it horizontally in front of the plate 2x4, long edge to the back, narrow edge to the front. |
| Collect the following 2 pieces: |
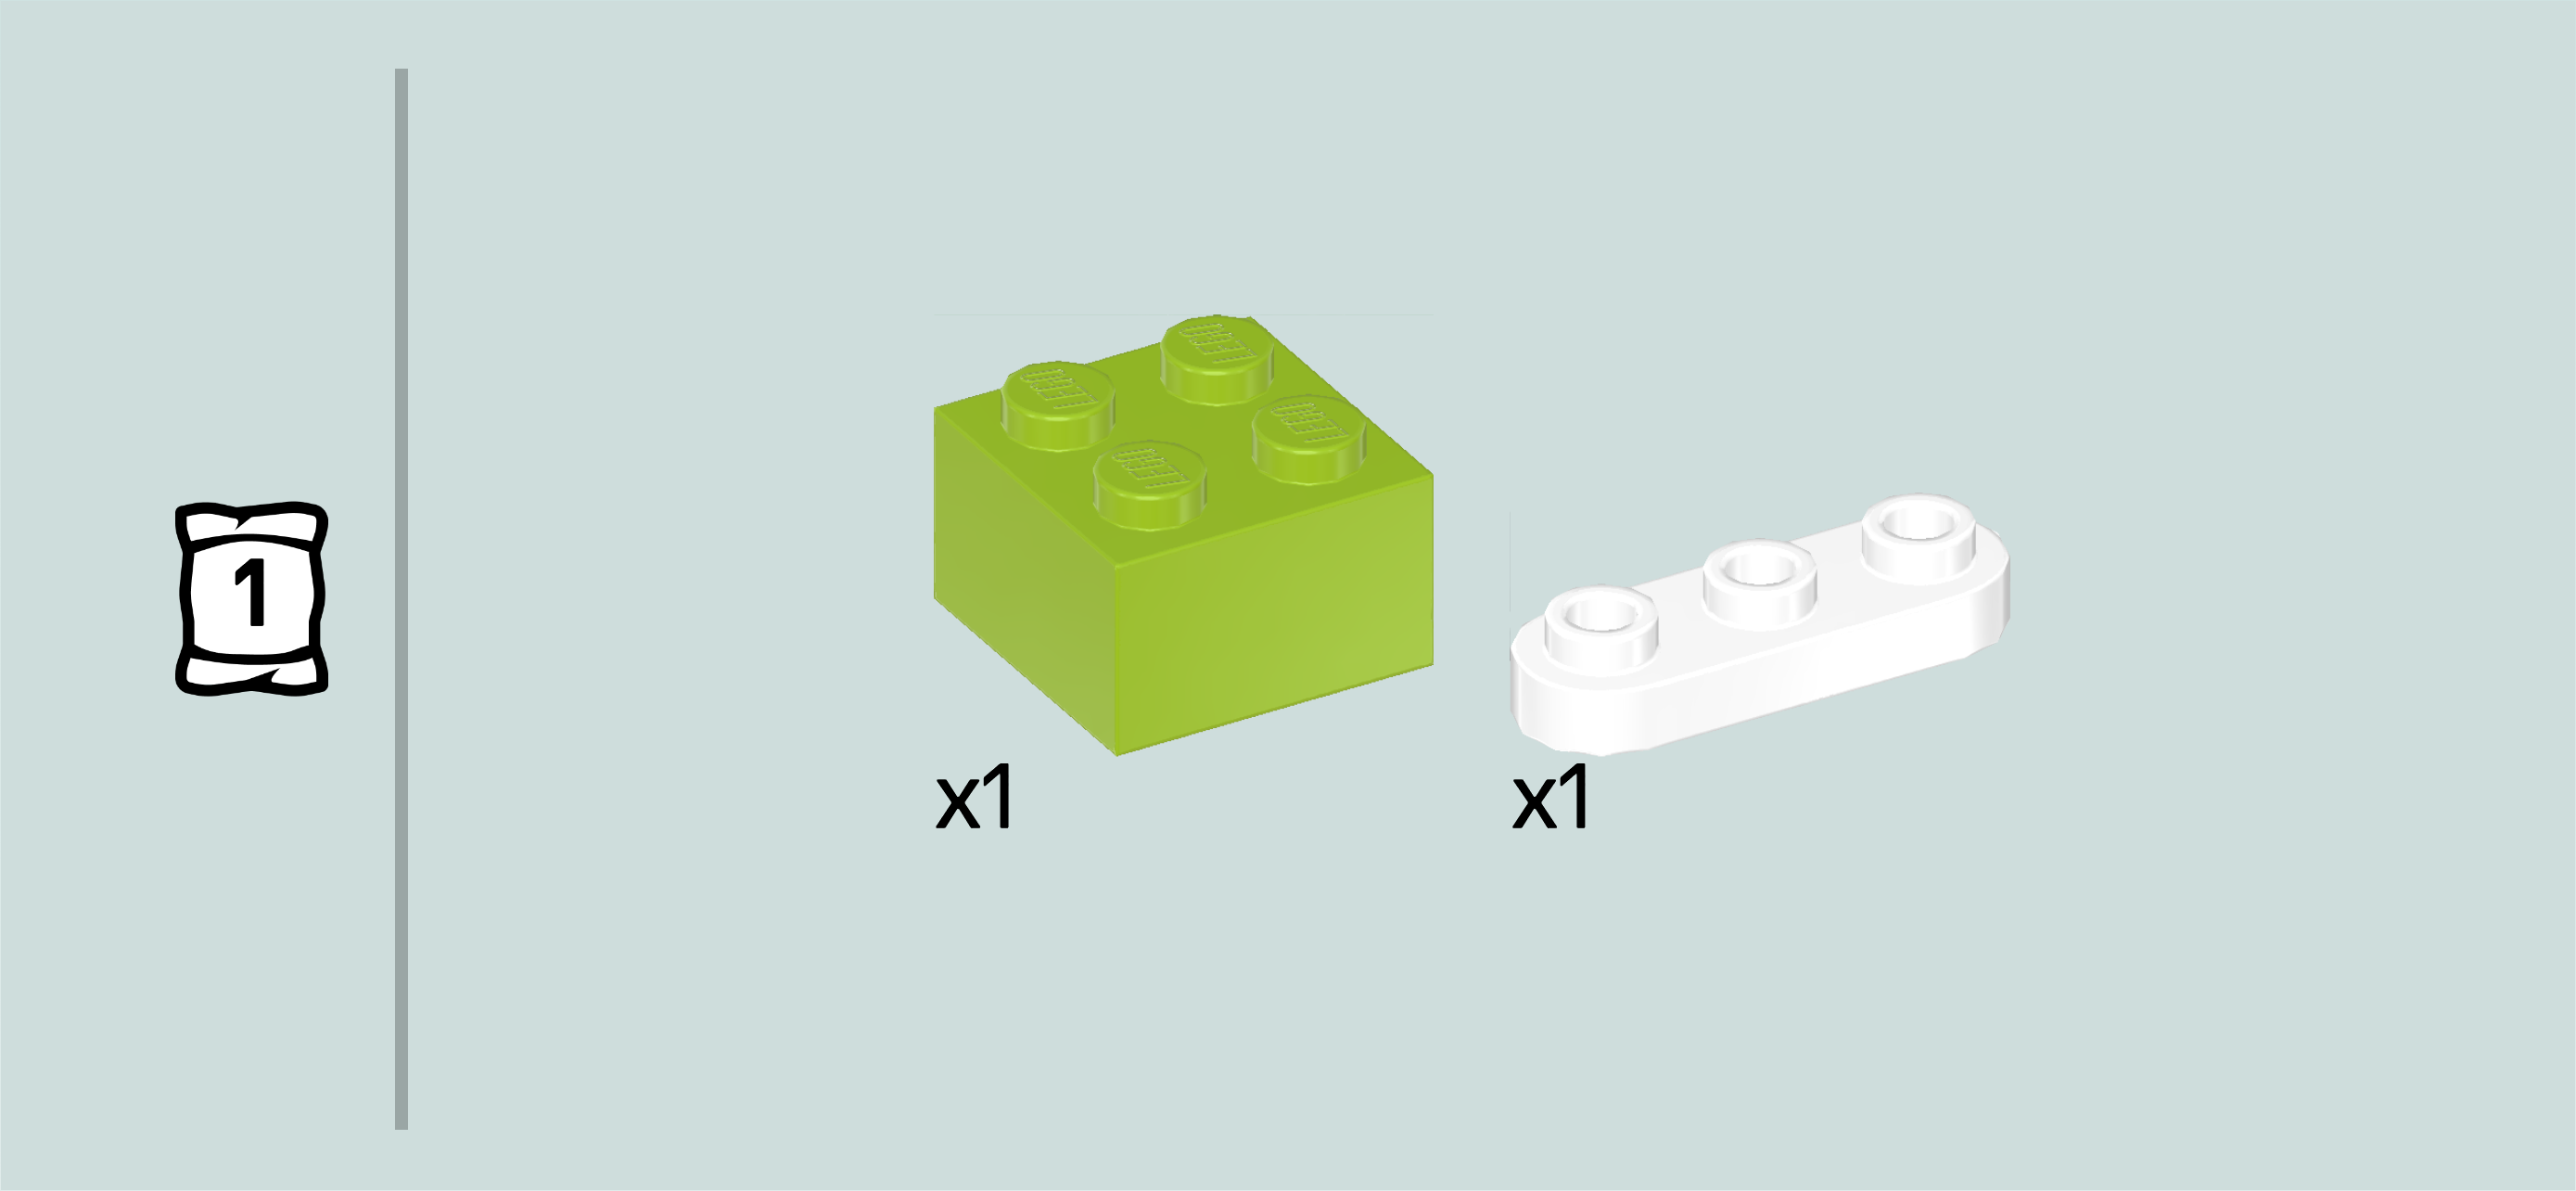
| 1 bright yellowish green brick 2x2, |
| and 1 white rounded plate 1x3. |
| Put the brick 2x2 centered on the plate 2x4. This means it will sit on the 2 backmost rows of the structure, and the leftmost and rightmost columns of the plate underneath remain empty for now. |
| Put the rounded plate 1x3 horizontally in front of the previous piece, but now starting from the leftmost edge. |
| Find 2 bright yellowish green curve bricks 1x1 with protruding plate 1x1. |
| Put 1 vertically on the rightmost knob of the previous piece, protruding plate to the back. |
| Put the other one vertically to the left of the previous piece, protruding plate to the back. |
| If done correctly, the 2 protruding plates connect to the front knobs of the brick 2x2. |
| Collect the following 2 pieces: |
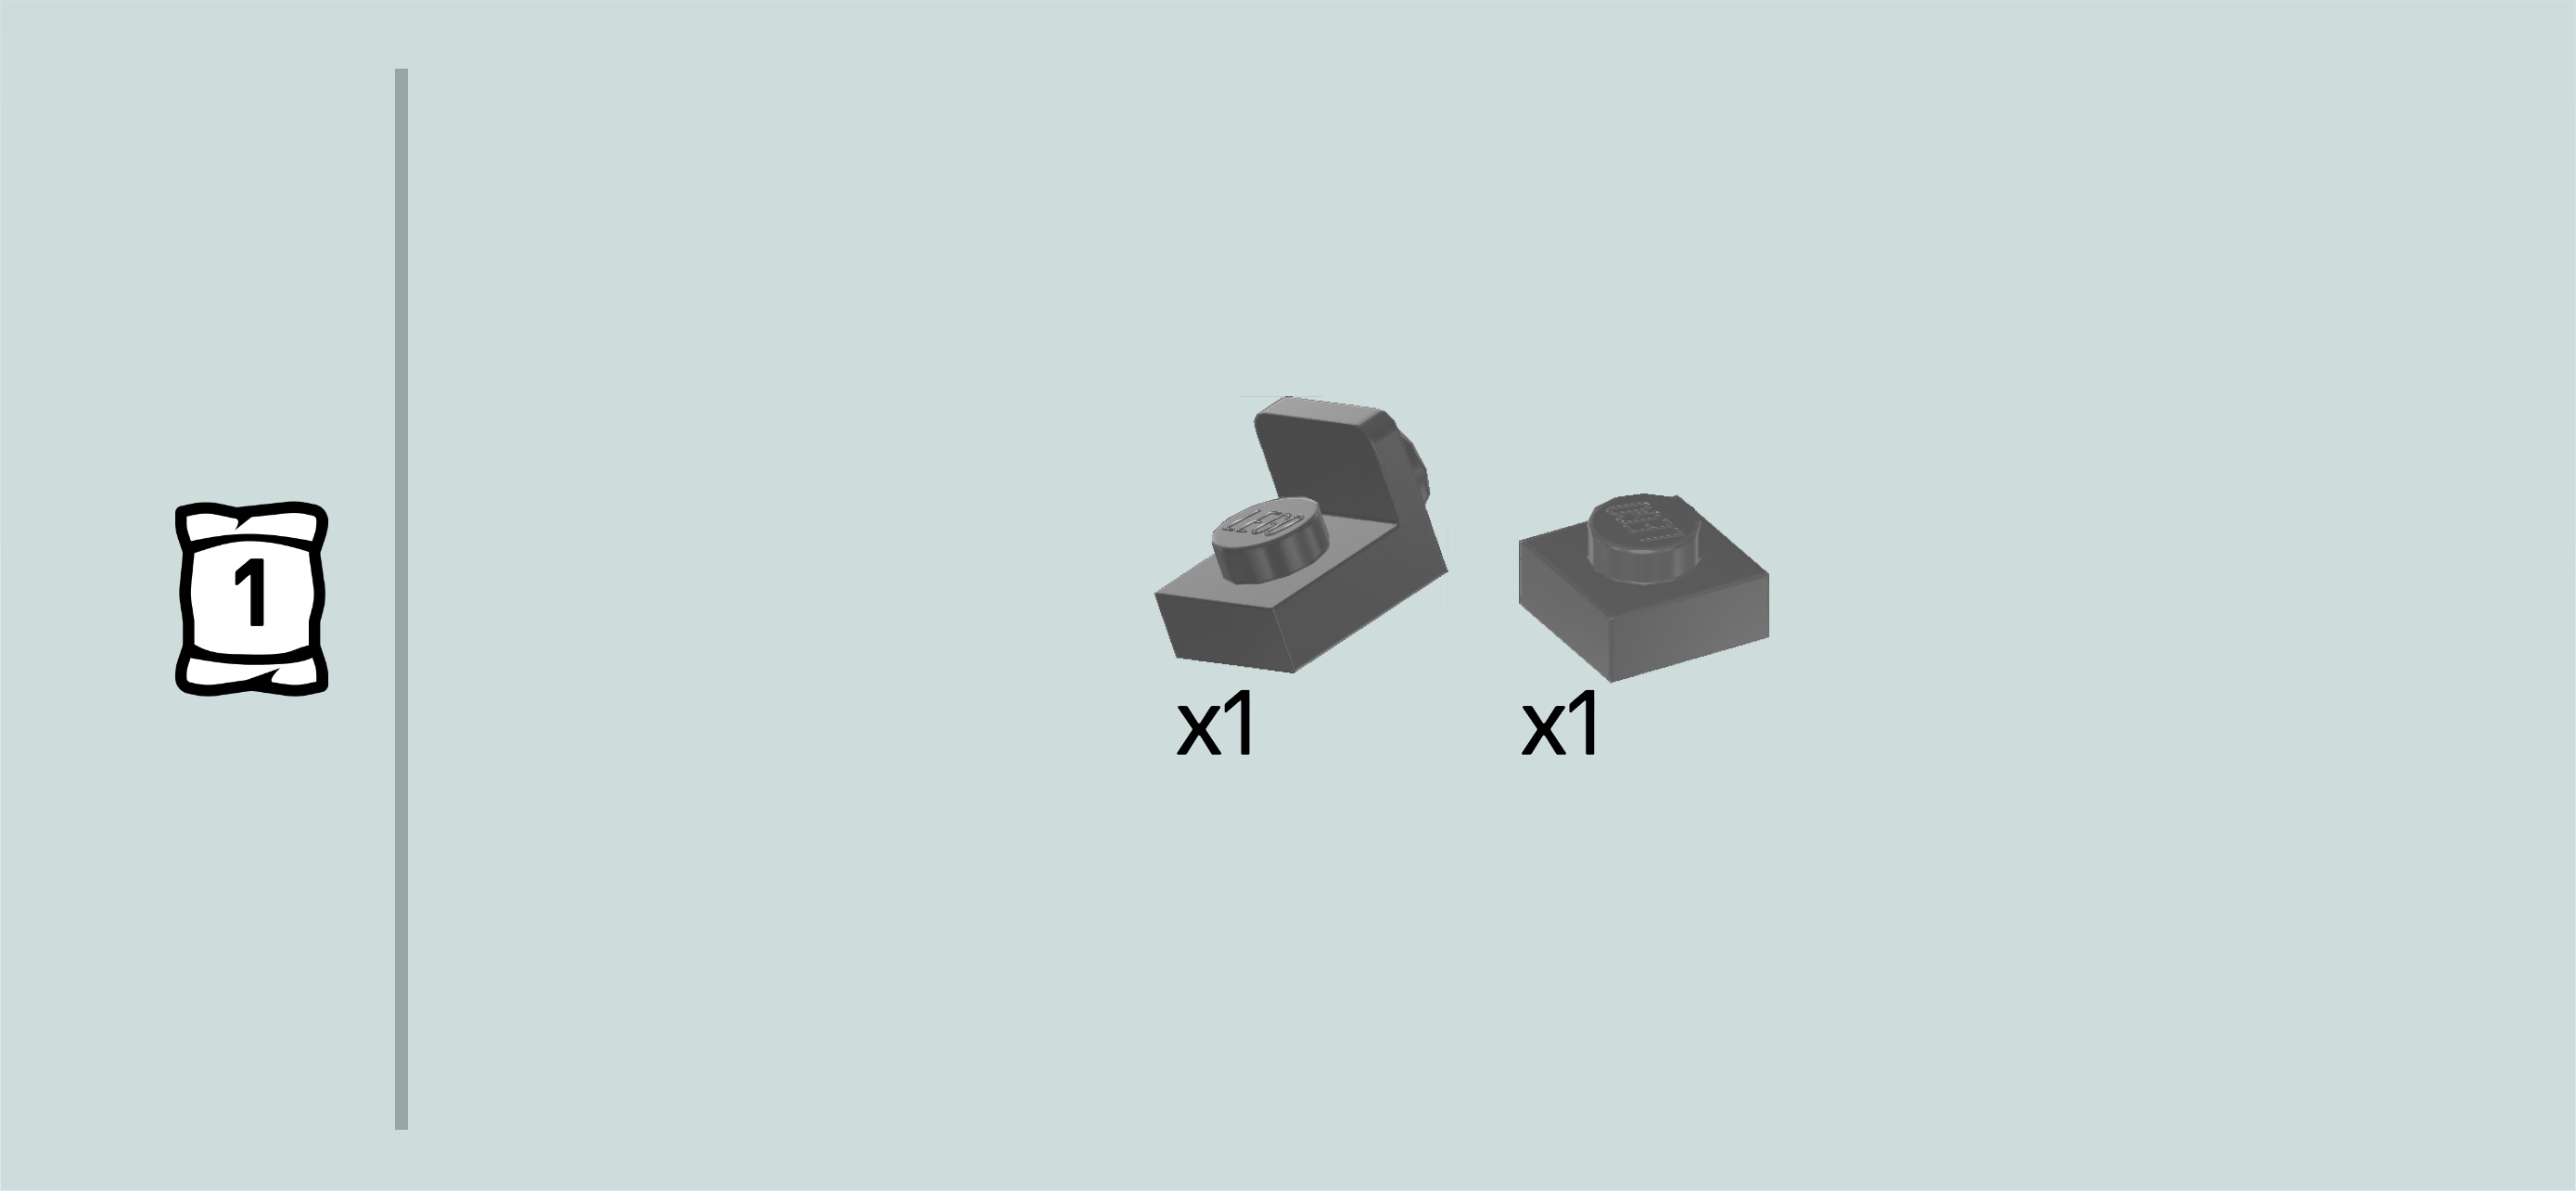
| 1 dark stone grey bottom angle plate 1x1 - 1x1 with side knob, |
| and 1 dark stone grey plate 1x1. |
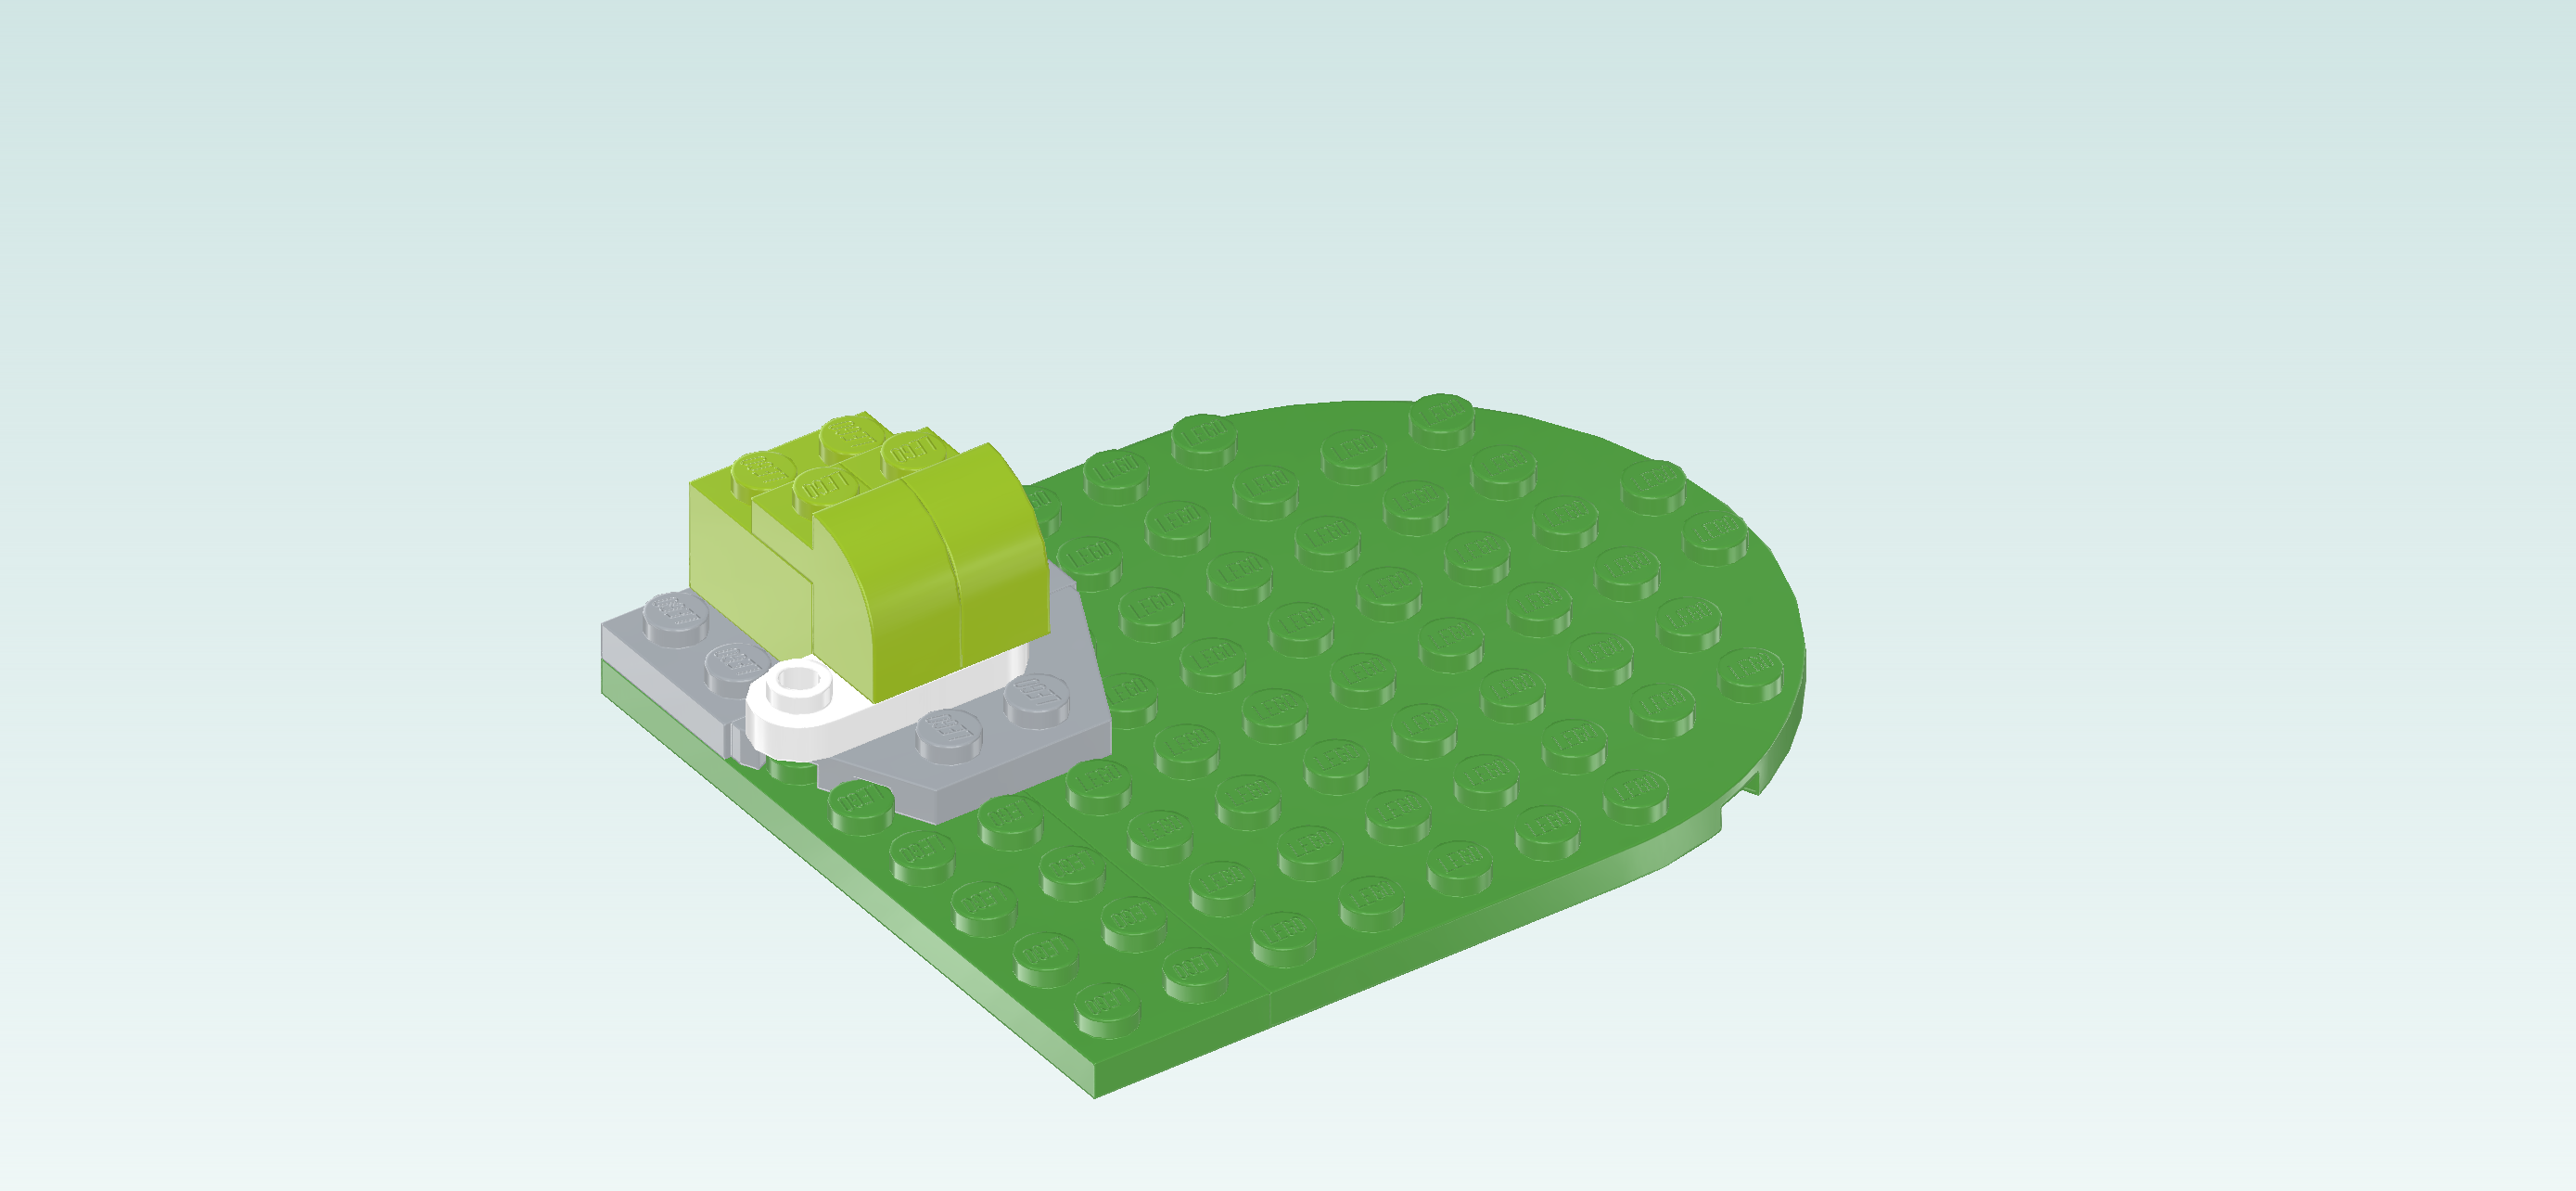
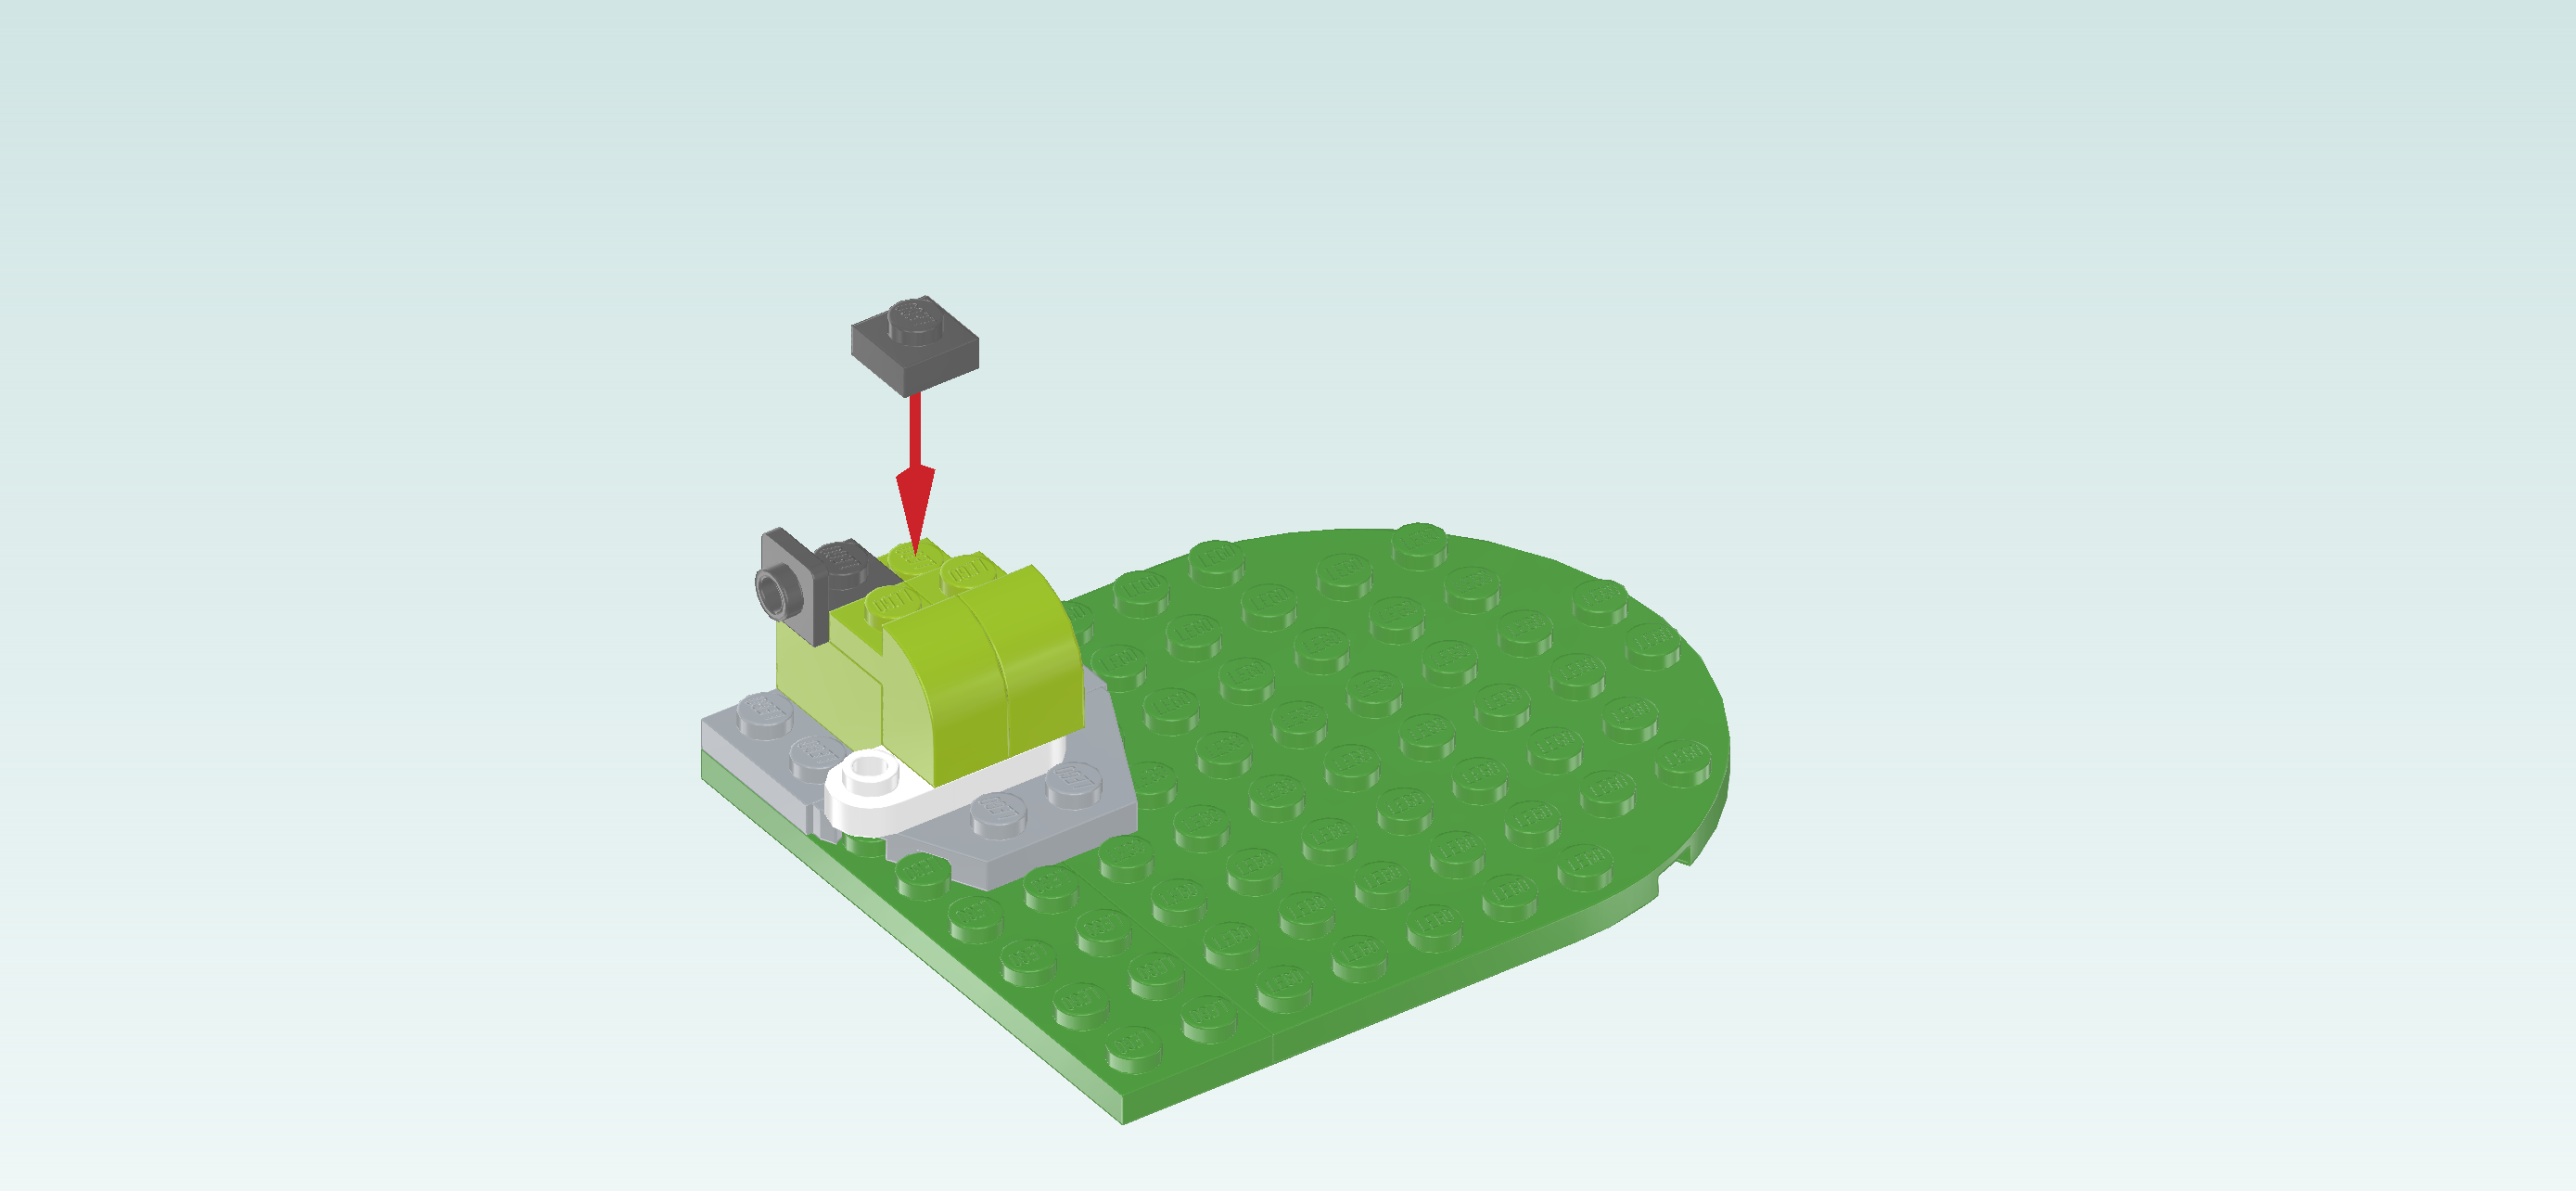
| Put the angle plate behind the previous piece, side knob pointing to the left. This means it will sit on the backmost row on the second knob from the left. |
| Put the plate 1x1 to the right of the previous piece. |
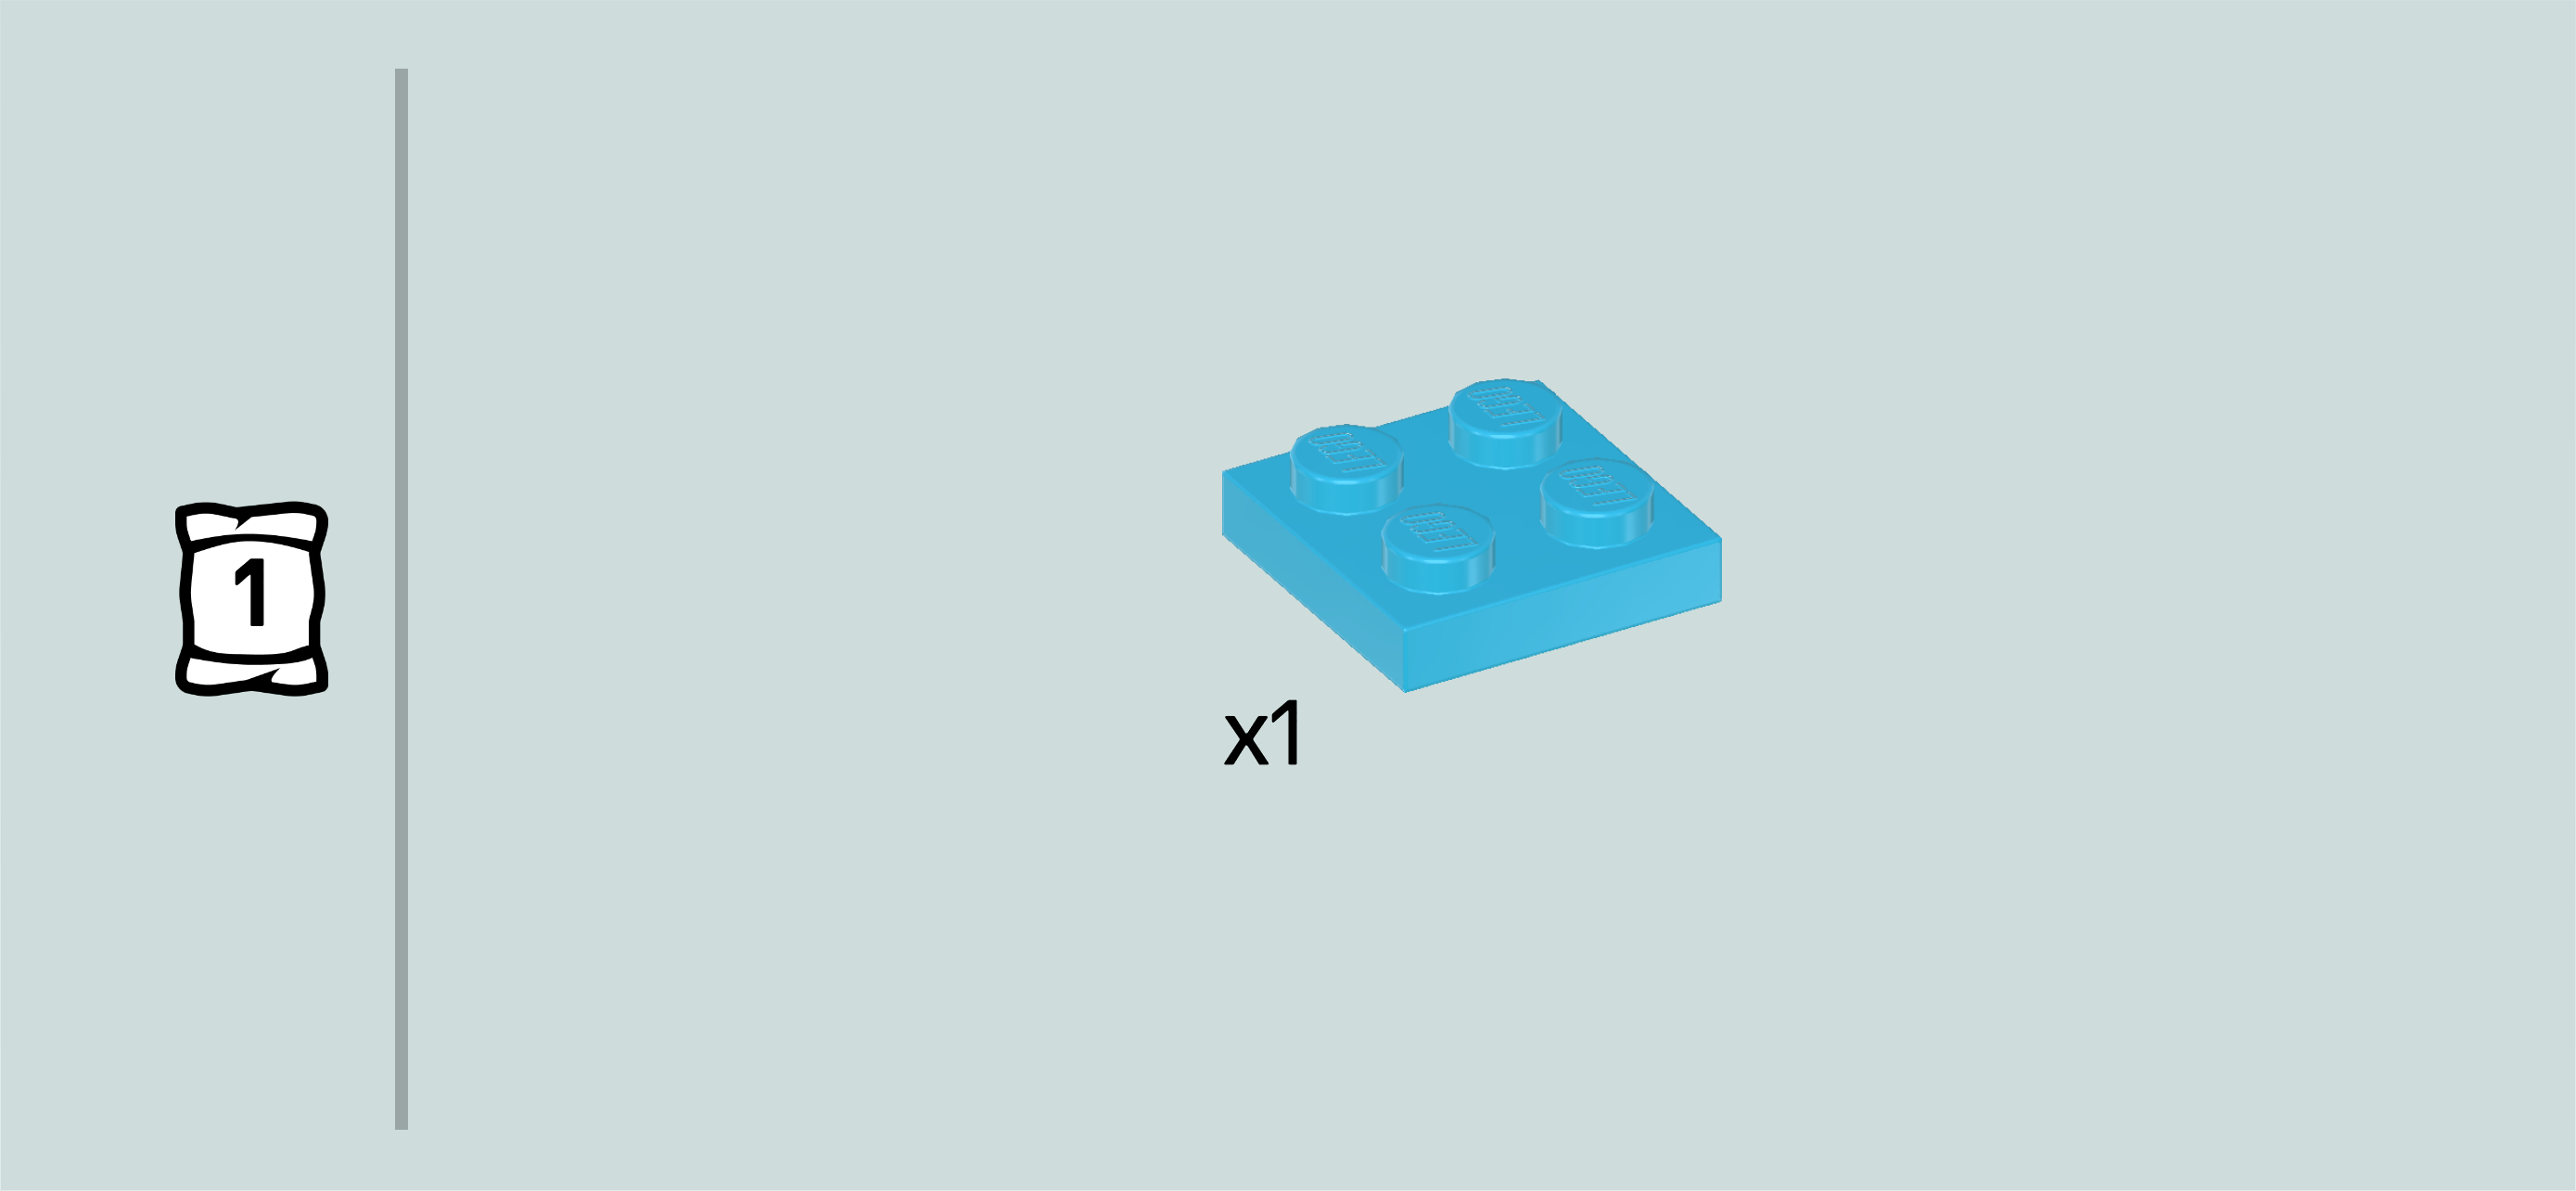
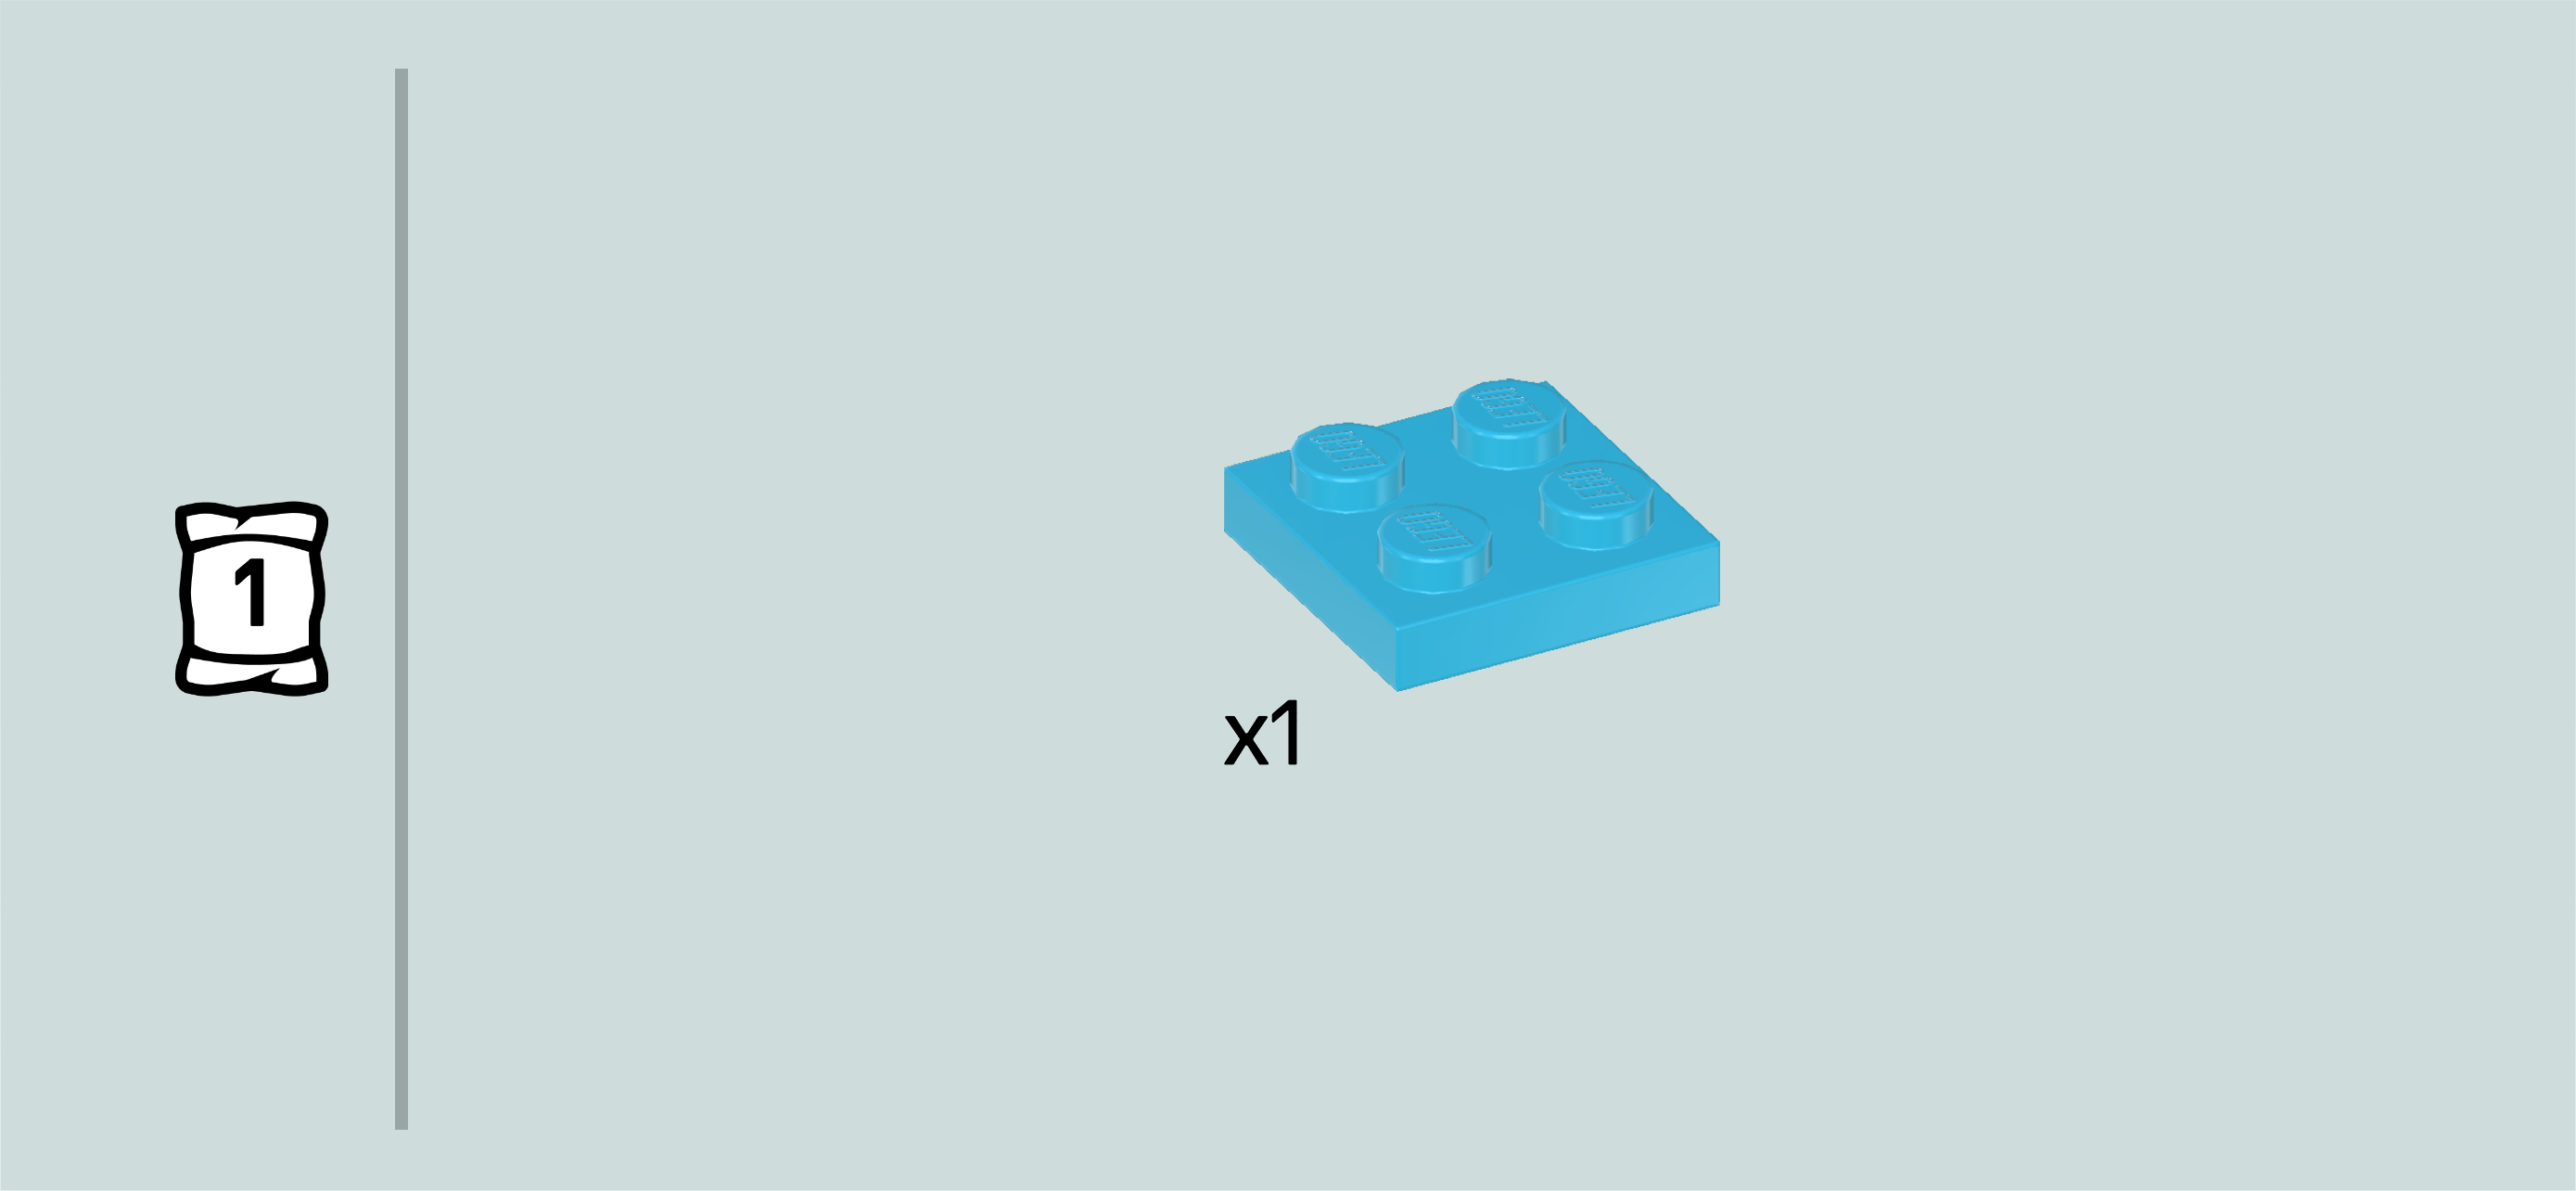
| Find 1 medium azure blue plate 2x2. |
| Put it on top of the 4 previous pieces. This means that it will cover the 4 topmost knobs of the structure. |
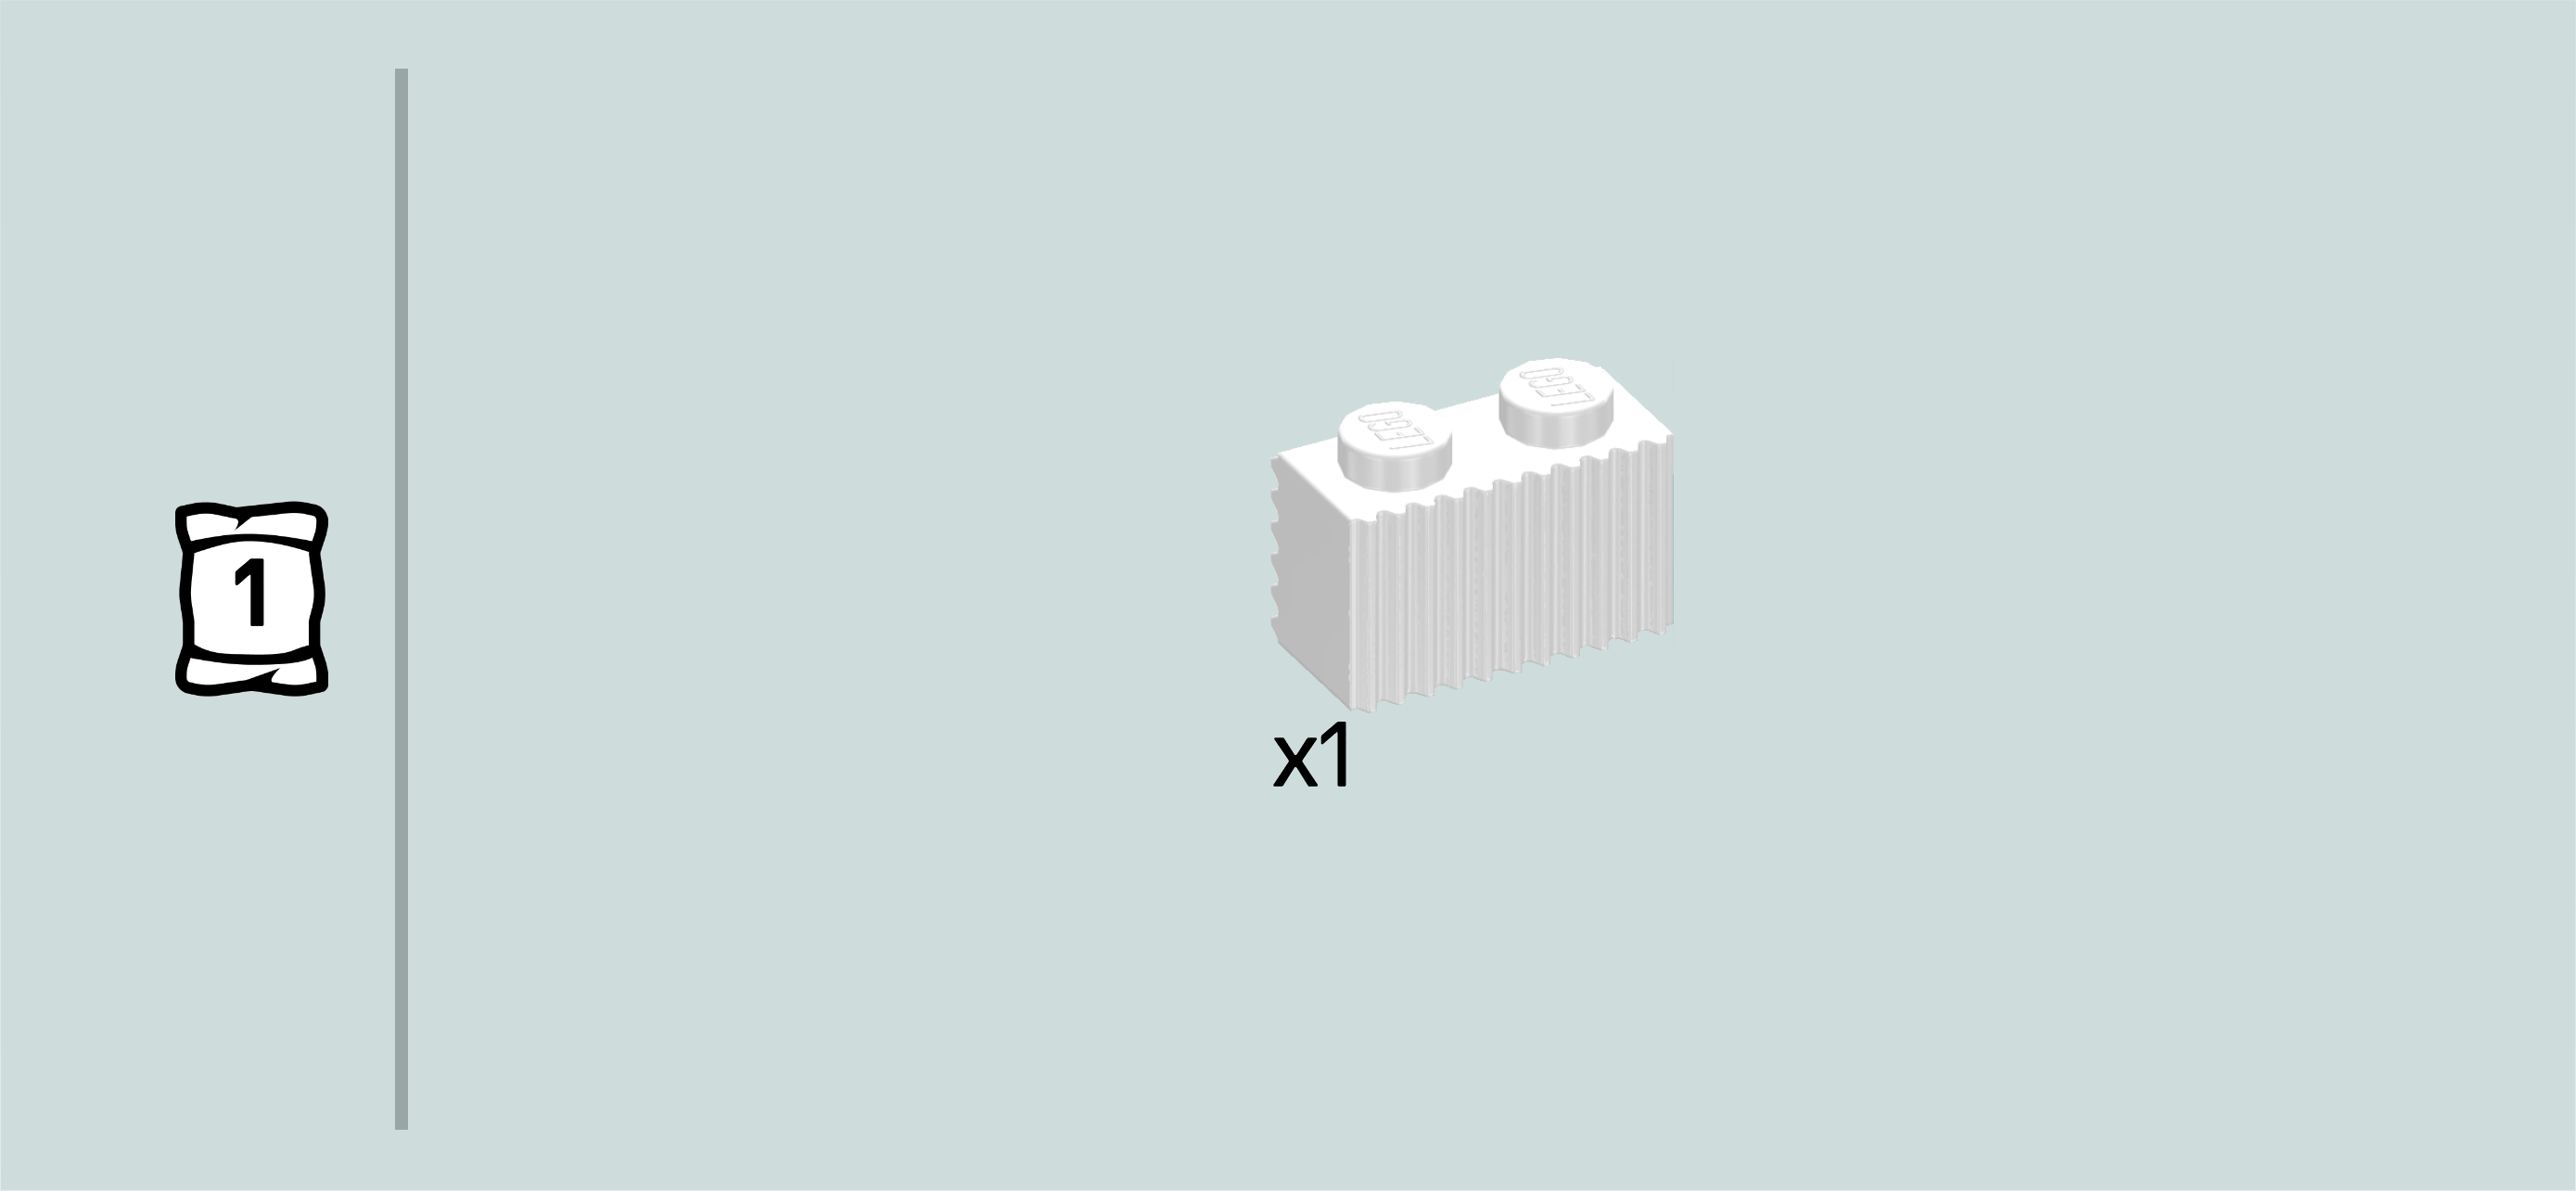
| Find 1 white profile brick 1x2. |
| Put it horizontally on the back row of the previous piece, horizontal profile lines to the front. |
| Next, we will build the cash register. |
| Collect the following 2 pieces: |
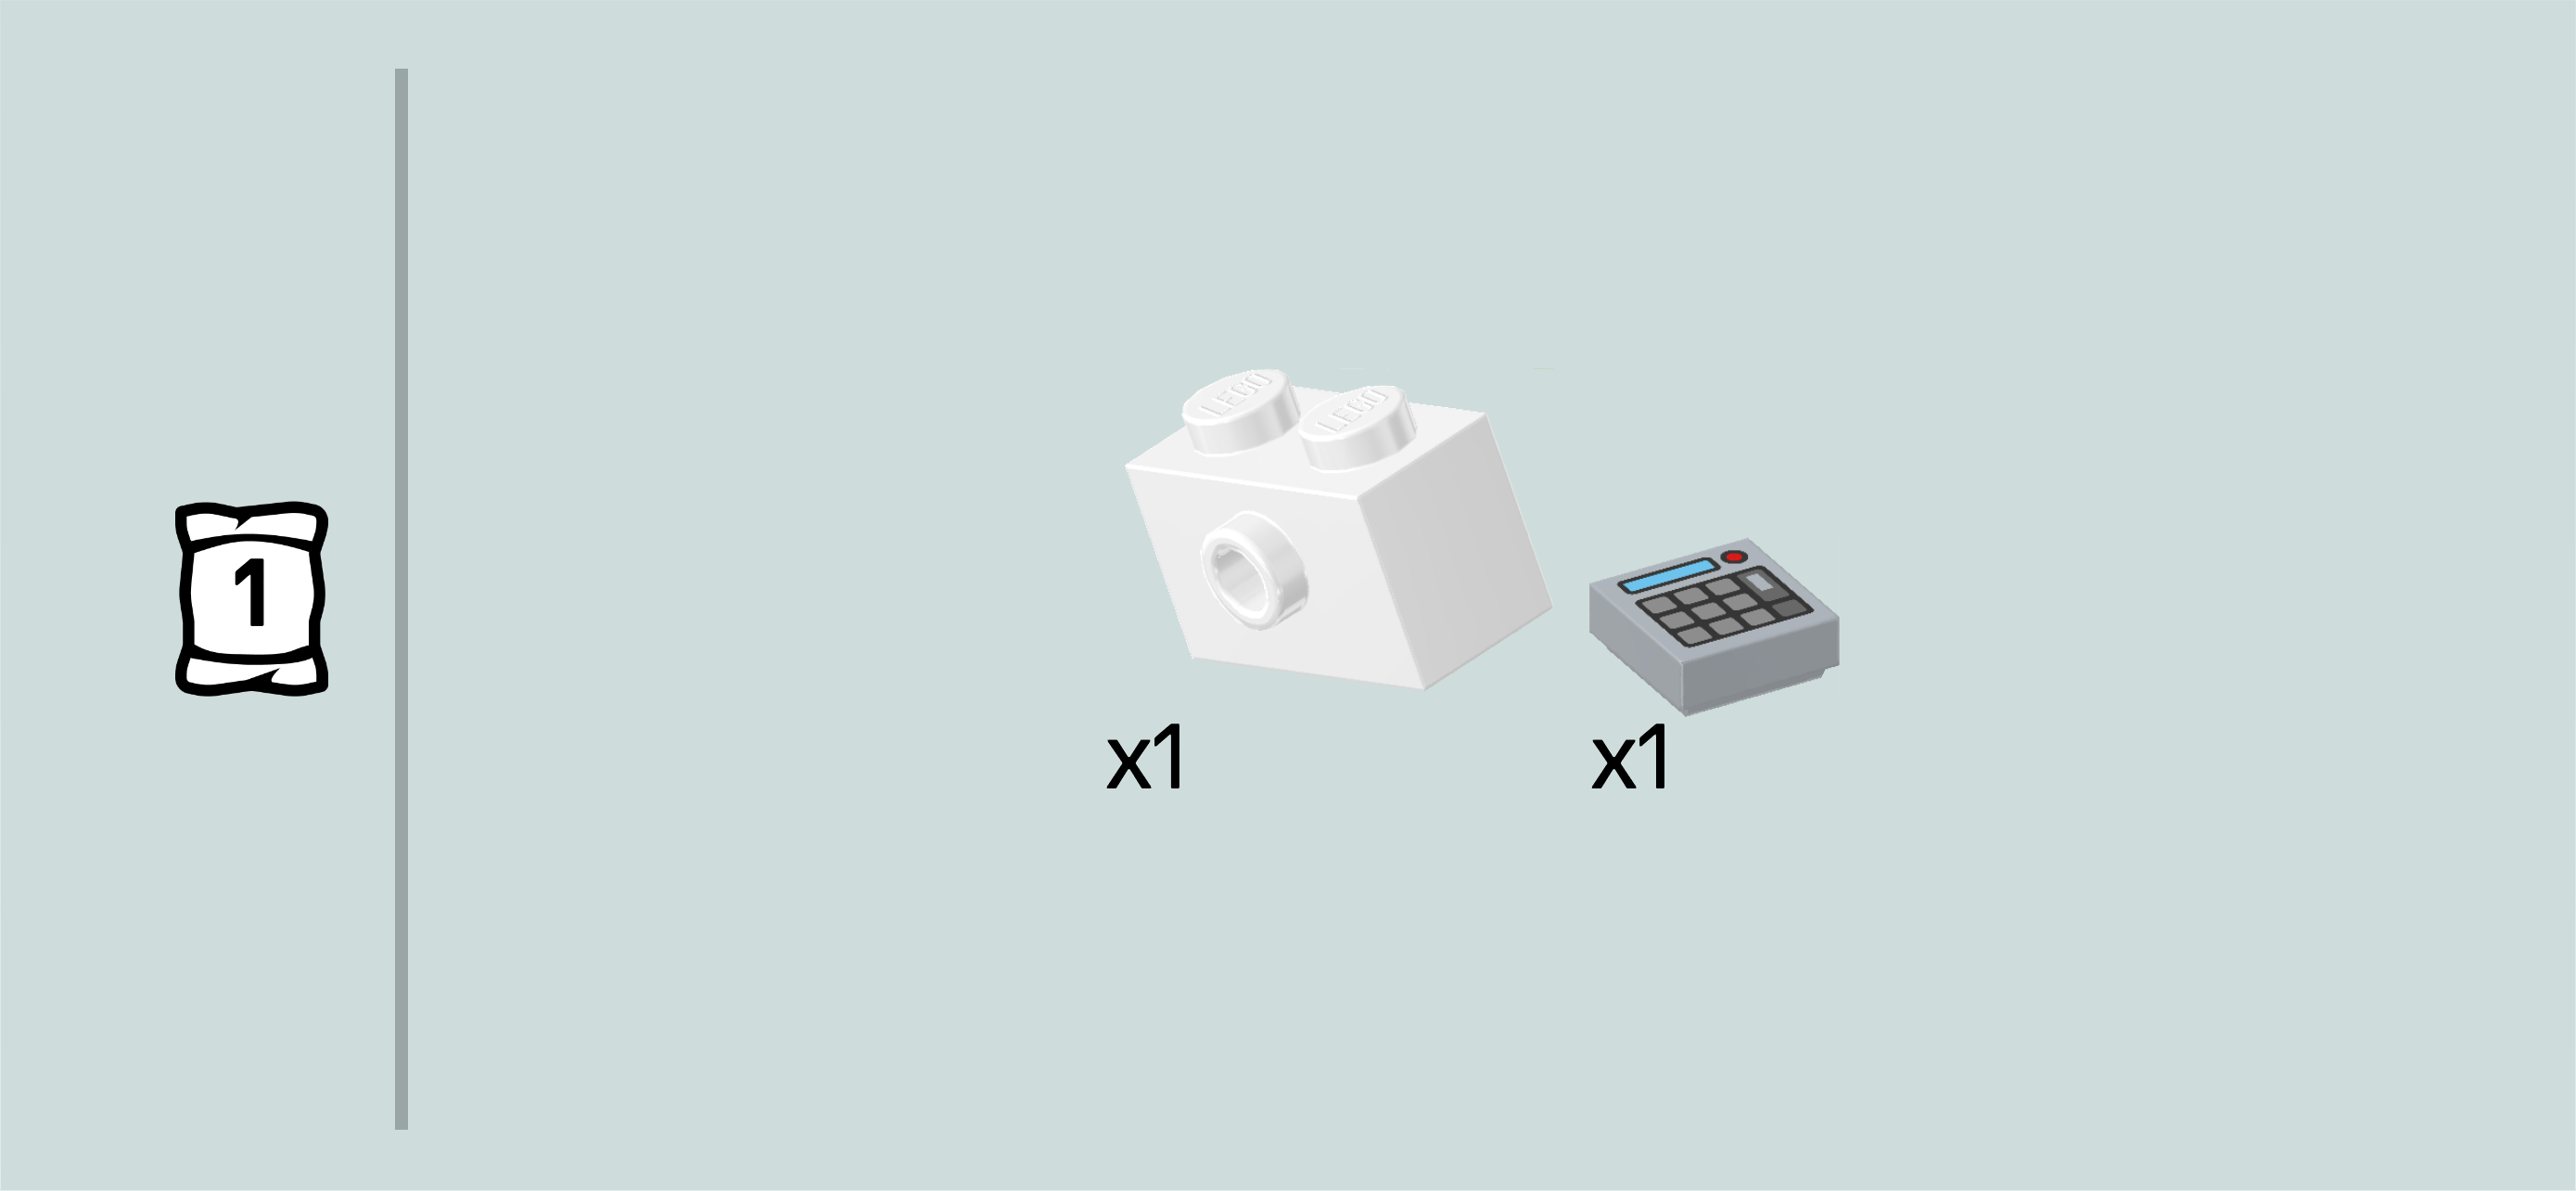
| 1 medium stone grey flat tile 1x1, |
| and 1 white brick 1x2 with side knob. |
| Put the brick horizontally on the table, side knob pointing to the front. |
| Put the flat tile upright on the side knob. It is printed with a contactless payment pad, consisting of a number pad and a small display which will show the cost for recharging the vehicle. |
| Mount the cash register horizontally in front of the profile brick that we have just mounted, payment pad to the front. |
| Find 1 medium azure blue plate 2x2. |
| Put it on top of the cash register and the brick behind it. |
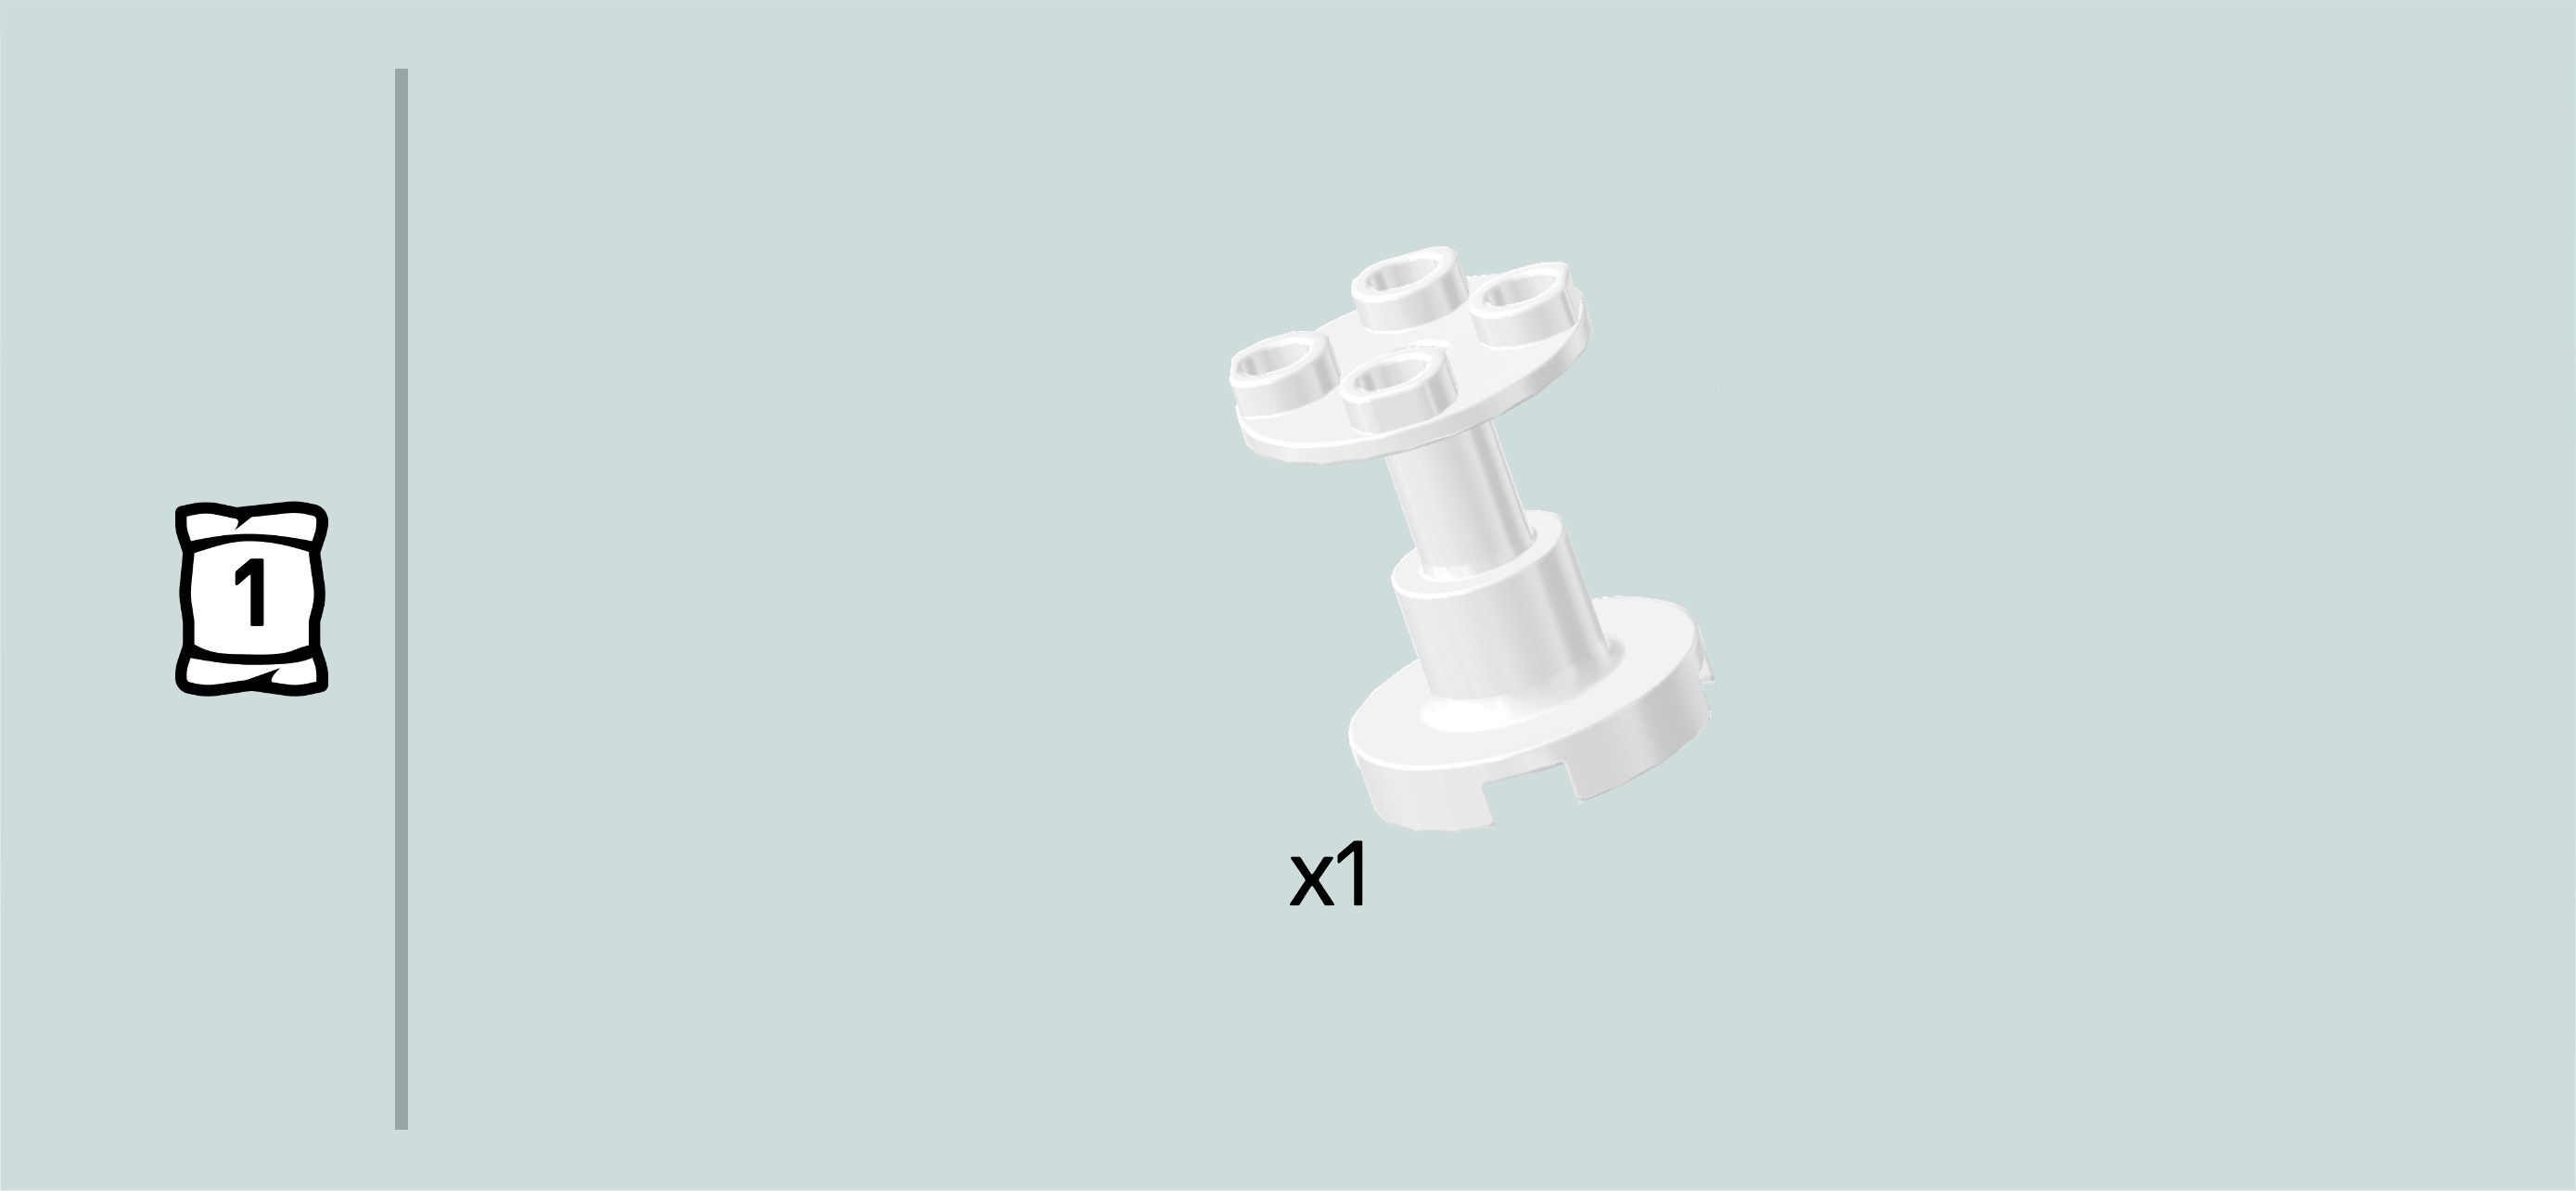
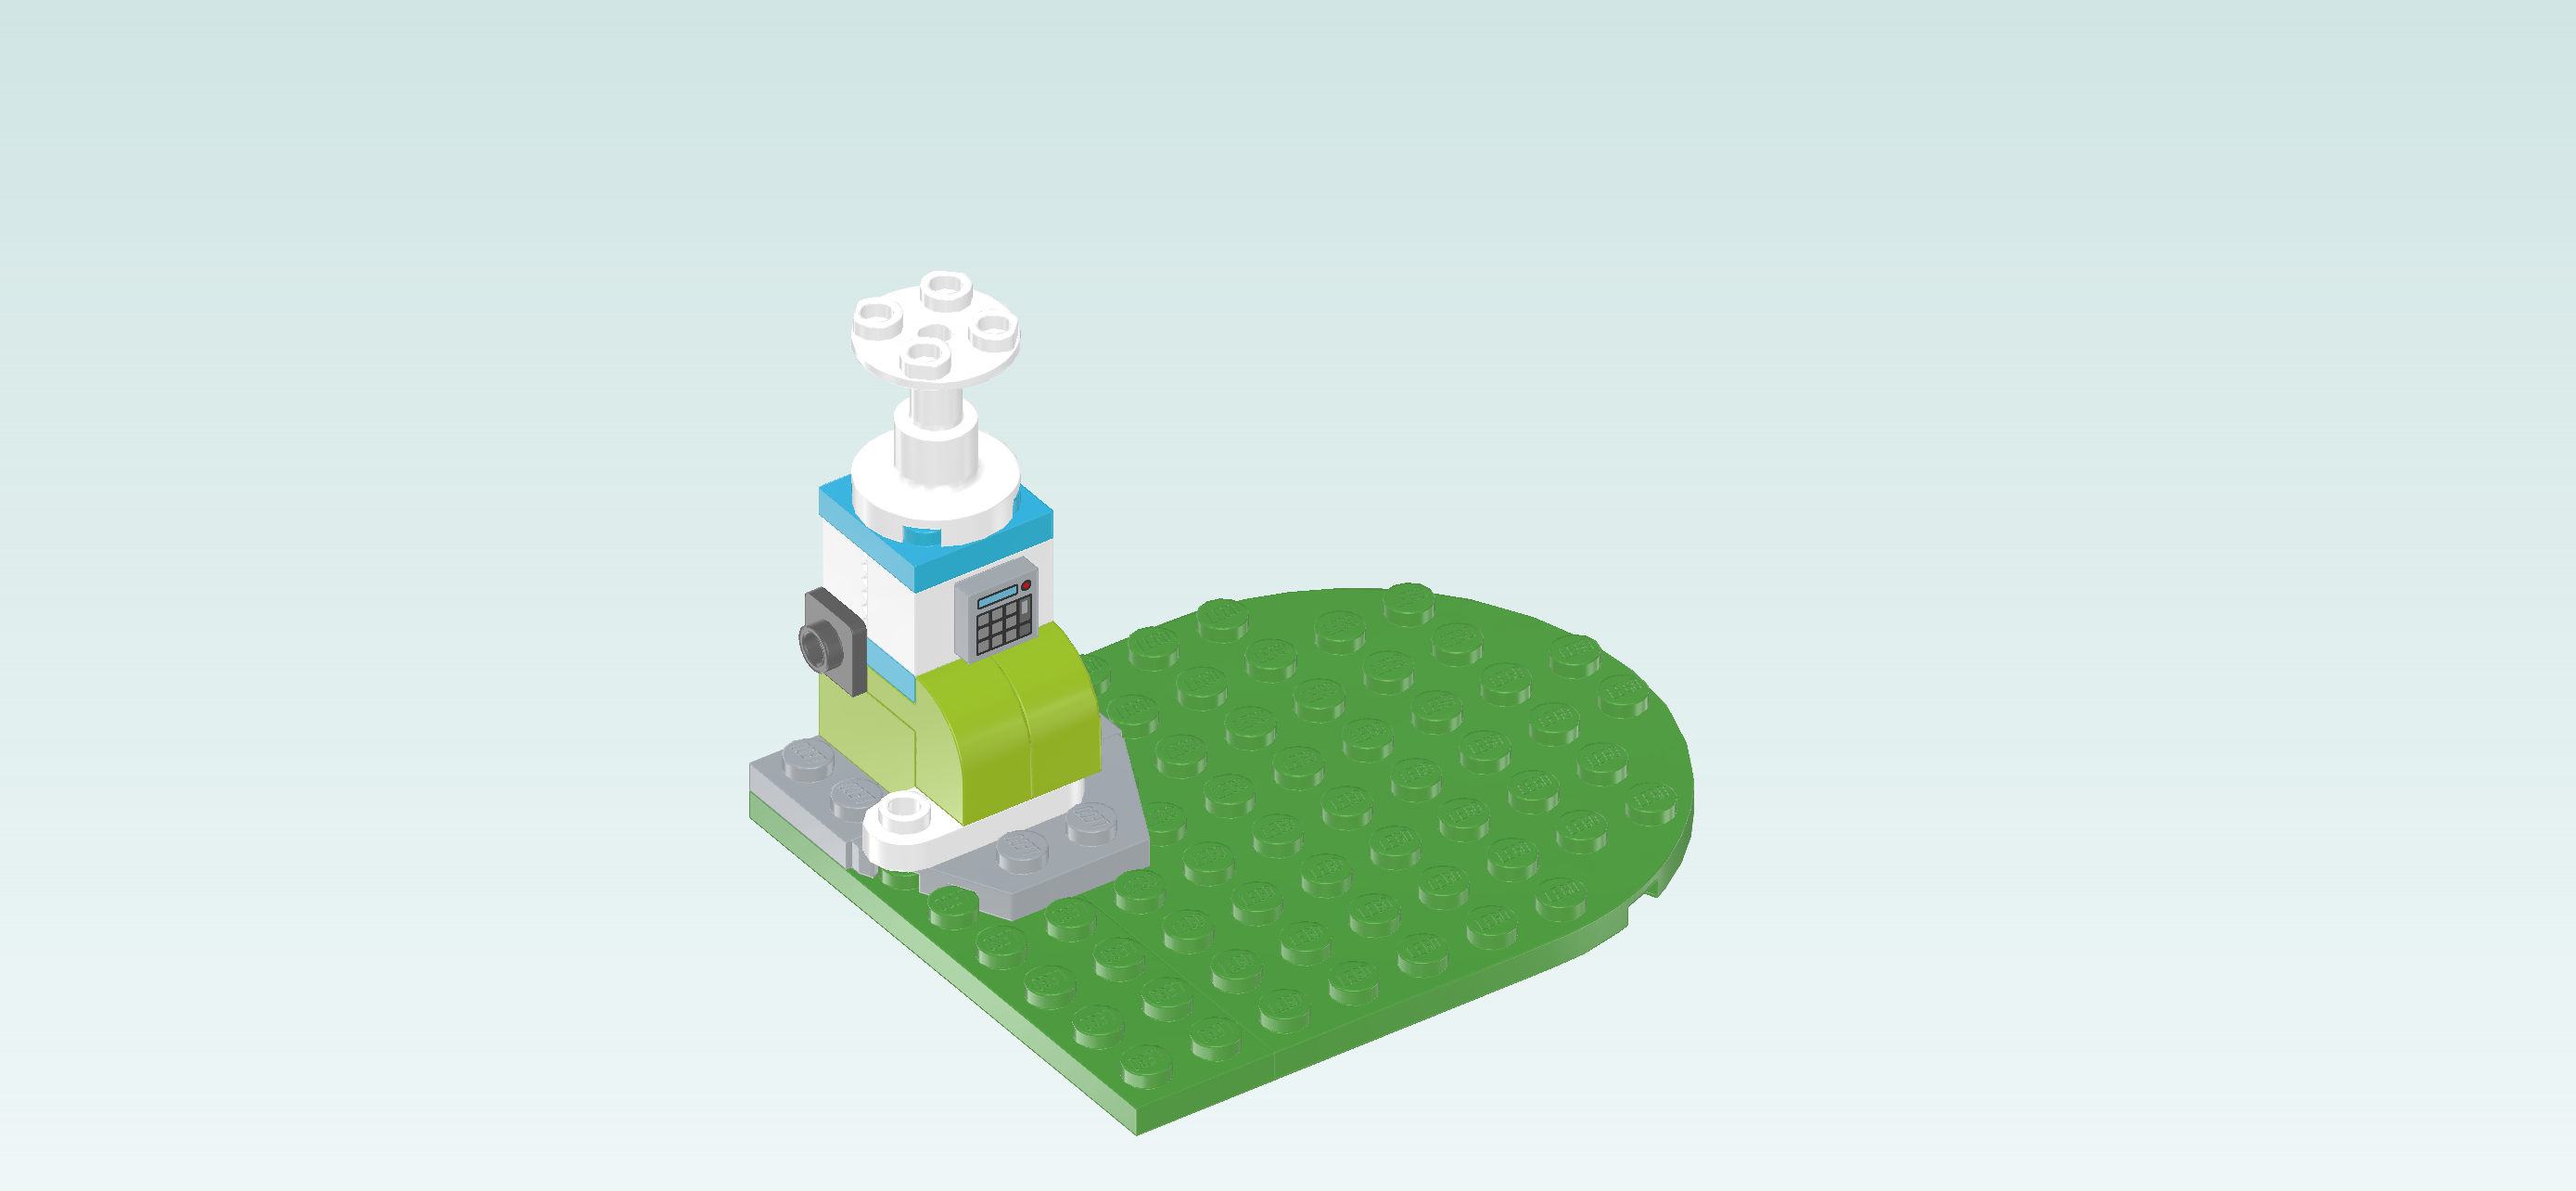
| Find 1 white support stand 2x2x2. |
| Put it on top of the previous piece. |
| Now, we will build the solar panel mount. |
| Collect the following 2 pieces: |
| 1 medium azure blue plate 2x2, |
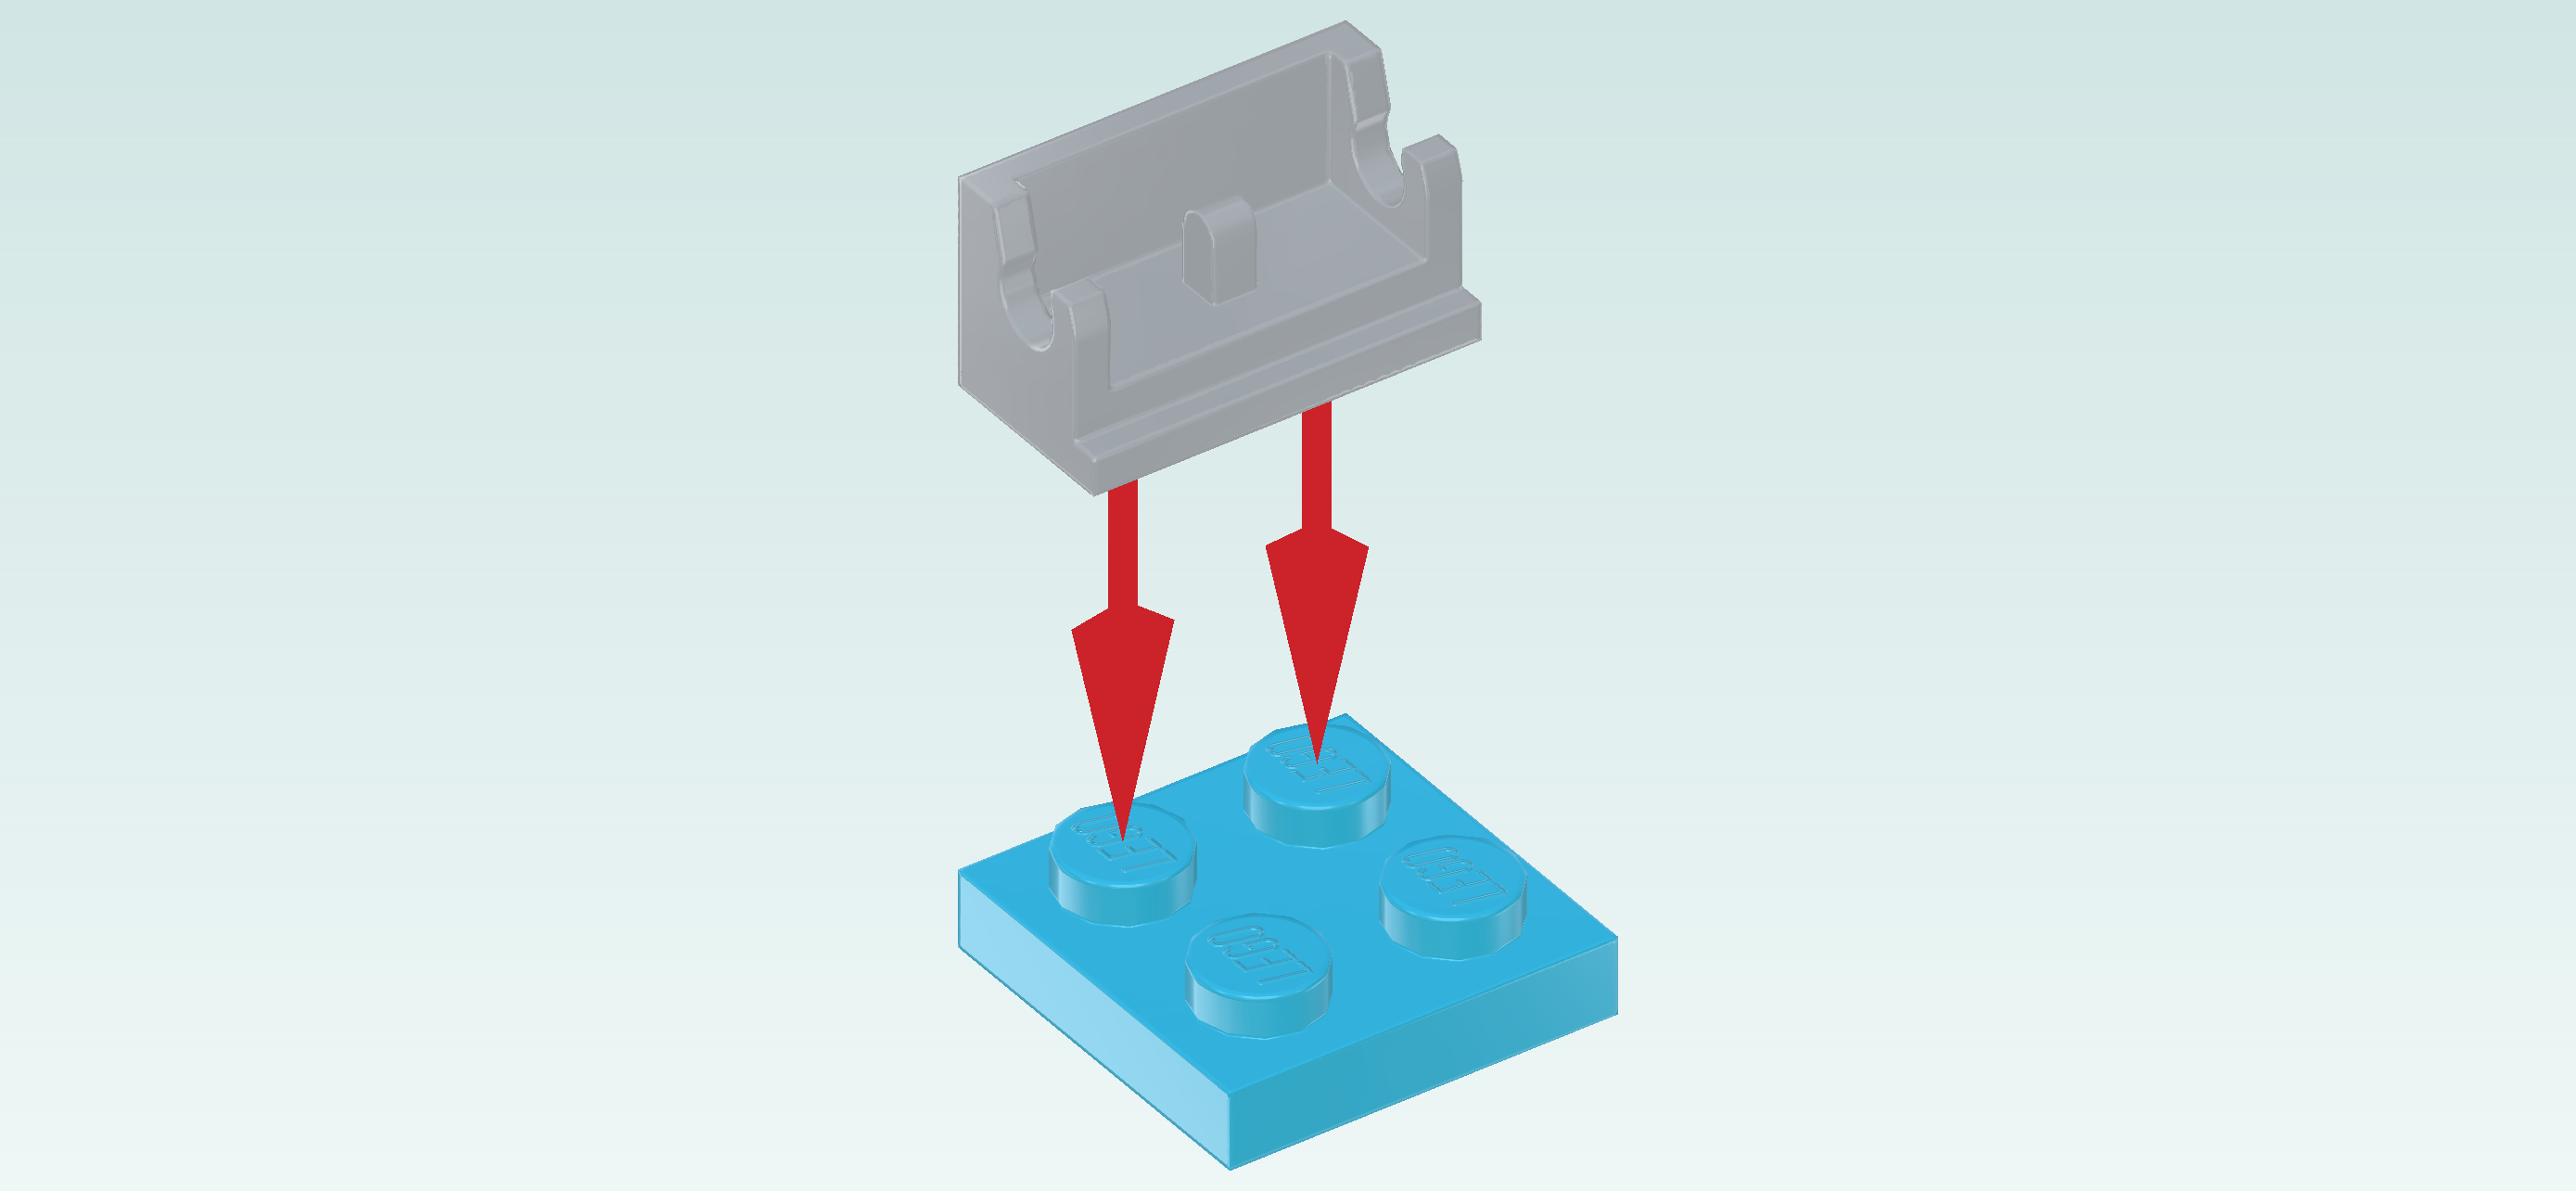
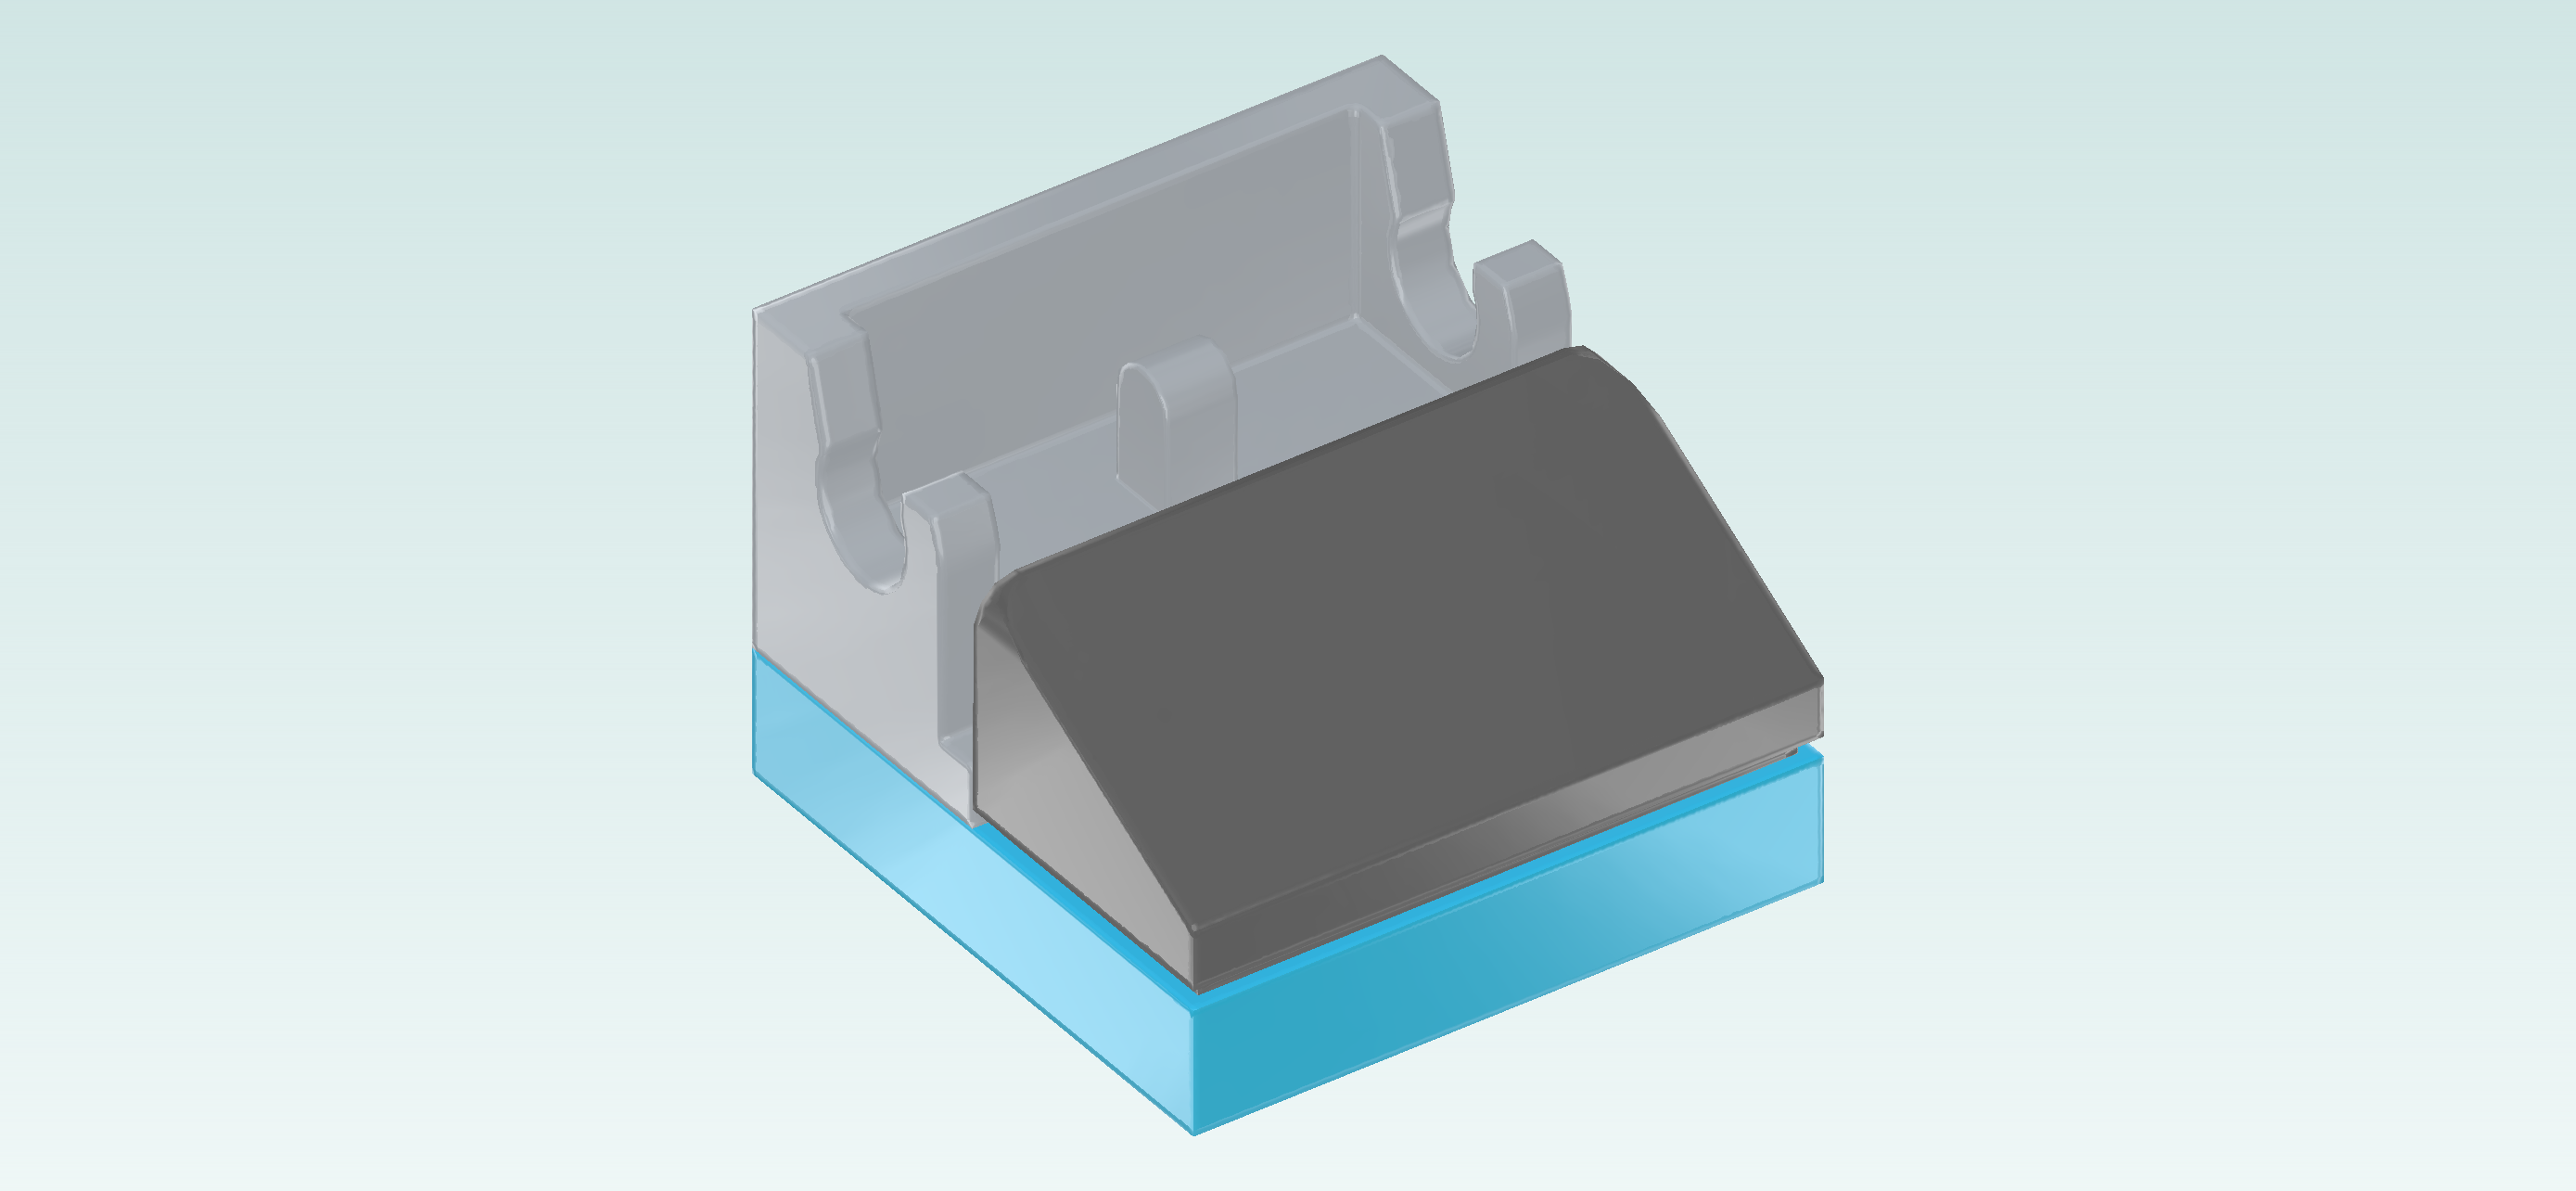
| and 1 medium stone grey panel element 1x2 with top hinge mounting. |
| Put the plate 2x2 on the table. |
| Put the panel element 1x2 horizontally on the back row, back panel to the back. |
| Find 1 dark stone grey smooth roof tile 1x2x⅔. |
| Put it horizontally in front of the previous piece, slope to the front. |
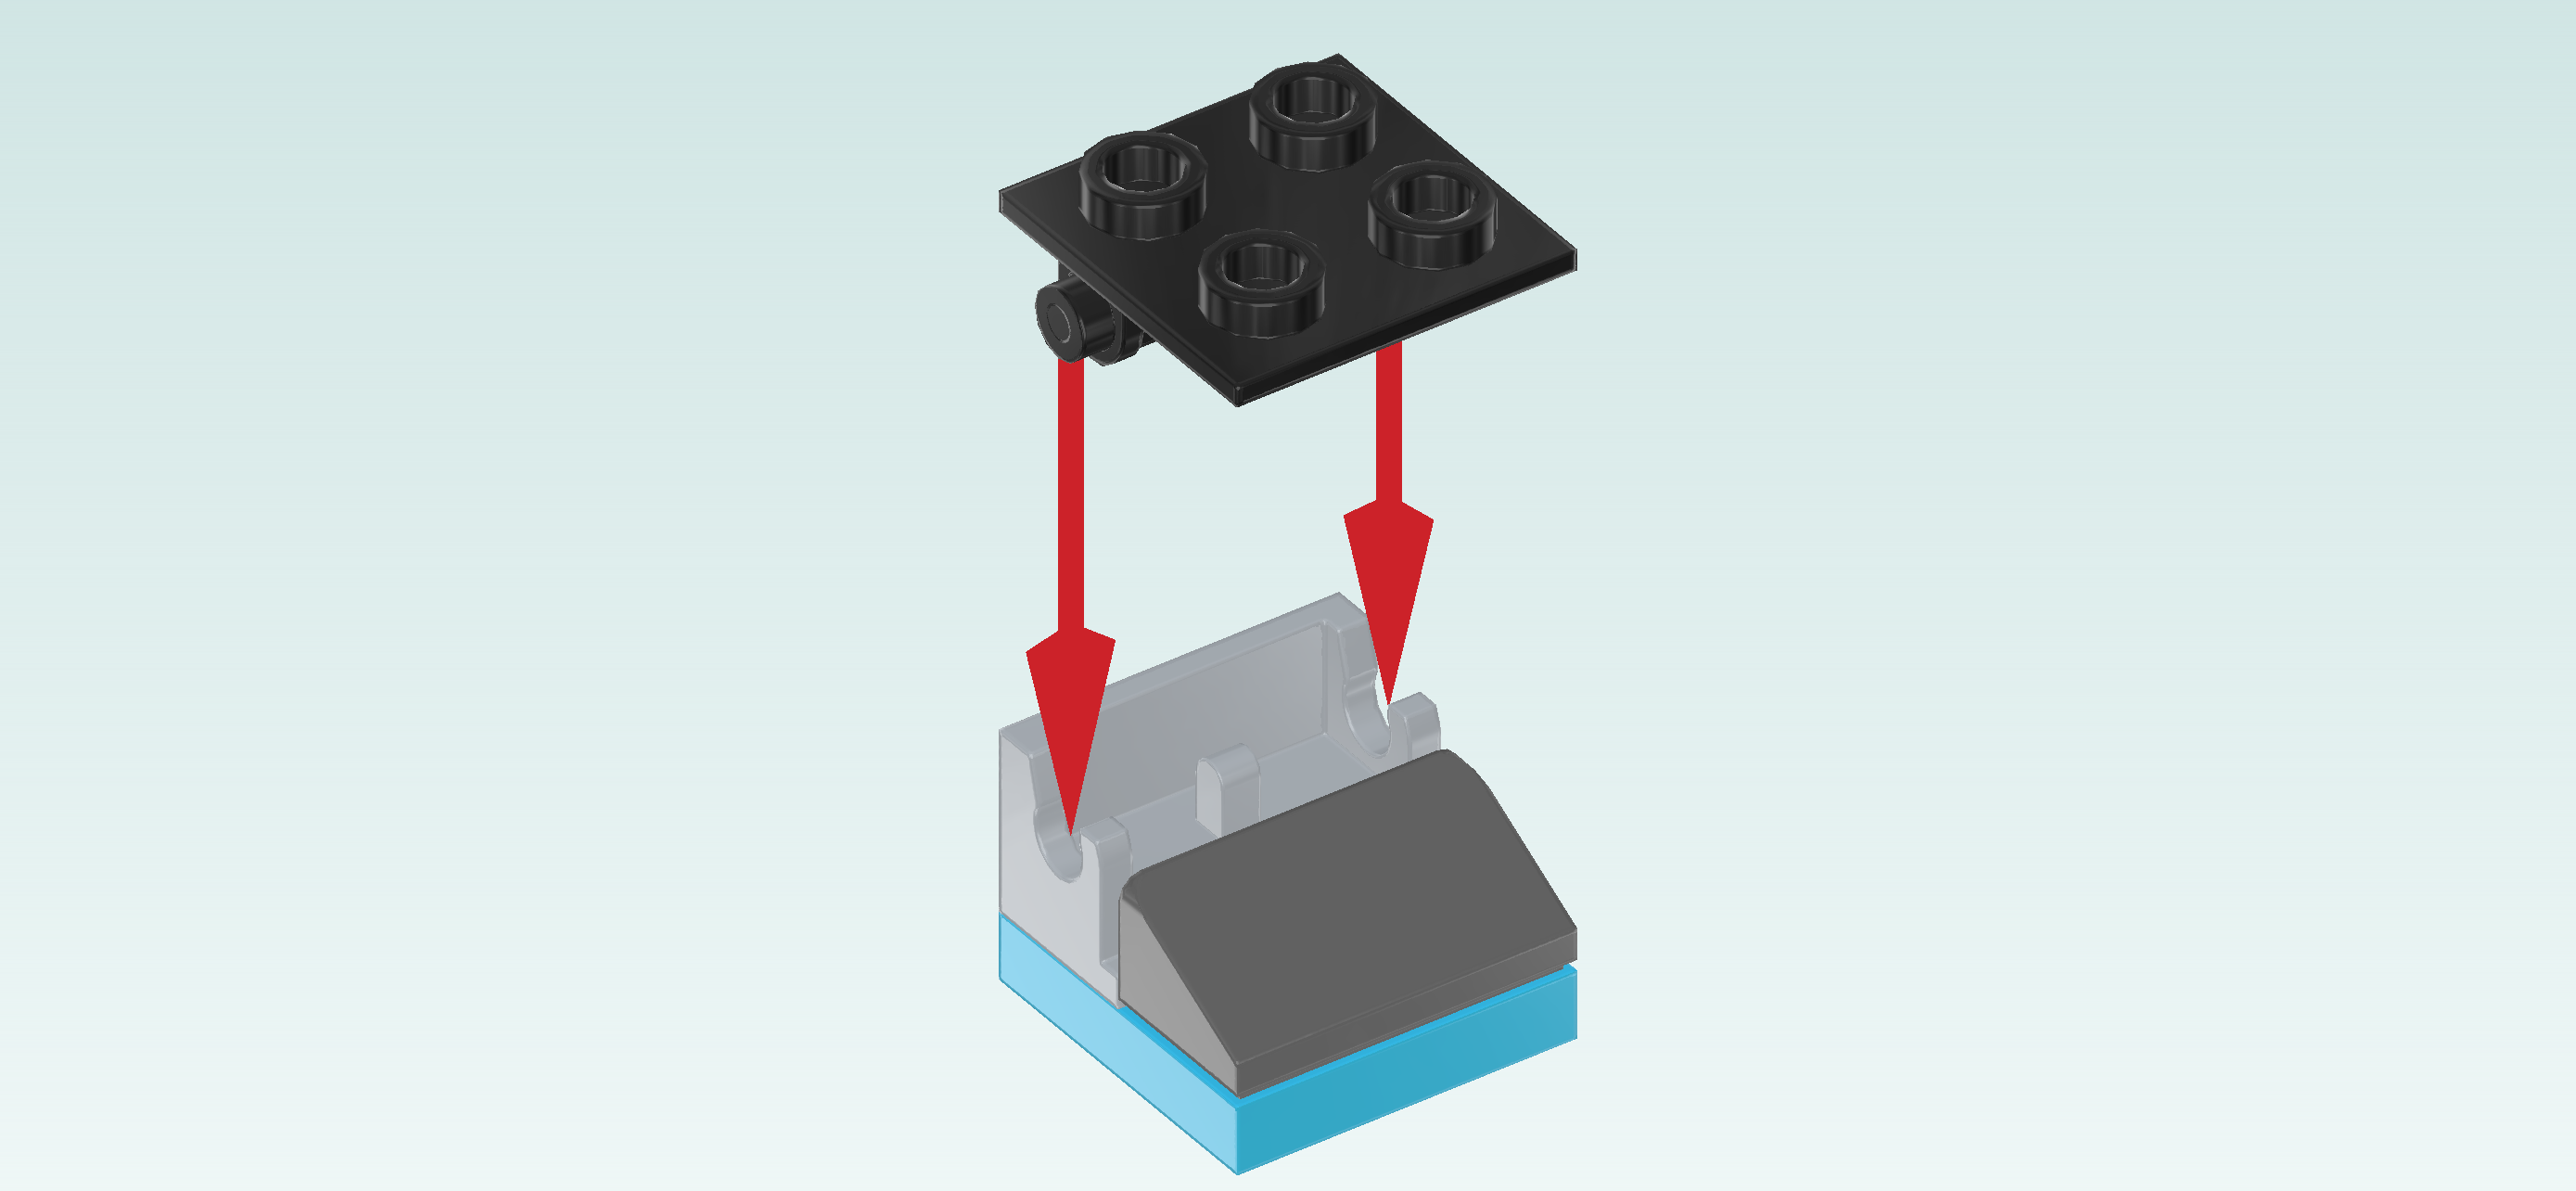
| Find 1 black plate 2x2 with lateral bottom hinge pins. |
| Snap the bottom hinge pins into the hinge mount. Make sure that the hinge pins are at the back, plate protruding towards the front. |
| Fold the hinge plate down until it touches the smooth roof tile. |
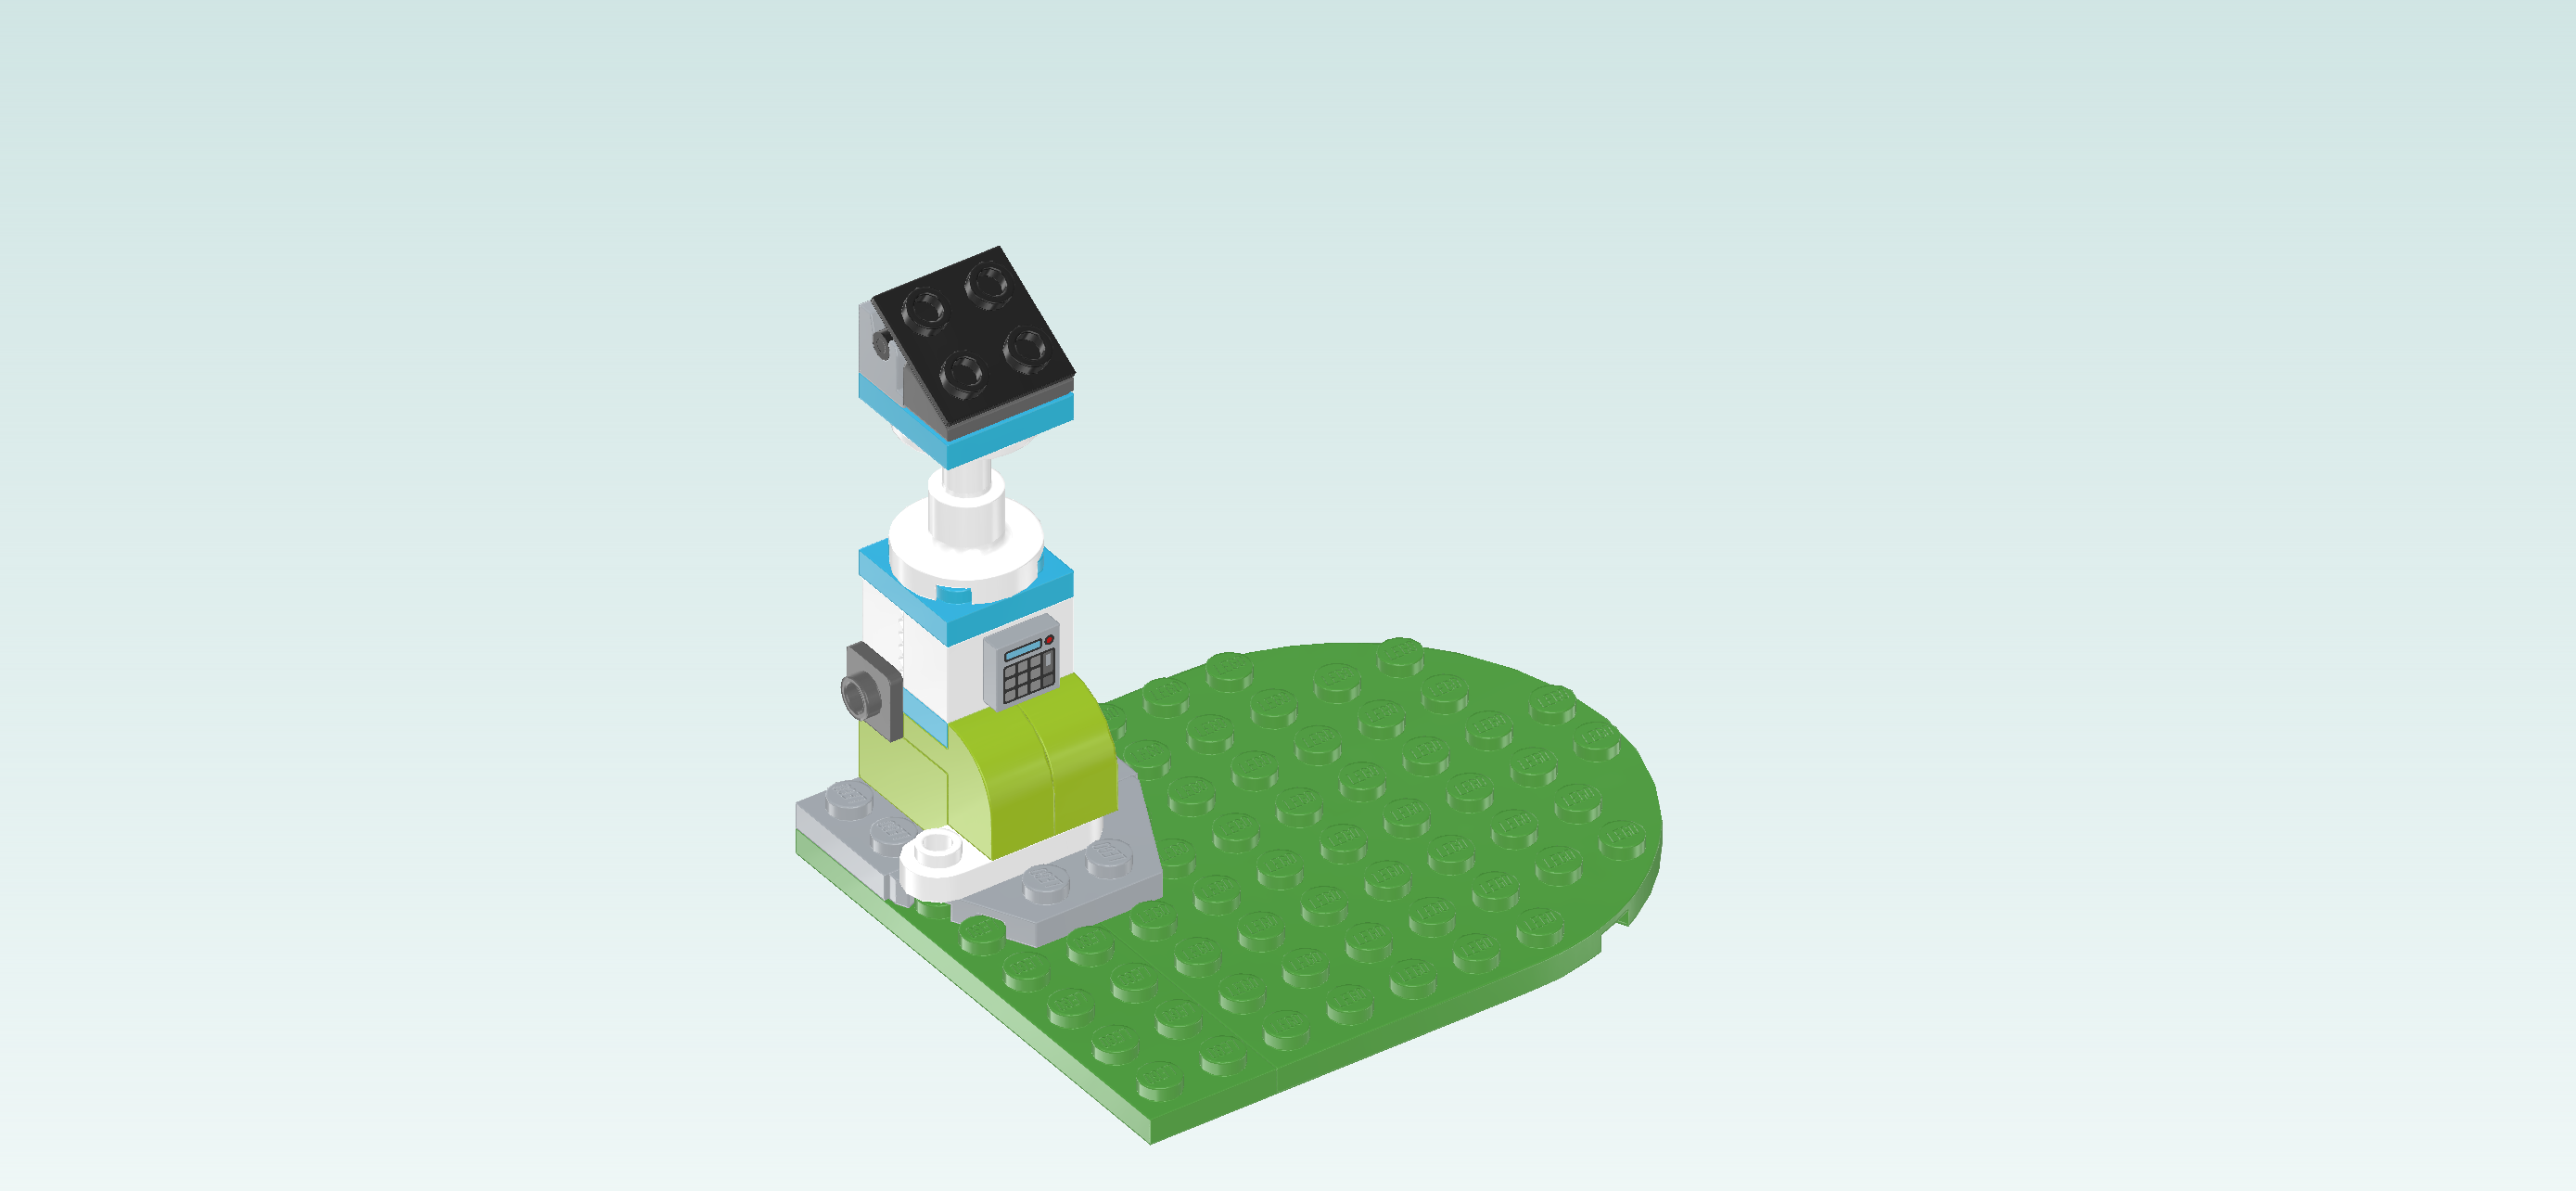
| The solar panel mount is finished! Well done! Put it on top of the support stand we have mounted previously, slope to the front. |
| Collect the following 2 pieces: |
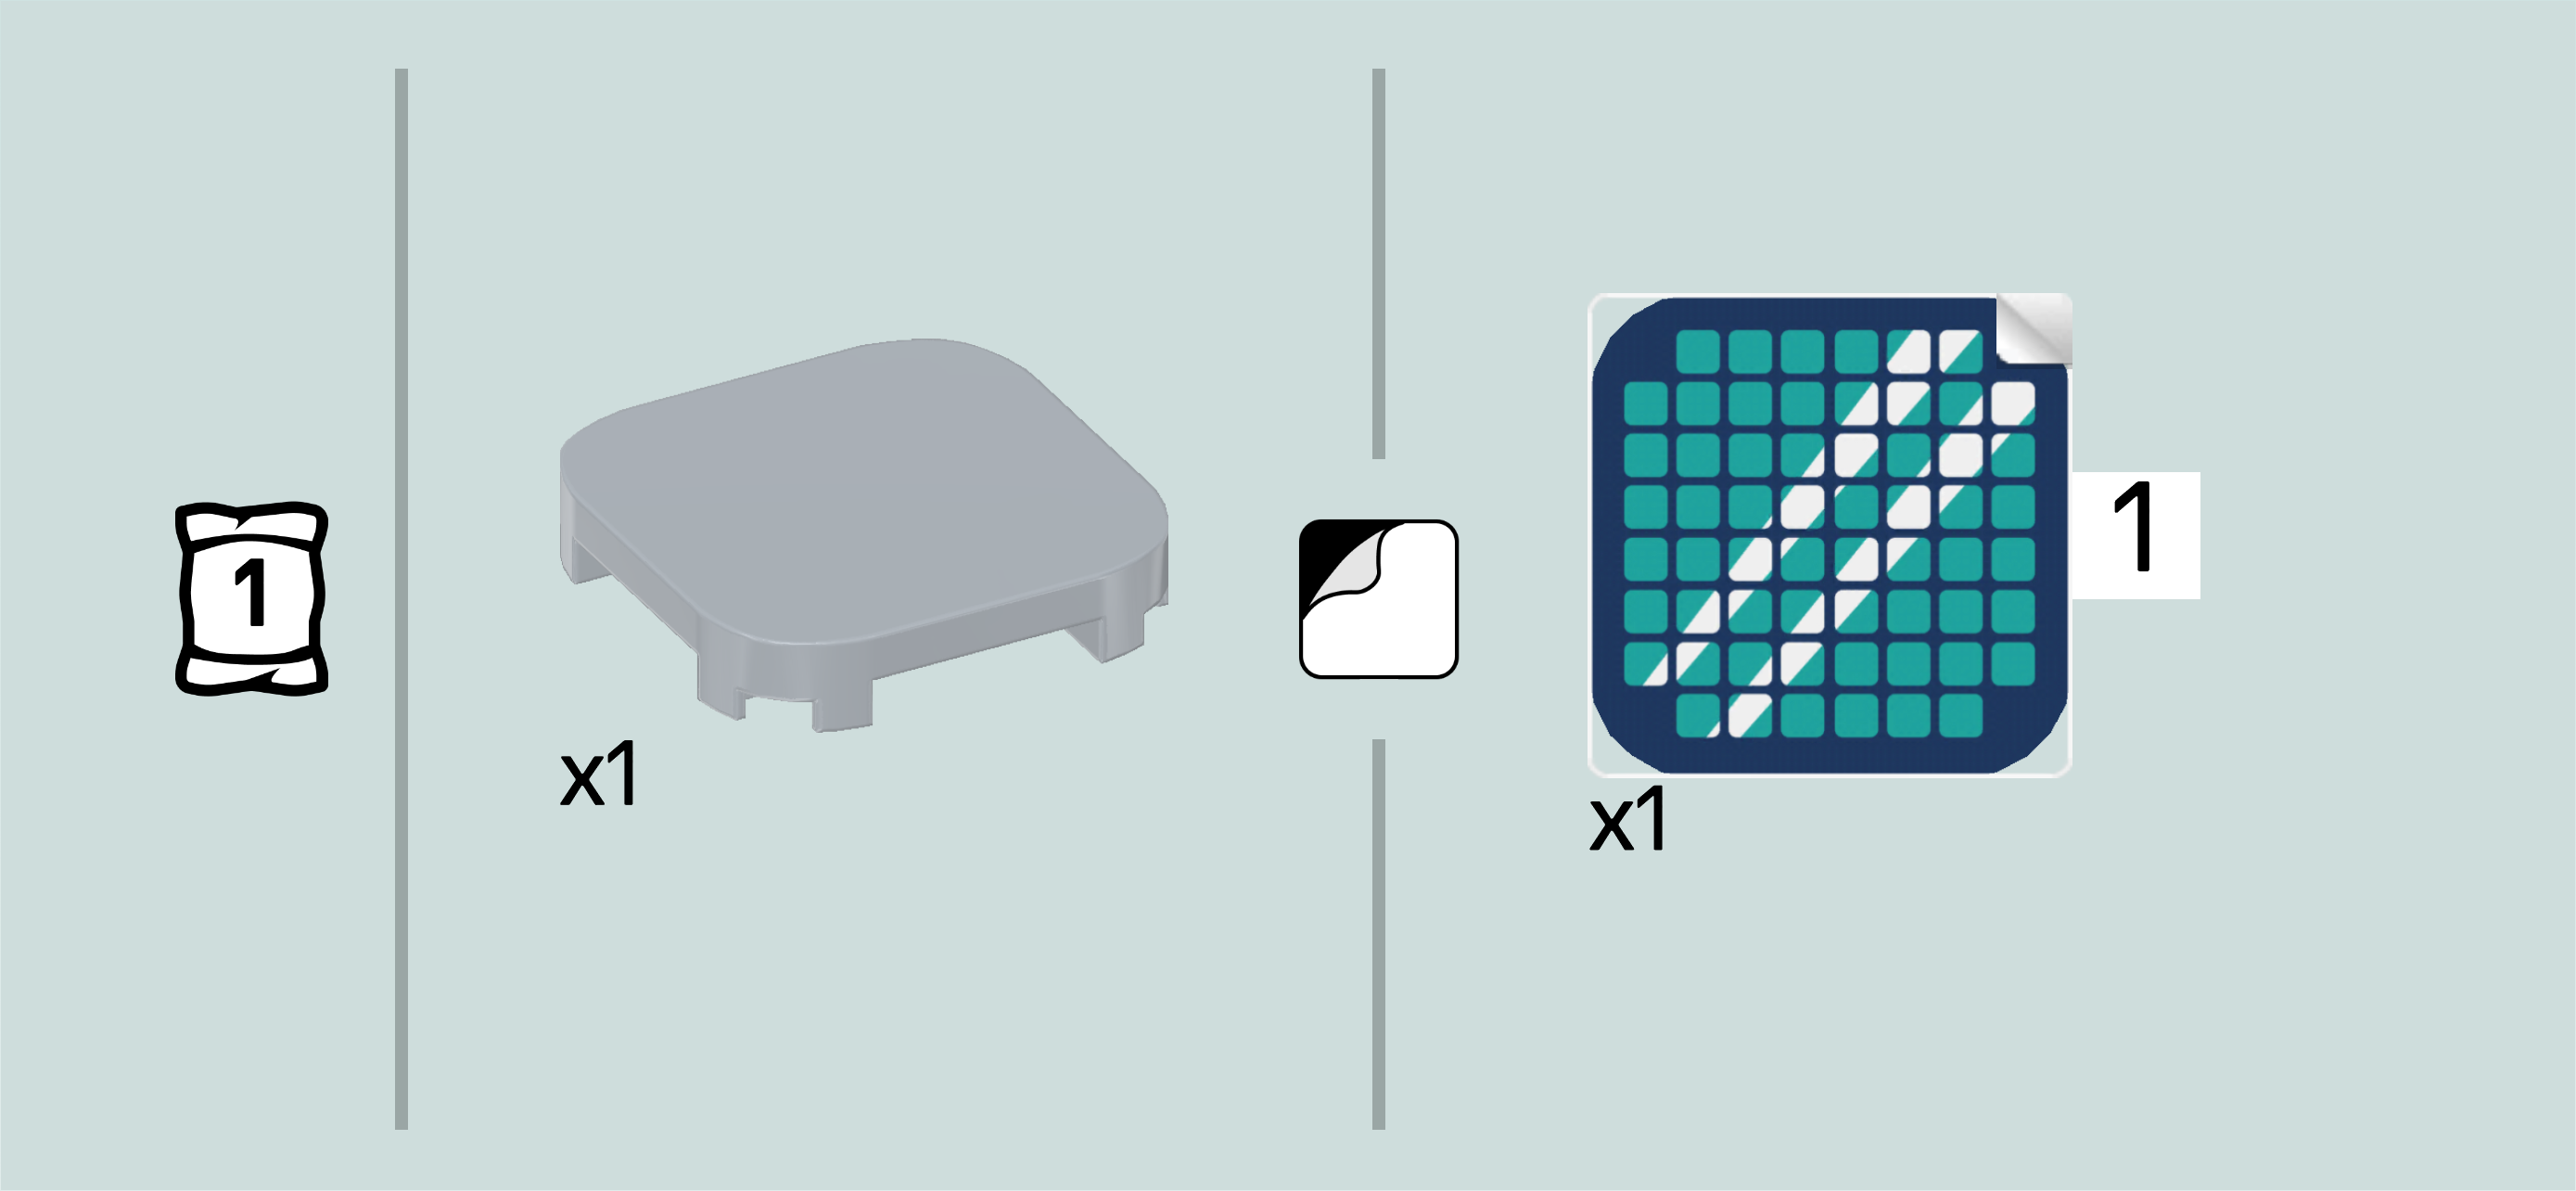
| 1 medium stone grey flat tile 4x4 with rounded corners and 4 feet, |
| and 1 square sticker 4x4. |
| Put the flat tile with feet on the table. |
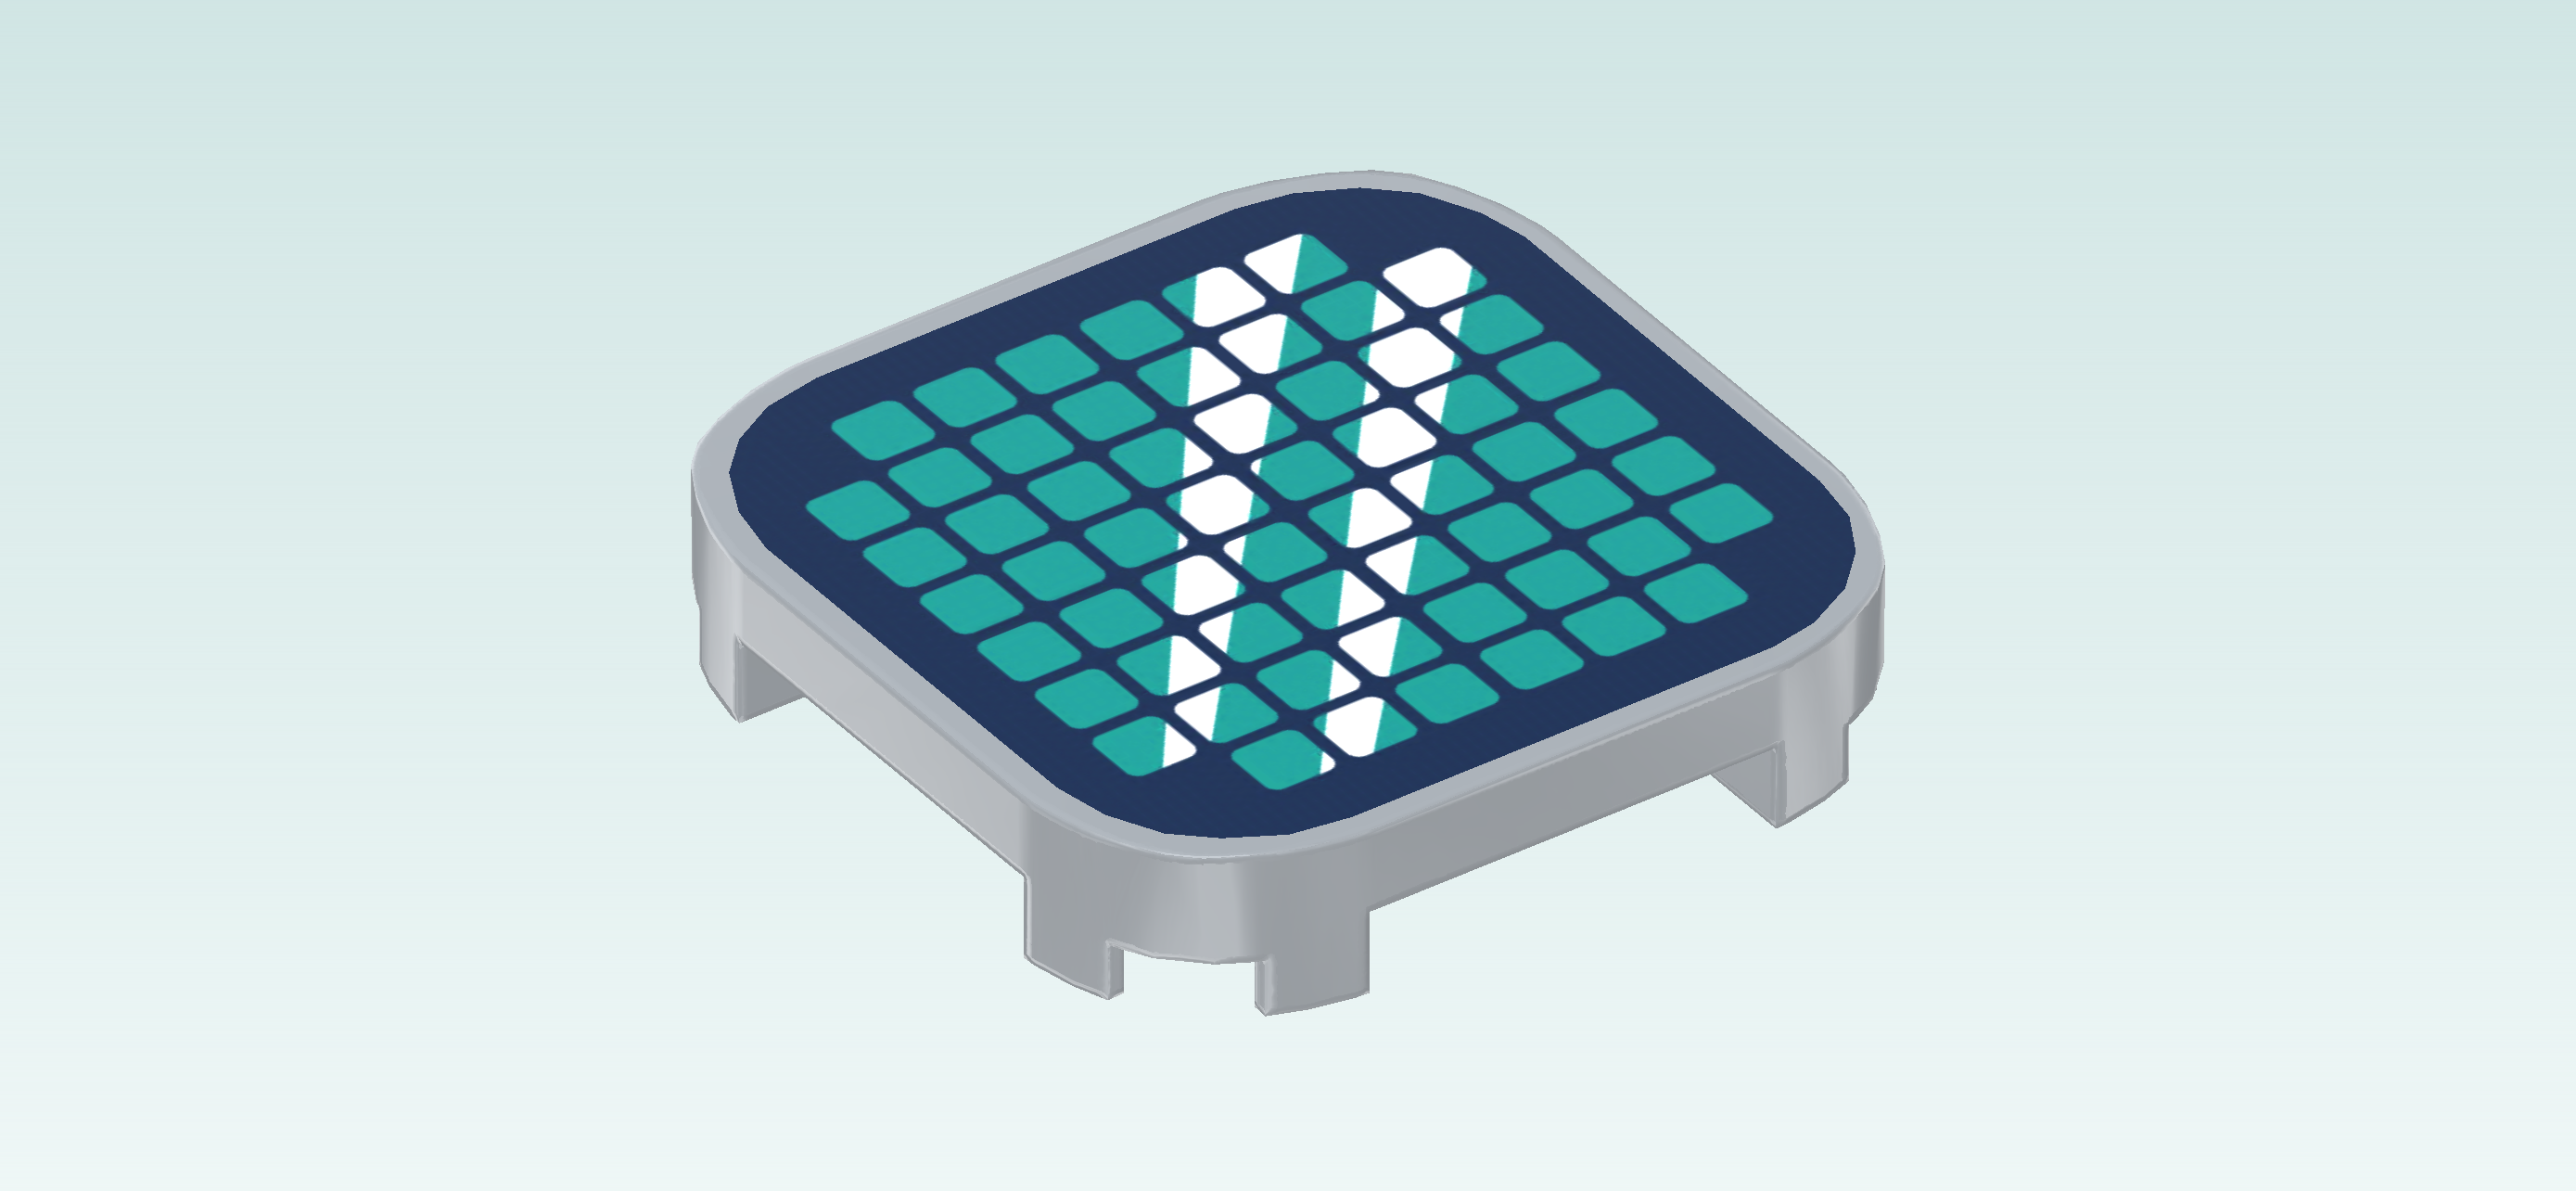
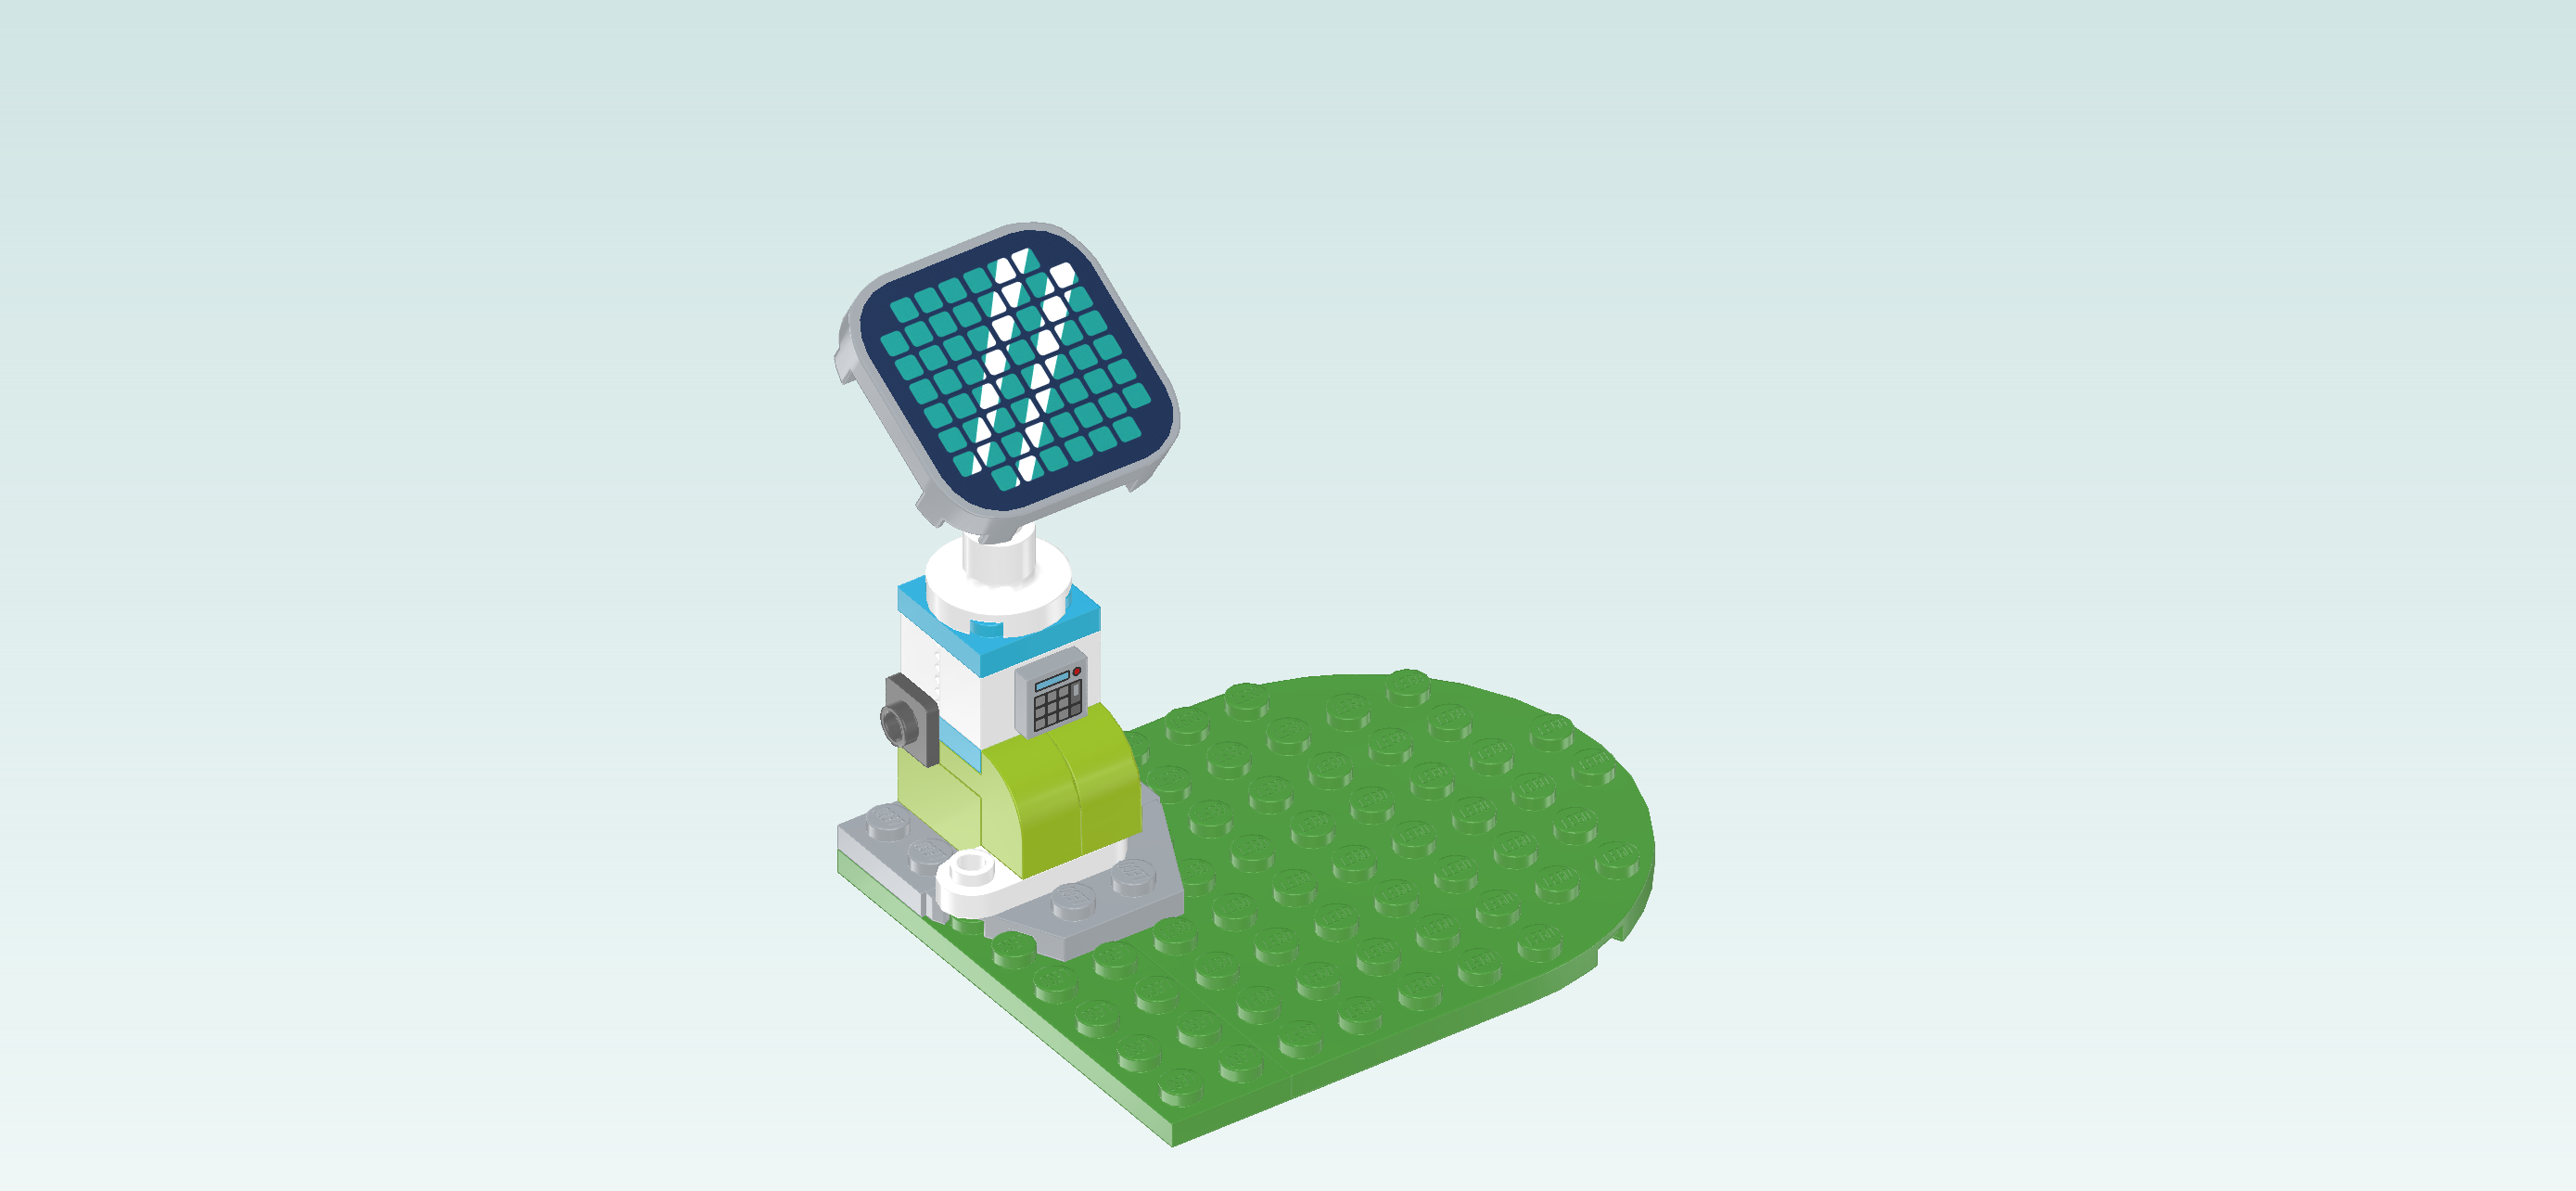
| Put the square sticker 4x4 on top, matching the flat tile's shape. The sticker is printed with a navy blue frame and grid filled with teal blue solar cells. Since solar panels are a bit shiny, they will reflect light. So does this one! Two white beams of shimmering light are diagonally crossing the entire panel. |
| Mount the solar panel centered on the panel mount. You can fold the solar panel up and down and adjust its position according to the altitude of the sun! |
| Next, we will assemble the charger cable. |
| Collect the following 2 pieces: |
| 1 medium stone grey round plate 1x1 with angled handle, |
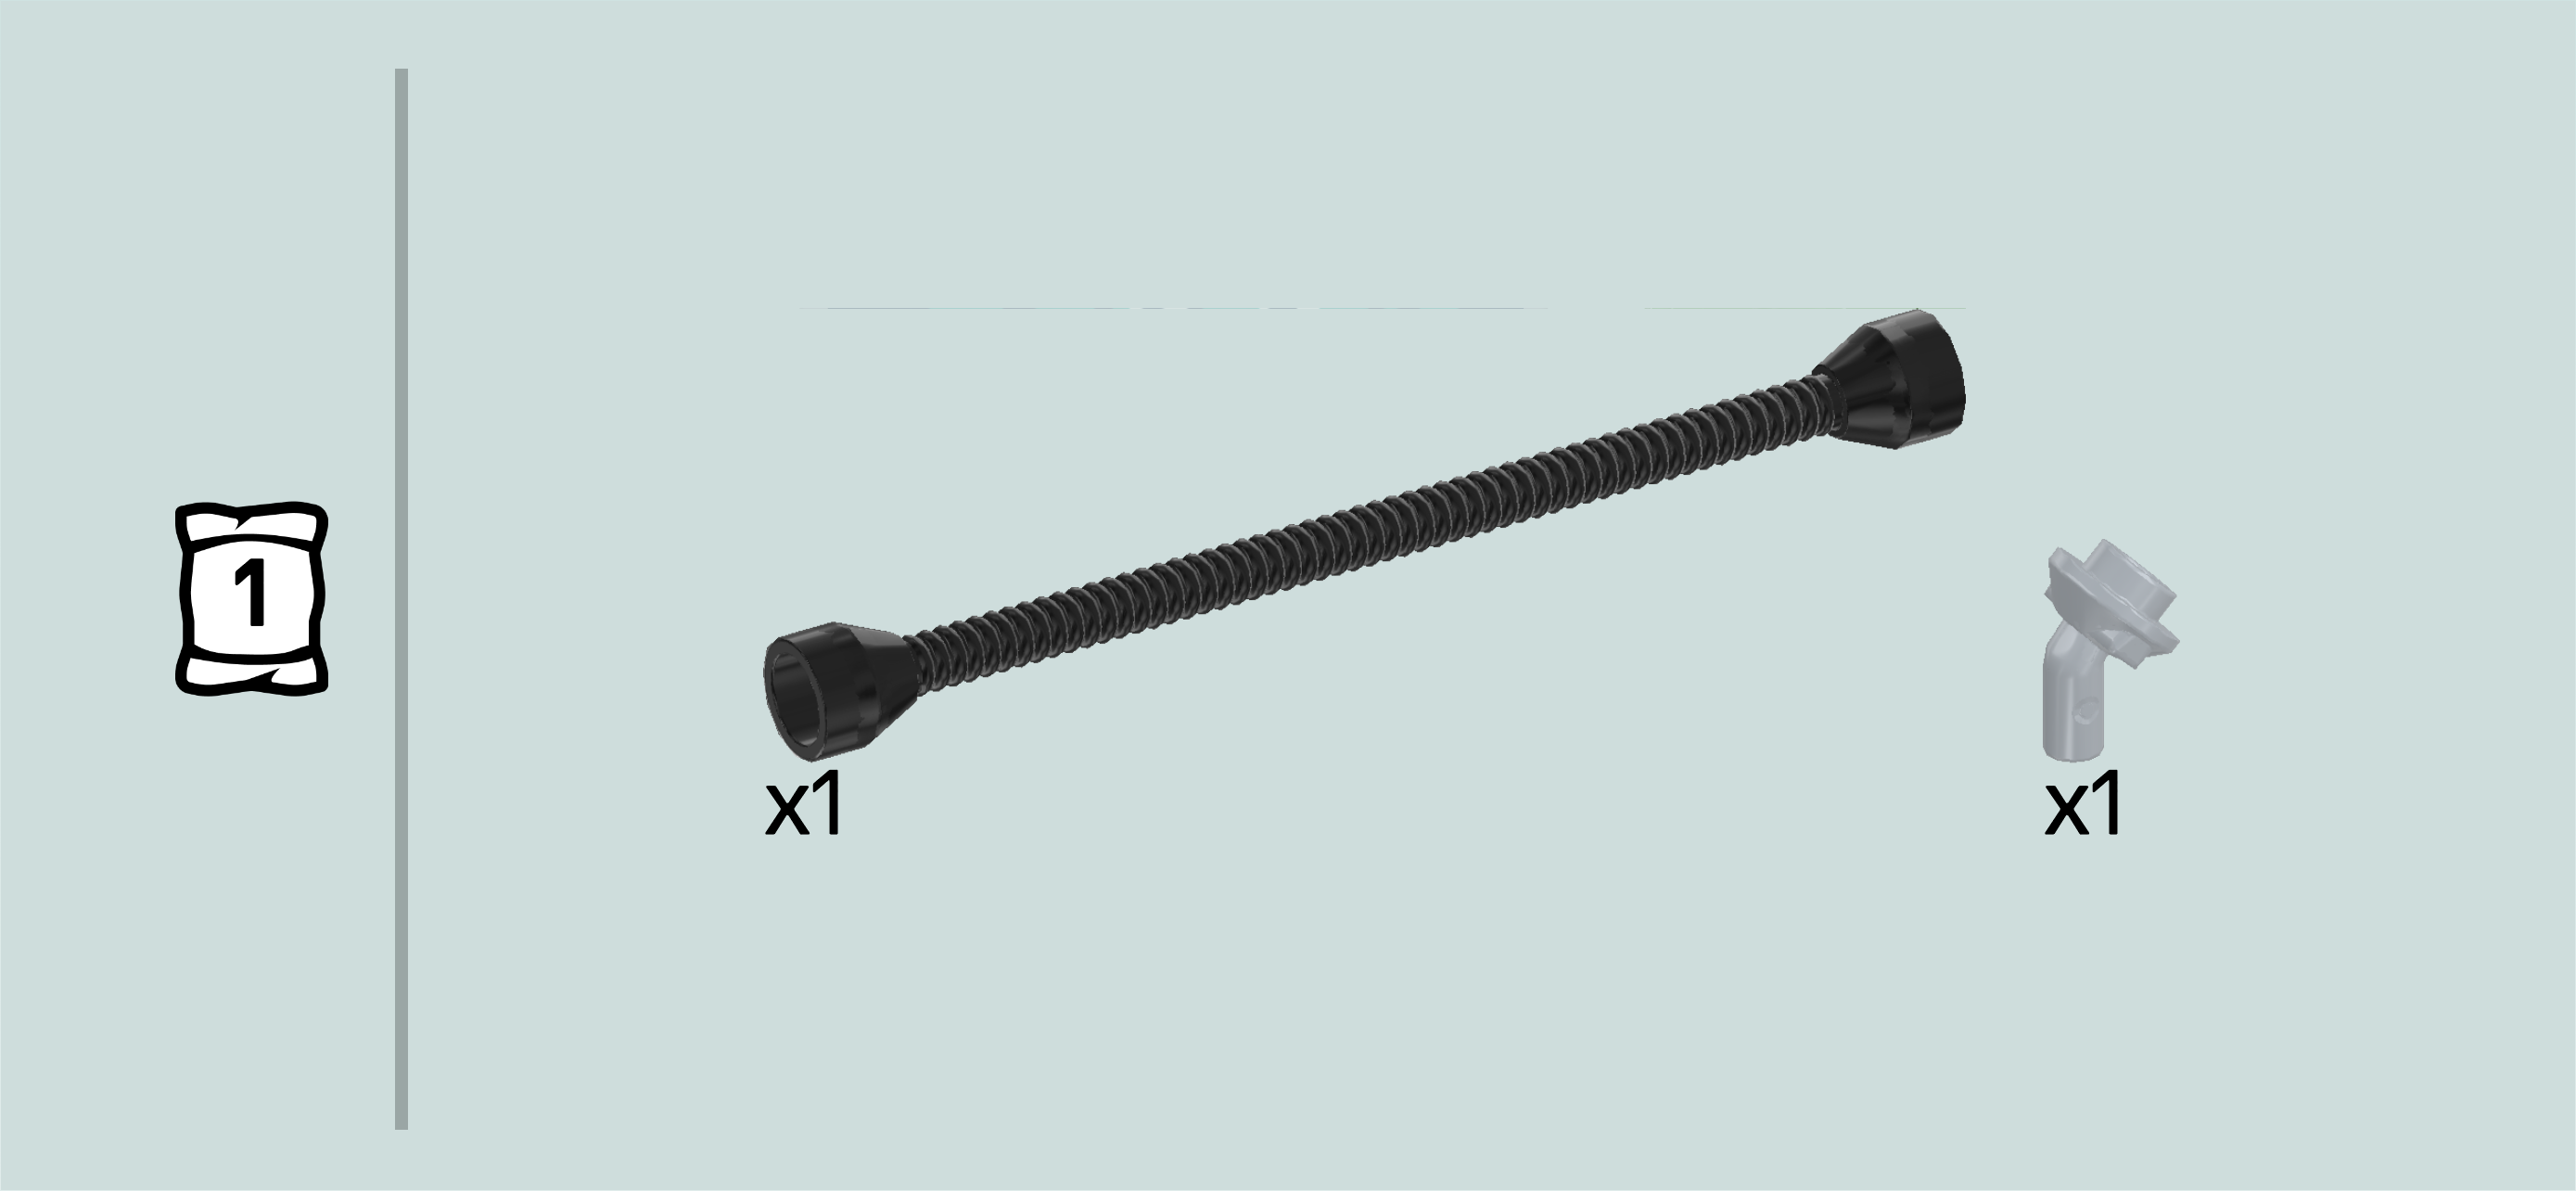
| and 1 black flexible hose 8½m with 2 end tubes. |
| Hold the flexible hose horizontally and put the round plate 1x1 on the right end tube, handle protruding to the right. |
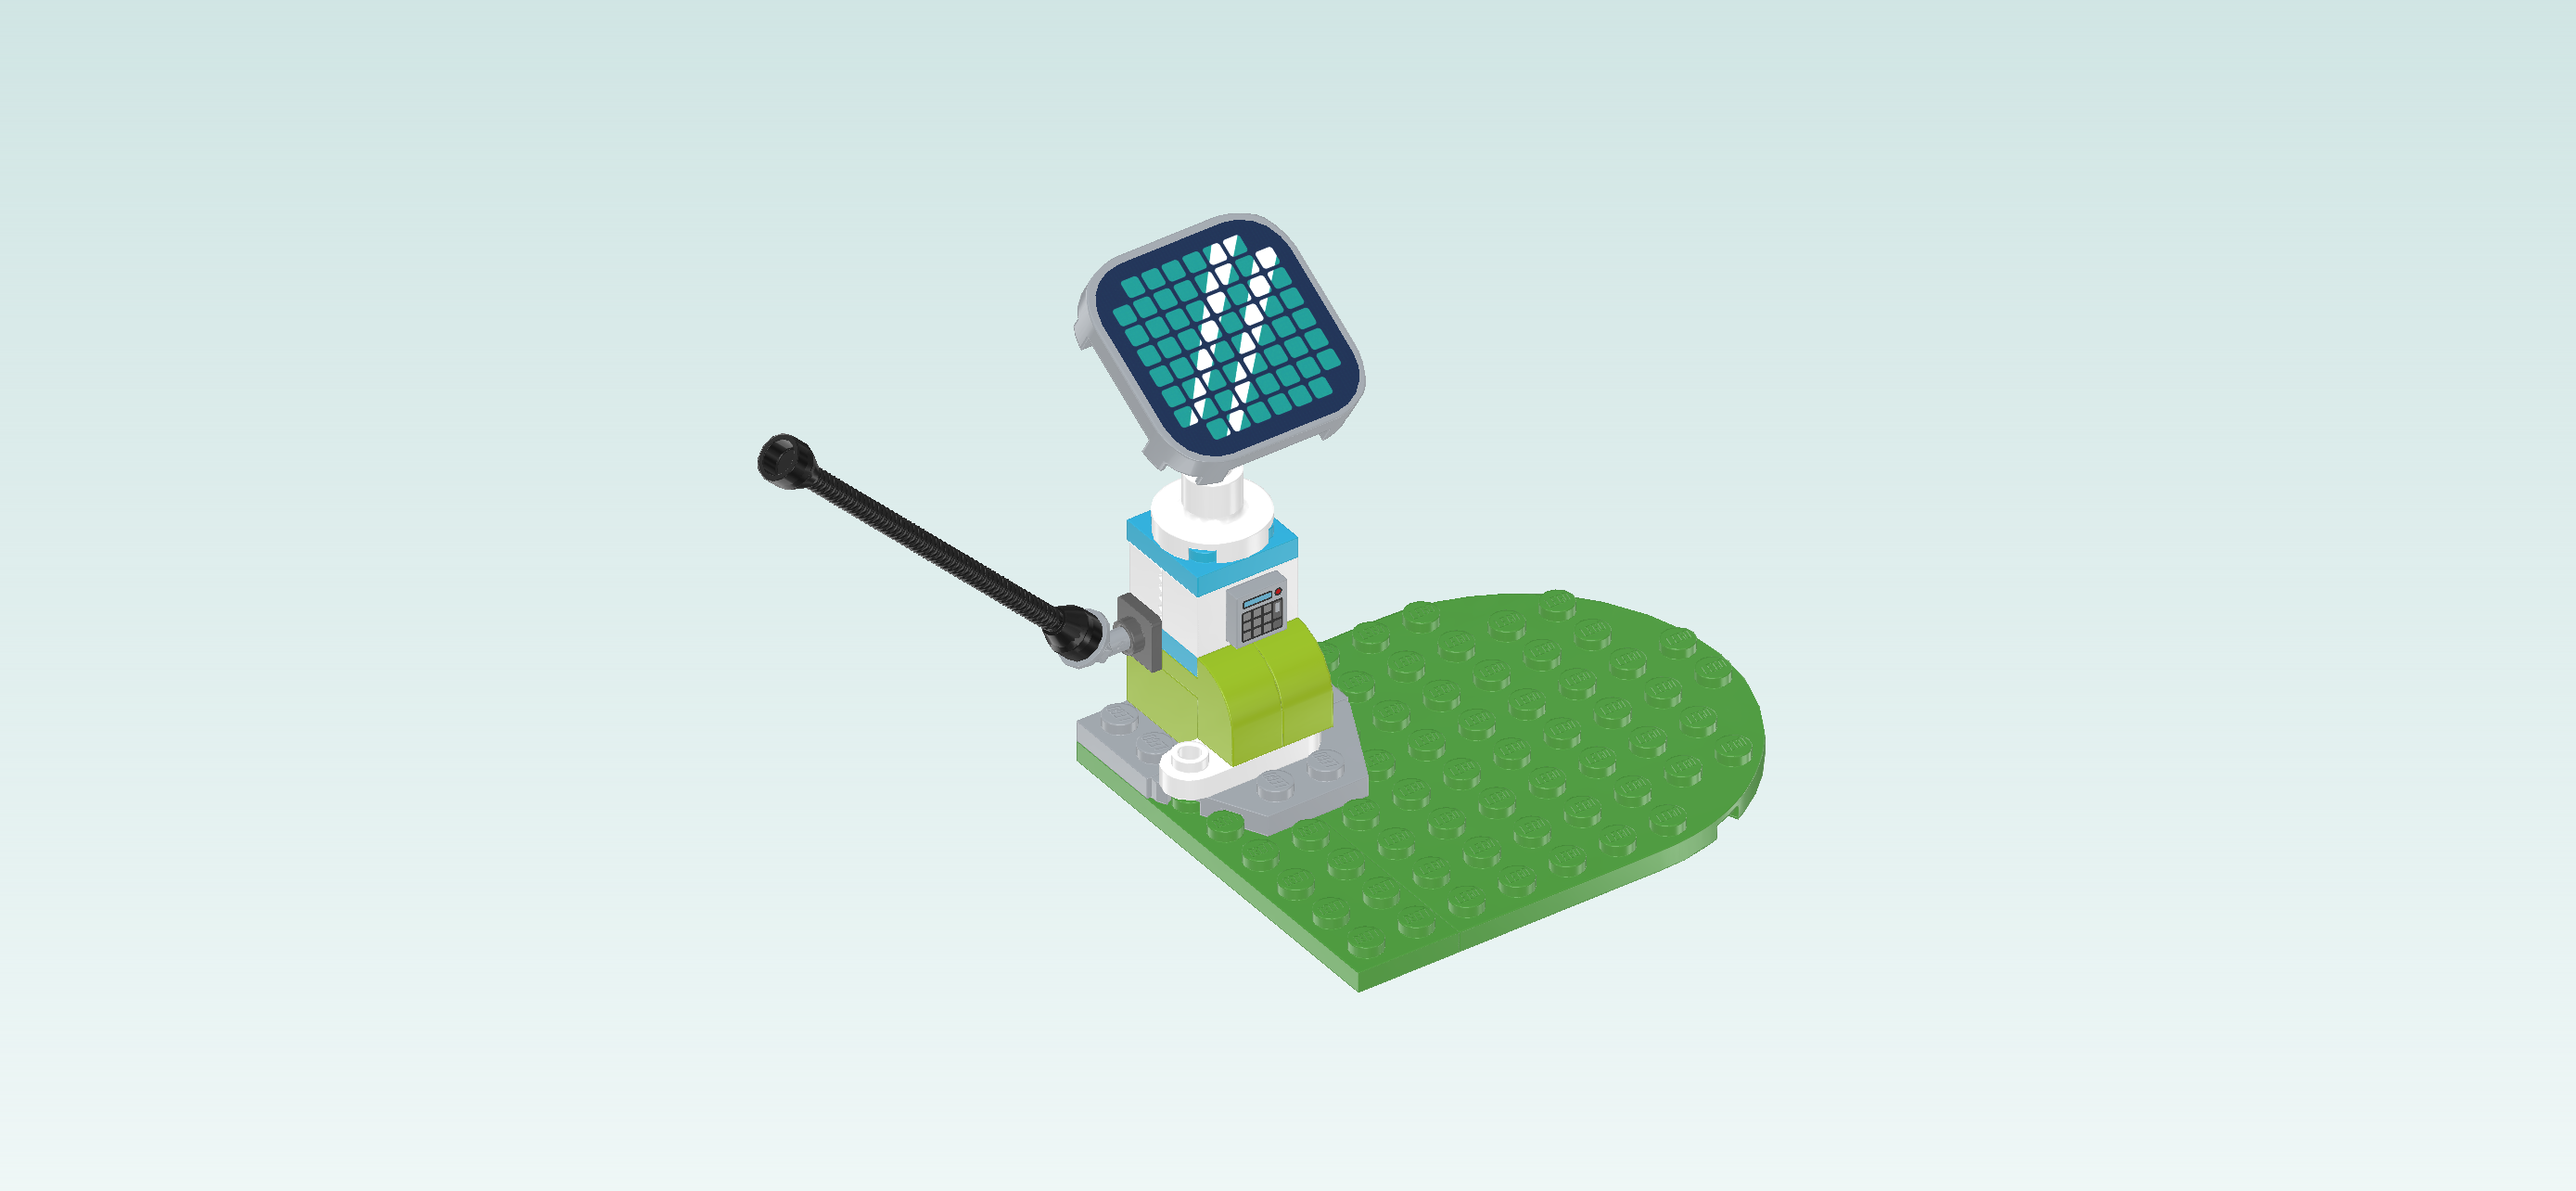
| Insert the angled handle into the side knob pointing to the left on the structure. Let the hose extend freely to the left or back for now. |
| Now, put the other hose end on the leftmost column on its third knob from the back. This knob belongs to the rounded plate 1x3 we have mounted there earlier. |
| The charging station is finished! Great job! Later, you can pull out the handle of the hose and use it for charging the electric car. It is the charger plug! |
| Now, let's continue with the picnic area. |
| Collect the following 2 pieces: |
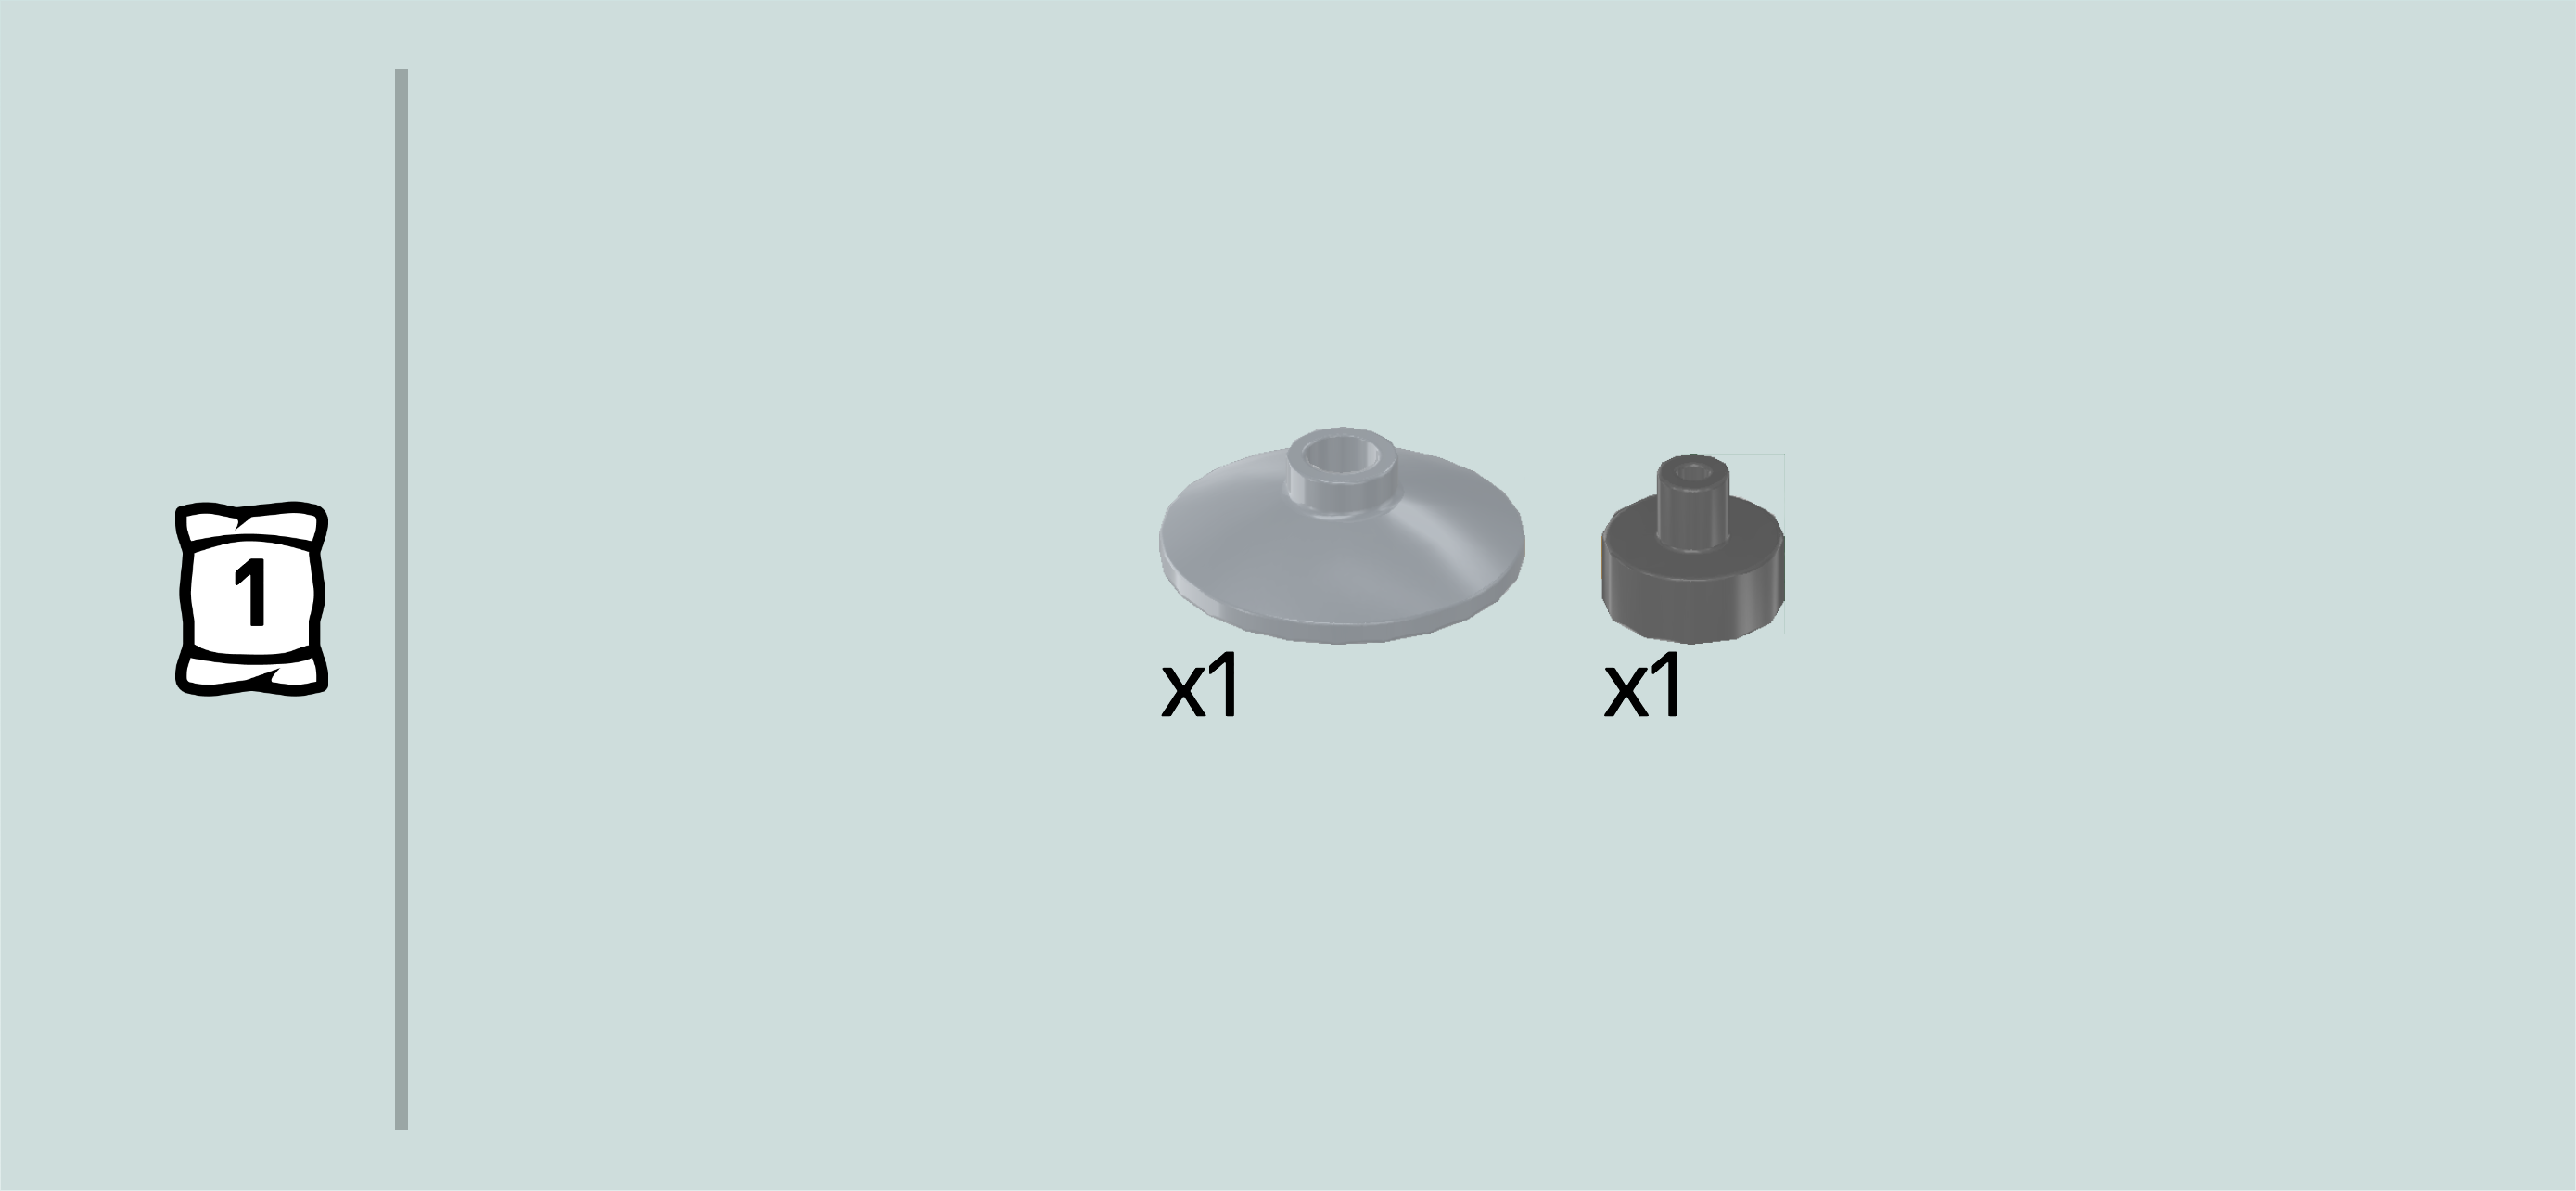
| 1 dark green round plate 1x1 with 3 small leaves, |
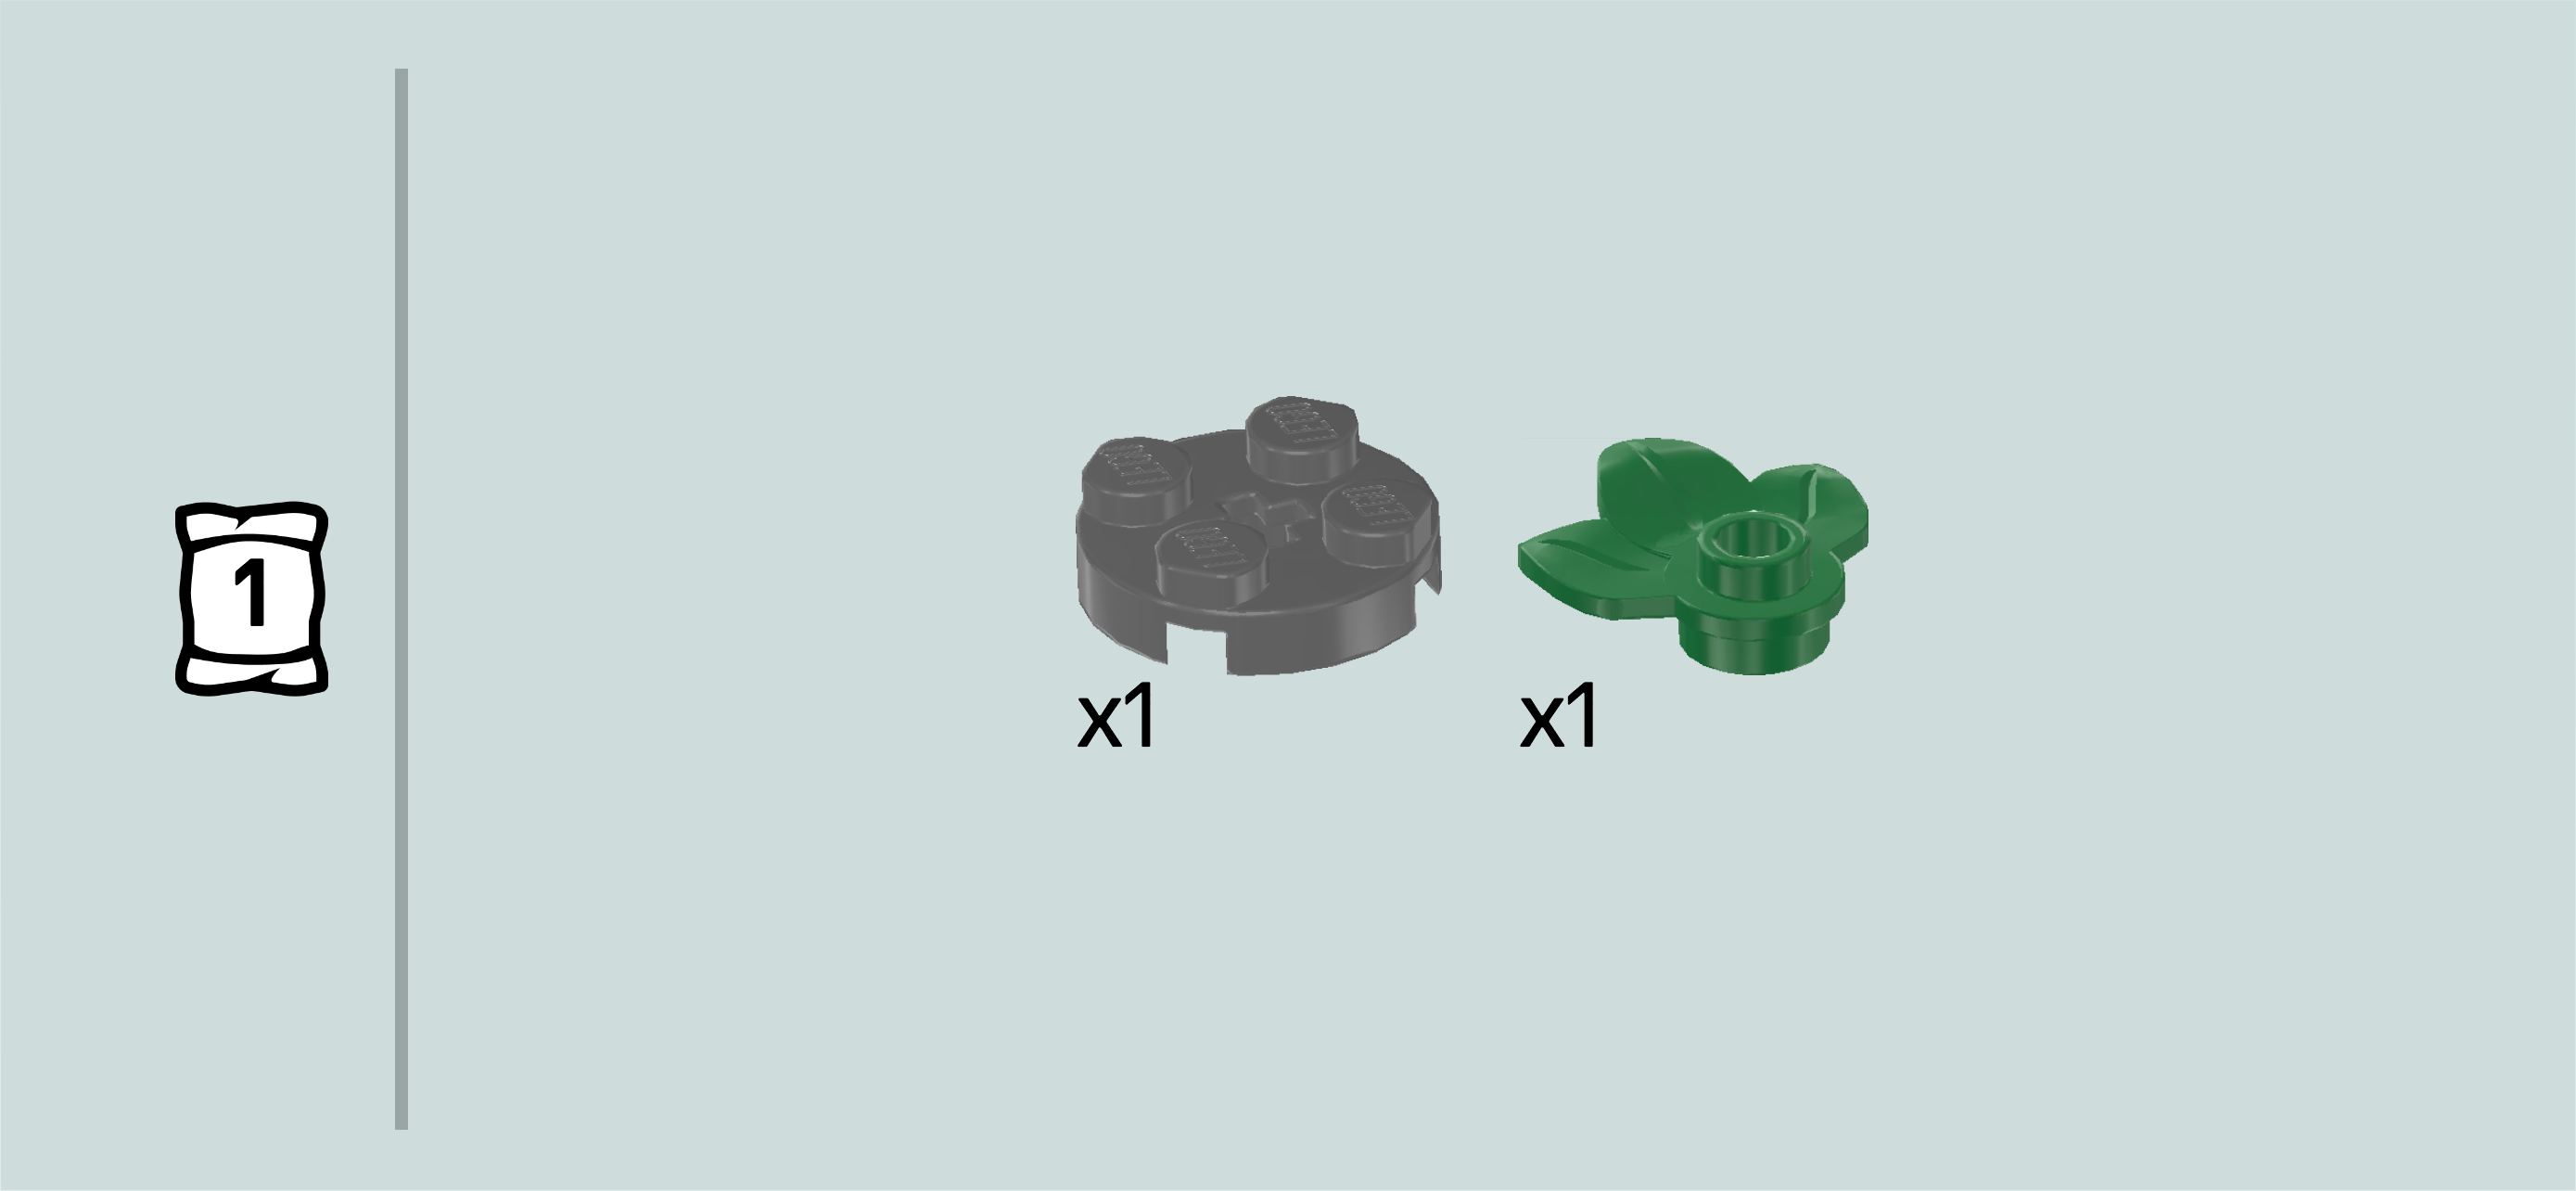
| and 1 dark stone grey round plate 2x2. |
| Put the round plate with 3 small leaves on the knob in the front left corner of the base plate, 3 leaves pointing outwards to the front left. |
| Put the round plate 2x2 on the 2 frontmost rows directly to the right of the previous piece. |
| Collect the following 2 pieces: |
| 1 medium stone grey dome 2x2 with 1 knob, |
| and 1 flame yellowish orange flower piece 1x1 with through-hole. |
| Put the dome 2x2 on the previous piece. |
| Put the flower piece on top of the round plate with 3 small leaves. |
| Now, we will build the water fountain. |
| Collect the following 2 pieces: |
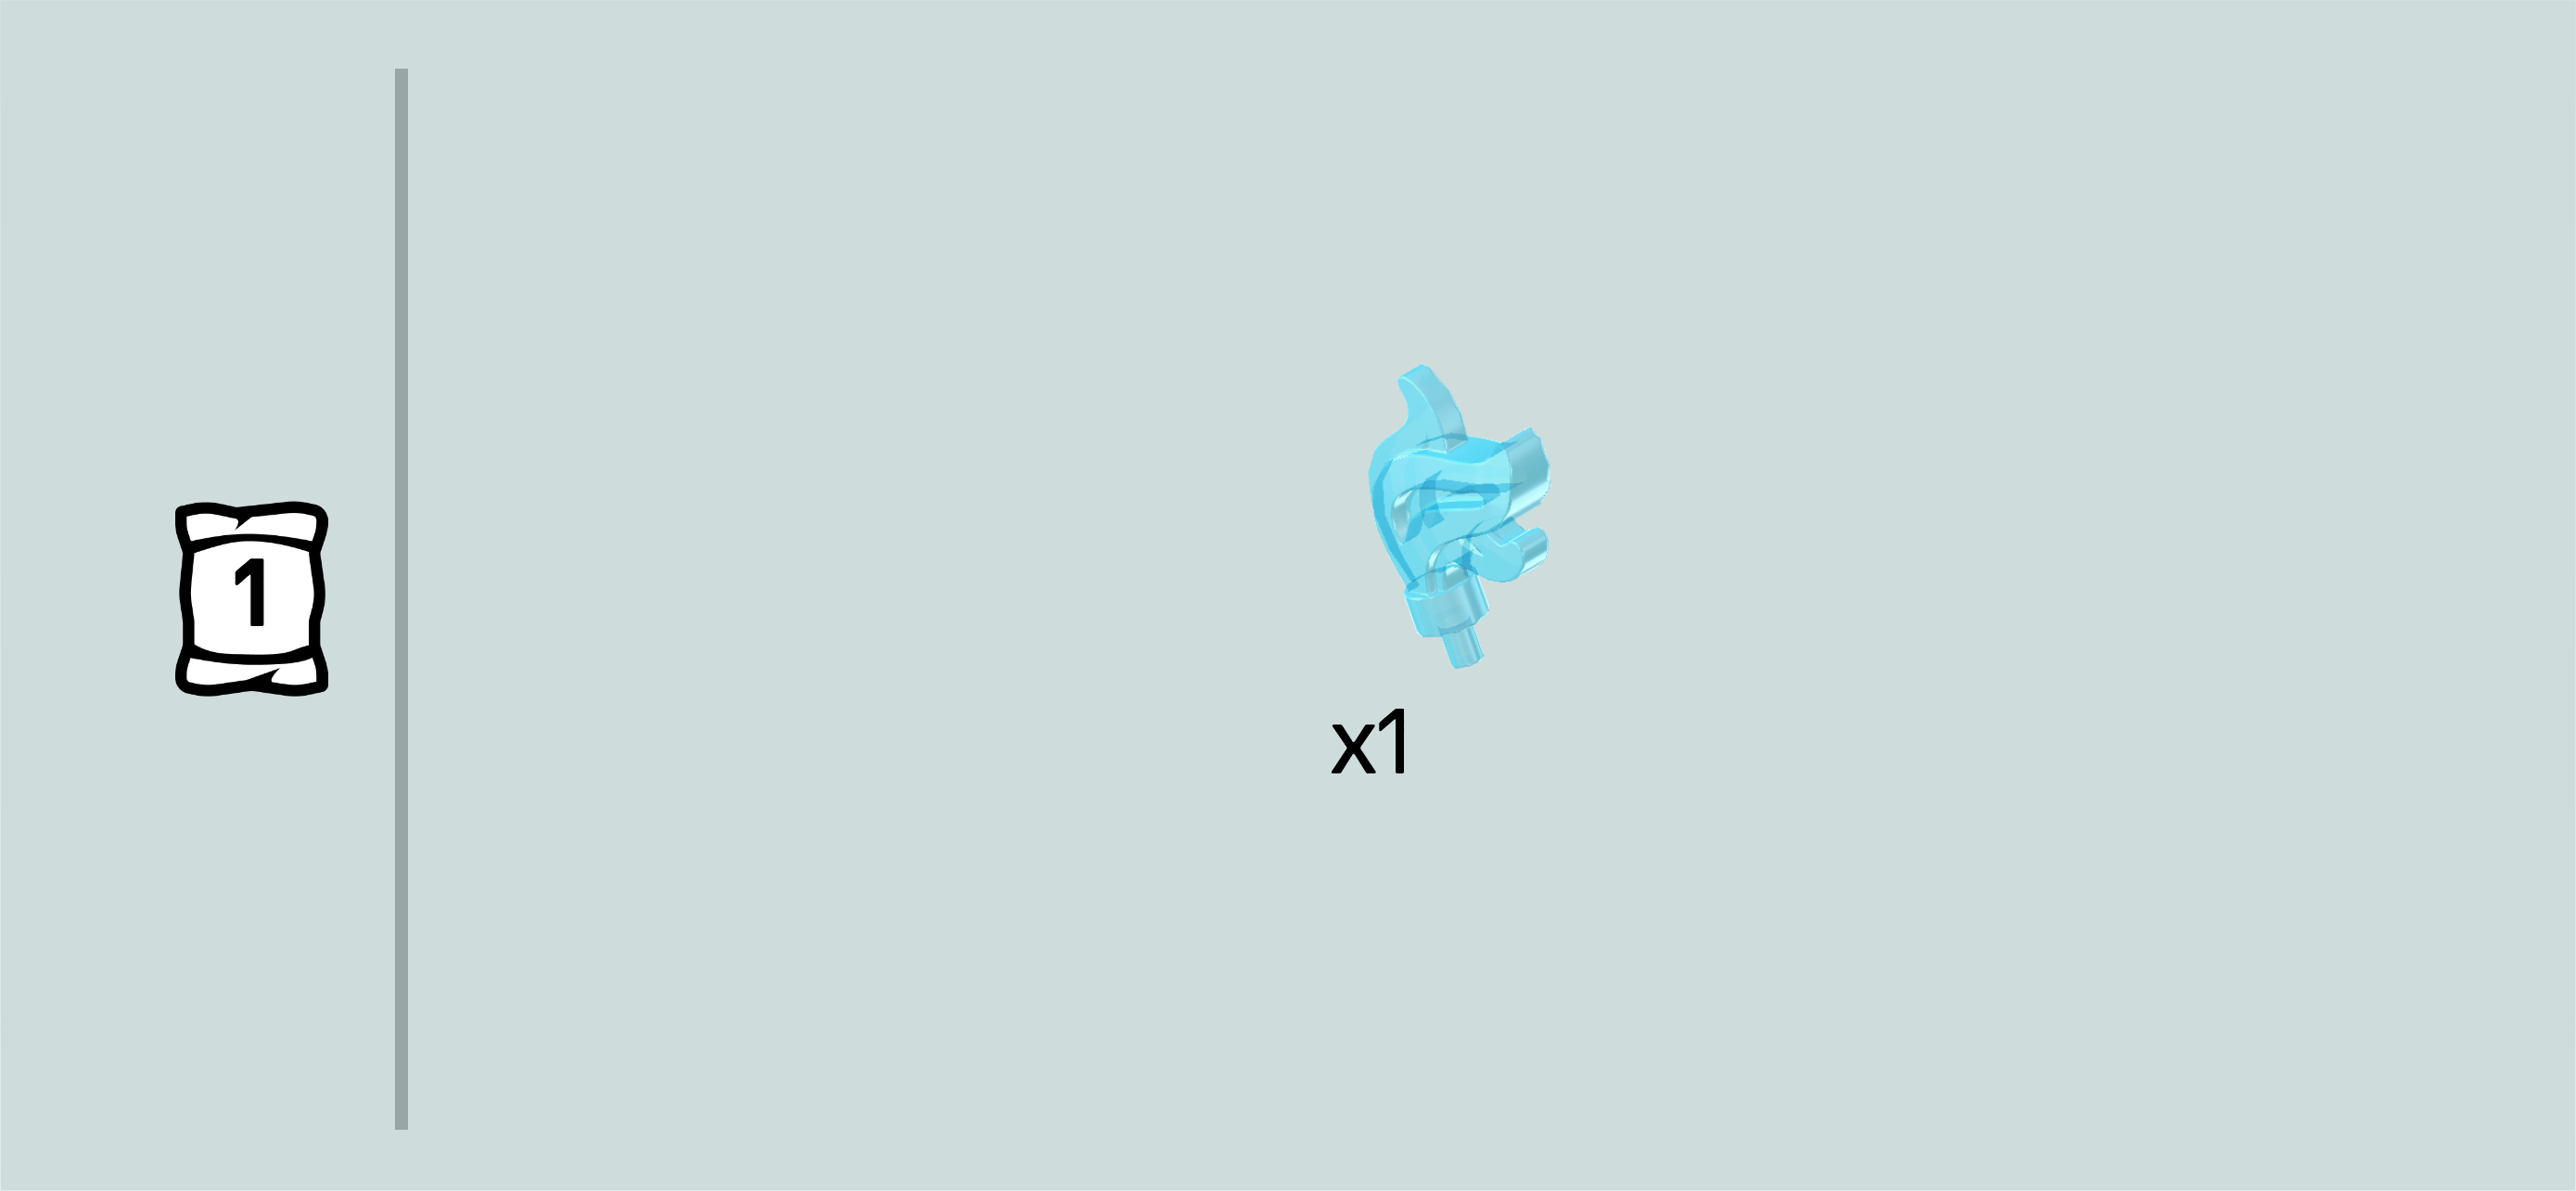
| 1 dark stone grey round tile 1x1 with small top shaft, |
| and 1 medium stone grey satellite dish 2x2 with 1 knob. |
| Put the round tile with top shaft on the table. |
| Turn the satellite dish upside down and put it on the shaft. This means that the satellite dish should bend upwards like a bowl. |
| Find 1 transparent light blue feather with small bottom shaft. |
| Insert its bottom shaft into the middle hole of the satellite dish. |
| Mount the water fountain on top of the dome 2x2 that we have mounted in the front left corner earlier. |
| Now, we will build Dango's food station. |
| Collect the following 2 pieces: |
| 1 bright red rounded plate 1x2, |
| and 1 medium nougat brown round tile 1x1. |
| Put the rounded plate 1x2 horizontally on the table. |
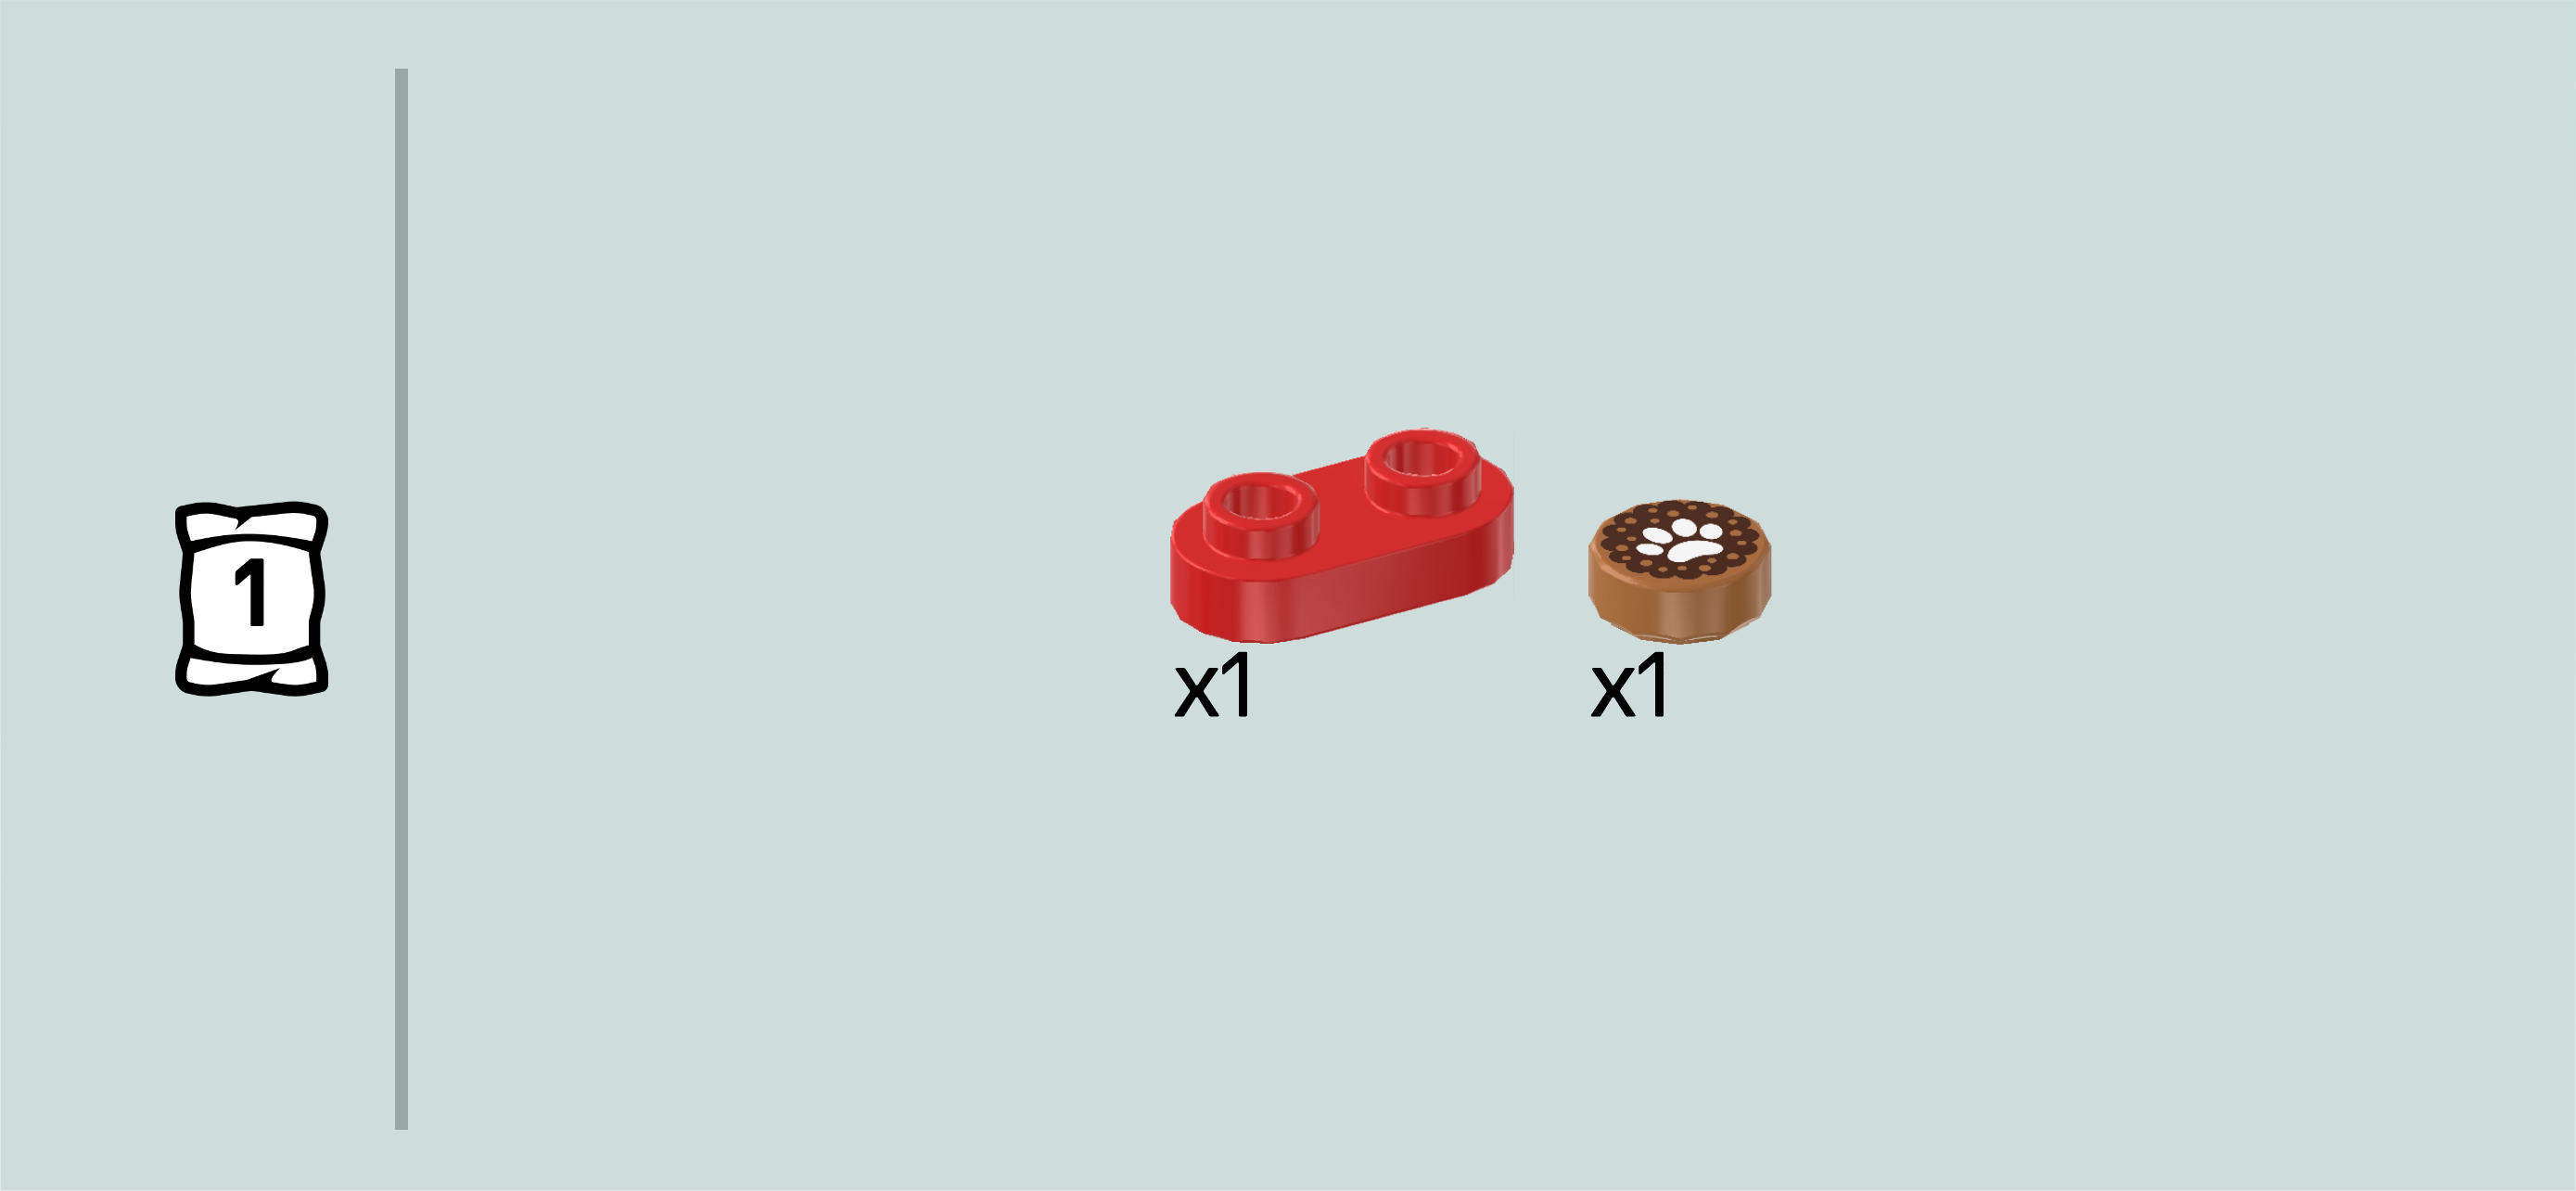
| Put the round tile 1x1 on the right knob. Its print is a doggy treat cookie! It has a grainy dark brown surface and a white paw print in the middle. |
| Find 1 transparent light blue round tile 1x1. |
| Put it on the left knob. This is Dango's water! |
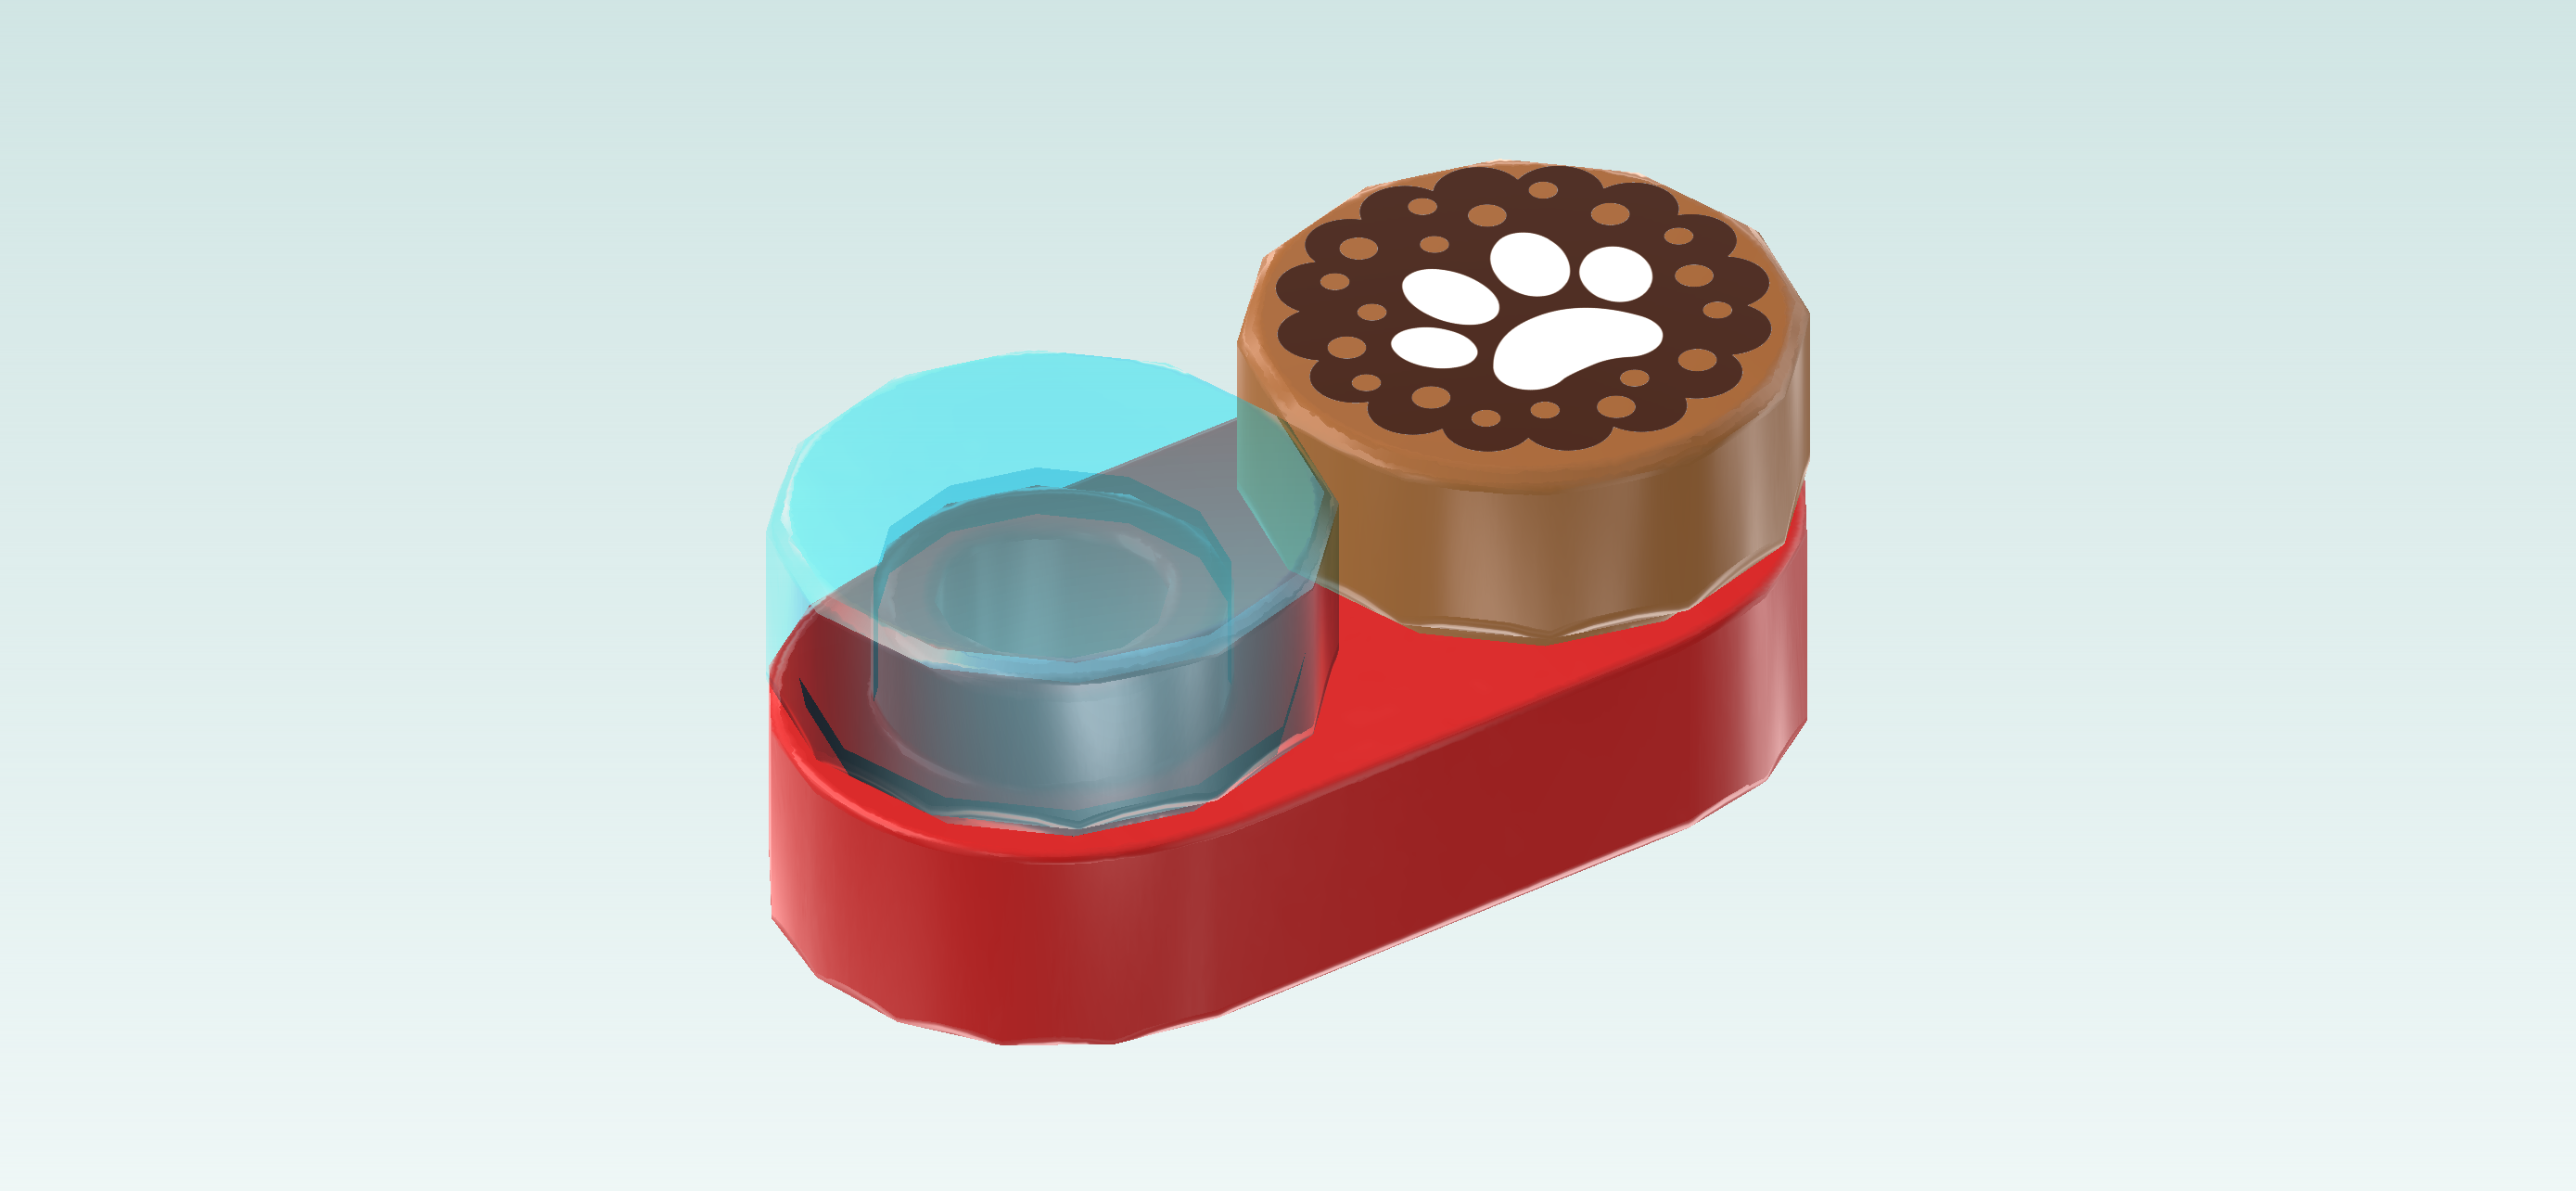
| Dango's food station is finished! Great job! Mount it vertically to the right of the water fountain, starting from the frontmost row. Make sure the water is at the front and the doggy treat cookie is at the back. |
| Next, we will build a plant. |
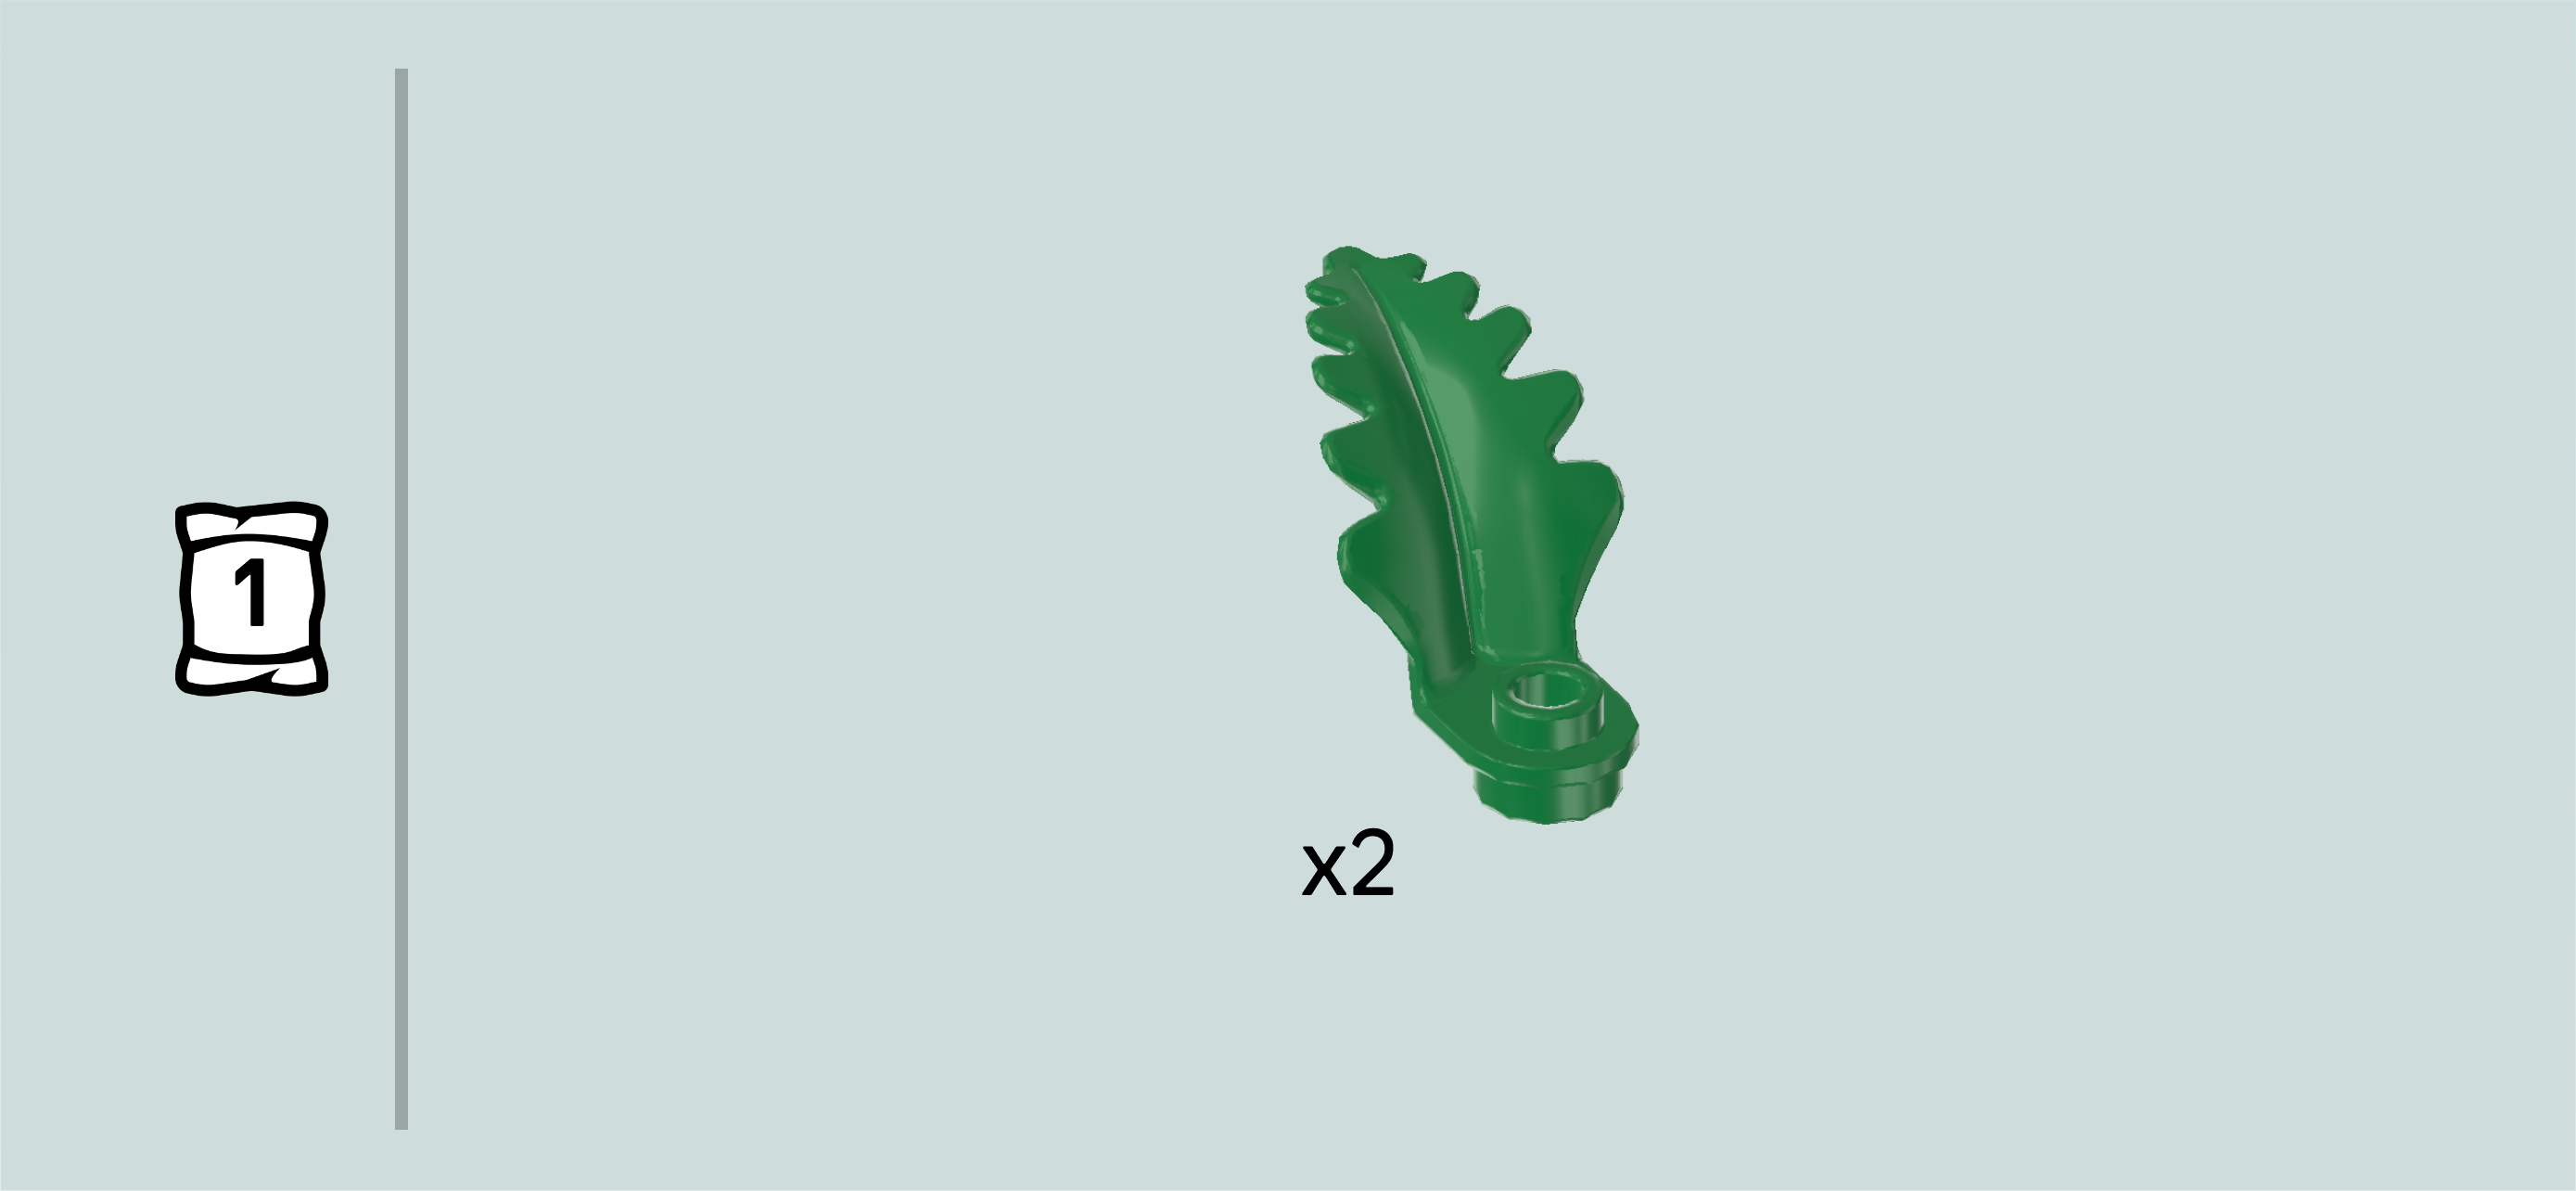
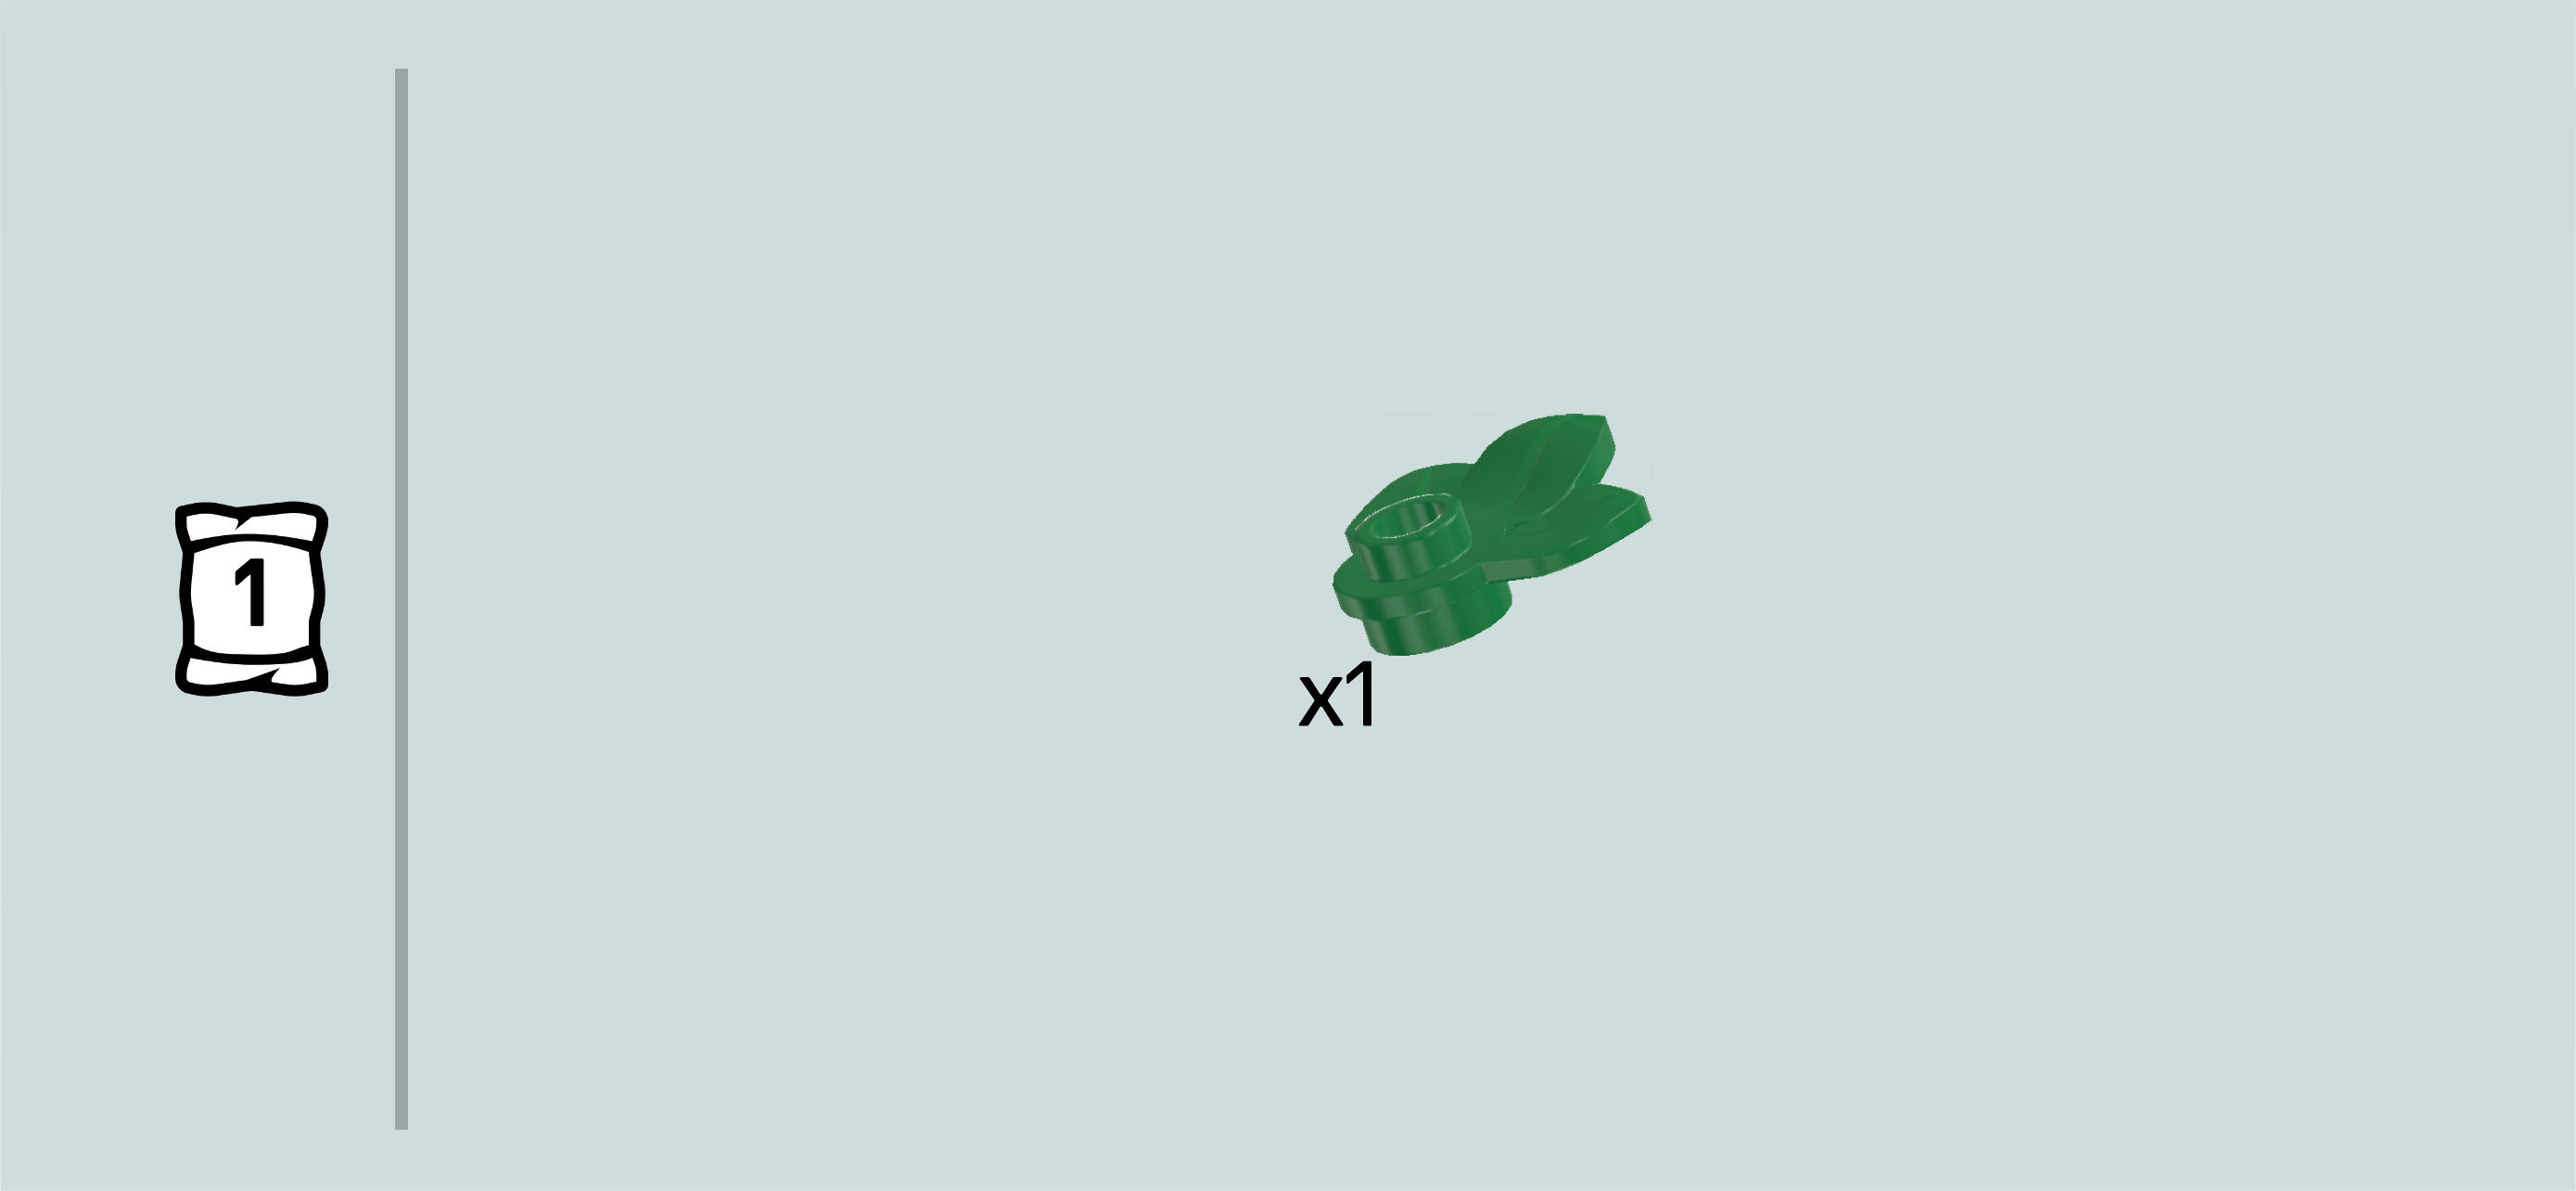
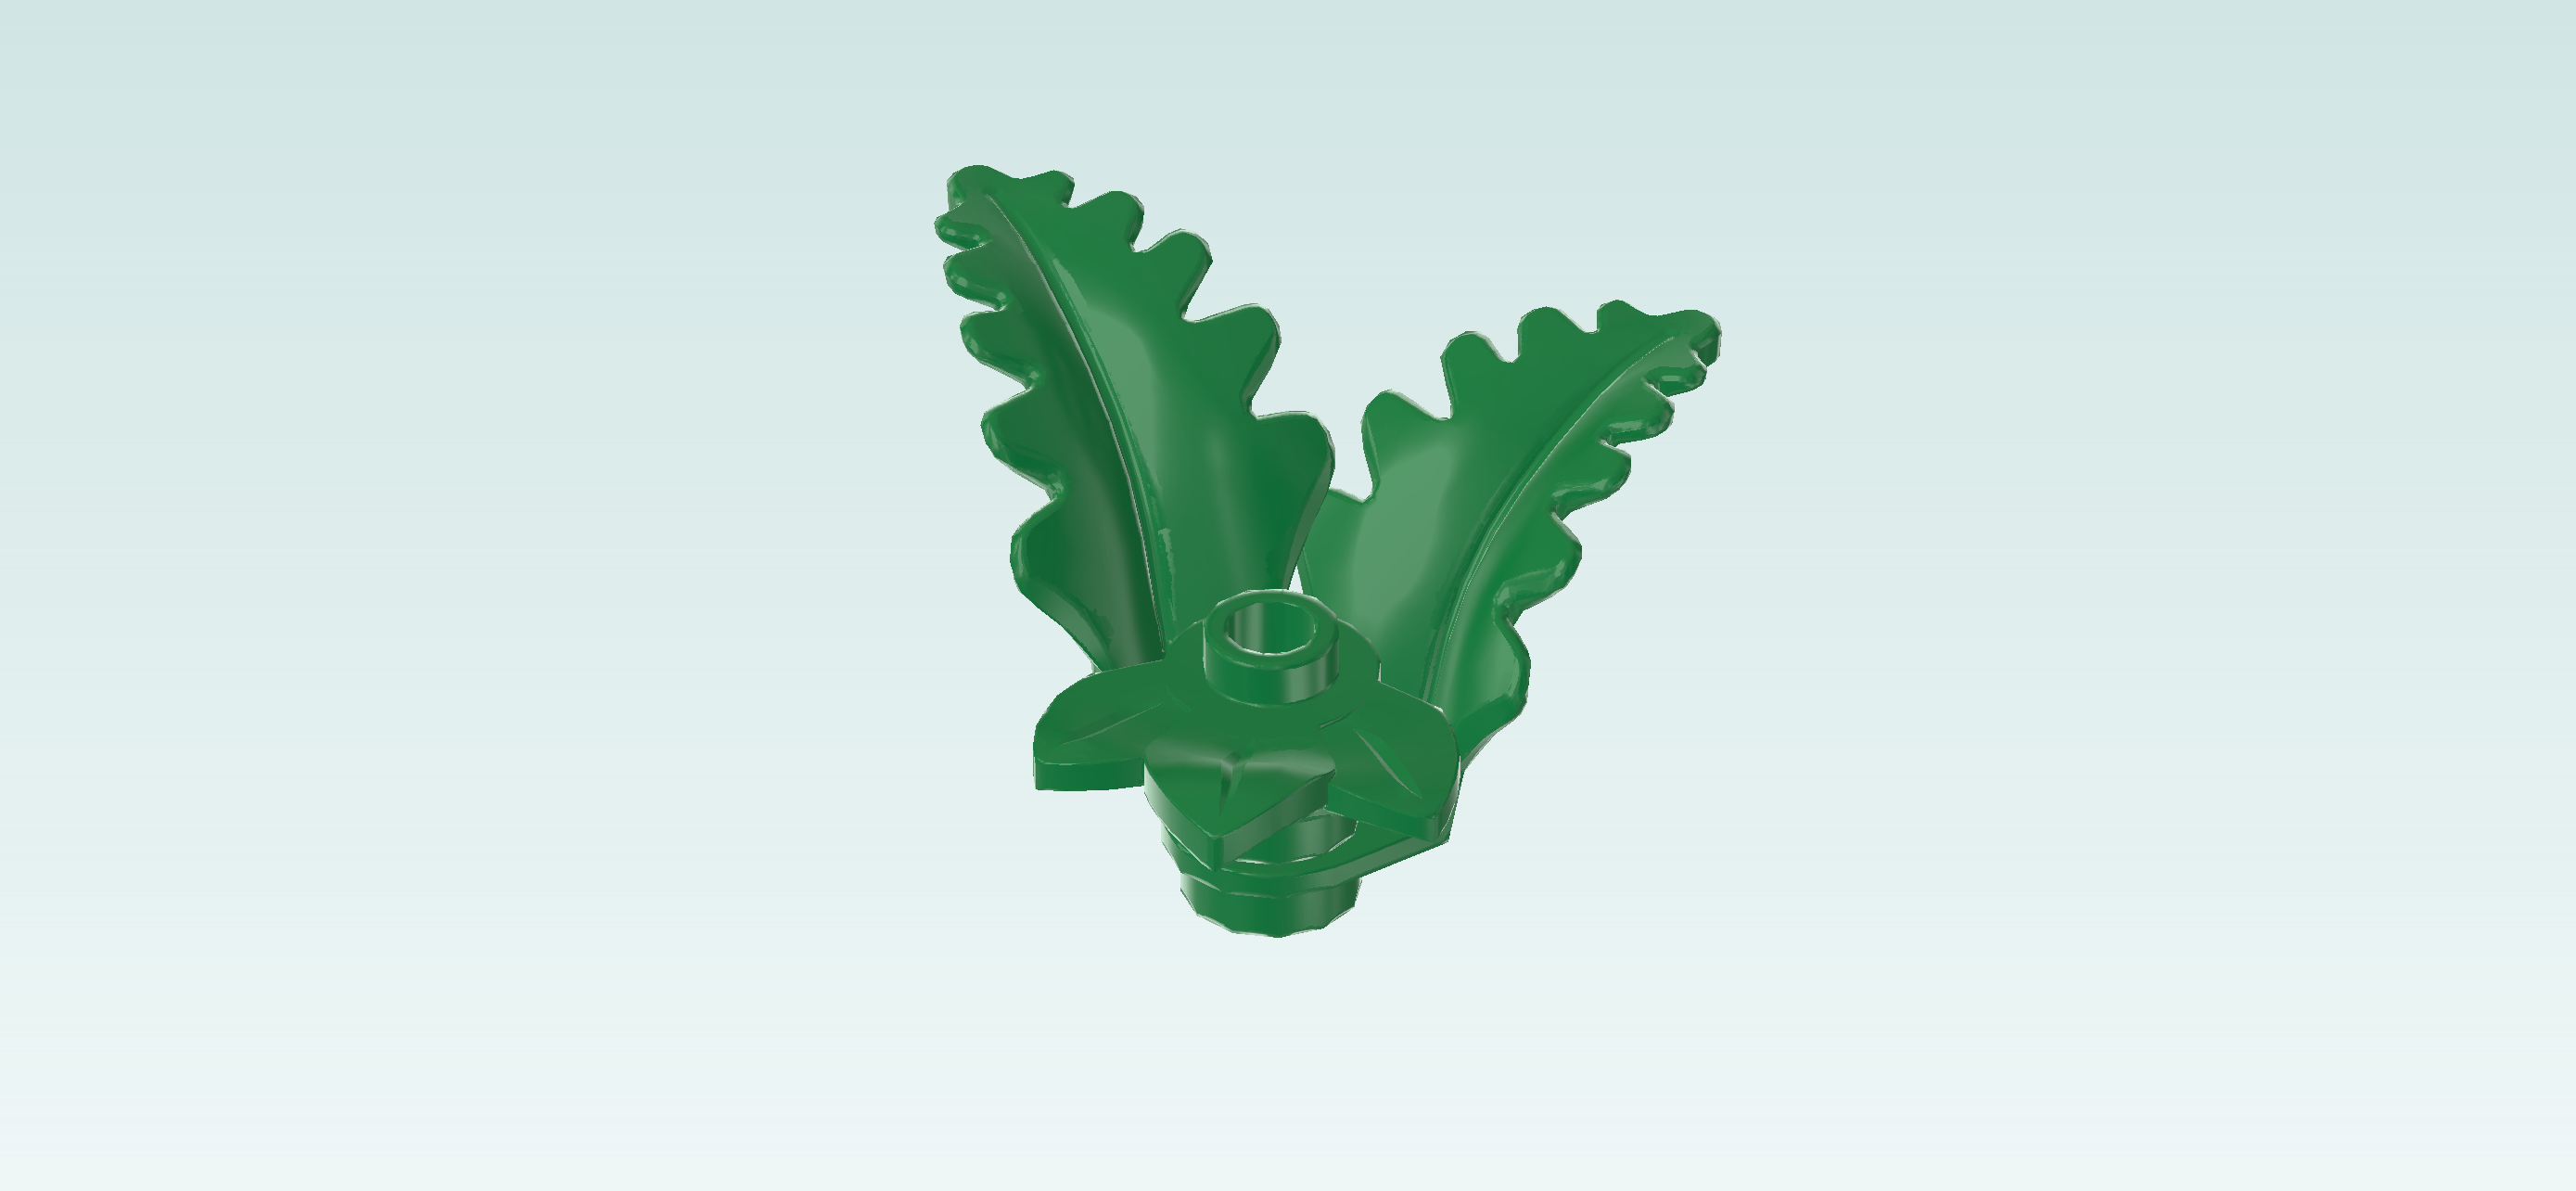
| Find 2 dark green round plates 1x1 with large jagged leaf. |
| Hold one in your hand so that the large jagged leaf extends to the top and to the right. |
| Put the other one on the knob of the first leaf, leaf extending to the back. |
| Find 1 dark green round plate 1x1 with 3 small leaves. |
| Put it on the knob of the previous piece, 3 small leaves pointing to the front. |
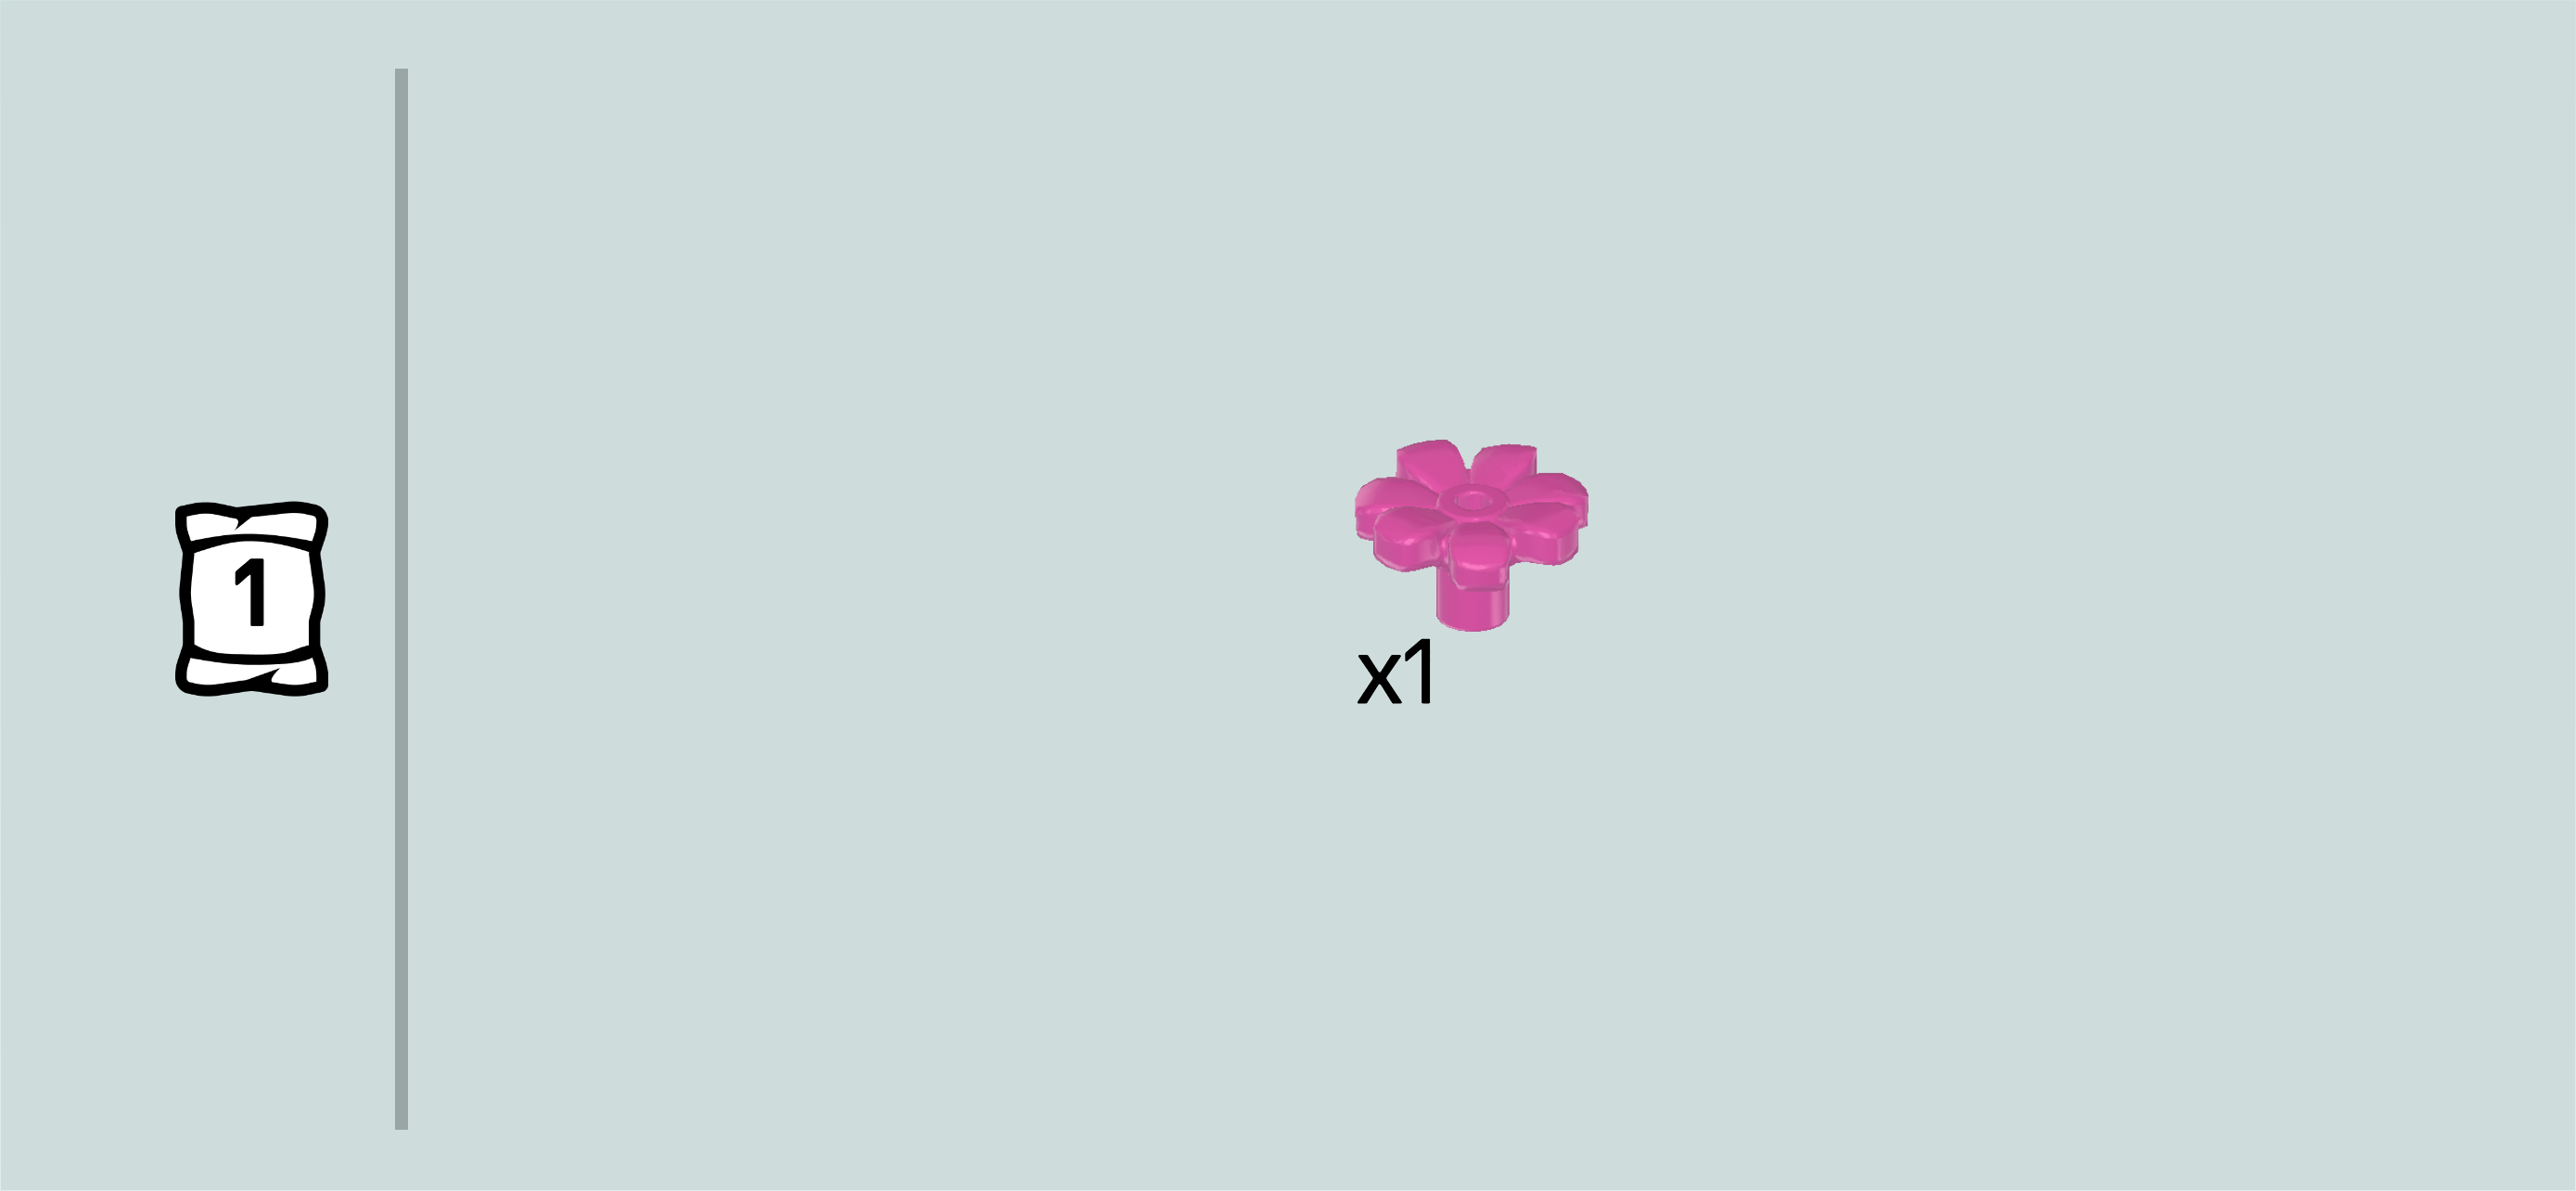
| Find 1 bright purple flower 1x1 with small shaft. |
| Insert its shaft into the knob of the previous piece. |
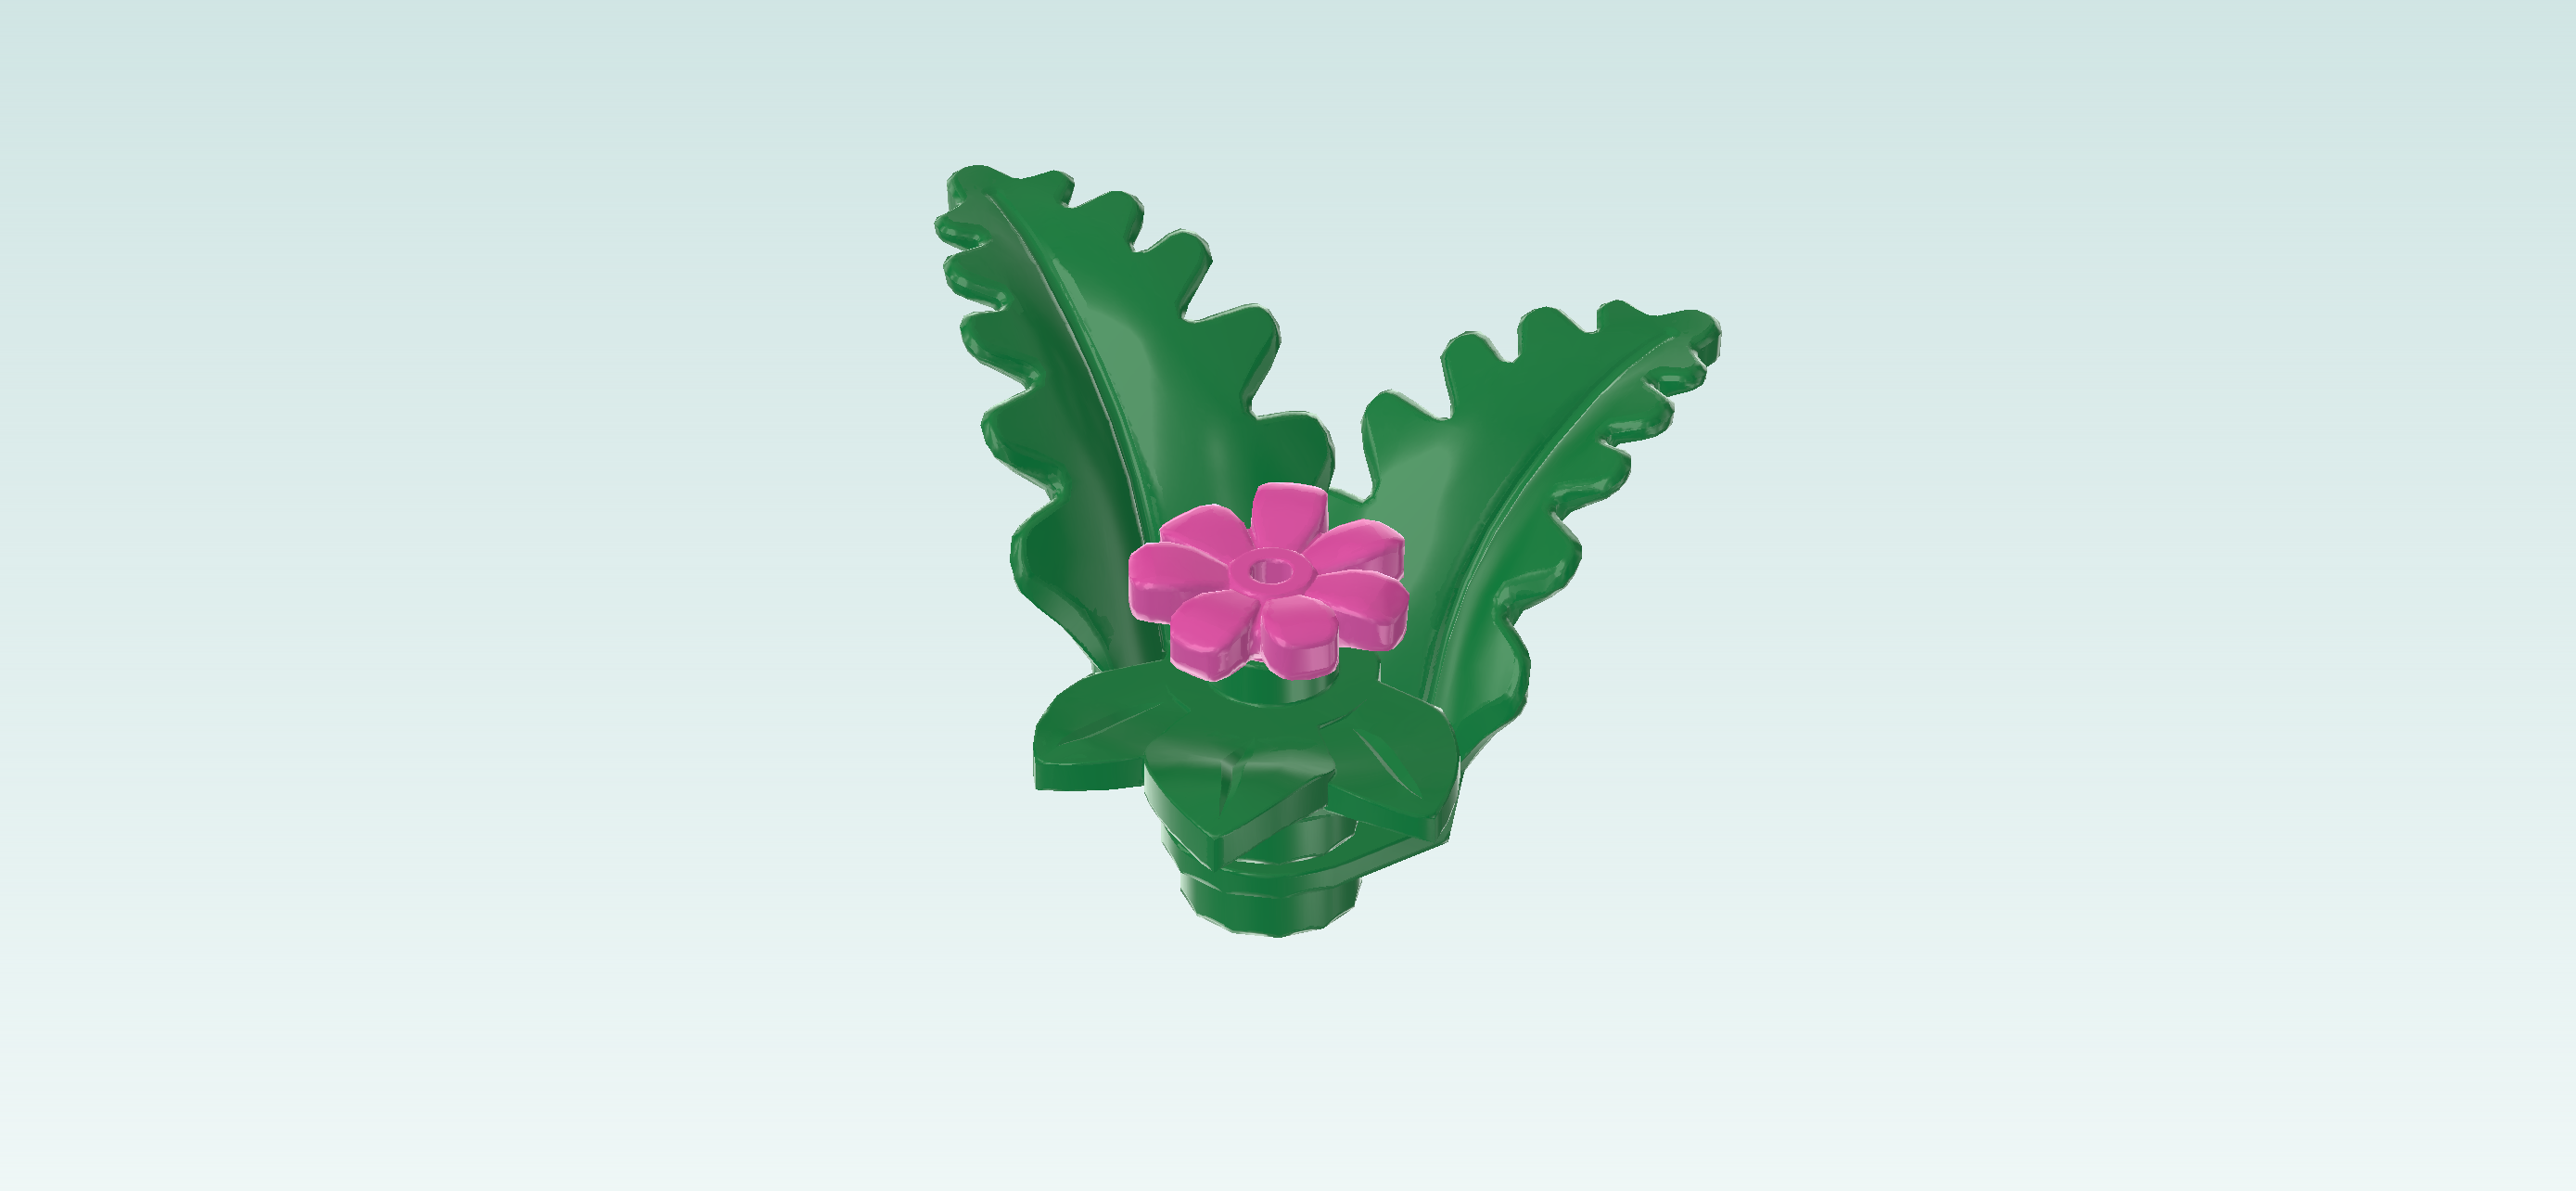
| The plant is finished! Well done! Mount it on the backmost row to the right of the charging station, leaving 1 knob empty between charging station and plant. Make sure that the large leaves are extending towards the back. |
| Find 1 bright orange technic ball 1m with hole. |
| Put it on the rightmost column of the base plate on its back knob. |
| This is Dango's toy, so you can also put it in other locations later, or, of course, use it to play with Dango! |
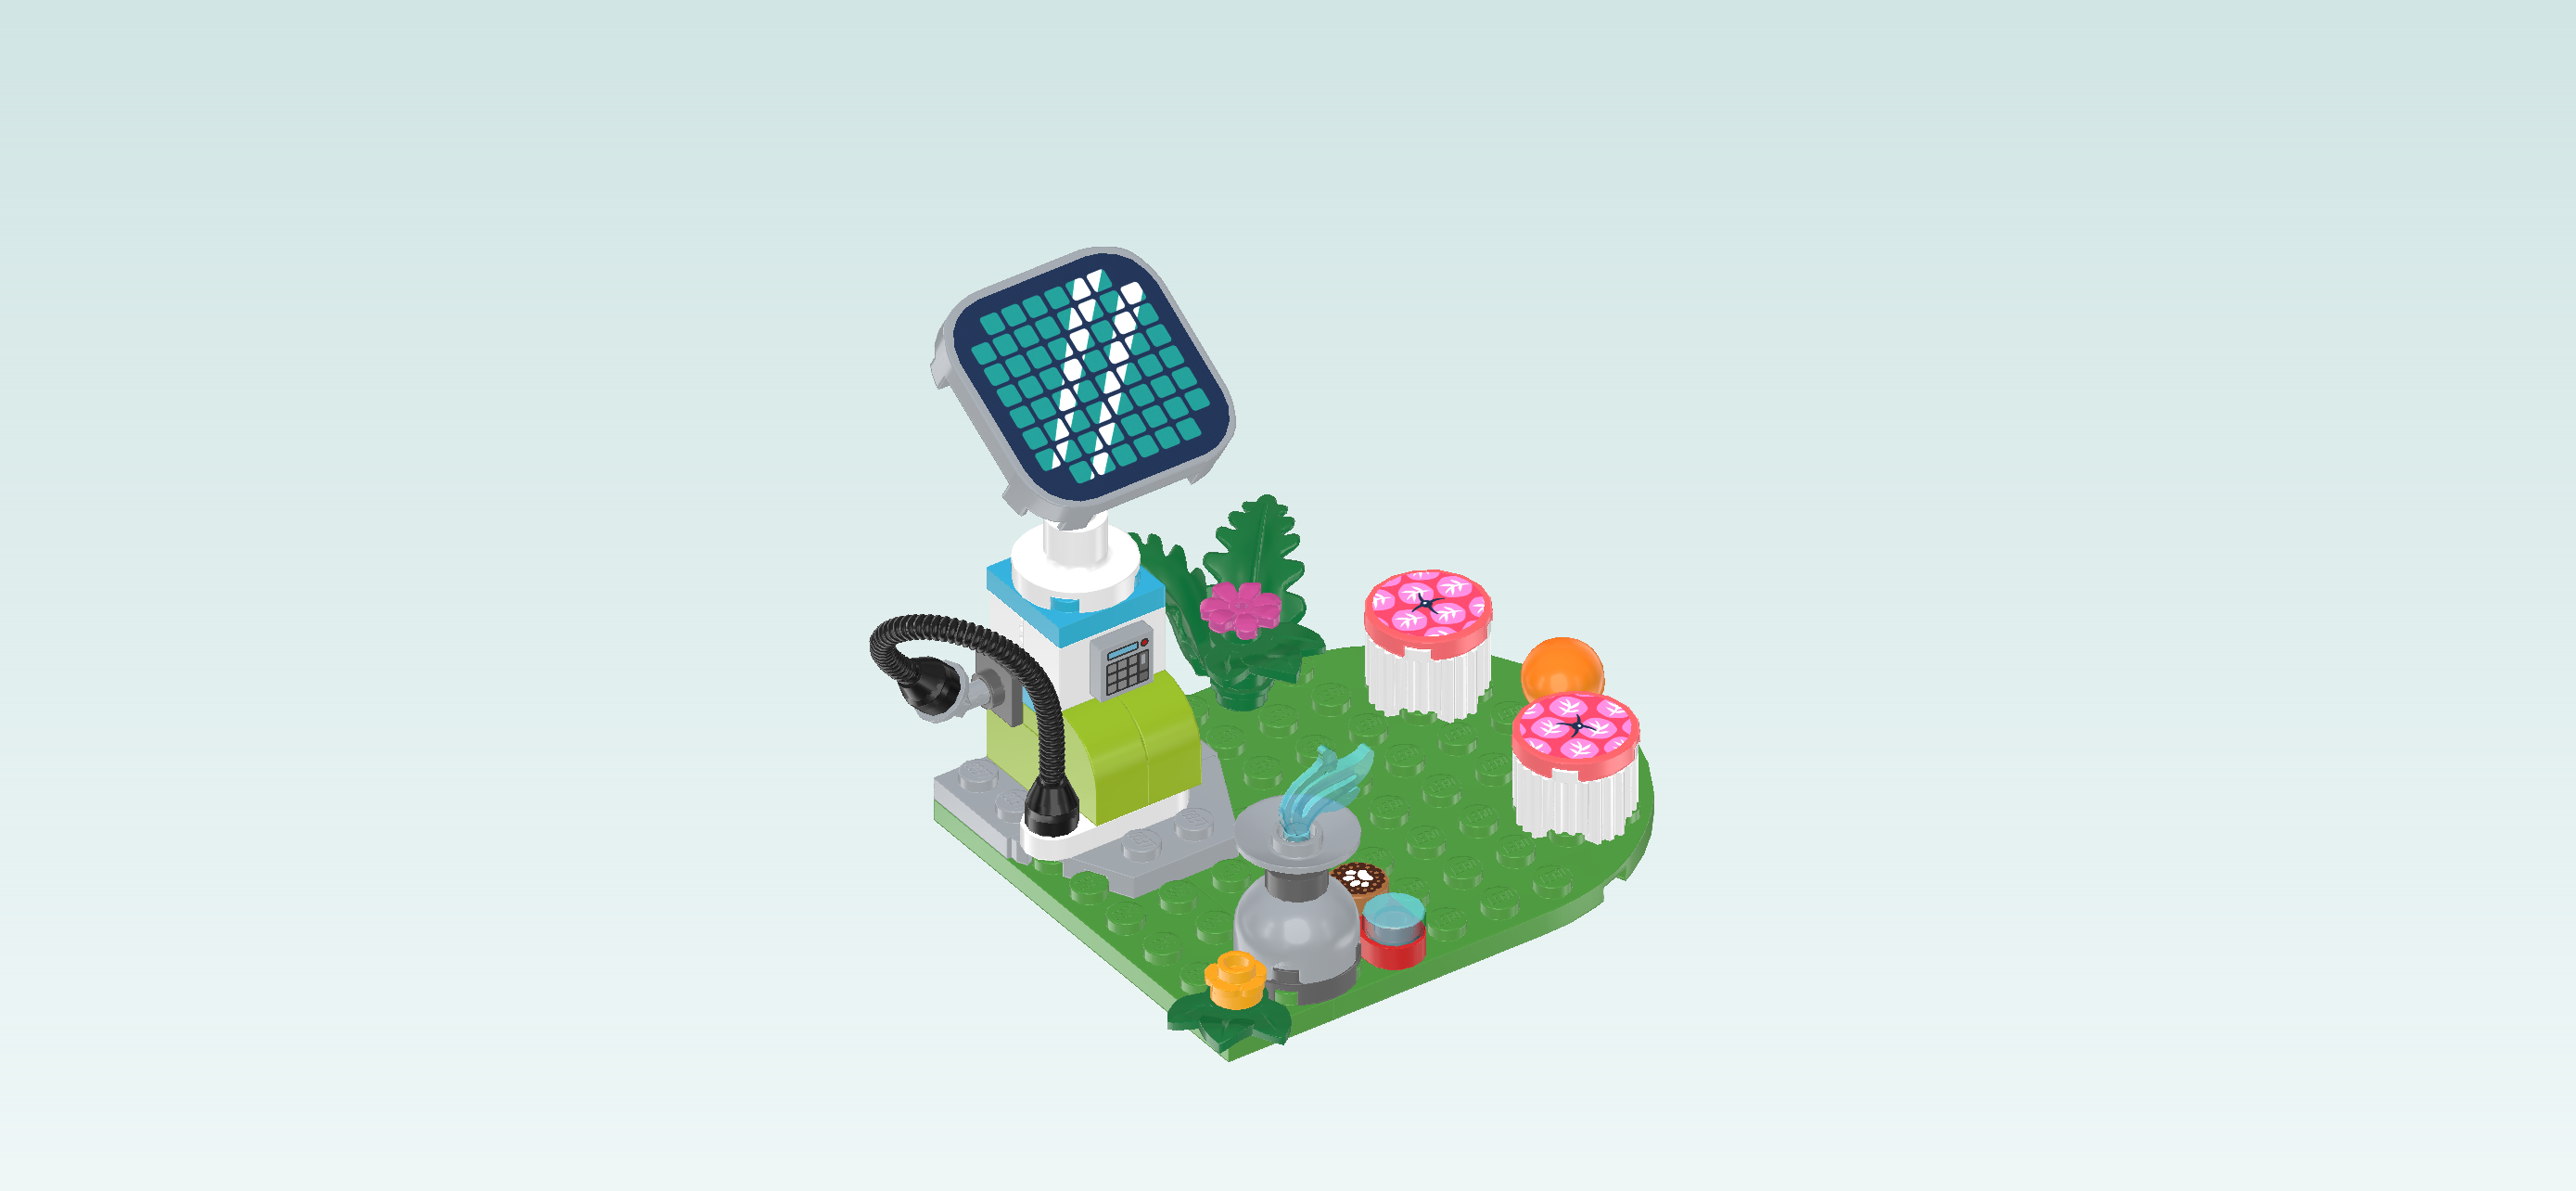
| Next, we will build the picnic stools. |
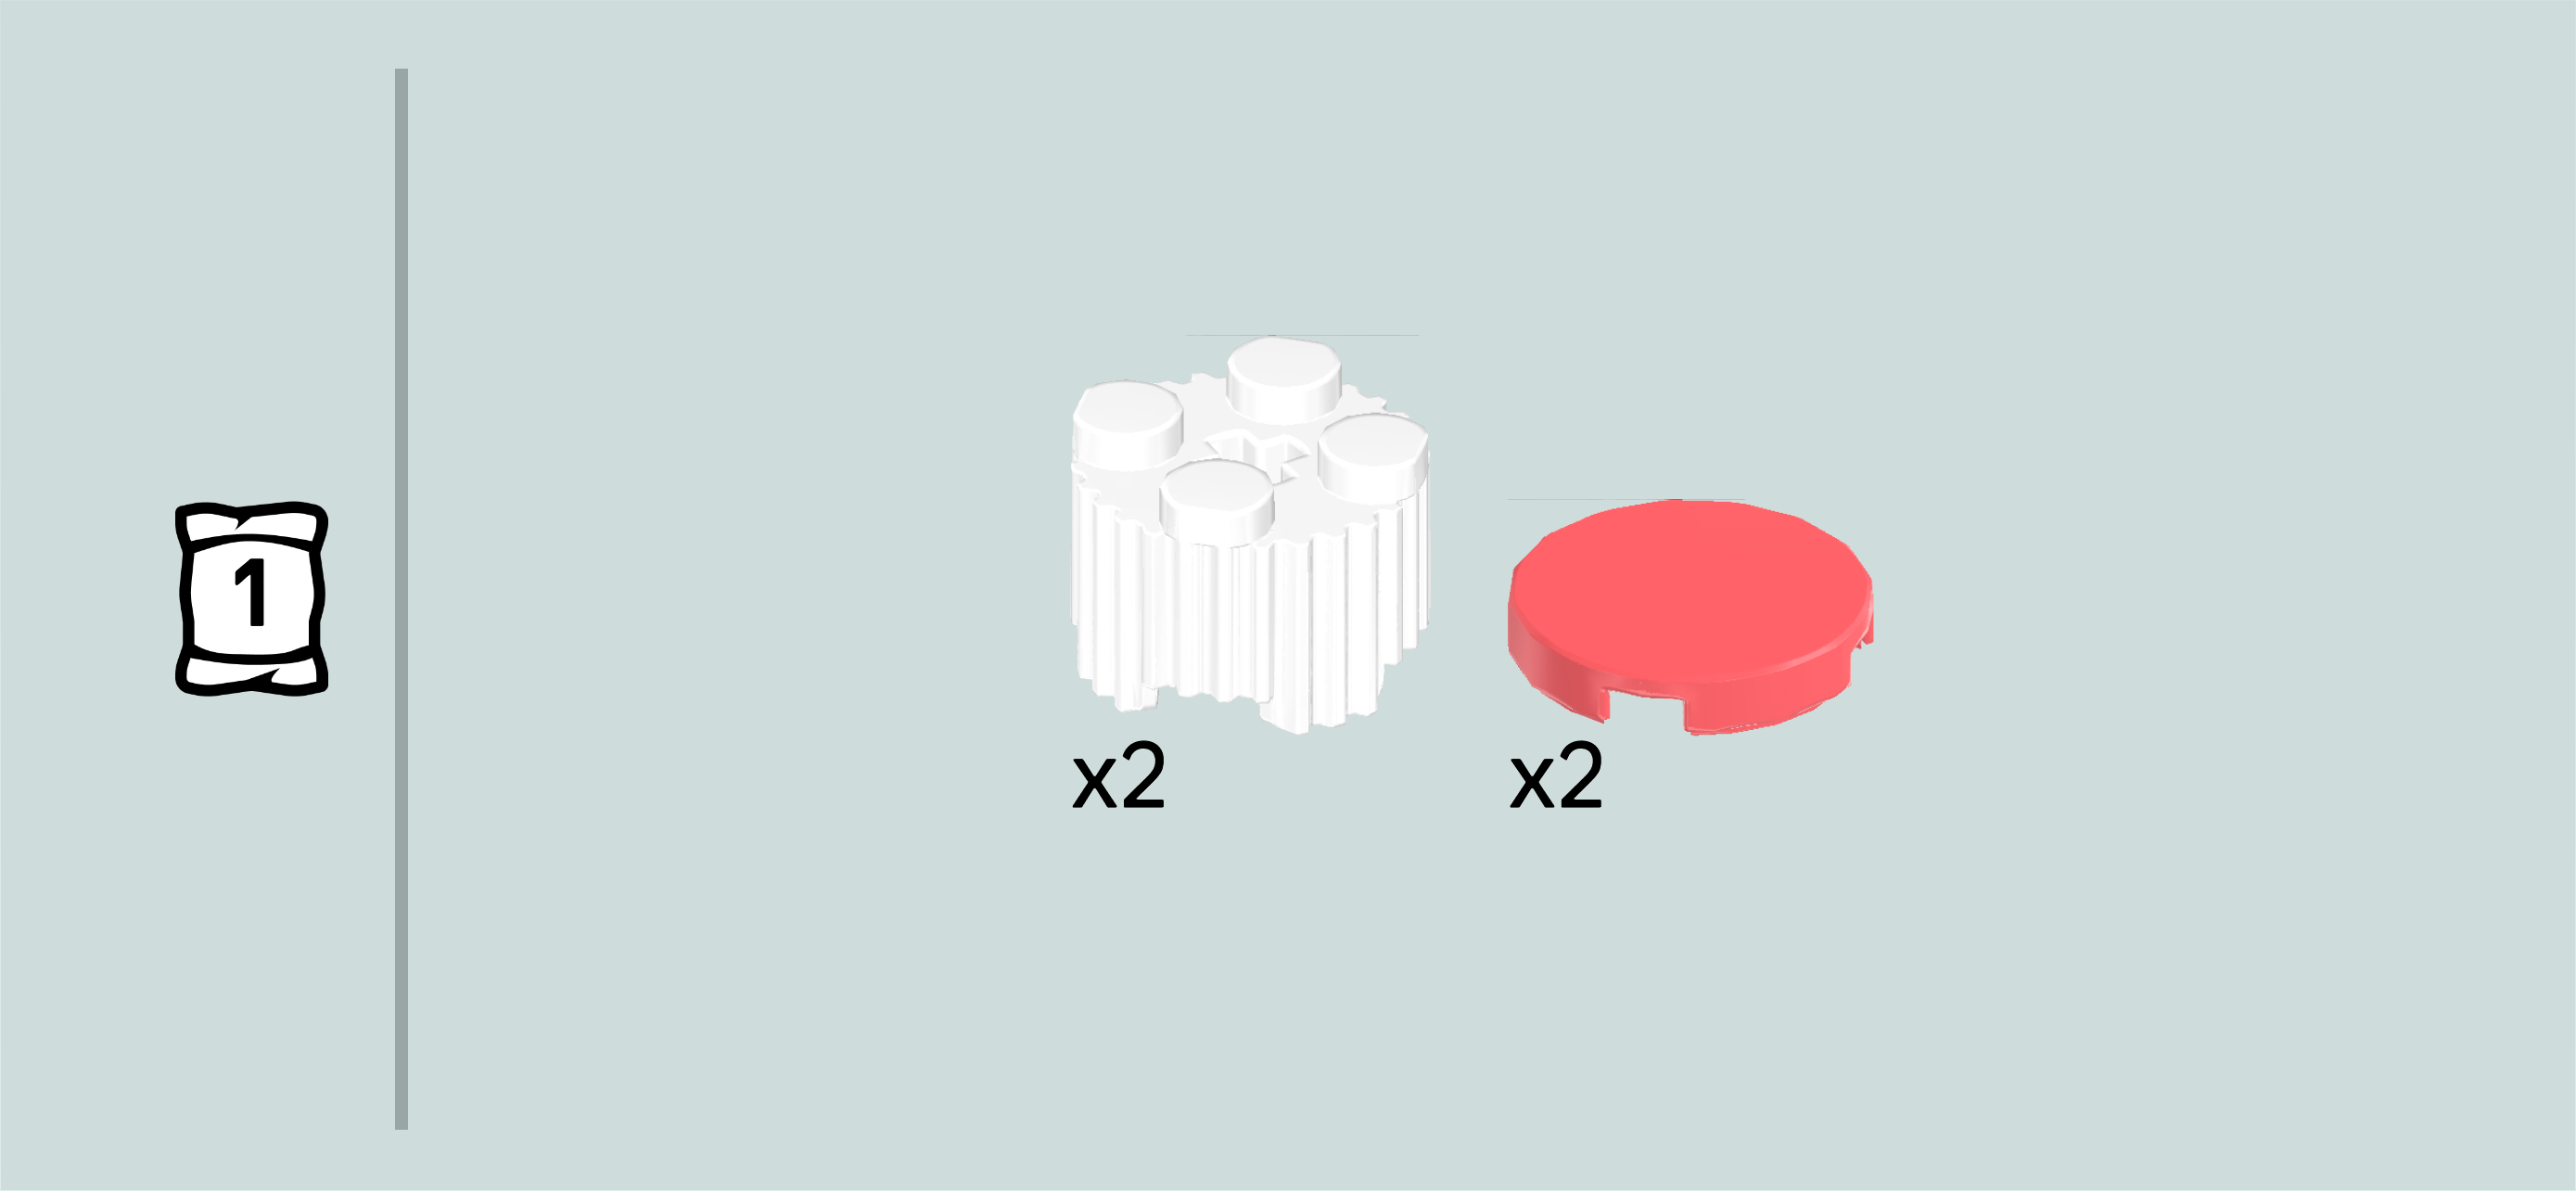
| Collect the following 4 pieces: |
| 2 salmon pink round tiles 2x2, |
| and 2 white round profile bricks 2x2 with top cross hole. |
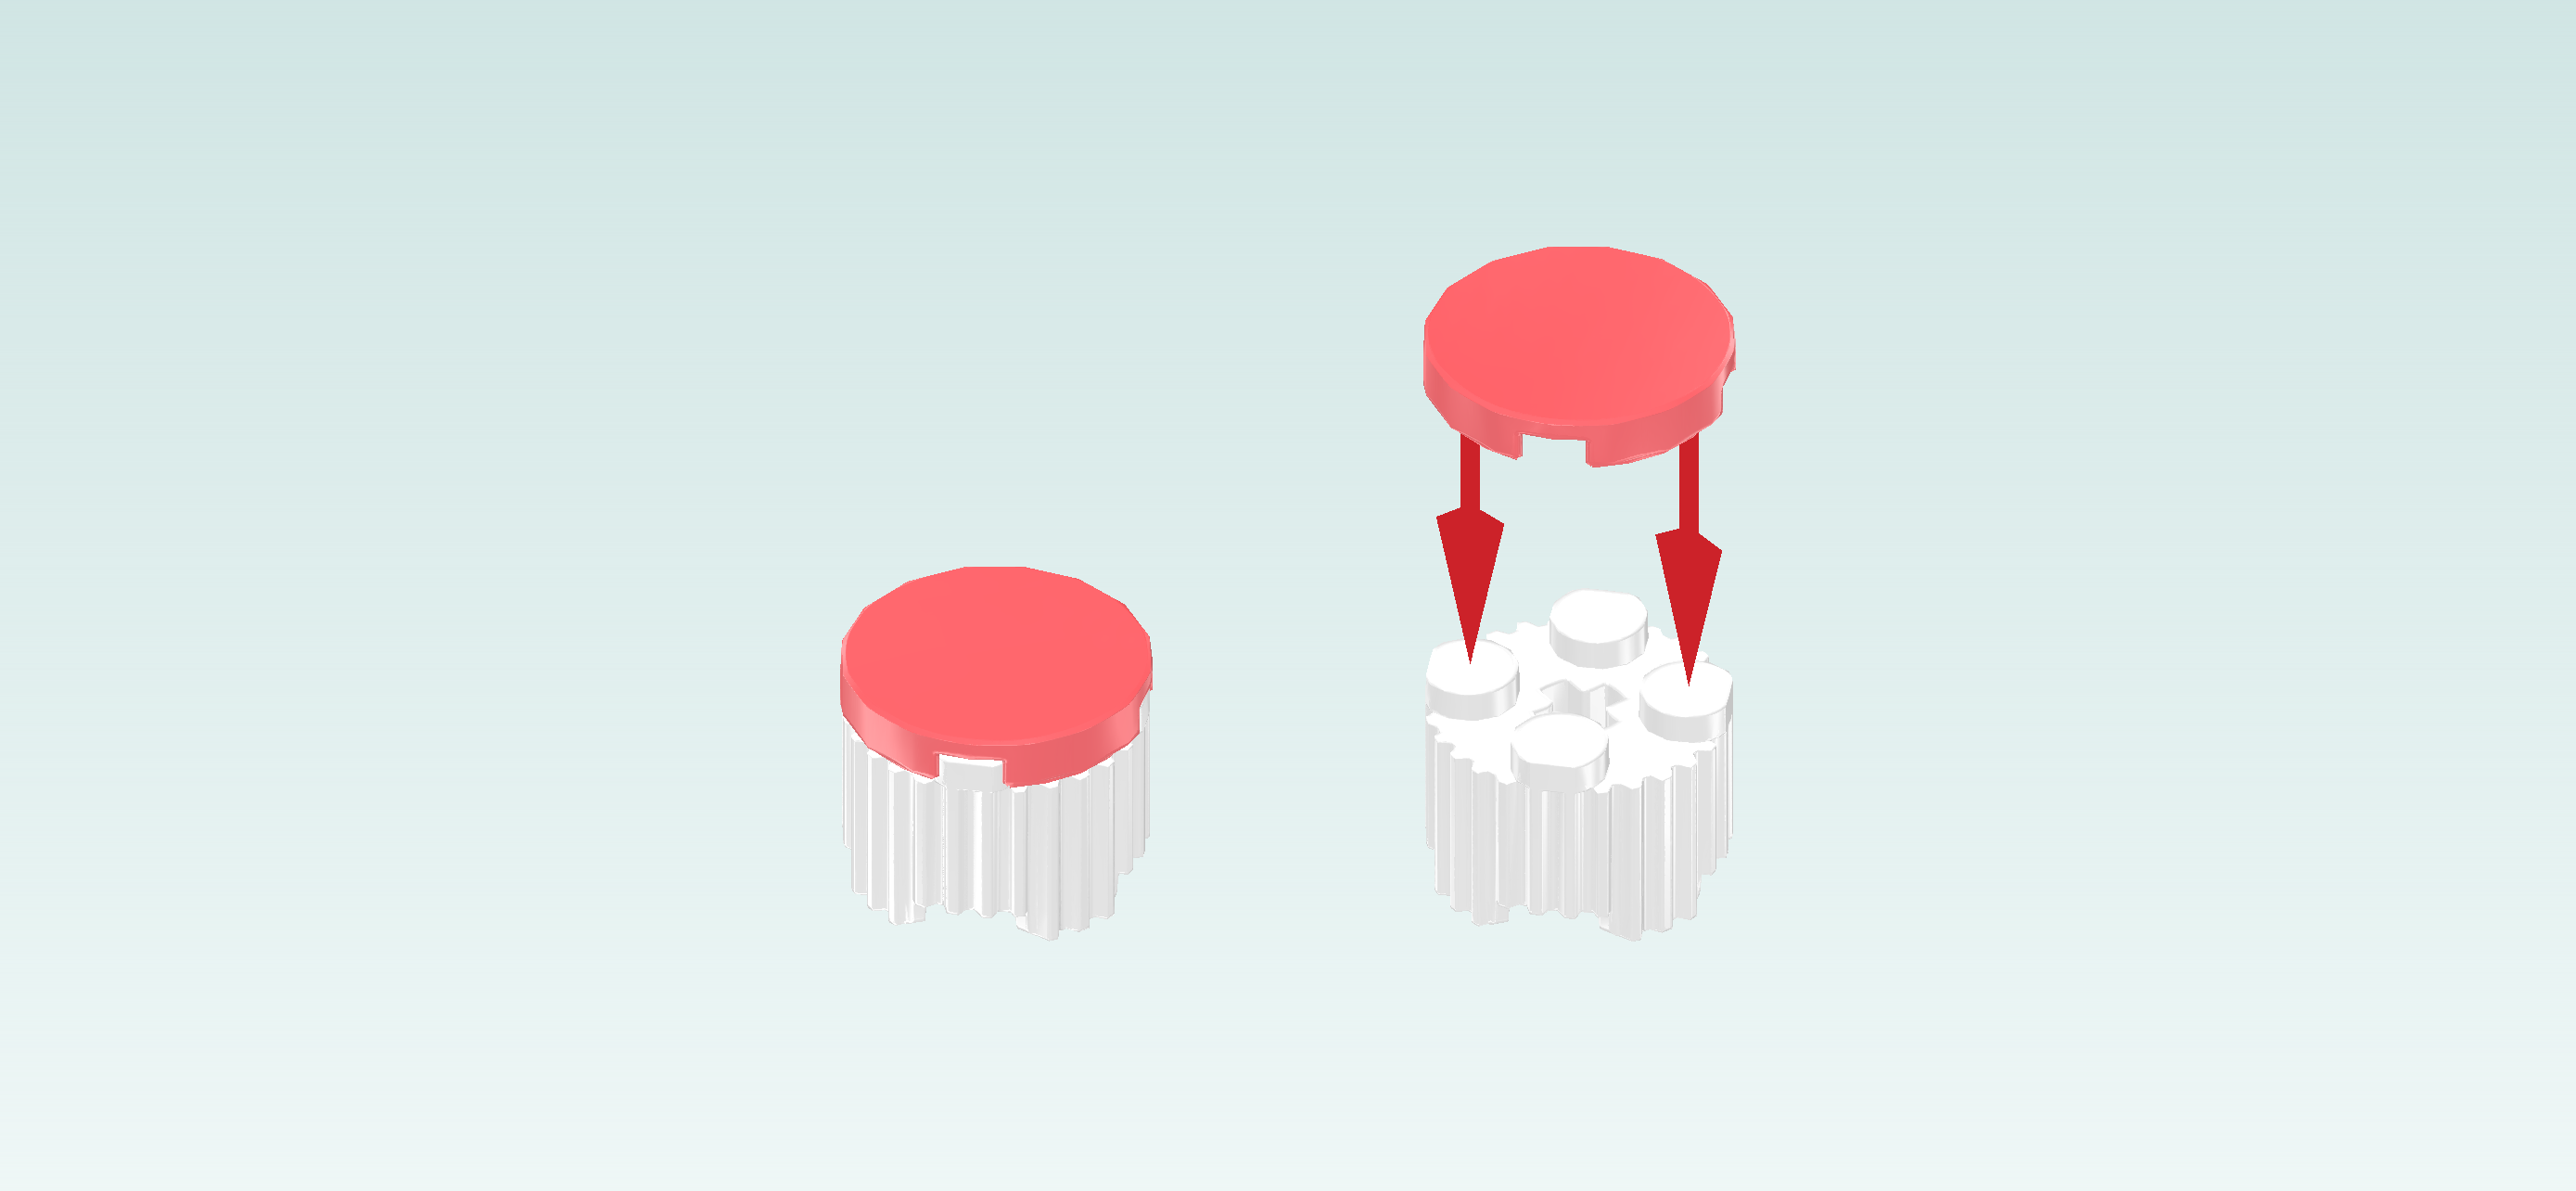
| Put the round profile bricks on the table. |
| Put the round tiles on top. |
| Continue if you want to decorate these pieces with stickers now. If not, skip the next 3 sentences. |
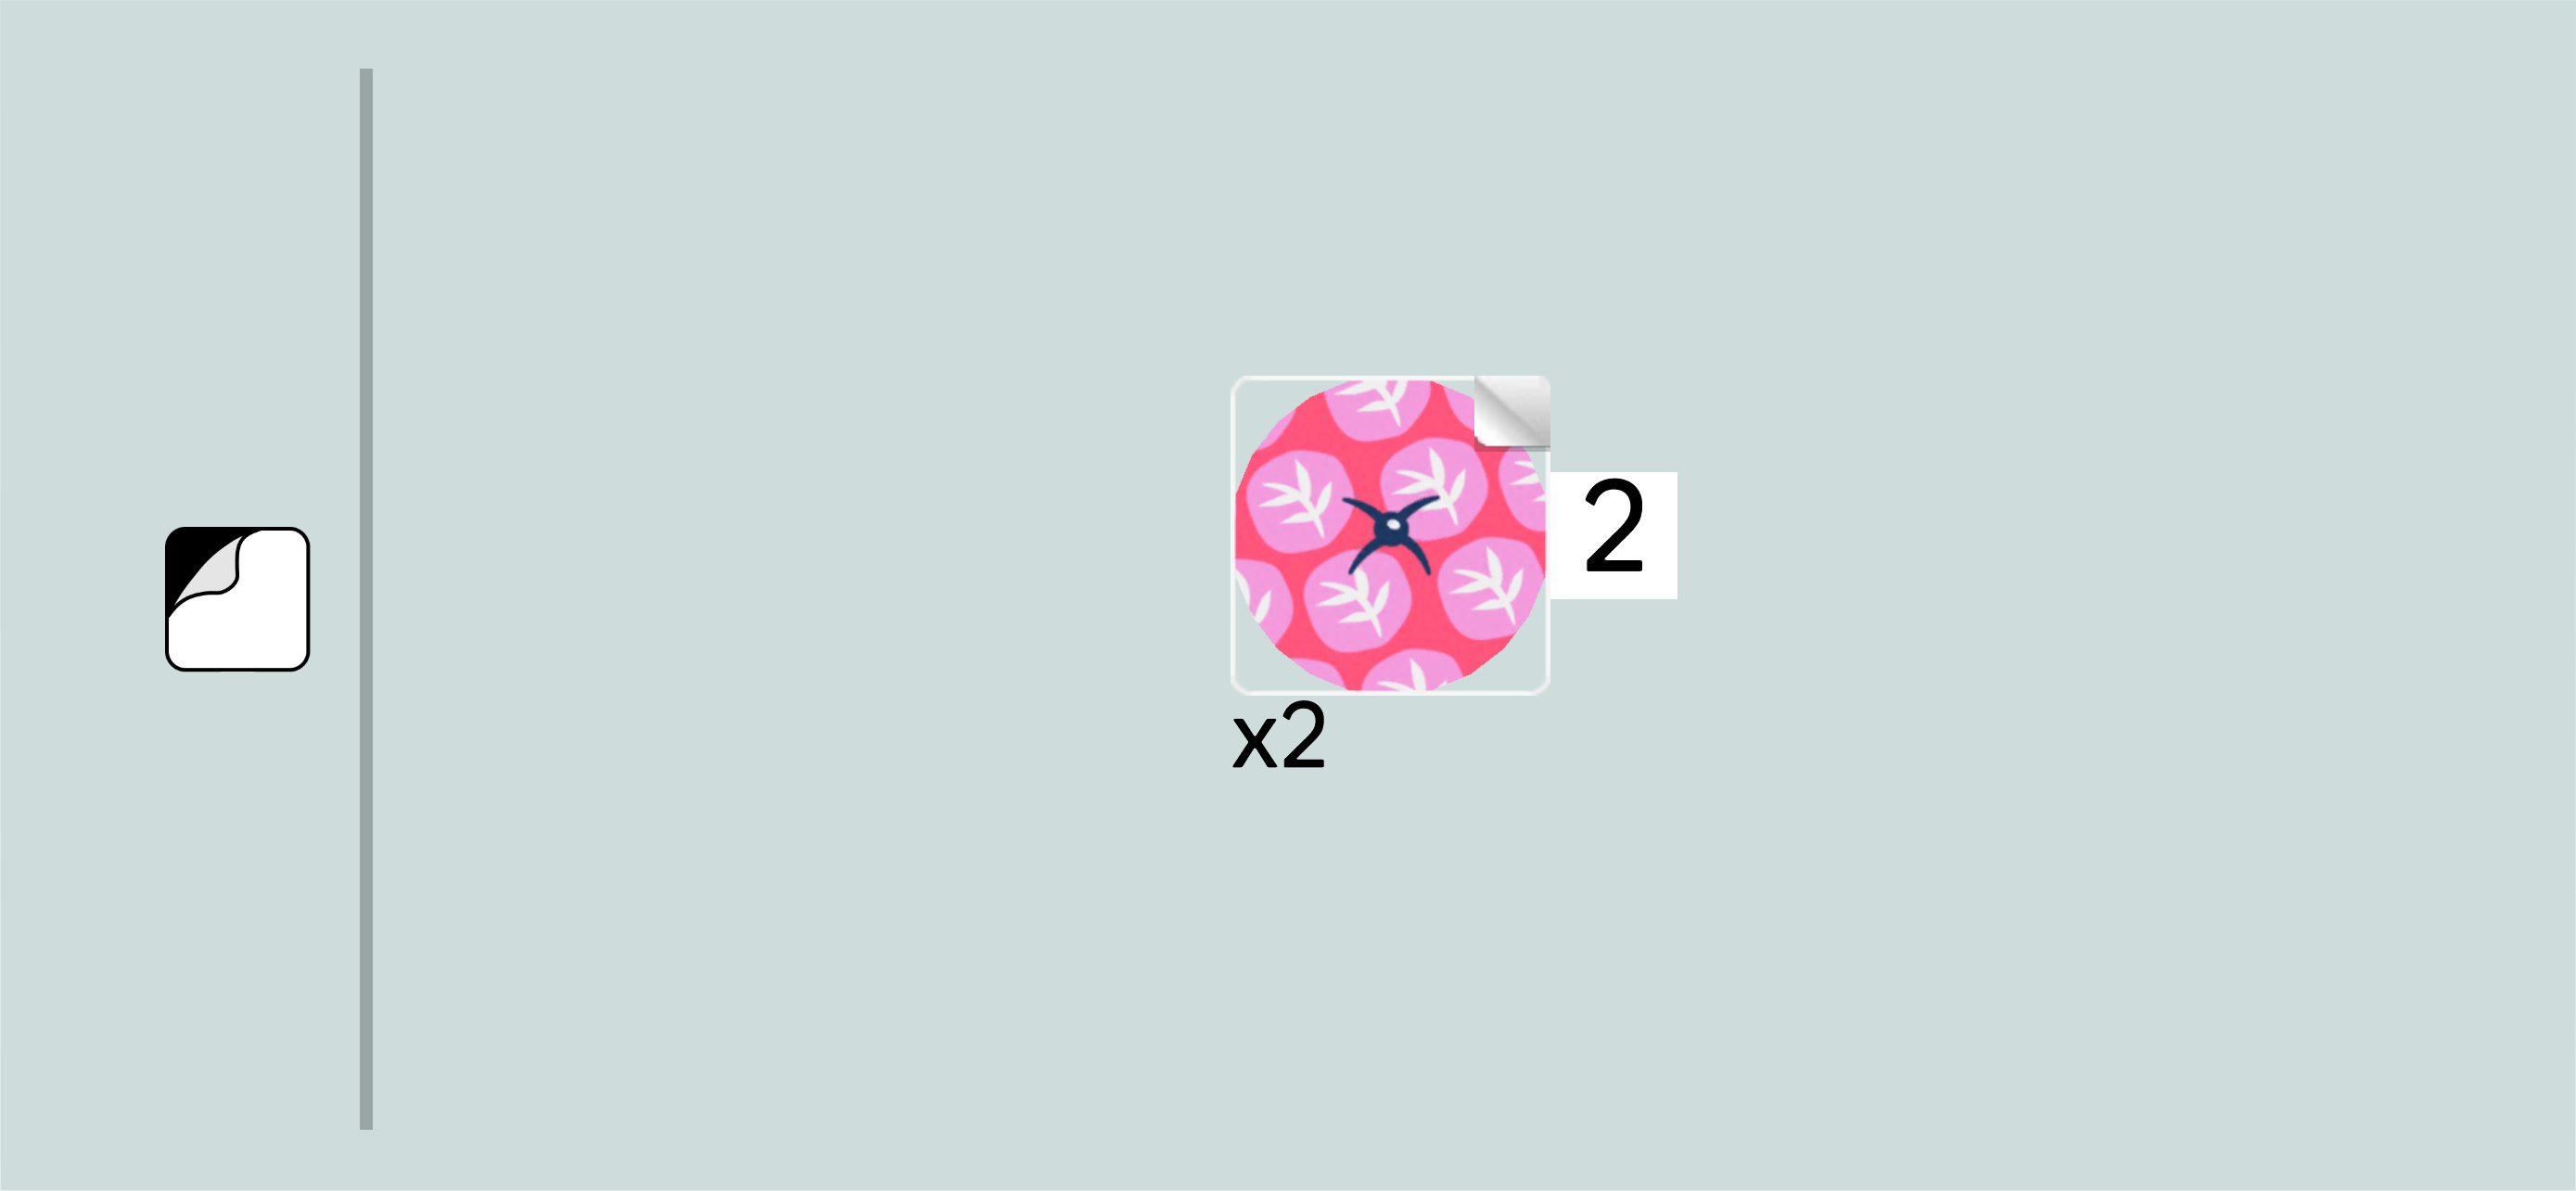
| Find 2 round stickers 2x2. |
| Put the 2 stickers on top of the 2 round tiles of the previous step. |
| The stickers are printed with cushion patterns. Their base color is similar to the round tile color (salmon pink). The pattern of the cushions are pale pink circles with white twig-like doodles in them. There is a button sewn on in the center of the cushions, creating a small indentation in the cushion fabric. |
| The picnic stools are finished! Well done! Mount one on the front edge of the second and third column from the right. This means that you skip the rightmost column (that only consists of 2 knobs) and mount the picnic stool on the 4 frontmost knobs. |
| Mount the other picnic stool on the back edge of the same 2 columns. |
| Now, we will assemble the picnic table. |
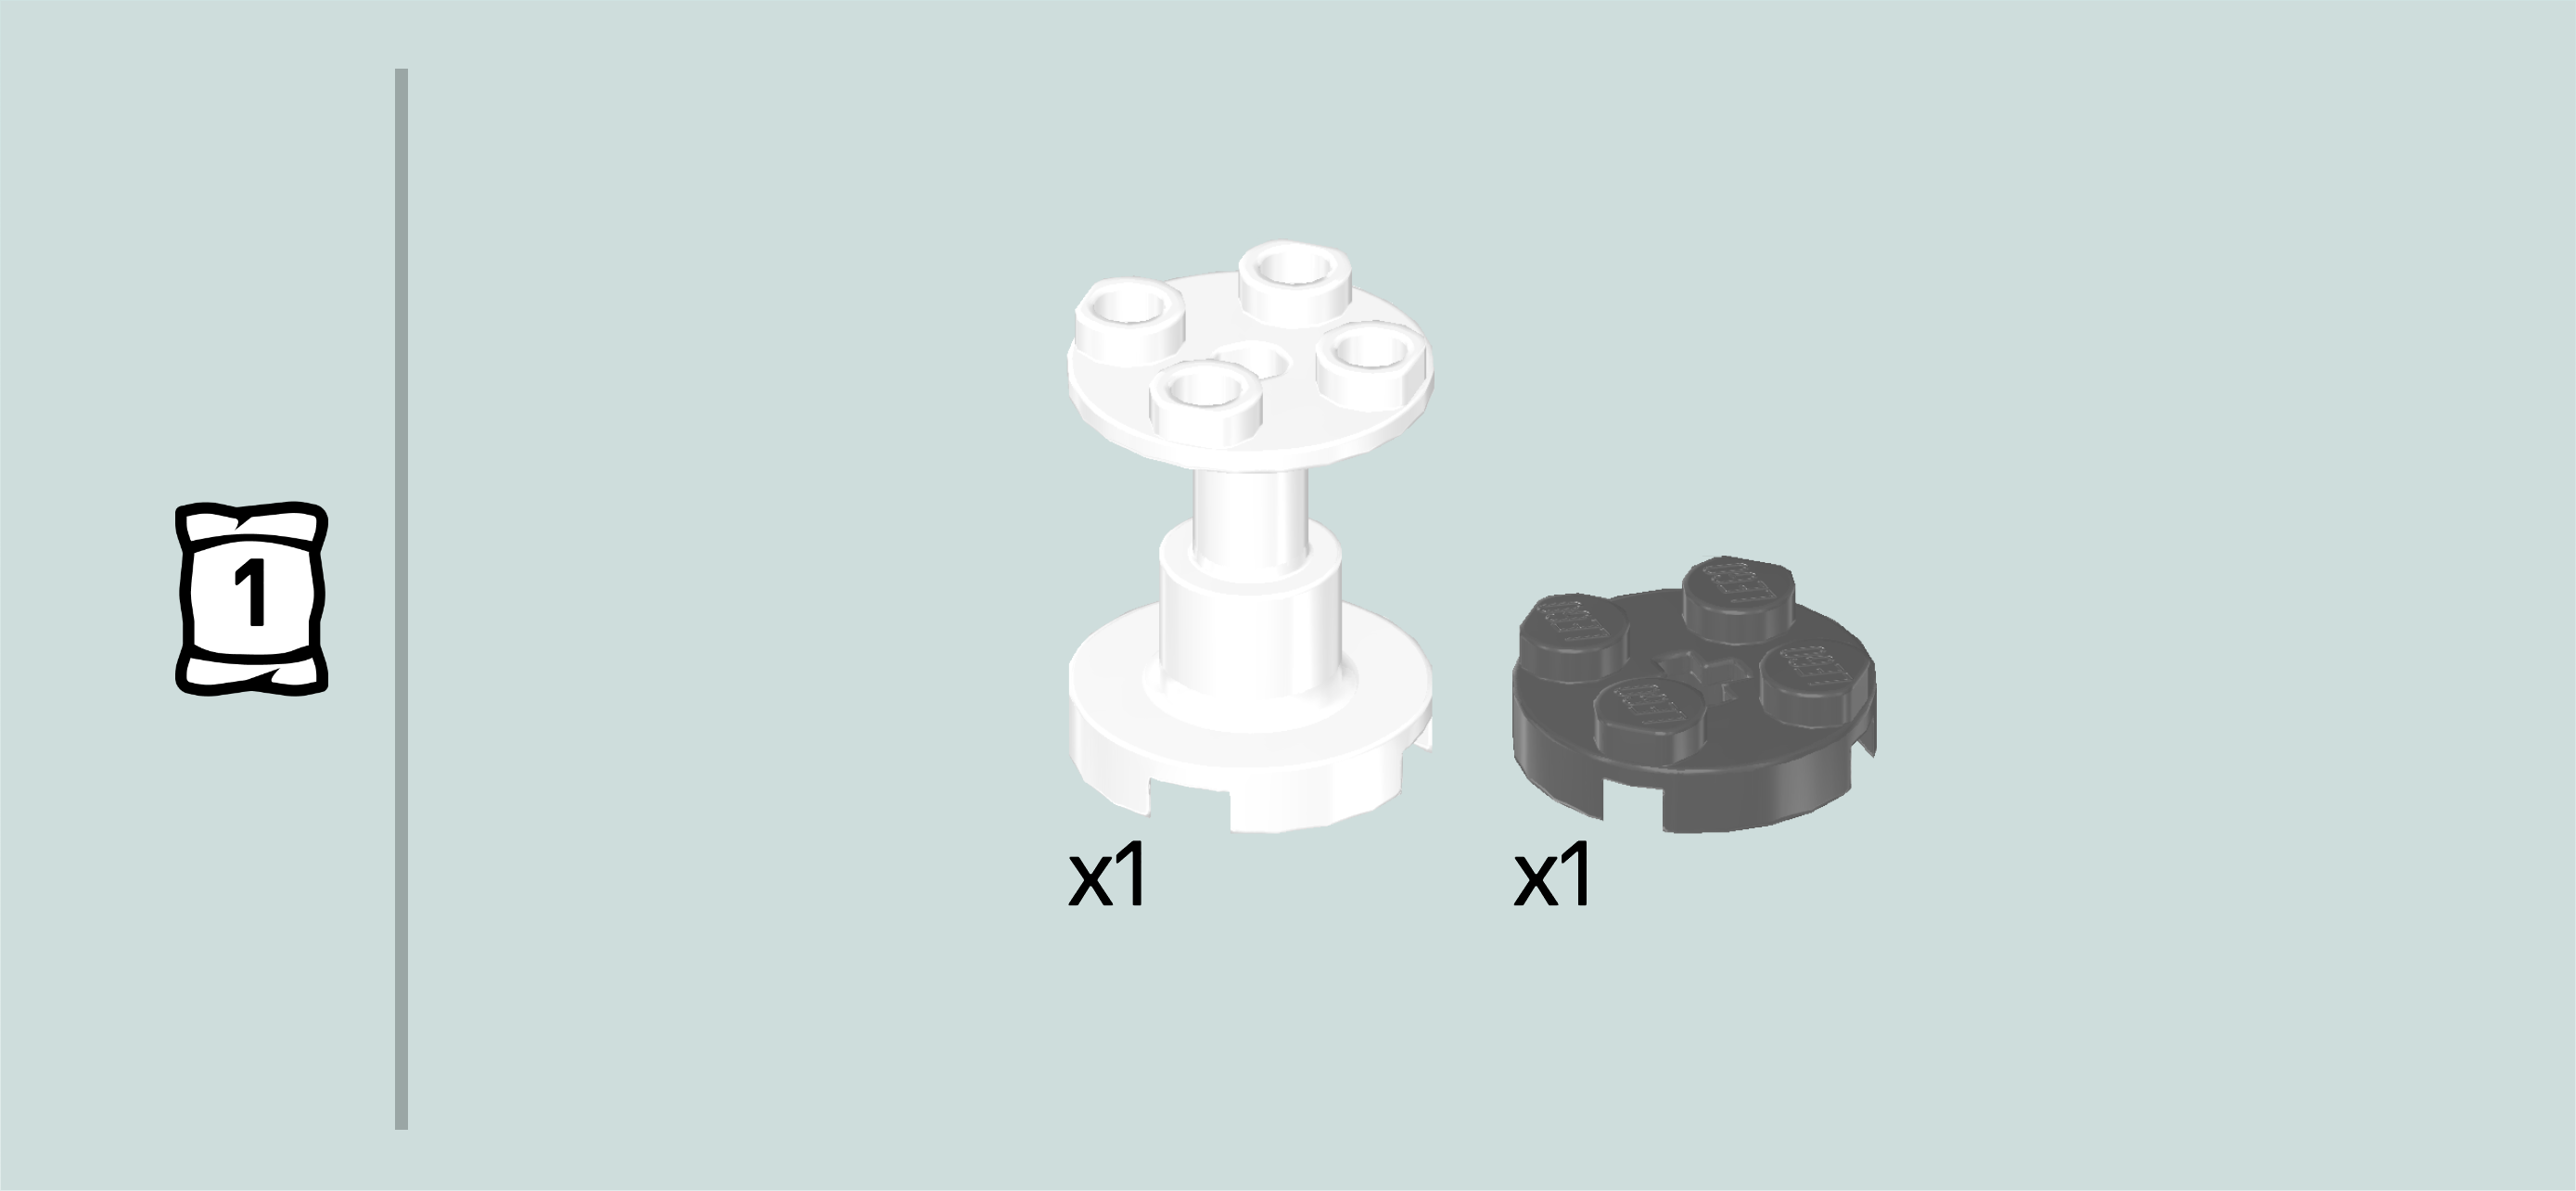
| Collect the following 2 pieces: |
| 1 white support stand 2x2x2, |
| and 1 dark stone grey round plate 2x2. |
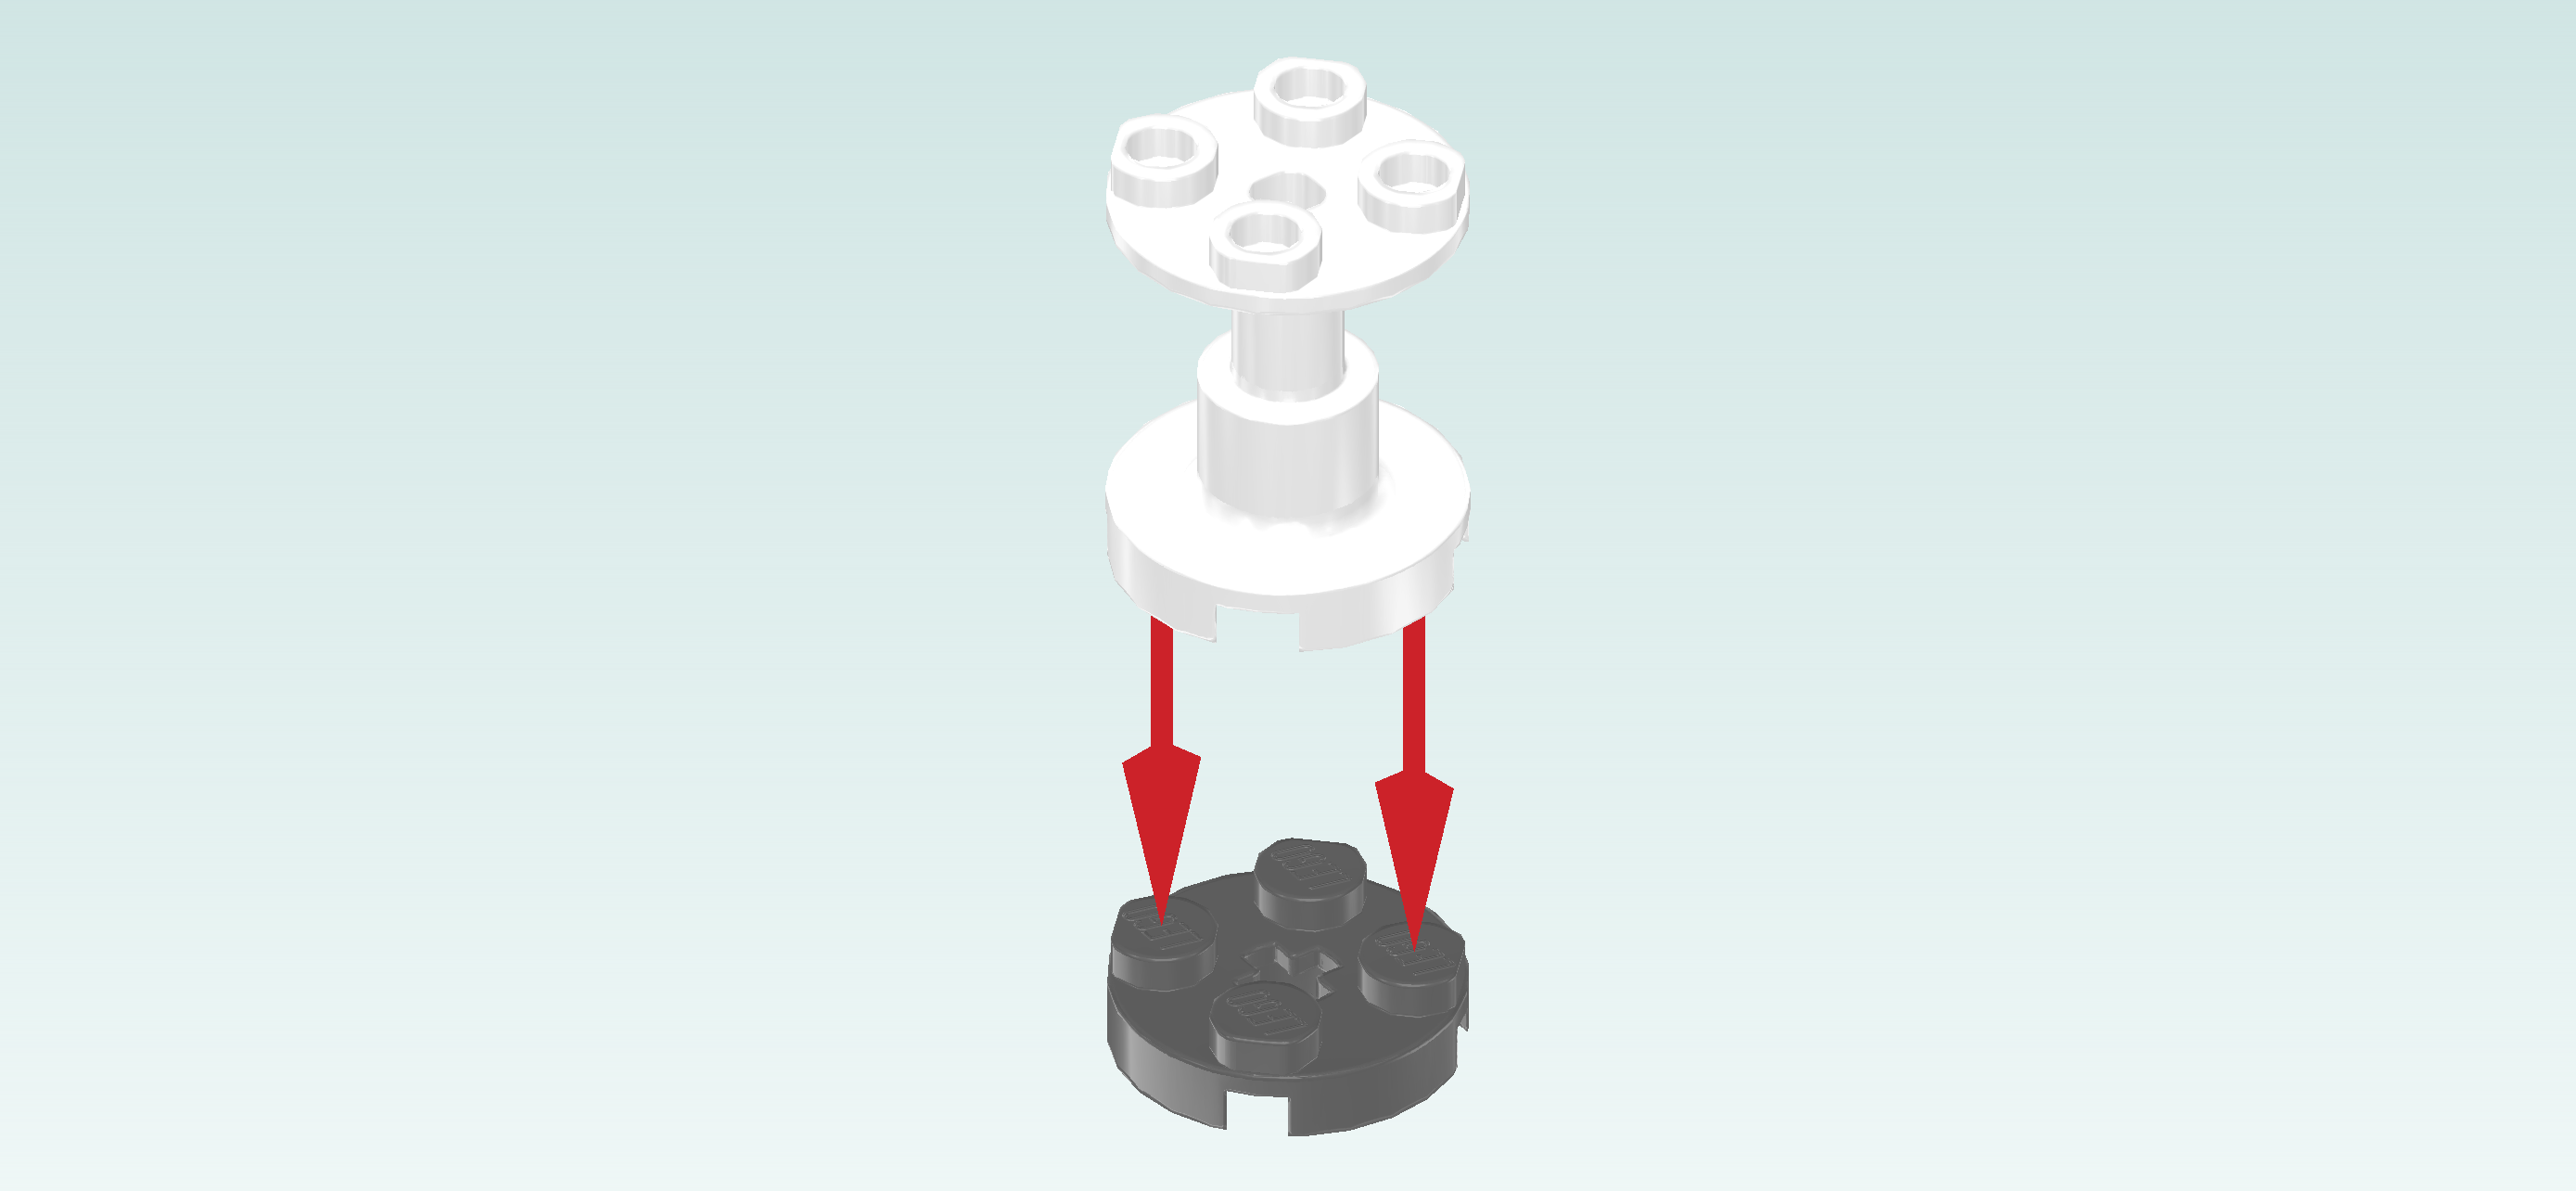
| Put the round plate 2x2 on the table. |
| Put the support stand 2x2x2 on top. |
| Find 1 bright yellow round tile 3x3. |
| Put it centered on top of the previous piece. |
| The picnic table is finished! Great job! Place it centered between the 2 picnic stools, but offset to the left by 1 column. This means that it will sit centered on the third and fourth column from the right. |
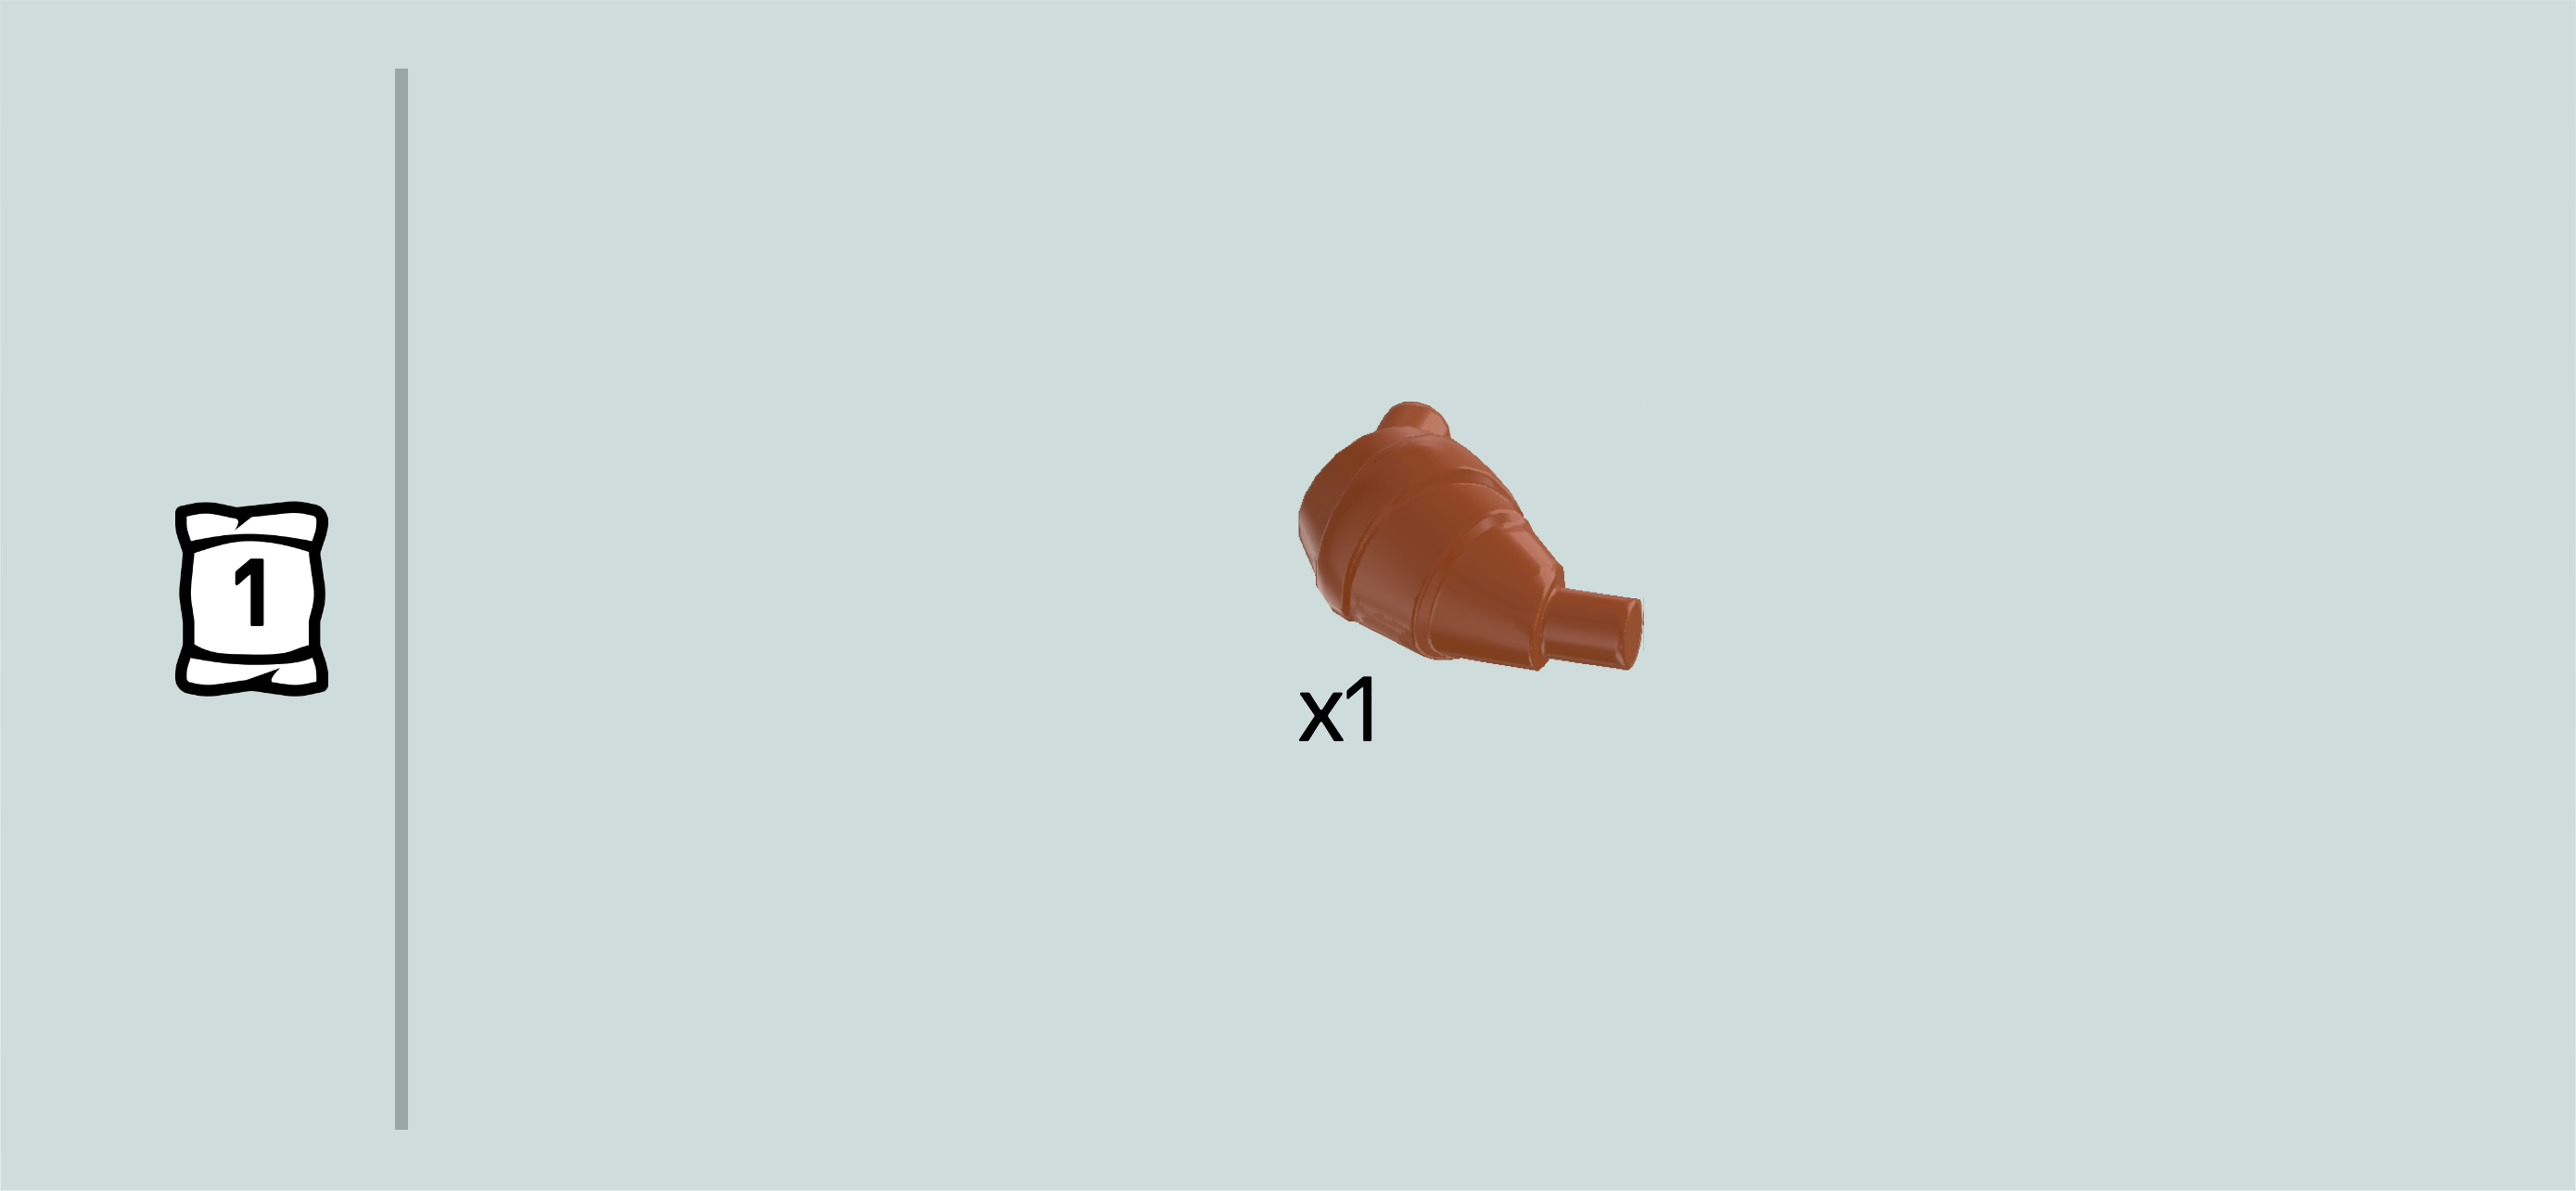
| Find 1 dark orange croissant. |
| Put it on the picnic table. |
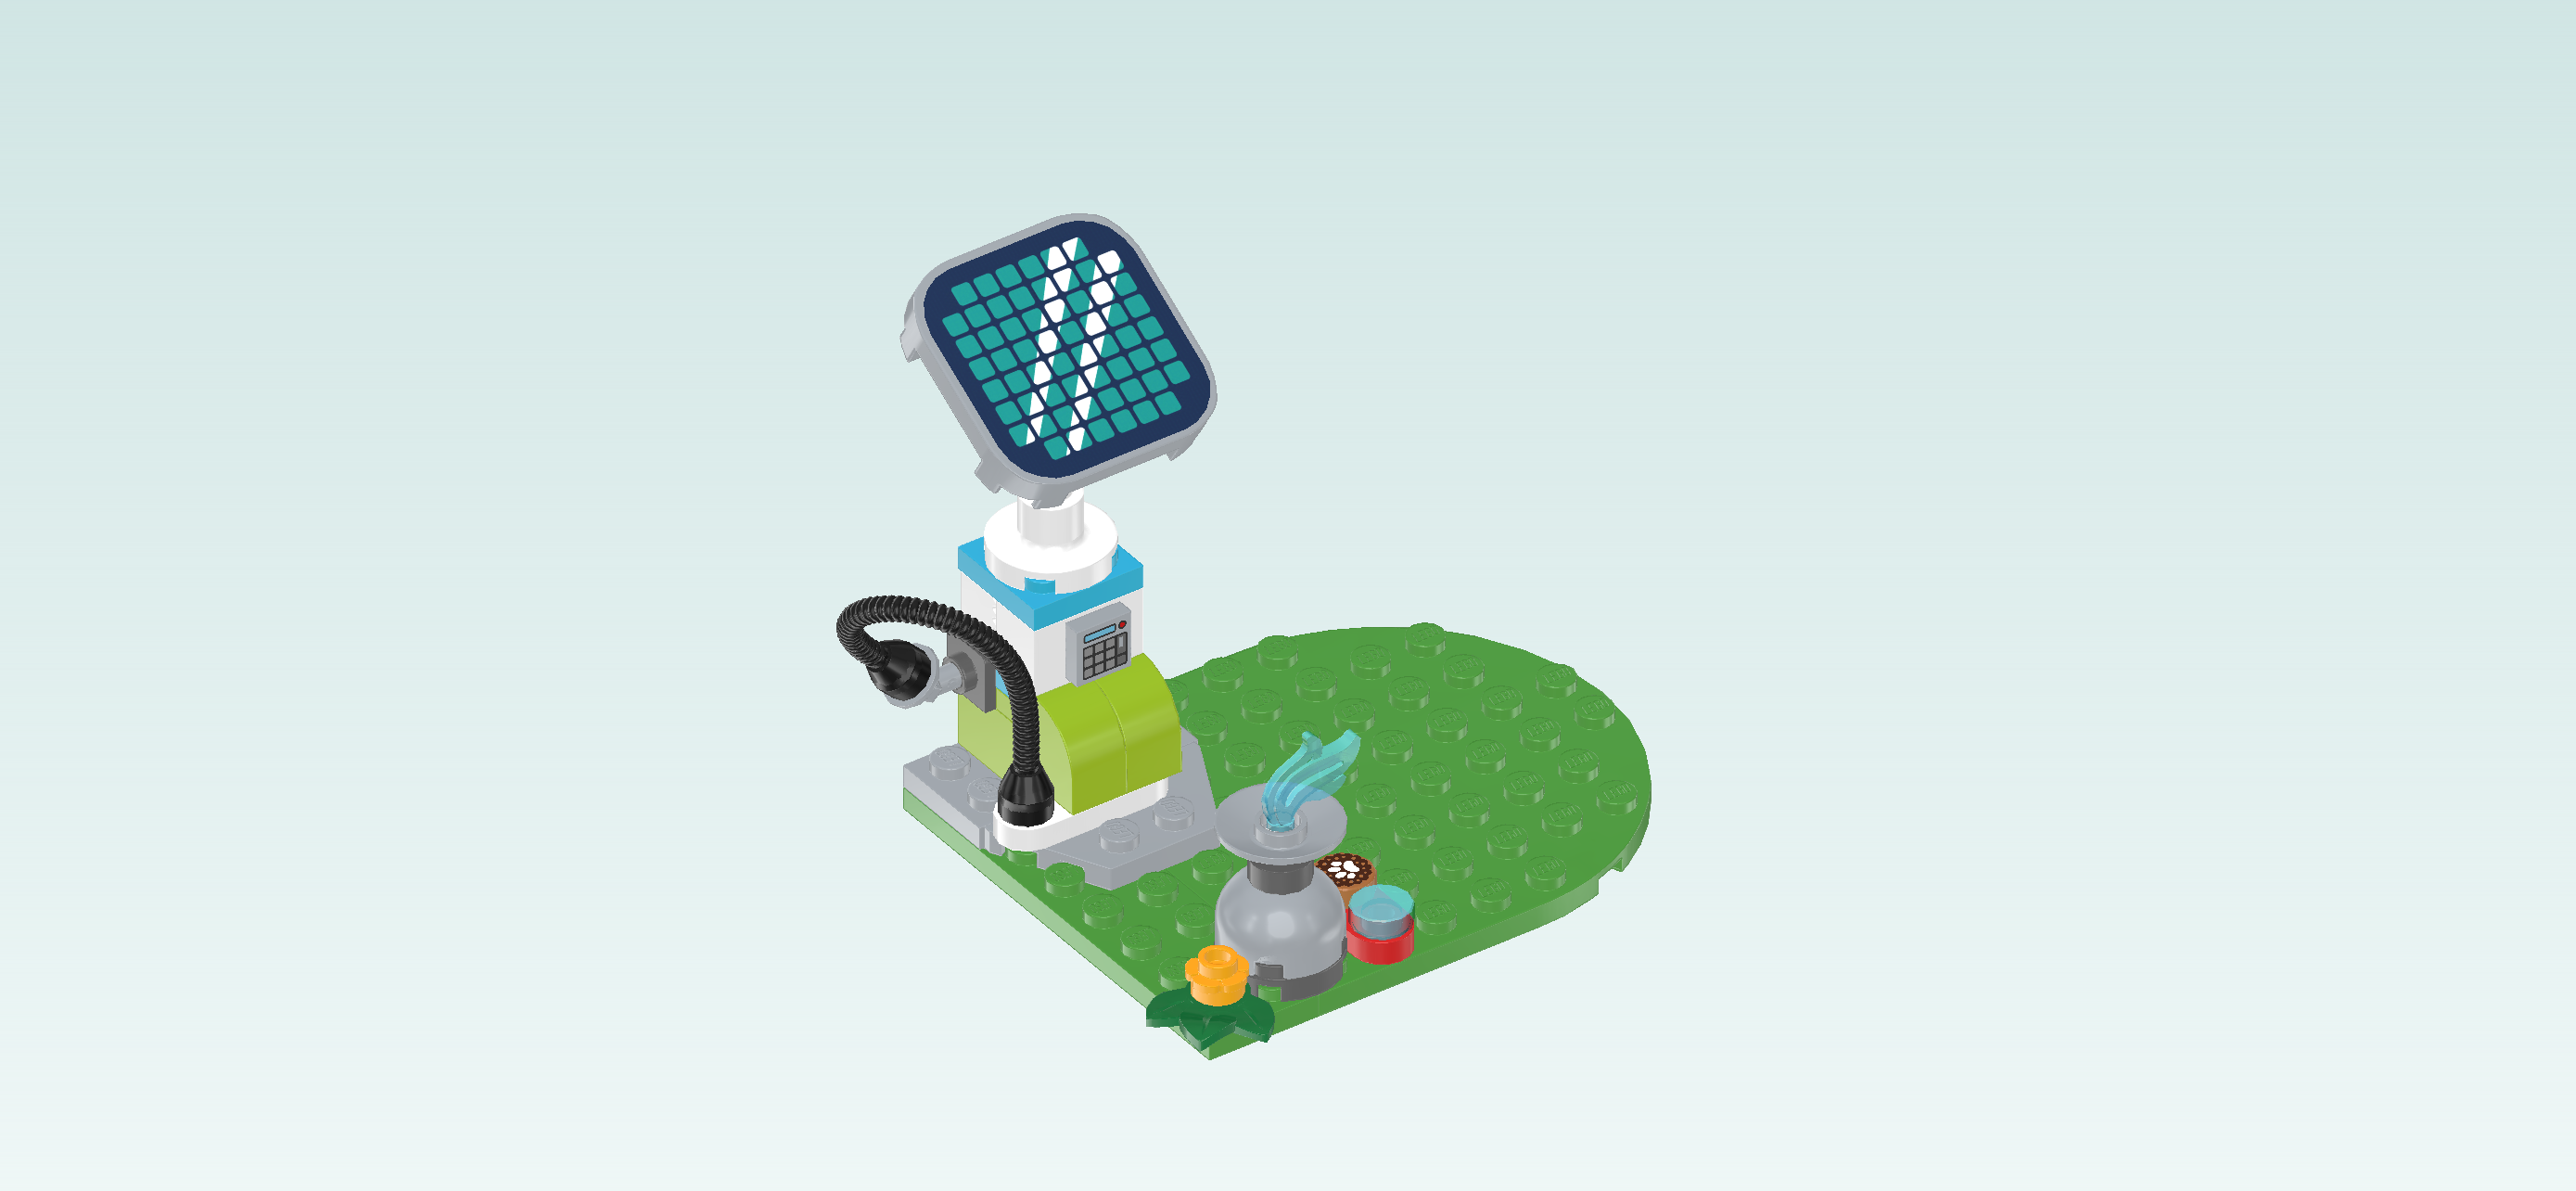
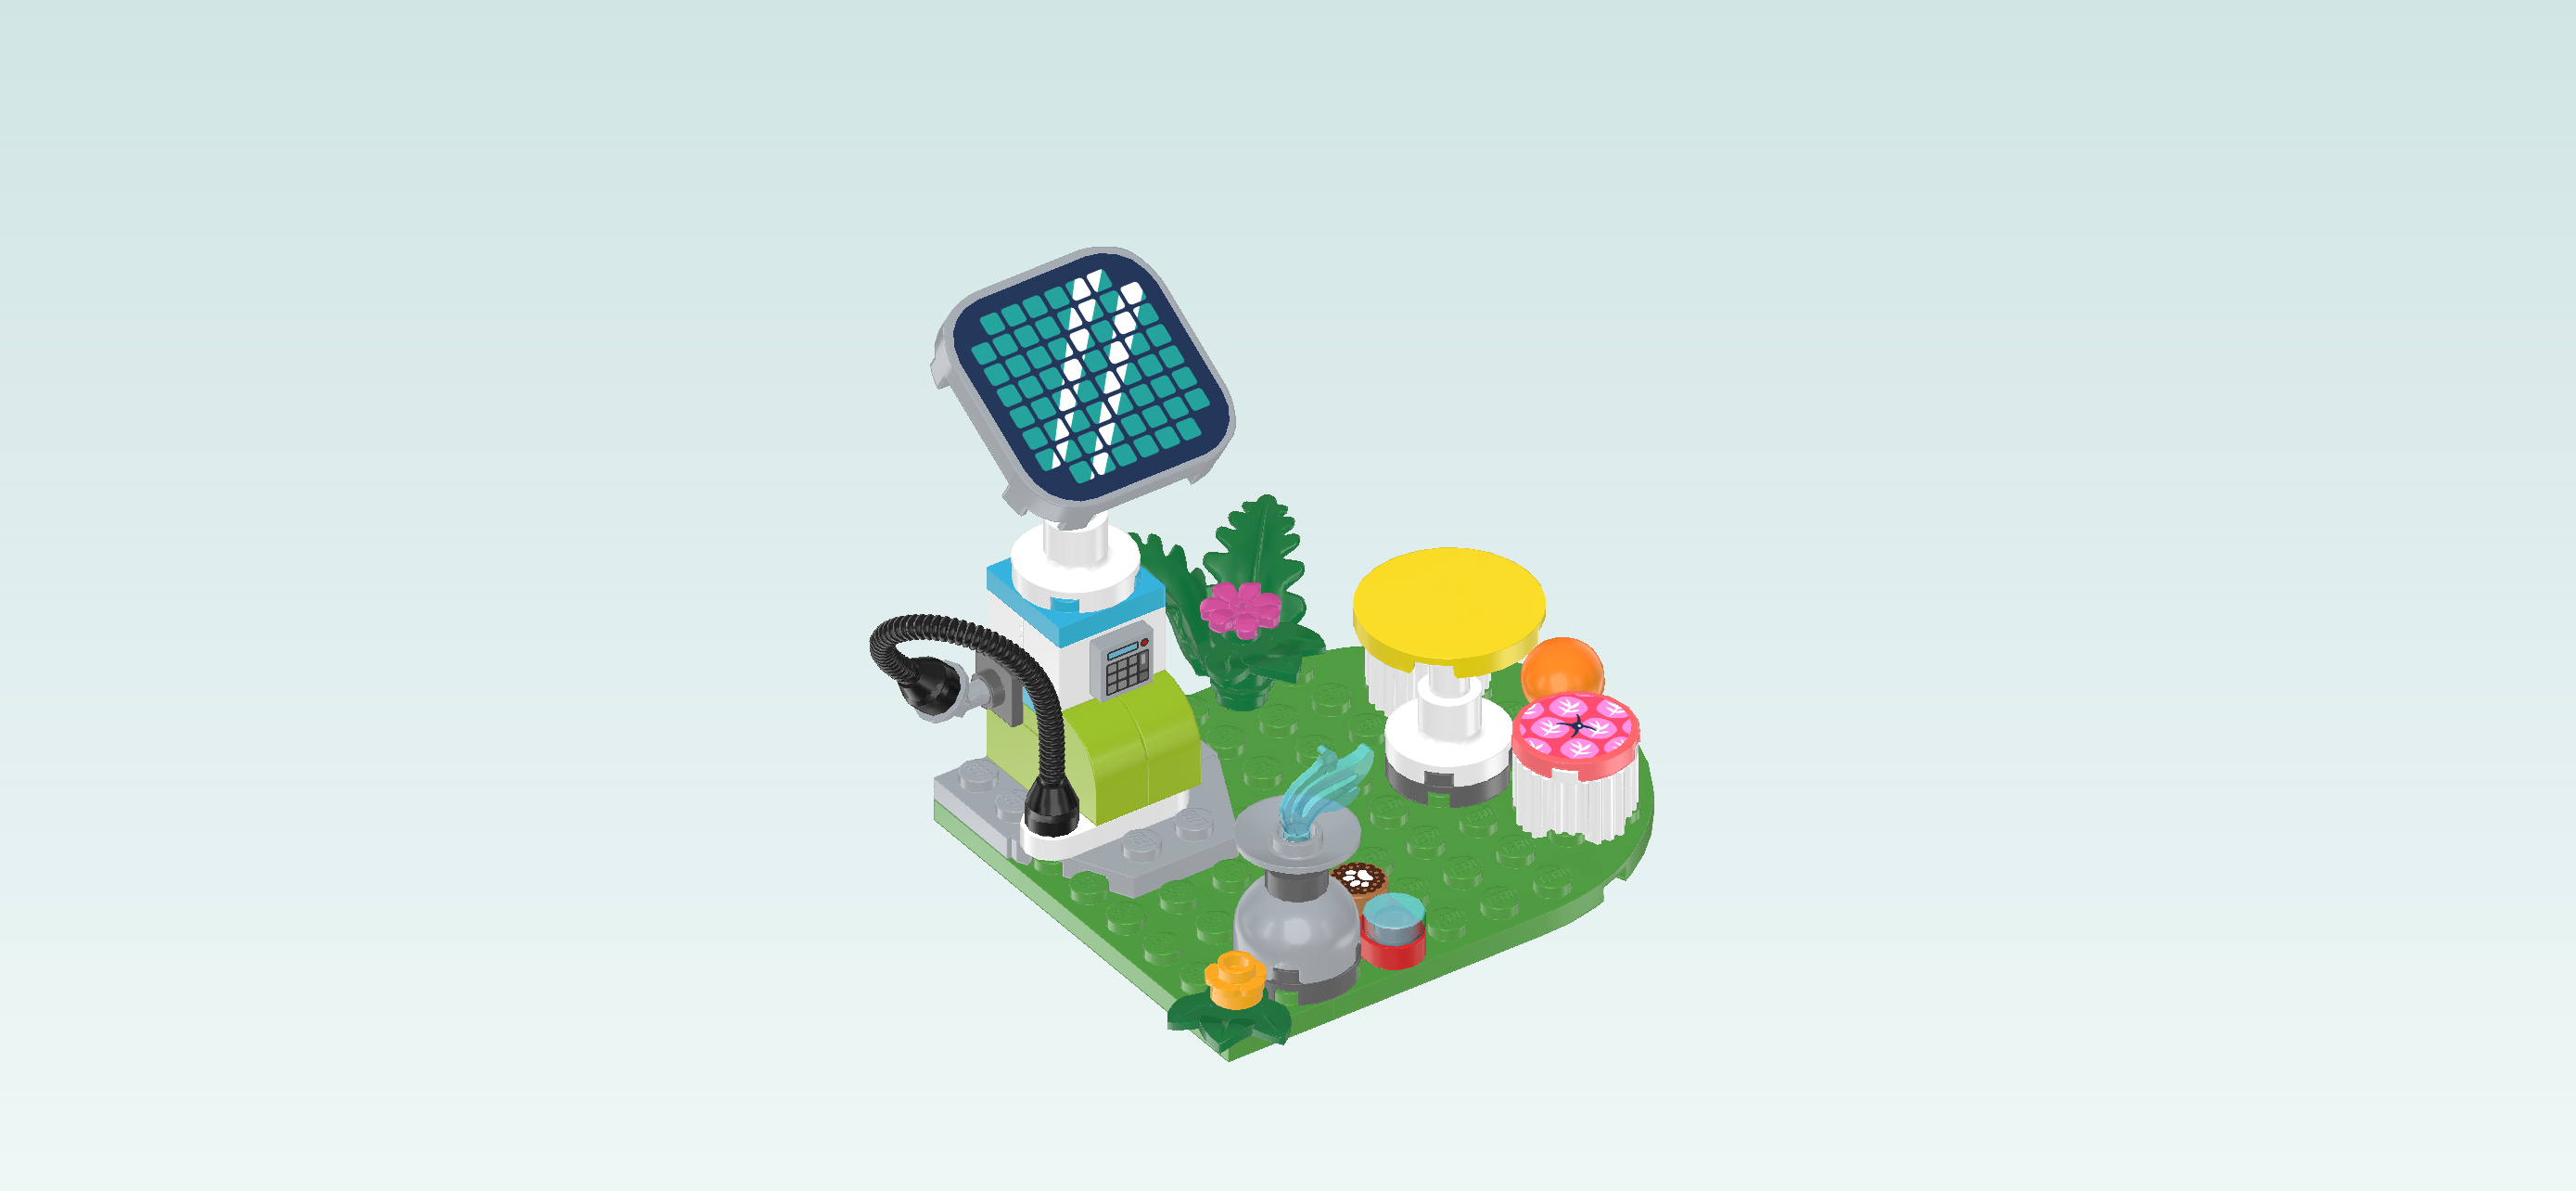
| The solar charging station with picnic area is finished! Fantastic job! Zac and nova can already have a little picnic while we continue building. You are making great progress! |
| Open bag number 2. You can choose to have the bricks sorted by color again. This bag contains all bricks and pieces for the electric car. |
| Now, let's build the electric car. |
| Collect the following 2 pieces: |
| 1 black plate 4x12, |
| and 1 mud grey plate 1x2 with side rail. |
| Put the plate 4x12 horizontally on the table. |
| Put the plate 1x2 vertically centered on the rightmost column, side rail overhanging to the right. |
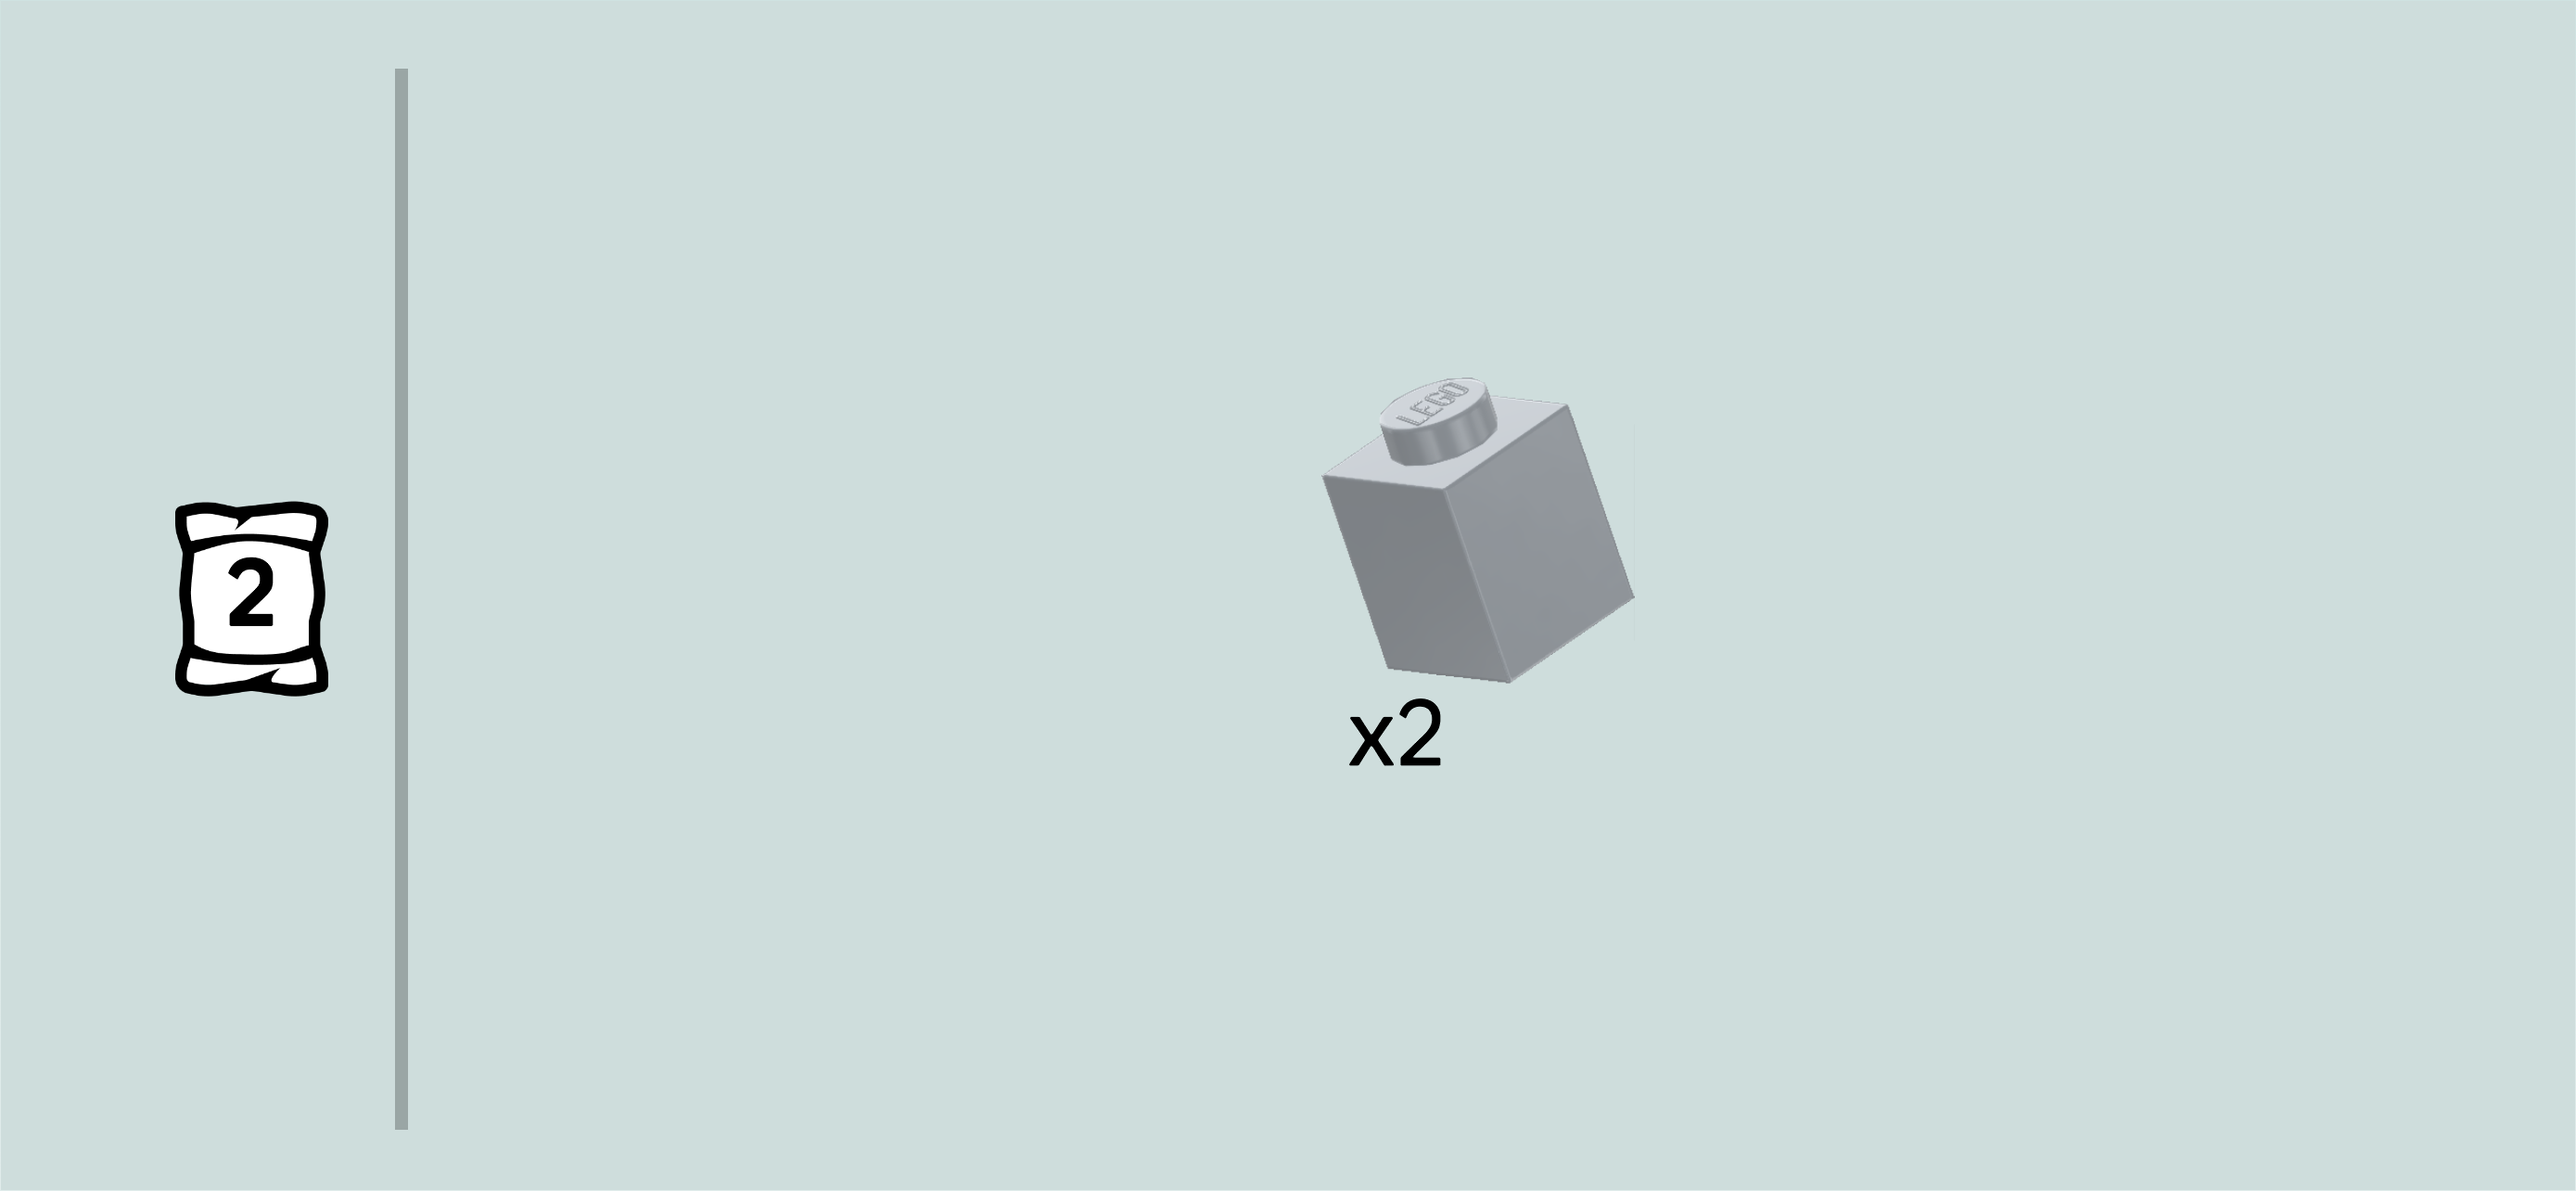
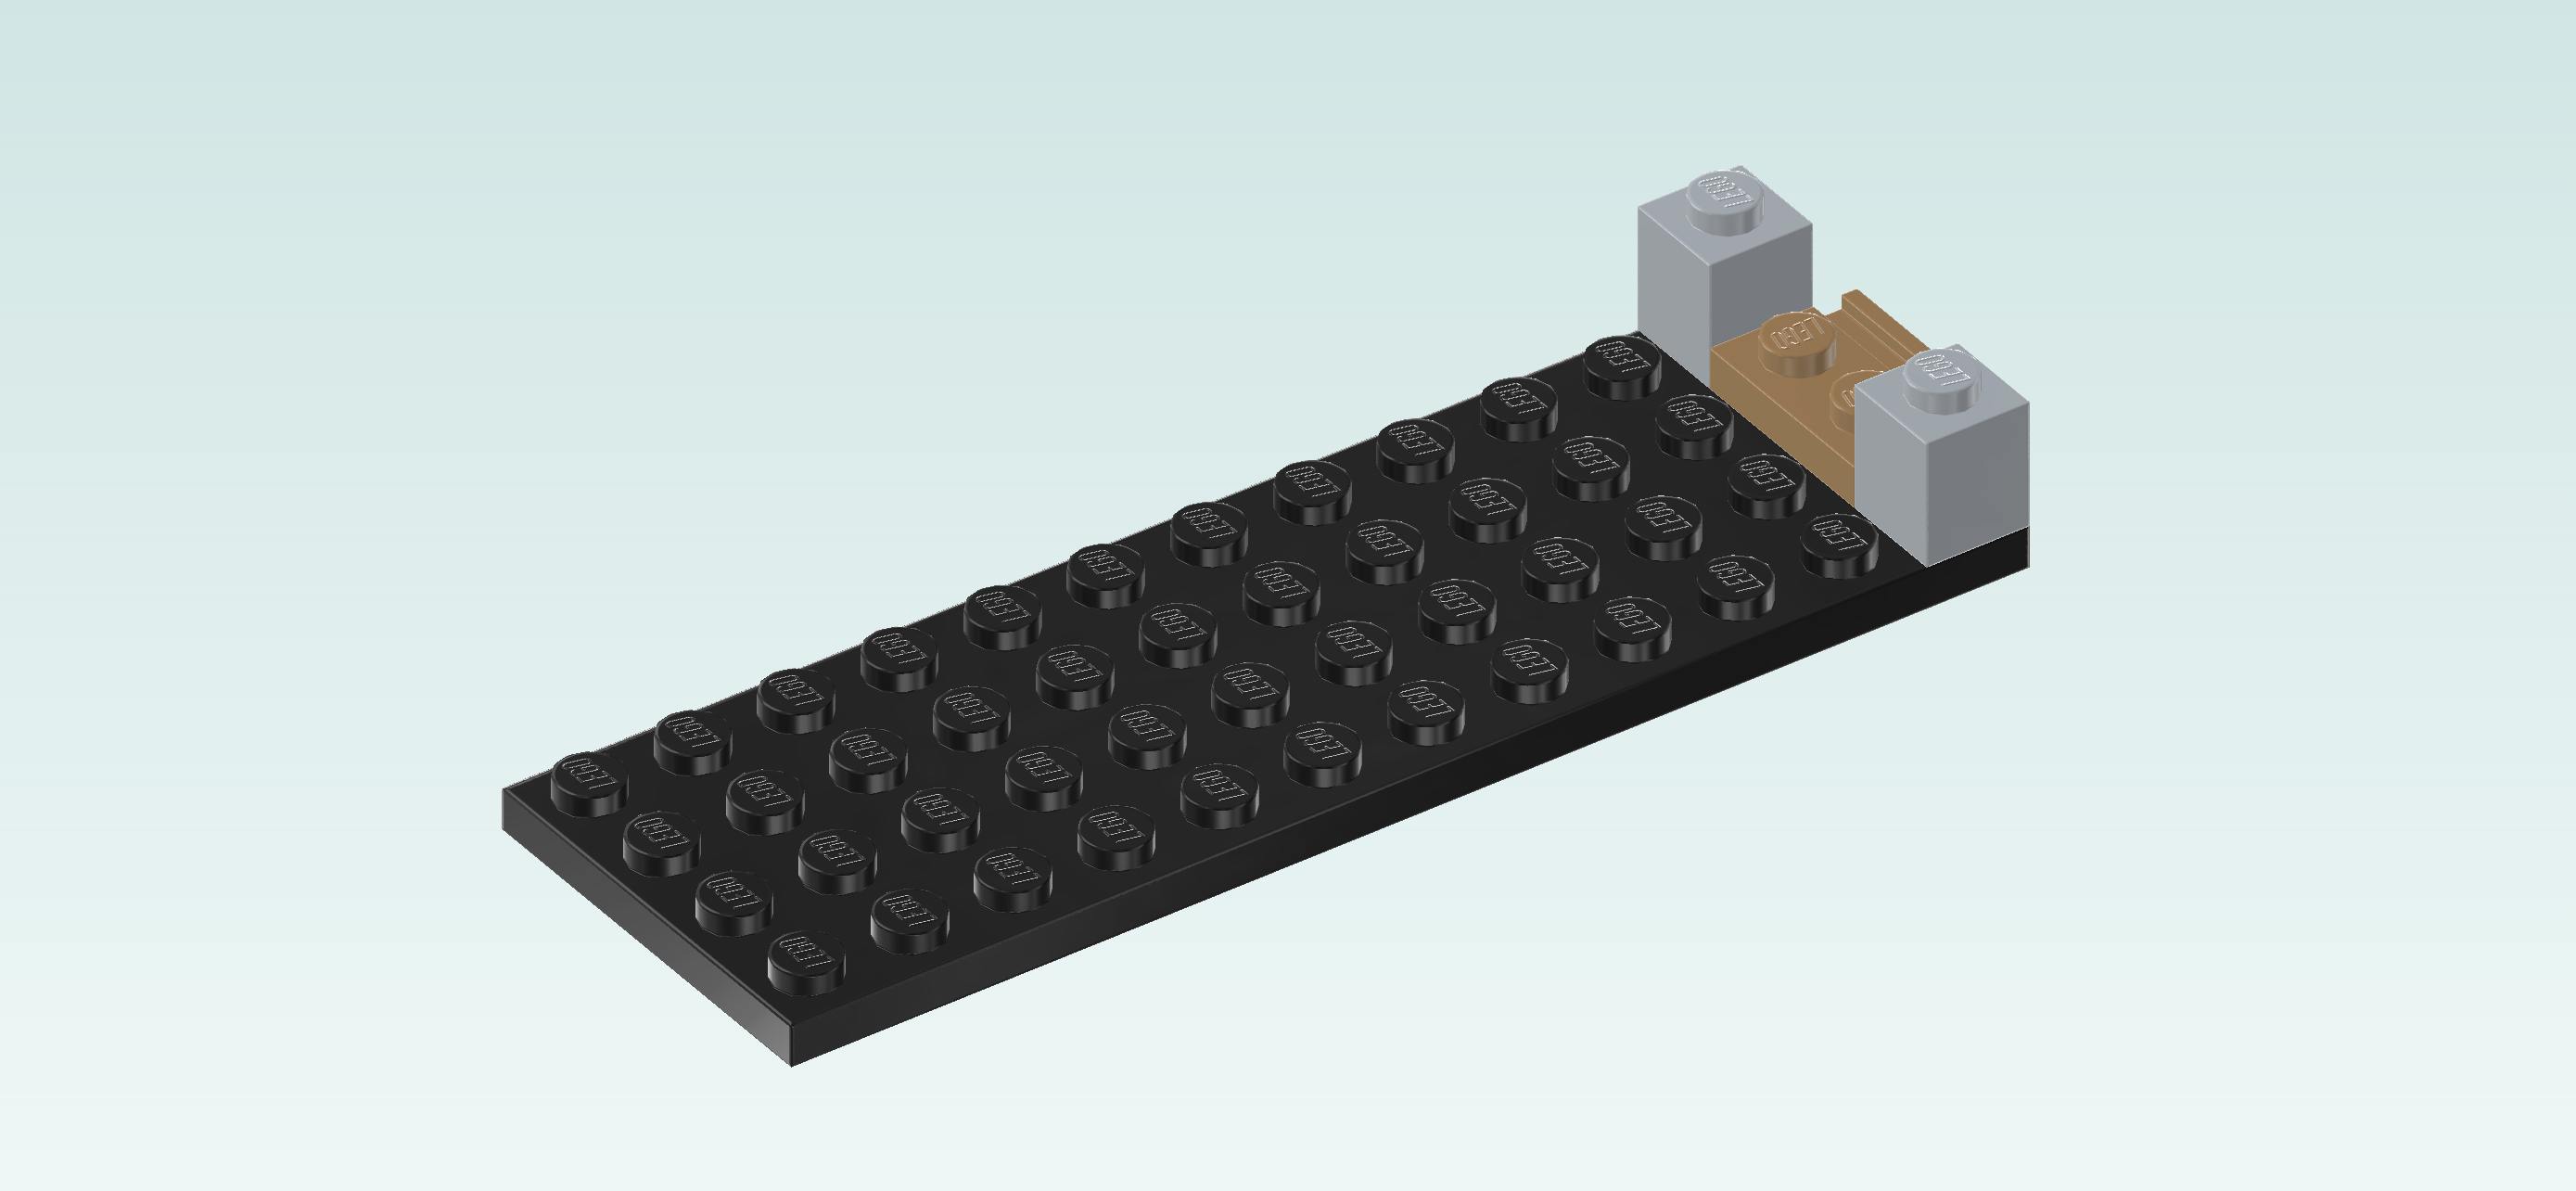
| Find 2 medium stone grey bricks 1x1. |
| Put 1 in front of the previous piece, and the other one behind the previous piece. |
| Together, these three pieces cover the rightmost column. |
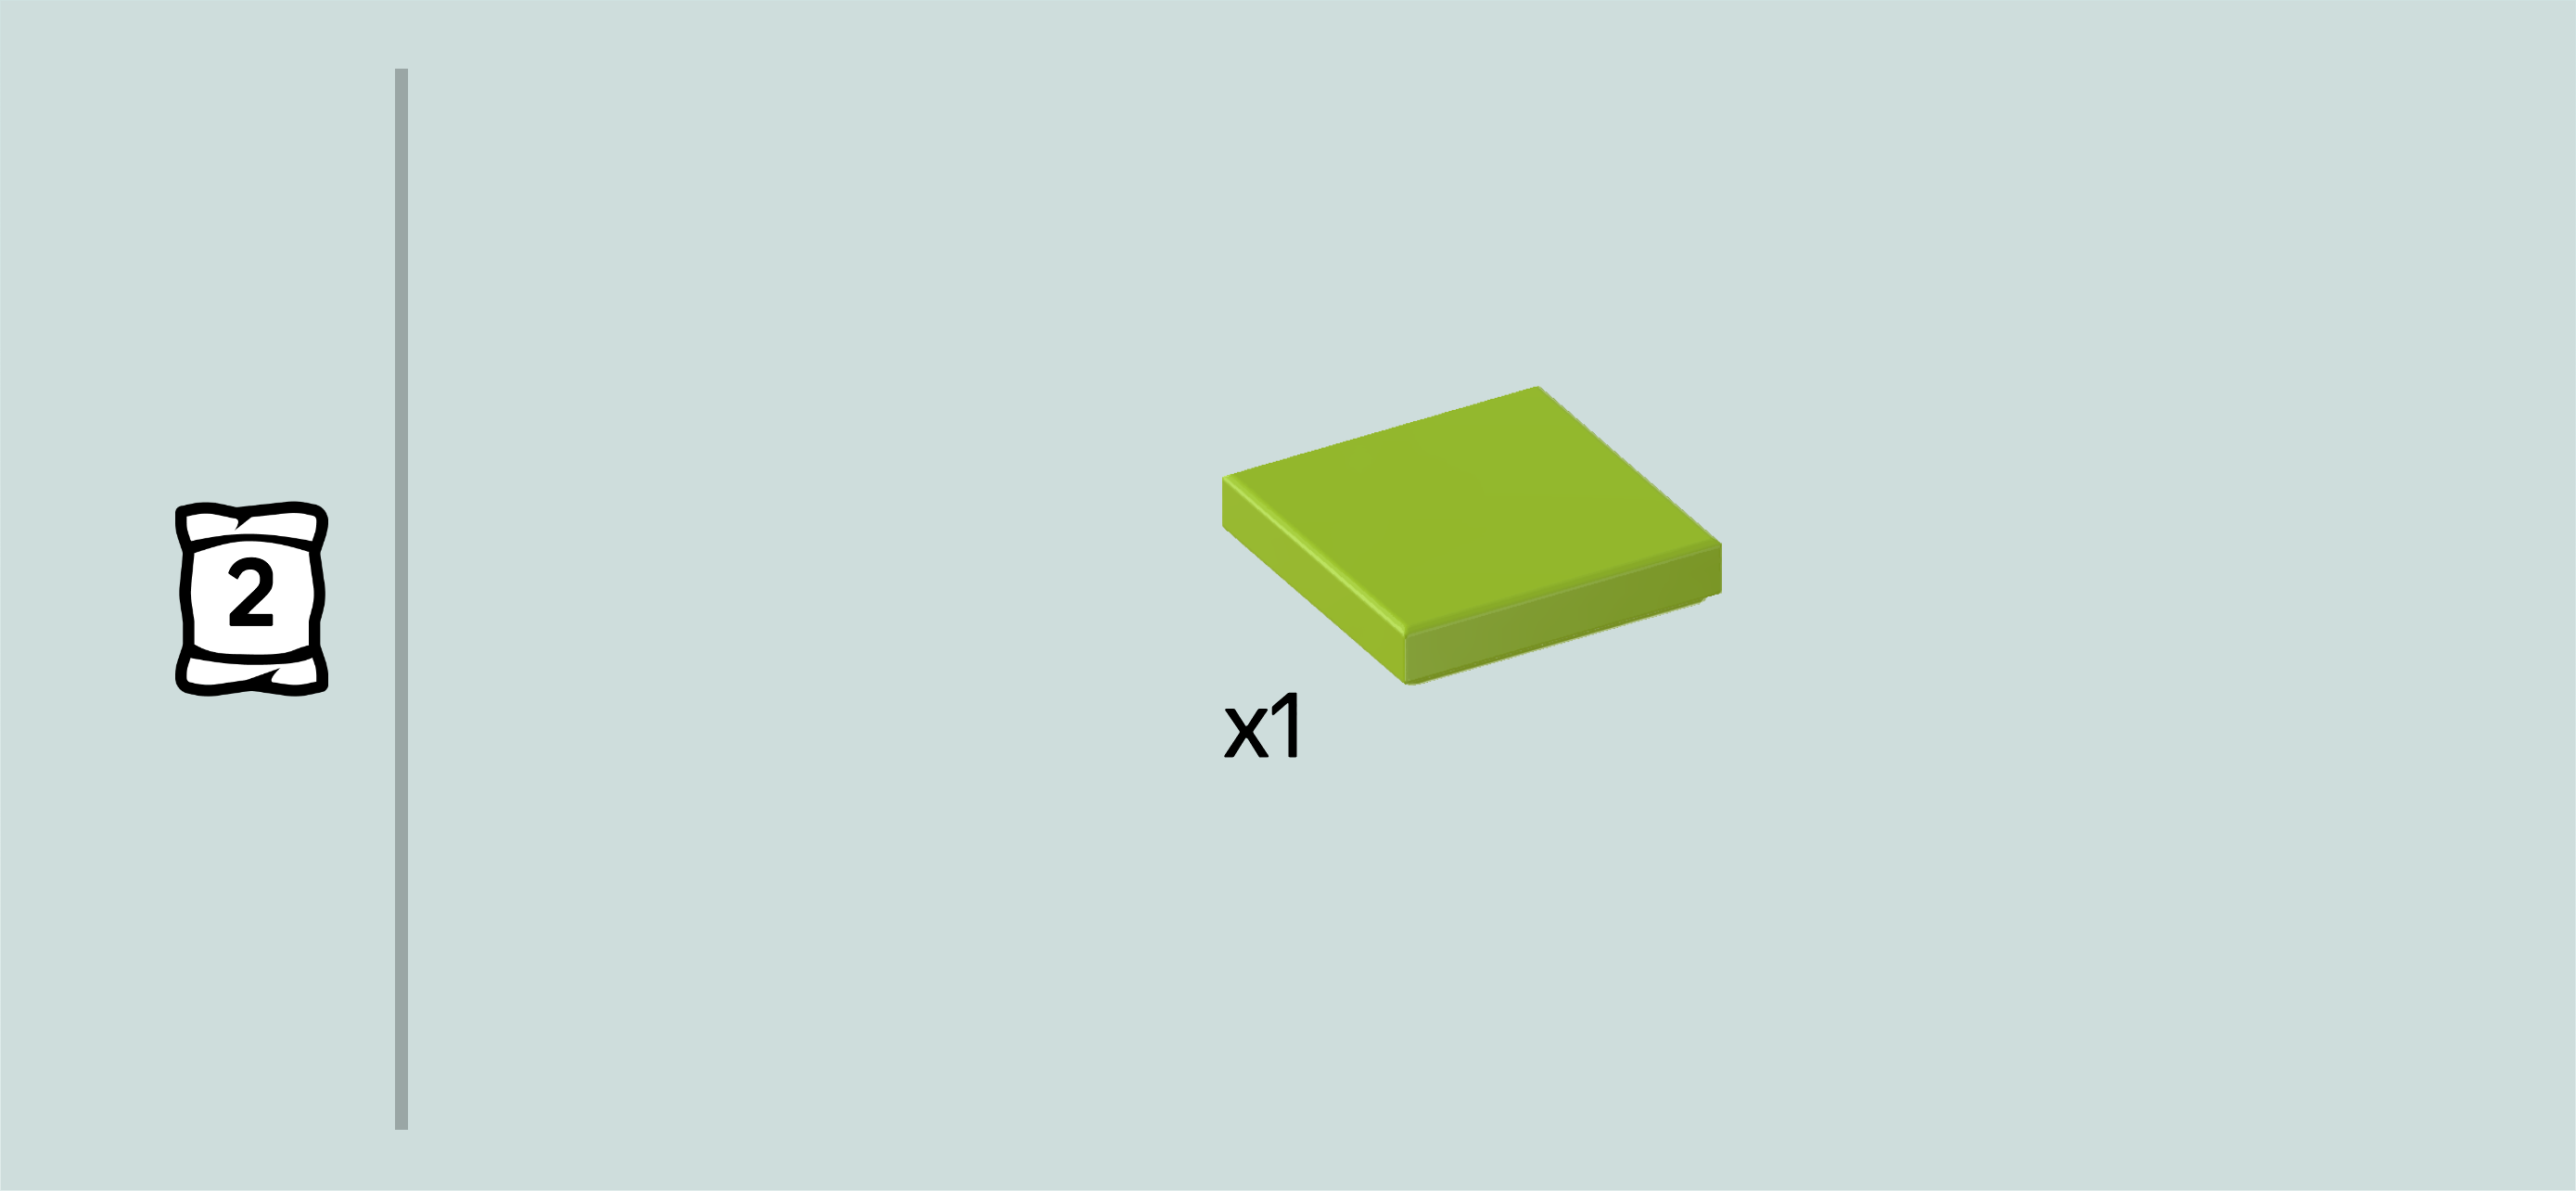
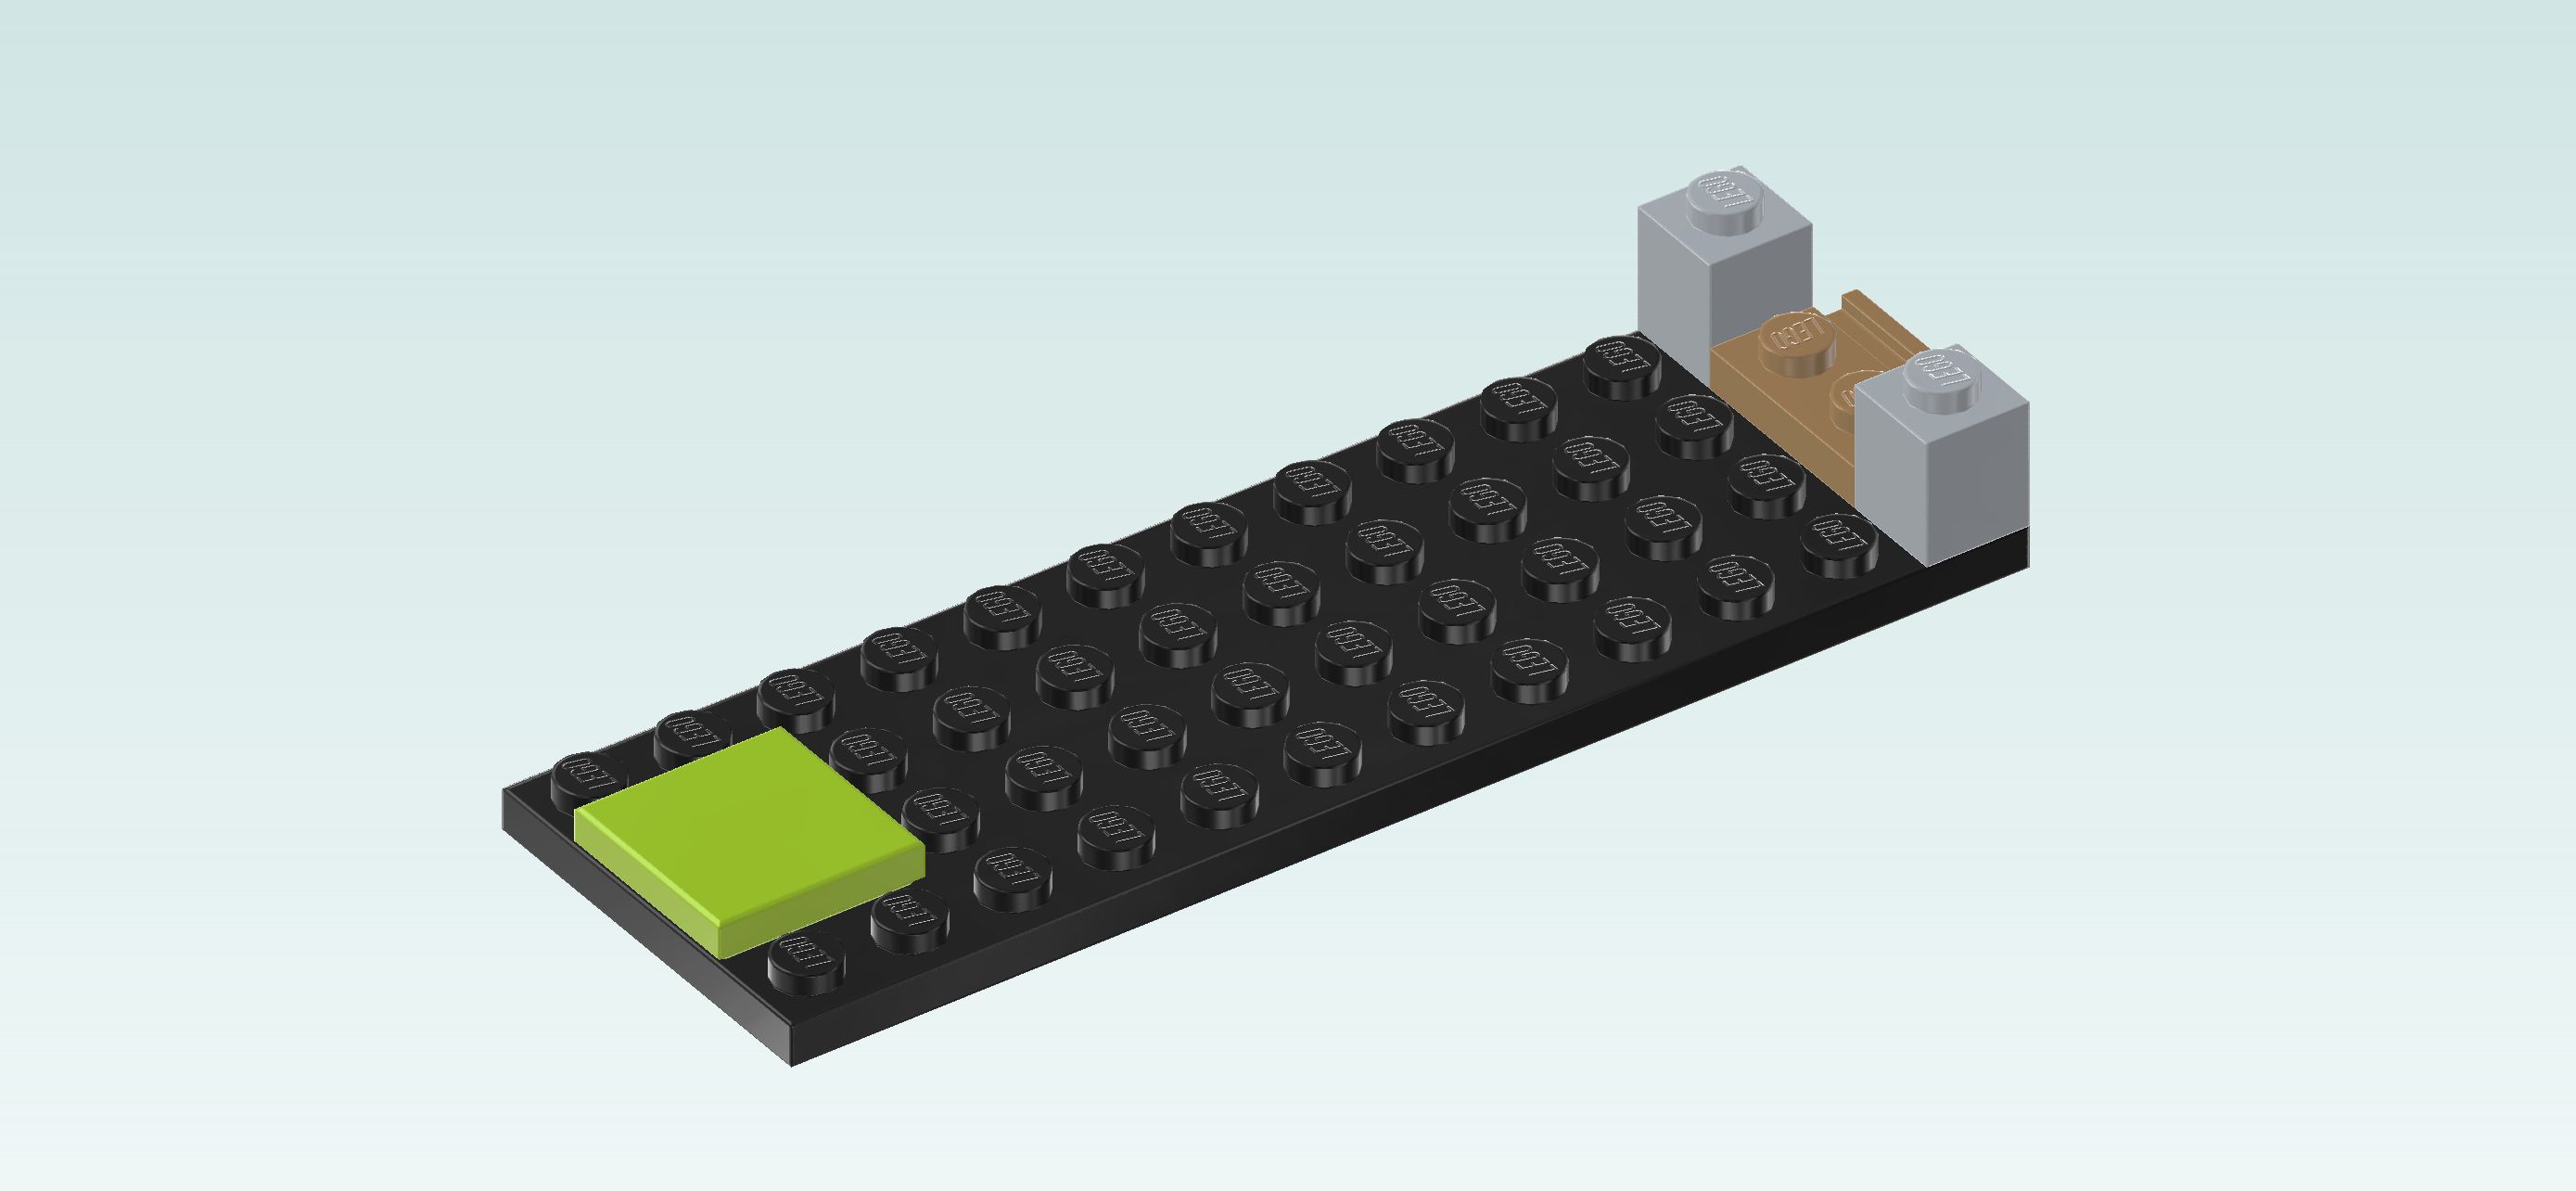
| Find 1 bright yellowish green flat tile 2x2. |
| Put it centered on the 2 leftmost columns. |
| Find 2 medium stone grey bricks 2x4 with 2 side connectors. |
| Put 1 vertically centered to the right of the previous piece, connectors pointing to the front and back. |
| Put the other one vertically centered on the second and third column from the right edge, connectors to the front and back. |
| Collect the following 3 pieces: |
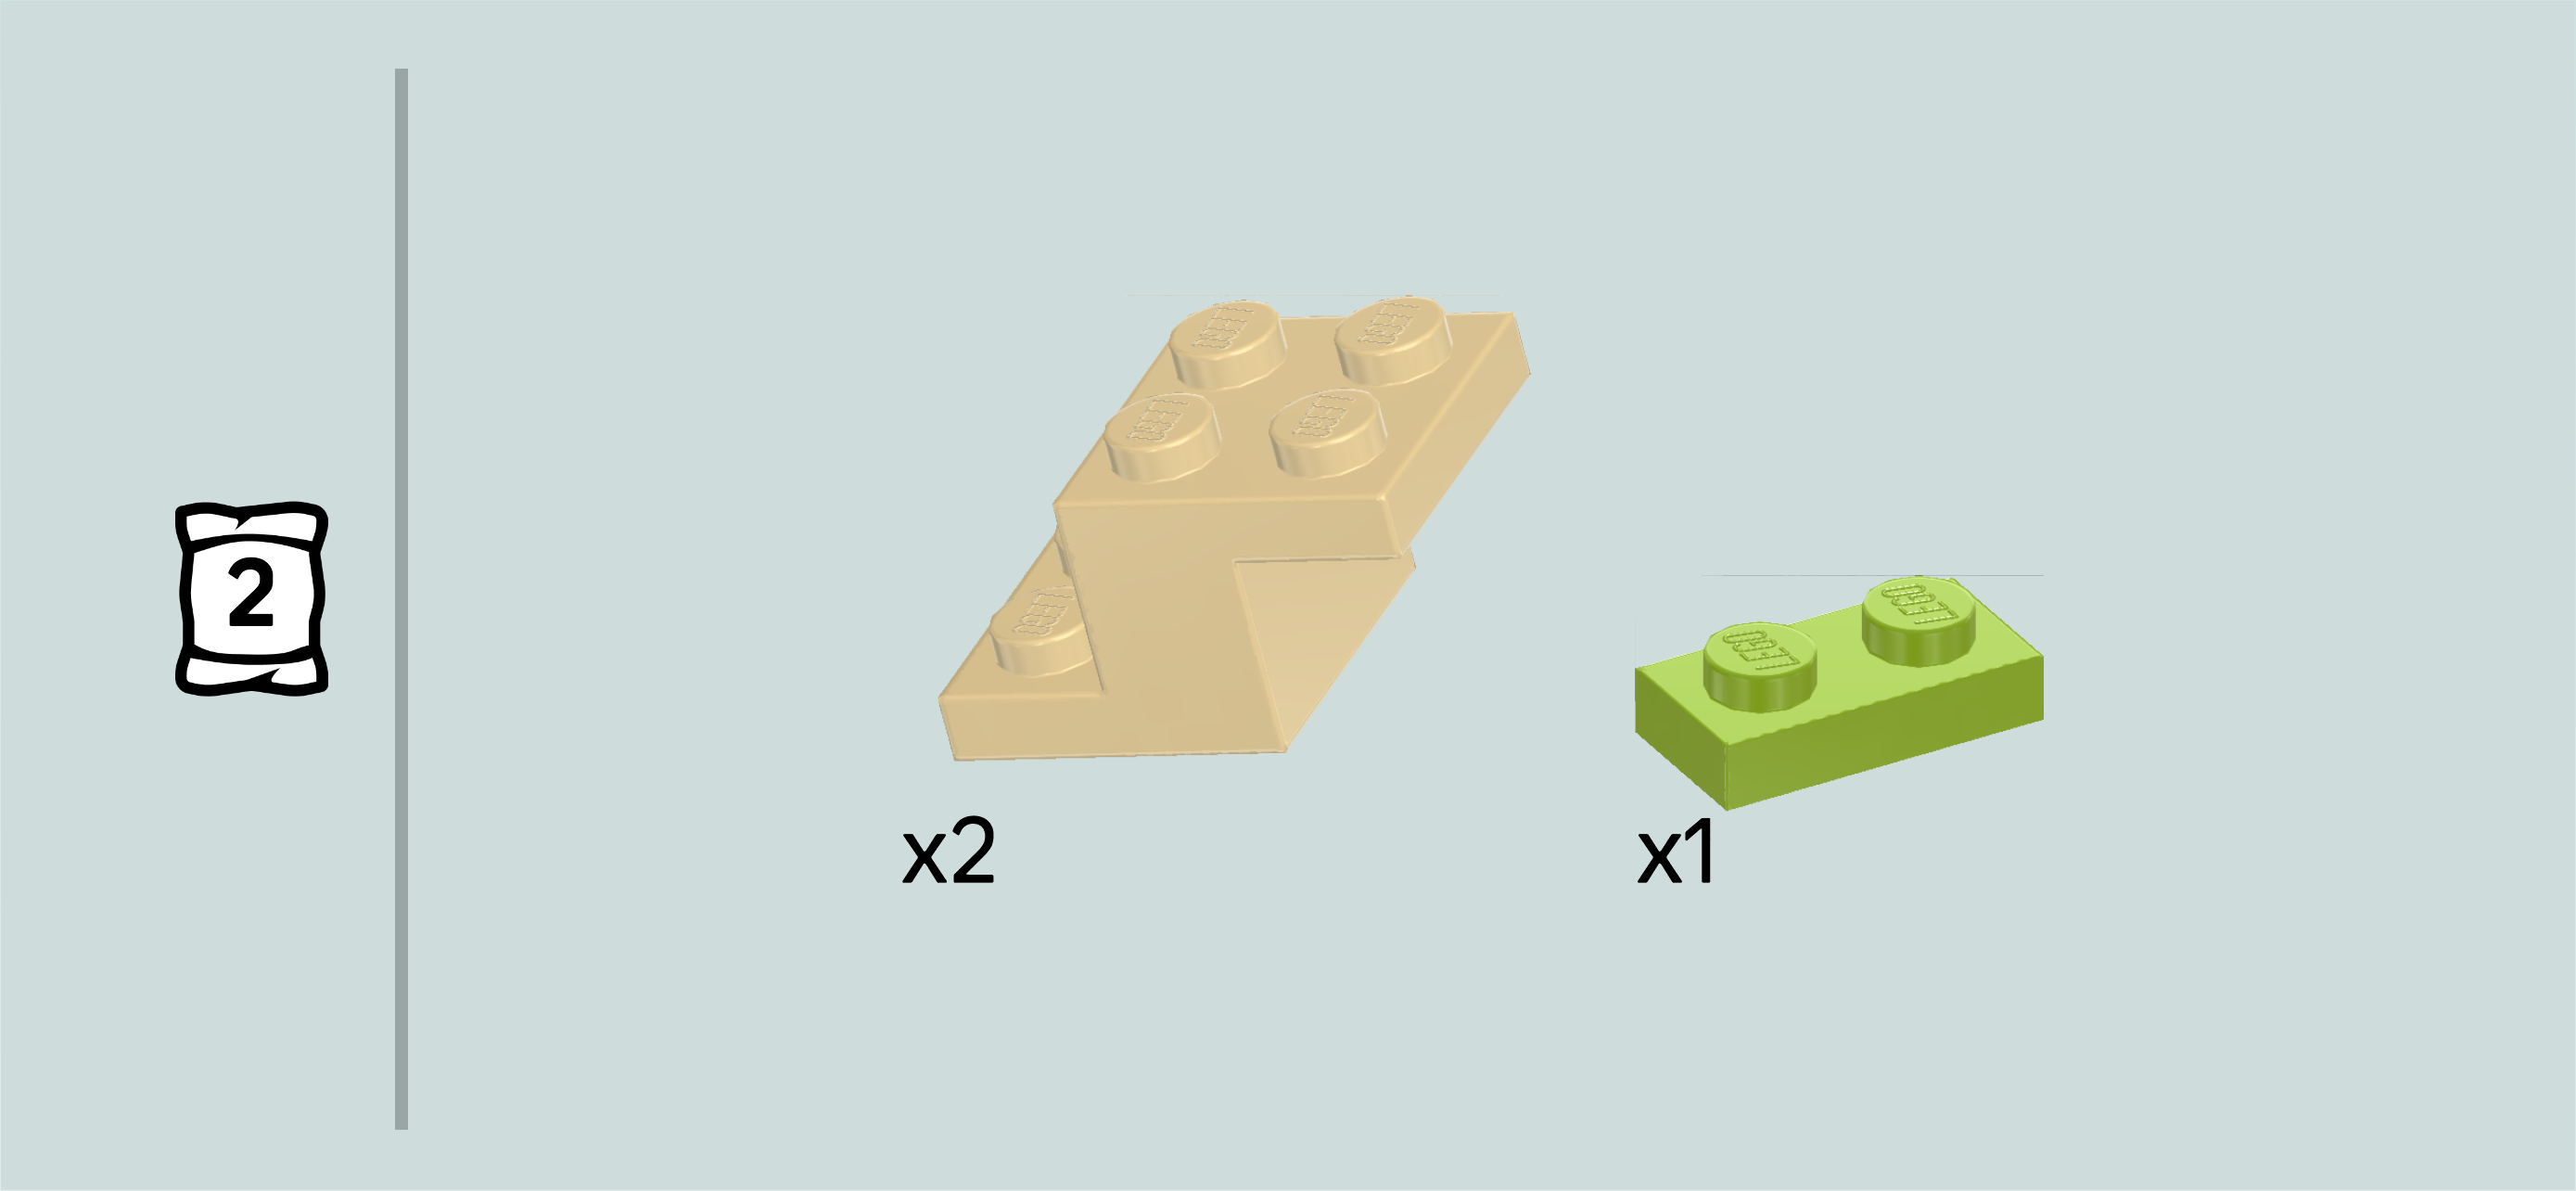
| 1 bright yellowish green plate 1x2, |
| and 2 pale ocher yellow stepped bricks 1x2 - 2x2 with top and bottom plate. |
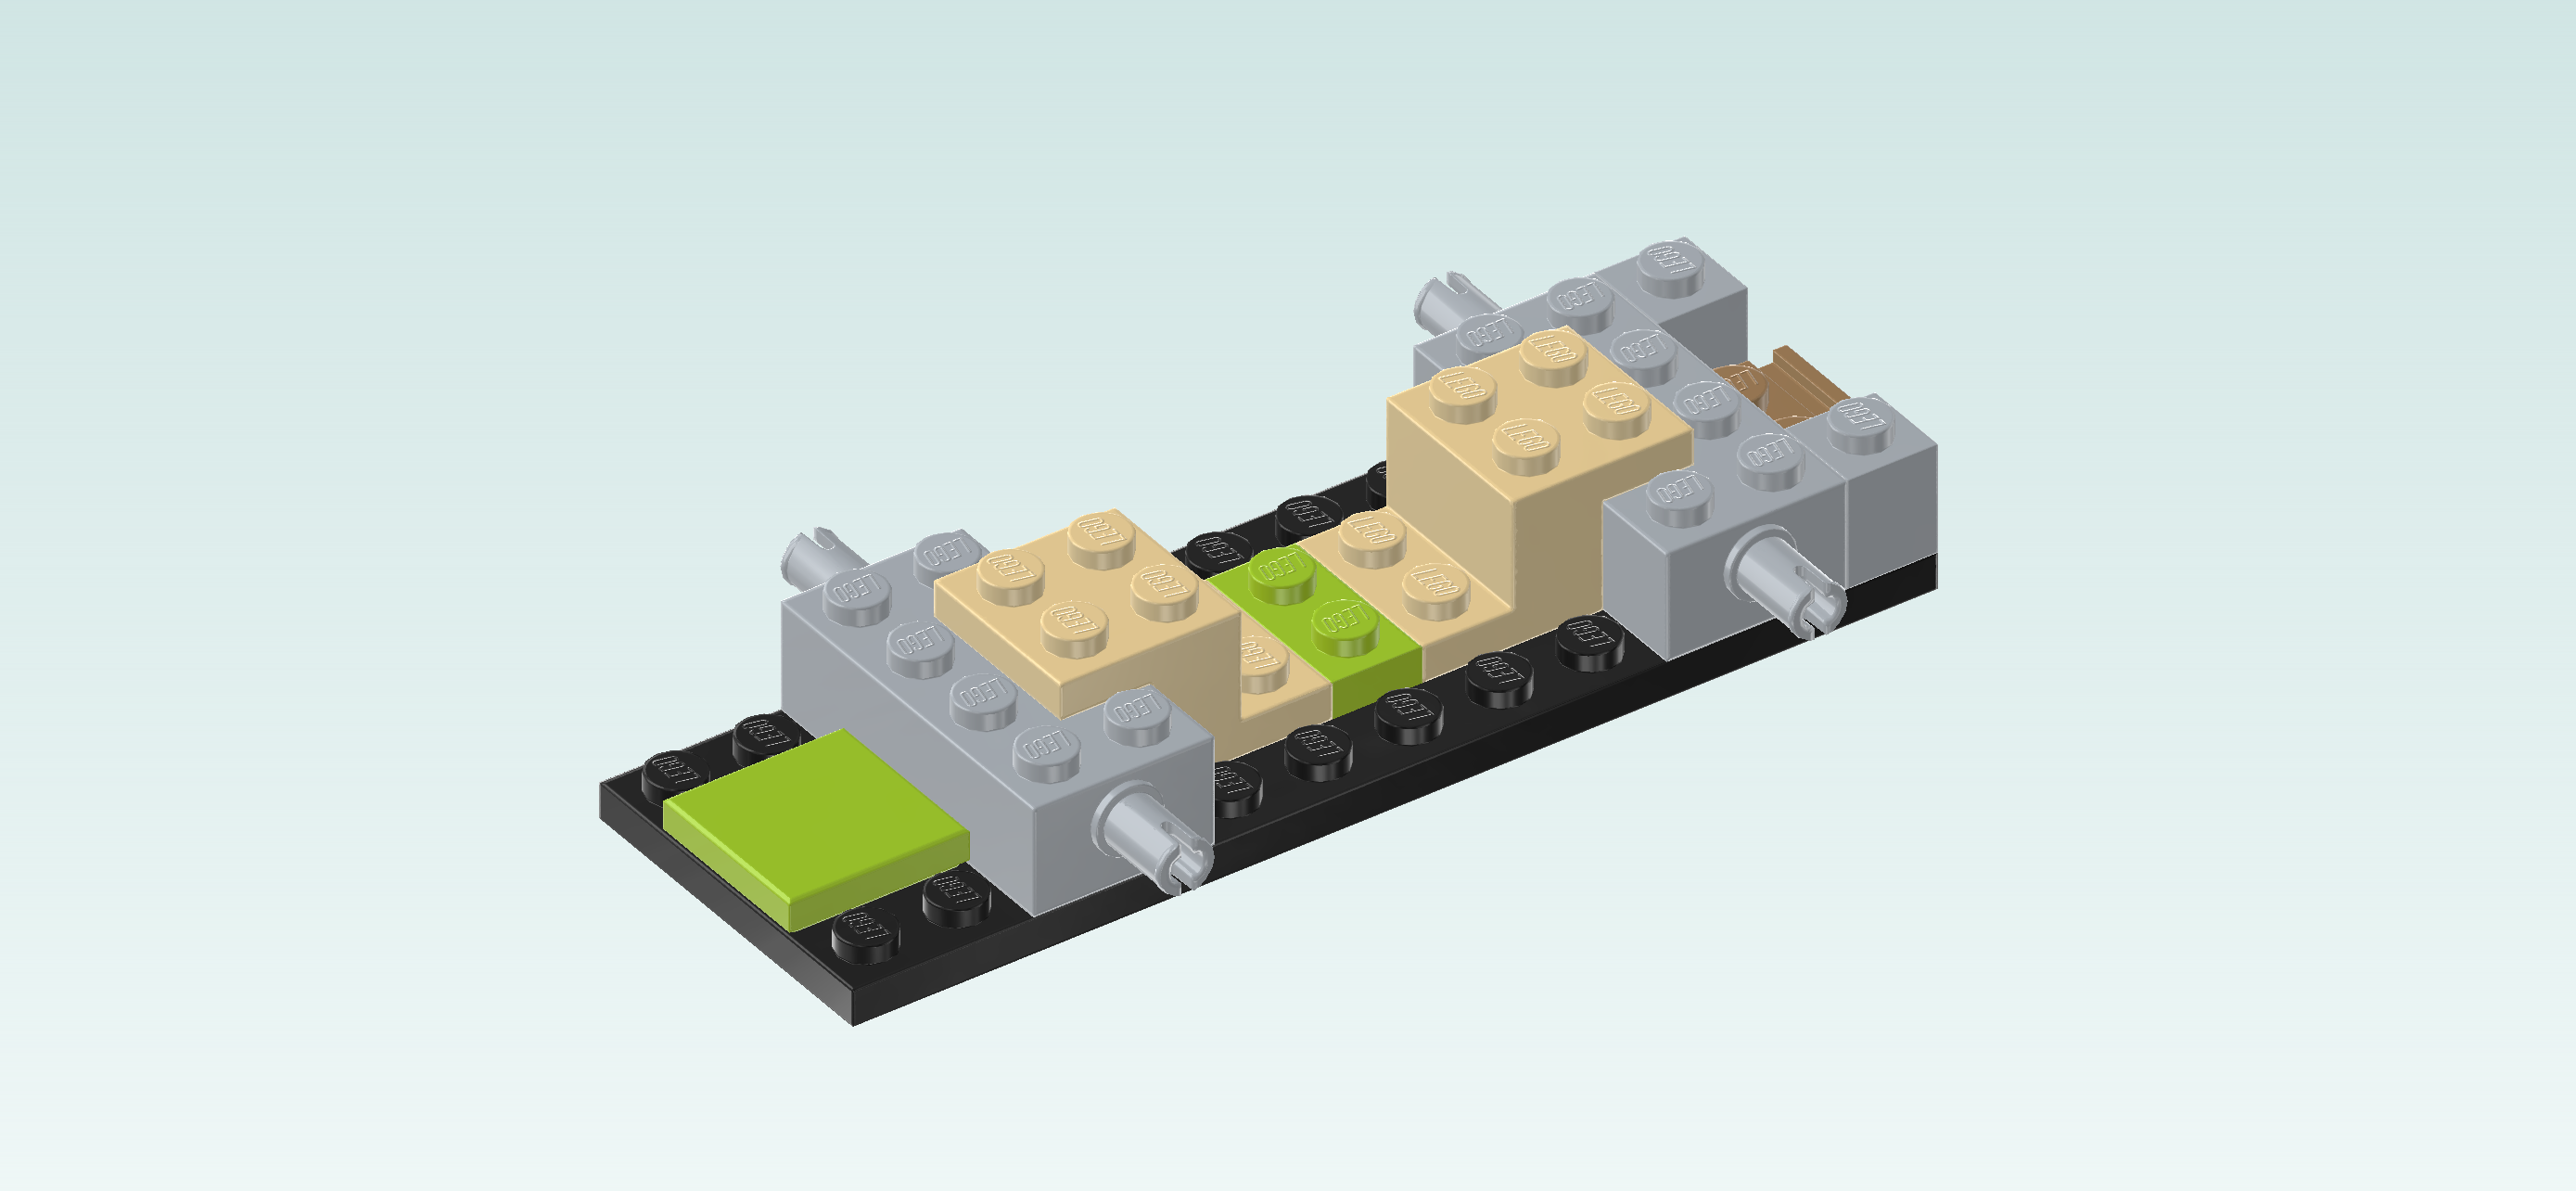
| Put 1 stepped brick horizontally centered to the left of the previous piece, top plate to the right. Make sure that its rightmost column connects to the previous piece. |
| Put the plate 1x2 vertically centered to the left of the previous piece. |
| Put the other stepped brick 1x2 horizontally centered to the left of the previous piece, top plate to the left. |
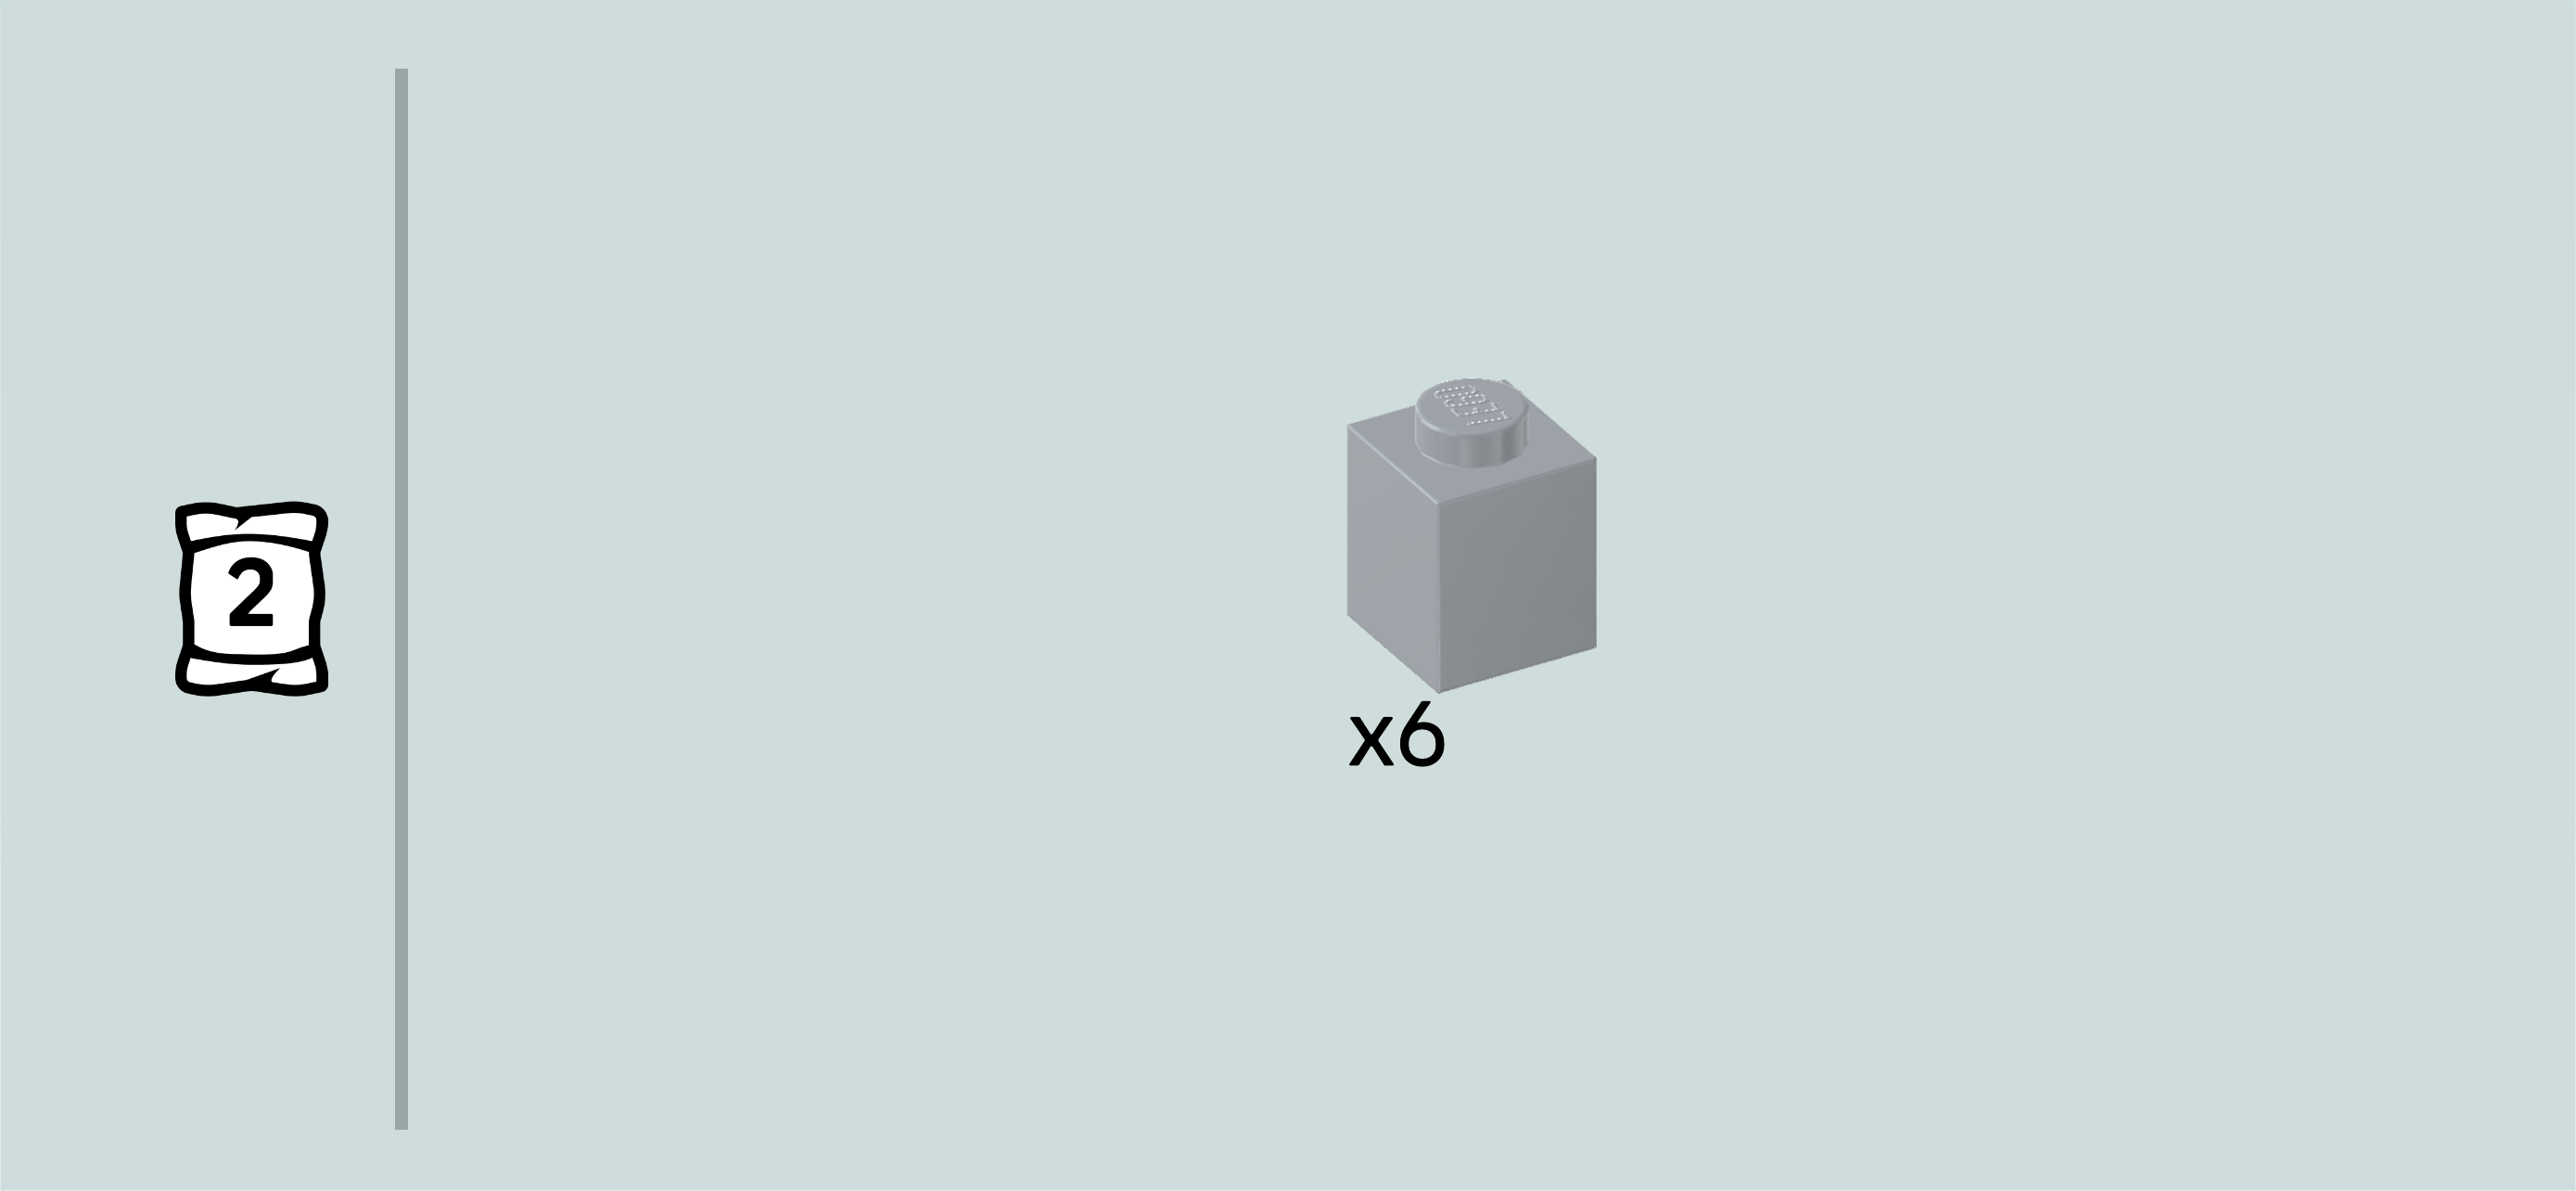
| Find 6 medium stone grey bricks 1x1. |
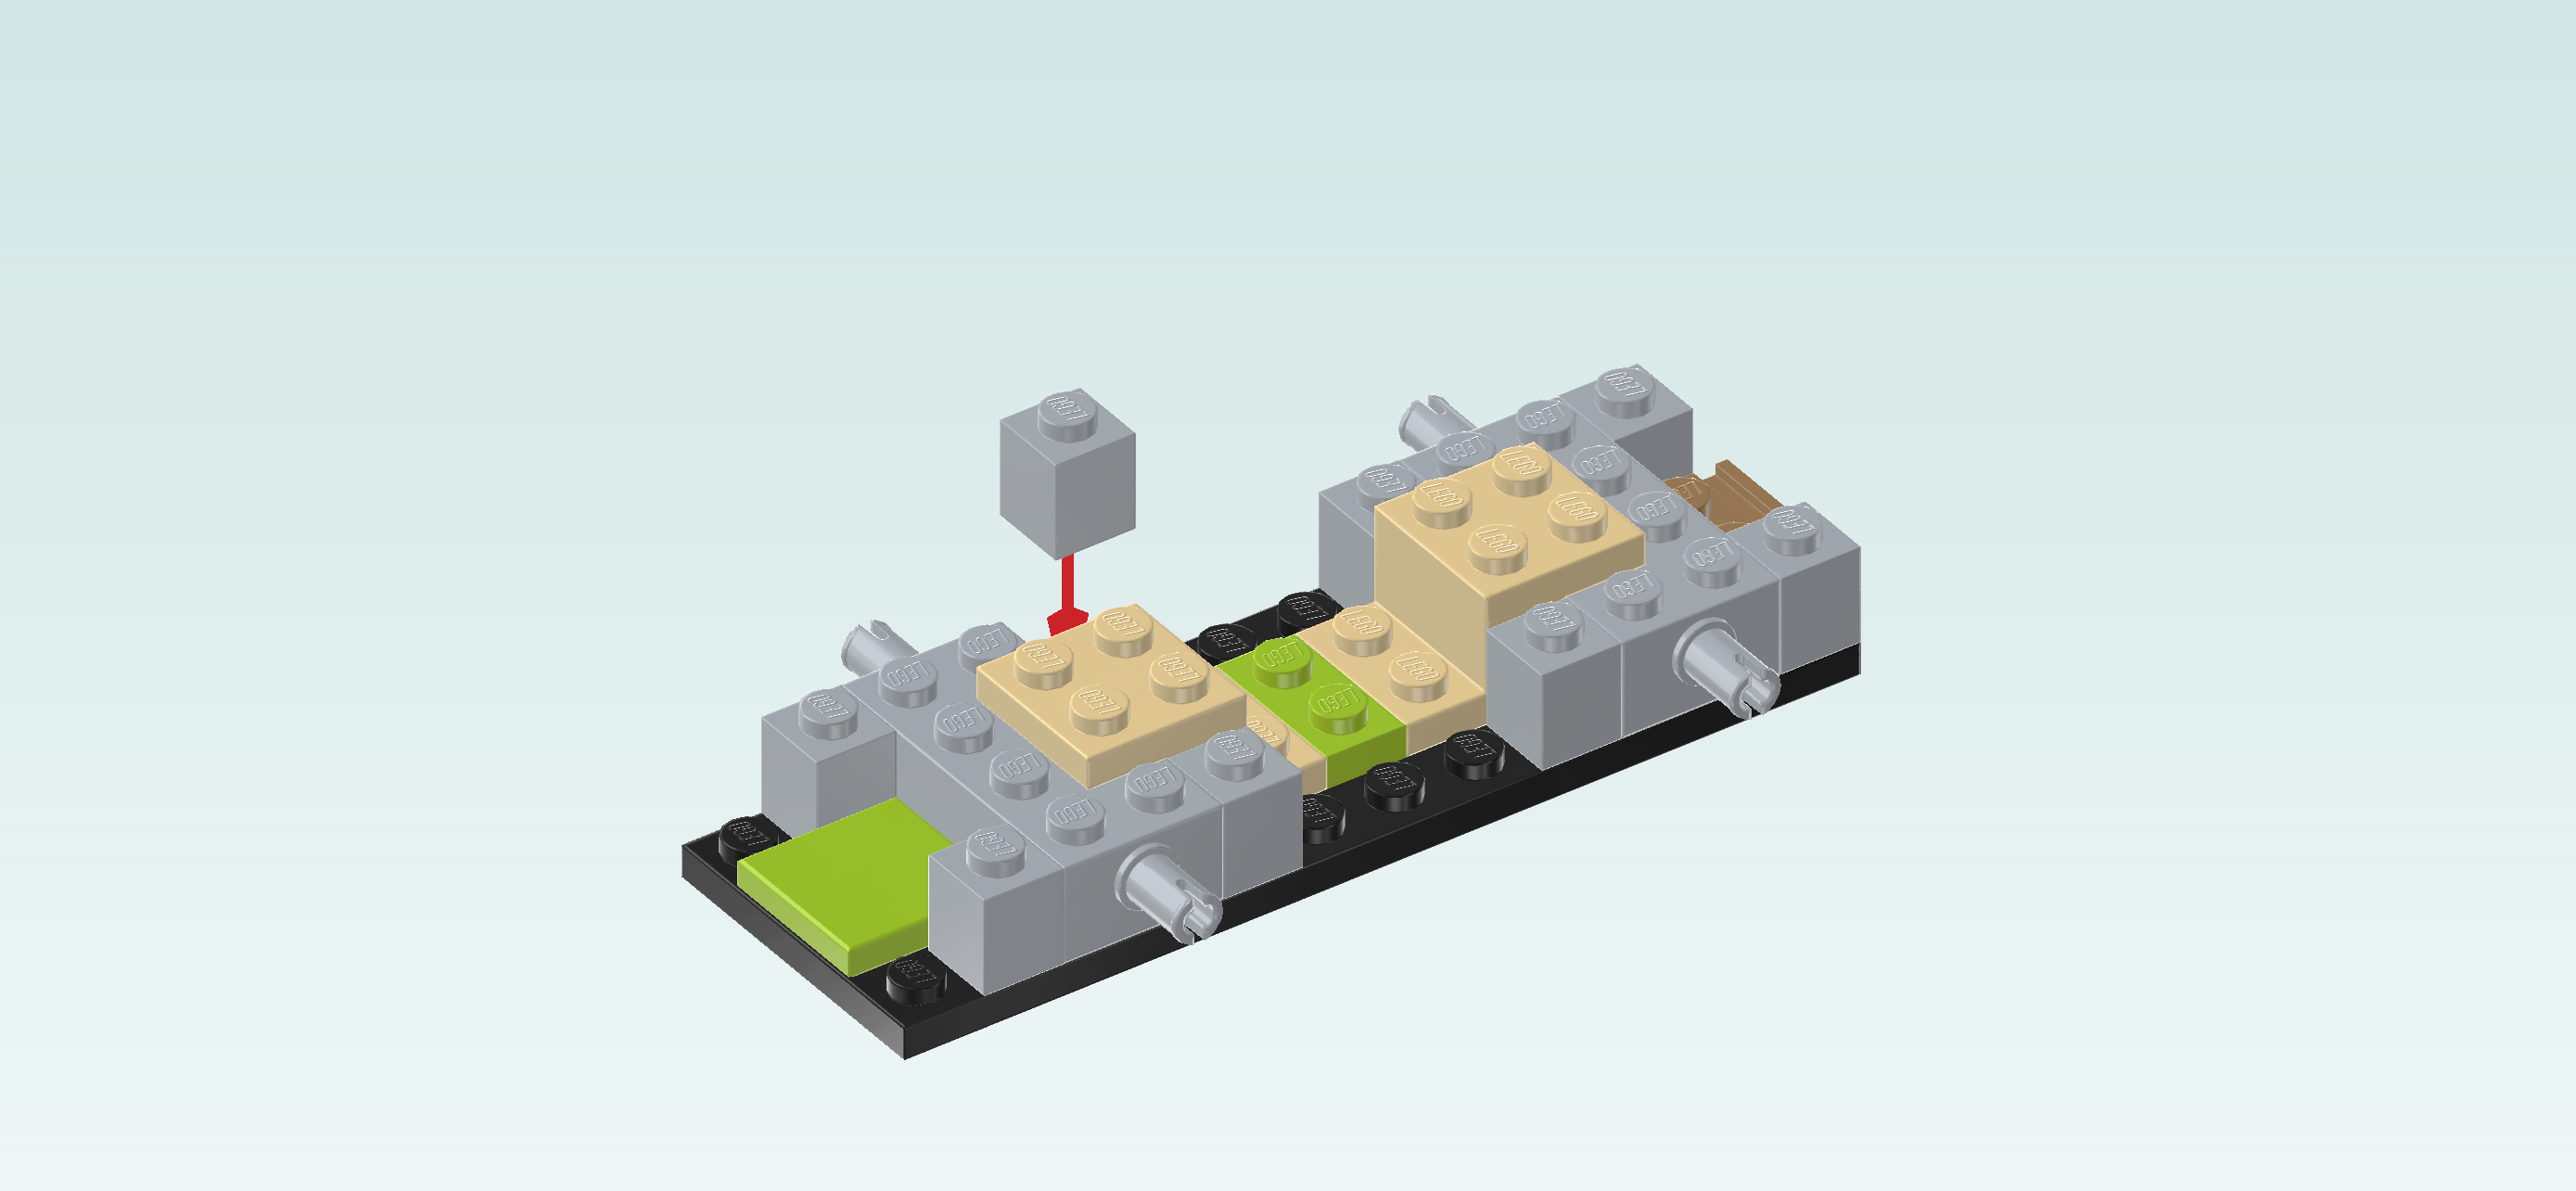
| Put 1 on the frontmost row to the left of the left 2x4 brick with connectors. This means it will sit on the second knob from the left. |
| Repeat symmetrically at the back. |
| Put another 1 on the frontmost row to the right of the left 2x4 brick with connectors. This means it will sit on the fifth knob from the left. |
| Repeat symmetrically at the back. |
| Put another 1 on the frontmost row, this time to the left of the rightmost 2x4 brick with connectors. It will sit on the fourth knob from the right. |
| Repeat symmetrically at the back. |
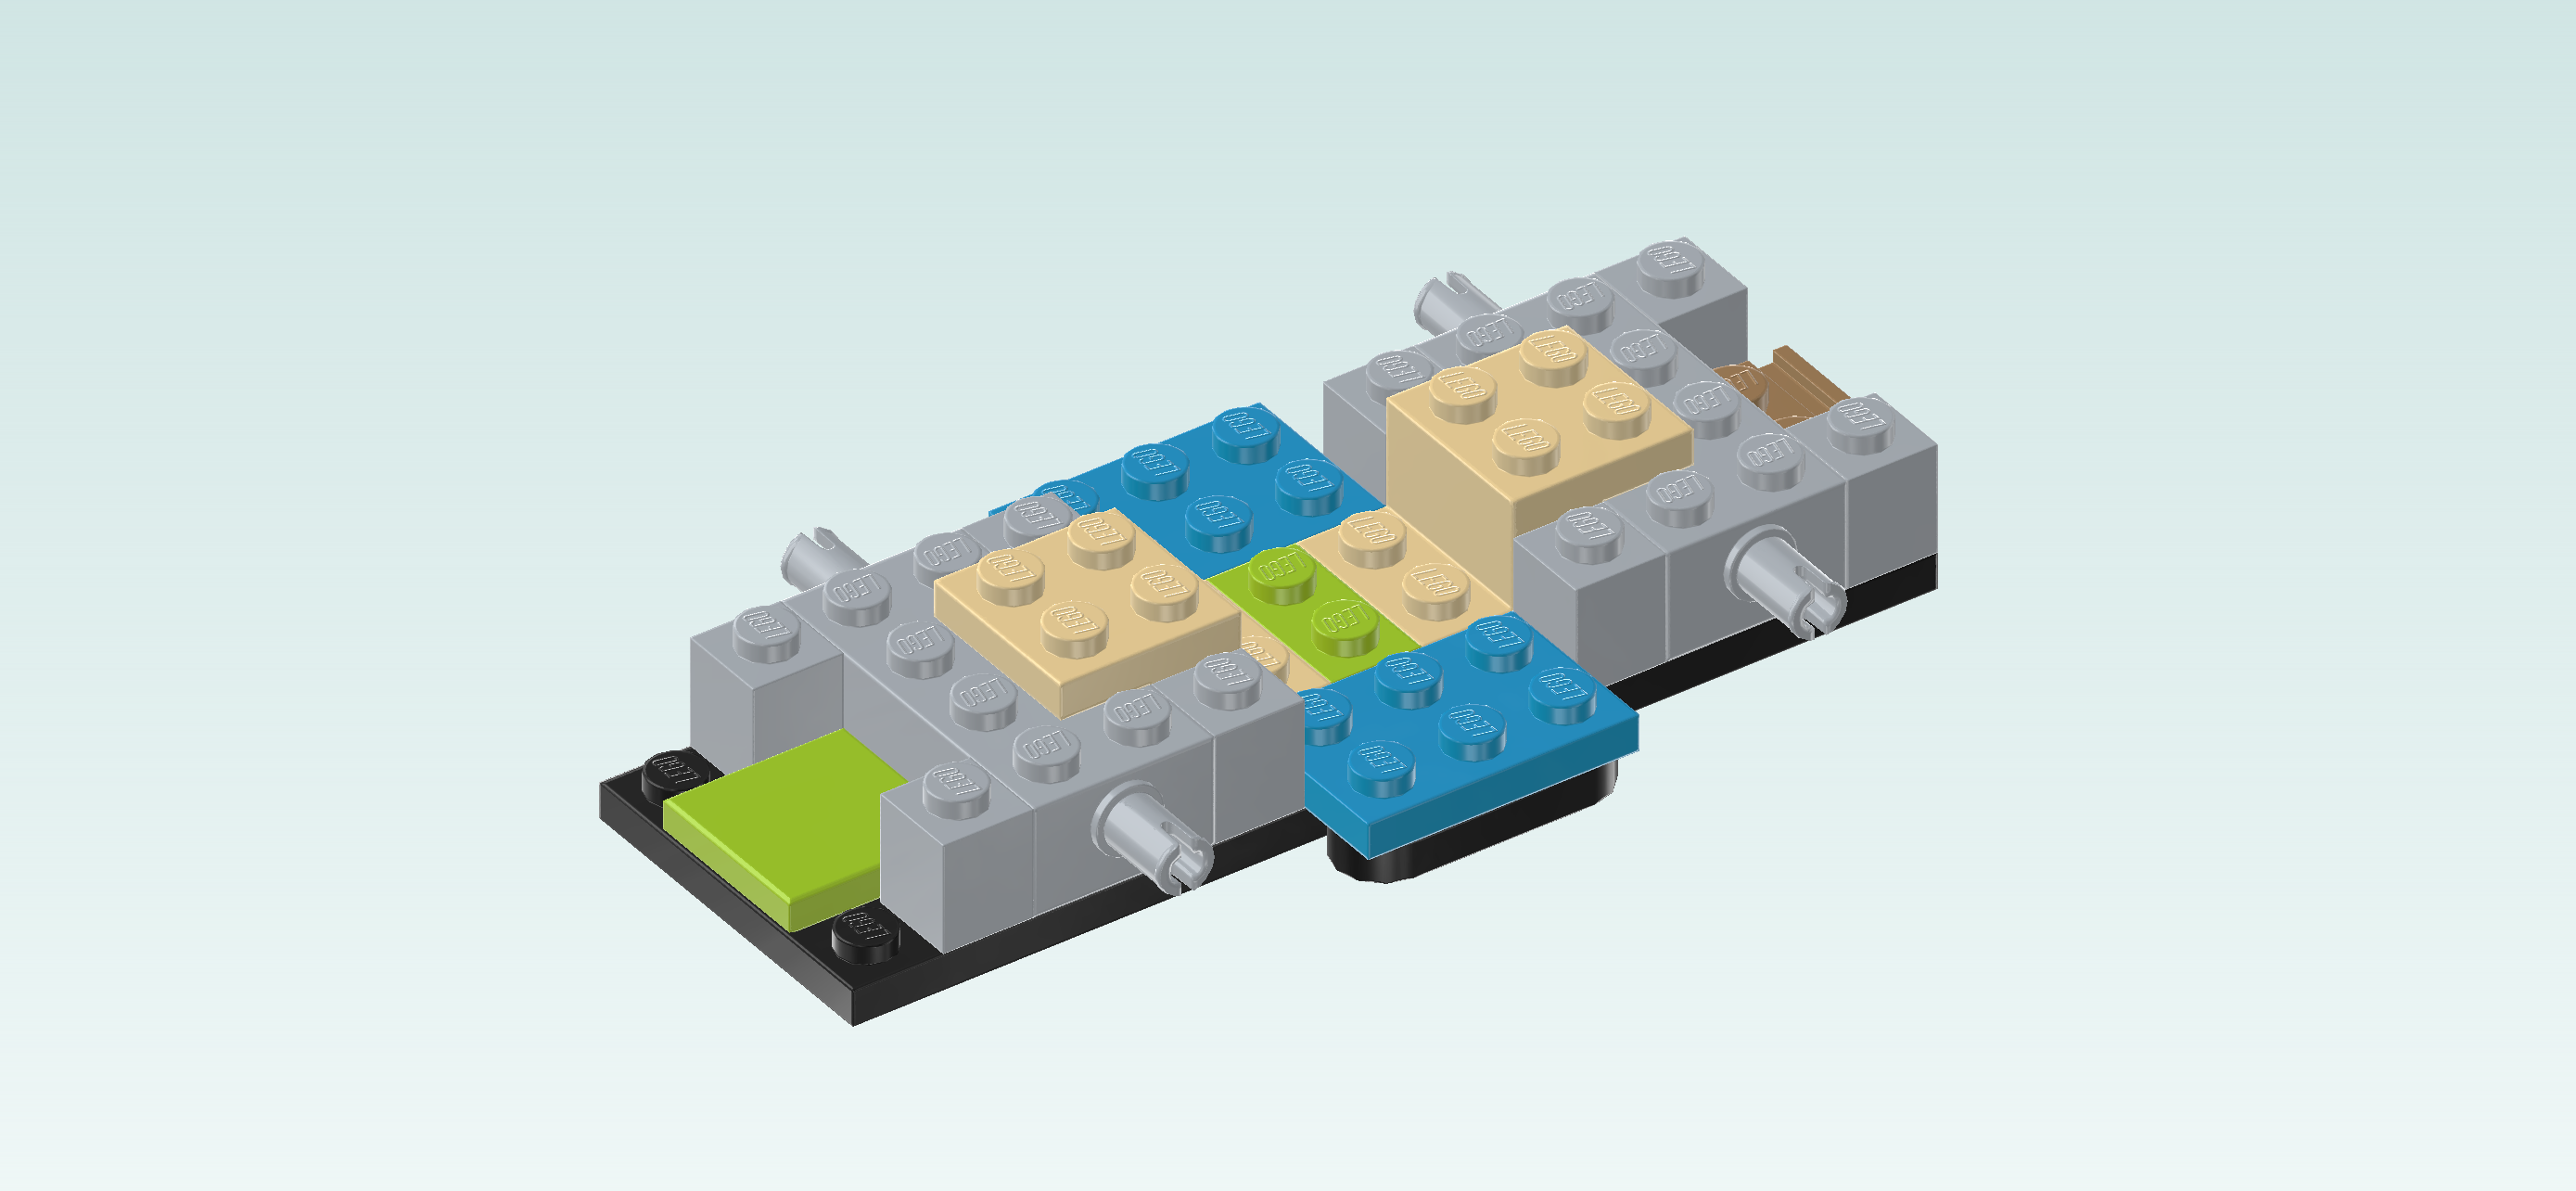
| Now, we will build 2 underbody plates. |
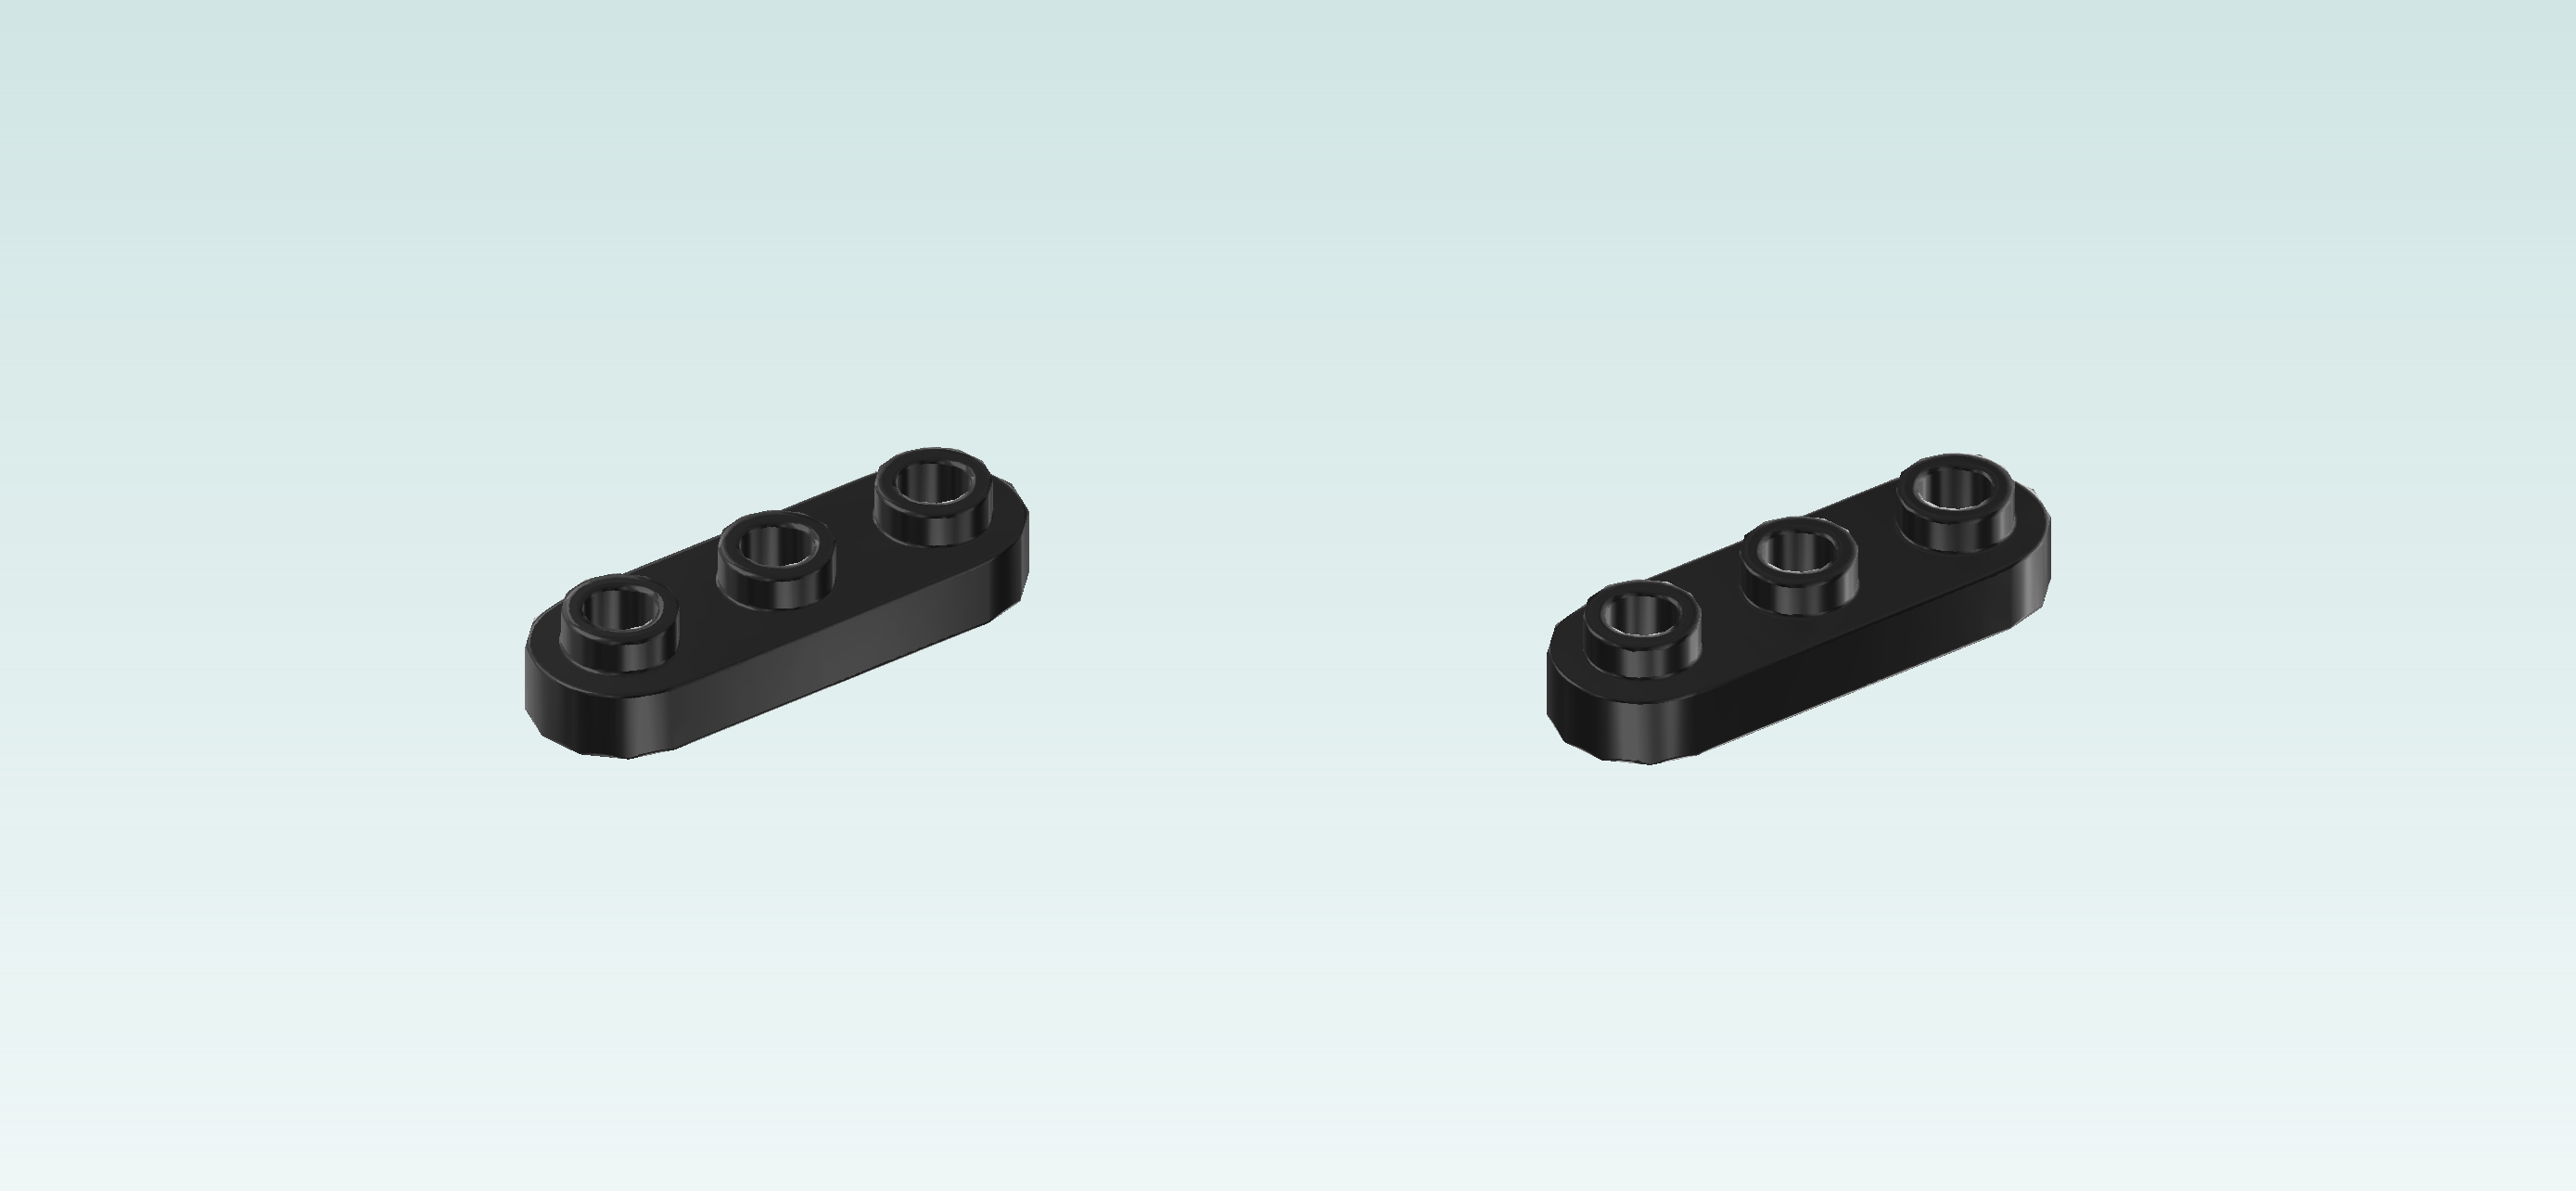
| Find 2 black rounded plates 1x3. |
| Put them horizontally next to each other on the table. |
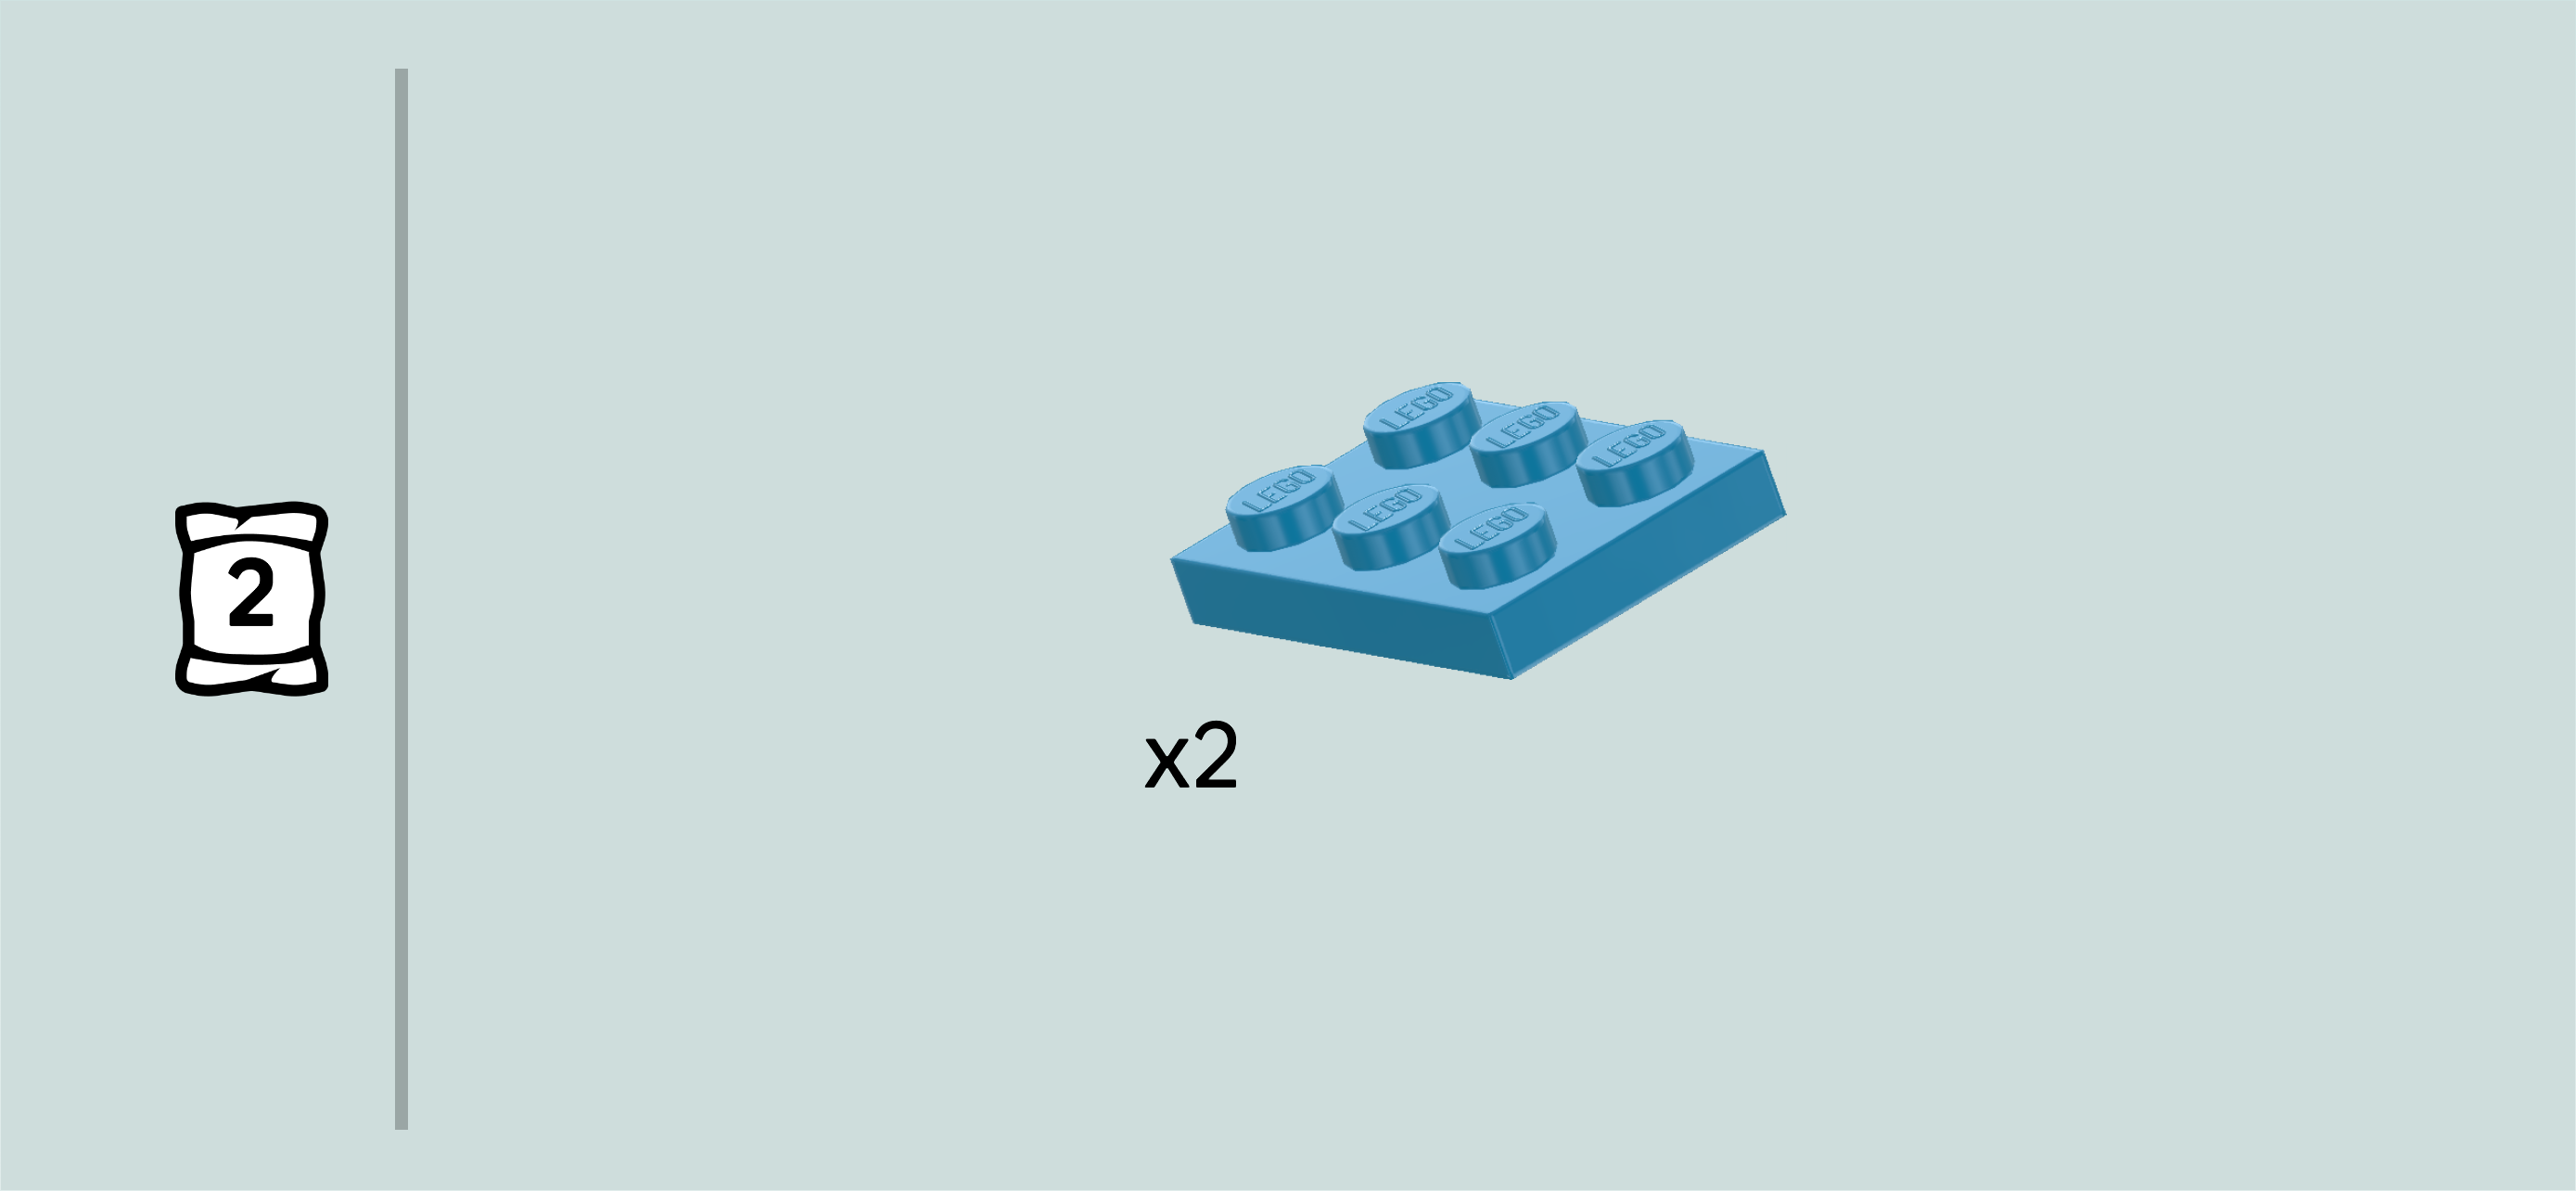
| Find 2 dark azure blue plates 2x3. |
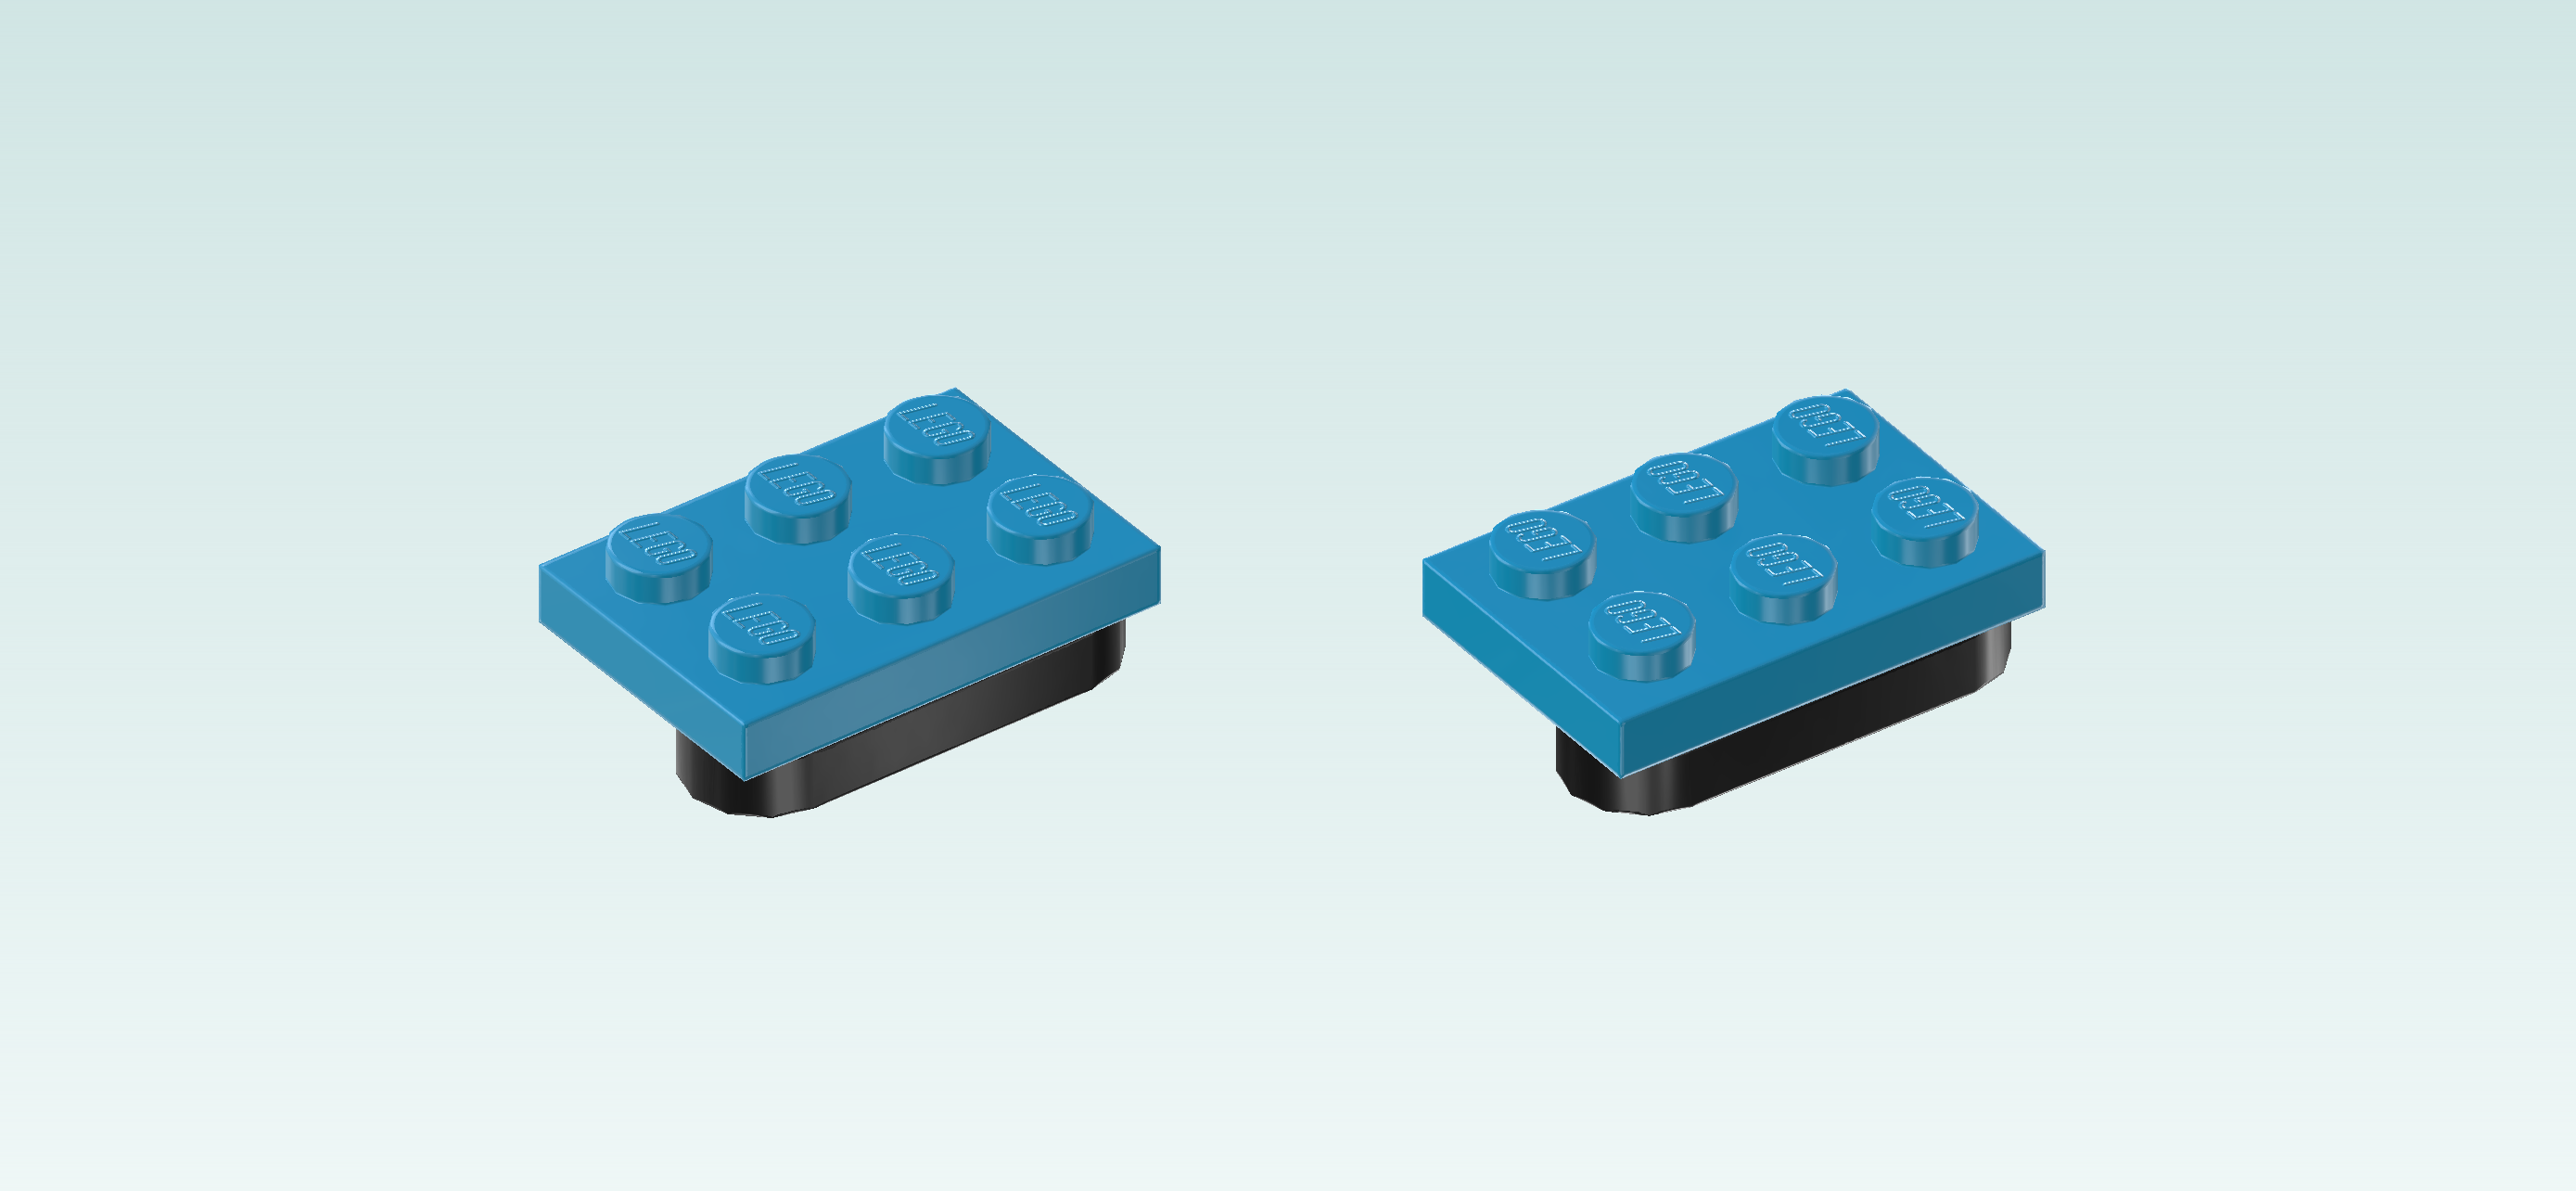
| Put 1 horizontally on top of one rounded plate, 1 row overhanging to the back. |
| Repeat with the other plate 2x3 and rounded plate. |
| Mount the overhanging row of one underbody plate on the 3 empty knobs in the middle of the frontmost row, 1 row with rounded plate overhanging to the front. |
| Repeat symmetrically at the back. |
| Collect the following 2 pieces: |
| 1 dark azure blue plate 1x6, |
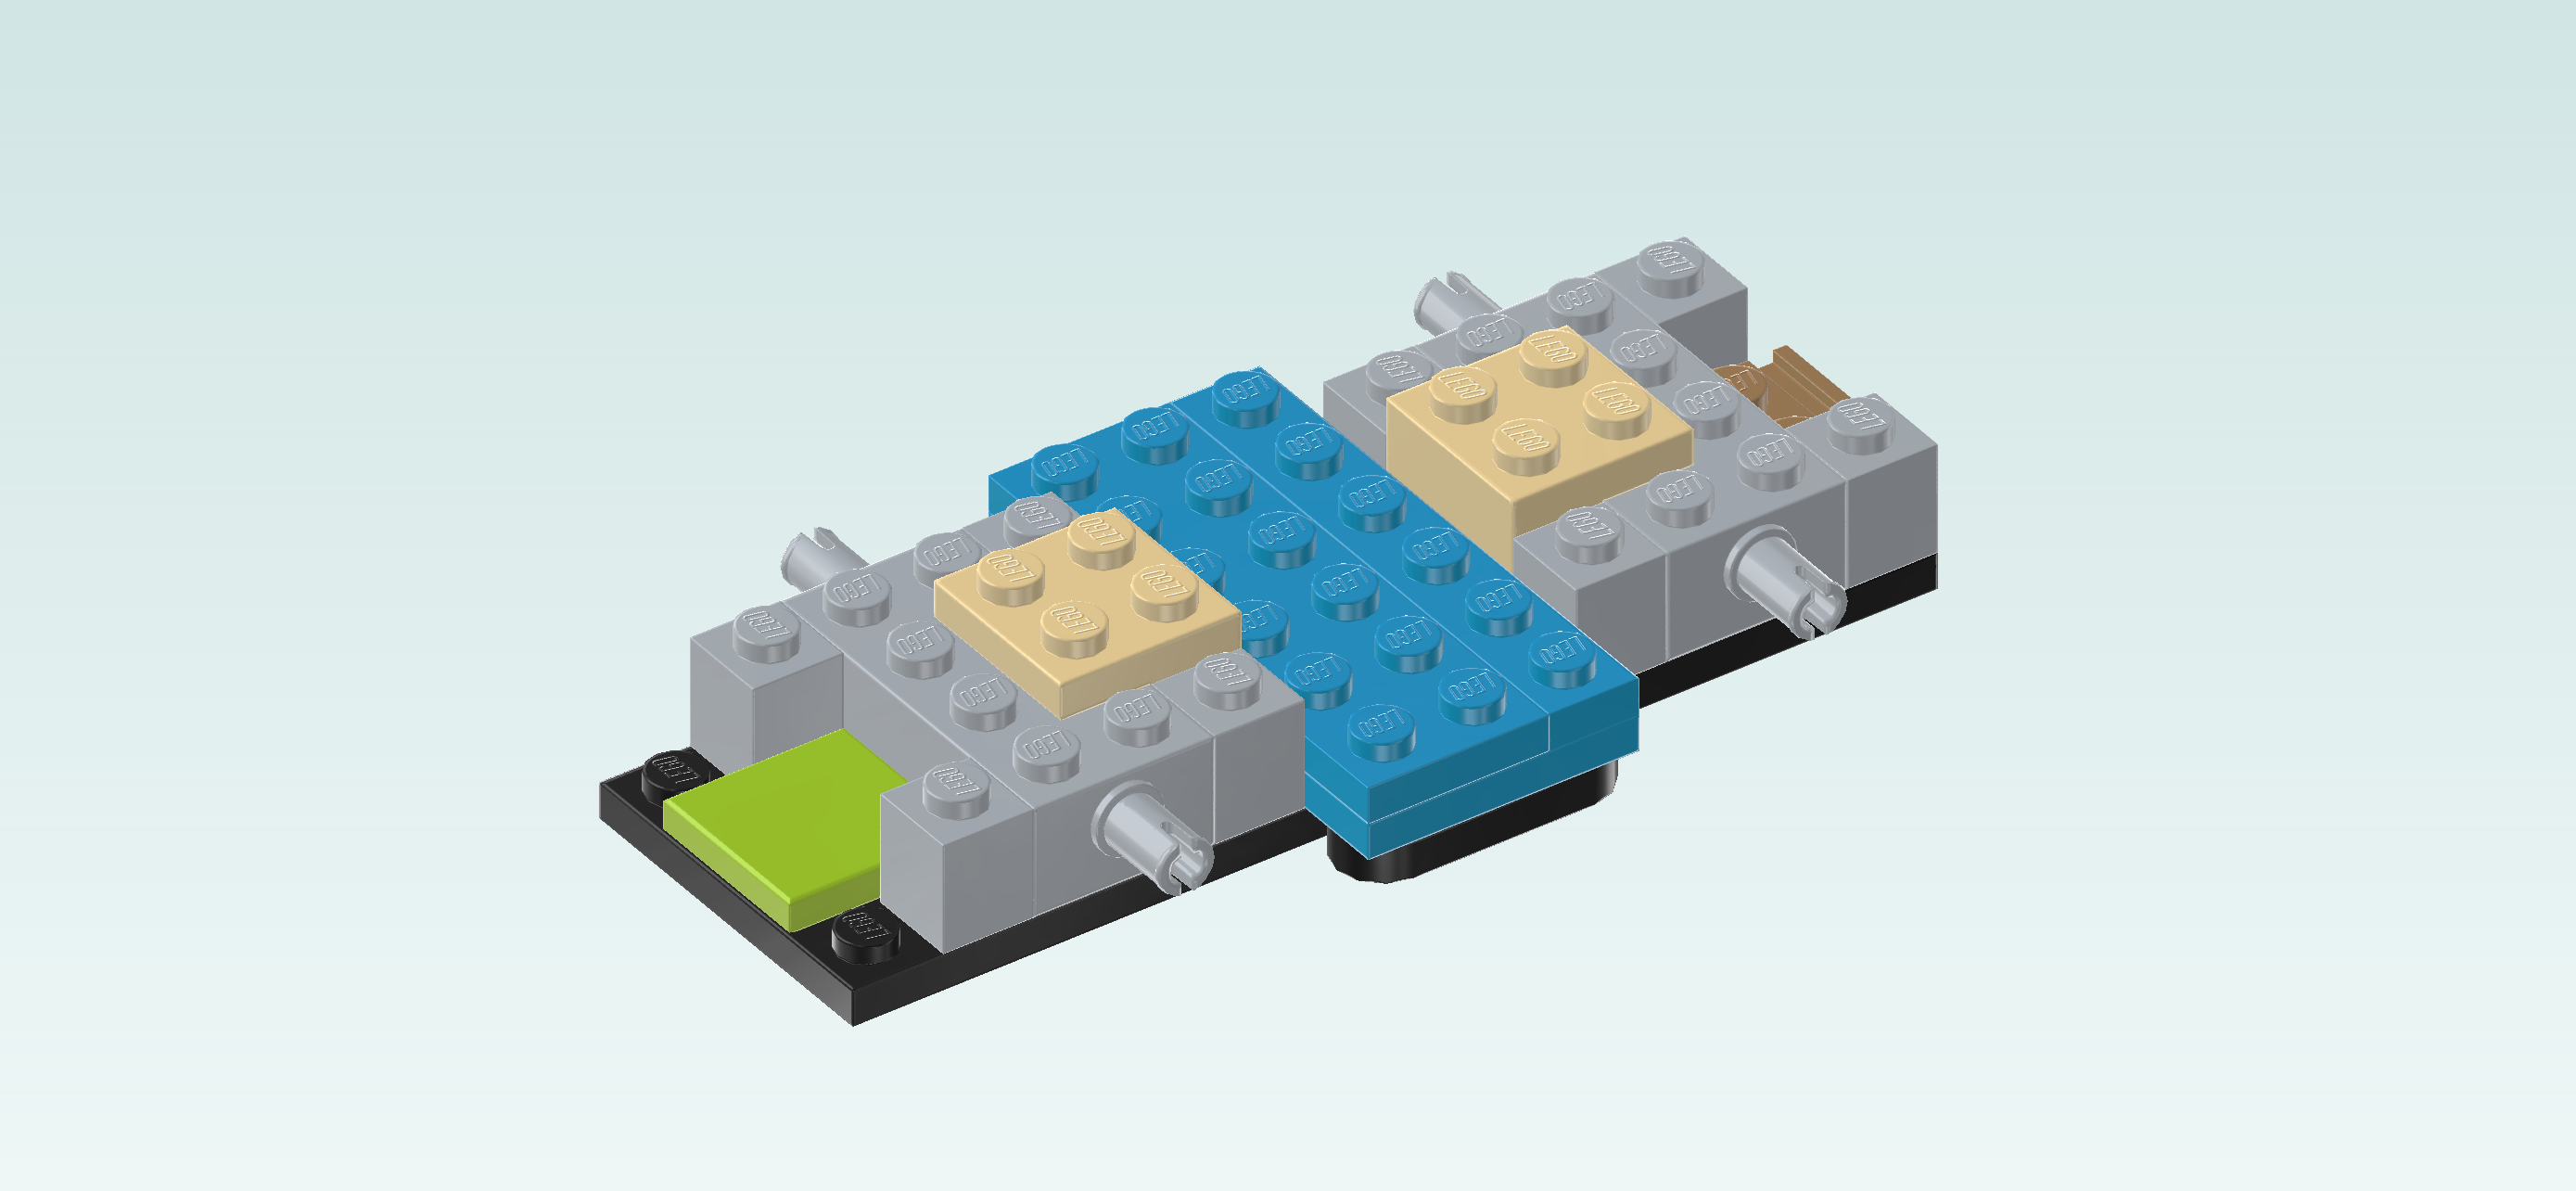
| and 1 dark azure blue plate 2x6. |
| Put the plate 1x6 vertically on the rightmost columns of the 2 underbody plates to connect them. |
| Put the plate 2x6 vertically to the left of the previous piece. |
| If done correctly, these two pieces form a 3x6 surface in the middle of the car, covering the 2 underbody plates we have mounted previously. |
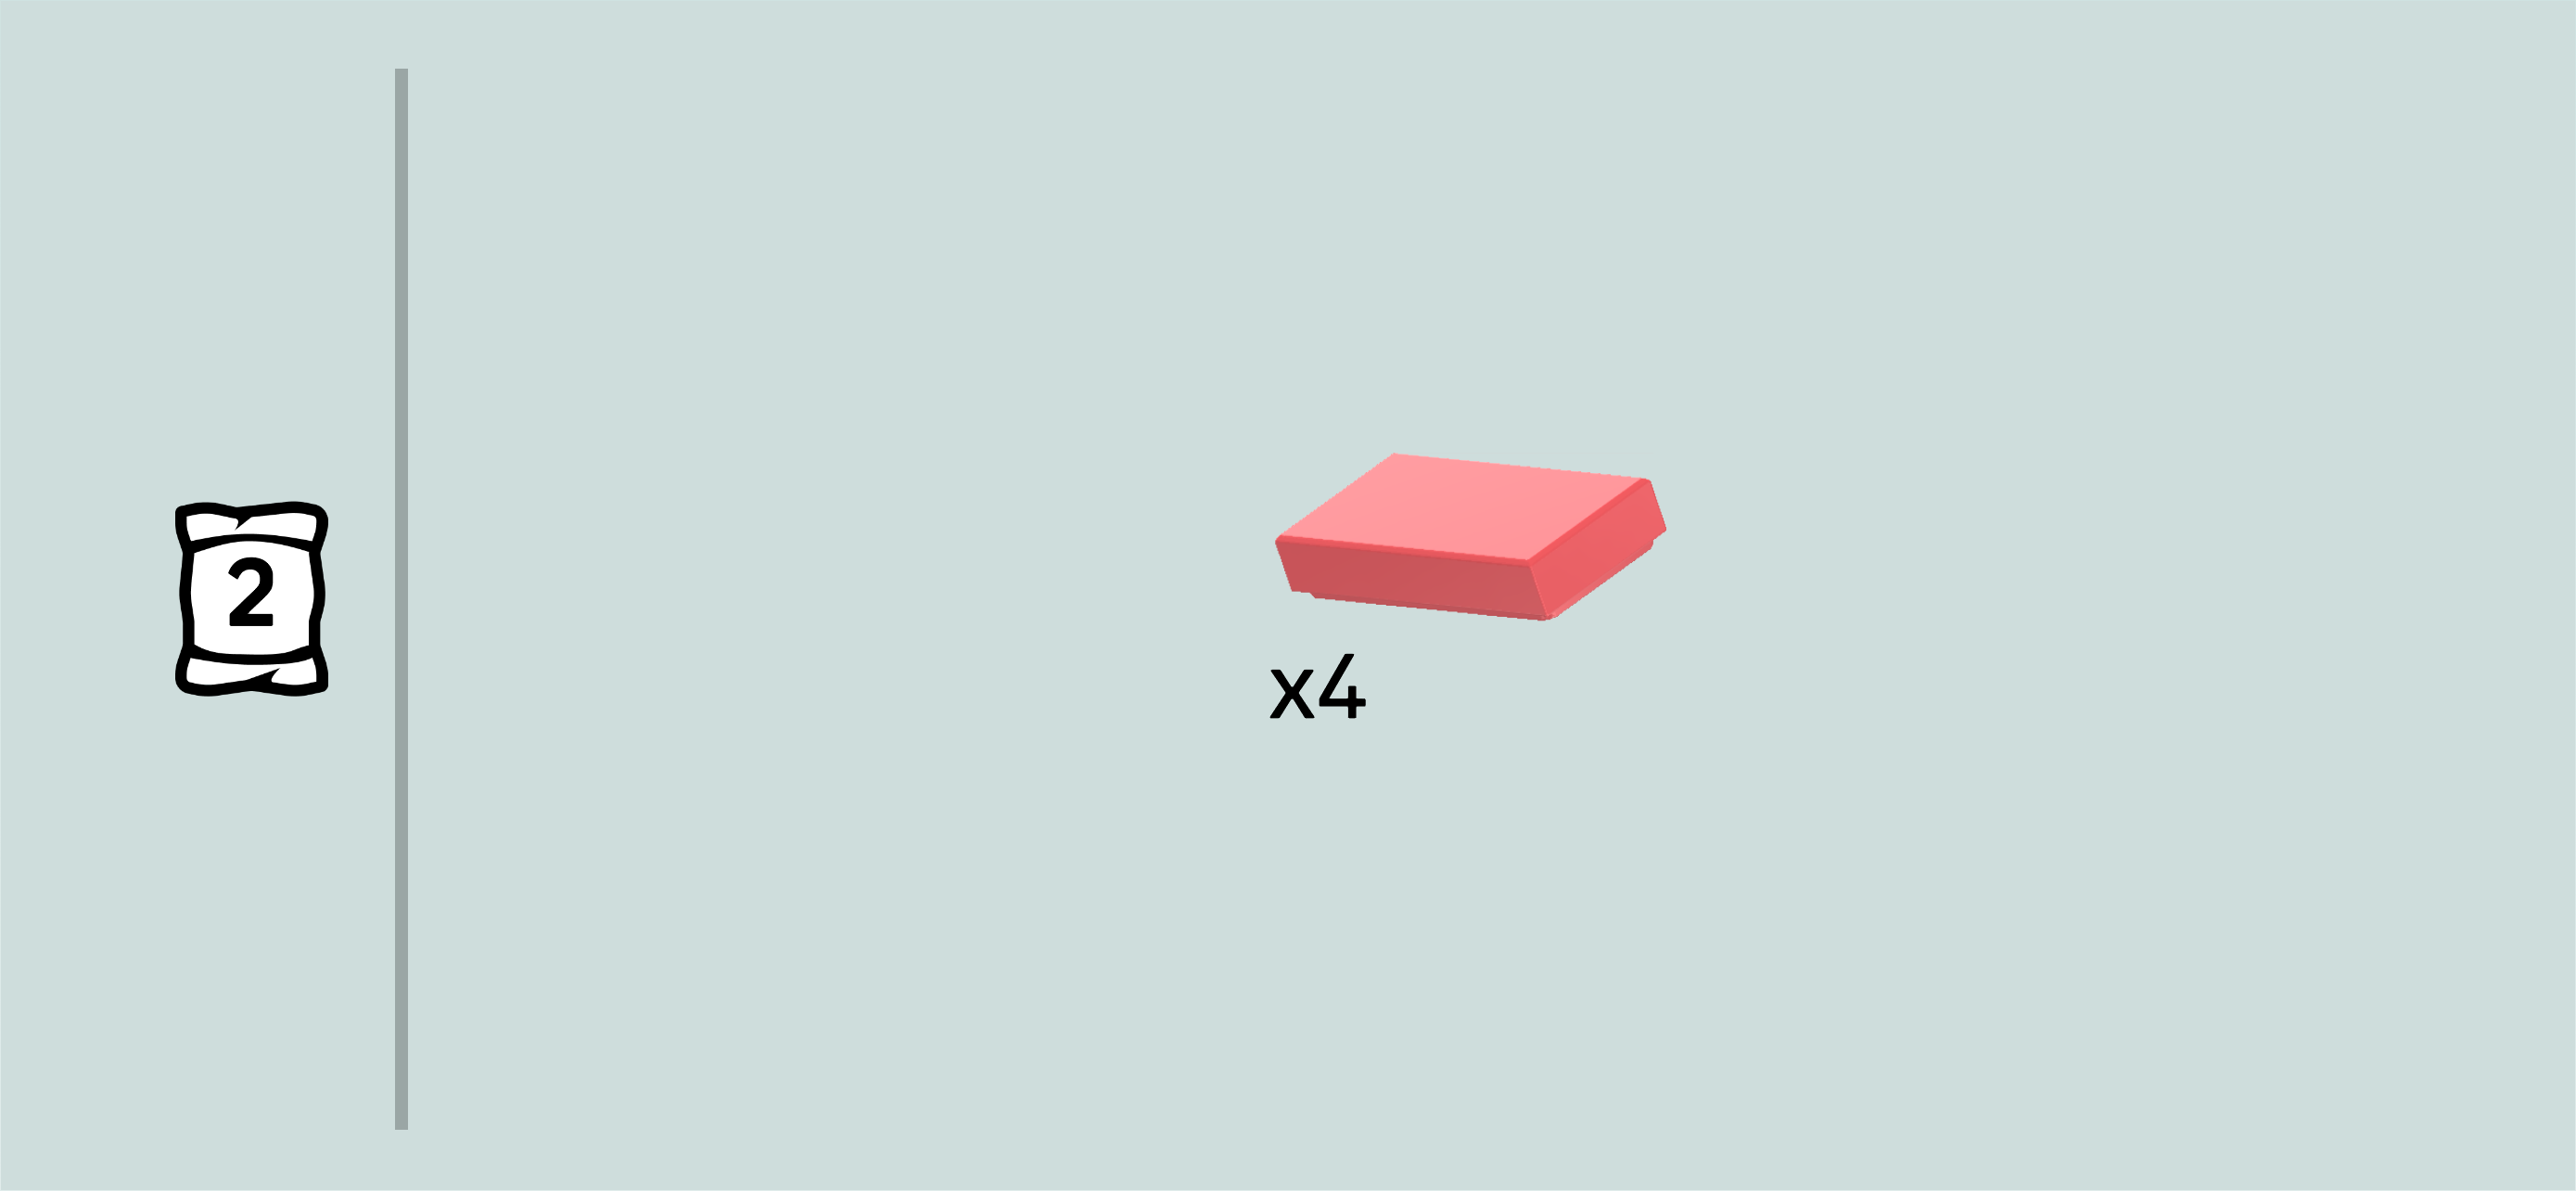
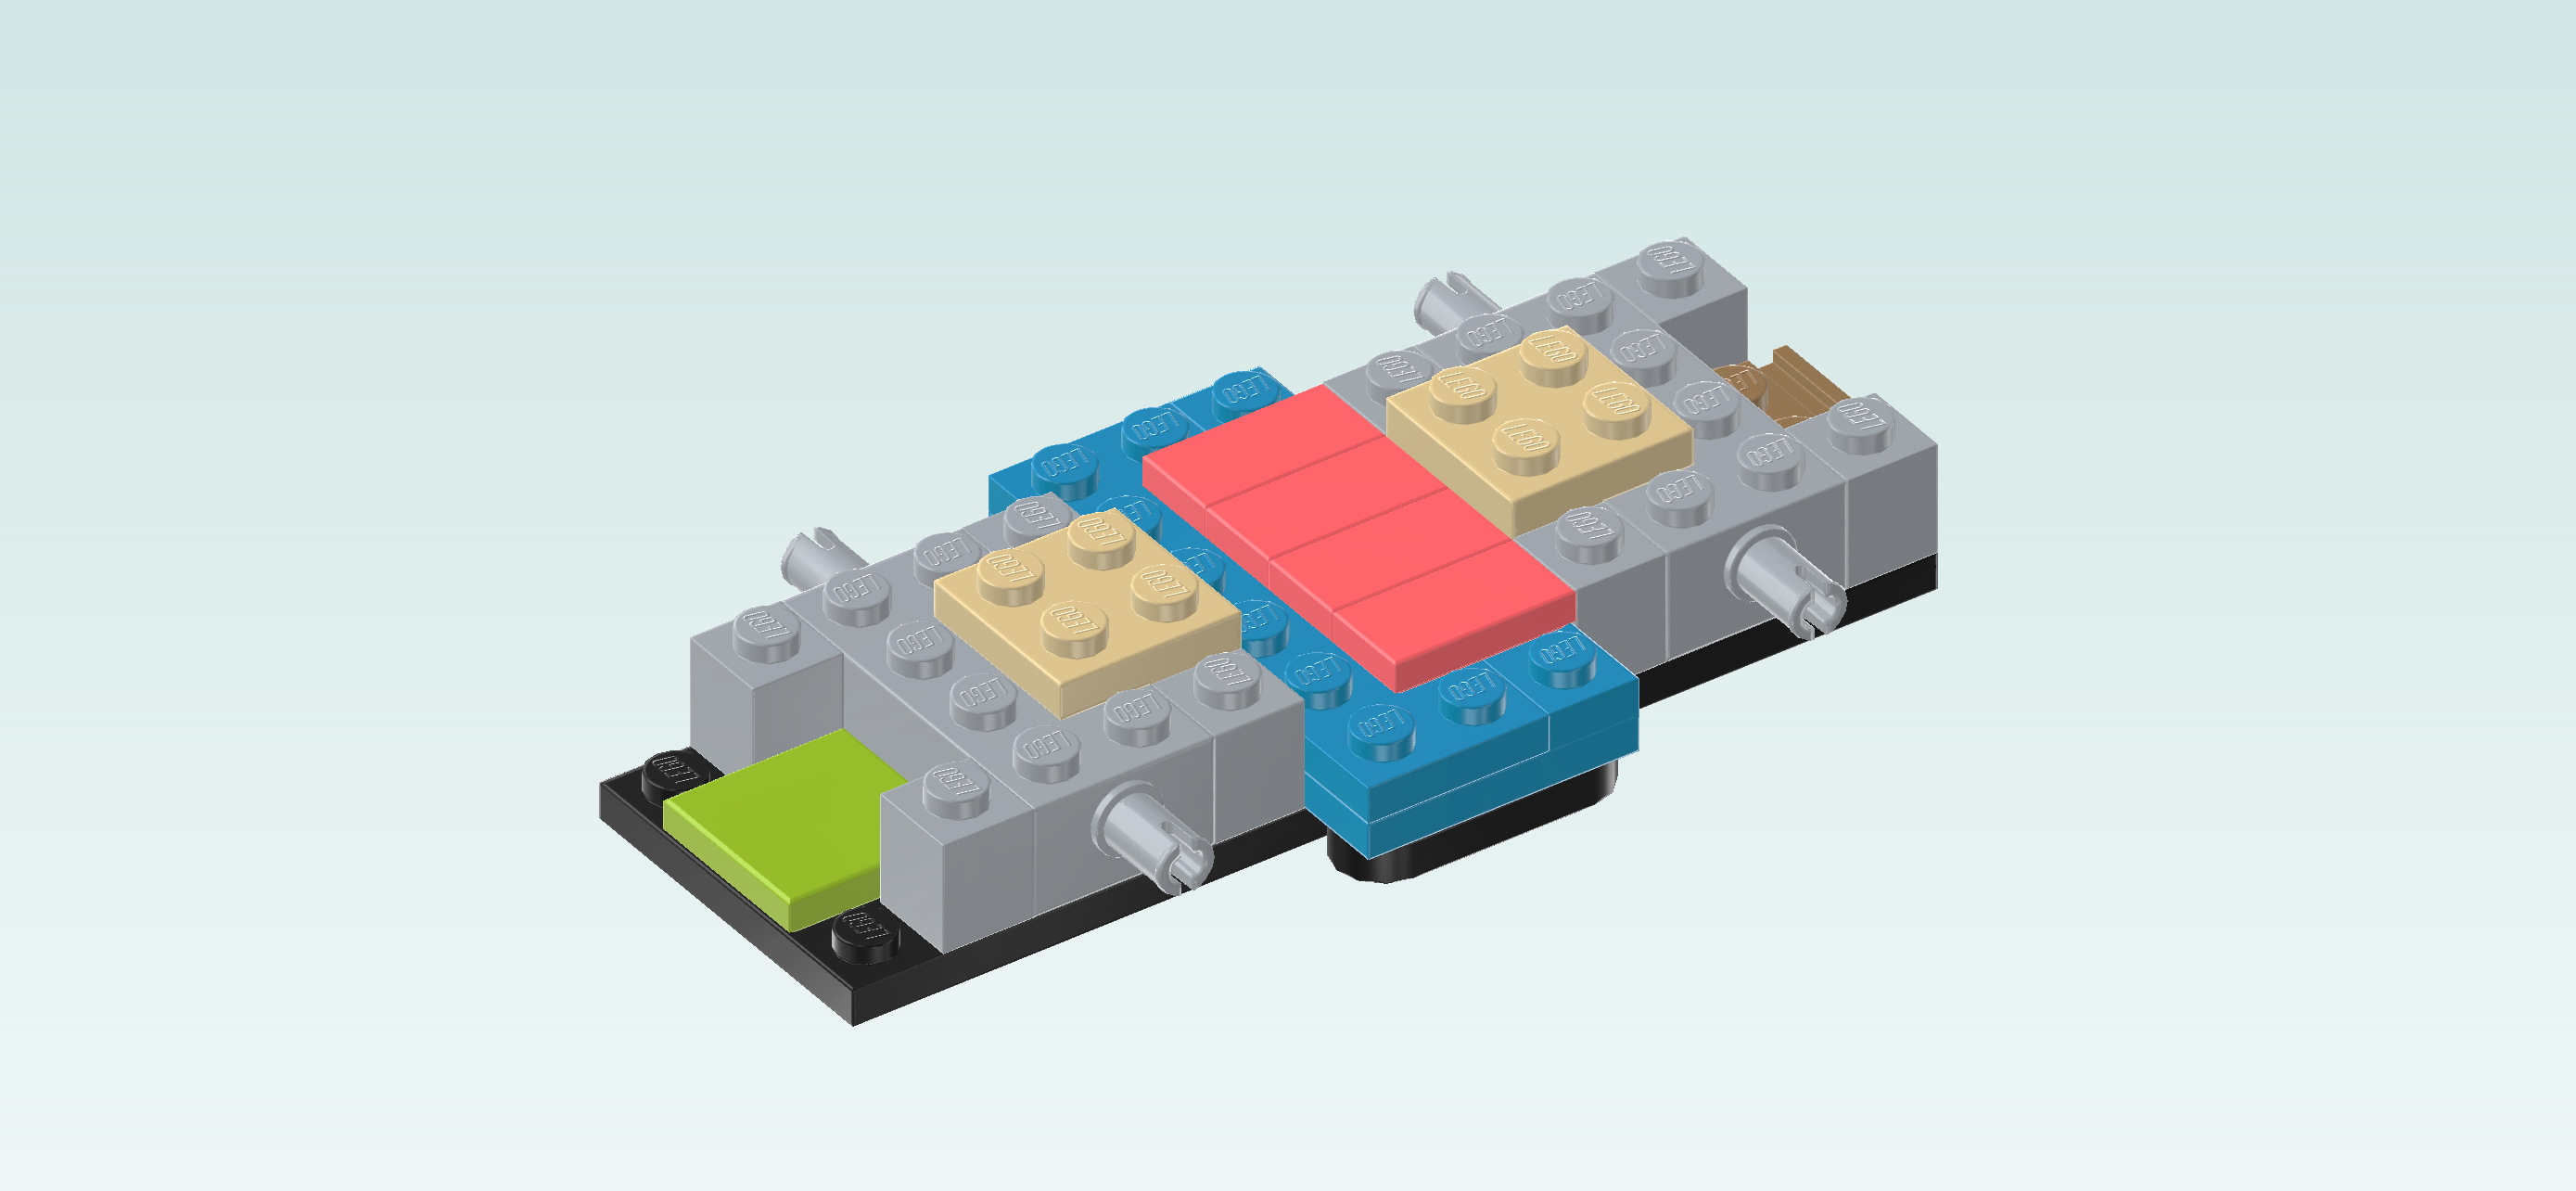
| Find 4 salmon pink flat tiles 1x2. |
| Put 1 horizontally on the second row from the front, starting from the right edge of the 3x6 surface formed by the 2 previous pieces. |
| Put 1 horizontally behind the previous piece. |
| Put another 1 horizontally behind the previous piece. |
| Put the last one horizontally behind the previous piece. |
| These four flat tiles will later be the front car seats! |
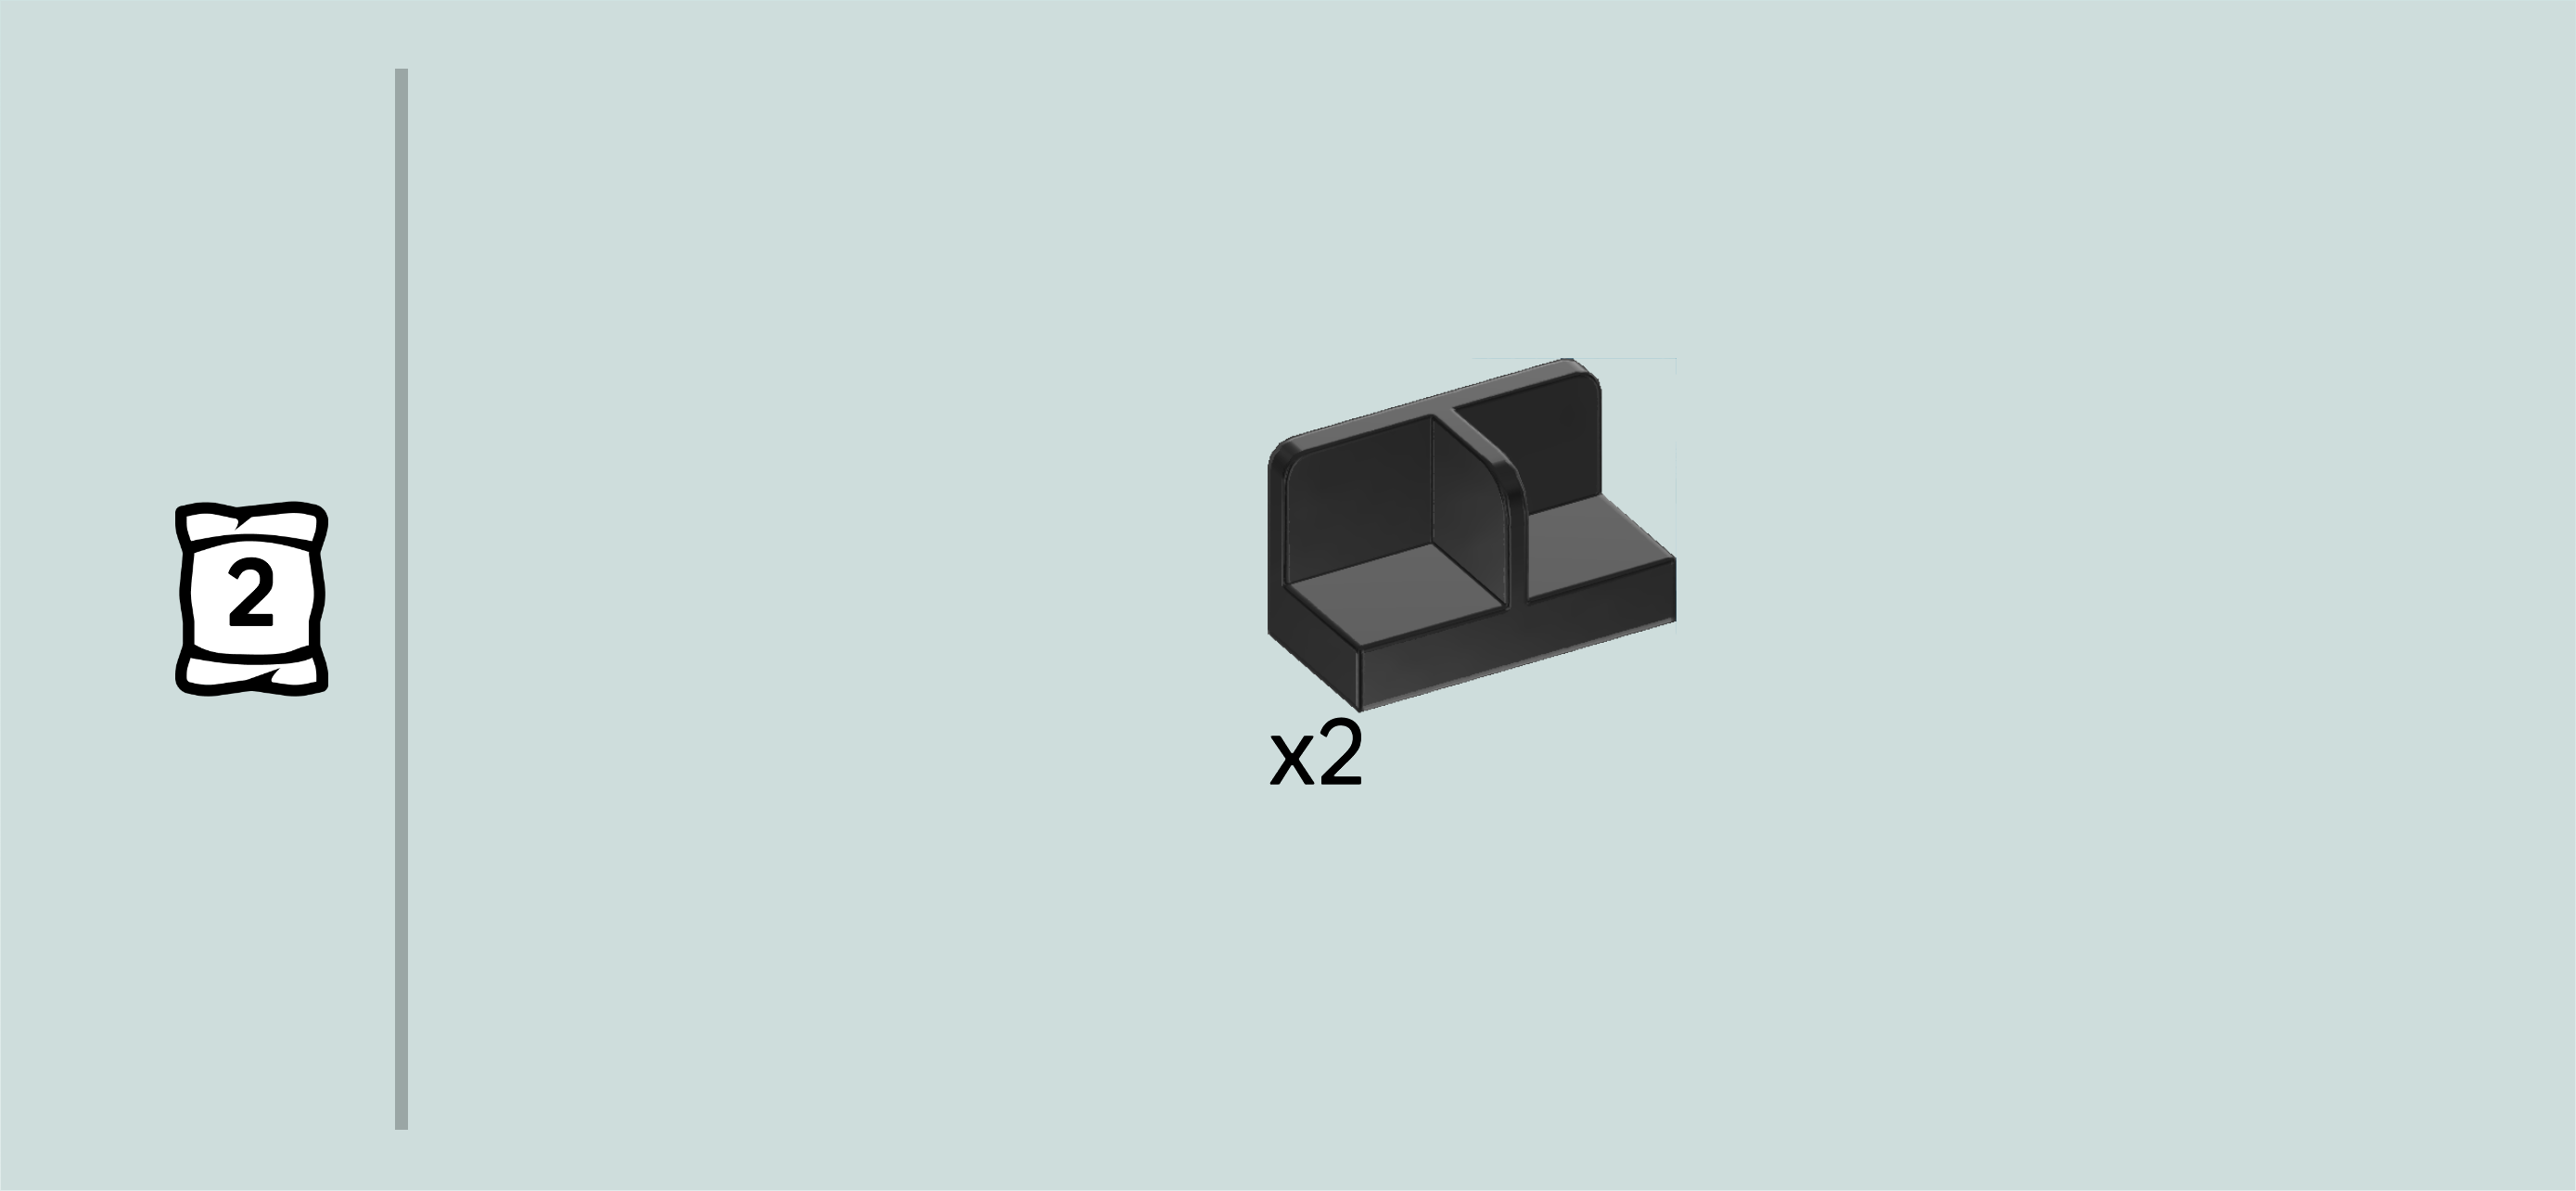
| Find 2 black panel elements 1x2x1 with middle partition. |
| Put 1 vertically to the left of the last 2 previous pieces, back panel to the left. |
| Put the other one vertically in front of the previous piece, back panel to the left. |
| These panel elements are the foot plates for the Minidolls. Once the vehicle is finished, you can clamp their feet on the side partitions of these elements to secure them in place. But first, let's continue building the car! |
| Find 1 dark azure blue plate 1x2. |
| Put it vertically centered on the second column from the rightmost edge. |
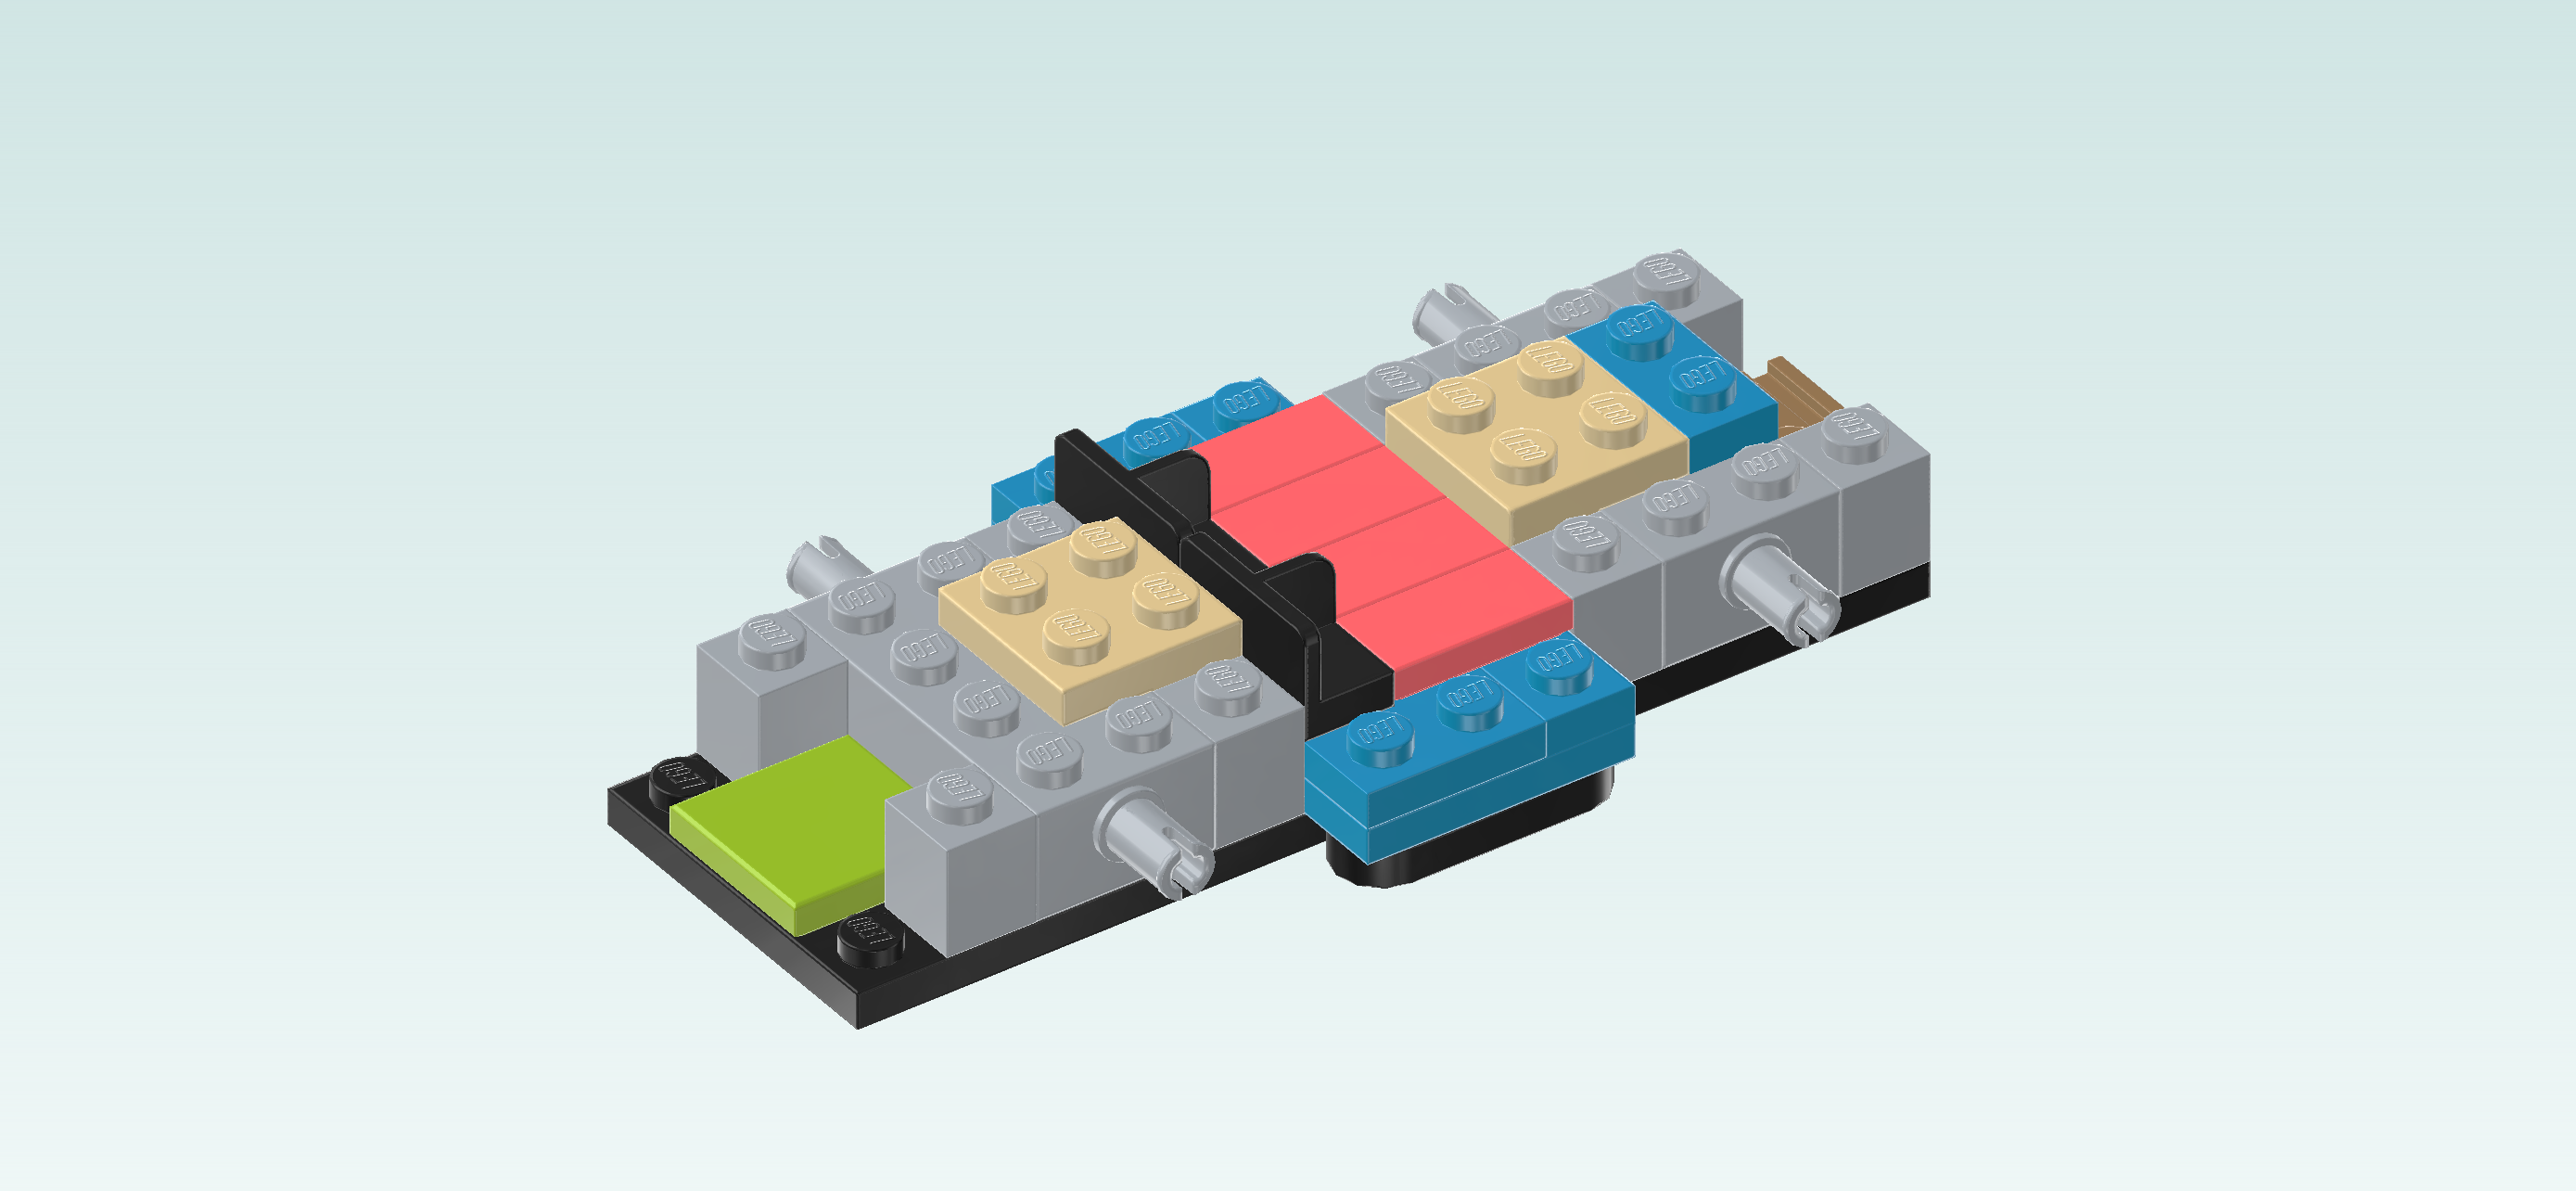
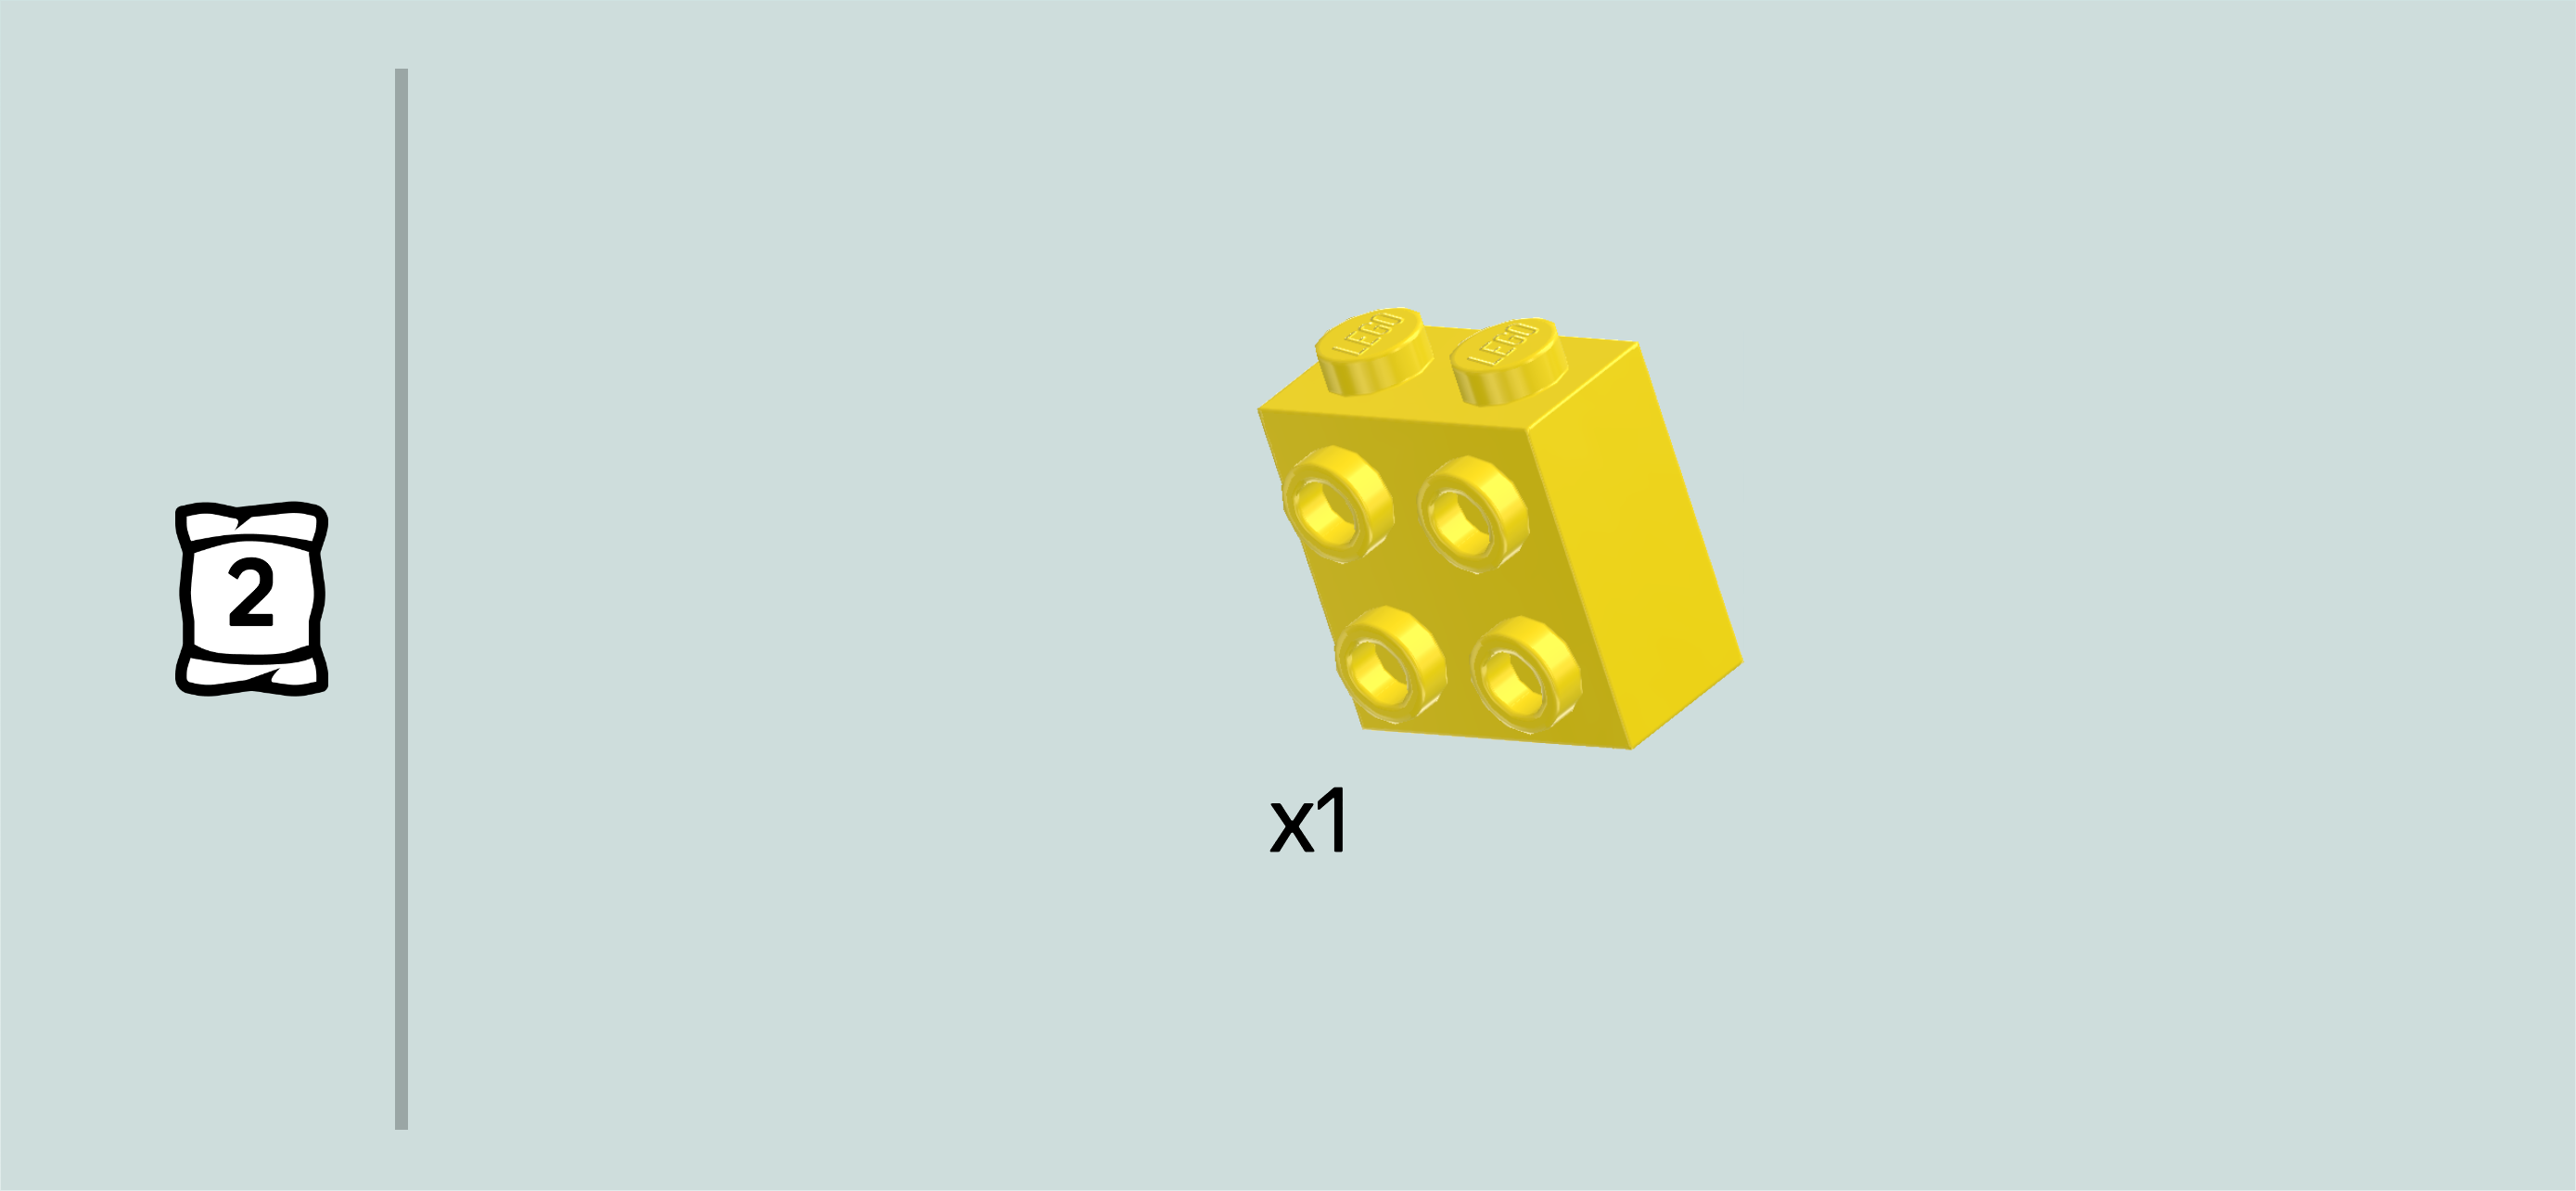
| Find 1 bright yellow brick 1x2x1⅔ with 4 side knobs. |
| Put it vertically centered to the right of the previous piece, side knobs to the right. |
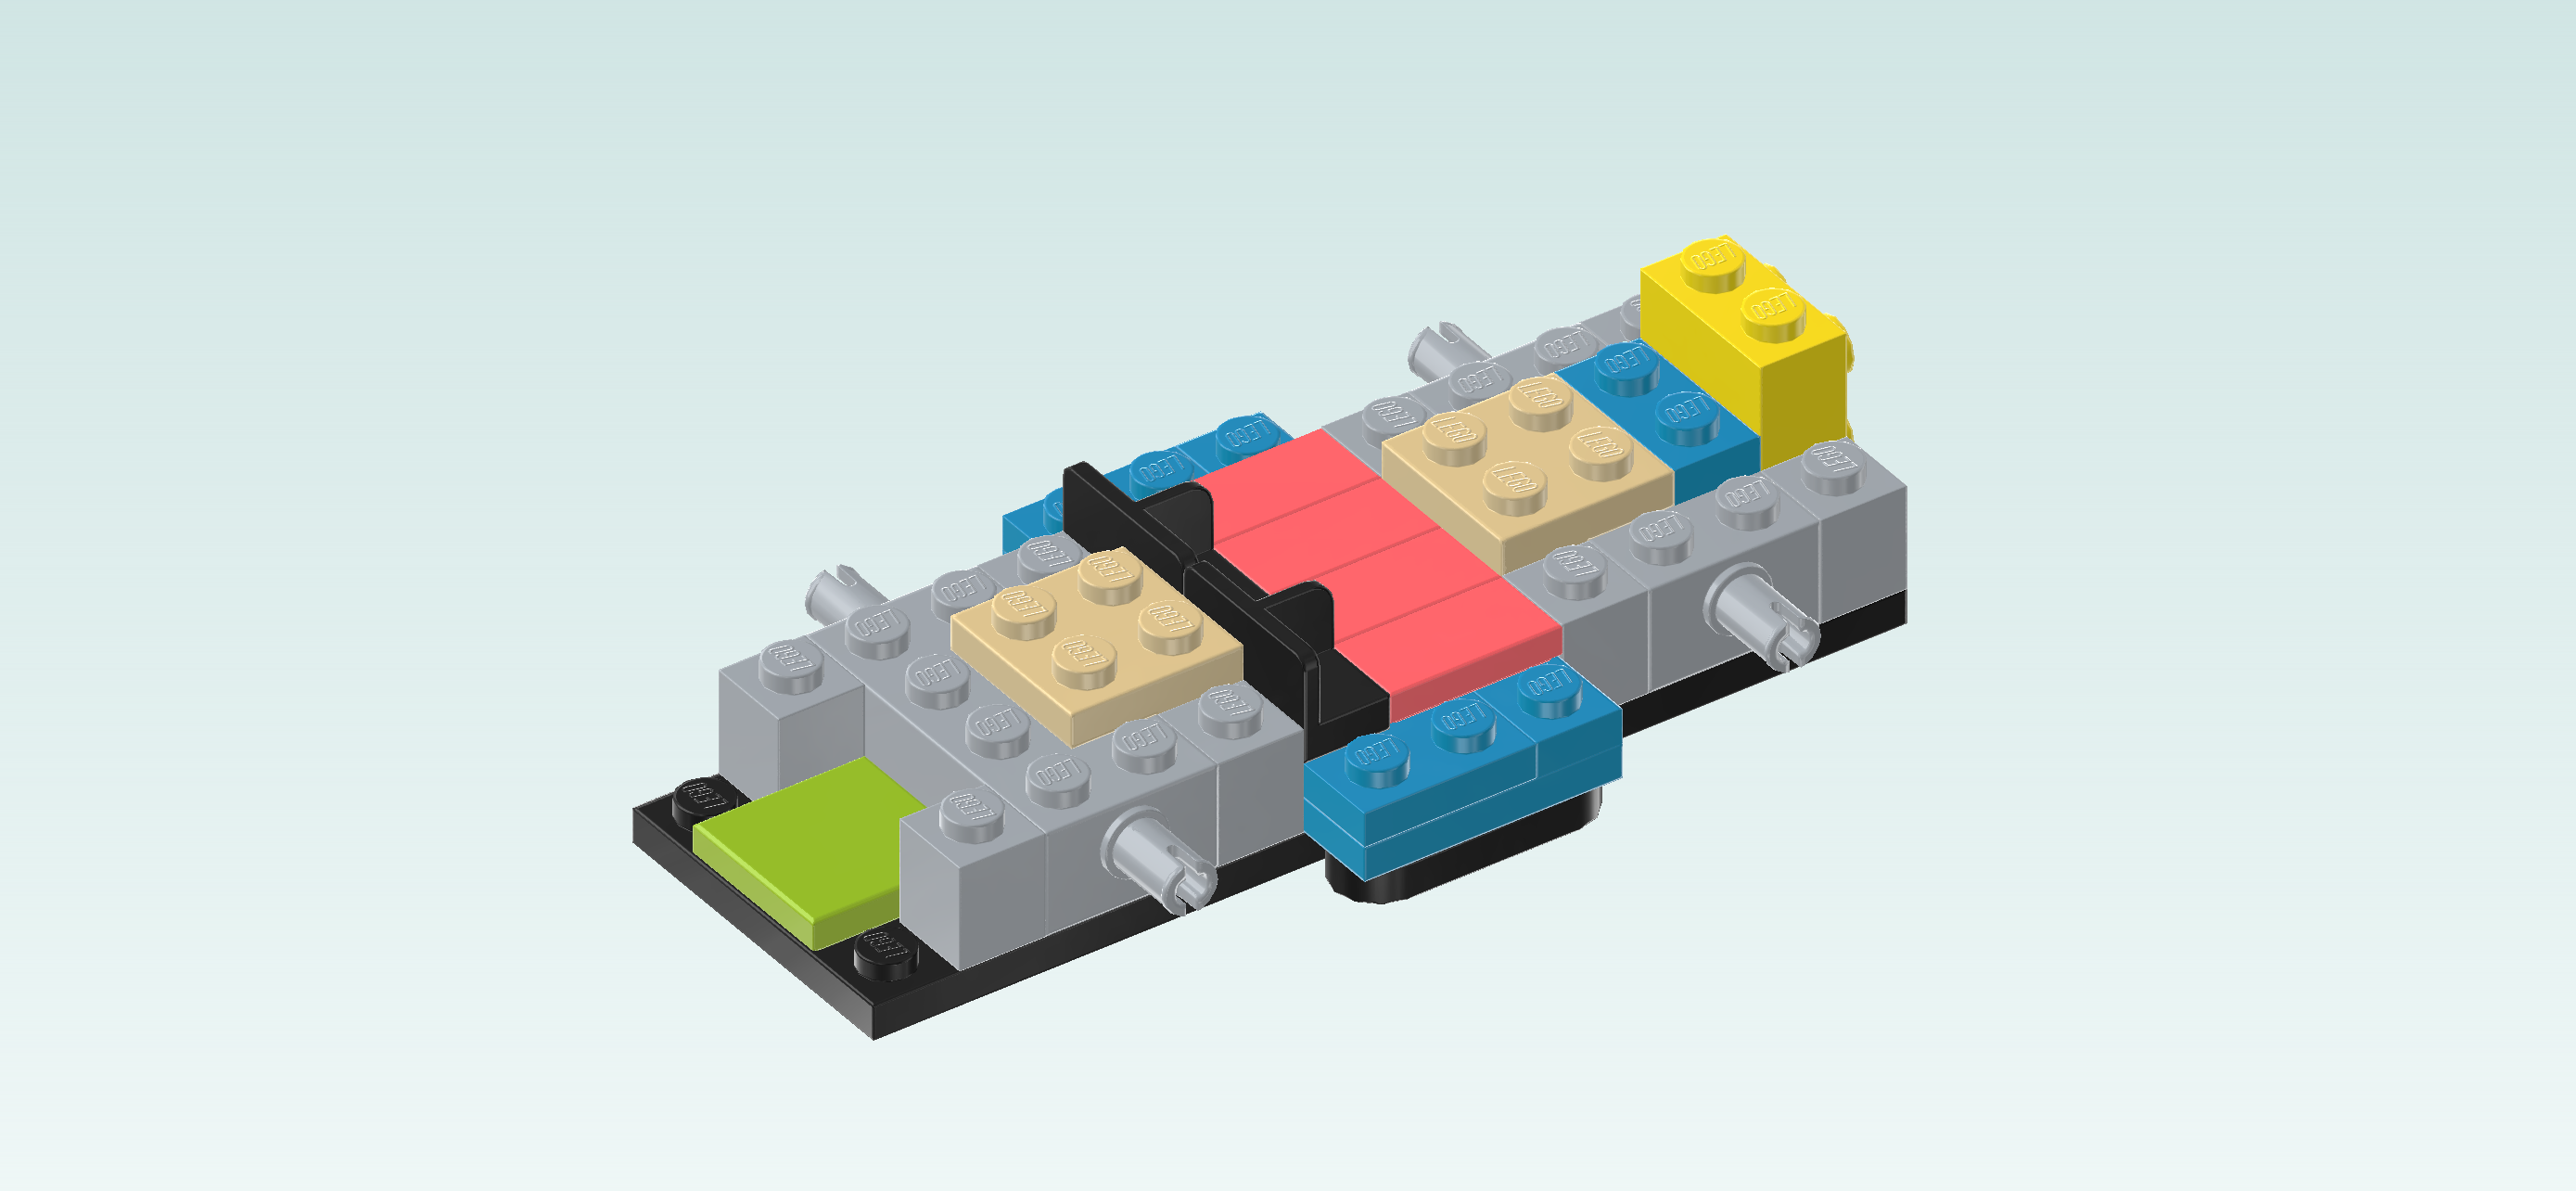
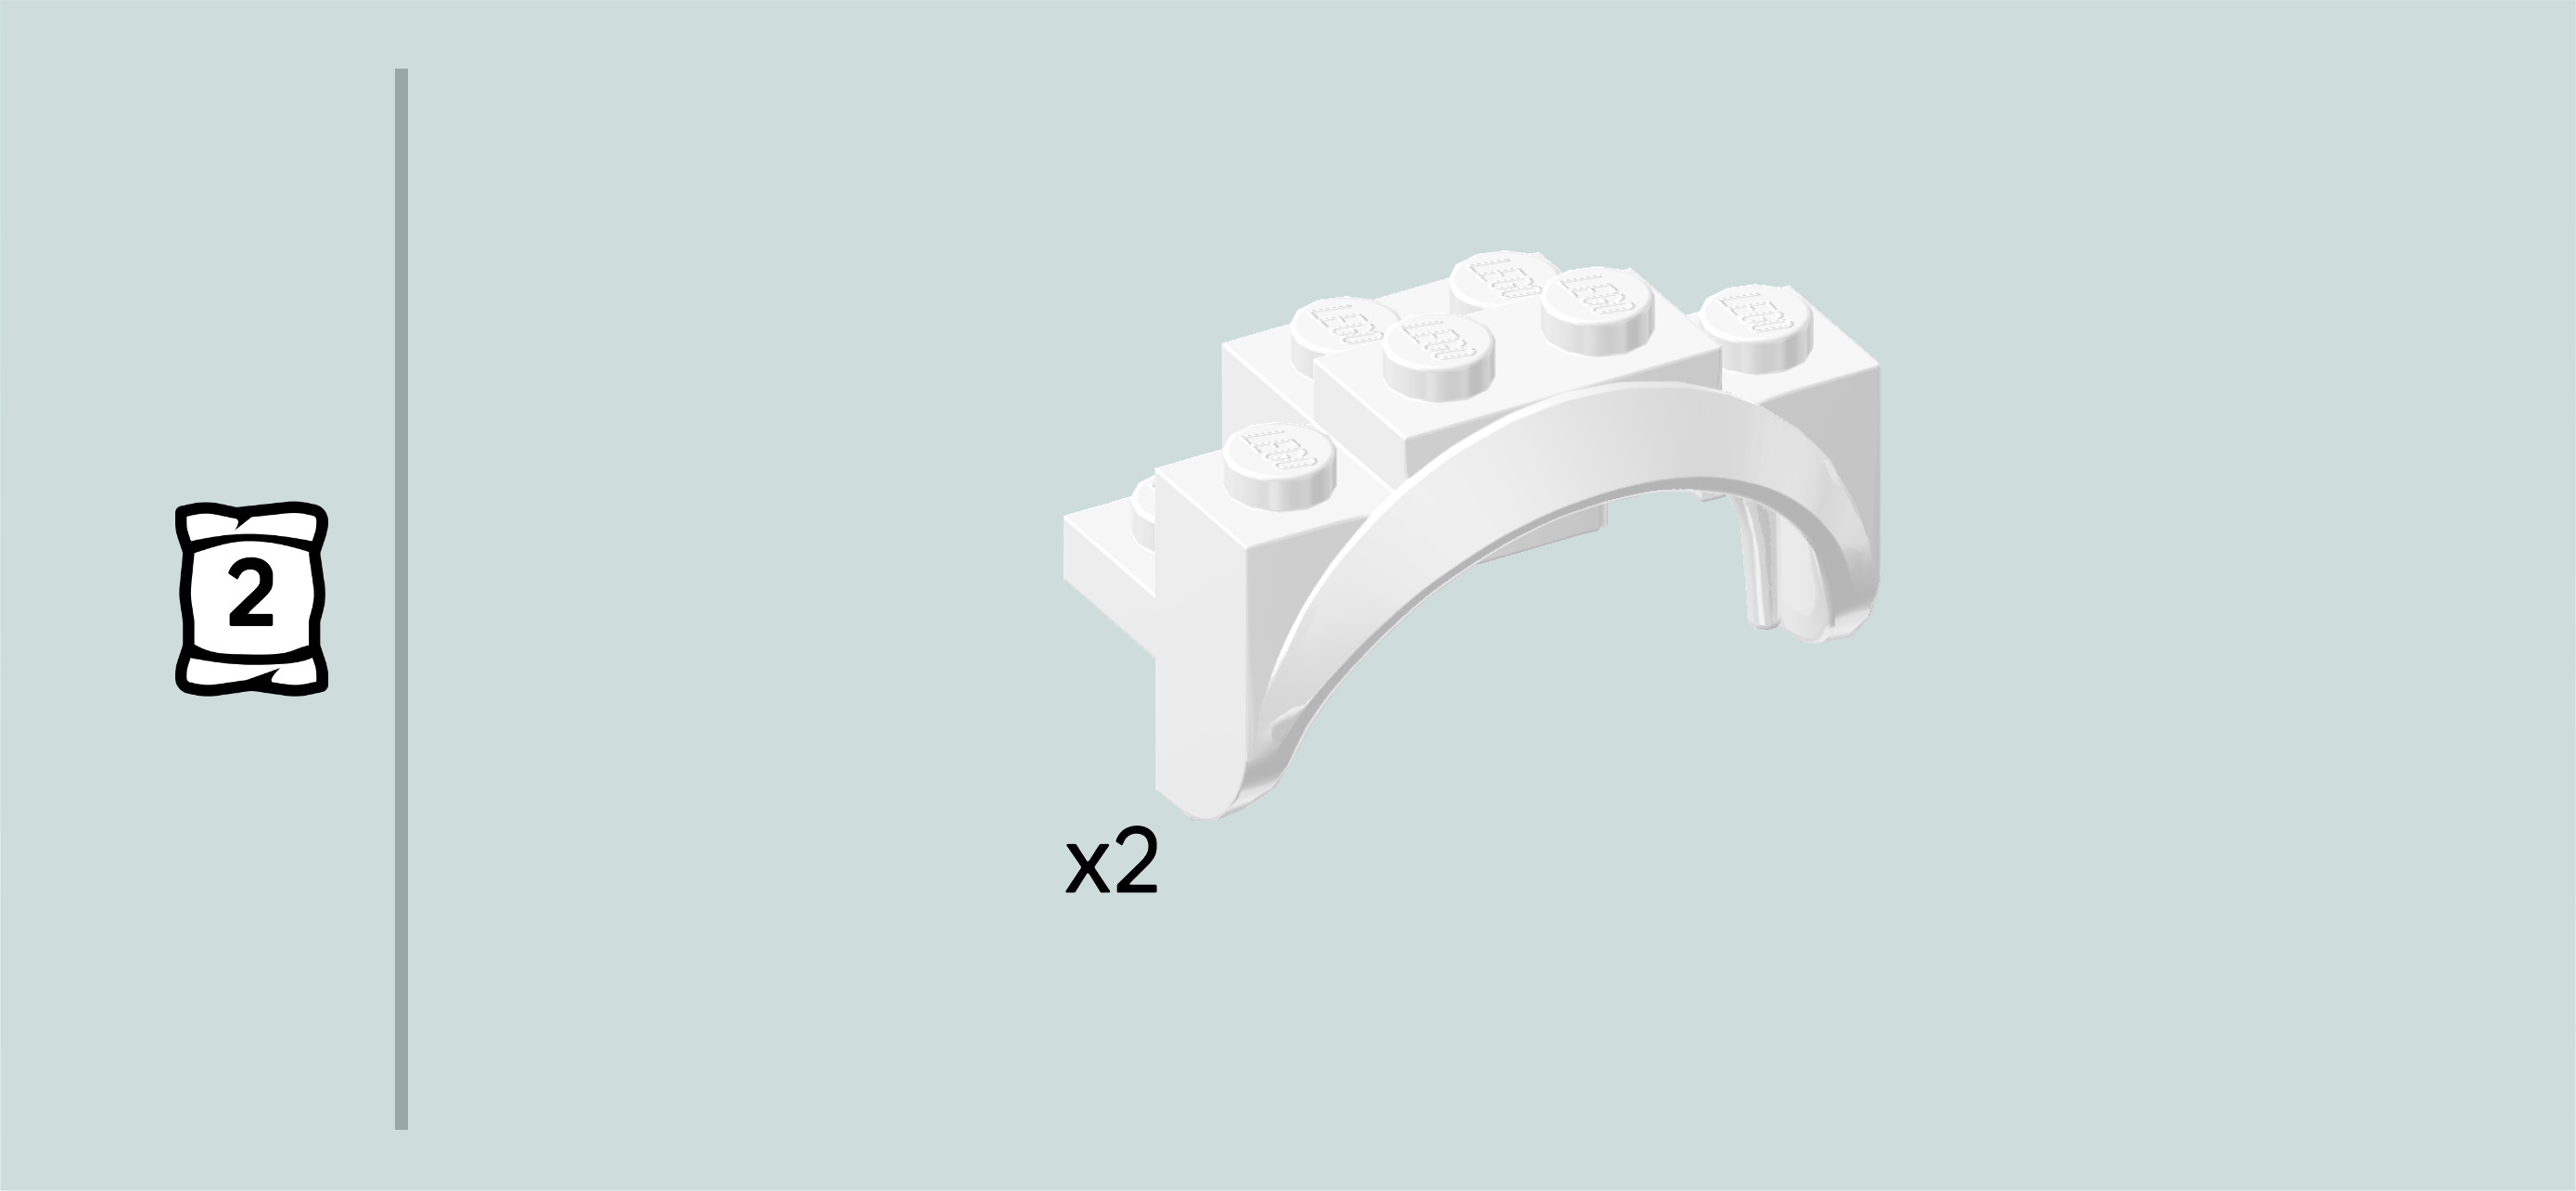
| Find 2 white stepped bricks 2x4 with side mudguard. |
| Put 1 horizontally on the 4 backmost knobs on the right edge, 1 row and mudguard overhanging to the back, hovering directly above the right connector that is pointing to the back. |
| Repeat symmetrically at the front, 1 row and mudguard overhanging to the front. |
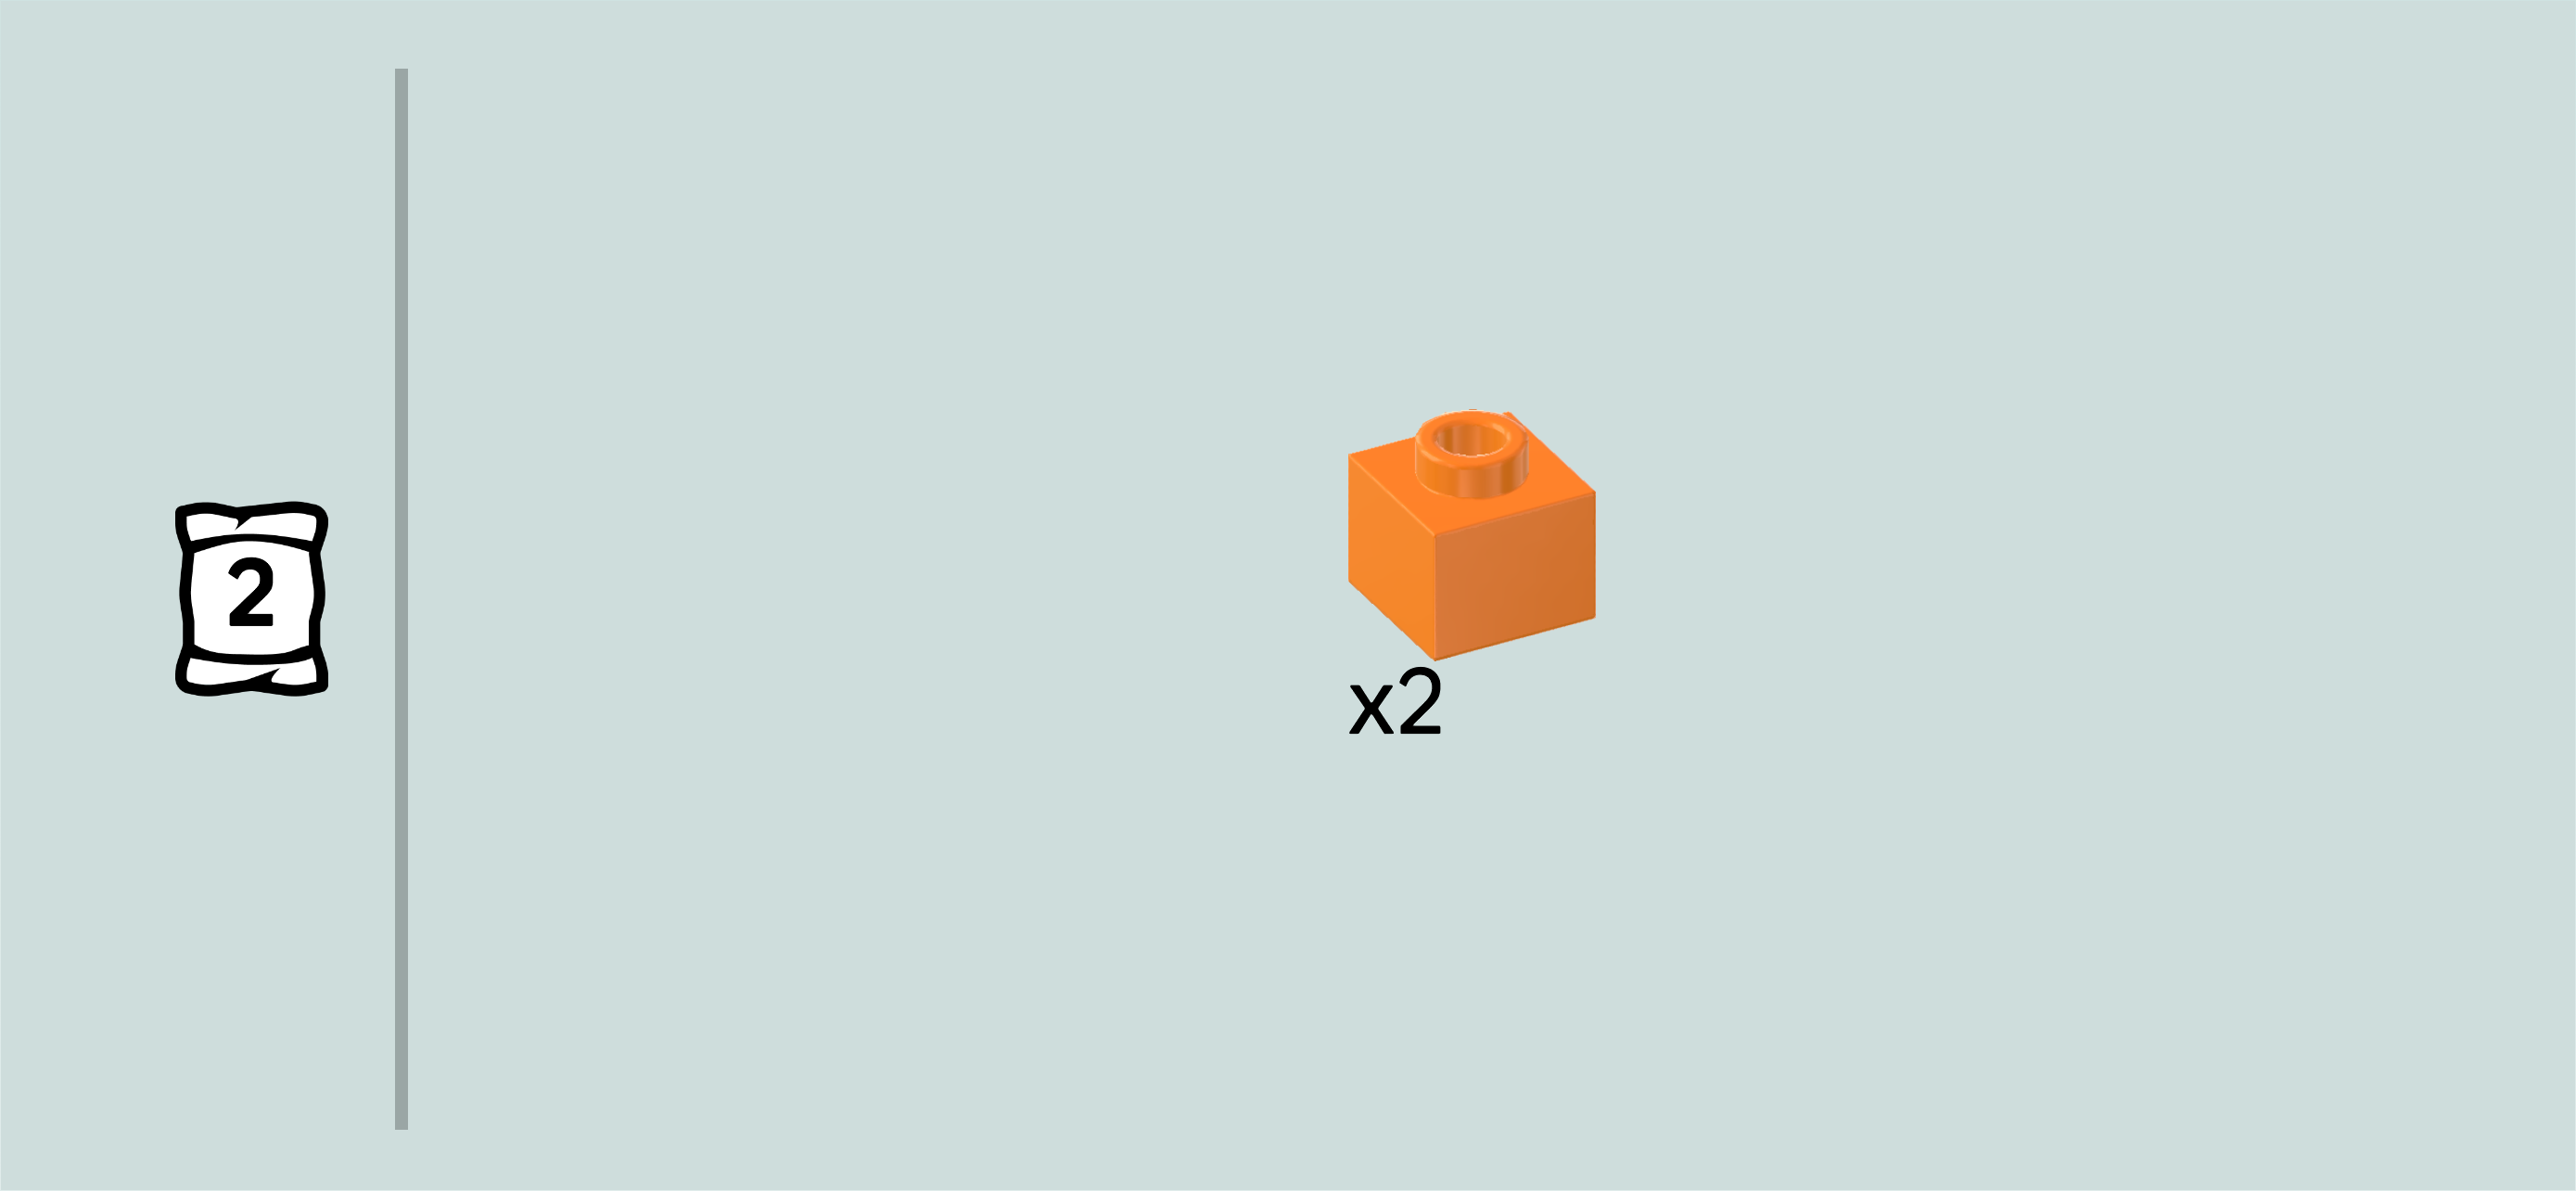
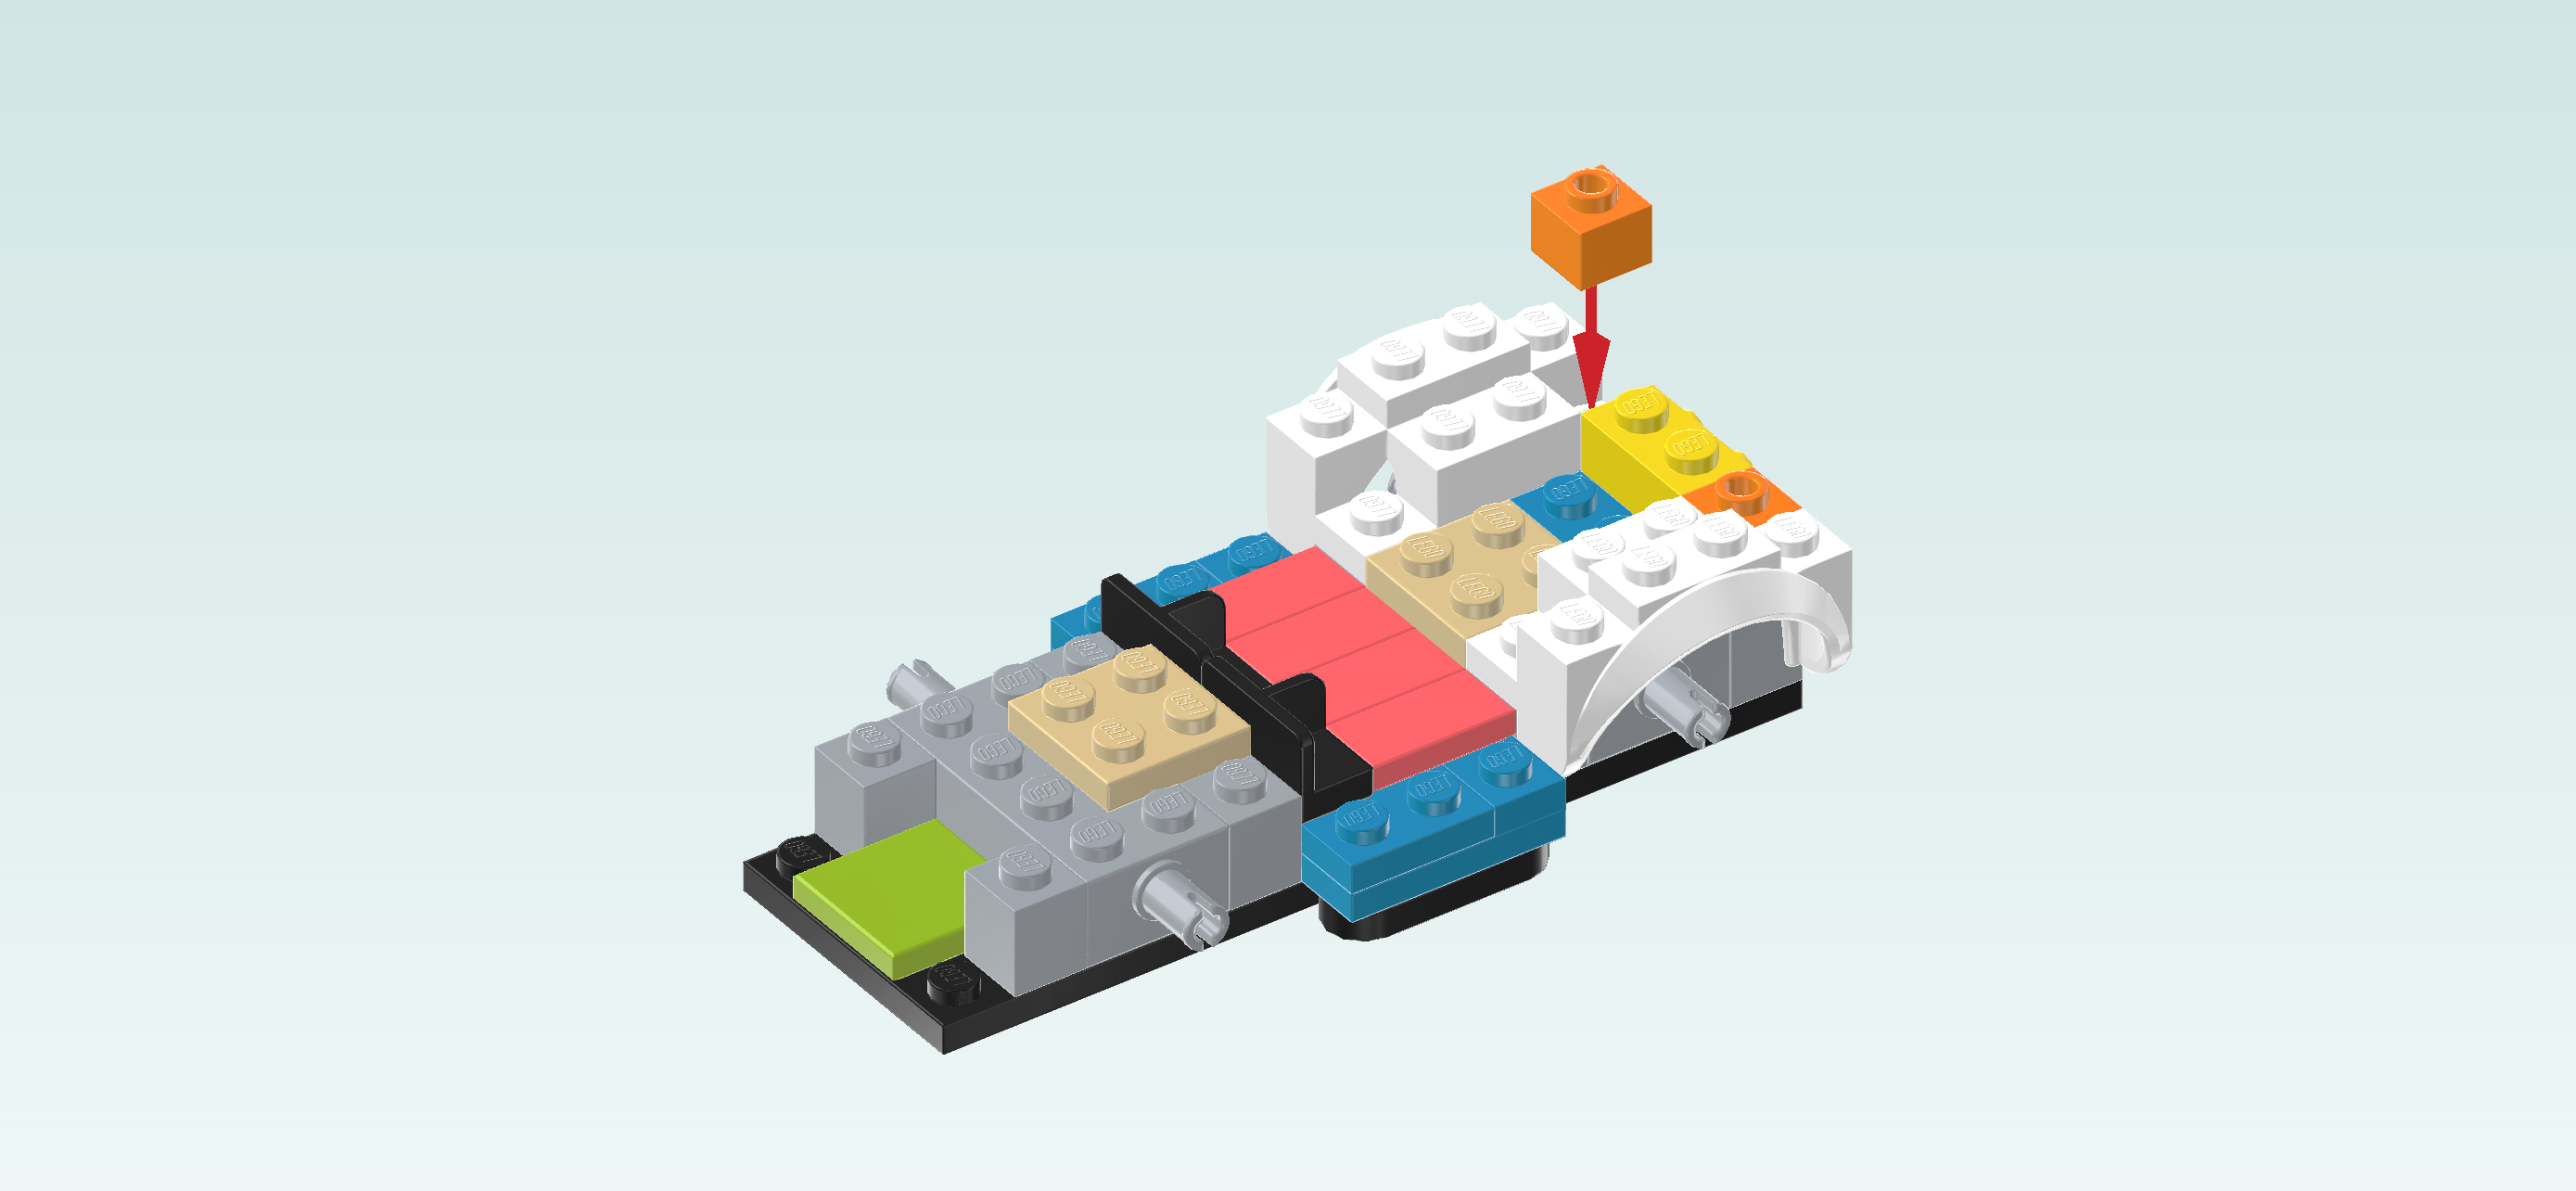
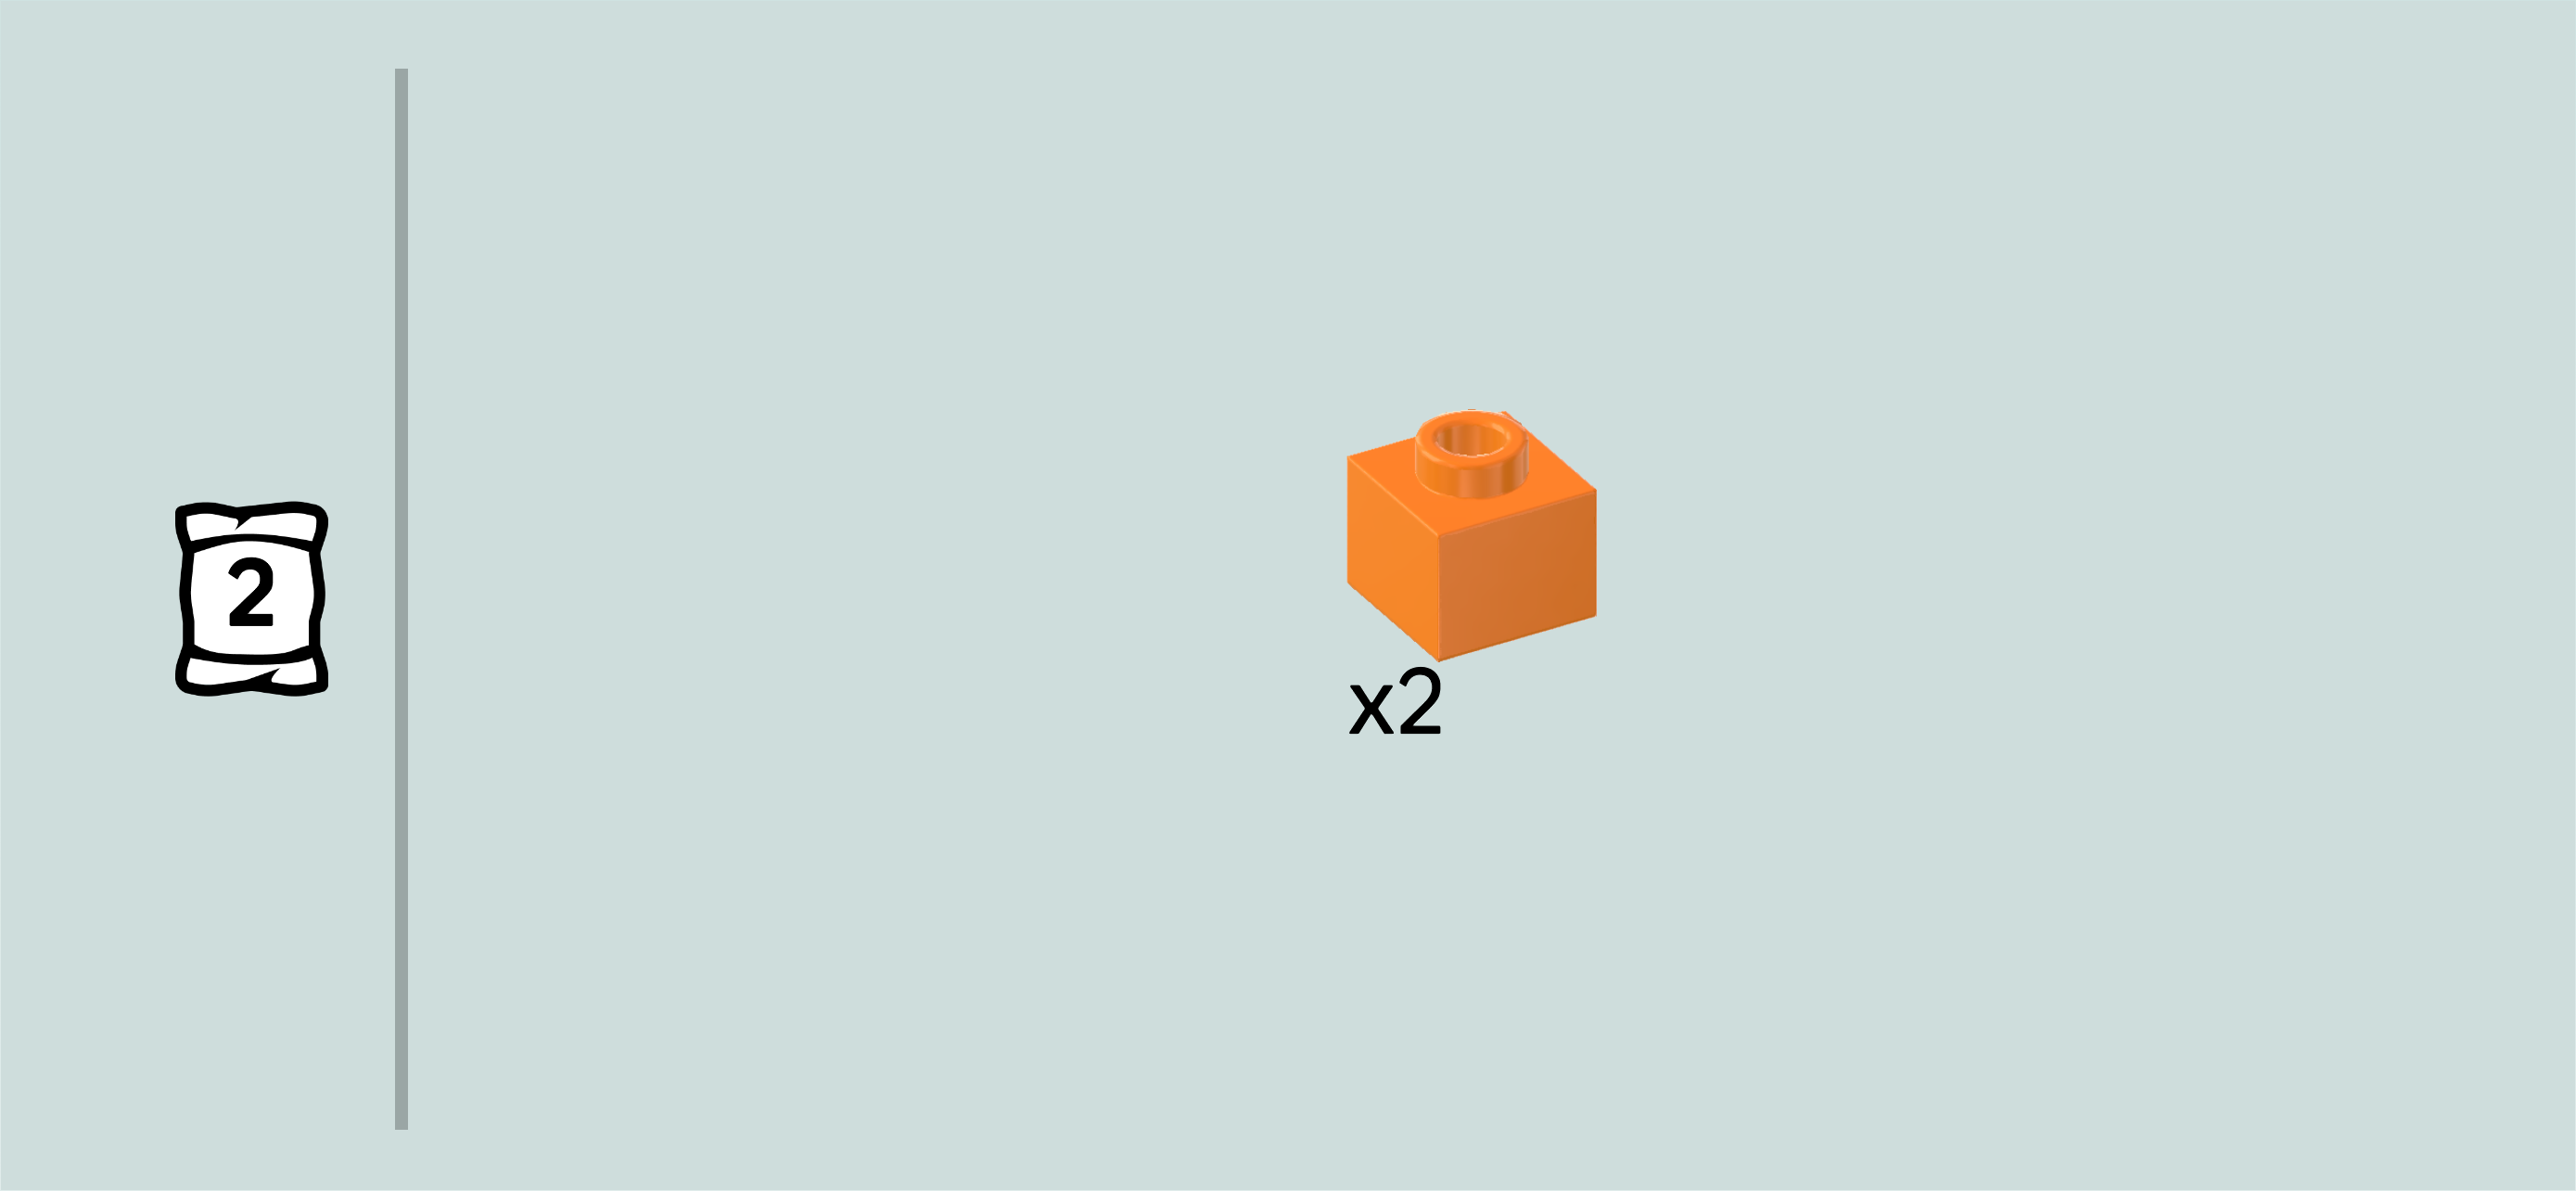
| Find 2 bright orange low bricks 1x1x⅔. |
| Put 1 in front of the previous piece on the rightmost column. |
| Repeat symmetrically at the front. |
| Find 1 dark azure blue plate 2x2 with 1 knob. |
| Put it centered on the second and third column from the right. |
| Find 2 salmon pink curve pieces 1x2x1. |
| Put them vertically next to each other on the column to the left of the previous piece, curve to the left. |
| This will be the seatback of the car seats! |
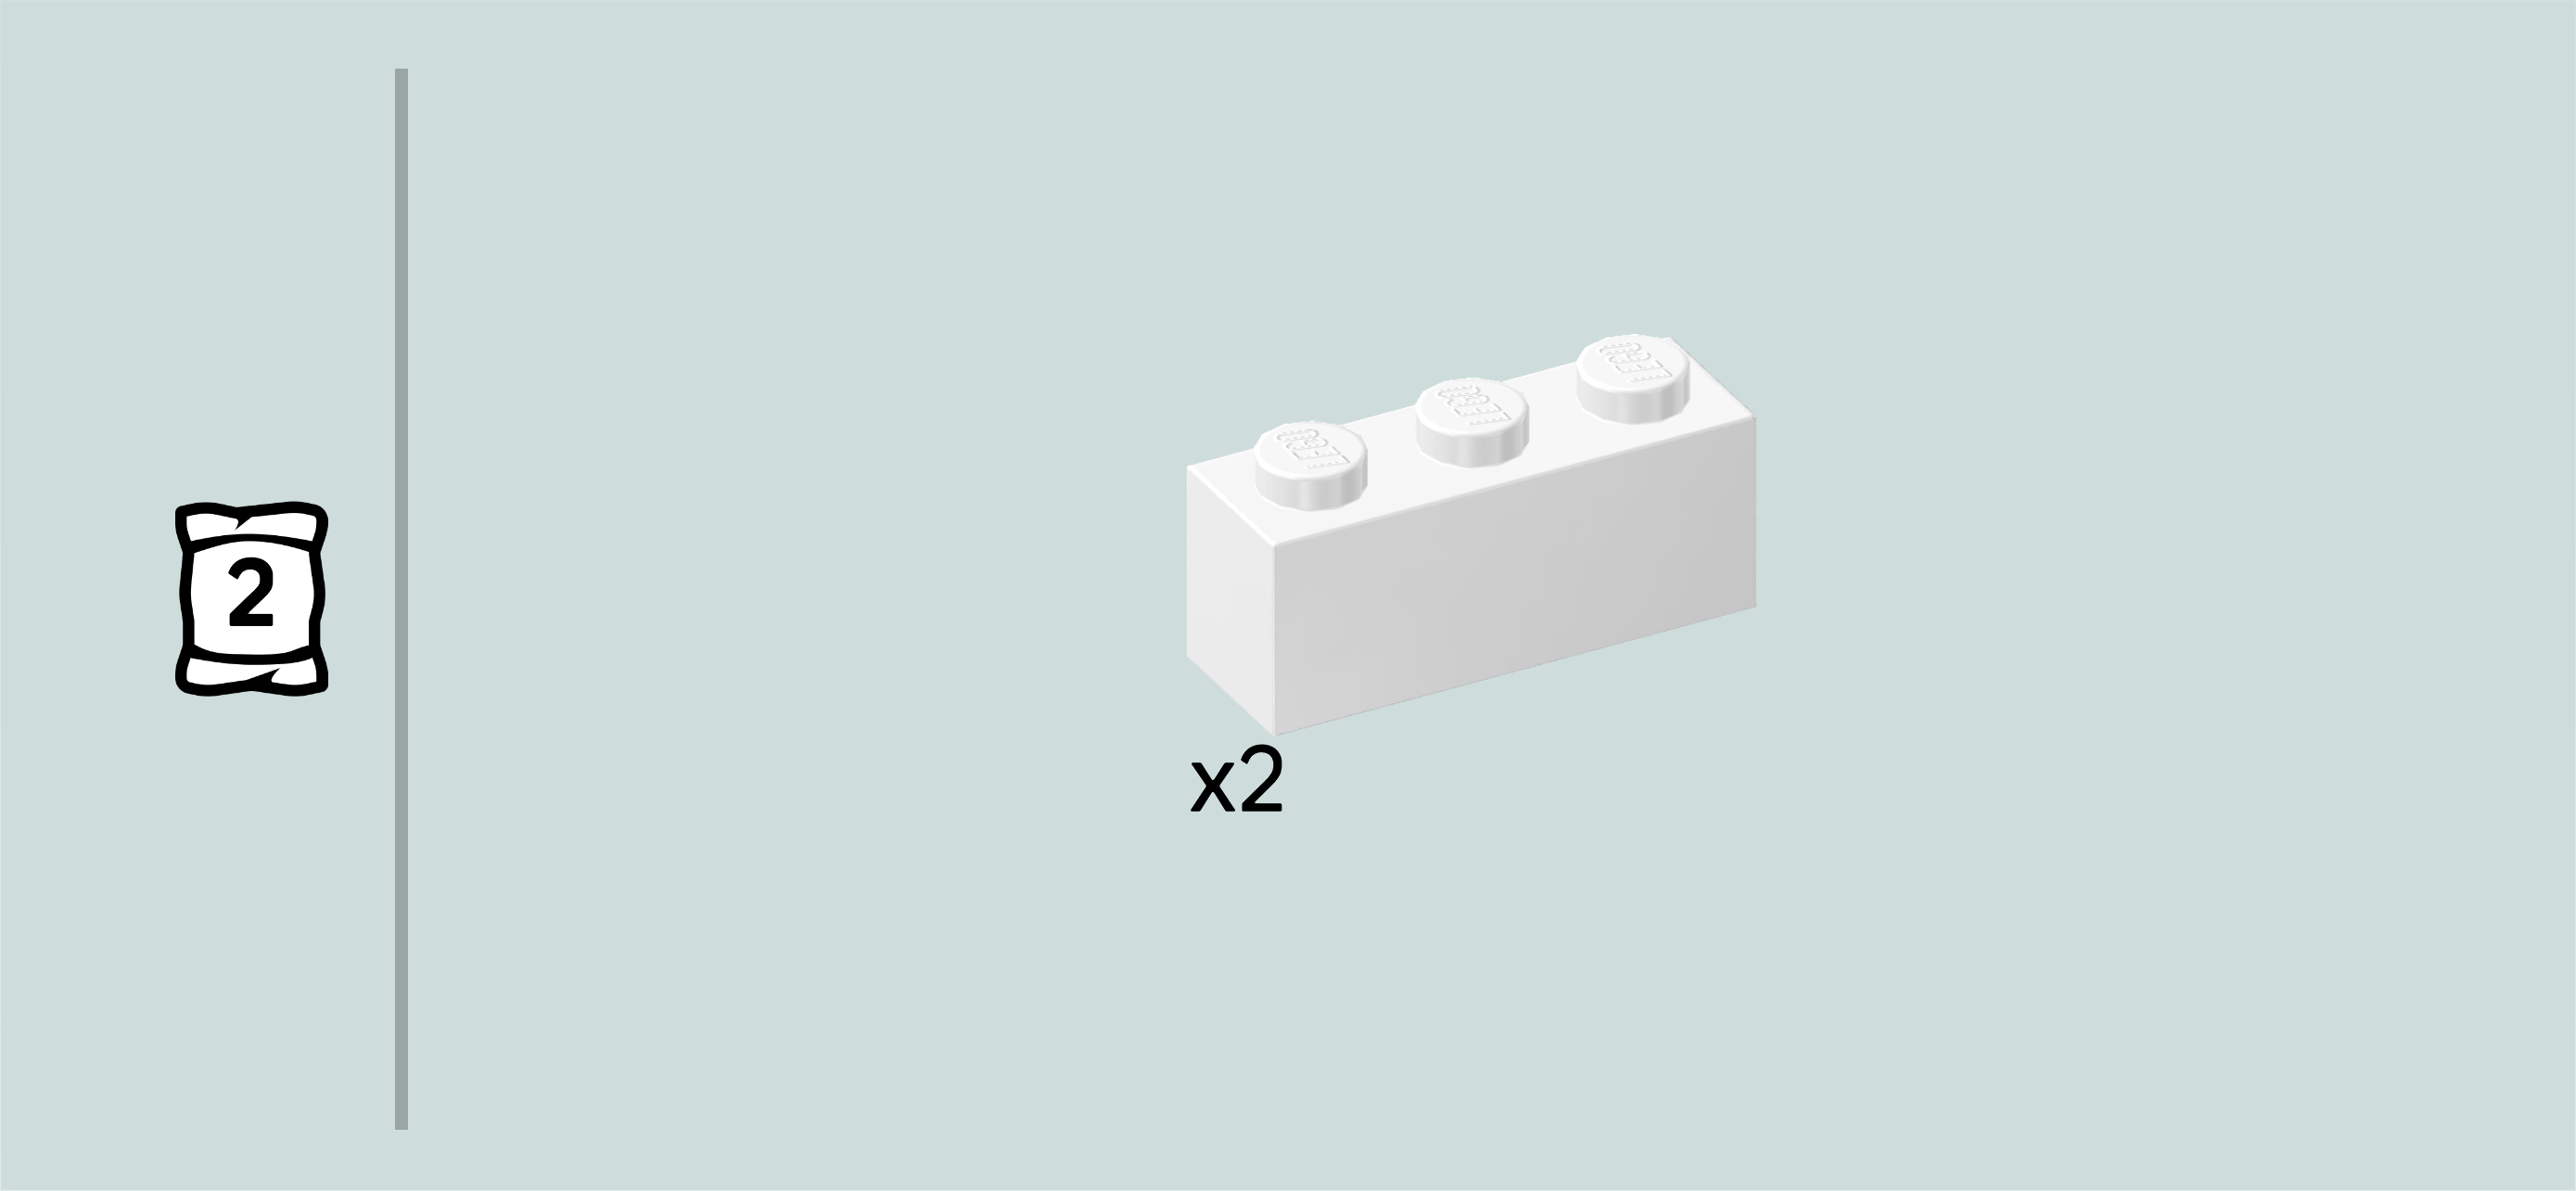
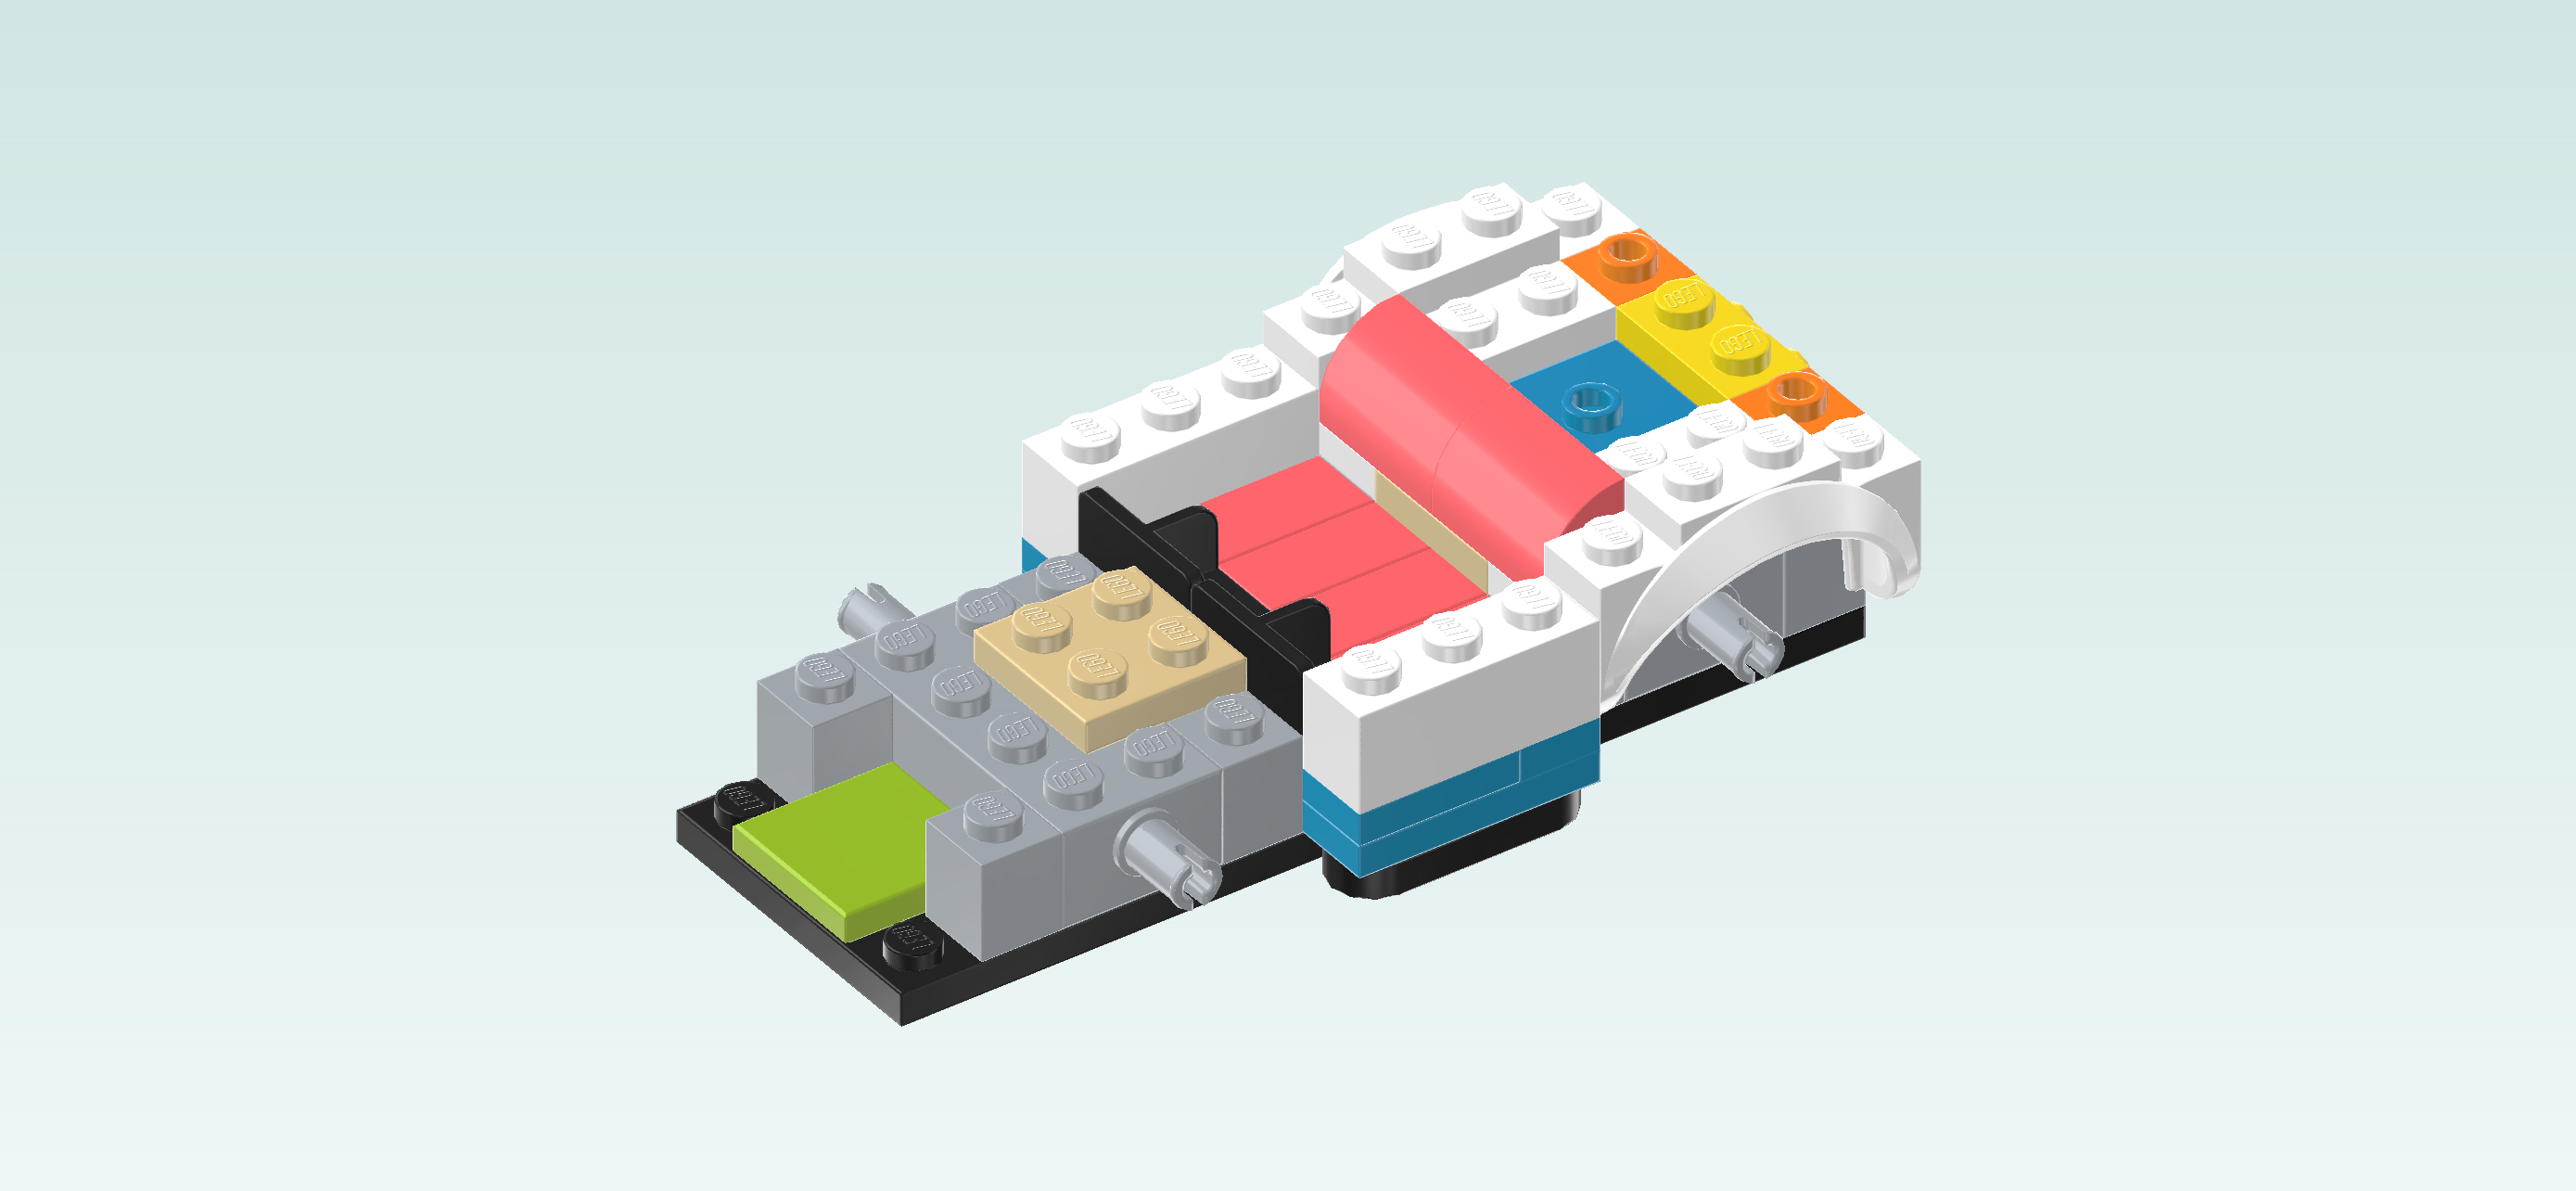
| Find 2 white bricks 1x3. |
| Put 1 horizontally on the frontmost row that is protruding to the front. This row only consists of 3 knobs. |
| Repeat symmetrically at the back. |
| Now, we will build the rear bumper. |
| Collect the following 2 pieces: |
| 1 white plate 2x6, |
| and 1 bright yellow plate 2x2. |
| Put the plate 2x6 horizontally on the table. |
| Put the plate 2x2 centered on top. |
| Collect the following 4 pieces: |
| 2 transparent bright orange round tiles 1x1, |
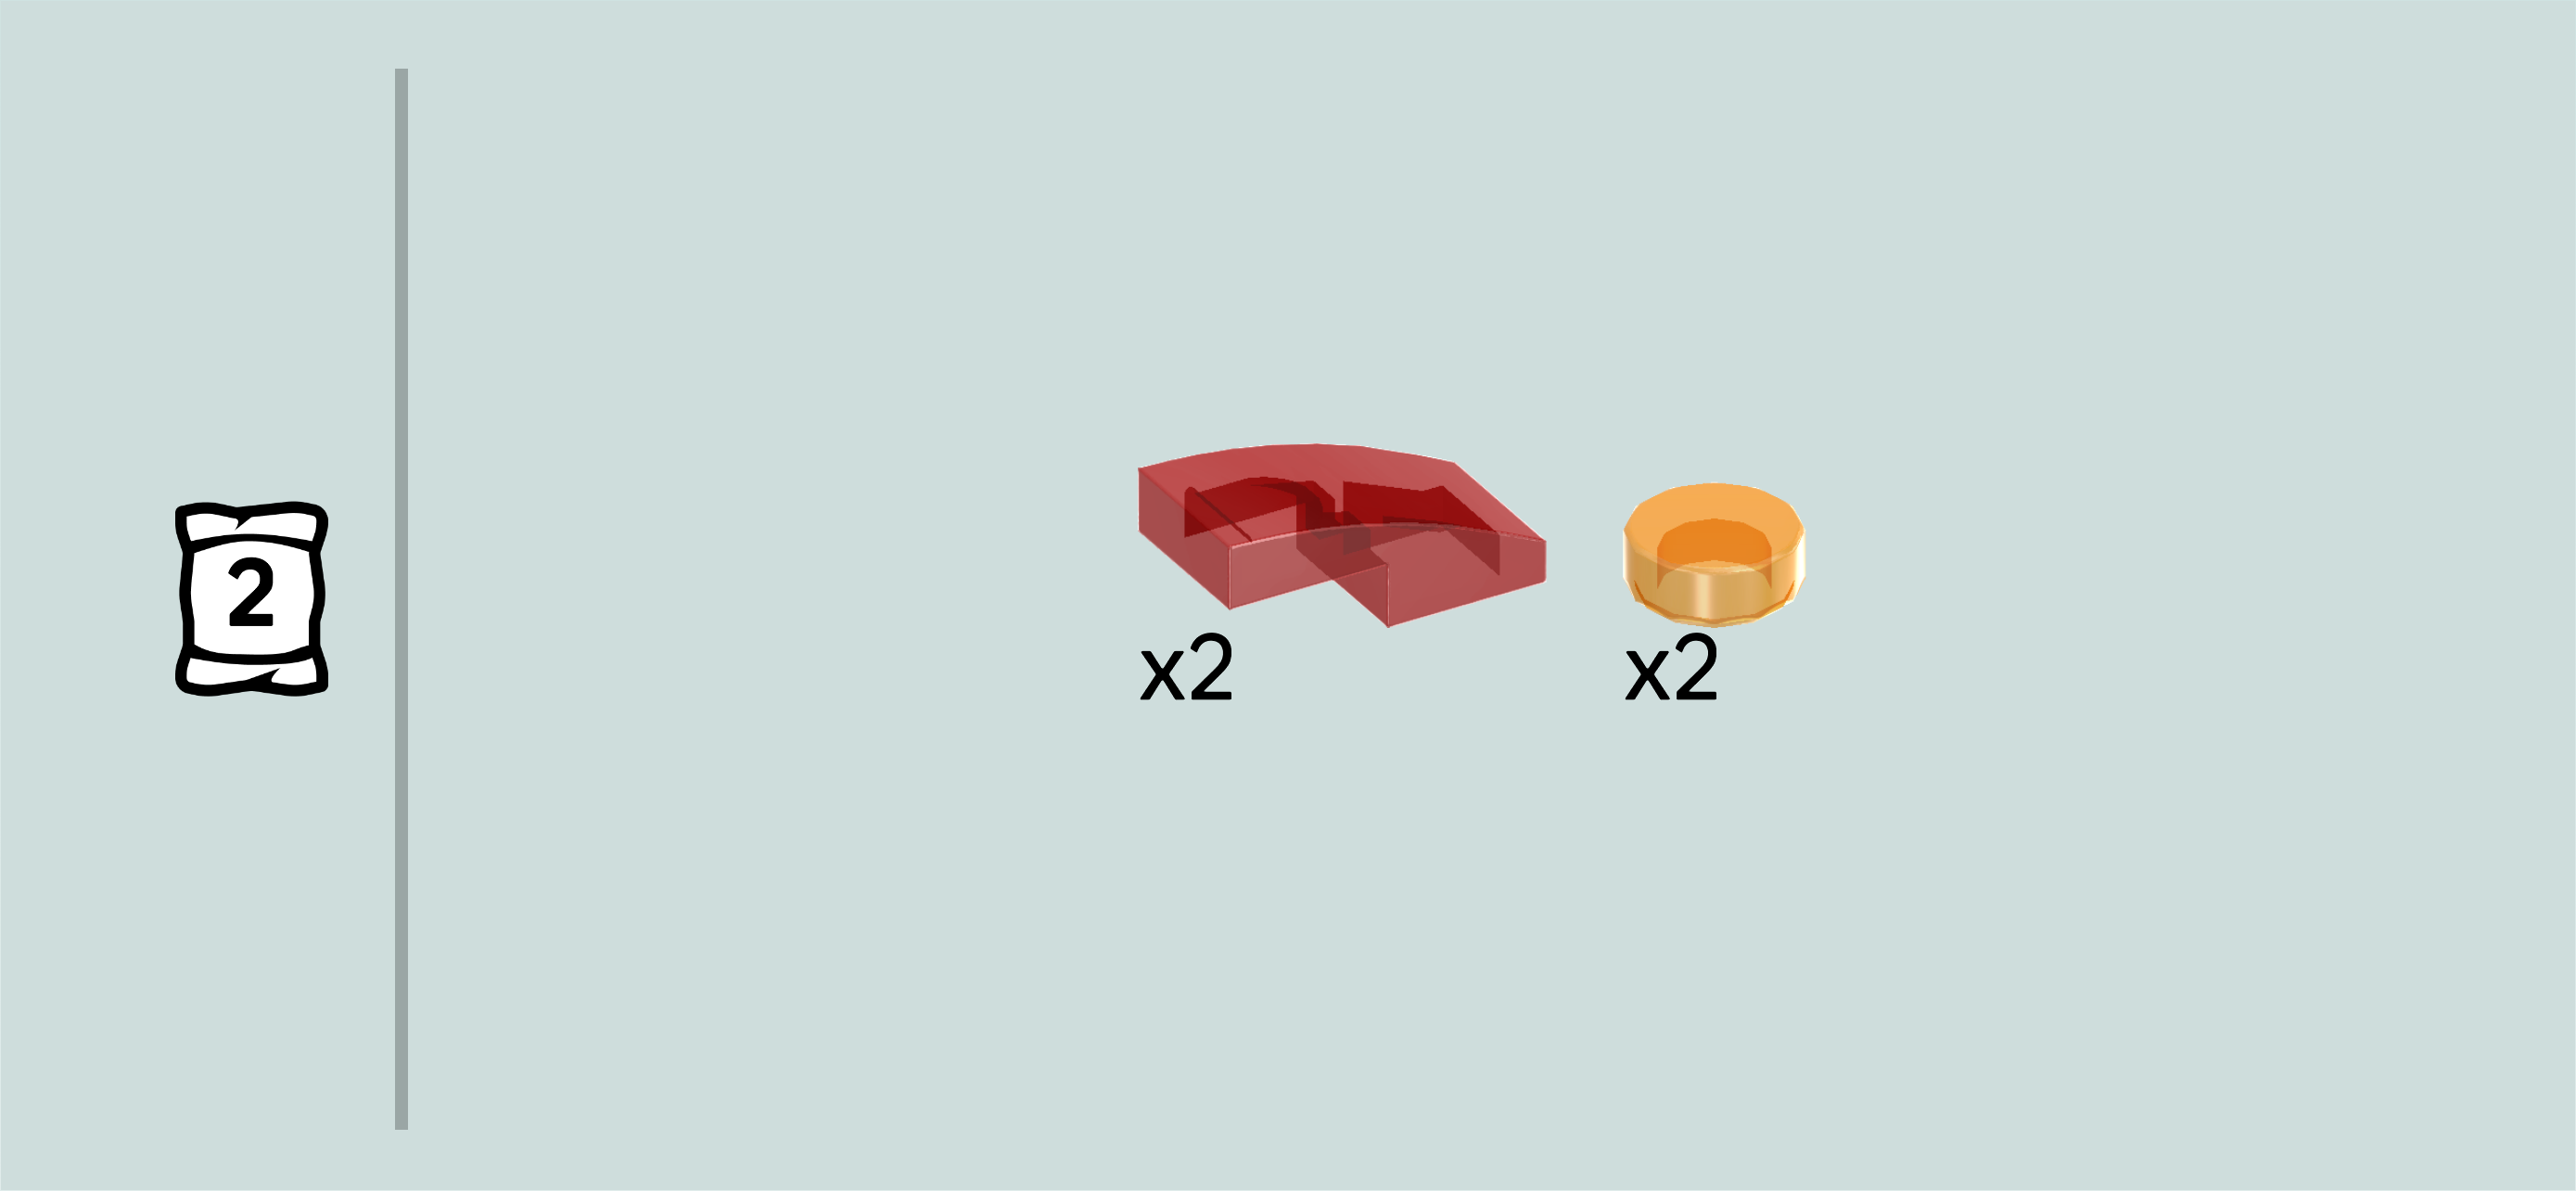
| and 2 transparent red one-stepped curve tiles 1x2. |
| Put 1 round tile 1x1 on the leftmost knob of the back row. |
| Put 1 curve tile 1x2 horizontally to the right of the previous piece, curve to the left. |
| Put the other curve tile horizontally to the right of the previous piece, curve to the right. |
| Put the other round tile 1x2 to the right of the previous piece. |
| Together, these 4 pieces cover the back row. They are the rear lights! |
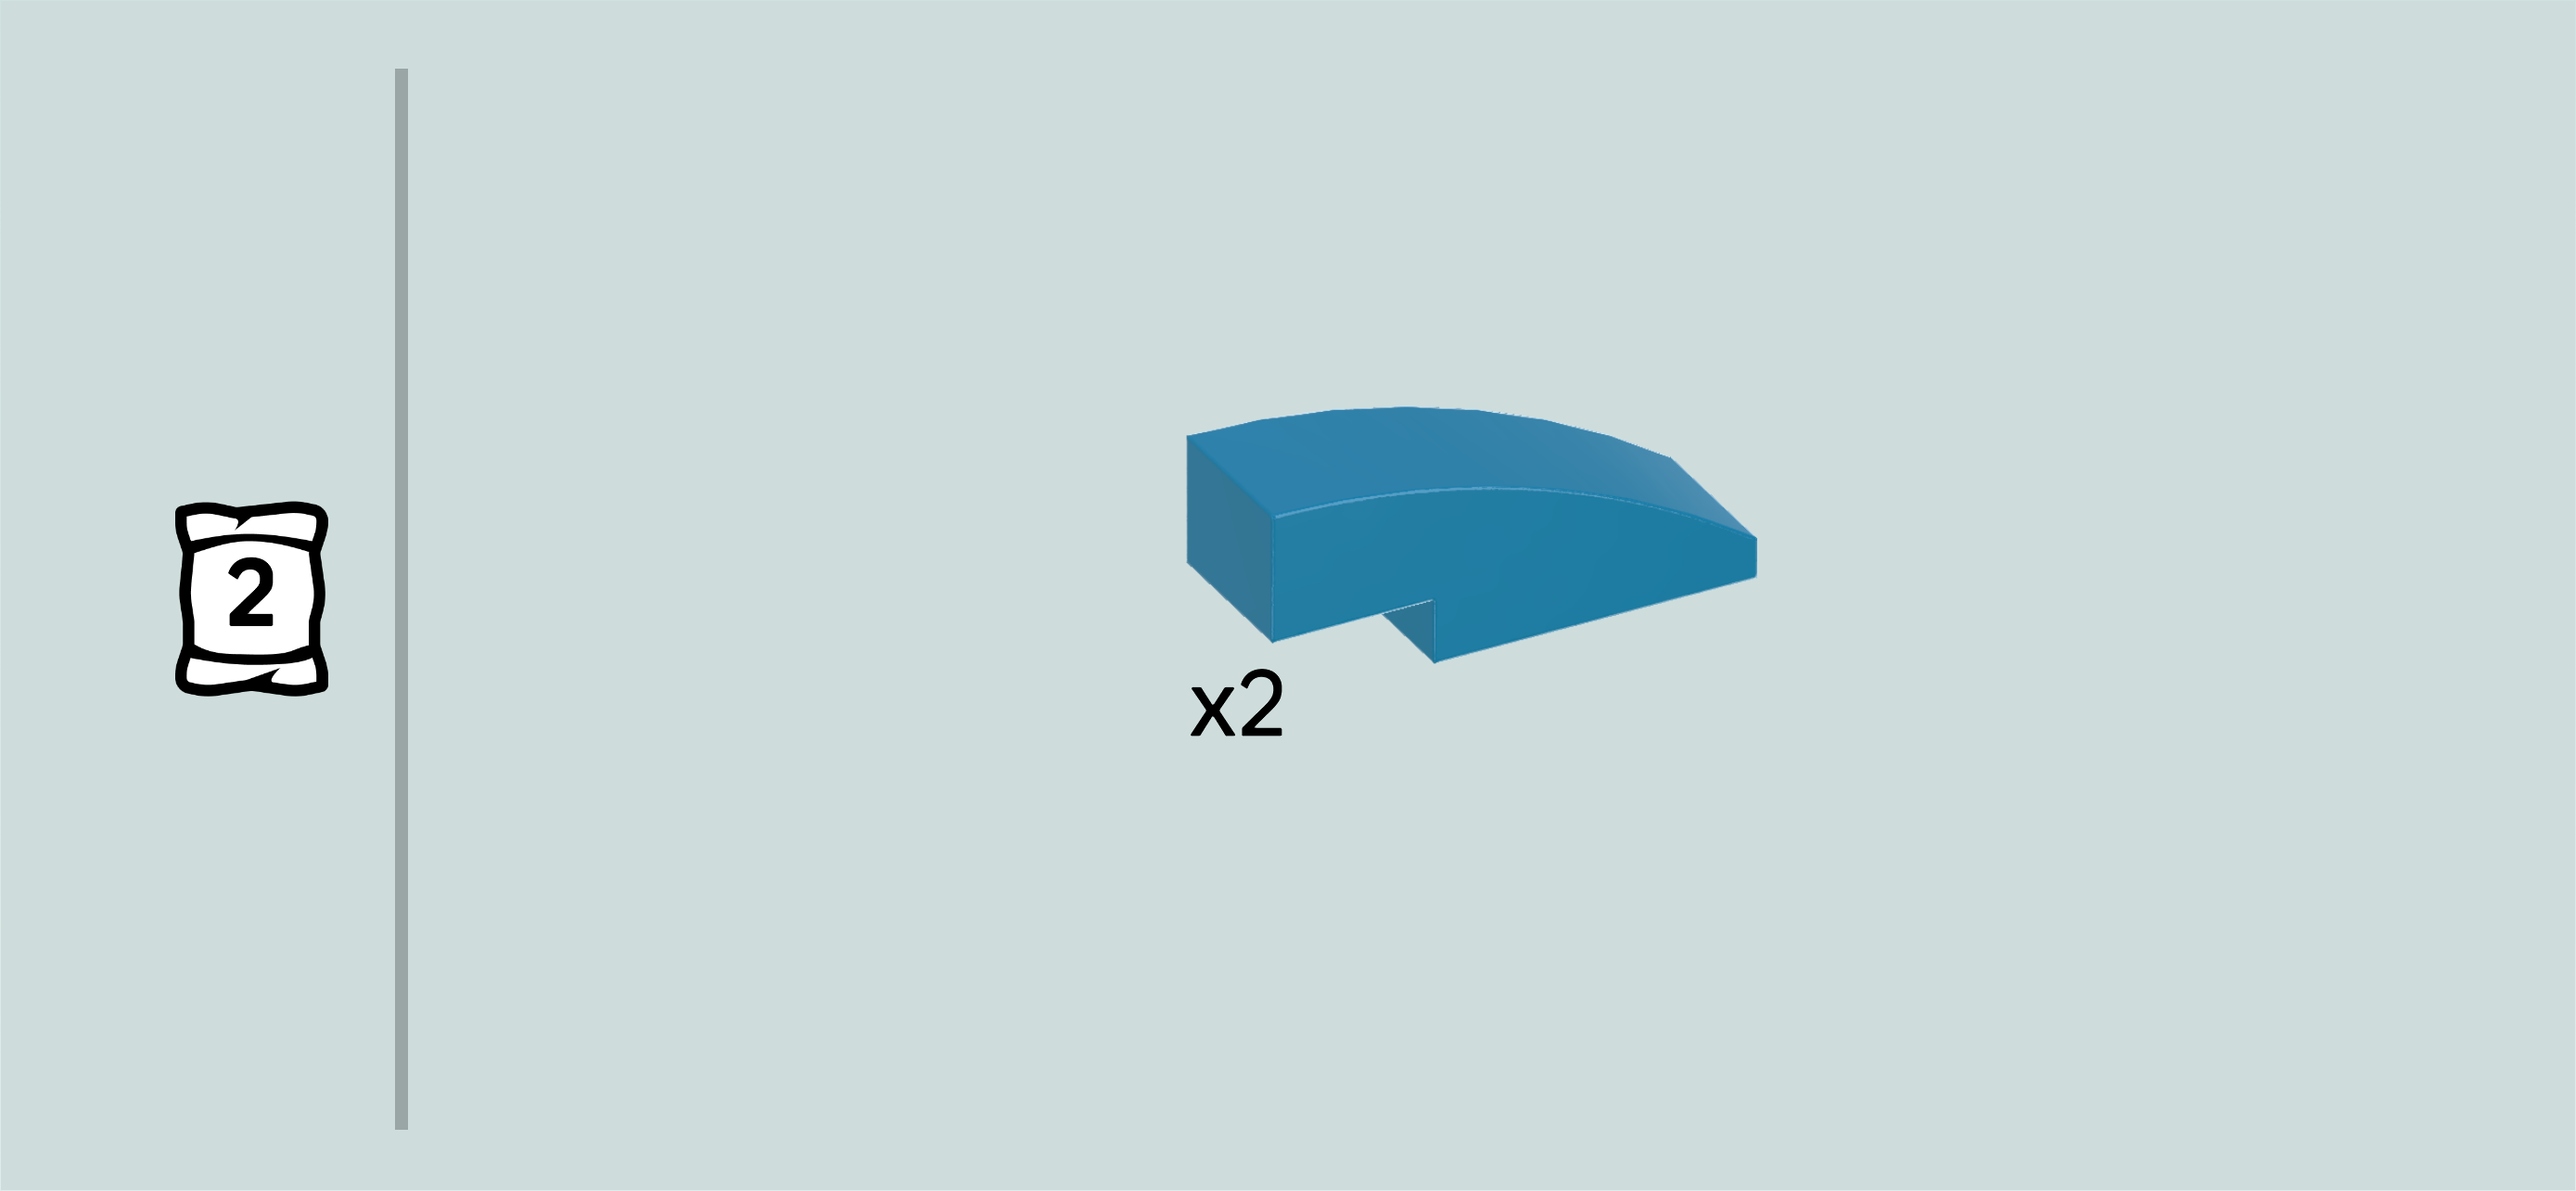
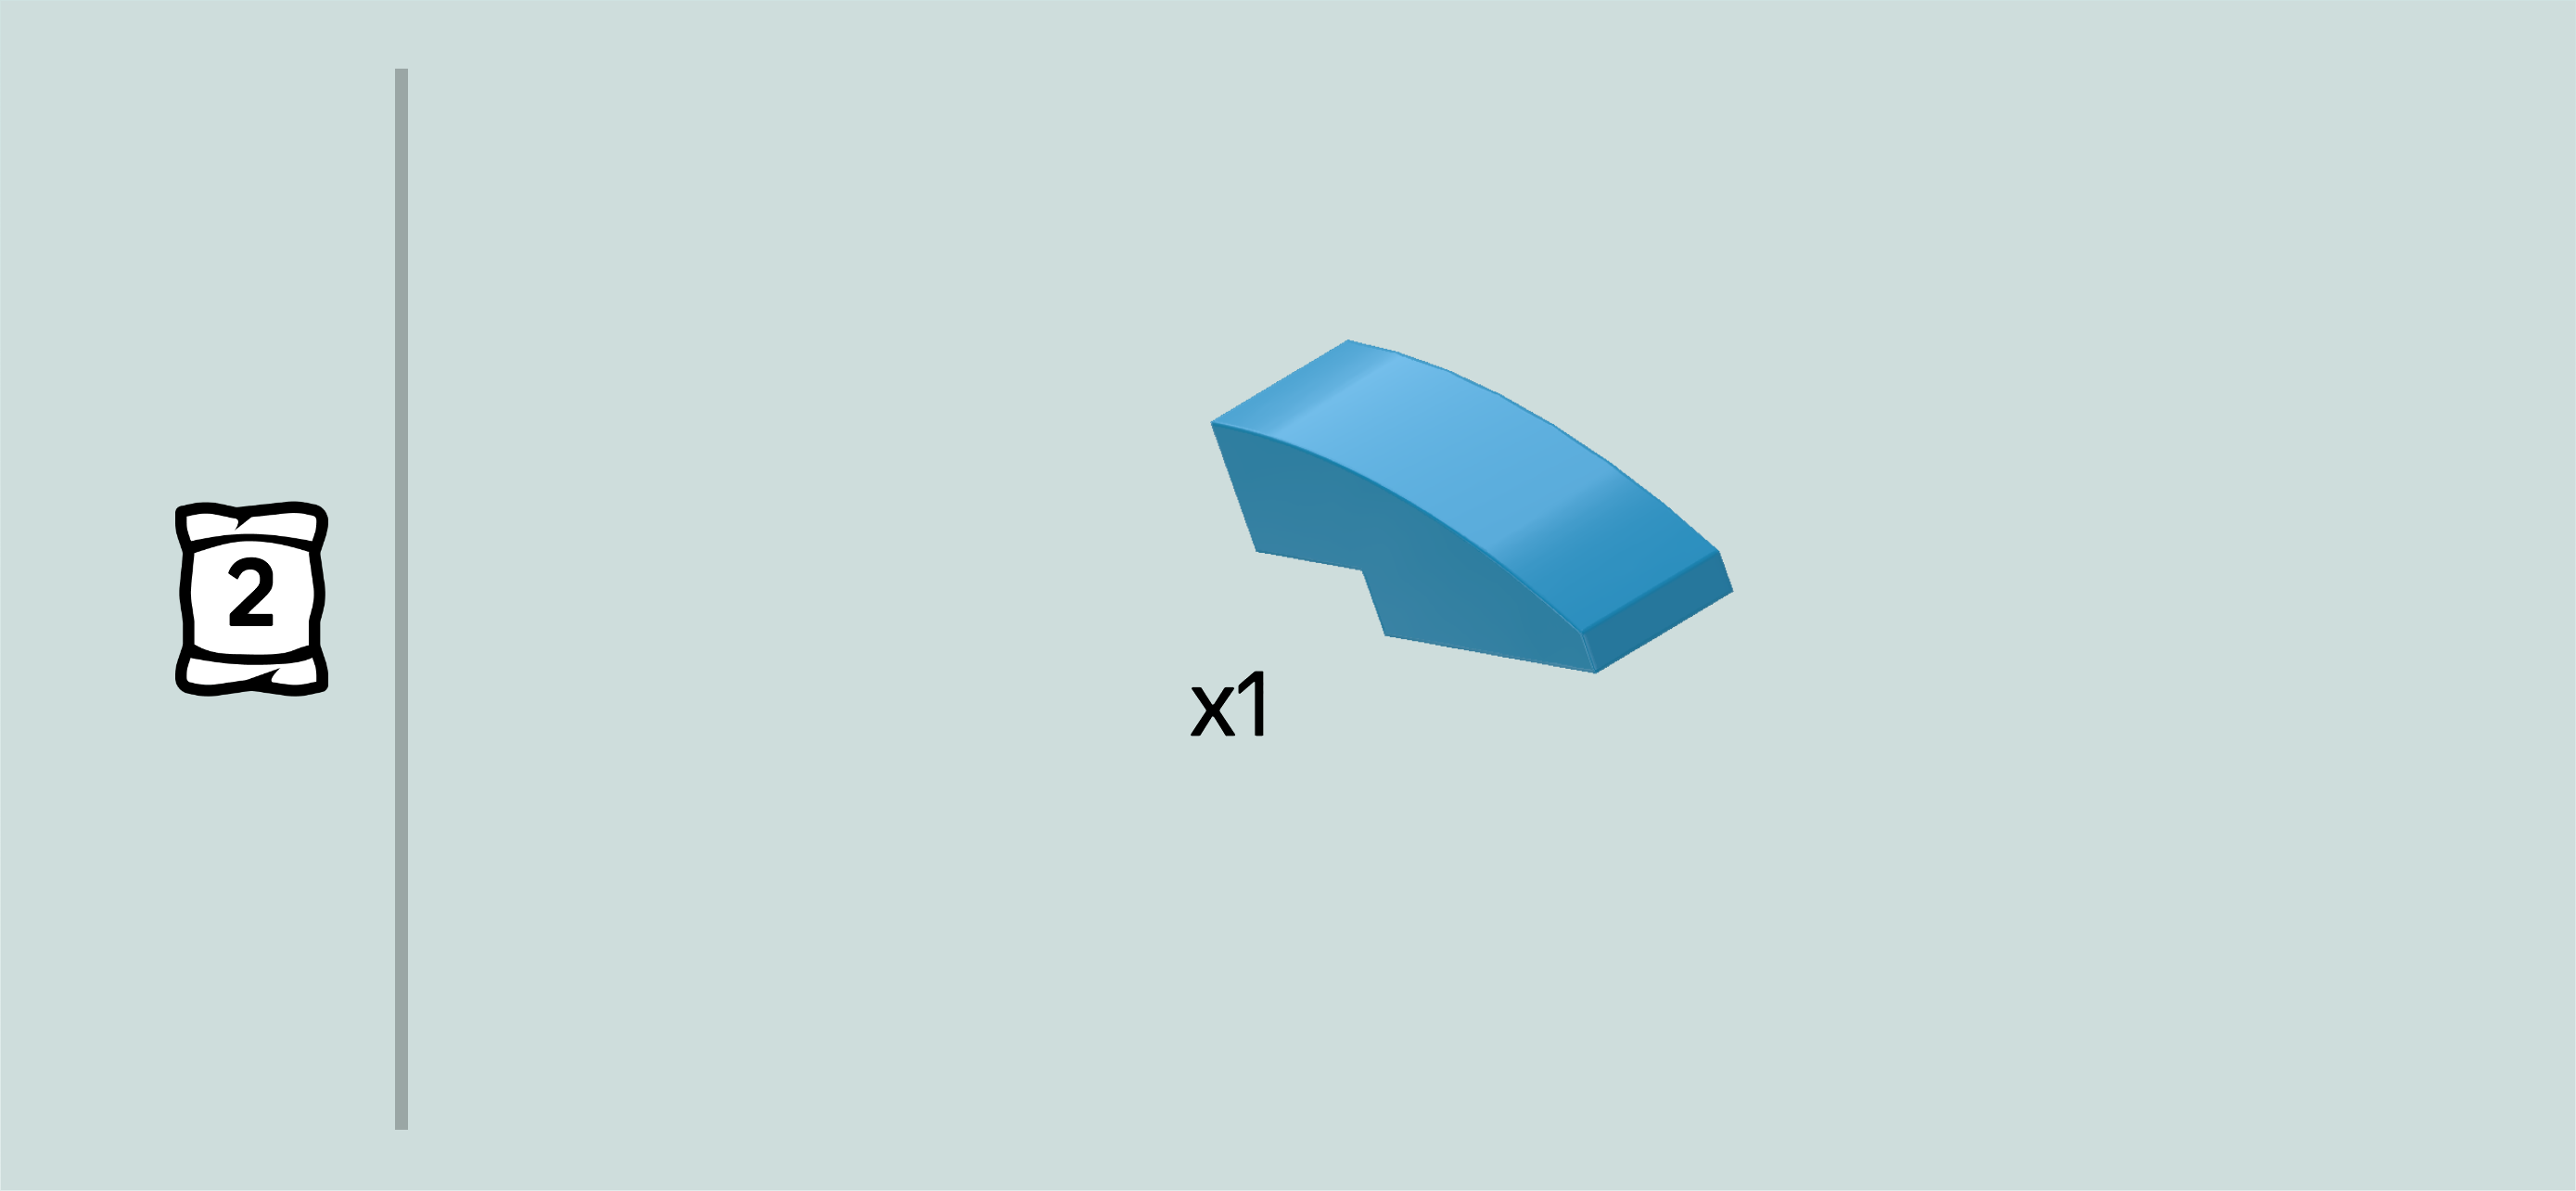
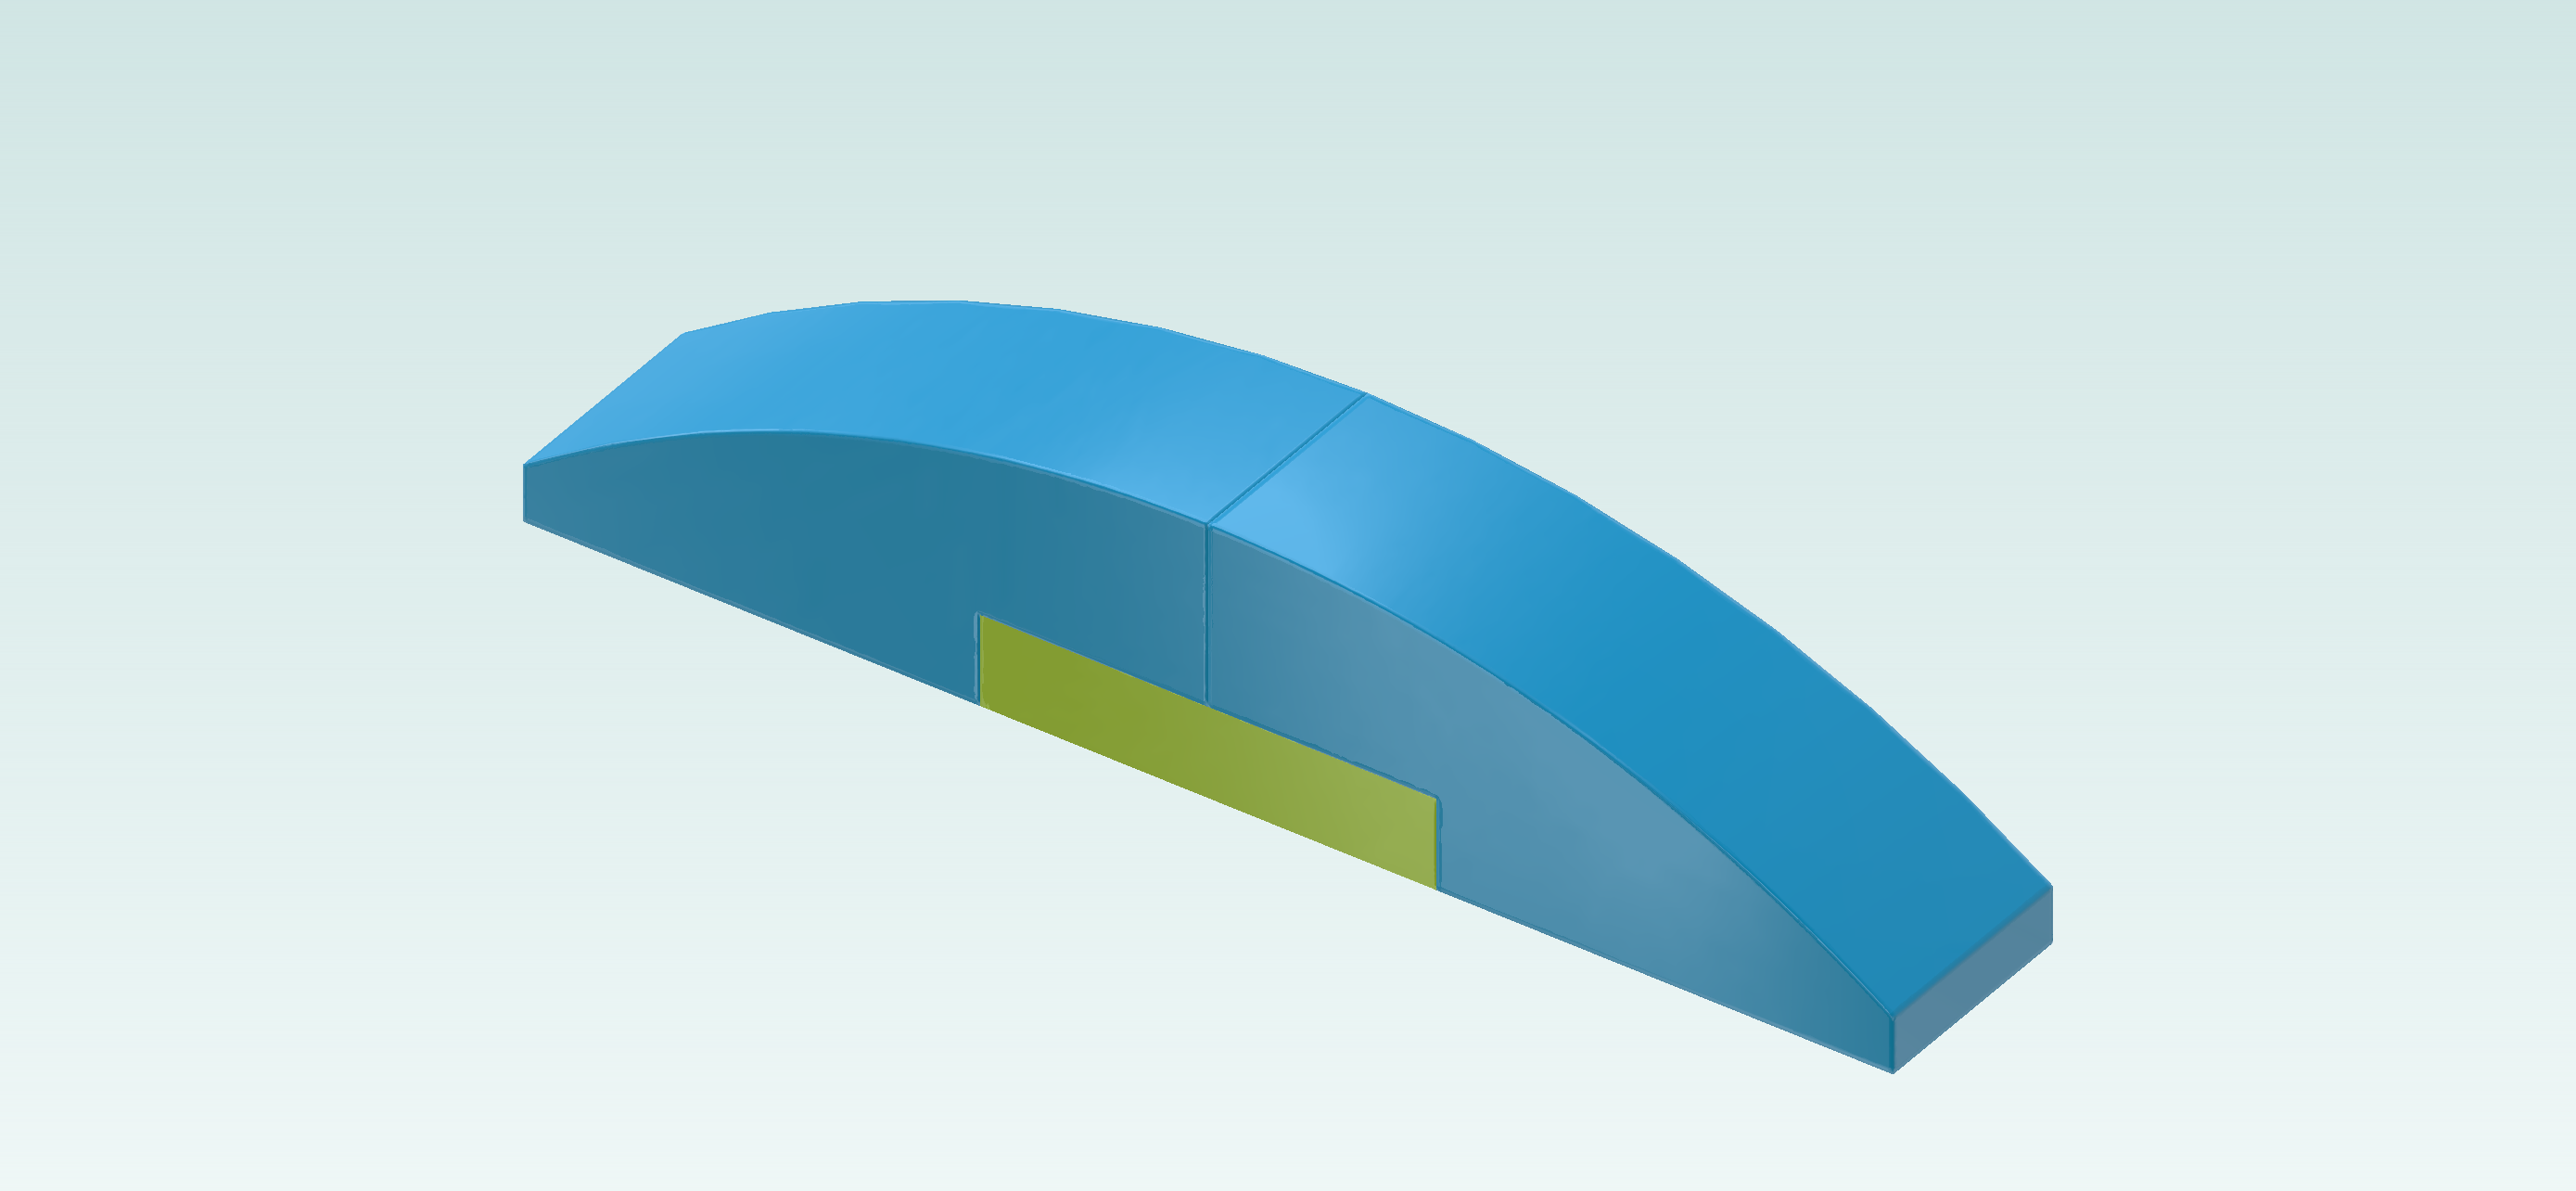
| Find 2 dark azure blue one-stepped curve tiles 1x3. |
| Put 1 horizontally on the left half of the front row, curve to the left. |
| Put the other one horizontally on the right half, curve to the right. These two pieces form the rear bumper. |
| The rear bumper is finished! Flip it upright and mount it horizontally centered on the side knobs pointing to the right. Make sure the bumper is at the bottom edge, pointing to the right, and the rear lights are at the top edge. |
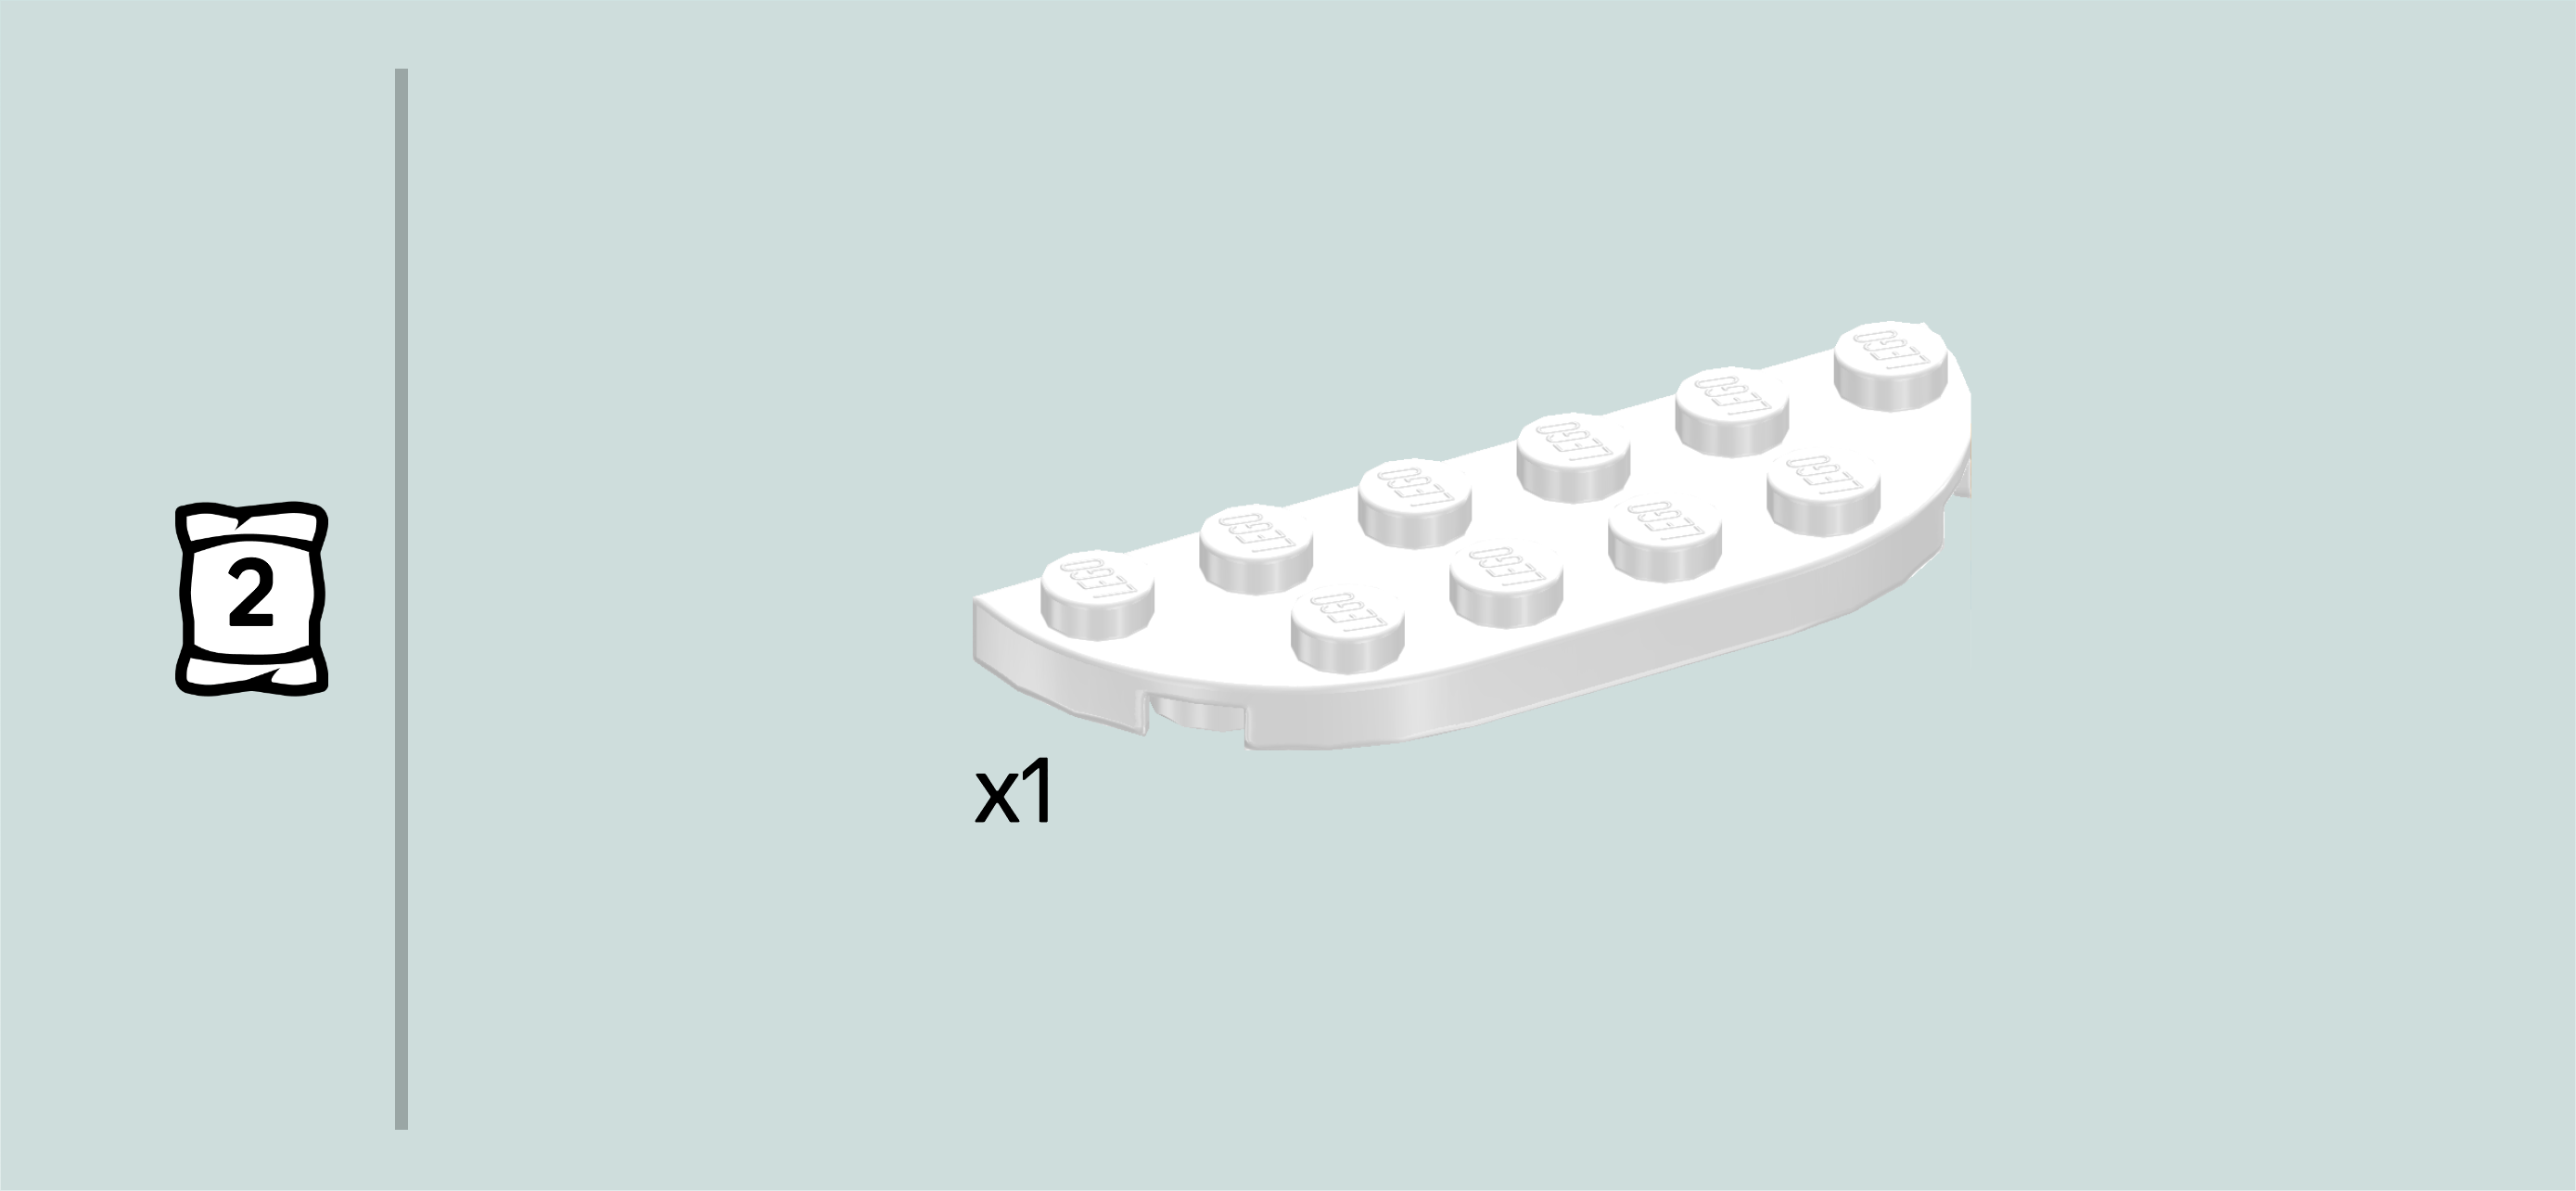
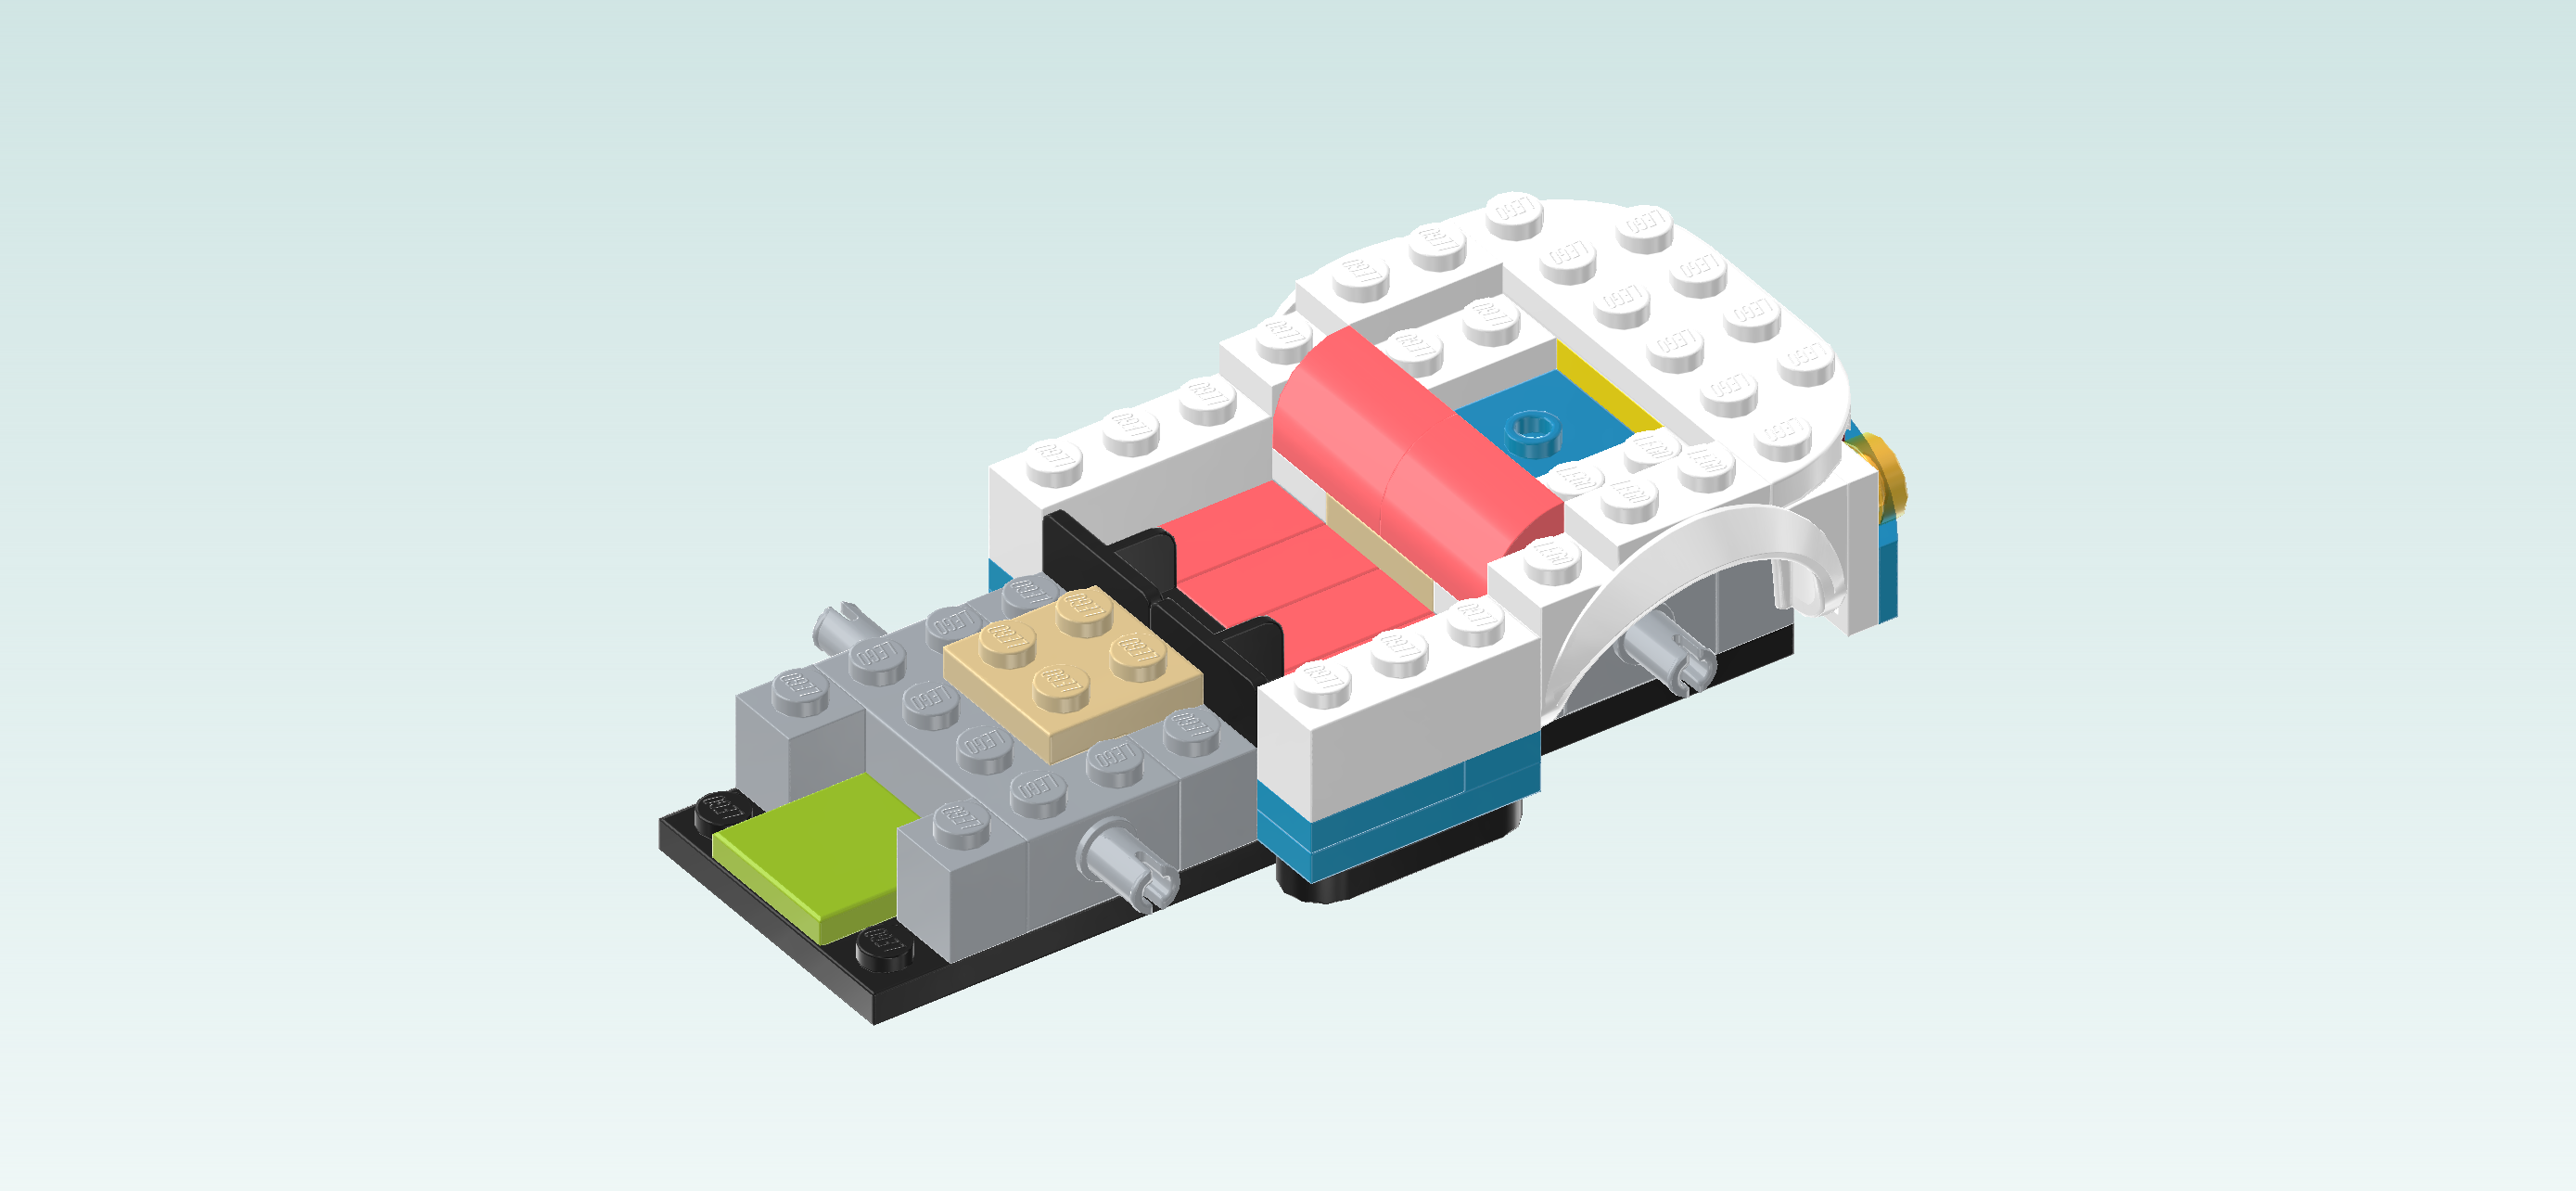
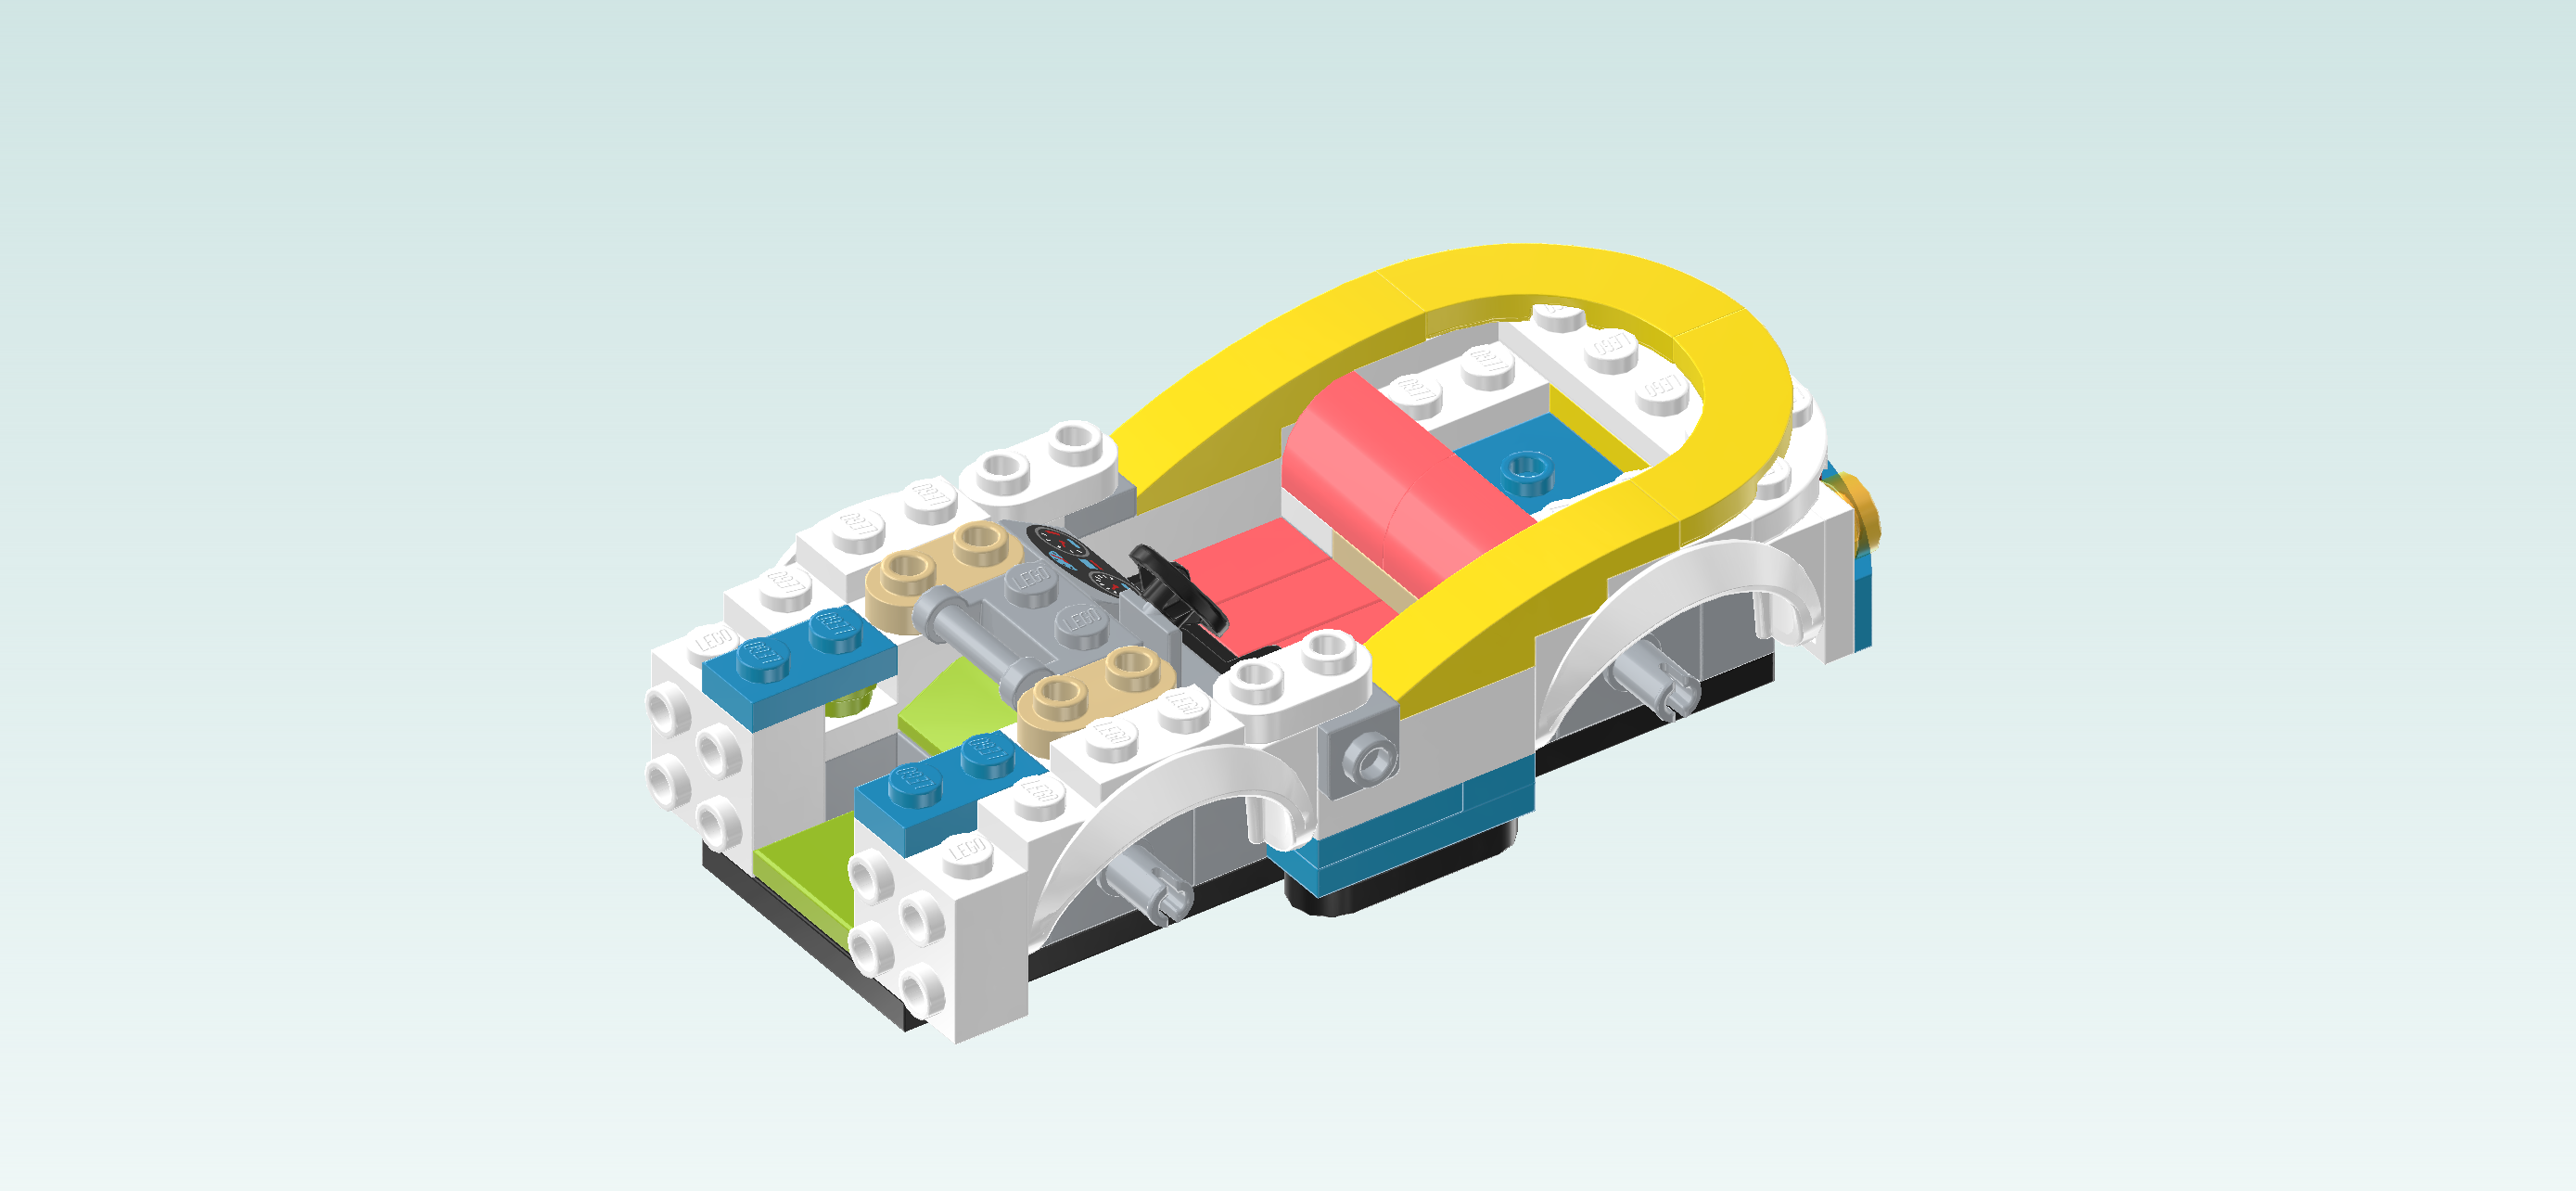
| Find 1 white plate 2x6 with 2 rounded corners. |
| Put it vertically on the 2 rightmost columns, rounded corners to the right. |
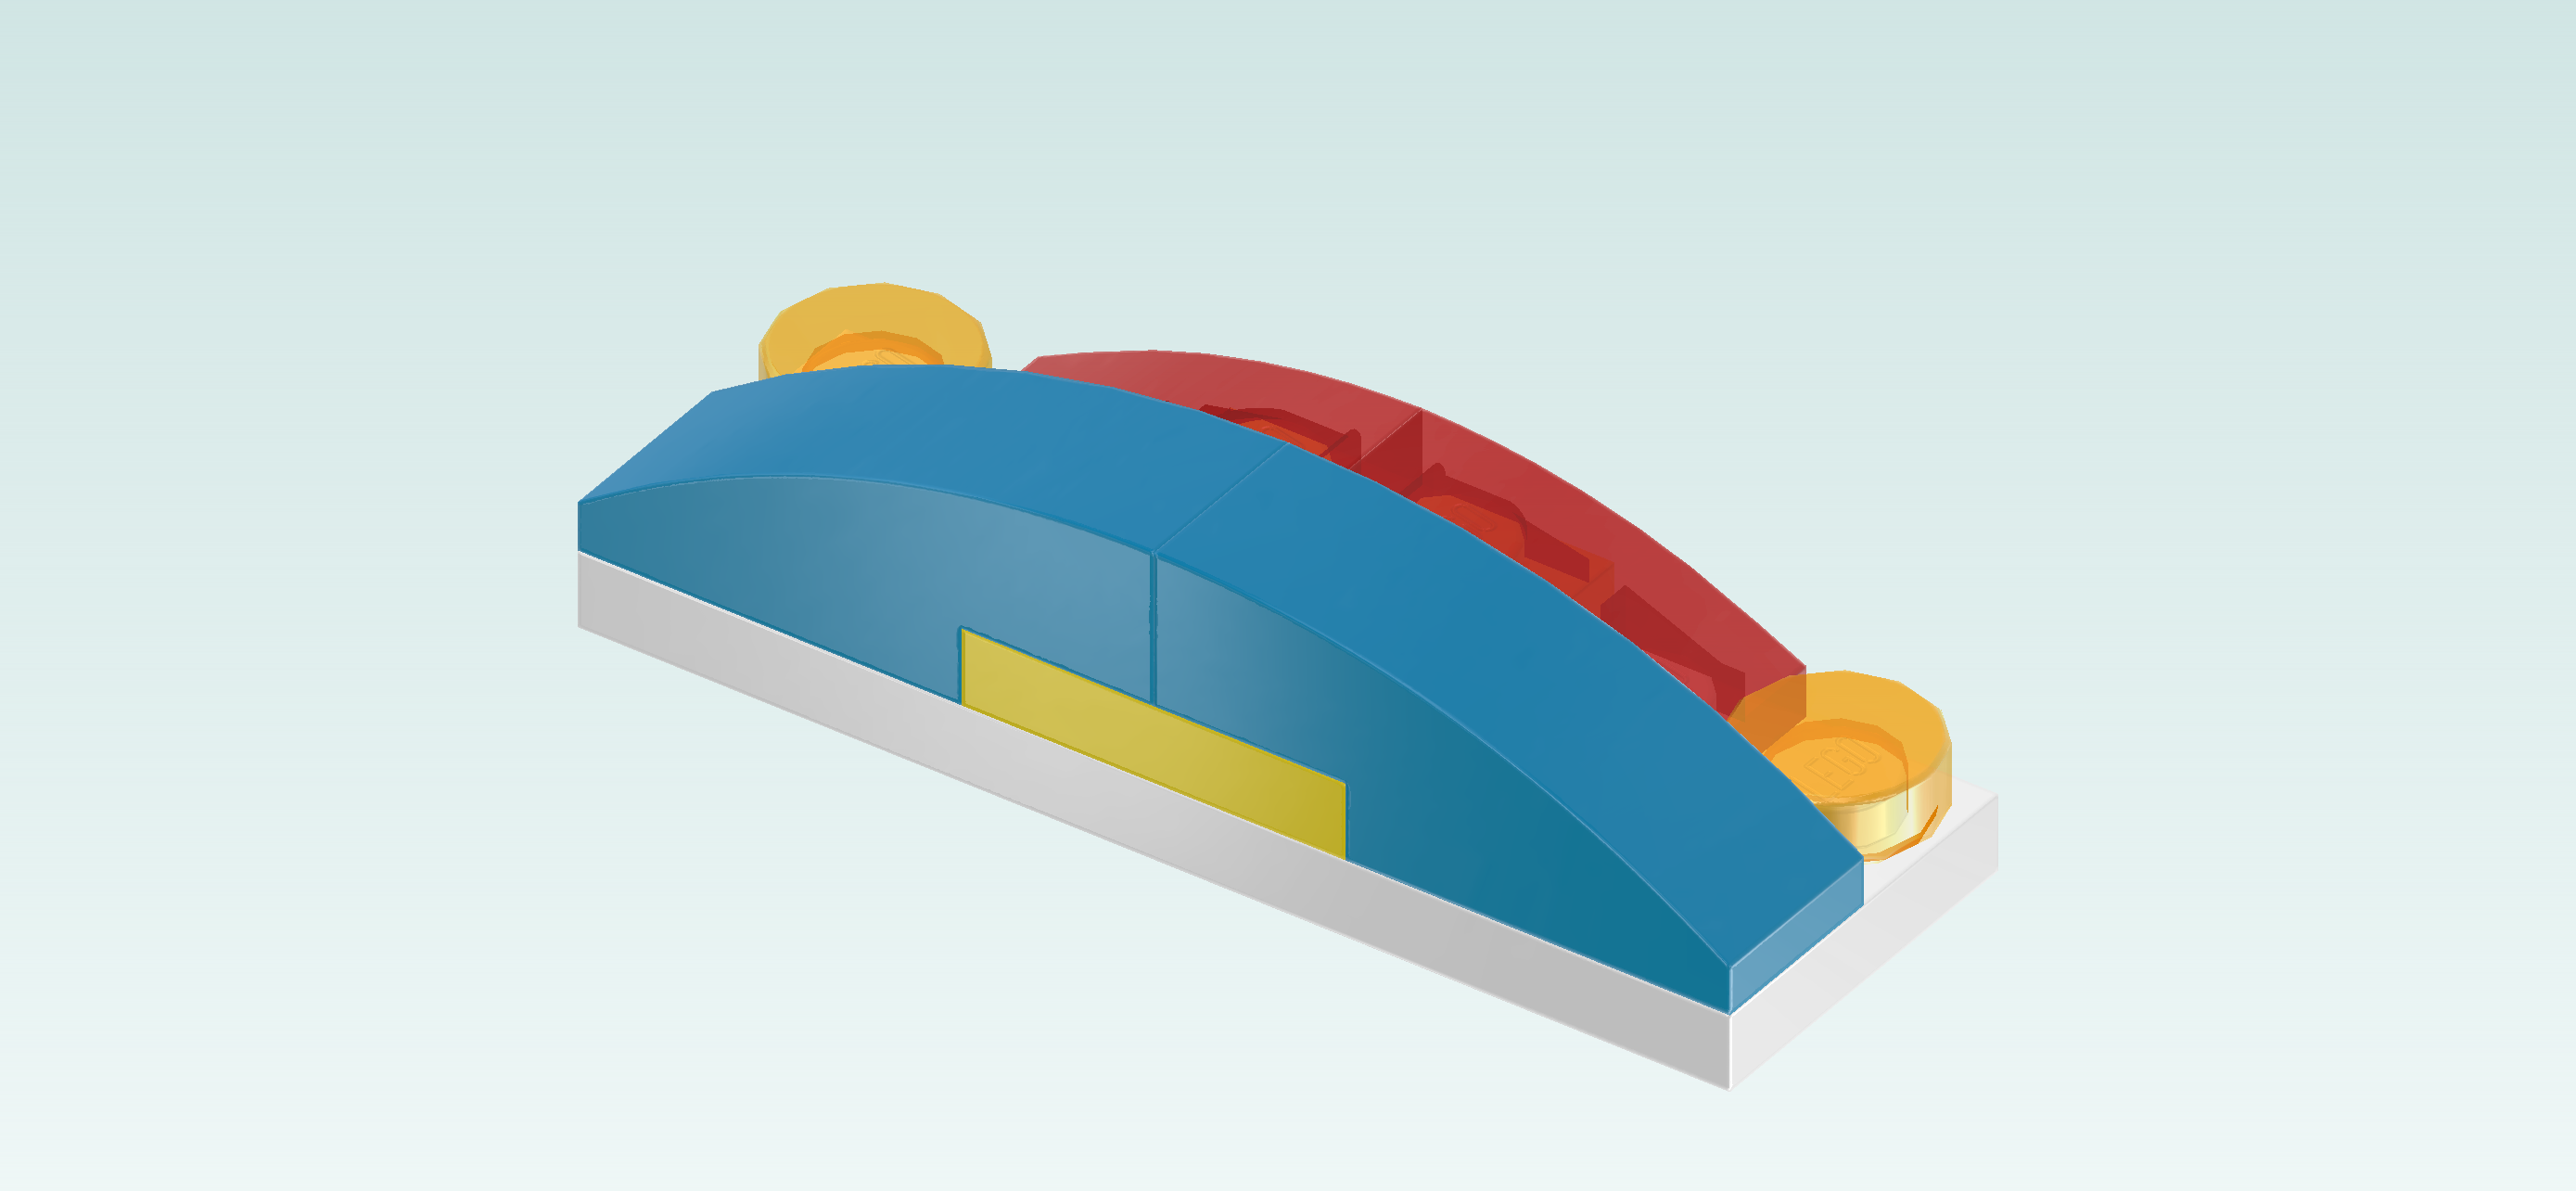
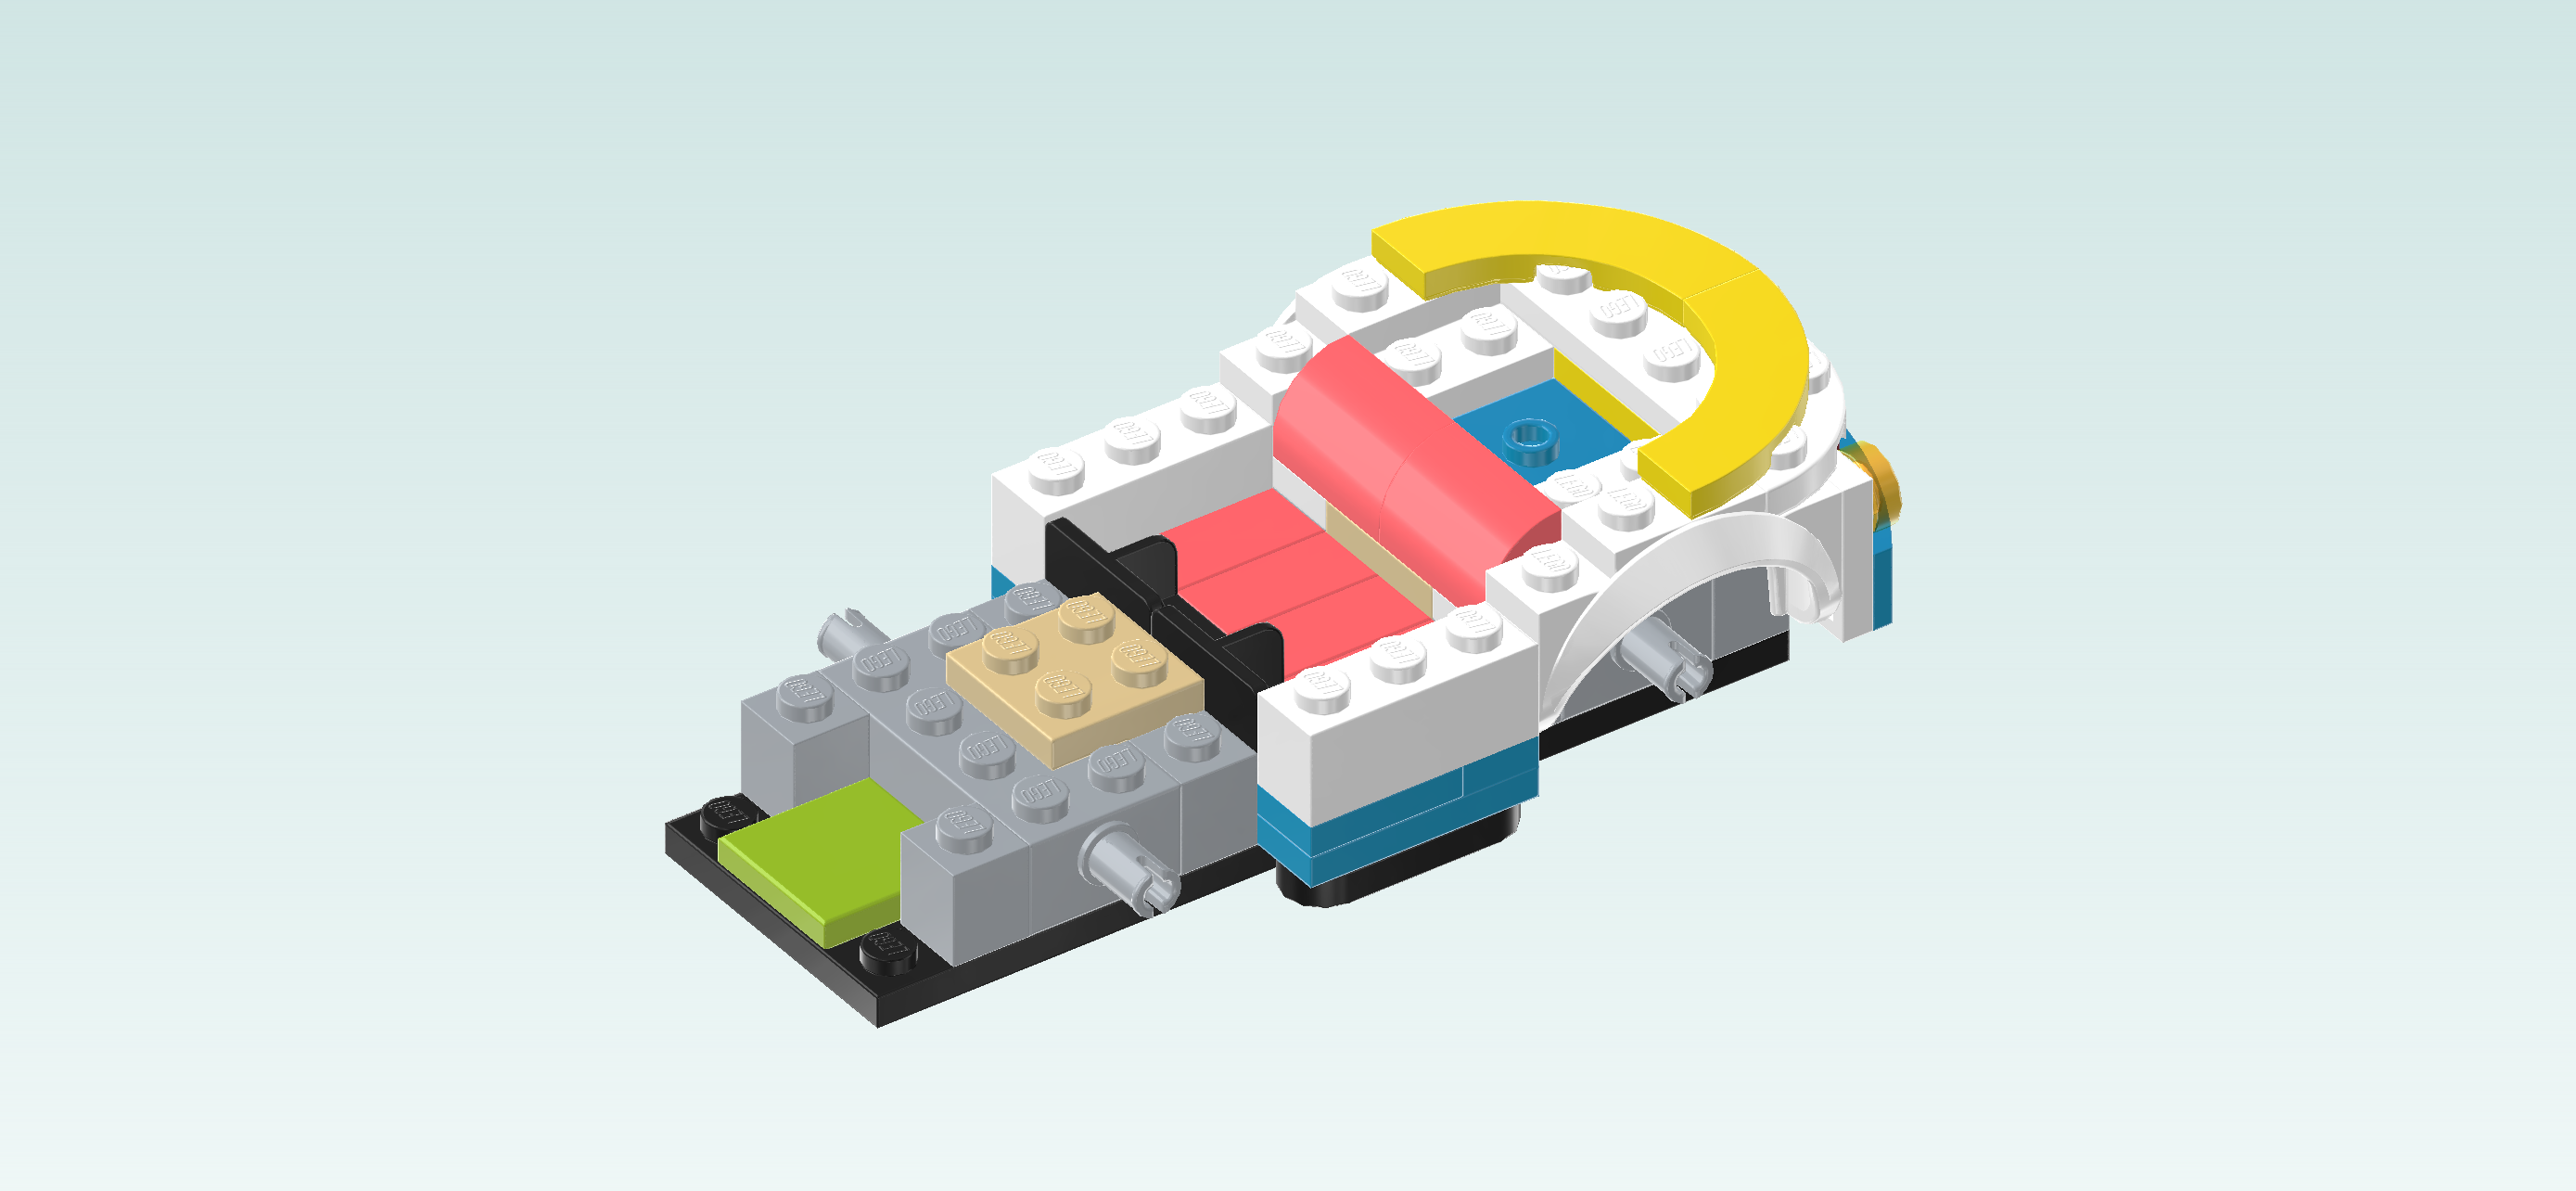
| Find 2 bright yellow quarter-arch tiles 3x3. |
| Put 1 on the back half of the previous piece, outer arch to the back right. Its leftmost third will connect to the mudguard brick. |
| Put the other one in front of the previous piece on the front half of the plate with rounded corners, outer arch to the front right. |
| If done correctly, these two pieces will form a half circle on the right edge of the vehicle. |
| Find 2 bright yellow two-stepped curve tiles 1x4. |
| Put 1 horizontally on the frontmost row, directly to the left of the previous piece, curve to the left. |
| Repeat symmetrically at the back. |
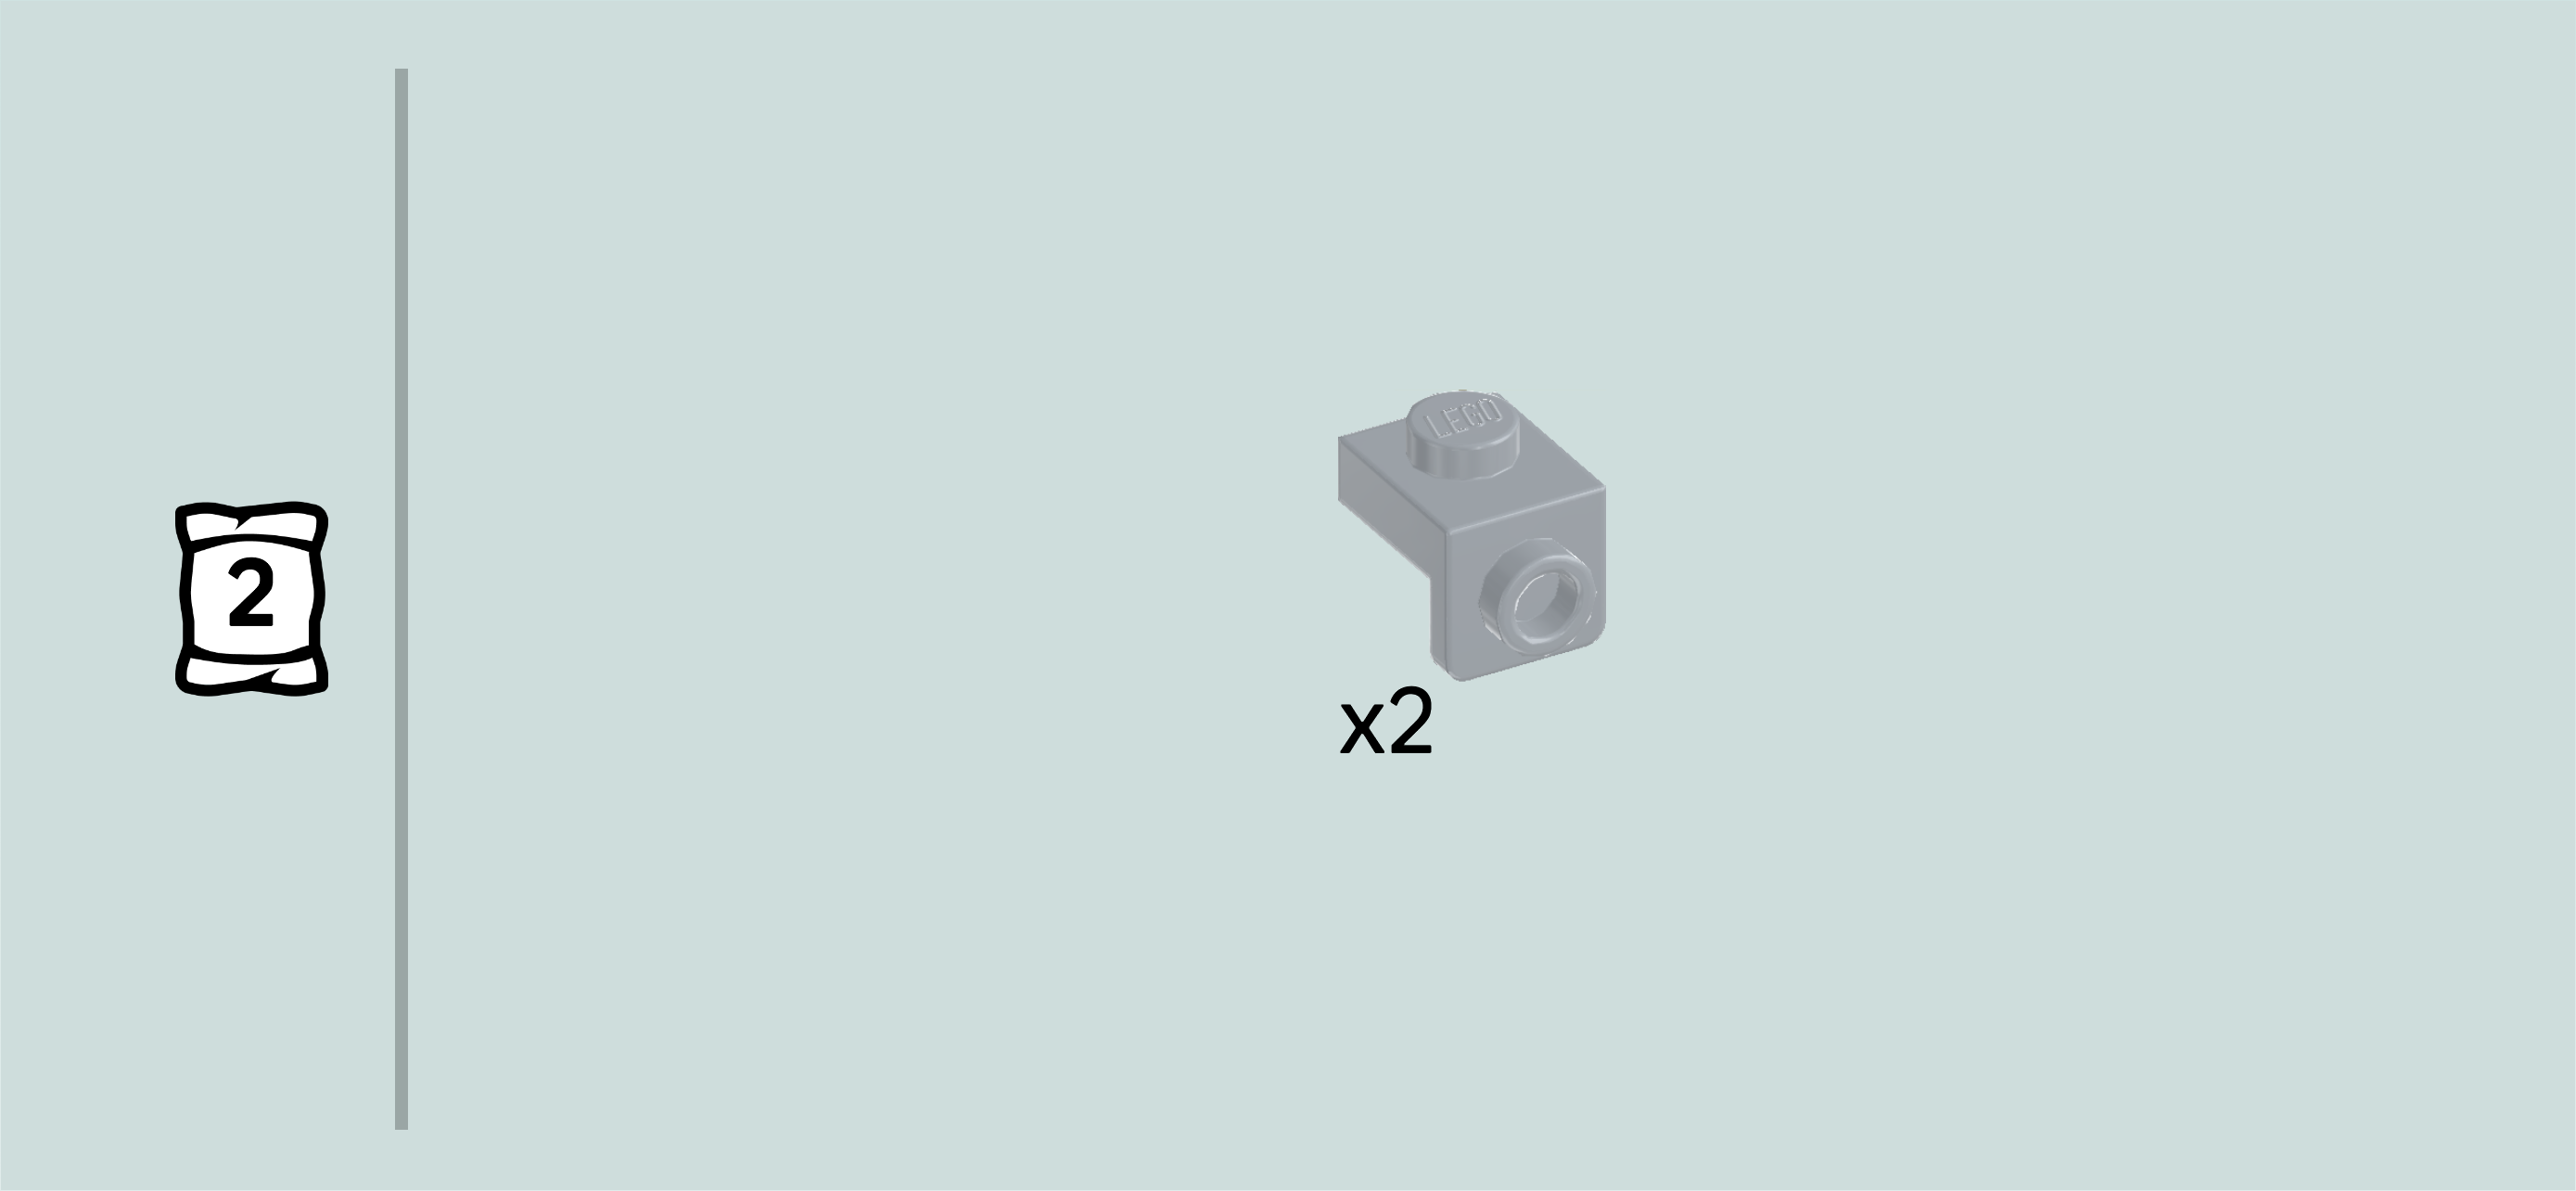
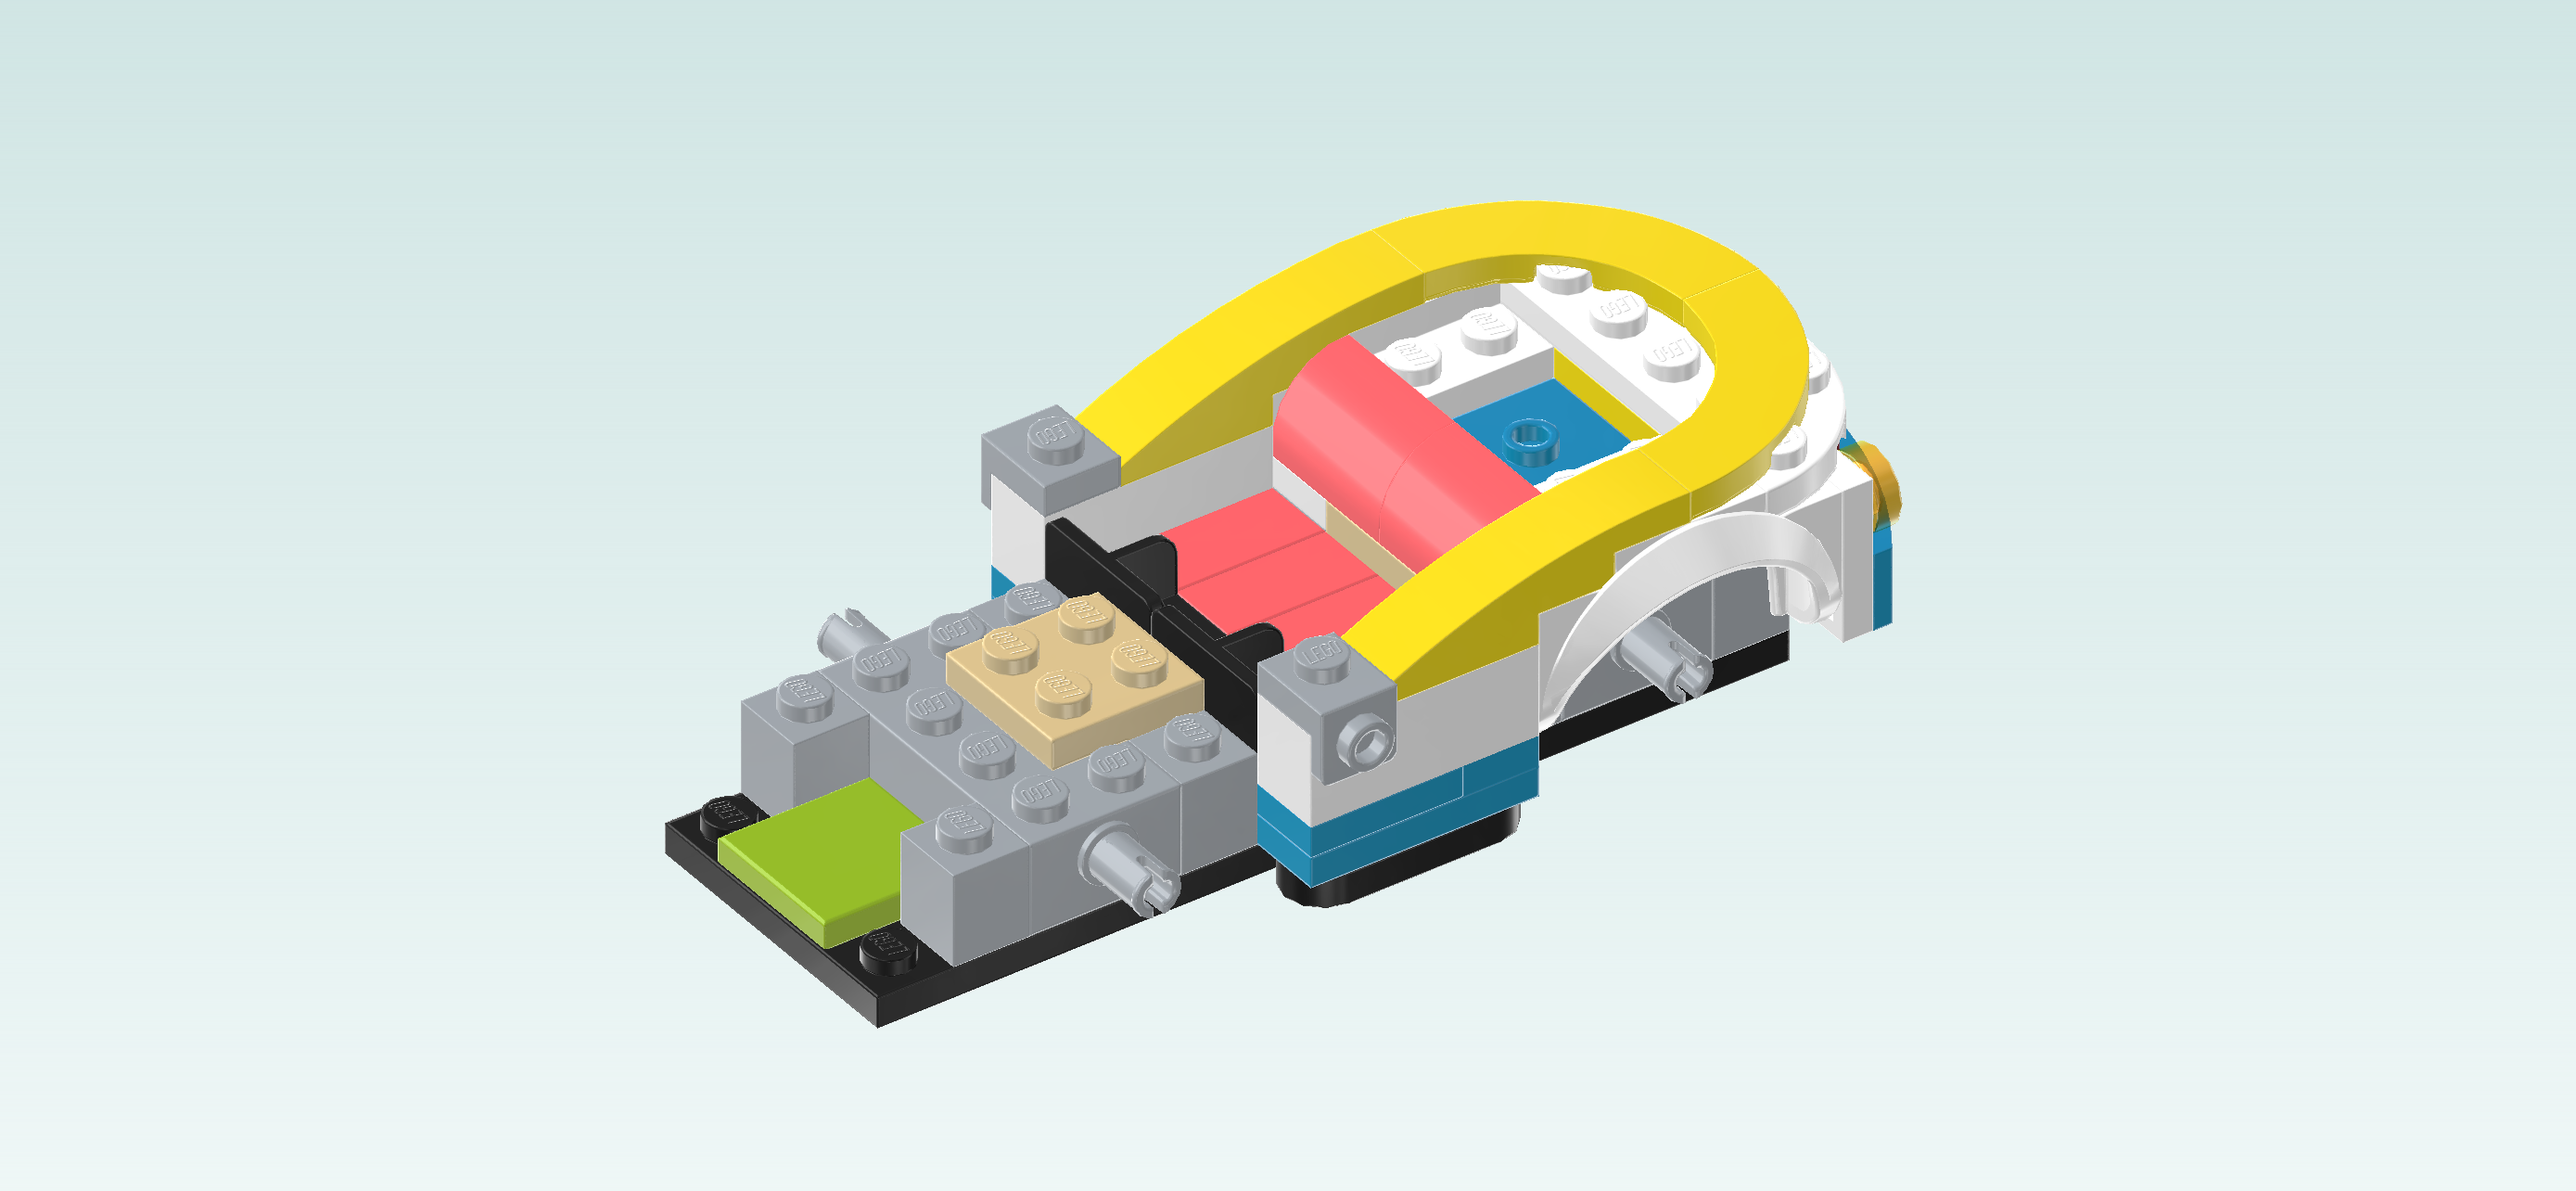
| Find 2 medium stone grey top angle plates 1x1 - 1x1 with side knob. |
| Put 1 to the left of the previous piece, side knob overhanging to the back. |
| Repeat symmetrically at the front, side knob overhanging to the front. |
| The side knobs of these 2 angle plates will be the charging docks of the electric car! |
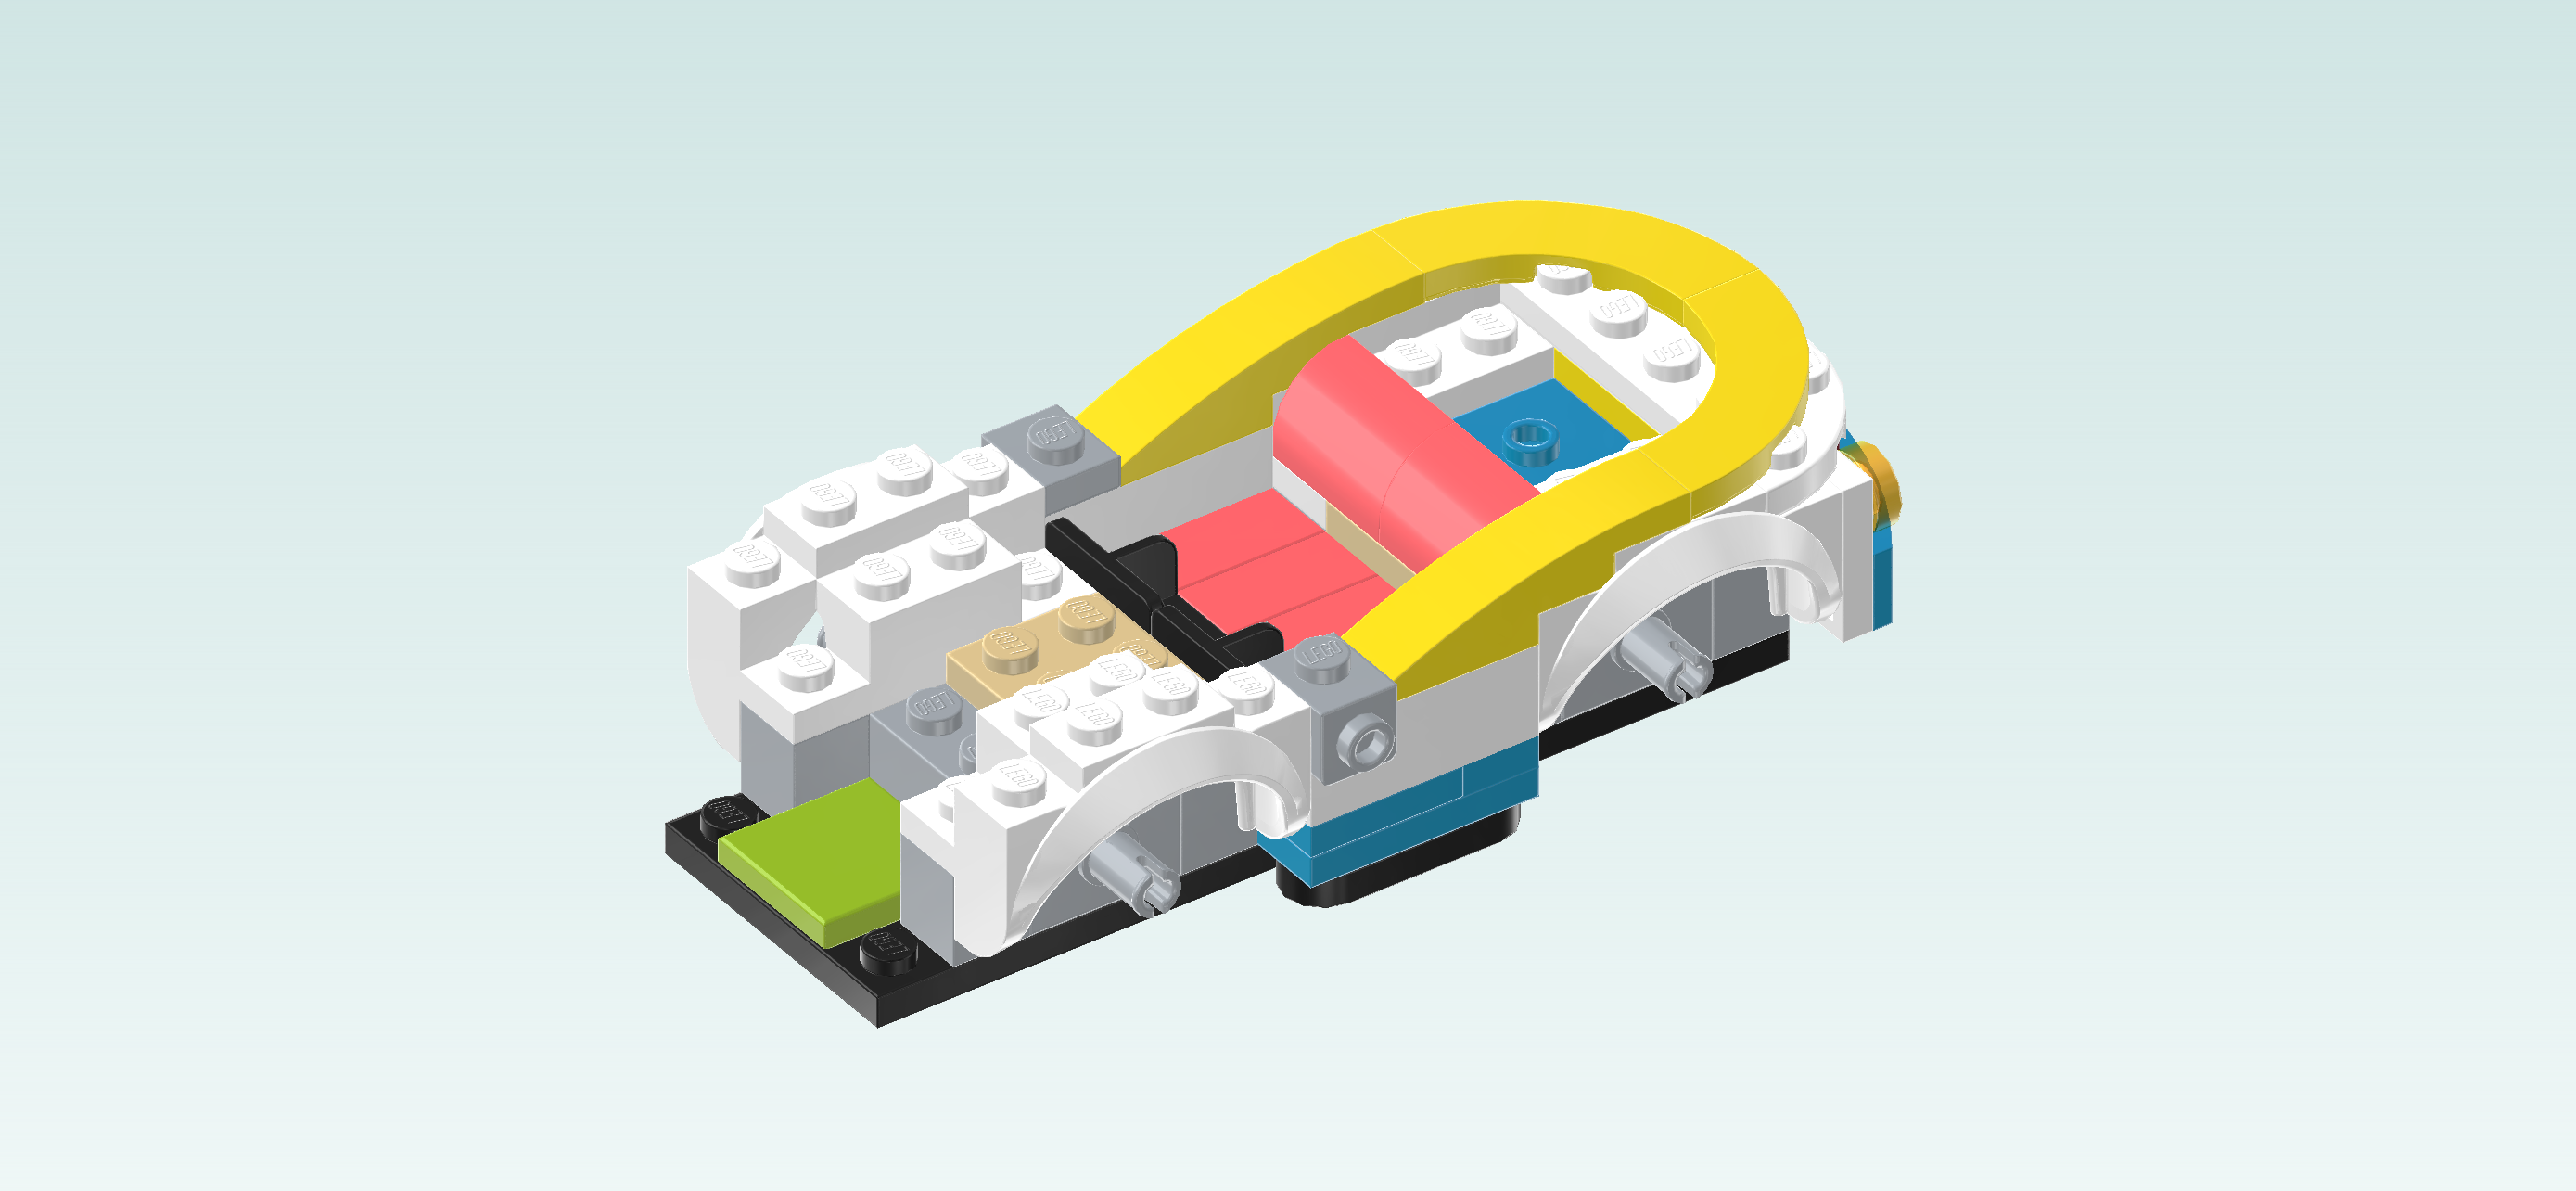
| Find 2 white stepped bricks 2x4 with side mudguard. |
| Put 1 horizontally to the left of the previous piece, 1 row and mudguard overhanging to the front, hovering directly above the left connector that is pointing to the front. |
| Repeat symmetrically at the back, 1 row and mudguard overhanging to the back. |
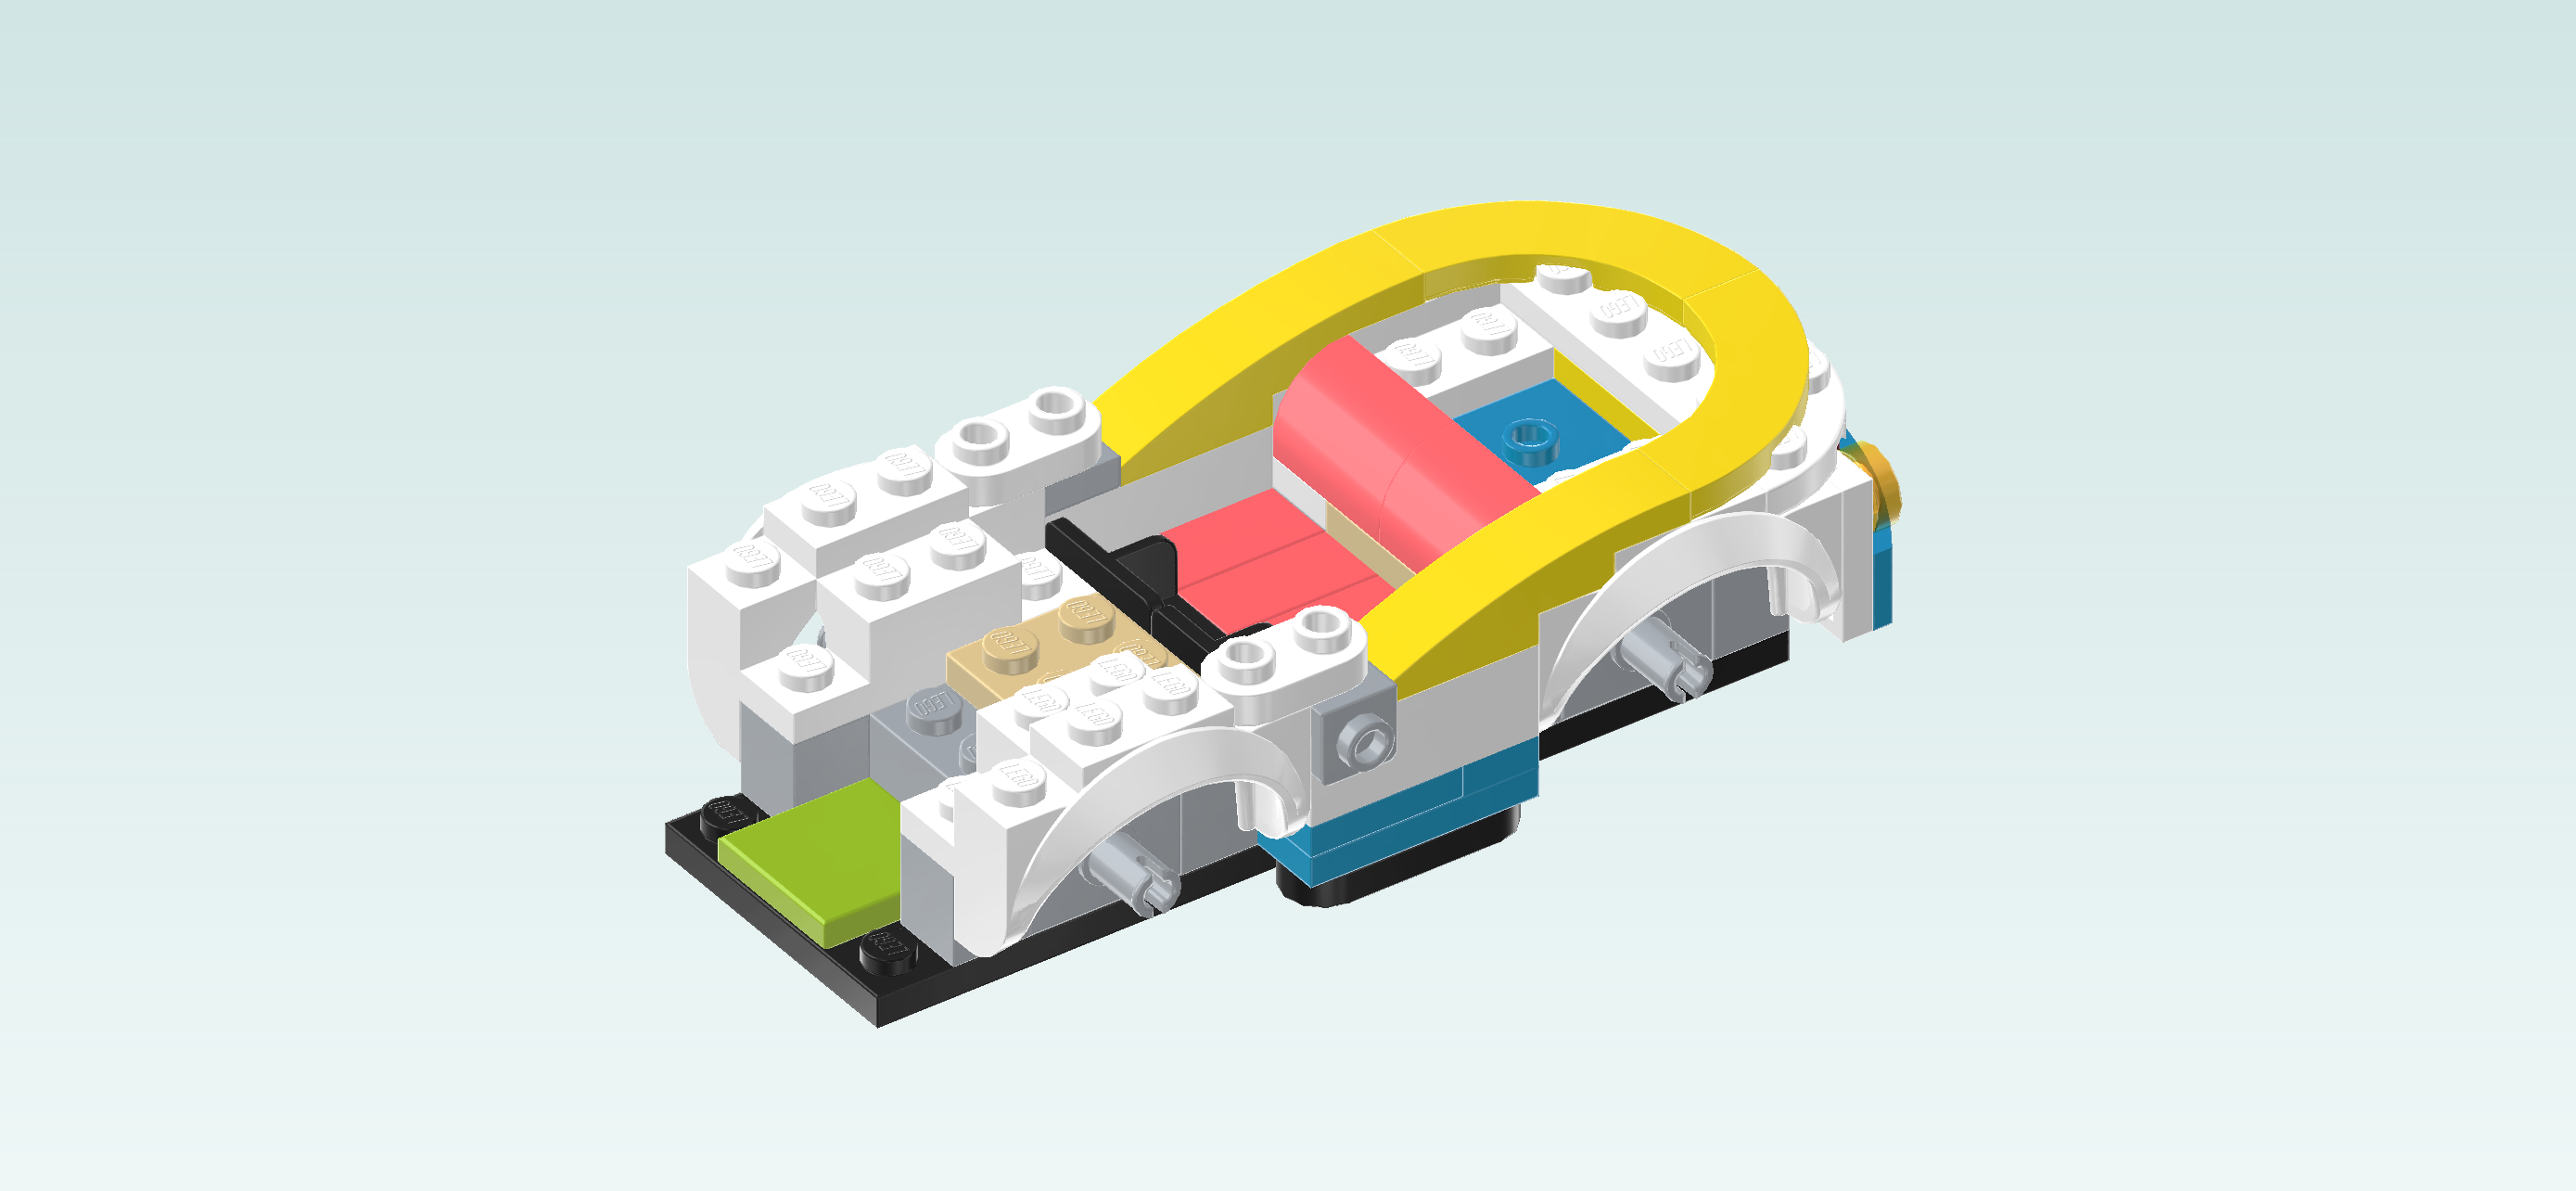
| Find 2 white rounded plates 1x2. |
| Put 1 horizontally on the frontmost row, directly to the left of the curve tile 2x4. |
| This will connect the mudguard brick with the 1x1 angle plate at the front. |
| Repeat symmetrically at the back. |
| Next, we build the dash panel. |
| Collect the following 2 pieces: |
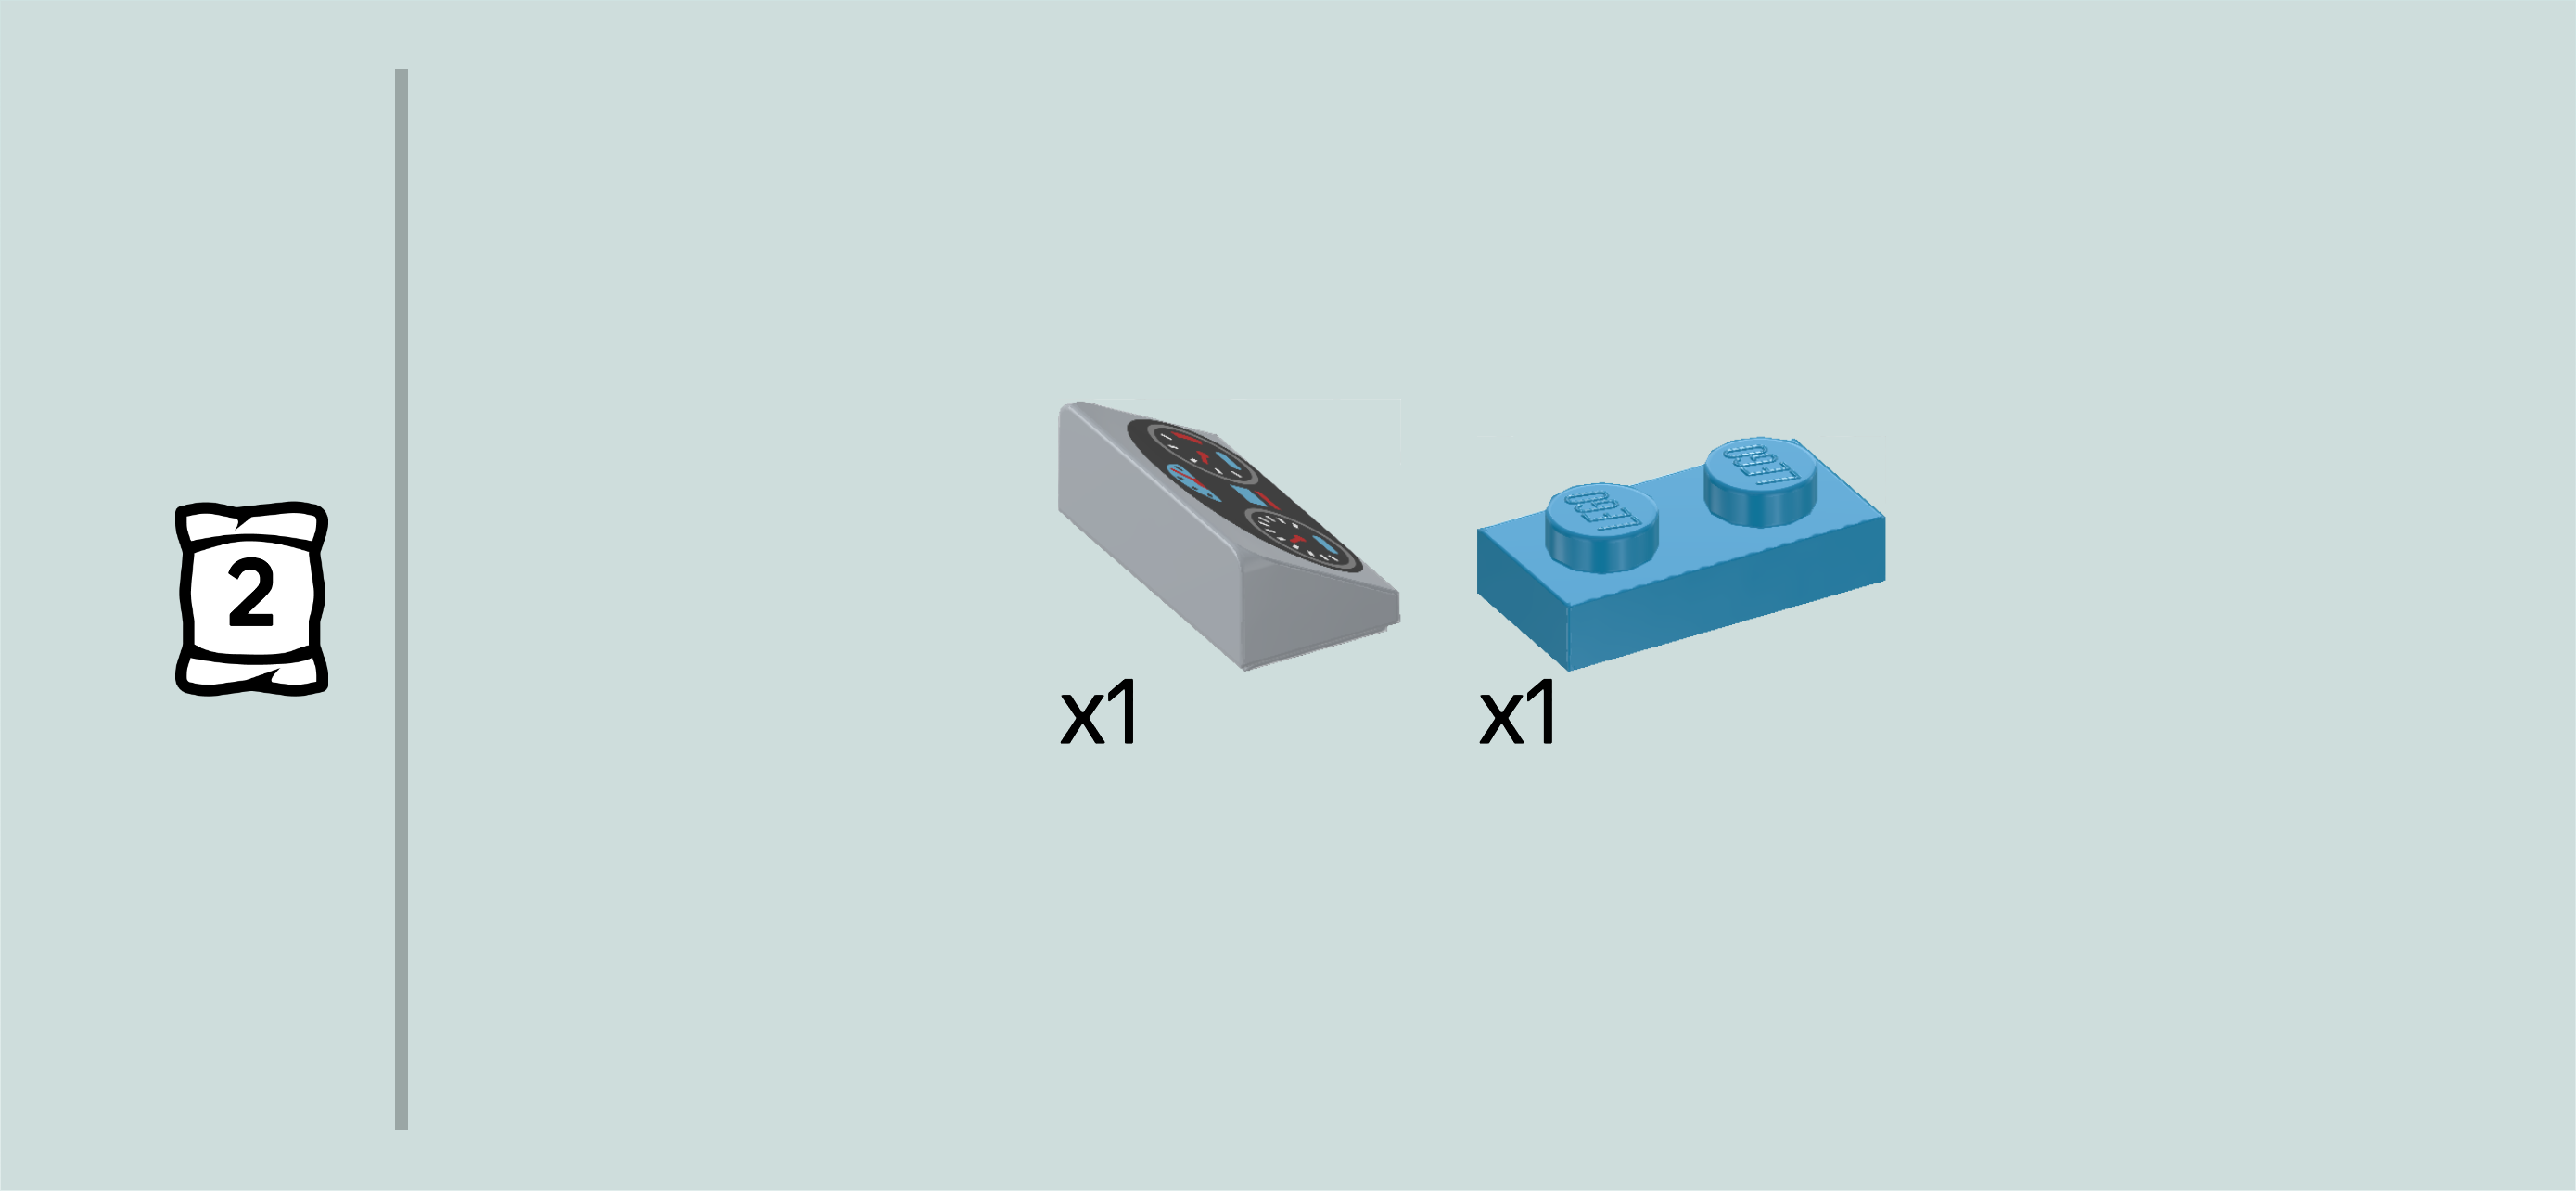
| 1 medium stone grey smooth roof tile 1x2x⅔, |
| and 1 dark azure blue plate 1x2. |
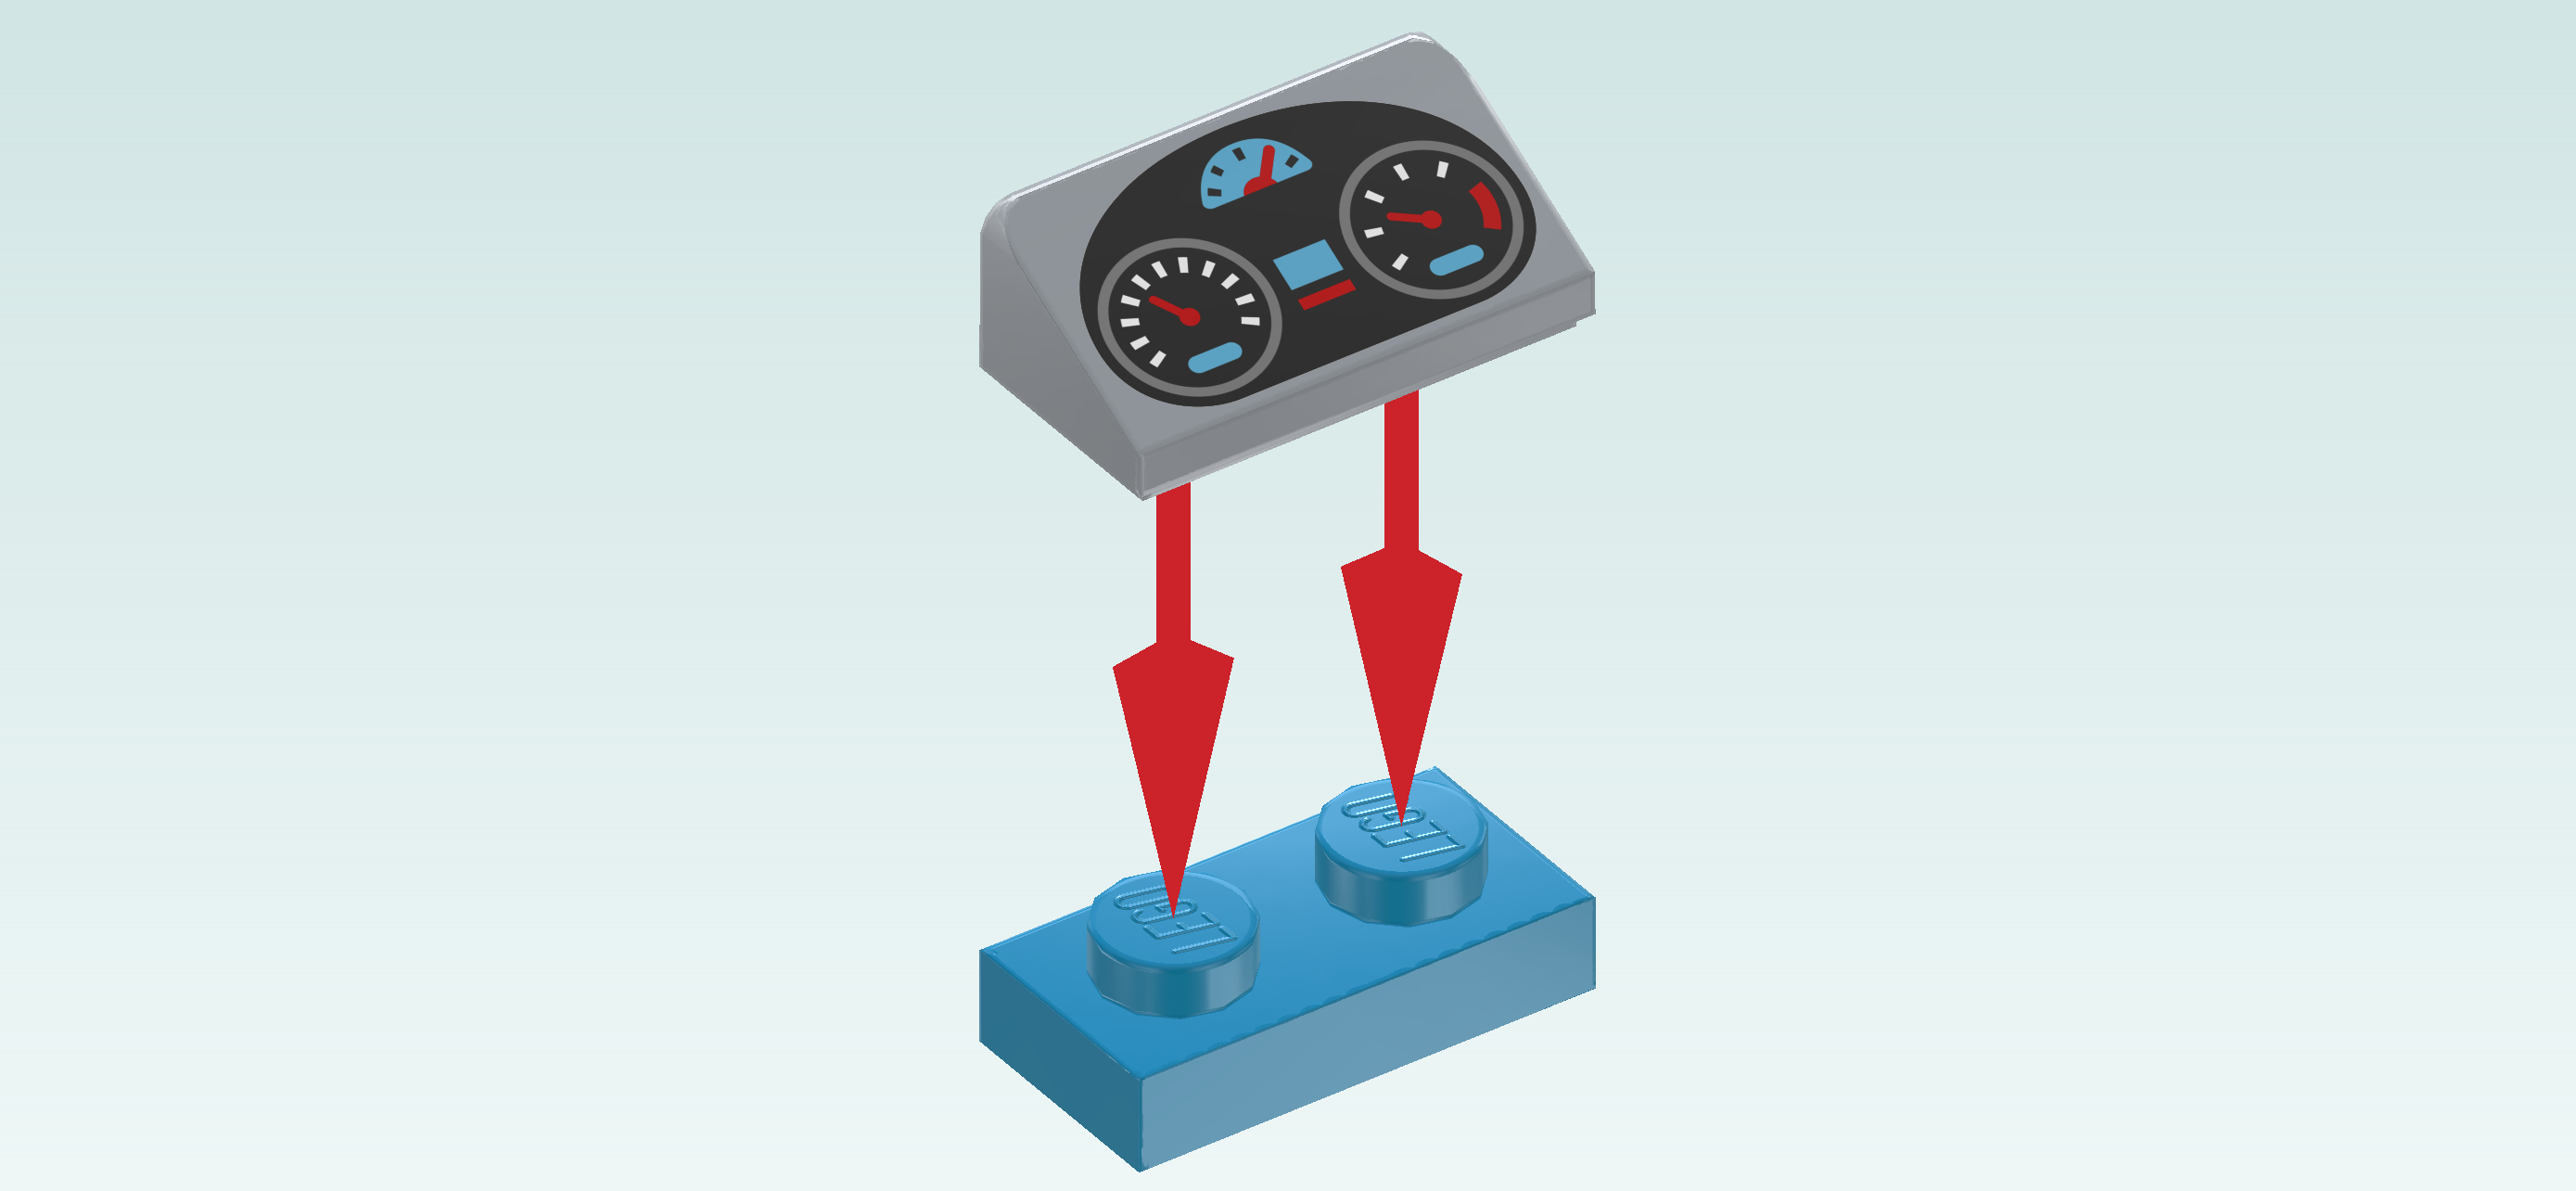
| Put the plate 1x2 vertically on the table. |
| Put the roof tile vertically on top, slope to the right. |
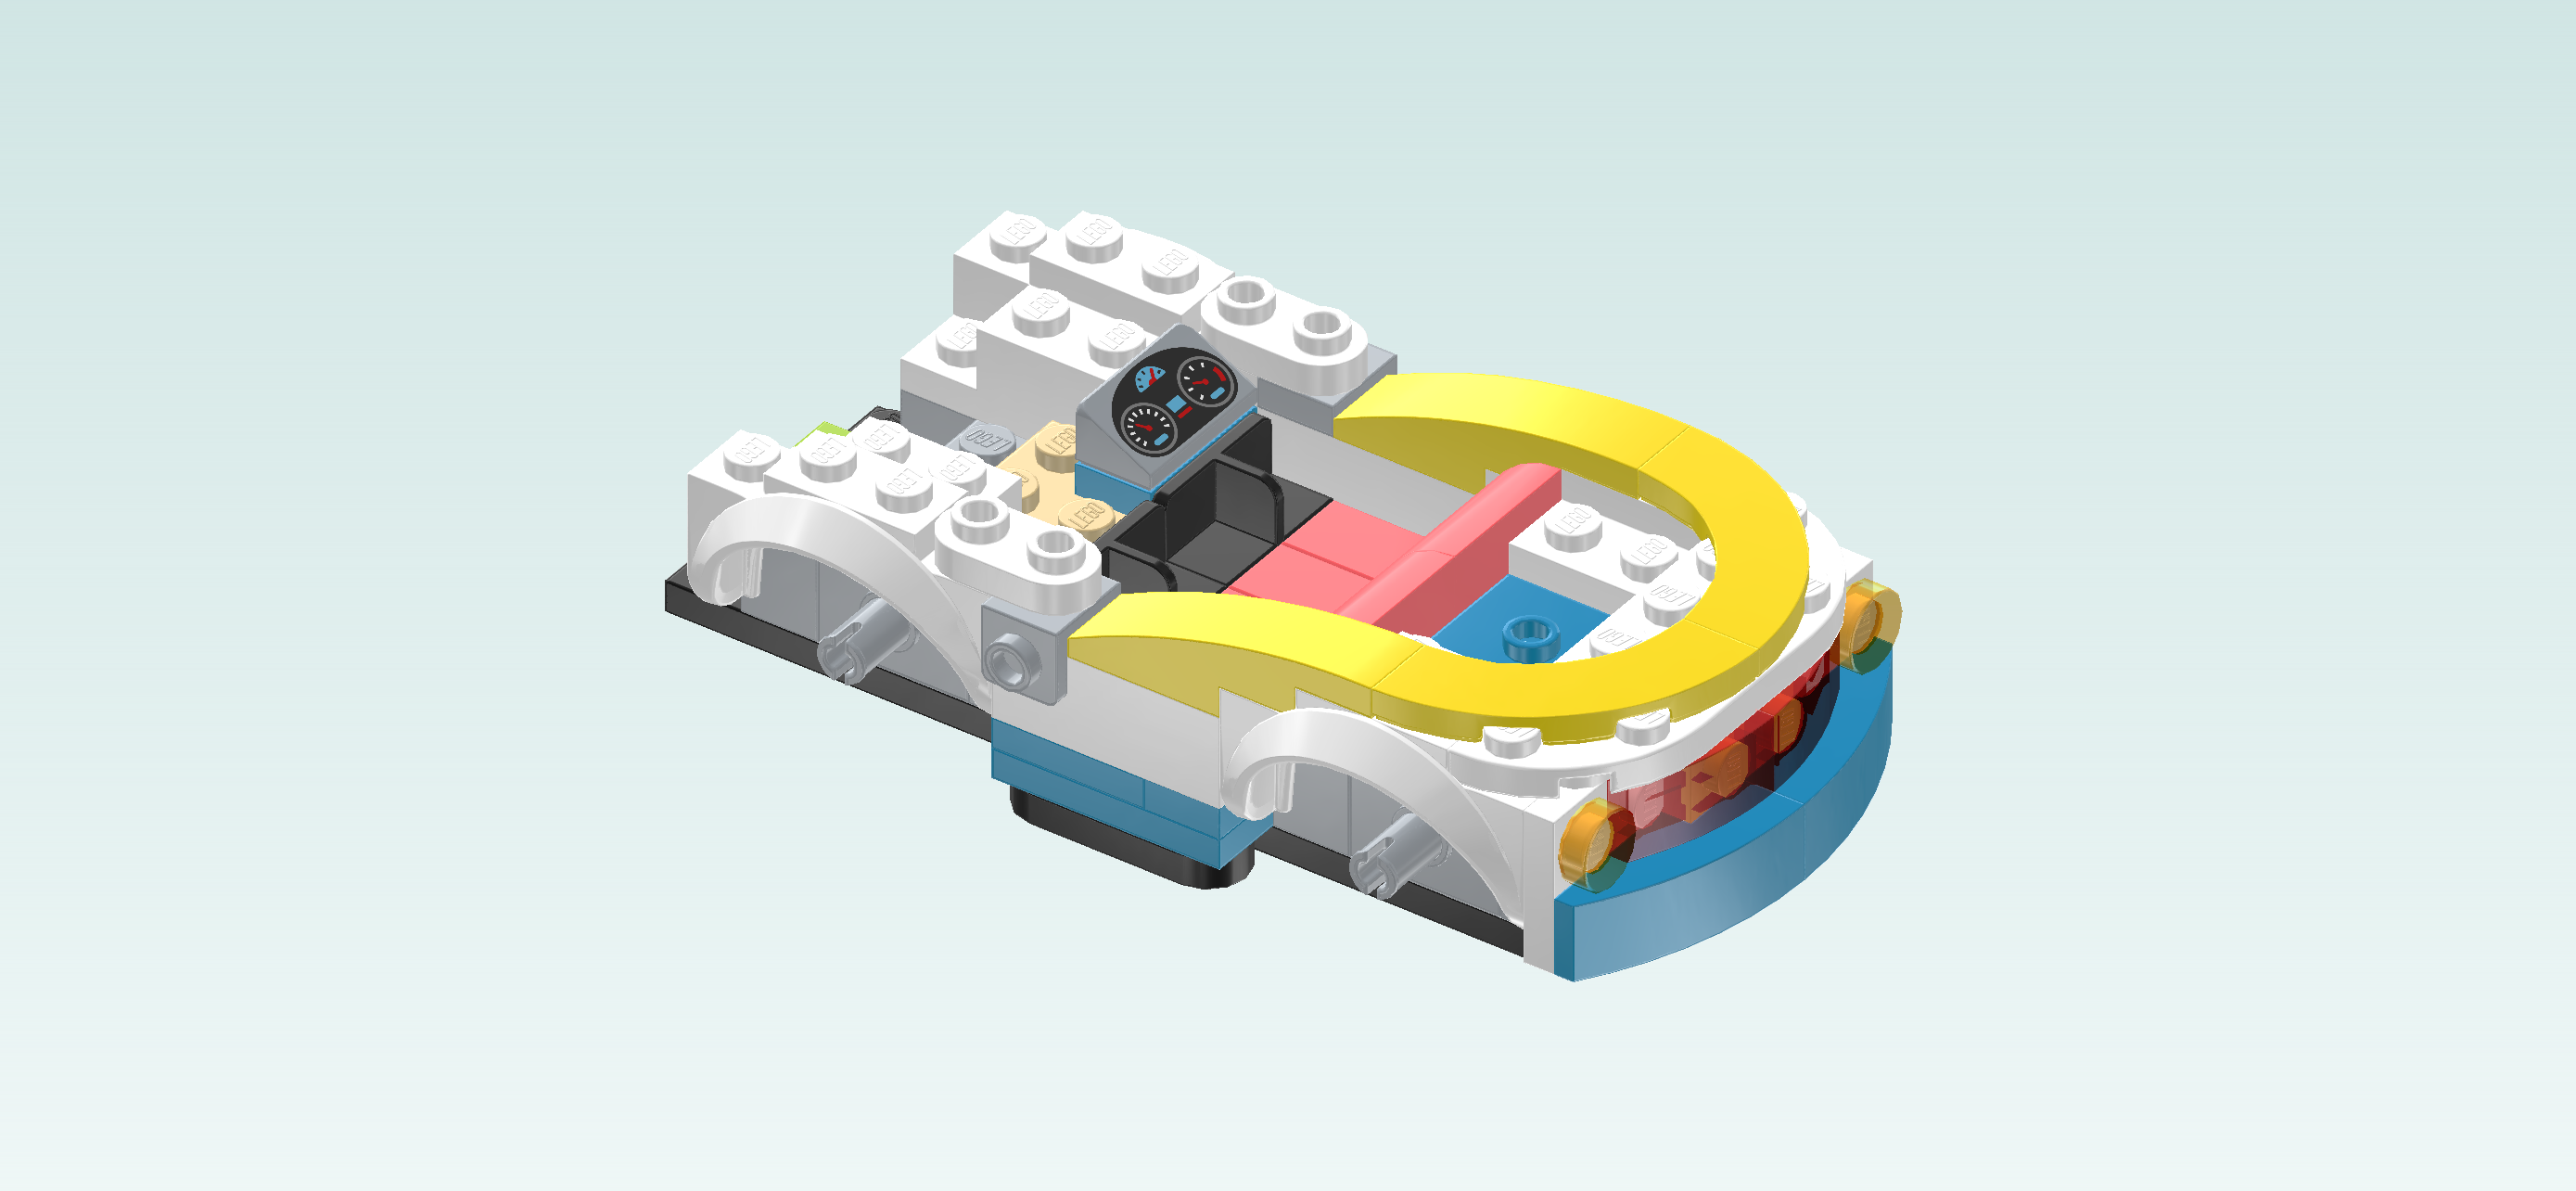
| The roof tile is printed with the car's instruments! The instruments are arranged in a black oval. At the top, there is the battery status display with a blue background and a red needle. Below there are two dial gauges: the one on the right is showing the tachometer with a black background, white unit lines and a red needle, the one on the left is the speedometer with an identical color scheme. |
| Mount the dash panel vertically to the left of the back foot plate, slope to the right. This means it will sit on the fifth column from the left edge, leaving the backmost knob and the 3 frontmost knobs of that column empty. |
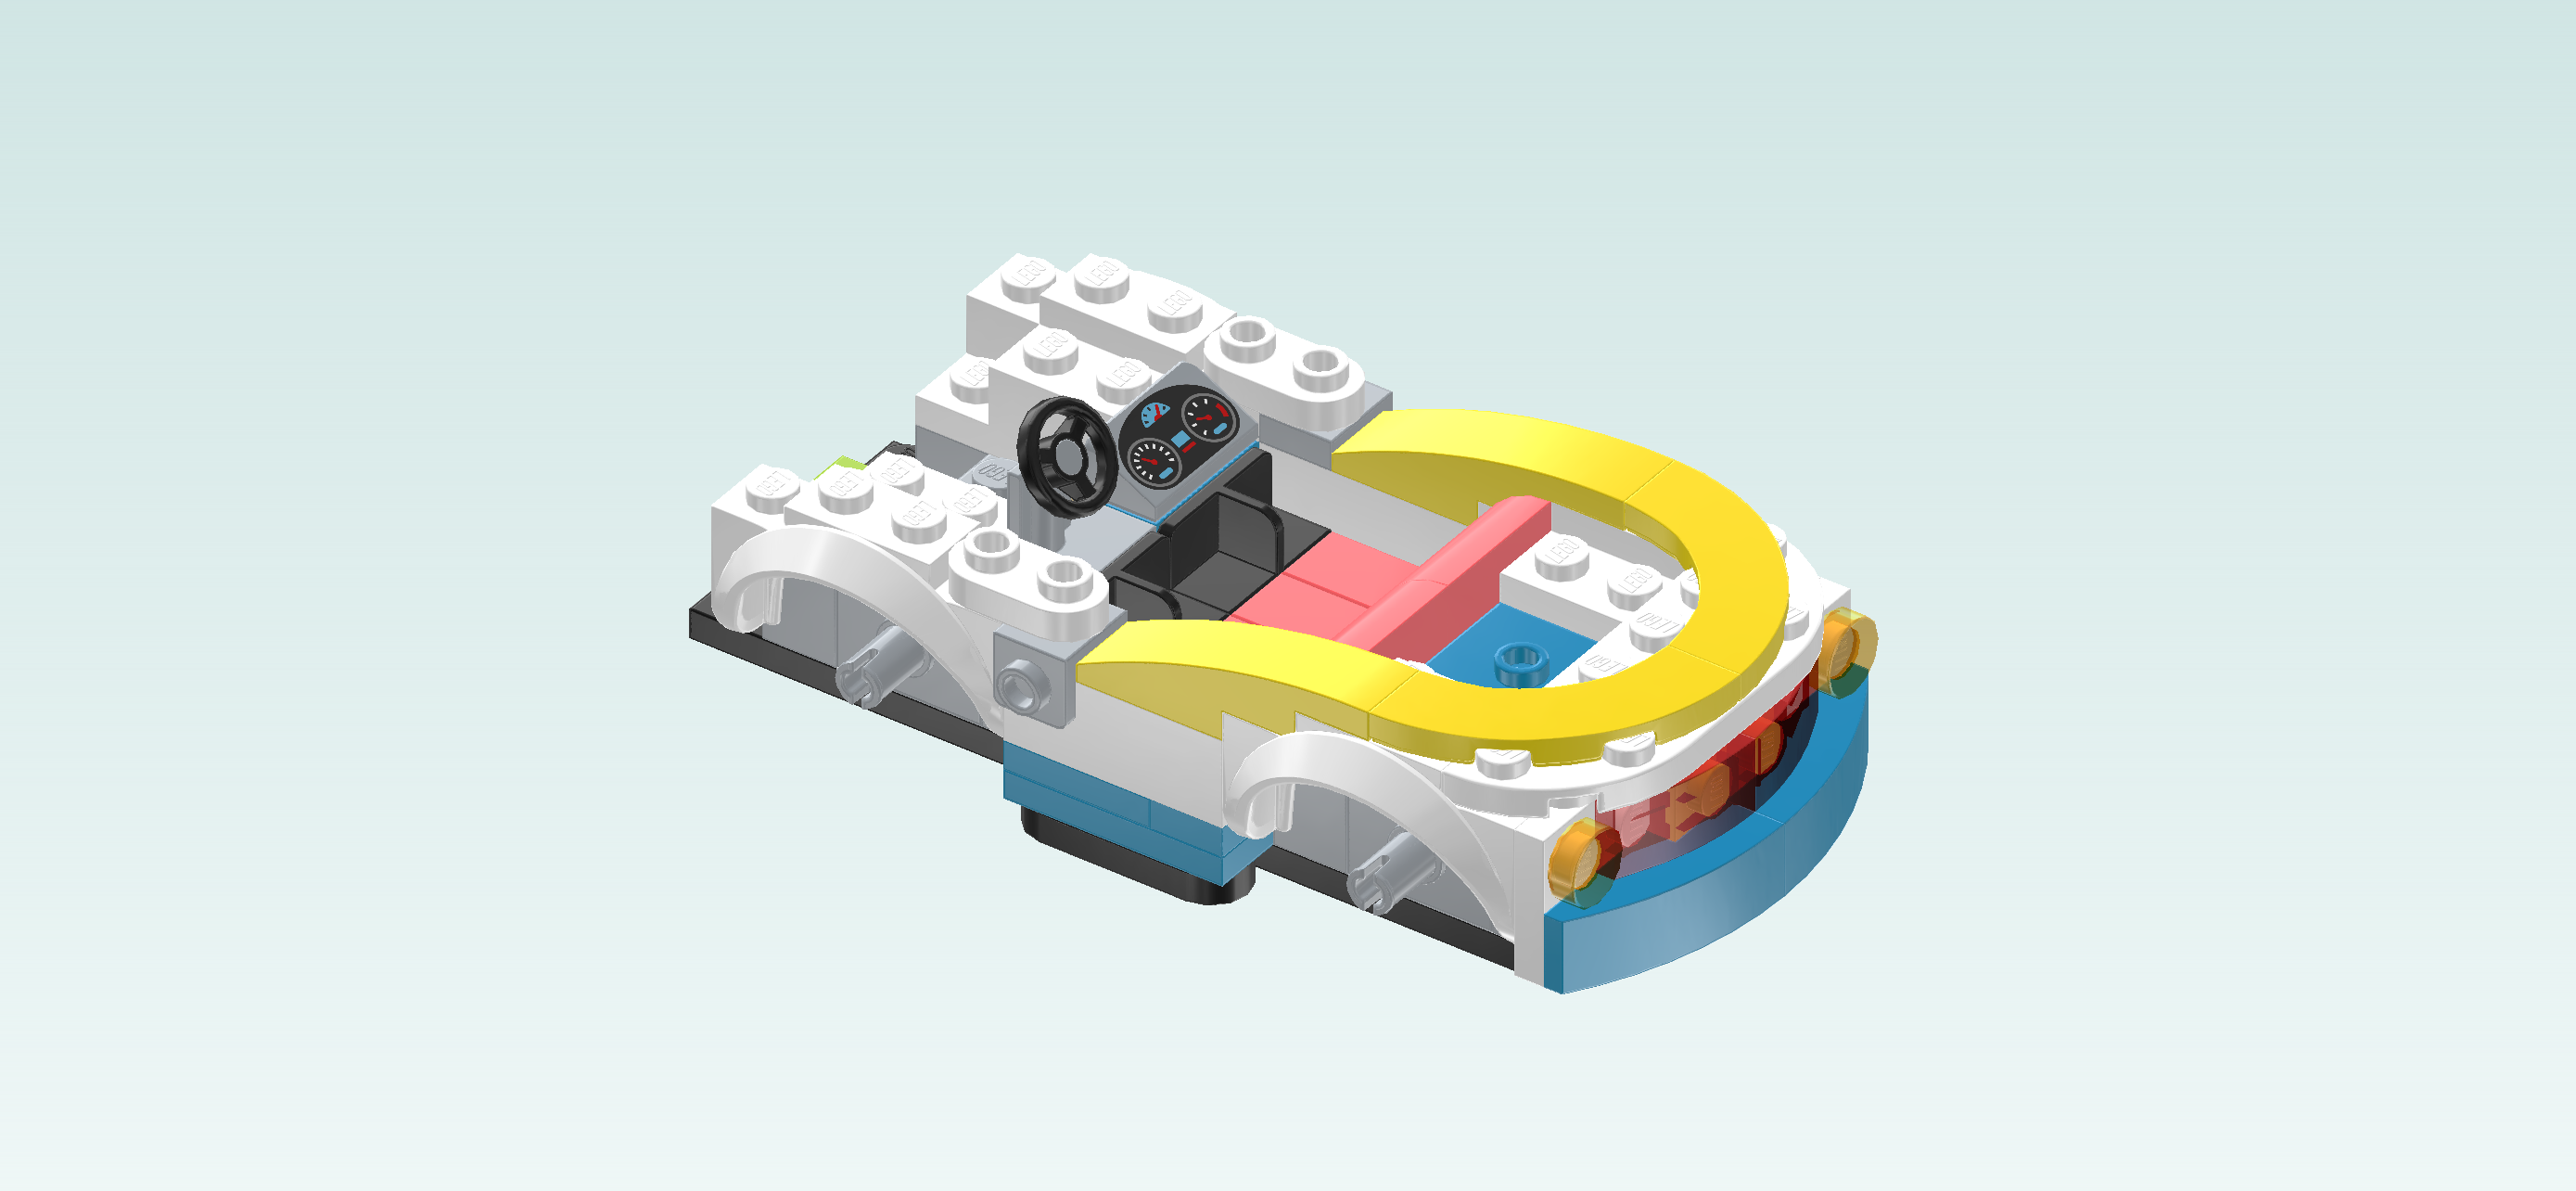
| Find 1 black and medium stone grey small steering wheel with plate 1x2. |
| Put it vertically in front of the dash panel, steering wheel to the right. |
| Find 2 bright orange low bricks 1x1x⅔. |
| Put them on the 2 middle knobs of the column directly to the left of the previous pieces. |
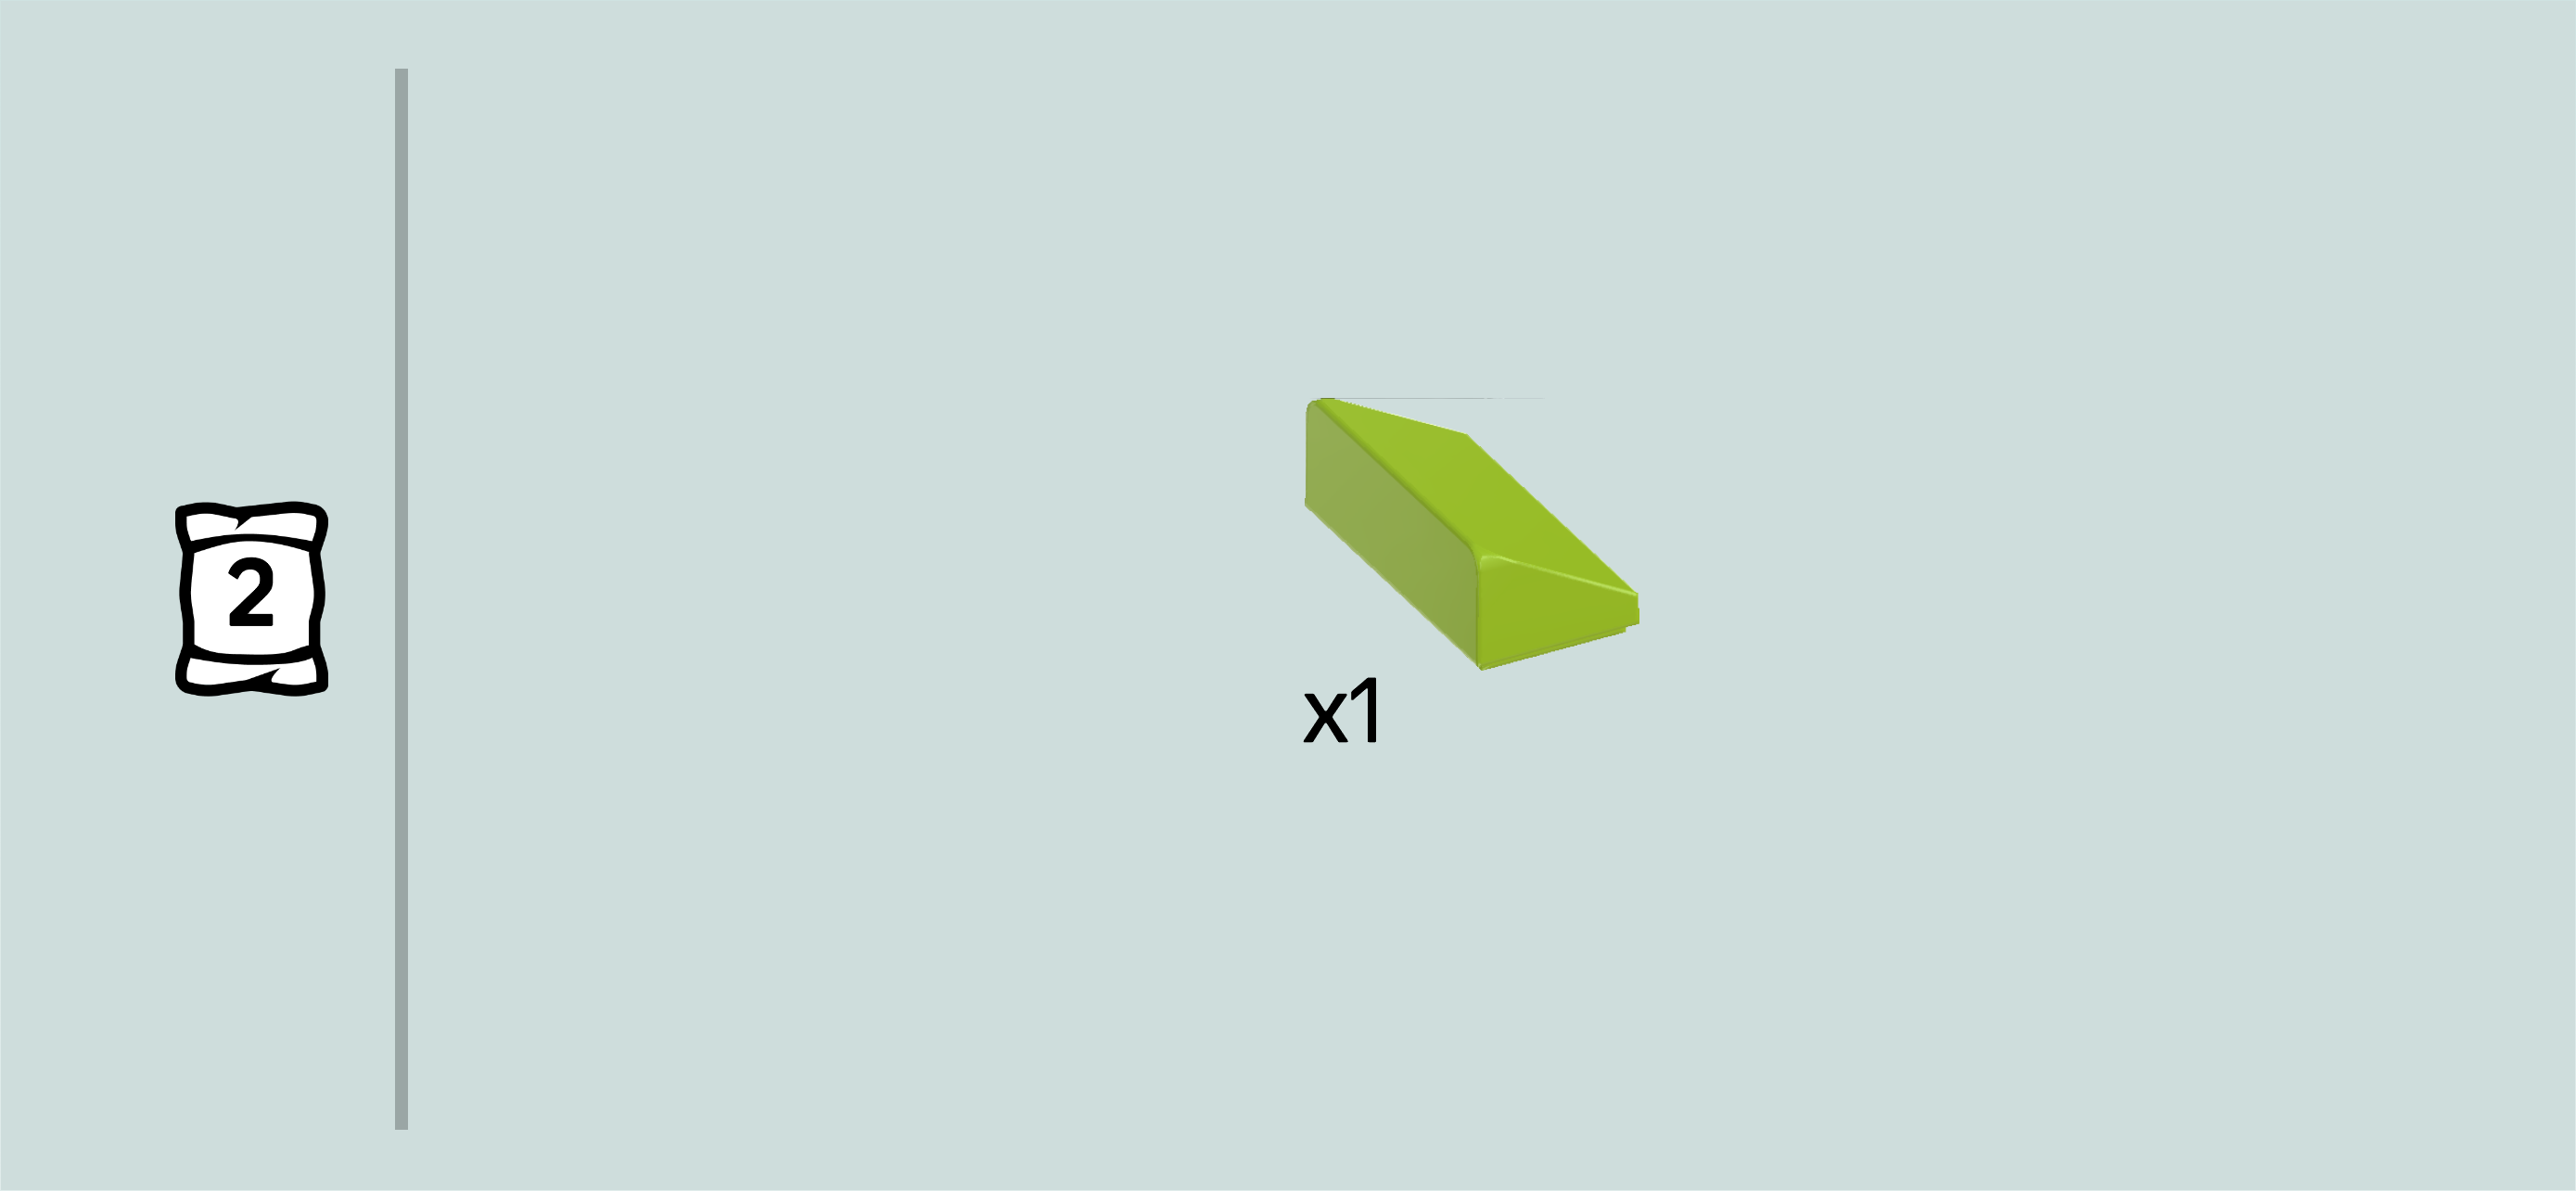
| Find 1 bright yellowish green smooth roof tile 1x2x⅔. |
| Put it vertically centered to the left of the 2 previous pieces, slope to the left. |
| Collect the following 3 pieces: |
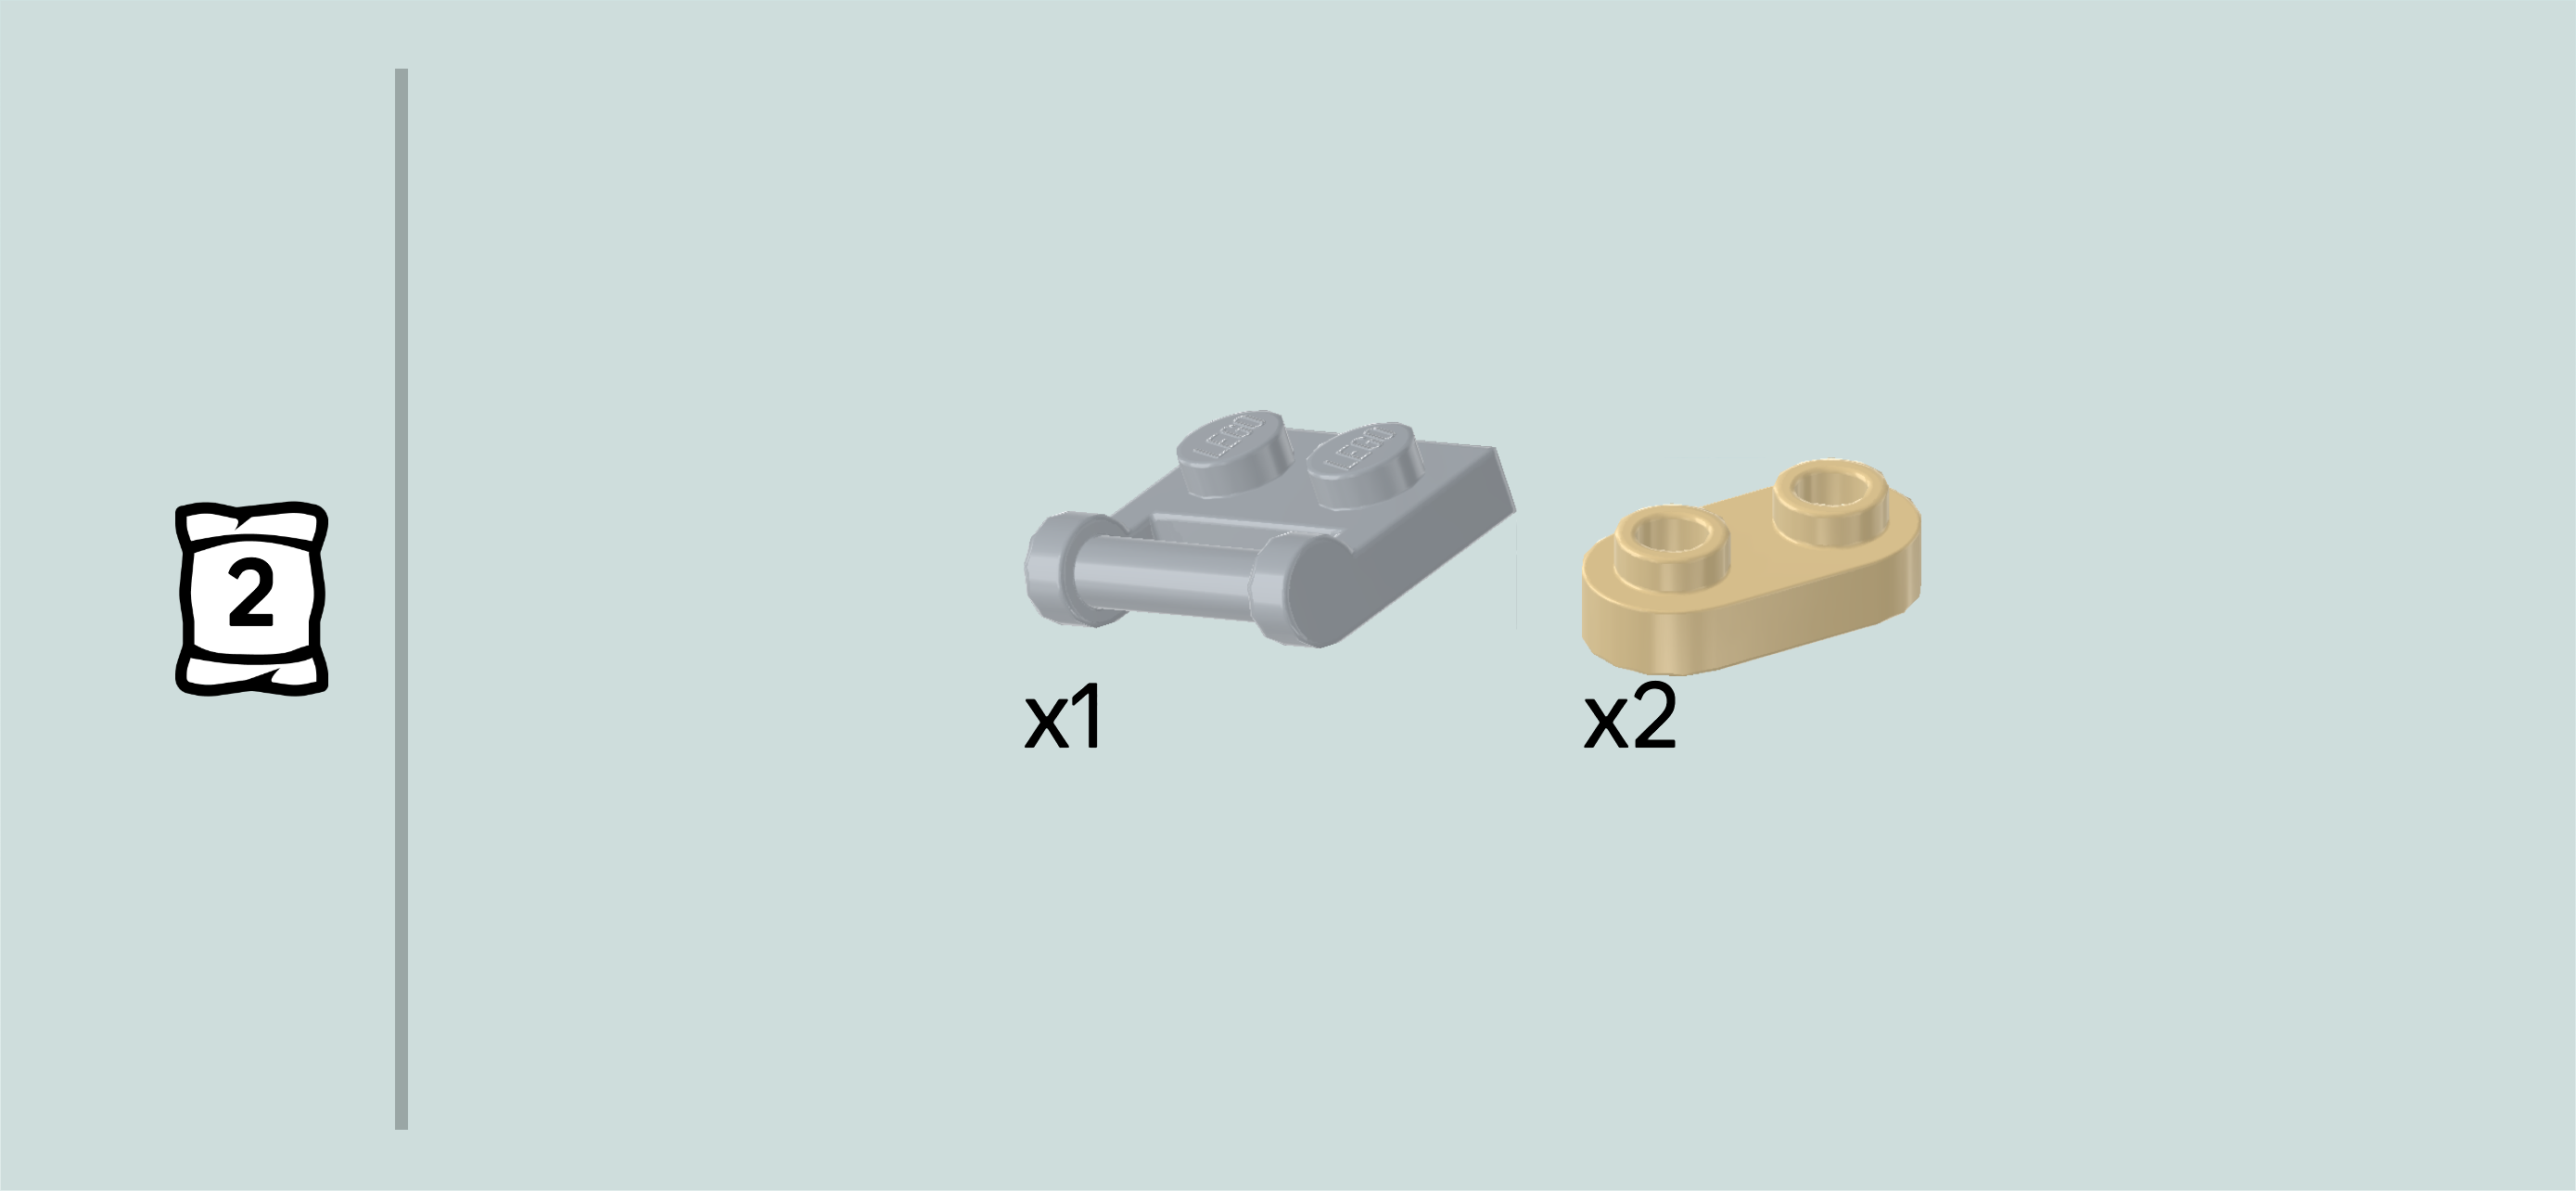
| 1 medium stone grey plate 1x2 with handle on long side, |
| and 2 pale ocher yellow rounded plates 1x2. |
| Put the plate with side handle vertically centered to the right of the previous piece, handle to the left. |
| Put 1 rounded plate 1x2 horizontally on the 2 knobs in front of the previous piece. |
| Repeat symmetrically at the back. |
| The side handle that we have just mounted will serve as the mount for the engine hood. We will return to that later. |
| Find 2 bright yellowish green round plates 1x1. |
| Put 1 on the second column from the leftmost edge on its second knob from the front. |
| Repeat symmetrically at the back. |
| Find 2 white bricks 1x2x1⅔ with 4 side knobs. |
| Put 1 vertically on the frontmost knob of the leftmost column, side knobs to the left, 1 knob overhanging to the front. |
| Repeat symmetrically at the backmost knob of the same column, side knobs to the left, 1 knob overhanging to the back. |
| Find 2 dark azure blue plates 1x2. |
| Put 1 horizontally on the front knob of the previous piece and the knob to its right. |
| Repeat symmetrically at the front. This means that this piece will sit on the second row from the front, starting from the left edge. |
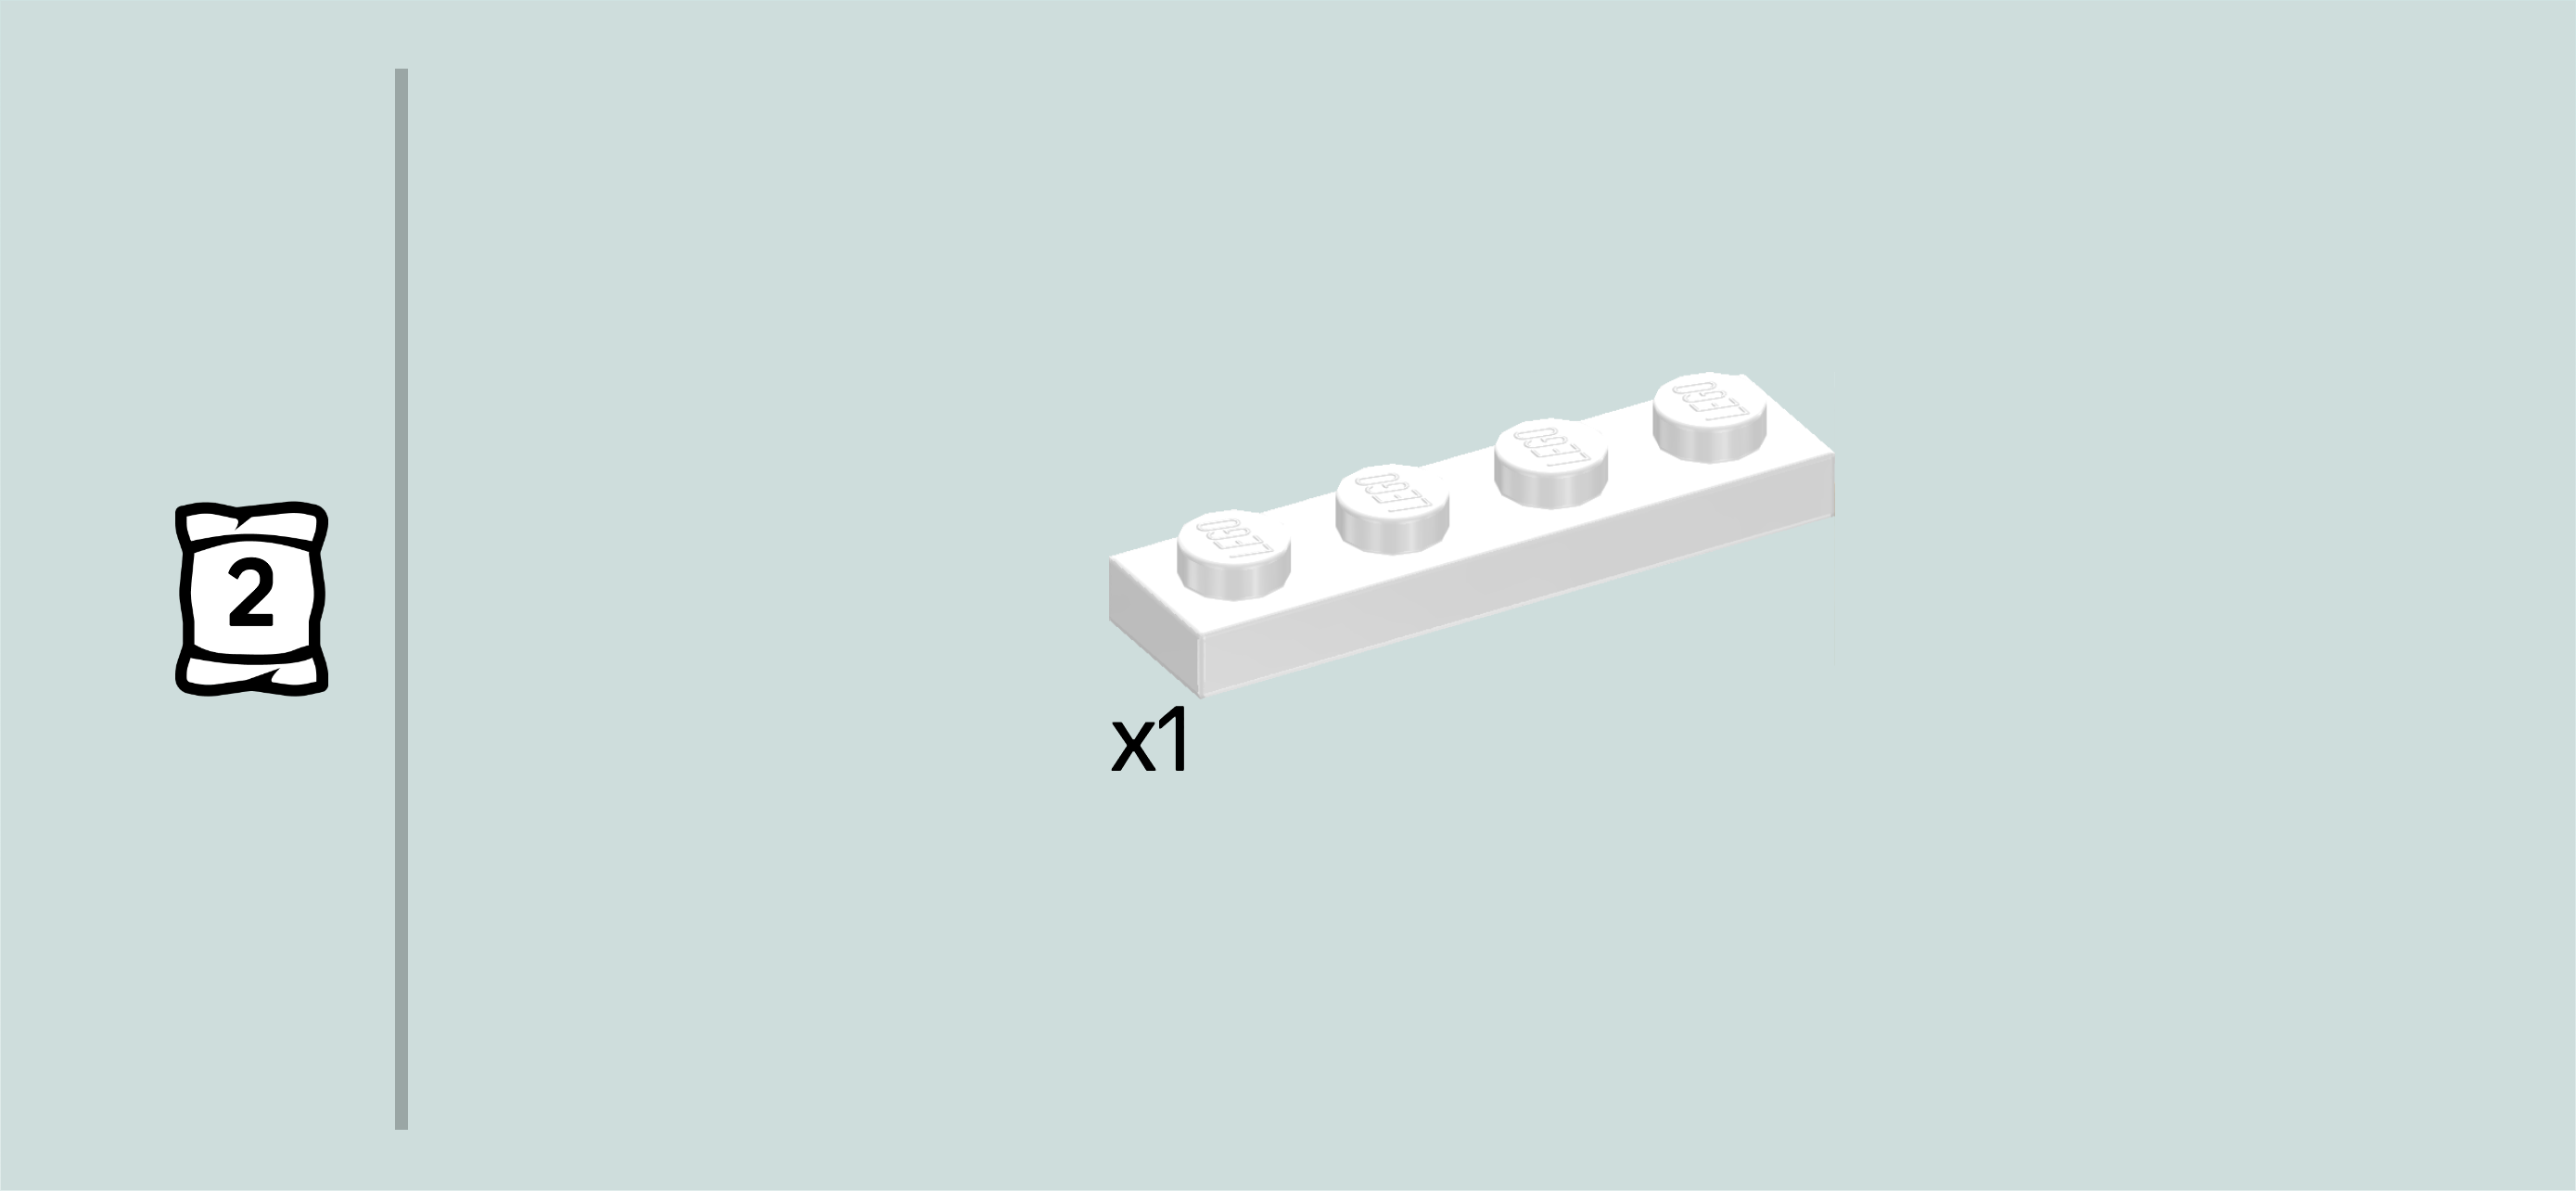
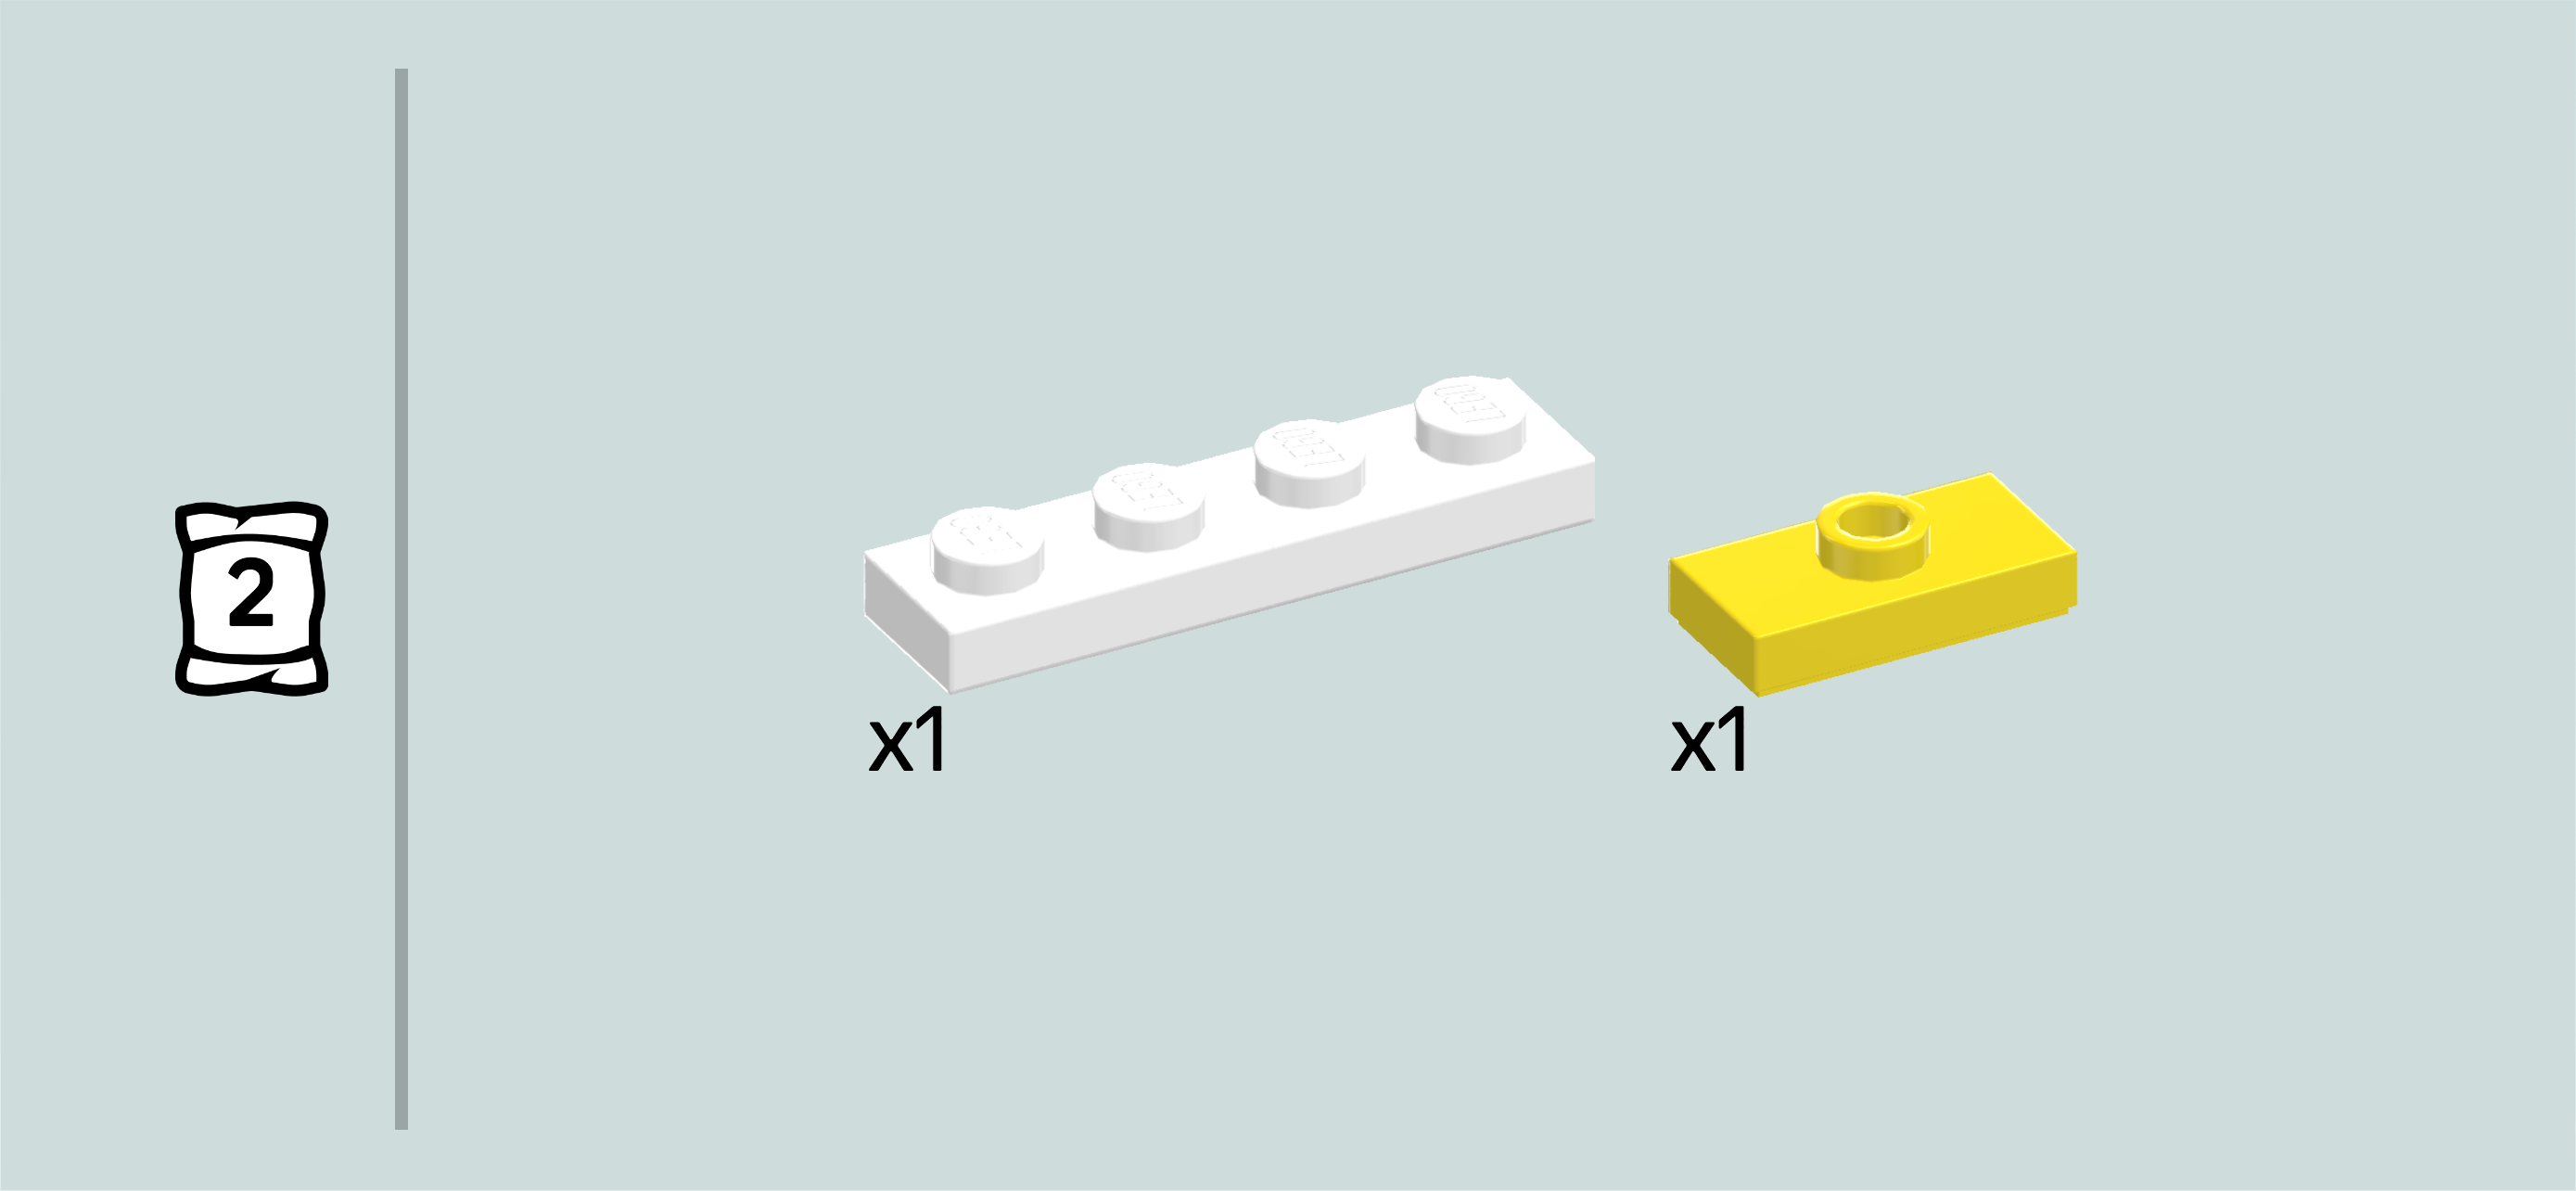
| Find 1 white plate 1x4. |
| Put it vertically centered to the left of the dash panel and steering wheel. |
| Collect the following 4 pieces: |
| 2 white half-circle tiles 1x1, |
| and 2 white plates 1x2 with vertical clasp on long side. |
| Put 1 plate 1x2 horizontally on the frontmost row, making sure that its left knob is directly in front of the previous piece, clasp to the front. |
| Put 1 half-circle tile 1x2 to the right of the previous piece, half circle to the right. |
| Repeat symmetrically at the back with the two remaining pieces, clasp to the back and half circle to the right. |
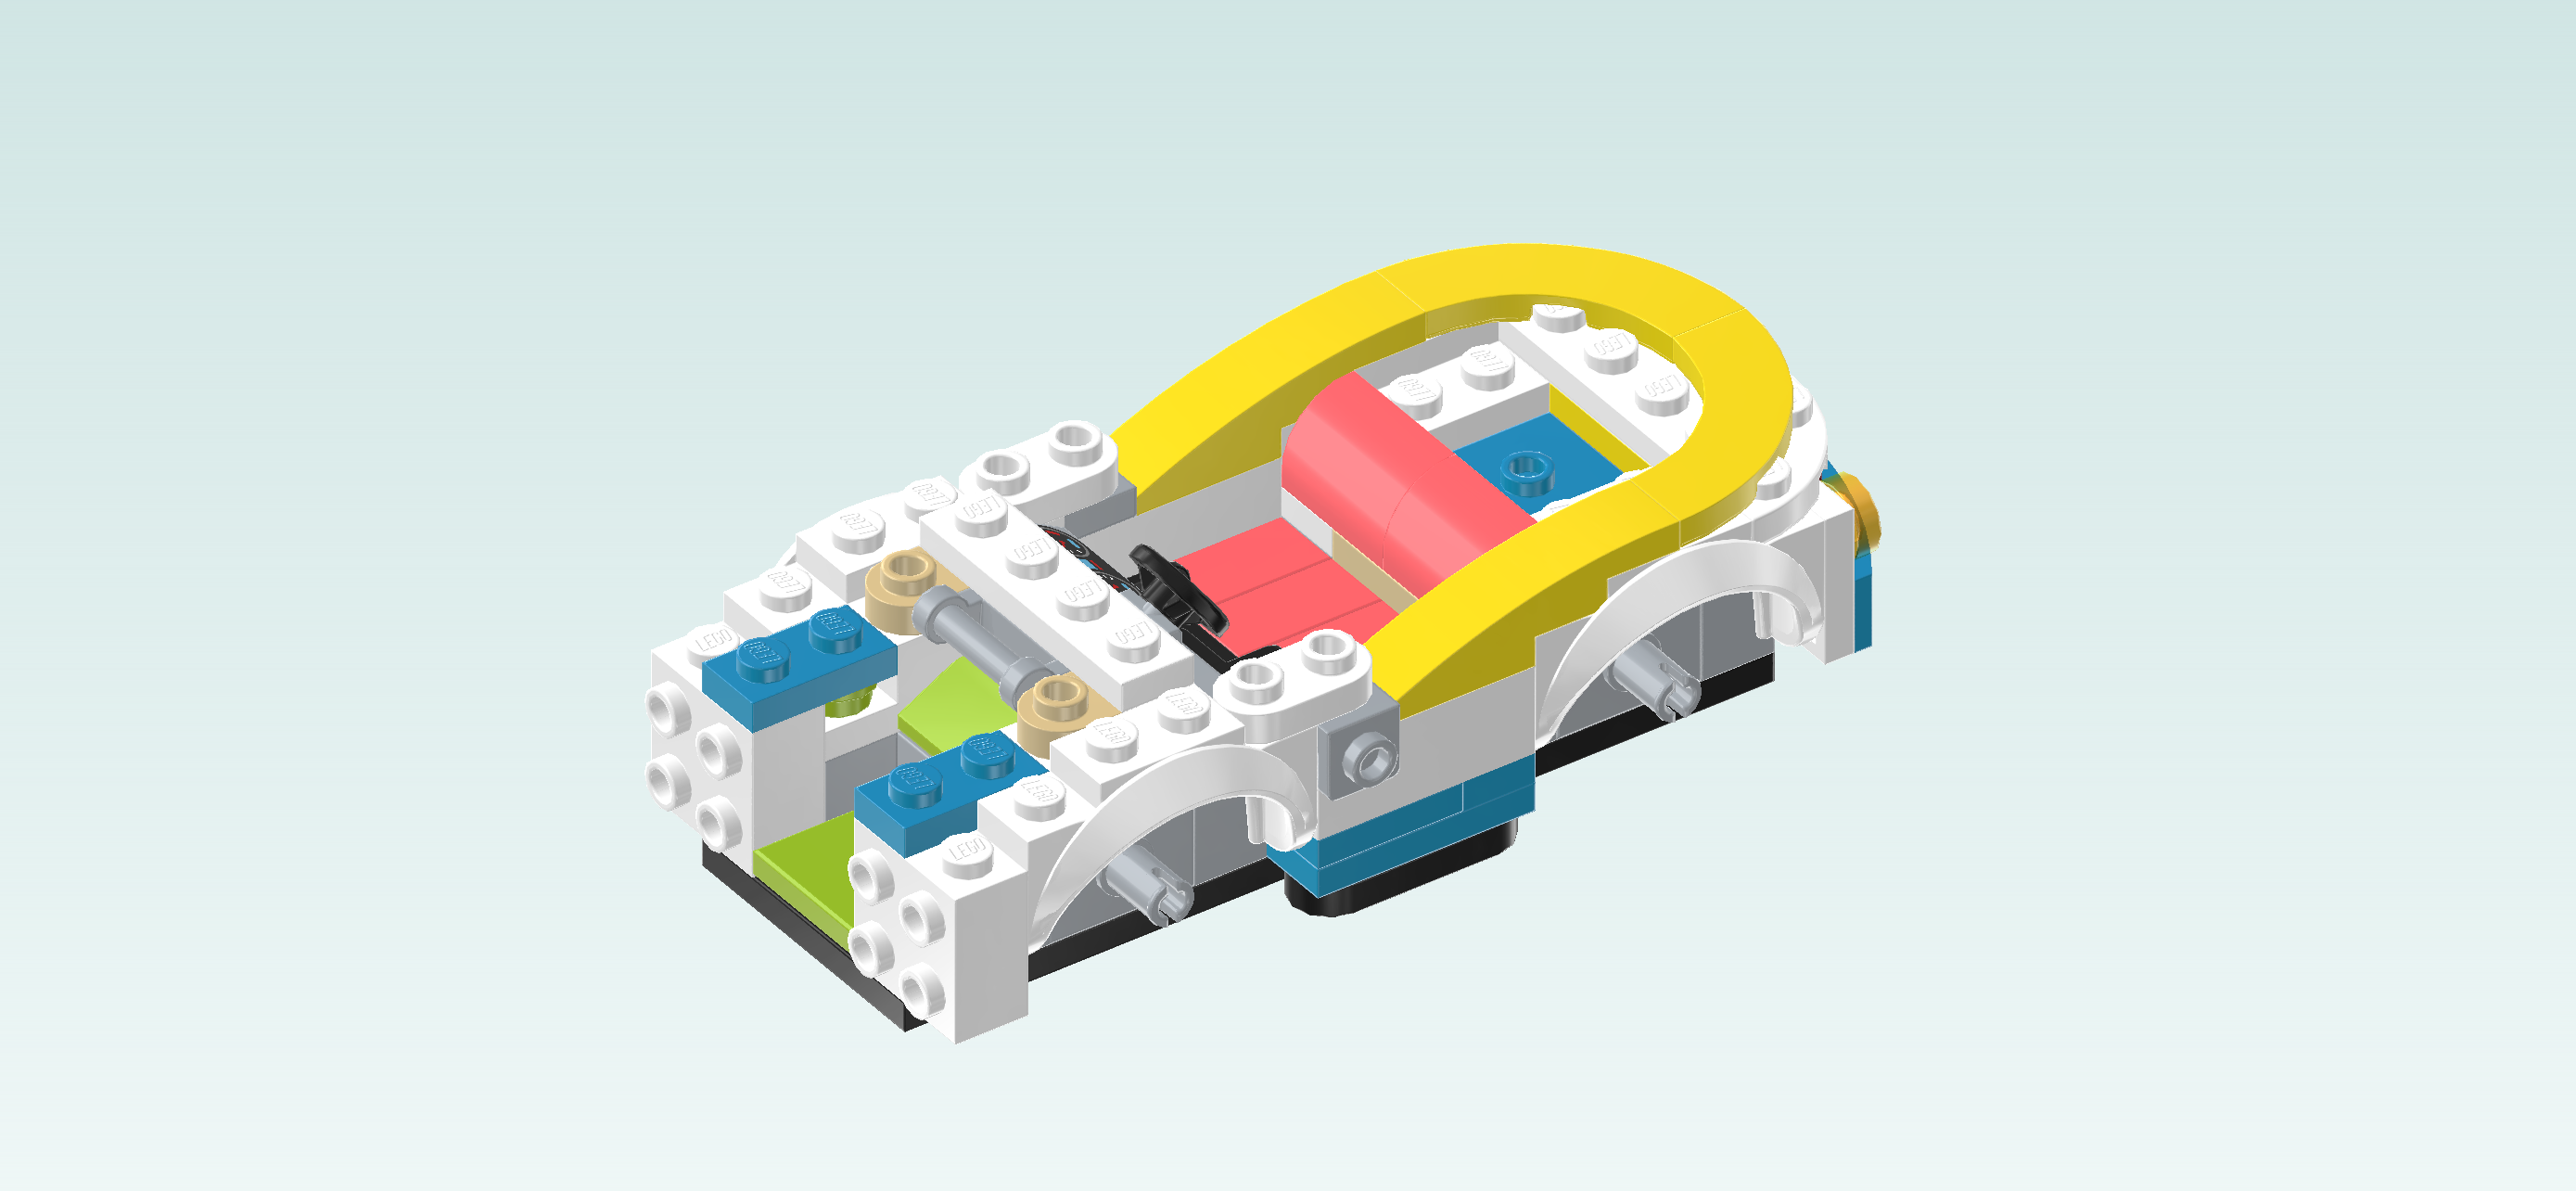
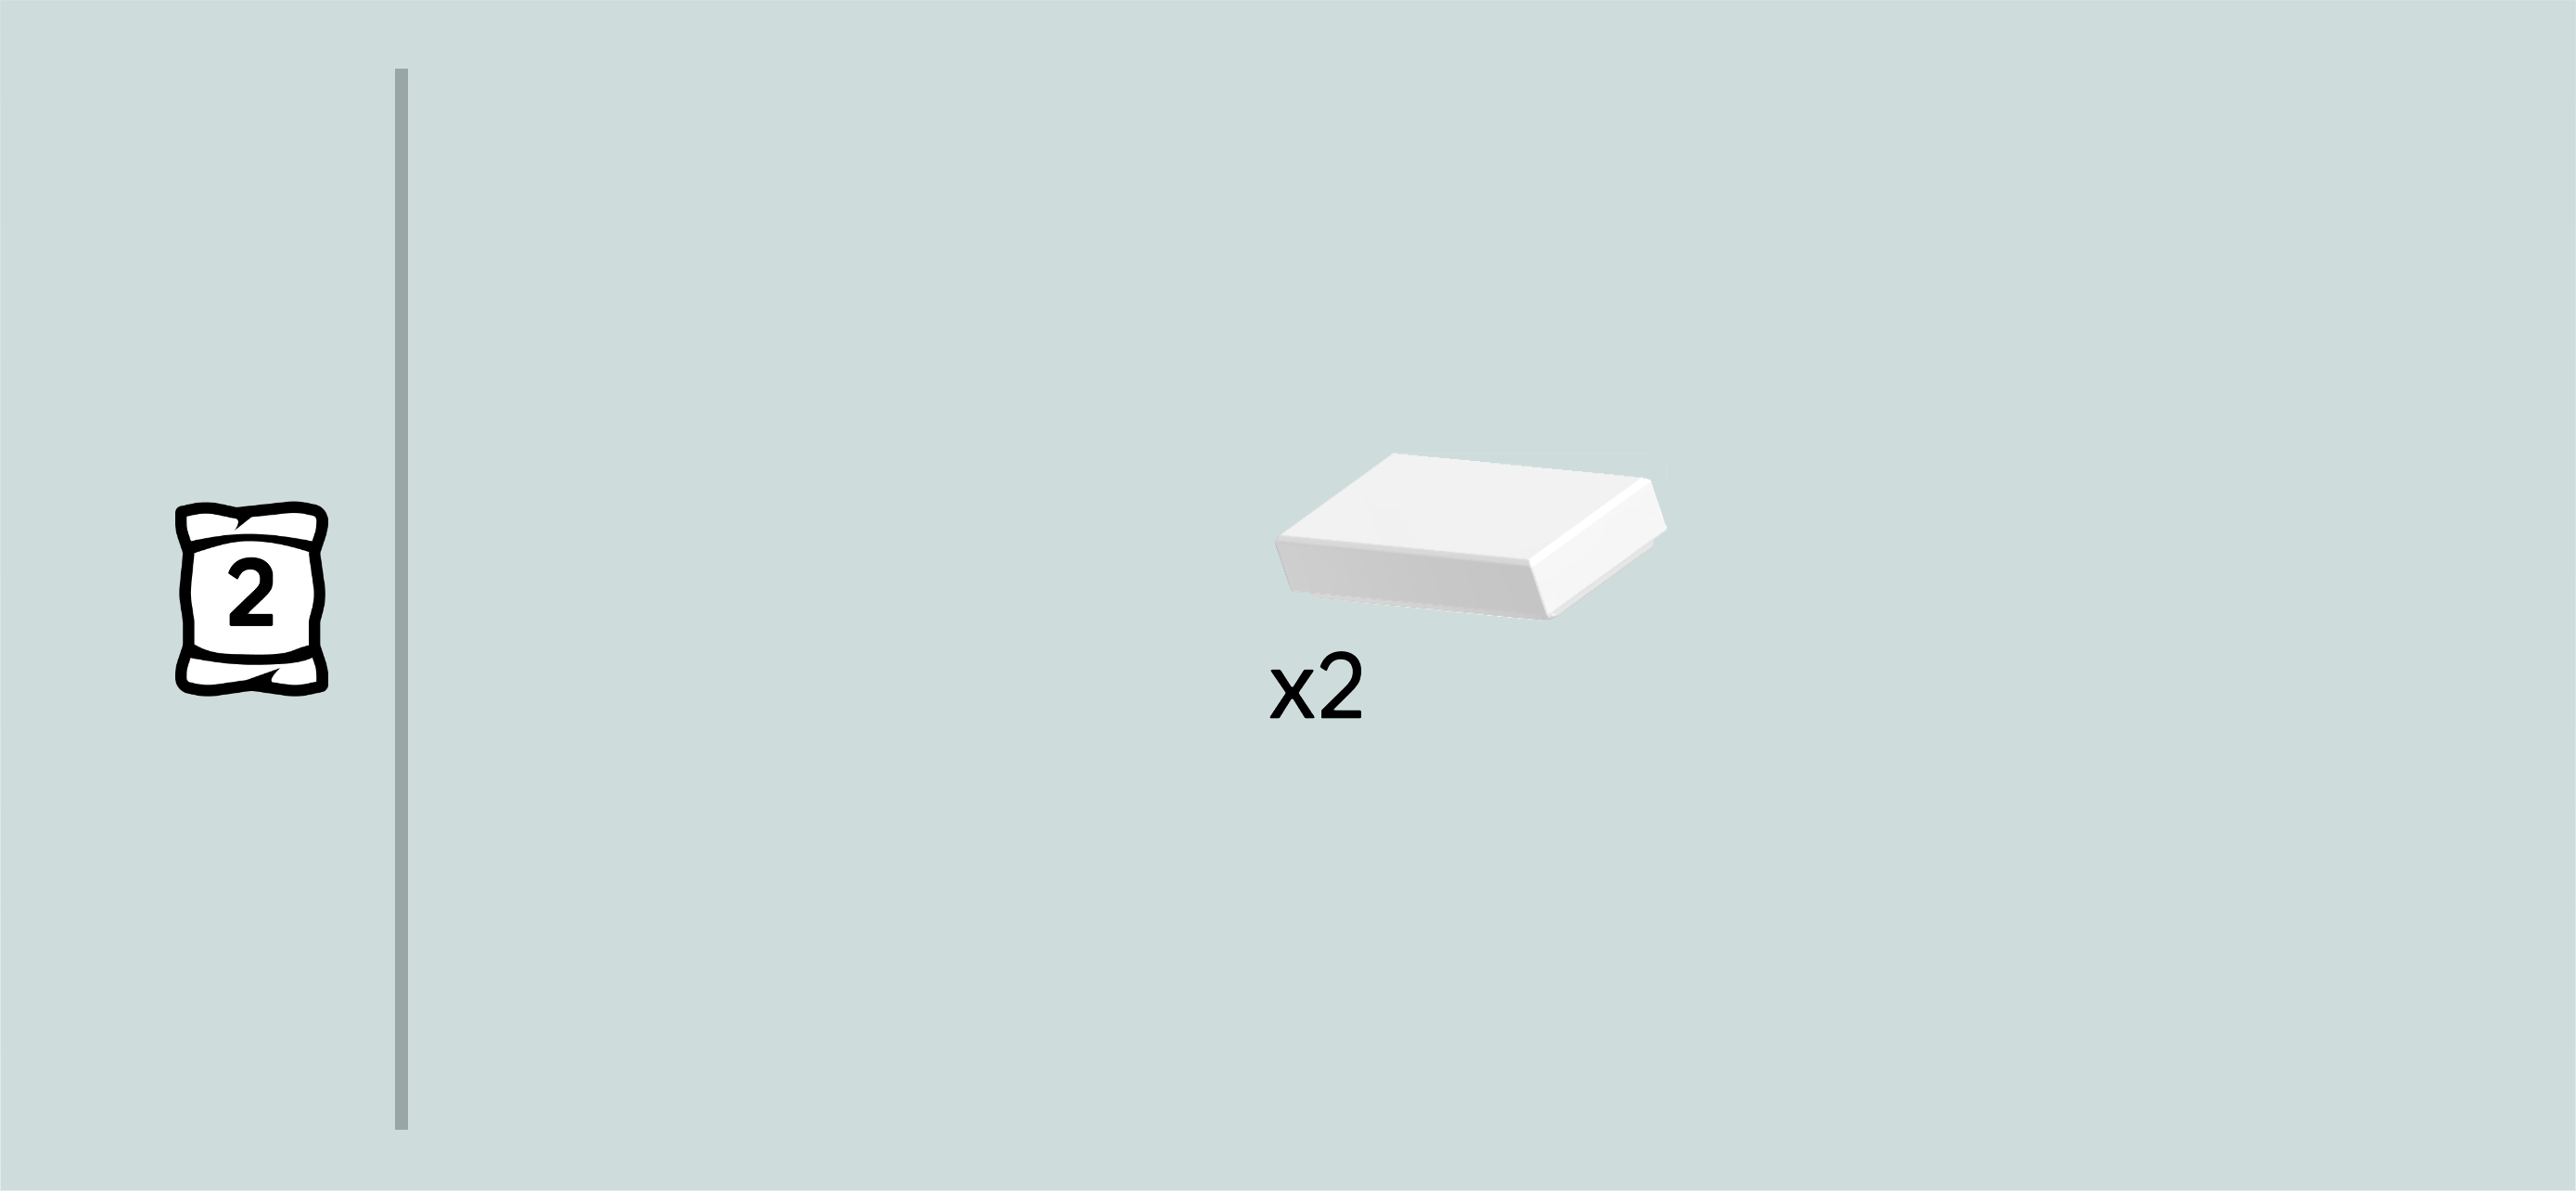
| Find 2 white flat tiles 1x2. |
| Put 1 vertically to the left of the 2 previous pieces, starting from the back edge. This means it will sit behind the side handle that is mounted vertically in the leftmost third of the vehicle. |
| Repeat symmetrically at the front. |
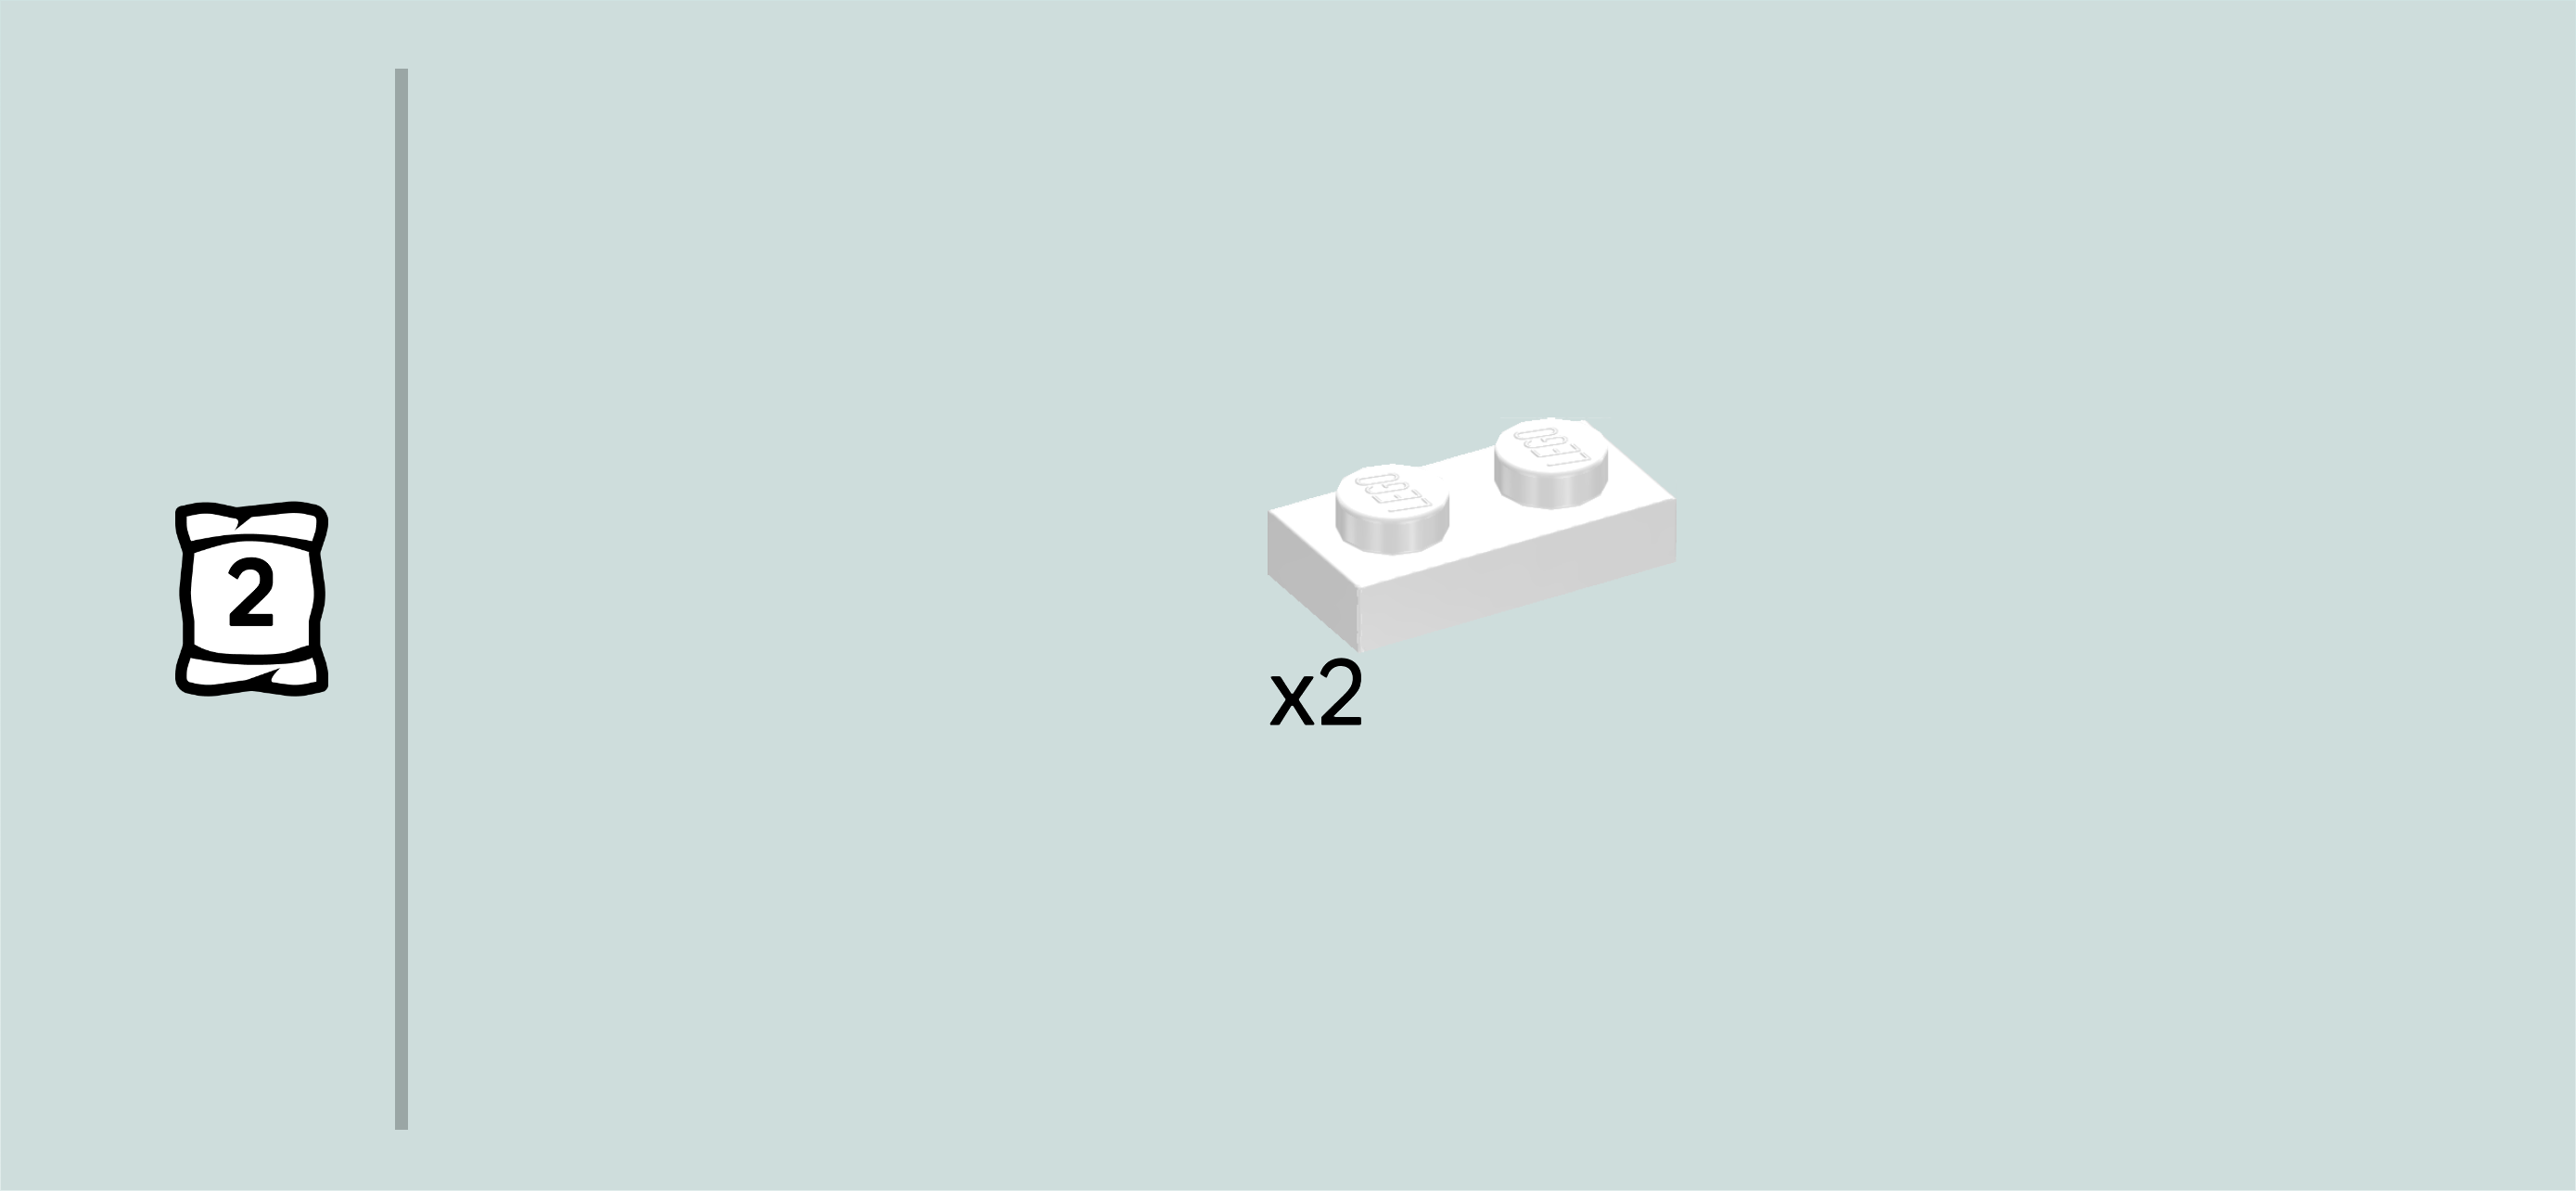
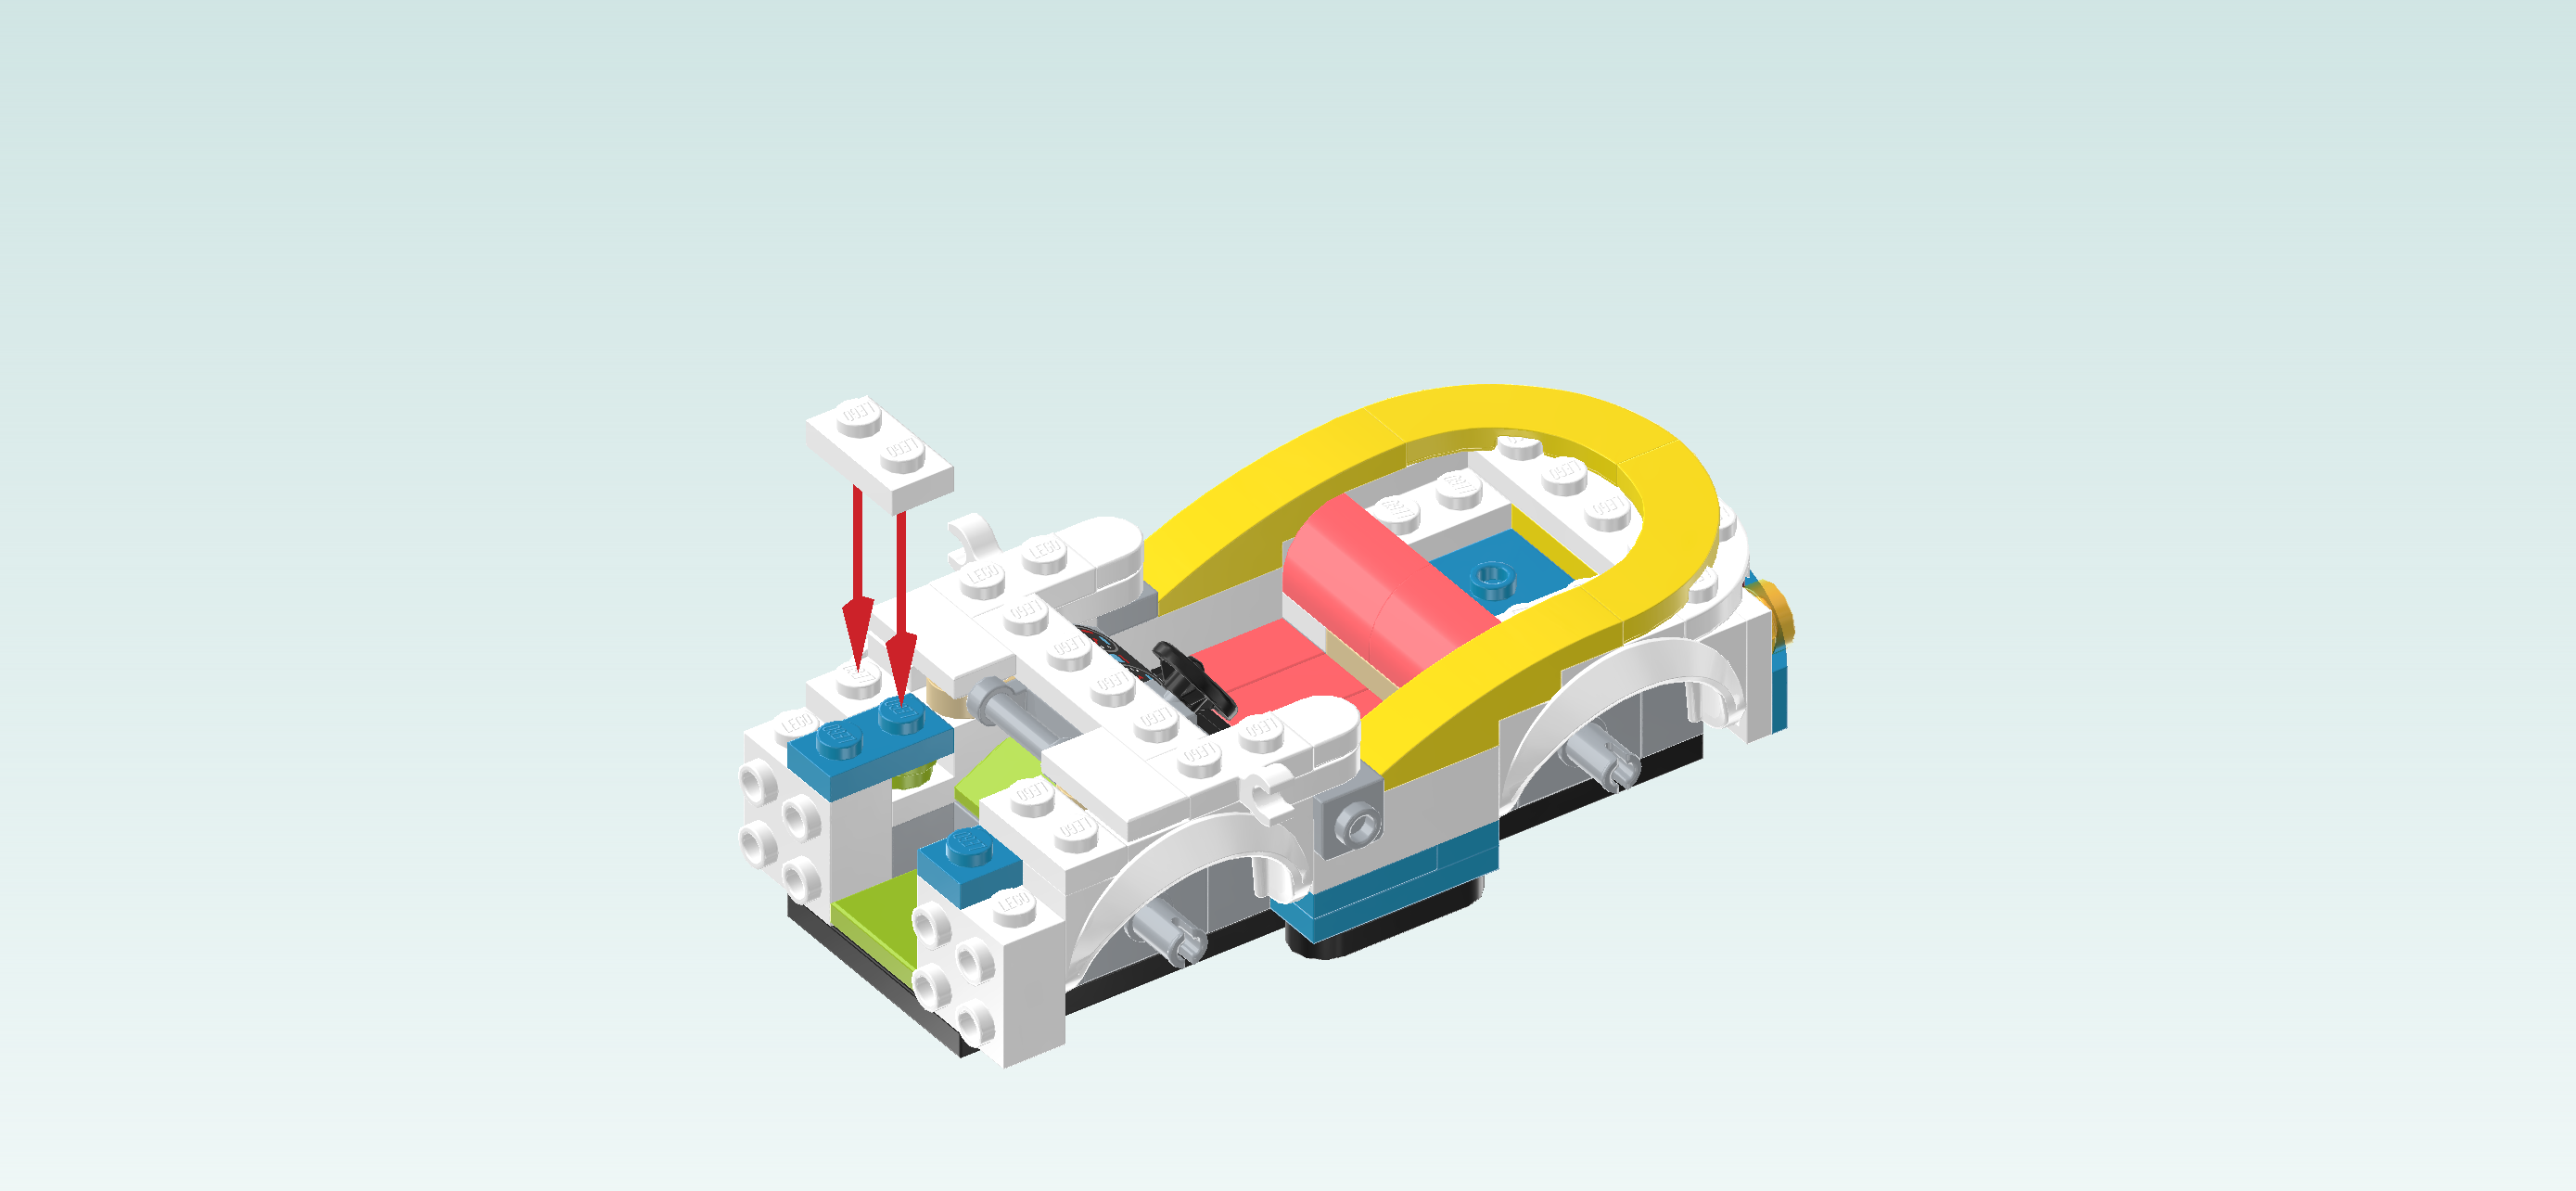
| Find 2 white plates 1x2. |
| Put 1 vertically to the left of the previous piece. |
| Repeat symmetrically at the back. |
| Next, we will build the front bumper. |
| Collect the following 2 pieces: |
| 1 bright yellowish green plate 1x2, |
| and 1 dark azure blue one-stepped curve tile 1x3. |
| Put the plate 1x2 horizontally on the table. |
| Put the curve tile 1x3 horizontally on the left knob, curve to the left, 2/3 overhanging to the left. |
| Find another dark azure blue one-stepped curve tile 1x3. |
| Put it horizontally to the right of the previous piece, curve to the right, 2/3 overhanging to the right. |
| The front bumper is finished! Mount it upright horizontally on the lowest row of side knobs pointing to the left. |
| Next up, we will build the front grille with headlights. |
| Collect the following 2 pieces: |
| 1 white plate 1x4, |
| and 1 bright yellow plate 1x2 with 1 knob. |
| Put the plate 1x4 horizontally on the table. |
| Put the plate 1x2 horizontally on the 2 middle knobs. |
| Find 1 white round tile 1x1. |
| Put it on the knob of the previous piece. |
| It is printed with a green energy symbol: its outer edge is a dark green cable with plug, enclosing a light green center with a bright green electricity lightning bolt in the middle. |
| Find 2 transparent yellow one-stepped curve tiles 1x2. |
| Put 1 horizontally on the left knob, curve to the left, 1/2 overhanging to the left. |
| Repeat symmetrically on the right. |
| The front grille is finished! Mount it upright horizontally above the front bumper. This means it will sit on the top row of side knobs pointing to the left. |
| Collect the following 2 pieces: |
| 1 white two-stepped left wedge tile 2x3 with cut, |
| and 1 white two-stepped right wedge tile 2x3 with cut. |
| Put the left wedge tile 2x3 horizontally on the 2 frontmost rows starting from the left edge. Make sure the cut-off edge is to the left, matching the slant of the vehicle front, and the longest edge is to the back. If this does not fit, you might have the right wedge tile; in that case, try with the other wedge tile. |
| Repeat symmetrically at the back with the right wedge tile. |
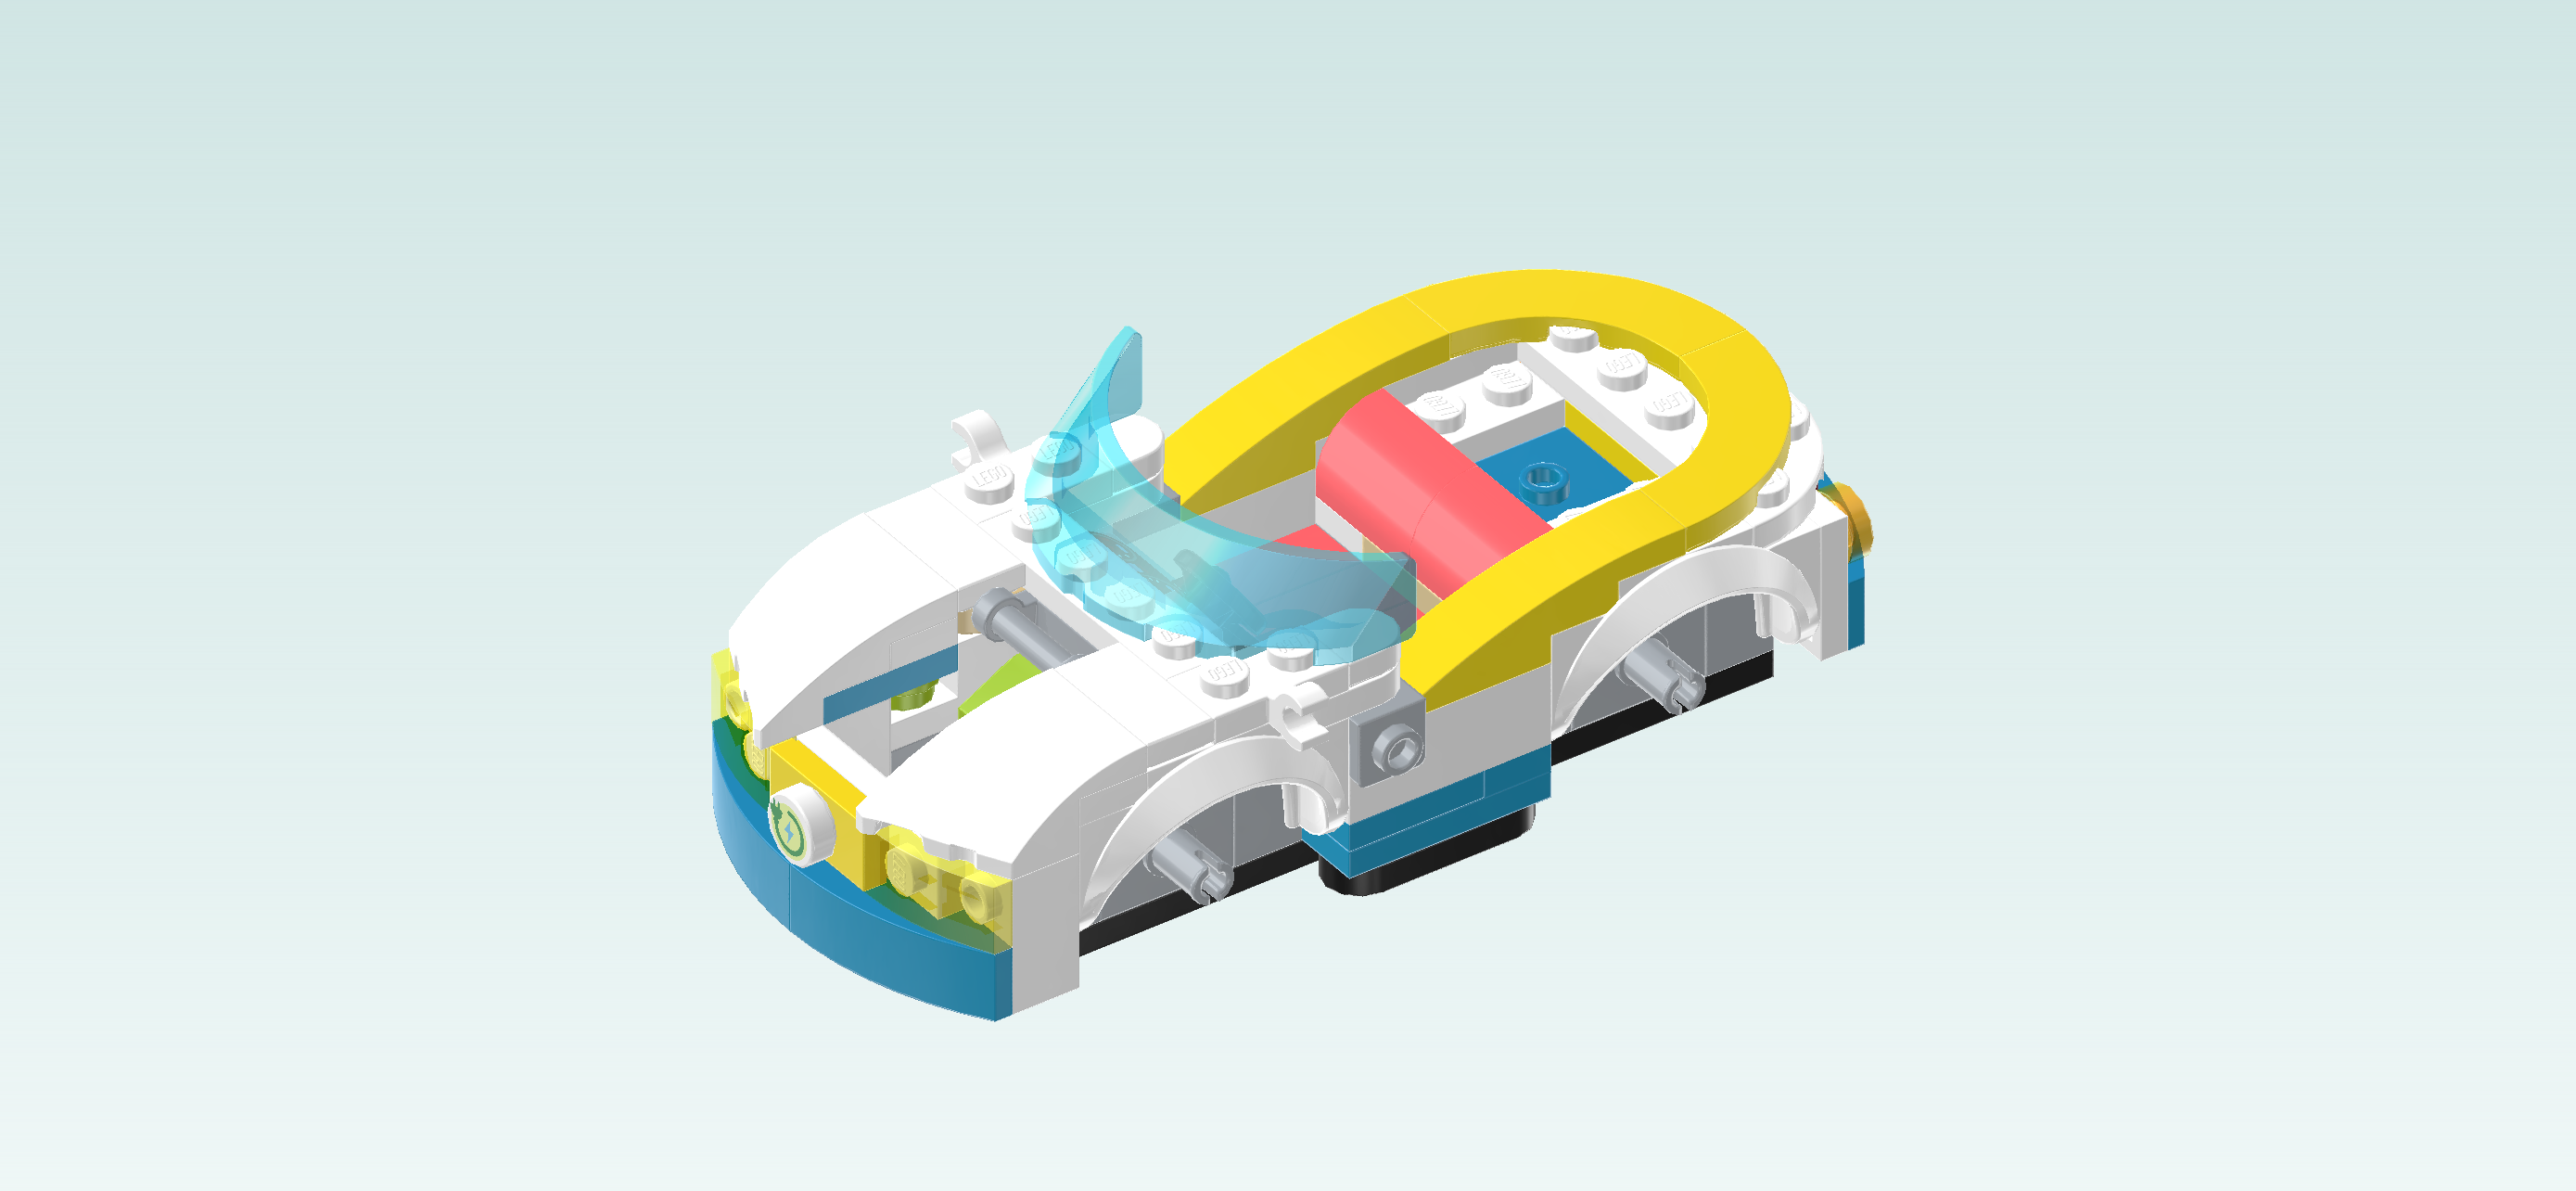
| Find 1 transparent light blue rounded windshield 3x6x1. |
| Put it vertically to the left of the dash panel and steering wheel, curve bending towards the left. |
| Find 2 medium stone grey round tiles 1x1 with small top shaft. |
| Flip 1 upright so that its shaft is pointing to the left. |
| Coming from the right, insert the shaft into the clasp pointing to the front in front of the windshield, round tile sticking out towards the right. |
| Repeat symmetrically at the back, again round tile sticking out towards the right. |
| These are the rearview mirrors of the car! |
| Next, we will build the engine hood. |
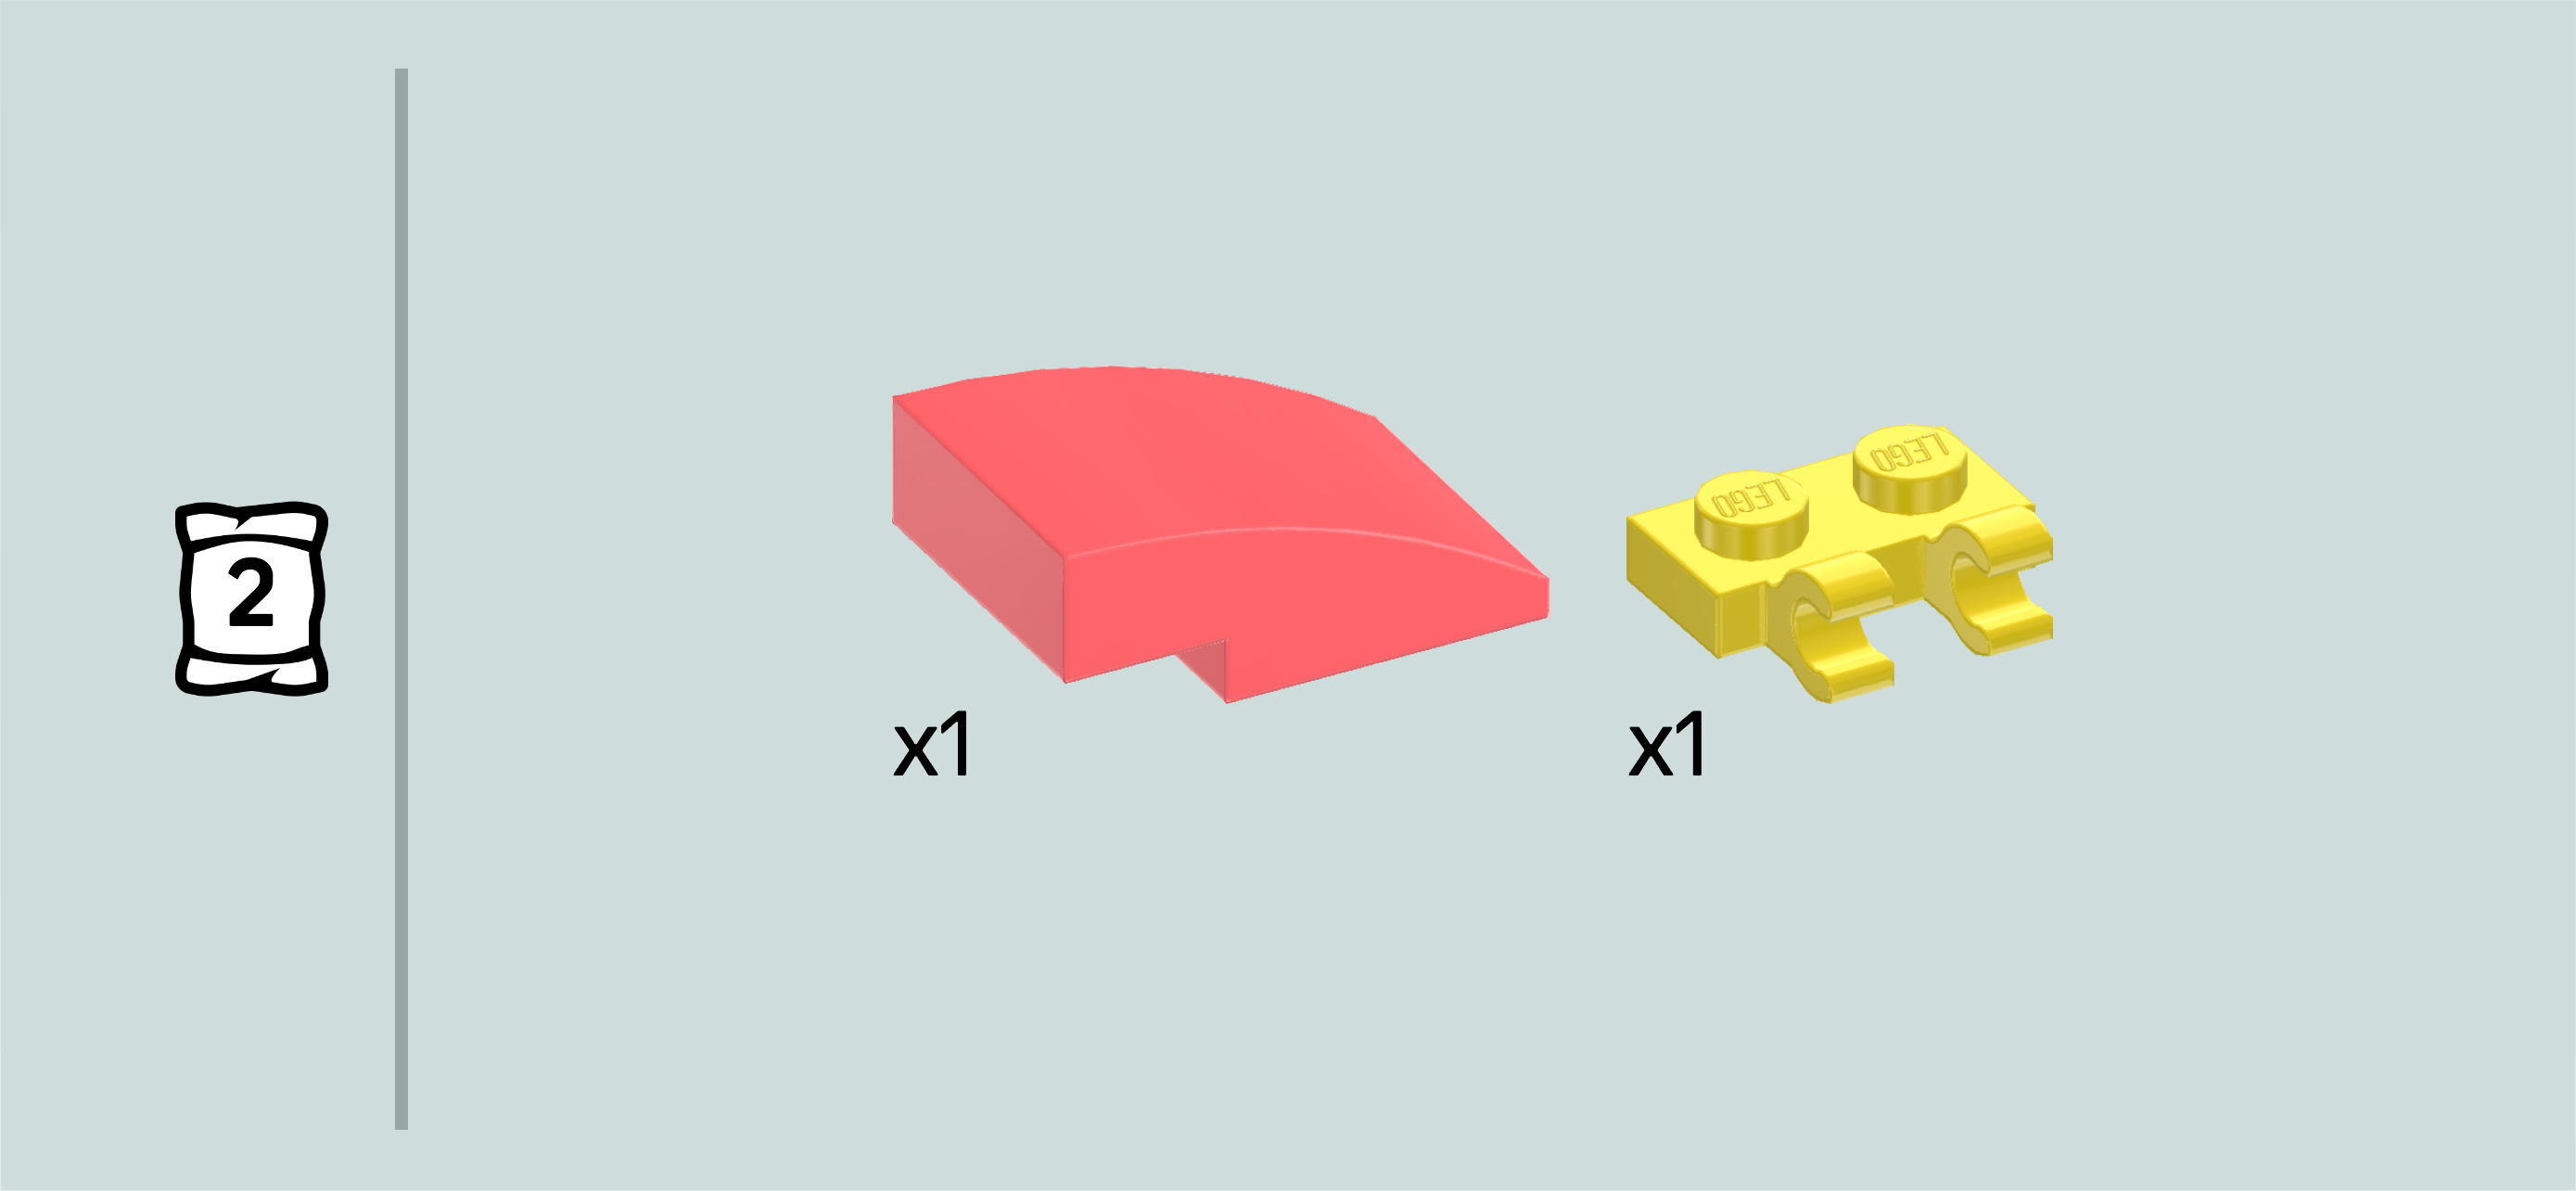
| Collect the following 2 pieces: |
| 1 bright yellow plate 1x2 with 2 vertical clasps on long side, |
| and 1 salmon pink one-stepped curve tile 2x3. |
| Put the plate with clasps vertically on the table, clasps to the right. |
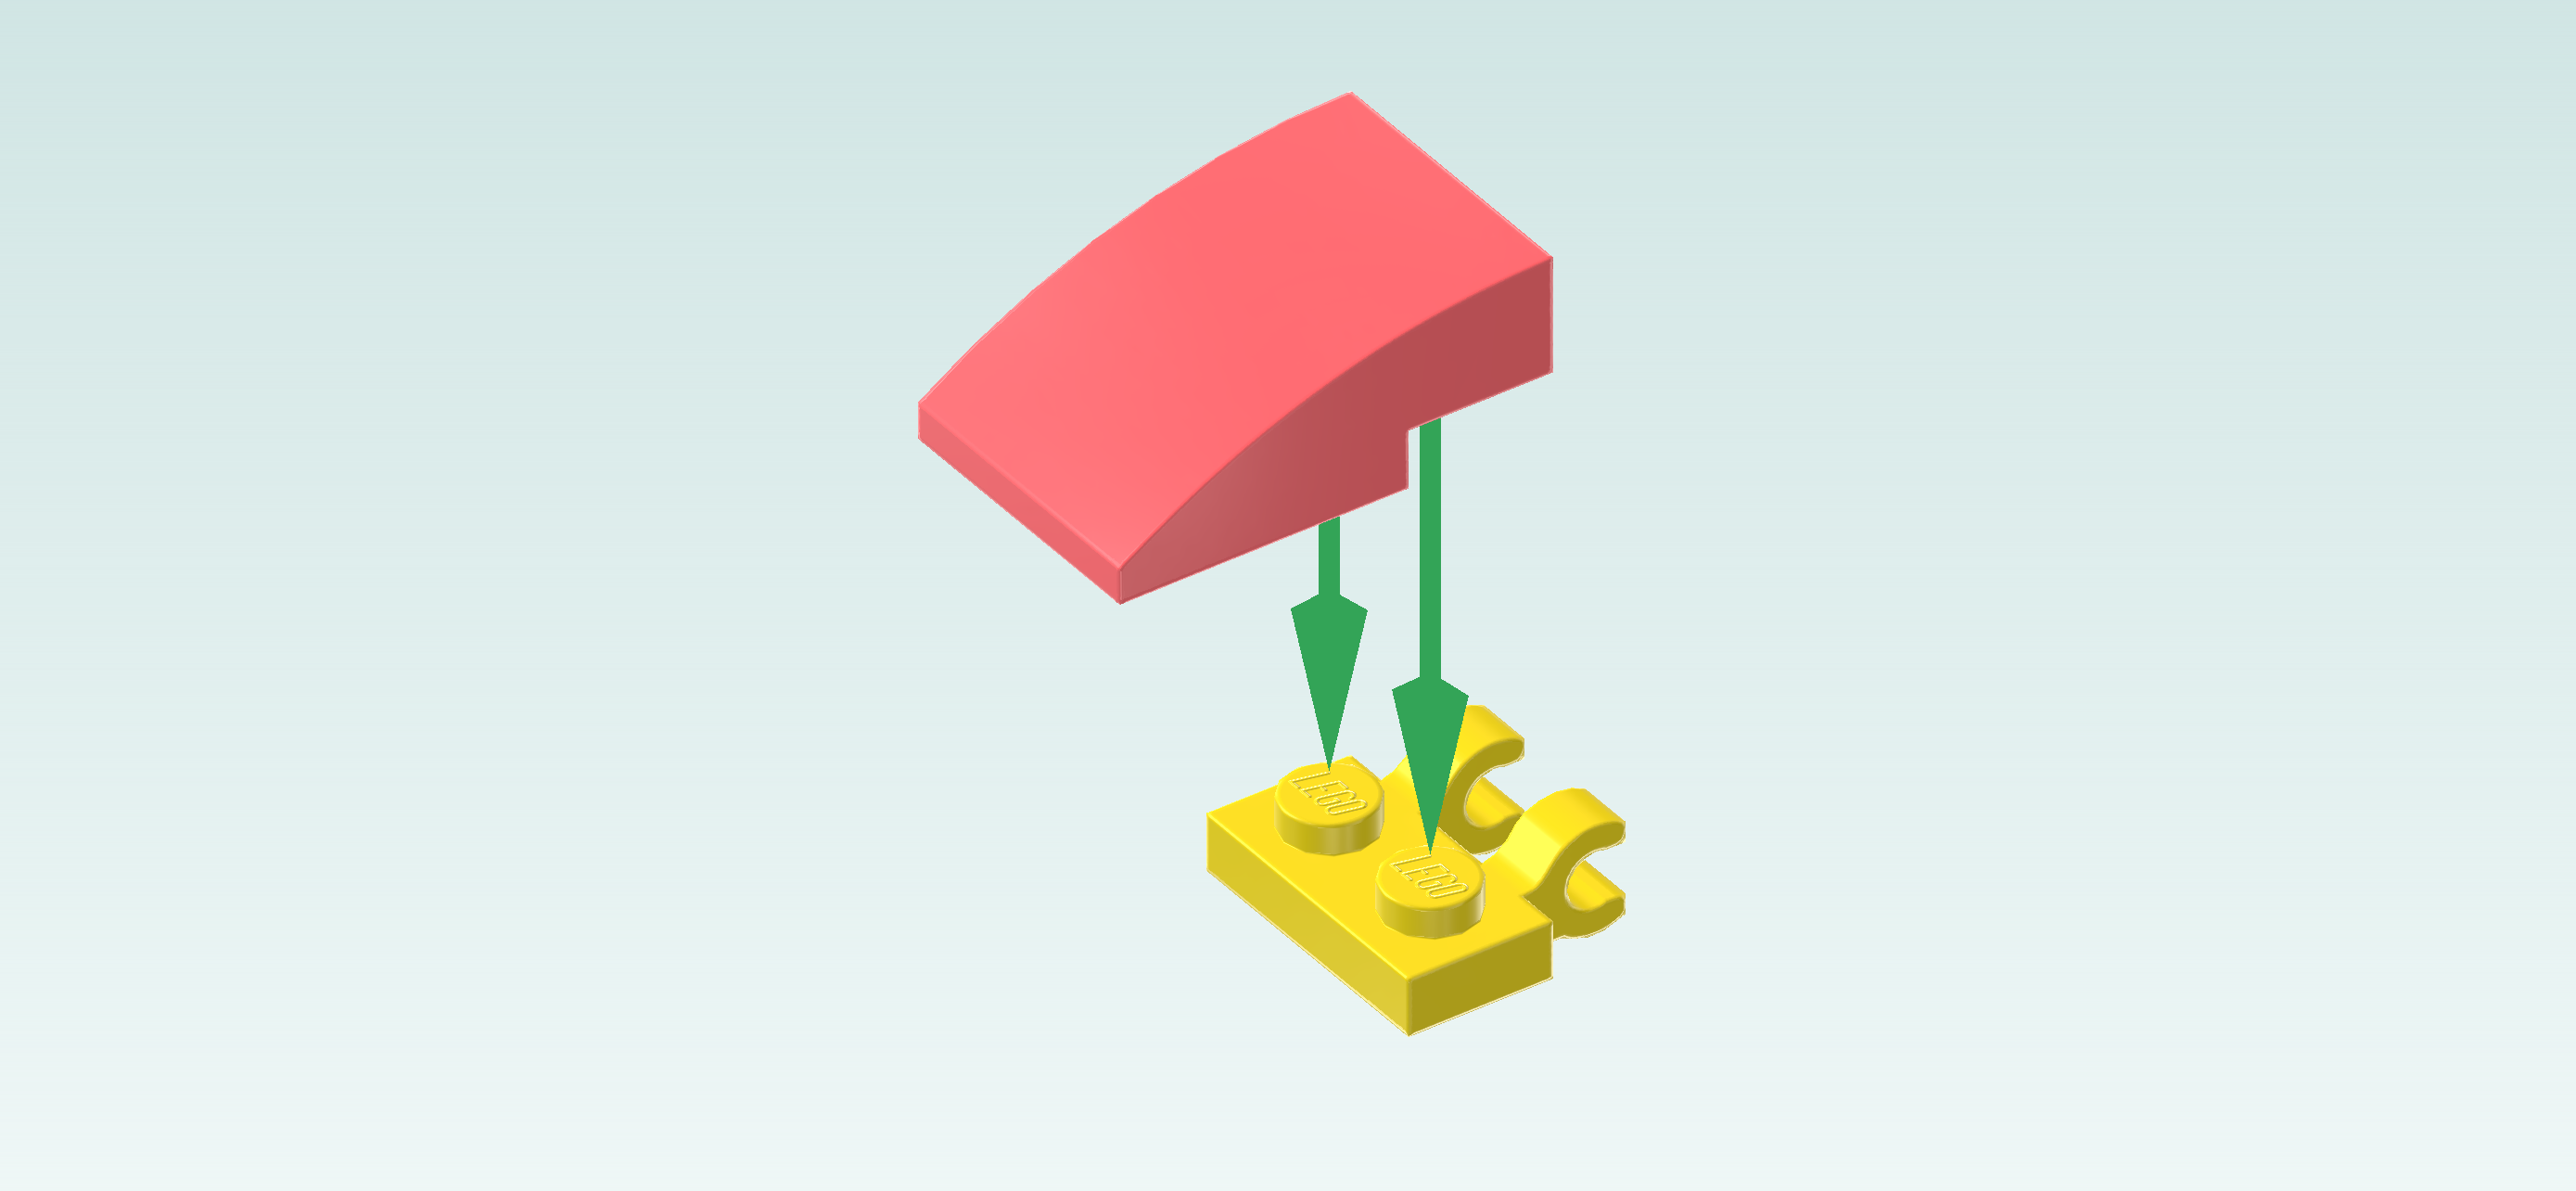
| Put the curve tile 2x3 horizontally on top, curve to the left, 2/3 overhanging to the left. |
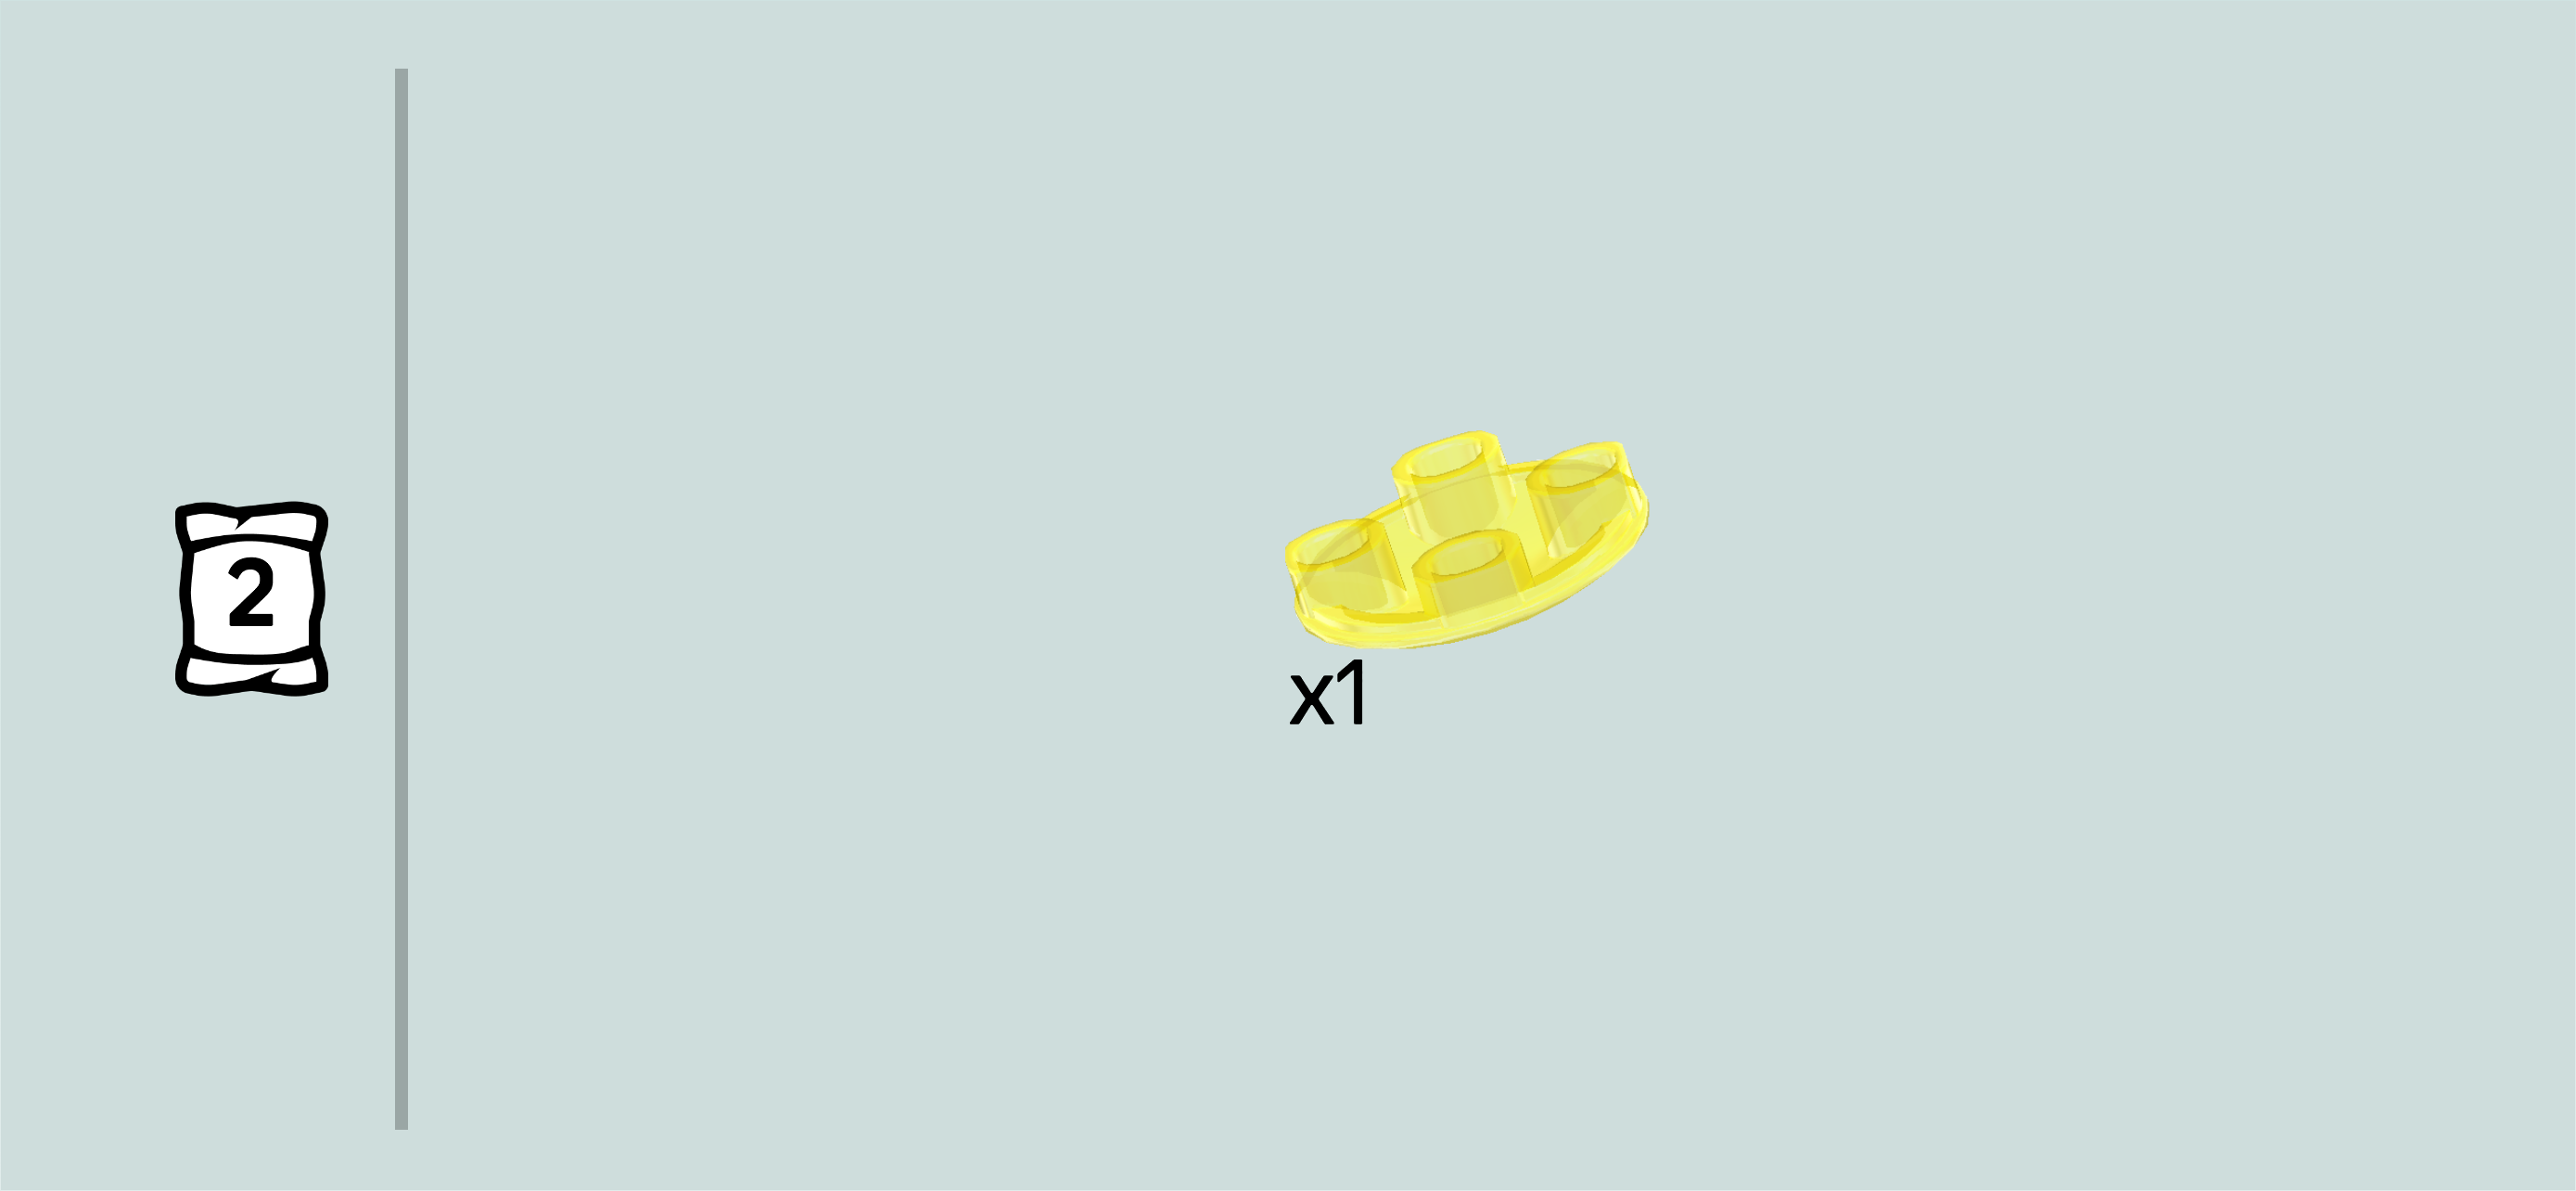
| Find 1 transparent yellow inverted curve disk 2x2 with 4 knobs. |
| Flip the engine hood upside down, but keep the horizontal orientation. Make sure that the clasps are still pointing to the right. |
| Mount the curve disk on the right edge, covering two thirds of the surface. |
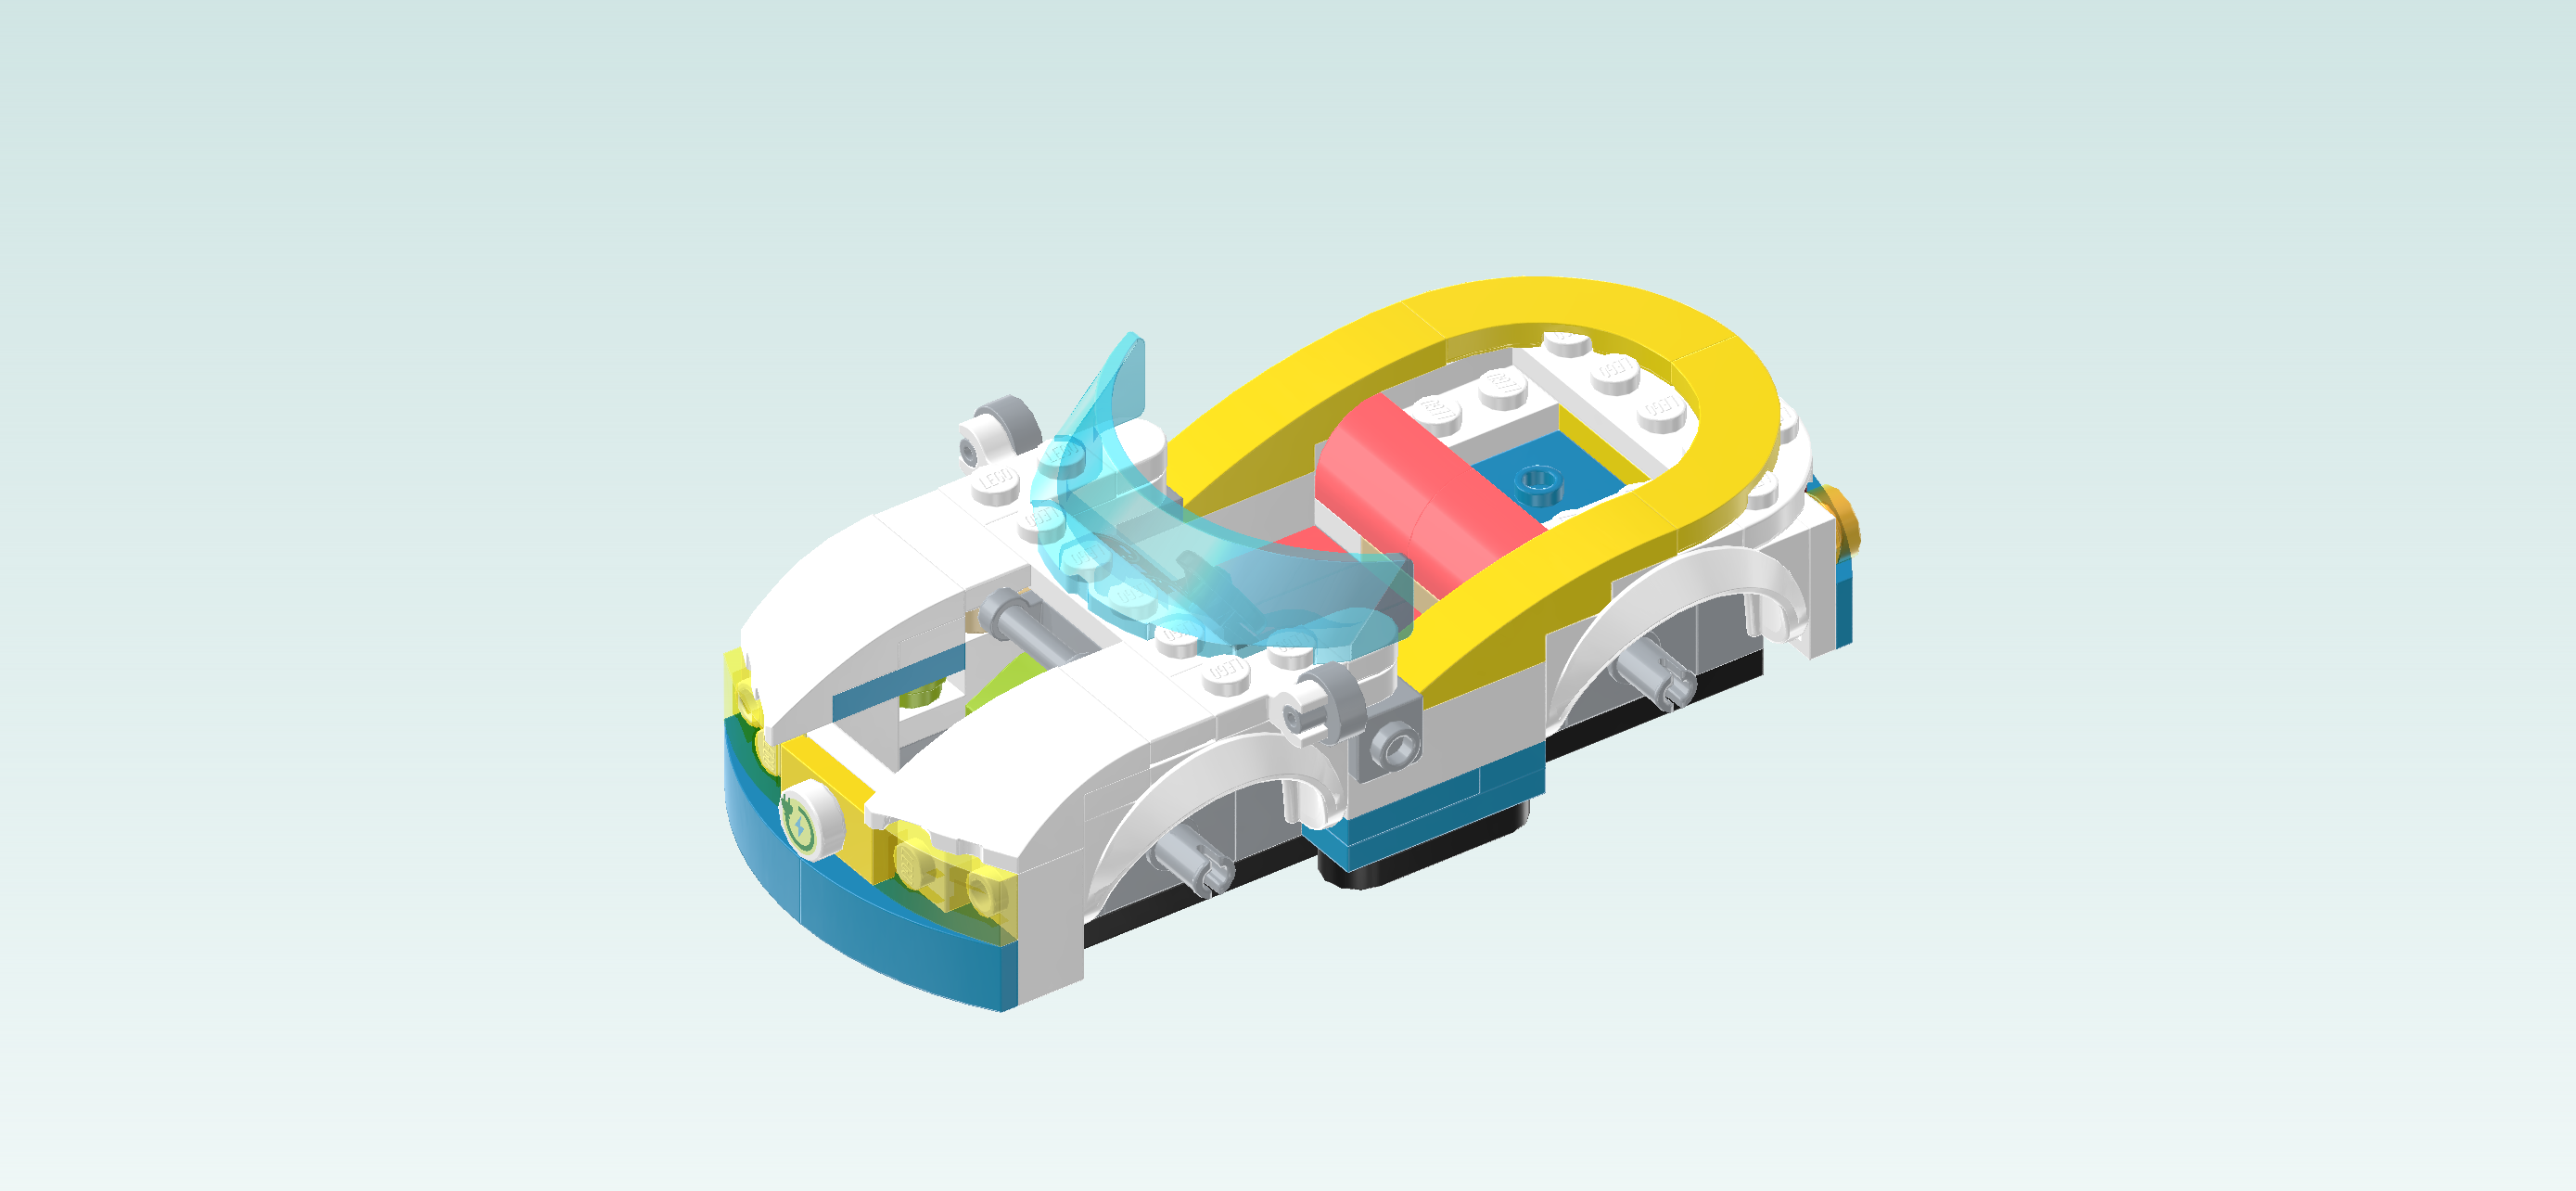
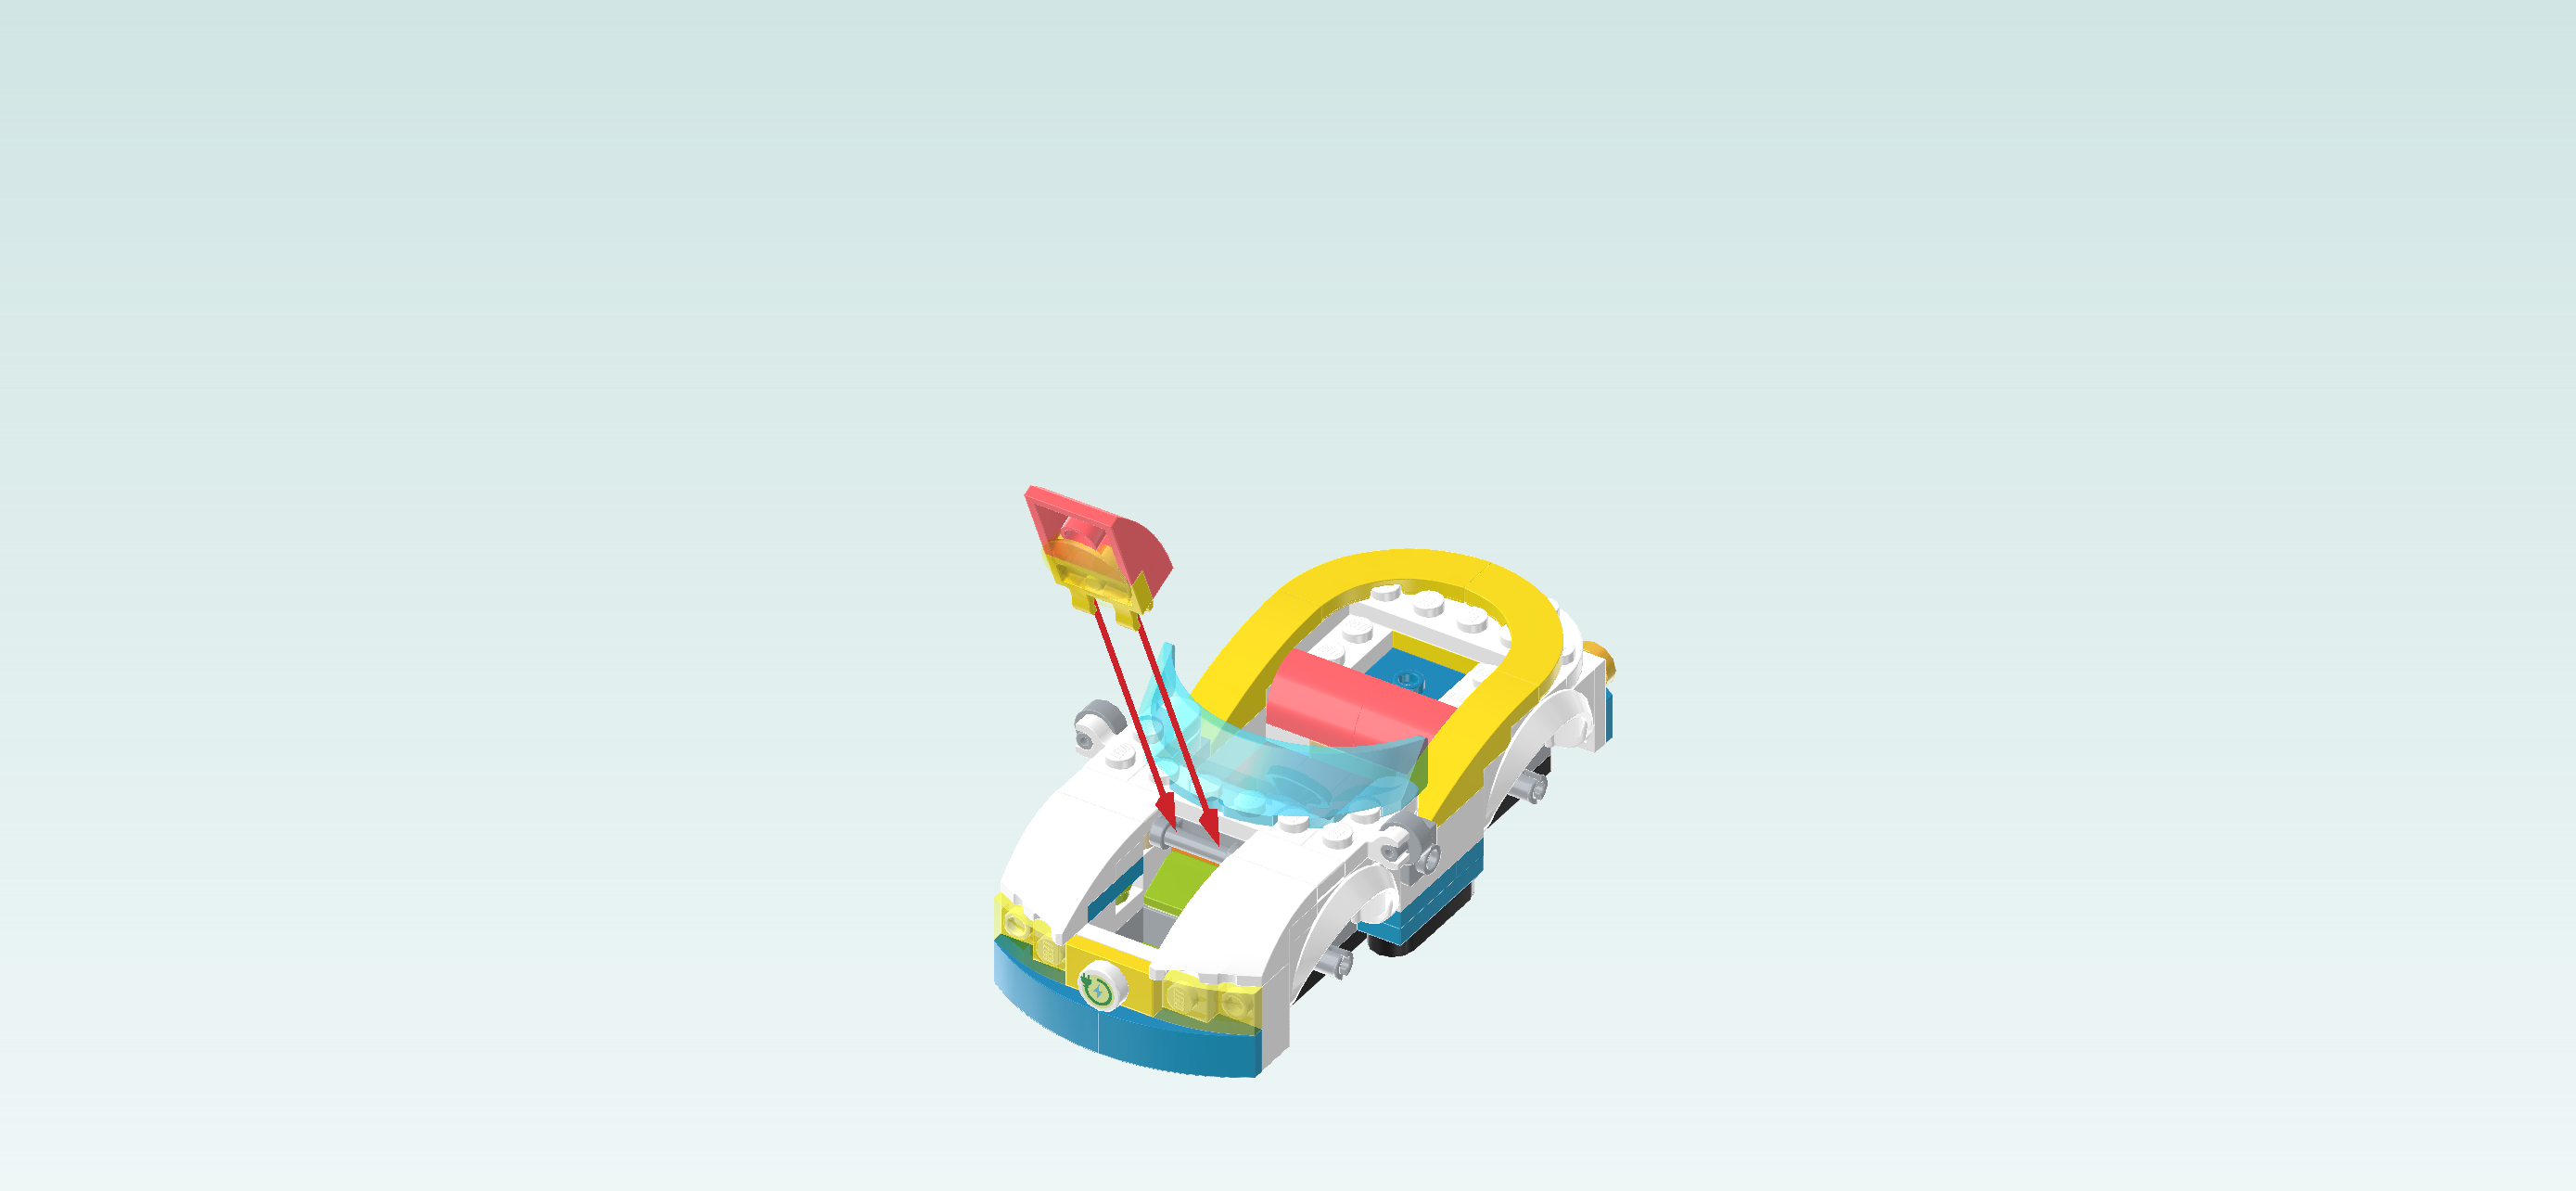
| Flip it right side up again. Snap the 2 clasps into the handle to the left of the windshield, and fold the engine hood down. |
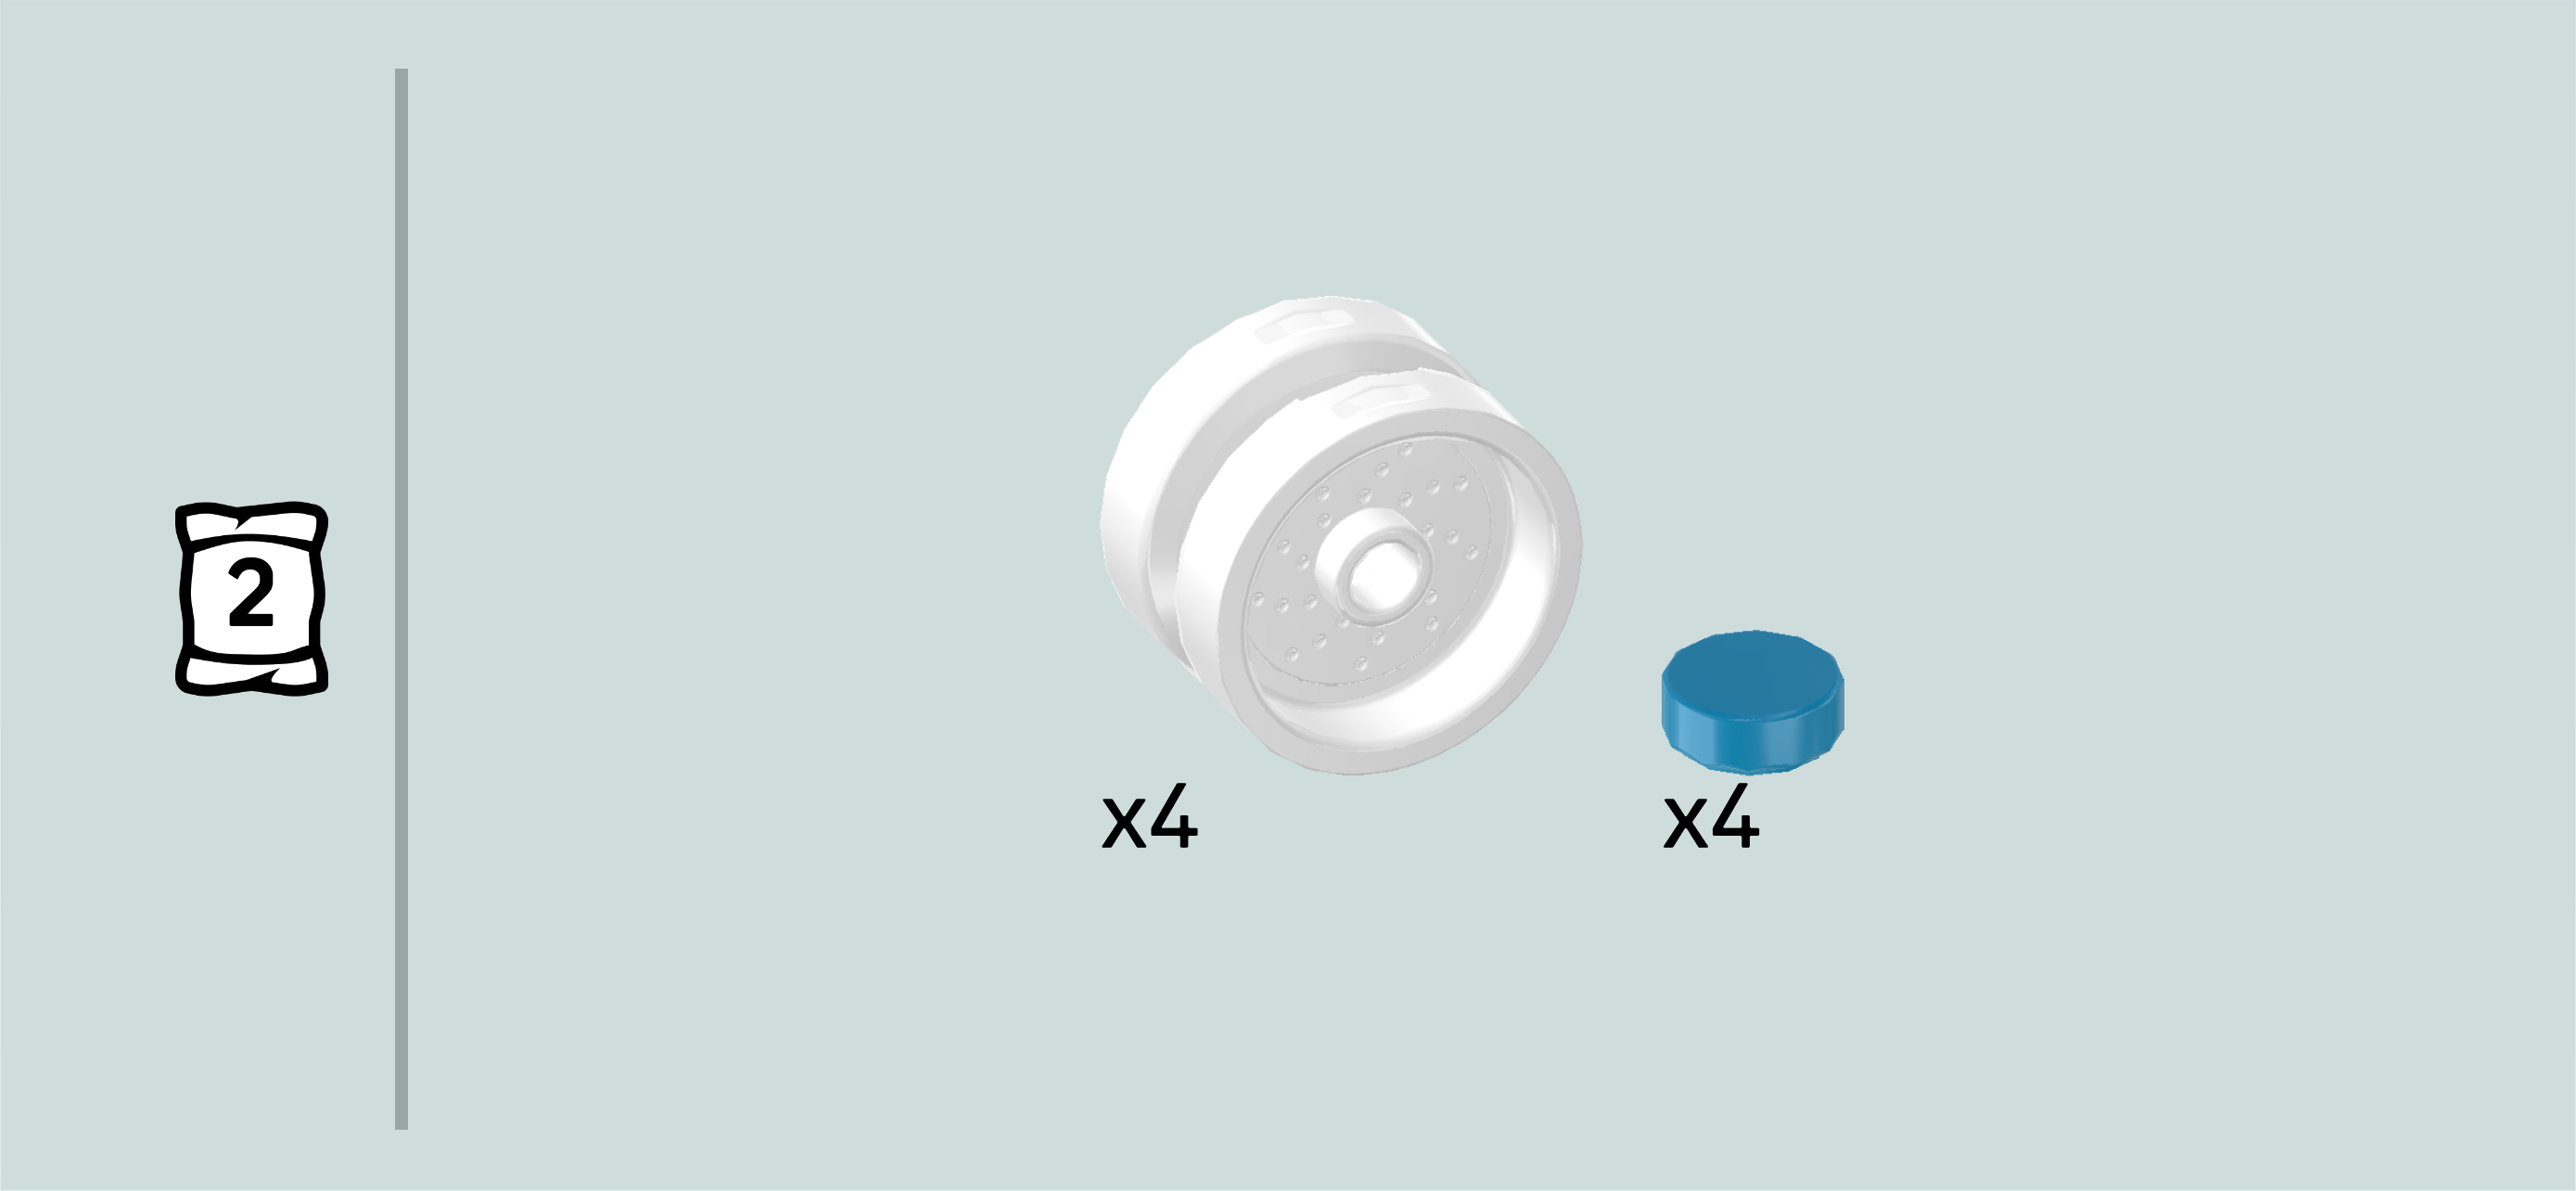
| Finally, we will assemble the 4 wheels. |
| Collect the following 8 pieces: |
| 4 dark azure blue round tiles 1x1, |
| and 4 white rims with groove. |
| Put the rims on the table and make sure that their middle holes are to the bottom. |
| Put the 4 round tiles 1x1 on the middle knobs of the rims. |
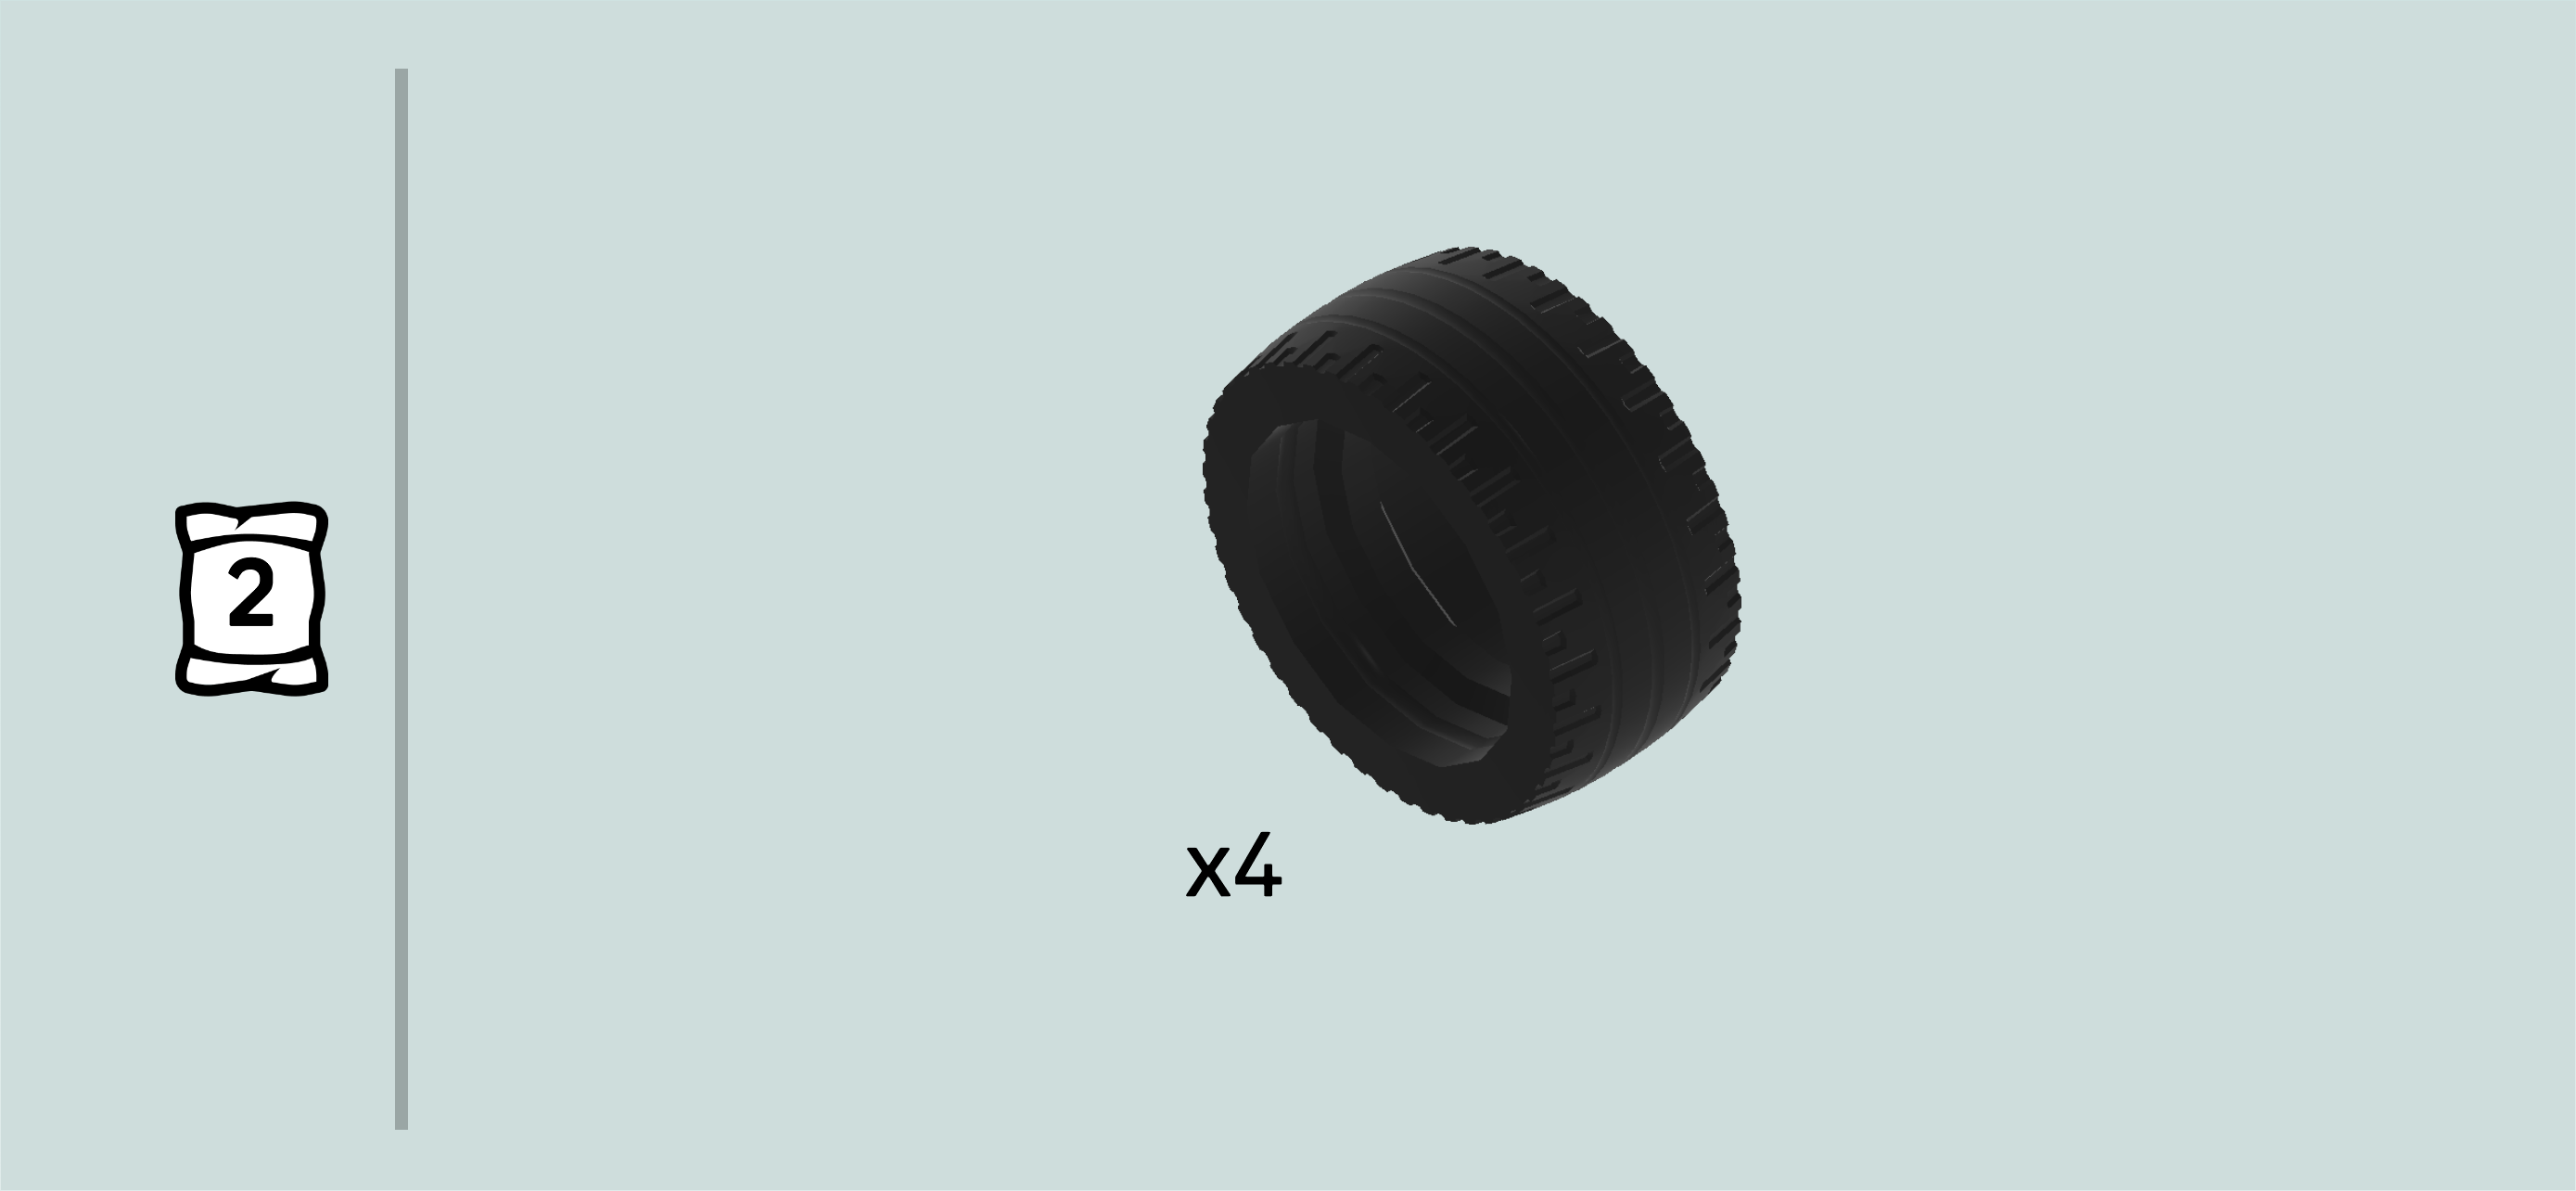
| Find 4 black wide rubber tires with super-low profile. |
| Put the rims into the tires. |
| The 4 wheels are finished! Great job! Snap the wheels on the 4 connectors of the car. |
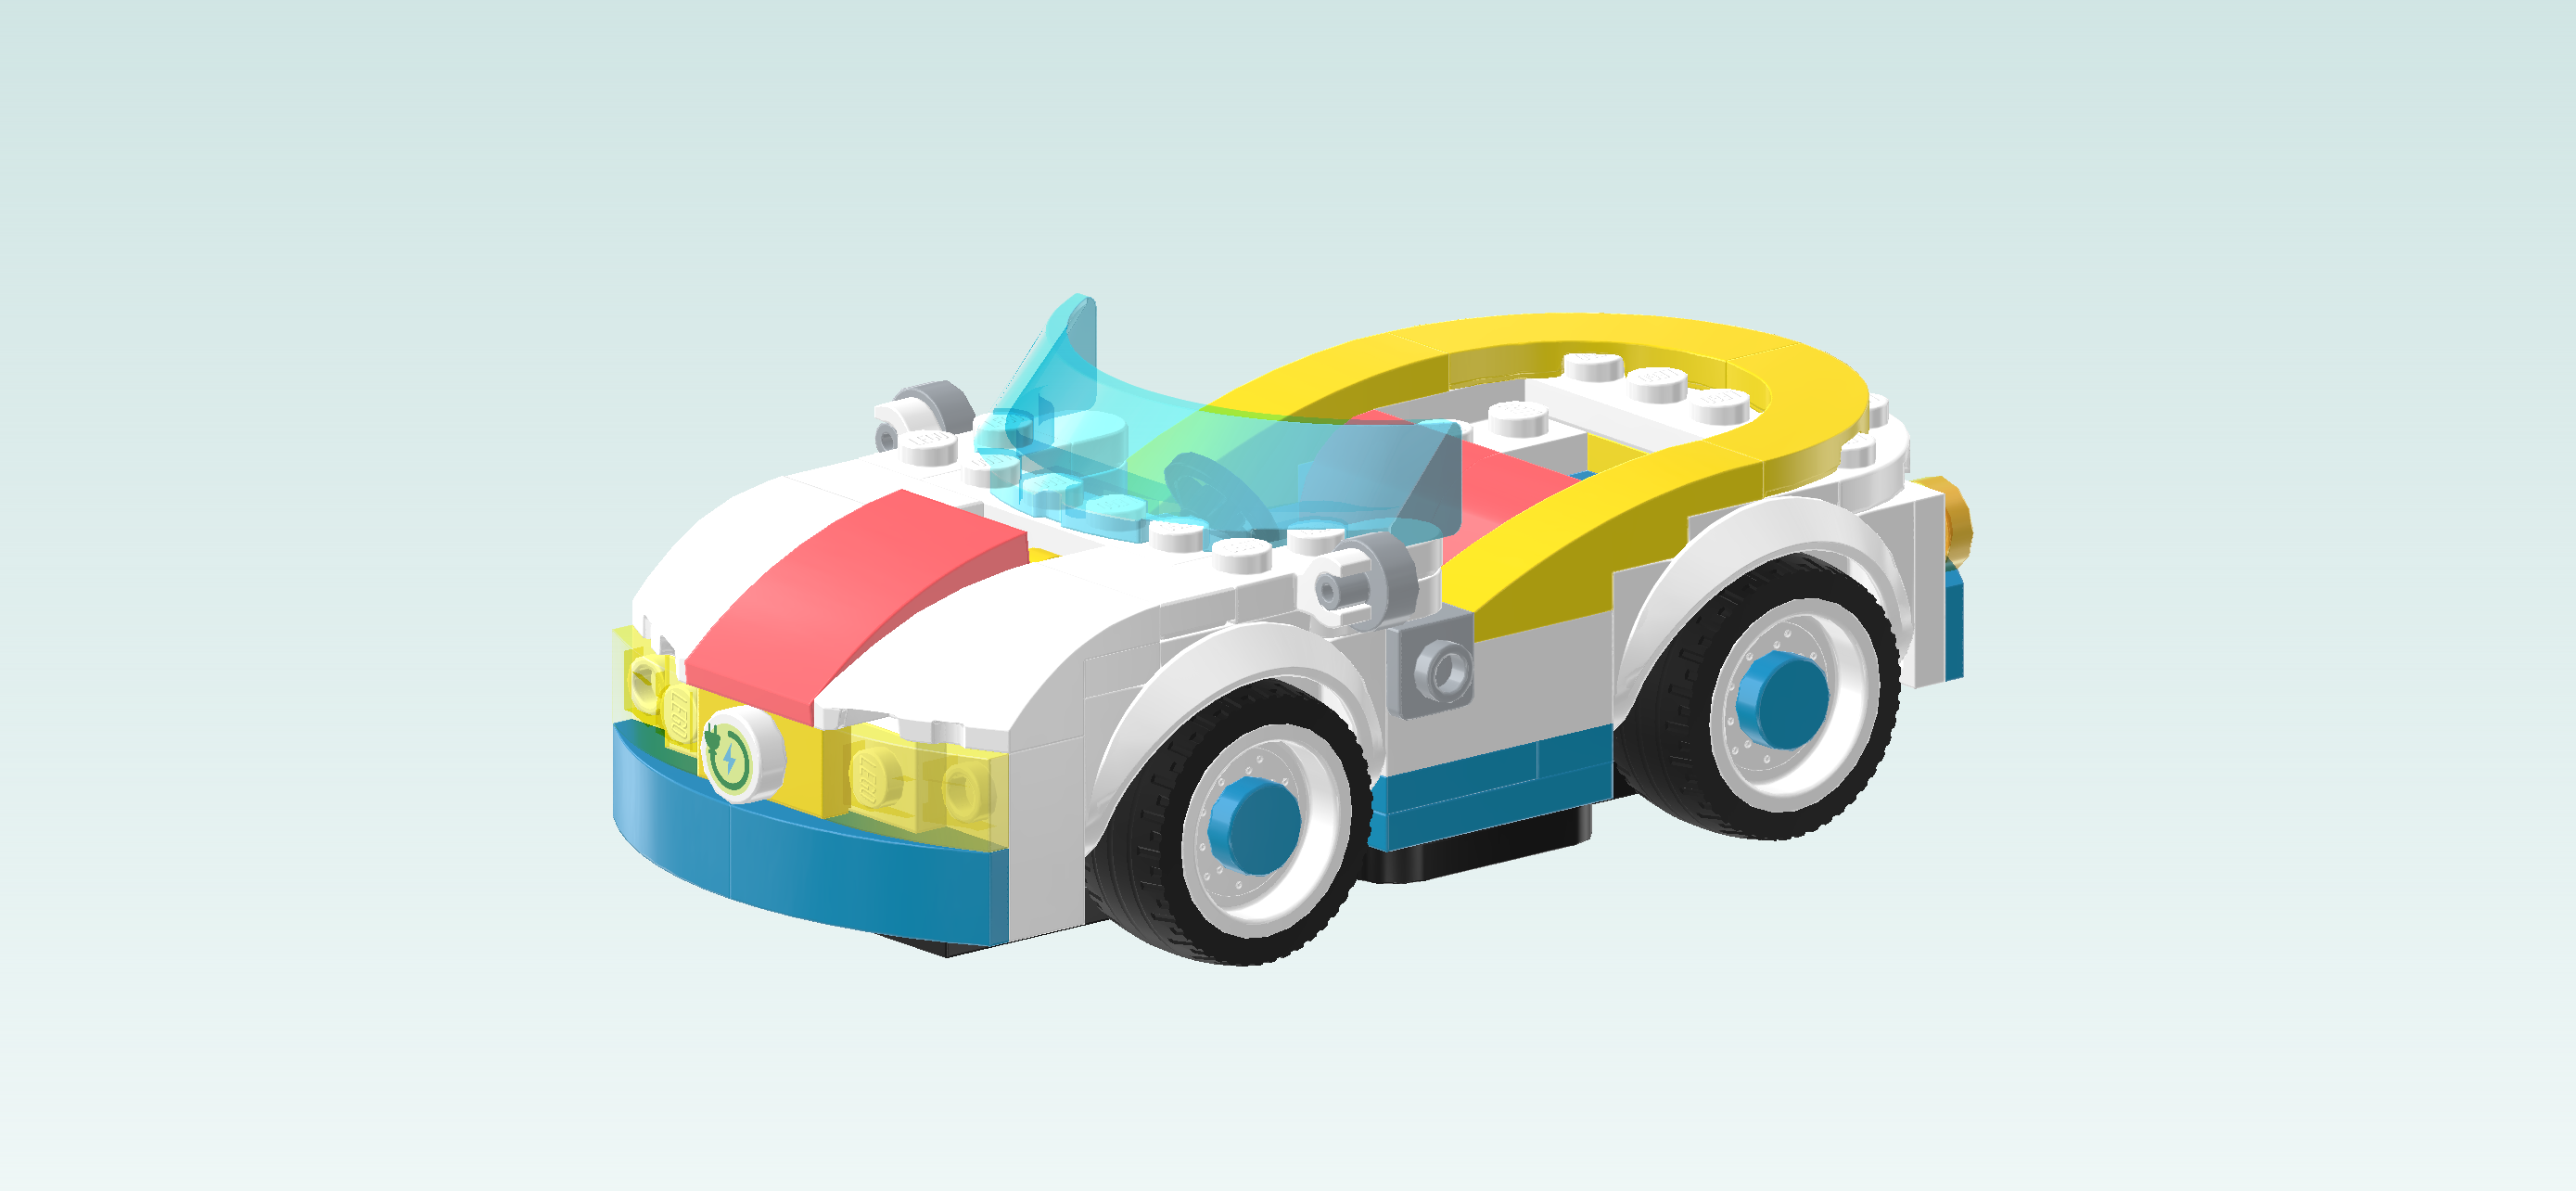
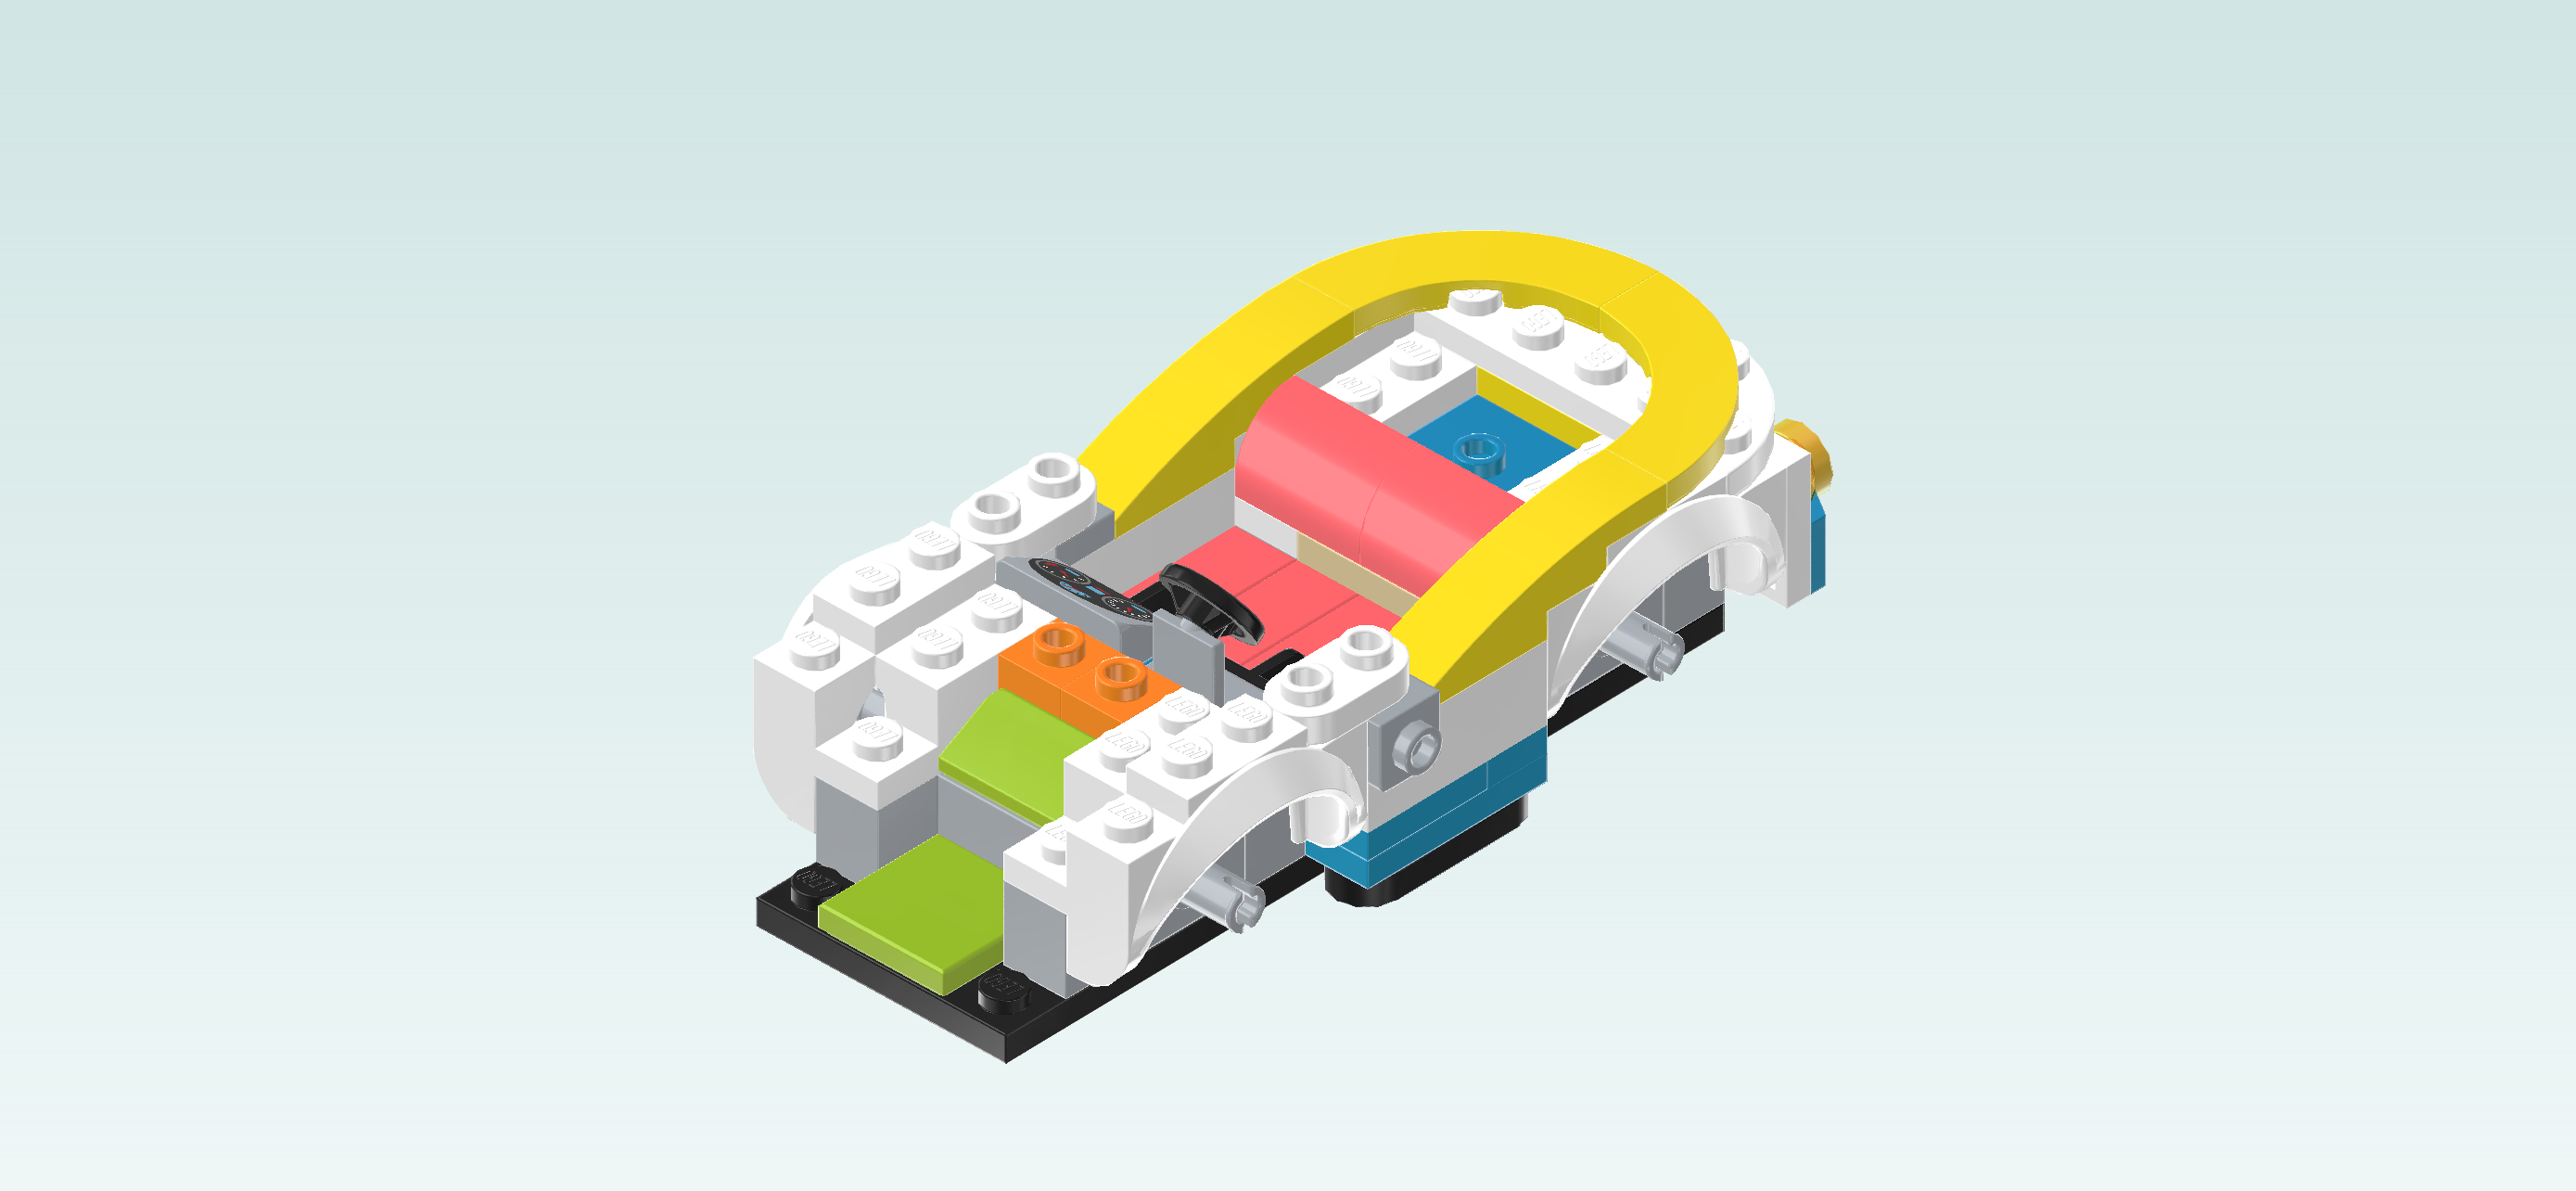
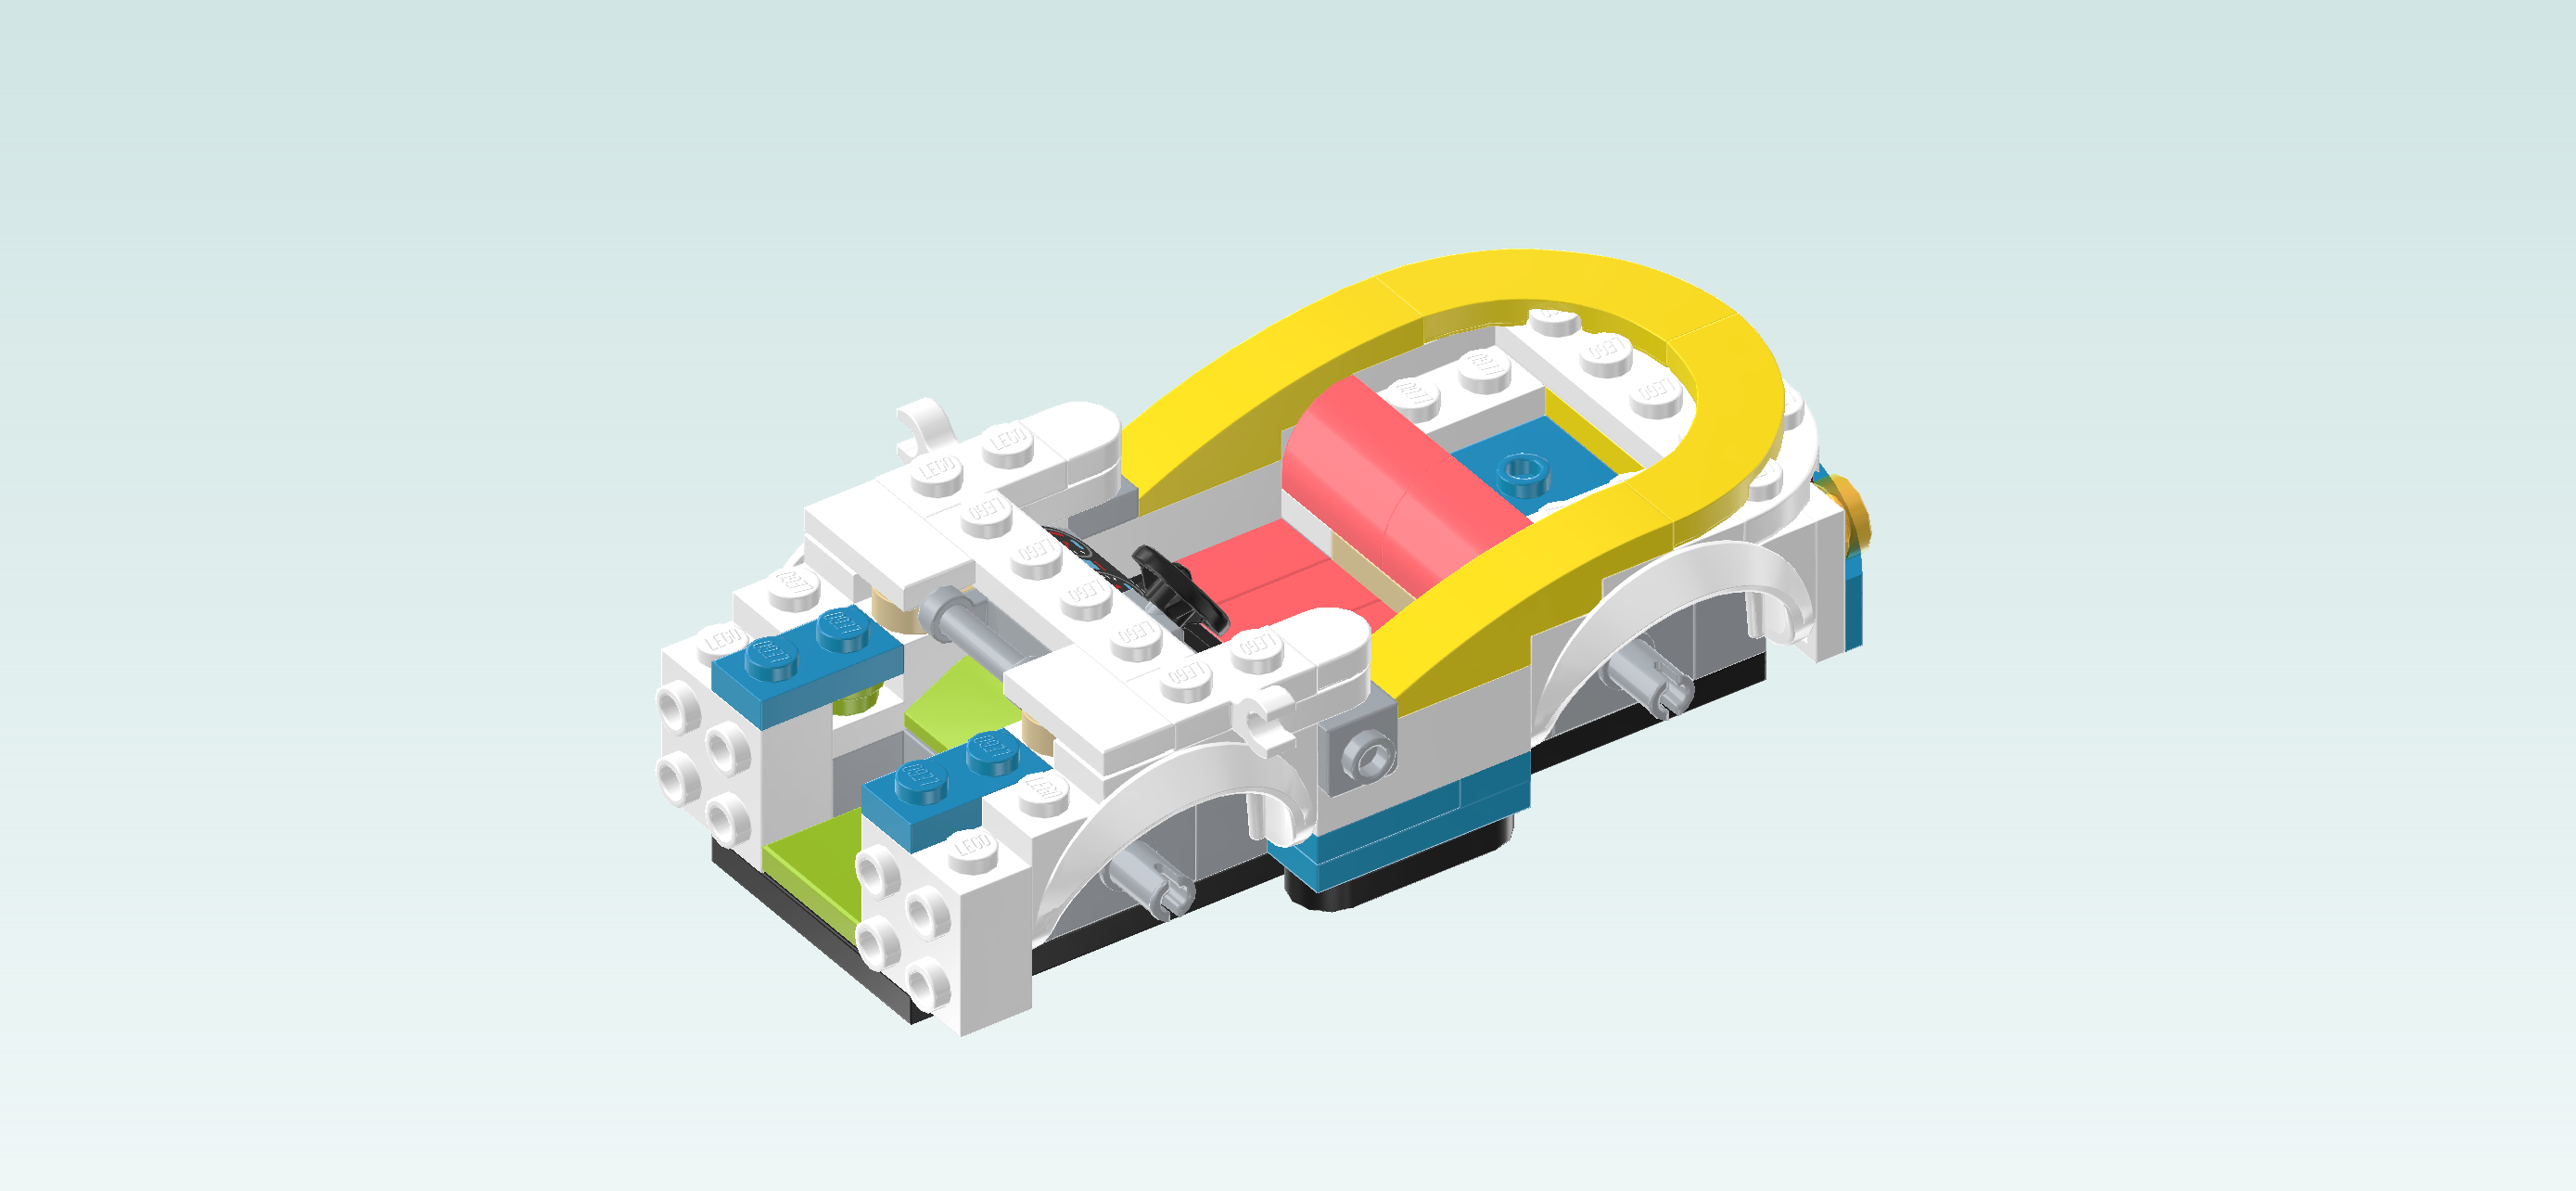
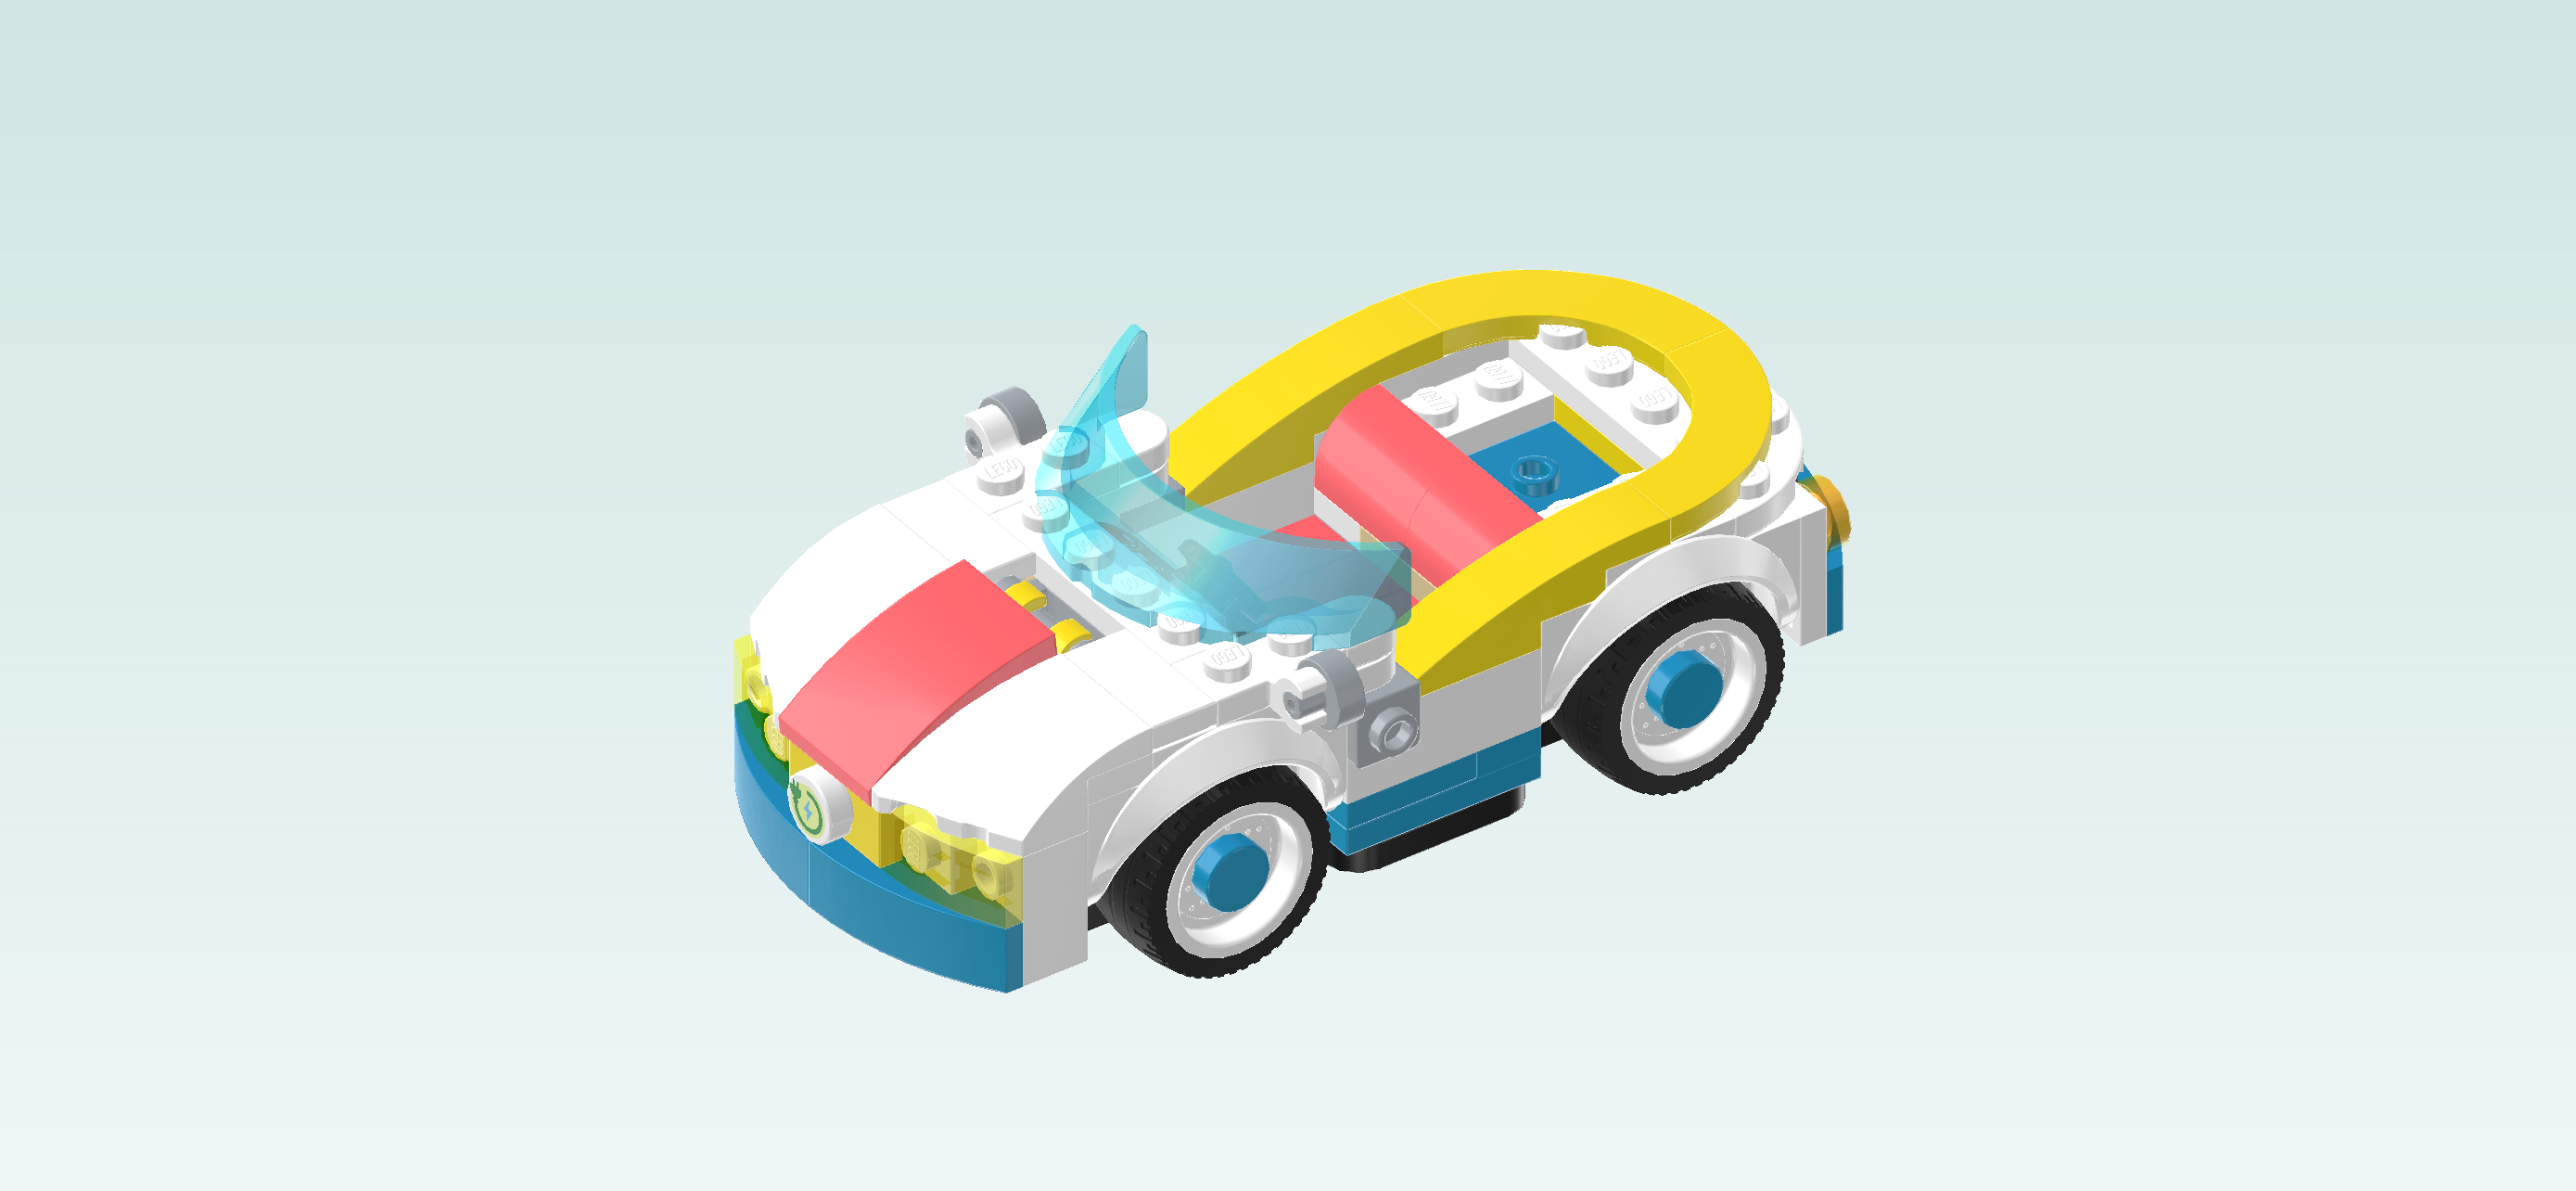
| The electric car is finished! Great job! It is time to take your vehicle for a spin! |
| You have finished building the entire set! Very well done! Take your electric vehicle to the charging station and get it recharged! Take the charging plug off the charging station and insert it into the charging dock below the rearview mirror. While the car is charging, you can have a little rest in the picnic area or play fetch with Dango. Lots of adventures ahead! |
| Enjoy! |
