LEGO 41726 Holiday Camping Trip 

LEGO Audio & Braille Building Instructions for the LEGO Friends set "Holiday Camping Trip".

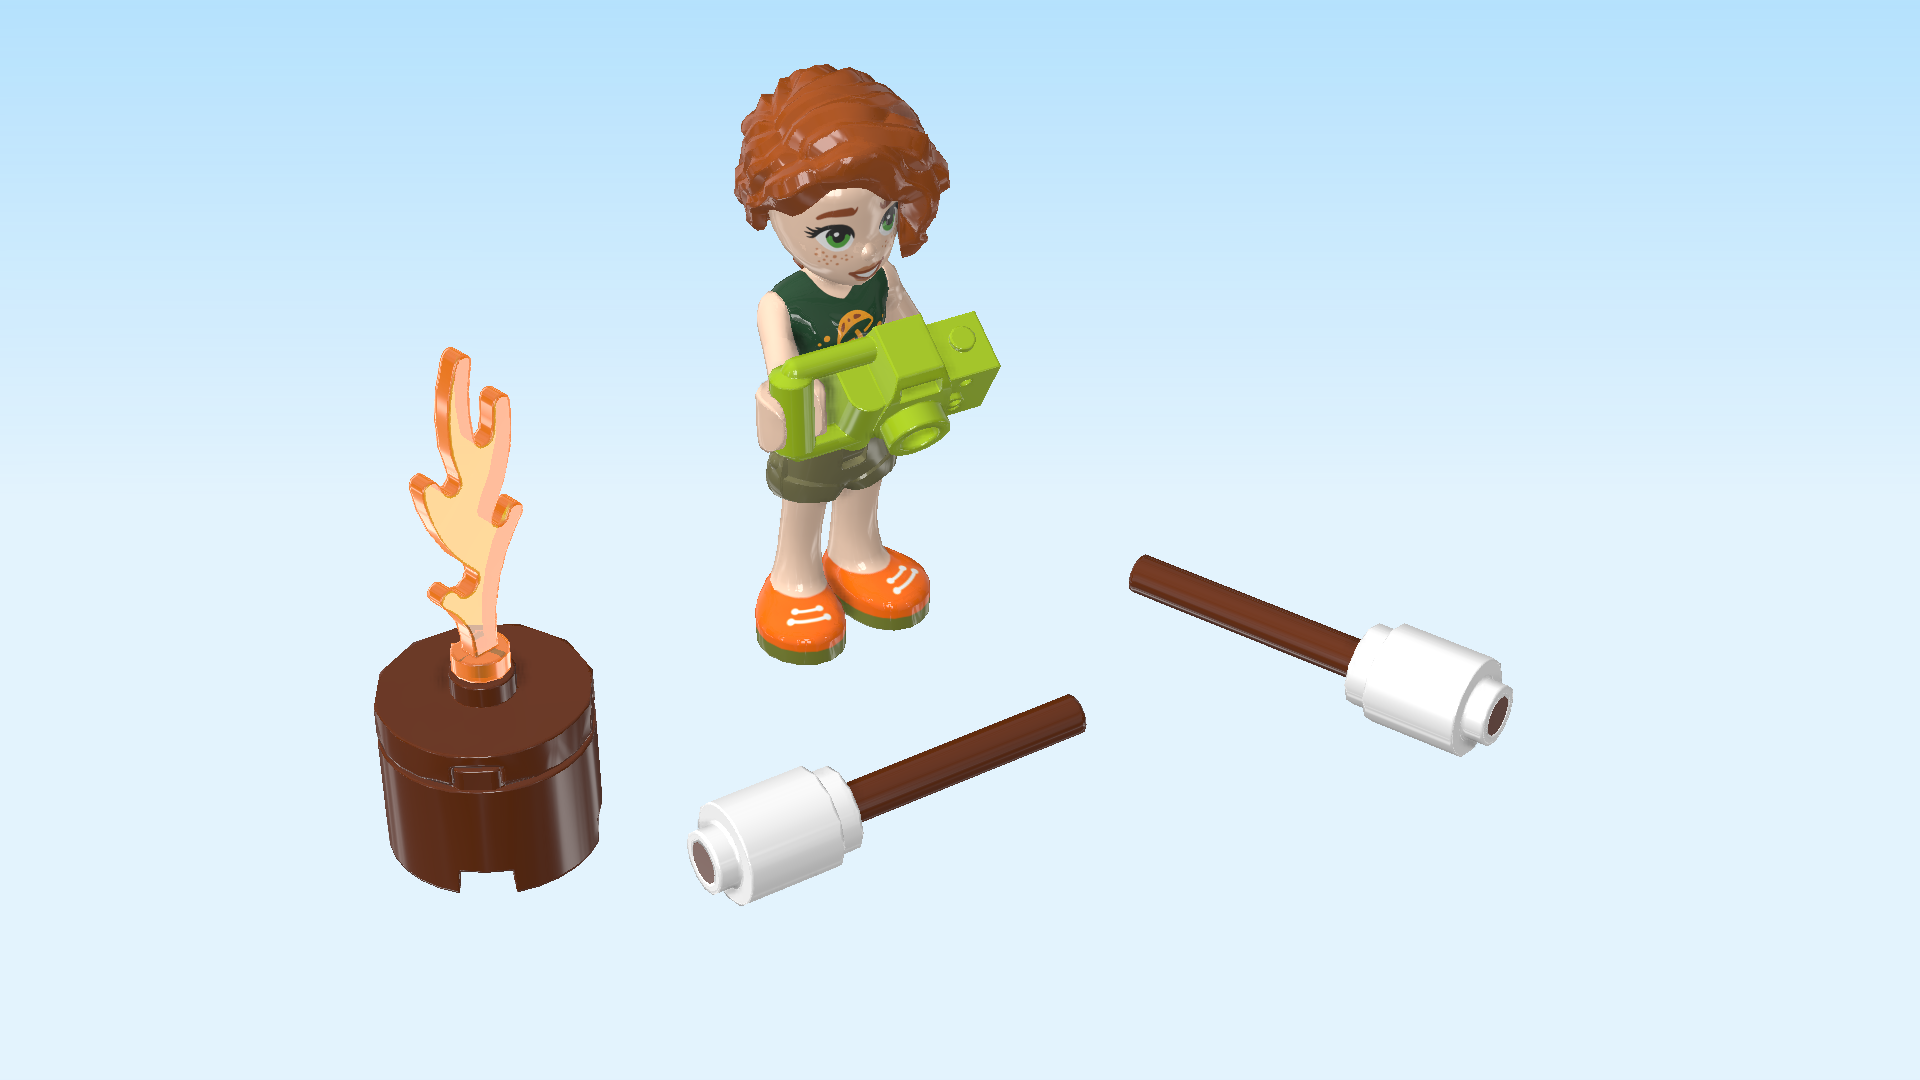
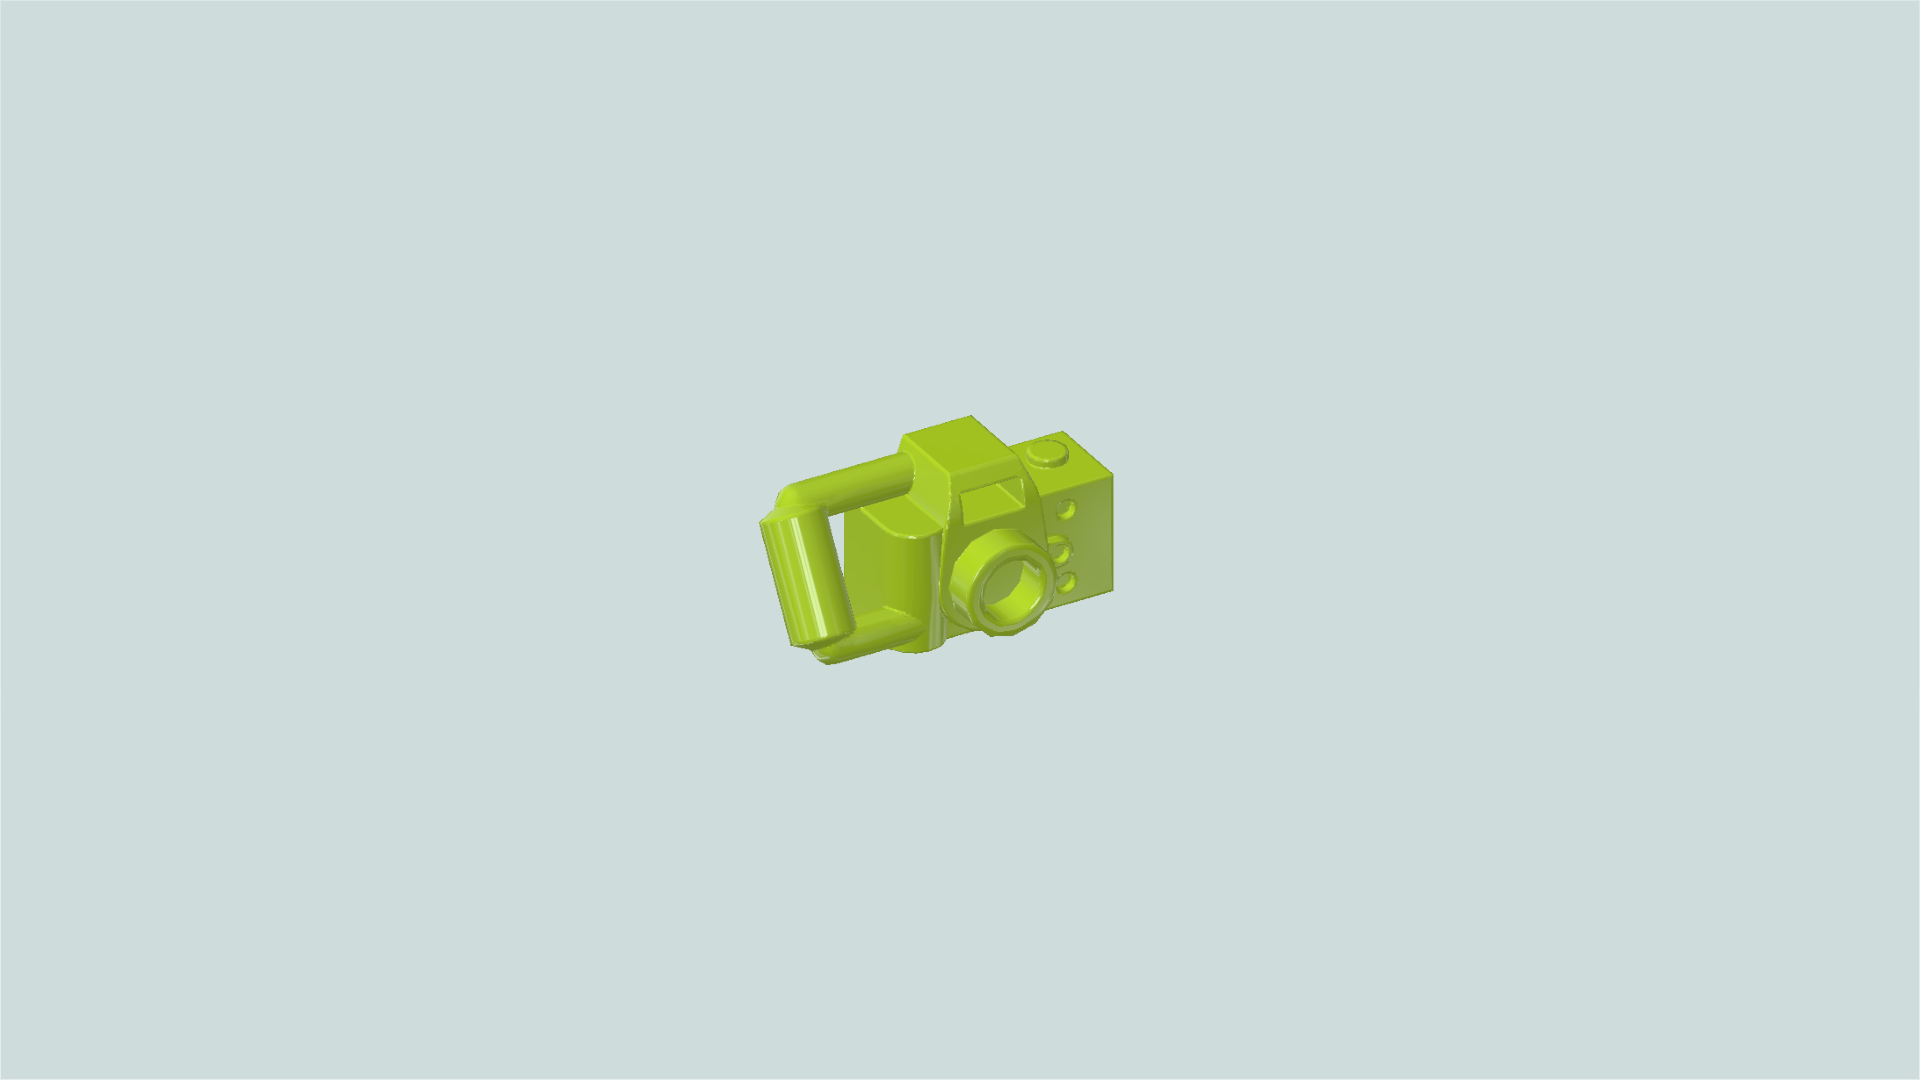
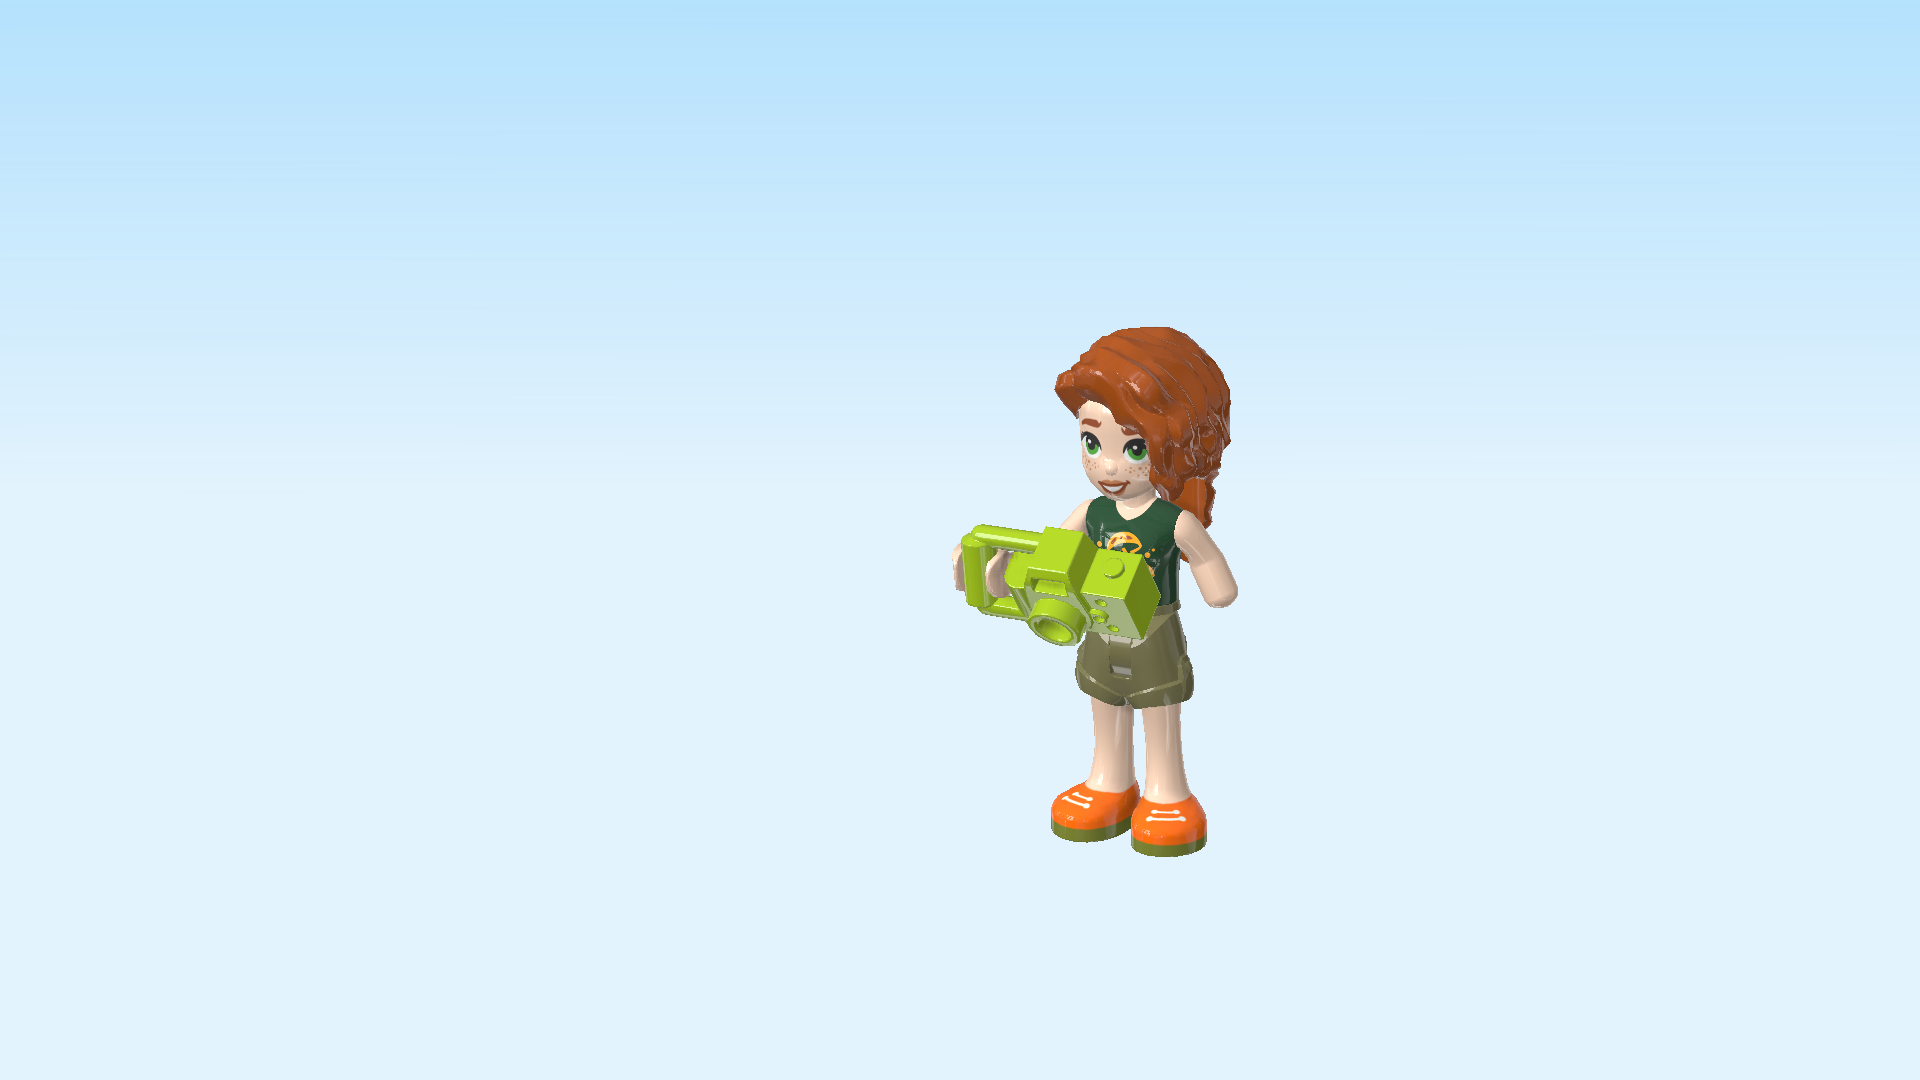
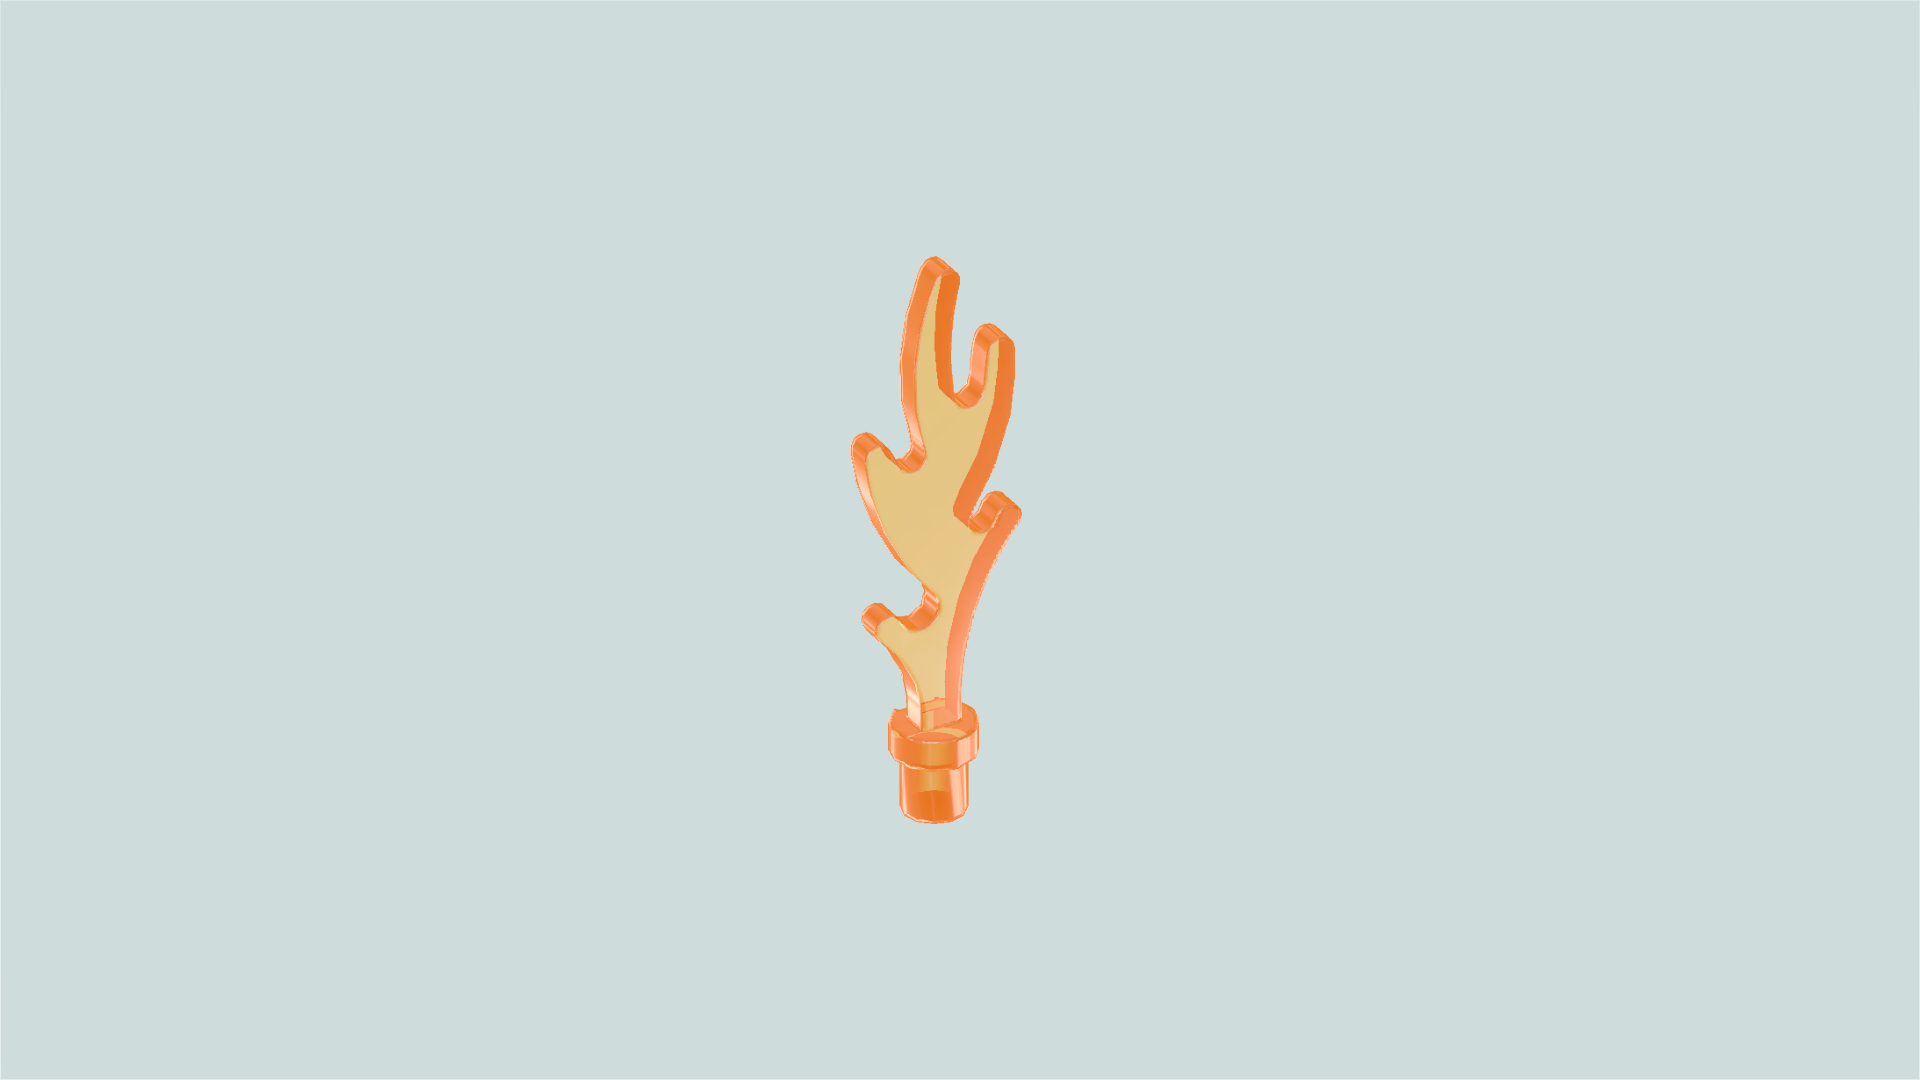
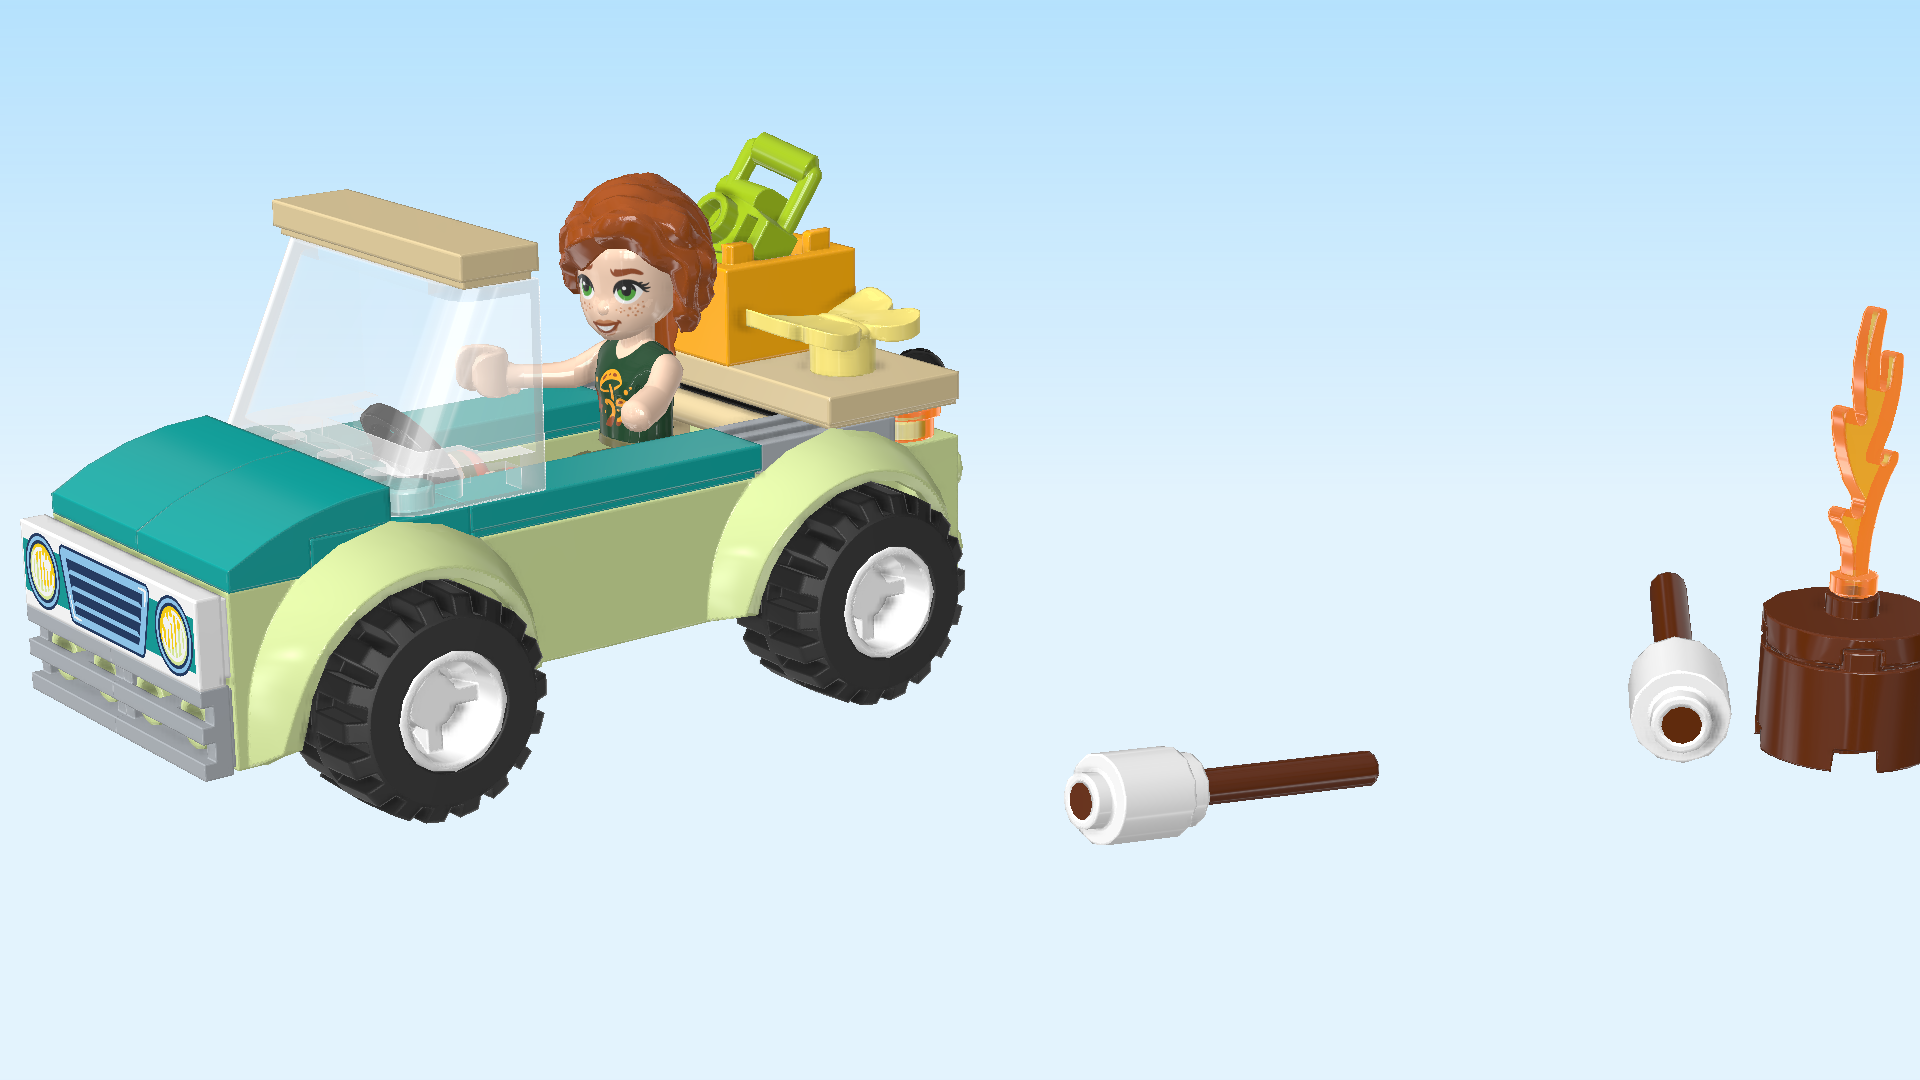
Ready to go camping with Autumn and Aliya? Drive the car to seek out the perfect camping spot in Heartlake City forest. Capture a picture of a rare butterfly with the toy camera. Organize the camper ready for evening. Enjoy toasting marshmallows on the campfire. Then settle into the camper van for a cozy sleep.

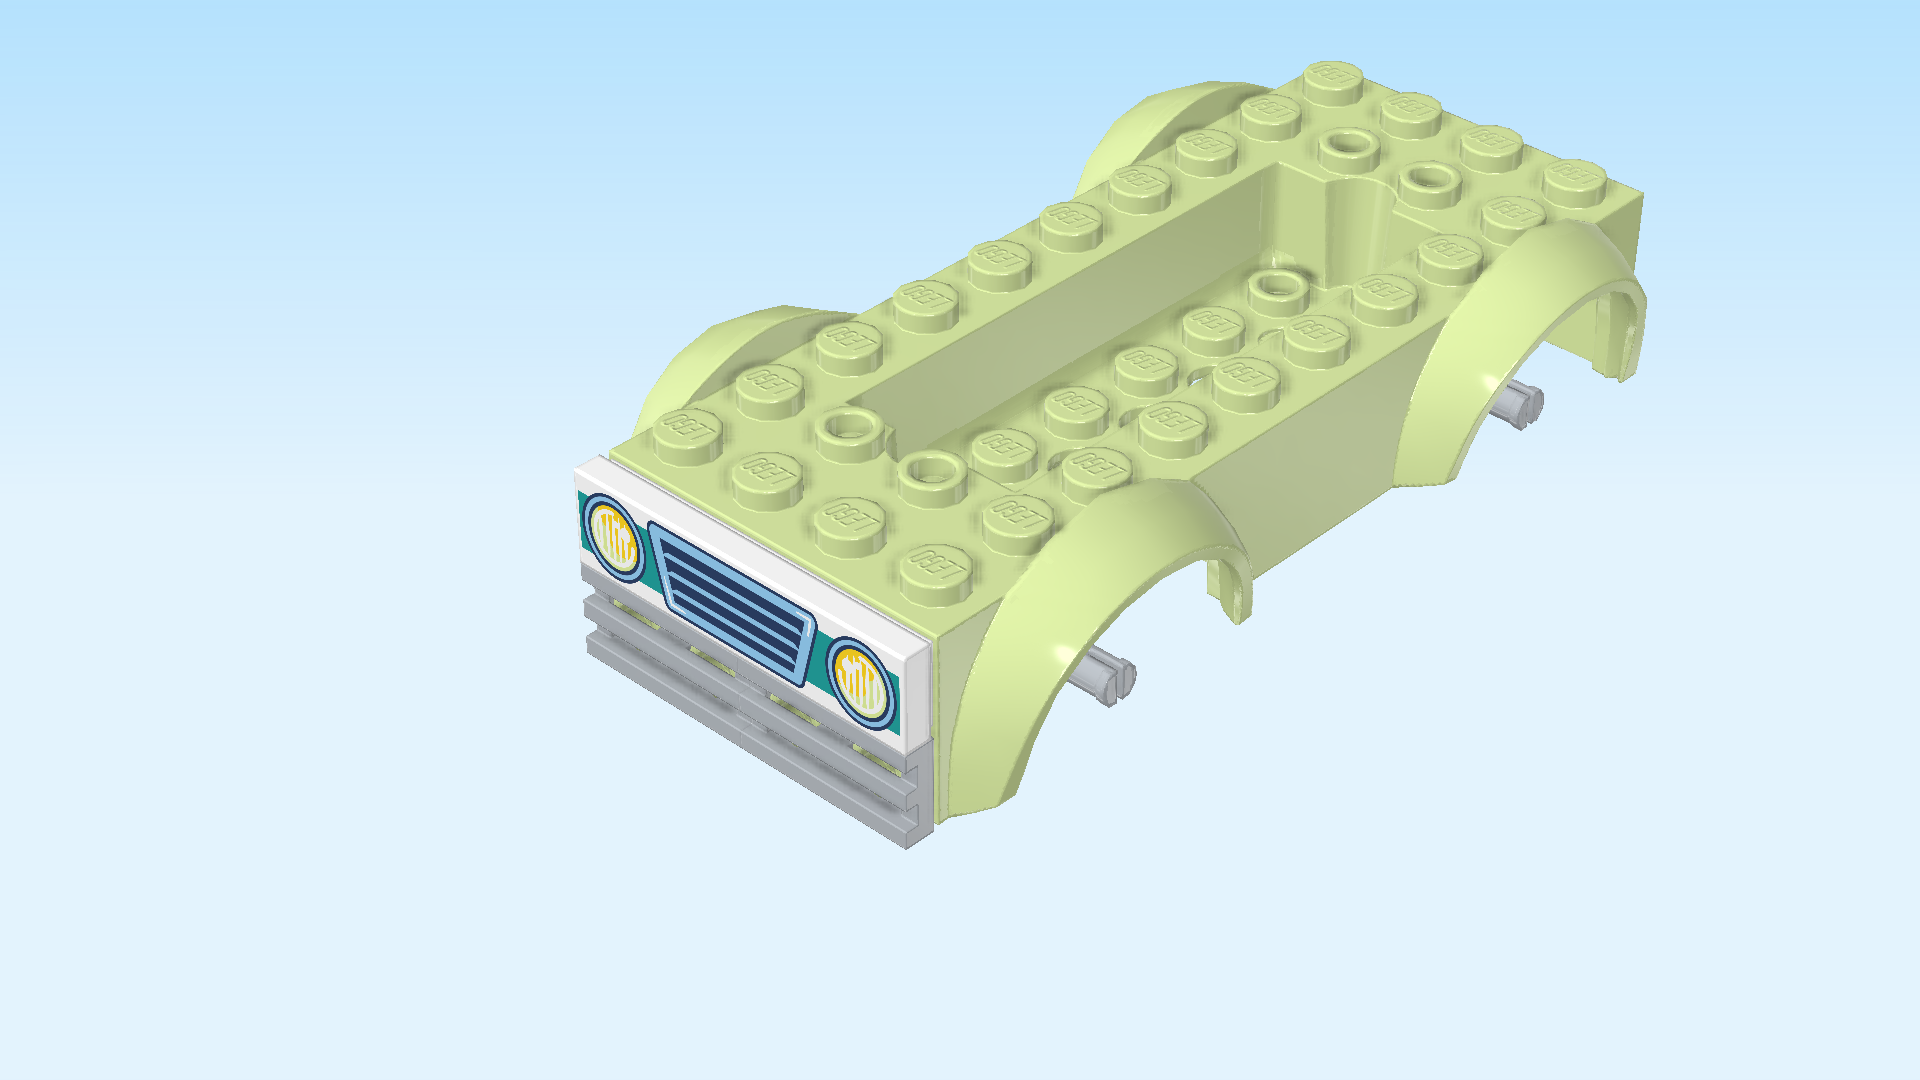
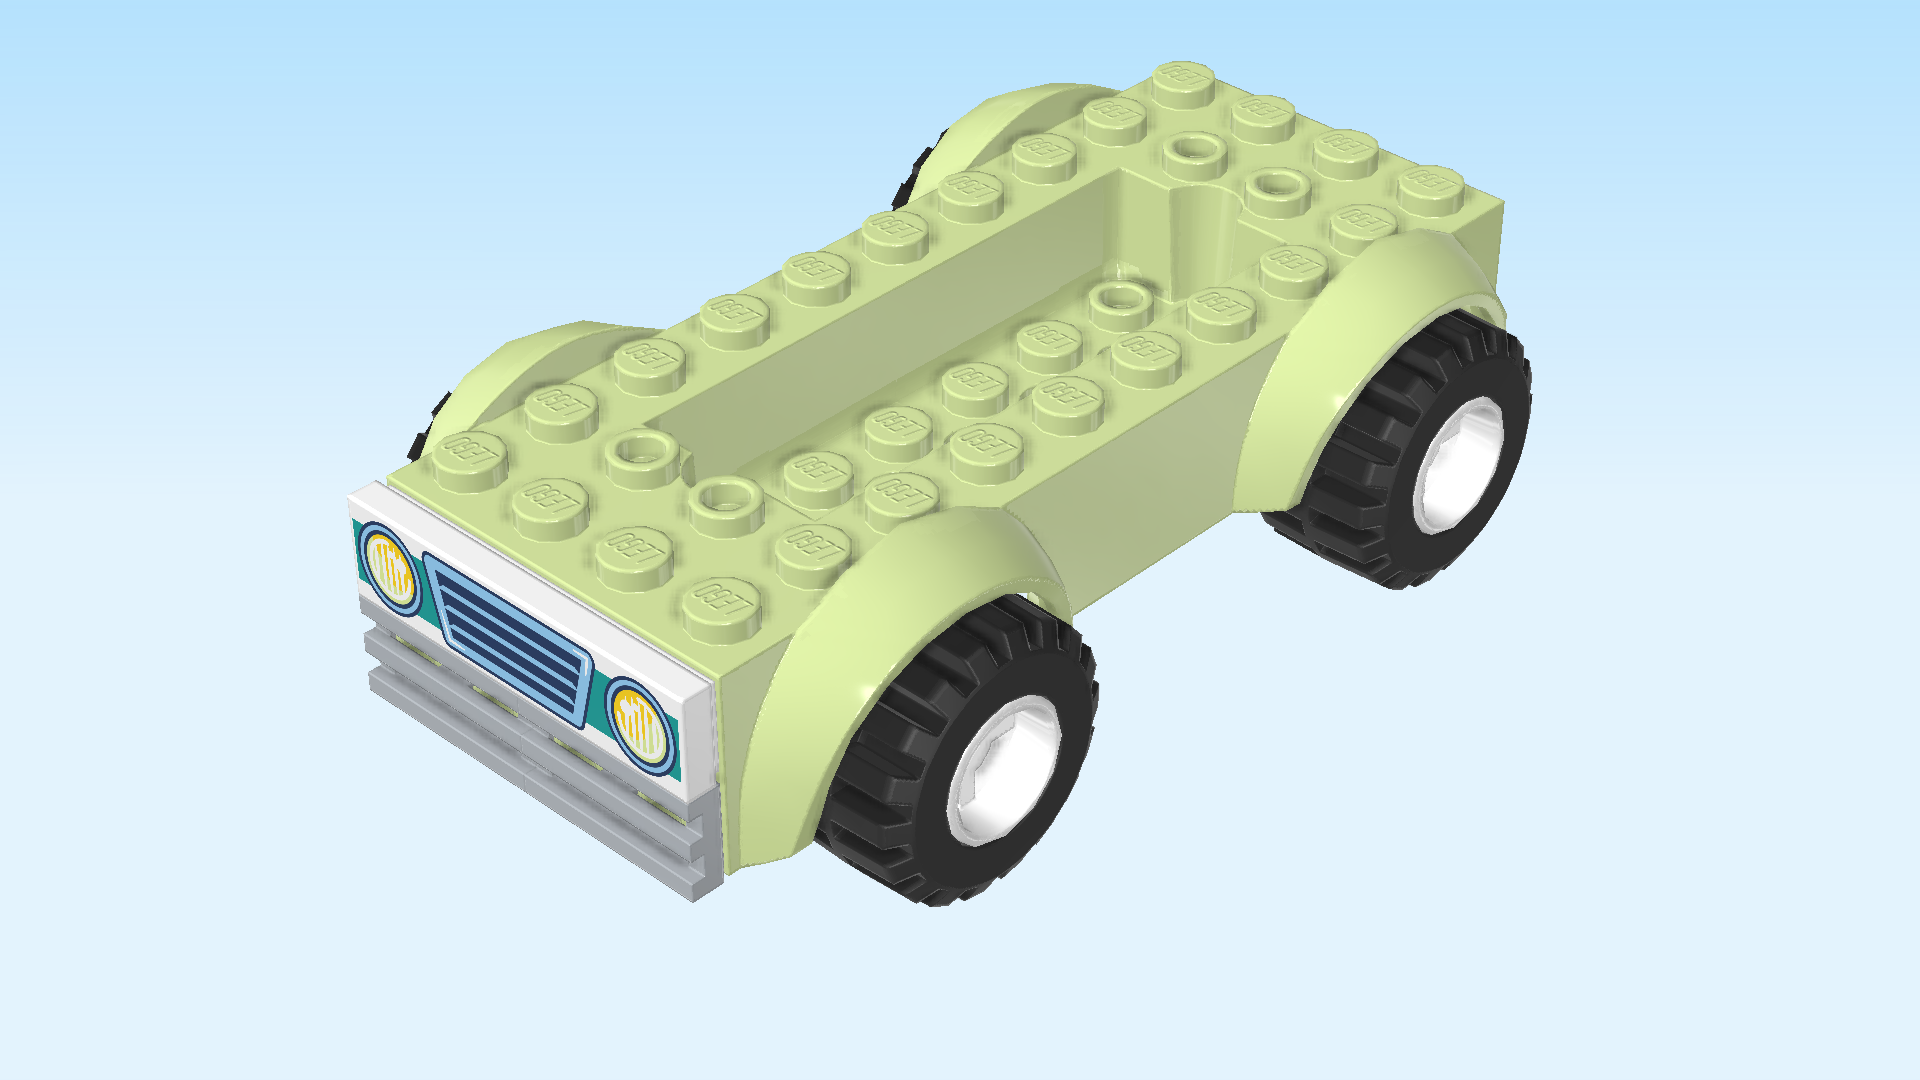
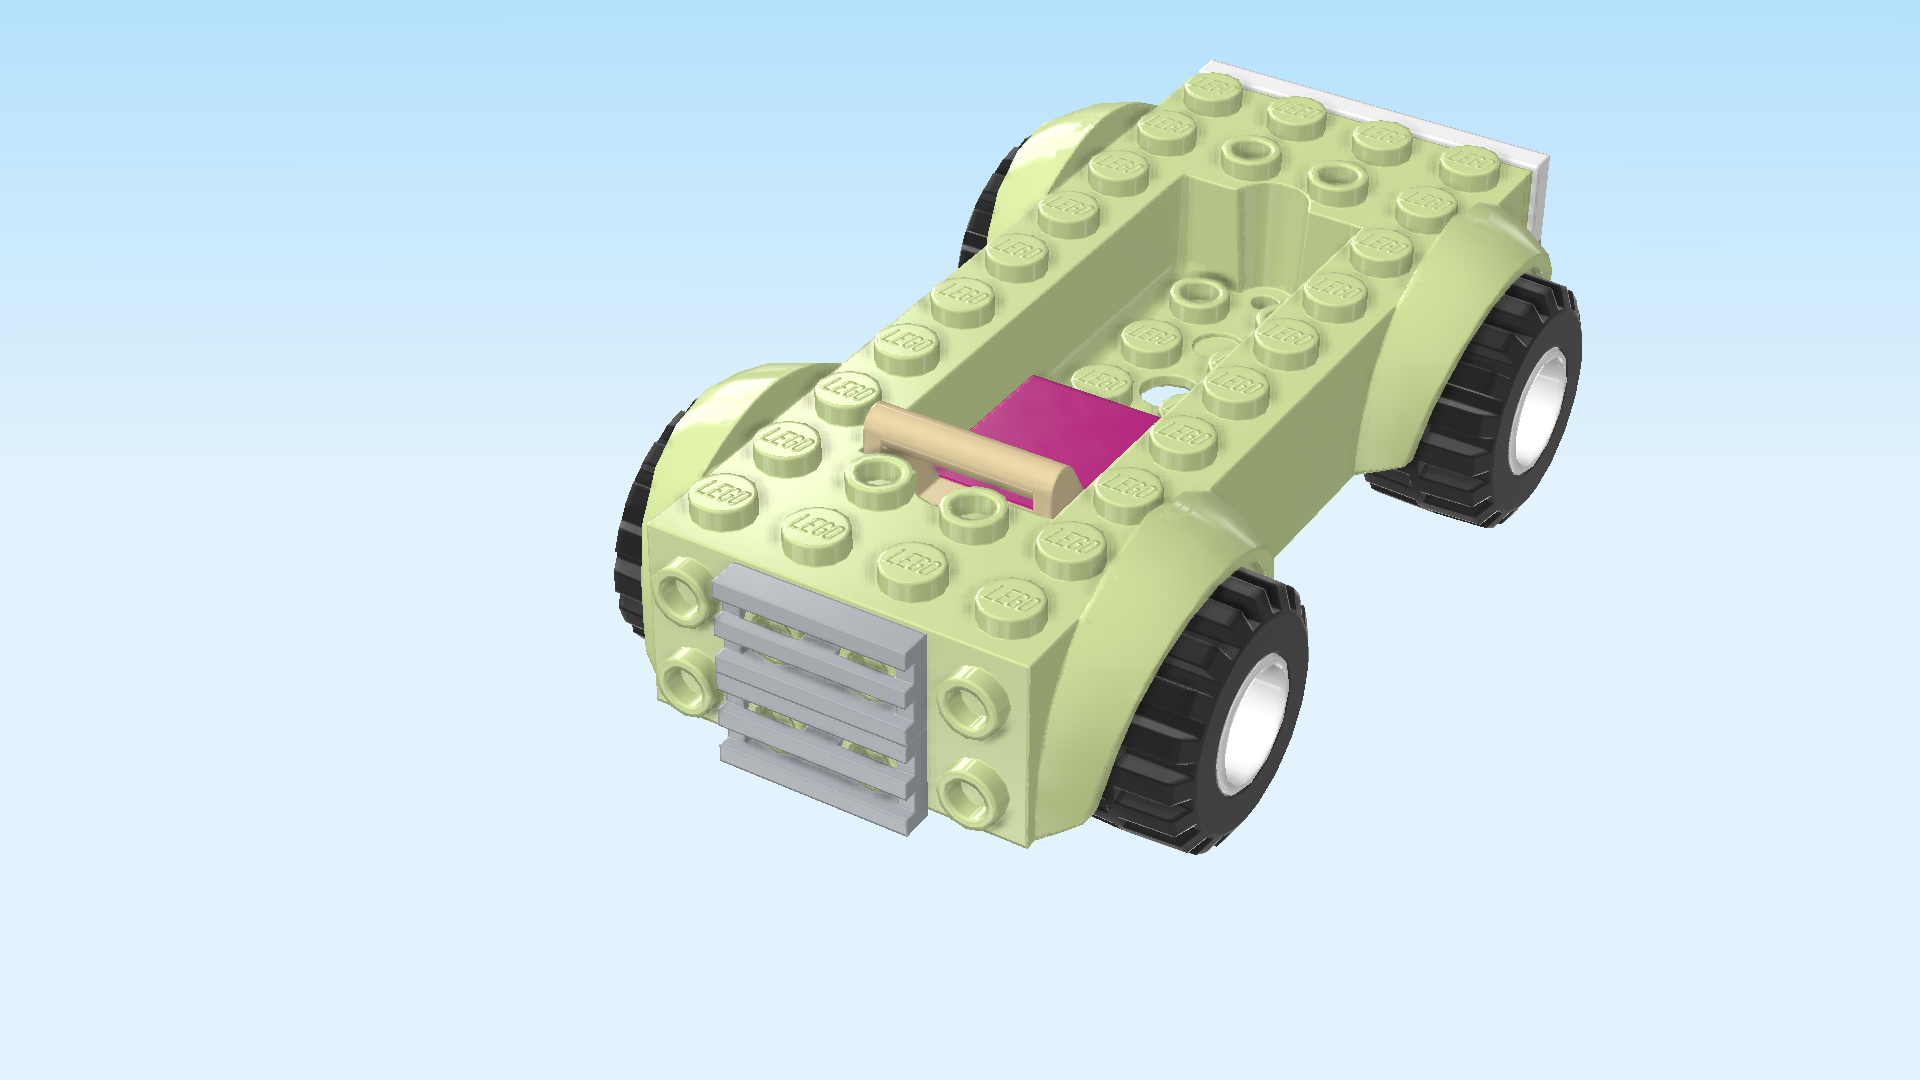
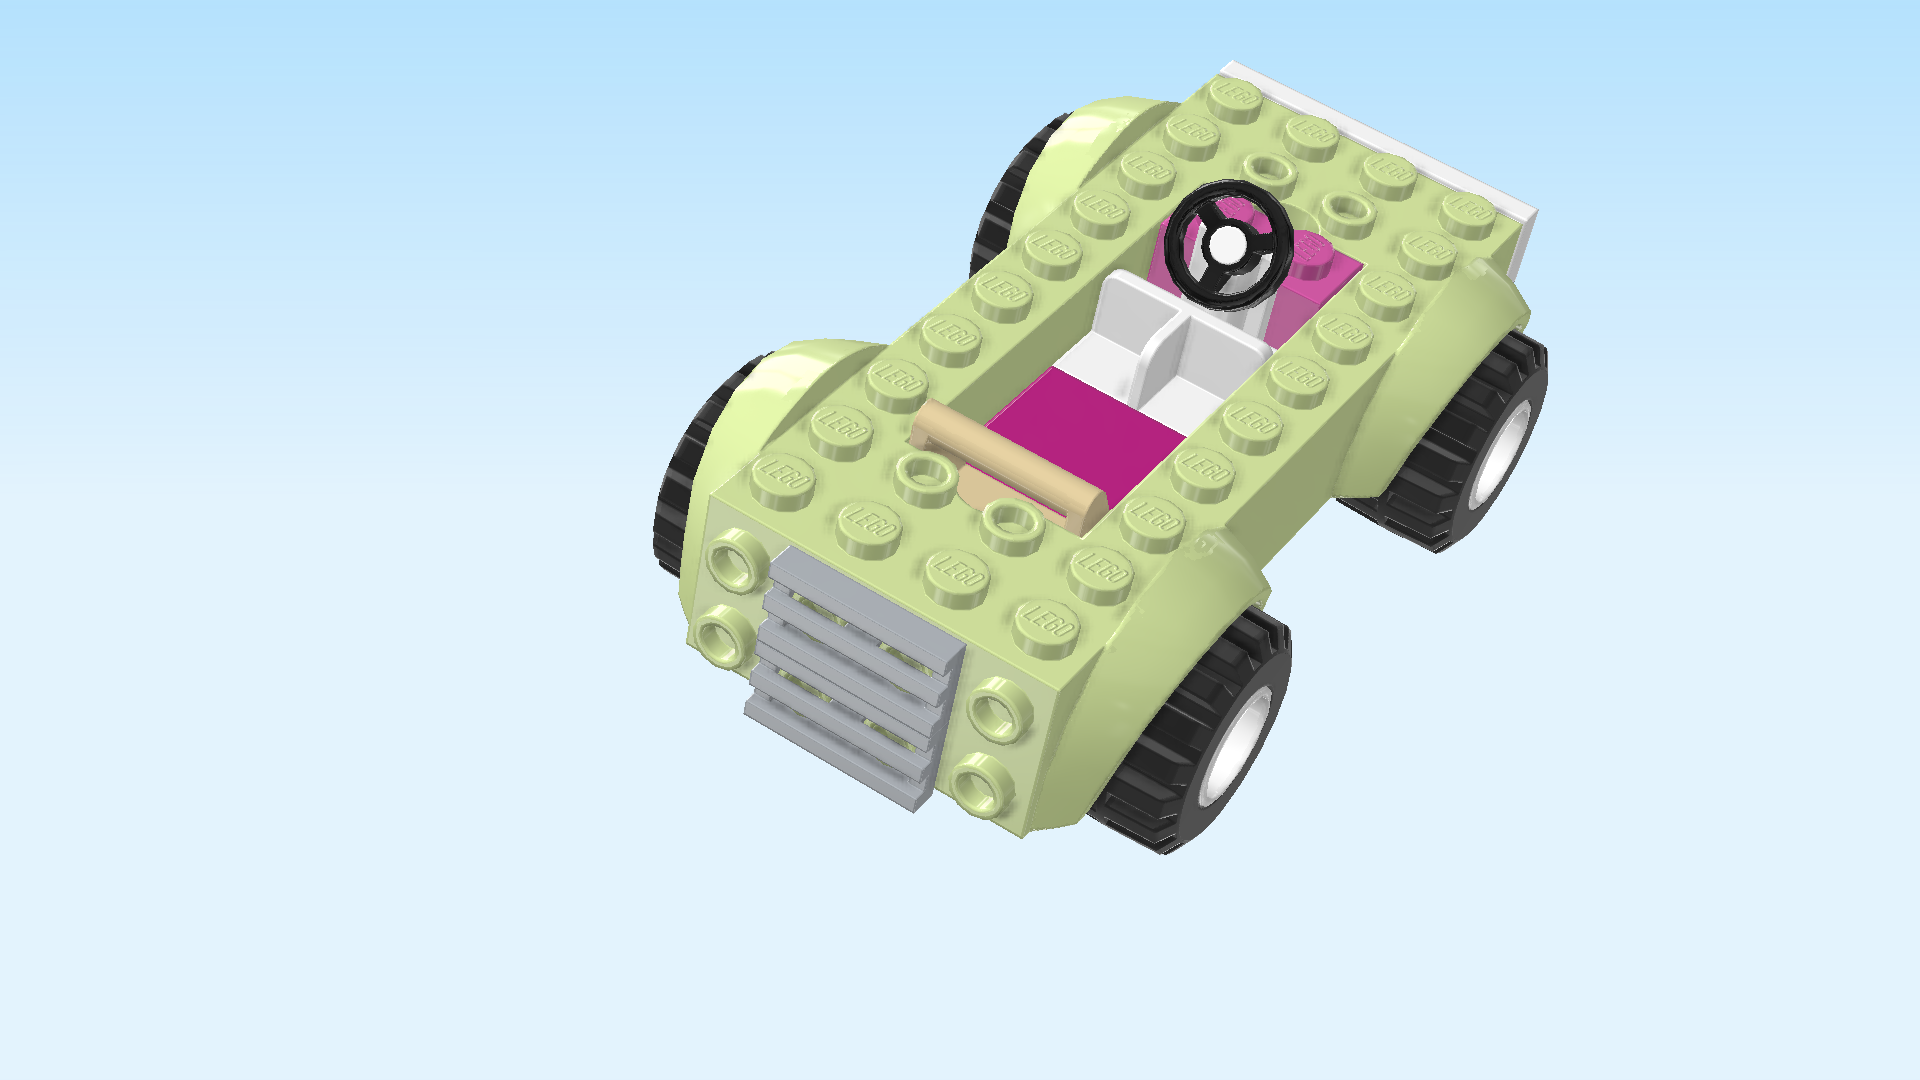
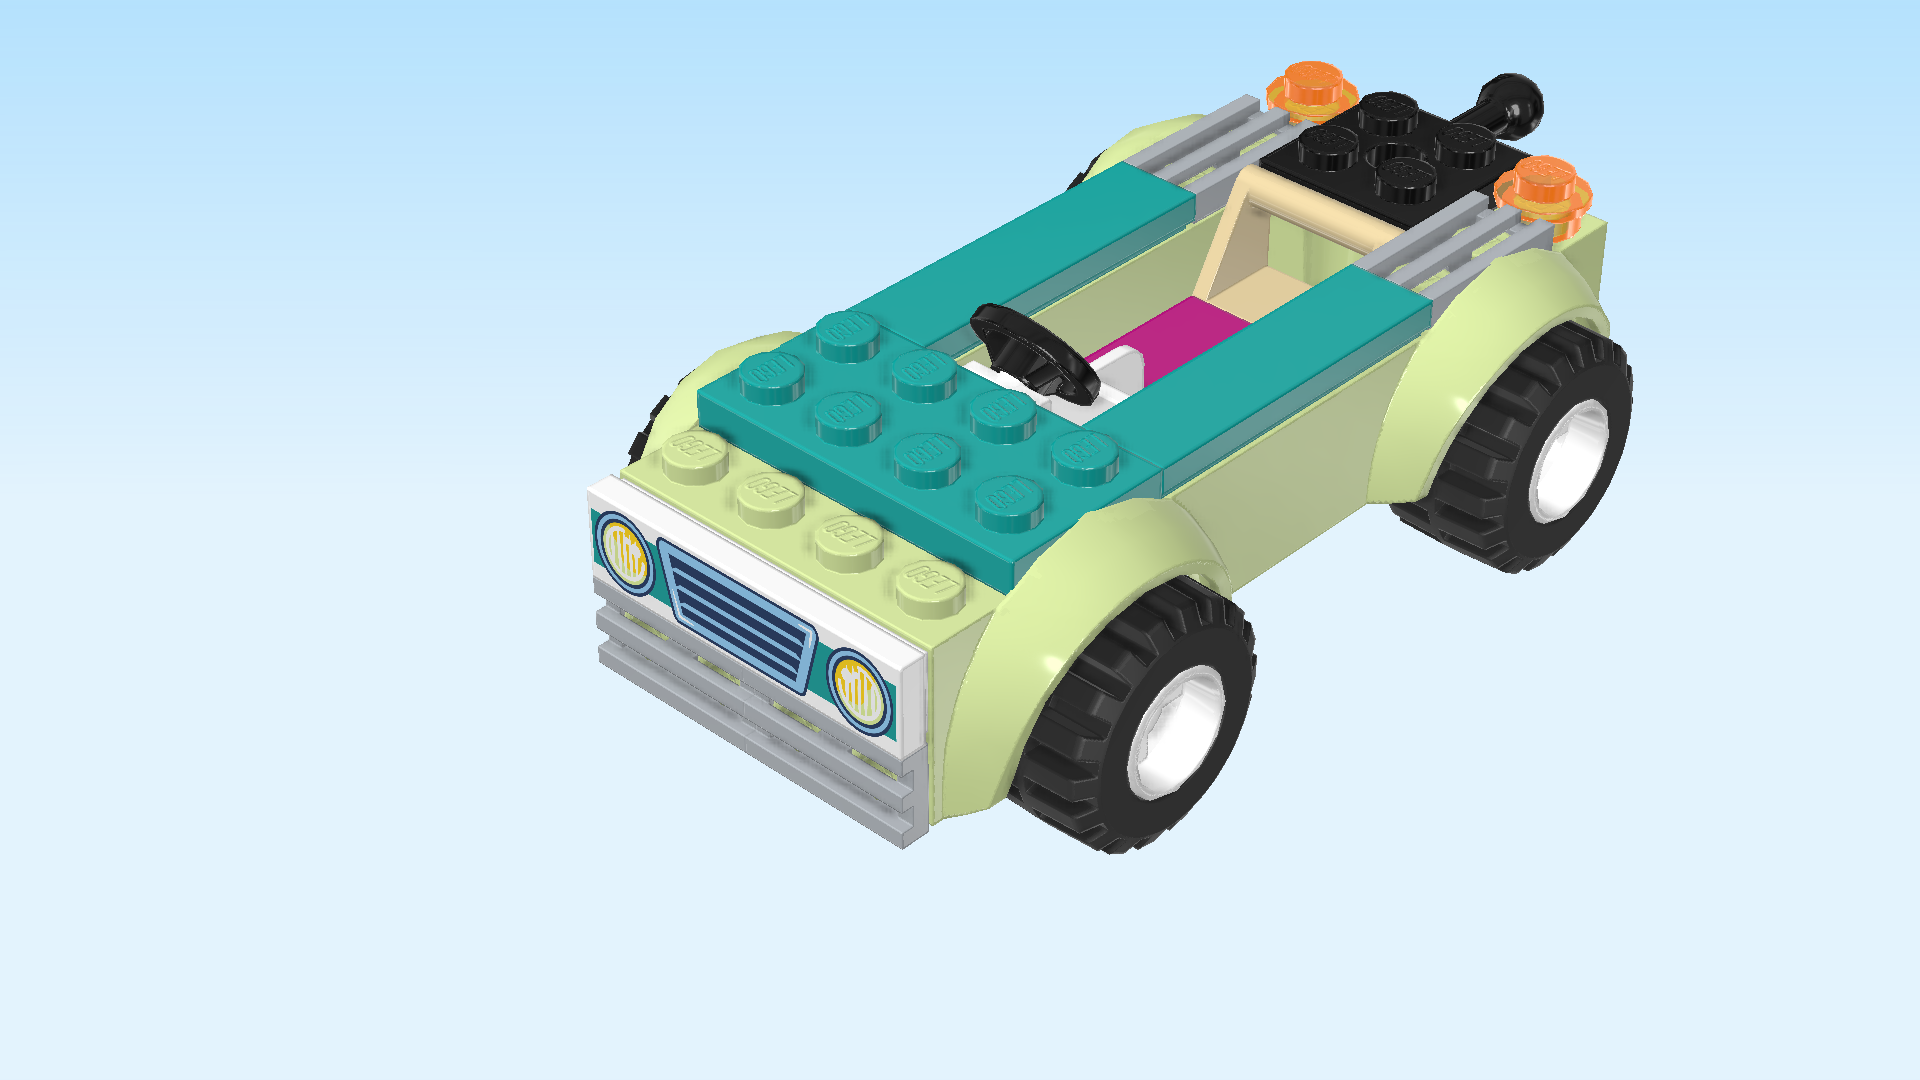
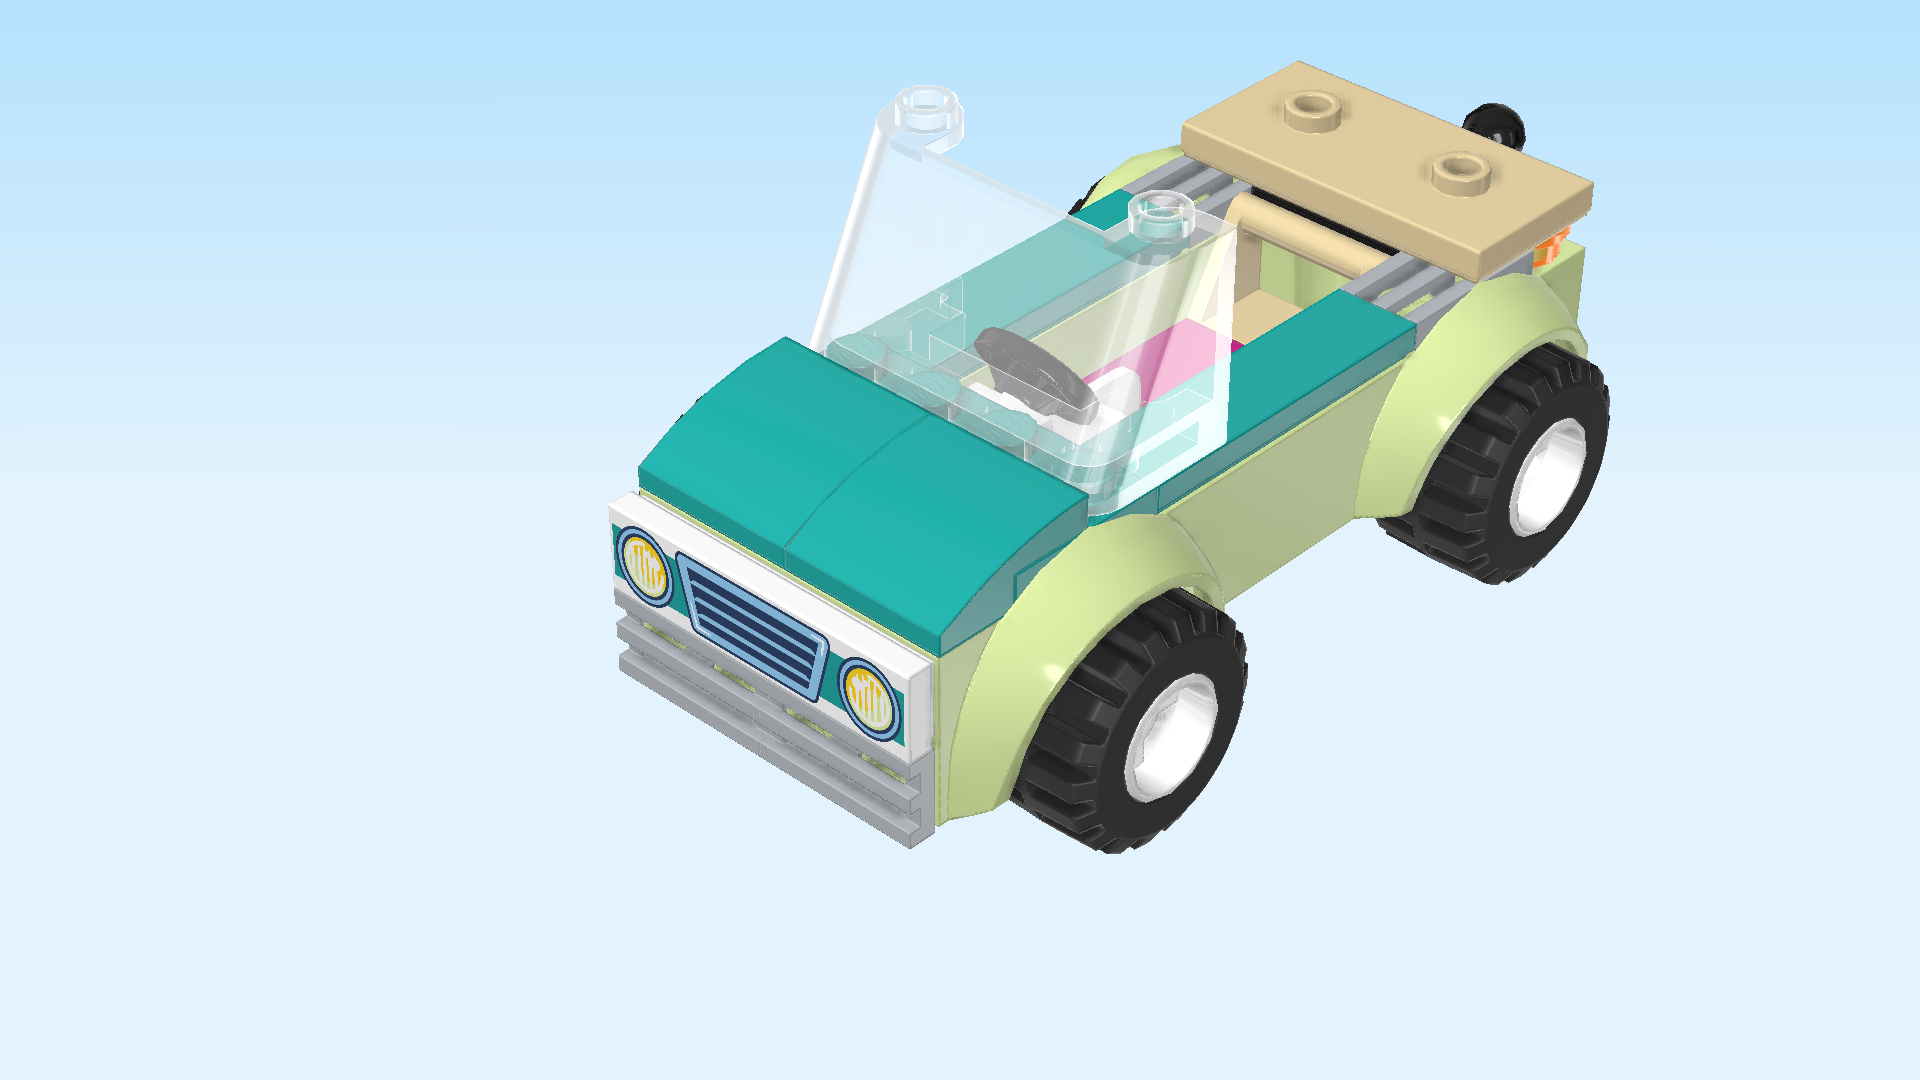
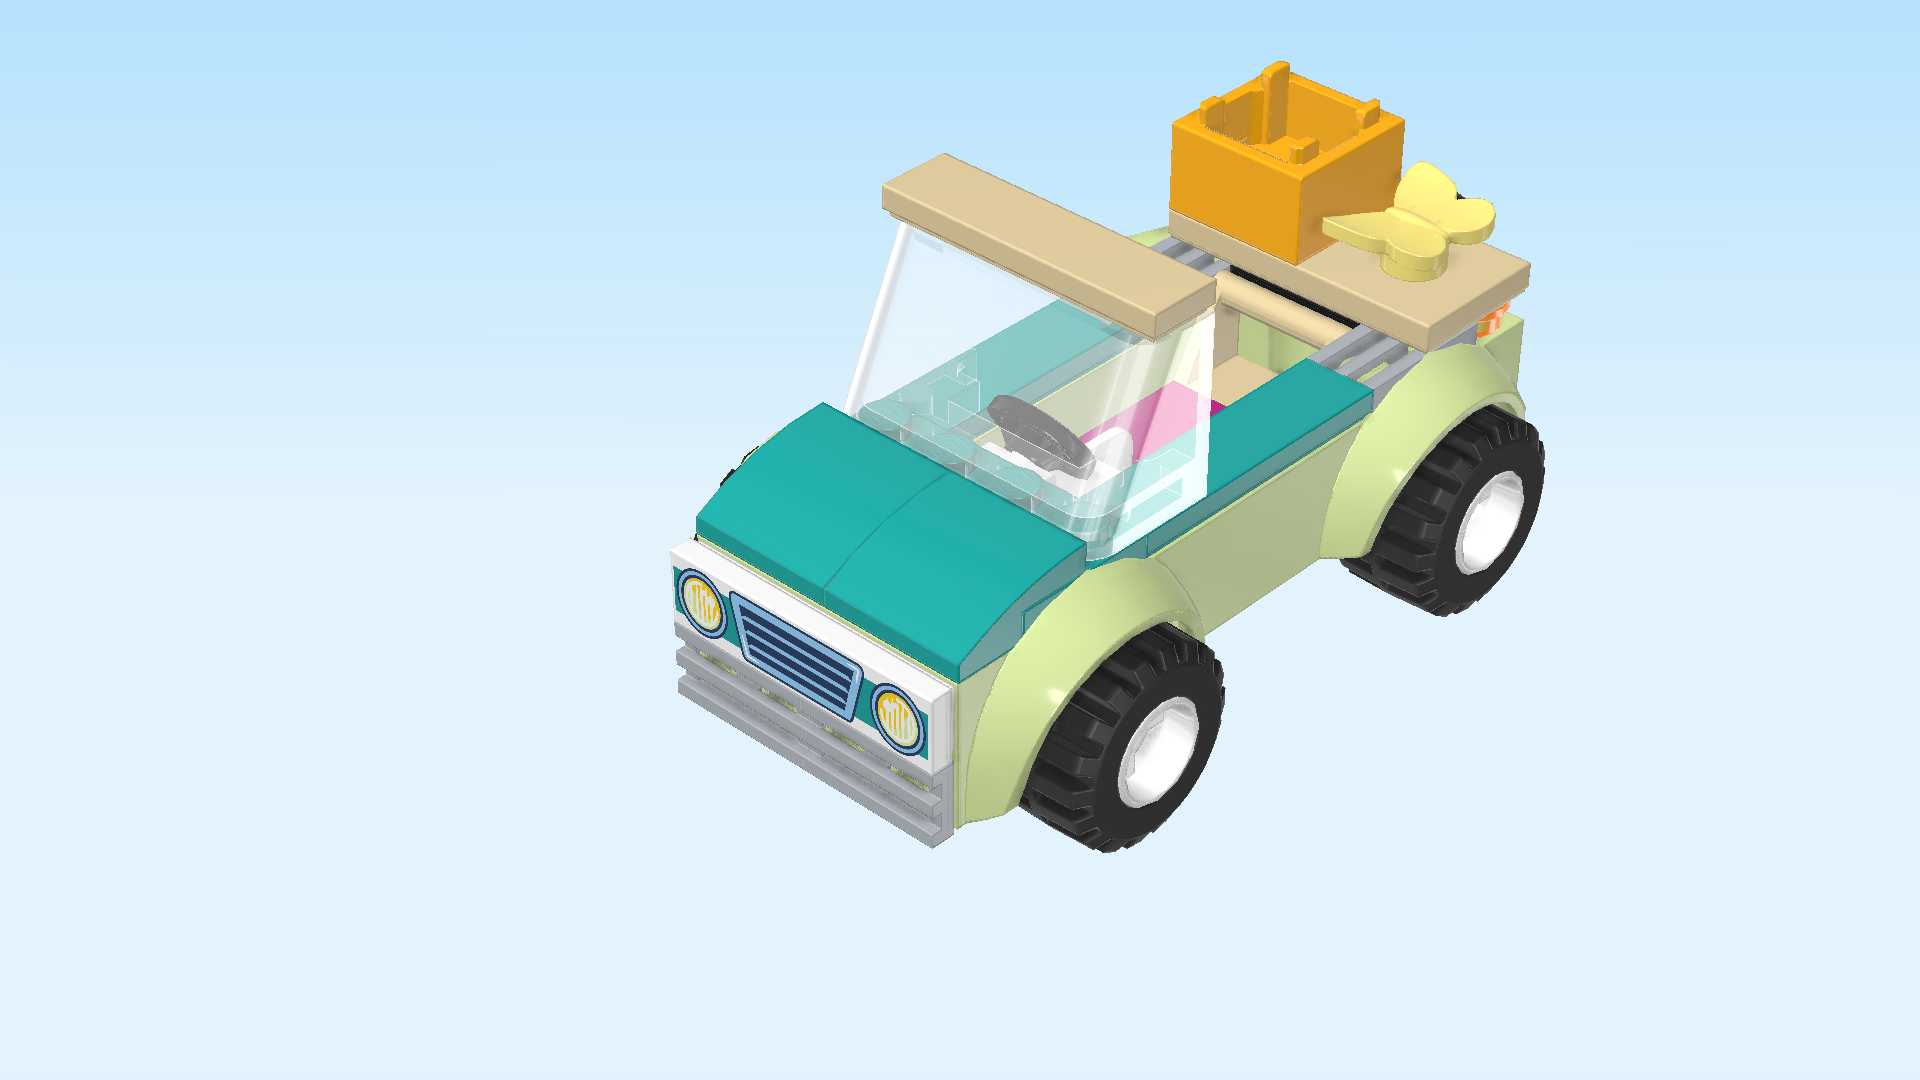
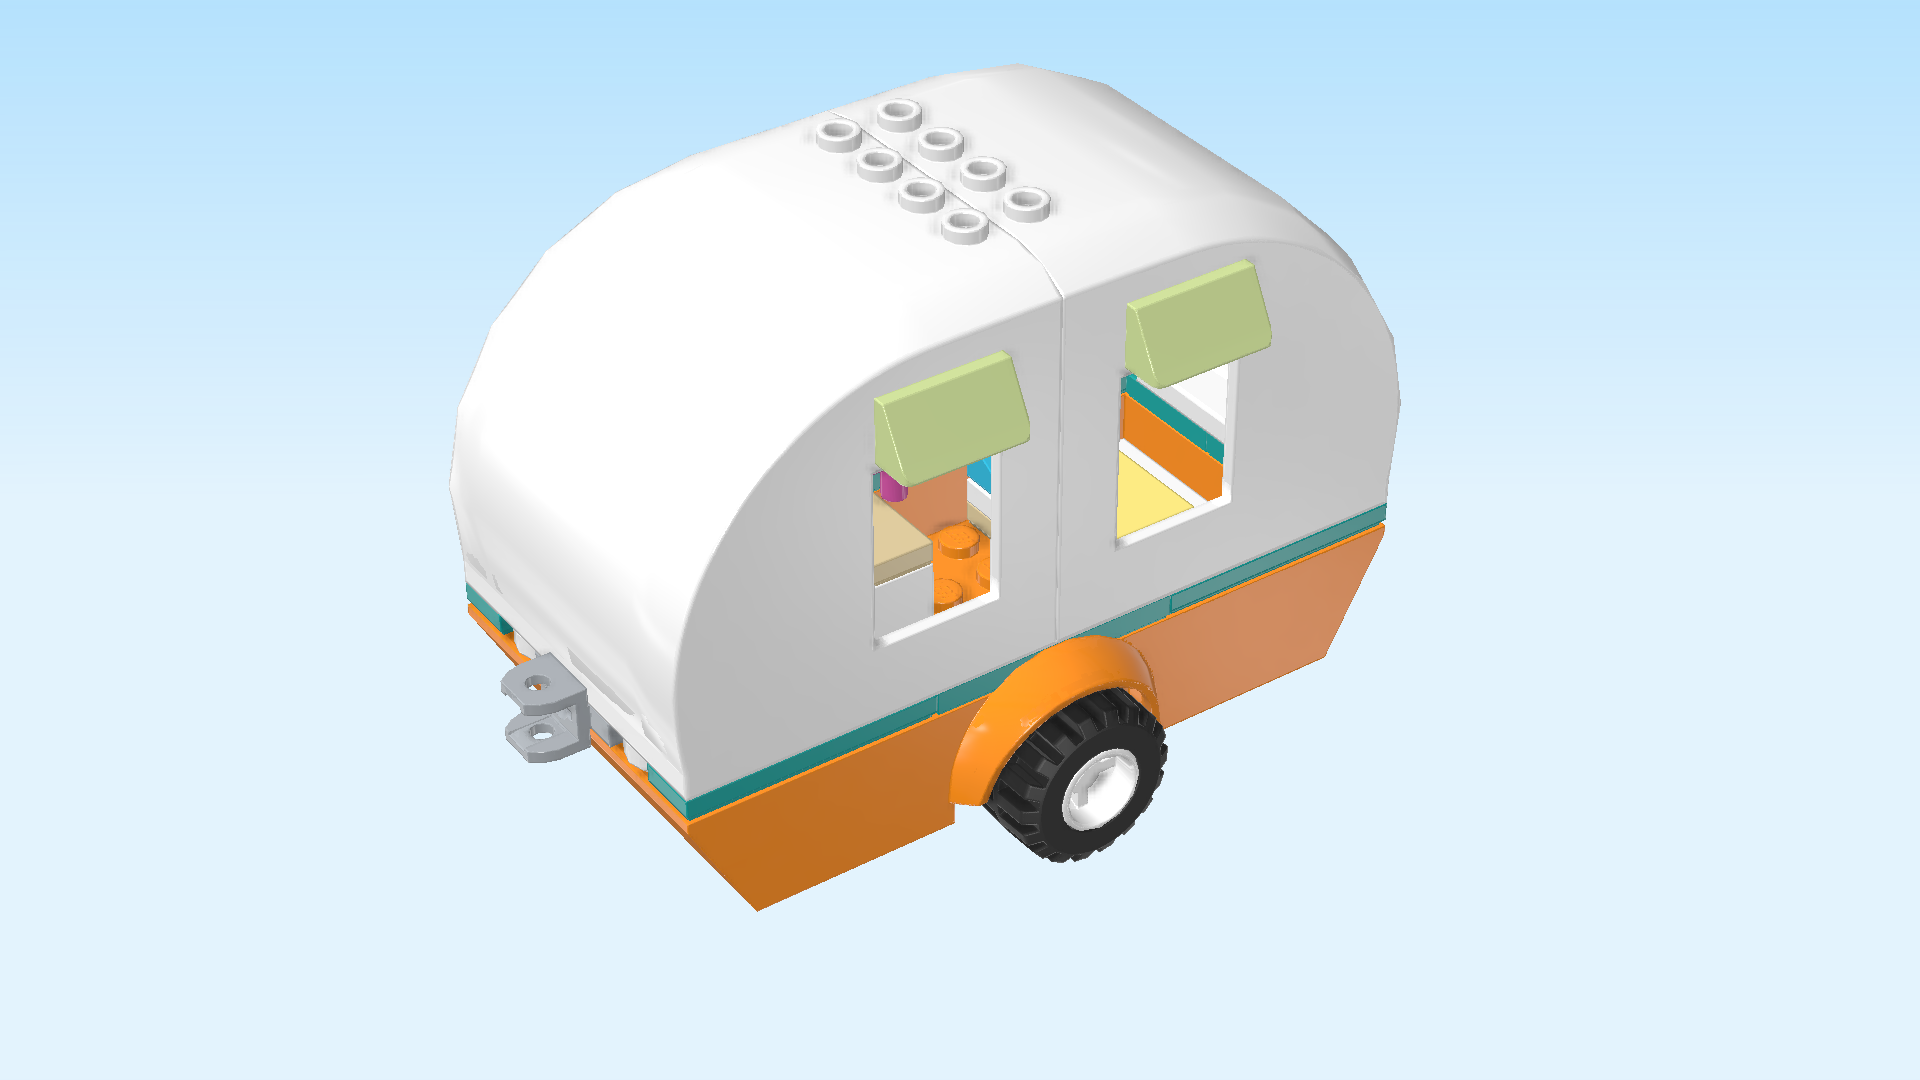
The scene on the box cover shows a happy day of camping in the middle of Heartlake City forest. The car with camping trailer is parked on a dirt road. The car is an open-top all-terrain vehicle with a green and teal colored body. The camping trailer has an orange underbody and a white top. Since it is attached to the car, the trailer only needs two wheels. It has four windows and a spacious interior. Aliya and Autumn are gathered in front of the car and trailer, sitting around the campfire on a meadow. They are holding marshmallows on sticks, what a tasty treat! Aliya actually took the removable camping bed out of the trailer to be even more comfy while roasting her marshmallow. She is also holding a cup with a hot liquid in it. What could it be, coffee or tea maybe? Or is it hot chocolate? It is for you to decide! Now, let's start building!

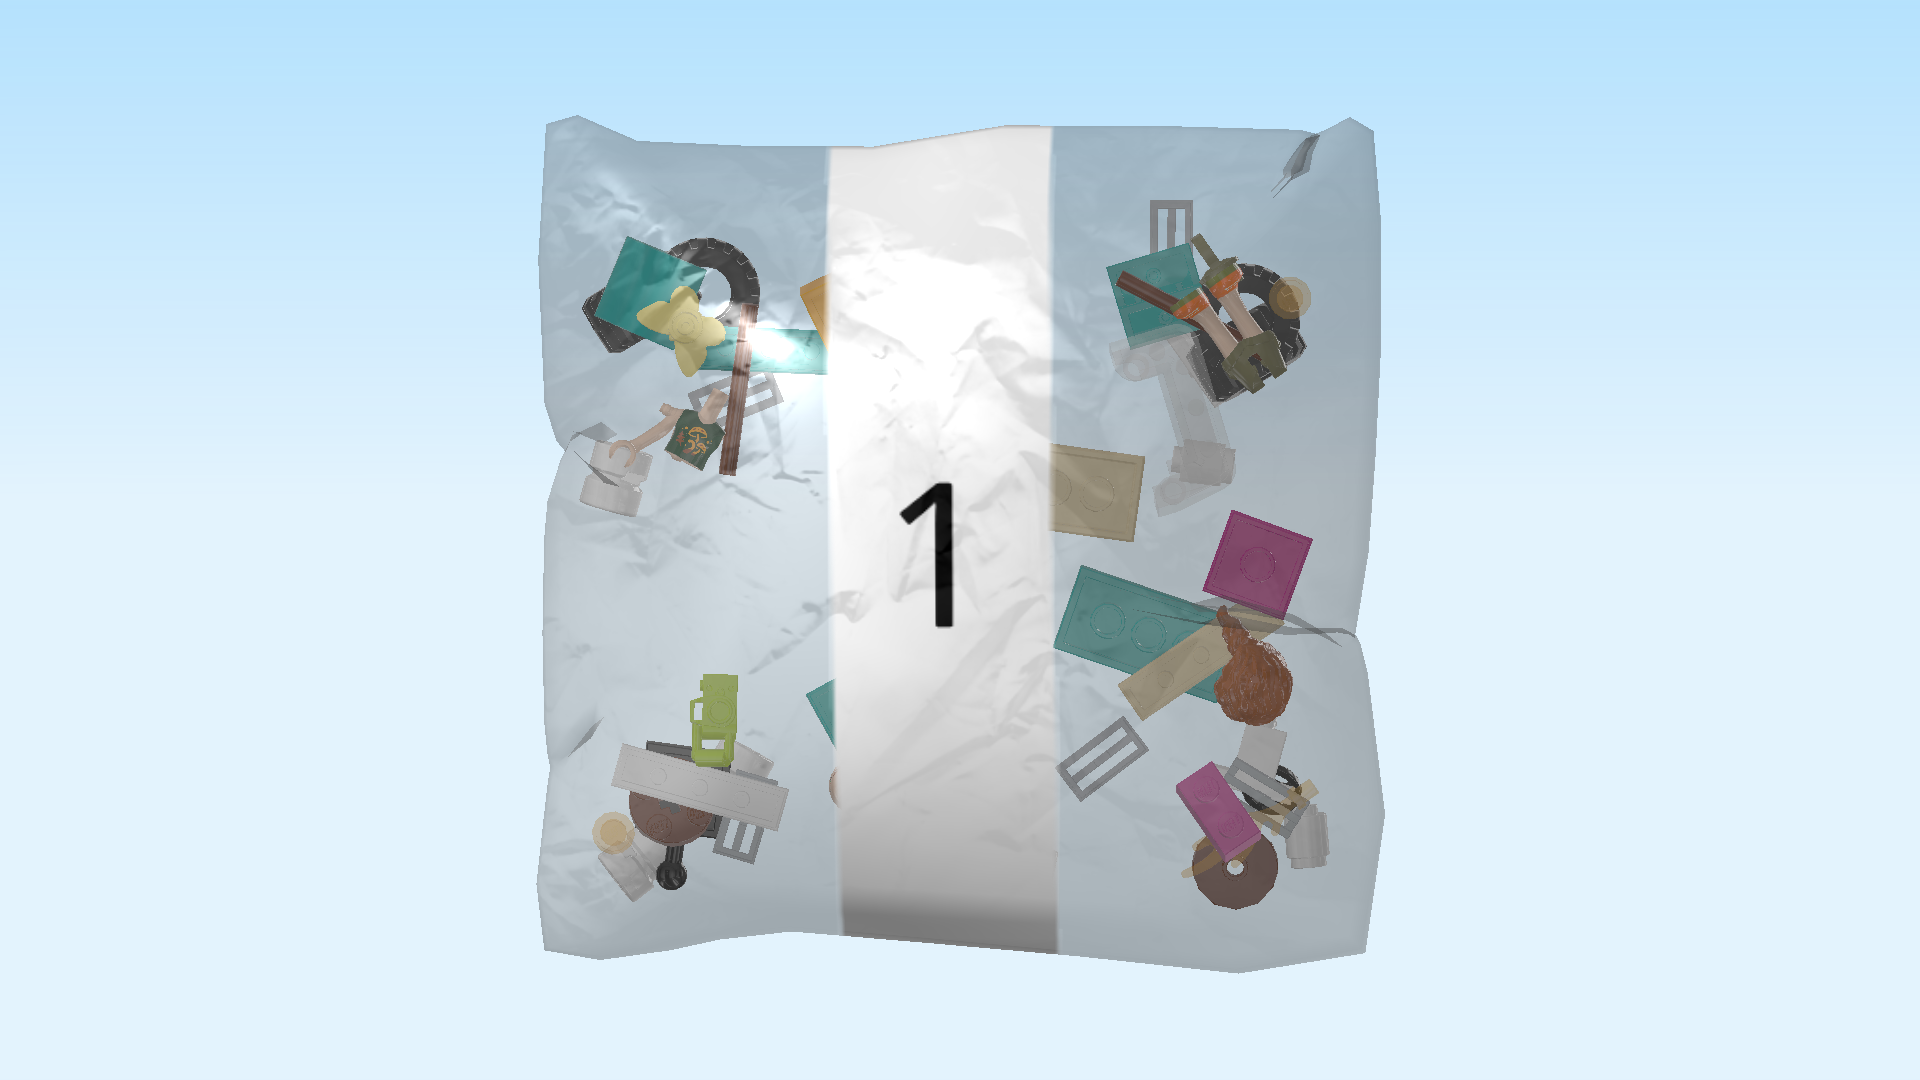
Open the box. This can be tricky; ask someone to help you!

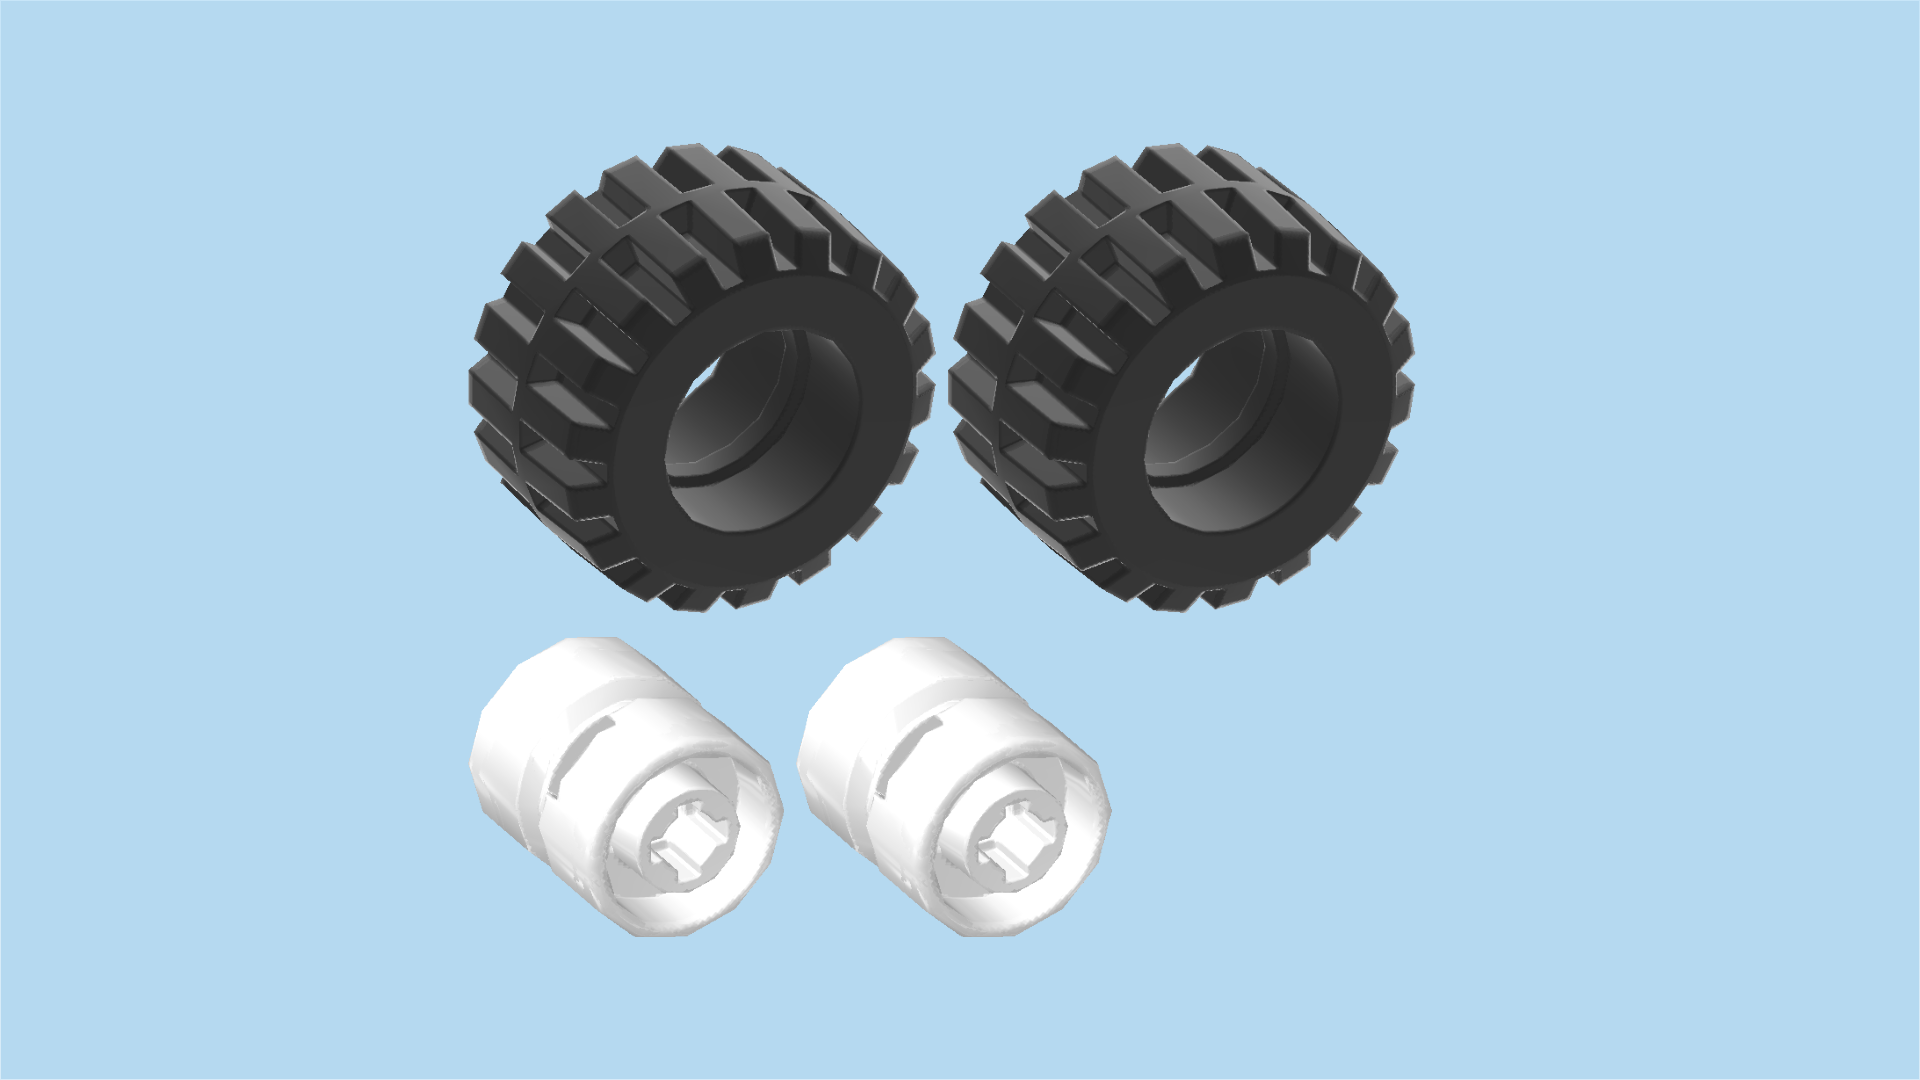
The box contains booklets with visual building instructions, 2 bags with numbers printed on them, and 4 loose pieces: 2 camper body halves, 1 camper underbody with 2 wheel arches and 1 car underbody with 4 wheel arches. Ask a sighted person to help you find the correct bag!

Open bag number 1 and any sub-bags in it. This bag contains all bricks and pieces for the Autumn minidoll, the campfire with marshmallows on sticks and the car.

Before you start building, ask a sighted person to help you sort the pieces by color. This makes finding the correct pieces even easier!

First, we will build the Autumn Minidoll and the campfire.

Collect the following 2 pieces:

1 olive green and light nougat brown pair of legs with cargo shorts,

and 1 light nougat brown upper body with one forearm and hand missing.

Put the upper body on top of the legs.

Collect the following 2 pieces:

1 dark orange wavy hairpiece with side parting and plait,

and 1 light nougat brown Minidoll head.

Put the head on the body.

Put the hairpiece on top.

Find 1 bright yellowish green Minifigure photo camera.

Snap its handle into the Minidoll's hand.

The Autumn Minidoll is finished! Great job! Autumn has pale pink skin, ginger hair and eyebrows and green eyes, and her cheeks are full of pale freckles. She has a happy smile on her face. She is wearing bright orange shoes with white laces and olive green soles, olive green cargo pants and a moss-green tank top with a V-neck and a front print. The print is autumn-themed: 2 yellow mushrooms and 1 brown oak leaf.

Next, we will build the campfire.

Collect the following 2 pieces:

1 reddish brown round brick 2x2 with top cross hole,

and 1 reddish brown round plate 2x2 with 1 knob.

Put the round brick 2x2 on the table.

Put the round plate 2x2 on top.

Find 1 transparent bright orange flame with 5 fire tongues.

Insert the small shaft at its bottom into the hollow knob of the previous piece.

The campfire is finished! Great job! Its lovely warmth and light will make your camping trip a cozy one well into the evening hours. Now, let's make some treats!

Next, we will build 2 marshmallows on sticks.

Collect the following 4 pieces:

2 reddish brown shafts 4m, (4m means that these shafts are roughly 4 knobs long each)

and 2 white round bricks 1x1.

Hold 1 shaft horizontally.

Flip 1 round brick upright so that its hollow knob is pointing to the right and the bottom opening is to the left.

Insert the shaft into the brick's bottom opening coming from the left.

Repeat with the other 2 pieces.

The 2 marshmallows on sticks are finished! Well done! Autumn is still busy taking pictures of the beautiful surroundings, but once she gets hungry, she can put her camera down and start roasting marshmallows.

Collect the following 3 pieces:

1 pale lime green car underbody 4x10 with 4 wheel arches and connectors,

and 2 medium stone grey grille tiles 1x2.

Put the car underbody 4x10 horizontally on the table, connectors to the front and back.

Put 1 grille tile upright horizontally on the lowest row of side knobs pointing to the left. Use the 2 knobs at the back.

Put the other grille tile upright horizontally in front of the previous piece.

Find 1 white flat tile 1x4. (This piece is printed.)

Put it upright horizontally on the side knobs above the 2 previous pieces.

This tile is printed with the front grille and the headlights of the car. The front grille and the headlight sockets are made from metal and painted light blue. The paint around the headlights is teal colored.

Now, we will assemble the 4 wheels of the car.

Collect the following 8 pieces:

4 black wide rubber tires with high profile,

and 4 white wide rims with cross hole.

Put the rubber tires flat on the table.

Insert the rims into the tires from the top. Make sure that the cross holes are towards the top.

Mount the 4 wheels on the car body by snapping the cross holes on the 4 connectors at the front and back.

Collect the following 2 pieces:

1 pale ocher yellow tile 1x2 with angled top handle,

and 1 purple violet flat tile 2x2.

Put the tile with top handle vertically centered on the third column from the right, handle to the right. This means it will sit on the first column that is lower than the others.

Put the flat tile 2x2 to the left of the previous piece.

You have just built the seat of the car! Well done!

Find 2 medium stone grey grille tiles 1x2.

Before you mount them, turn the car from left to right. The 2 grille tiles and front grille with headlights we have already mounted are now pointing to the right.

Put 1 grille tile upright horizontally on the lower row of side knobs pointing to the left, this time on the 2 middle knobs of that row.

Put the other one upright horizontally above the previous piece, again in the center of that row.

Find 1 bright purple brick 1x2.

Put it horizontally centered on the third column from the right. This means that it will sit on the first column that is lower than the others.

Find 1 black and white small steering wheel with plate 1x2.

Put it vertically to the left of the previous piece, steering wheel to the left.

Find 1 white panel element 1x2x1 with middle partition.

Put it vertically to the left of the steering wheel, long panel to the right.

If you place one of your Minidolls on the driver's seat, the feet will neatly wrap around the middle partition of this piece. It ensures the Minidoll doesn't fall out while driving.

Collect the following 3 pieces:

2 transparent bright orange round plates 1x1,

and 1 black plate 2x2 with middle hole and side ball on shaft.

Put the plate 2x2 with side ball centered on the 2 leftmost columns, side ball with shaft overhanging to the left.

Put 1 round plate 1x1 on the leftmost column behind the previous piece. This means it will sit on the backmost knob of that column.

Repeat symmetrically at the front with the other round plate.

Find 2 medium stone grey grille tiles 1x2.

First, turn the car from right to left again. The ball on shaft is now pointing to the right.

Put the 2 grille tiles horizontally to the left of the 2 previous pieces. This means they will sit on the backmost and frontmost row, directly next to the round tiles 1x1.

Collect the following 3 pieces:

2 teal blue flat tiles 1x4,

and 1 teal blue plate 2x4.

Put the 2 flat tiles horizontally to the left of the 2 previous pieces on the frontmost and backmost row.

Put the plate 2x4 vertically to the left of the 2 previous pieces. If done correctly, the leftmost column will remain empty.

Find 2 teal blue one-stepped curve tiles 2x2x⅔.

Put 1 on the 2 backmost rows, starting from the left edge, curve to the left.

Put the other one in front of the previous piece, curve again to the left. If done correctly, they will cover the leftmost column and the left column of the plate 2x4 from the previous step.

Find 1 pale ocher yellow plate 2x4 with 2 knobs.

Put it vertically on the 2 rightmost columns. It will cover the right halves of the 2 grille tiles that are mounted there.

Find 1 transparent windscreen 2x4x2.

Put it vertically on the empty column to the left of the steering wheel, slope to the left.

Collect the following 2 pieces:

1 pale ocher yellow flat tile 1x4,

and 1 flame yellowish orange box bottom 2x2.

Put the flat tile 1x4 vertically centered on top of the windscreen.

Put the box bottom 2x2 on the back knob on the right edge of the car.

Find 1 lemon yellow butterfly decoration element 1x1.

Put it on the knob in front of the box bottom.

The car is finished! Well done! If you want to give it a test drive, put the camera into the box, put Autumn into the driver's seat and off you go!

You have finished building the first bag! Fantastic job! It's time to give Autumn a friend and turn their car into a camper. Let's continue!

Open bag number 2. You can choose to have the bricks sorted by color again. This bag contains all bricks and pieces for the Aliya Minidoll and the camping trailer.

Next, we will build the Aliya Minidoll.

Collect the following 2 pieces:

1 earth blue and medium brown pair of legs with skirt,

and 1 medium brown and white Minidoll upper body.

Put the upper body on top of the legs.

Collect the following 2 pieces:

1 dark brown curly hairpiece with a bob hairstyle,

and 1 medium brown Minidoll head.

Put the head on the body.

Put the hair on top.

The Aliya Minidoll is finished! Well done! Aliya has dark brown skin, hazel eyes and dark brown hair and eyebrows. She has a kind smile on her face. She is wearing metallic-pink strap sandals and a dark blue pinafore dress. The upper half of the dress has a checkered pattern with lilac stripes. She is wearing a white sleeveless blouse underneath the dress; the collar and the button row of the blouse are lined dark blue. Aliya wears a horseshoe brooch on the left strap of her dress.

Collect the following 2 pieces:

1 white brick 1x4,

and 1 bright orange camper underbody 6x12 with 2 connectors and wheel arches.

Put the camper underbody 6x12 horizontally on the table, connectors to the front and back.

Put the brick 1x4 vertically centered on the second row from the right. This means that it will sit on the first column that is lower than the edge.

Collect the following 3 pieces:

2 white round tiles 1x1,

and 1 medium stone grey plate 2x2 with ball socket and cross hole.

Put the plate 2x2 centered on the 2 rightmost columns, ball socket overhanging to the right.

Put 1 round tile on the rightmost column directly in front of the previous piece.

Repeat symmetrically at the back.

Find 1 medium stone grey curve tile 1x4.

Put it vertically centered on the second column from the right. It will lock in the left half of the plate with ball socket.

Collect the following 4 pieces:

2 teal blue flat tiles 1x4,

and 2 teal blue plates 1x2 with 1 knob.

Put 1 flat tile 1x4 horizontally on the frontmost row, starting from the right edge.

Put 1 plate 1x2 horizontally to the left of the previous piece.

Put the other plate 1x2 horizontally to the left of the previous piece.

Put the other flat tile 1x4 horizontally to the left of the previous piece. Together, these 4 pieces cover the front row.

Collect the following 2 pieces:

1 white brick 2x4,

and 1 transparent light blue panel element 1x2x1 with back and side panels.

Before you mount them, turn the camper underbody from left to right. Now, the ball cup is overhanging to the left.

Put the brick 2x4 horizontally on the lowered level directly in front of the backmost row, to the left of the curve tile 1x4.

Put the panel element 1x2x1 horizontally in front of the previous piece's left half, long panel towards the front.

Find 1 pale ocher yellow plate 2x4 with 2 knobs.

Put it horizontally on the brick 2x4 of the previous step.

Collect the following 2 pieces:

1 medium stone grey water tap,

and 1 bright purple Minifigure mug.

Put the water tap on the left knob of the previous piece, tap towards the front.

Put the Minifigure mug to the right of the previous piece, handle to the right.

This is the kitchenette of the camper!

Find 1 white flat tile 1x4.

Put it vertically centered on the second column from the right; this is the first column of the lower part.

Find 1 pale ocher yellow plate 2x4 with 2 knobs.

Put it vertically centered to the left of the previous piece.

Find 2 teal blue plates 1x2 with 1 knob.

Put 1 vertically on the rightmost column, starting with the backmost knob of that column.

Put the other one vertically in front of the previous piece. If done correctly, the frontmost knob of that column remains empty.

Collect the following 4 pieces:

2 teal blue flat tiles 1x4,

and 2 teal blue plates 1x2 with 1 knob.

Put 1 flat tile 1x4 horizontally on the frontmost row, starting from the right edge.

Put 1 plate 1x2 horizontally to the left of the previous piece.

Put the other plate 1x2 horizontally to the left of the previous piece.

Put the other flat tile 1x4 horizontally to the left of the previous piece. Again, these 4 pieces cover the frontmost row.

Now, we build the camper bed.

Collect the following 2 pieces:

1 white plate 2x4,

and 1 medium azure blue smooth roof tile 1x2x⅔.

Put the plate 2x4 vertically on the table.

Put the smooth roof tile 1x2 horizontally on the backmost row, slope to the front.

Collect the following 2 pieces:

1 lemon yellow flat tile 2x2,

and another medium azure blue smooth roof tile 1x2x⅔.

Put the flat tile 2x2 in front of the previous piece.

Put the smooth roof tile 1x2 horizontally in front of the previous piece, slope to the back.

The camper bed is finished! Well done! Mount it vertically on top of the plate 2x4 with 2 knobs in the right half of the camping trailer.

Since the bed is only mounted on 2 knobs, it is easy to remove and use outside of the camper. Perfect for cozy evenings in front of the campfire!

Collect the following 2 pieces:

1 white camper body half 6x6x5,

and 1 pale lime green smooth roof tile 1x2x⅔.

Put the camper body half on the table, big opening to the left, round part to the right.

Put the smooth roof tile 1x2 upright horizontally on the 2 side knobs pointing to the front, slope to the top.

Find another pale lime green smooth roof tile 1x2x⅔.

Put it upright horizontally on the 2 side knobs pointing to the back, slope to the top.

Turn this camper half from left to right now and mount it on the left half of the camper, opening to the right.

Collect the following 2 pieces:

another white camper body half 6x6x5,

and another pale lime green smooth roof tile 1x2x⅔.

Put the camper body half on the table, big opening to the left, round part to the right.

Put the smooth roof tile 1x2 upright horizontally on the 2 side knobs pointing to the front, slope to the top.

Find another pale lime green smooth roof tile 1x2x⅔.

Put it upright horizontally on the 2 side knobs pointing to the back, slope to the top.

Mount this camper half on the right half of the underbody.

Since the two camper halves are only mounted on a few knobs, you can easily take them off to access the camper interior.

Next, we will build the 2 wheels of the trailer.

Collect the following 4 pieces:

2 white wide rims with cross hole,

and 2 black wide rubber tires with high profile.

Put the rims into the tires.

Snap the cross holes of the two wheels on the 2 connectors of the camping trailer.

The camping trailer is finished! Well done! To attach it to the car, snap the ball cup sticking out towards the left on the ball at the rear of the car.

You have finished building the entire set! Fantastic job! Now it's time to pack your bags and set off on your camping adventure! One of the two friends will be the driver while the other one can travel comfortably in the camping trailer. What will be your first destination for some high-quality camping? Builder's choice!

Enjoy!