LEGO 41719 Mobile Fashion Boutique 

LEGO Audio & Braille Building Instructions for the LEGO Friends set "Mobile Fashion Boutique".

Drive to the rescue! Camila is going to a party and needs a makeover. Hop on the scooter and tow Stephanie's mobile boutique to deliver a style fix fast. Get Camila seated on the stool so Stephanie can work her magic. Help her style Camila's hair and add a cute bow. Pull out the mirror – Camila looks amazing! A final spray of perfume and she's party ready.

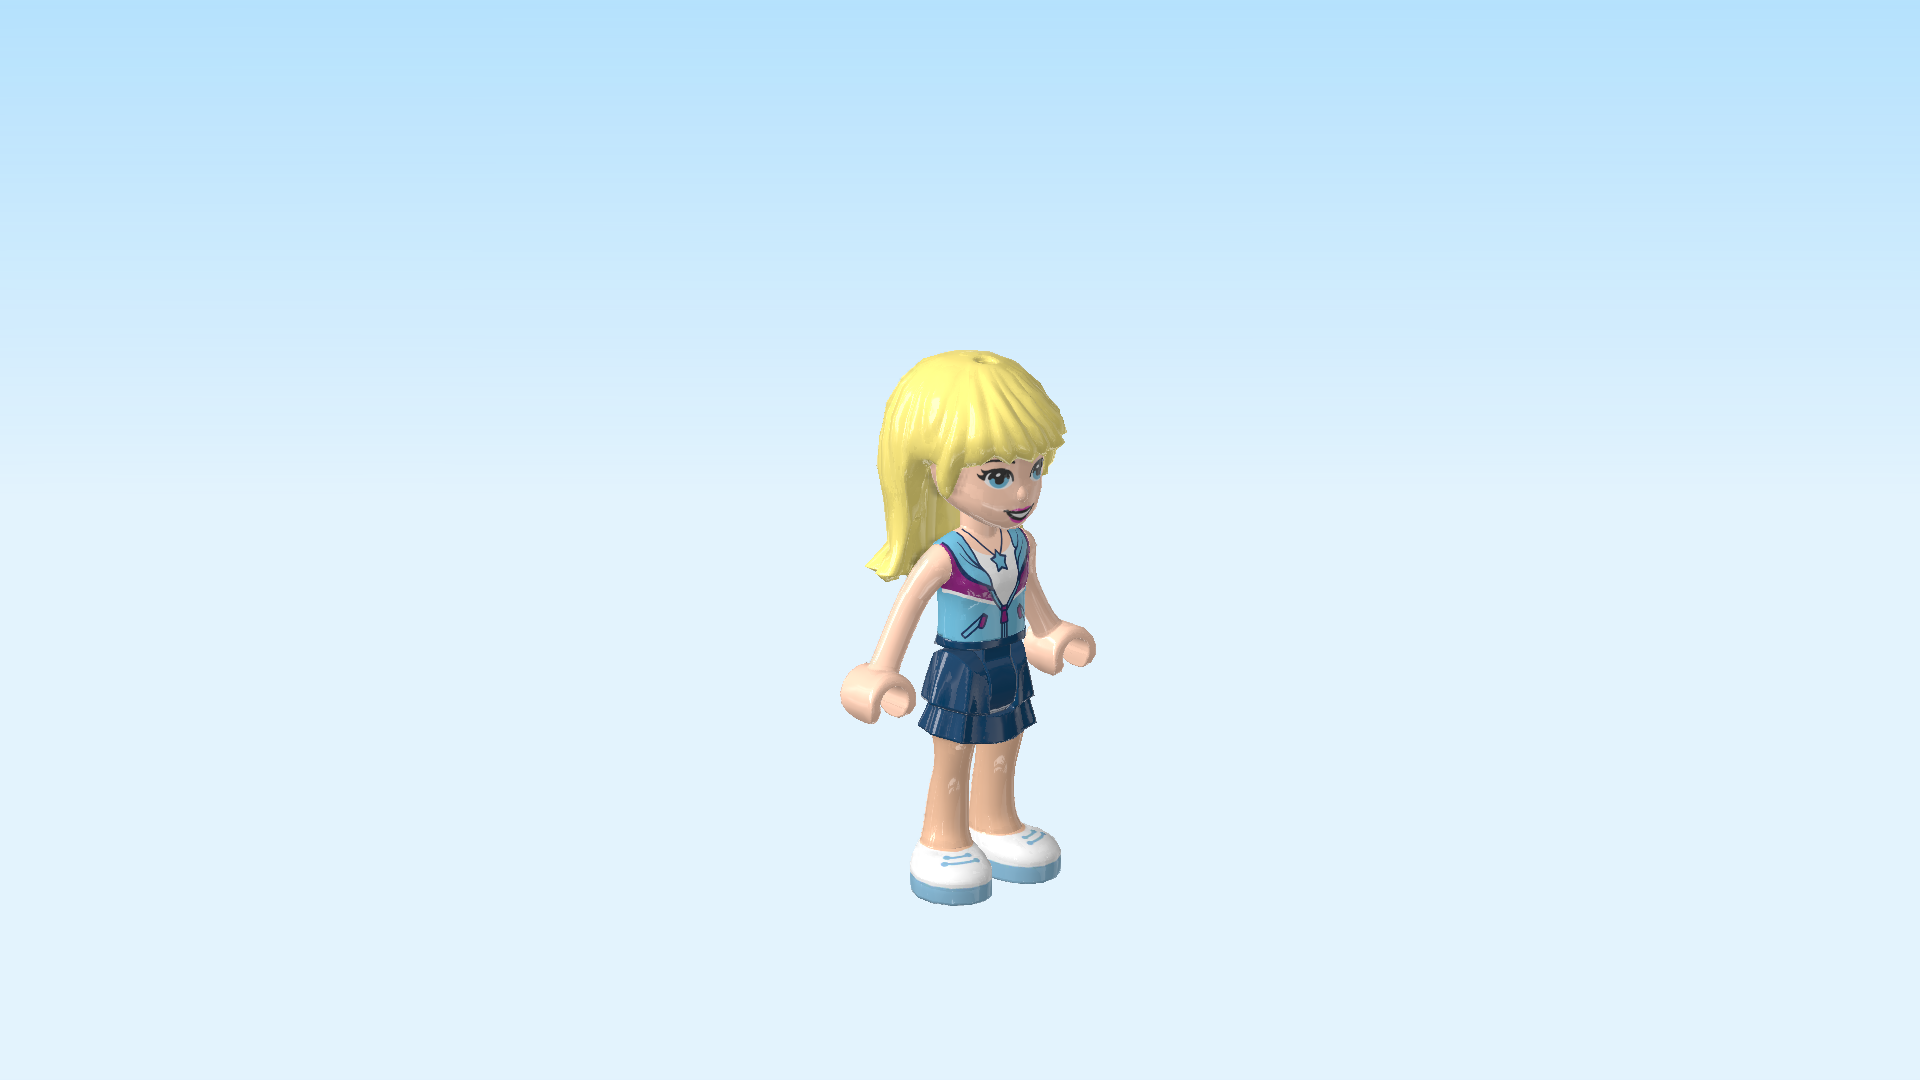
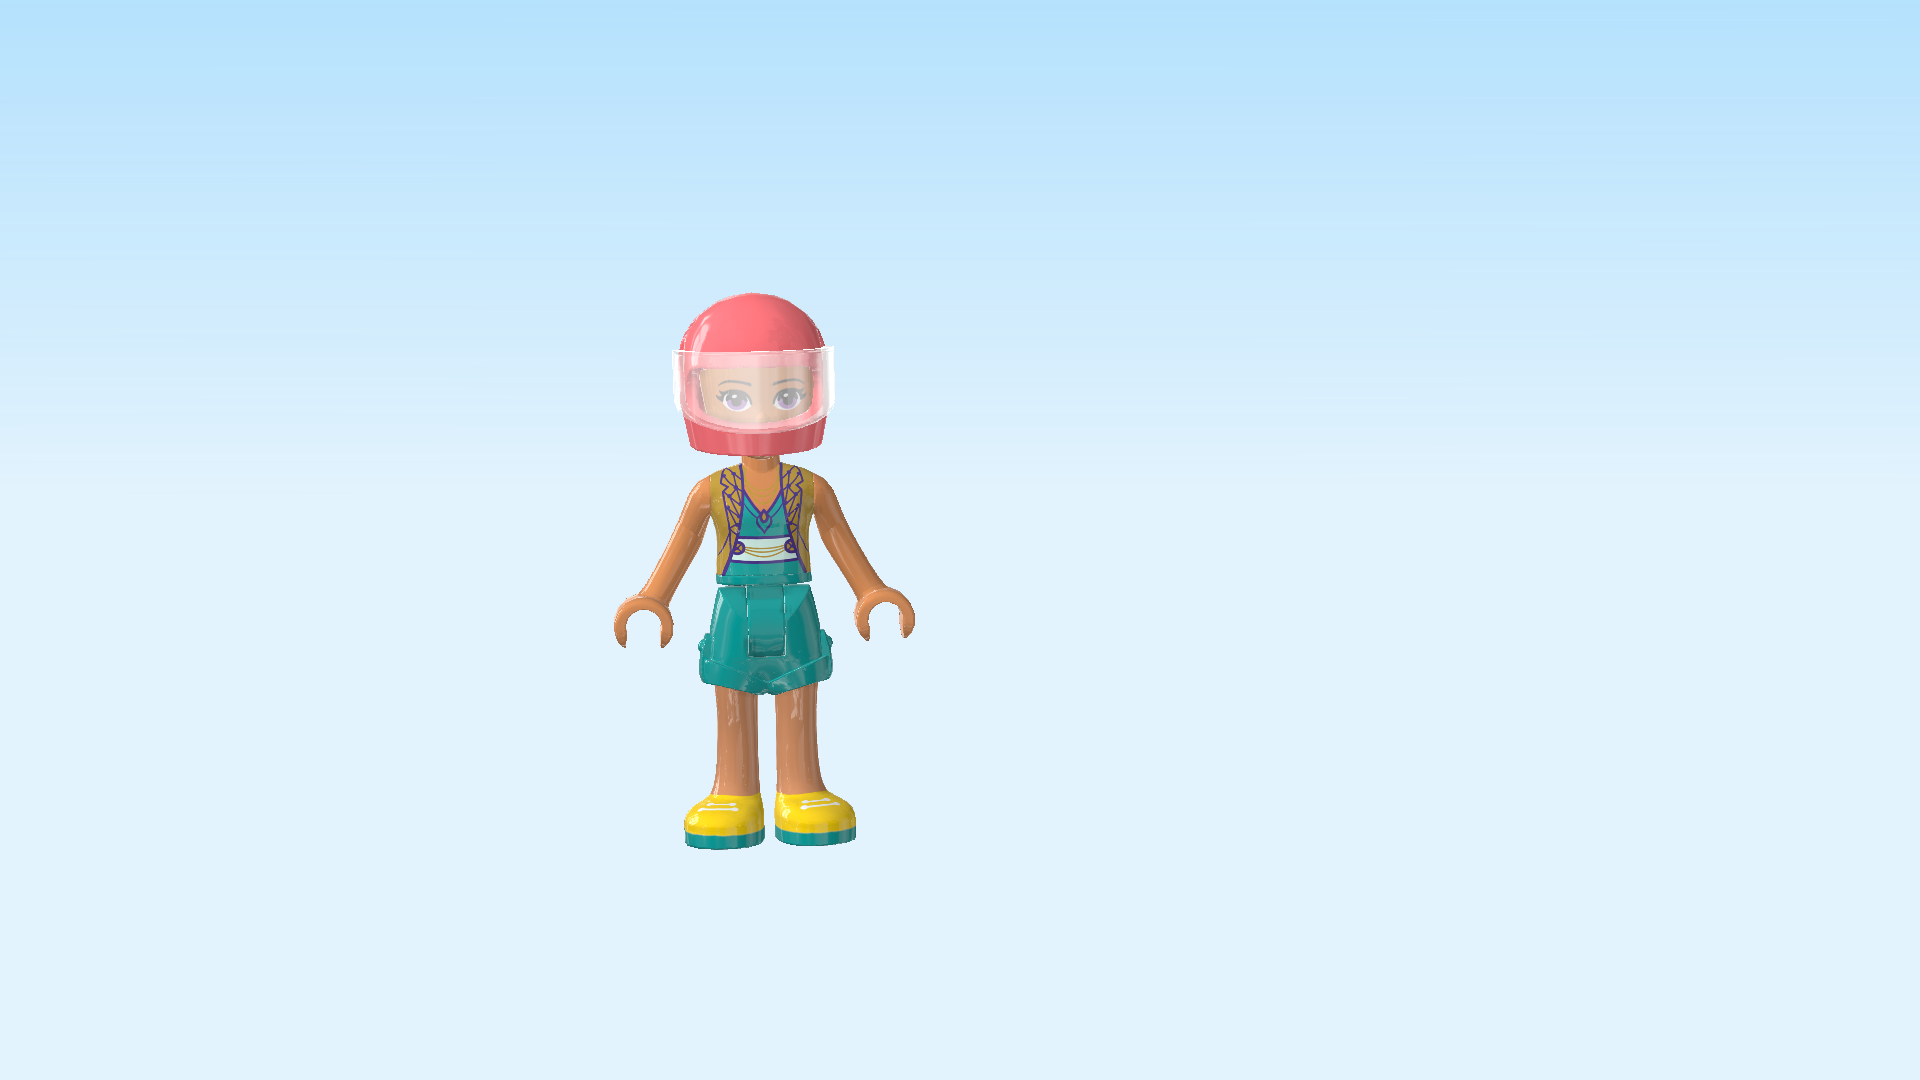
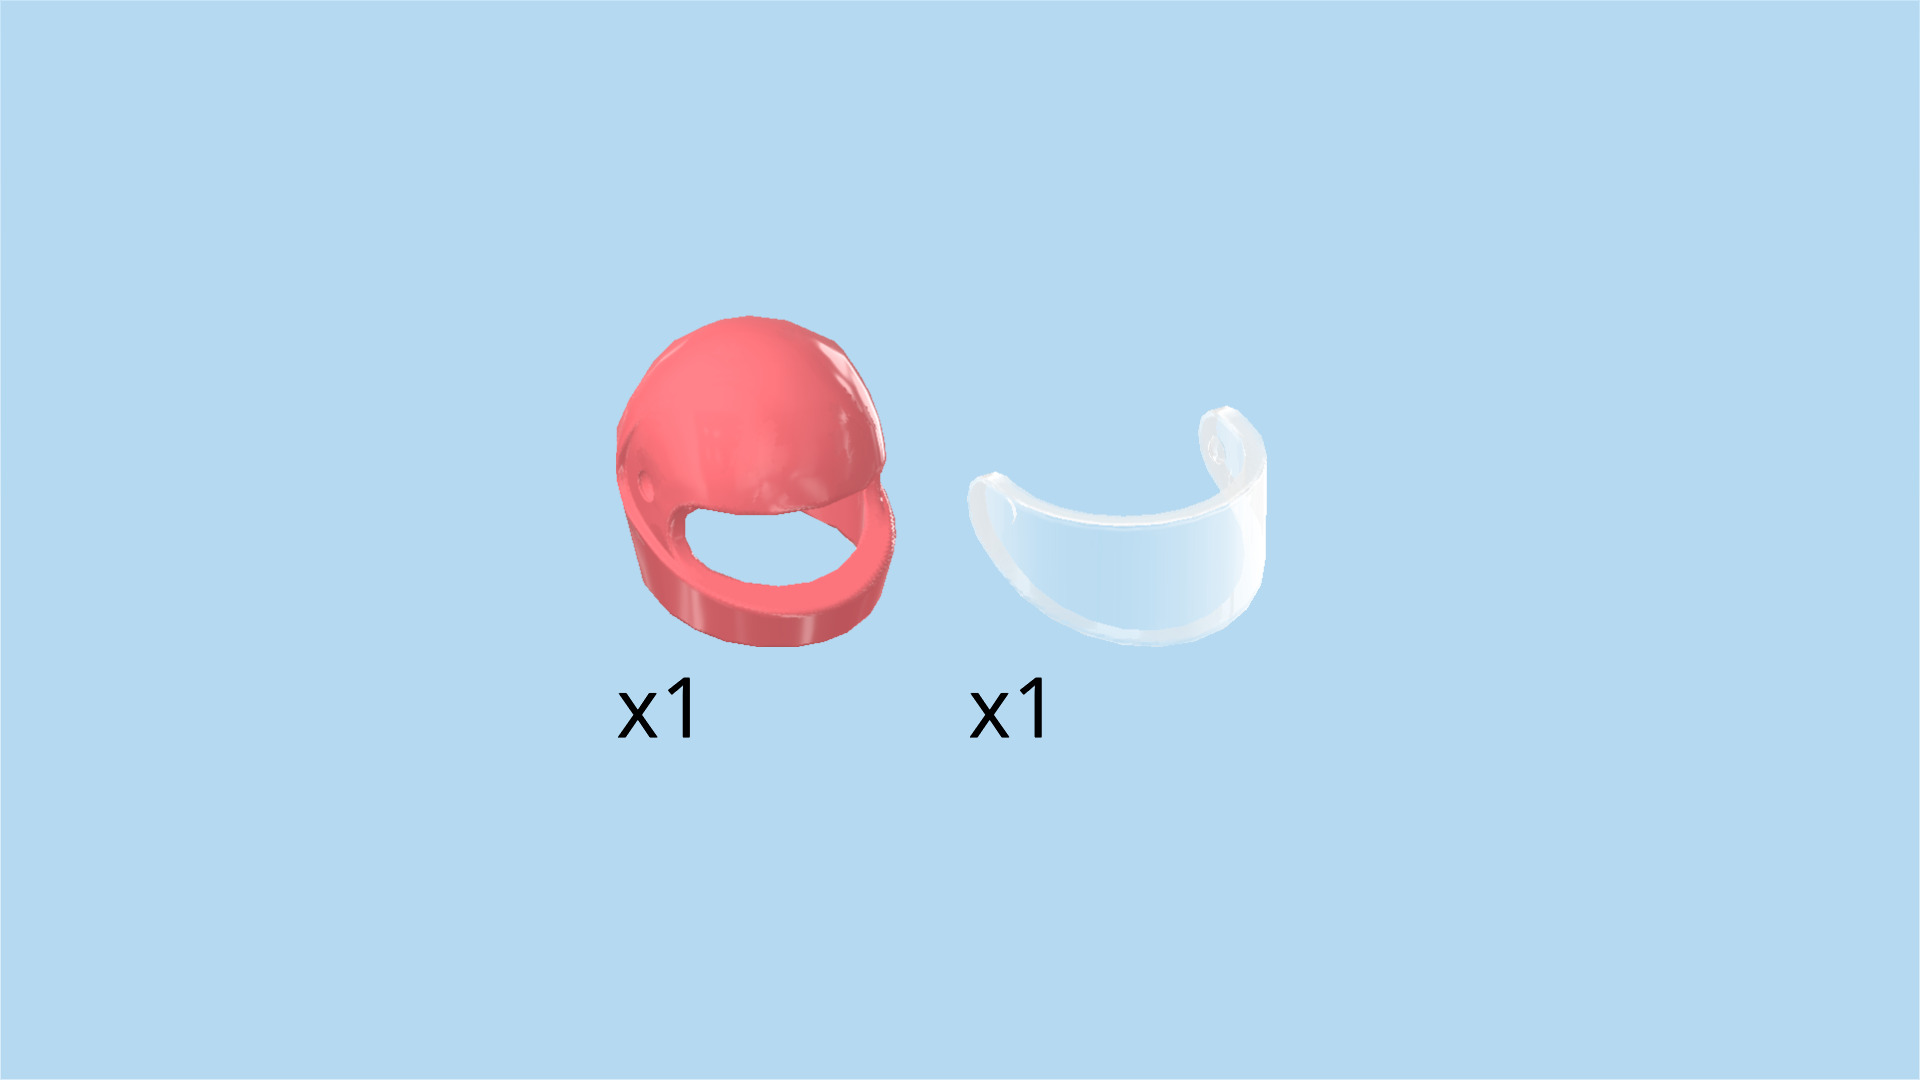
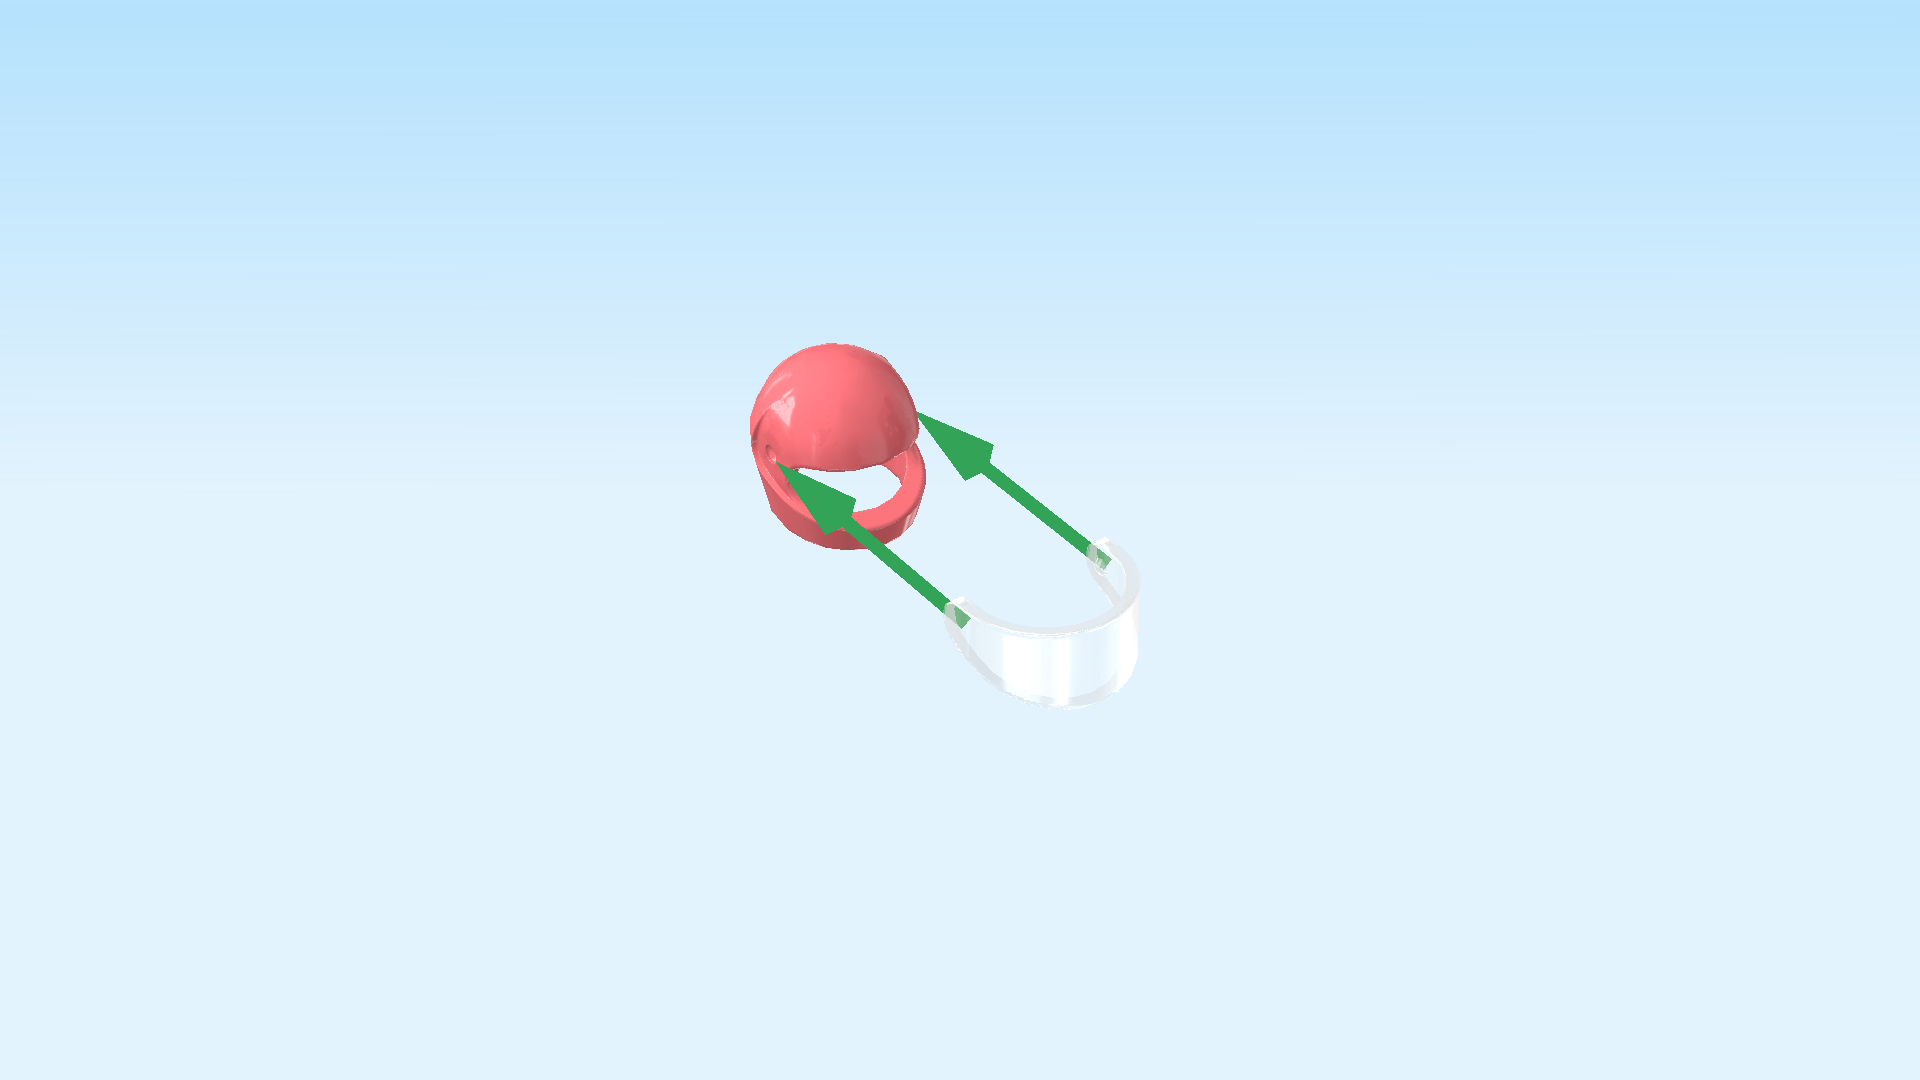
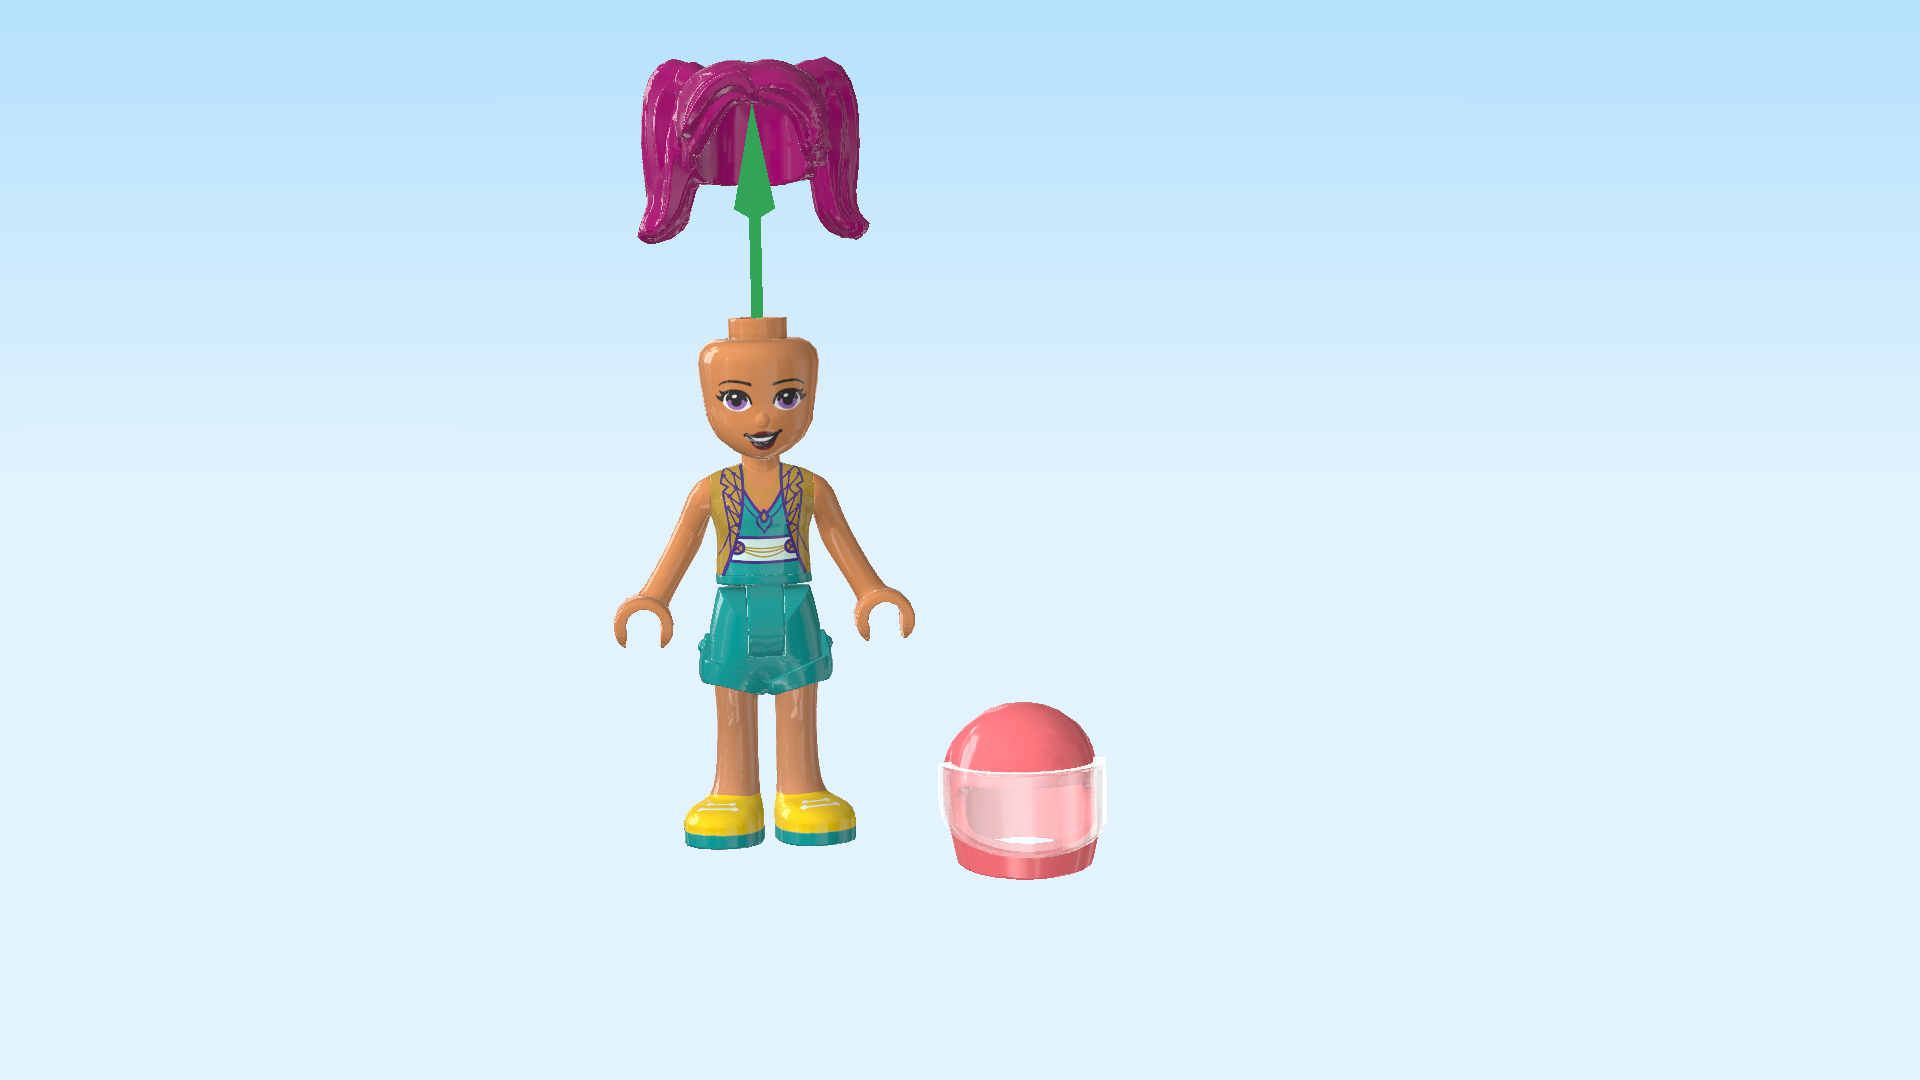
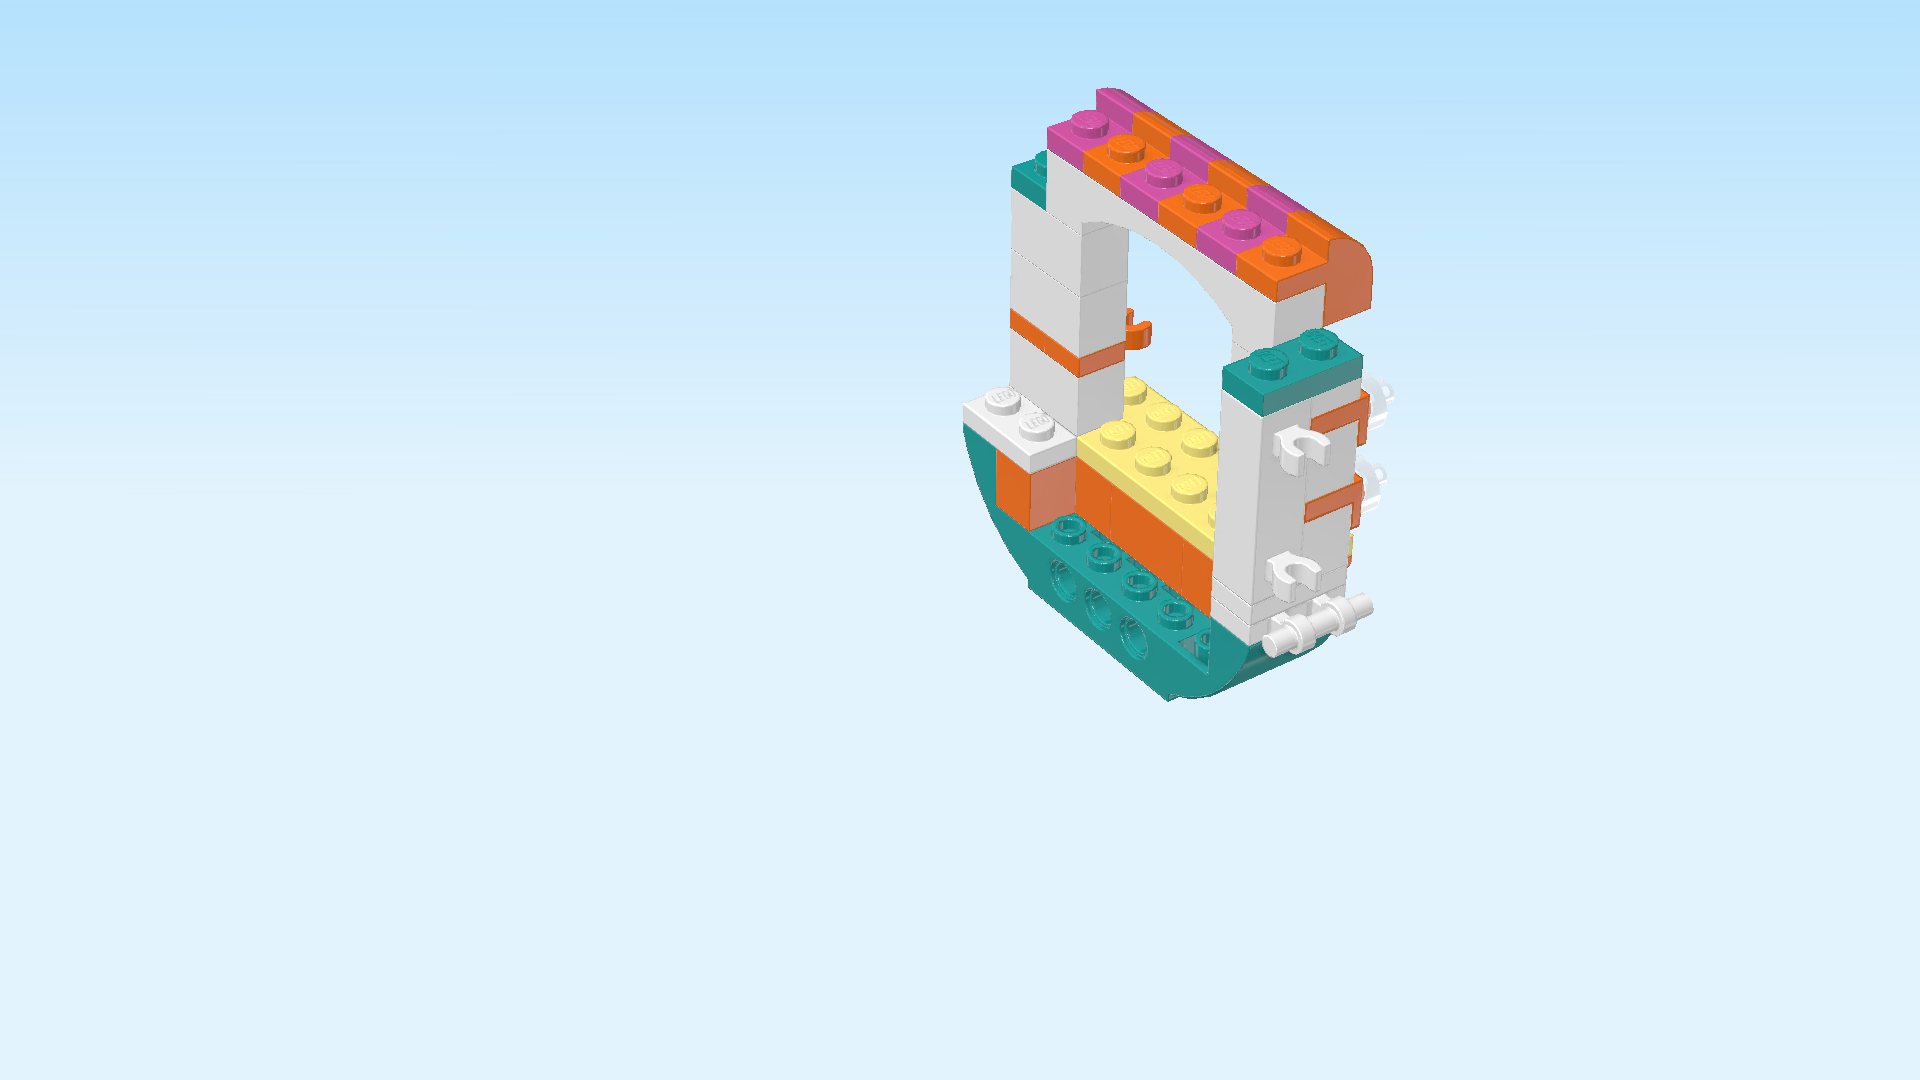
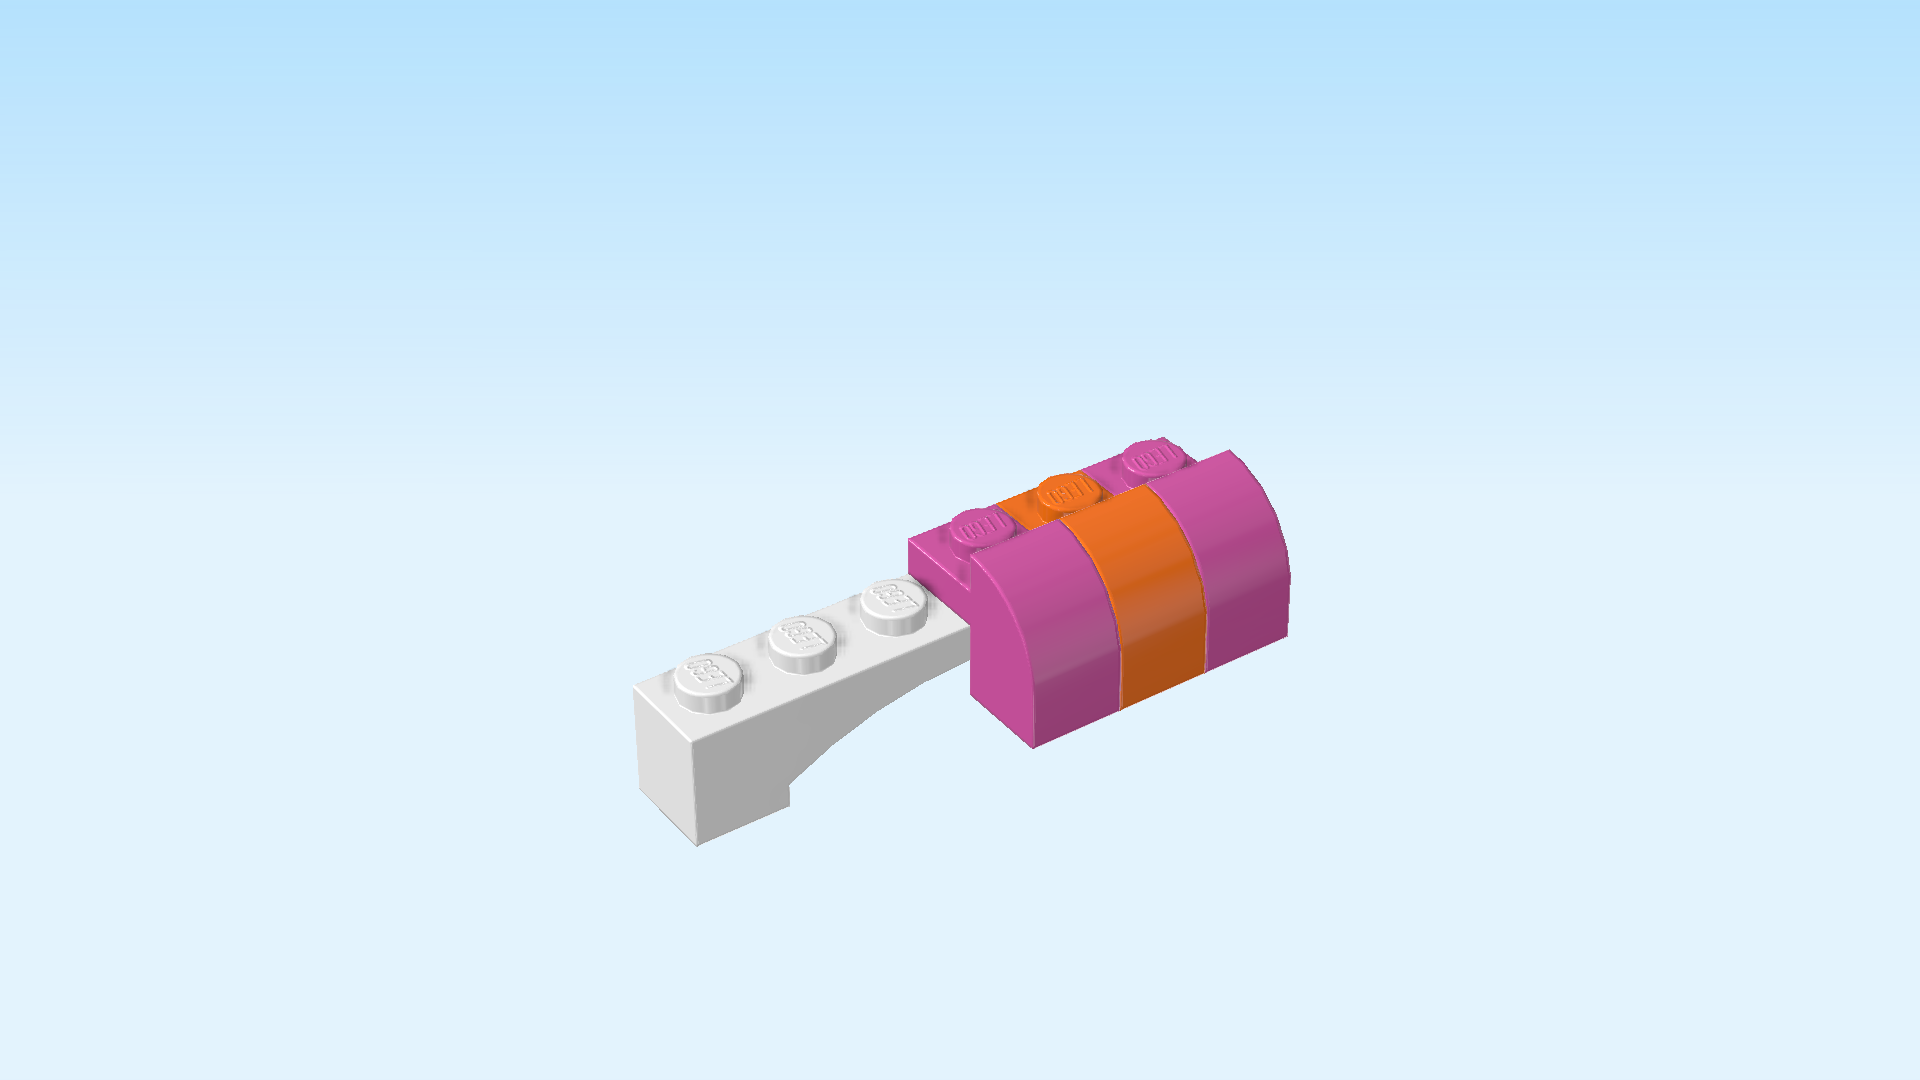
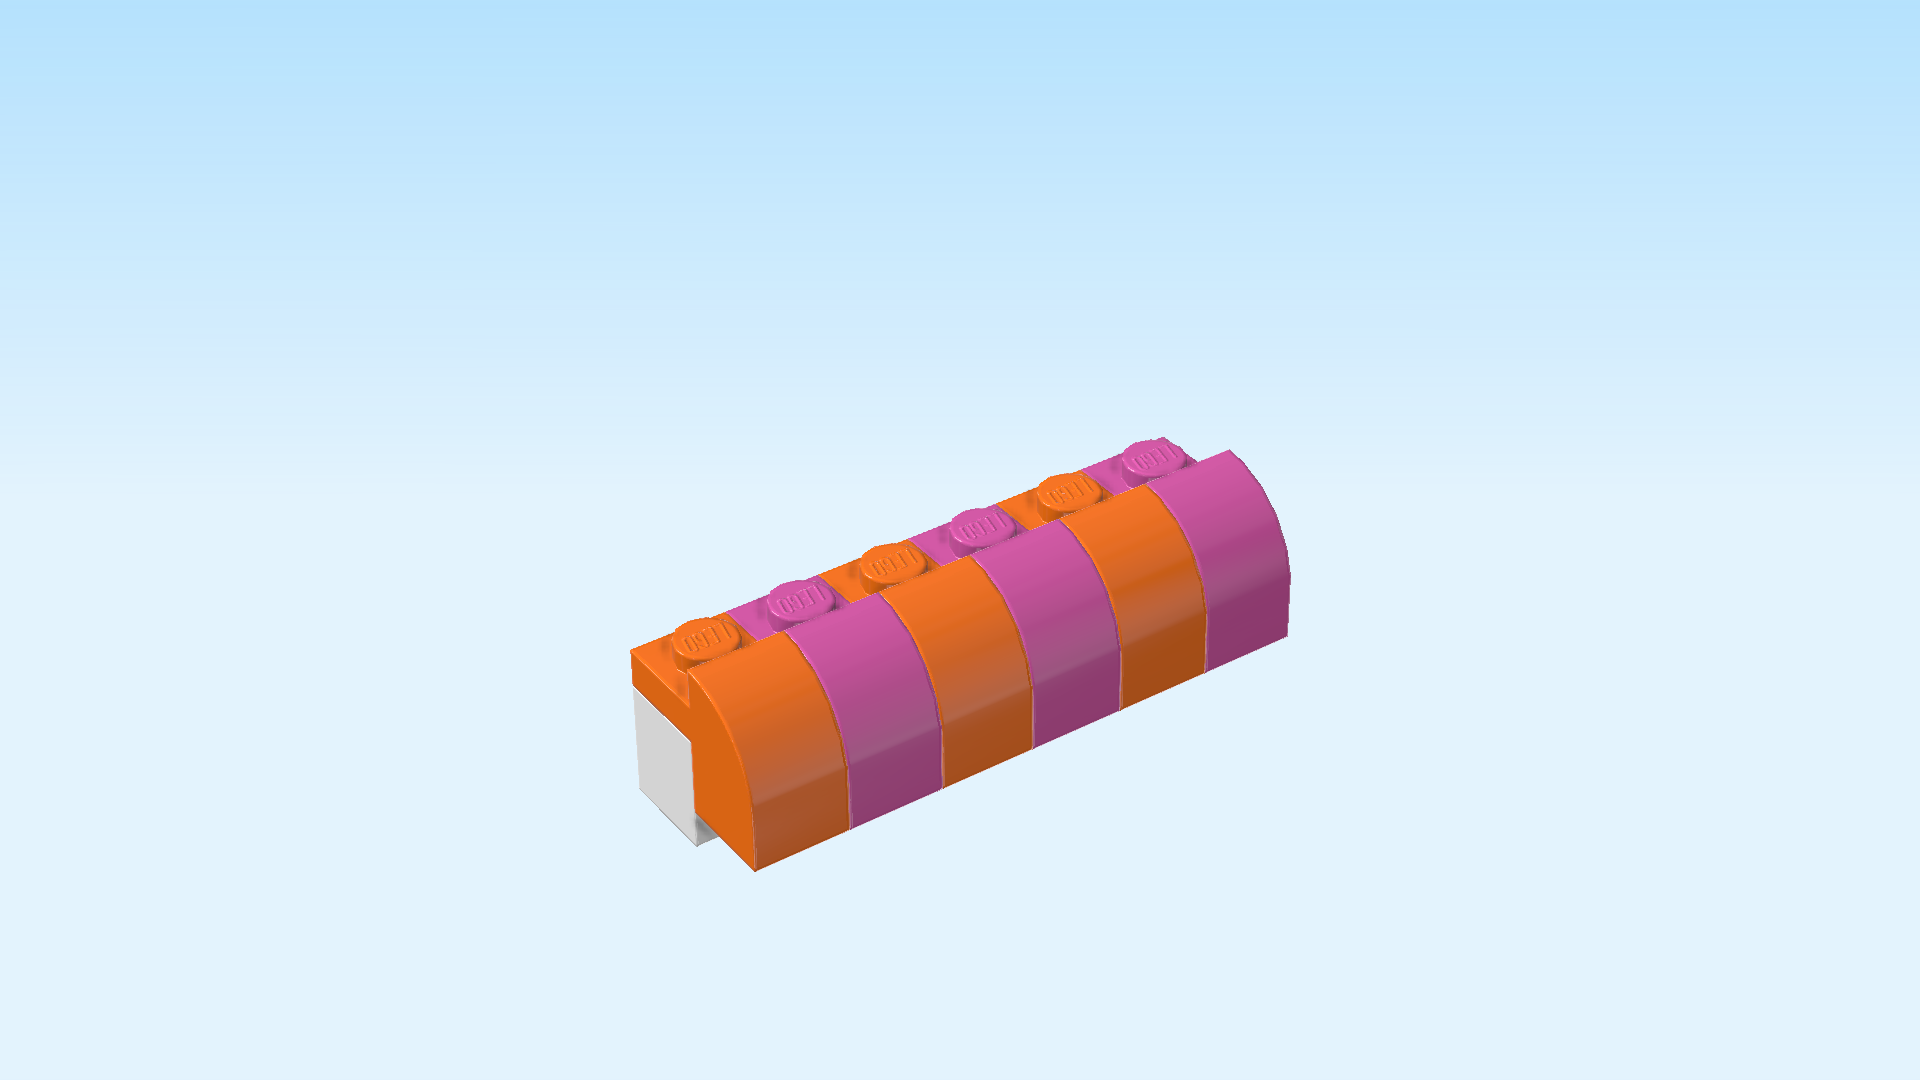
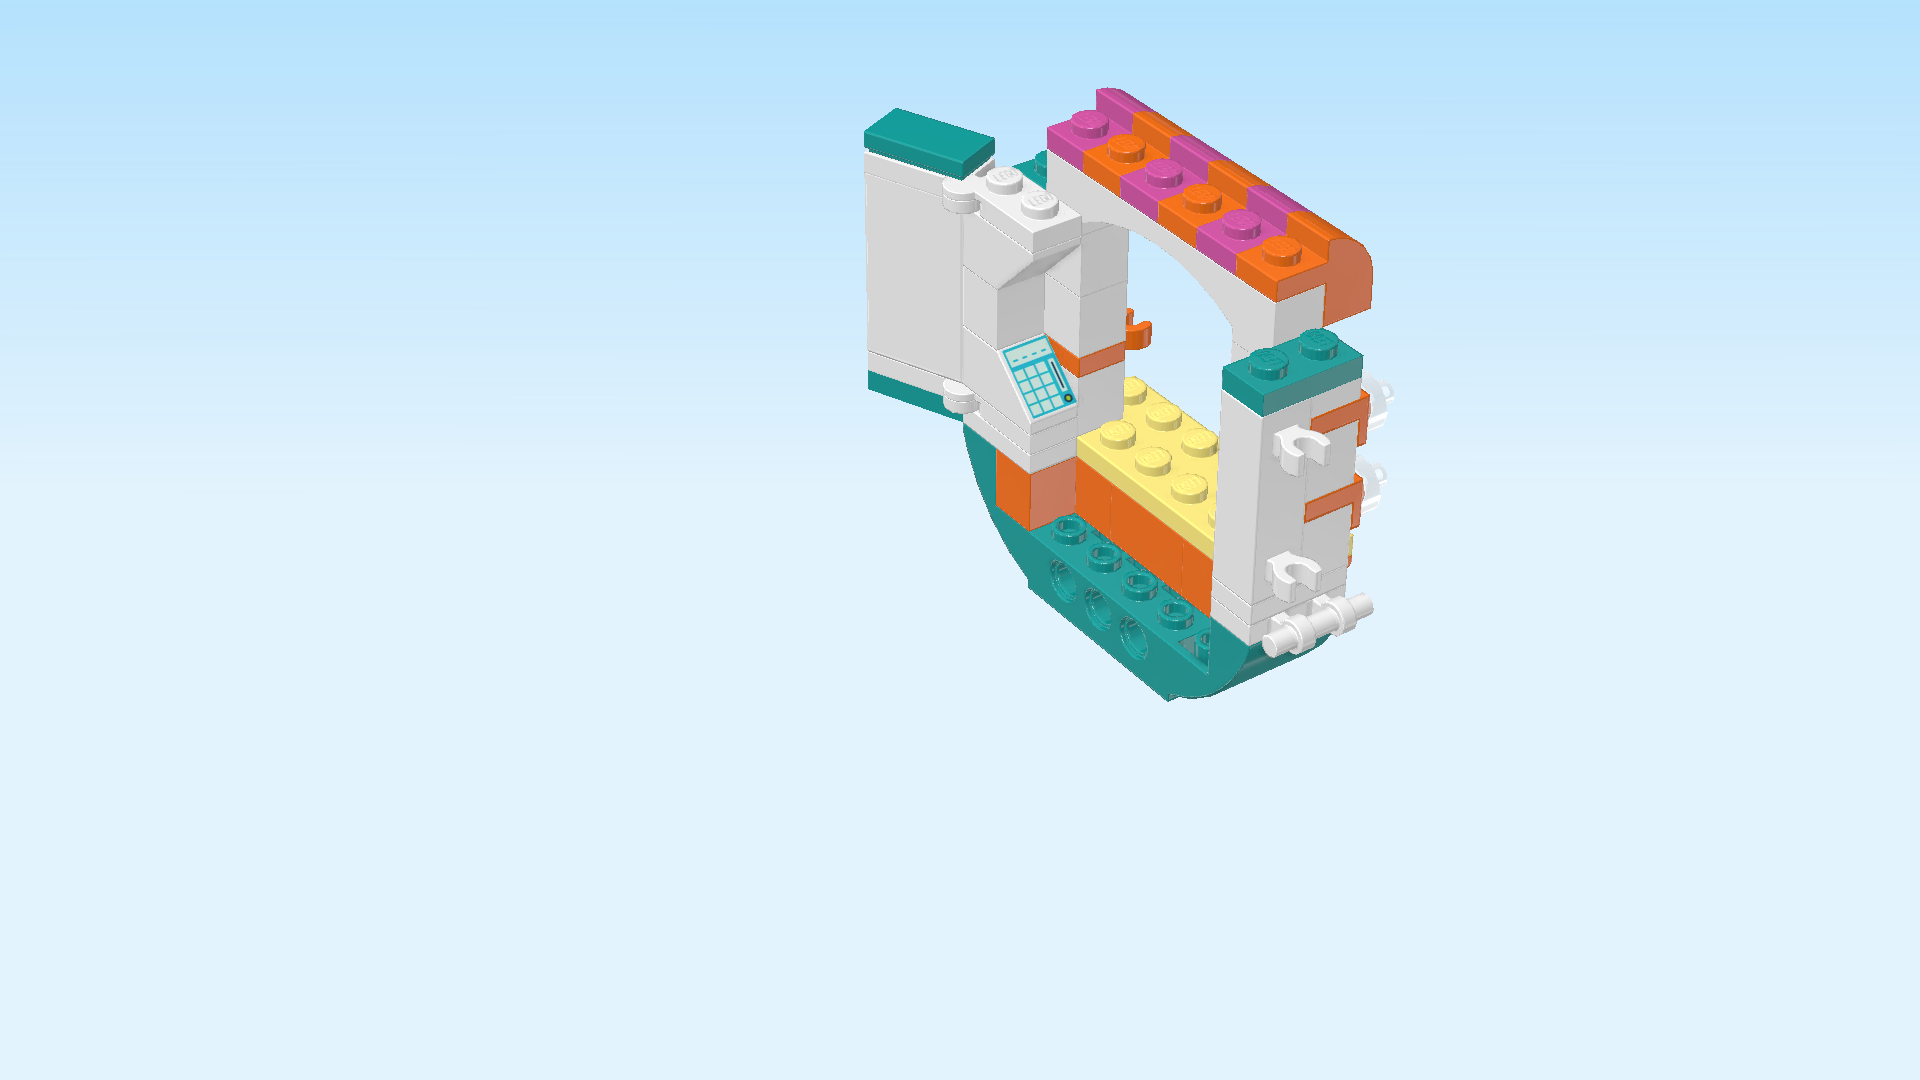
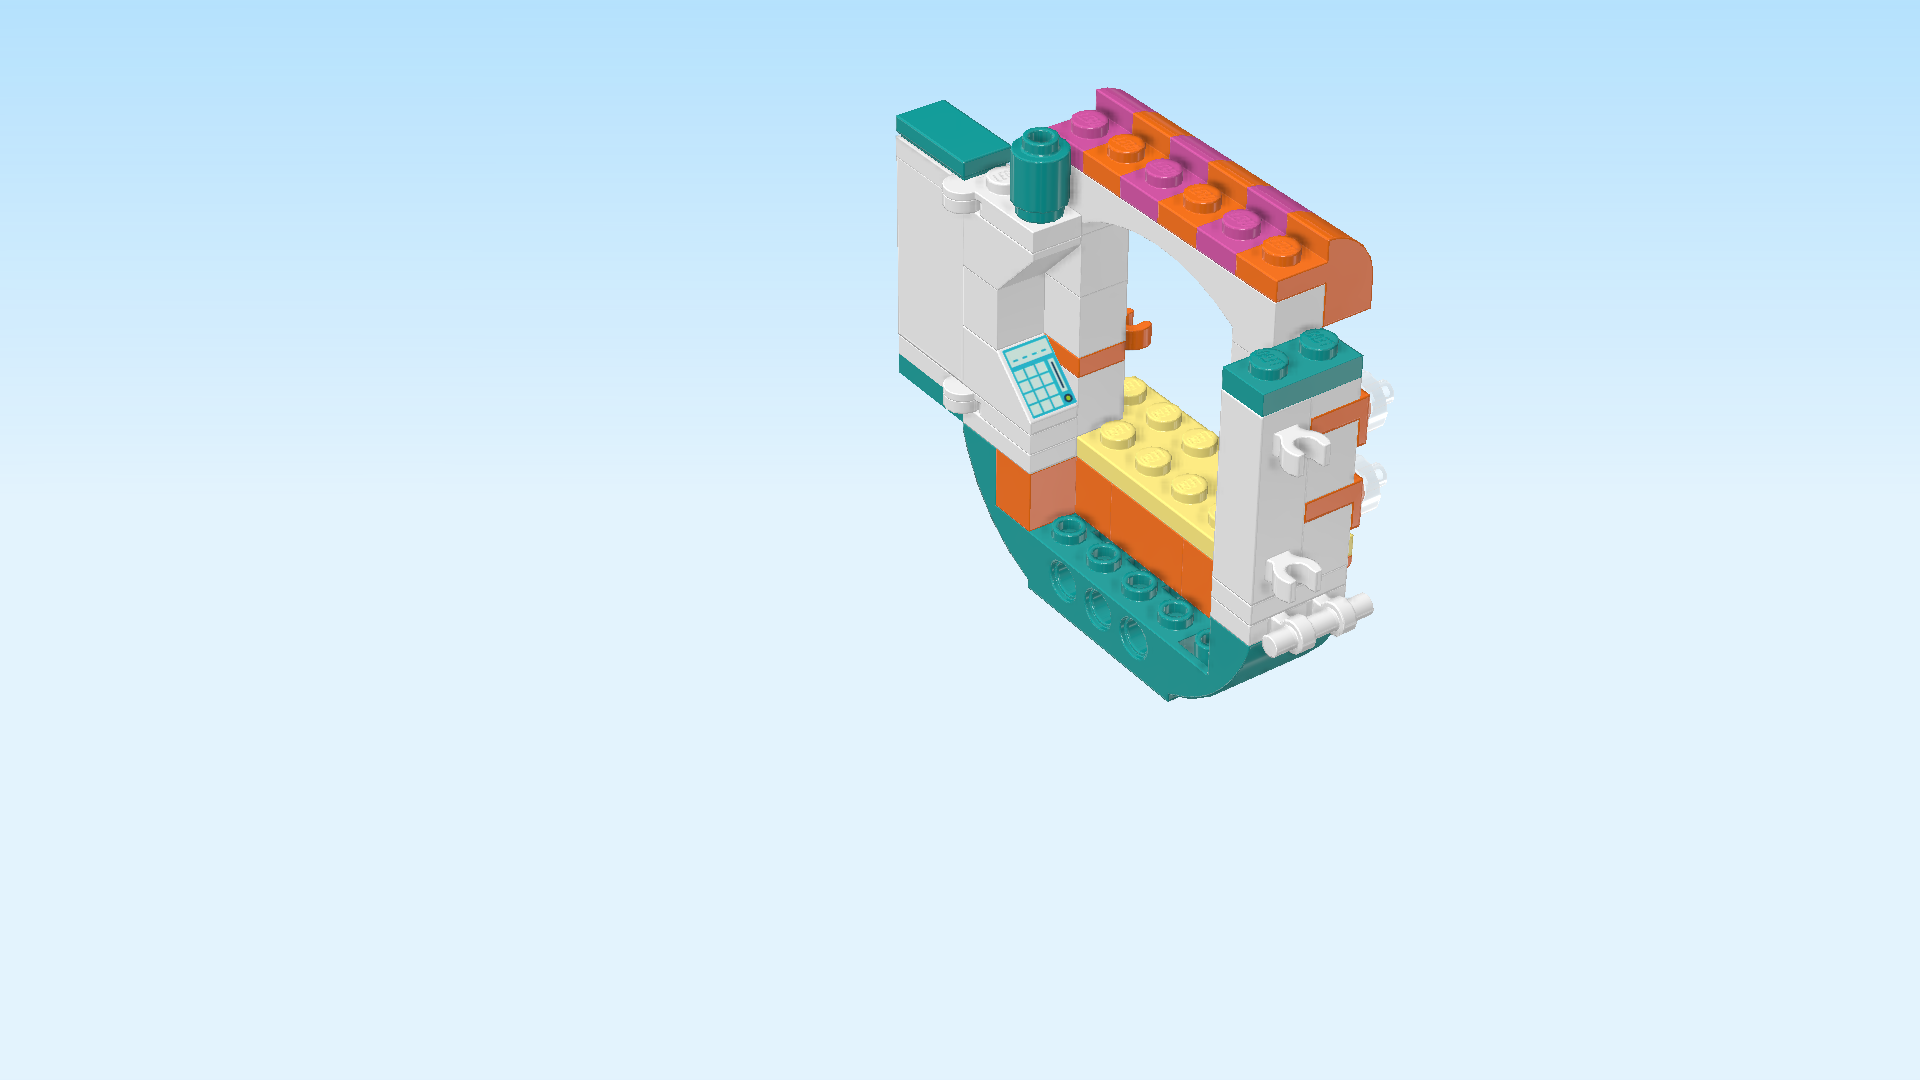
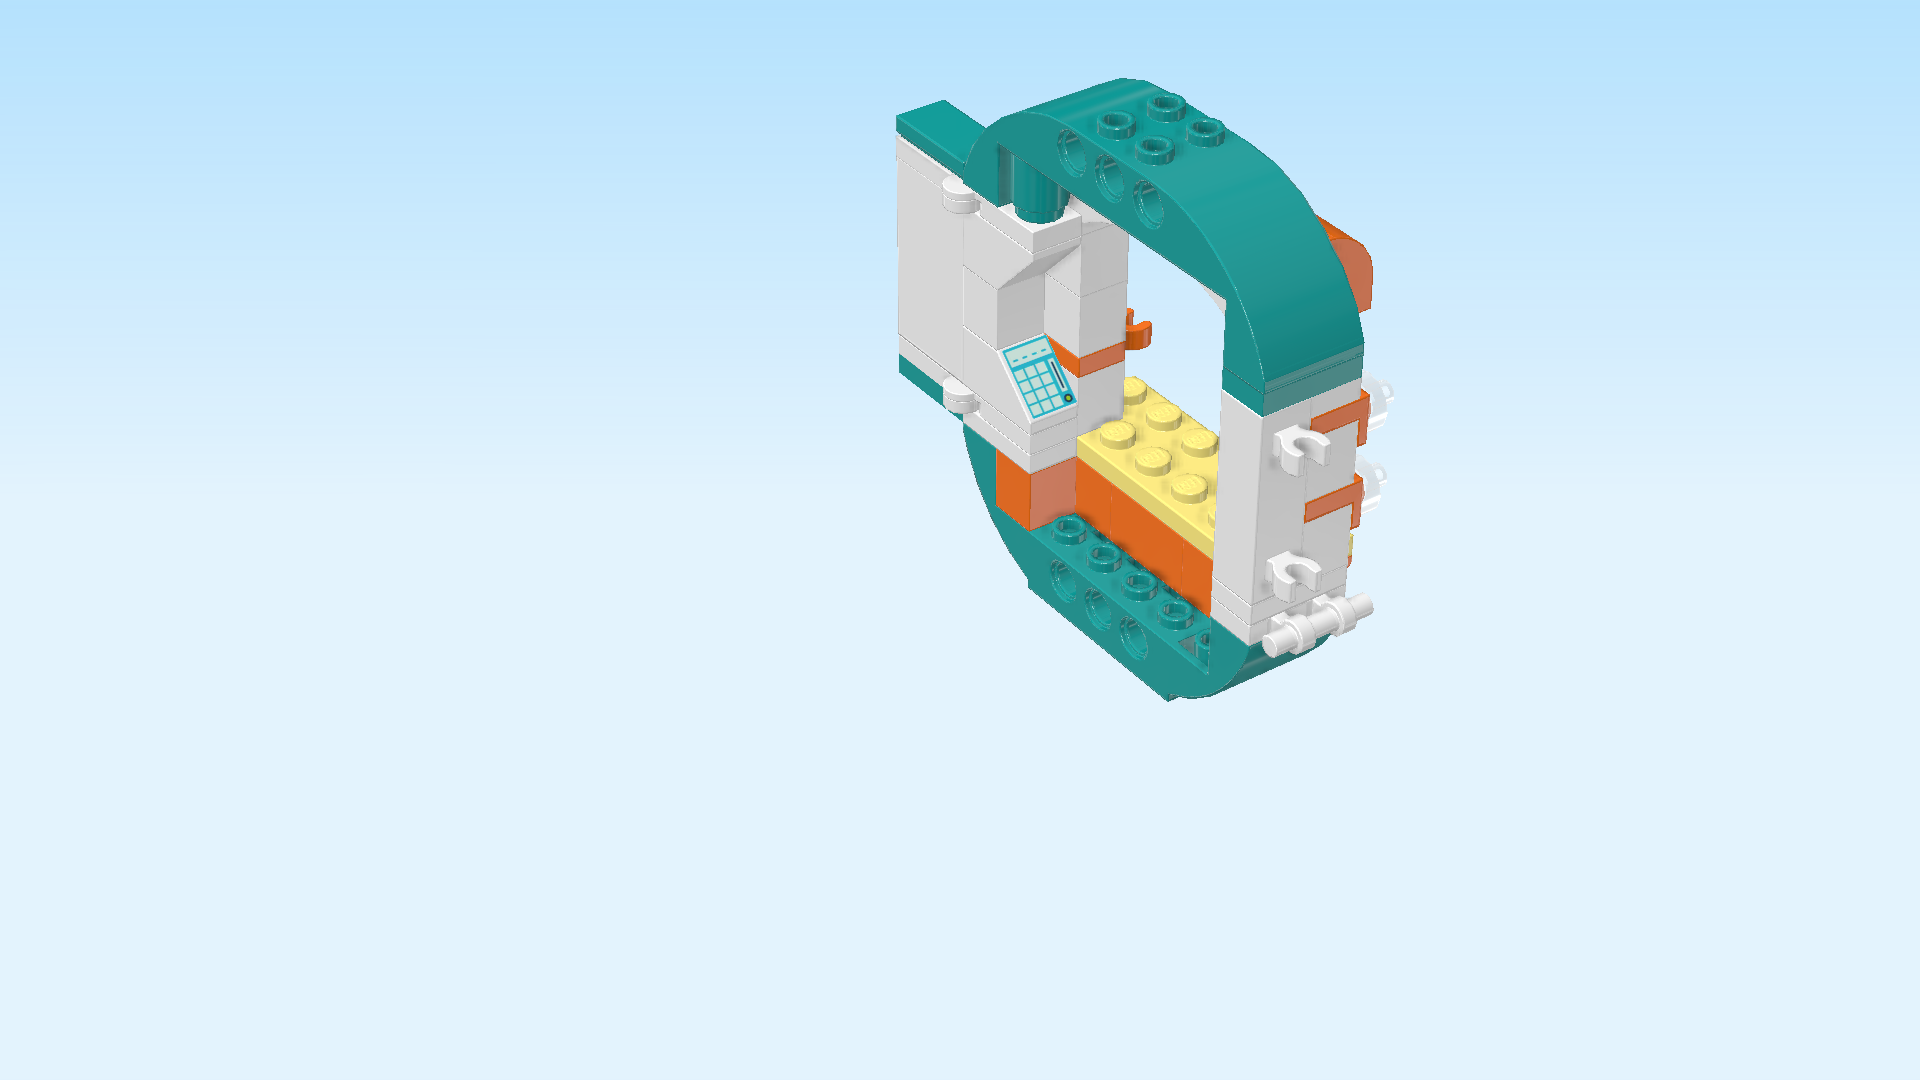
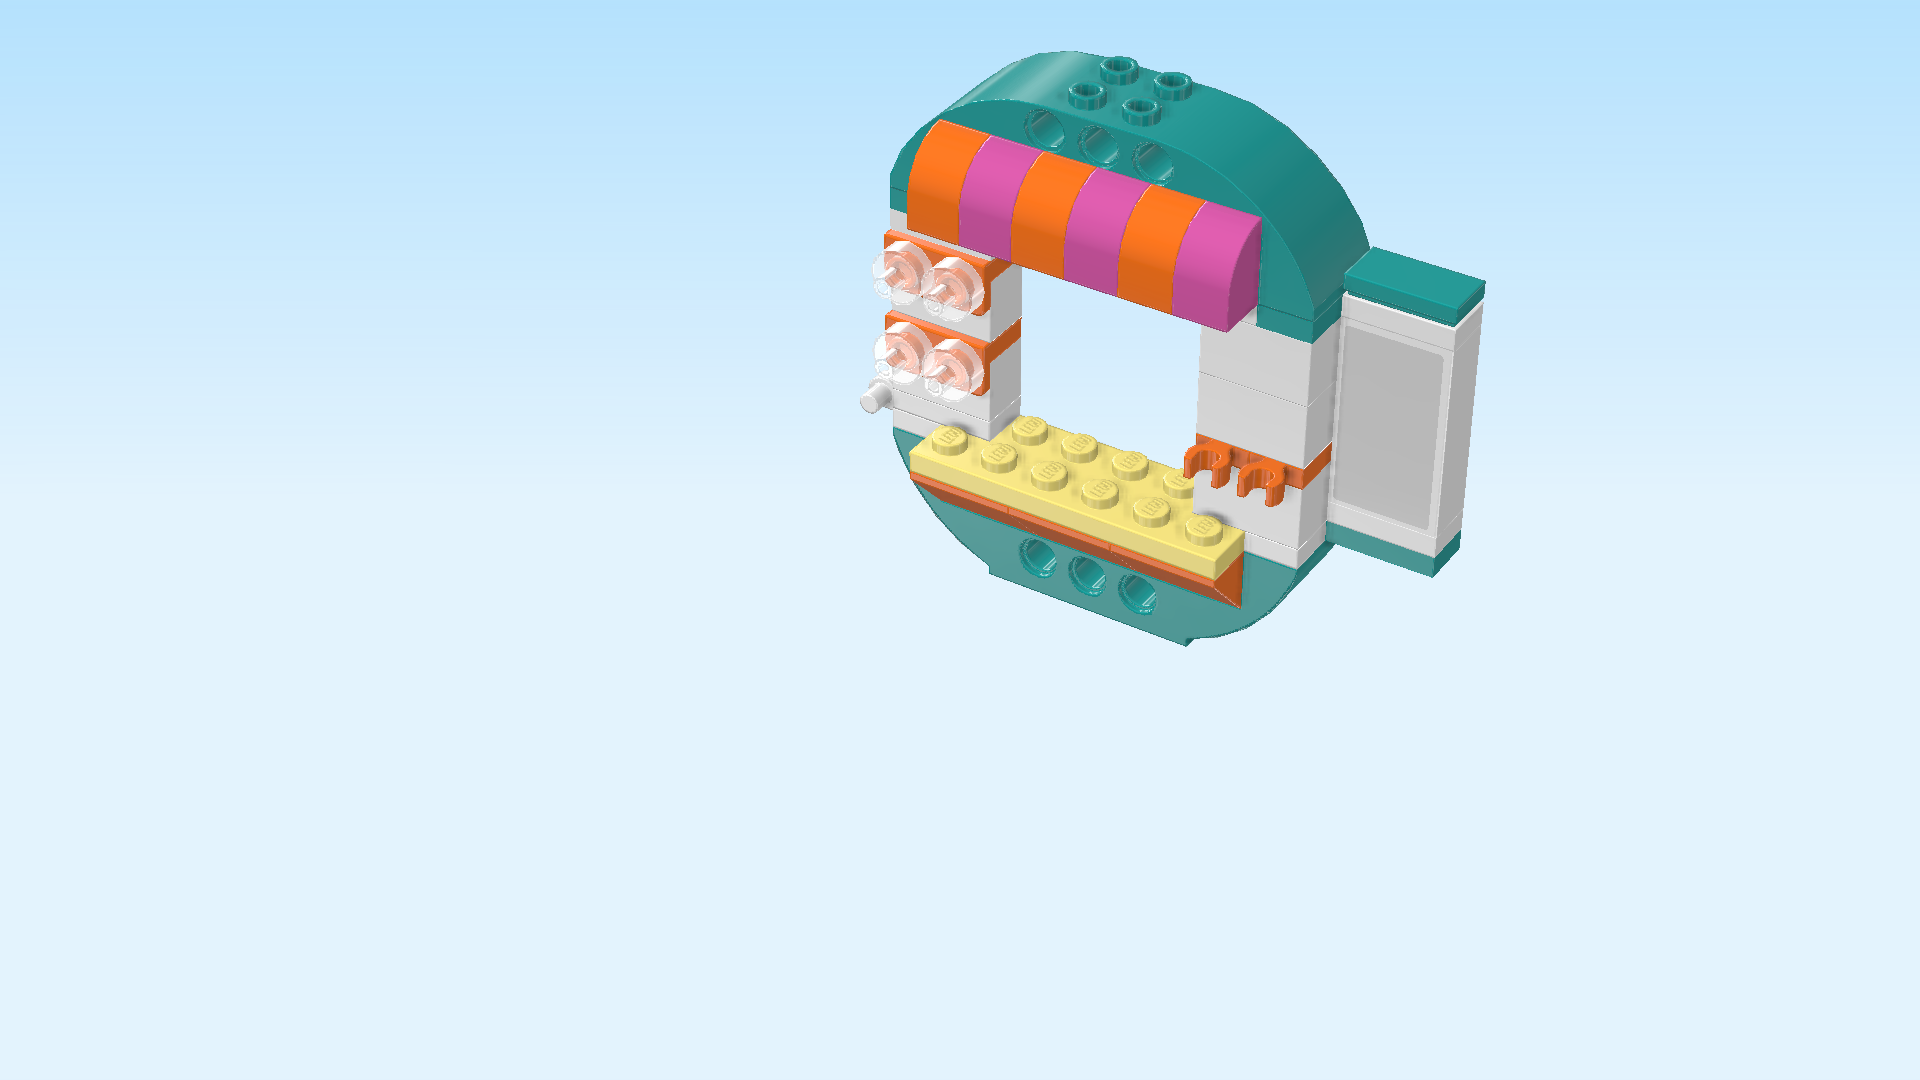
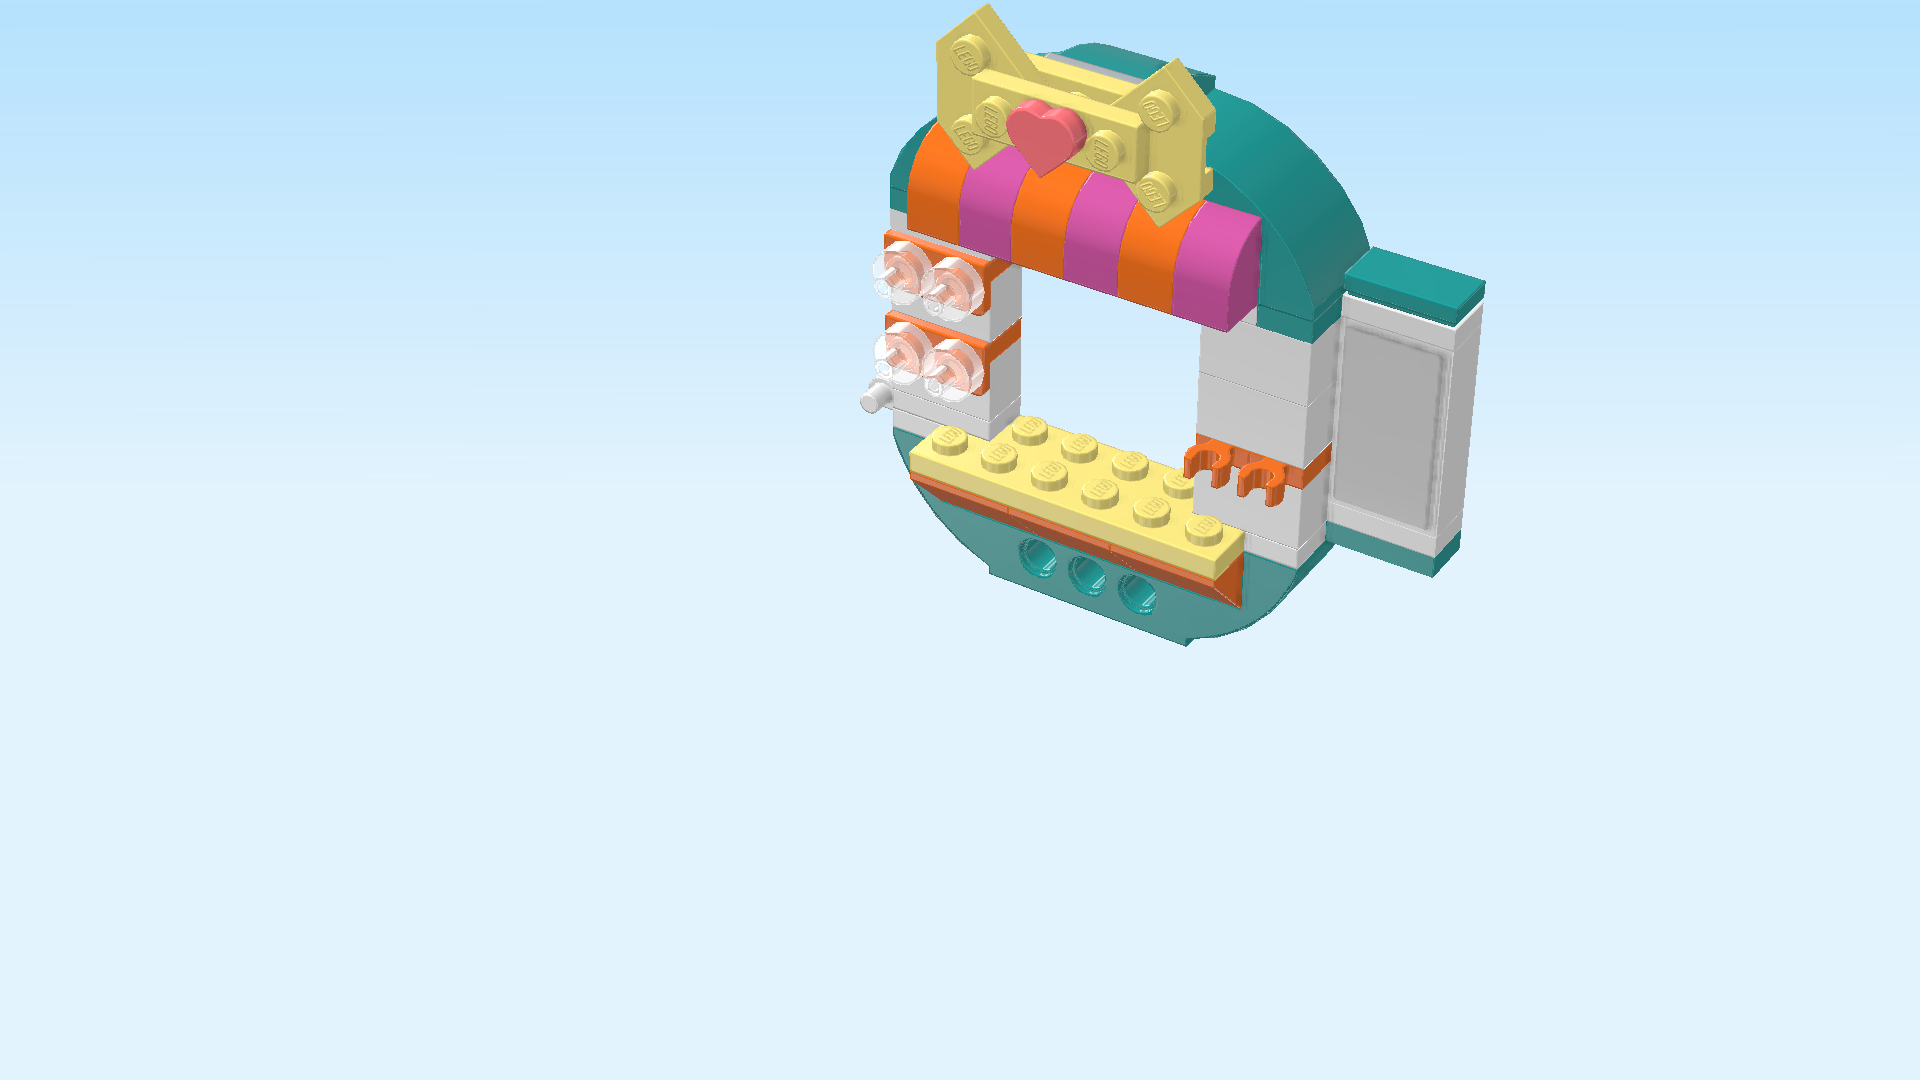
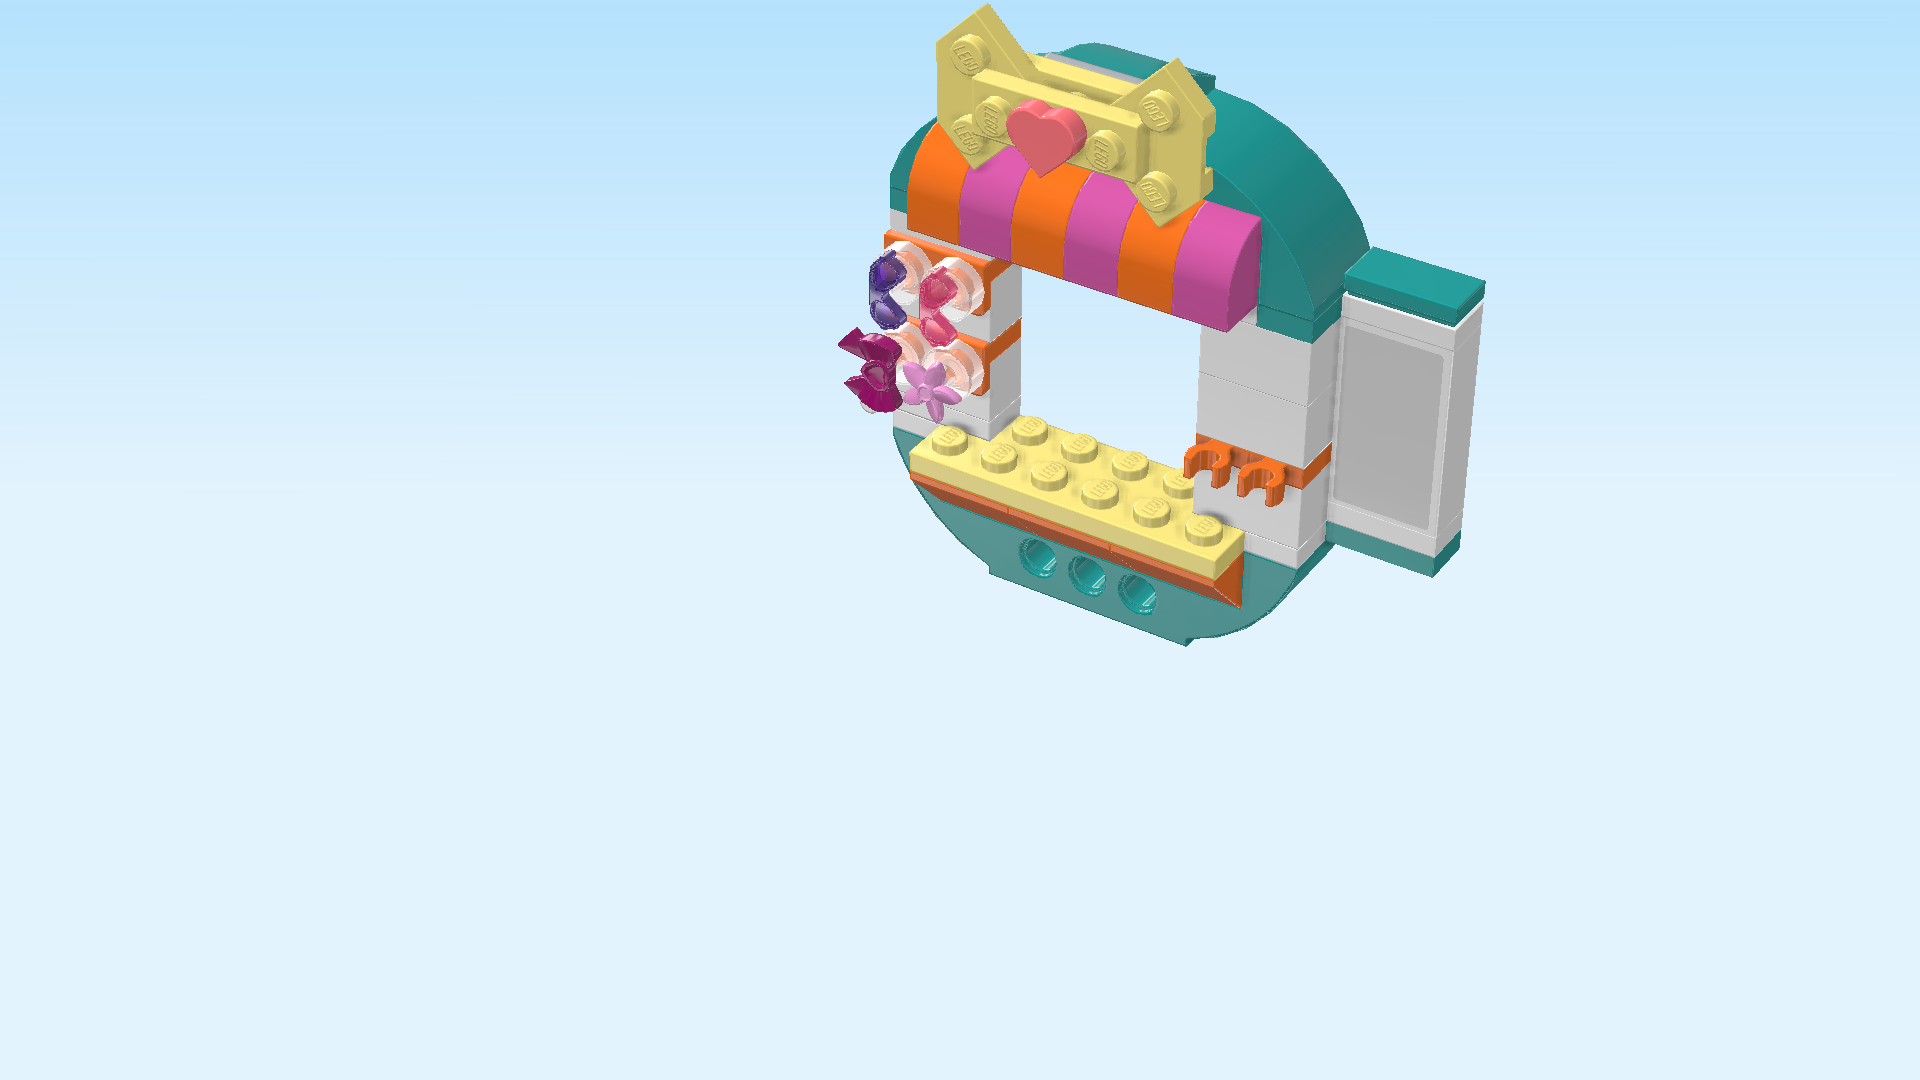
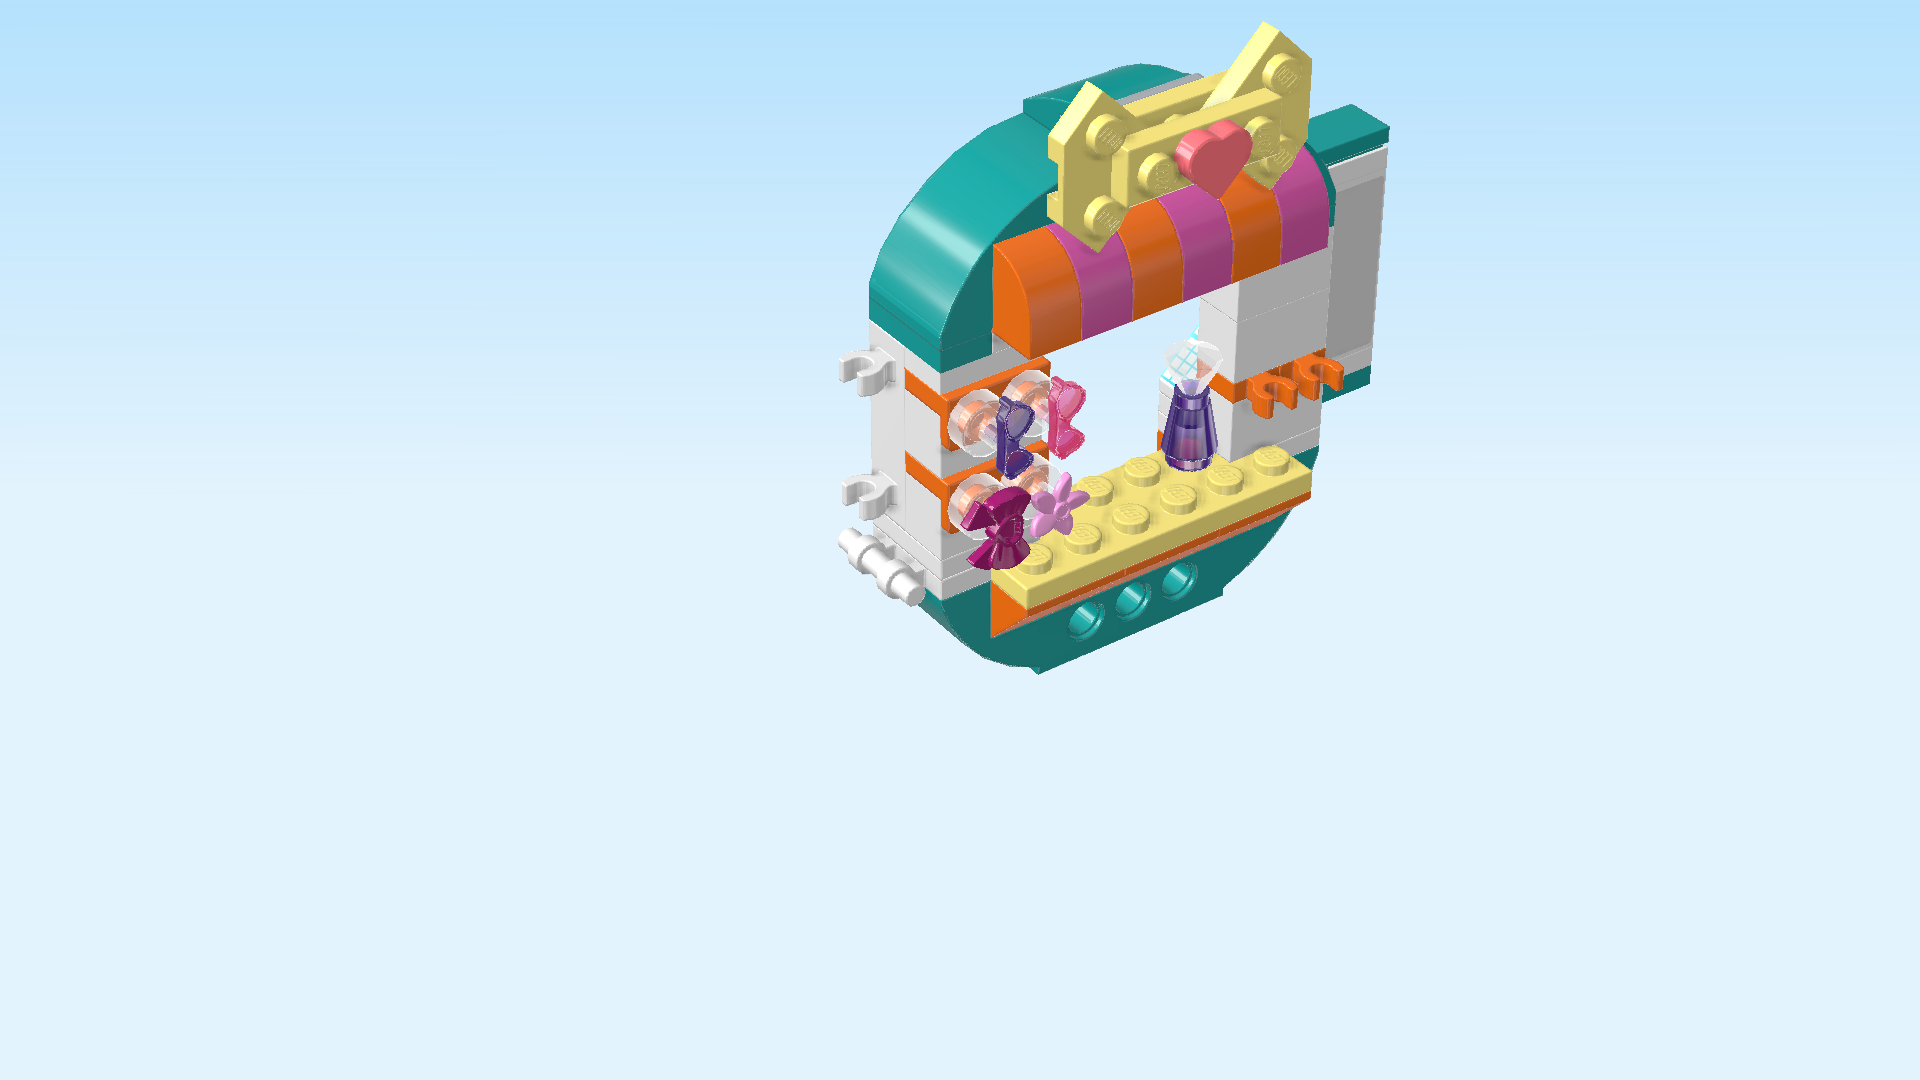
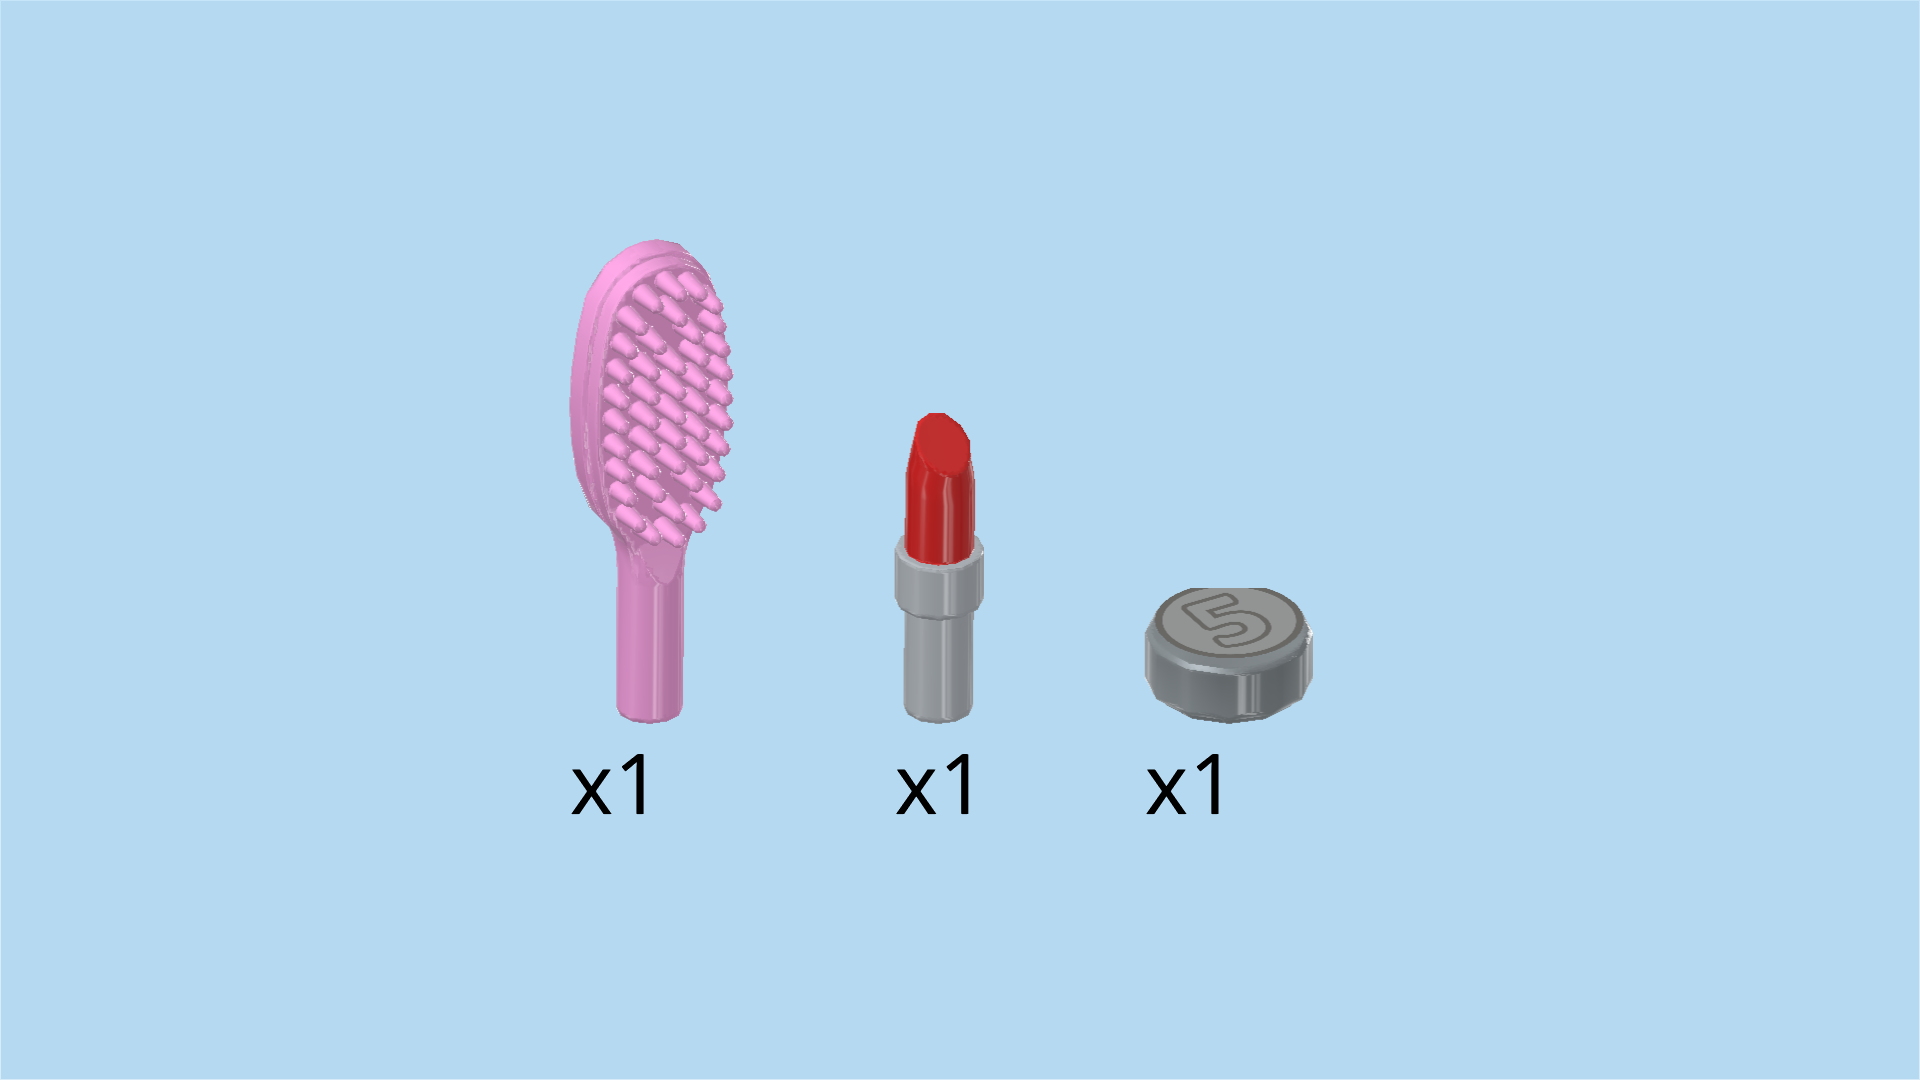
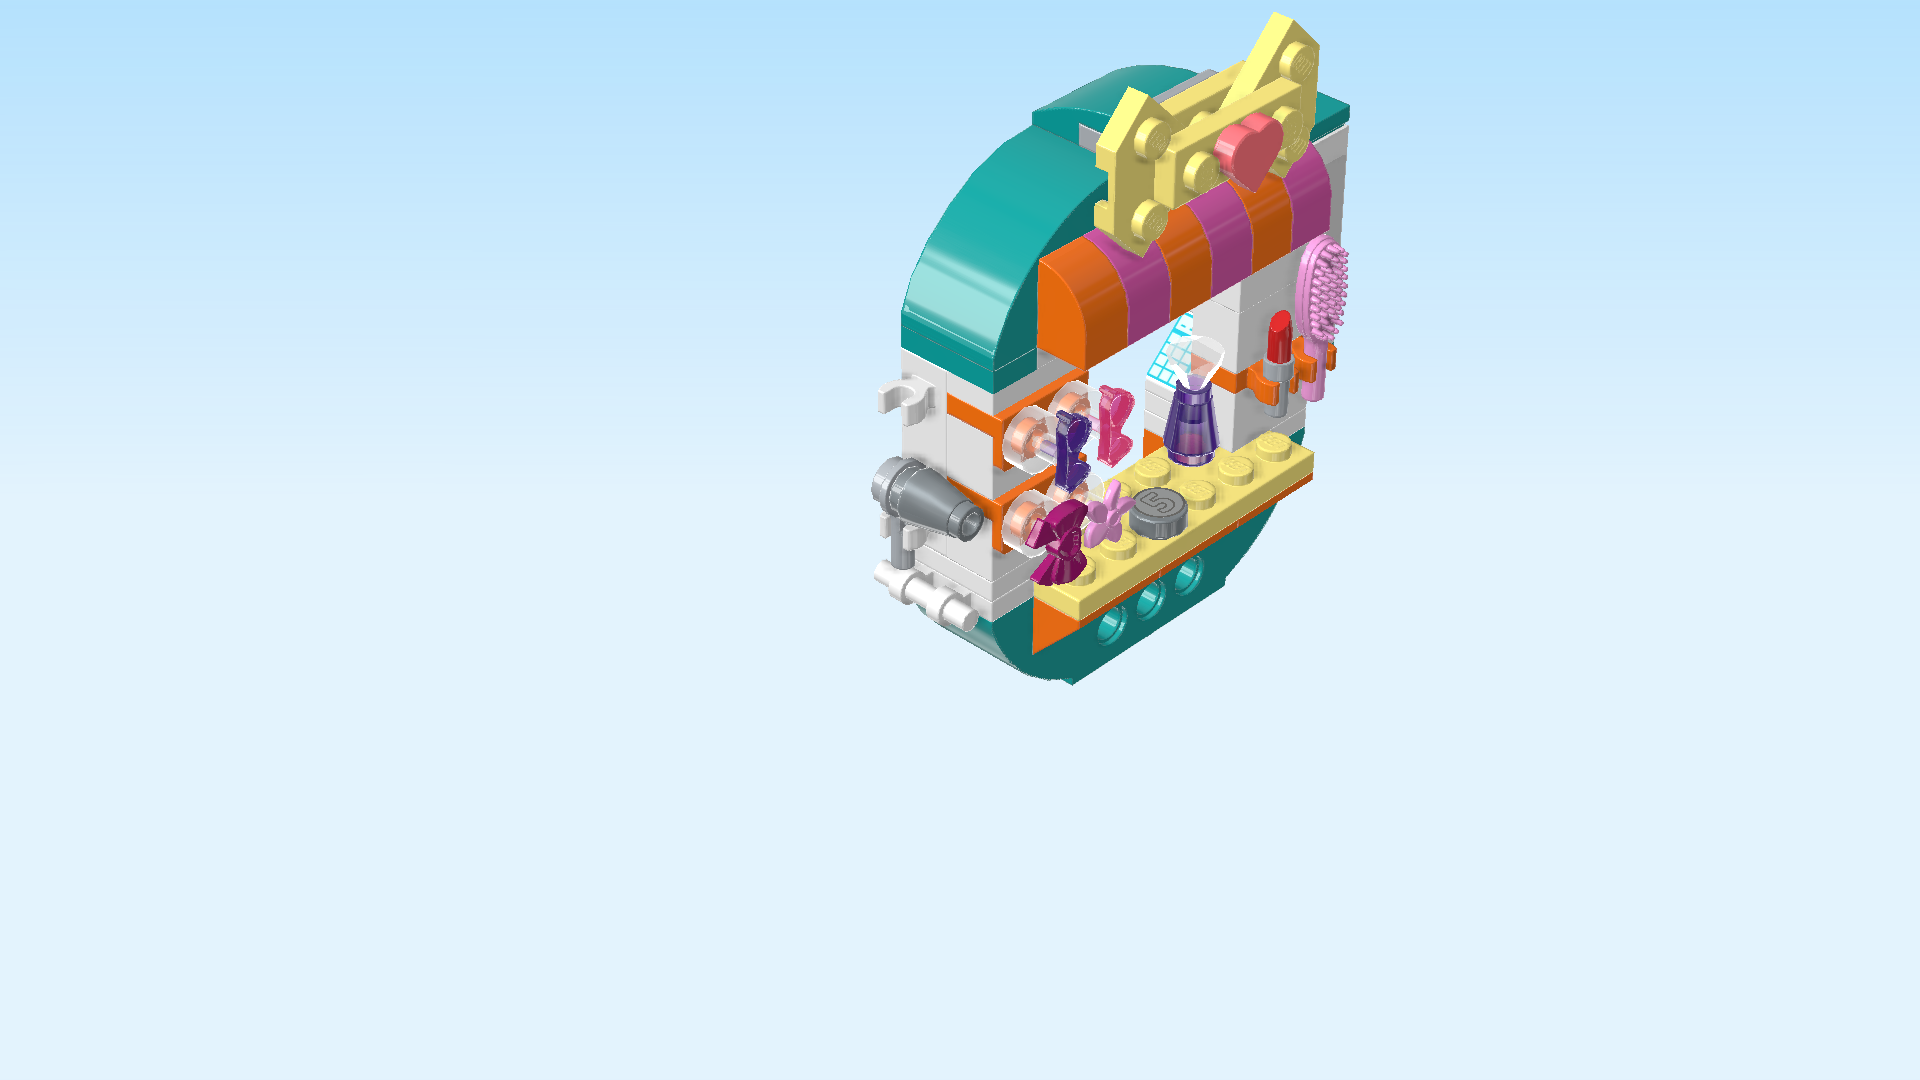
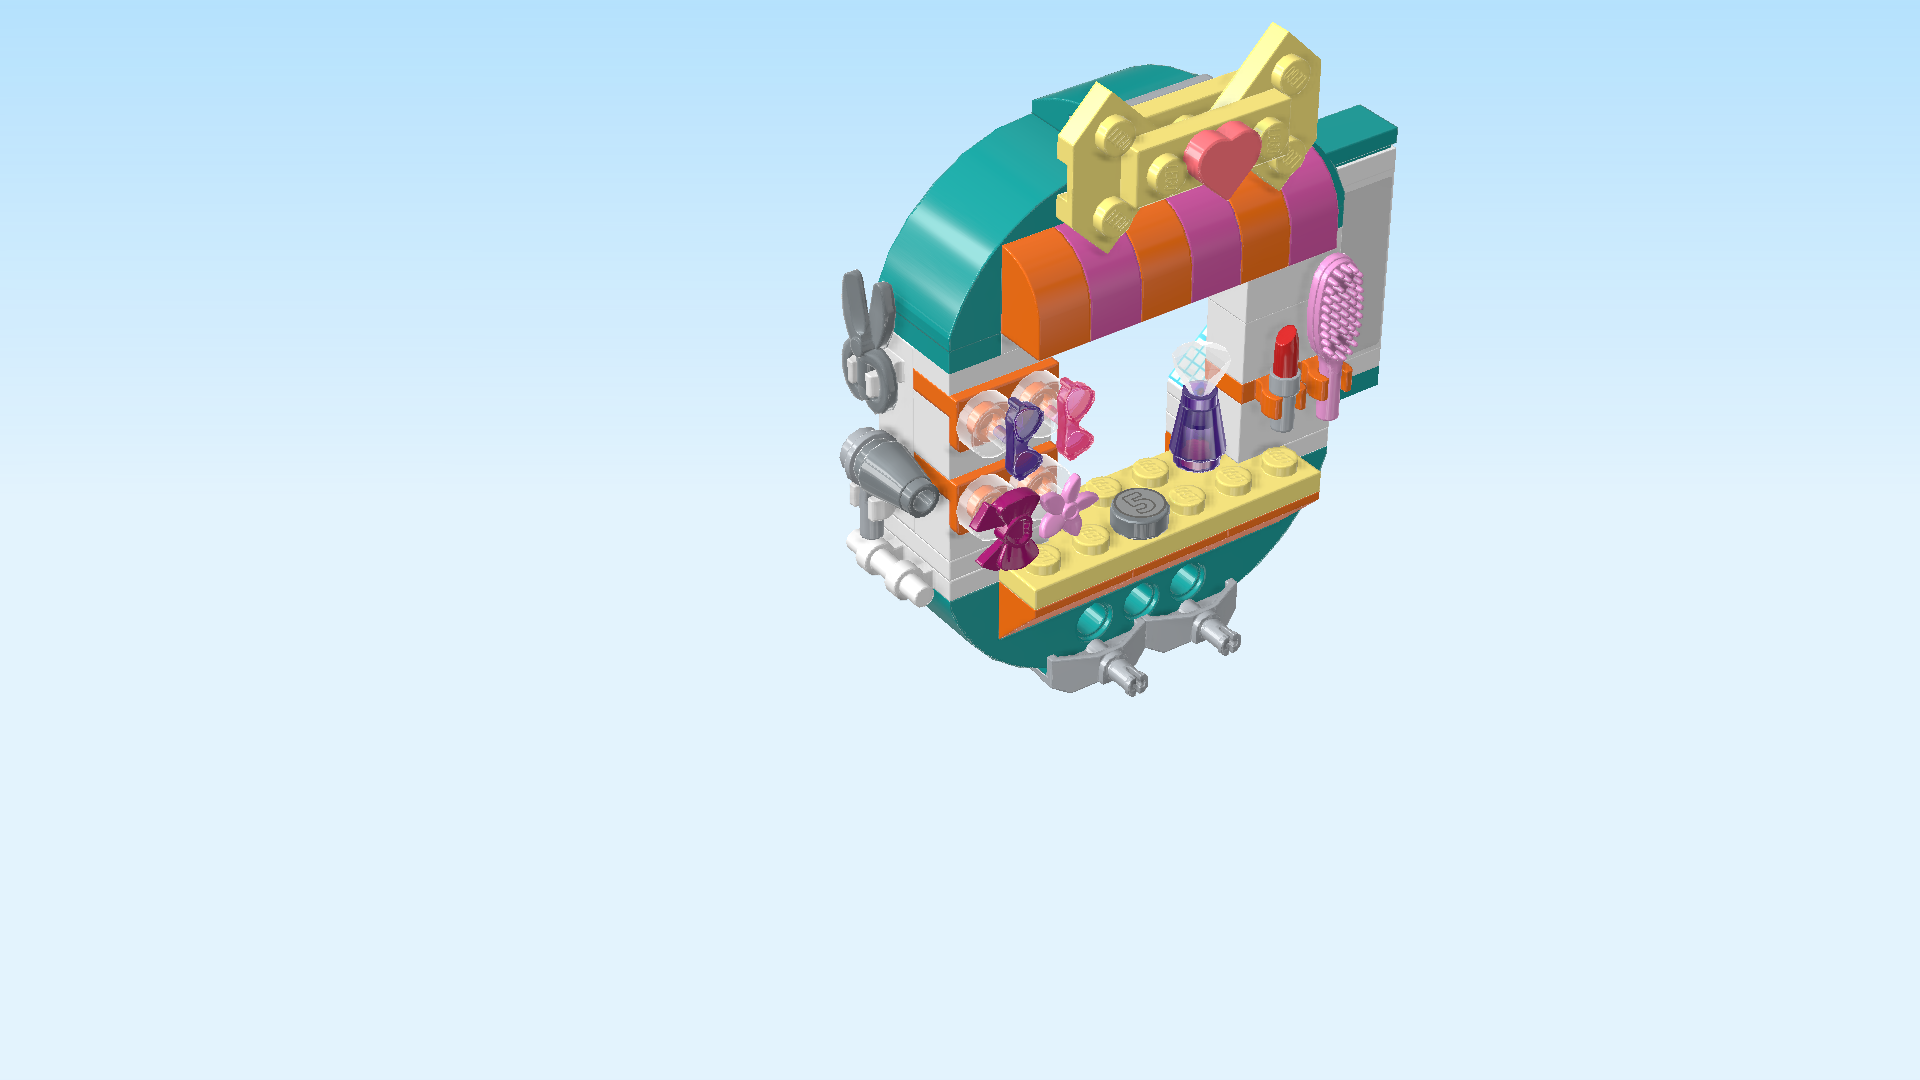
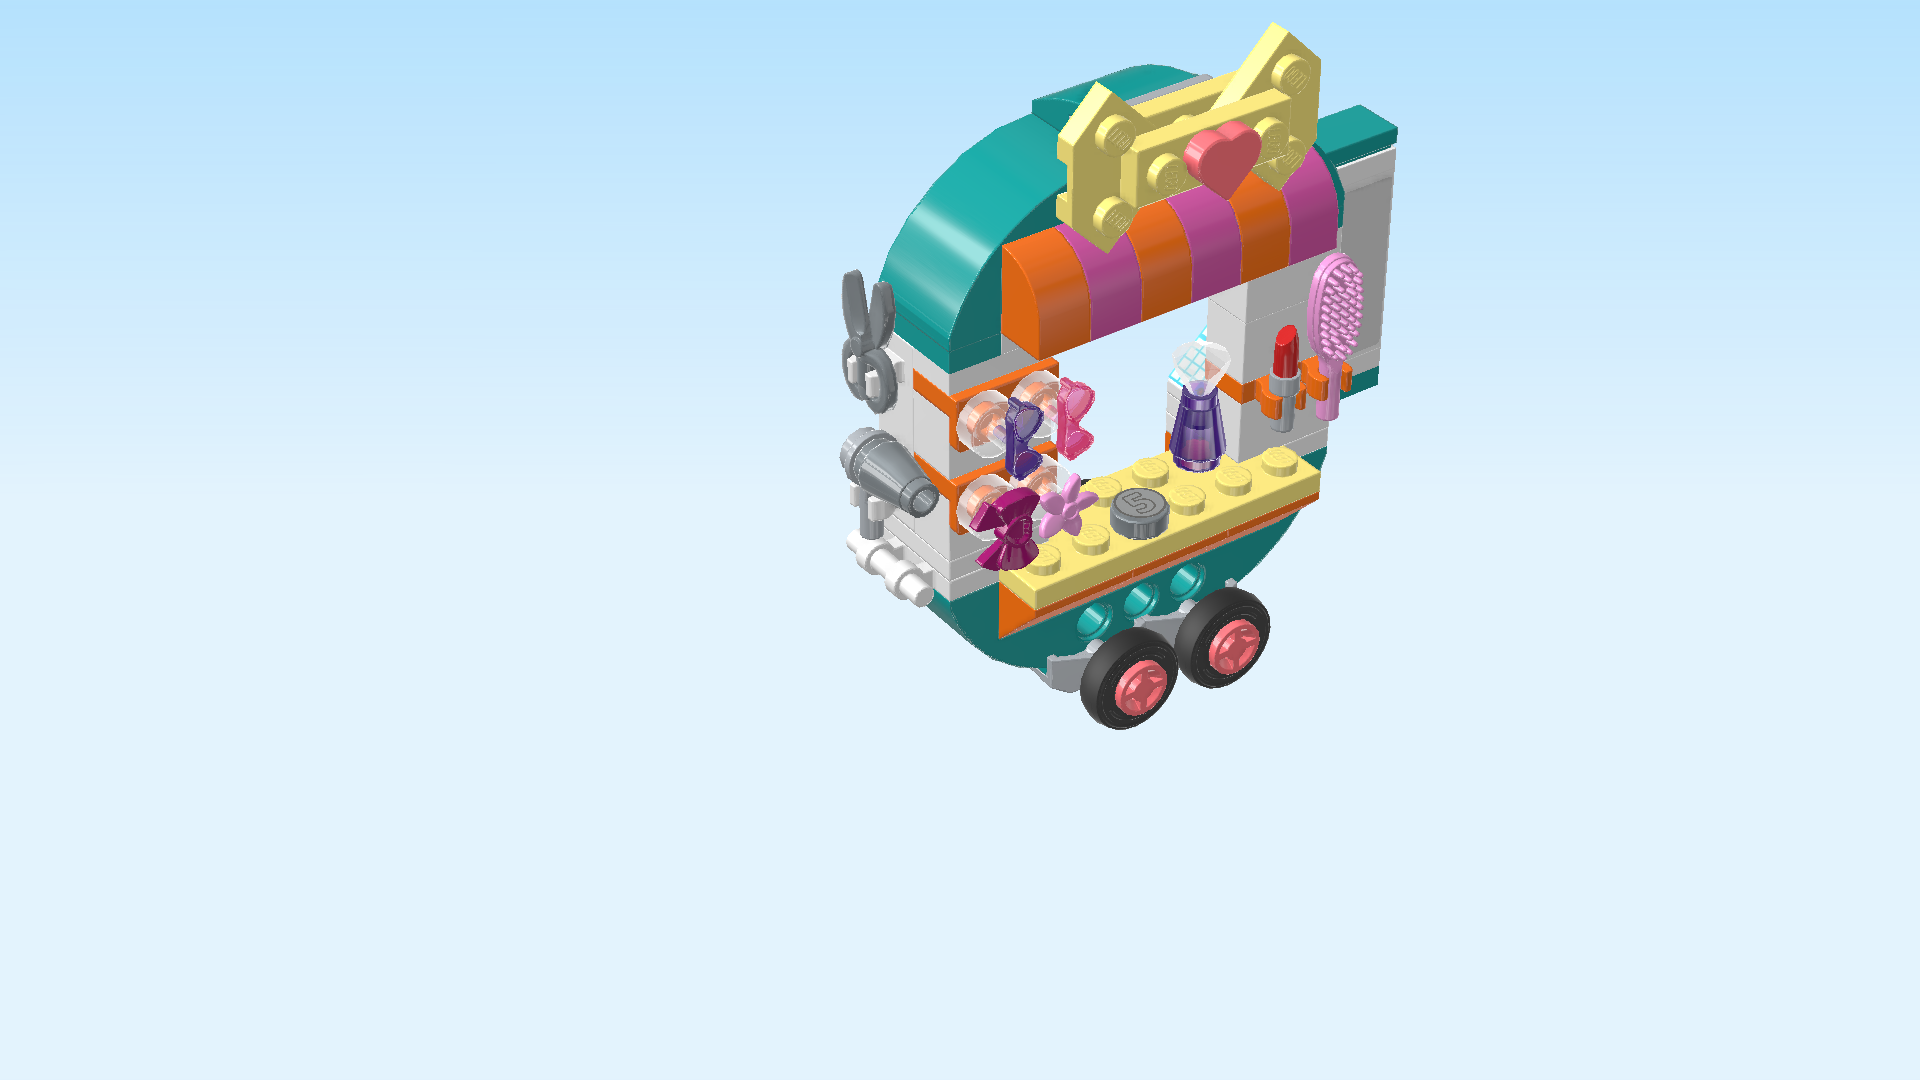
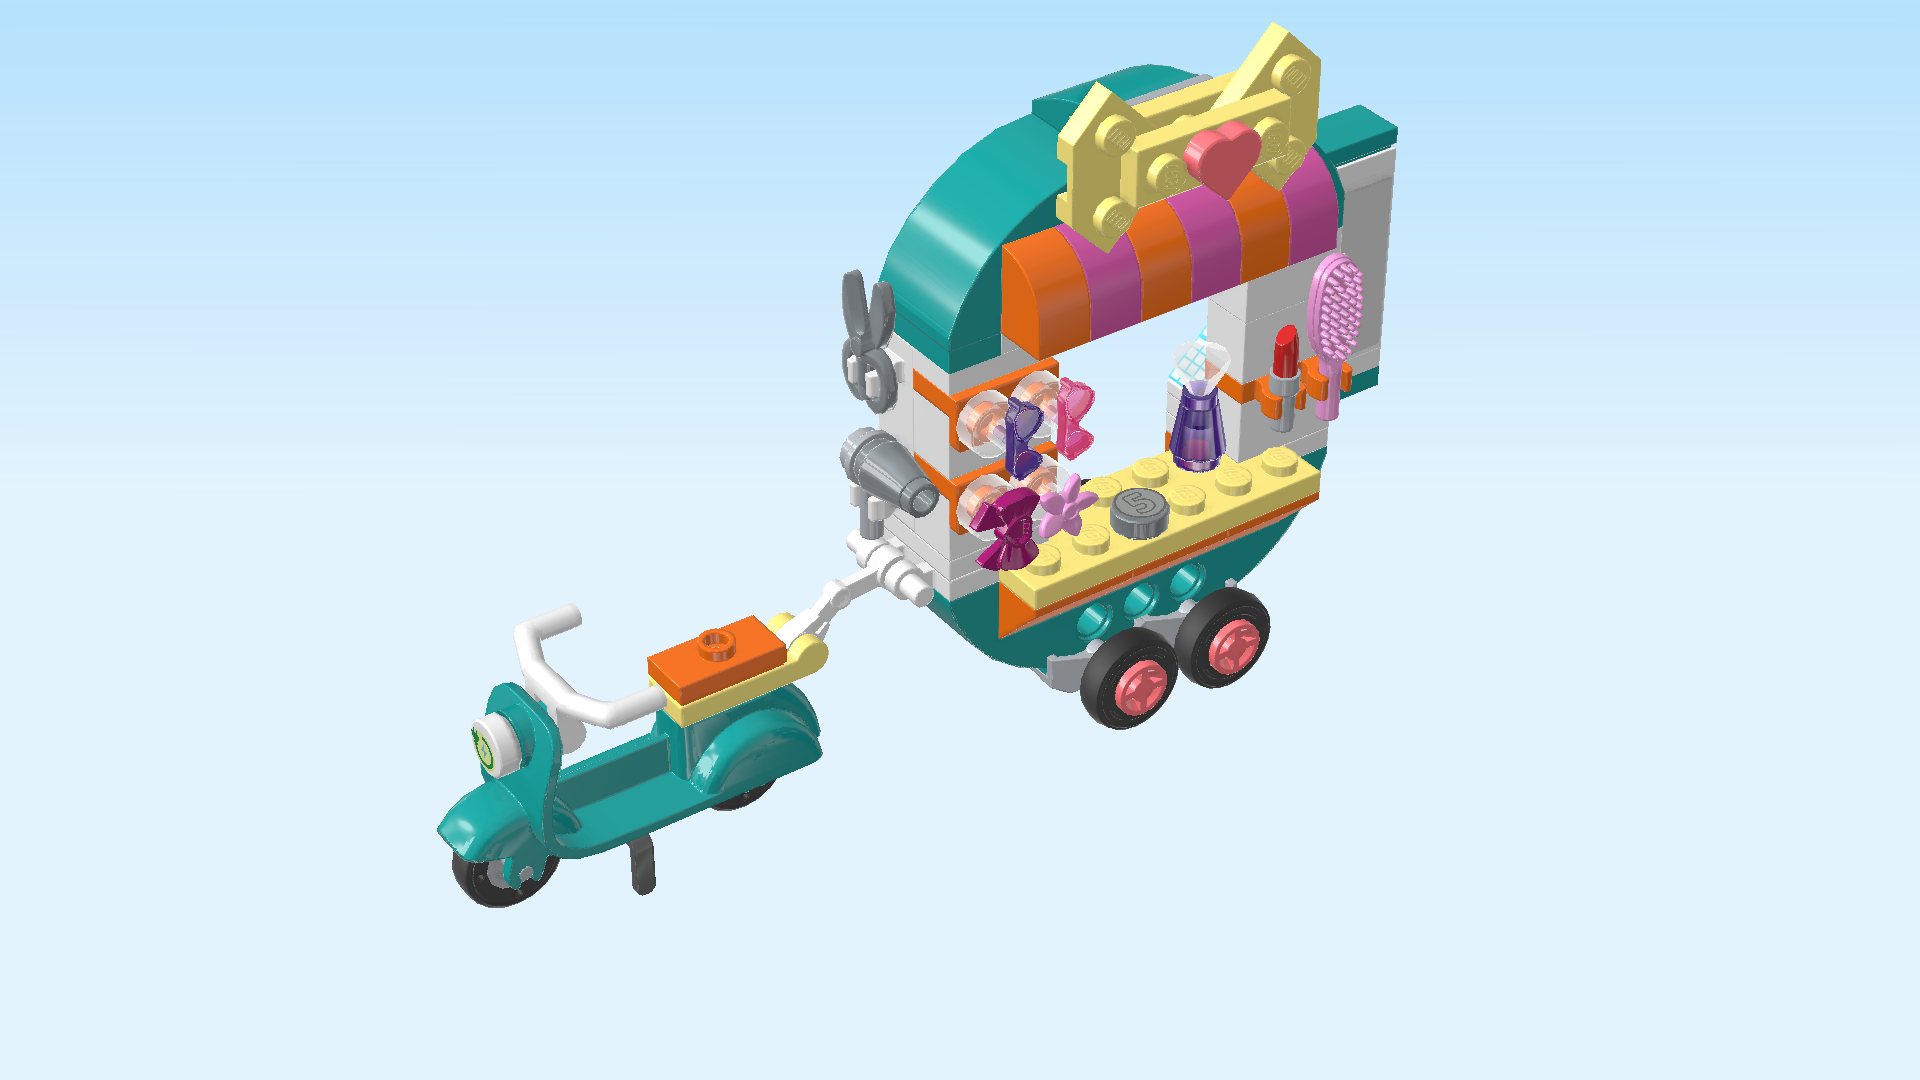
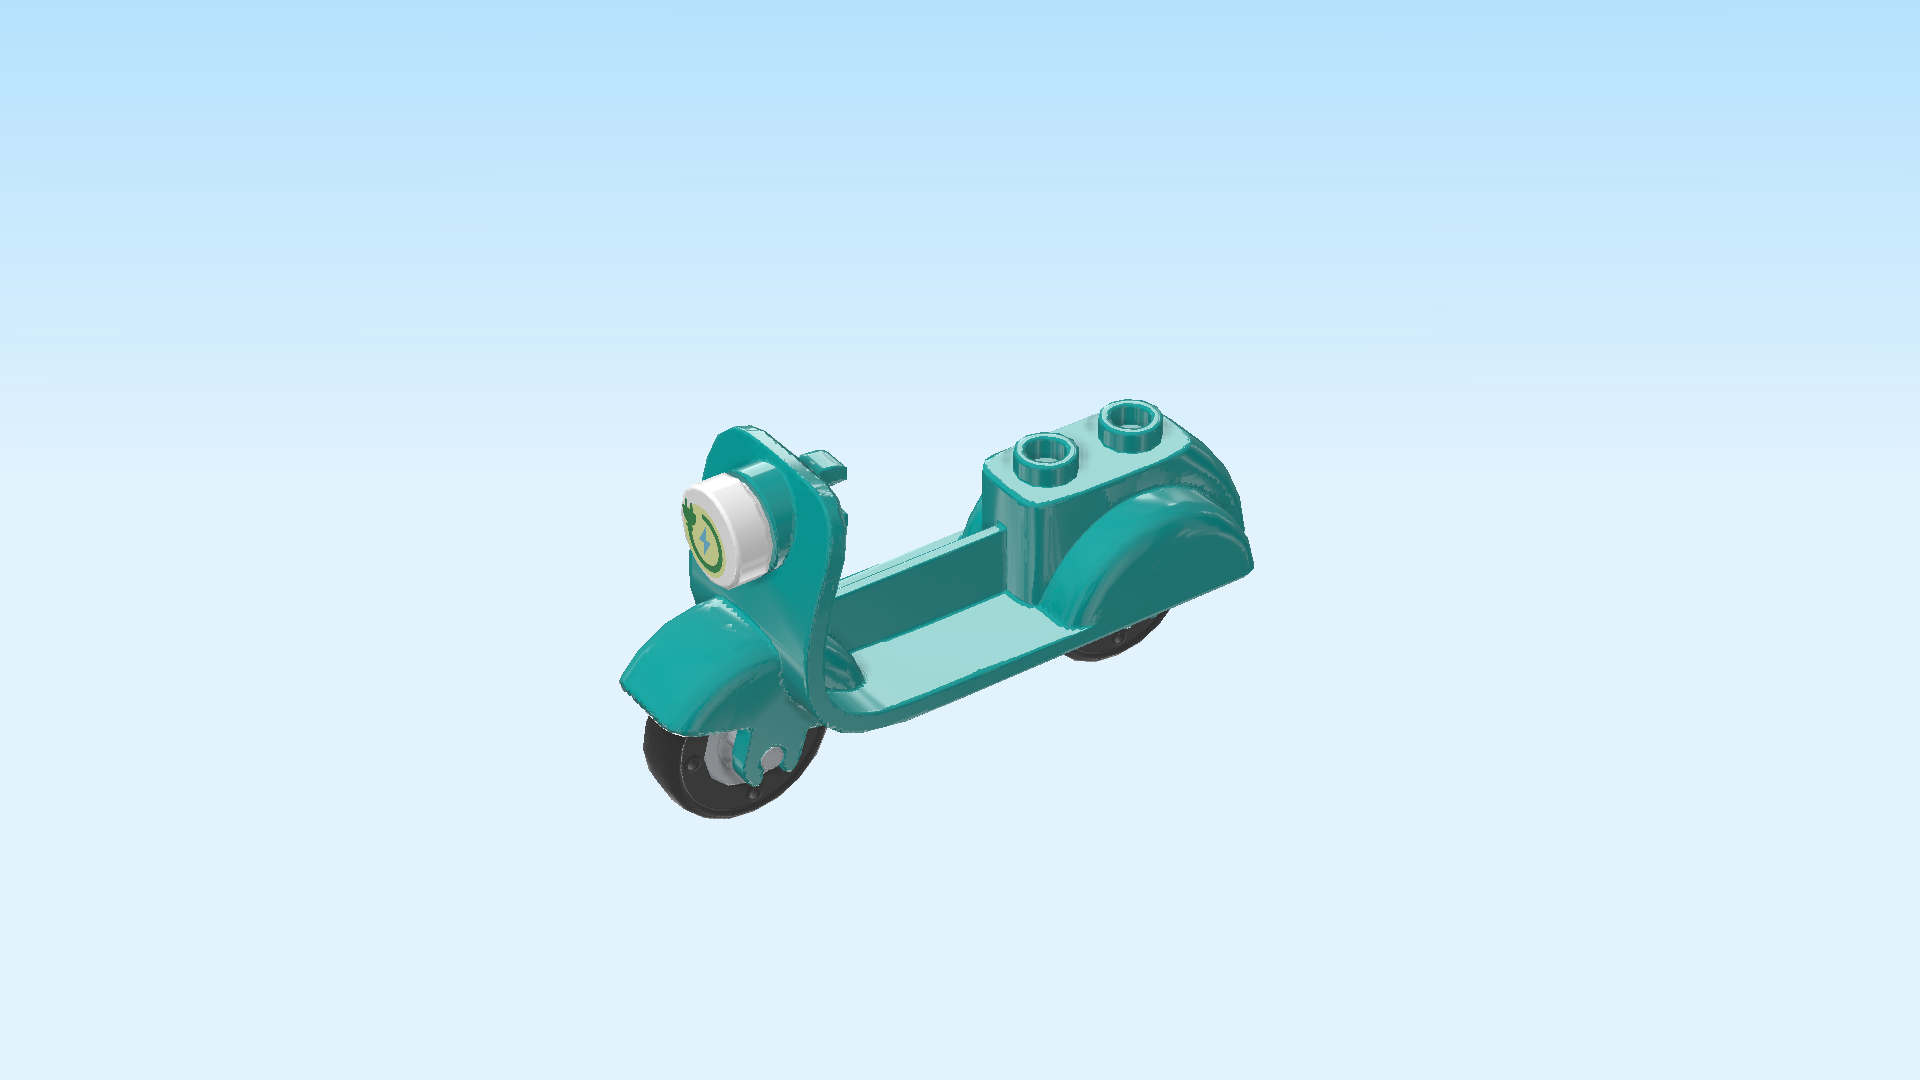
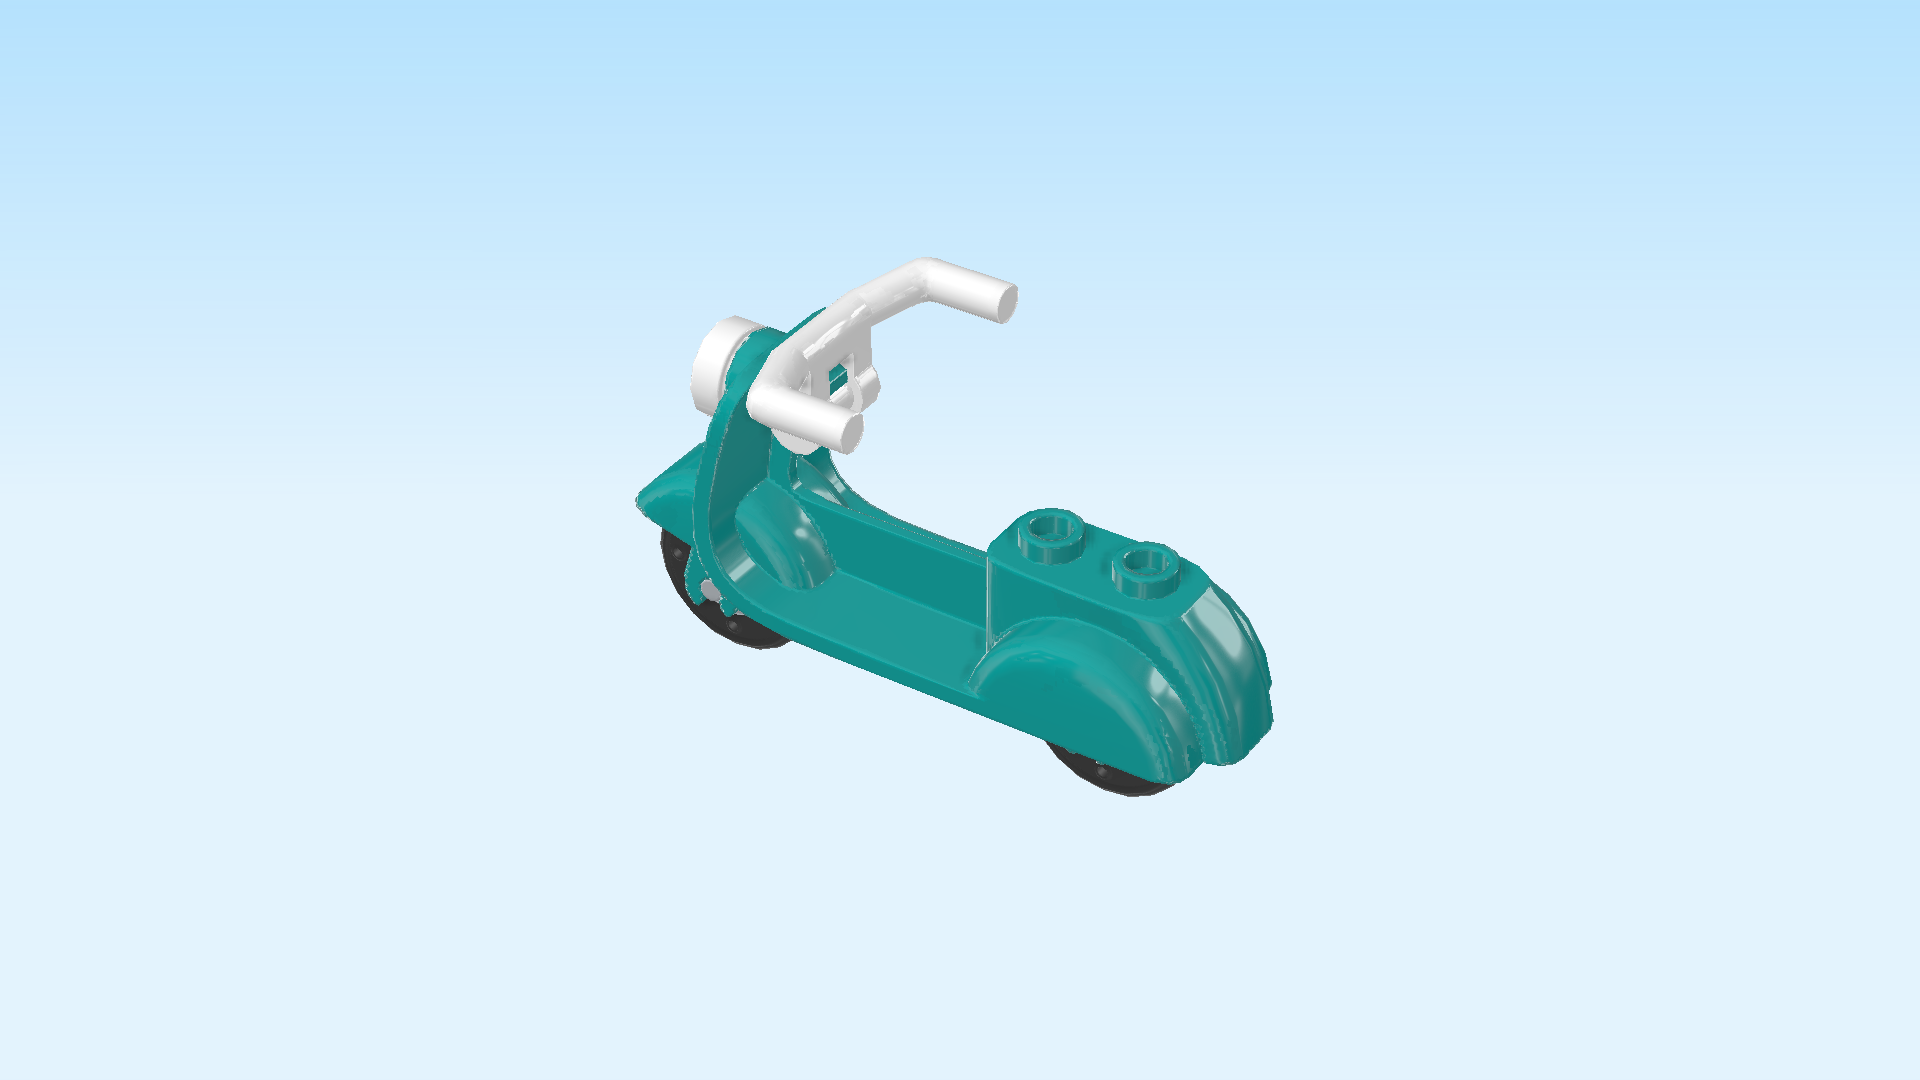
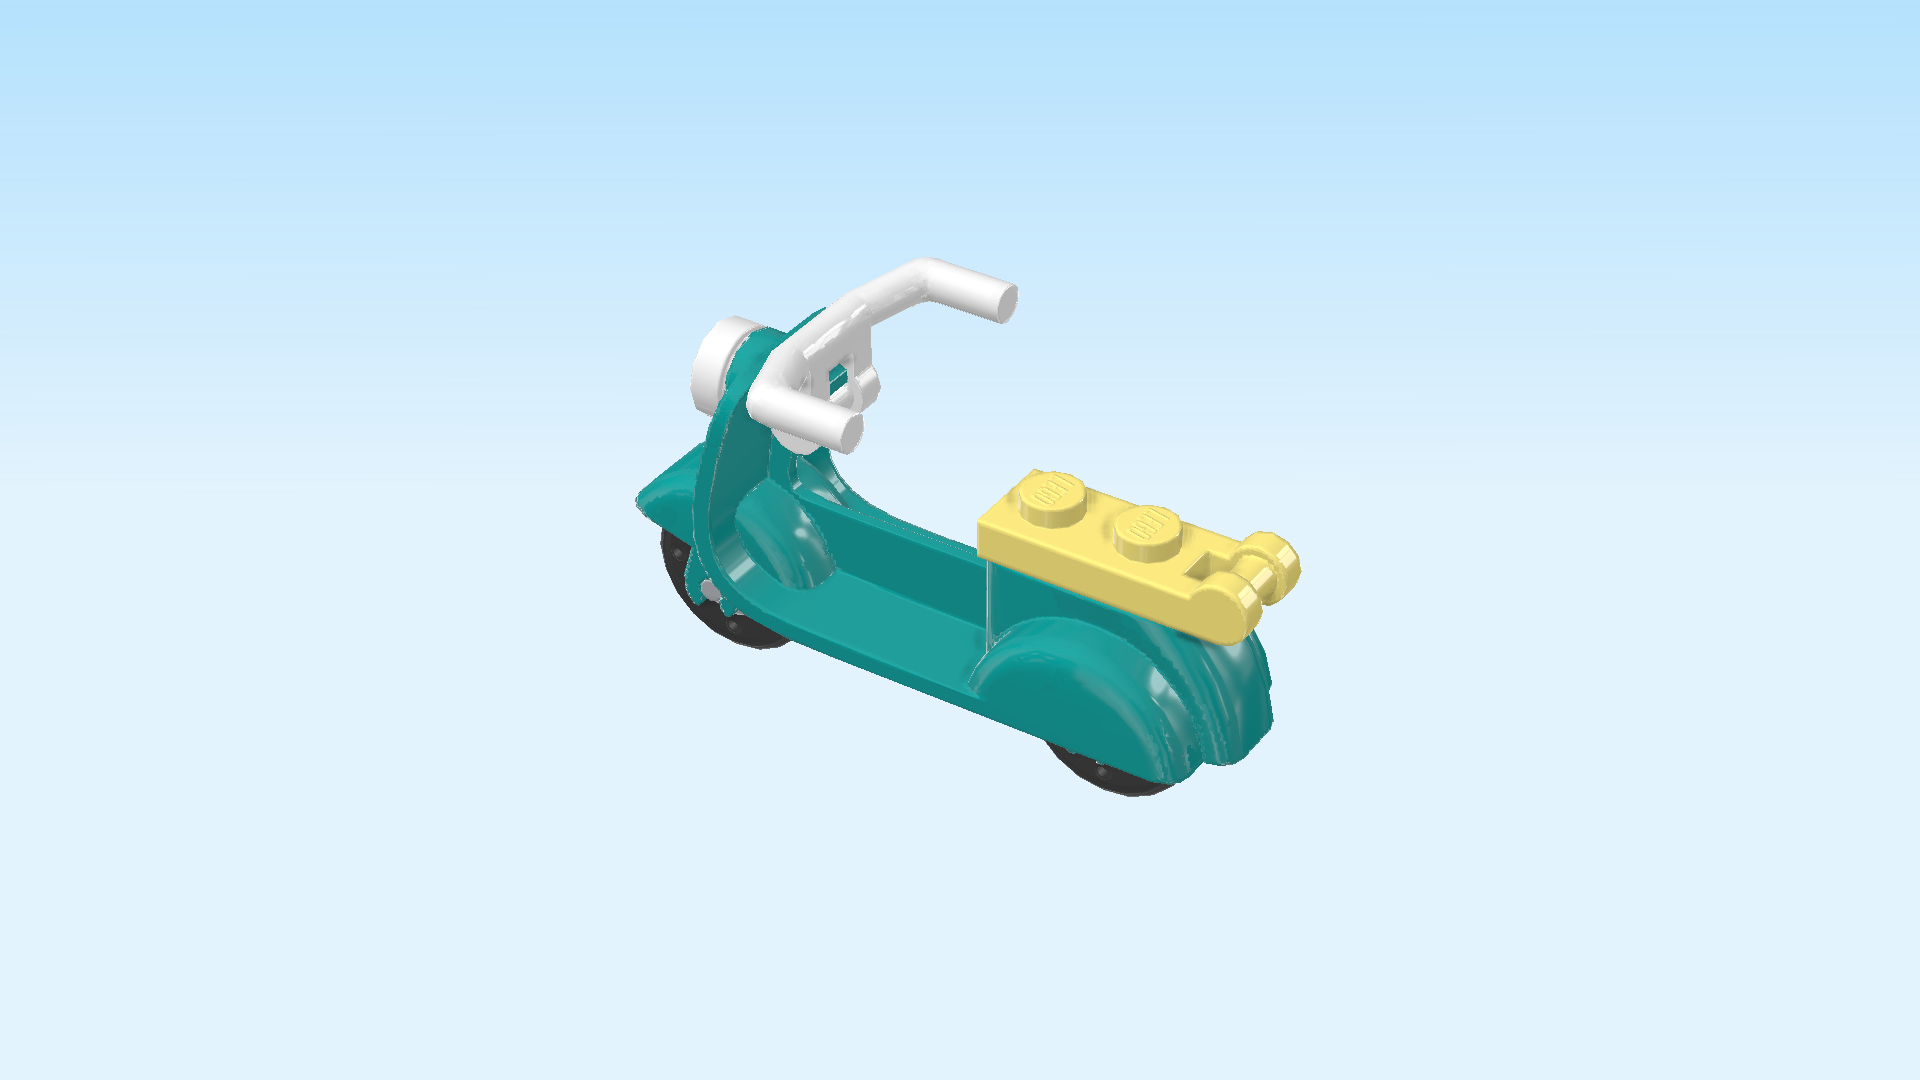
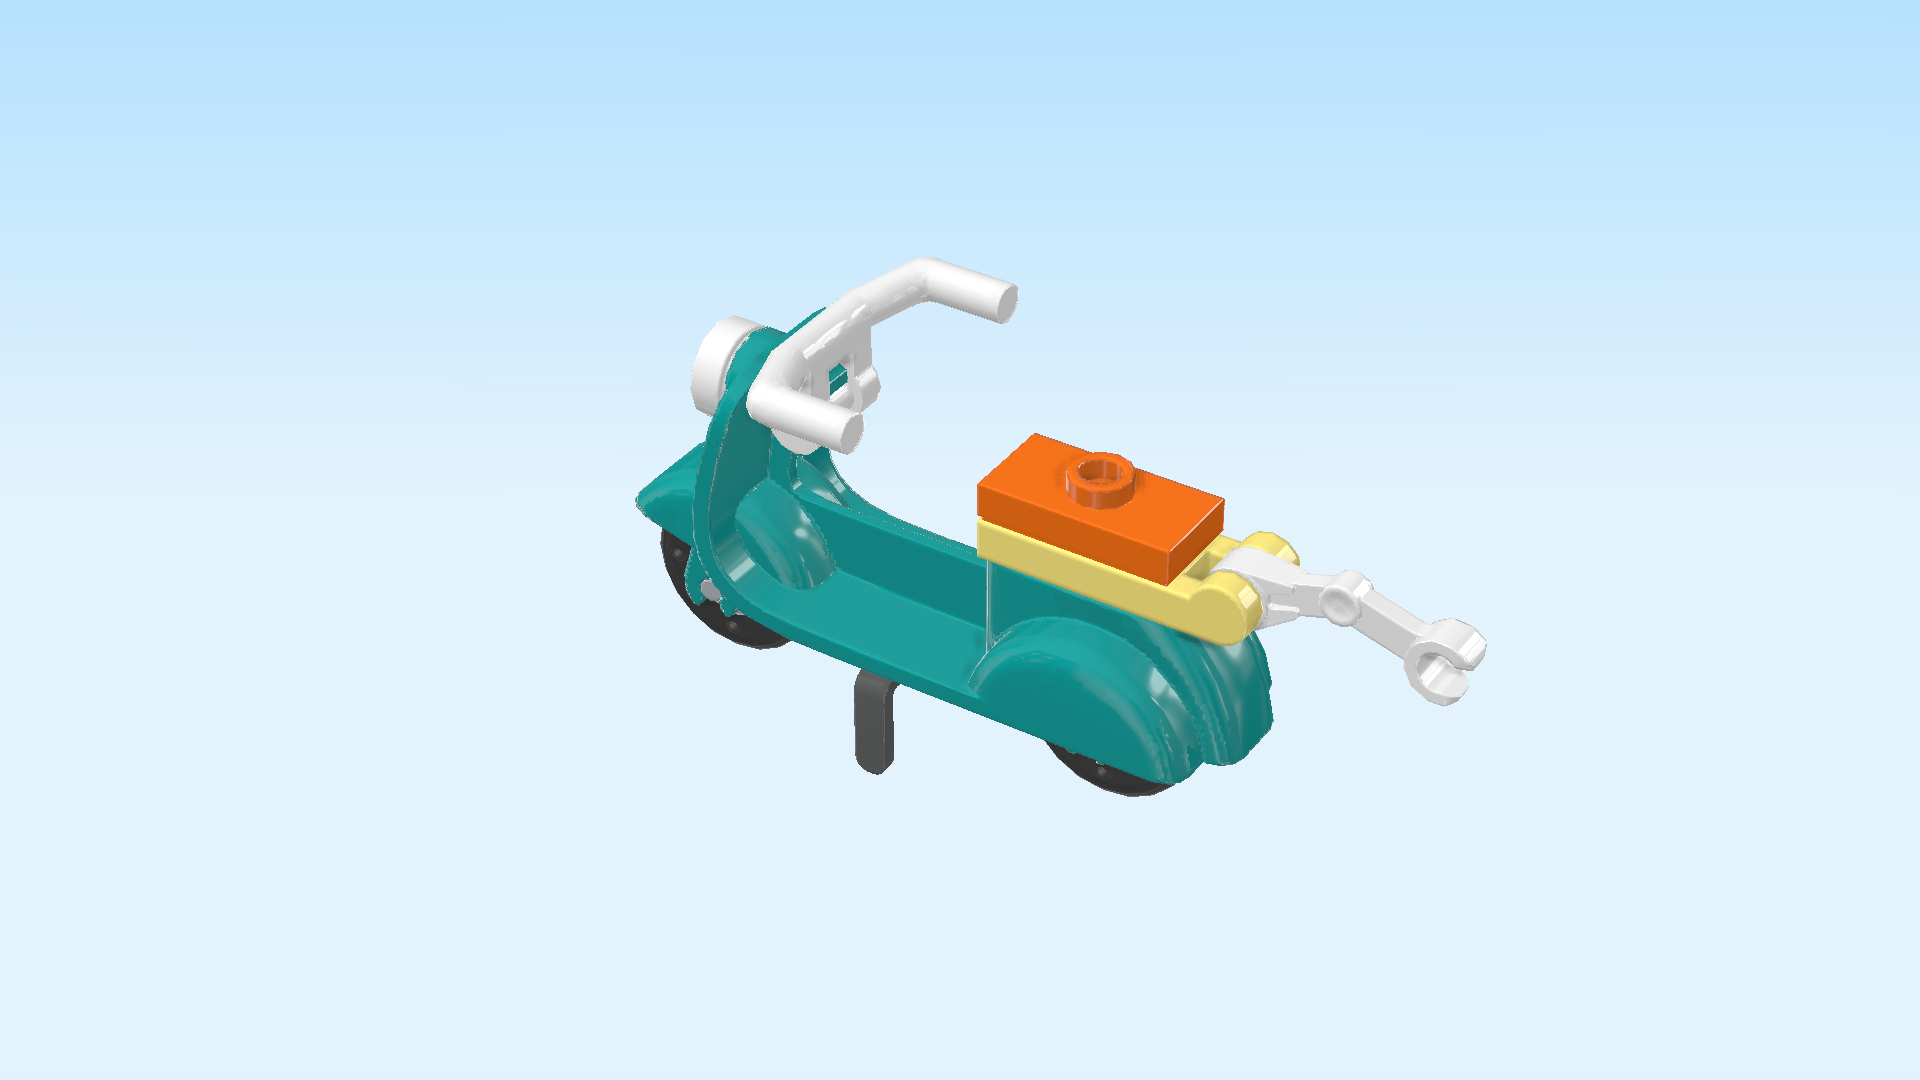
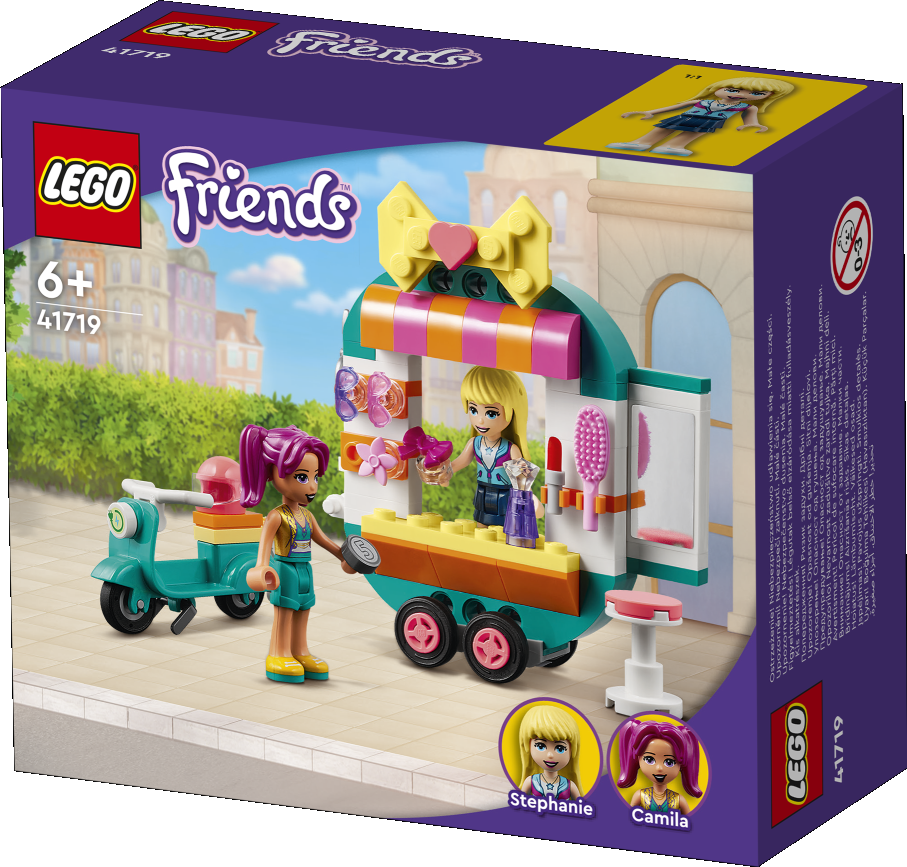
On the box cover, the mobile boutique is parked on the sidewalk of a street in Heartlake City. It is a handy 4-wheel trailer that you can tow easily with a scooter. It has a window with counter, on one side an accessory stand is mounted with the different bows and hair accessories, on the other side there is a holder for lipstick and a hairbrush. The mobile boutique has an awning with orange and pink stripes, and at its top, a larger-than-life bow sign is mounted so that potential customers can see it from afar. The trailer has a fantastic feature: a swing-out mirror! The customers can take a seat on the stool in front of it and see what their new style looks like. Stephanie is standing behind the counter, showing a pink bow to Camila who is standing in front of the trailer. She has a coin in her hand to pay for her makeover! Stephanie's teal blue scooter is parked to the left of the trailer, her pink helmet on the seat. In the bottom right corner of the box cover are portraits of Stephanie and Camila.

Open the box. This can be tricky; ask someone to help you!

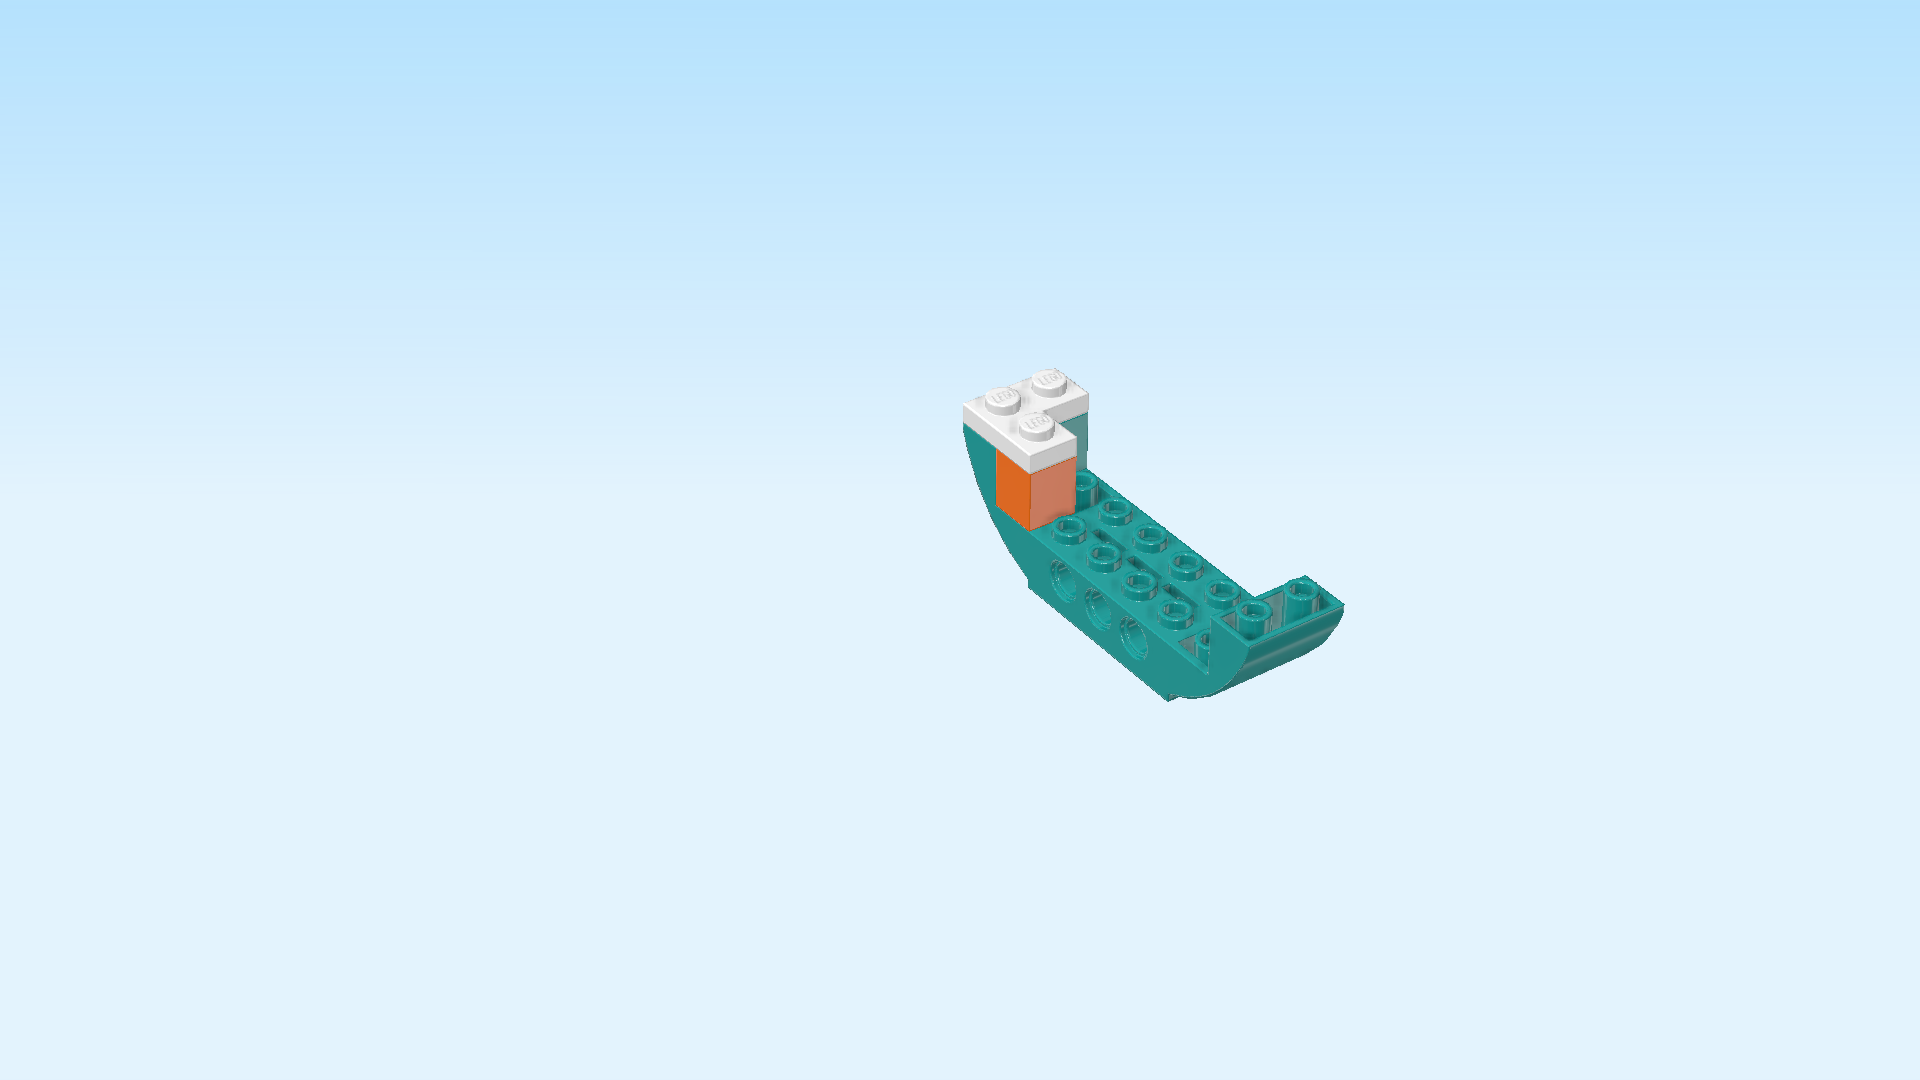
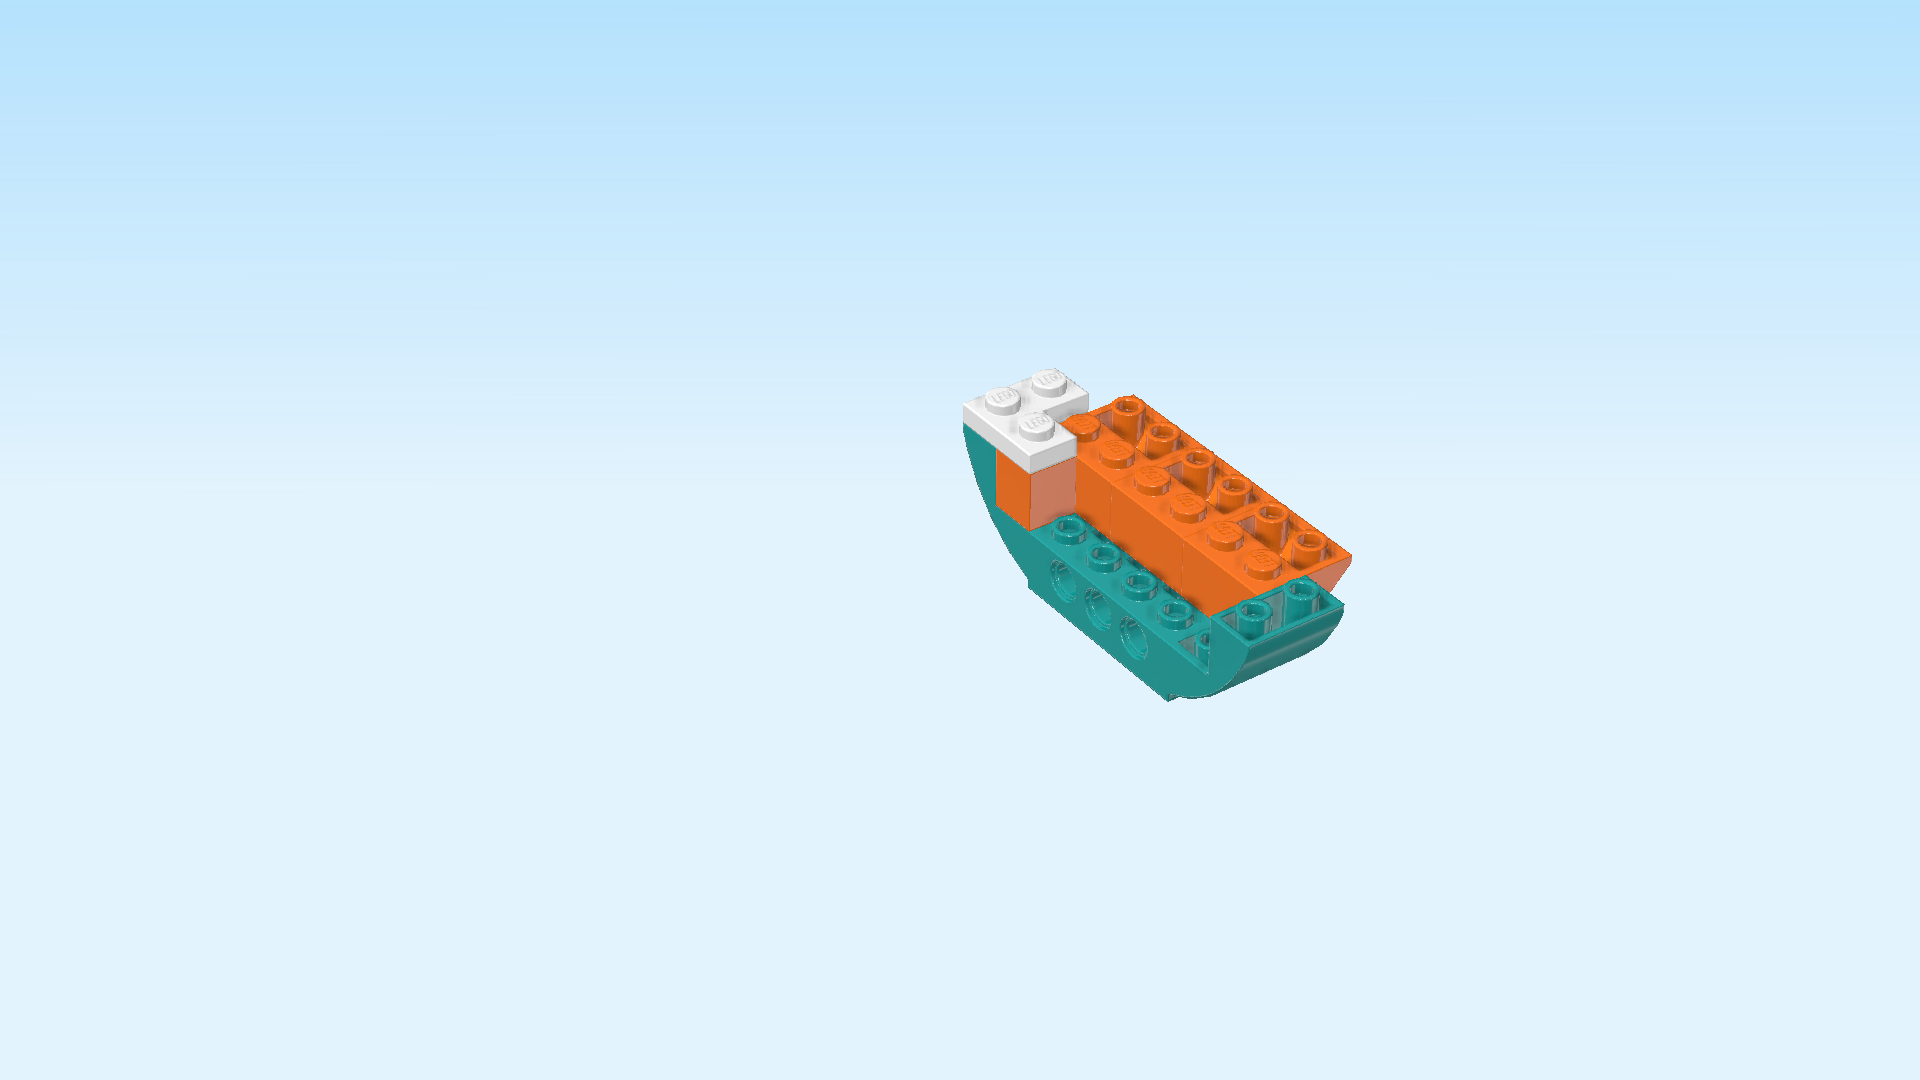
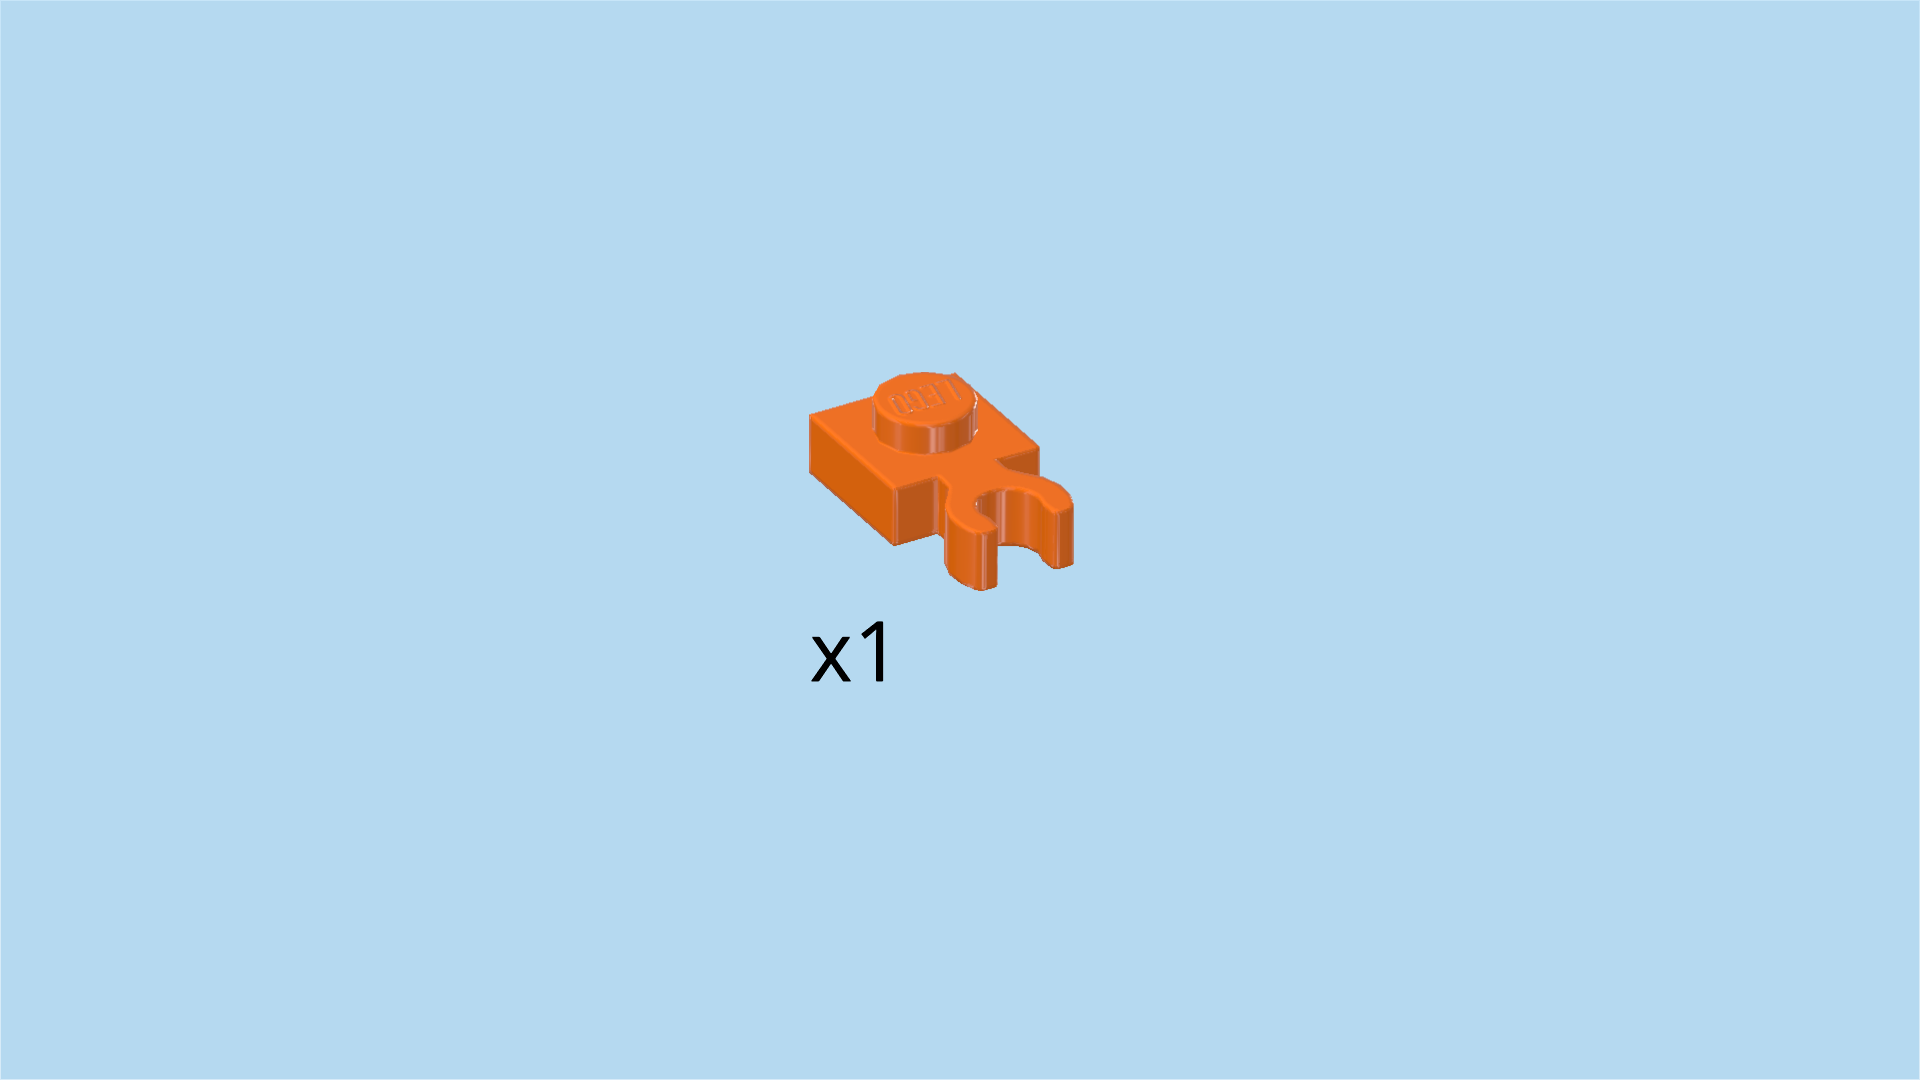
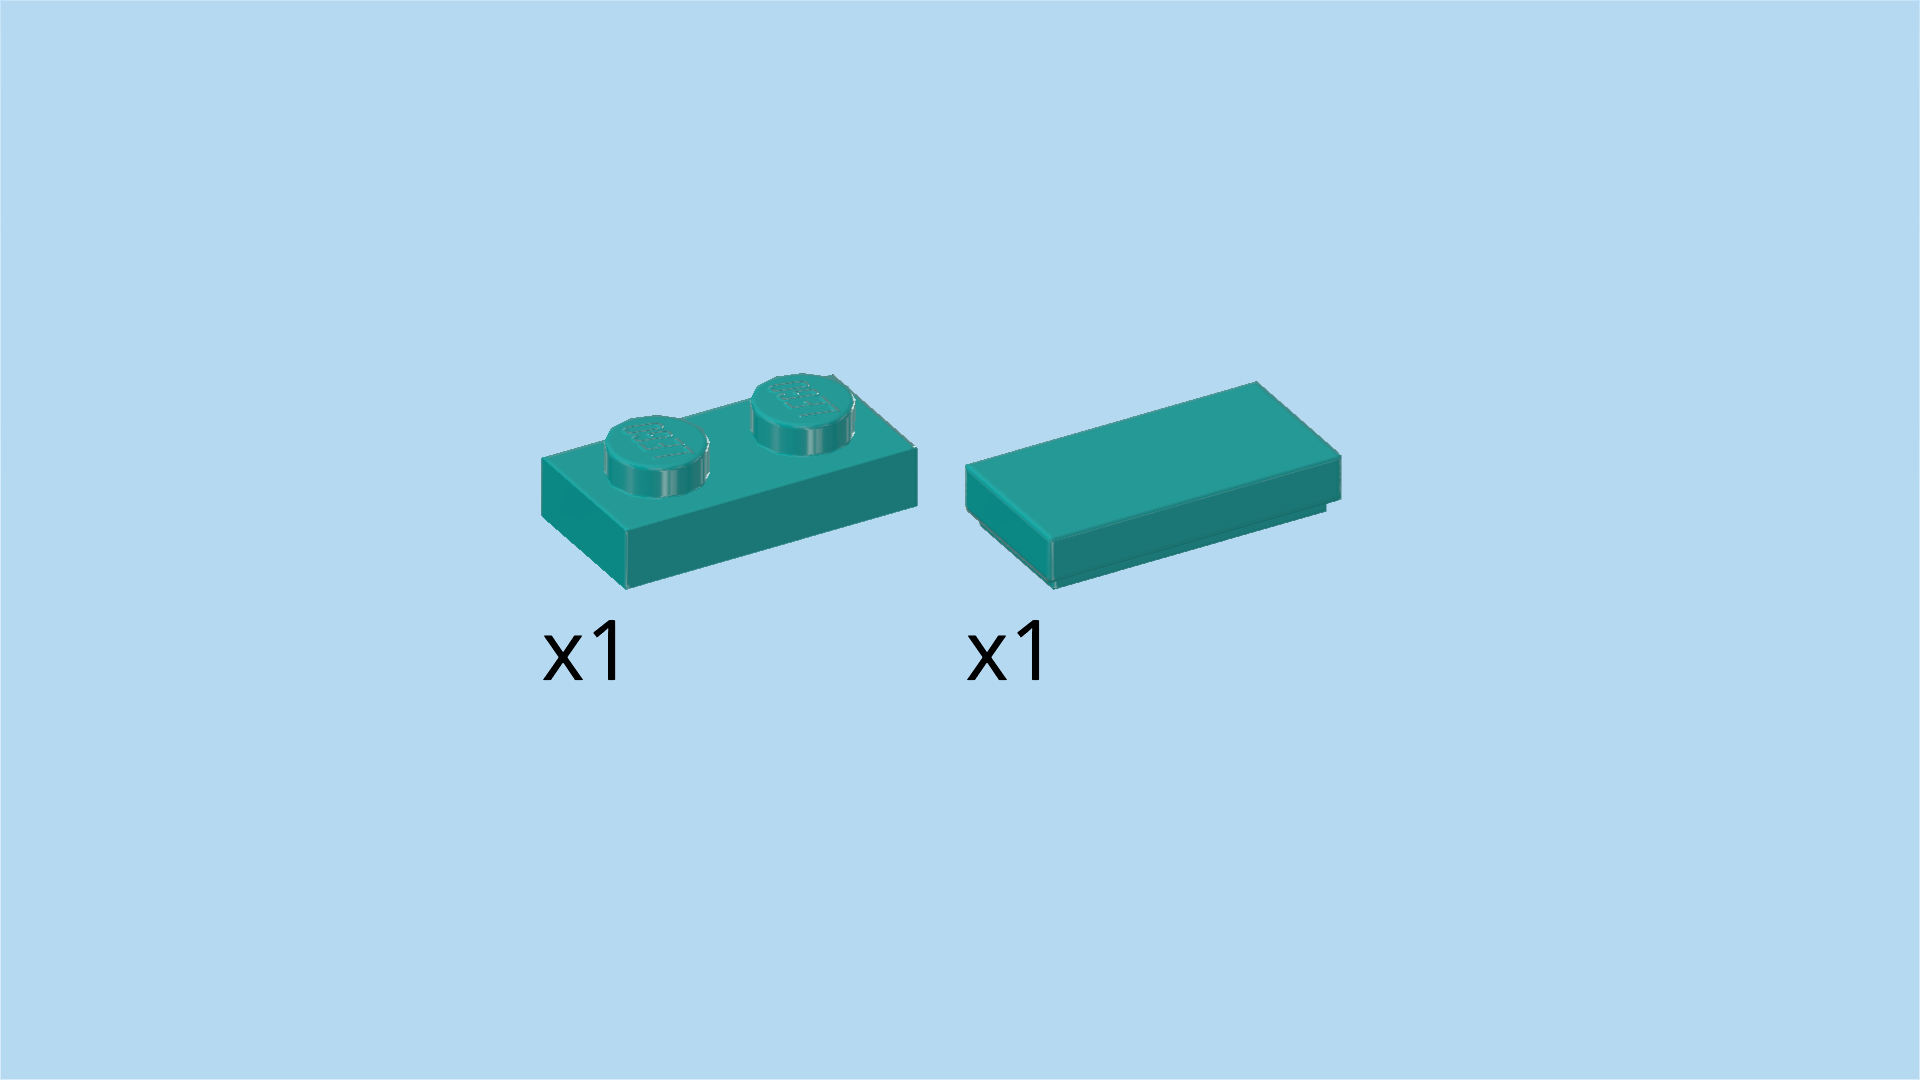
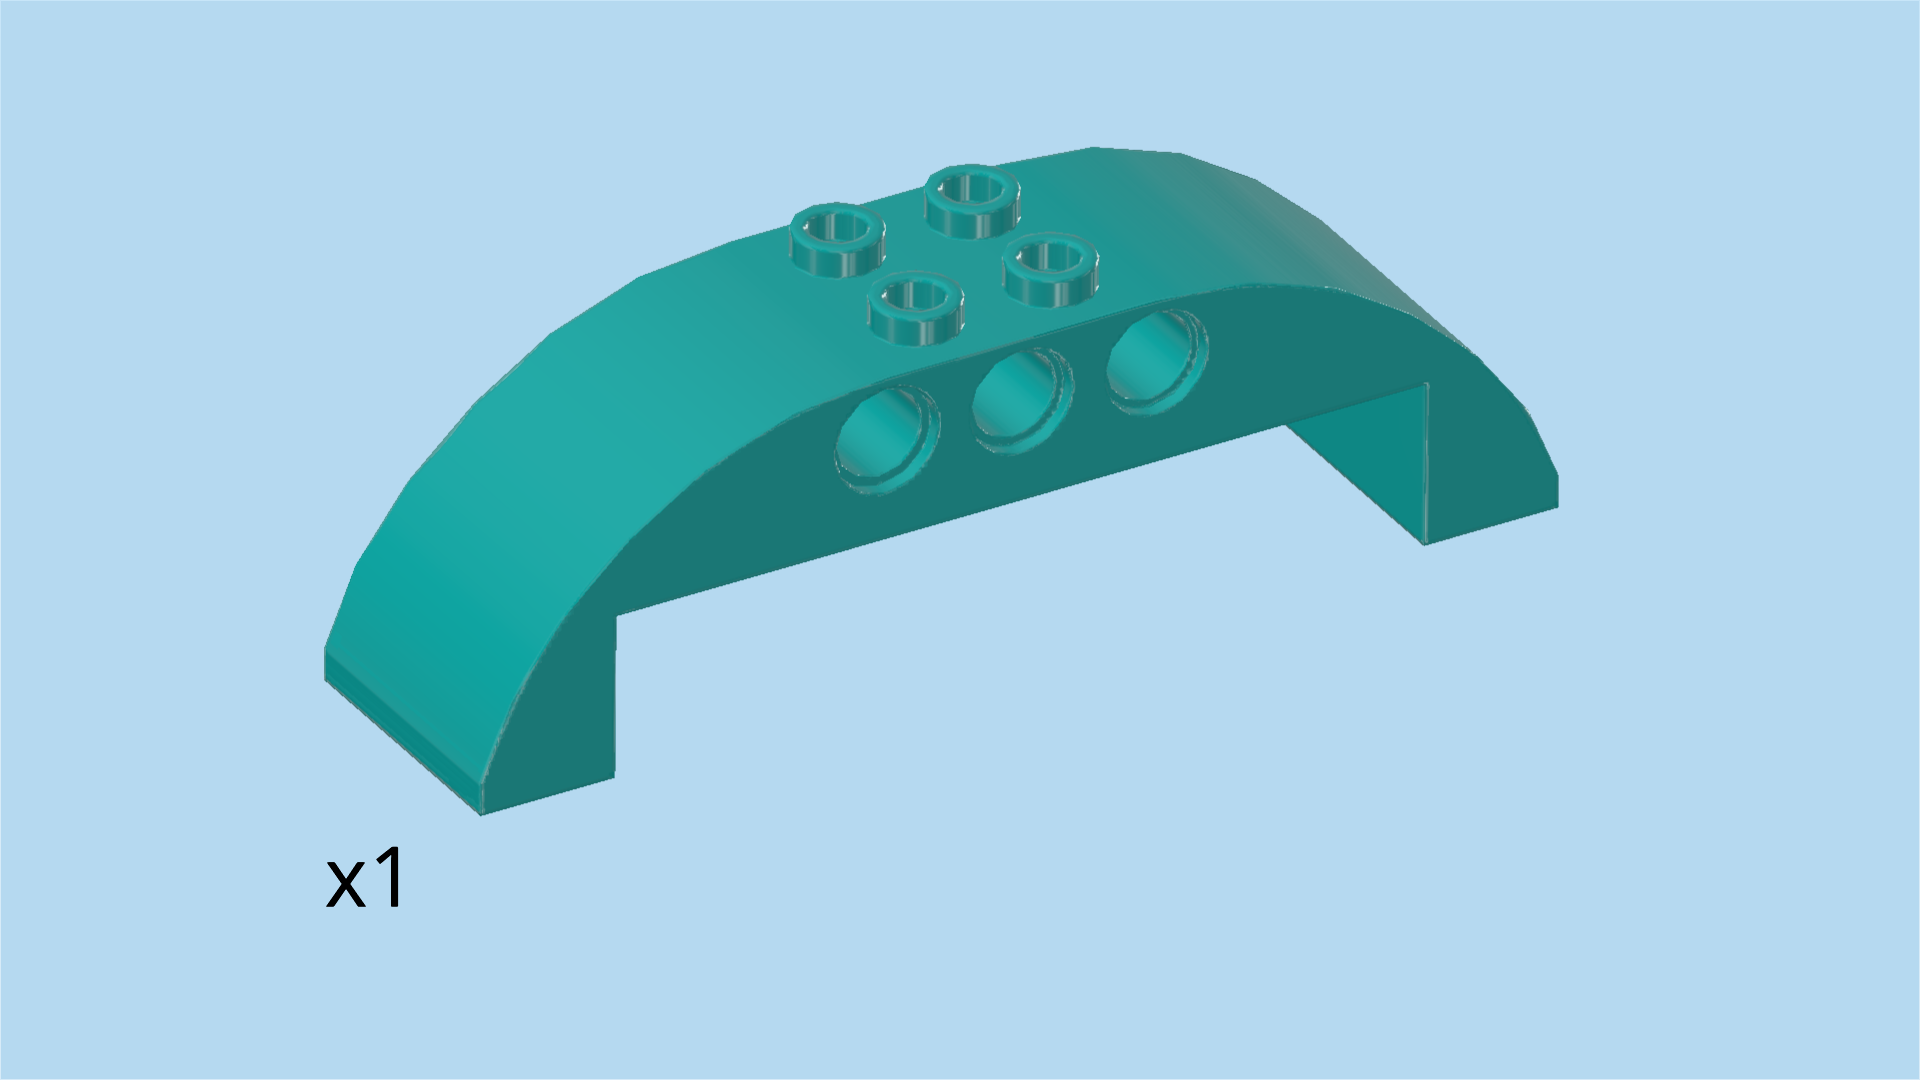
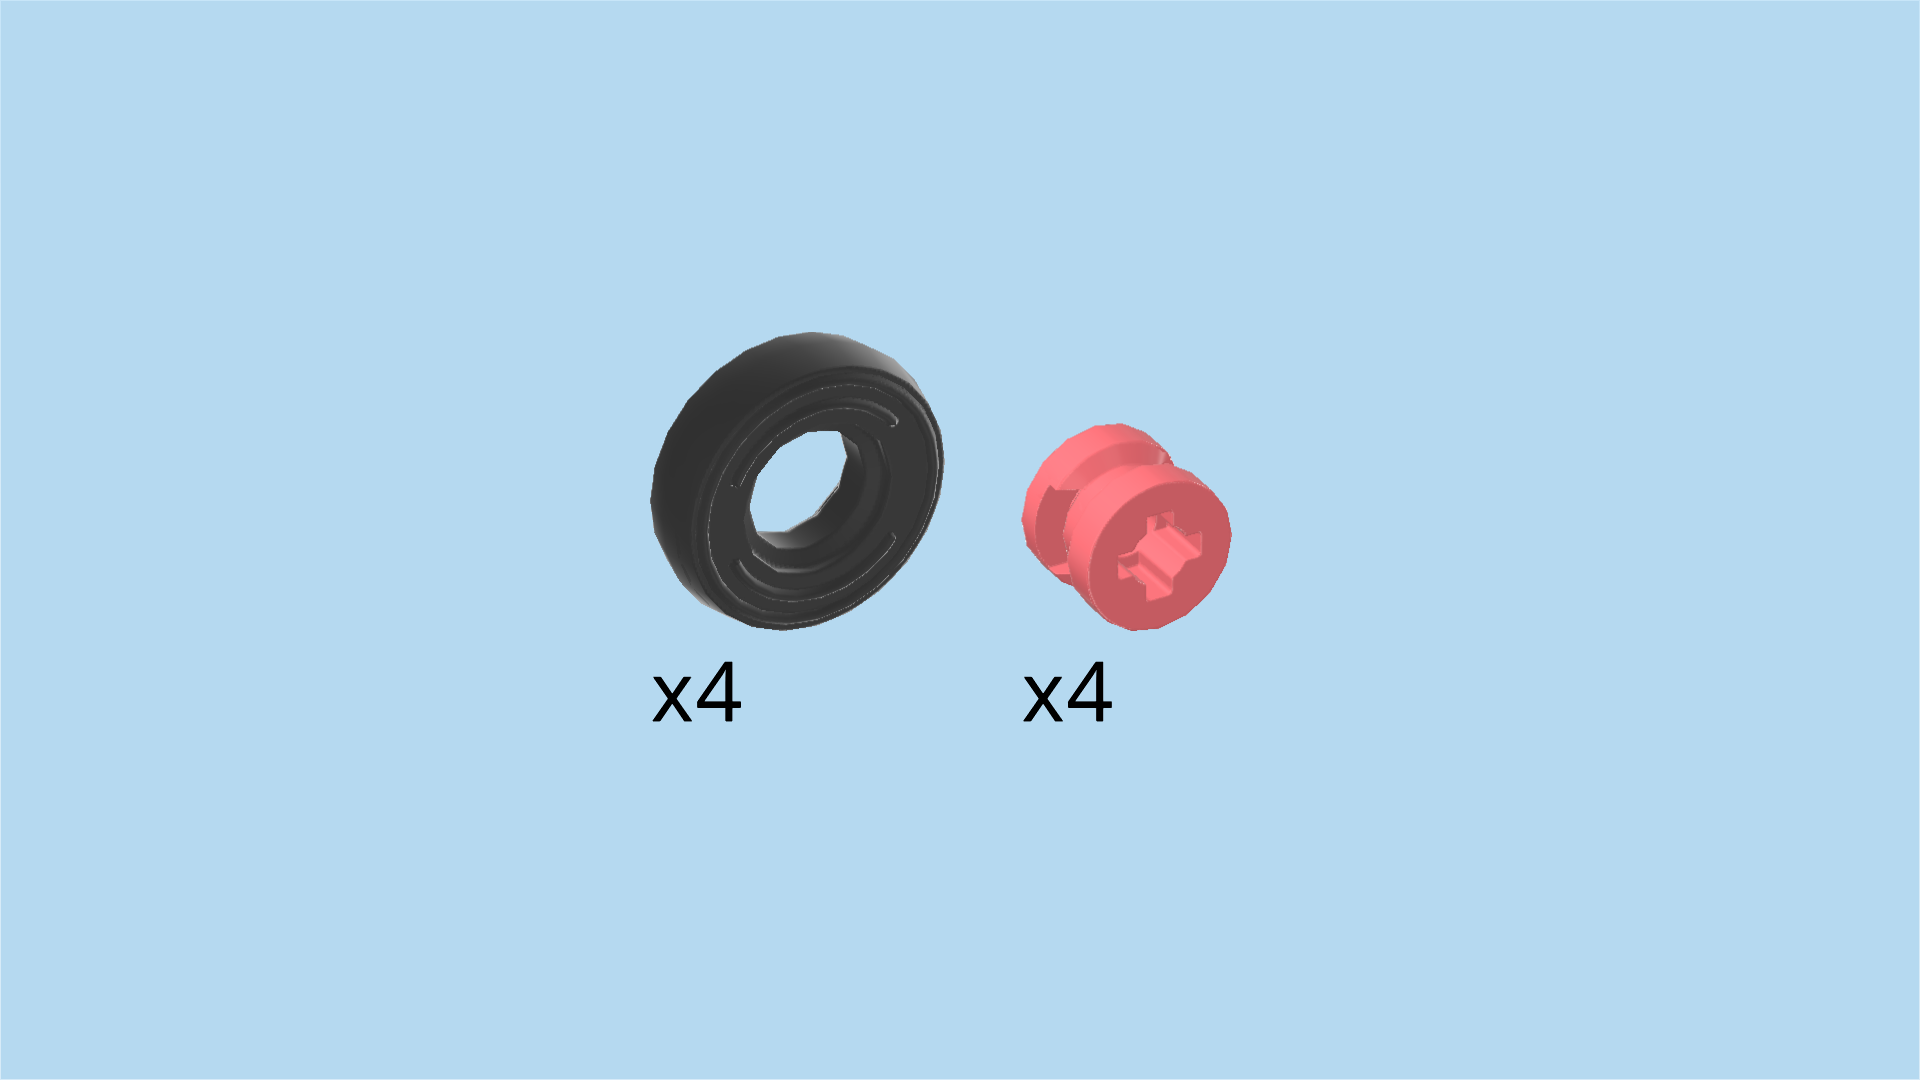
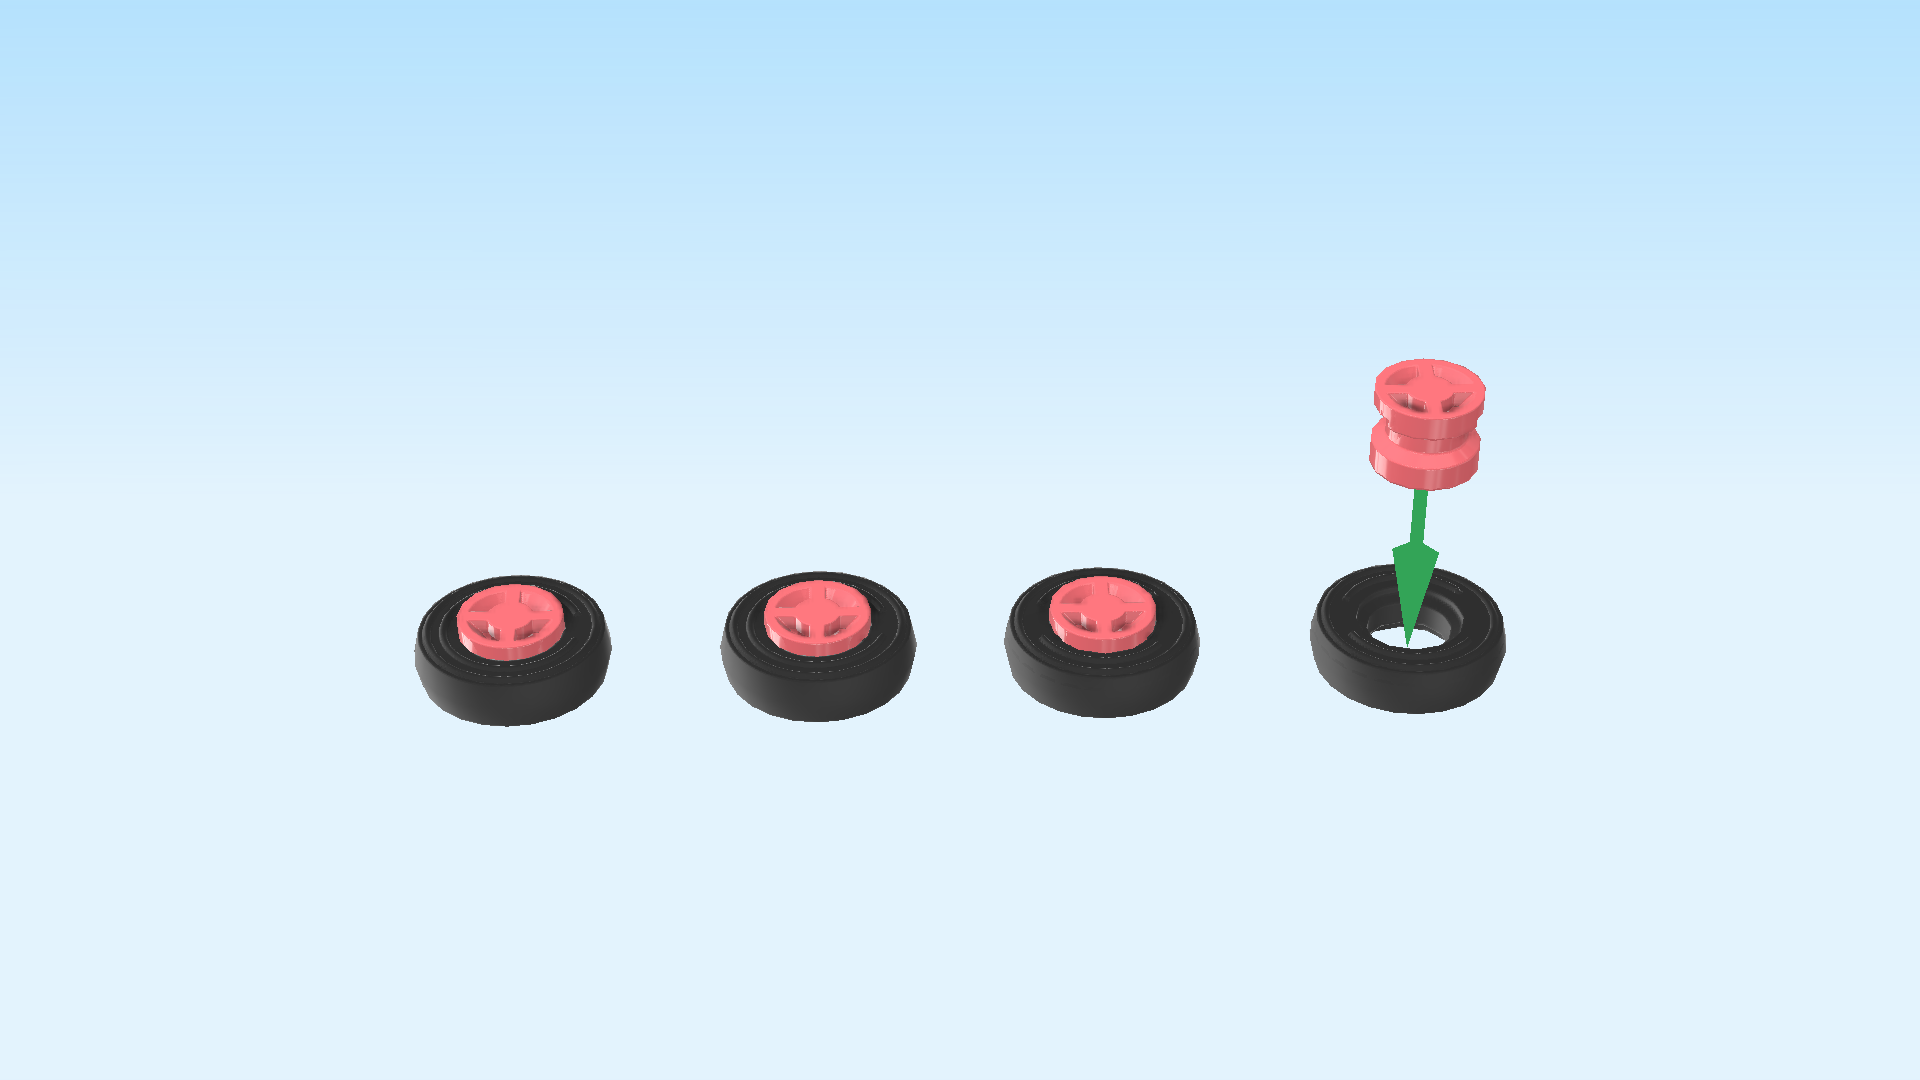
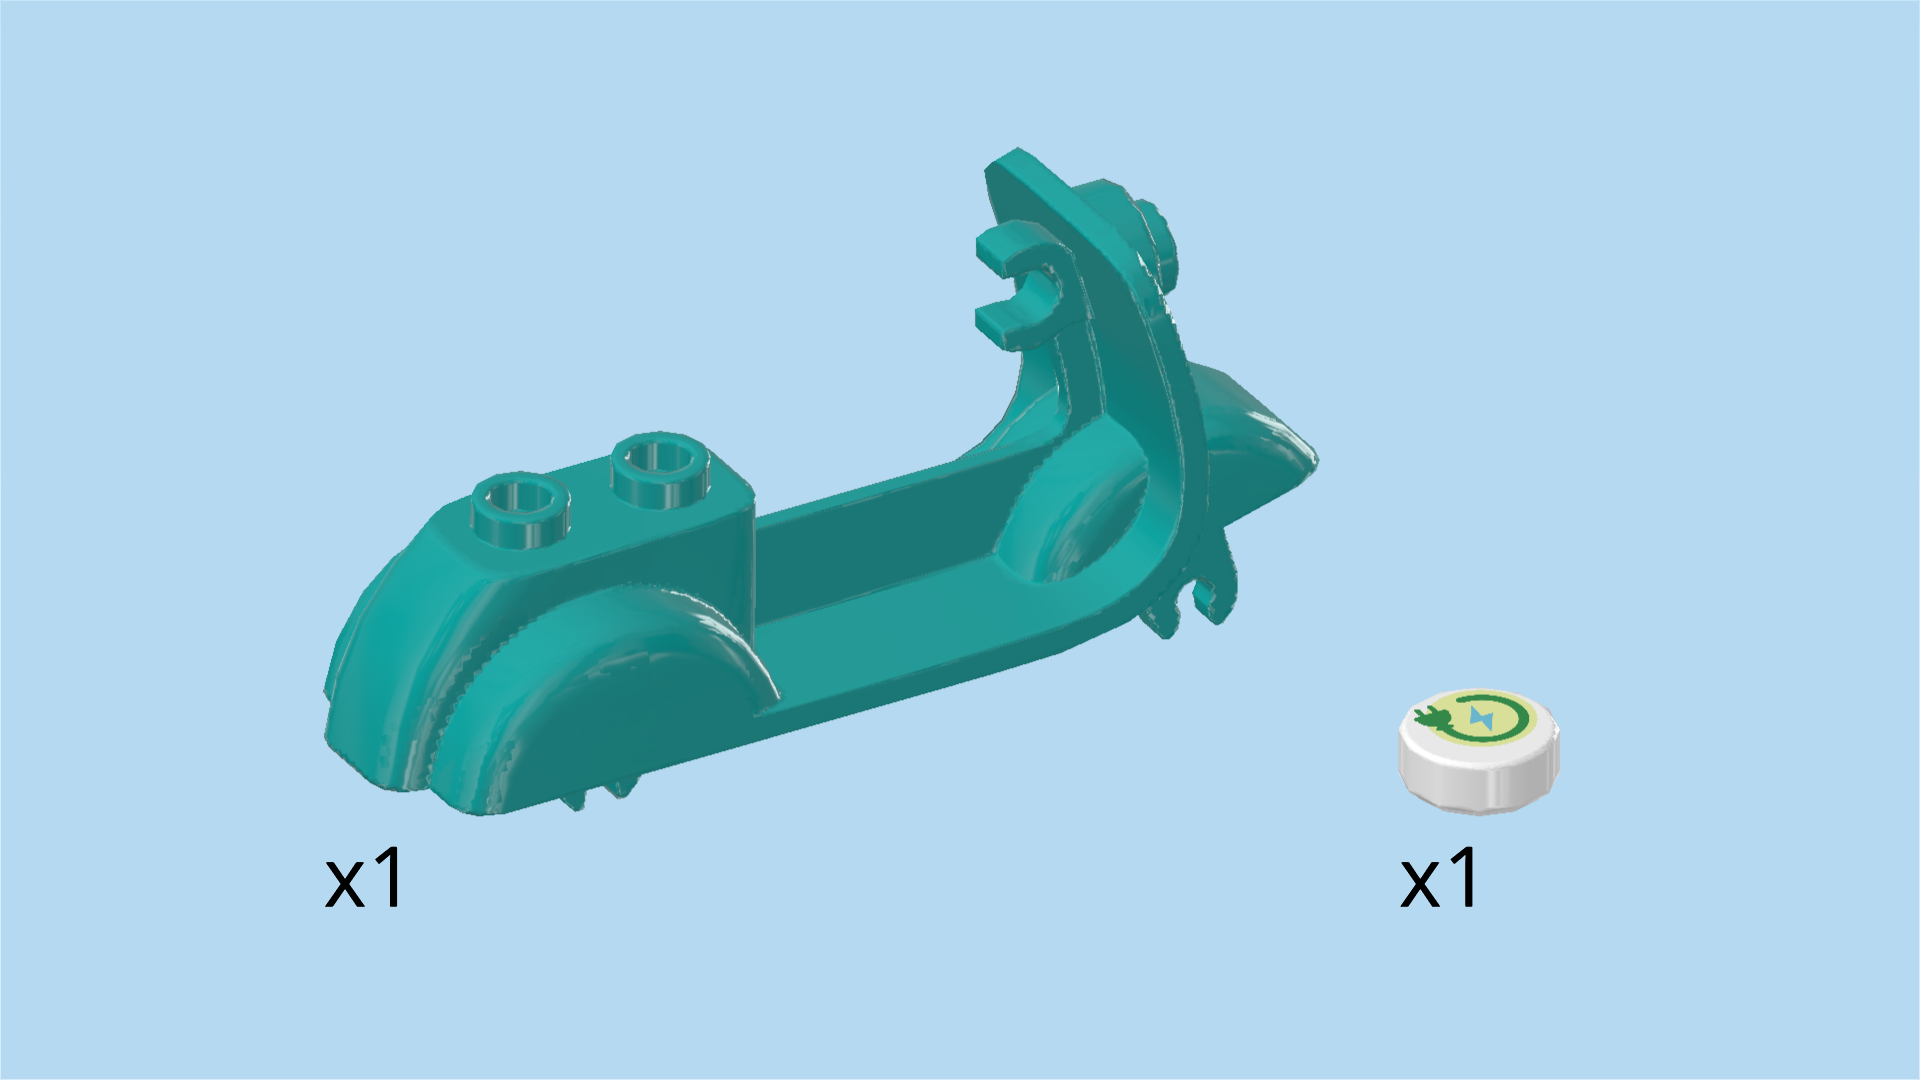
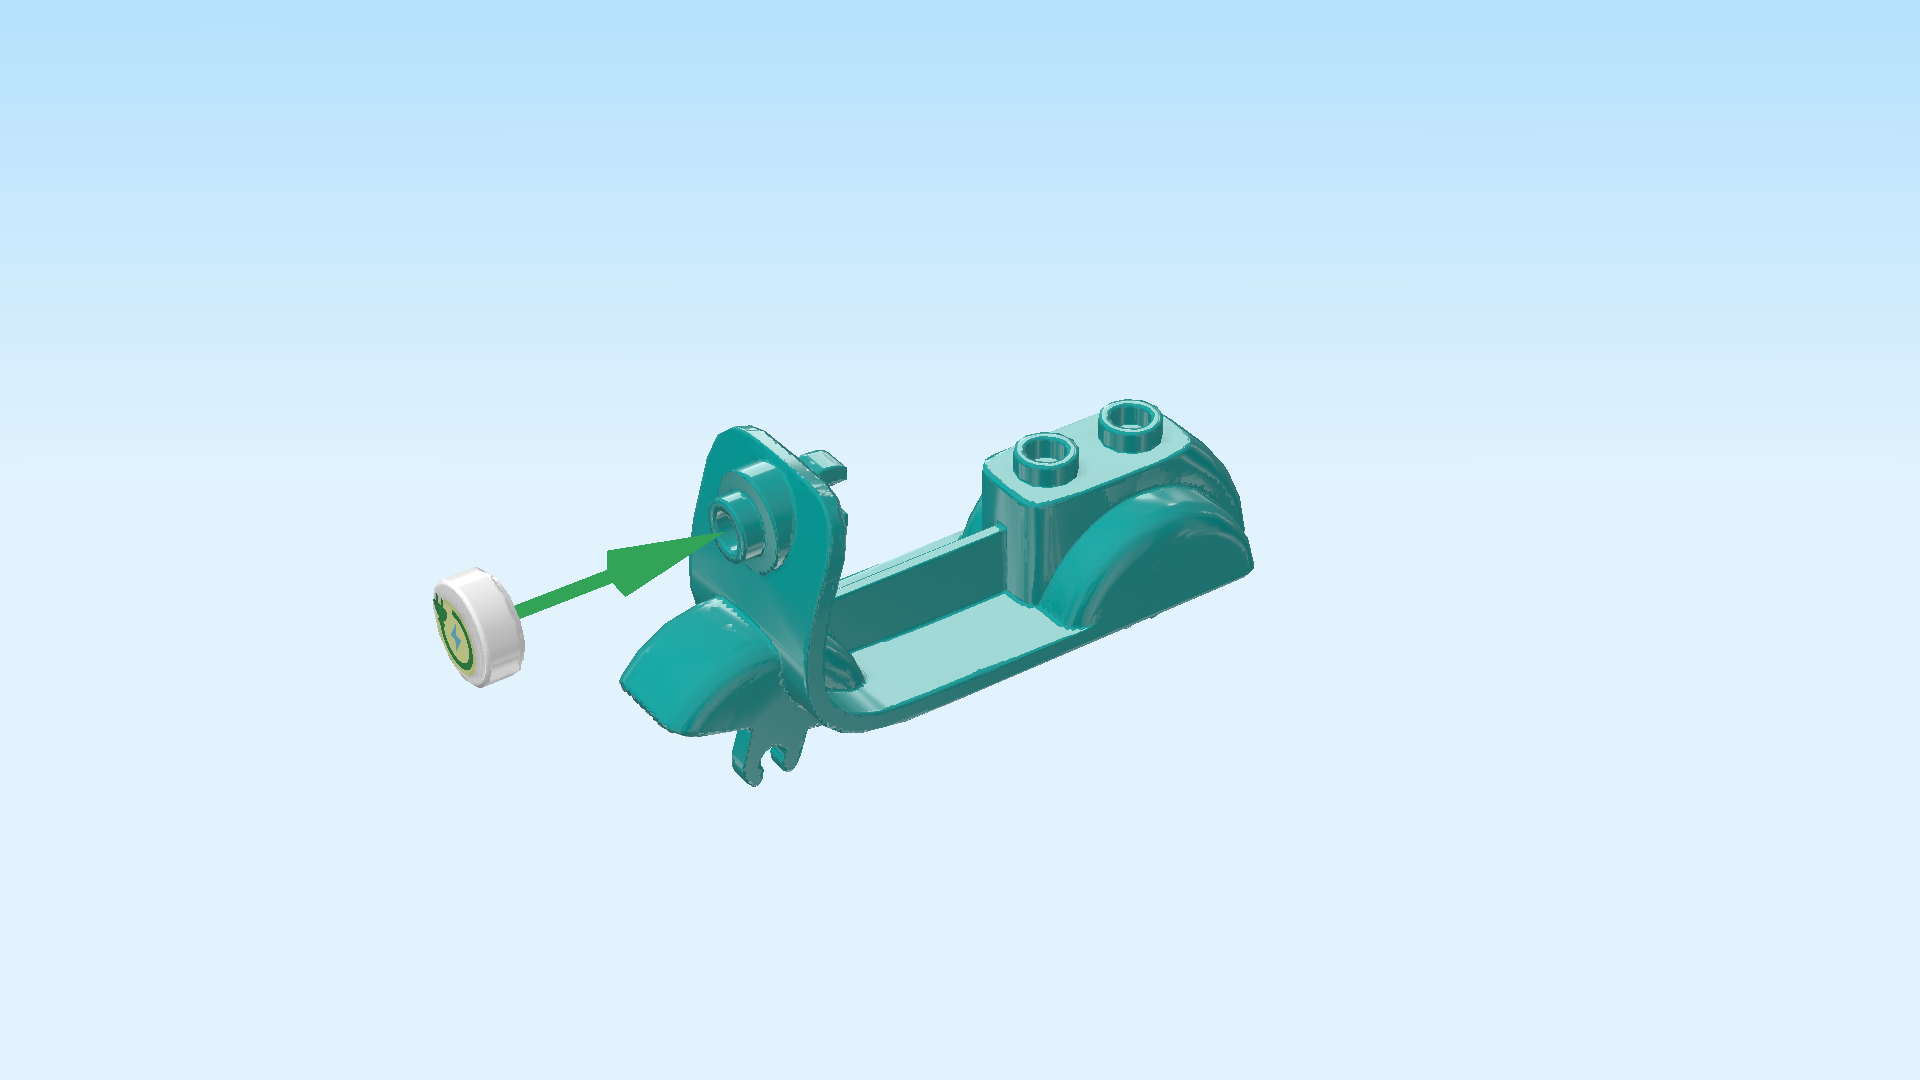
The box contains 1 booklet with visual building instructions, 2 bags, a sheet with a mirror sticker, and 2 loose pieces: The top and bottom mold for the boutique trailer.

Carefully open all bags. Before you start building, ask a sighted person to help you sort the pieces by color. This makes finding the correct pieces even easier!

First, we build the Stephanie Minidoll.

Collect the following 2 pieces:

1 light nougat brown and earth blue pair of legs with skirt,

and 1 light nougat brown and light blue Minidoll upper body. (Careful: The upper body of Camila has the exact same shape. You might need some help to identify the correct piece.)

Put the upper body on top of the legs.

Collect the following 2 pieces:

1 lemon yellow medium long hairpiece with bangs,

and 1 light nougat brown Minidoll head. (Again, the heads of the 2 Minidolls have the same shape. Ask for help if you want to make sure you have the correct piece.)

Put the head on the body.

Put the hair on top.

The Stephanie Minidoll is finished! Great job! She is wearing white lace-ups with light blue soles and laces, a dark blue skirt with 2 layers, a white sleeveless top and a light blue and purple sleeveless zipper hoodie with 2 pockets. She has a necklace with a star-shaped trinket around her neck. Stephanie is blonde and has blue eyes and pink lips.

Next, we will build the Camila Minidoll.

Collect the following 2 pieces:

1 teal blue pair of legs with shorts,

and 1 nougat brown Minidoll upper body.

Put the upper body on top of the legs.

Collect the following 2 pieces:

1 nougat brown Minidoll head,

and 1 purple violet hairpiece with bangs and high pigtails.

Put the head on the body.

Put the hair on top.

Collect the following 2 pieces:

1 salmon pink safety helmet,

and 1 transparent helmet visor.

Snap the 2 small stubs on the visor into the 2 notches on the helmet.

Safety first! Whoever is driving the scooter must wear the helmet. Swap the hairpiece of any Minidoll for the helmet and your trip can start!

The Camila Minidoll is finished! Well done! She is wearing a teal blue V-neck overall with a white waistbelt with thin golden chains and buttons on it. On top of that, Camila is wearing an ocher yellow sleeveless cardigan. Her shoes are yellow with white laces and teal blue soles. She has lilac eyes, dark red lips and pink hair.

Next, we will build the dressing stool.

Collect the following 2 pieces:

1 salmon pink round tile 2x2,

and 1 white support stand 2x2x2.

Put the support stand 2x2x2 on the table and put the round tile 2x2 on top.

The dressing stool is finished! Once the boutique is up and running, your customers will love taking a seat here and getting treated to your stylings.

Next, we will build the fashion boutique trailer.

Collect the following 2 pieces:

1 bright orange brick 1x1,

and 1 teal blue inverted double curve brick 2x8x2. (This is the bottom mold of the trailer which was one of the 2 loose pieces in the box.)

Put the inverted double curve brick 2x8x2 horizontally on the table, curves to the left and right.

Put the brick 1x1 on the frontmost row on the second knob from the left.

Find 1 white corner plate 1x2 - 1x2.

Turn it so that its outer corner is pointing to the front left.

Put it in this orientation on top of the previous piece and the column to its left.

Find 3 bright orange inverted roof tiles 2x2, 45°.

Put them next to each other on the back row, slopes overhanging to the back. The leftmost and rightmost knob of the back row remain empty.

Find 1 lemon yellow plate 2x6.

Put it horizontally on top of the 3 previous pieces. This will be the countertop!

Find 1 white plate 1x2 with shaft on long side.

Put it vertically on the rightmost column, shaft overhanging to the right.

At the end of the building process, the shaft will be used to hook up the trailer to the scooter.

Find 1 white corner plate 1x2 - 1x2.

Turn it so that its outer corner is pointing to the back right.

Put it in this orientation on the previous piece and 1 knob to its left.

Next up, we will build the accessory stand.

Collect the following 2 pieces:

1 bright orange top angle plate 1x2 - 1x2 with 2 side knobs,

and 1 white brick 1x2.

Put the brick 1x2 horizontally on the table.

Put the angle plate 1x2 horizontally on top, side knobs to the front.

Collect the following 2 pieces:

Another white brick 1x2,

and another bright orange top angle plate 1x2 - 1x2 with 2 side knobs.

Put the brick 1x2 horizontally on top.

Put the angle plate 1x2 horizontally on top, side knobs to the front.

Find 1 white plate 1x2.

Put it horizontally on top.

Find 4 transparent round plates 1x1 with top shaft.

Put them upright on the 4 side knobs pointing to the front.

The accessory stand is finished! Great job! Mount it horizontally on the second row from the back on the rightmost edge, 4 shafts pointing to the back.

Find 1 white brick 1x1x3 with 2 horizontal side clasps.

Put it in front of the accessory stand on the rightmost edge, 2 clasps to the right.

Find 1 teal blue plate 1x2.

Put it vertically on top of the previous piece and the knob behind it.

Next, we will build the brush and lipstick holder.

Collect the following 2 pieces:

1 white brick 1x2,

and 1 bright orange plate 1x1 with horizontal side clasp.

Put the brick 1x2 horizontally on the table.

Put the plate 1x1 on the right knob, clasp to the front.

Find another bright orange plate 1x1 with horizontal side clasp.

Put it on the left knob, clasp to the front.

Find 2 white bricks 1x2.

Put 1 horizontally on top.

Put the other one horizontally on top.

Find 1 teal blue plate 1x1.

Put it on the right knob.

The brush and lipstick holder is finished! Well done! Mount it horizontally on the second row from the front on the leftmost edge, clasps to the back.

Now, we will build the trailer awning.

Collect the following 2 pieces:

1 white brick 1x6 with inside arch,

and 1 bright purple curve brick 1x1 with protruding plate 1x1.

Put the brick 1x6 horizontally on the table.

Put the protruding plate 1x1 on the rightmost knob, curve brick 1x1 overhanging to the front.

Collect the following 2 pieces:

1 bright orange curve brick 1x1 with protruding plate 1x1,

and 1 bright purple curve brick 1x1 with protruding plate 1x1.

Put the protruding plate of the bright orange brick to the left of the previous piece, curve brick overhanging to the front.

Put the protruding plate of the bright purple brick to the left of the previous piece, curve brick to the front.

Collect the following 3 pieces:

2 bright orange curve bricks 1x1 with protruding plate 1x1,

and 1 bright purple curve brick 1x1 with protruding plate 1x1.

Continue the pattern of the last two steps: Next, put the bright orange brick to the left of the previous piece, then the bright purple one, and finish with the other bright orange brick. All curves are overhanging to the front.

The trailer awning is finished! Well done! Mount it horizontally on top, connecting the accessory stand with the hairbrush and lipstick holder. Make sure the curve bricks are overhanging to the back.

If done correctly, there will be 1 empty knob to the left of the awning and 1 empty knob to its right.

Next up, we will build the swing-out mirror with cash register.

Collect the following 2 pieces:

1 white hinge plate 1x2 - 1x2,

and 1 white brick 1x2x3.

Put the hinge plate 1x2 horizontally on the table. Make sure the hinge is at the front, so if you open the hinge plate, the 2 halves come to the front. For now, keep it closed so that it forms one row in front of you.

Put the brick 1x2x3 horizontally on the 2 left knobs.

Find 1 white roof tile 1x2, 45°. (This piece is printed.)

Put it horizontally on the 2 right knobs of the hinge plate, slope to the right.

This piece is printed with a light blue number pad with digital display and credit card slot. It is the cash register!

Find 1 white brick 1x1.

Put it on top of the previous piece.

Find 1 white inverted roof tile 1x2, 45°.

Put it horizontally on top of the previous piece, slope to the right.

Find 1 white hinge plate 1x2 - 1x2.

First, turn it horizontally so that the hinge is at the front again.

Mount it horizontally on top of the mirror and cash register structure. The 2 hinges should open and close in the same direction. You will not be able to use the hinges if they are mounted in different orientations.

Collect the following 2 pieces:

1 teal blue plate 1x2,

and 1 teal blue flat tile 1x2.

Put the flat tile 1x2 horizontally on top of the 2 left knobs of the structure.

Put the plate 1x2 horizontally underneath the 2 left knobs of the structure.

The structure is a bit lopsided now. This is correct and will be resolved later.

The swing-out mirror with cash register is finished! Great job! Mount its right half (the half with the cash register) horizontally on the frontmost row on the 2 leftmost knobs, hinges to the front, swing-out mirror overhanging to the left.

If done correctly, you can now fold the mirror back. This is the position you should use when towing the boutique trailer.

Find 1 teal blue round brick 1x1.

Put it on the rightmost knob of the hinged structure you have just mounted. This means it will be mounted above the cash register.

Find 1 teal blue double curve brick 2x8x2 with 4 top knobs. (This is the top mold of the trailer which was the second loose piece in the box.)

Put it horizontally on top of the trailer structure, connecting the rightmost and leftmost edges.

Find 1 large rectangular sticker number 1. It is the only sticker in this set.

Turn the trailer from left to right. Now, the awning as well as the 4 shafts of the accessory stand should point to the front. Make sure the swing-out mirror is on the right and folded out towards the front. This means that one of its two broad side surfaces is facing you.

Apply the sticker upright vertically on the front surface of the swing-out mirror. Make sure to hold the back of the mirror, otherwise it could swing back while applying. If you are not sure about the sticker application, you can always ask someone for help.

Find 1 medium stone grey bottom angle plate 1x2 - 1x2 with 2 side knobs.

Put it horizontally on the front row of the 4 topmost knobs, side knobs to the front.

Find 1 teal blue one-stepped curve tile 2x2x⅔.

Put it on the previous piece and the row behind it, curve to the back.

Next, we build the fashion boutique sign.

Collect the following 2 pieces:

1 lemon yellow plate 1x3,

and 1 lemon yellow wedge plate 2x2 with 45° corner and 3 knobs.

Put the plate 1x3 horizontally on the table.

The next piece will be mounted at an angle. Pay close attention to the instructions below!

Put the wedge plate on the leftmost knob, its main corner pointing to the middle knob, the cut-off corner to the left.

Find another lemon yellow wedge plate 2x2 with 45° corner and 3 knobs.

Put it on the rightmost knob, its main corner pointing to the middle knob, the cut-off corner to the right.

Together, they should form the shape of a large bow.

Find 1 lemon yellow plate 1x3.

Put it horizontally in the middle of the bow.

Find 1 salmon pink heart-shaped tile 1x1.

Put it on the middle knob of the previous piece, heart tip to the front.

The fashion boutique sign is finished! Great job! Flip it upright and mount it centered on the 2 side knobs pointing to the front at the top.

Collect the following 4 pieces:

1 light purple flower piece 1x1 with pin,

1 purple violet hair bow with heart knot and pin,

1 transparent bright bluish violet pair of sunglasses with pin,

and 1 transparent raspberry red pair of sunglasses with pin.

You can insert the small pins on these and similar pieces into the 4 shafts pointing to the front on the accessory stand.

The hairpieces of the Minidolls have small holes at the top. The pins of the accessories fit into those holes.

Collect the following 2 pieces:

1 transparent bright bluish violet nose cone 1x1,

and 1 transparent diamond with stick.

Insert the stick of the diamond into the narrow end of the nose cone.

This is the perfume bottle! Put it on the counter, for instance to the left of the hairbrush and lipstick holder.

Collect the following 3 pieces:

1 silver metallic round tile 1x1, (This piece is printed)

1 light purple hairbrush,

and 1 medium stone grey and bright red lipstick.

Snap the handle of the hairbrush into the right clasp of the hairbrush and lipstick holder.

Snap the lipstick into the other clasp.

The round tile 1x1 is printed with the number five. It is a coin you can use to pay for the fashion boutique services!

Next up, we will build a hairdryer.

Collect the following 2 pieces:

1 medium stone grey round plate 1x1 with side handle,

and 1 silver metallic nose cone 1x1.

Hold the round plate upright on its shaft, knob to the right.

Put the nose cone 1x1 upright on the knob, narrow end to the right.

Snap the handle of the hairdryer into the bottom clasp pointing to the left.

Find 1 silver metallic pair of scissors.

Snap its middle into the upper clasp pointing to the left.

Find 2 medium stone grey bearing plates 2x2 with 2 small connector pins.

Put 1 vertically underneath the trailer on the right half of the bottom surface, connectors pointing to the front and back.

Put the other one vertically underneath the trailer to the left of the previous piece, connectors to the front and back.

Next, we will assemble the 4 trailer wheels.

Collect the following 8 pieces:

4 salmon pink narrow rims with cross hole,

and 4 black small slick rubber tires. (Careful, do not confuse those with the 2 readily assembled wheels with 2 small connector pins each. We will need those later.)

Put the 4 rims into the 4 tires.

The 4 trailer wheels are finished! Snap the cross holes of the rims on the 4 connectors at the bottom of the trailer.

Next, we will build the scooter.

Collect the following 2 pieces:

1 teal blue scooter top,

and 1 white round tile 1x1. (This piece is printed)

Put the scooter top horizontally on the table, 2 top knobs to the right, front mudguard to the left.

Put the round tile 1x1 upright on the knob pointing to the left, just above the front mudguard.

The round tile is printed with an electricity icon (which is a green lightning bolt) surrounded by a green cable. The scooter is an electric vehicle!

Find 2 black and medium stone grey small slick rubber wheels with axle.

Snap the 2 wheels into the wheel forks at the bottom of the scooter.

Find 1 white angled handlebar with bottom shaft.

Snap the bottom shaft into the clasp pointing to the right, directly behind the round tile 1x1. Make sure the ends of the handlebar are pointing to the right.

Find 1 lemon yellow plate 1x2 with shaft on short side.

Put it horizontally on the 2 top knobs, shaft to the right.

Collect the following 2 pieces:

1 bright orange plate 1x2 with 1 knob,

and 1 white skeleton arm with 1 thick clasp and 1 standard clasp.

Put the plate 1x2 horizontally on the previous piece. This is the carrier!

Snap the thick clasp on the shaft on the right edge of the scooter, middle joint pointing to the top.

Find 1 dark stone grey bucket handle.

Snap it into the clasp at the very bottom of the scooter, 2 shorter ends pointing to the bottom. This is the stand of the scooter.

The scooter is finished! Great job! Snap its right clasp on the shaft on the left edge of the trailer. You can now tow the trailer to its next pop-up location!

You have finished building the entire set! Fantastic work! Now it's time to hop on your scooter and dash to the next fashion emergency! Help your friends and customers out with trendy accessories, beautiful hairstyles and some lovely lipstick shades.

Enjoy!