LEGO 41715 Ice-Cream Truck 

LEGO Audio & Braille Building Instructions for the LEGO Friends set "Ice-Cream Truck".

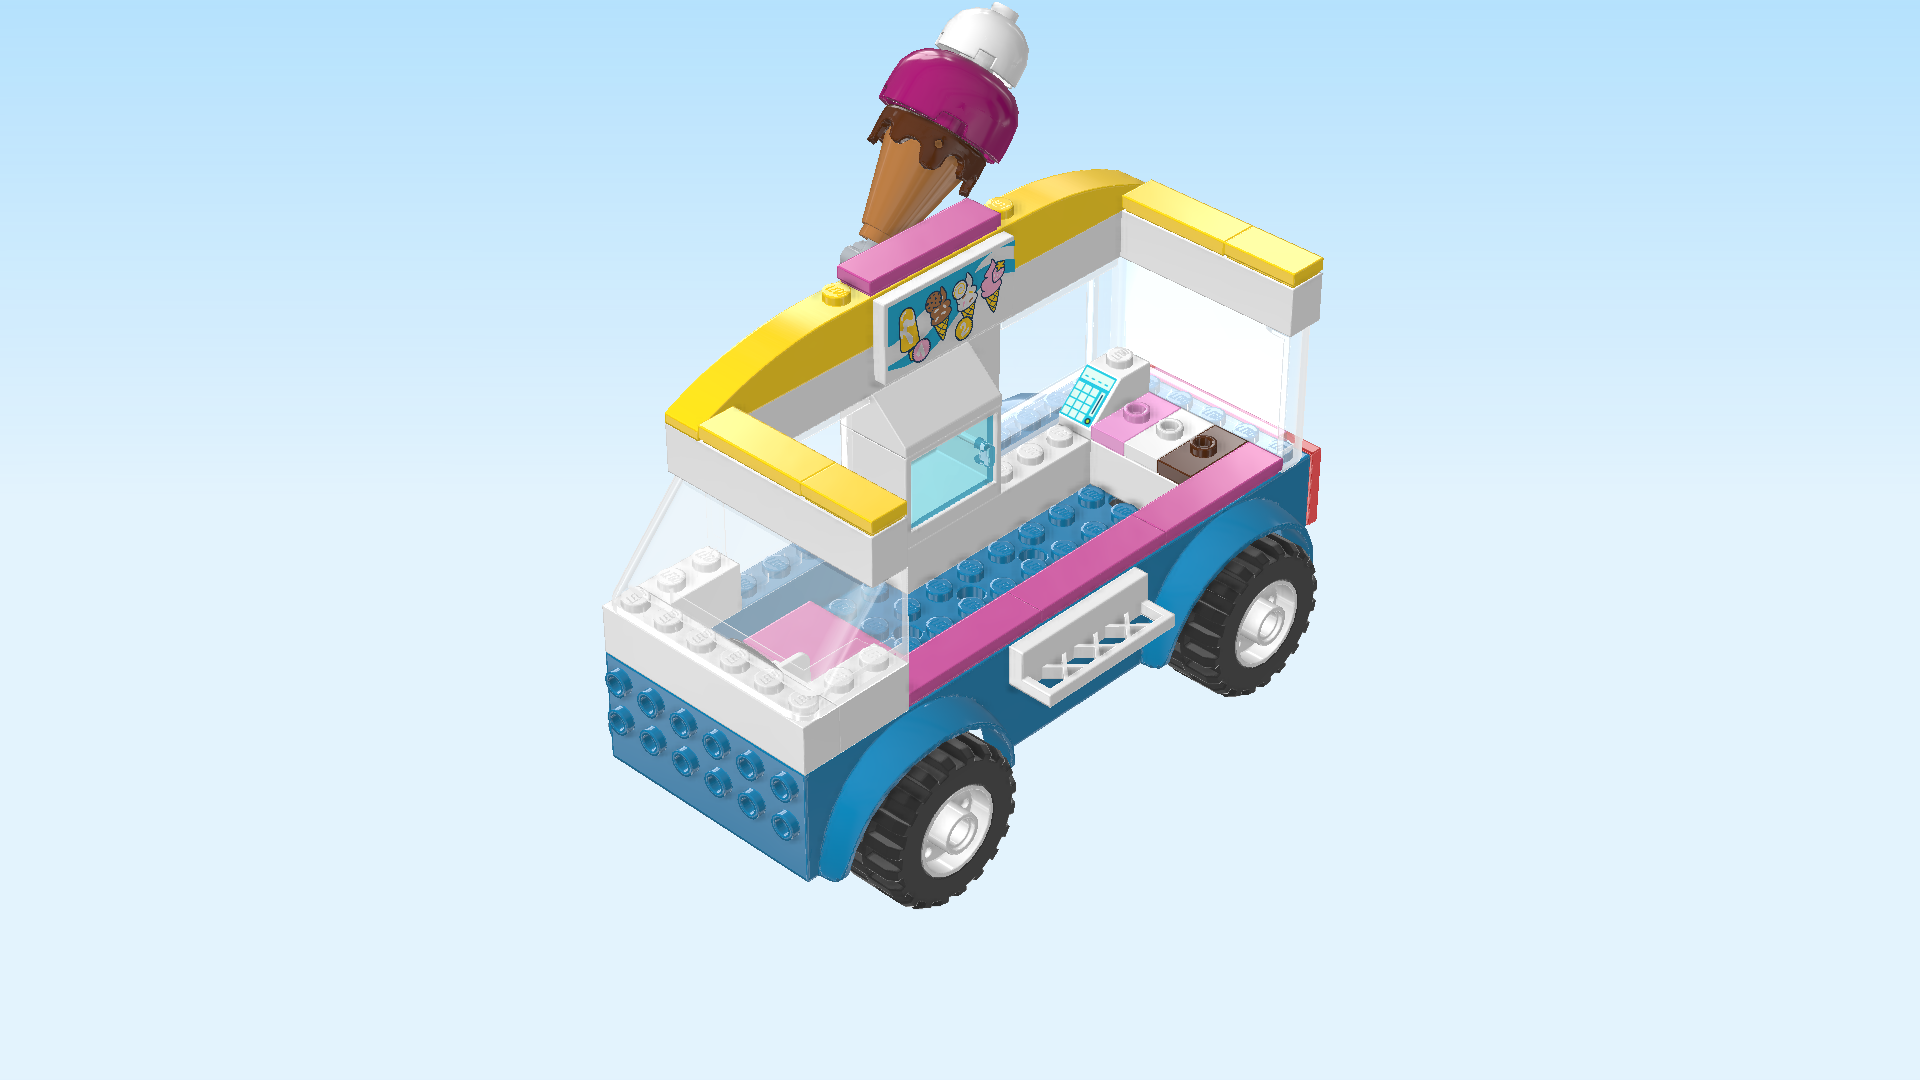
Flag down the LEGO Friends Ice-Cream Truck and buy a cool treat. Choose from an ice cream or a popsicle. Hand over your cash as Roxy makes your order. Join Andrea and Dash at the table and give the patient pup a bone.

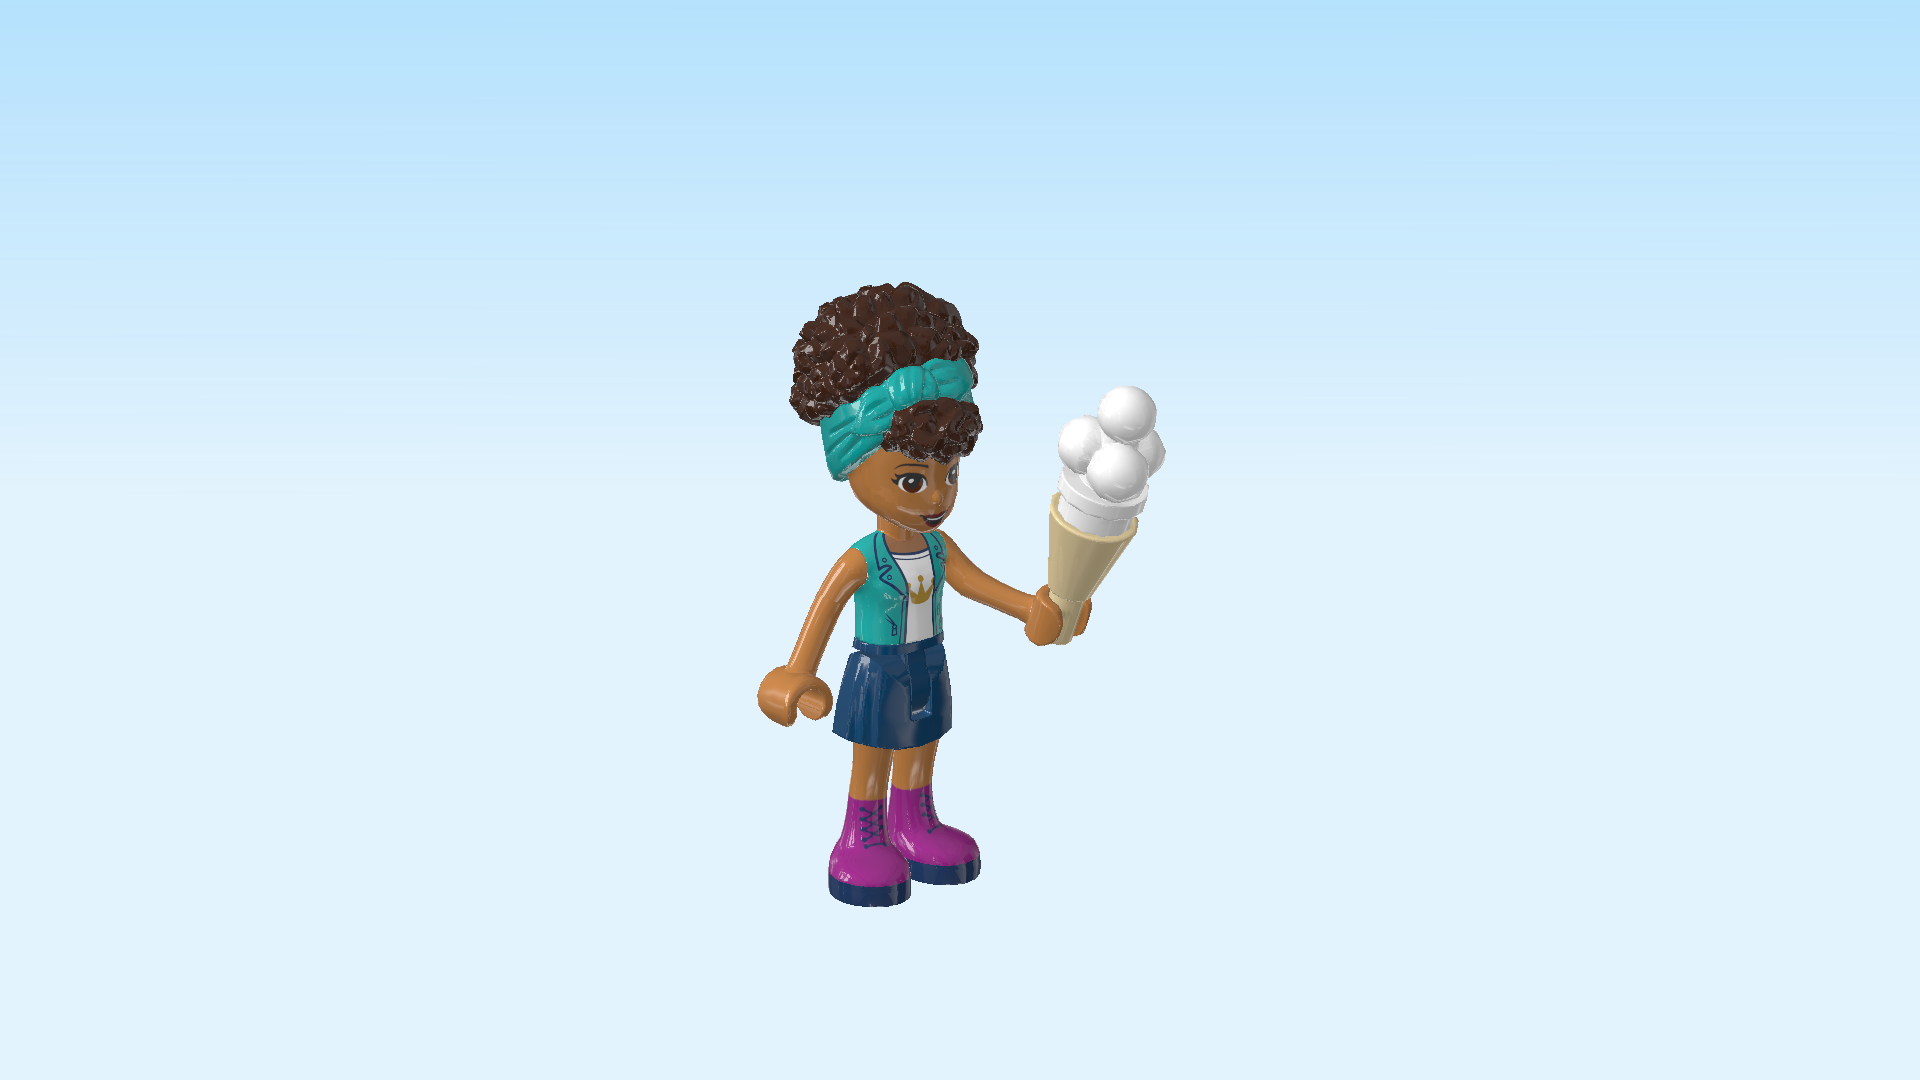
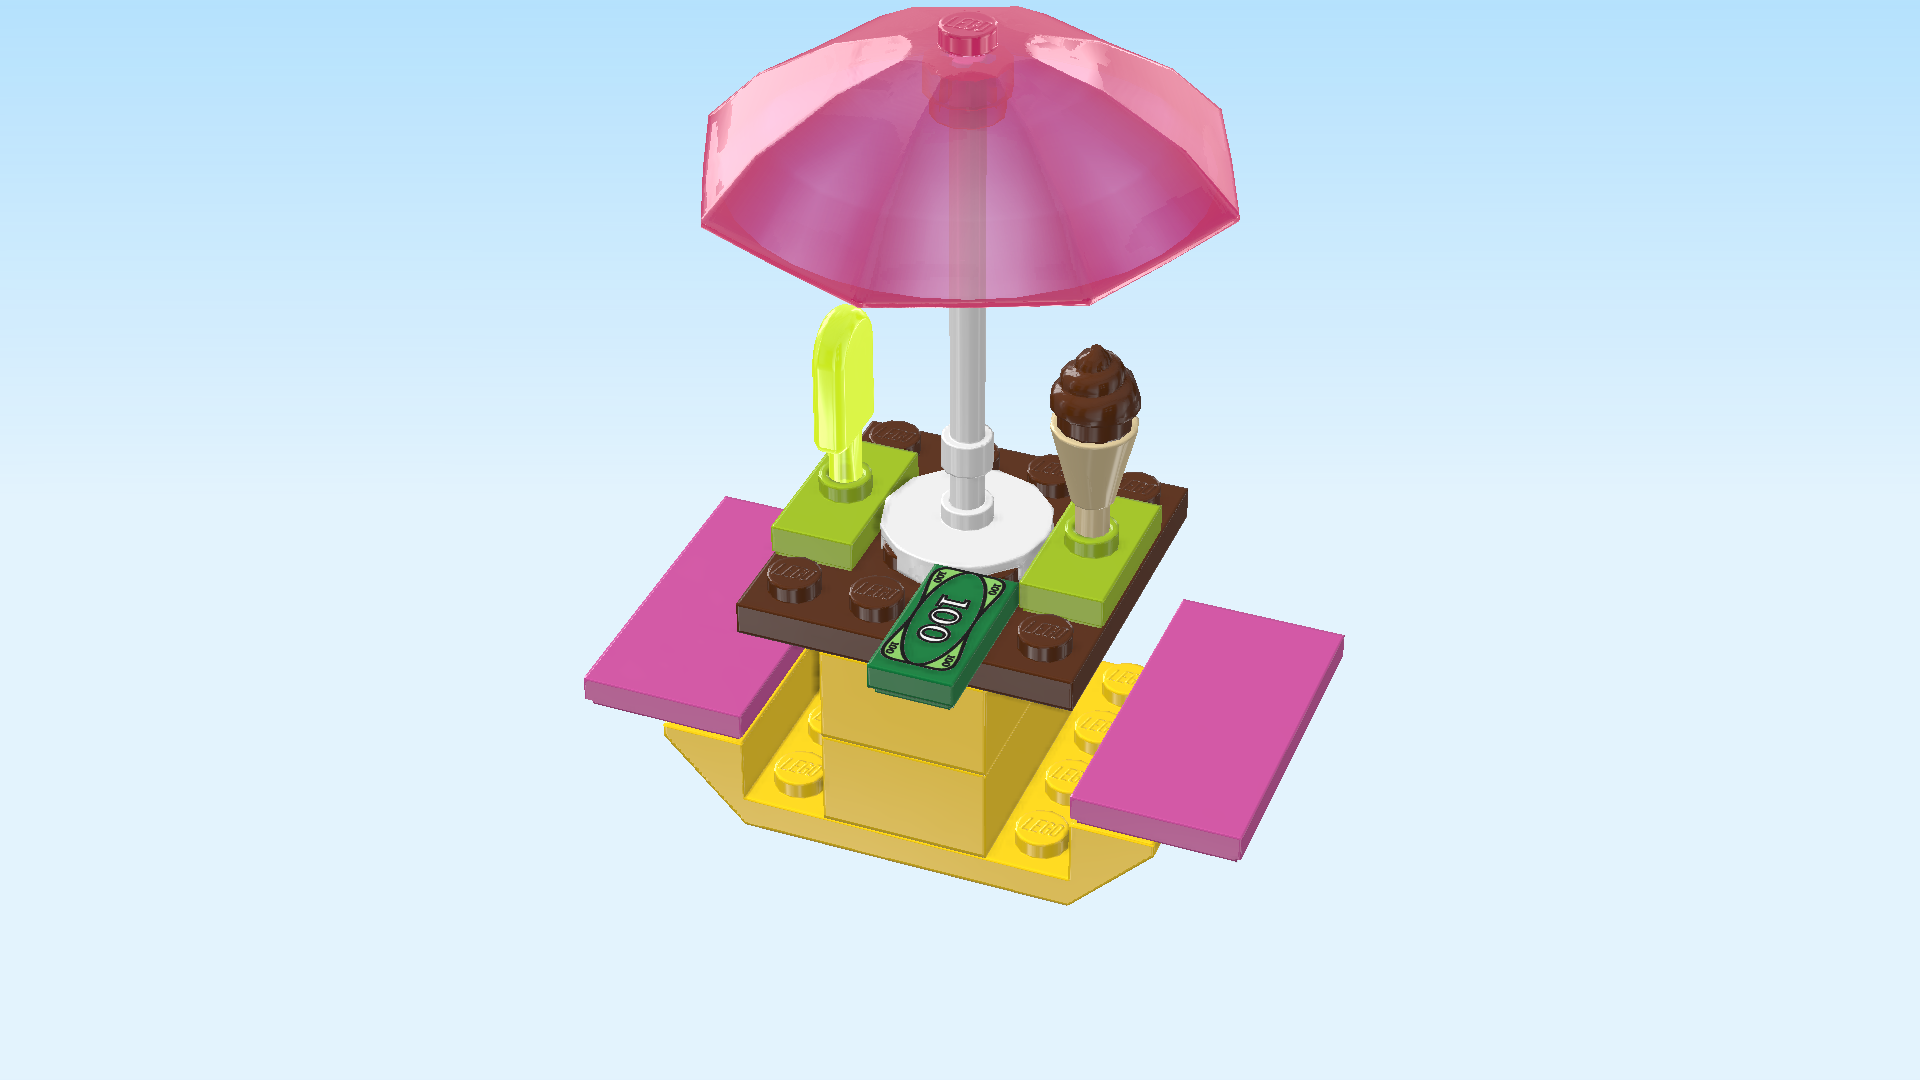
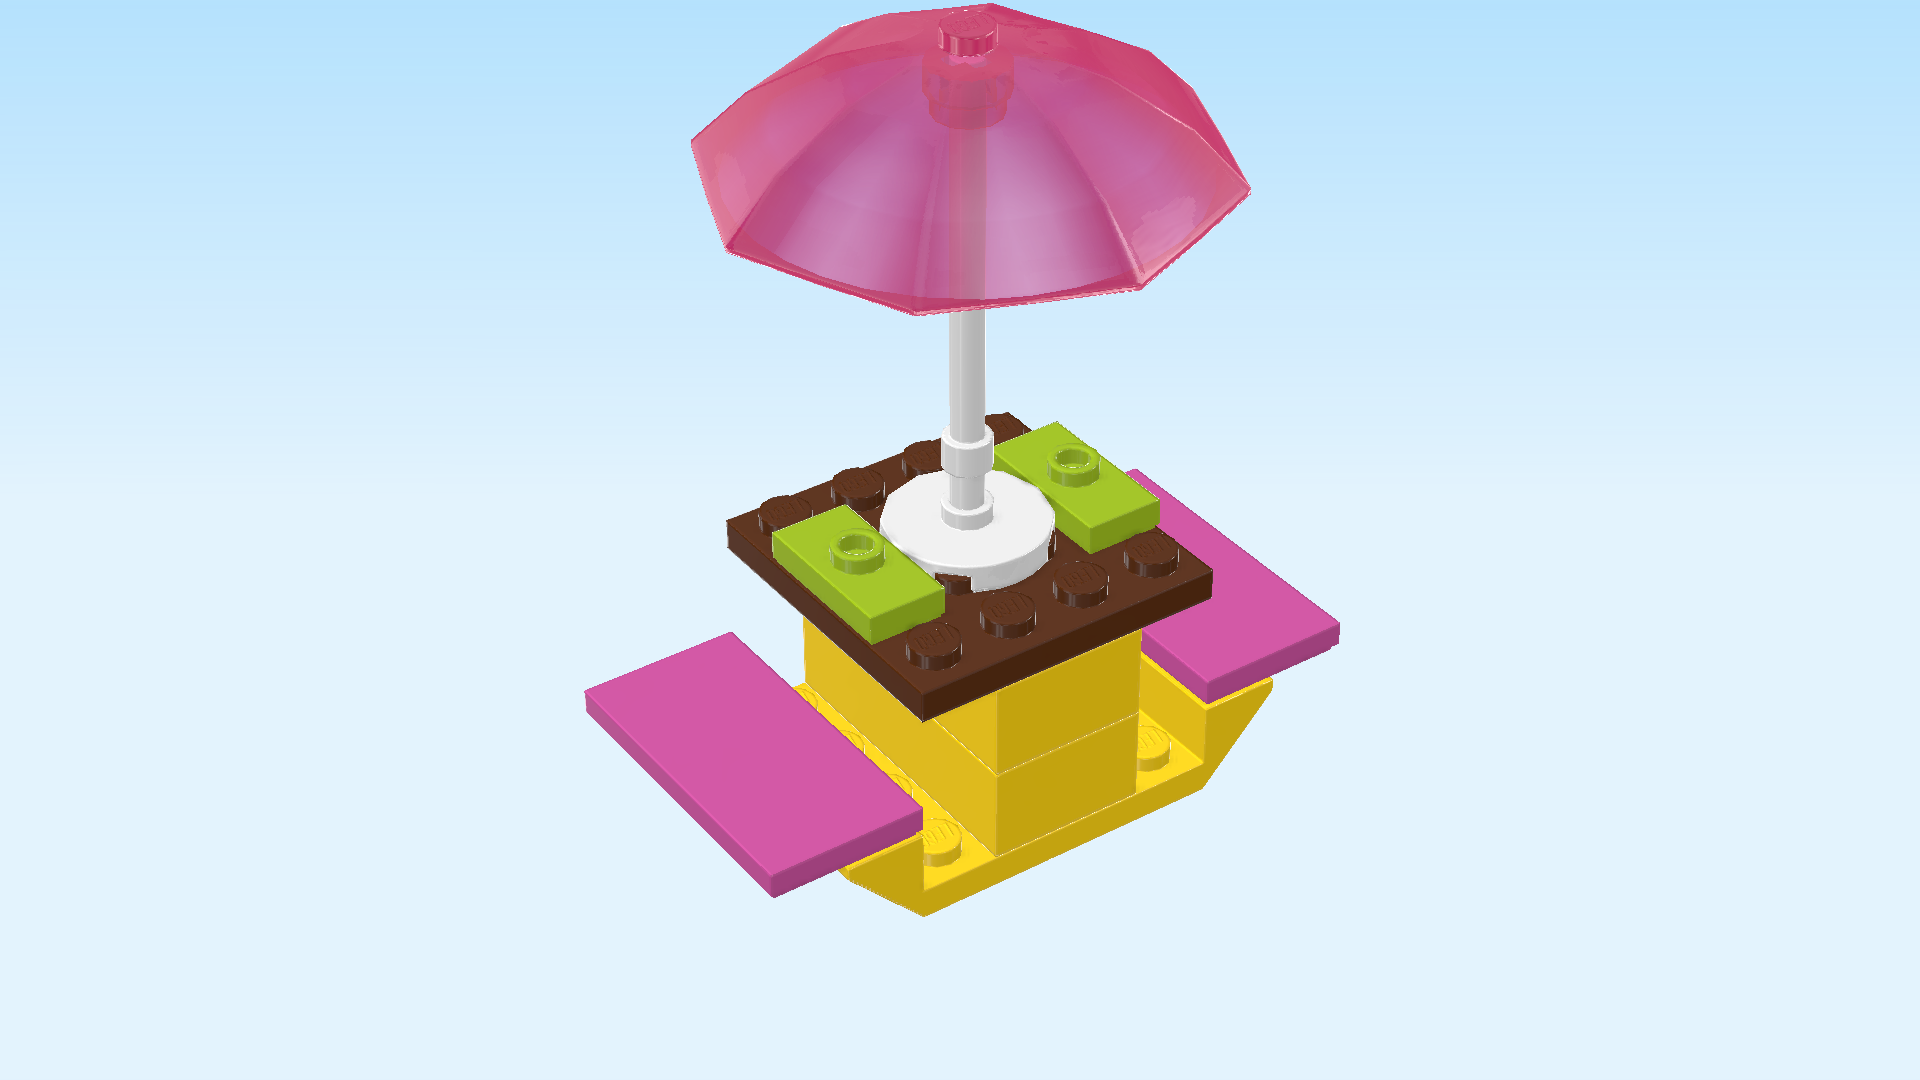
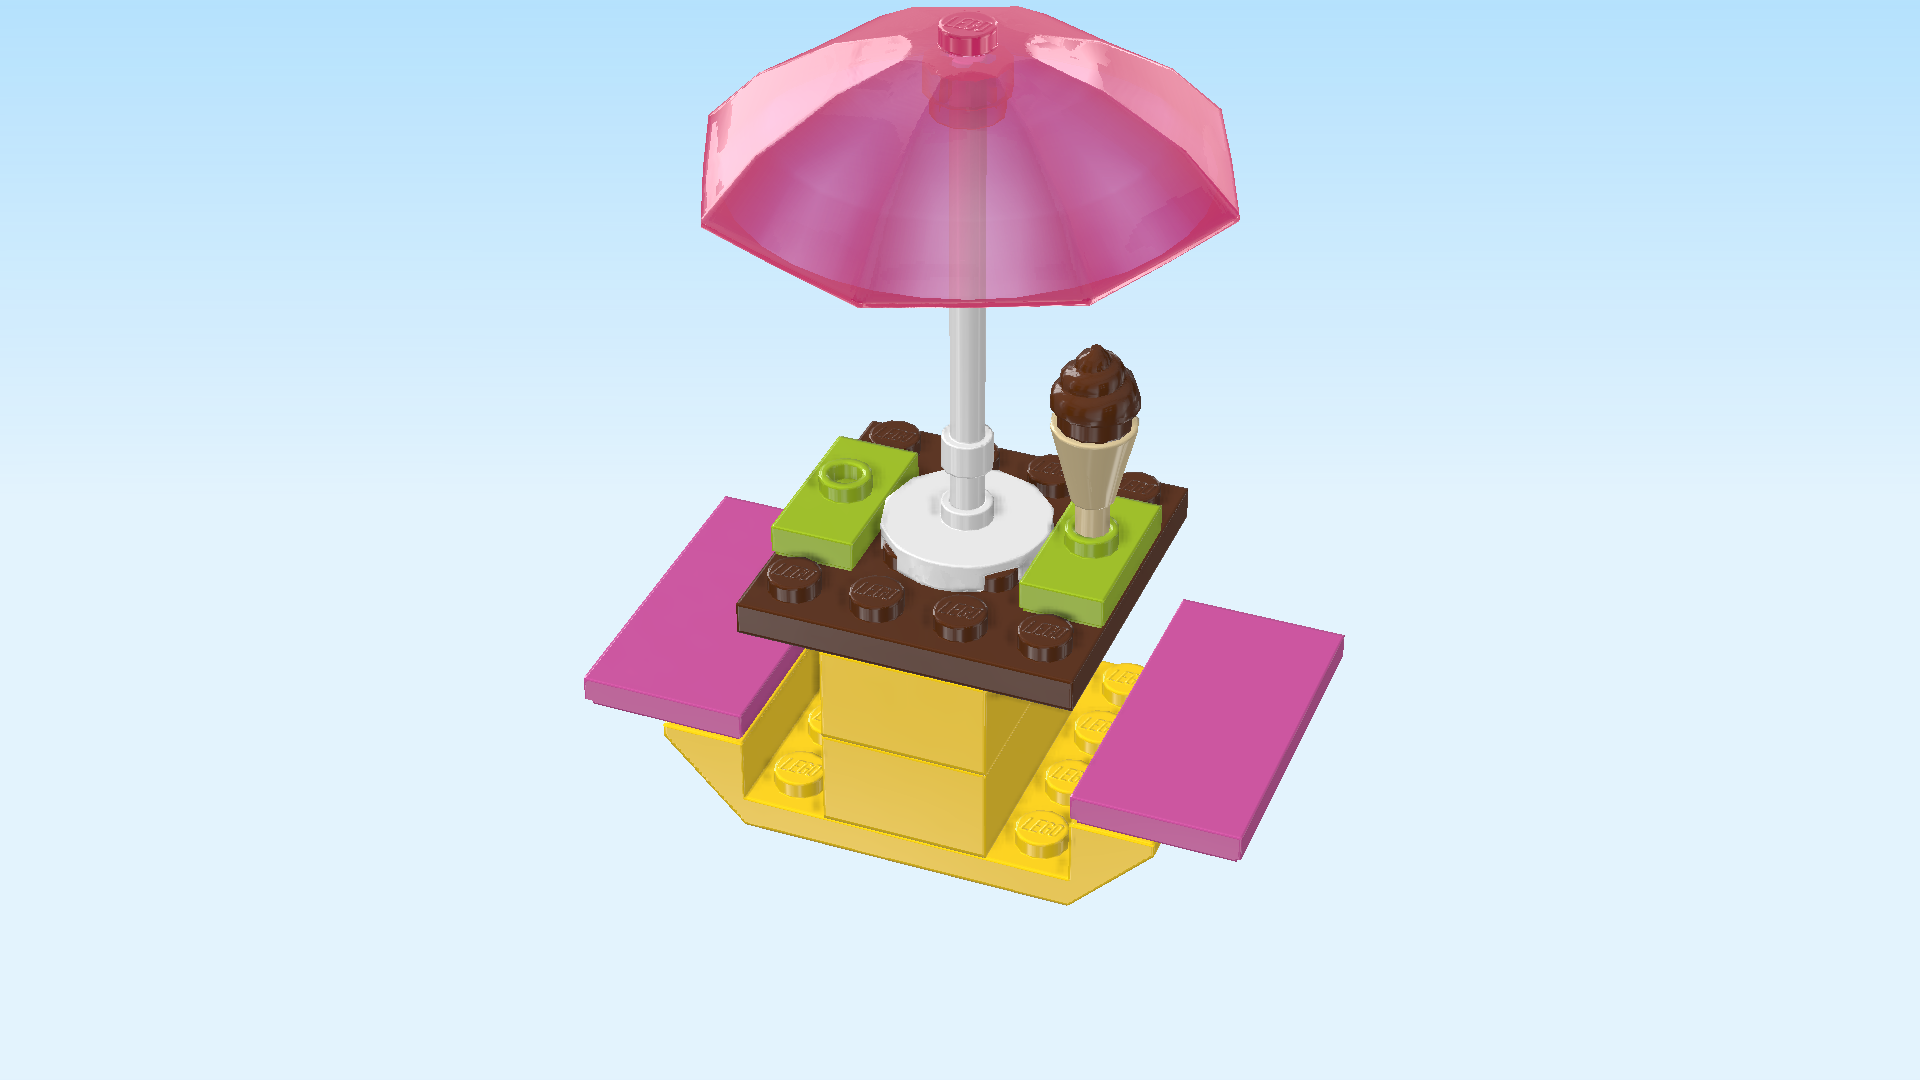
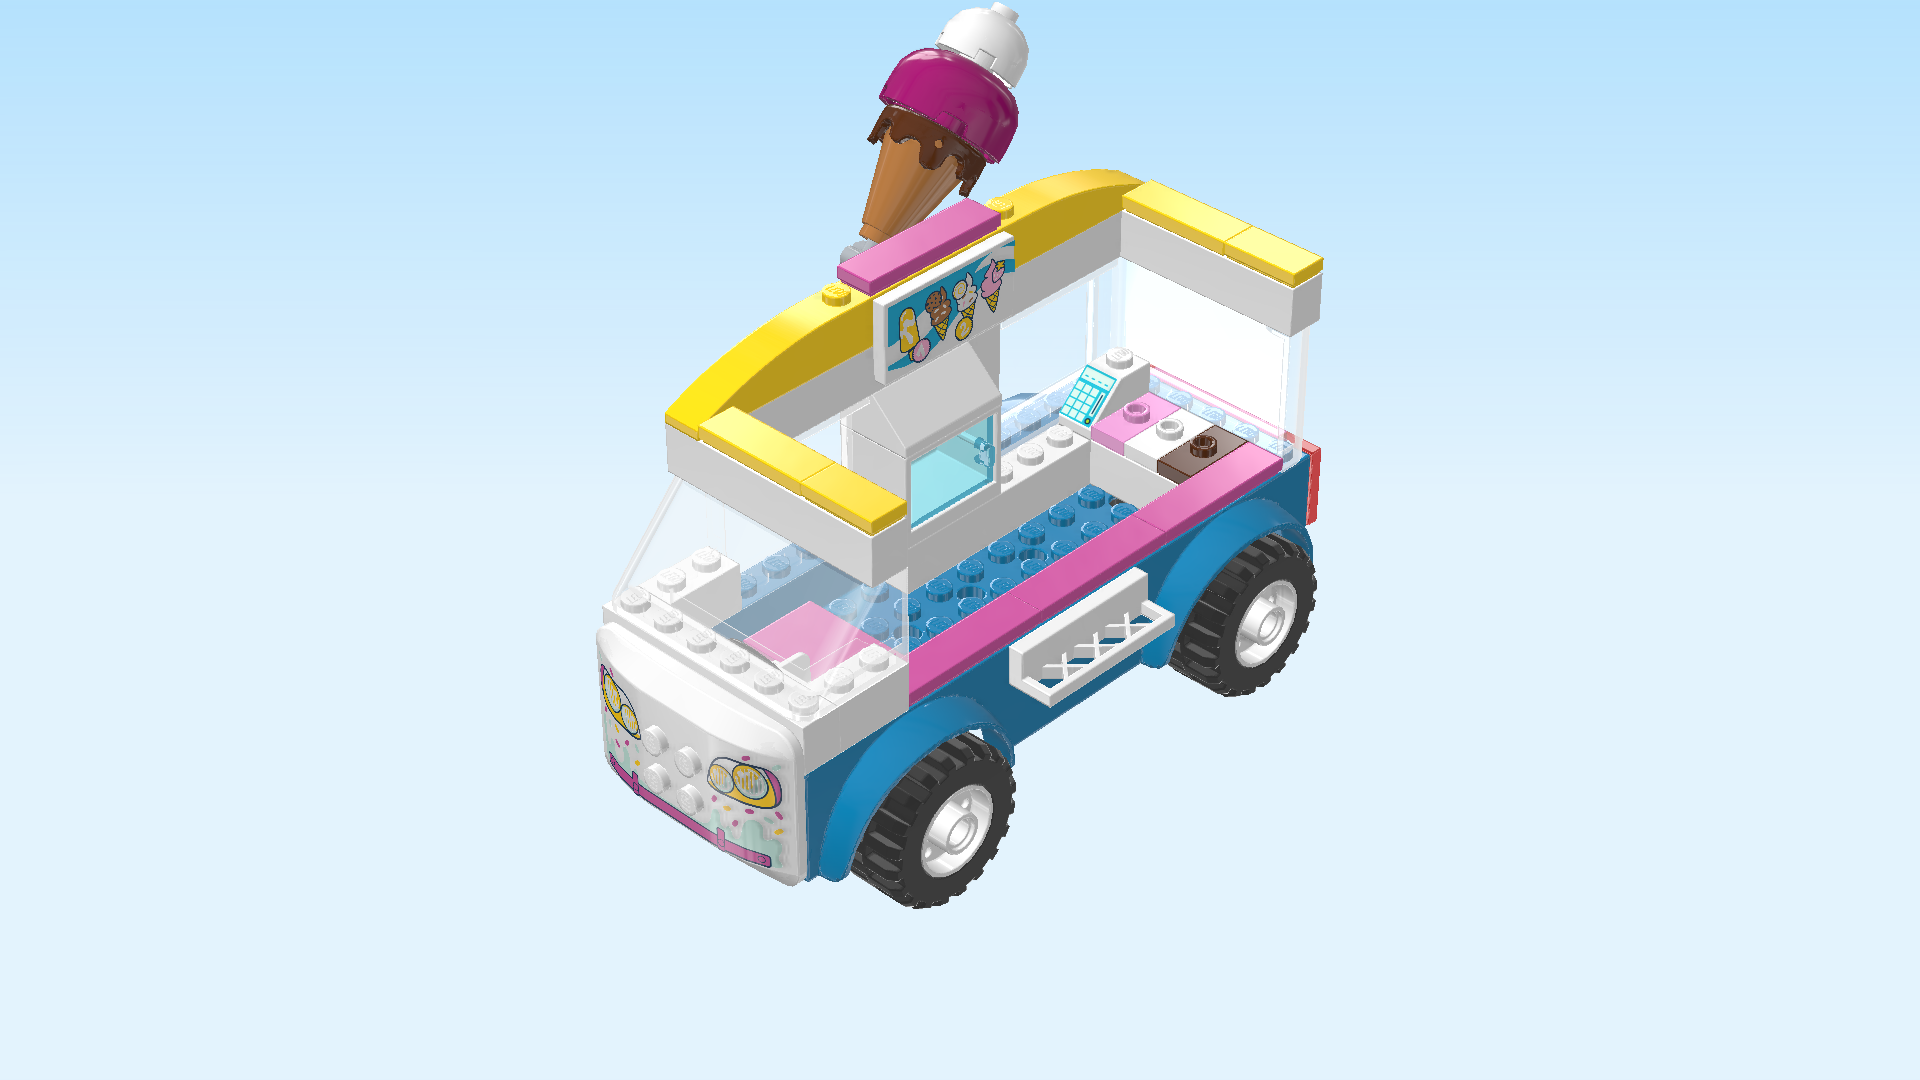
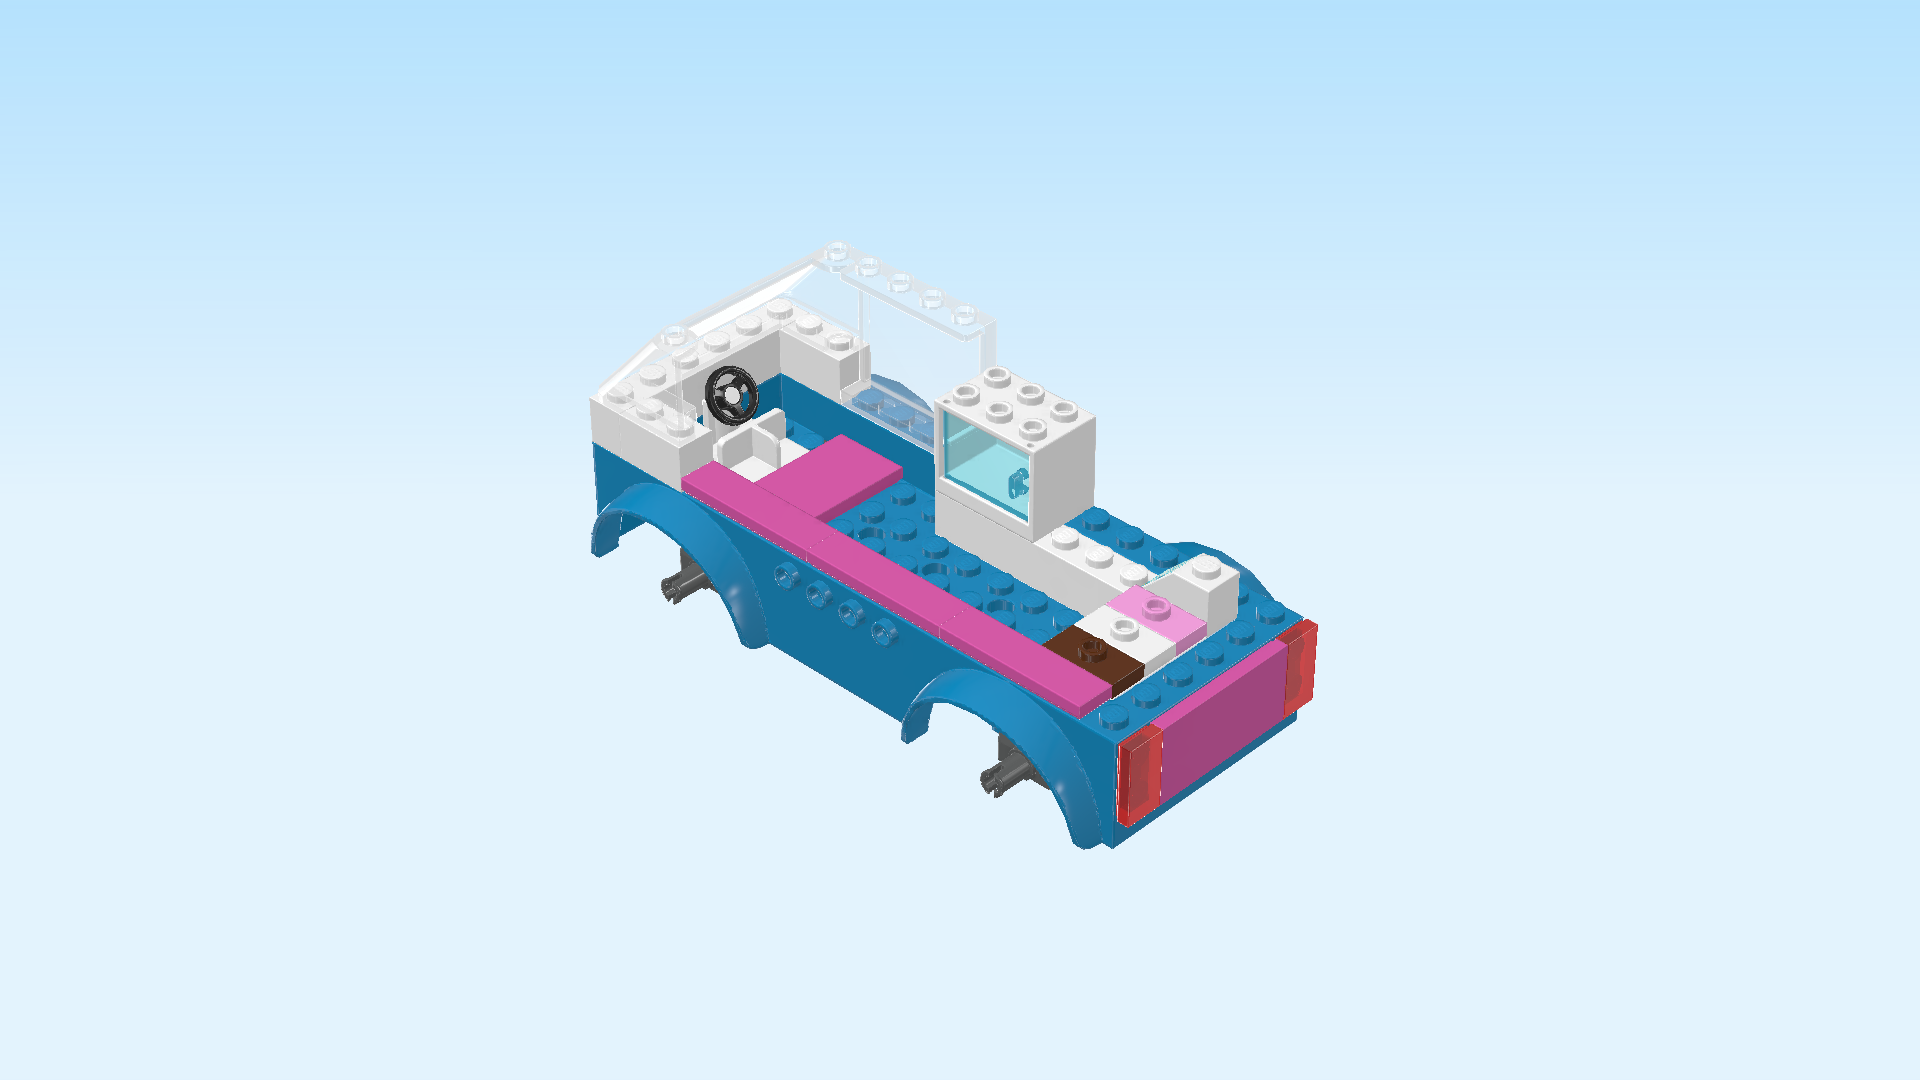
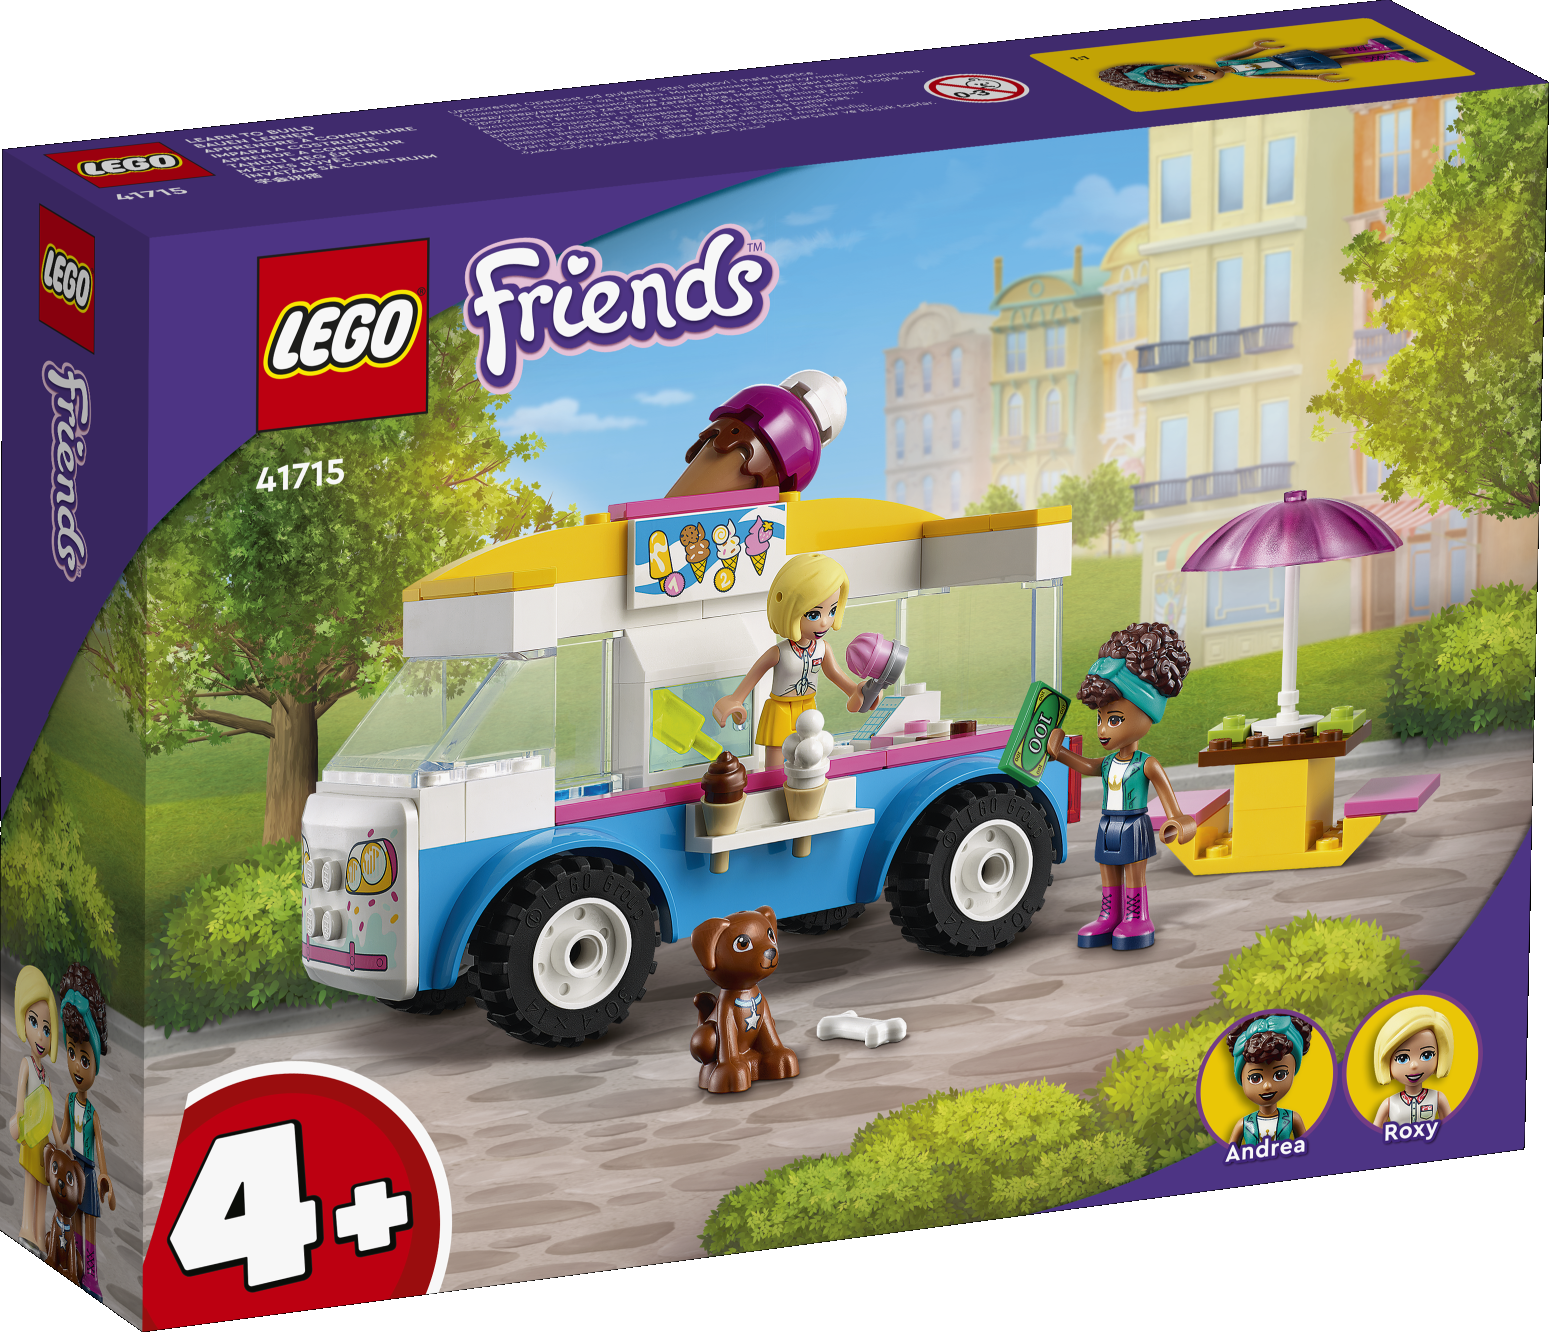
The box cover shows a bright day in Heartlake City. In the background, there are several apartment buildings of the city and a park with a lush lawn, trees and bushes. The ice cream truck is parked on a cobbled path in the park. The truck has no roof, and one of its sides is completely open so that Roxy can serve her customers directly out of the truck. The white vehicle has light blue sides, some fun airbrushing on the front hood, and blue side panels. Dash, Heartlake City's favorite pet dog, is sitting in front of the truck with its bone. Andrea is also standing in front of the truck. She is holding a money bill to pay for the yummy ice cream that is already waiting in the serving tray of the truck. To the right of the truck there is a small picnic table with 2 benches and an umbrella where ice cream lovers can sit down and enjoy their treat in the shade. At the bottom right of the cover, there is a portrait of Roxy and one of Andrea. Let's get started!

Open the box. This can be tricky; ask someone to help you!

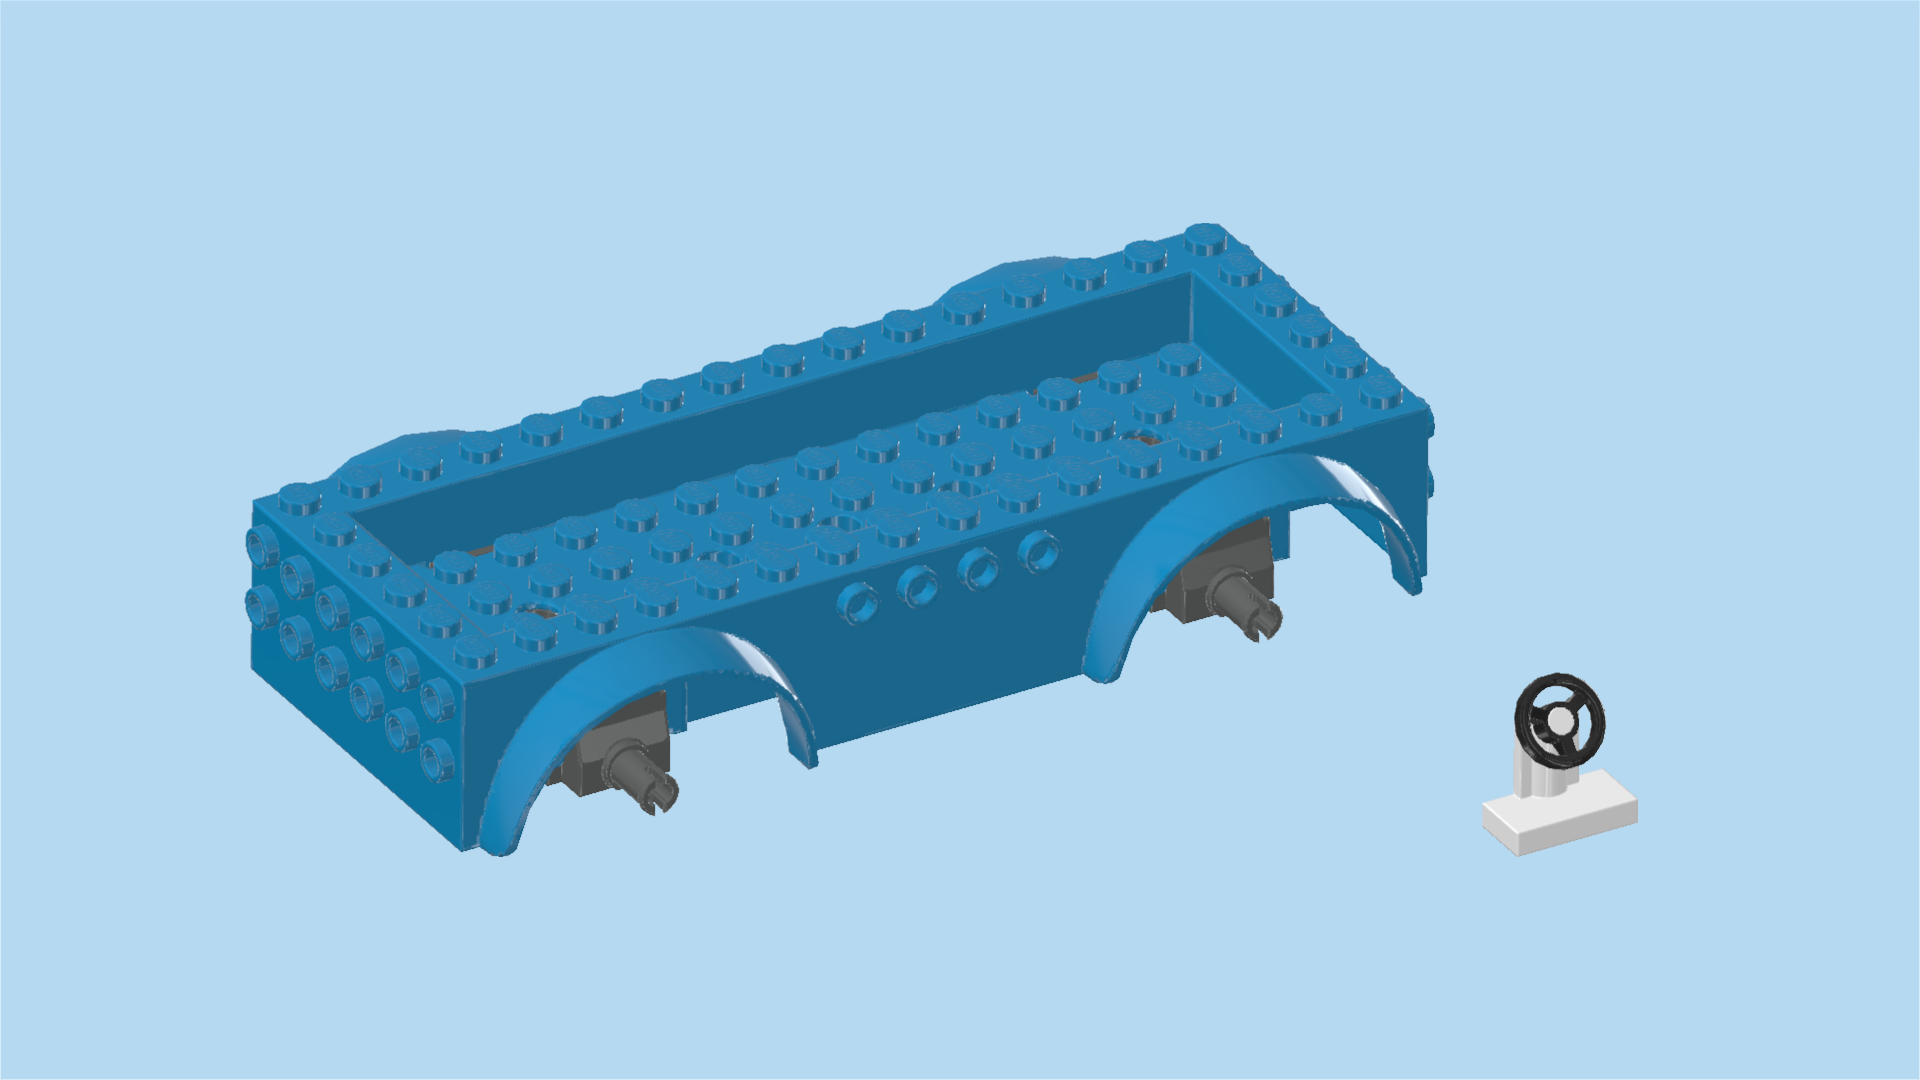
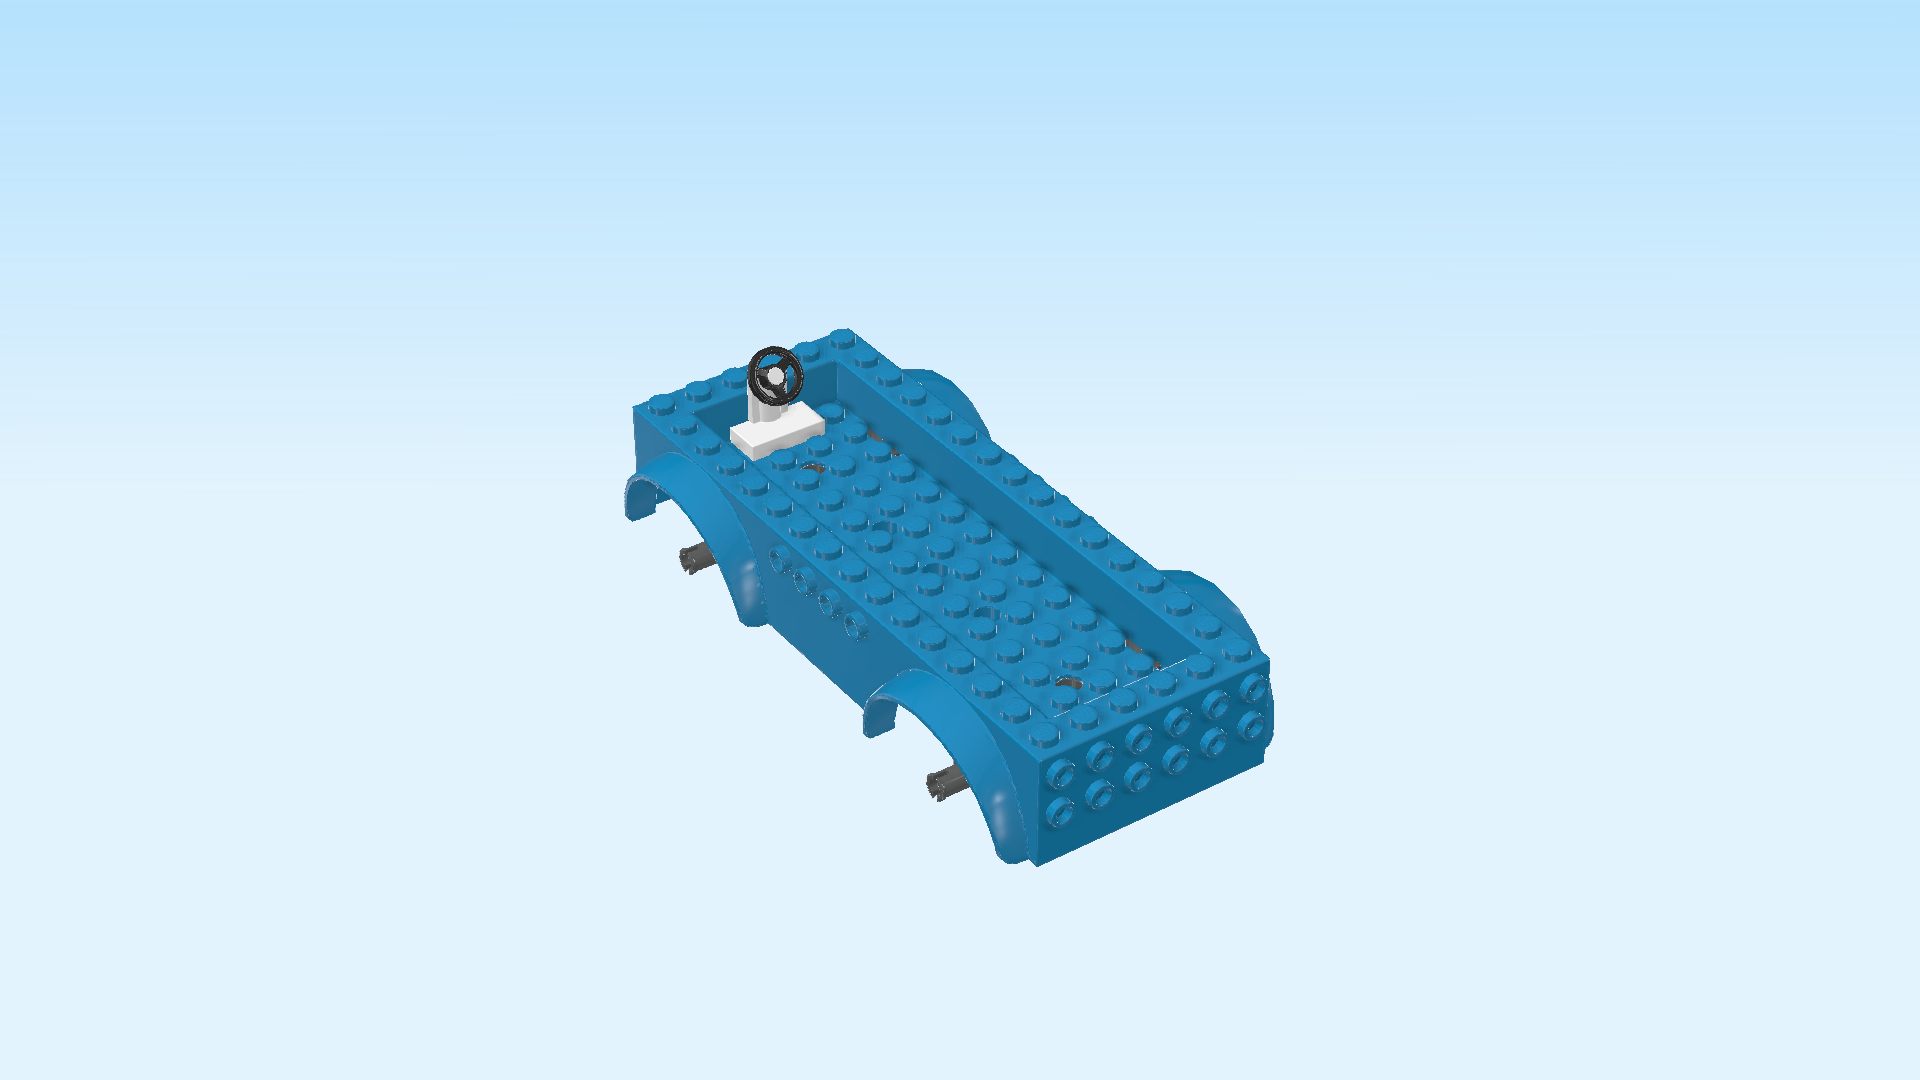
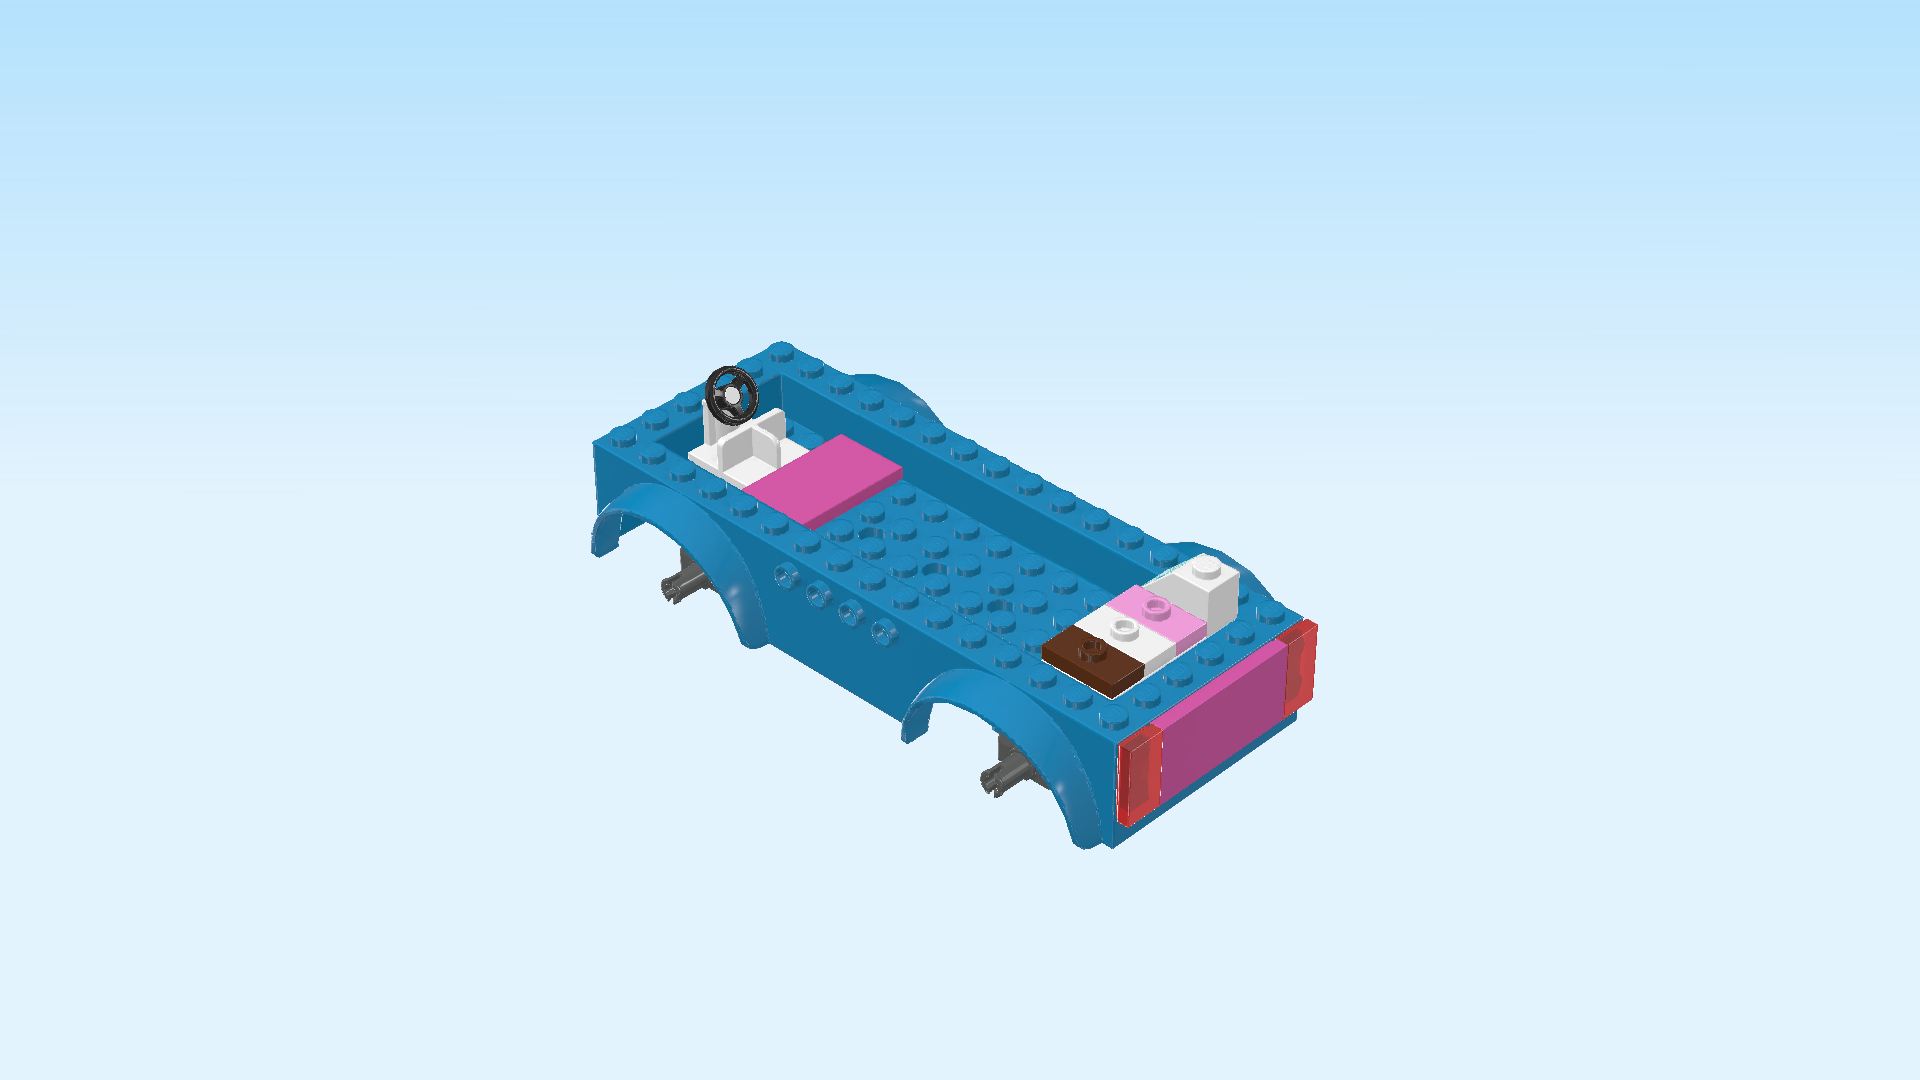
The box contains 2 booklets with visual building instructions, 2 bags with numbers printed on them, and 1 loose piece: a wagon bottom. Ask a sighted person to help you find the correct bag!

Carefully open bag number 1 and any small sub-bags in it. This bag contains all bricks and pieces for the Andrea Minidoll and the picnic table as well as the Dash figurine.

Before you start building, ask a sighted person to help you sort the pieces by color. This makes finding the correct pieces even easier!

First, we will build the Andrea Minidoll.

Collect the following 2 pieces:

1 medium nougat brown and white Minidoll upper body,

and 1 earth blue and medium nougat brown pair of legs with skirt.

Put the upper body on the legs.

Collect the following 2 pieces:

1 dark brown and teal blue hairpiece with curly hair and hairband,

and 1 medium nougat brown Minidoll head.

Put the head on the body.

Put the hair on top.

Collect the following 2 pieces:

1 pale ocher yellow inverted cone 1x1 with shaft,

and 1 white piece with 3 ice cream scoops 1x1.

Put the ice cream scoops on the knob of the inverted cone.

Snap the shaft of the cone into Andrea's left hand. It's an ice cream cone!

The Andrea Minidoll is finished! Well done! She is wearing pink half-boots with lilac soles and laces, a dark blue skirt, a white sleeveless top with a golden crown print on it and a turquoise sleeveless vest with flat collar. She is wearing her curly hair up, a turquoise hair band keeping it in place. Andrea has brown eyes and dark red lips.

Now, we will assemble the Dash figurine with bone.

Collect the following 2 pieces:

1 reddish brown dog figurine,

and 1 white bone.

Dash is a dark brown puppy with a light blue dog collar and a silver star-shaped tag. He has brown eyes and a black snout. He is patiently sitting down, waiting for his treat.

Next, we will build the picnic table.

Collect the following 2 pieces:

1 bright yellow inverted double roof tile 4x6 with 3 holes, 45°,

and 1 bright yellow brick 2x4.

Put the inverted roof tile 4x6 horizontally on the table. This means that the slopes are to the left and right.

Put the brick 2x4 vertically on the 2 middle columns.

Find 1 bright yellow brick 2x4.

Put it vertically on top of the previous piece.

Find 2 bright purple flat tiles 2x4.

Put 1 vertically on the rightmost column, 1 column overhanging to the right.

Repeat symmetrically on the left, 1 column overhanging to the left.

Find 1 reddish brown plate 4x4.

Put it centered on the 2 bricks in the middle, 1 row overhanging to the left, 1 row overhanging to the right.

Collect the following 3 pieces:

2 bright yellowish green plates 1x2 with 1 knob,

and 1 white round plate 2x2 with 1 knob.

Put the round plate 2x2 on the 4 middle knobs of the previous piece.

Put 1 plate 1x2 vertically to the right of the previous piece, and the other one vertically to the left of the previous piece.

Next, we will make the sunshade.

Collect the following 2 pieces:

1 white shaft with ring 6m, (6m means that this piece is roughly 6 knobs long)

and 1 transparent raspberry red umbrella top 6x6.

Hold the shaft in your hand, ring at the bottom.

Insert the shaft into the umbrella's middle hole from the bottom.

The sunshade is finished! Mount it by inserting the bottom of the shaft into the hole in the middle of the table.

Now, we will make a chocolate ice cream cone.

Collect the following 2 pieces:

1 pale ocher yellow inverted cone 1x1 with shaft,

and 1 reddish brown swirly ice cream scoop 1x1. (There is a light purple piece called "cupcake top" that is very similar. The current piece is a bit more pointy than the "cupcake top".)

Put the swirly ice cream scoop on the knob of the cone.

Insert the shaft of the cone into the knob to the right of the sunshade.

Collect the following 2 pieces:

1 dark green flat tile 1x2, (this piece is printed)

and 1 transparent fluorescent green popsicle.

Put the flat tile 1x2 vertically on the front row on the second knob from the right, 1 row overhanging to the front.

The print of this piece is a money note! It has the number 100 on it.

Insert the shaft of the popsicle into the knob to the left of the sunshade.

The picnic table is finished! Great job! Invite your customers to take a seat and enjoy their cool treats in the shade.

Open bag number 2. You can choose to have the bricks sorted by color again. This bag contains all bricks and pieces for the Roxy Minidoll and the Ice-Cream Truck.

Next, we will build the Roxy Minidoll.

Collect the following 2 pieces:

1 light nougat brown and white Minidoll upper body,

and 1 bright yellow and light nougat brown pair of legs with skirt.

Put the upper body on the legs.

Collect the following 2 pieces:

1 light nougat brown Minidoll head,

and 1 lemon yellow hairpiece with side part bob.

Put the head on the body.

Put the hair on the head.

Next, we will assemble the ice-cream scoop.

Collect the following 2 pieces:

1 medium stone grey round plate 1x2 with side handle,

and 1 light purple swirly cupcake top 1x1. (This piece is a bit flatter than the ice cream scoop we used previously.)

Put the swirly cupcake top on the knob of the round plate.

Snap the handle of the ice-cream scoop into Roxy's left hand.

The Roxy Minidoll is finished! Great job! Roxy is wearing light grey ballet flats and a bright yellow skirt as well as a white sleeveless cropped blouse with knot, light-blue button tab, a pink-and-white marbled collar and a breast pocket in the same design. She has blue eyes and pink lips.

Now, we will build the Ice-Cream truck.

Collect the following 2 pieces:

1 dark azure blue wagon bottom 6x16x2 with mudguards and 4 connectors,

and 1 black and white small steering wheel with plate 1x2.

Put the wagon bottom 6x16x2 horizontally on the table.

Put the small steering wheel 1x2 vertically centered on the leftmost column of the low part of the wagon bottom, steering wheel to the right. This means that the higher column on the leftmost edge remains empty.

Find 1 white foot plate 1x2x1. (This is a flat tile 1x2 with a vertical backing panel and a partition panel where the feet of Minidolls fit in.)

Put it vertically to the right of the previous piece, backing plate to the left.

Find 1 bright purple flat tile 2x4.

Put it vertically to the right of the previous piece. It fits neatly into the low part of the wagon bottom surface.

Collect the following 3 pieces:

2 transparent red flat tiles 1x2,

and 1 bright purple flat tile 2x4.

These pieces will be mounted on the side knobs pointing to the right. They can be found on the right edge of the structure. Continue for detailed instructions.

Put 1 flat tile 1x2 upright vertically on the 2 backmost knobs of the side knobs pointing to the right.

Put the flat tile 2x4 upright horizontally in front of the previous piece, also on the side knobs pointing to the right.

Put the other flat tile 1x2 upright vertically in front of the previous piece.

The transparent red flat tiles are the taillights of the truck!

Next, we will build the cash register and ice cream containers.

Collect the following 2 pieces:

1 white roof tile 1x2, 45° (This piece is printed) ,

and 1 white brick 2x4.

Put the brick 2x4 horizontally on the table.

Put the roof tile 1x2 vertically on the leftmost column, slope to the front. This is the cash register printed with a number pad and a slot for credit cards.

Collect the following 3 pieces:

1 light purple plate 1x2 with 1 knob,

1 white plate 1x2 with 1 knob,

and 1 reddish brown plate 1x2 with 1 knob.

These will be the different ice cream flavors!

Put the light purple plate 1x2 vertically to the right of the previous piece.

Put the white plate 1x2 vertically to the right of the previous piece.

Put the reddish brown plate 1x2 vertically to the right of the previous piece.

The cash register and ice cream containers are finished! Great job! Mount it vertically on the rightmost edge of the low part of the wagon bottom, cash register at the back. Make sure that the higher column on the rightmost edge remains empty again.

What do you think: which color stands for each ice-cream flavor?

Find 1 white brick 1x6.

Put it horizontally on the backmost row of the low part to the left of the cash register.

Collect the following 3 pieces:

1 white brick 1x6,

and 2 white bricks 1x2.

Put the brick 1x6 vertically on the leftmost column of the structure.

Put 1 brick 1x2 horizontally to the right of the previous piece on the backmost row.

Repeat symmetrically on the frontmost row with the other brick 1x2.

Find 3 bright purple flat tiles 1x4.

Put all 3 horizontally next to each other to the left of the previous piece. This means that they will cover the rest of the front row, leaving its rightmost knob empty.

Find 1 transparent windscreen 6x3x2.

Put it vertically on the leftmost edge, slope to the left.

Find 1 transparent wall element 1x4x3 with 4 top knobs.

Put it horizontally to the right of the previous piece on the backmost row, panel to the back.

Next, we will build the fridge.

Collect the following 2 pieces:

1 white cupboard 2x3x2,

and 1 transparent light blue door 3x2 with small handle.

The door has 2 small bumps opposite of the side with the handle. They will act as the door hinges.

Snap the 2 bumps into the cupboard on the left edge. Make sure the door handle is to the front when closing the door.

The fridge is finished! Great! Put it horizontally on the 2 backmost rows to the right of the transparent wall element, door handle to the front.

Collect the following 2 pieces:

1 white roof tile 2x3 45°,

and 1 white brick 1x1x3.

Put the roof tile 2x3 horizontally on top of the fridge, slope to the front.

Put the brick 1x1x3 to the right of the previous piece on the backmost row.

Find 1 transparent wall element 1x4x3 with 4 top knobs.

Put it horizontally to the right of the previous piece, panel to the back.

Find 1 transparent wall element 1x6x3 with 2 top knobs.

Put it vertically on the rightmost column, panel to the right. This is the rear window.

Find 2 white bricks 1x6.

Put 1 vertically on top of the previous piece.

Put the other one horizontally to the left of the previous piece on the backmost row.

Find 2 white bricks 1x6.

Put 1 horizontally to the left of the previous piece.

Put the other one vertically on the leftmost column.

Collect the following 3 pieces:

2 bright yellow curve bricks 1x6 with 2 knobs,

and 1 bright yellow brick 1x2 with 2 side knobs on each long side.

Put 1 brick 1x6 horizontally on the backmost row, starting from the left edge, slope to the left.

Put the brick 1x2 horizontally to the right of the previous piece.

Put the other brick 1x6 horizontally to the right of the previous piece, slope to the right.

Collect the following 4 pieces:

2 bright yellow flat tiles 1x2,

and 2 bright yellow flat tiles 1x3.

Put 1 flat tile 1x3 vertically in front of the previous piece on the rightmost column.

Put 1 flat tile 1x2 vertically in front of the previous piece.

Repeat symmetrically on the leftmost column with the other flat tile 1x3 and flat tile 1x2.

Find 1 bright purple flat tile 1x4.

Put it horizontally centered on the backmost row. 1 knob to its left and 1 knob to its right will remain empty.

Collect the following 2 pieces:

1 white flat tile 2x4, (this piece is printed)

and 1 white fence element 1x4x1.

Flip the flat tile 2x4 upright so that the print is towards you. Mount it horizontally on the 2 knobs pointing towards you directly underneath the previous piece on the inside of the truck. Do not confuse these with the 4 knobs pointing to the front at the bottom between the 2 mudguards.

The piece is printed with the menu of the ice cream truck: there is 1 yellow popsicle symbol, 1 ice cream cone with chocolate and cookie flavor, 1 ice cream cone with vanilla sprinkle and lemon swirl flavor, and 1 ice cream cone with strawberry flavor. The first two cost 1, the other two cost 2 each. The background is white with a blue swirl.

Put the fence element upright horizontally on the 4 side knobs pointing to the front between the 2 mudguards. Make sure the fence is at the bottom, sticking out towards the front.

This element is the serving tray! You can put the ordered ice creams into the holes of the fence until the customers can pick them up.

Next, we will build the larger-than-life ice cream cone sign.

Collect the following 2 pieces:

1 purple violet dome 3x3x1⅓ with 1 knob,

and 1 reddish brown plate 2x2 with melting edges.

Put the plate 2x2 with melting edges on the table.

Put the dome 3x3 on top.

Find 1 white dome 2x2 with 1 knob.

Put it on top of the previous piece.

Find 1 medium nougat brown inverted cone 2x2x2.

Put it underneath, cone tapering towards the bottom.

Find 1 medium stone grey l-shaped shaft 5m x 2m. (This means that the length of the l-shaped shaft is roughly 5 knobs by 2 knobs.)

Insert the longer end of the l-shaped shaft into the cone from the bottom and push it all the way in.

If done correctly, only the shorter part of the l-shaped shaft will stick out.

The larger-than-life ice cream cone sign is finished! Well done! Insert the shaft into one of the two hollow knobs on the back side of the truck. These hollow knobs are at the top edge in the middle just below the flat tile 1x4. You can adjust the orientation of the larger-than-life ice cream cone to your liking, for instance, at an angle so that the scoops of ice cream are pointing to the top right.

Next up, we will assemble the 4 wheels.

Collect the following 8 pieces:

4 white wide rims with hole and spokes,

and 4 black wide rubber tires with high profile.

Let's start with one wheel. Put 1 rim into 1 tire.

Use the same procedure for the remaining 3 wheels.

Snap the wheels onto the 4 connectors of the waggon bottom. Make sure the spokes are facing inwards.

Find 1 white curve plate 4x6x⅔ with 4 knobs. (This piece is printed.)

Mount it upright horizontally on the side knobs pointing to the left on the left edge of the structure. Ask for help for the correct orientation of the print.

The piece is printed with headlights with pink housing, a pink front bumper as well as airbrushing with pink, yellow and light blue sprinkles on light blue patterns that make it look like ice cream is melting underneath the headlights.

The Ice-Cream Truck is finished! Well done! Time to get in and serve your ice-cream to your hungry customers. Scoop vanilla, strawberry and chocolate ice cream, and don't forget the popsicles!

You have finished building the entire set! Fantastic! Olivia and Roxy can take turns selling ice cream and popsicles and playing with Dash in the sun. Whenever they are tired, they can take a rest on the picnic bench and enjoy some frosty treats.

Enjoy!