| LEGO Audio & Braille Building Instructions for the LEGO Friends set "Pet Adoption Cafe". |
| Hang out at the Pet Adoption Cafe and help furry friends in need. Lift the rescued animals from Priyanka’s trike. Help them into the building through the pet door. Make the new animals comfortable in their new home. Get to know them while you grab a coffee and relax in the cozy reception area. Perhaps one will become a forever friend you can take home! |
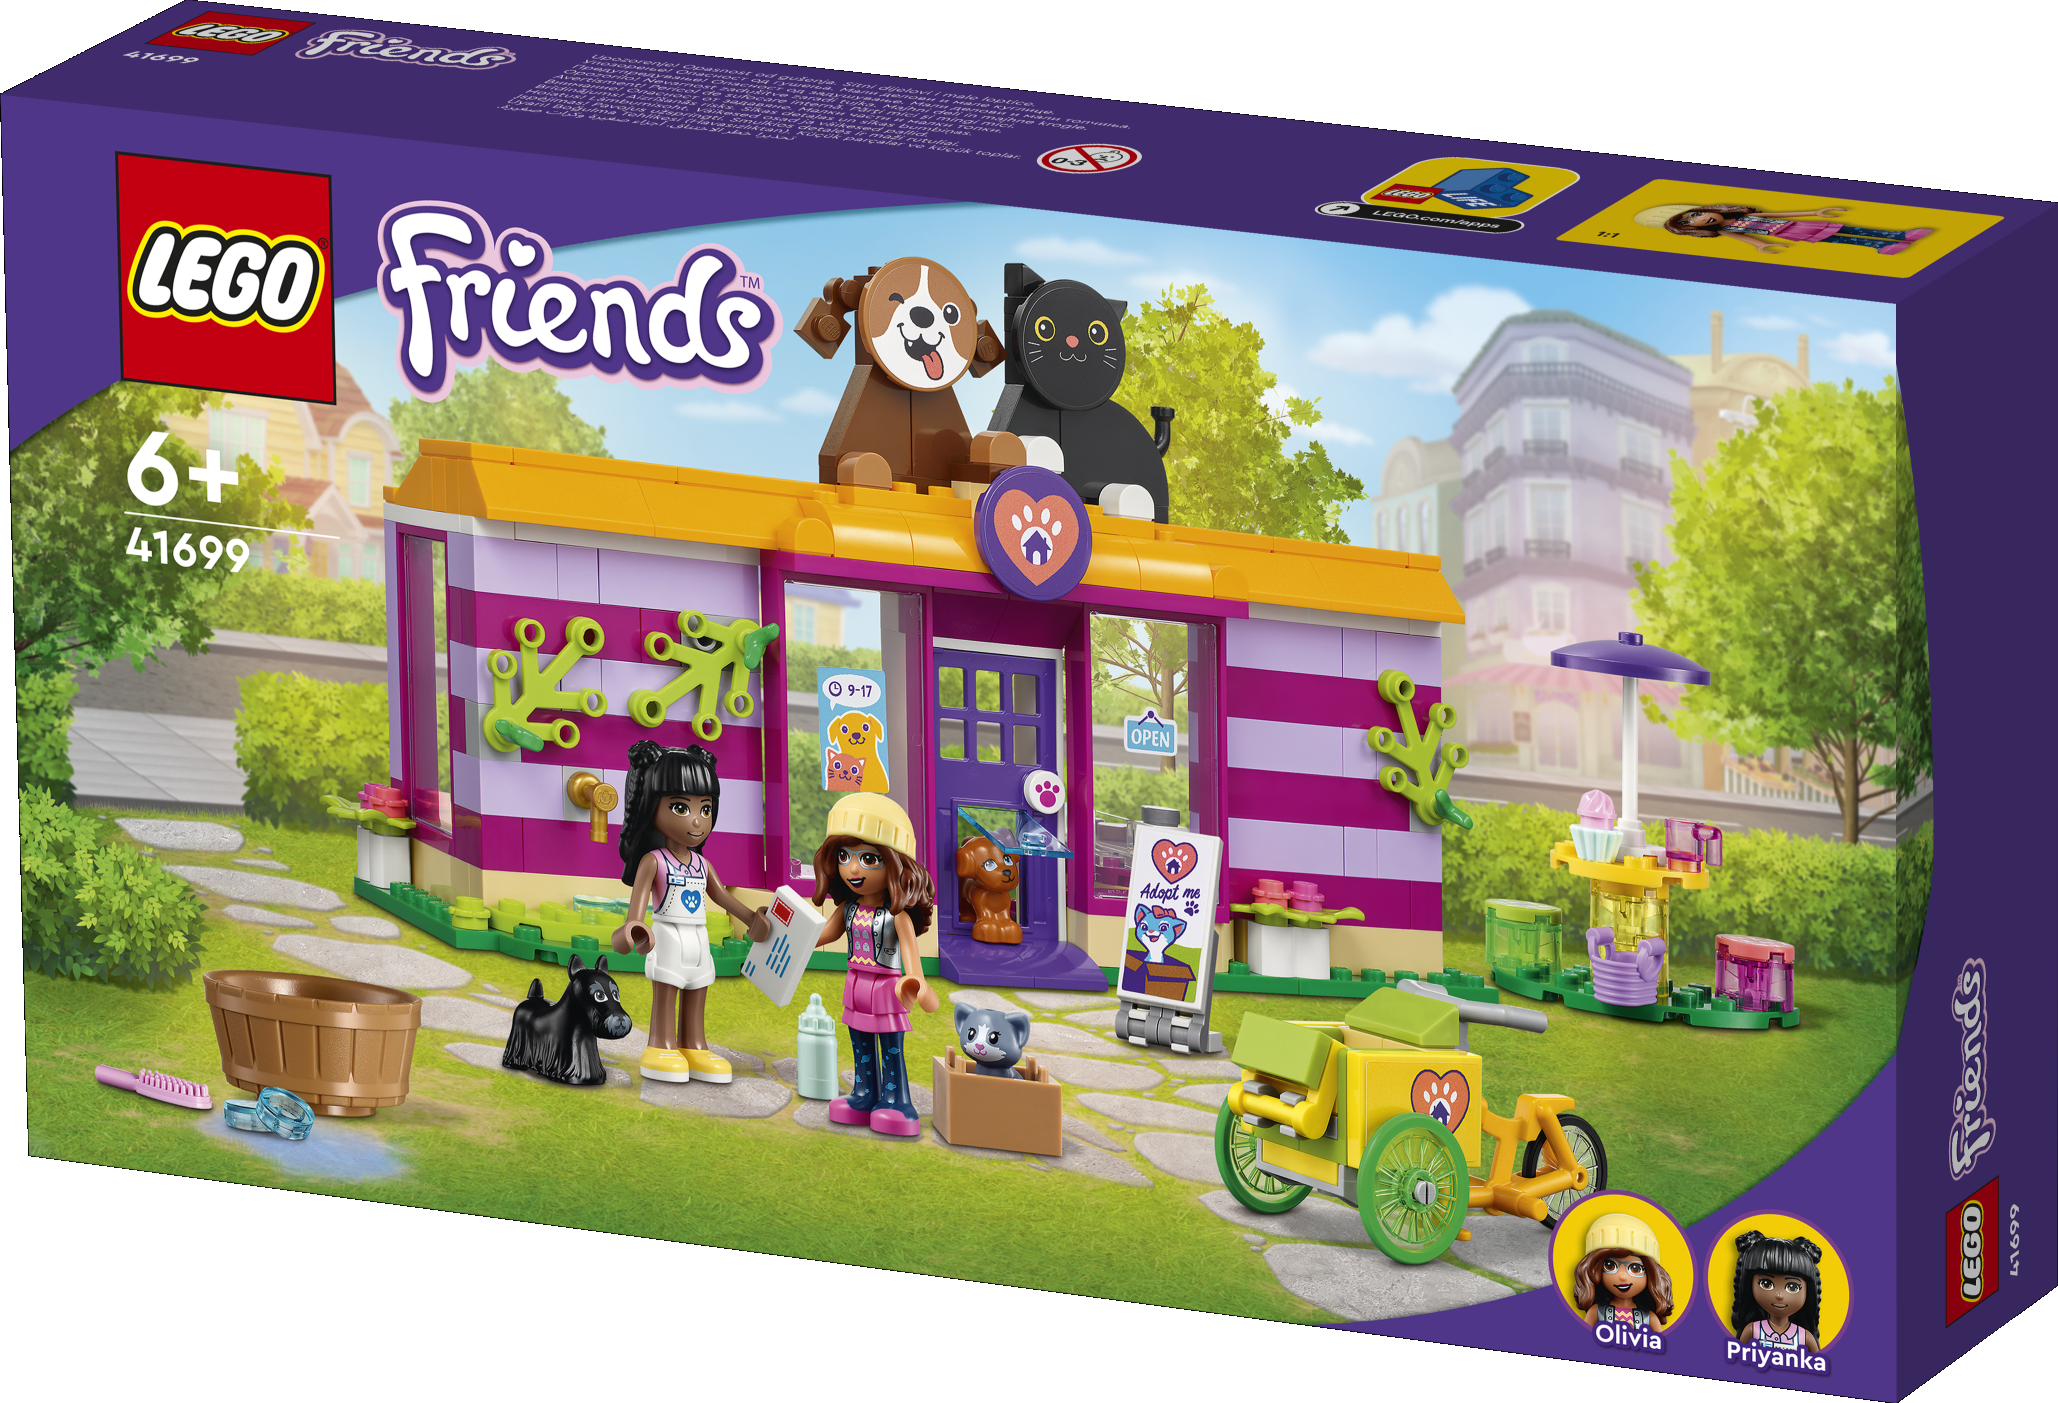
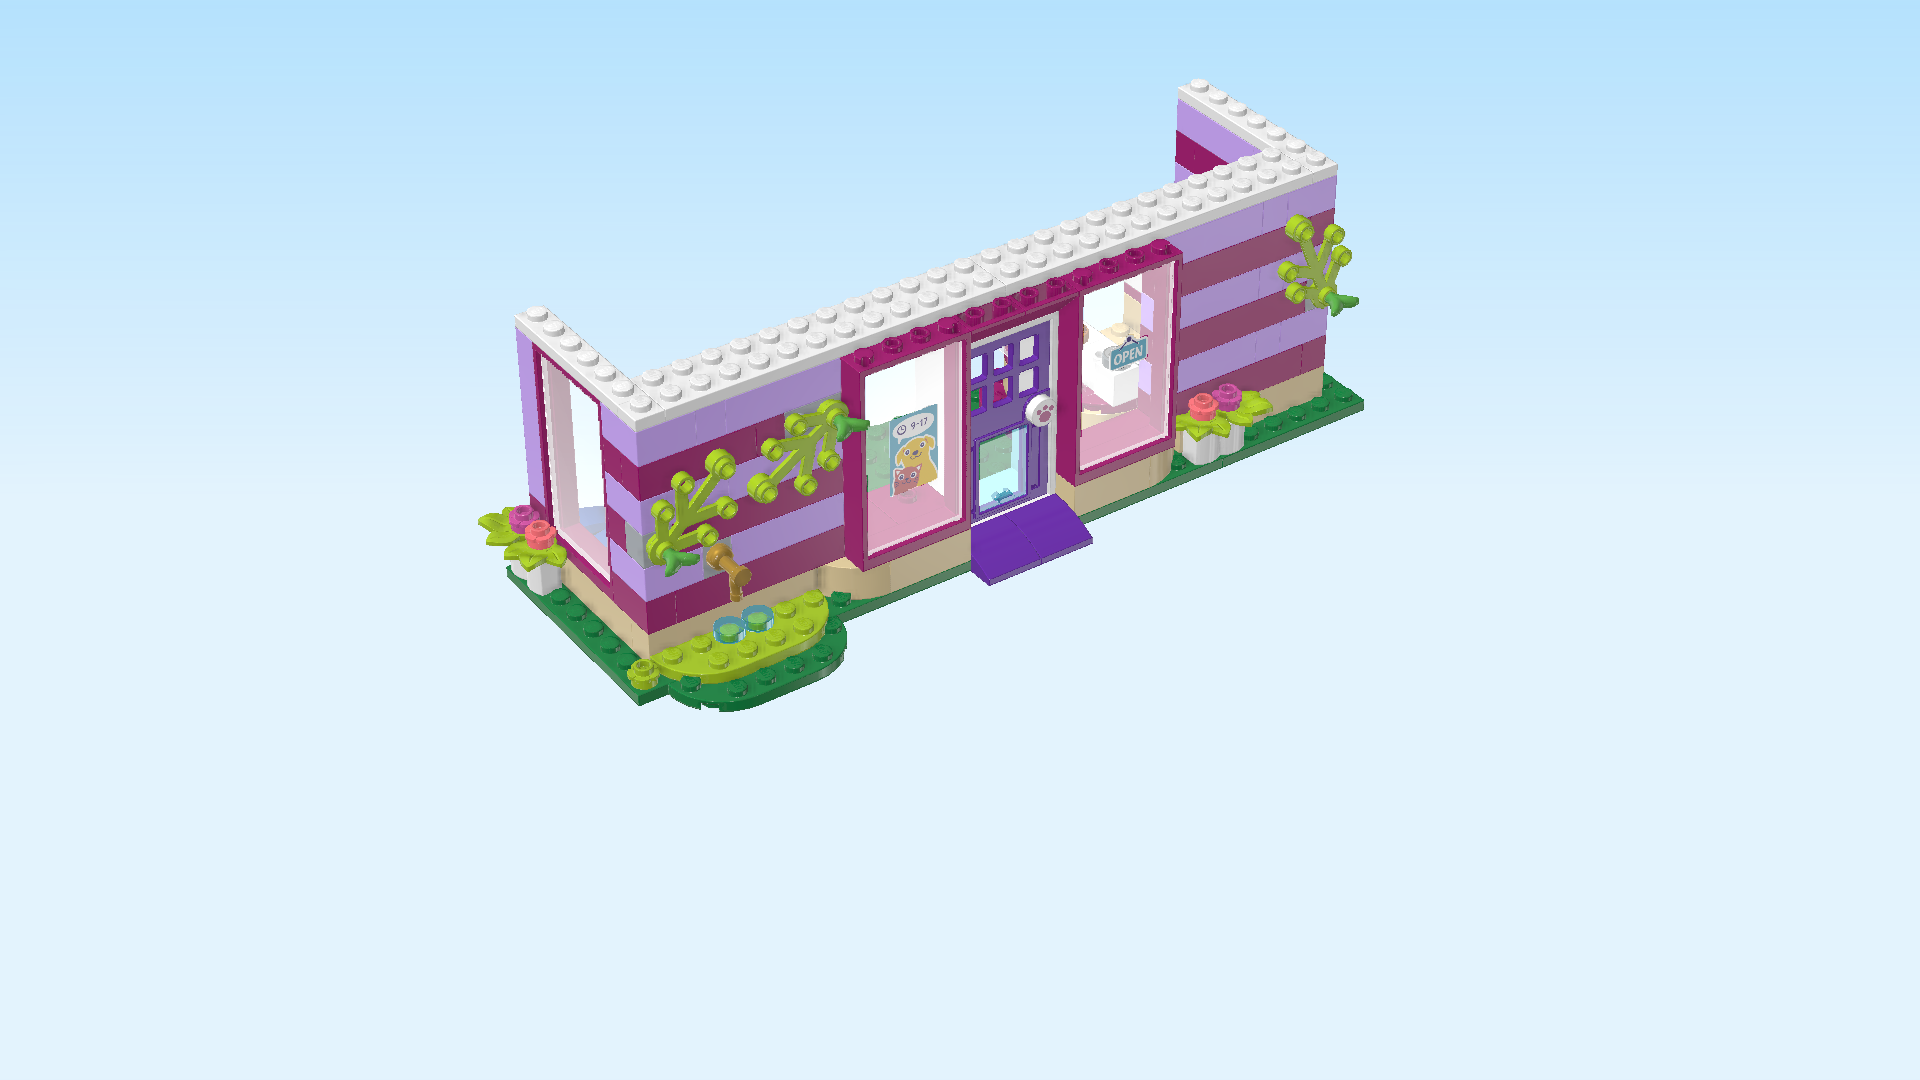
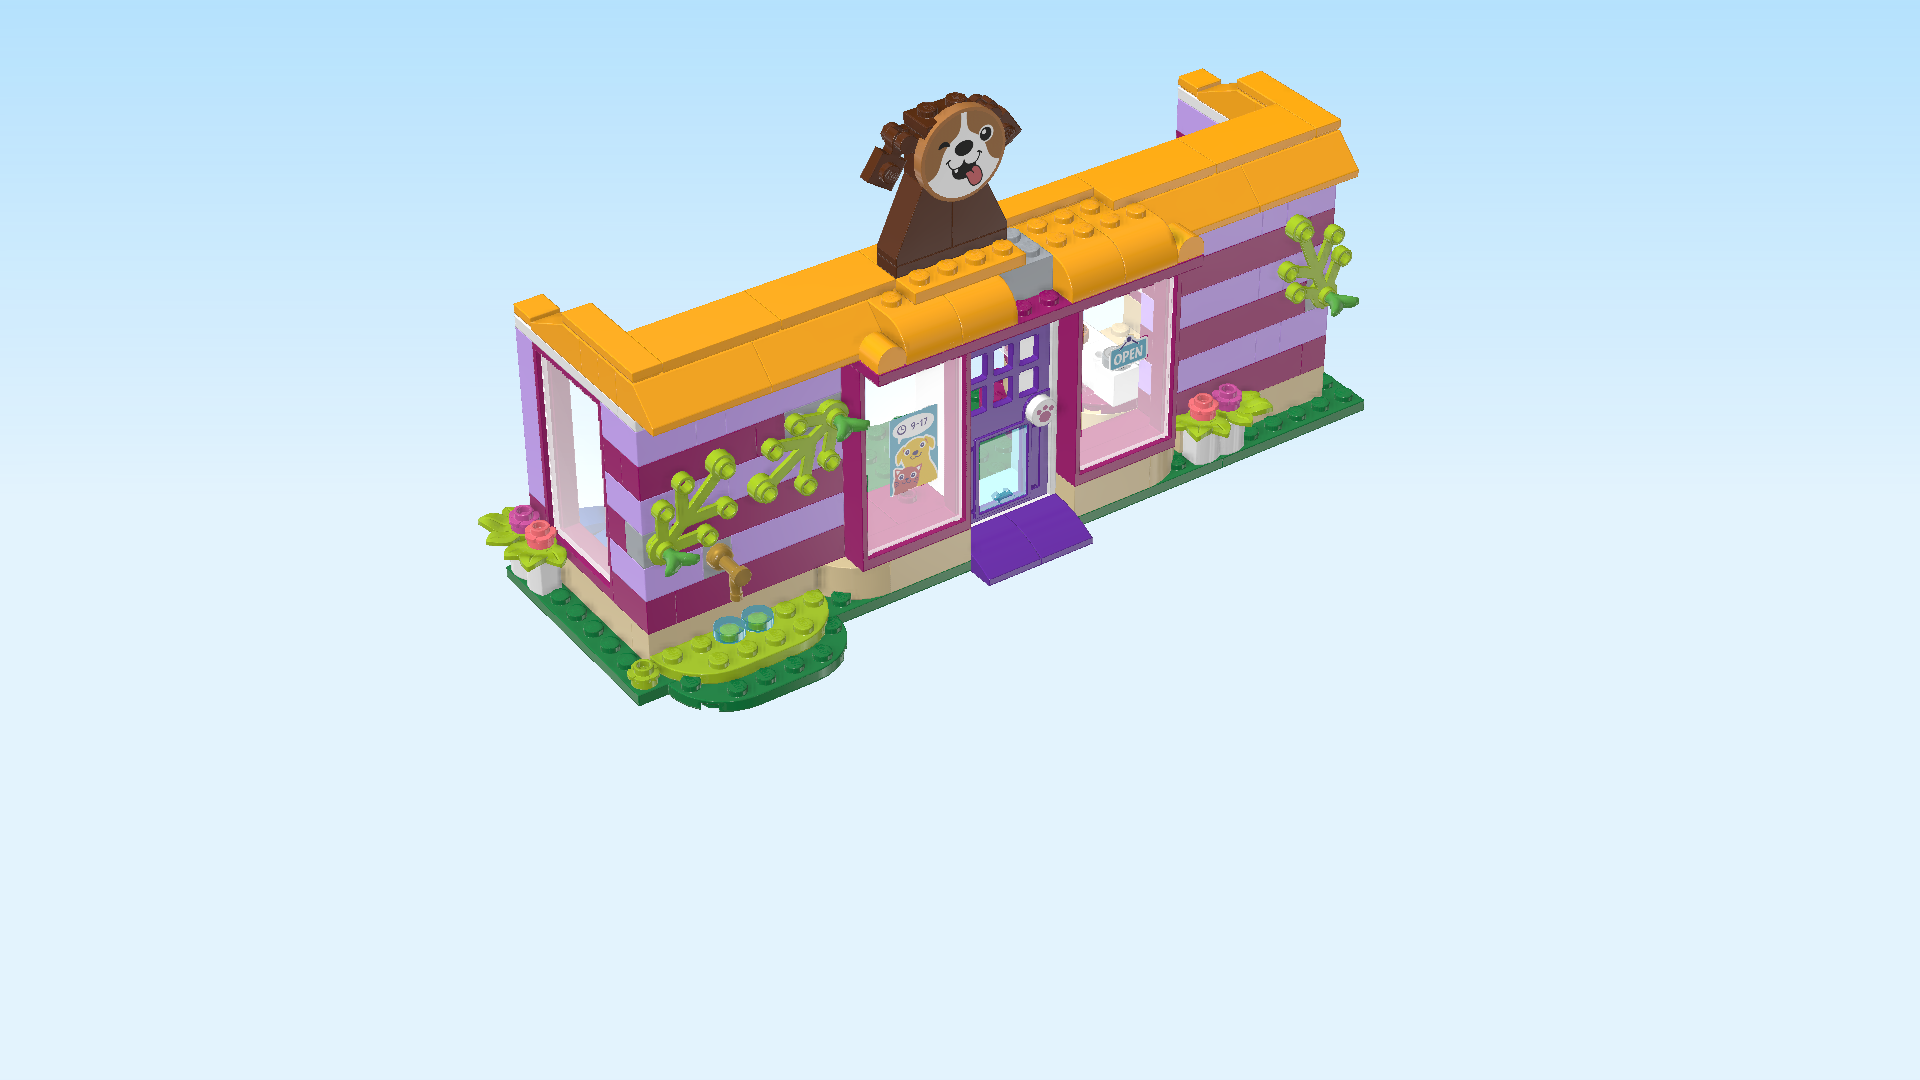
| The box cover shows the pet adoption cafe situated in a lovely garden with a neat lawn surrounded by some bushes and trees. A garden path made from large irregularly-shaped stones leads up to the cafe's front door in the middle; a side path leads to the sidewalk and street behind the cafe on its left. The walls of the cafe have horizontal stripes in lavender and purple, and the roof is bright yellow. On the roof, there are a big dog sign and a big cat sign: you can see them from afar! The cafe has a purple front door with a cat flap (a brown puppy is actually emerging from it this very moment) as well as two front shop windows and one window on the left side wall. It also has a small watering station to the left of the front door. There is an "Adopt me" sign up front to attract new visitors and potential pet parents. The yellow rescue trike is parked on the garden path at the front, ready for the next rescue action. The reception area consists of a table with two stools and a parasol. Olivia and Priyanka are standing on the side garden path. Priyanka is handing Olivia a letter. A sand blue kitten is sitting in a box next to Olivia, and a black terrier dog is patiently waiting for its bath on Priyanka's left. The wash tub is filled and ready for some bubbly fun. In the bottom right corner of the box cover, there are portraits of Olivia and Priyanka. |
| Open the box. This can be tricky; ask someone to help you! |
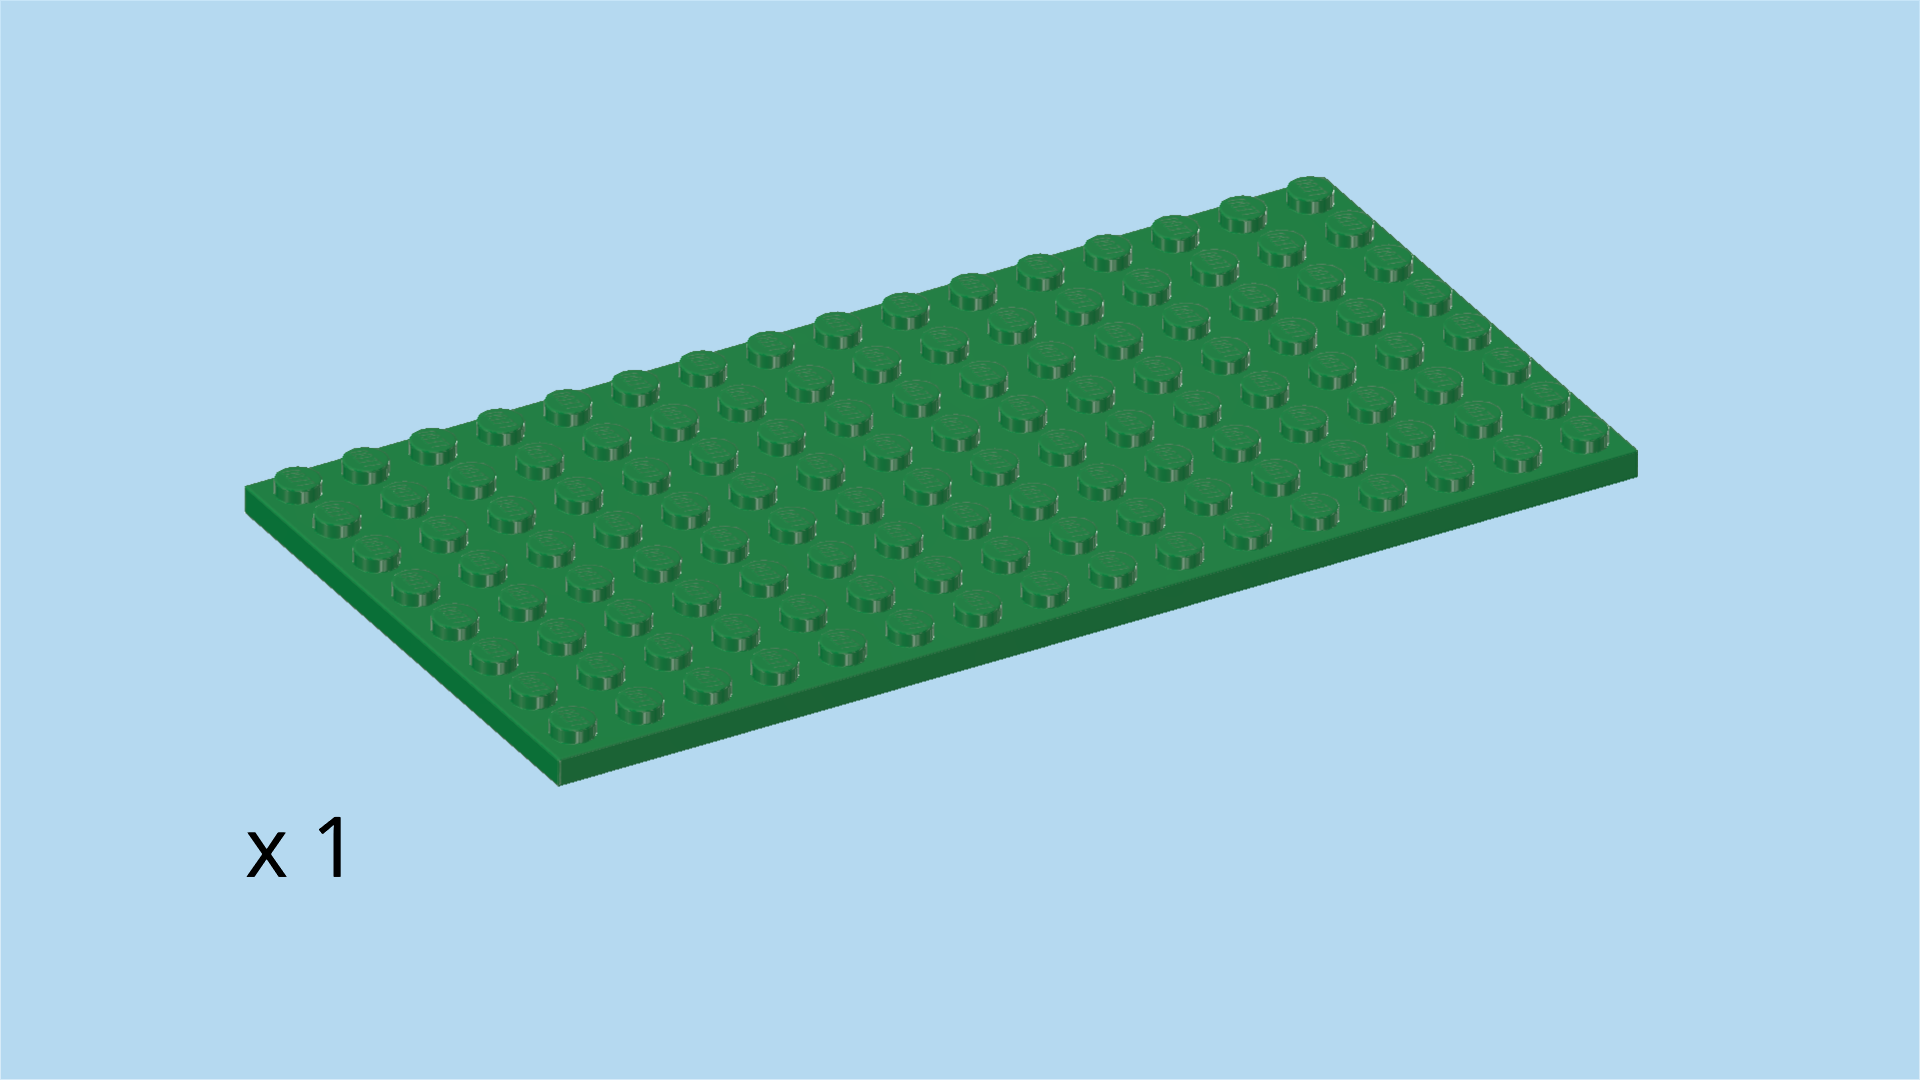
| The box contains 1 booklet with visual building instructions, 3 bags with numbers printed on them, one sticker sheet, and 1 loose piece: a plate 8x16. Ask a sighted person to help you find the correct bag! |
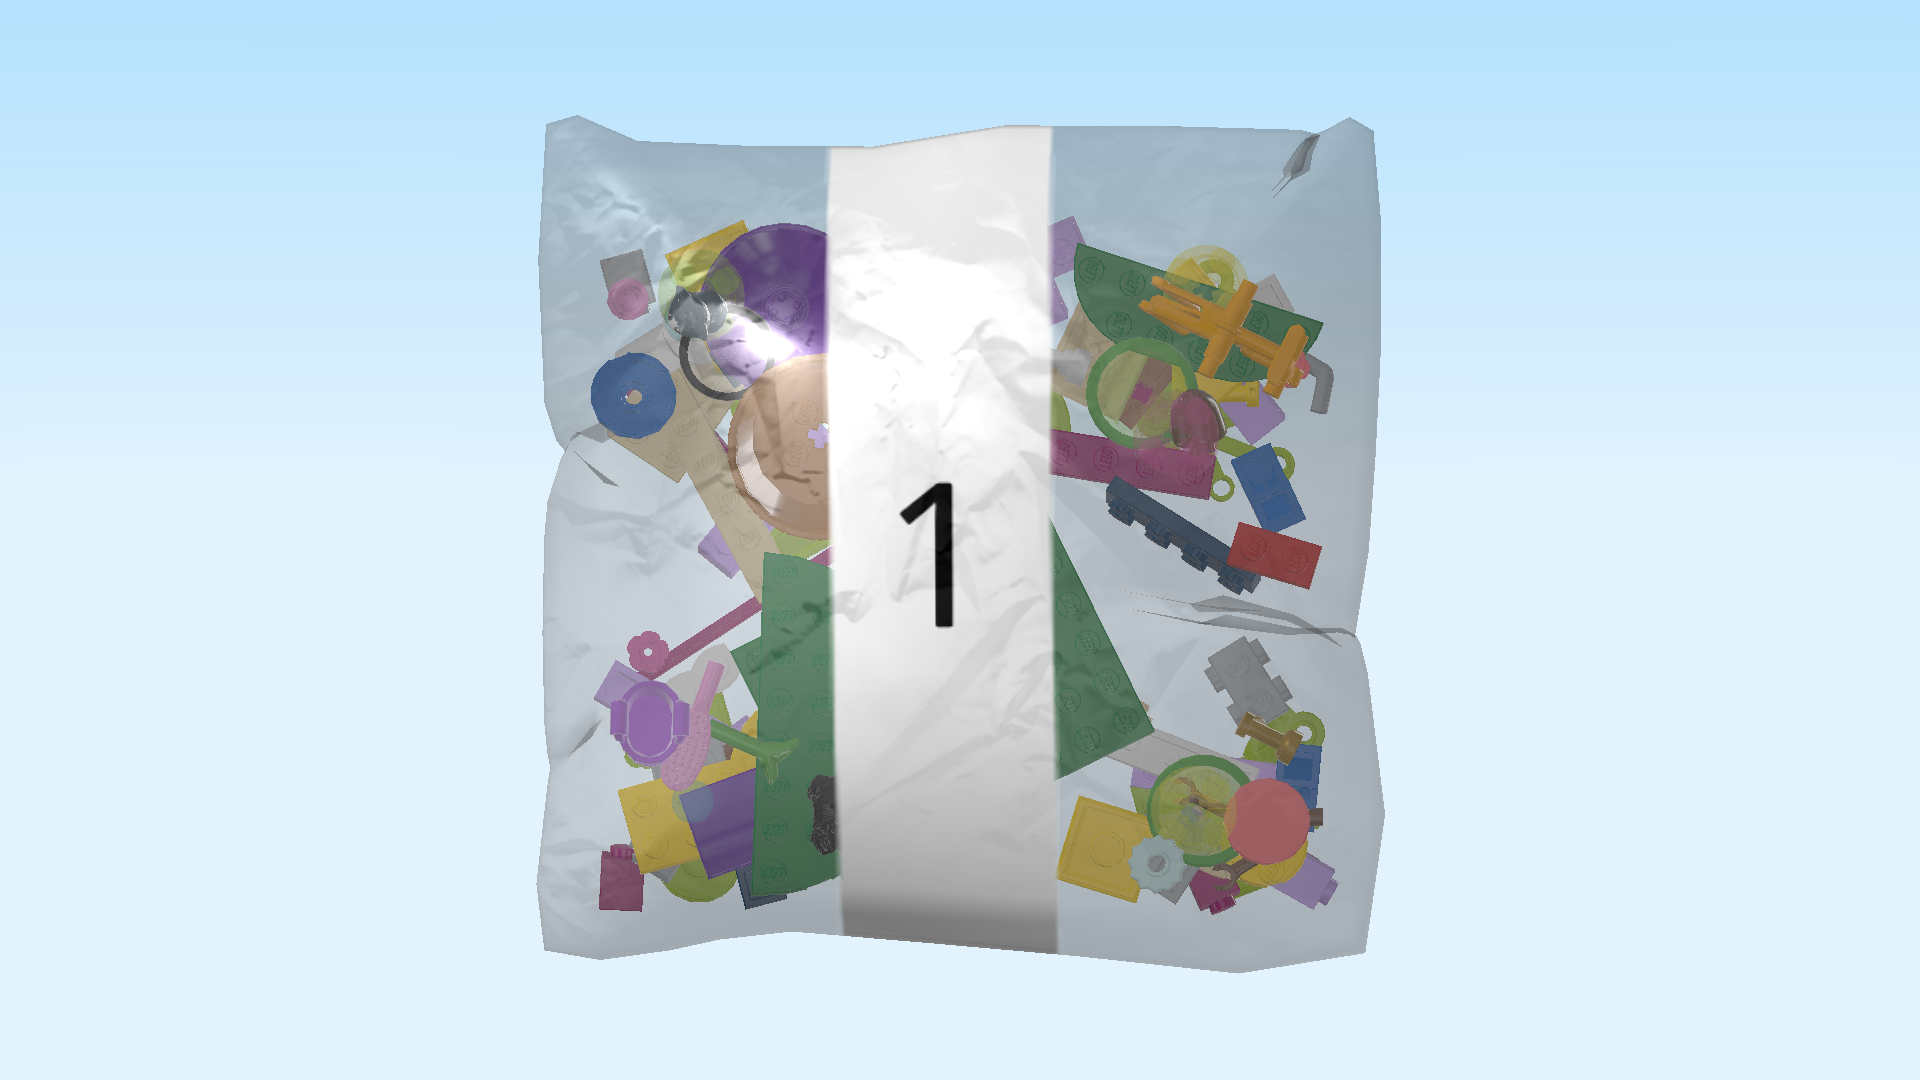
| Carefully open bag number 1 and any small sub-bags in it. This bag contains all bricks and pieces for the Priyanka Minidoll, the rescue trike, the cafe reception area and the first third of the pet adoption cafe. |
| Before you start building, ask a sighted person to help you sort the pieces by color. This makes finding the correct pieces even easier! |
| First, we will build the Priyanka Minidoll. |
| Collect the following 2 pieces: |
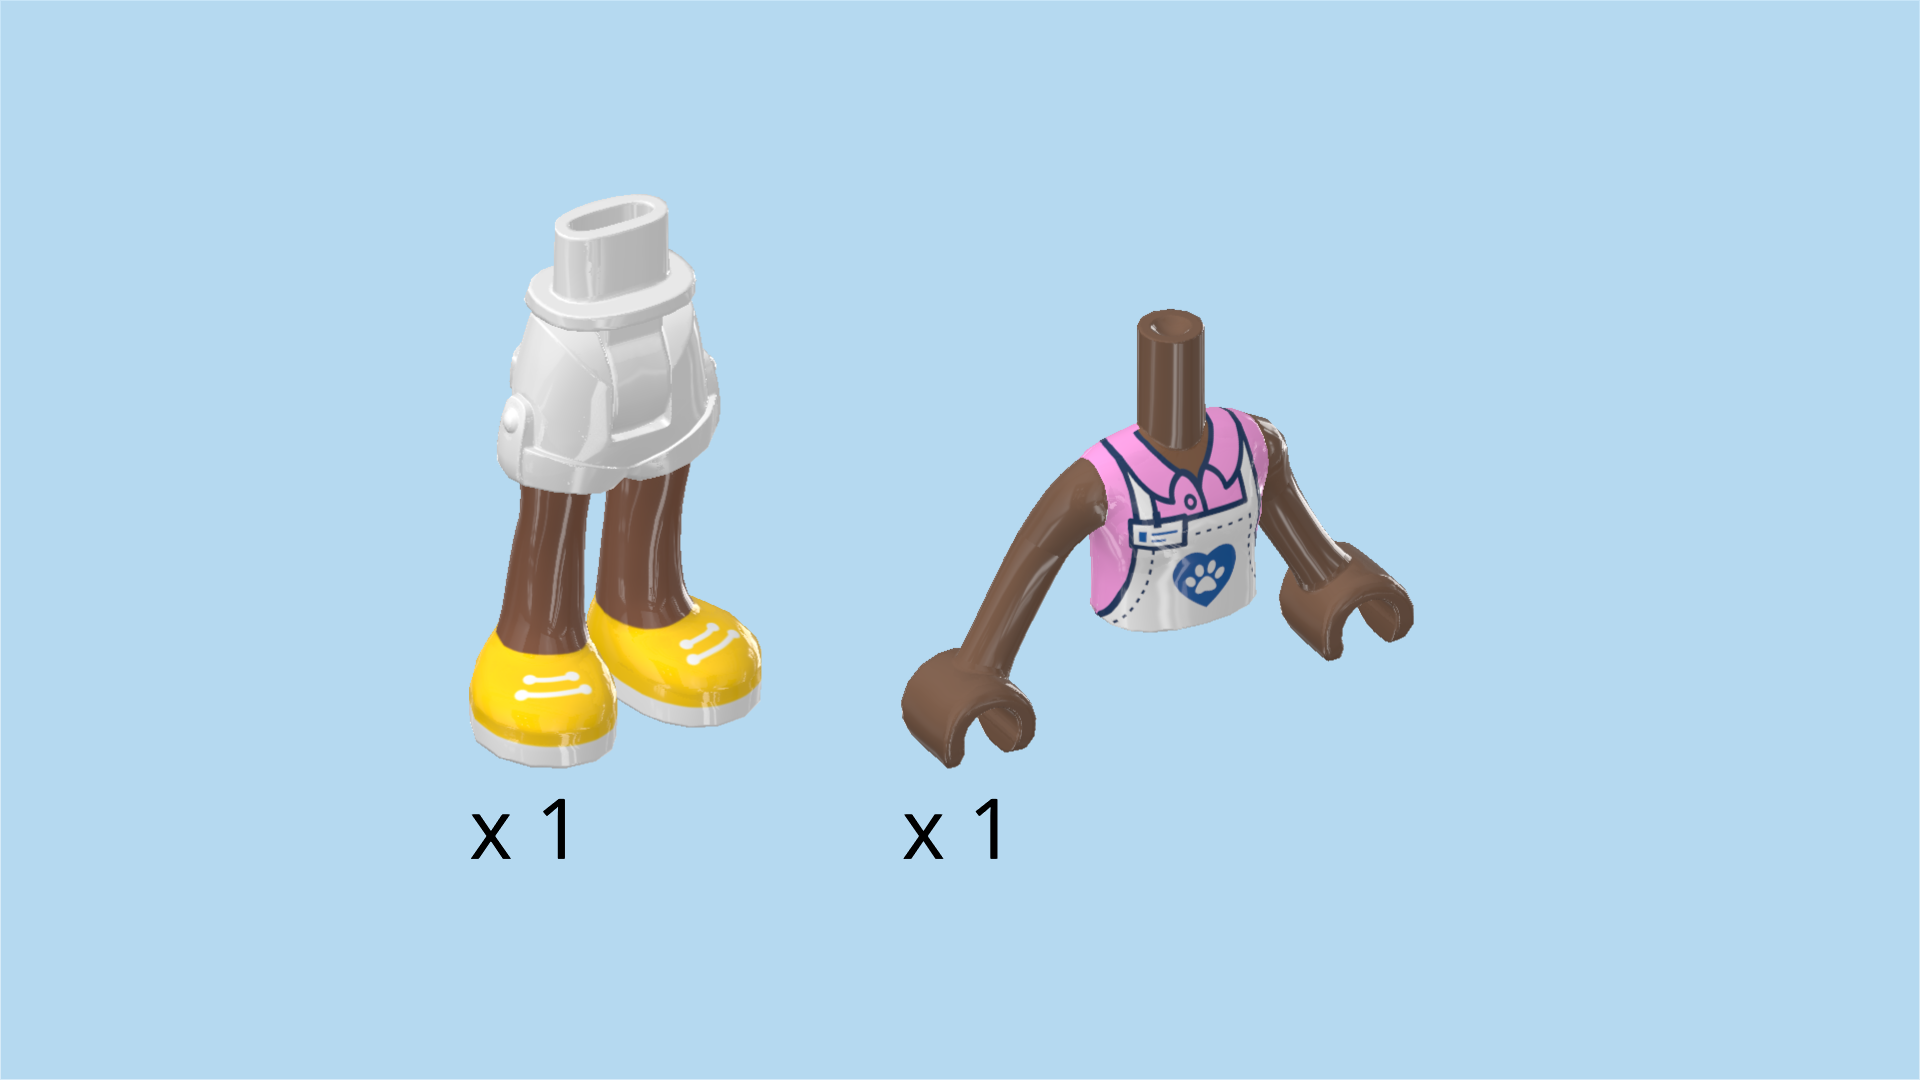
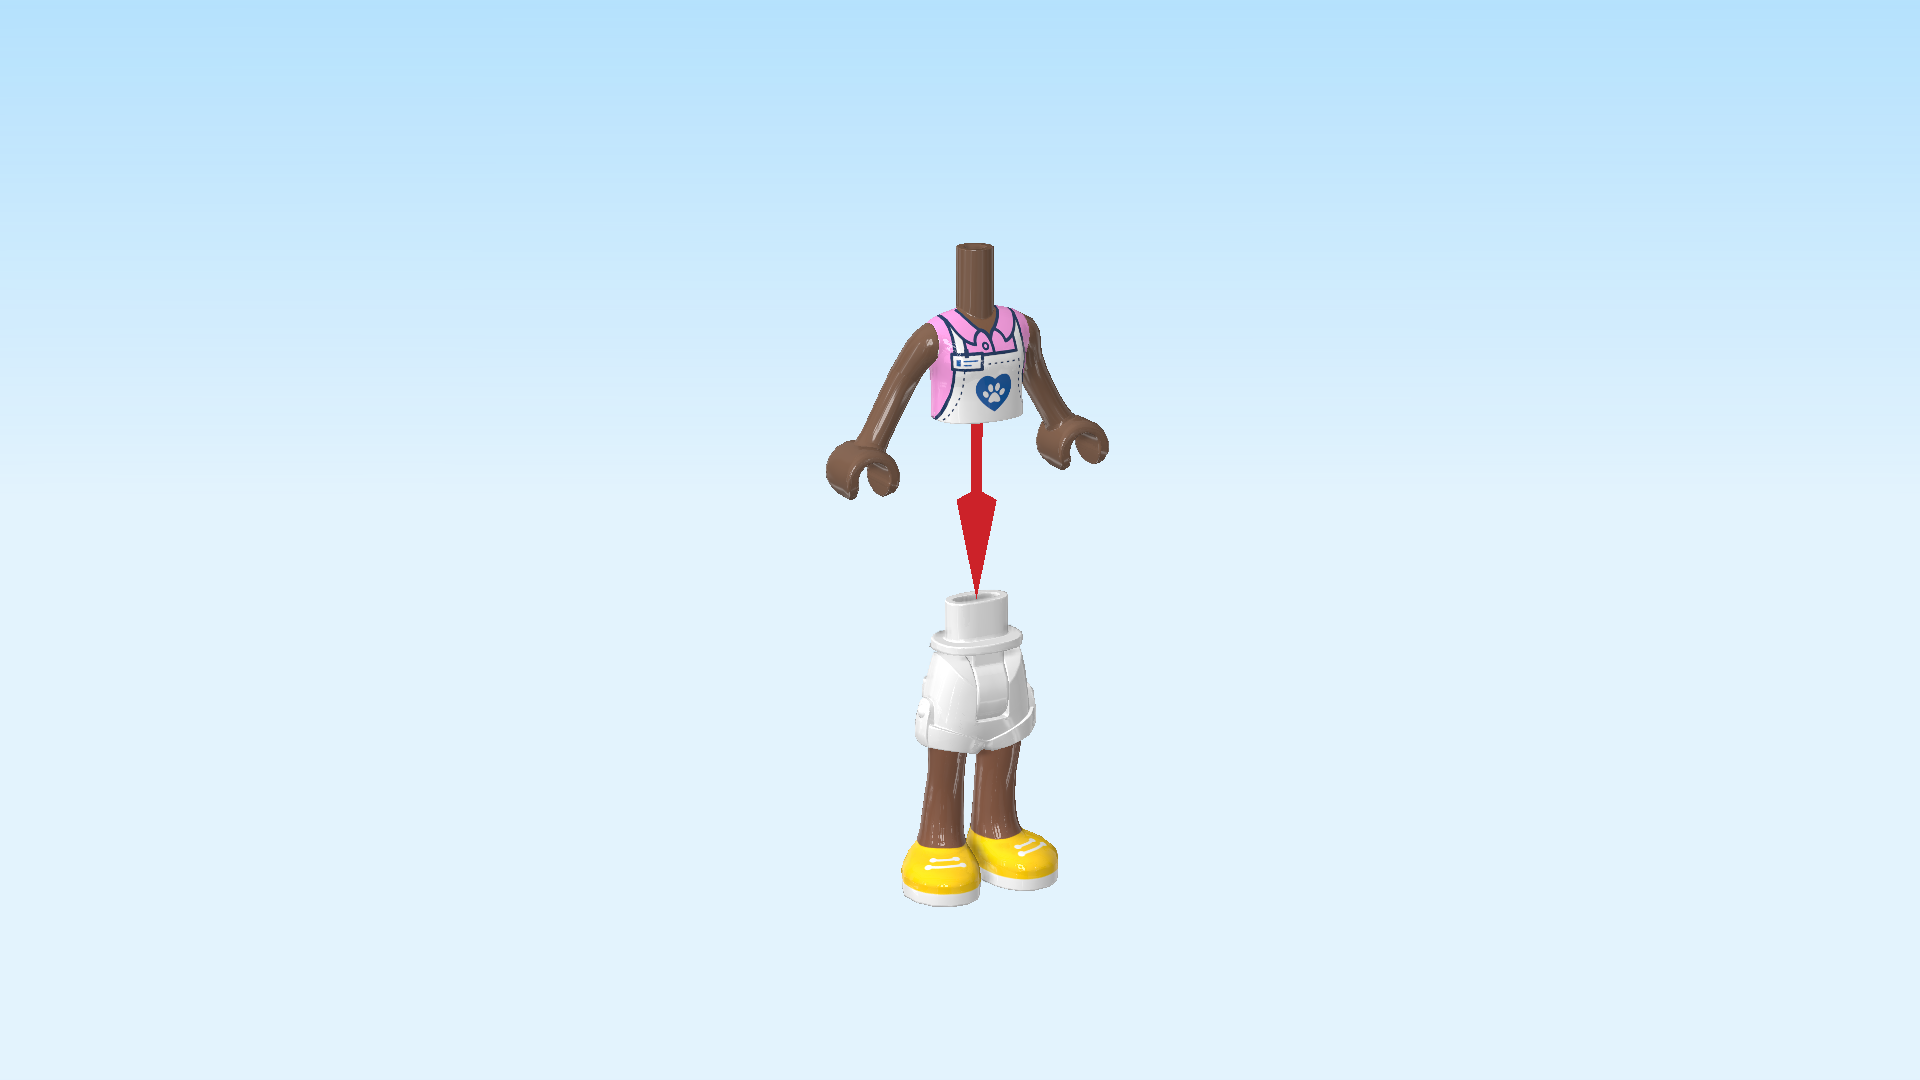
| 1 medium brown pair of legs with white shorts, |
| and 1 medium brown minidoll upper body. |
| Put the upper body on top of the legs. |
| Collect the following 2 pieces: |
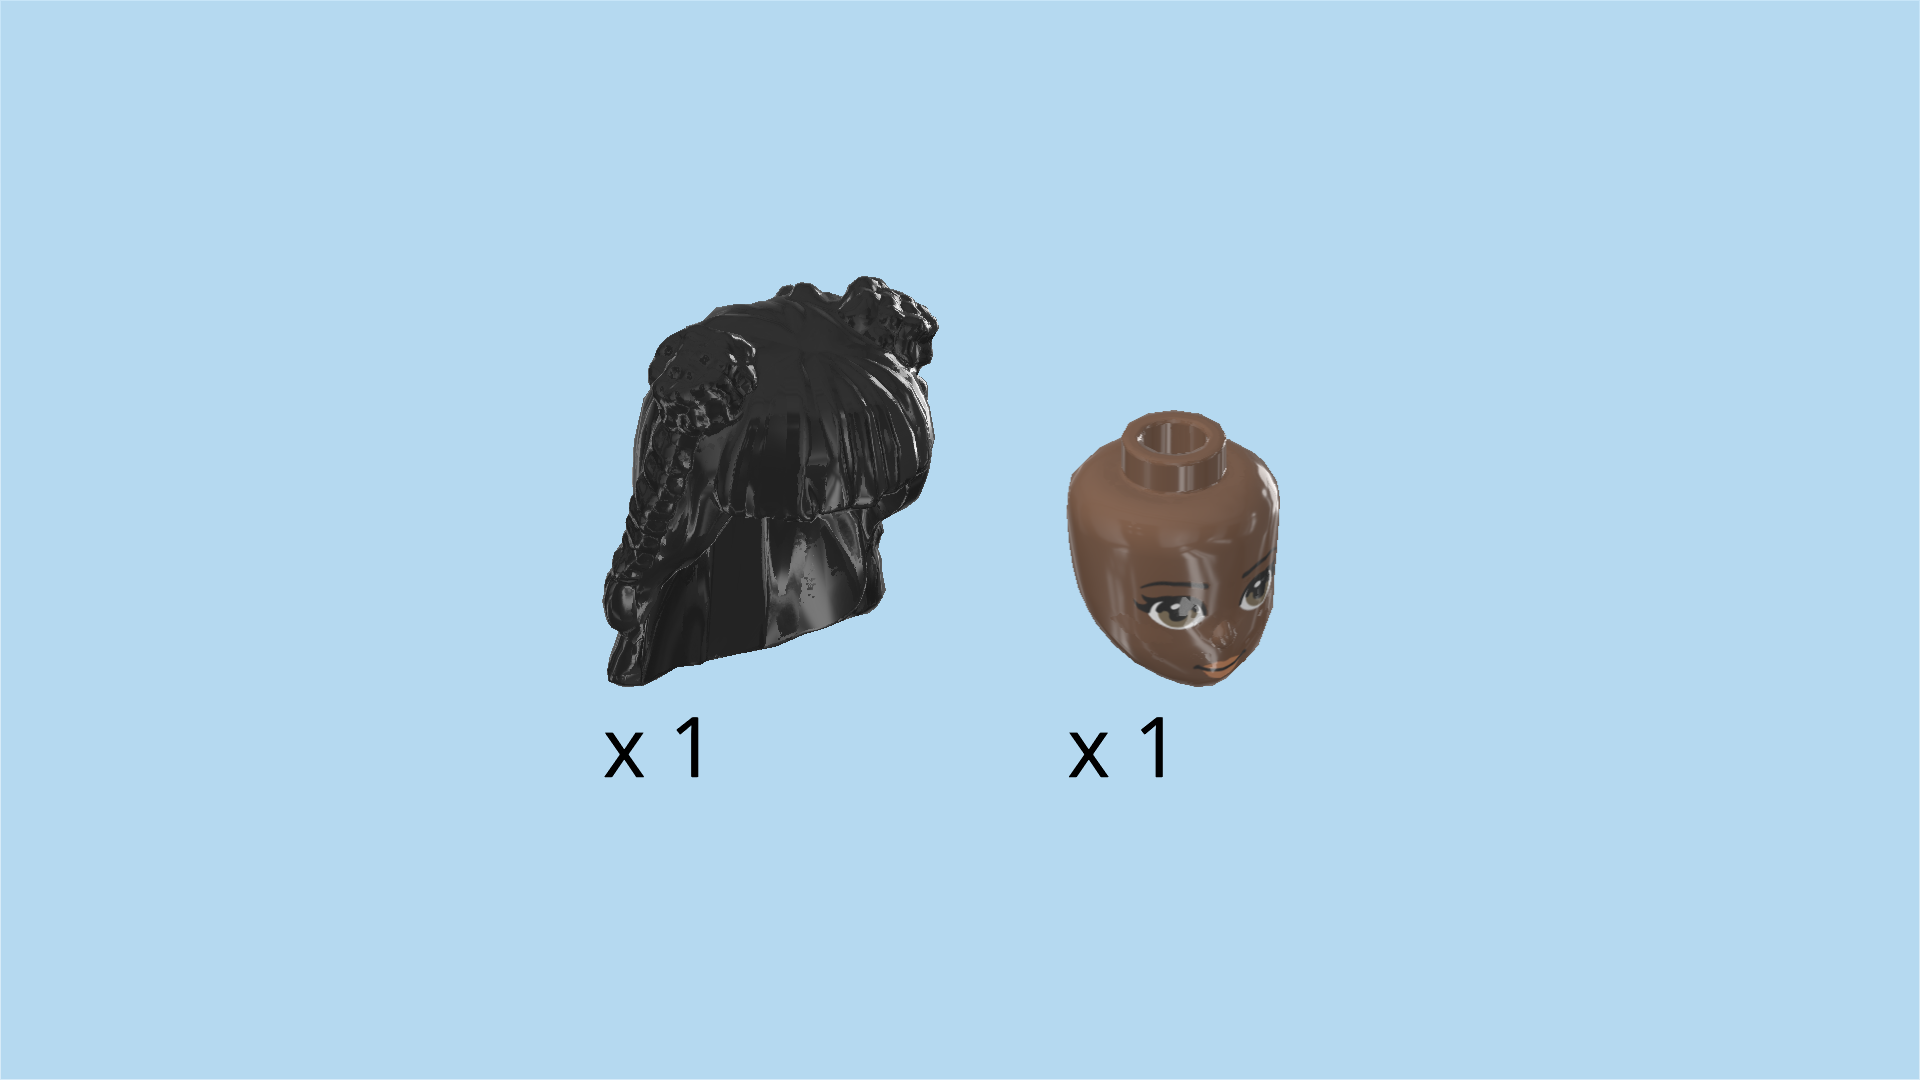
| 1 medium brown minidoll head, |
| and 1 black hairpiece with a fringe cut and 2 space buns and plaits. |
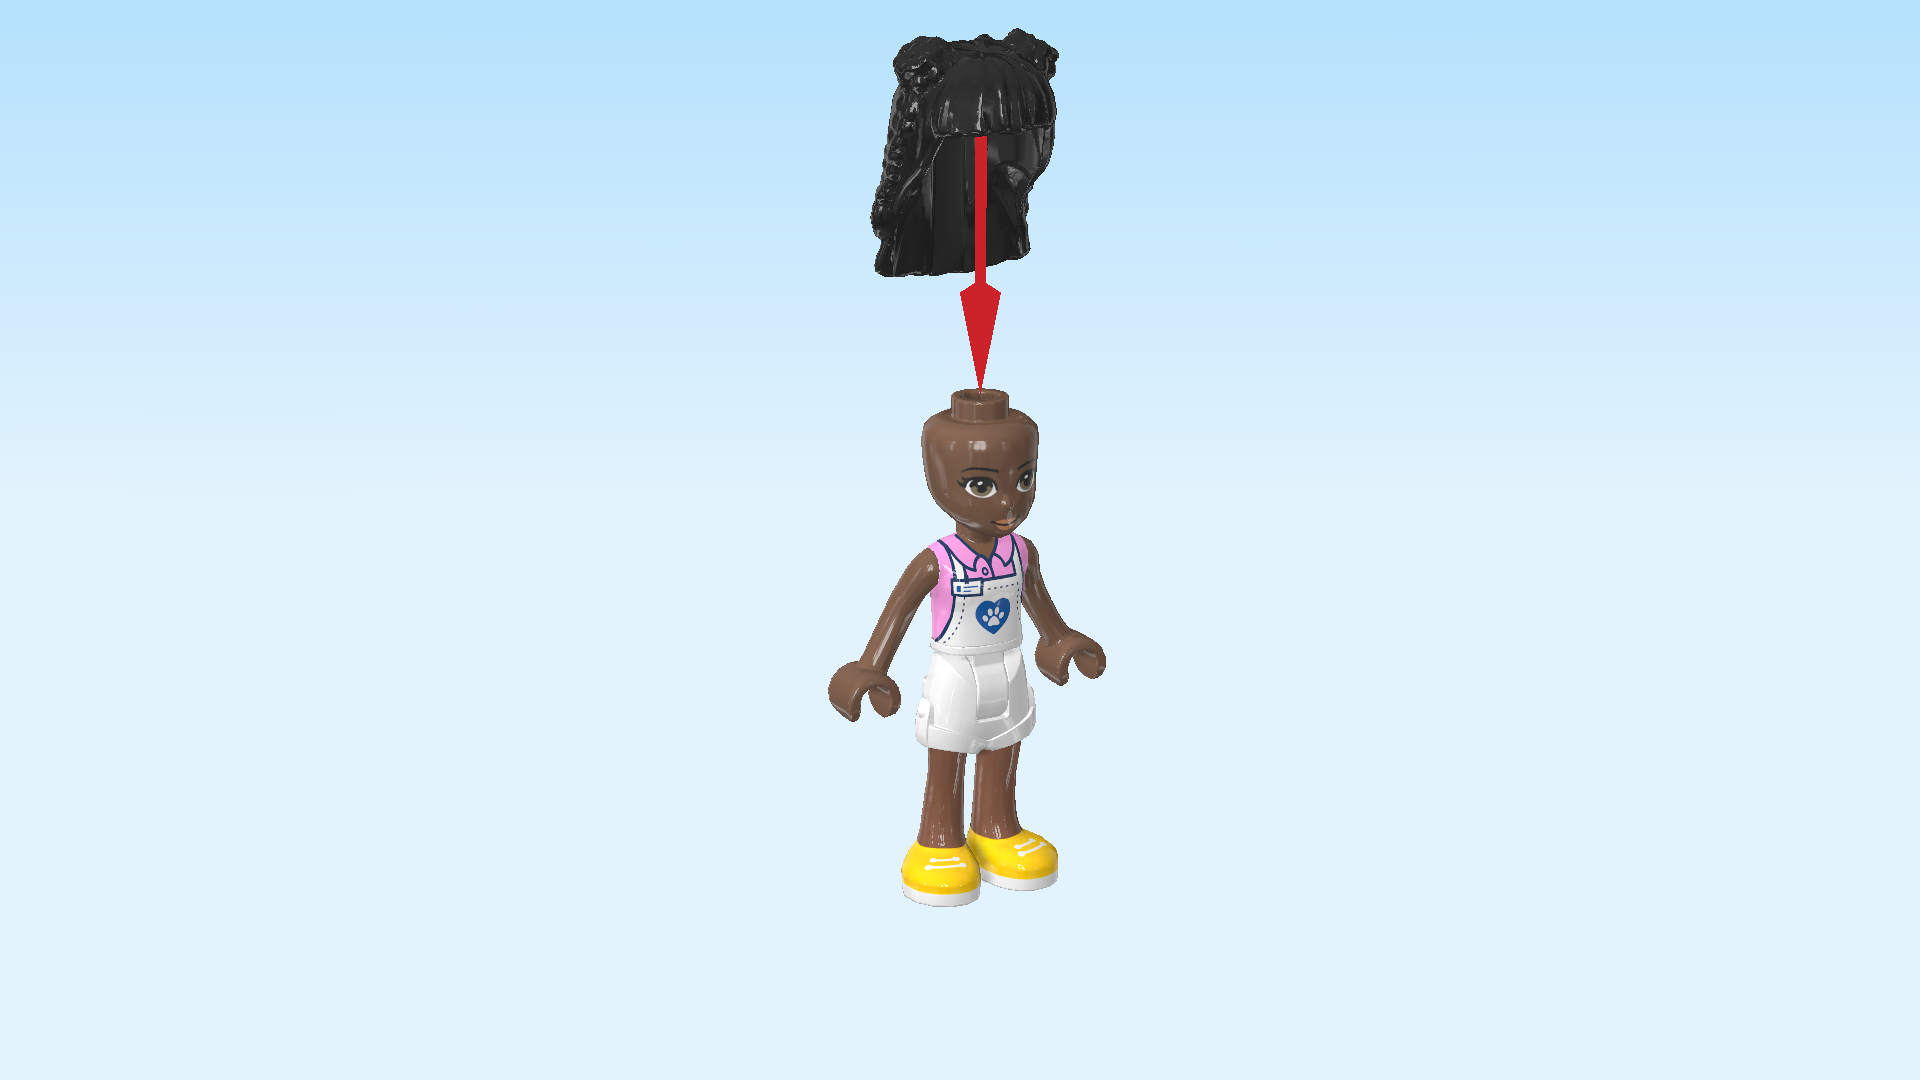
| Put the head on the body. |
| Put the hair on top. |
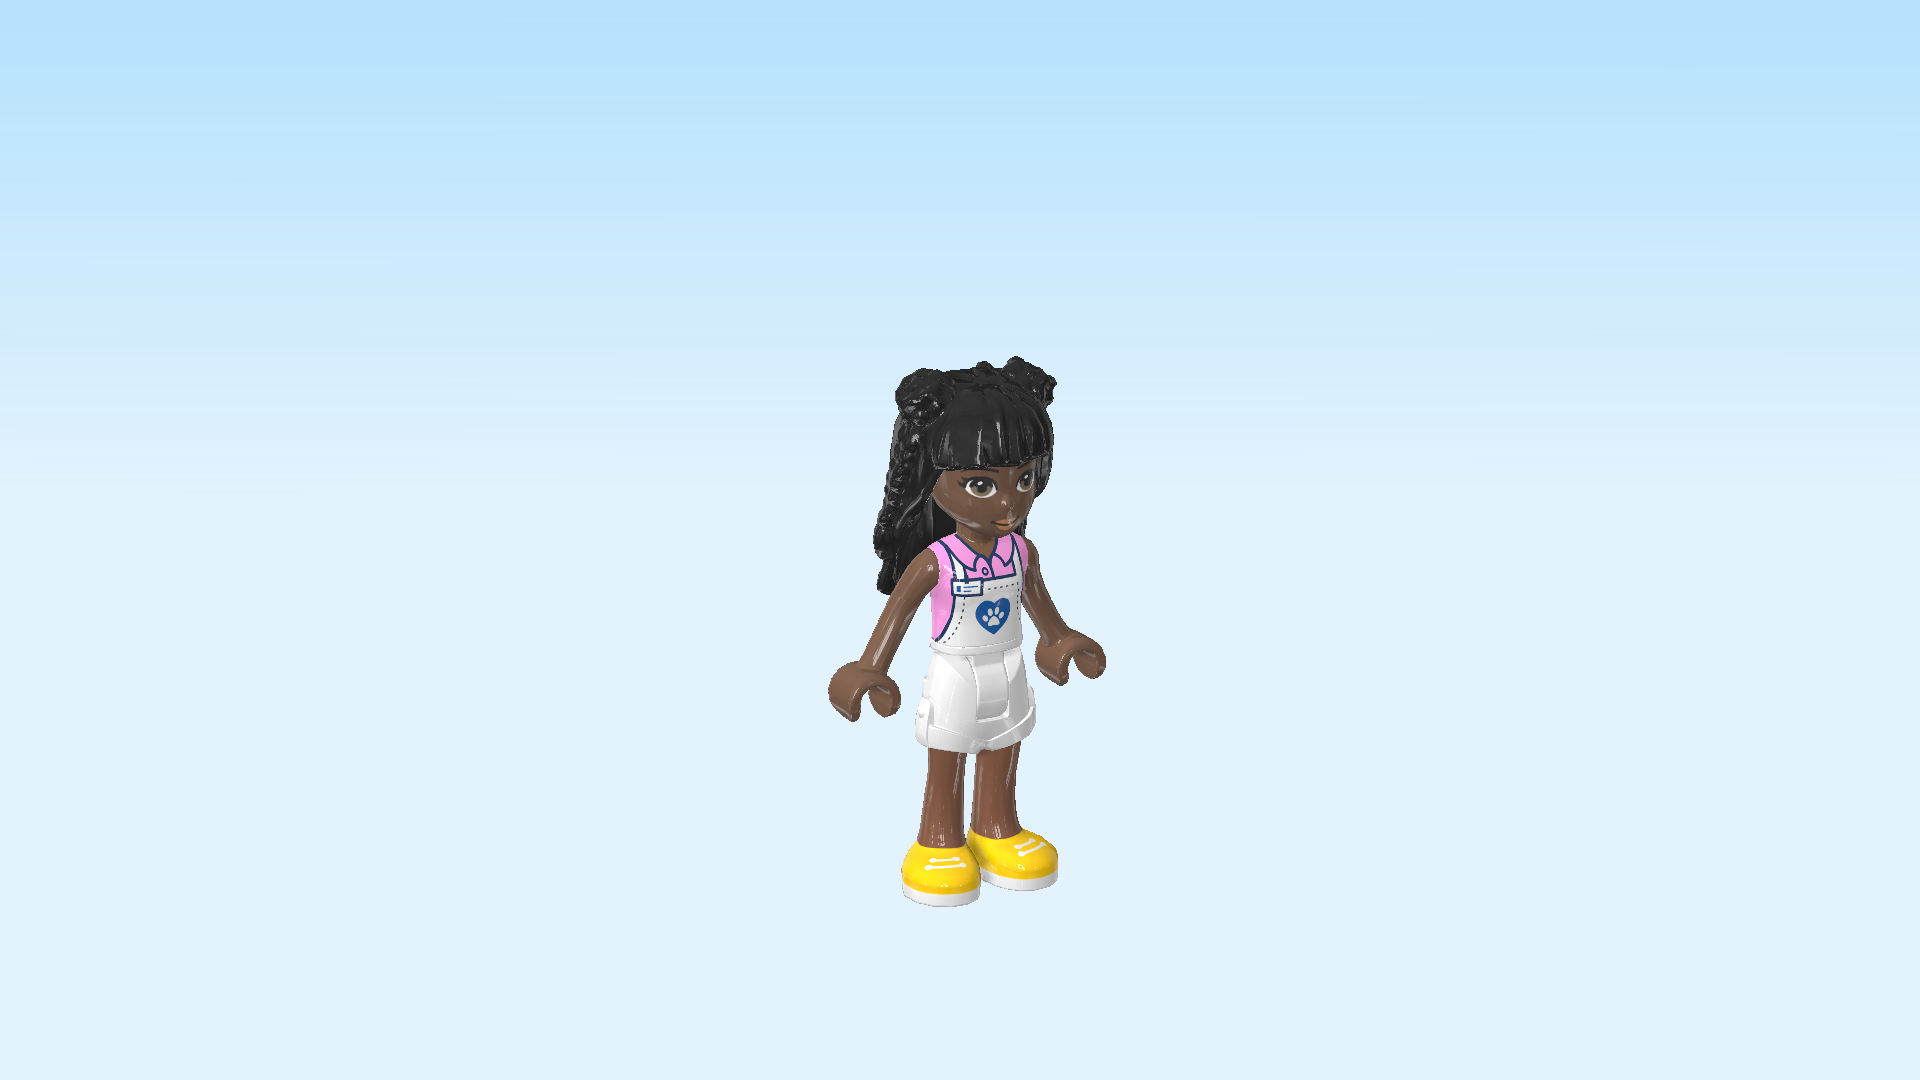
| The Priyanka Minidoll is finished! Well done! Priyanka is wearing yellow shoes, white shorts overalls and a pink sleeveless polo shirt underneath. She is wearing a name tag, and on the chest part of her overalls, the logo of the pet adoption cafe is printed: it is a small lilac heart with a white paw at its center. |
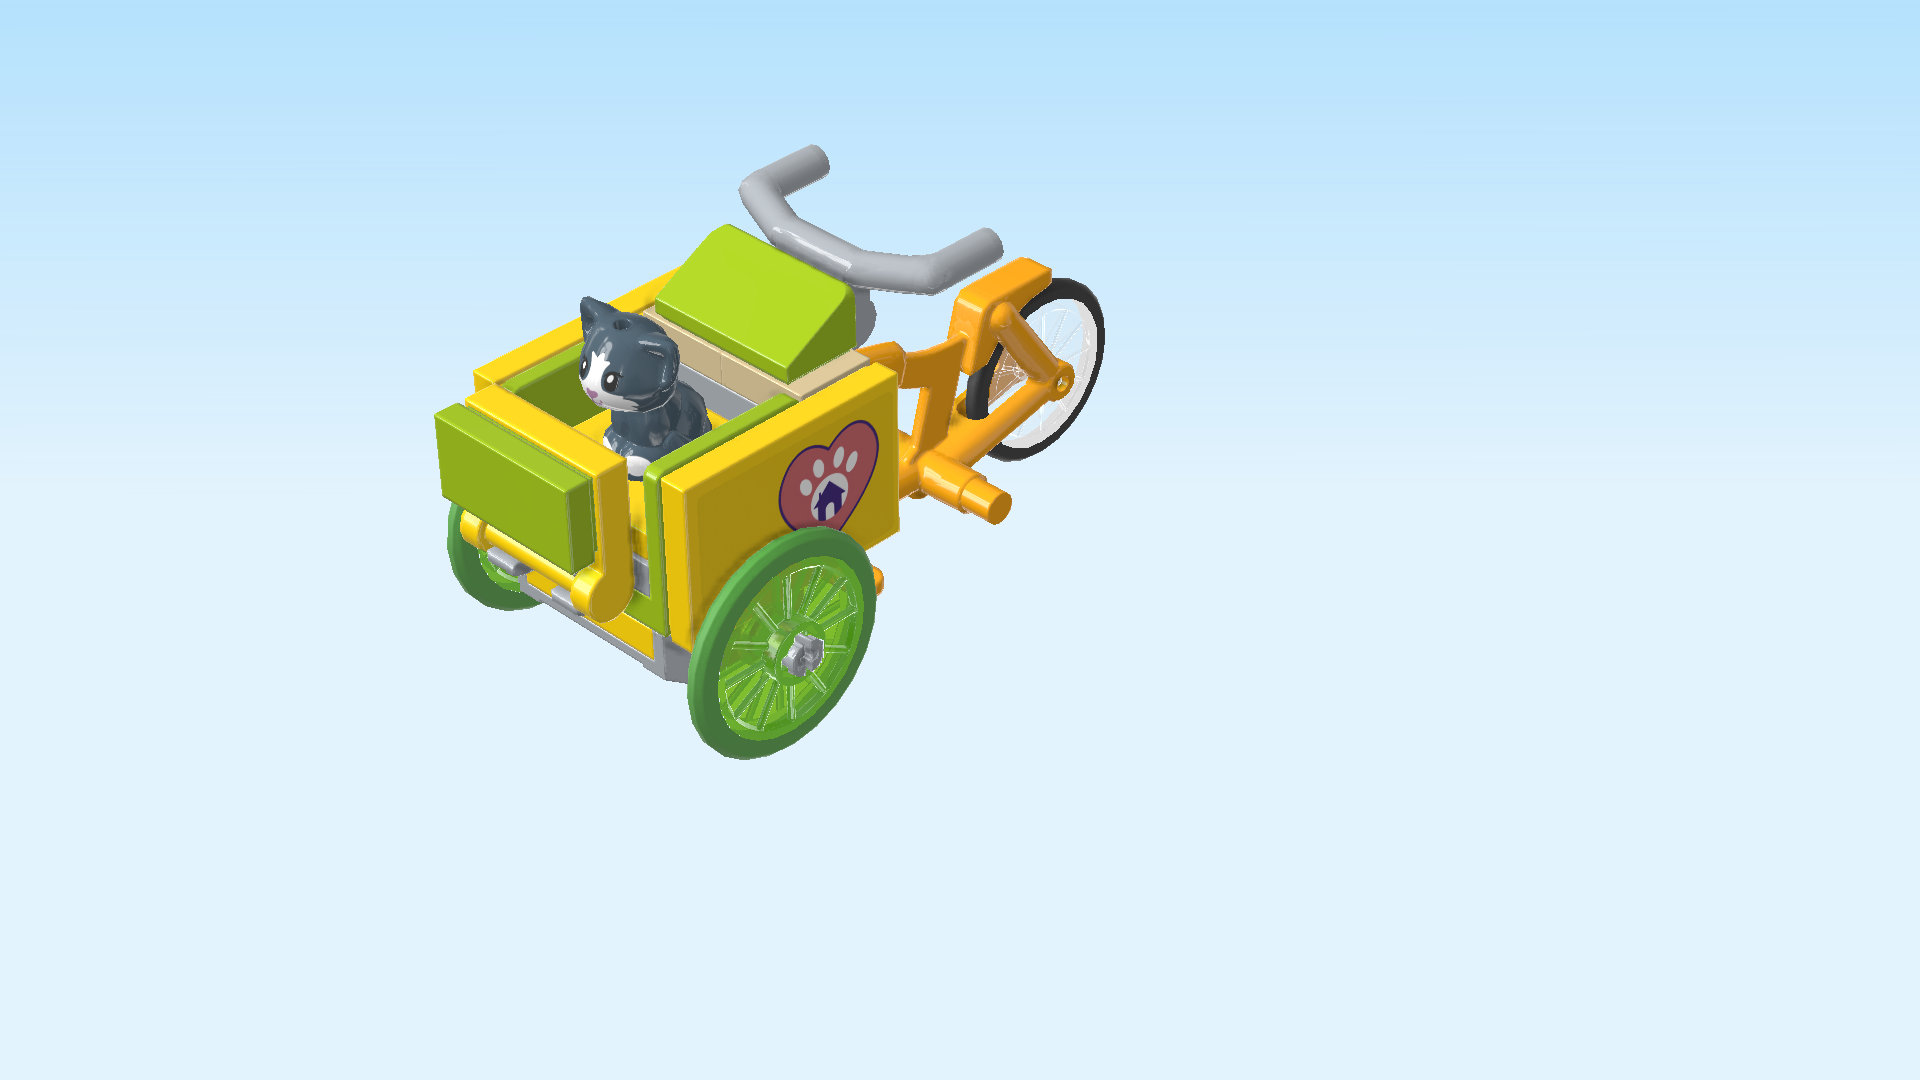
| Next, we will build the rescue trike. |
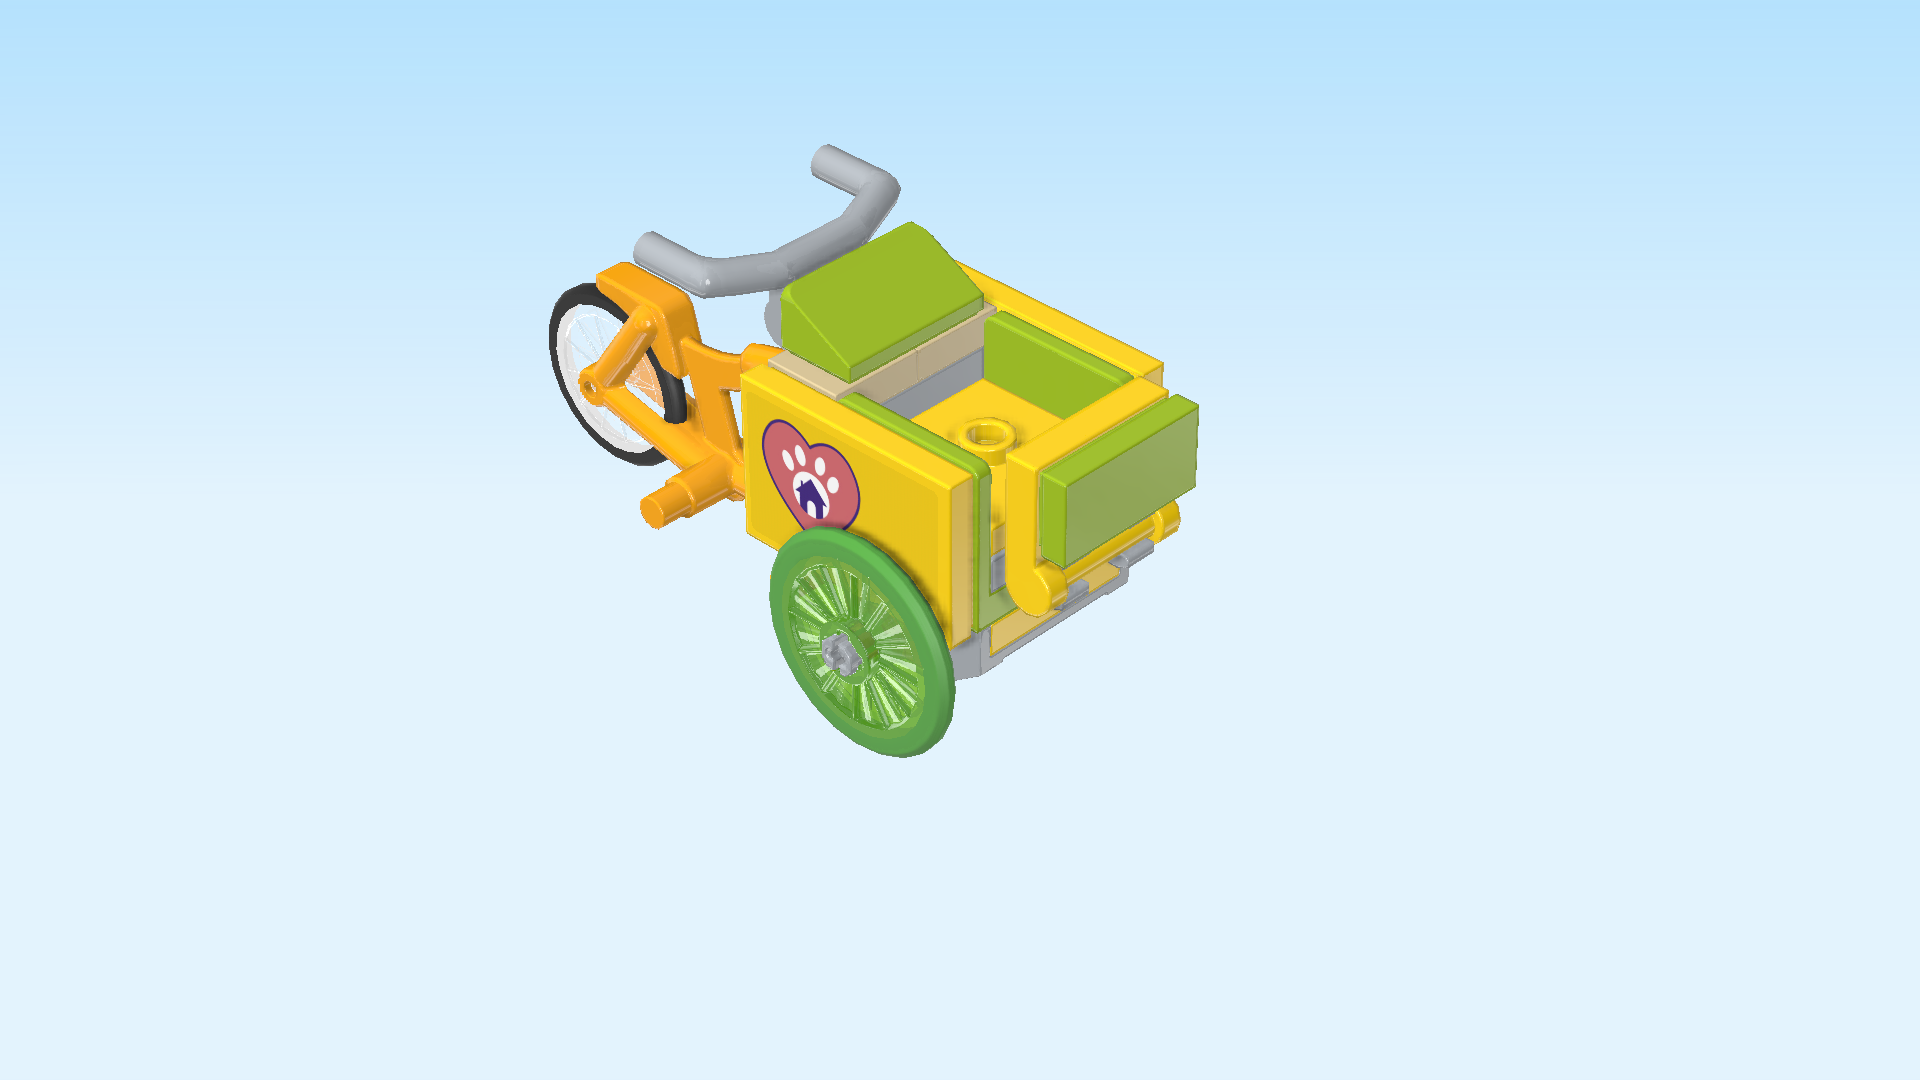
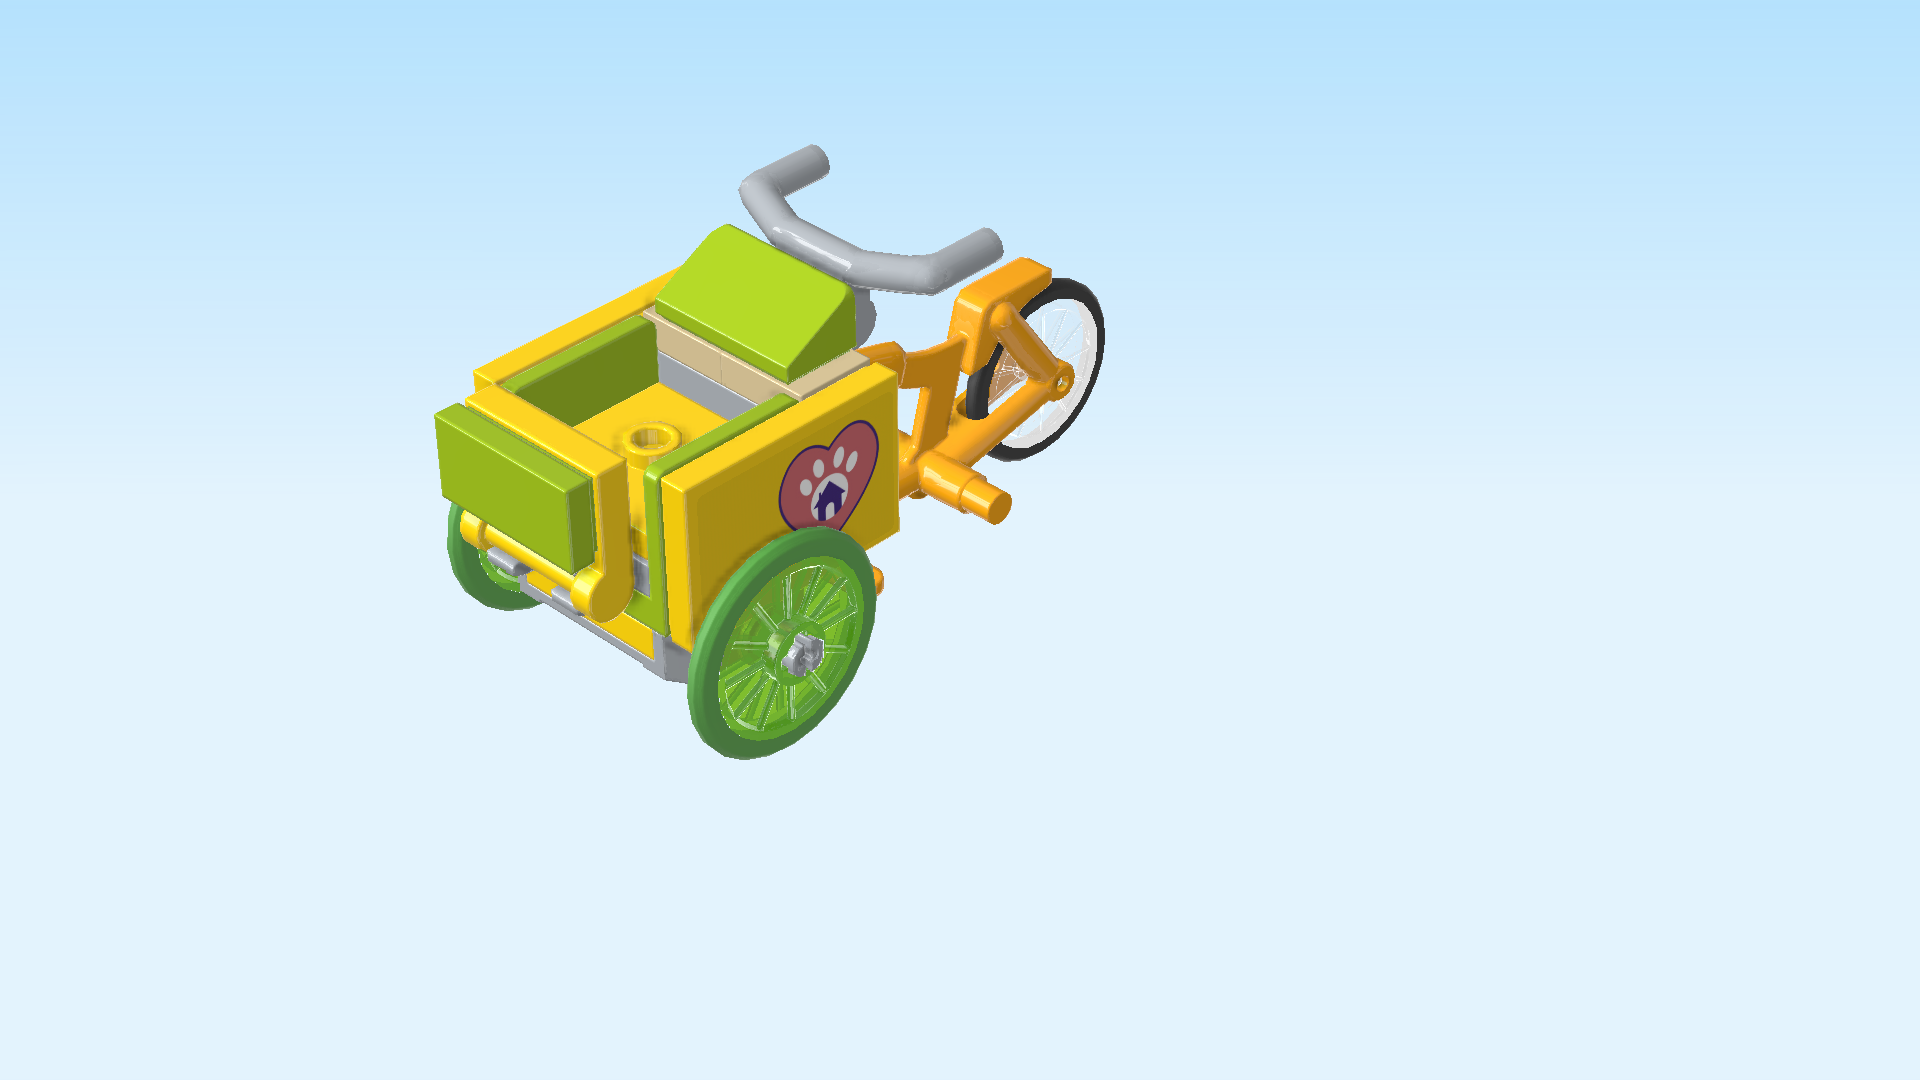
| We'll start with the cargo box of the trike. |
| Collect the following 2 pieces: |
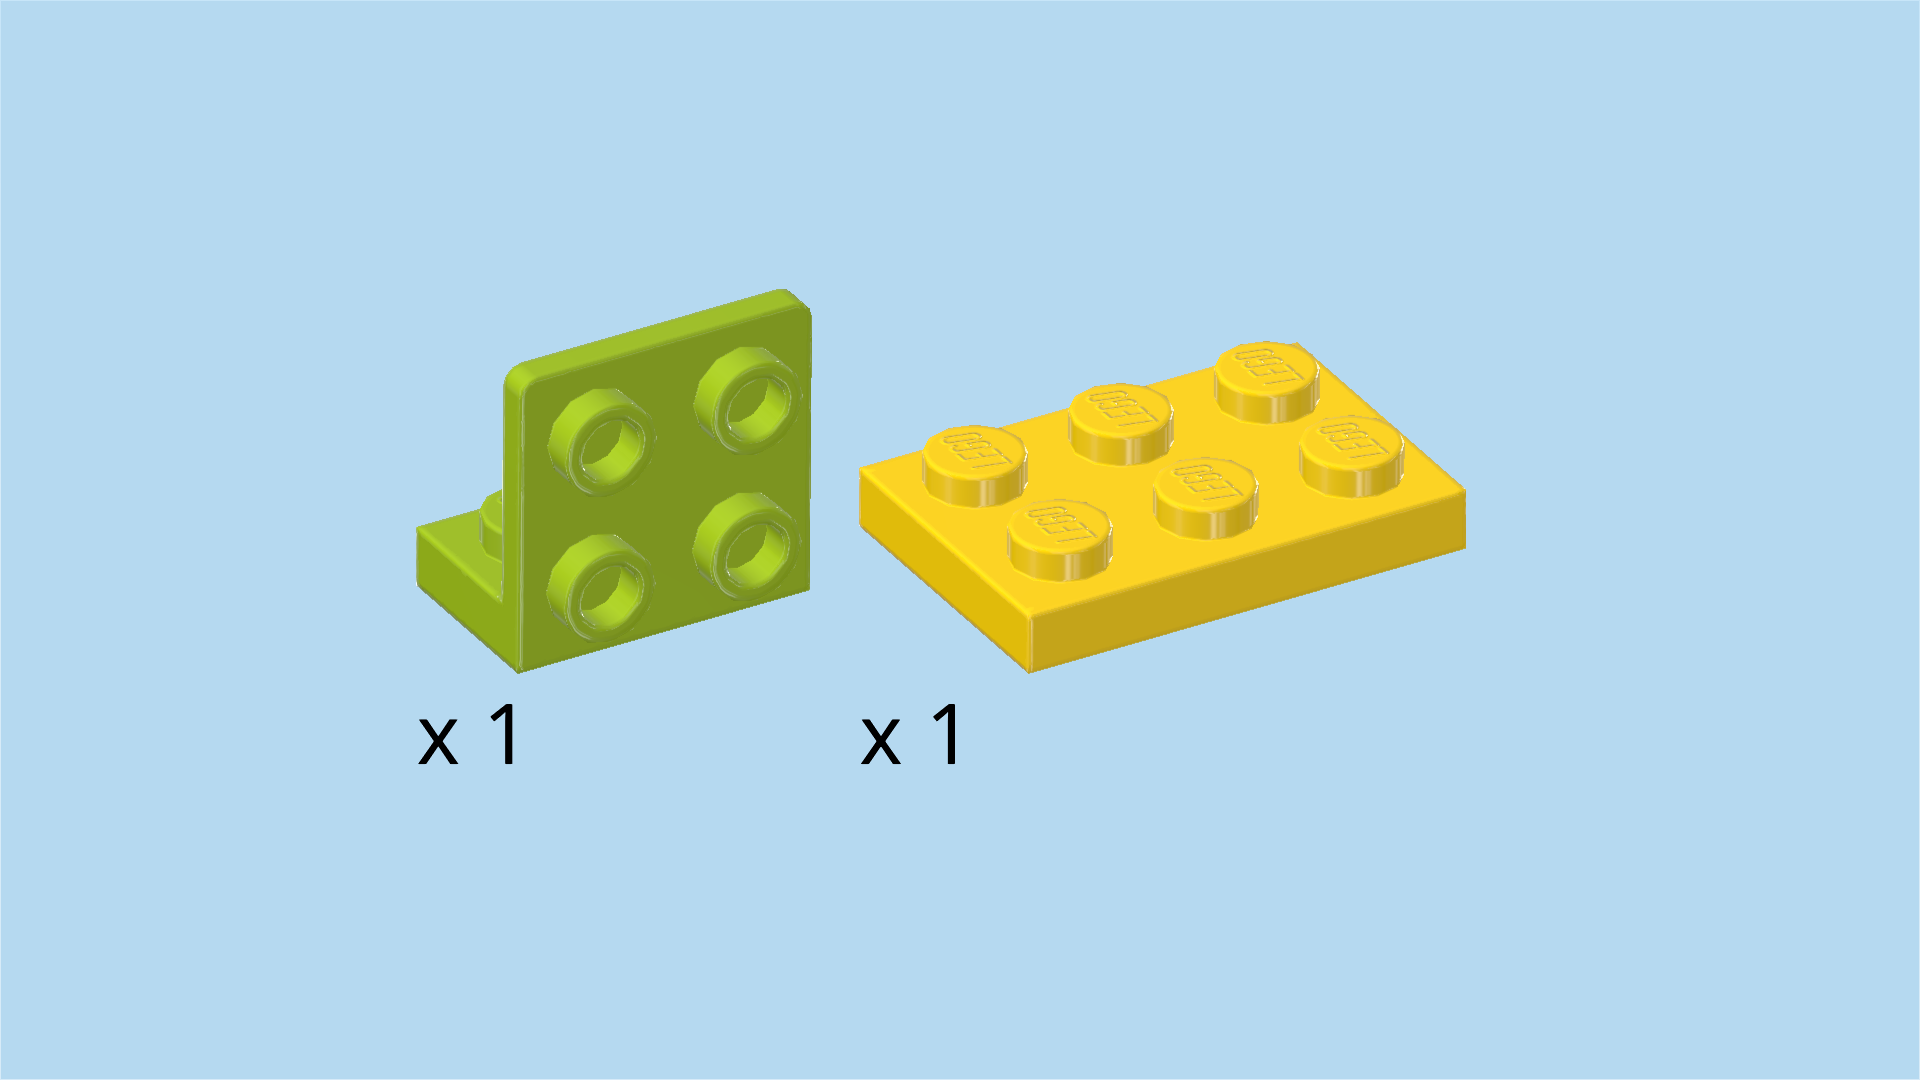
| 1 bright yellow plate 2x3, |
| and 1 bright yellowish green bottom angle plate 1x2 - 2x2 with 4 side knobs. |
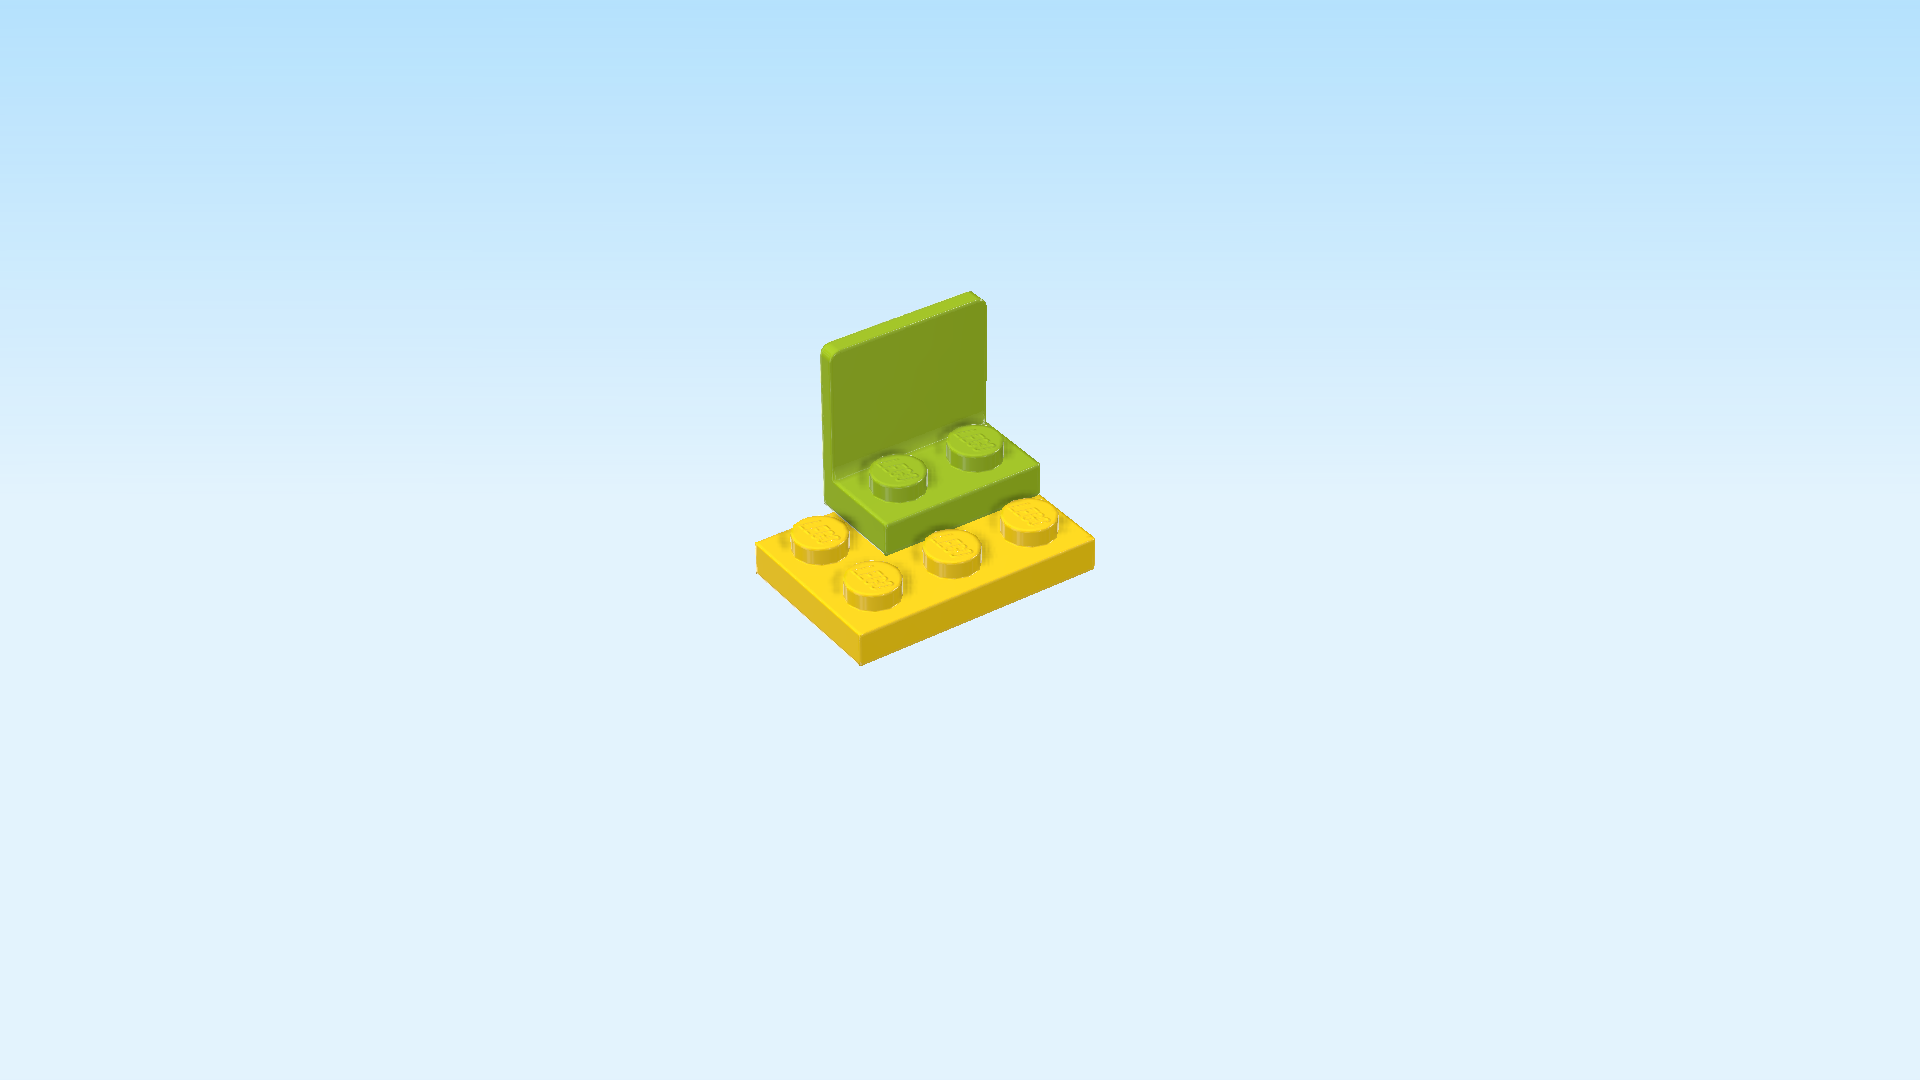
| Put the plate 2x3 horizontally on the table. |
| Put the angle plate horizontally on the back row starting from the right edge, 4 side knobs to the back. |
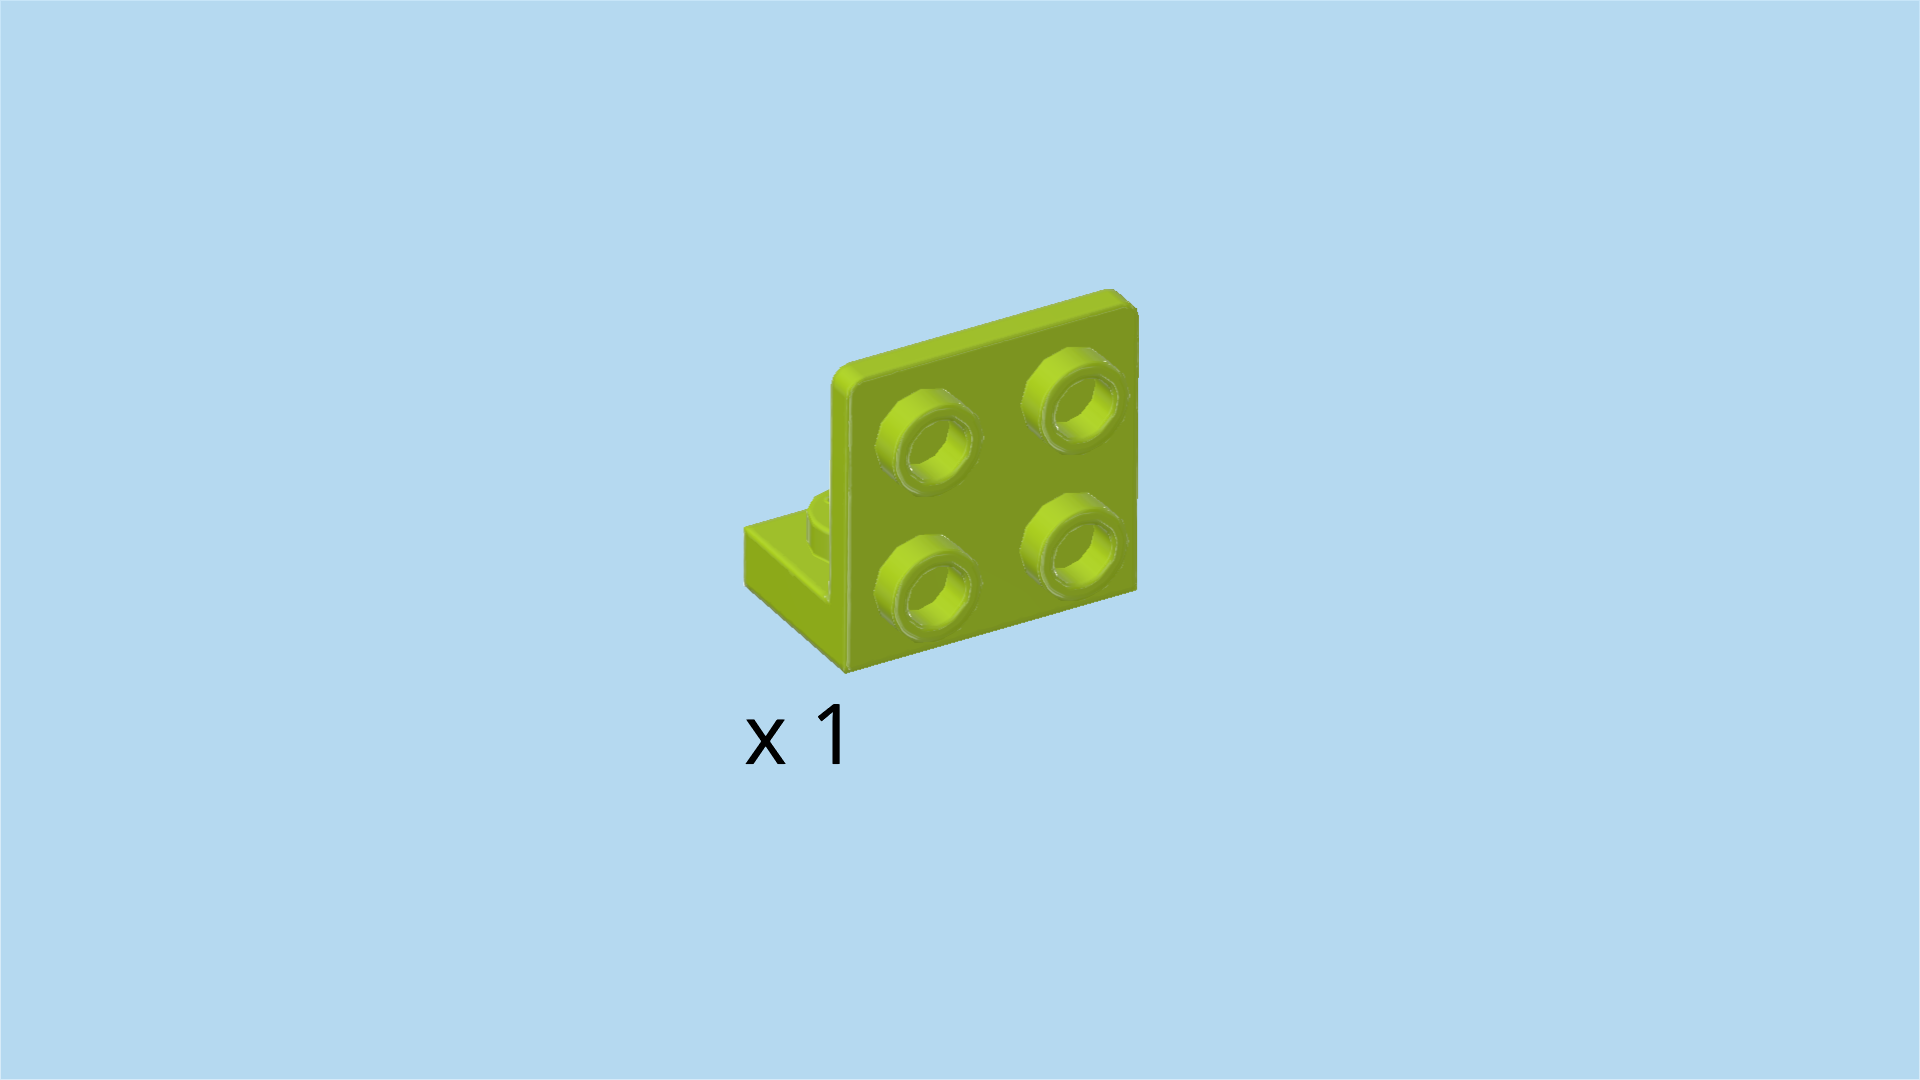
| Find 1 bright yellowish green bottom angle plate 1x2 - 2x2 with 4 side knobs. |
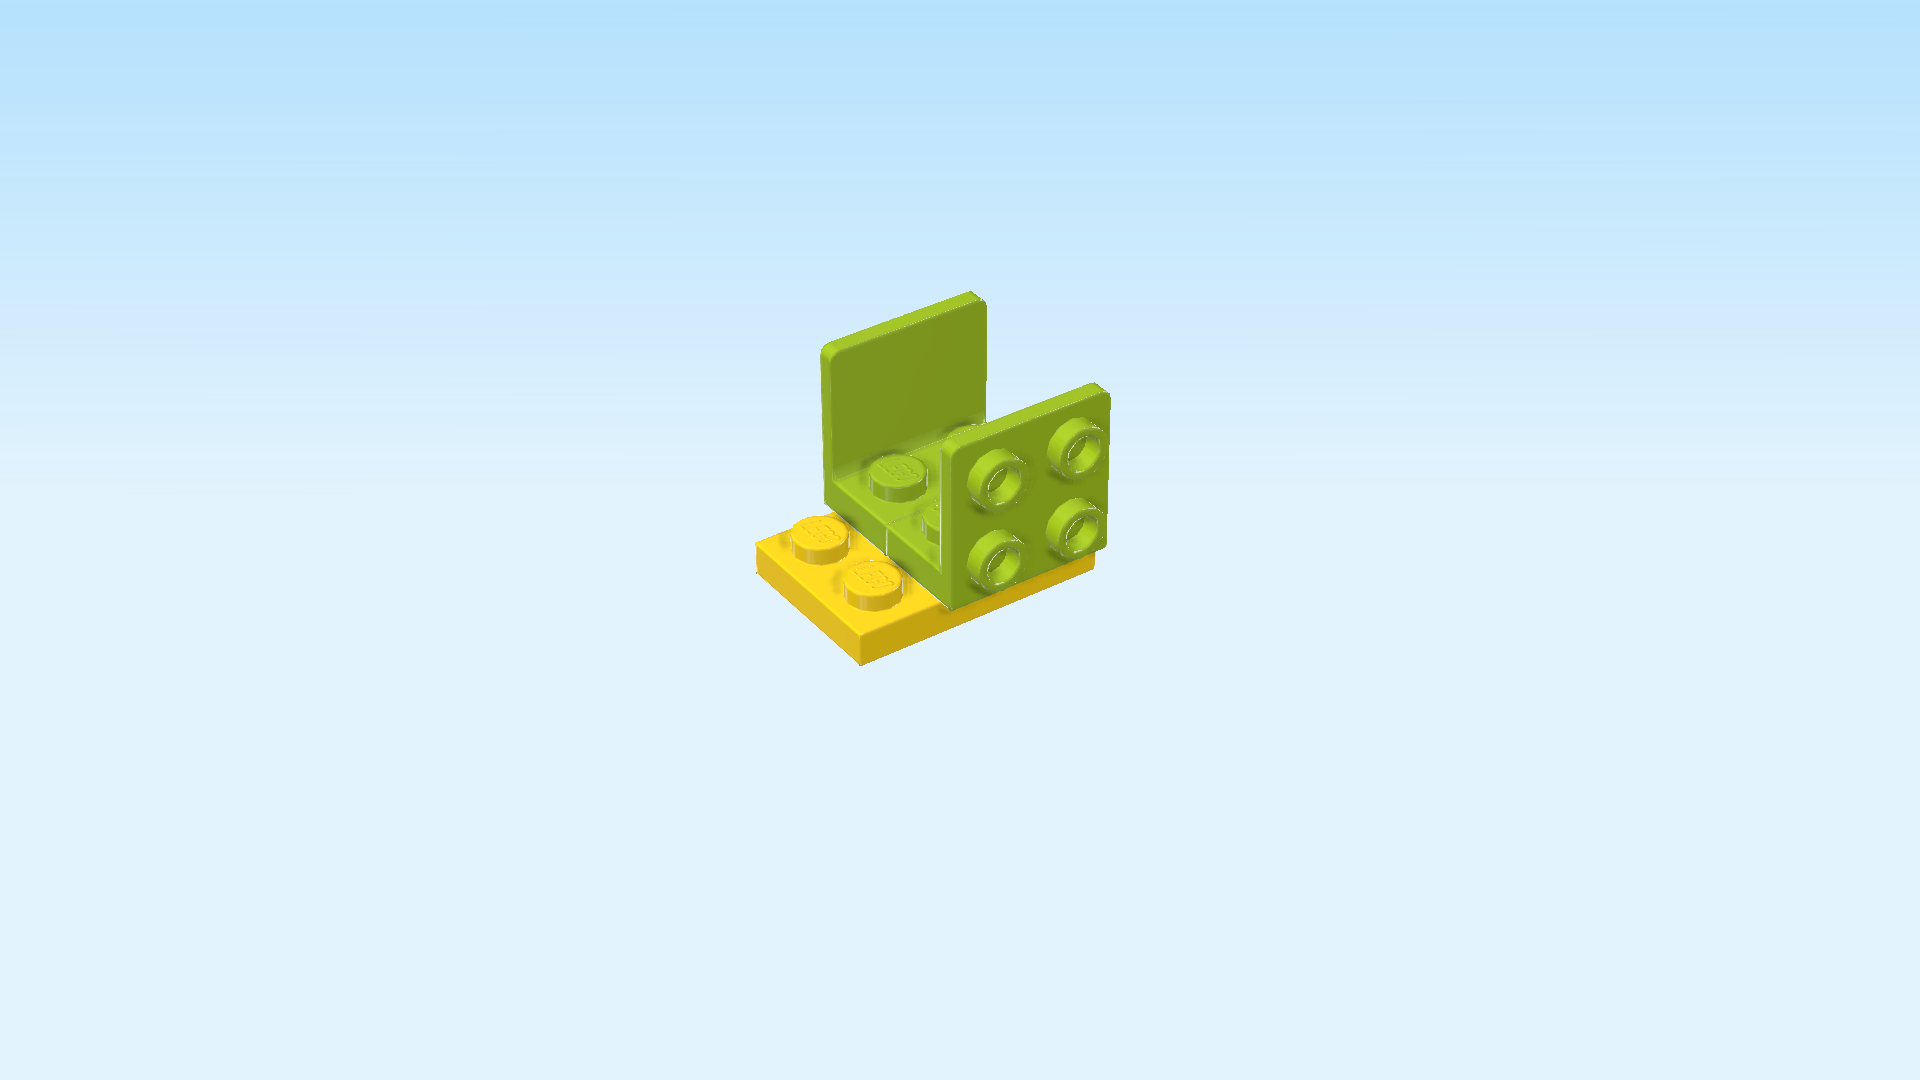
| Put it horizontally in front of the previous piece, 4 side knobs to the front. |
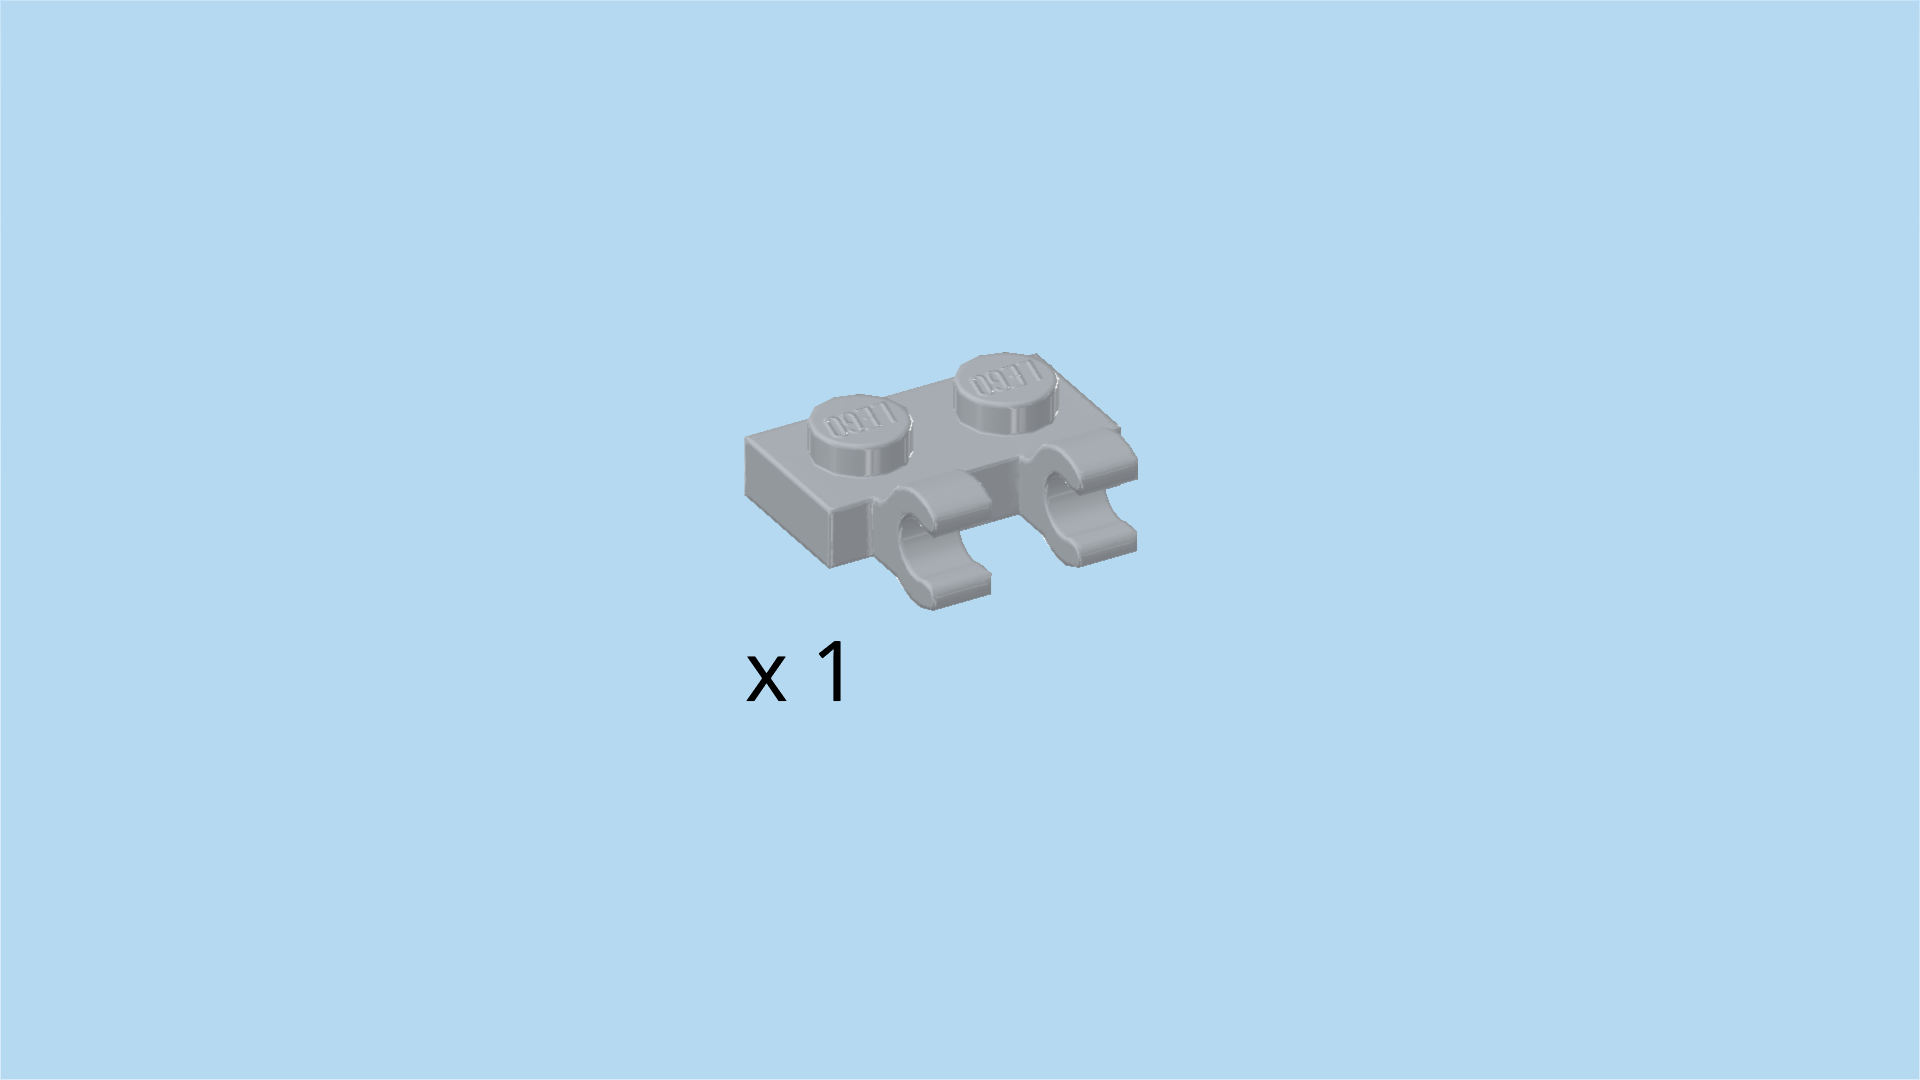
| Find 1 medium stone grey plate 1x2 with 2 vertical clasps on long side. |
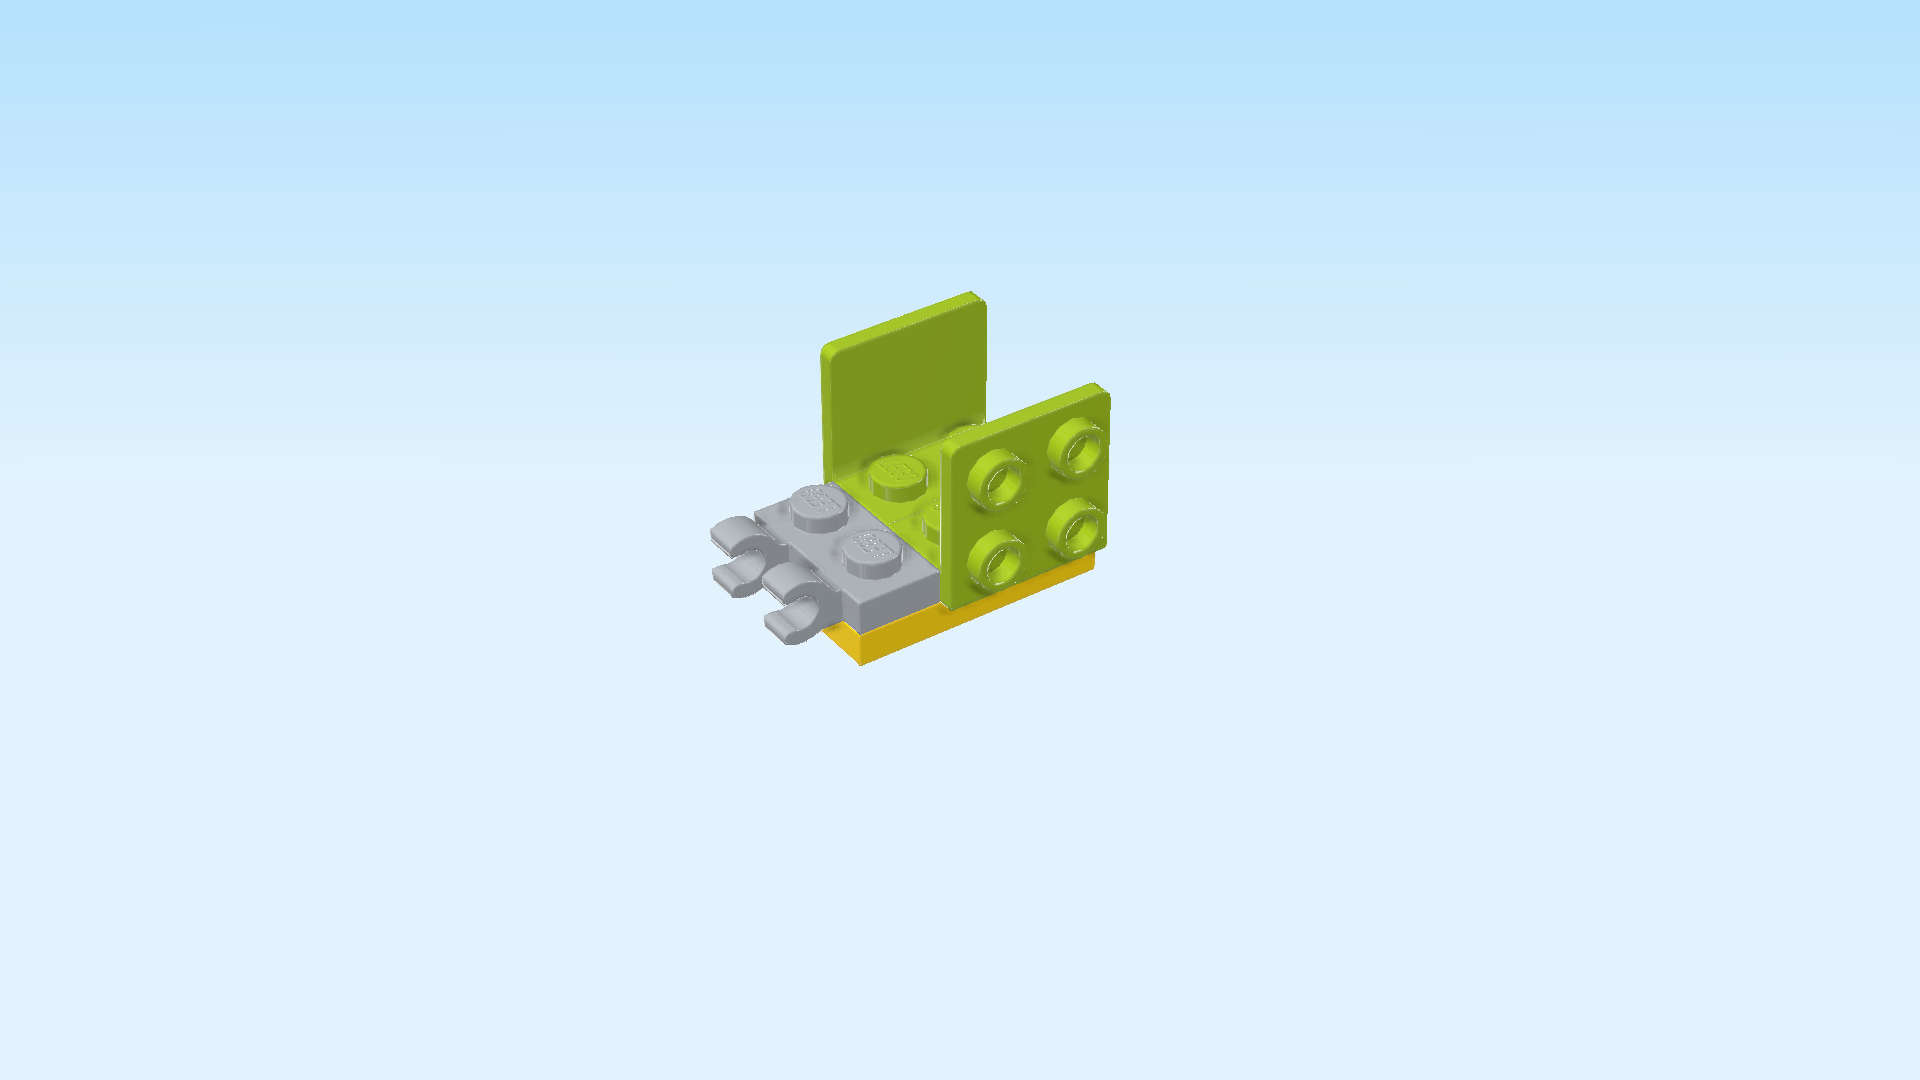
| Put it vertically on the leftmost column, clasps to the left. |
| Collect the following 2 pieces: |
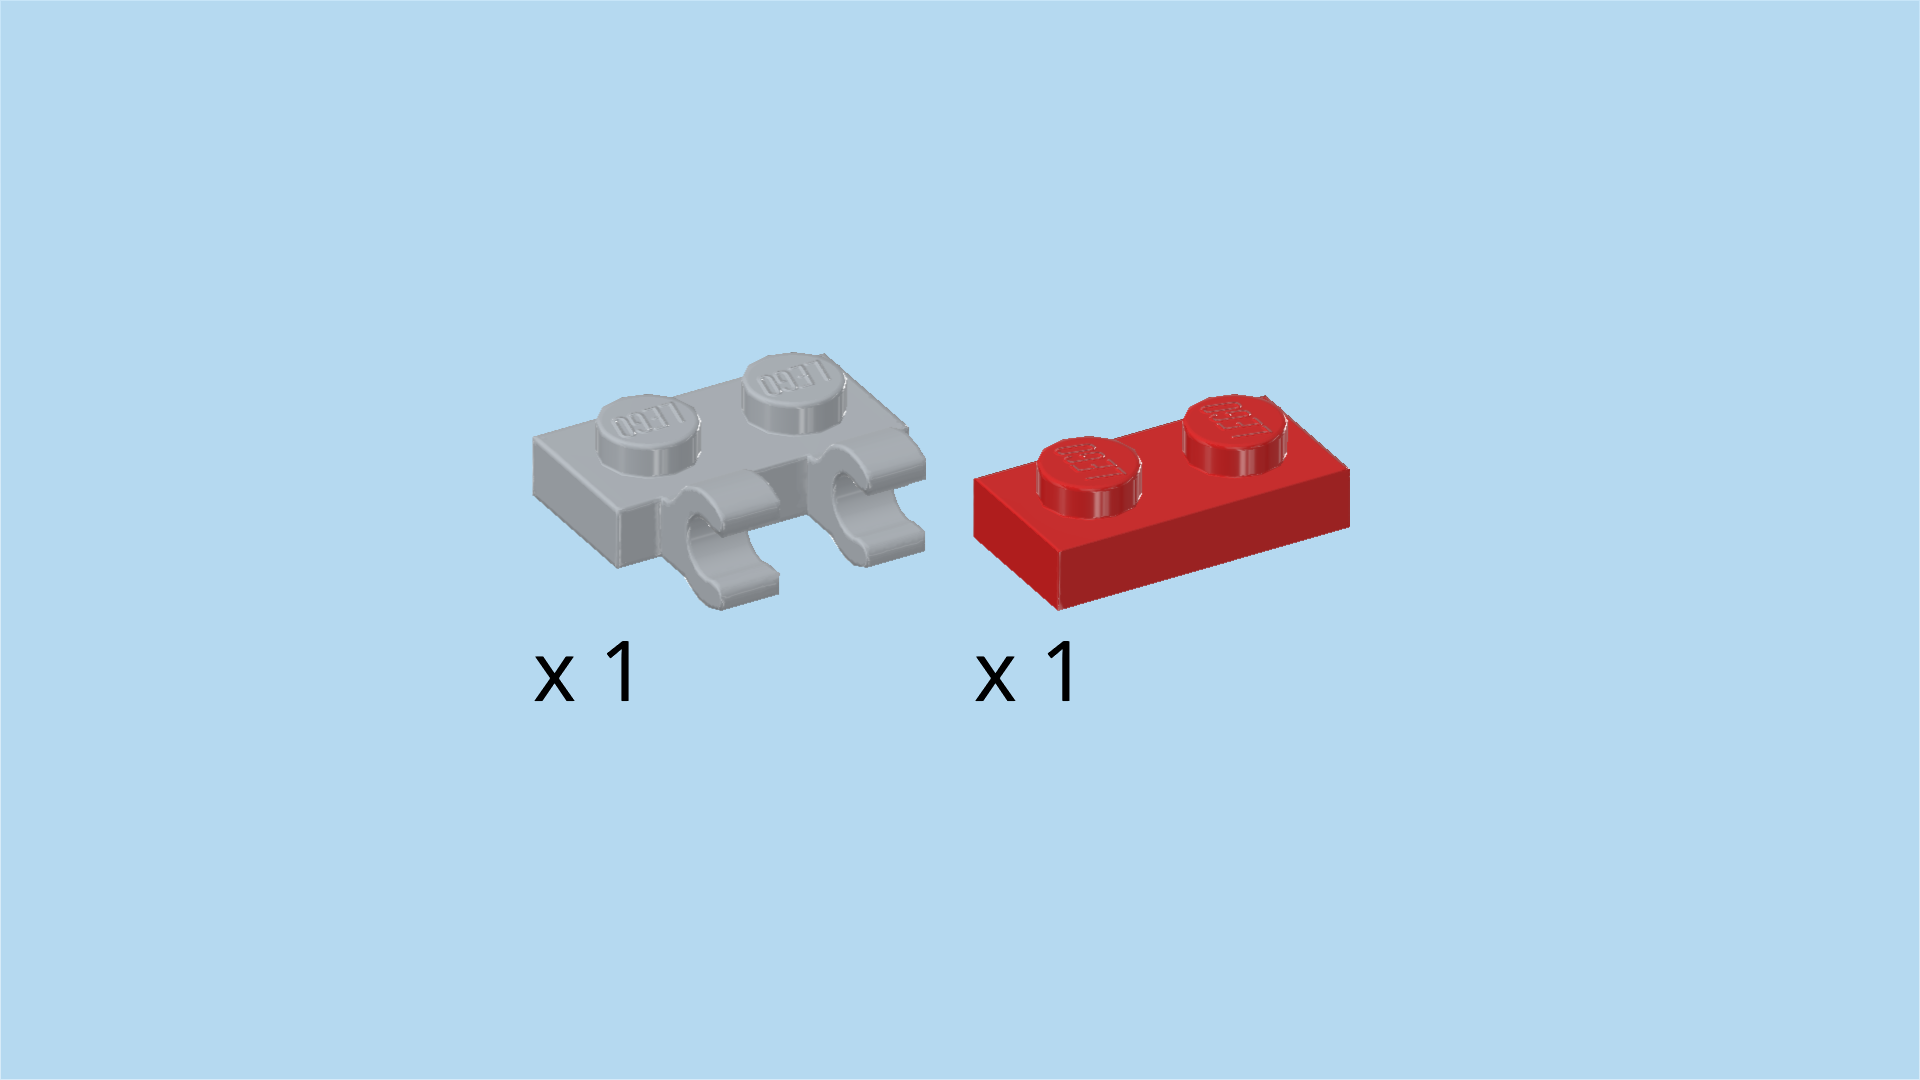
| 1 medium stone grey plate 1x2 with 2 vertical clasps on long side, |
| and 1 bright red plate 1x2. |
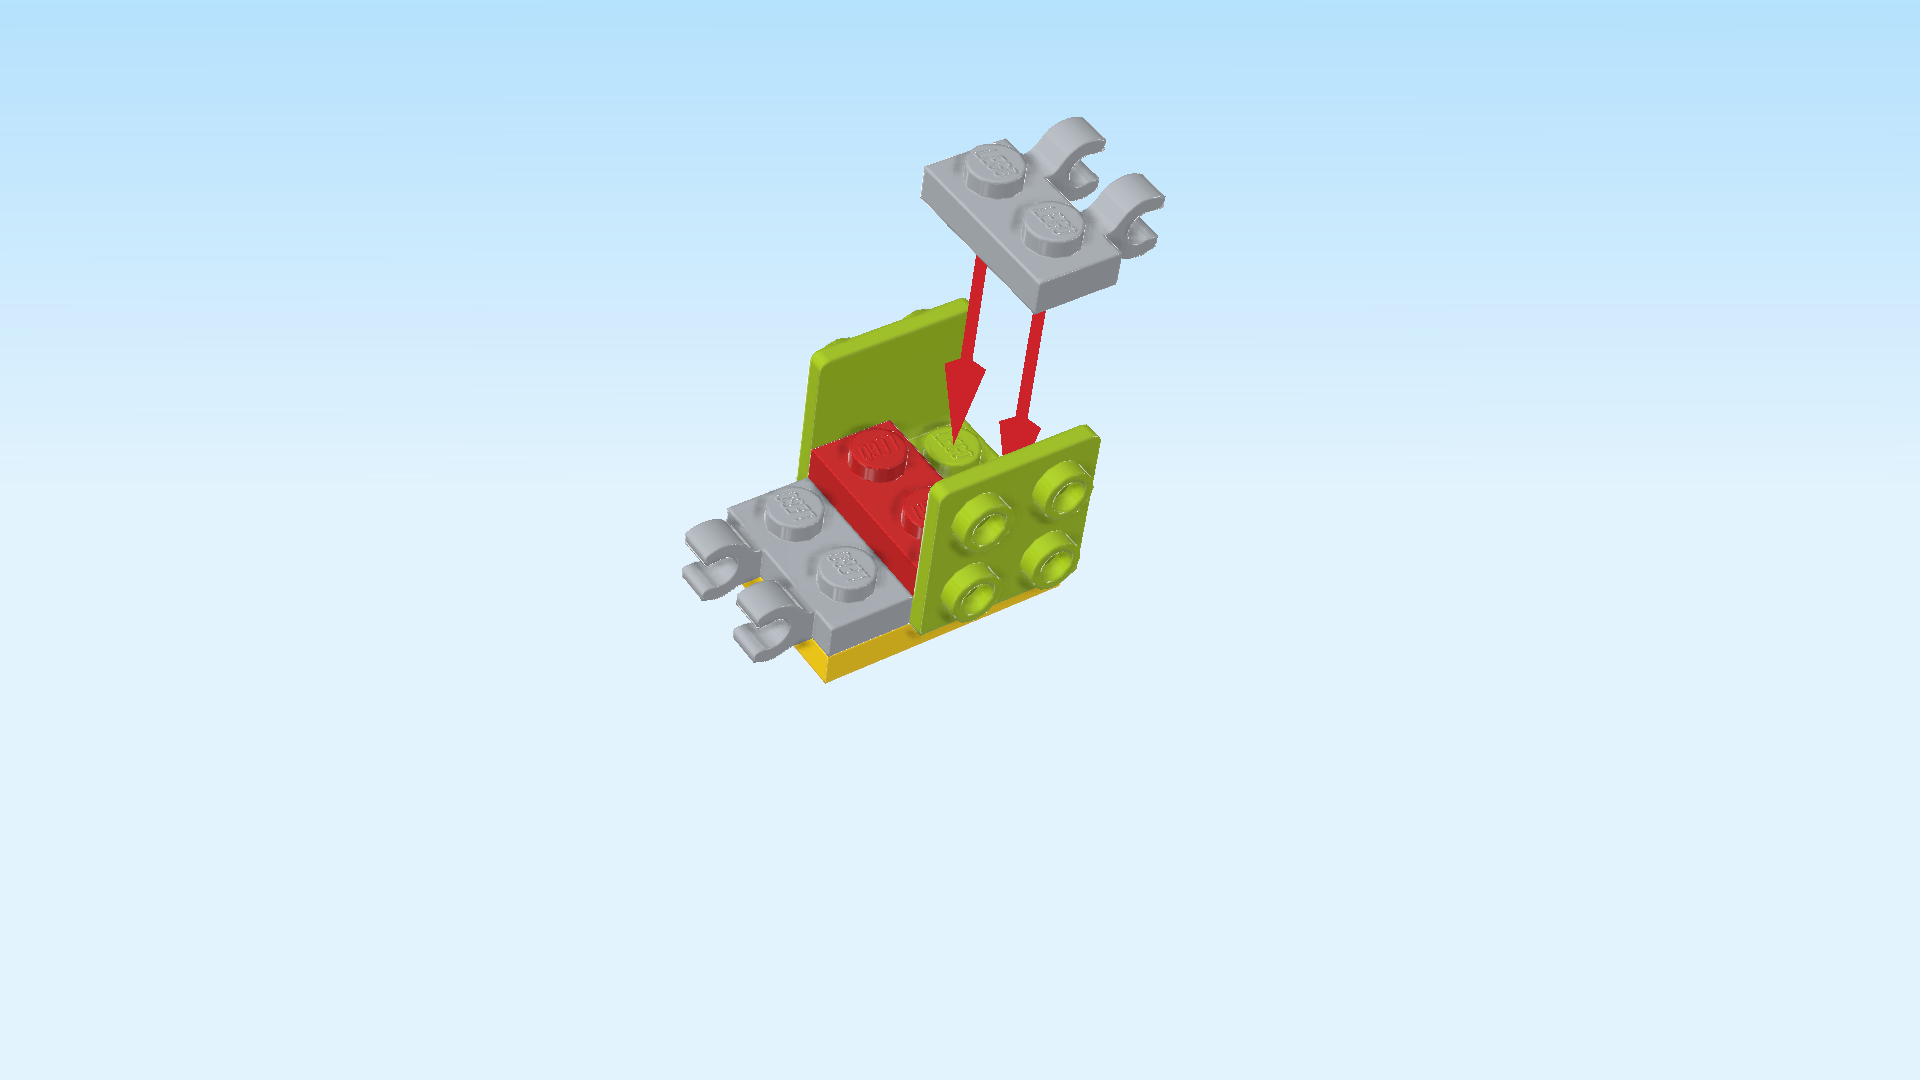
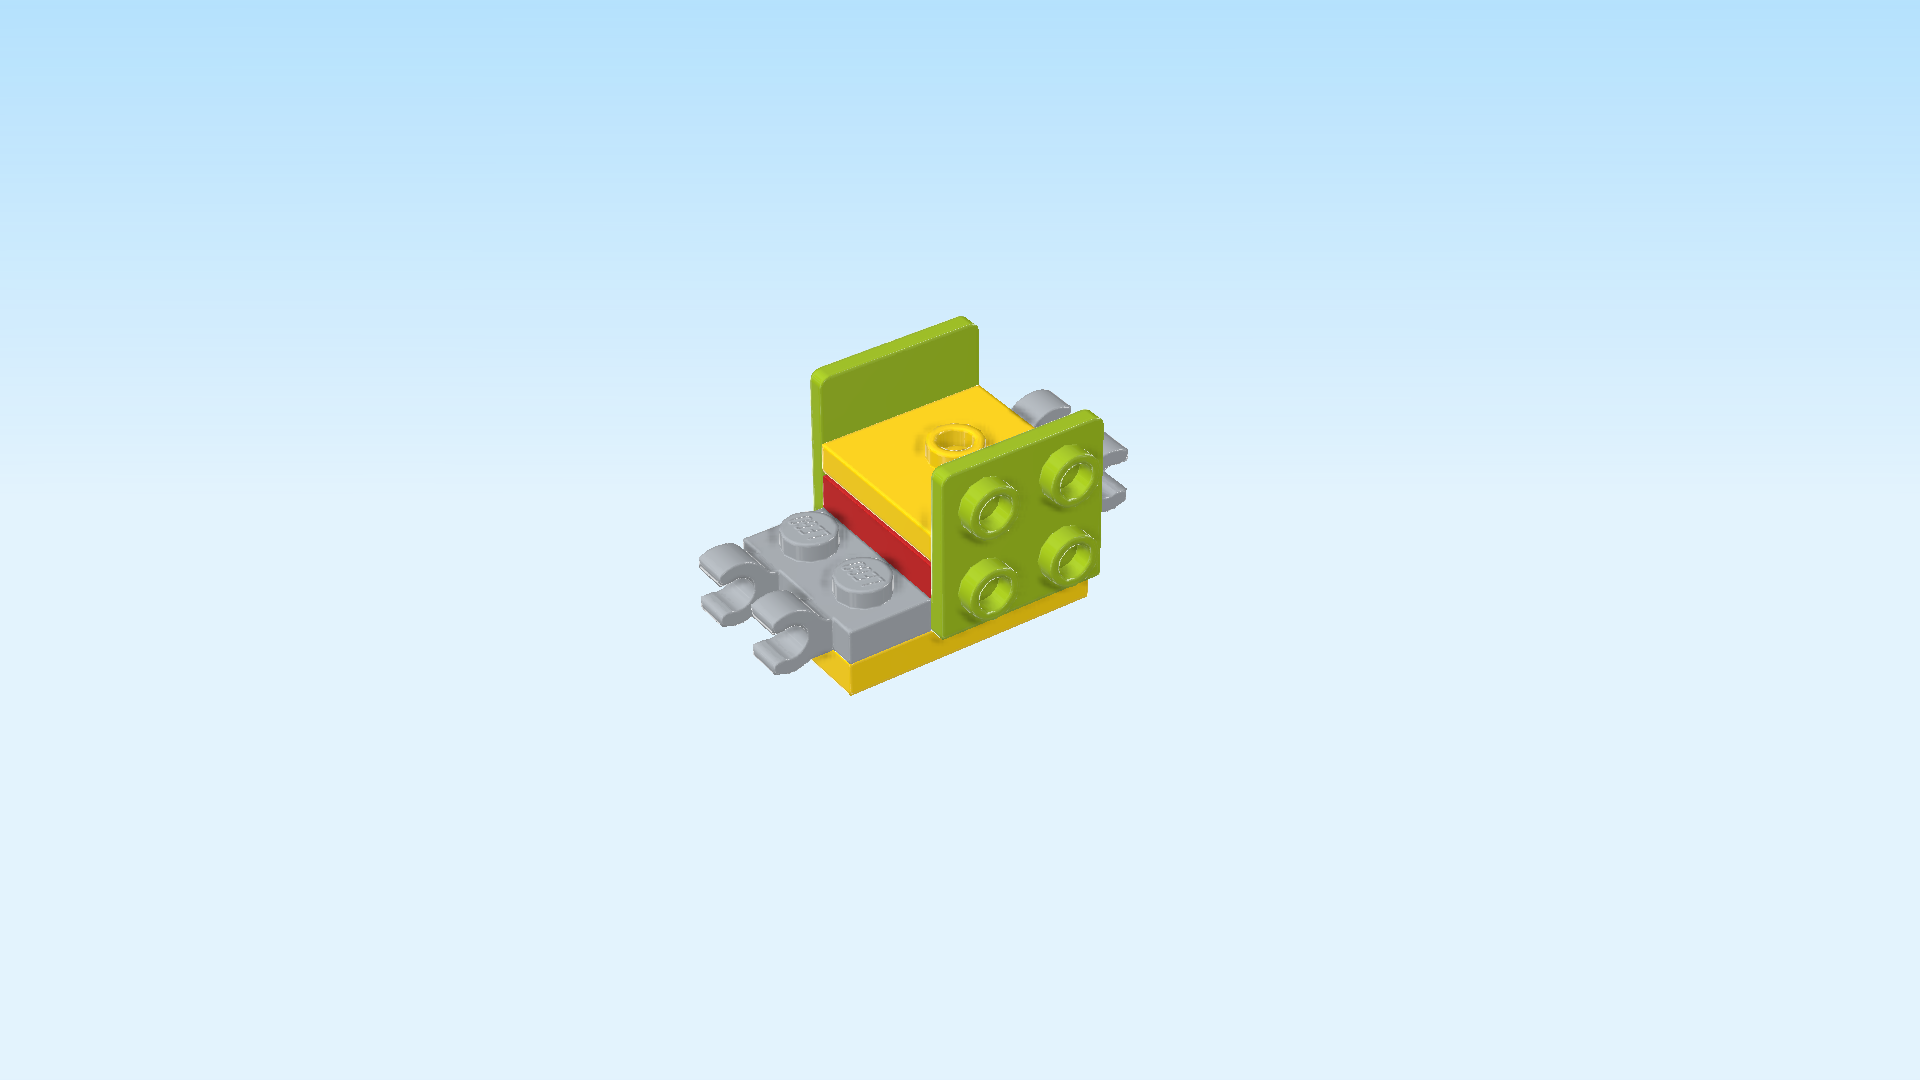
| Put the red plate 1x2 vertically to the right of the previous piece. This is quite tricky to fit in, ask for help if needed. |
| Put the plate 1x2 vertically to the right of the previous piece, clasps to the right. |
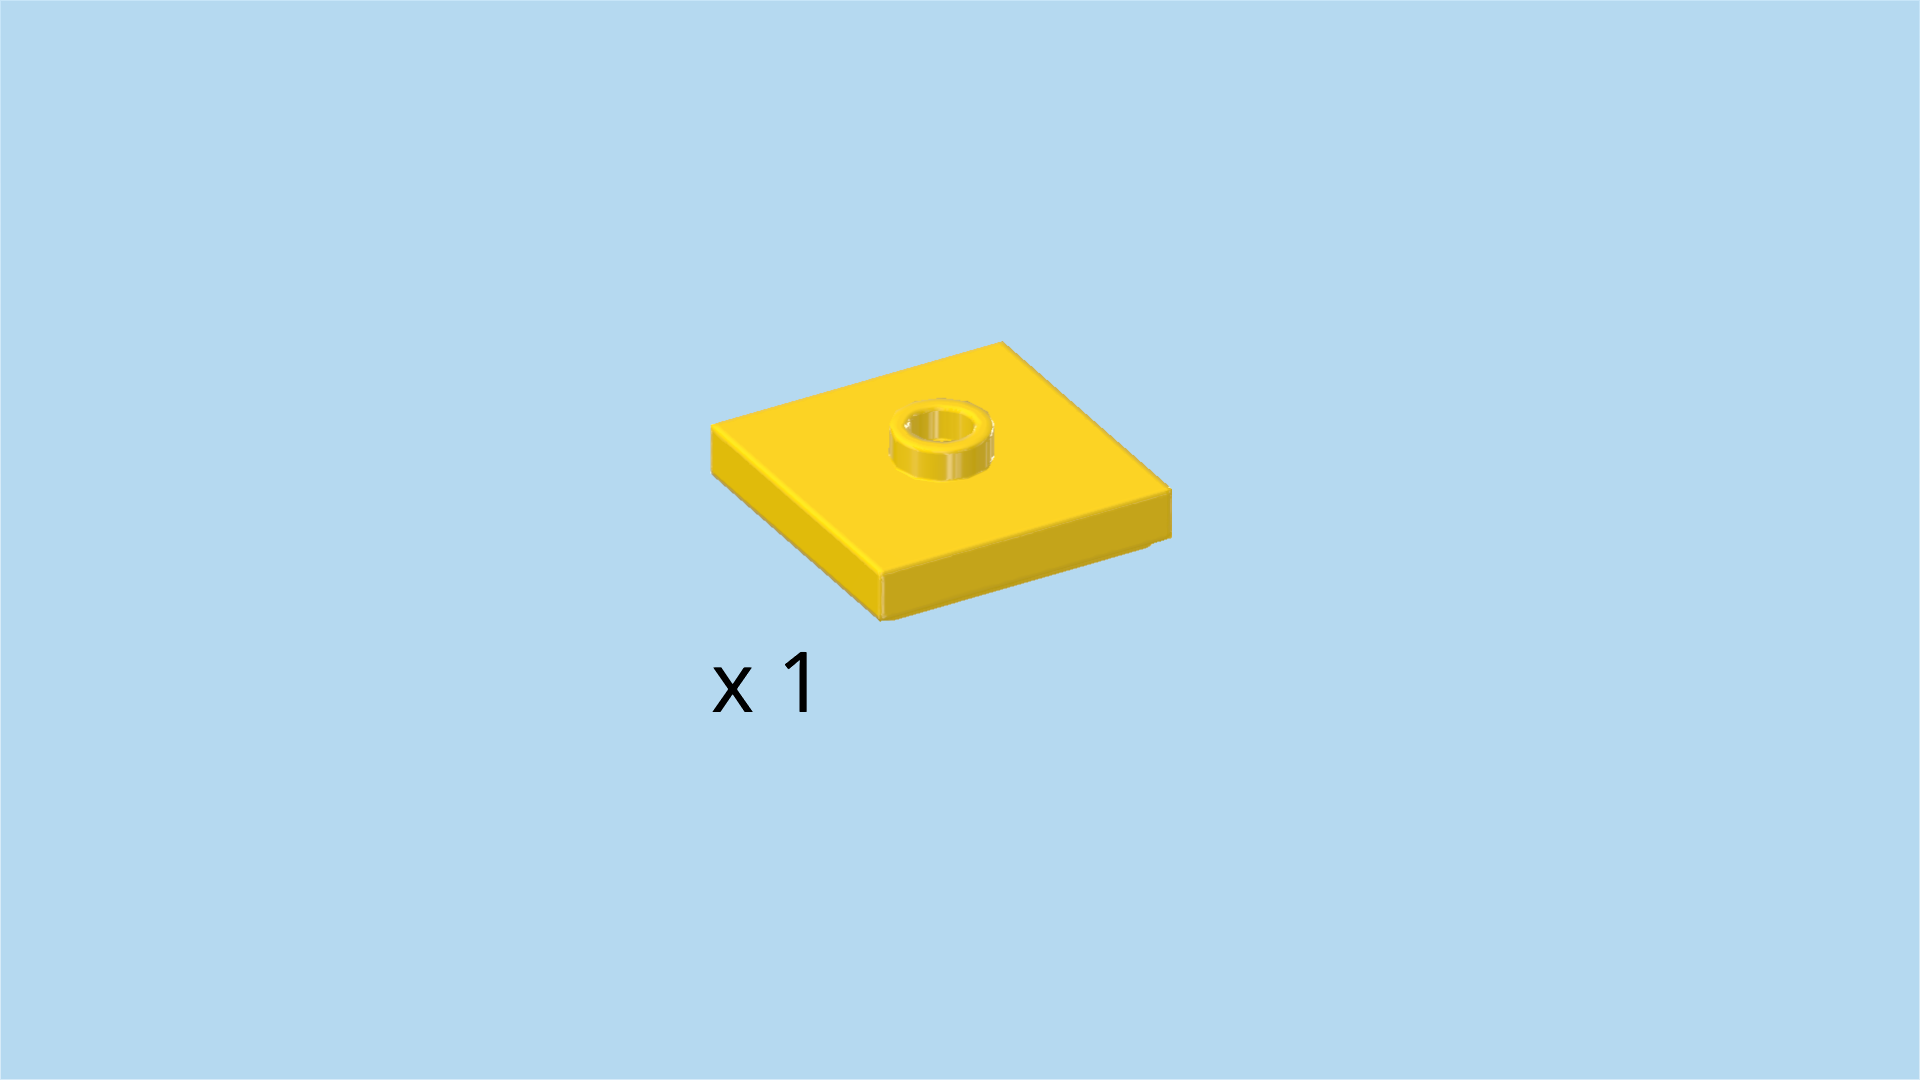
| Find 1 bright yellow plate 2x2 with 1 knob. |
| Put it on top of the two previous pieces. |
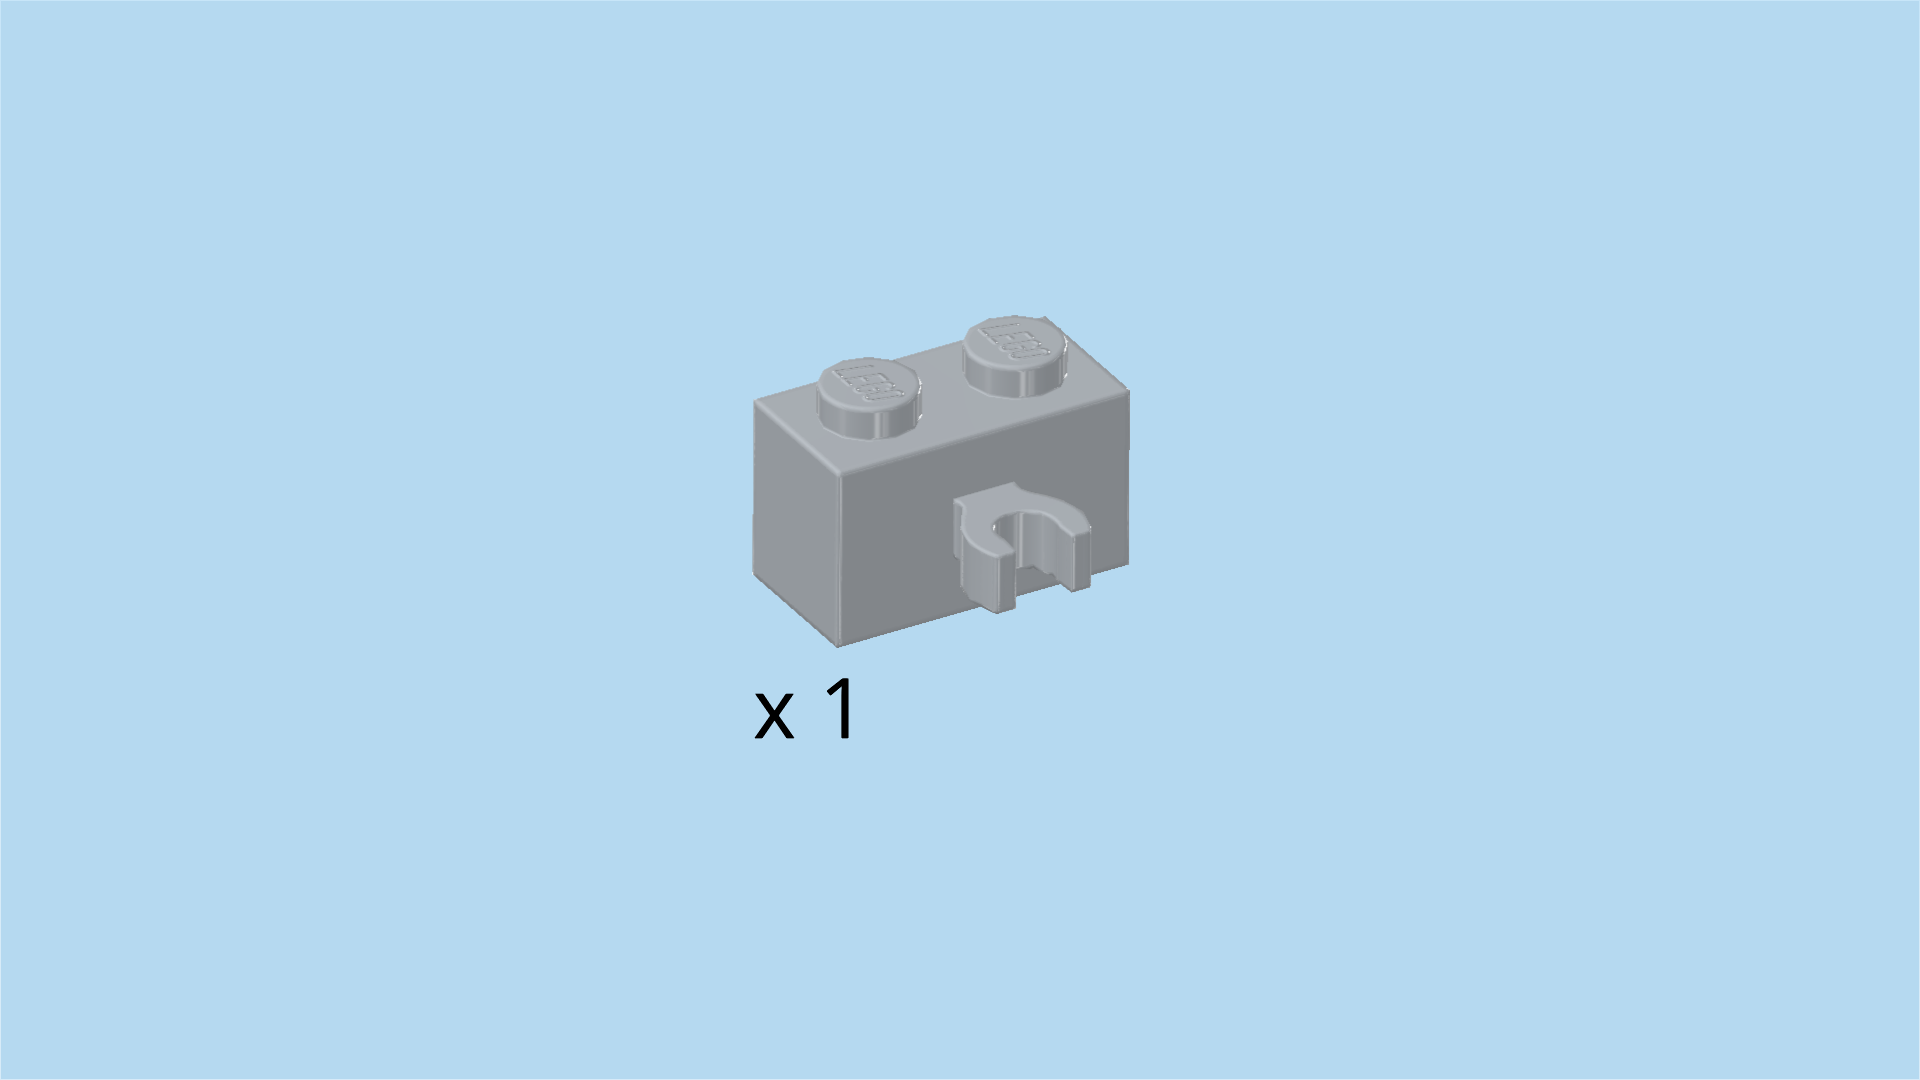
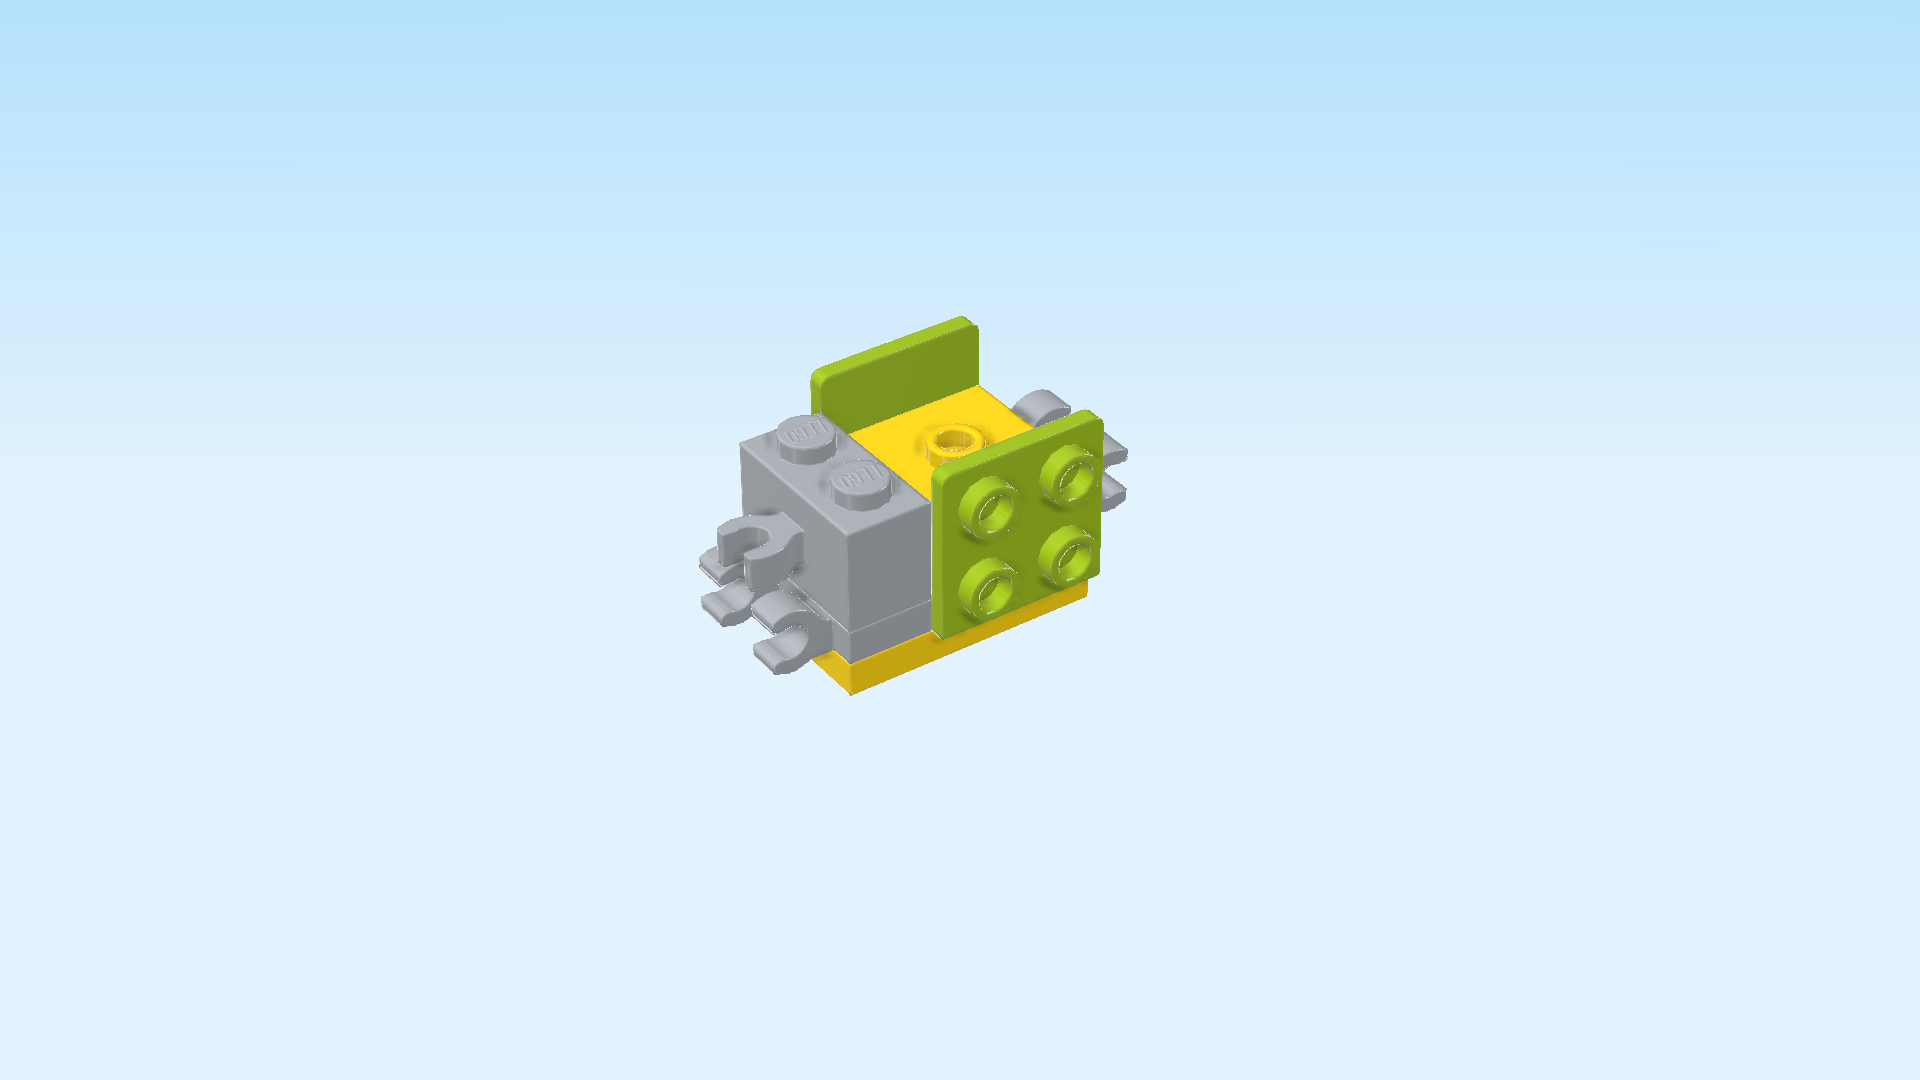
| Find 1 medium stone grey brick 1x2 with horizontal clasp on long side. |
| Put it vertically on the leftmost column, clasp to the left. |
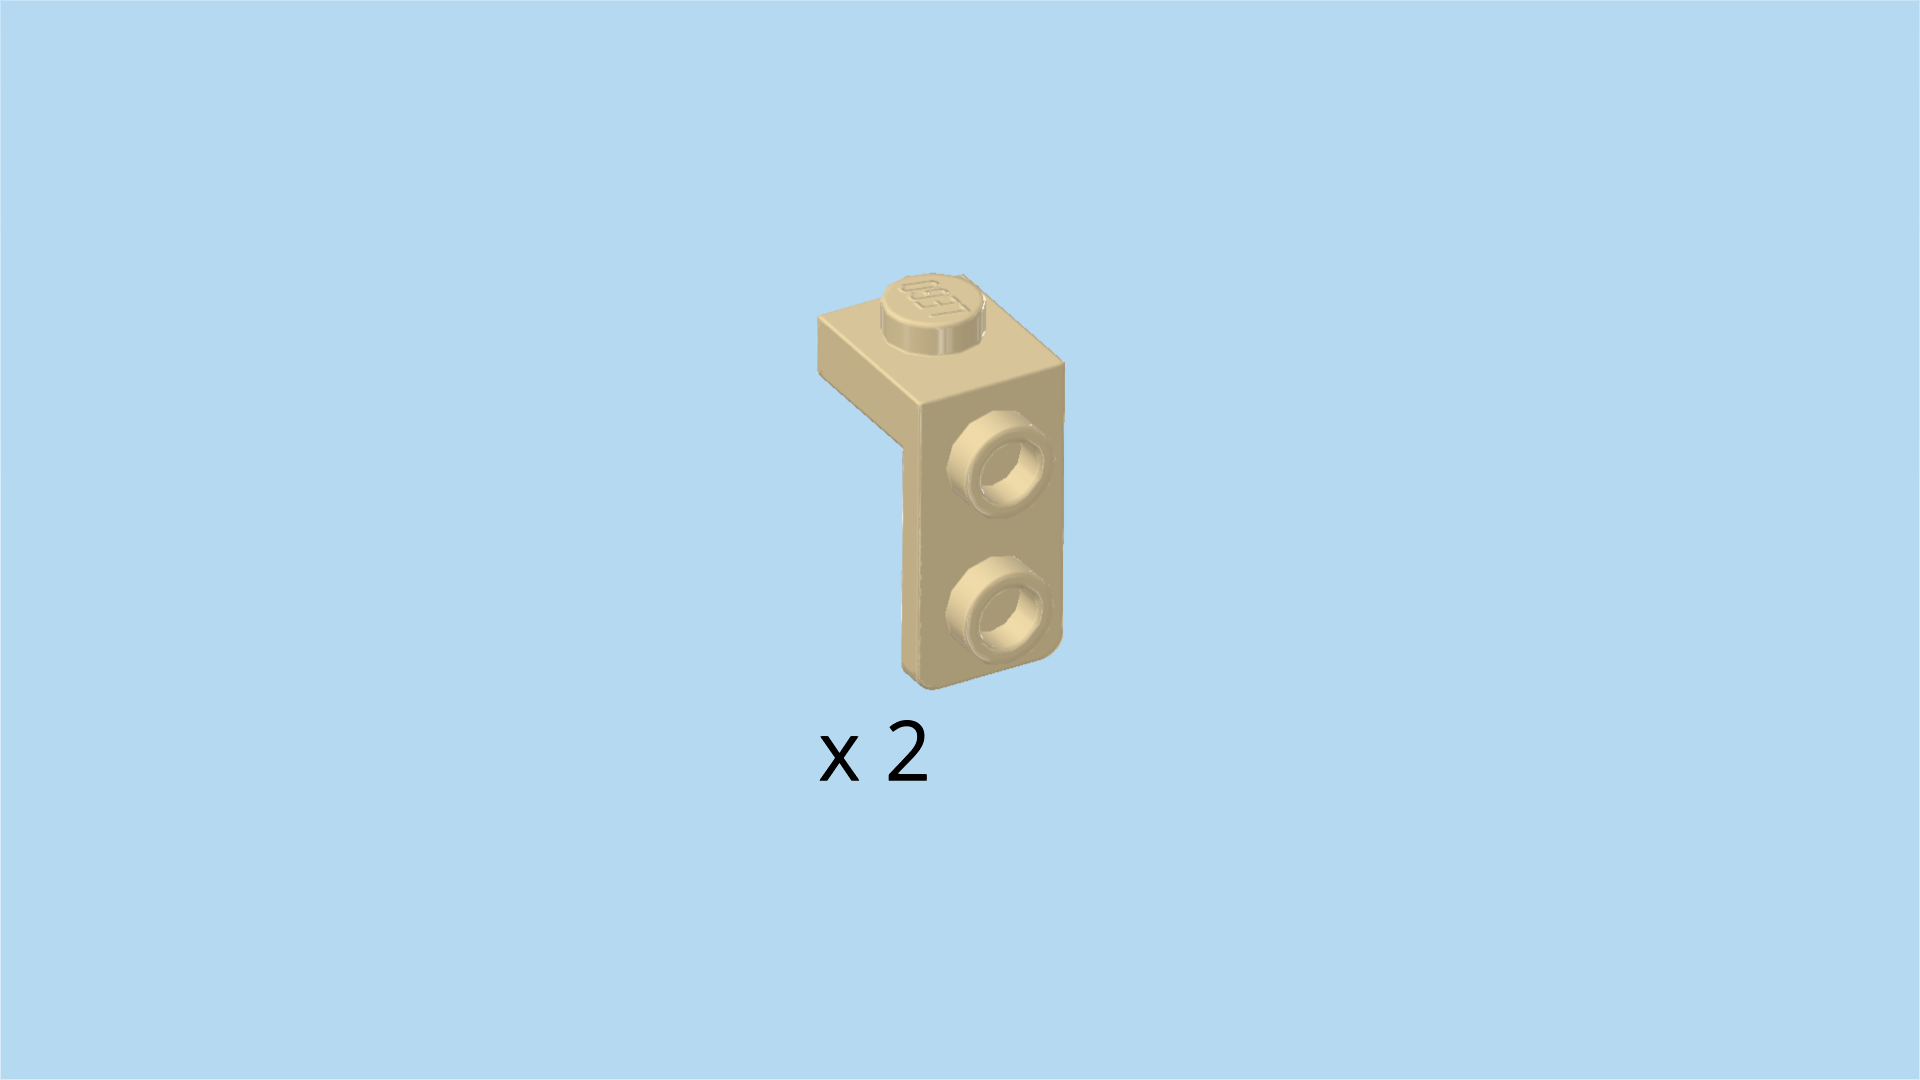
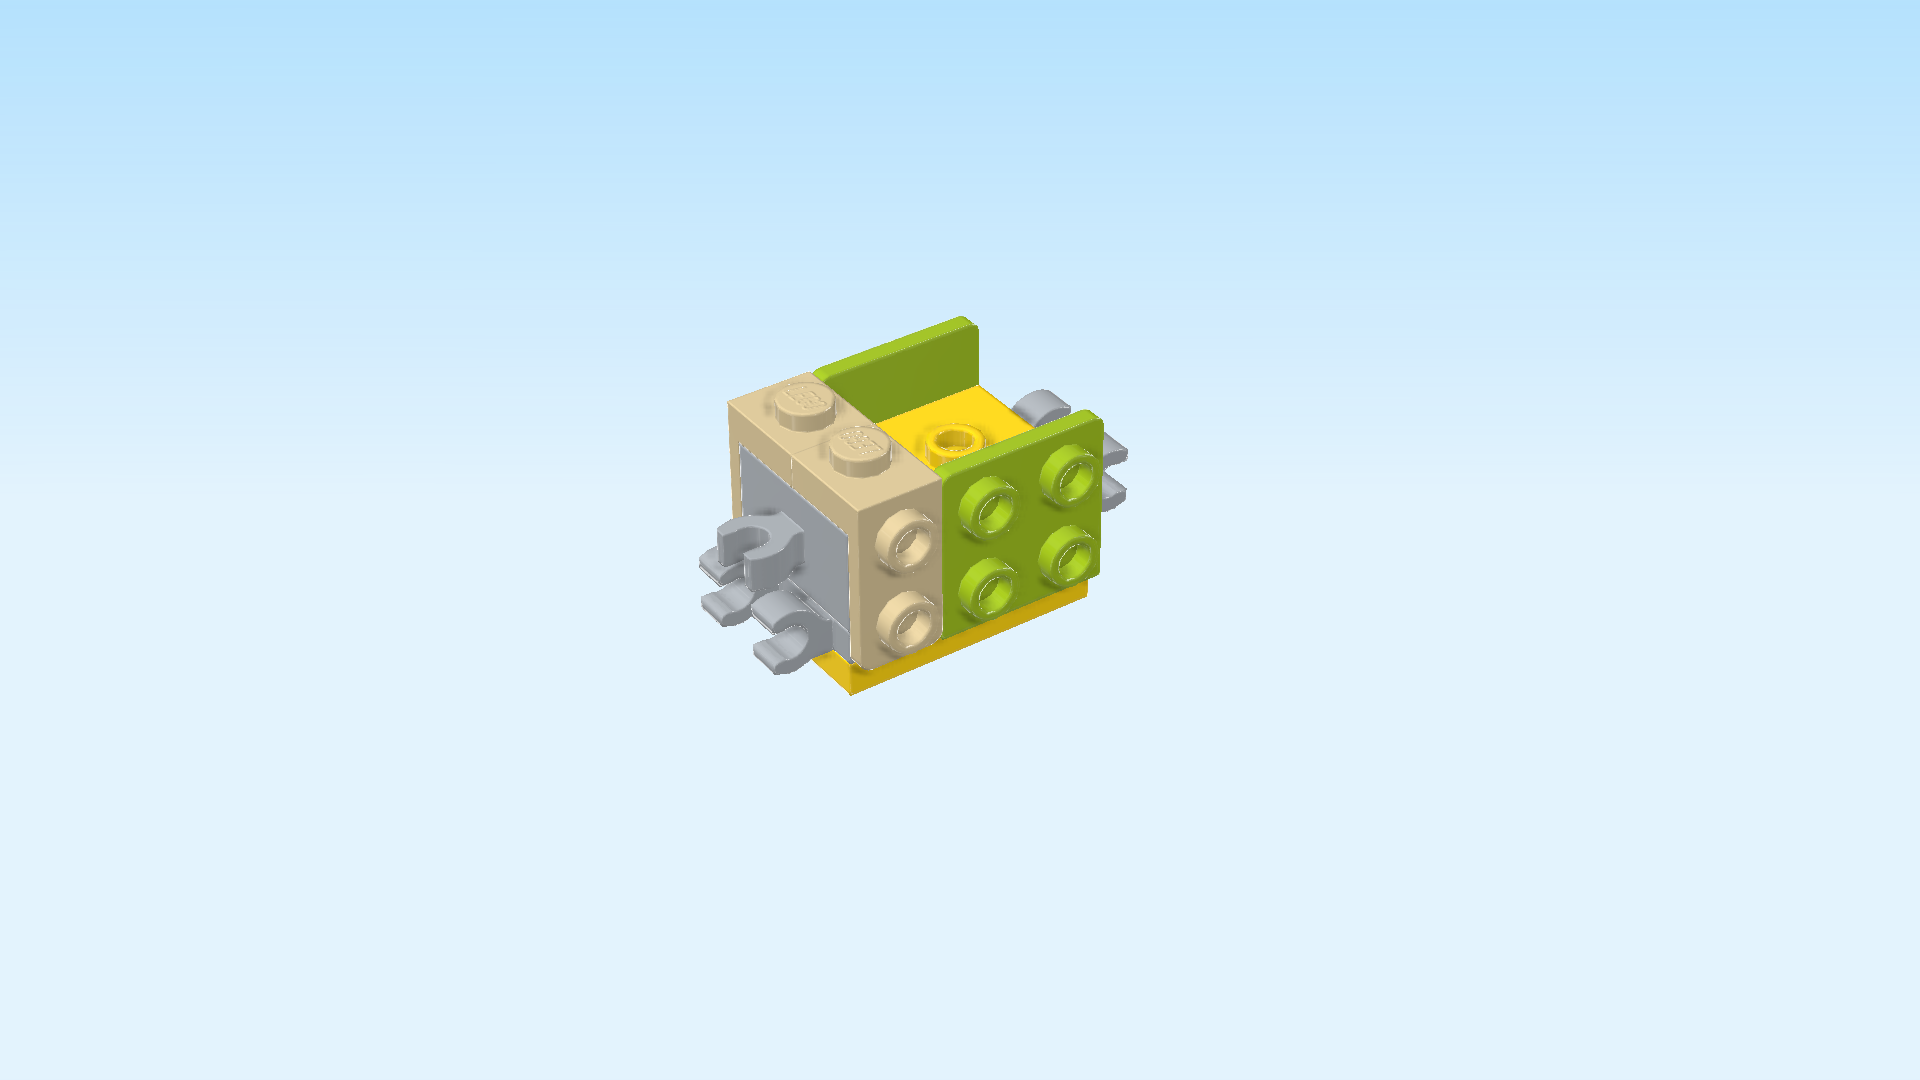
| Find 2 pale ocher yellow top angle plates 1x1 - 1x2 with 2 side knobs. |
| Put 1 on the back knob of the previous piece, 2 side knobs to the back. |
| Put the other one in front of the previous piece, 2 side knobs to the front. |
| Next, we build the loading flap of the cargo box. |
| Collect the following 2 pieces: |
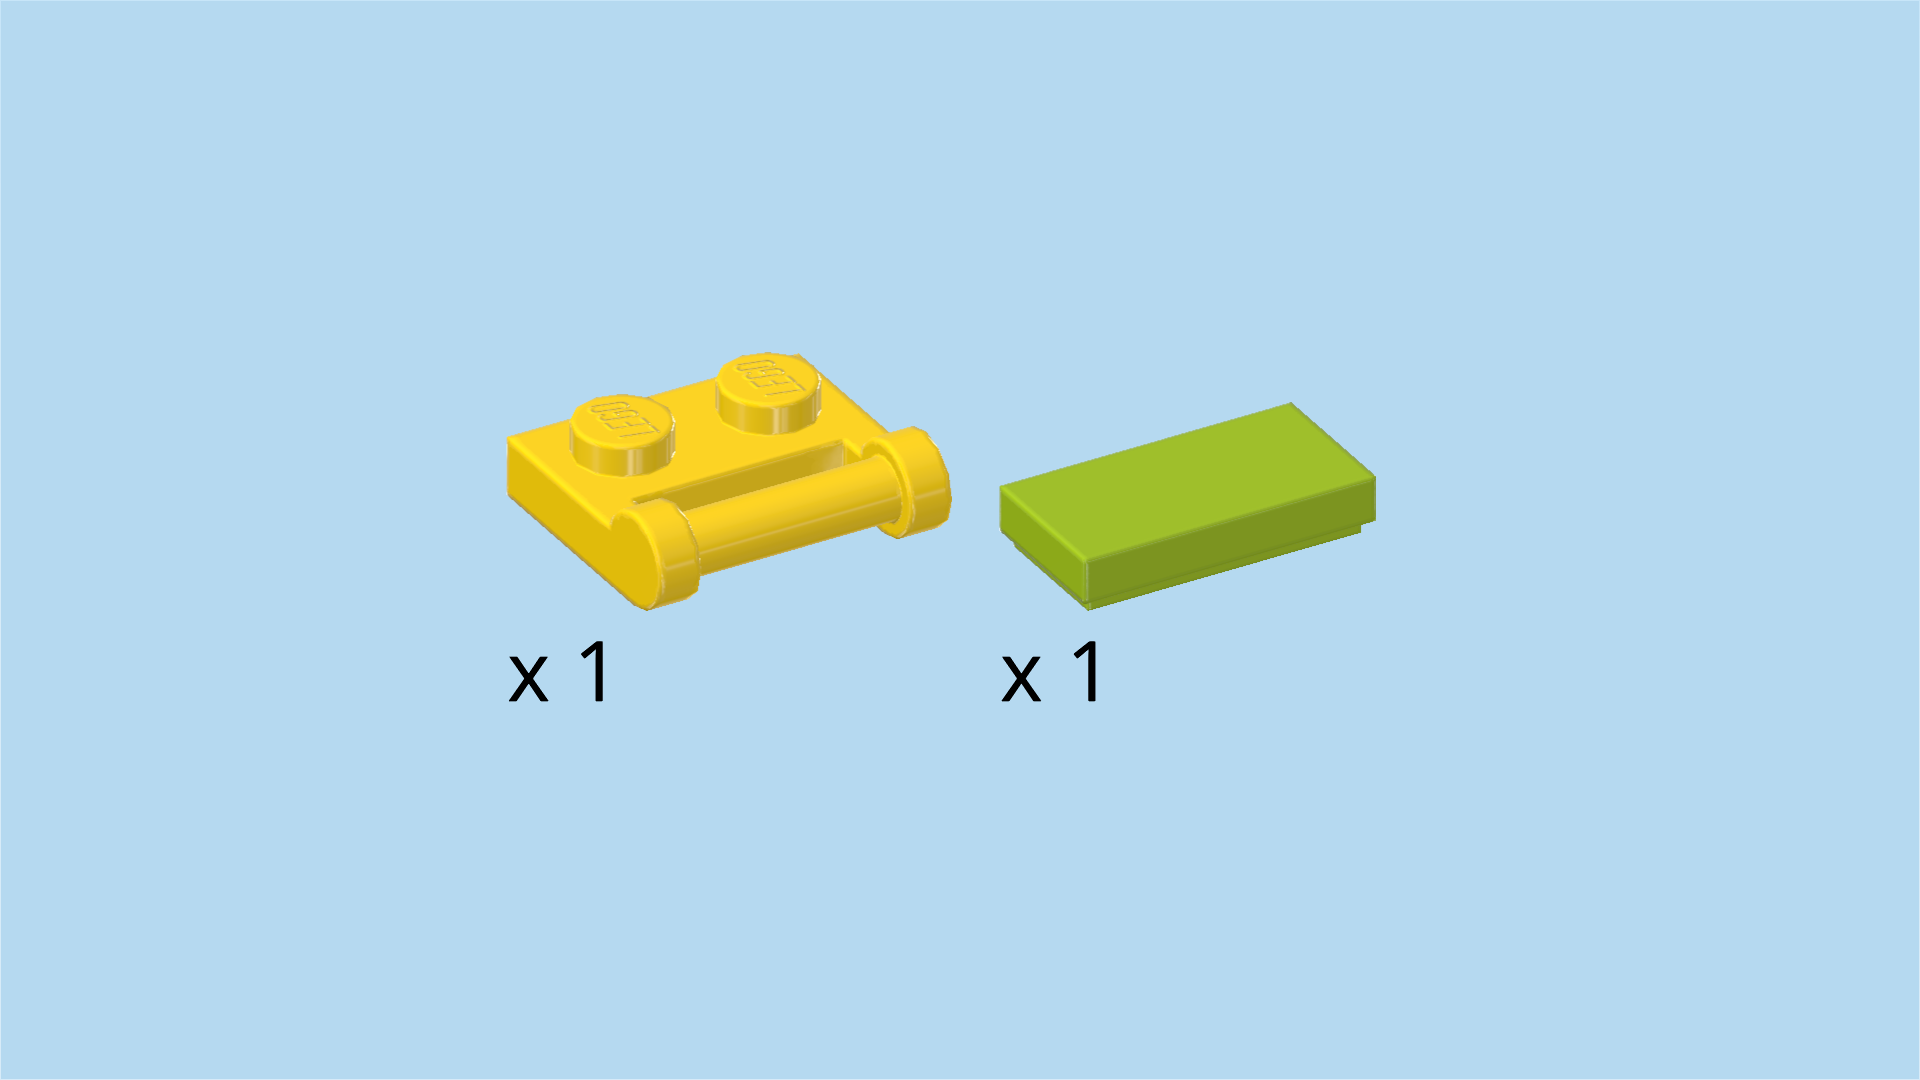
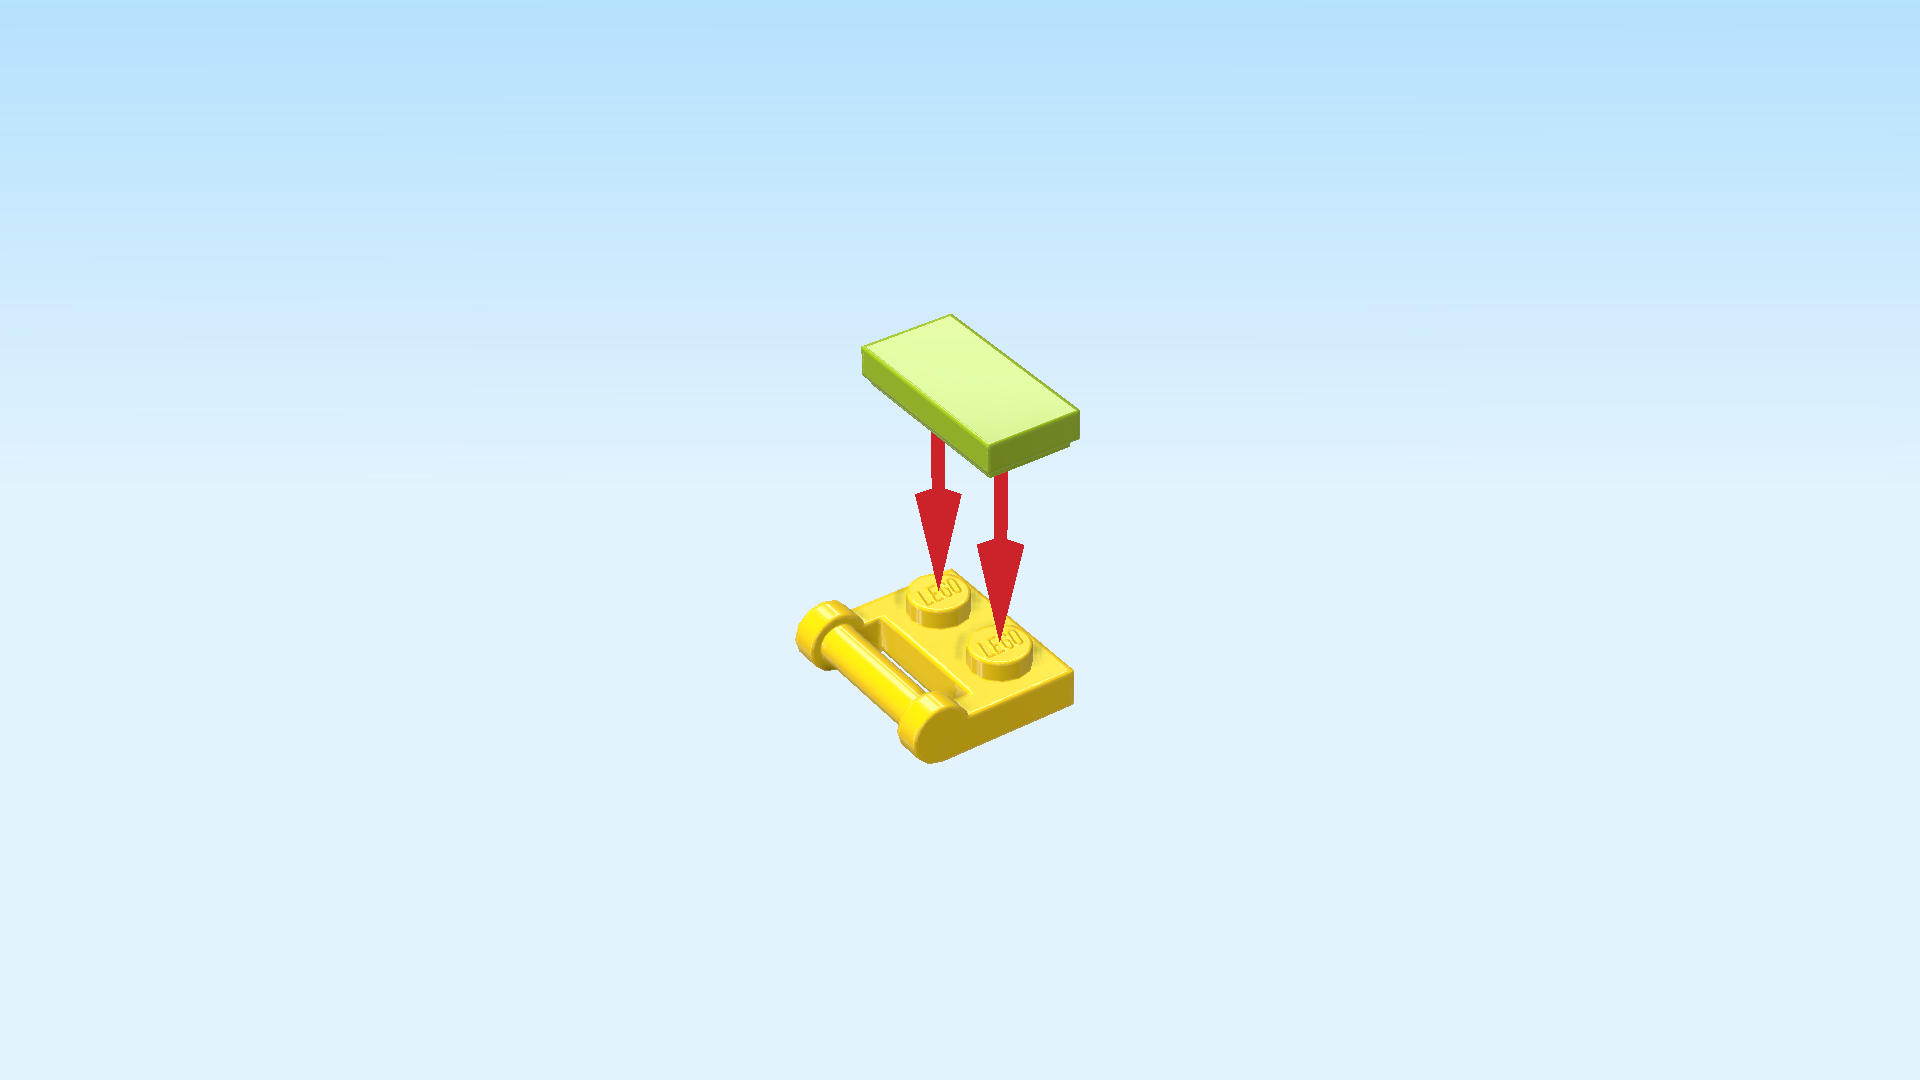
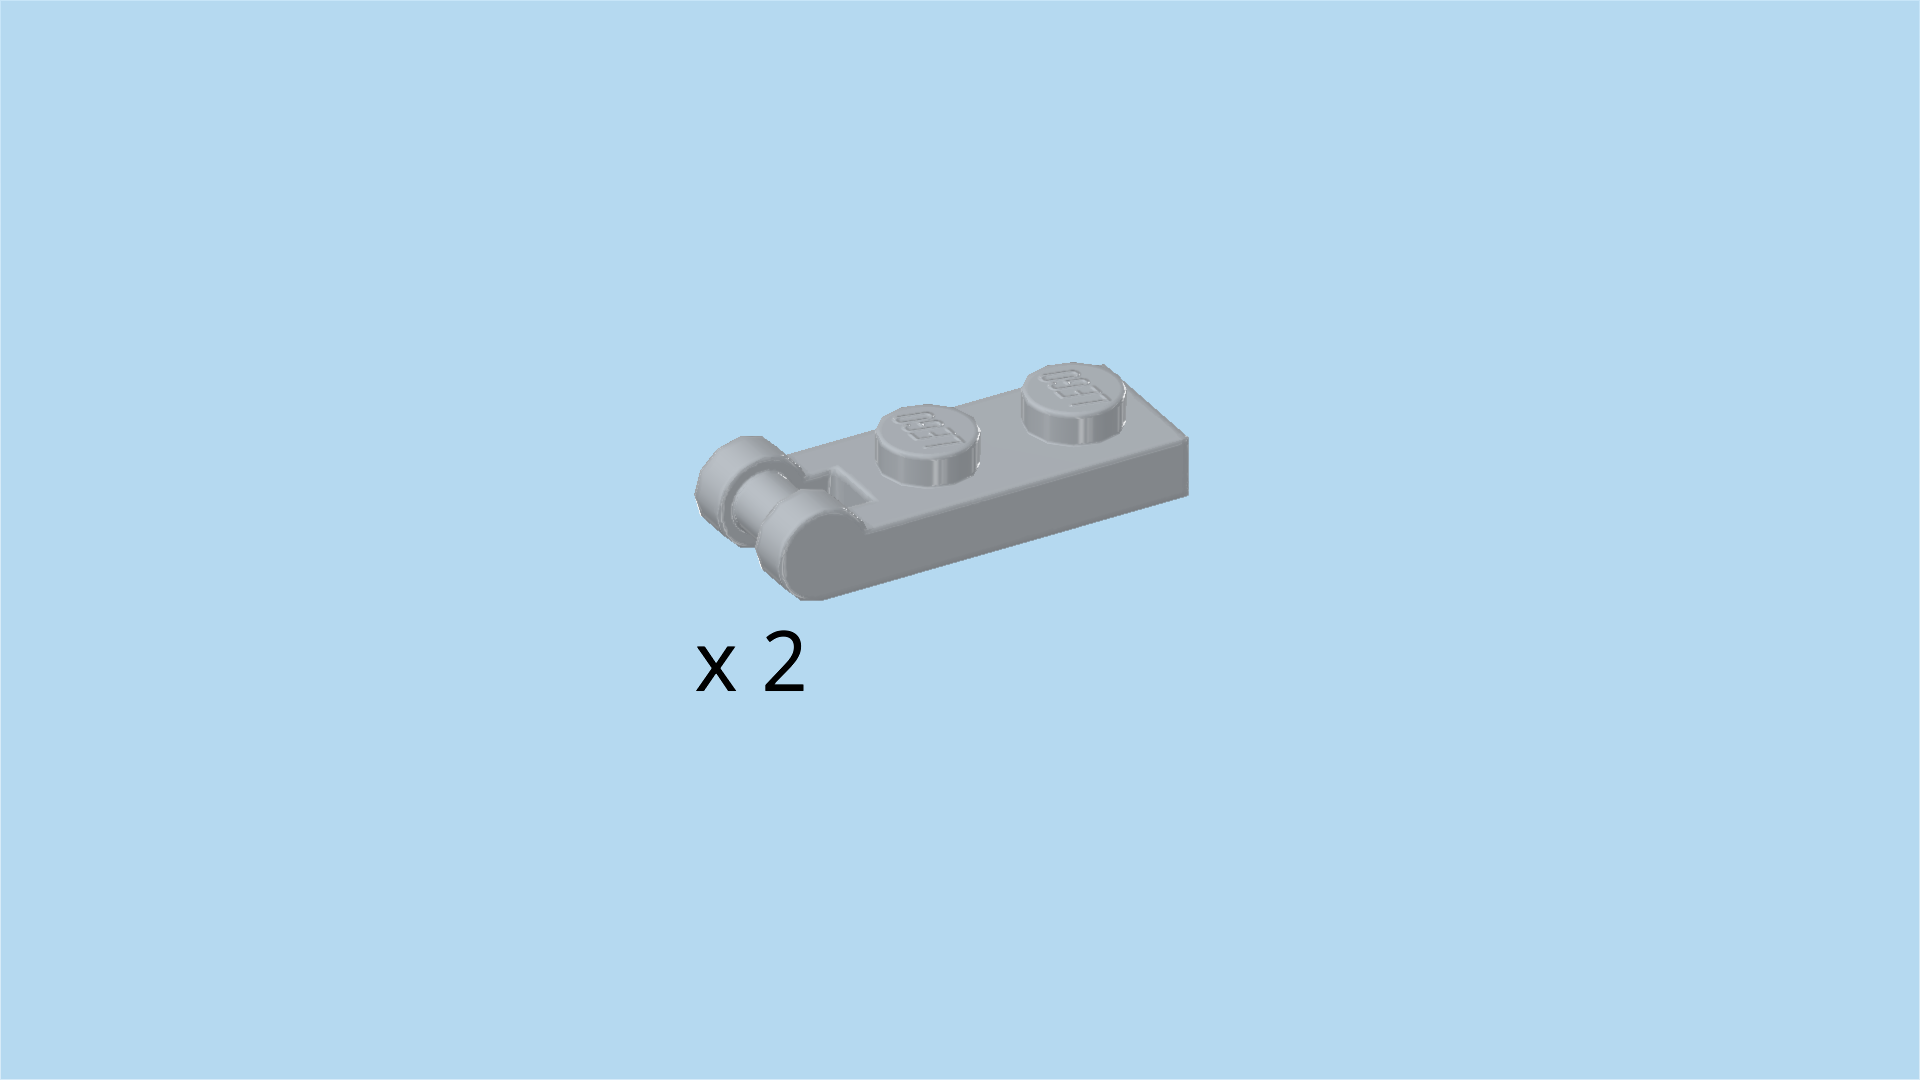
| 1 bright yellow plate 1x2 with handle on long side, |
| and 1 bright yellowish green flat tile 1x2. |
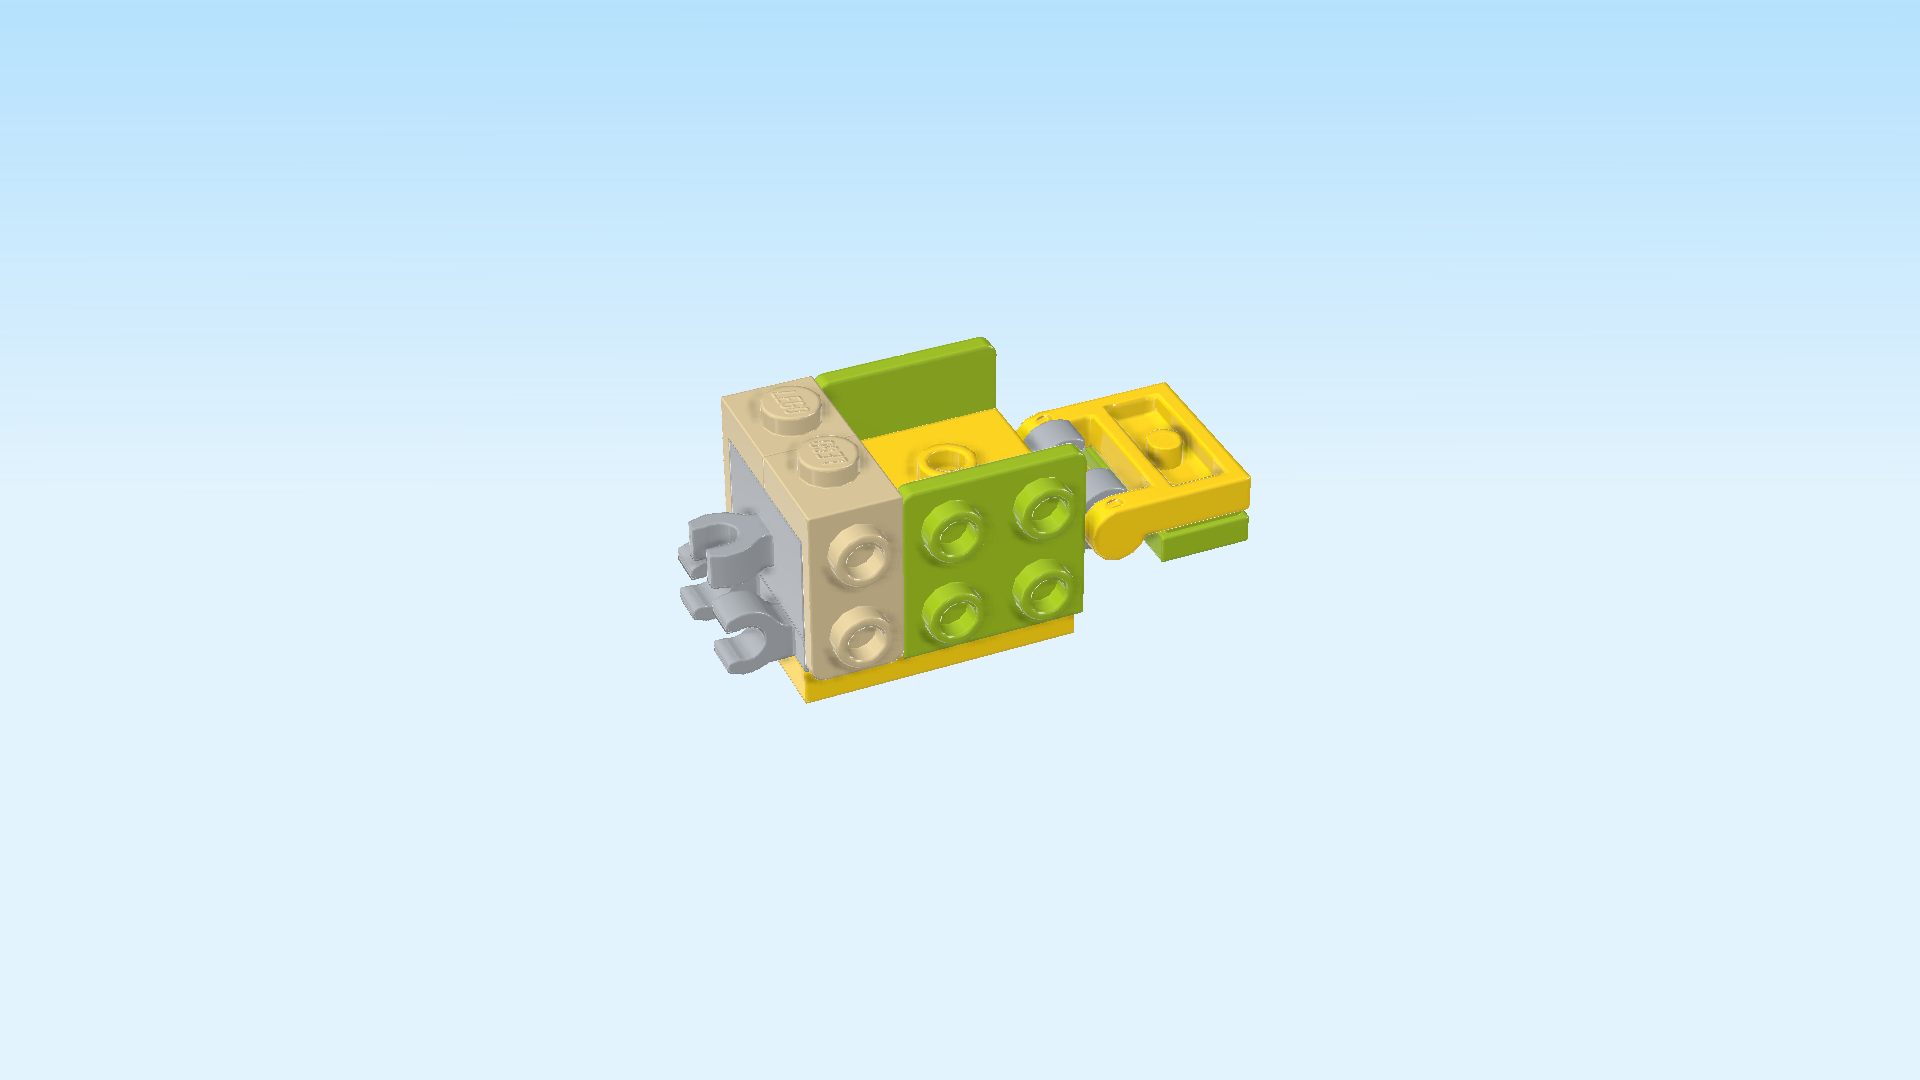
| Put the plate with side handle vertically on the table, handle to the left. |
| Put the flat tile 1x2 vertically on top. |
| Now, flip this part upside down so that the smooth side is to the bottom. |
| Snap the handle of the loading flap into the 2 clasps on the right side of the structure. |
| Great job! Fold the loading flap up and down as needed when loading the rescue pets into the cargo box. |
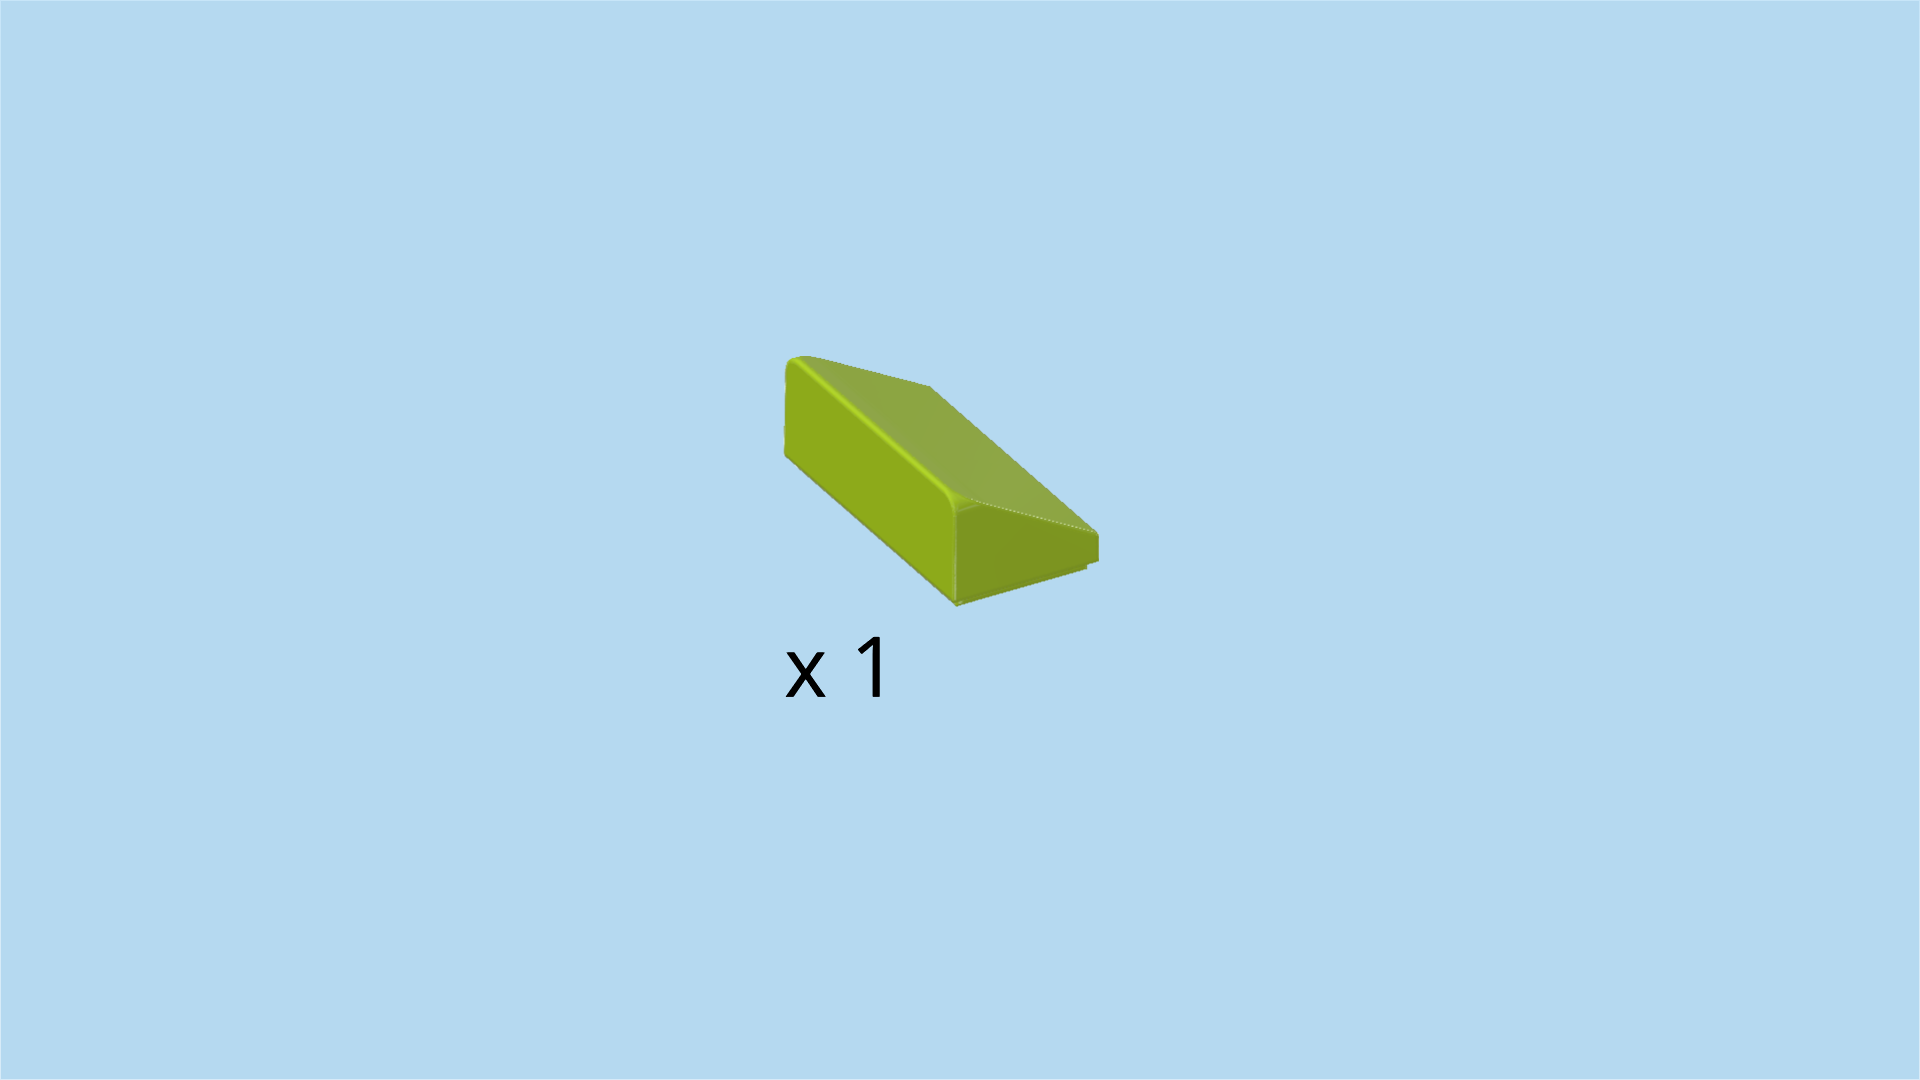
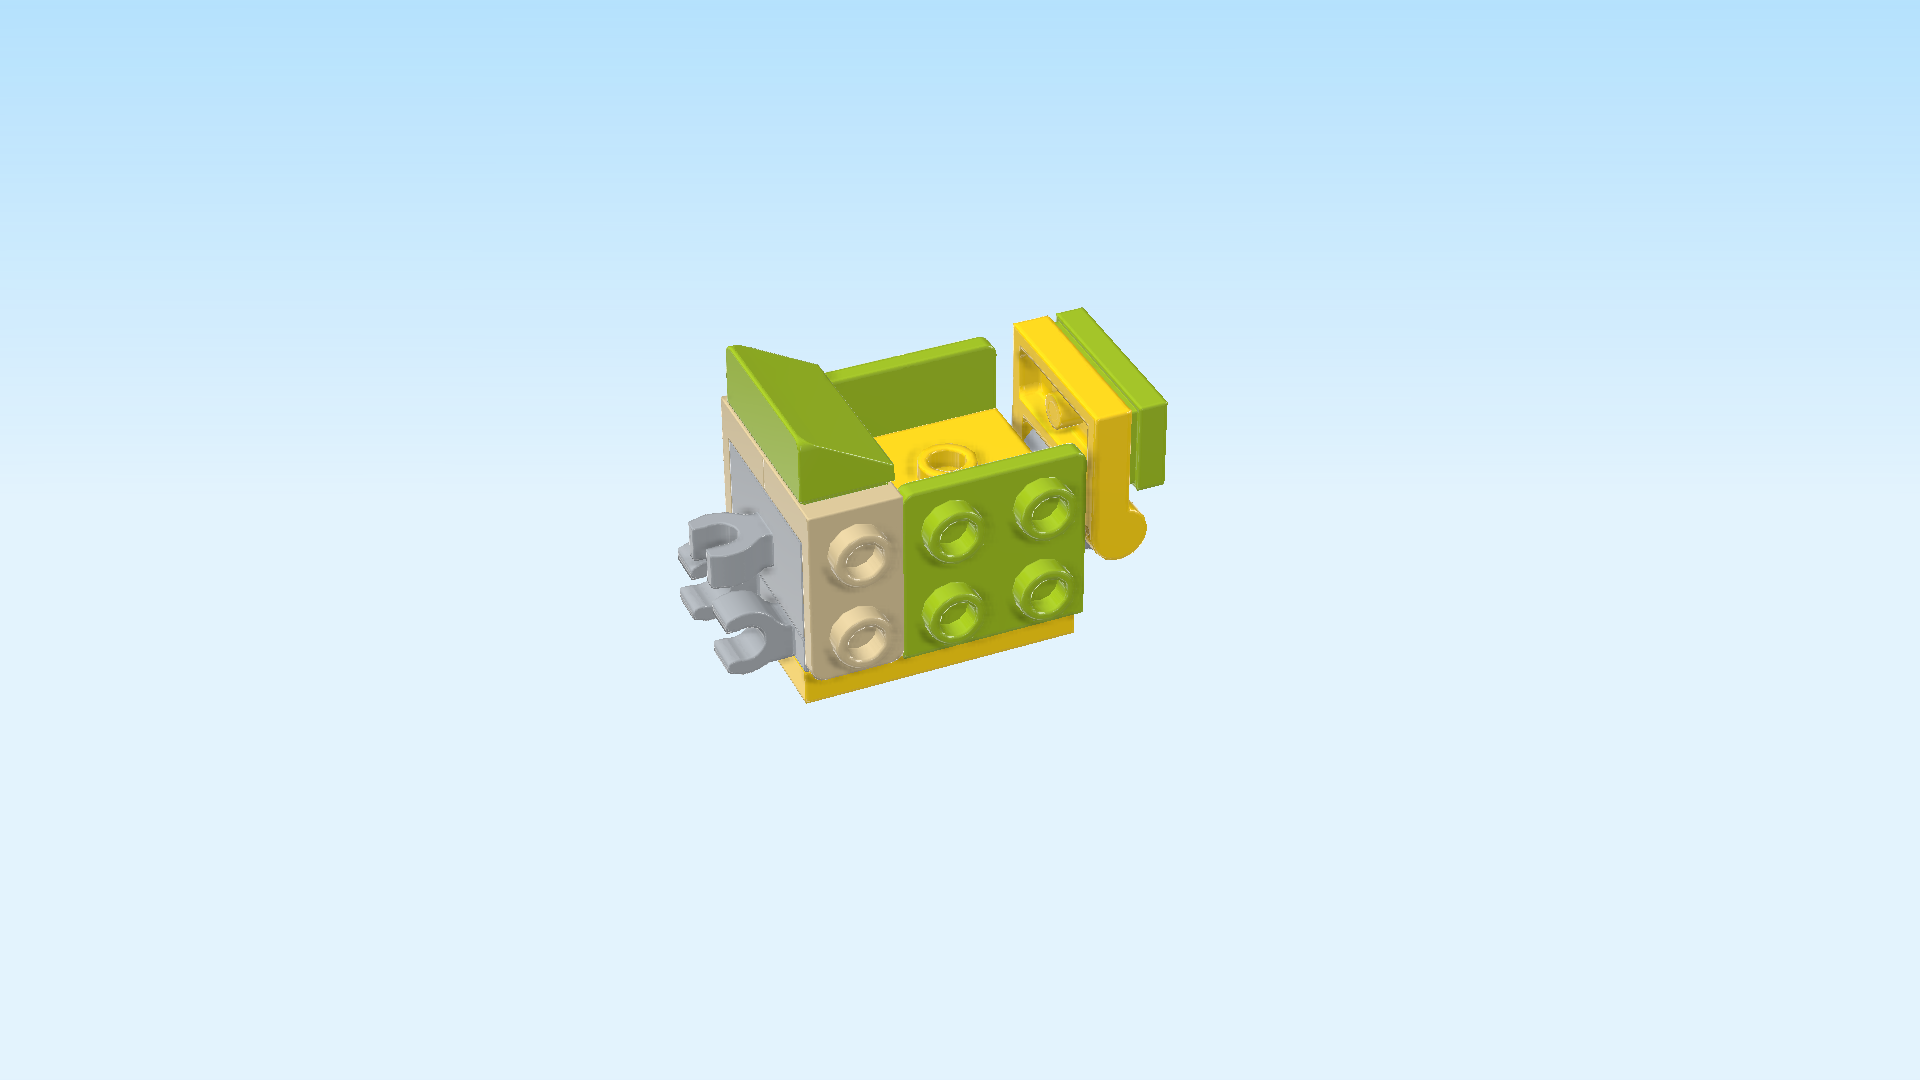
| Find 1 bright yellowish green smooth roof tile 1x2x⅔. |
| Put it vertically on the leftmost column, slope to the right. |
| Collect the following 2 pieces: |
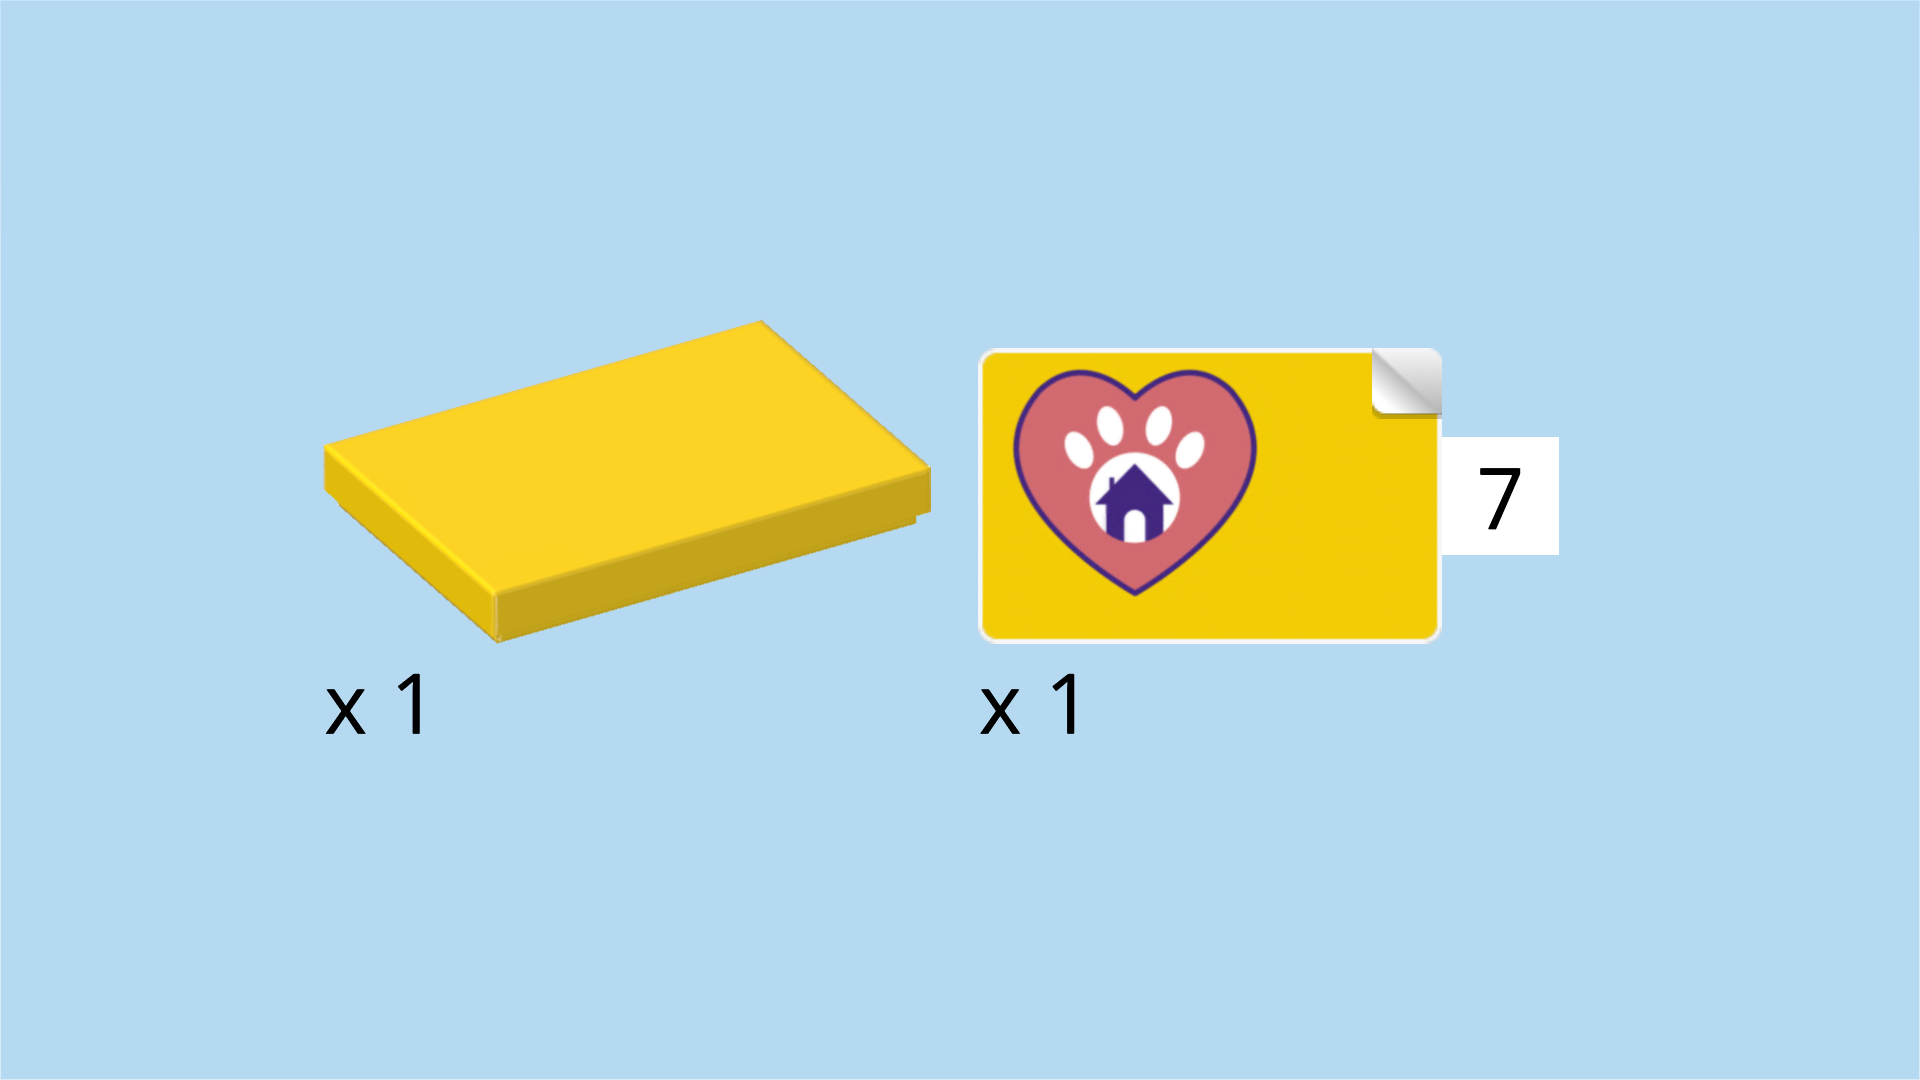
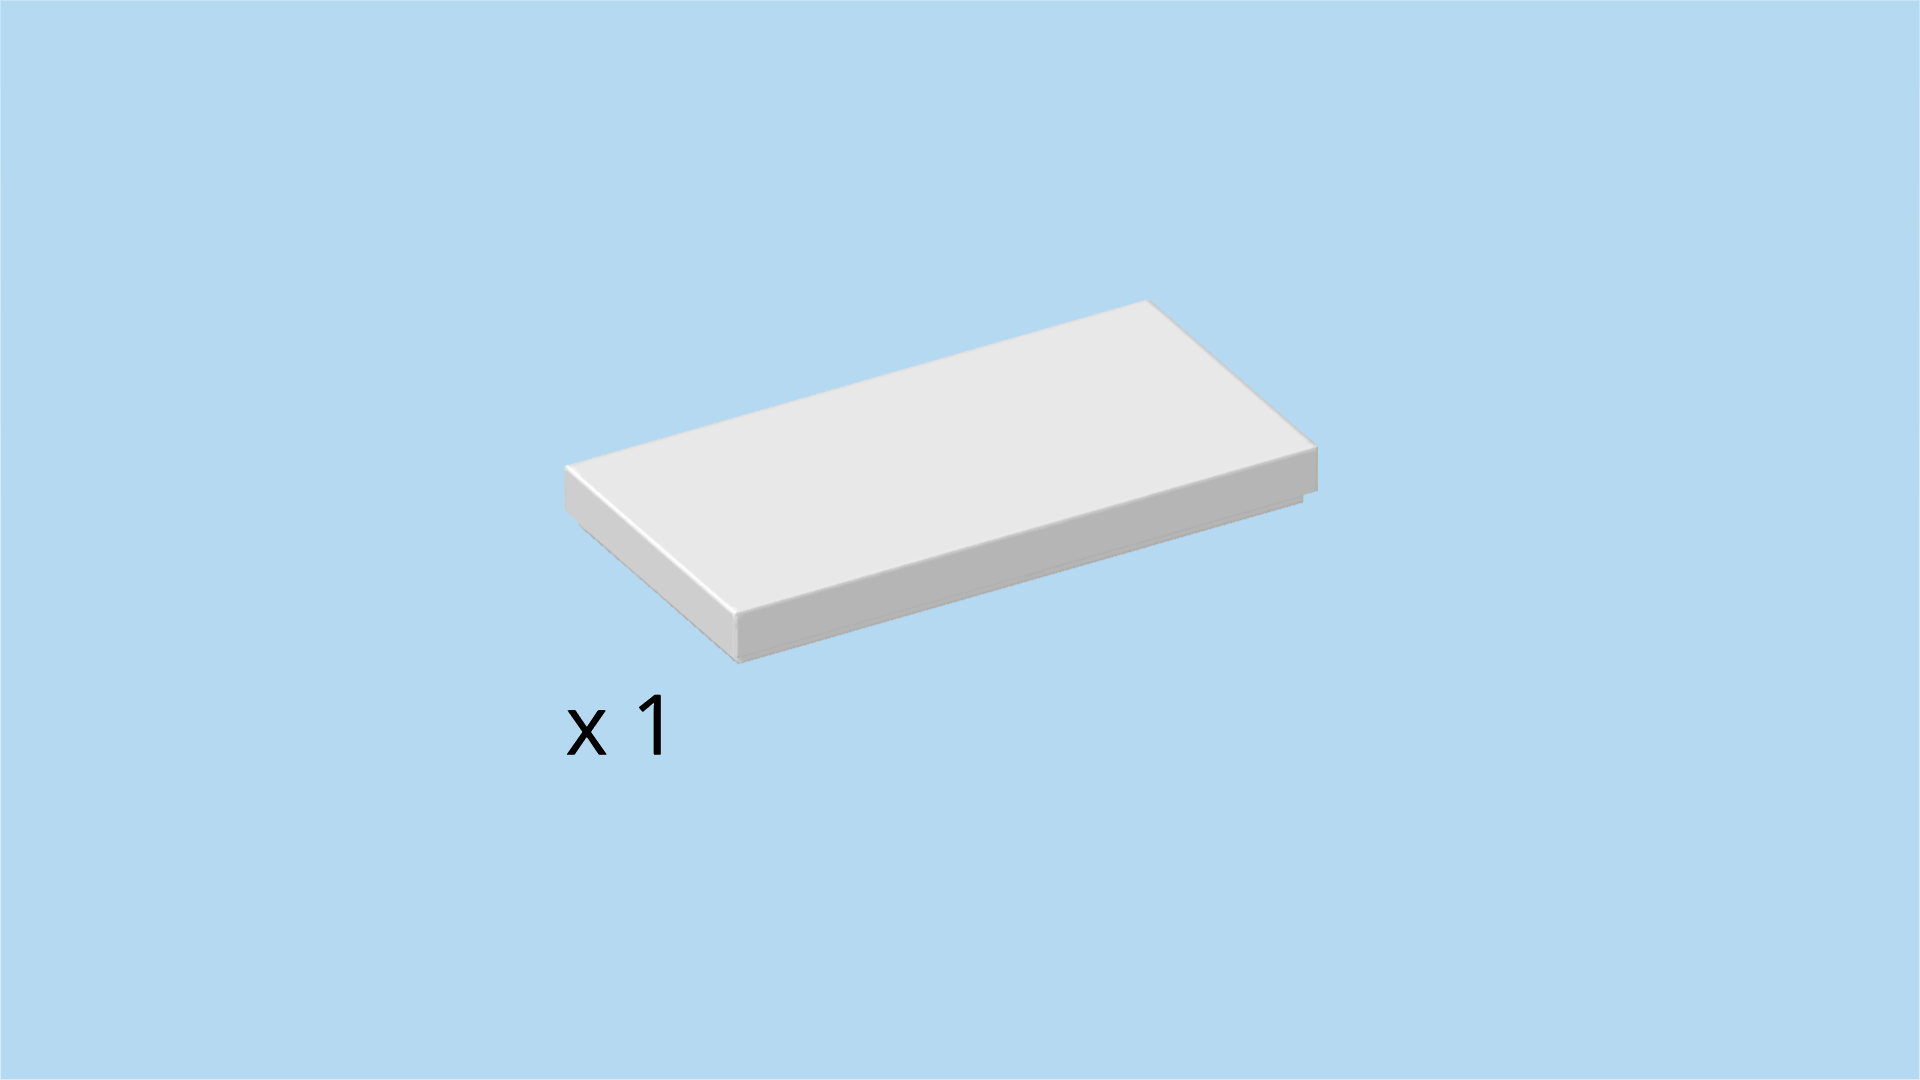
| 1 bright yellow flat tile 2x3, |
| and 1 rectangular sticker number 7. |
| Put the flat tile 2x3 horizontally on the table. |
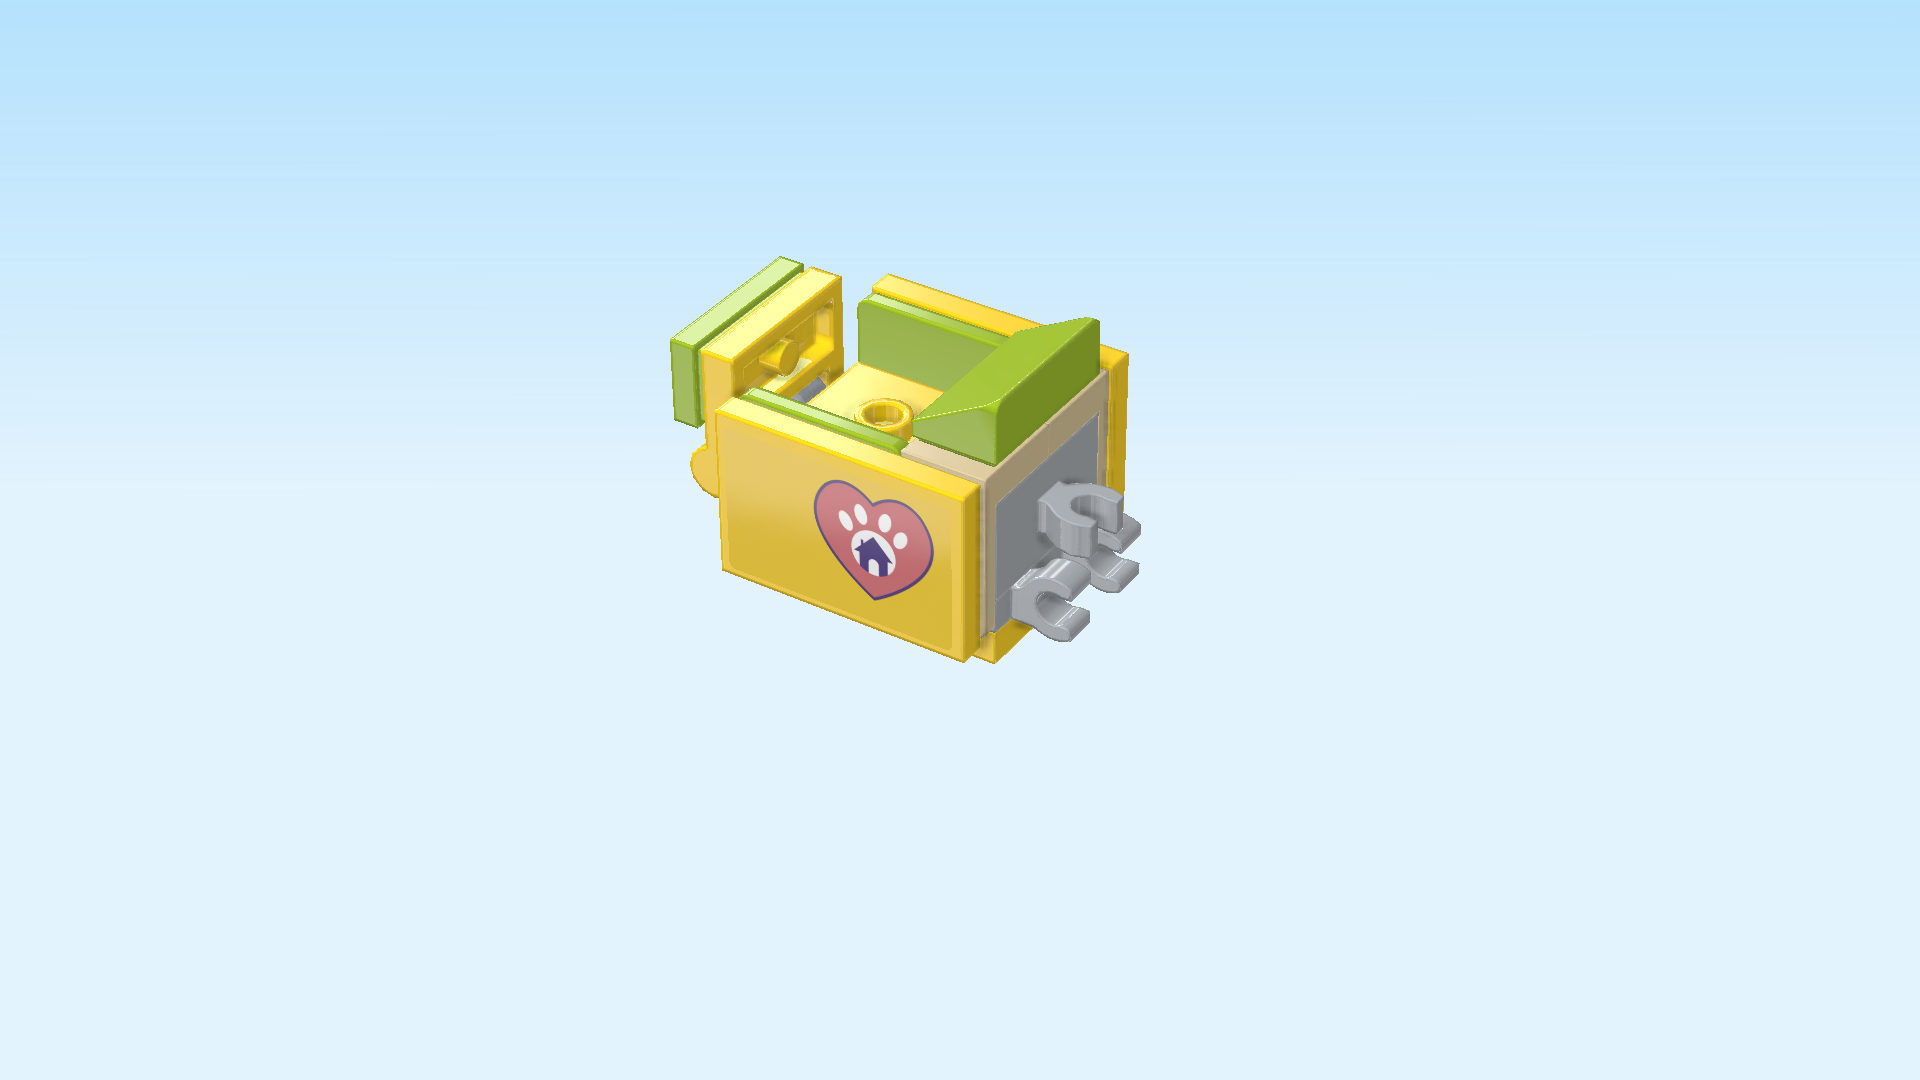
| Put the sticker on top. The sticker is bright yellow and has the logo of the pet adoption cafe on its left half. It is a pink heart with a lilac outline, and there is a small lilac house in its center against the backdrop of a white paw. |
| Mount the flat tile upright horizontally on the 6 side knobs pointing to the front. |
| Collect the following 2 pieces: |
| 1 bright yellow flat tile 2x3, |
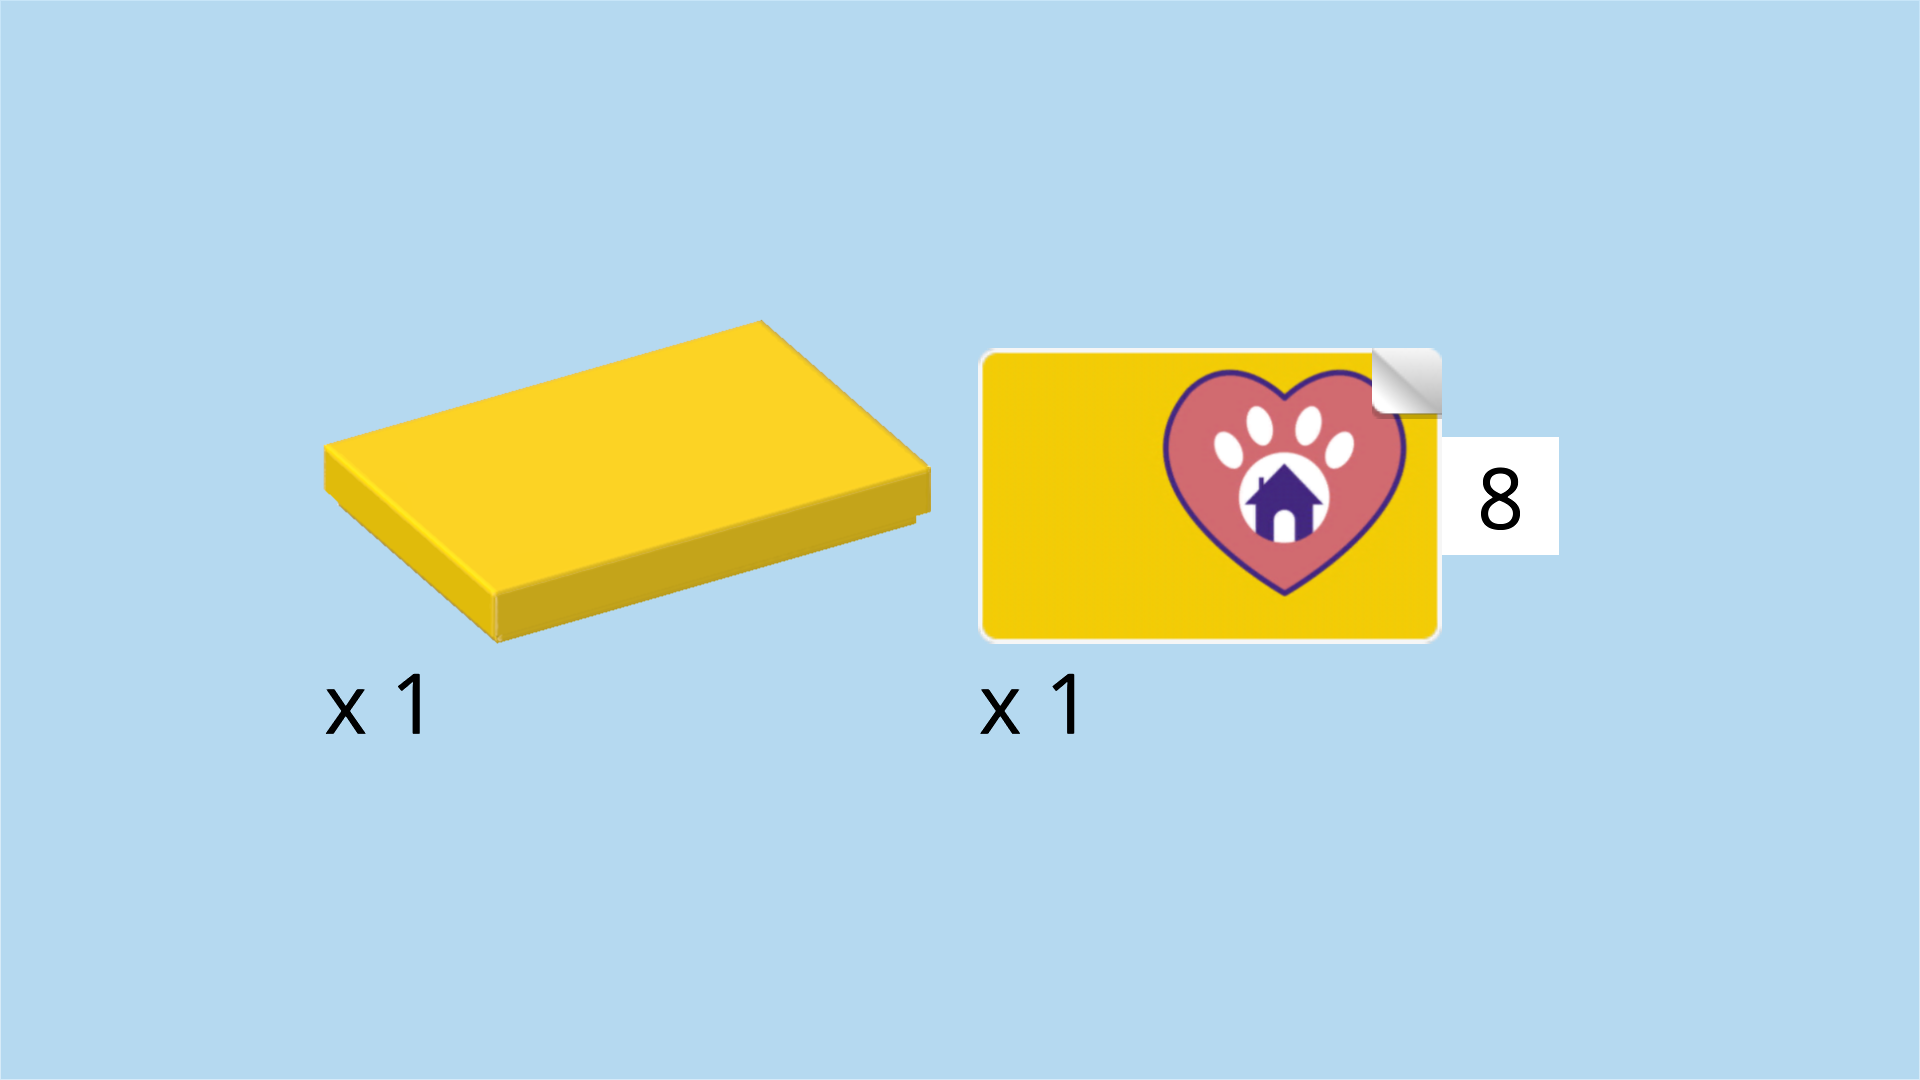
| and 1 rectangular sticker number 8. |
| Put the flat tile 2x3 horizontally on the table. |
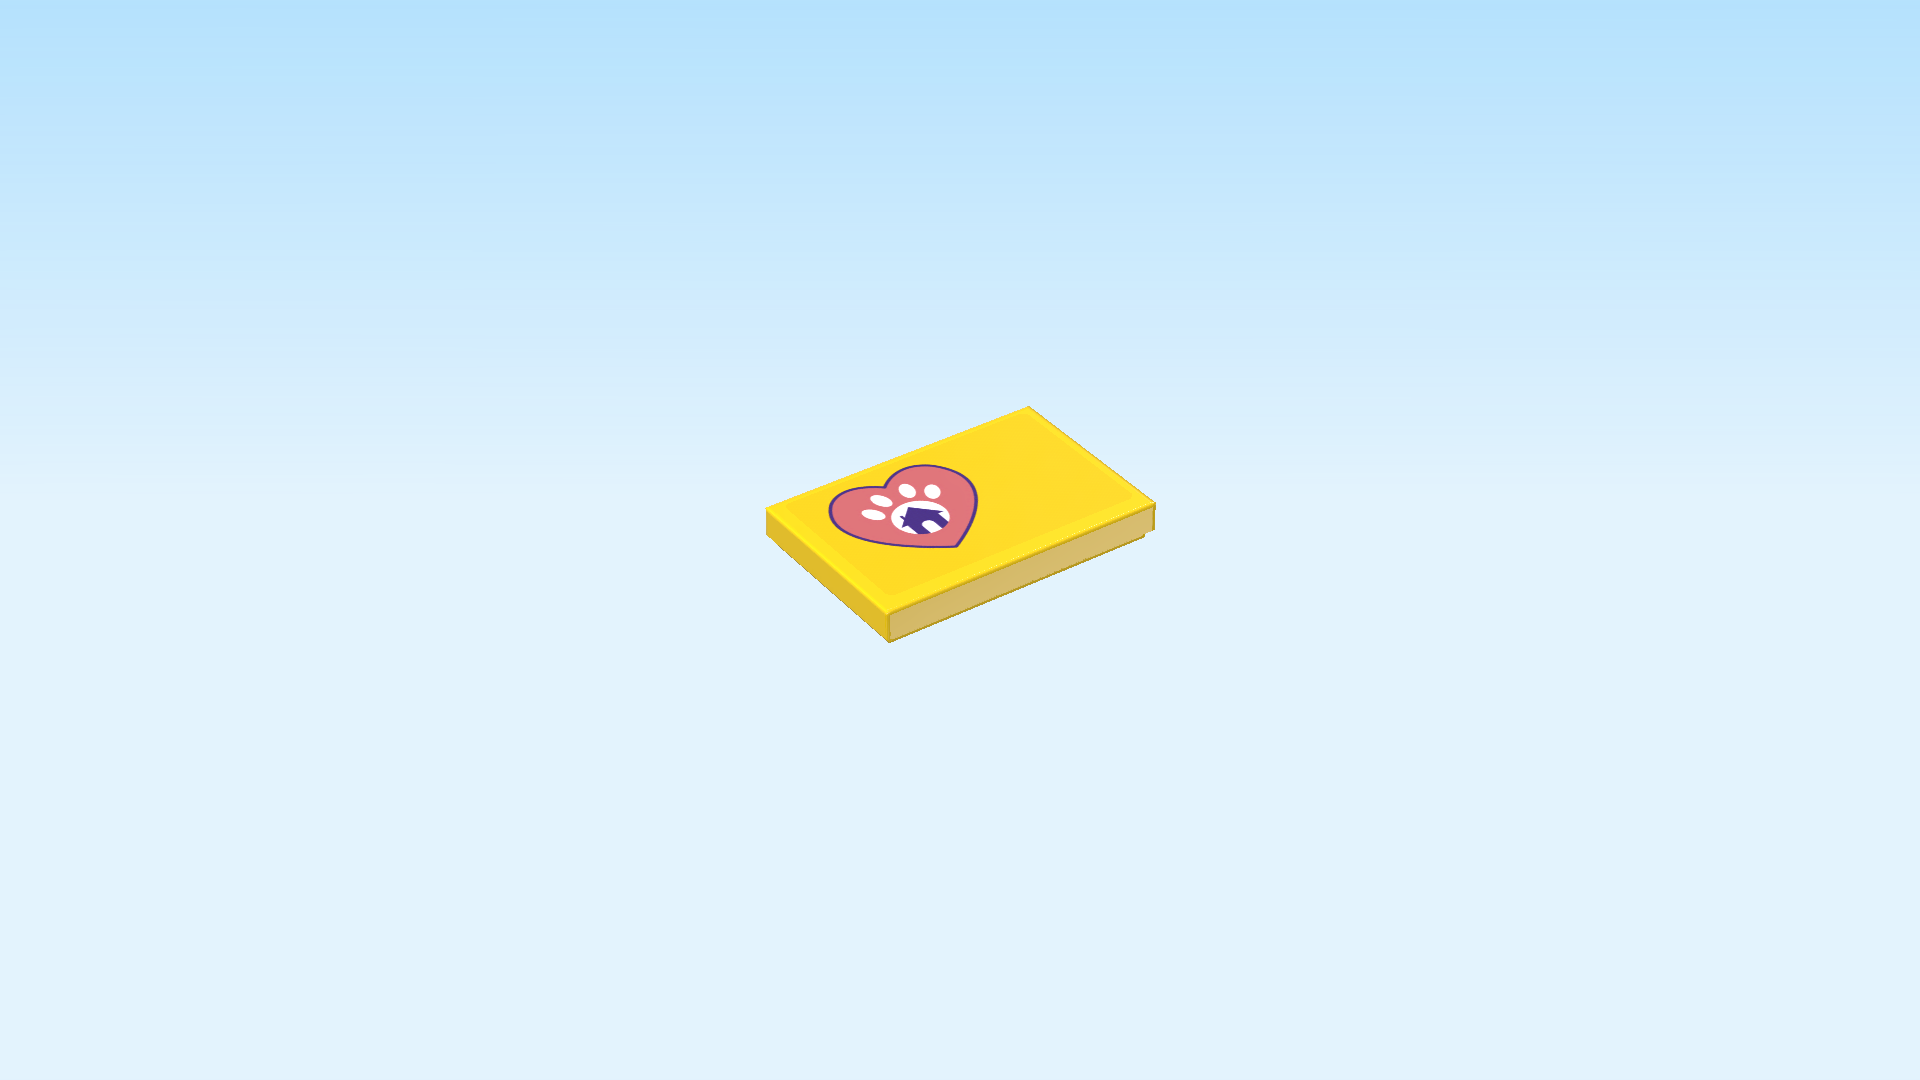
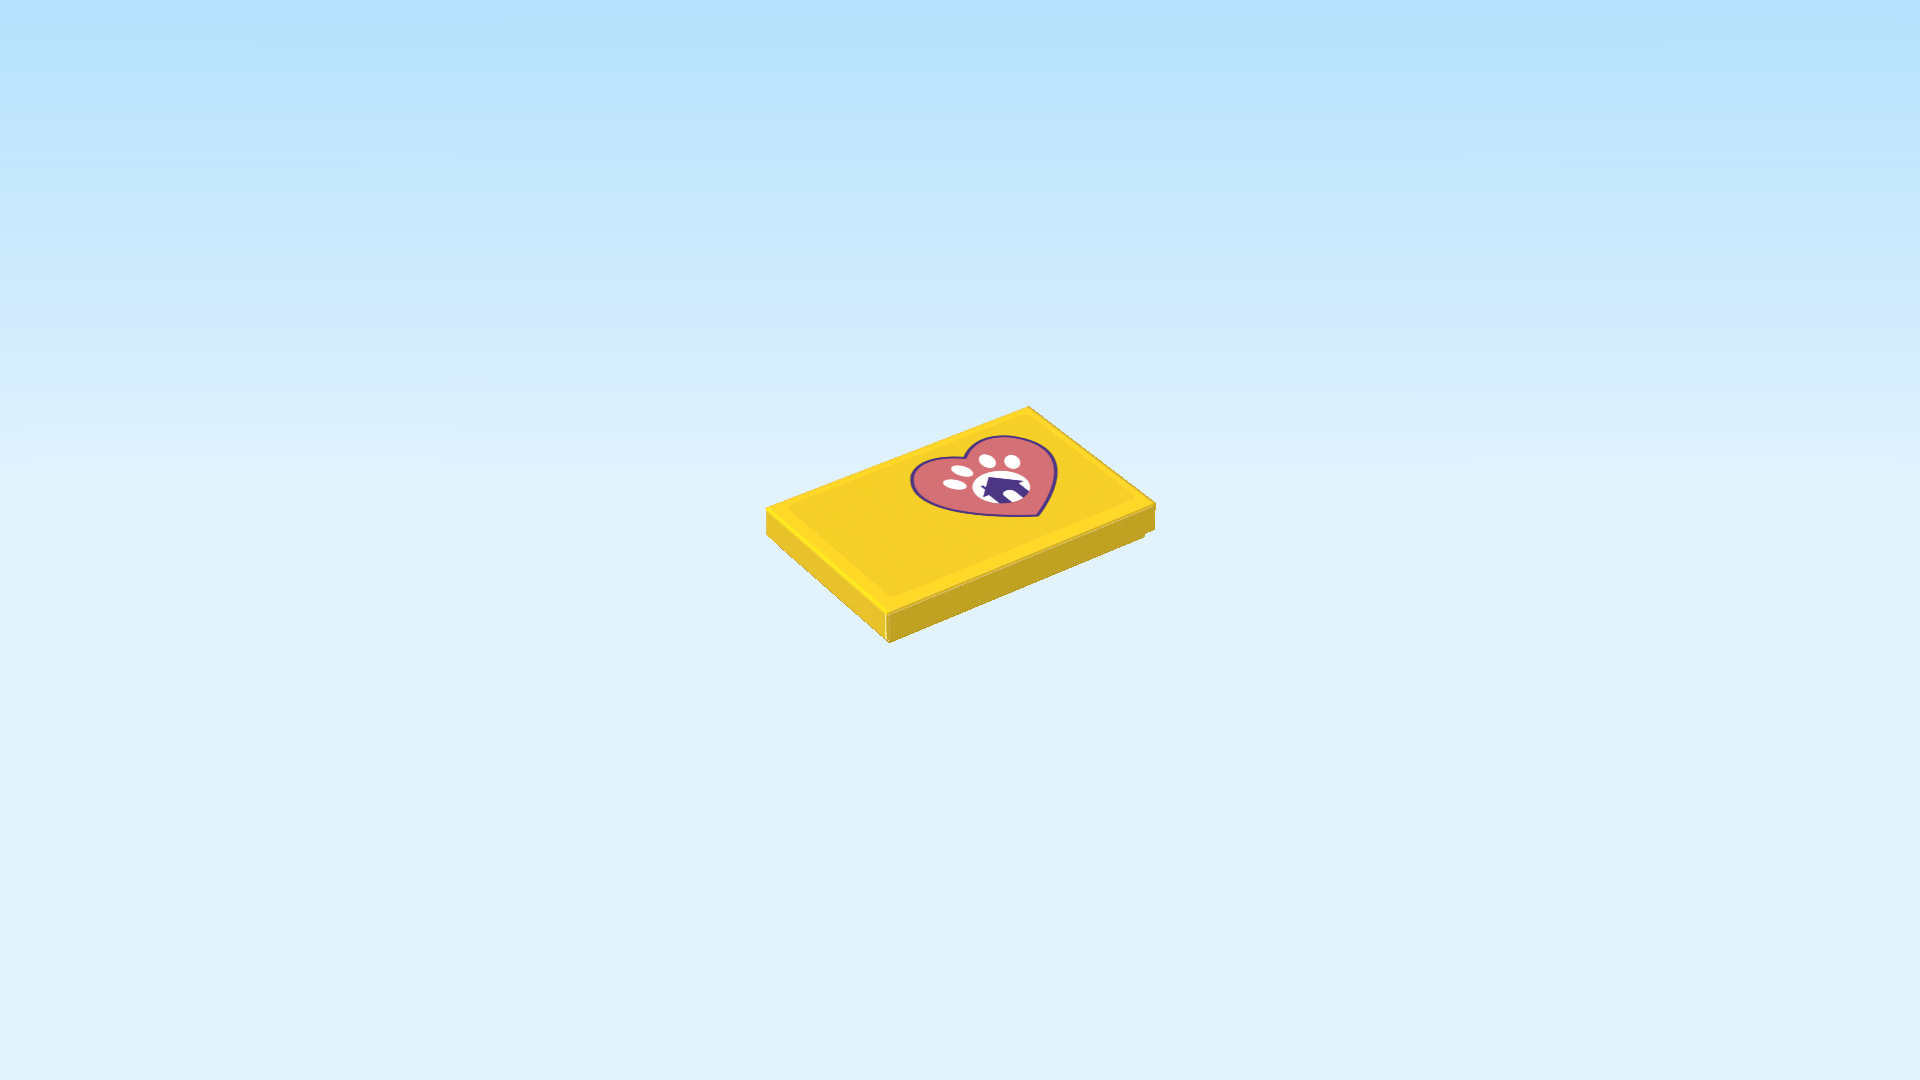
| Put the sticker on top. It has the same decoration as the previous sticker, but the logo is now on the right side. |
| Turn the cargo box left to right. Now, the 3 clasps should point to the right. |
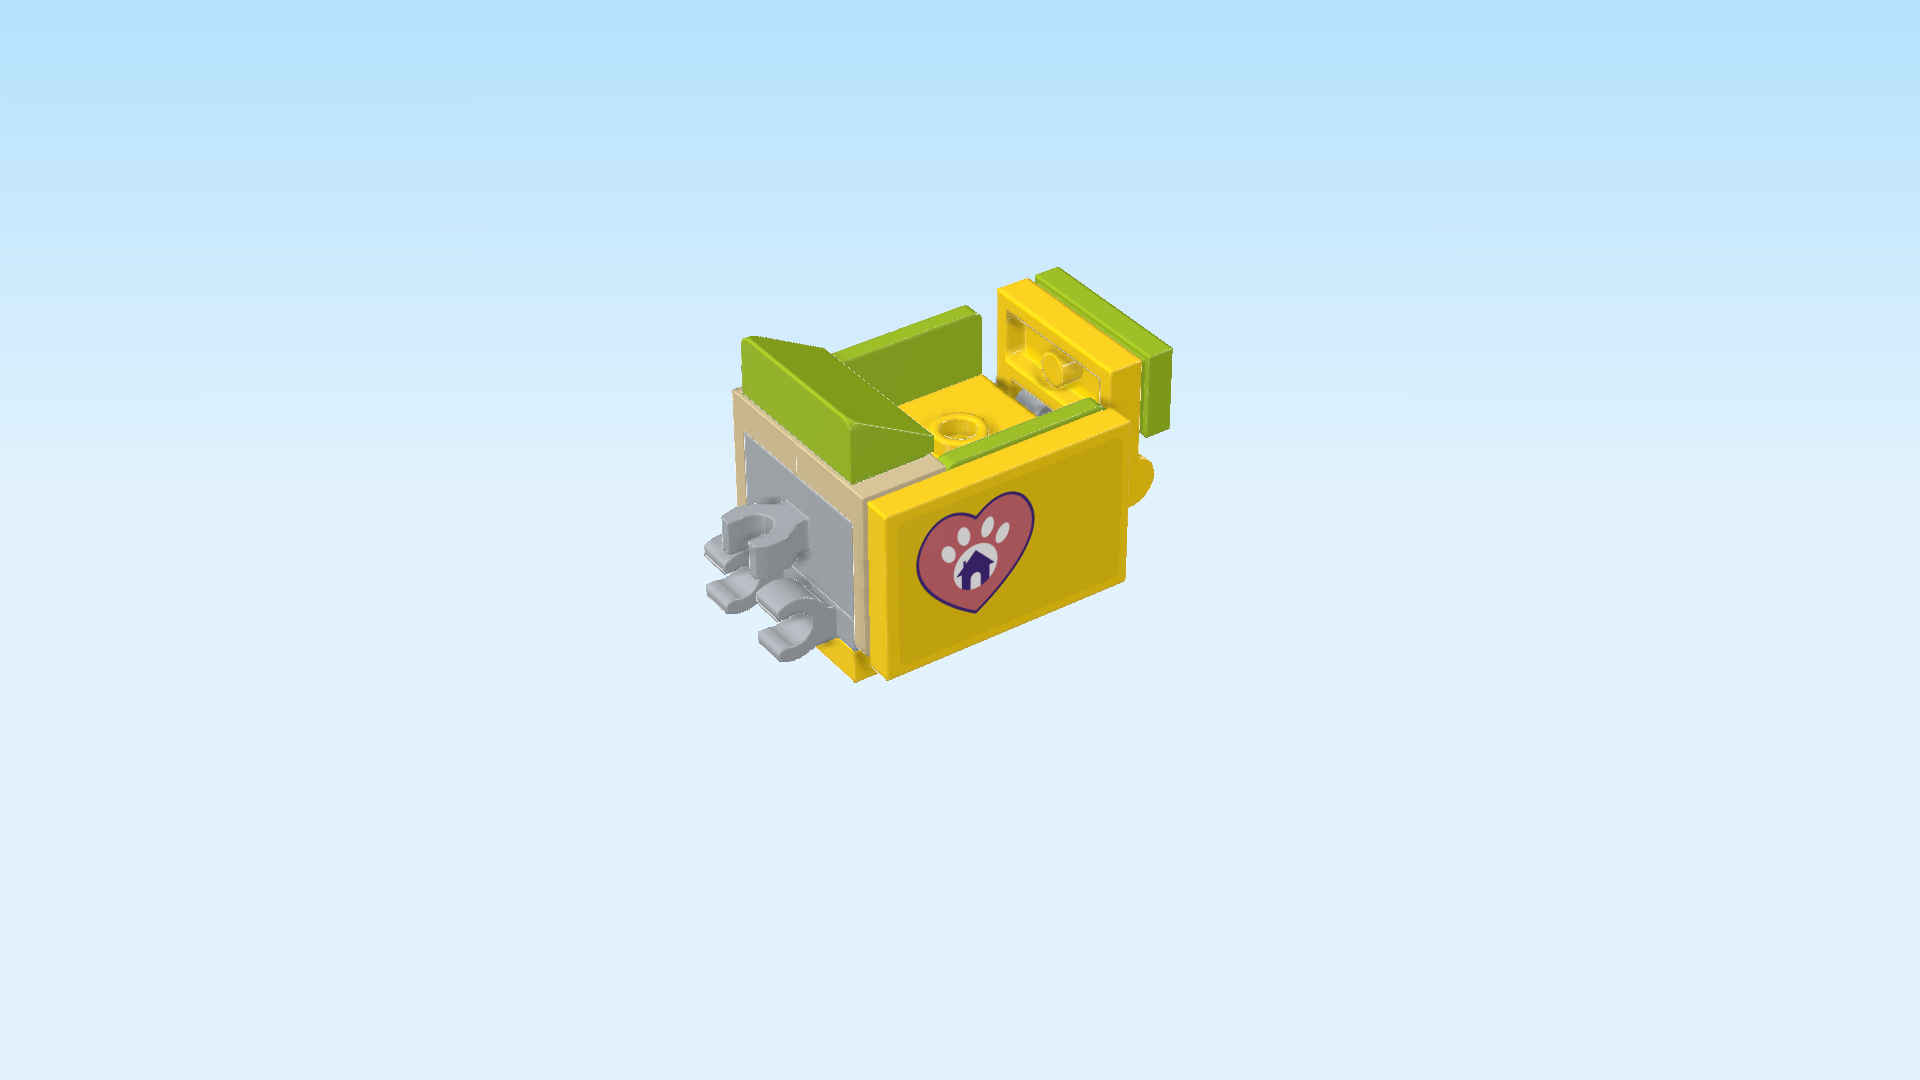
| Mount the flat tile upright horizontally on the 6 side knobs pointing to the front. |
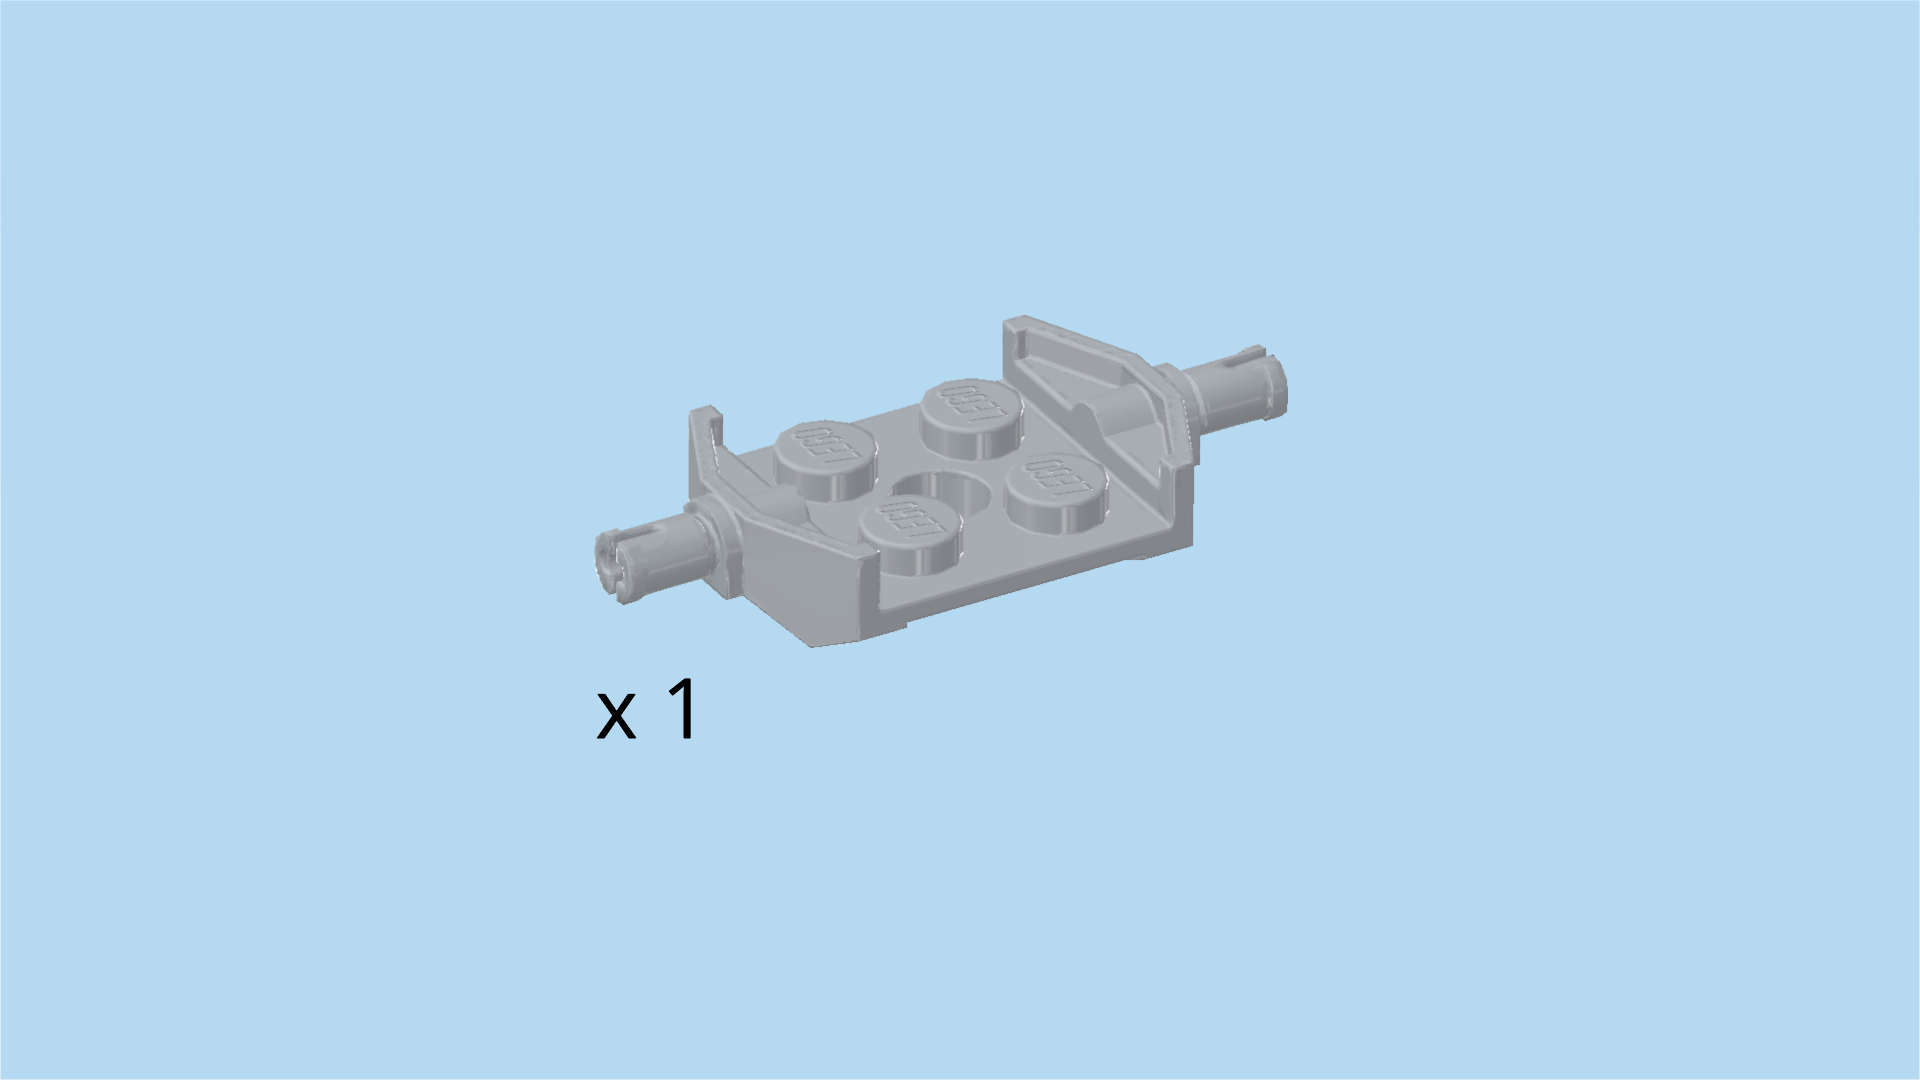
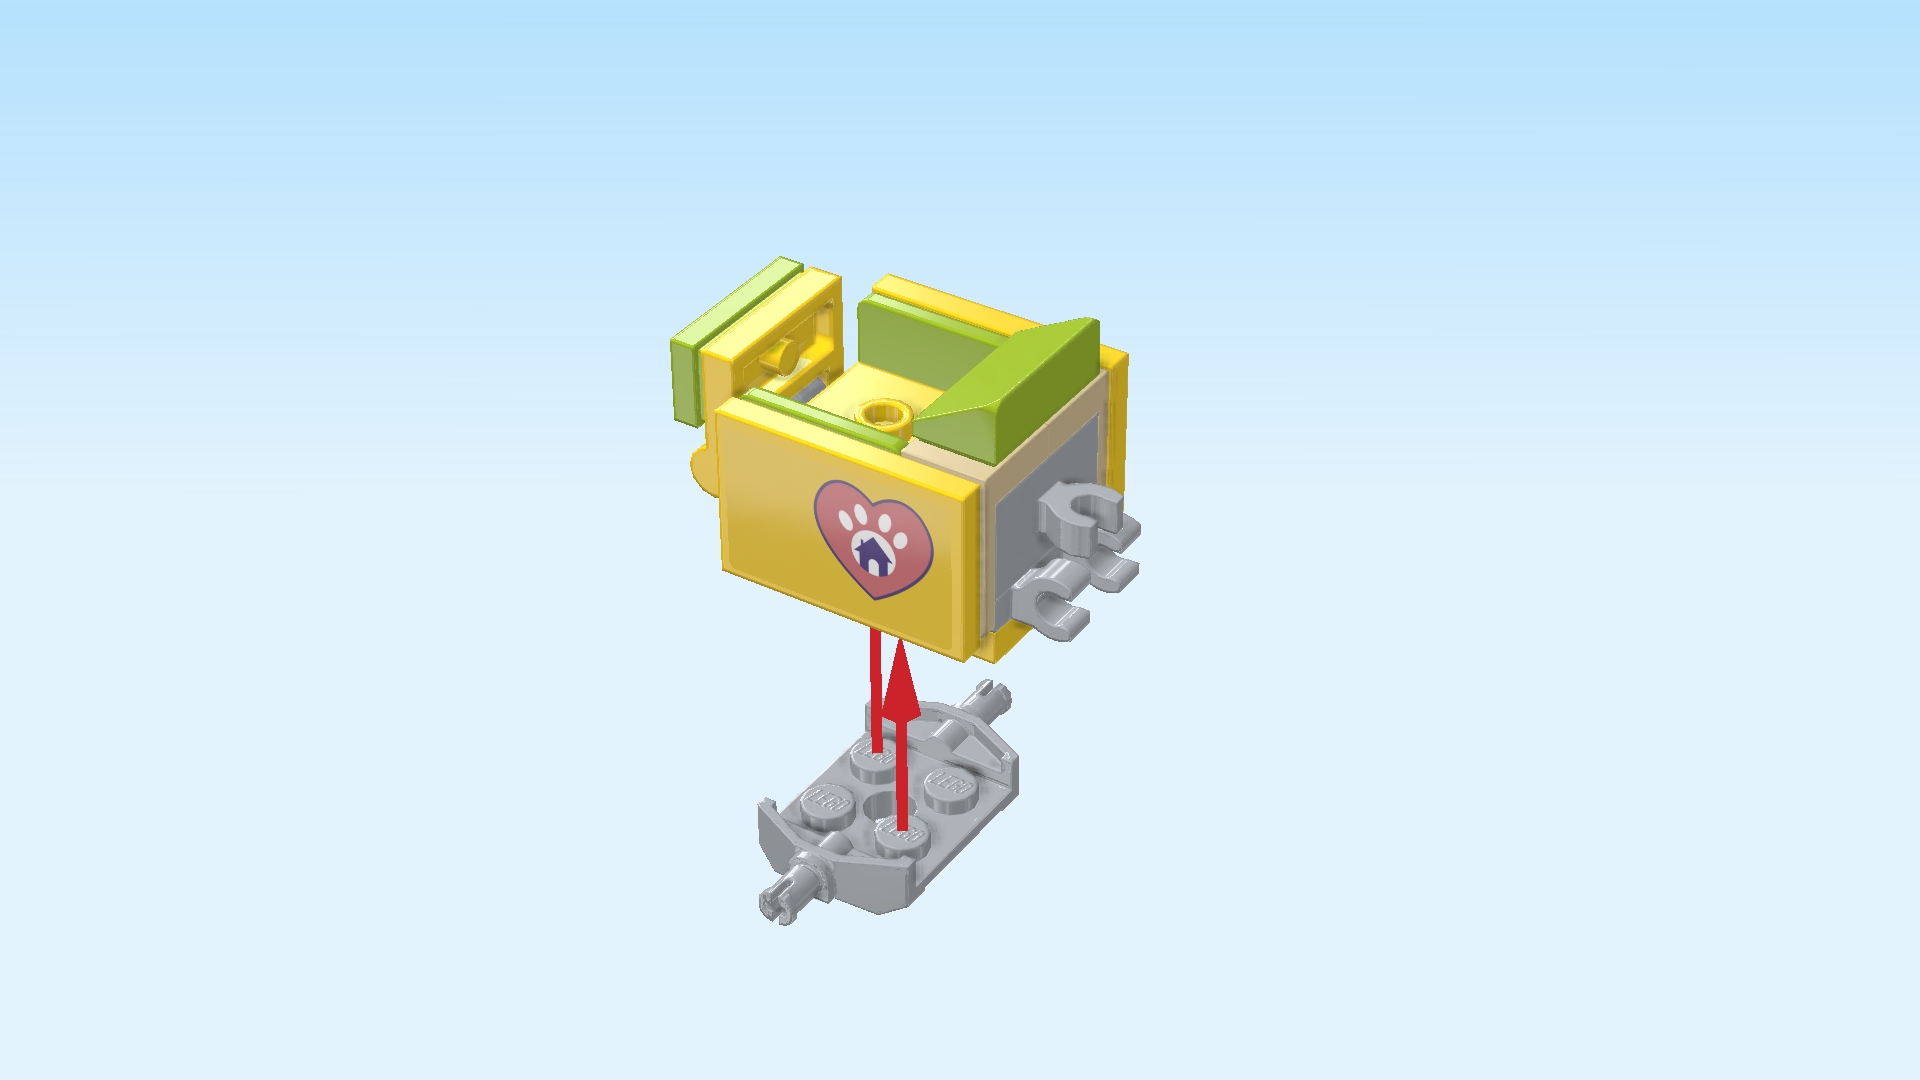
| Find 1 medium stone grey bearing plate 2x2 with 2 small connector pins. |
| Put it vertically underneath the two columns on the left, connector pins to the front and back. |
| Collect the following 2 pieces: |
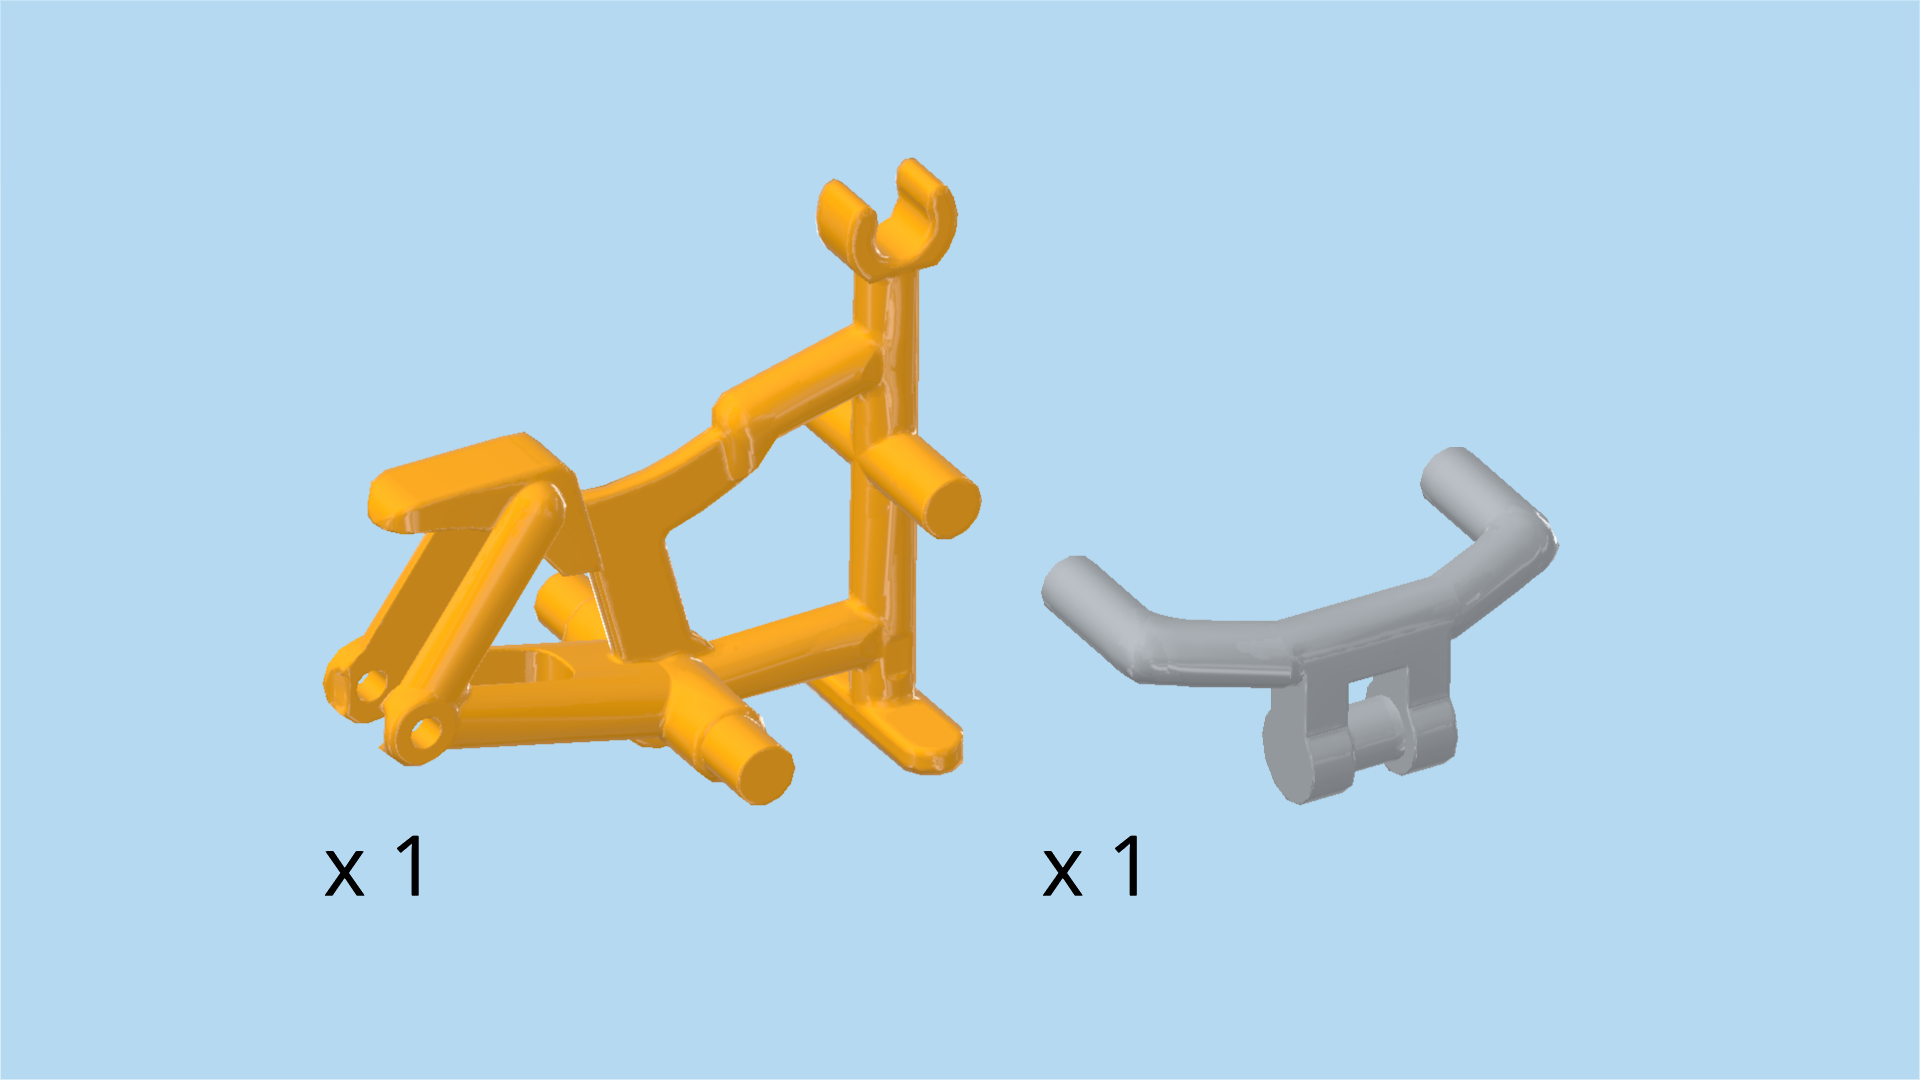
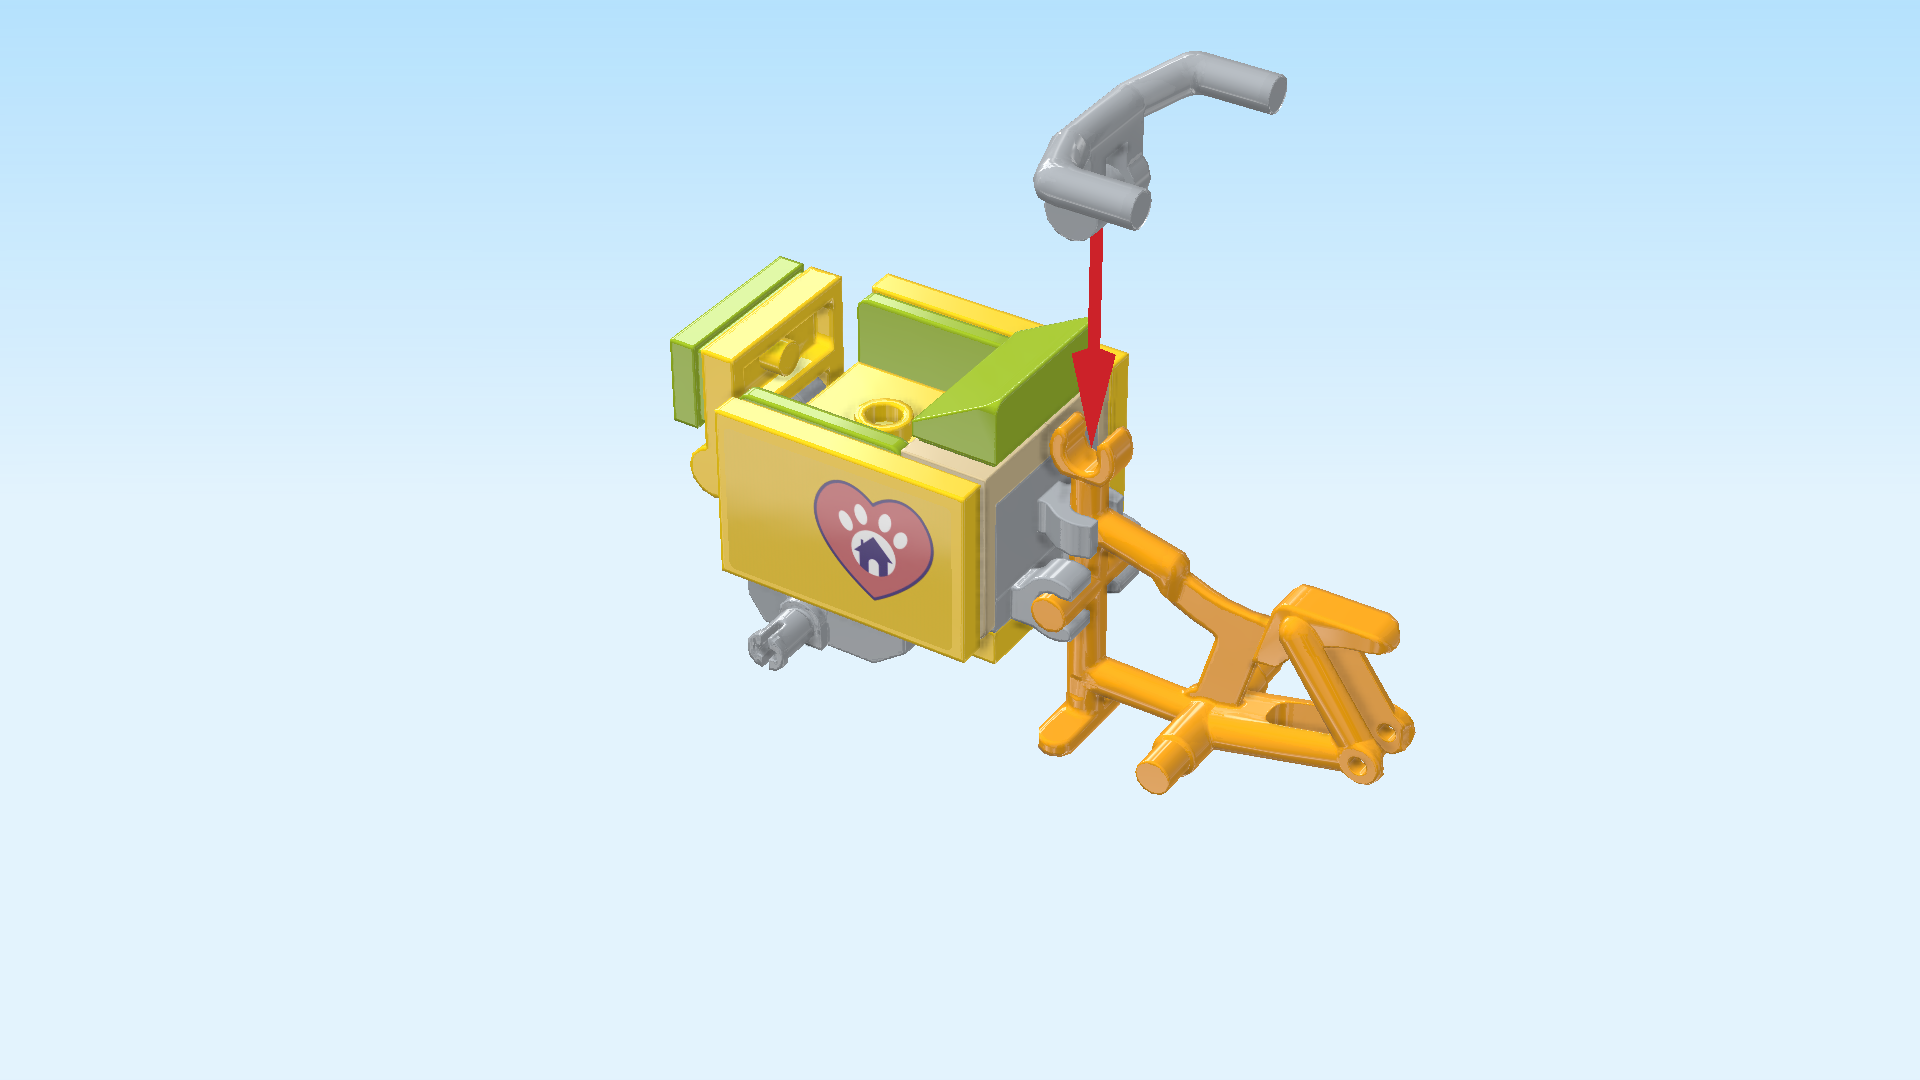
| 1 flame yellowish orange bicycle frame, |
| and 1 medium stone grey angled handlebar with bottom shaft. |
| First, identify the long vertical bar of the bicycle frame. It has a clasp at the top, and it has two cross bars: one in the middle and one at the bottom. |
| Snap this long vertical bar and its middle cross bar into the 3 clasps on the right. The 2 lower clasps attach to the cross bar, and the clasp above should fit right on the long vertical bar. |
| Then, snap the bottom shaft of the handlebar into the top clasp of the bicycle frame, handle ends to the right. |
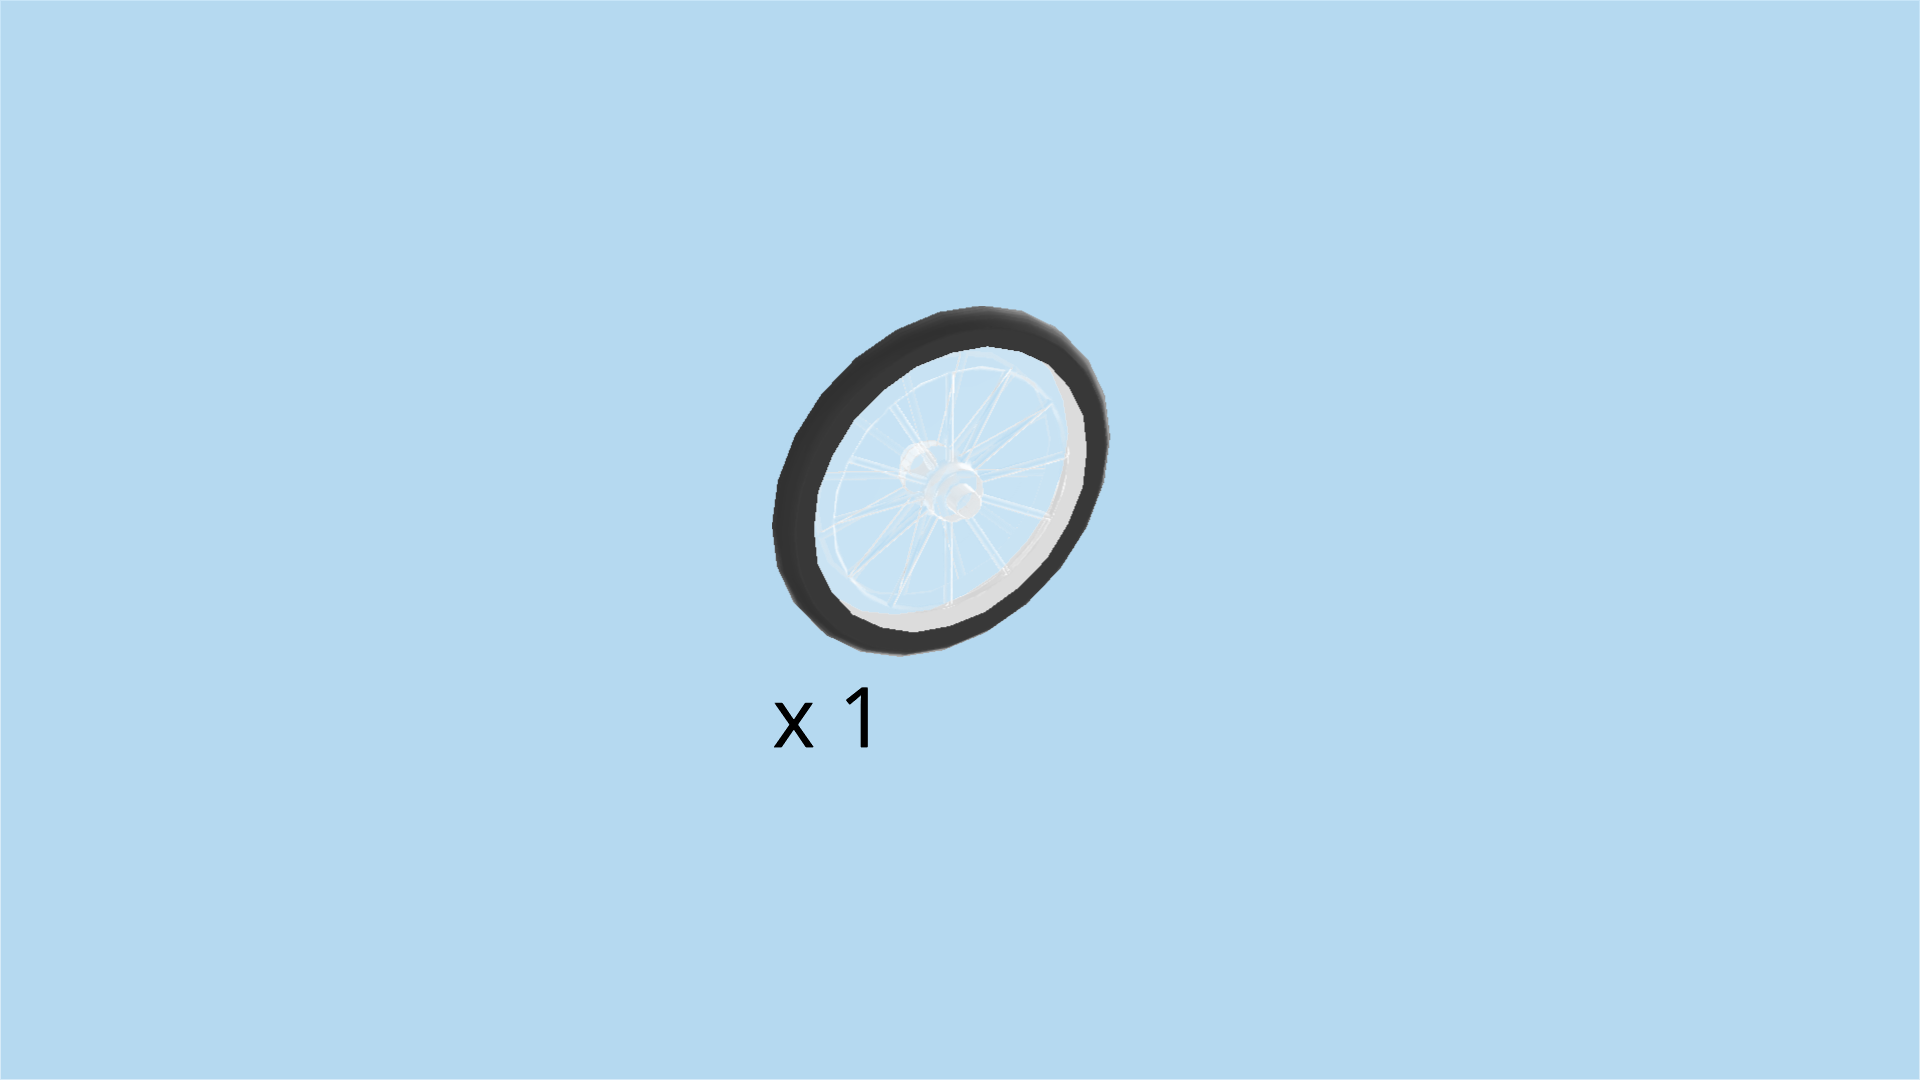
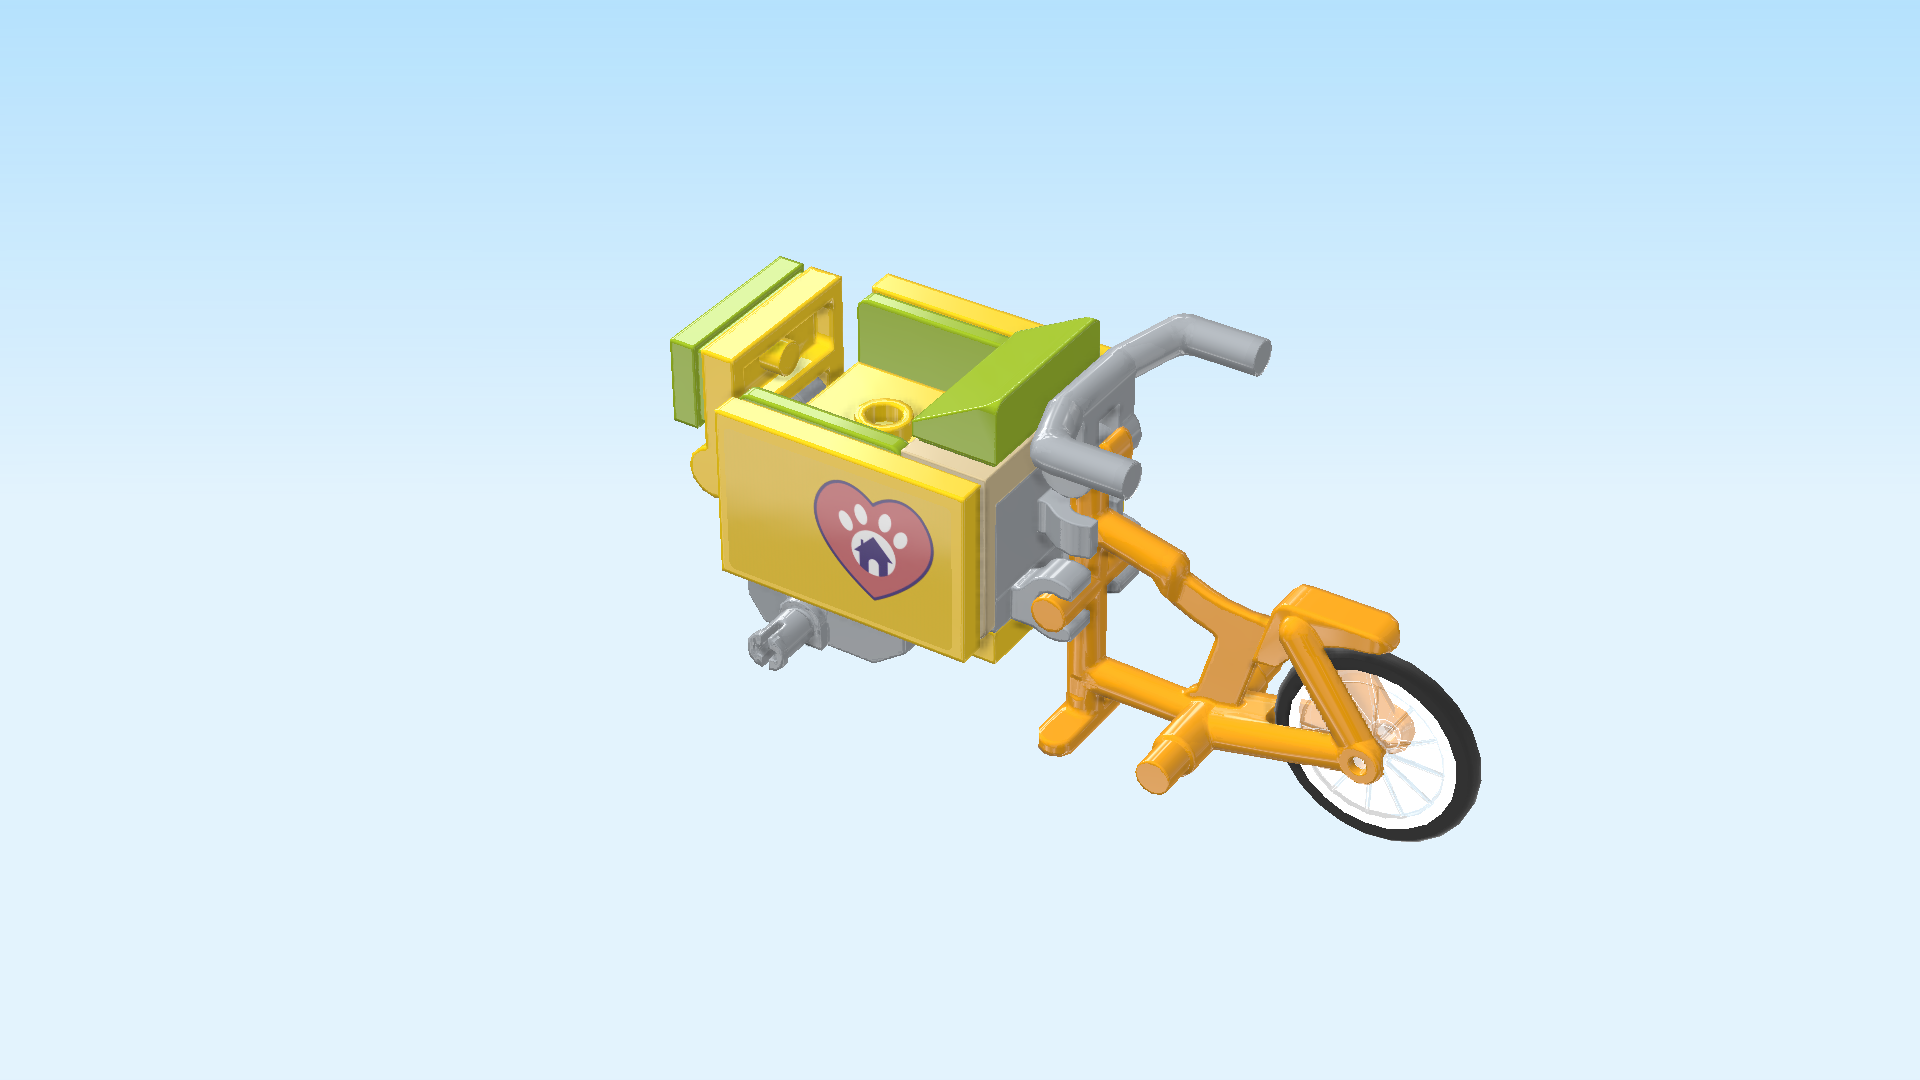
| Find 1 transparent and black bicycle wheel with rubber tire and 2 axle pins. |
| Snap the pins of the wheel into the wheel fork at the rightmost edge of the bicycle frame. |
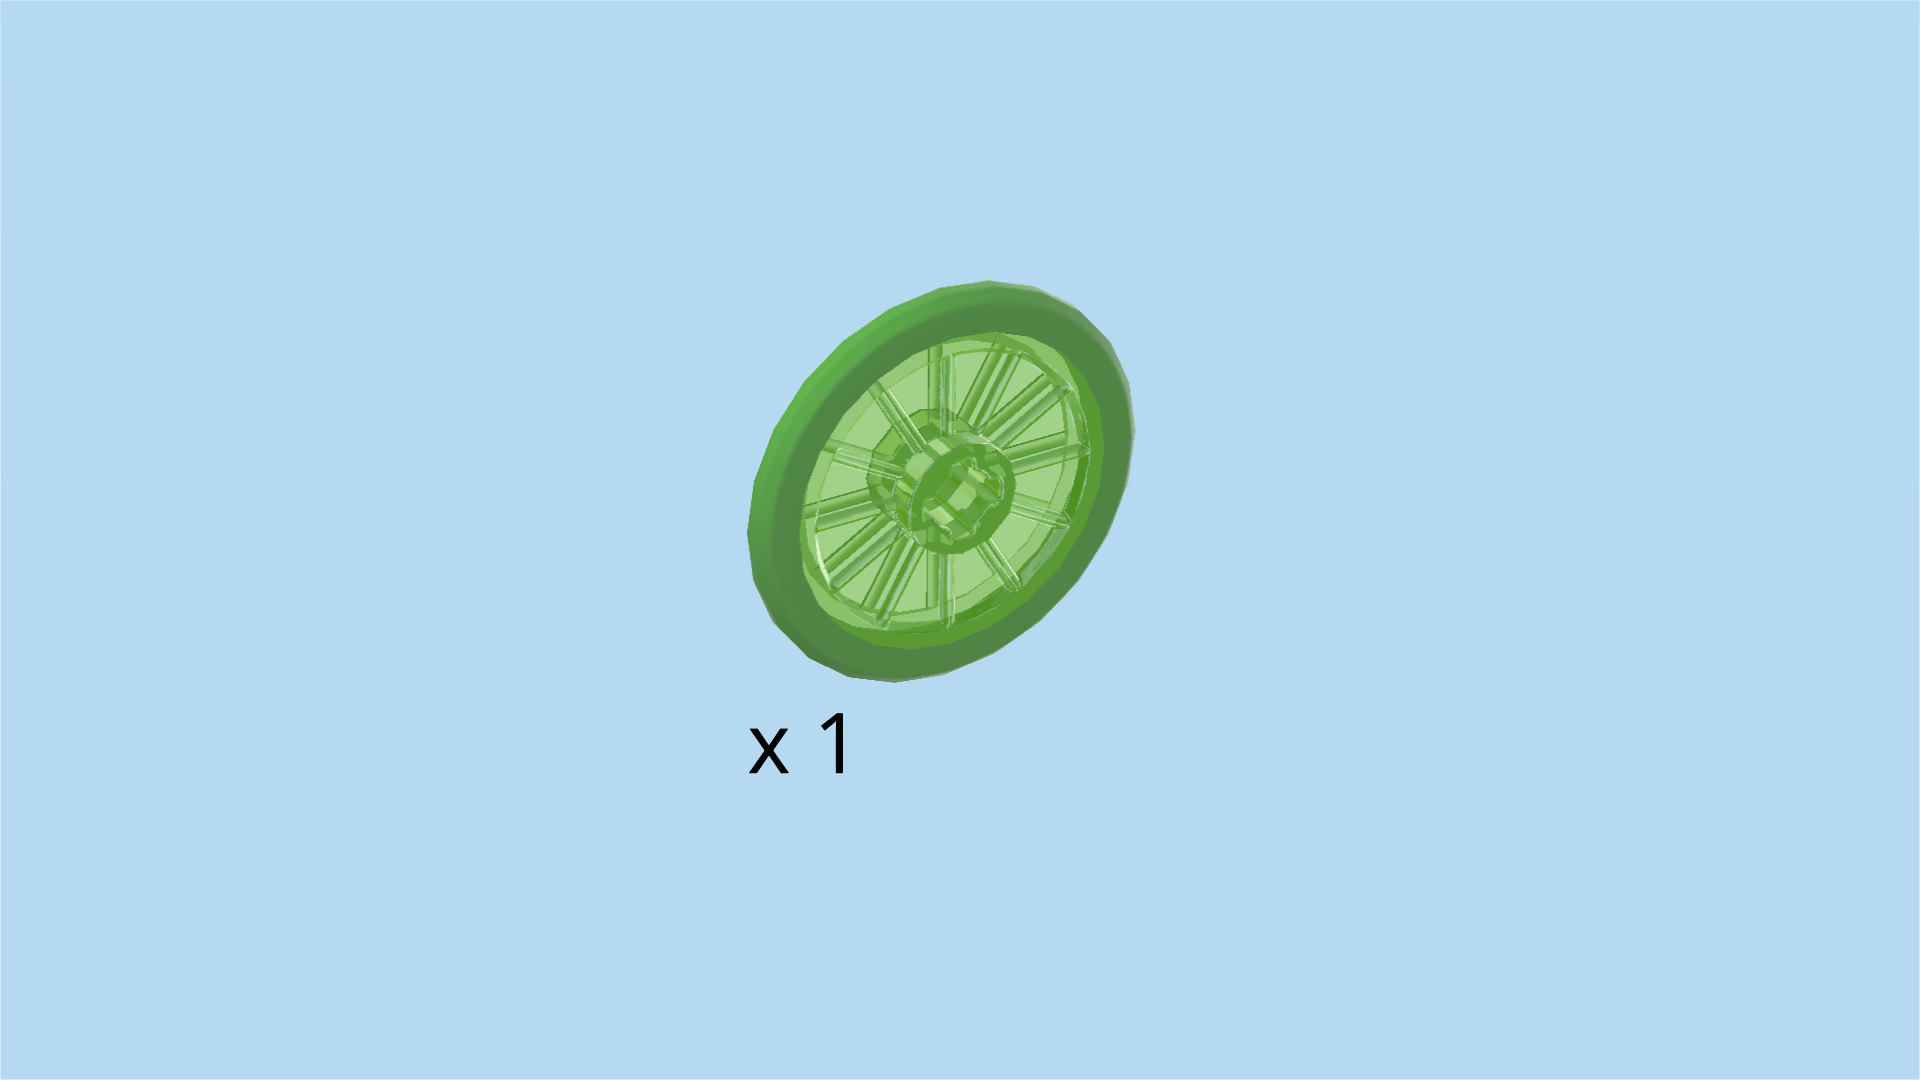
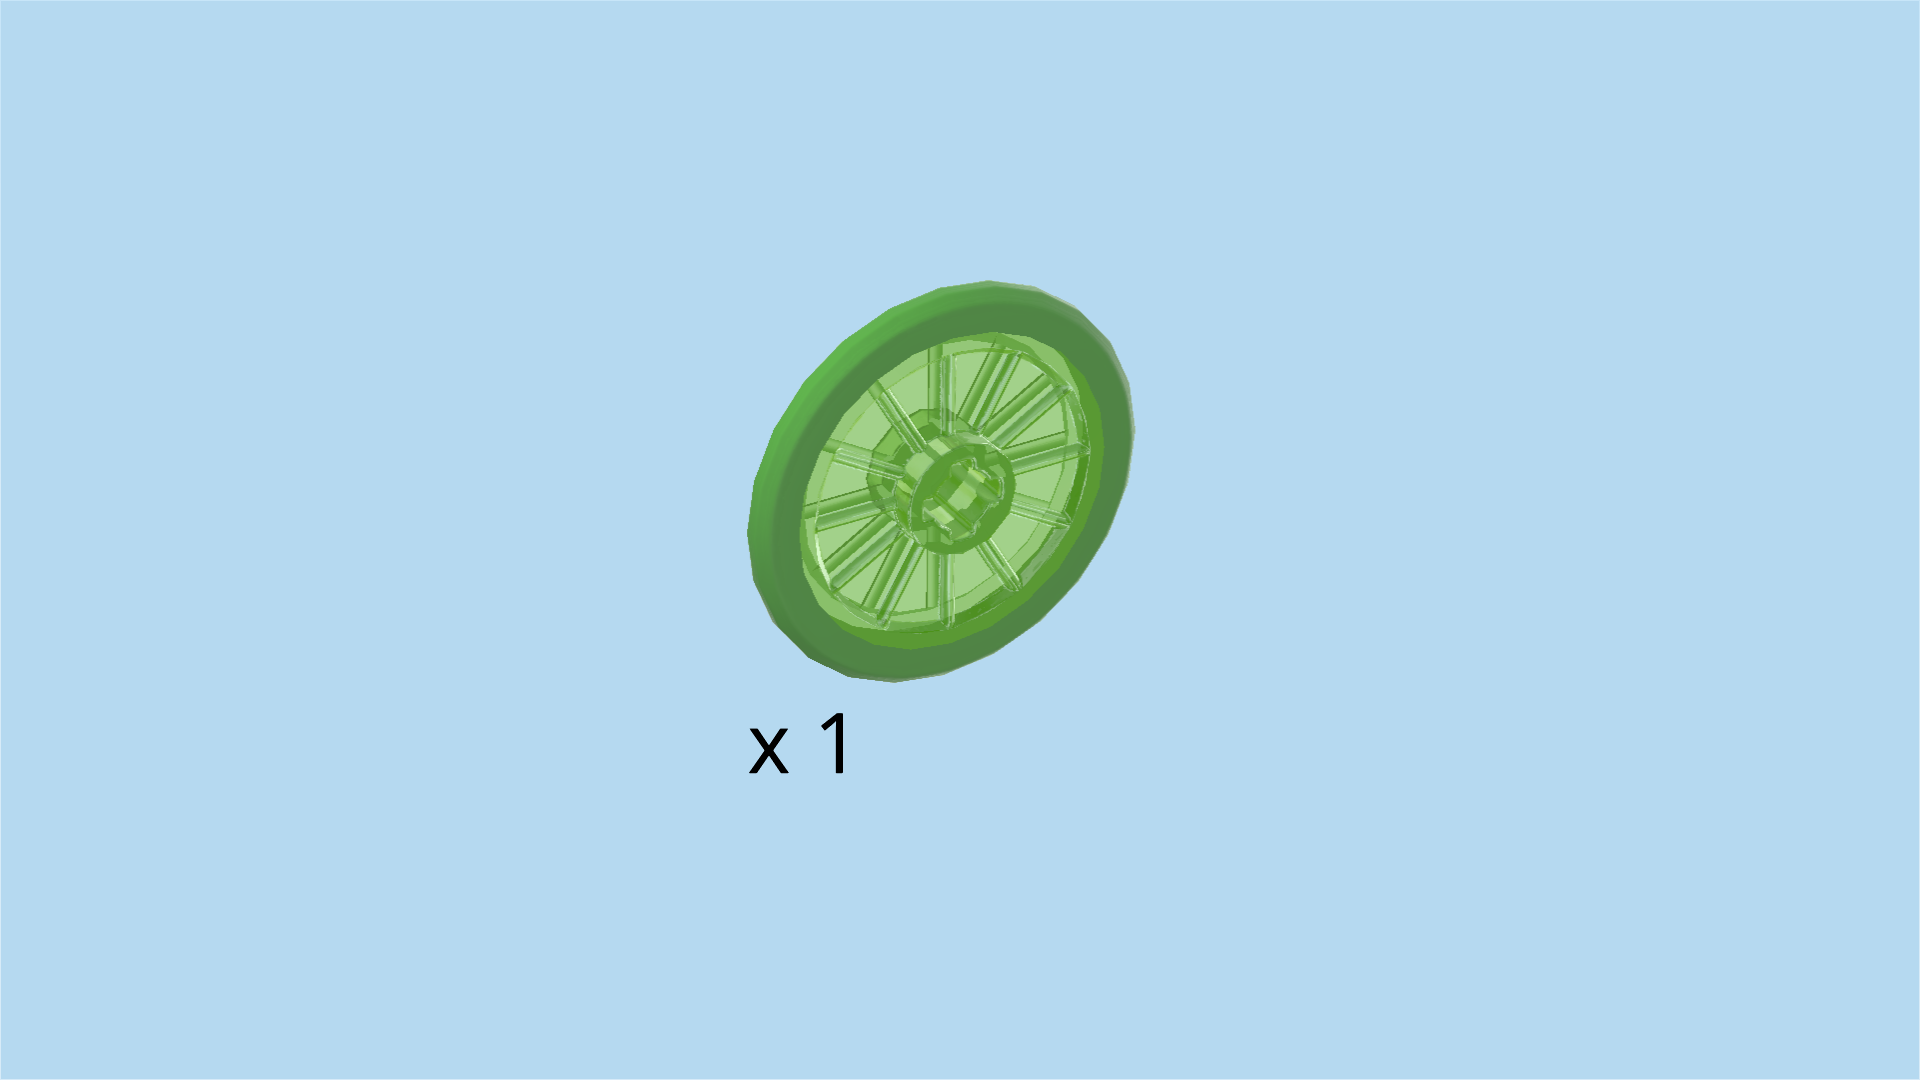
| Find 1 bright green and transparent bright green wheel with rubber tire and cross hole. |
| Put the middle hole of this wheel on one of the connector pins at the bottom of the cargo box. |
| Find another bright green and transparent bright green wheel with rubber tire and cross hole. |
| Put it on the other connector pin at the bottom of the cargo box. |
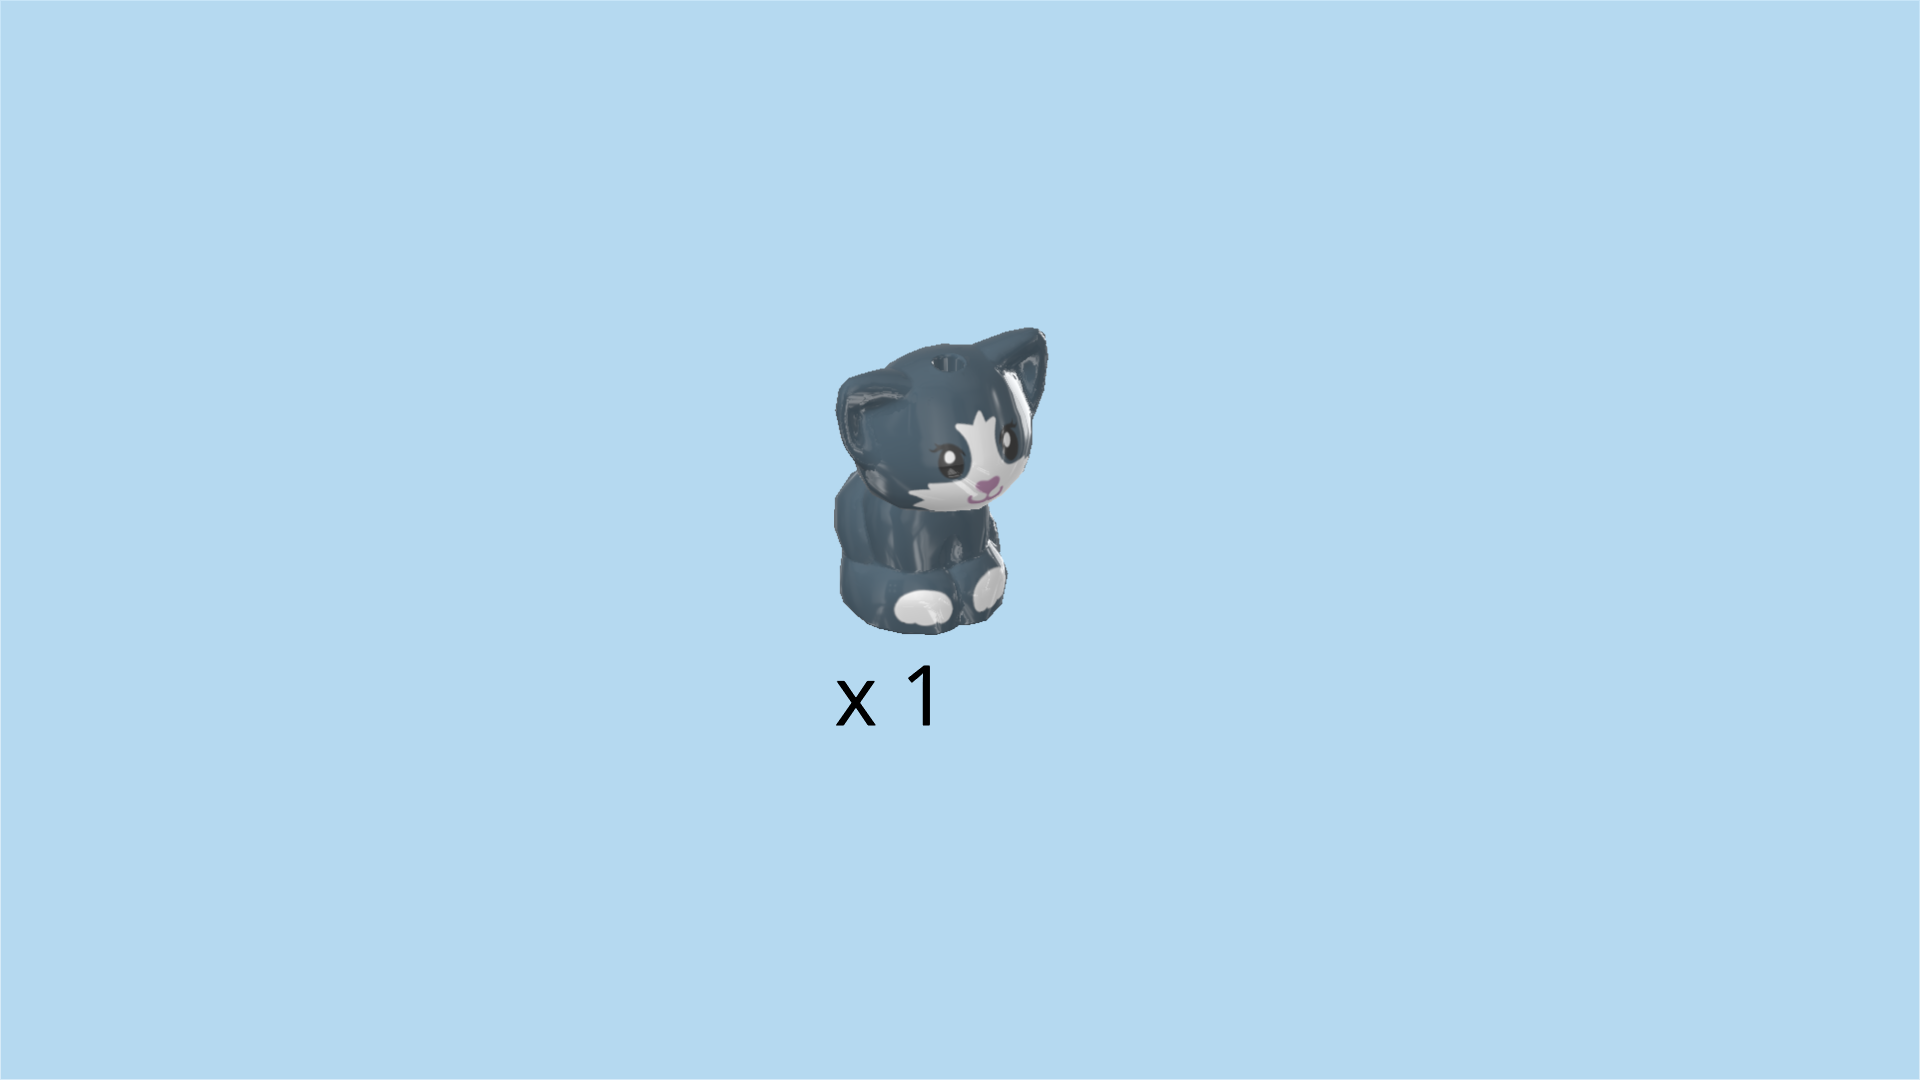
| Find 1 sand blue kitten figurine. |
| Put it into the cargo box. There is one knob for attaching the kitten so it does not fall out on bumpy rides! |
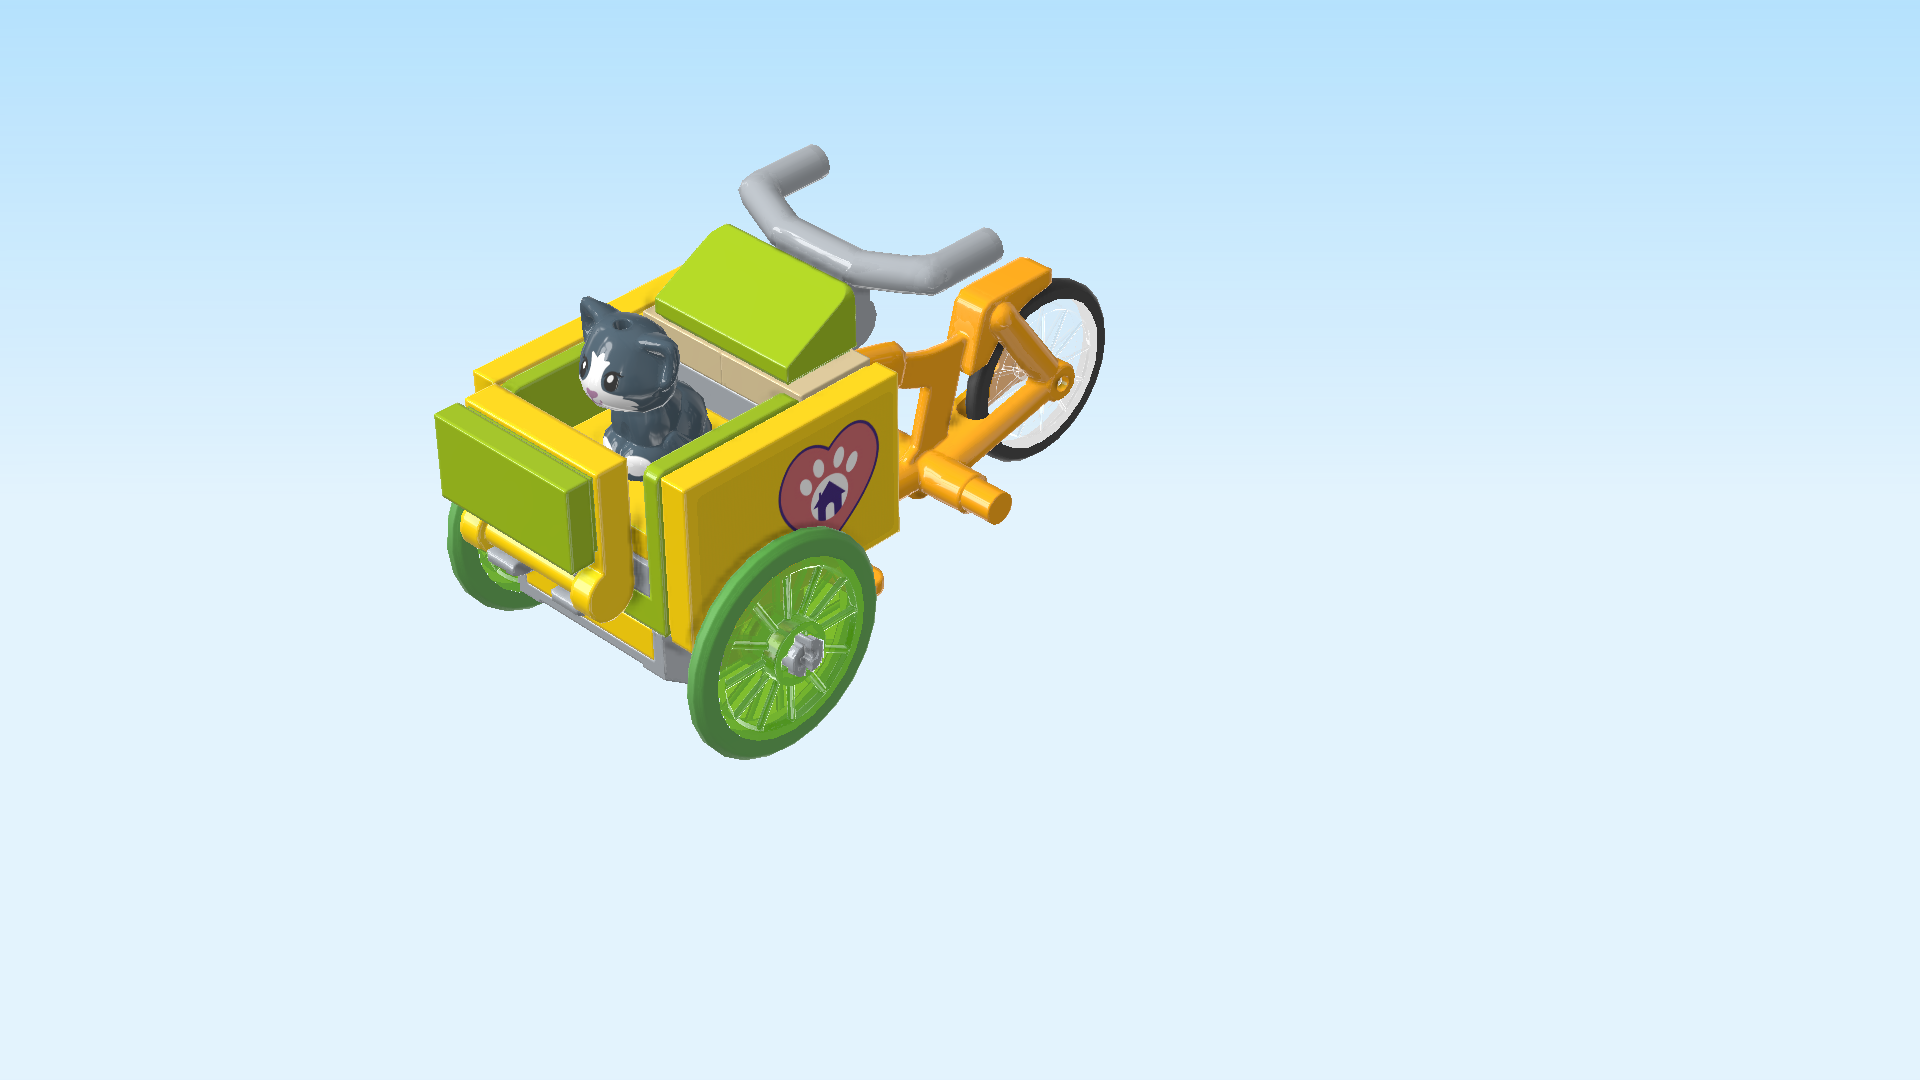
| The rescue trike is finished! Well done! Priyanka can take it for a spin and bring the rescue kitten home. |
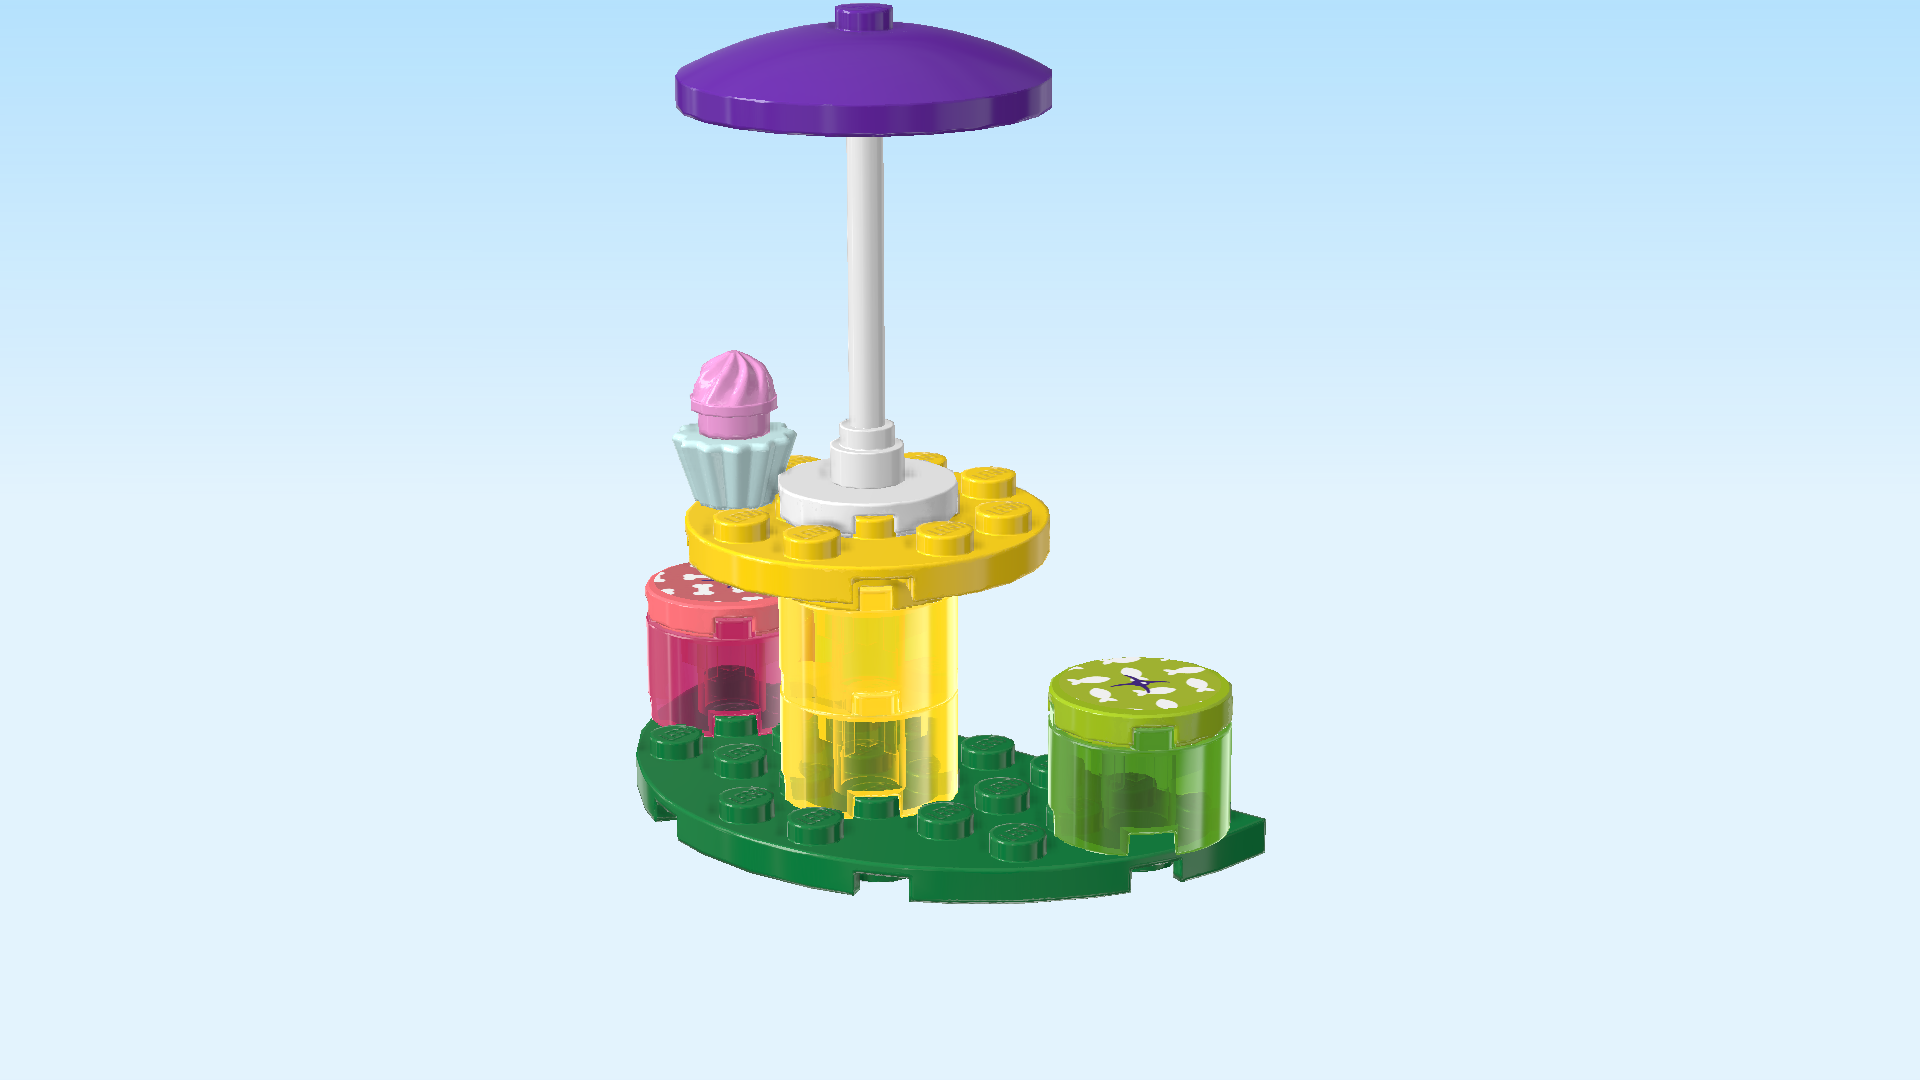
| Now, we will build the cafe reception area. |
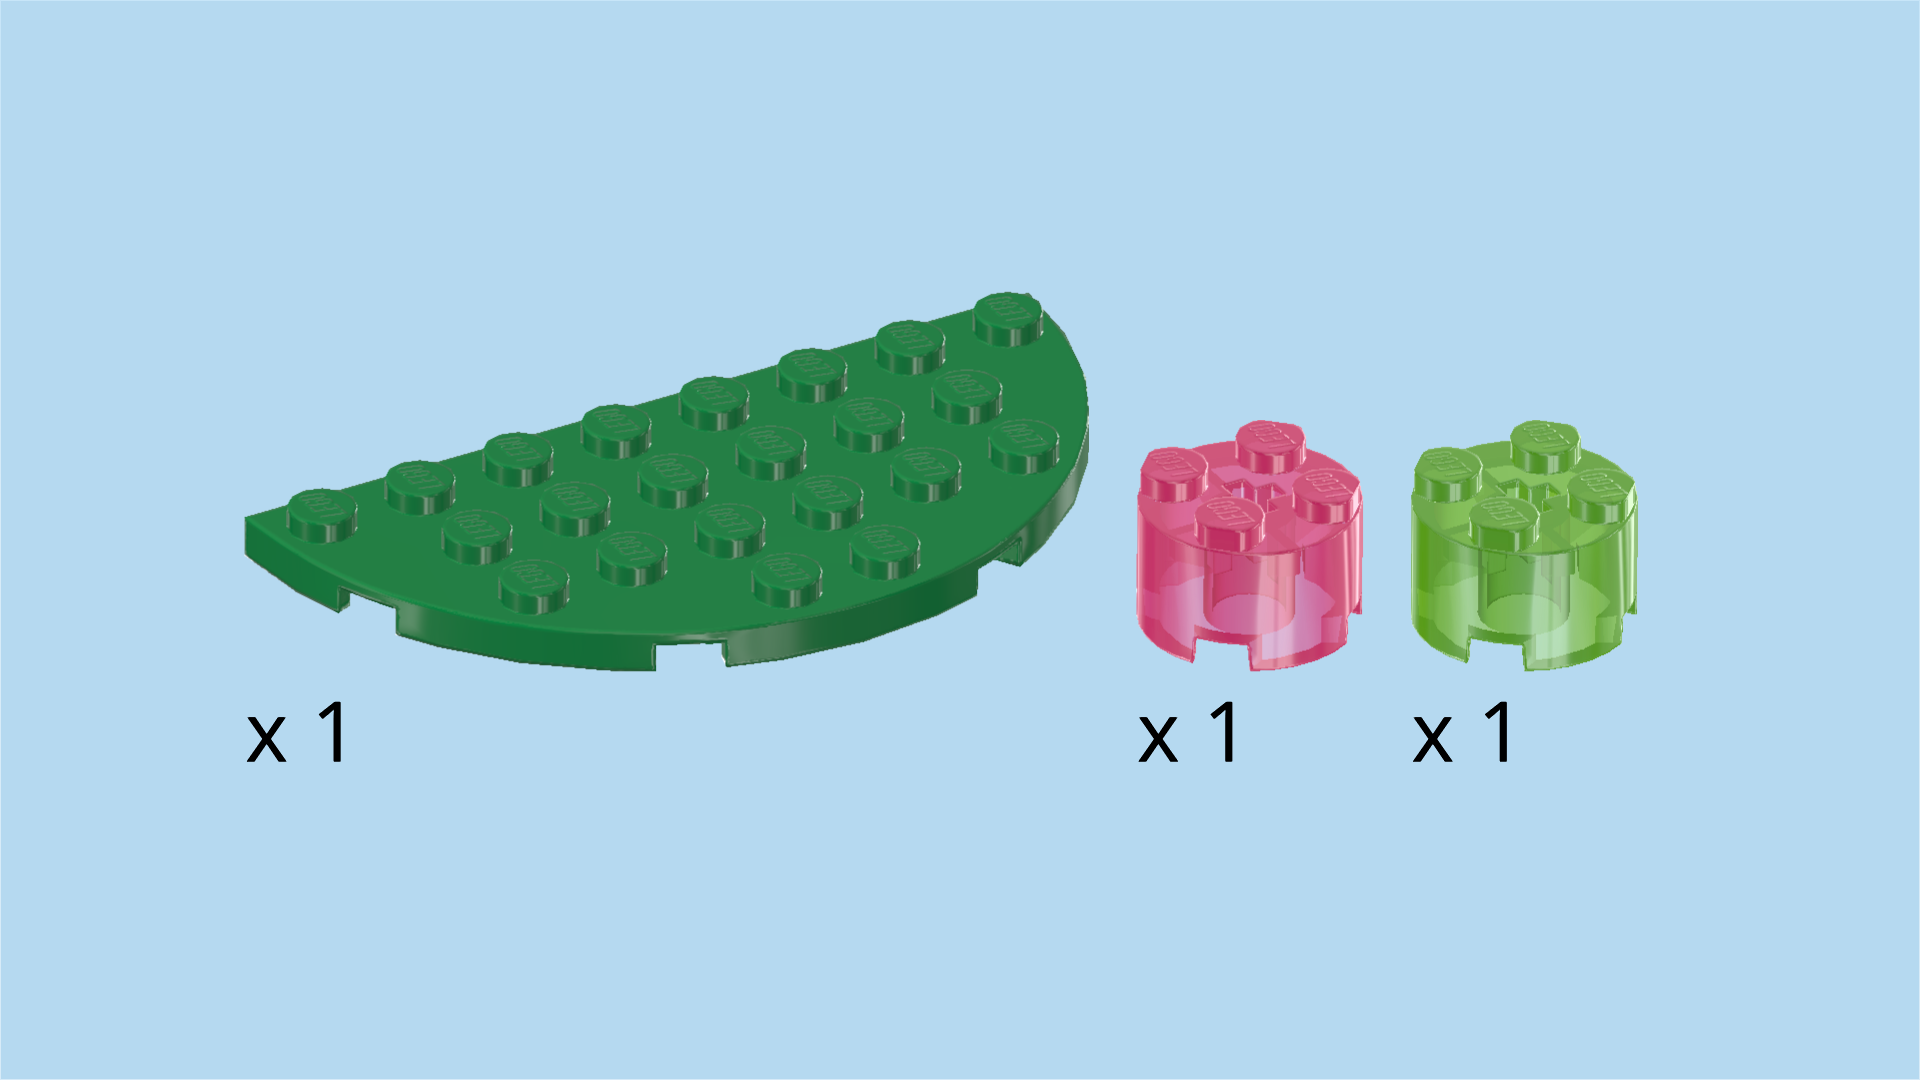
| Collect the following 3 pieces: |
| 1 dark green half-circle plate 4x8, |
| 1 transparent bright green round brick 2x2 with top cross hole, |
| and 1 transparent raspberry red round brick 2x2 with top cross hole. |
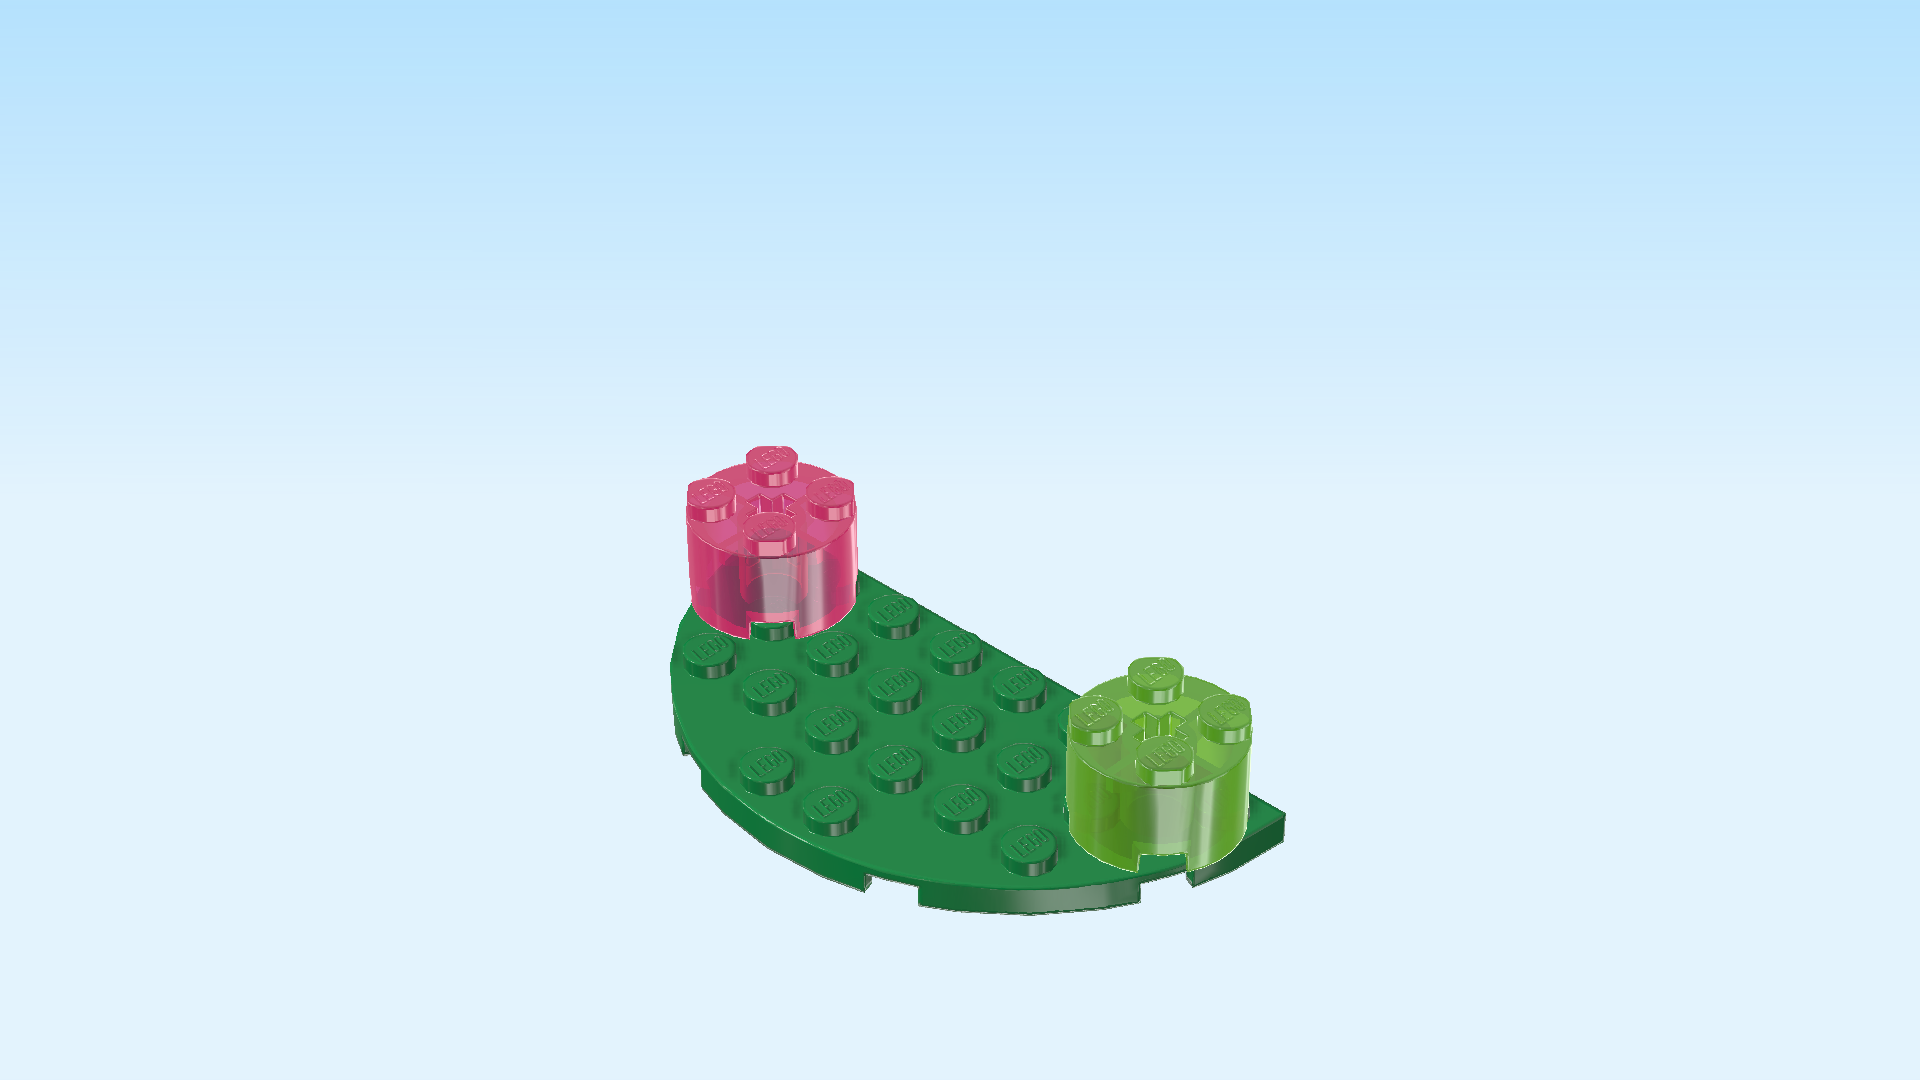
| Put the half-circle plate 4x8 horizontally on the table, half-circle to the front. |
| Put the transparent bright green round brick 2x2 into the right corner. It will only attach to 3 knobs. |
| Repeat symmetrically in the left corner with the transparent raspberry red round brick. |
| Collect the following 2 pieces: |
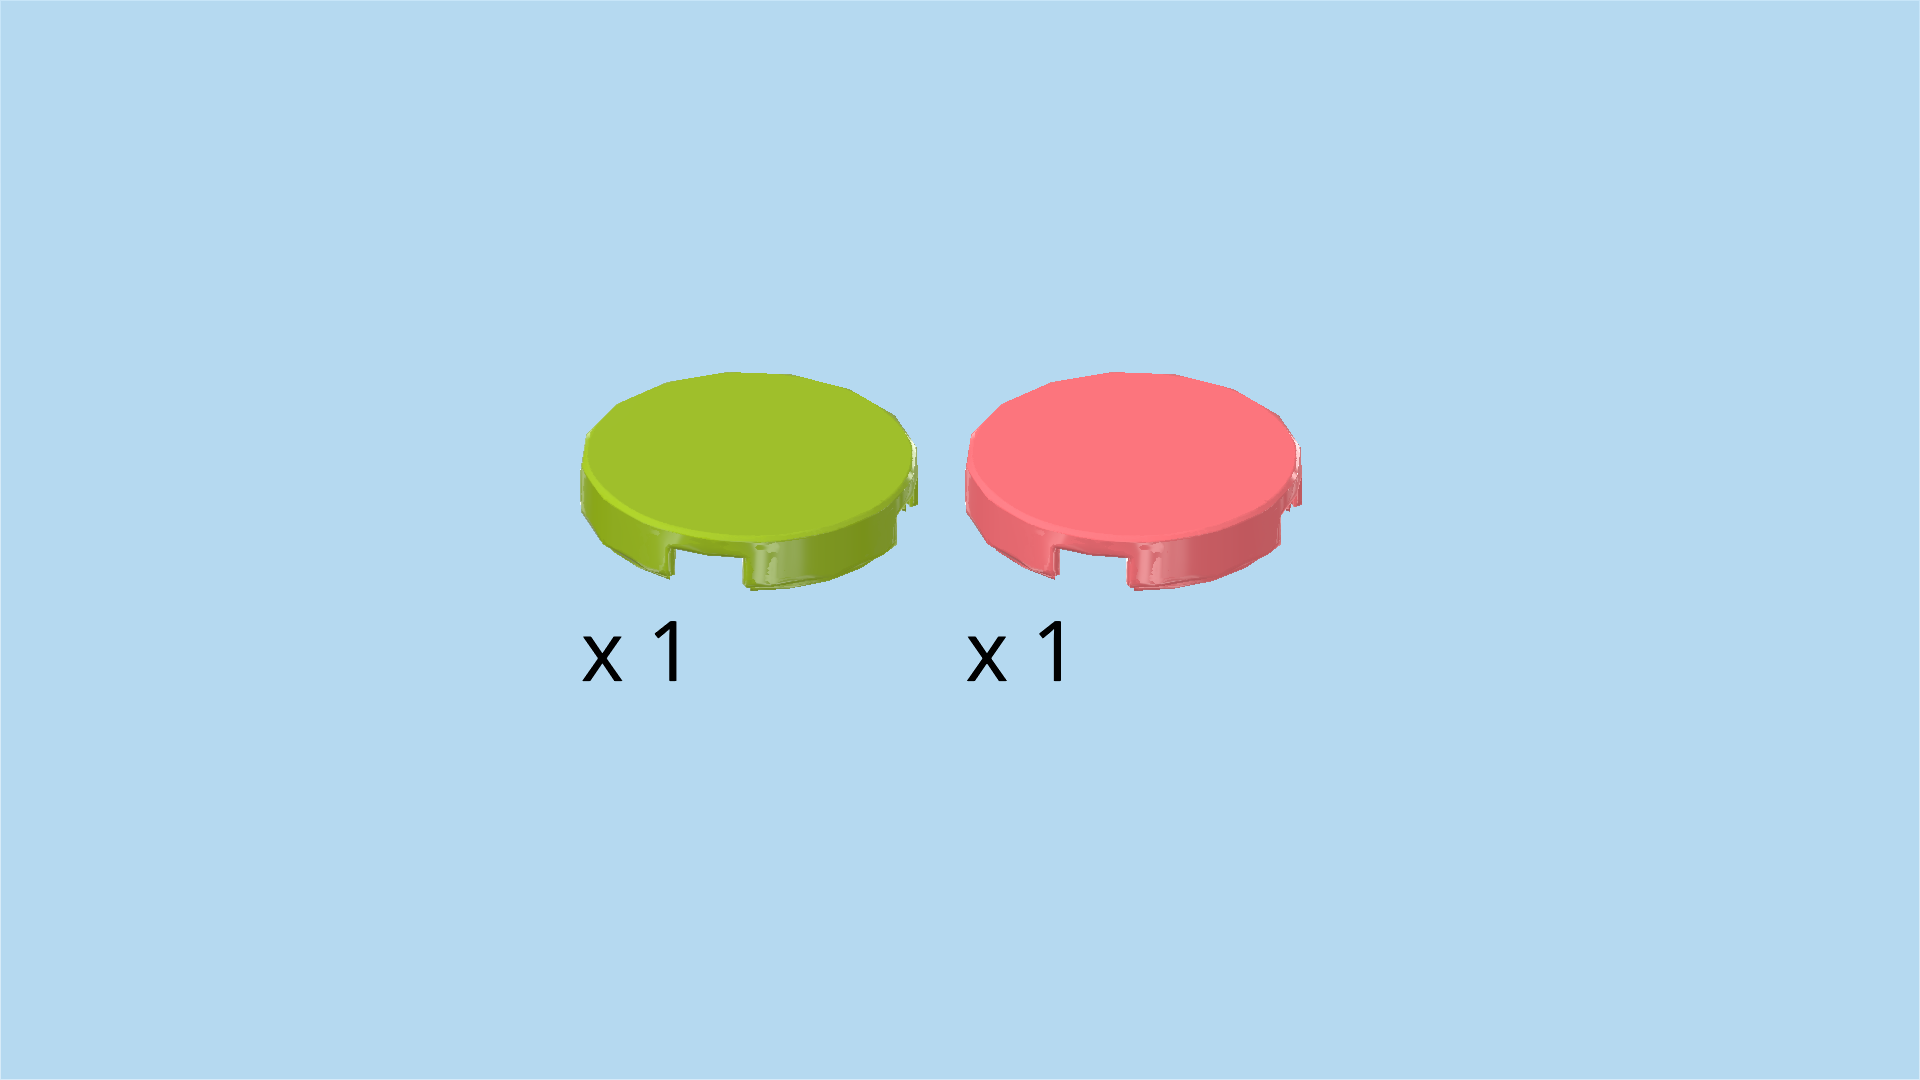
| 1 salmon pink round tile 2x2, |
| and 1 bright yellowish green round tile 2x2. |
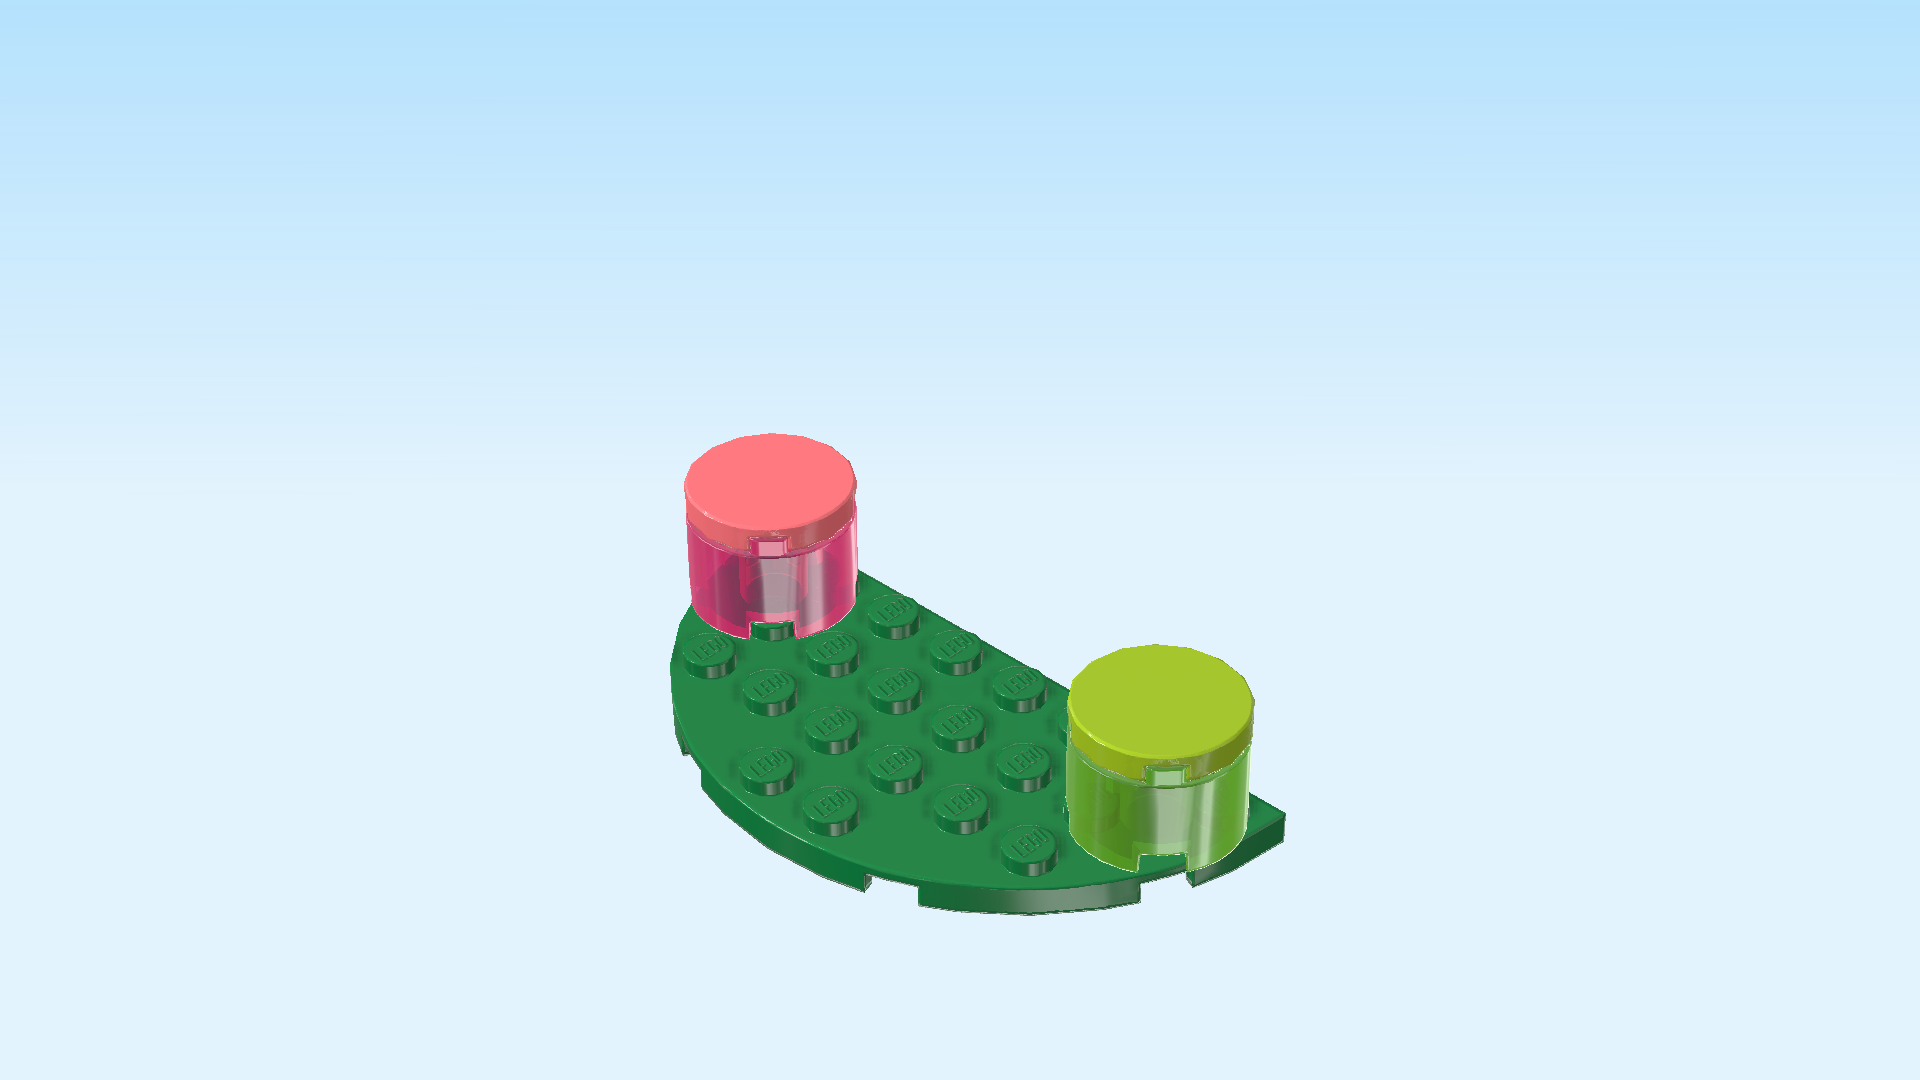
| Put the salmon pink round tile 2x2 on the previous piece. |
| Put the bright yellowish green round tile on the brick 2x2 in the right corner. |
| Great job, these are going to be the stools! |
| Continue if you want to decorate these pieces with stickers now. If not, skip the next 3 sentences. |
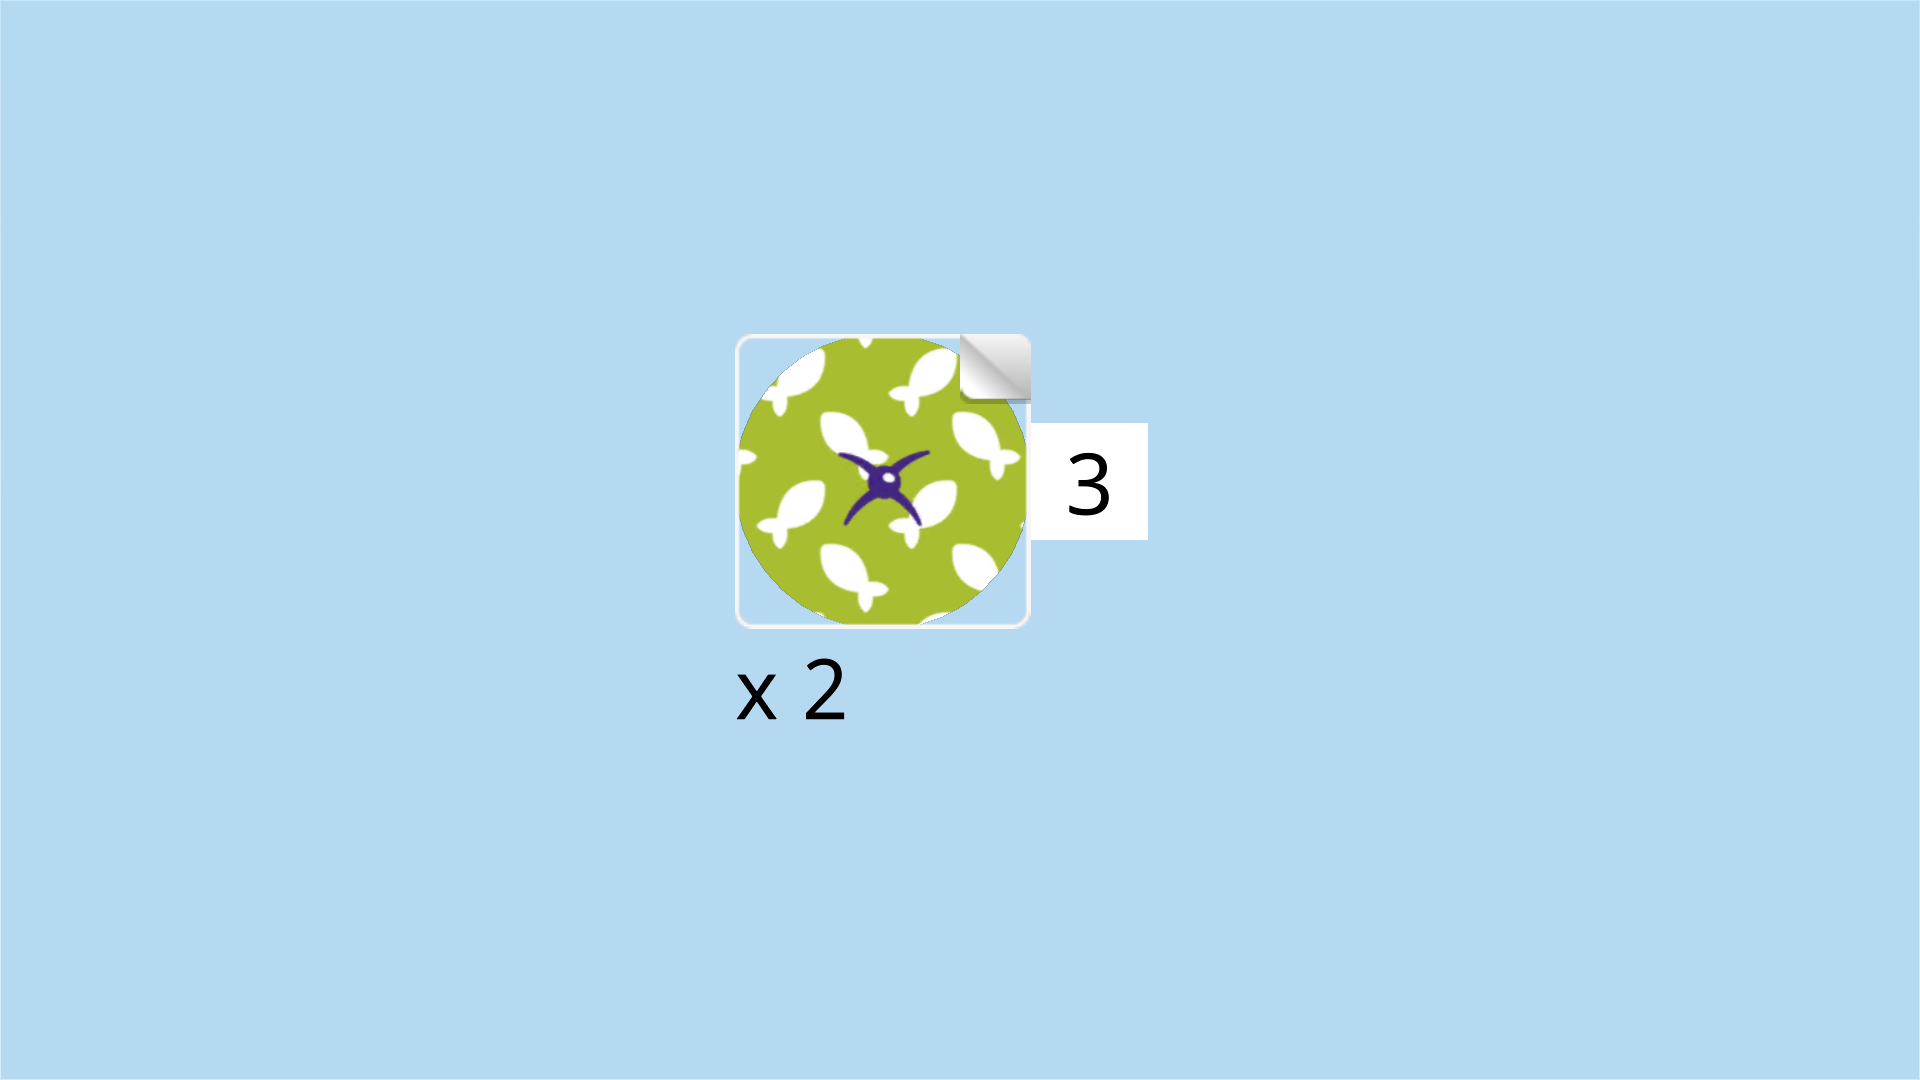
| Find 2 square stickers: sticker number 3 and sticker number 6. |
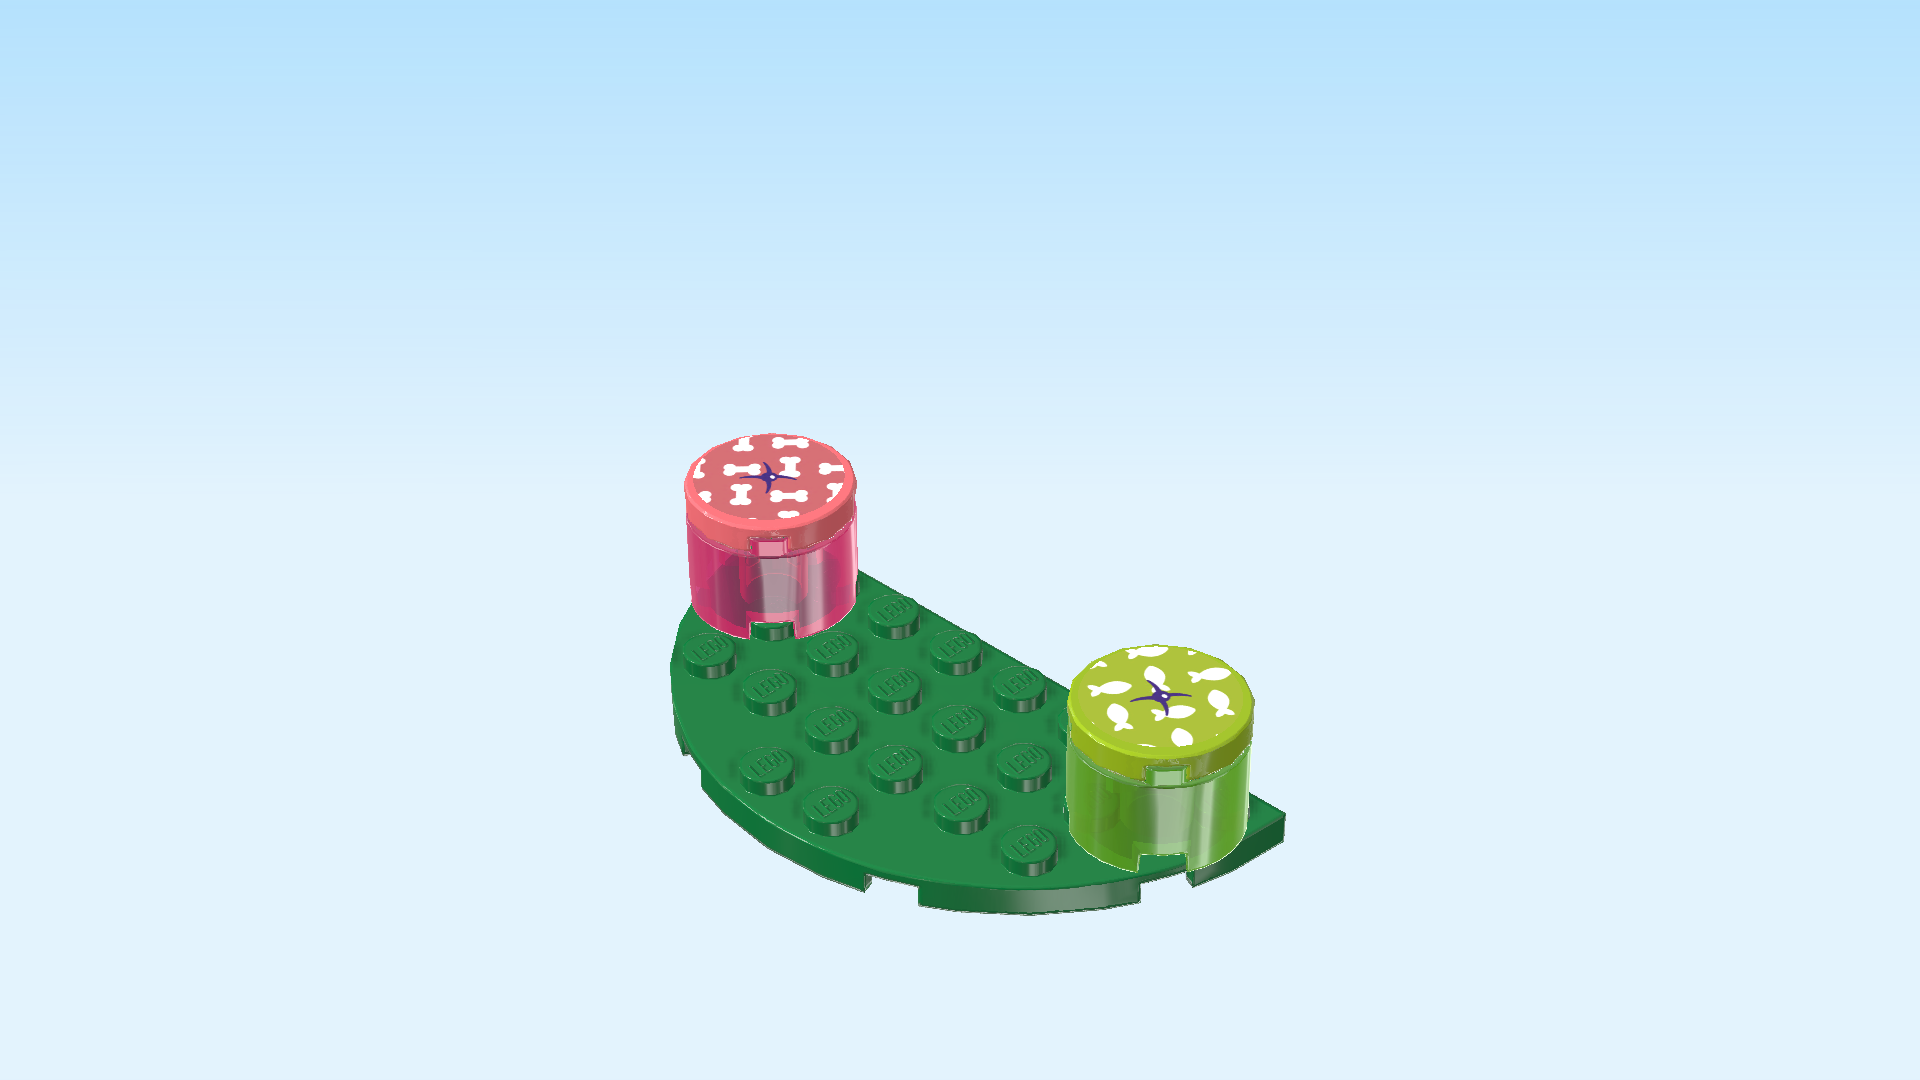
| Put the sticker number 3 on the previous piece. It is printed to look like a green chair cushion with middle knob and a pattern with small white fish. |
| Put the sticker number 6 on the chair on the left side. It is printed with a pink pillow, and its pattern are small white bones. |
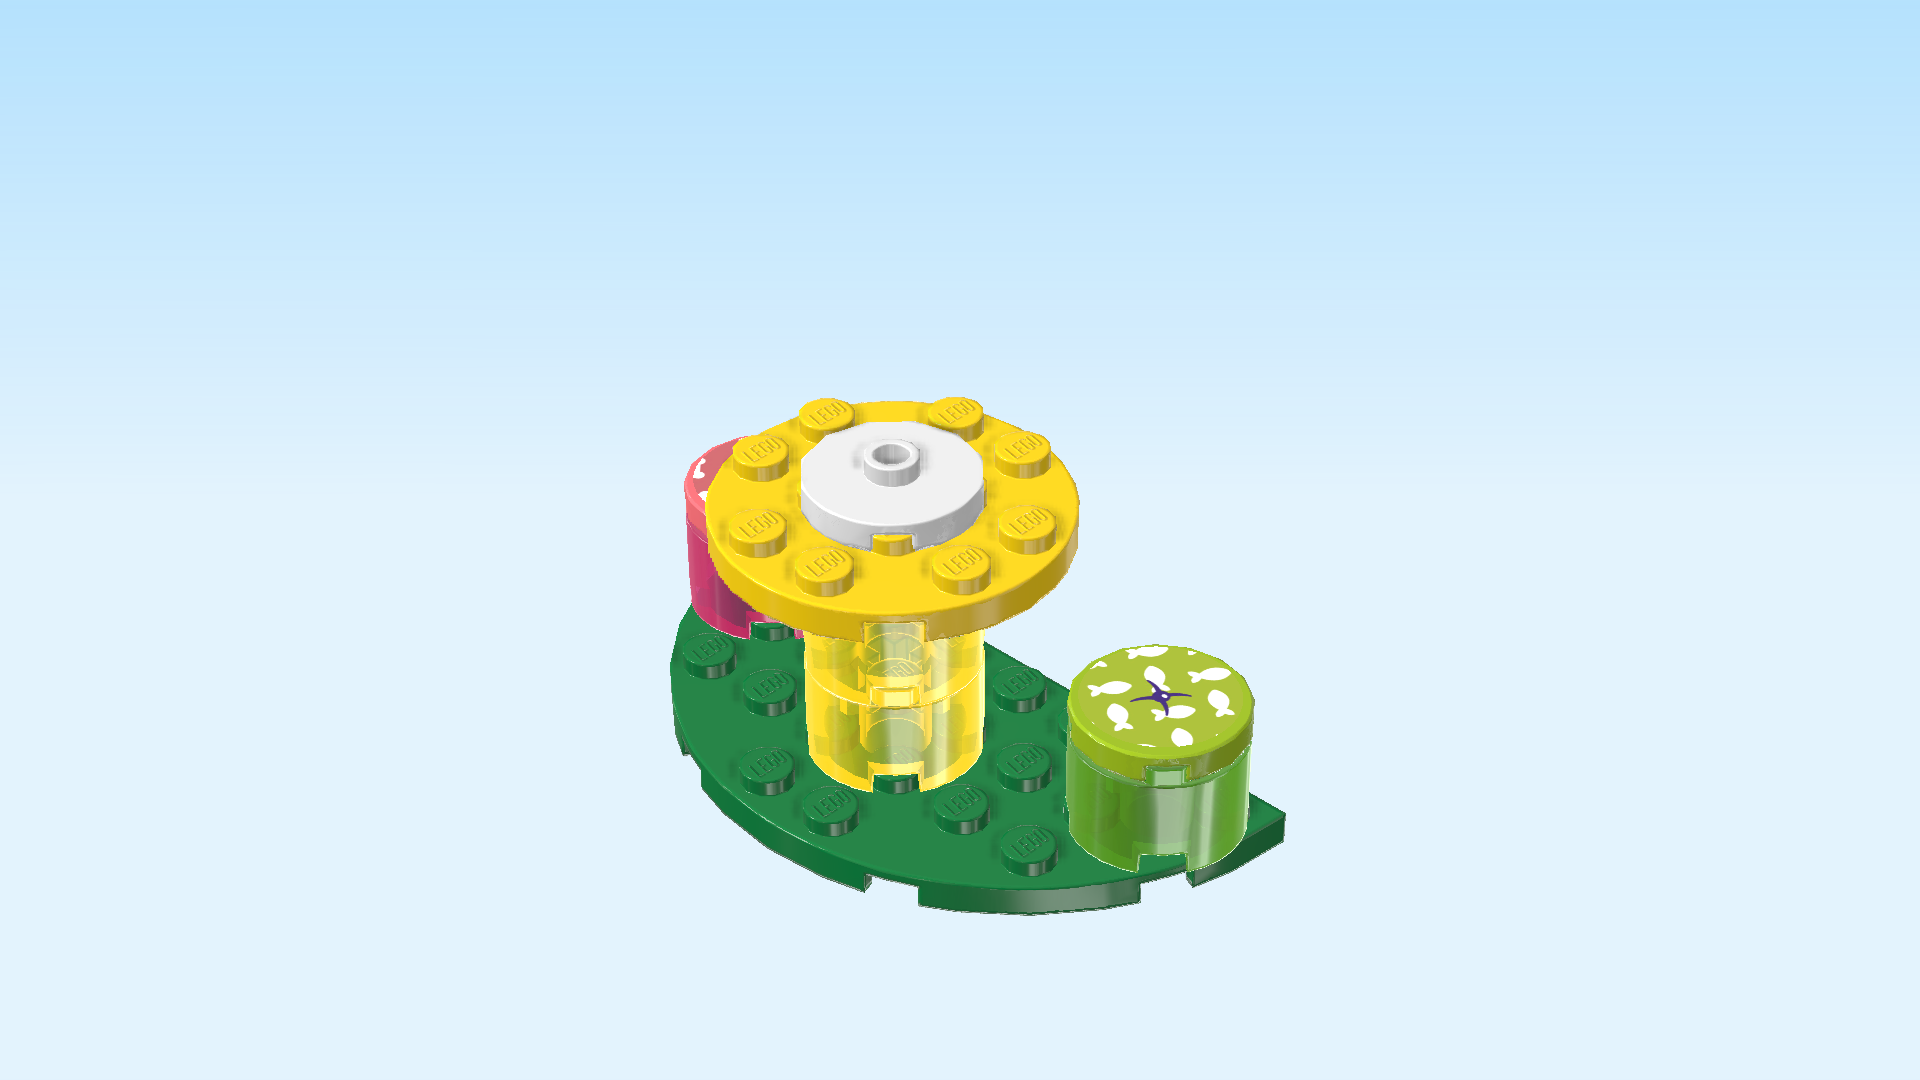
| Next, we will build the cafe table. |
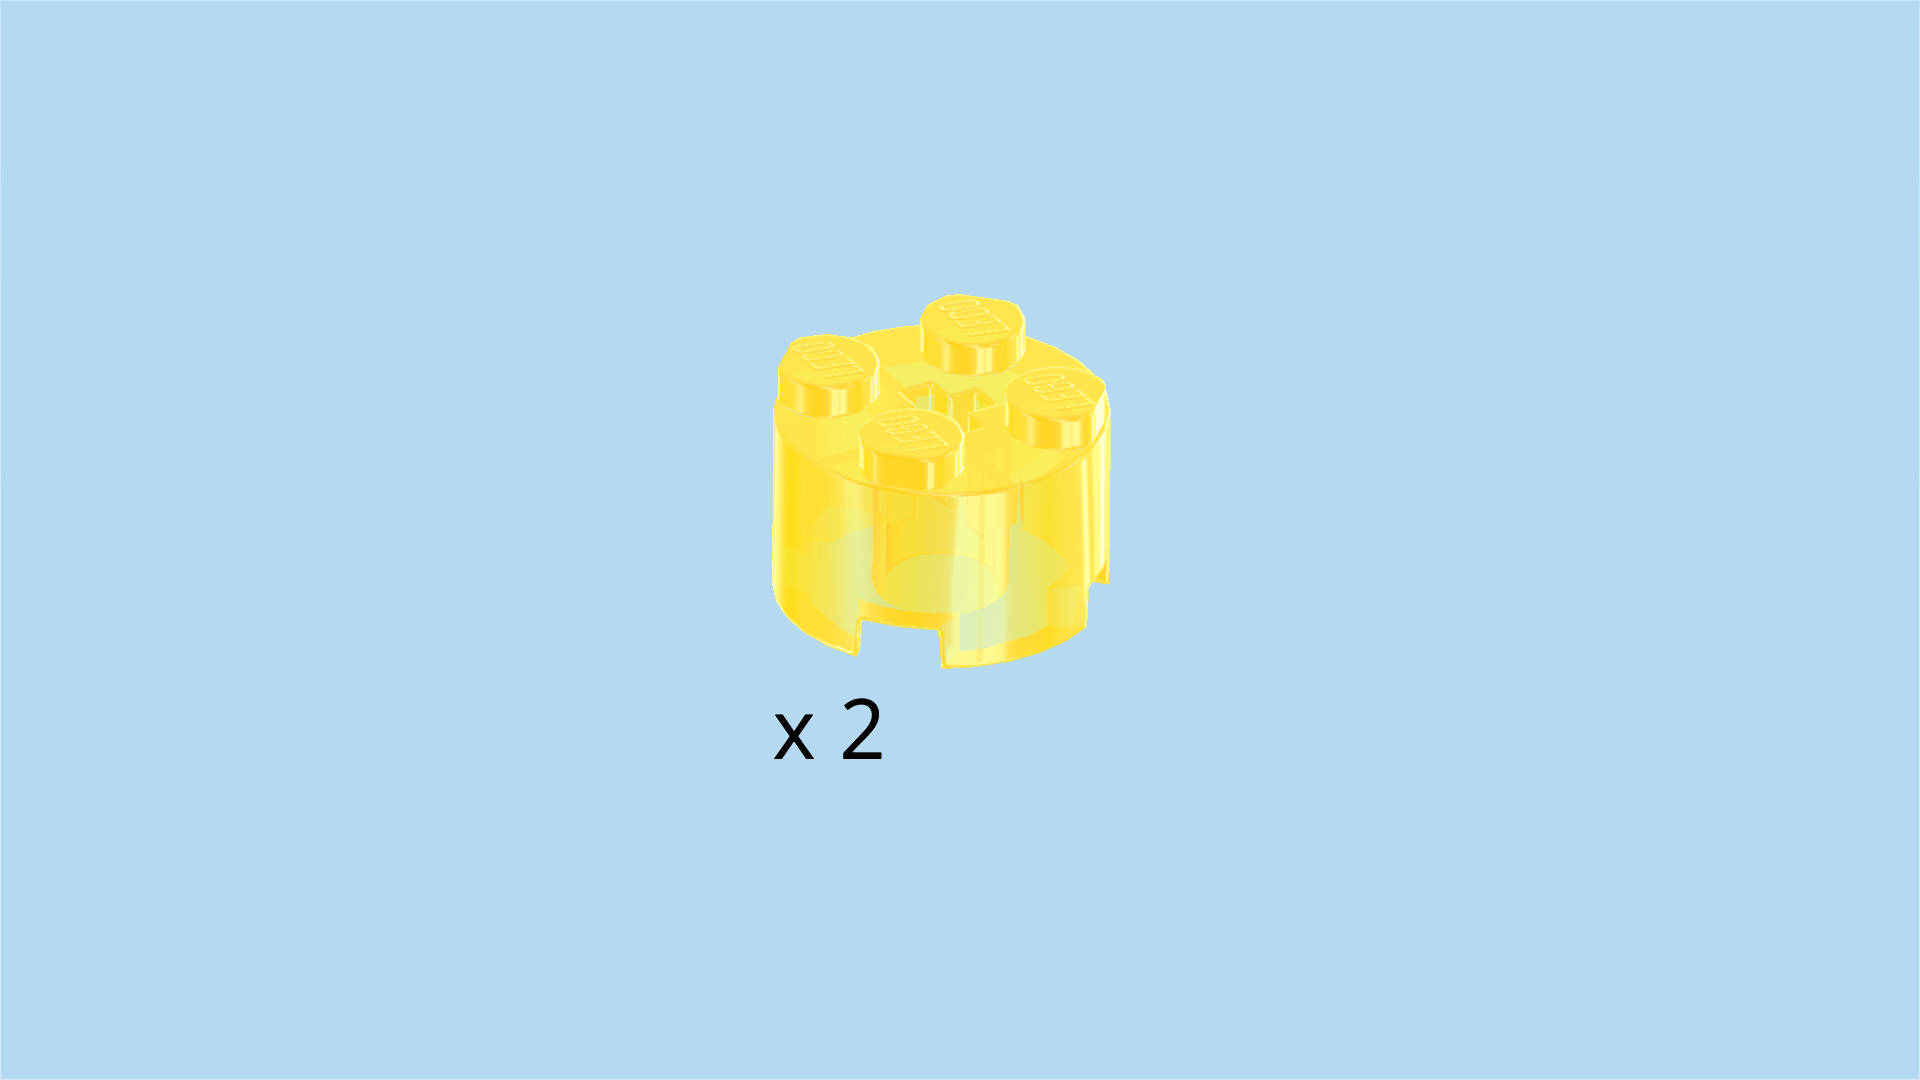
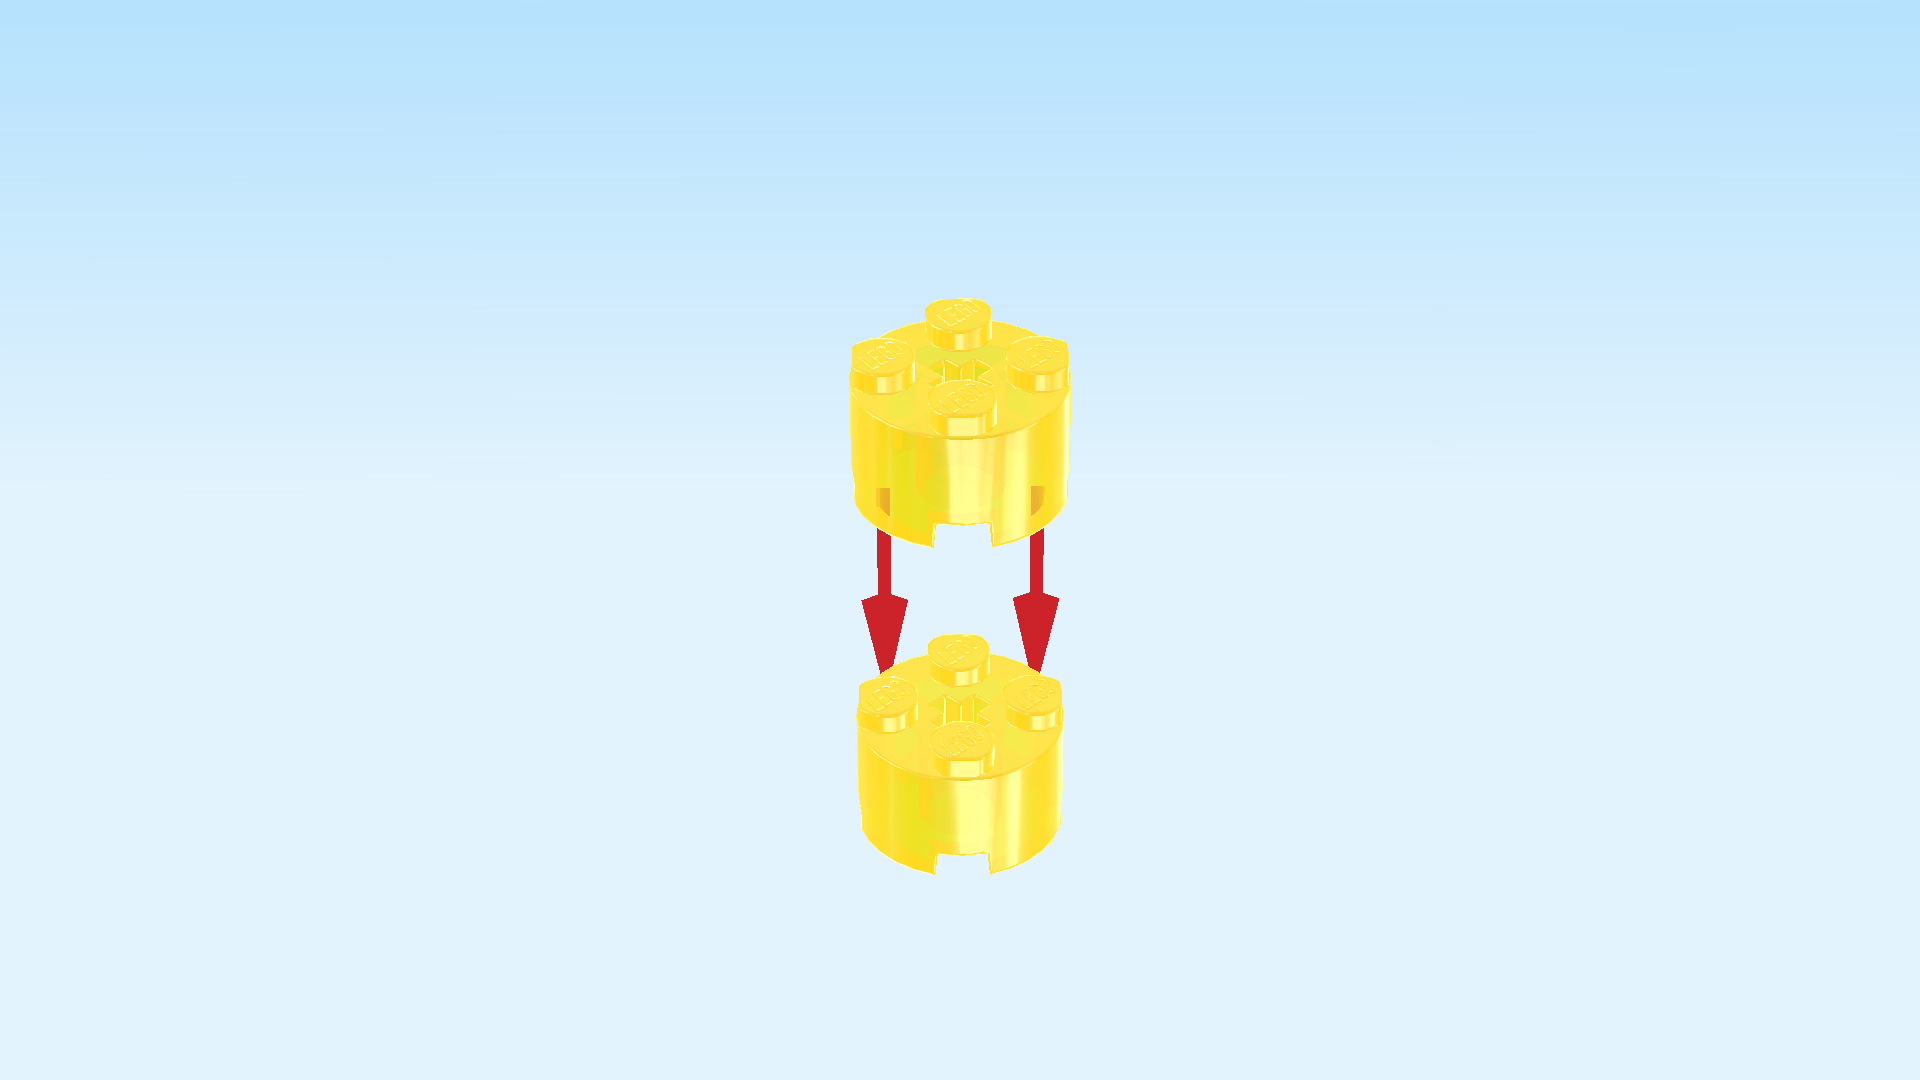
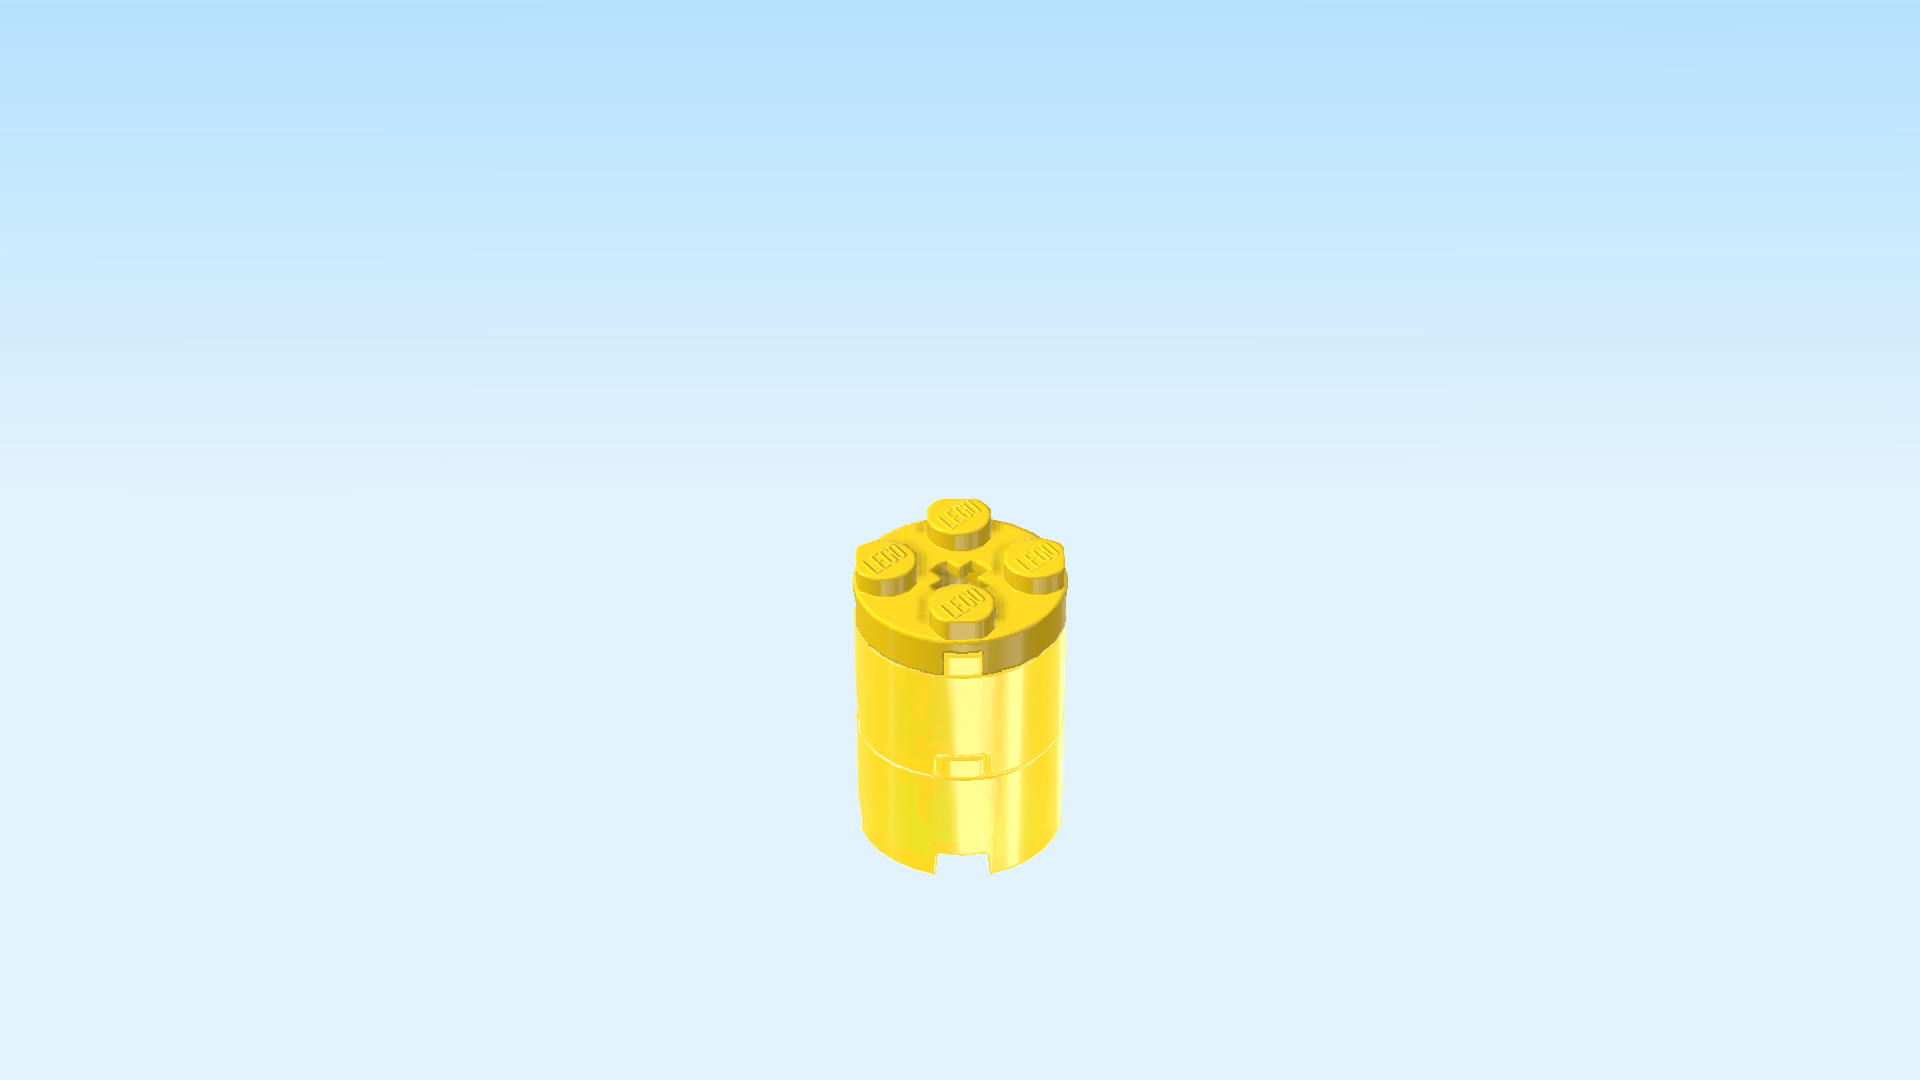
| Find 2 transparent yellow round bricks 2x2 with top cross hole. |
| Stack them on top of each other. |
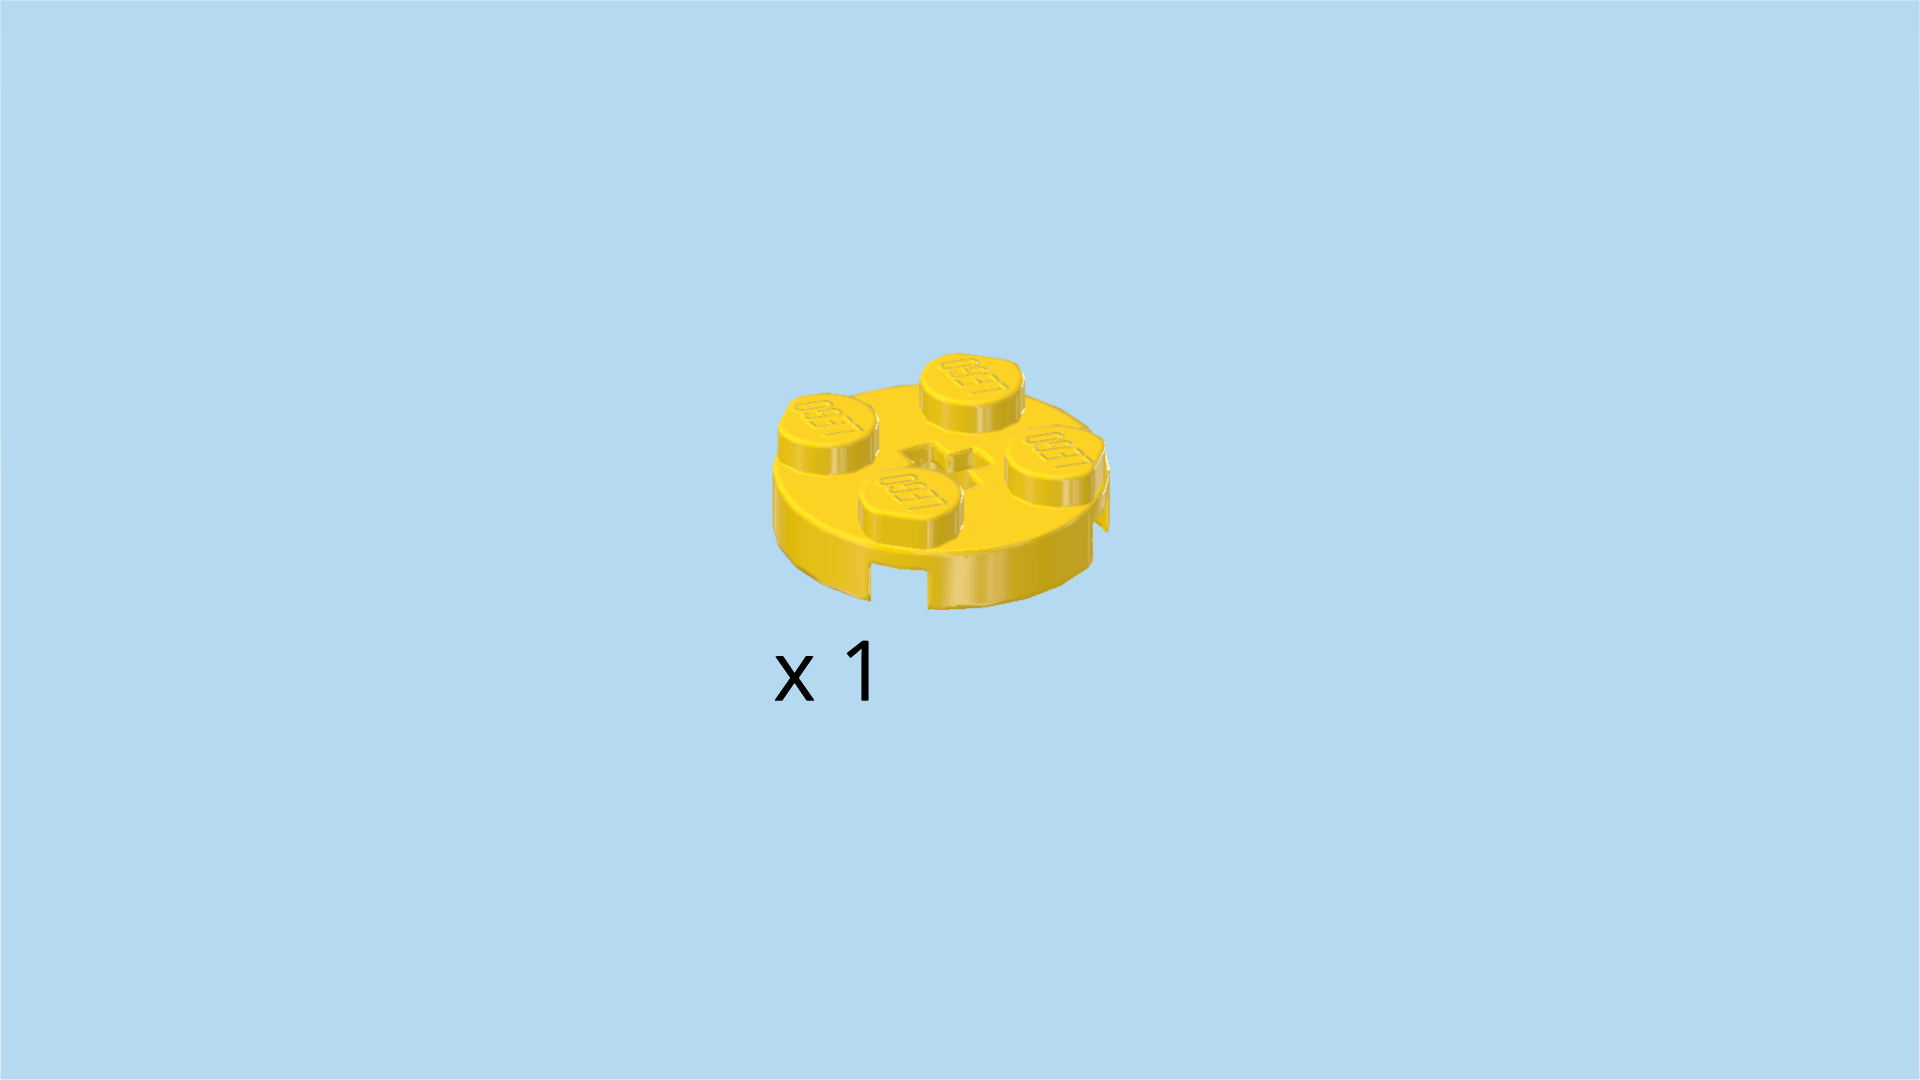
| Find 1 bright yellow round plate 2x2. |
| Put it on top. |
| Collect the following 2 pieces: |
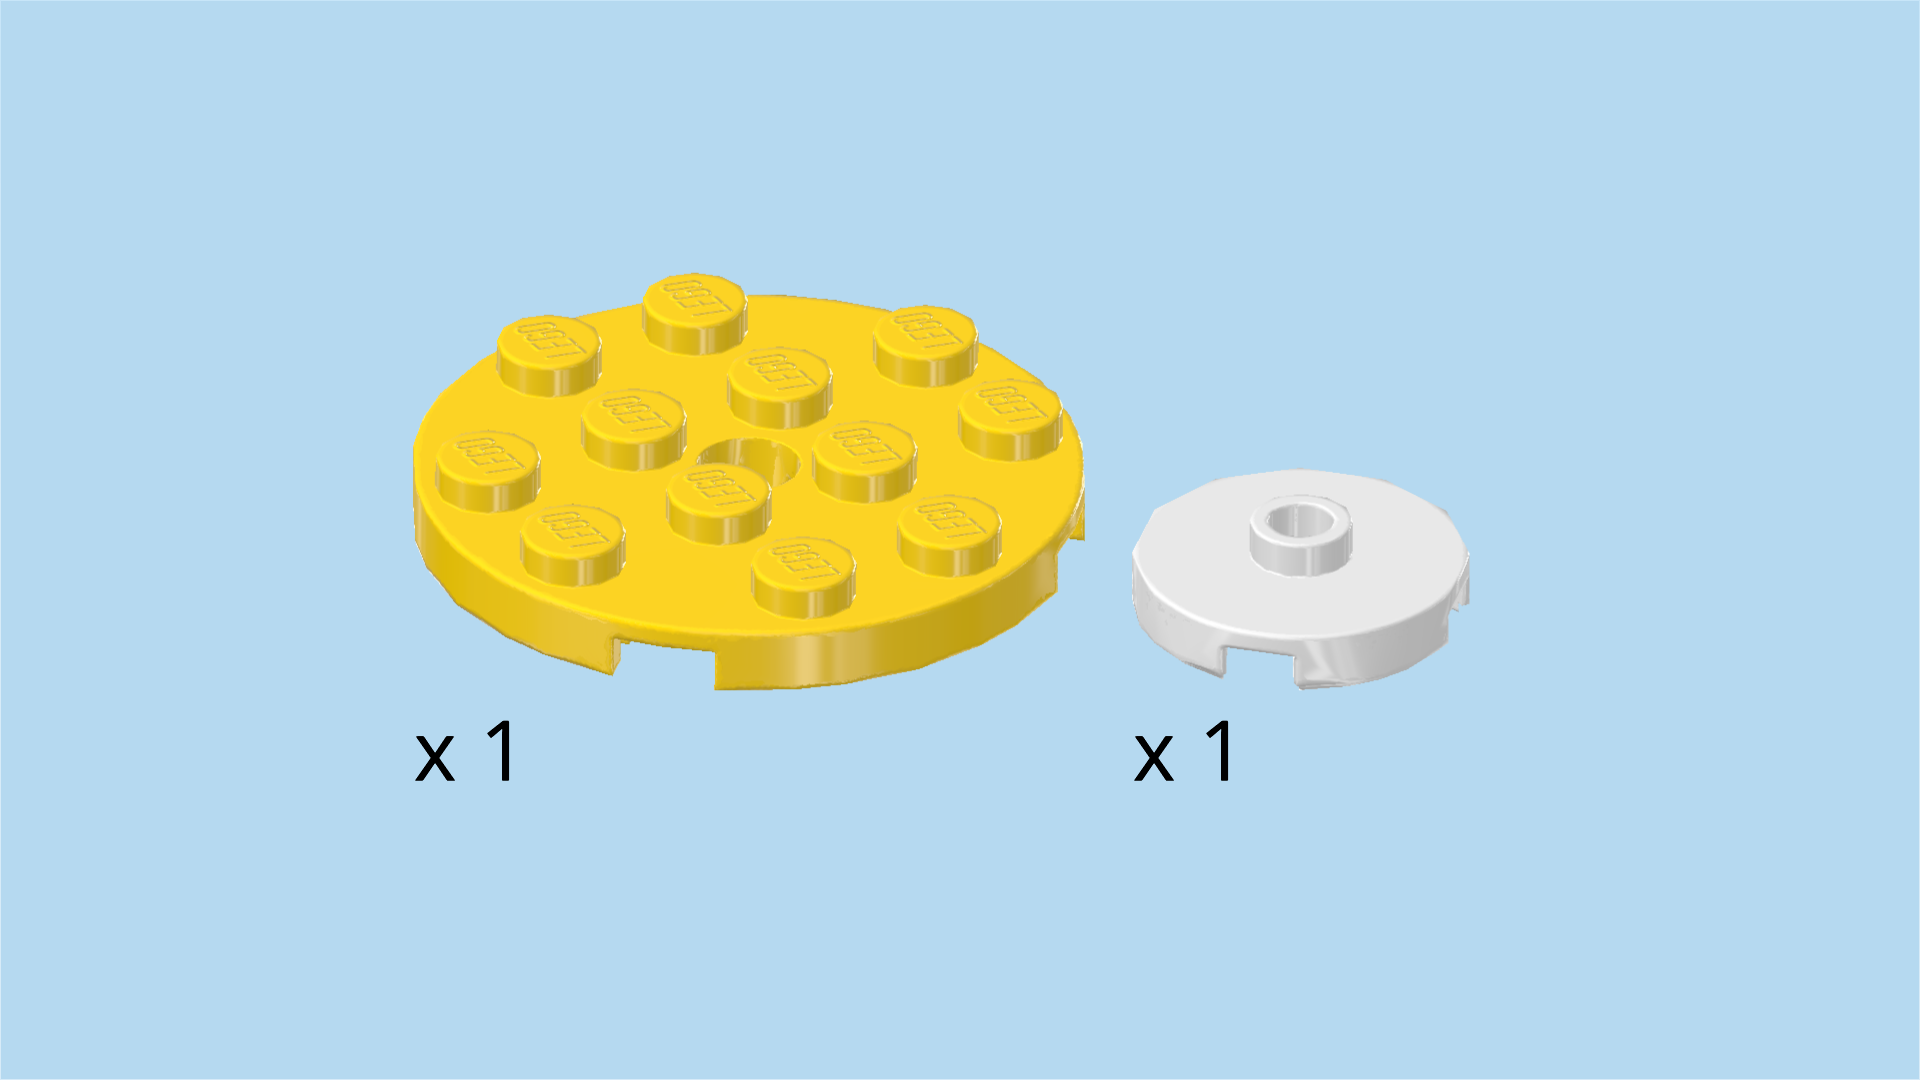
| 1 bright yellow round plate 4x4 with middle hole, |
| and 1 white round plate 2x2 with 1 knob. |
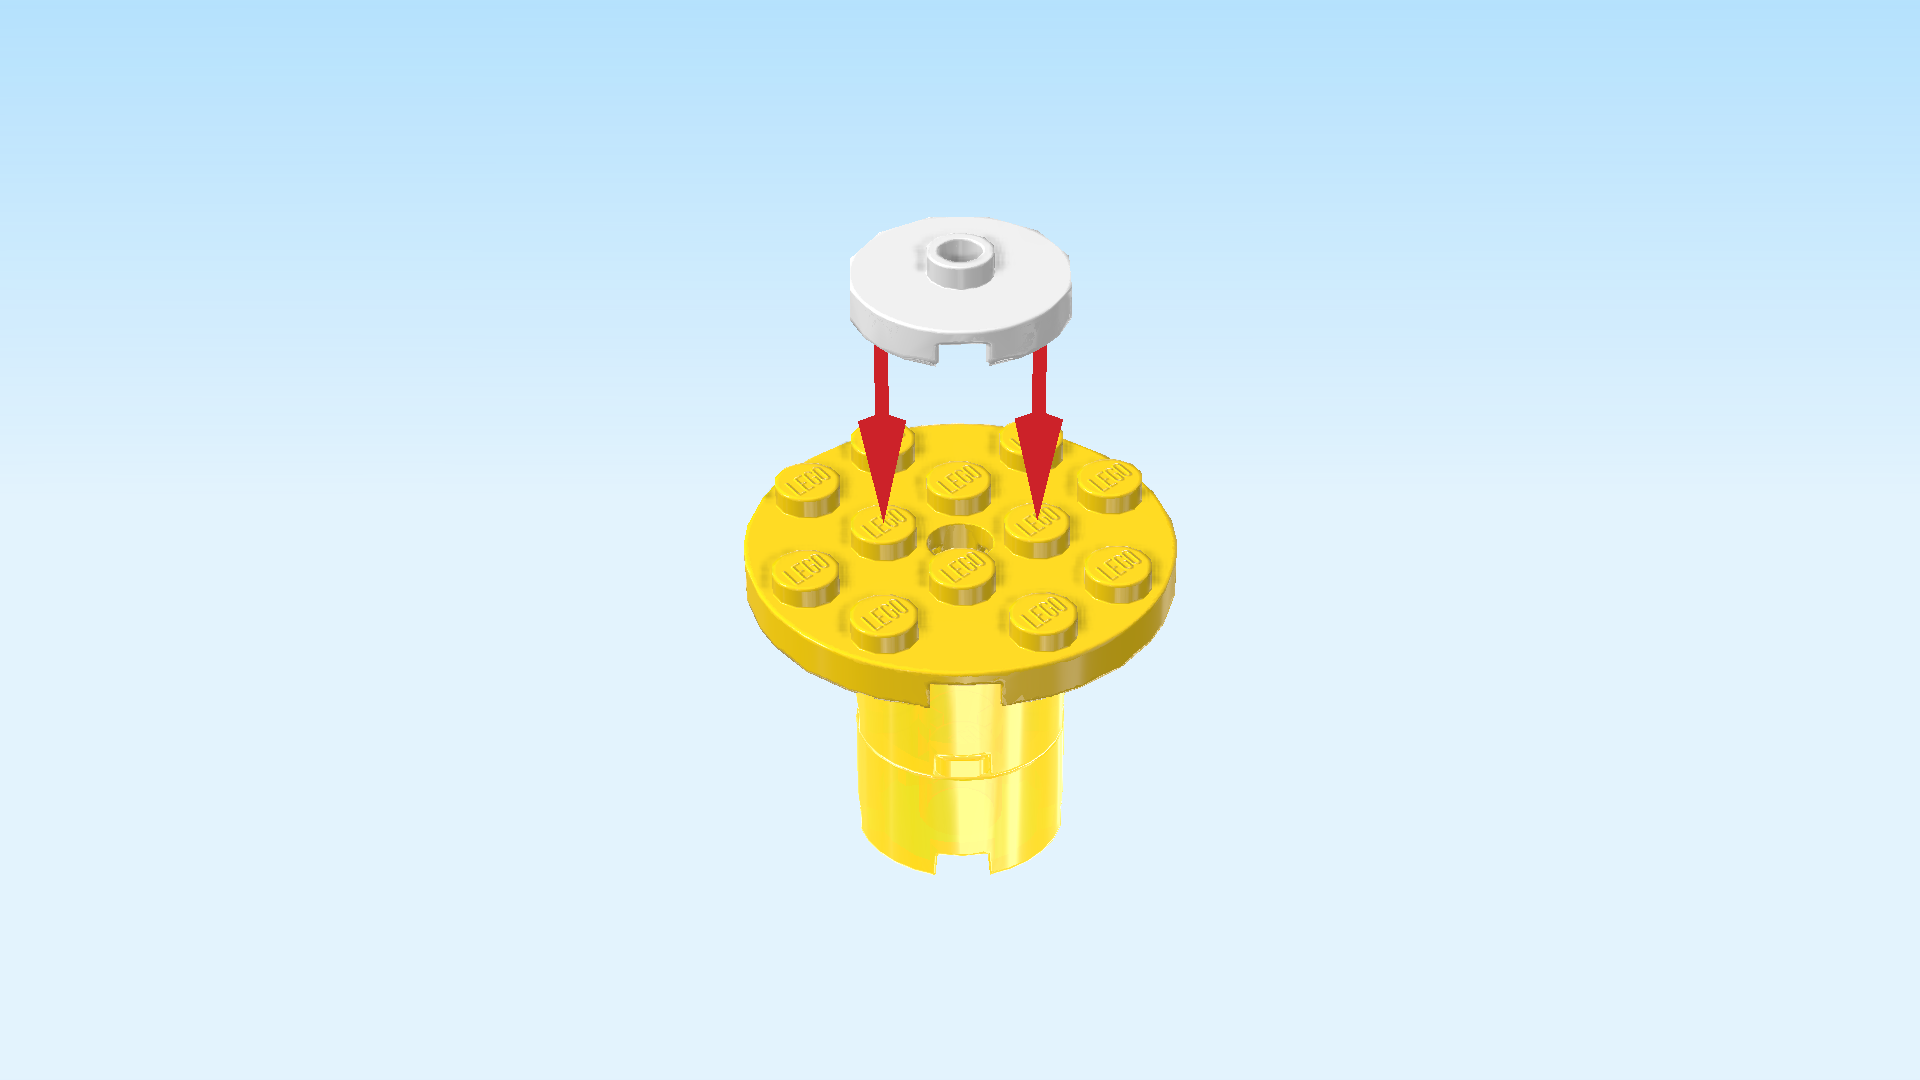
| Put the round plate 4x4 centered on top. Make sure it is overhanging symmetrically all around. |
| Put the round plate 2x2 centered on top of the previous piece. Make sure it is really in the middle. |
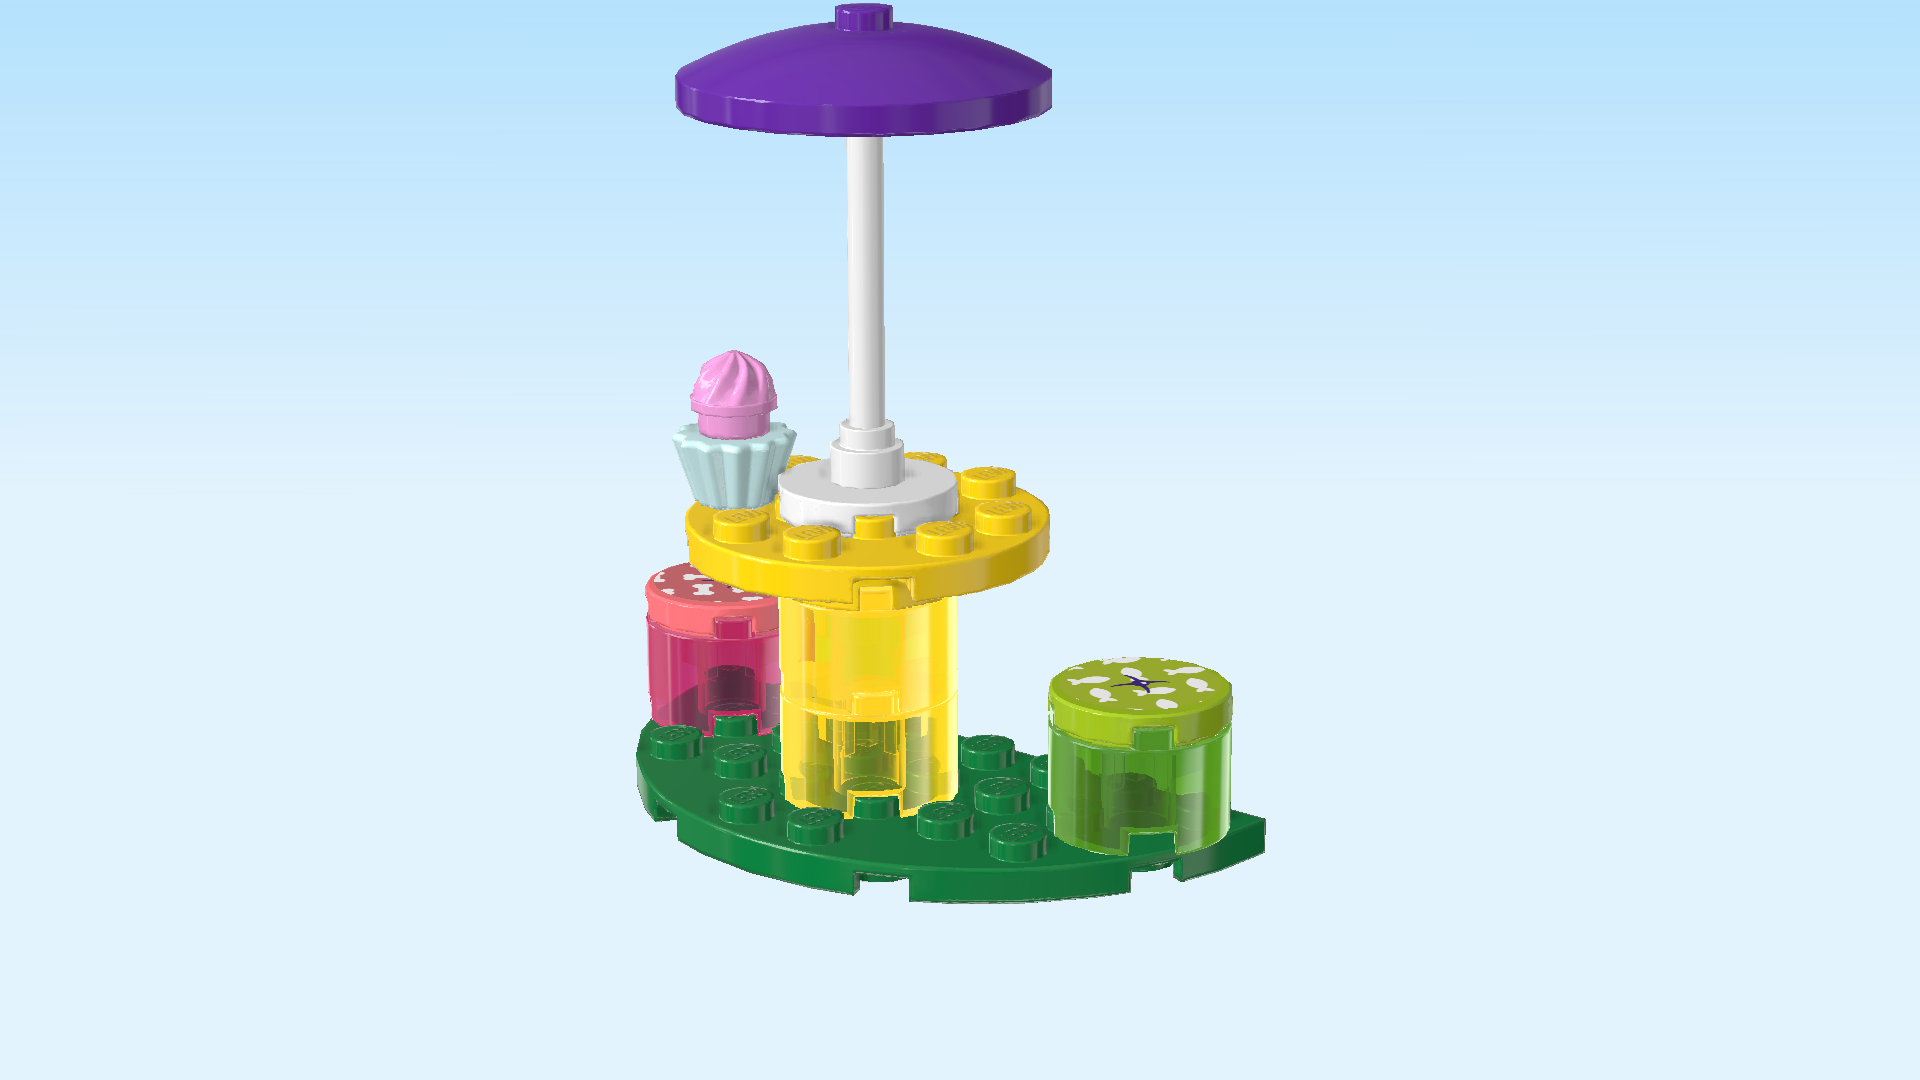
| The cafe table is finished! Well done! Mount it in the middle between the two stools. |
| Next, we will build the umbrella. |
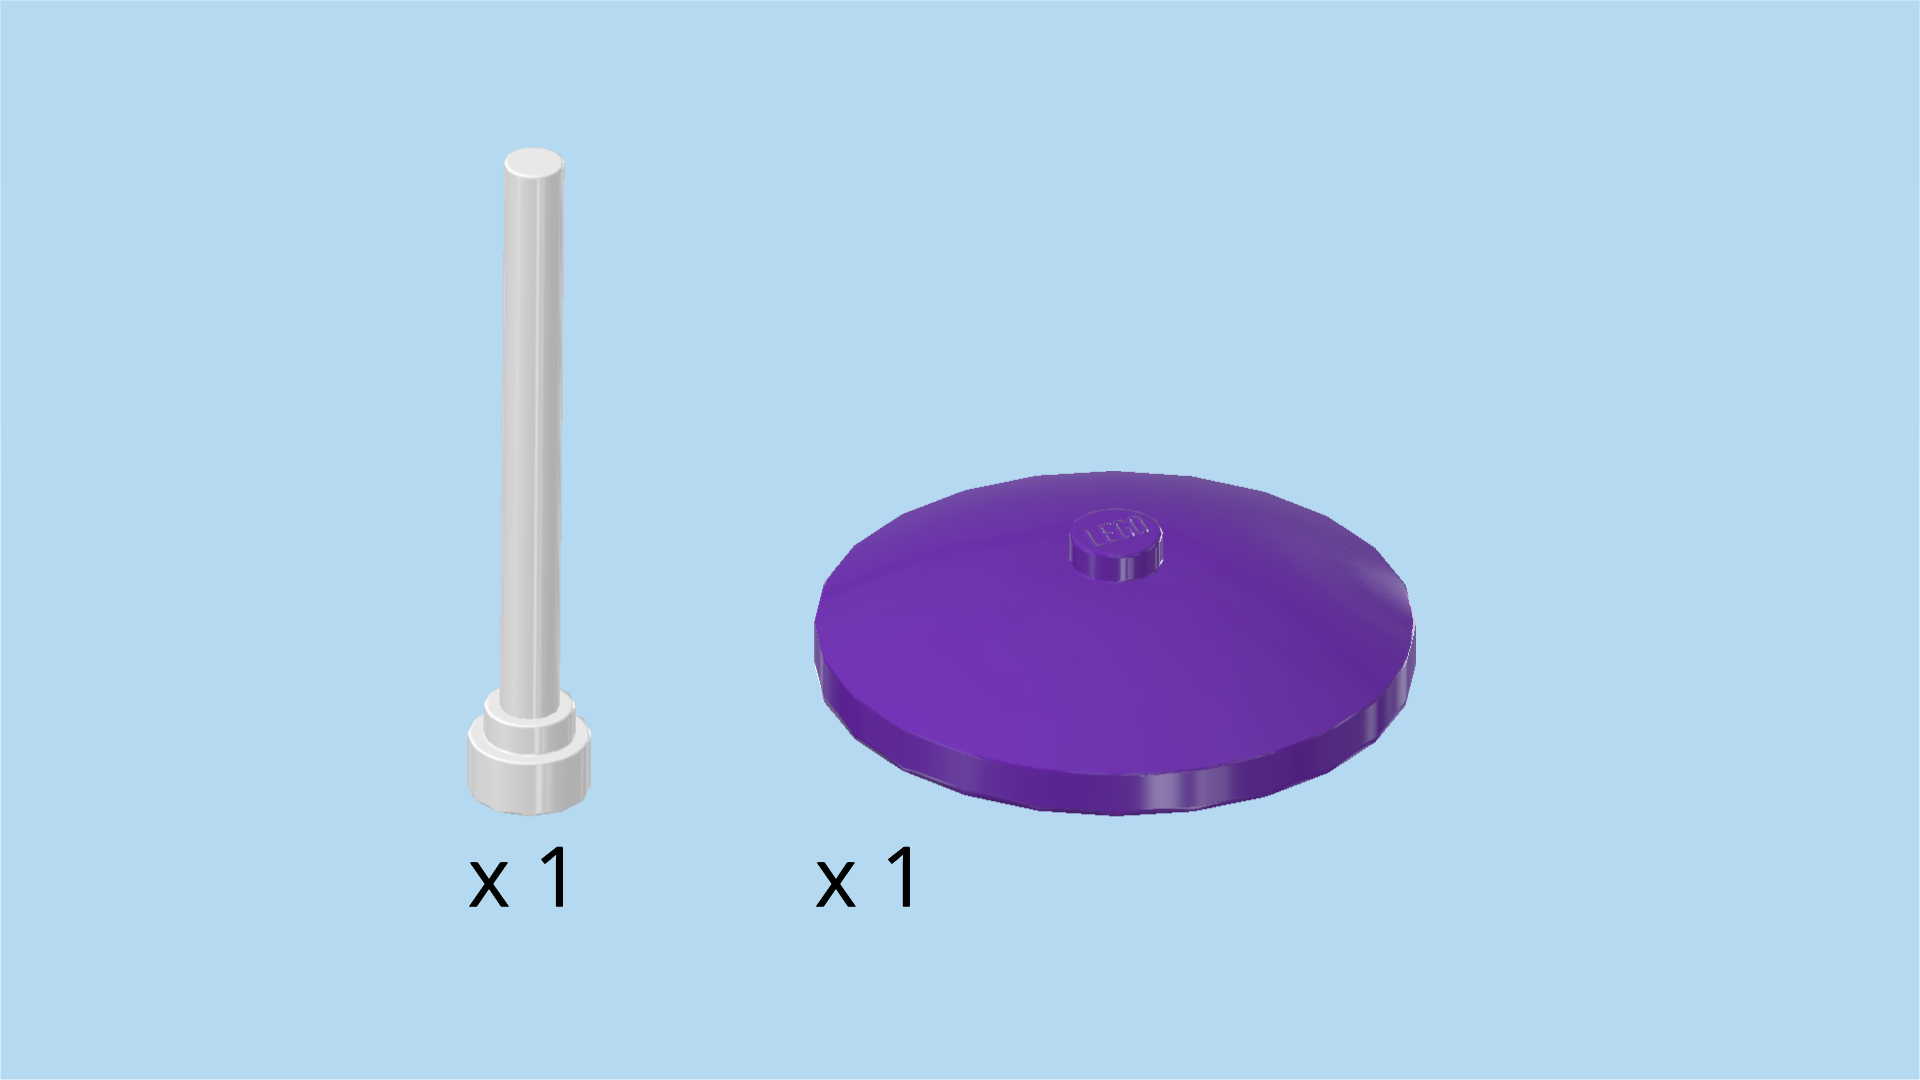
| Collect the following 2 pieces: |
| 1 white flagpole 1x1x3, |
| and 1 medium lilac disk 4x4 with 1 knob. |
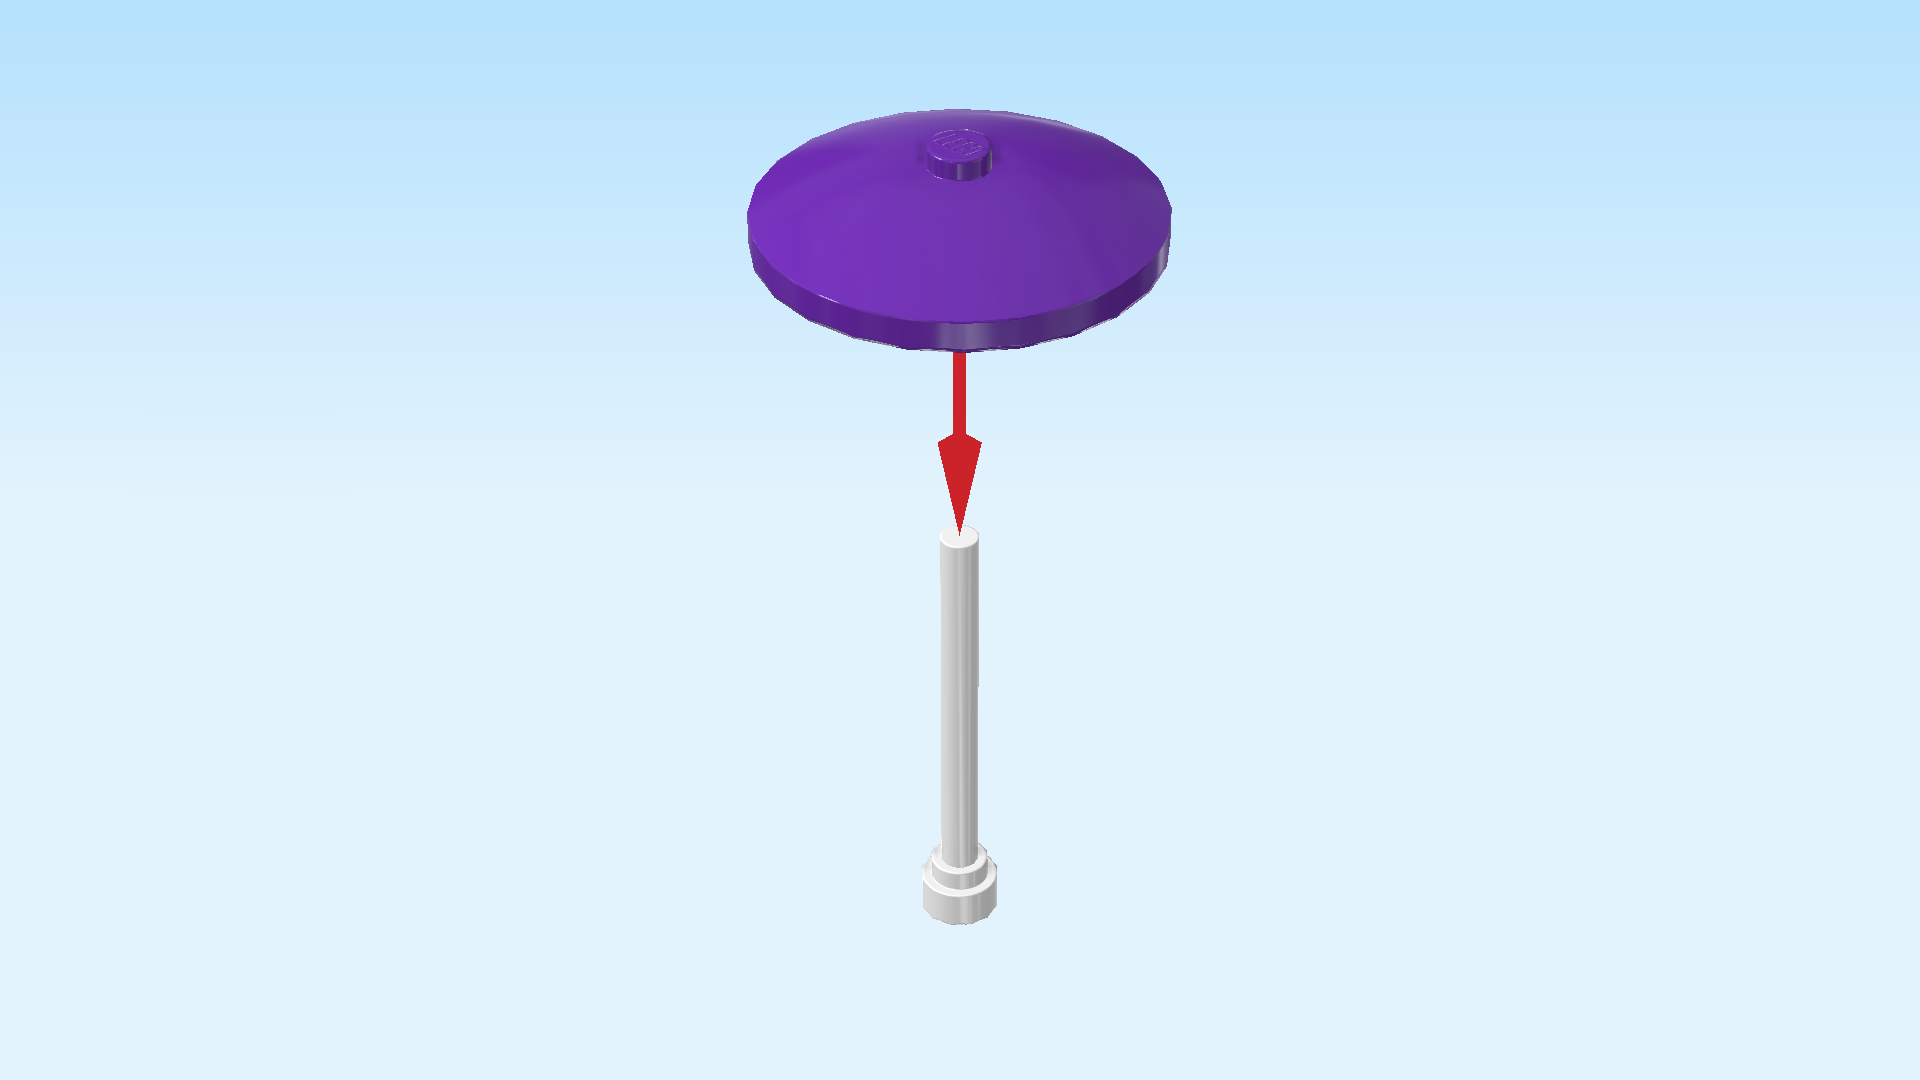
| Hold the flagpole 1x1x3 in your hand, thick end at the bottom. |
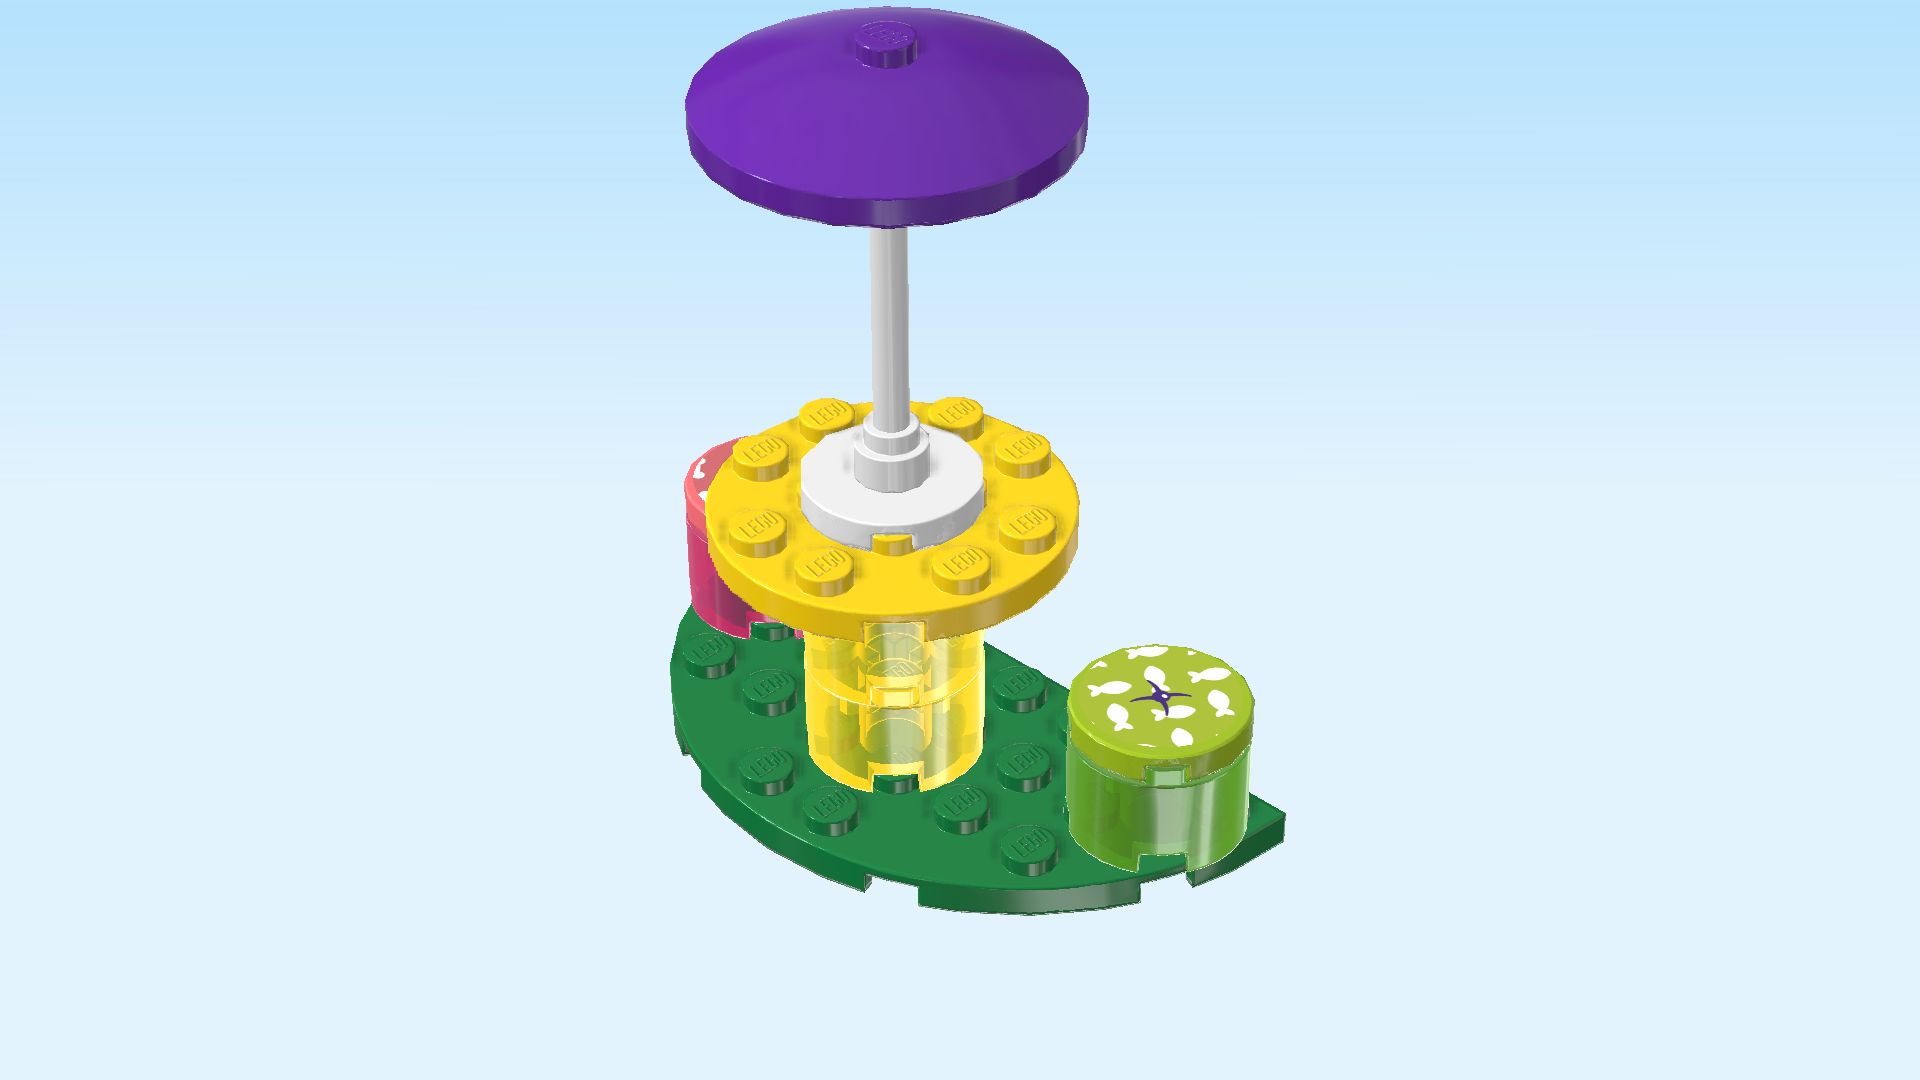
| Insert the top of the flagpole into the disk 4x4 from the bottom. It has a fitting hole right in the middle. |
| The umbrella is finished! Mount it on the middle knob of the cafe table. |
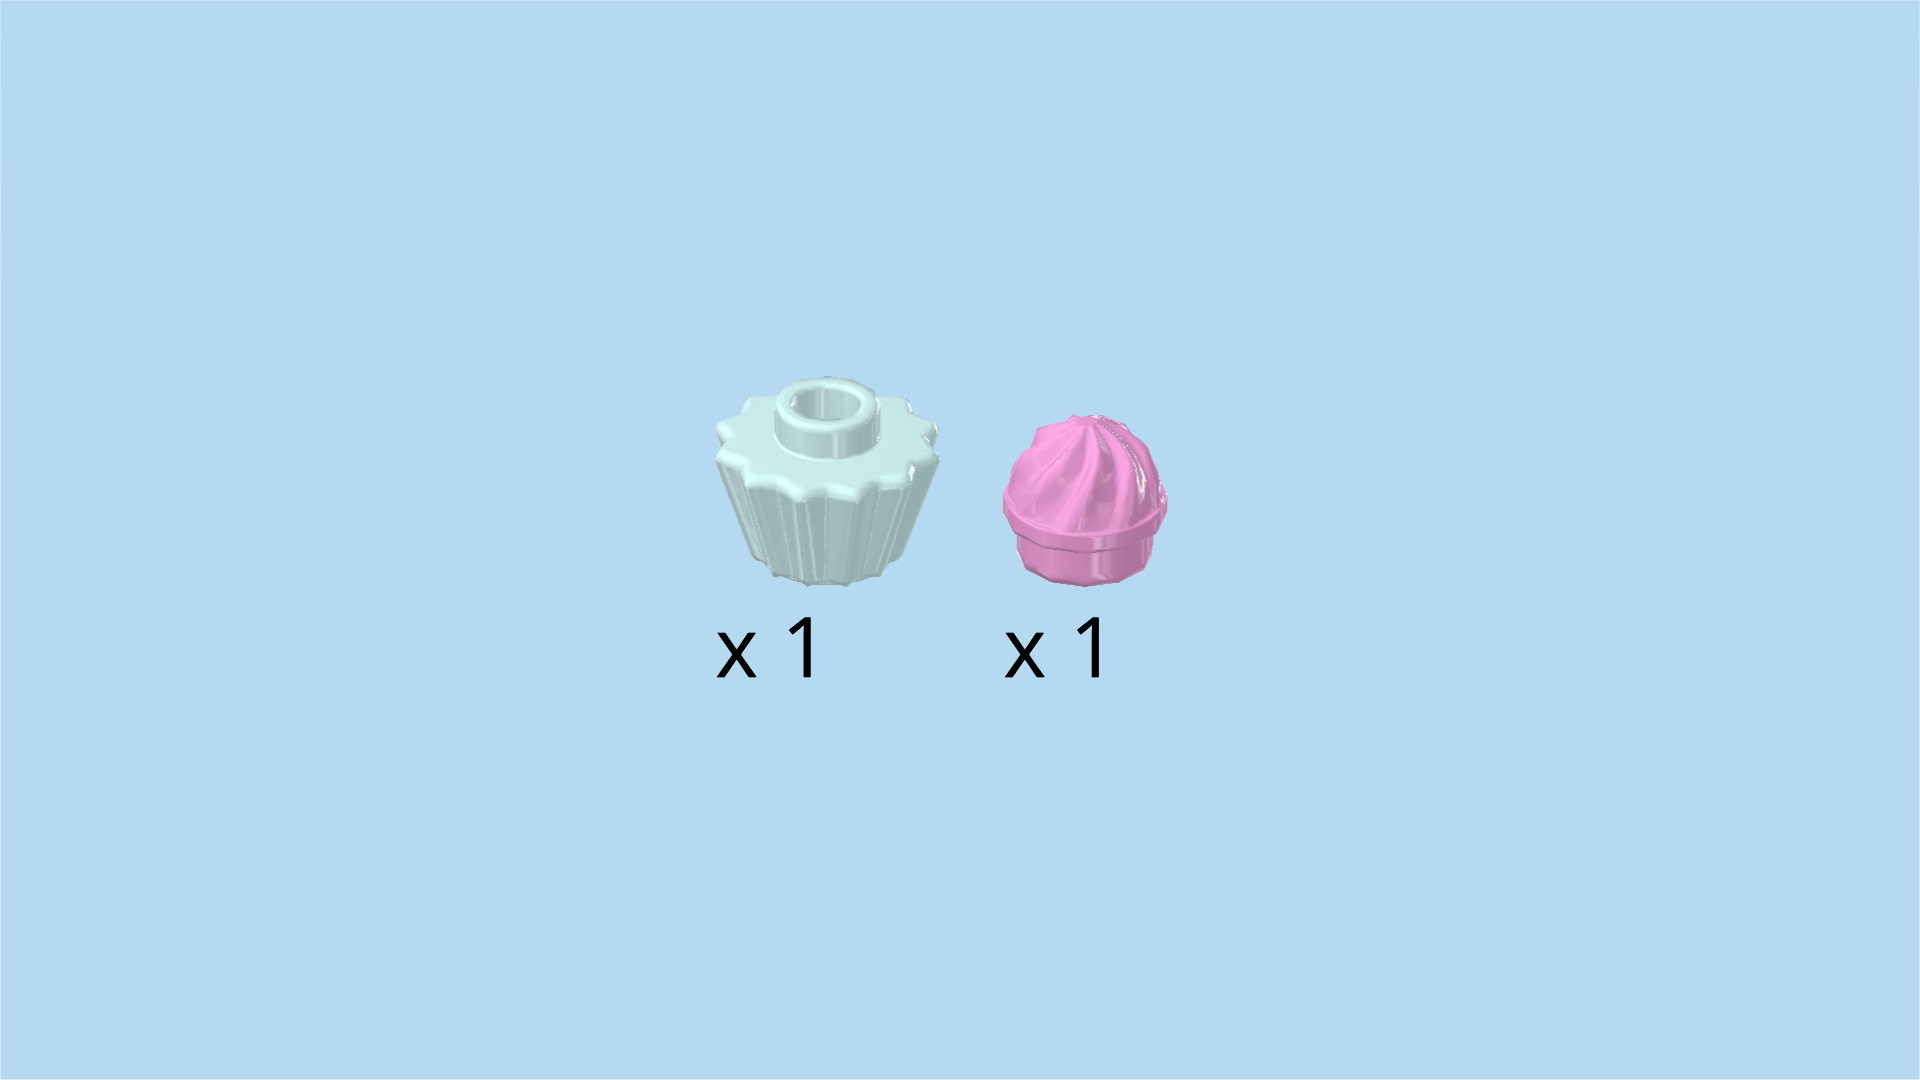
| Next, we will make a cupcake. |
| Collect the following 2 pieces: |
| 1 aqua blue cupcake bottom 1x1, |
| and 1 light purple swirly cupcake top 1x1. |
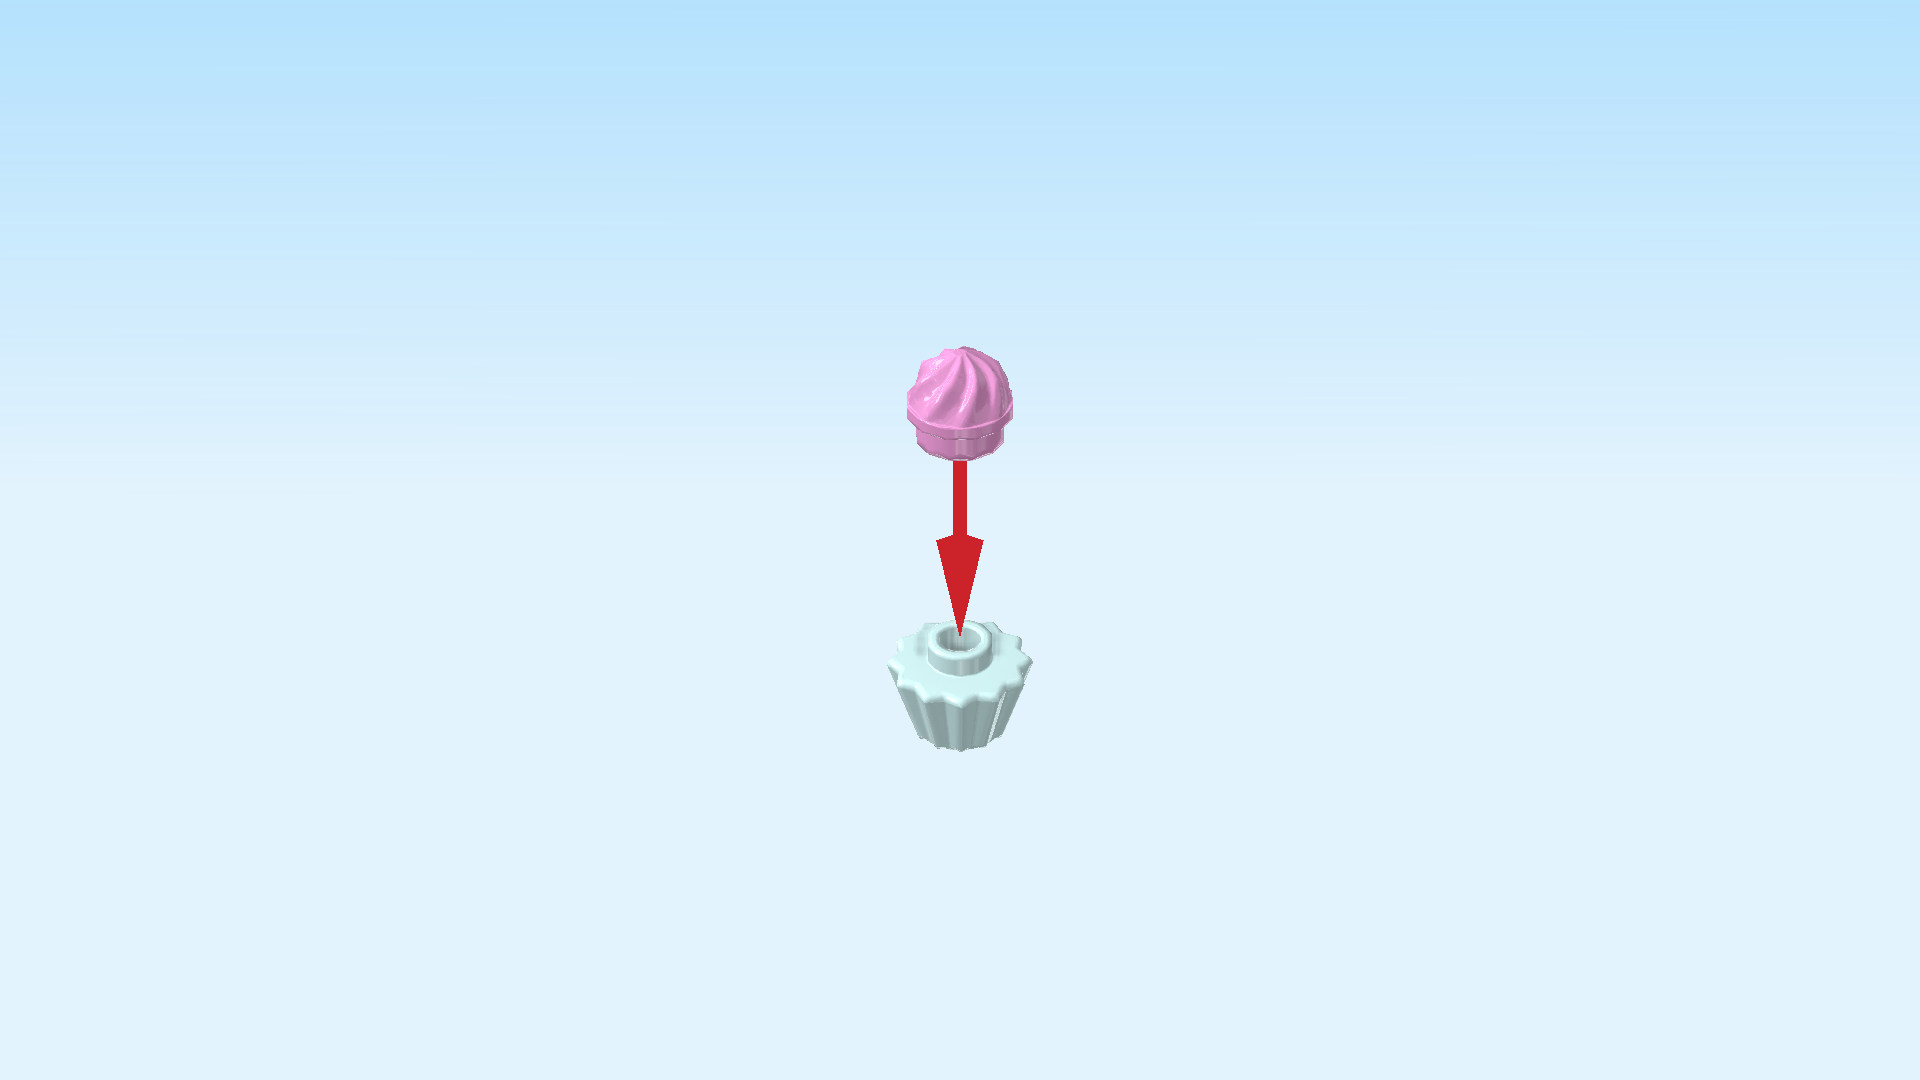
| Put the cupcake top on the cupcake bottom. |
| Put the cupcake on one of the empty knobs on the cafe table. |
| The cafe reception area is finished! Great job! Now, visitors and pet adopters can take a rest in the shade of the umbrella and watch the rescued pets play. |
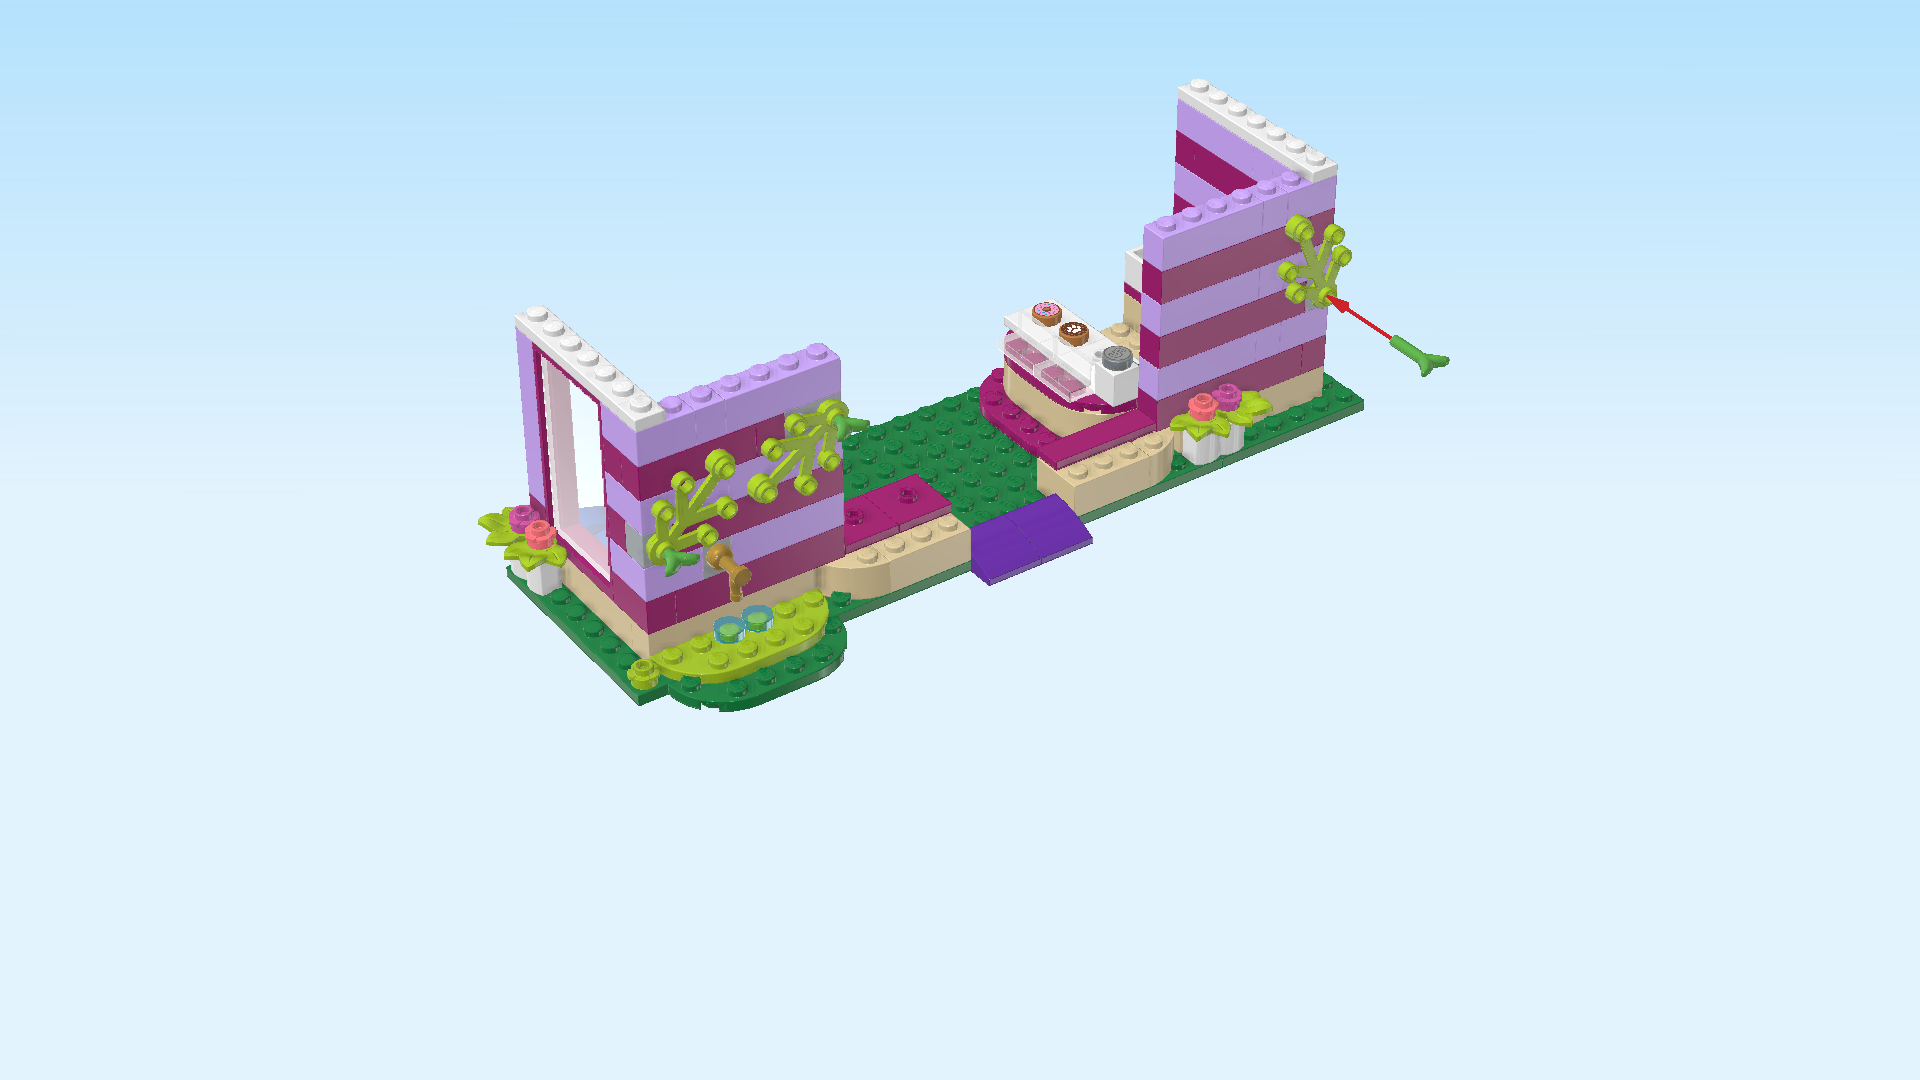
| Next, we will build the Pet Adoption Cafe. |
| We will start with the first third. The pieces of the second and last third are in the other bags, but finding pieces and building is way easier if you leave the other bags for now. |
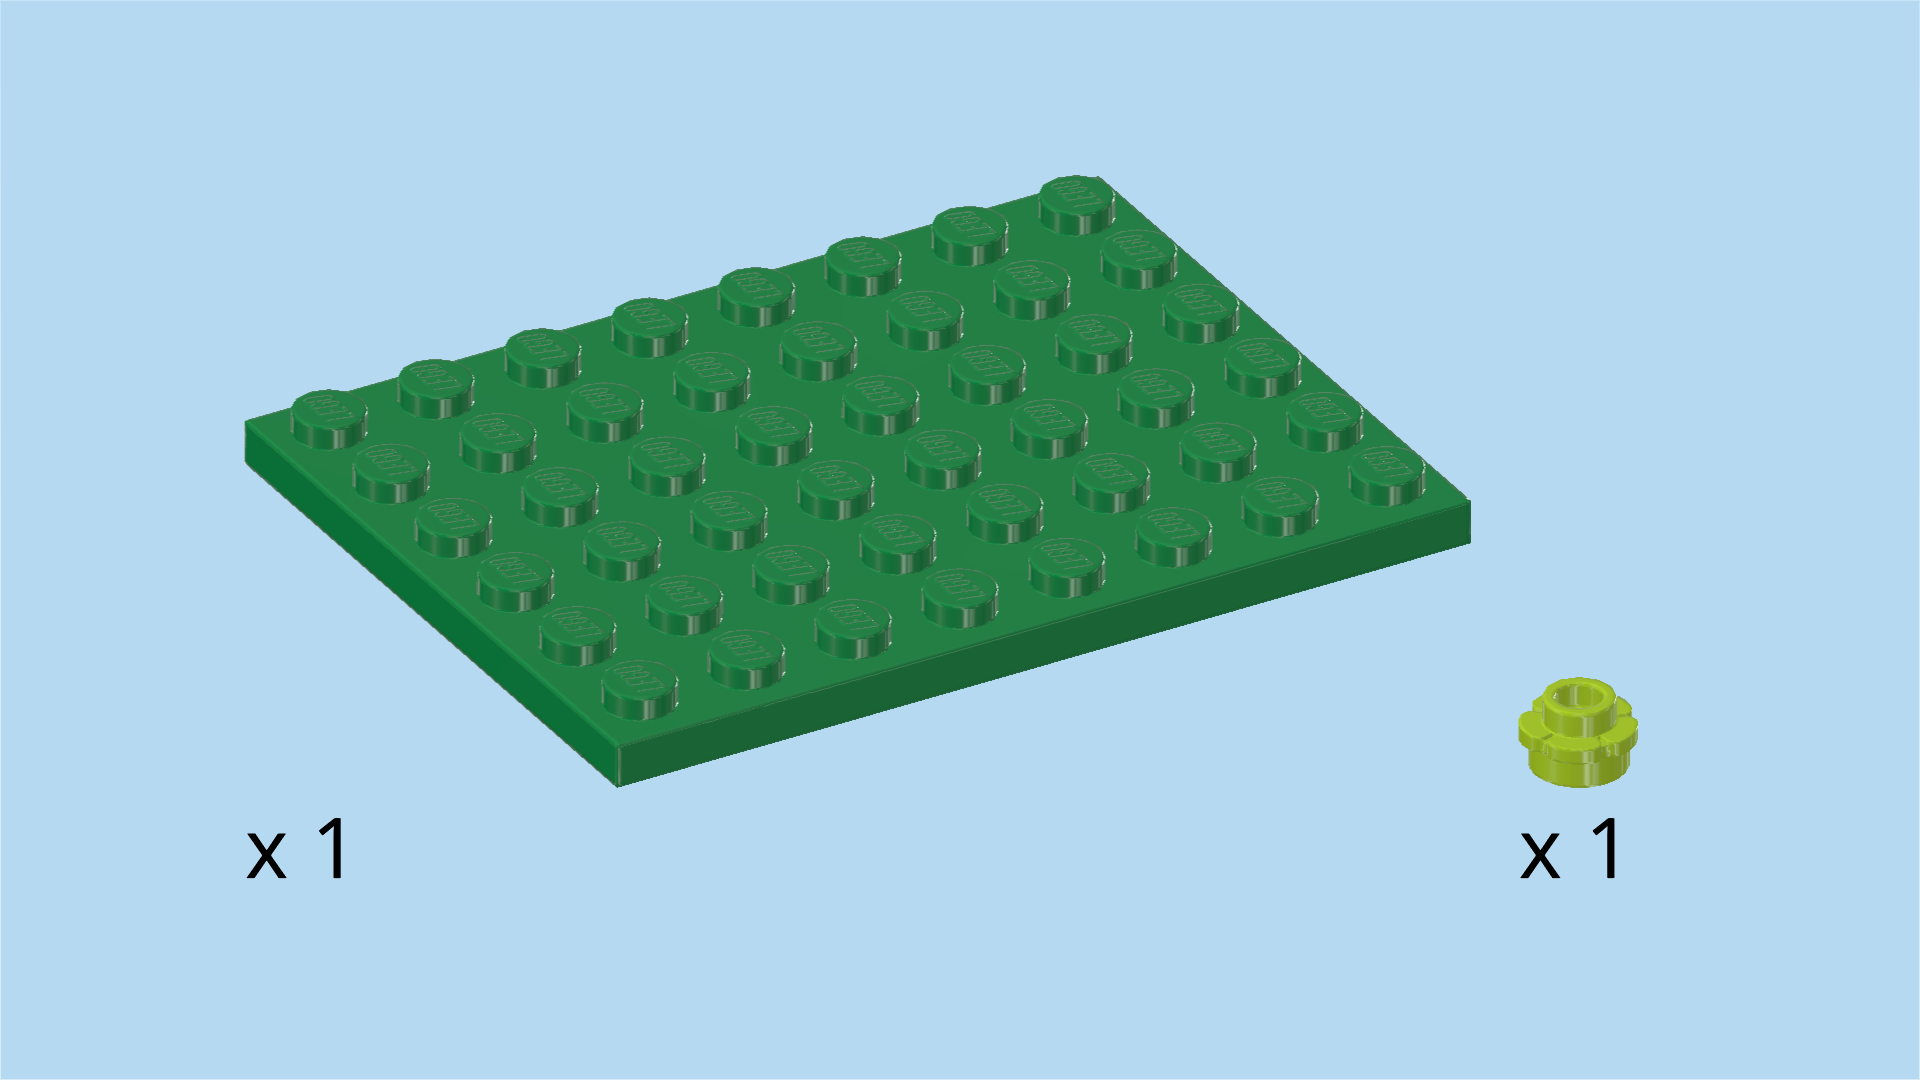
| Collect the following 2 pieces: |
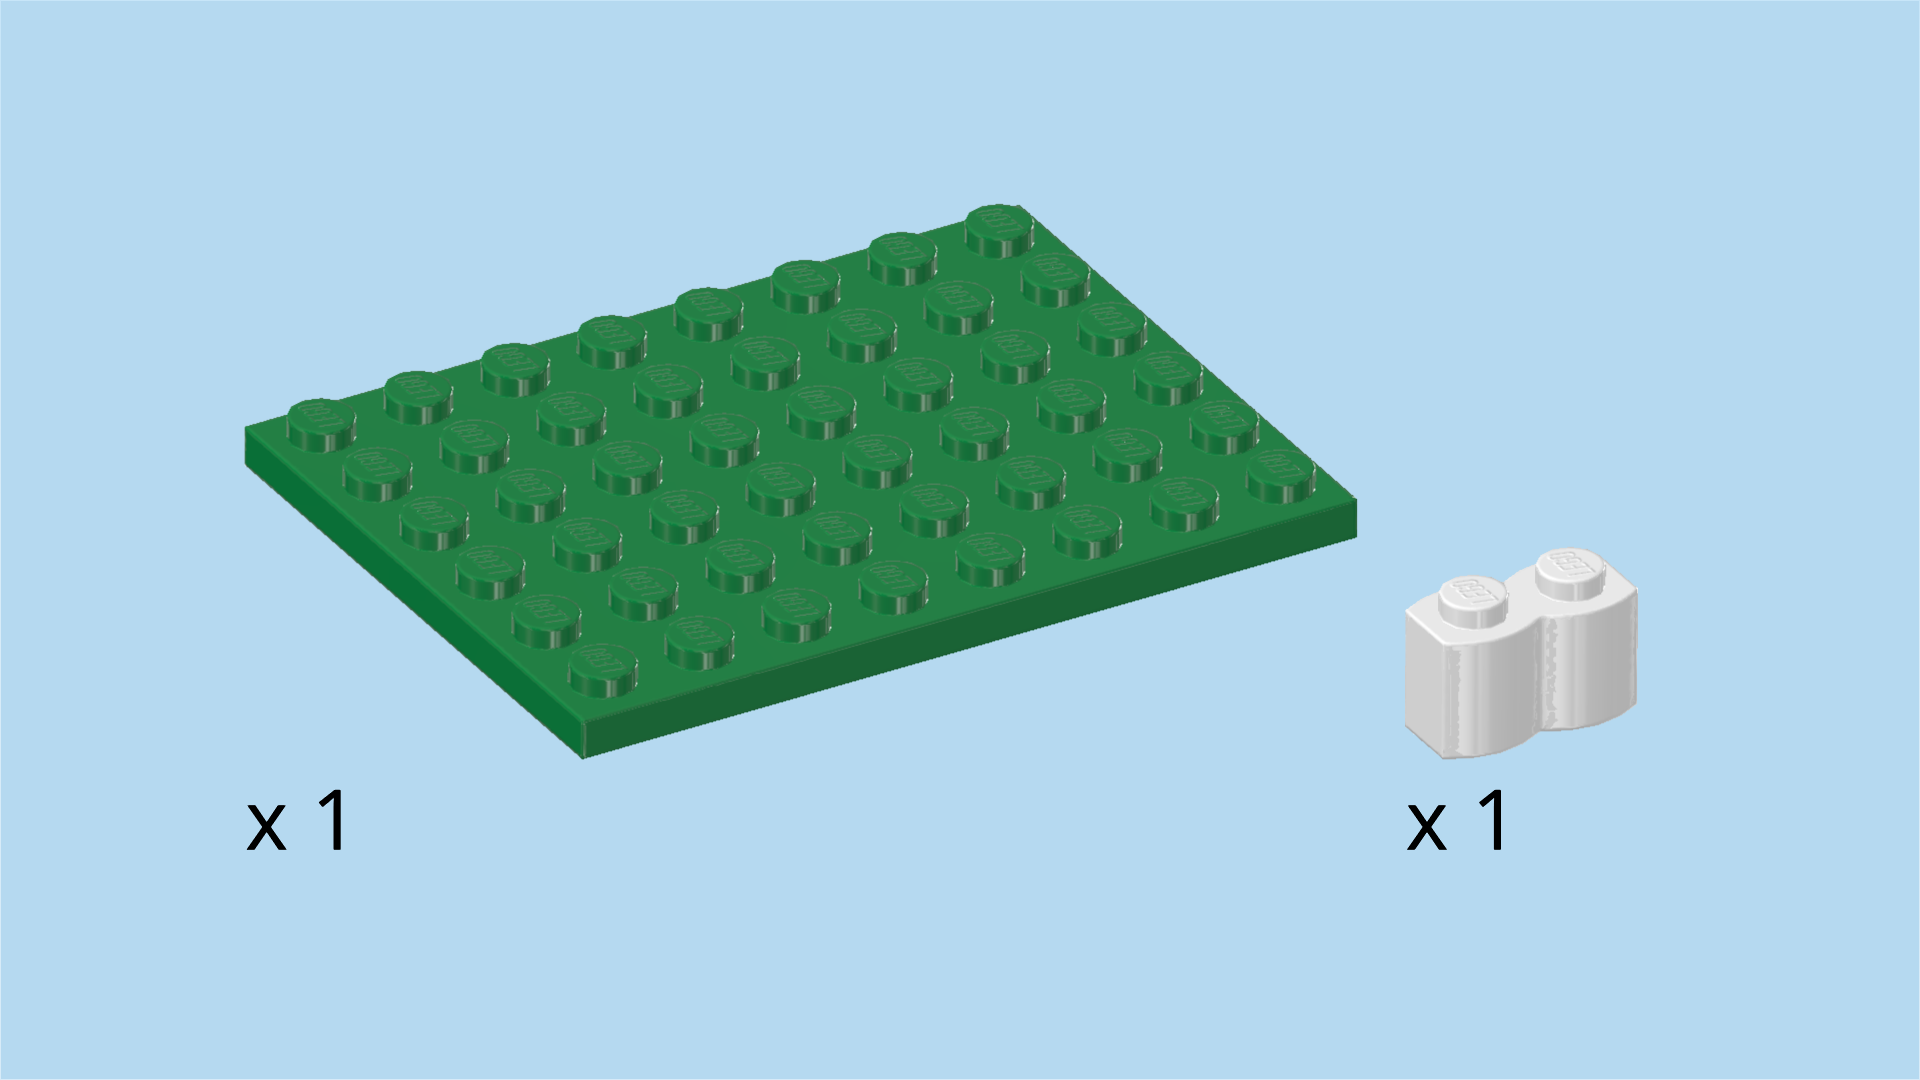
| 1 dark green plate 6x8, |
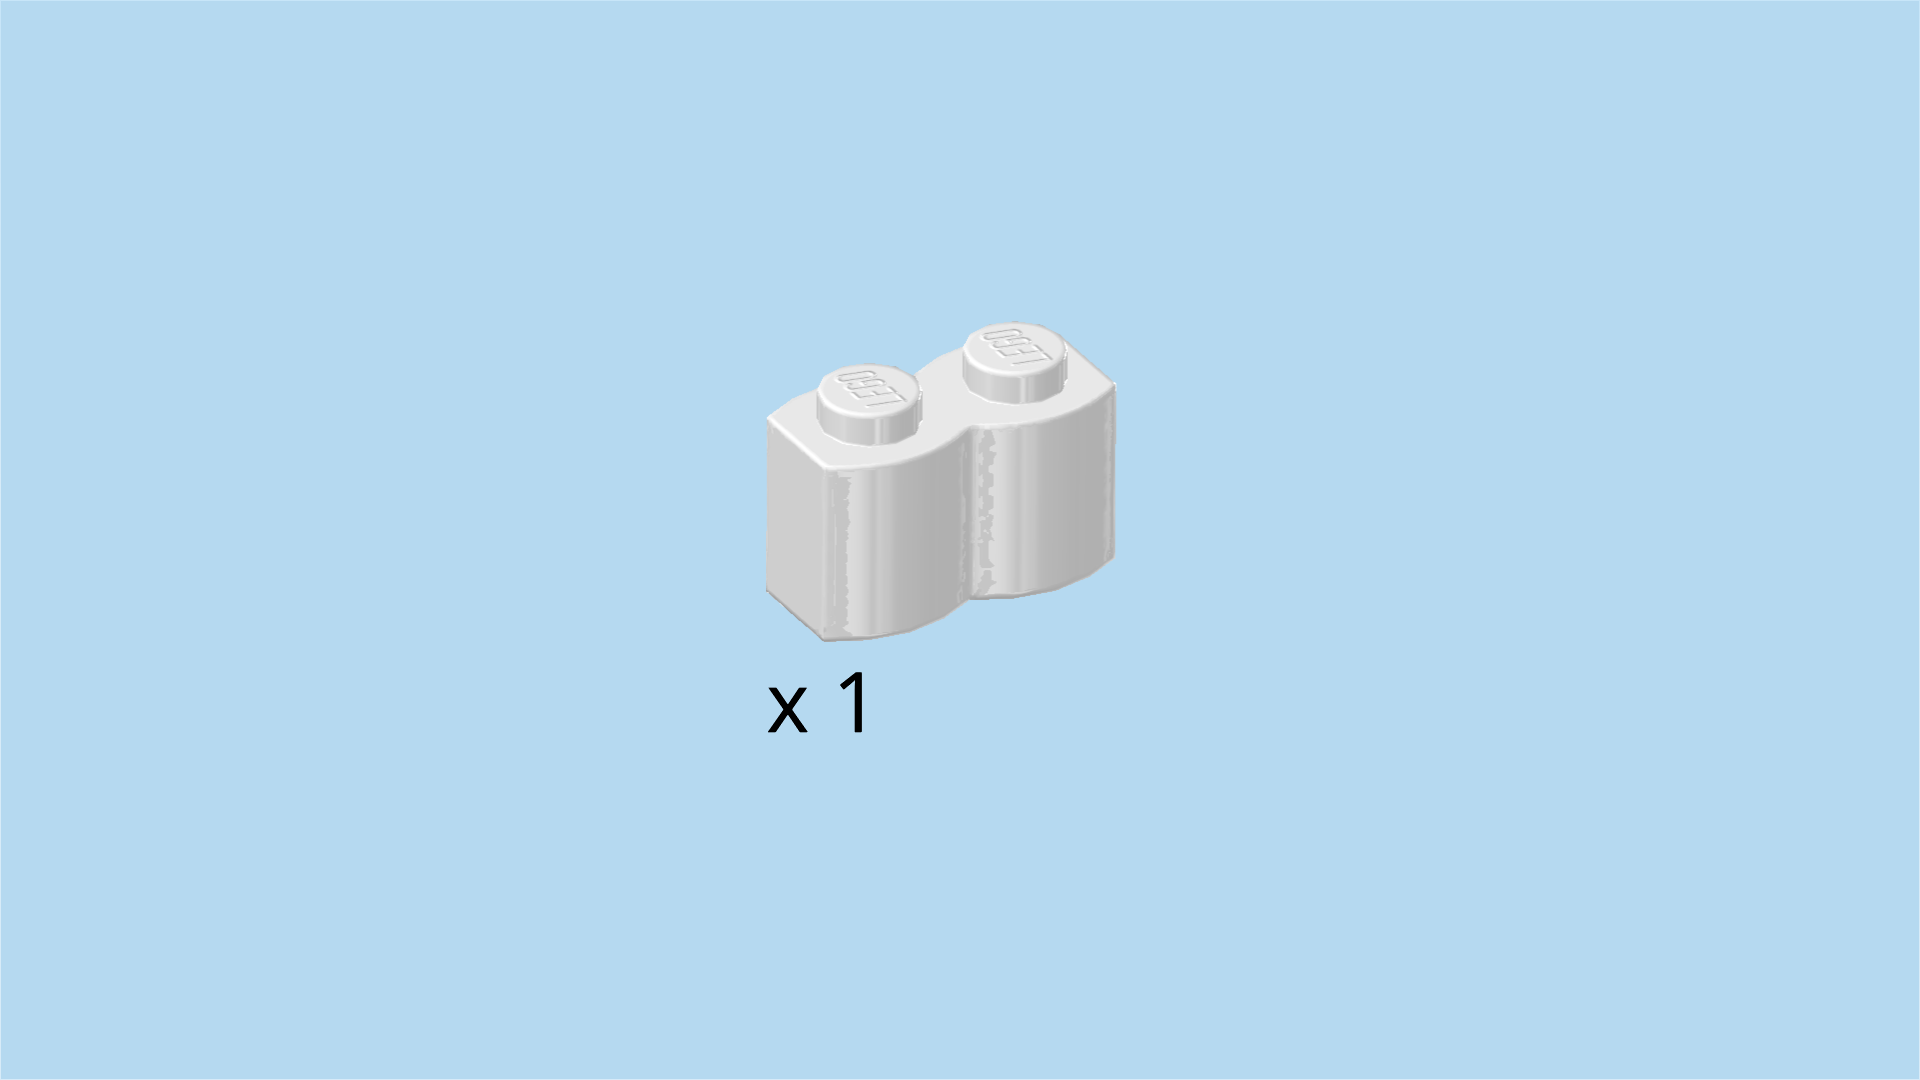
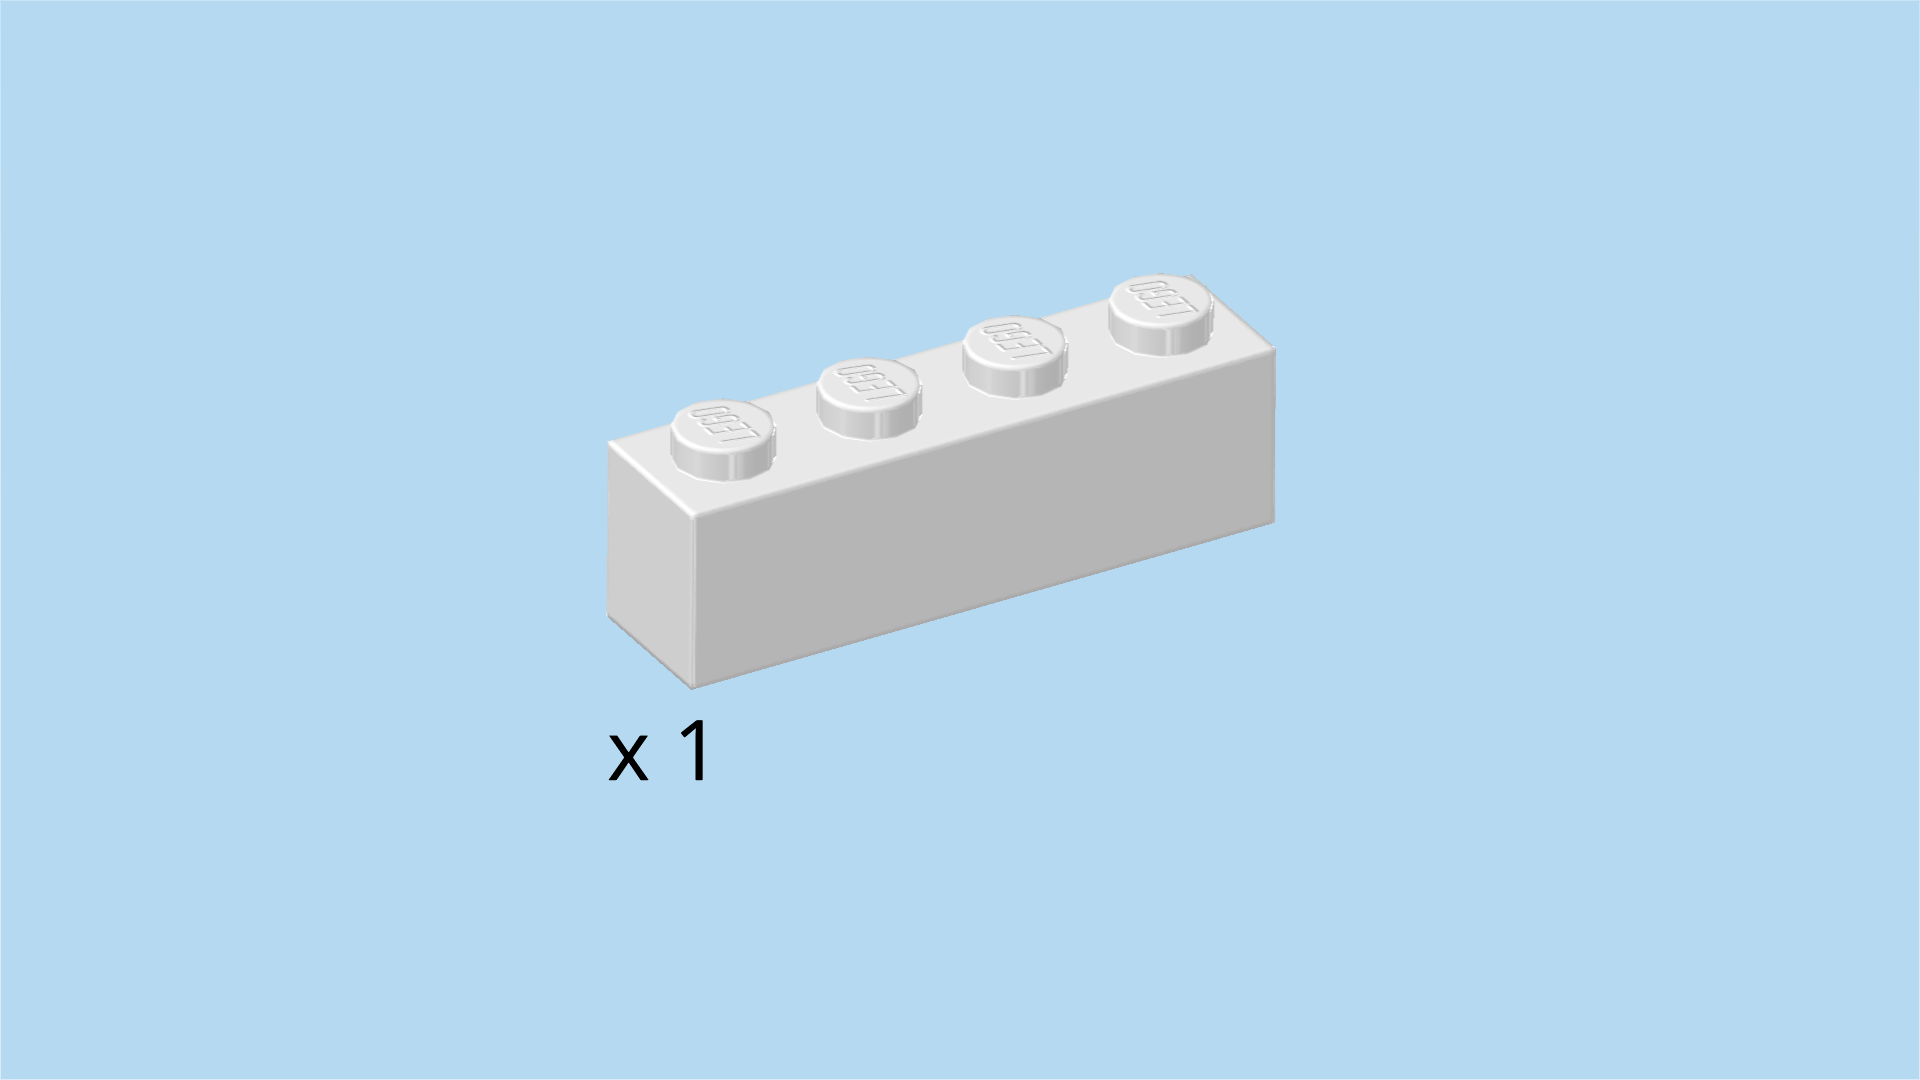
| and 1 white palisade brick 1x2. |
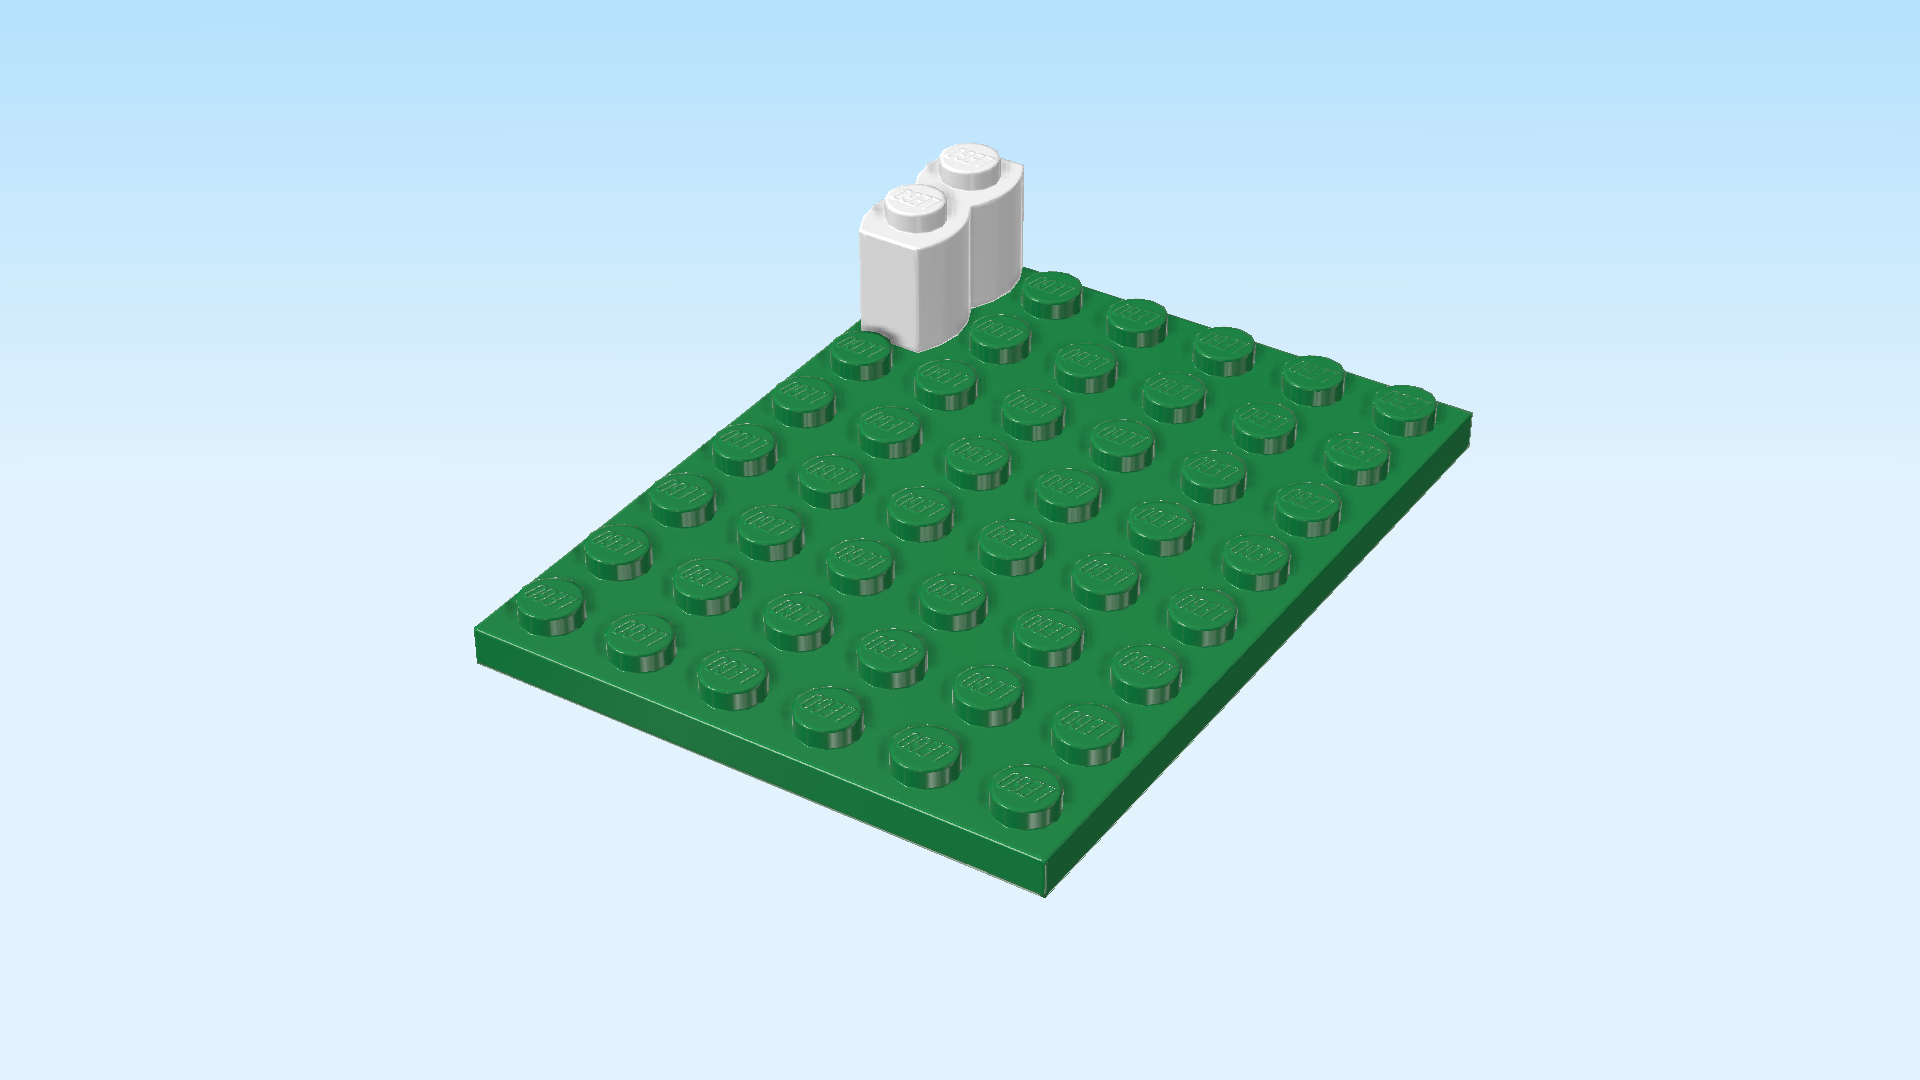
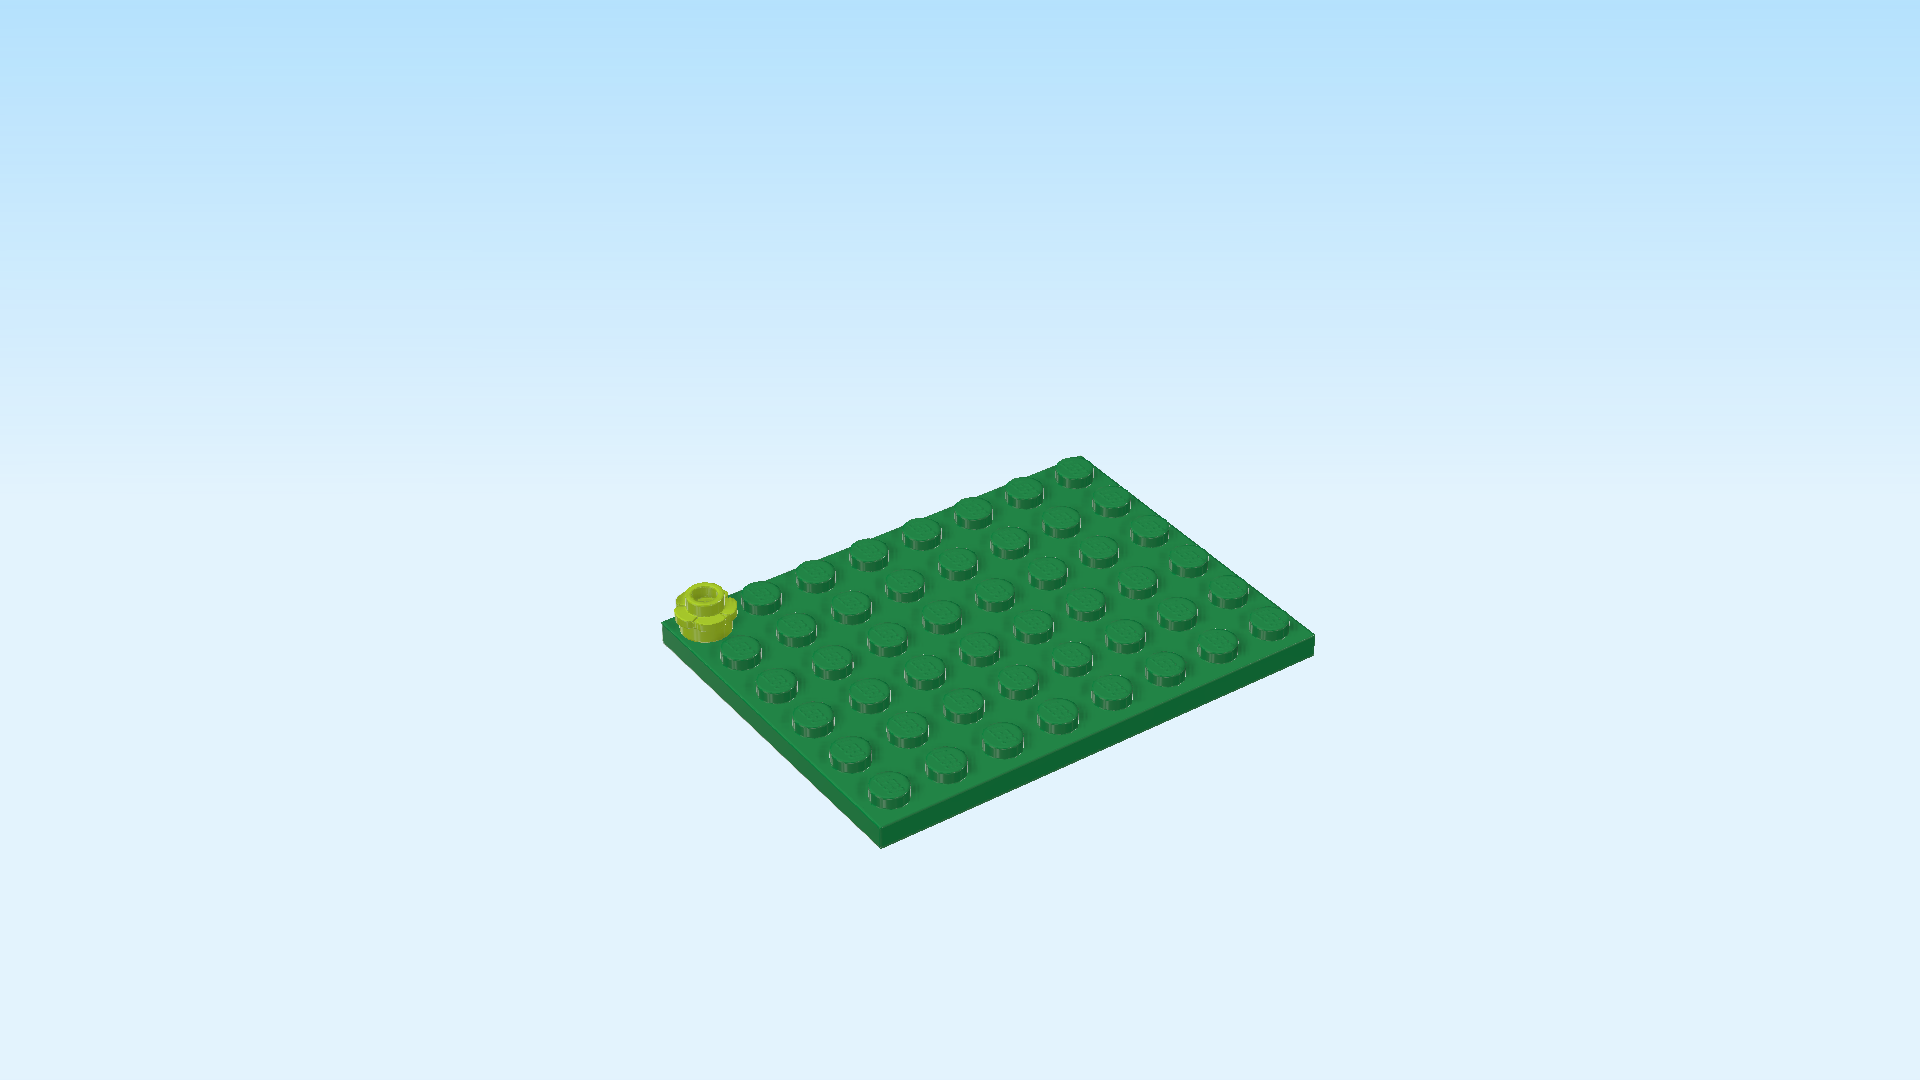
| Put the plate 6x8 vertically on the table. |
| Put the palisade brick vertically on the leftmost column, starting from the back. |
| Collect the following 2 pieces: |
| 1 bright yellowish green flower piece 1x1 without shaft, |
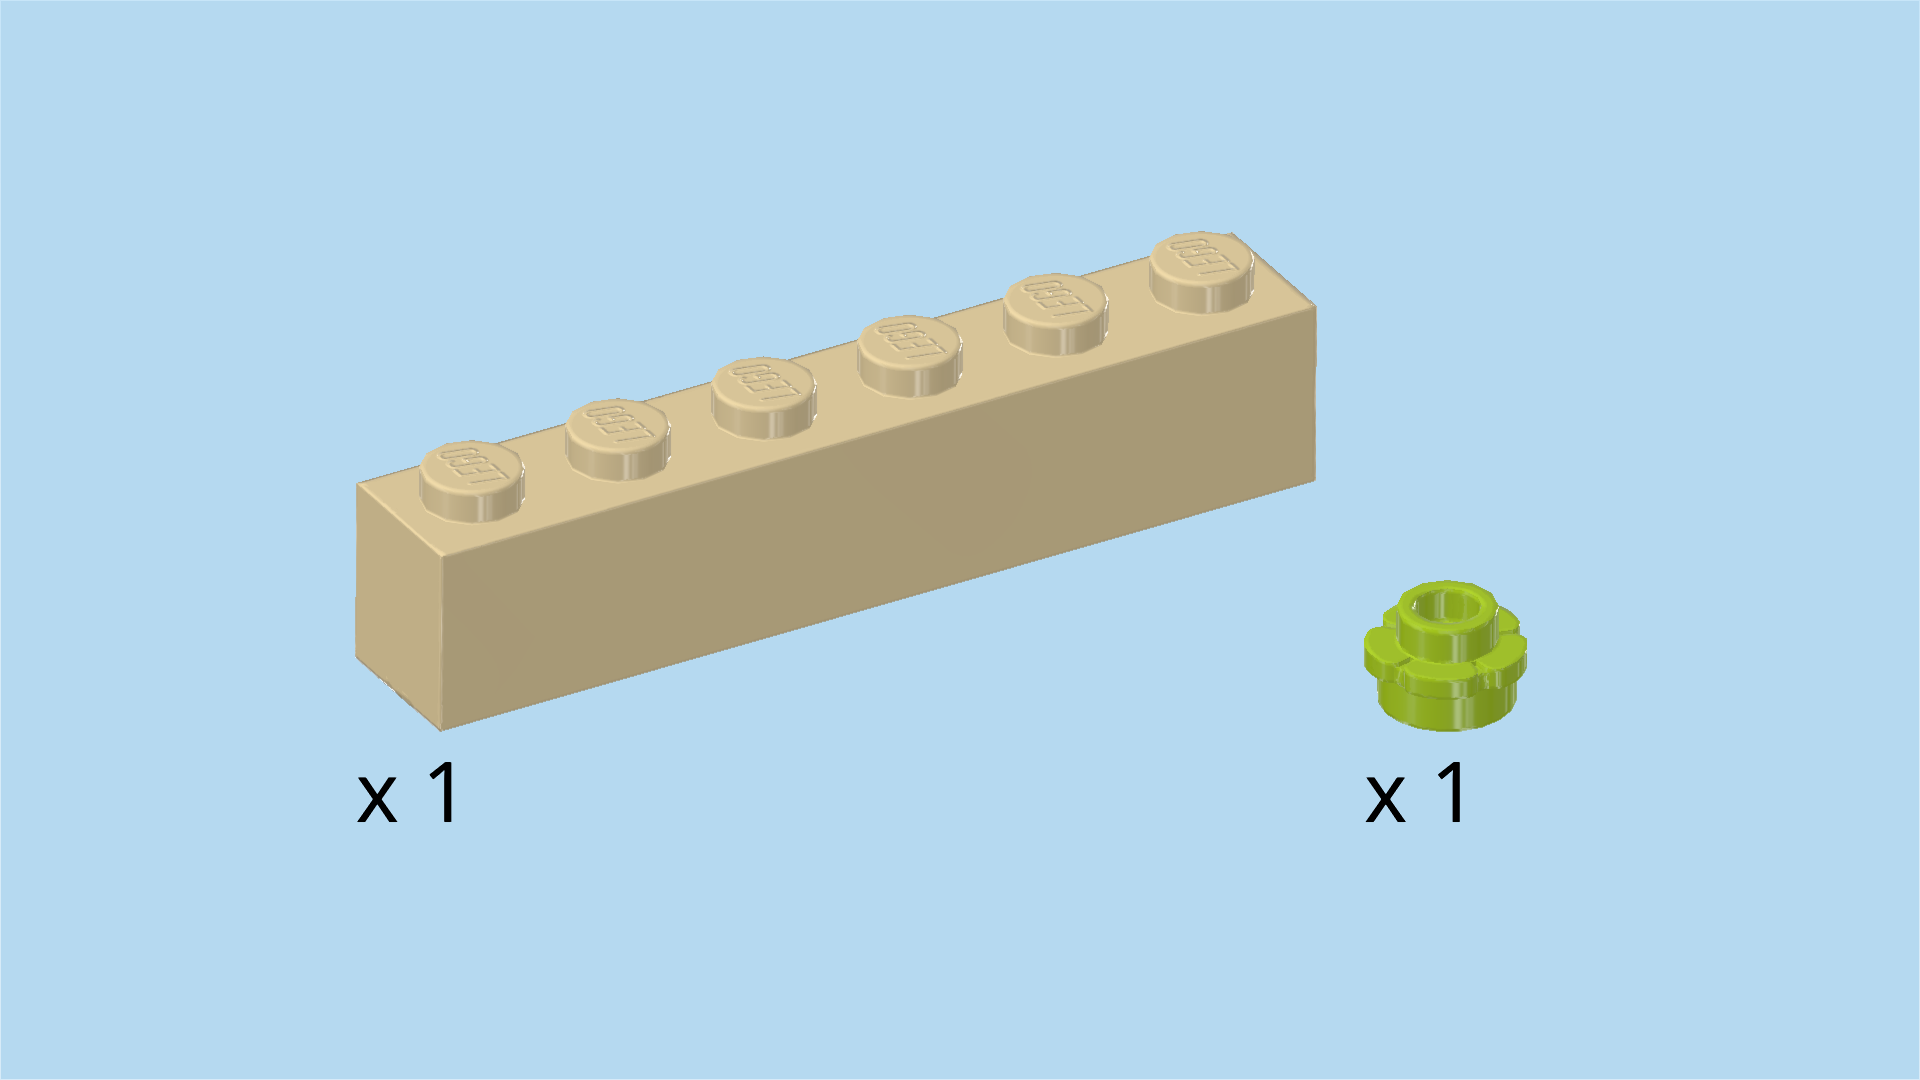
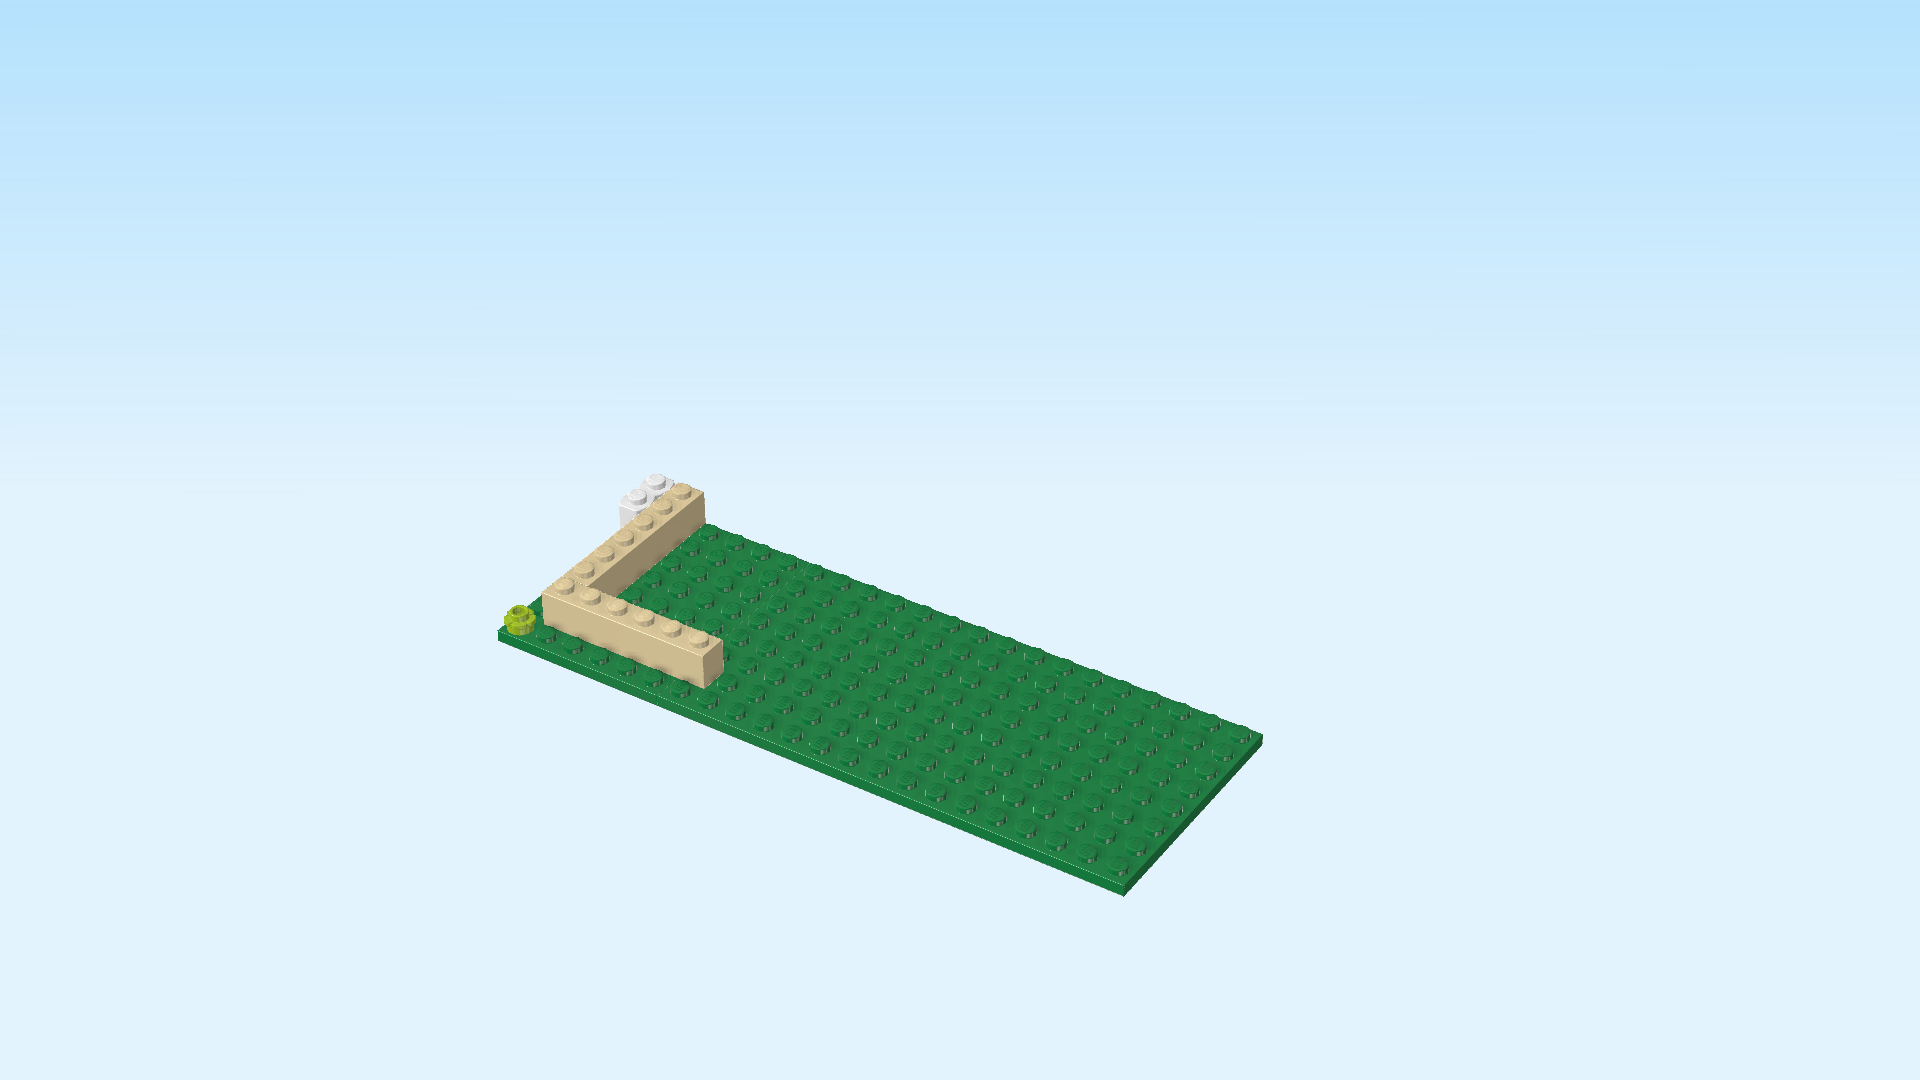
| and 1 pale ocher yellow brick 1x6. |
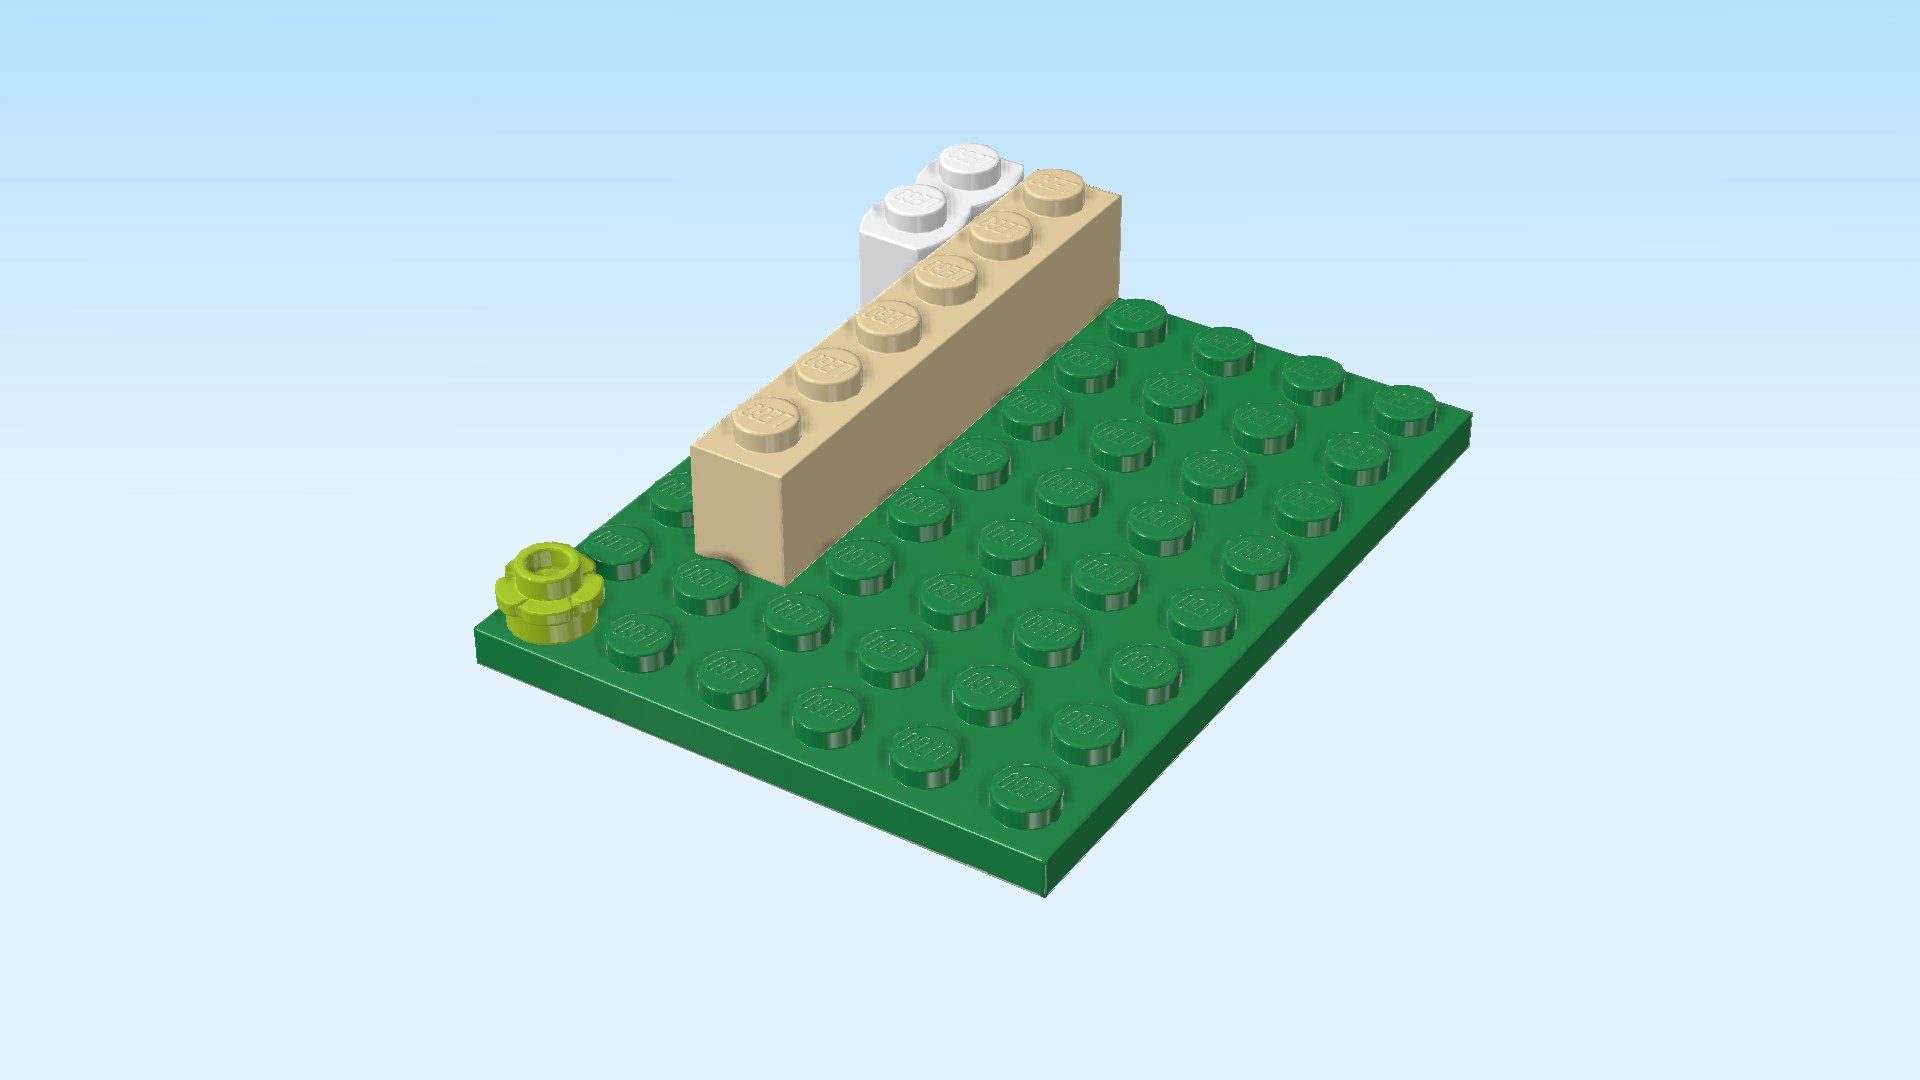
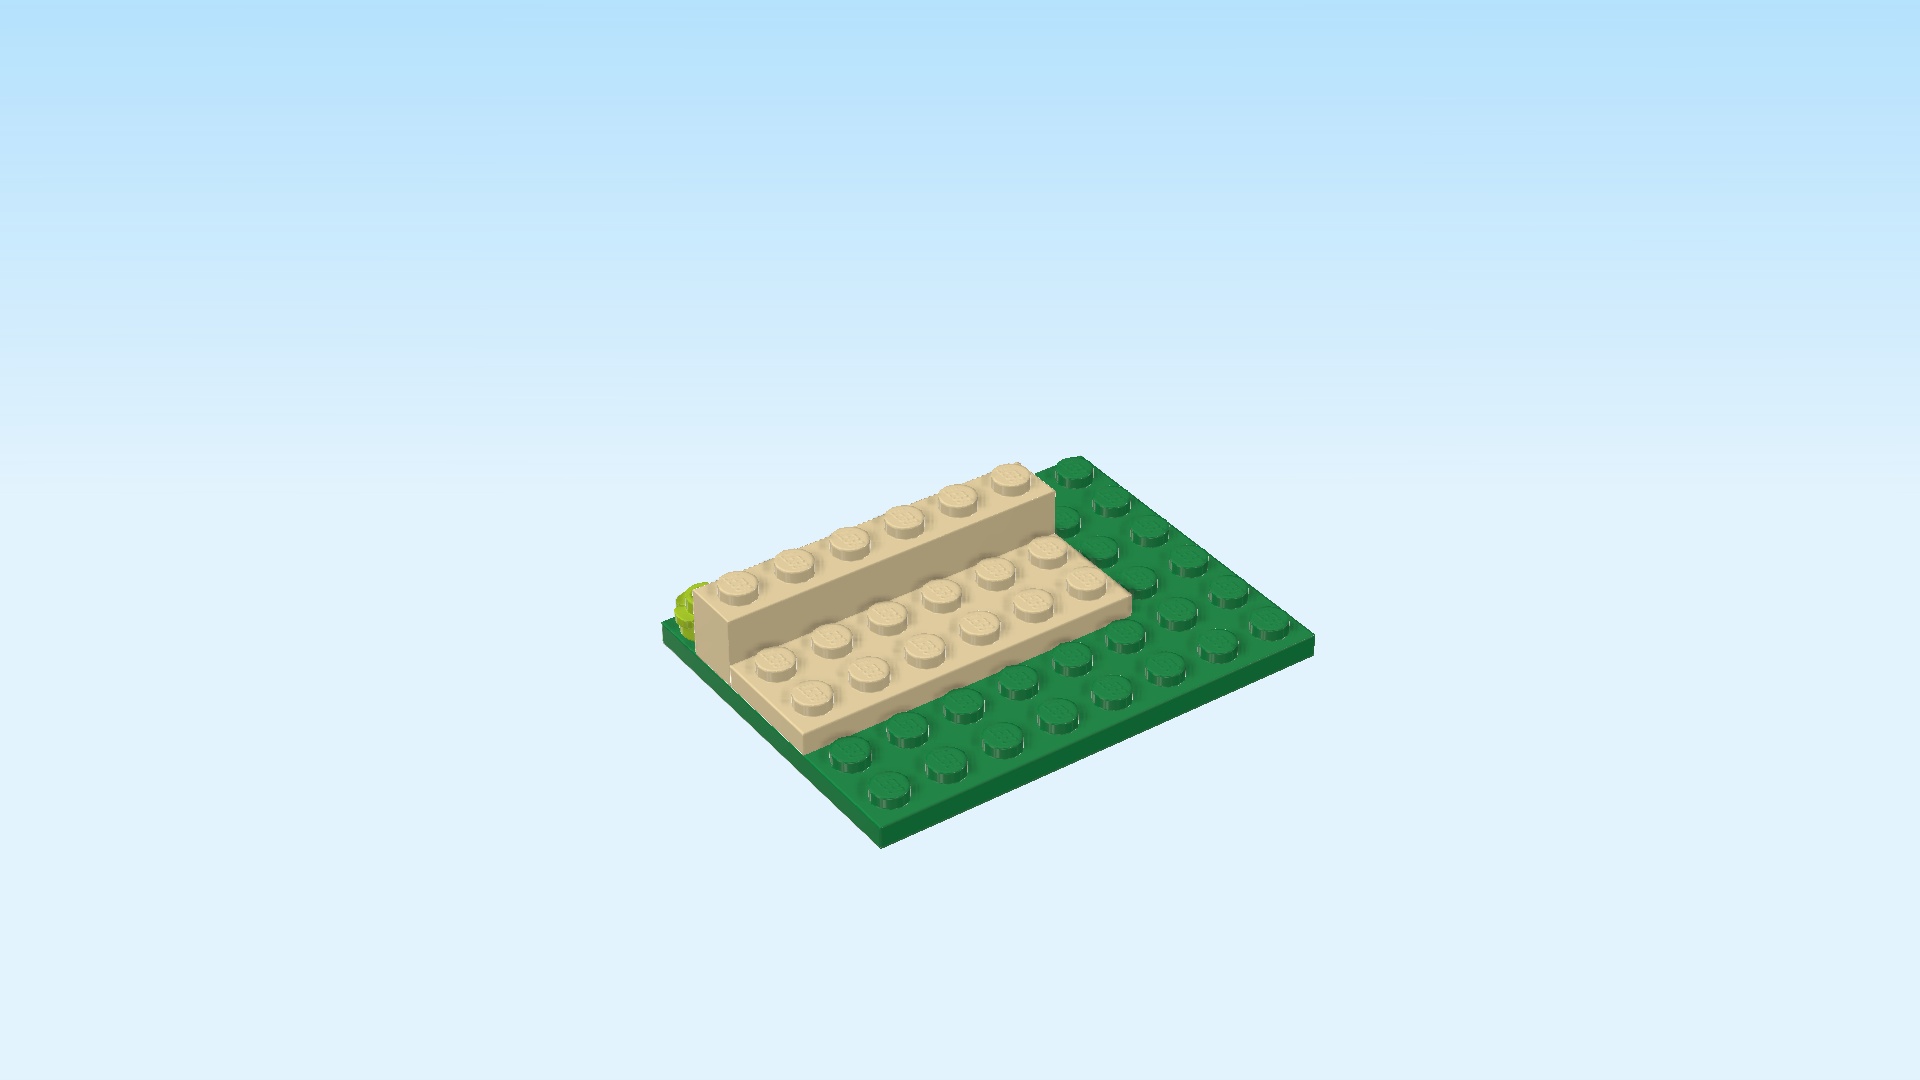
| Put the brick 1x6 vertically to the right of the previous piece, also starting from the back. |
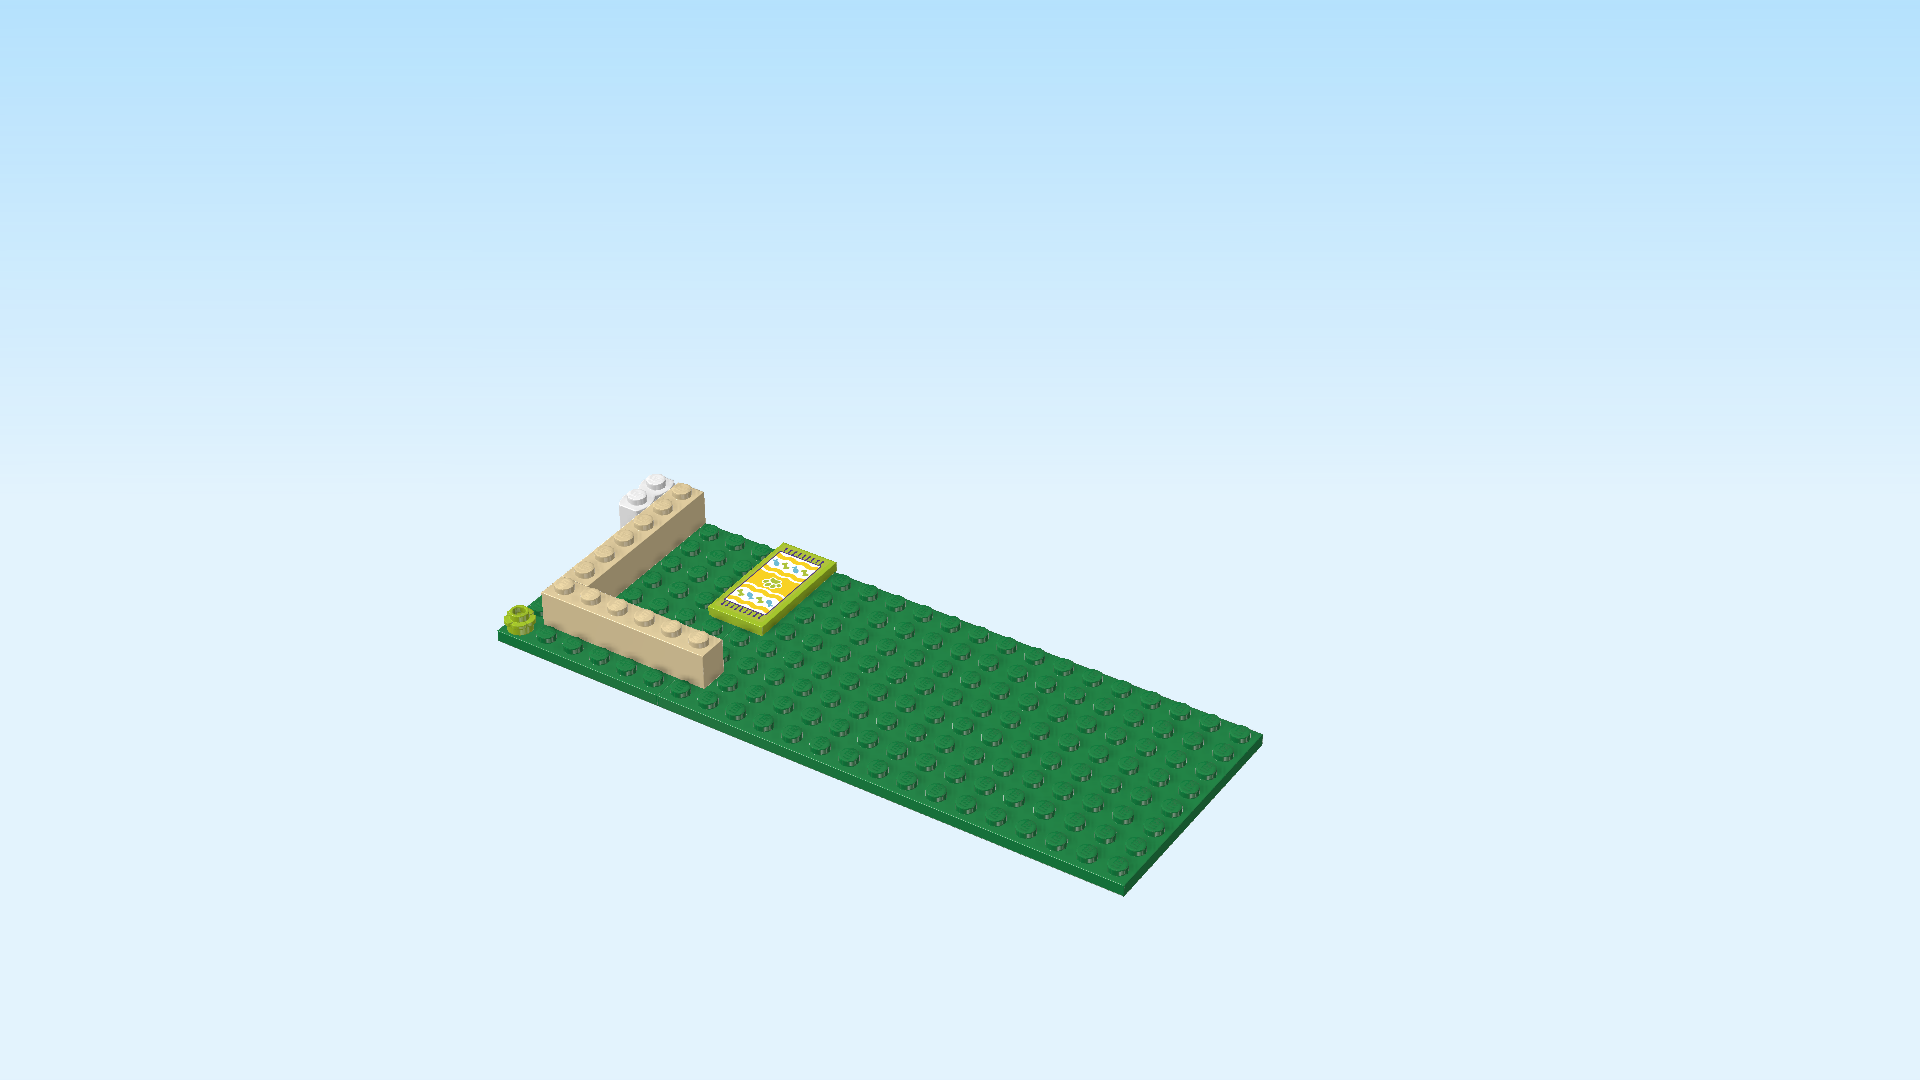
| Put the flower piece 1x1 on the frontmost knob of the leftmost column. |
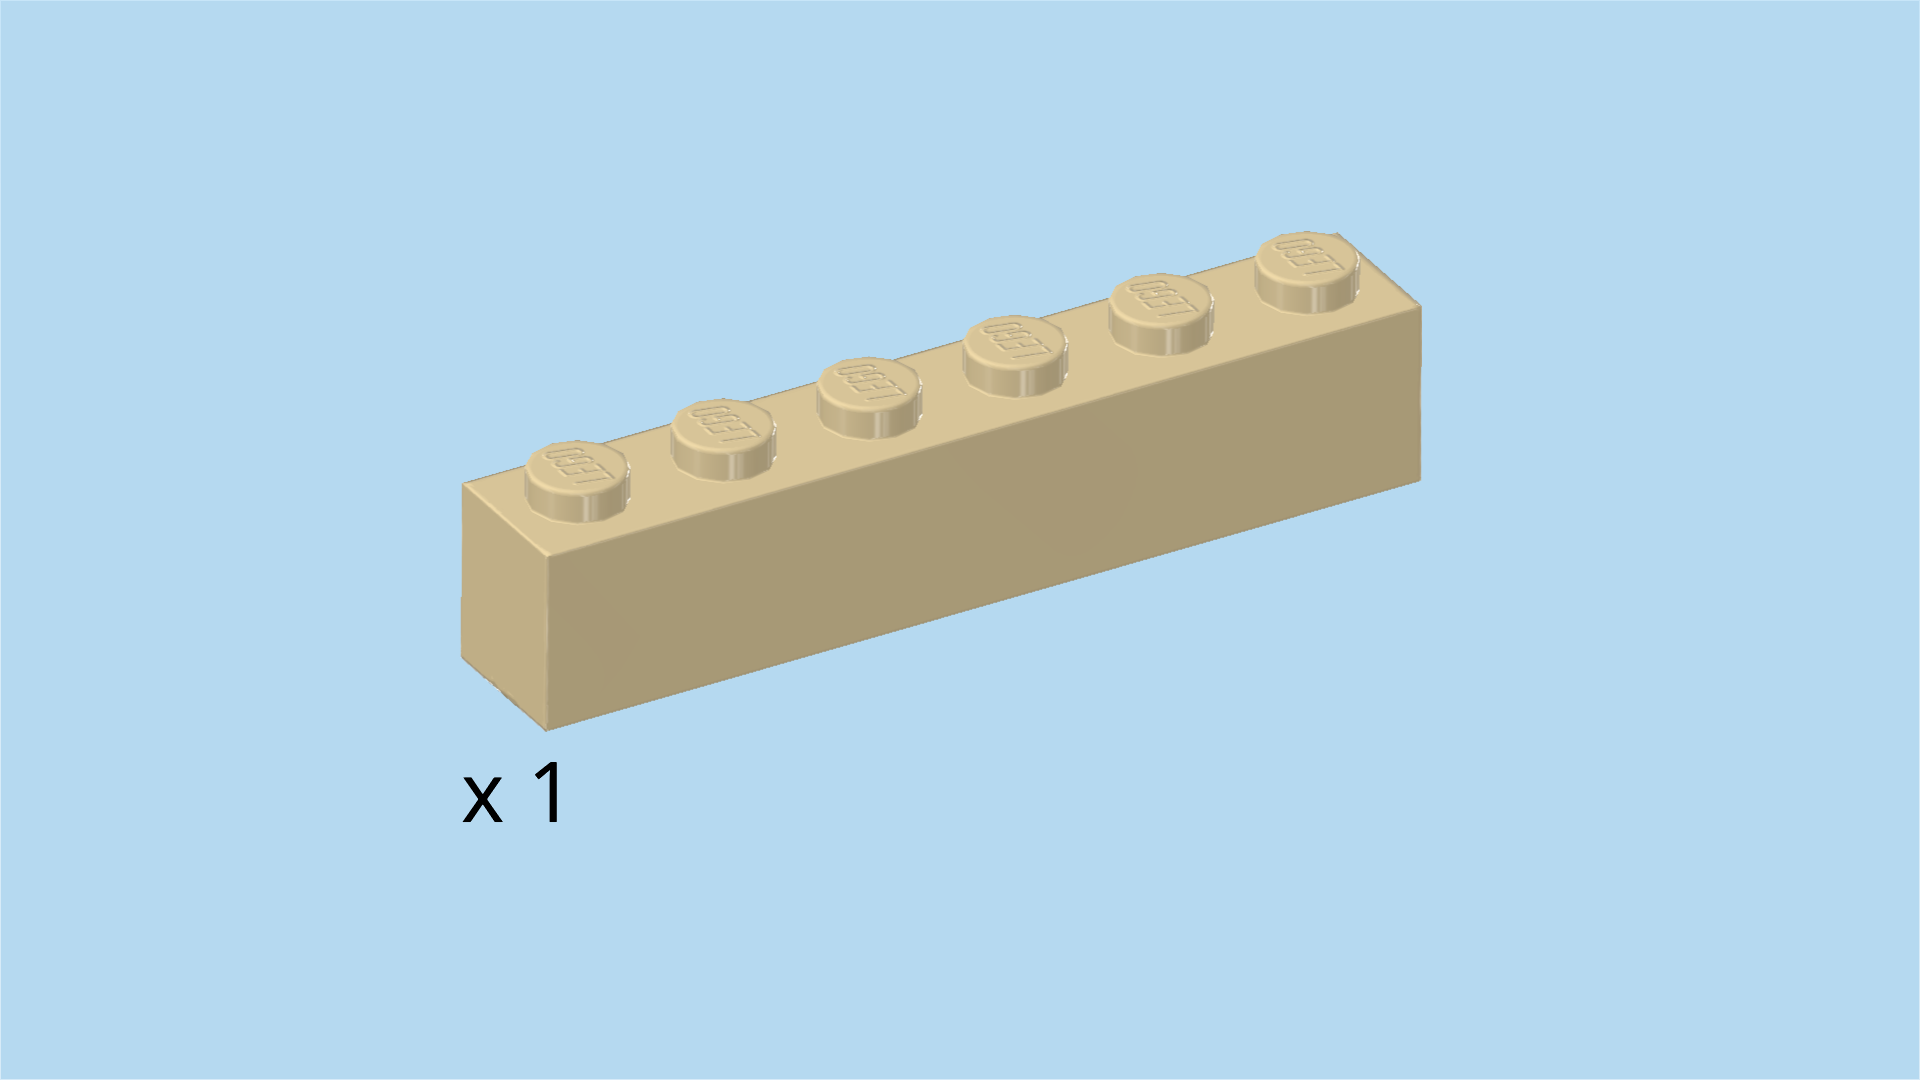
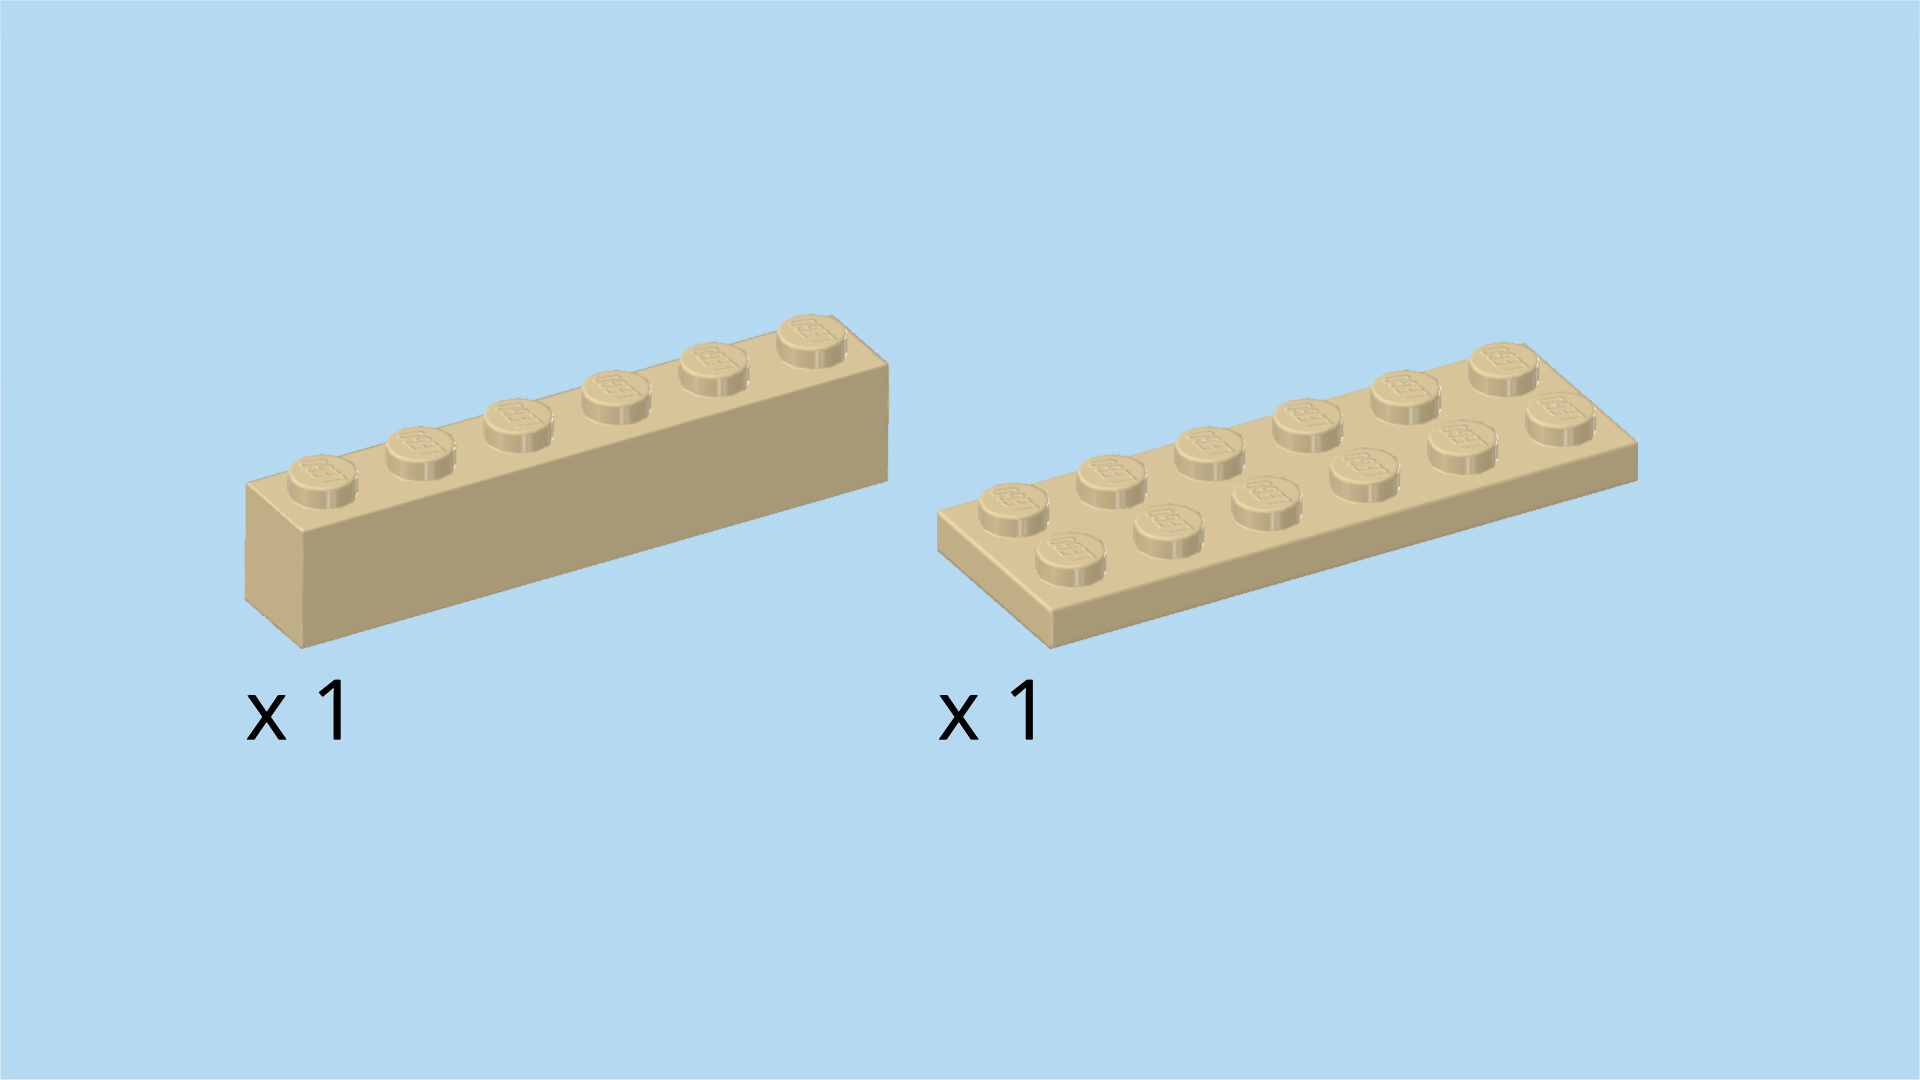
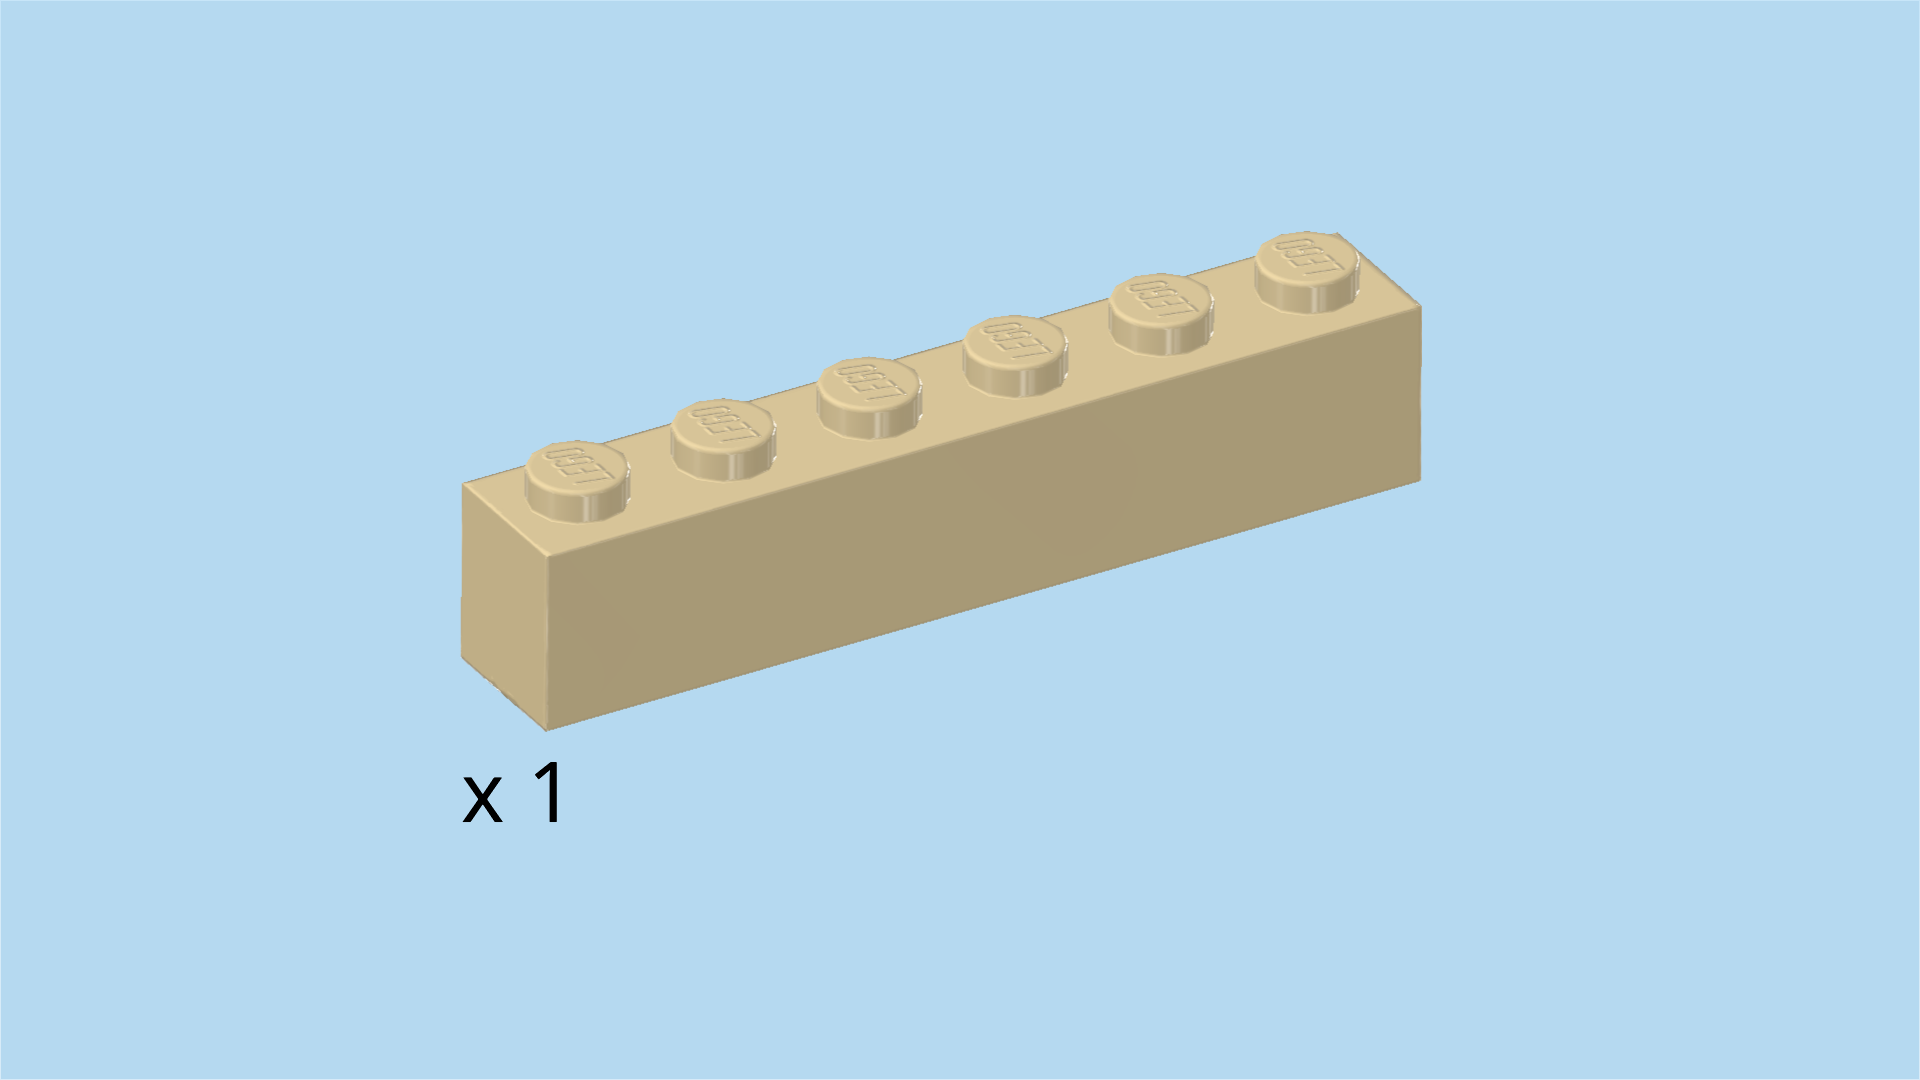
| Find 1 pale ocher yellow brick 1x6. |
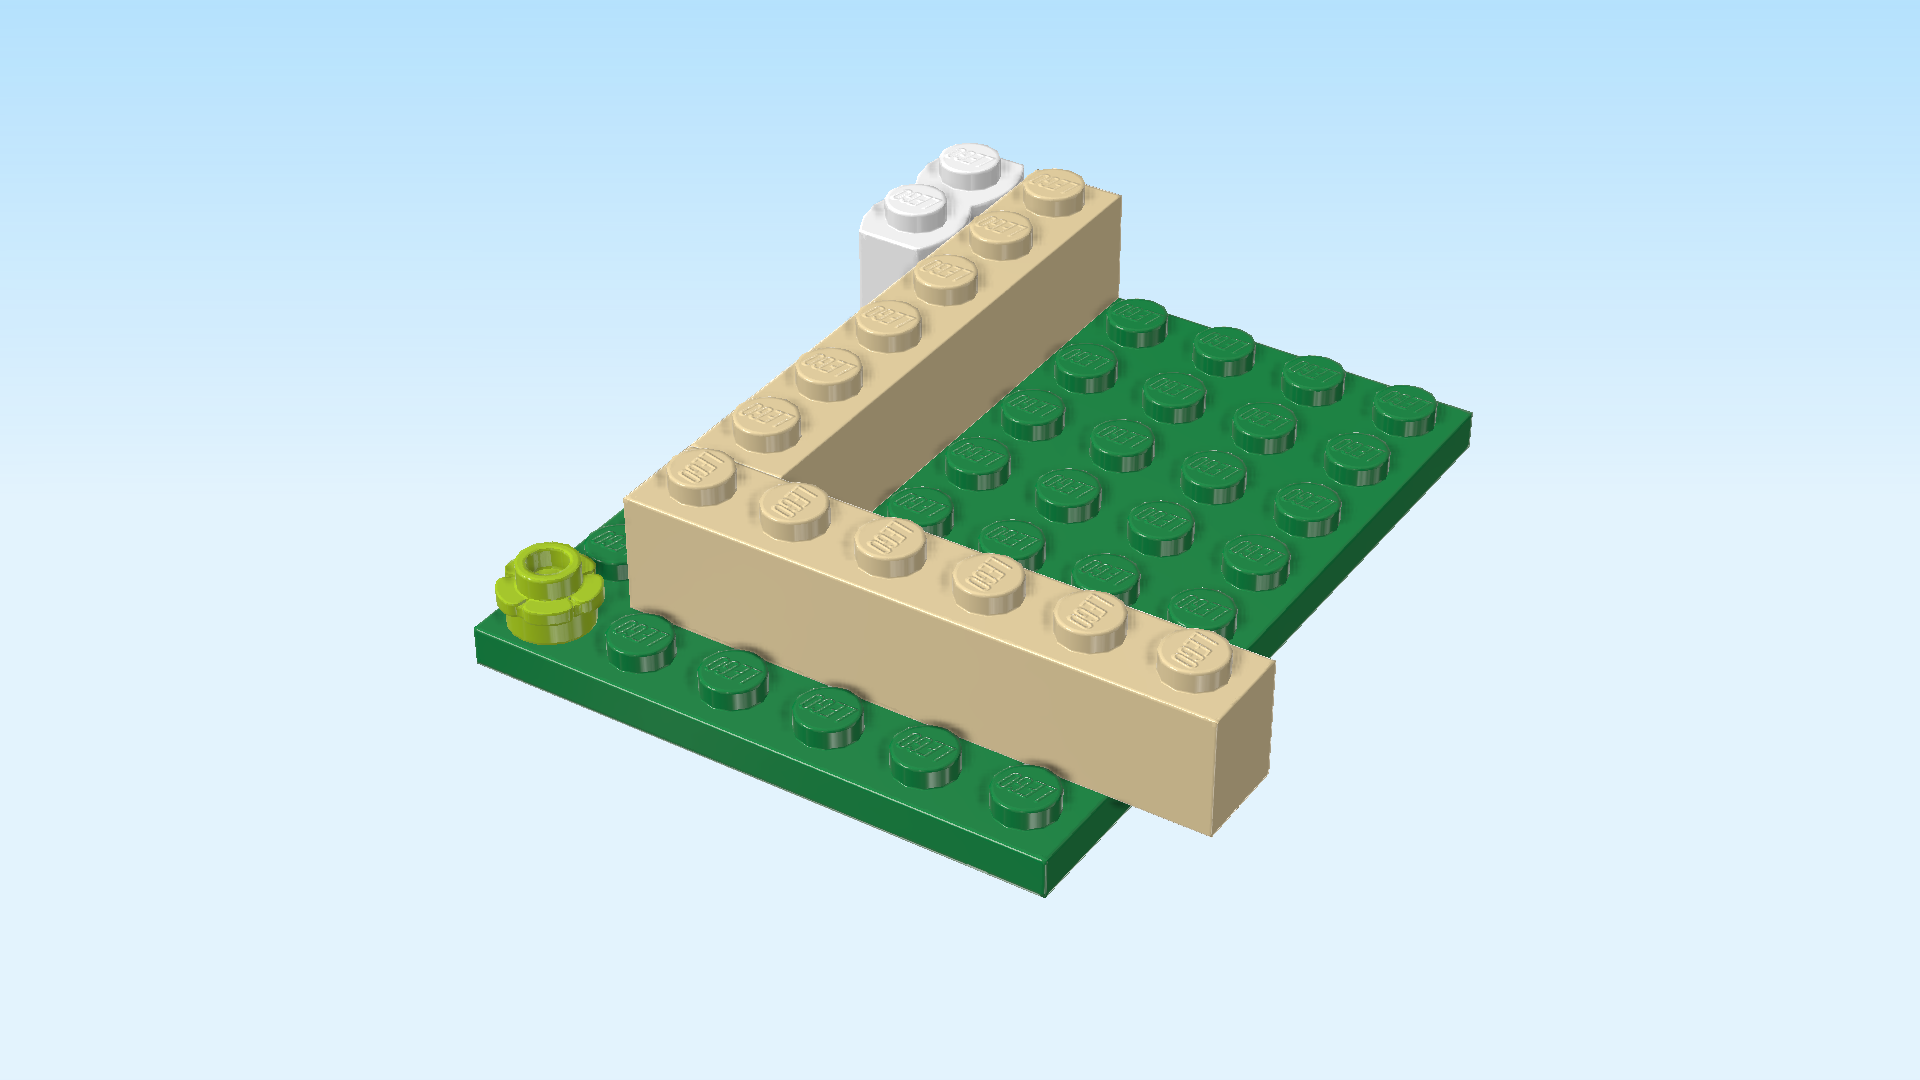
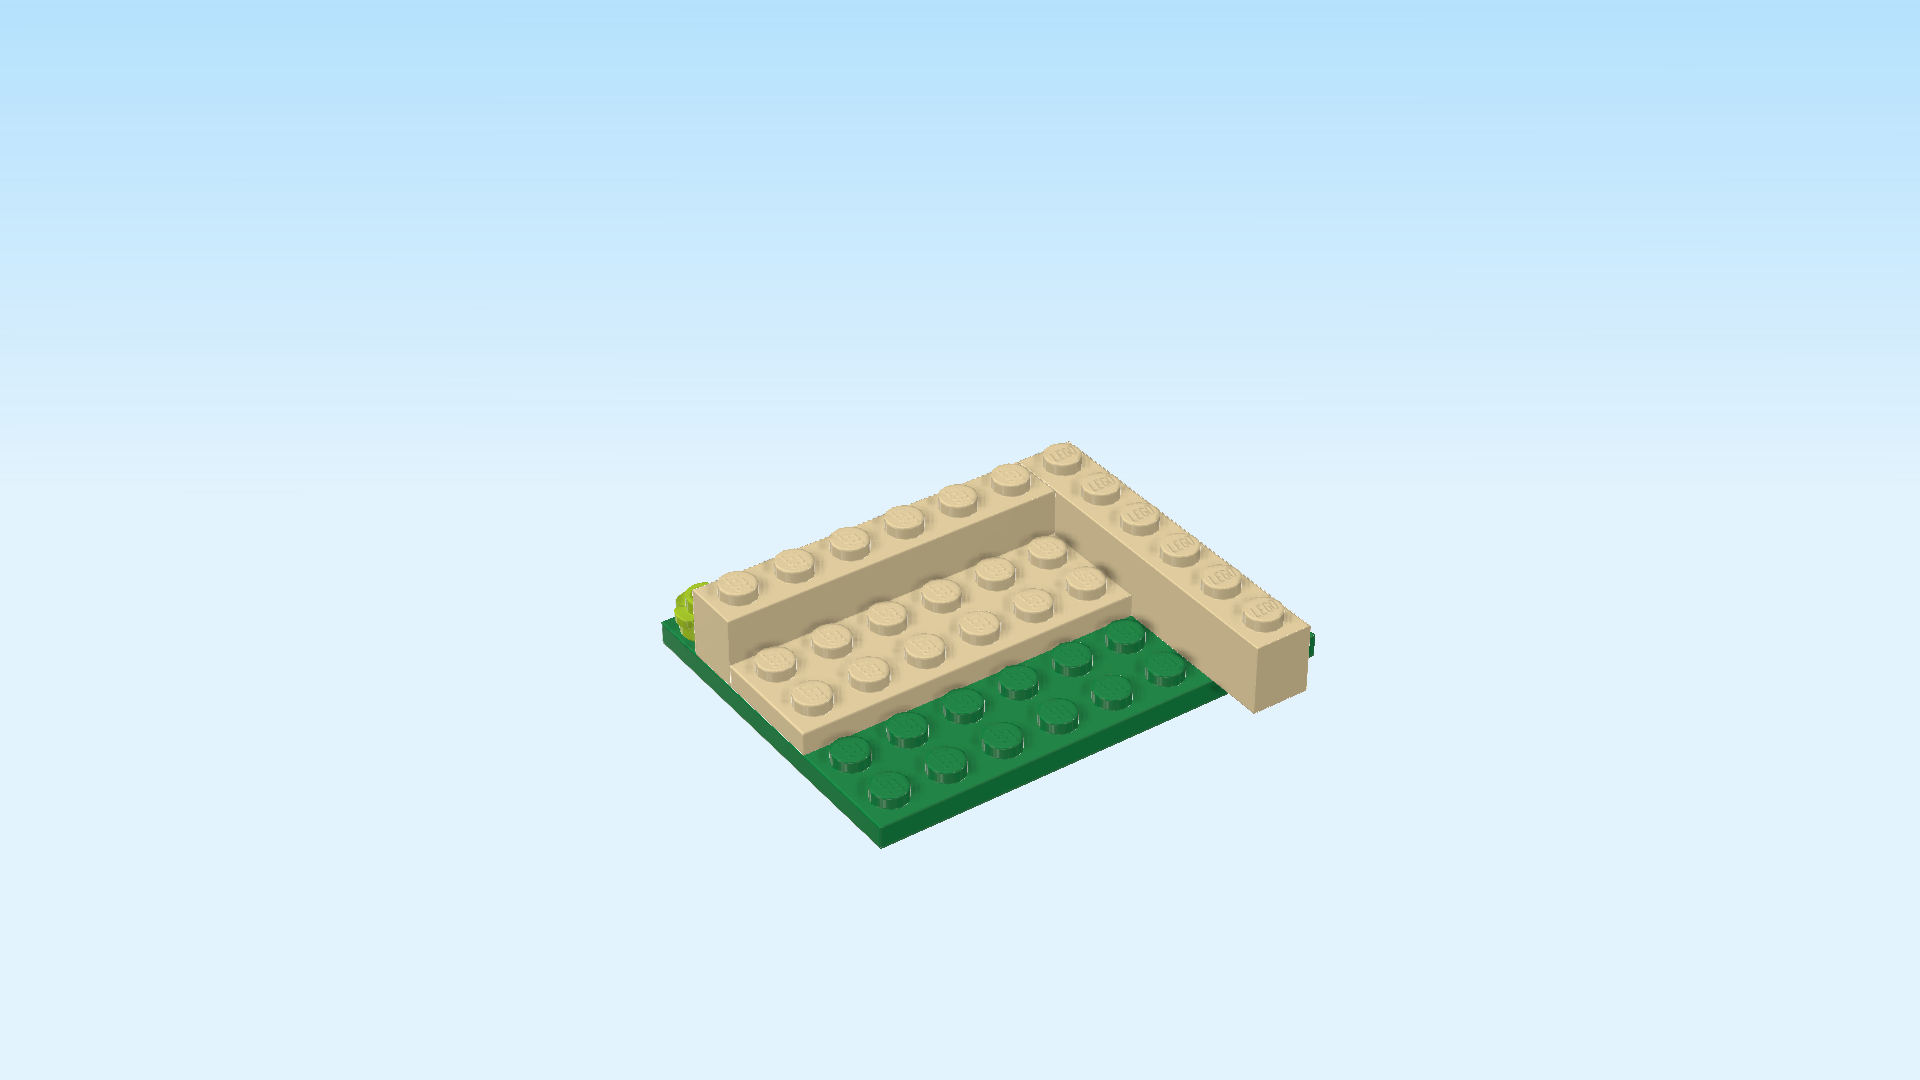
| Put it horizontally on the second row from the front, leaving the leftmost knob empty, one knob overhanging to the right. |
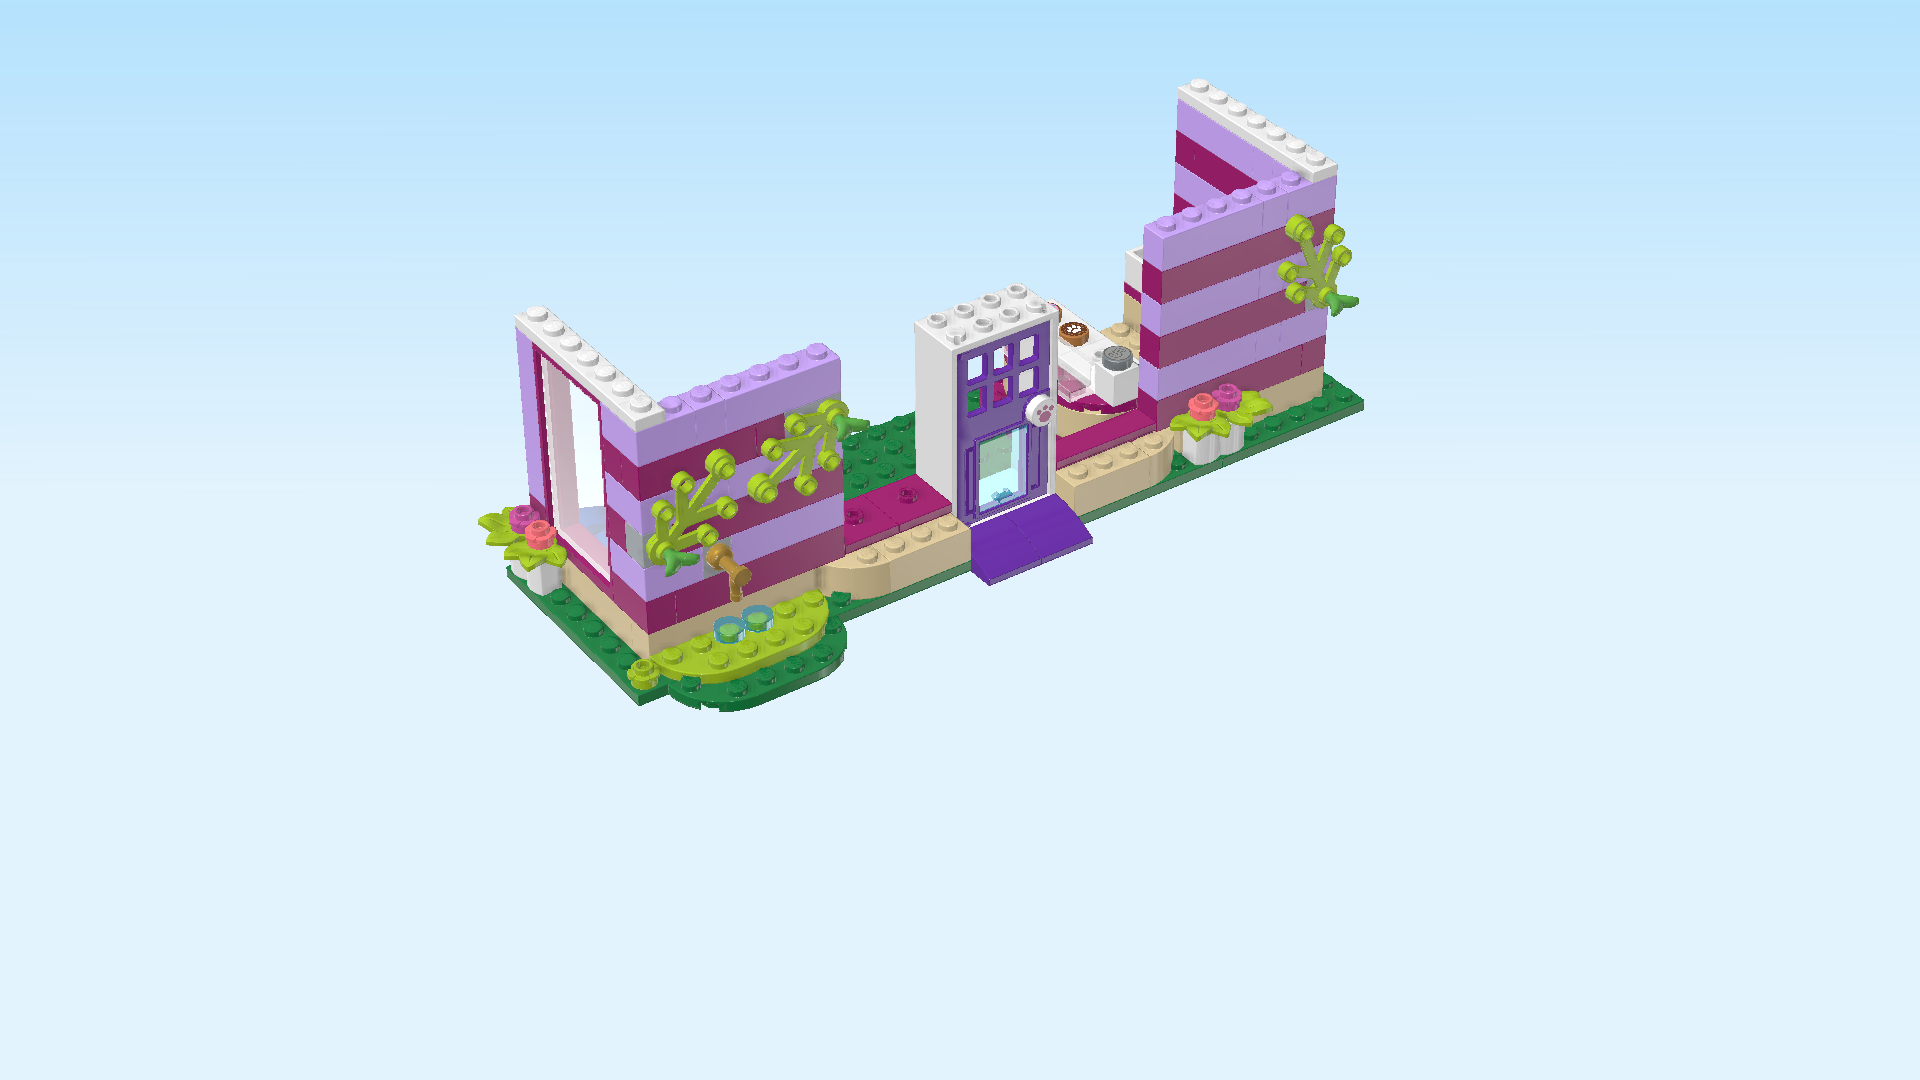
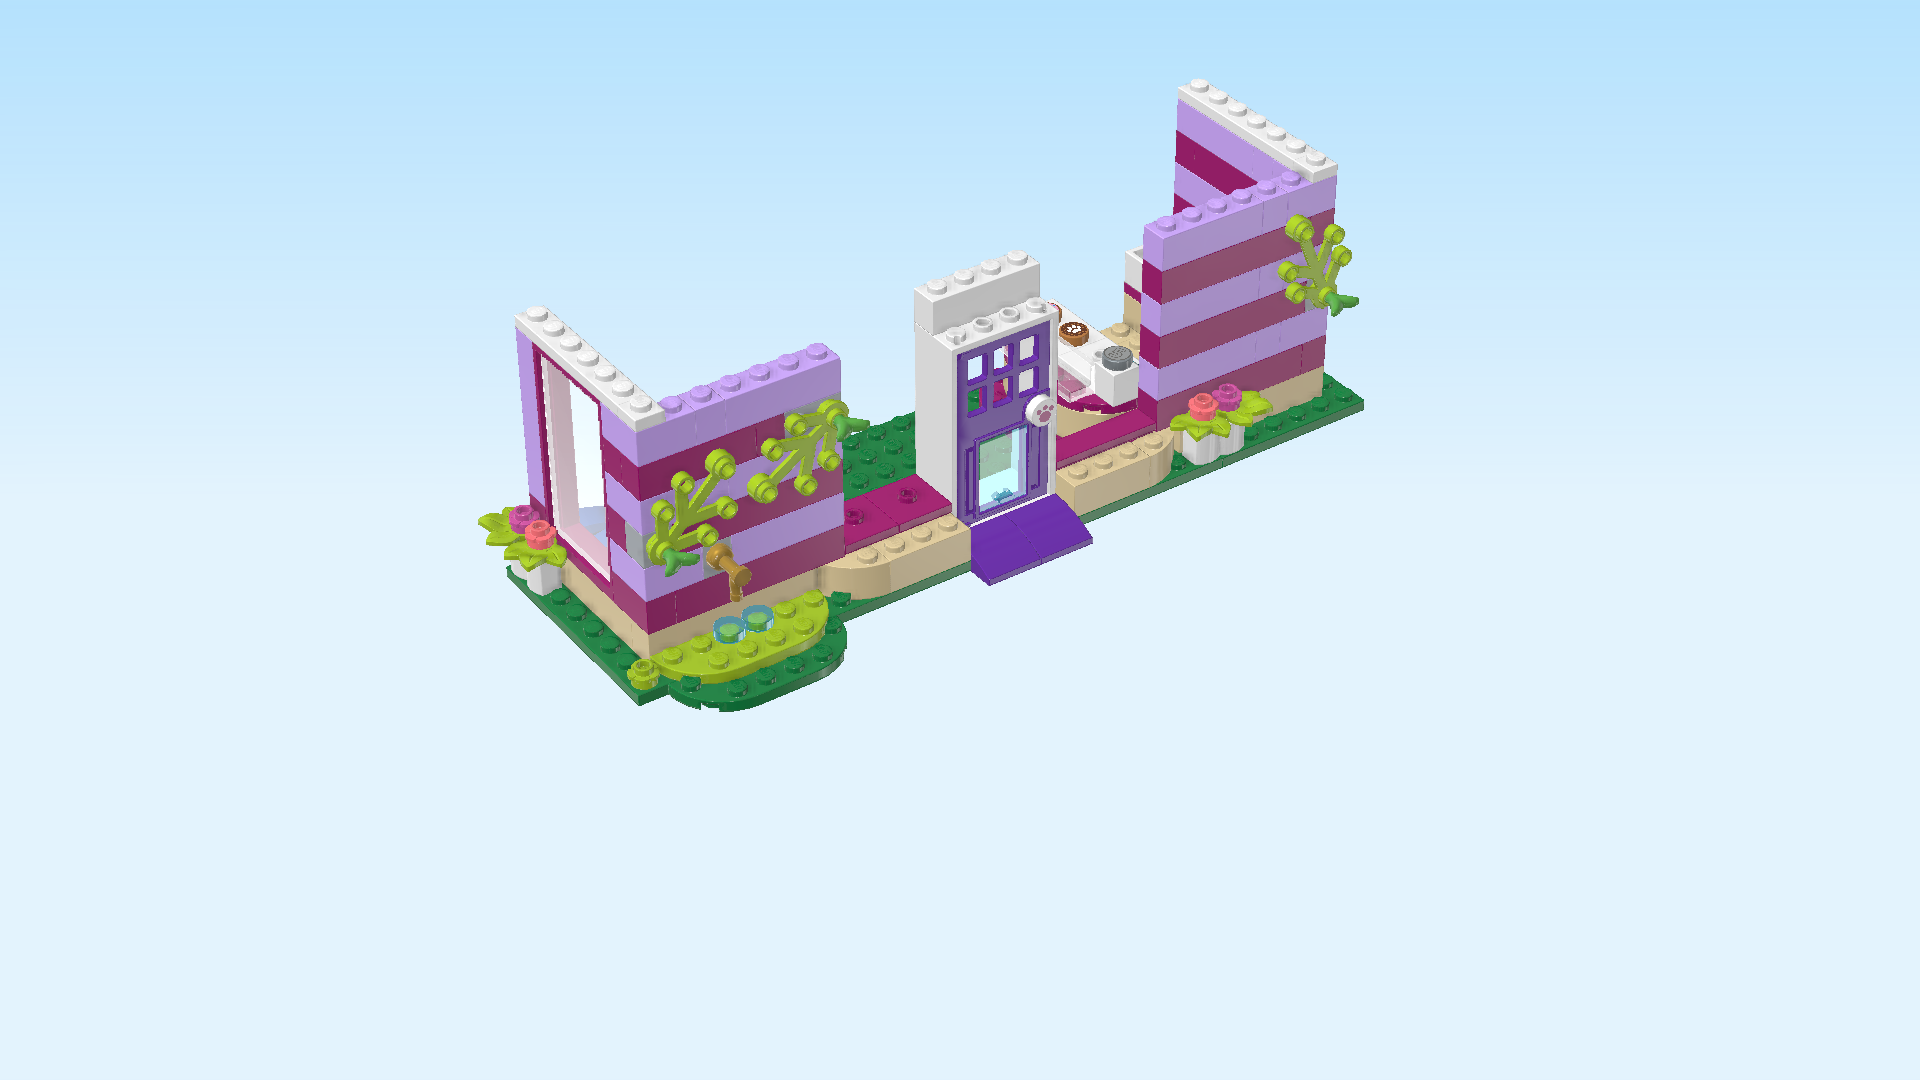
| The two bricks 1x6 are now at a right angle. They are the foundations of the walls of the cafe building. |
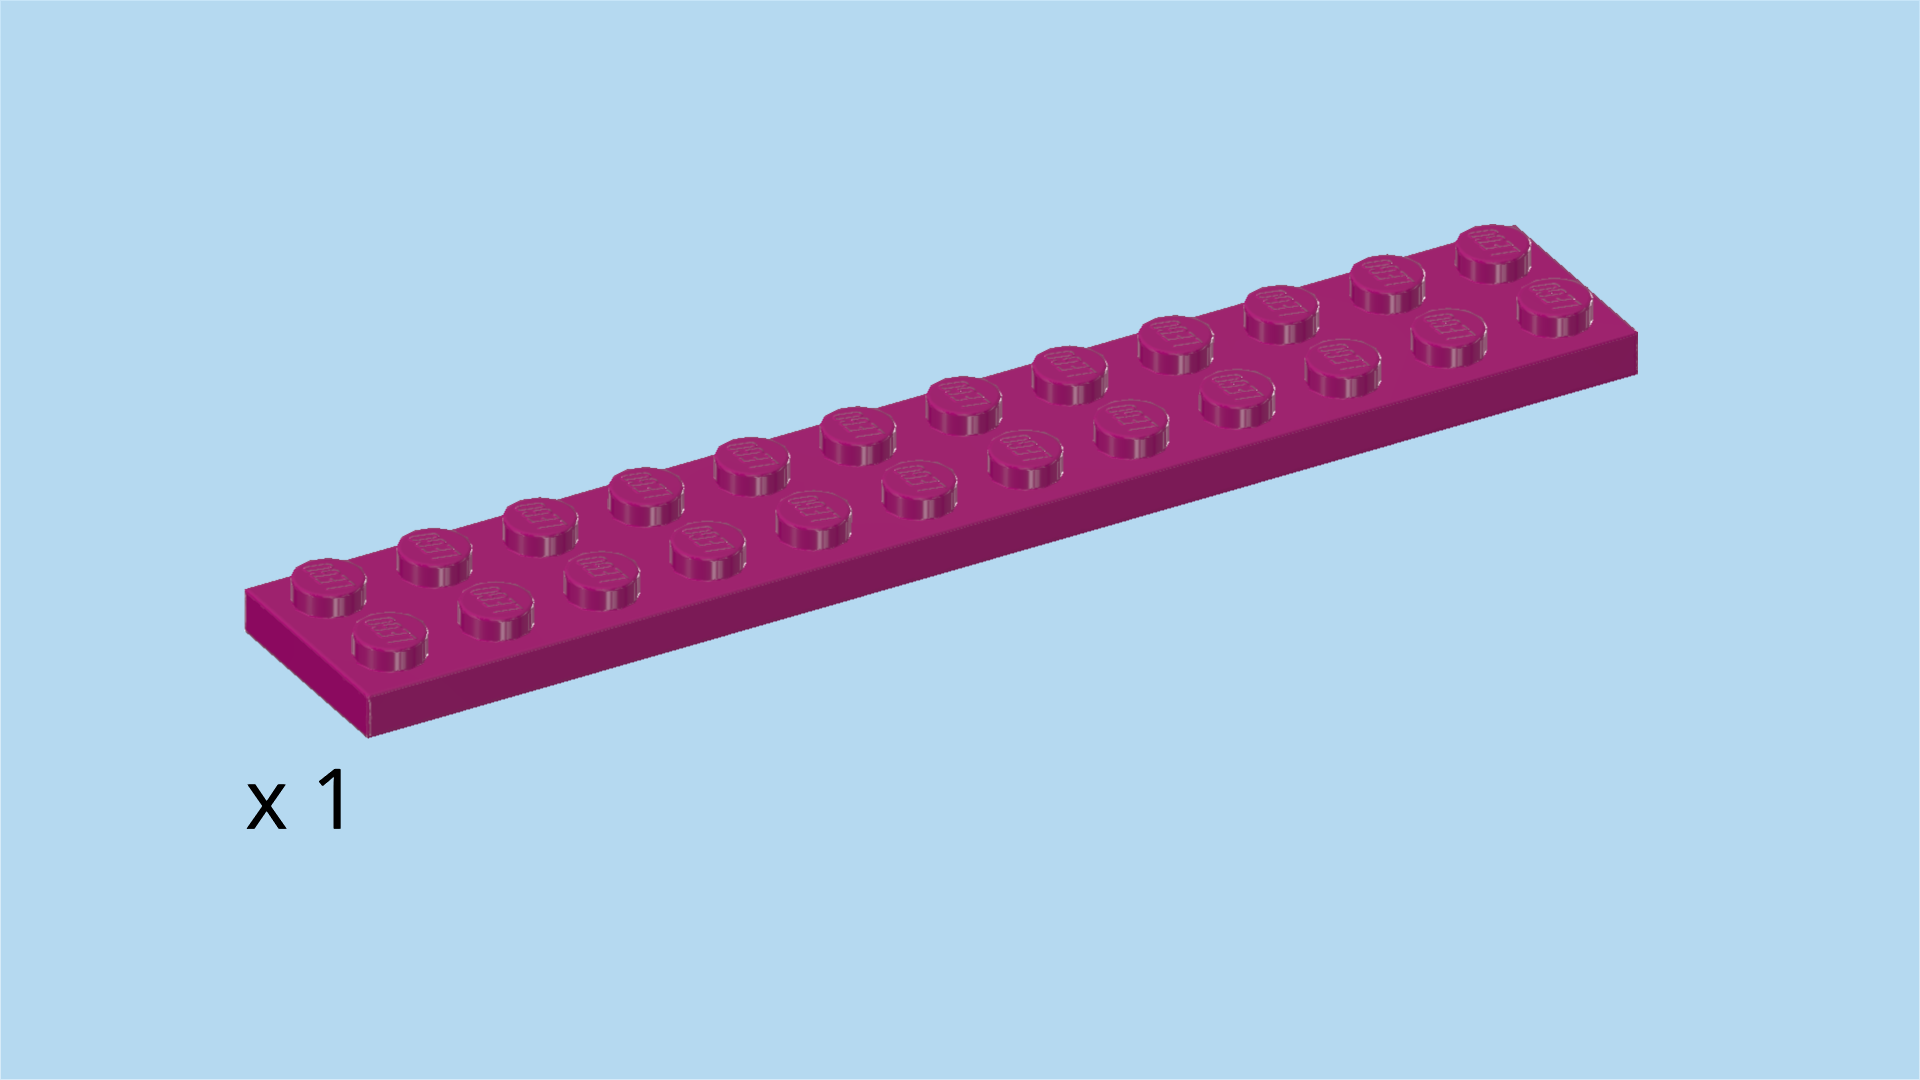
| Find 1 dark green plate 8x16. |
| Put it horizontally to the right of the plate 6x8, and connect it with the 1 overhanging knob of the previous piece. Make sure the 2 base plates are neatly aligned. |
| At the moment, this is a bit of a loose connection, but as we continue building more and more pieces will connect the two base plates. |
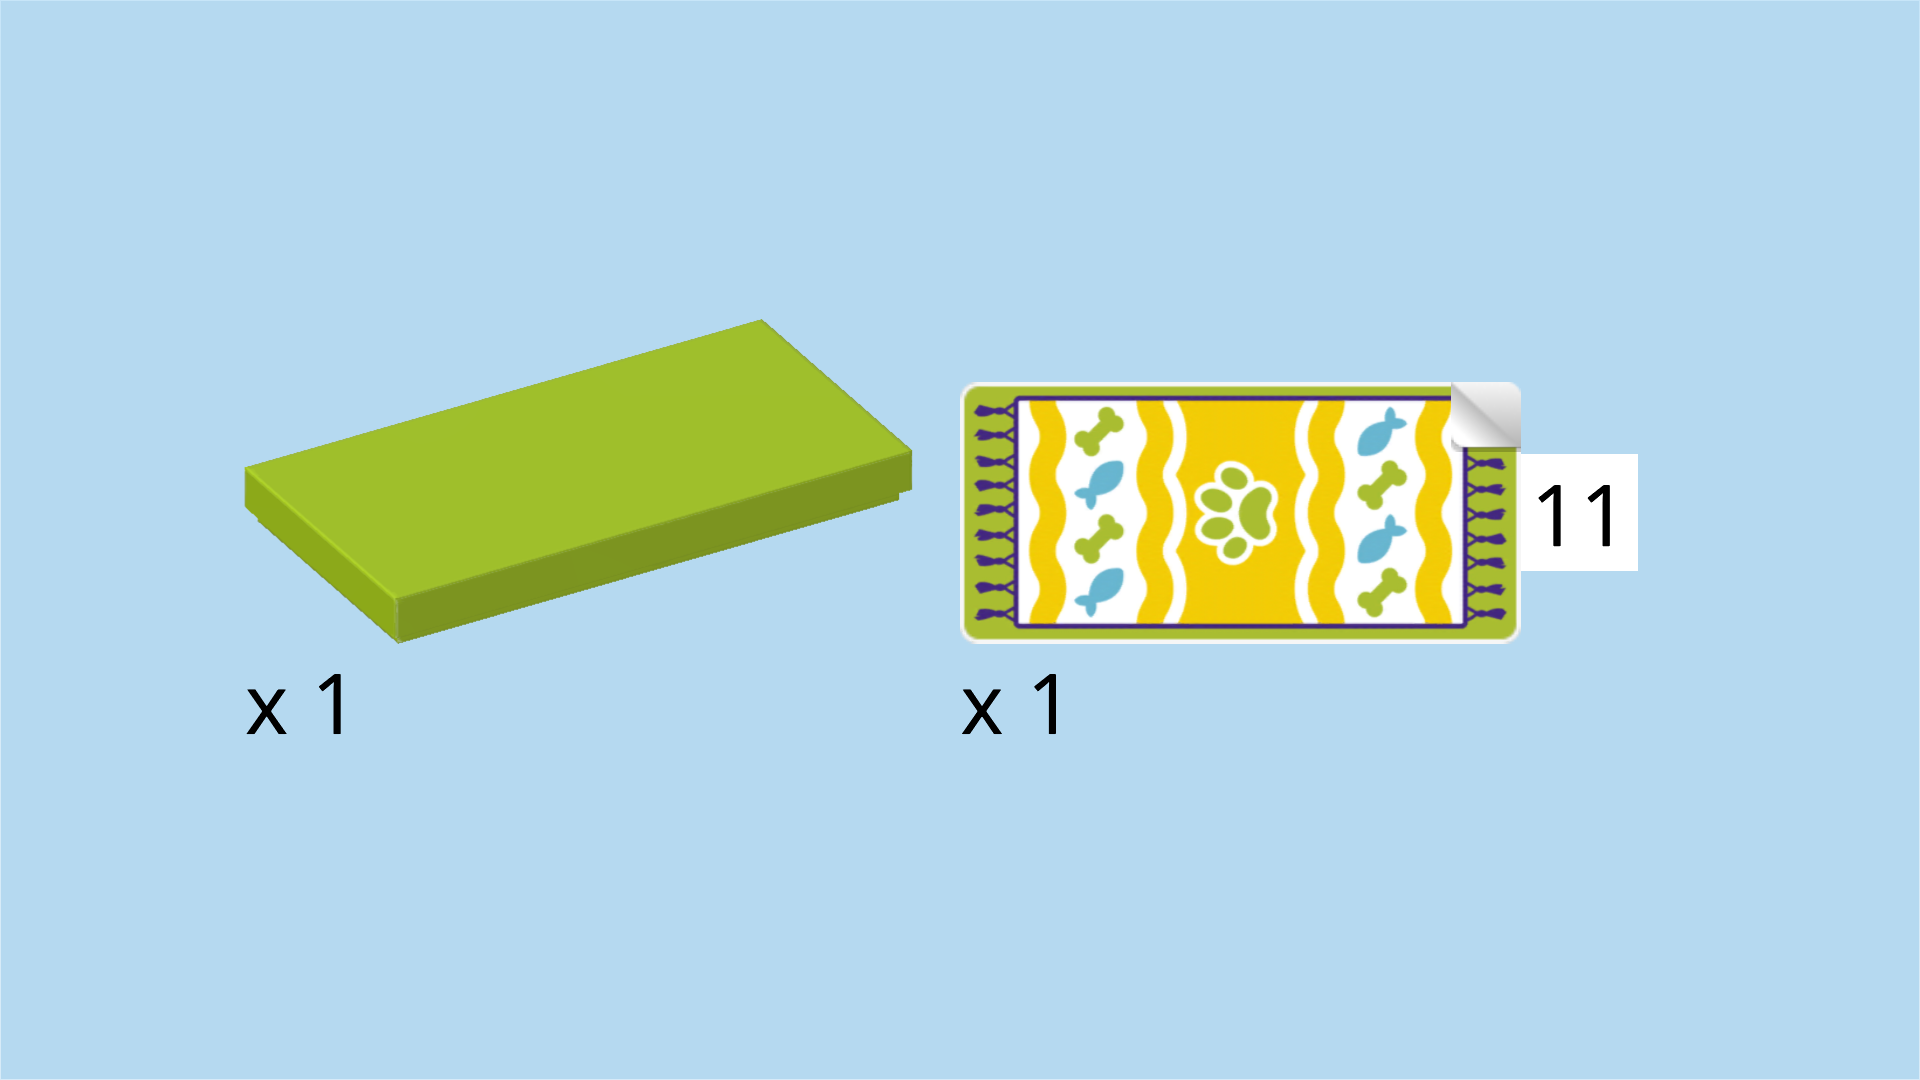
| Collect the following 2 pieces: |
| 1 bright yellowish green flat tile 2x4, |
| and 1 rectangular sticker number 11. |
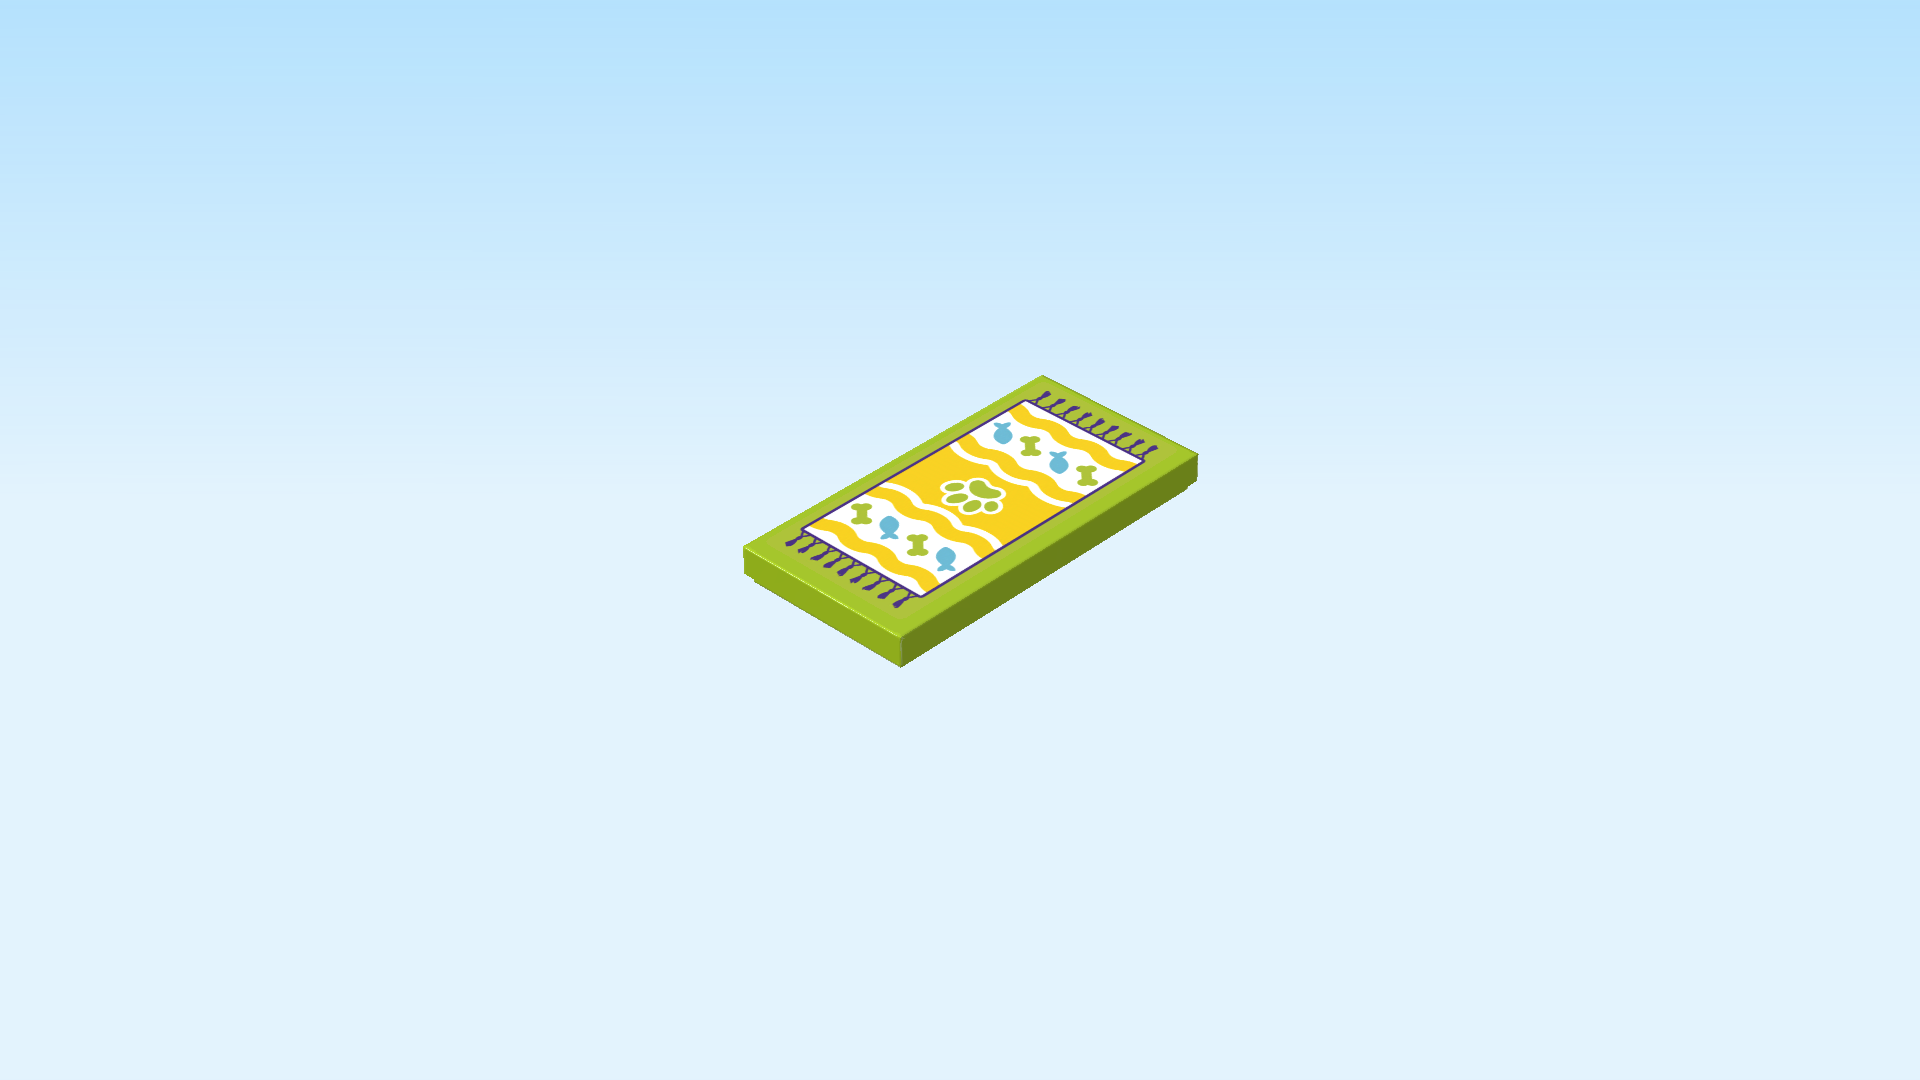
| Put the flat tile 2x4 horizontally on the table. |
| Put the sticker on top. It is printed with a carpet that has green fringes and a pattern of white and yellow curved lines and areas. In the white areas, it is decorated with blue fish and green bones. In the middle of the carpet, there is a green paw with a white outline. |
| Skip five knobs on the backmost column from the left. Mount the flat tile vertically on the sixth and seventh column from the left, starting from the back edge. |
| If done correctly, there are 3 empty rows between the left wall foundation and the flat tile. |
| This is the carpet of the cafe! We will come back to it later when we mount the animal bed. |
| Next up, we will build a part of the watering station. |
| Collect the following 3 pieces: |
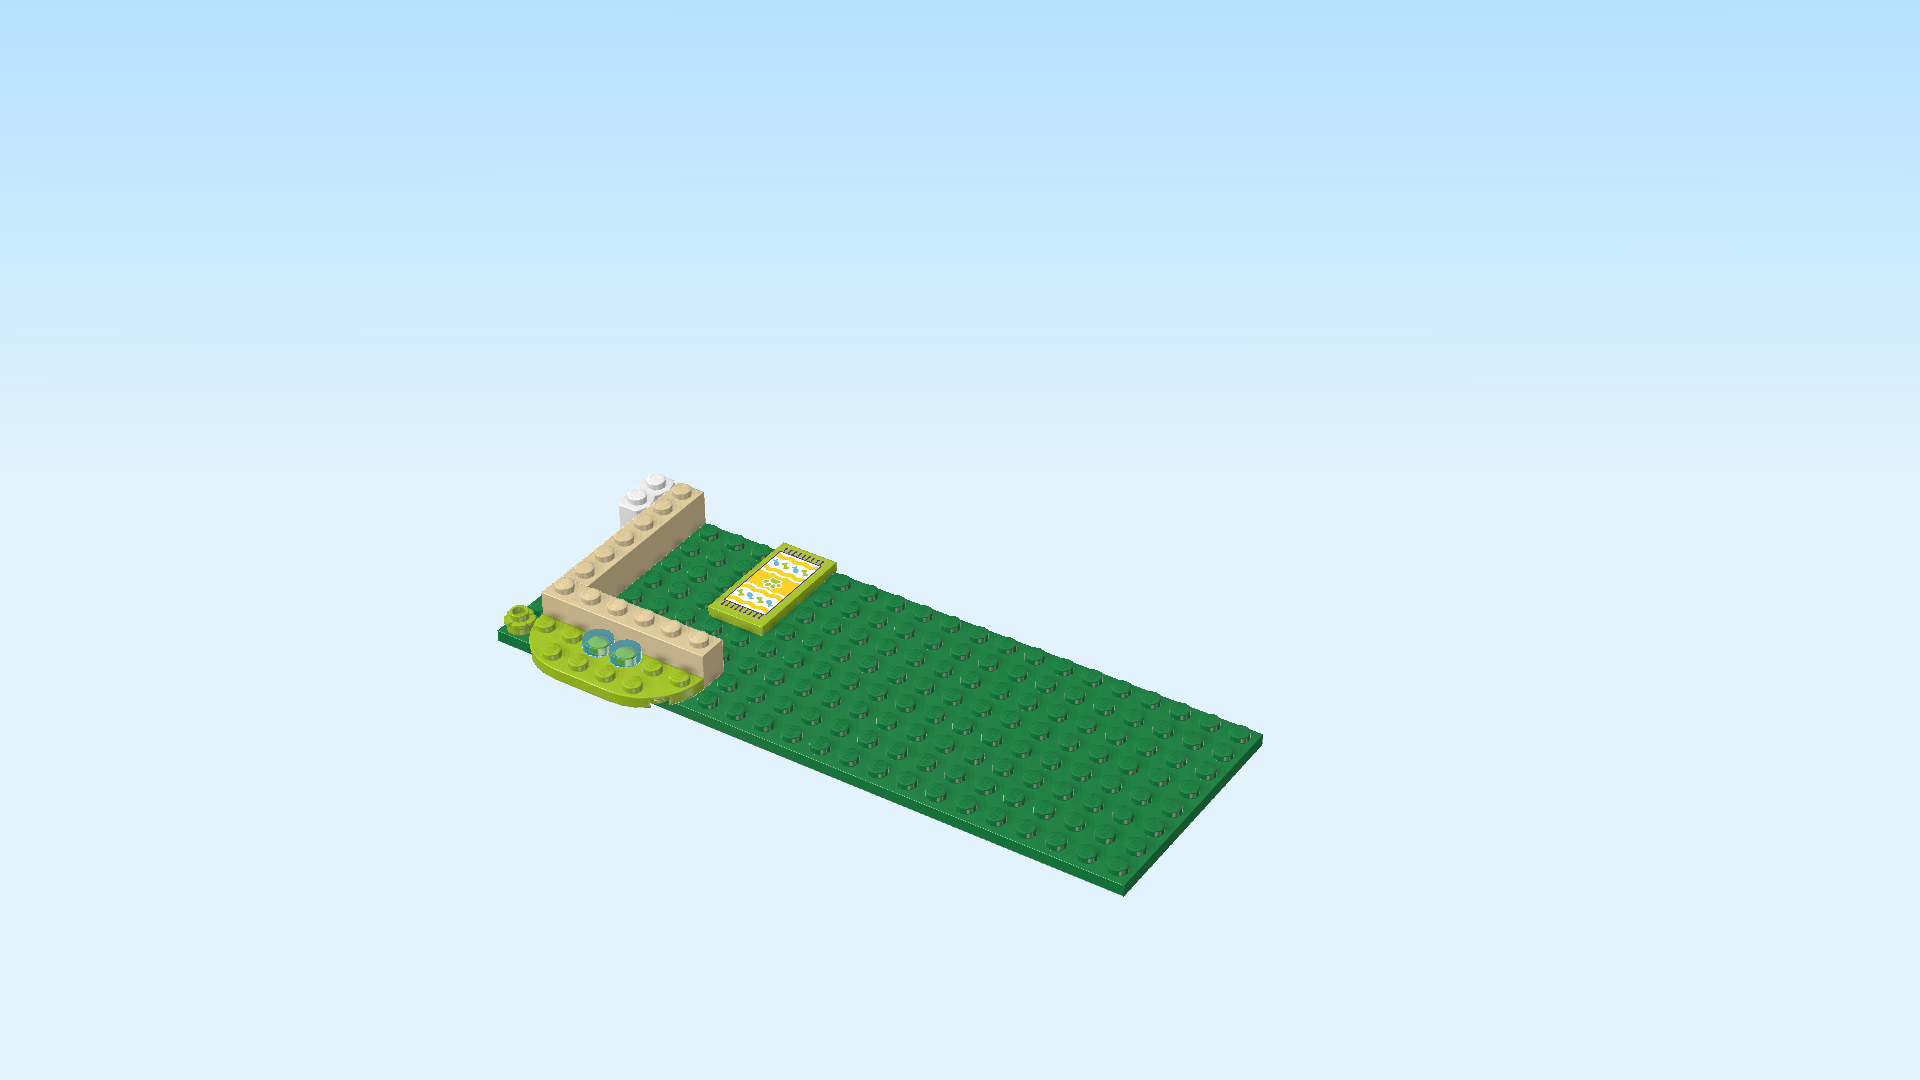
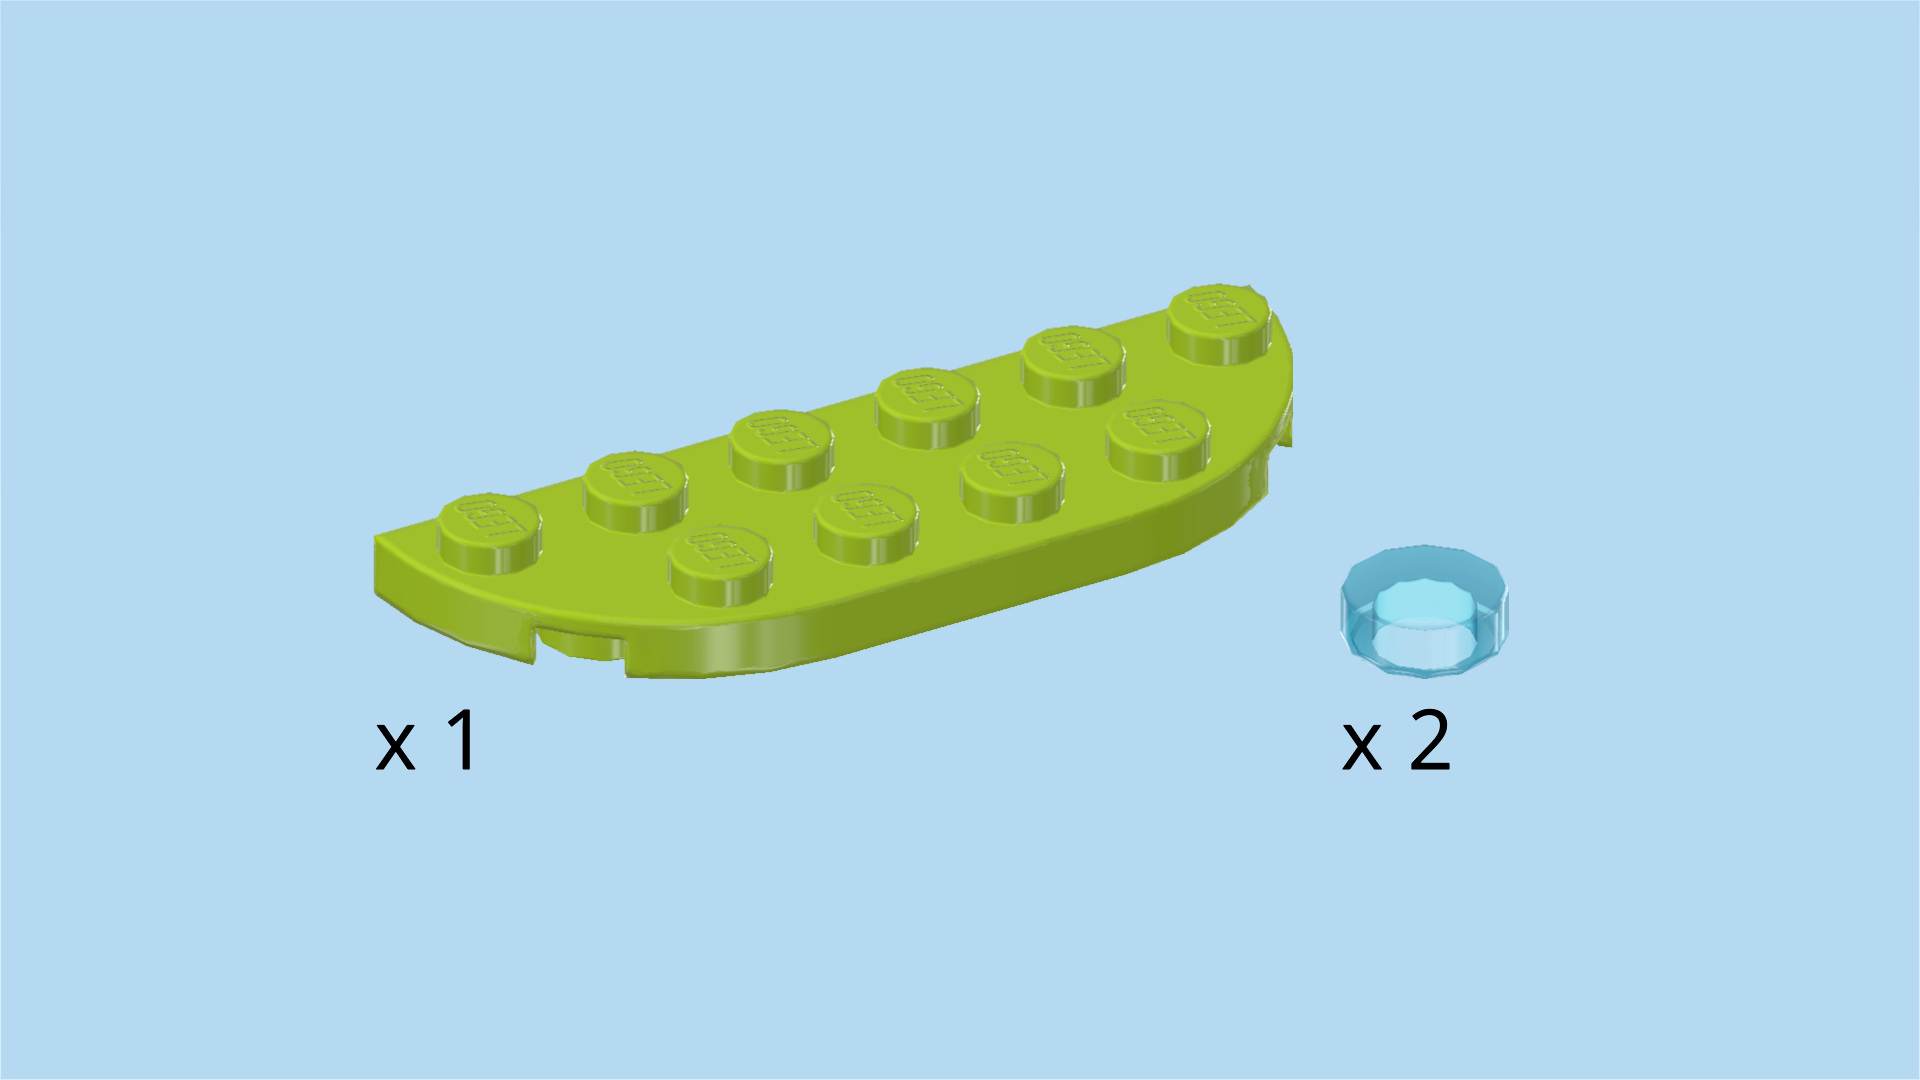
| 1 bright yellowish green plate 2x6 with 2 round corners, |
| and 2 transparent light blue round tiles 1x1. |
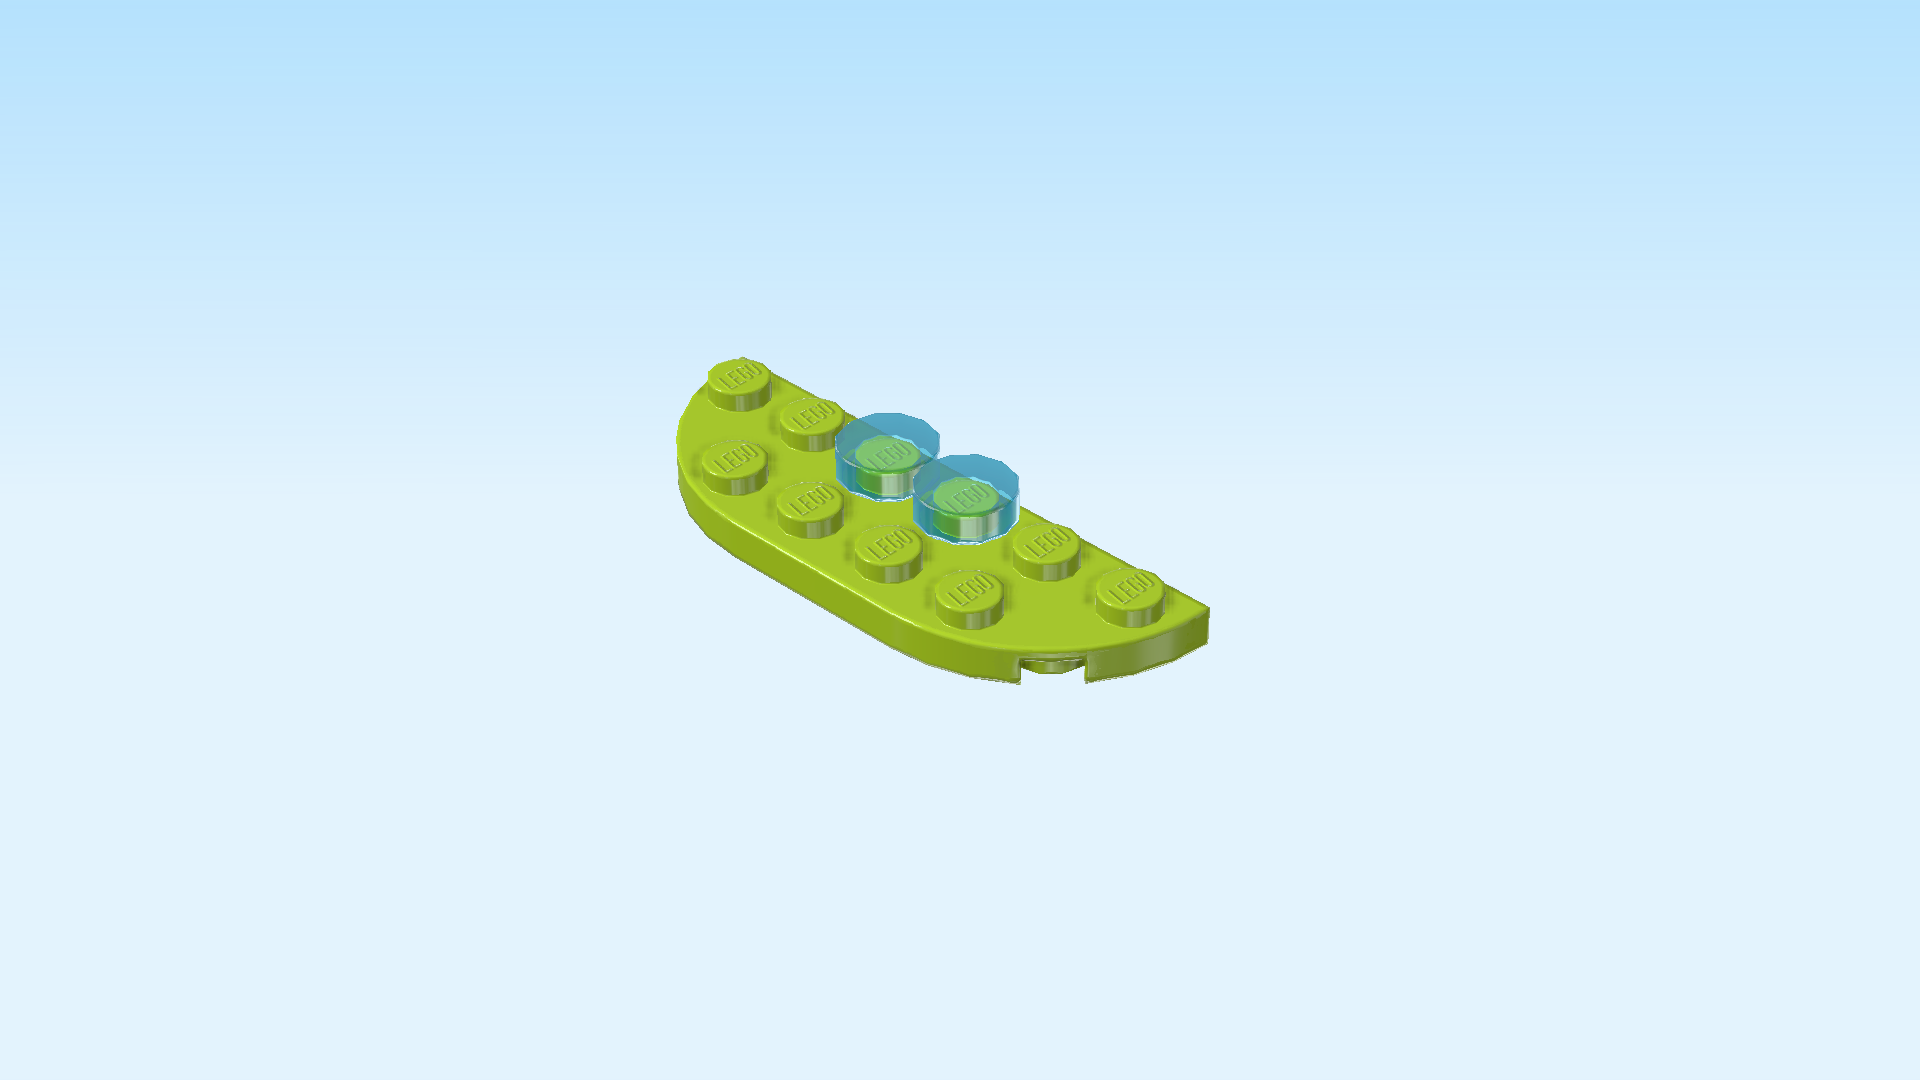
| Put the plate with round corners horizontally on the table, round corners to the front. |
| Put the 2 round tiles on the 2 middle knobs of the back row. |
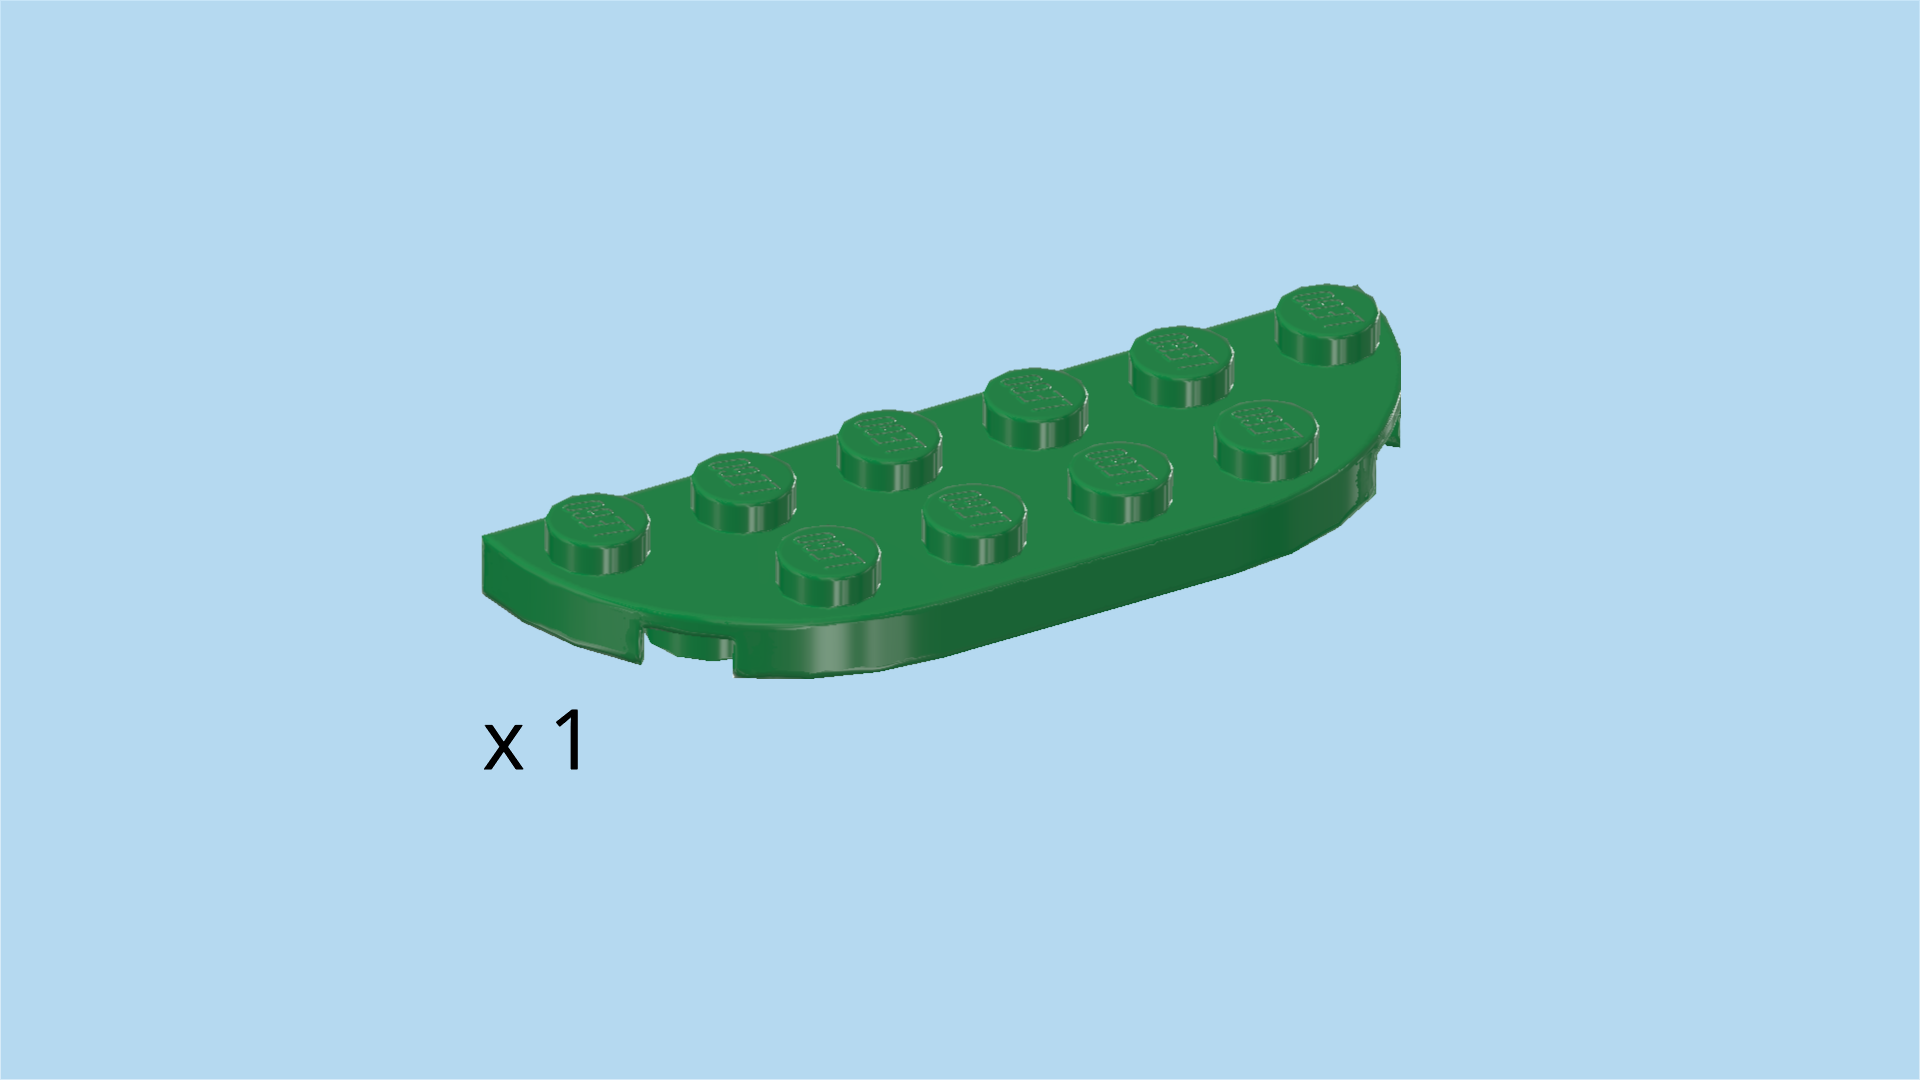
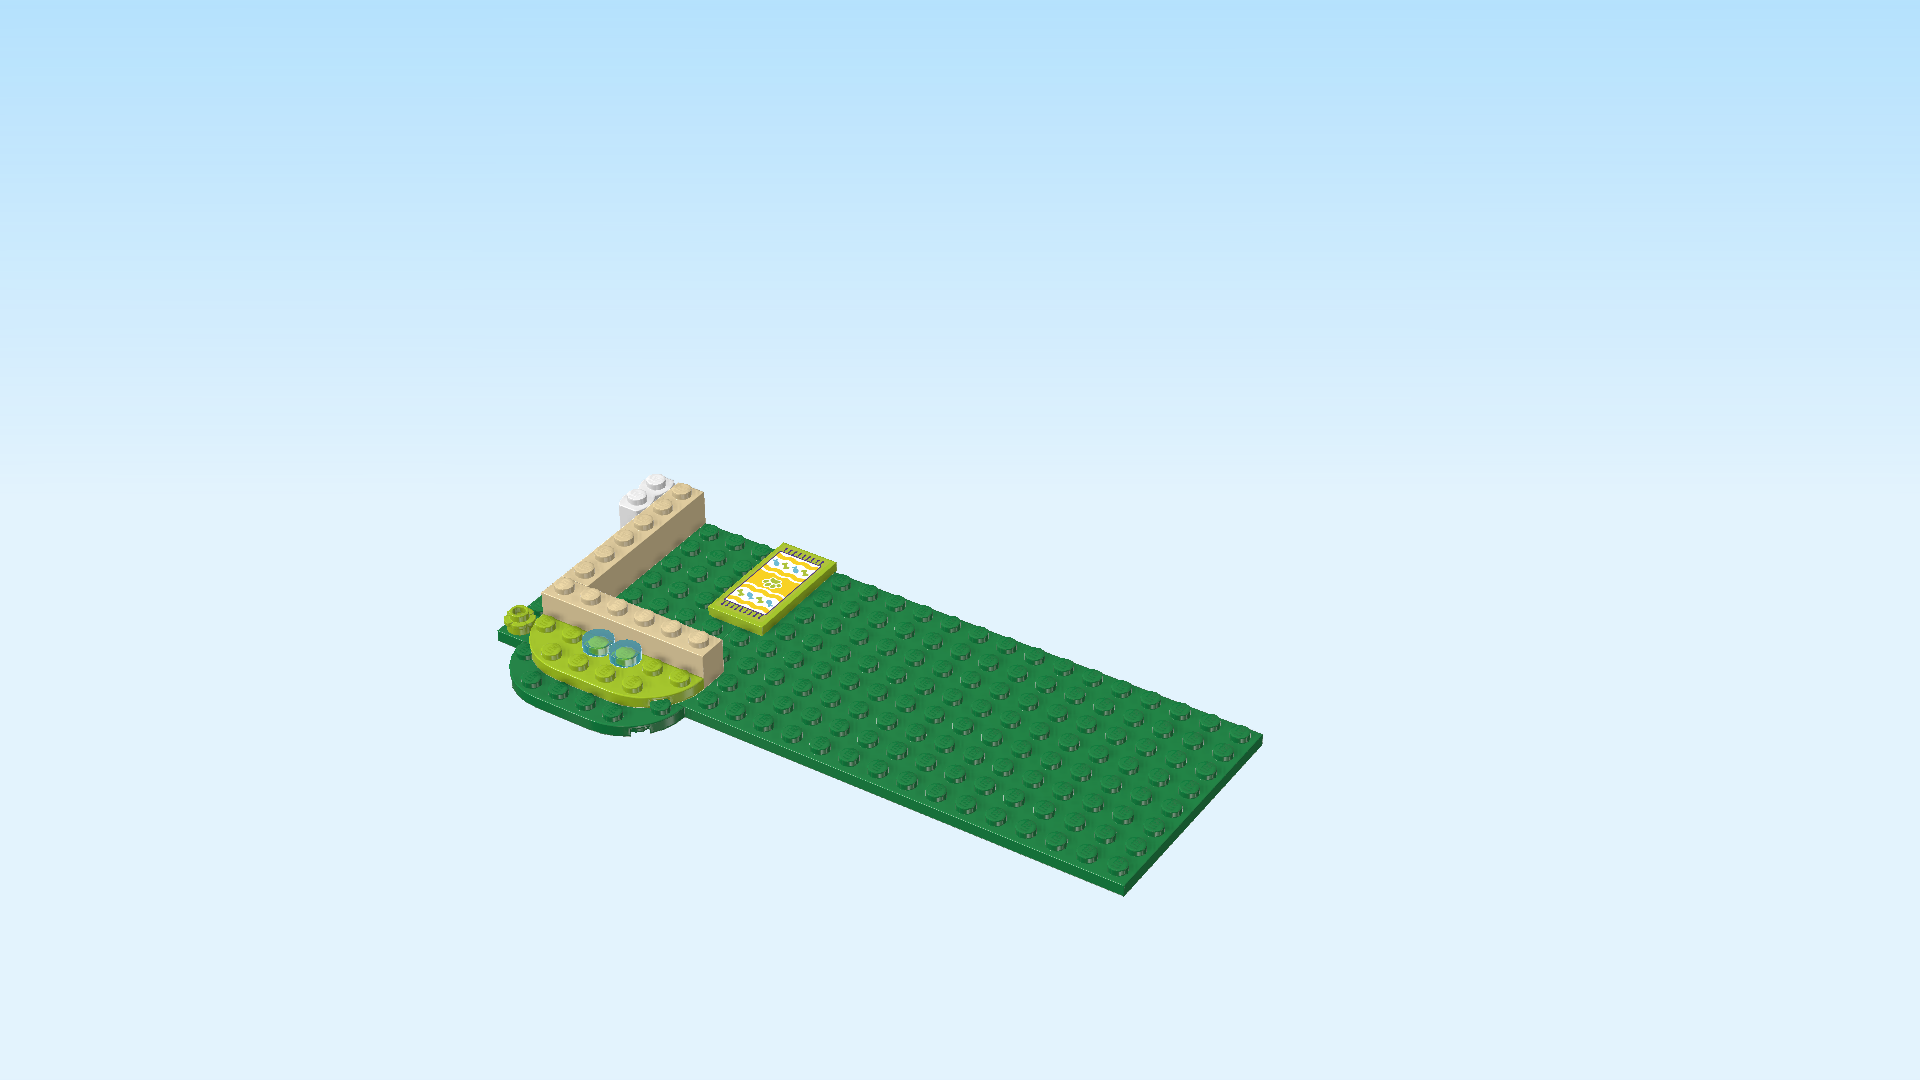
| Mount this part horizontally on the frontmost row directly next to the flower piece, one row overhanging to the front. |
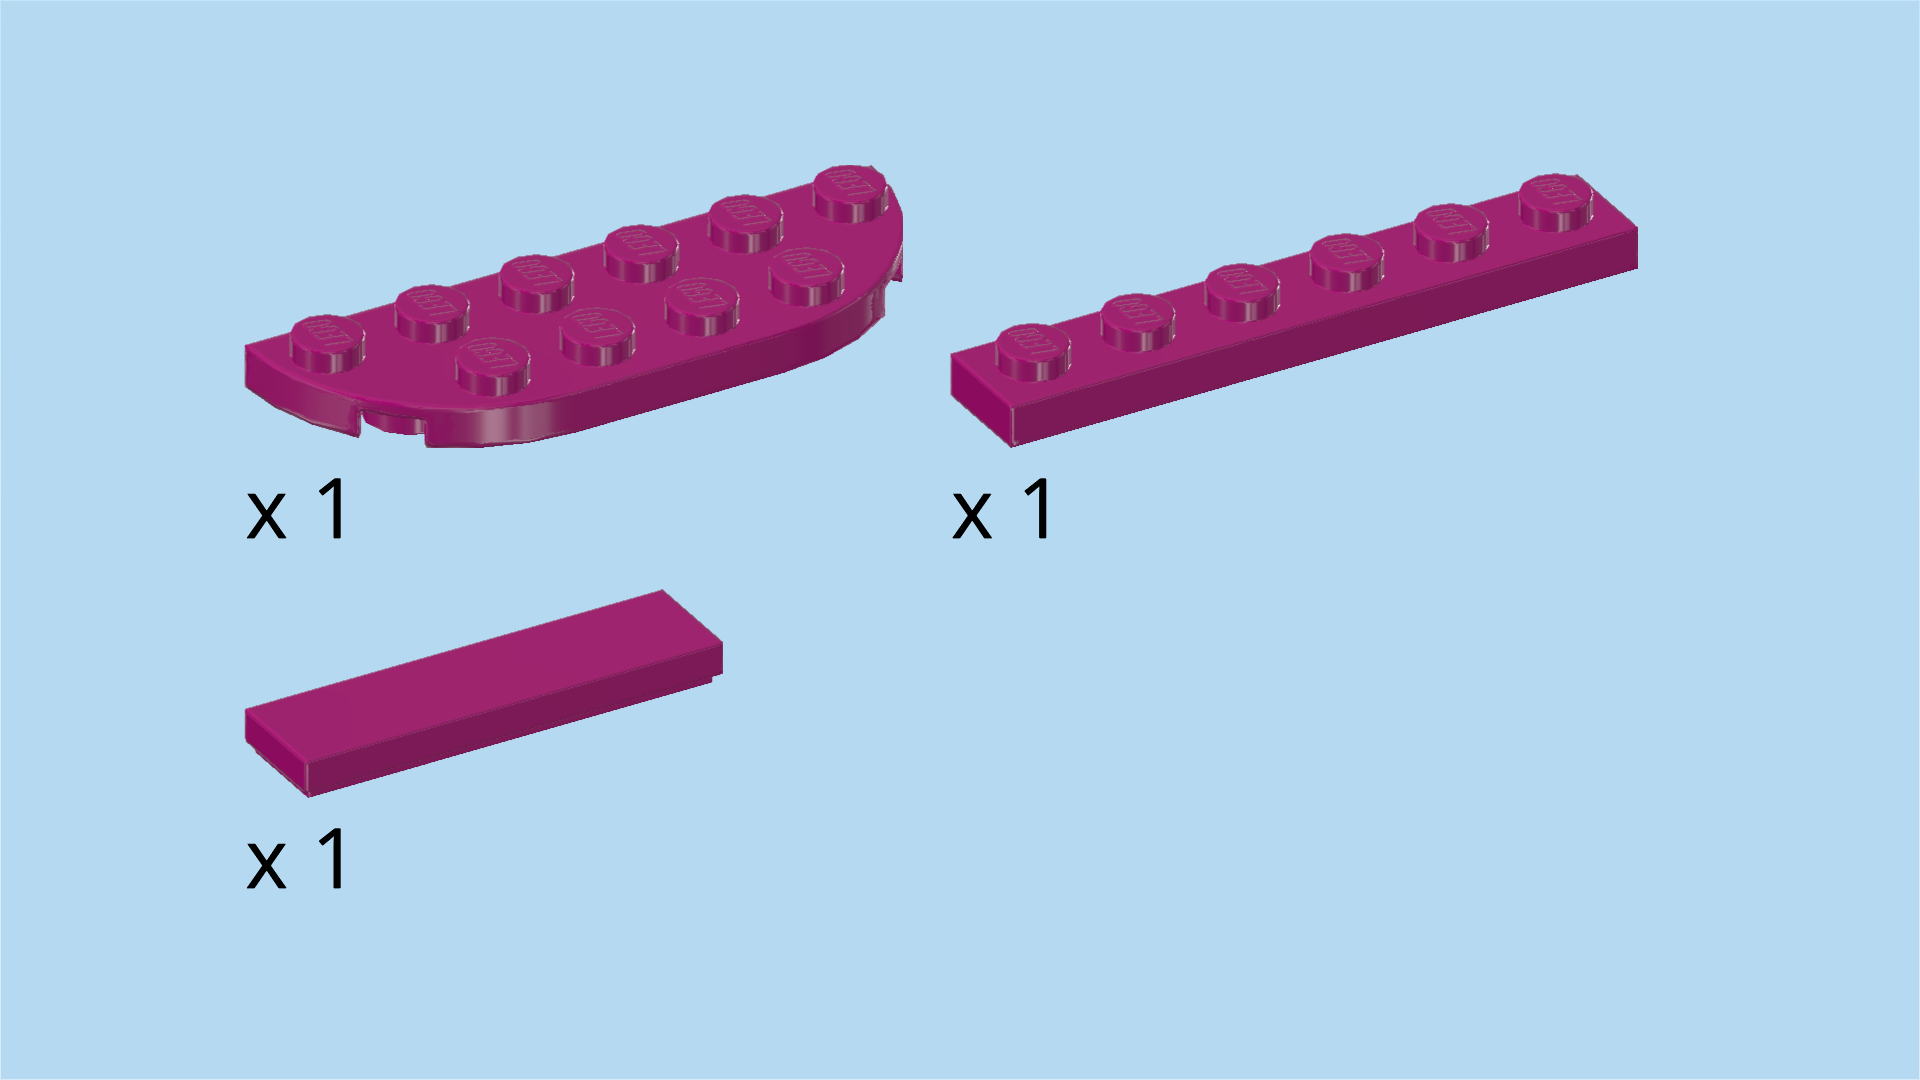
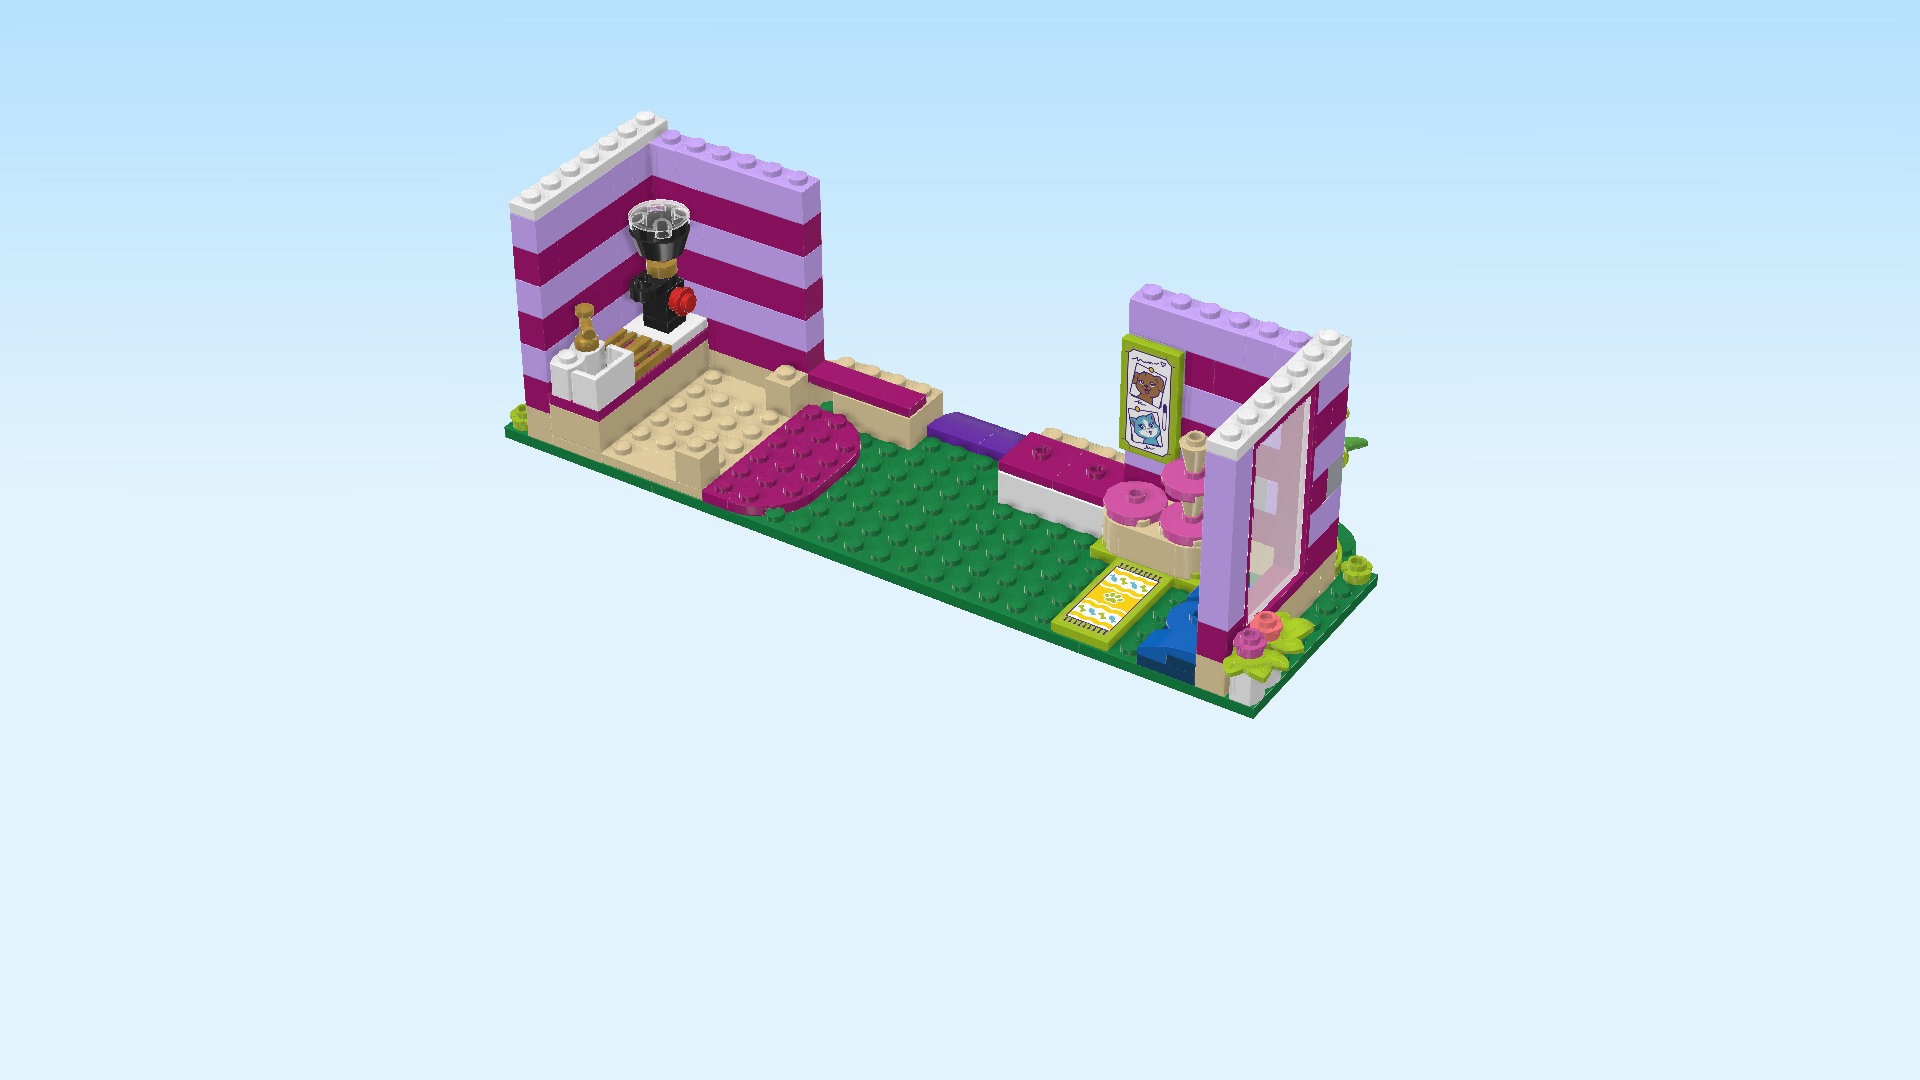
| Find 1 dark green plate 2x6 with 2 round corners. |
| Put it horizontally centered underneath the previous piece, round corners to the front. |
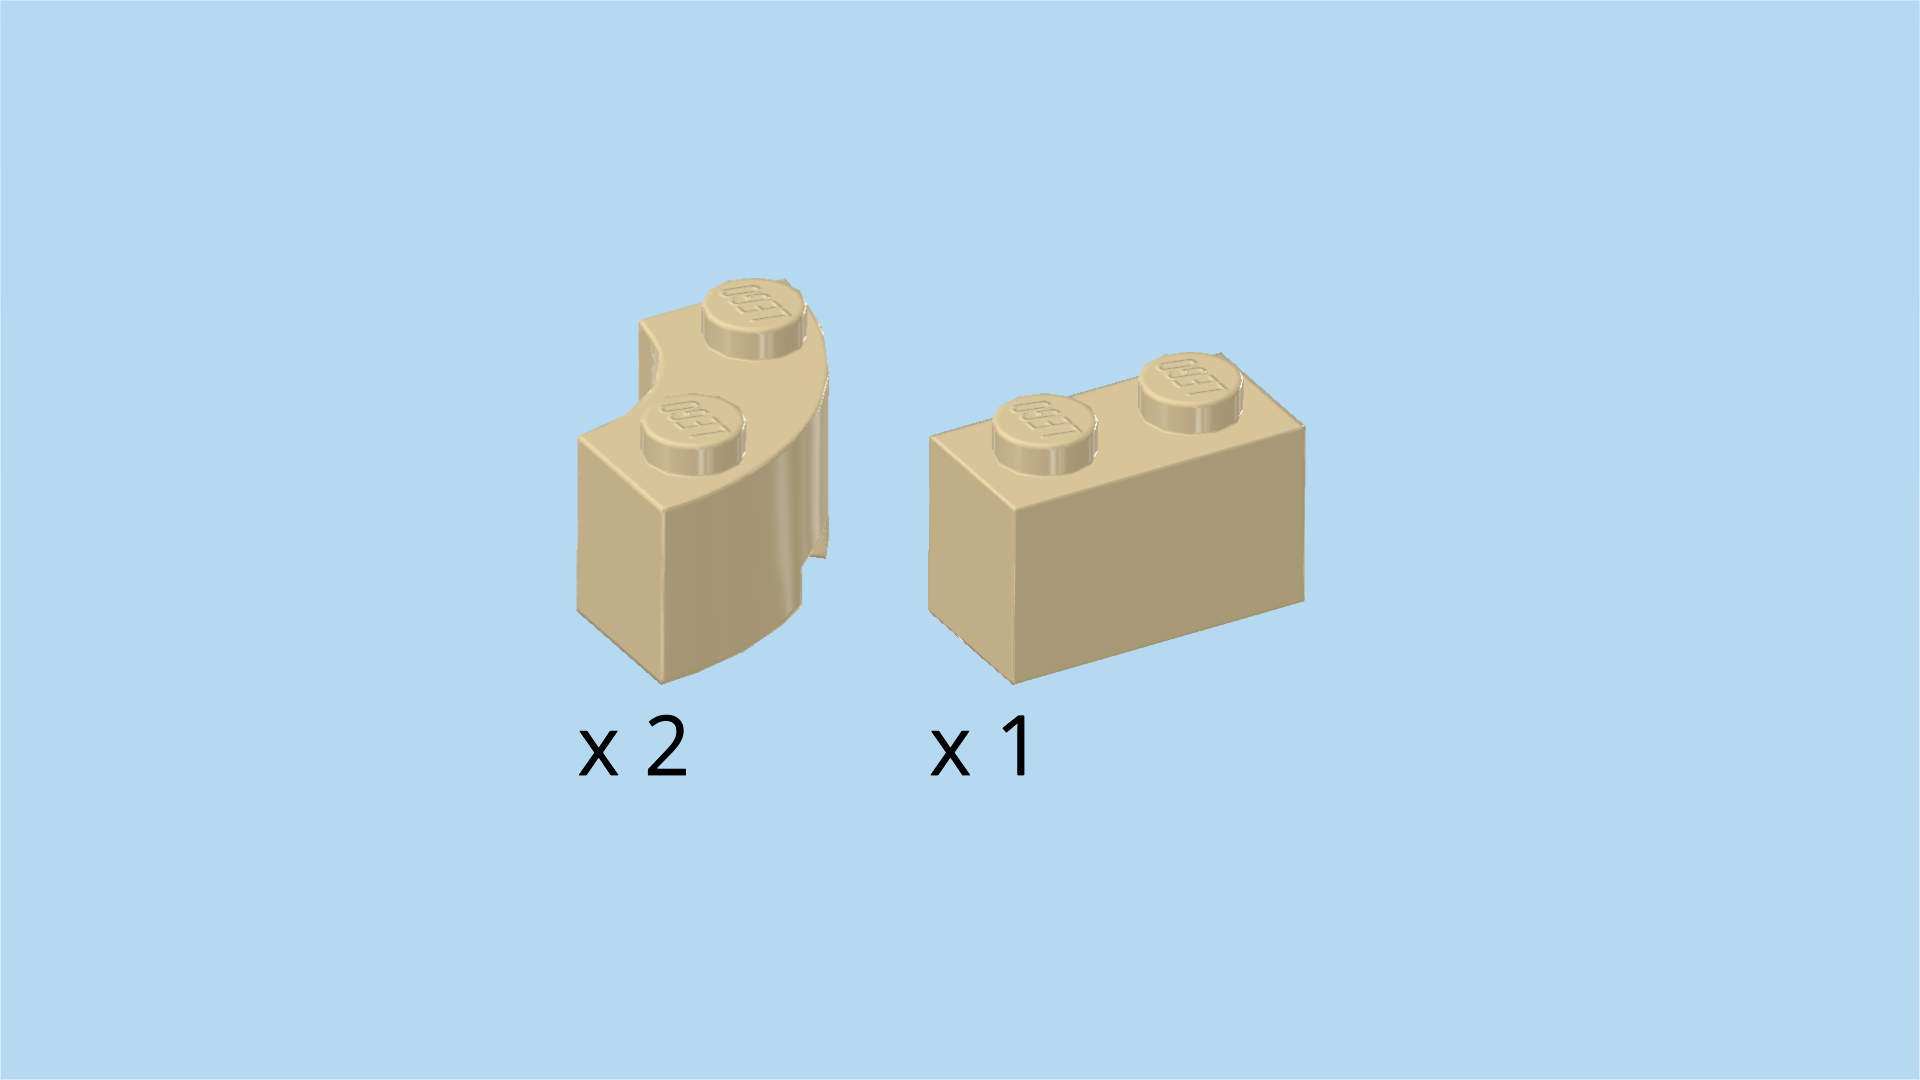
| Collect the following 2 pieces: |
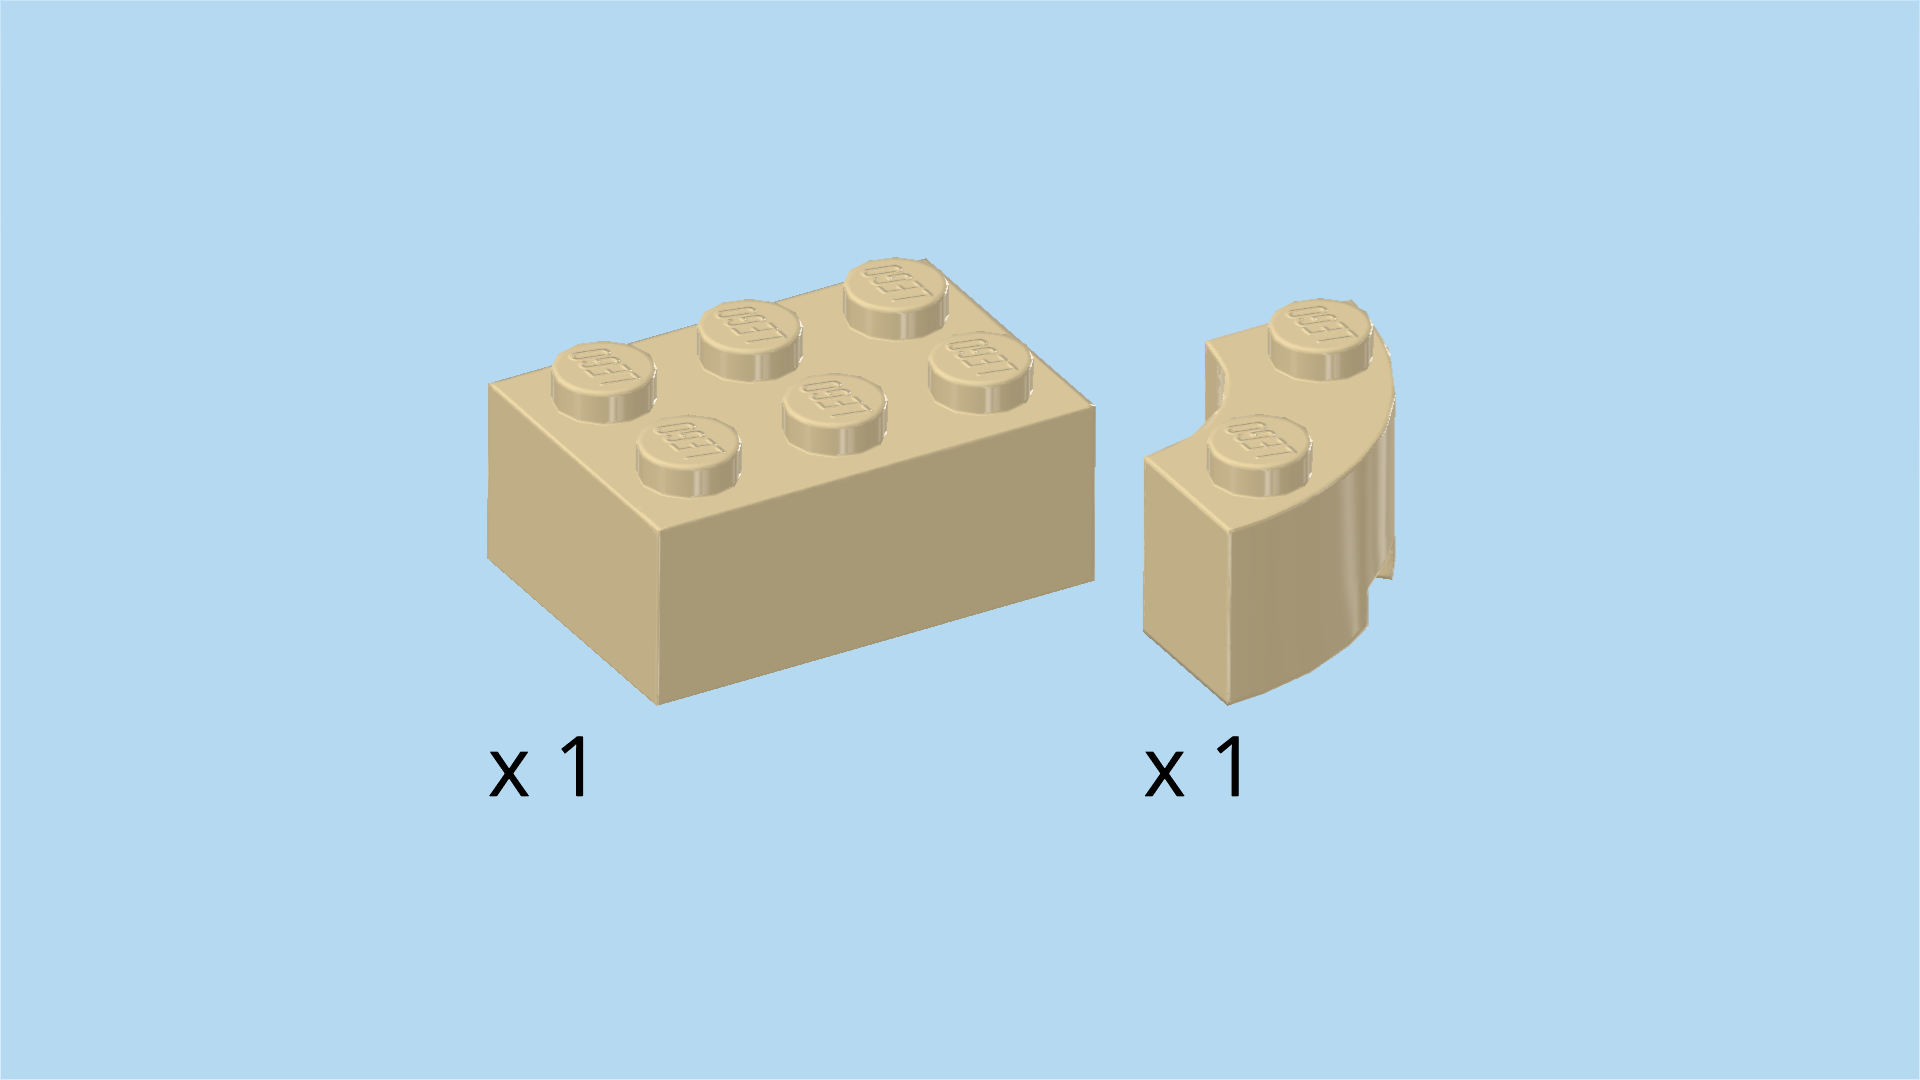
| 1 pale ocher yellow quarter-arched brick 2x2 with 2 knobs, |
| and 1 pale ocher yellow brick 2x3. |
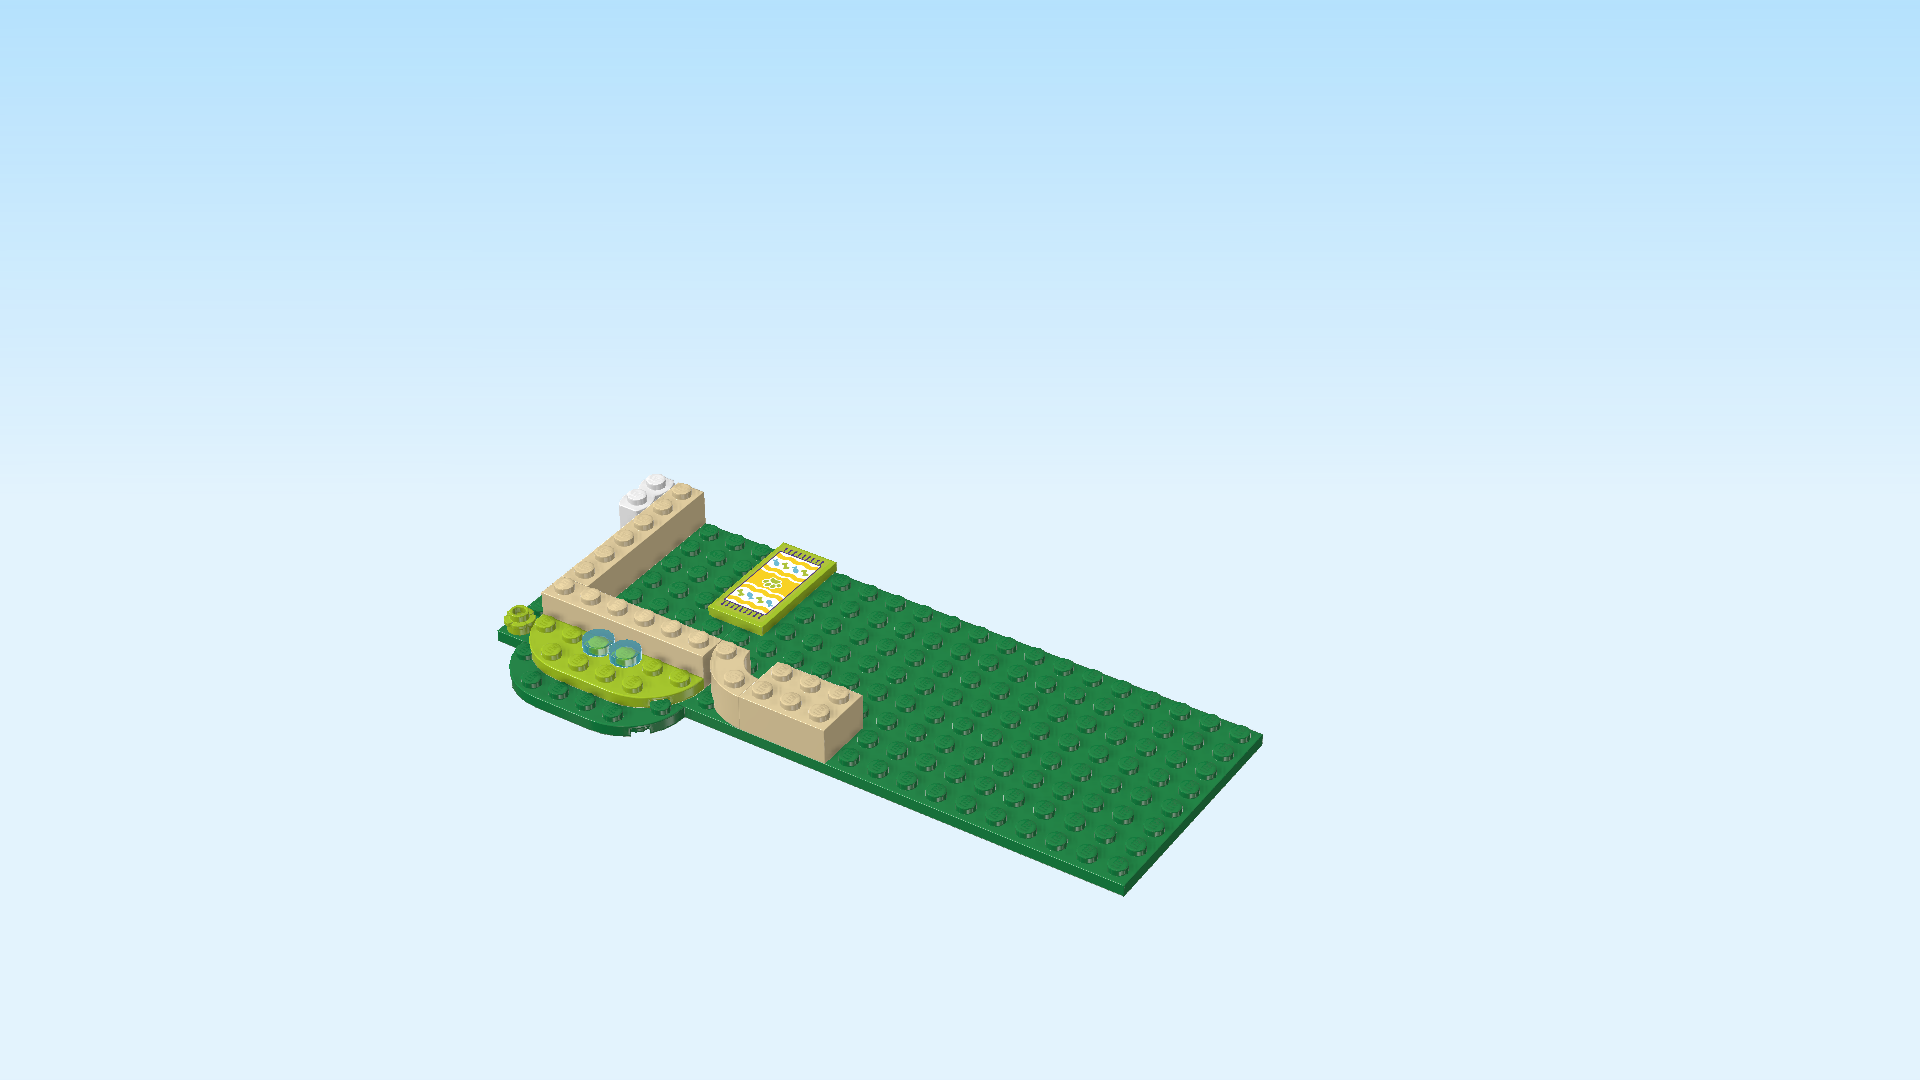
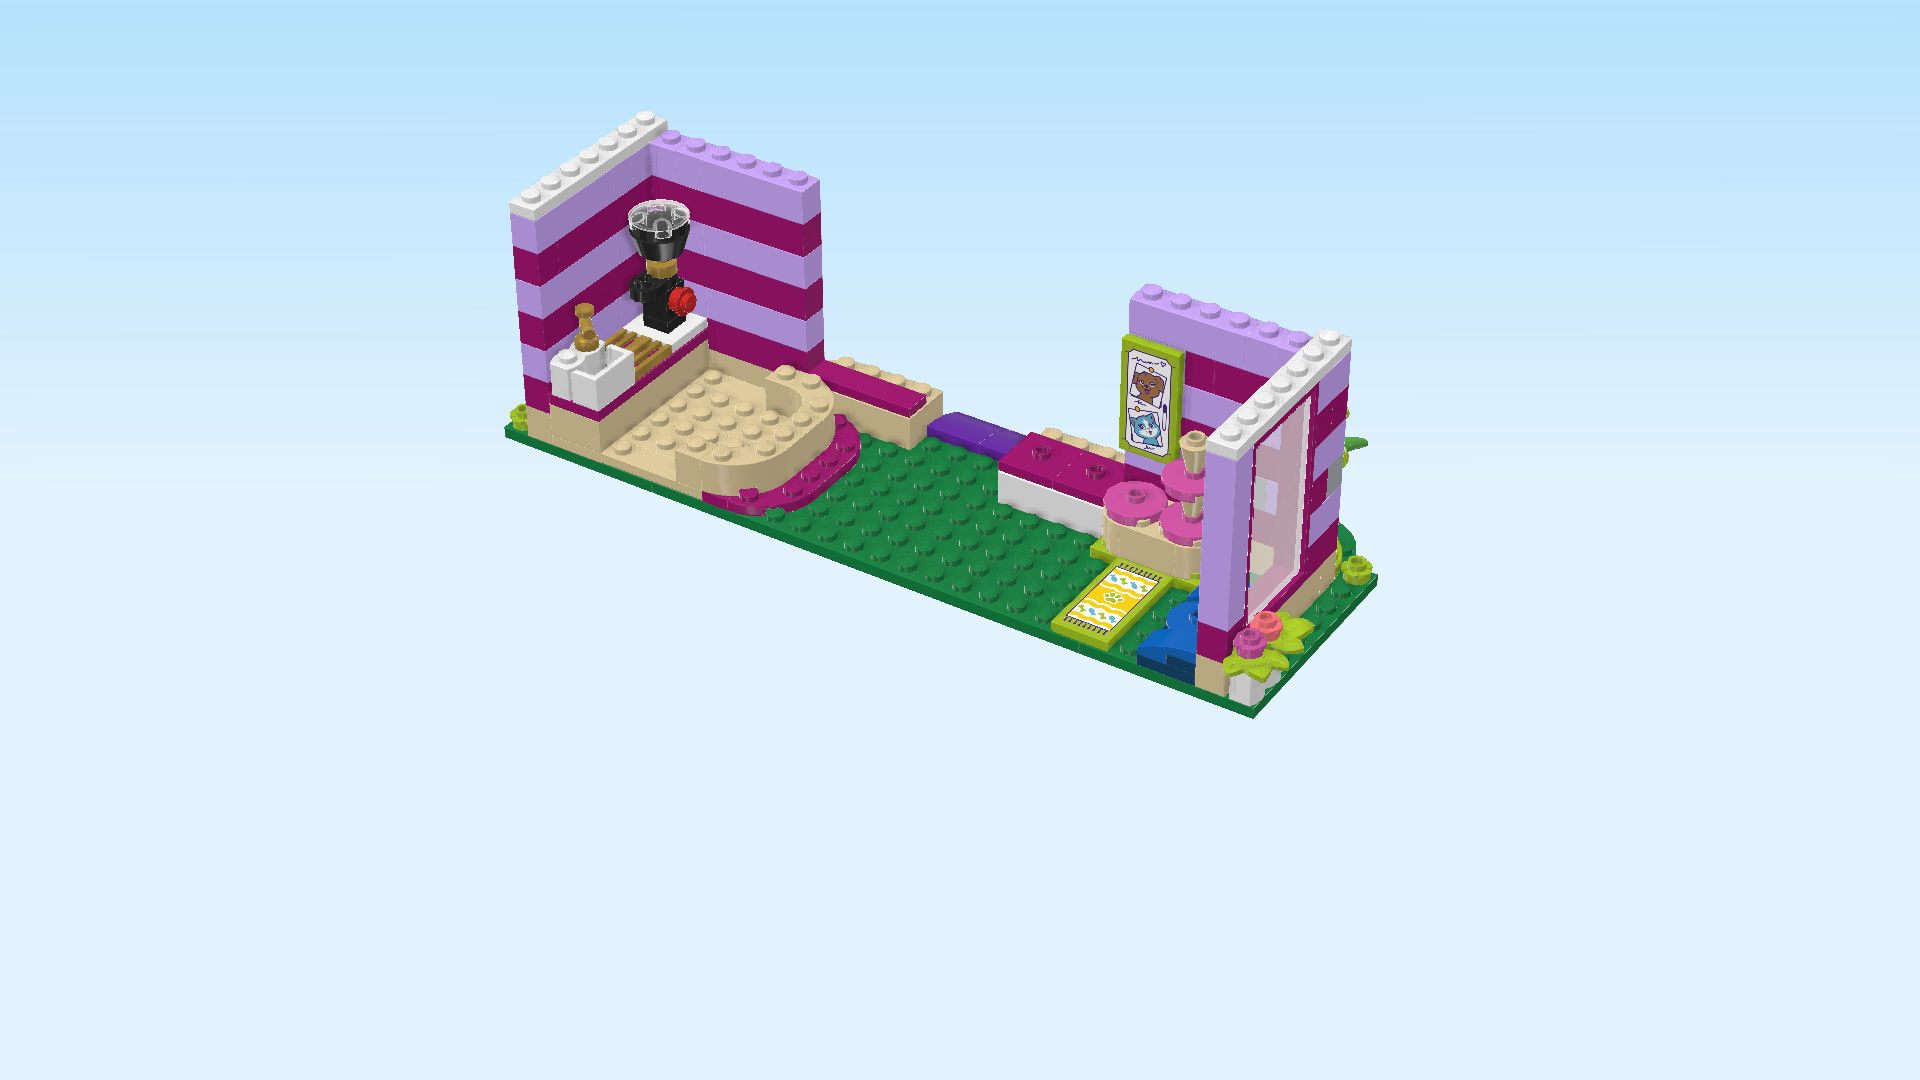
| Put the quarter-arched brick to the right of the previous piece on the 2 frontmost rows, quarter-arch to the left front. One knob between this piece and the previous piece will remain empty. |
| Put the brick 2x3 horizontally on the 2 frontmost rows to the right of the previous piece. |
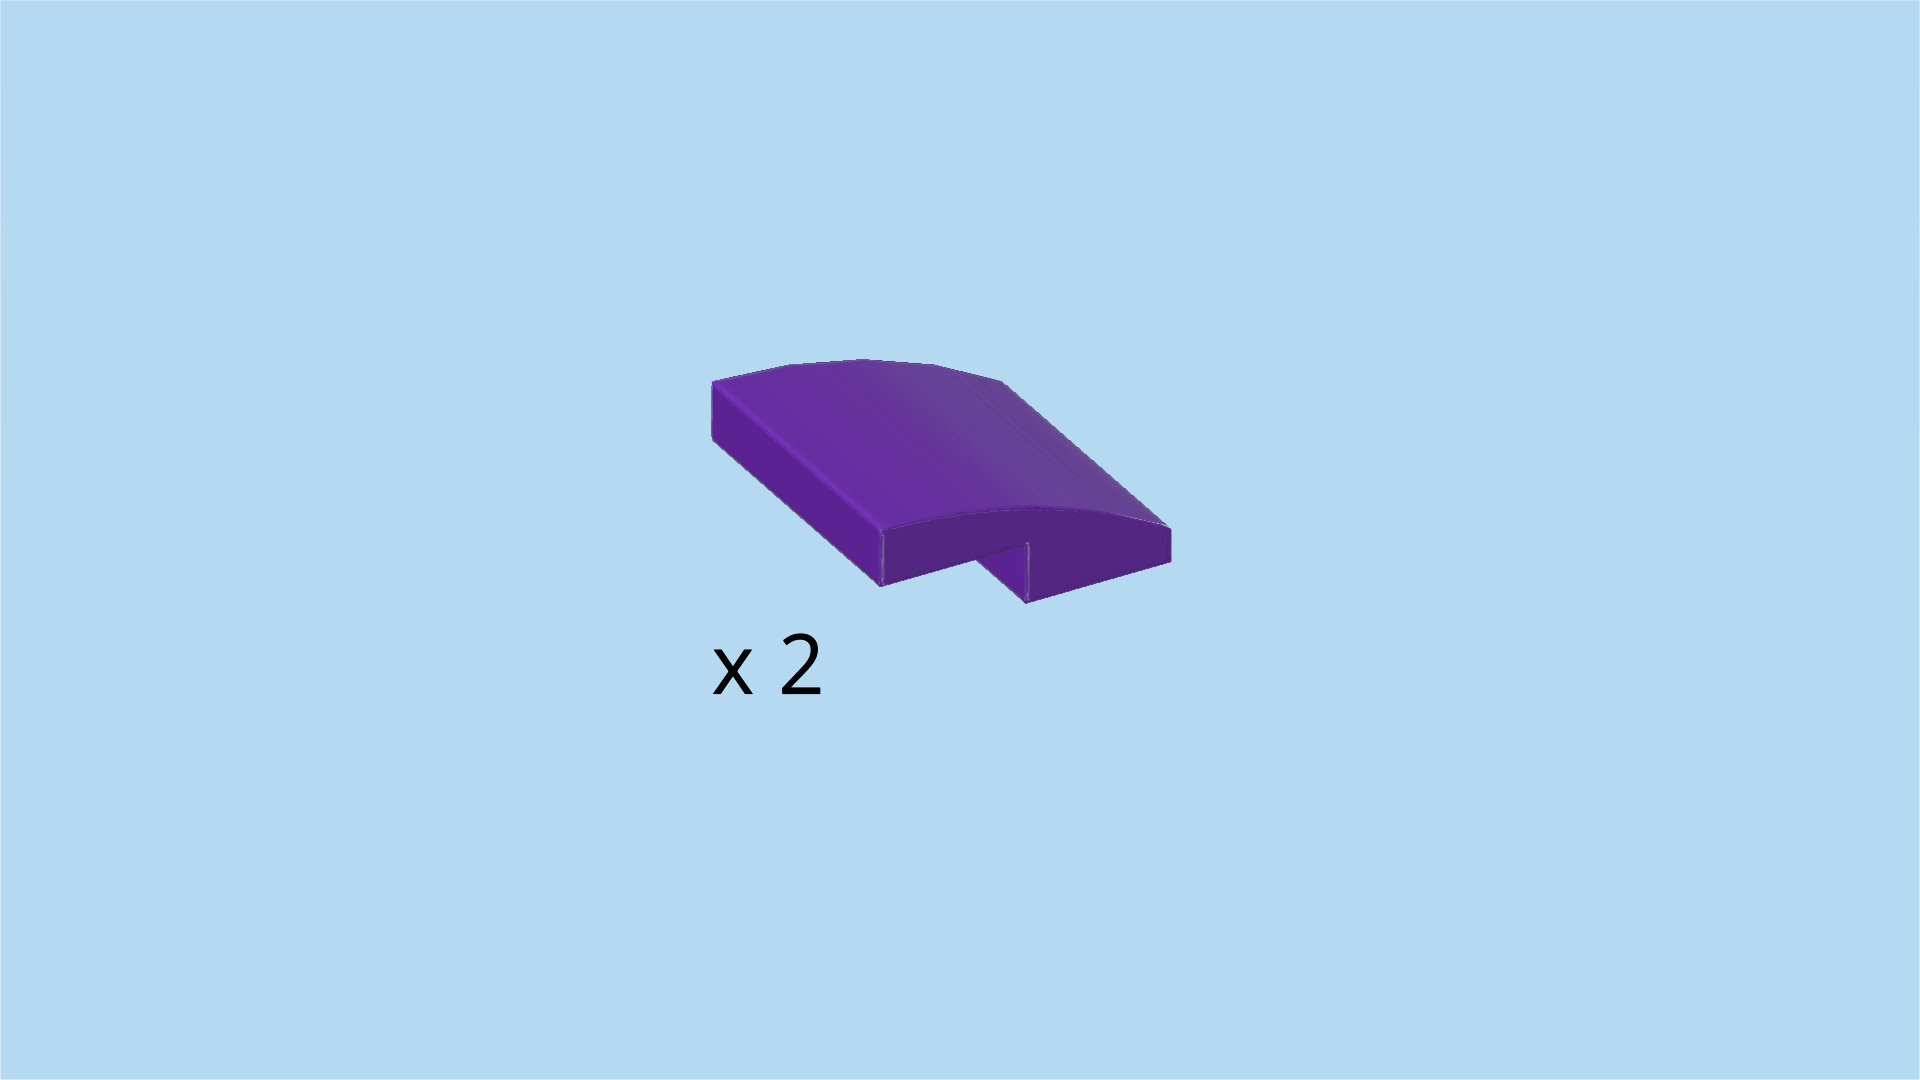
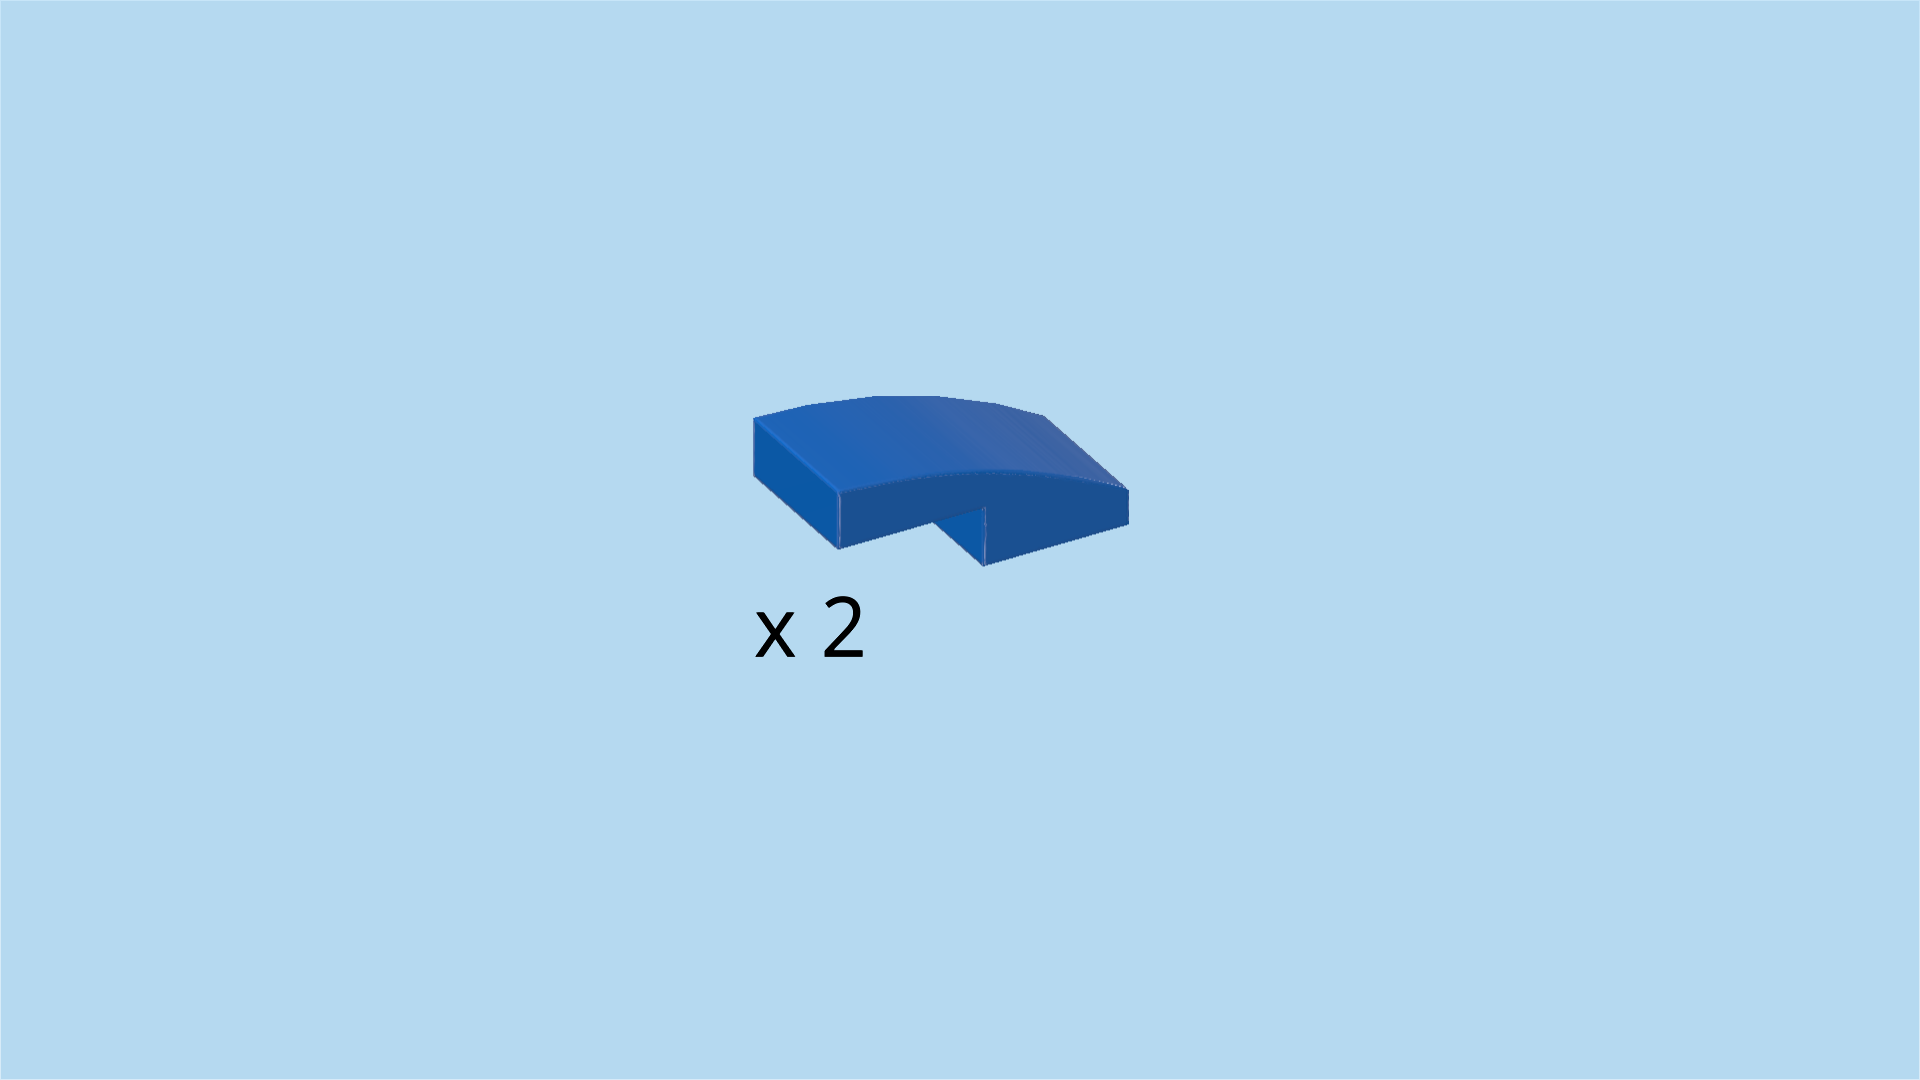
| Find 2 medium lilac one-stepped curve tiles 2x2x⅔. |
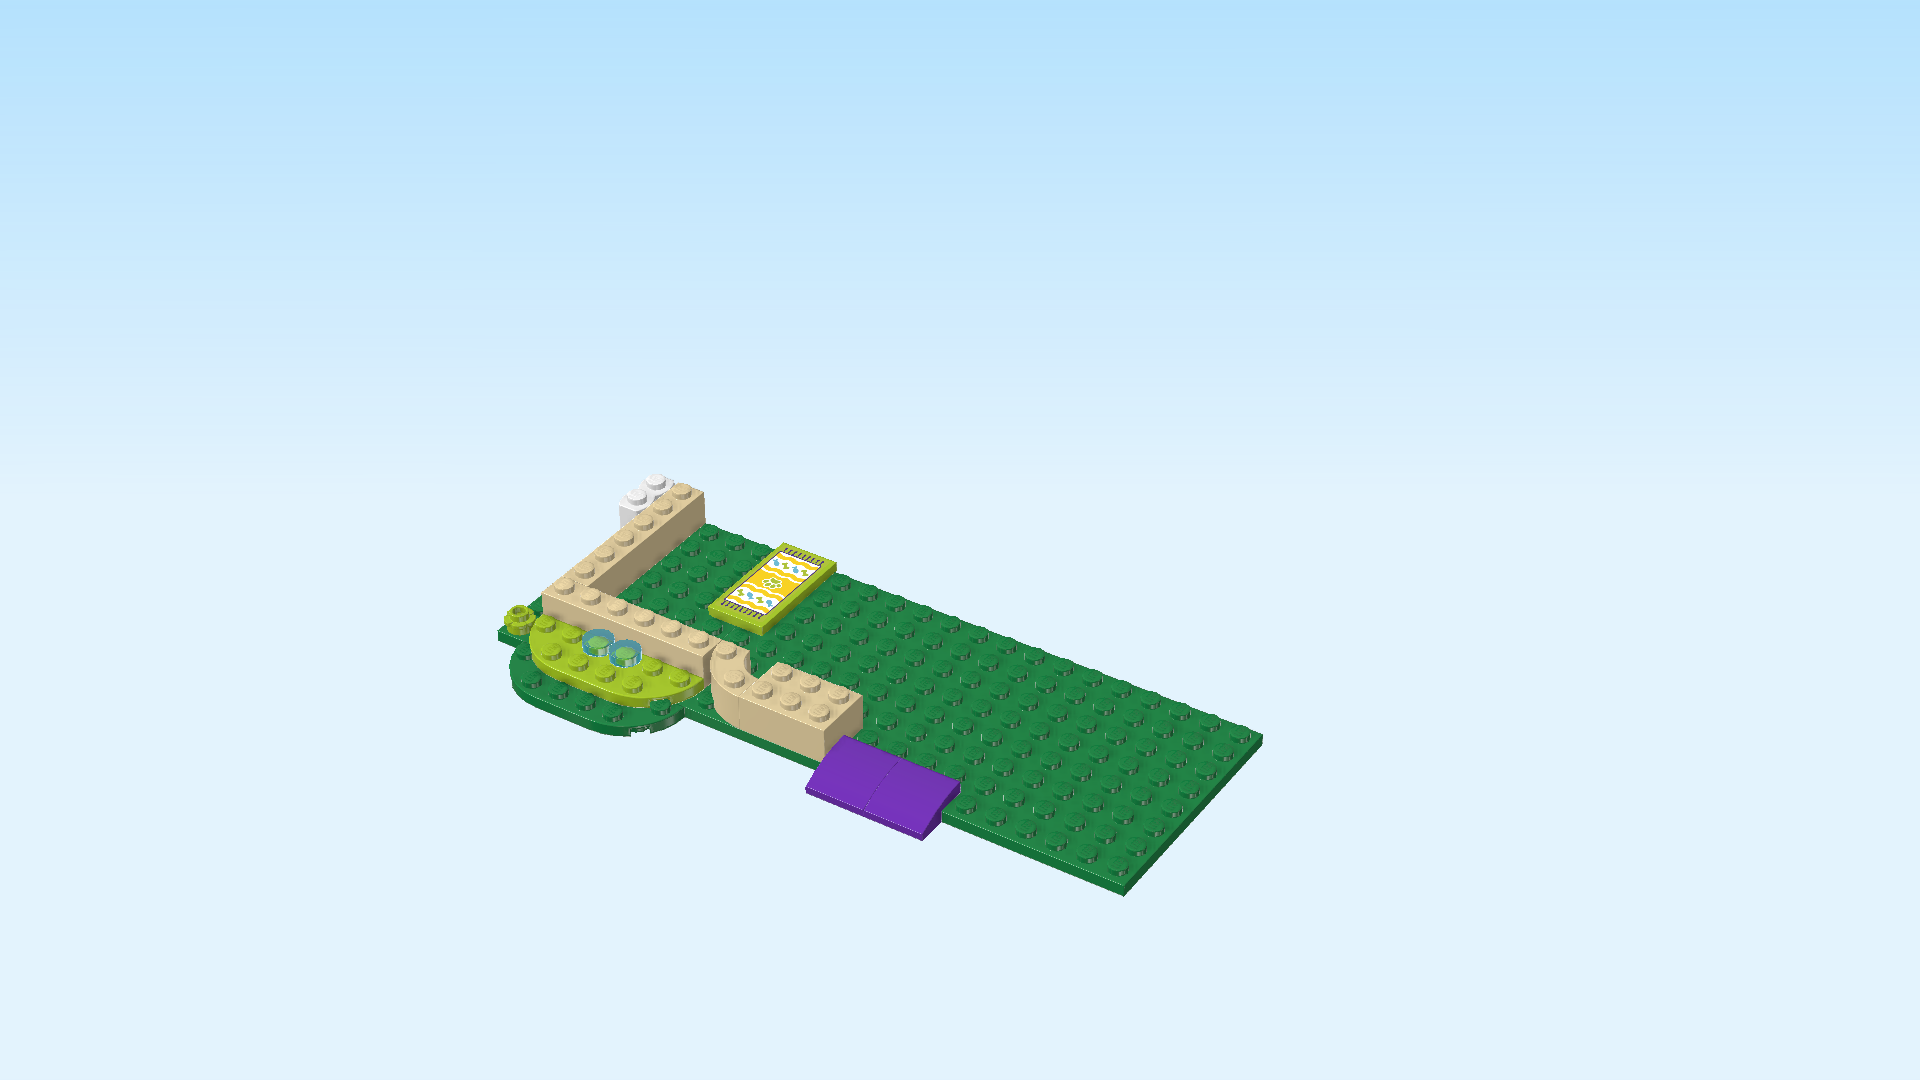
| Put 1 to the right of the previous piece on the frontmost row, curve to the front, half of the piece overhanging to the front. |
| Put the other one to the right of the previous piece in the same orientation. |
| These pieces will later be the door sill! |
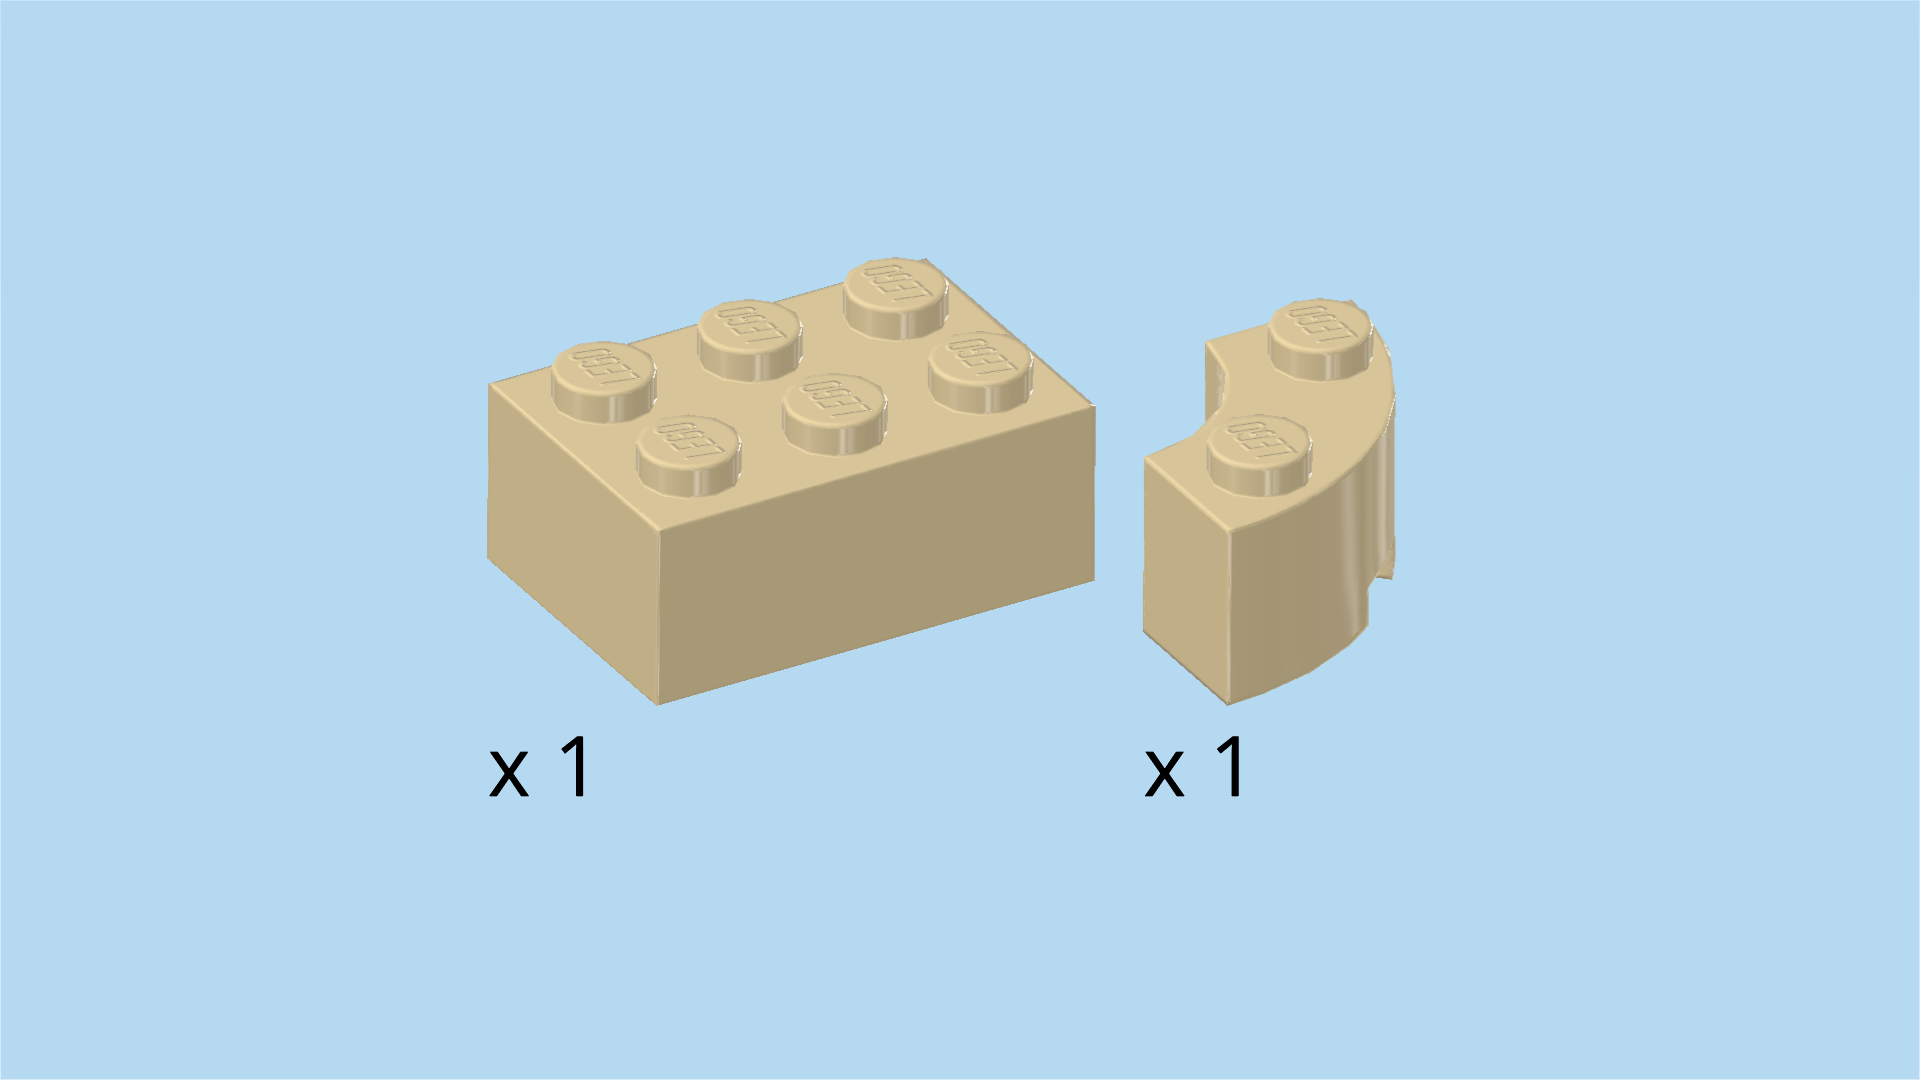
| Collect the following 2 pieces: |
| 1 pale ocher yellow brick 2x3, |
| and 1 pale ocher yellow quarter-arched brick 2x2 with 2 knobs. |
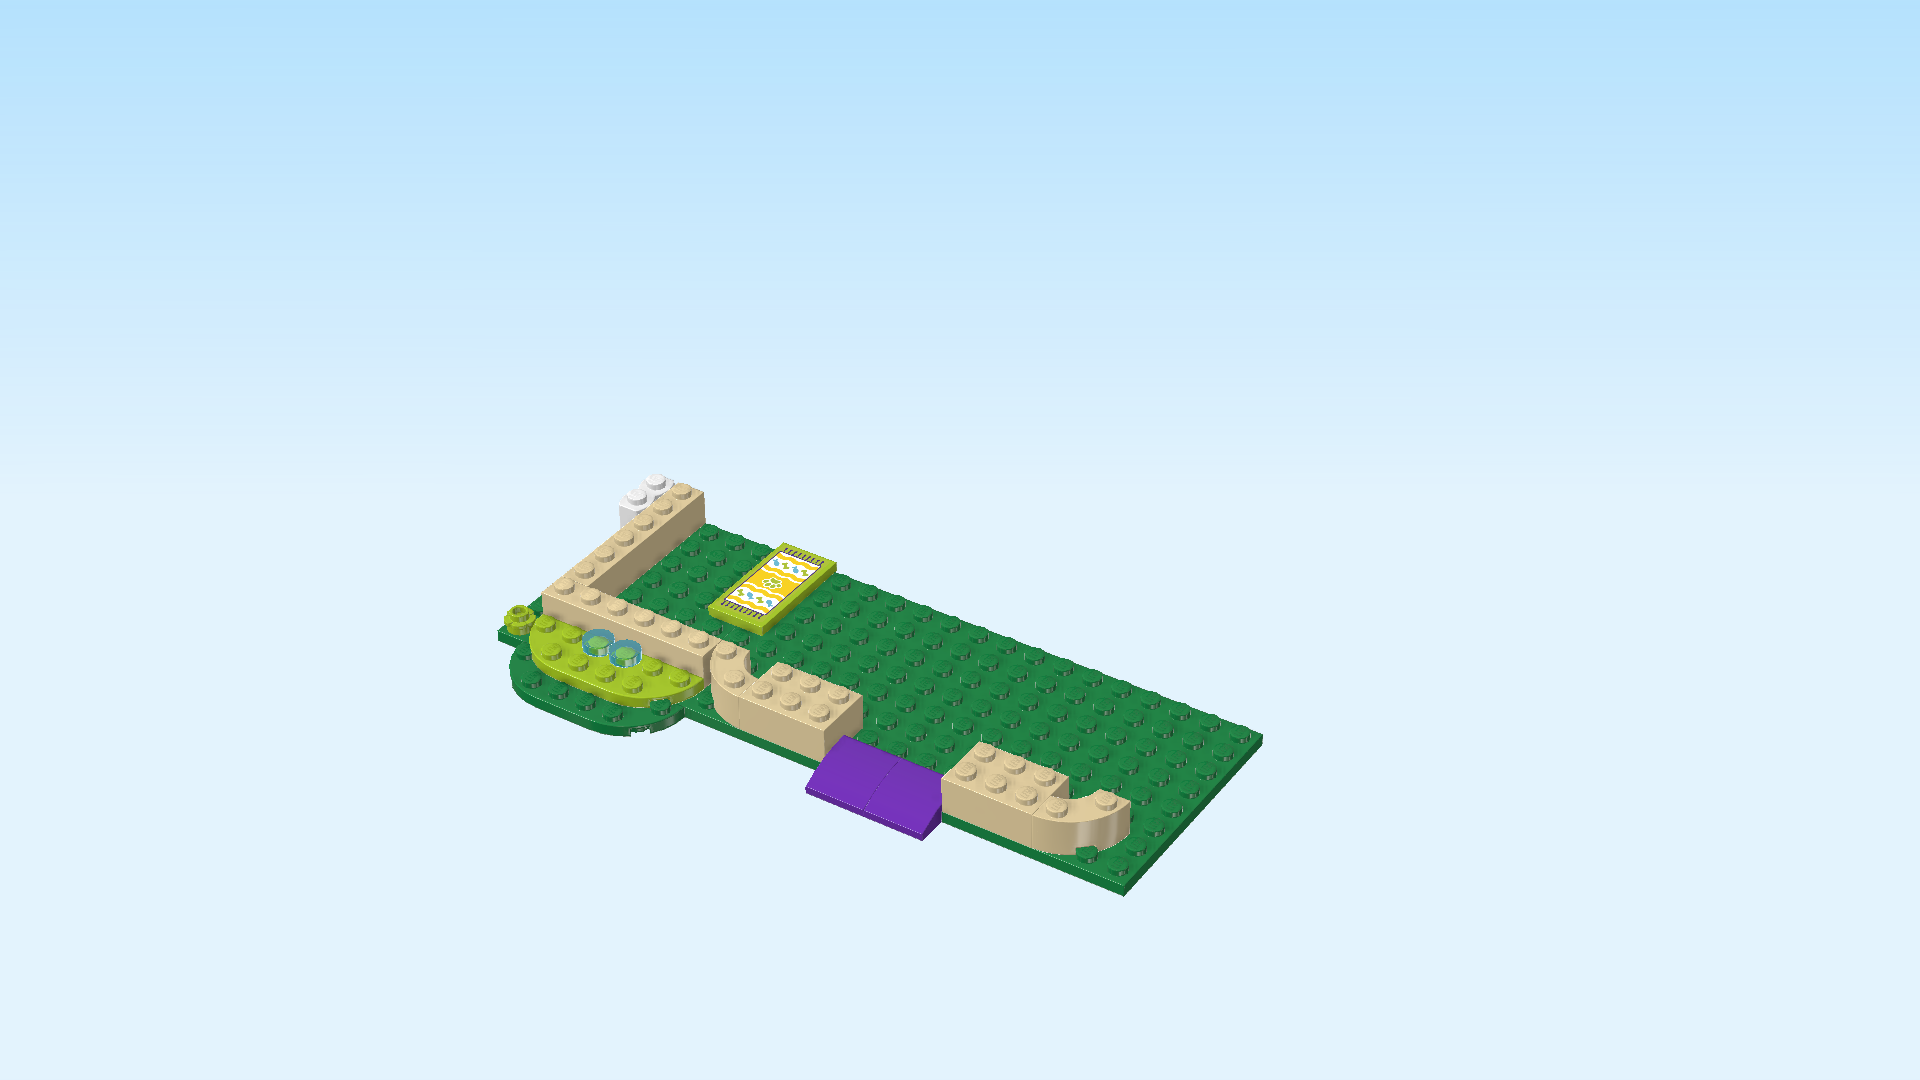
| Put the brick 2x3 horizontally to the right of the previous piece on the 2 frontmost rows. |
| Put the quarter-arched brick 2x2 to the right of the previous piece, arch to the right front. |
| Collect the following 2 pieces: |
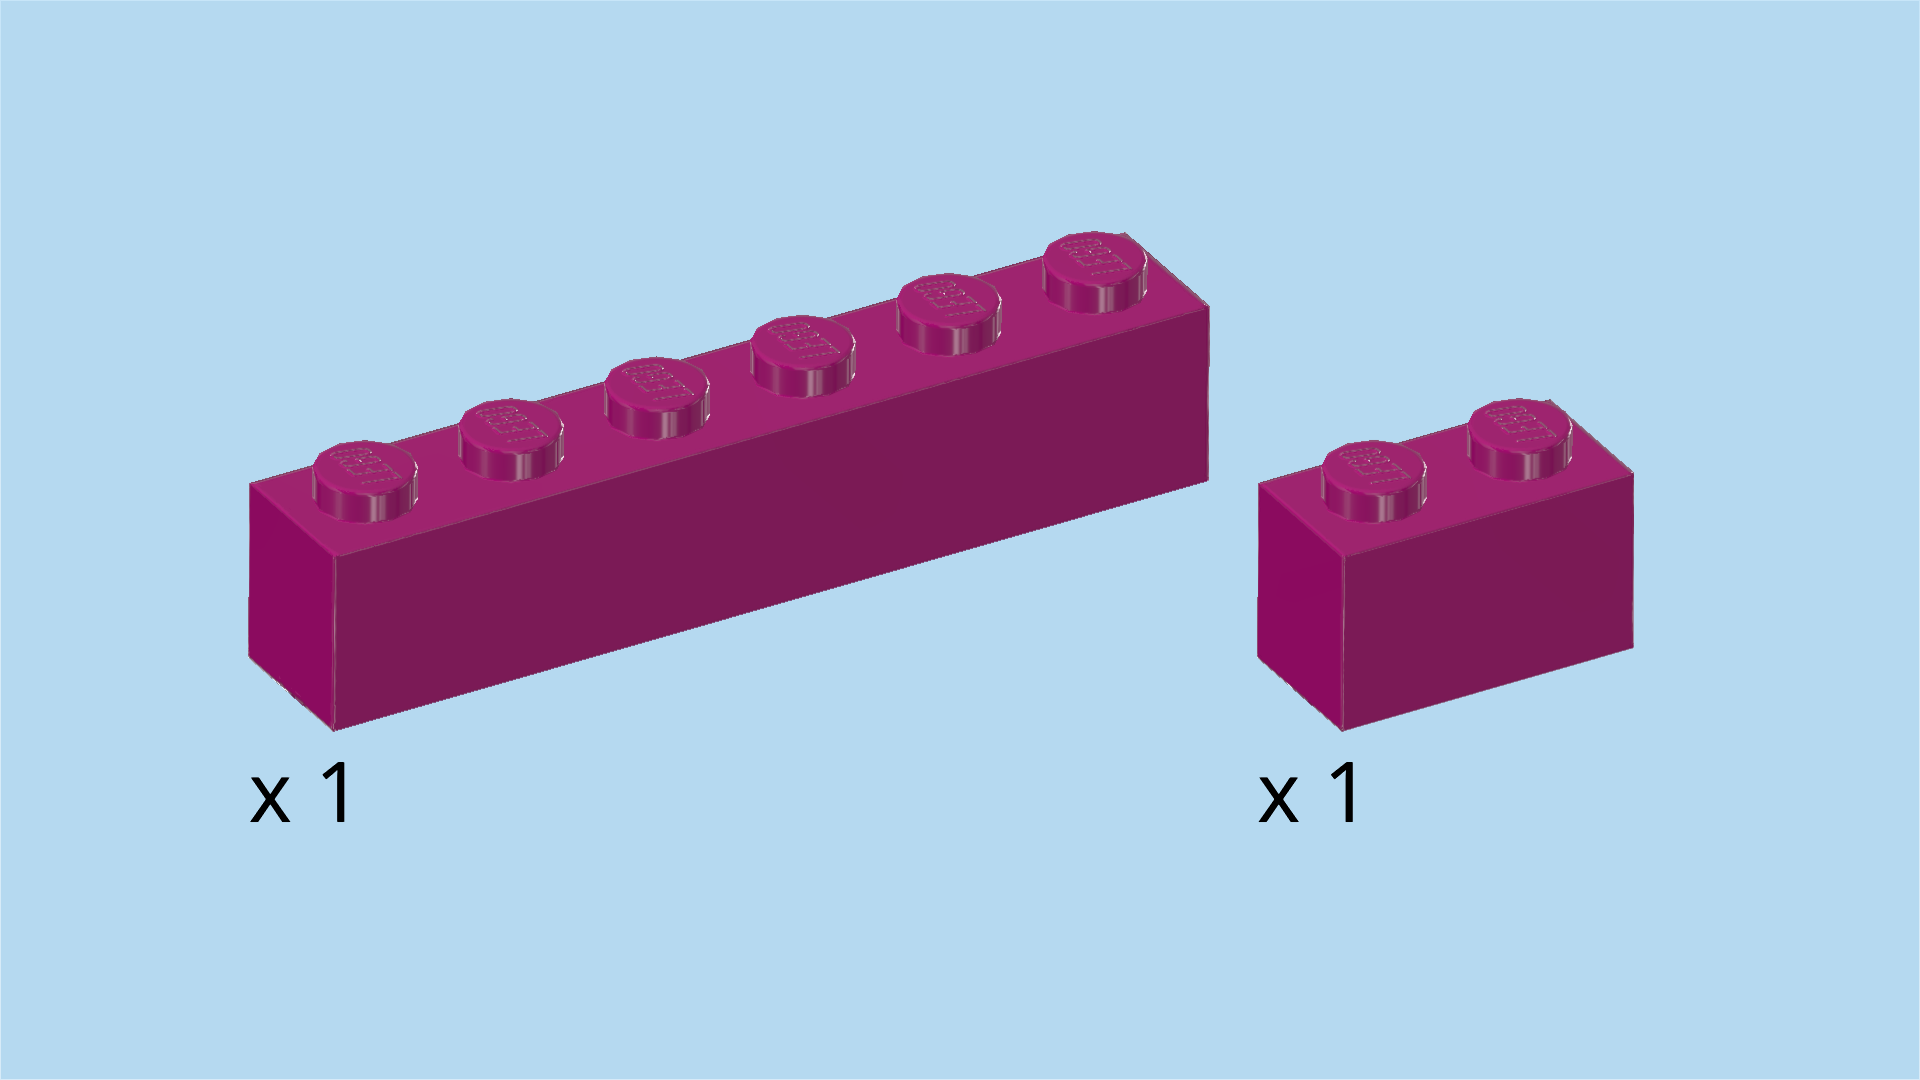
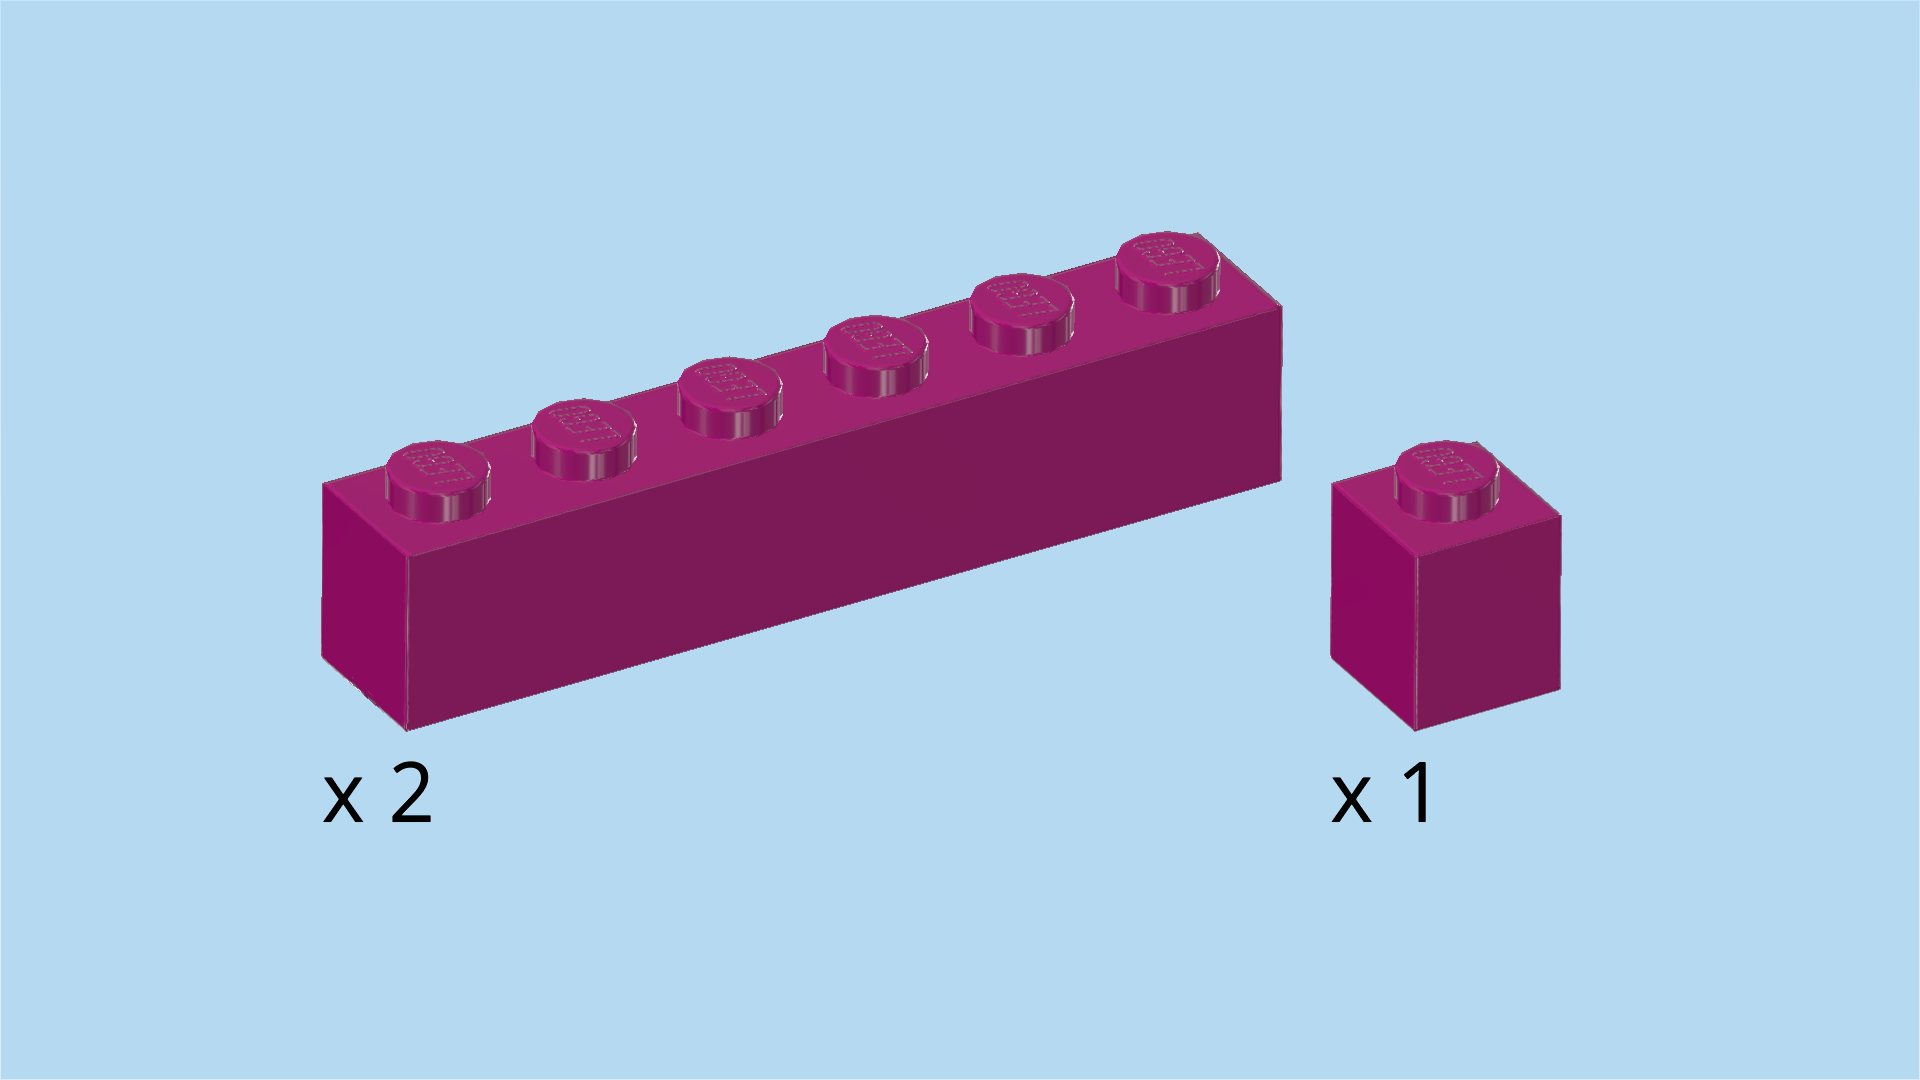
| 1 purple violet brick 1x2, |
| and 1 purple violet brick 1x6. |
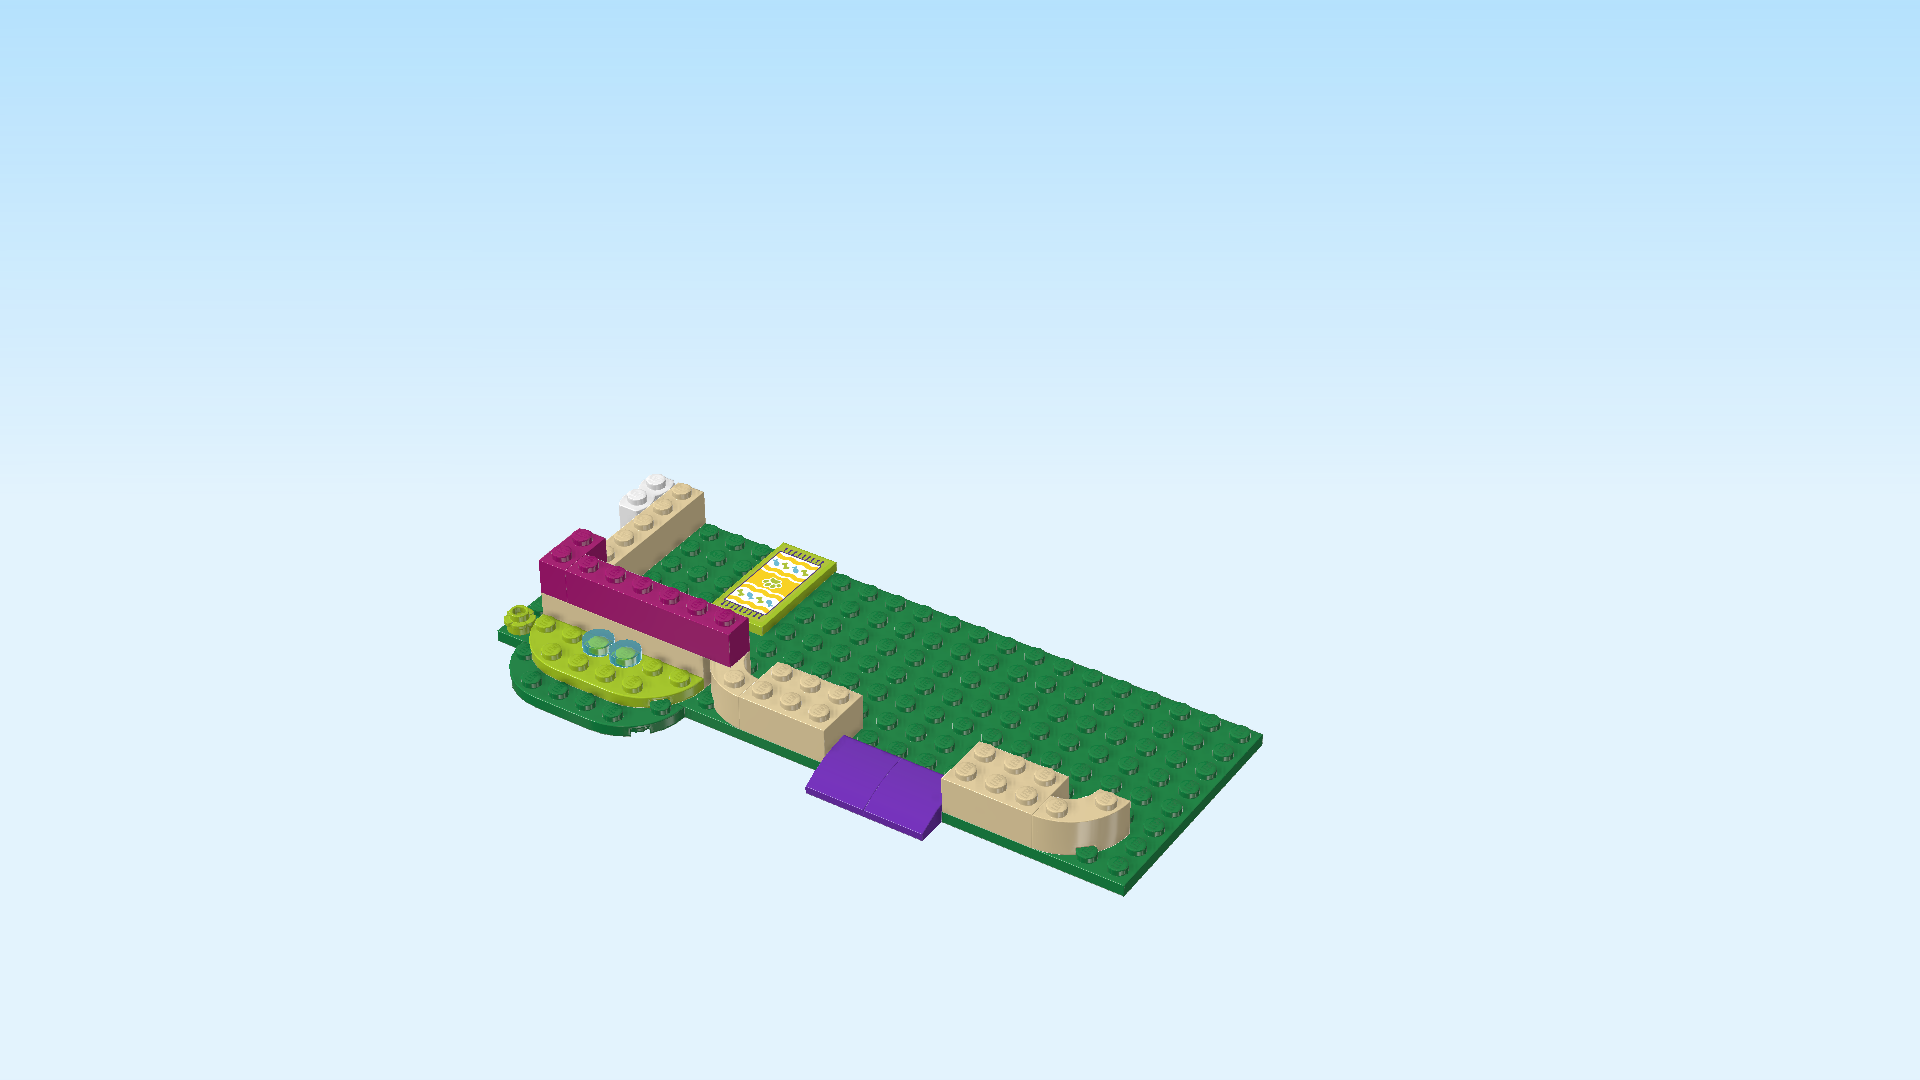
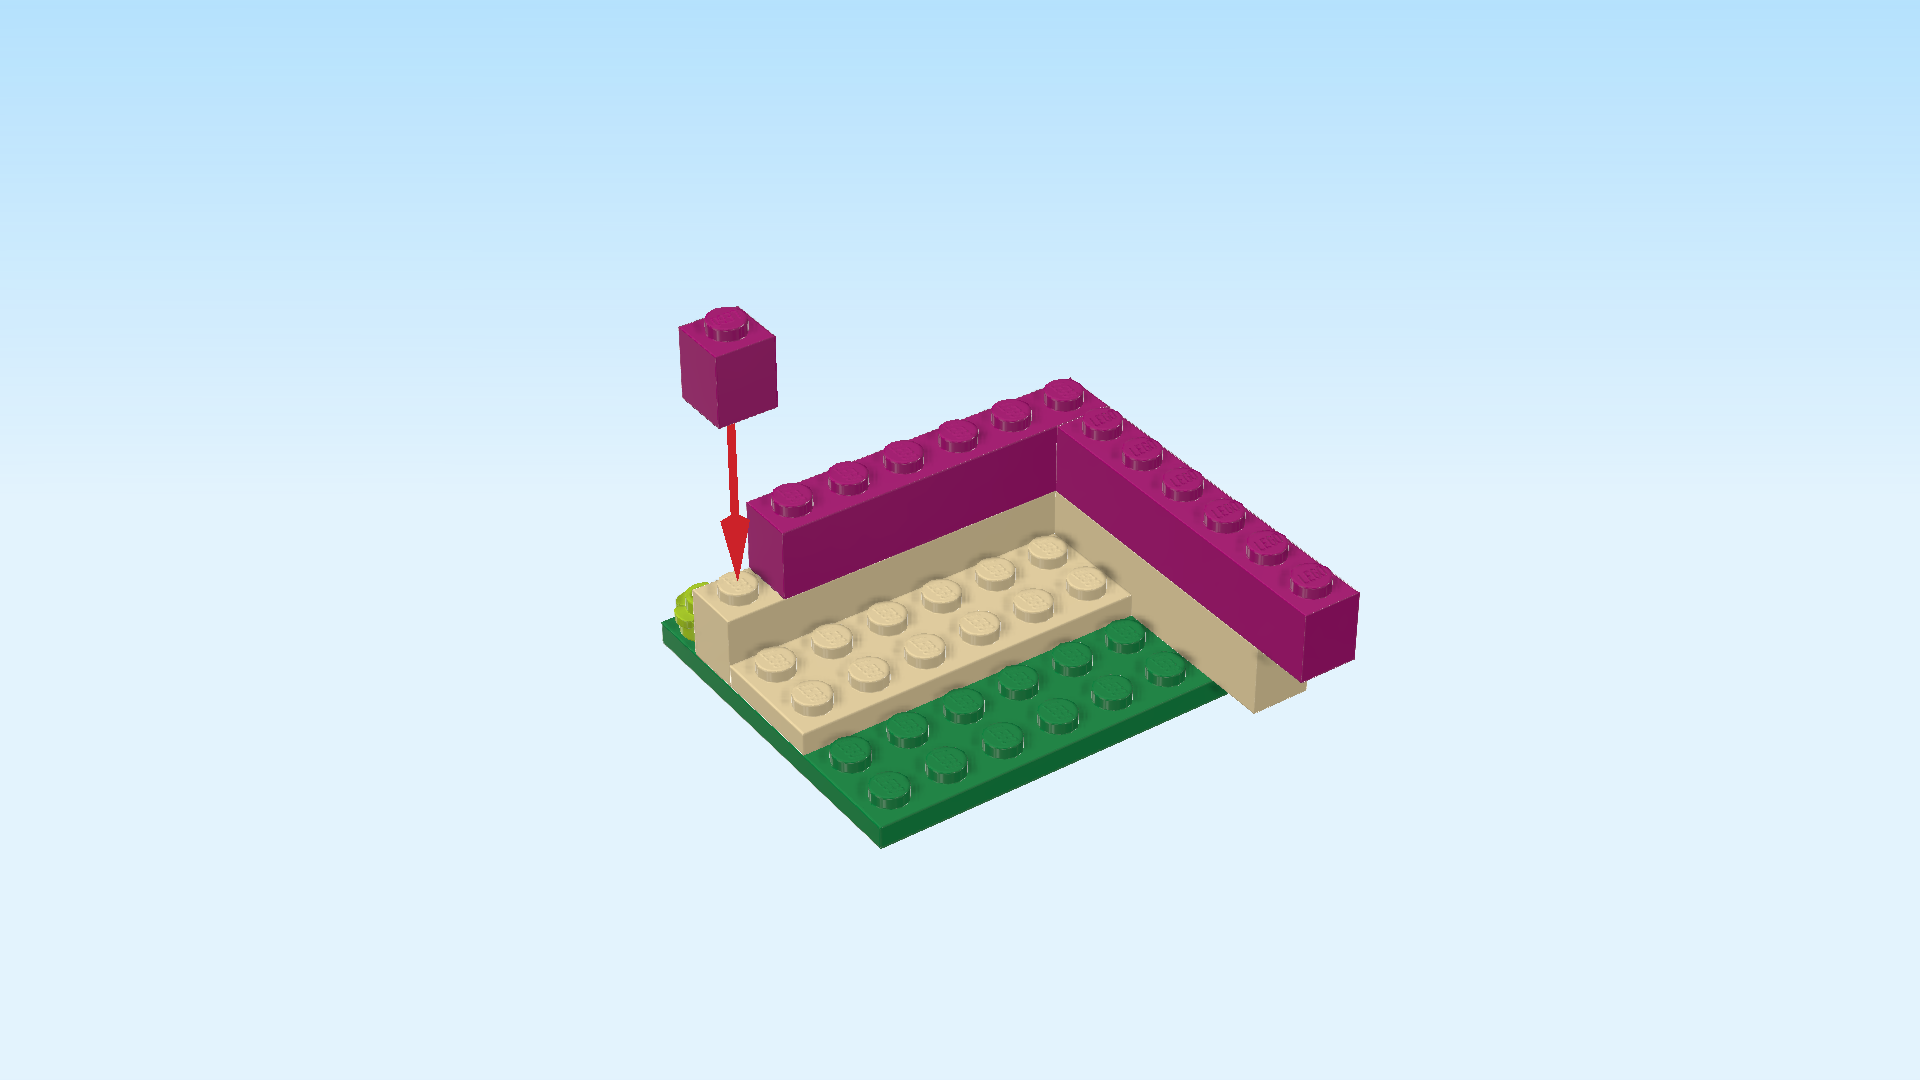
| Put the brick 1x2 vertically on the wall foundation of the left side wall, starting from its front edge. |
| Put the brick 1x6 horizontally on the wall foundation to the right of the previous piece. |
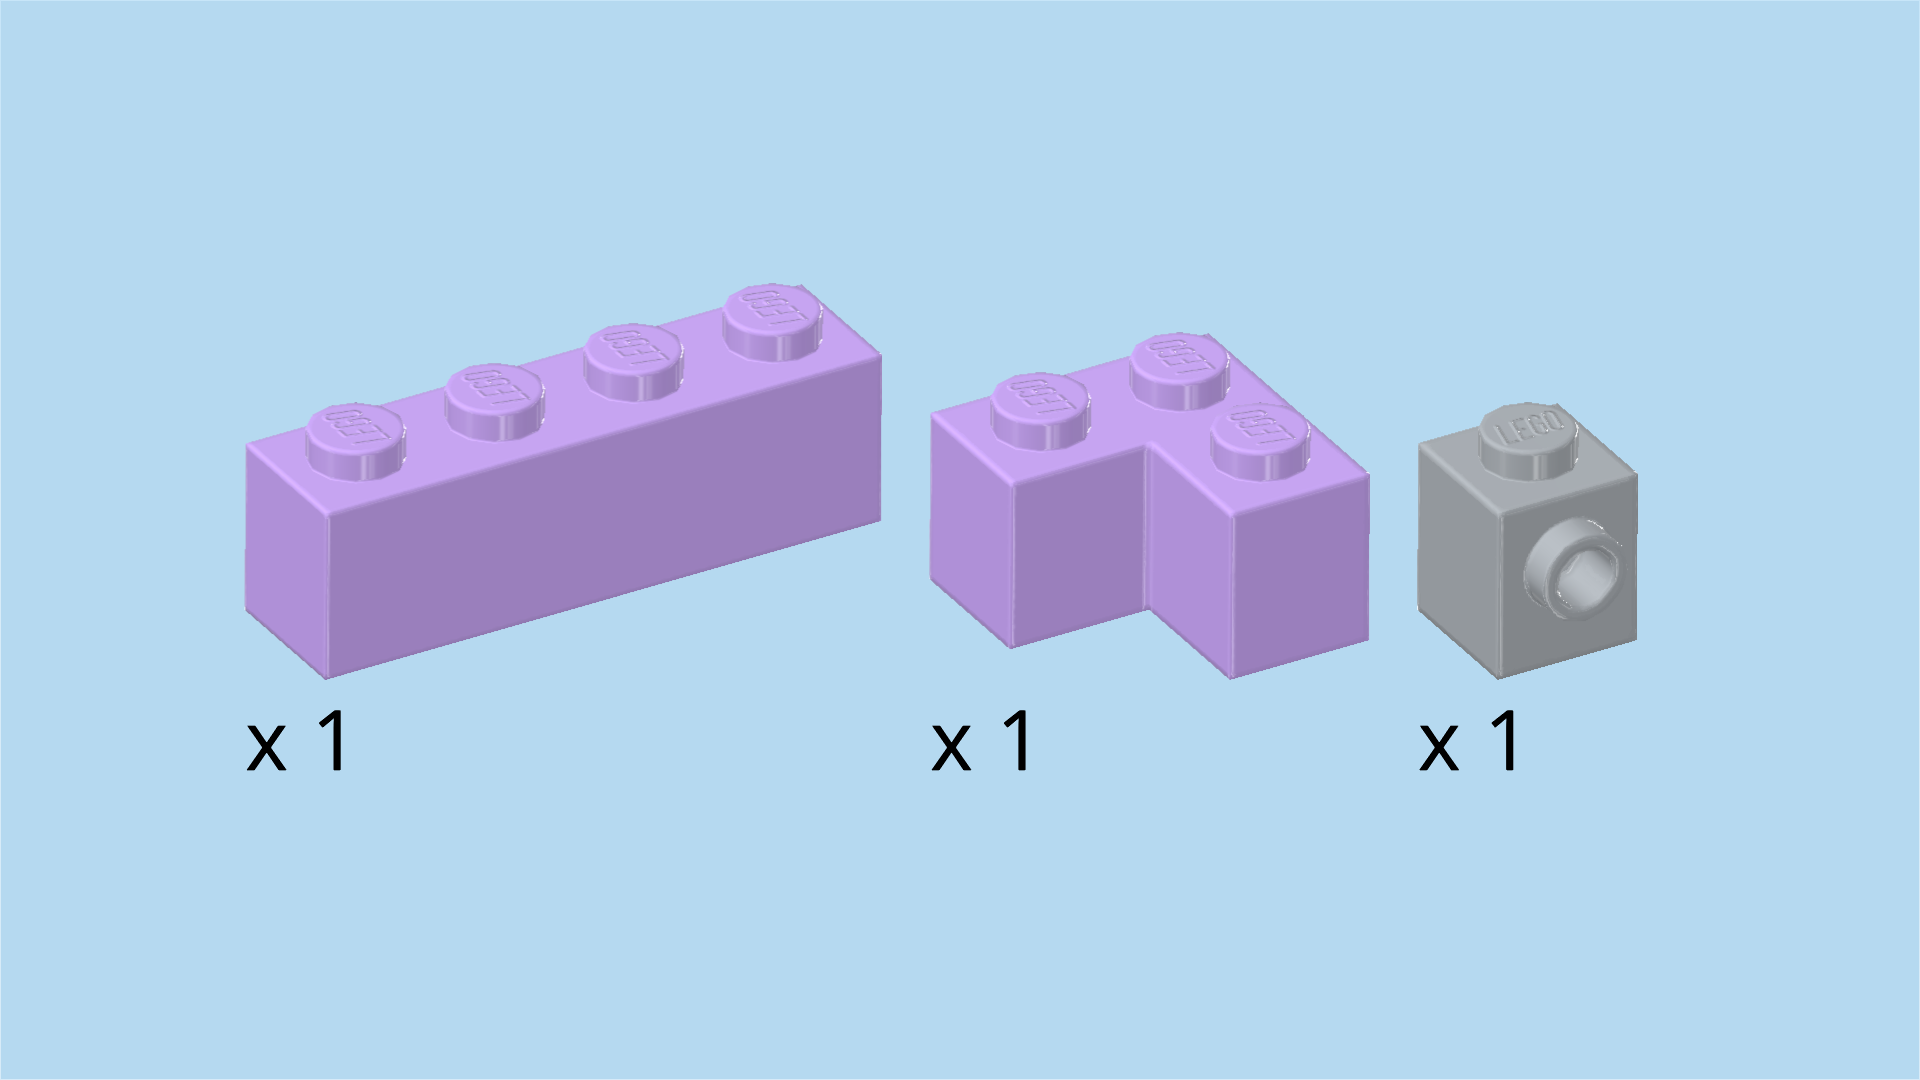
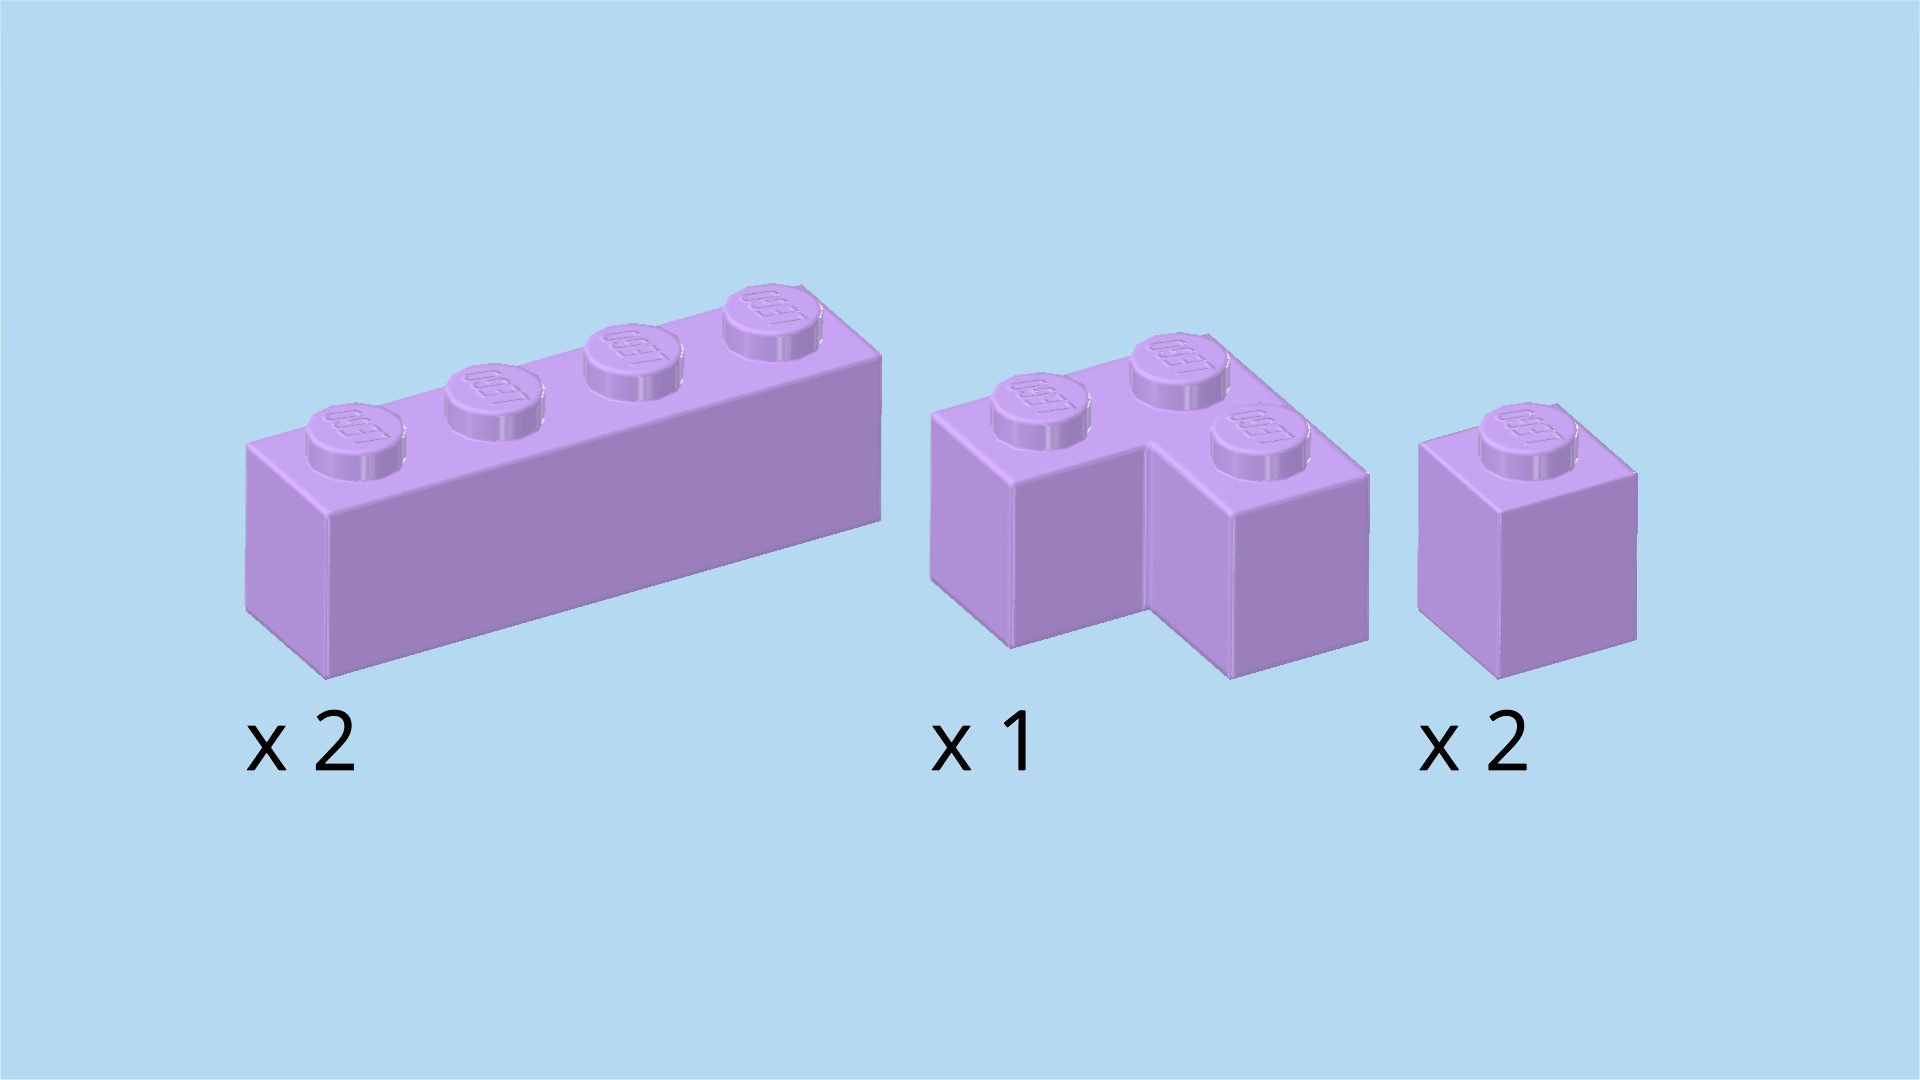
| Collect the following 3 pieces: |
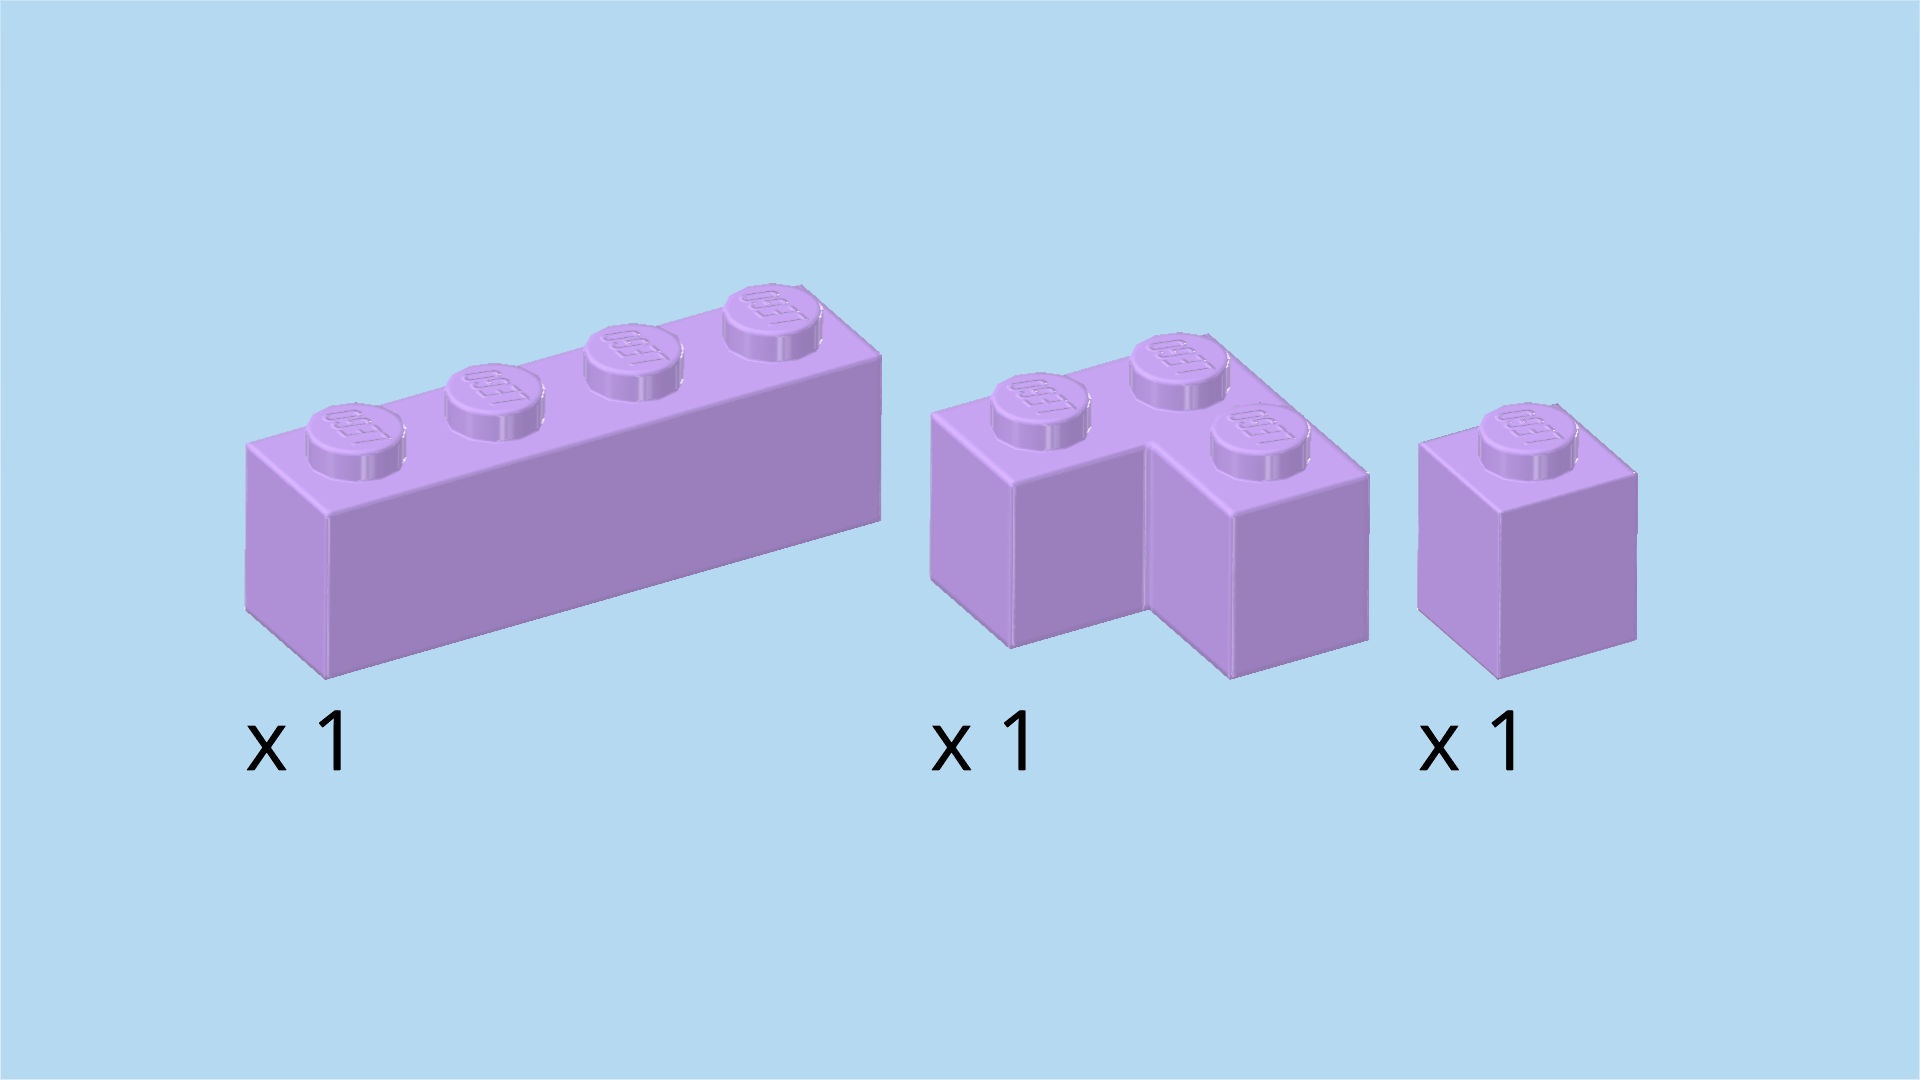
| 1 light lavender corner brick 1x2 - 1x2, |
| 1 medium stone grey brick 1x1 with side knob, |
| and 1 light lavender brick 1x4. |
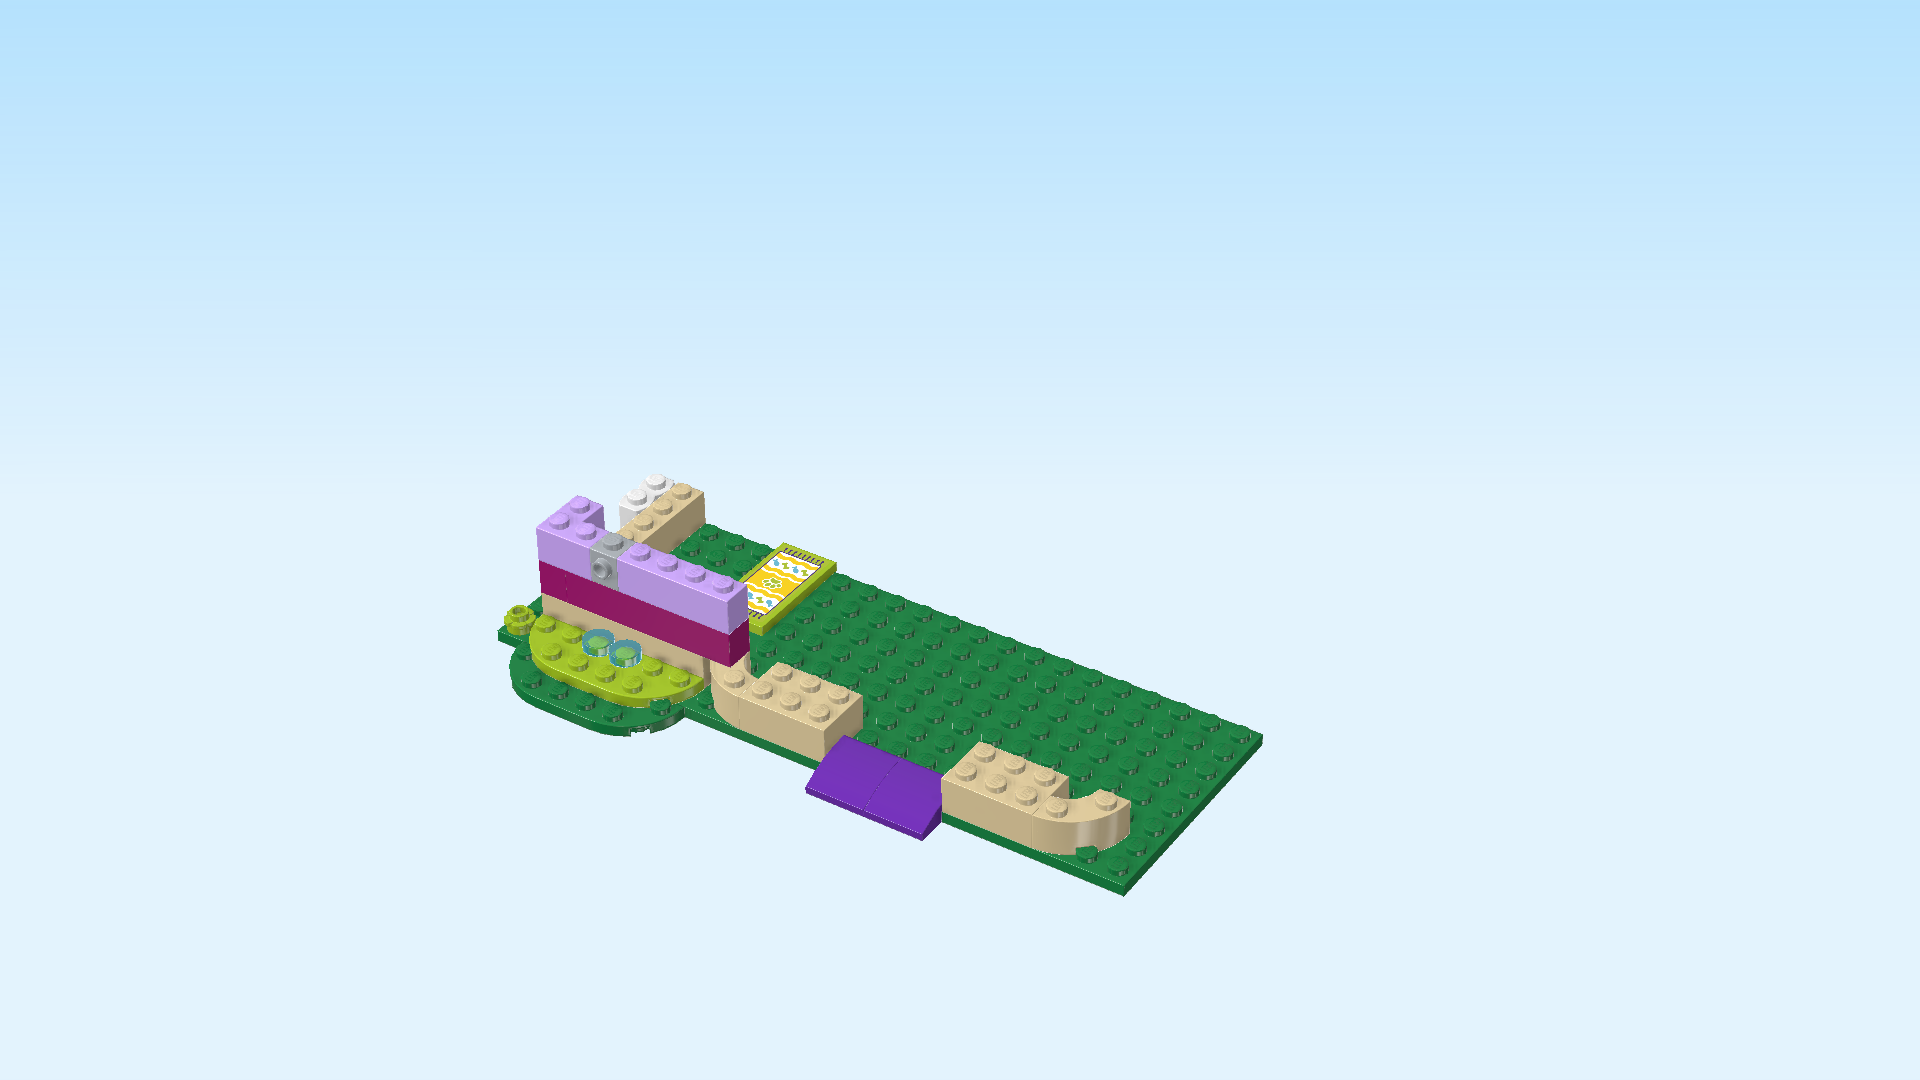
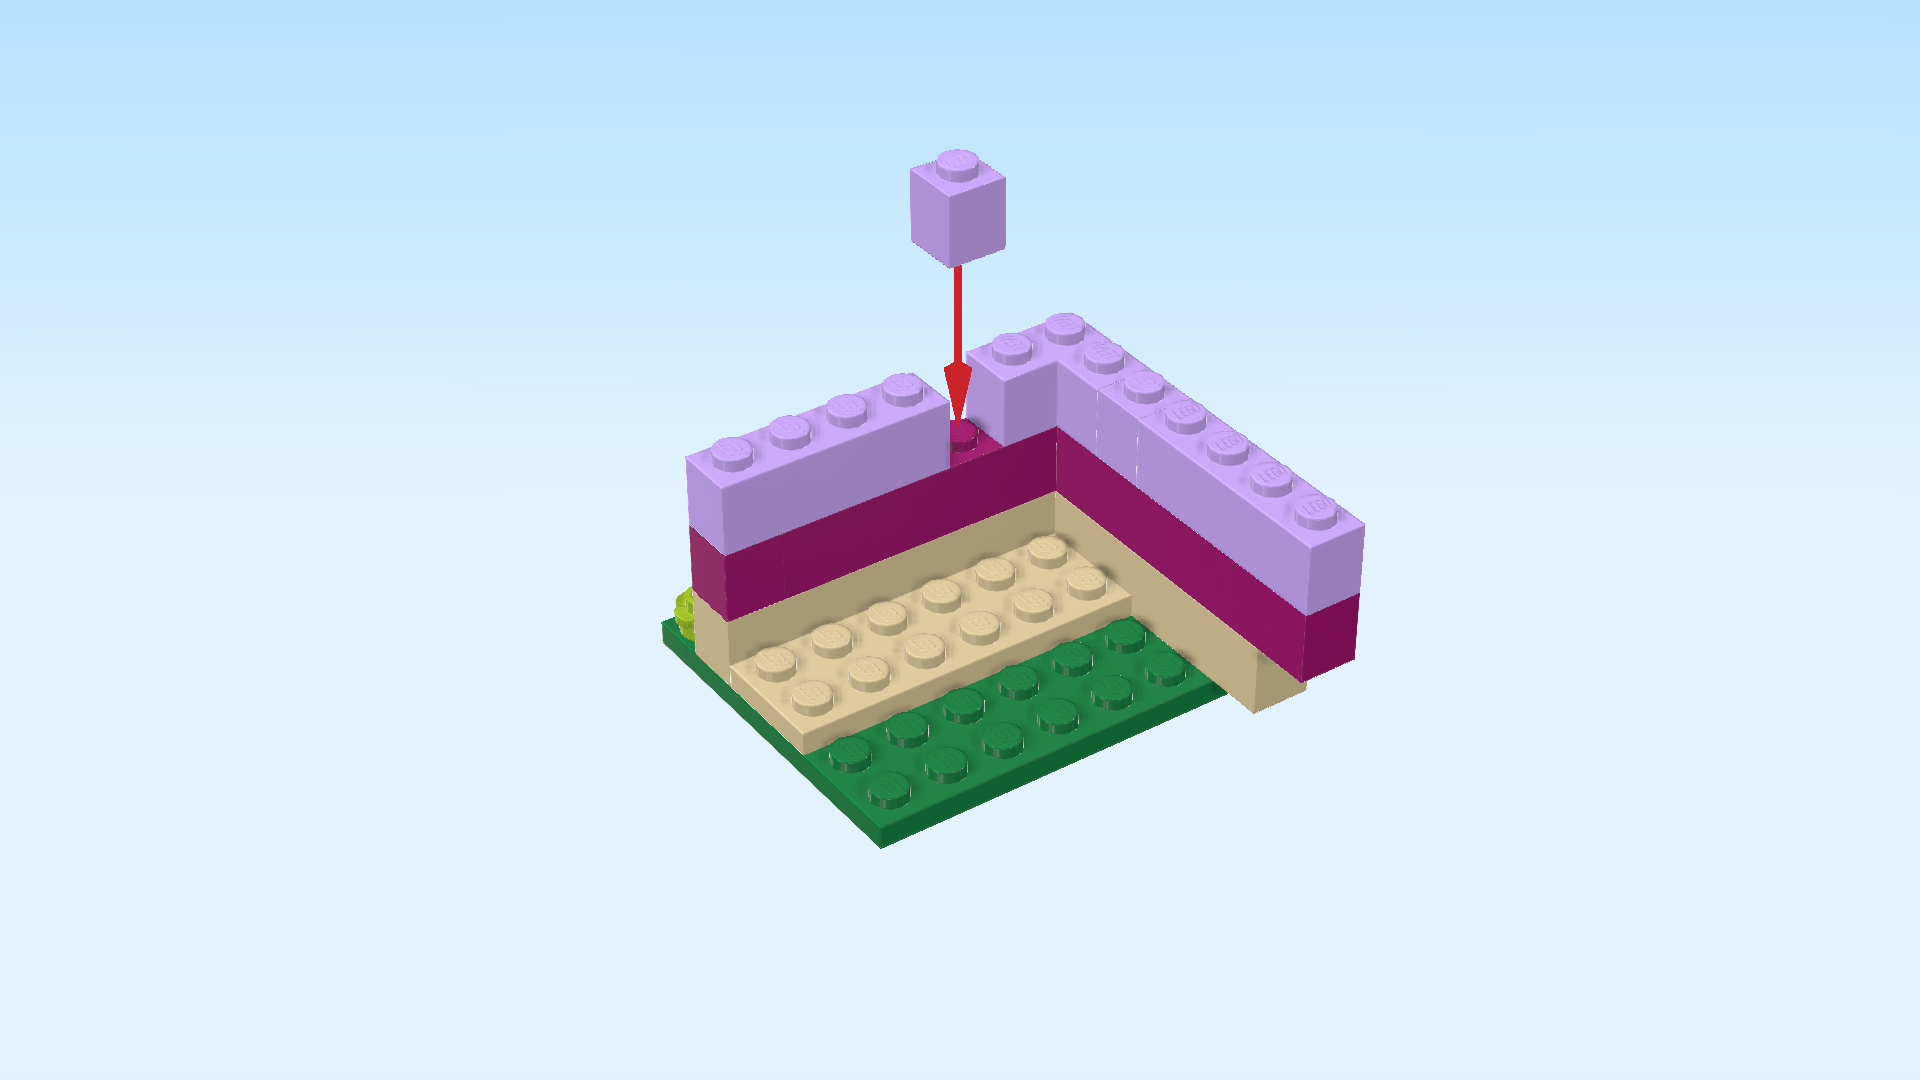
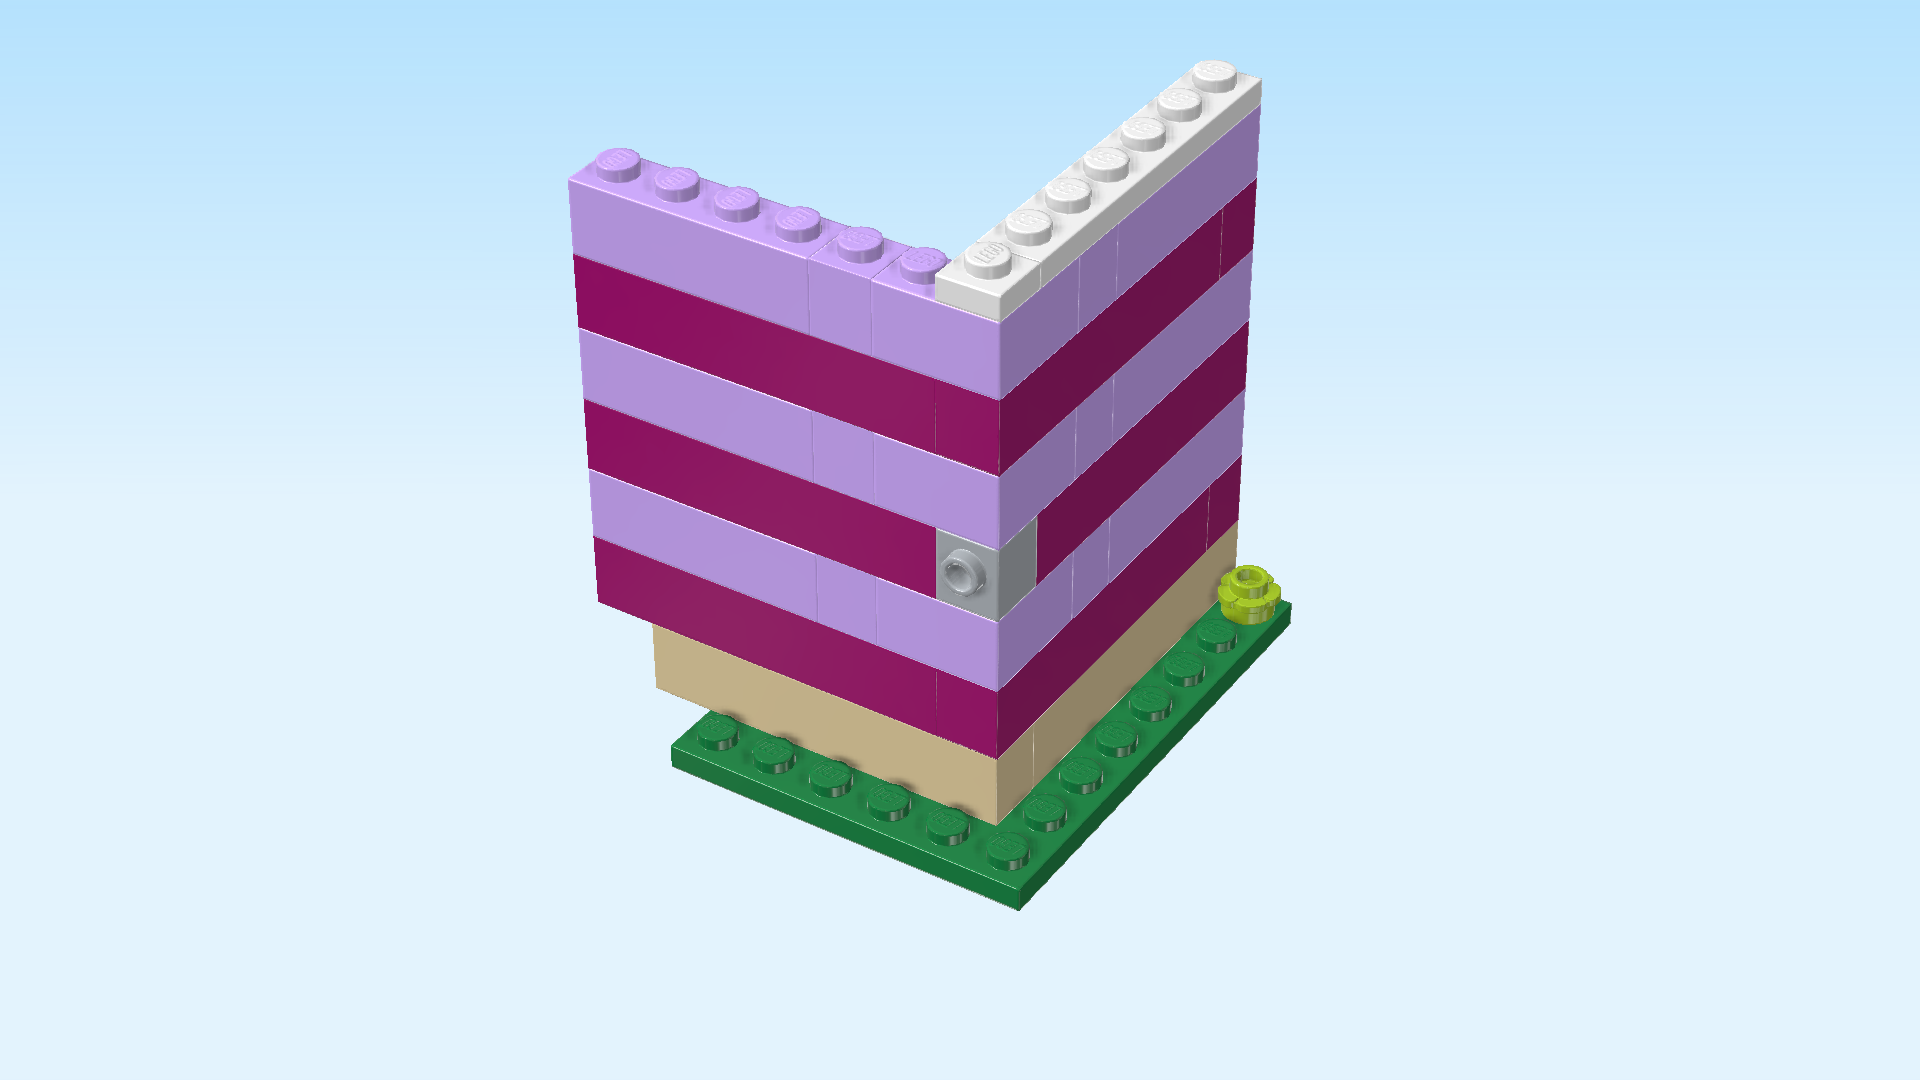
| Put the corner brick 1x2 on the wall corner of the 2 wall foundations. Its shape should match the shape of the wall corner. |
| Put the brick 1x1 with side knob to the right of the previous piece, side knob to the front. |
| Put the brick 1x4 horizontally to the right of the previous piece. |
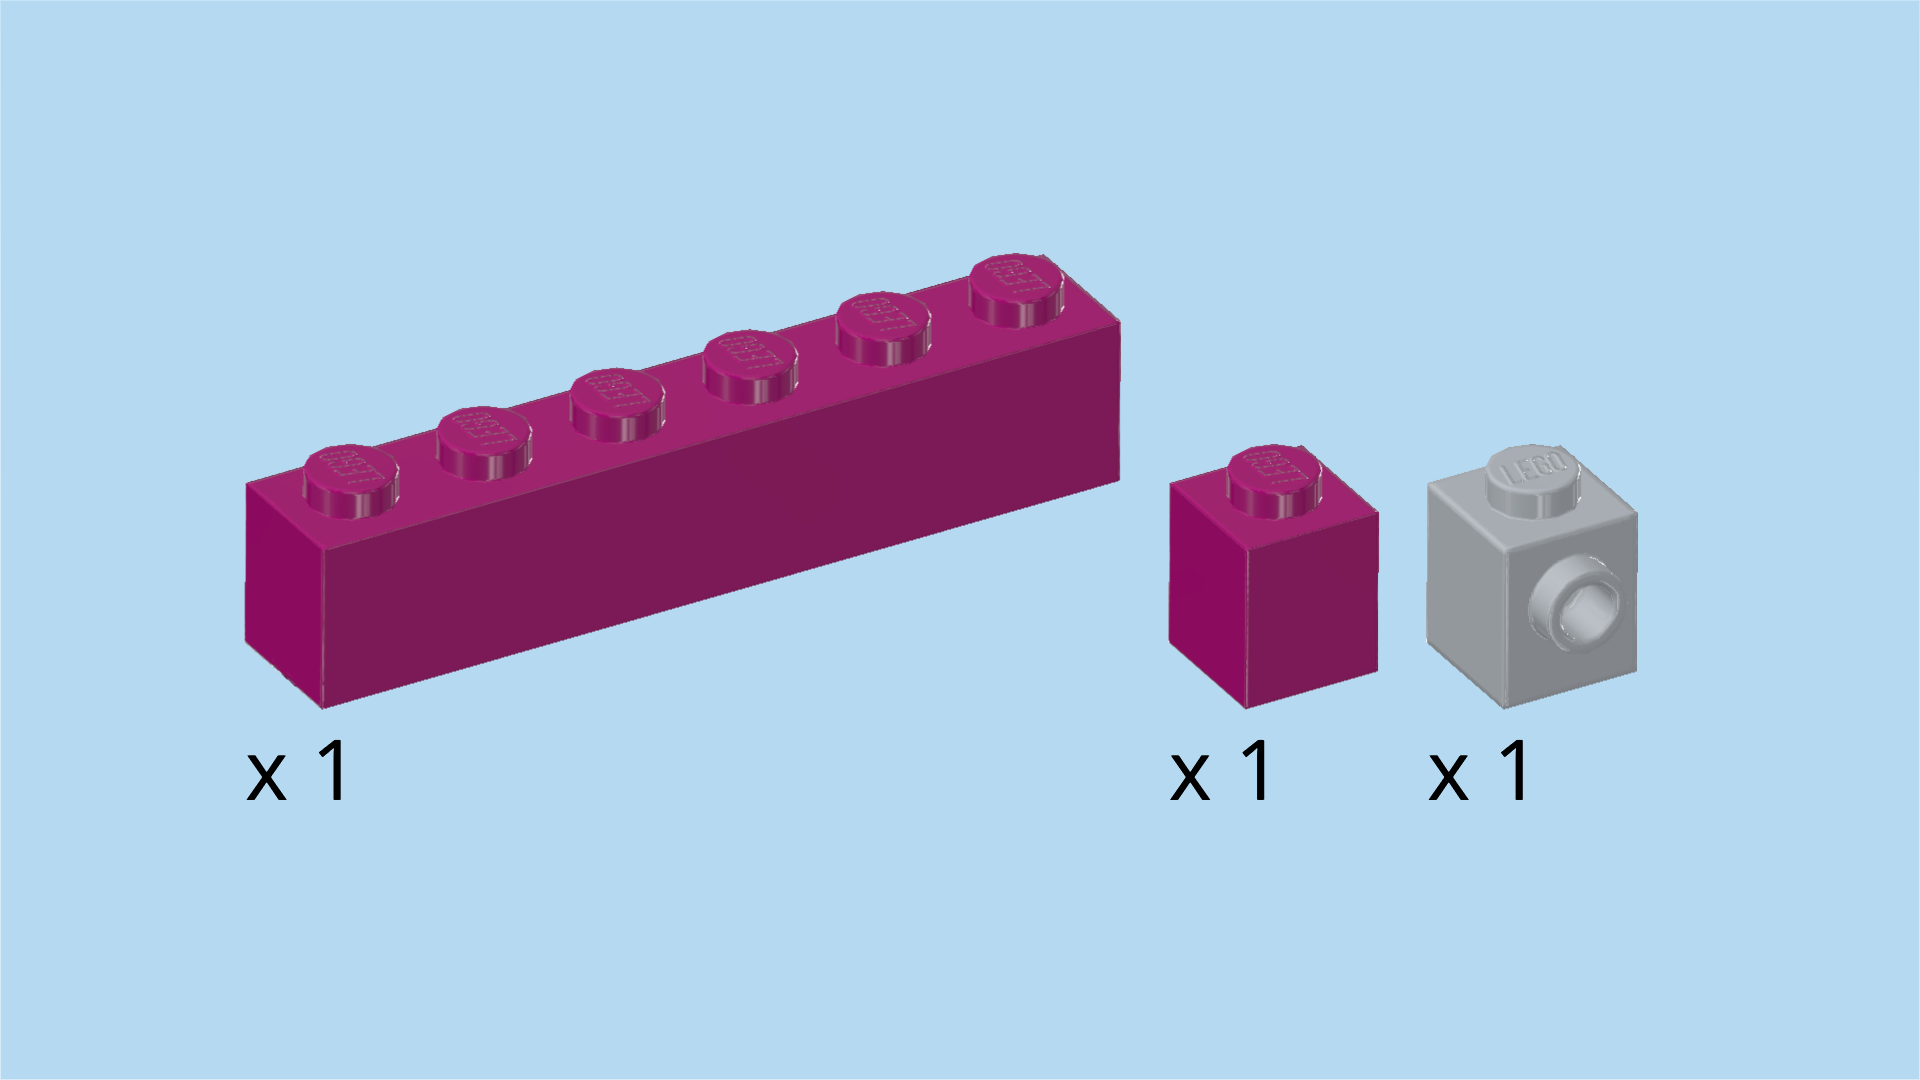
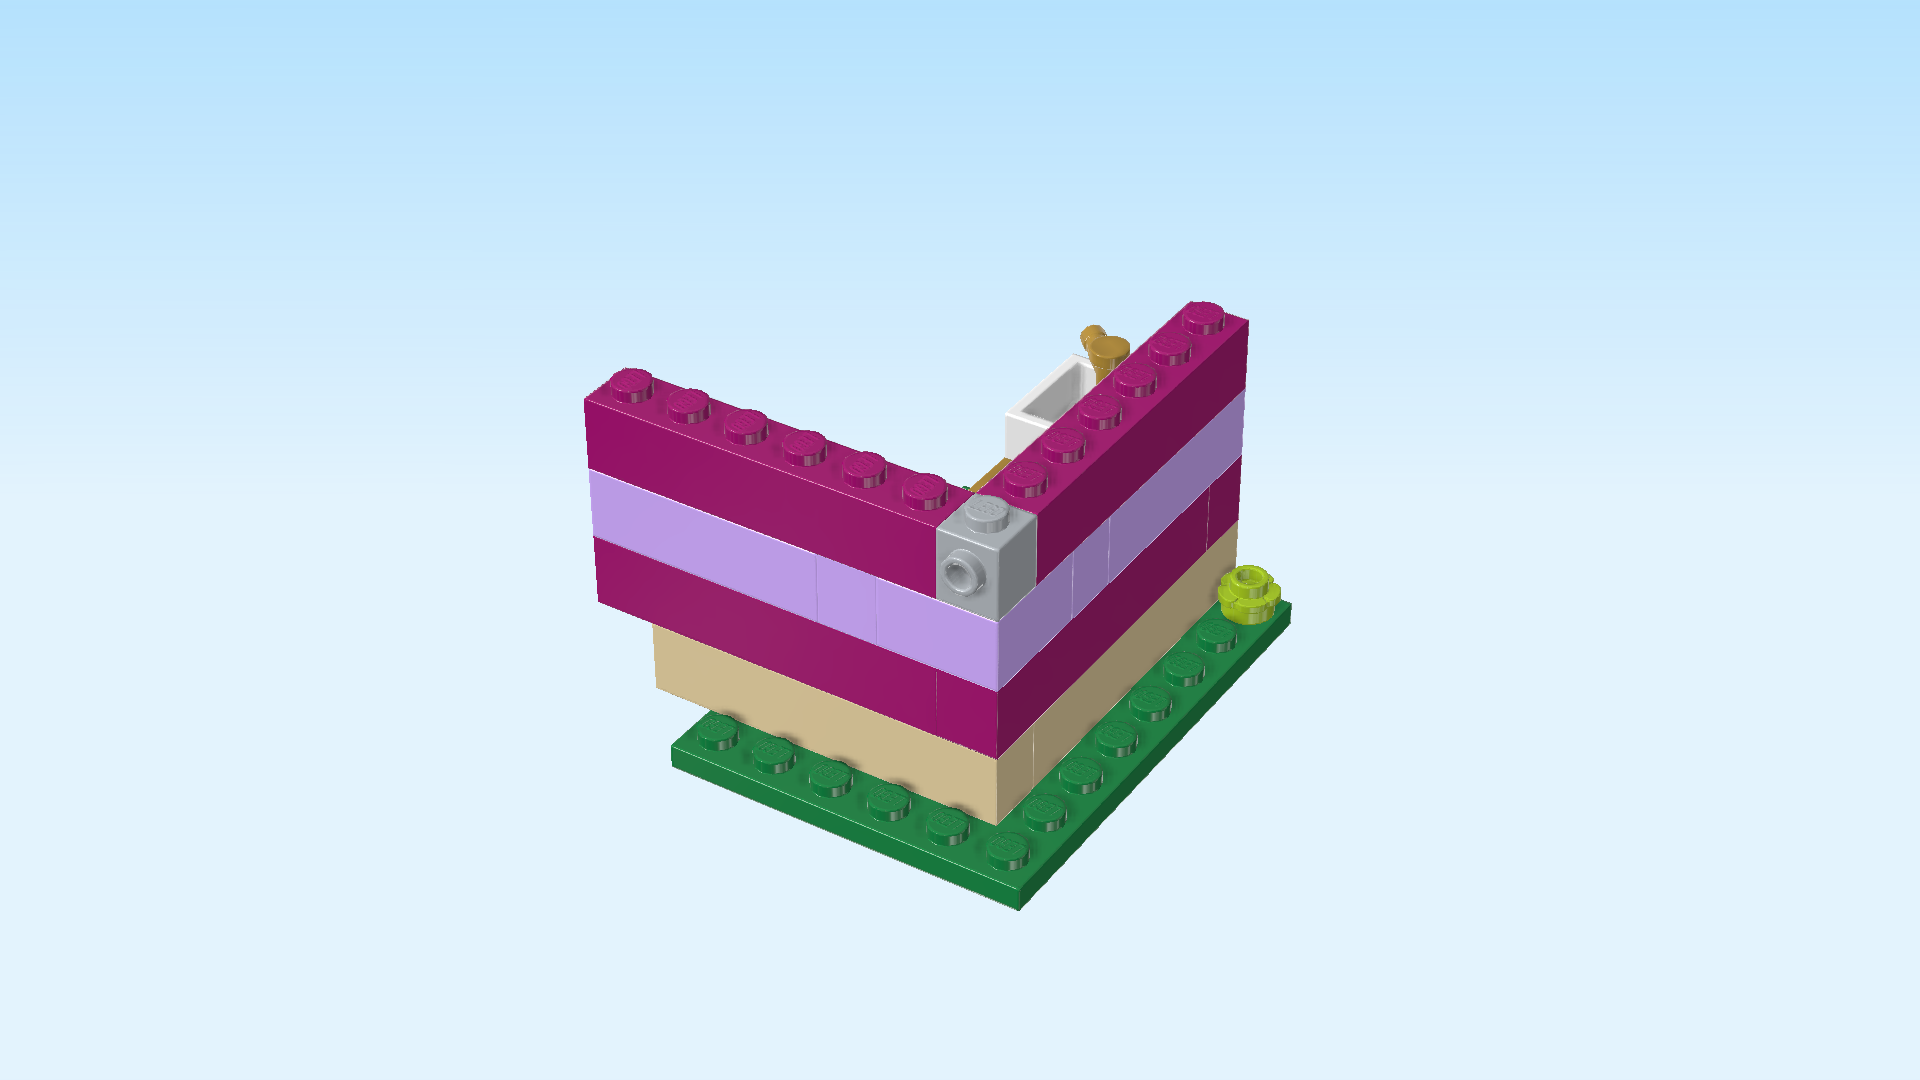
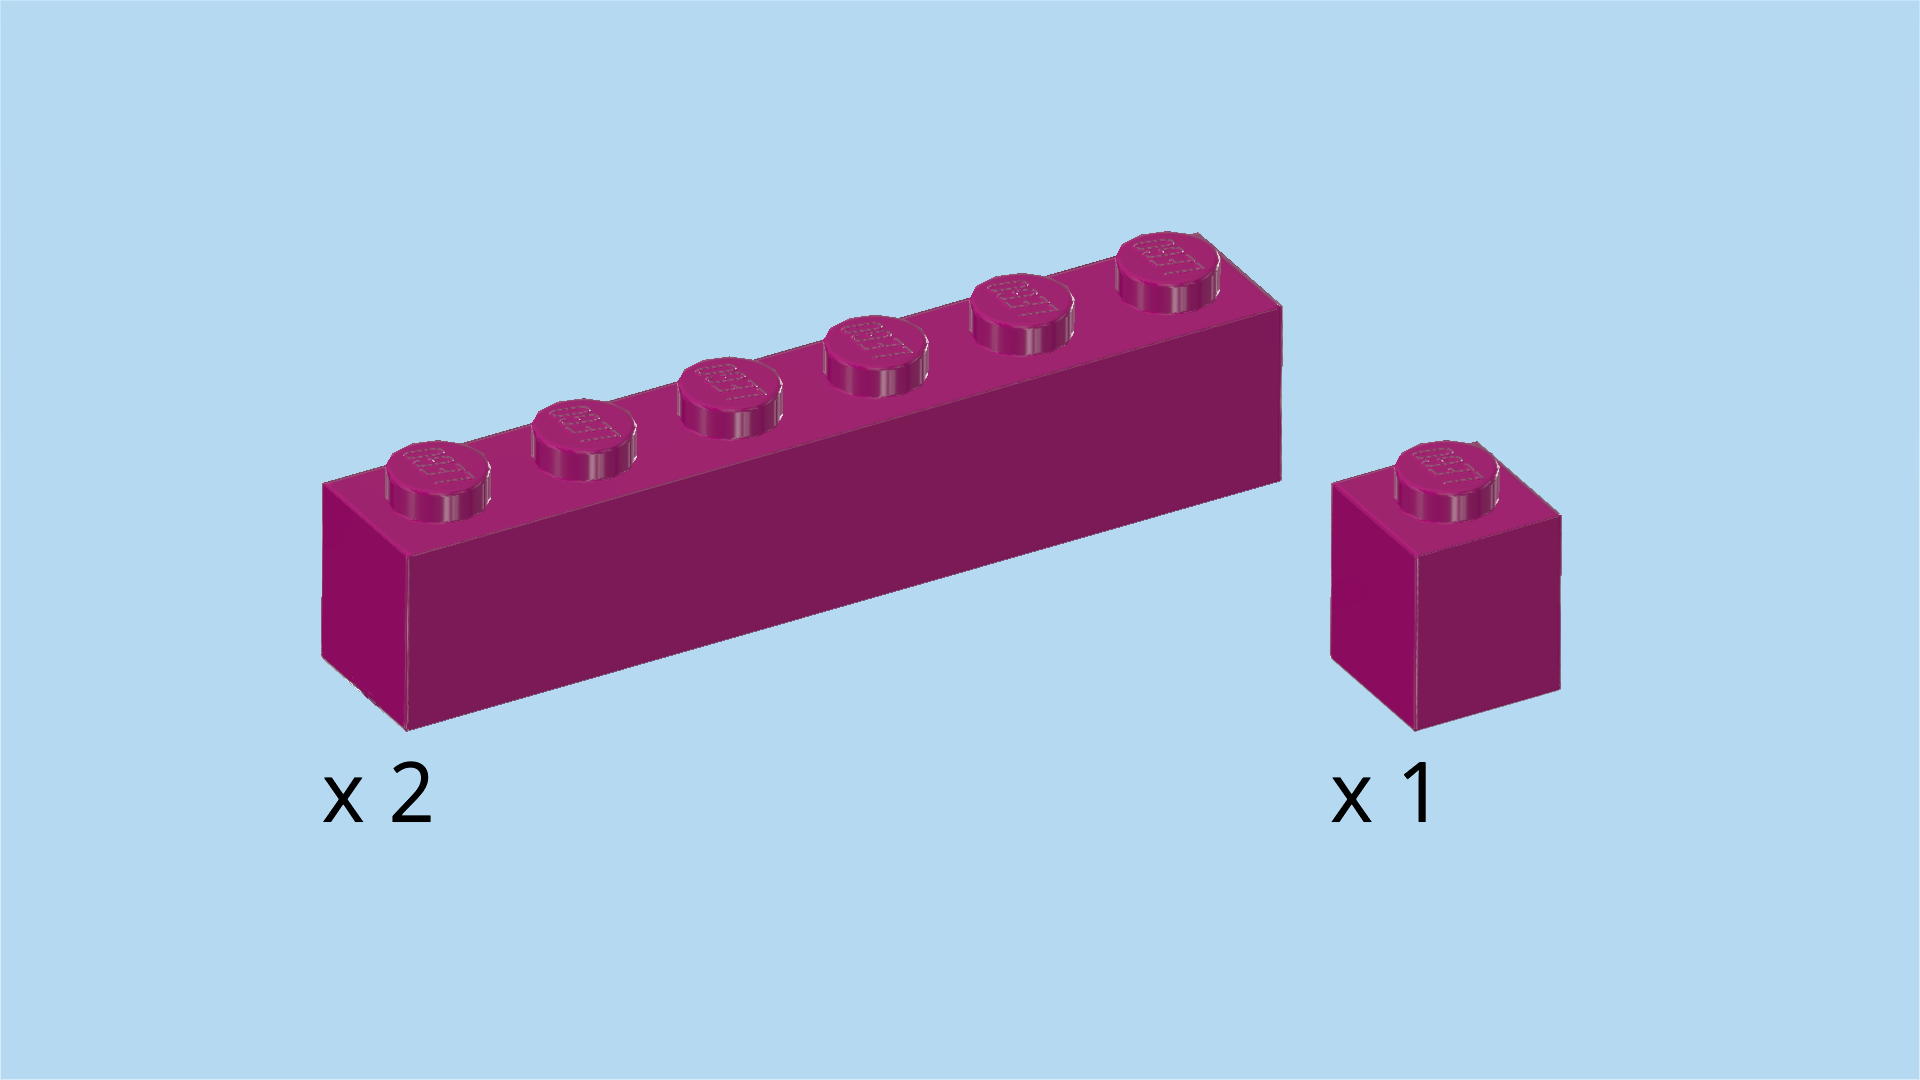
| Collect the following 3 pieces: |
| 1 purple violet brick 1x1, |
| 1 medium stone grey brick 1x1 with side knob, |
| and 1 purple violet brick 1x6. |
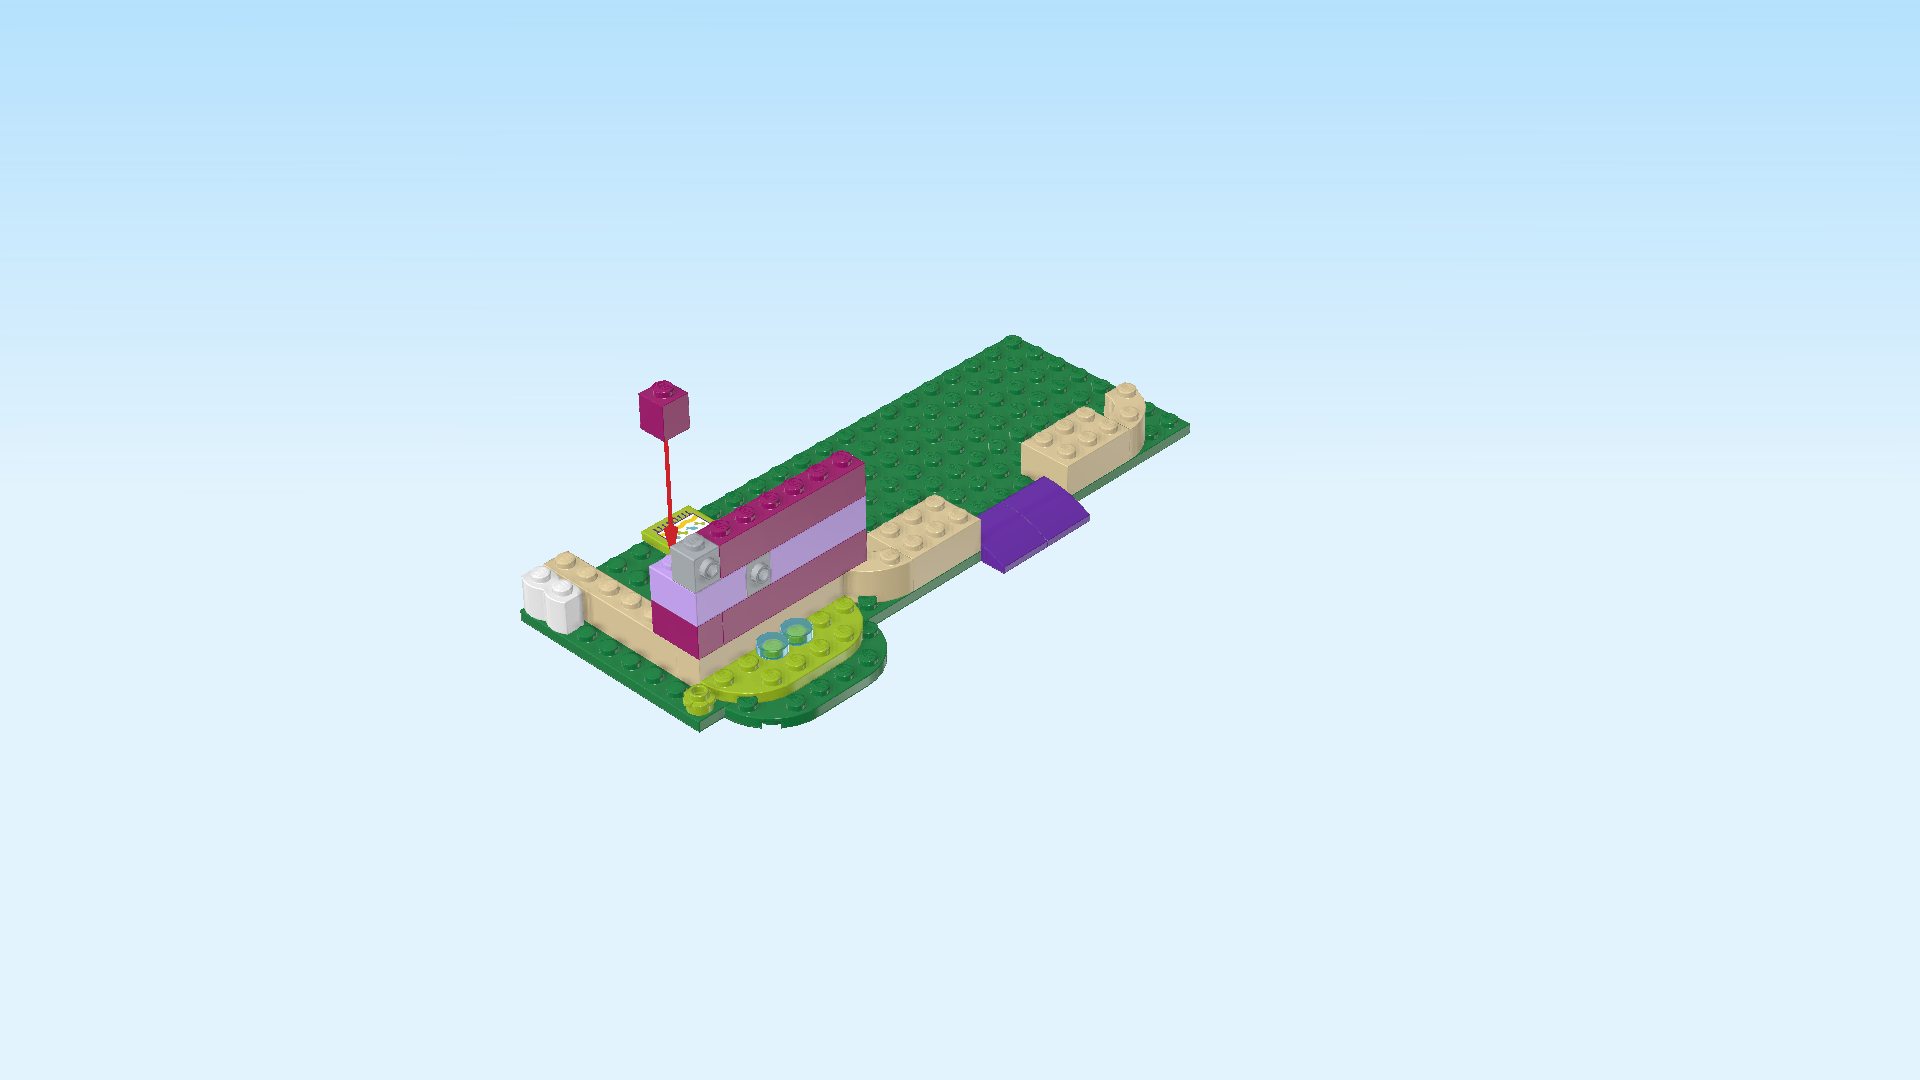
| Put the brick 1x6 horizontally on top of the previous piece, starting from the right edge of the previous piece. |
| Put the brick 1x1 with side knob to the left of the previous piece, side knob to the front. |
| Put the brick 1x1 behind the previous piece. |
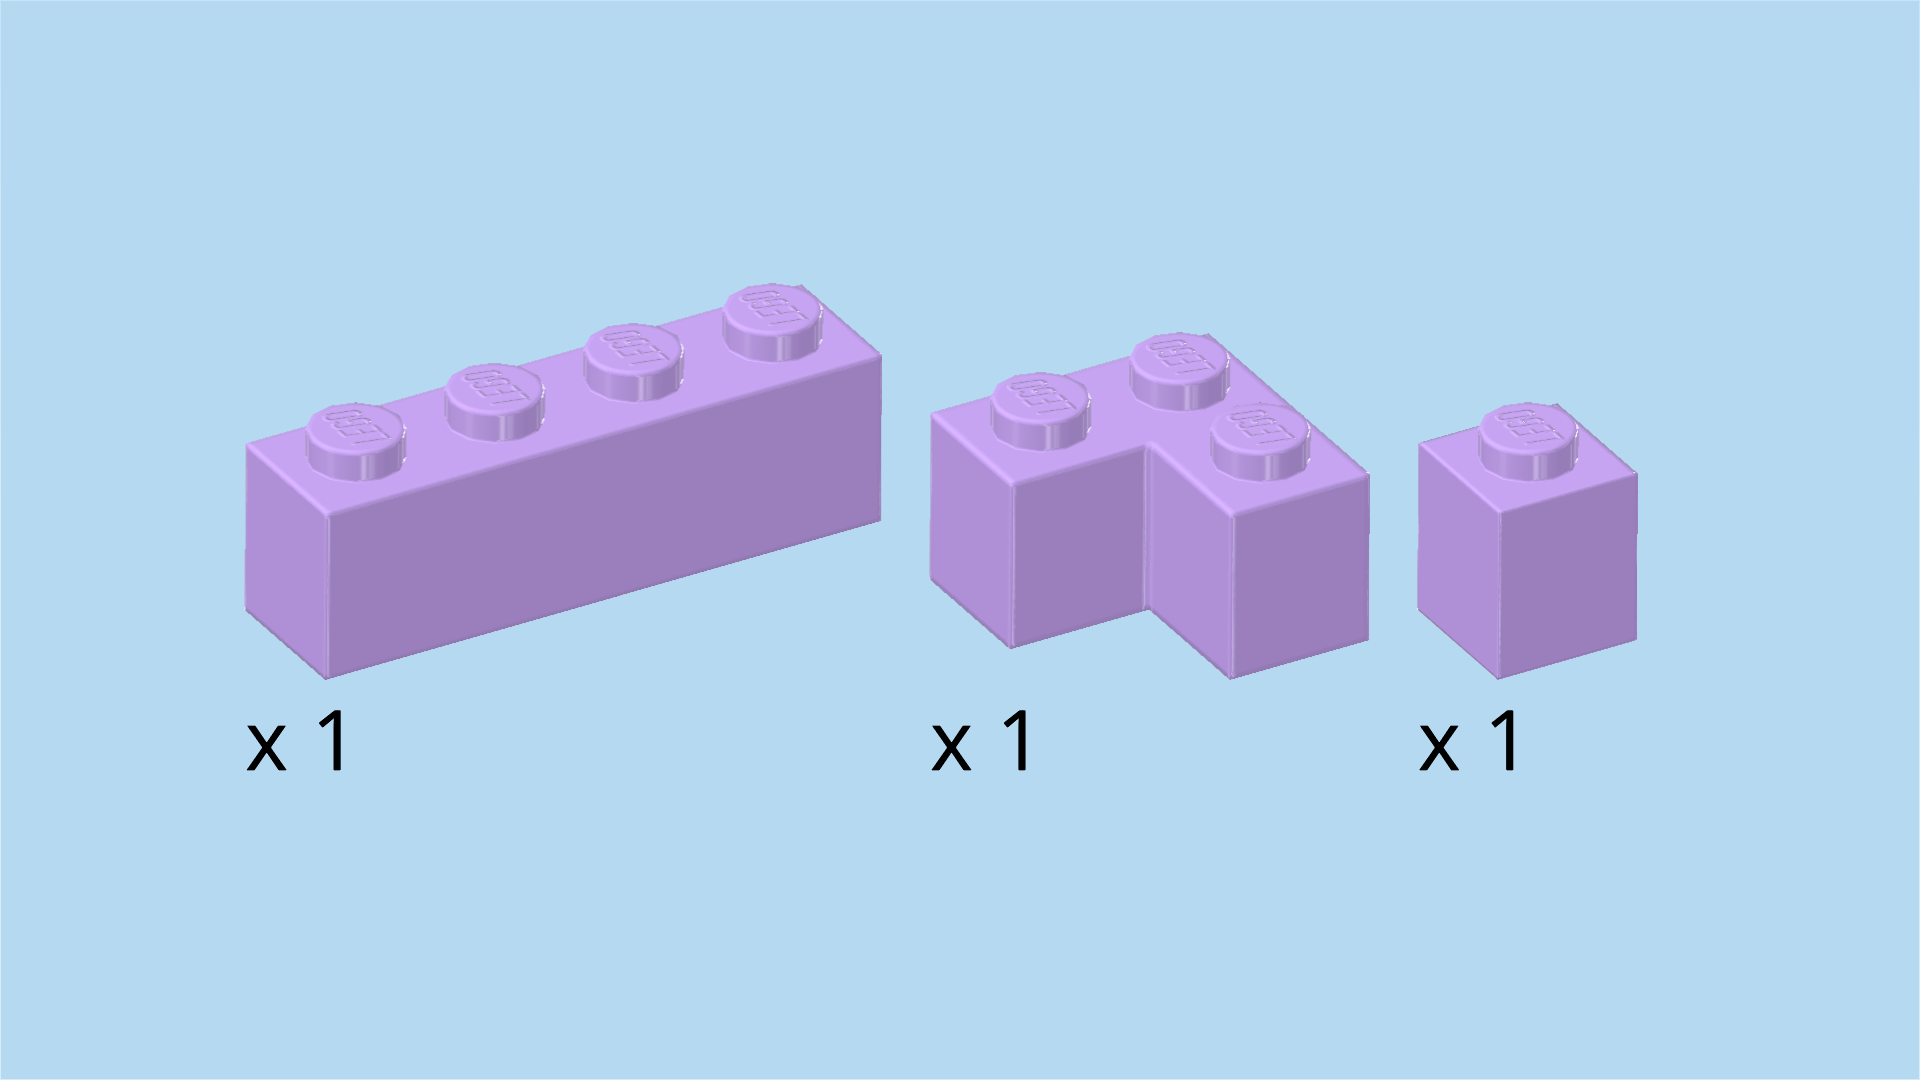
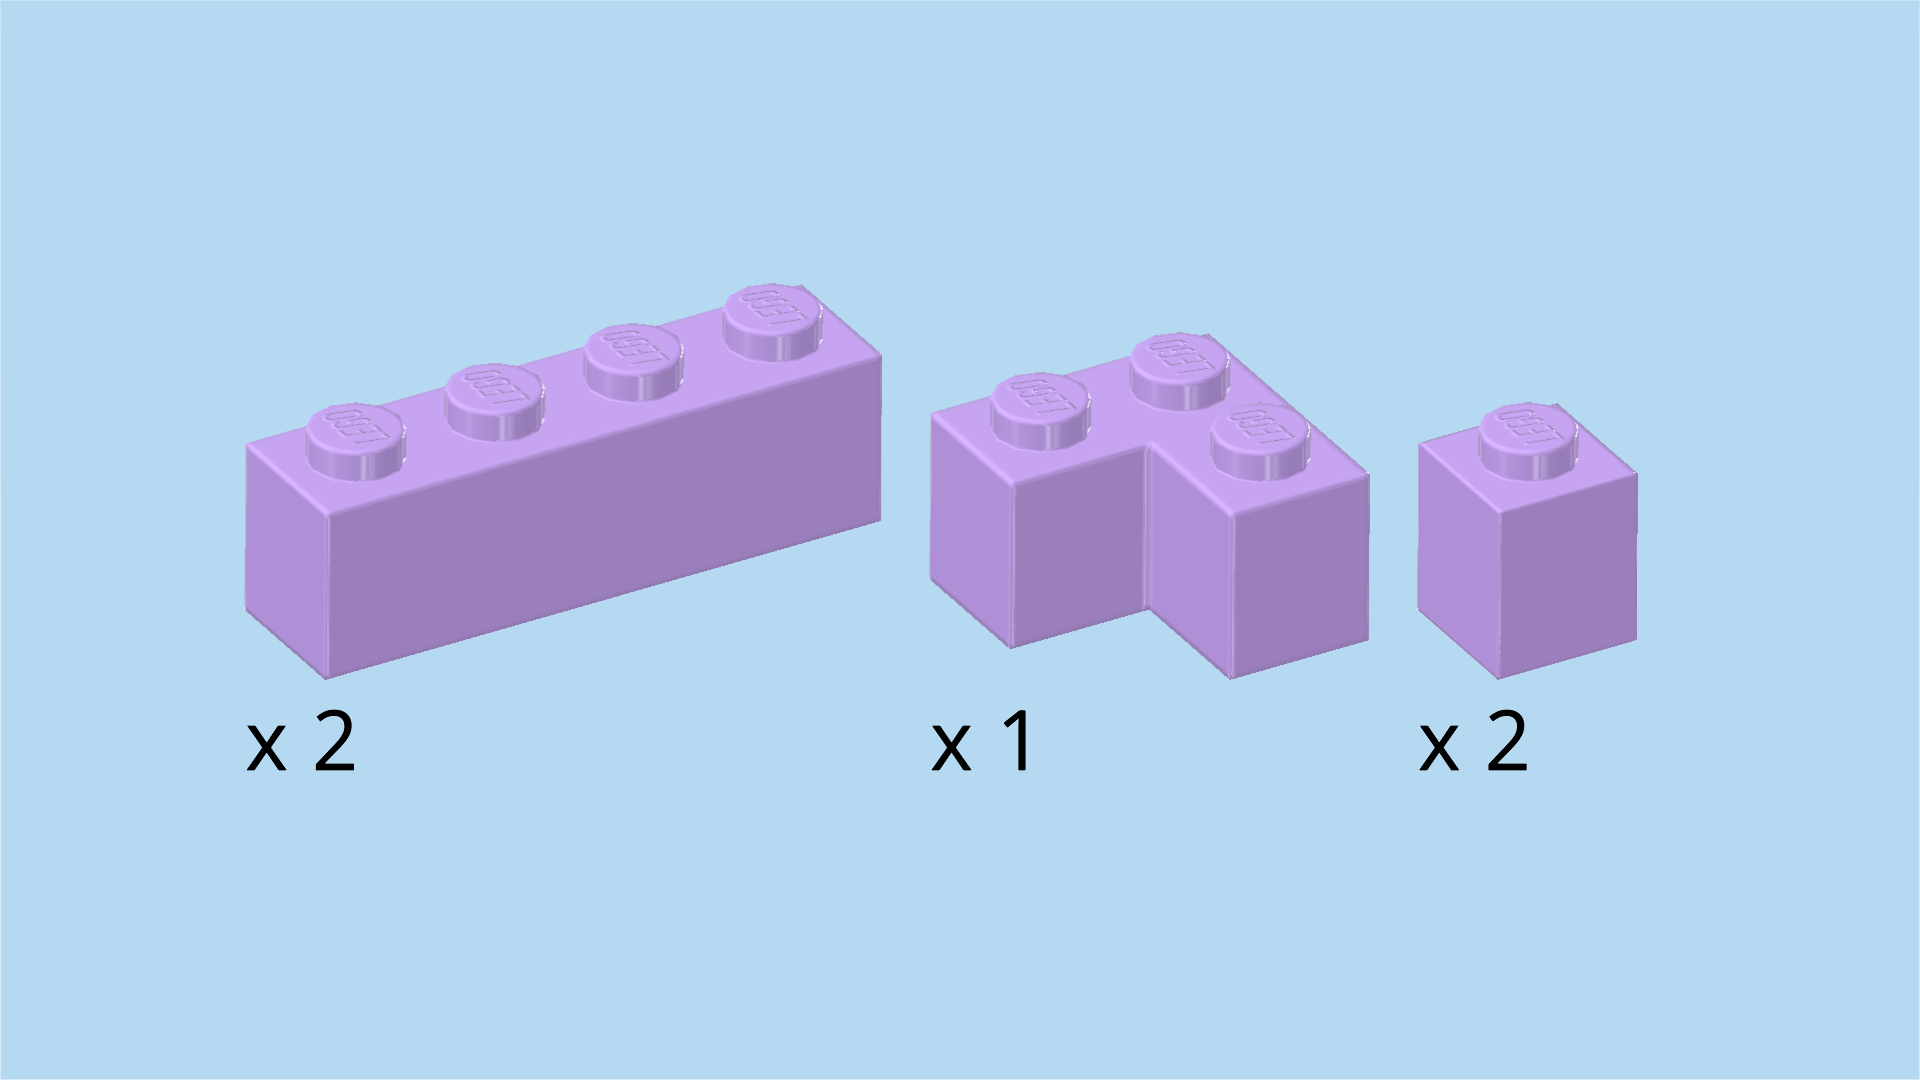
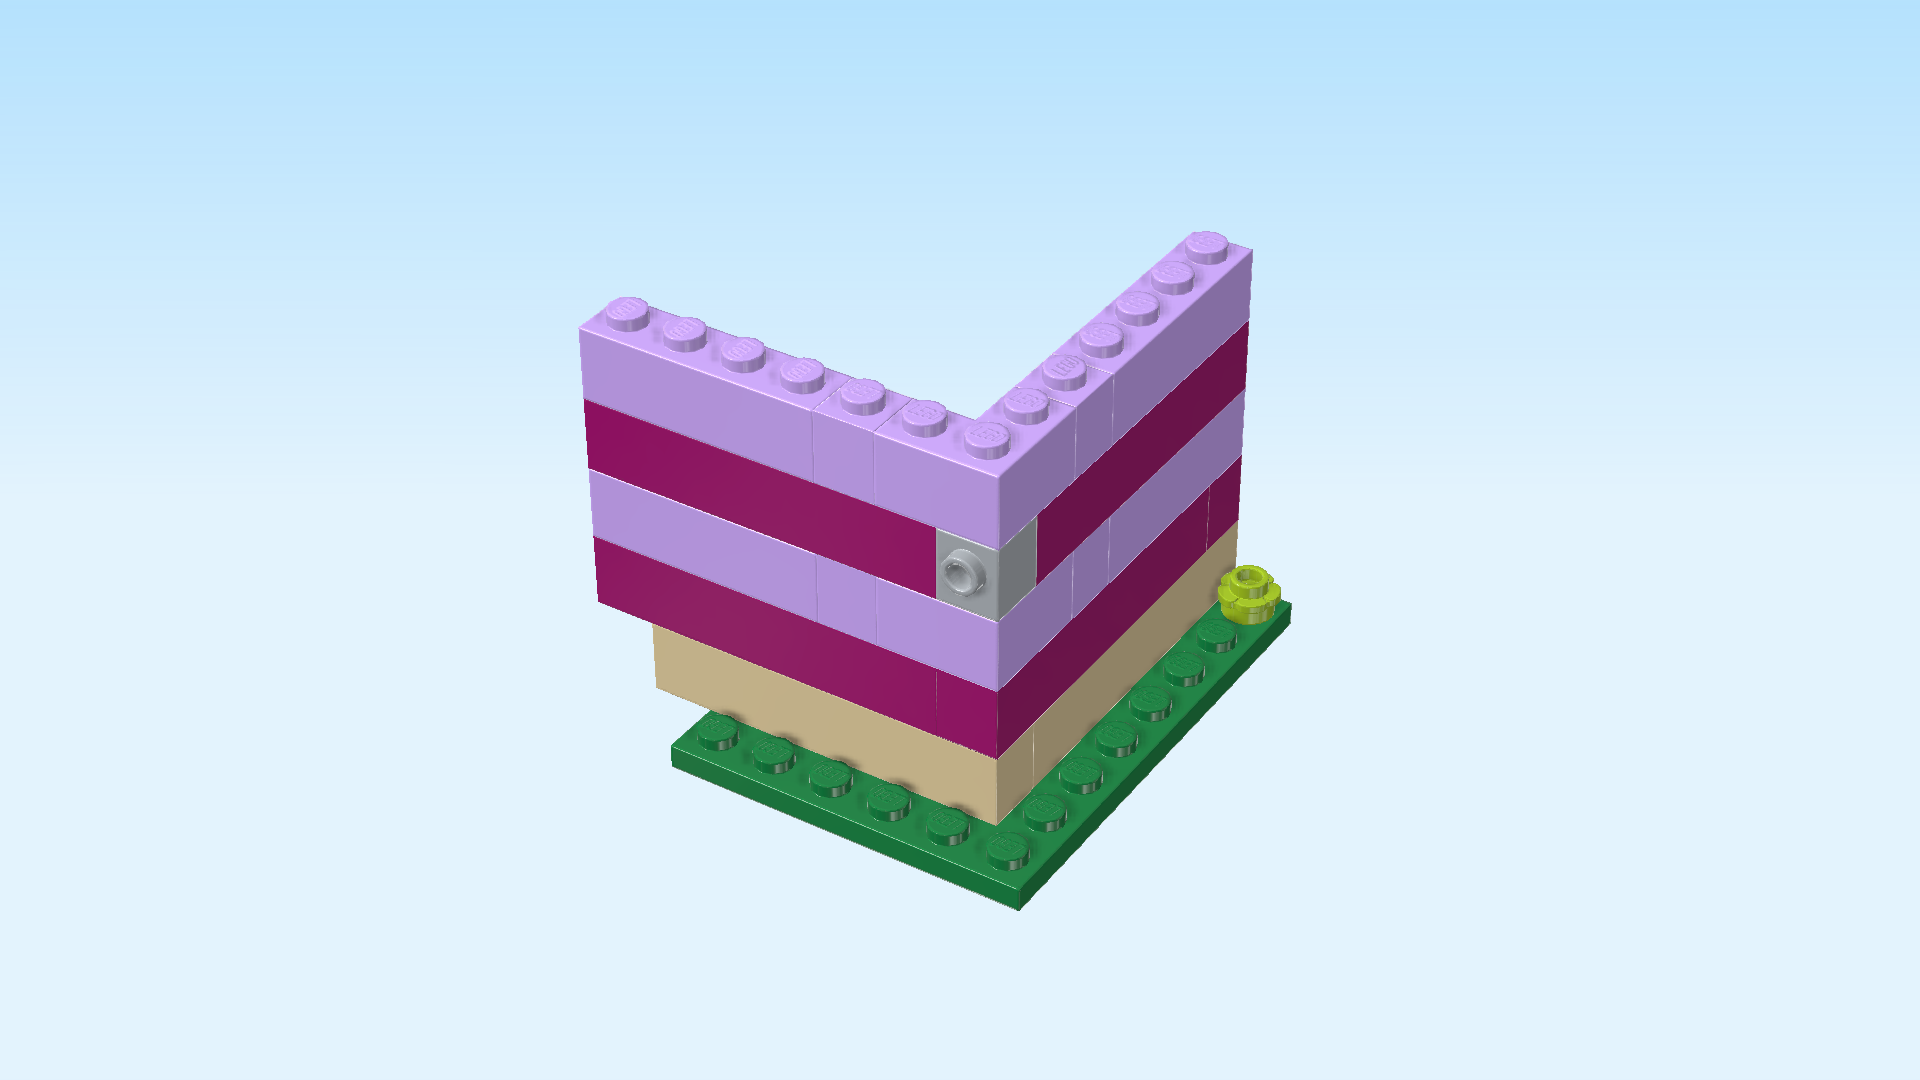
| Collect the following 3 pieces: |
| 1 light lavender corner brick 1x2 - 1x2, |
| 1 light lavender brick 1x4, |
| and 1 light lavender brick 1x1. |
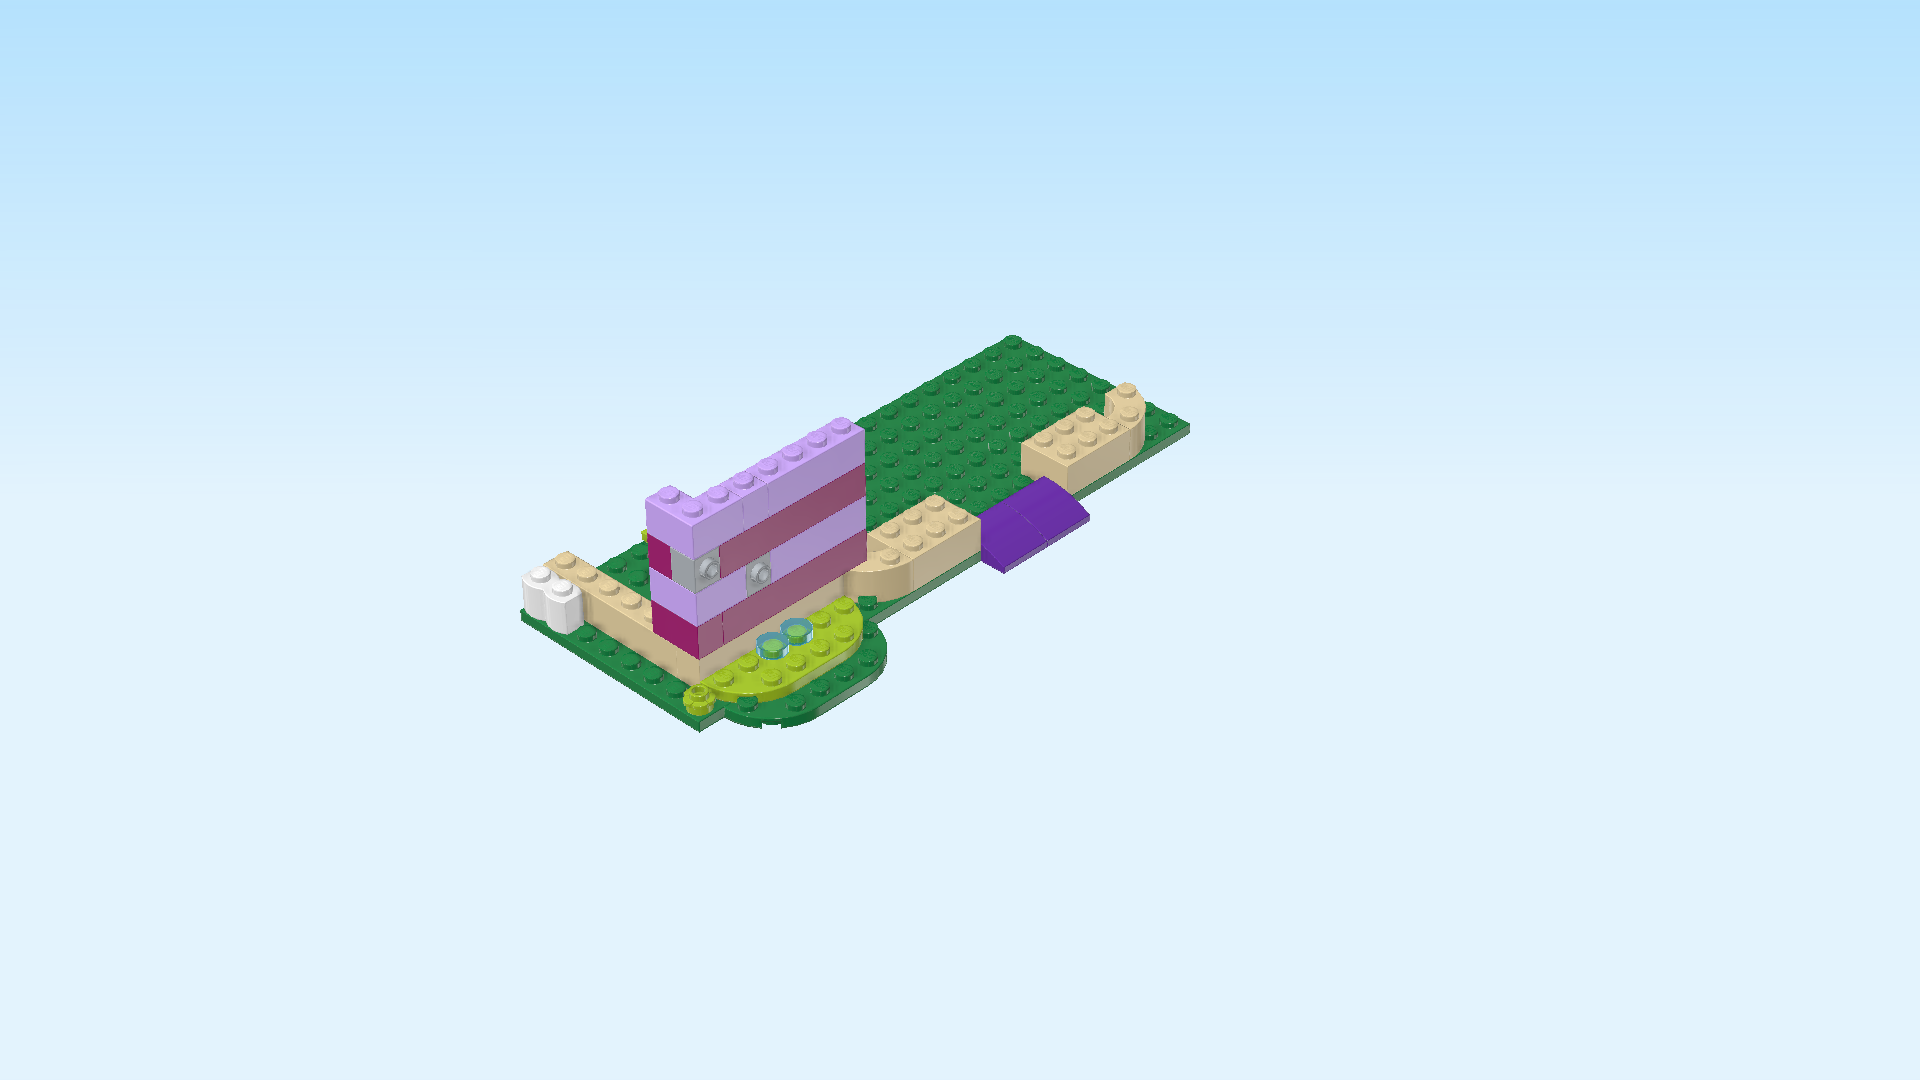
| Put the corner brick on the wall corner, covering the two previous pieces and one knob to their right. |
| Put the brick 1x1 to the right of the previous piece. |
| Put the brick 1x4 horizontally to the right of the previous piece. |
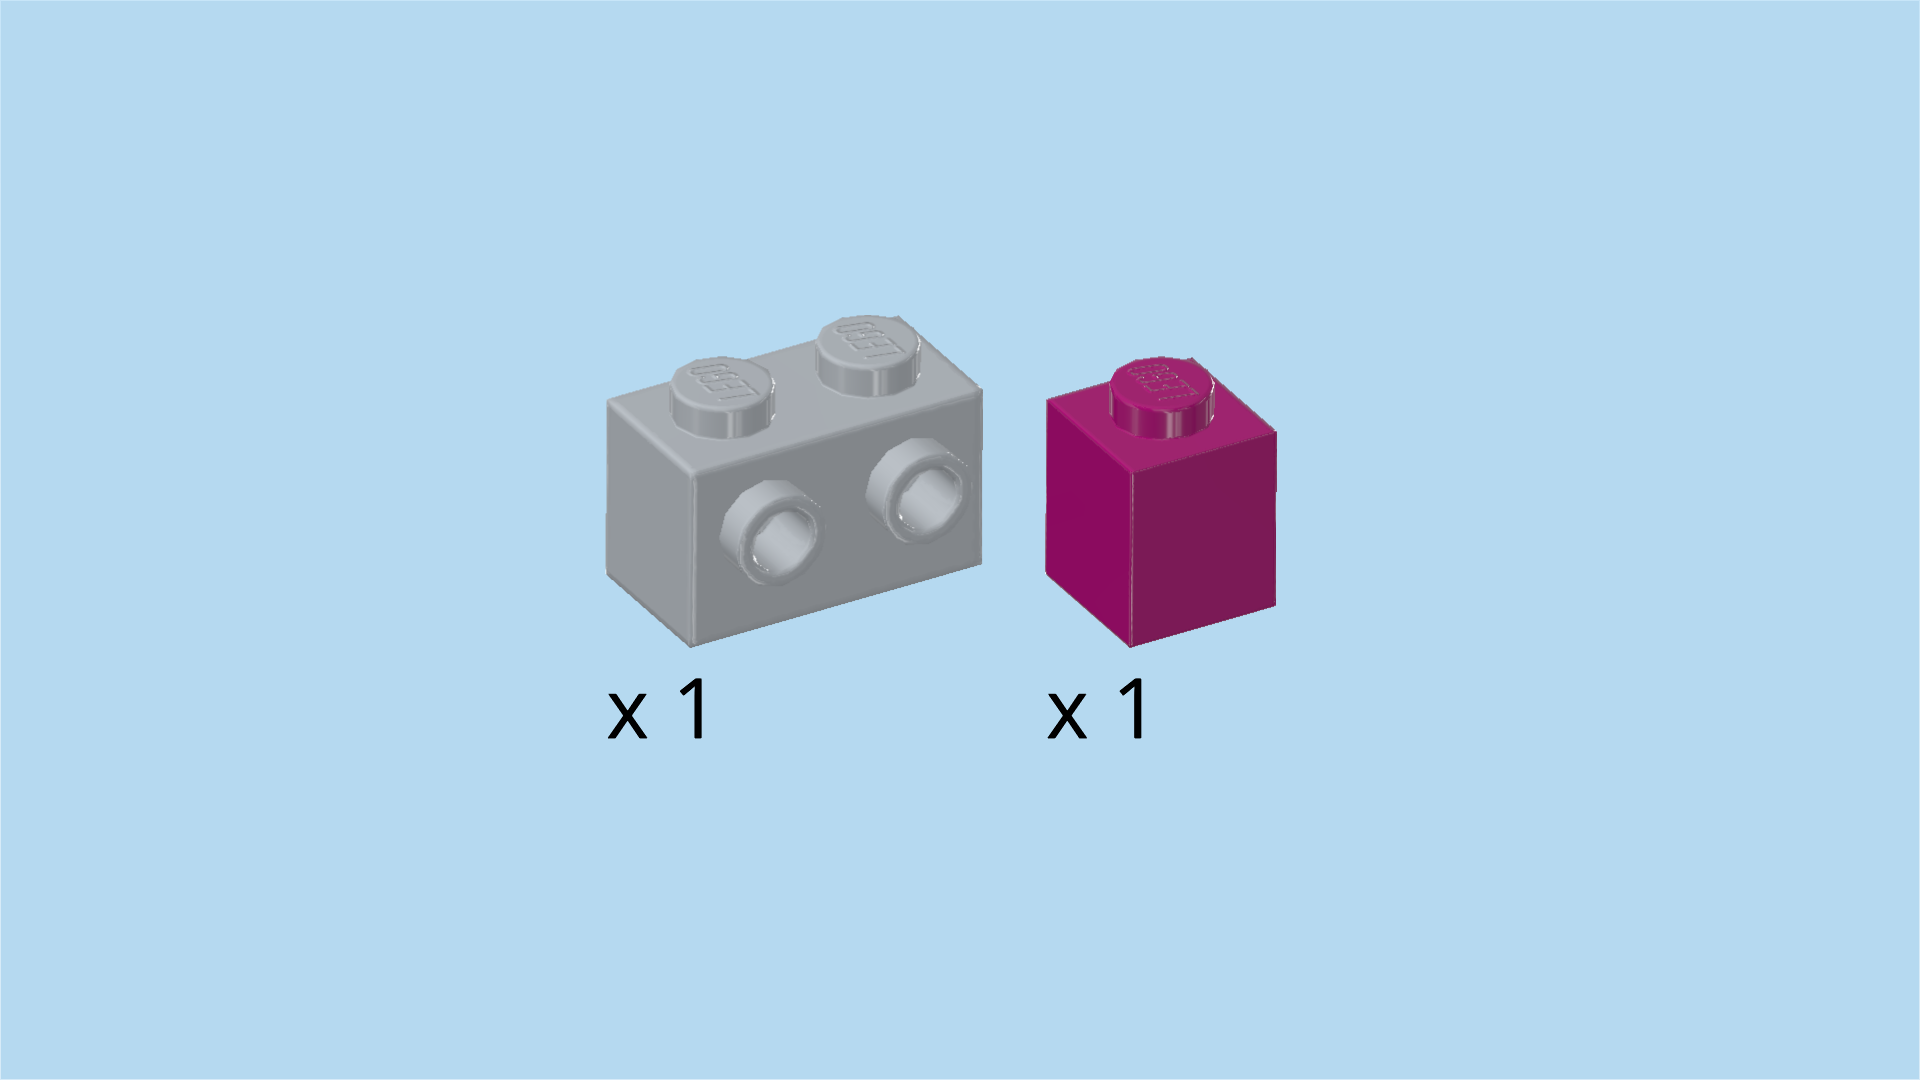
| Collect the following 2 pieces: |
| 1 medium stone grey brick 1x2 with 2 side knobs on each long side, |
| and 1 purple violet brick 1x1. |
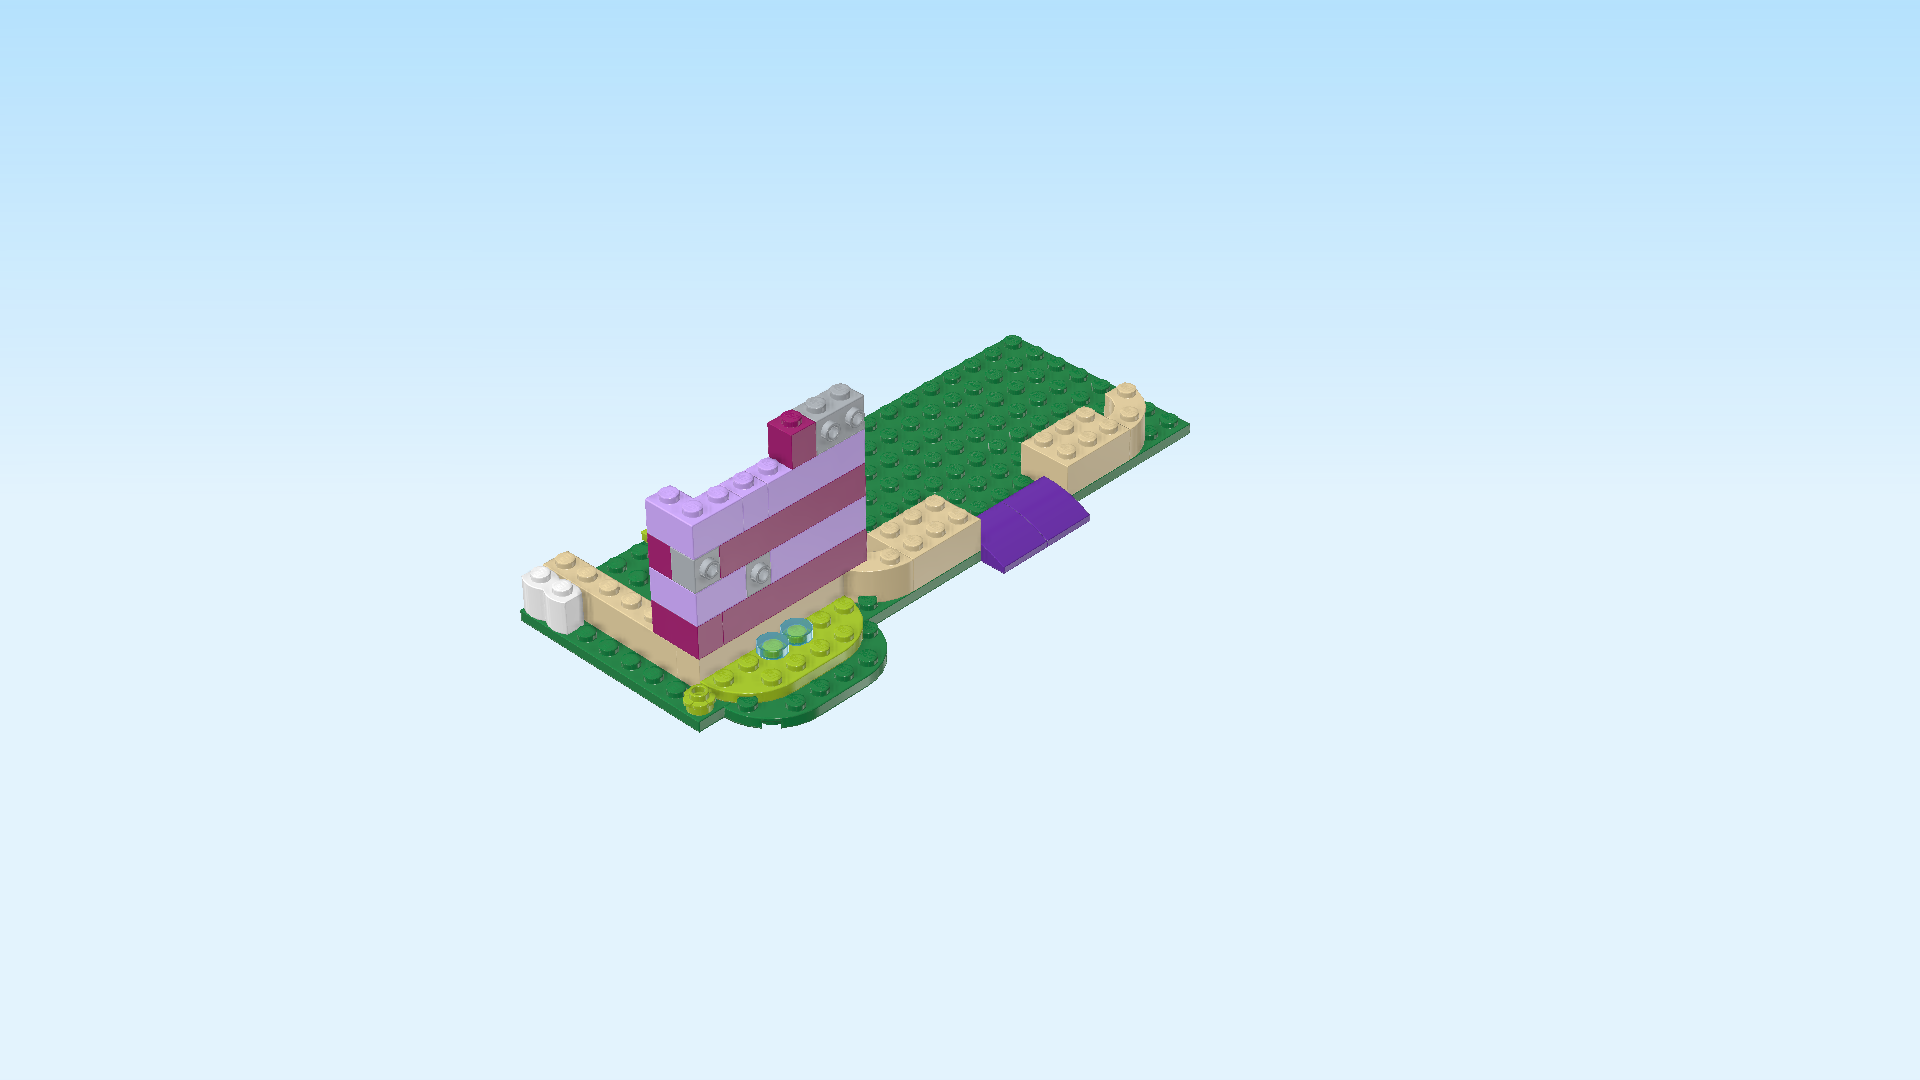
| Put the brick 1x2 with side knobs horizontally on the previous piece starting from the right edge, side knobs to the front and back. |
| Put the brick 1x1 to the left of the previous piece. |
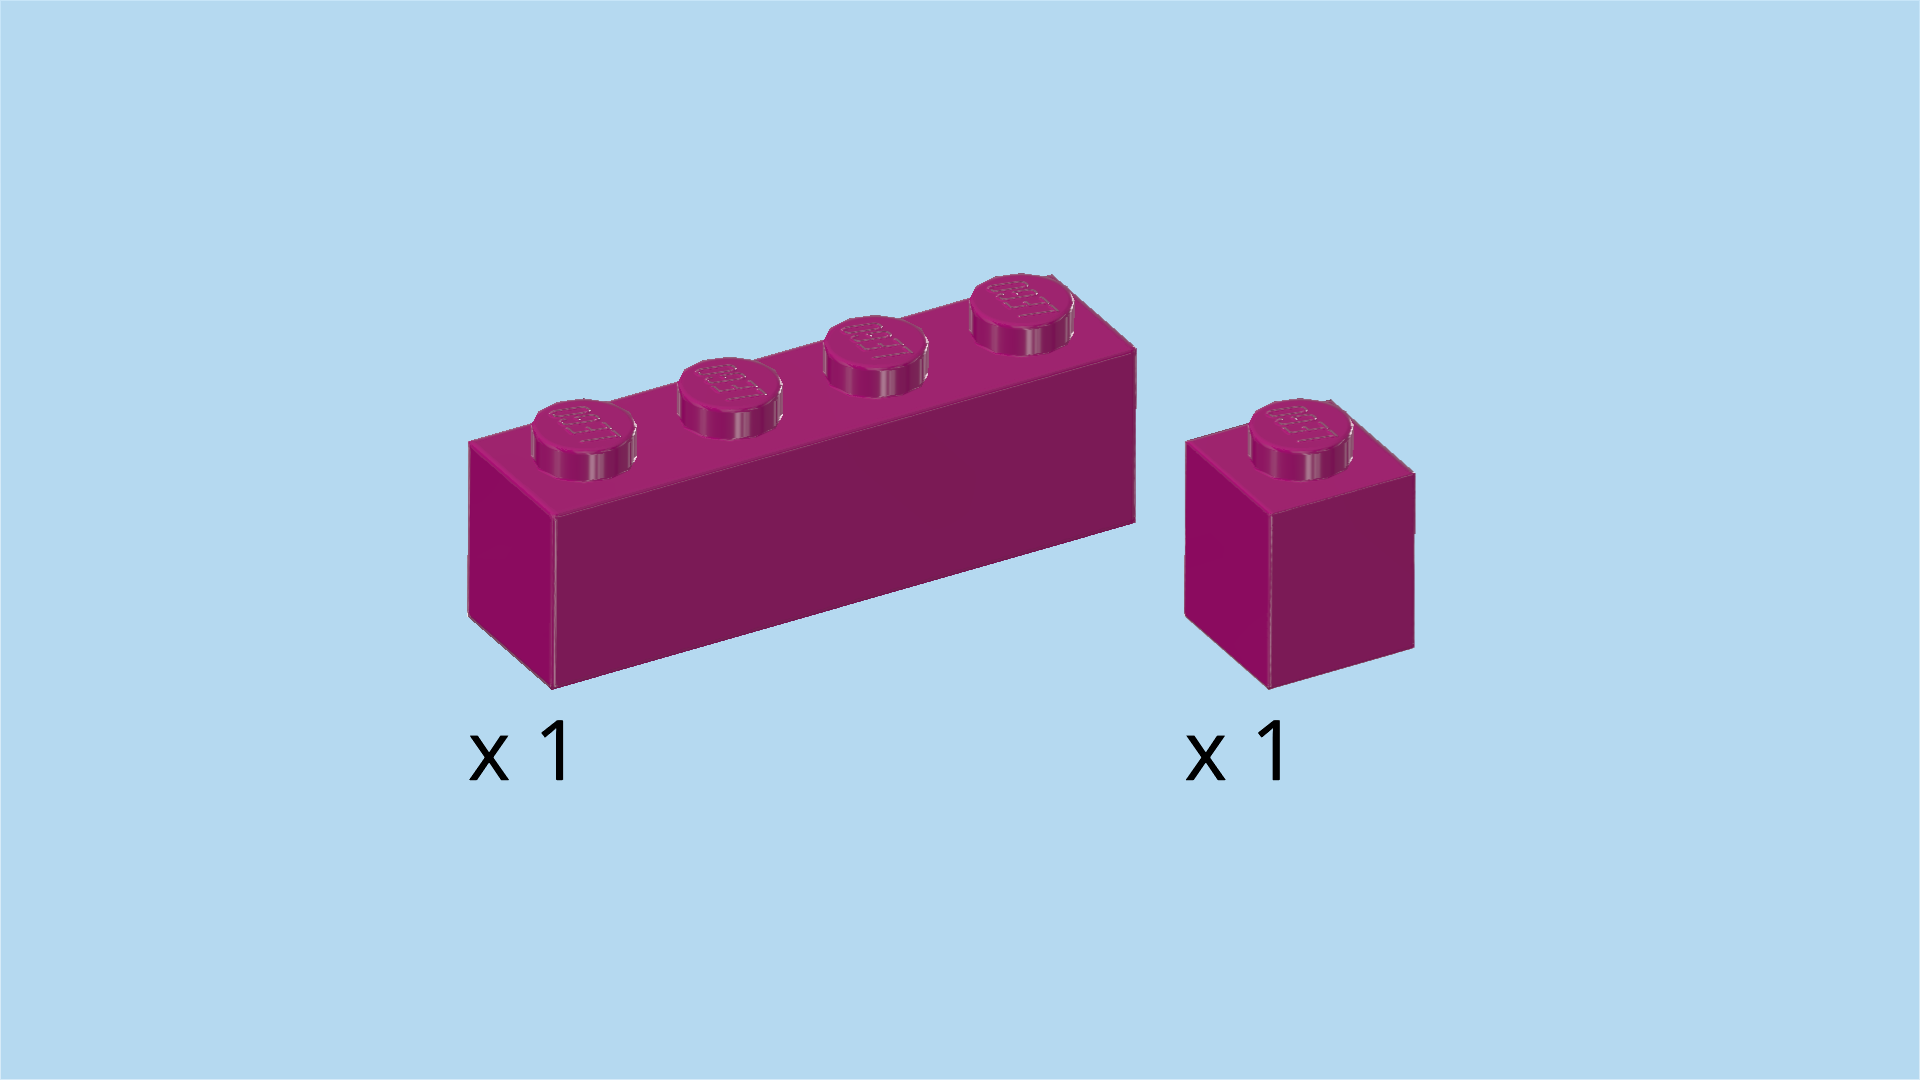
| Collect the following 2 pieces: |
| 1 purple violet brick 1x4, |
| and 1 purple violet brick 1x1. |
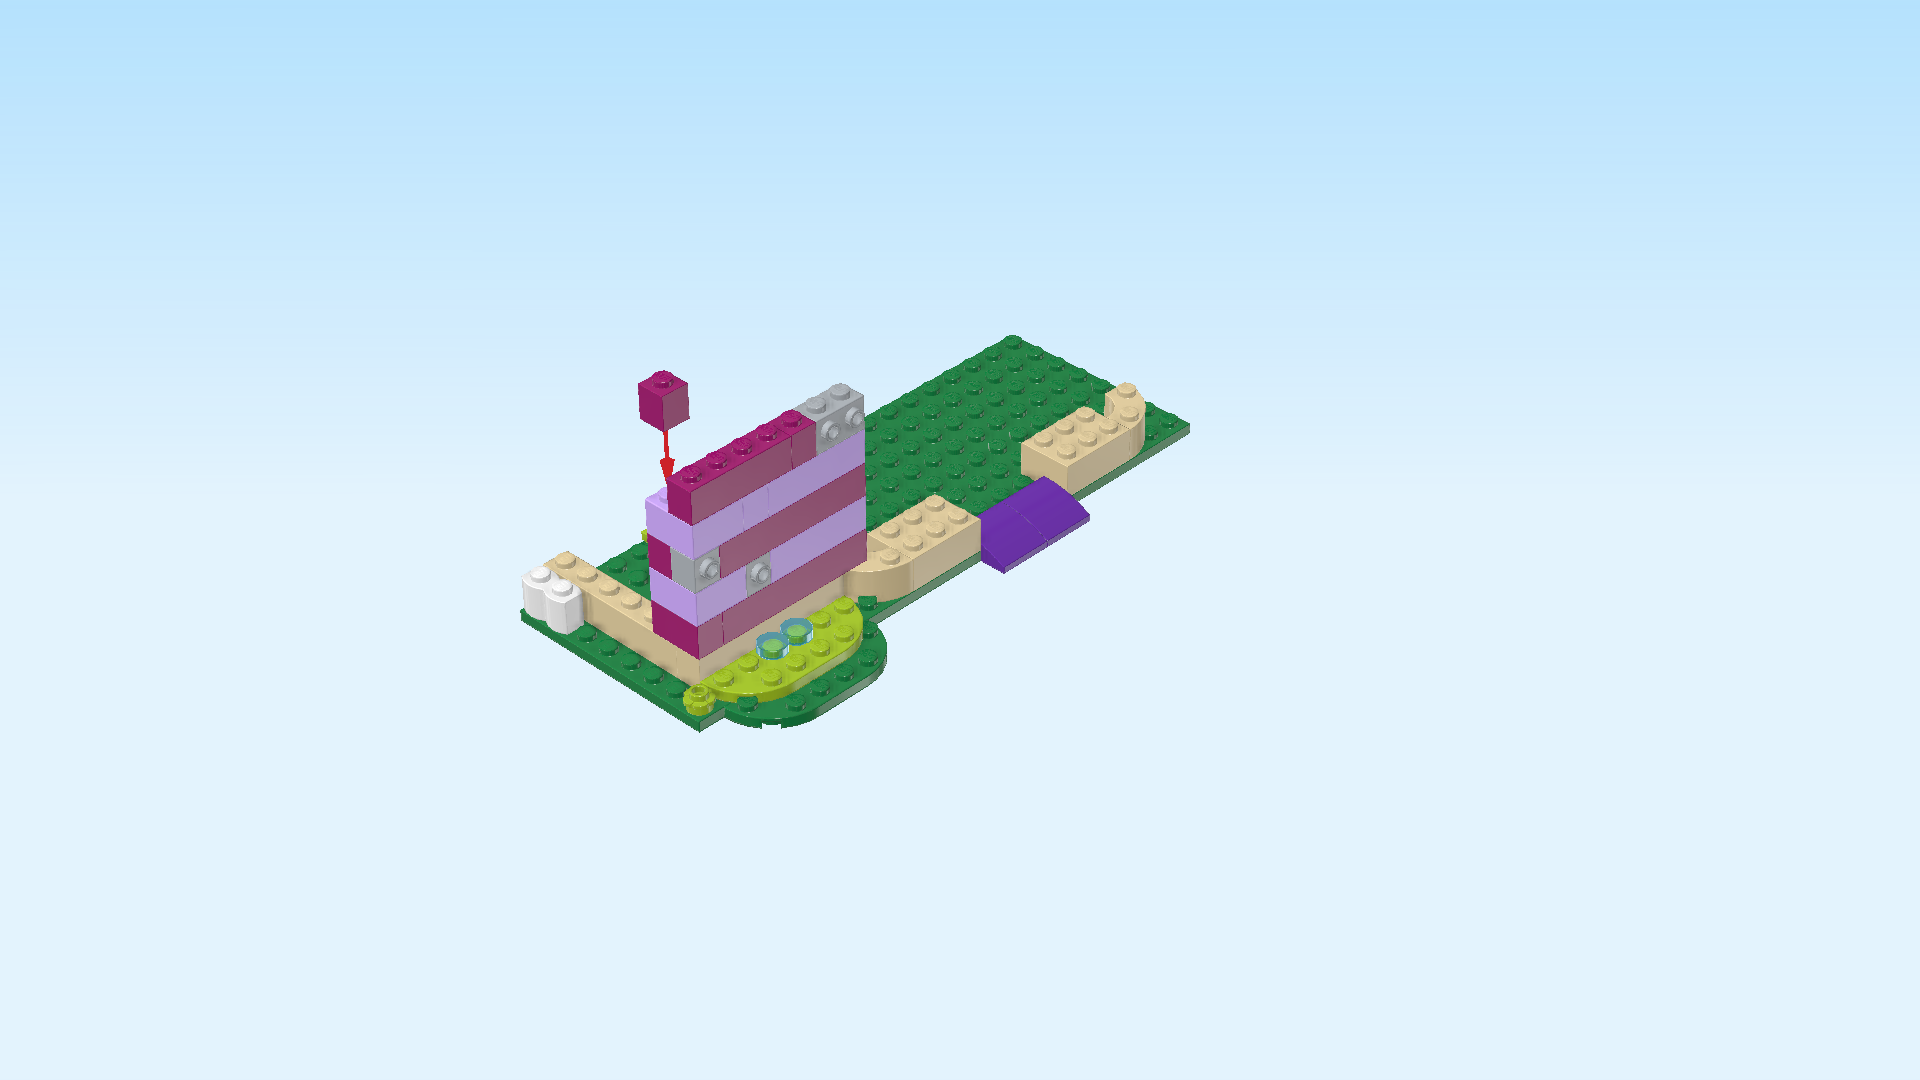
| Put the brick 1x4 horizontally to the left of the previous piece. |
| Put the brick 1x1 behind the leftmost knob of the previous piece. |
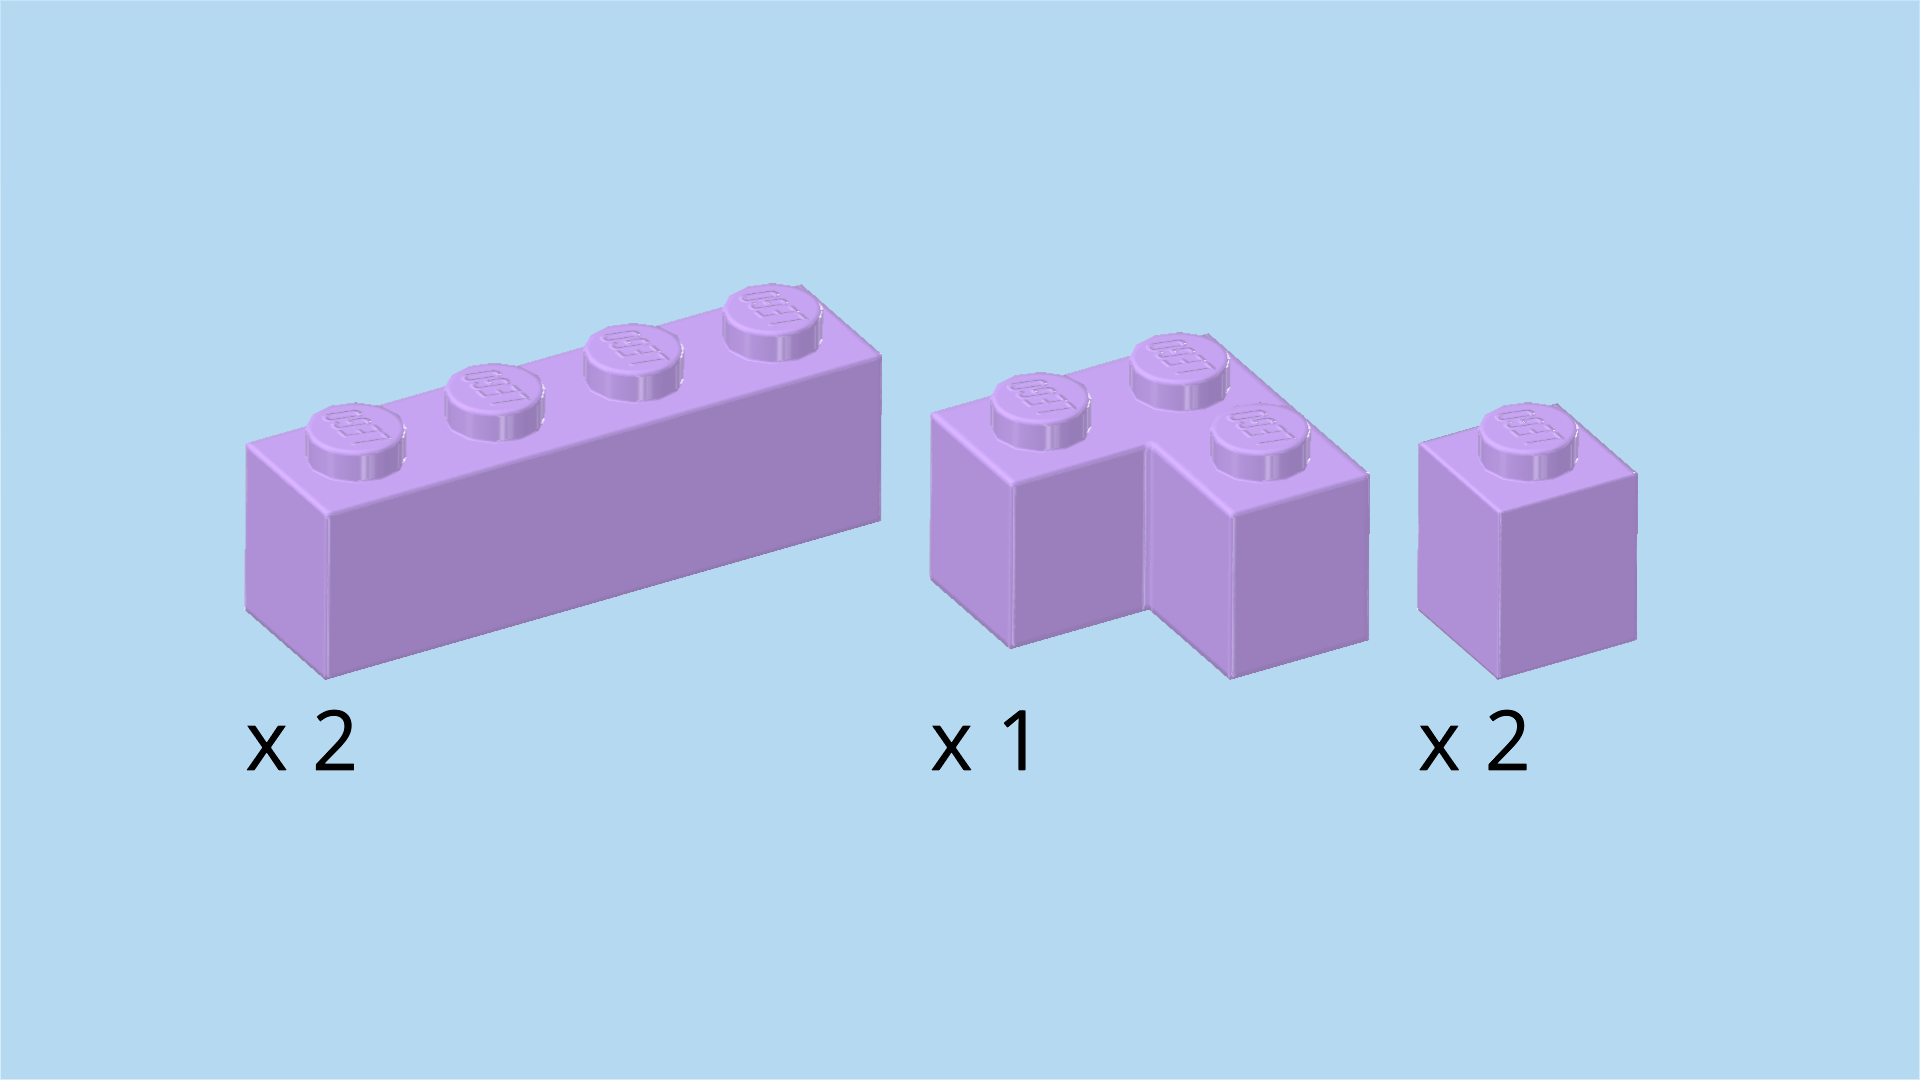
| Collect the following 3 pieces: |
| 1 light lavender corner brick 1x2 - 1x2, |
| 1 light lavender brick 1x4, |
| and 1 light lavender brick 1x1. |
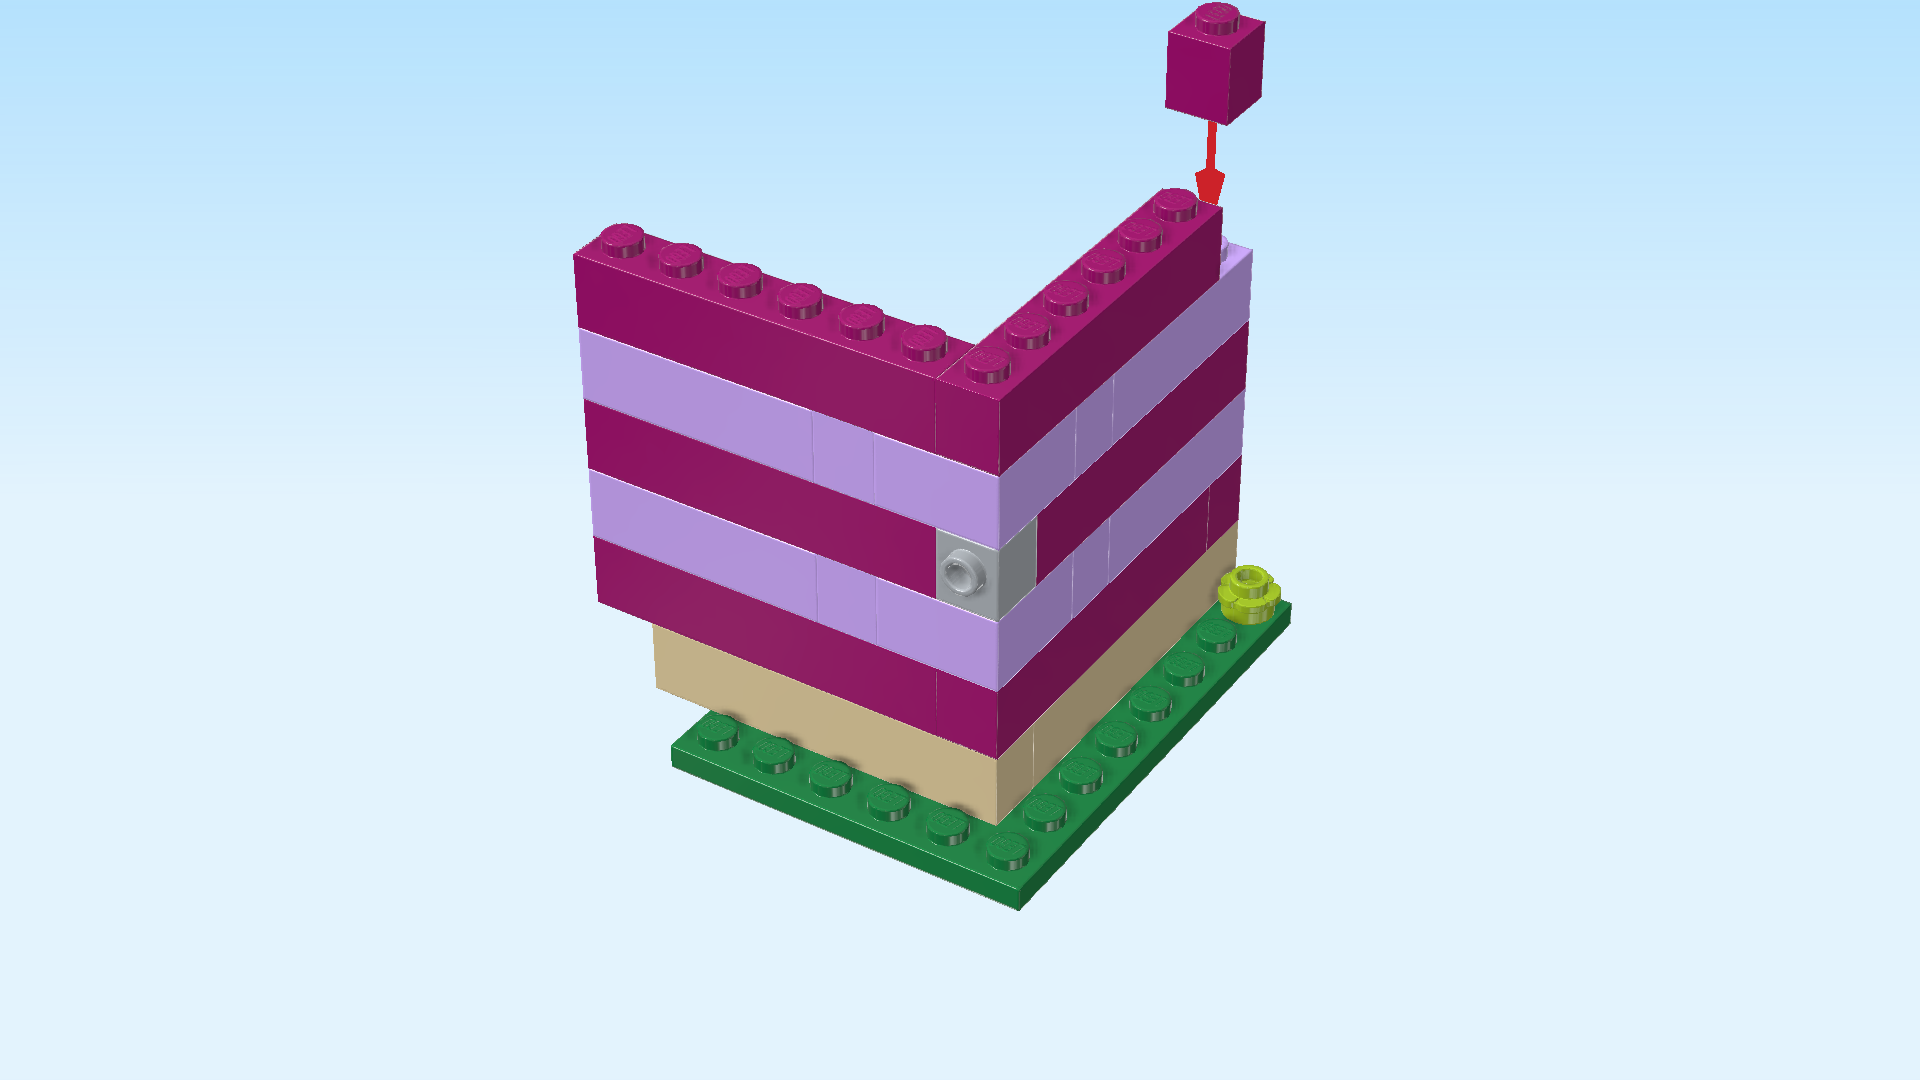
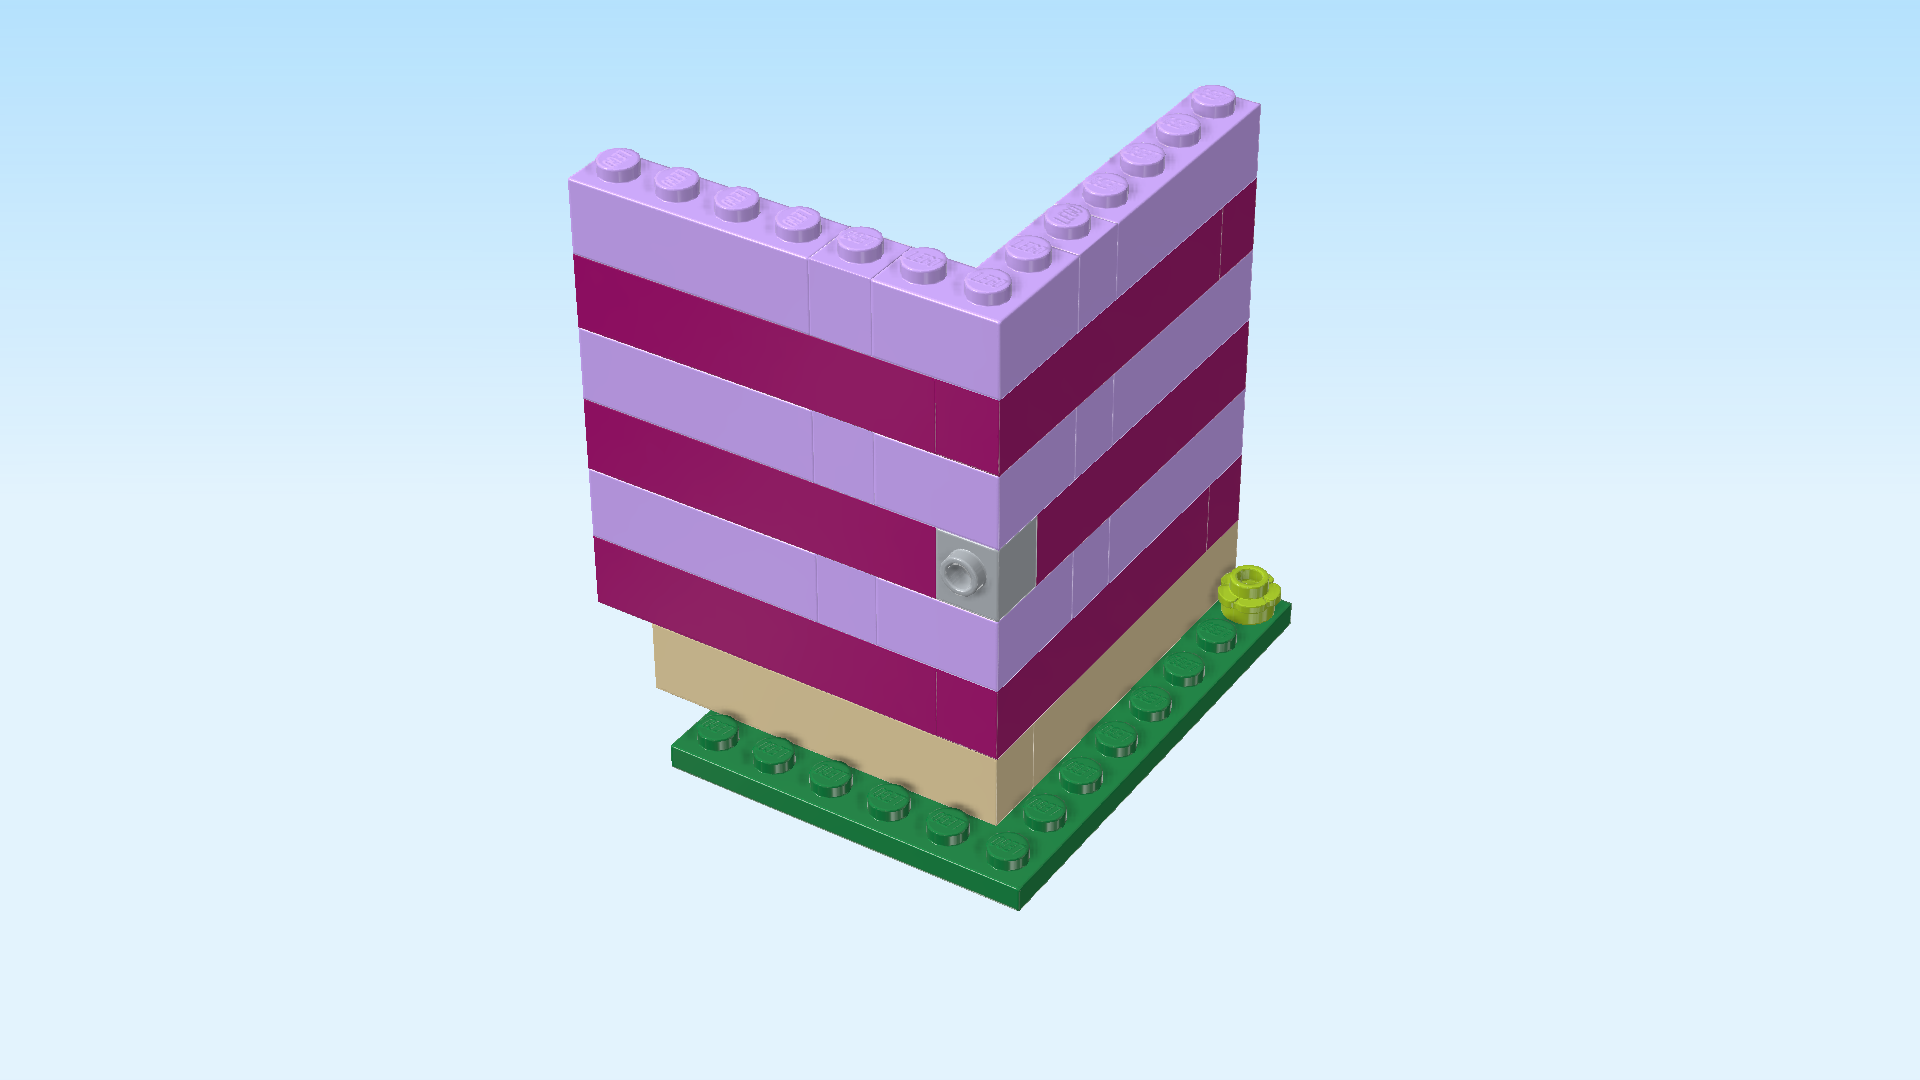
| Put the corner brick on the wall corner again. |
| Put the brick 1x1 to the right of the previous piece. |
| Put the brick 1x4 horizontally to the right of the previous piece. |
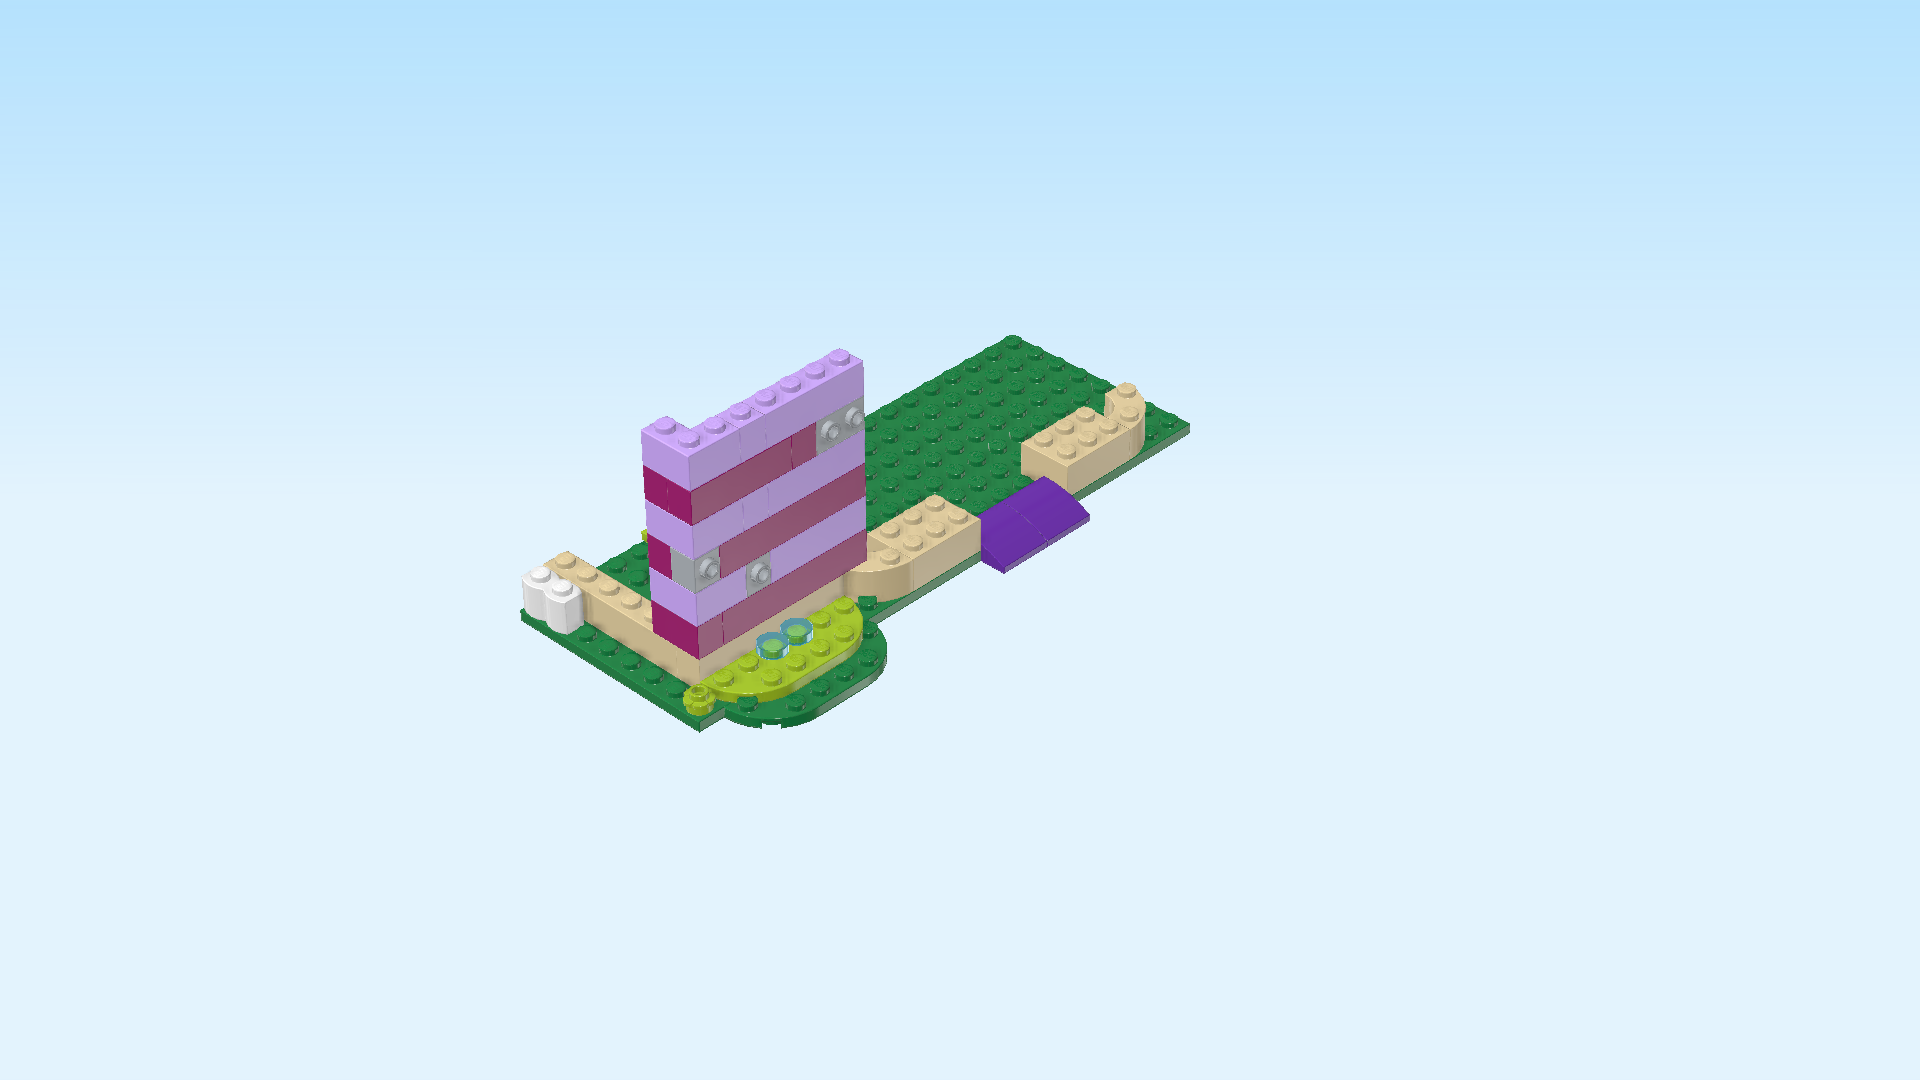
| Next up, we will build the side window of the cafe. |
| Collect the following 2 pieces: |
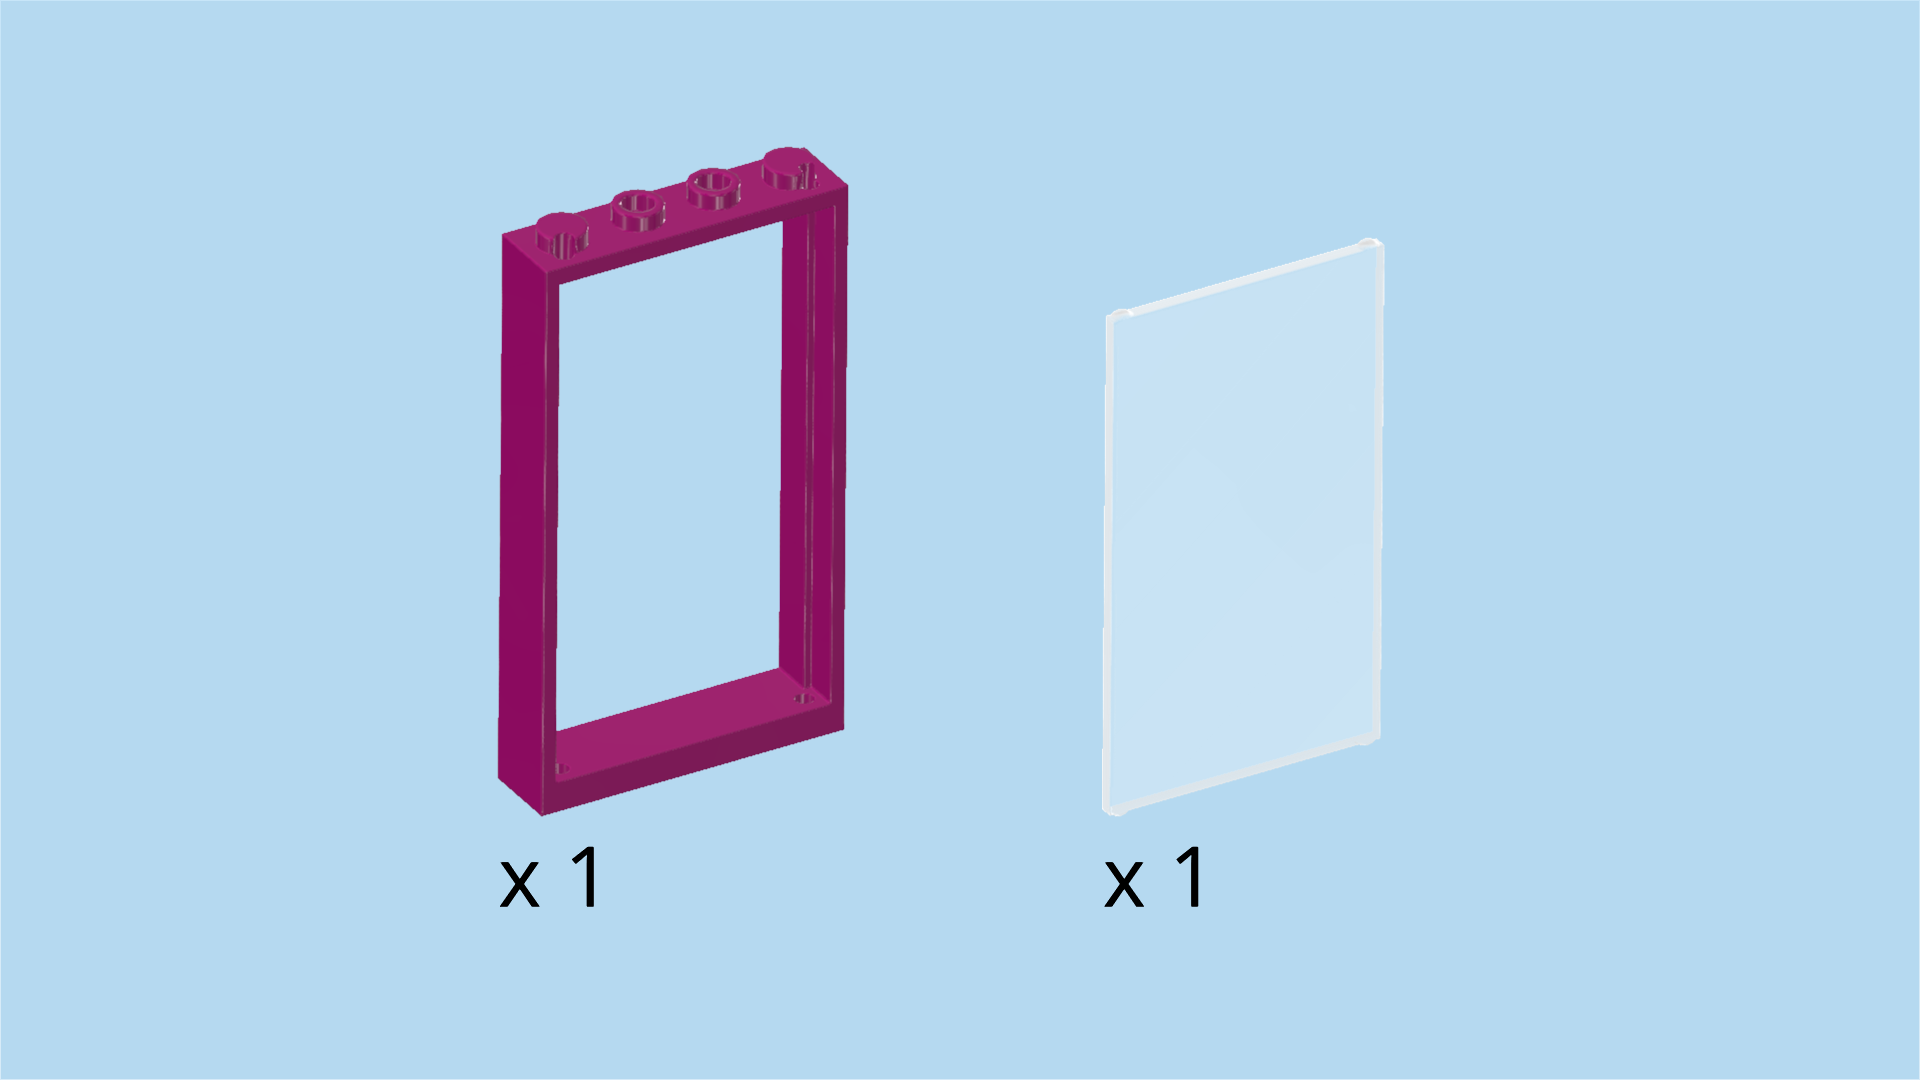
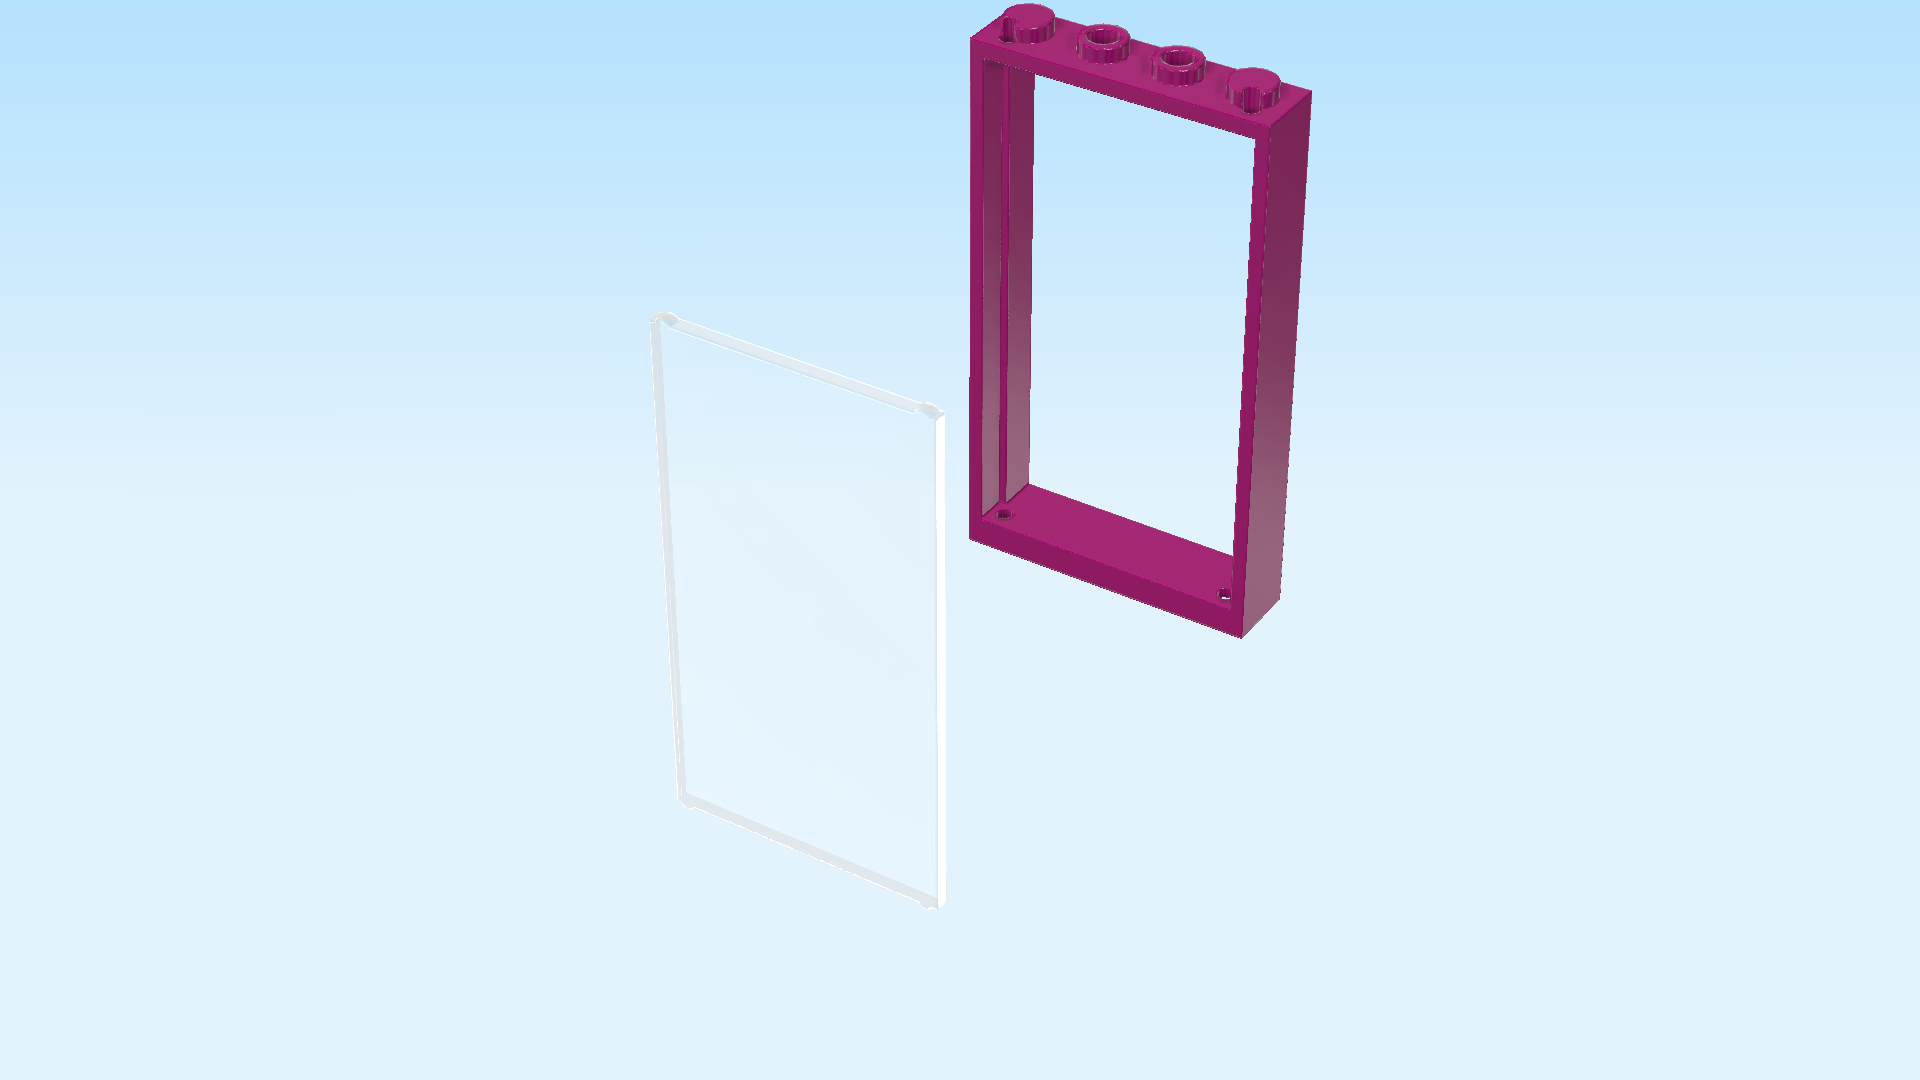
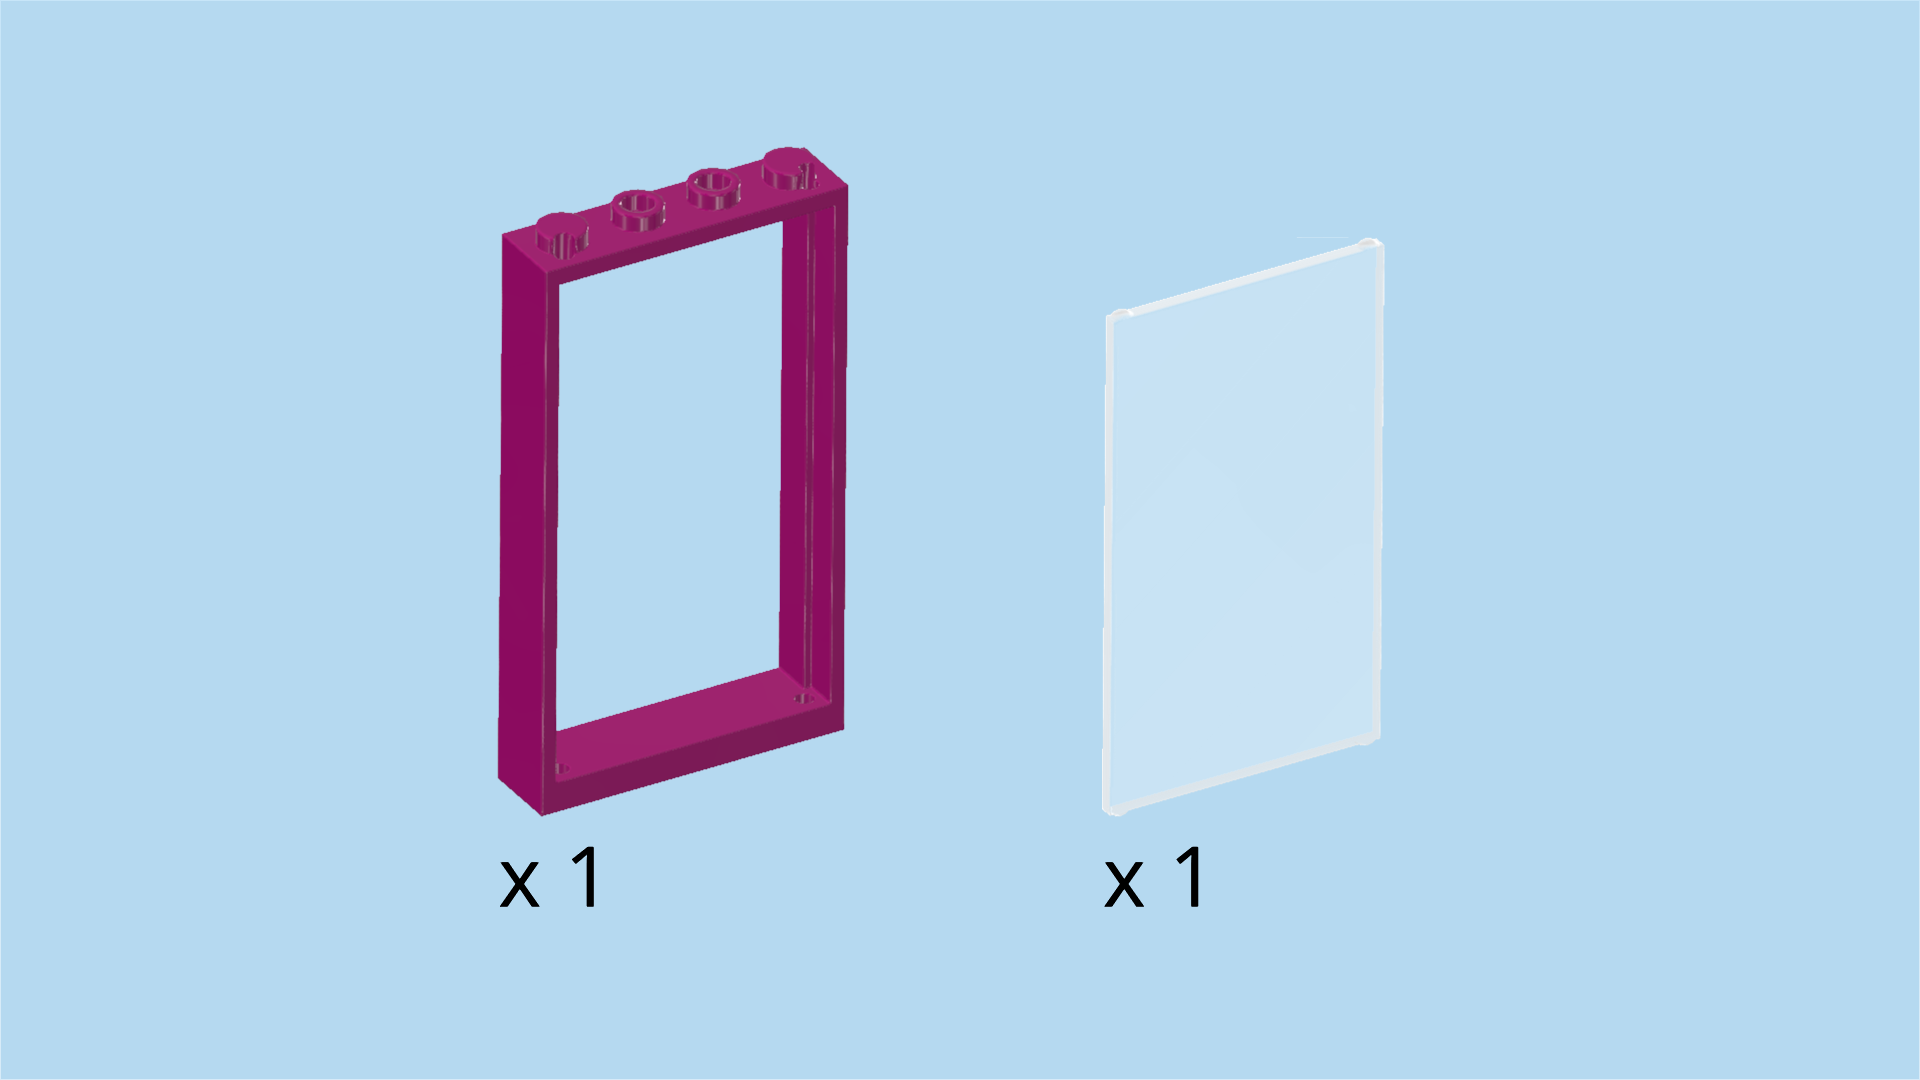
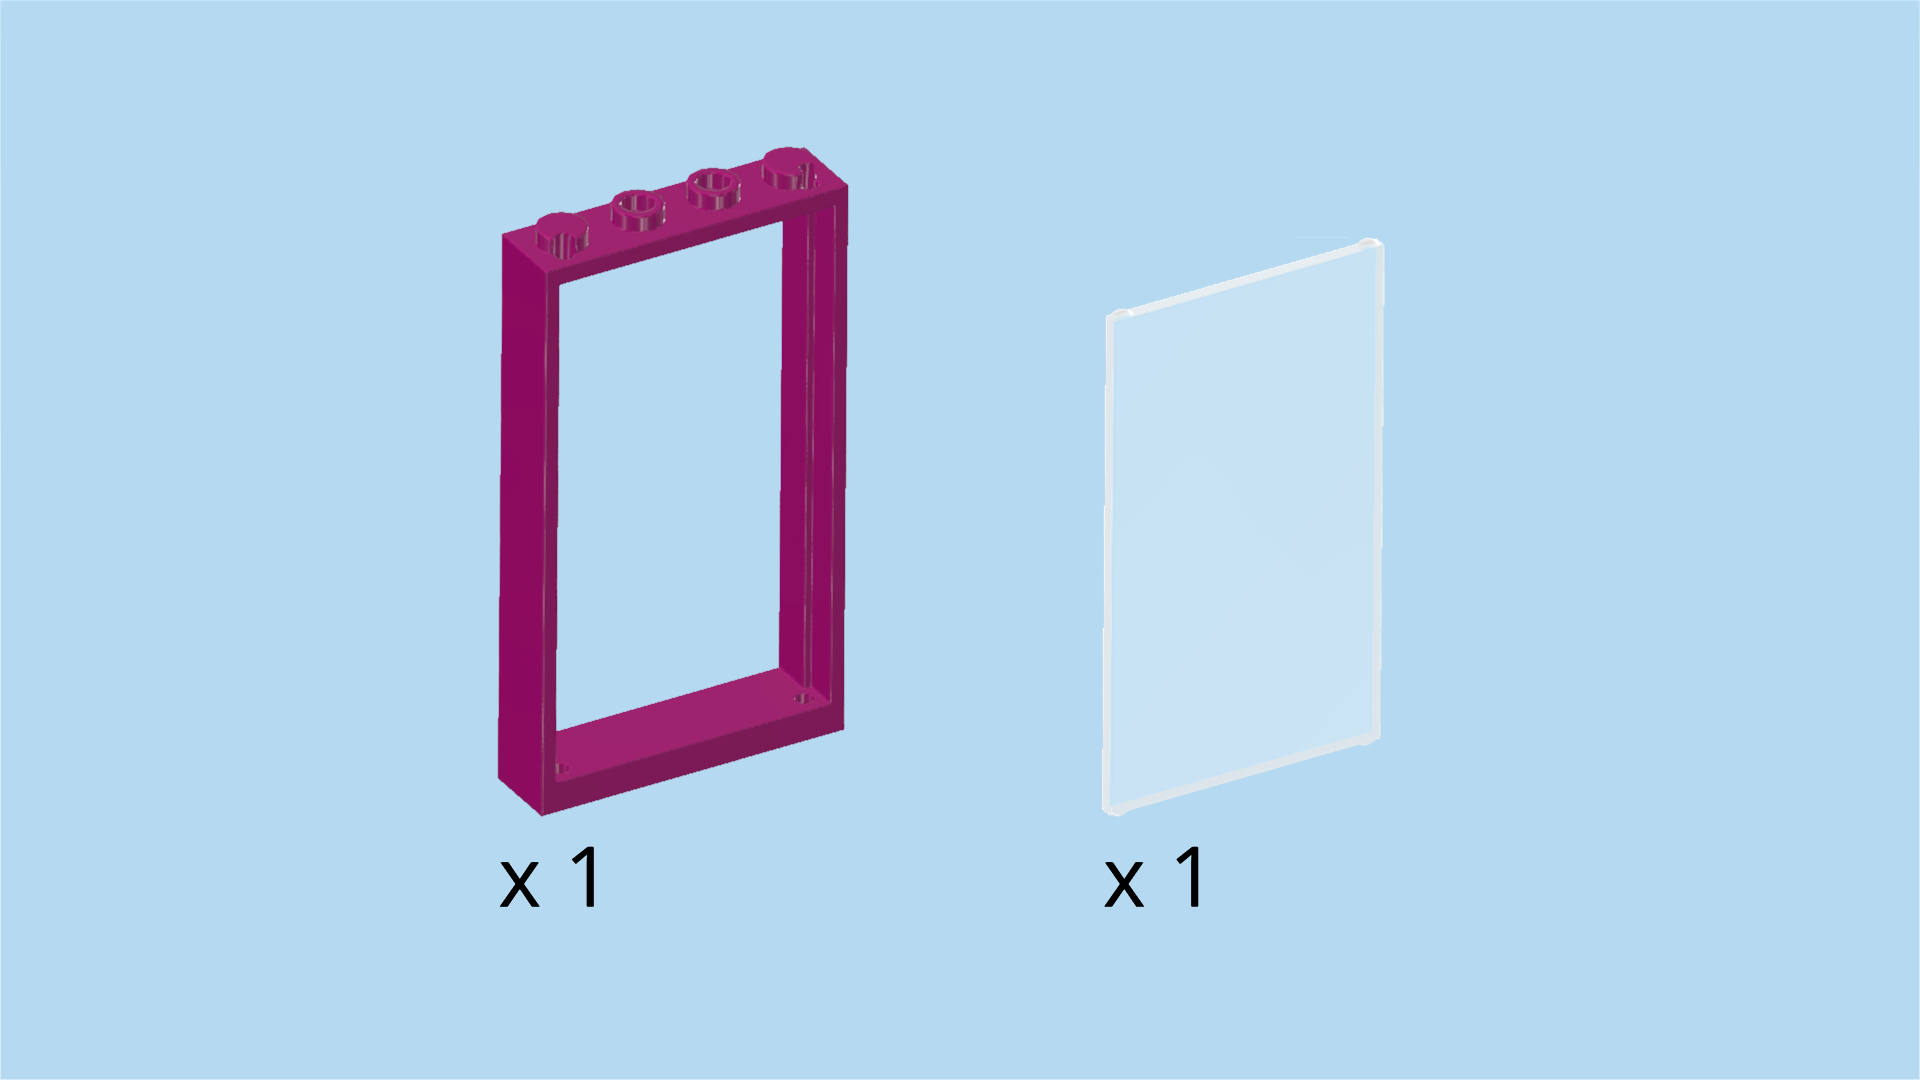
| 1 purple violet door frame 1x4x6, (do not confuse it with the door frame that is 2 knobs wide. This piece is only 1 knob wide), |
| and 1 transparent glass for frame 1x4x6. |
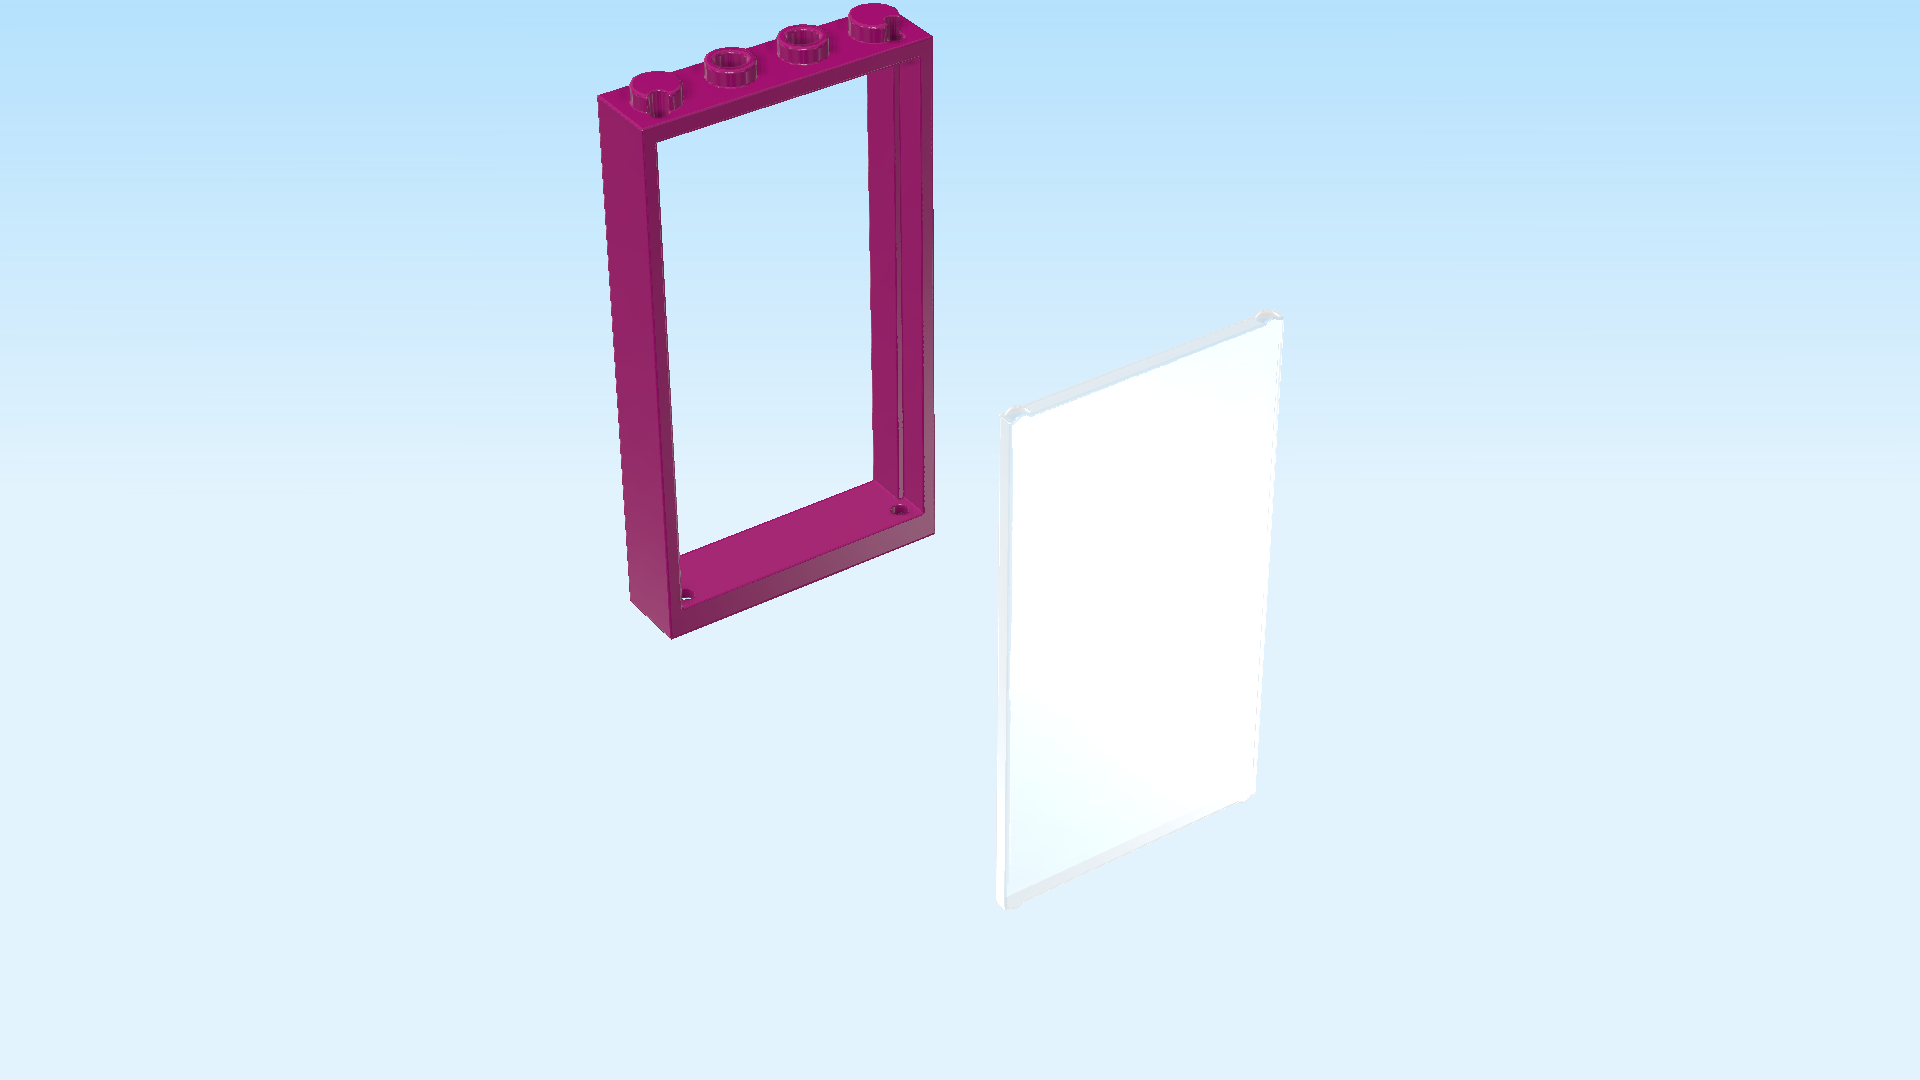
| Put the door frame 1x4x6 flat on the table. Make sure the inner notches are to the top, and the knobs are pointing to the back. |
| Snap the glass 1x4x6 vertically into the inner notches of the frame. The four small bumps on the glass edge fit perfectly into the corresponding notches. |
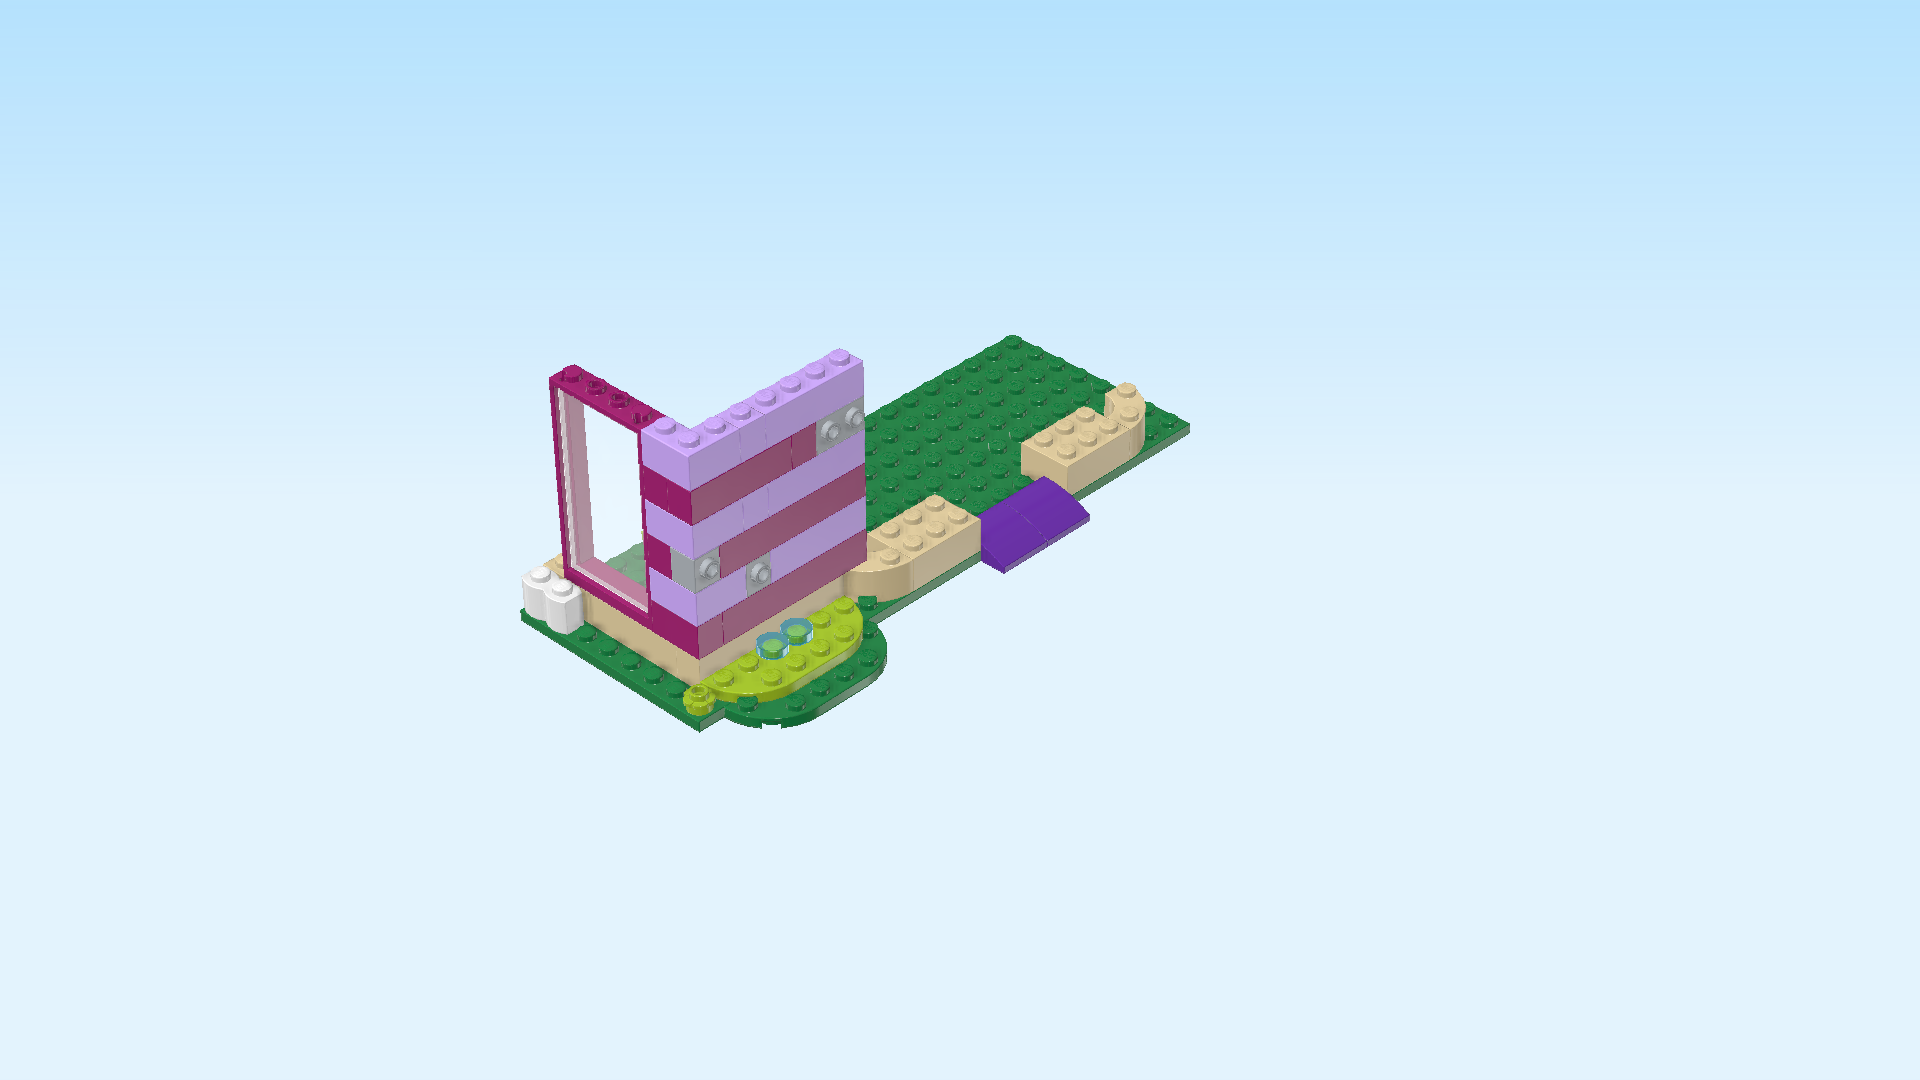
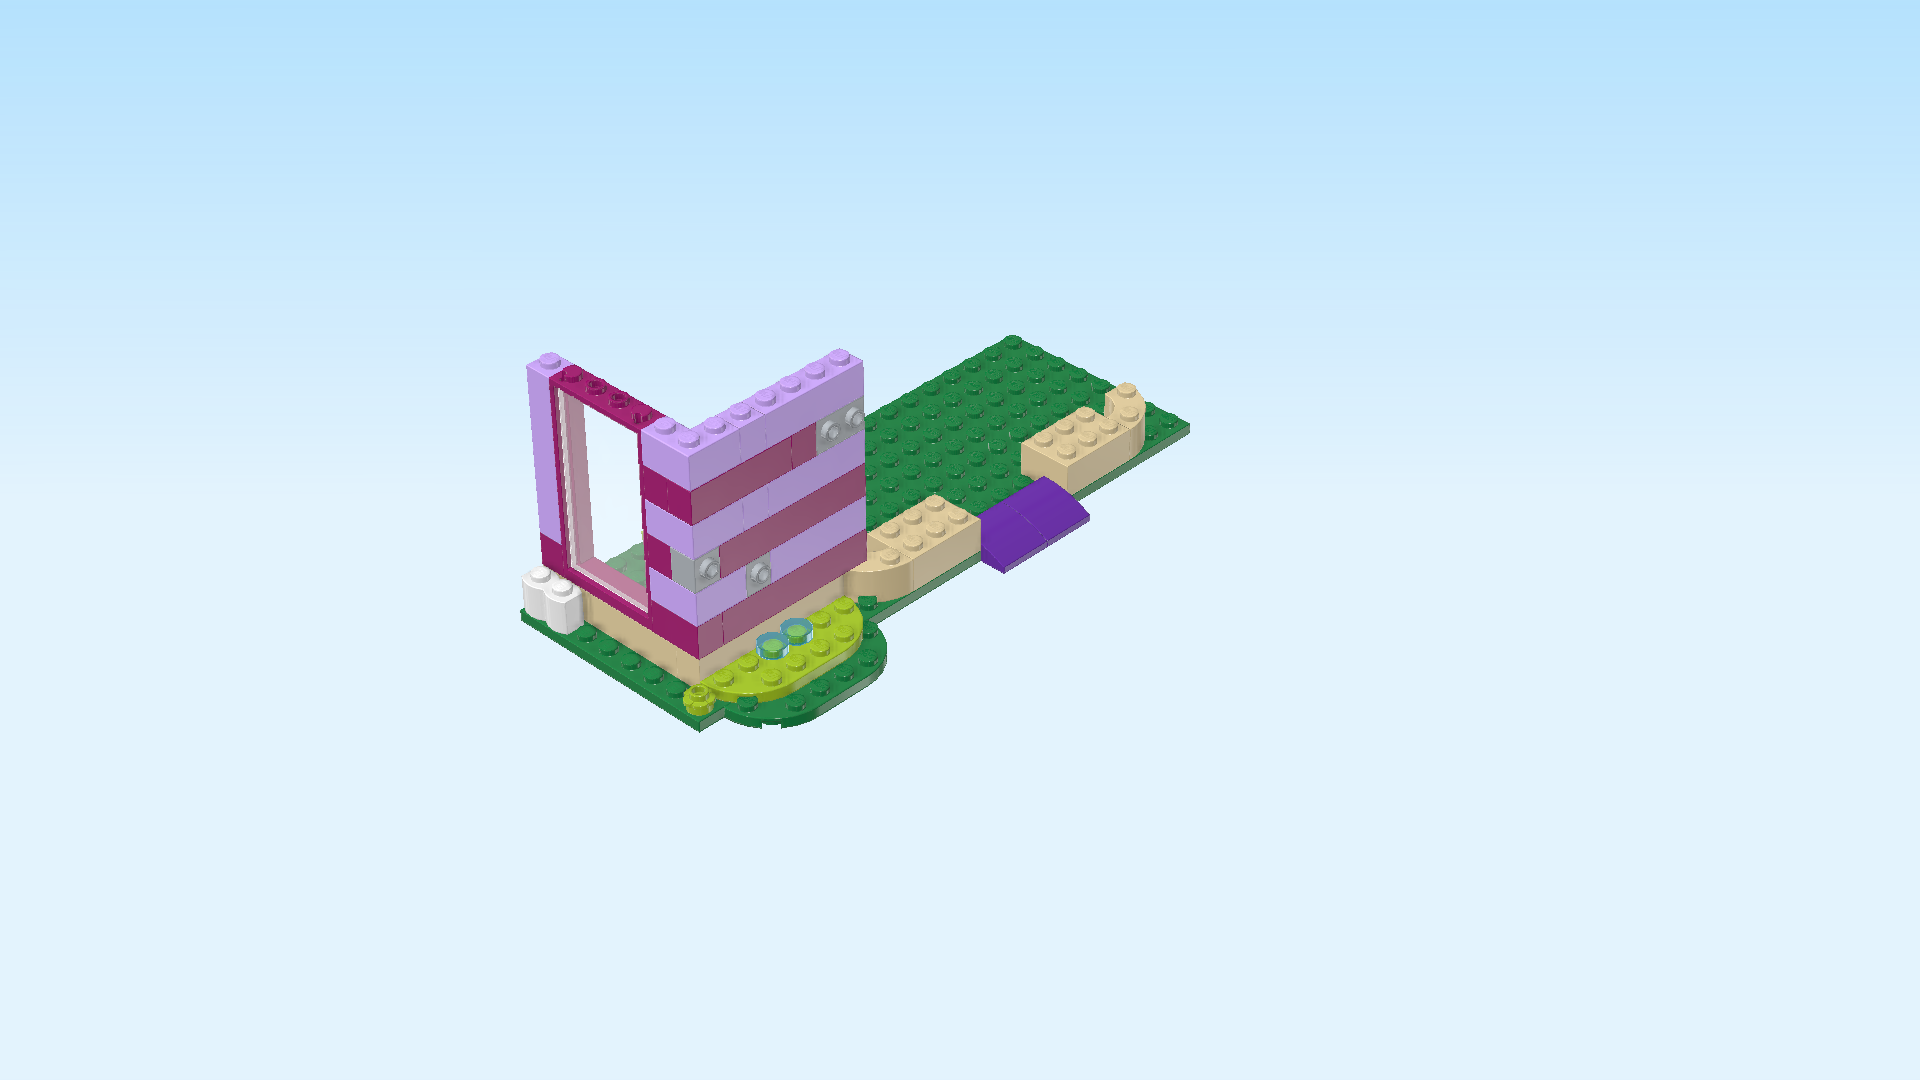
| Mount the side window of the cafe vertically on the left wall foundation. This is the second column from the left of the whole structure. Make sure the glass is to the left, and one knob behind the window remains empty. |
| Next up, we will build the window pillar. |
| Collect the following 2 pieces: |
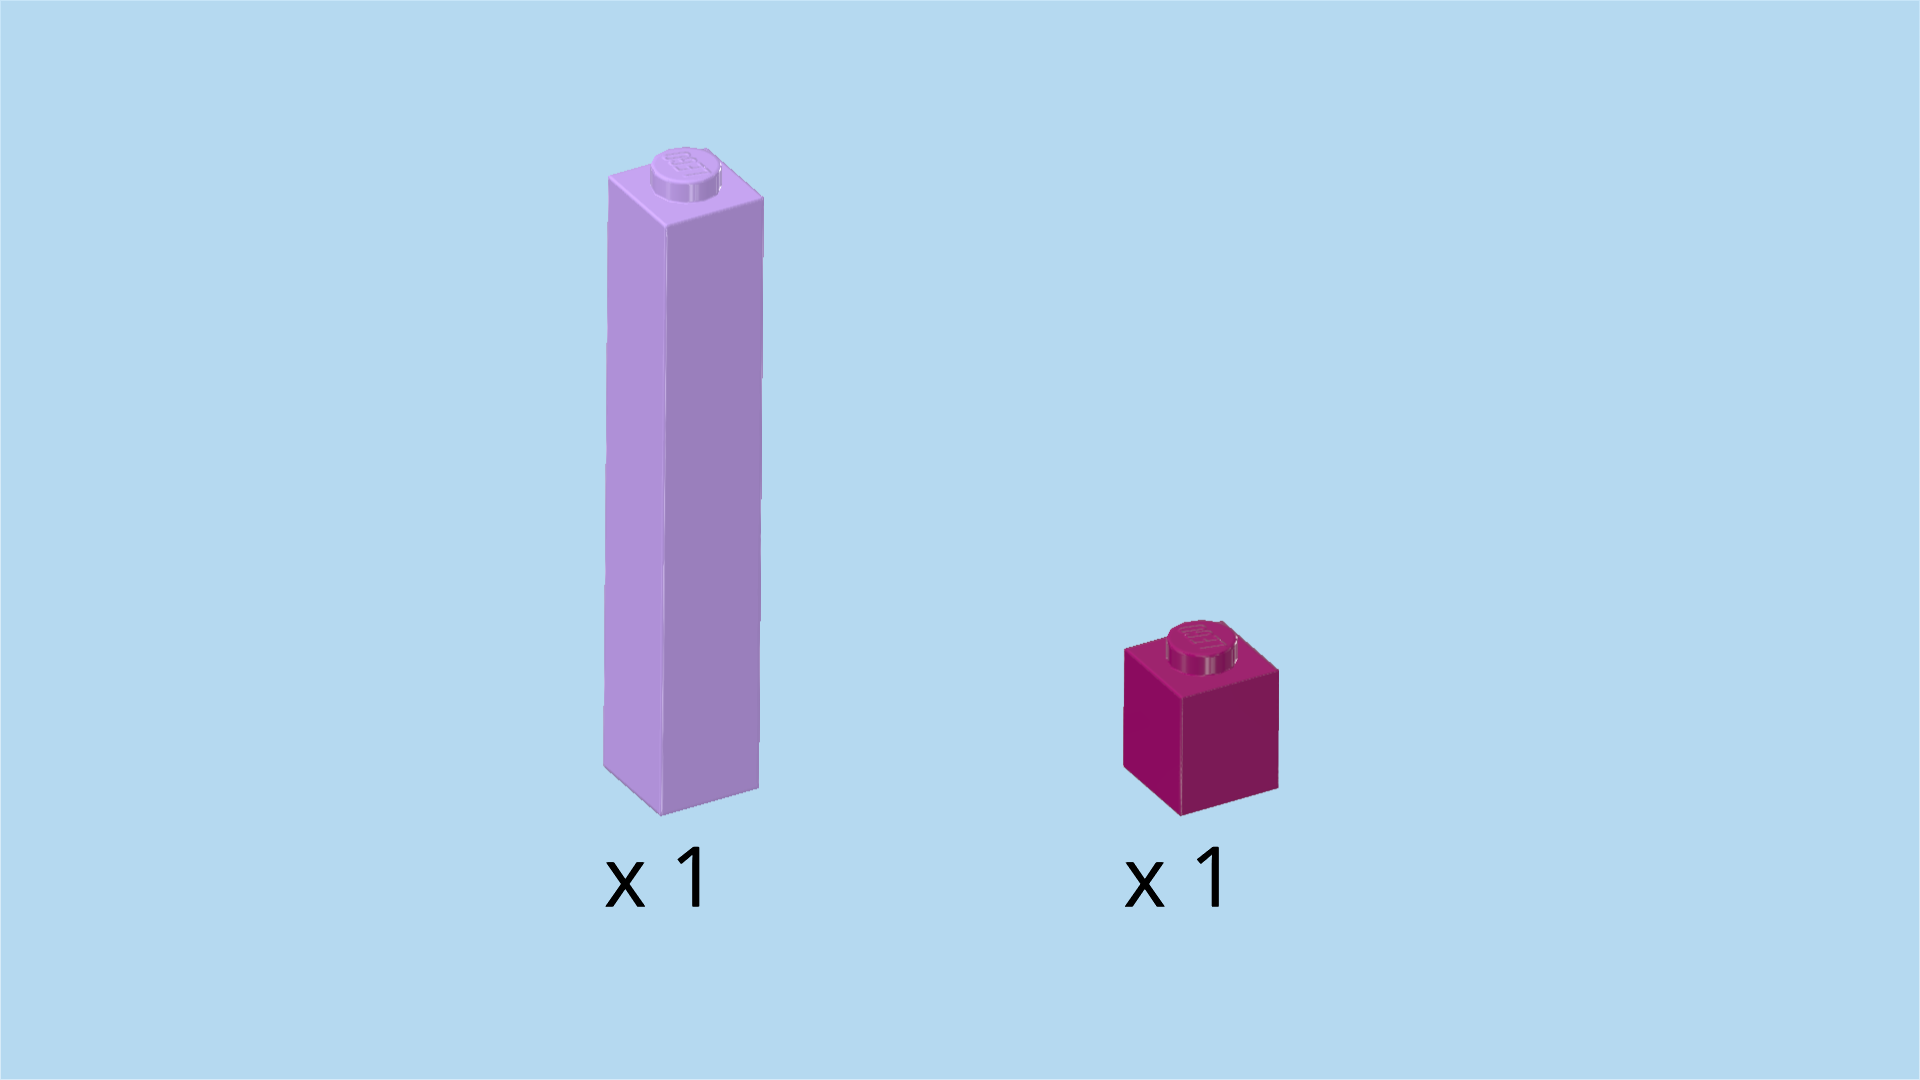
| 1 light lavender brick 1x1x5, |
| and 1 purple violet brick 1x1. |
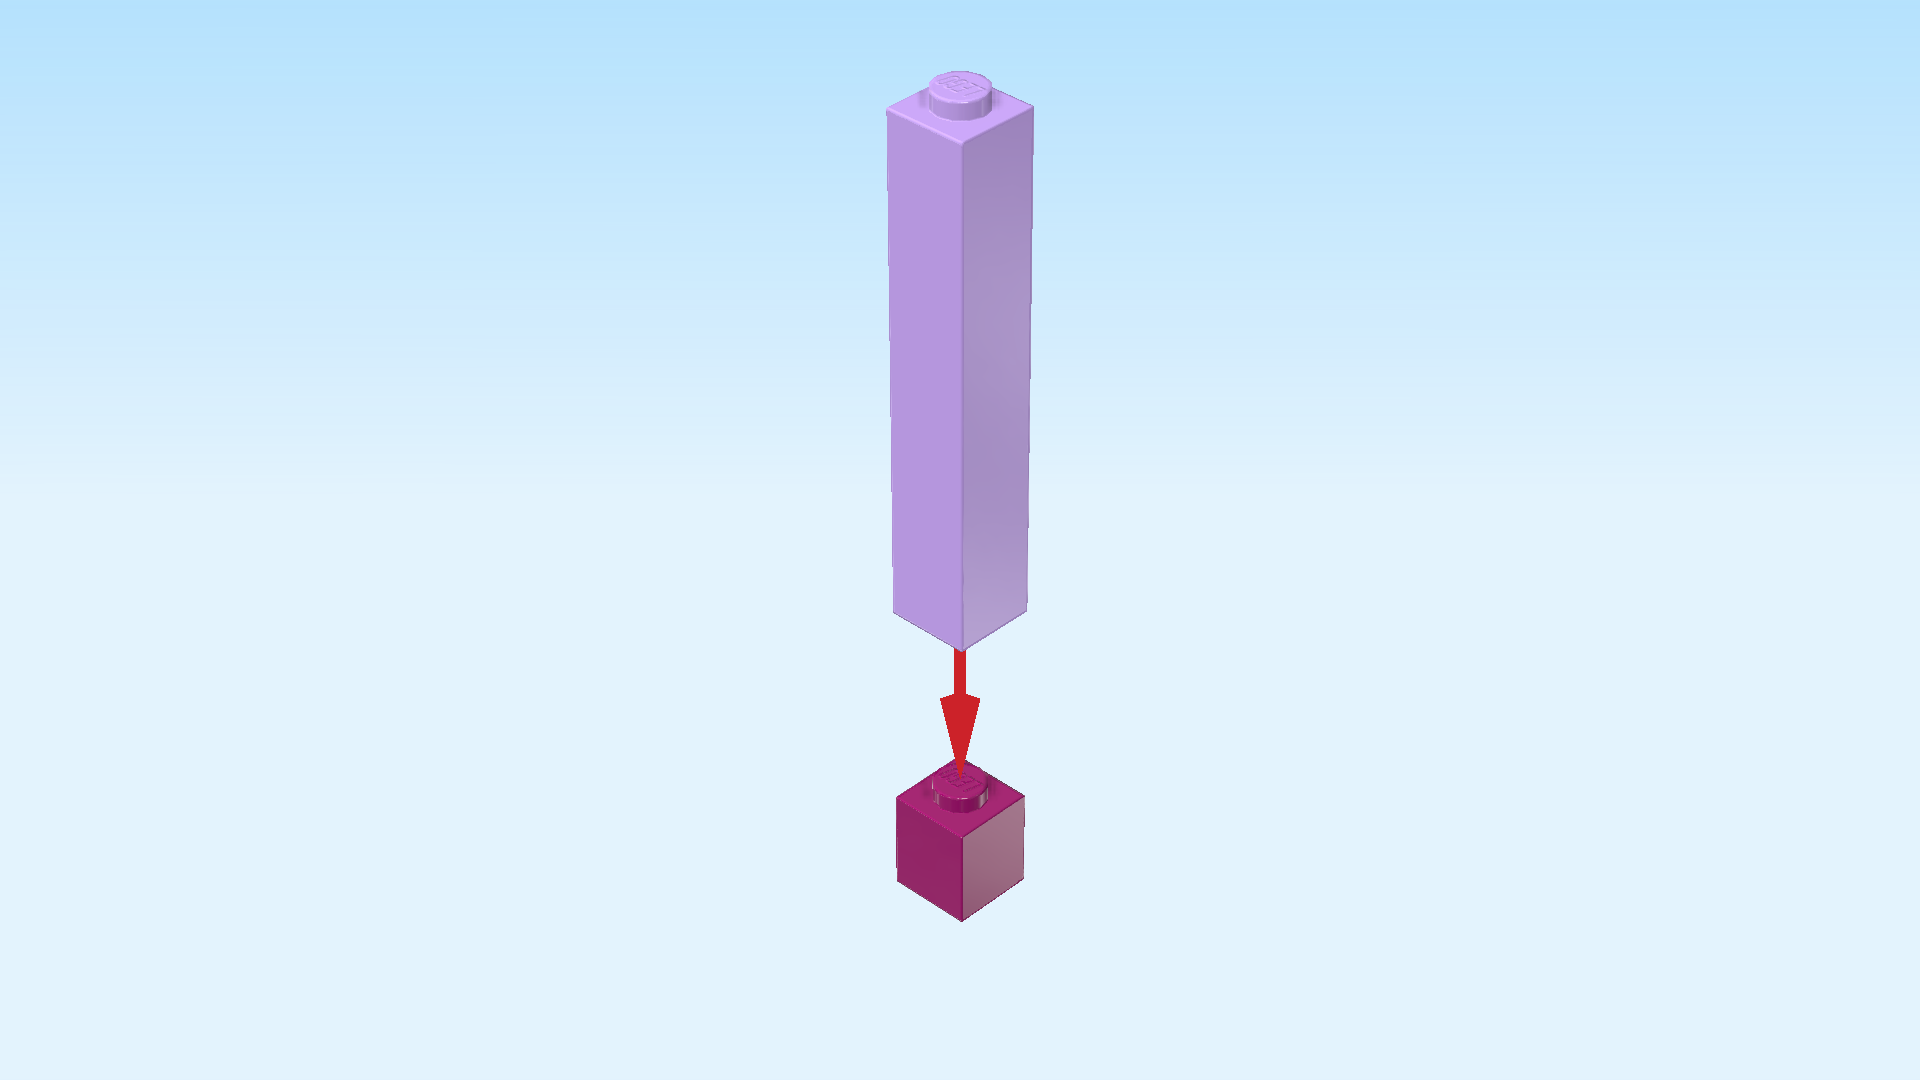
| Put the purple violet brick 1x1 on the table. |
| Put the brick 1x1x5 on top. |
| Mount this pillar behind the side window. |
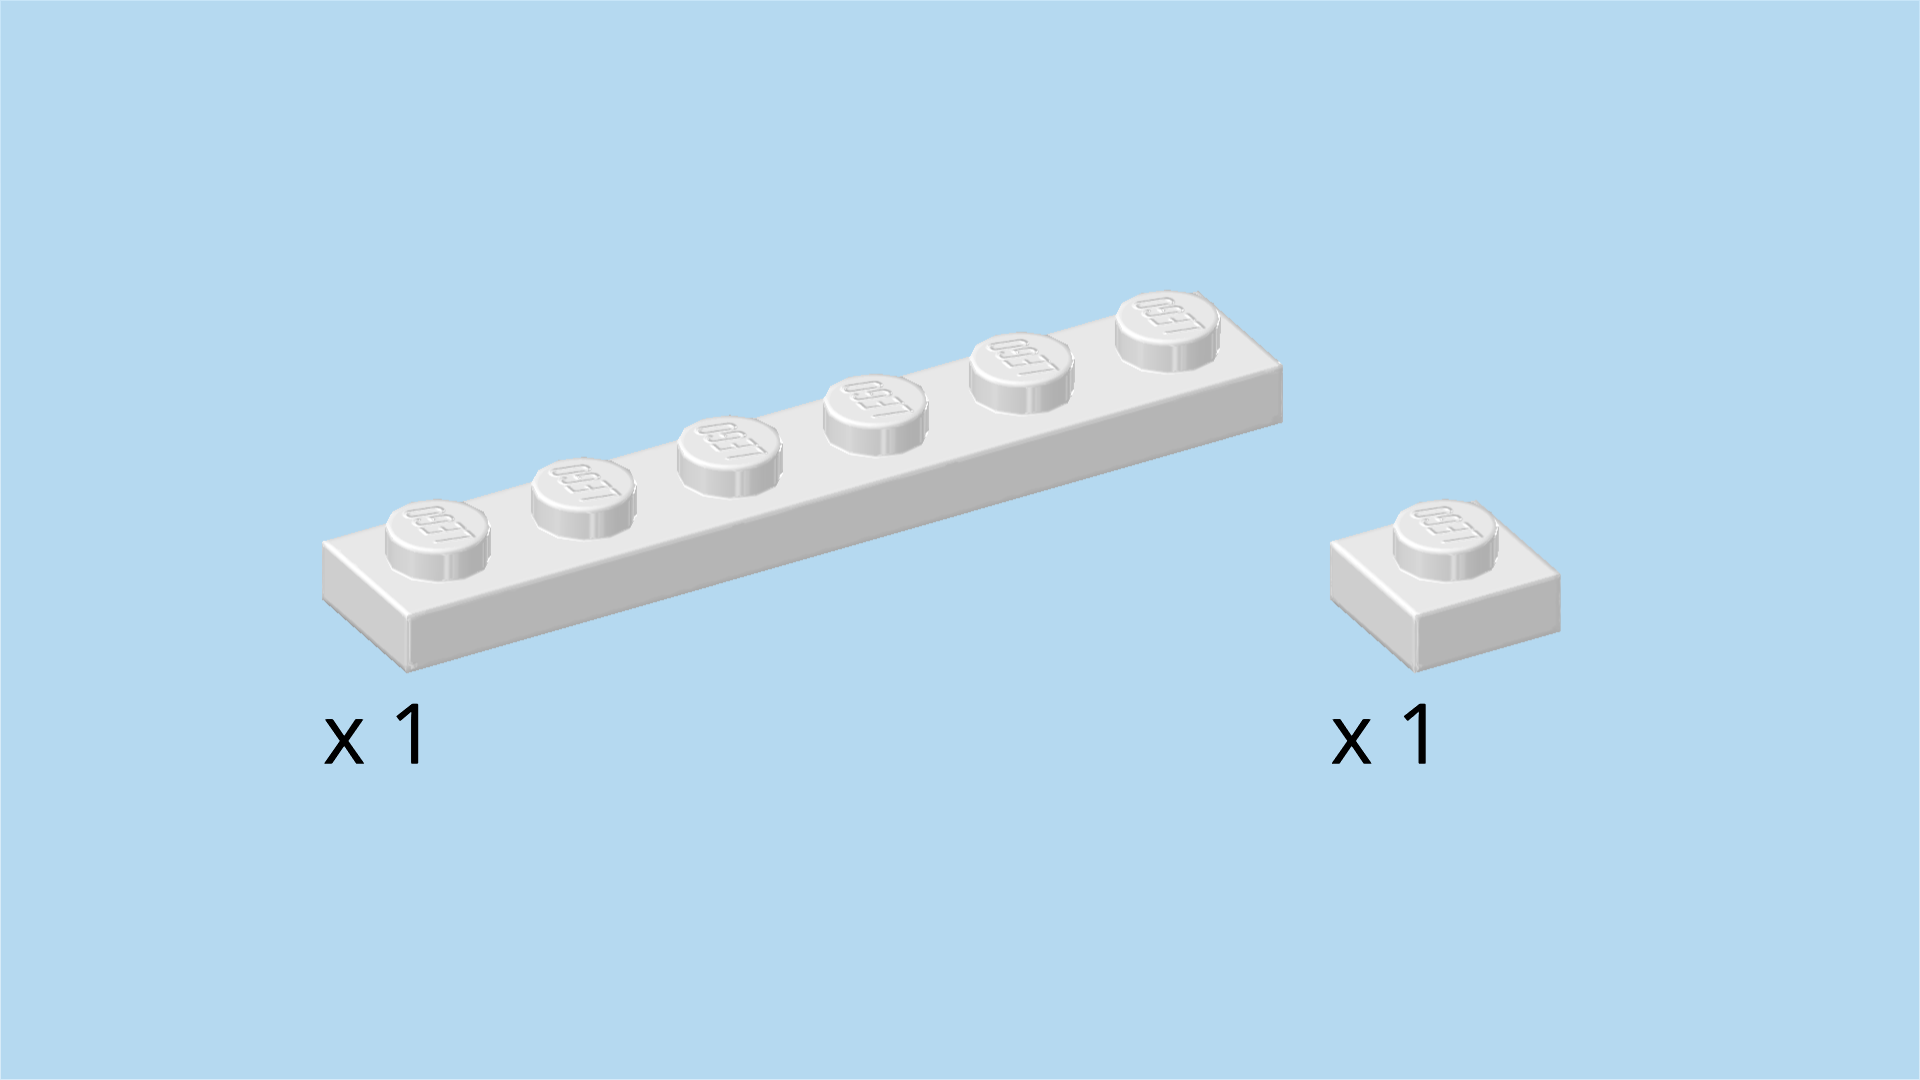
| Collect the following 2 pieces: |
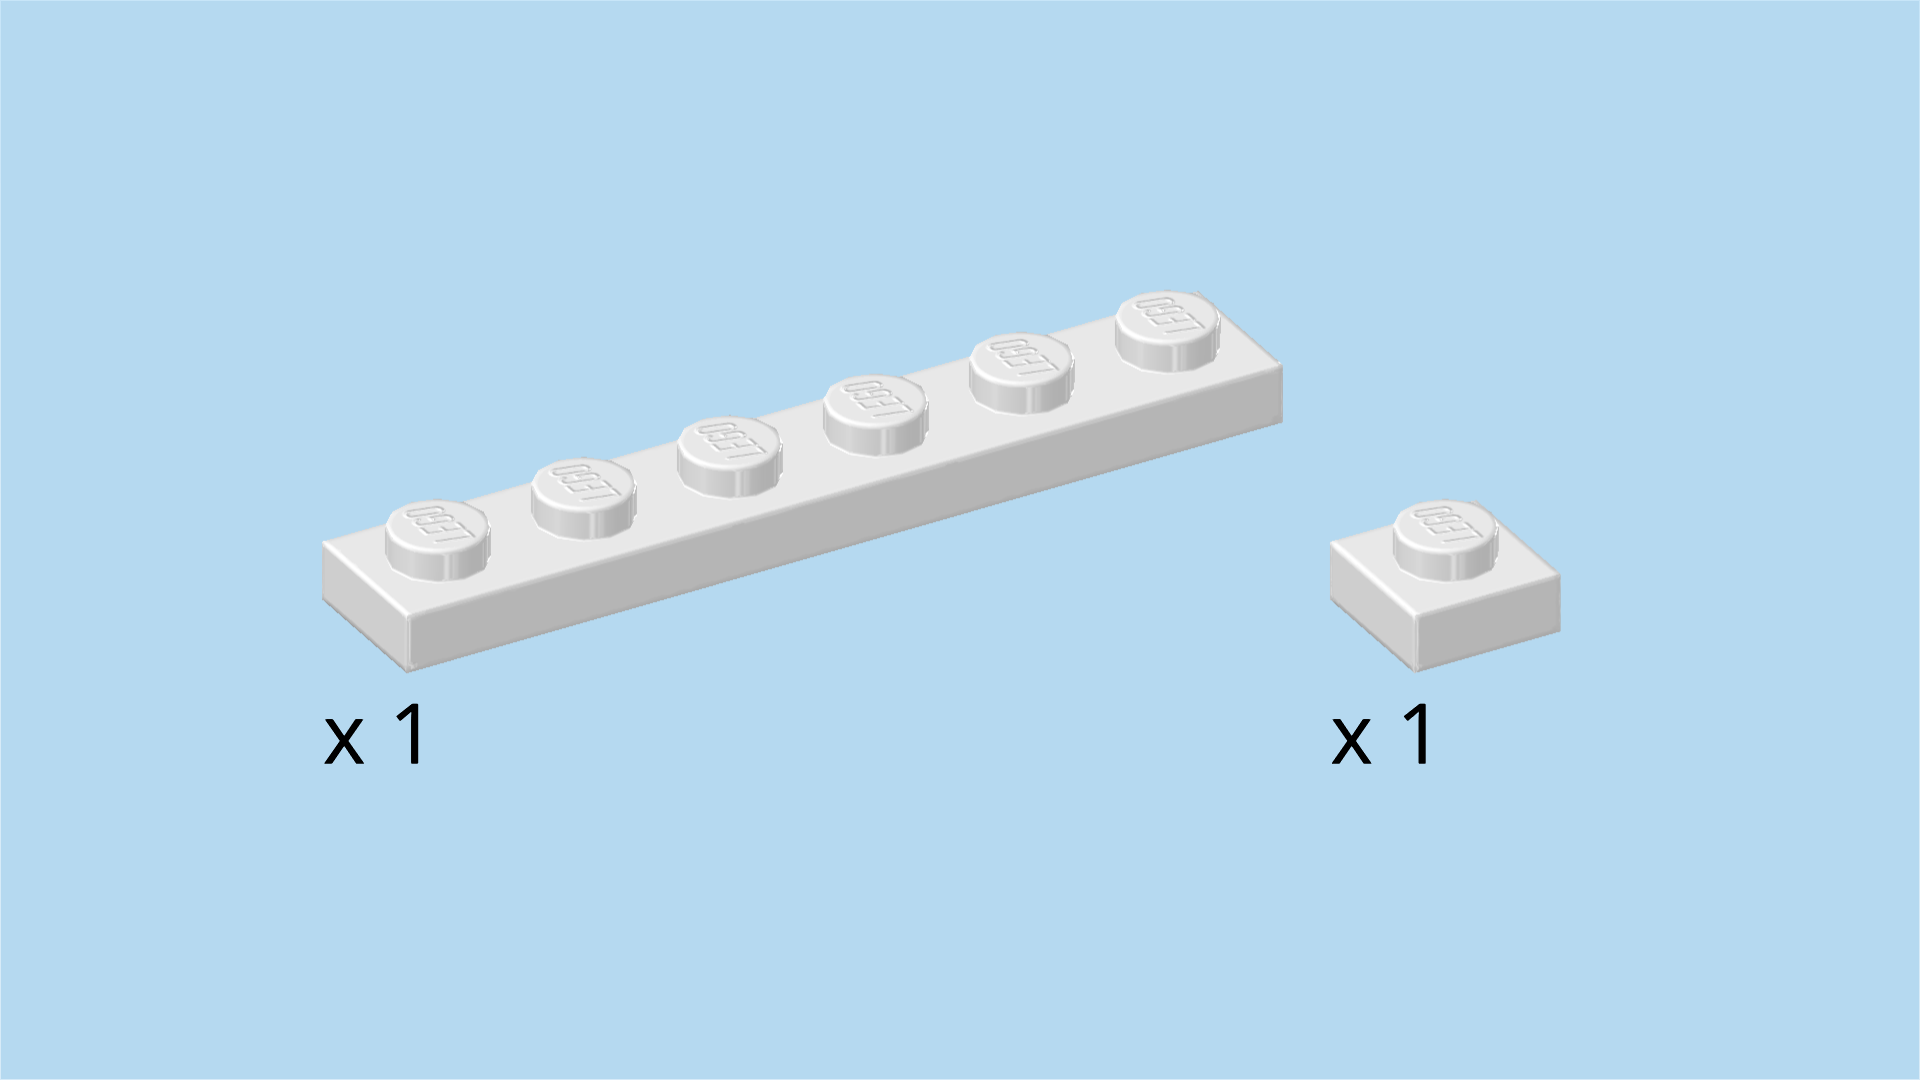
| 1 white plate 1x6, |
| and 1 white plate 1x1. |
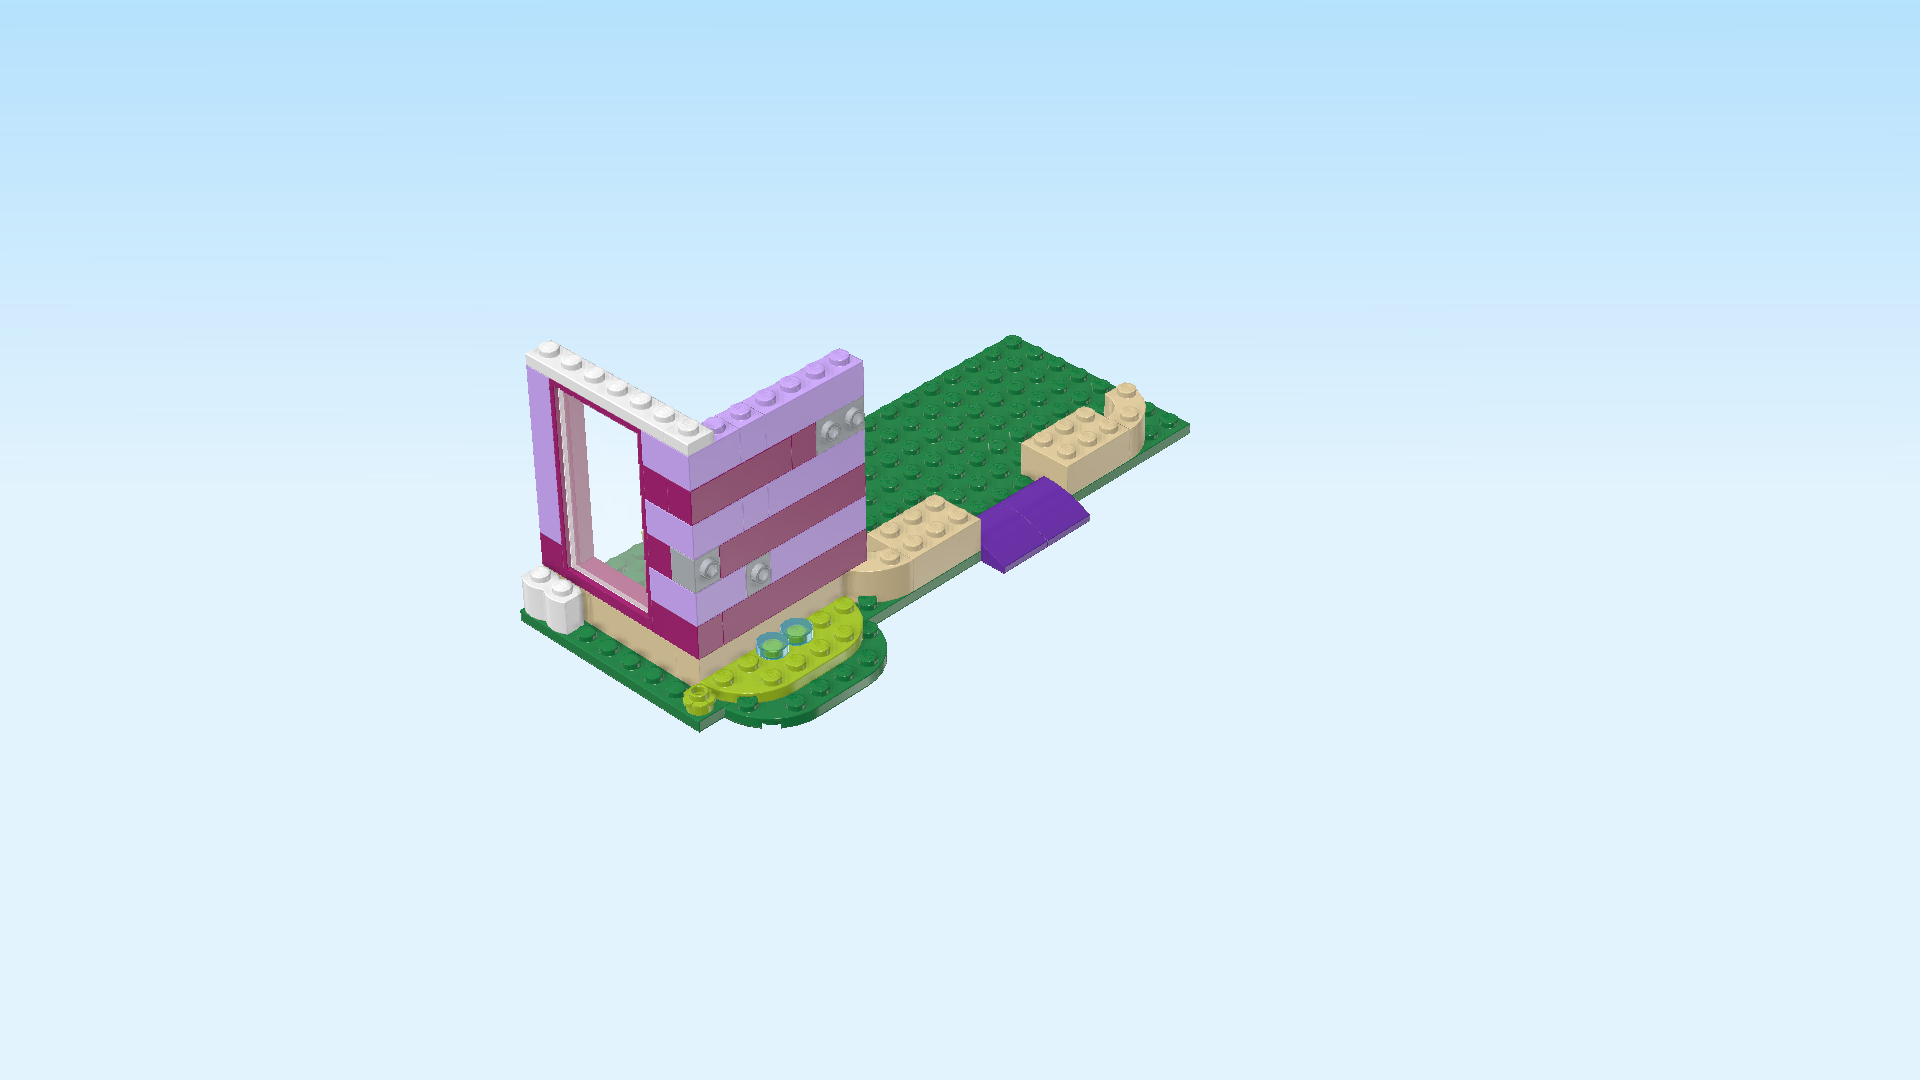
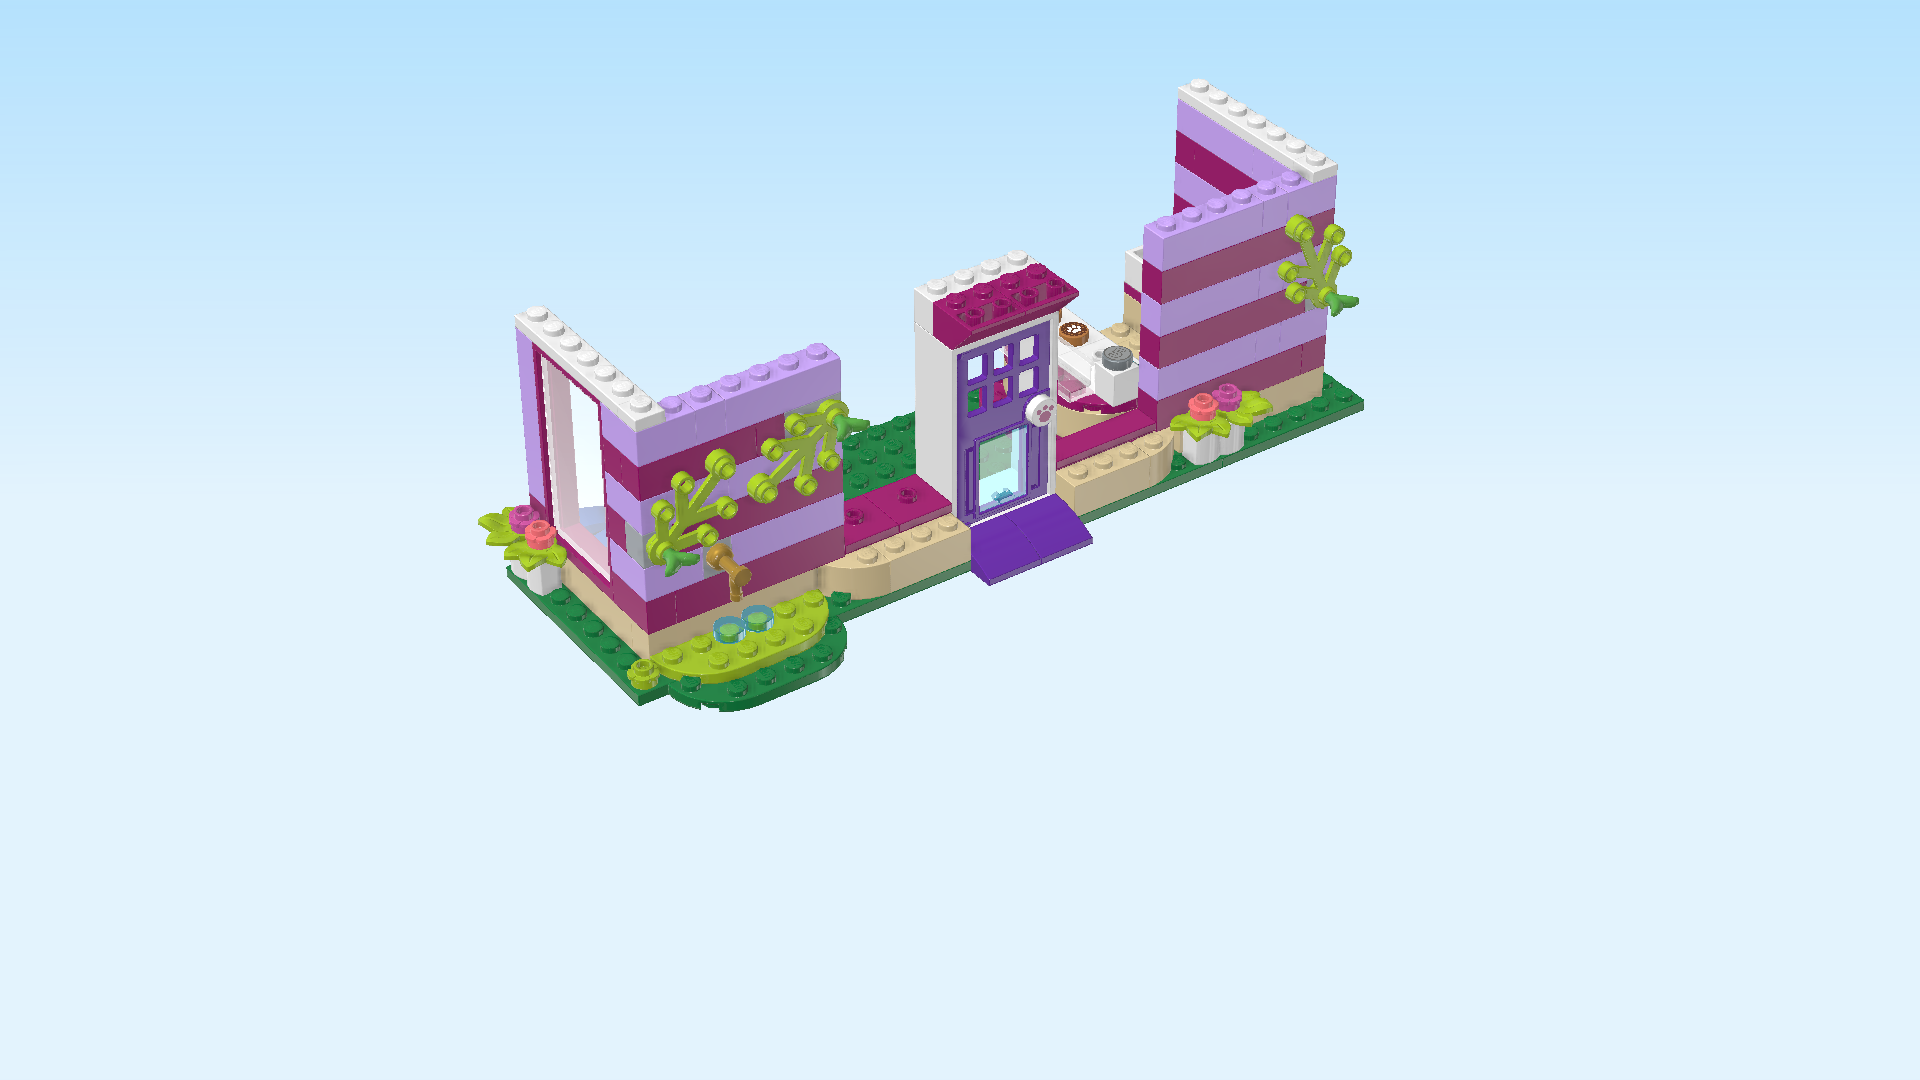
| Put the plate 1x6 vertically on top of the left side wall, starting from the backmost edge. |
| Put the plate 1x1 in front of the previous piece. |
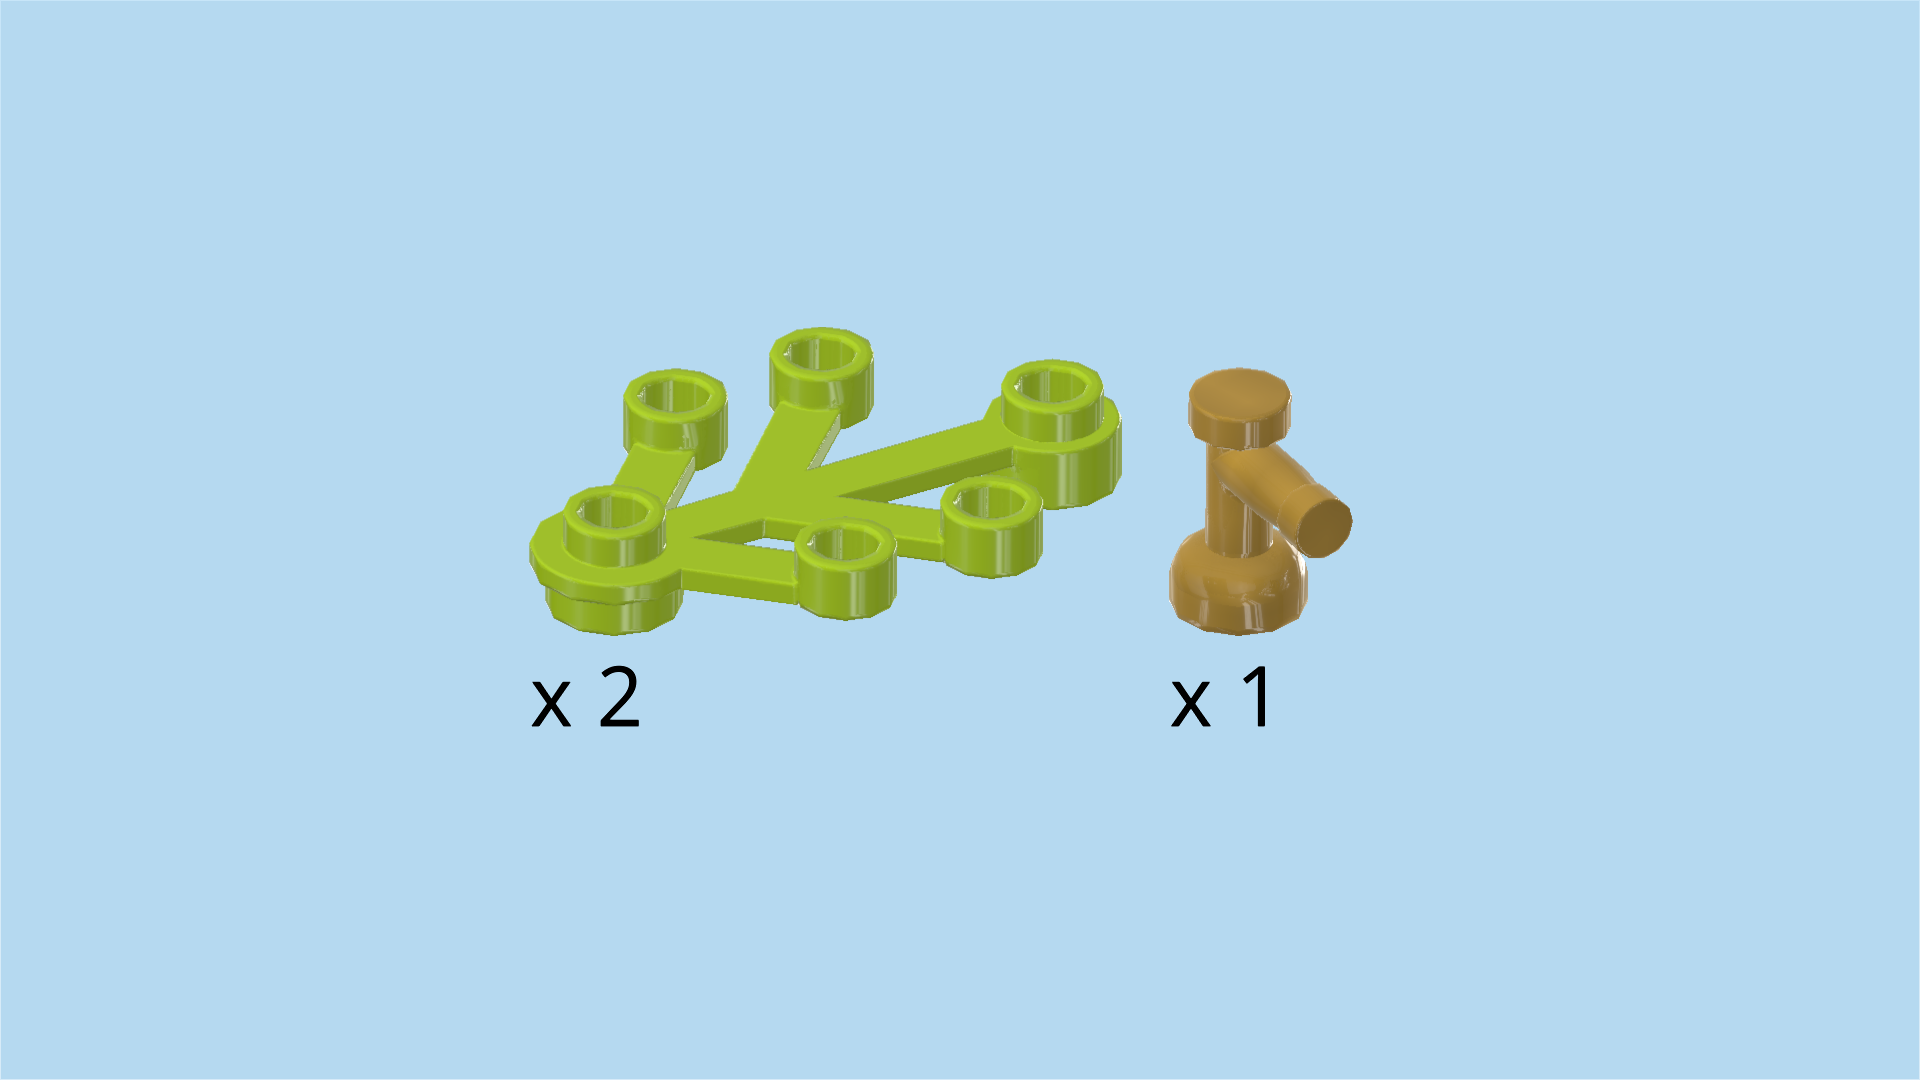
| Collect the following 3 pieces: |
| 2 bright yellowish green plant elements with 6 knobs, |
| and 1 warm gold water tap. |
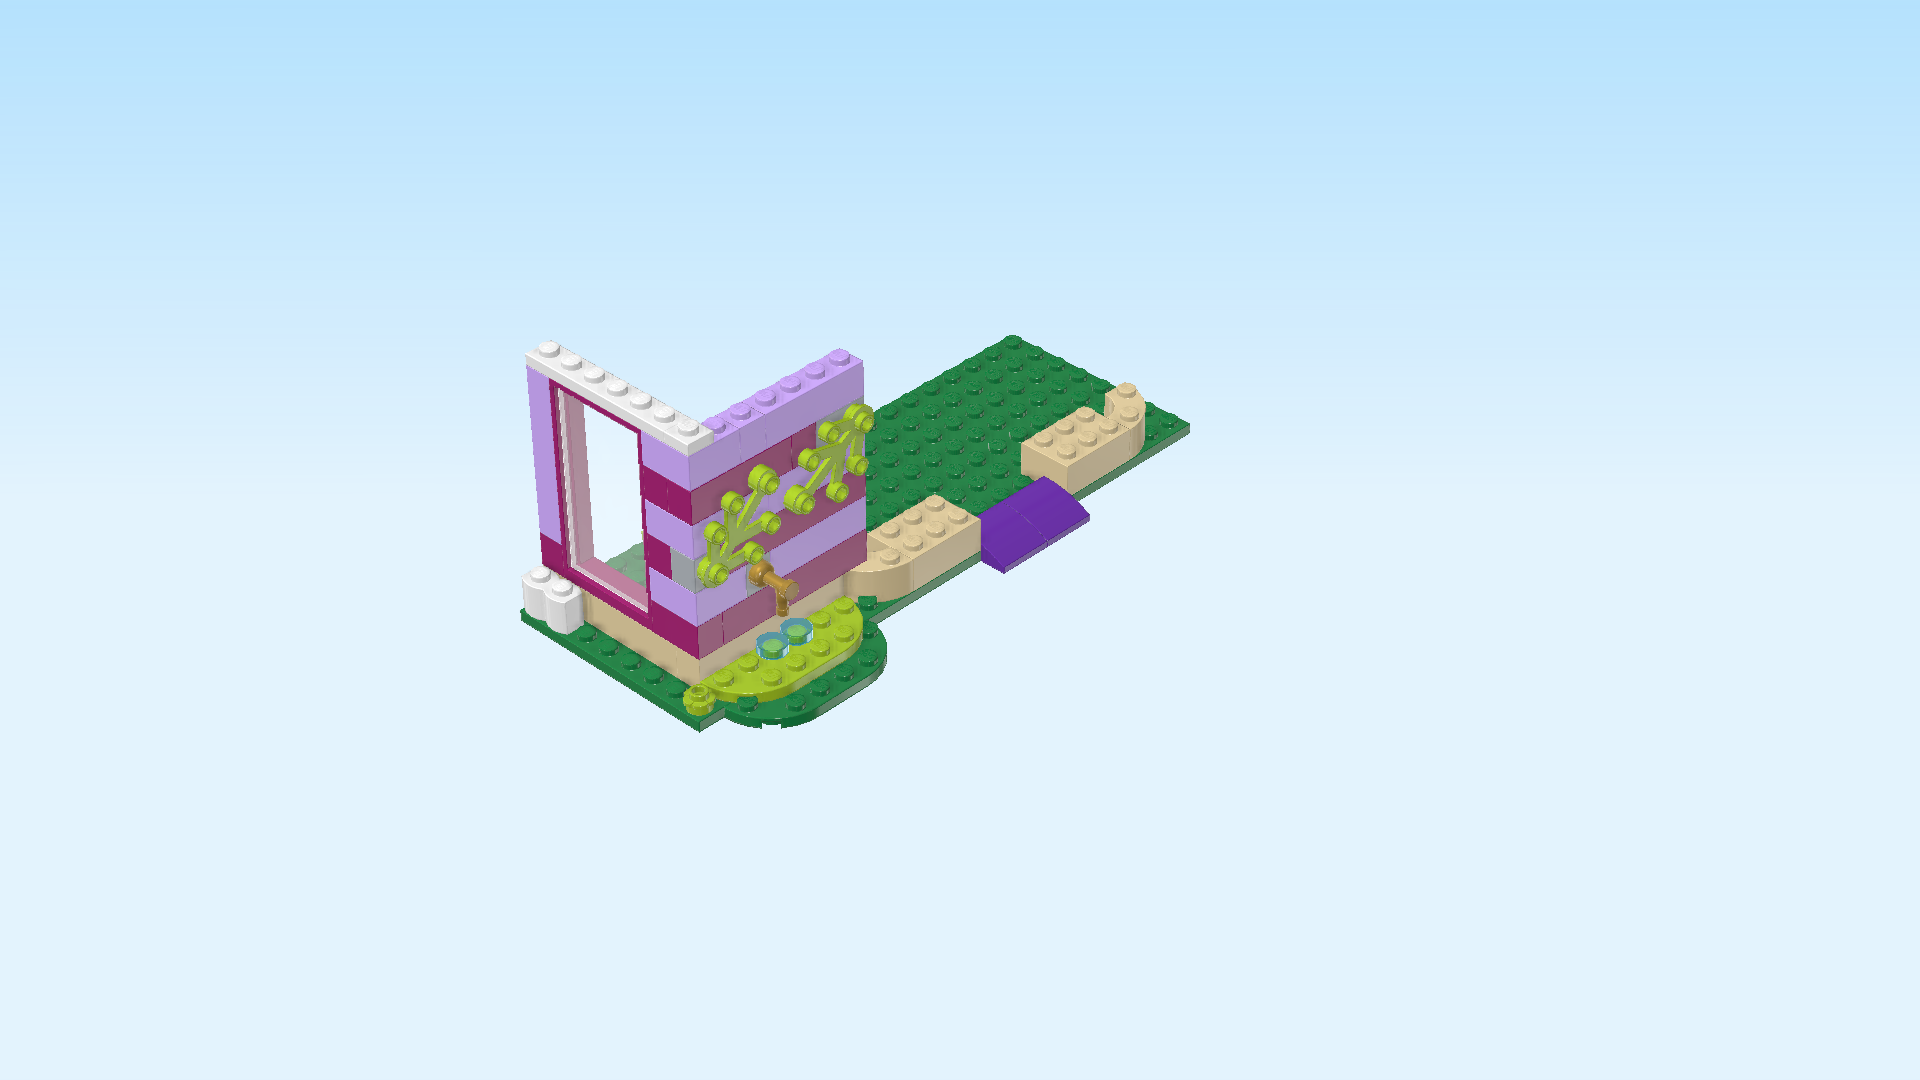
| Mount the water tap upright on the lowest side knob pointing to the front on the front wall, nozzle to the bottom. |
| The watering station is finished, great job! |
| The plant elements have 1 base knob which is a bit thicker, 4 shorter branches with narrow knobs and 1 longer branch that again has a thicker knob. For the next step, use the base knob. |
| Mount 1 plant element above of the water tap, using its base knob and the leftmost side knob on the wall pointing to the front. Make sure the longest branch is pointing to the right and slightly upwards. |
| Mount the other plant element on the 2 topmost side knobs pointing to the front, longest branch pointing to the left and slightly downwards. Only the thicker knobs of the branch can connect with the wall side knobs, so use the base knob now. |
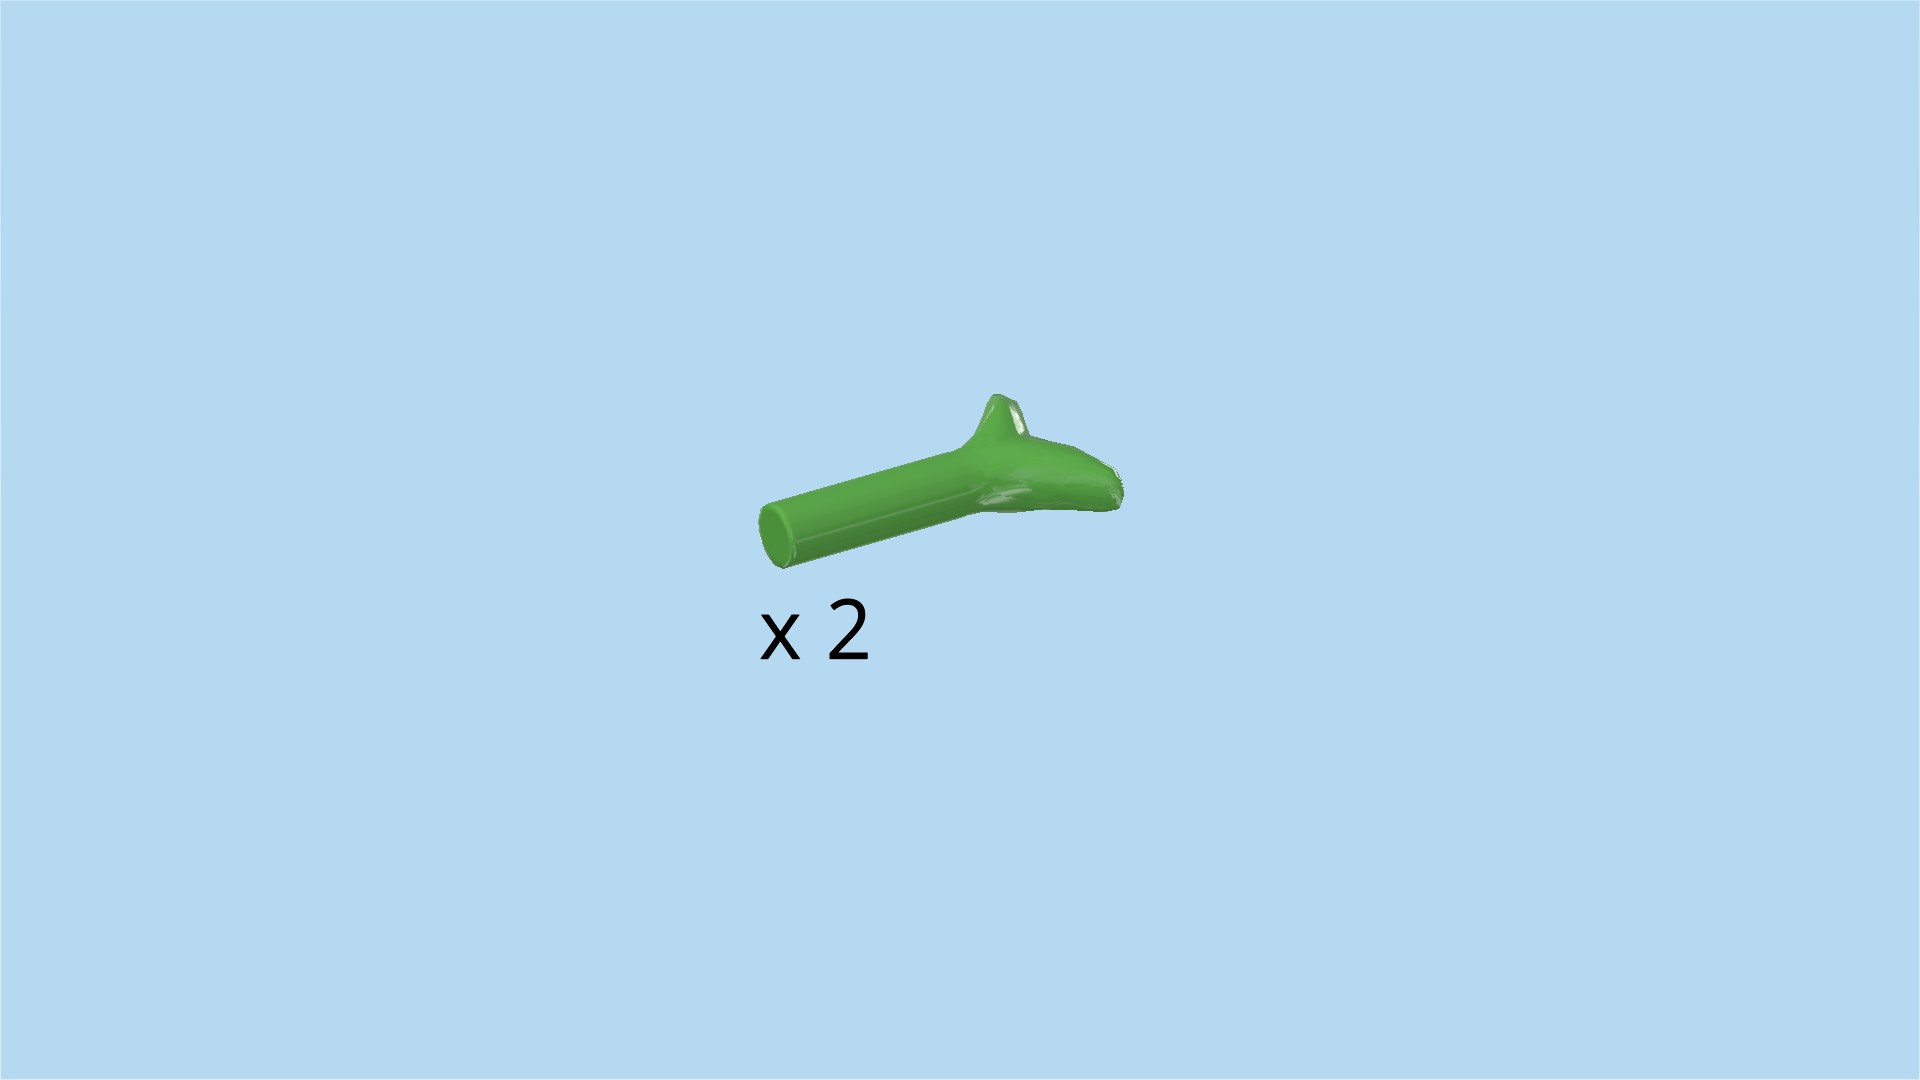
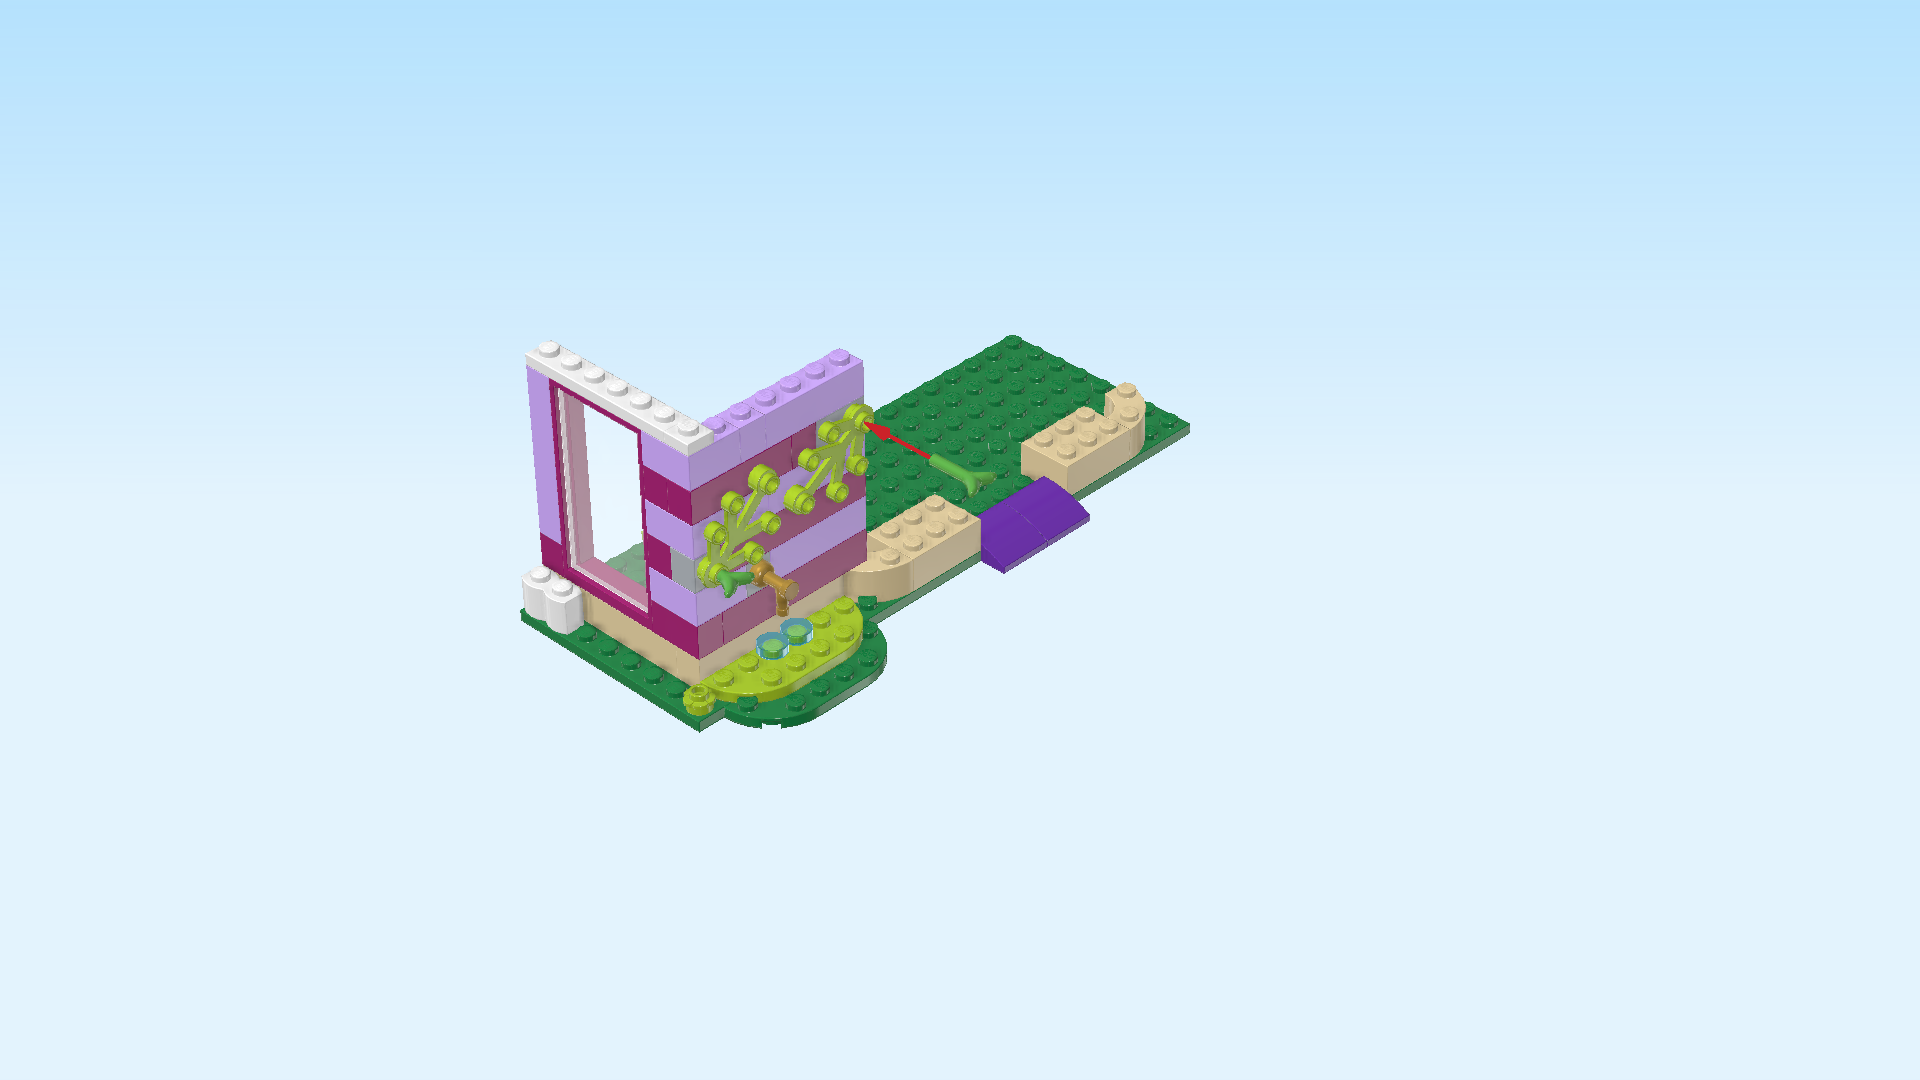
| Find 2 bright green shafts 2m with twig leaves. |
| Insert them into the base knobs of the 2 previous pieces, twig leaves sticking out towards the front. |
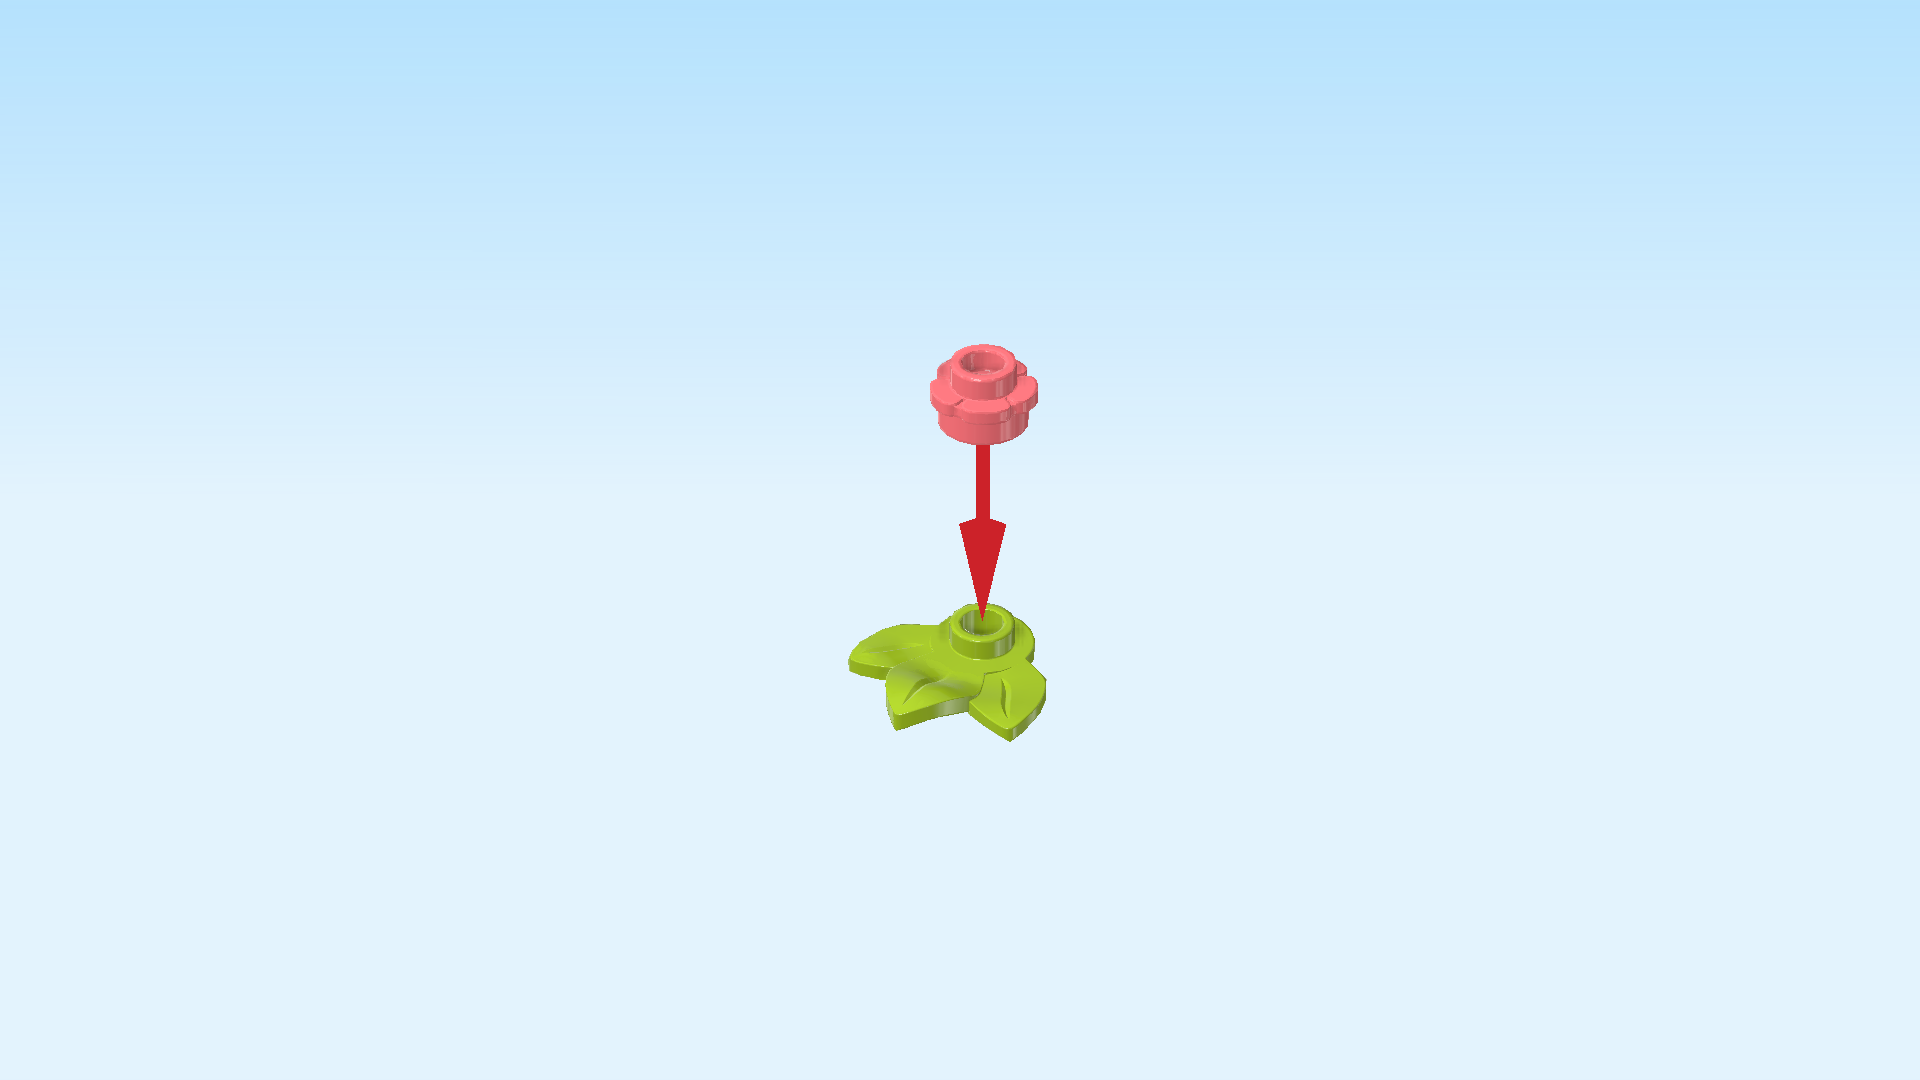
| Next, we will make 2 flower decorations. |
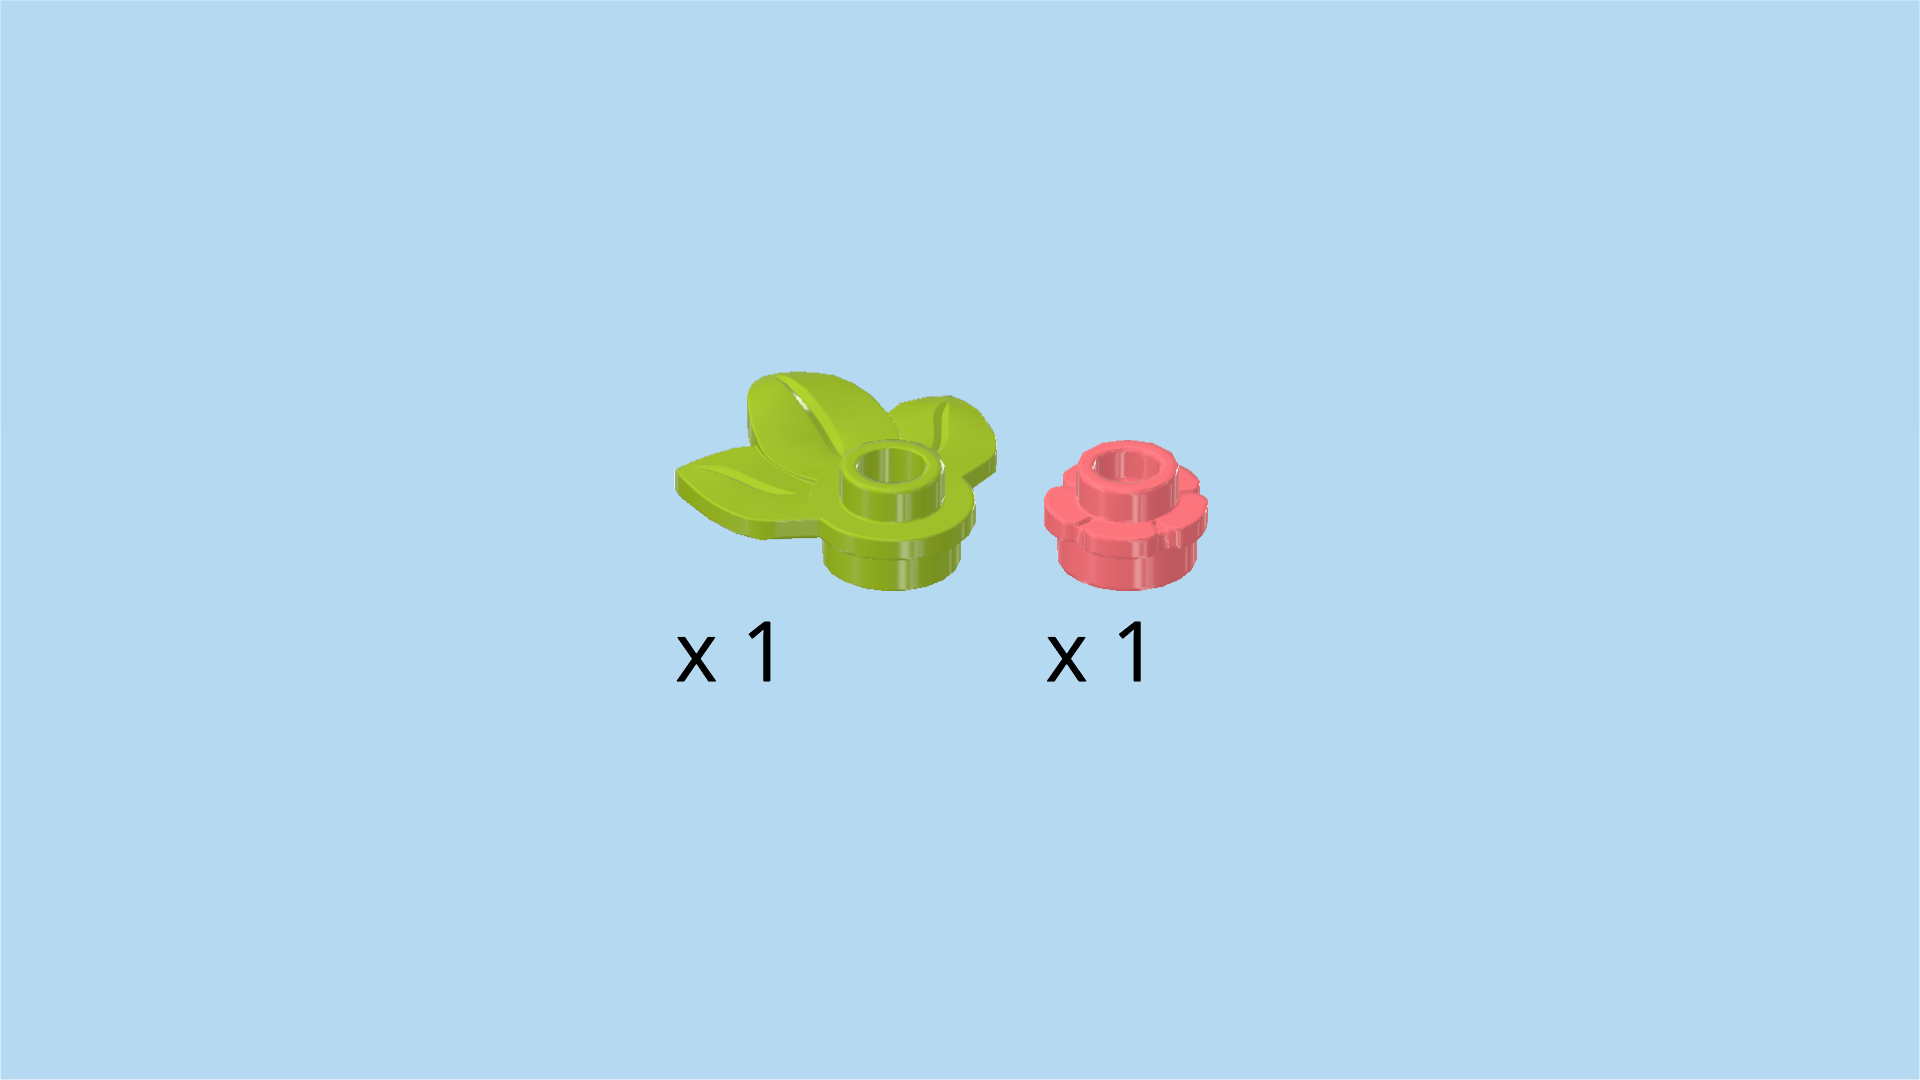
| Collect the following 2 pieces: |
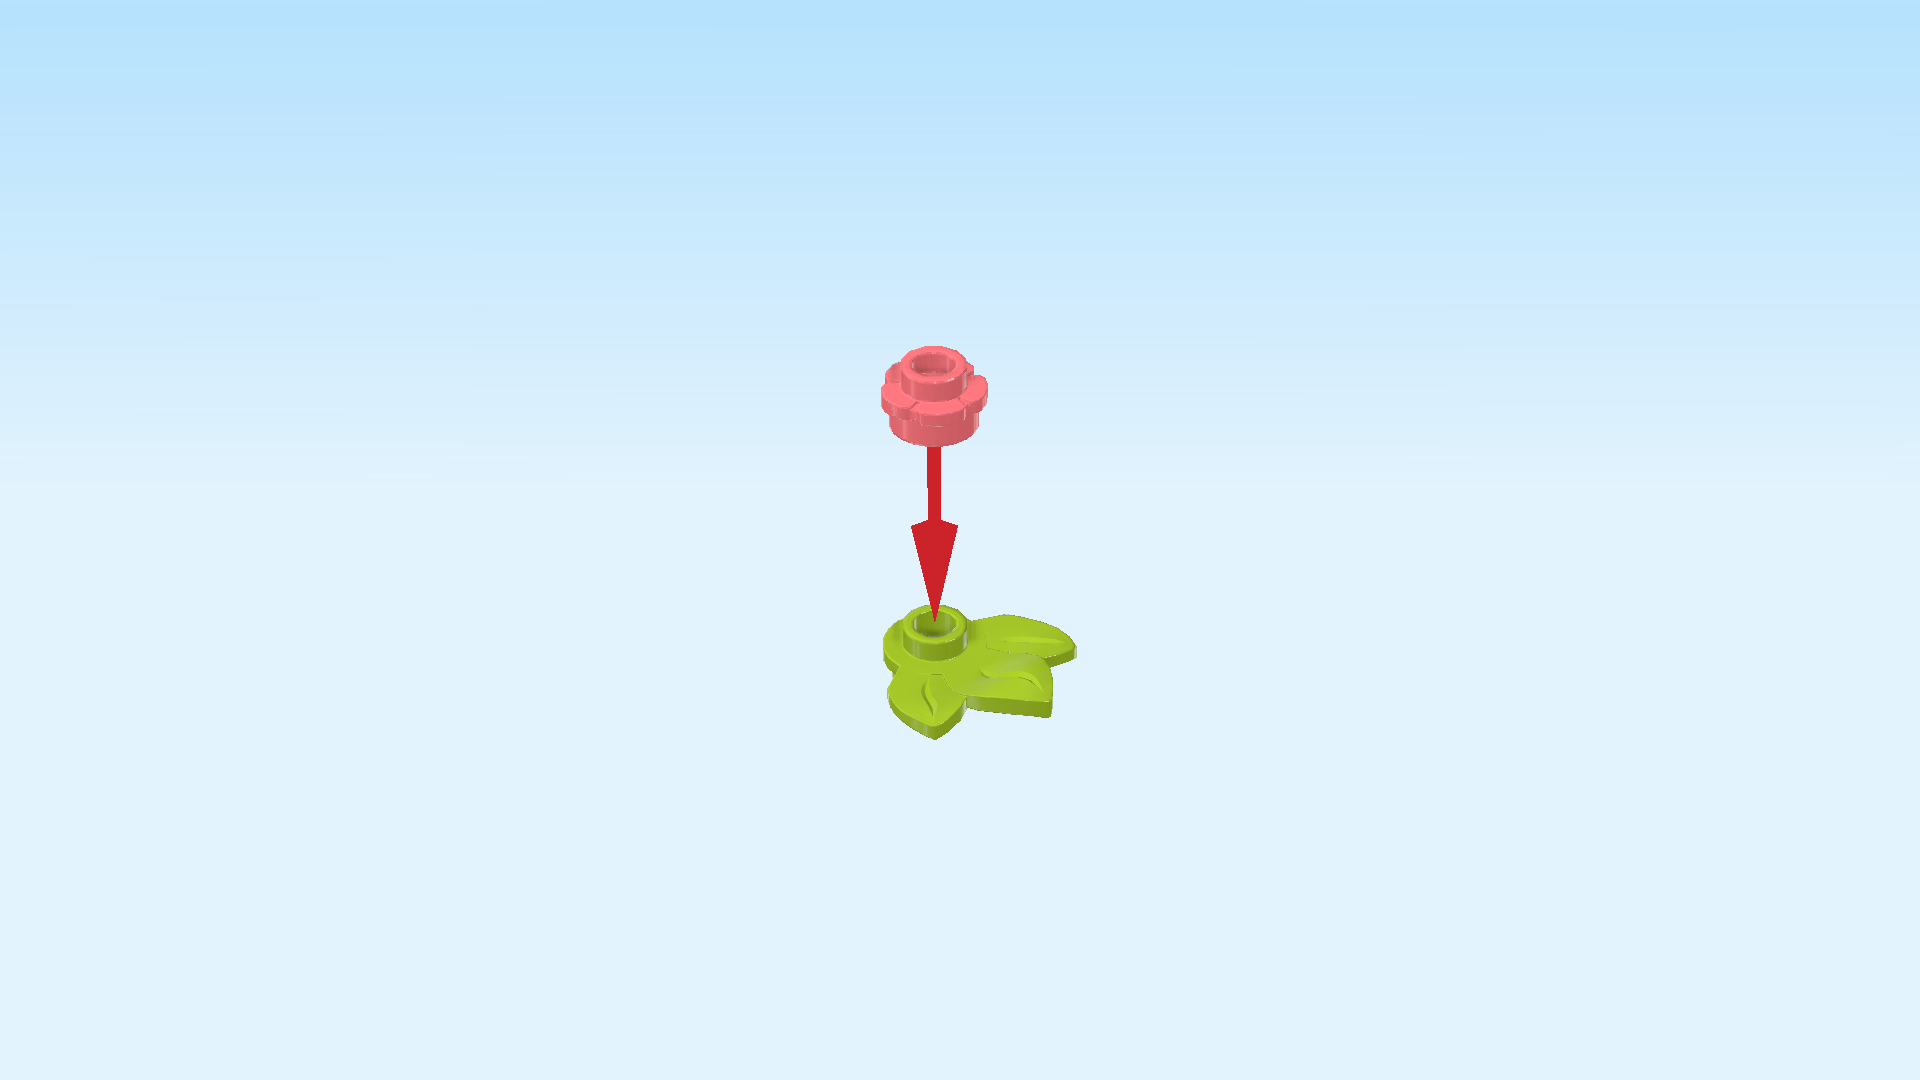
| 1 bright yellowish green round plate 1x1 with 3 leaves, |
| and 1 salmon pink flower piece 1x1 without shaft. |
| Put the round plate with 3 leaves on the table. |
| Put the flower piece 1x1 on top. |
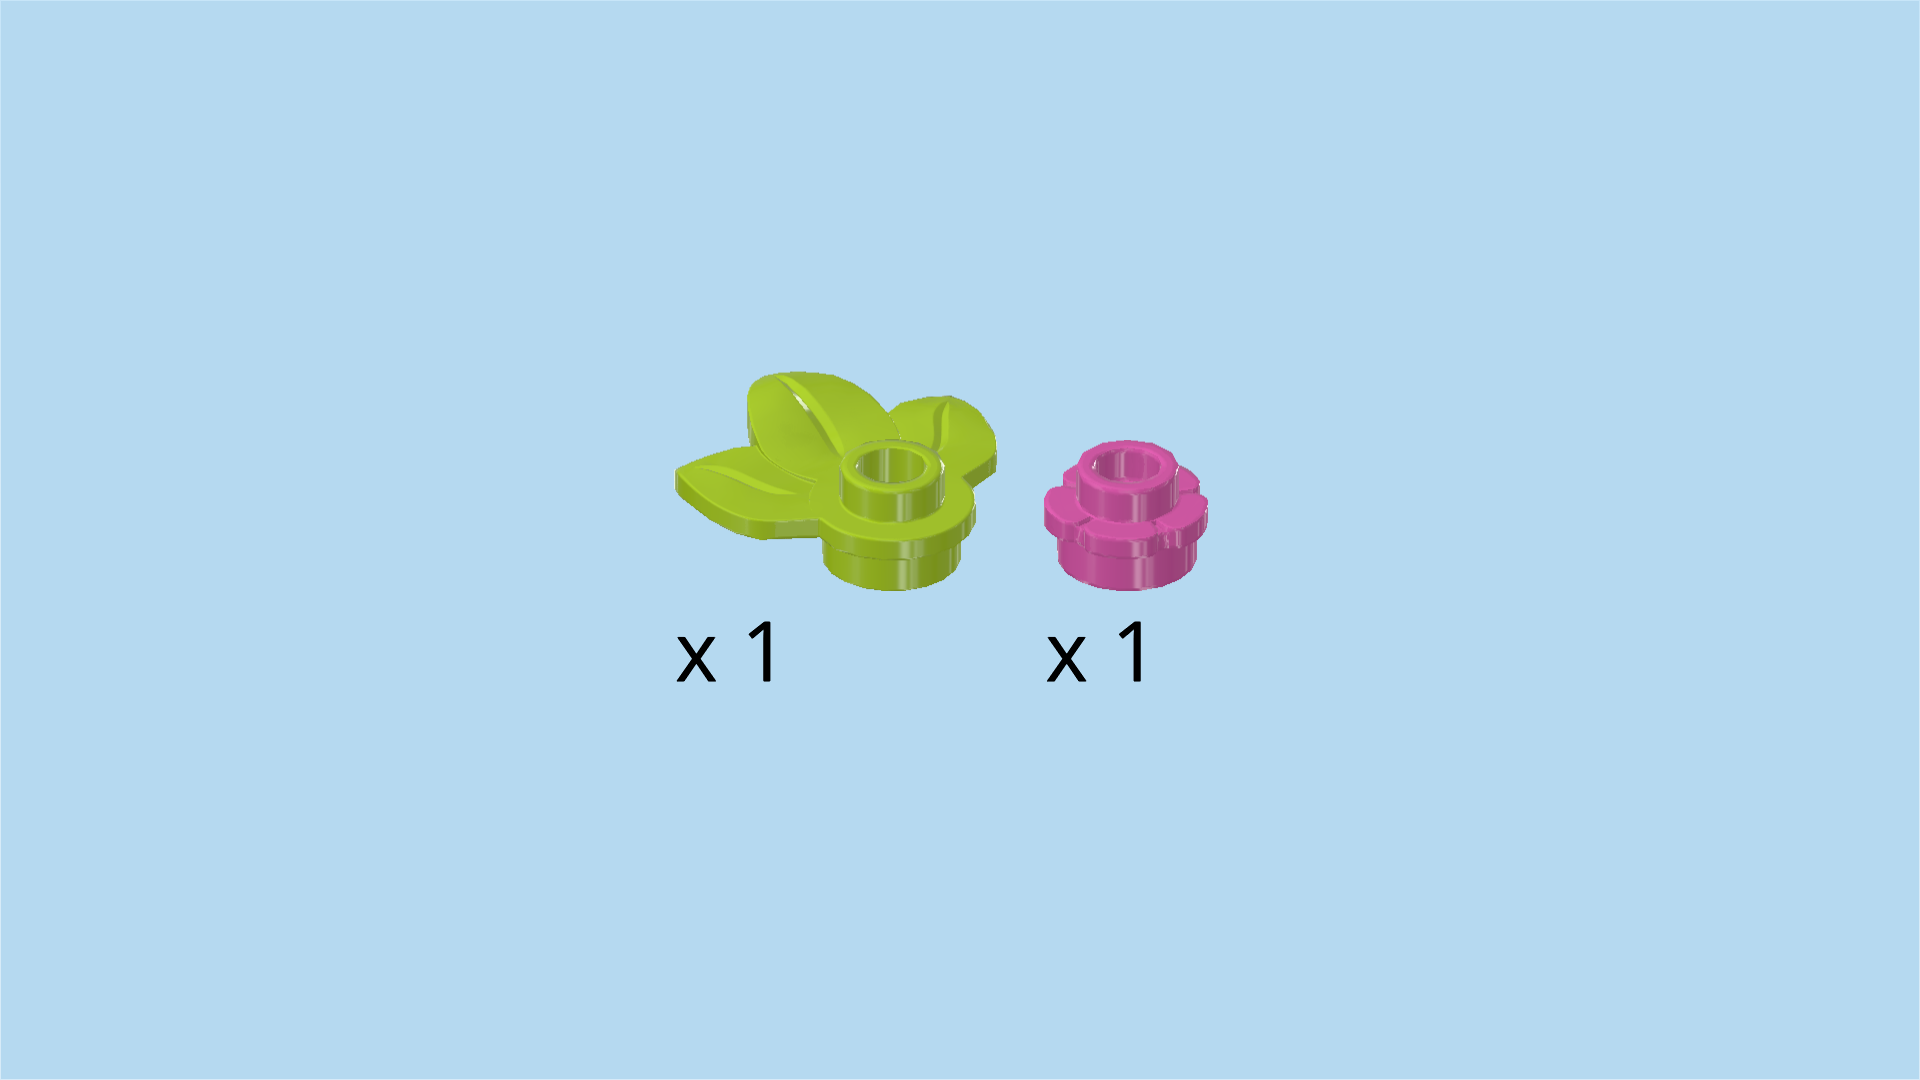
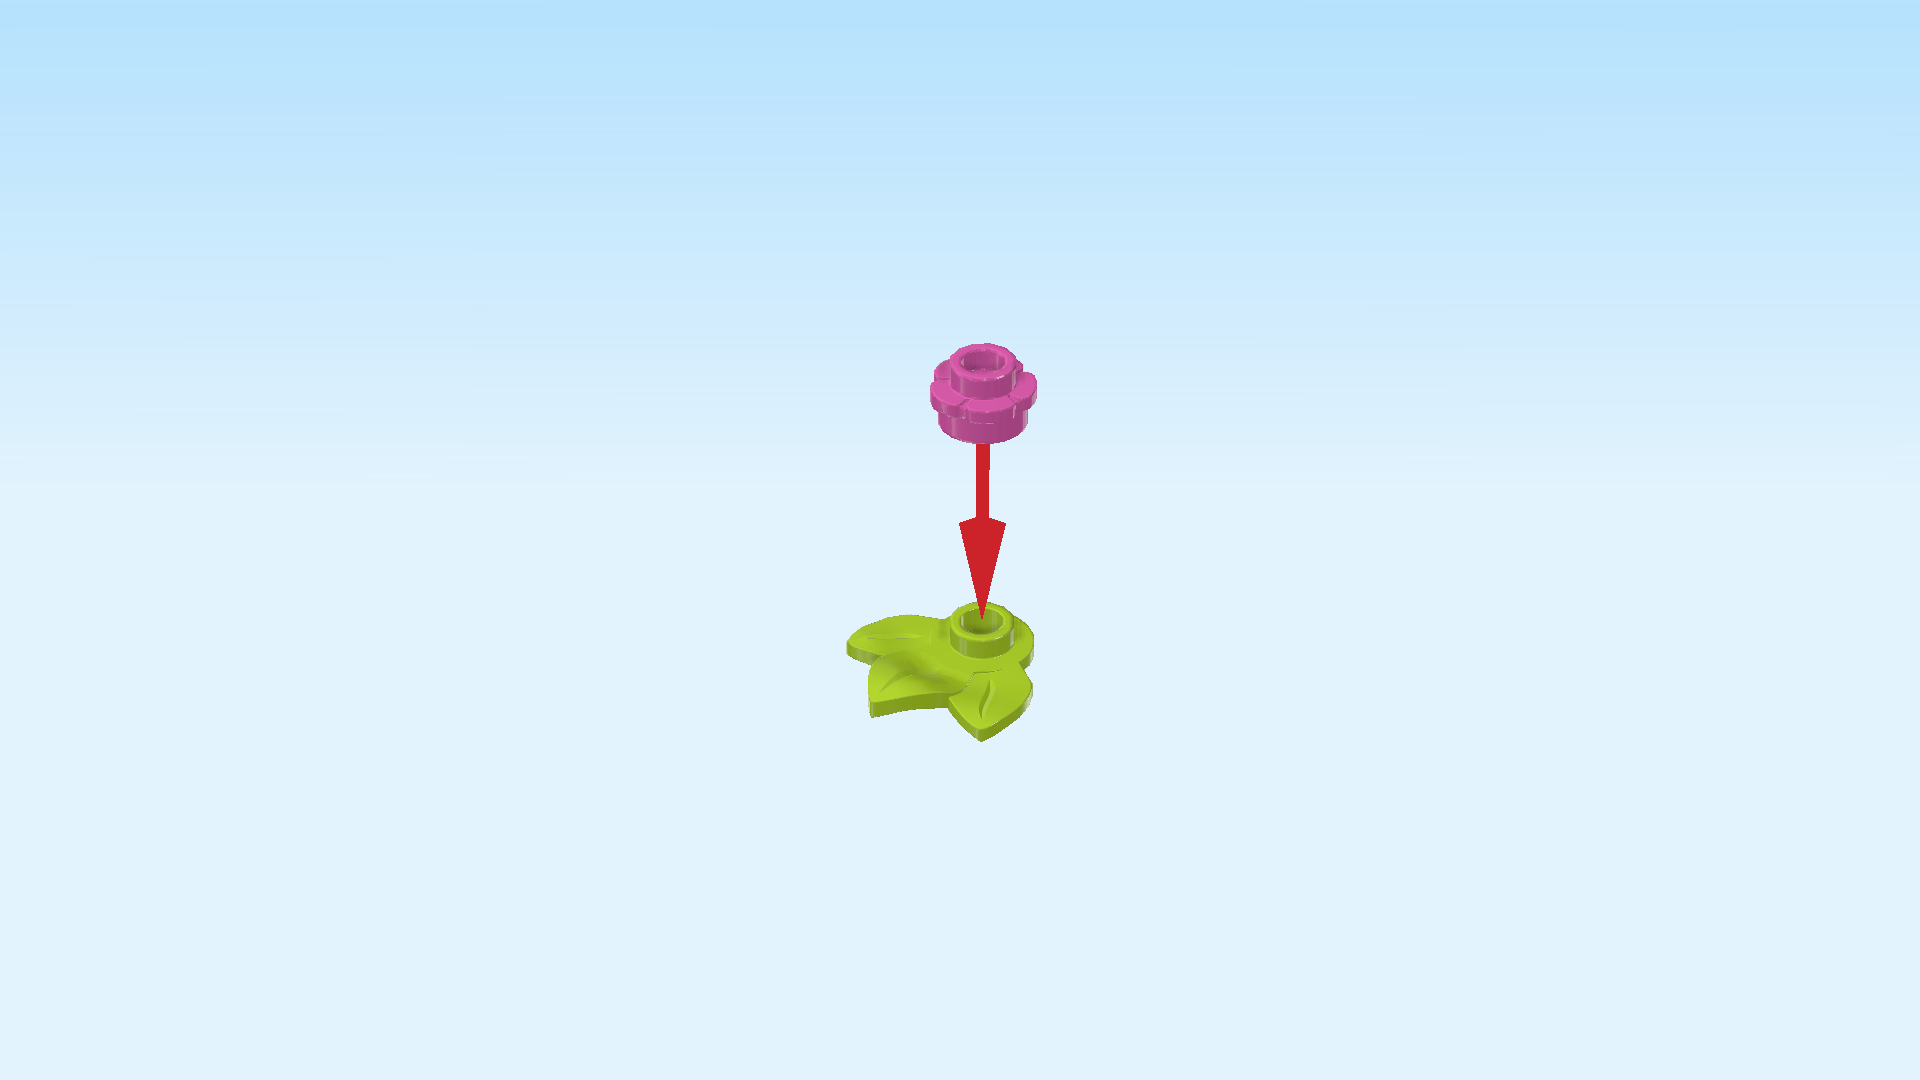
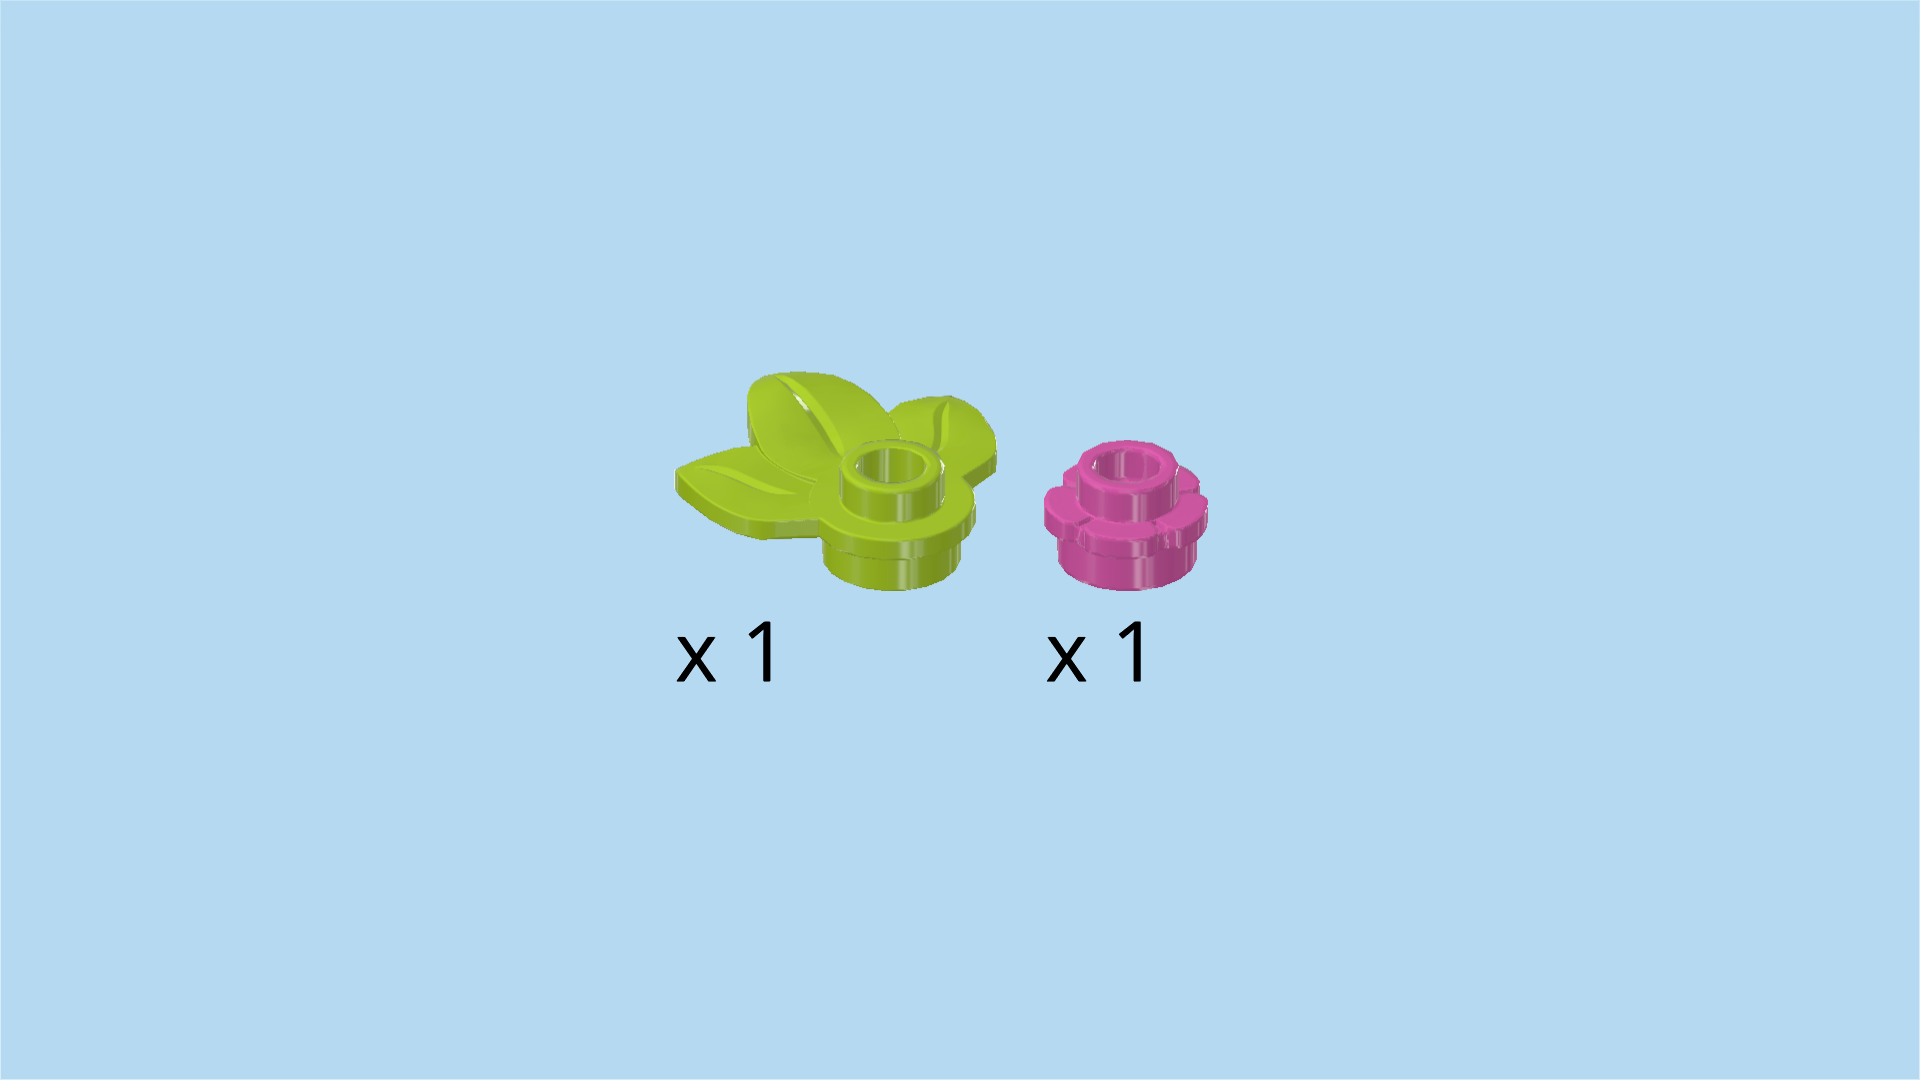
| Collect the following 2 pieces: |
| another bright yellowish green round plate 1x1 with 3 leaves, |
| and another bright purple flower piece 1x1 without shaft. |
| Put the round plate with leaves on the table. |
| Put the flower piece 1x1 on top. |
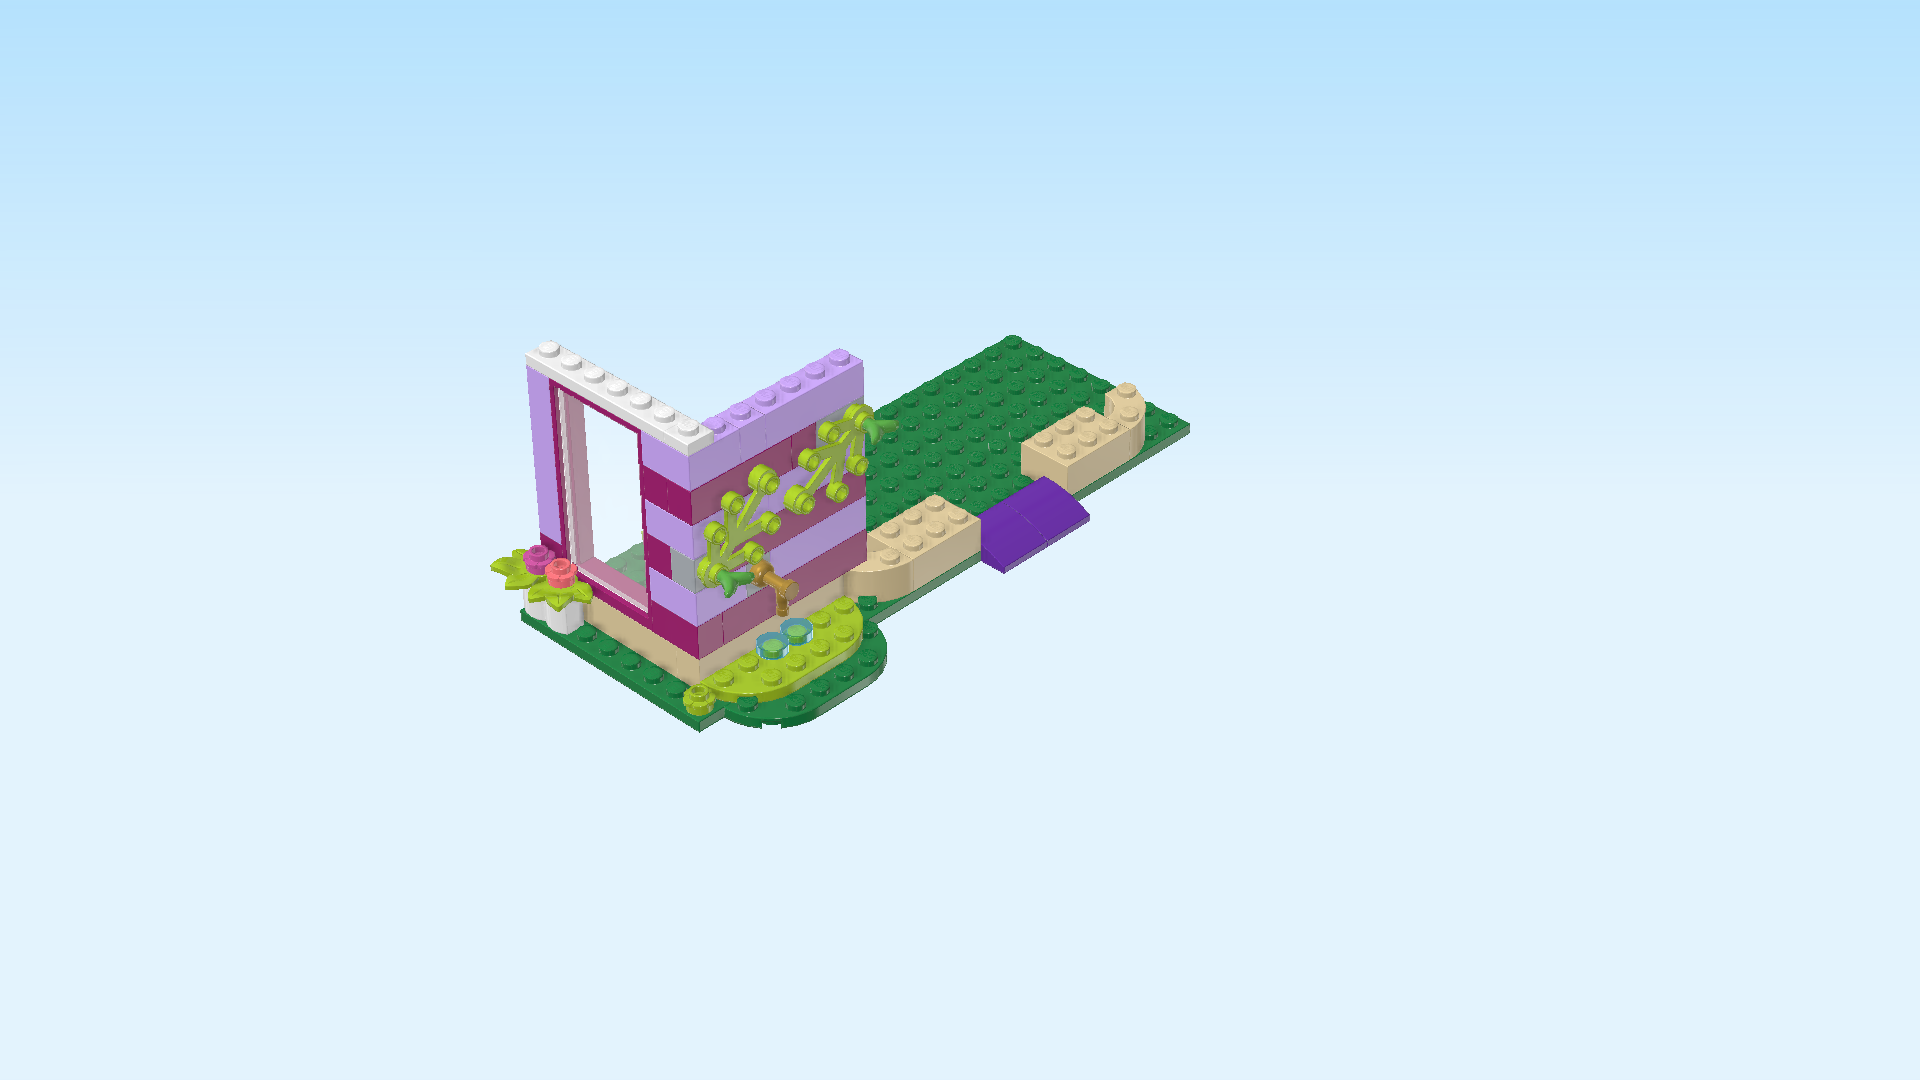
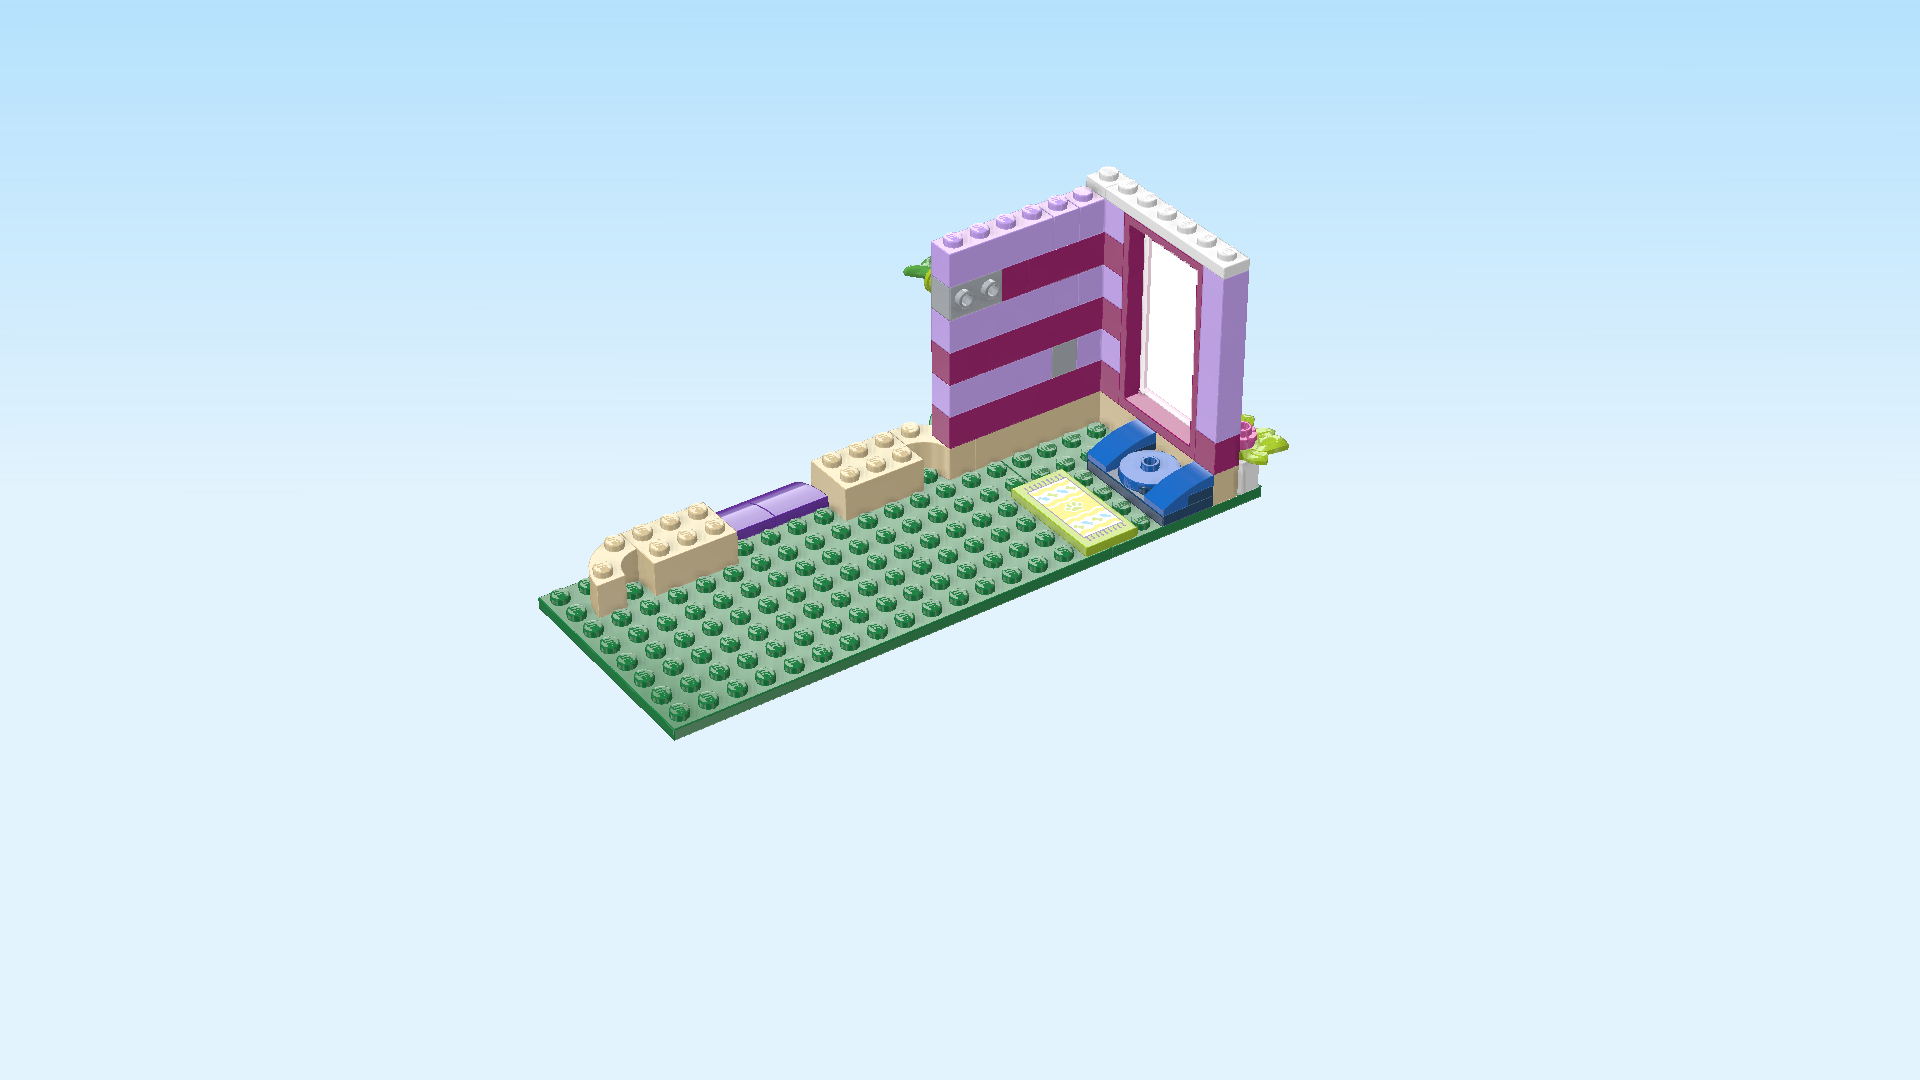
| Put one decoration on the palisade brick in the leftmost backmost corner, leaves to the back and slightly to the left. |
| Put the second decoration in front of the previous piece, leaves to the left and slightly to the front. |
| Now, we will build the animal bed. |
| Collect the following 2 pieces: |
| 1 earth blue plate 2x4, |
| and 1 bright blue round plate 2x2 with 1 knob. |
| Put the plate 2x4 vertically on the table. |
| Put the round plate 2x2 on the 4 middle knobs. |
| Find 2 earth blue plates 1x1. |
| Put 1 behind the previous piece on the right knob. |
| Repeat symmetrically at the front. |
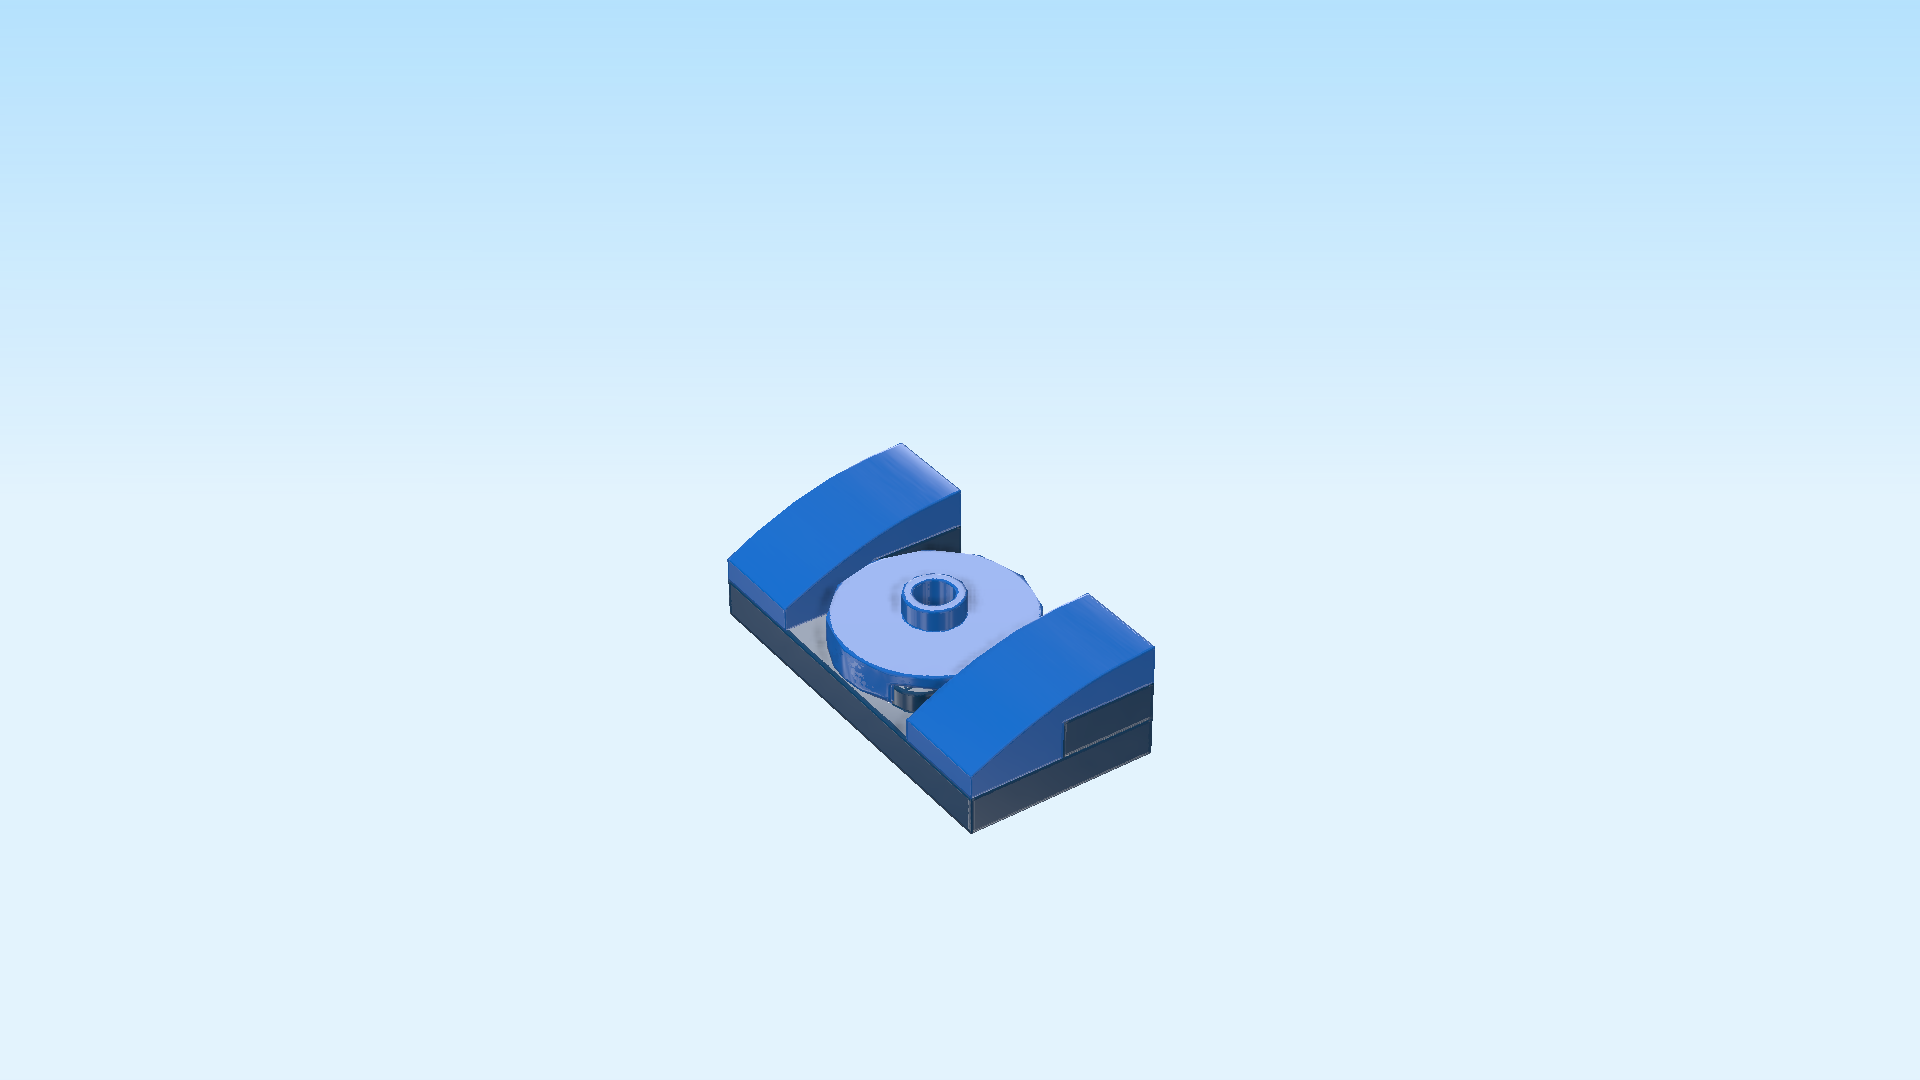
| Find 2 bright blue one-stepped curve tiles 1x2x⅔. |
| Put 1 horizontally on the frontmost row, curve to the left. |
| Repeat symmetrically at the back, curve to the left. |
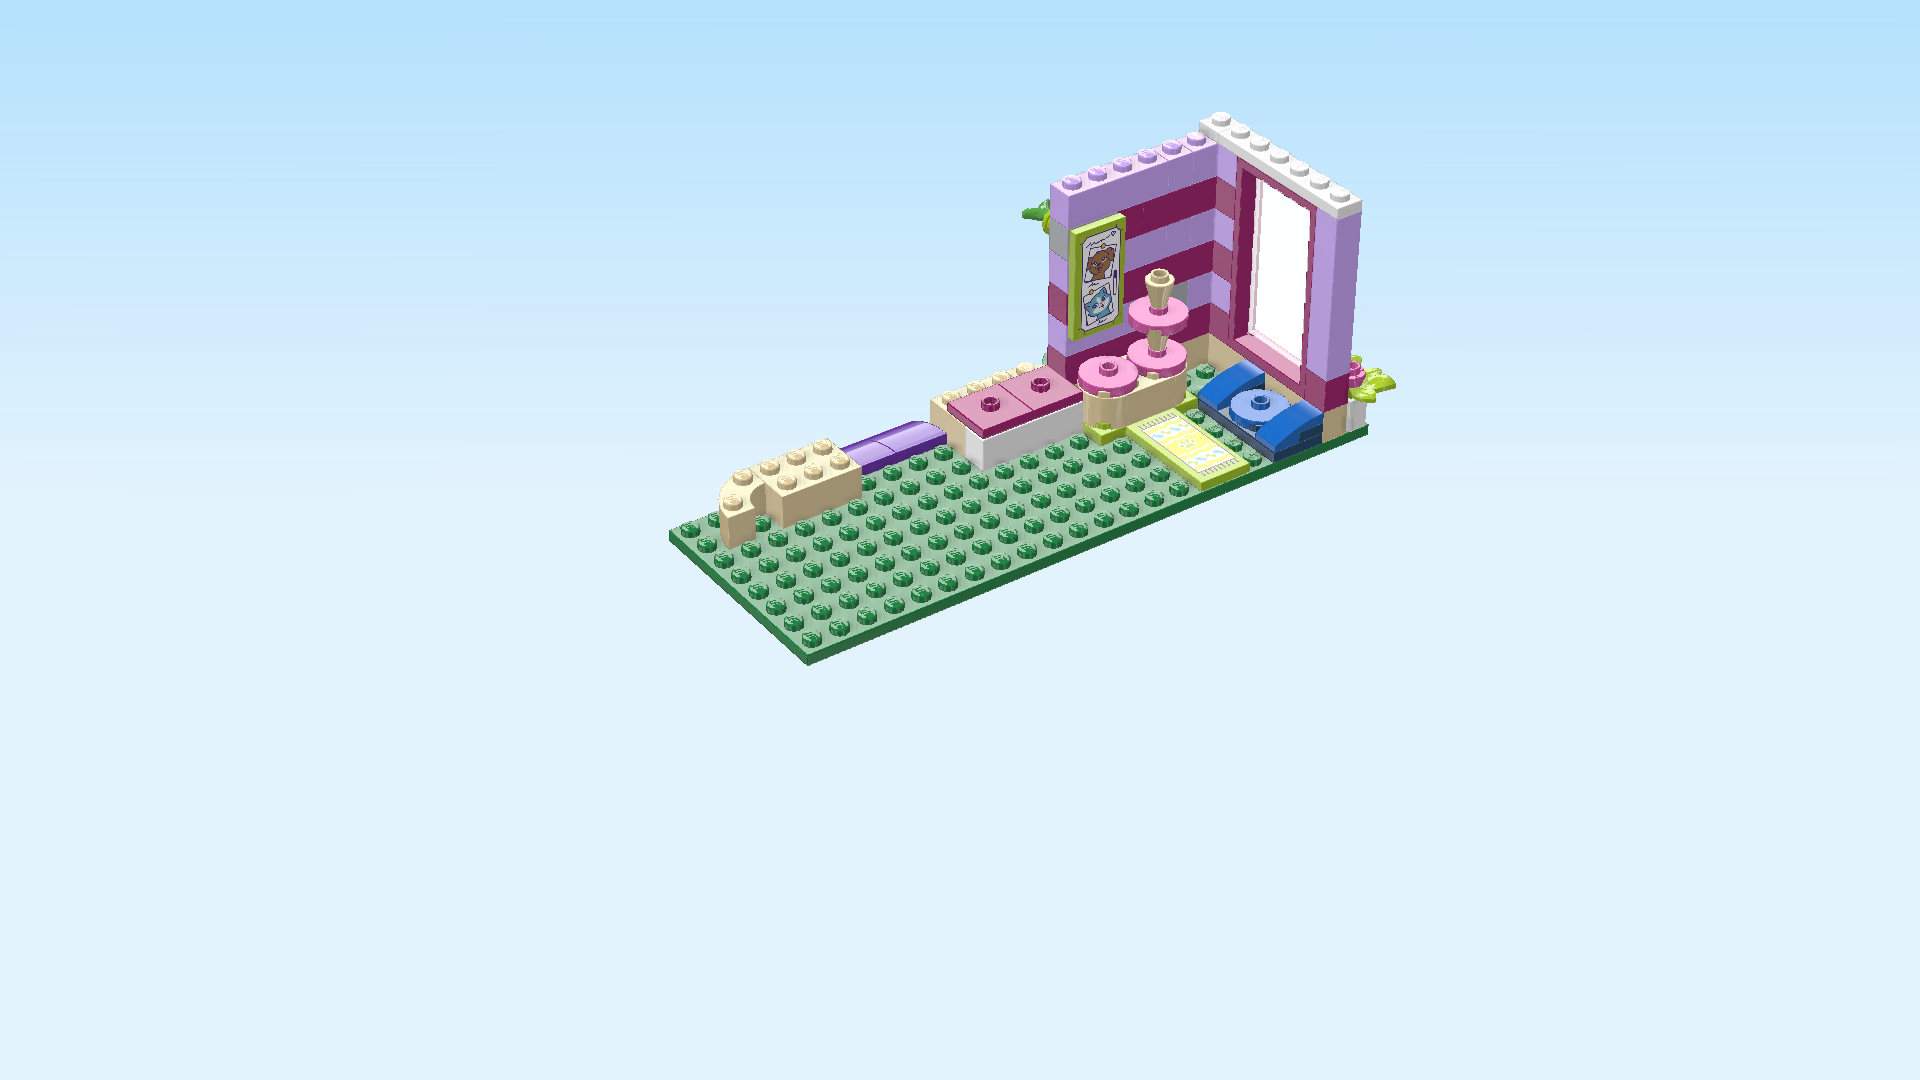
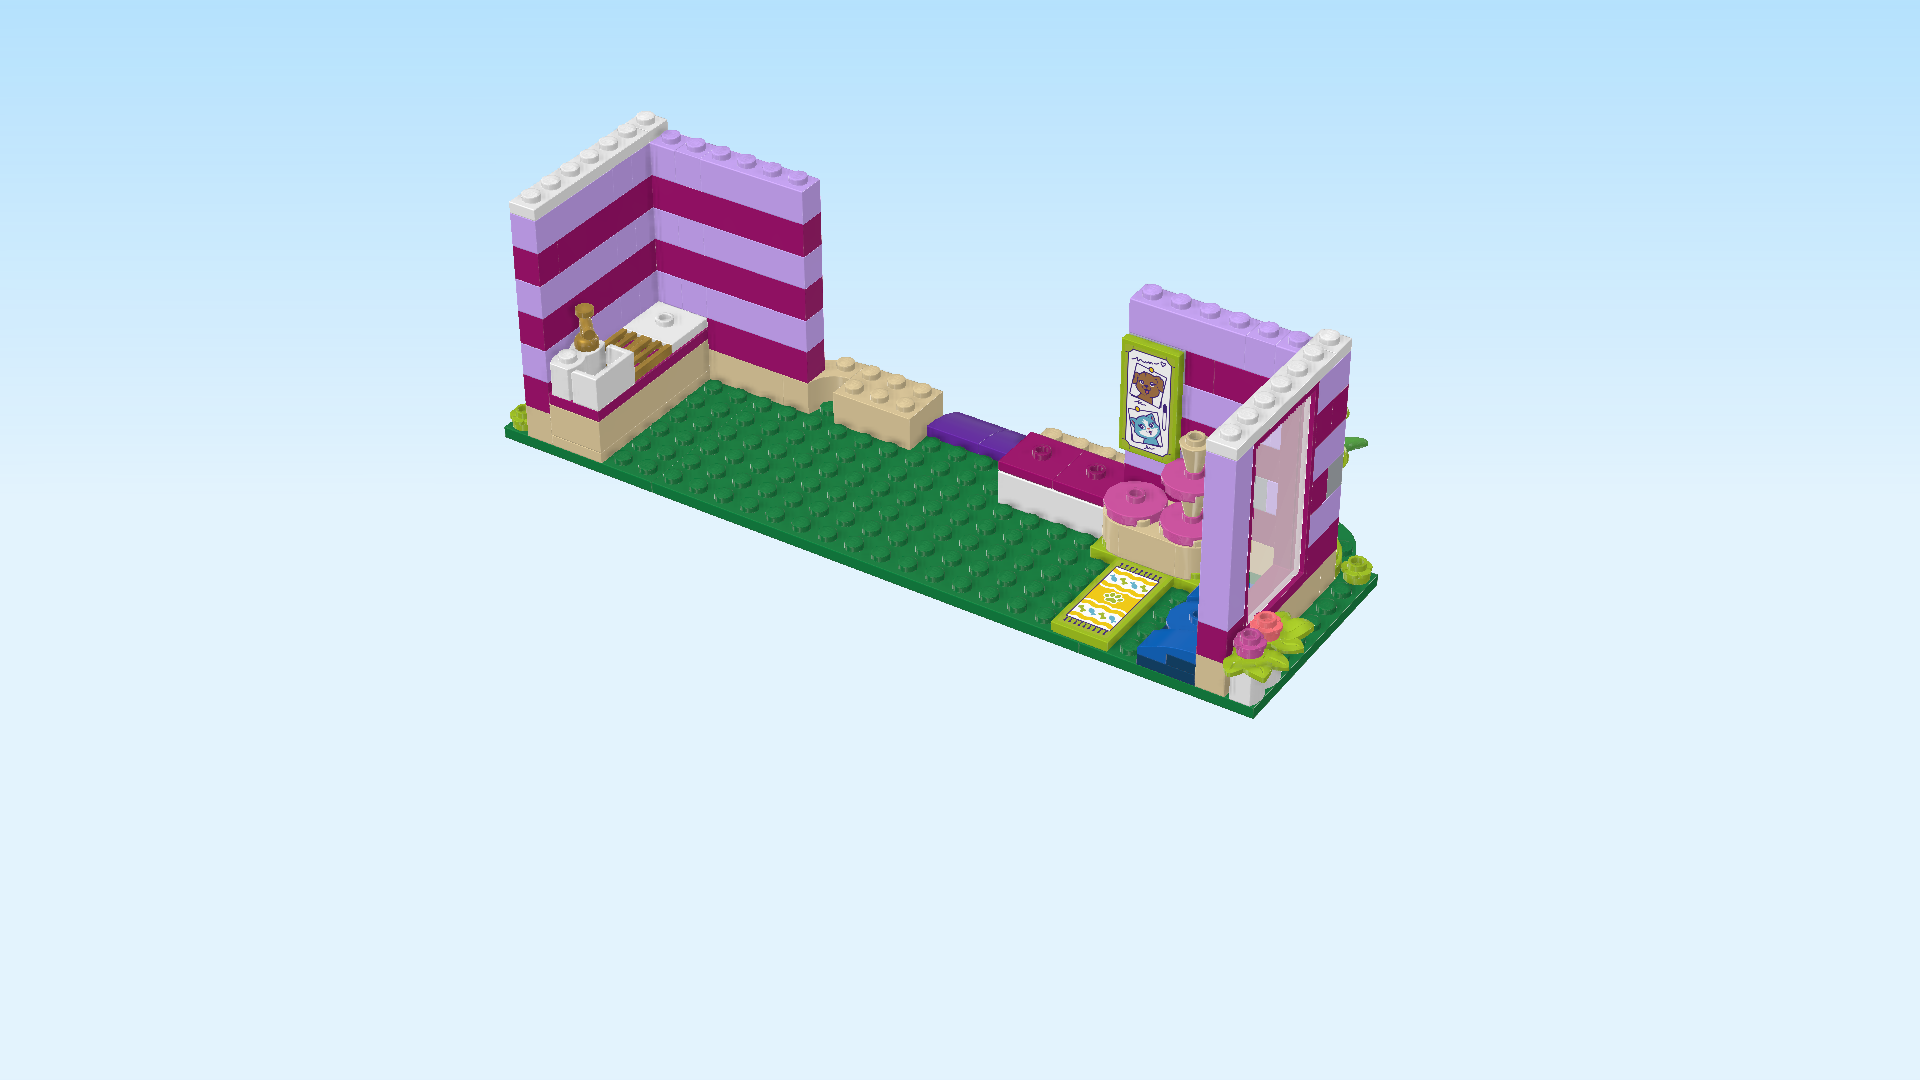
| Now, turn the entire structure of the cafe left to right. This means that now, the side window is on the right, and the watering station is at the back. |
| Mount the animal bed vertically to the left of the side window, starting on the frontmost edge. |
| If done correctly, the animal bed touches the right side wall, and there is one empty column between the animal bed and the carpet element. |
| Collect the following 2 pieces: |
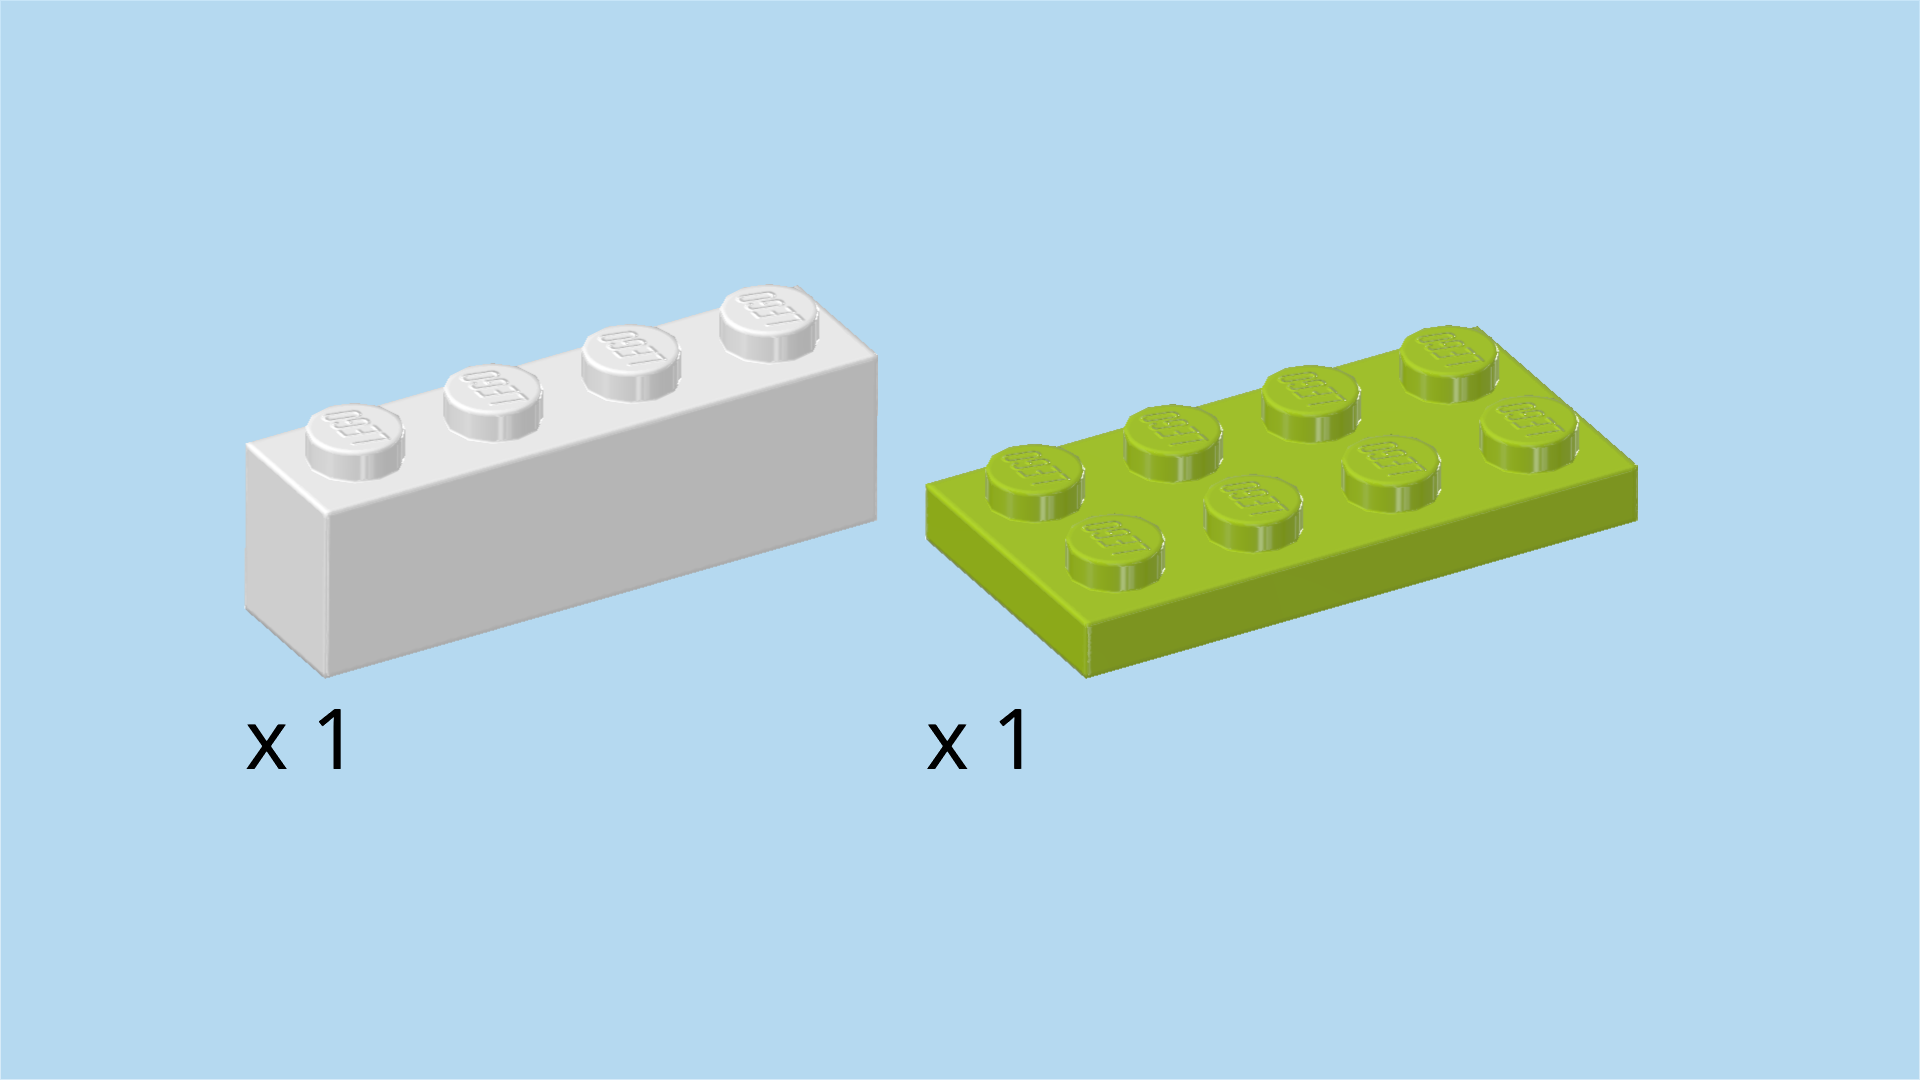
| 1 white brick 1x4, |
| and 1 bright yellowish green plate 2x4. |
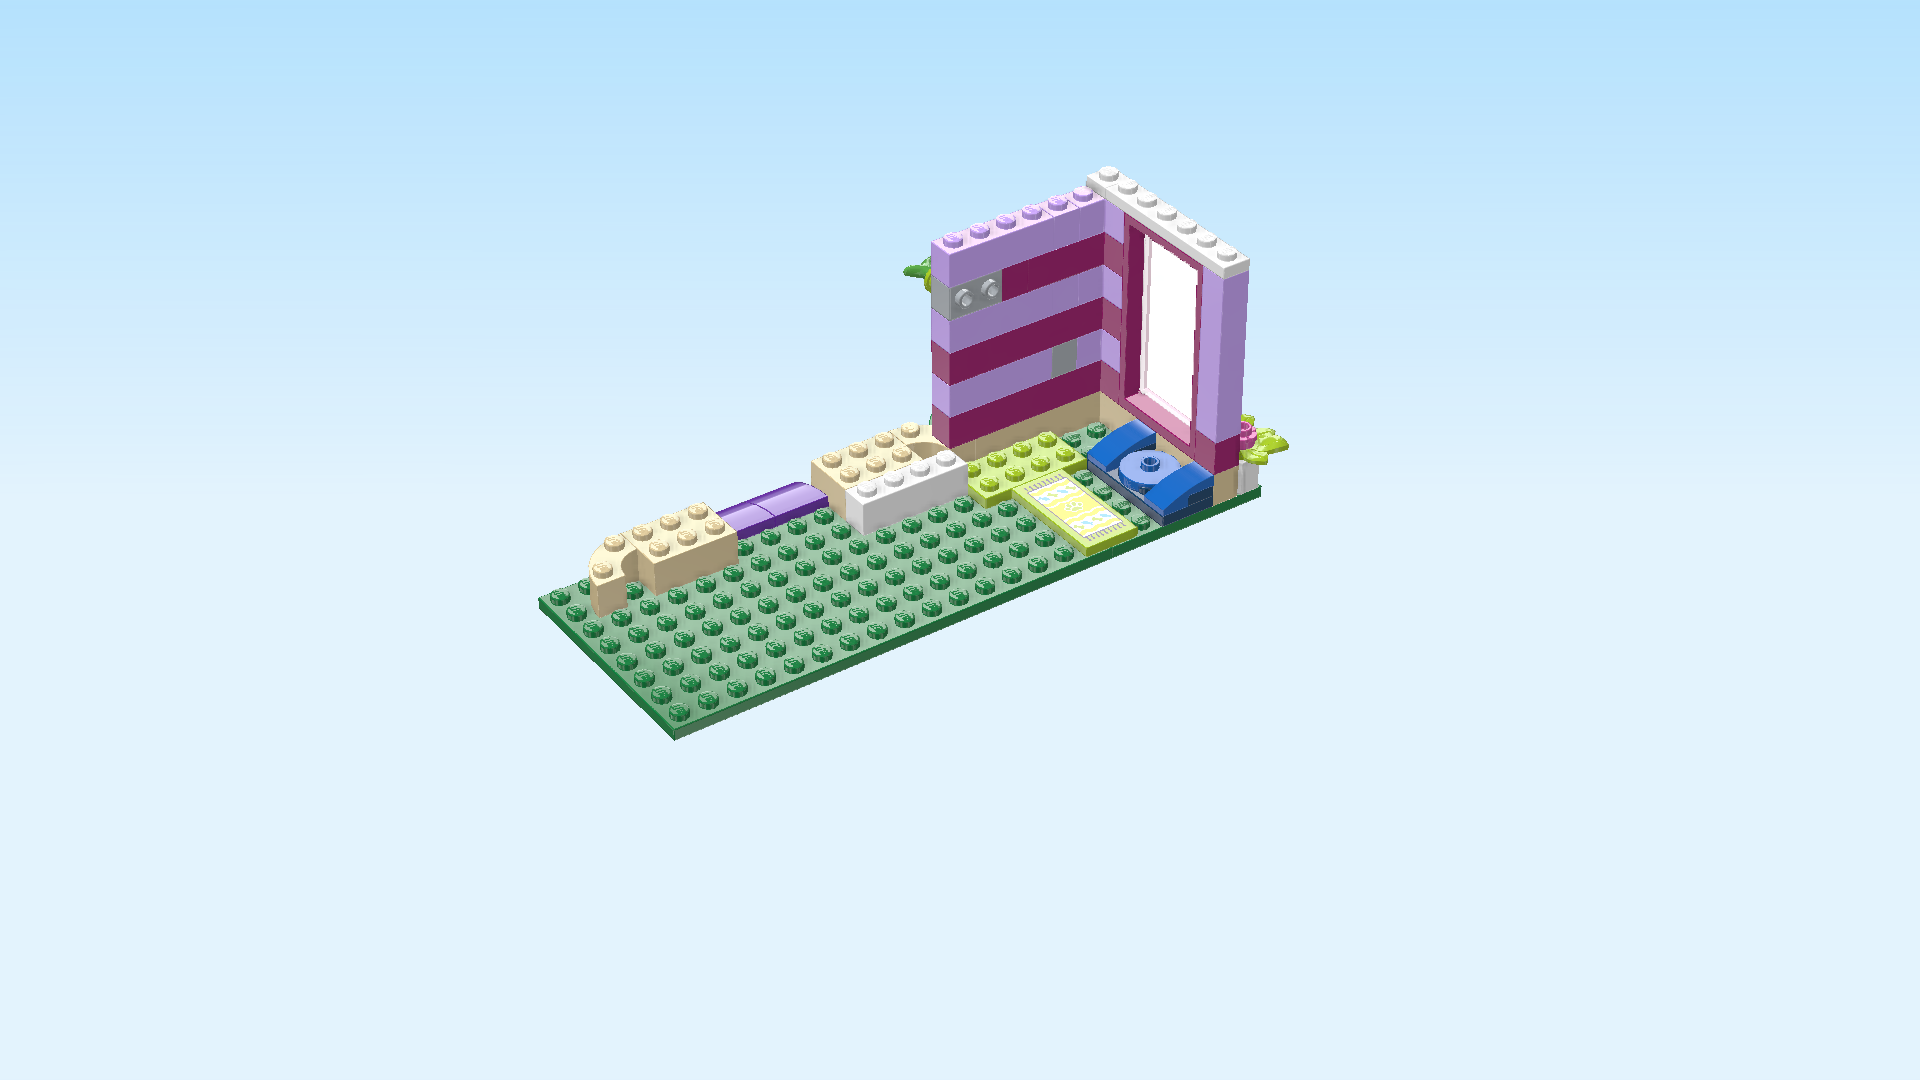
| Put the plate 2x4 horizontally behind the carpet element, symmetrically protruding to the left and right. If done correctly, there are 2x2 empty knobs to the right in the wall corner. |
| Put the brick 1x4 horizontally to the left of the previous piece's back row. |
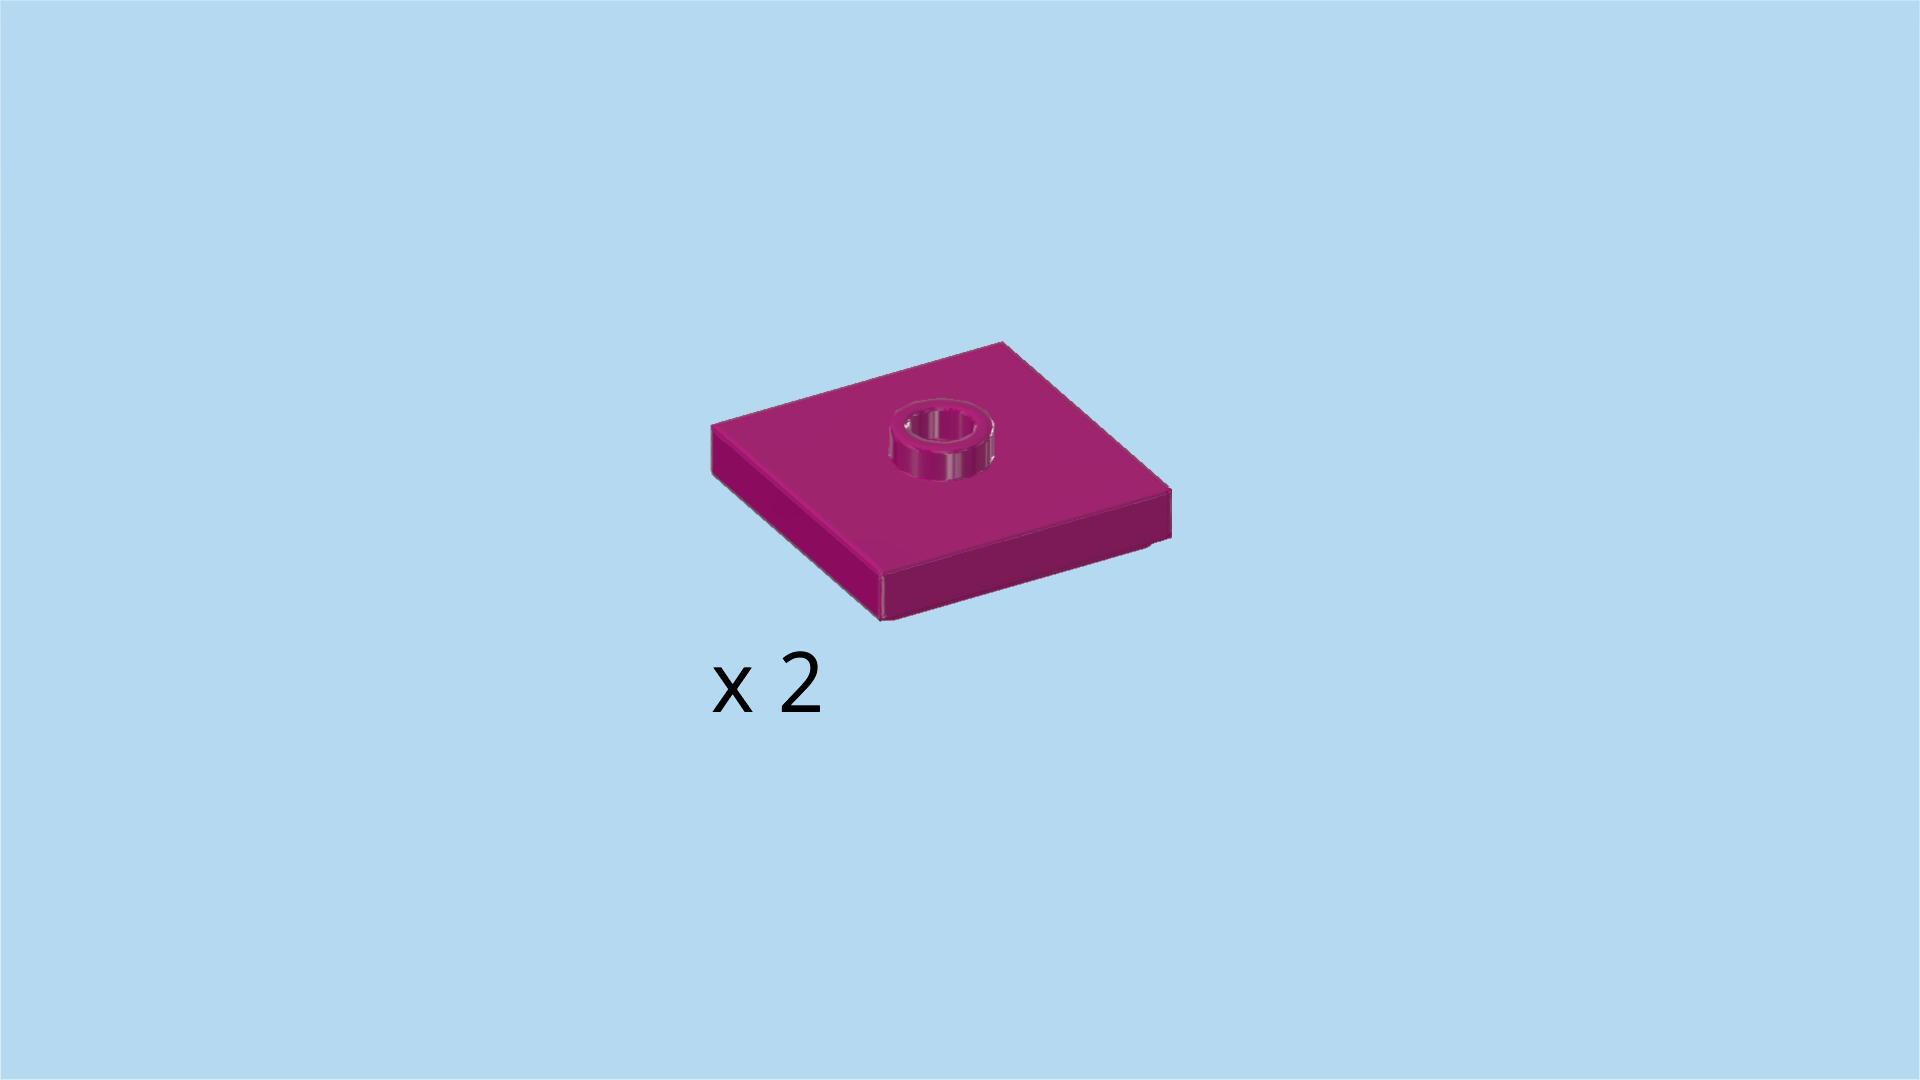
| Find 2 purple violet plates 2x2 with 1 knob. |
| Put them both on top of the previous piece and the row behind it. |
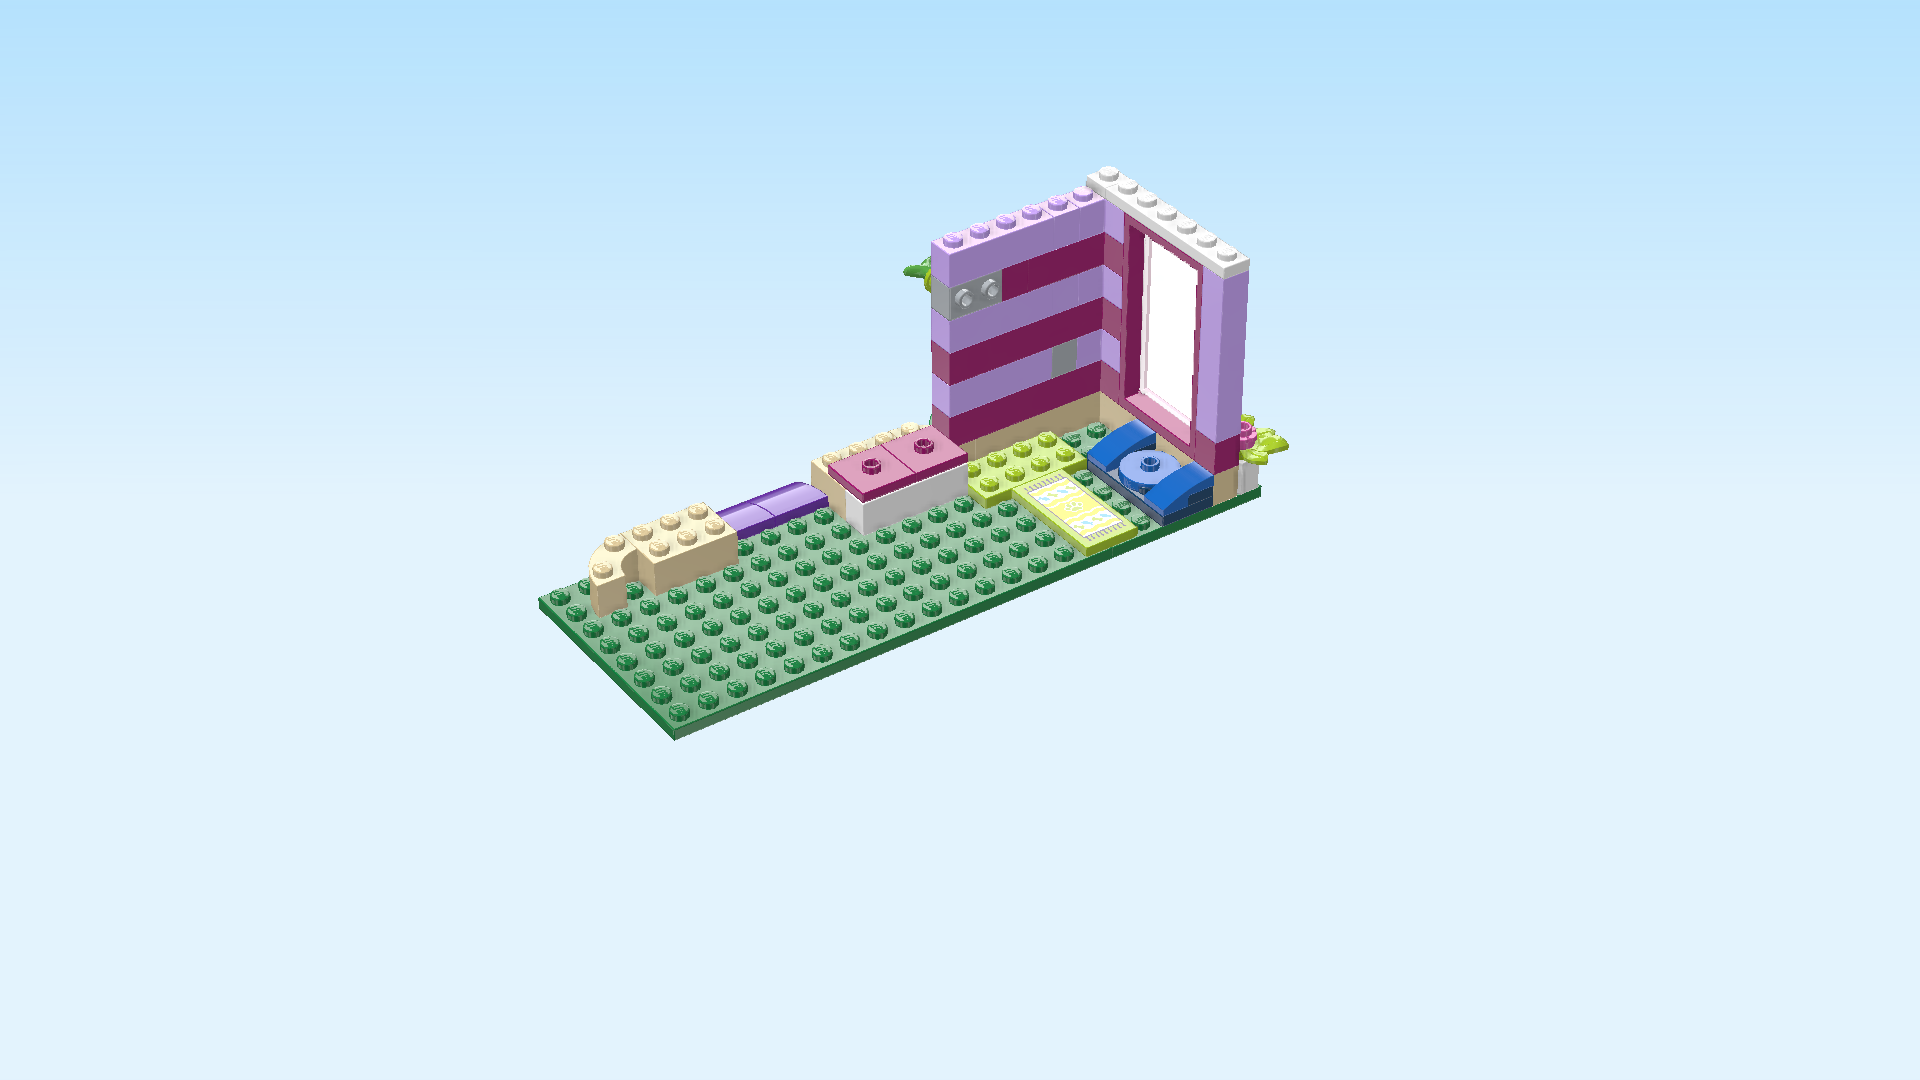
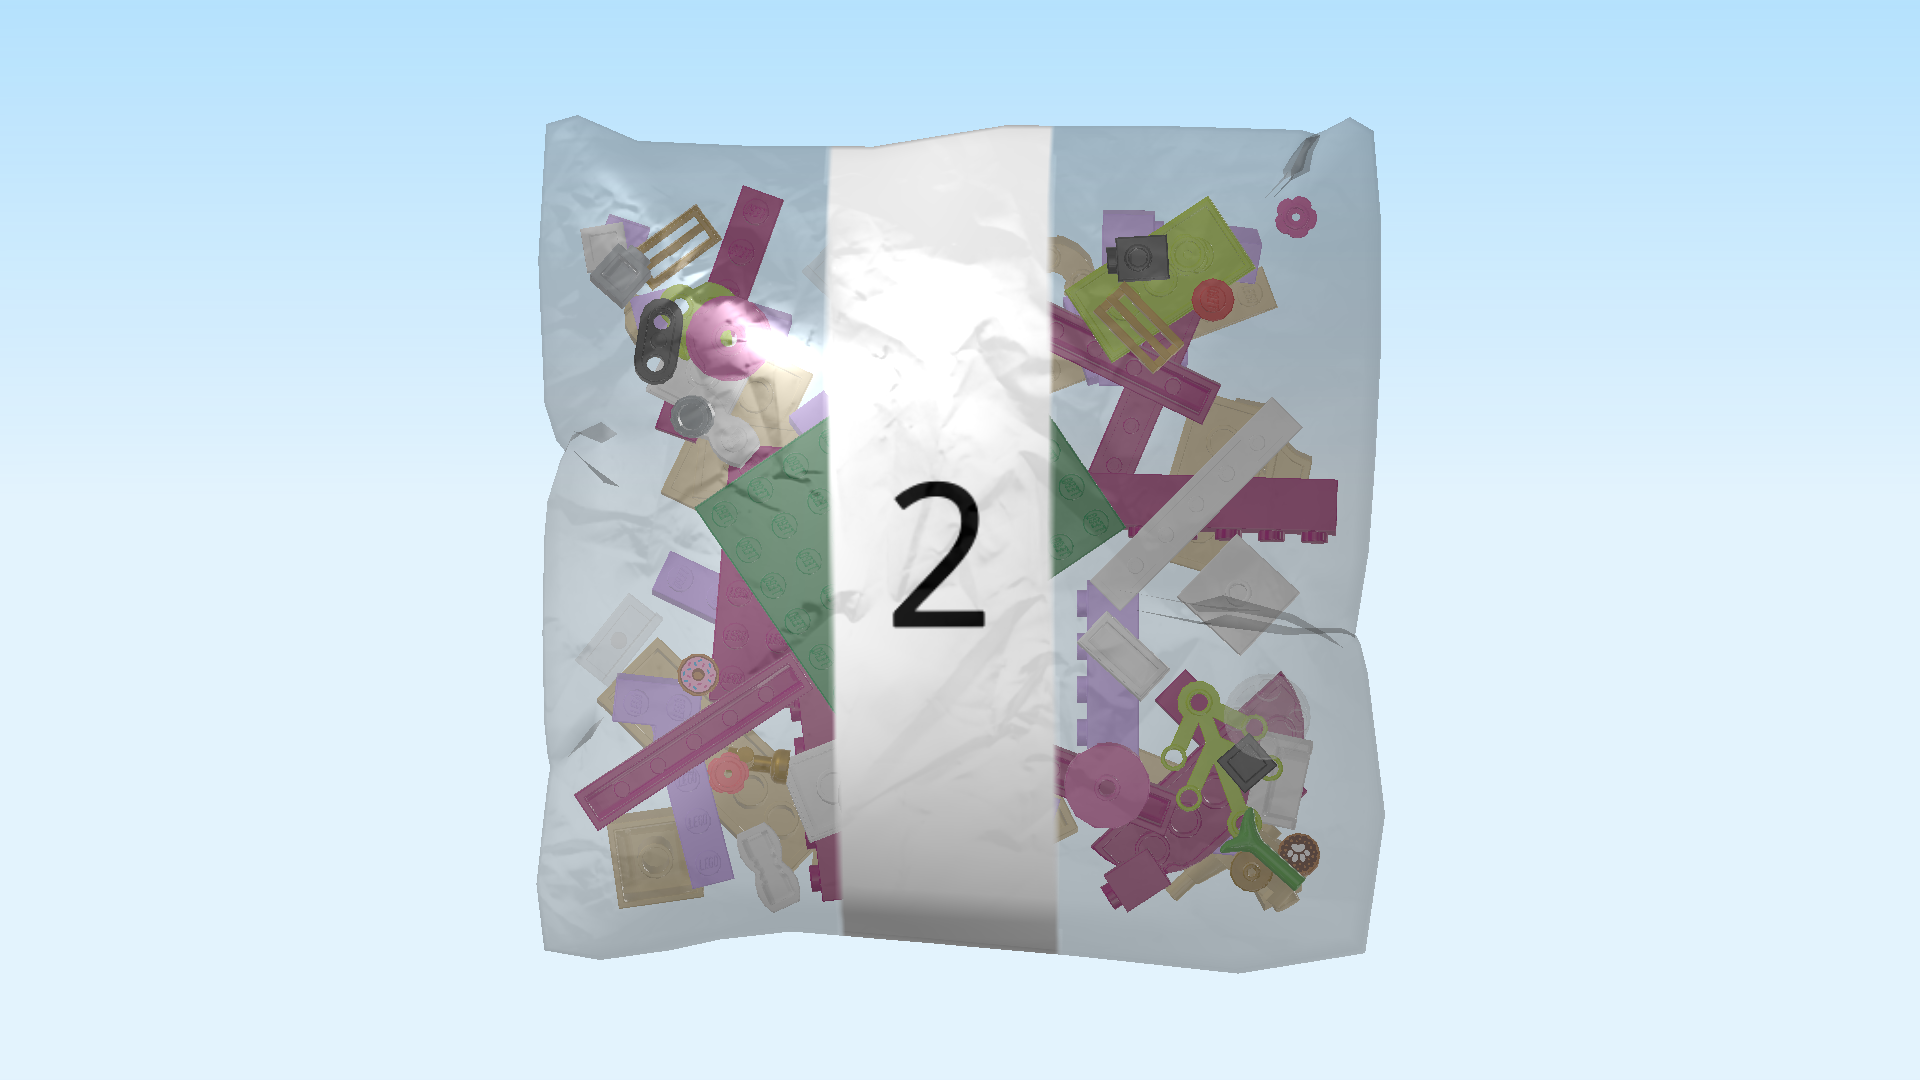
| Open bag number 2. You can choose to have the bricks sorted by color again. This bag contains all bricks and pieces for the second third of the cafe building. |
| Collect the following 2 pieces: |
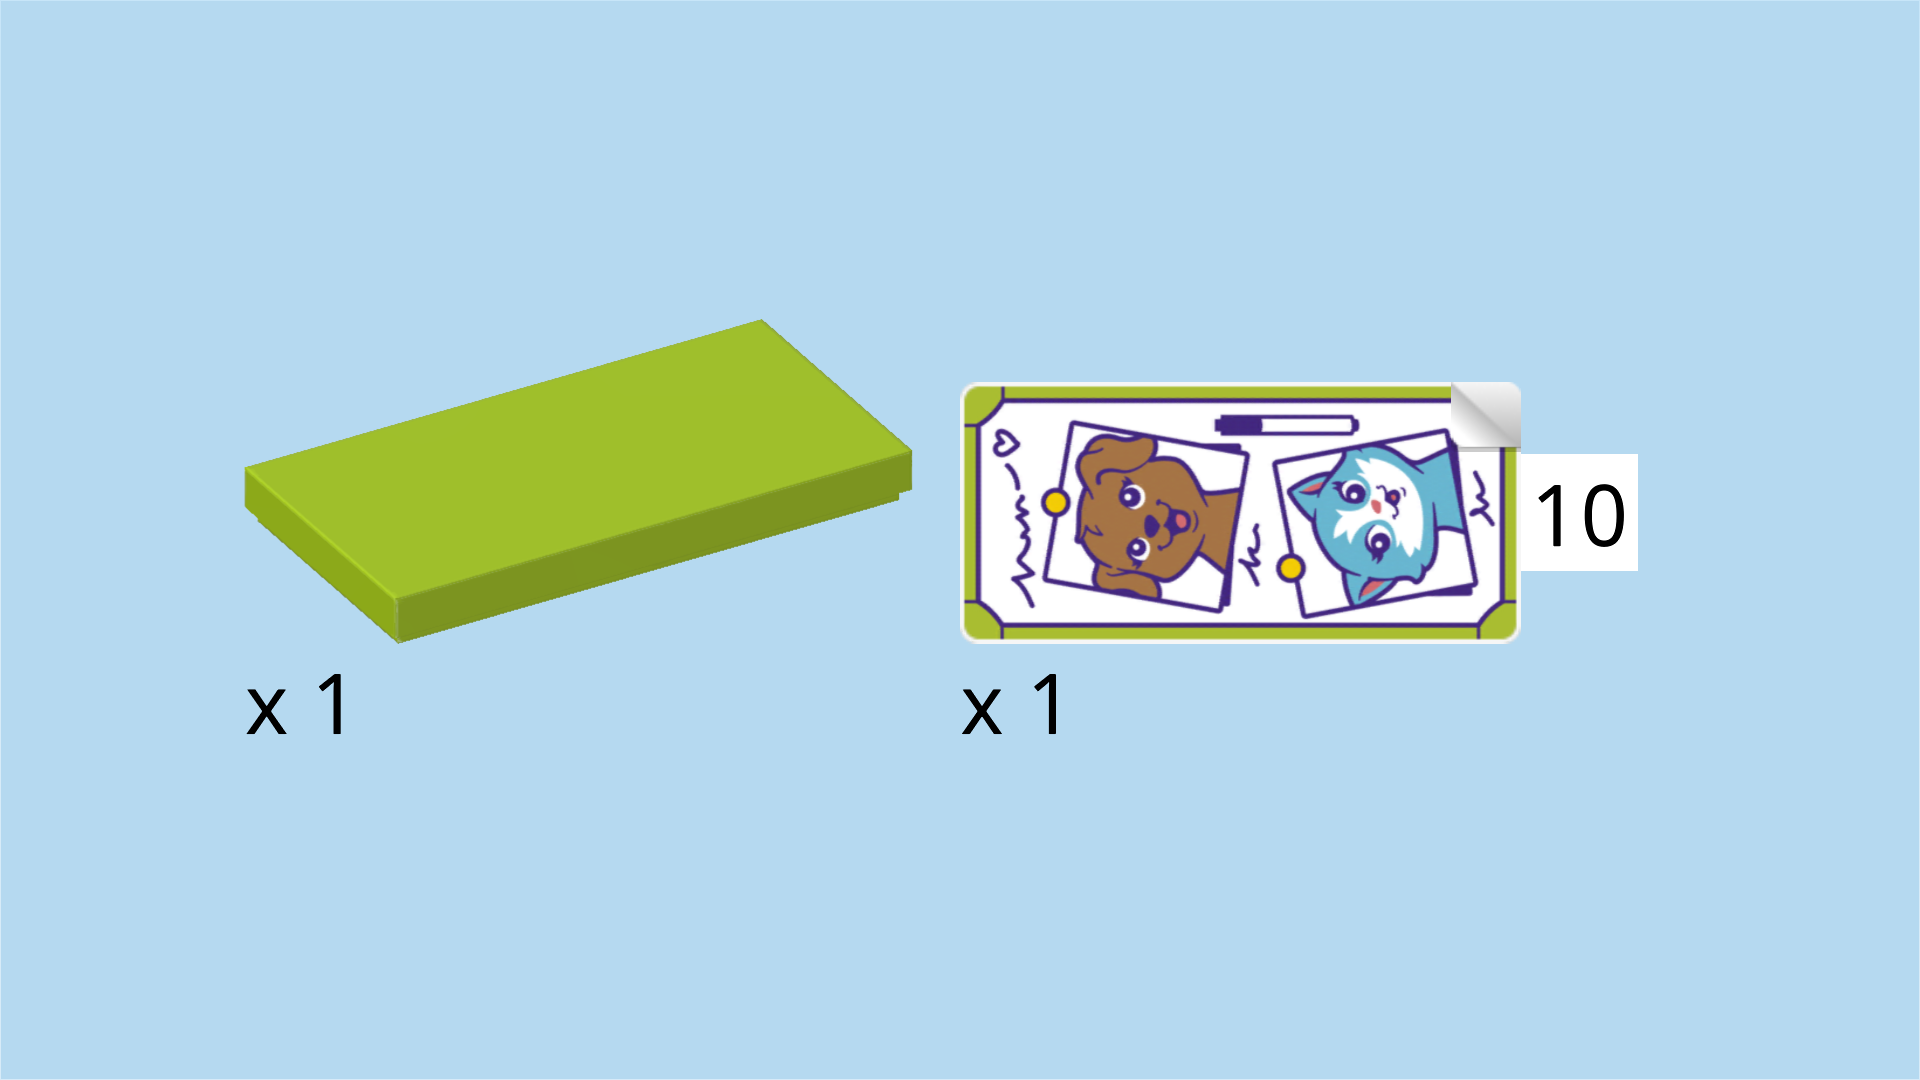
| 1 bright yellowish green flat tile 2x4, |
| and 1 rectangular sticker number 10. |
| Put the flat tile 2x4 vertically on the table. |
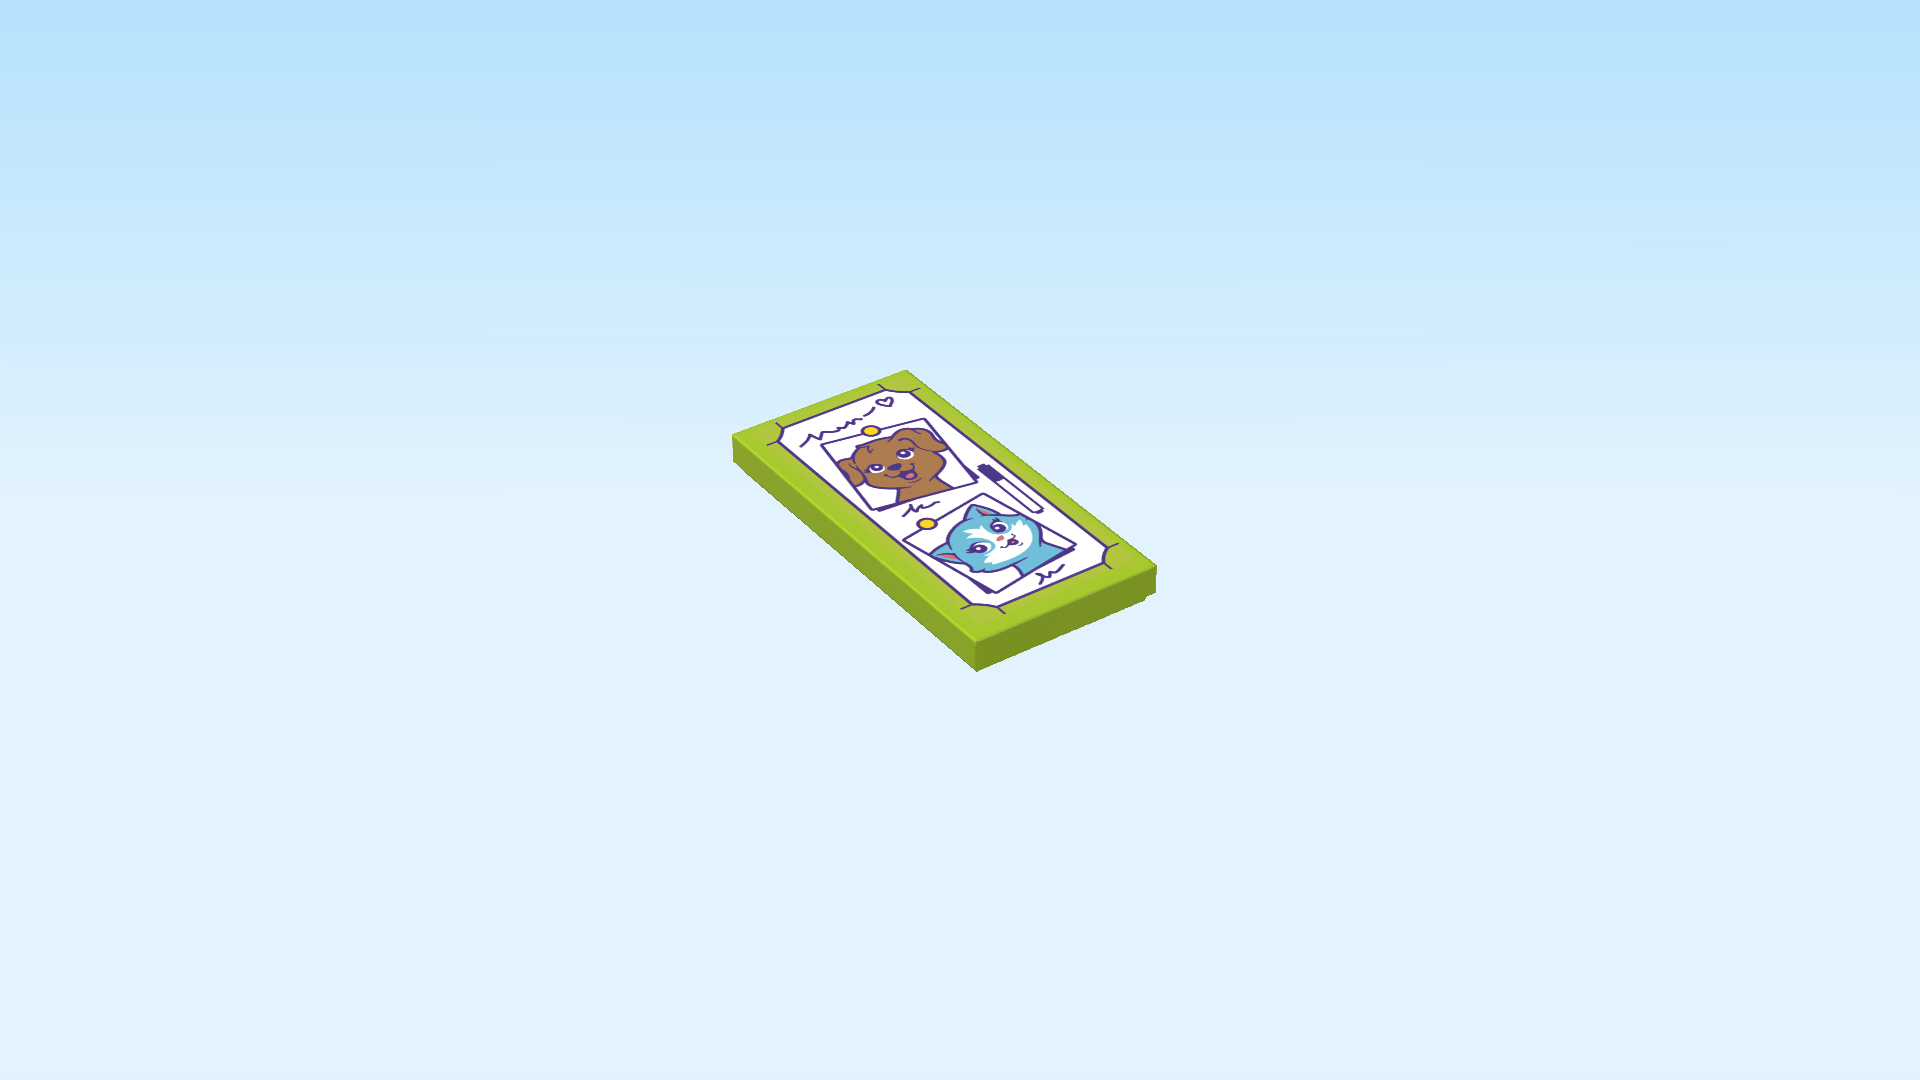
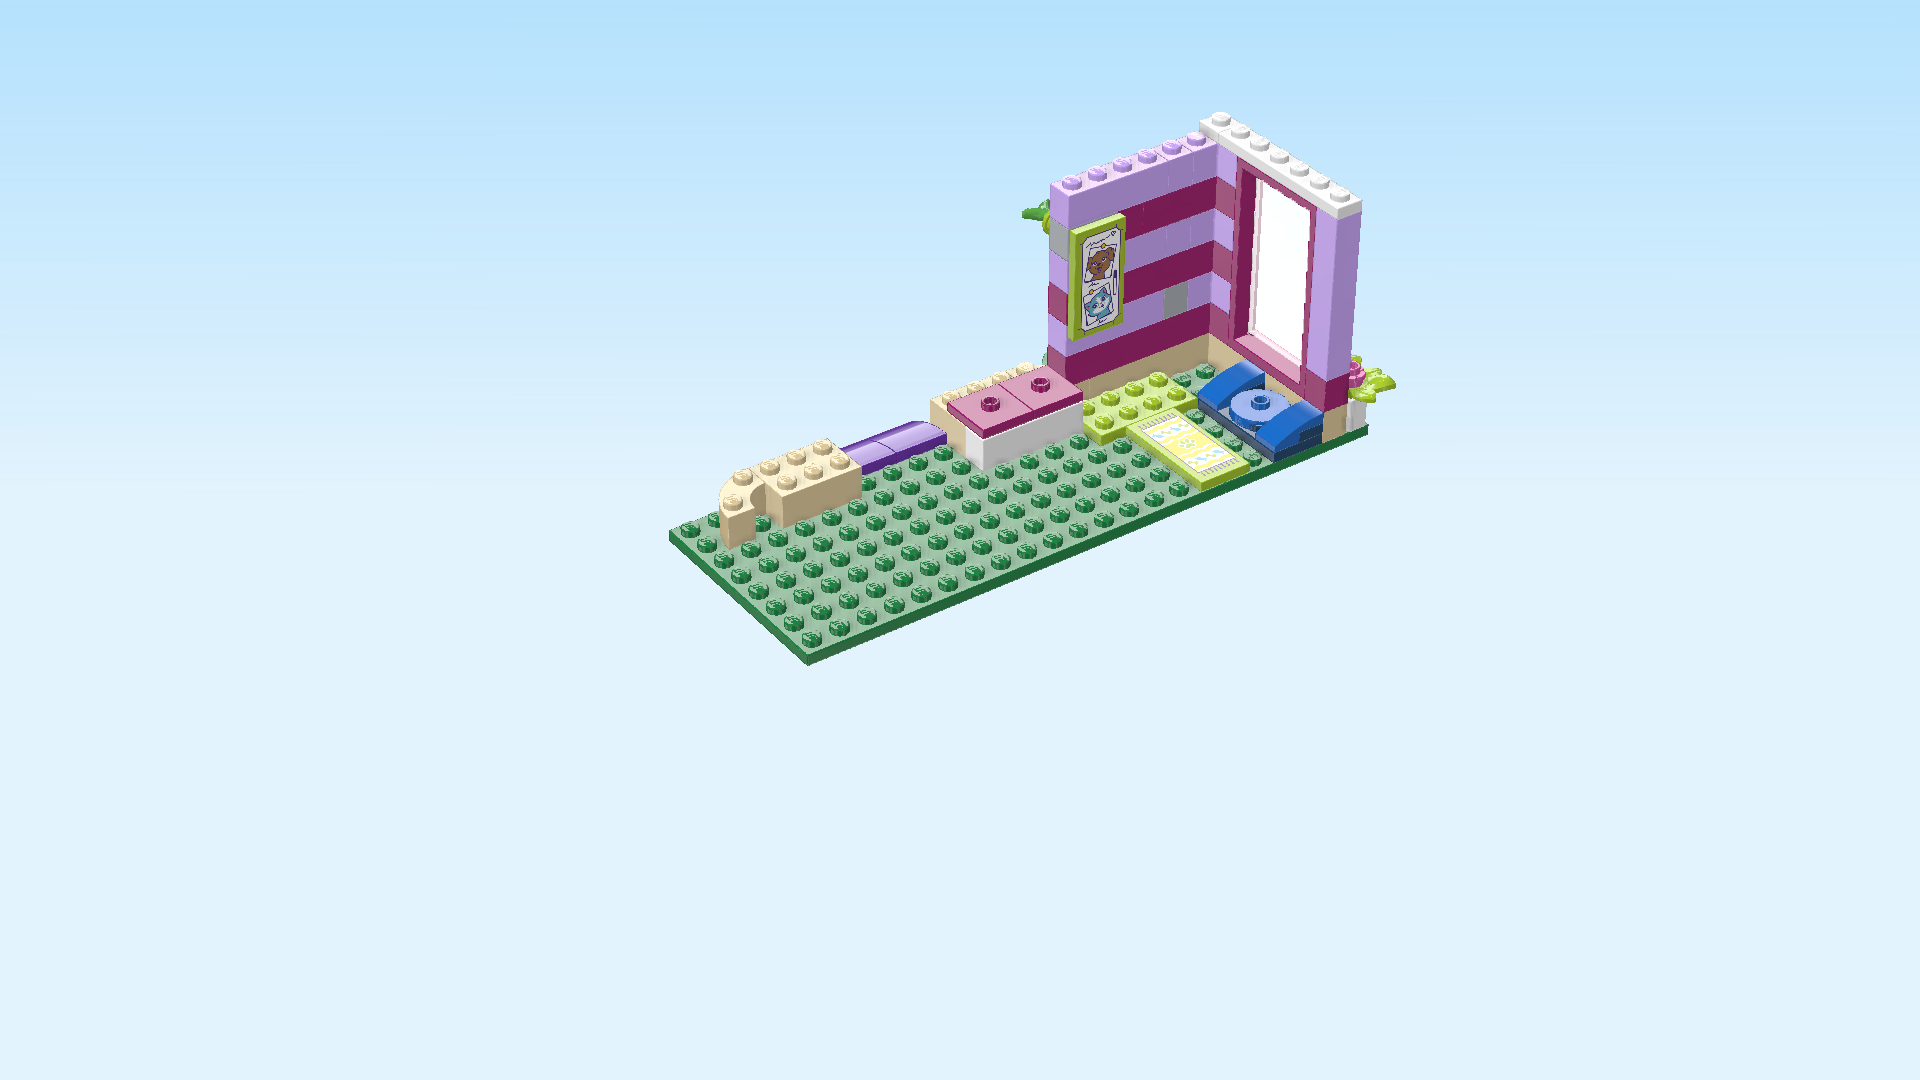
| Put the sticker on top. The sticker shows a whiteboard with green edges that has 2 photos pinned on it: 1 photo of a brown puppy dog with drooping ears, and 1 photo of a sand blue cat with white fur around the nose, mouth, cheeks and forehead. There are some lilac scribbles above and below the photos which are probably their names. It's illegible, but you can make up names for them yourself if you like! |
| Mount the flat tile 2x4 upright vertically on the 2 side knobs pointing to the front. These side knobs are located on the wall at the back. |
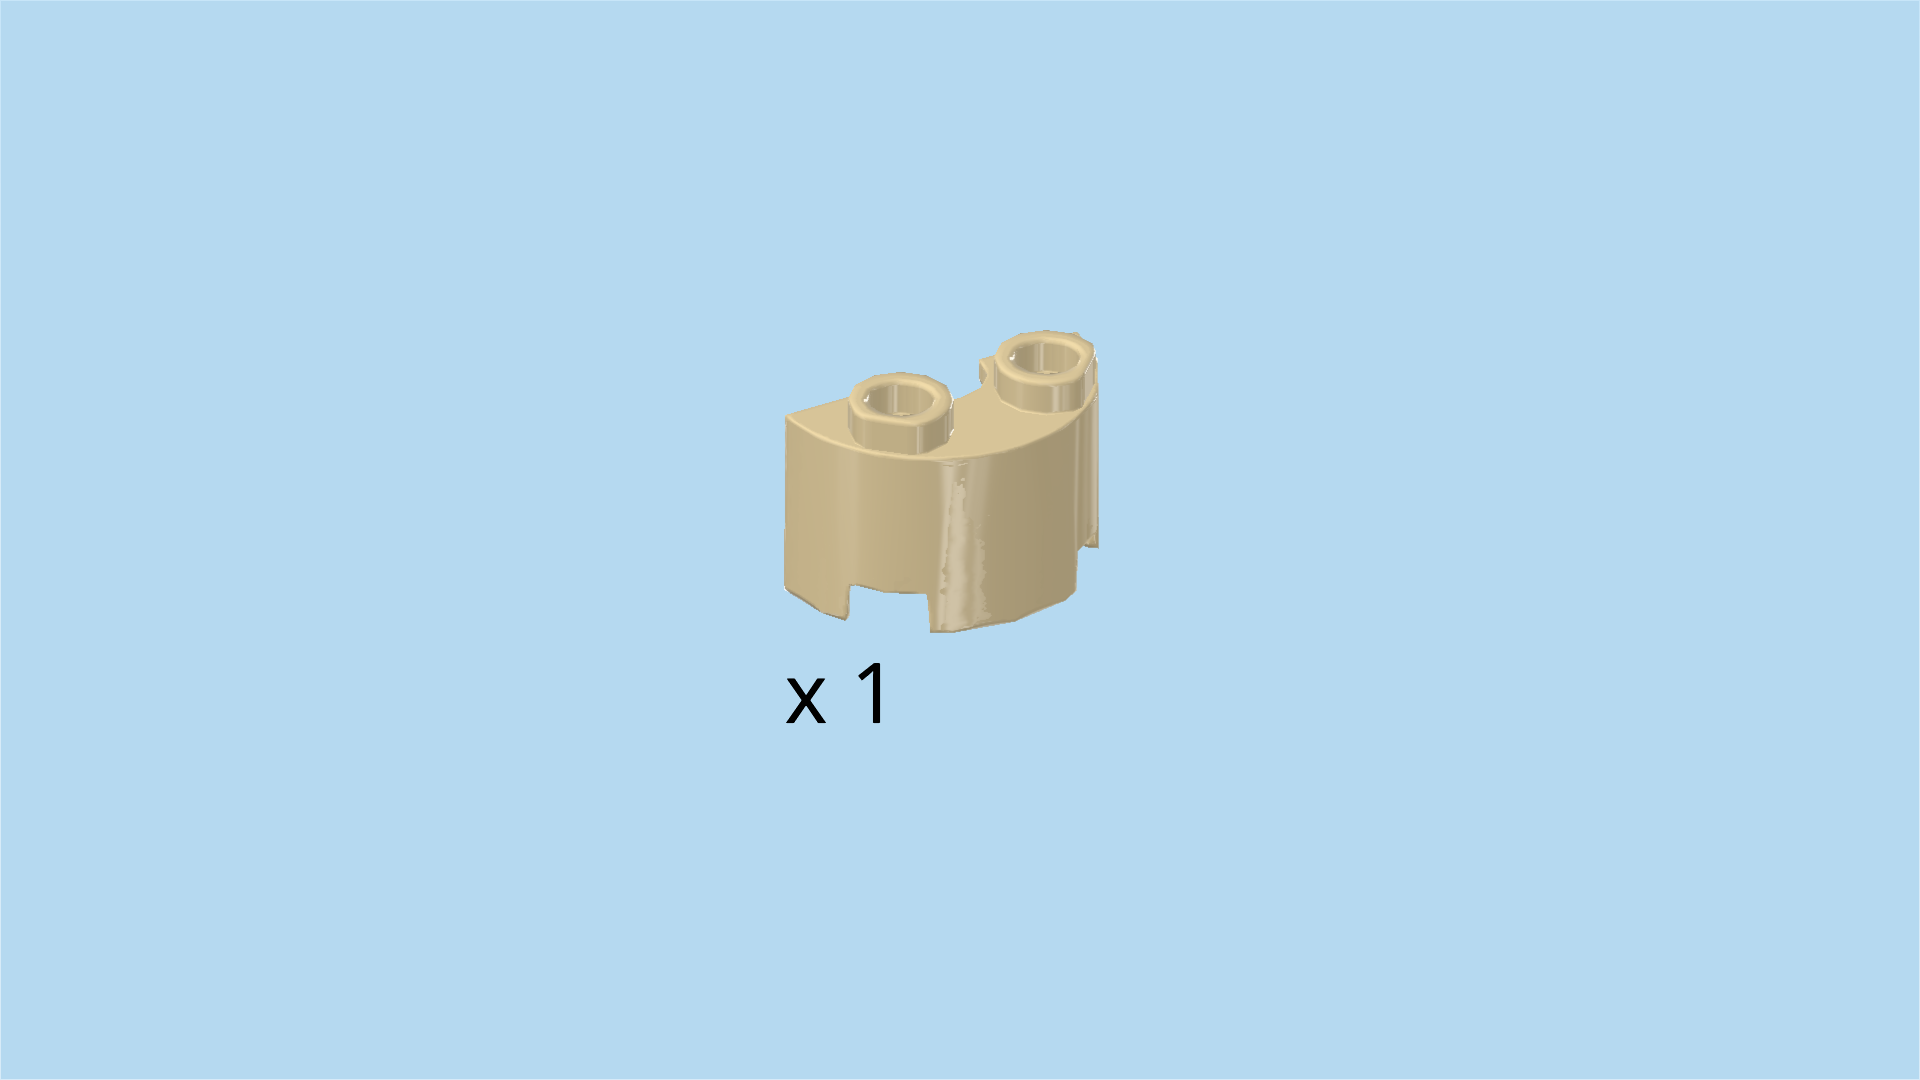
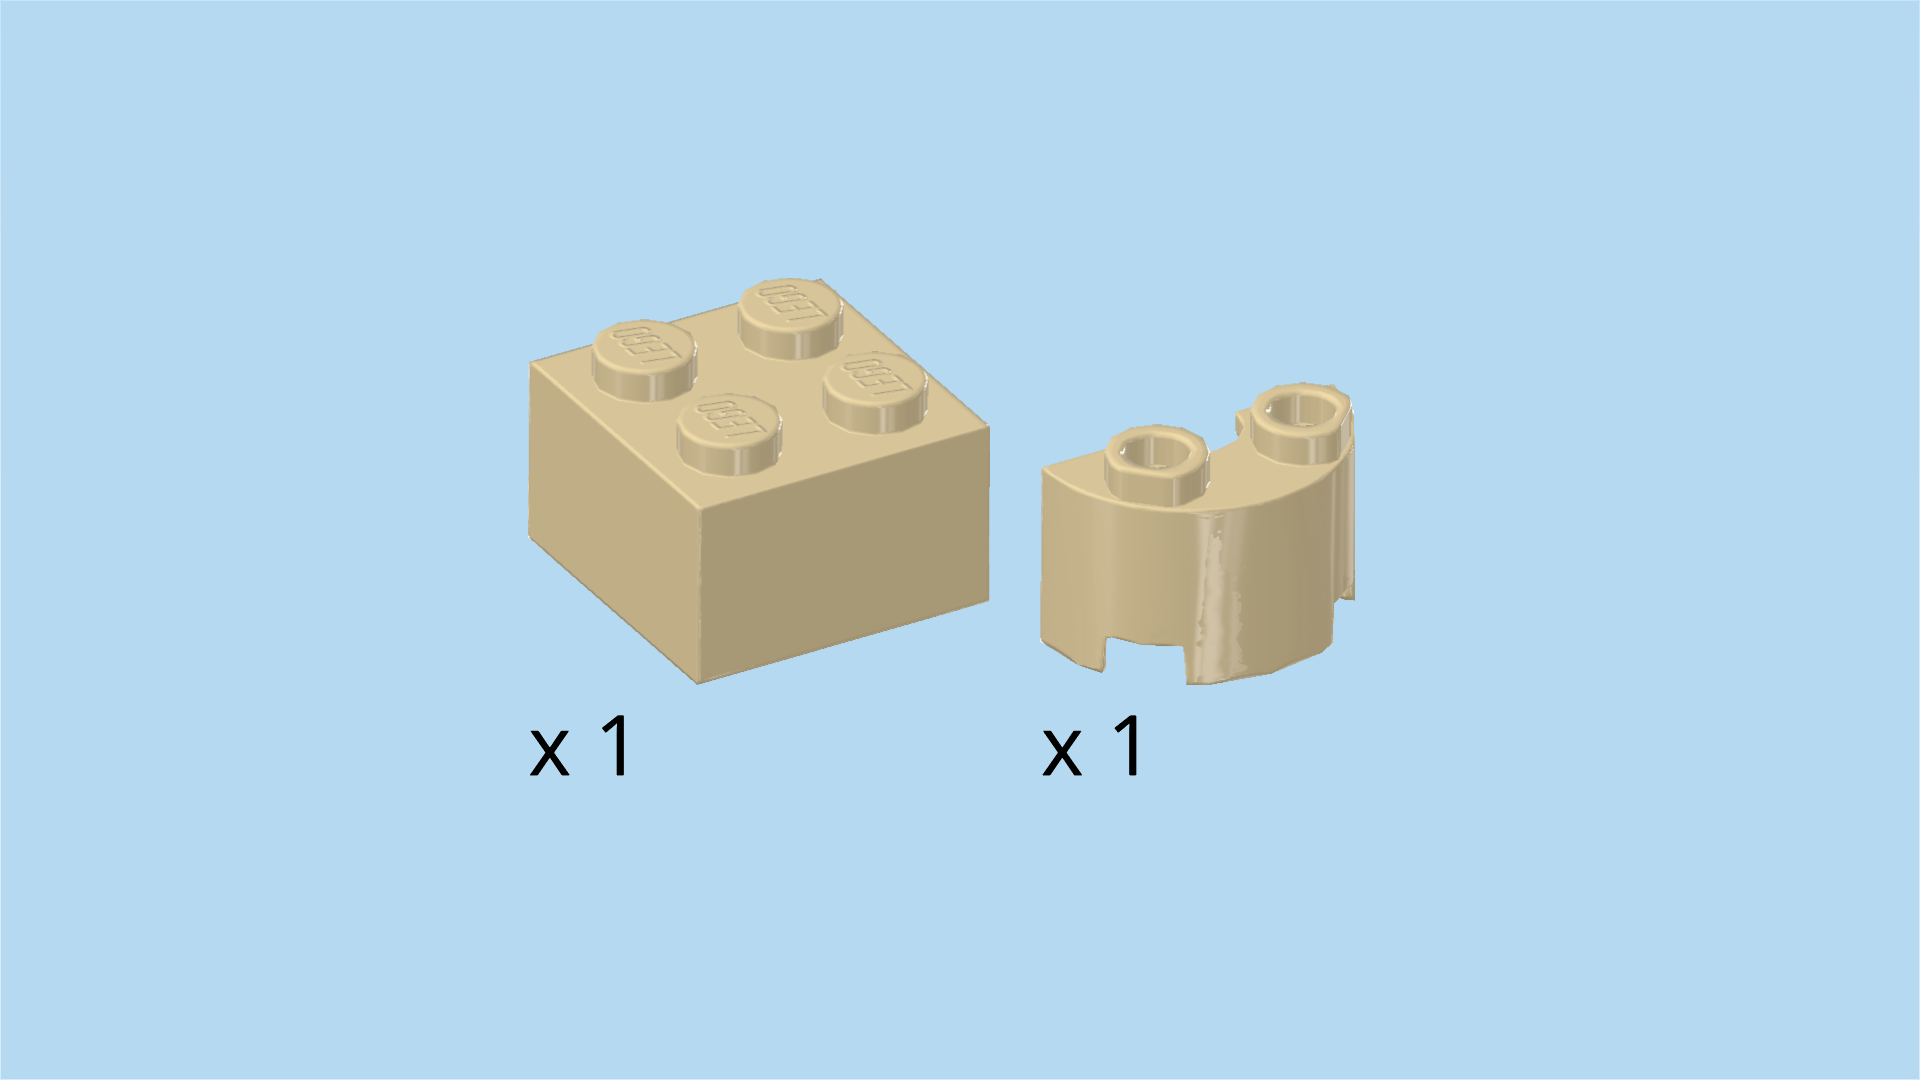
| Find 1 pale ocher yellow hollow half-circle brick 1x2 with 2 knobs. |
| Below the whiteboard we have just mounted, there is a plate 2x4. It is directly in front of the wall. Try to find this plate before continuing. |
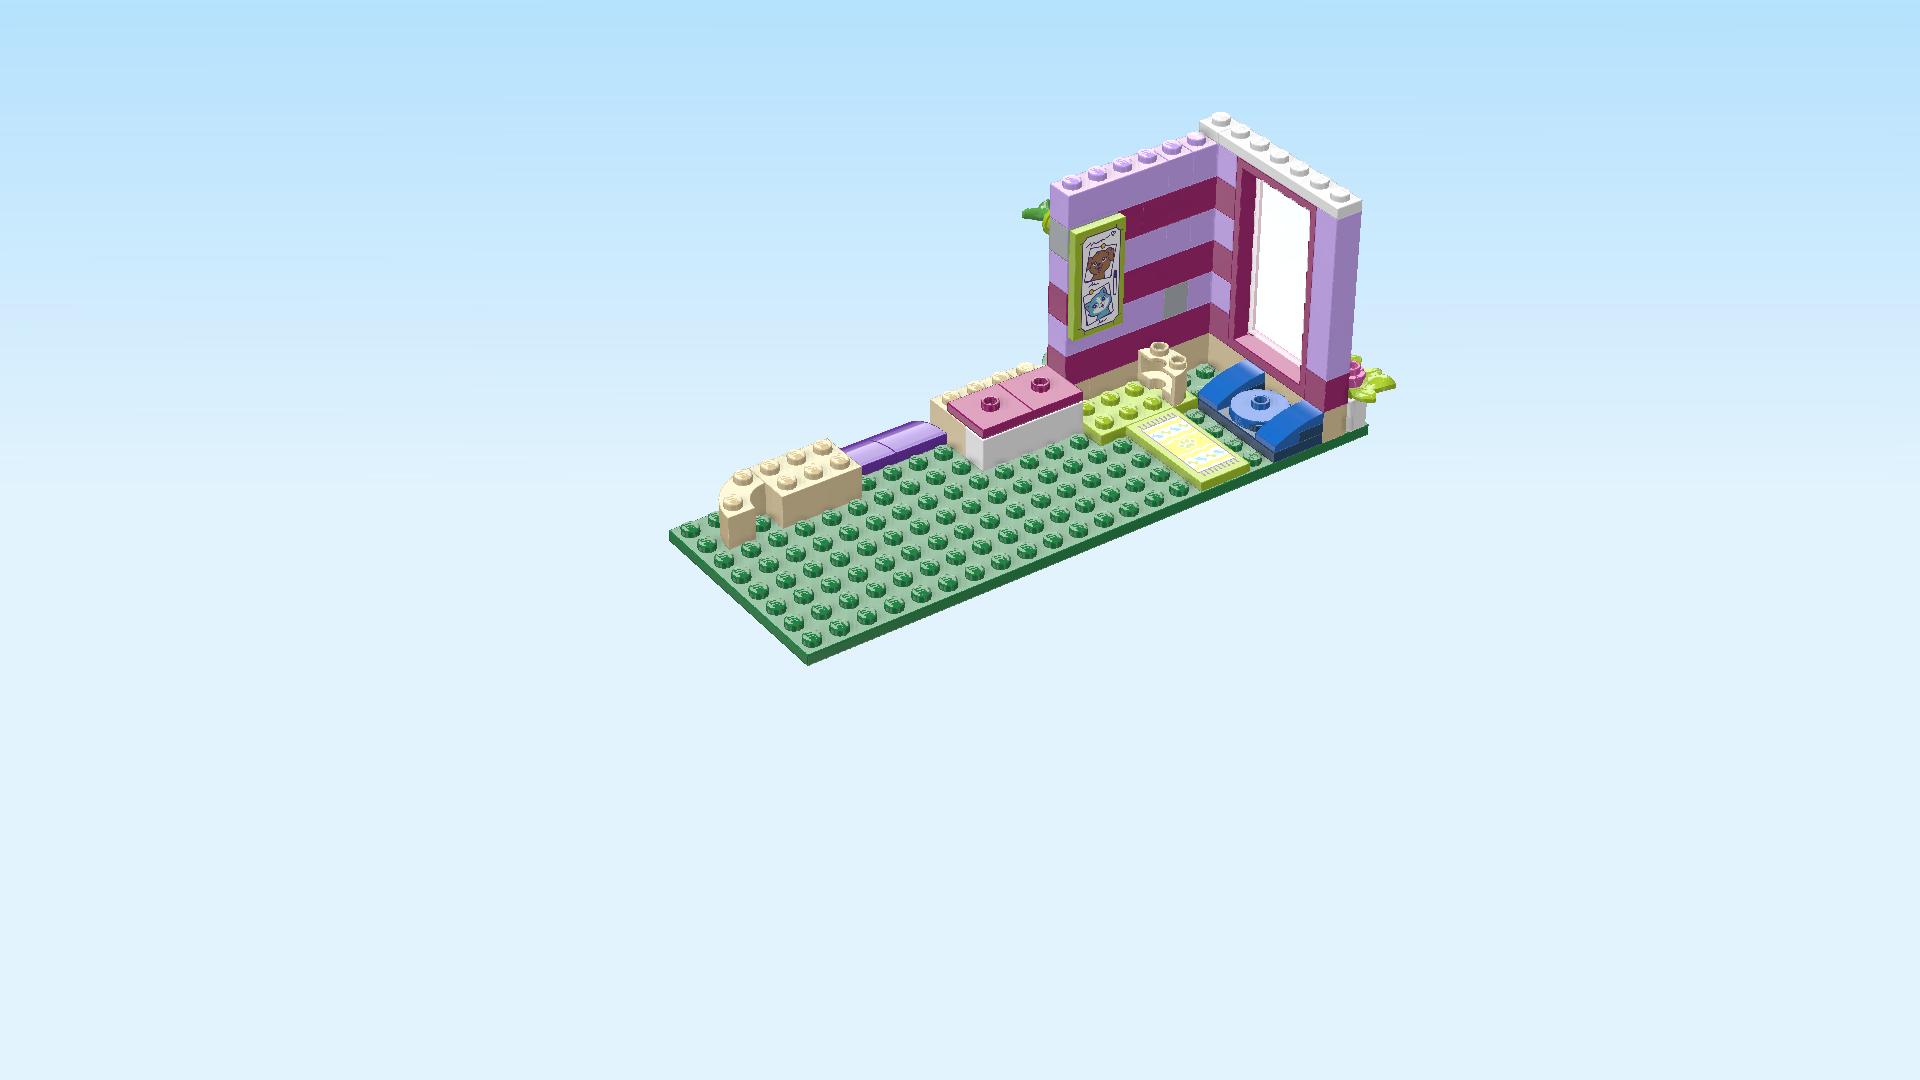
| Put the half-circle brick vertically on the rightmost column of said plate 2x4, half-circle to the right. |
| Collect the following 2 pieces: |
| 1 pale ocher yellow brick 2x2, |
| and 1 pale ocher yellow half-circle brick 1x2 with 2 knobs. |
| Put the brick 2x2 to the left of the previous piece. |
| Put the half-circle brick vertically to the left of the previous piece, half-circle to the left. |
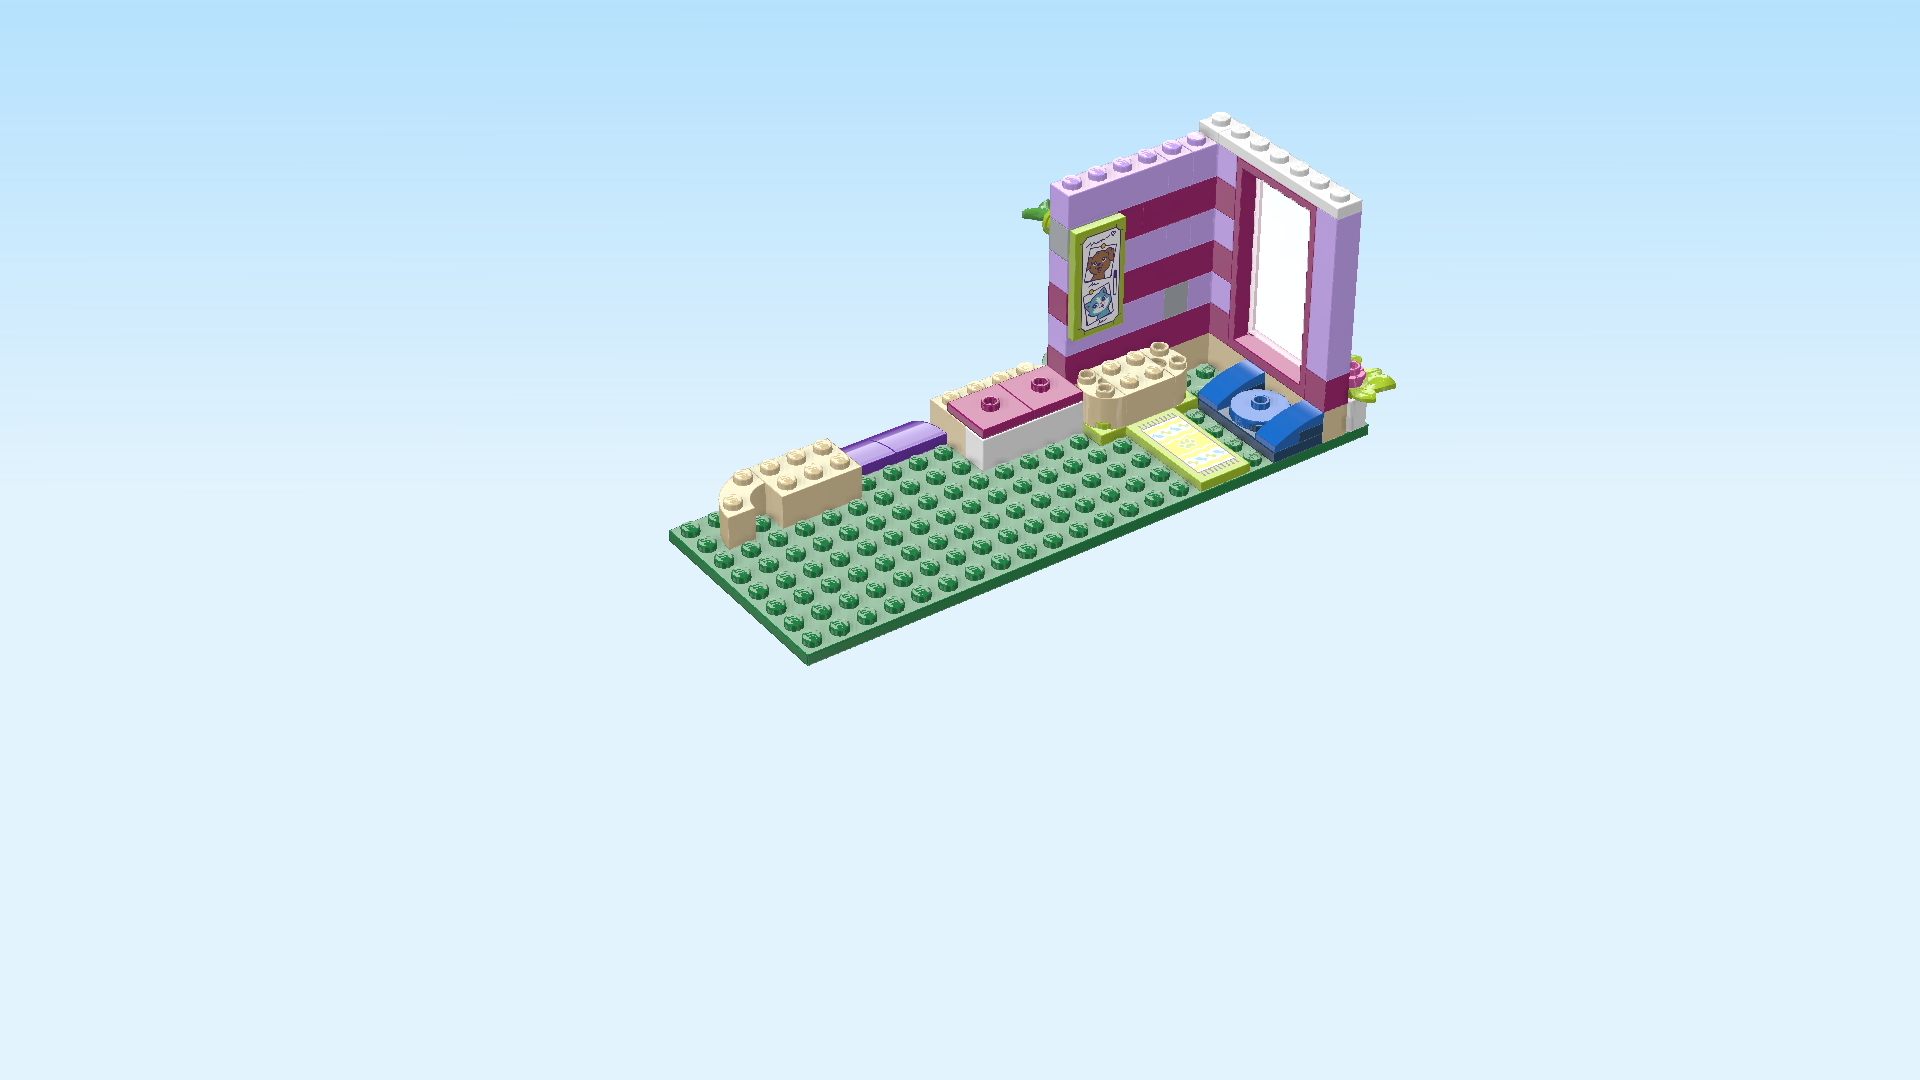
| The three most recent bricks are the base of the scratching post. We will come back to it shortly. |
| Next, we will build the scratching post elements. |
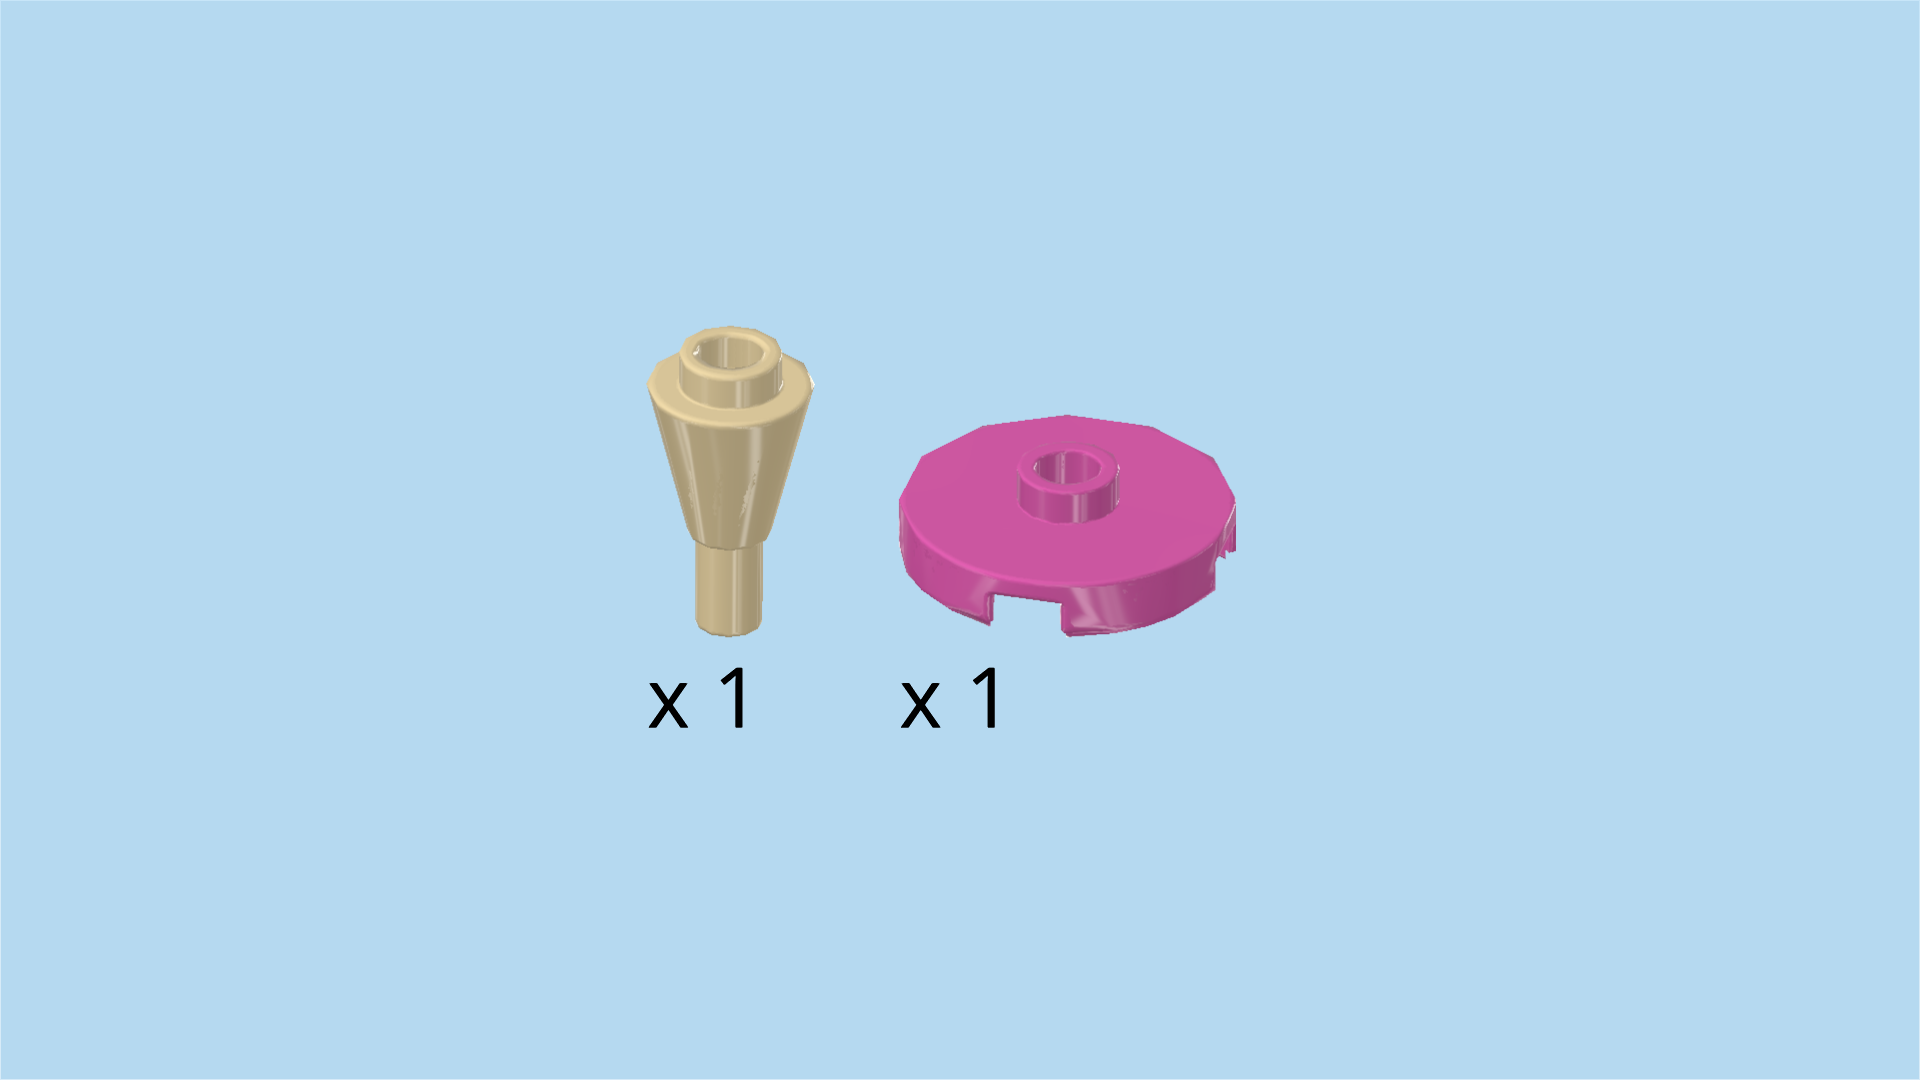
| Collect the following 2 pieces: |
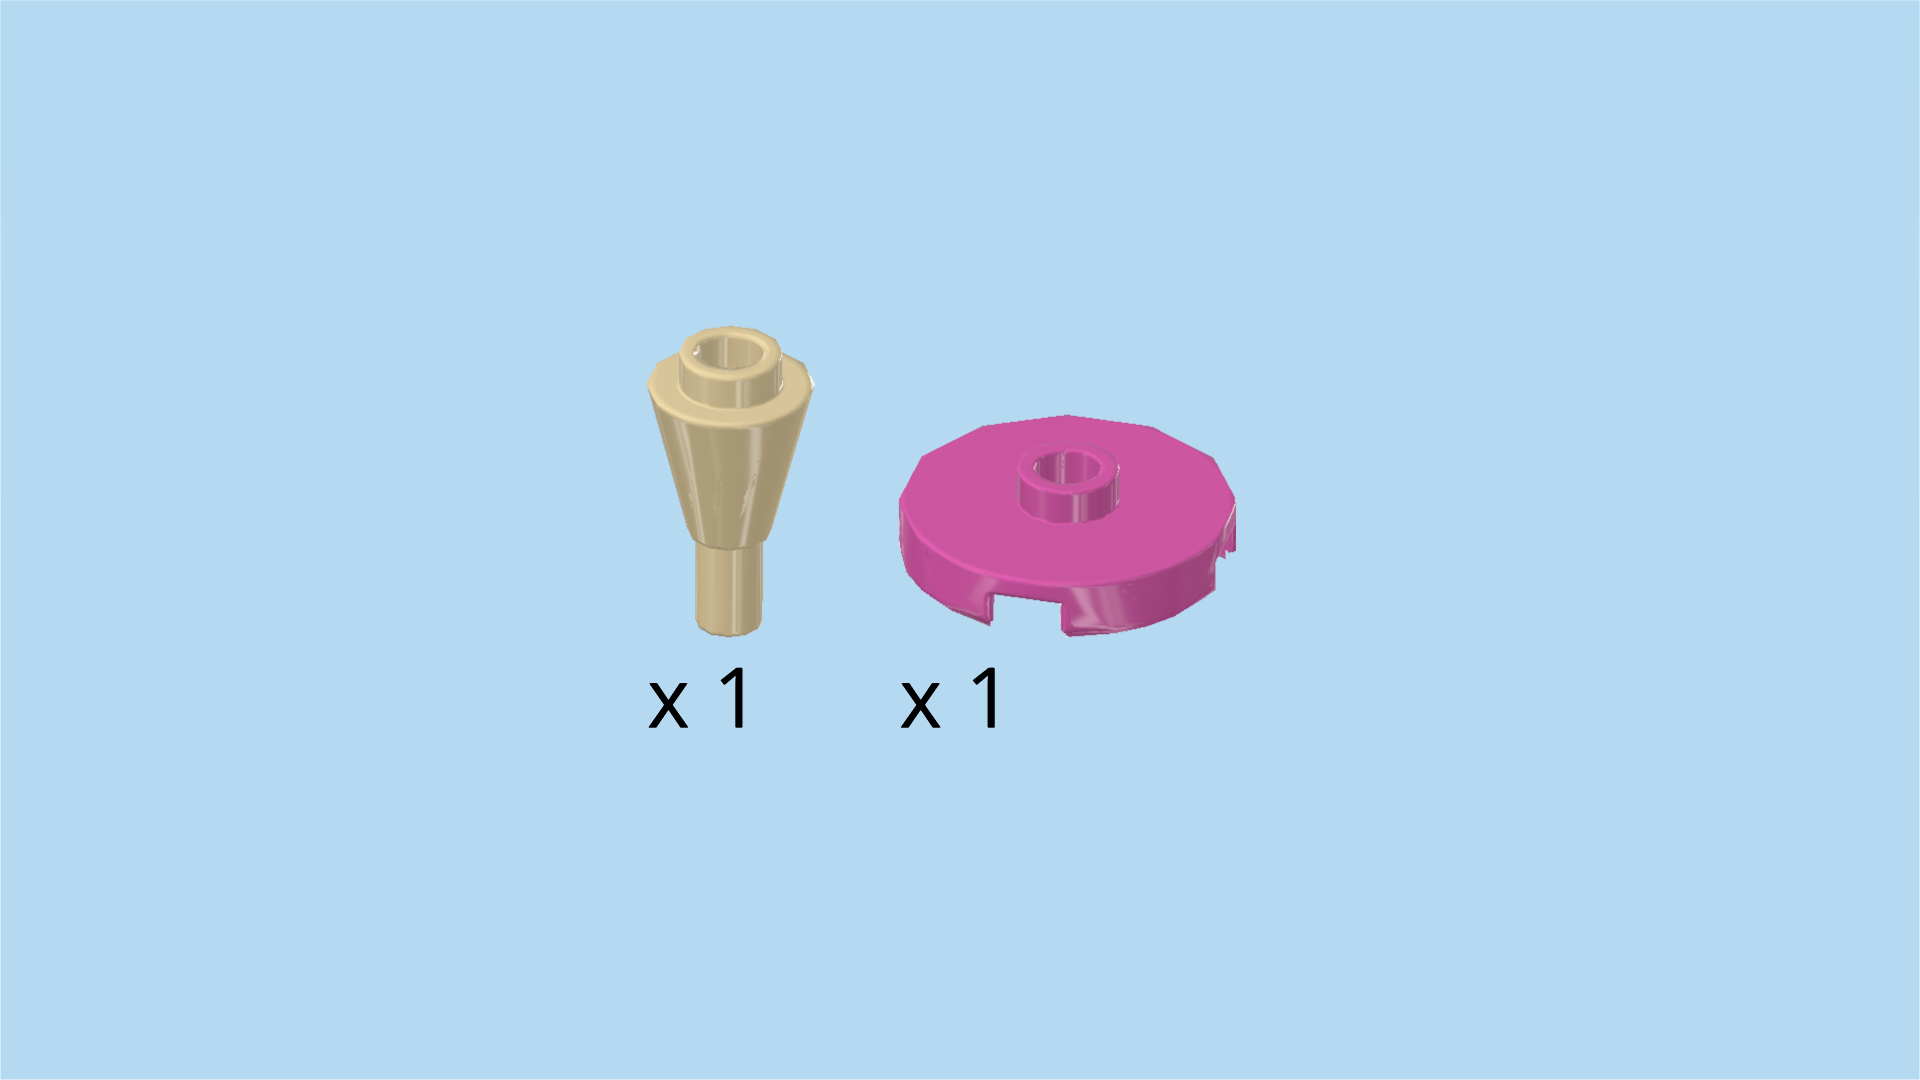
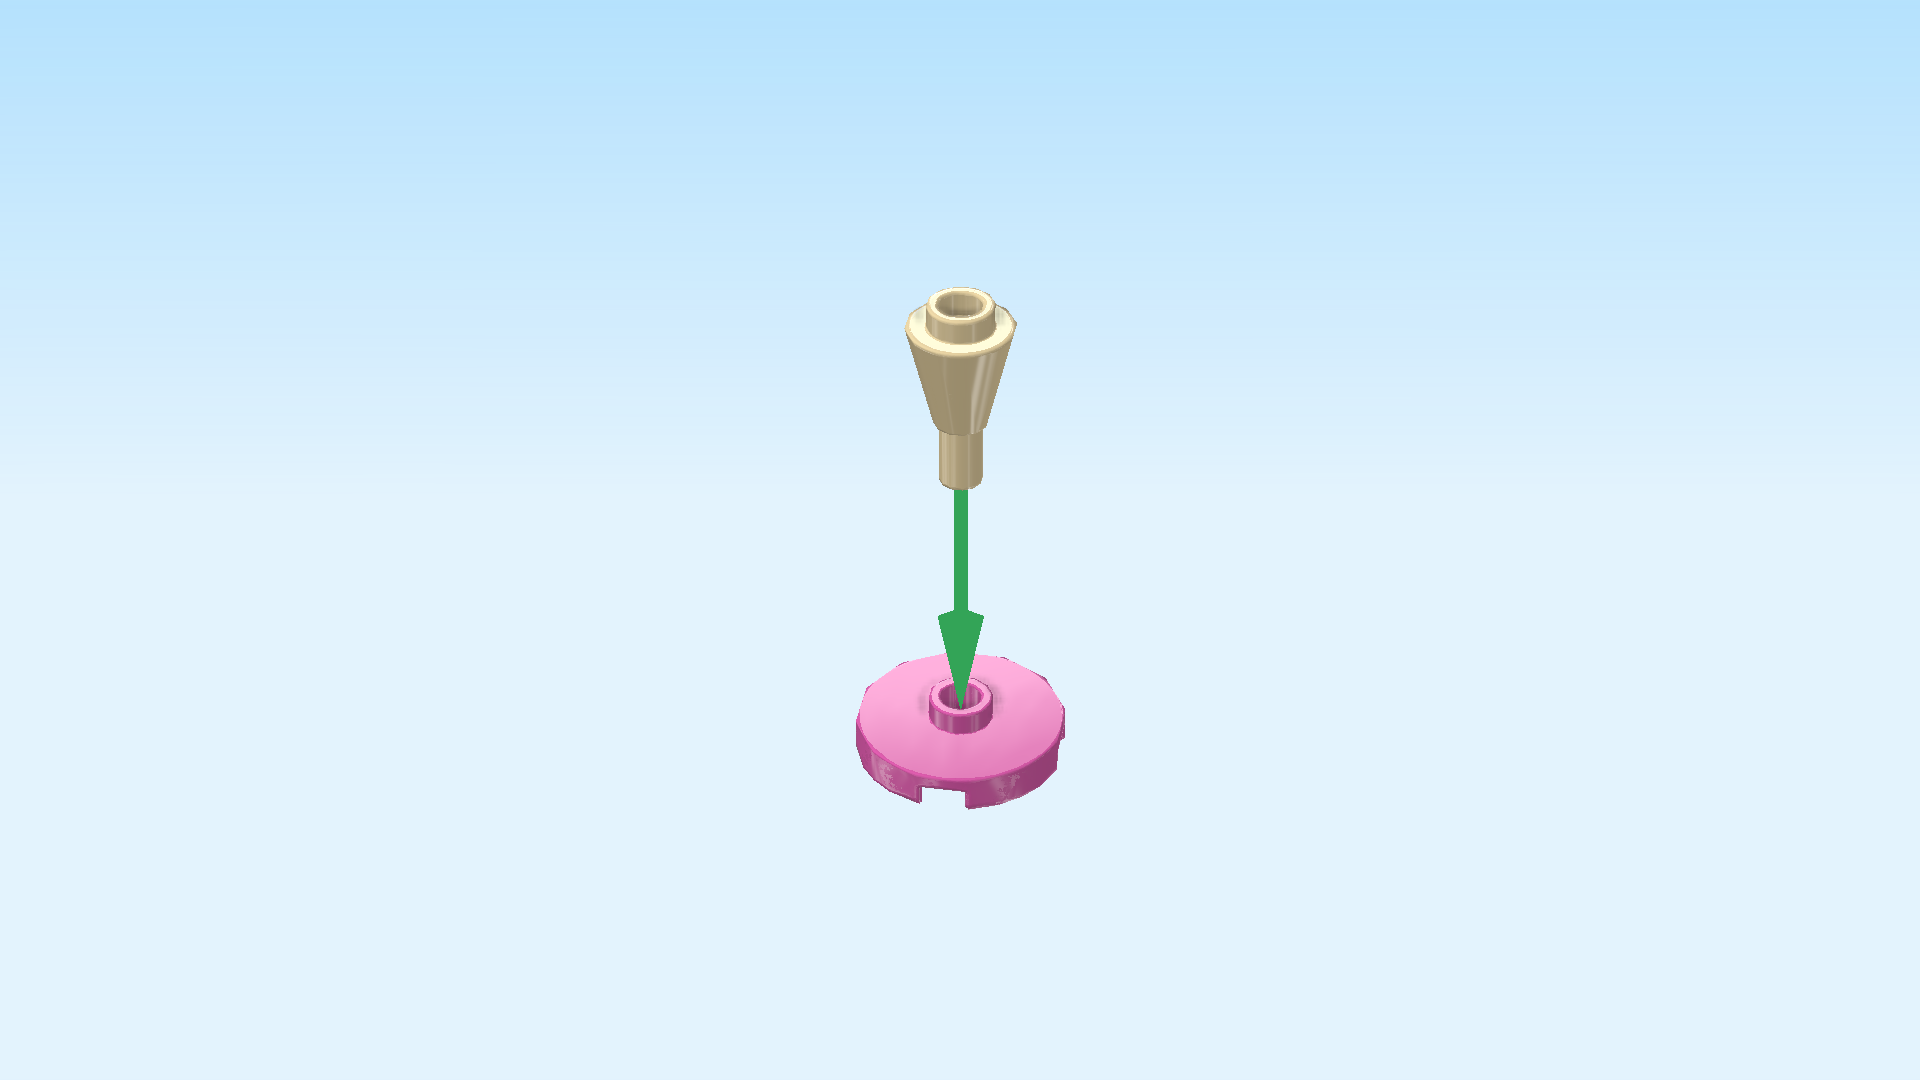
| 1 bright purple round plate 2x2 with 1 knob, |
| and 1 pale ocher yellow inverted cone 1x1 with shaft. |
| Put the round plate 2x2 on the table. |
| Insert the shaft of the inverted cone into the knob of the round plate. |
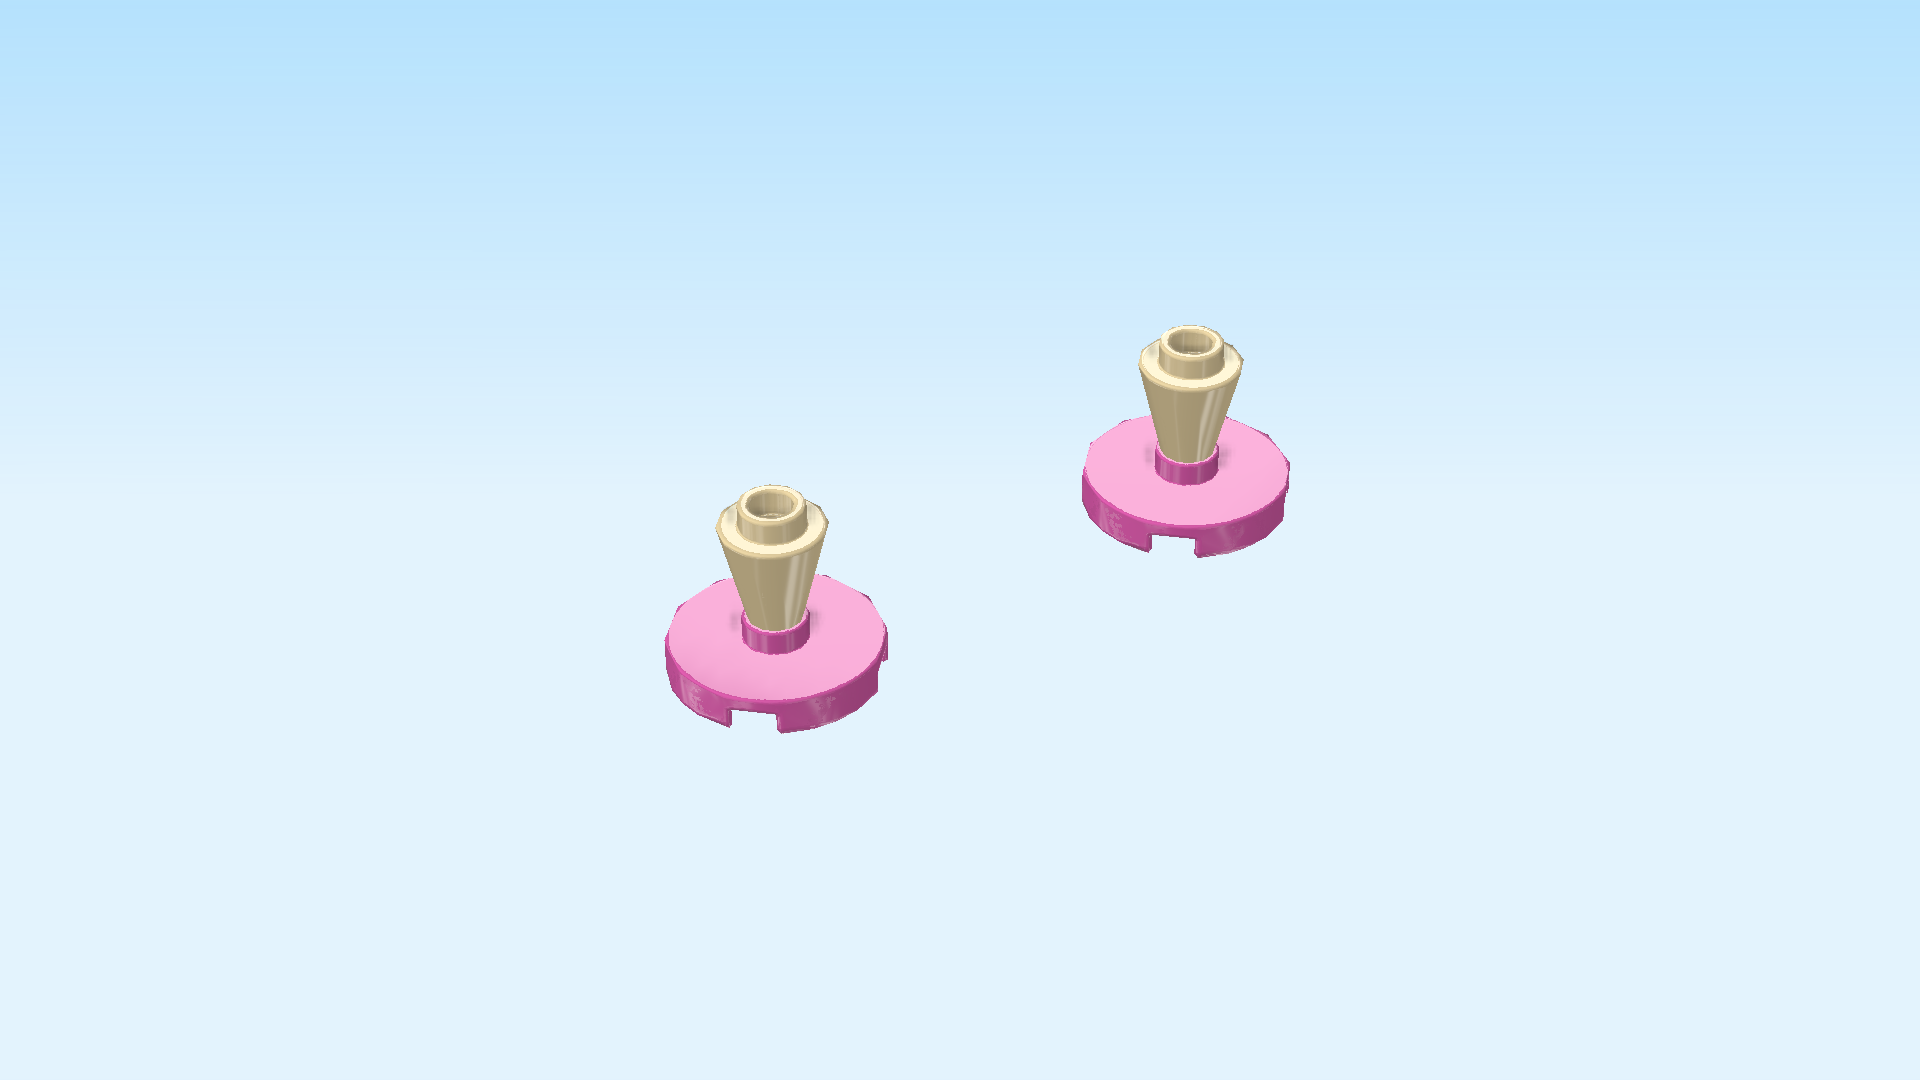
| Collect the following 2 pieces: |
| 1 pale ocher yellow inverted cone 1x1 with shaft, |
| and 1 bright purple round plate 2x2 with 1 knob. |
| Again, put the round plate on the table and insert the shaft of the cone into its knob. |
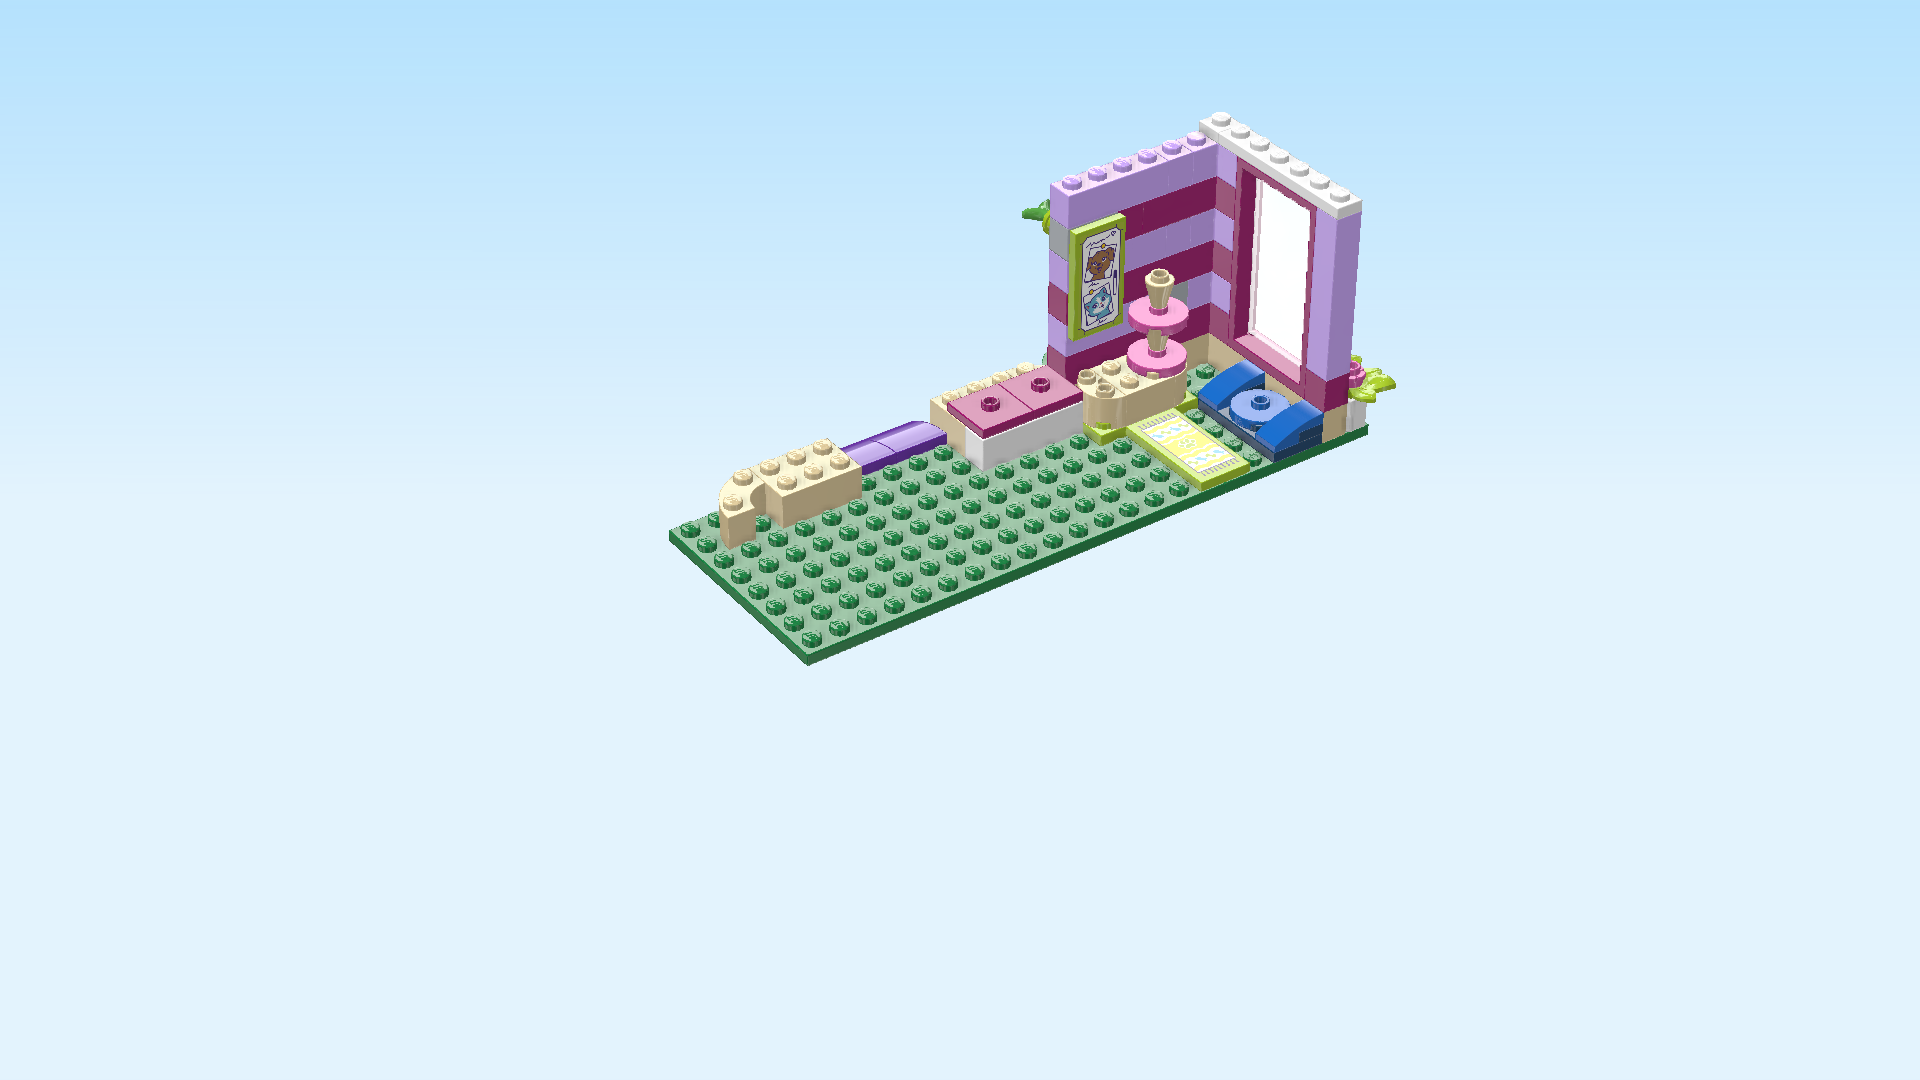
| Now, mount one scratching post element on the right half circle of the scratching post base. |
| Mount the other scratching post element on top. This might be a bit wobbly, so be careful. |
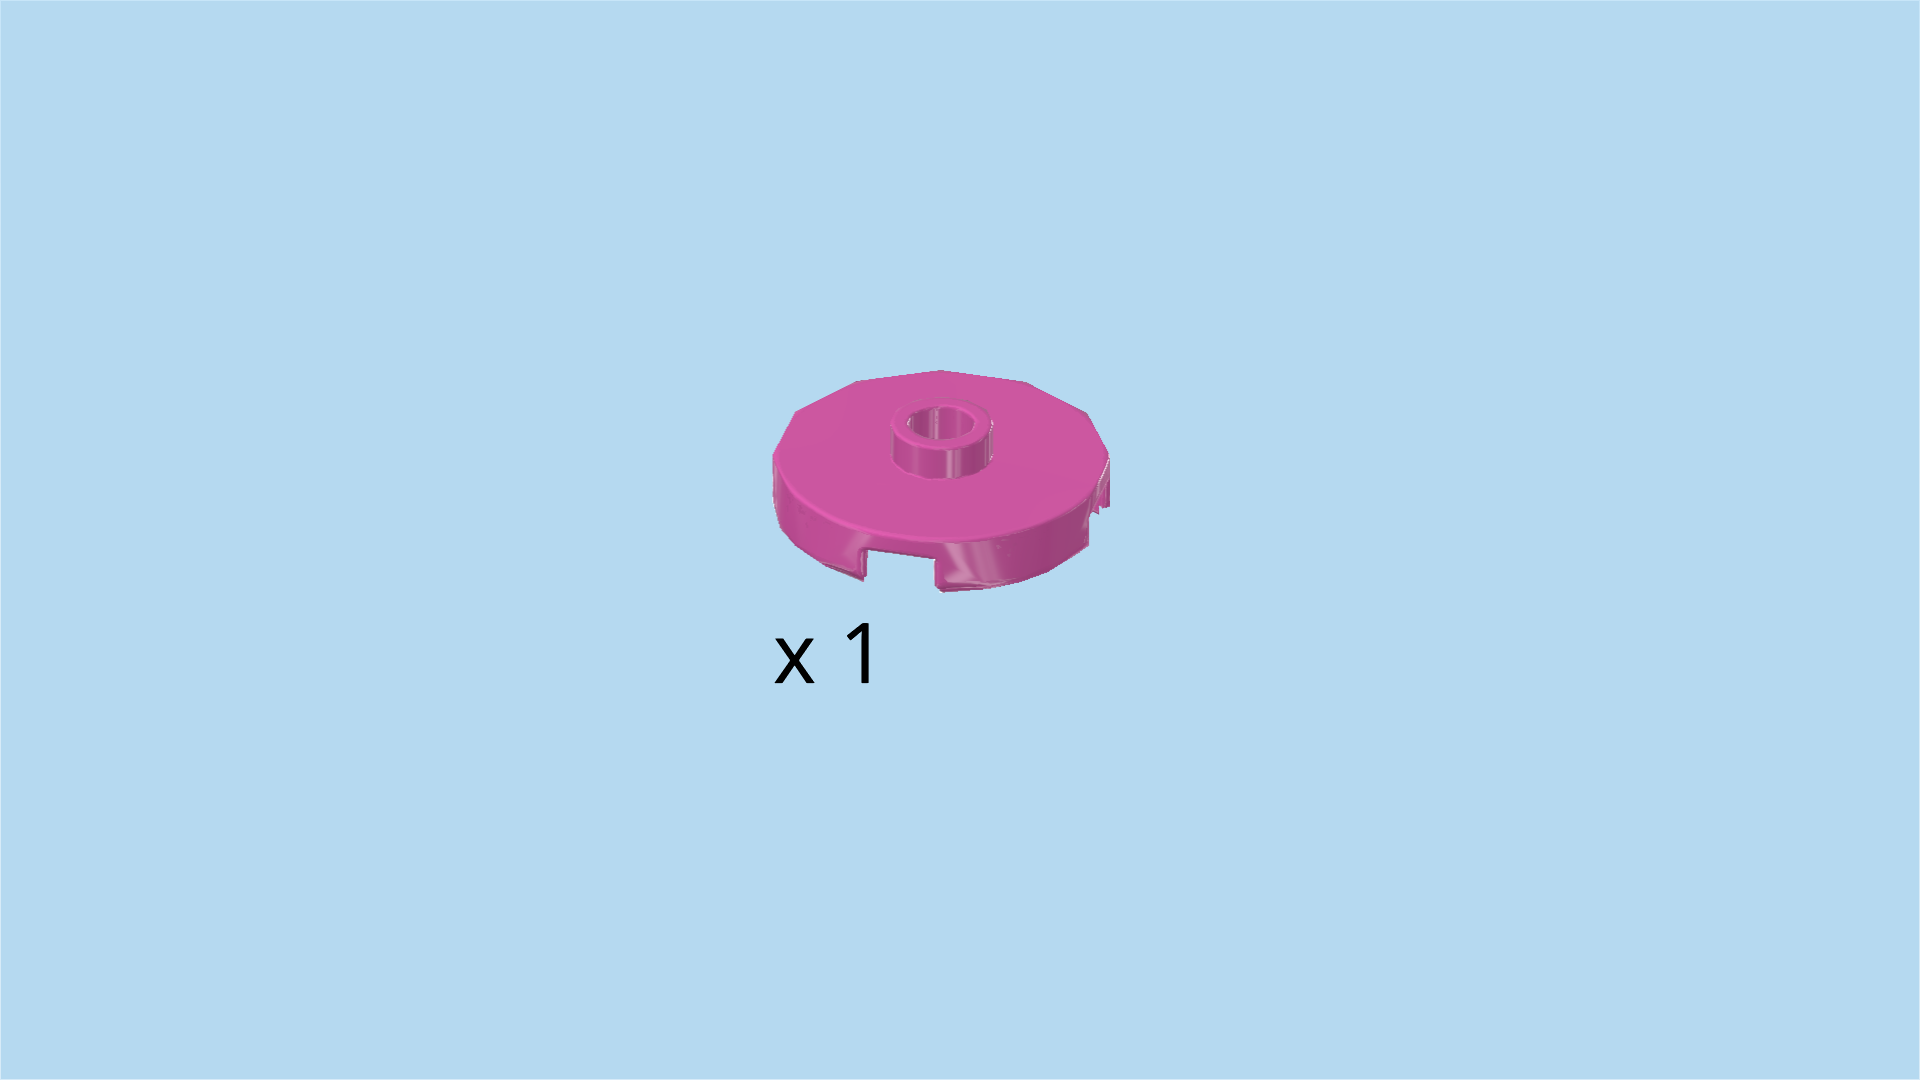
| Find 1 bright purple round plate 2x2 with 1 knob. |
| Put it to the left of the scratching post. |
| Put the structure aside for now, but keep it in the current orientation. We will later mount the kitchen area on the left. |
| Now, we will build the kitchen area of the cafe. |
| Collect the following 2 pieces: |
| 1 dark green plate 6x8, |
| and 1 bright yellowish green flower piece 1x1 without shaft. |
| Put the plate 6x8 horizontally on the table. |
| Put the flower piece 1x1 onto the backmost leftmost corner of the previous piece. |
| Collect the following 2 pieces: |
| 1 pale ocher yellow brick 1x6, |
| and 1 pale ocher yellow plate 2x6. |
| Put the brick 1x6 horizontally in front of the previous piece, starting from the left edge. |
| Put the plate 2x6 horizontally in front of the previous piece. |
| Find 1 pale ocher yellow brick 1x6. |
| Put it vertically to the right of the 2 previous pieces, 1 knob overhanging to the front. |
| The two bricks 1x6 form the basis of the other 2 walls of the cafe. |
| Collect the following 3 pieces: |
| 2 purple violet bricks 1x6, |
| and 1 purple violet brick 1x1. |
| Put 1 brick 1x6 vertically on top of the previous piece, but make sure that once again 1 knob is overhanging to the front. |
| If done correctly, the brick below is overhanging the base plate by 1 knob, and the current piece is overhanging the brick below by 1 knob, so you have created upside-down steps. |
| Put the other brick 1x6 horizontally behind the previous piece. Make sure that the current brick's rightmost knob is behind the previous piece's backmost knob. |
| Put the brick 1x1 to the left of the previous piece. |
| Collect the following 5 pieces: |
| 2 light lavender bricks 1x4, |
| 2 light lavender bricks 1x1, |
| and 1 light lavender corner brick 1x2 - 1x2. |
| Put the corner brick on the wall corner. This is the right back corner that the horizontal and vertical bricks are forming. |
| Put 1 brick 1x1 in front of the previous piece. |
| Put 1 brick 1x4 vertically in front of the previous piece. |
| Put the other brick 1x1 to the left of the corner brick. |
| Put the other brick 1x4 horizontally to the left of the previous piece. |
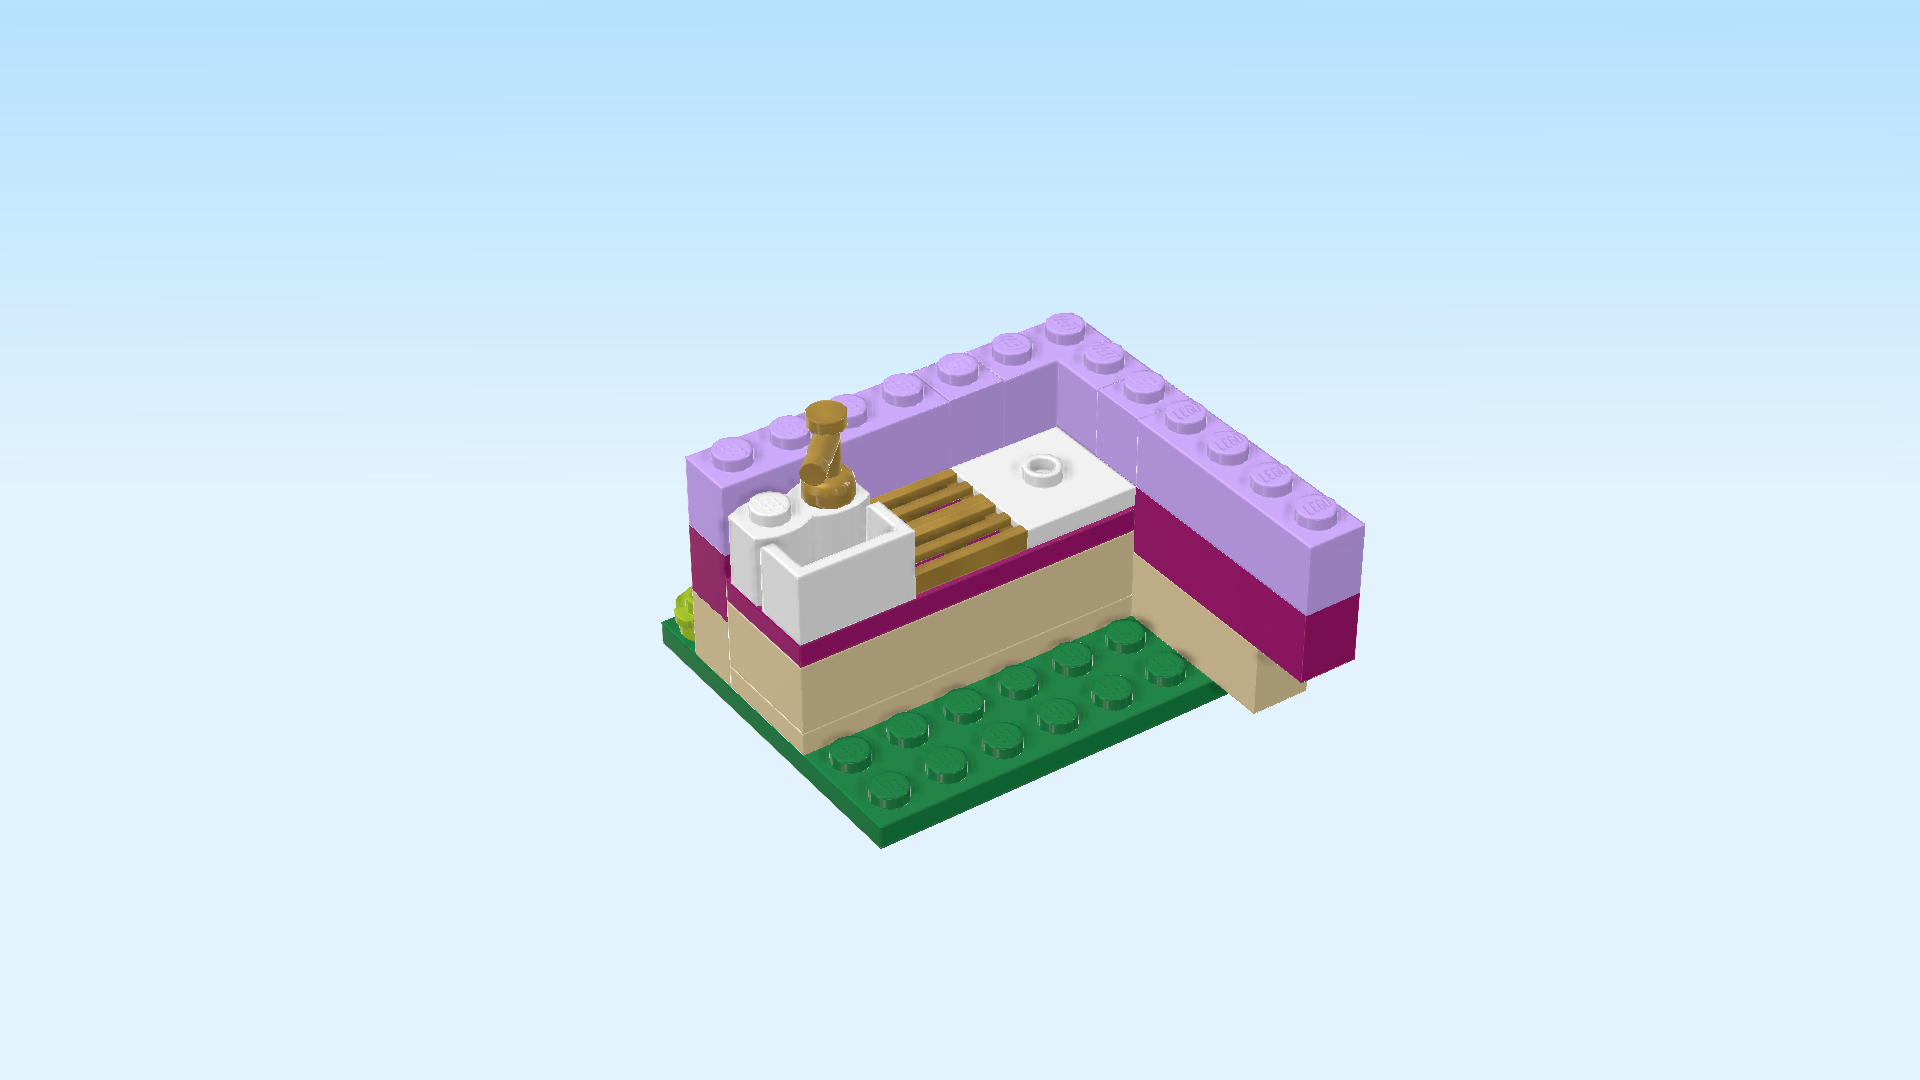
| Next, we will build the kitchenette. |
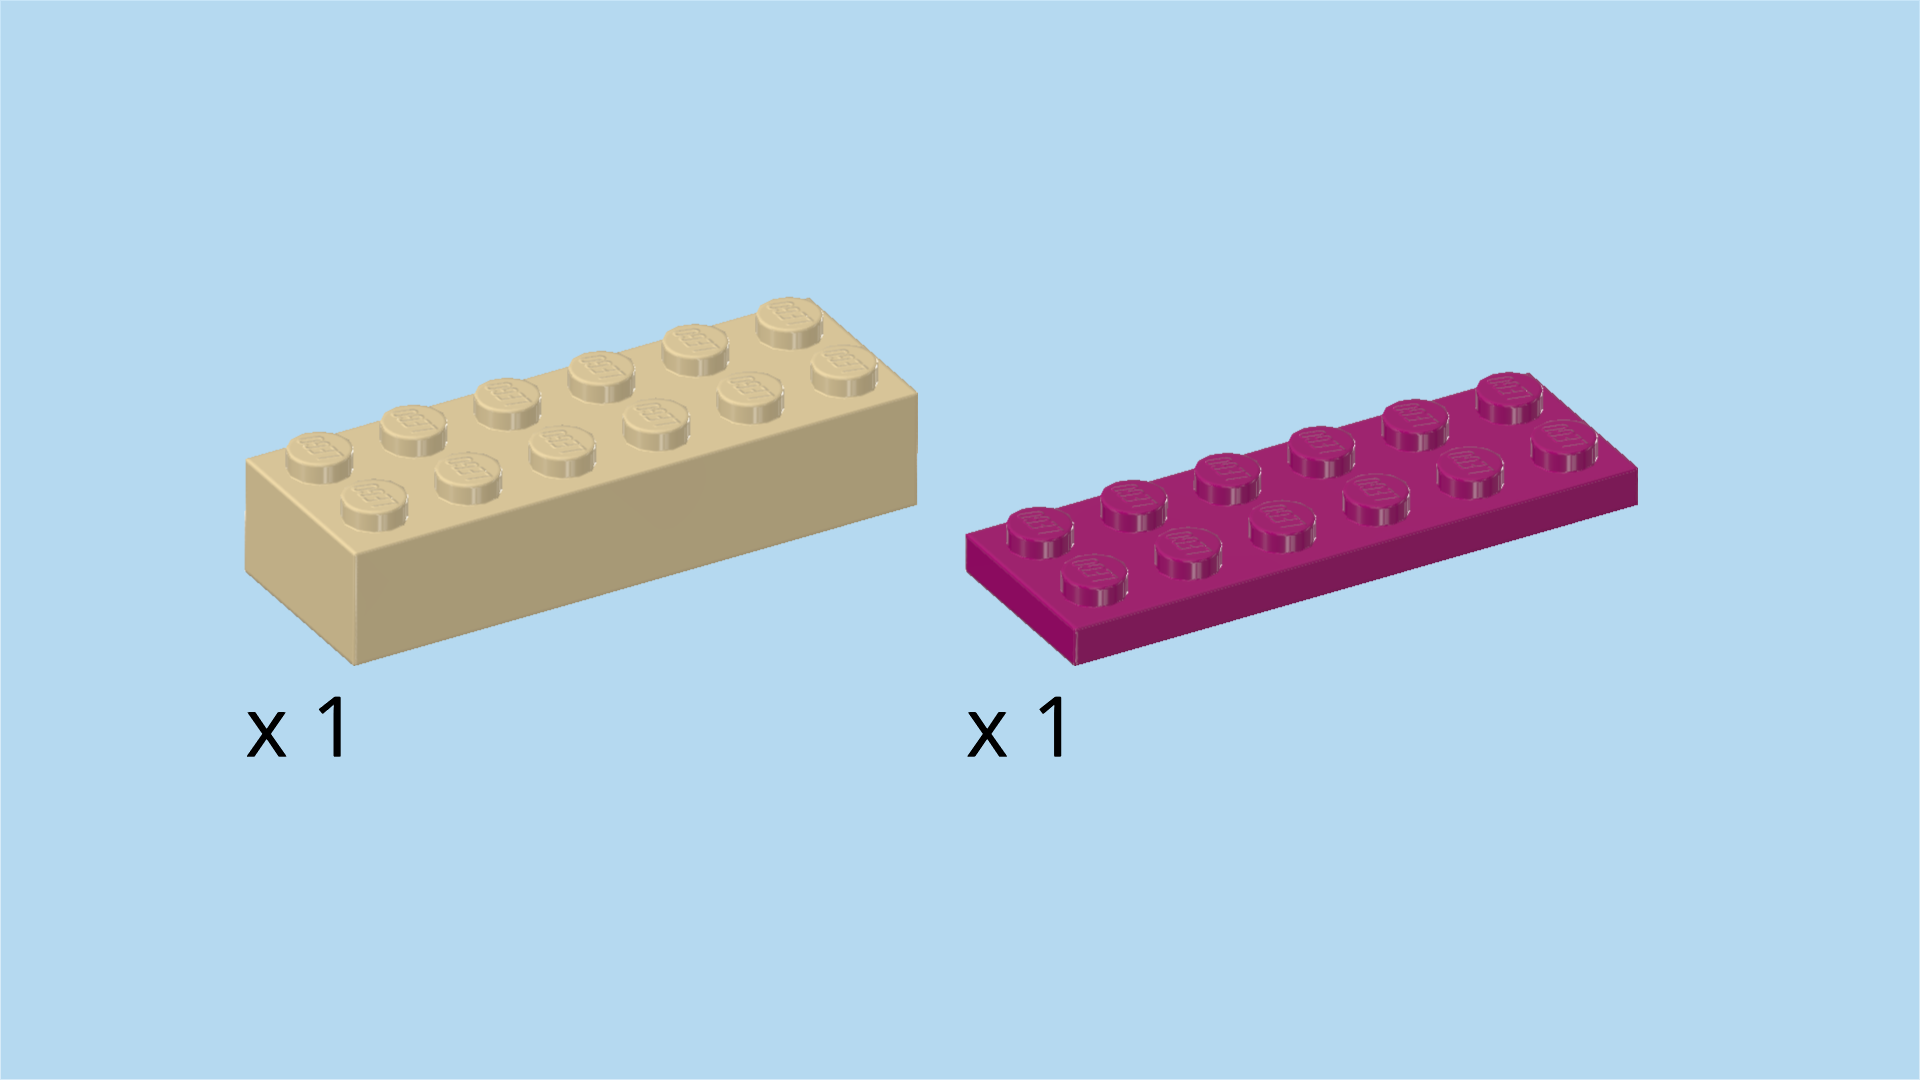
| Collect the following 2 pieces: |
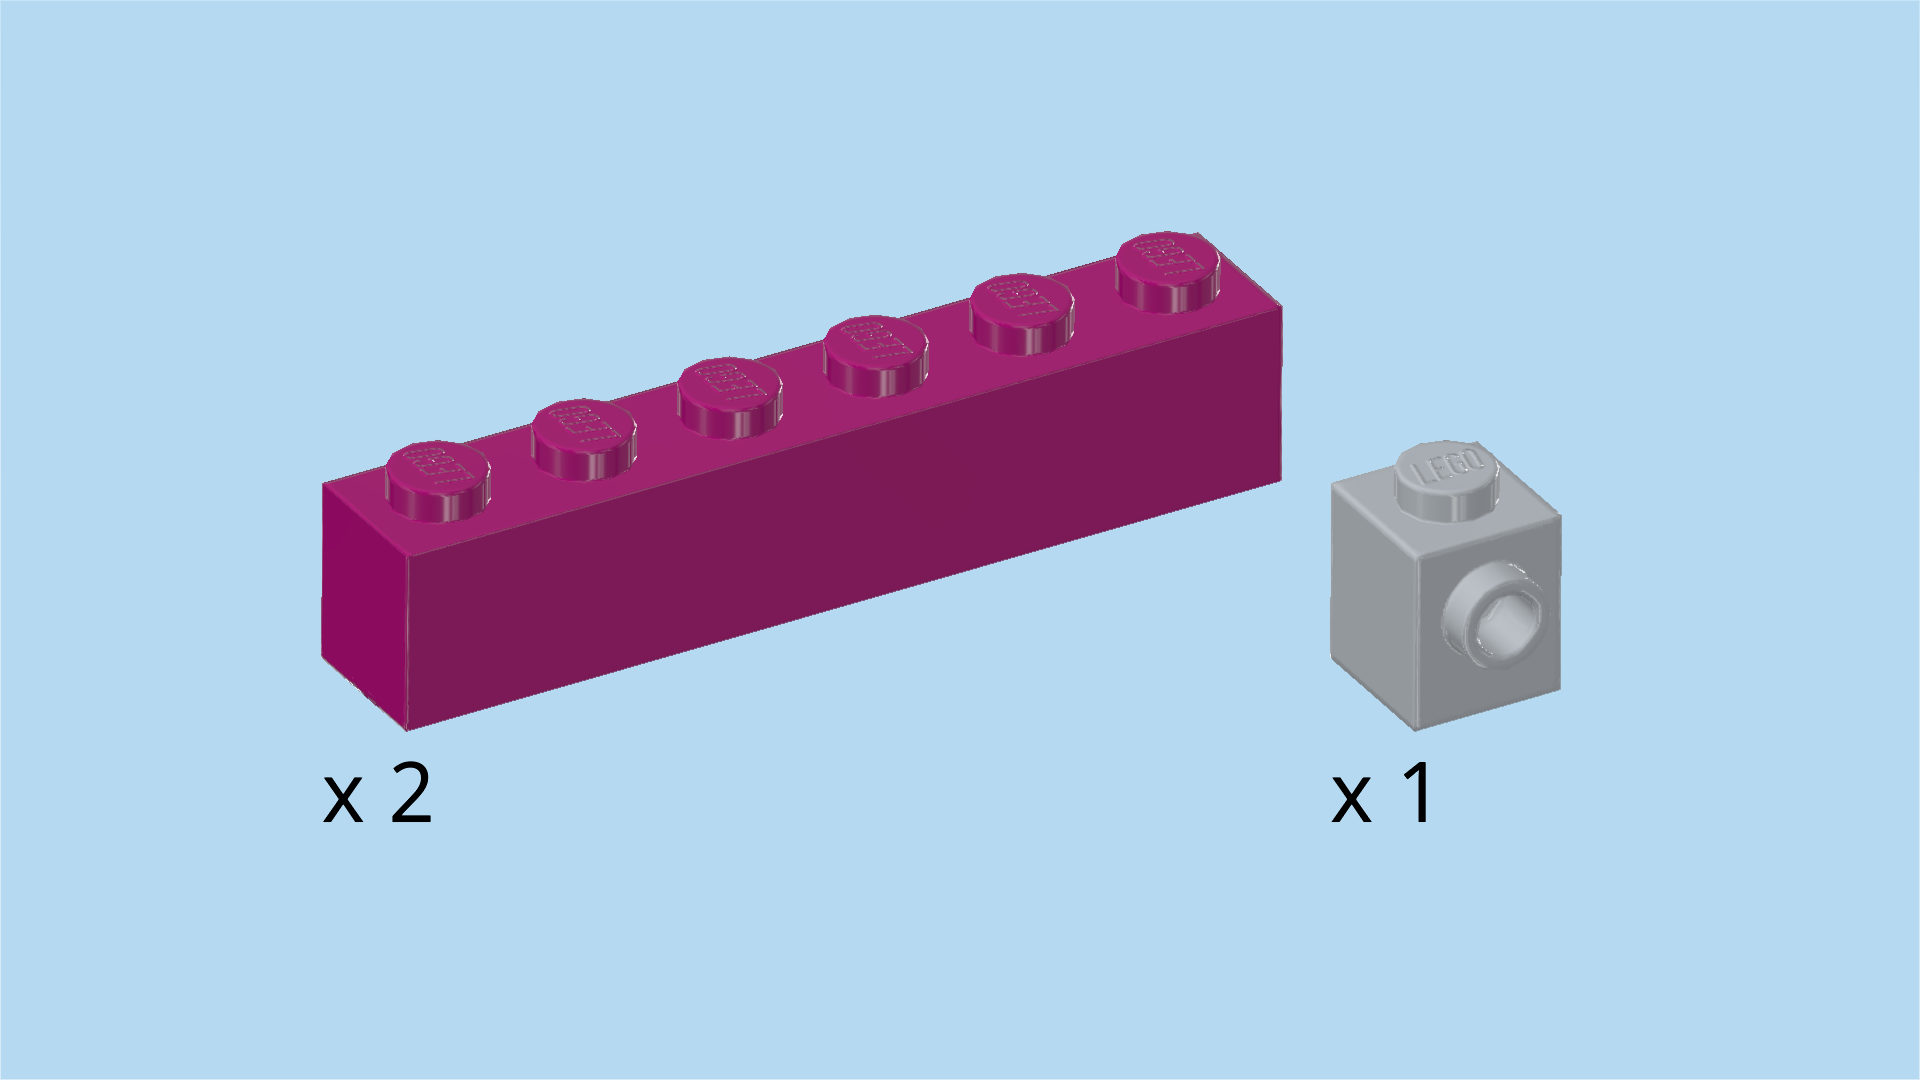
| 1 purple violet plate 2x6, |
| and 1 pale ocher yellow brick 2x6. |
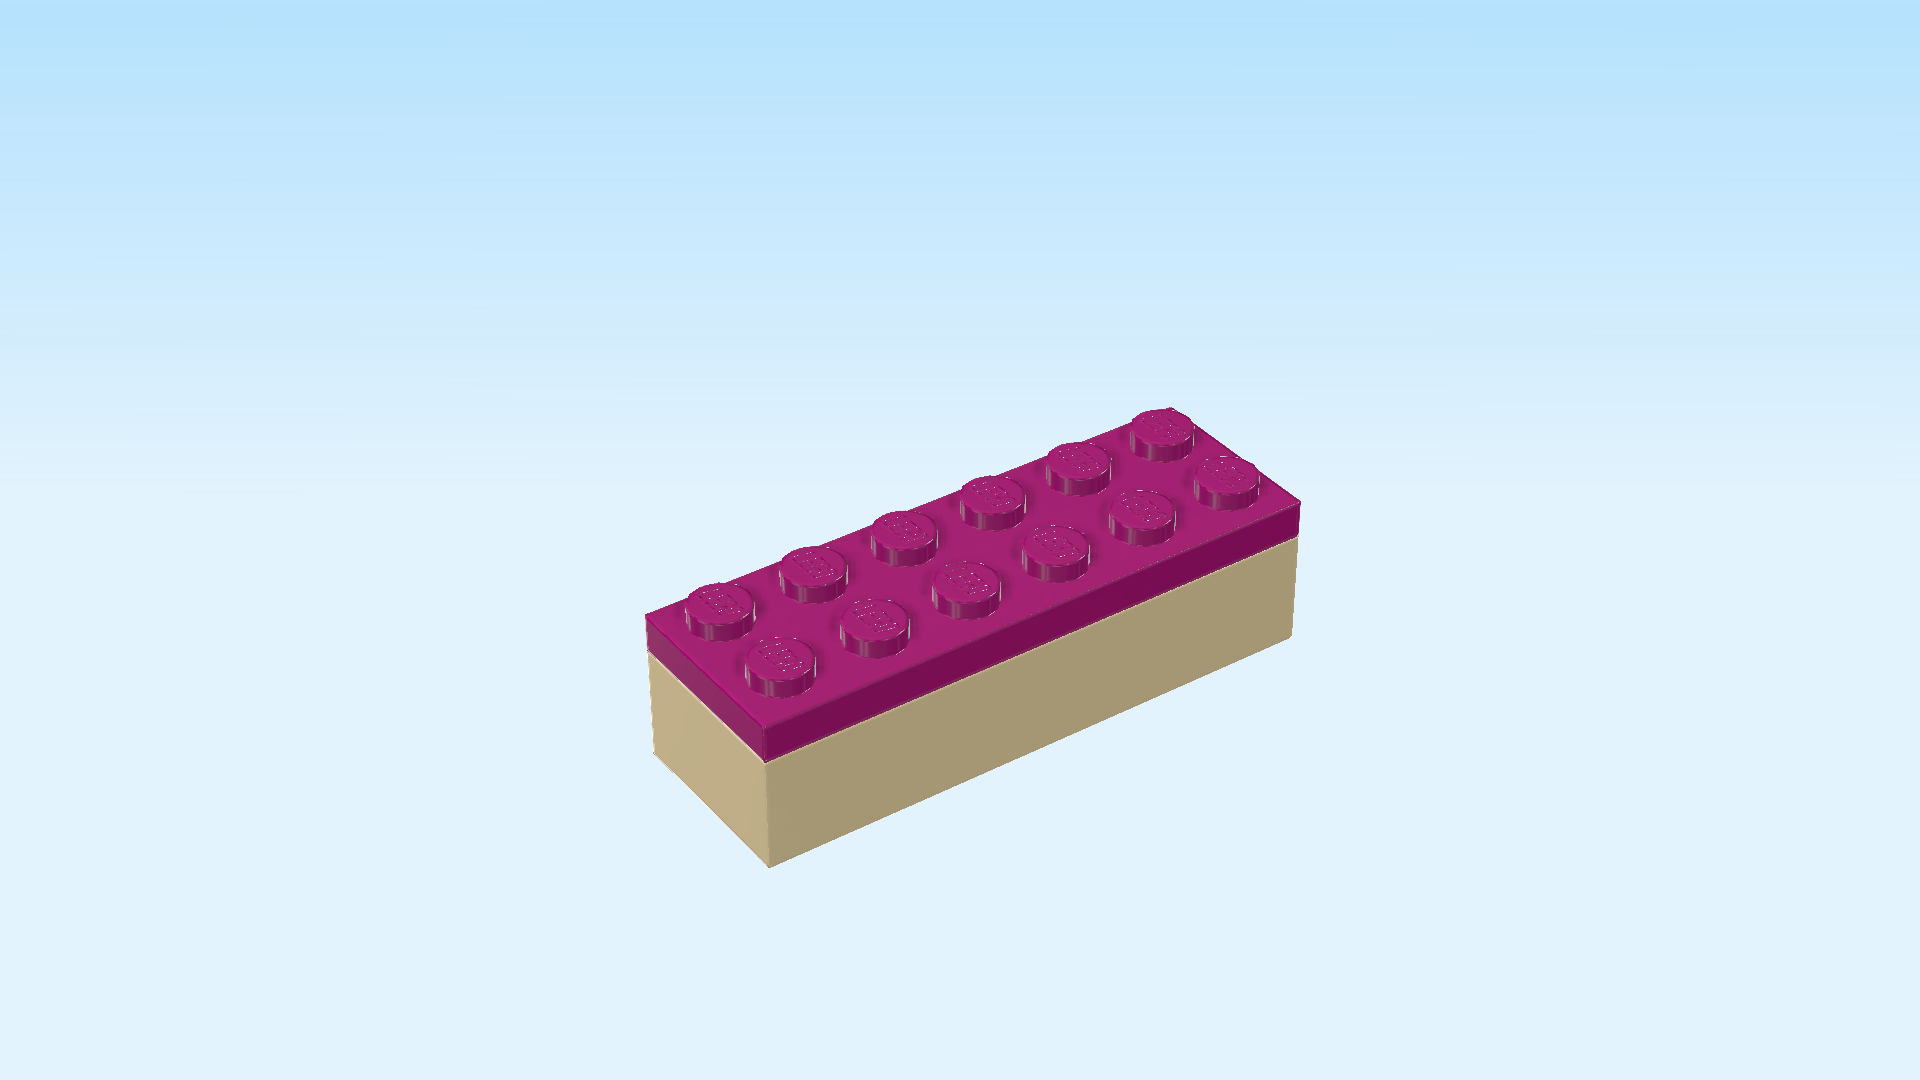
| Put the brick 2x6 horizontally on the table. |
| Put the plate 2x6 horizontally on top. |
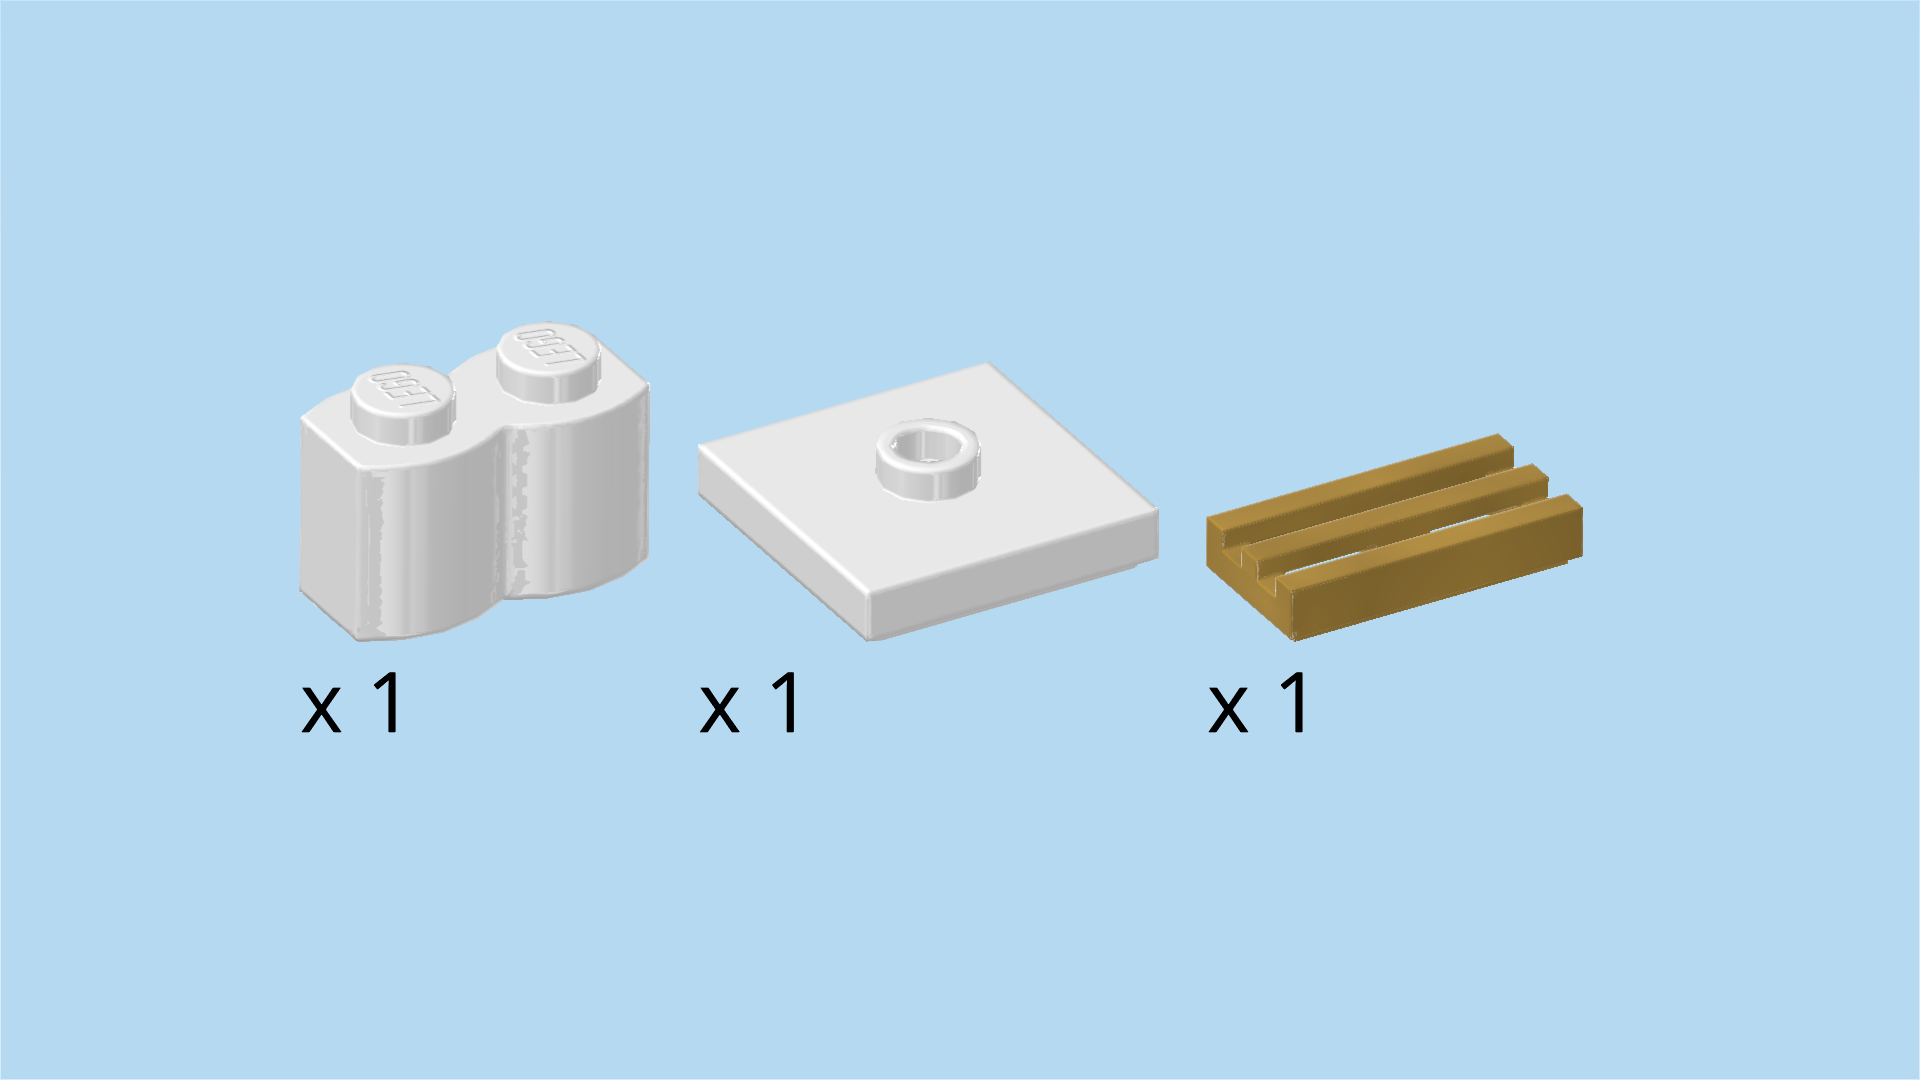
| Collect the following 3 pieces: |
| 1 white plate 2x2 with 1 knob, |
| 1 warm gold grille tile 1x2, |
| and 1 white palisade brick 1x2. |
| Put the plate 2x2 on the rightmost 4 knobs of the kitchenette. |
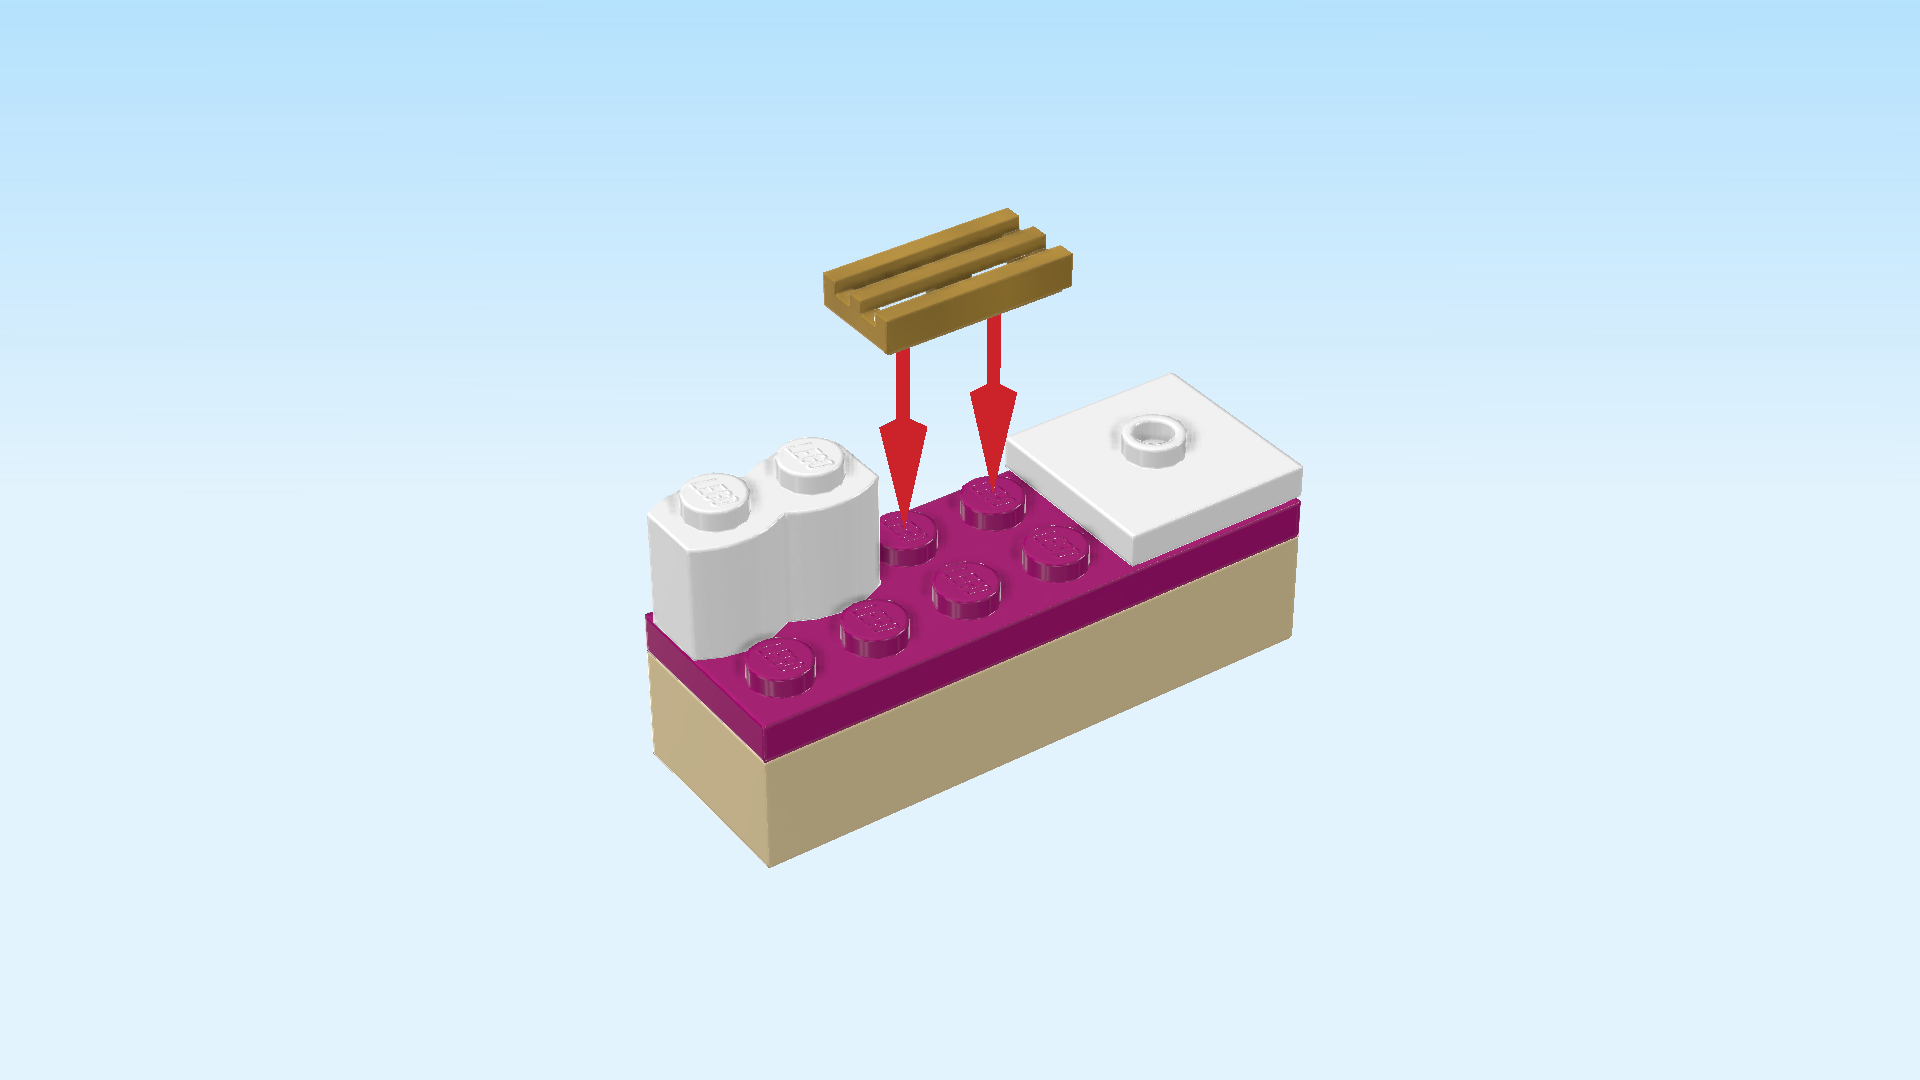
| Put the grille tile 1x2 horizontally on the back row to the left of the previous piece. |
| Put the palisade brick 1x2 horizontally to the left of the previous piece. |
| Collect the following 3 pieces: |
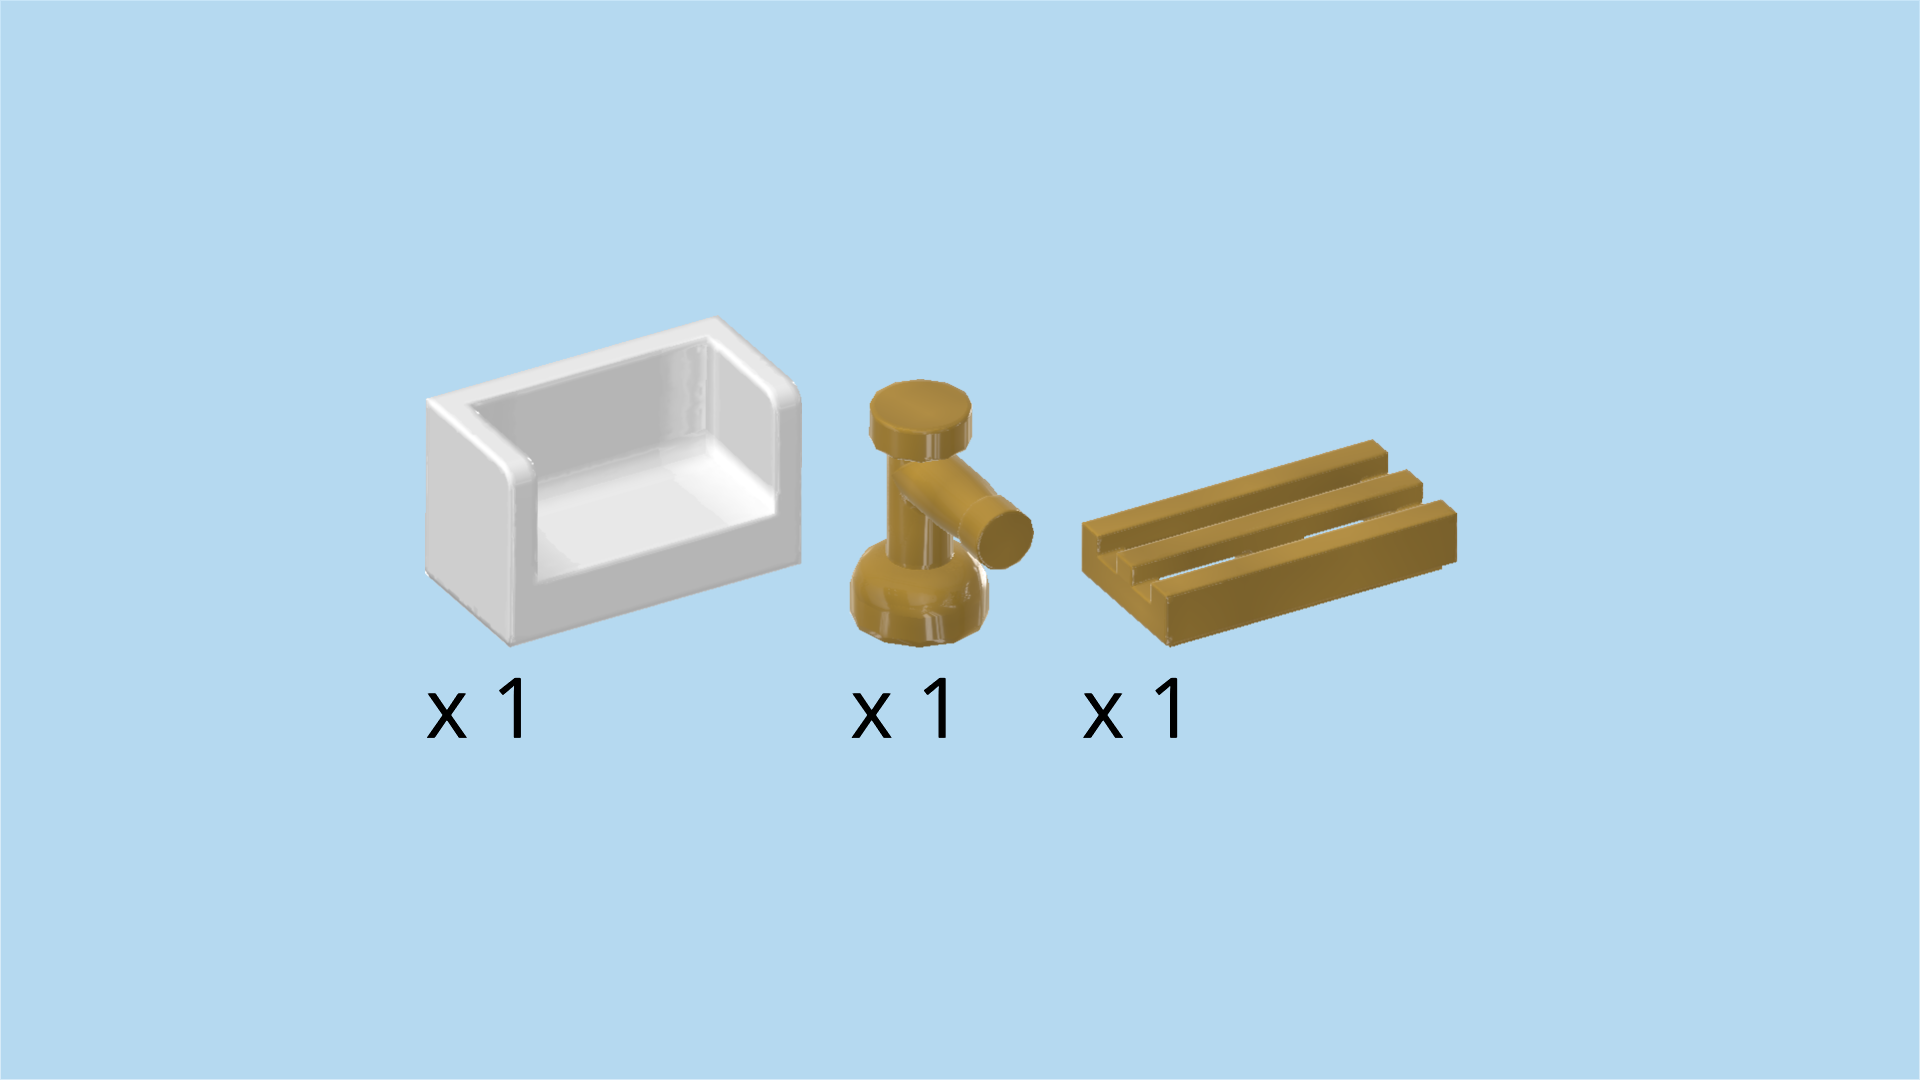
| 1 white panel element 1x2x1 with back and side panels, |
| 1 warm gold grille tile 1x2, |
| and 1 warm gold water tap. |
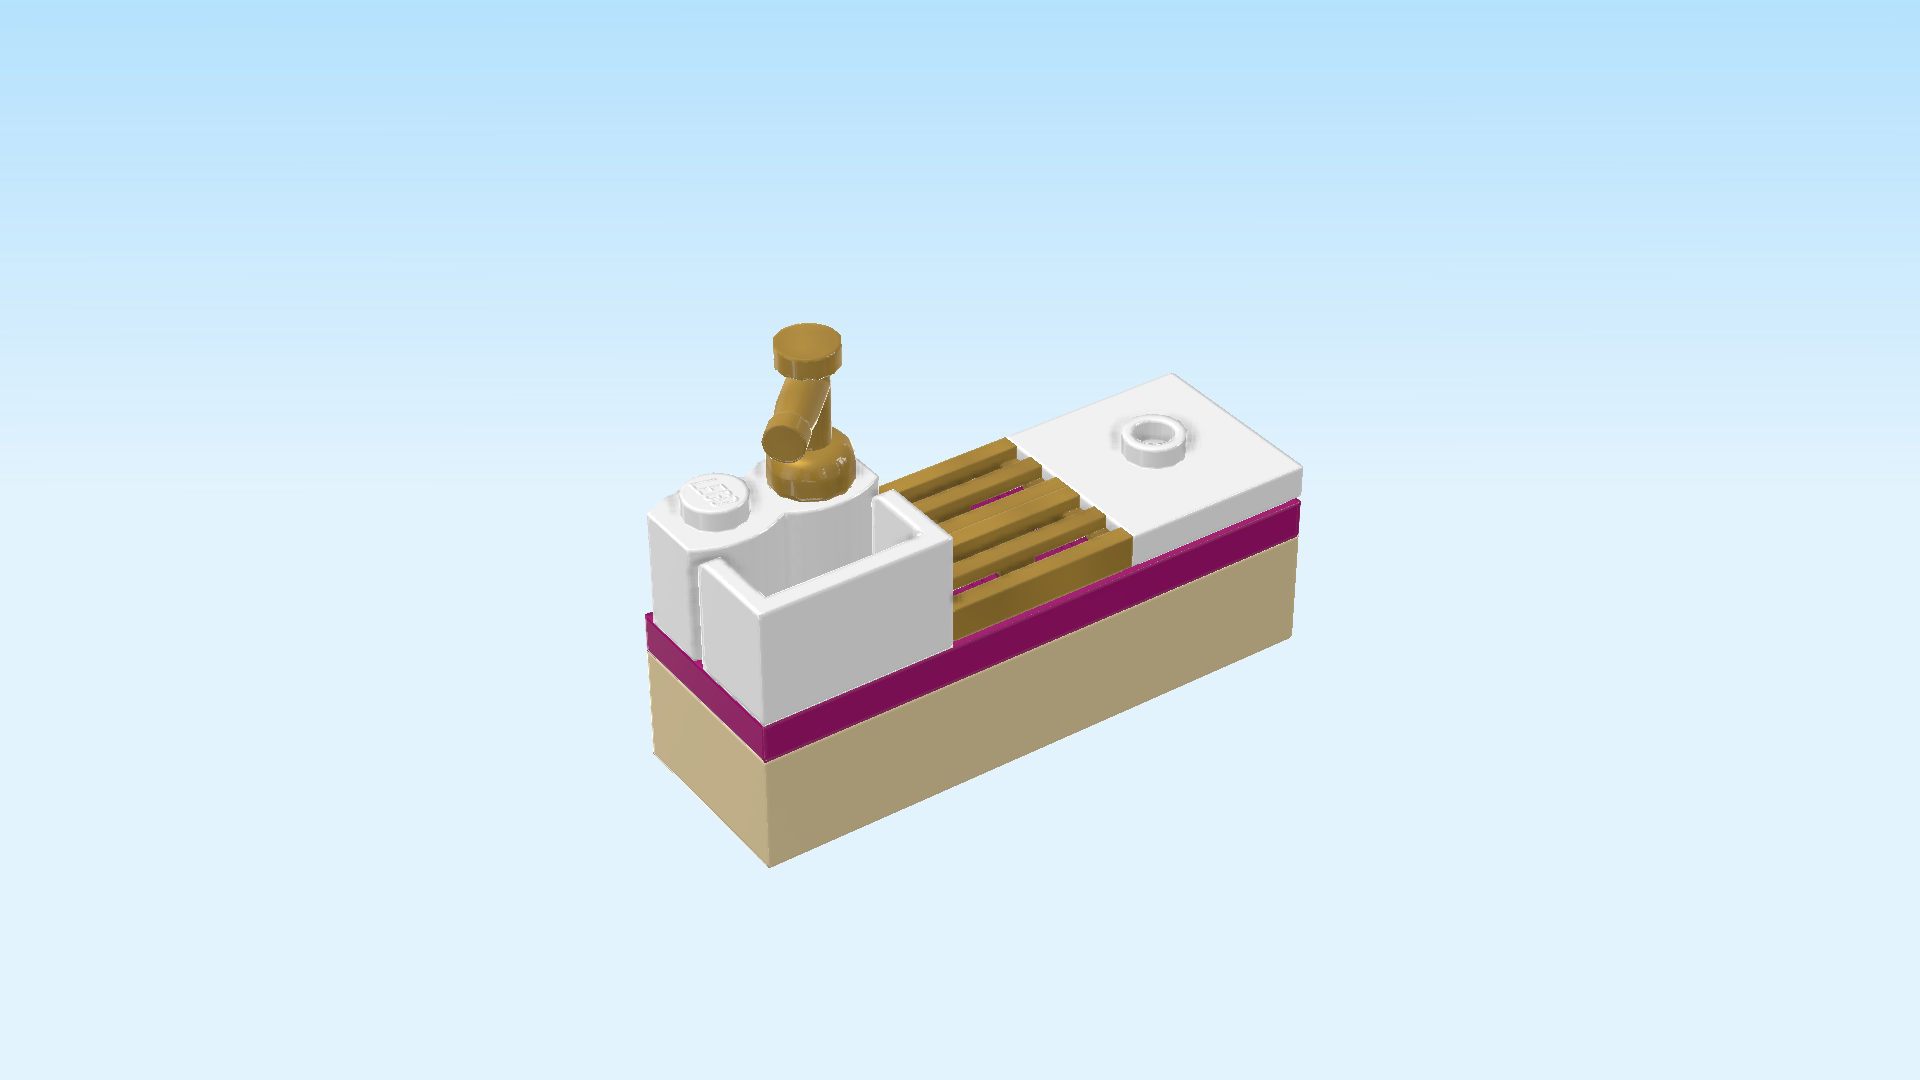
| Put the wall element horizontally in front of the previous piece, open side to the back. |
| This will be the kitchen sink. |
| Put the water tap behind the previous piece on the right knob. |
| Put the grille tile horizontally centered on the front row. |
| The kitchenette is finished! Well done! Mount it horizontally in front of the back wall of the kitchen area. Make sure the sink is on the front left and the water tap is mounted directly in front of the wall. |
| Collect the following 3 pieces: |
| 2 purple violet bricks 1x6, |
| and 1 medium stone grey brick 1x1 with side knob. |
| Now, turn the current structure left to right. This means that now, the wall with the steps at the bottom is on your left, and the other wall is at the front. |
| Put 1 brick 1x6 vertically on the left wall, starting from the backmost edge. |
| Put the brick 1x1 with side knob in front of the previous piece, side knob to the left. |
| Put the other brick 1x6 horizontally to the right of the previous piece. |
| Collect the following 5 pieces: |
| 2 light lavender bricks 1x1, |
| 2 light lavender bricks 1x4, |
| and 1 light lavender corner brick 1x2 - 1x2. |
| Put the corner brick on the wall corner. This is the front left corner the brick walls are forming. |
| Put the 2 bricks 1x1 to the right of and behind the corner brick. |
| Put 1 brick 1x4 horizontally on the front wall, and 1 brick 1x4 vertically on the left wall. |
| Collect the following 3 pieces: |
| 2 purple violet bricks 1x6, |
| and 1 purple violet brick 1x1. |
| Put 1 brick 1x6 vertically on the left wall, starting from the backmost edge. |
| Put the other brick 1x6 horizontally in front of the previous piece. Make sure their left edges are flush. |
| Put the brick 1x1 to the right of the previous piece. |
| Collect the following 5 pieces: |
| 2 light lavender bricks 1x4, |
| 1 light lavender corner brick 1x2 - 1x2, |
| and 2 light lavender bricks 1x1. |
| Put the corner brick on the wall corner. |
| Put the 2 bricks 1x1 to the right of and behind the previous piece. |
| Put 1 brick 1x4 horizontally on the front wall. |
| Put the other brick 1x4 vertically on the left wall. |
| Collect the following 2 pieces: |
| 1 white plate 1x6, |
| and 1 white plate 1x1. |
| Put the plate 1x6 horizontally on the front wall, starting from the right edge. |
| Put the plate 1x1 to the left of the previous piece. |
| The kitchen area of the cafe is finished! Fantastic job! Before mounting it, turn it so that one wall and the kitchenette are on the left, and the other wall is at the back. |
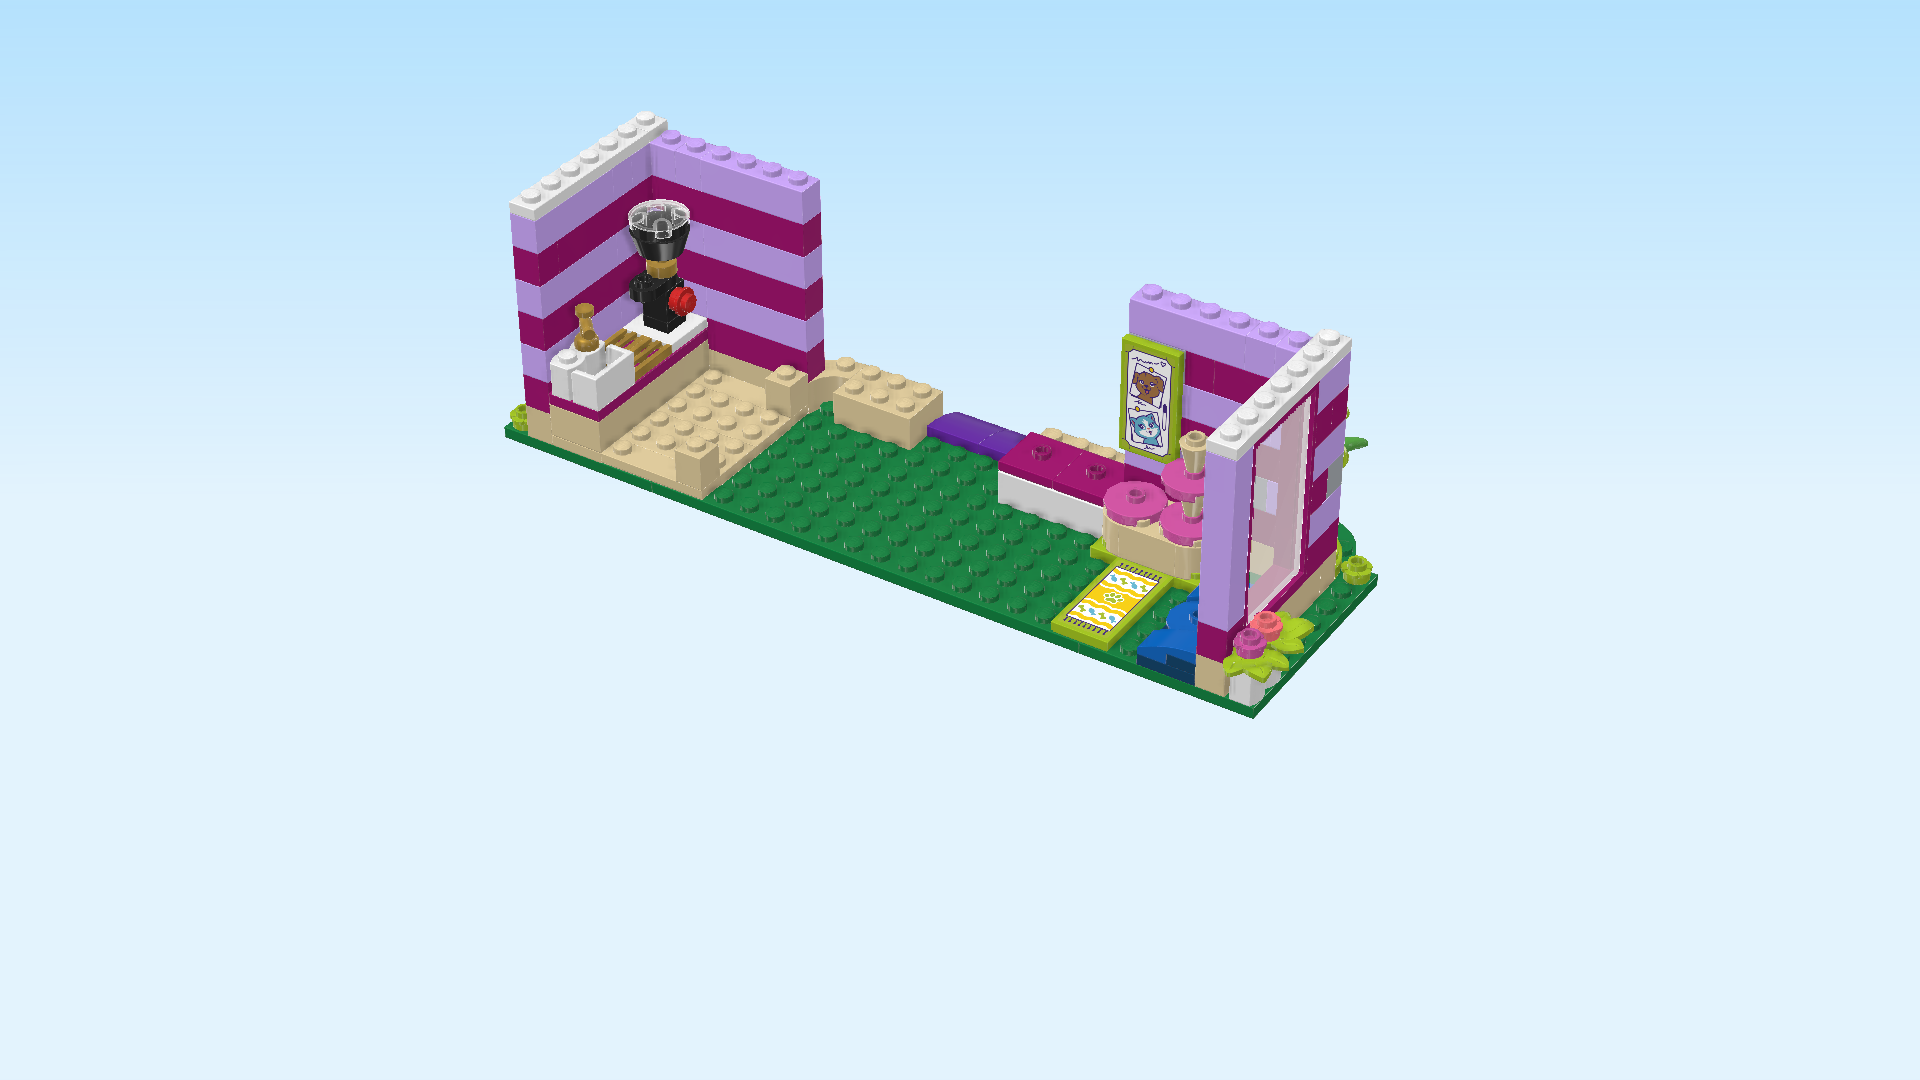
| Mount the kitchen area on the left edge of the cafe building. Make sure the base plates align. The stepped wall bottom of the kitchen area will fit onto the half-arched brick on the structure, but you might have to lift up the kitchen area a bit to mount it. |
| Collect the following 4 pieces: |
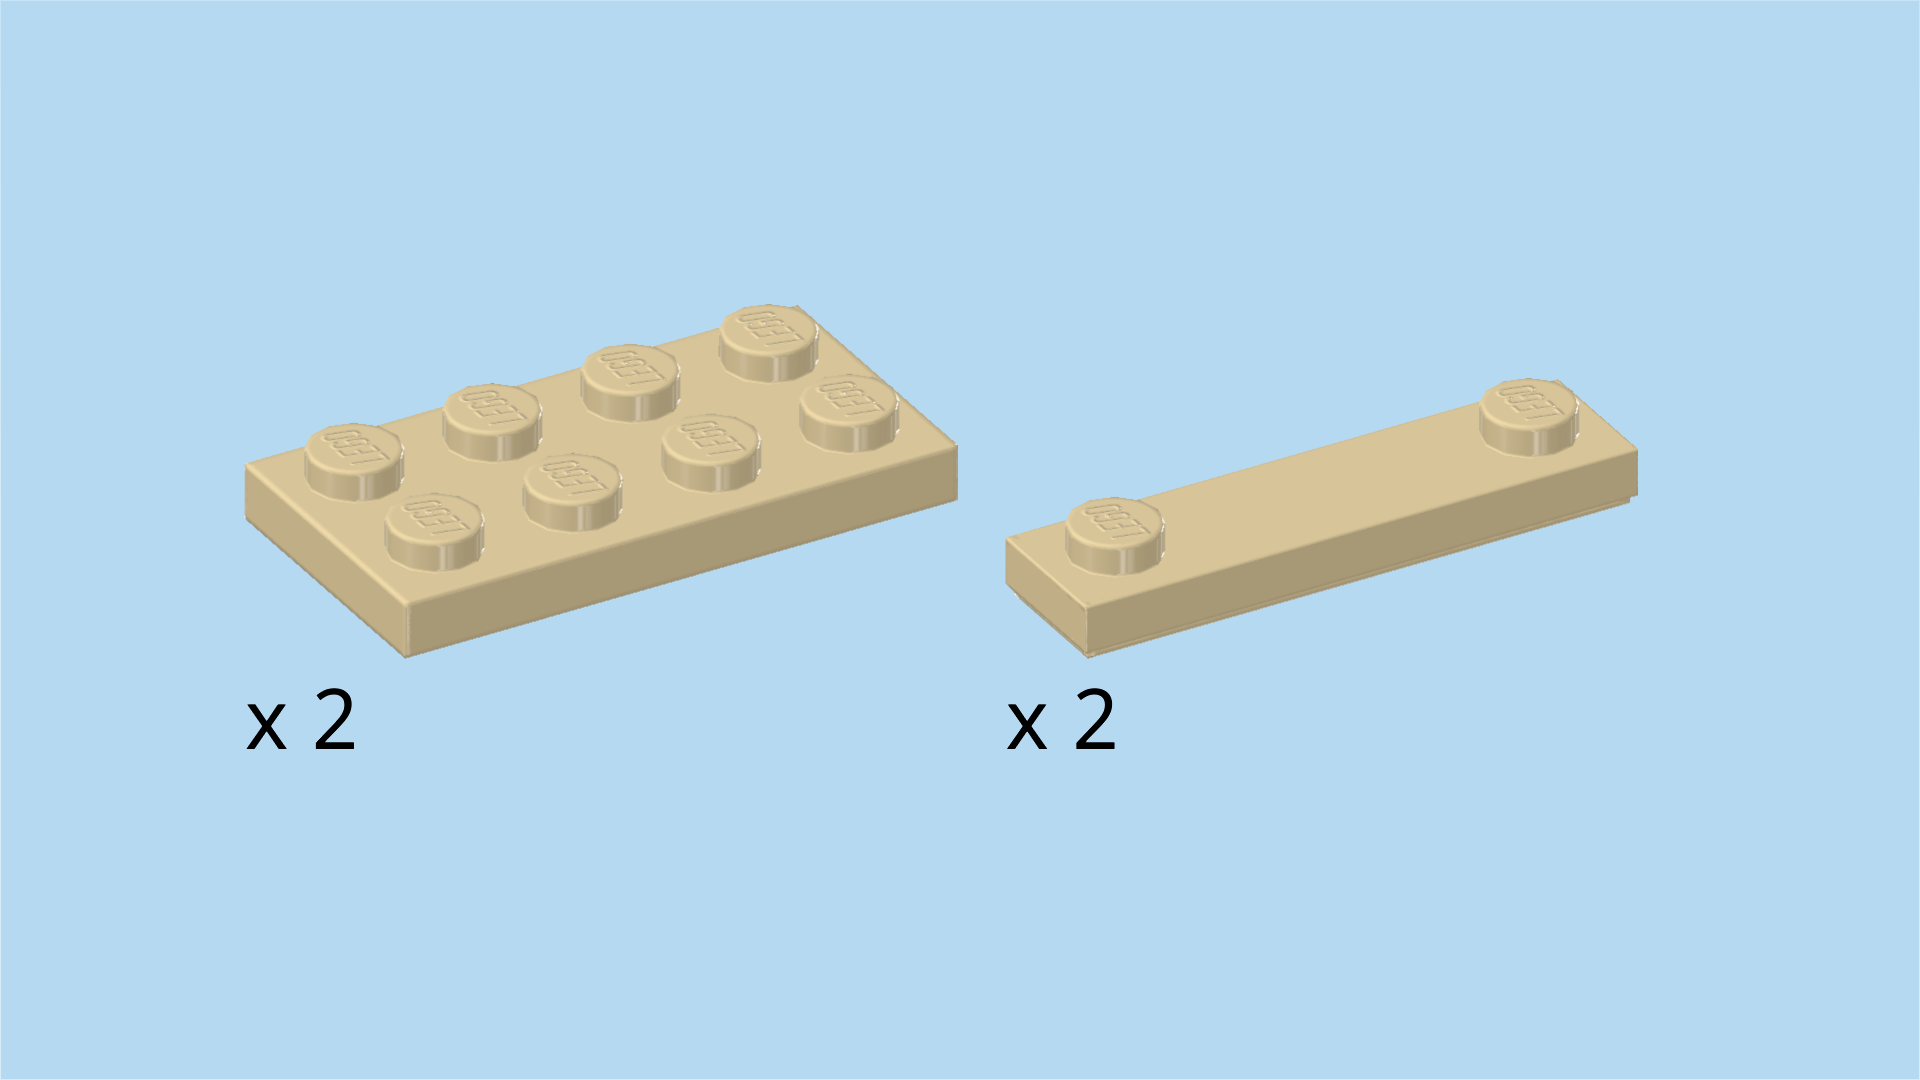
| 2 pale ocher yellow plates 1x4 with 2 knobs, |
| and 2 pale ocher yellow plates 2x4. |
| These 4 plates will form the floor of the kitchen area. |
| Put 1 plate 1x4 with 2 knobs horizontally to the right of the kitchenette at the back. This means the plate is touching the back wall. |
| Put the 1 plate 2x4 horizontally in front of the previous piece. |
| Put the other plate 2x4 horizontally in front of the previous piece. |
| Put the remaining plate 1x4 with 2 knobs in front of the previous piece. If done correctly, it will be on the frontmost row. |
| Now, we build the coffeemaker. |
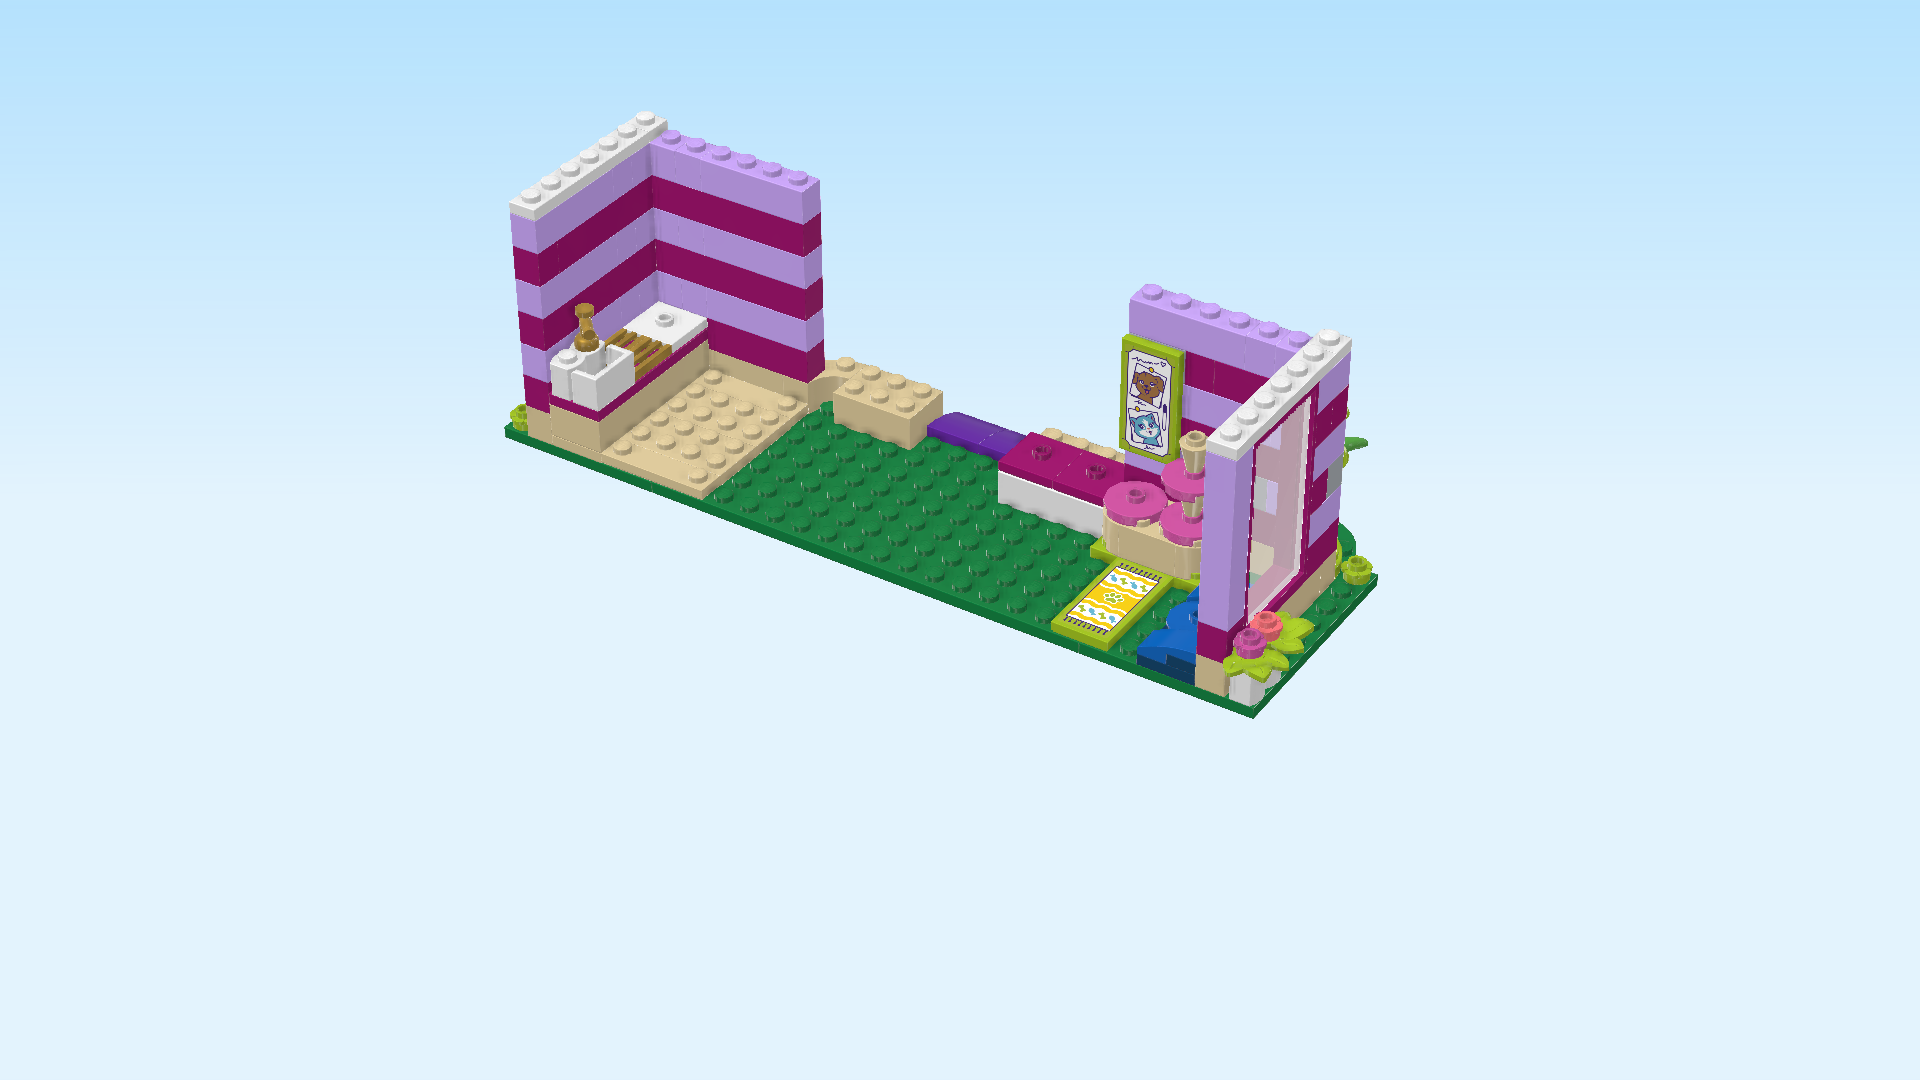
| Collect the following 2 pieces: |
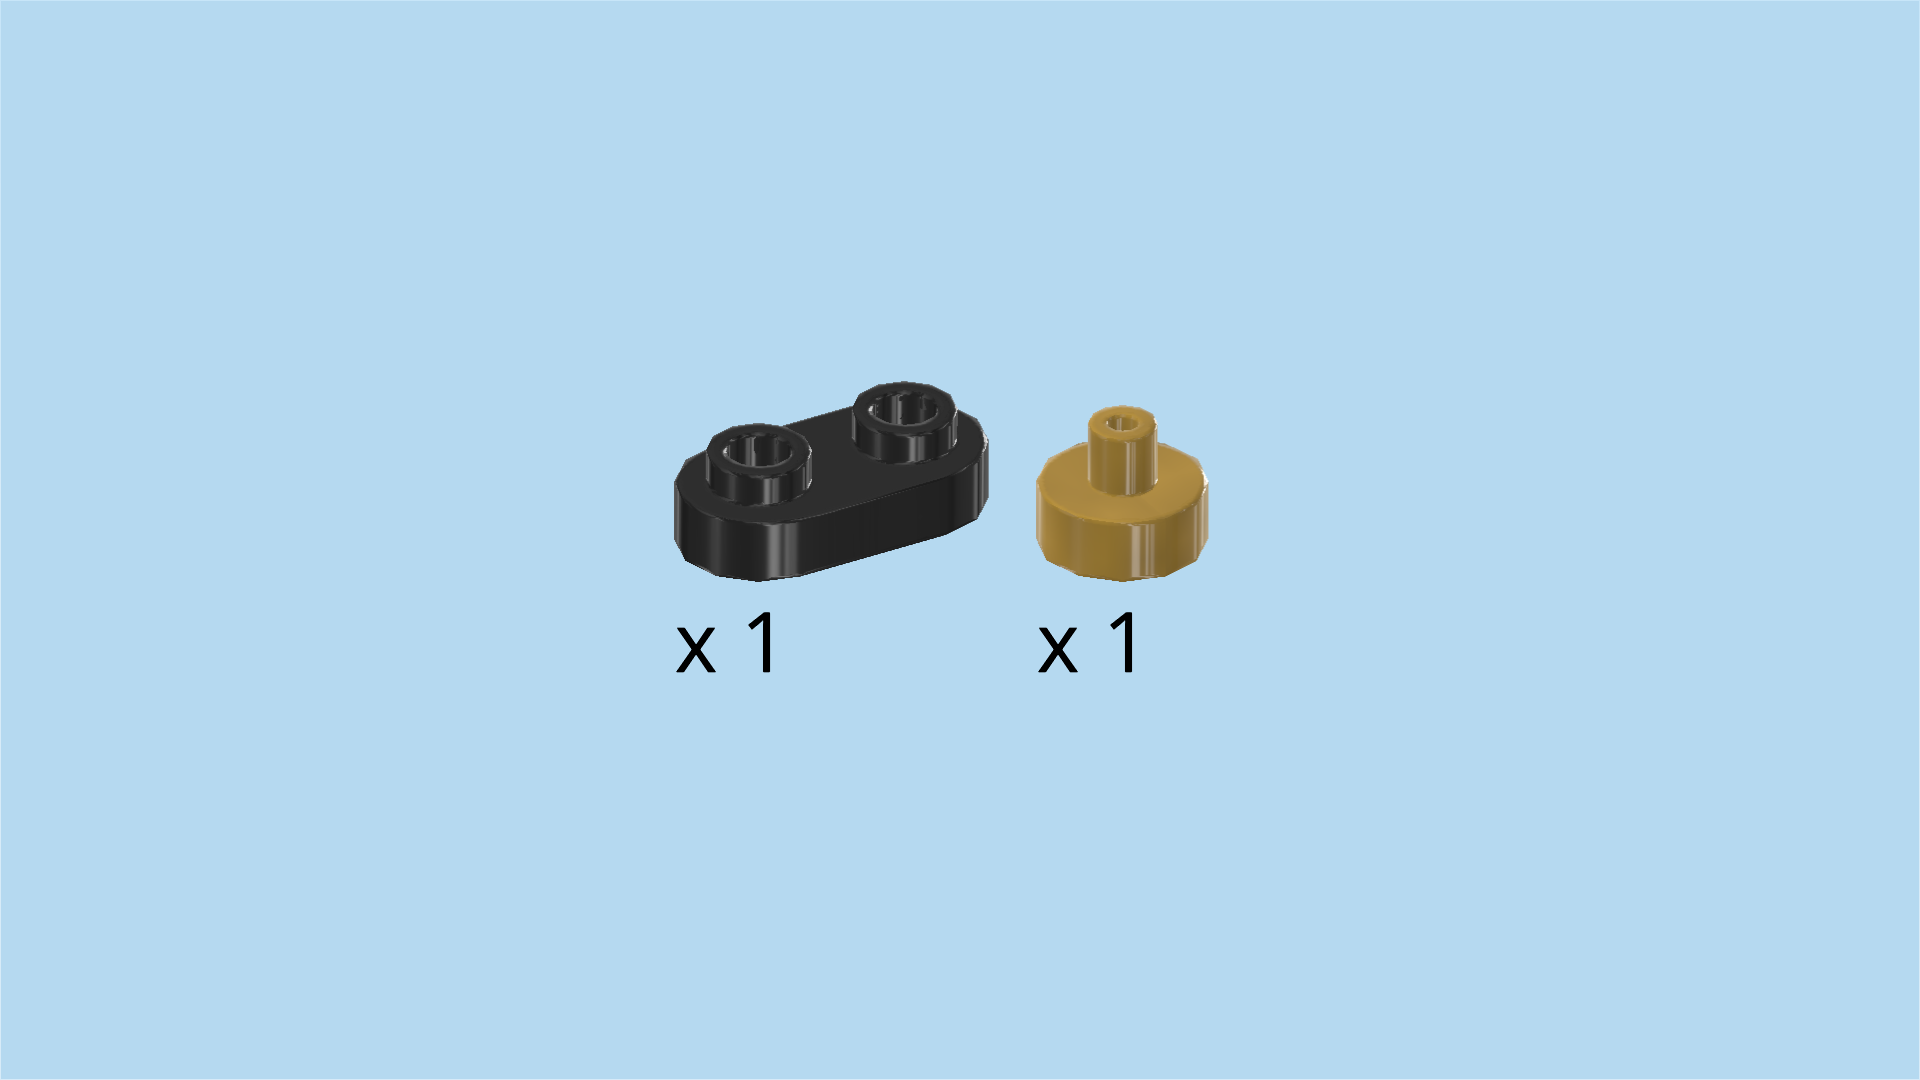
| 1 black plate 1x1, |
| and 1 black brick 1x1 with side knob. |
| Put the plate 1x1 on the table. |
| Put the brick 1x1 on top, side knob to the front. |
| Find 1 bright red round plate 1x1. |
| Put it upright on the side knob of the previous piece. |
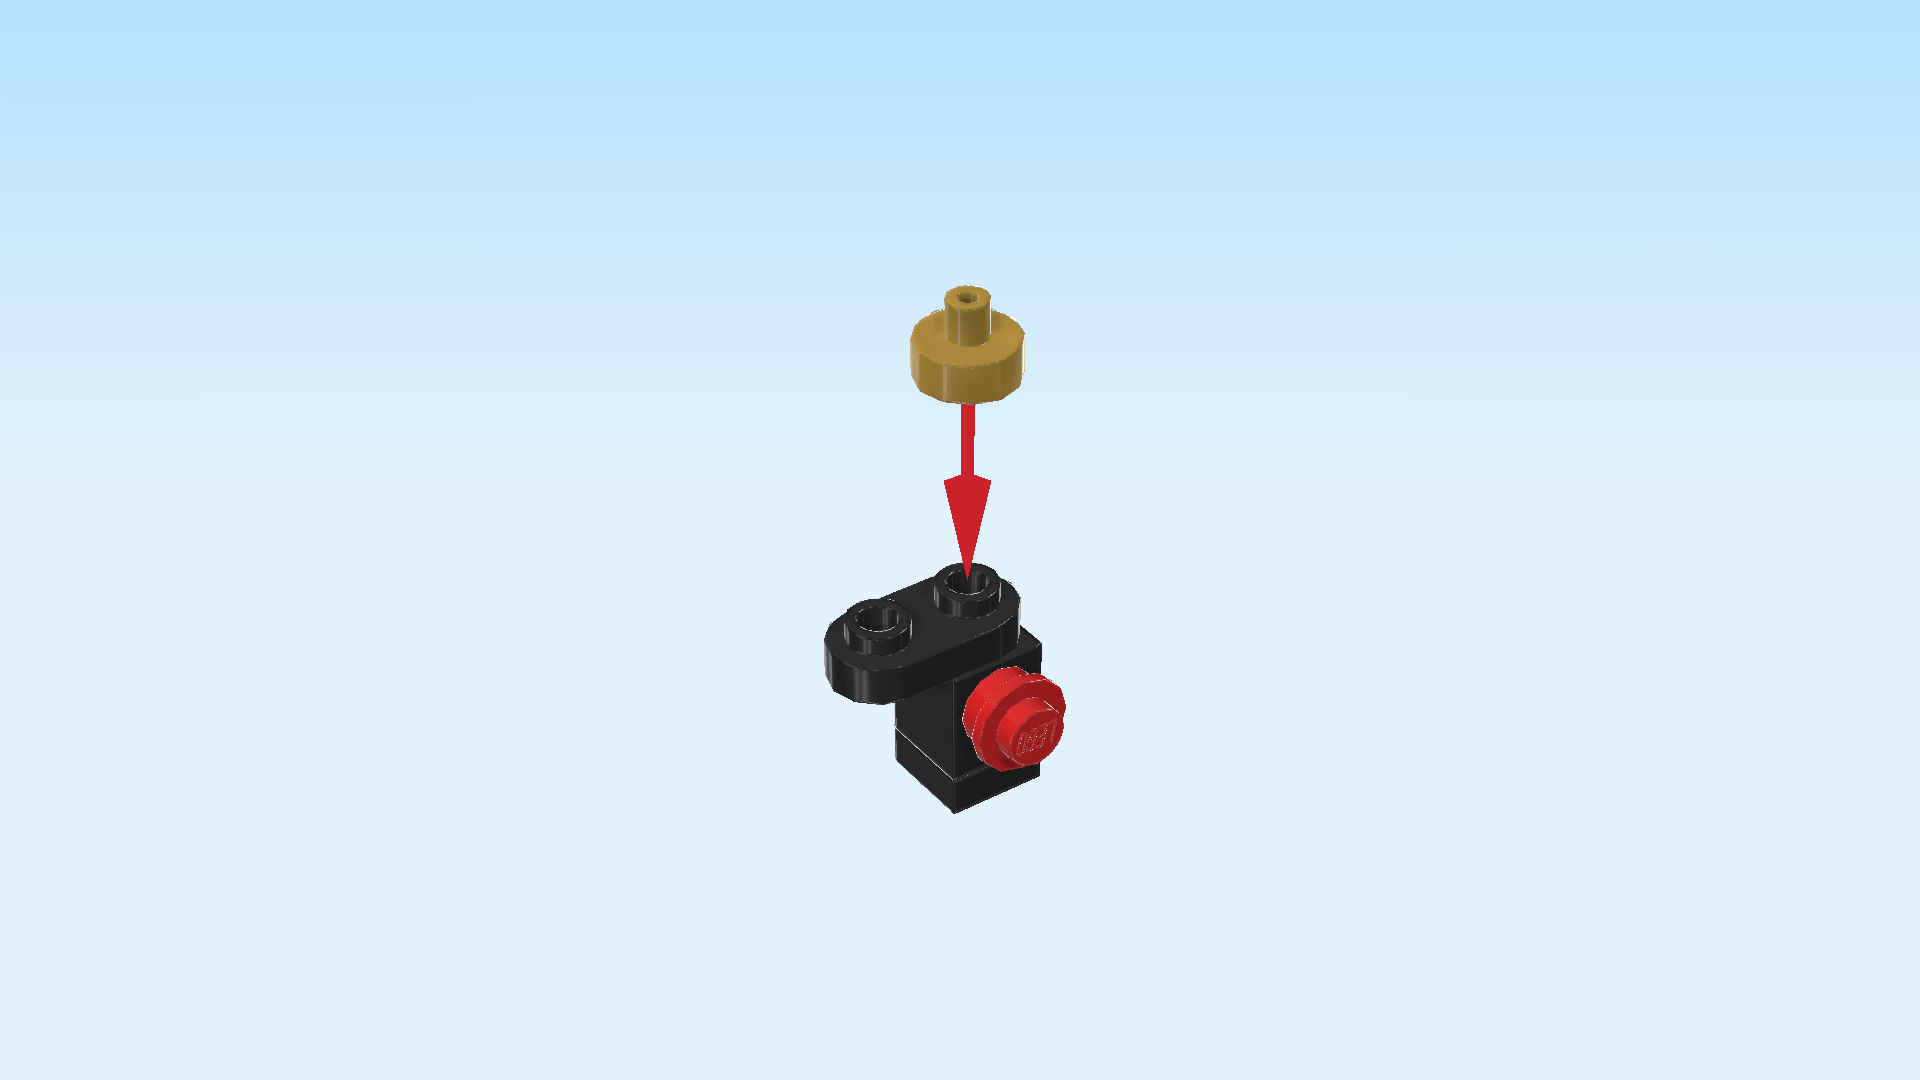
| Collect the following 2 pieces: |
| 1 black rounded plate 1x2, |
| and 1 warm gold round plate 1x1 with top shaft. |
| Put the rounded plate 1x2 horizontally on top, 1 knob overhanging to the left. |
| Put the round plate 1x1 with shaft on the right knob of the previous piece. |
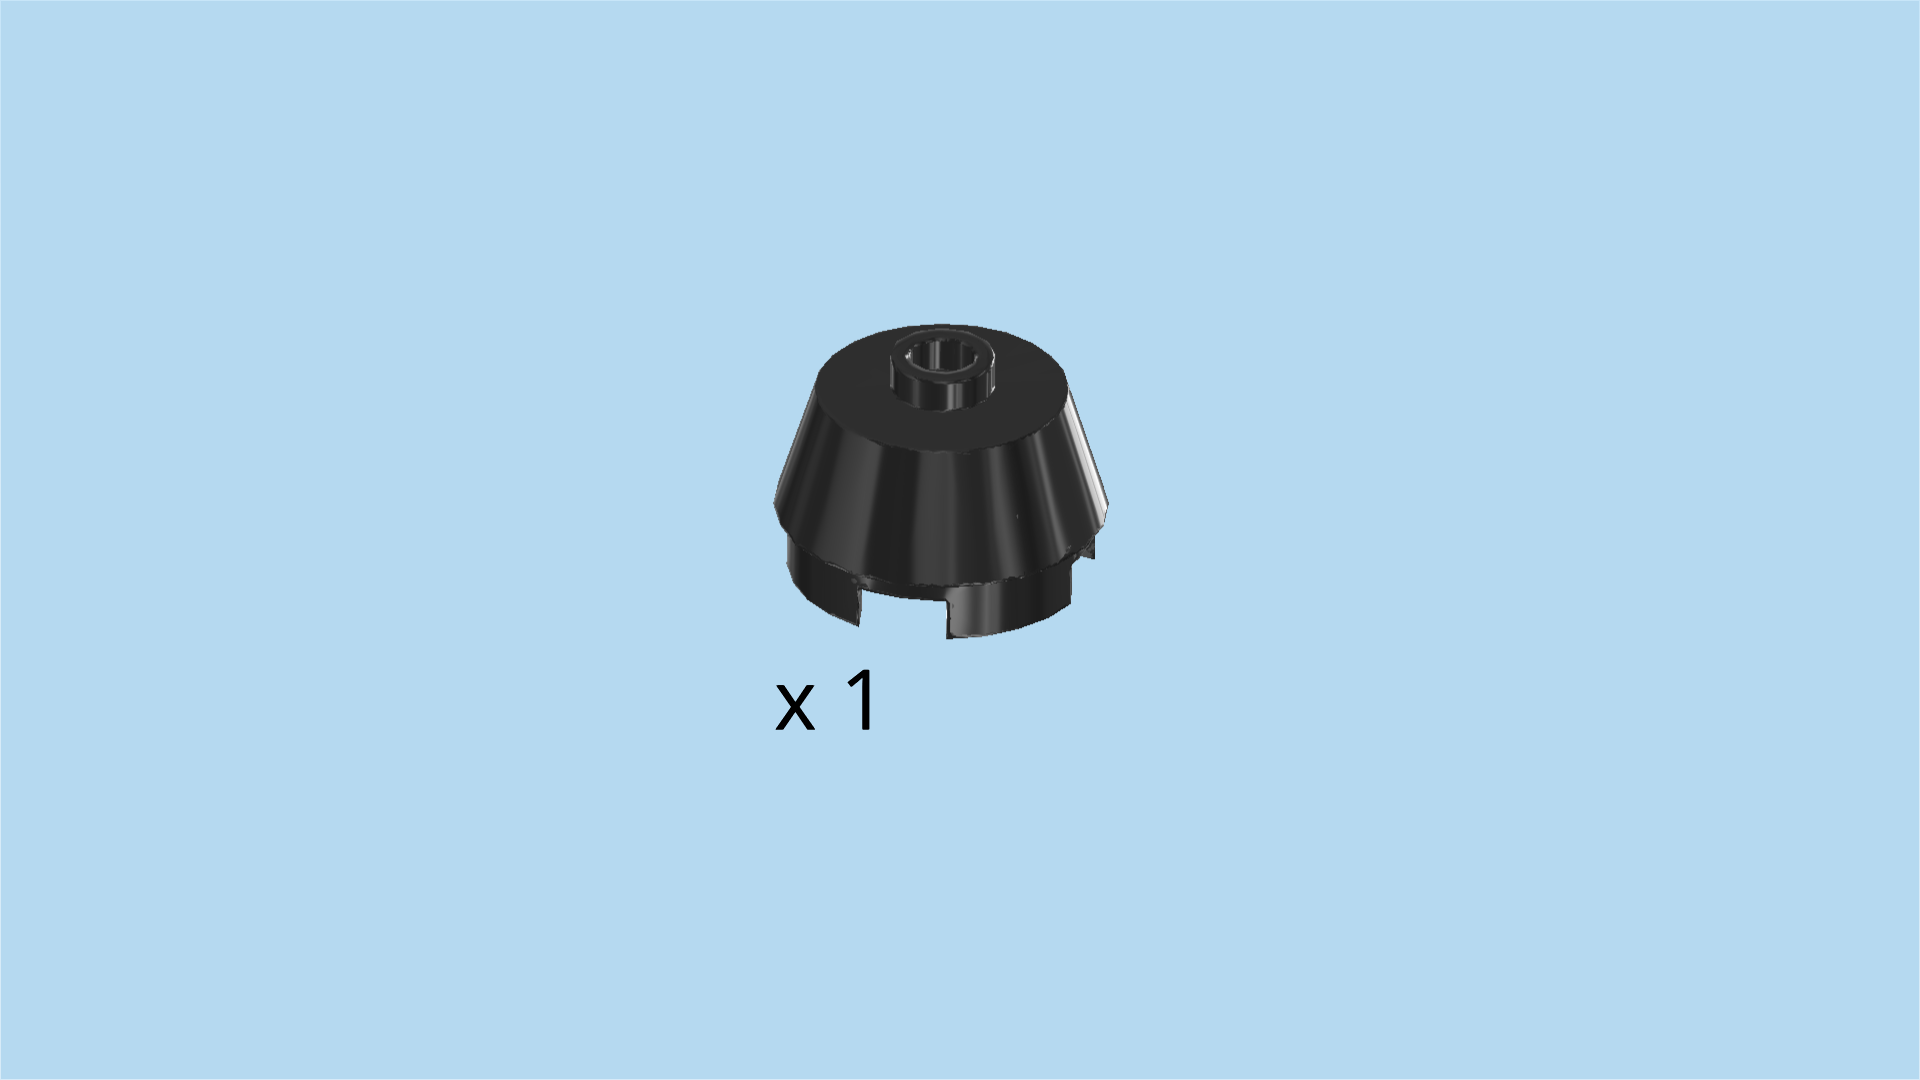
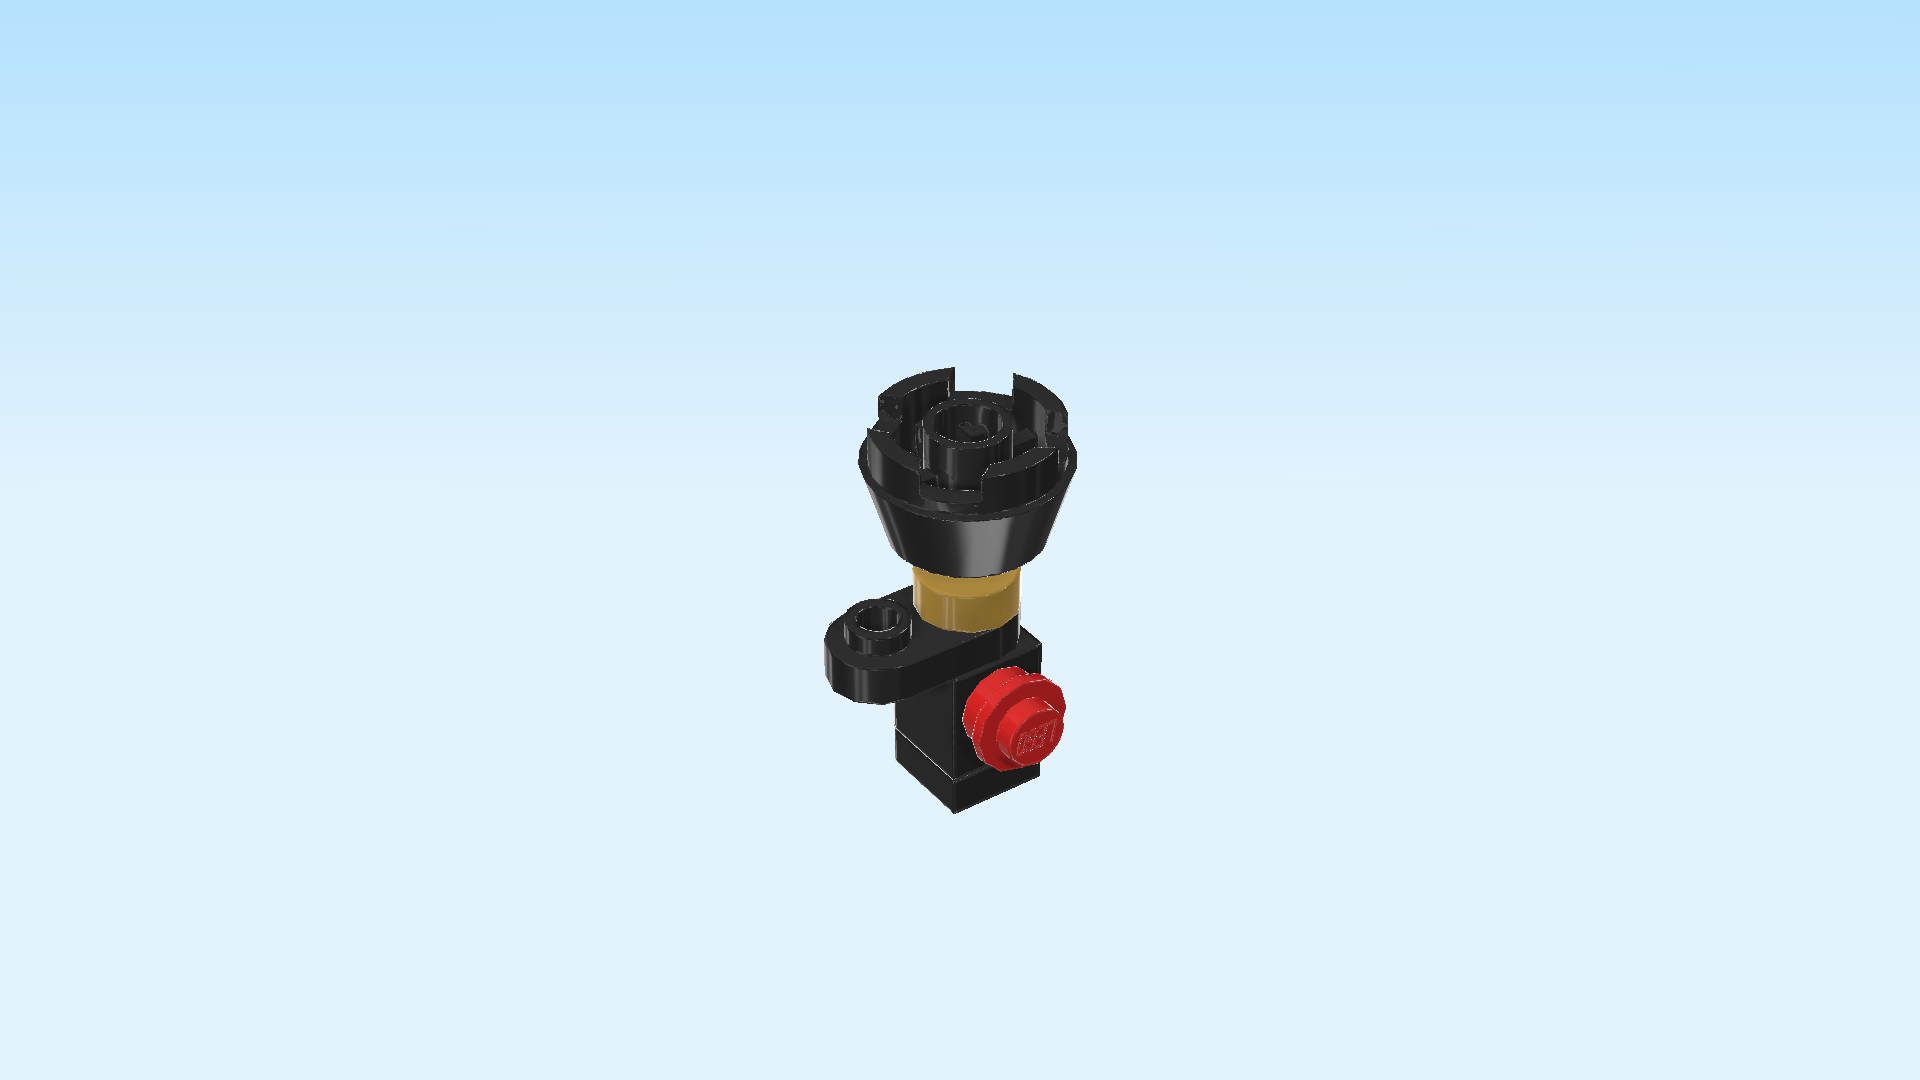
| Find 1 black round brick 2x2 with sloped sides and 1 knob. |
| Flip it upside down, and put its knob on the shaft of the previous piece. If done correctly, the wider end of this piece is at the top. |
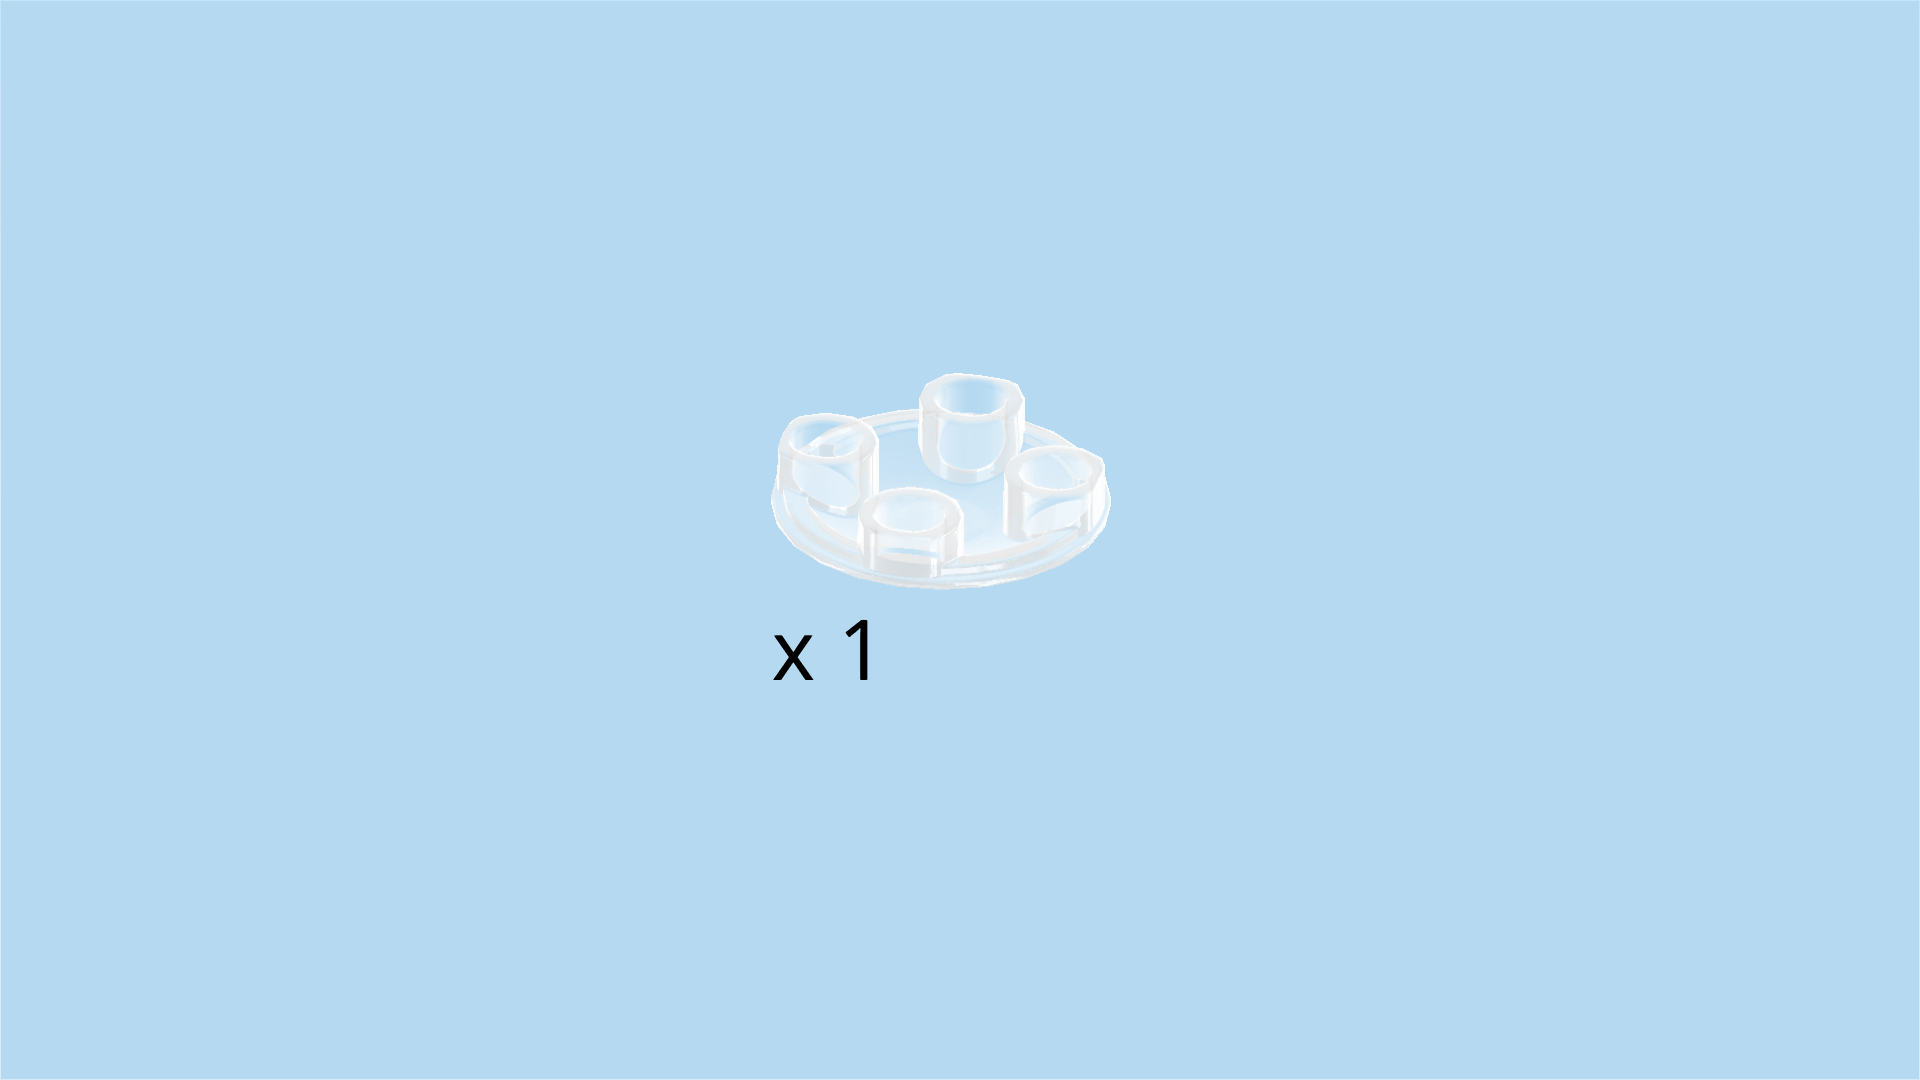
| Find 1 transparent inverted curve disk 2x2 with 4 knobs. |
| Put it on top of the previous piece, curved side to the top. |
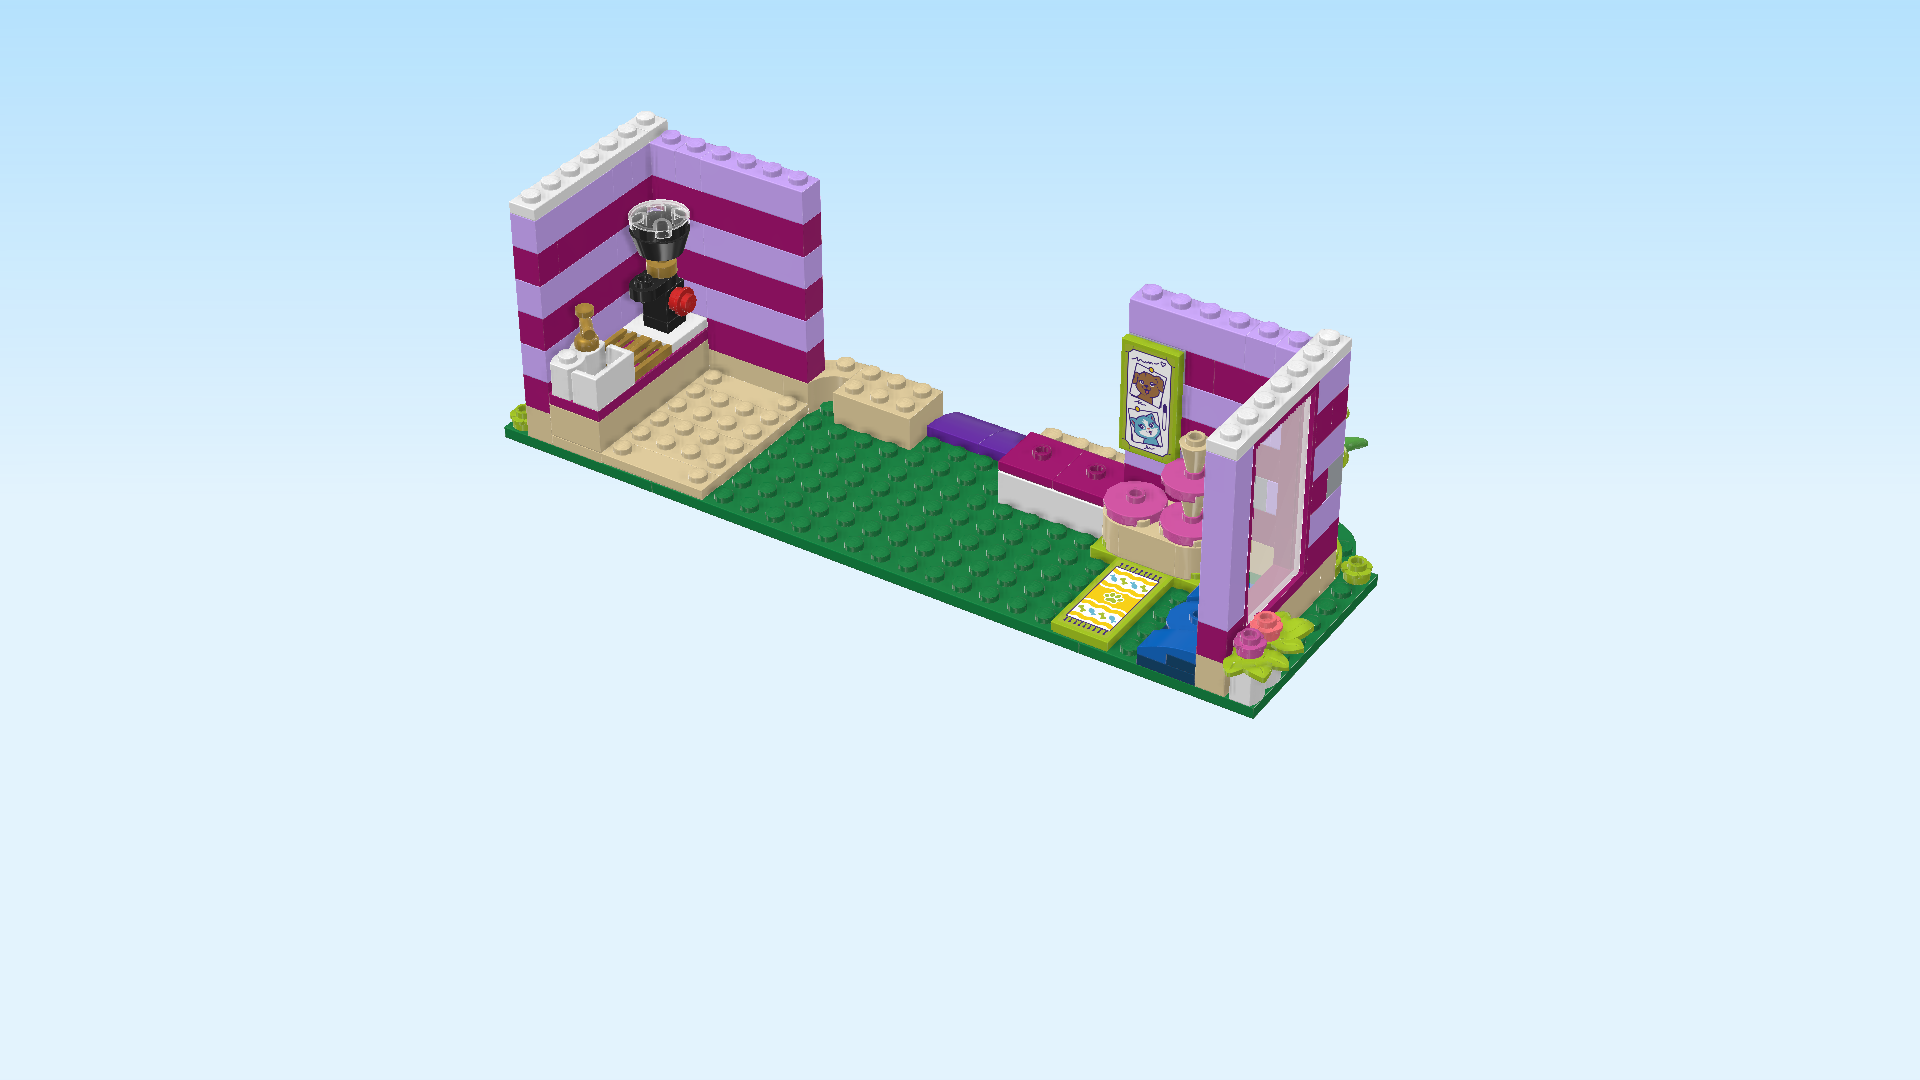
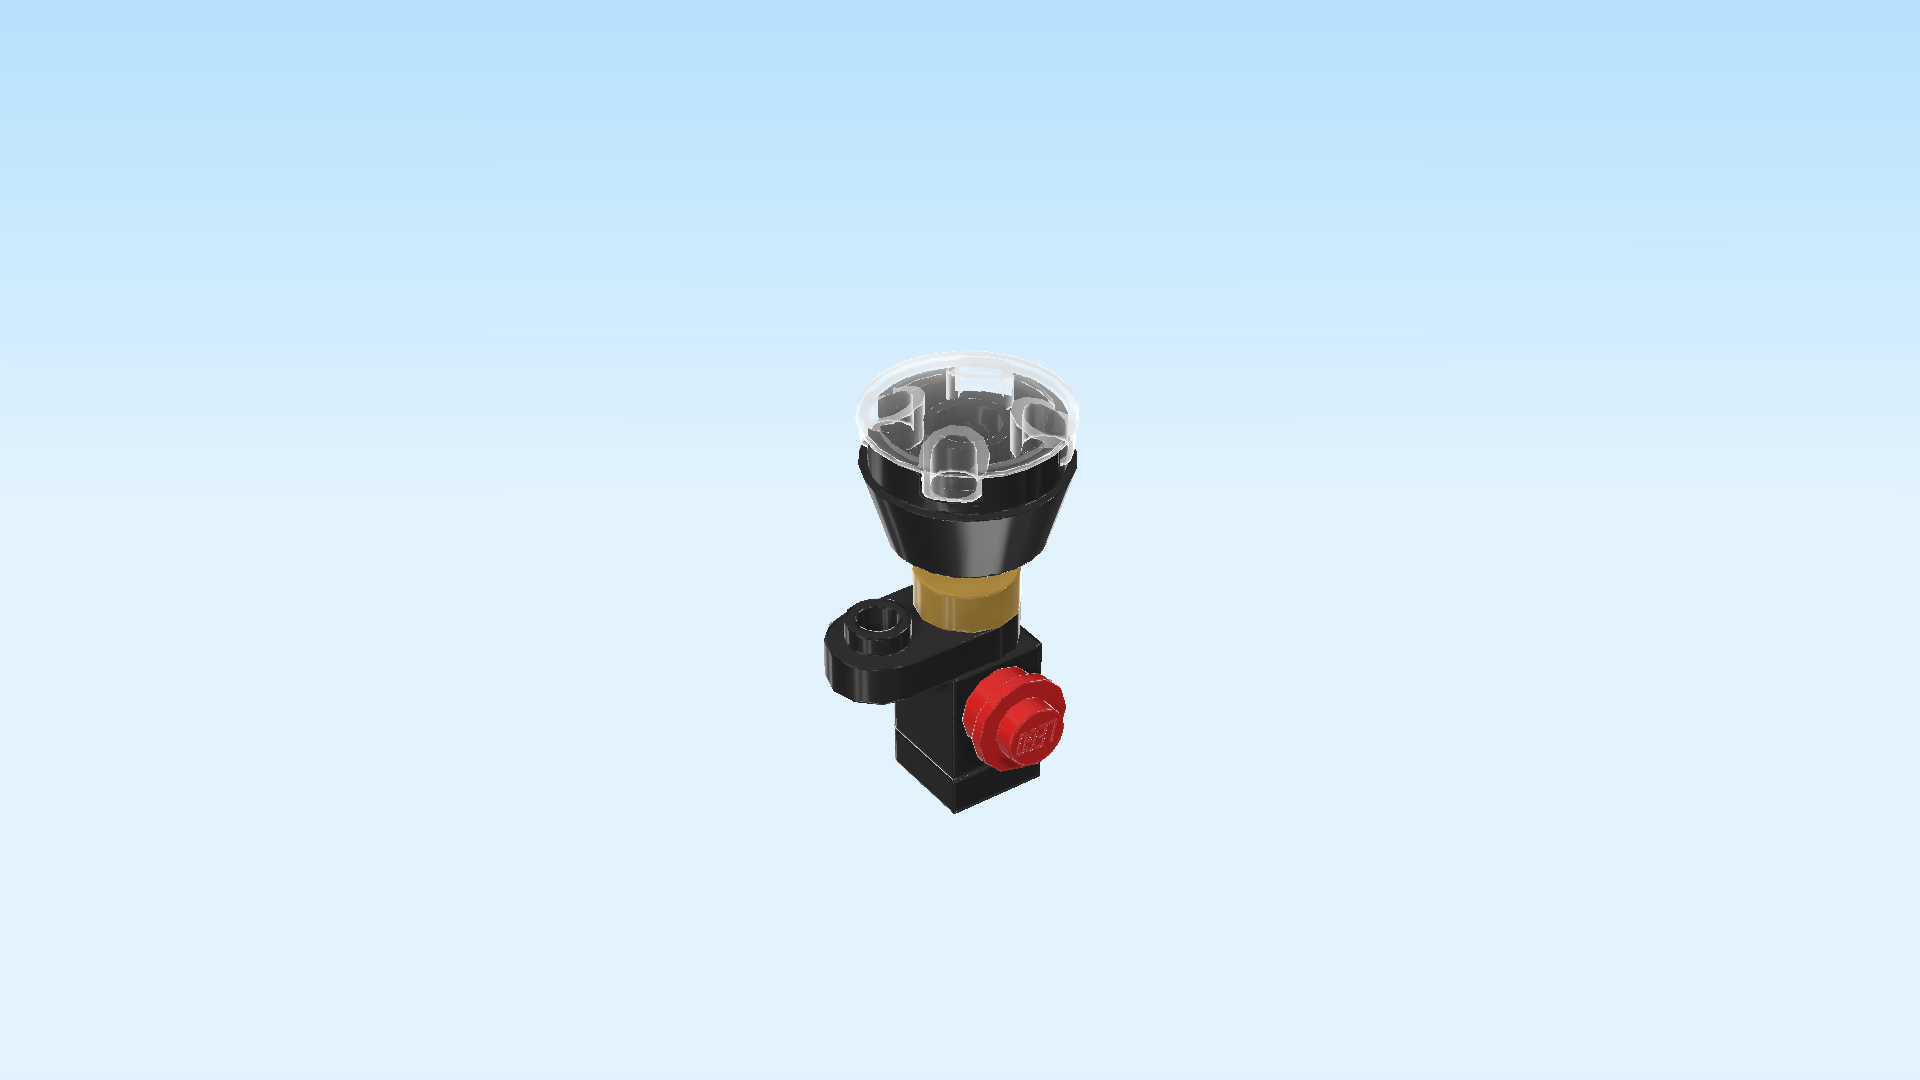
| The coffeemaker is finished! Well done! Mount it in the backmost corner of the kitchenette. Make sure the overhanging knob of the rounded plate 1x2 is pointing to the front. |
| Find 2 pale ocher yellow bricks 1x1. |
| Put 1 on the frontmost rightmost corner of the kitchen area floor. |
| Put the other one on the backmost rightmost corner of the kitchen area floor. |
| Collect the following 3 pieces: |
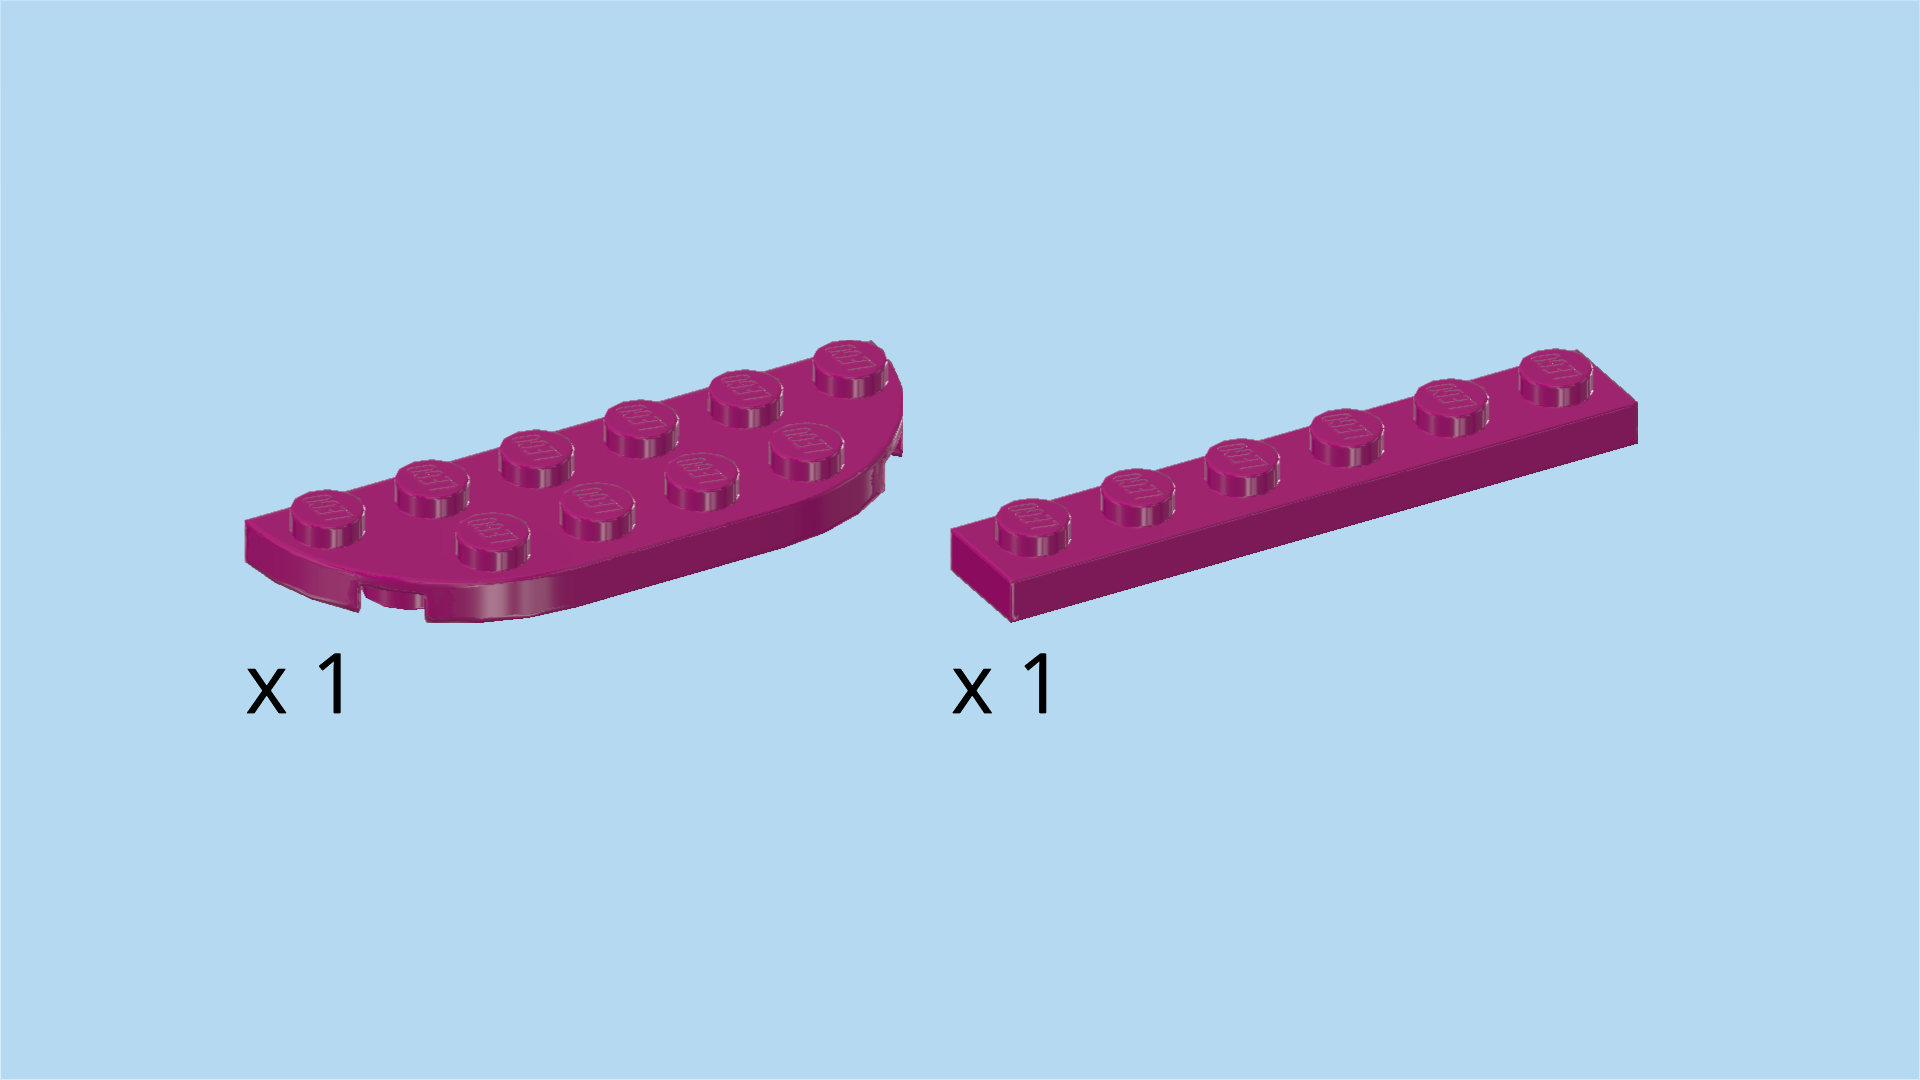
| 1 purple violet plate 2x6 with 2 round corners, |
| 1 purple violet plate 1x6, |
| and 1 purple violet flat tile 1x4. |
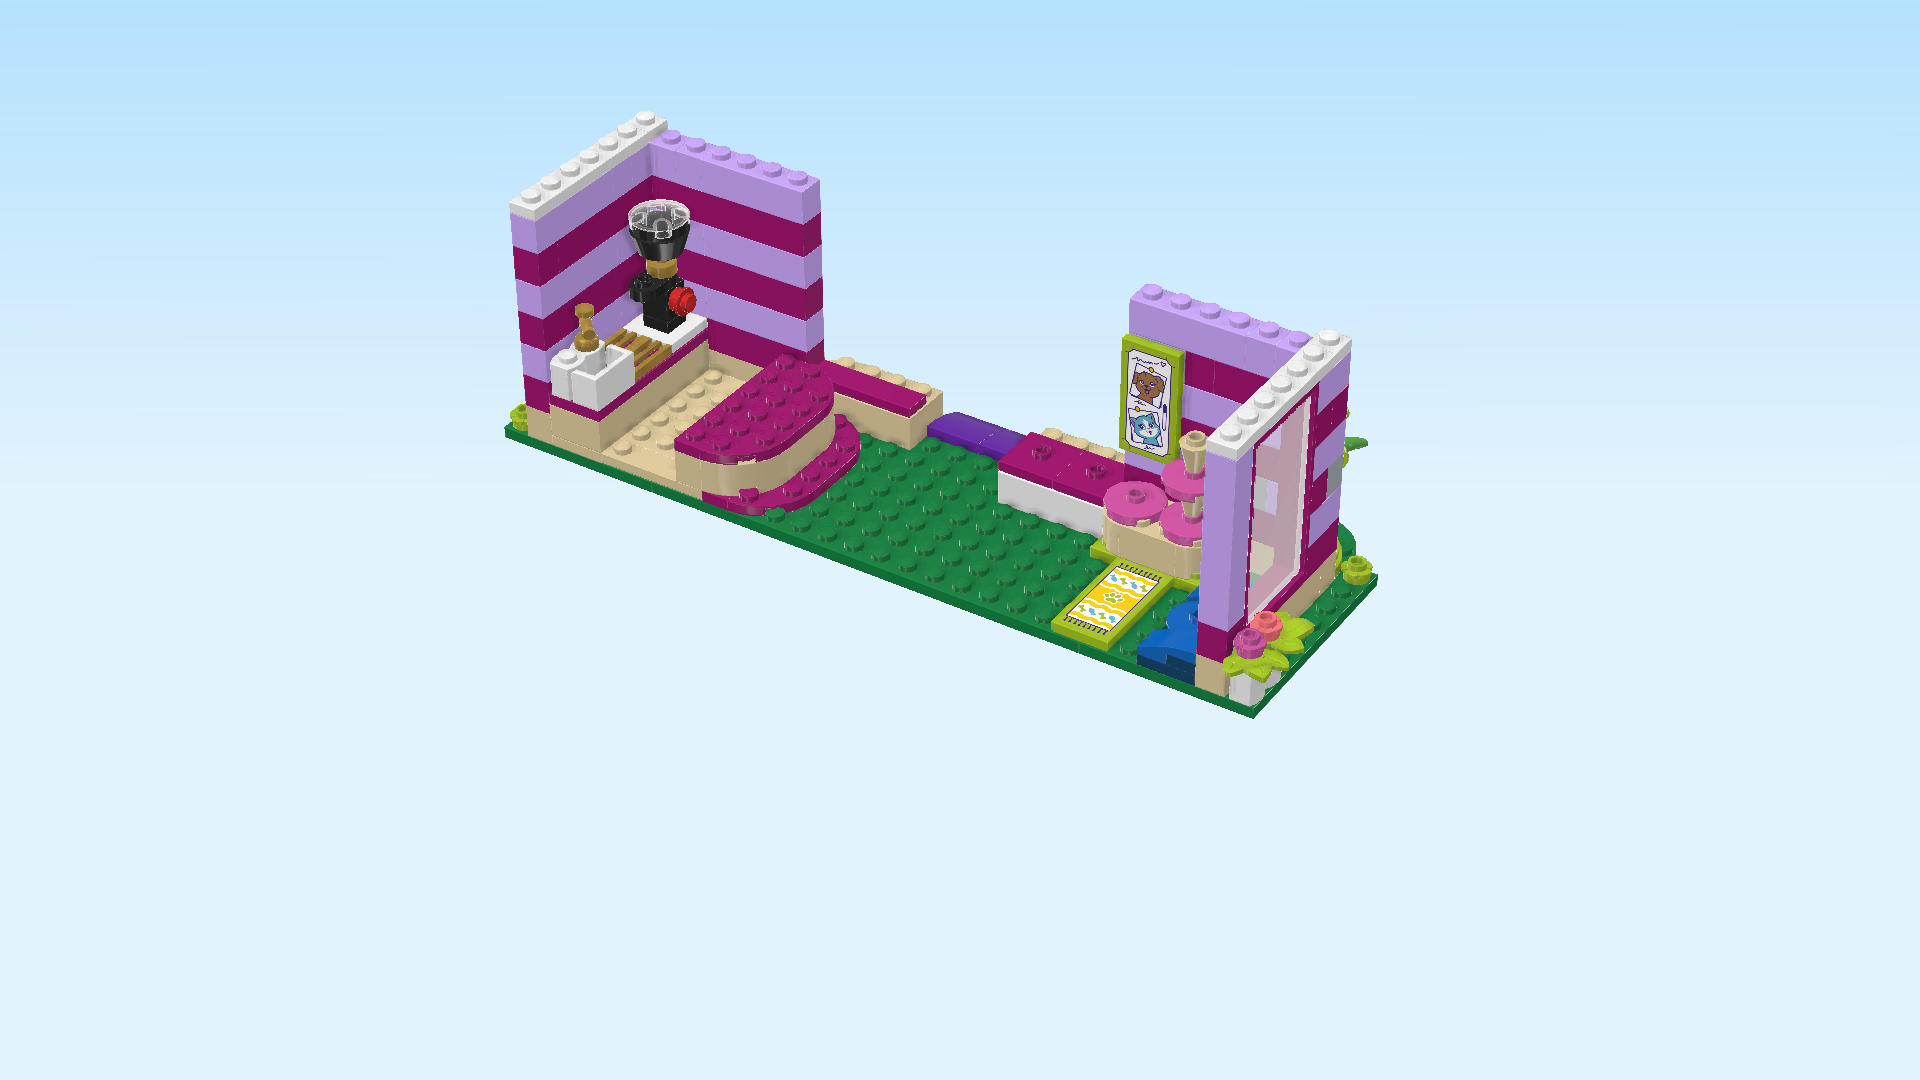
| Put the plate 1x6 vertically to the right of the kitchen area floor. |
| Put the plate 2x6 with round corners to the right of the previous piece, round corners to the right. |
| Put the flat tile 1x4 horizontally to the right of the back wall of the kitchen area. It will sit on the brick 1x3 which is mounted on the second row from the back. Note that its left end will not connect to any knobs. |
| Collect the following 3 pieces: |
| 2 pale ocher yellow quarter-arched bricks 1x2 with 2 knobs, |
| and 1 pale ocher yellow brick 1x2. |
| First, identify the single brick 1x1 on the front row of the kitchen floor area in the left half of the structure. |
| Put 1 quarter-arched brick to its right, half-arch to the right and to the front. |
| Put the brick 1x2 vertically behind the previous piece. |
| Put the other quarter-arched brick 2x2 behind the previous piece, quarter-arch to the right and back. |
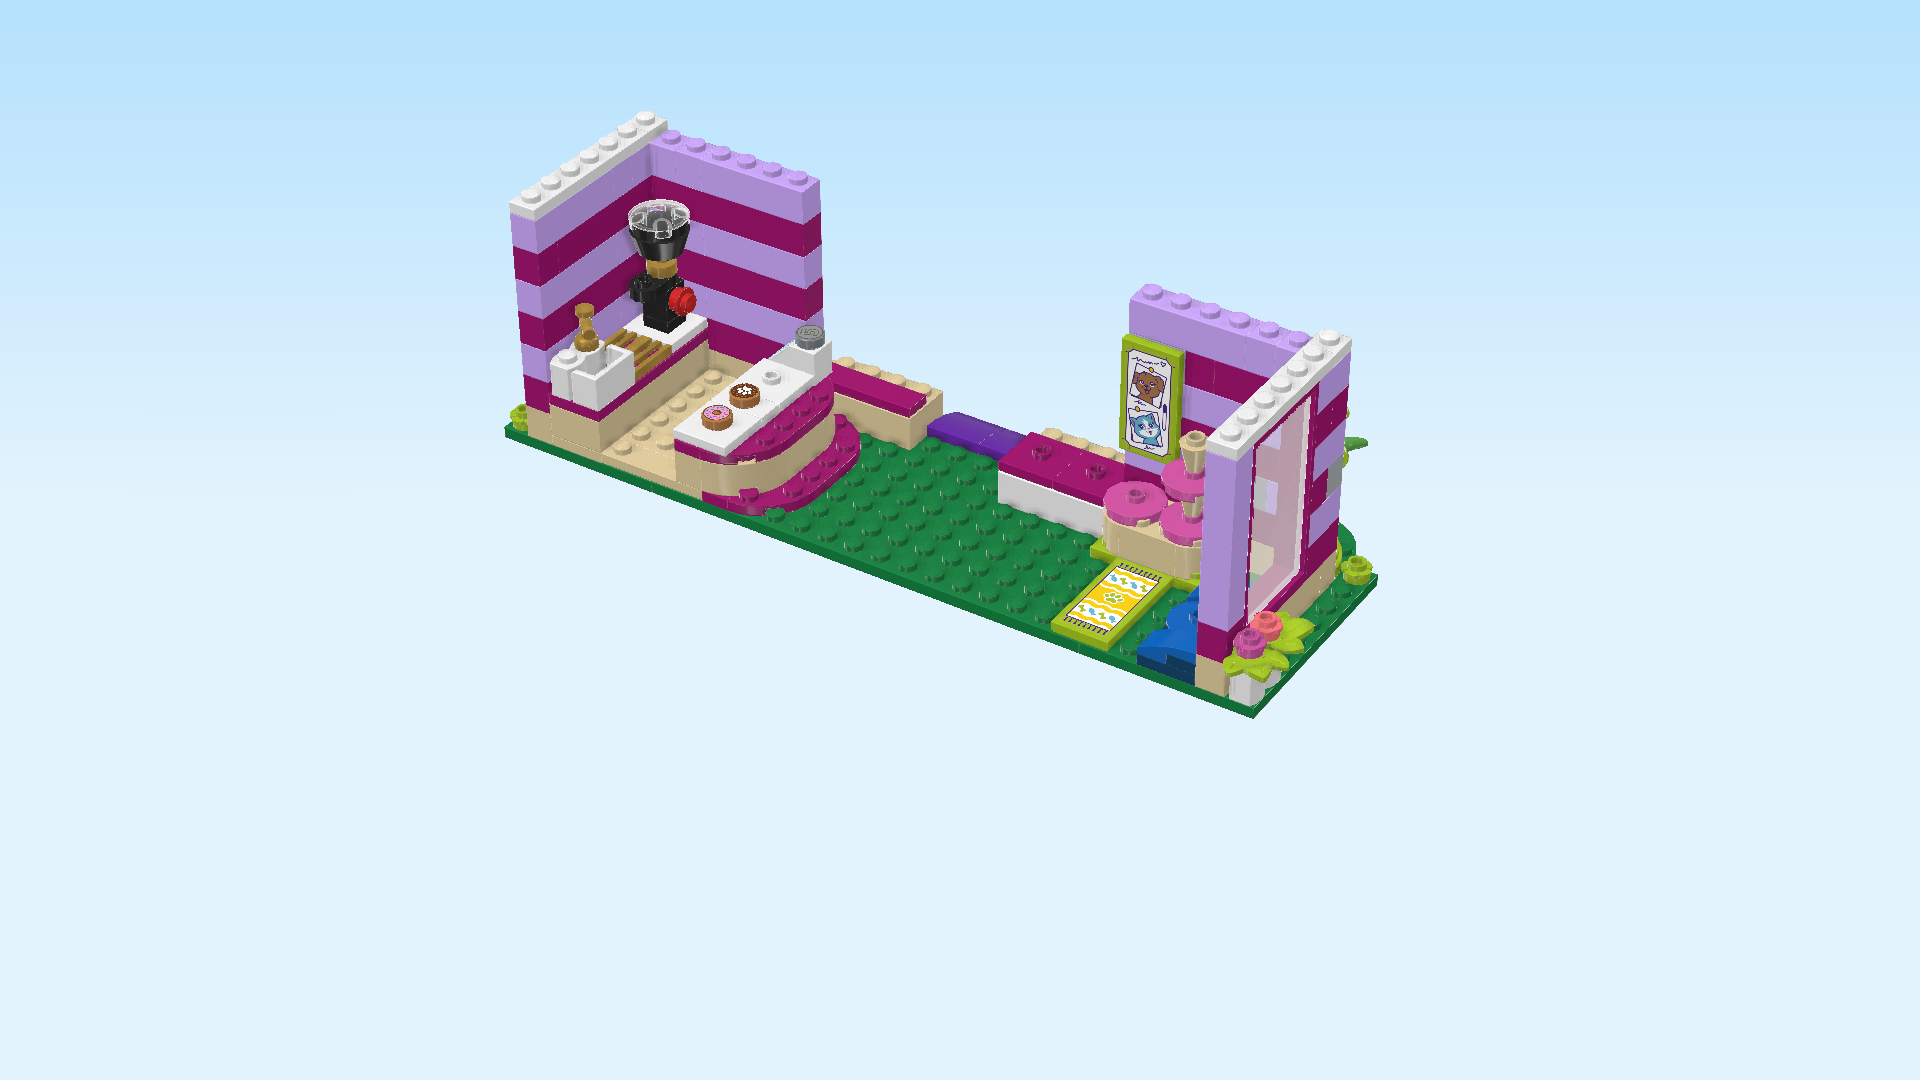
| If done correctly, you have just built a half-oval silhouette. This brick oval will be the cafe counter. |
| Collect the following 2 pieces: |
| 1 purple violet plate 1x6, |
| and 1 purple violet plate 2x6 with 2 round corners. |
| Put the plate 2x6 with round corners vertically on top of the counter on its right edge. The shape of the counter and the round corners of the plate should match. |
| Put the plate 1x6 vertically to the left of the previous piece. |
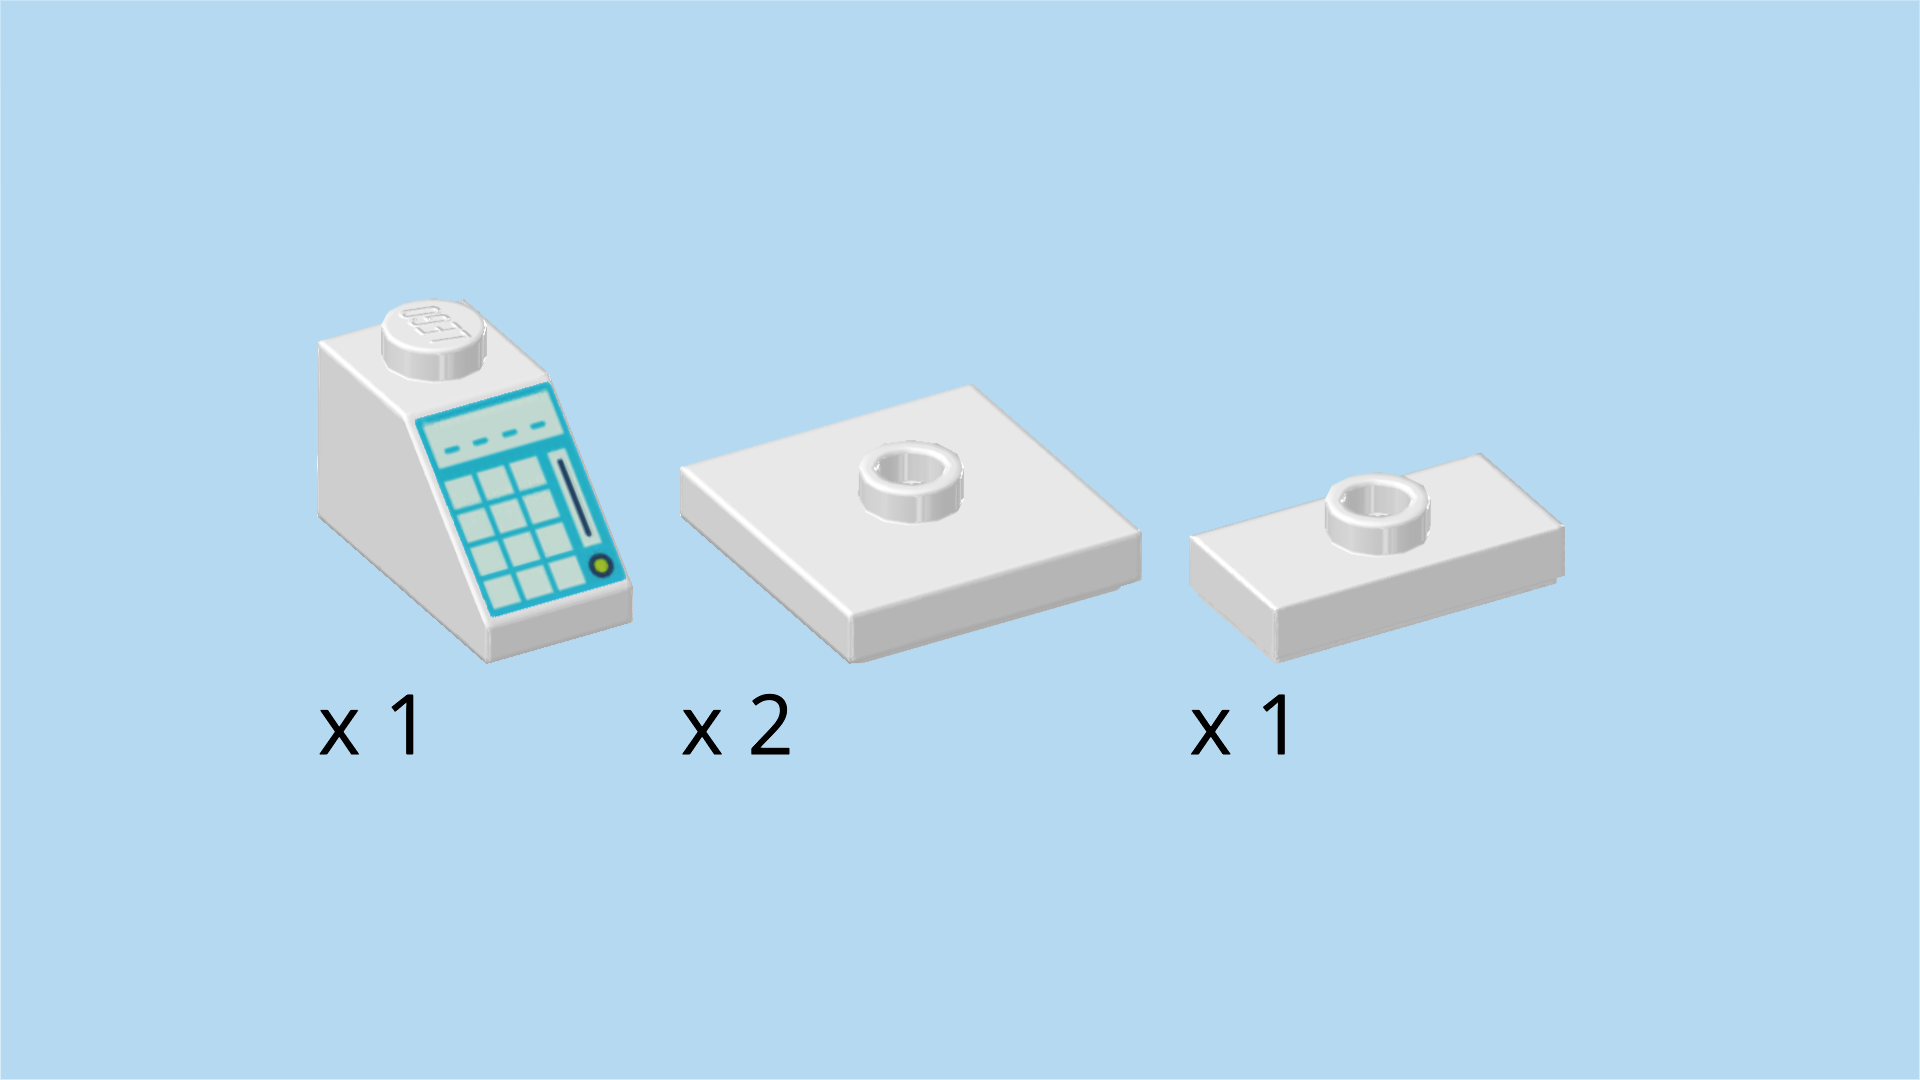
| Collect the following 4 pieces: |
| 1 white roof tile 1x2, 45°, |
| 2 white plates 2x2 with 1 knob, |
| and 1 white plate 1x2 with 1 knob. |
| Put the roof tile 1x2 horizontally on the backmost two knobs of the countertop, slope to the left. |
| This piece is printed with a small cash register with a number pad and a slot for credit cards. |
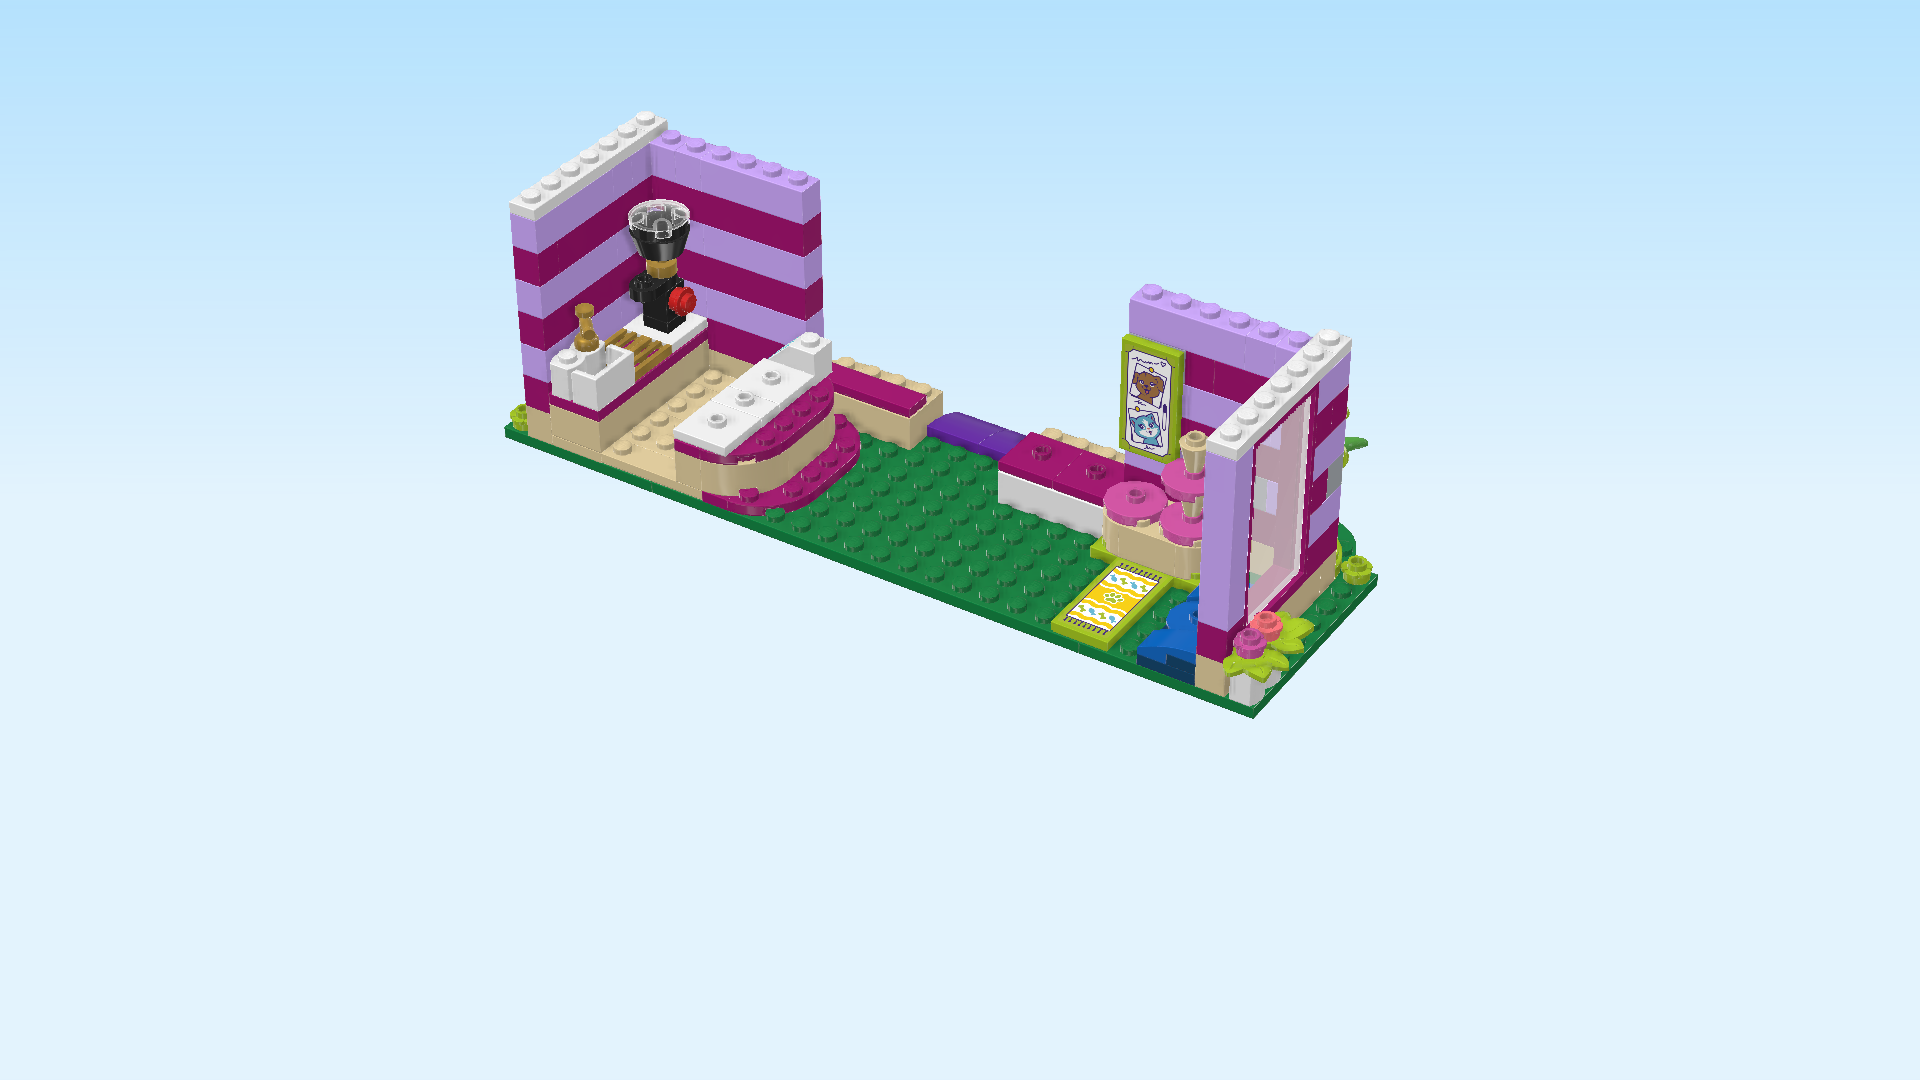
| Put 1 plate 2x2 in front of the previous piece, leaving the column to its right empty. |
| Put the plate 1x2 horizontally in front of the previous piece. |
| Put the other plate 2x2 in front of the previous piece. |
| Collect the following 3 pieces: |
| 1 silver metallic round tile 1x1, |
| and 2 medium nougat brown round tiles 1x1 (these pieces are printed, as well.) |
| Put the silver metallic round tile 1x1 on top of the cash register. |
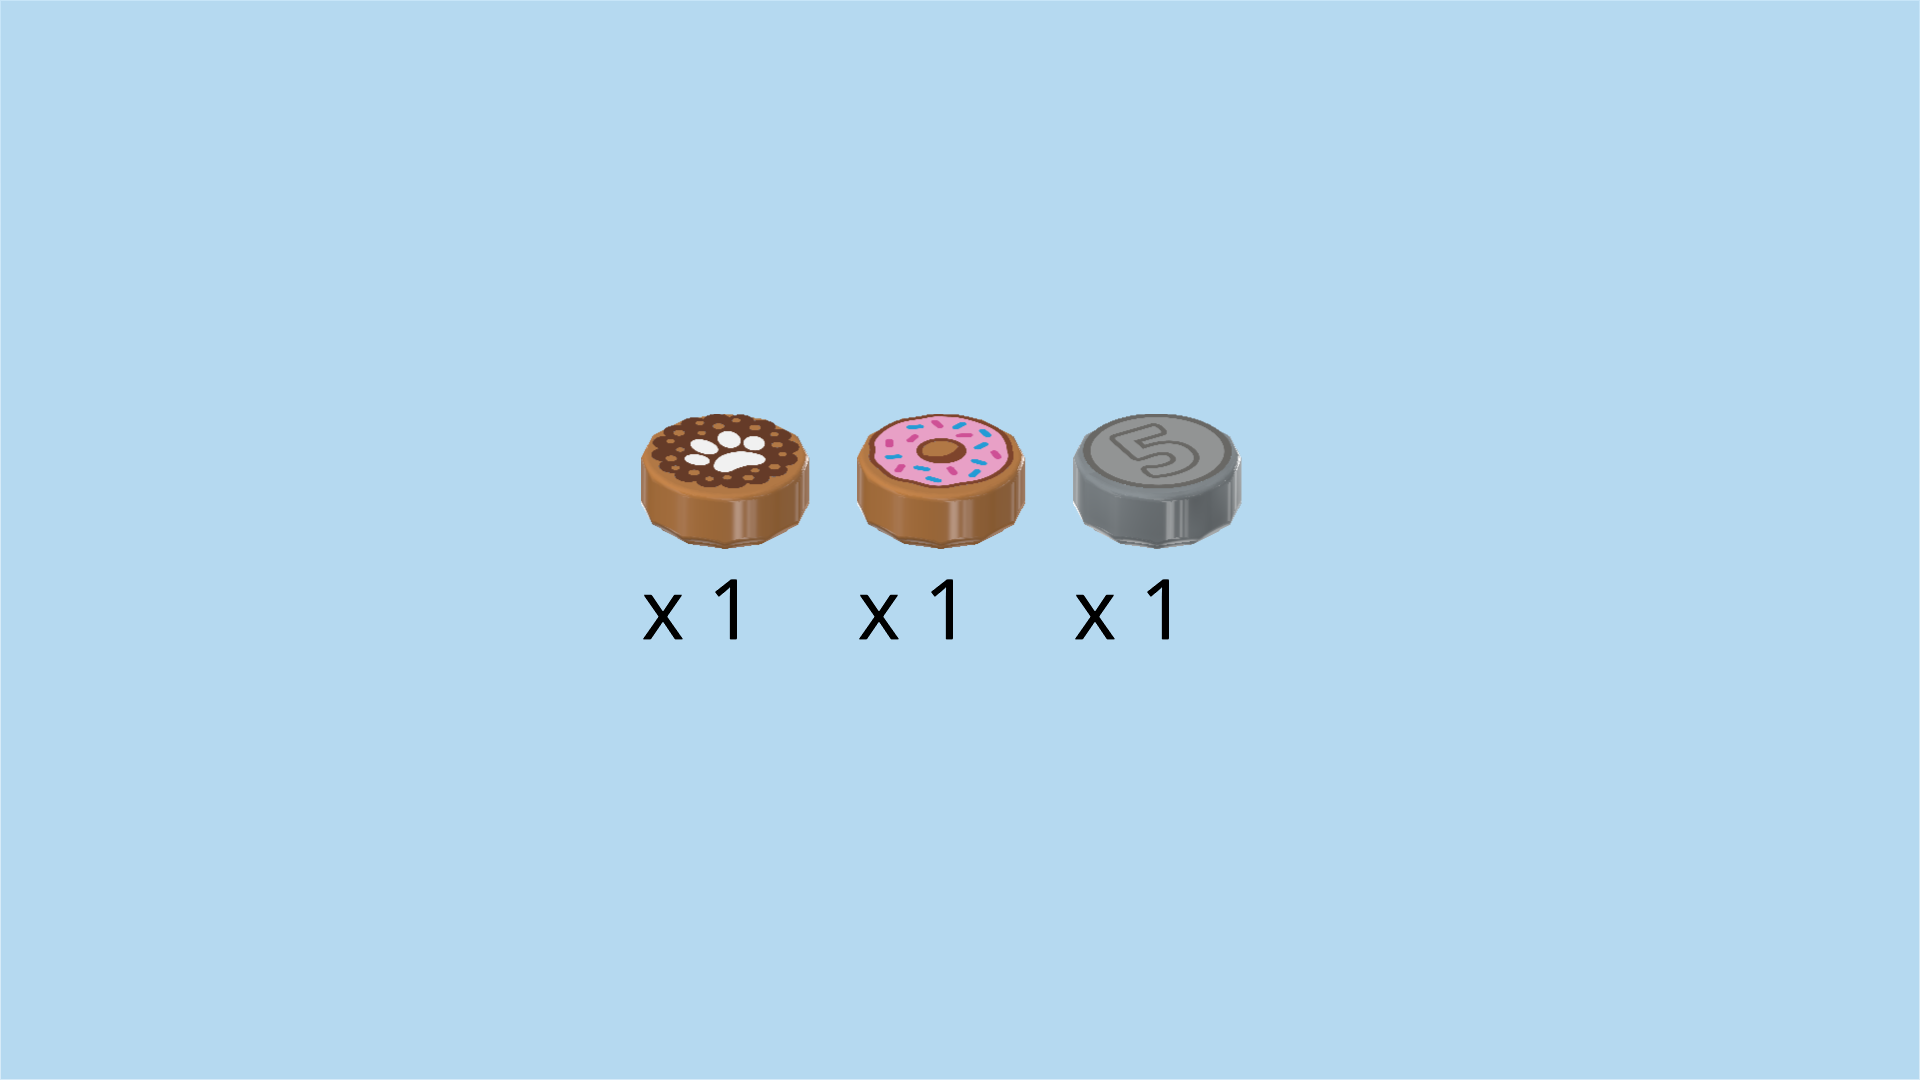
| Put the 2 medium nougat brown round tiles on the 2 frontmost knobs of the counter, leaving the knob directly in front of the cash register empty. |
| One of these 2 pieces is printed with a donut with pink frosting and sprinkles, and the other one is a cookie with paw-shaped frosting. |
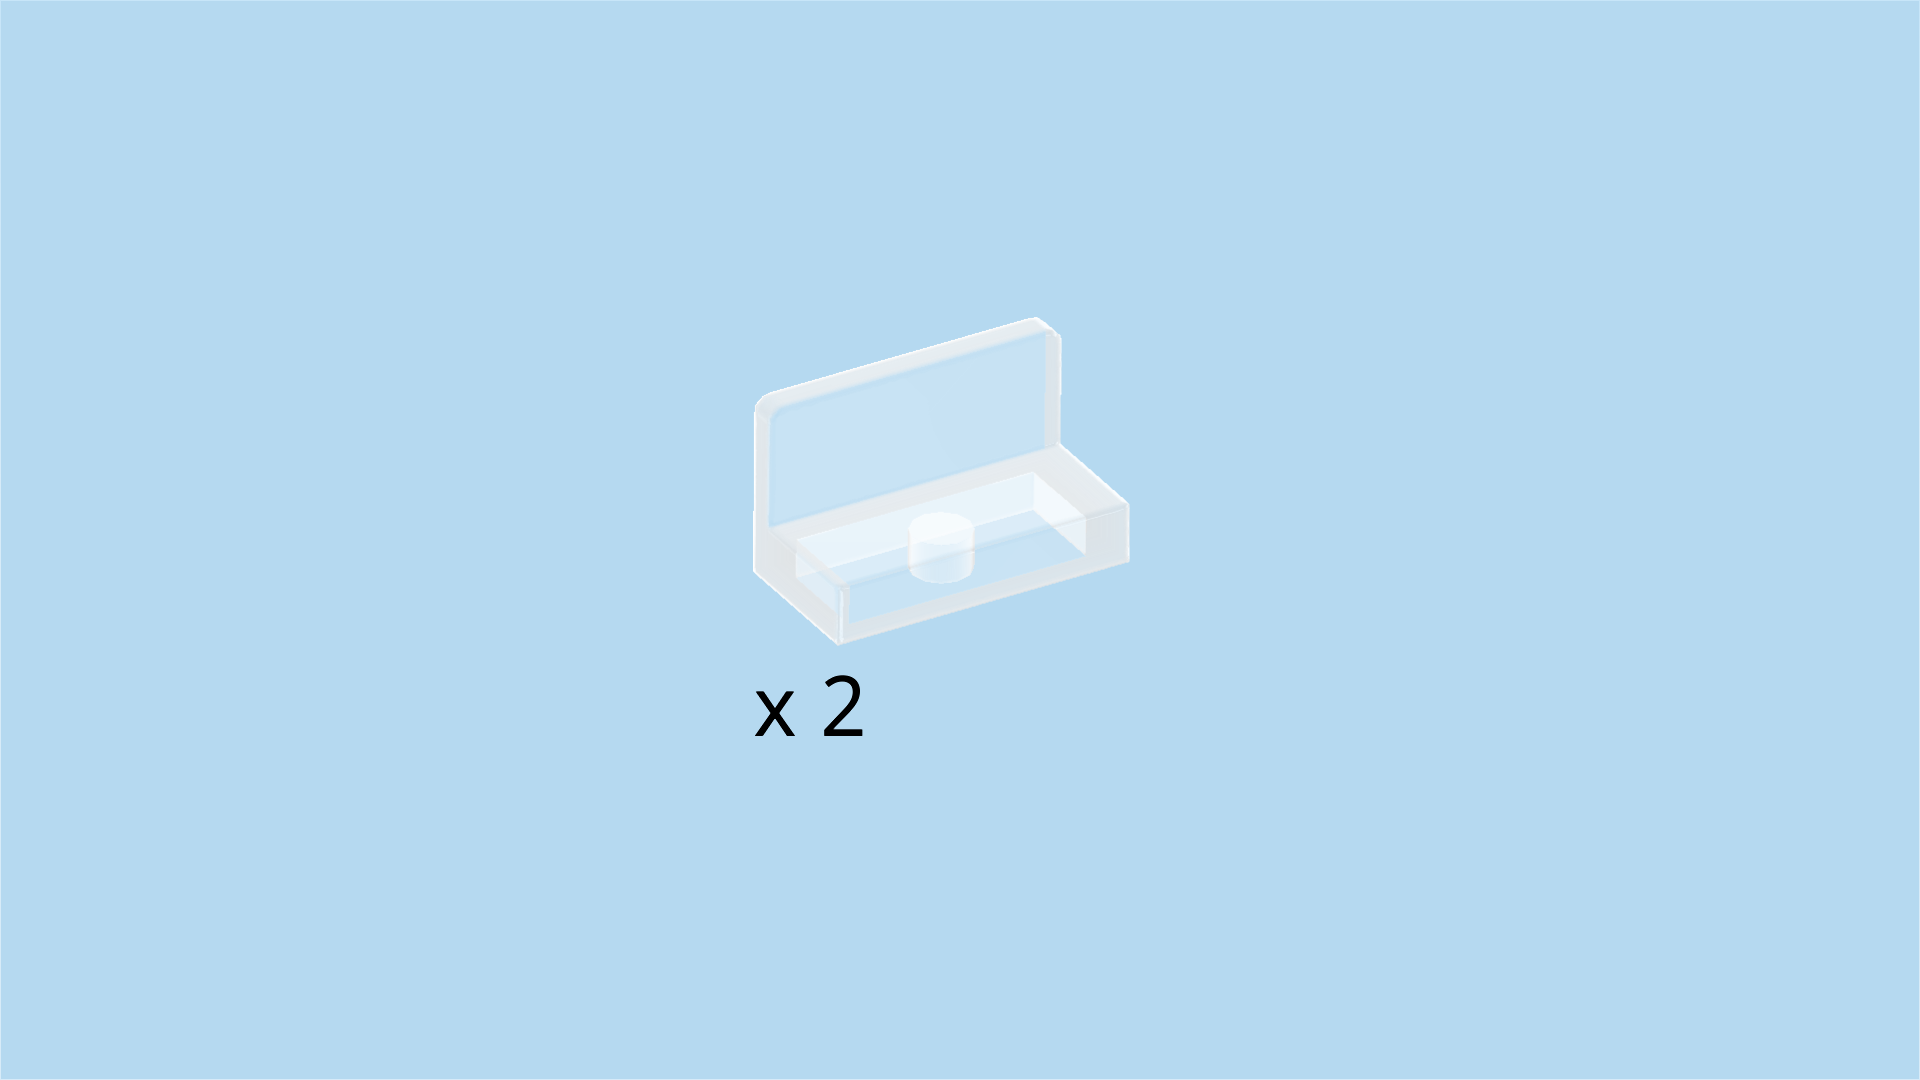
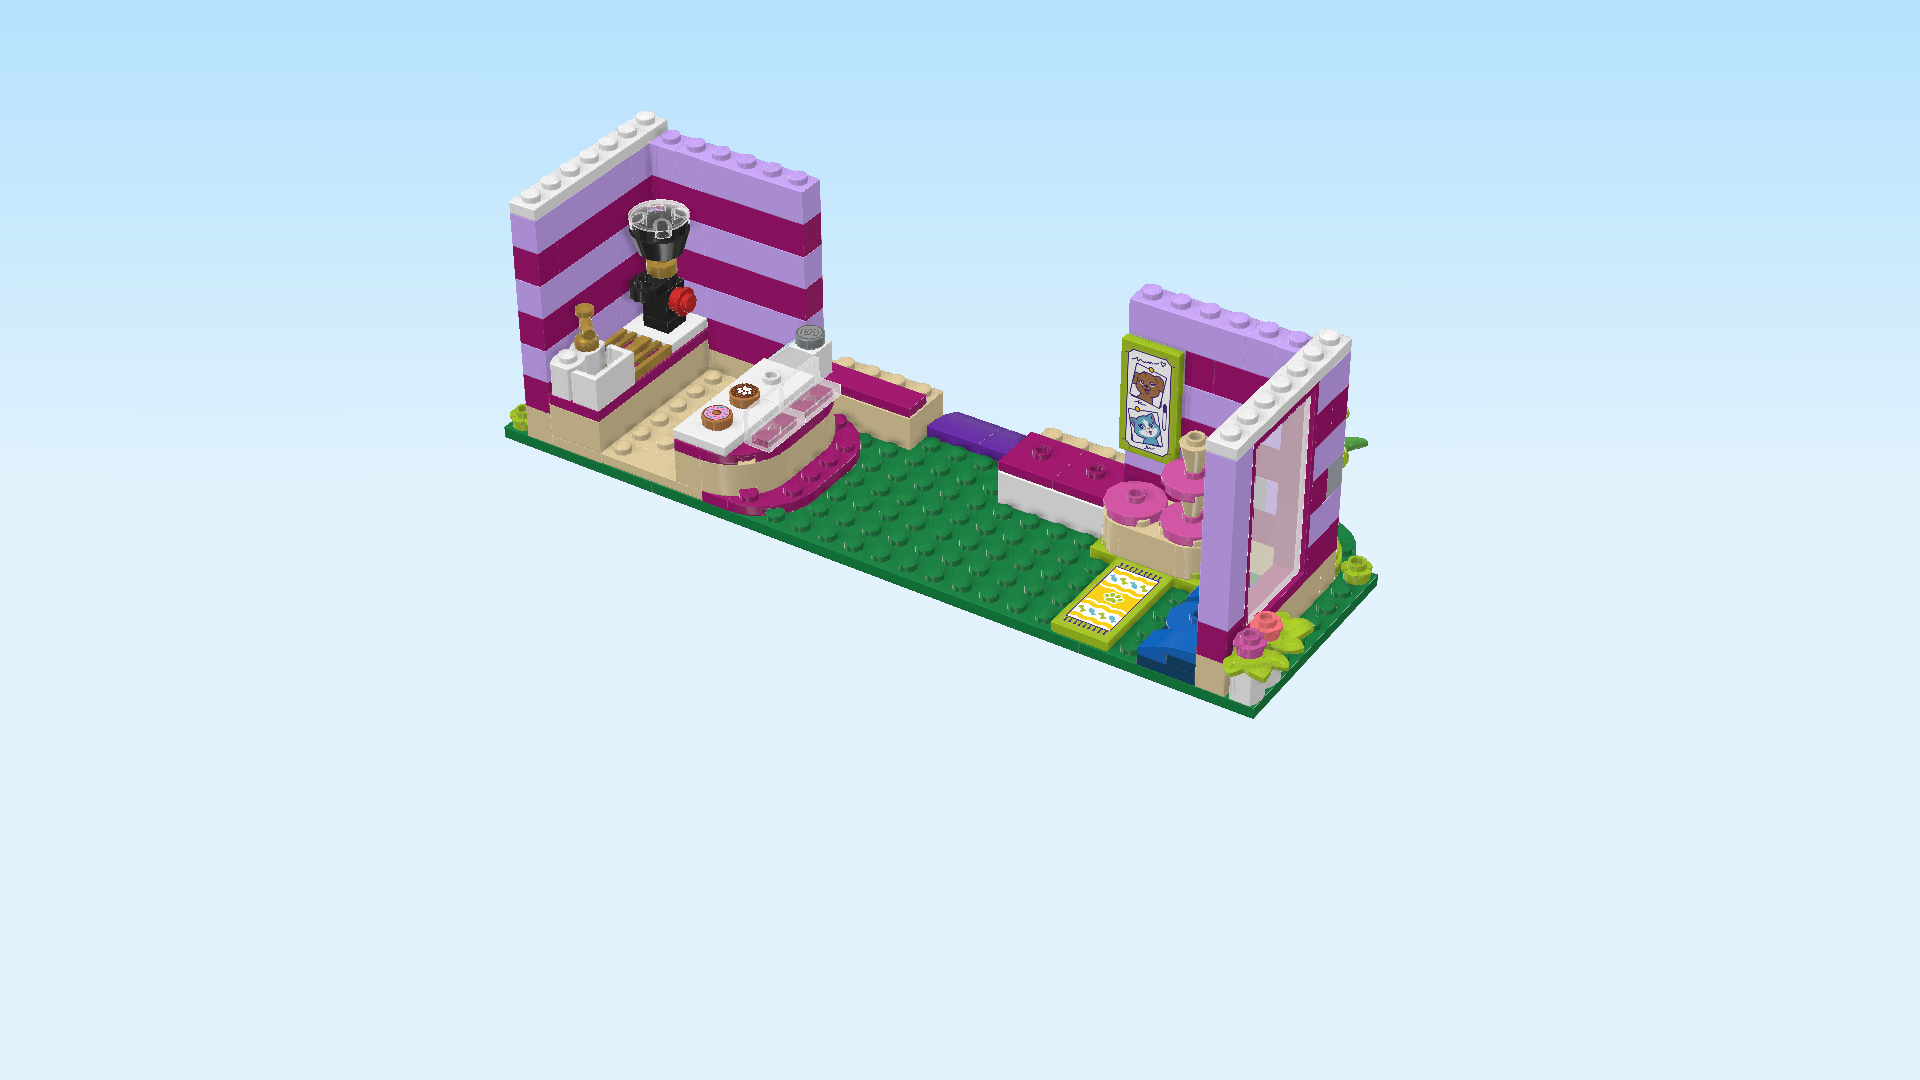
| Find 2 transparent wall elements 1x2x1. |
| Put them vertically next to each other on the rightmost column of the countertop, walls to the left. |
| Find 1 white palisade brick 1x2. |
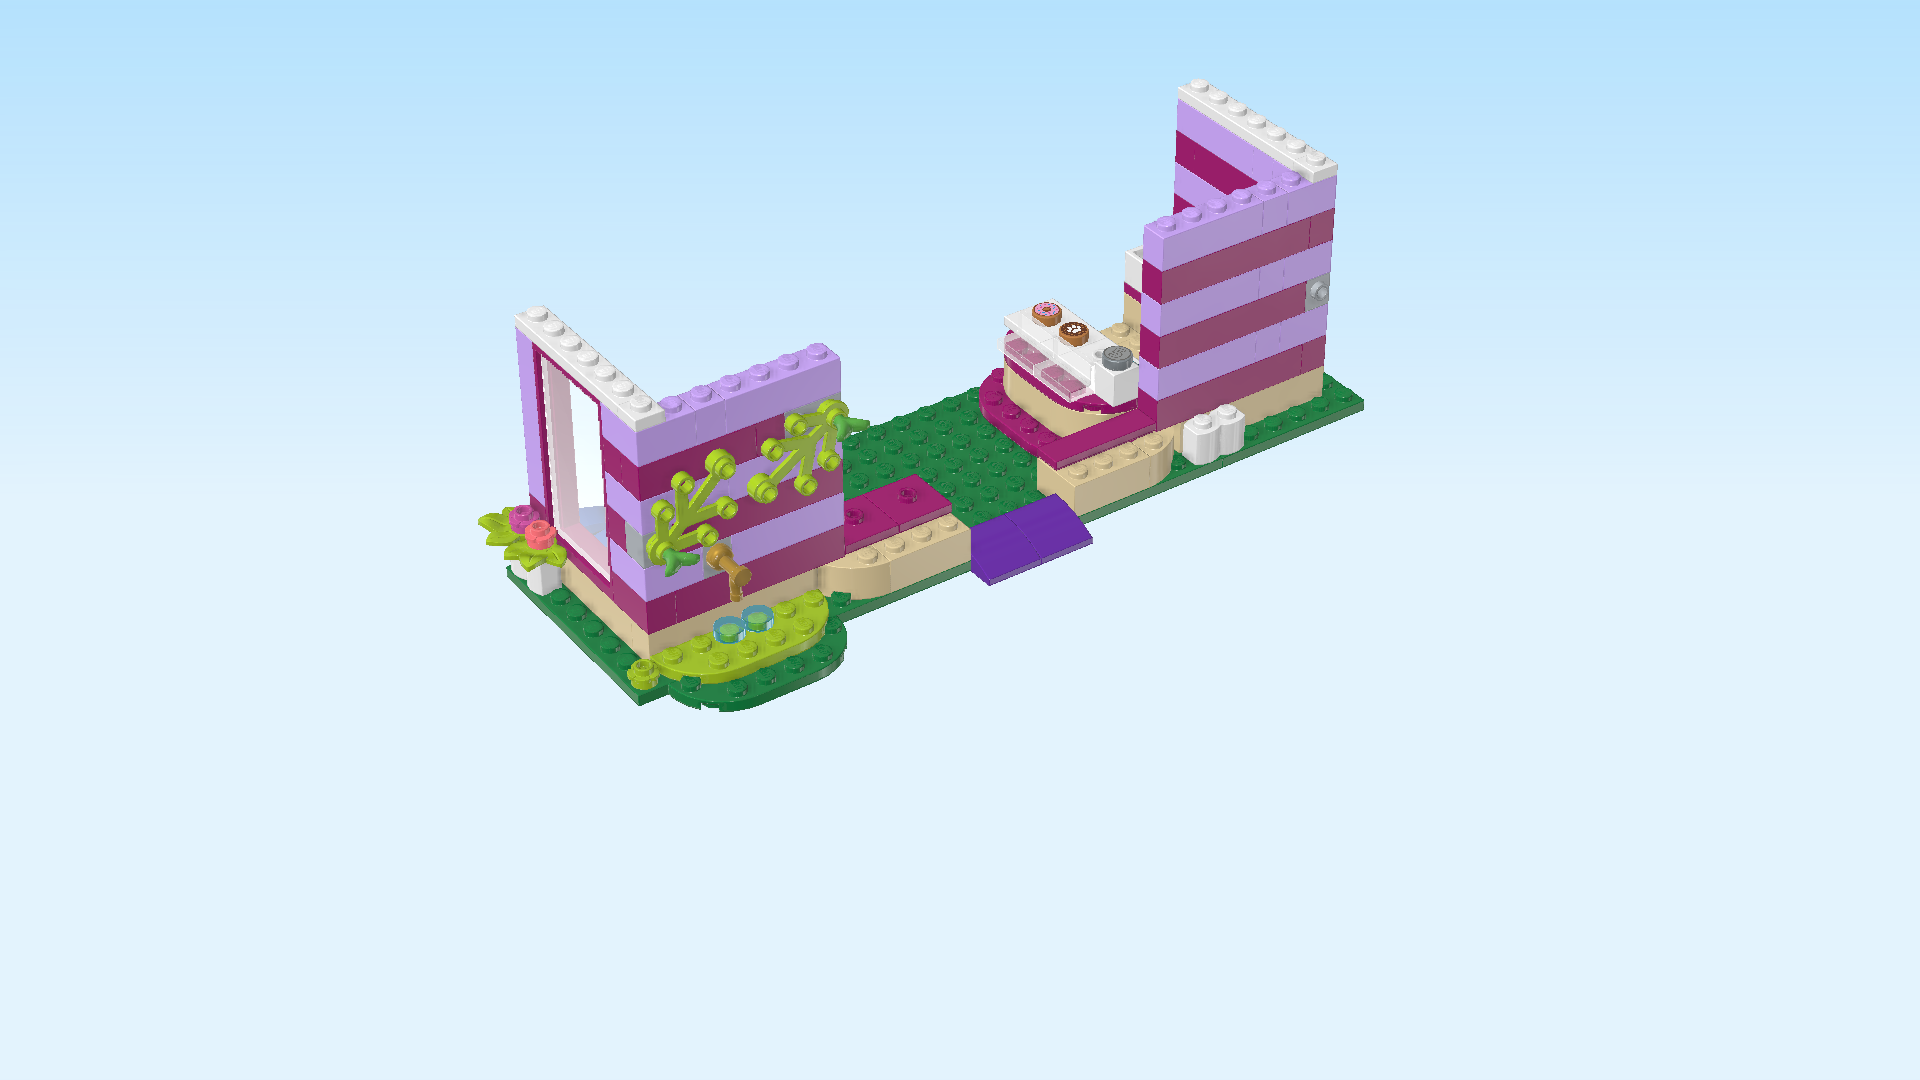
| Now, turn the structure right to left. This means that the watering station is at the front again and the cafe walls are open towards the back. |
| Skip 5 knobs from the right edge, and put the palisade brick horizontally on the frontmost row. |
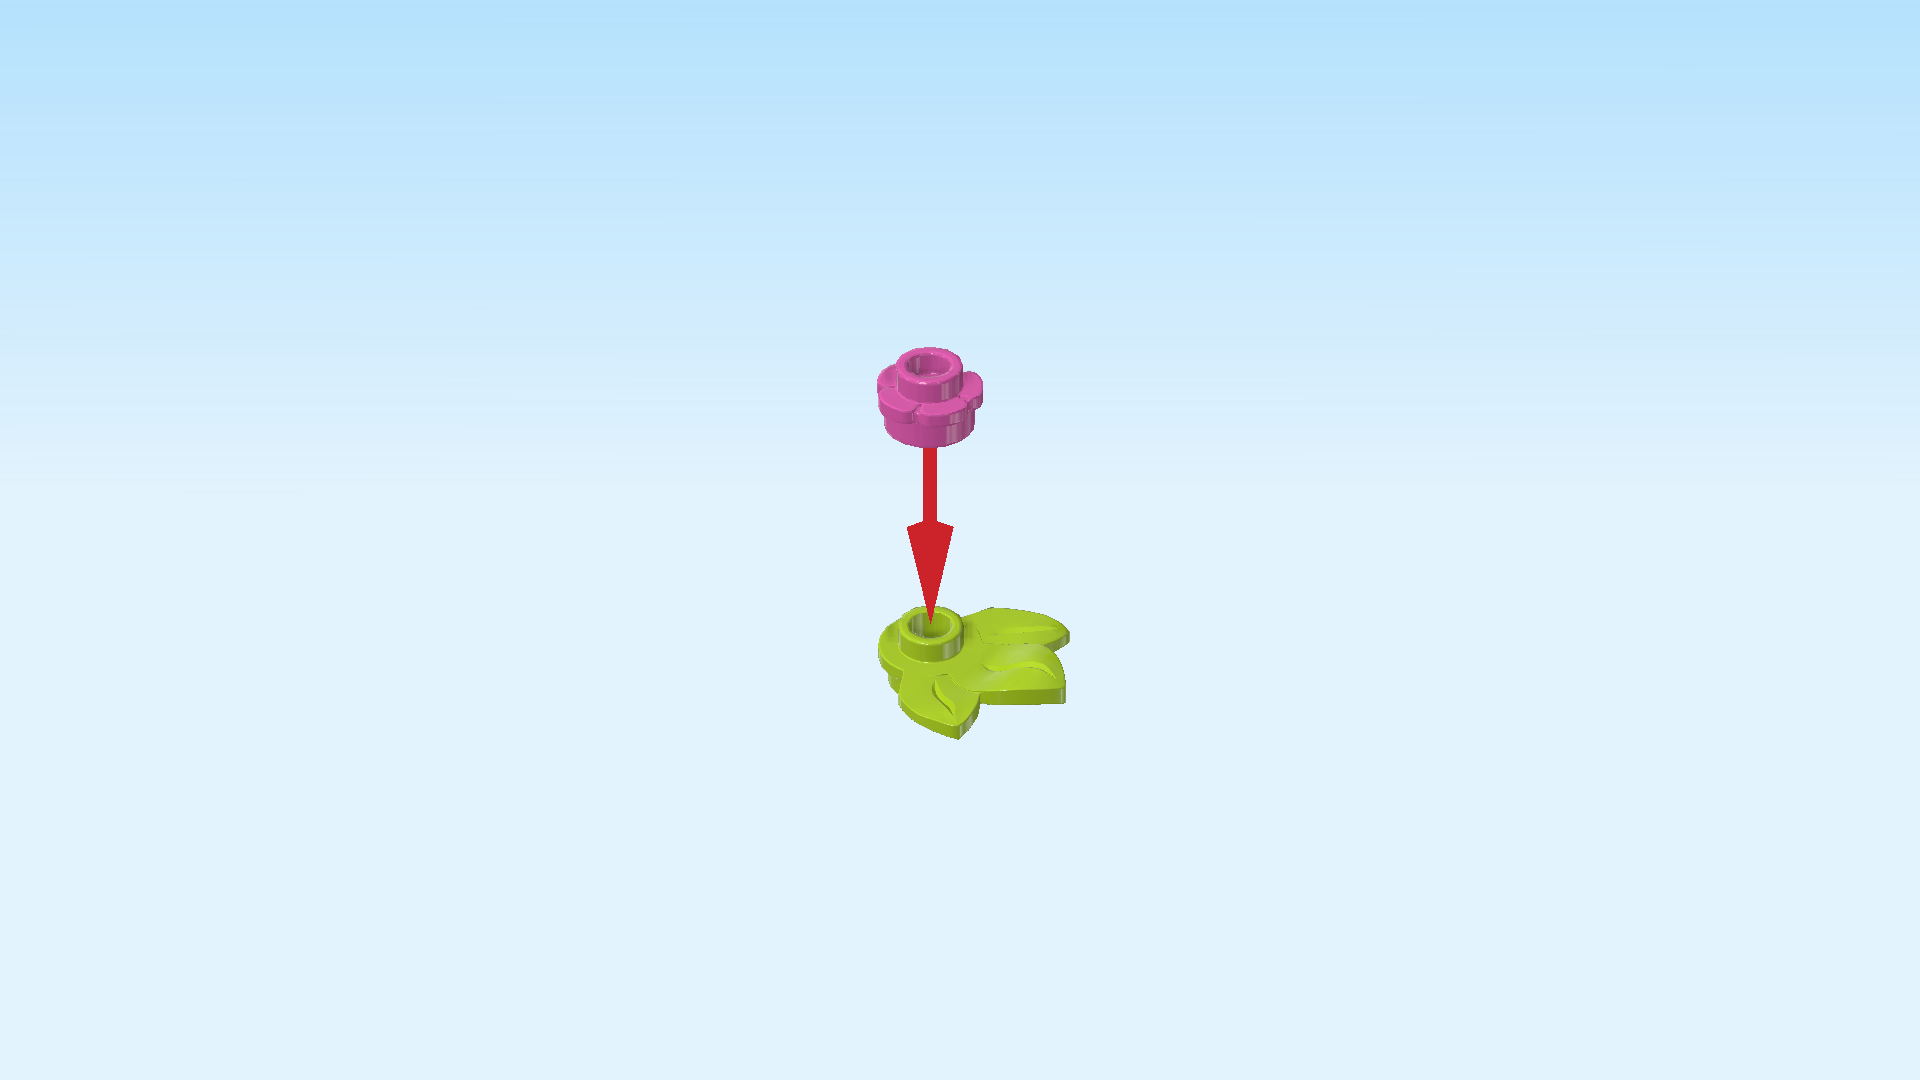
| Next, let's create two more flower decorations. |
| Collect the following 2 pieces: |
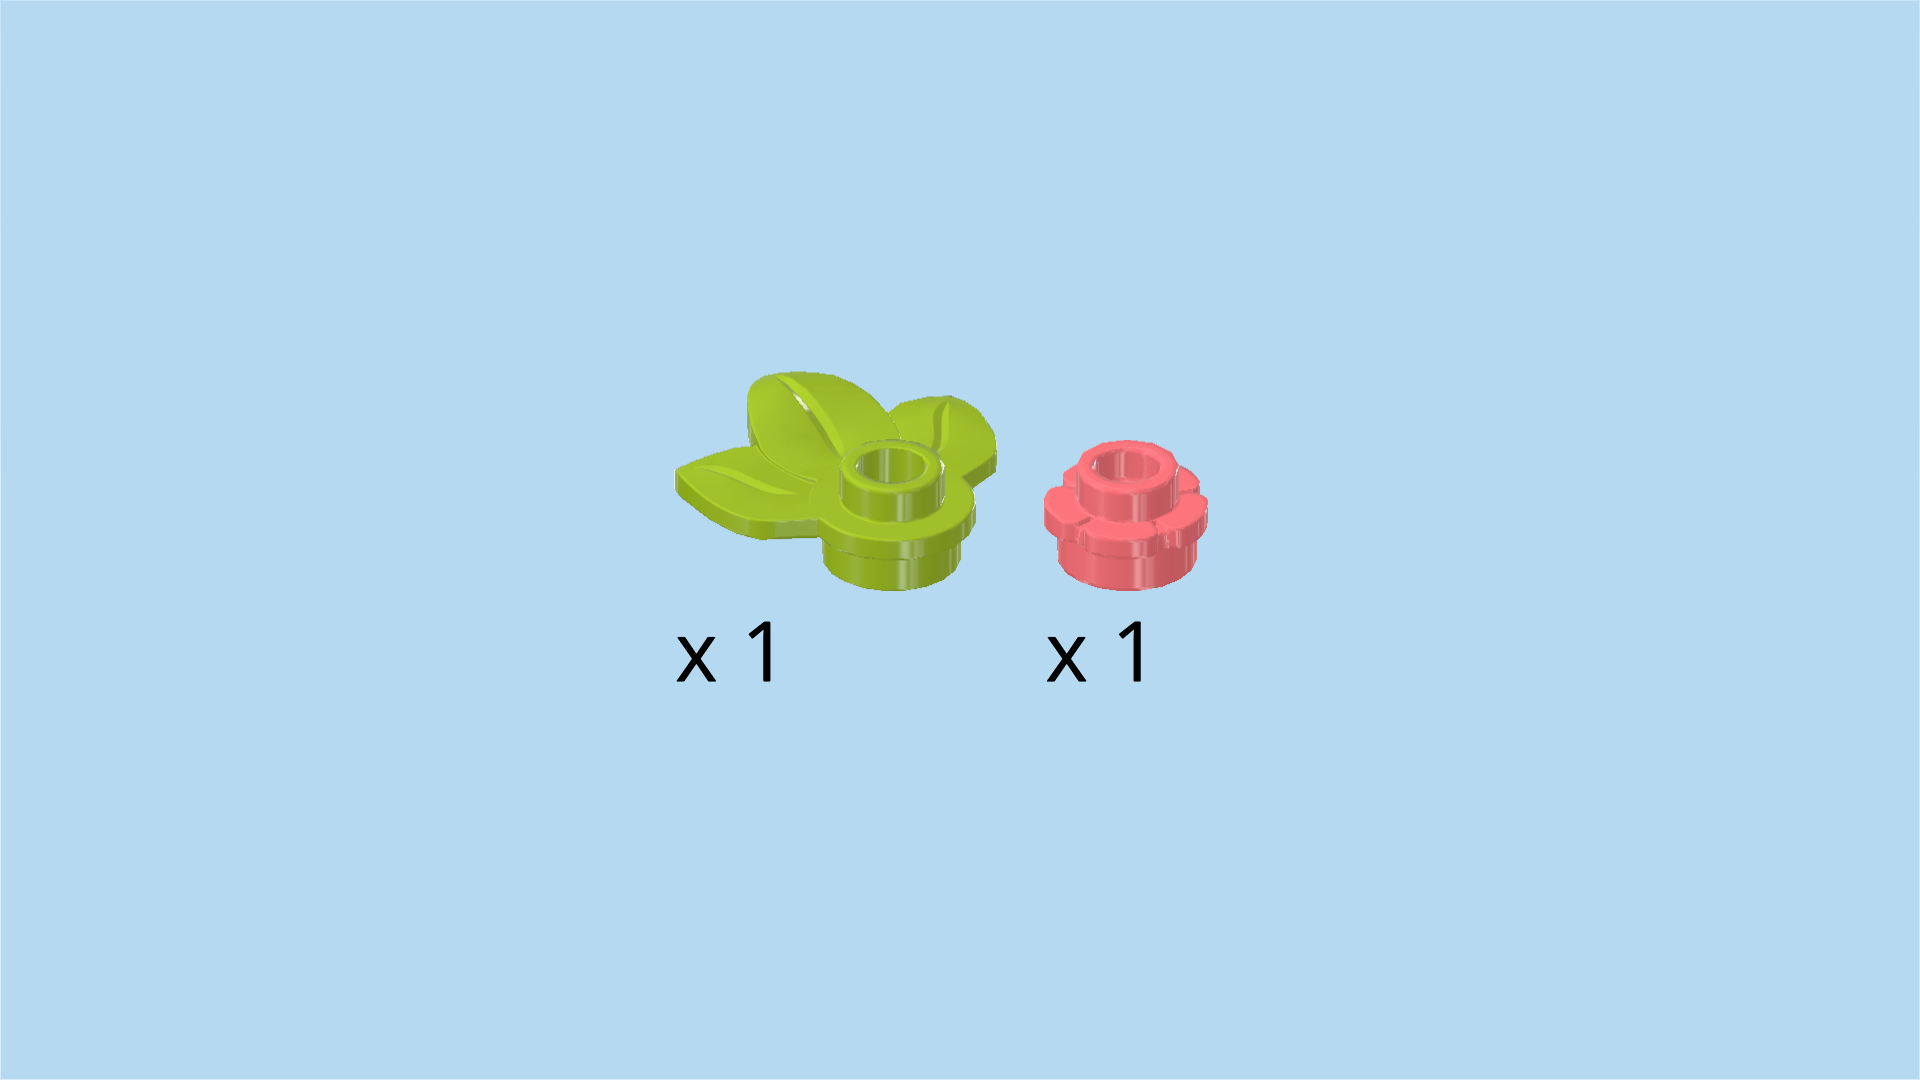
| 1 bright yellowish green round plate 1x1 with 3 leaves, |
| and 1 salmon pink flower piece 1x1 without shaft. |
| Put the round plate with 3 leaves on the table. |
| Put the flower piece 1x1 on top. |
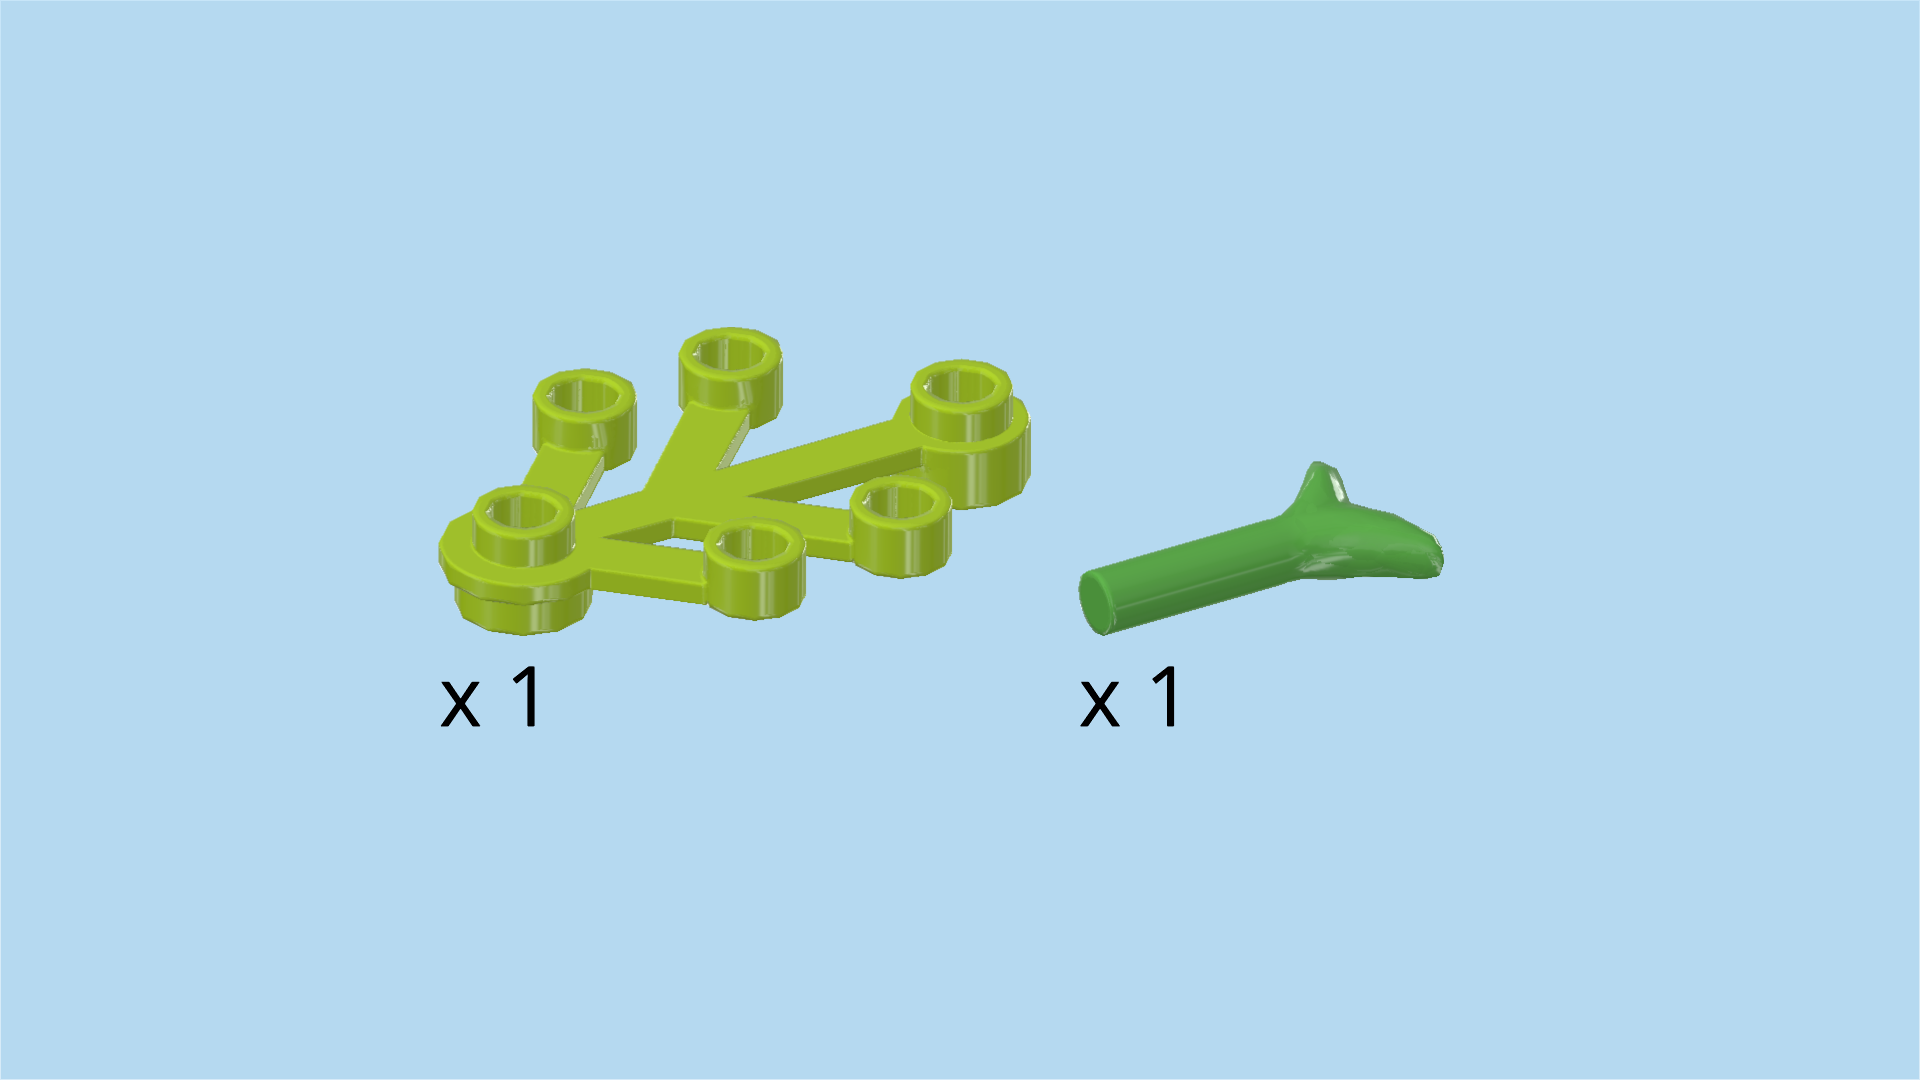
| Collect the following 2 pieces: |
| another bright yellowish green round plate 1x1 with 3 leaves, |
| and another bright purple flower piece 1x1 without shaft. |
| Put the round plate with 3 leaves on the table. |
| Put the flower piece 1x1 on top. |
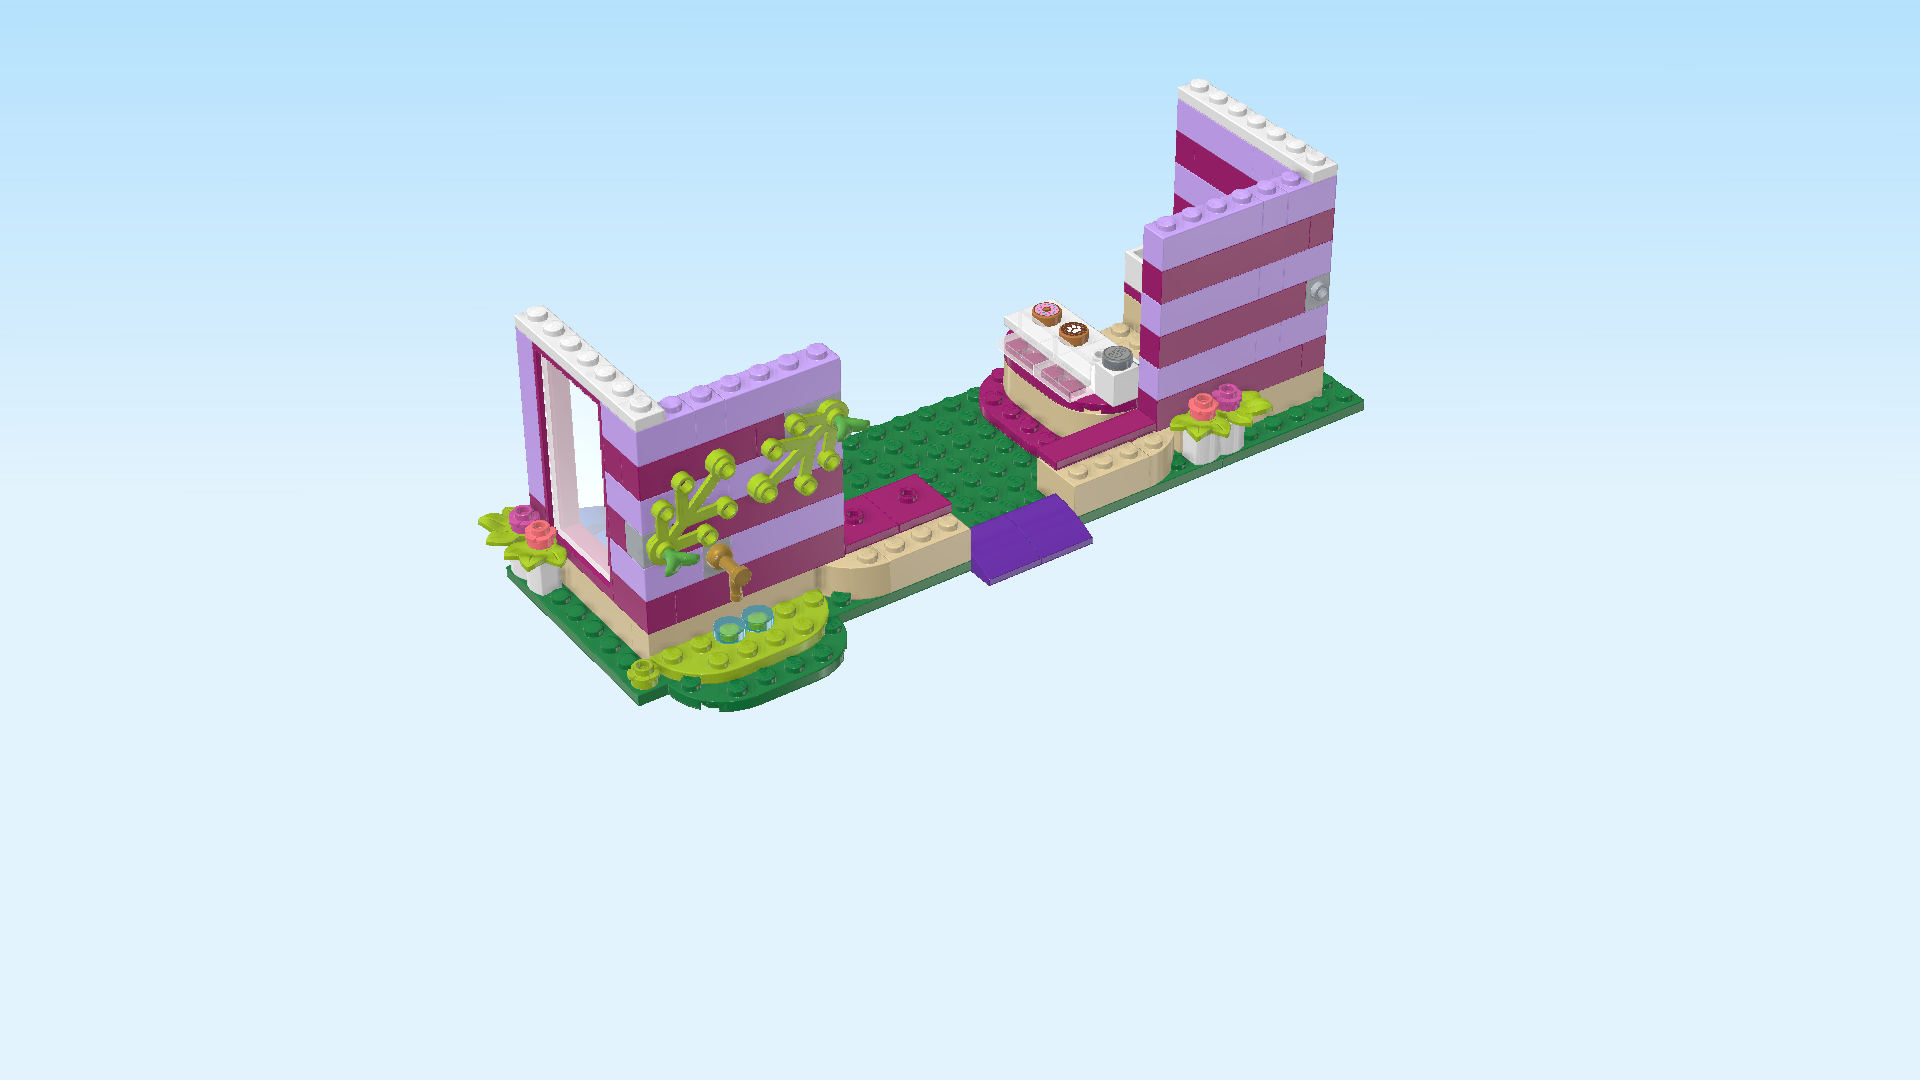
| Mount them on top of the palisade brick on the front row. Adjust the orientation of the leaves so that they point slightly outwards. |
| Collect the following 2 pieces: |
| 1 bright yellowish green plant element with 6 knobs, |
| and 1 bright green shaft 2m with twig leaves. |
| Put the base knob of the plant element on the side knob pointing to the front on the right wall. Make sure the longest branch is pointing to the top and slightly to the left. |
| Insert the shaft with twig leaves into the base knob. |
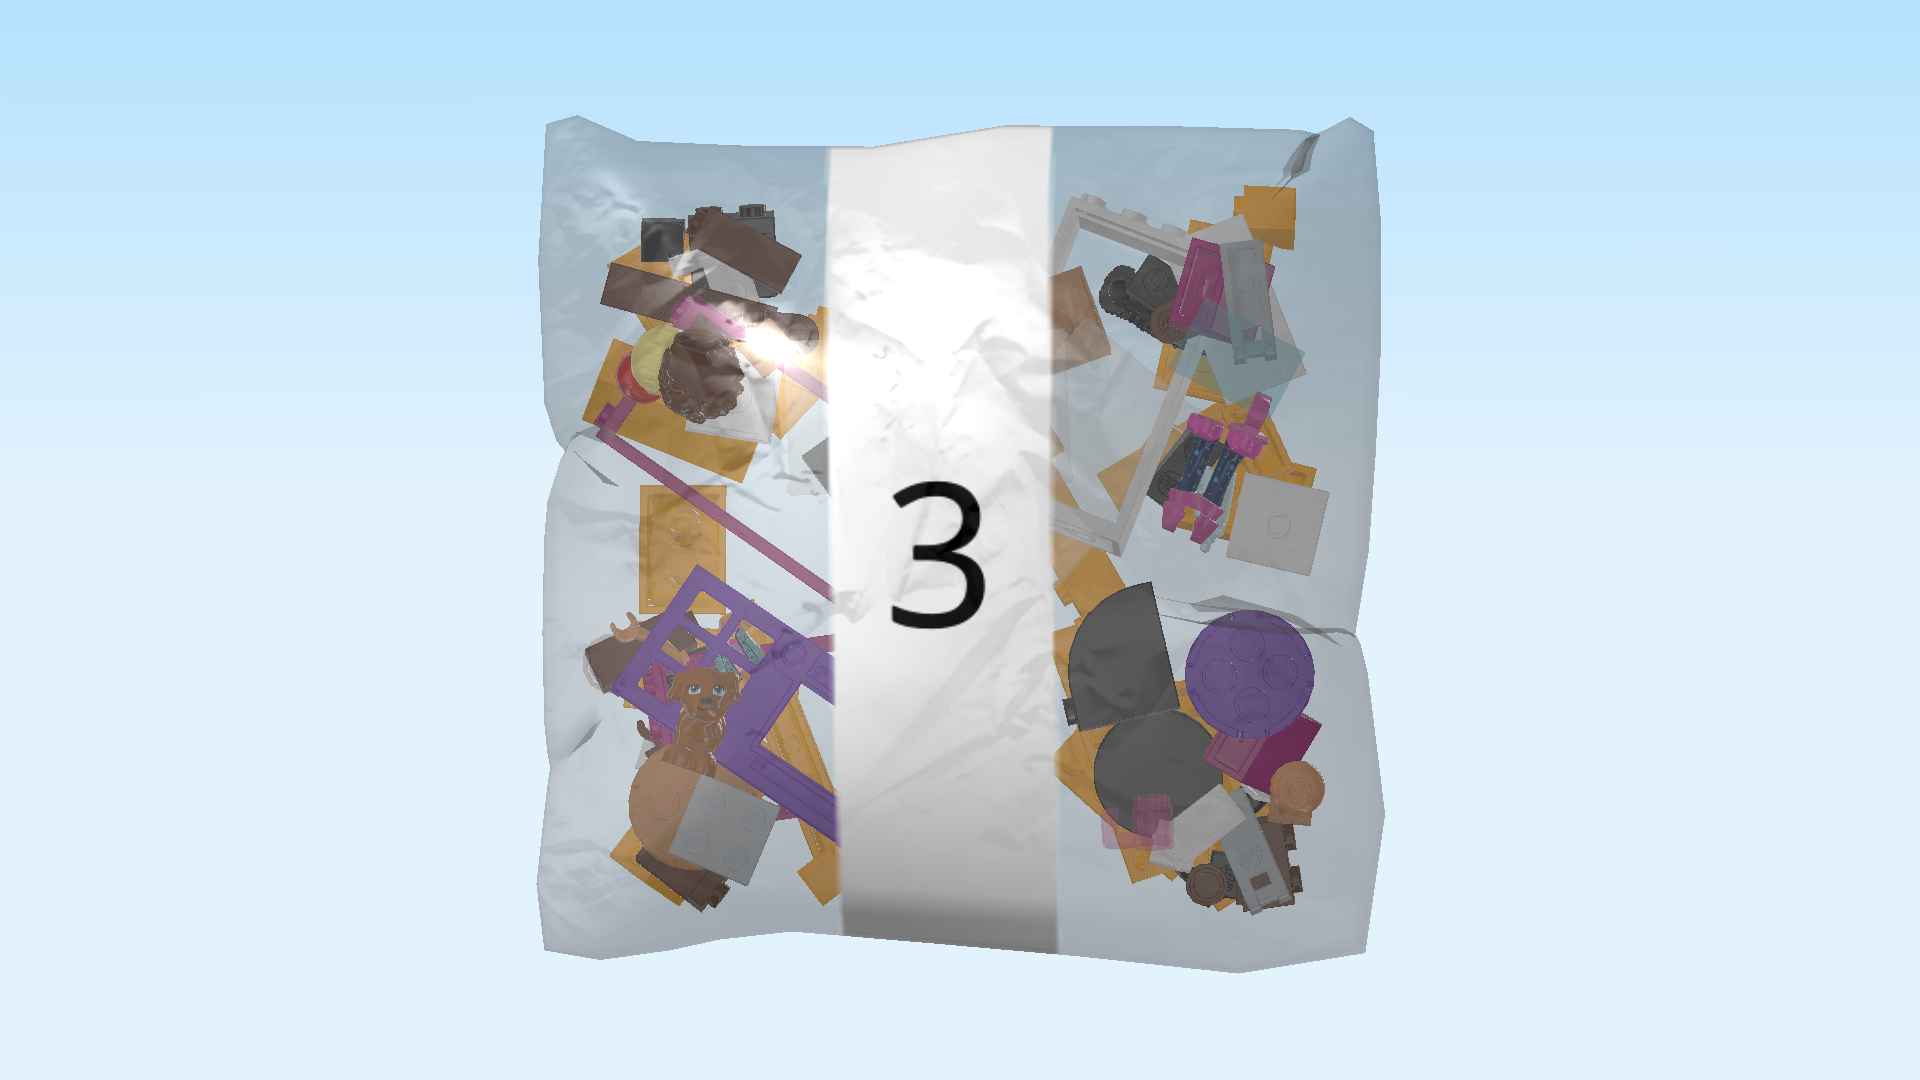
| Open bag number 3. You can choose to have the bricks sorted by color again. This bag contains all bricks and pieces for the last third of the cafe building, the wash tub, the Olivia Minidoll, and the "Adopt me" sign. |
| Next, we build the front door with cat flap. |
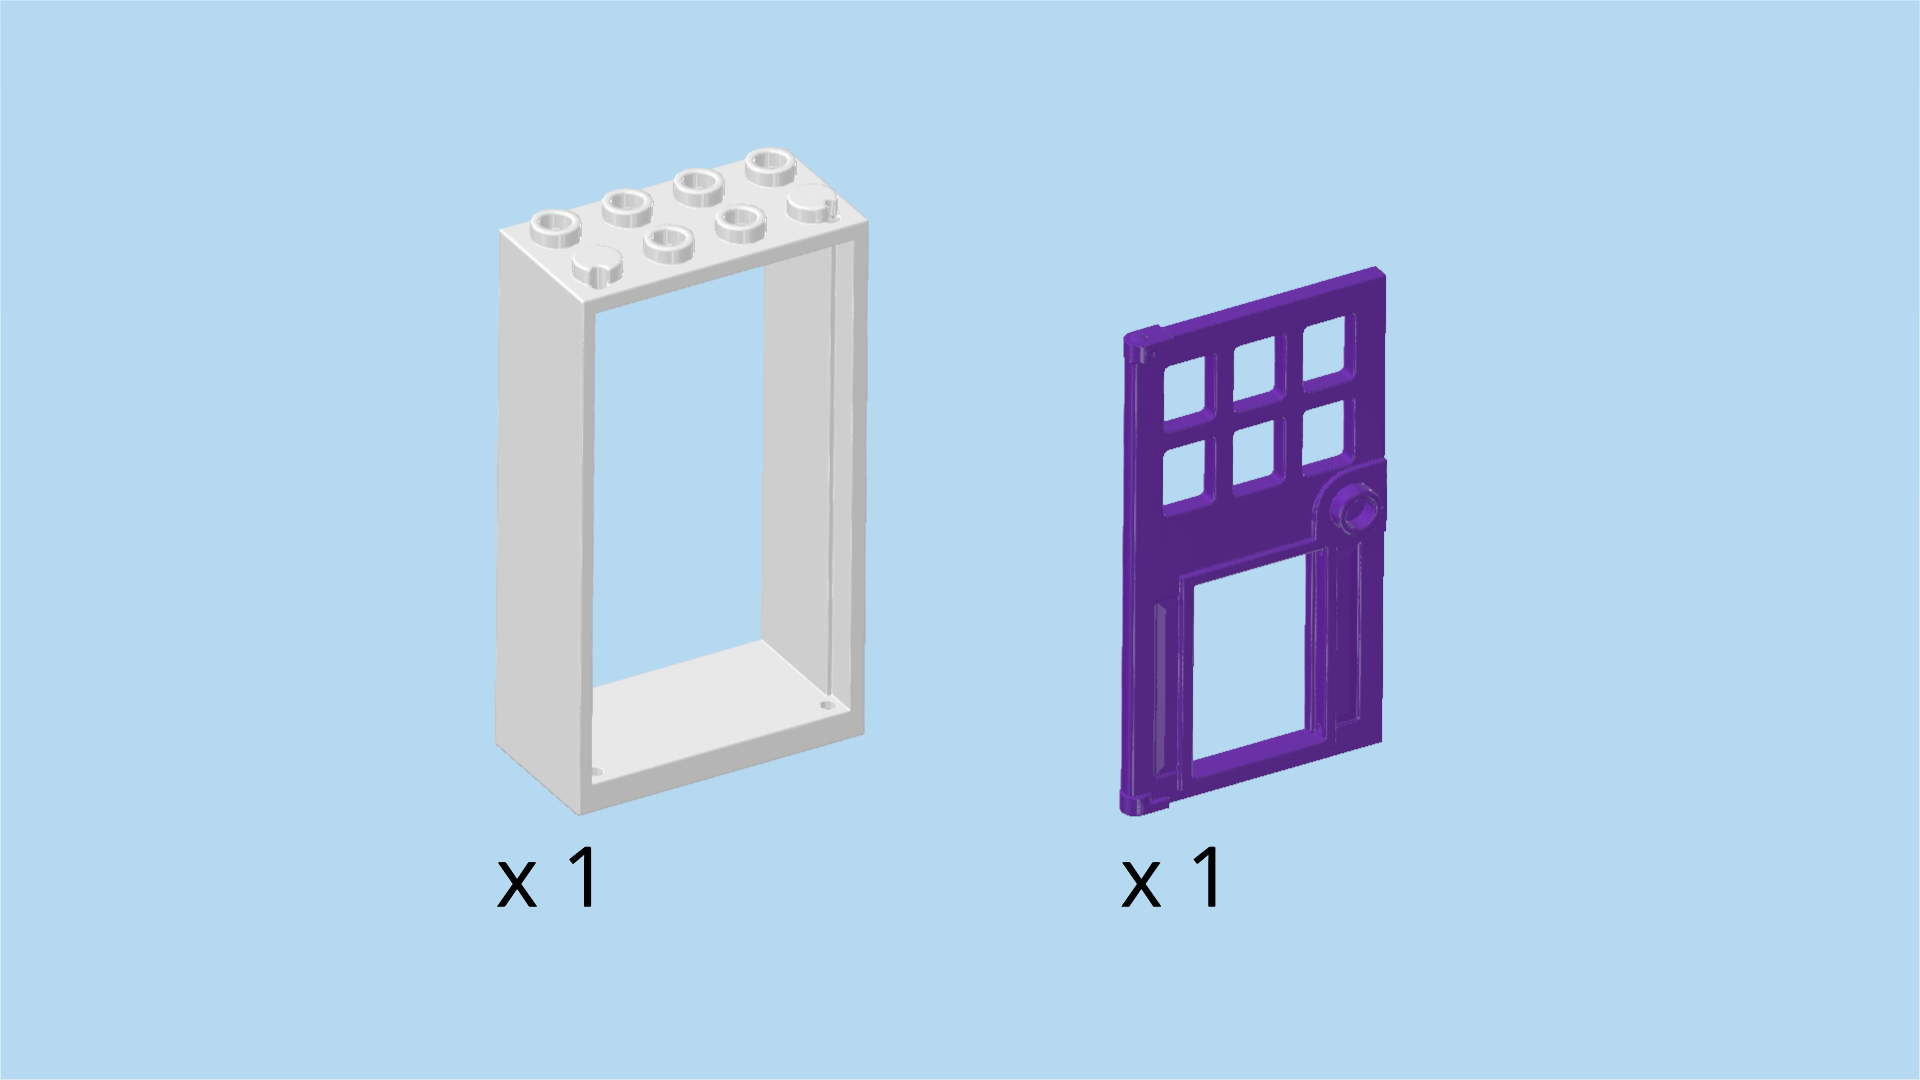
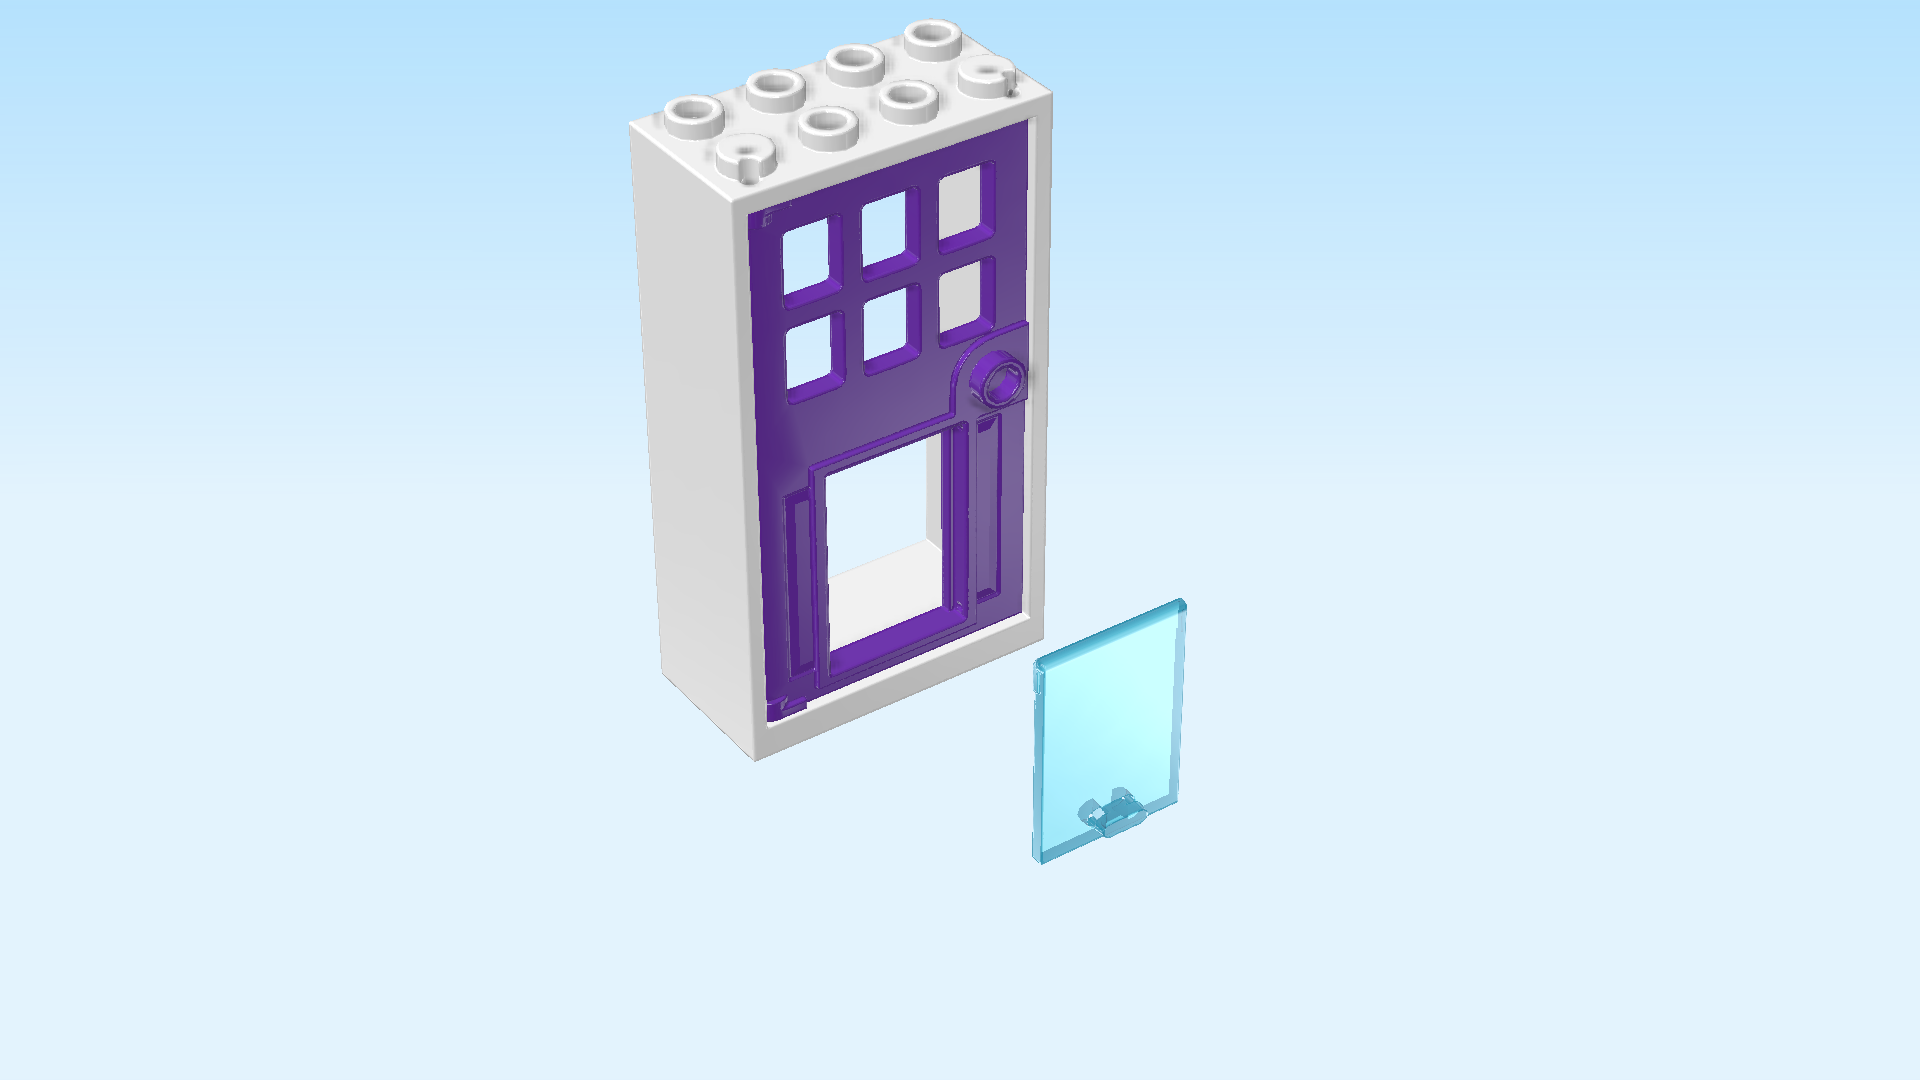
| Collect the following 2 pieces: |
| 1 white door frame 2x4x6, |
| and 1 medium lilac door 4x6 with section windows and bottom flap cut-out. |
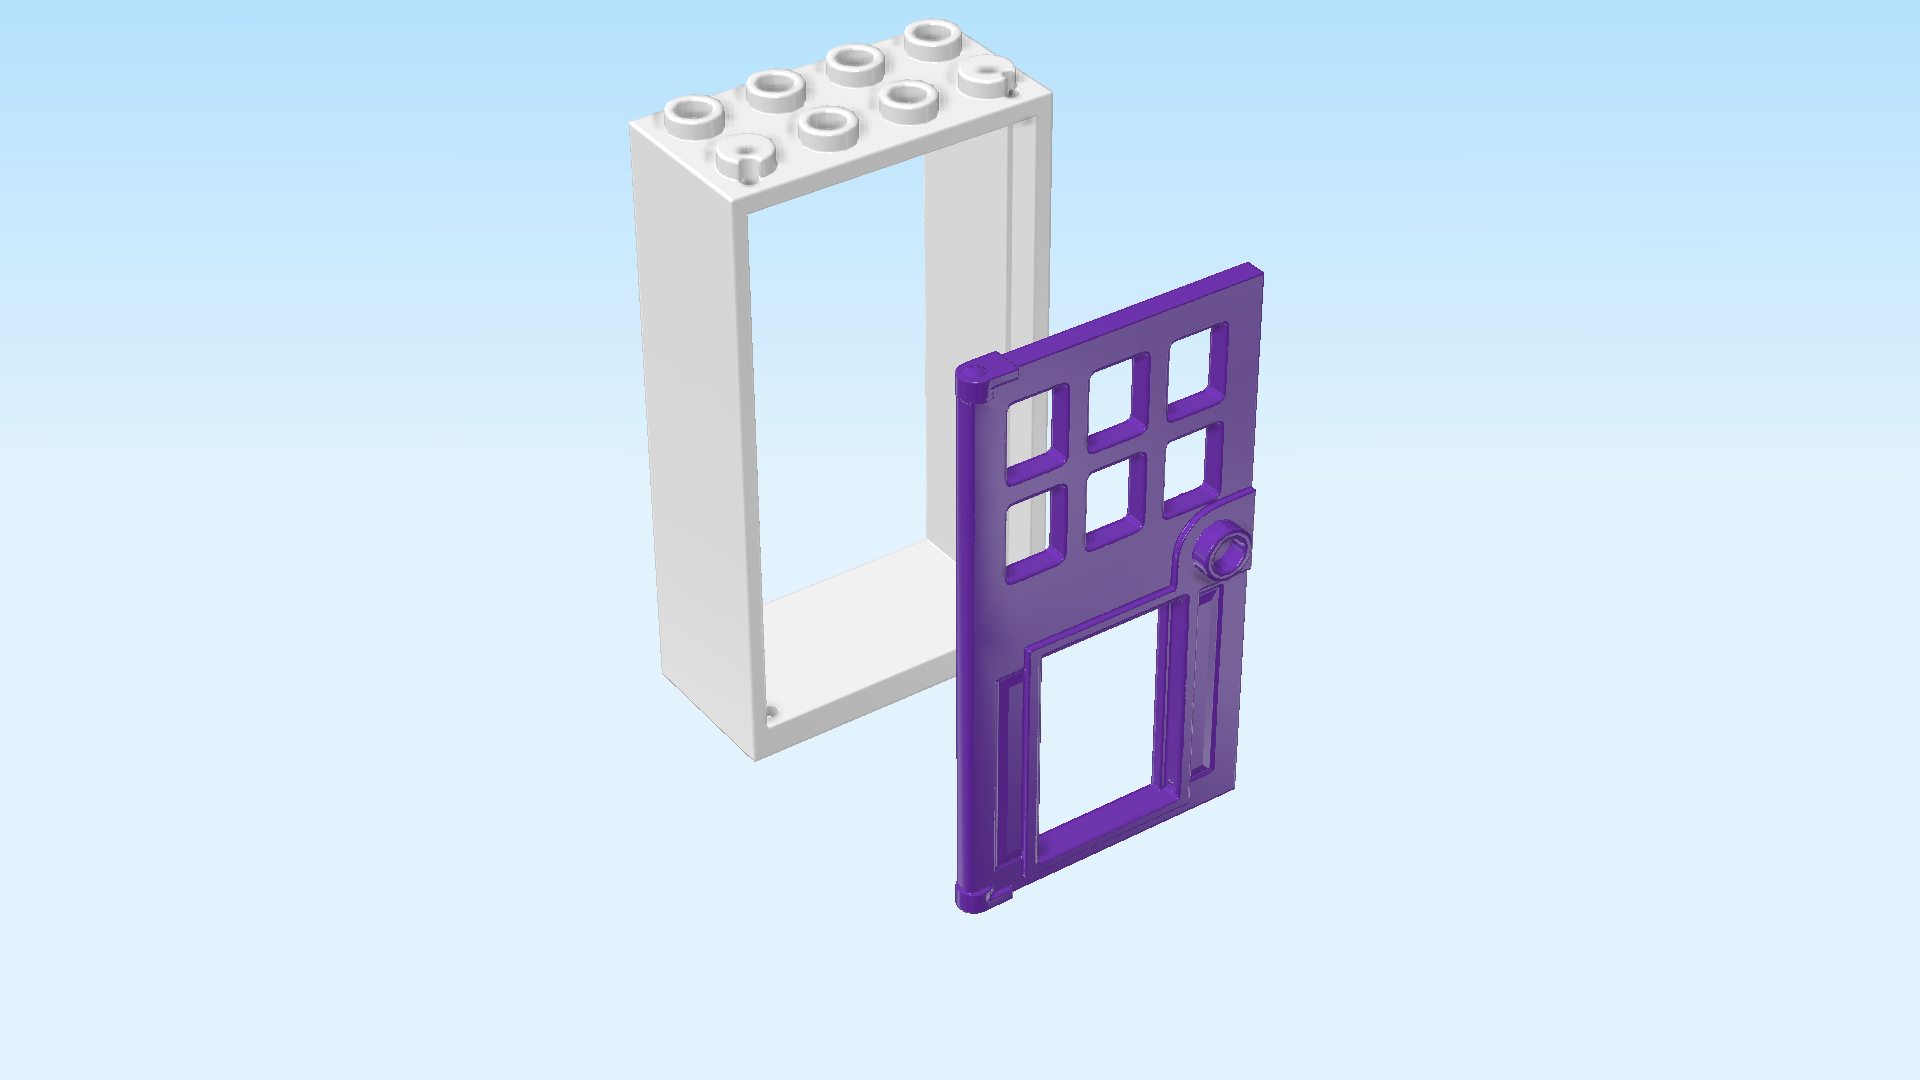
| Put the door frame 2x4x6 flat on the table, inner notches to the top, knobs pointing to the back. |
| Snap the door into the door notches. Make sure the door hinges are on the left, and the doorknob is on the right and pointing to the top. |
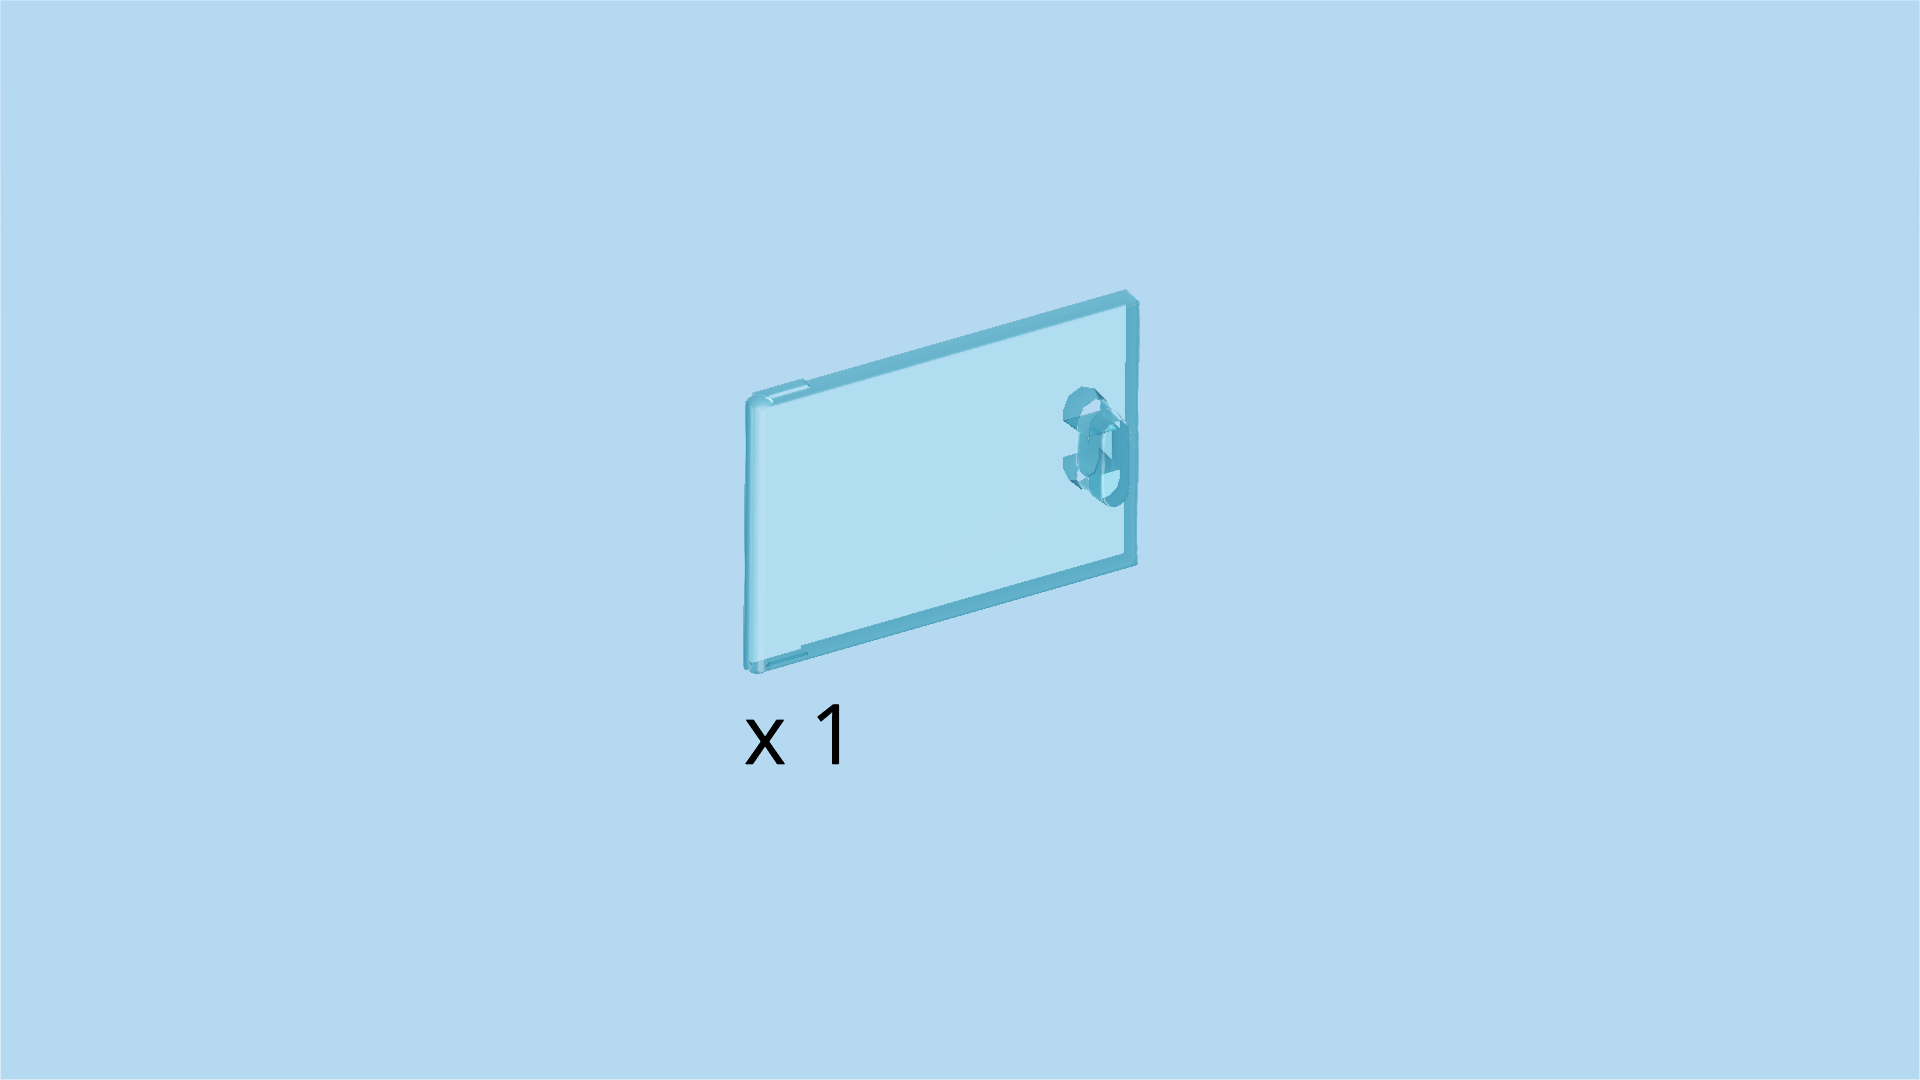
| Find 1 transparent light blue door 3x2 with small handle. |
| Snap it into the cut-out, handle at the front and pointing to the top. |
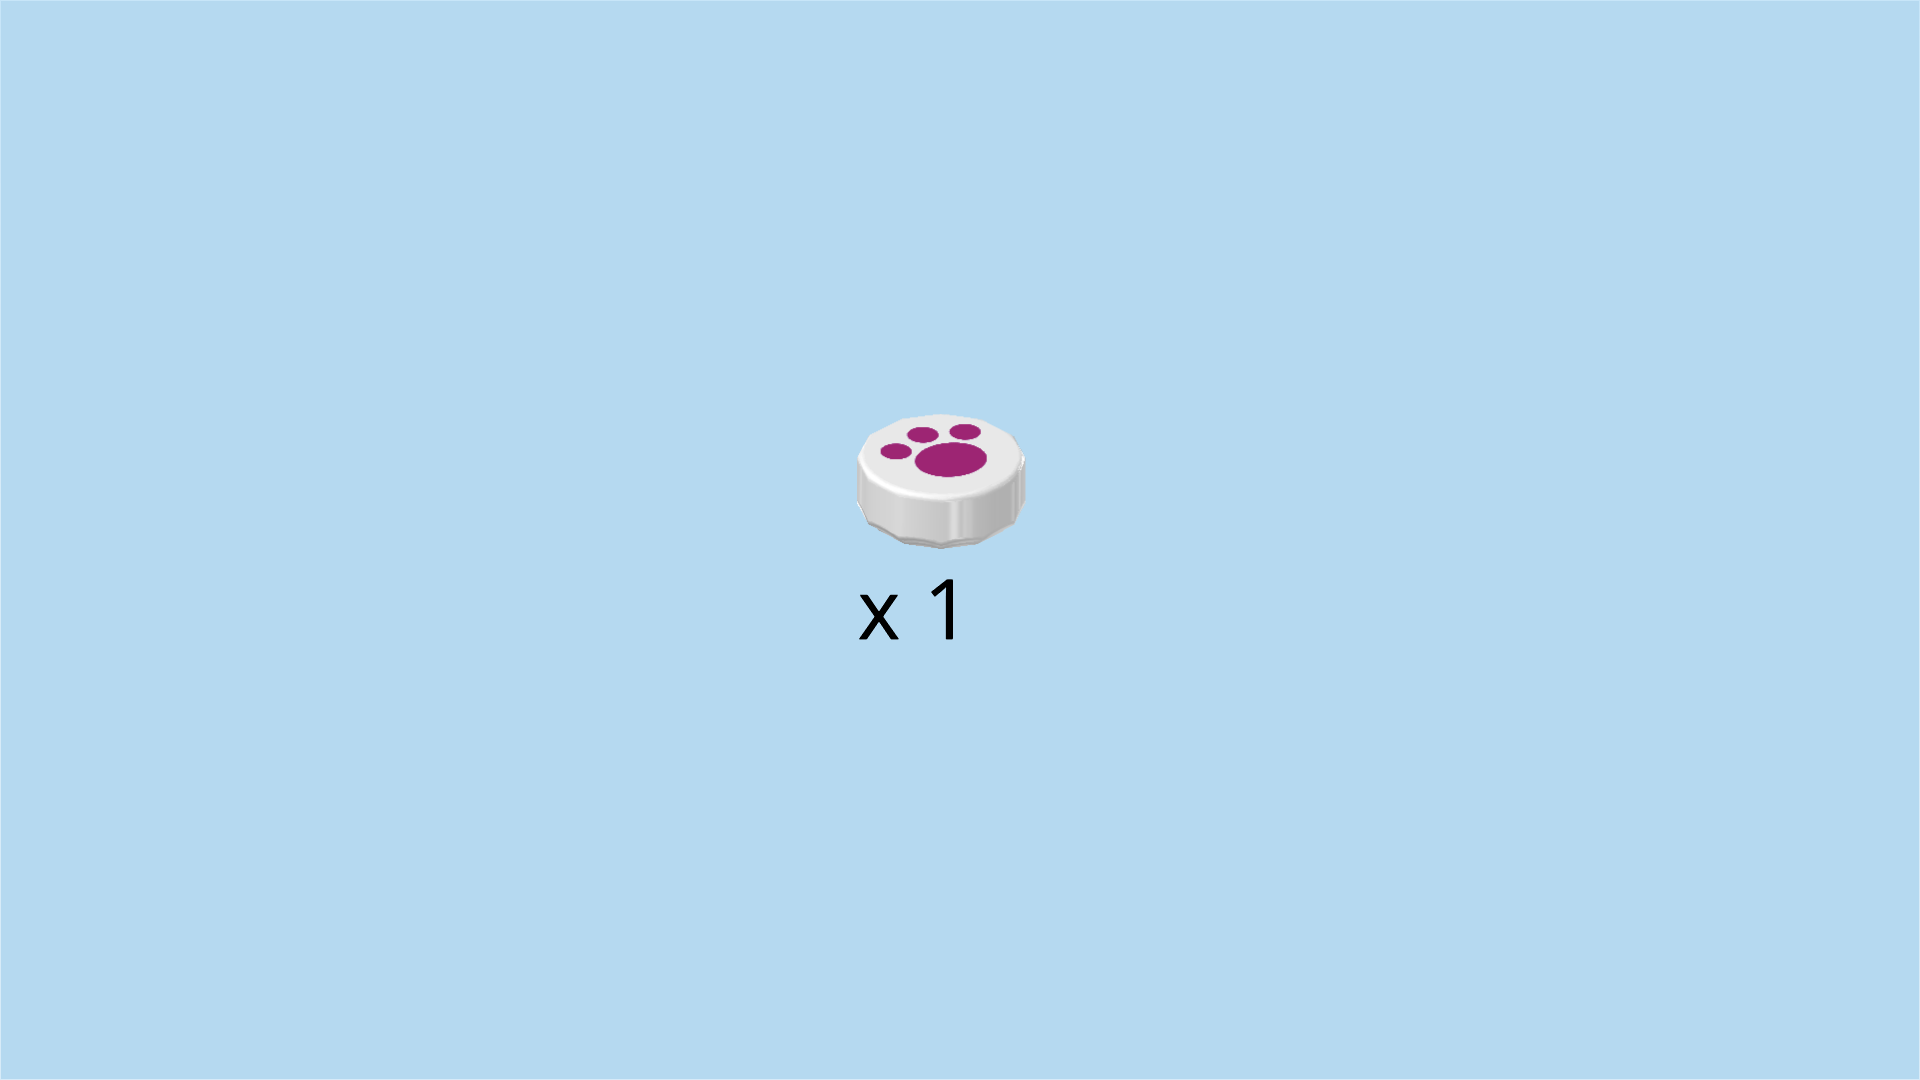
| Find 1 white round tile 1x1. |
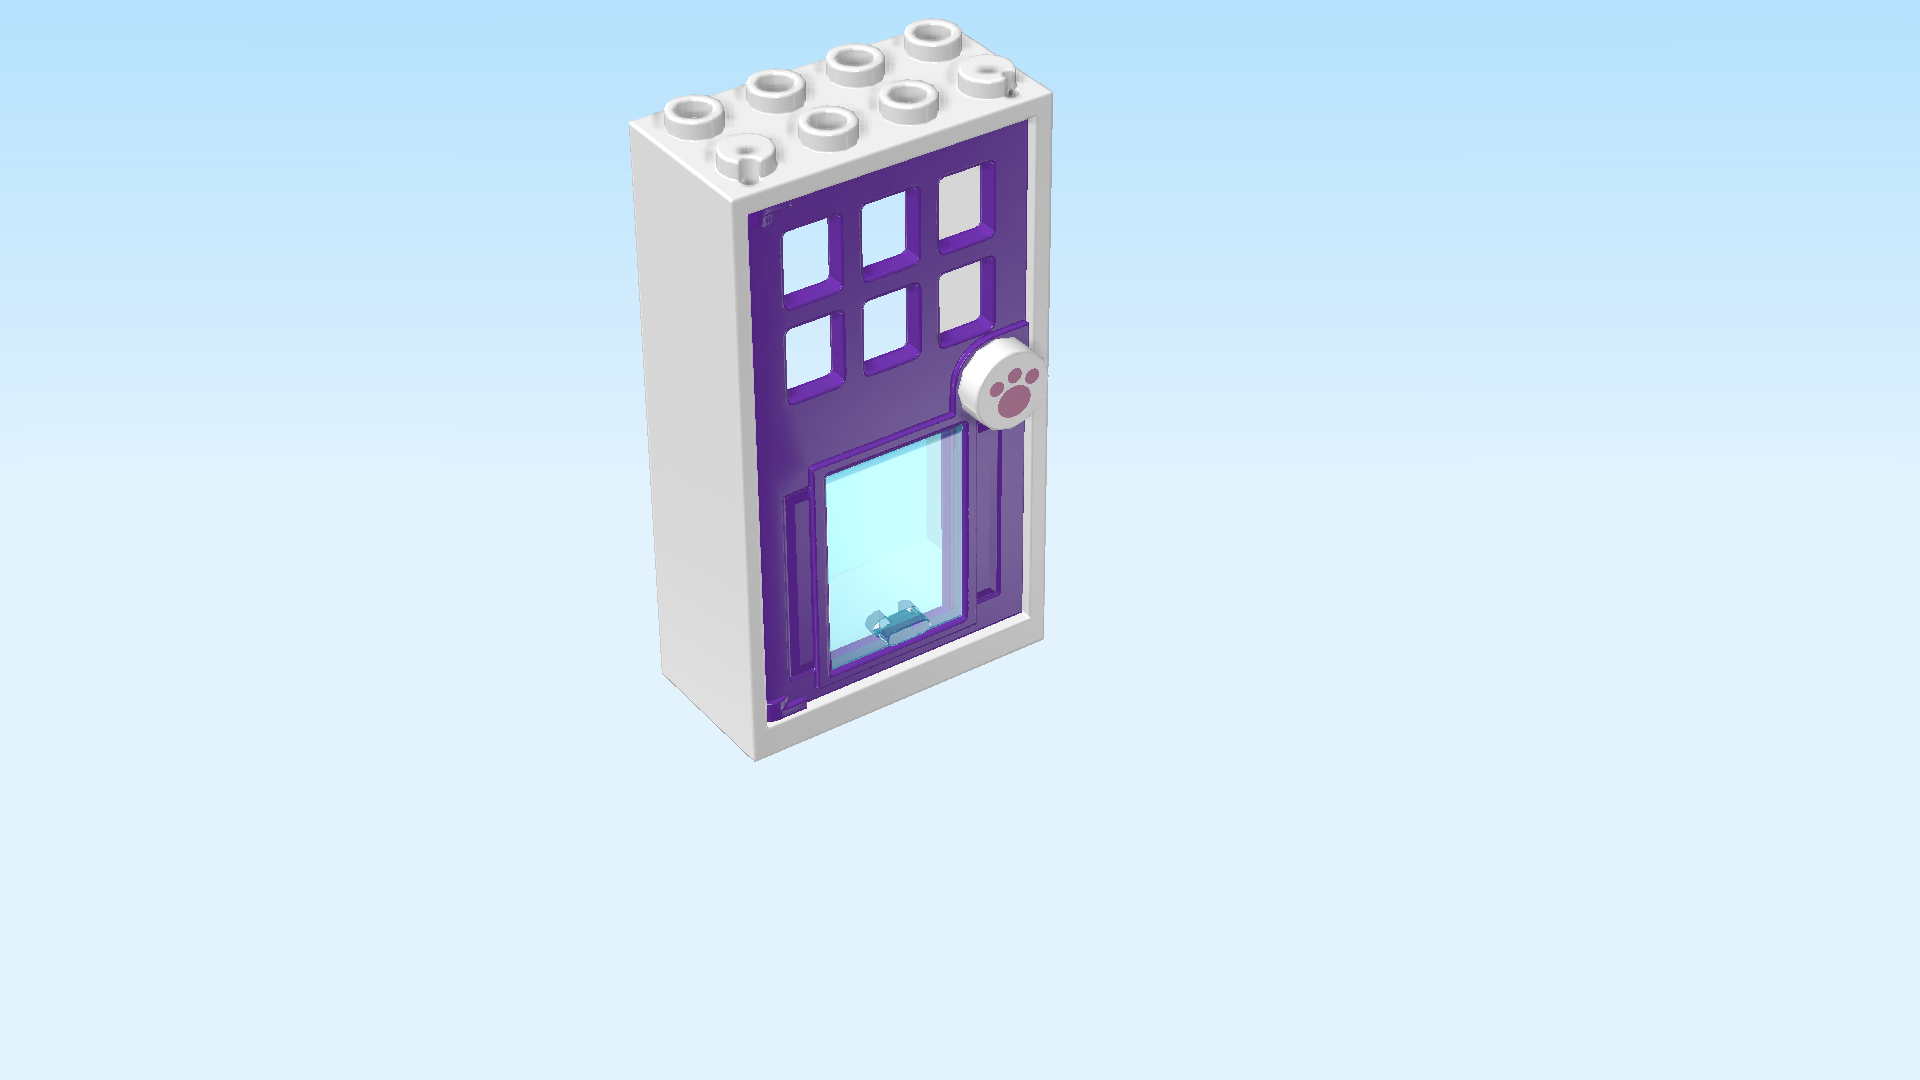
| Put it on the doorknob. It is printed with a pink paw. |
| The front door with cat flap is finished! Well done! Mount it in the center front of the structure behind the 2 curve tiles at the bottom. Make sure the door opens towards the front left. |
| Find 1 white brick 1x4. |
| Put it horizontally on the back row of the door. |
| Find 2 purple violet inverted roof tiles 2x2, 45°. |
| Put them horizontally next to each other in front of the previous piece, slopes to the front. |
| Find 2 white plates 2x12. |
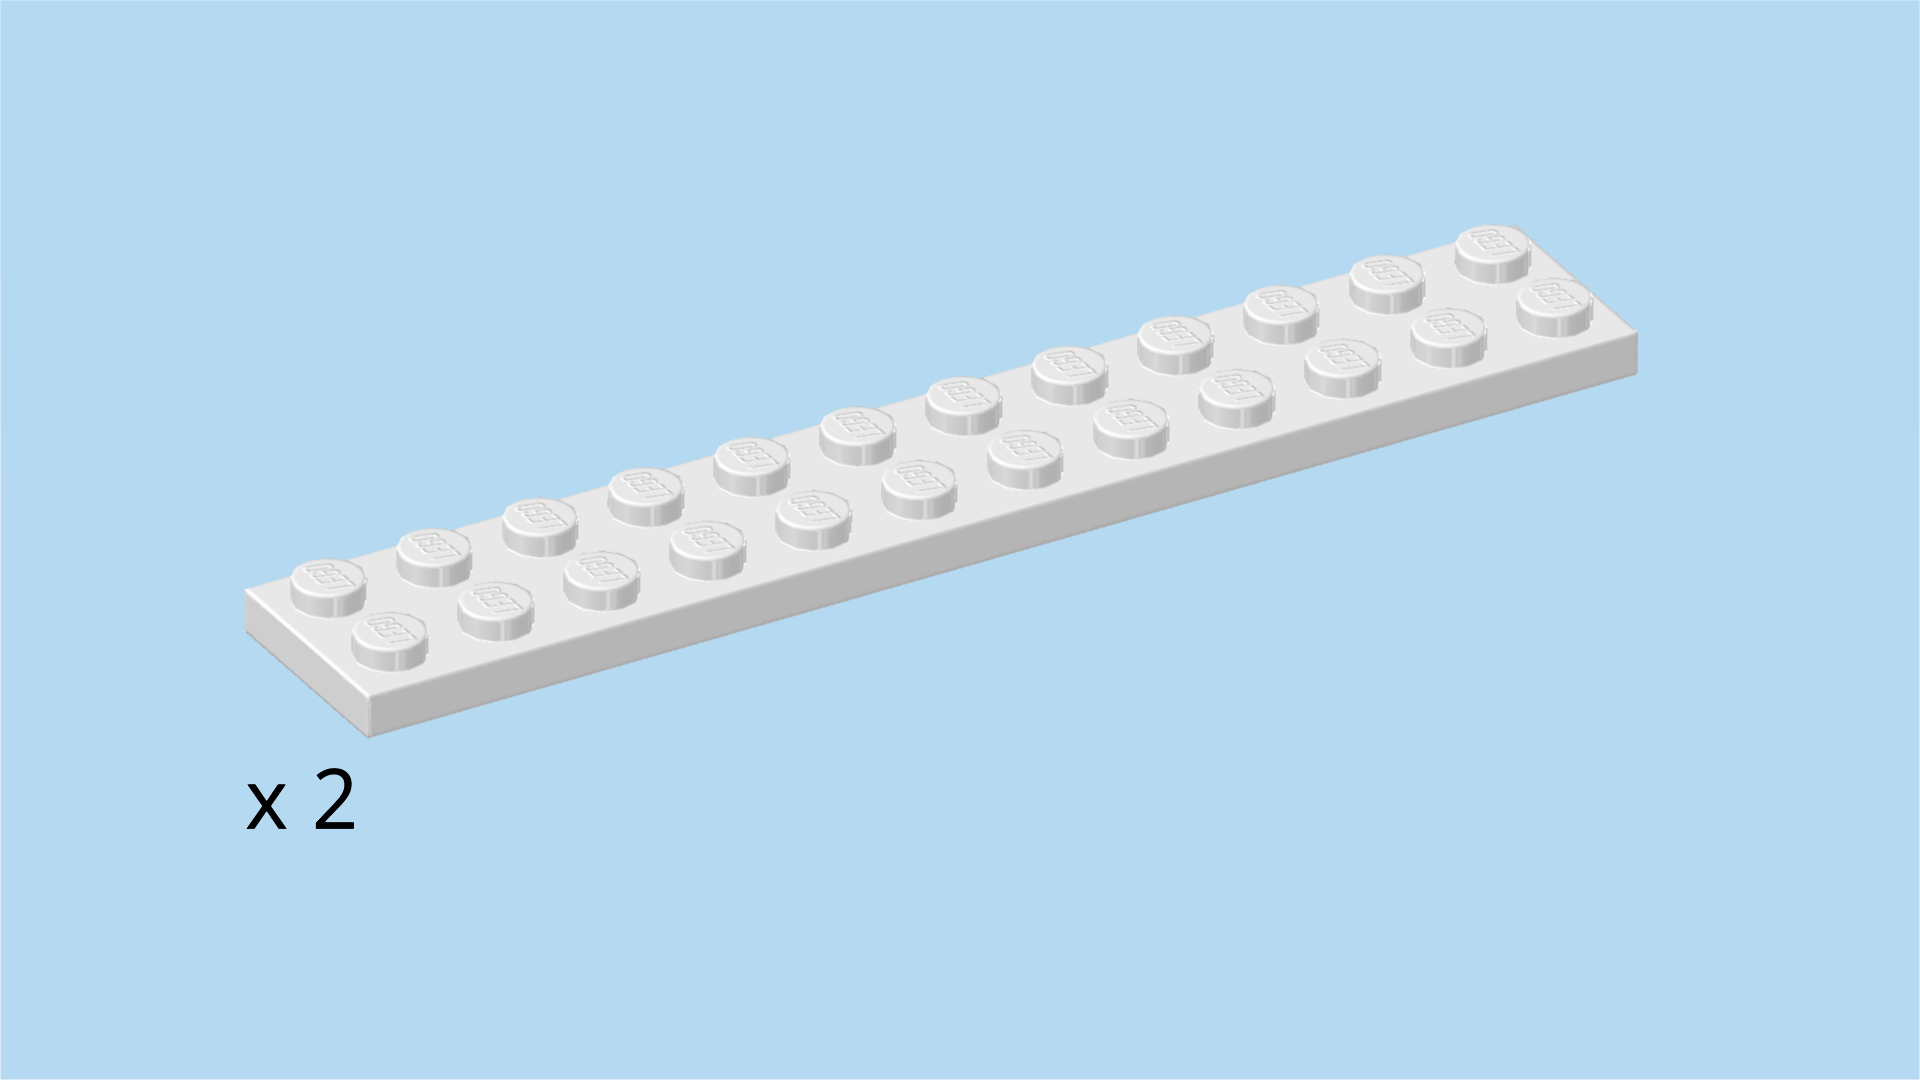
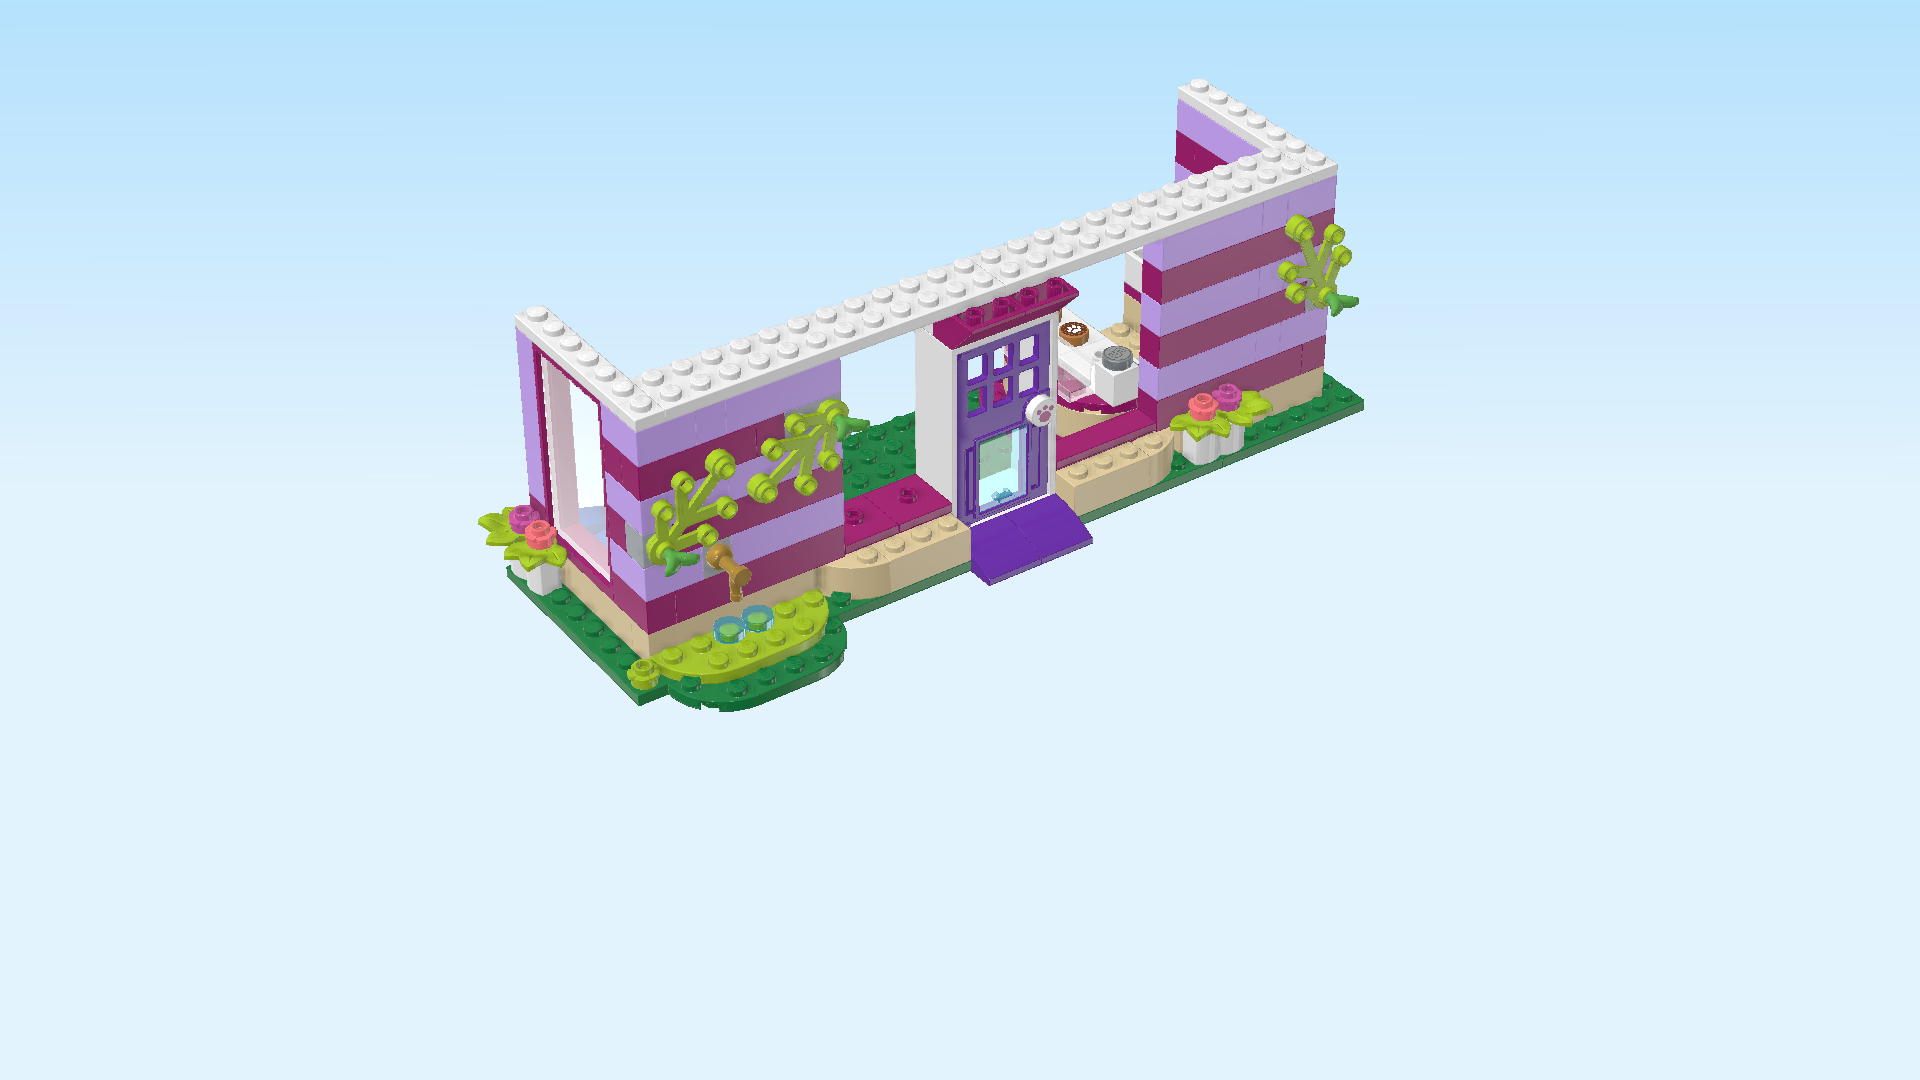
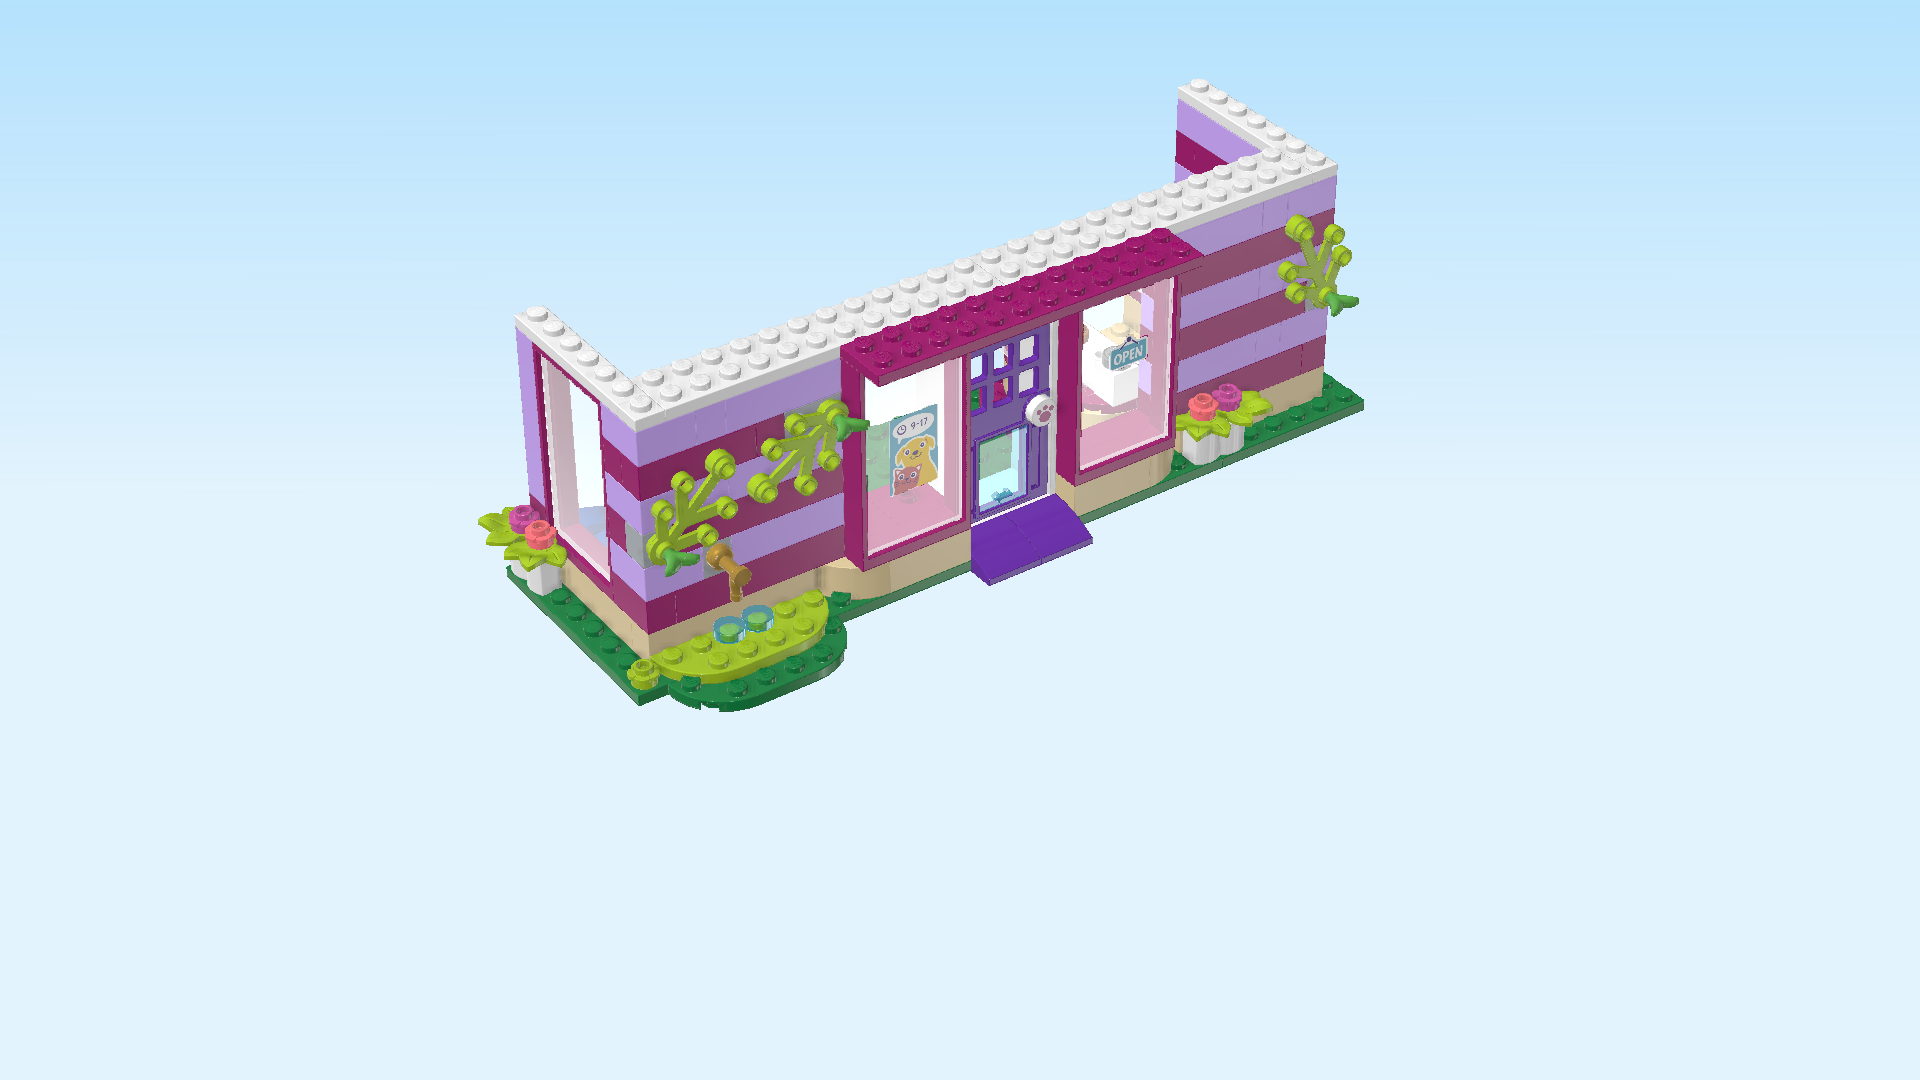
| Put 1 horizontally on the front wall on the left, 1 row overhanging to the back. Make sure that the leftmost wall knob remains empty since it has already been covered with a white plate in a previous step. |
| Put the other one horizontally to the right of the previous piece, 1 row overhanging to the back. |
| If done correctly, the front row of the 2 inverted roof tiles from the previous step remains empty. |
| Now, we will build the first of two front windows of the cafe. |
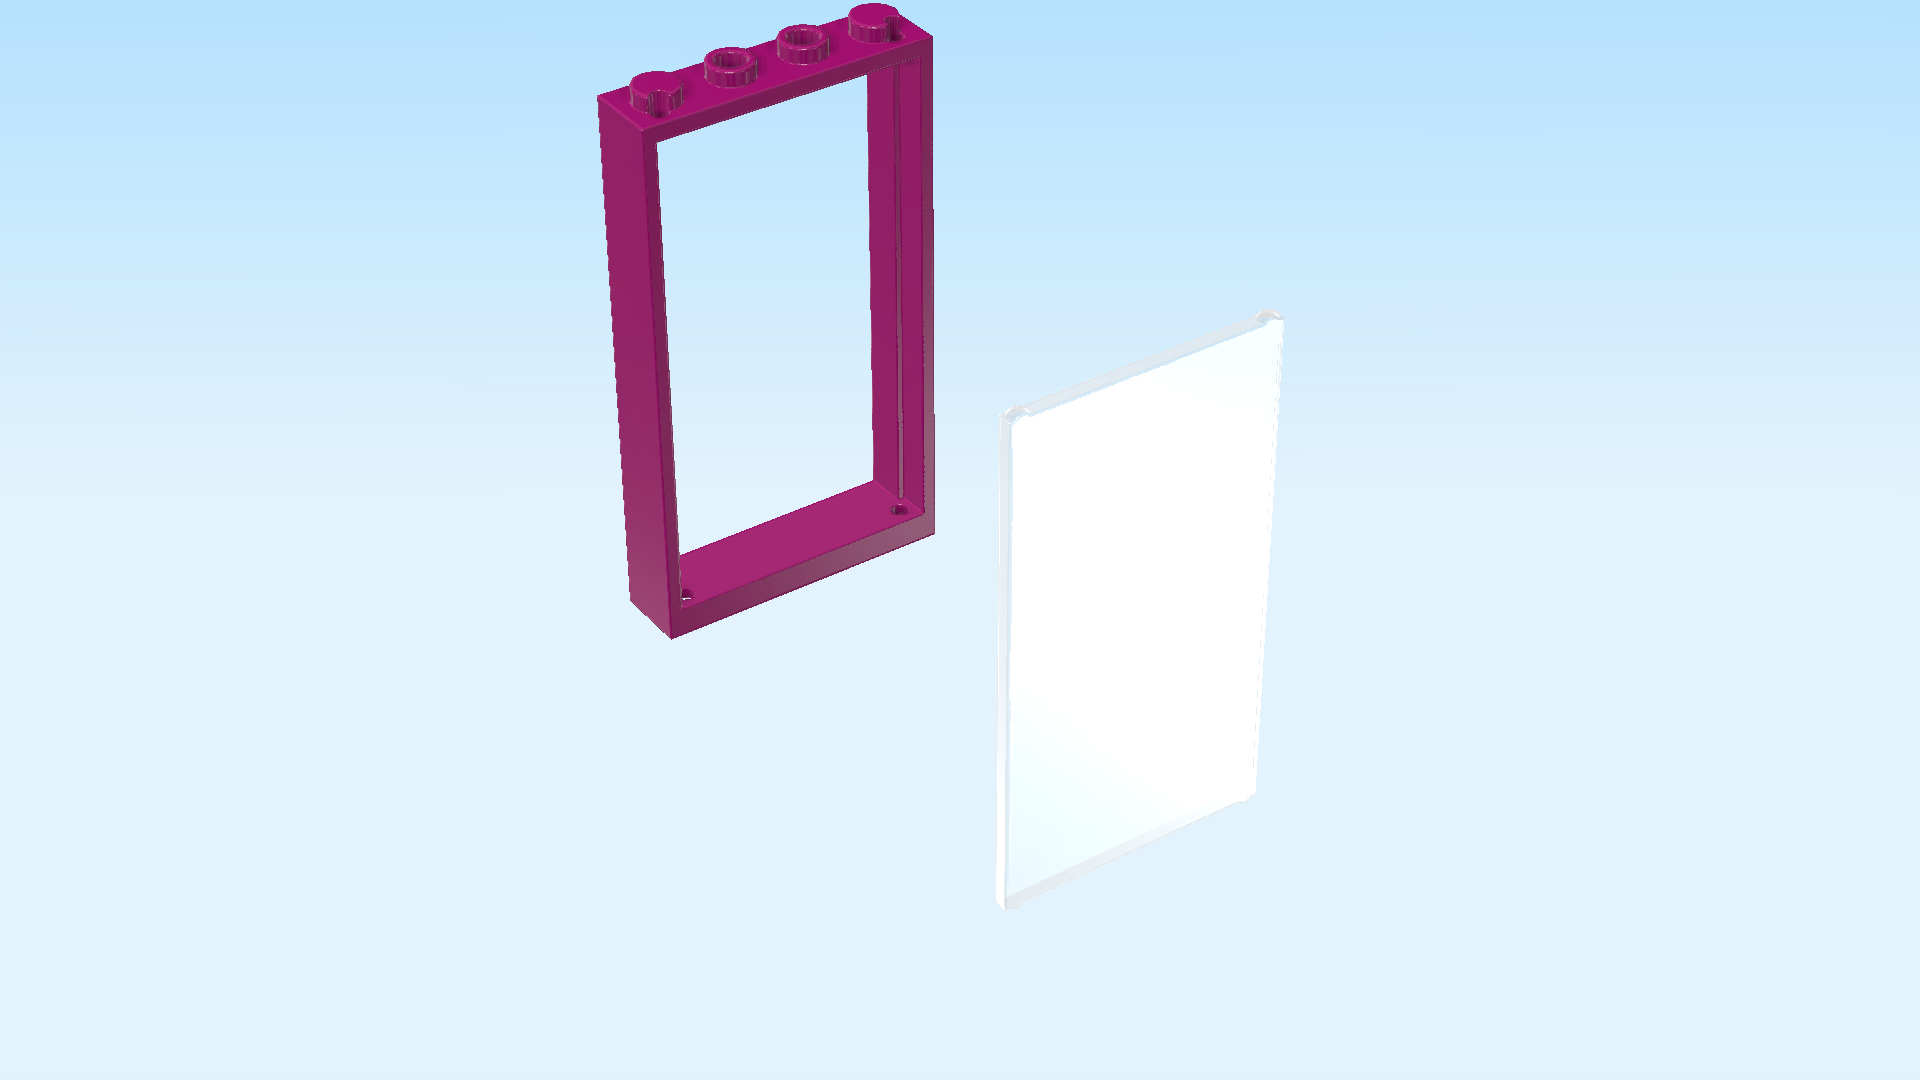
| Collect the following 2 pieces: |
| 1 purple violet door frame 1x4x6, |
| and 1 transparent glass for frame 1x4x6. |
| Put the frame 1x4x6 flat on the table, knobs to the back, inner notches to the top. |
| Snap the glass into the inner notches of the frame. |
| Continue if you want to decorate this piece with a sticker now. If not, skip the next 3 sentences. |
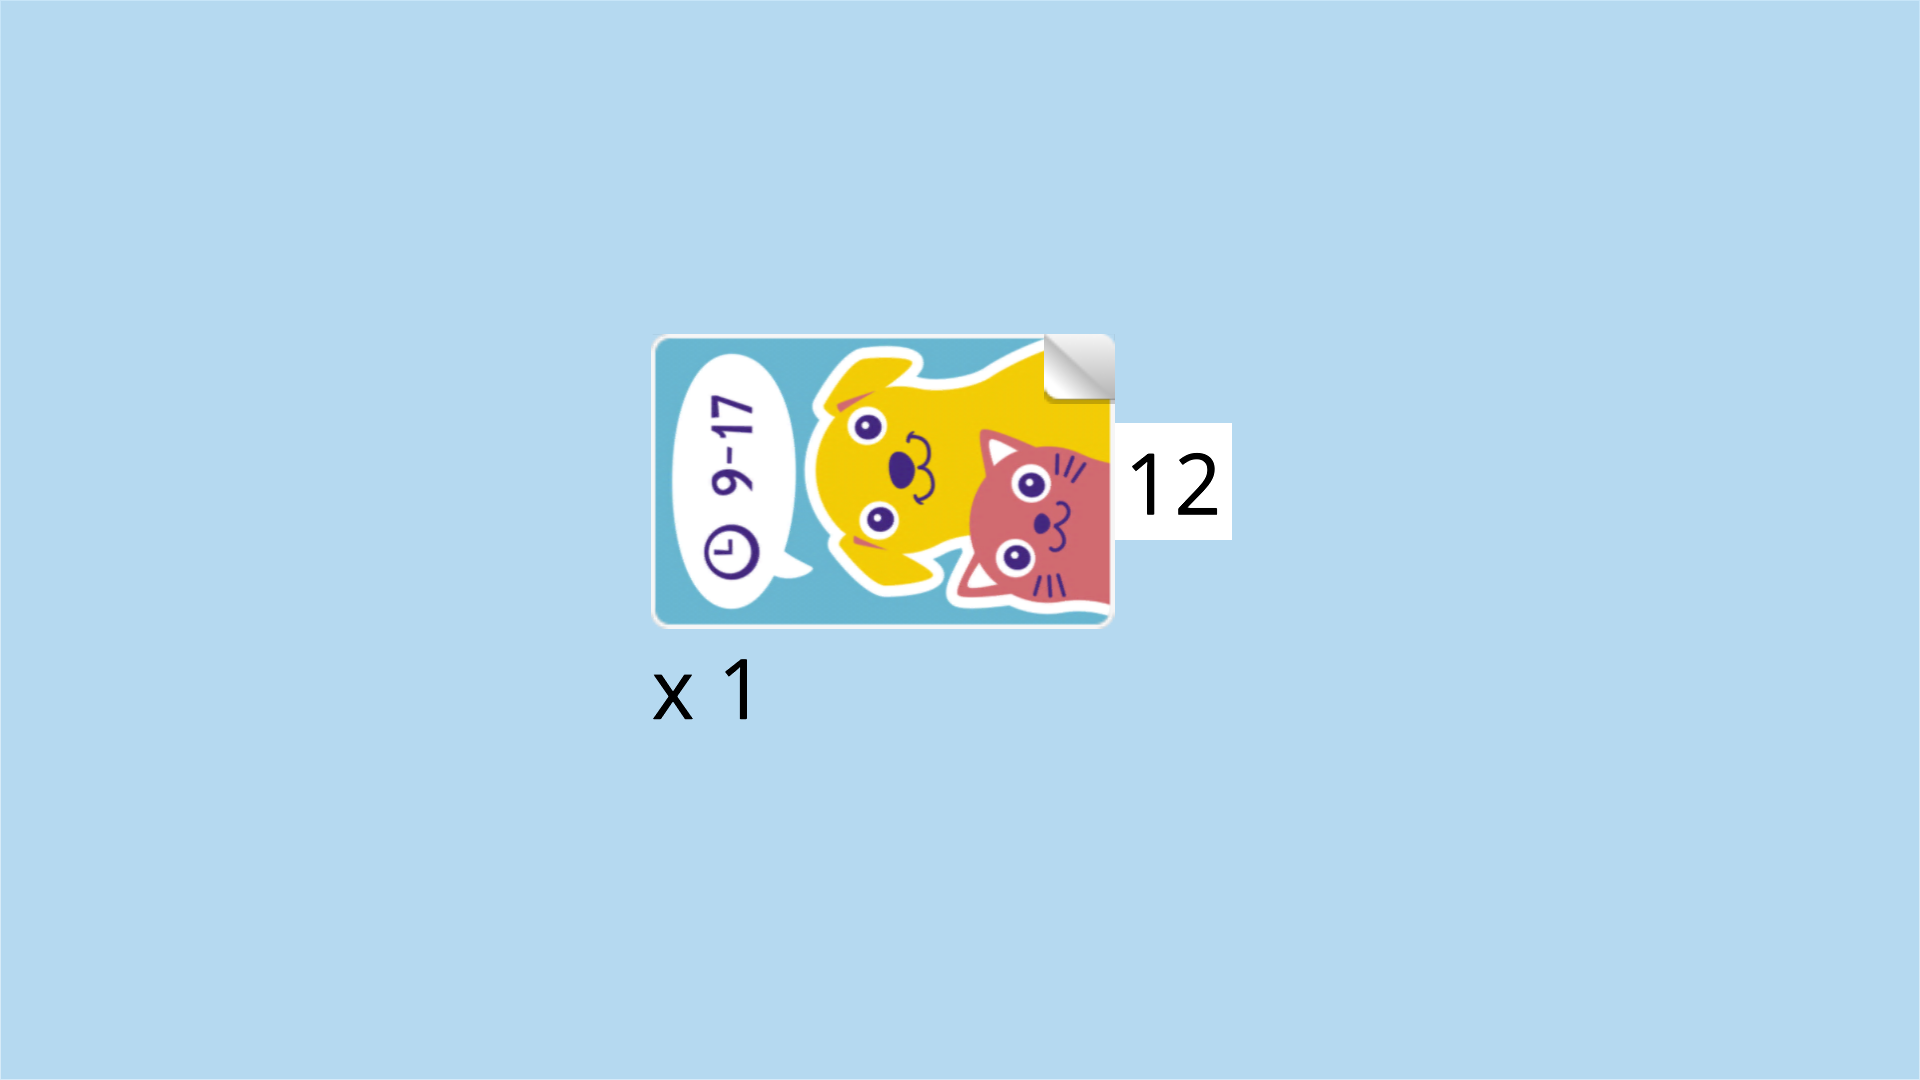
| Find 1 rectangular sticker number 12. |
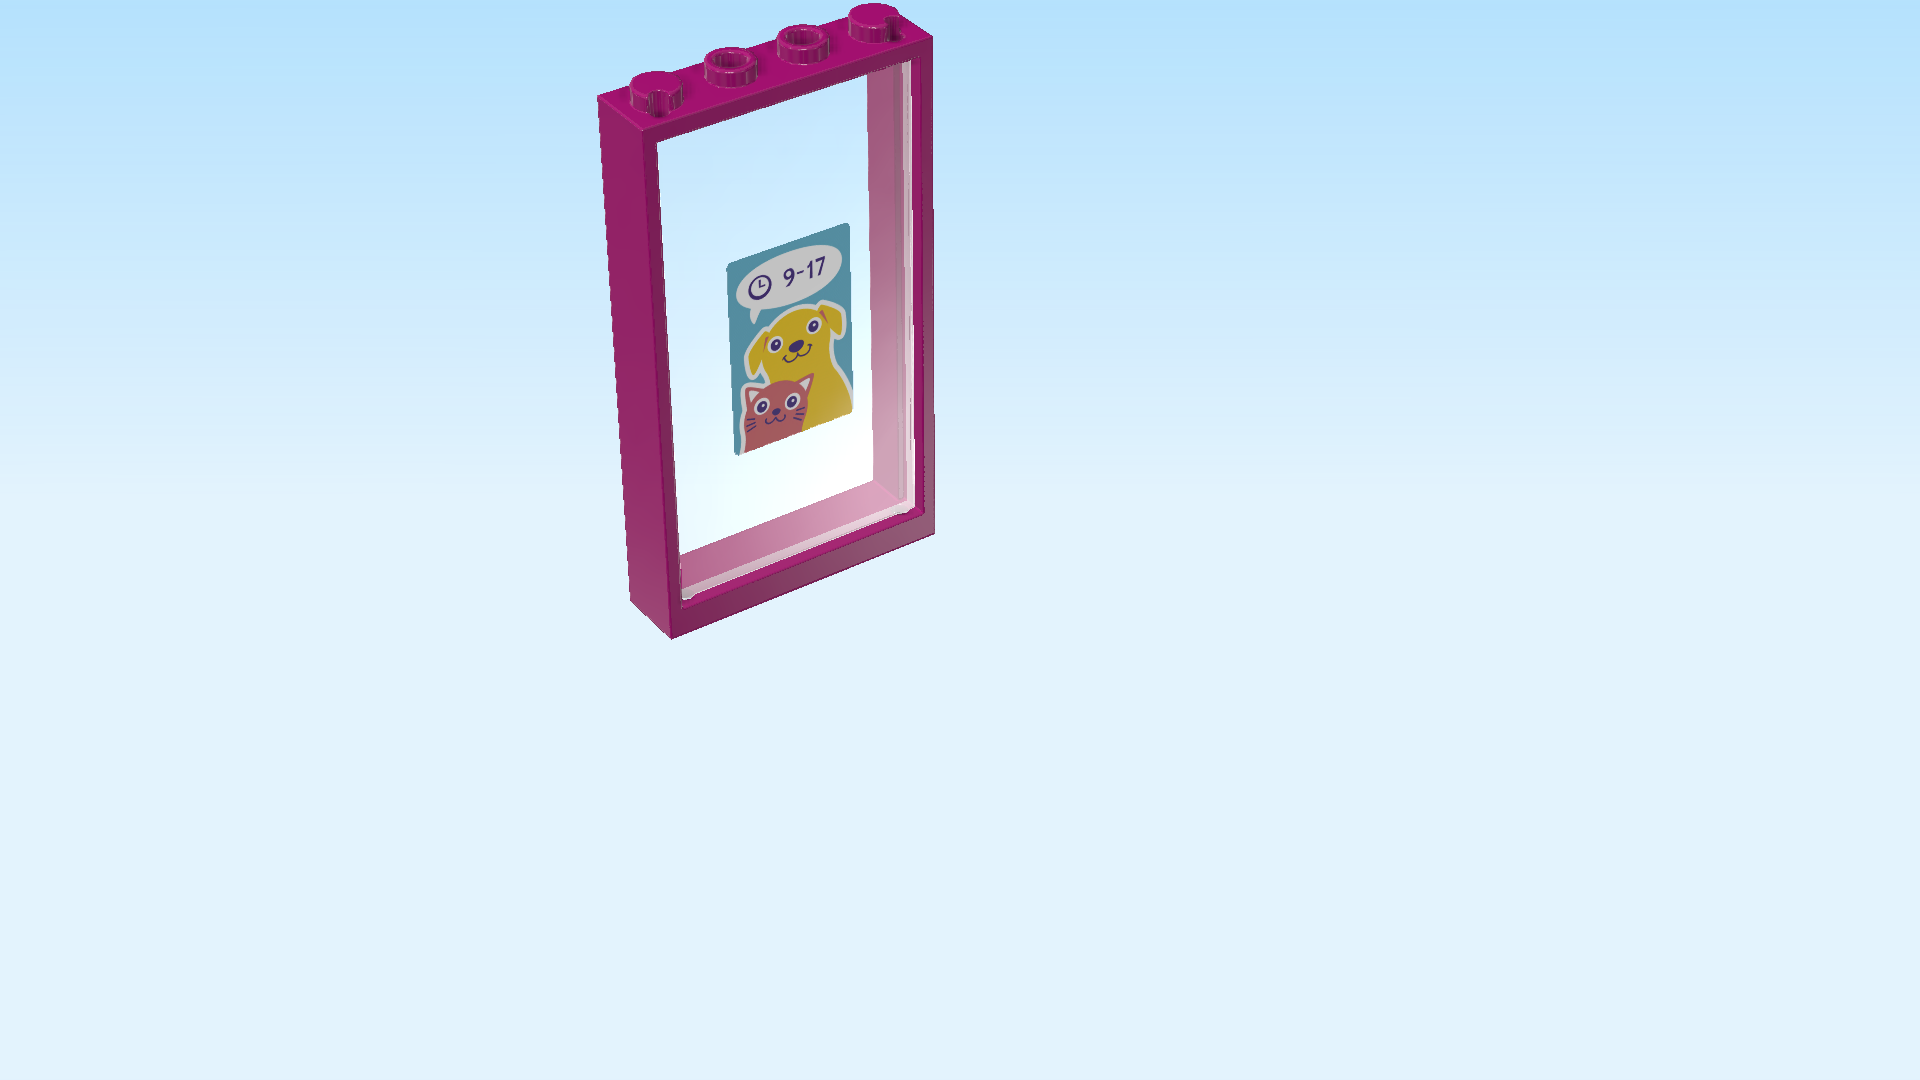
| Put it vertically in the middle of the window glass. |
| This sticker is a turquoise colored poster with a yellow dog and a red cat on it. There is a speech bubble above their heads with the opening hours of the cafe: 9 a.m. to 5 p.m. |
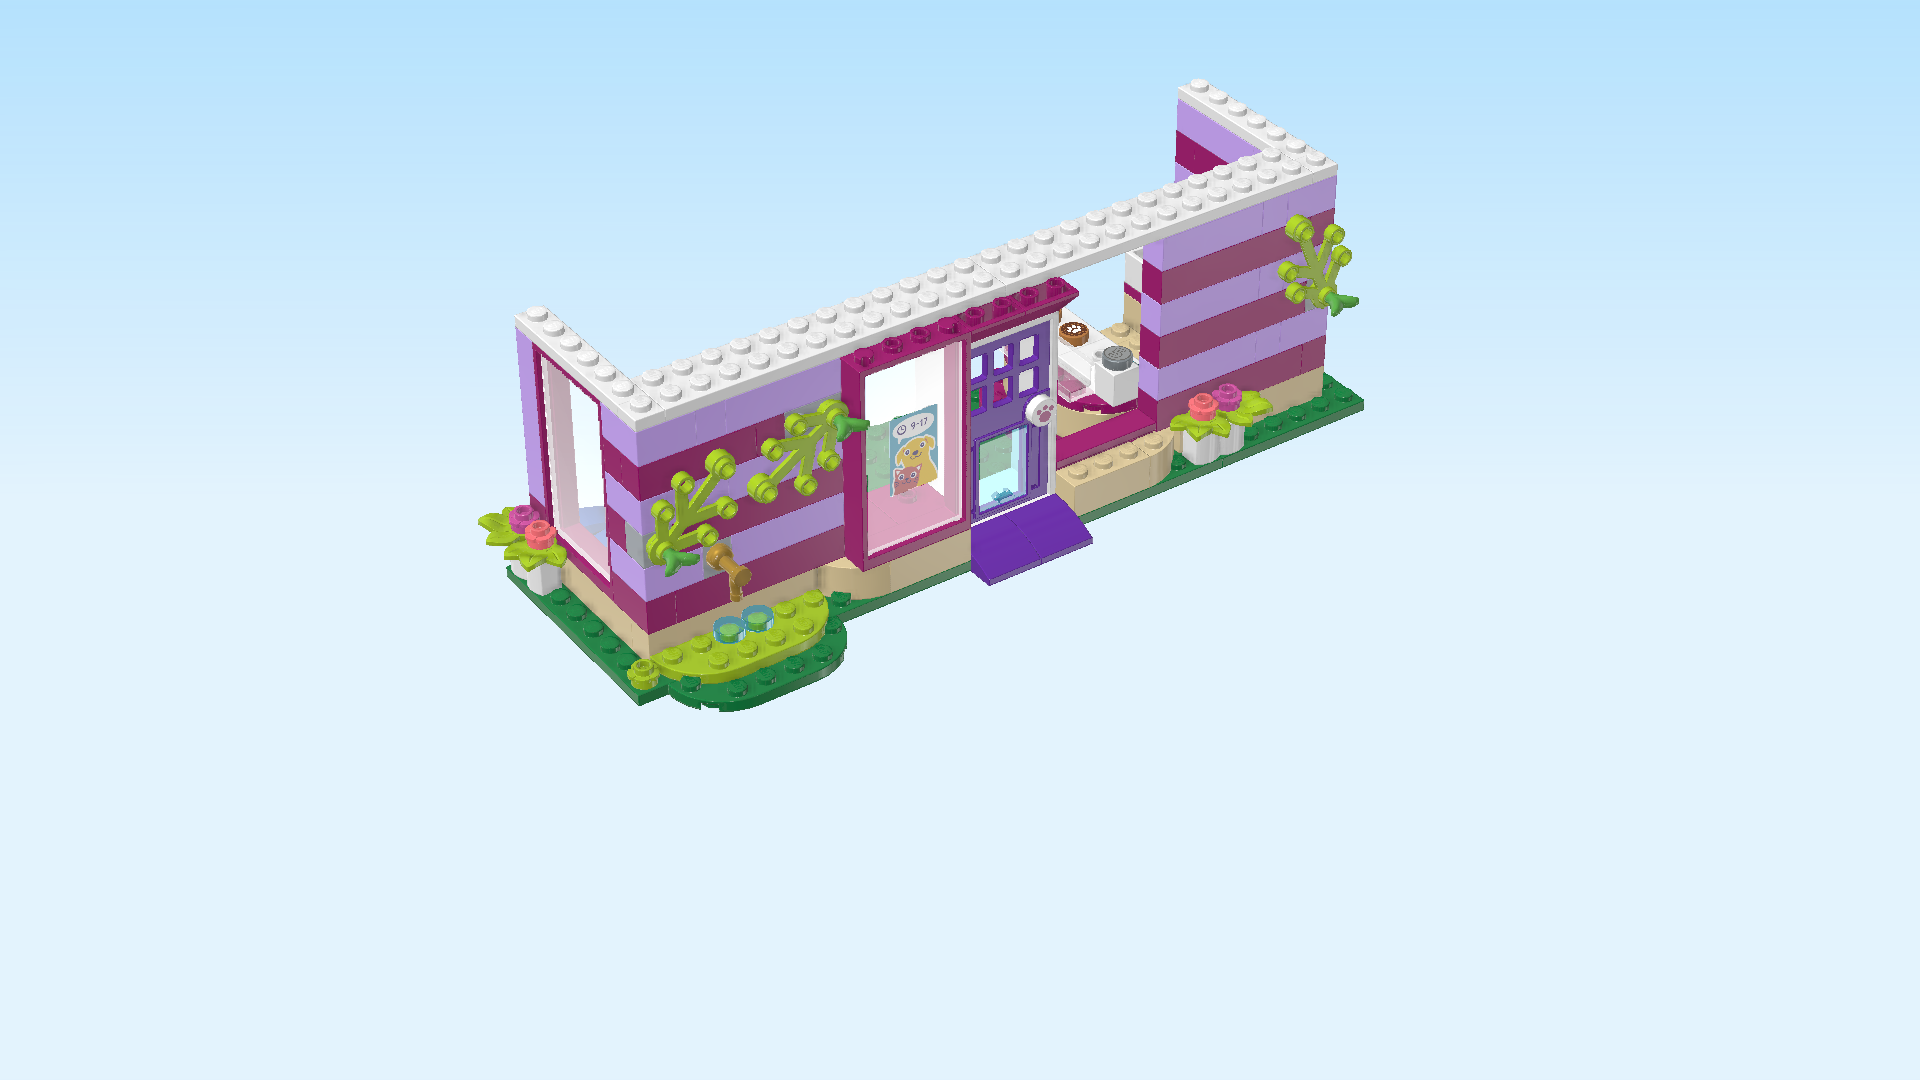
| The first of two front windows of the cafe is finished! Mount it on the frontmost row to the left of the front door, sticker to the front. |
| Next, we build the second front window. |
| Collect the following 2 pieces: |
| 1 purple violet door frame 1x4x6, |
| and 1 transparent glass for frame 1x4x6. |
| Put the frame 1x4x6 flat on the table, knobs to the back, inner notches to the top. |
| Snap the glass into the inner notches of the frame. |
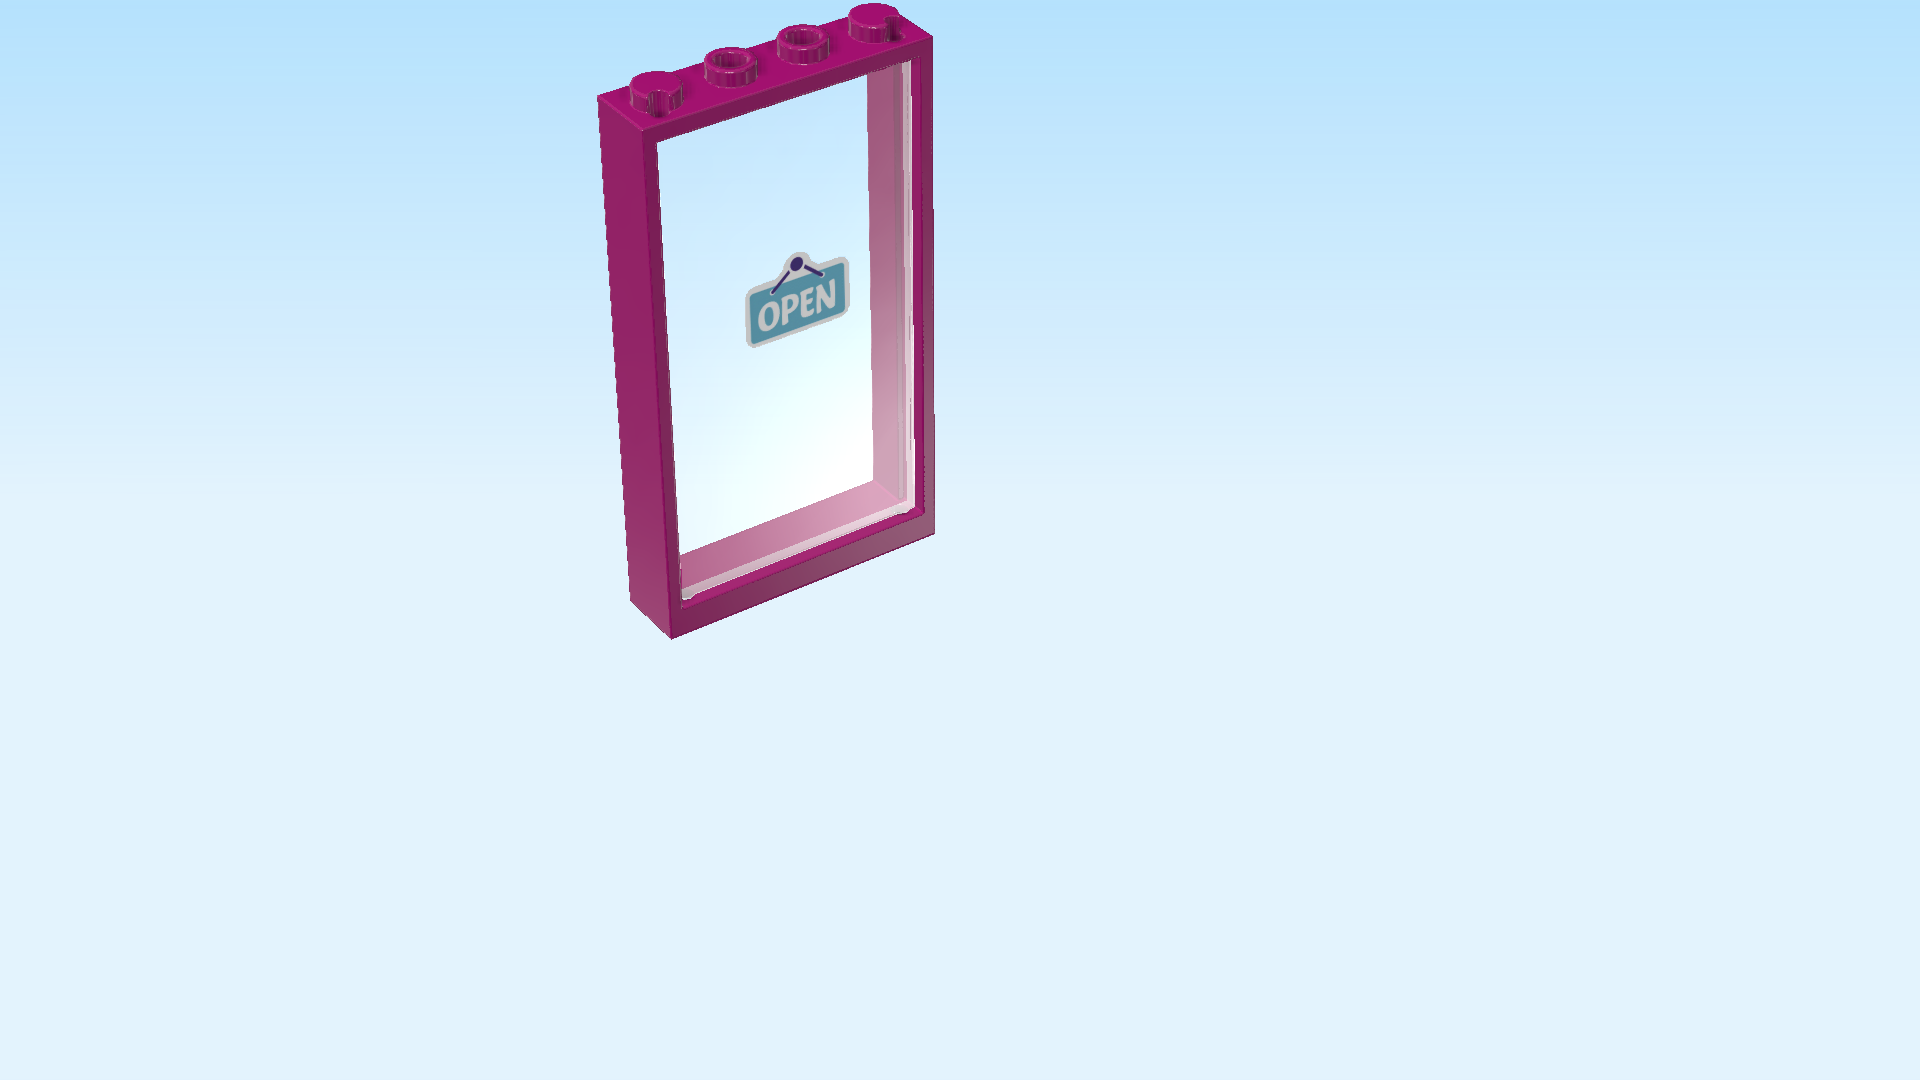
| Continue if you want to decorate this piece with a sticker now. If not, skip the next 3 sentences. |
| Find 1 small rectangular sticker number 5. |
| Put it horizontally in the center of the window glass. |
| The sticker has a light-blue background mimicking window glass with an azure blue shop sign on it that reads "OPEN" in white all-capital letters. |
| The second front window is finished! Well done! Put it on the frontmost row to the right of the front door, sticker to the front. |
| Find 1 purple violet plate 2x12. |
| Put it horizontally on the front windows and the frontmost knobs of the cafe door, 1 row overhanging to the front. |
| This plate 2x12 is the base for the awning. We will get to that in a bit. |
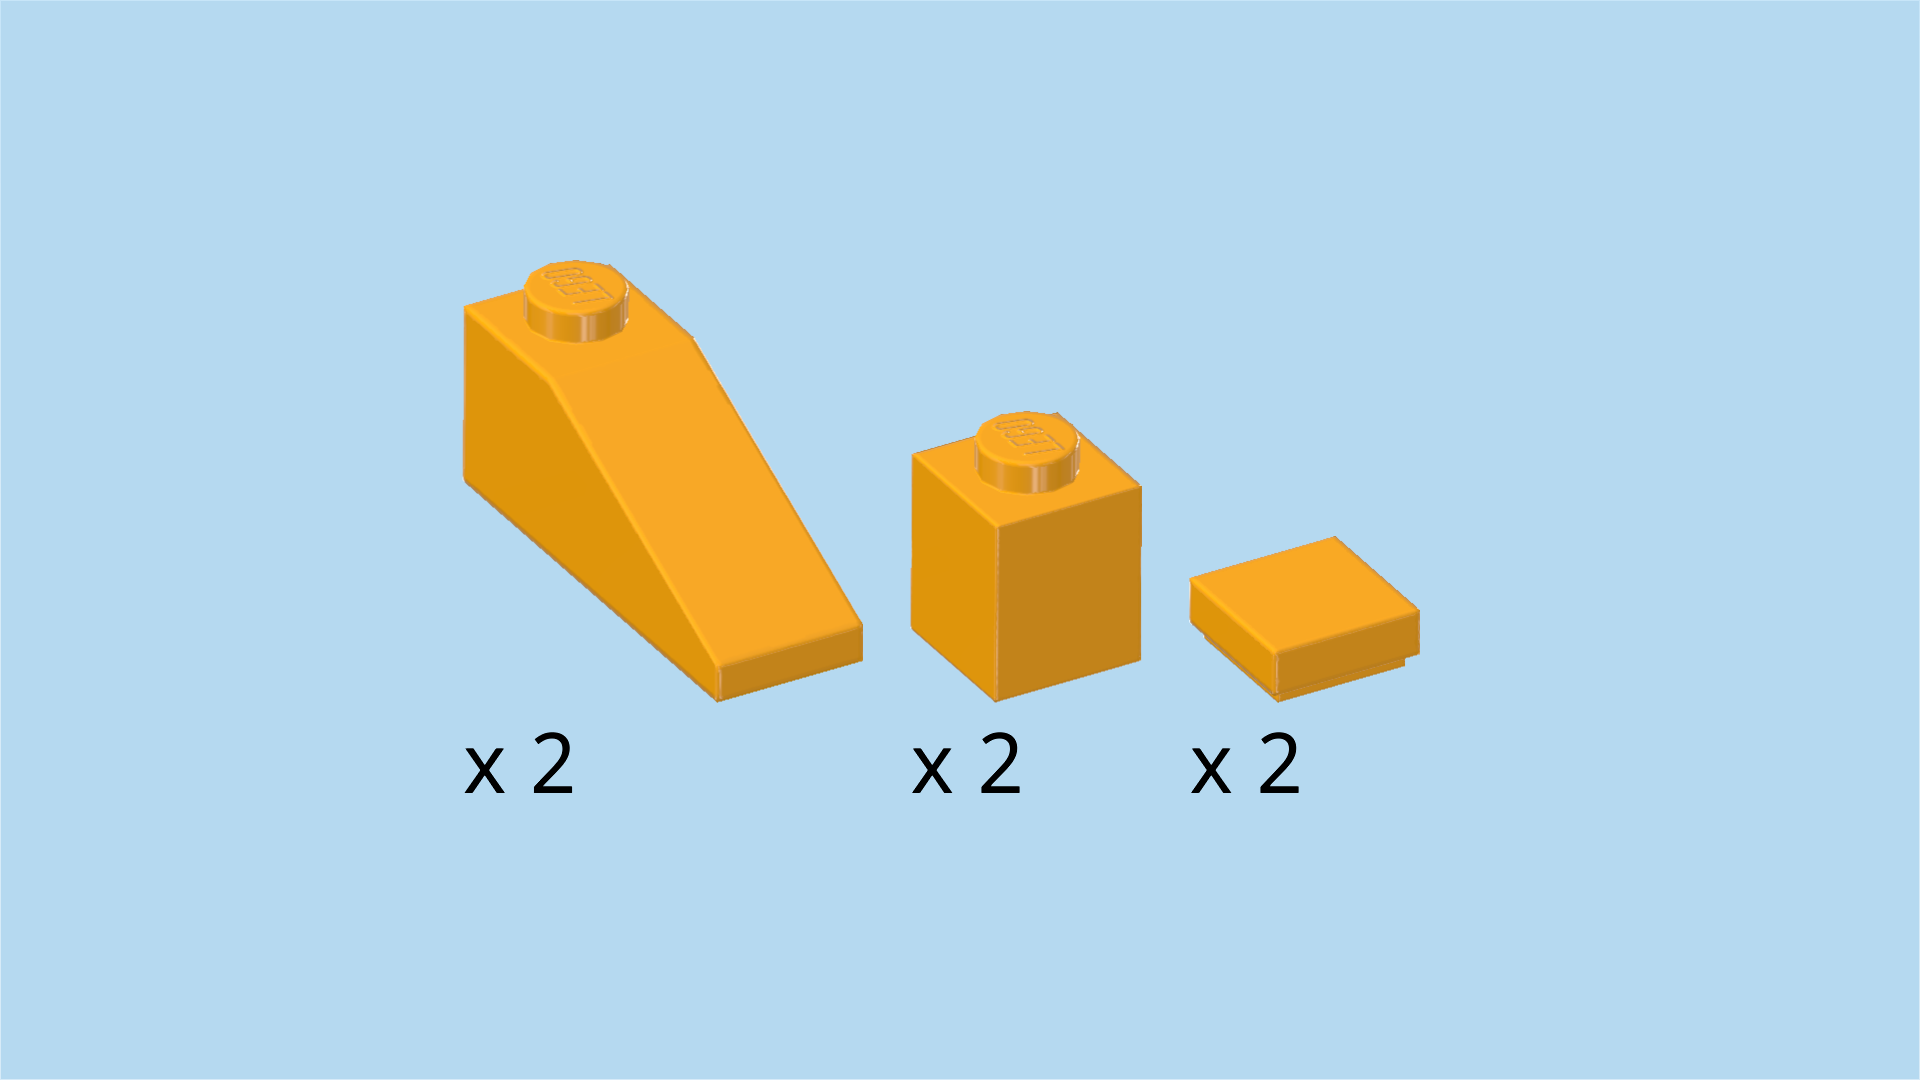
| Collect the following 6 pieces: |
| 2 flame yellowish orange roof tiles 1x3, 25°, |
| 2 flame yellowish orange flat tiles 1x1, |
| and 2 flame yellowish orange bricks 1x1. |
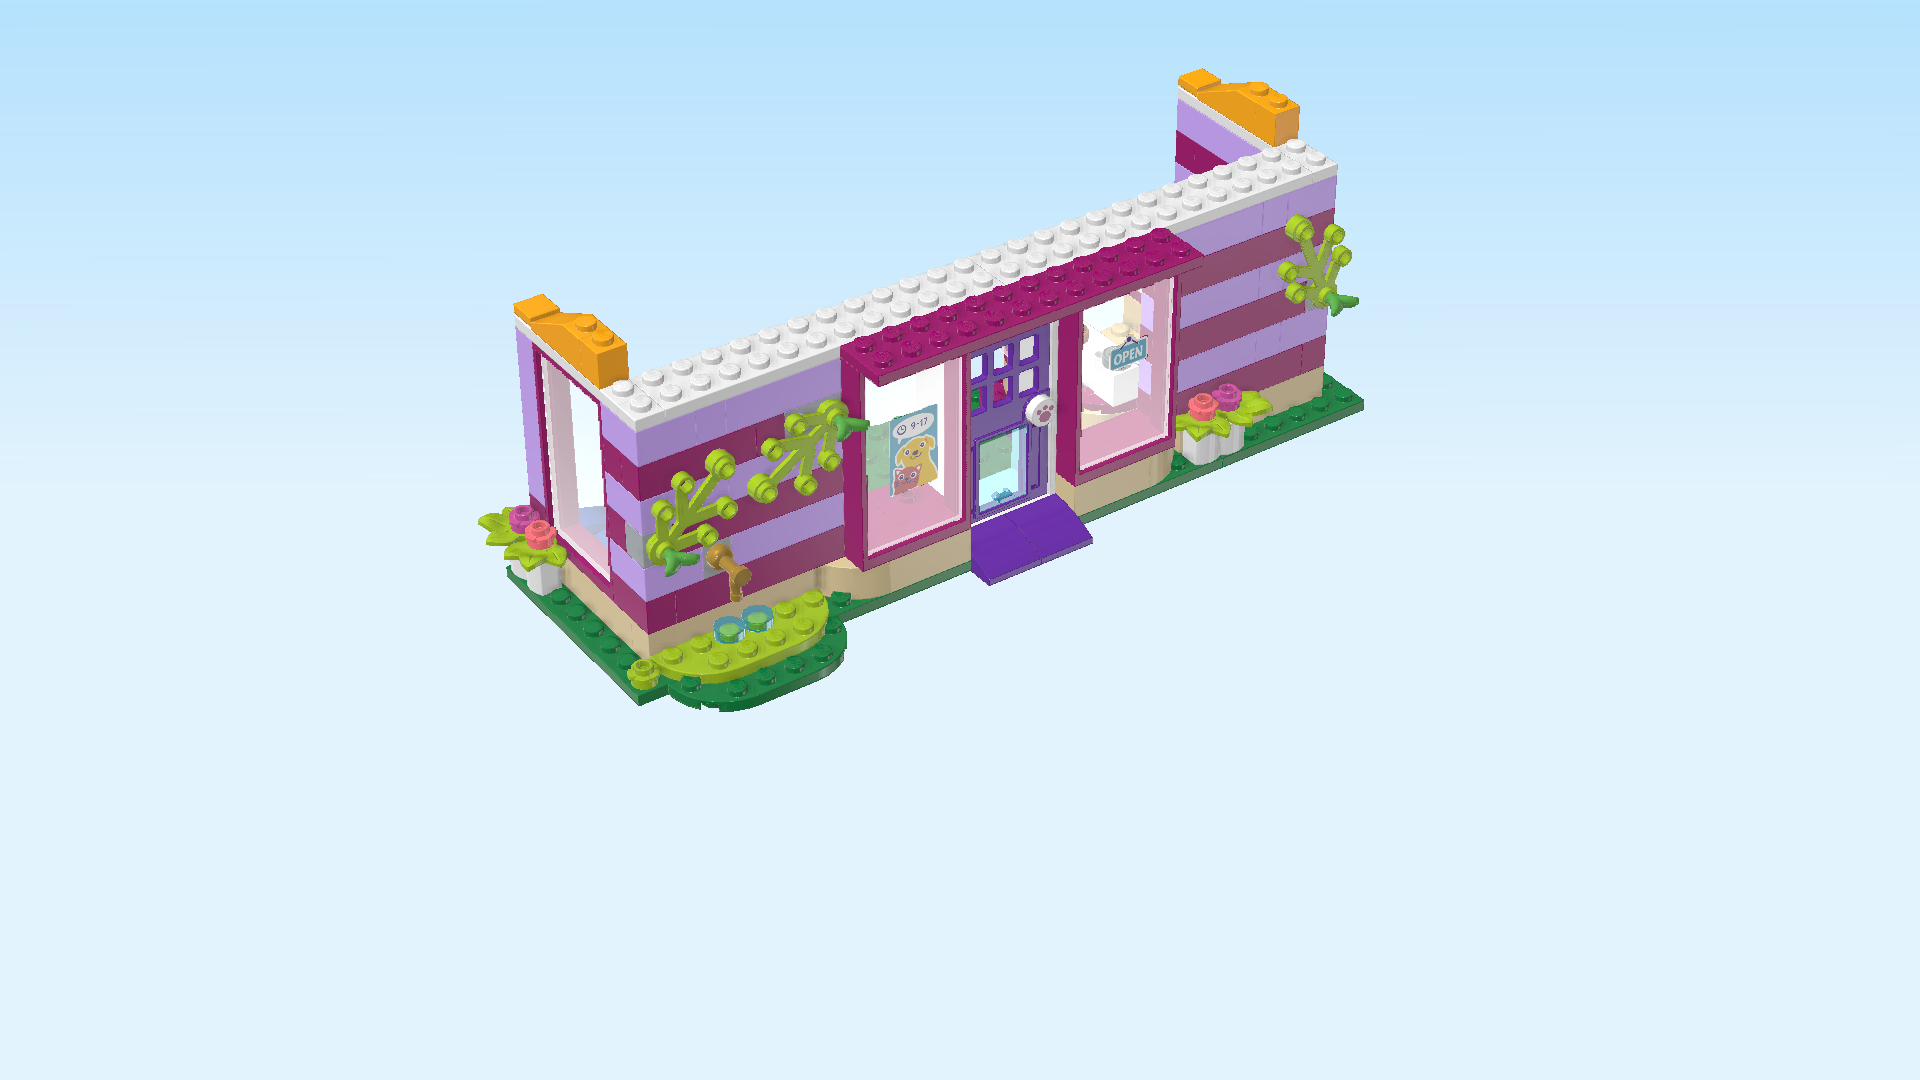
| Put 1 flat tile 1x1 on the backmost knob of the right side wall. |
| Put 1 roof tile 1x3 vertically in front of the previous piece, slope to the back. |
| Put 1 brick 1x1 in front of the previous piece. |
| Repeat symmetrically on the left side wall: flat tile 1x1 on the backmost knob, roof tile 1x3 vertically in front, slope to the back, brick 1x1 in front. |
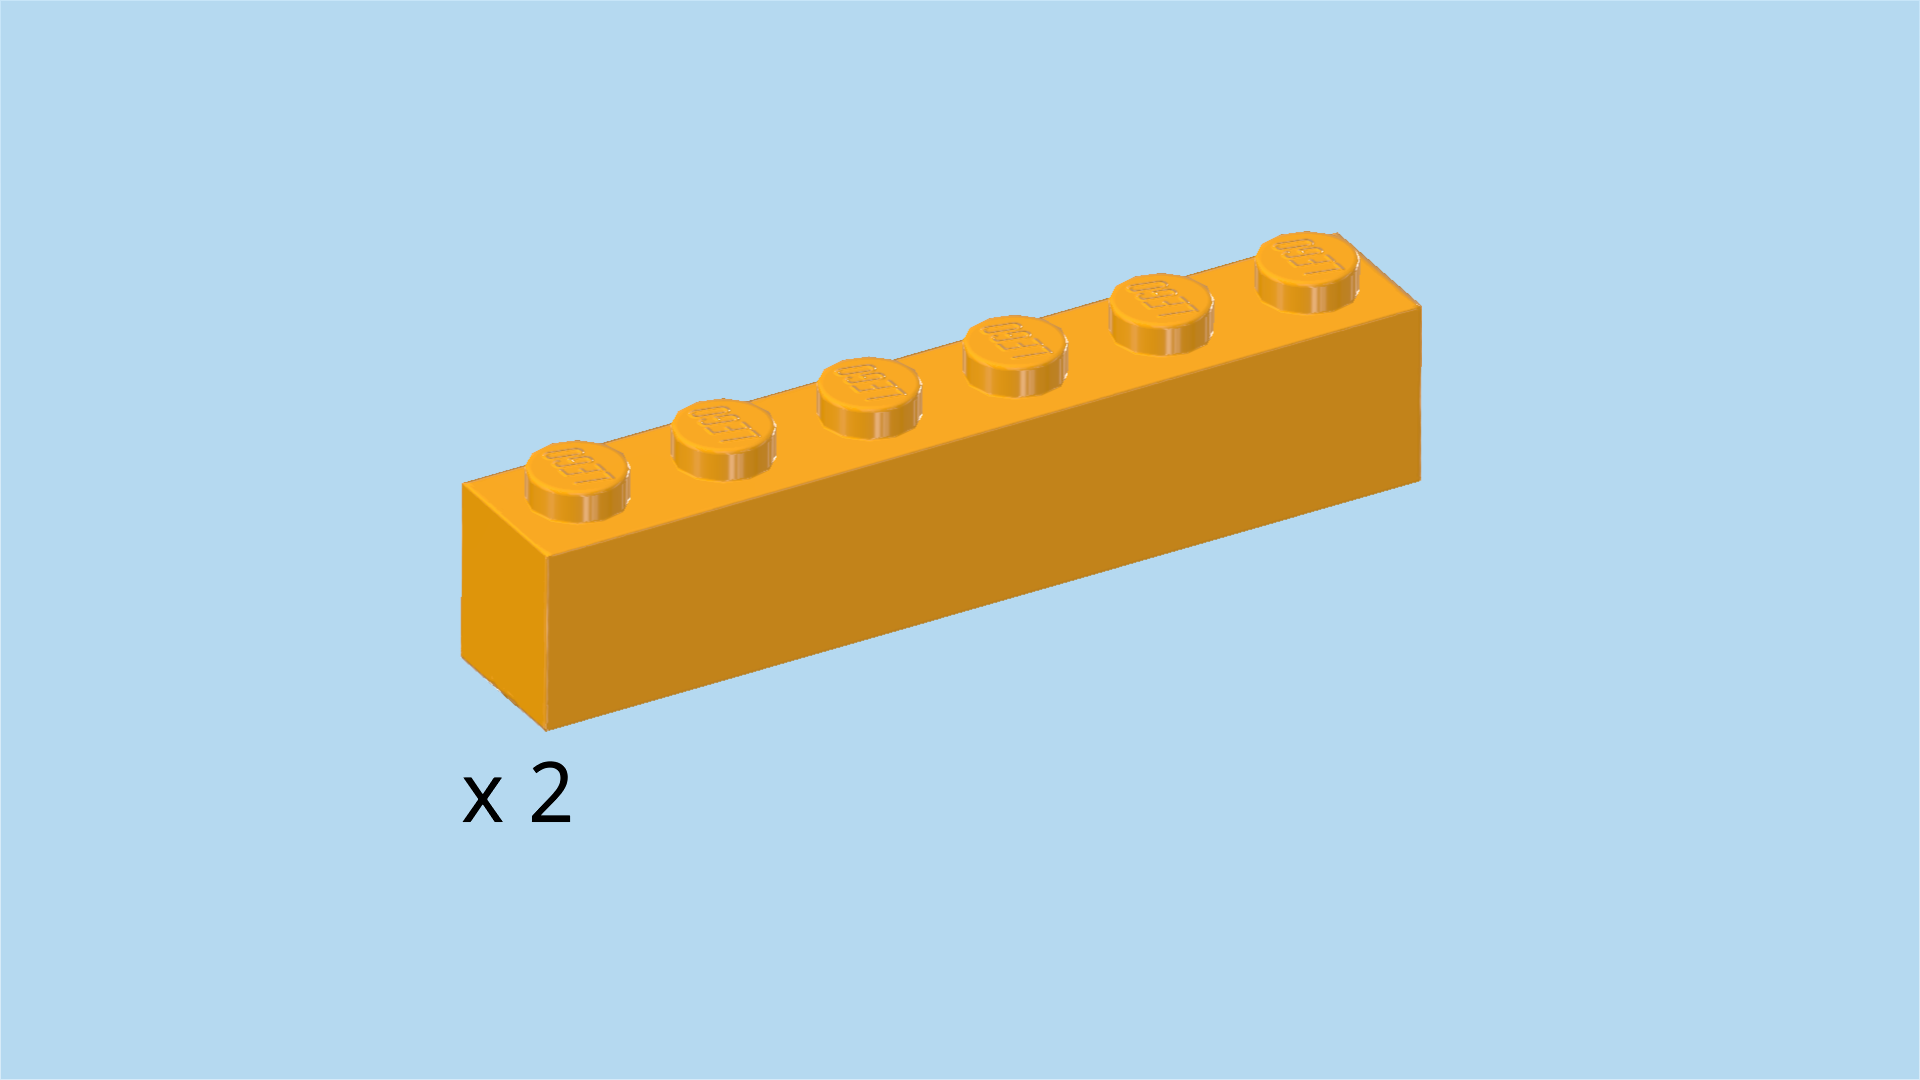
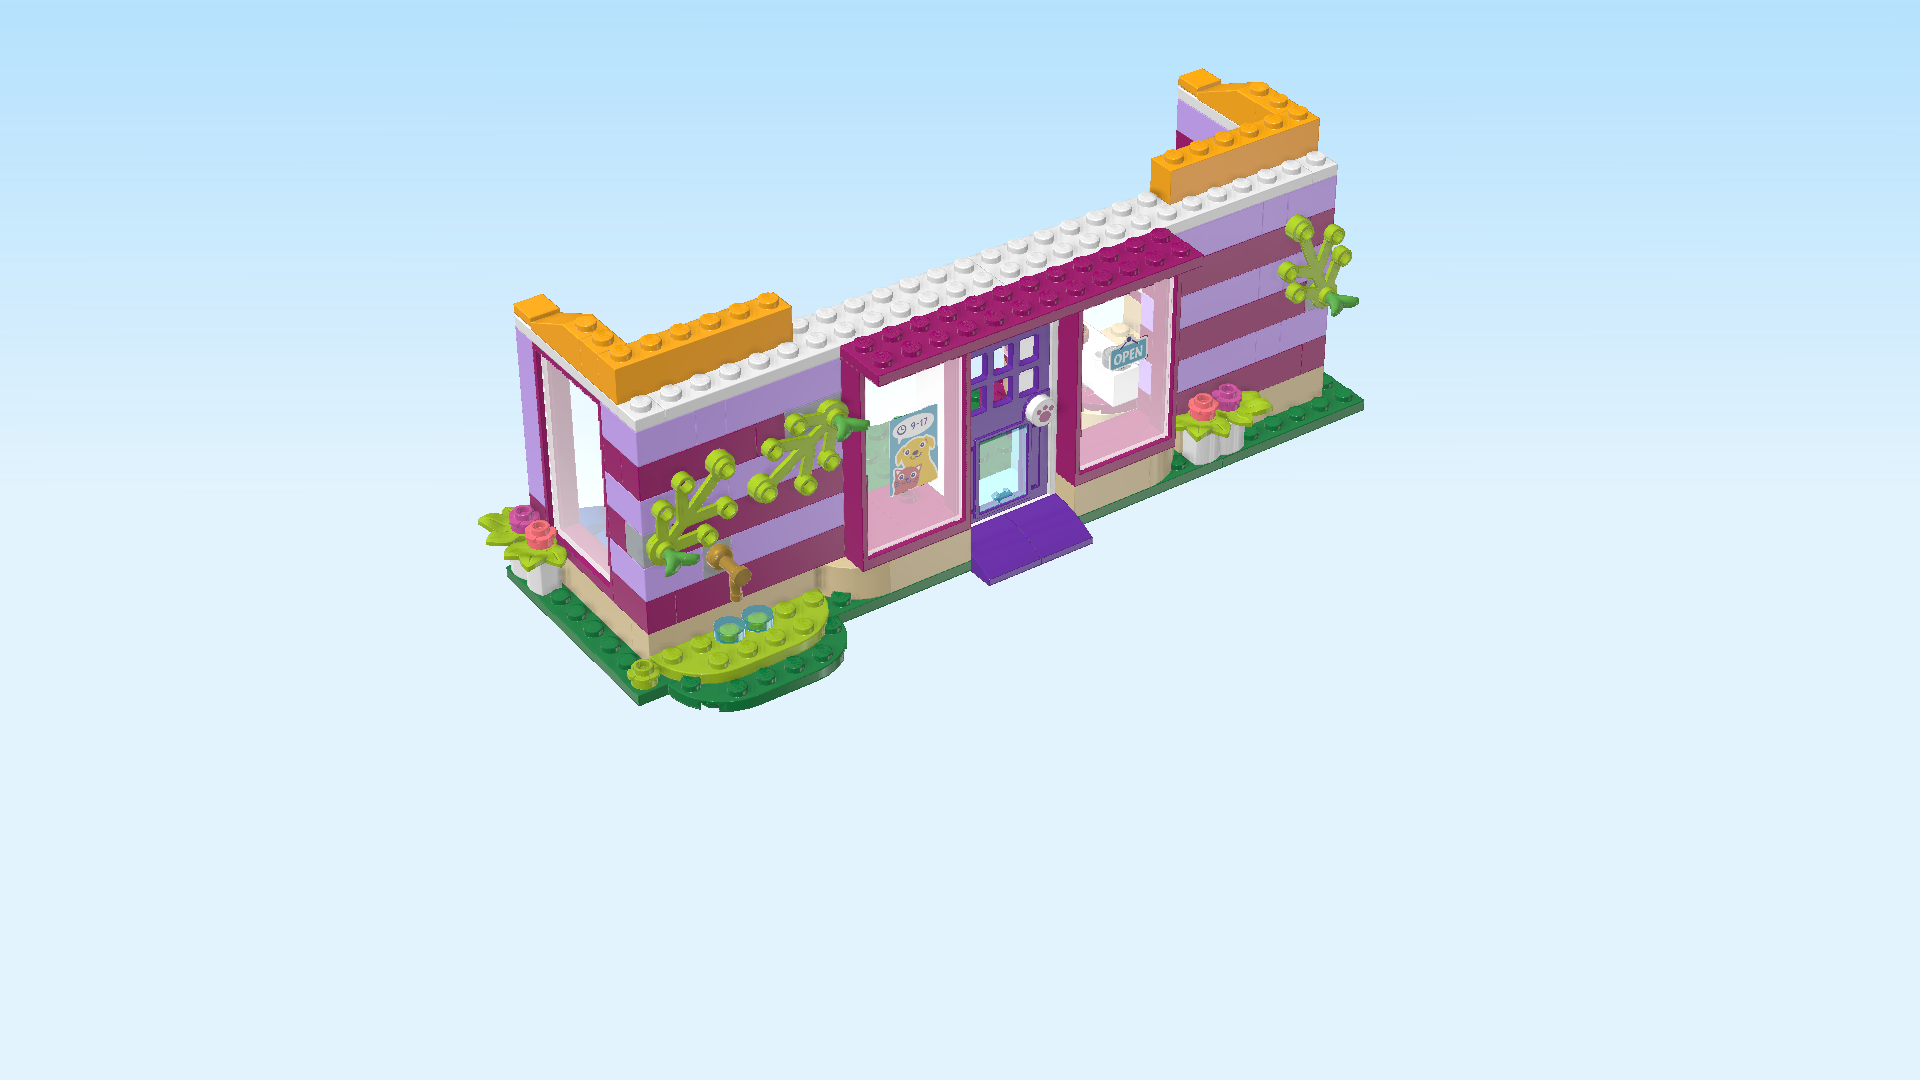
| Find 2 flame yellowish orange bricks 1x6. |
| Put 1 horizontally in front of the previous piece. |
| Repeat symmetrically on the right. |
| There will be 1 empty row in front of these pieces. This is correct! |
| Collect the following 3 pieces: |
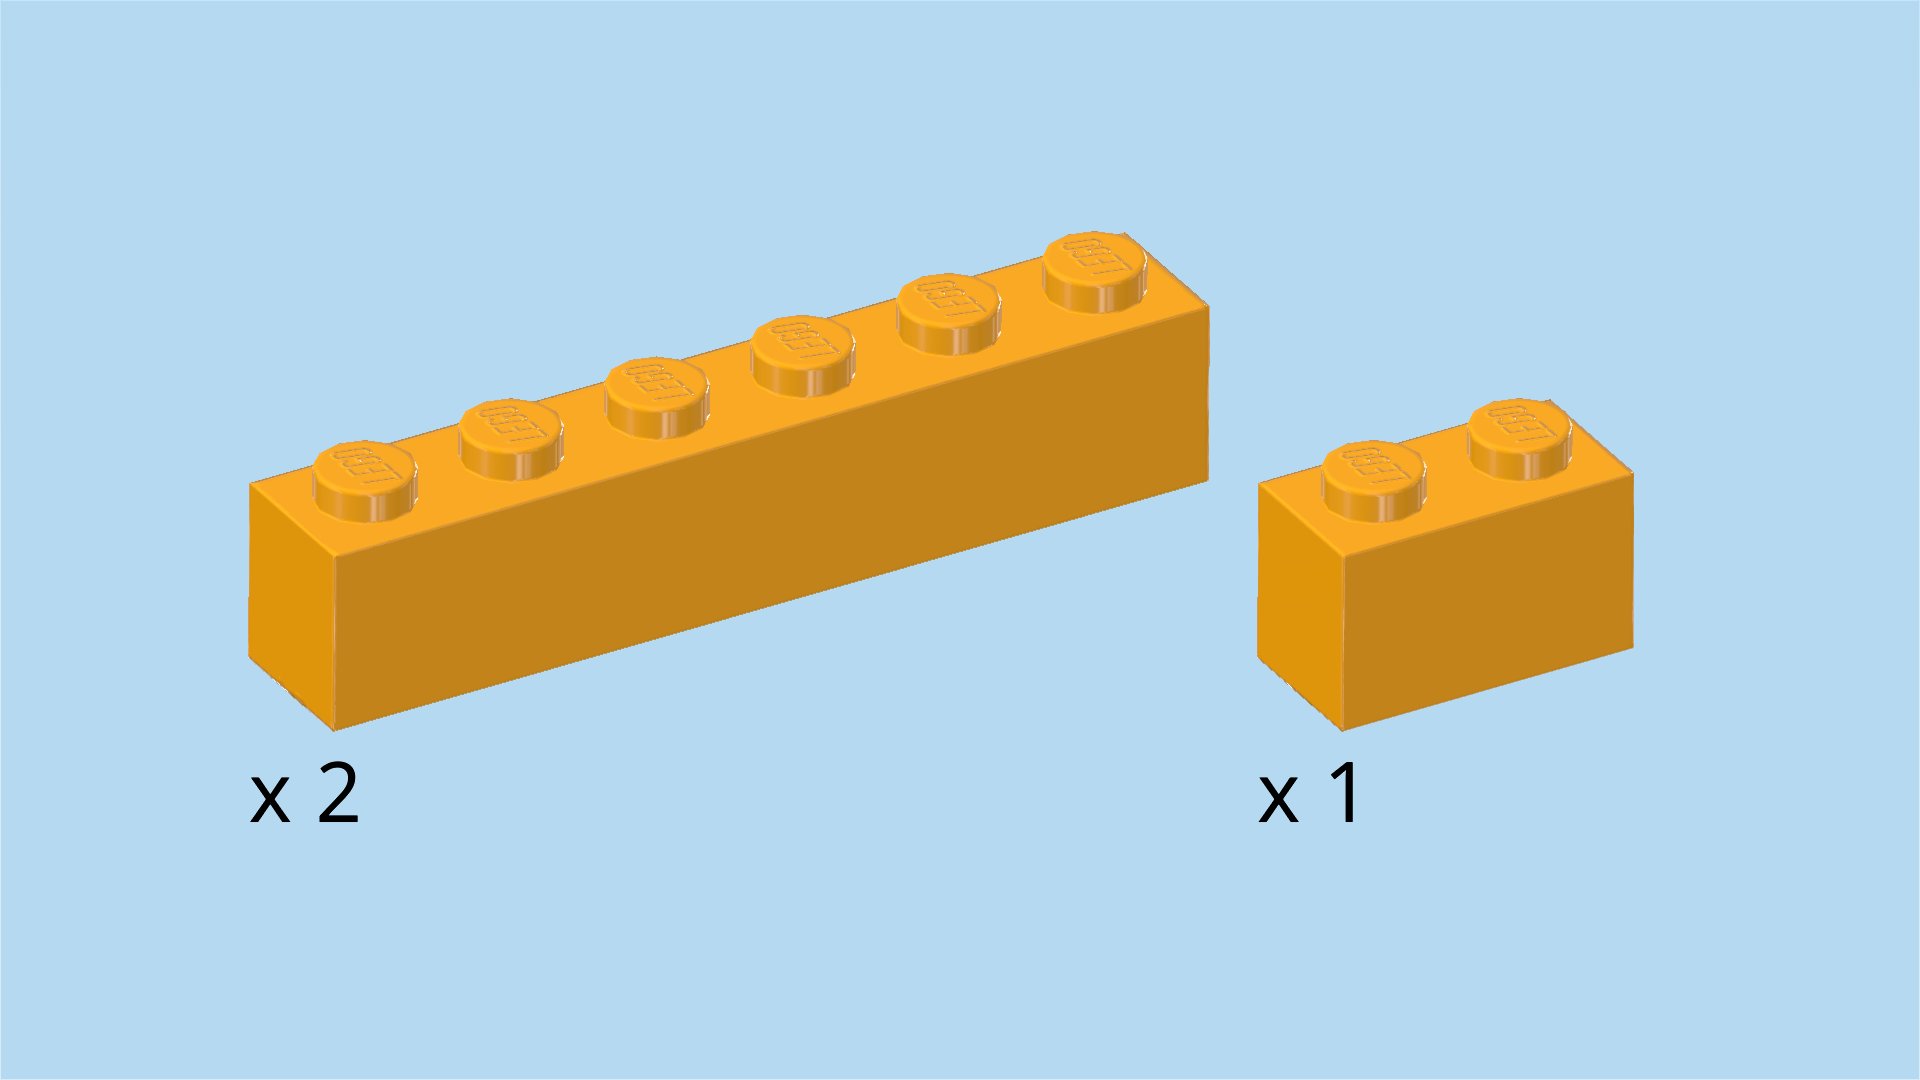
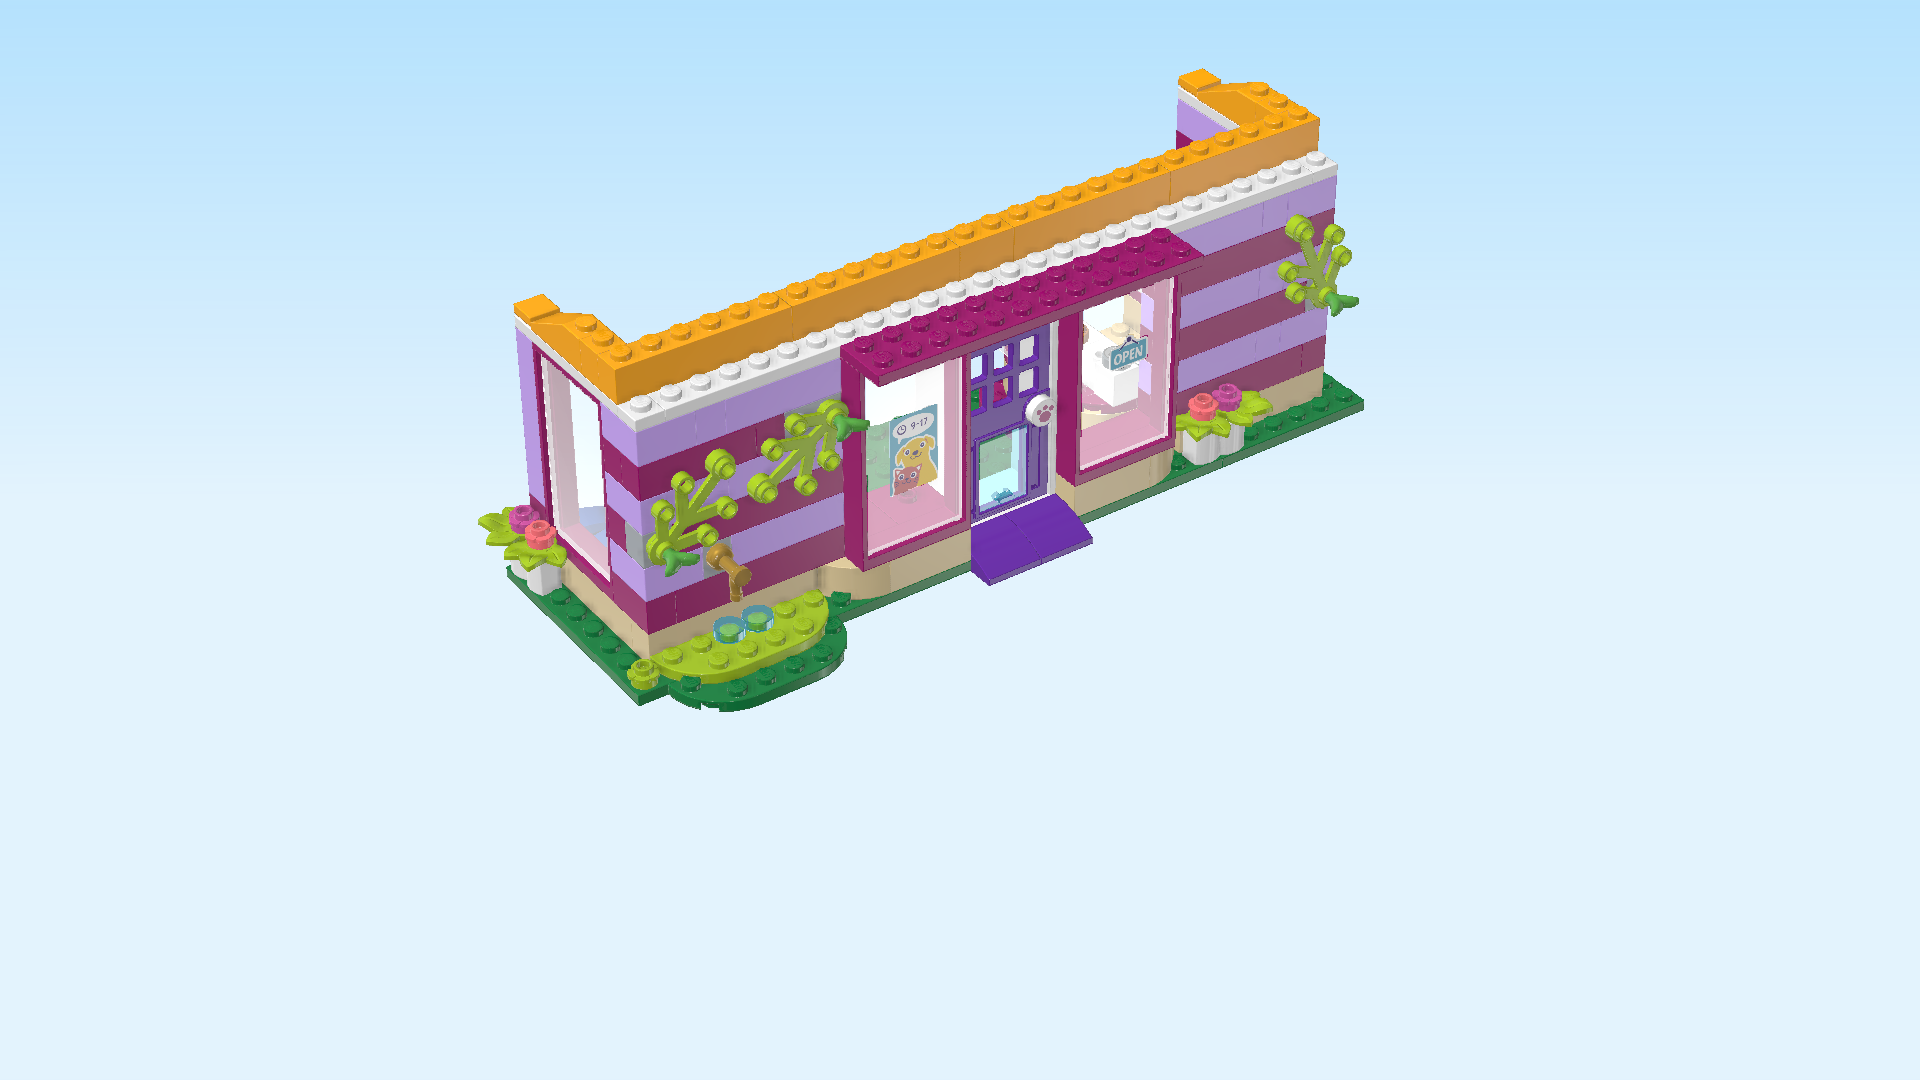
| 2 flame yellowish orange bricks 1x6, |
| and 1 flame yellowish orange brick 1x2. |
| Put 1 brick 1x6 horizontally to the left of the previous piece. |
| Put the brick 1x2 horizontally to the left of the previous piece. |
| Put the other brick 1x6 horizontally to the left of the previous piece. If done correctly, there should be 1 full row of bricks now. |
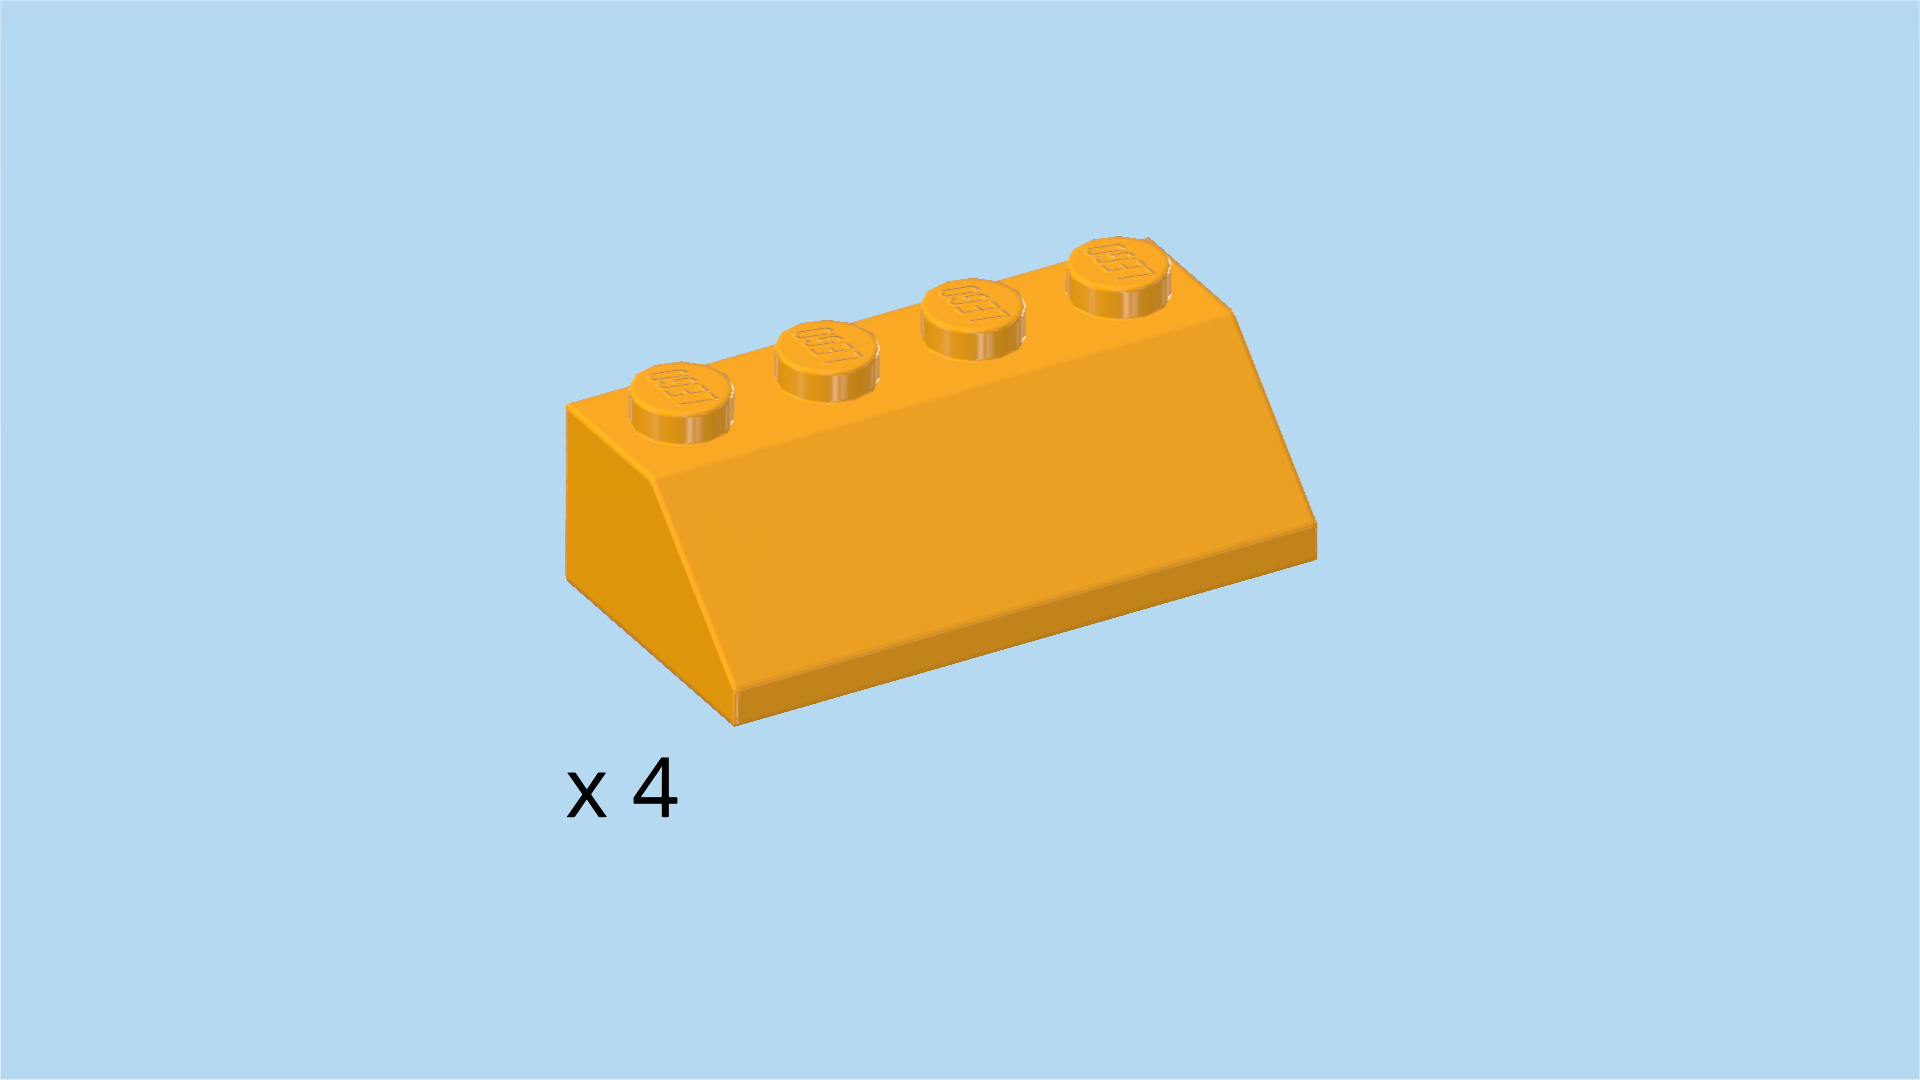
| Find 4 flame yellowish orange roof tiles 2x4, 45°. |
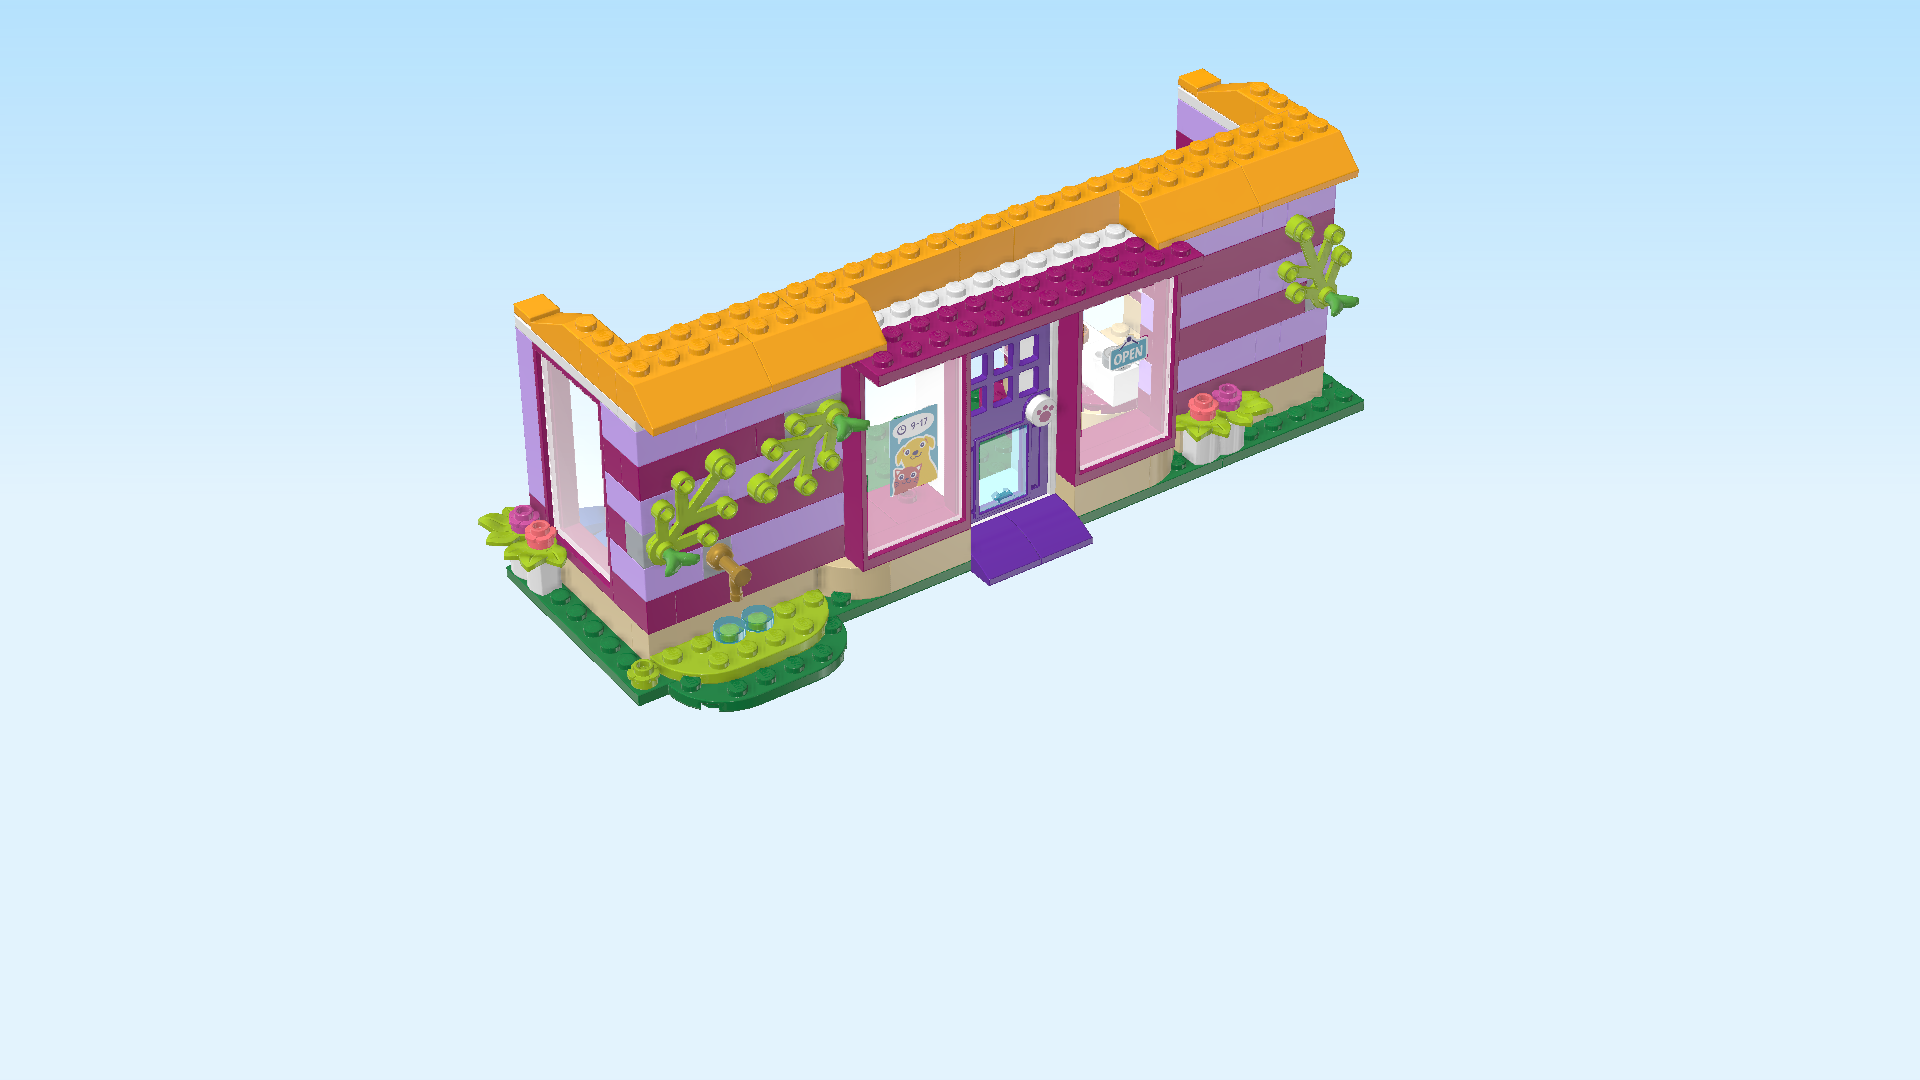
| Put 1 horizontally on the front row on the left end of the front wall, slope to the front, 1 row overhanging to the front. |
| Put another 1 horizontally to the right of the previous piece, slope to the front and 1 row overhanging to the front. Note however that the rightmost knob of the overhanging row will connect. |
| Repeat symmetrically on the right with the 2 remaining pieces. |
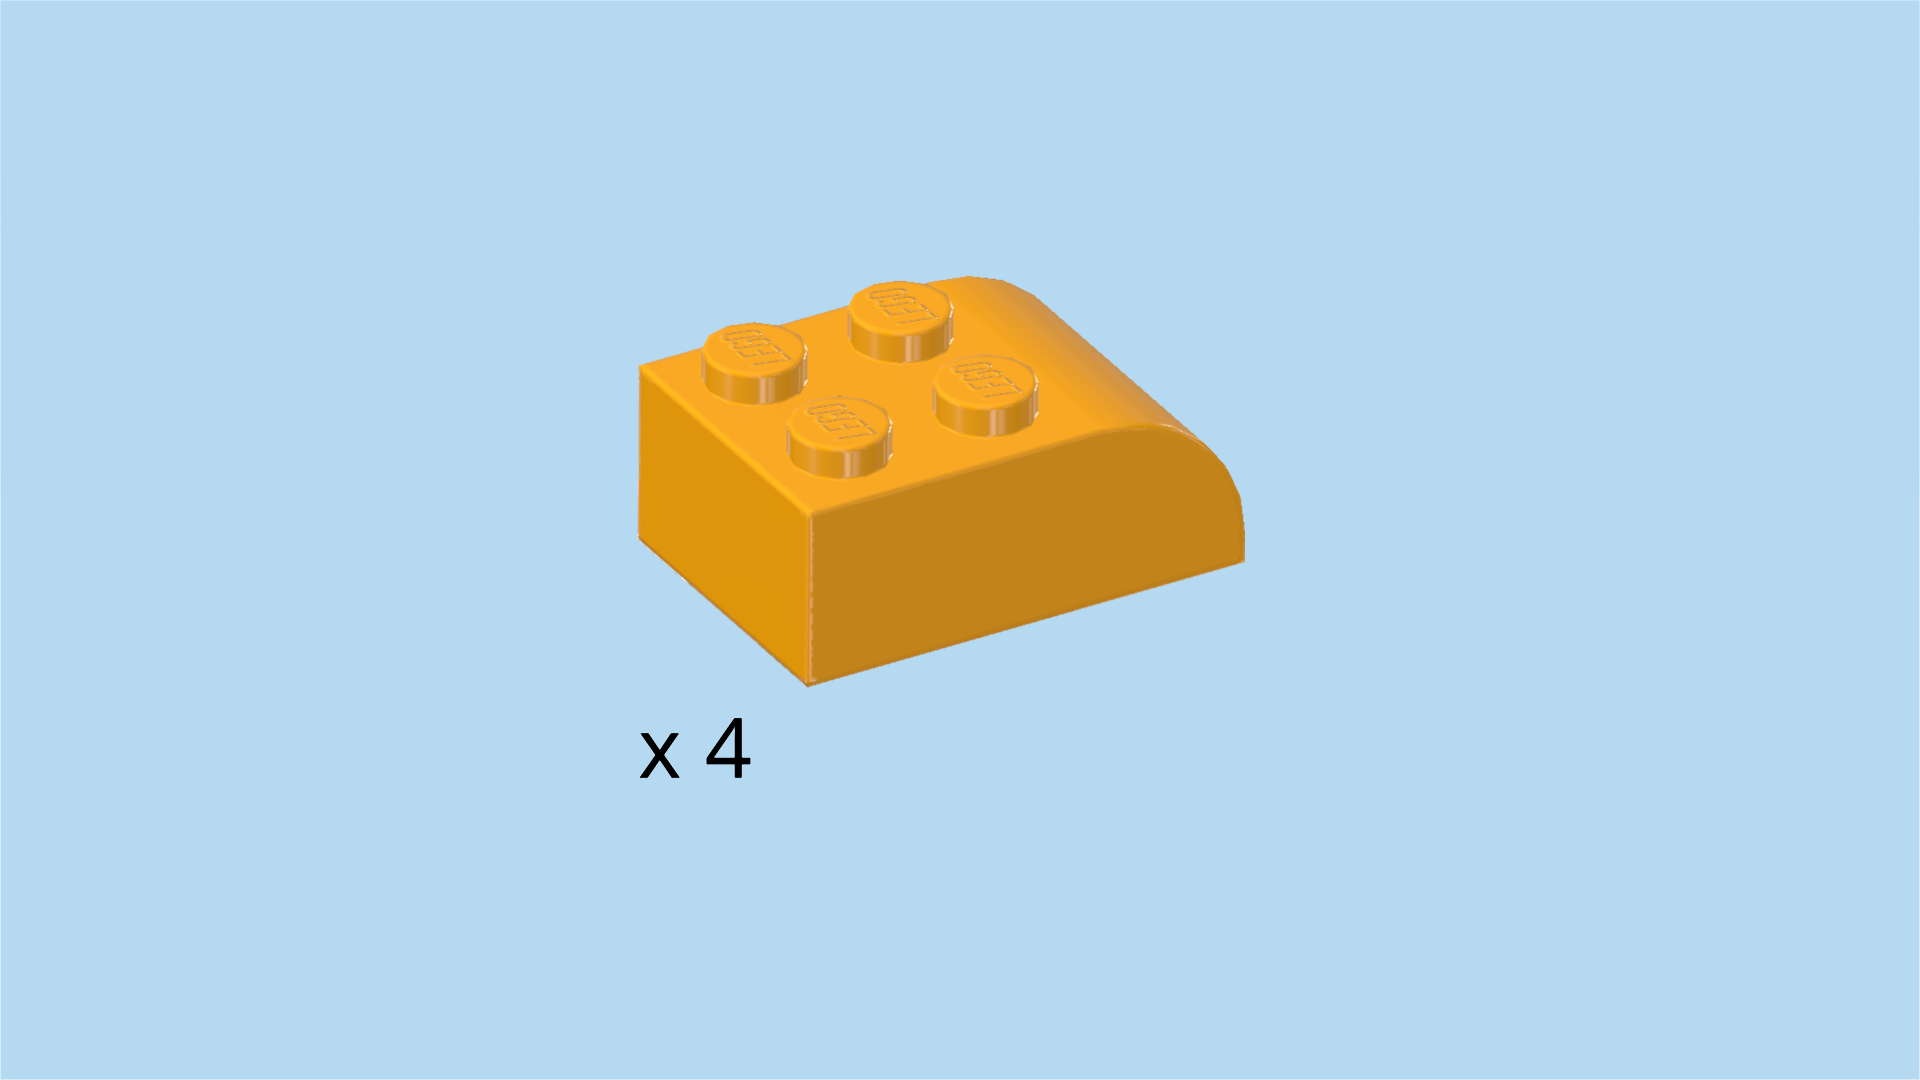
| Find 4 flame yellowish orange curved bricks 2x3 with 4 knobs. |
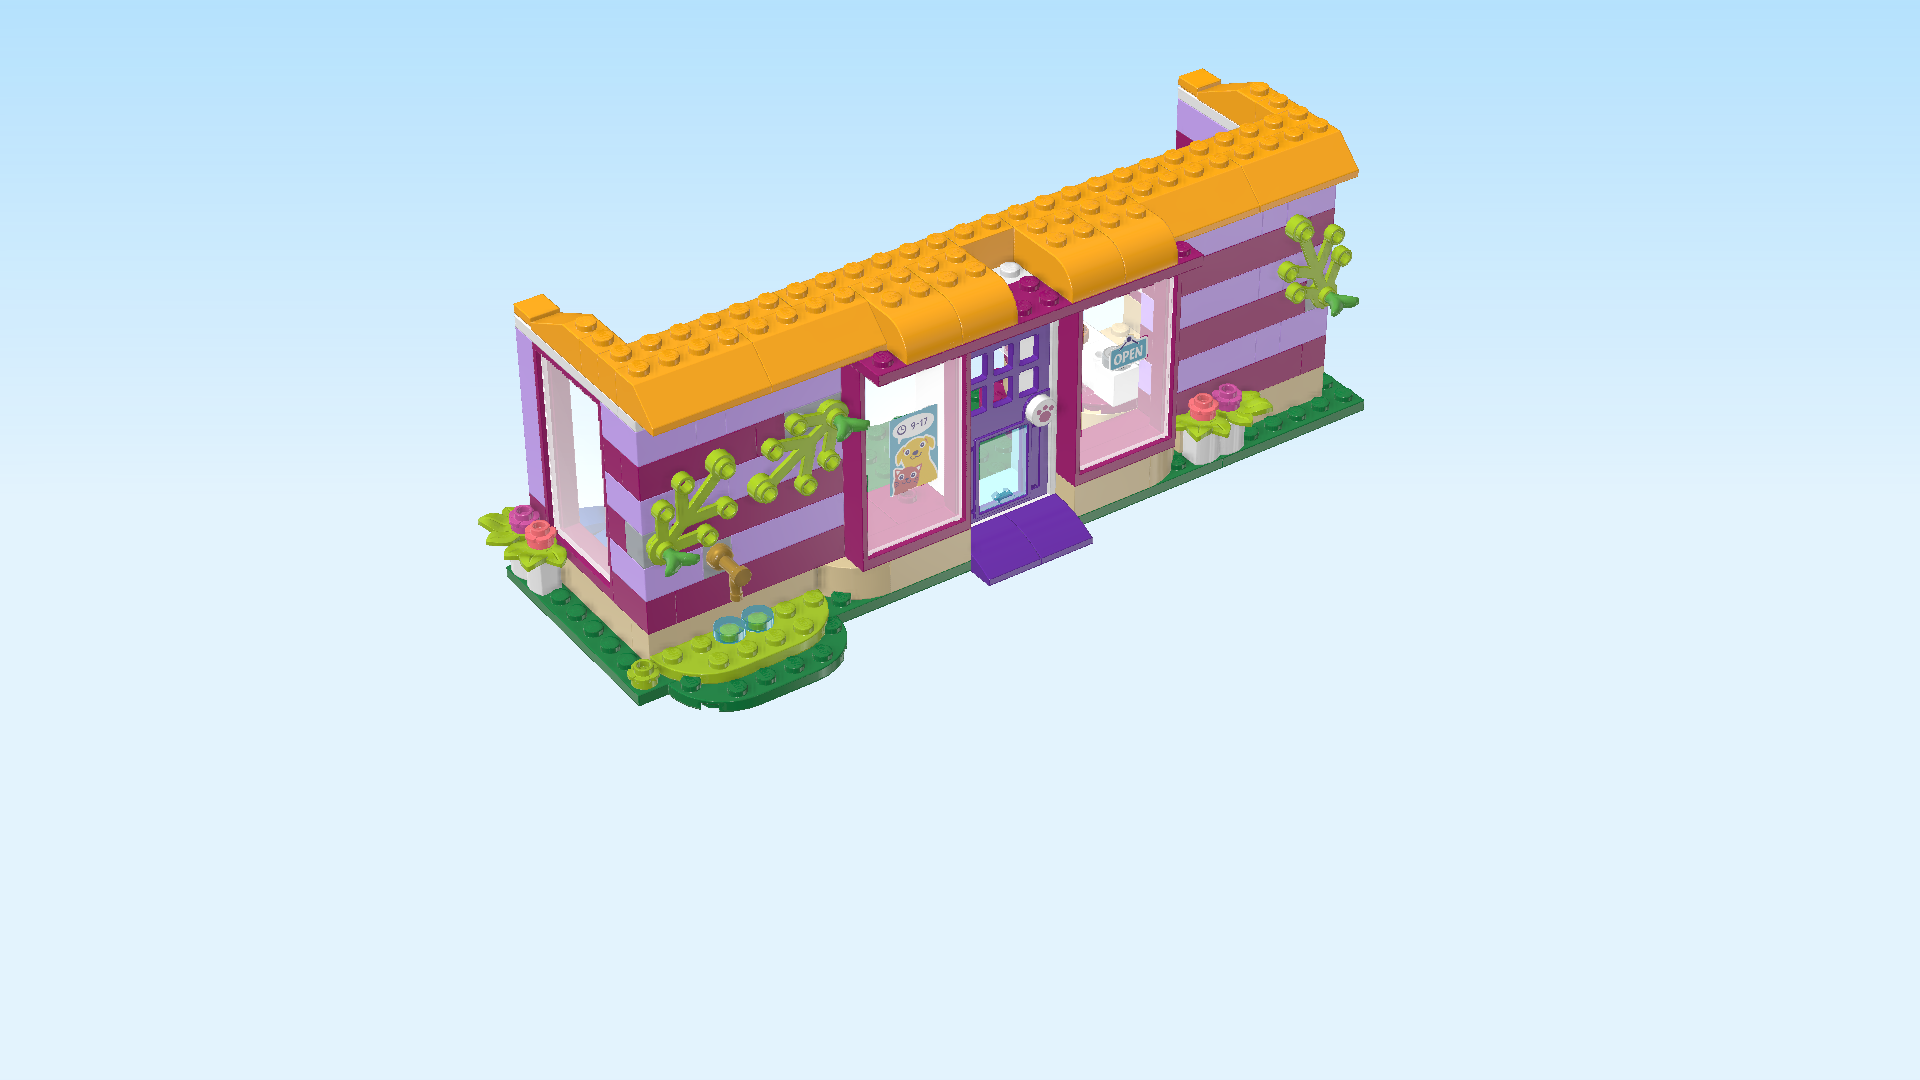
| Put 1 vertically to the left of the previous pieces, curve to the front. |
| Put another 1 vertically to the left of the previous piece, curve to the front. |
| Skip 2 columns to the left and mount another curved brick vertically. |
| Put the last one vertically to the left of the previous piece. |
| If done correctly, there is a gap of 2x3 knobs in the middle. |
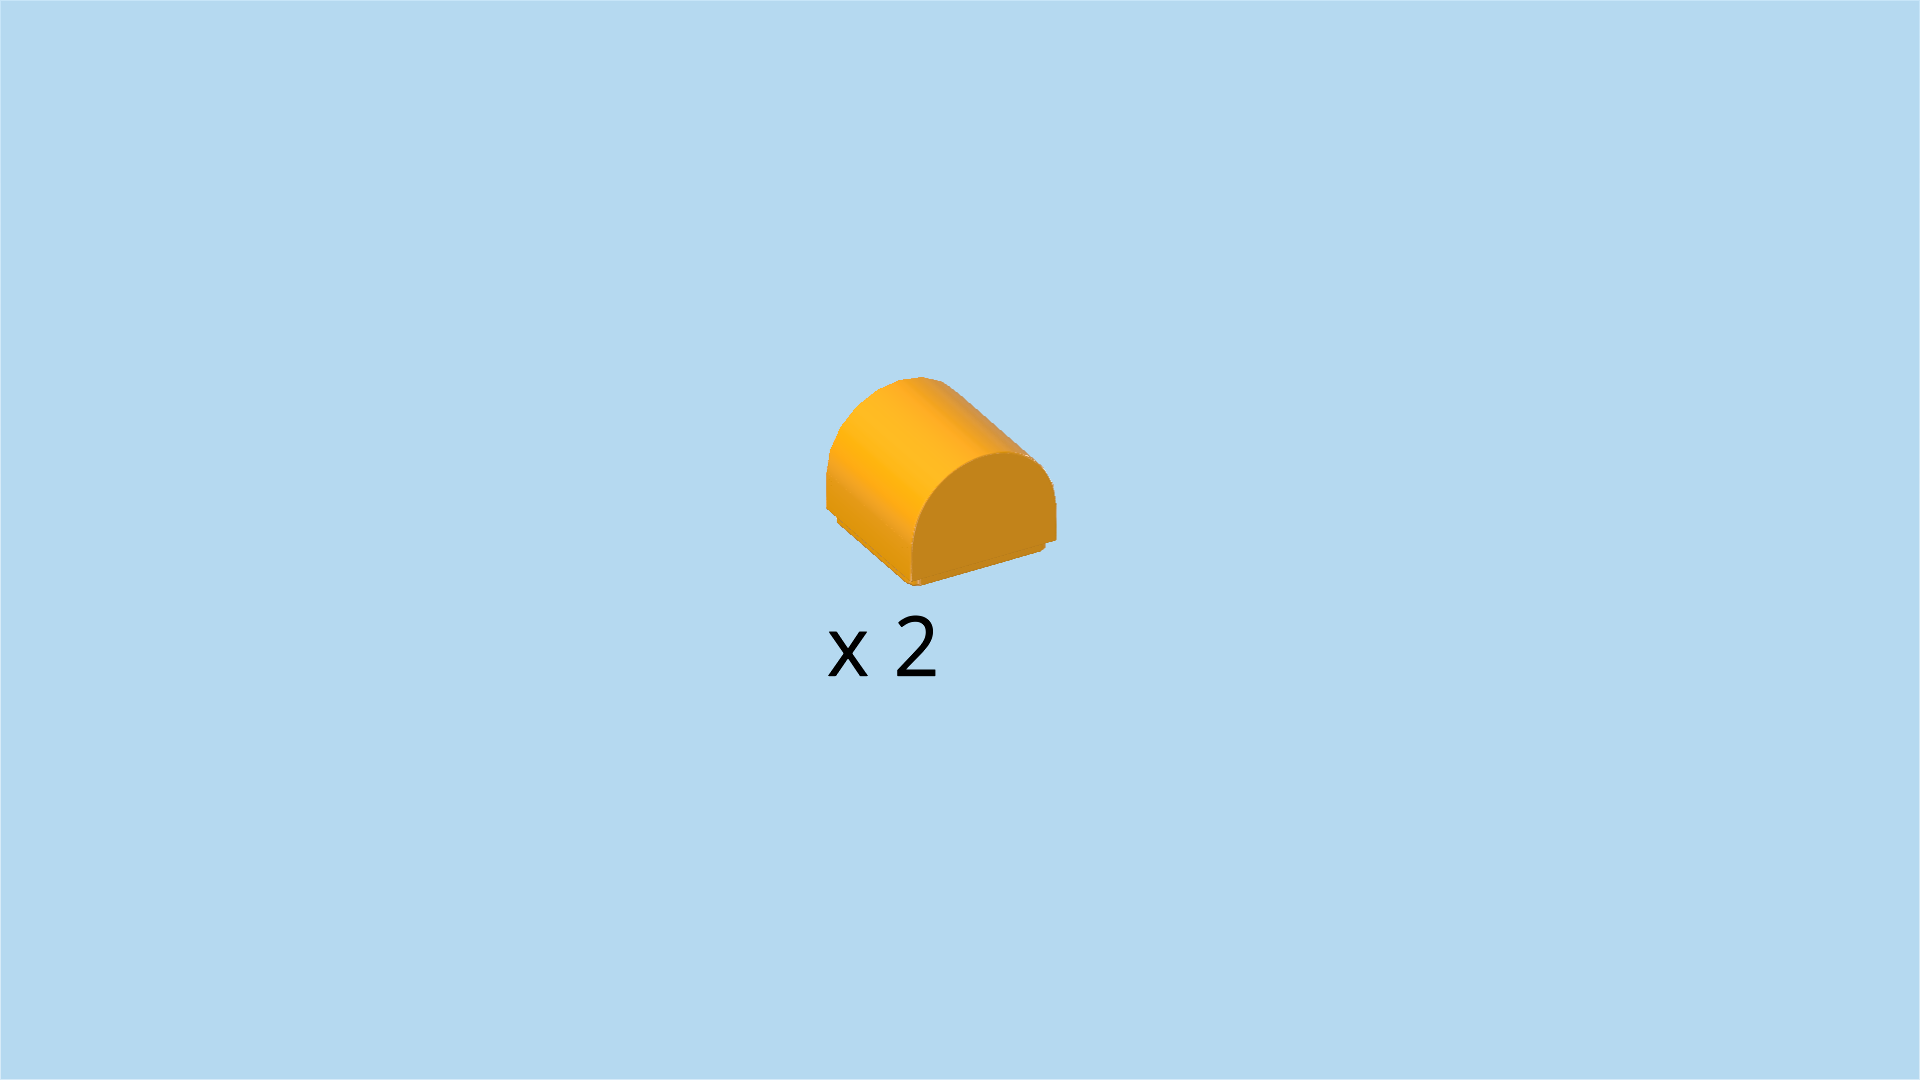
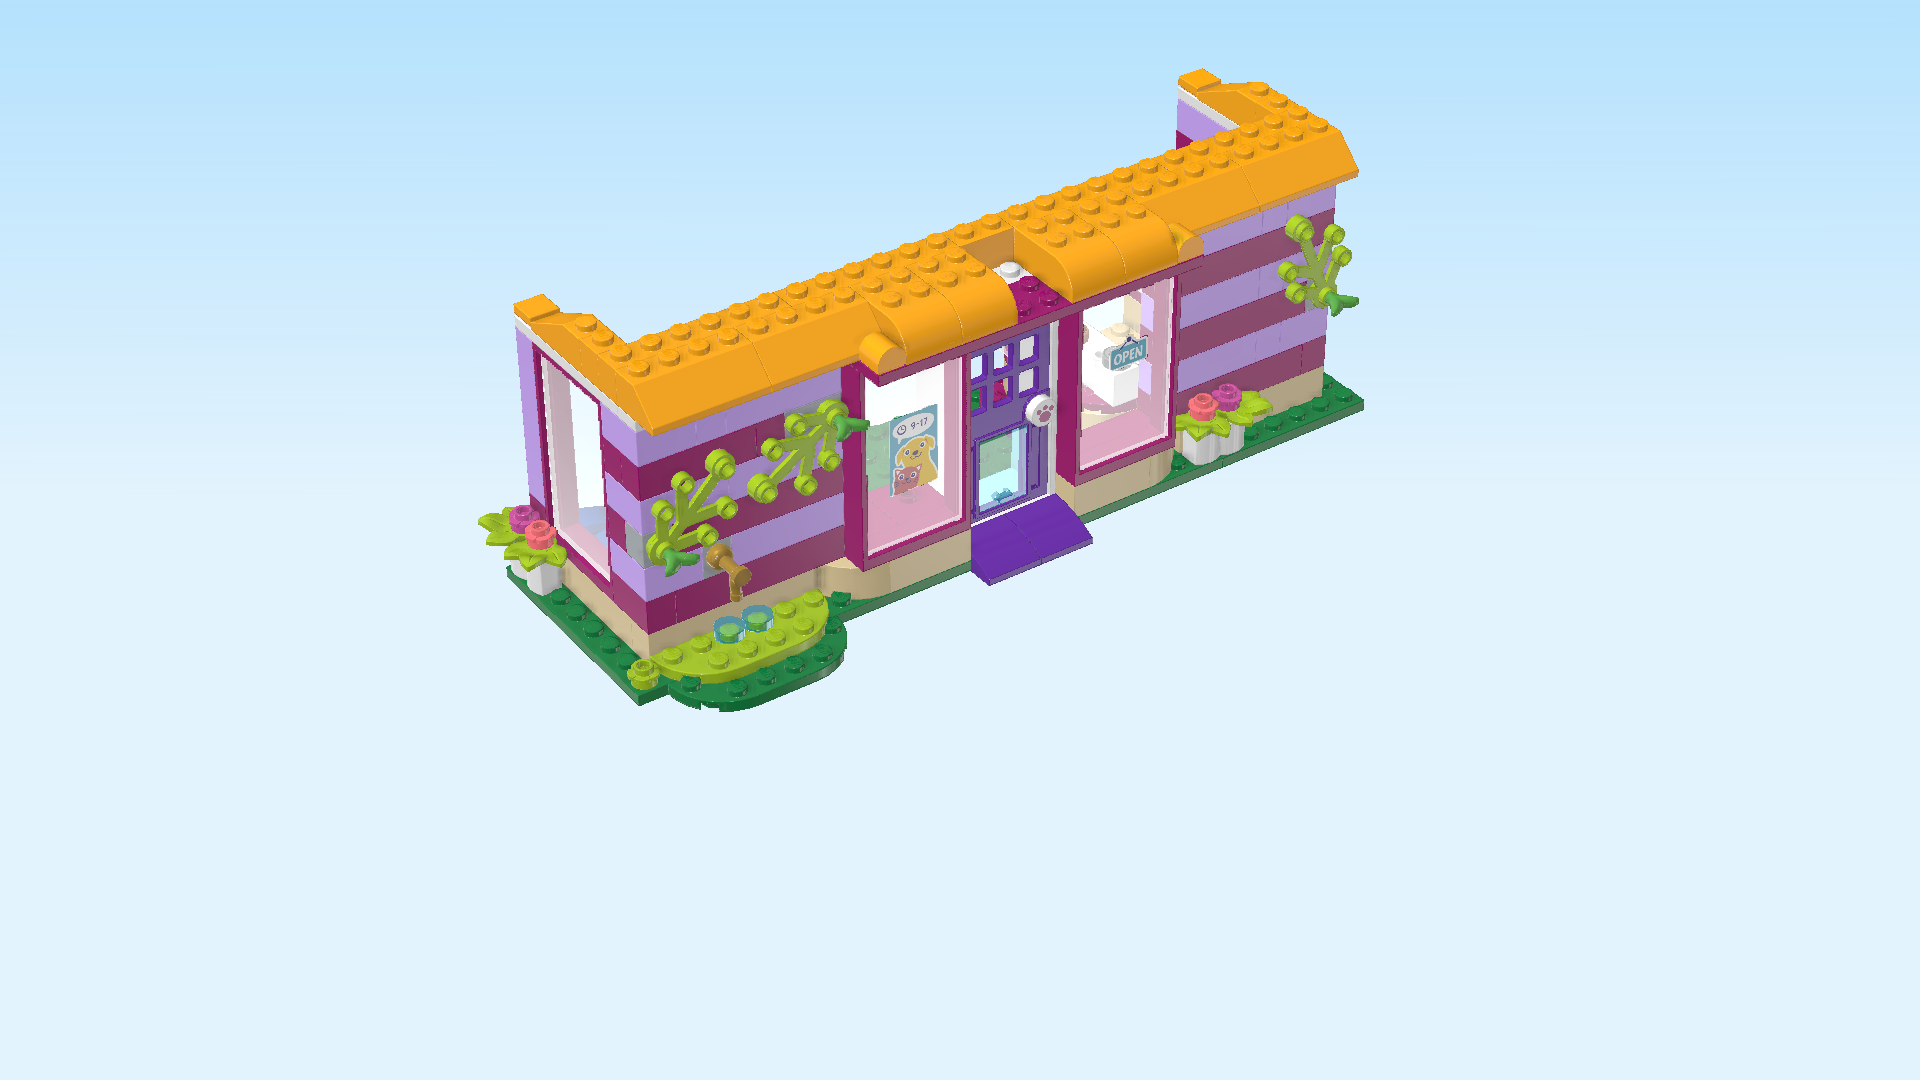
| Find 2 flame yellowish orange smooth half-cylinders 1x1. |
| Put 1 on the remaining empty knob to the left of the previous piece, slope running from left to right. |
| Repeat with the remaining empty knob on the right edge of the awning, slope from left to right. |
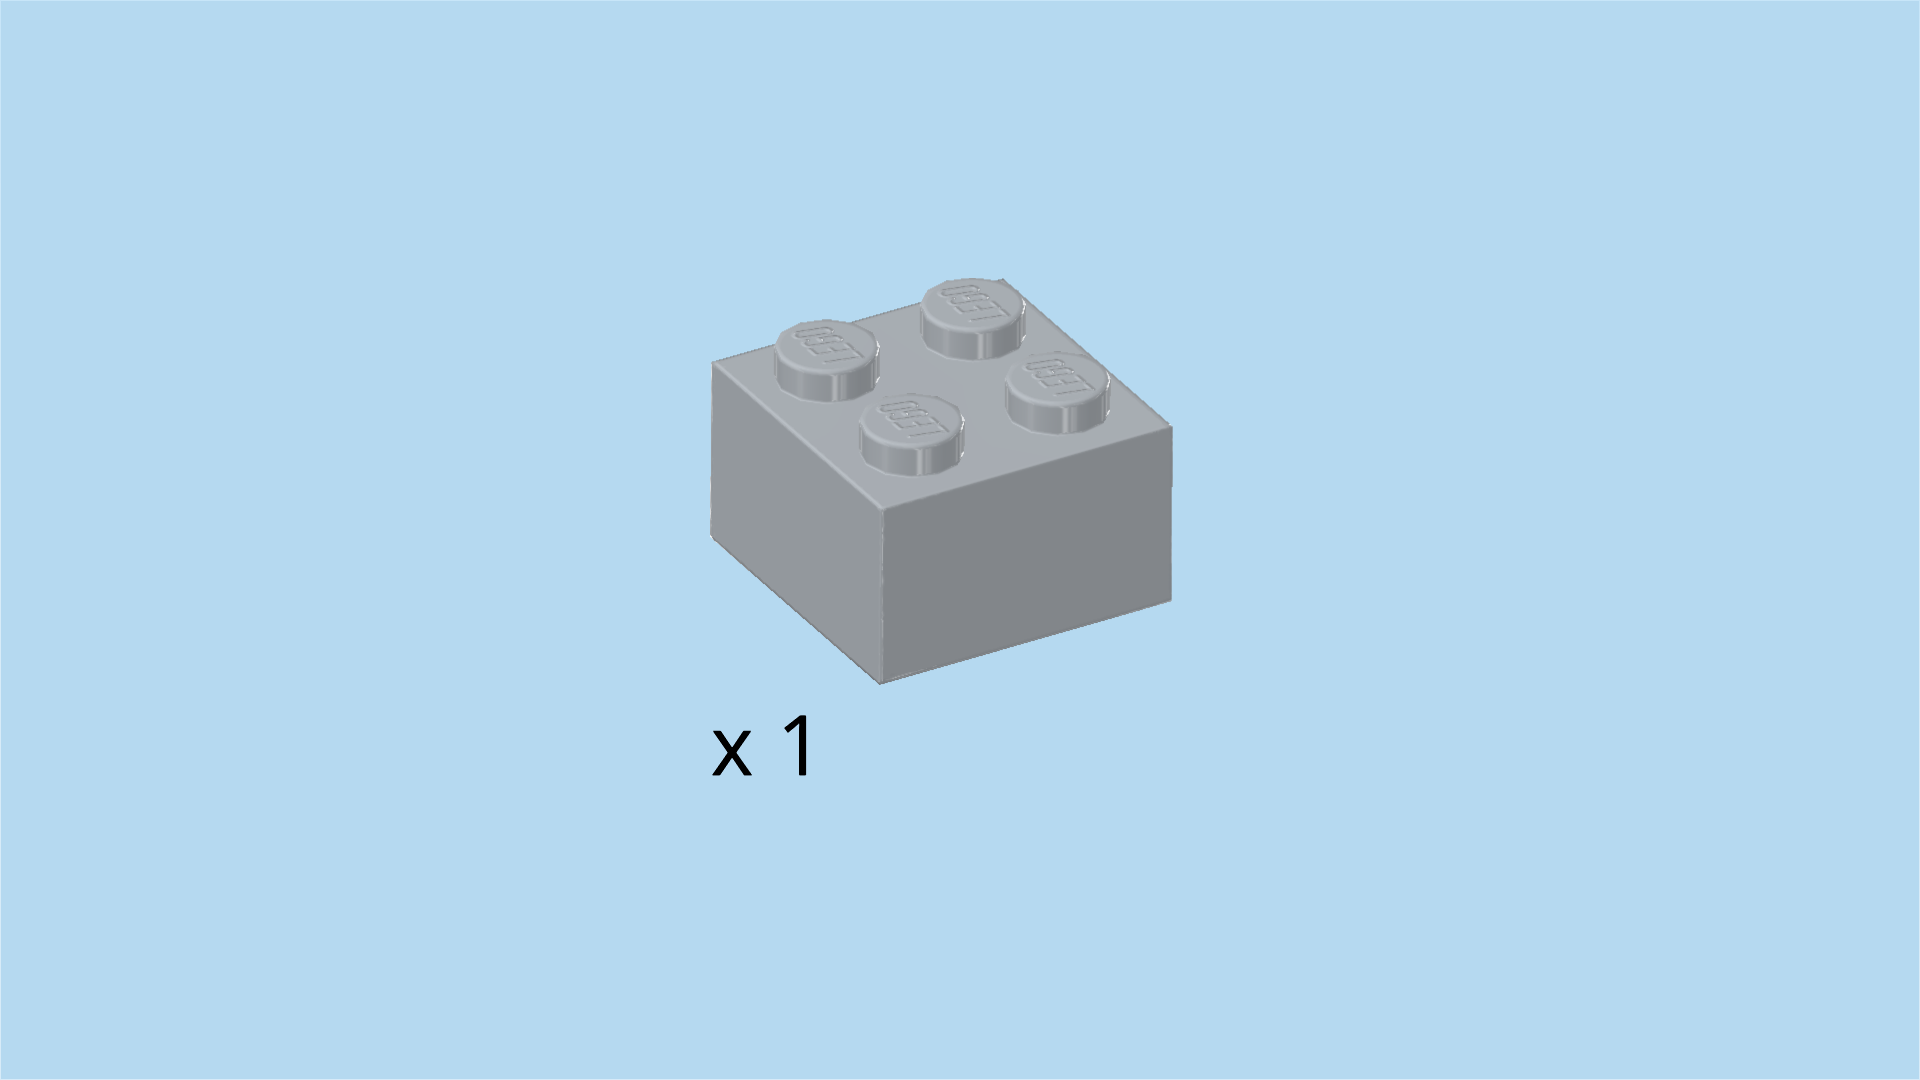
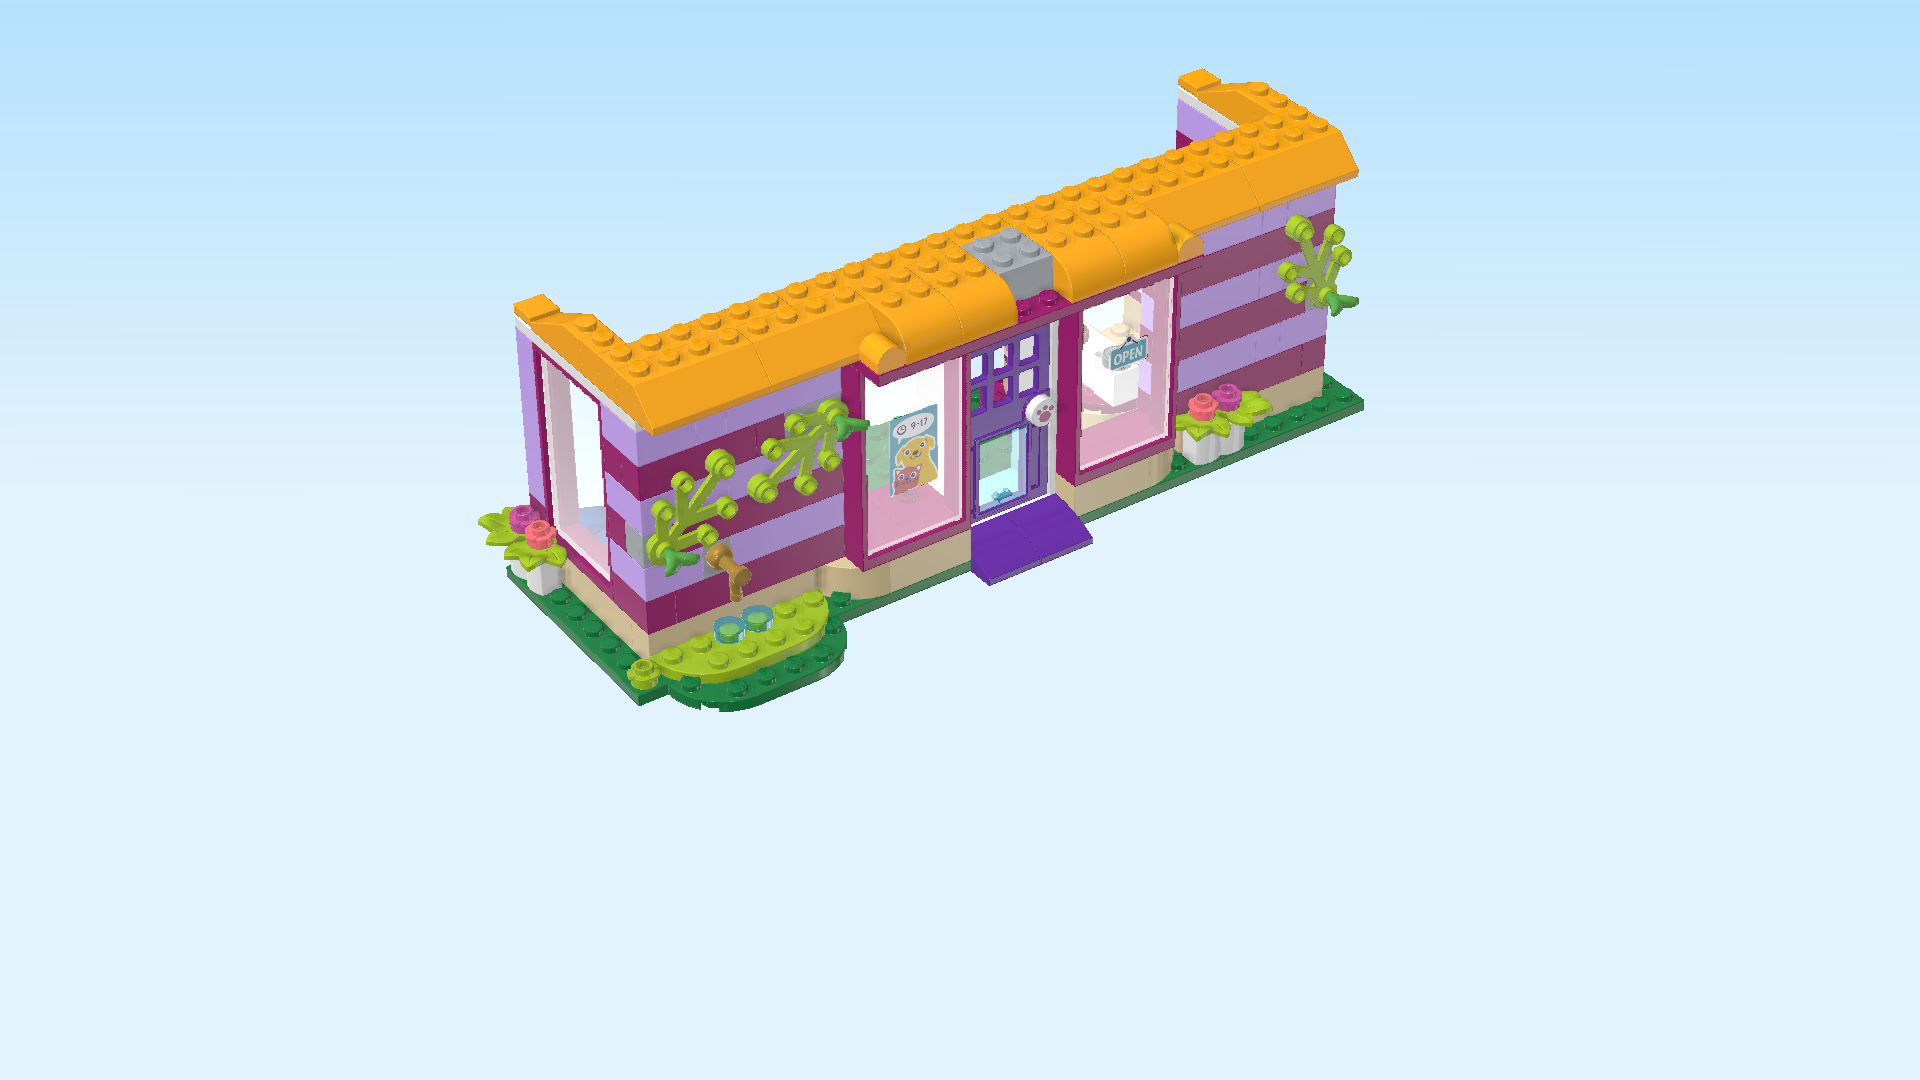
| Find 1 medium stone grey brick 2x2. |
| Put it on the empty knobs between the curved bricks of the awning, leaving the 2 frontmost knobs empty. |
| Collect the following 3 pieces: |
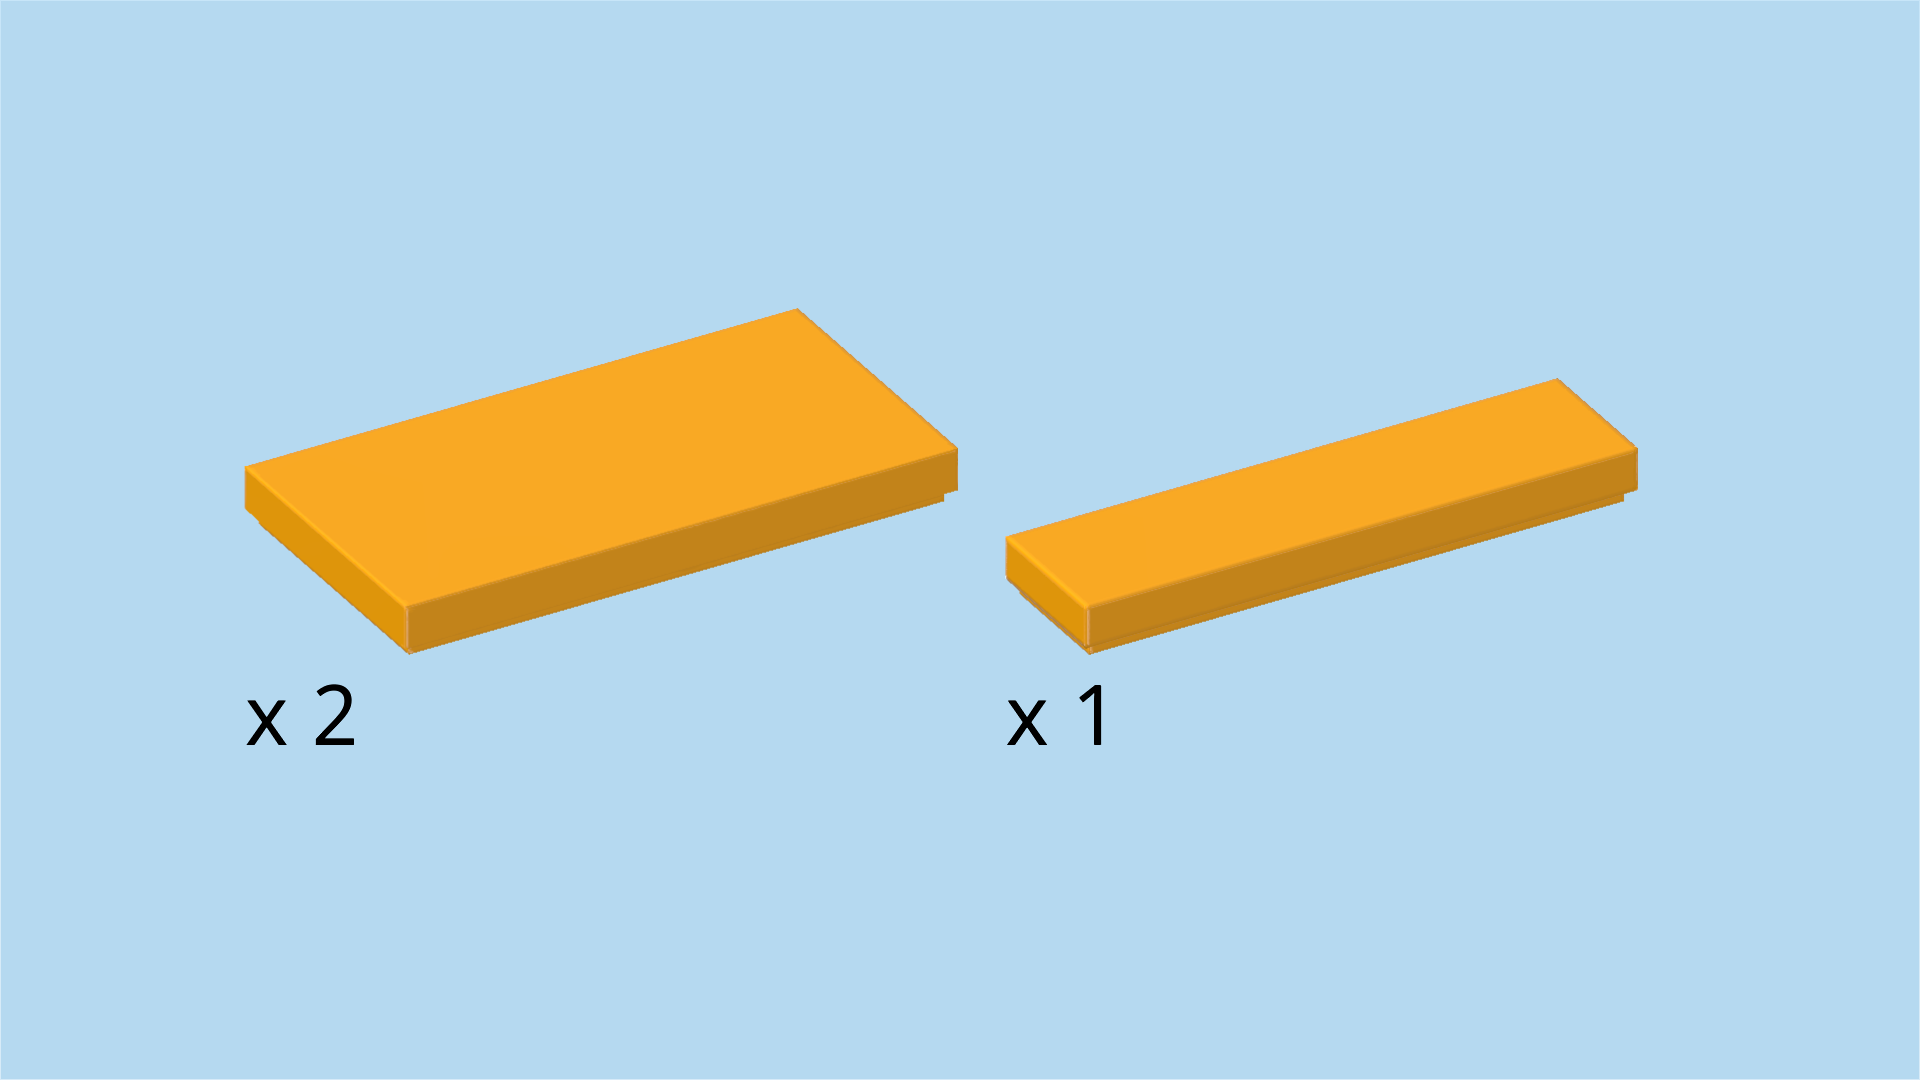
| 2 flame yellowish orange flat tiles 2x4, |
| and 1 flame yellowish orange flat tile 1x4. |
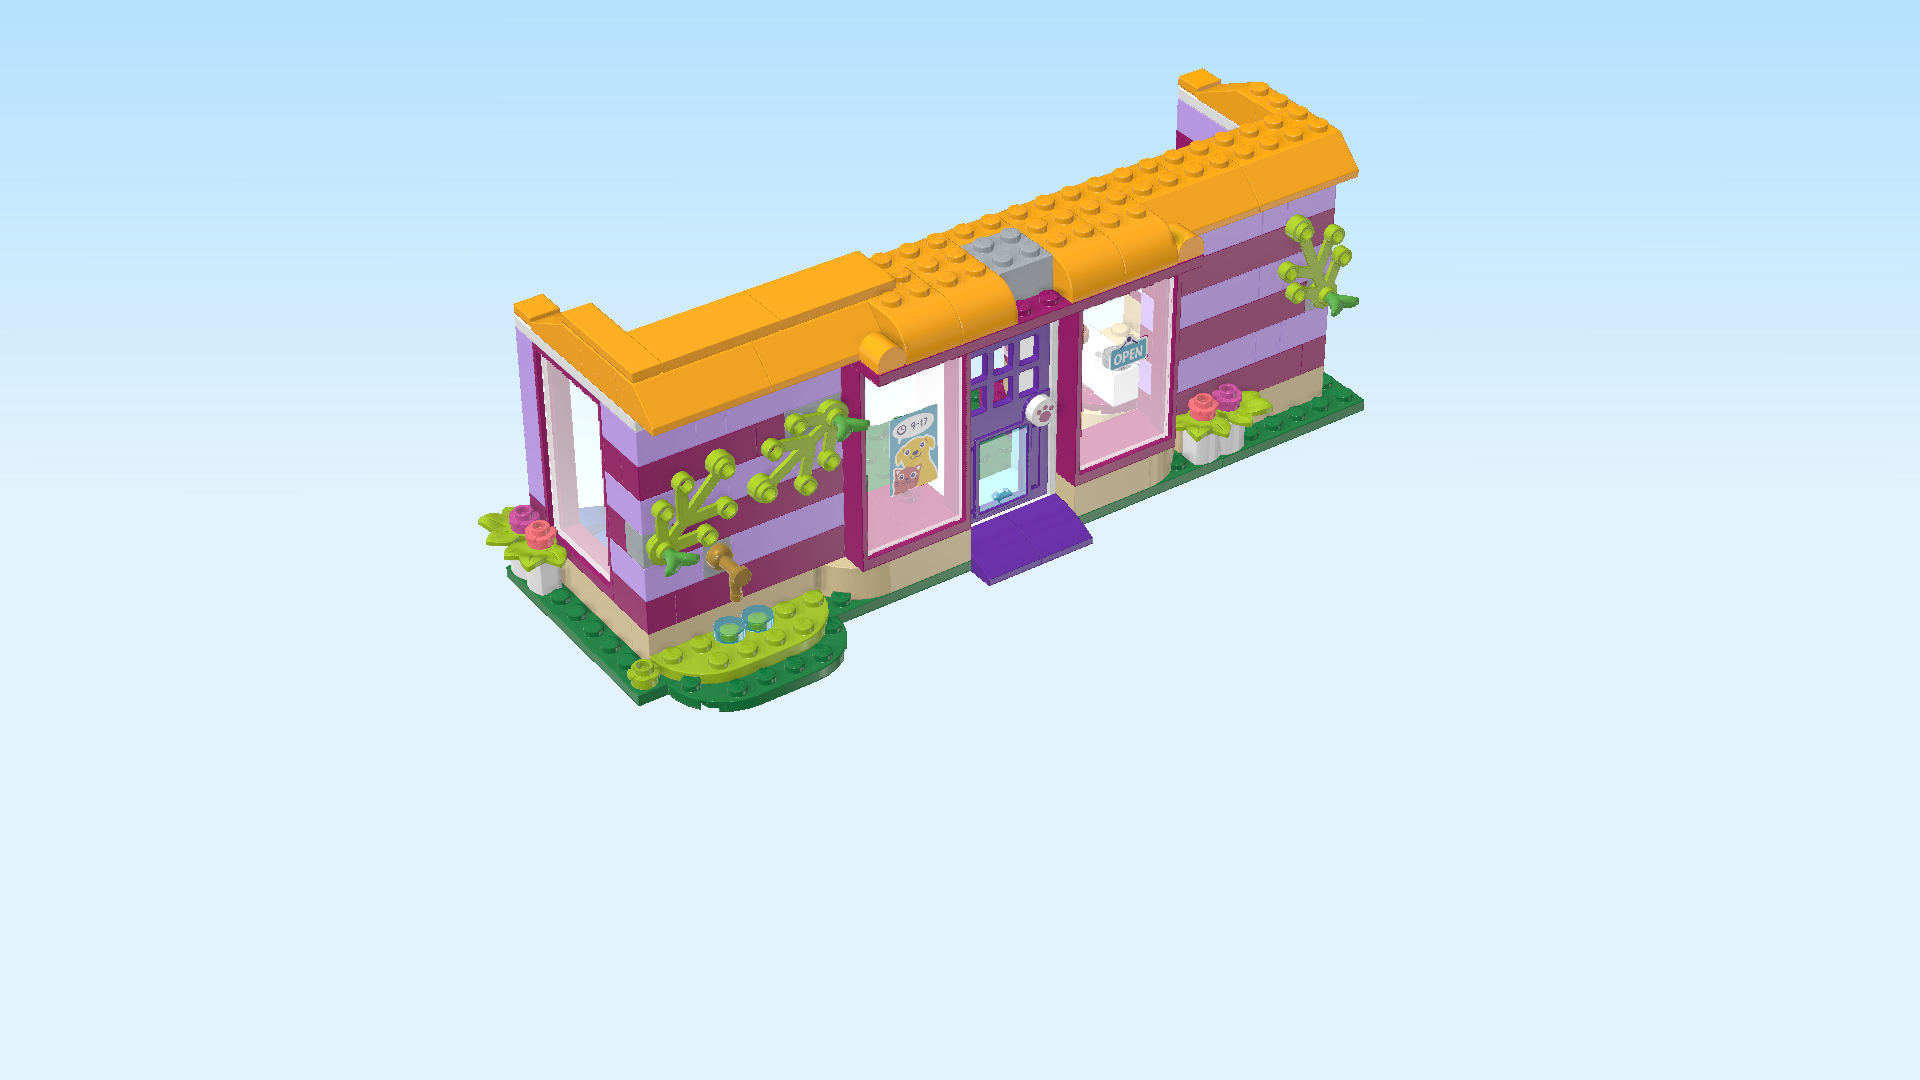
| Put 1 flat tile 1x4 vertically on the left side wall. |
| Put 1 flat tile 2x4 horizontally to the right of the previous piece. |
| Put the other flat tile 2x4 horizontally to the right of the previous piece. |
| There will be 1 empty knob in front of the most recent piece's rightmost edge. This is correct! |
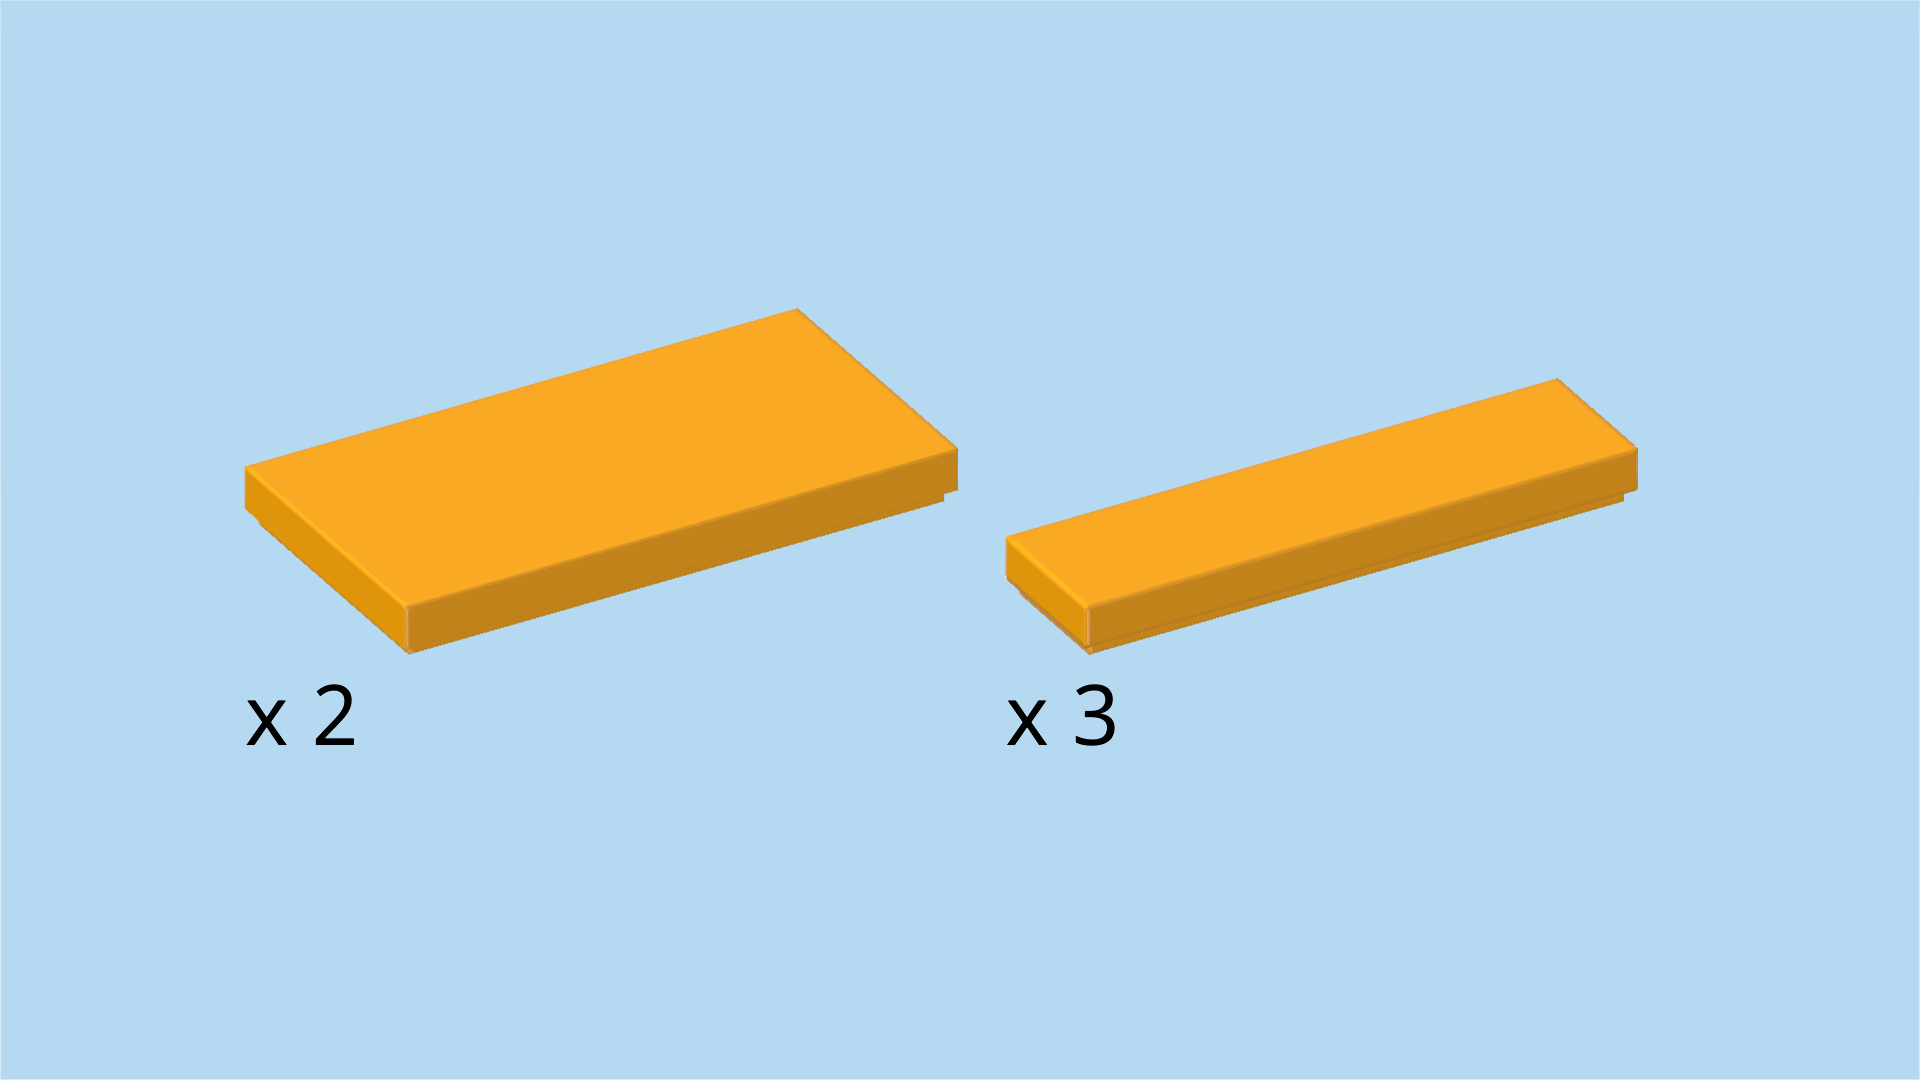
| Collect the following 5 pieces: |
| 3 flame yellowish orange flat tiles 1x4, |
| and 2 flame yellowish orange flat tiles 2x4. |
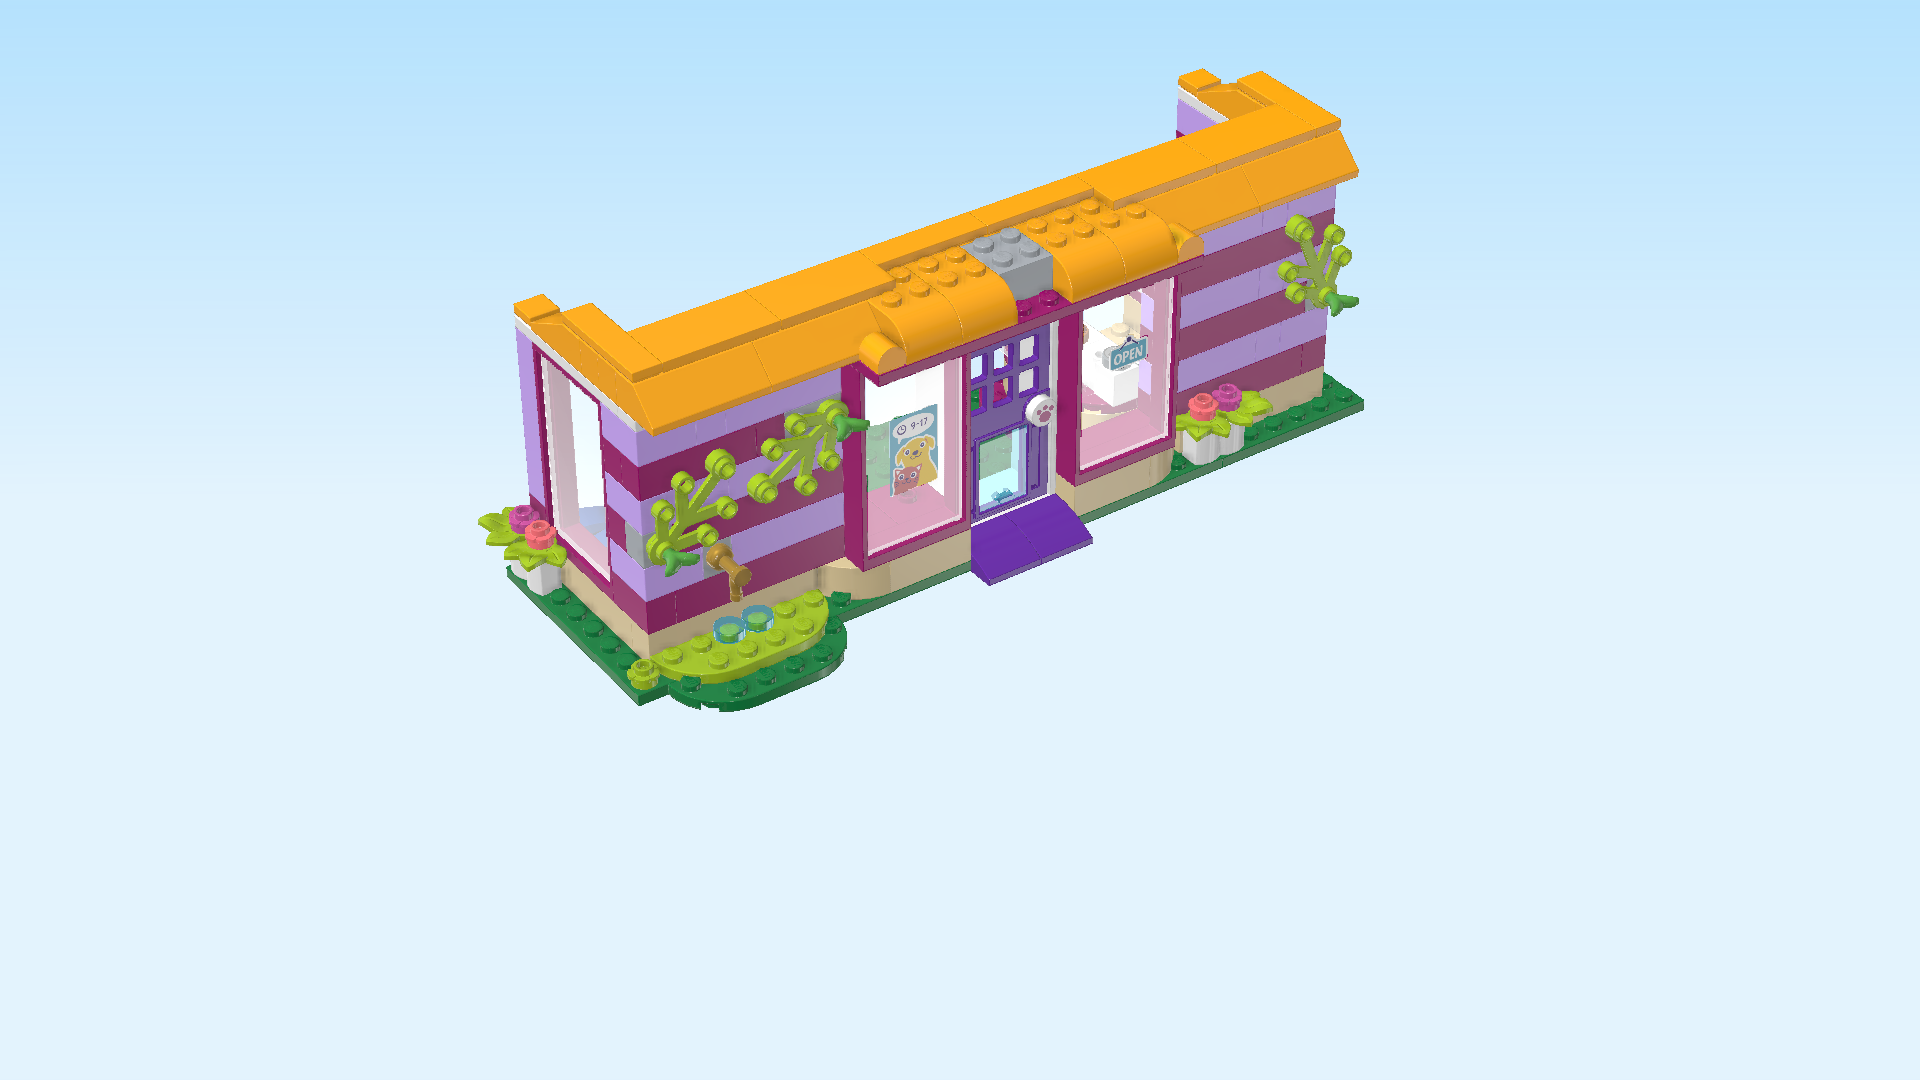
| Put 1 flat tile 1x4 horizontally to the right of the previous piece on the backmost row of the roof. |
| Put 1 flat tile 1x4 horizontally to the right of the previous piece. |
| Put the 2 remaining flat tiles 2x4 horizontally next to each other to the right of the previous piece. |
| Put the remaining flat tile 1x4 vertically on the right side wall. |
| Next, we will build the dog sign. |
| Collect the following 2 pieces: |
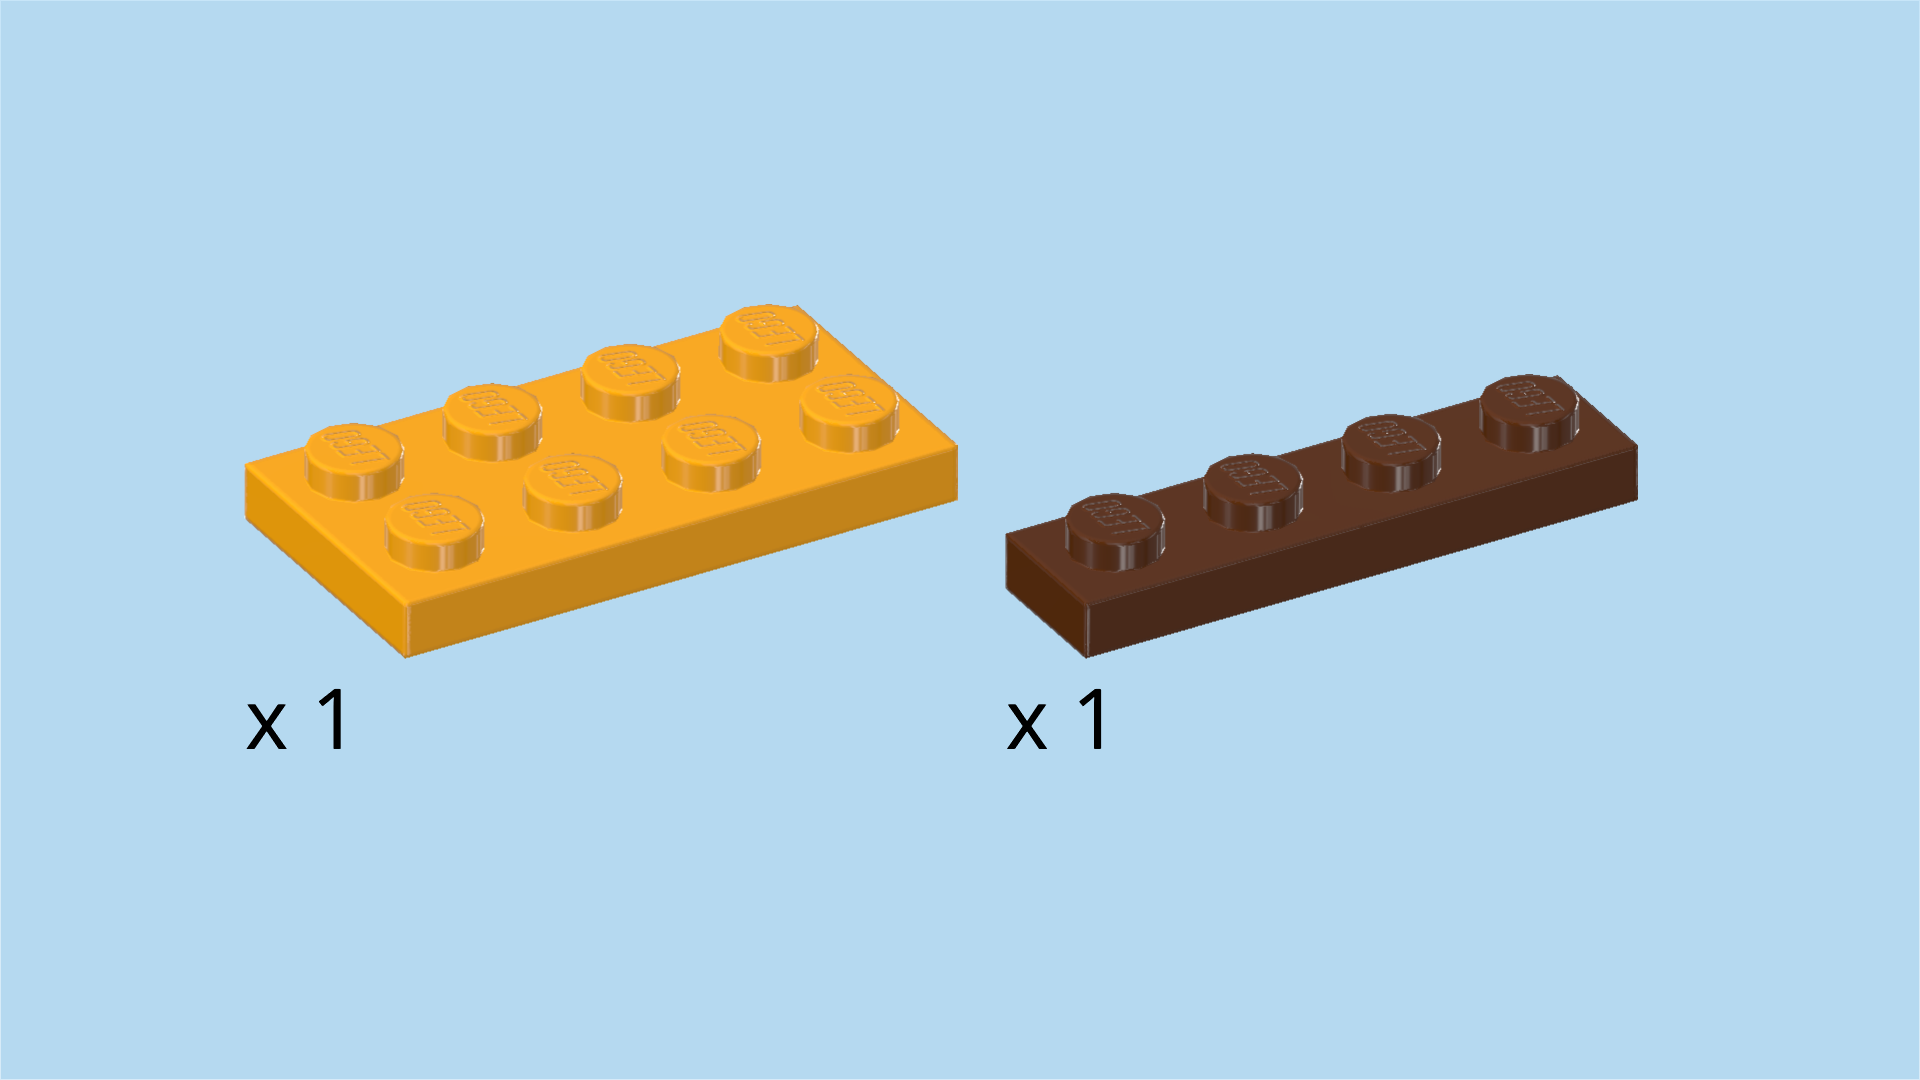
| 1 flame yellowish orange plate 2x4, |
| and 1 reddish brown plate 1x4. |
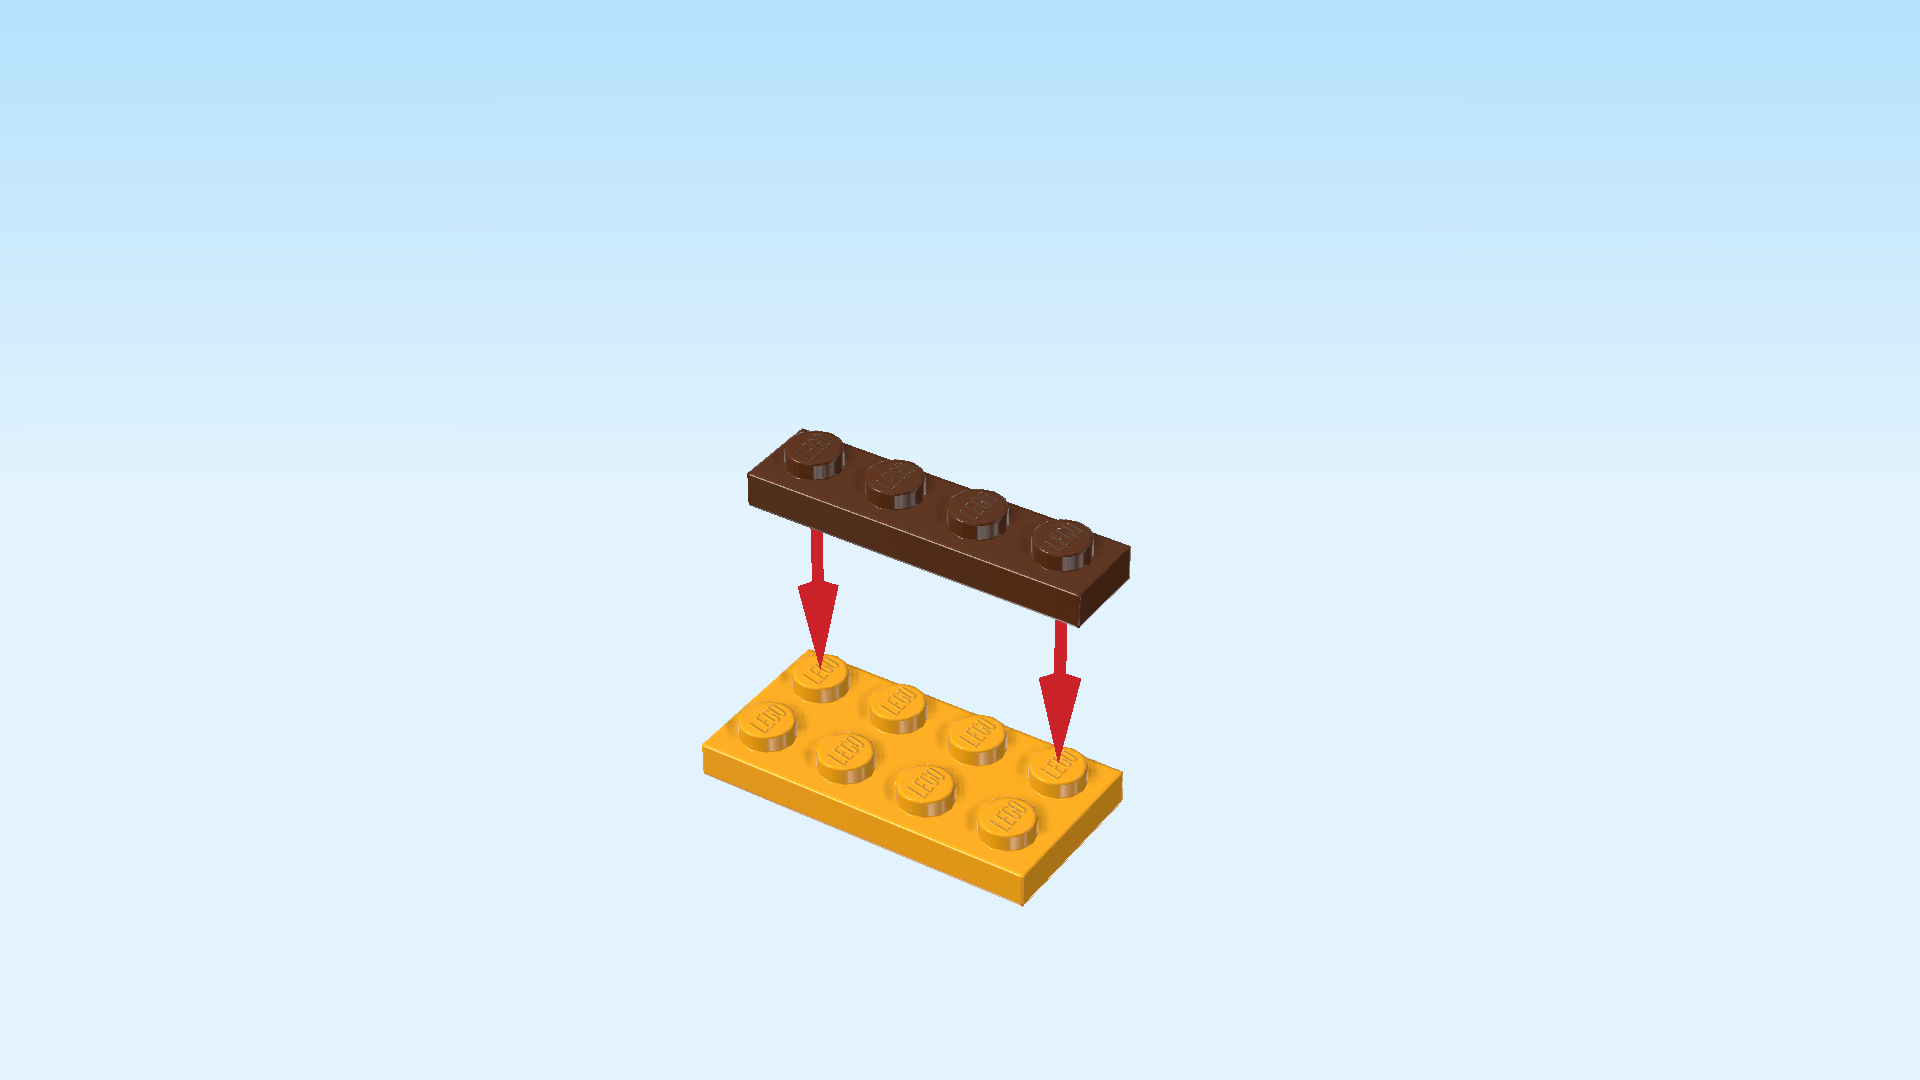
| Put the plate 2x4 horizontally on the table. |
| Put the plate 1x4 horizontally on the back row. |
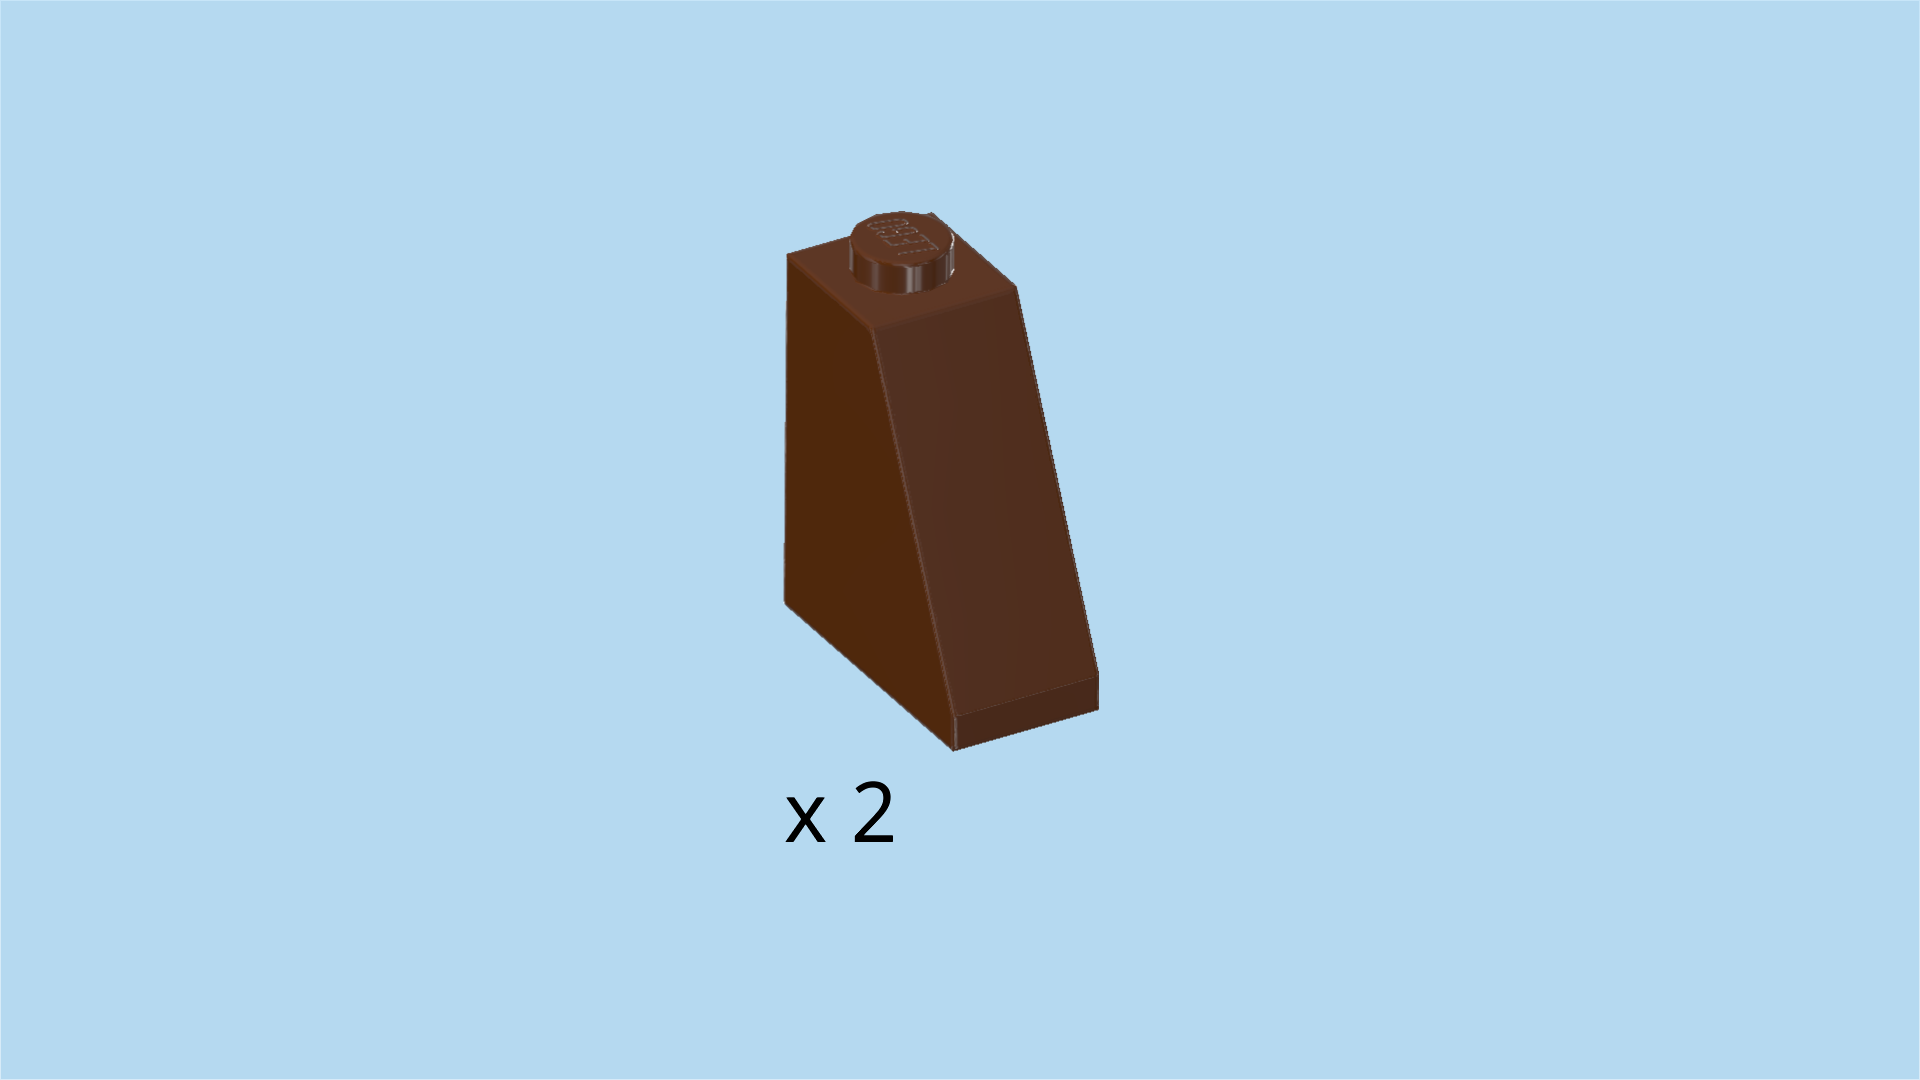
| Find 2 reddish brown roof tiles 1x2x2, 65°. |
| Put 1 horizontally on the 2 left knobs of the previous piece, slope to the left. |
| Put the other one horizontally to the right of the previous piece, slope to the right. |
| Find 1 reddish brown brick 1x2. |
| Put it horizontally on top of the 2 previous pieces. |
| Find 2 reddish brown round plates 1x1 with side shaft. |
| Put 1 horizontally on the left knob of the previous piece, shaft to the left. |
| Put the other one horizontally to the right of the previous piece, shaft to the right. |
| Find 1 reddish brown top angle plate 1x2 - 2x2 with 4 side knobs. |
| Put it horizontally on top of the 2 previous pieces, 4 side knobs to the front. |
| Find 2 reddish brown plates 1x1 with horizontal side clasp. |
| Snap the clasp of one plate into the shaft on the right side. Make sure its knob is pointing to the front. |
| Repeat on the left side, knob to the front. |
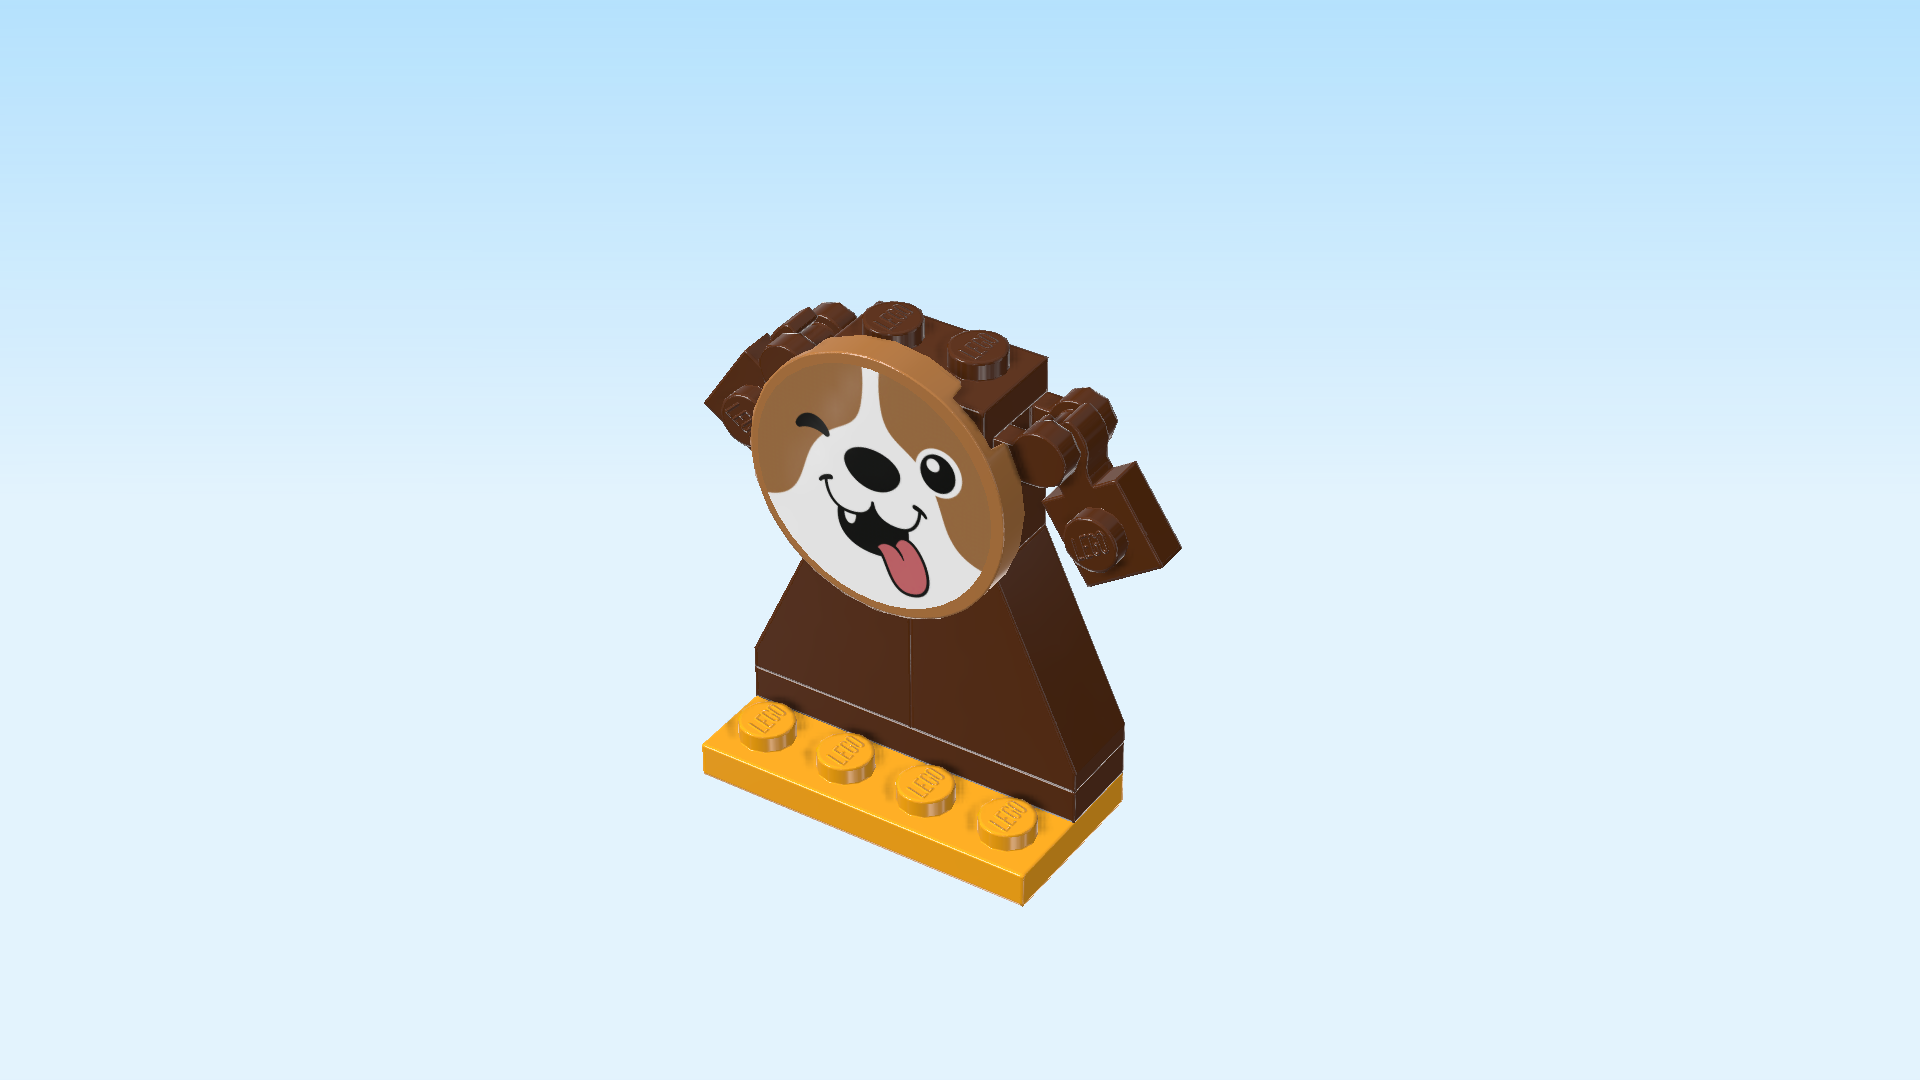
| These are the ears of the dog sign! You can fold them up or down as you like. |
| Find 1 medium nougat brown round tile 3x3. |
| Put it upright on the 4 side knobs pointing to the front. Make sure it slightly protrudes towards the top. |
| Continue if you want to decorate this piece with a sticker now. If not, skip the next 2 sentences. |
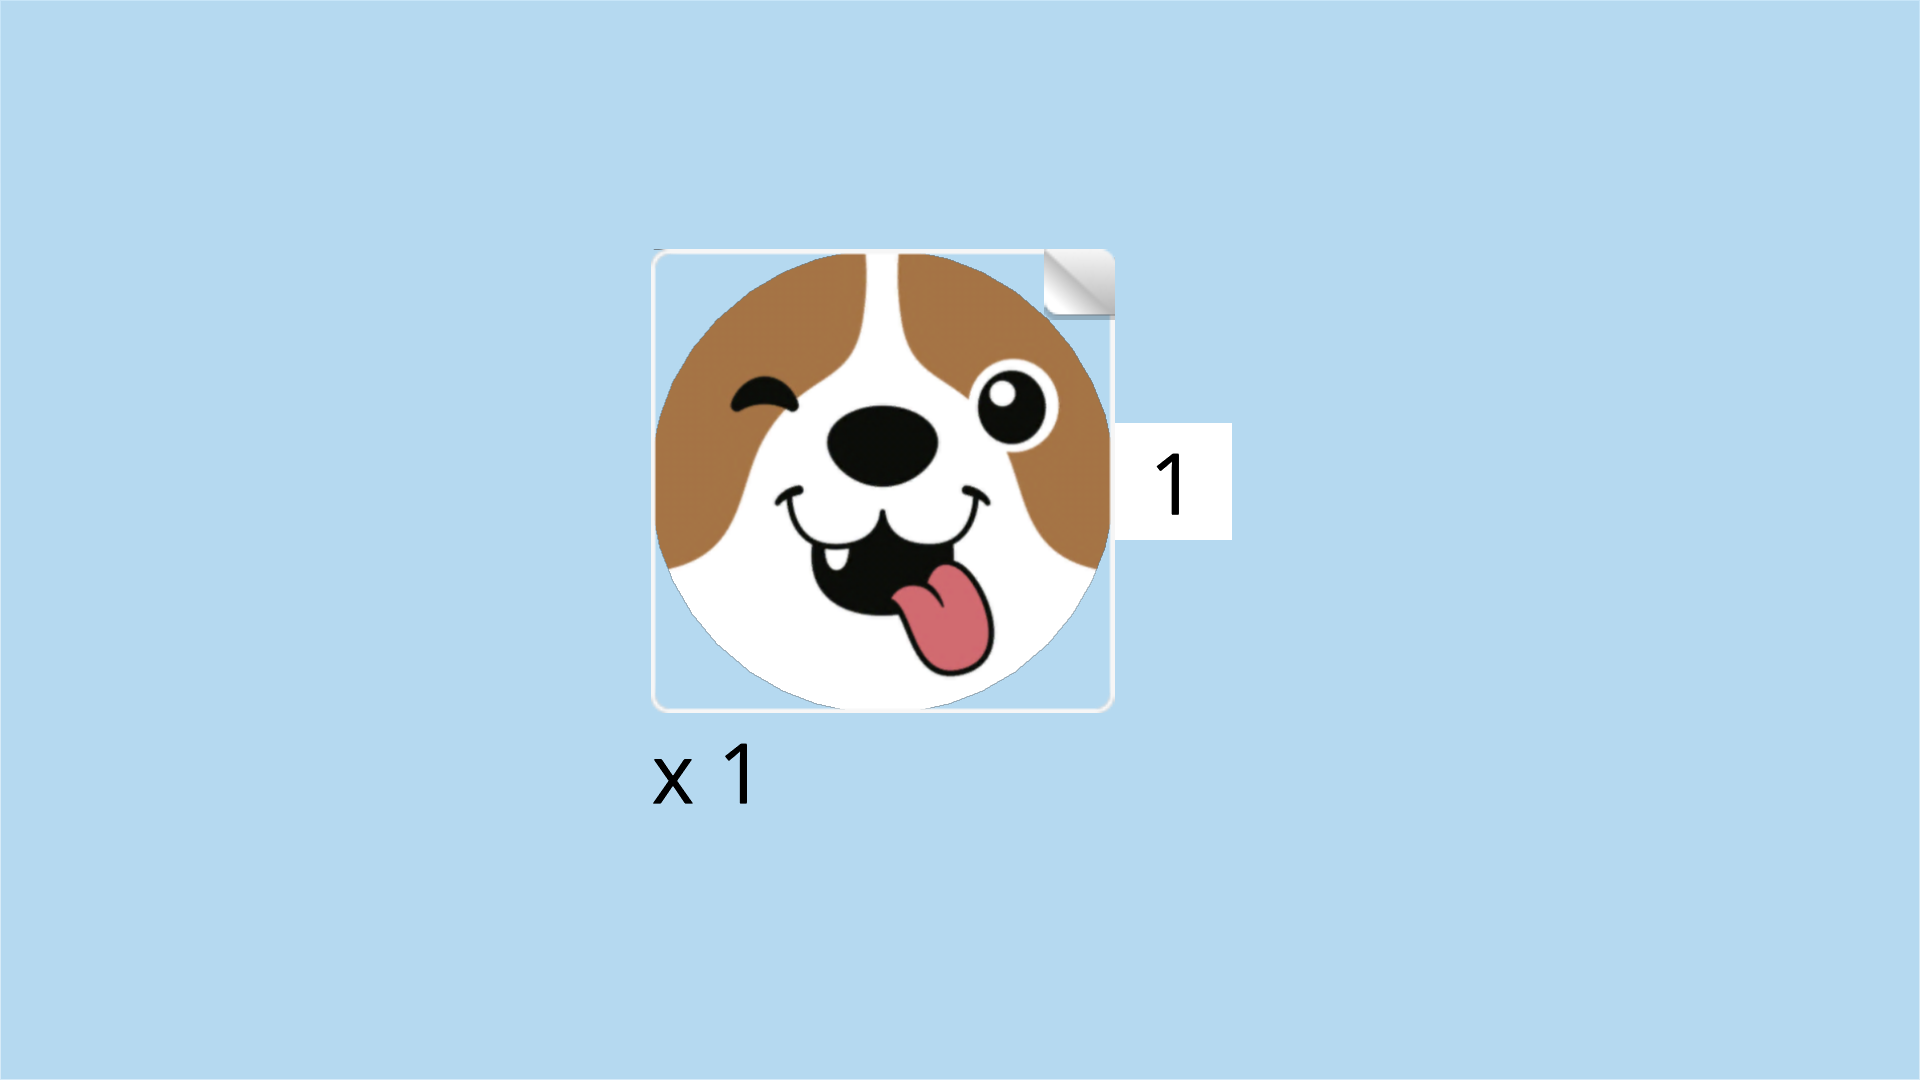
| Find 1 round sticker number 1. Ask a sighted person to help you find the correct sticker. |
| Put it on the previous piece. It is printed with a dog face! Its fur is light brown on the sides and white around the snout. The dog is winking with its right eye, and its tongue is sticking out. |
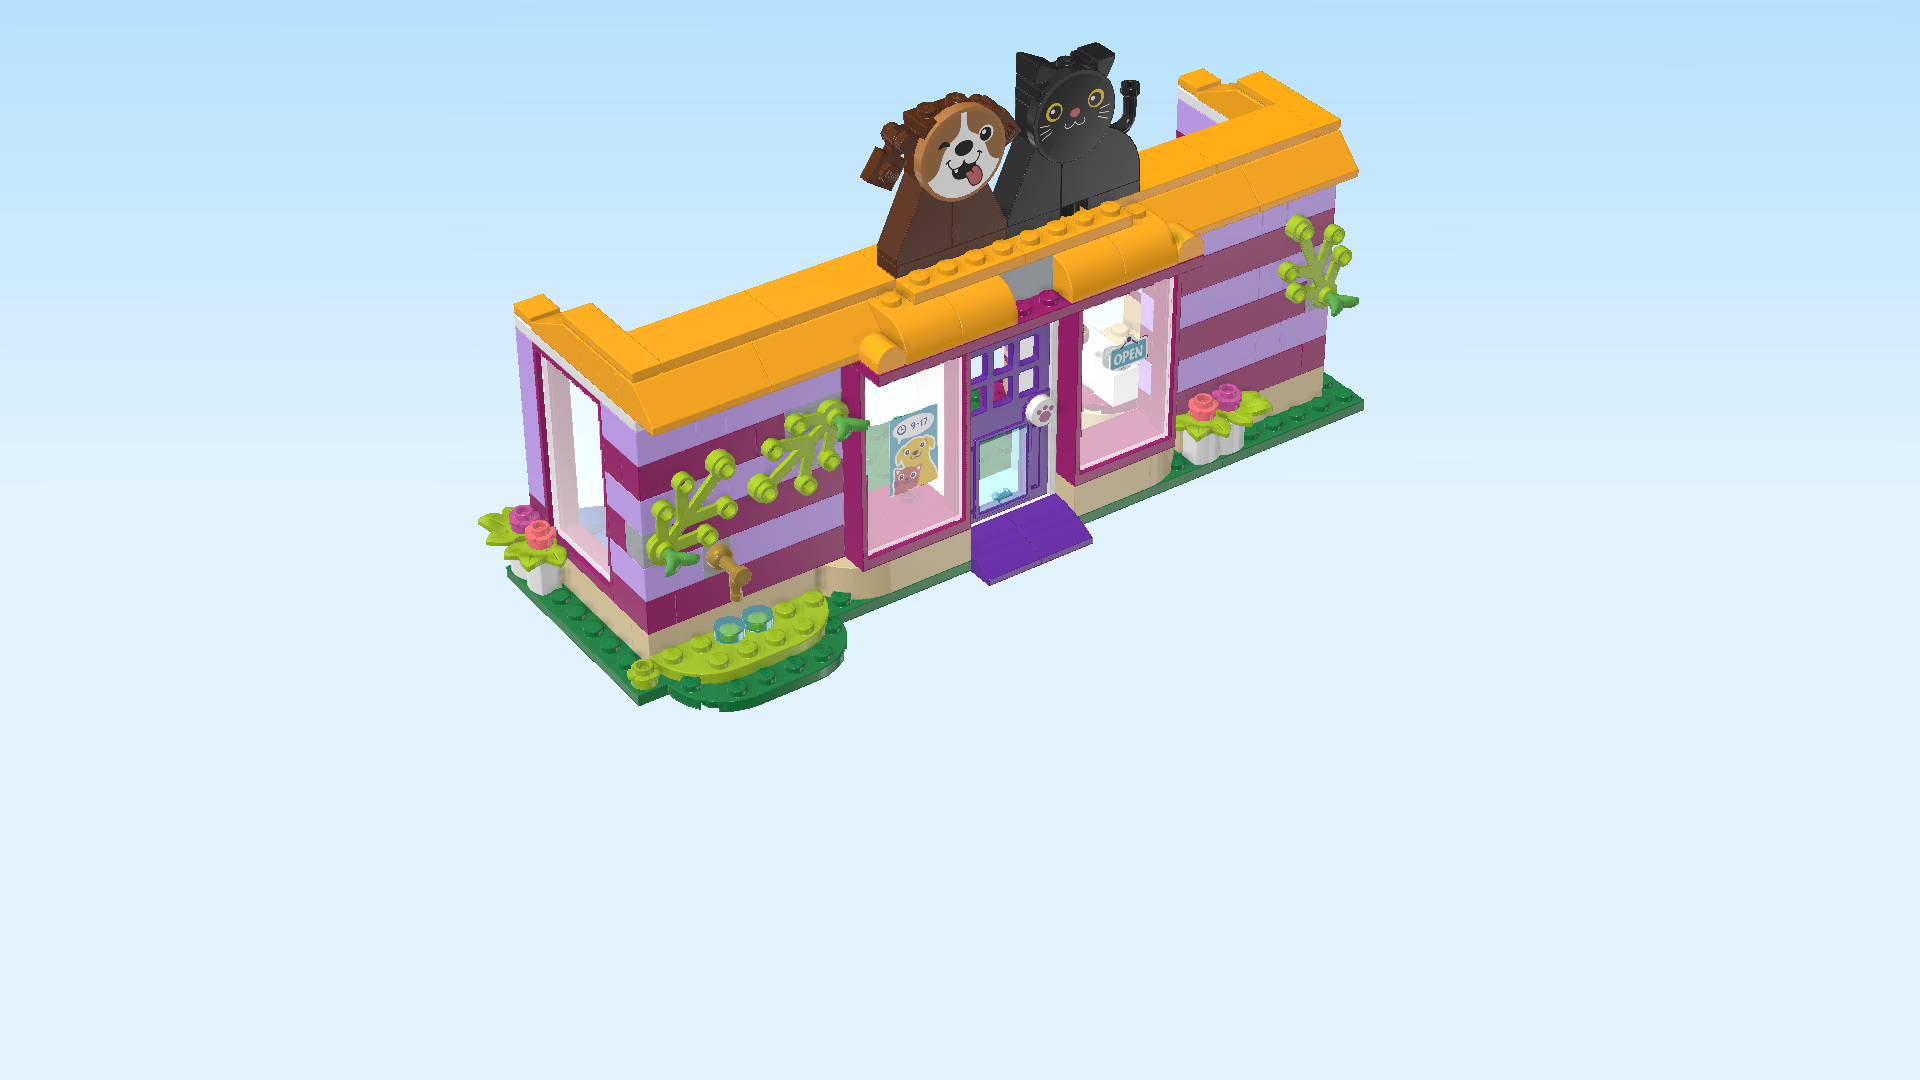
| The dog sign is finished! Great job! Mount it on the left back corner of the awning. This means it will have flat tiles to its left and back. Make sure the round tile with the sticker is to the front. |
| Now, we will build the cat sign. |
| Collect the following 2 pieces: |
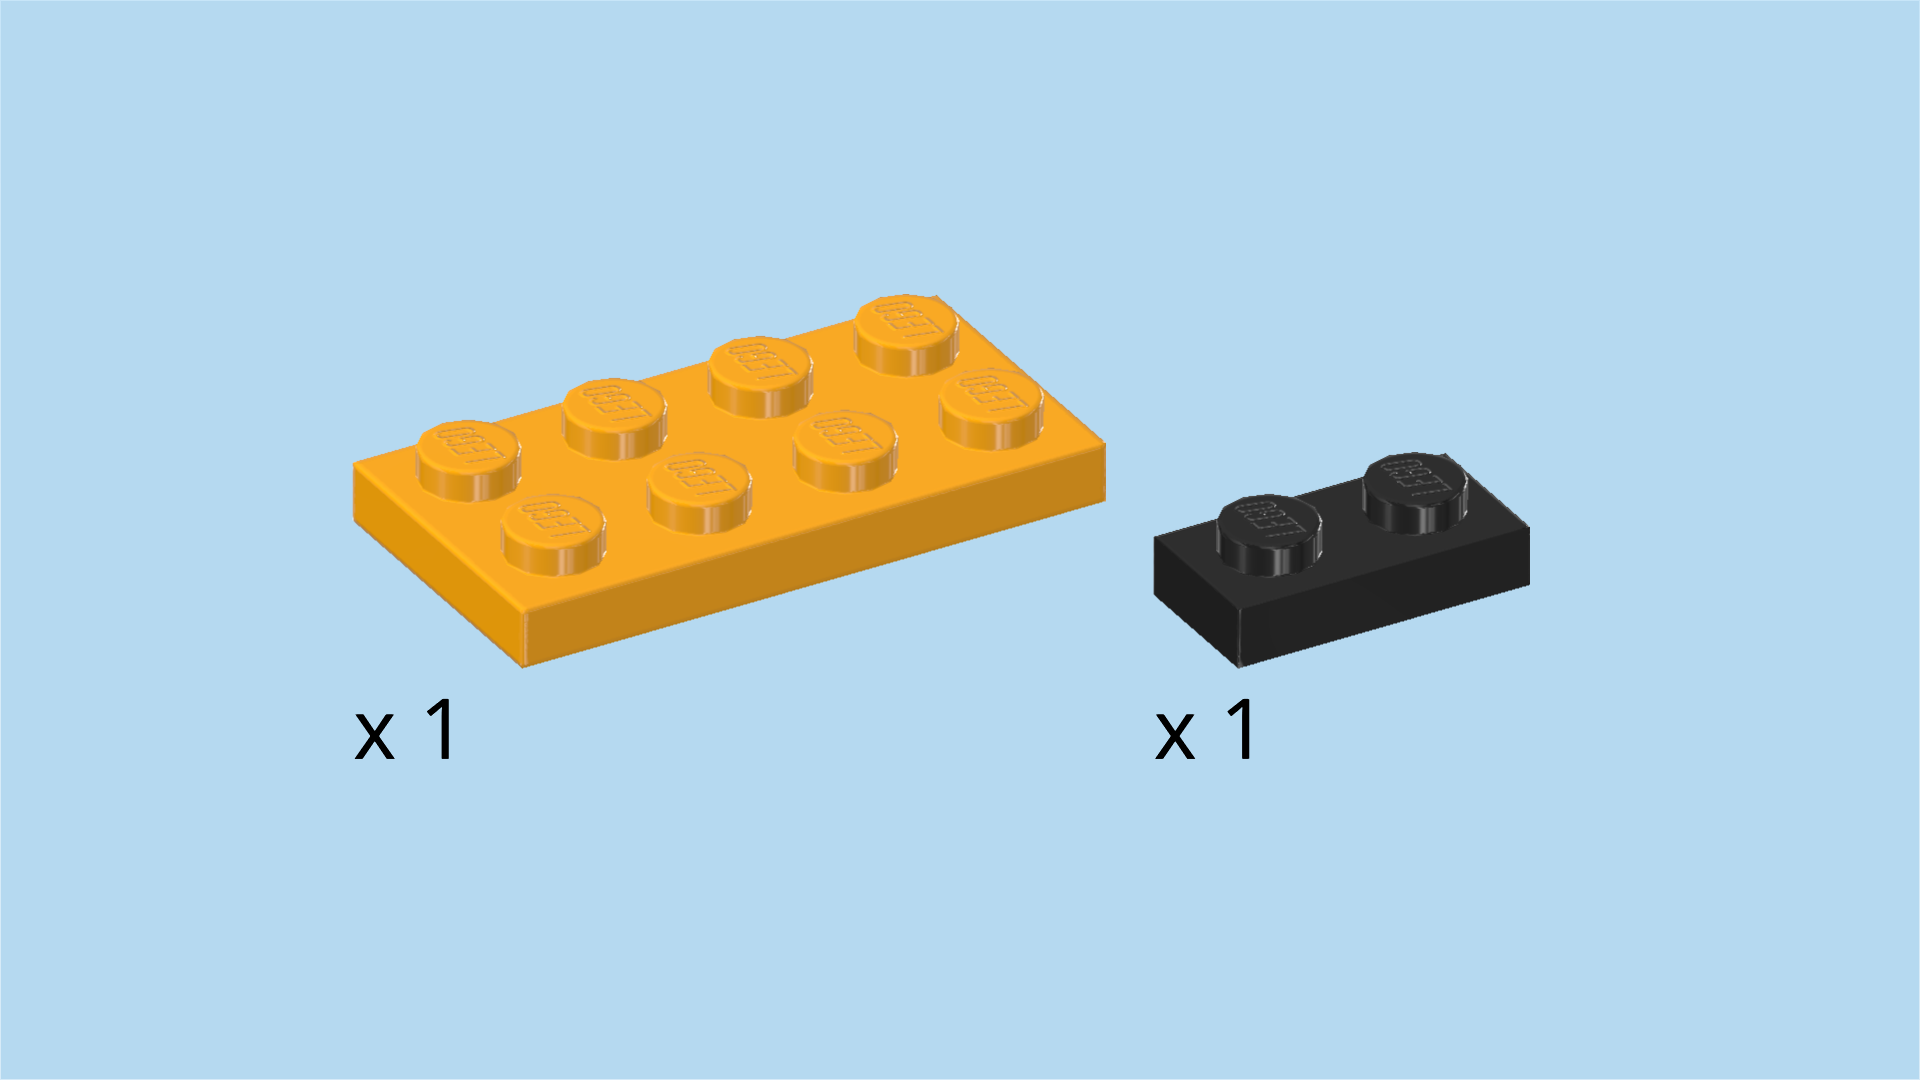
| 1 black plate 1x2, |
| and 1 flame yellowish orange plate 2x4. |
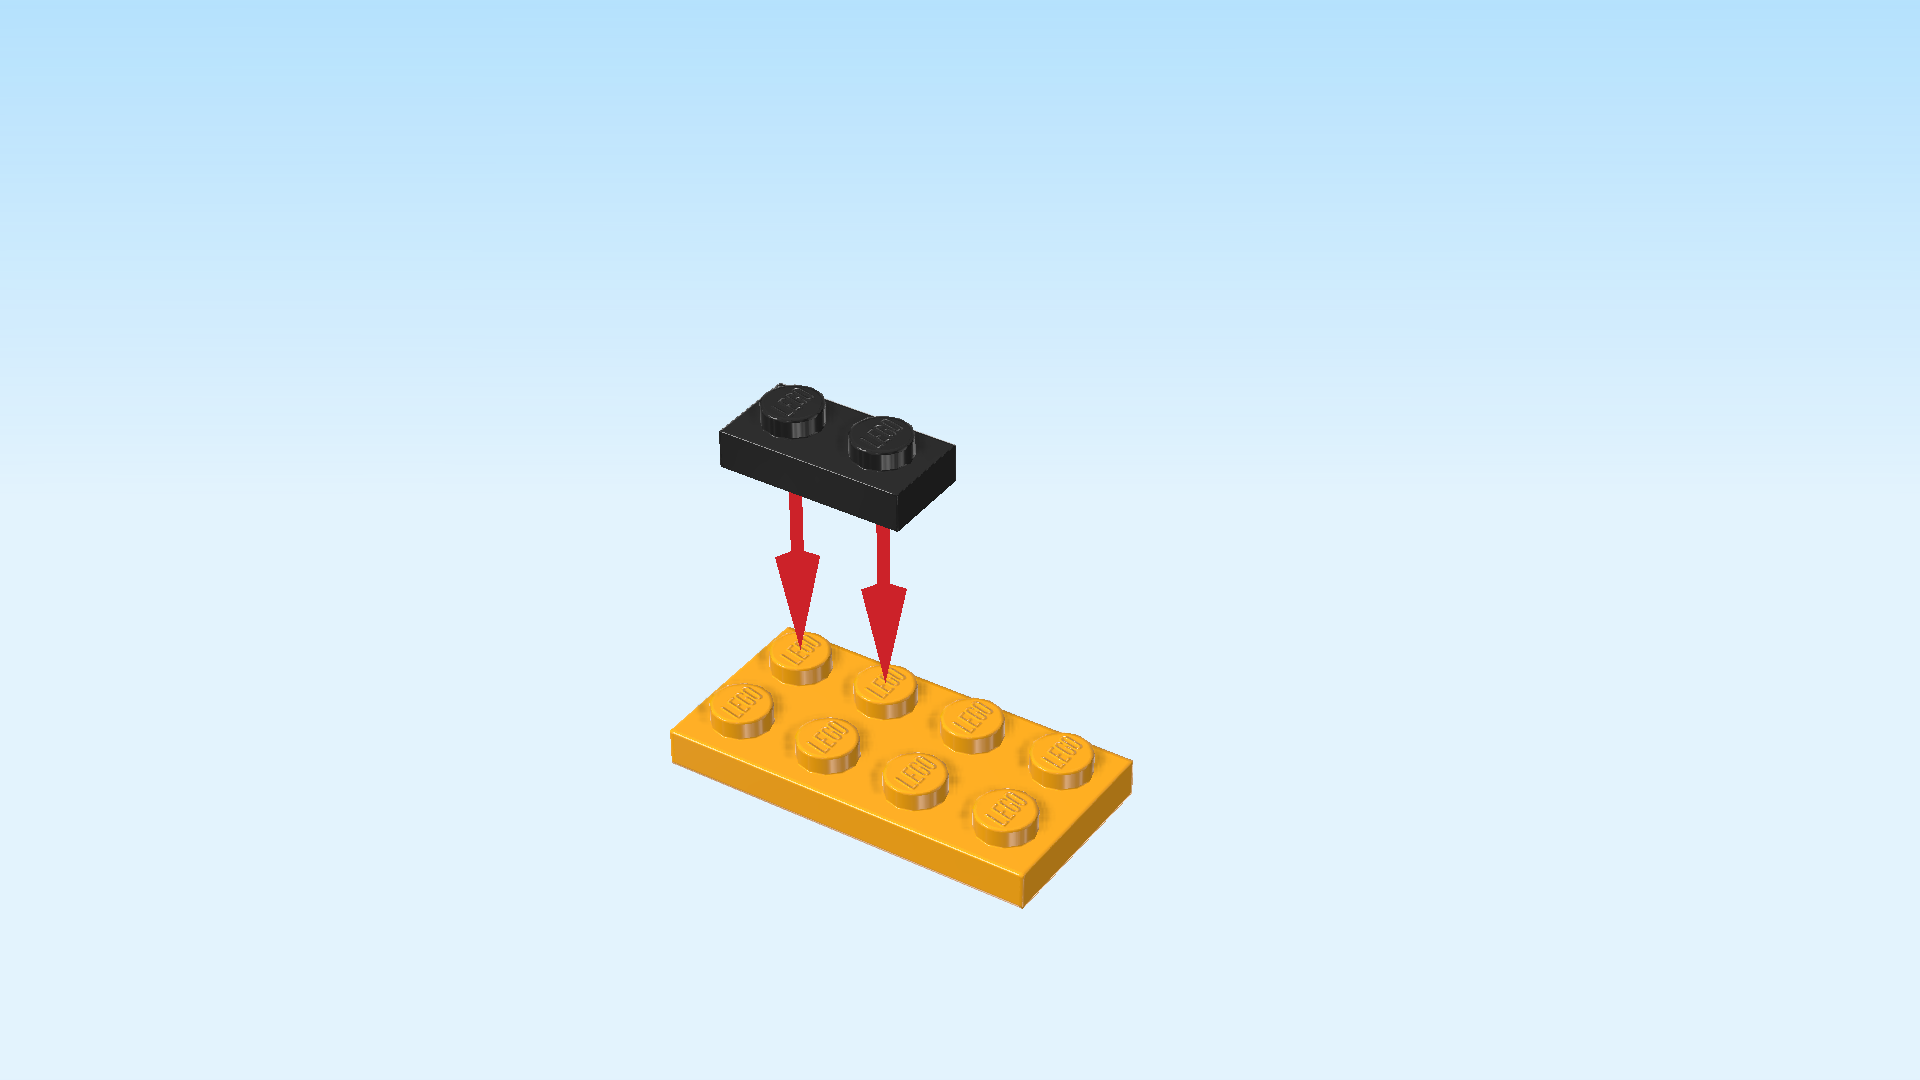
| Put the plate 2x4 horizontally on the table. |
| Put the plate 1x2 horizontally on the 2 left knobs of the back row. |
| Collect the following 2 pieces: |
| 1 black rounded plate 1x2, |
| and 1 black plate 1x2. |
| Put the rounded plate 1x2 vertically to the right of the previous piece, 1 knob overhanging to the back. |
| Put the plate 1x2 horizontally to the right of the previous piece, 1 knob overhanging to the right. |
| Collect the following 2 pieces: |
| 1 black curved brick 1x3x2 with 1 knob, |
| and 1 black roof tile 1x2x2, 65°. |
| Put the curved brick 1x3x2 horizontally on the previous piece and the knob to its left, curve to the right. |
| Put the roof tile 1x2x2 horizontally to the left of the previous piece, slope to the left. |
| Find 1 black brick 1x2. |
| Put it horizontally on top of the 2 previous pieces. |
| Collect the following 2 pieces: |
| 1 black bottom angle plate 1x1 - 1x1 with side knob, |
| and 1 black plate 1x1. |
| Put the angle plate 1x1 on the right knob of the previous piece, side knob pointing to the right. |
| Put the plate 1x1 to the left of the previous piece. |
| Find 1 black top angle plate 1x2 - 2x2 with 4 side knobs. |
| Put it horizontally on the 2 previous pieces, 4 side knobs to the front. |
| Find 2 black smooth roof tiles 1x1x⅔. |
| Put 1 upright on the side knob pointing to the right, slope to the bottom. |
| Put the other one on the left knob at the top, slope to the right. |
| These two pieces are the ears of the kitty! |
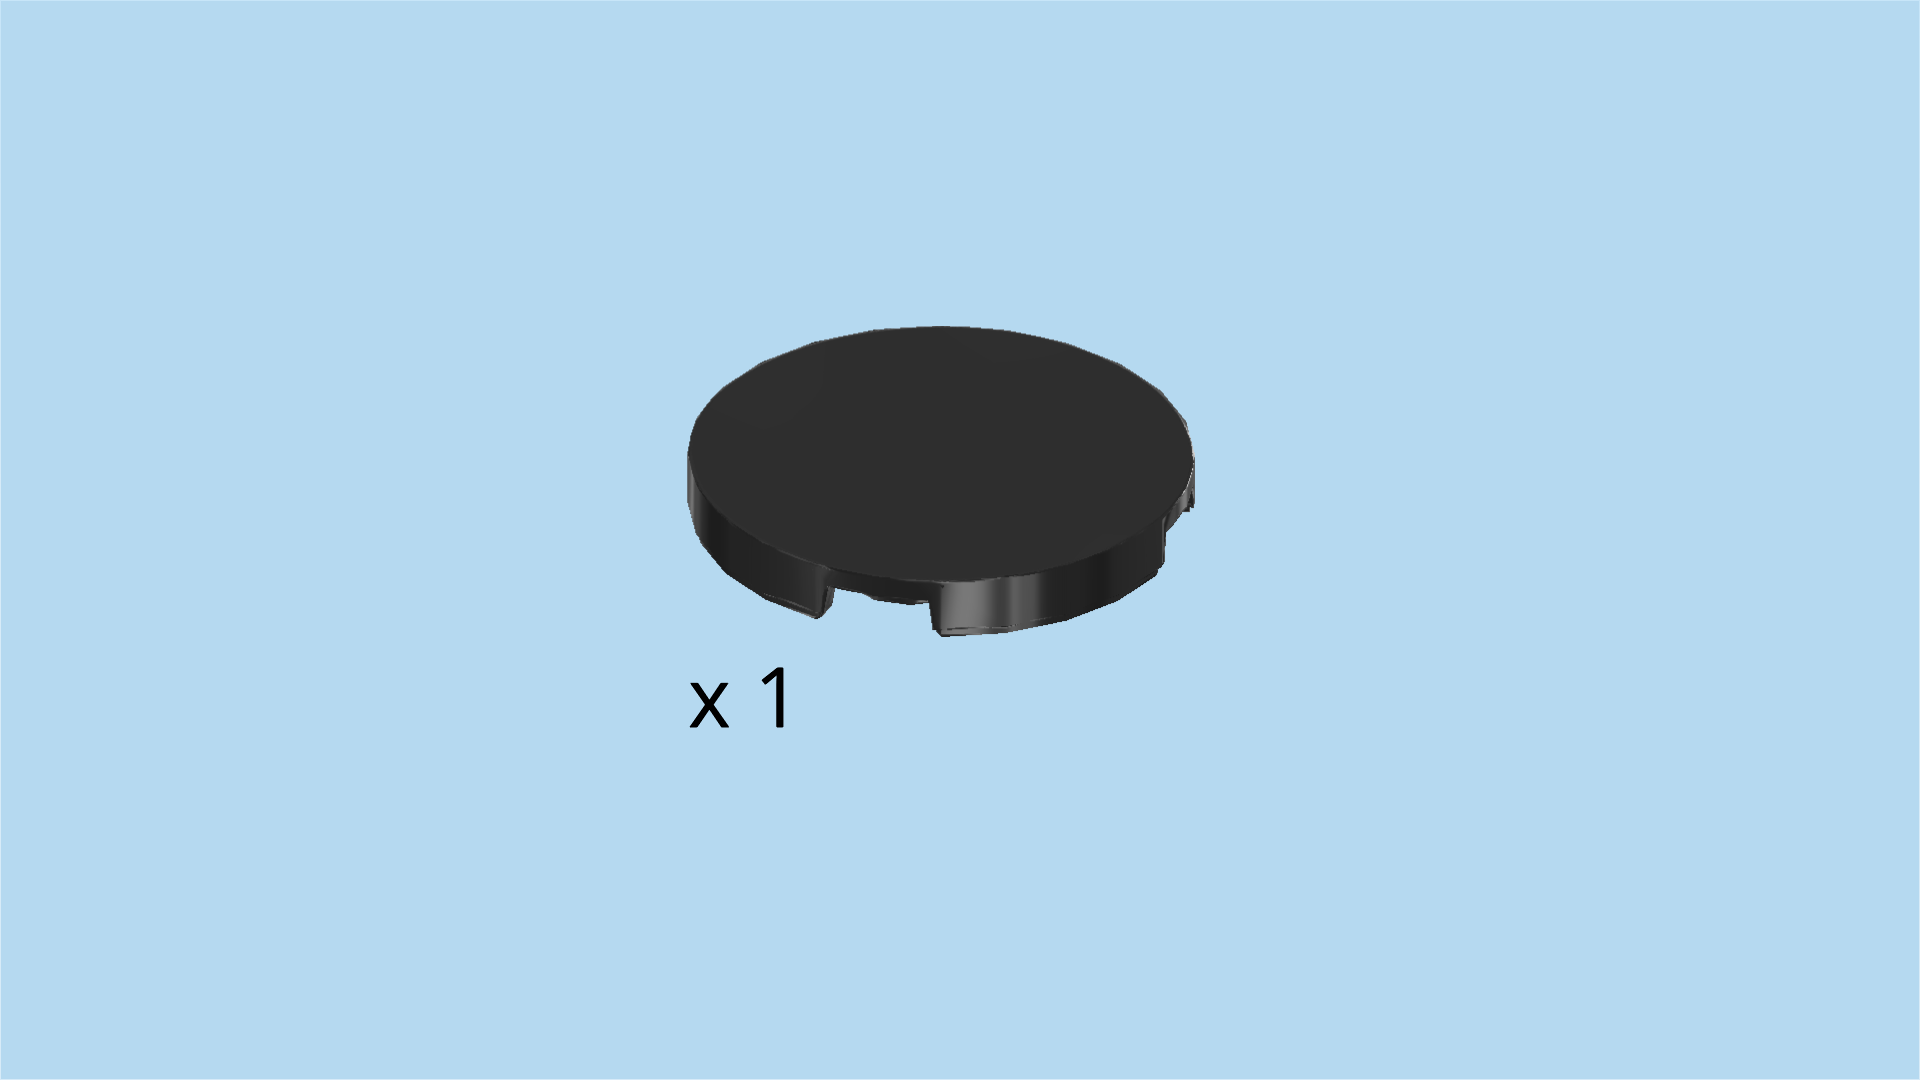
| Find 1 black round tile 3x3. |
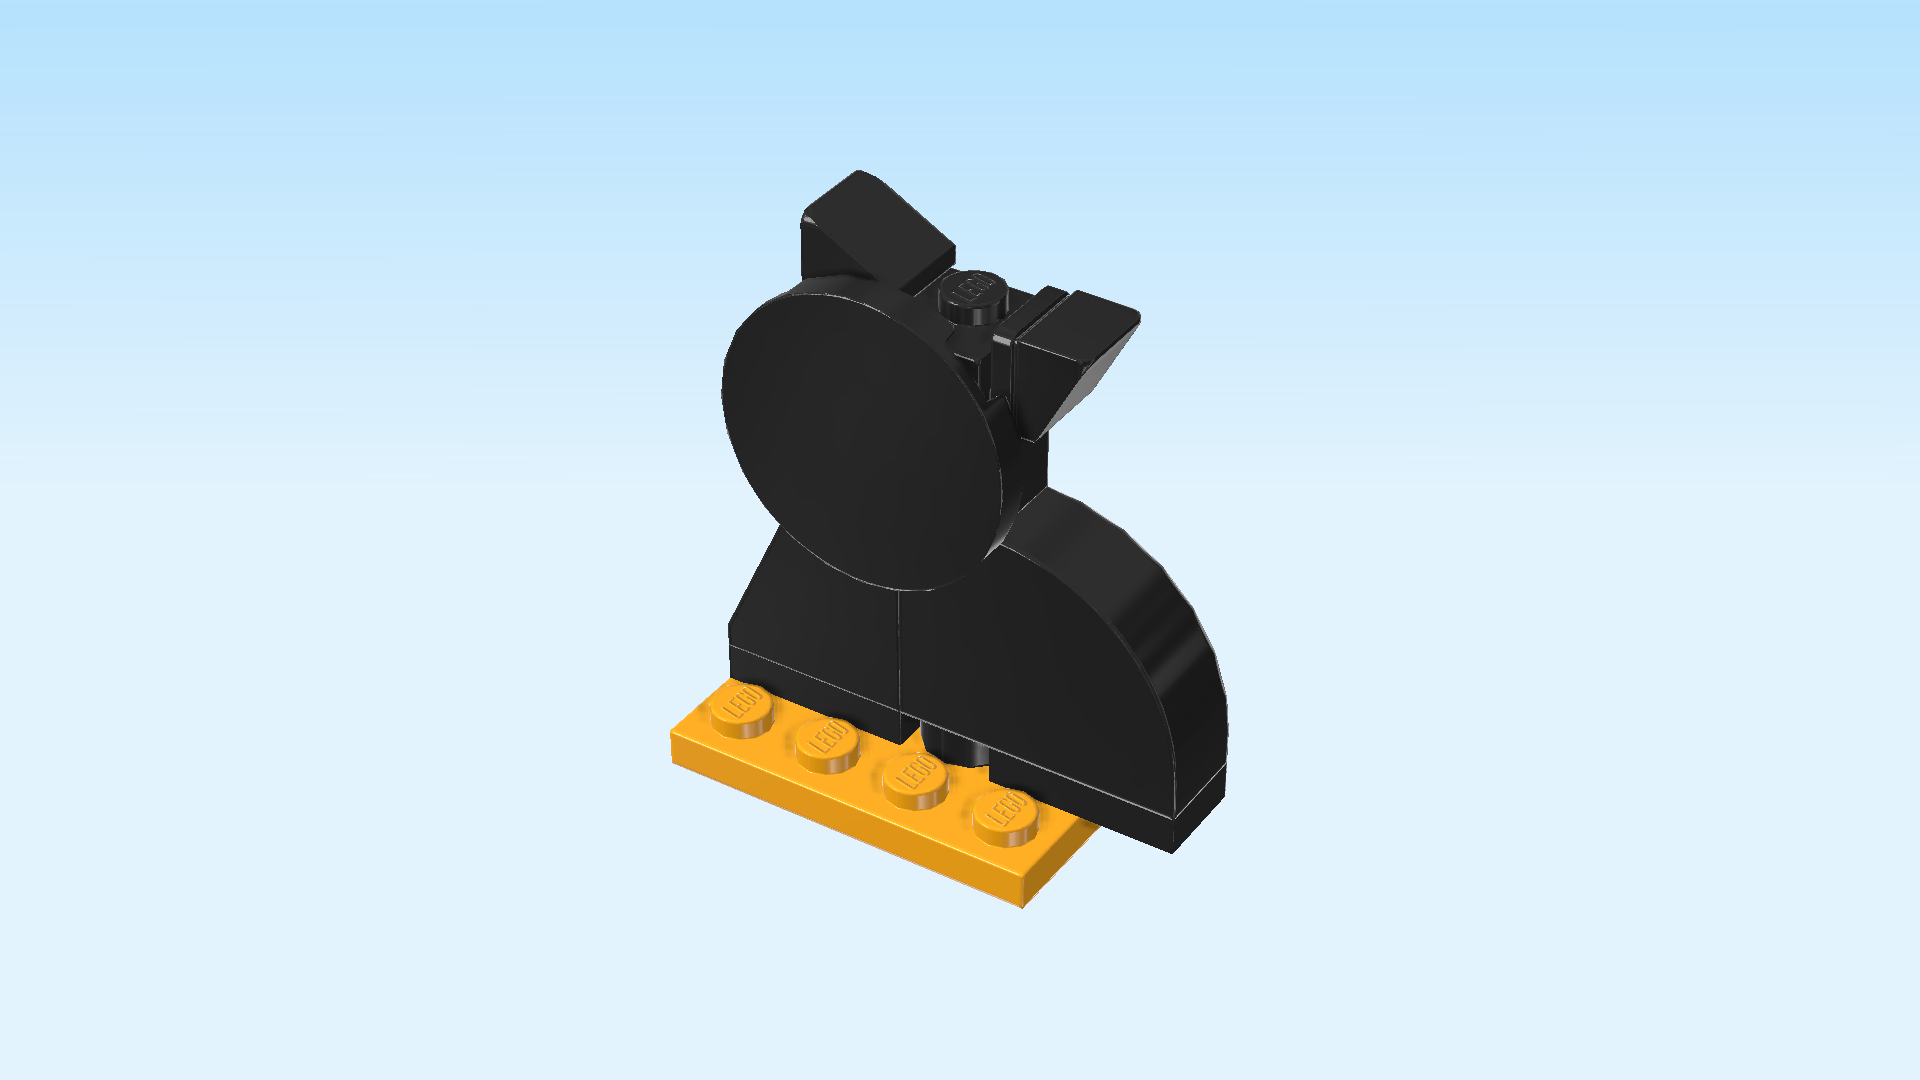
| Put it upright on the 4 side knobs pointing to the front. Make sure it slightly protrudes towards the top. |
| Continue if you want to decorate this piece with a sticker now. If not, skip the next 2 sentences. |
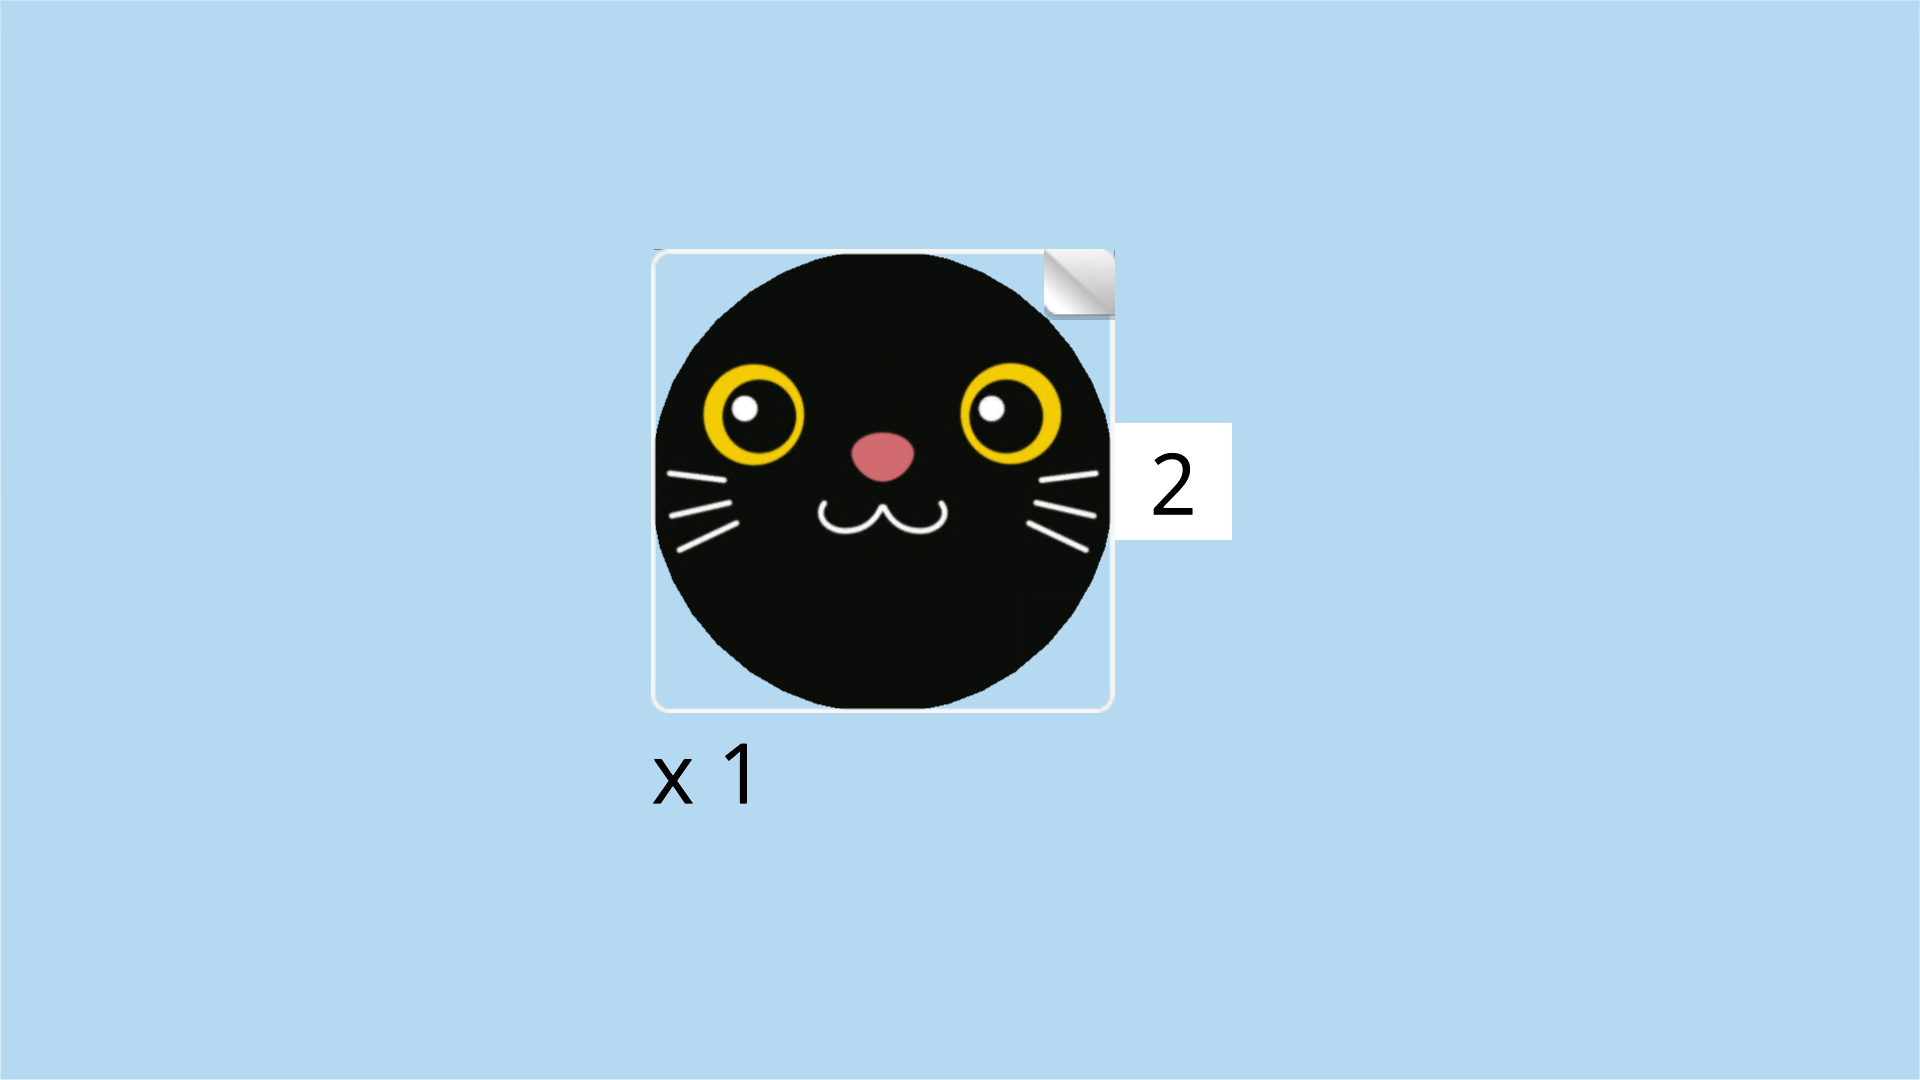
| Find 1 round sticker number 2. Ask a sighted person to help you find the correct sticker. |
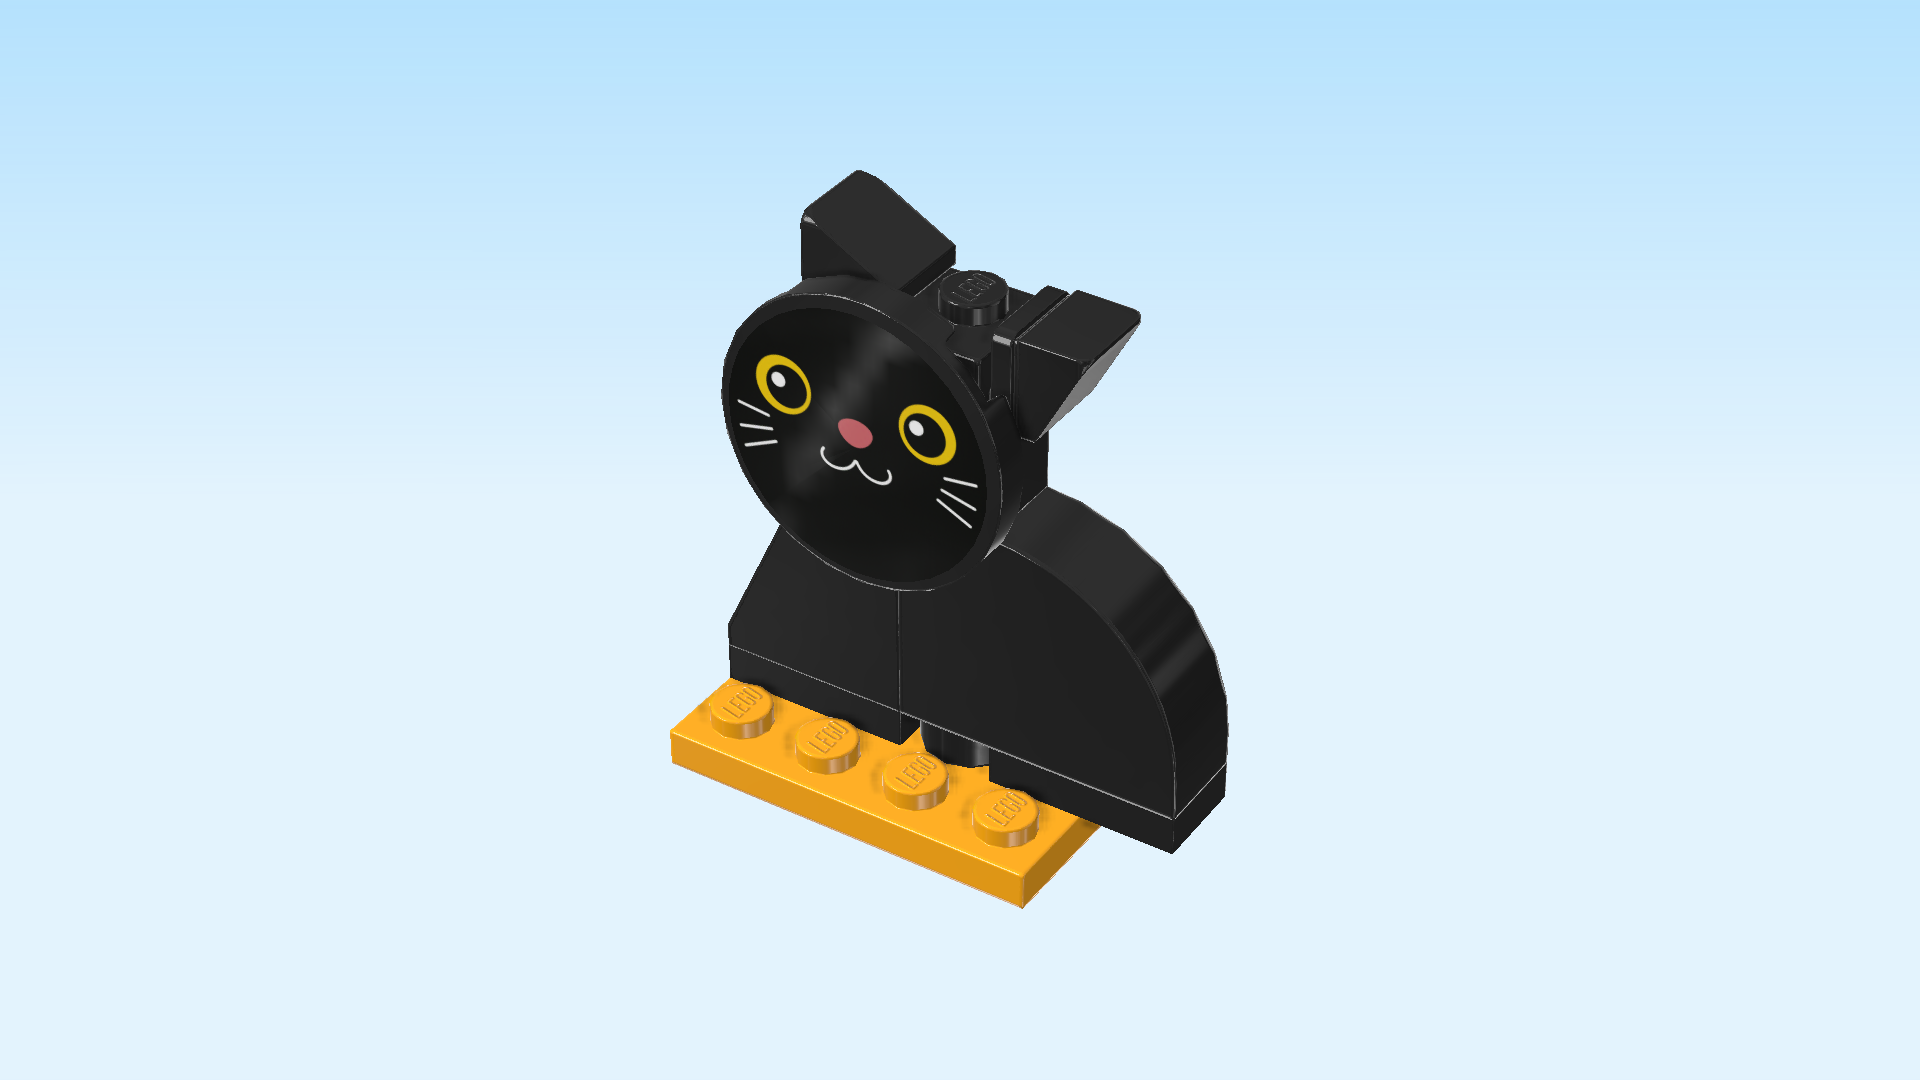
| Put it on the previous piece. It is a black sticker printed with a happy cat face! The cat has amber eyes with large black pupils, a pink nose, and white whiskers. |
| Find 1 black curly animal tail. |
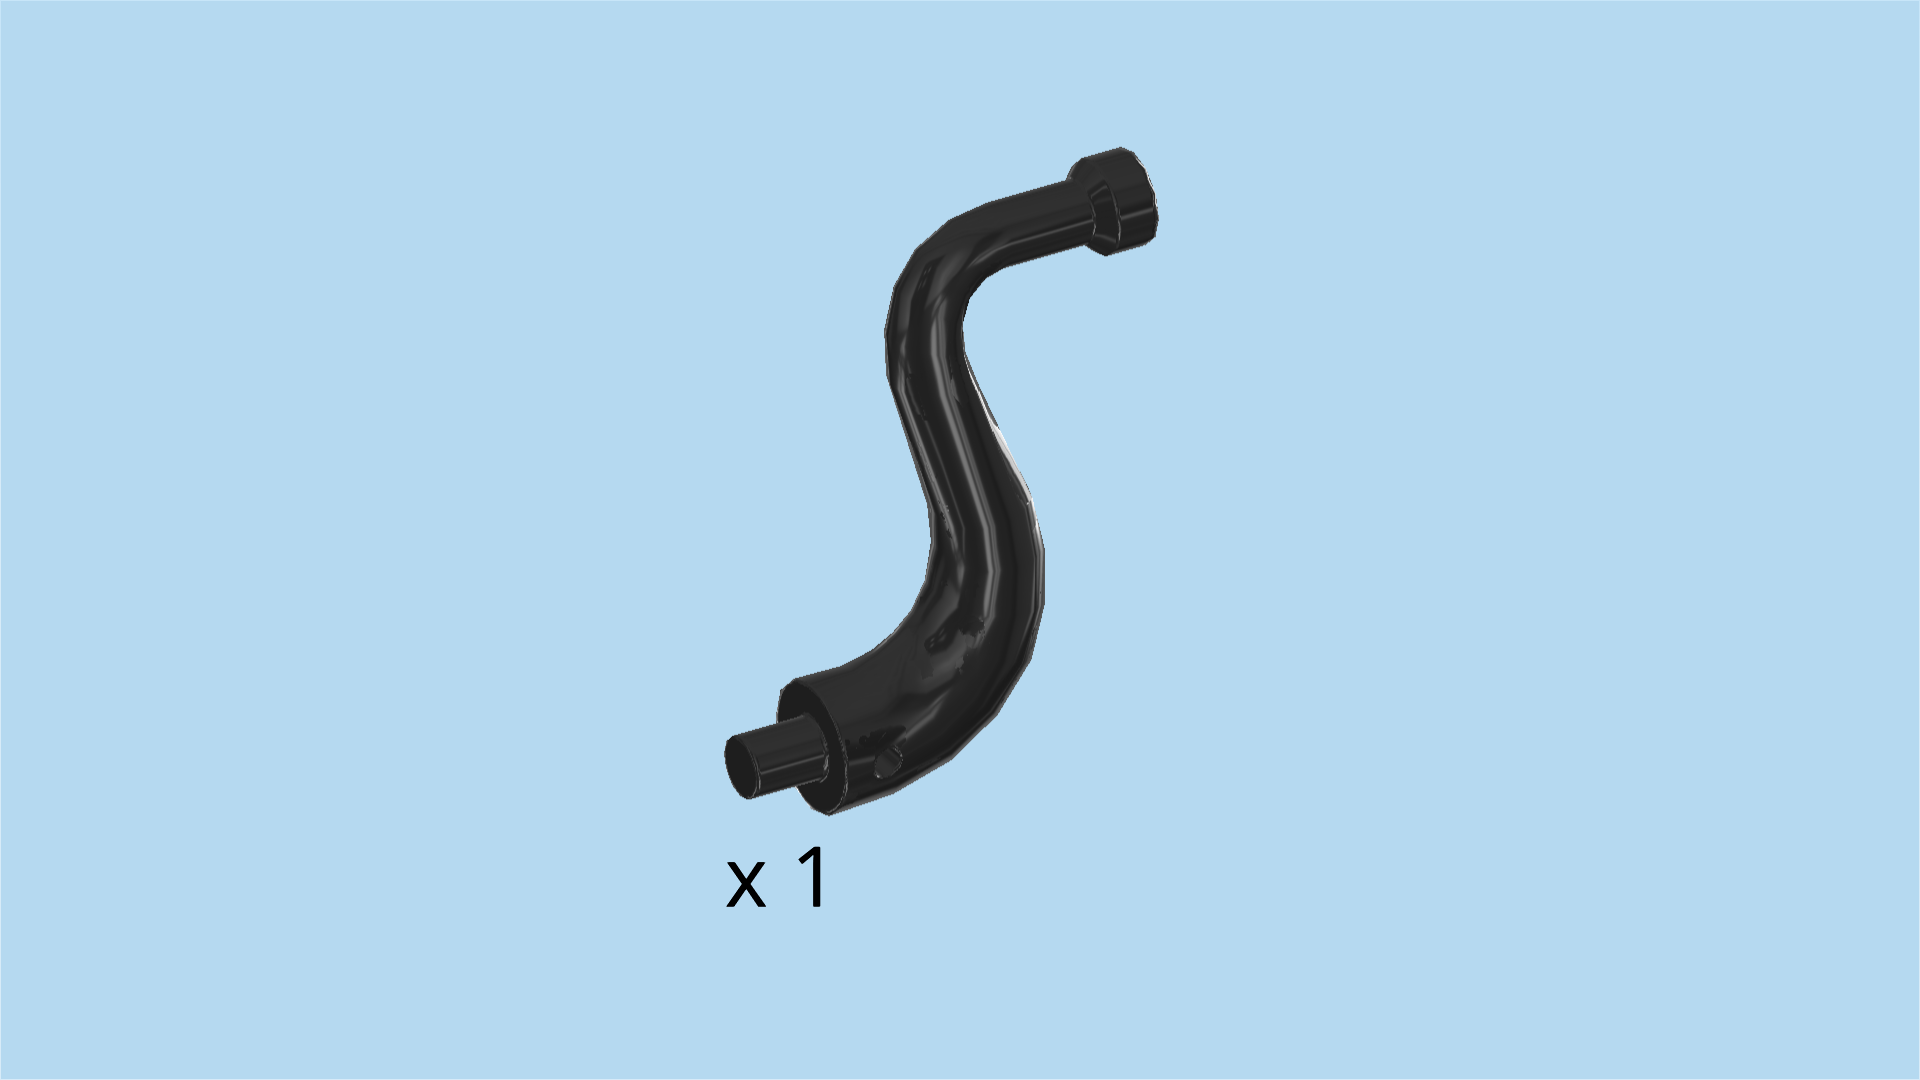
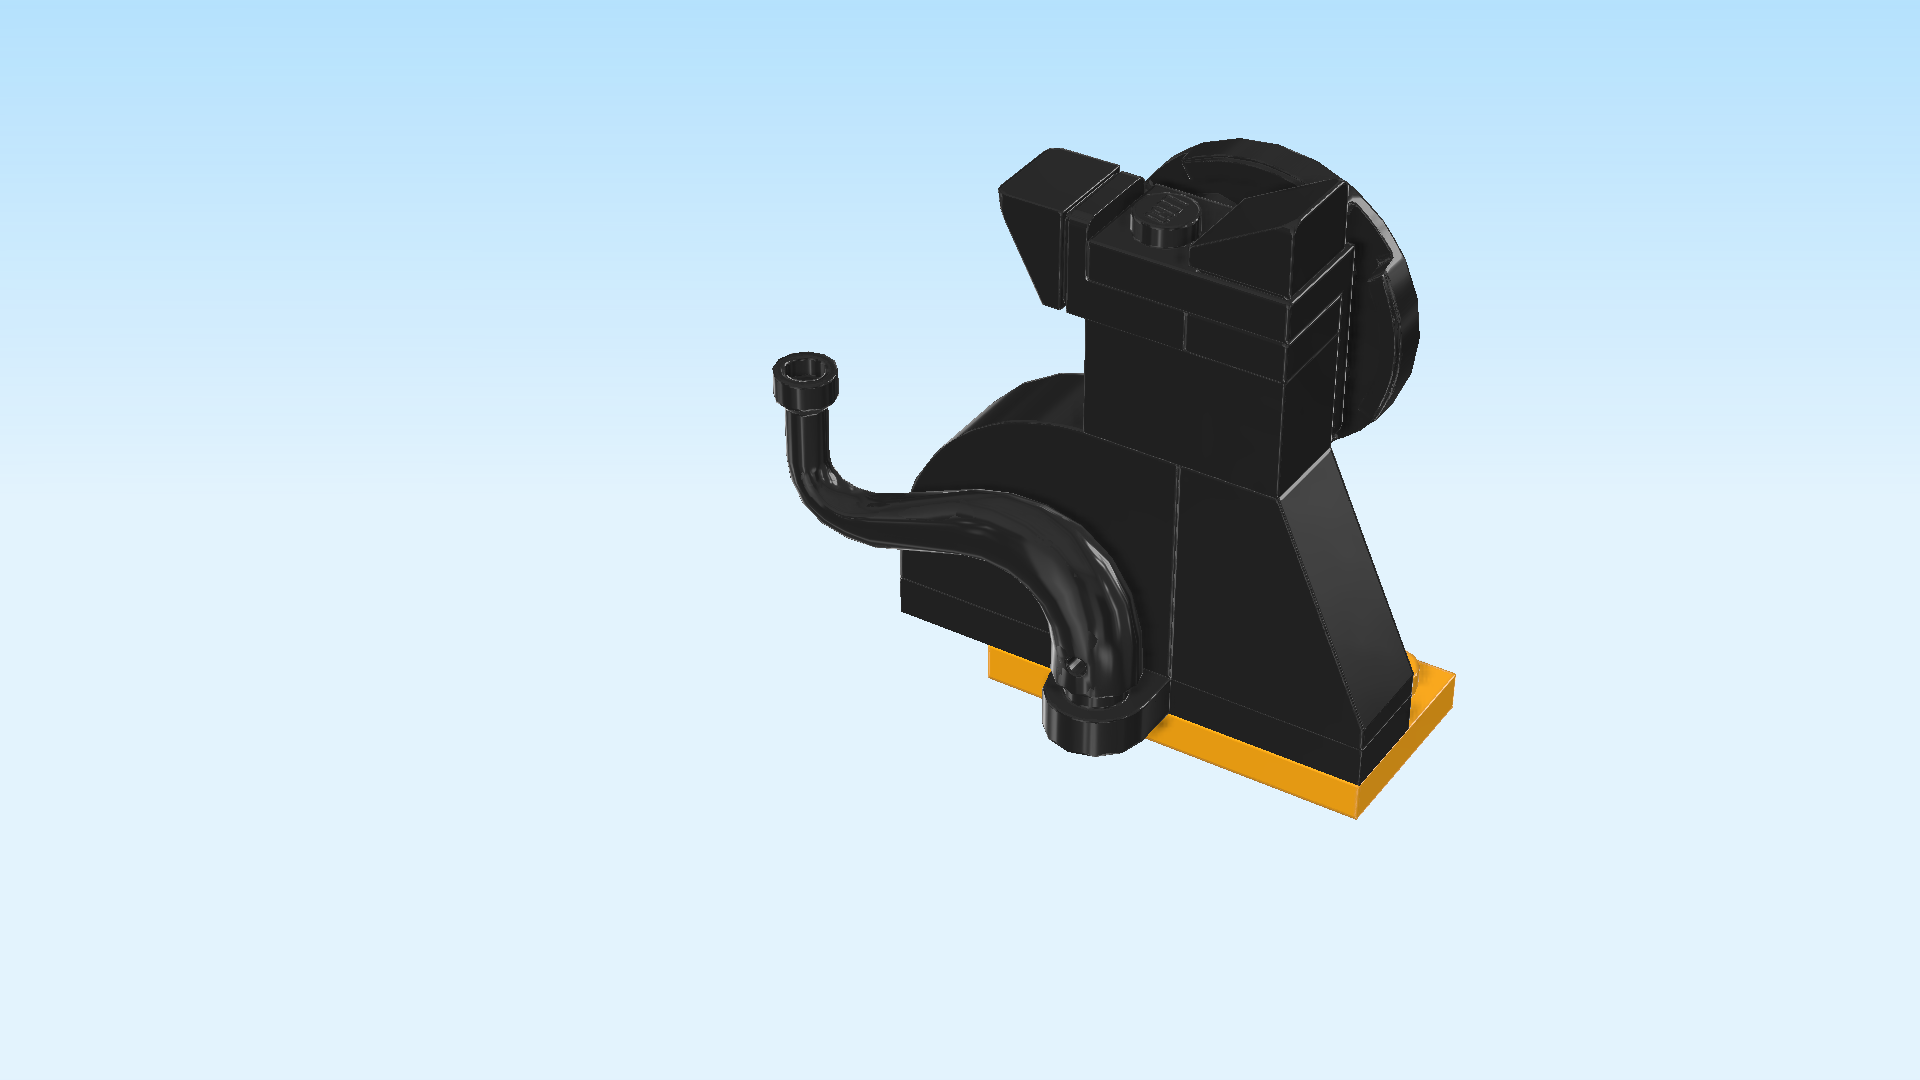
| Insert the shaft into the knob of the rounded plate 1x2 that is sticking out towards the back. Let the tail peek out towards the right. |
| The cat sign is finished! Well done! Mount it horizontally to the right of the dog sign. They should fit perfectly next to each other. |
| Find 1 pale ocher yellow plate 1x2. |
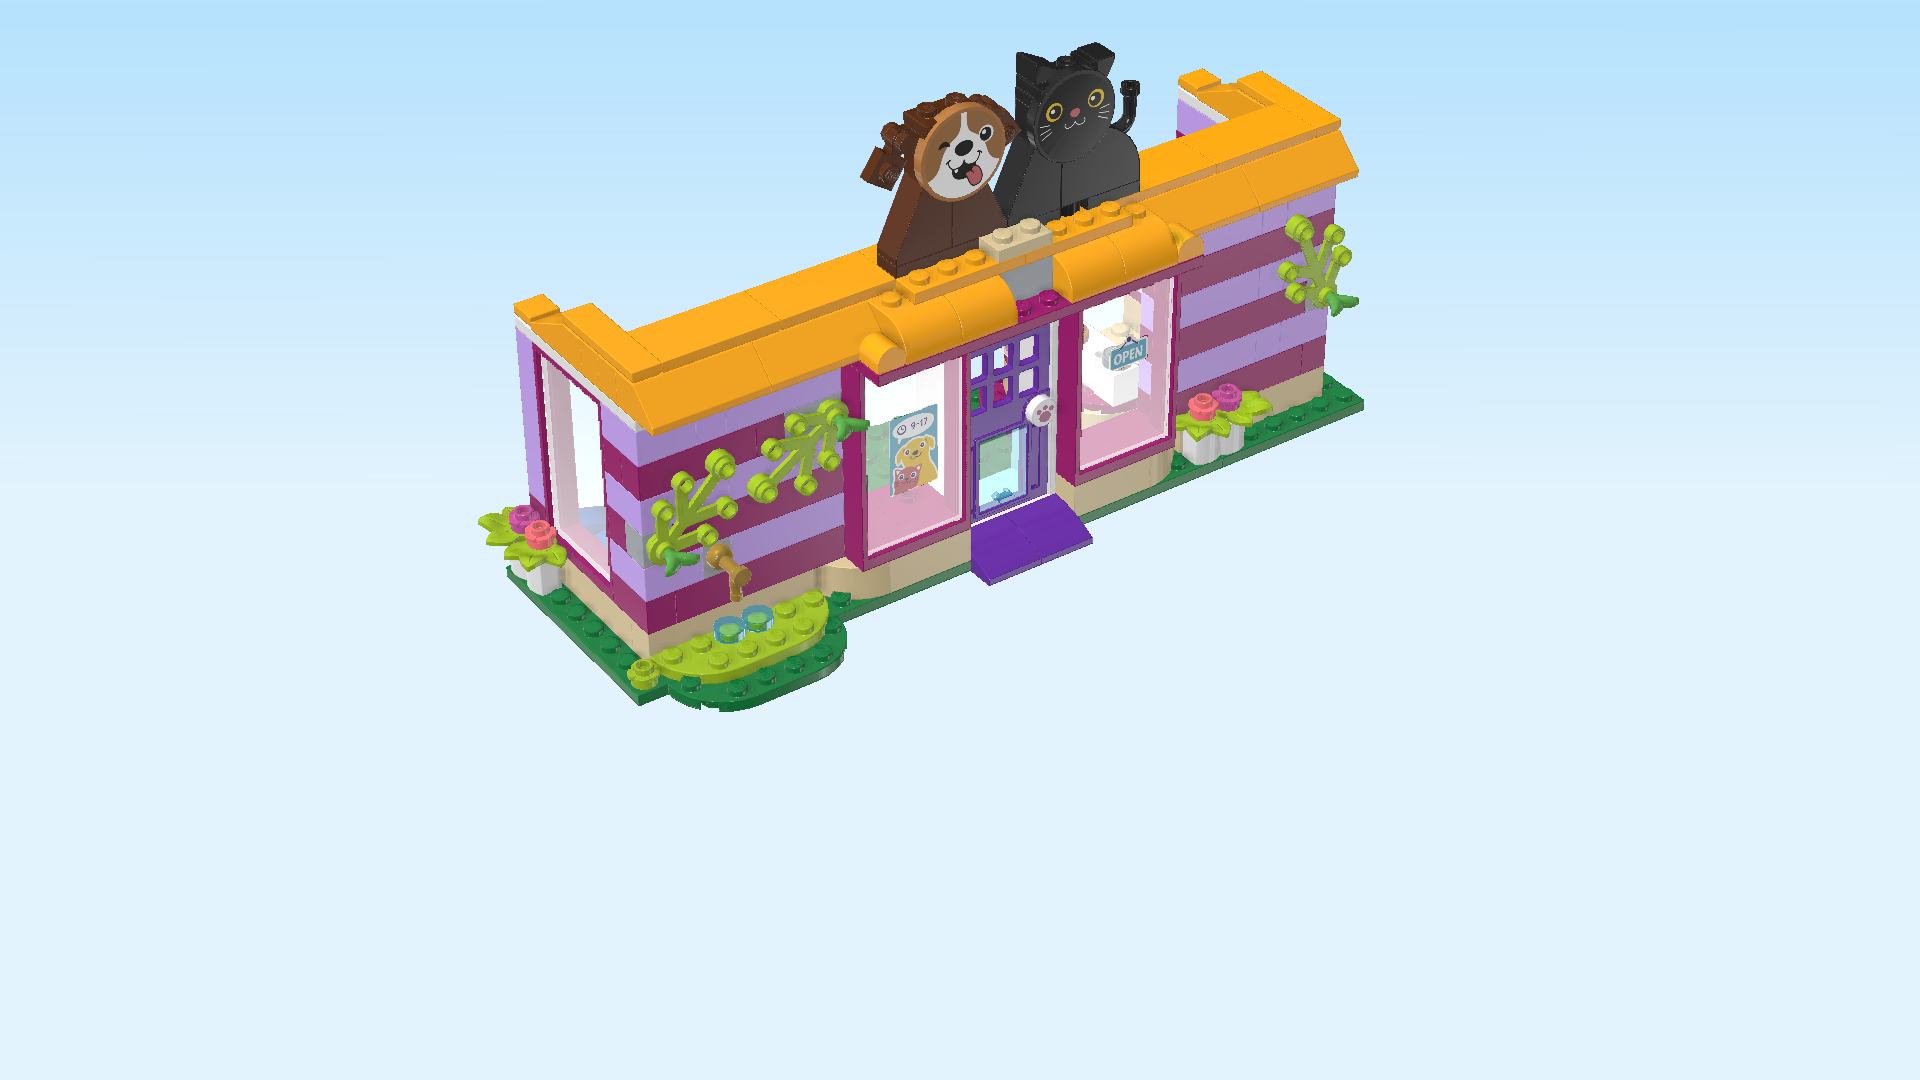
| Put it horizontally in the middle in front of the cat and dog signs. |
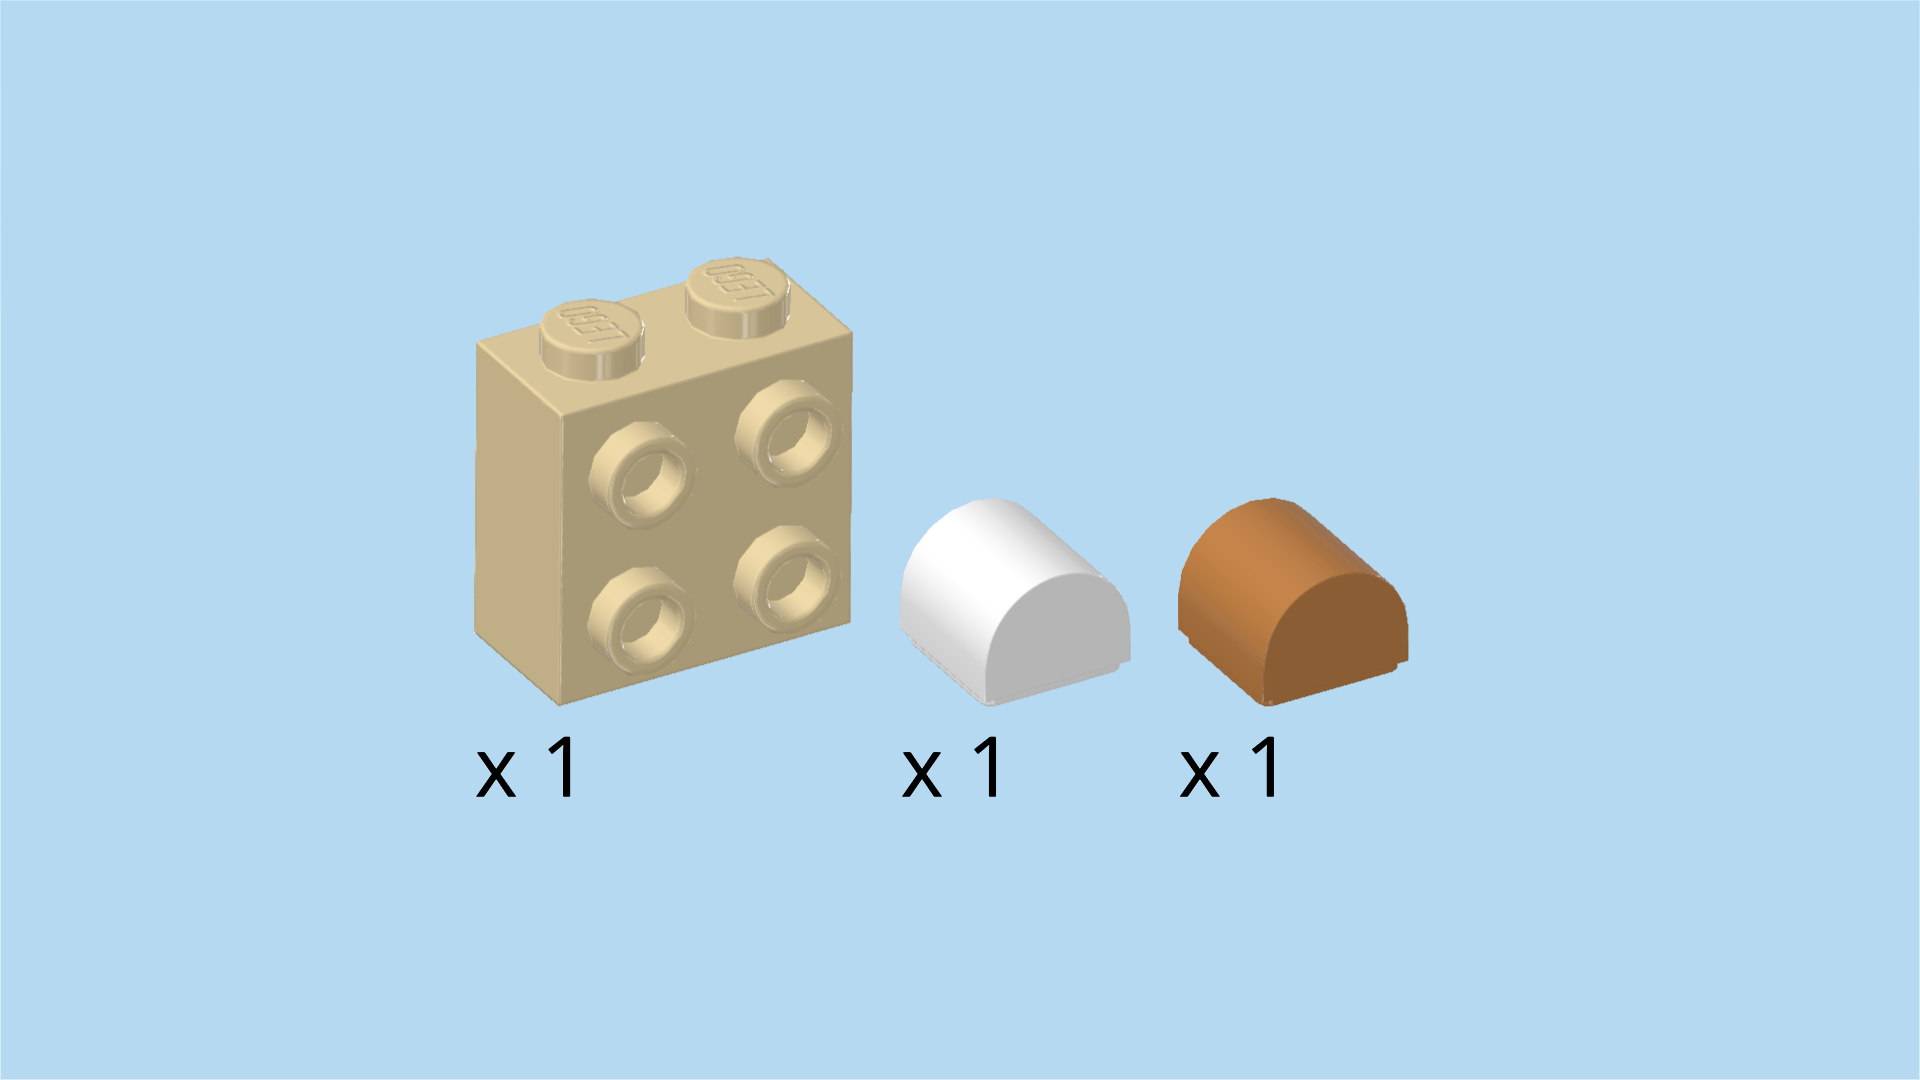
| Collect the following 3 pieces: |
| 1 pale ocher yellow brick 1x2x1⅔ with 4 side knobs, |
| 1 medium nougat brown smooth half-cylinder 1x1, |
| and 1 white smooth half-cylinder 1x1. |
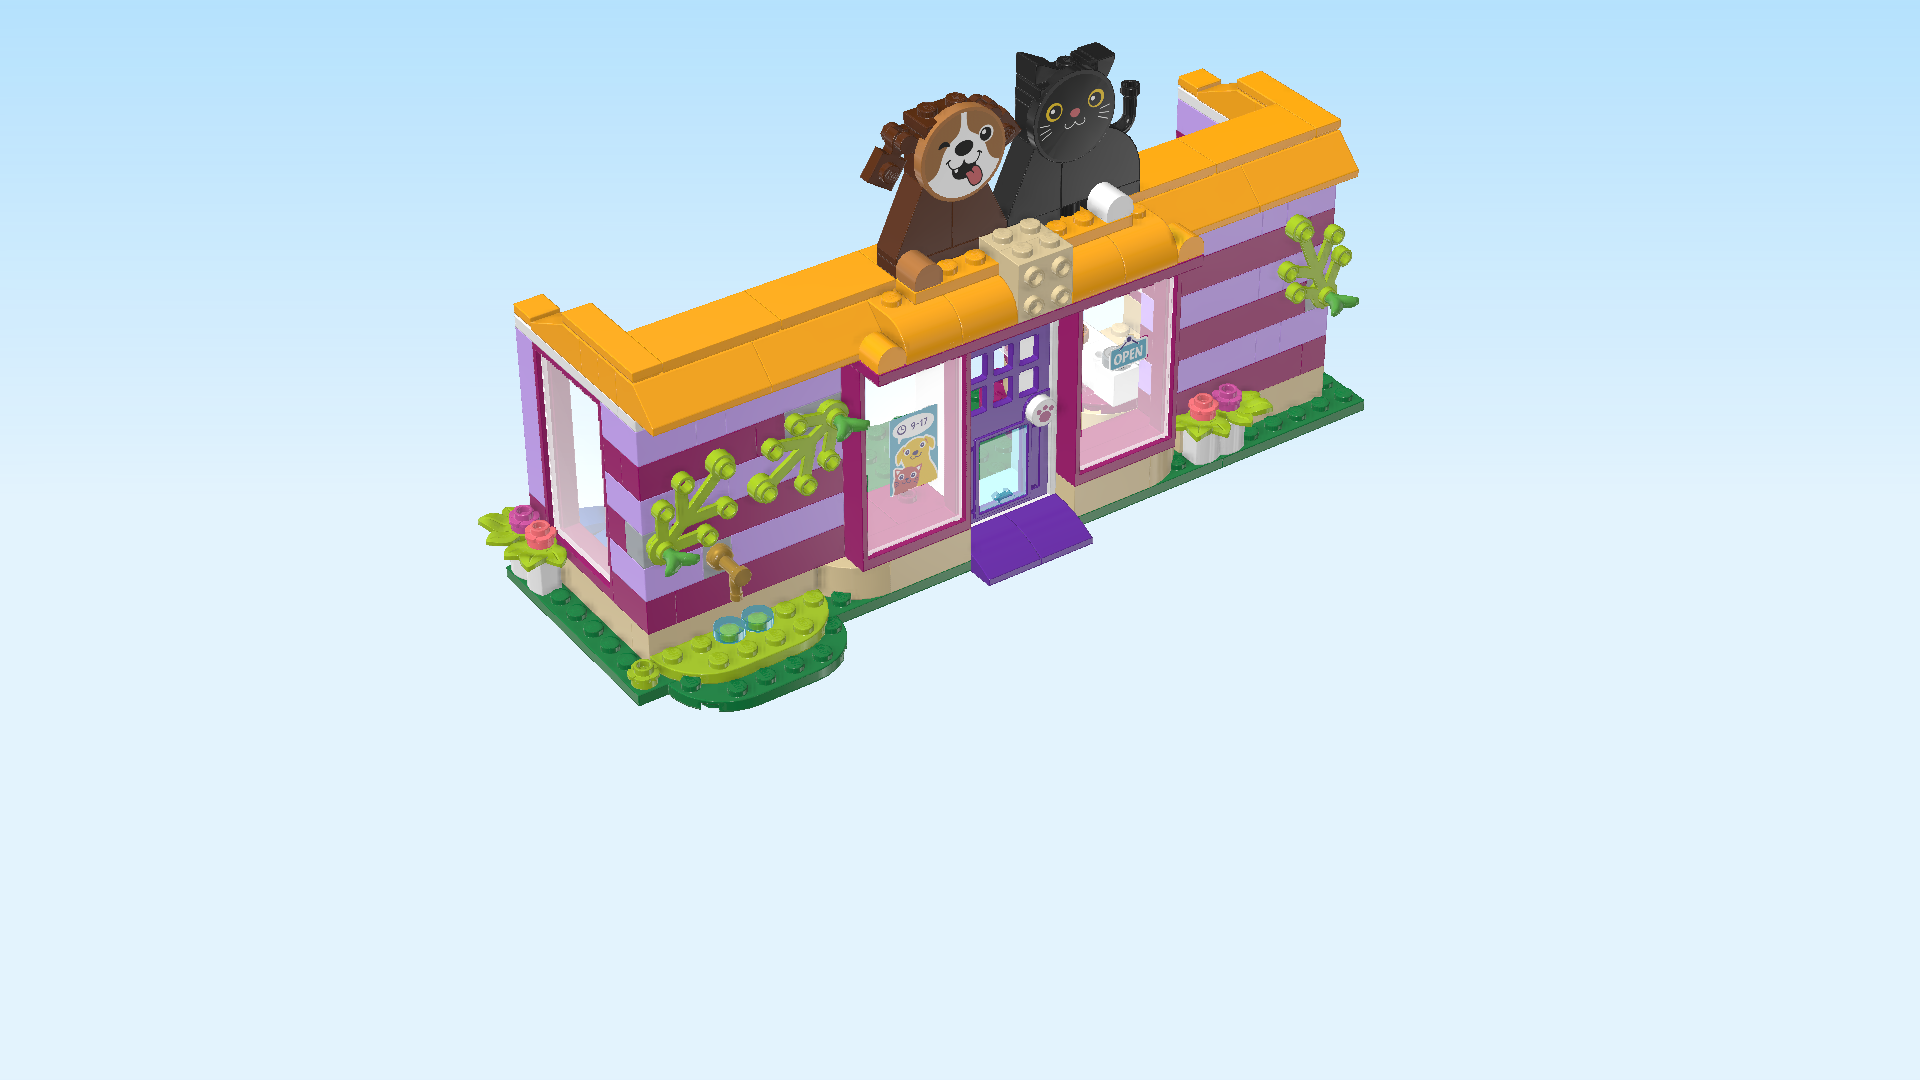
| Put the brick with side knobs horizontally in front of the previous piece, side knobs to the front. |
| Put the medium nougat brown smooth half-cylinder 1x1 in front of the dog sign on its left edge, slope running from left to right. |
| There will be 1 empty knob to the left of this piece. This is correct! |
| Put the white smooth half-cylinder 1x1 in front of the cat sign, make sure that 1 knob remains empty on its right, slope running from left to right. |
| The two half cylinder pieces are the paws of the dog and cat! |
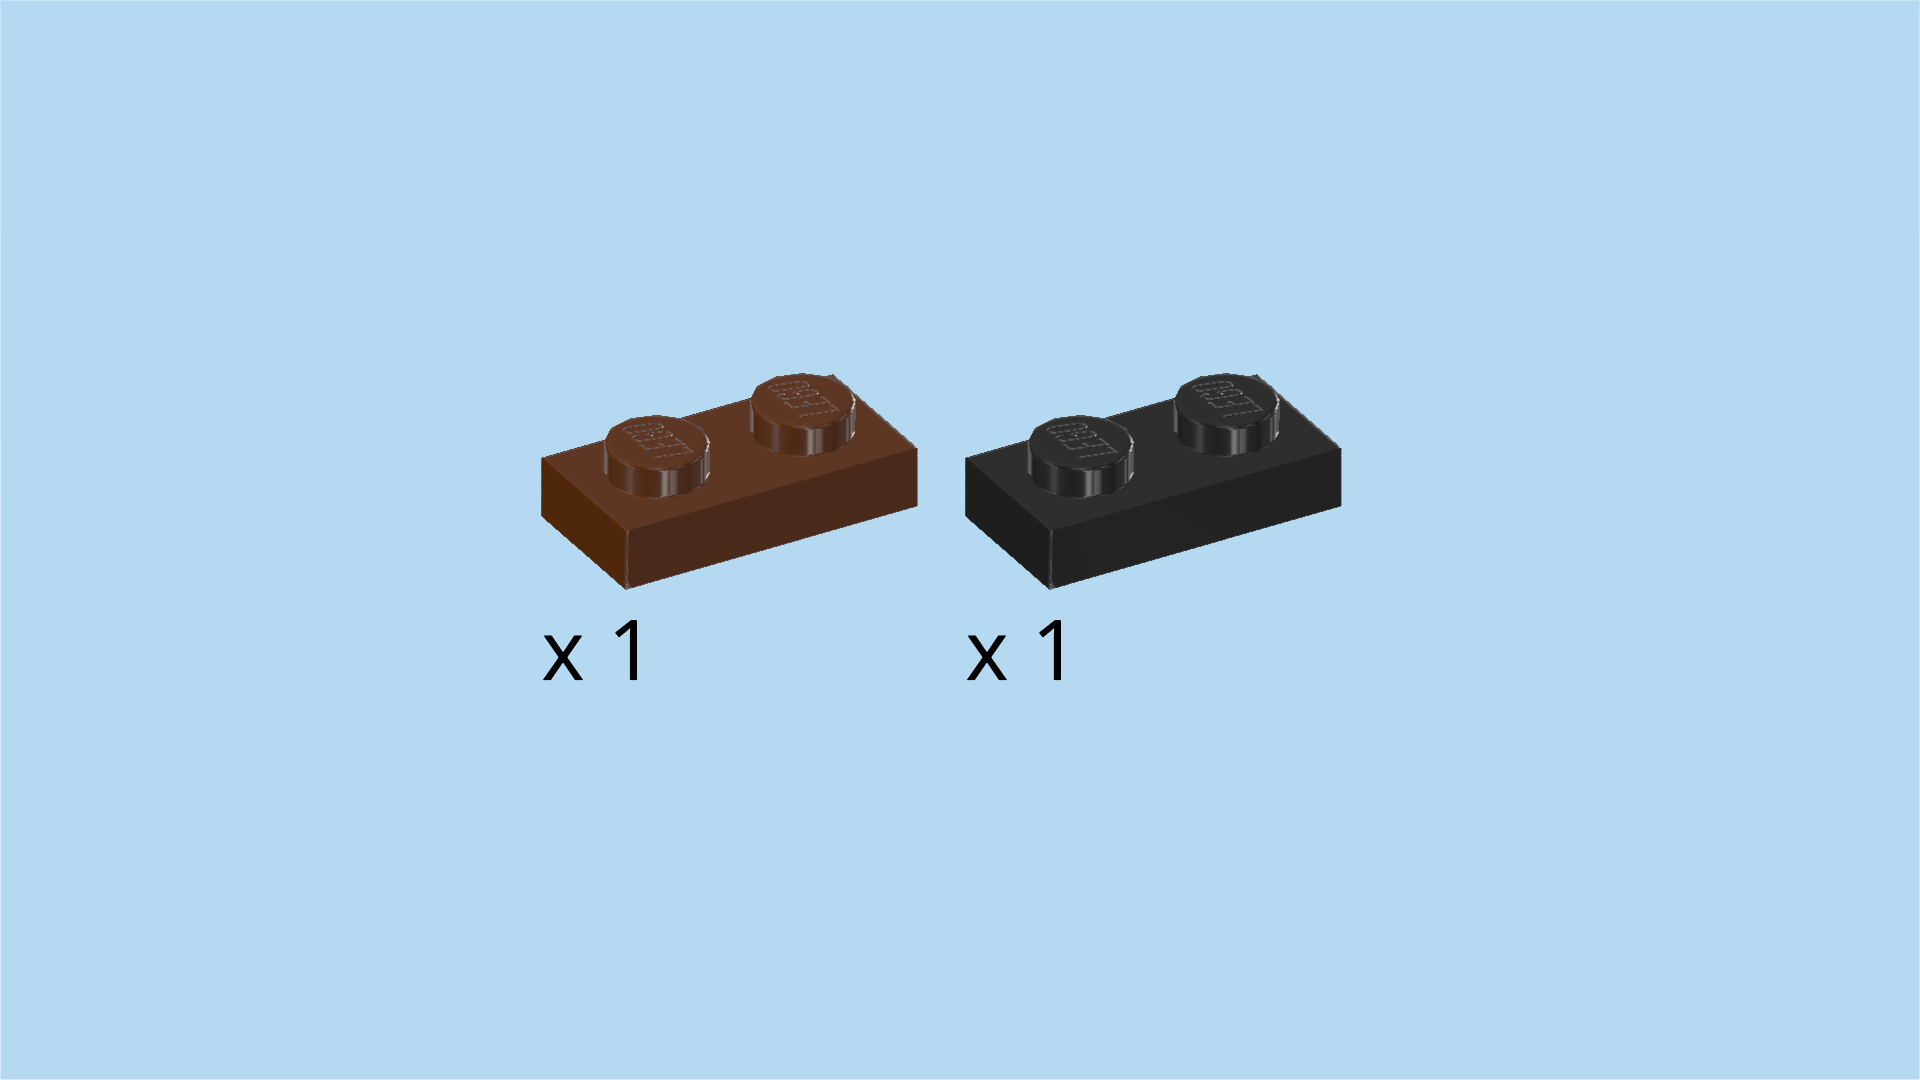
| Collect the following 2 pieces: |
| 1 reddish brown plate 1x2, |
| and 1 black plate 1x2. |
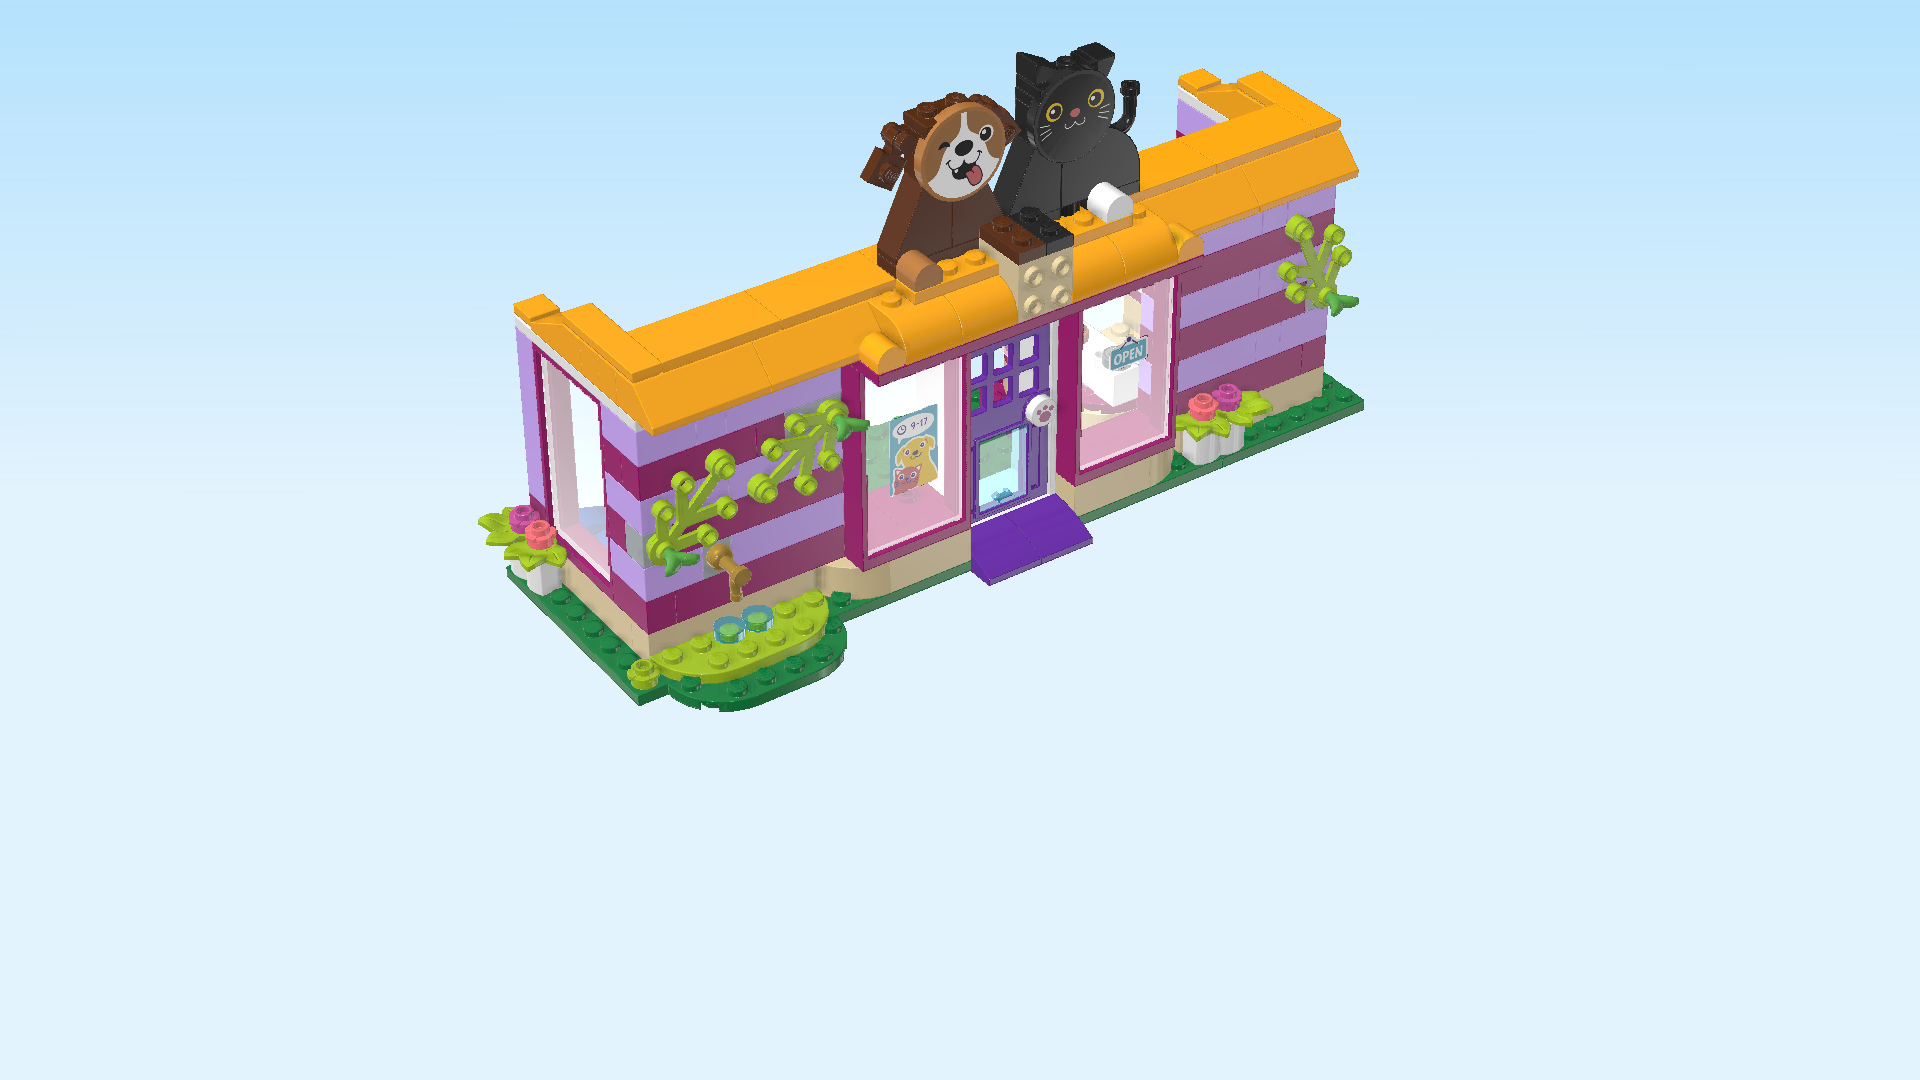
| Put the reddish brown plate 1x2 vertically in front of the dog sign on its right edge. |
| Put the black plate 1x2 vertically to the right of the previous piece. |
| Collect the following 3 pieces: |
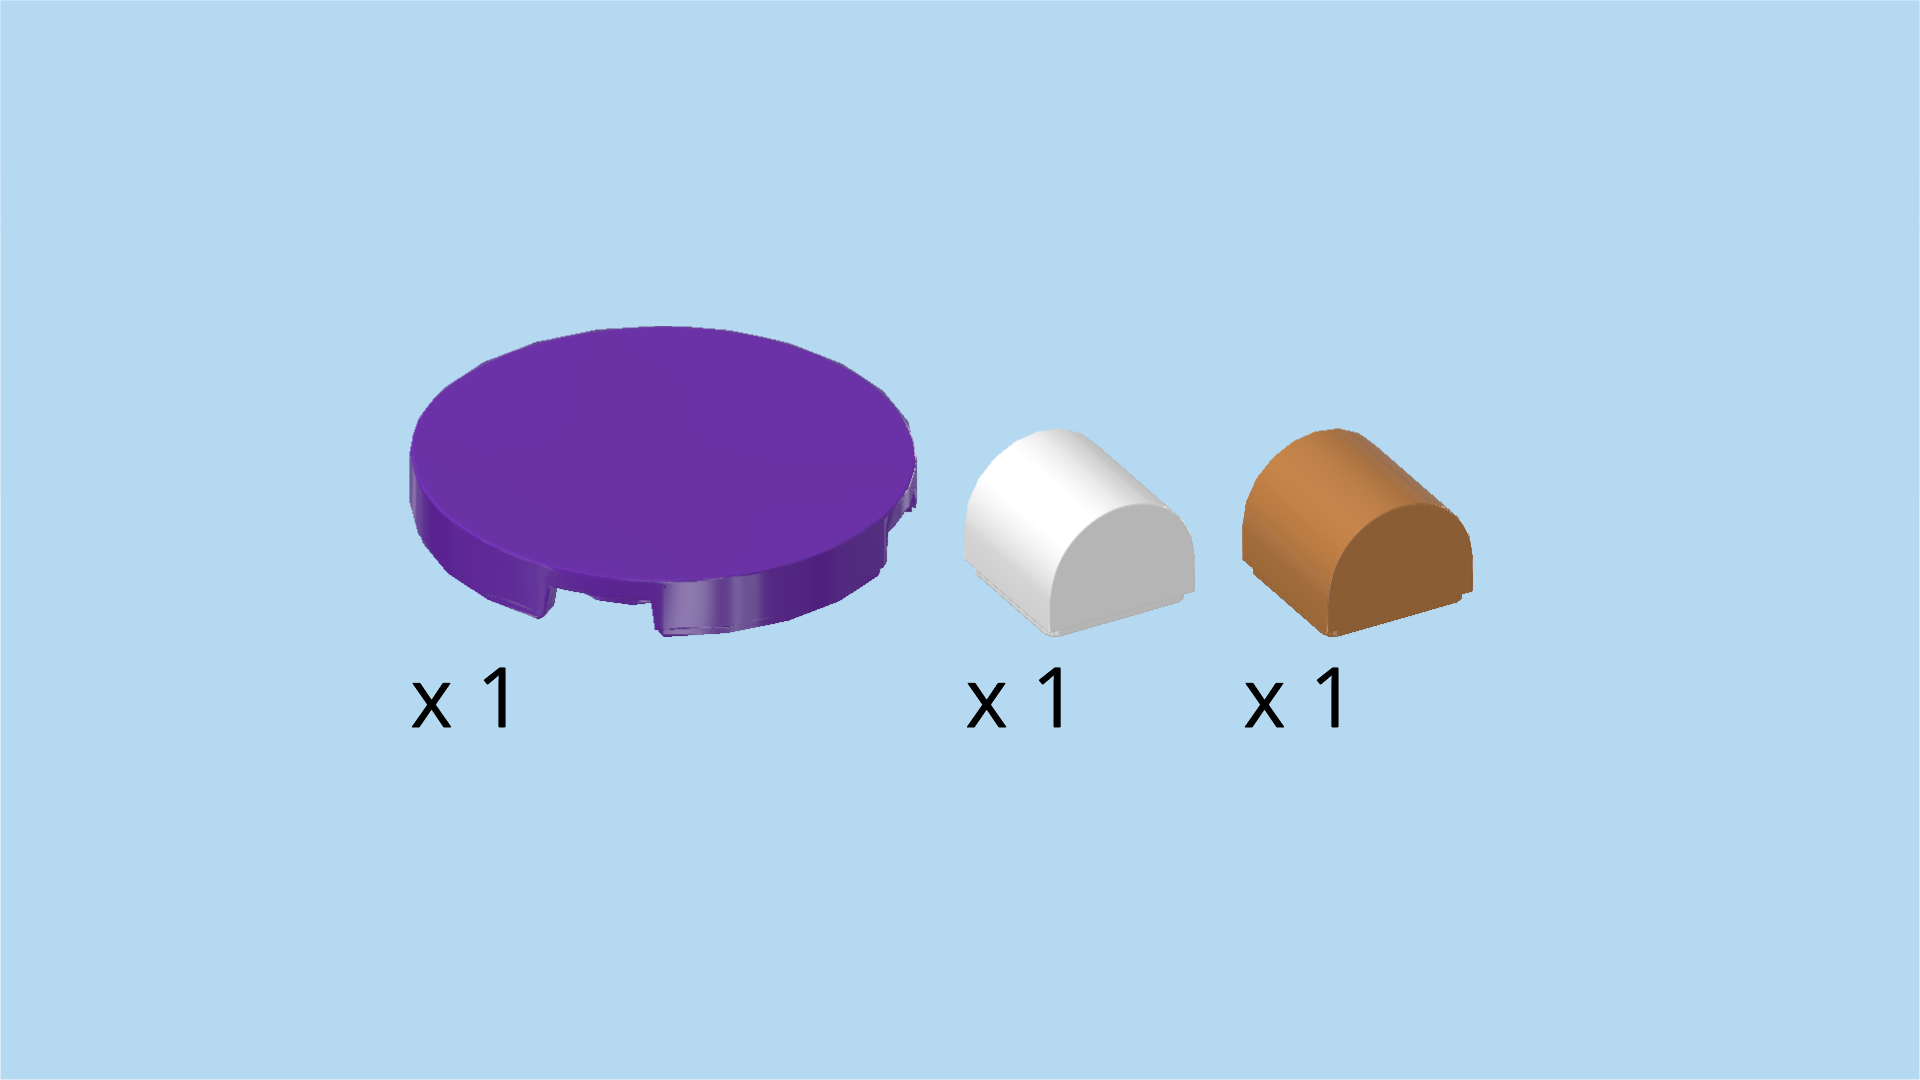
| 1 medium lilac round tile 3x3, |
| 1 medium nougat brown smooth half-cylinder 1x1, |
| and 1 white smooth half-cylinder 1x1. |
| Put the white smooth half-cylinder 1x1 on the front knob of the previous piece, slope running from left to right. |
| Put the medium nougat brown smooth half-cylinder 1x1 to the left of the previous piece, slope running from left to right. |
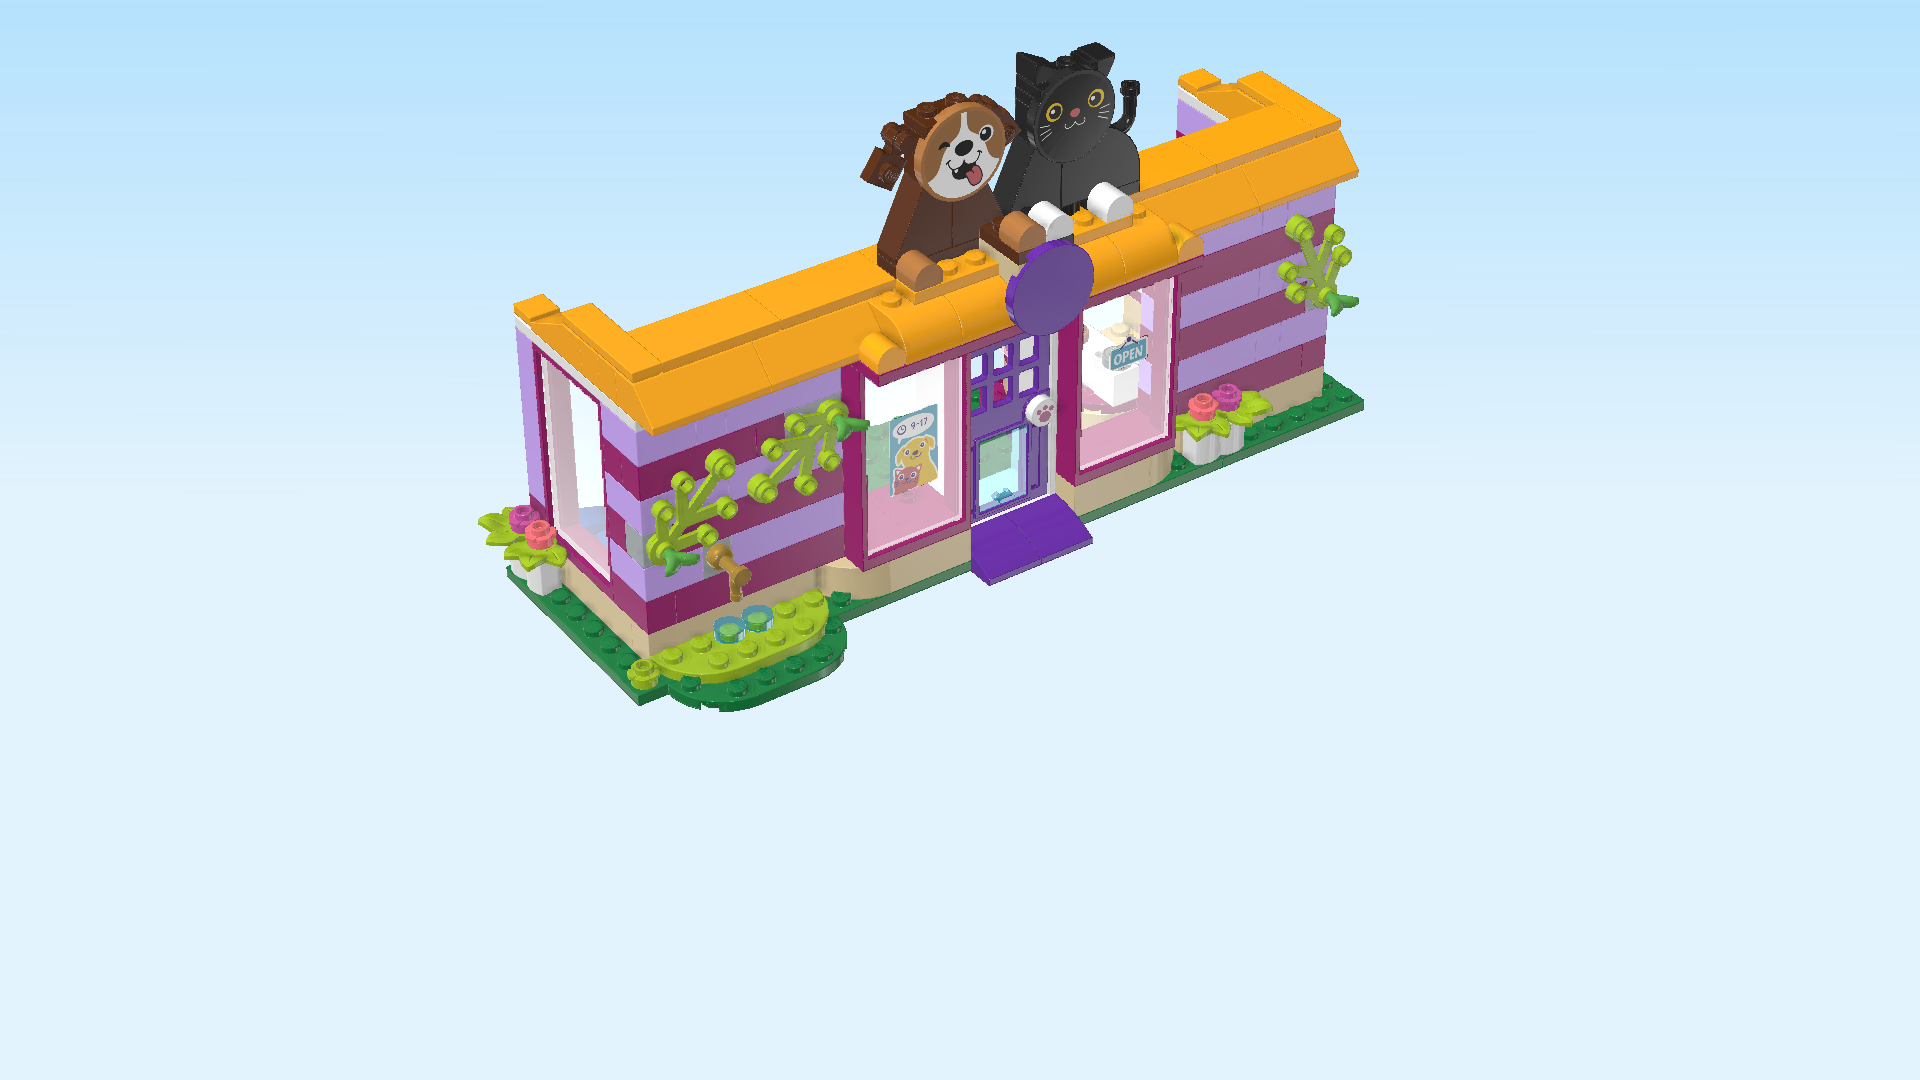
| Put the round tile 3x3 upright on the 4 side knobs pointing to the front. |
| Continue if you want to decorate this piece with a sticker now. If not, skip the next 2 sentences. |
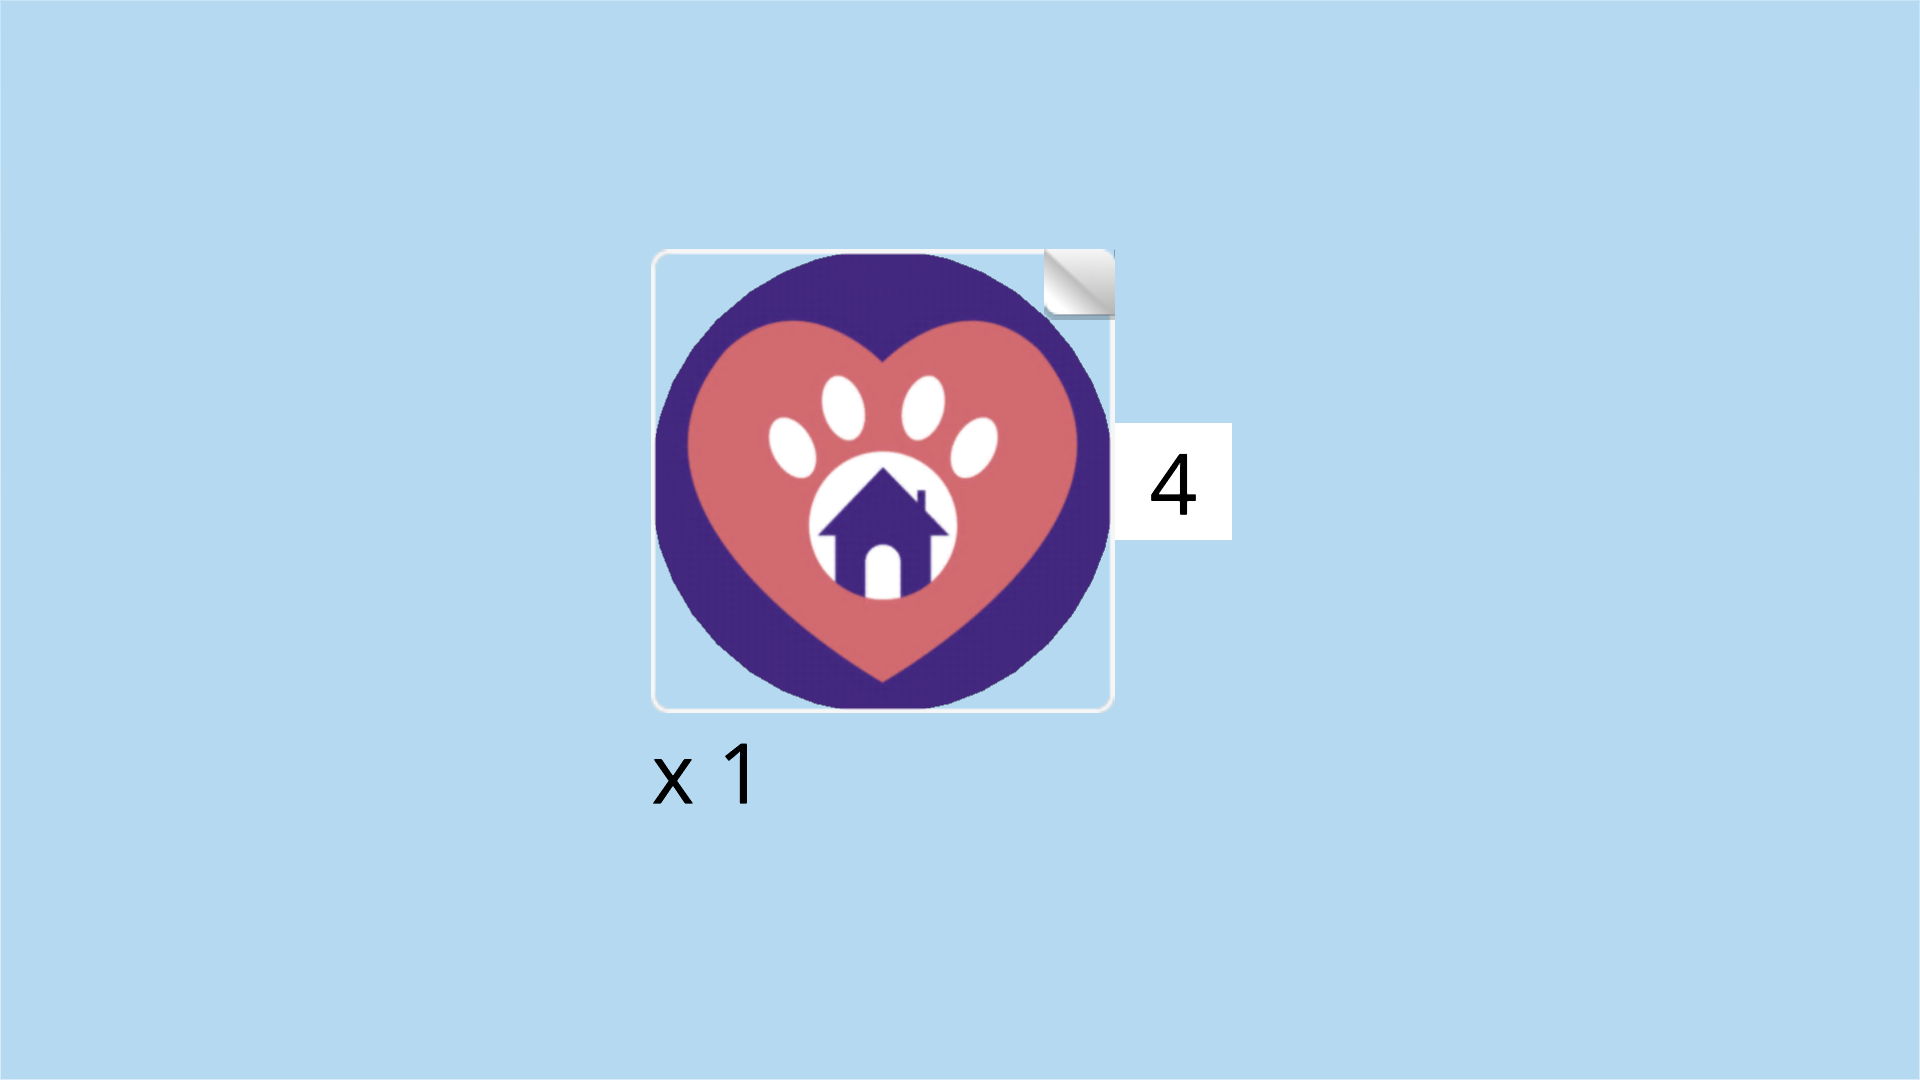
| Find 1 round sticker number 4. Ask a sighted person to help you find the correct sticker. |
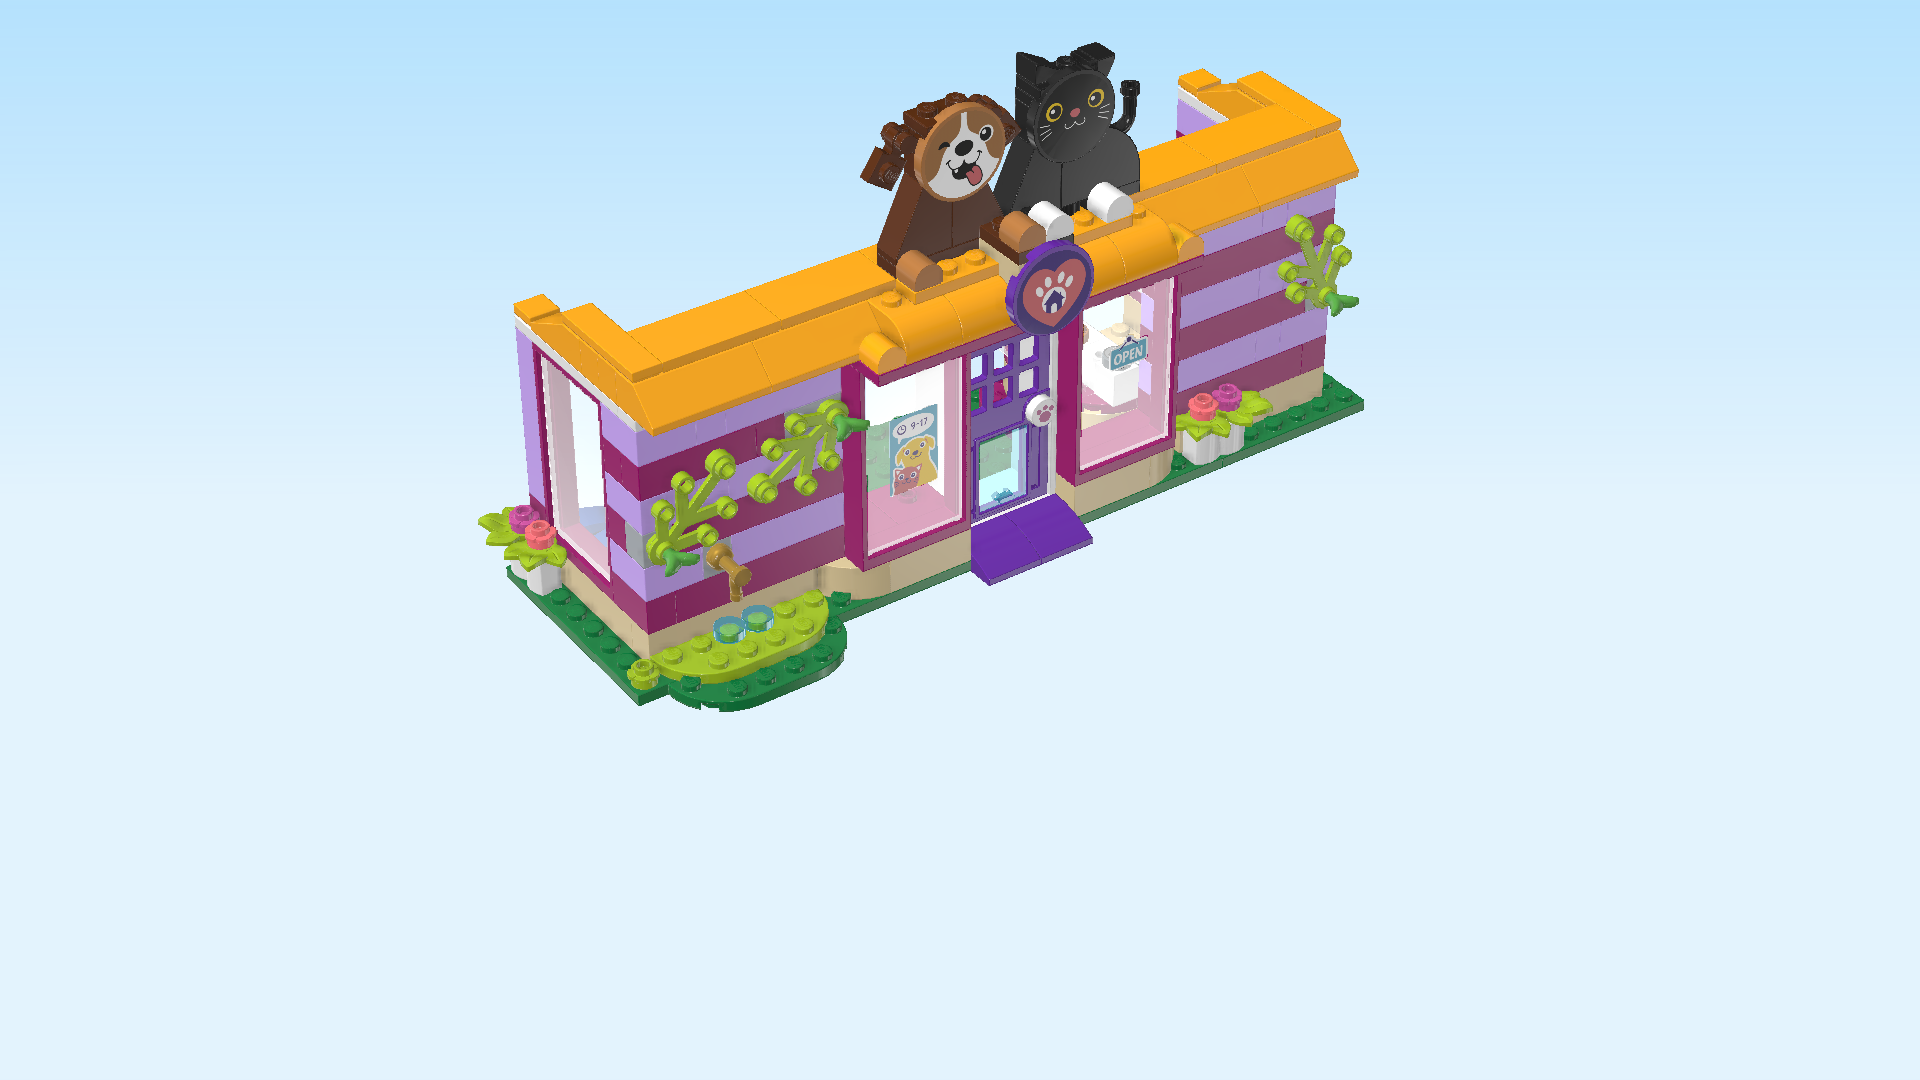
| Put it on the previous piece. It is a dark lilac sticker with a pink heart in its middle. In the center of the heart, there is a white paw print with a tiny lilac house in the middle. |
| Collect the following 3 pieces: |
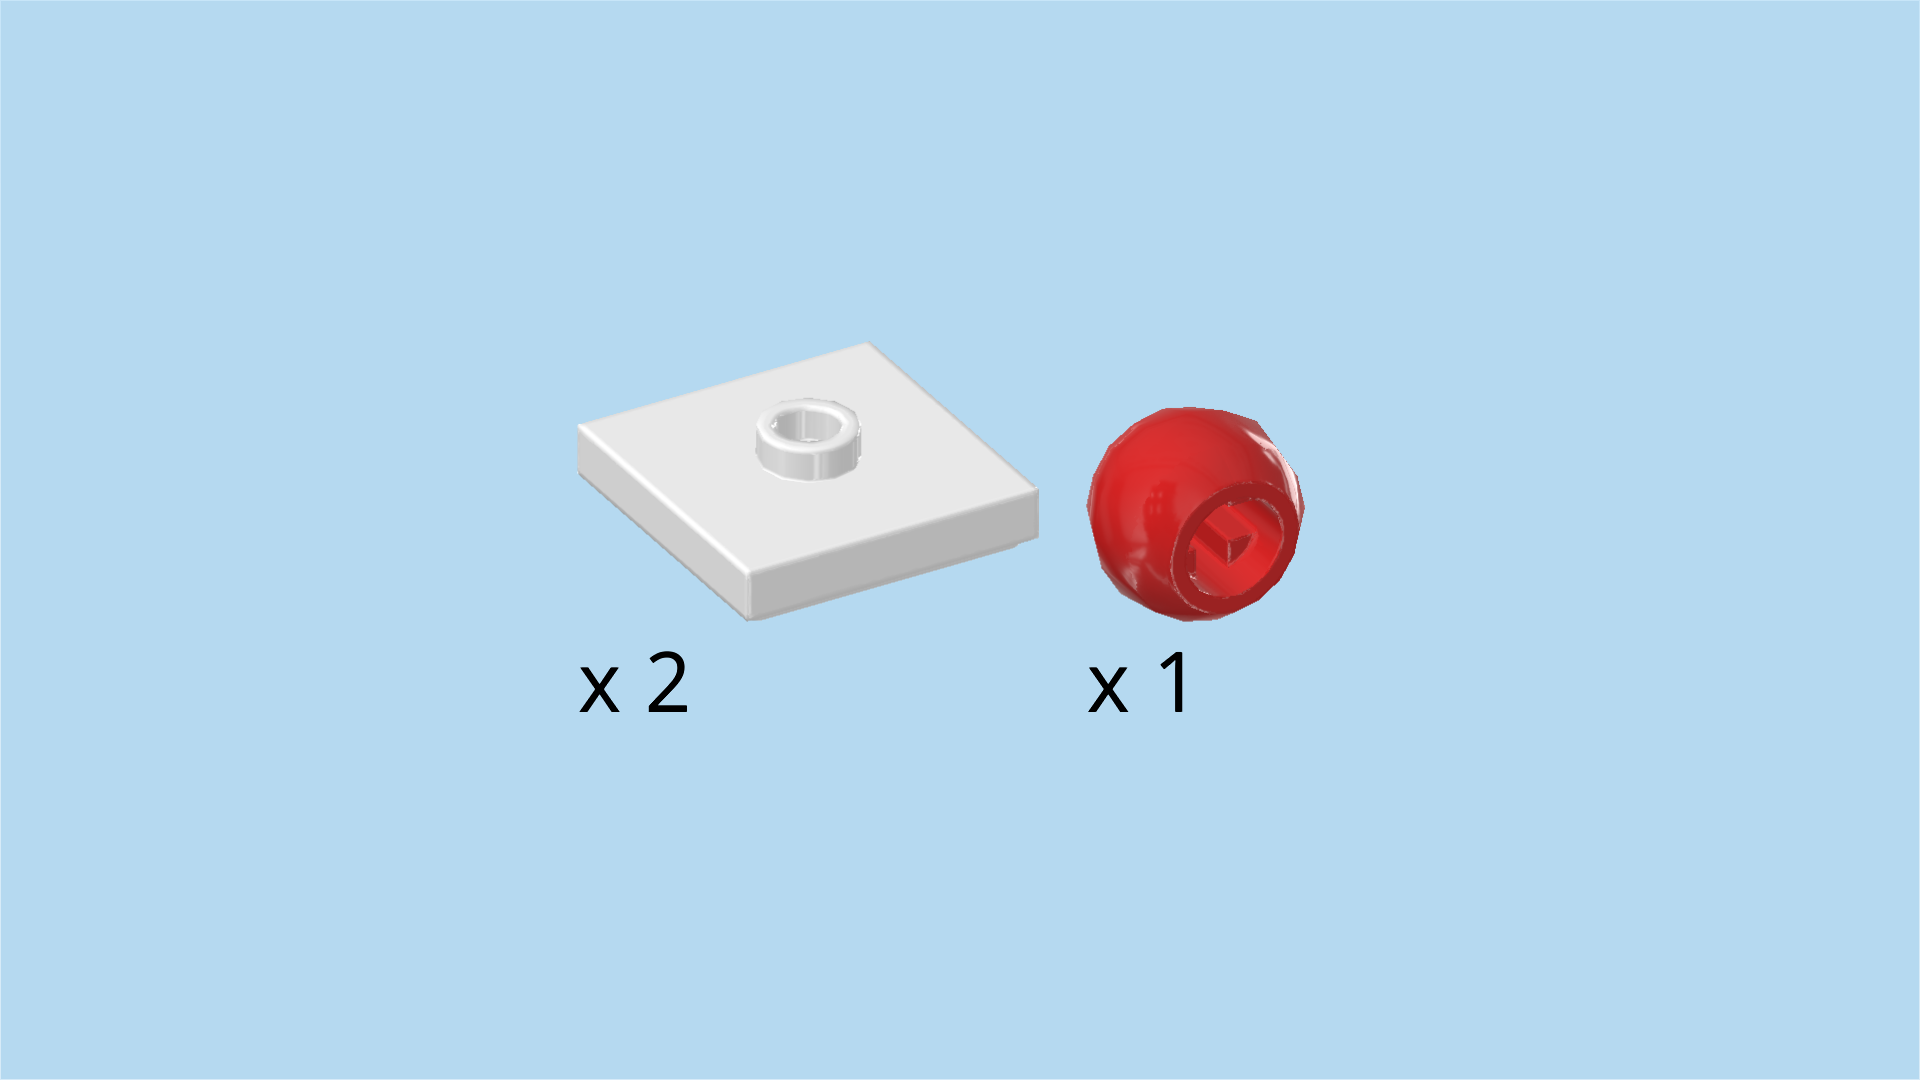
| 2 white plates 2x2 with 1 knob, |
| and 1 bright red technic ball 1m with hole. |
| Now, turn the cafe left to right again. The cat and dog signs are now looking towards the back. |
| First, identify the carpet piece. This is the flat tile 2x4 that is mounted vertically in the right half of the cafe at the front. |
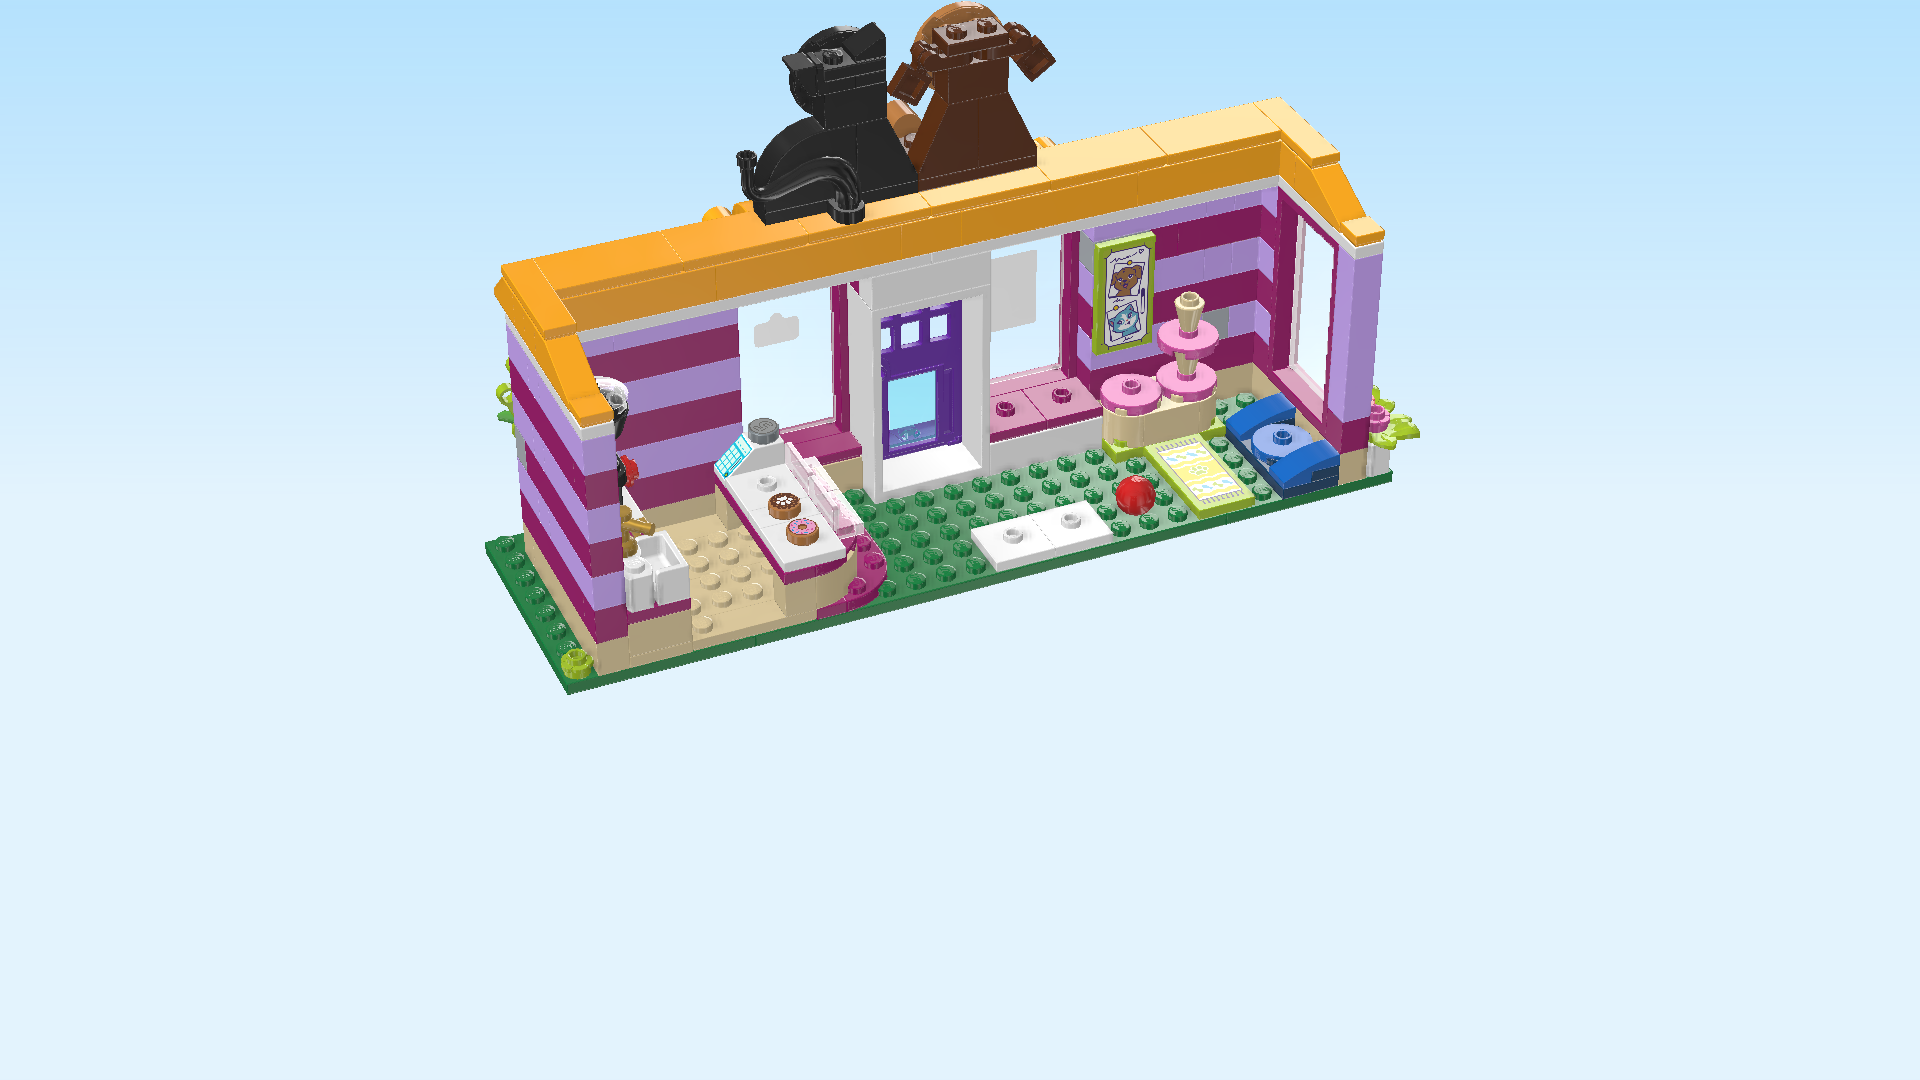
| Skip 1 column to its left, and put the technic ball on the second row from the front. |
| Skip 1 column to the left of the previous piece, and mount the 2 plates 2x2 next to each other on the 2 front rows. |
| If done correctly, there are 3 empty knobs between the carpet tile and the 2 most recent plates on the front row. |
| Collect the following 4 pieces: |
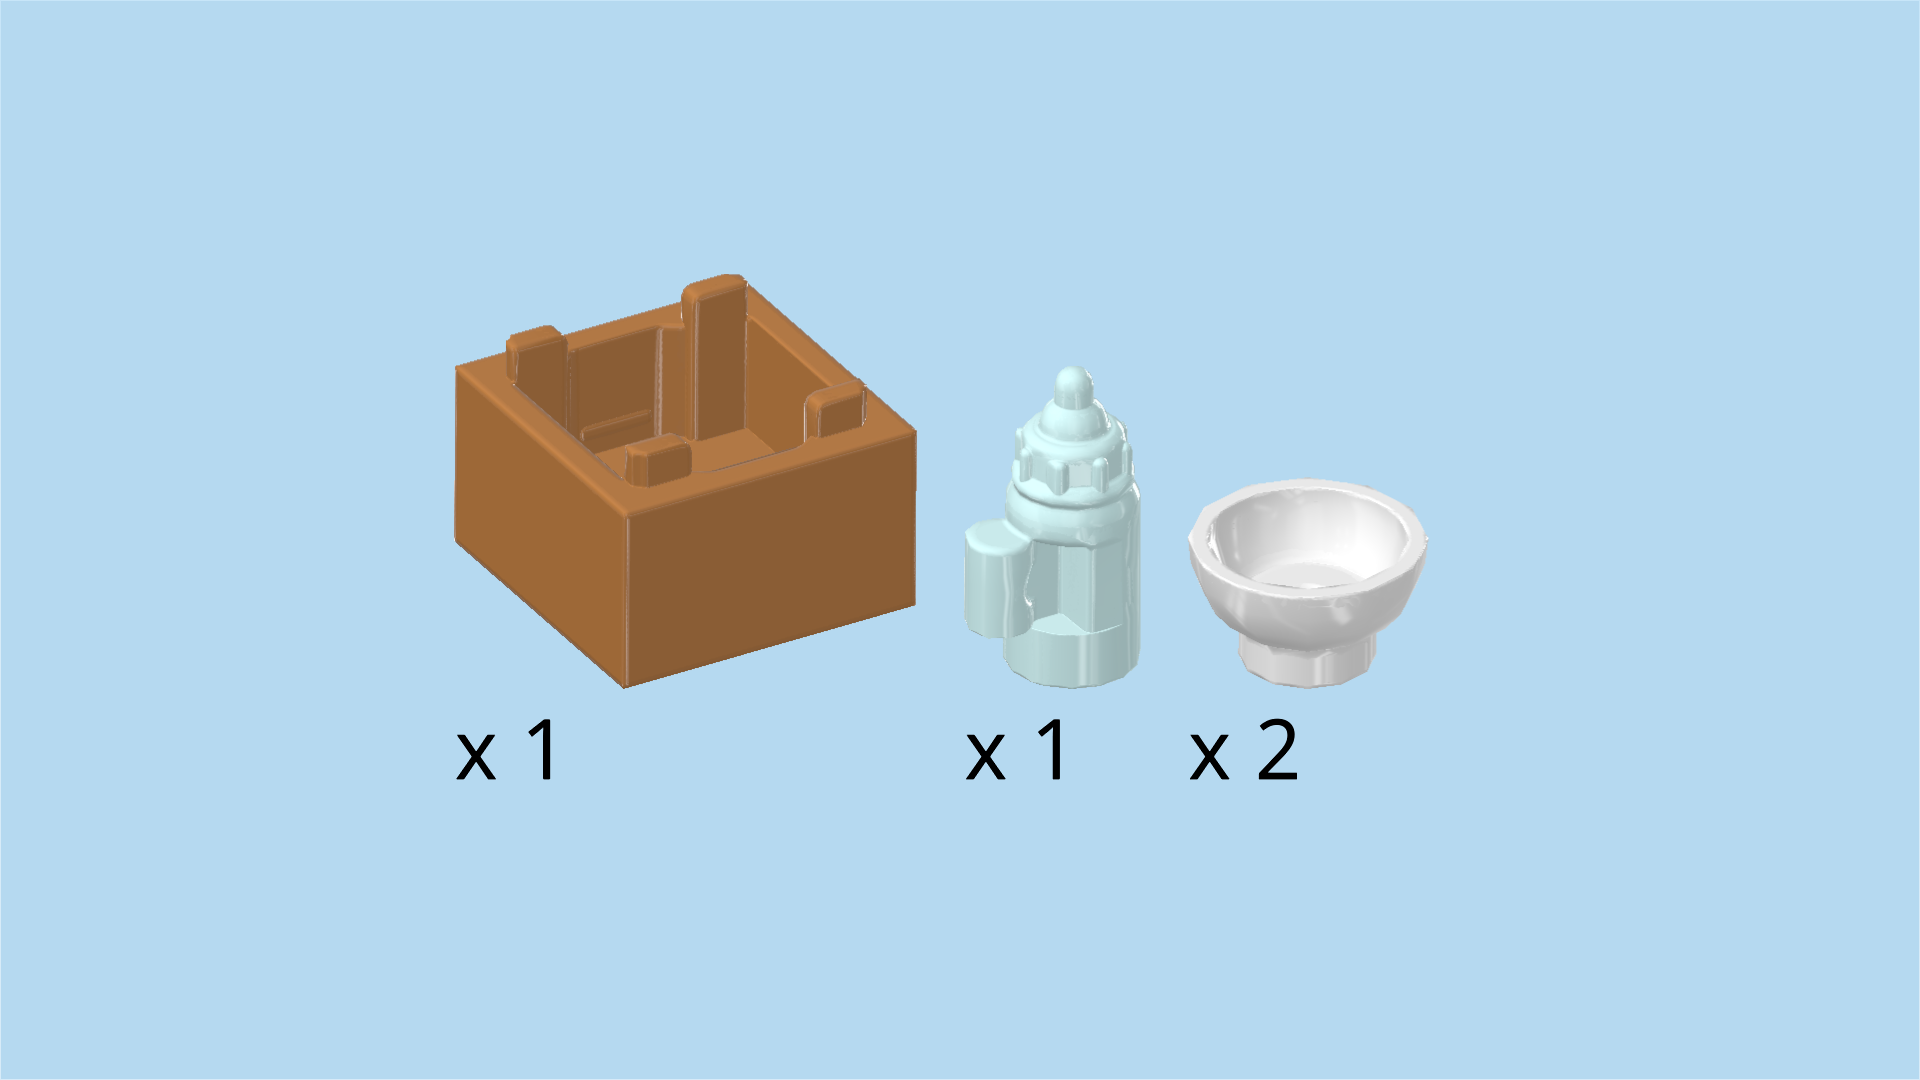
| 1 aqua blue feeding bottle with small shaft, |
| 1 medium nougat brown box bottom 2x2, |
| and 2 white round bowls. |
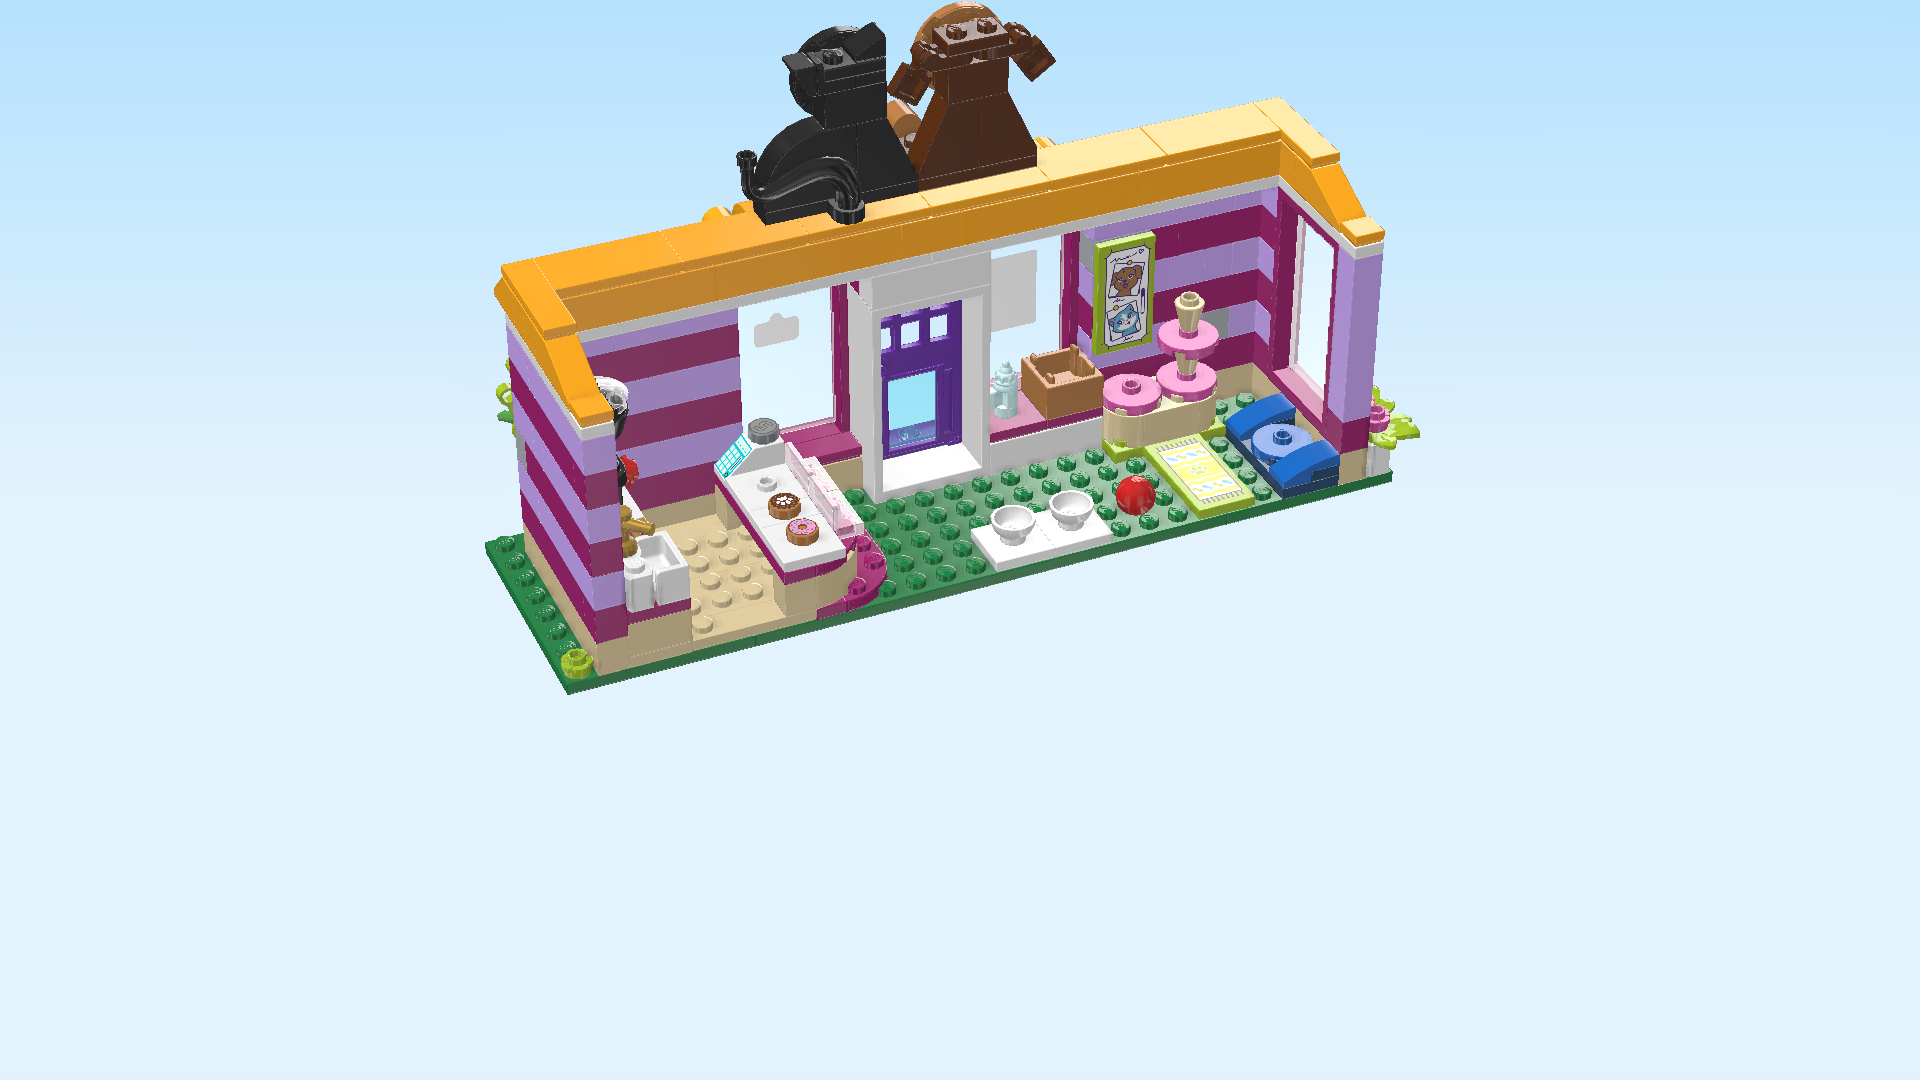
| Put the 2 round bowls on the knobs of the two previous pieces. |
| Put the feeding bottle on the left knob in the shop window on the back right. |
| Put the box bottom 2x2 to the right of the previous piece. |
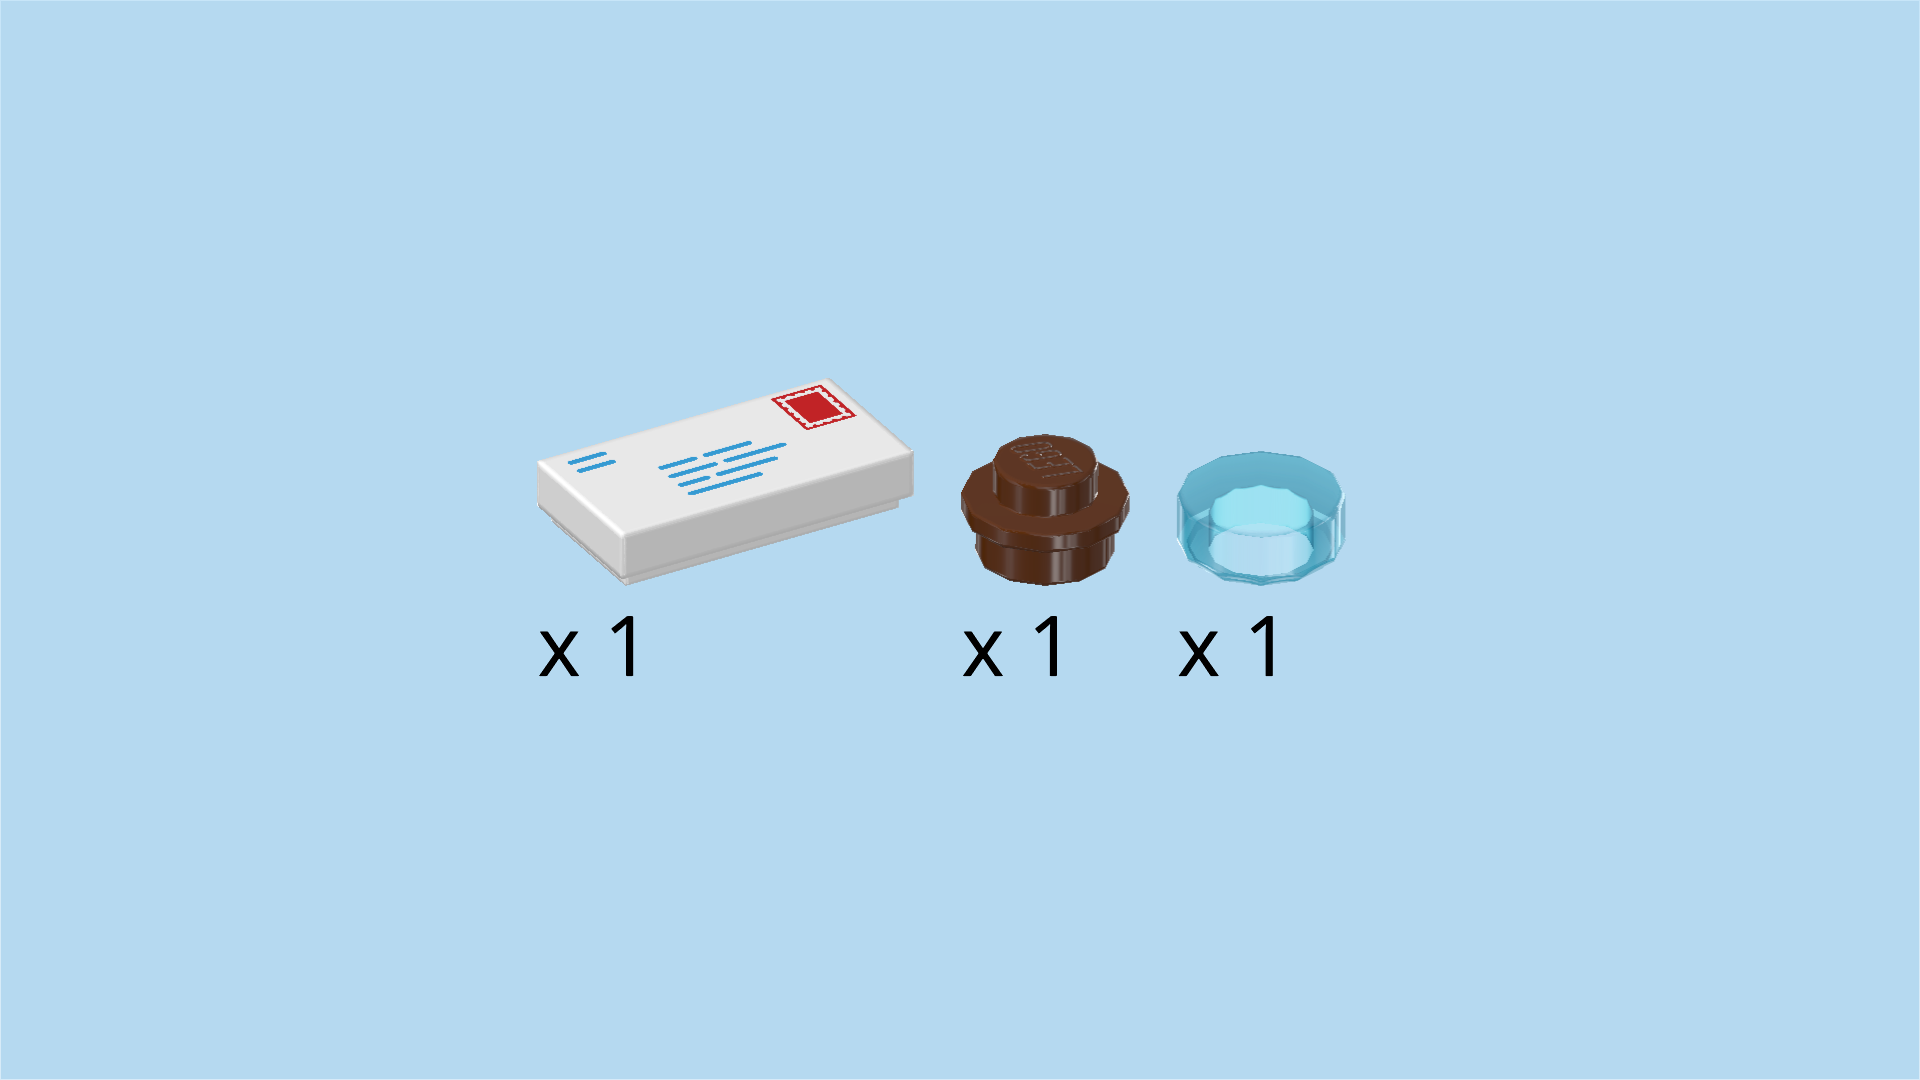
| Collect the following 3 pieces: |
| 1 white flat tile 1x2, |
| 1 reddish brown round plate 1x1, |
| and 1 transparent light blue round tile 1x1. |
| Put the flat tile 1x2 into the previous piece (the box bottom) . It is printed like an envelope with an address and a stamp on it. |
| Put the round plate and the round tile into the 2 bowls of the previous step. They are the food and water for the pets! |
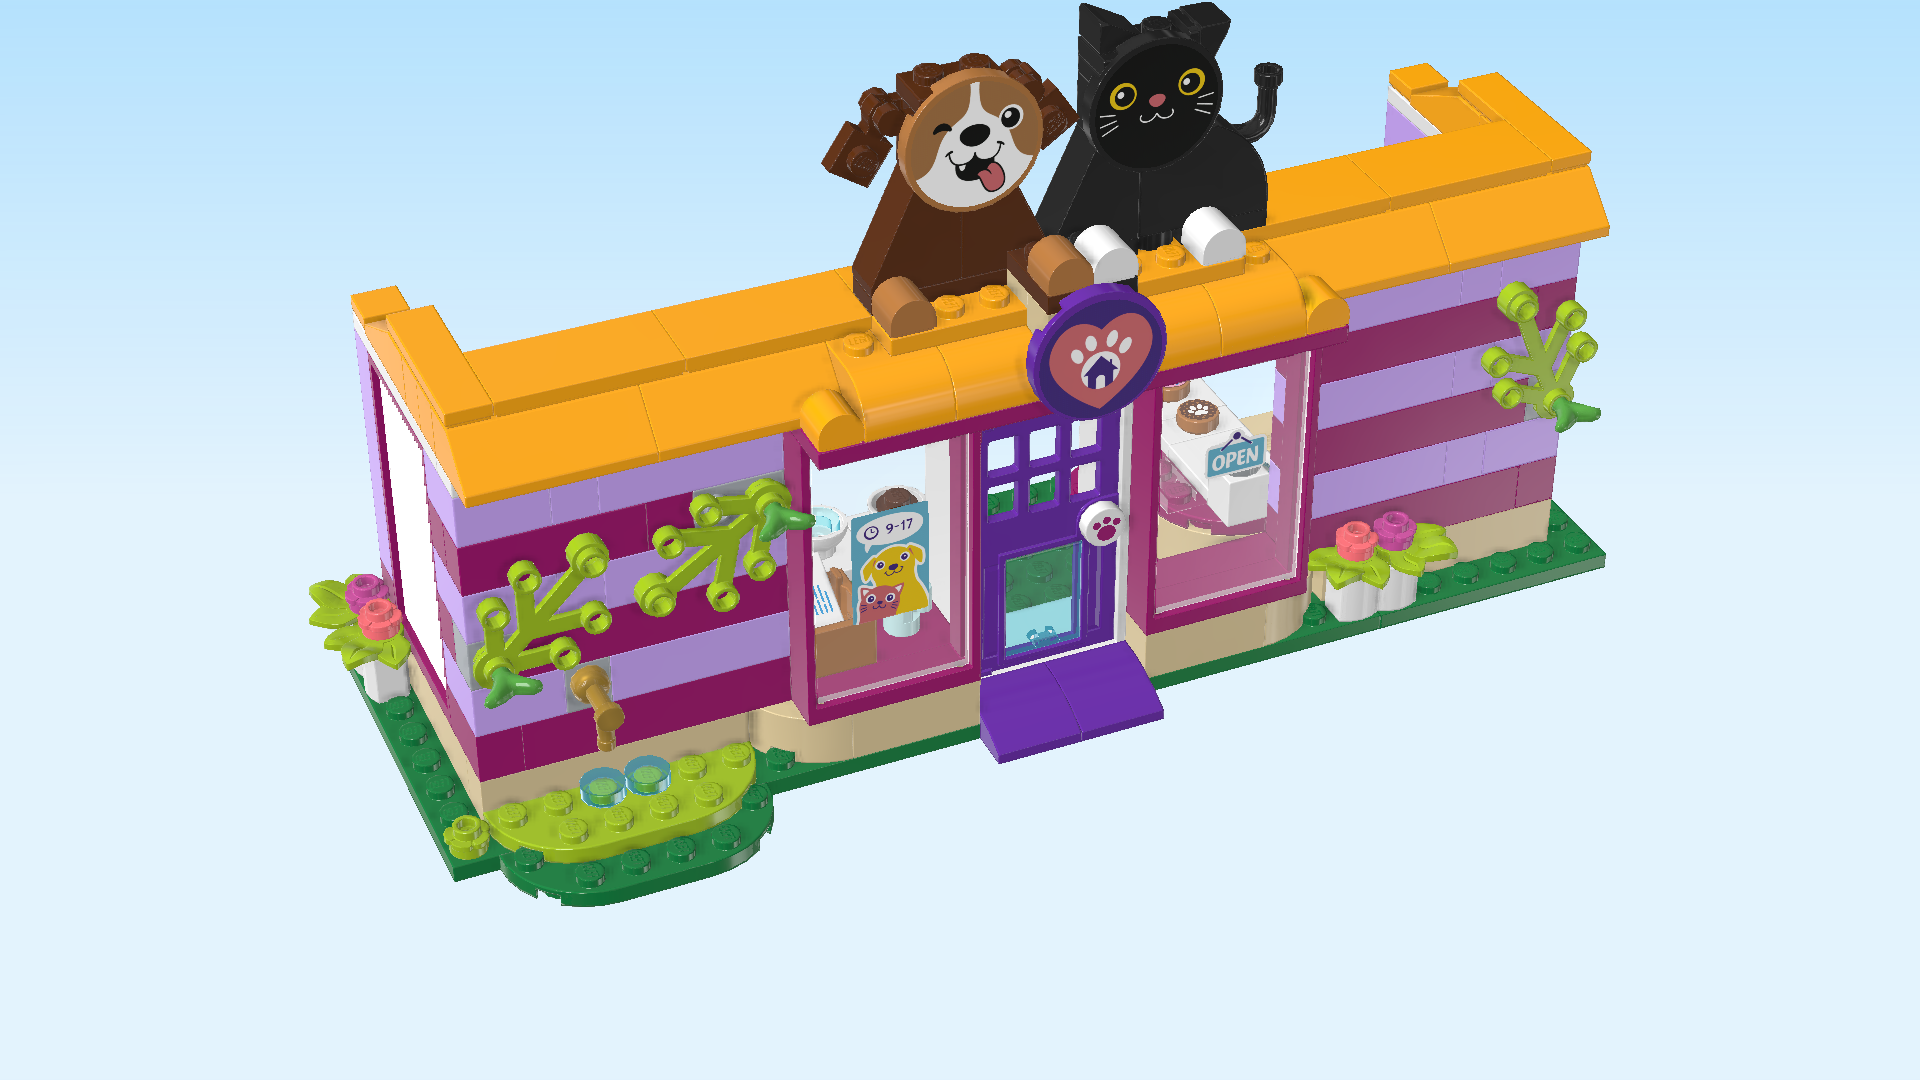
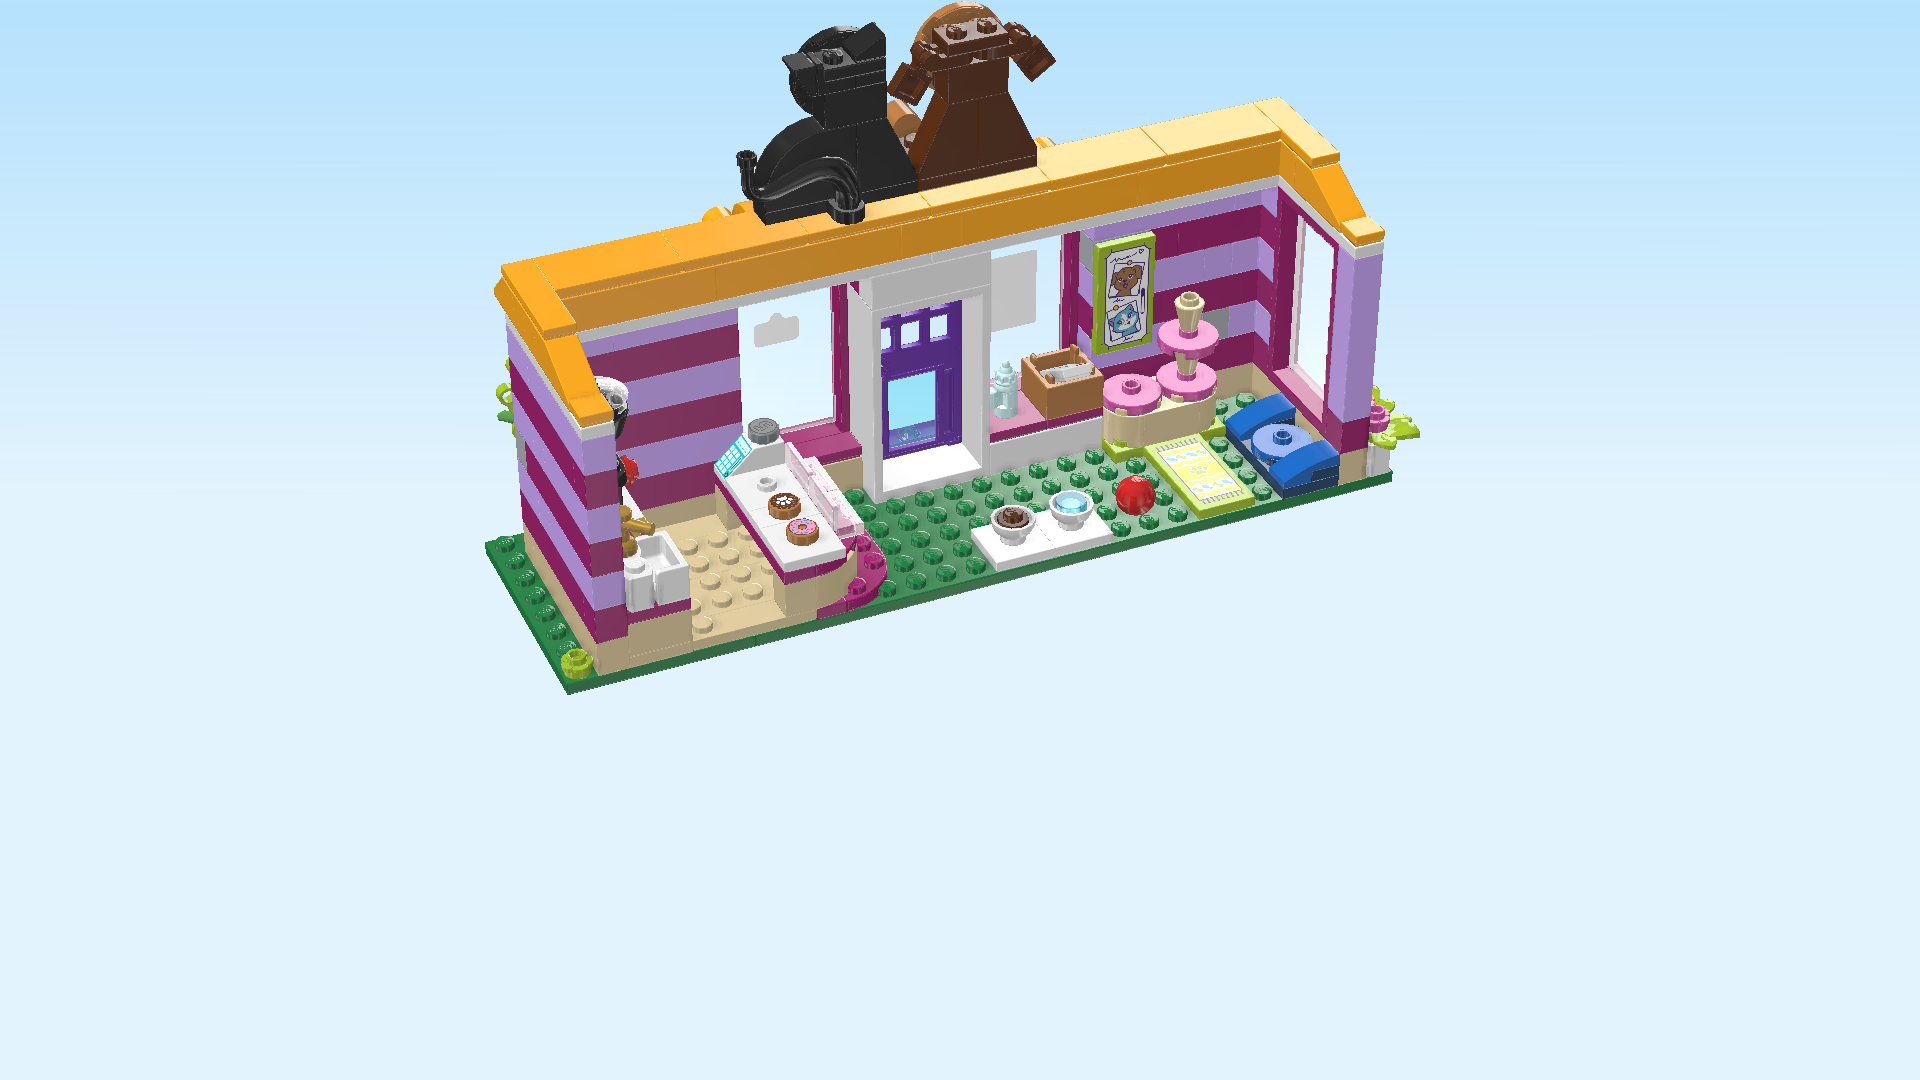
| The Pet Adoption Cafe is finished! You did very well! It was a long and difficult build, great job! Everything is ready now to treat your visitors and pets to tasty treats, cookies, drinks and more. Let the pets play, feed, and sleep in the play area and serve your customers in the kitchen area. However, we are still missing the wash tub for the animals, so let's continue with the last few steps! |
| Next, we will build the wash tub. |
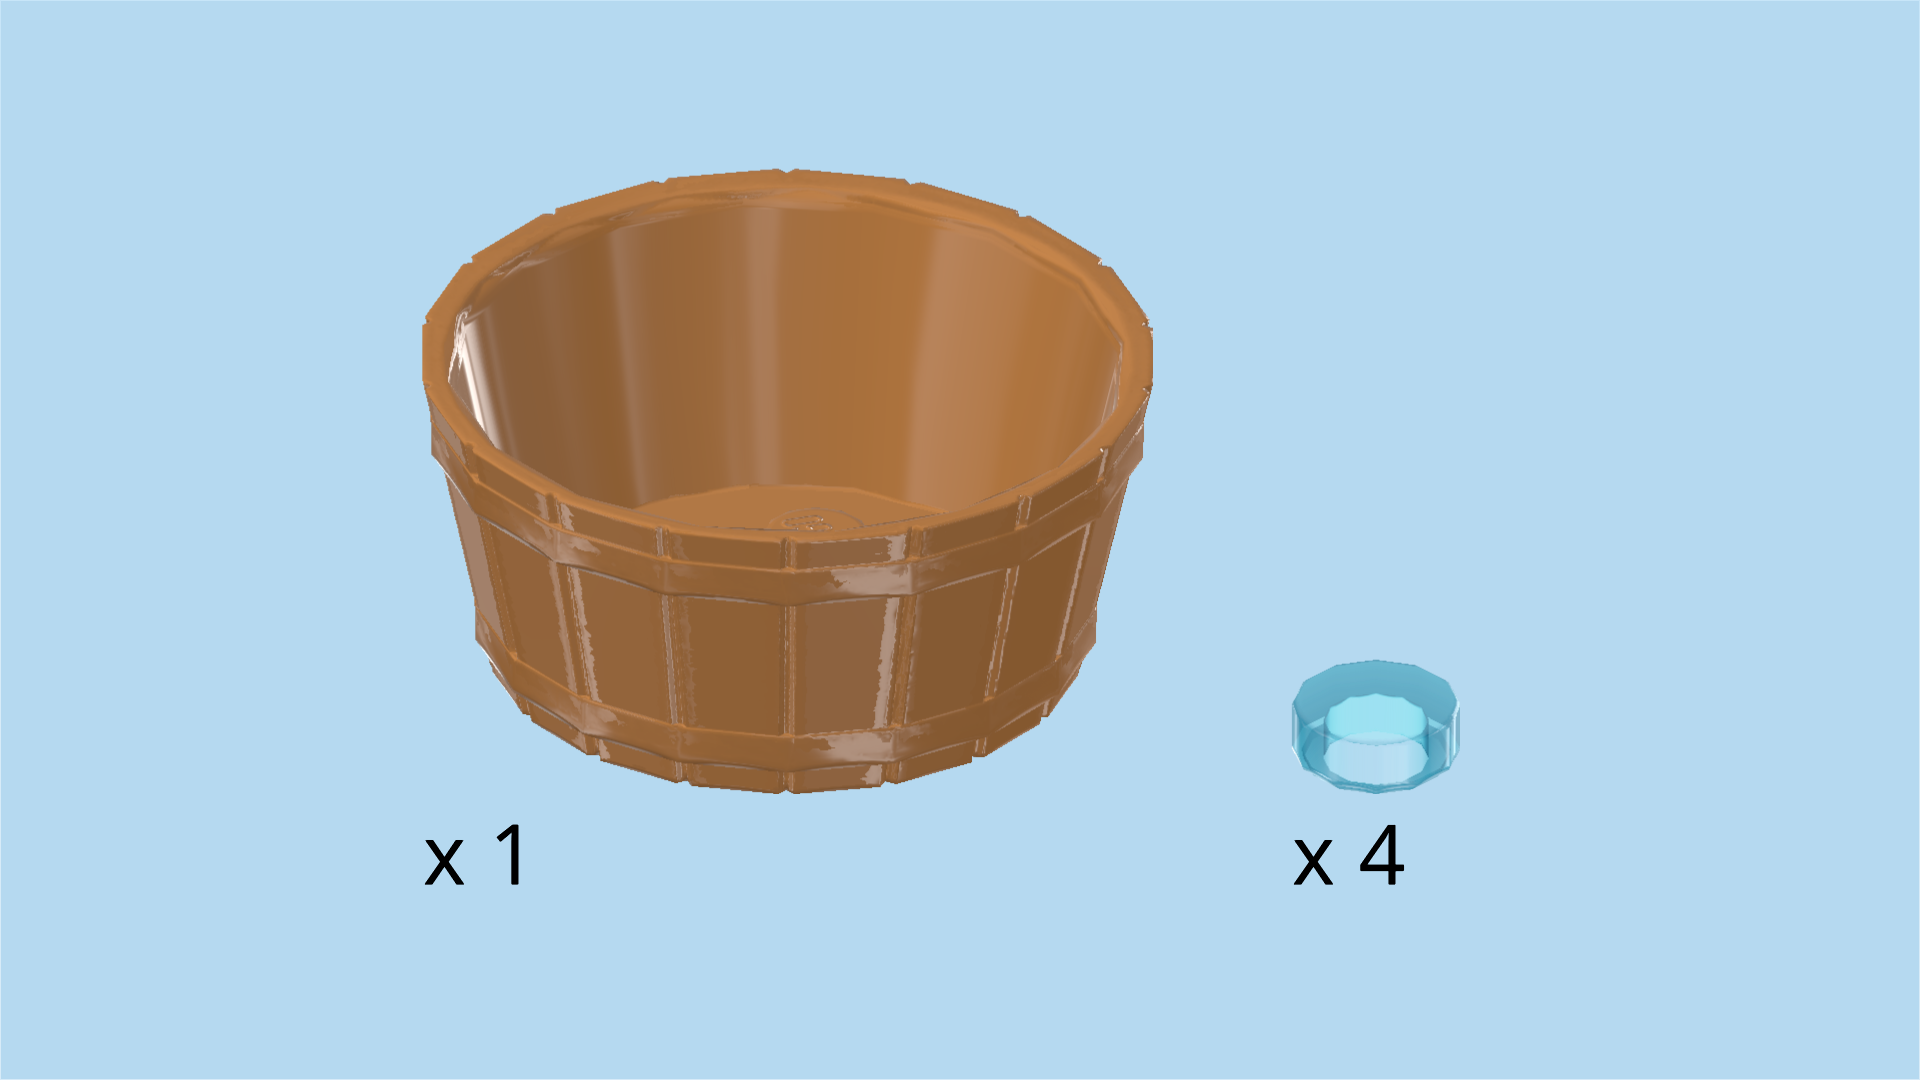
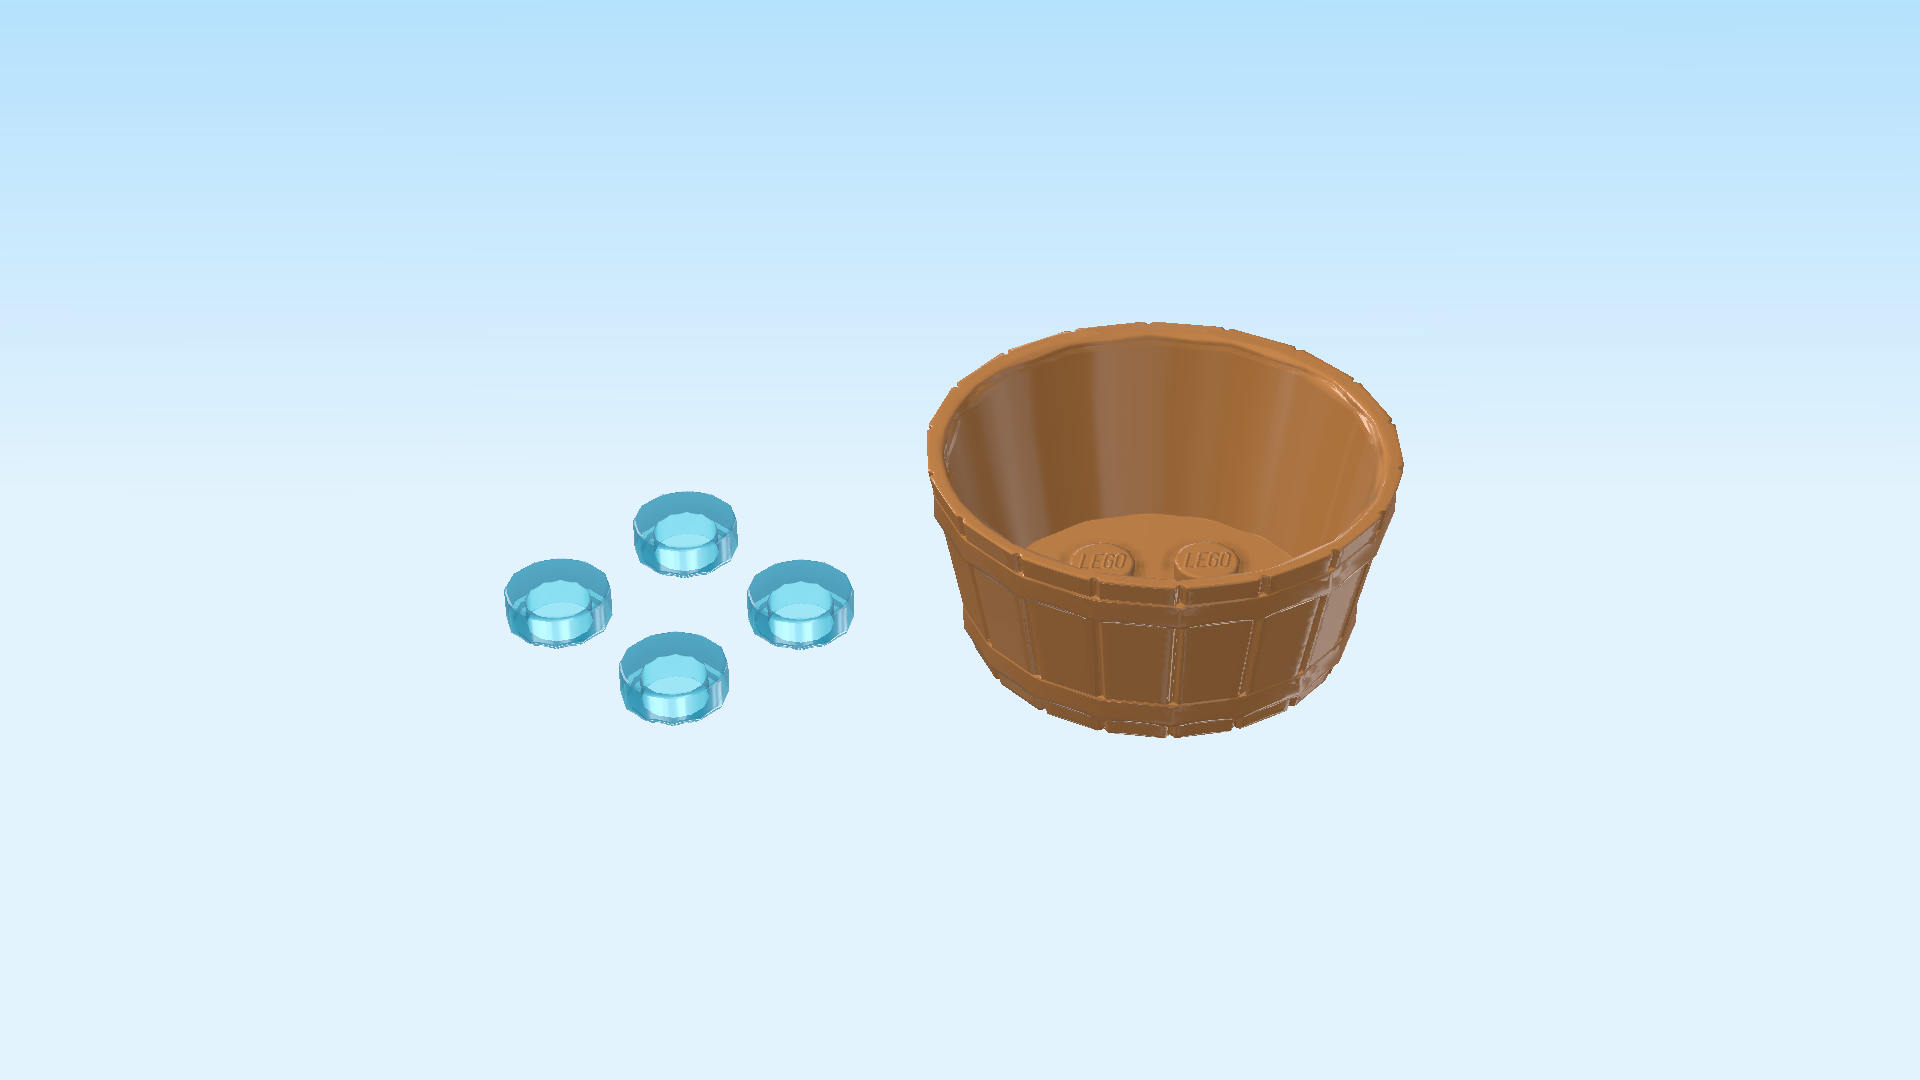
| Collect the following 5 pieces: |
| 4 transparent light blue round tiles 1x1, |
| and 1 medium nougat brown round wash tub. |
| Put the 4 round tiles on the 4 knobs of the wash tub. |
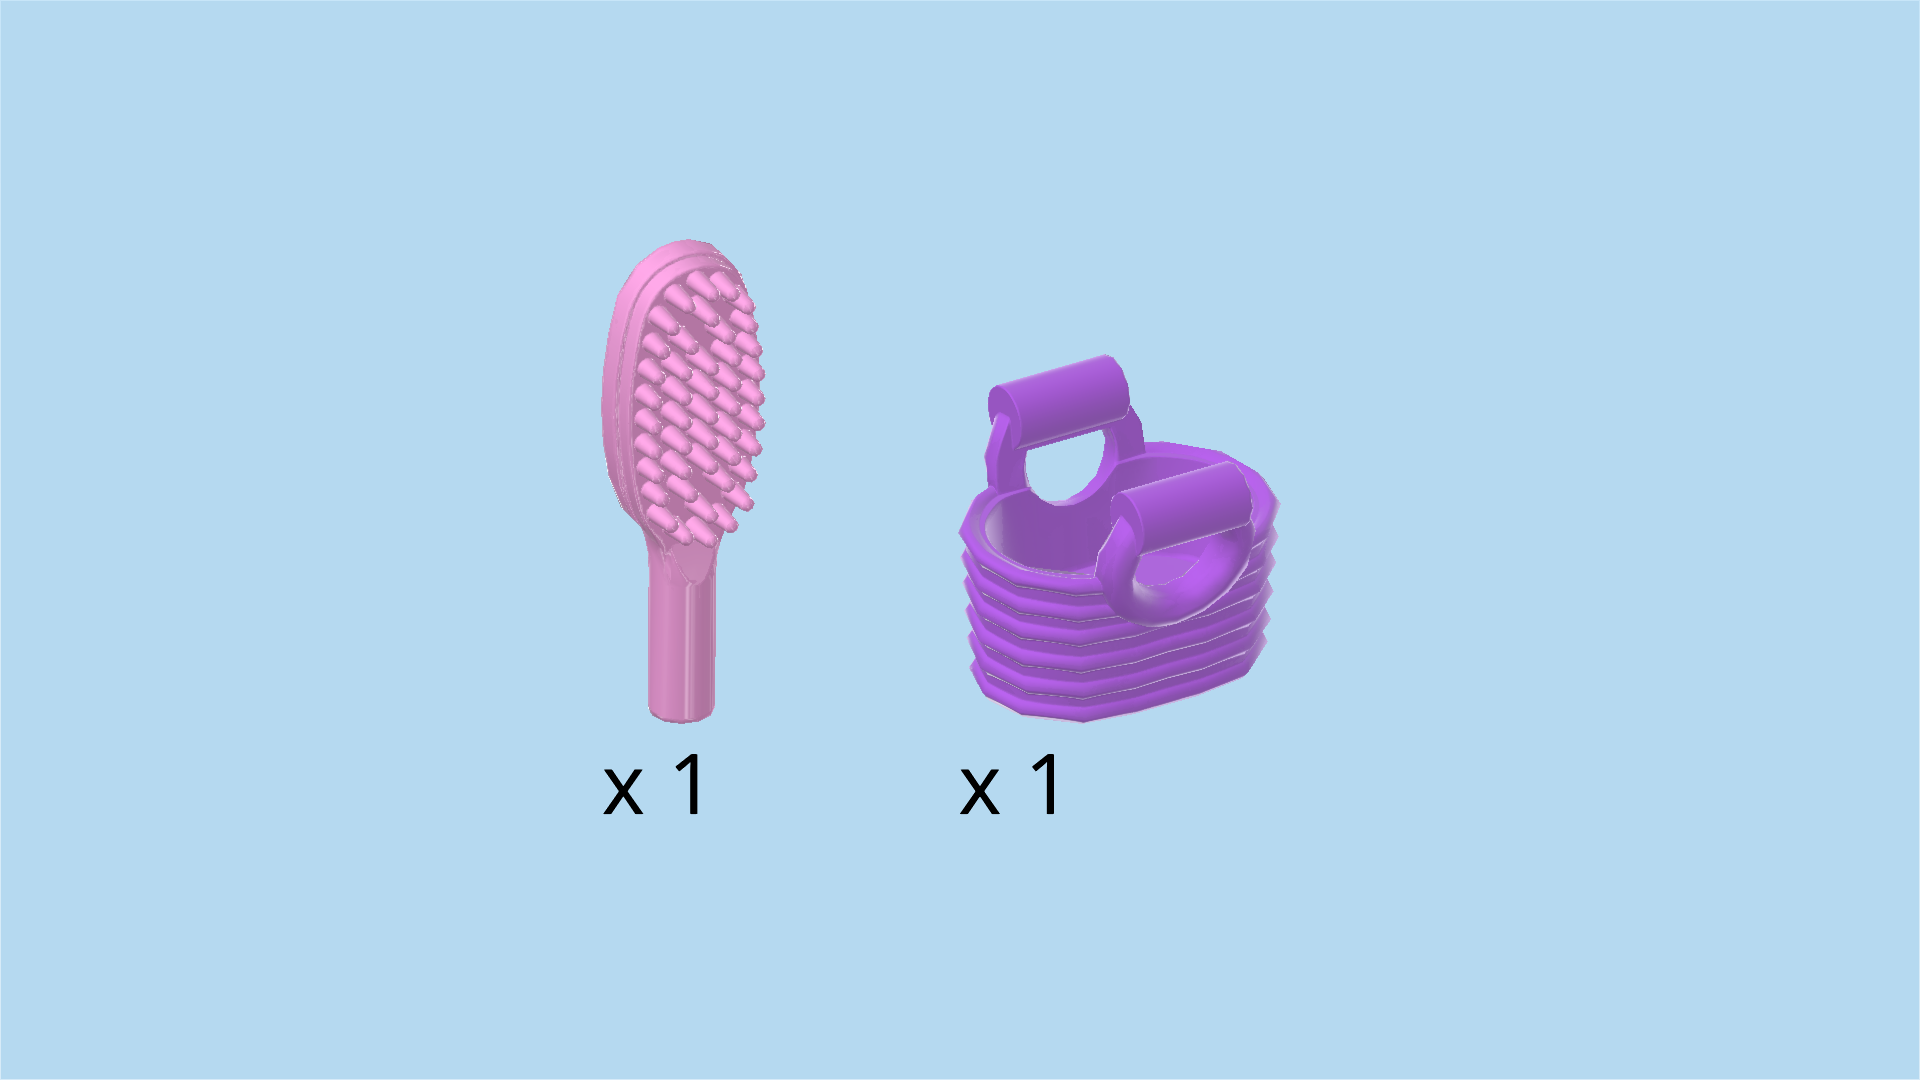
| Collect the following 2 pieces: |
| 1 light purple hairbrush, |
| and 1 lavender shopping basket with handles. |
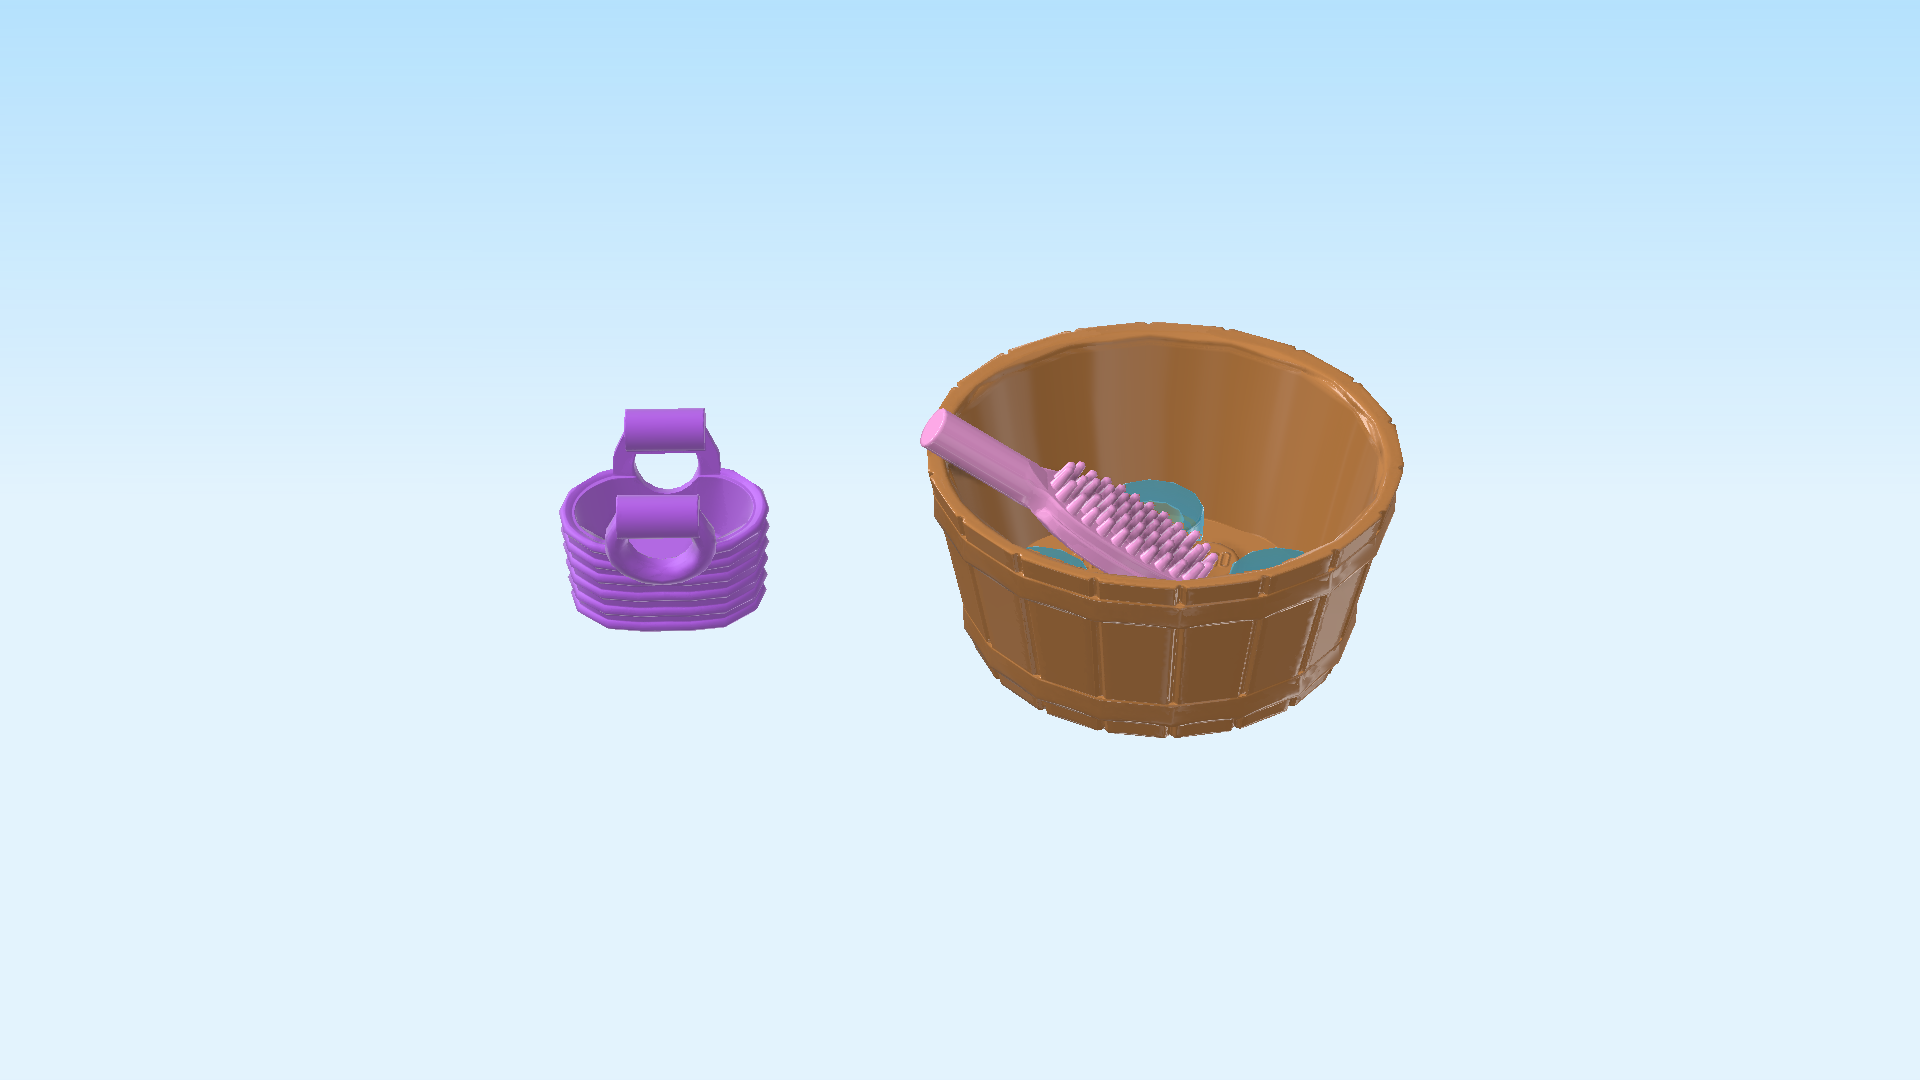
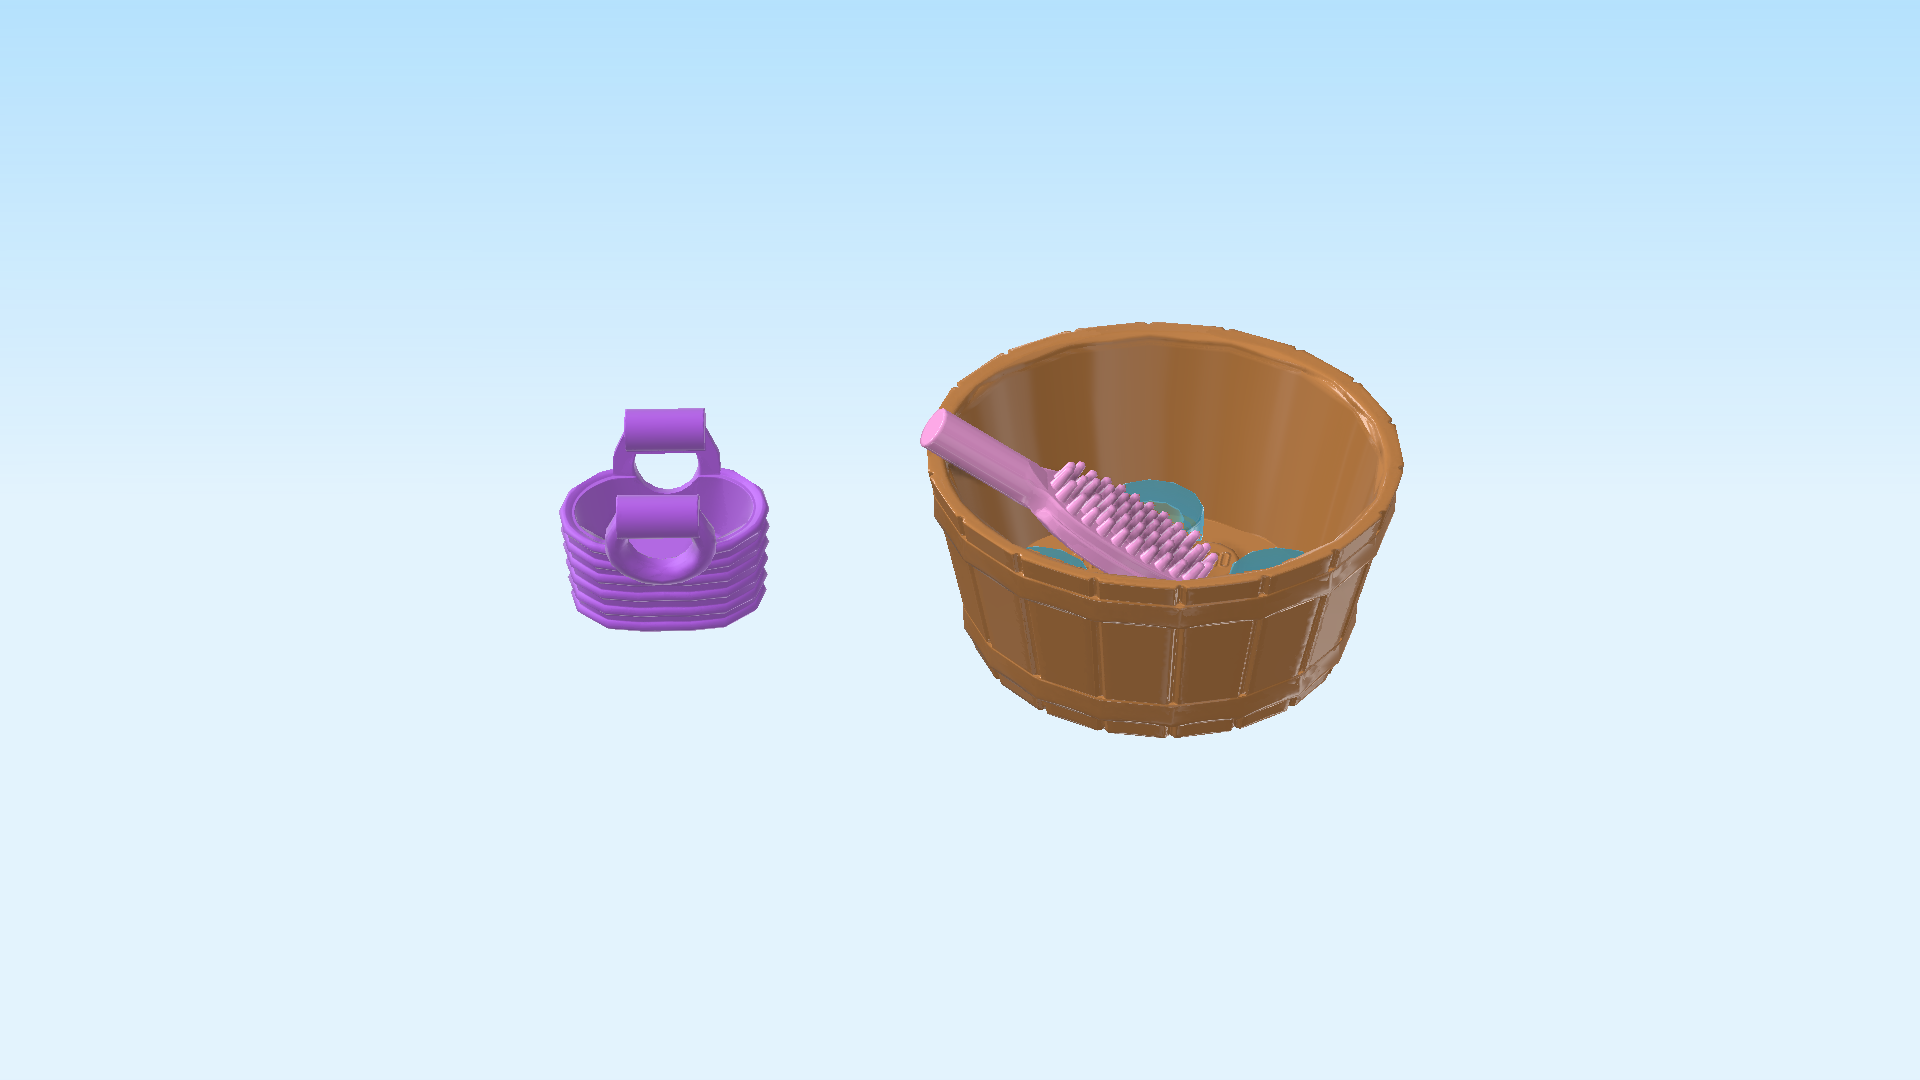
| Put the brush into the wash tub. |
| You can use the basket for the brush whenever it is not needed. |
| The wash tub is finished! It's ready for a refreshing bath for your four-legged friends! But first, we need to build Olivia. She loves giving her pets a nice bath! |
| Next, we will build the Olivia Minidoll. |
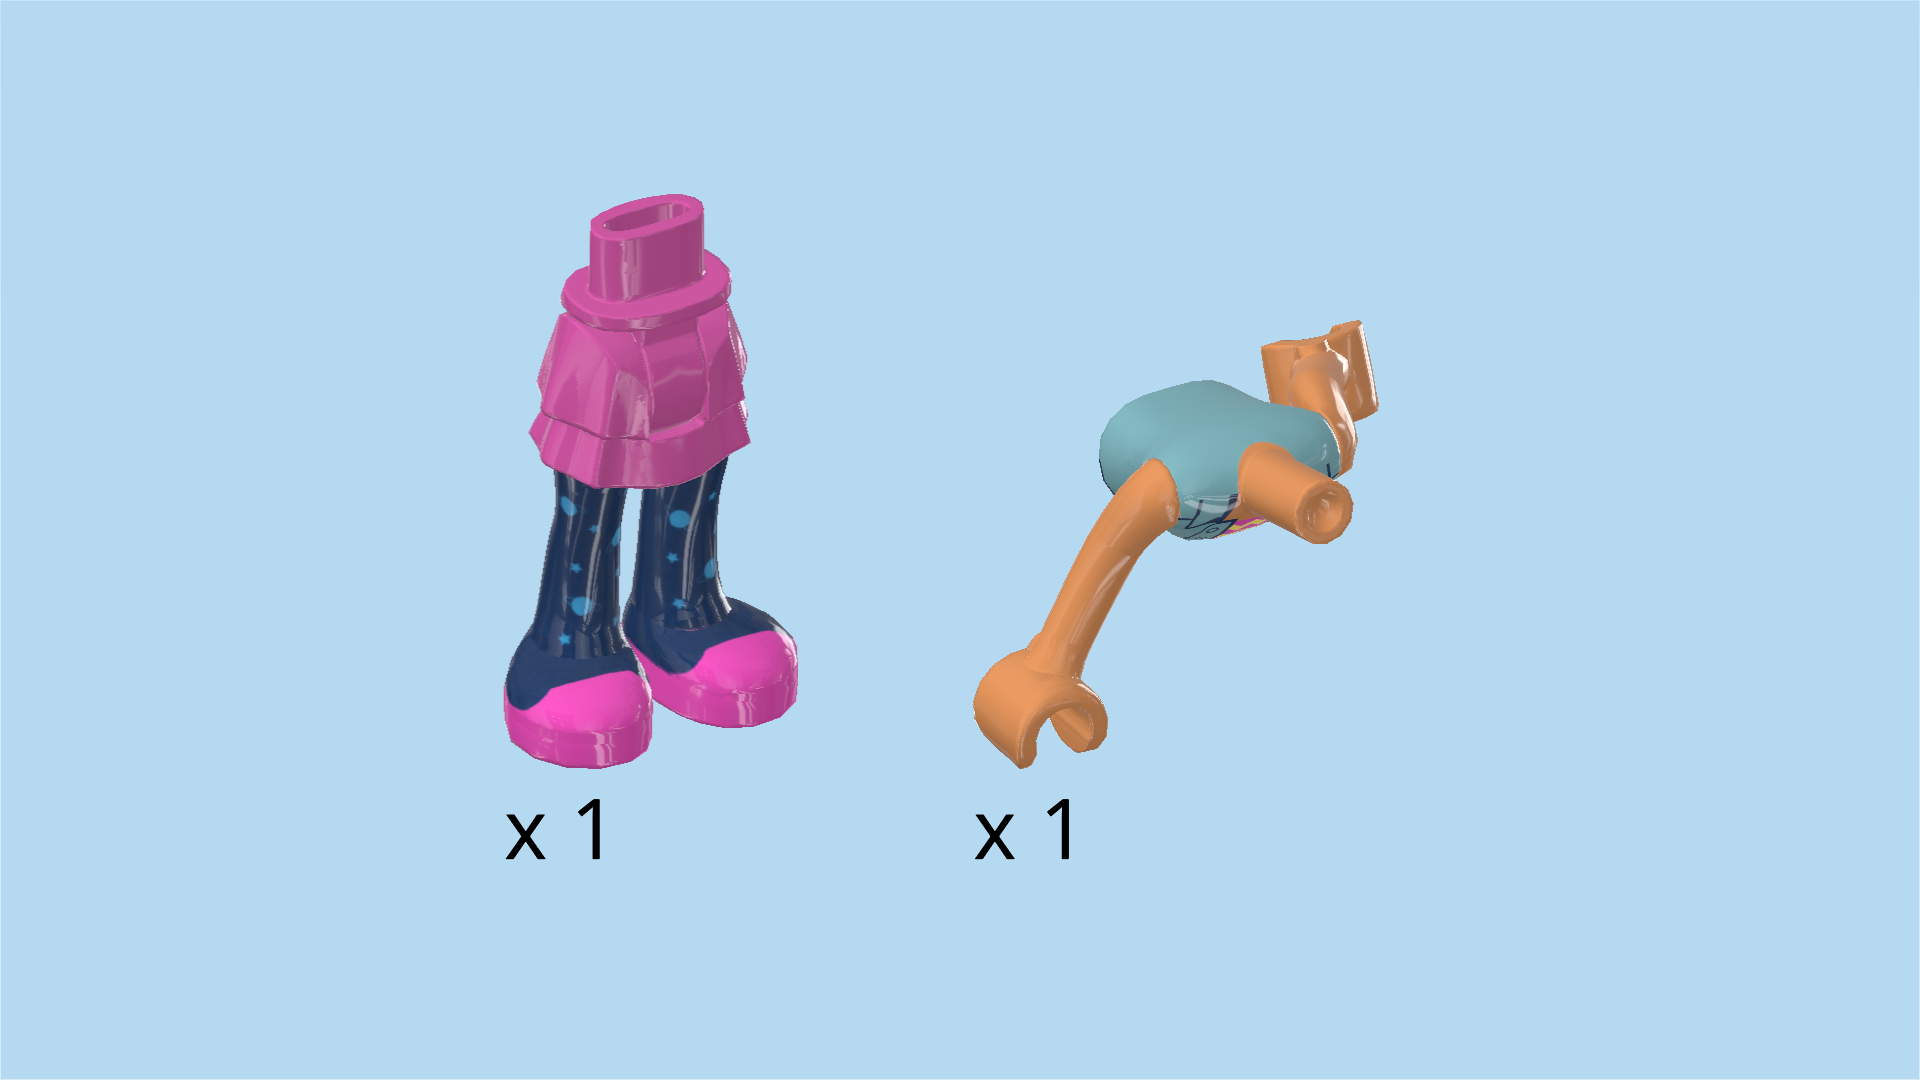
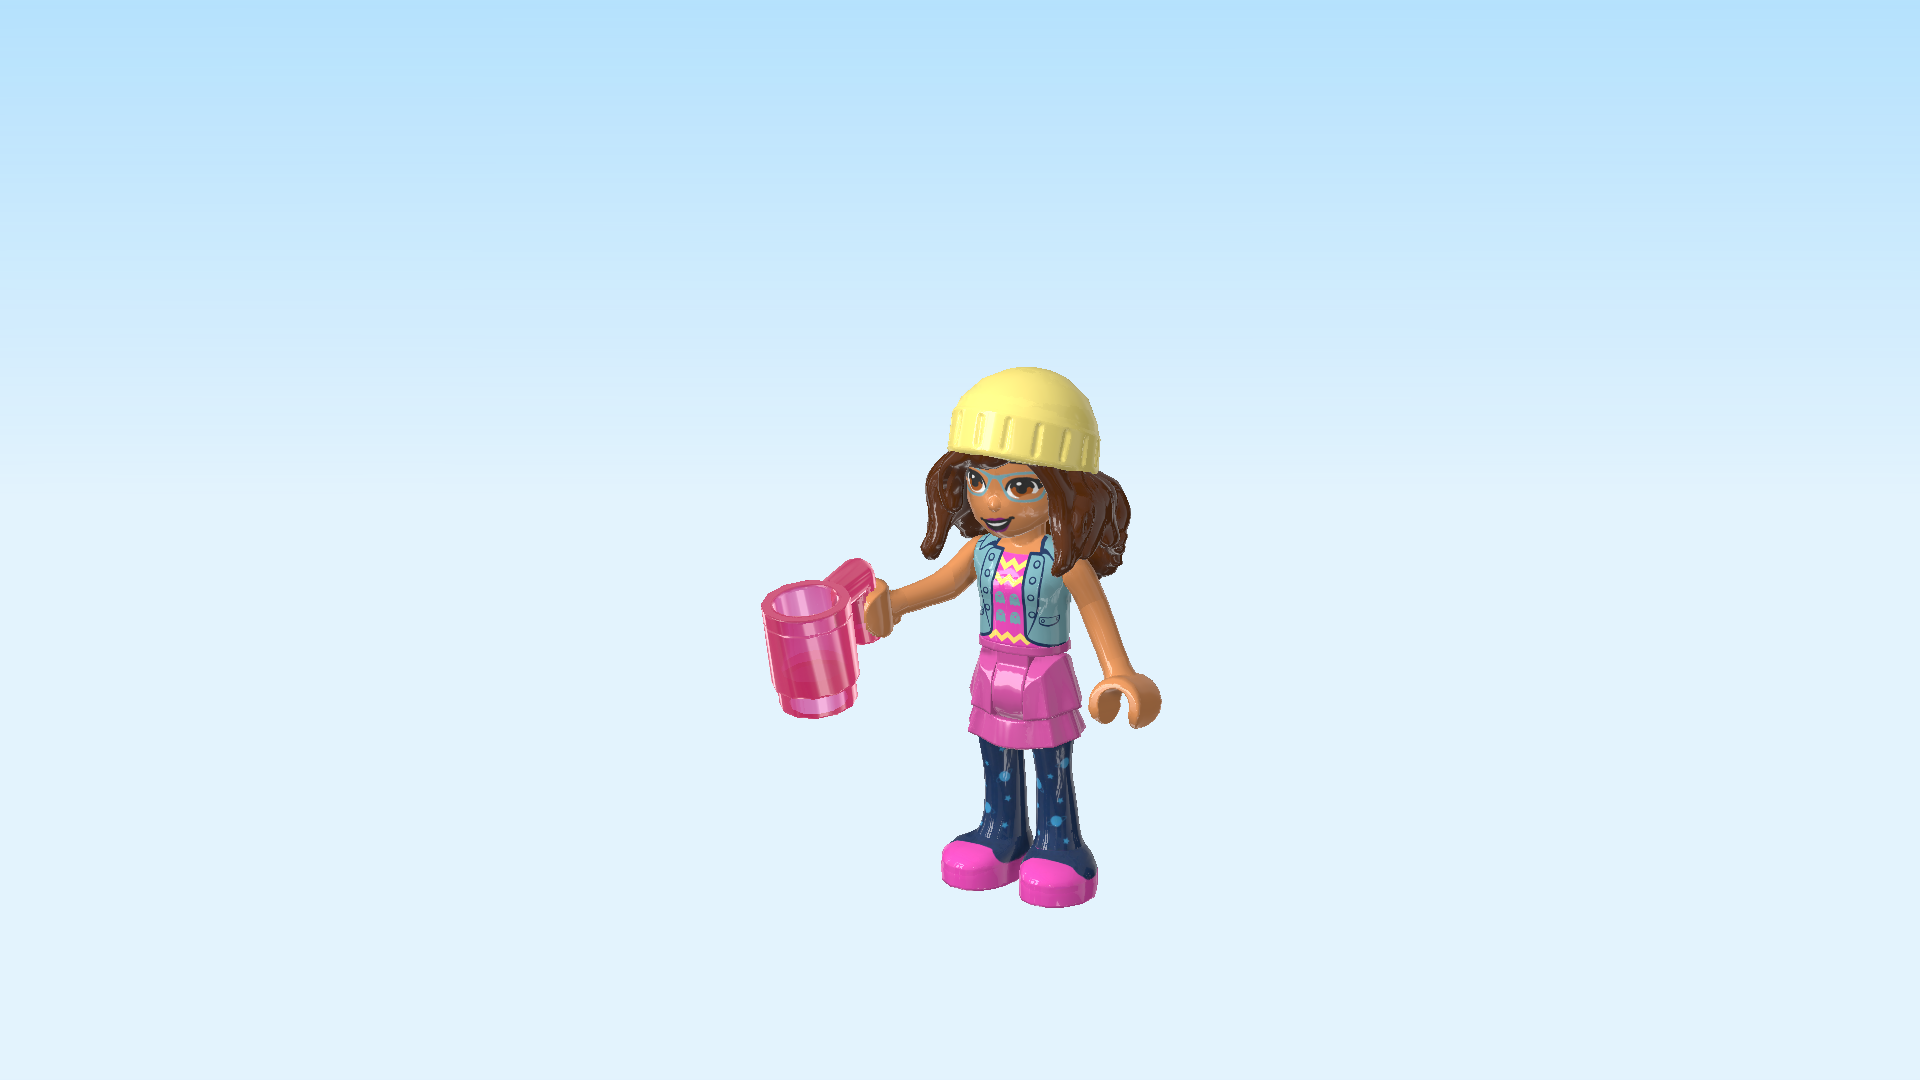
| Collect the following 2 pieces: |
| 1 night blue pair of legs with purple skirt, |
| and 1 nougat brown minidoll upper part of the body. |
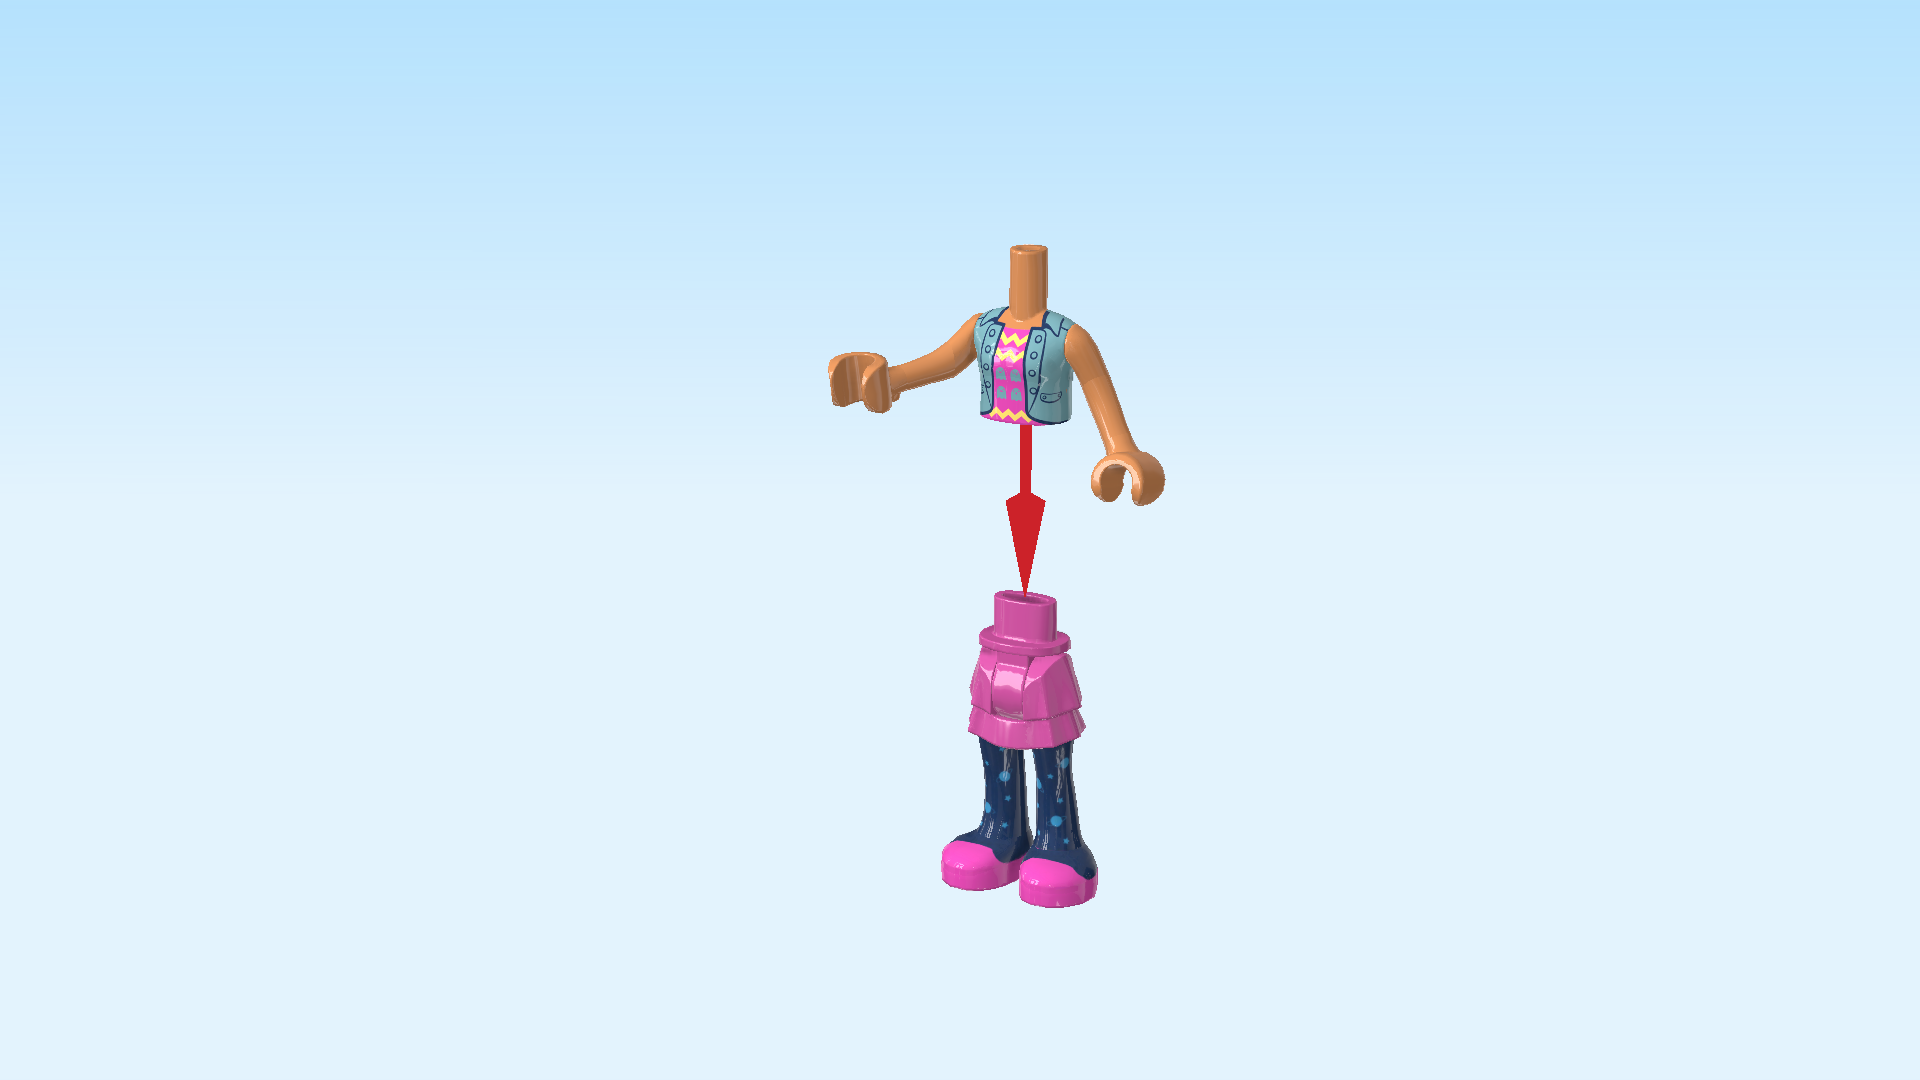
| Put the upper body on top of the legs. |
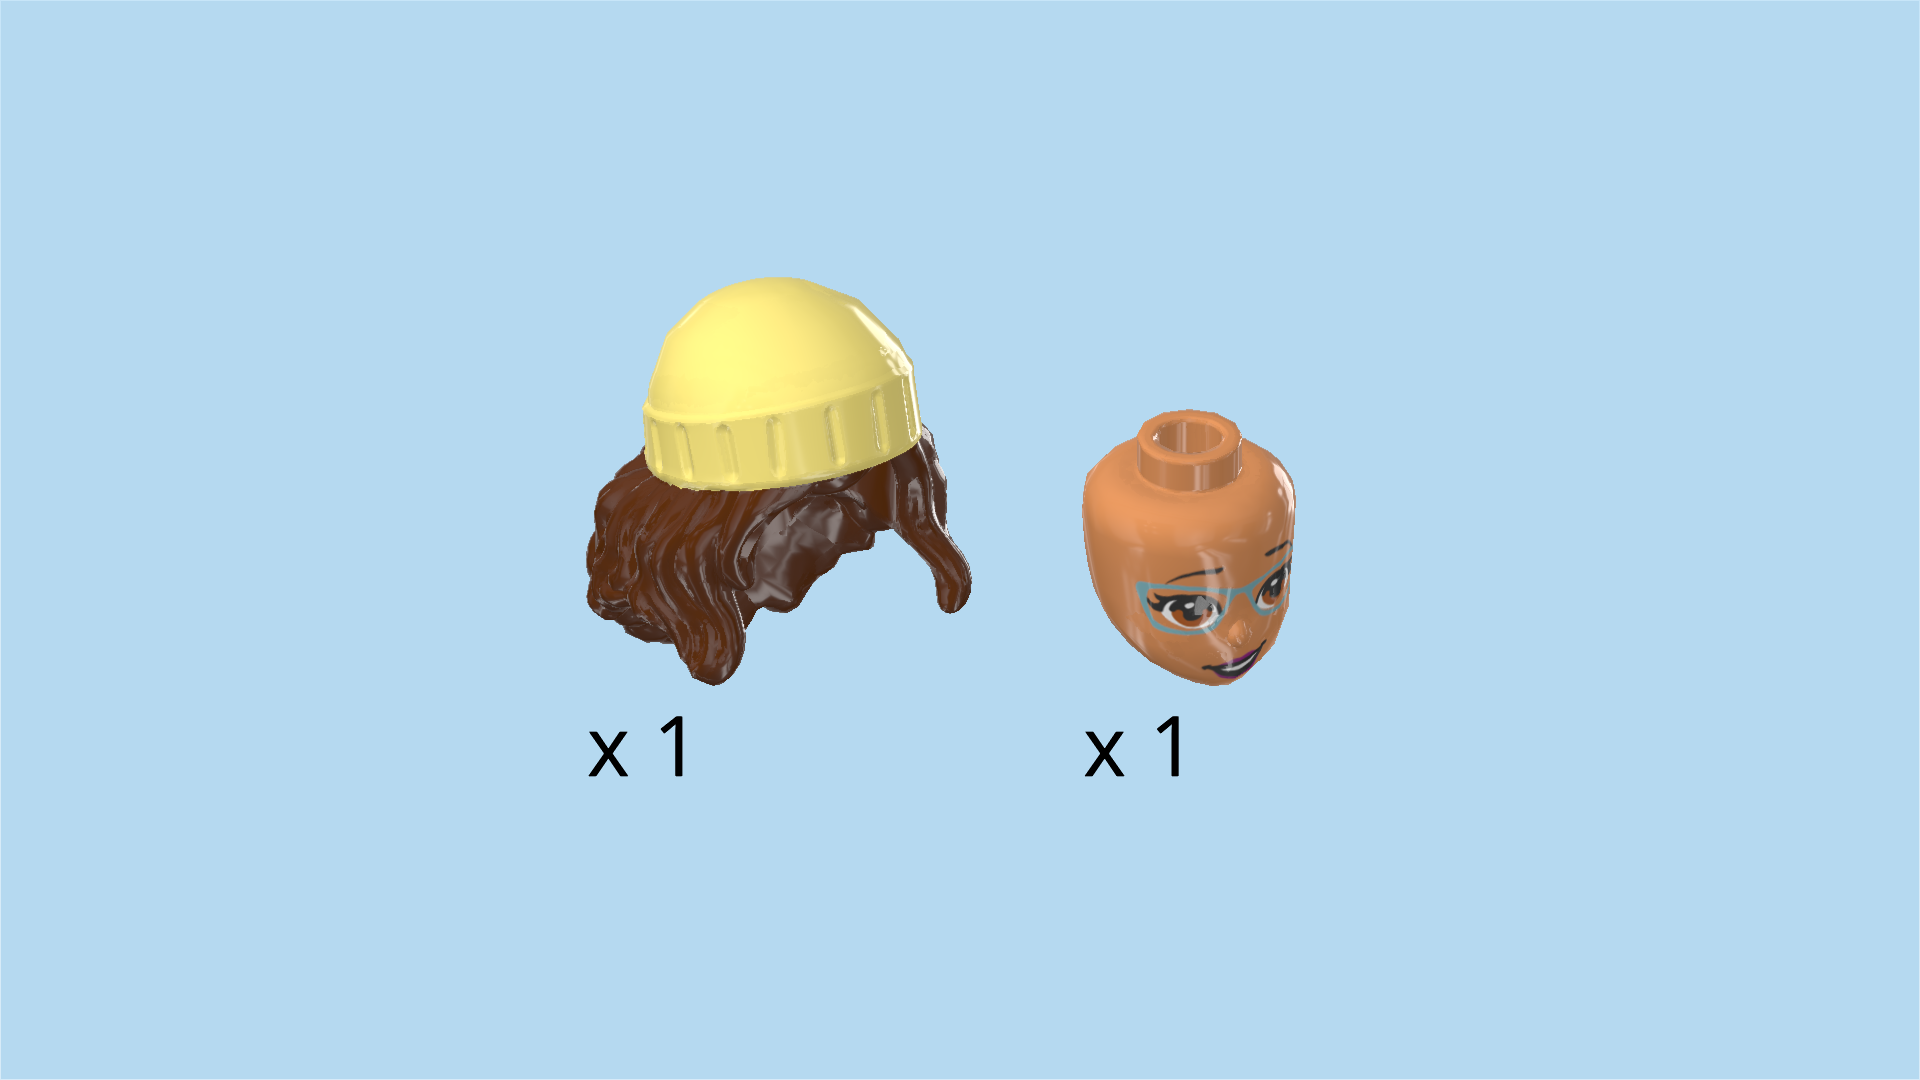
| Collect the following 2 pieces: |
| 1 nougat brown minidoll head, |
| and 1 reddish brown hairpiece with shoulder-length hair and lemon yellow beanie hat. |
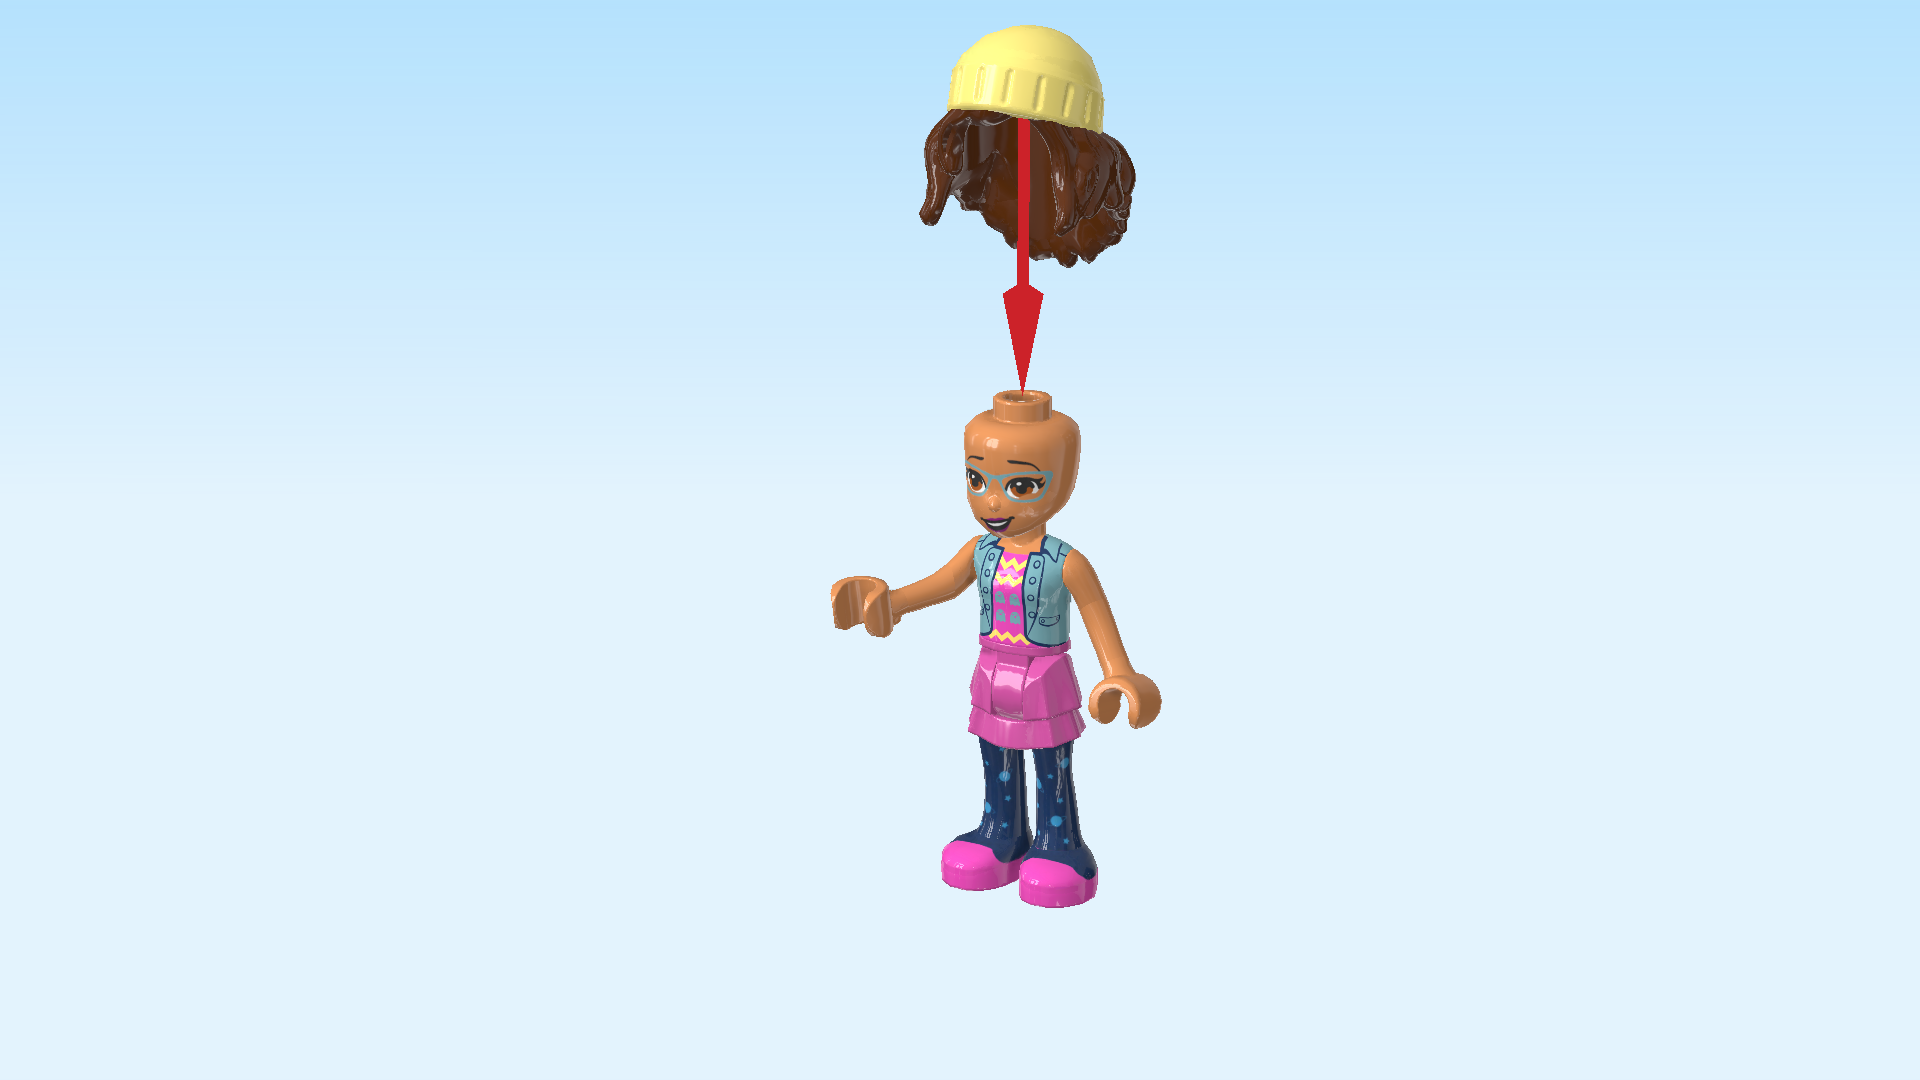
| Put the head on the body. |
| Put the hair with beanie on top. |
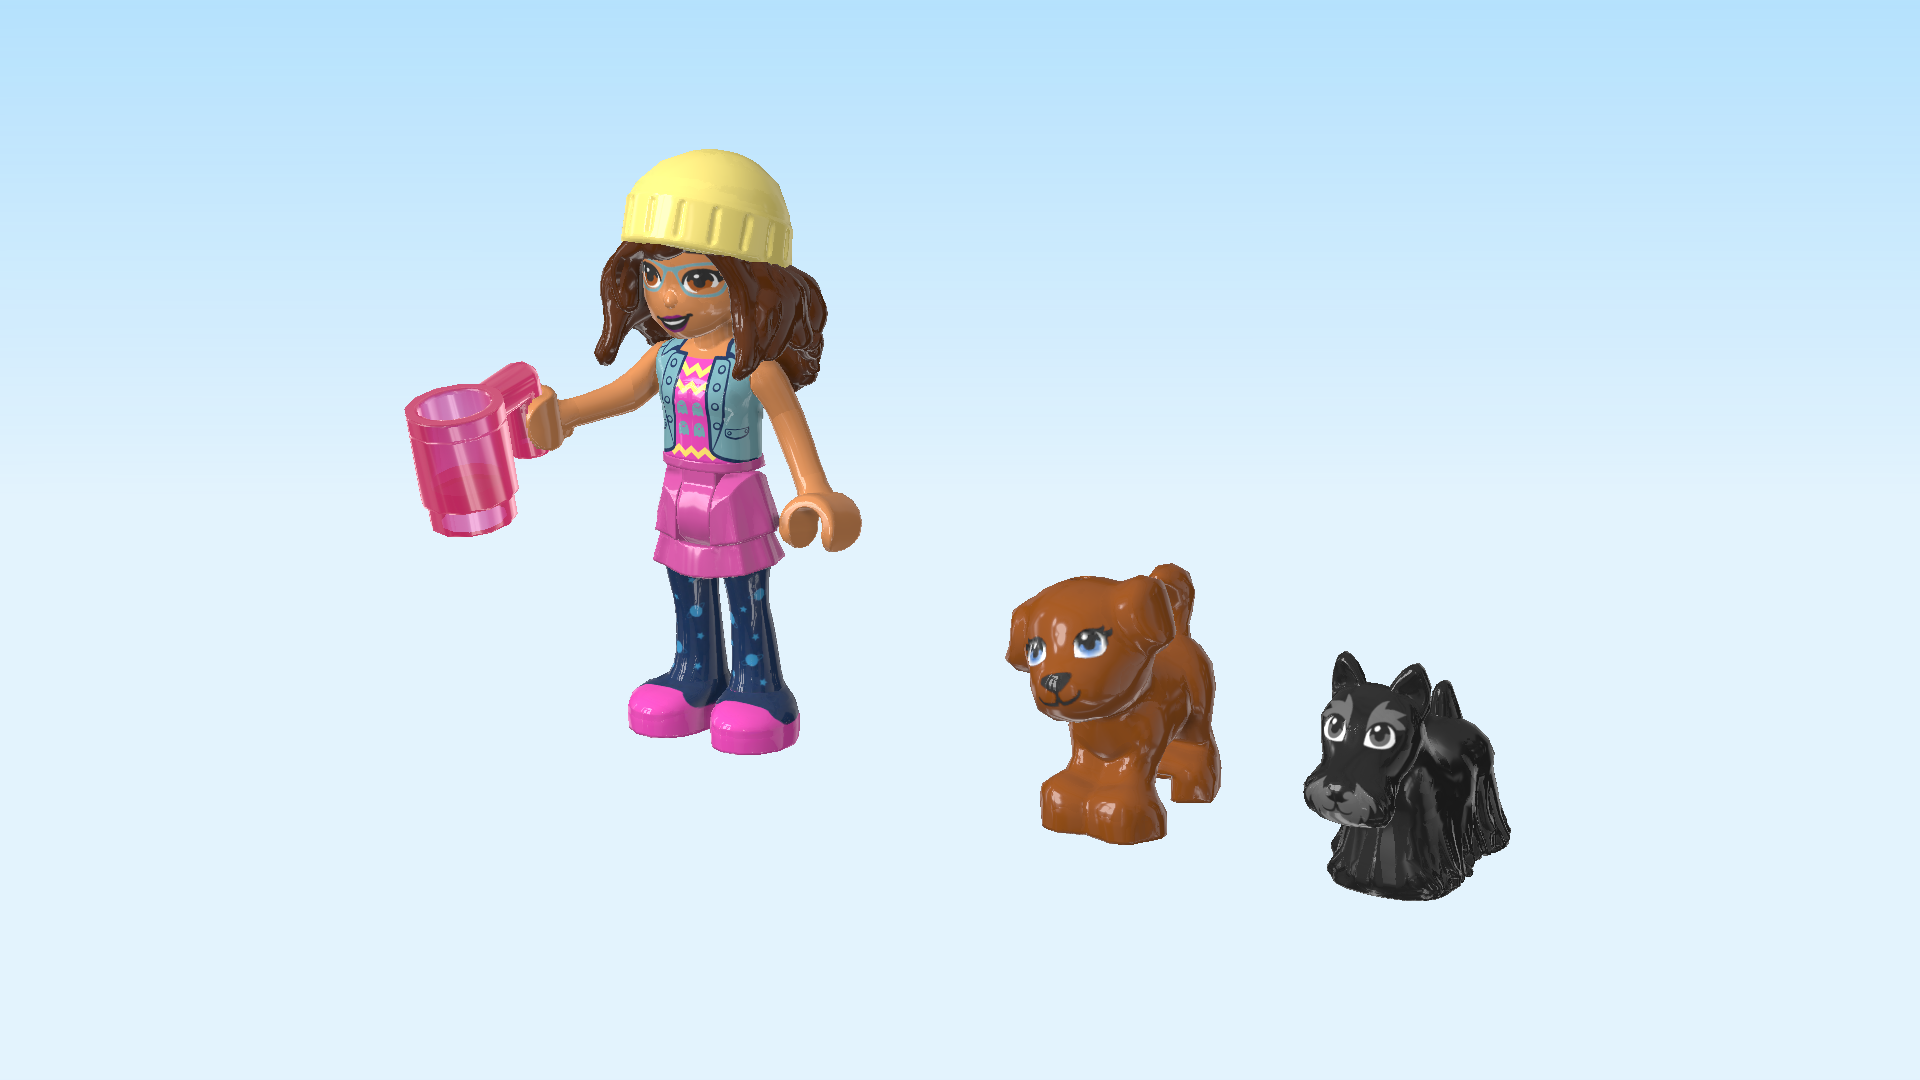
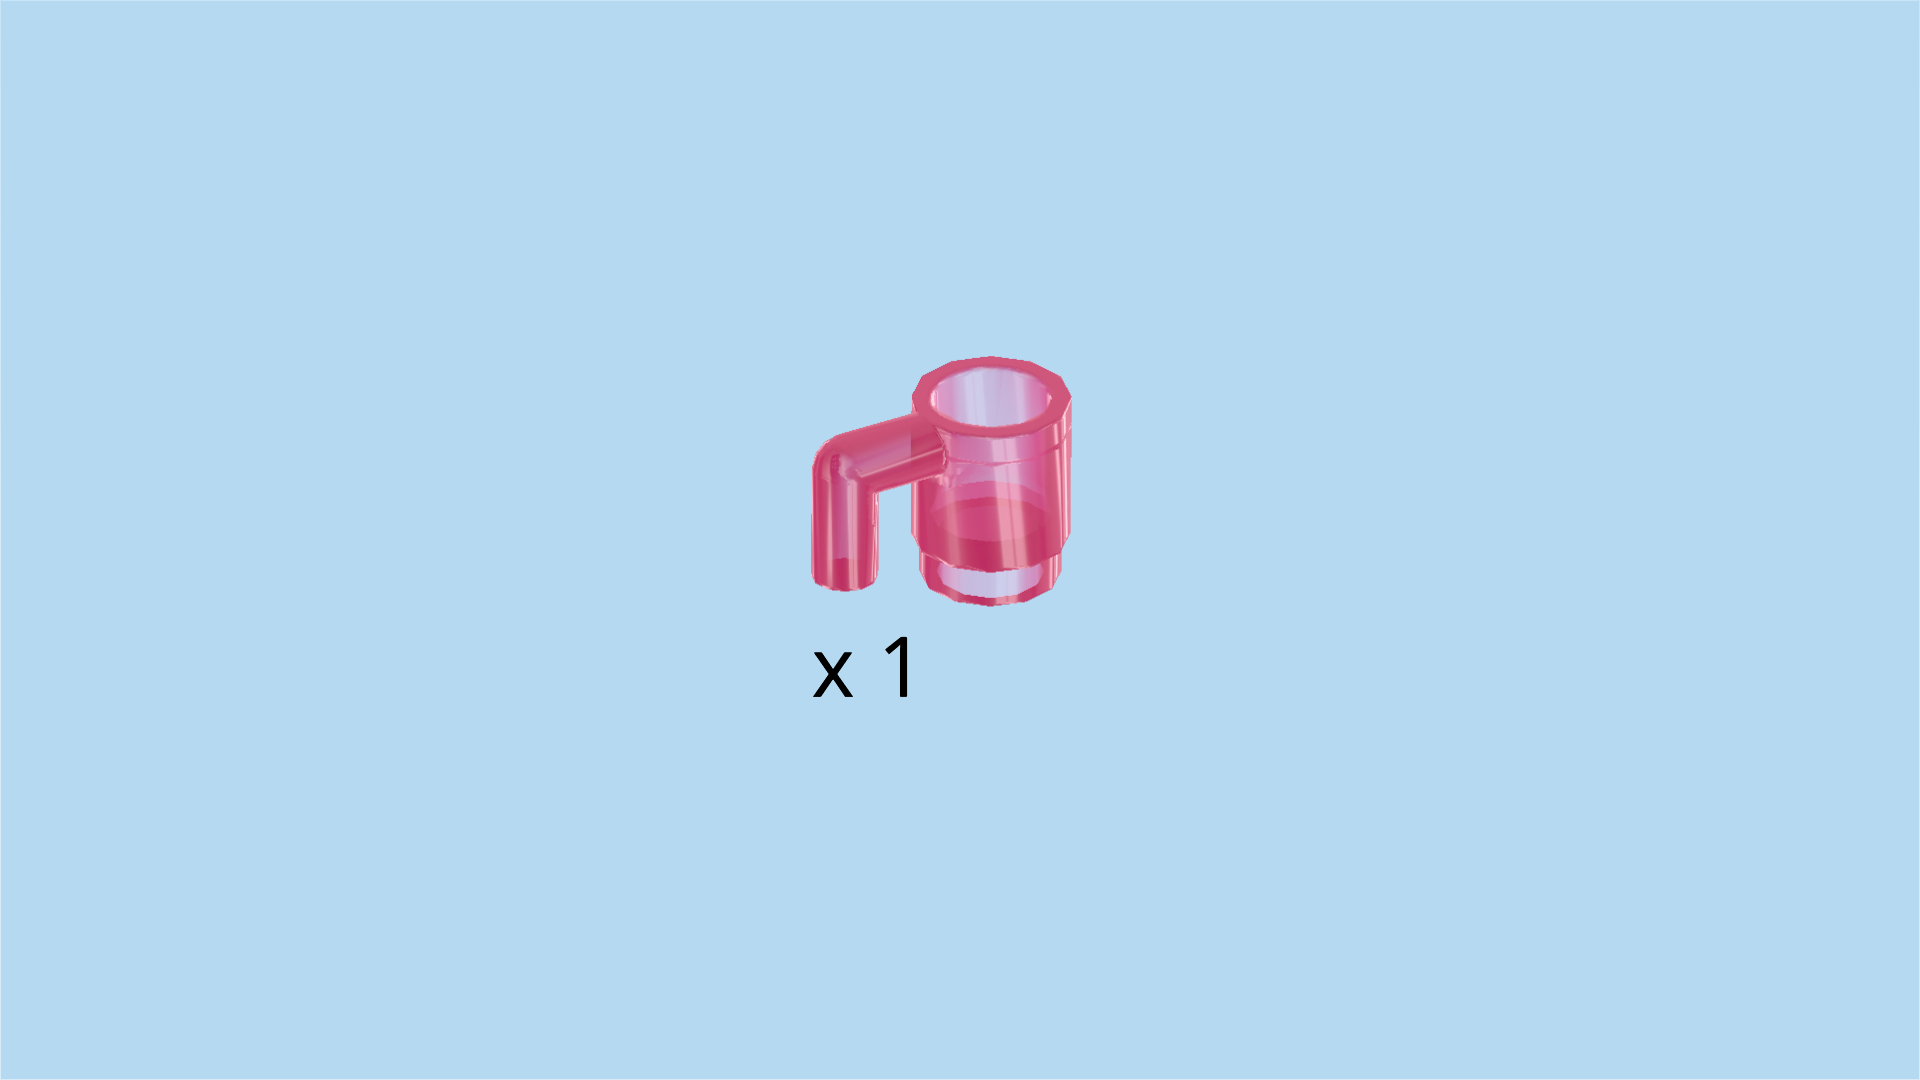
| Find 1 transparent raspberry red Minifigure mug. |
| Snap its handle into Olivia's right hand. |
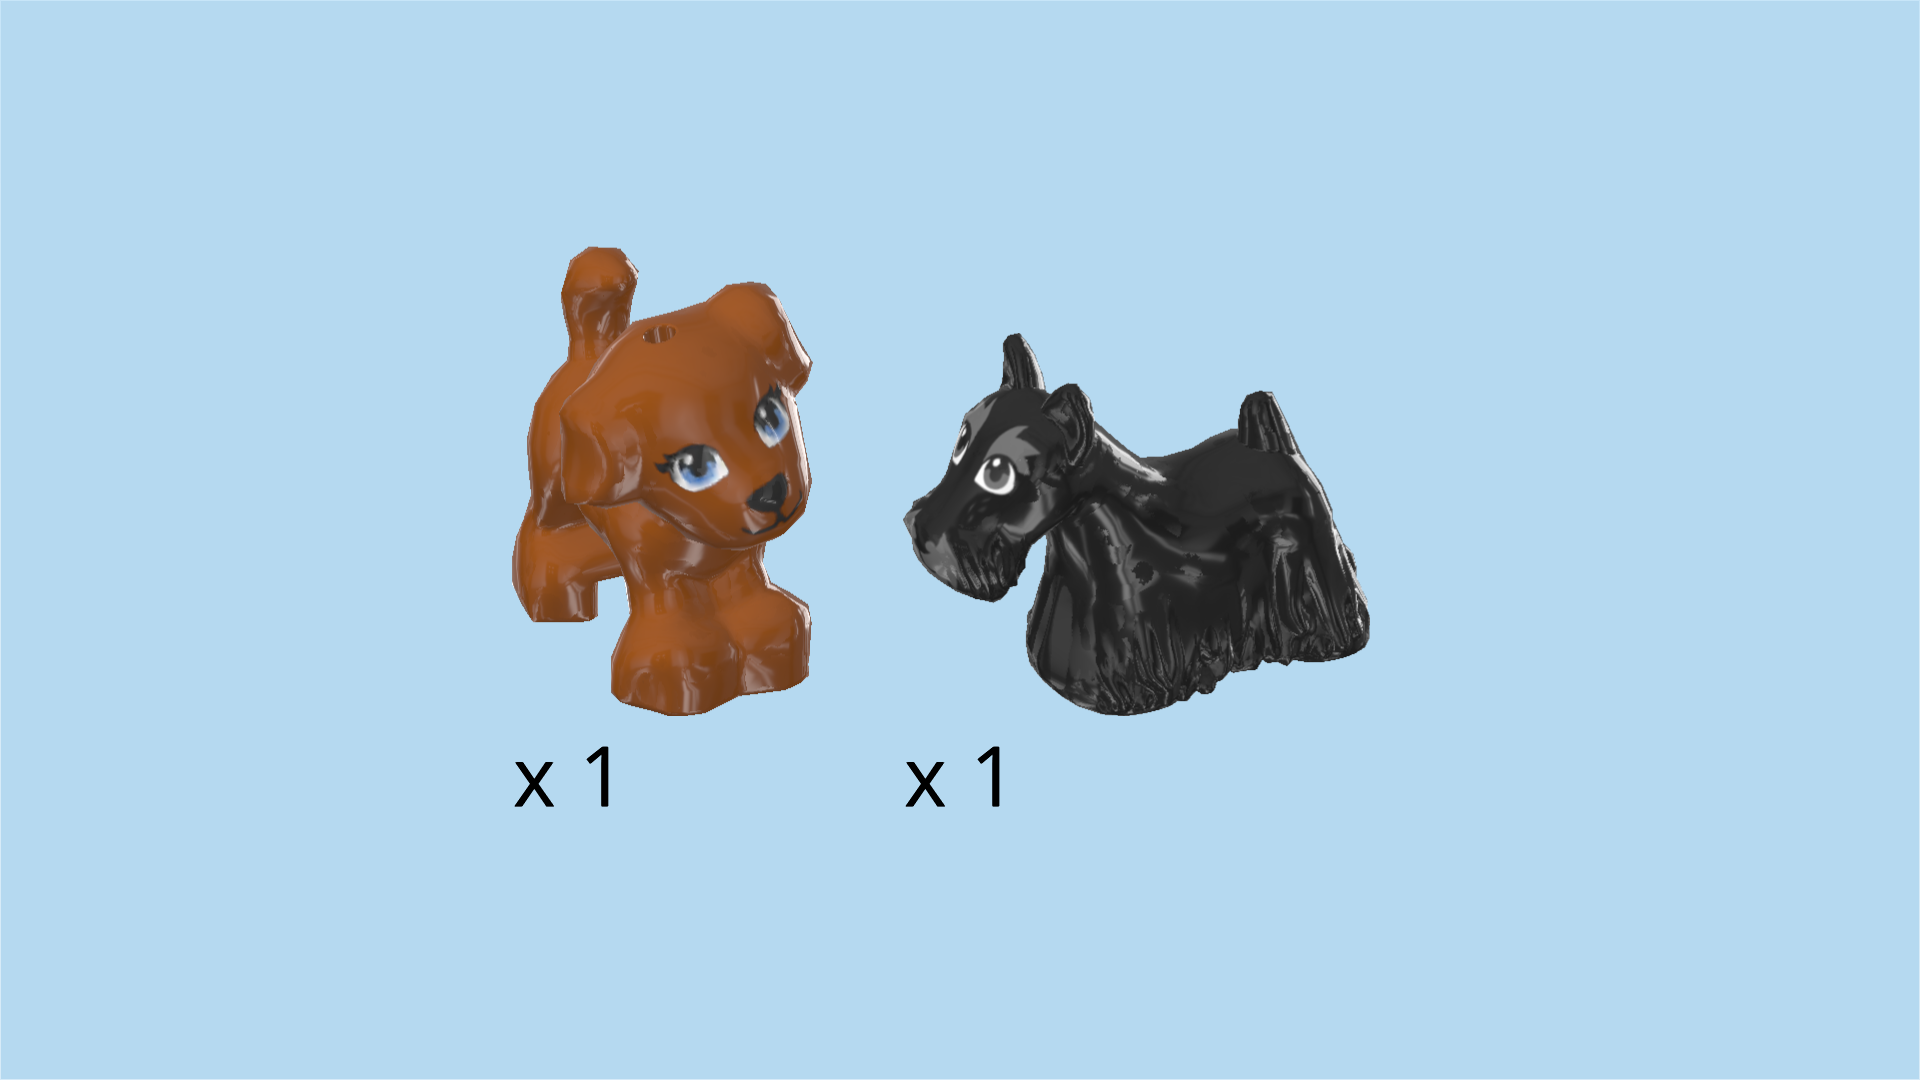
| Collect the following 2 pieces: |
| 1 dark orange dog, |
| and 1 black dog. |
| The Olivia Minidoll is finished! She is wearing night blue leggings with small planets and stars on it, pink shoes and dress and a sleeveless silver metallic jacket. The chest part of the dress is printed with yellow zigzag lines and 4 small metallic ghosts. She is wearing a silver metallic pair of glasses and has a big smile on her face. Olivia has brought her two pet friends. They will have a lovely time in the pet adoption cafe! |
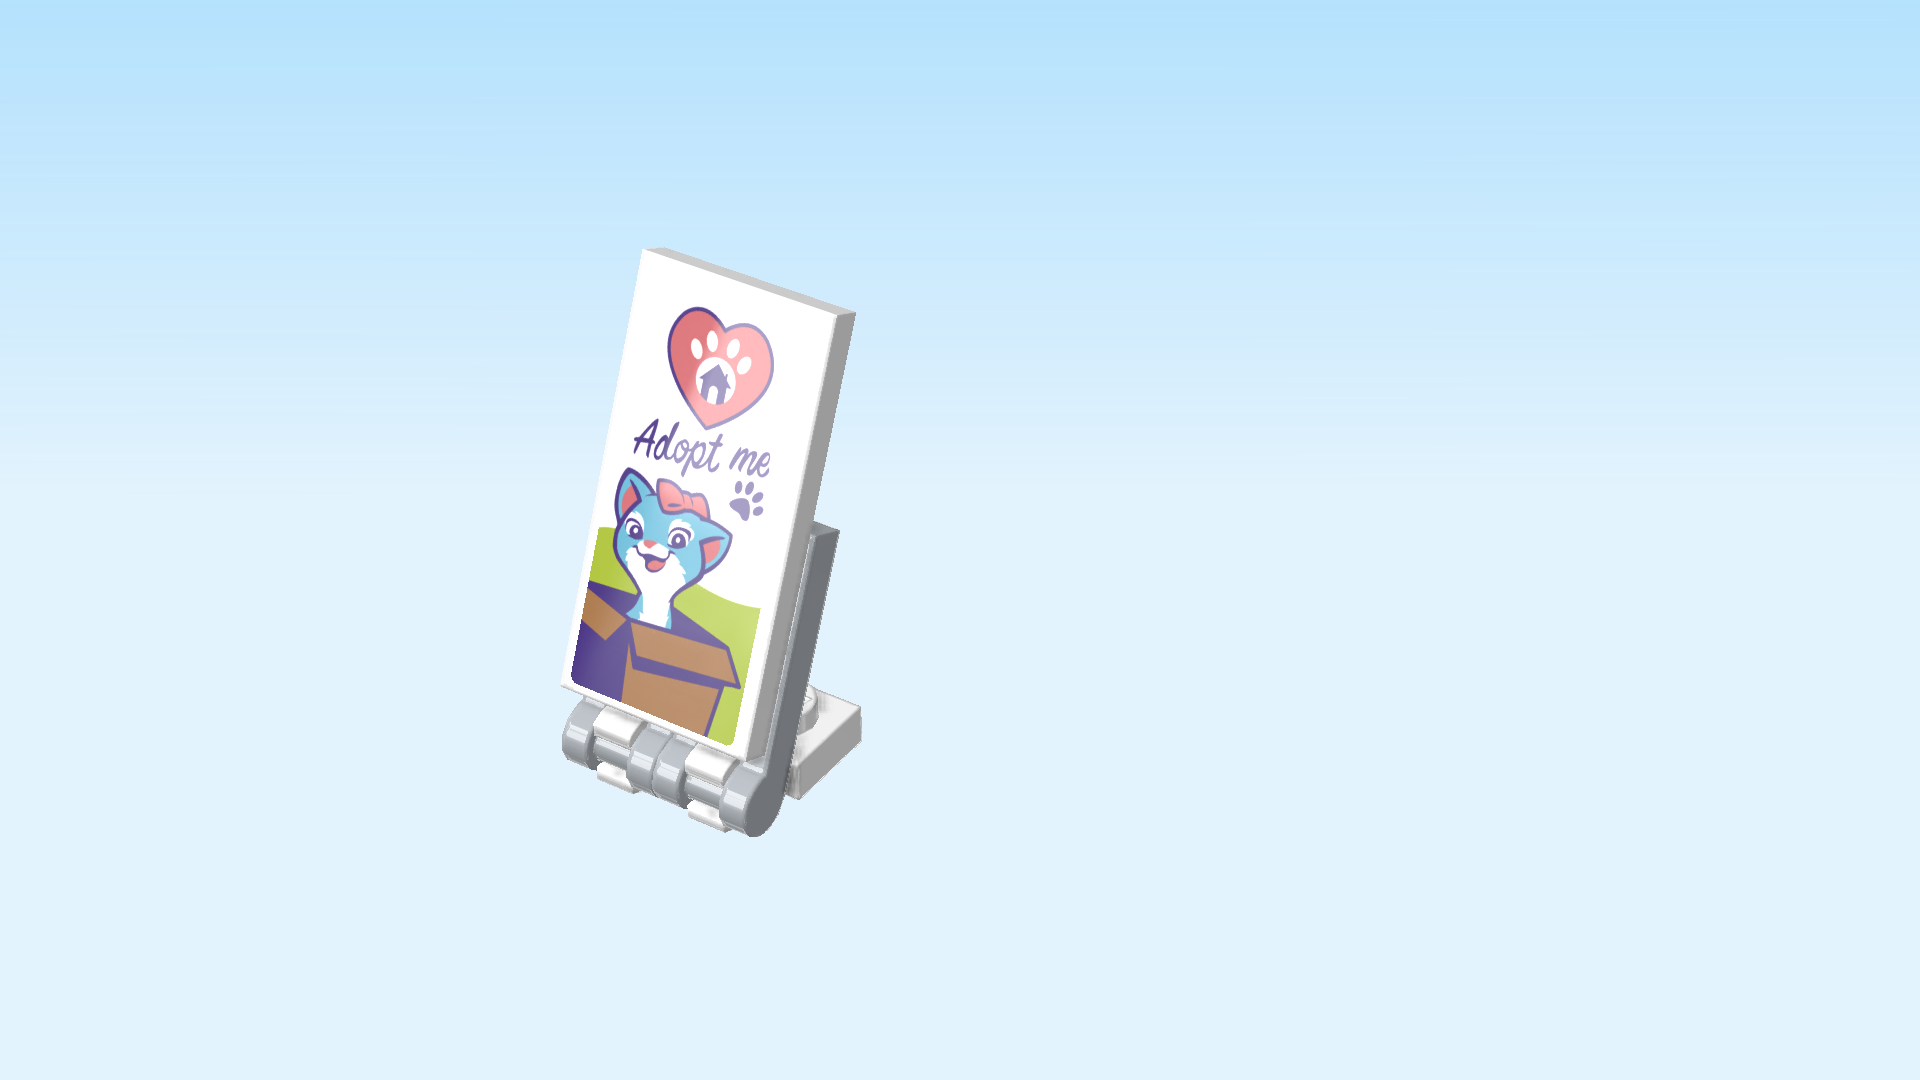
| Now, we will build the "Adopt me" sign. |
| Find 1 white flat tile 2x4. |
| Put it upside down horizontally on the table. |
| Find 2 medium stone grey plates 1x2 with shaft on short side. |
| Put 1 on the right half of the back row, shaft overhanging to the right. |
| Put the other one in front of the previous piece, shaft overhanging to the right. |
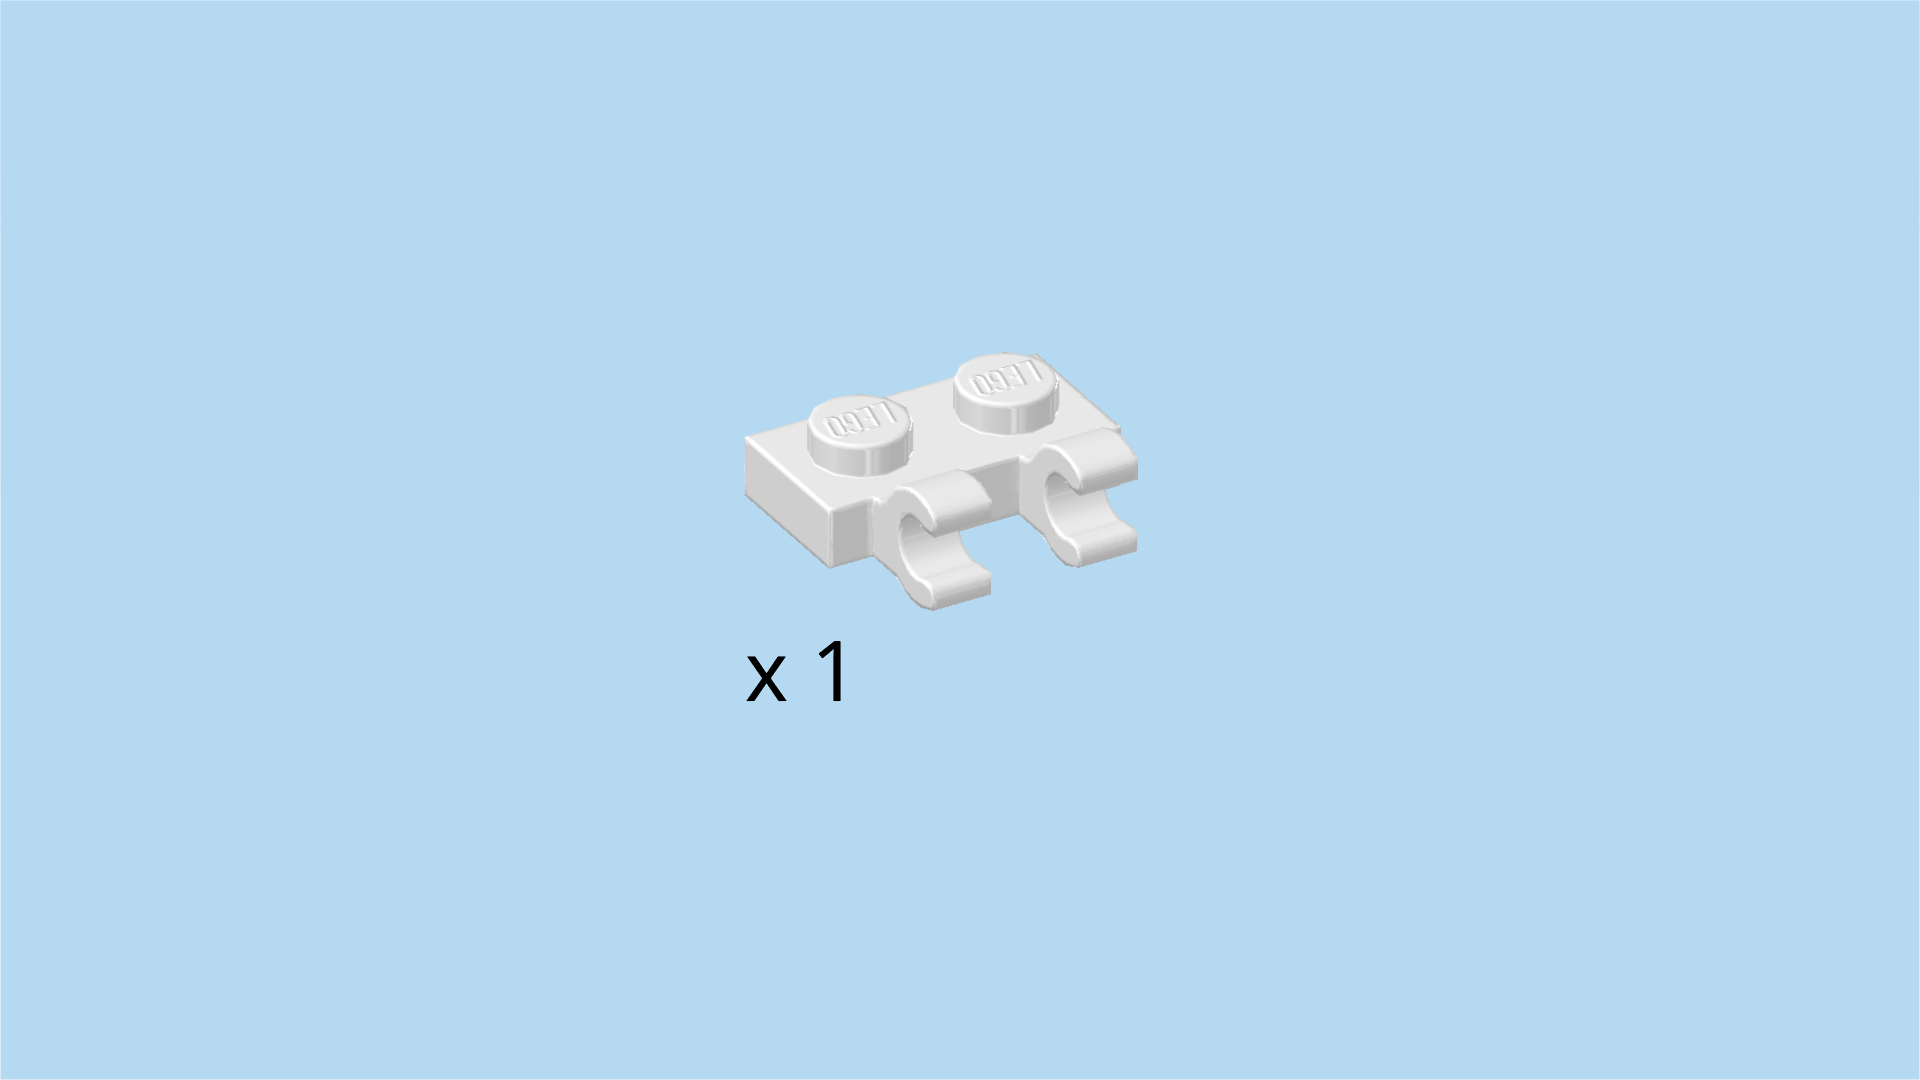
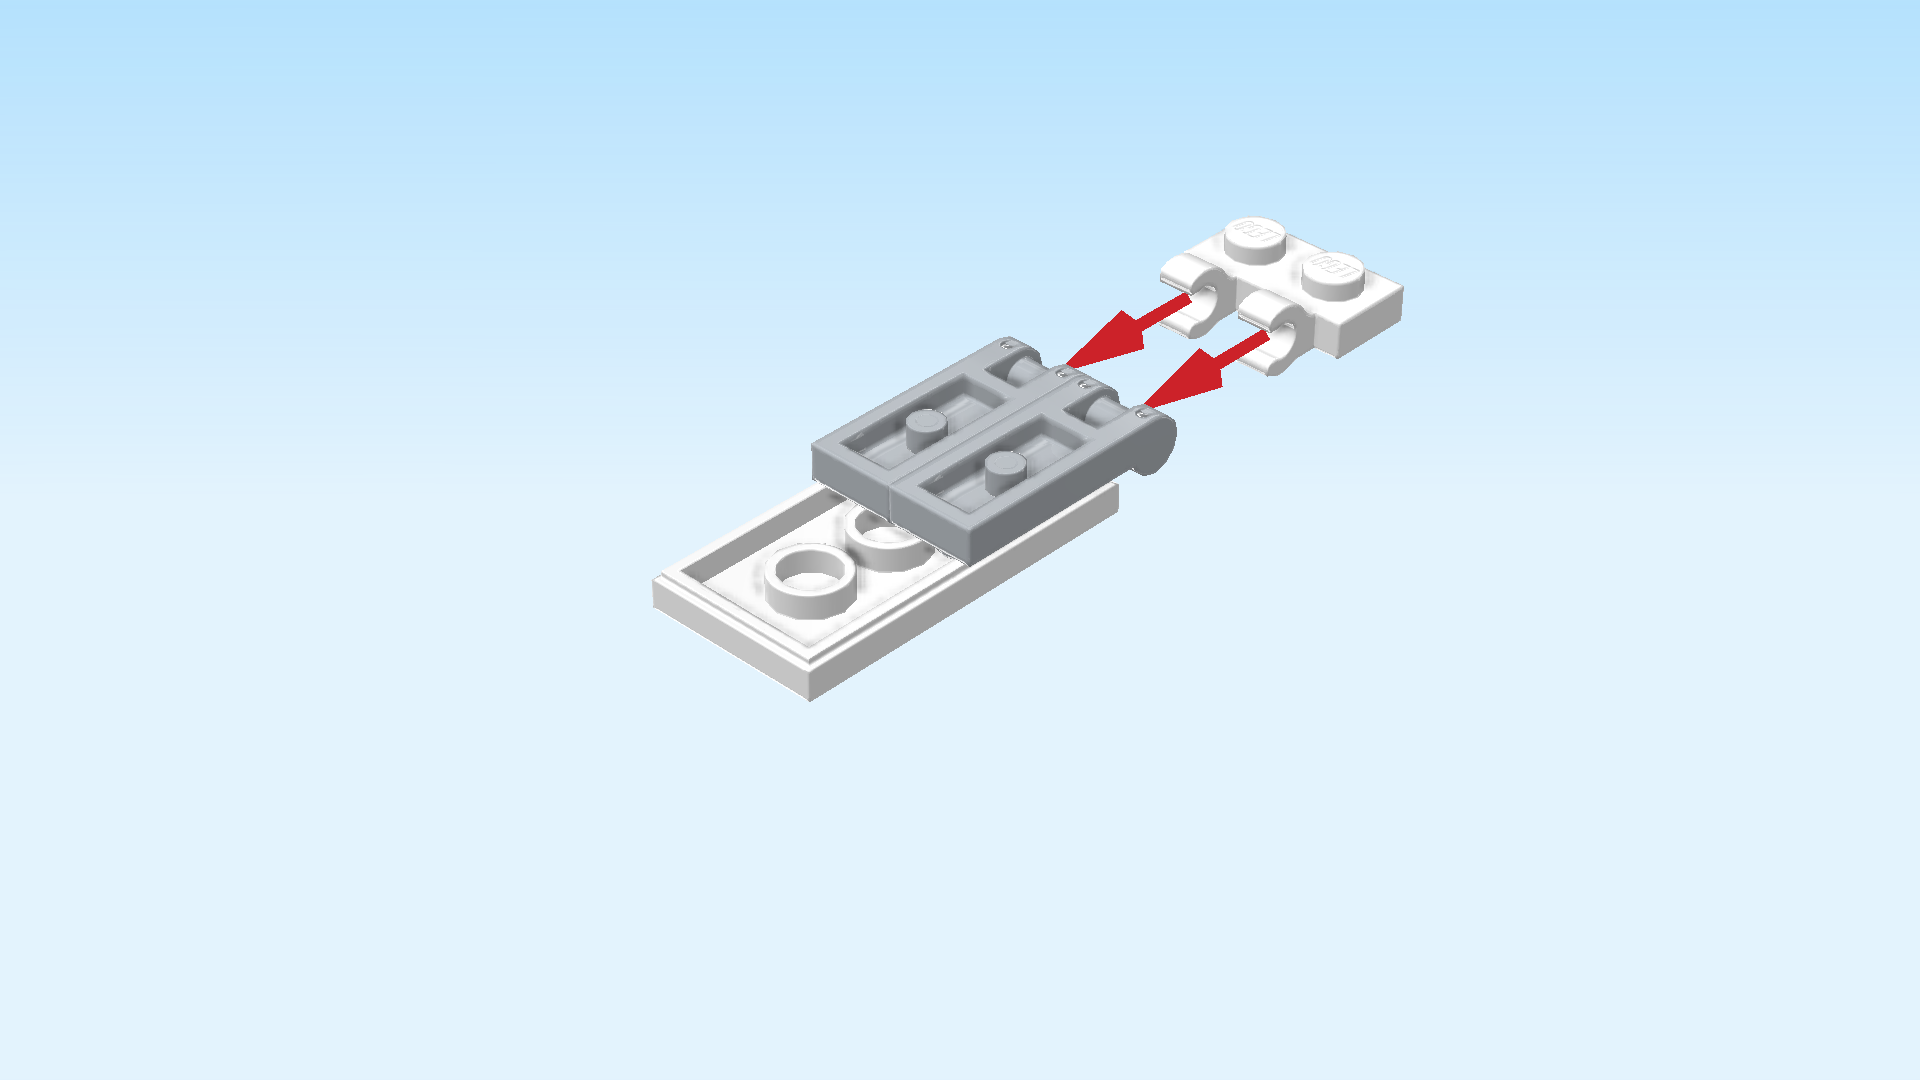
| Find 1 white plate 1x2 with 2 vertical clasps on long side. |
| Do not turn this plate upside down, so make sure its knobs are pointing to the top. Then, snap the clasps onto the 2 shafts from the right. |
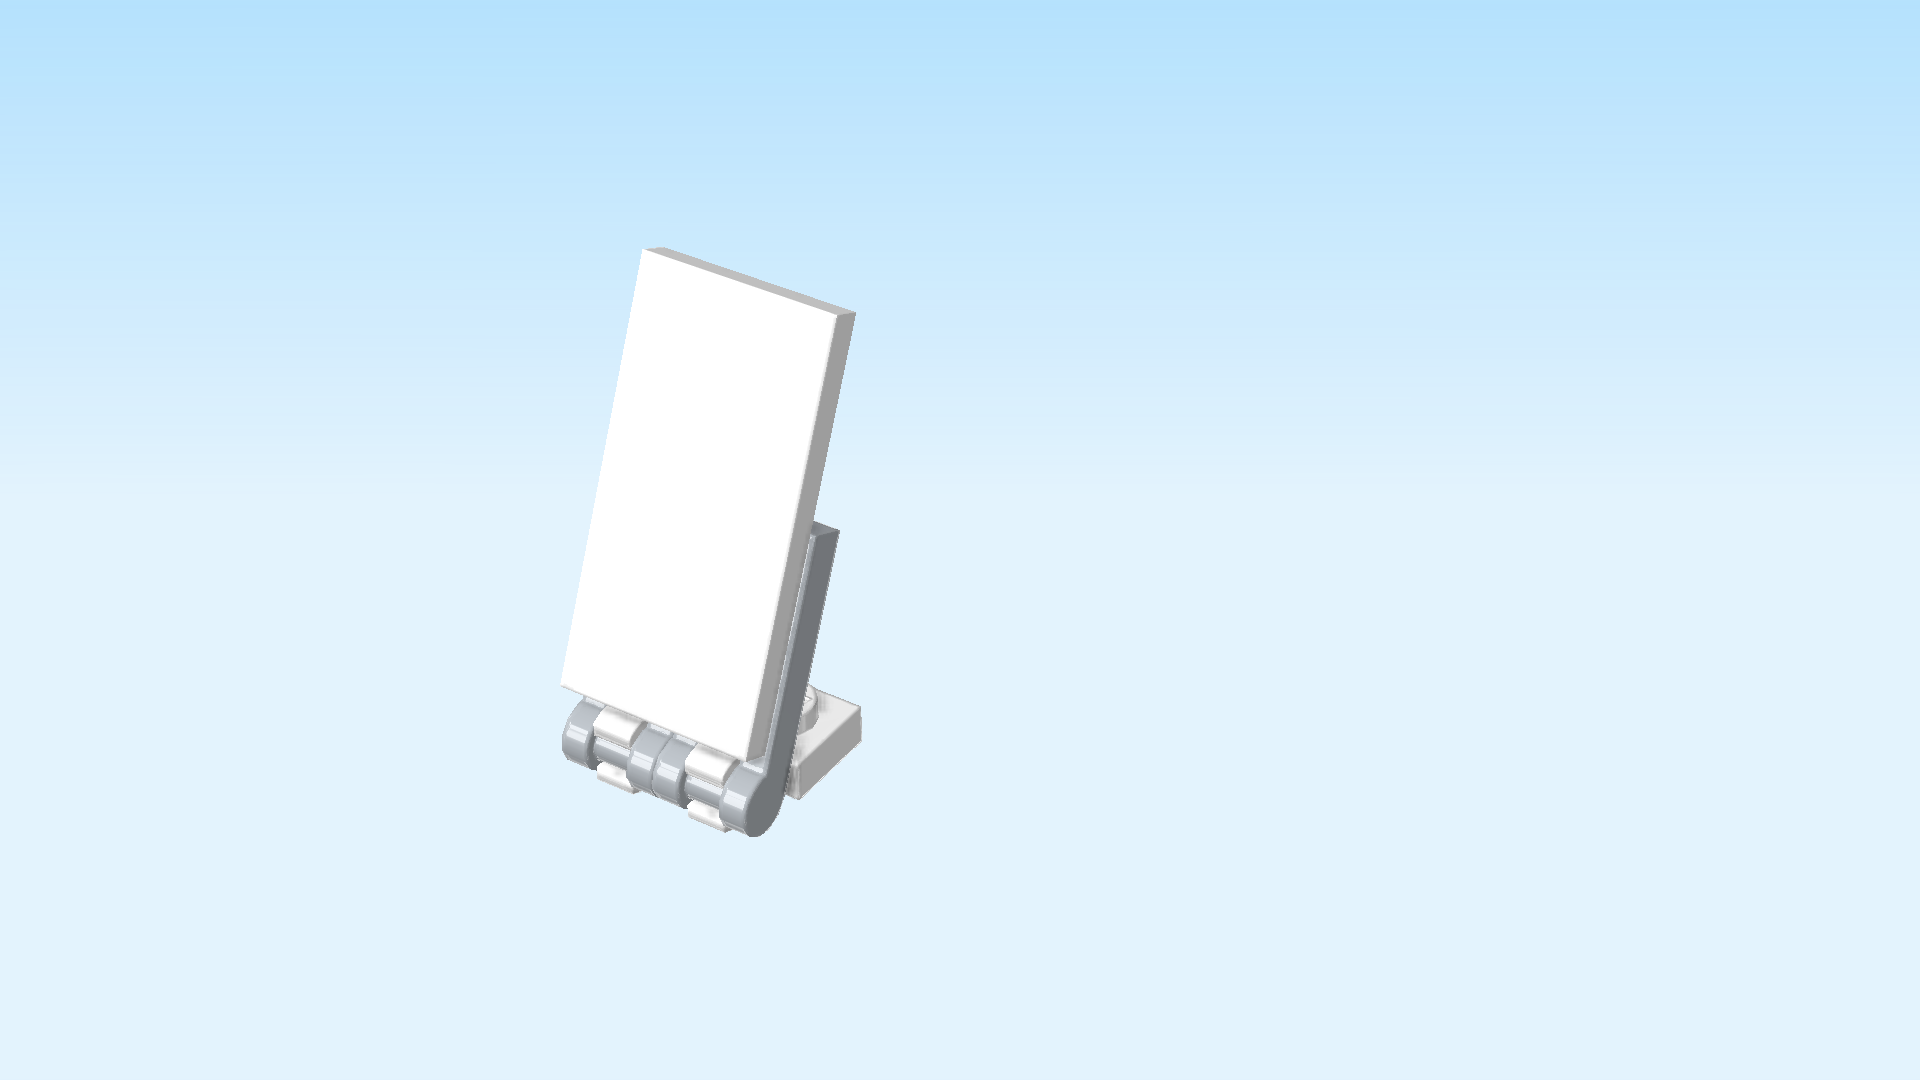
| Now, keep the previous piece on the table with one finger while folding up the flat tile 2x4 all the way to the stop. If done correctly, the flat tile will be slightly inclined to the right. The sign should stand on its own. |
| Continue if you want to decorate this piece with a sticker now. If not, skip the next 2 sentences. |
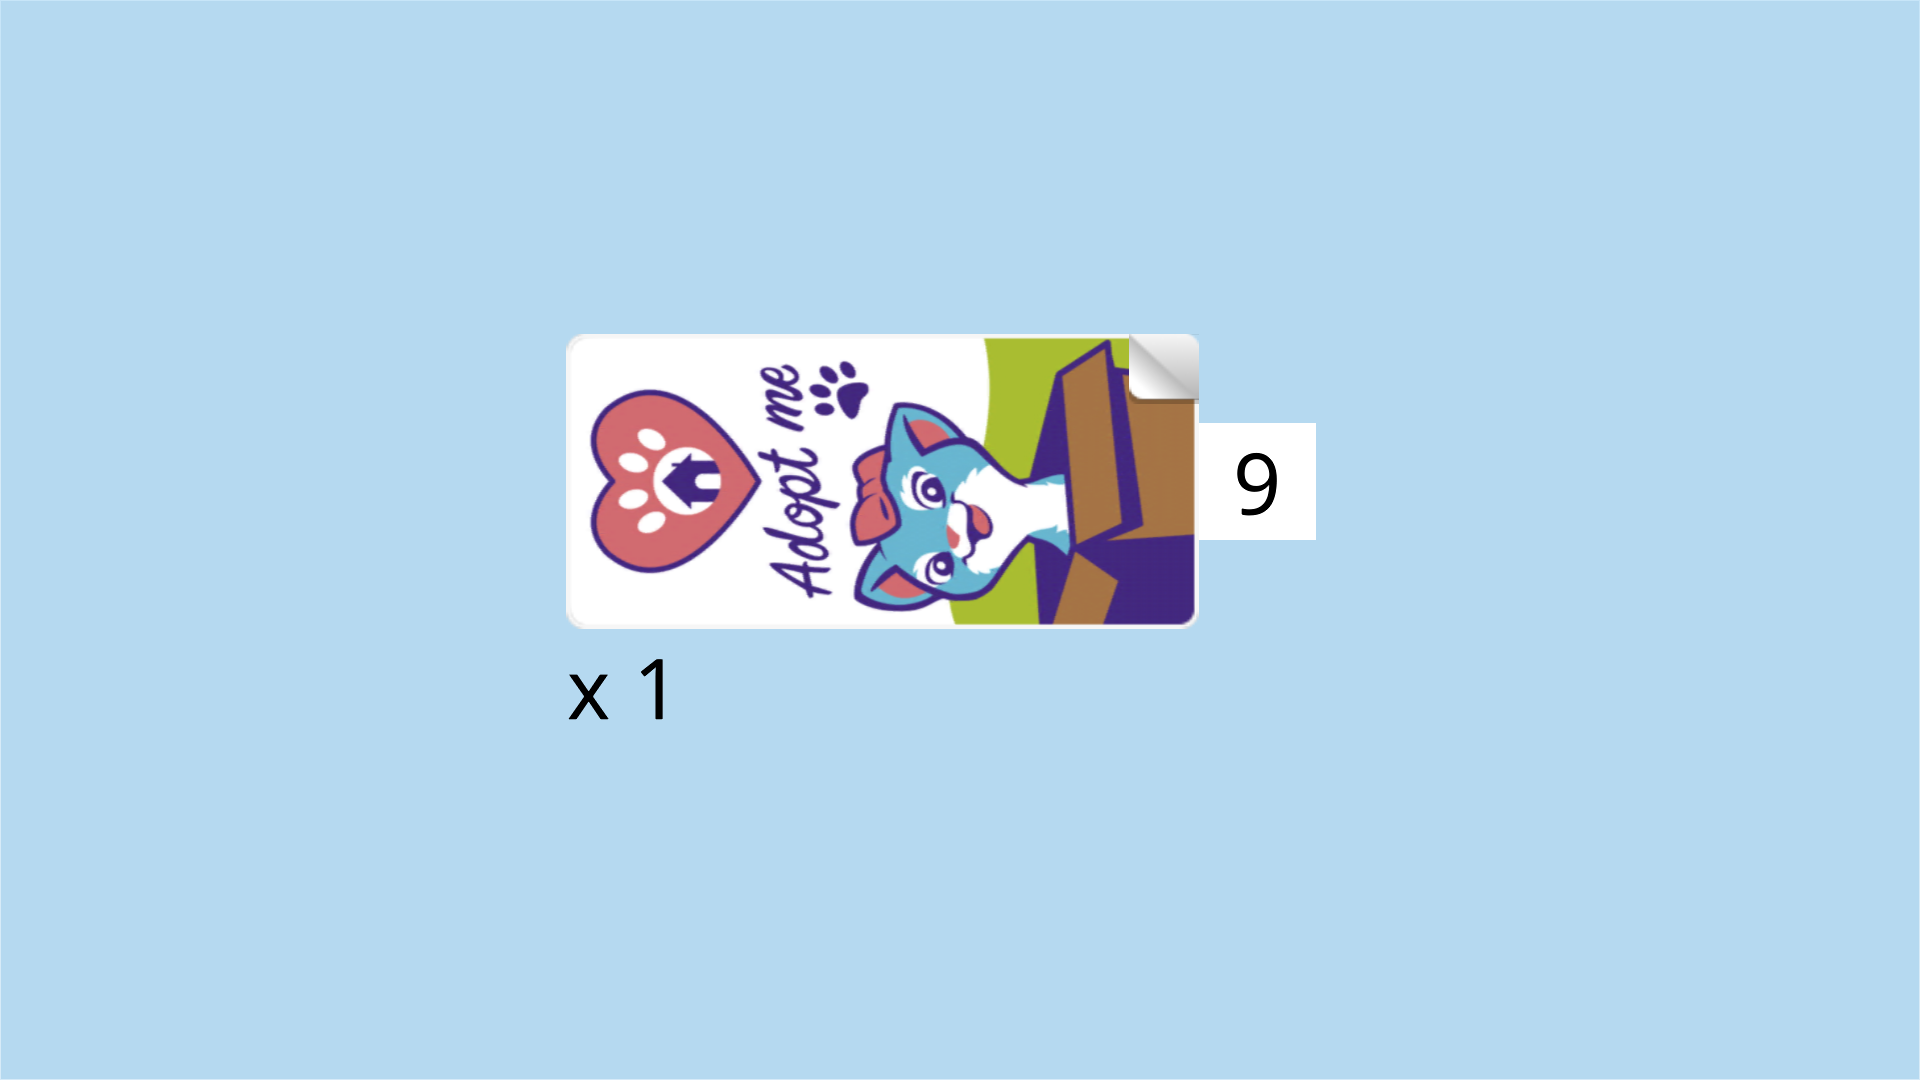
| Find 1 rectangular sticker number 9. Ask a sighted person to help you find the correct sticker. |
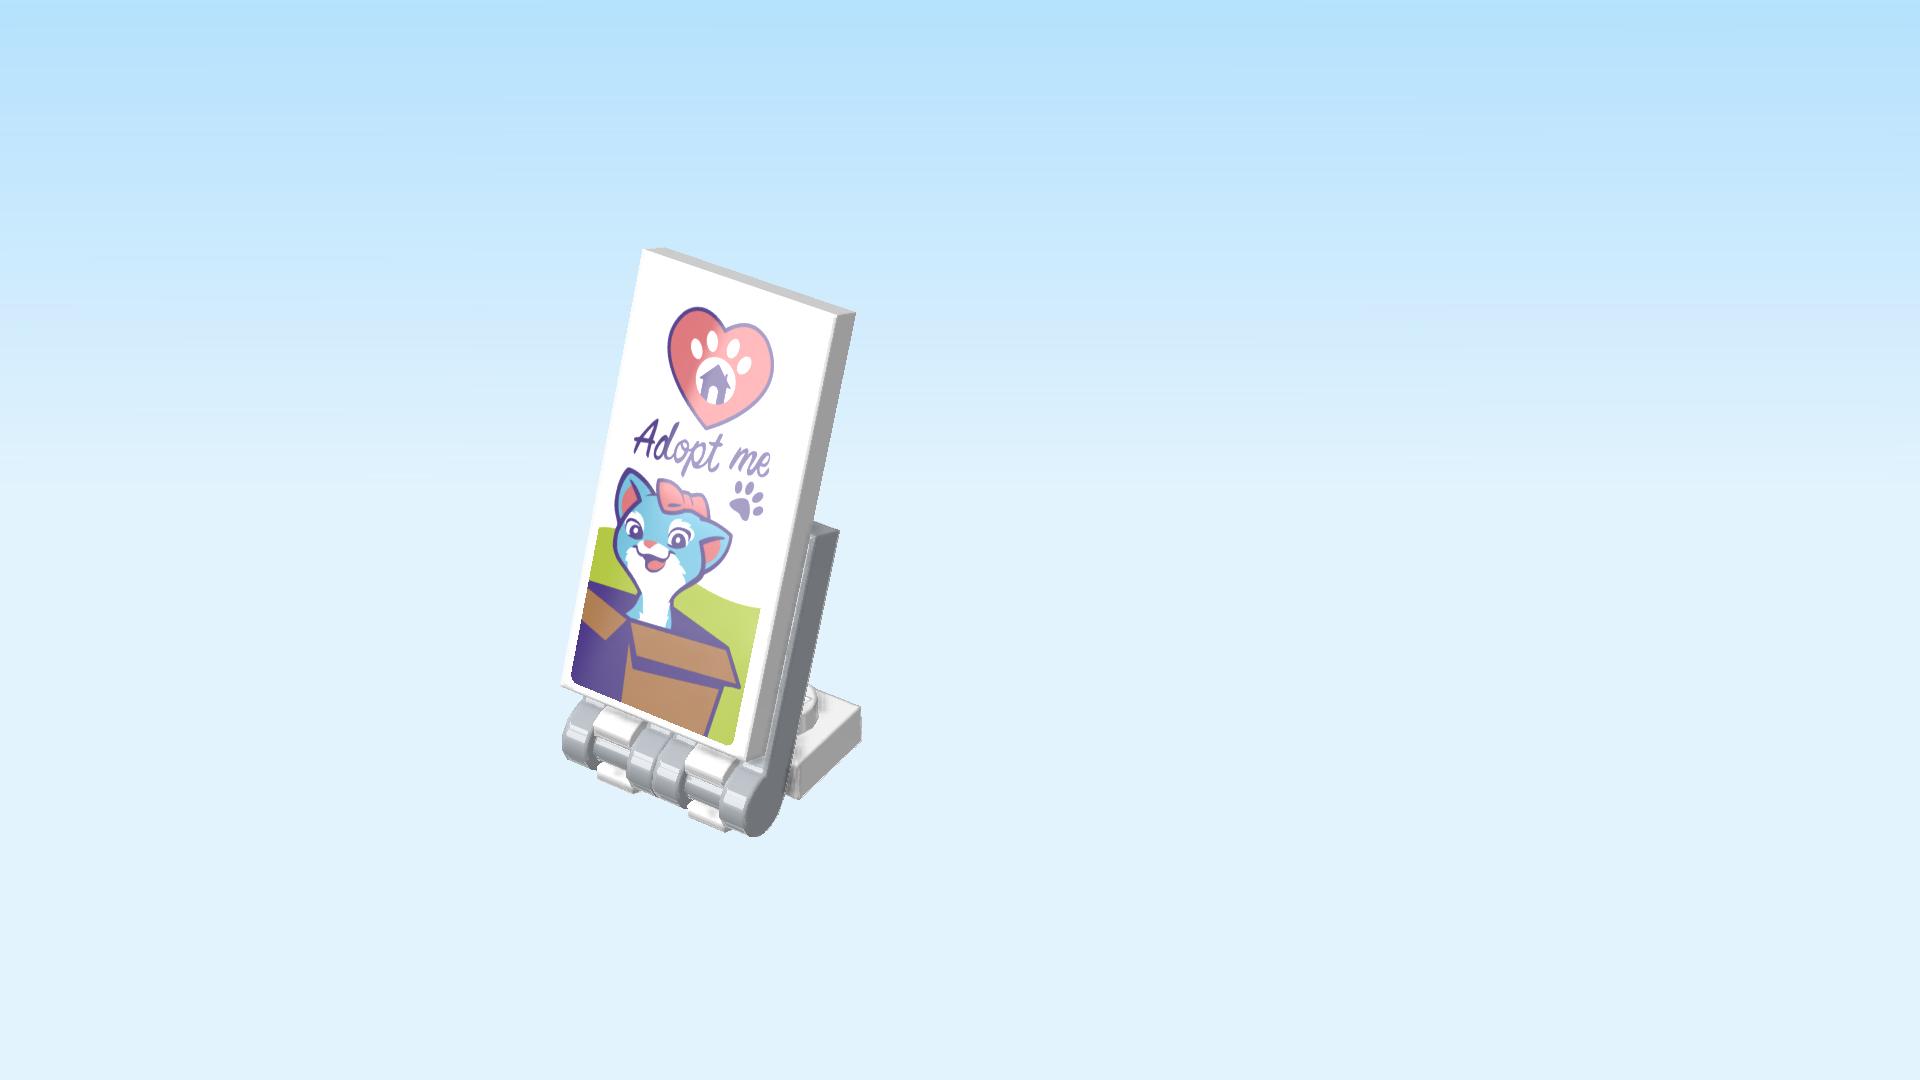
| Put it on the sign. It is a white poster with the pet adoption cafe logo at the top: a pink heart with a lilac outline and a white paw in its center that has a tiny lilac house in its middle. Below the logo, curved lettering reads "Adopt me" in lilac, and a small lilac paw print is just beneath that. At the bottom, the poster background is light green. There is a cardboard box and a sand blue kitten with white fur around the snout and neck is sitting in it. The kitten has a pink bow tie next to its left ear. |
| The "Adopt me" sign is finished! Well done! Put it up in a visible place in front of the Pet Adoption Cafe to attract new visitors and potential adopters. |
| You have finished building the entire set, fantastic job! Now, it is time to hop on the rescue trike and help pets in need. You can give them baths, play with them, feed them and find them new homes. Treat your visitors and potential adoption pet parents to a nice cup of coffee and some cookies. |
| Enjoy! |
