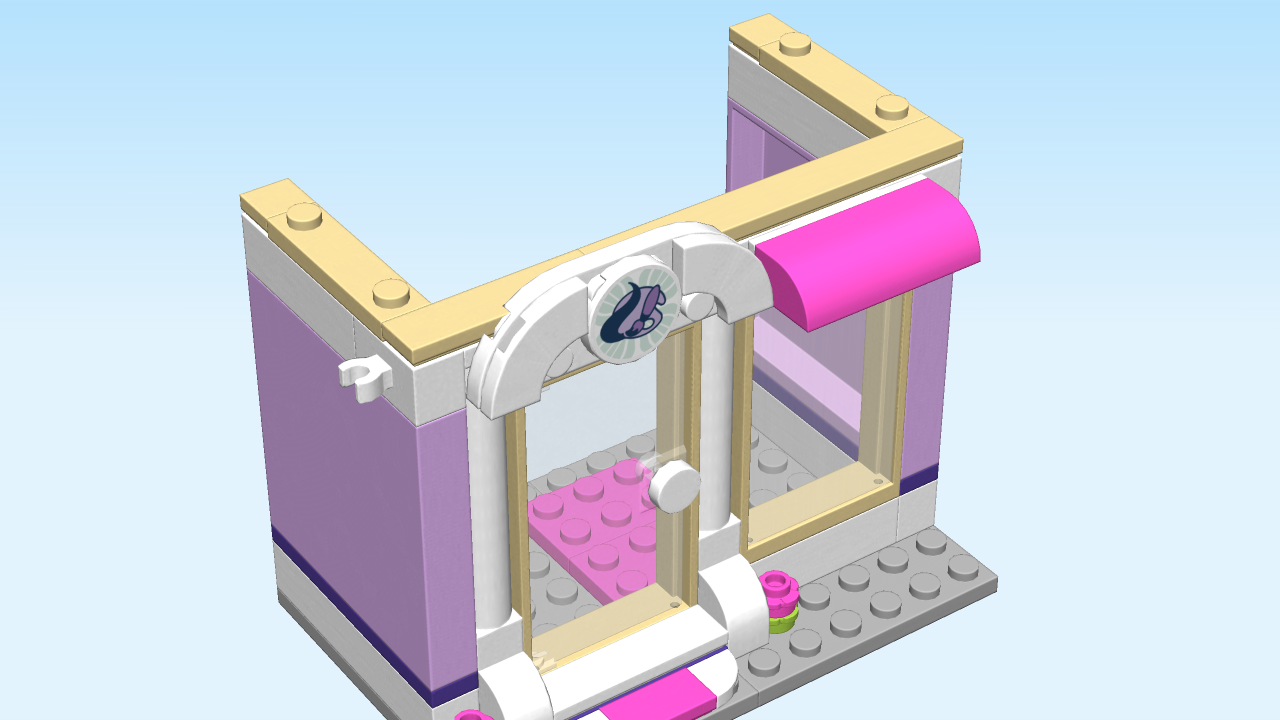
| LEGO Audio & Braille Building Instructions for the LEGO Friends set "Emma's Art Studio". |
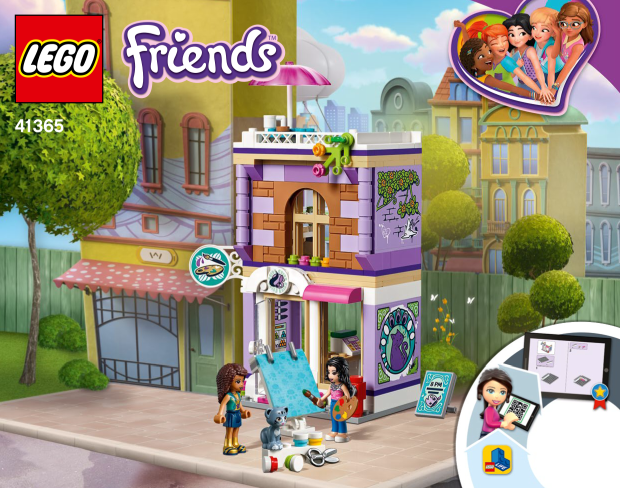
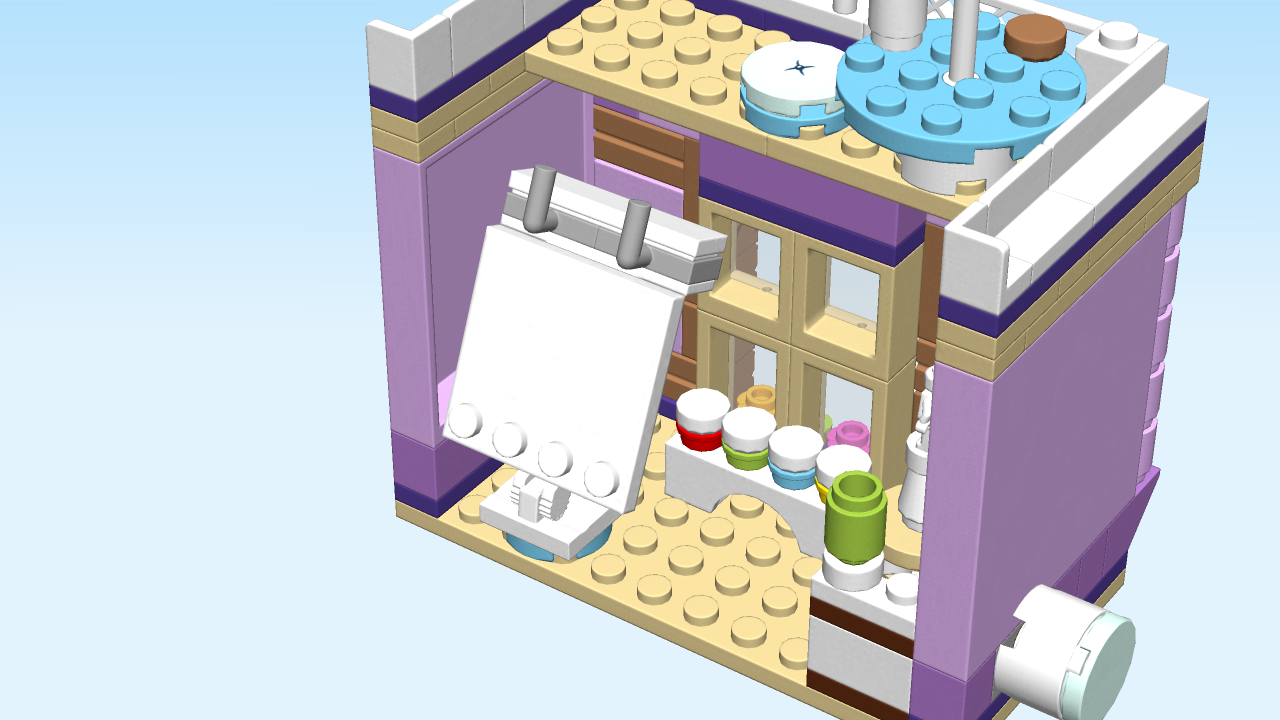
| Hang out at Emma’s Art Studio and spend the day getting creative with LEGO Friends Emma and Andrea, painting pictures and making sculptures. |
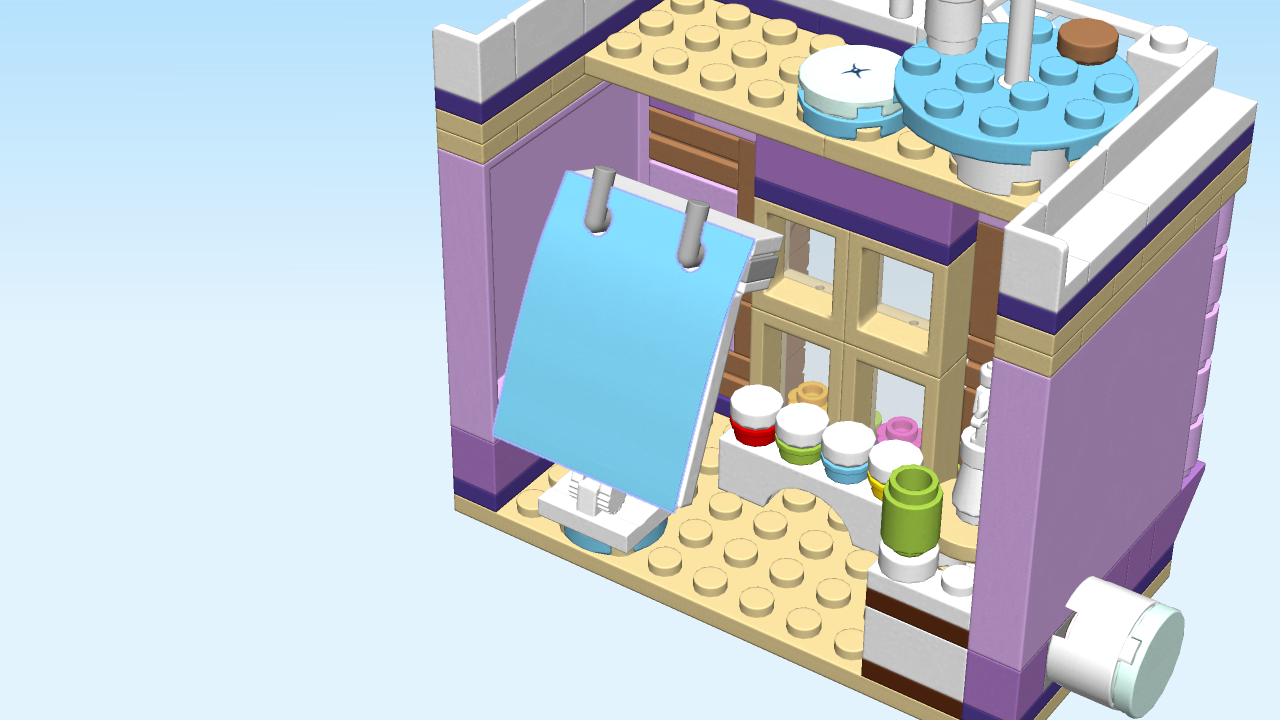
| The ground floor of the art studio features a small art store where you can sell your creations! Get behind the sales counter, reorganize the paint shelf, or put your favorite paintings on display. In the studio on the second floor, an easel and a real canvas are waiting for you! If you use water on the canvas, small paw prints will appear. Looks like Chico the cat has been expressing his creativity! There is also a pottery wheel for making sculptures, and you can even make it spin with a little crank! When you are done, climb up to the roof terrace café to grab a drink in the sun. |
| Open the box. this can be tricky; ask someone to help you! |
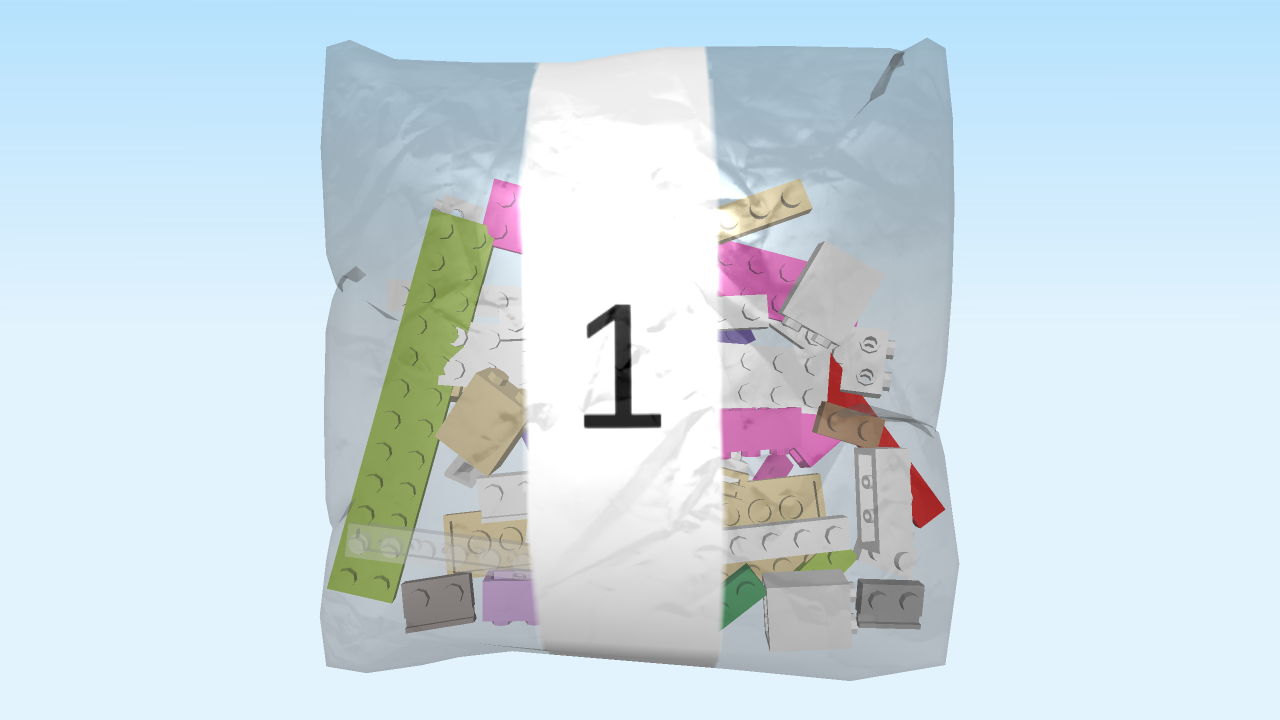
| The box contains a booklet with visual building instructions, a sticker set, and two plastic bags. They are labelled with the numbers 1 and 2. Ask a sighted person to help you find the correct bag! |
| Carefully open bag 1 and the small sub-bag in it. |
| Before you start building, ask a sighted person to help you sort the pieces by color. |
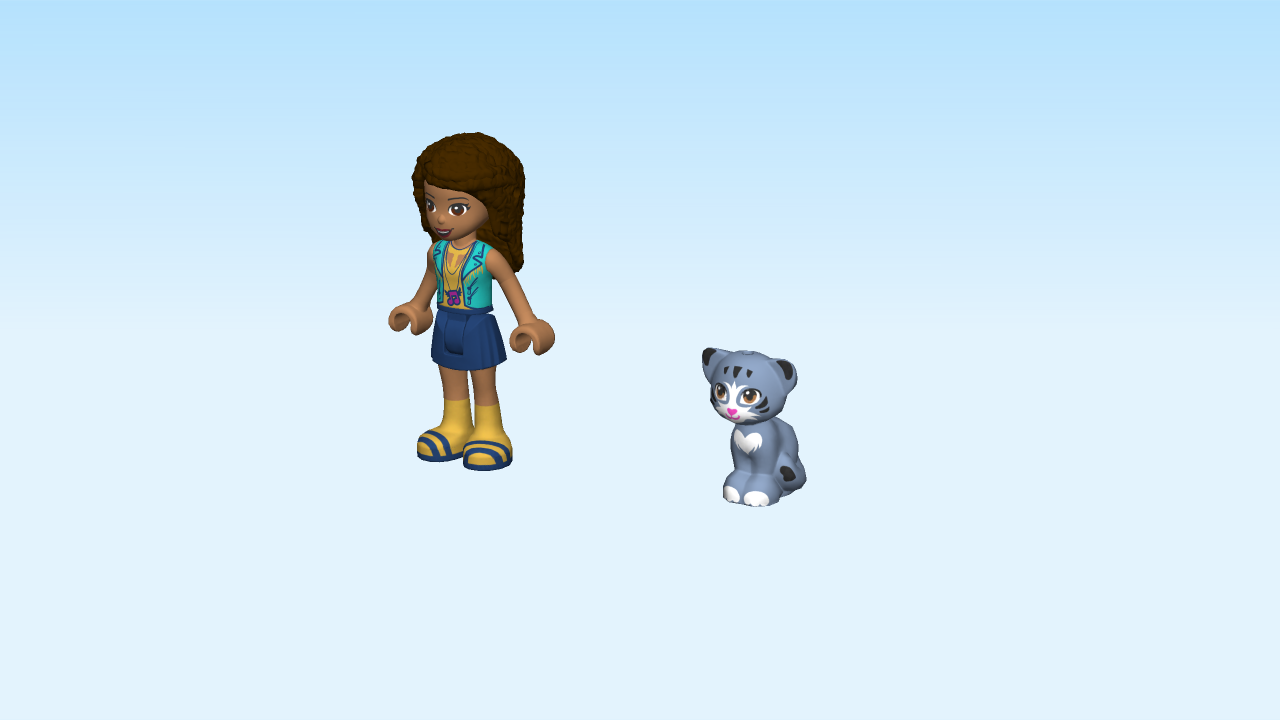
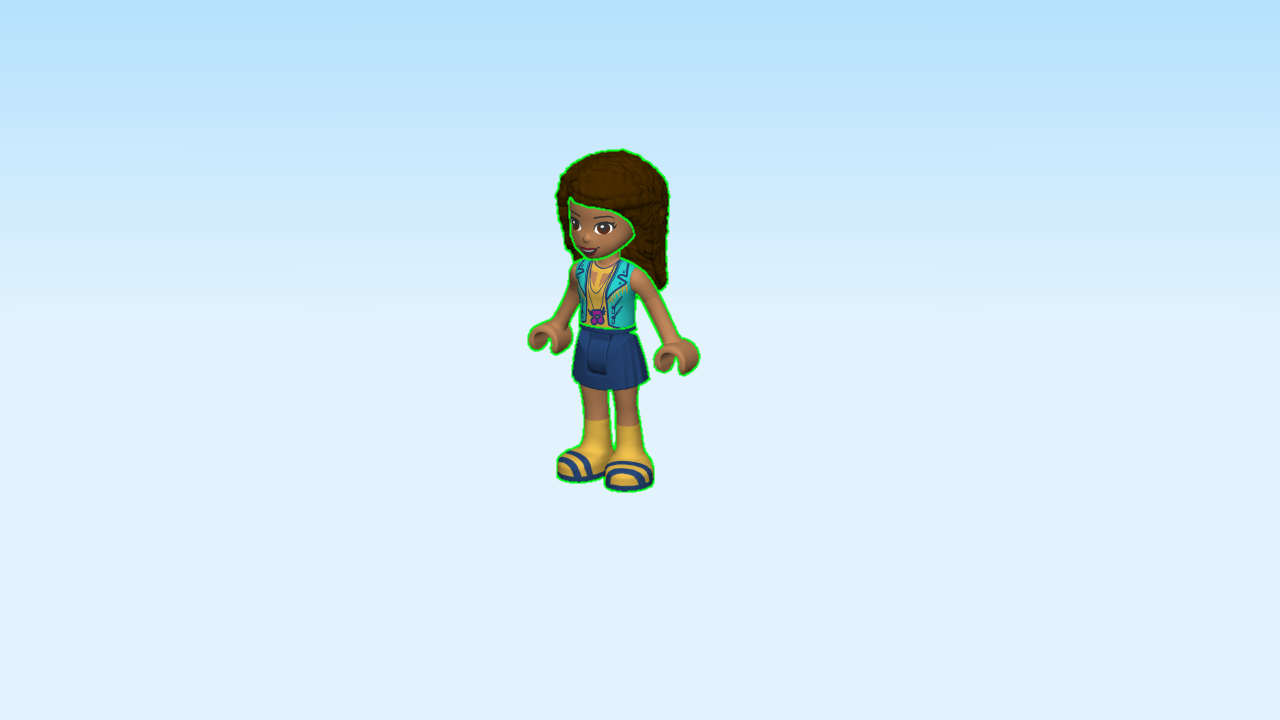
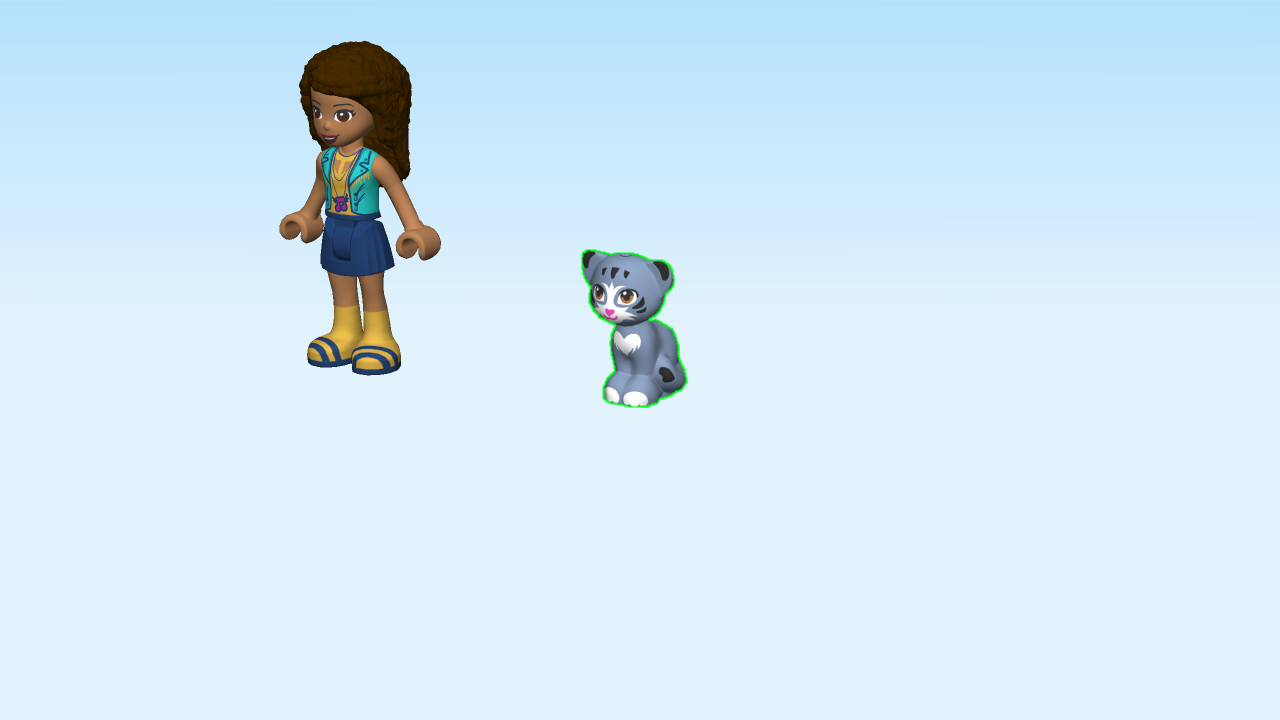
| First, we will build mini-figure Andrea and her cat Chico. |
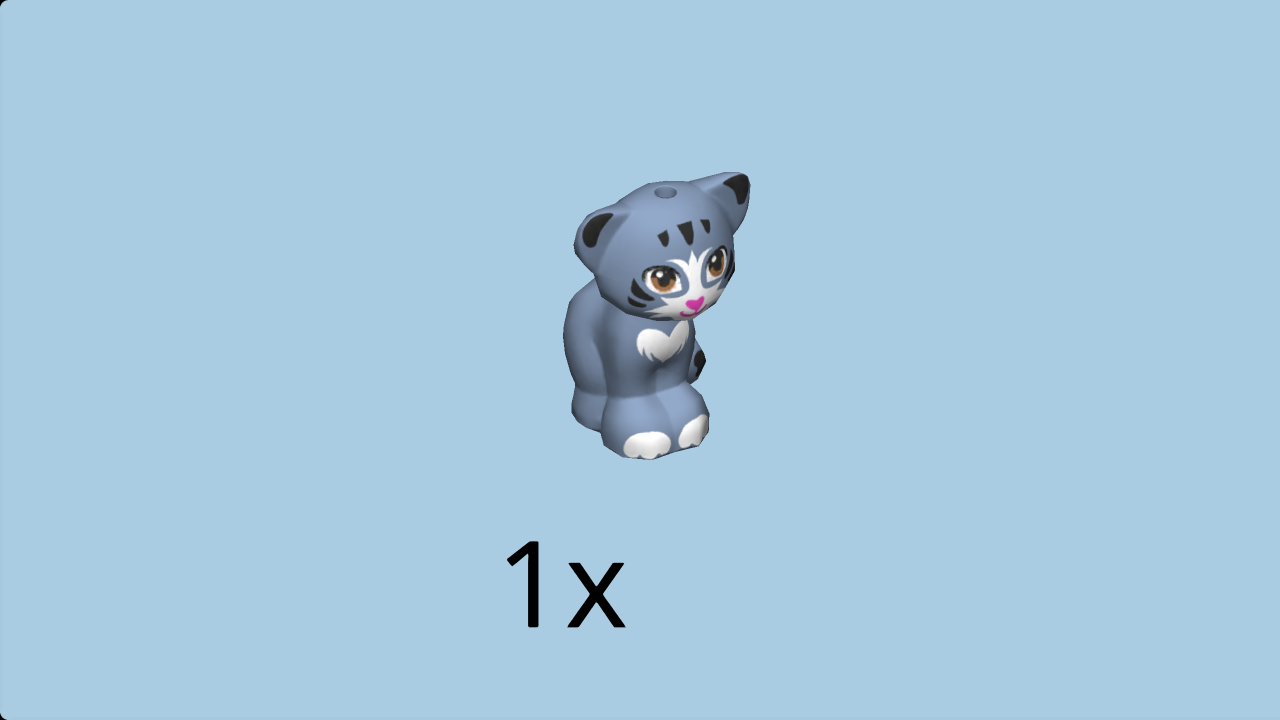
| (Andrea has long dark-brown curly hair and is wearing a turquoise vest with tassles, a golden t-shirt, a necklace, and a dark-blue skirt. Her cat's fur is sand blue, and the cat has a white heart on its chest.). |
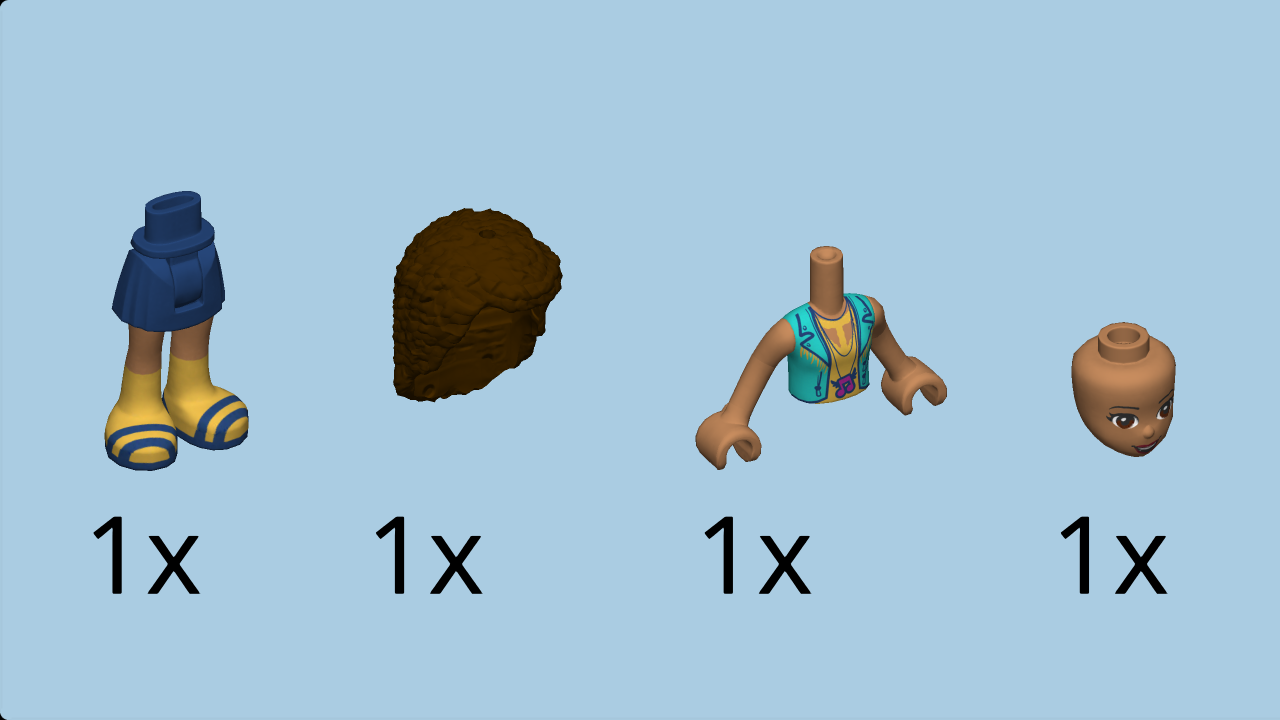
| Collect the following 4 pieces: |
| 1 earth blue hip with skirt and legs, |
| 1 medium nougat upper body with arms, |
| 1 medium nougat head, |
| and 1 dark brown hairpiece. |
| Put the upper part of the body on the hip with skirt and legs. |
| Put the head on top. |
| Put the hair on top. |
| Find 1 sand blue cat figurine. His name is Chico. |
| Andrea can now pet Chico and play with him! |
| The mini-figure Andrea is finished! Well done! You can put her aside for now. |
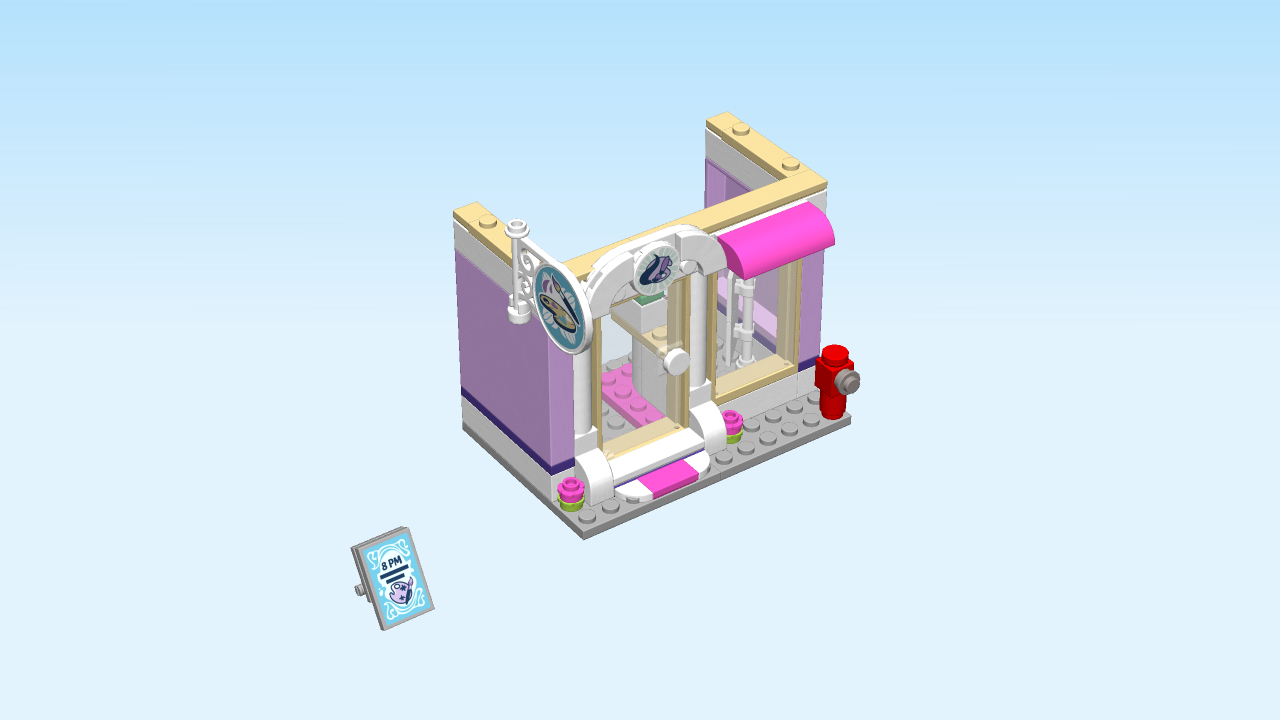
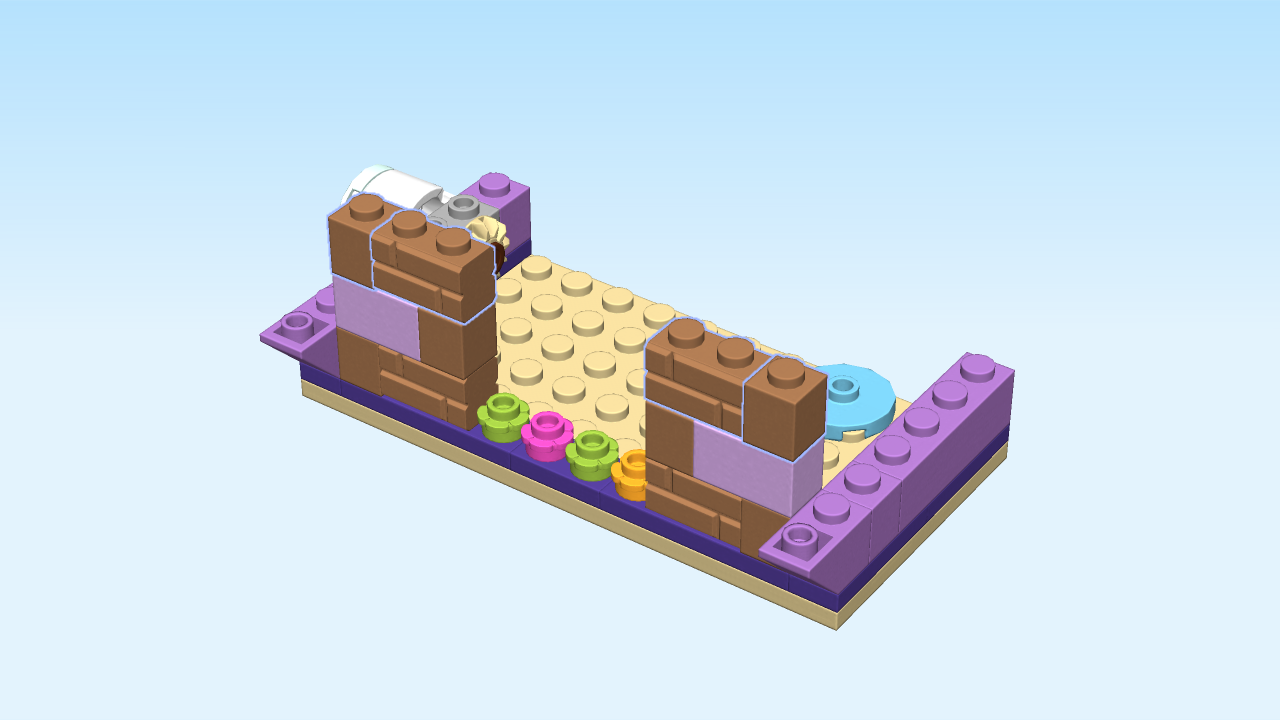
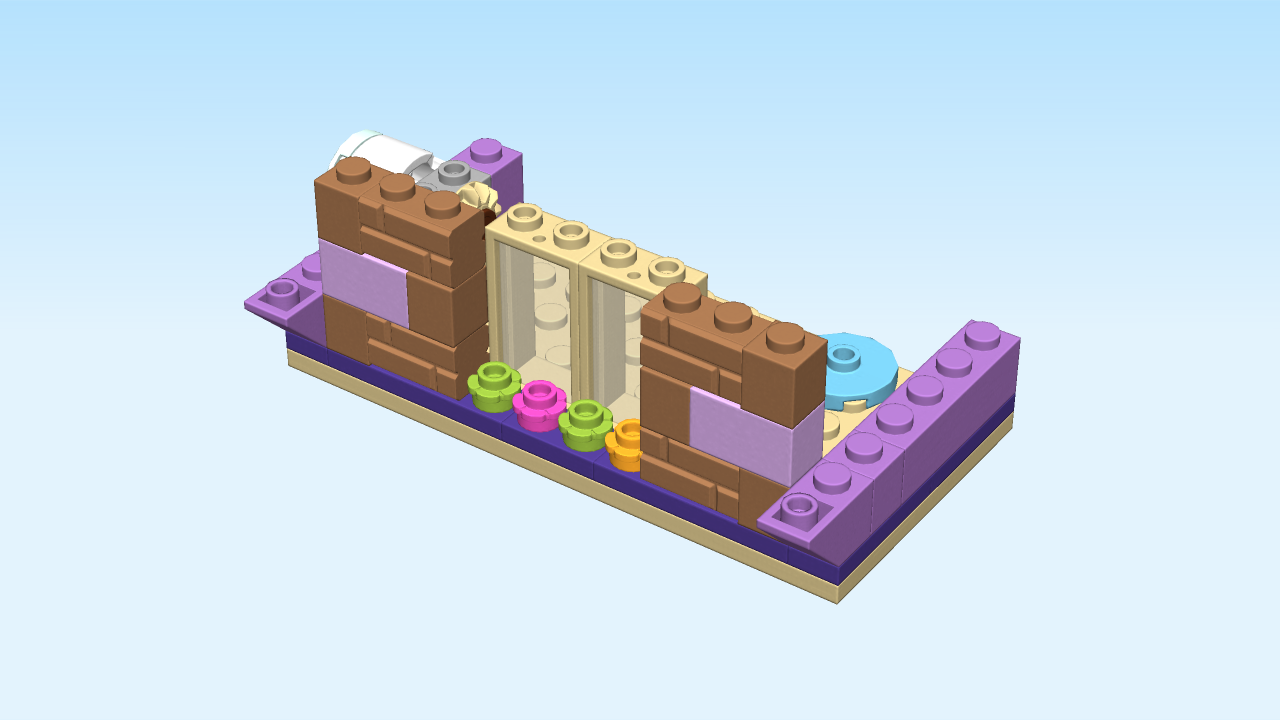
| Next, we will build the ground floor of the art studio. |
| (This is where the friends sell their art as well as paints and accessories behind a sales counter.). |
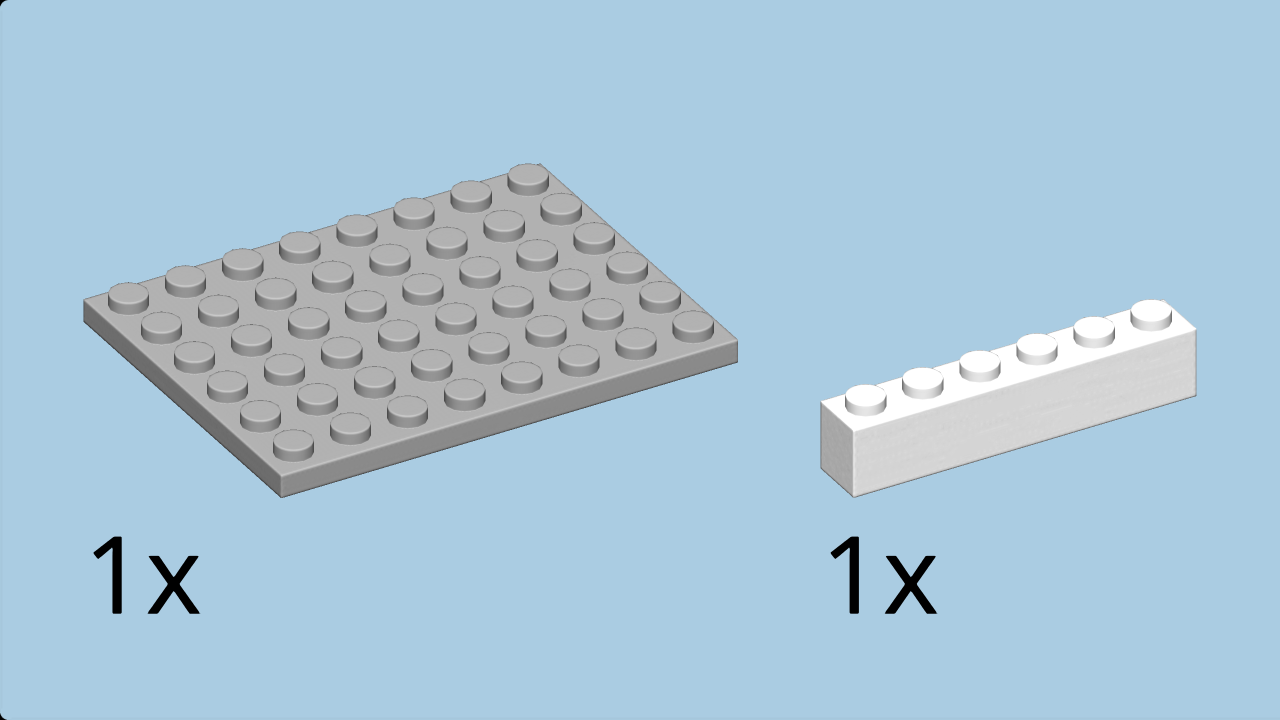
| Collect the following 2 pieces: |
| 1 medium stone grey plate 6x8, |
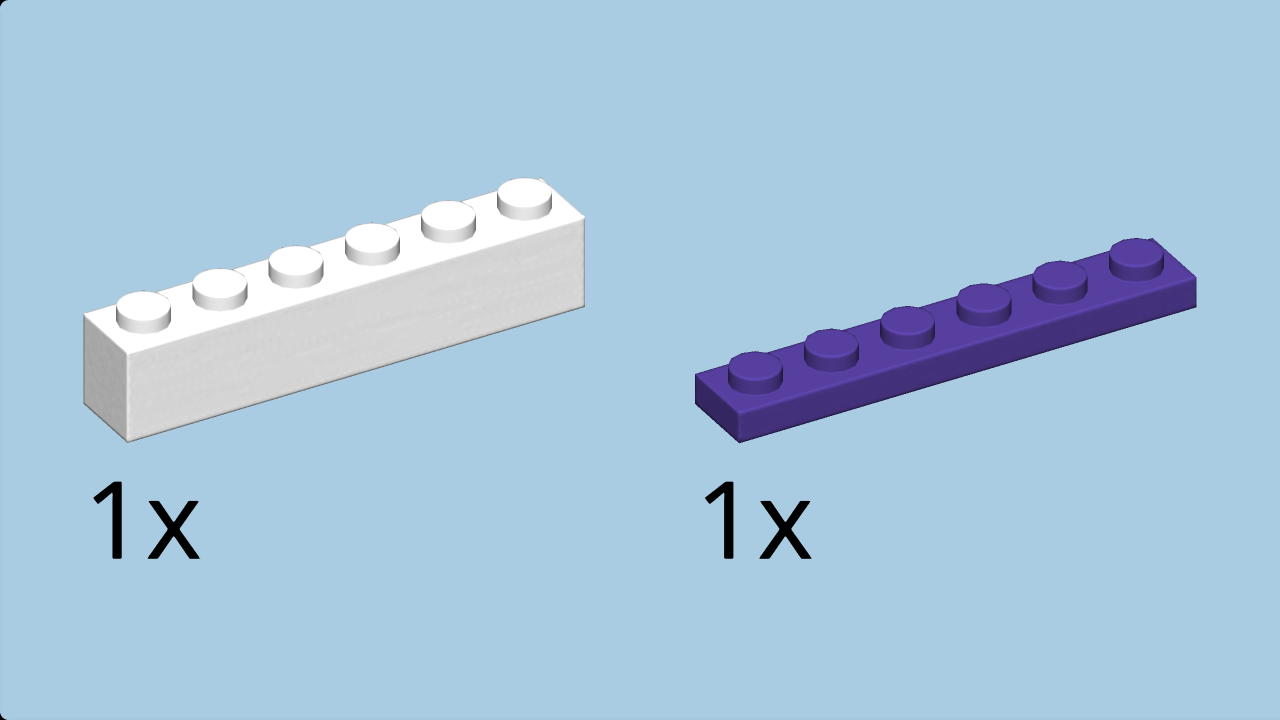
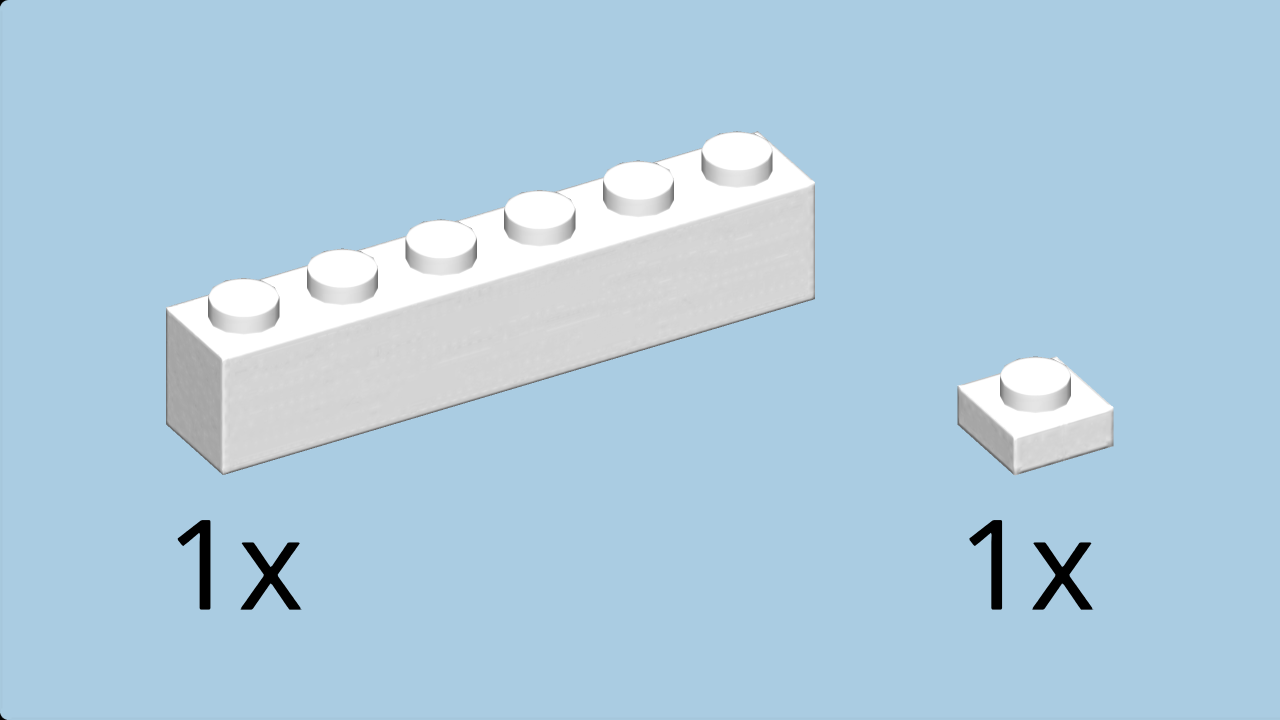
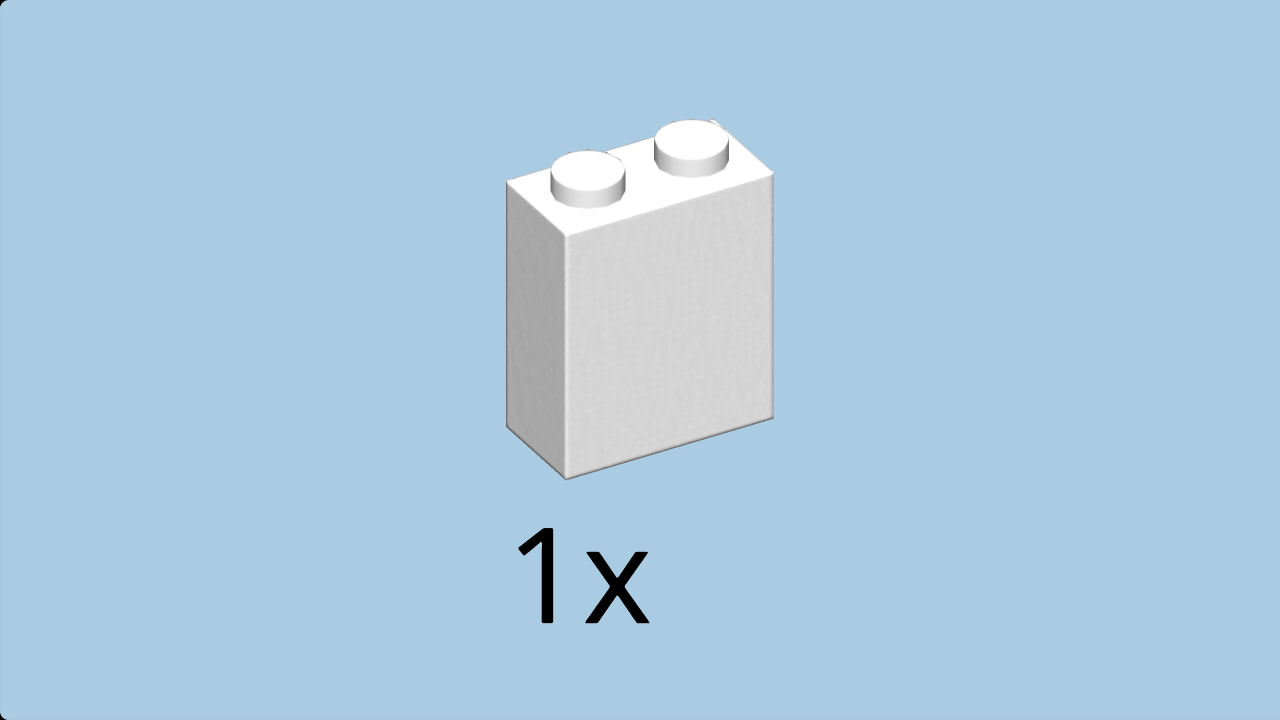
| and 1 white brick 1x6. |
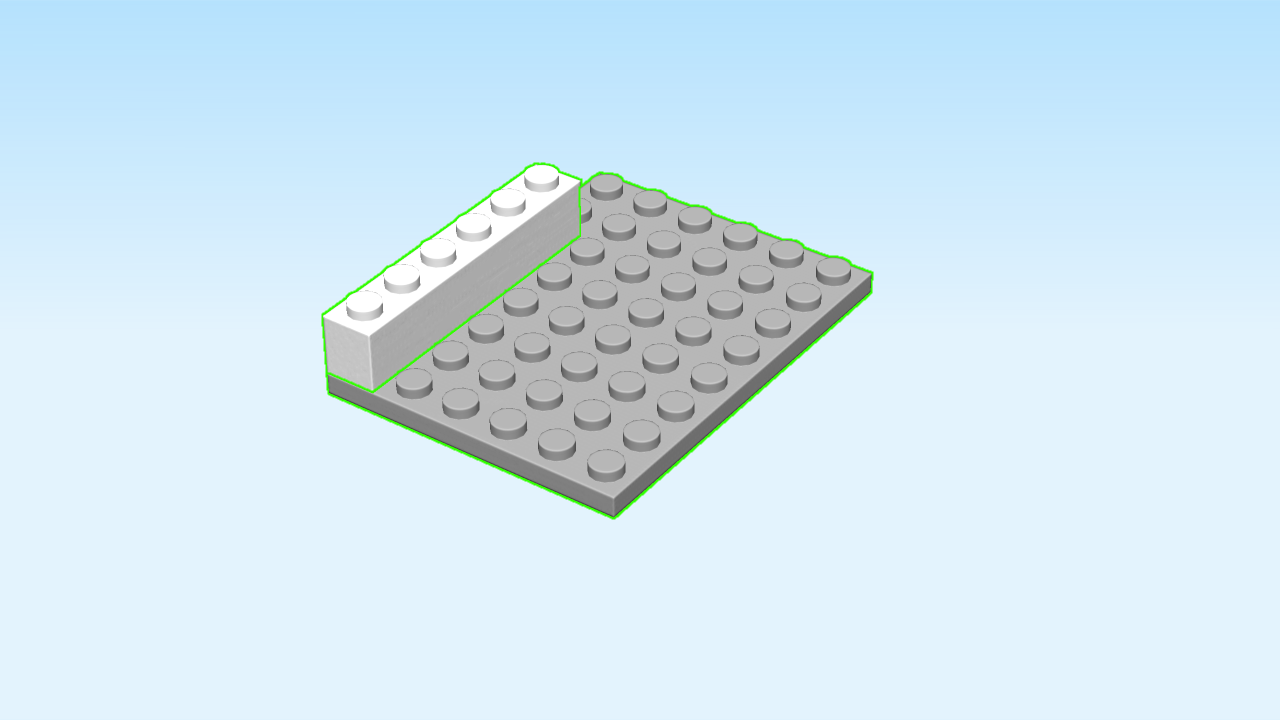
| Put the plate 6x8 horizontally on the table. |
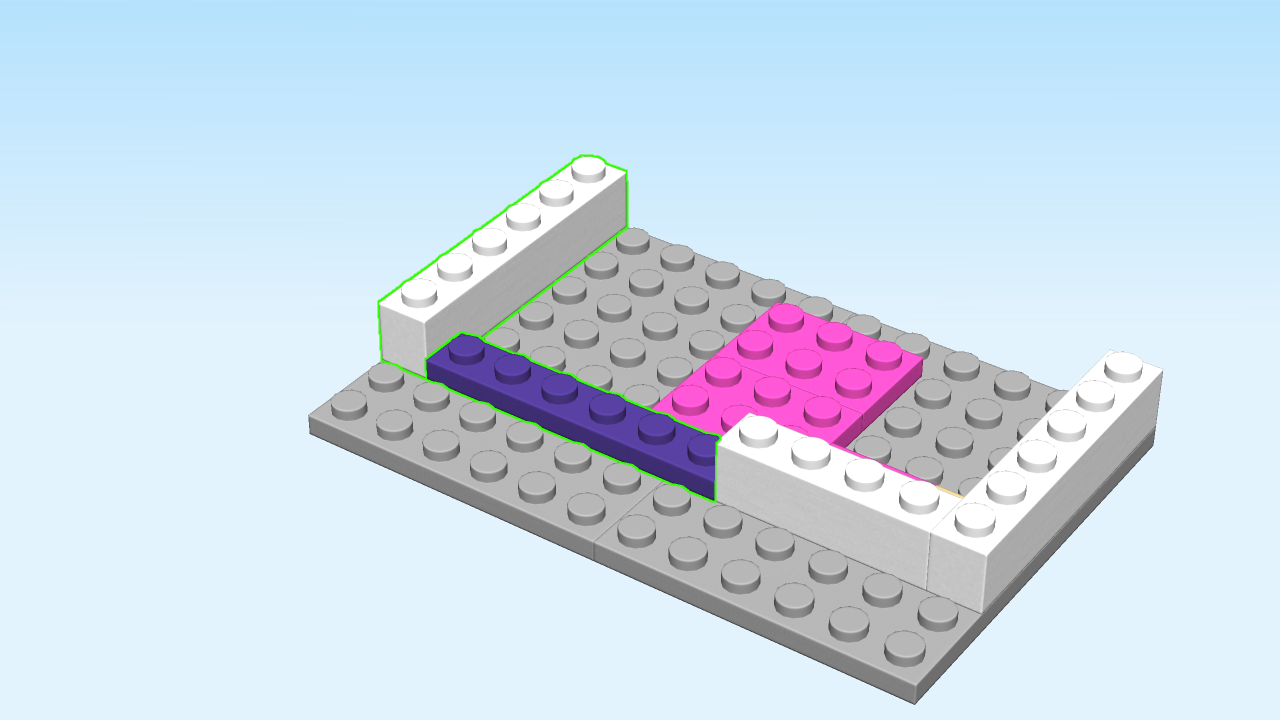
| Put the brick 1x6 horizontally on the back row on the left edge. |
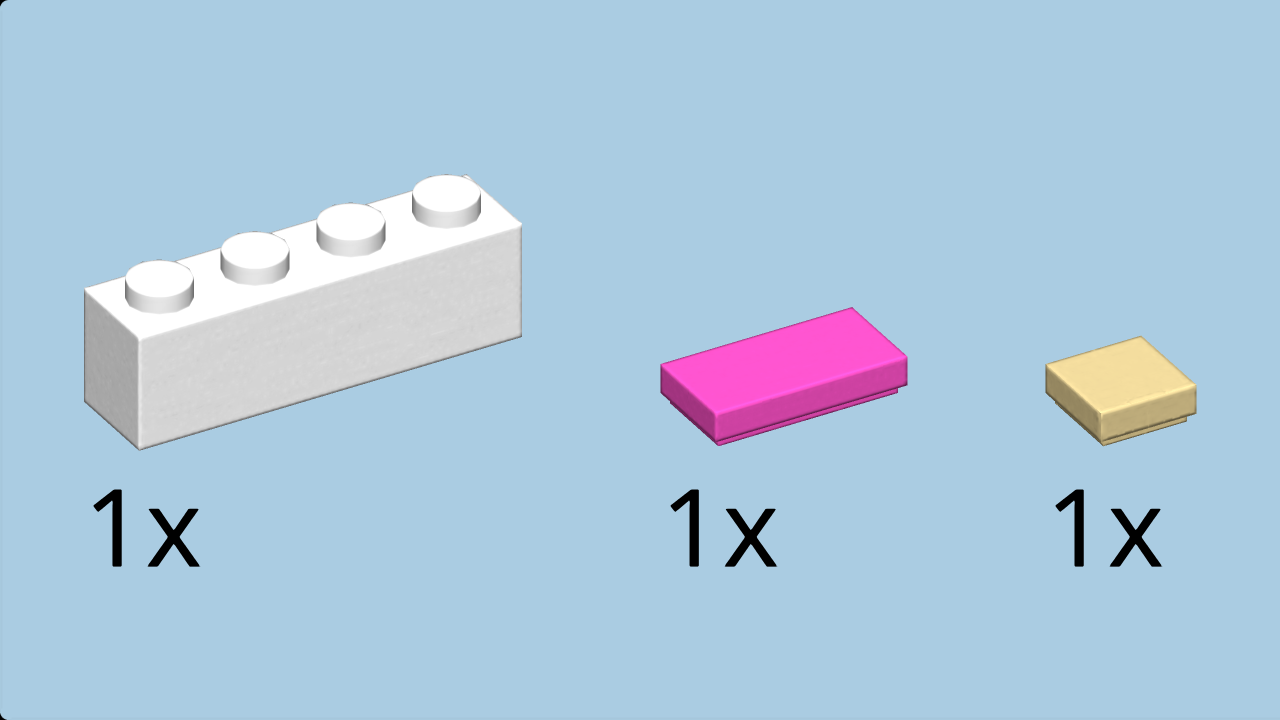
| Collect the following 3 pieces: |
| 1 brick yellow flat tile 1x1, |
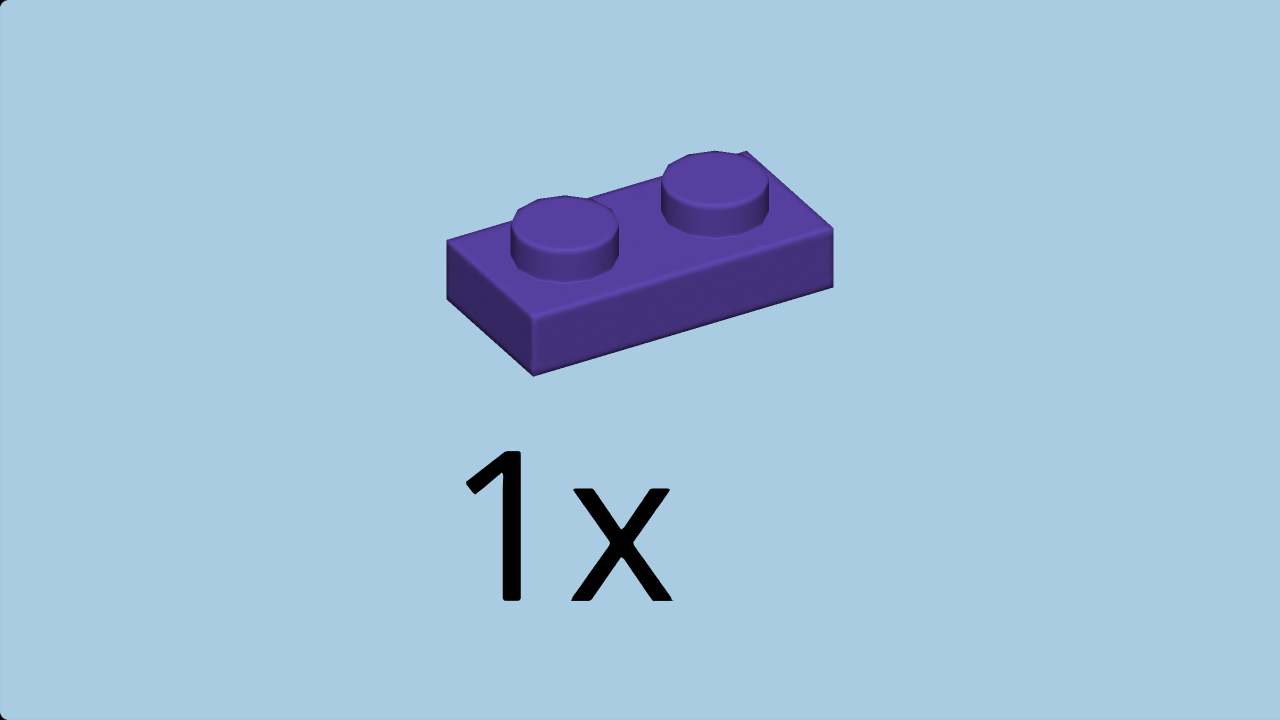
| 1 bright purple flat tile 1x2, |
| and 1 white brick 1x4. |
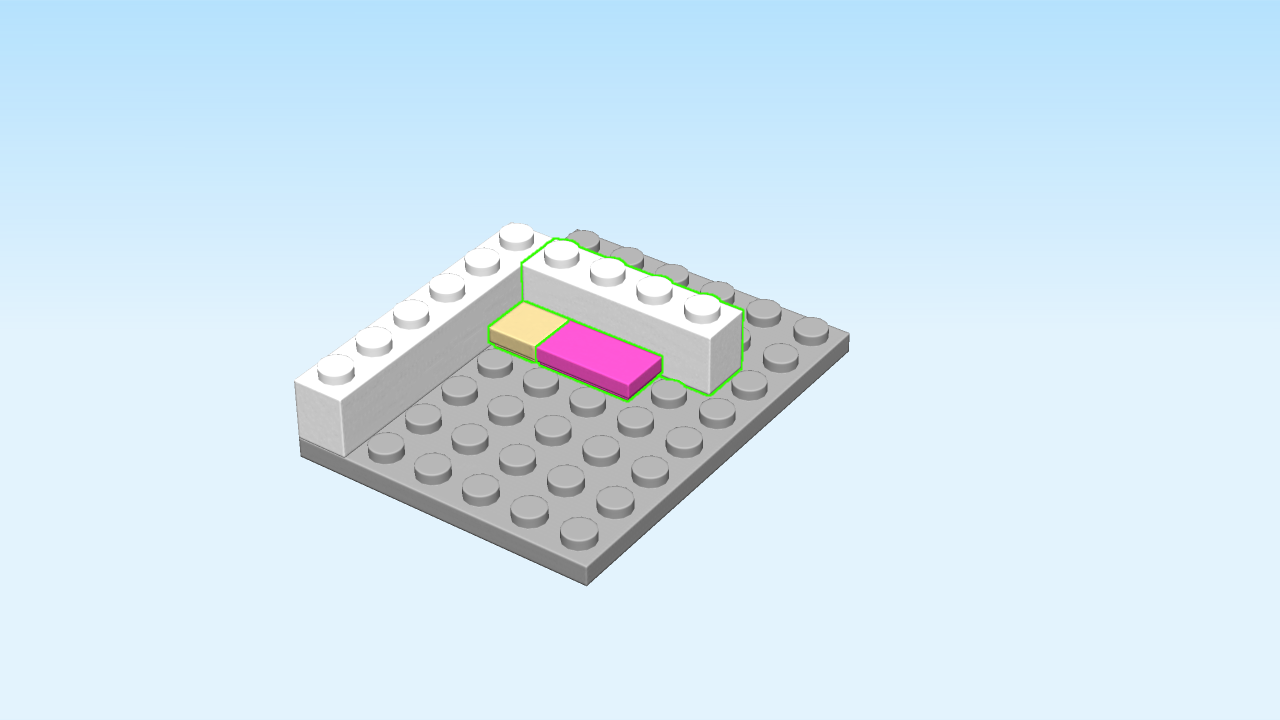
| Put the flat tile 1x1 in front of the previous piece on the 5th knob from the left. |
| Put the flat tile 1x2 vertically in front of the previous piece. |
| Put the brick 1x4 vertically to the right of the previous pieces, touching the brick 1x6 at the back. |
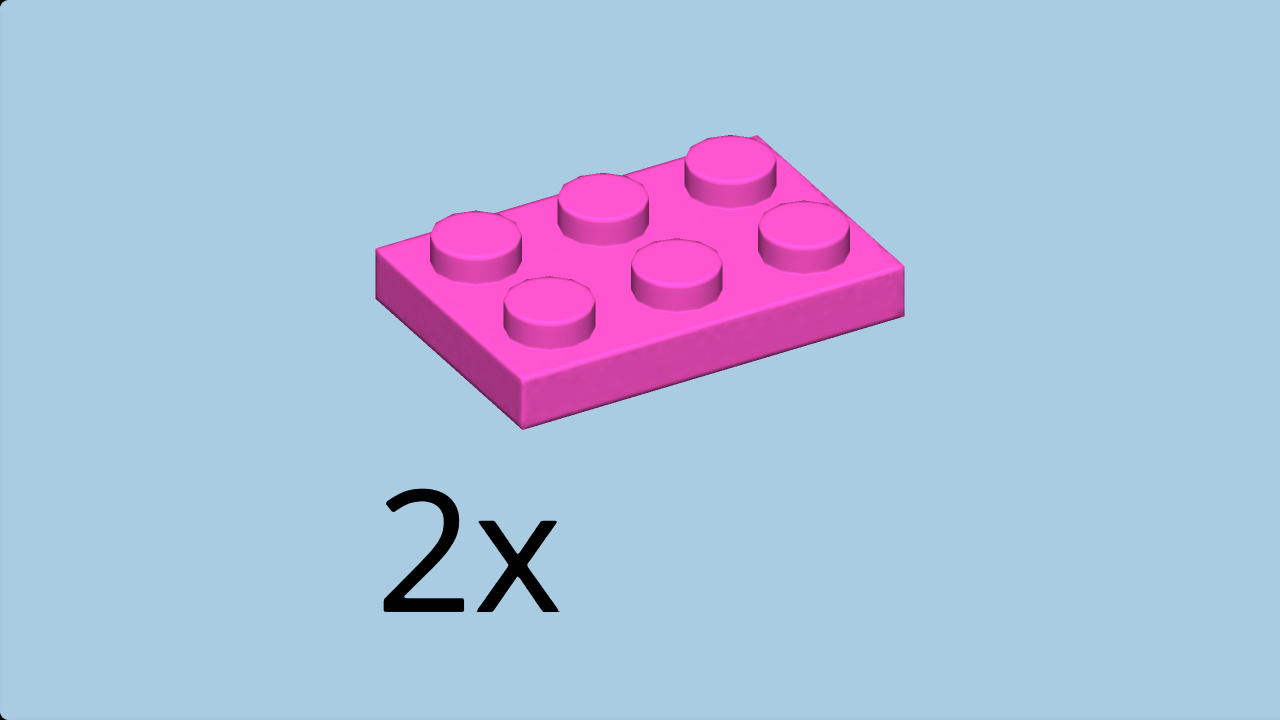
| Find 2 bright purple plates 2x3. |
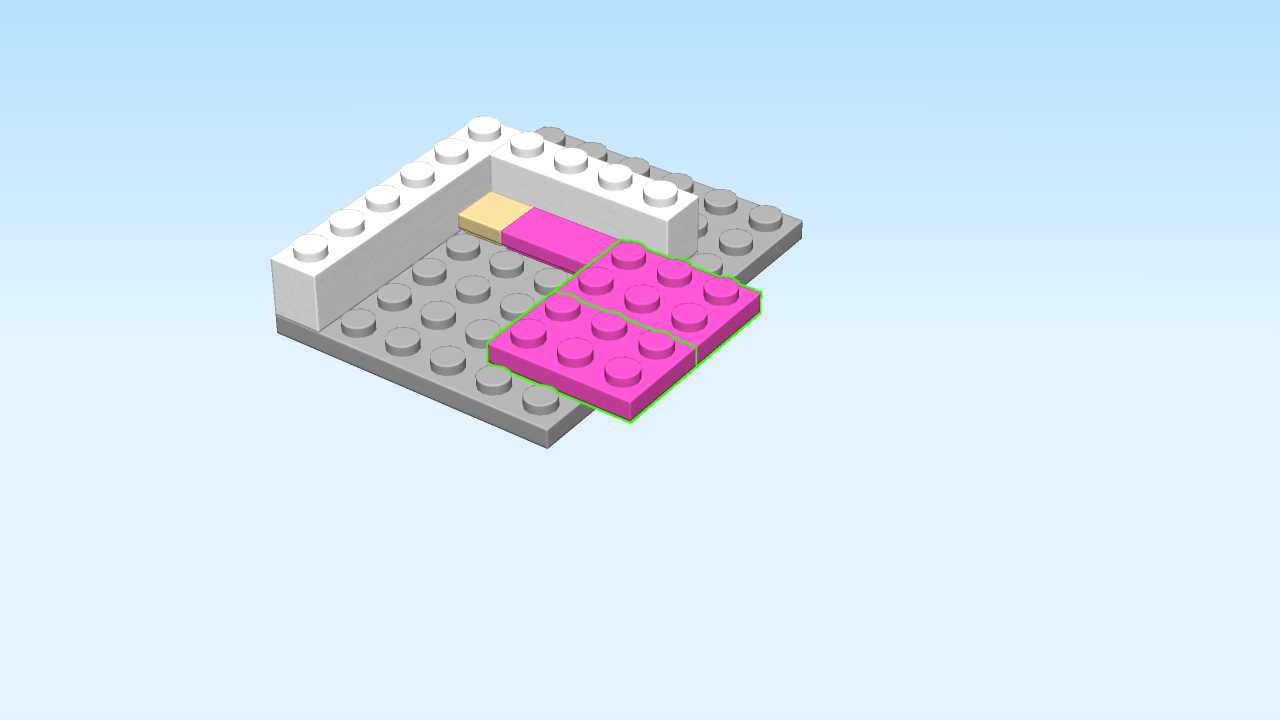
| Put one vertically to the left of the previous piece and in front of the flat tile 1x2, one row overhanging to the front. |
| Put the other one vertically to the left, one row overhanging to the front. |
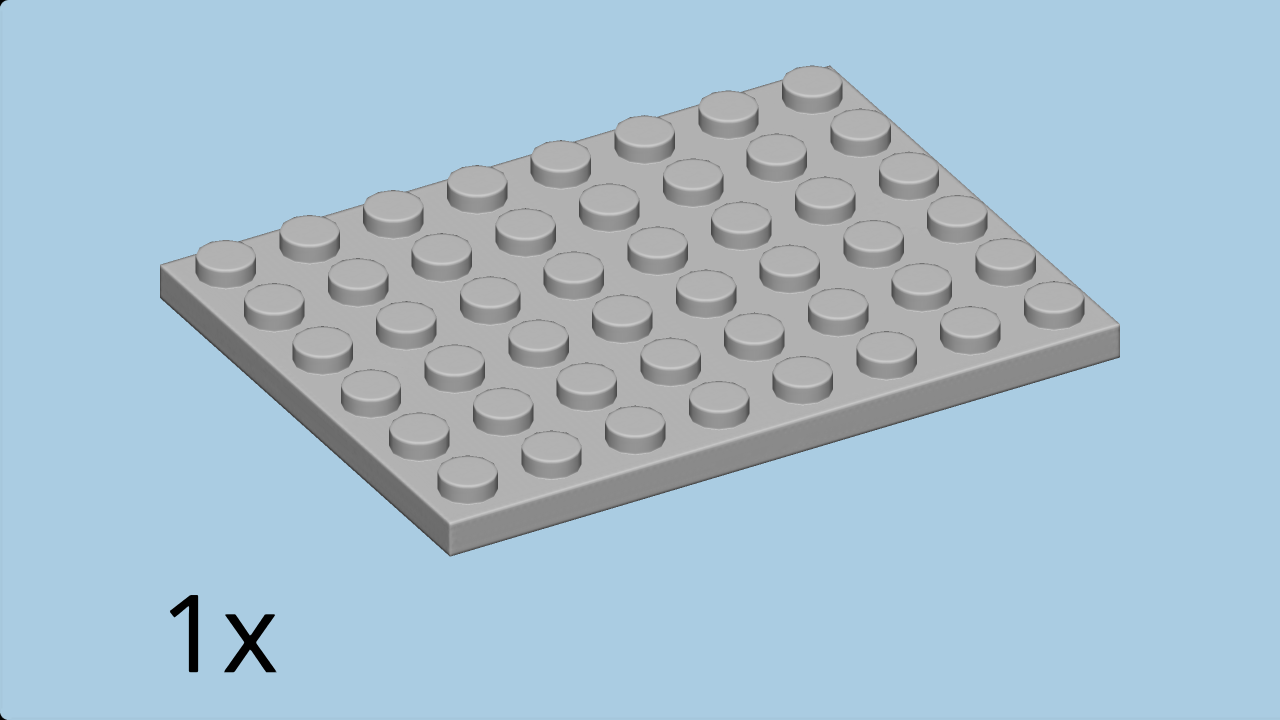
| Find 1 medium stone grey plate 6x8. |
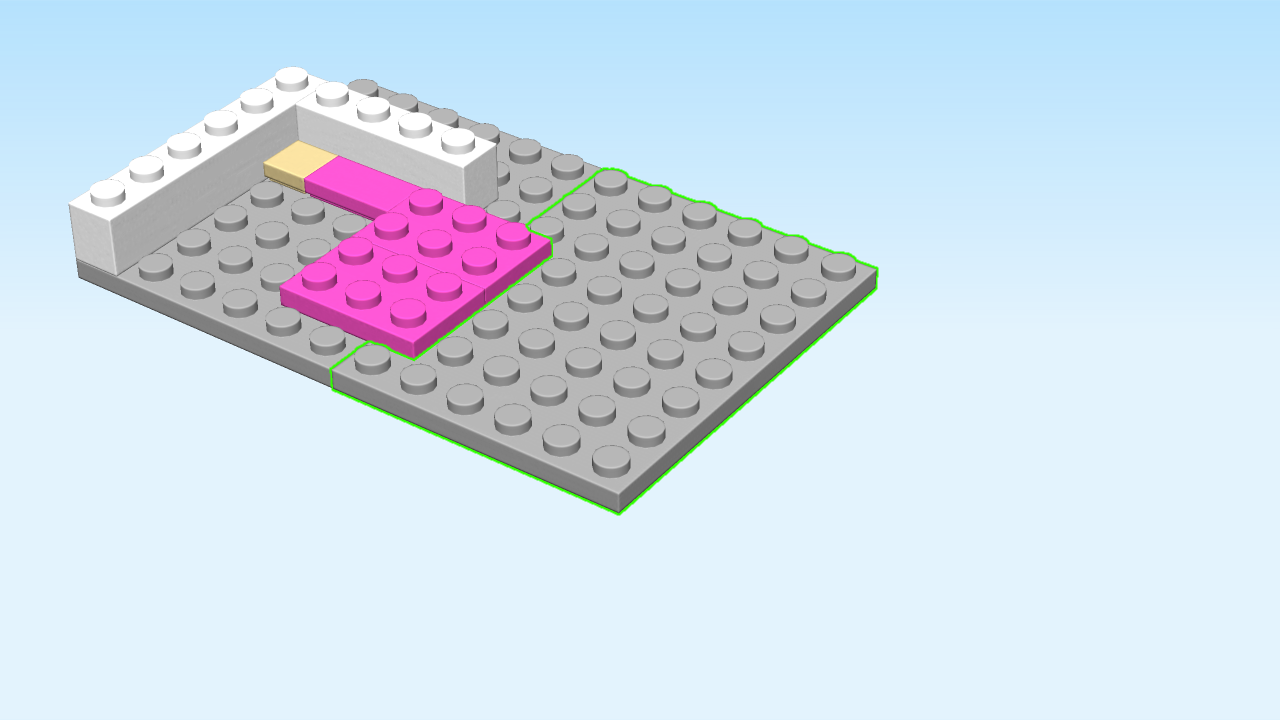
| Careful: this piece has a special orientation! |
| Put it horizontally to the front, underneath the 2 bright purple plates 2x3. |
| Collect the following 2 pieces: |
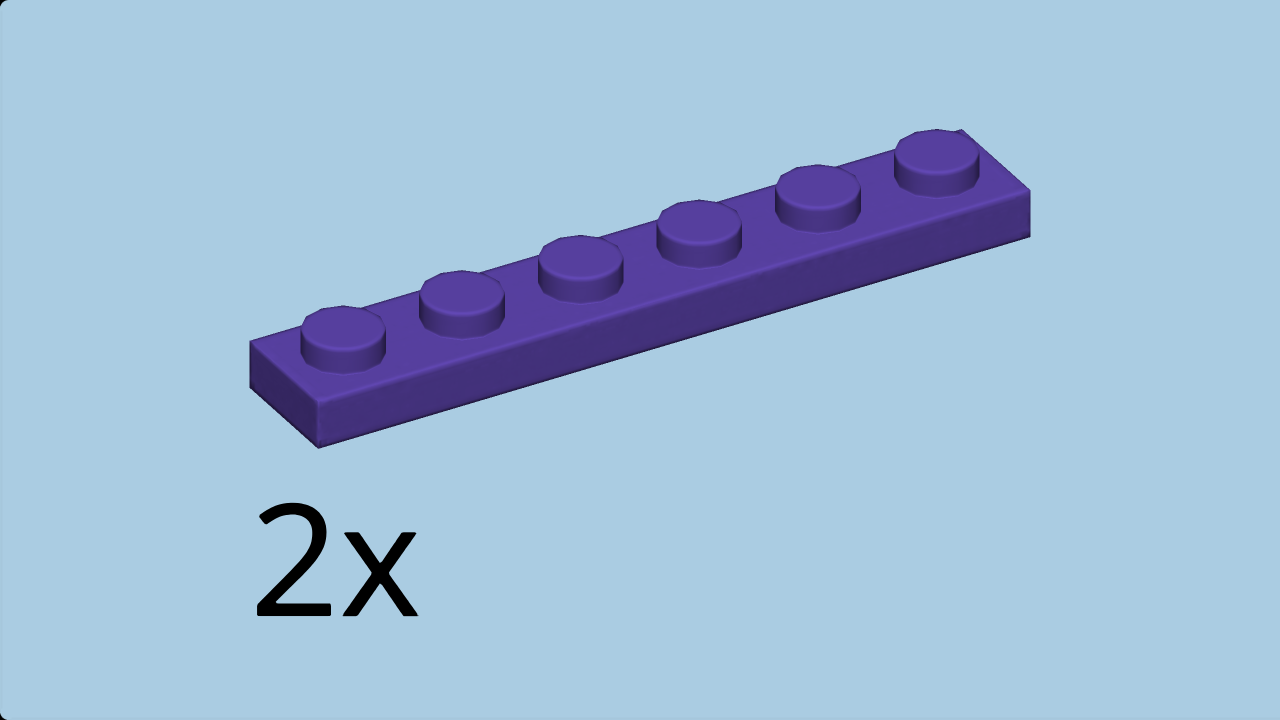
| 1 medium lilac plate 1x6, |
| and 1 white brick 1x6. |
| Now, you have to turn the structure 90 degrees to the right. This means that you give it one quarter spin clock-wise, so that the structure is horizontally oriented again. The longer side of the structure is facing you, and you have two empty front rows. The white bricks are on the right. |
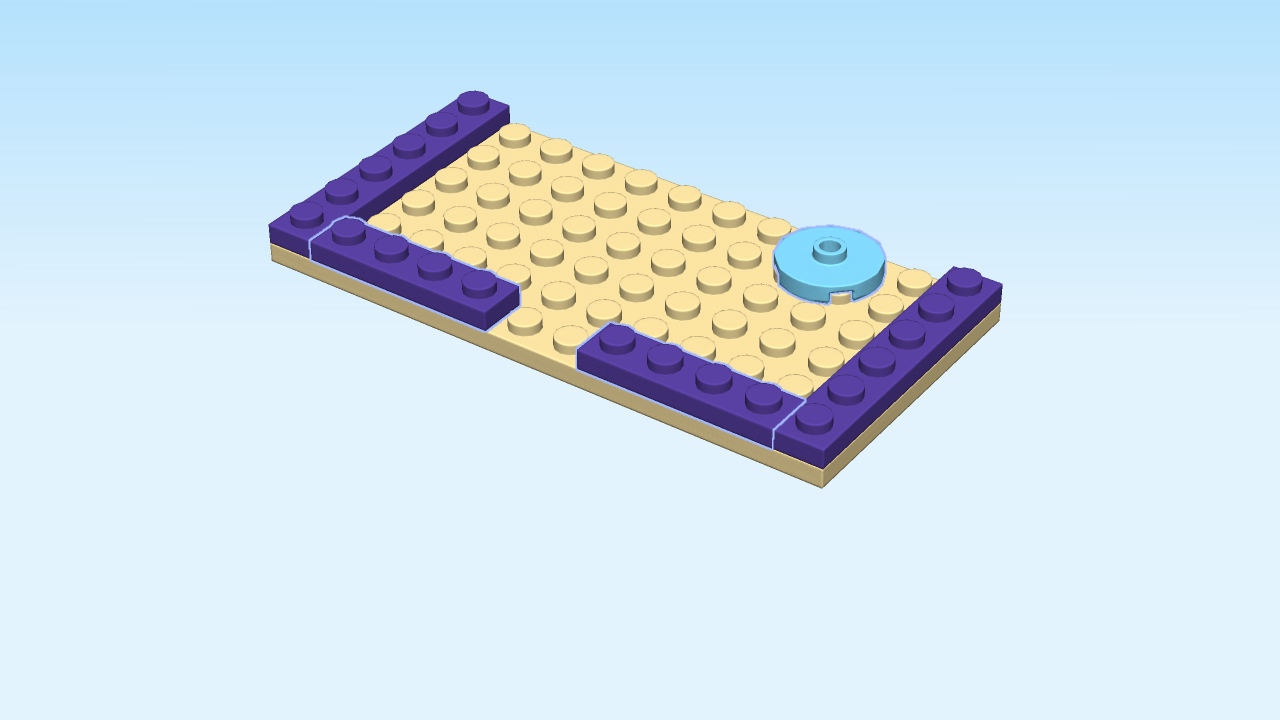
| Put the plate 1x6 horizontally on the third row from the front, to the left of the brick 1x4. |
| Put the brick 1x6 vertically on the leftmost column starting from the back. |
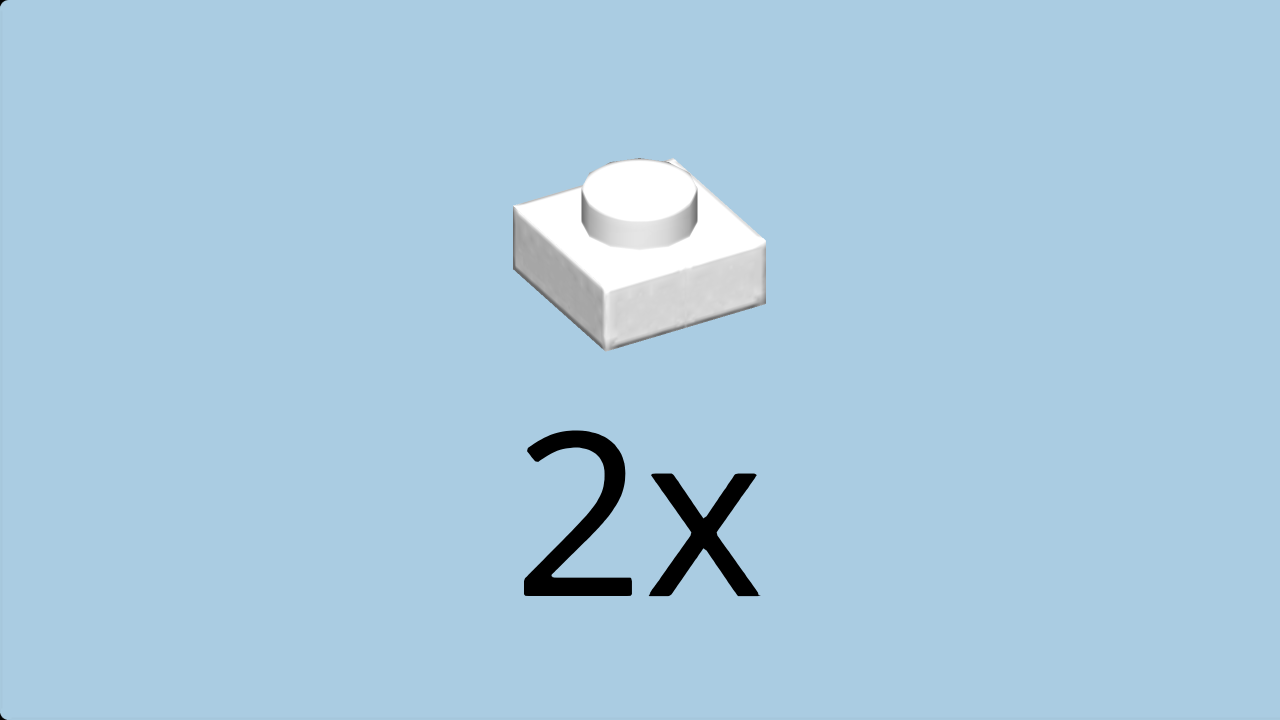
| Find 2 white plates 1x1. |
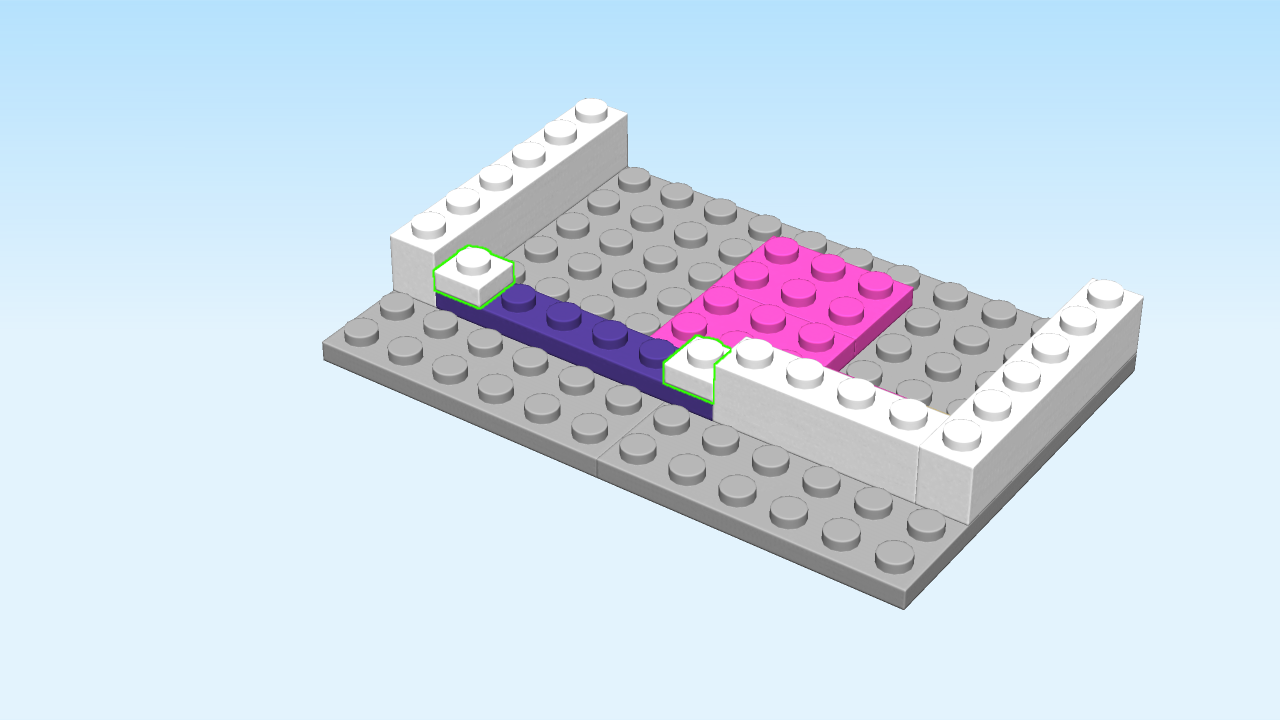
| Put one on the leftmost knob of the medium lilac plate 1x6 on the third row of the structure. |
| Put the other one on the rightmost knob of that plate. |
| Collect the following 3 pieces: |
| 1 medium lilac plate 1x4, |
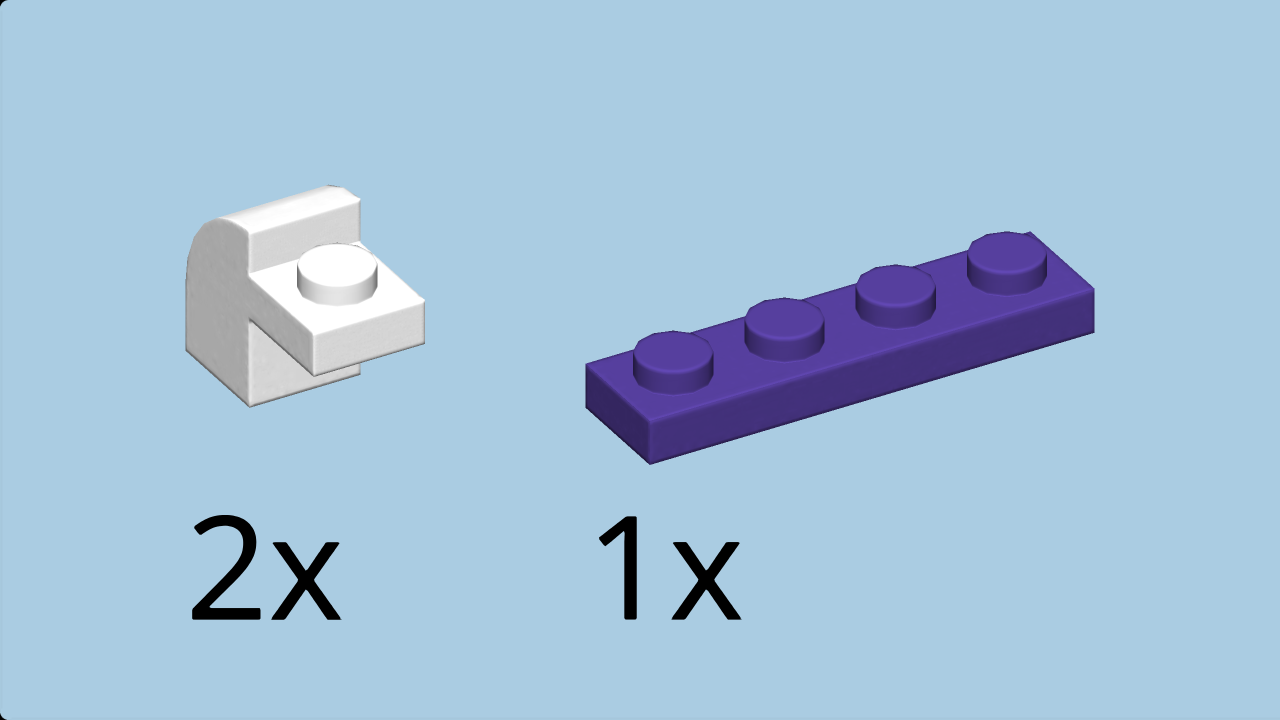
| and 2 white bricks 1x1 with arch and protruding plate. |
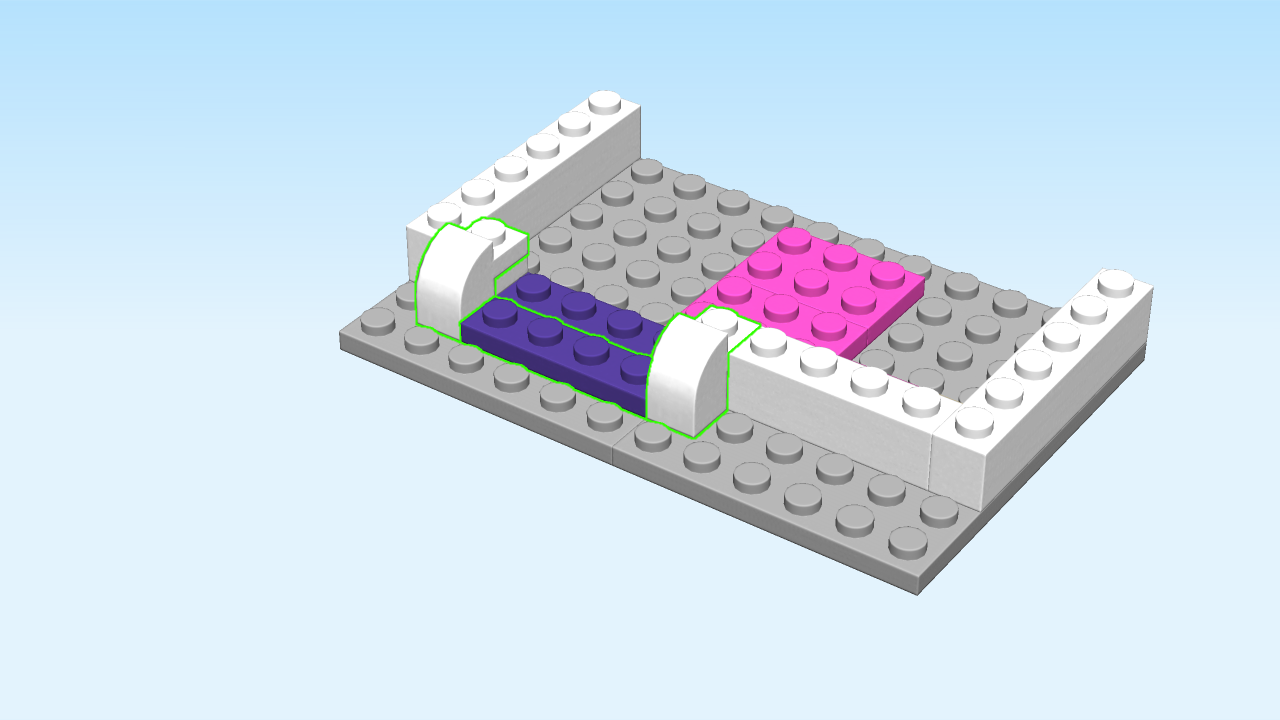
| Put the plate 1x4 horizontally on the 2nd row from the front, starting with the 3rd knob from the left. |
| Put one brick with arch 1x1 and protruding plate vertically to the left, arch to the front and protruding plate to the back. |
| Repeat symmetrically on the right. |
| Collect the following 3 pieces: |
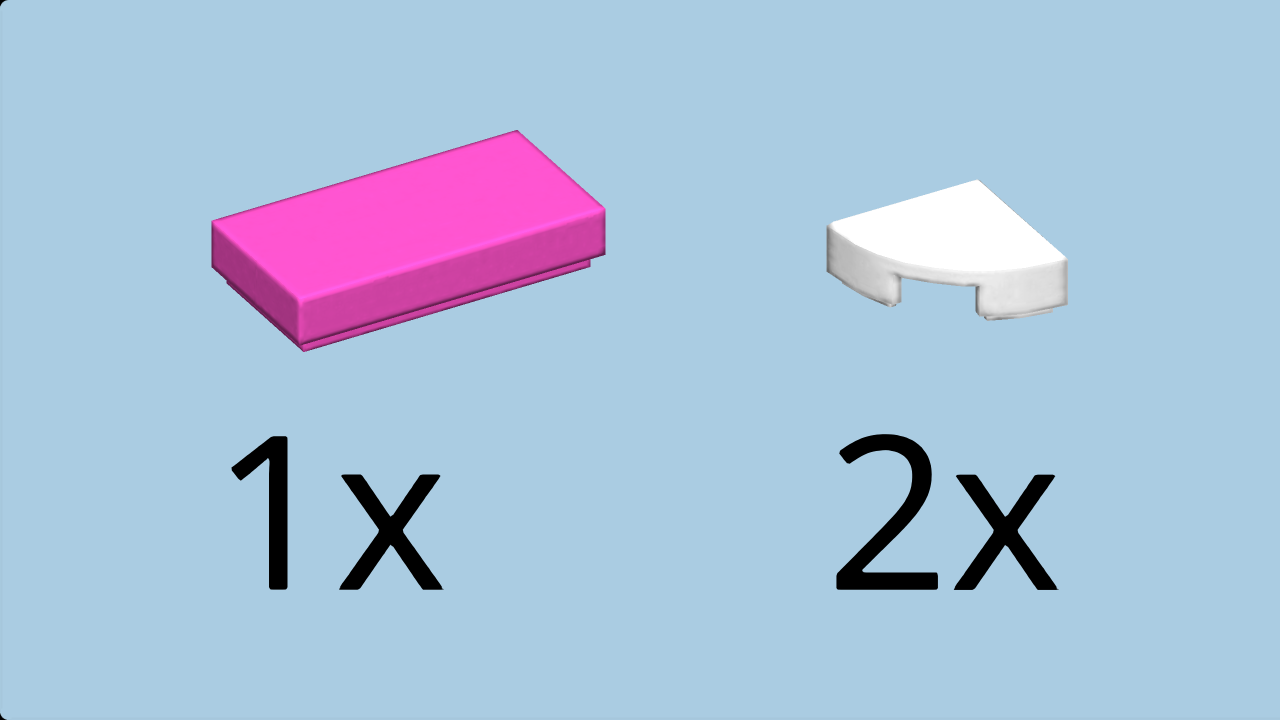
| 2 white quarter circle tiles 1x1, |
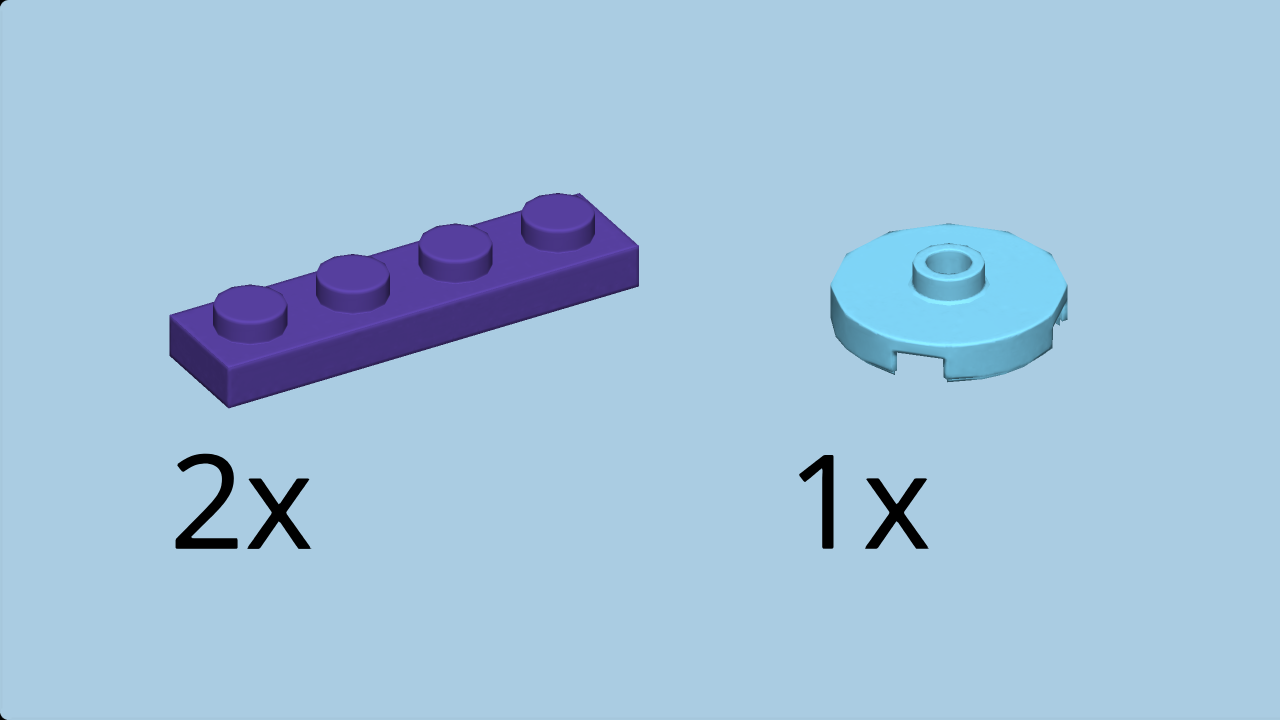
| and 1 bright purple flat tile 1x2. |
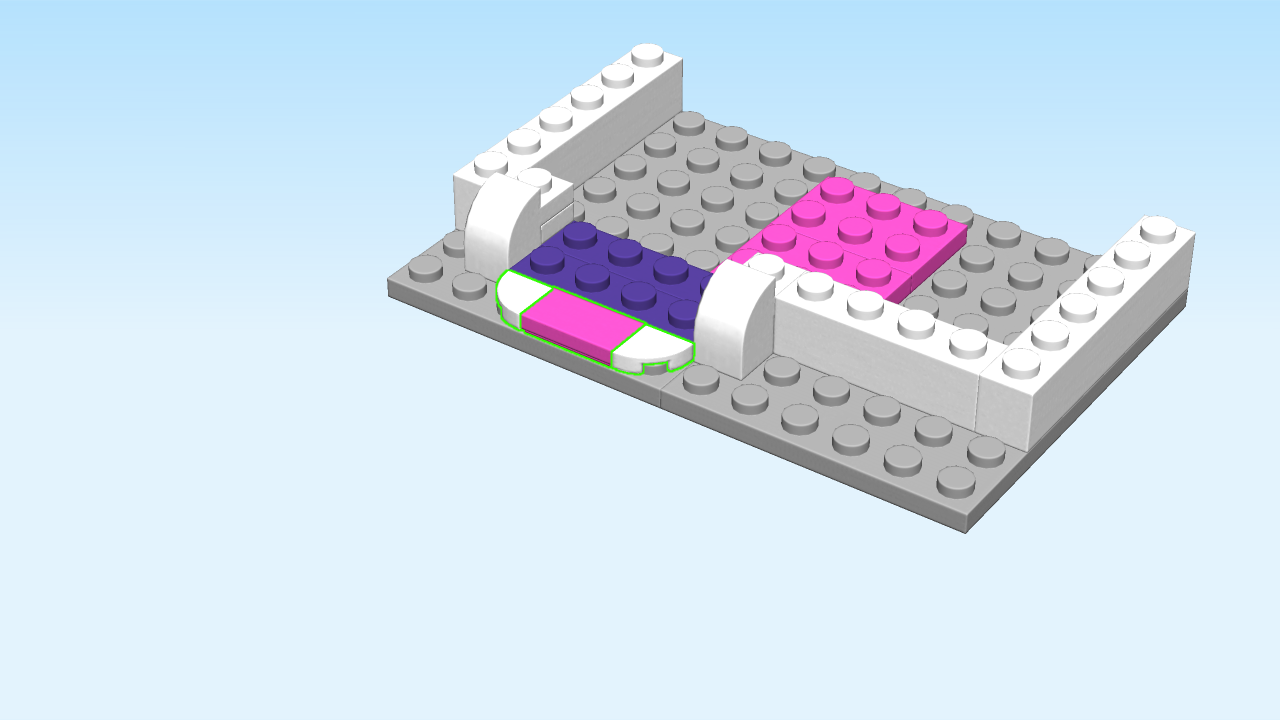
| Put one quarter circle tile 1x1 on the front row on the third knob from the left, curve to the front left. |
| Skip two knobs to the right, and put the other quarter circle tile 1x1 on the sixth knob of the front row, curve to the right. |
| Put the flat tile 1x2 horizontally between the previous pieces. |
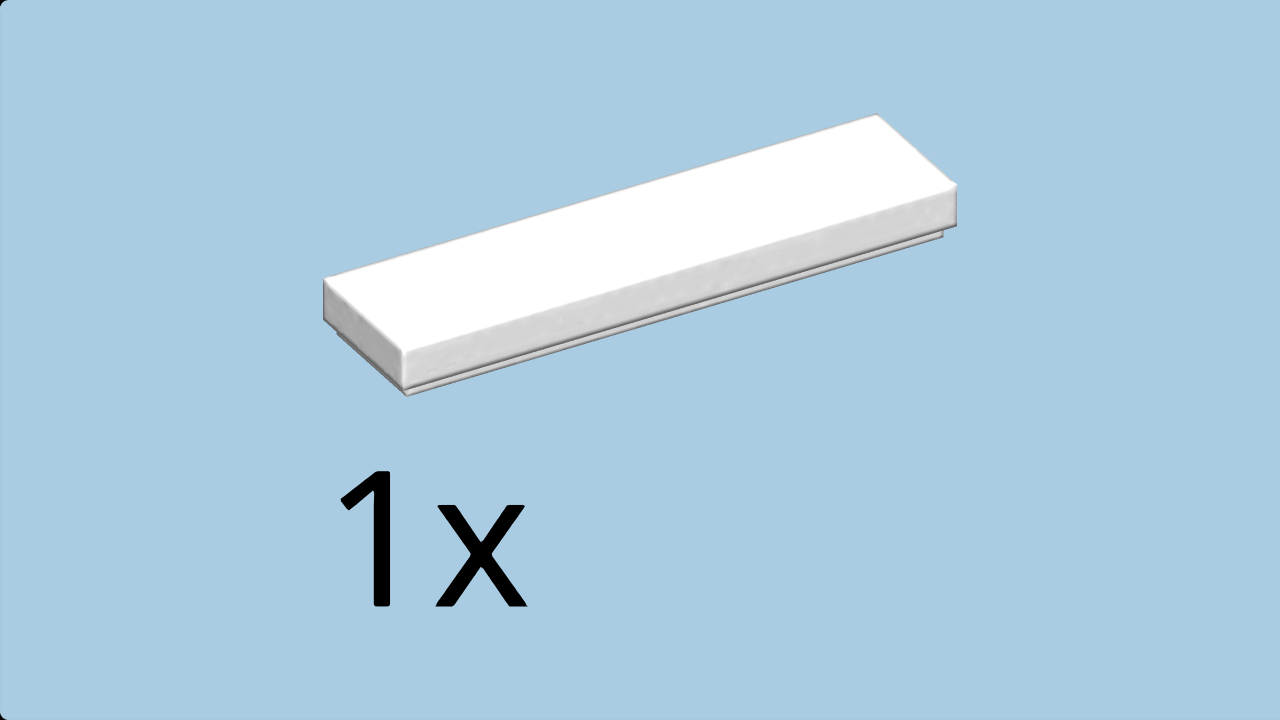
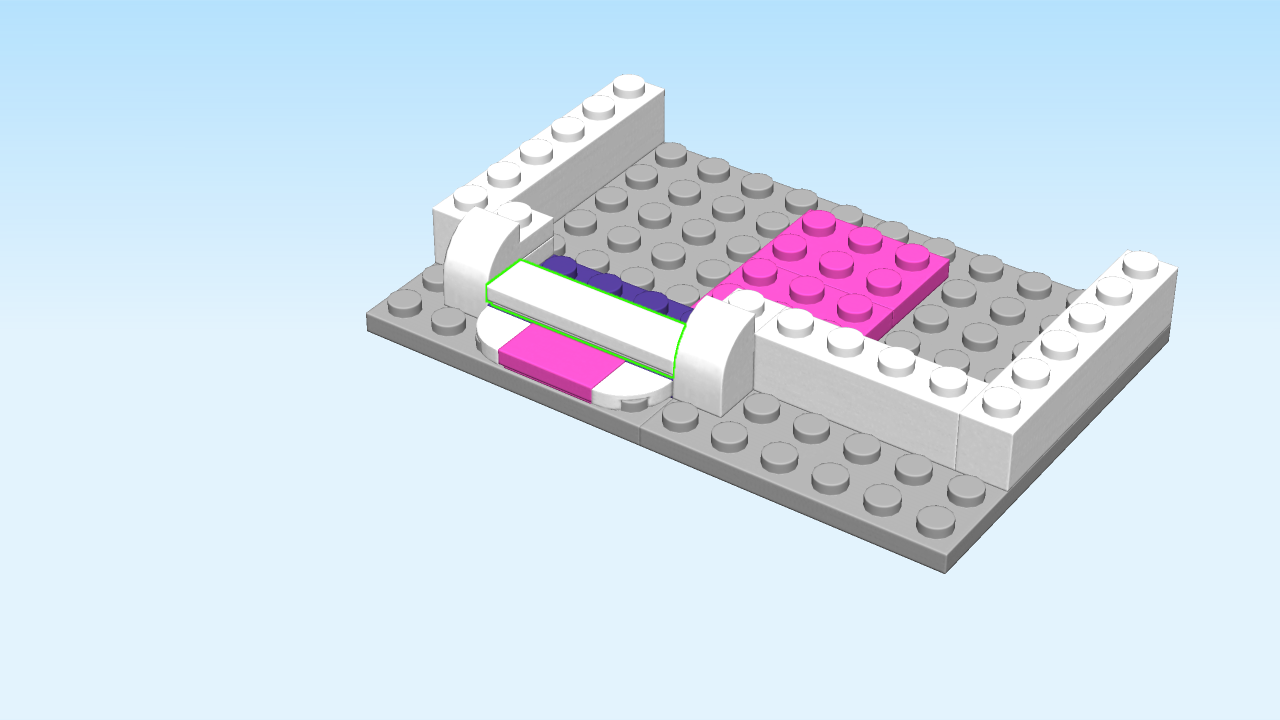
| Find 1 white flat tile 1x4. |
| Put it horizontally on the second row from the front, between the 2 bricks with arch and protruding plates. |
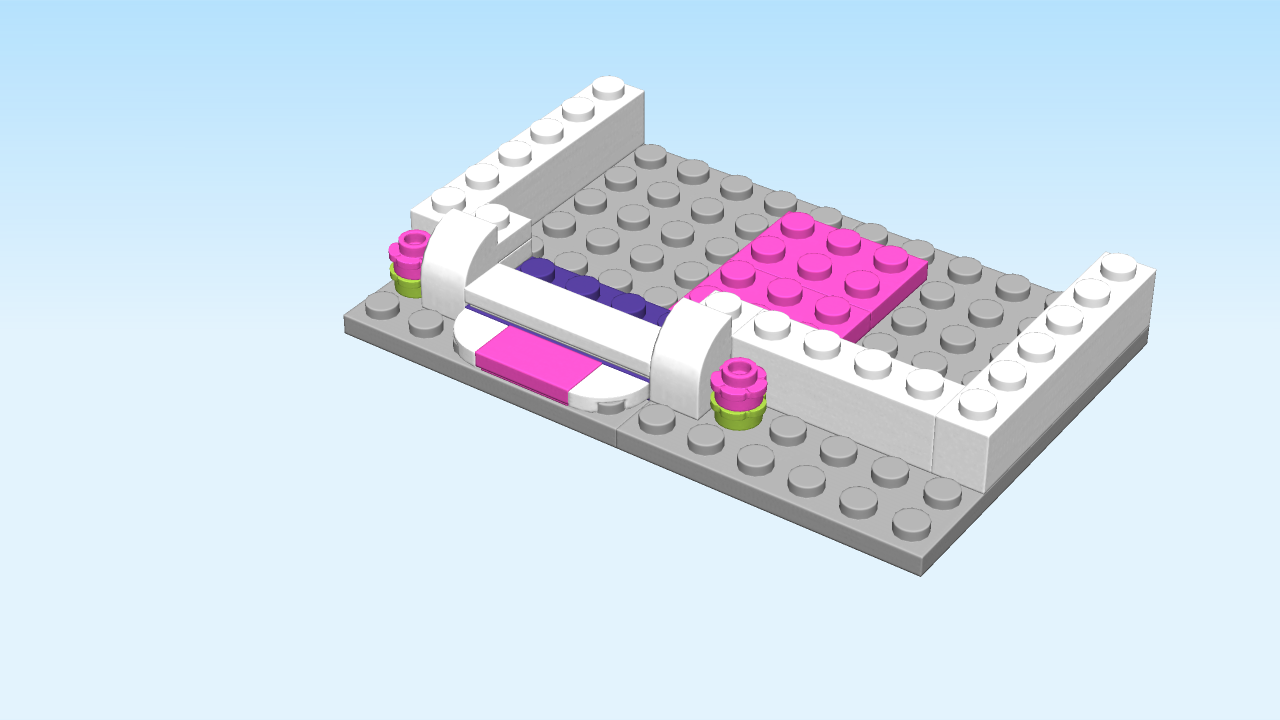
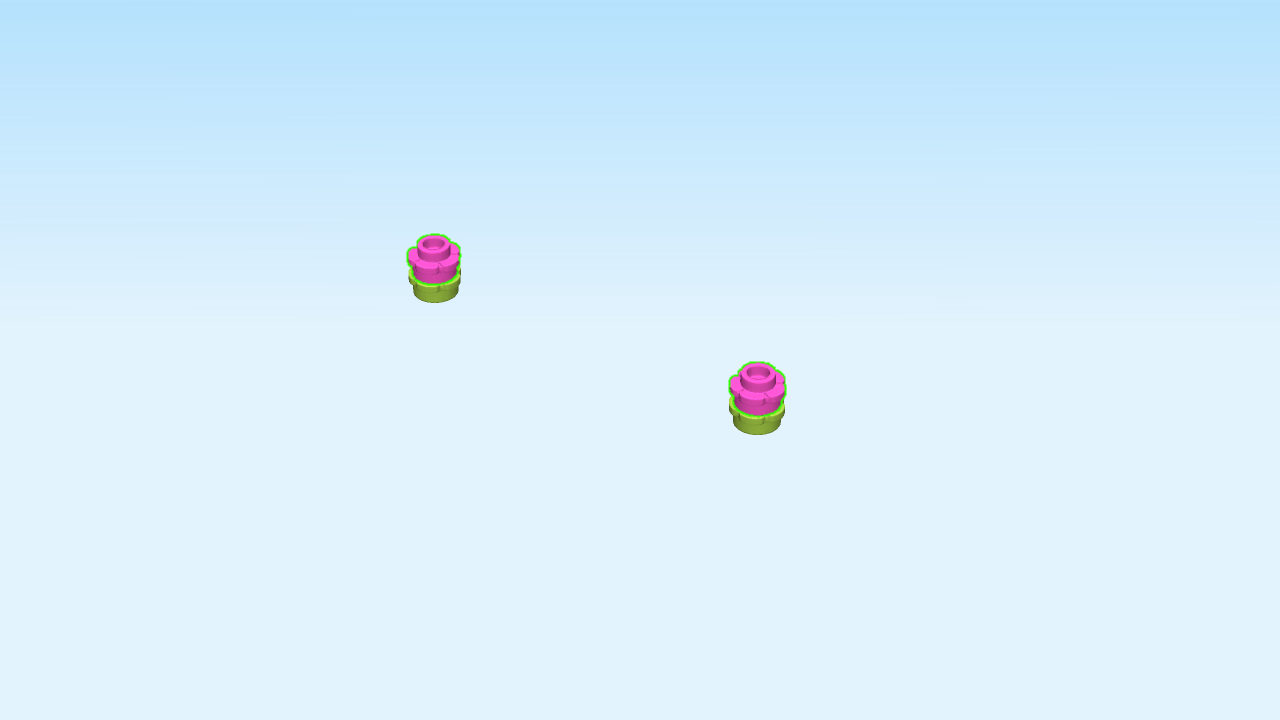
| Next, we will make 2 floral decorations. |
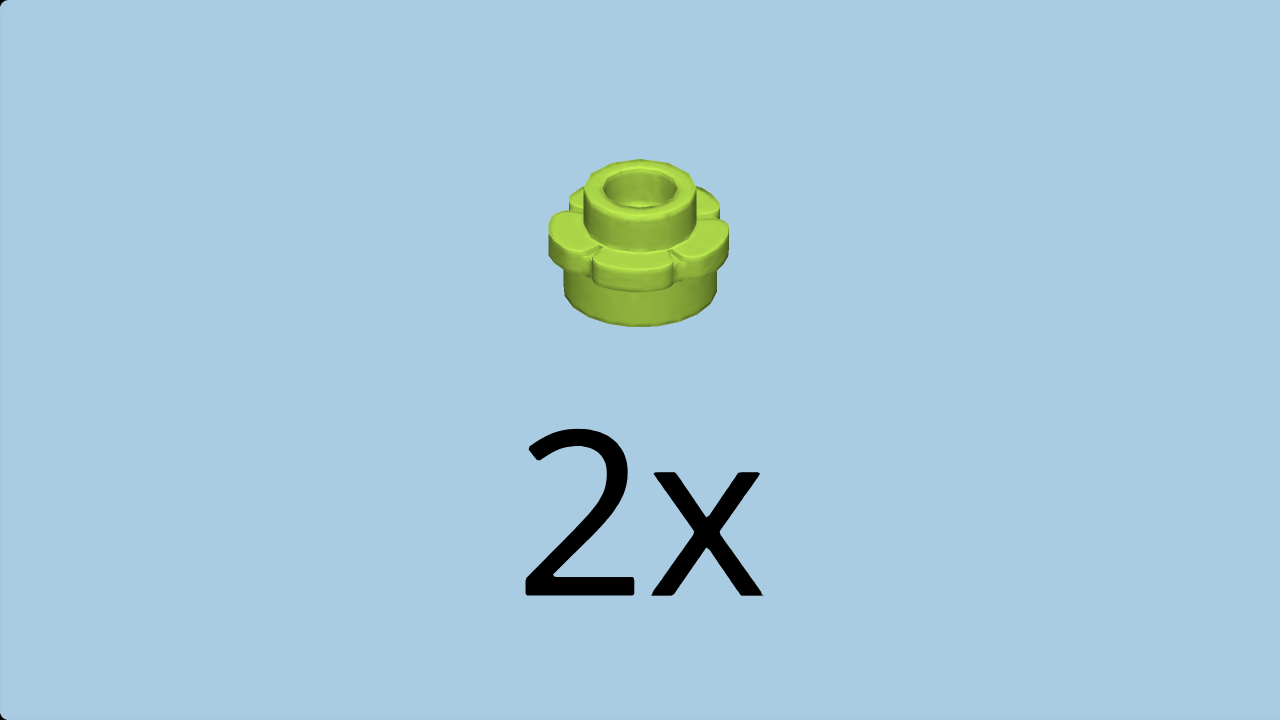
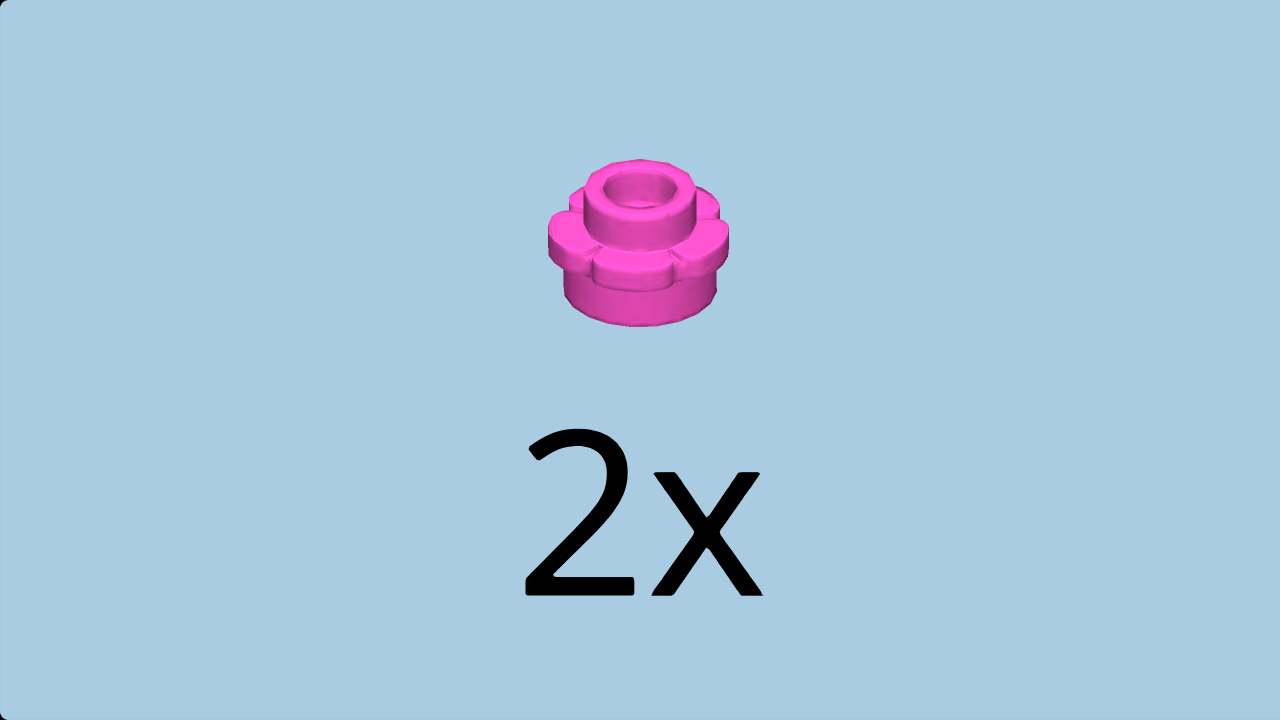
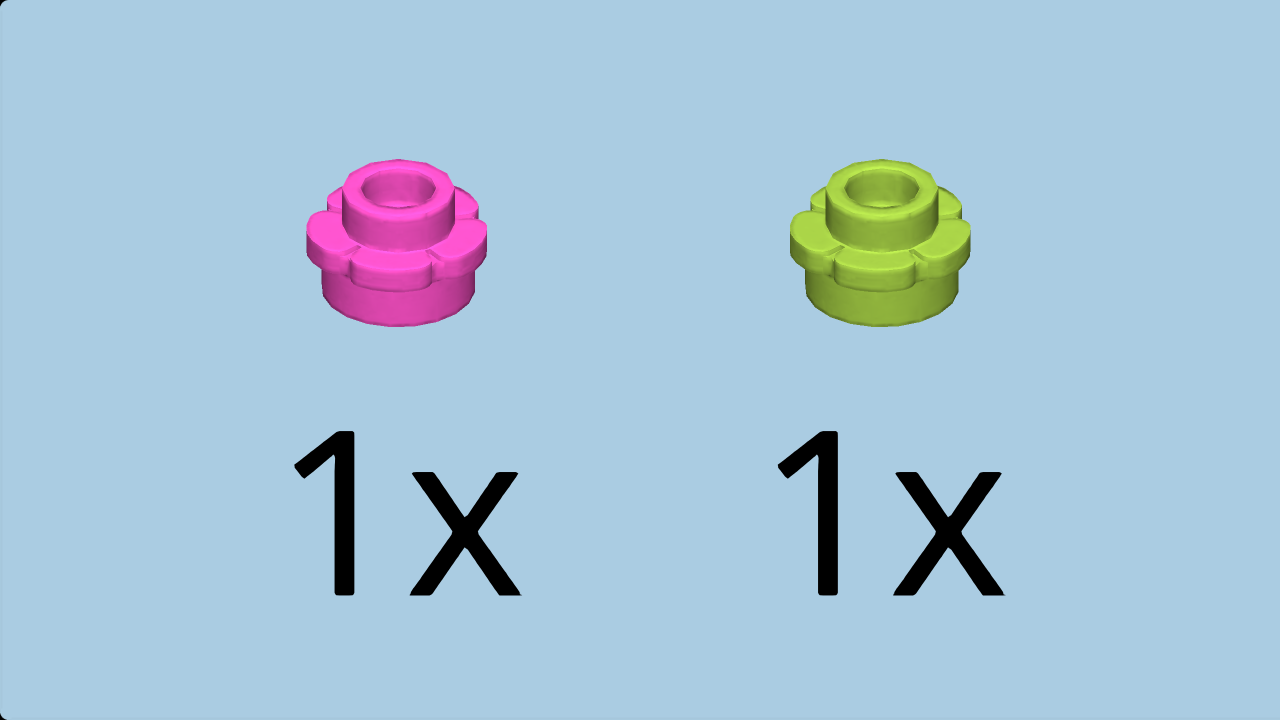
| Find 2 bright yellowish green flowers 1x1. |
| Put them on the table. |
| Find 2 bright purple flowers 1x1. |
| Put them on top of the previous pieces. |
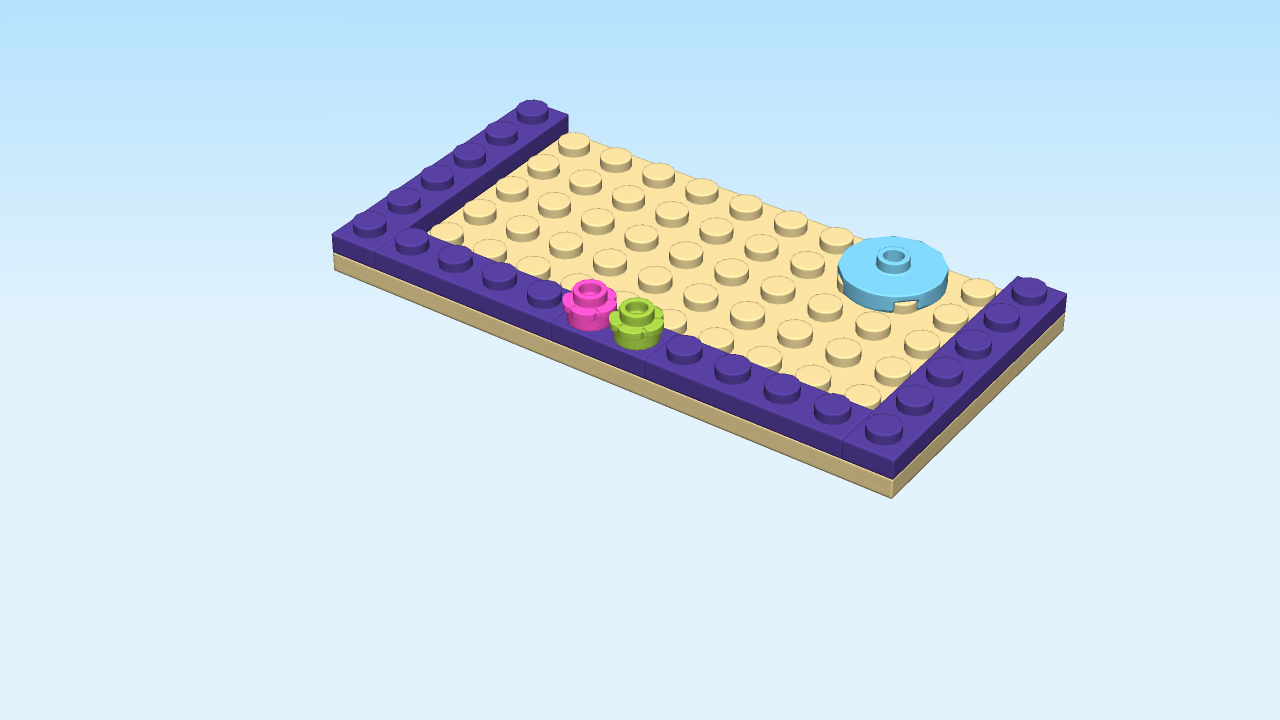
| Put them to the left and right of the bricks 1x1 with arch and protruding plate on the front second row. |
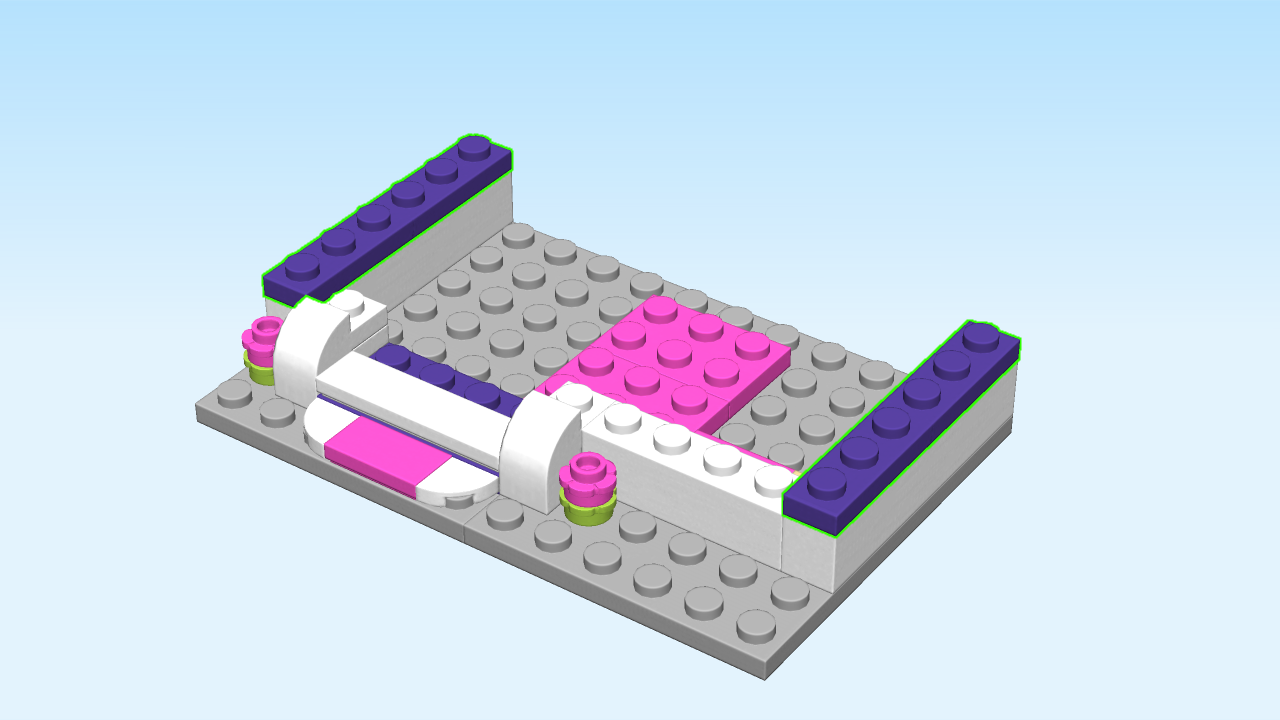
| Find 2 medium lilac plates 1x6. |
| Put one vertically on the rightmost column, starting from the back. |
| Repeat symmetrically on the left. |
| Next, we will decorate a wall element. |
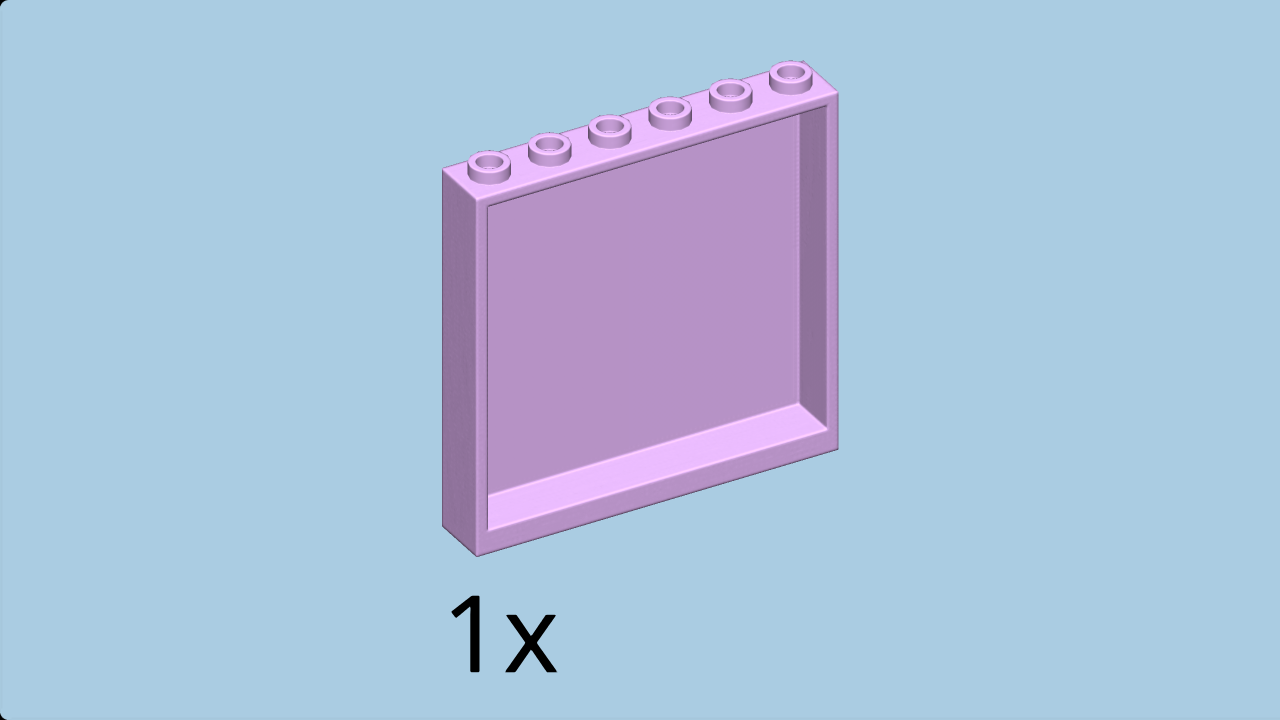
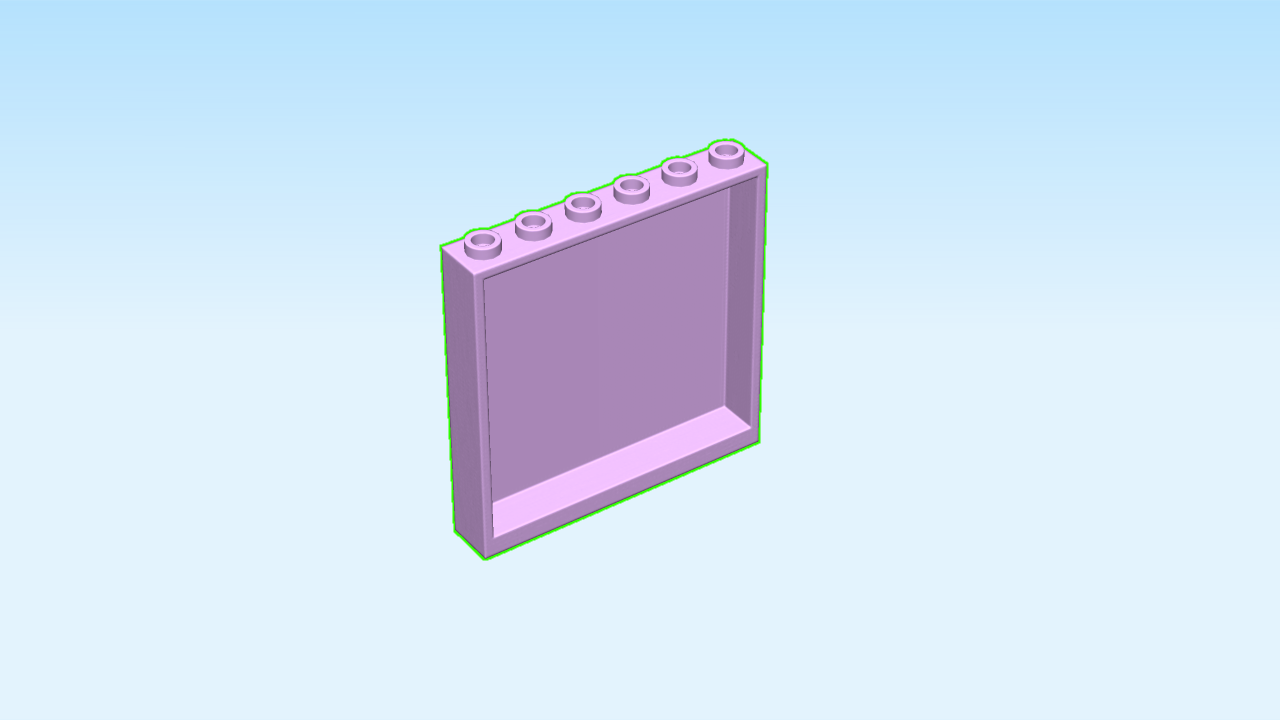
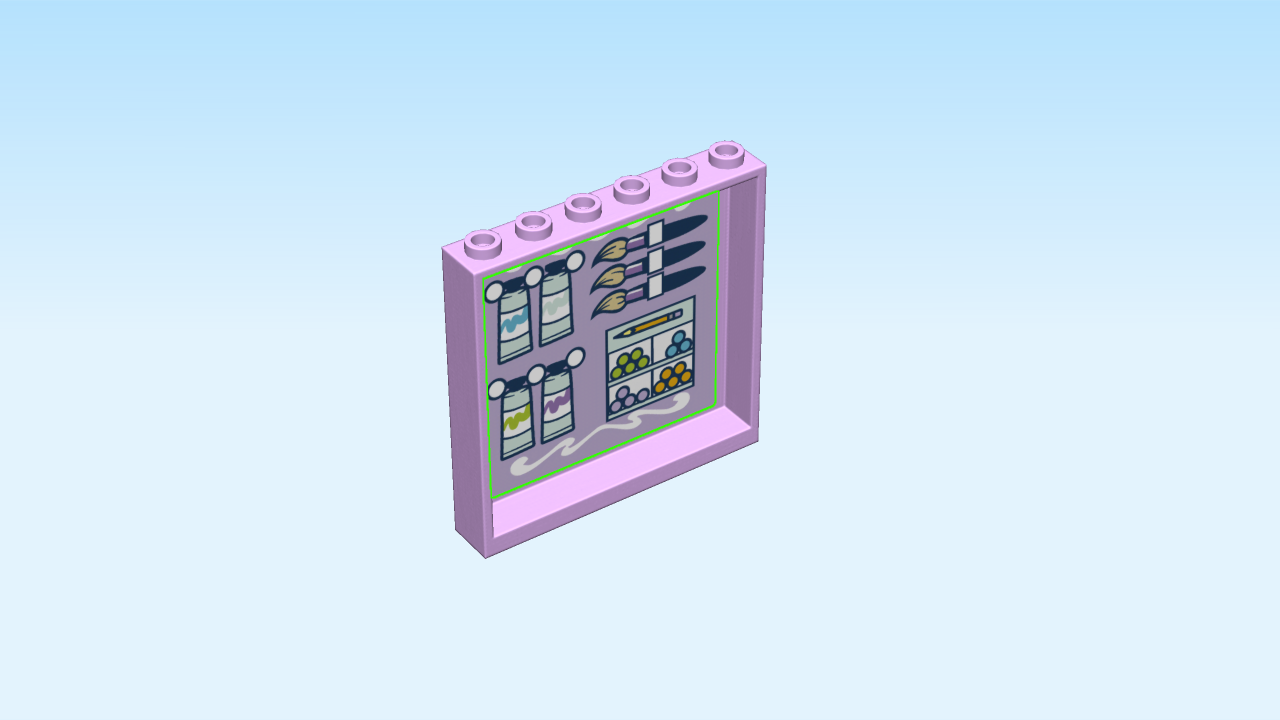
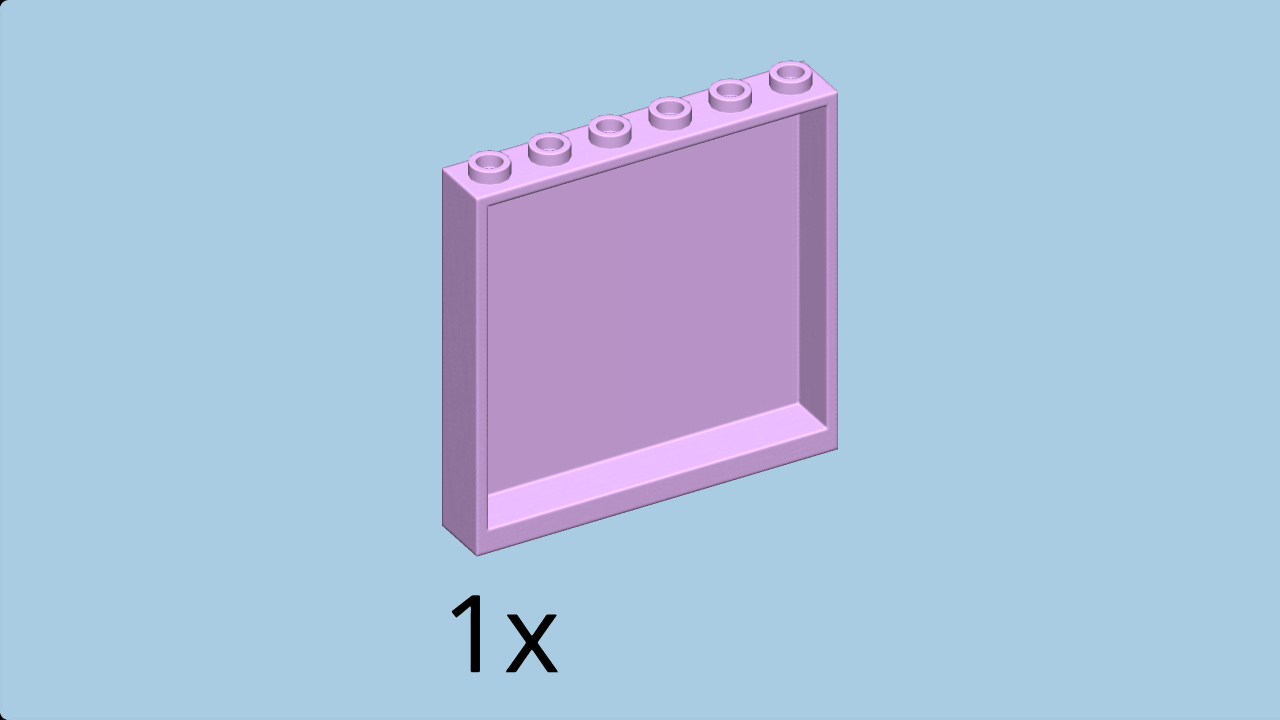
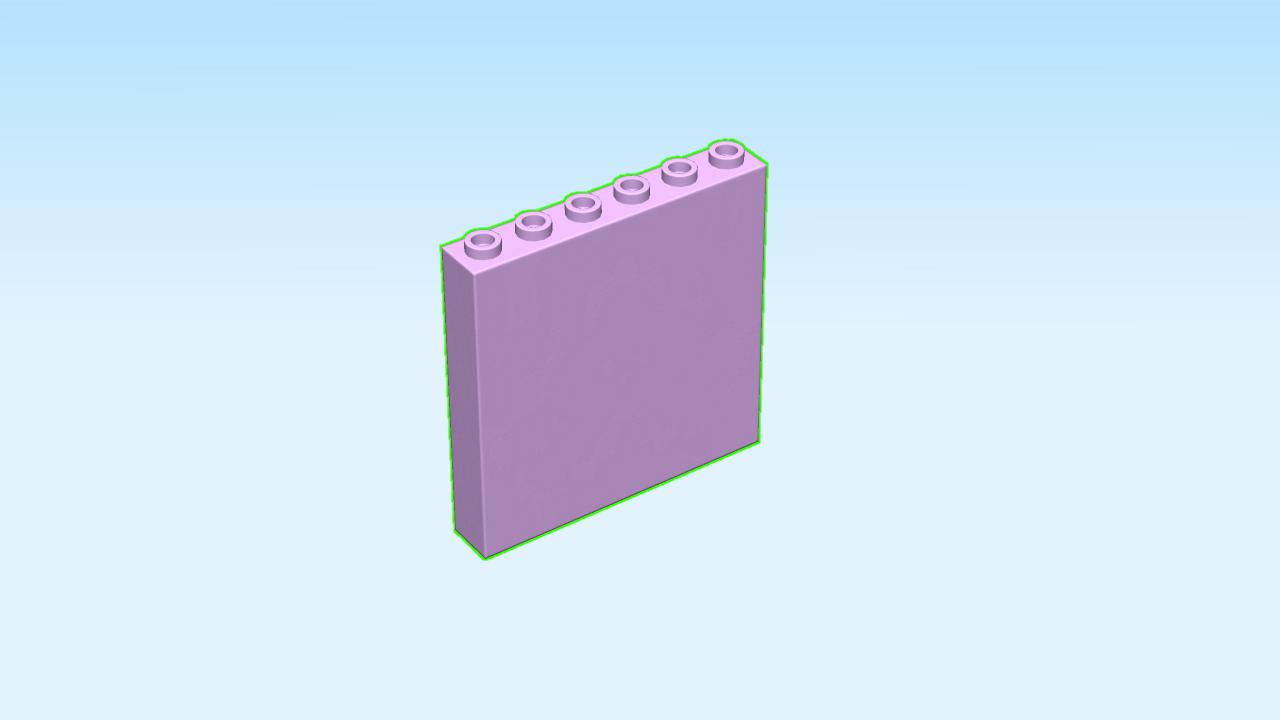
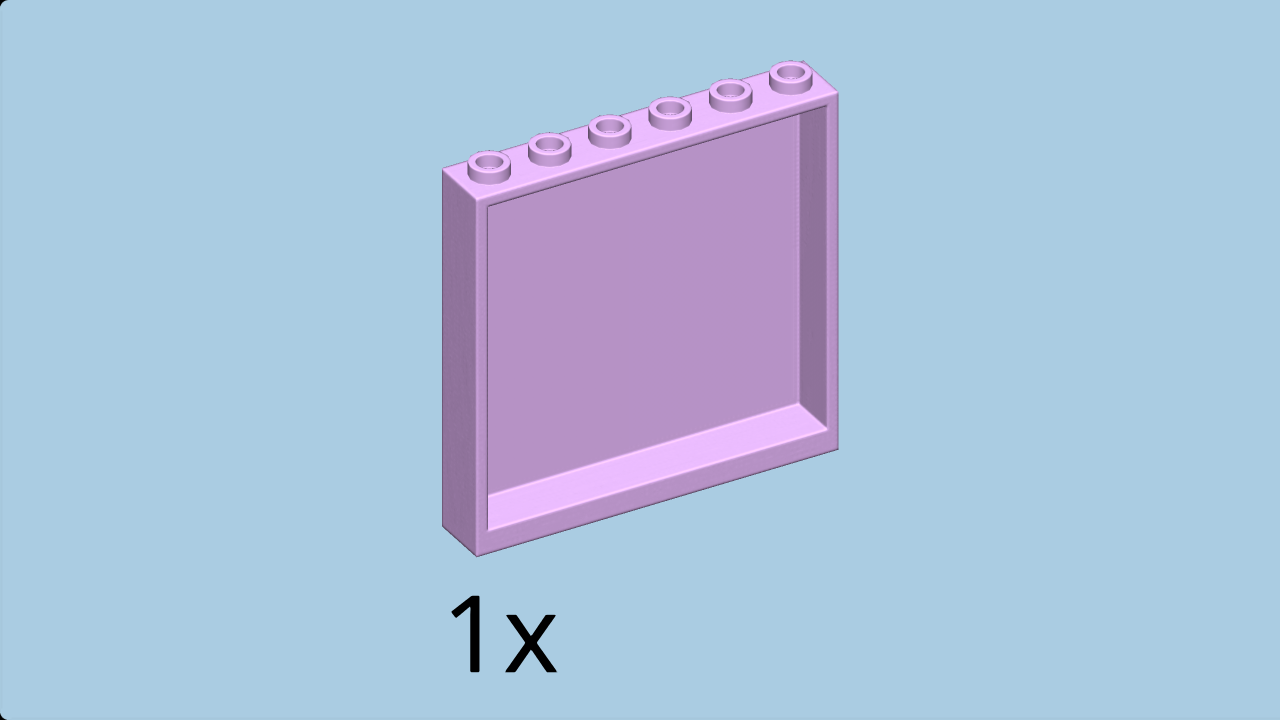
| Find 1 lavender wall element 1x6x5. |
| Continue if you want to decorate it with a sticker now. If not, skip the next four sentences. |
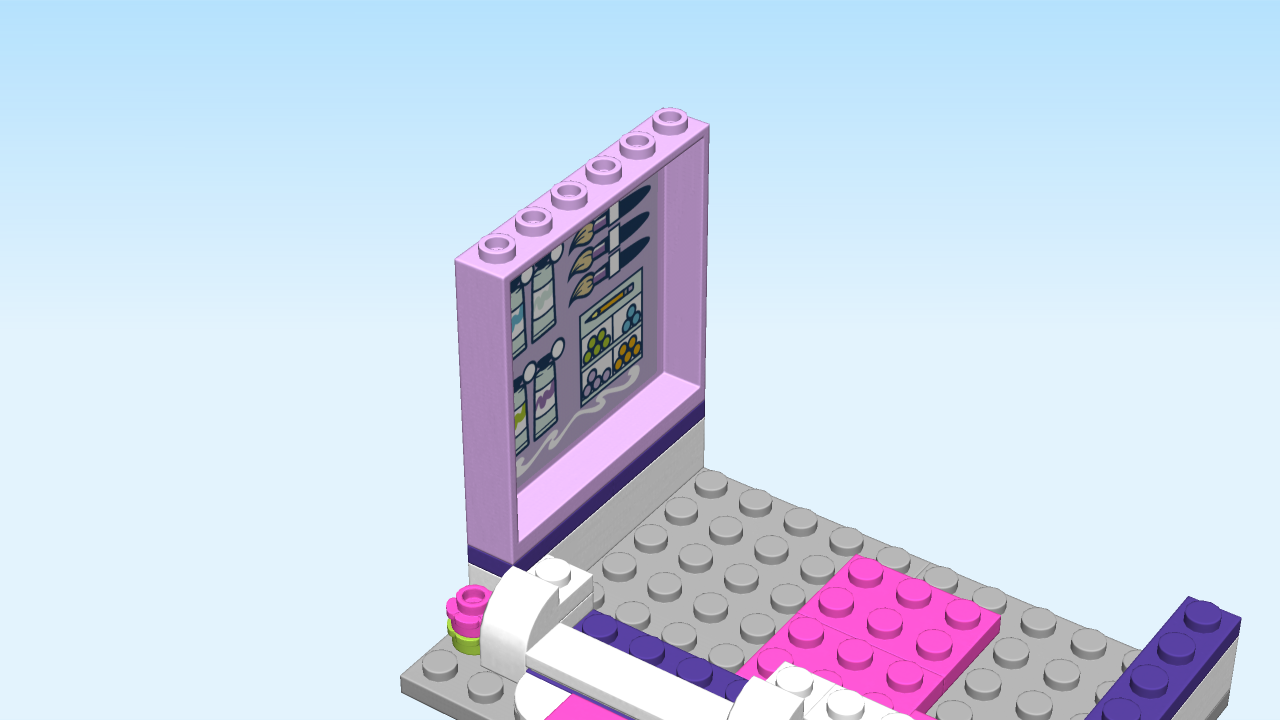
| Put the wall element 1x6x5 flat on the table, hollow to the top, knobs to the back. |
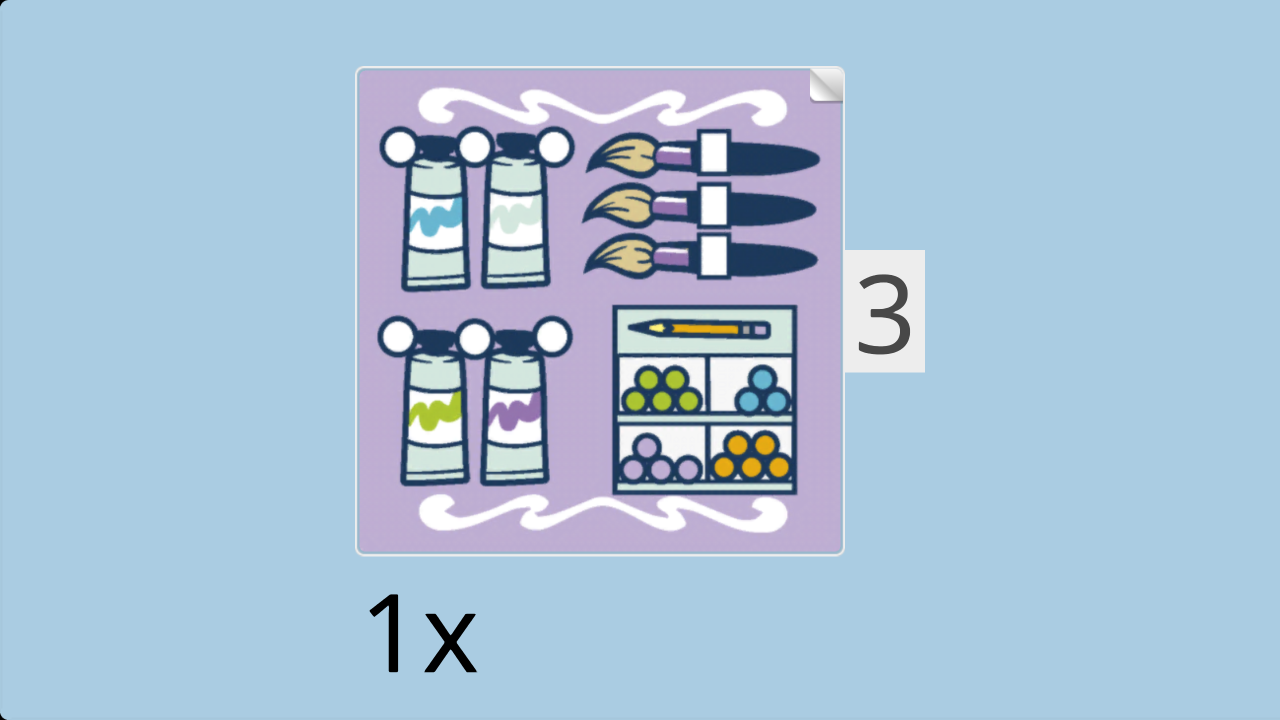
| Find 1 medium-sized square sticker number 3. Ask a sighted person to help you. |
| Put the sticker inside the wall element. |
| It shows several items that are on sale in the store: four paint tubes in blue, green, mint, and purple, several crayons in the same colors, and three paint brushes. |
| Put the wall element 1x6x5 vertically on the leftmost column starting from the back, hollow to the right. |
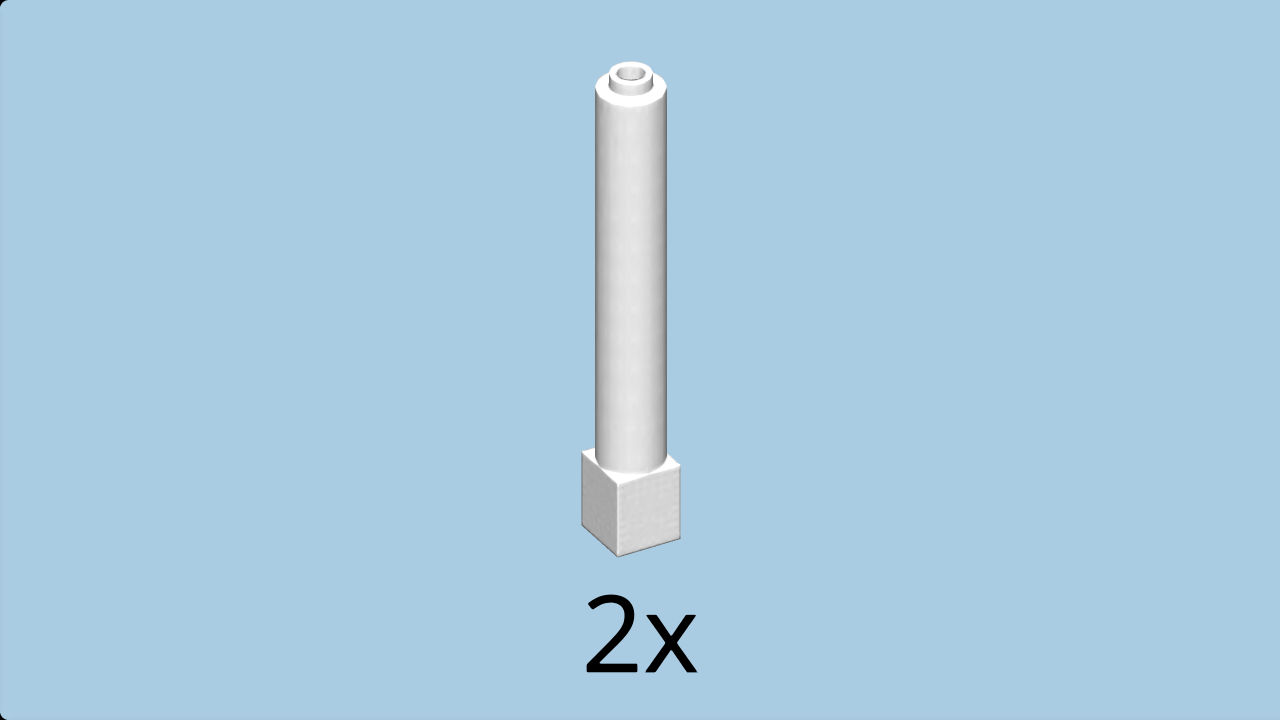
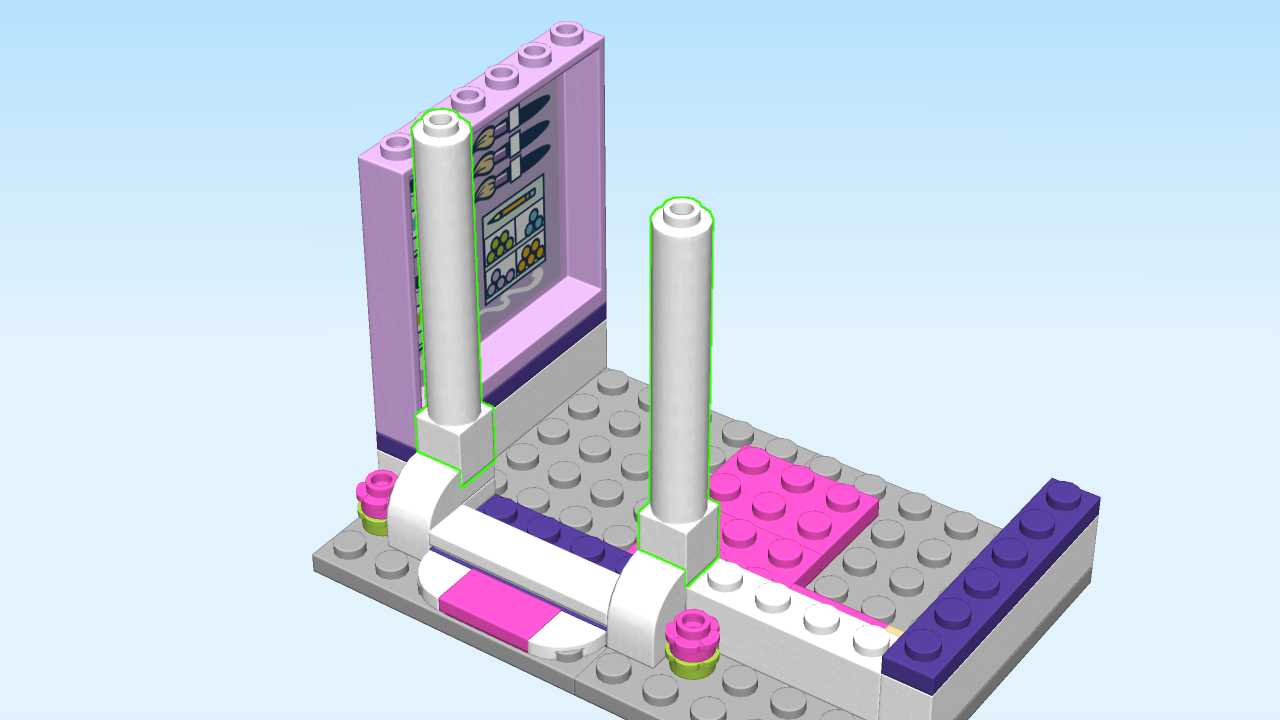
| Find 2 white columns 1x1x6. |
| Put one to the right of the previous piece on the white brick 1x1 with arch and protruding plate. |
| Repeat symmetrically on the right. |
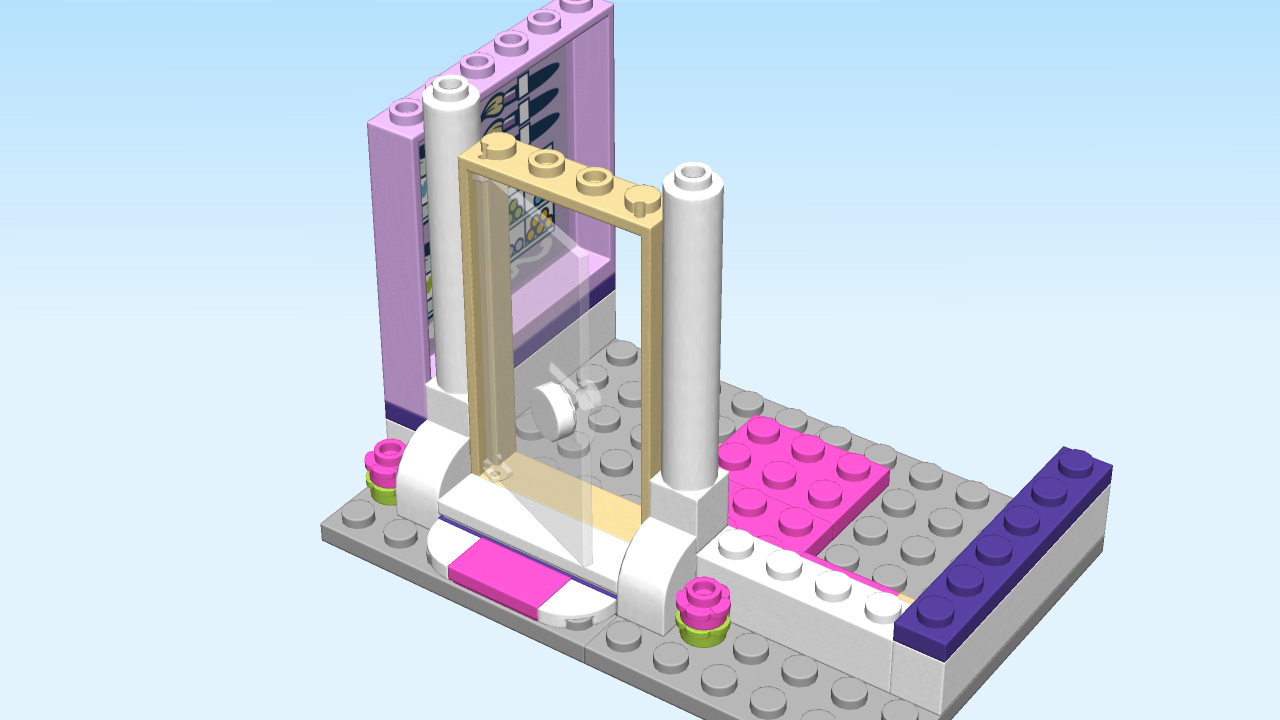
| Next, we will assemble the door. |
| This can be quite tricky. Ask someone to help you if it is too difficult. |
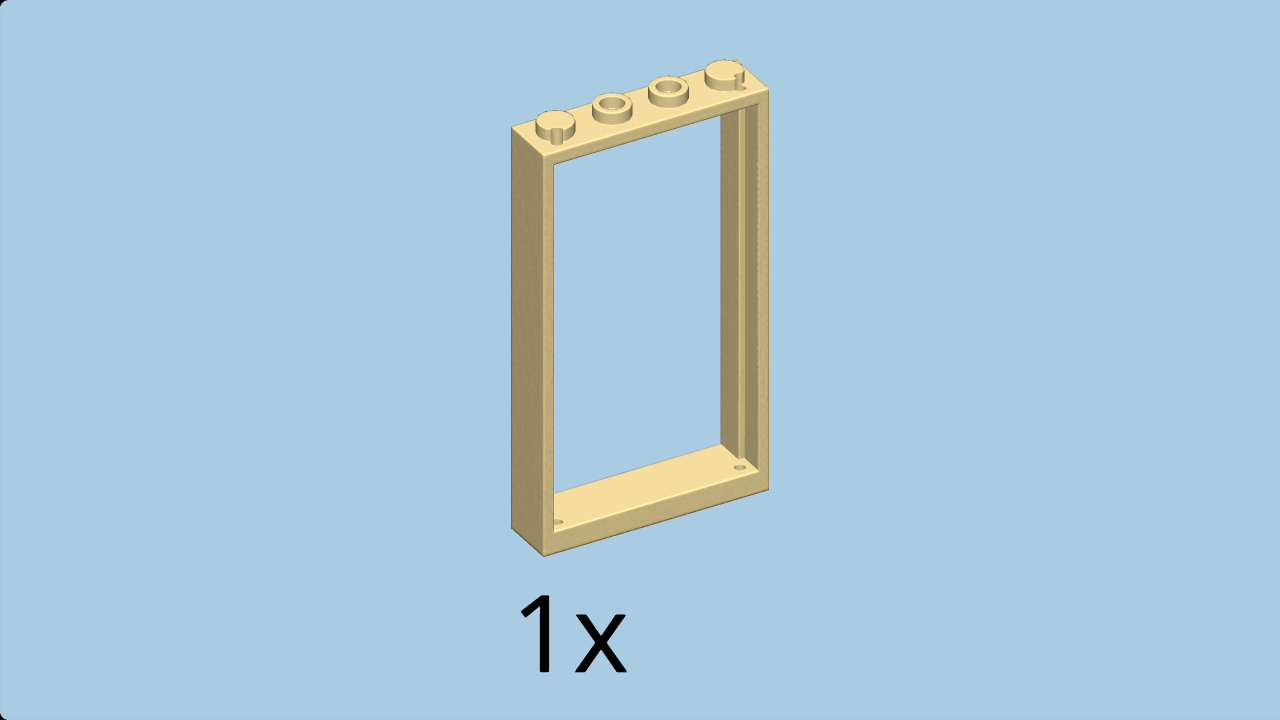
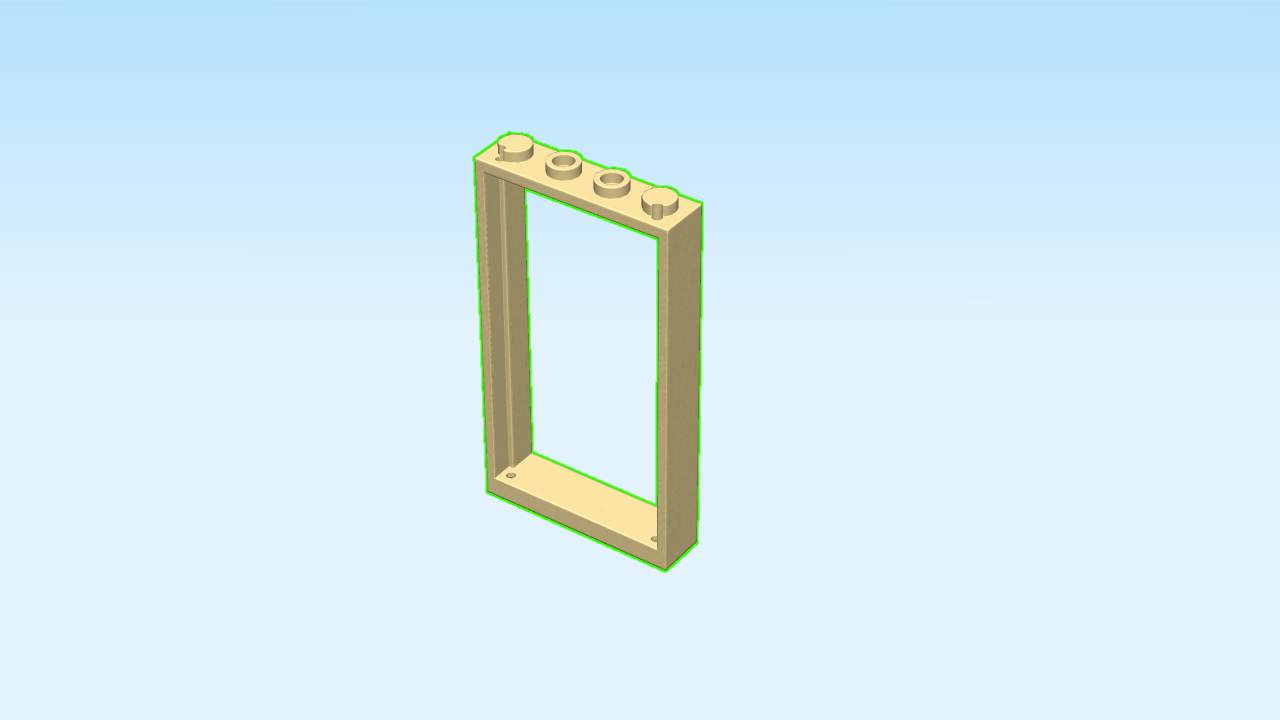
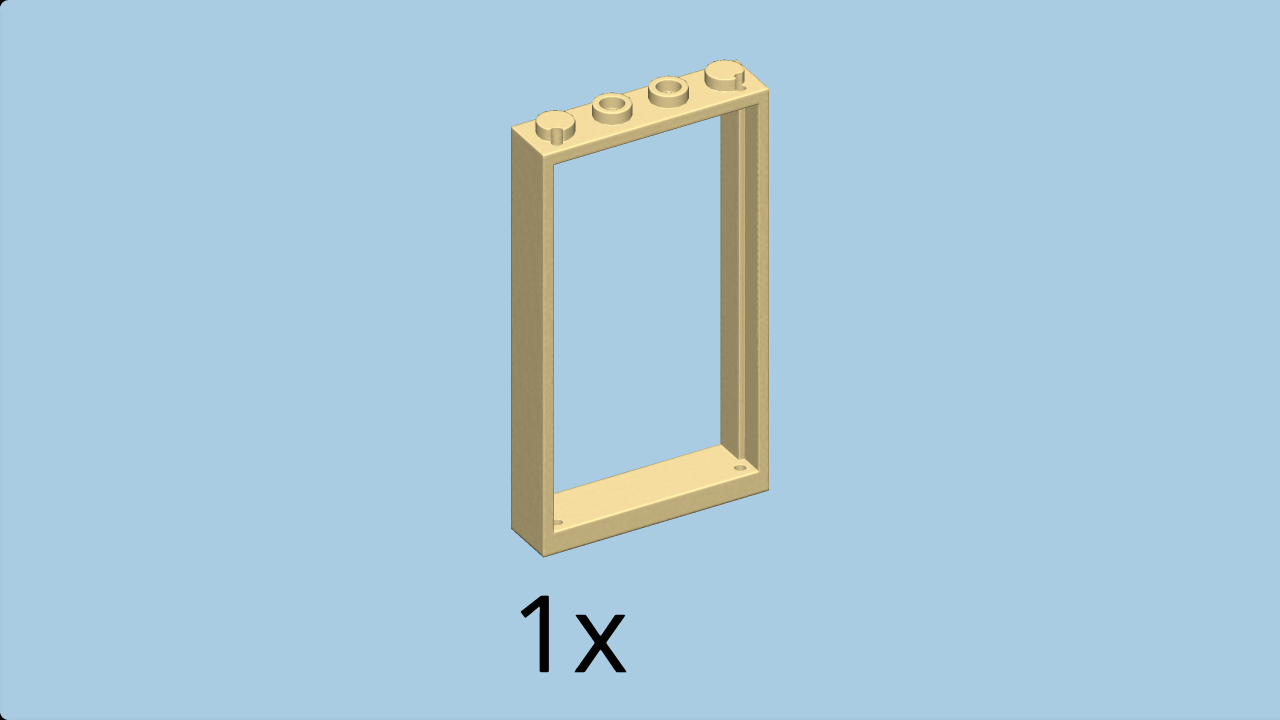
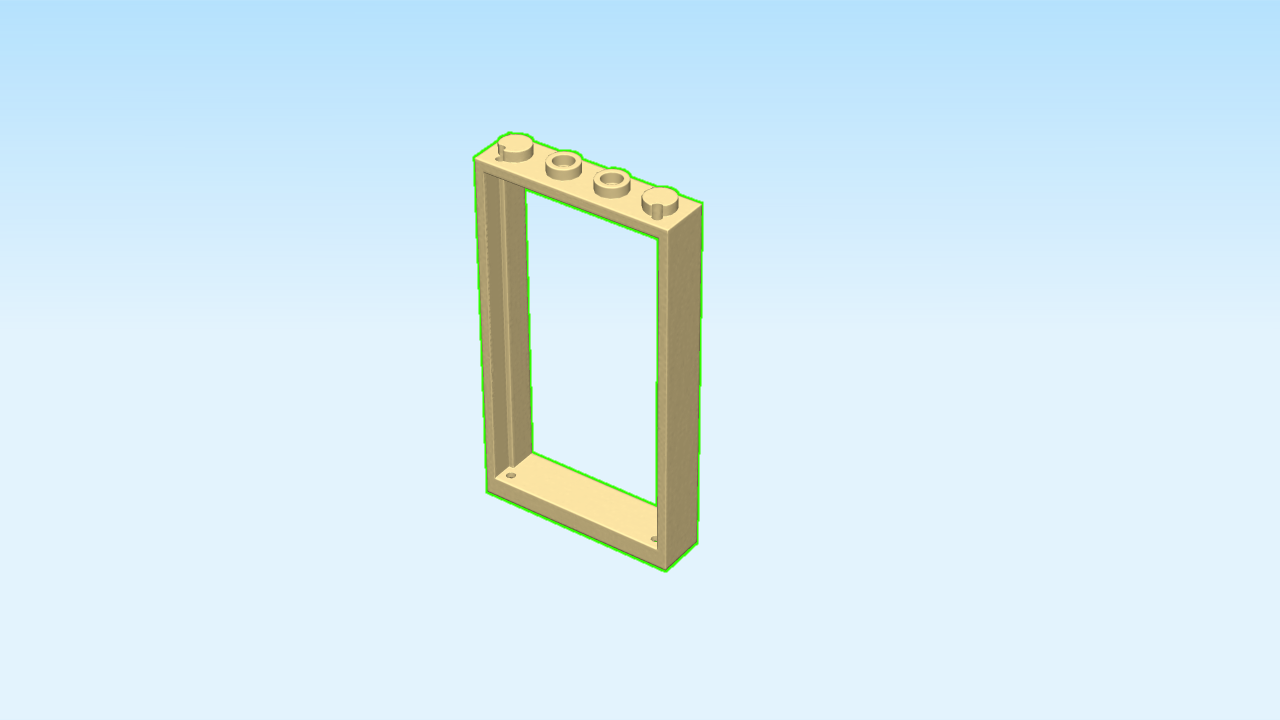
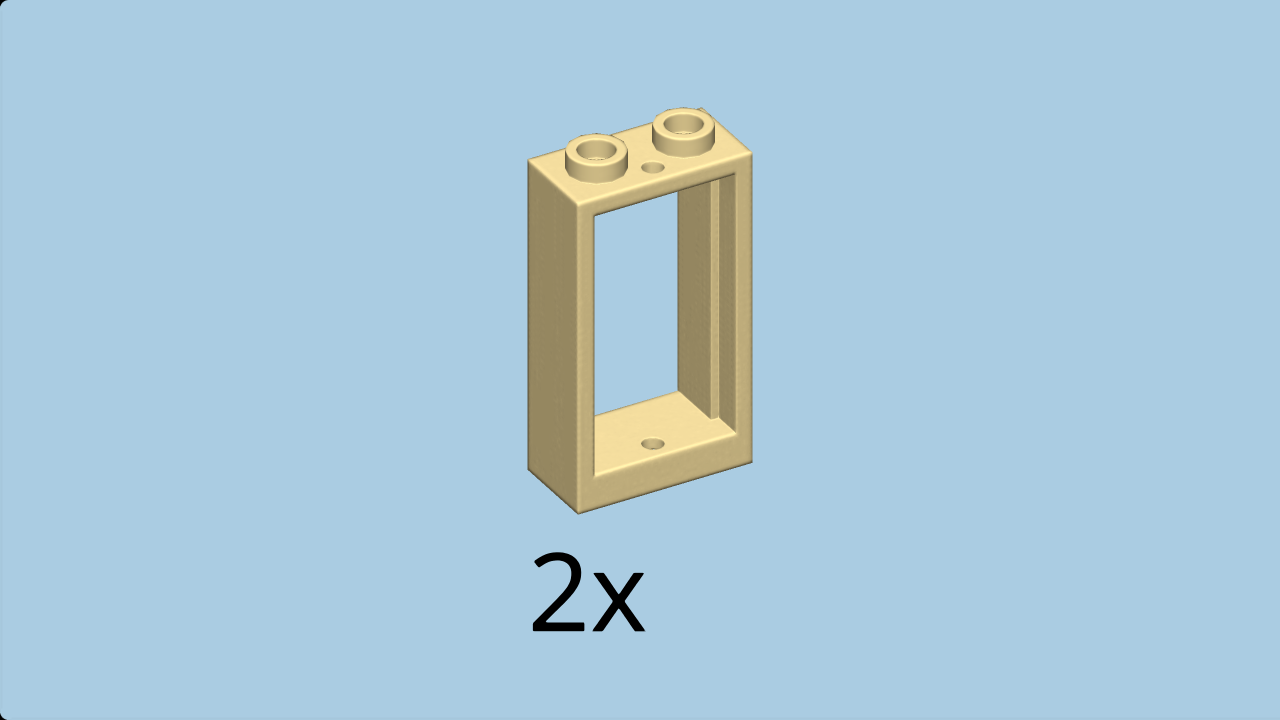
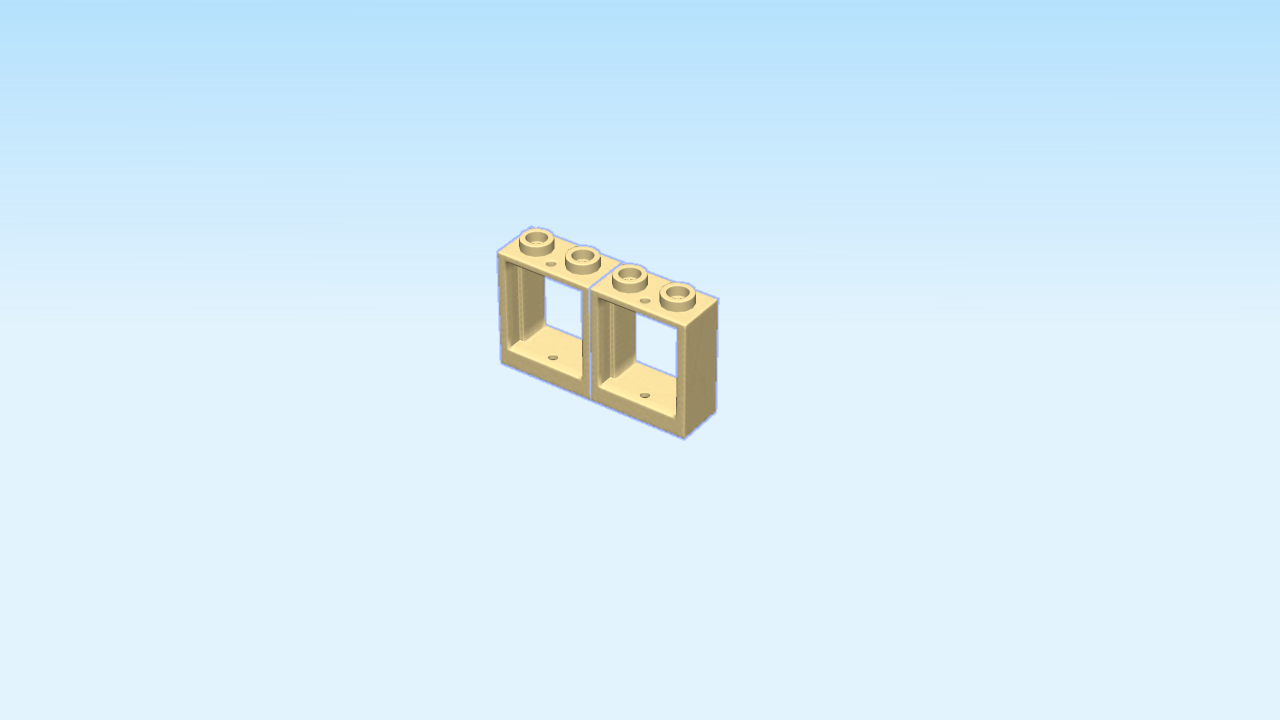
| Find 1 brick yellow frame 1x4x6. |
| Put it flat on the table, inner notch to the top, knobs to the back. |
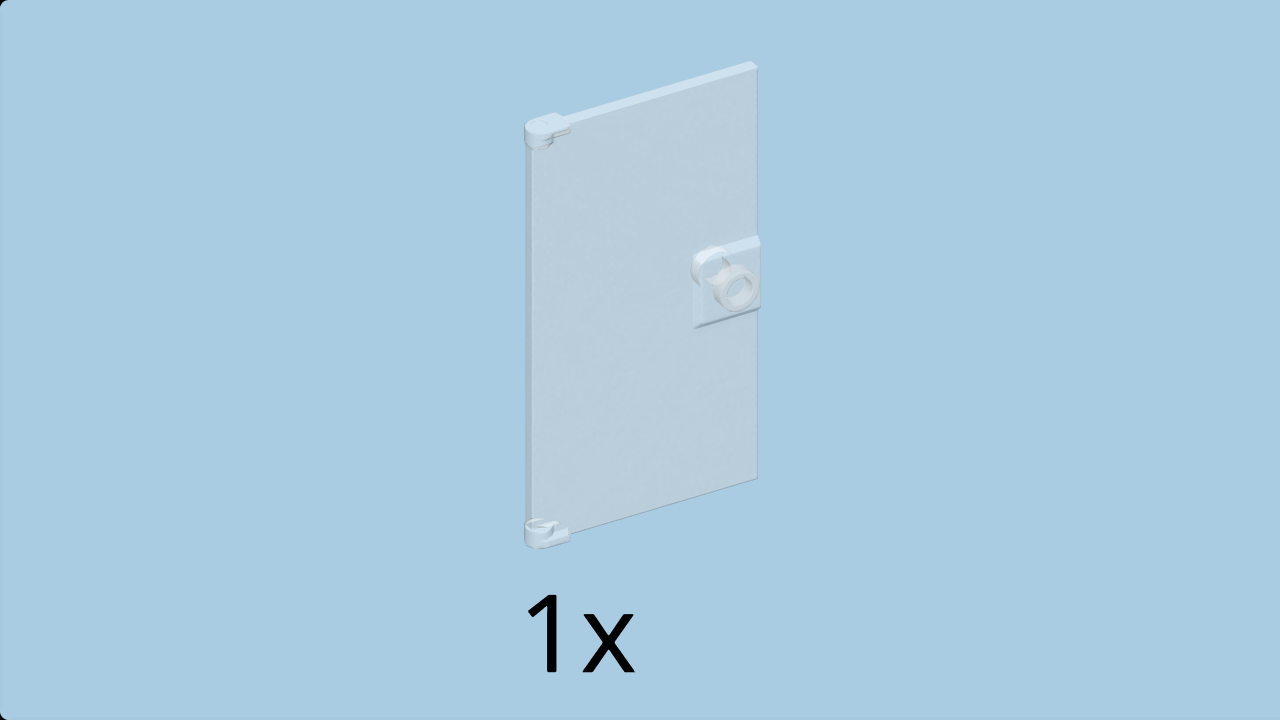
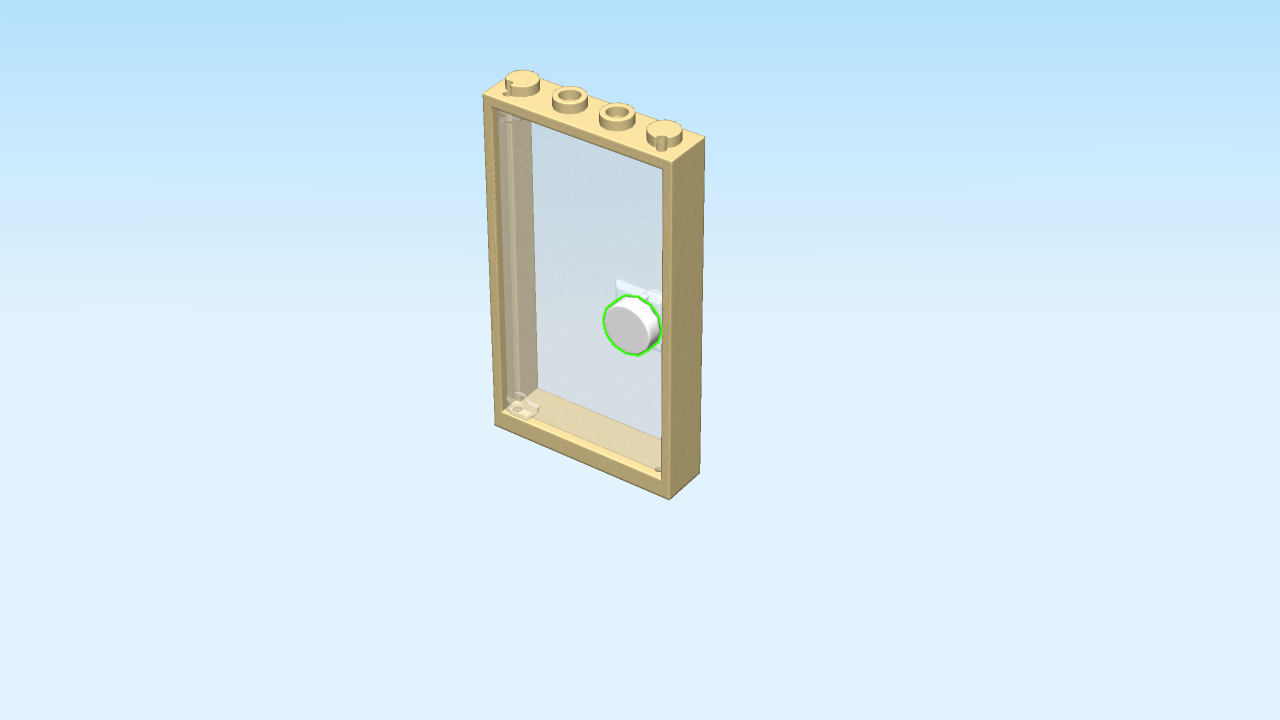
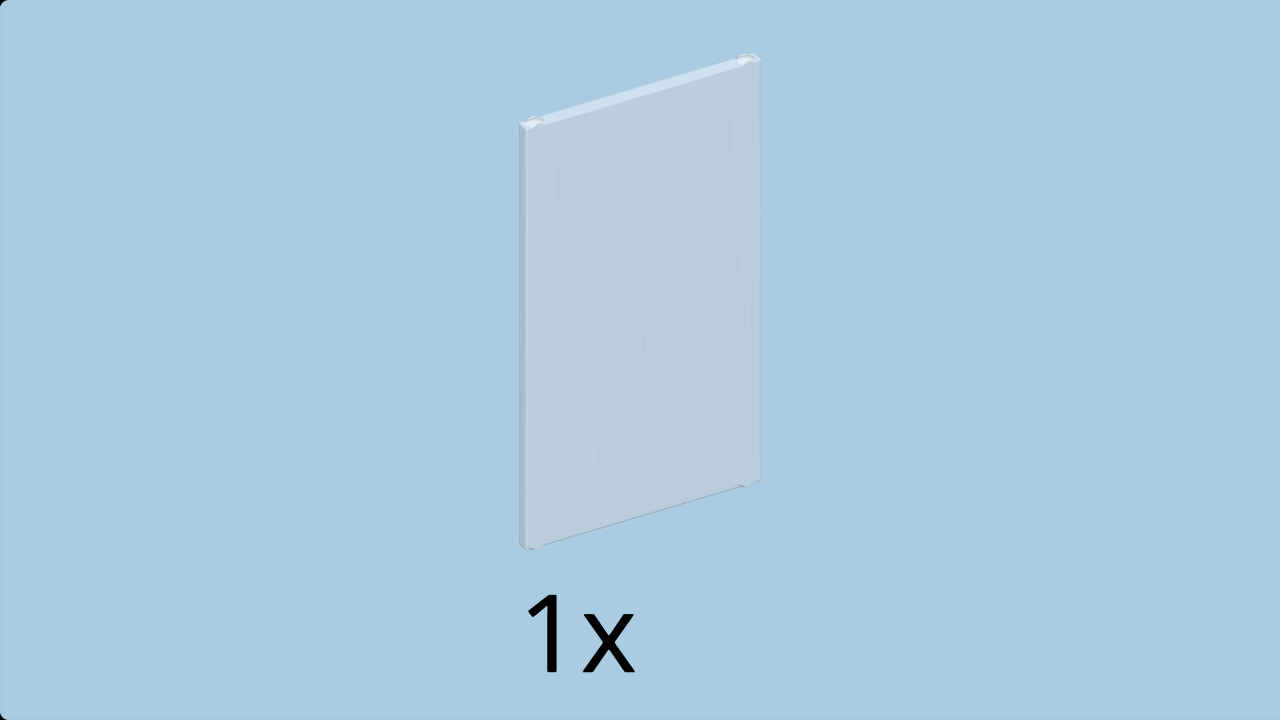
| Find 1 transparent glass door with handle for frame 1x4x6. |
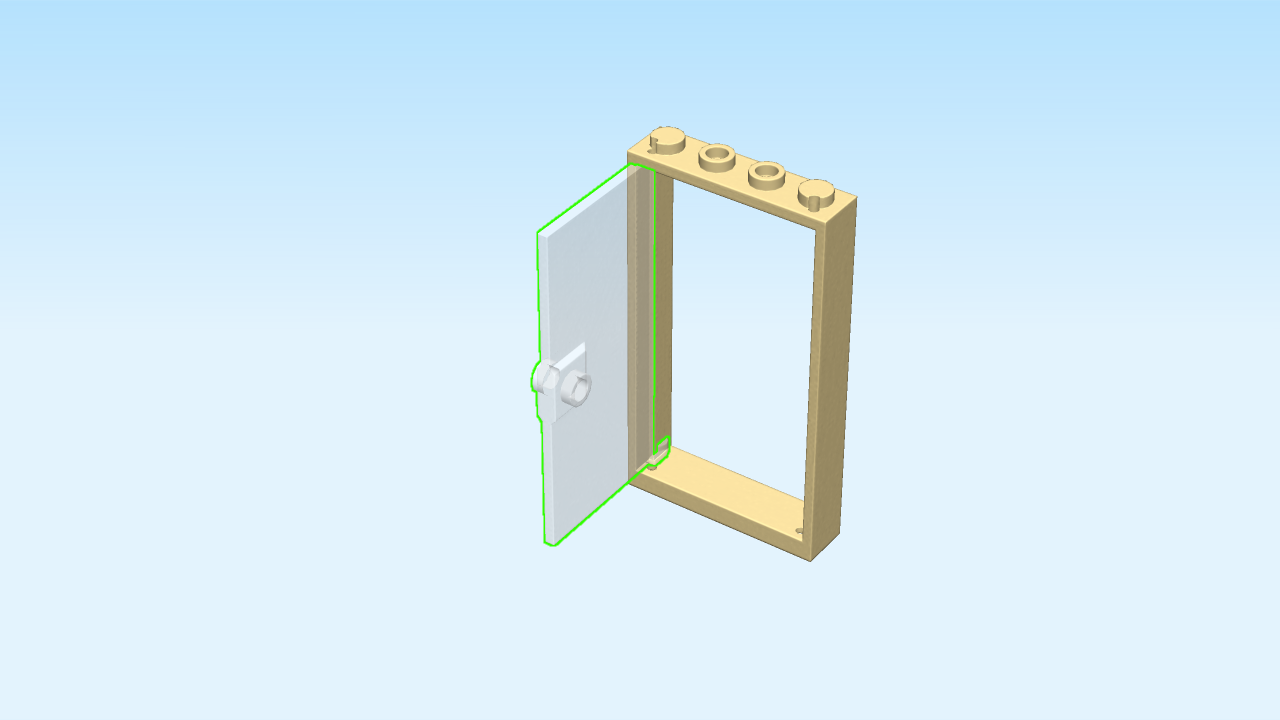
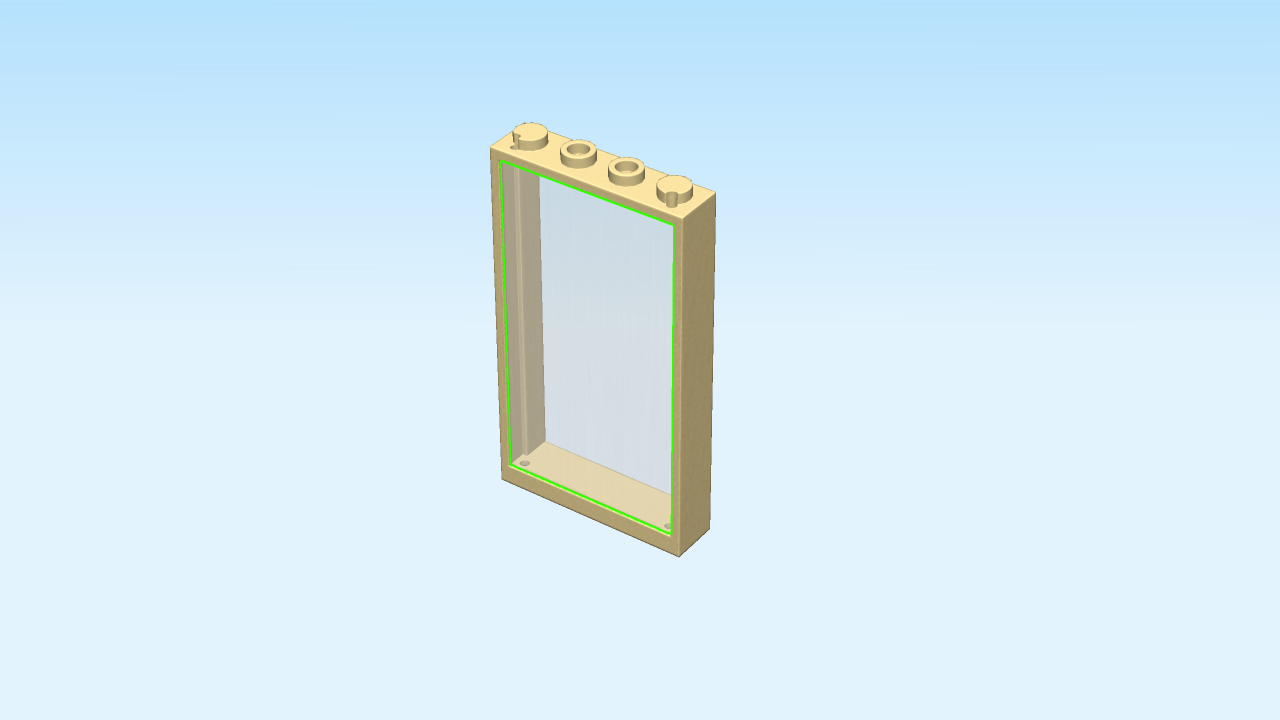
| Snap it into the notches of the frame 1x4x6, door handle to the right. This means that the door opens to the front and to the left. |
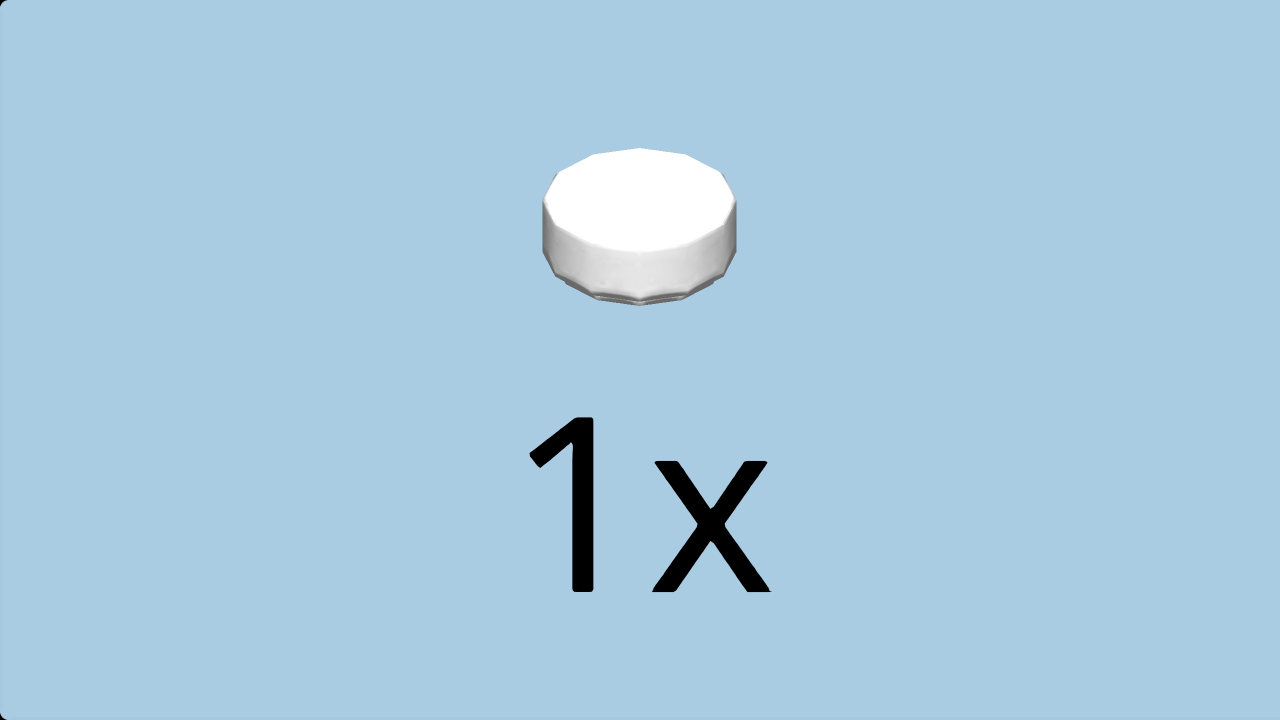
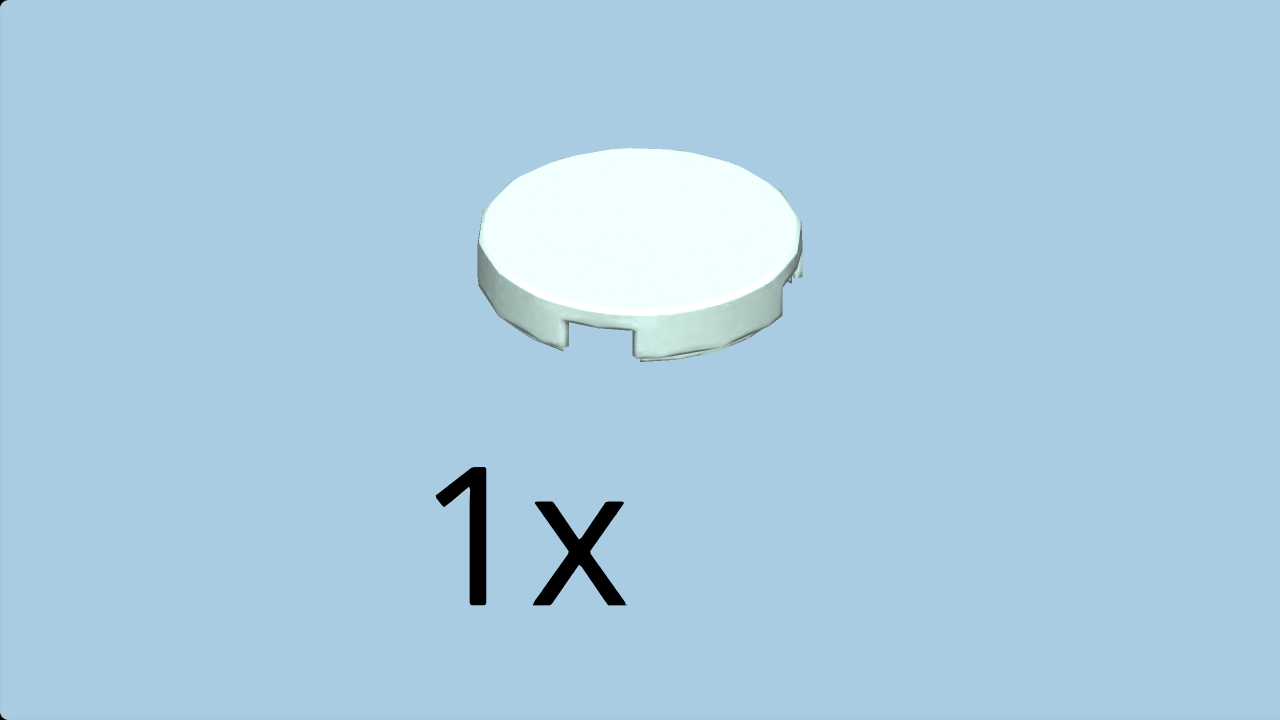
| Find 1 white round flat tile 1x1. |
| Put it on the door knob. |
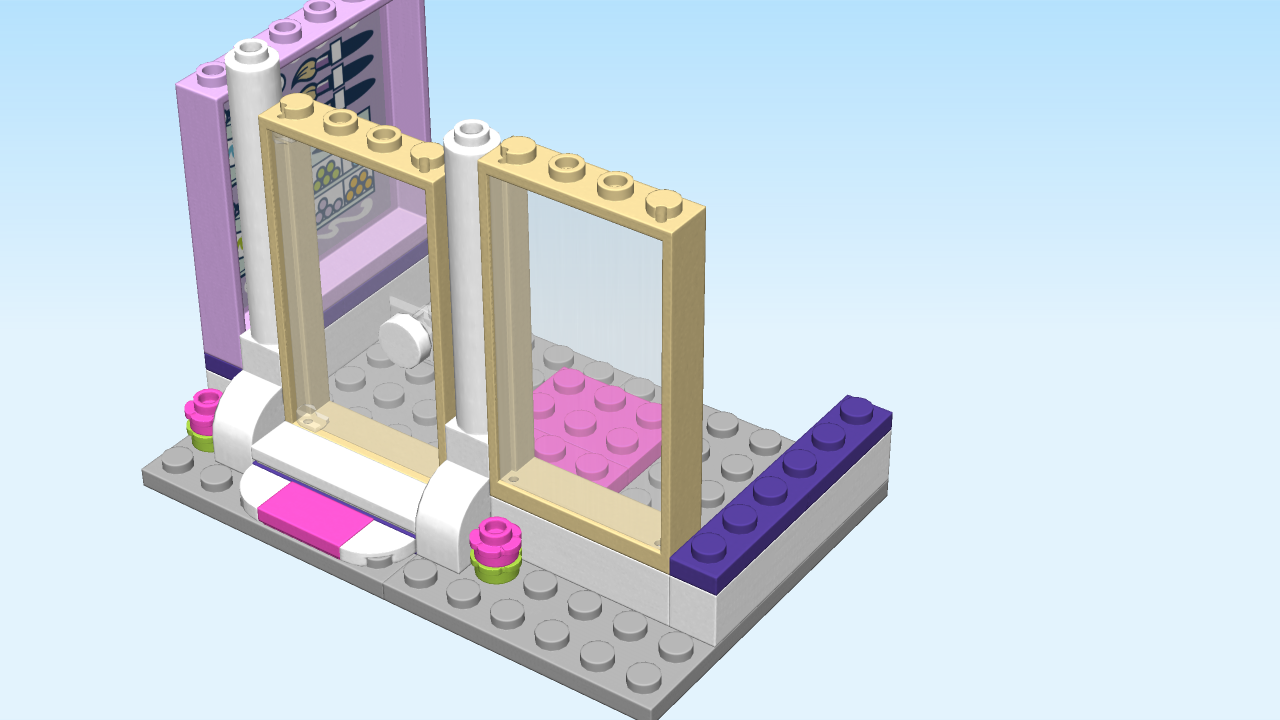
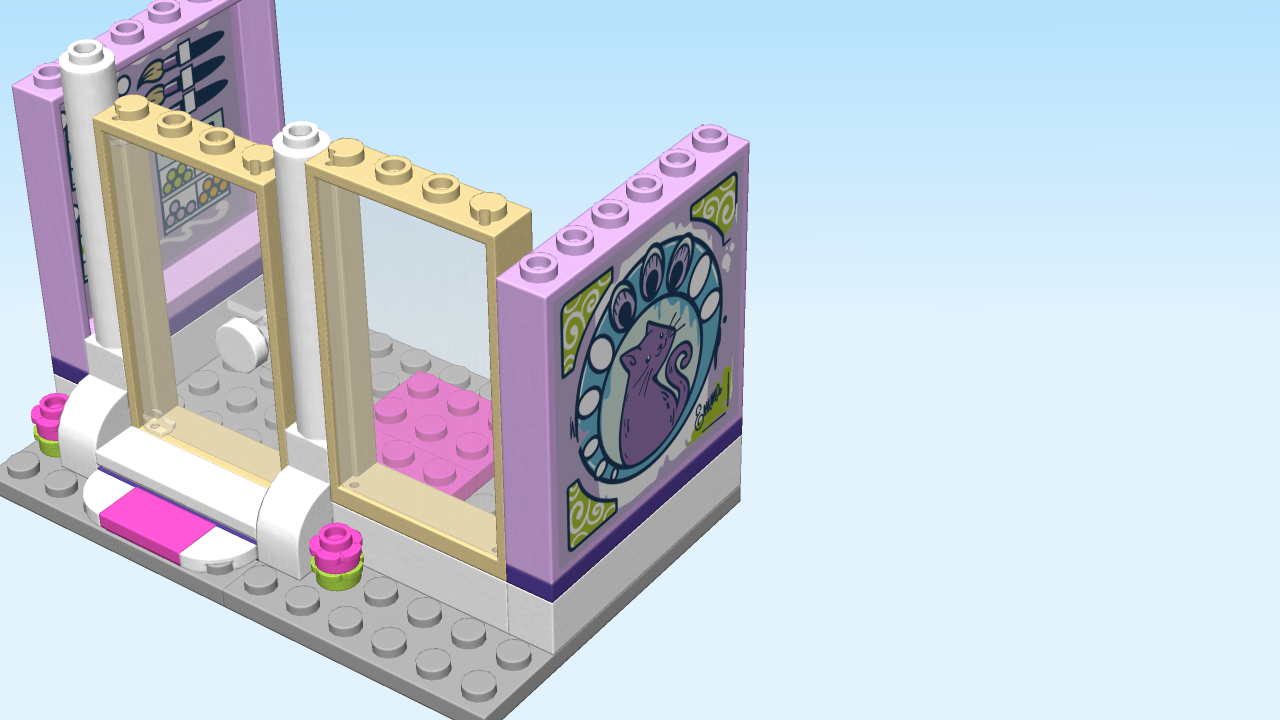
| The door is finished! Well done! Put it horizontally between the 2 white columns 1x1x6. |
| Next, we will assemble a window. |
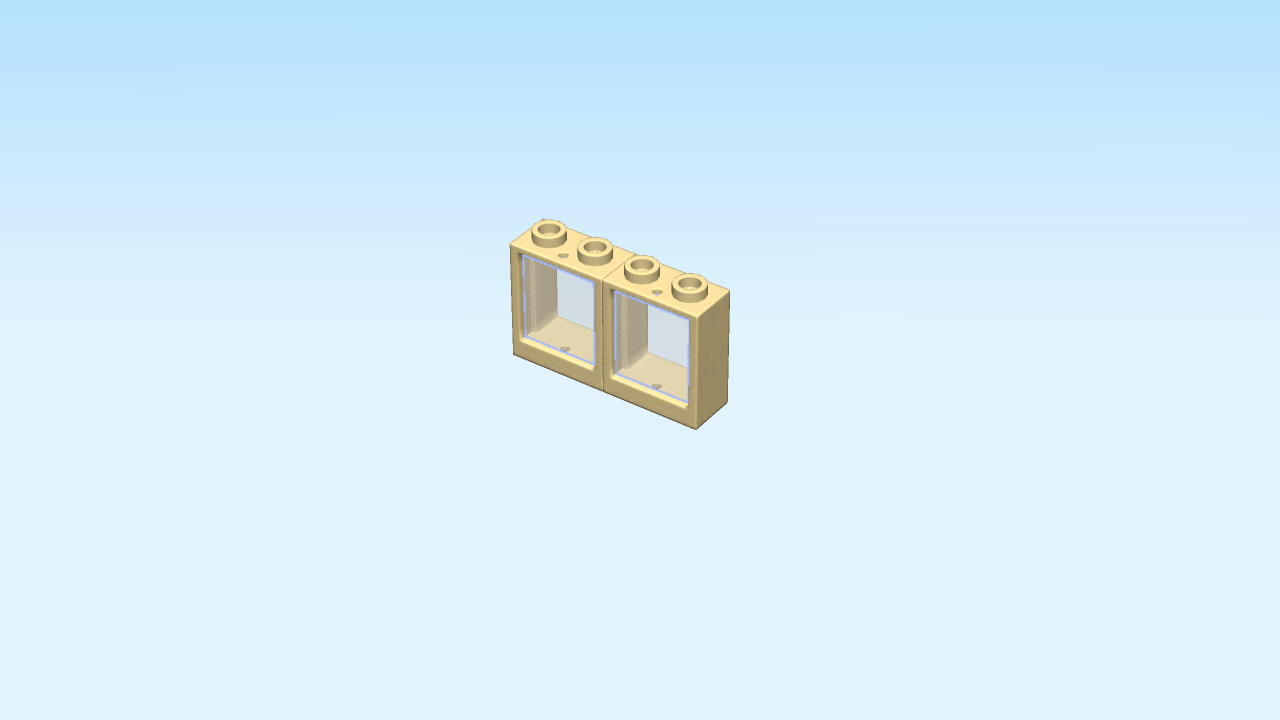
| Find 1 brick yellow frame 1x4x6. |
| Put it flat on the table, inner notch to the top, knobs to the back. |
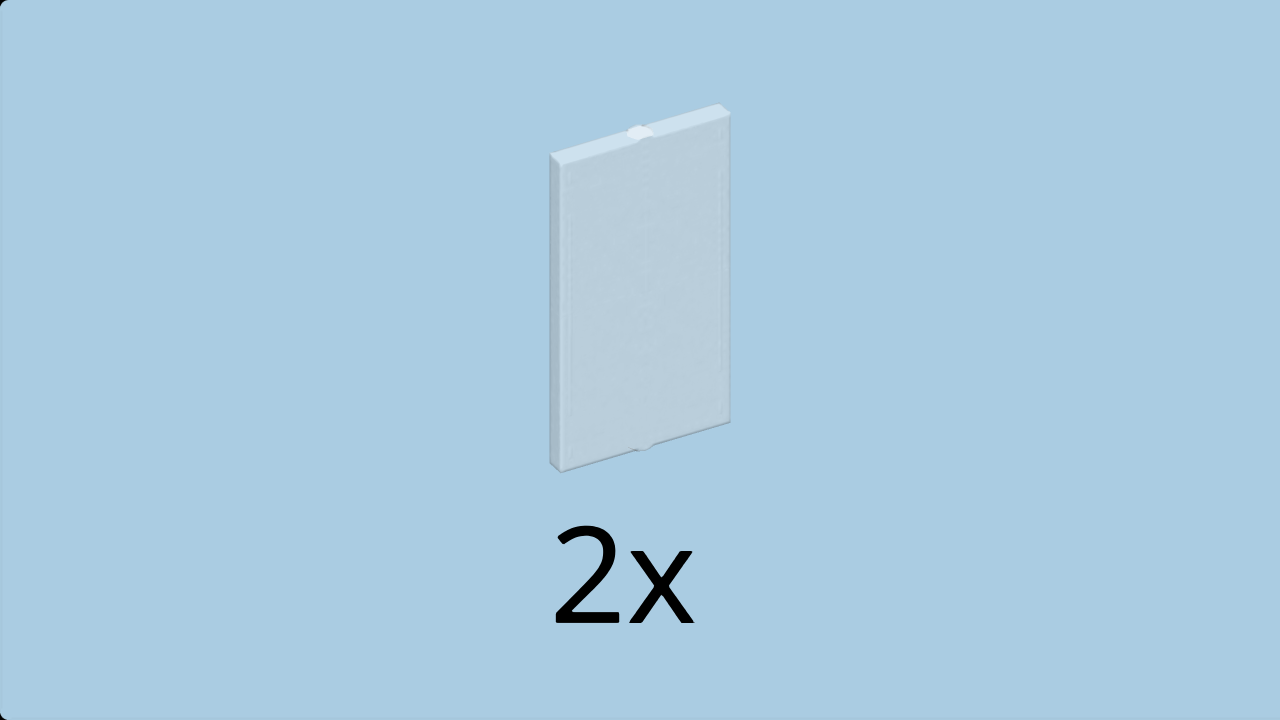
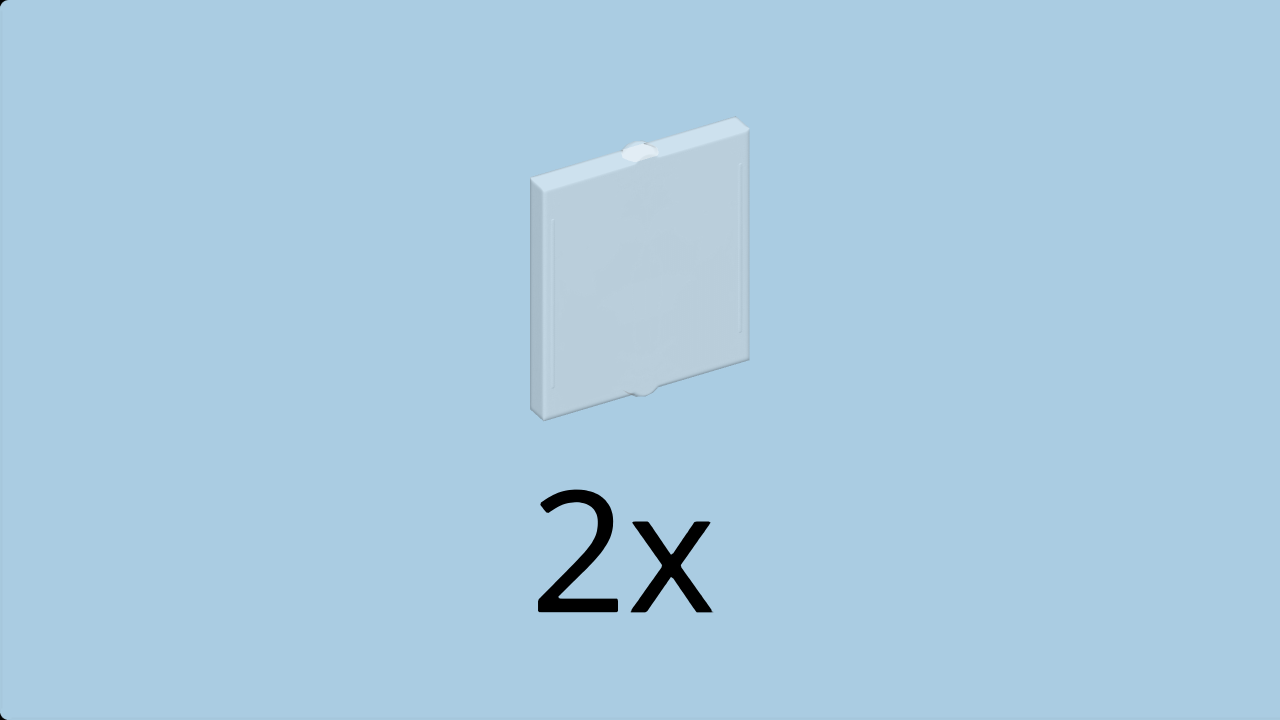
| Find 1 transparent glass for frame 1x4x6. |
| Snap it into the inner notches of the frame 1x4x6. |
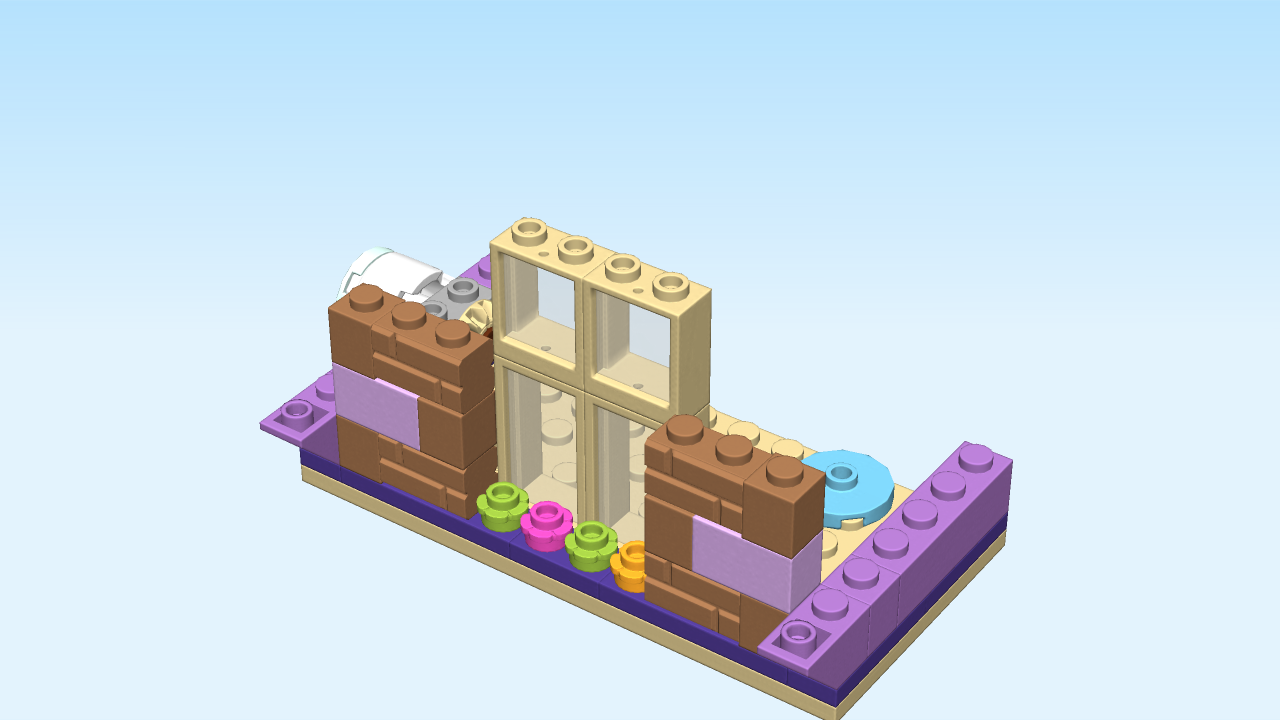
| The window is finished! Well done! Put it horizontally to the right of the previous piece, next to the white column 1x1x6. |
| Next, we will decorate a wall element. |
| Find 1 lavender wall element 1x6x5. |
| Continue if you want to decorate it with a sticker now. If not, skip the next four sentences. |
| Put the wall element 1x6x5 flat on the table, hollow to the bottom and knobs to the back. |
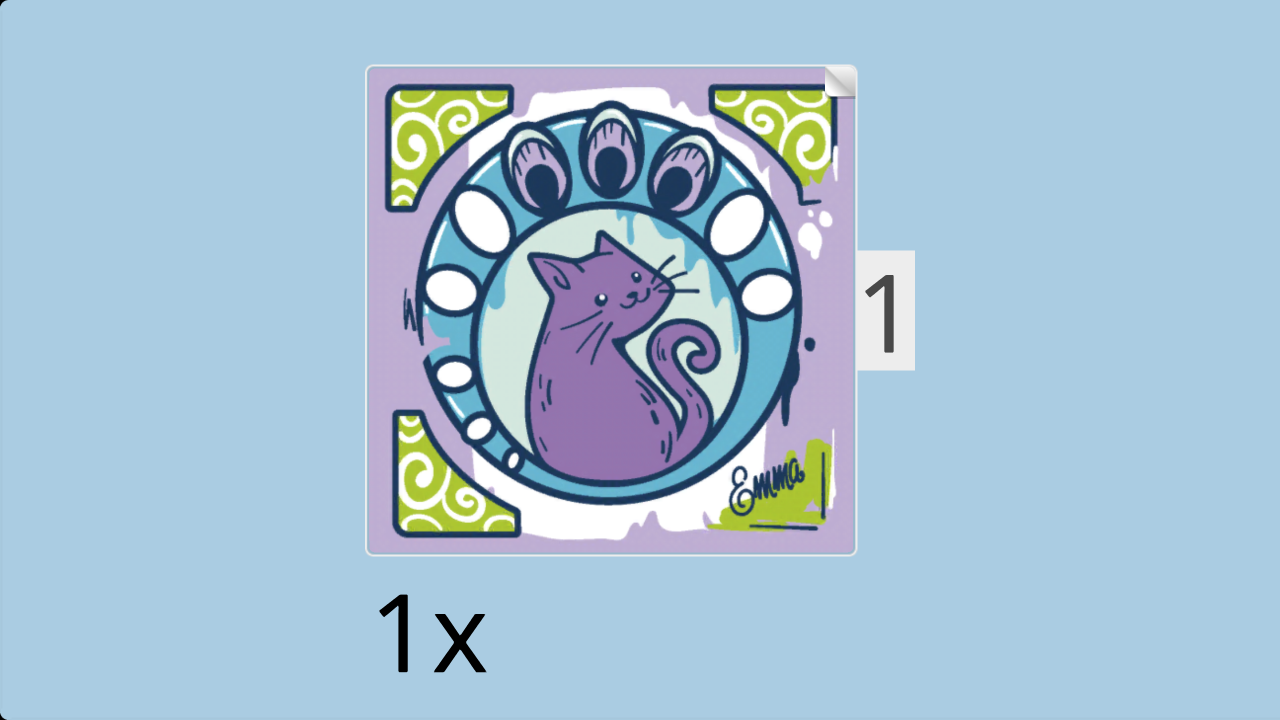
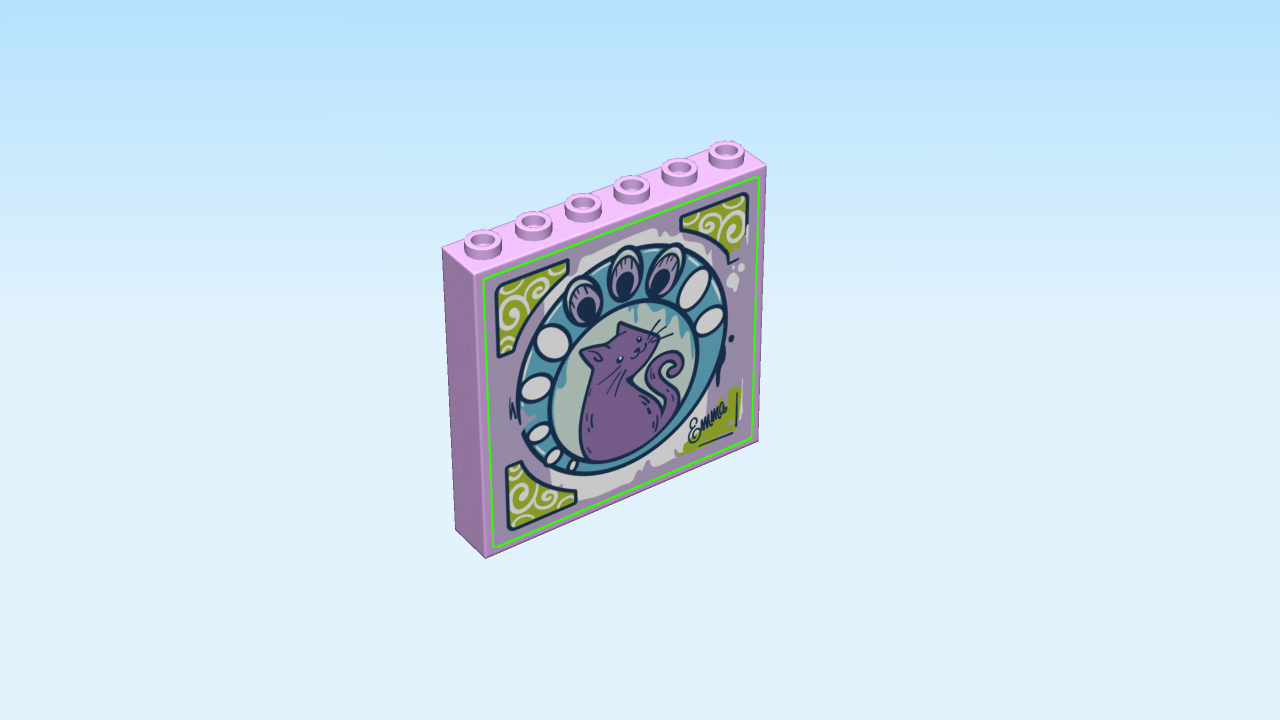
| Find 1 large-sized square sticker number 1. Ask a sighted person to help you. |
| Put it on top in the middle. |
| The sticker shows a painting of a purple cat surrounded by painted ornaments and decorations. |
| Put the wall element 1x6x5 vertically on the rightmost column starting from the back, hollow to the left. |
| Collect the following 2 pieces: |
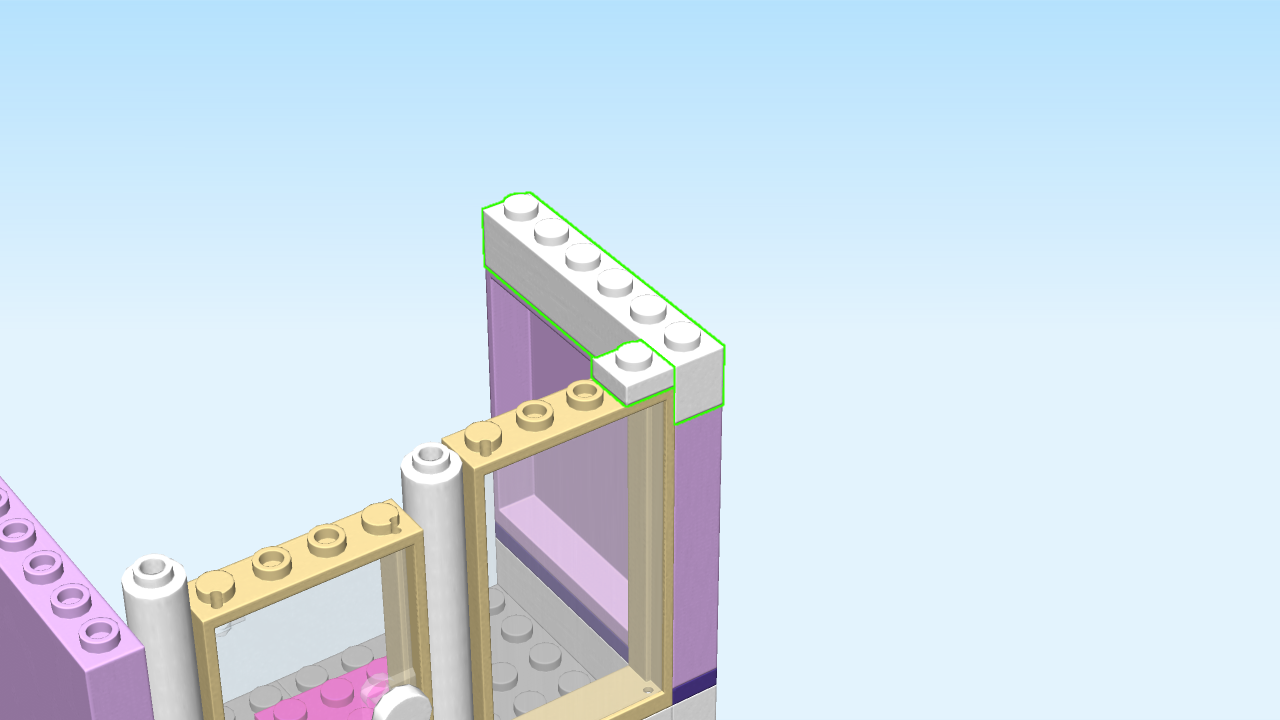
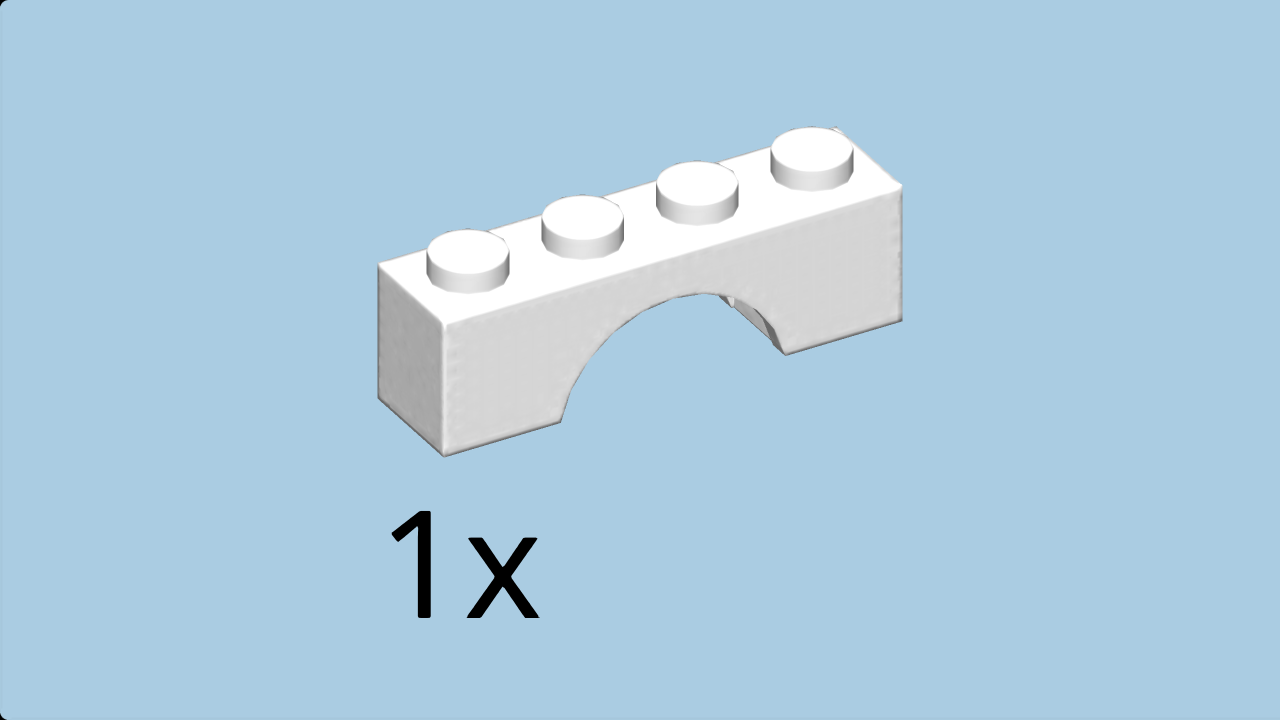
| 1 white brick 1x6, |
| and 1 white plate 1x1. |
| Put the brick 1x6 vertically on top of the previous piece. |
| Put the plate 1x1 to the left on top of the window. |
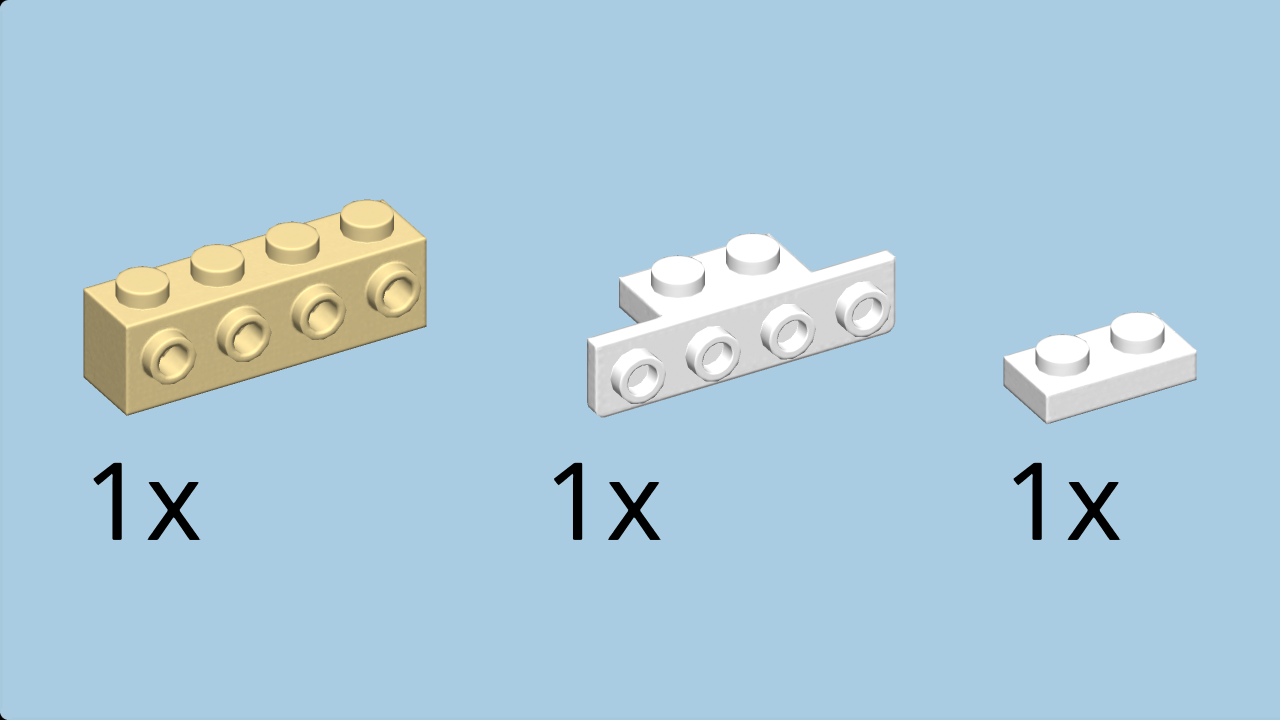
| Collect the following 3 pieces: |
| 1 brick yellow brick 1x4 with 4 side knobs, |
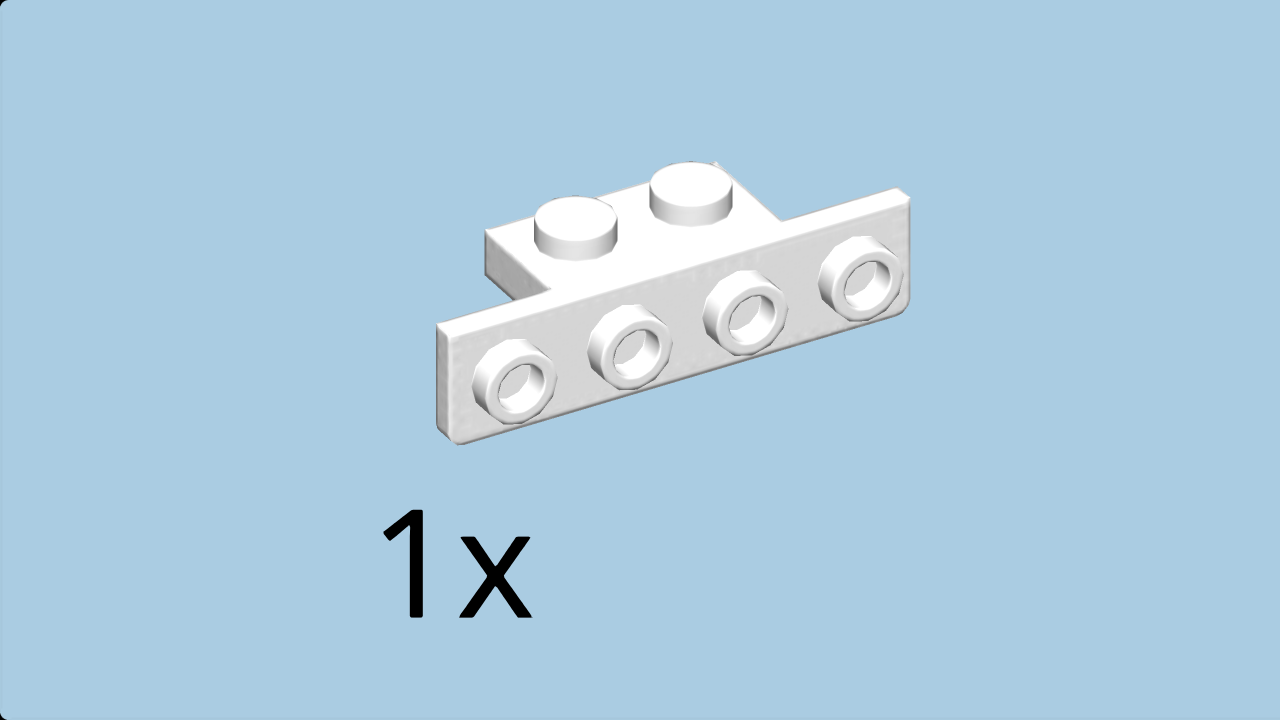
| 1 white angle plate 1x2 - 1x4 with 4 side knobs, |
| and 1 white plate 1x2. |
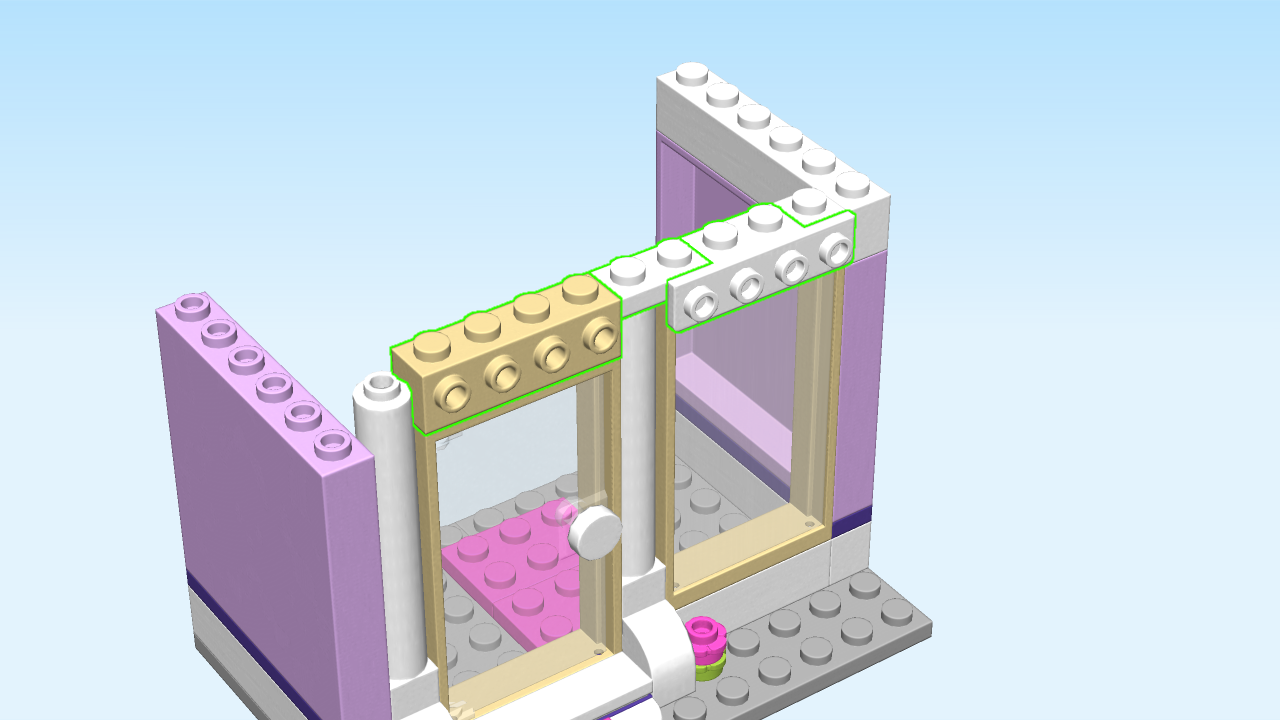
| Put the brick 1x4 with 4 side knobs horizontally on top of the door, side knobs to the front. |
| Put the angle plate 1x2 - 1x4 horizontally on the middle two knobs of the window, side knobs to the front. |
| Put the plate 1x2 horizontally between the previous pieces. |
| Collect the following 3 pieces: |
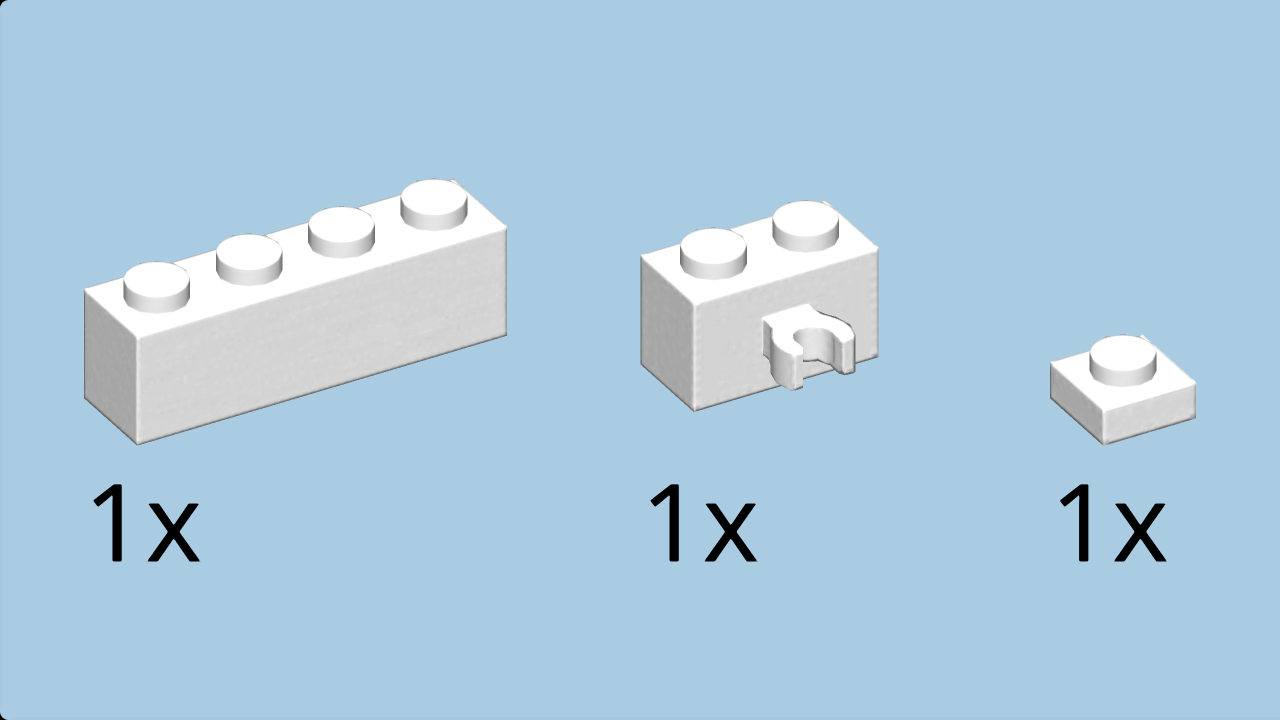
| 1 white brick 1x2 with side clasp, |
| 1 white plate 1x1, |
| and 1 white brick 1x4. |
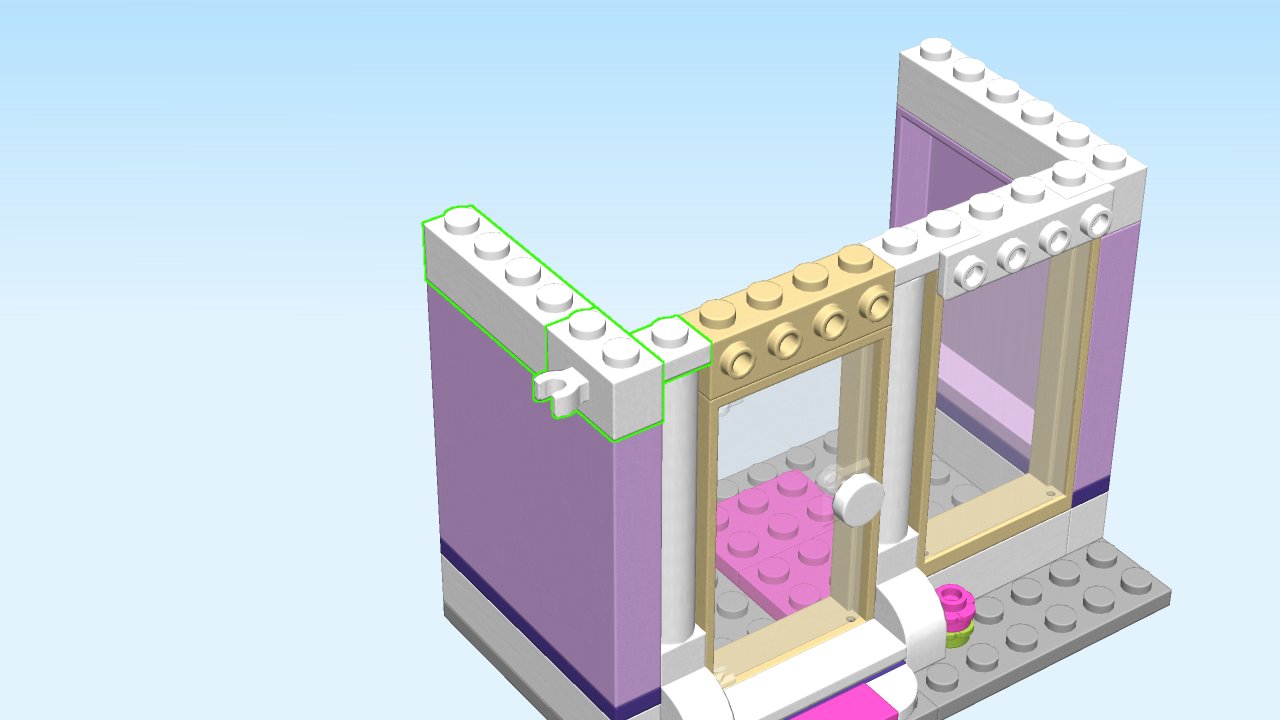
| Put the brick 1x2 with side clasp vertically on the leftmost column starting from the front, clasp to the left. |
| Put the plate 1x1 to the right. |
| Put the brick 1x4 vertically on the back four knobs of the leftmost column. |
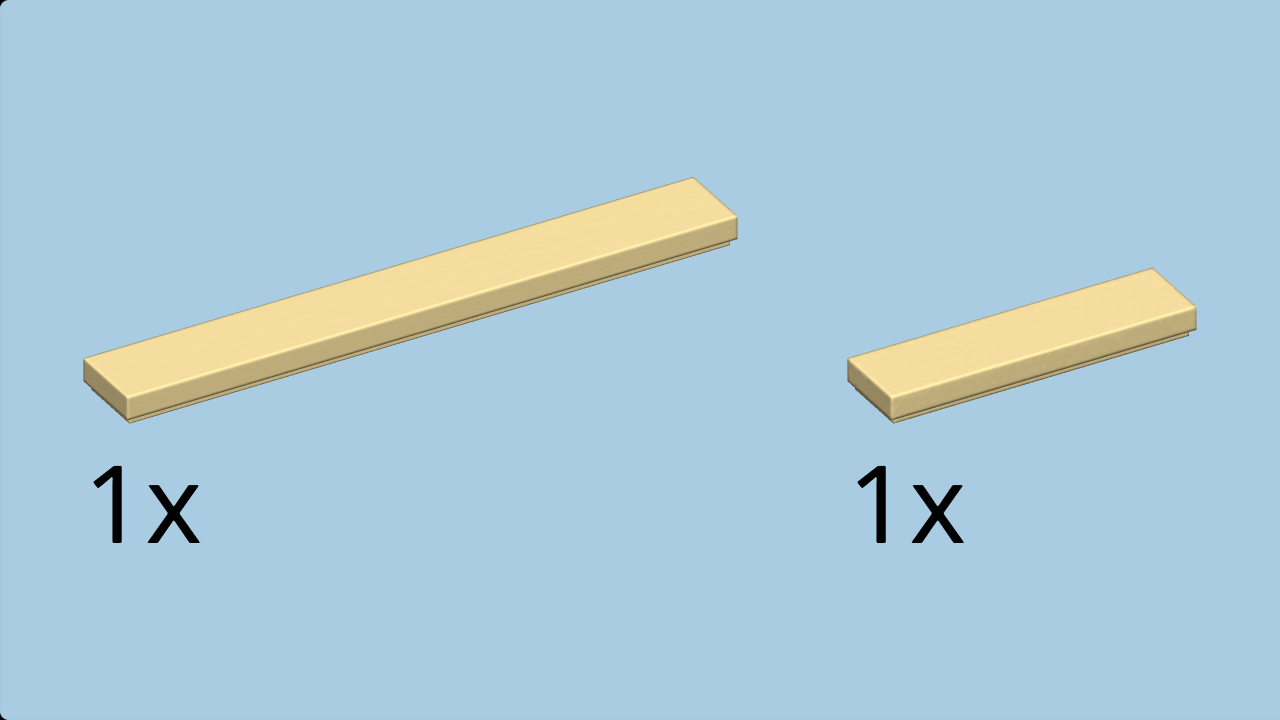
| Collect the following 2 pieces: |
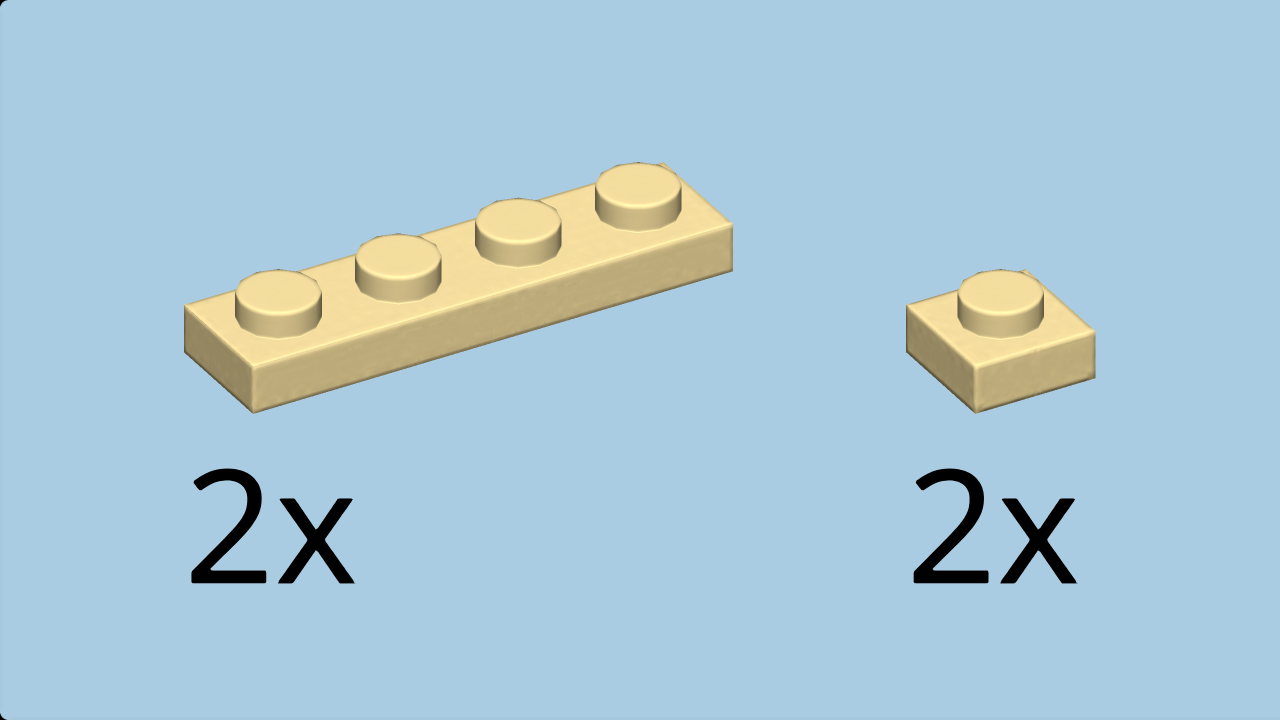
| 1 brick yellow flat tile 1x4, |
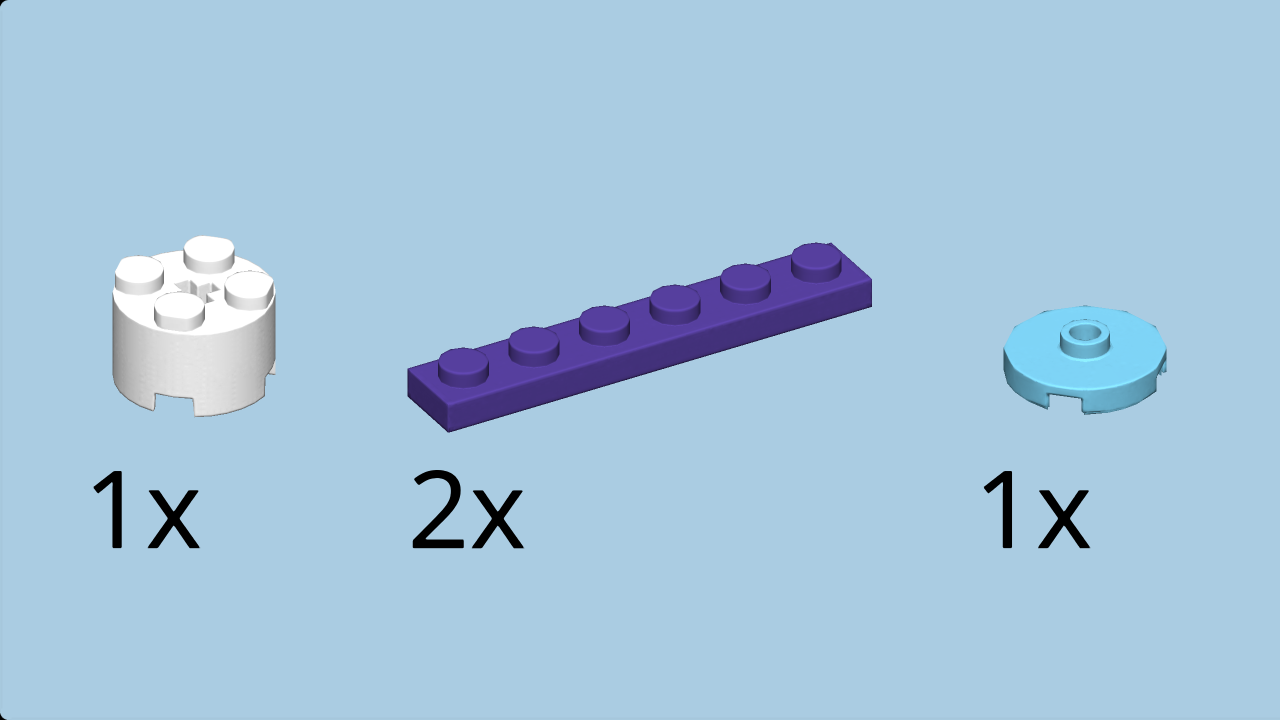
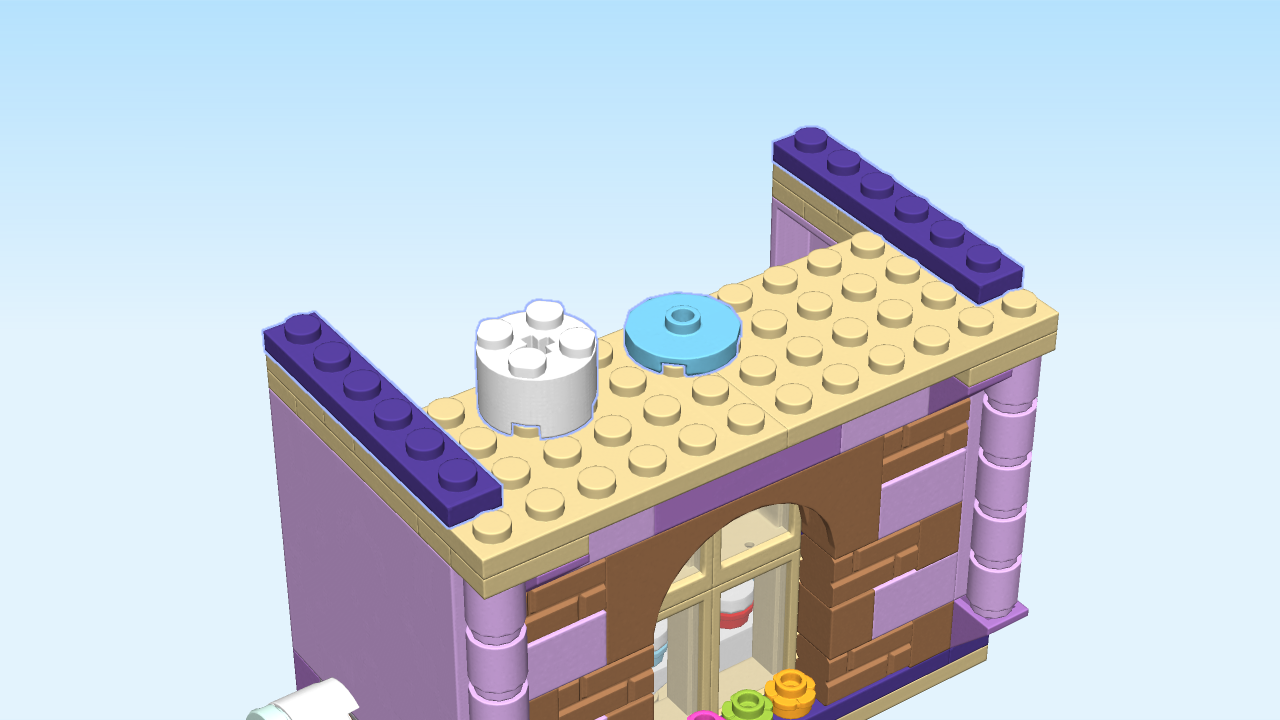
| and 1 brick yellow flat tile 1x8. |
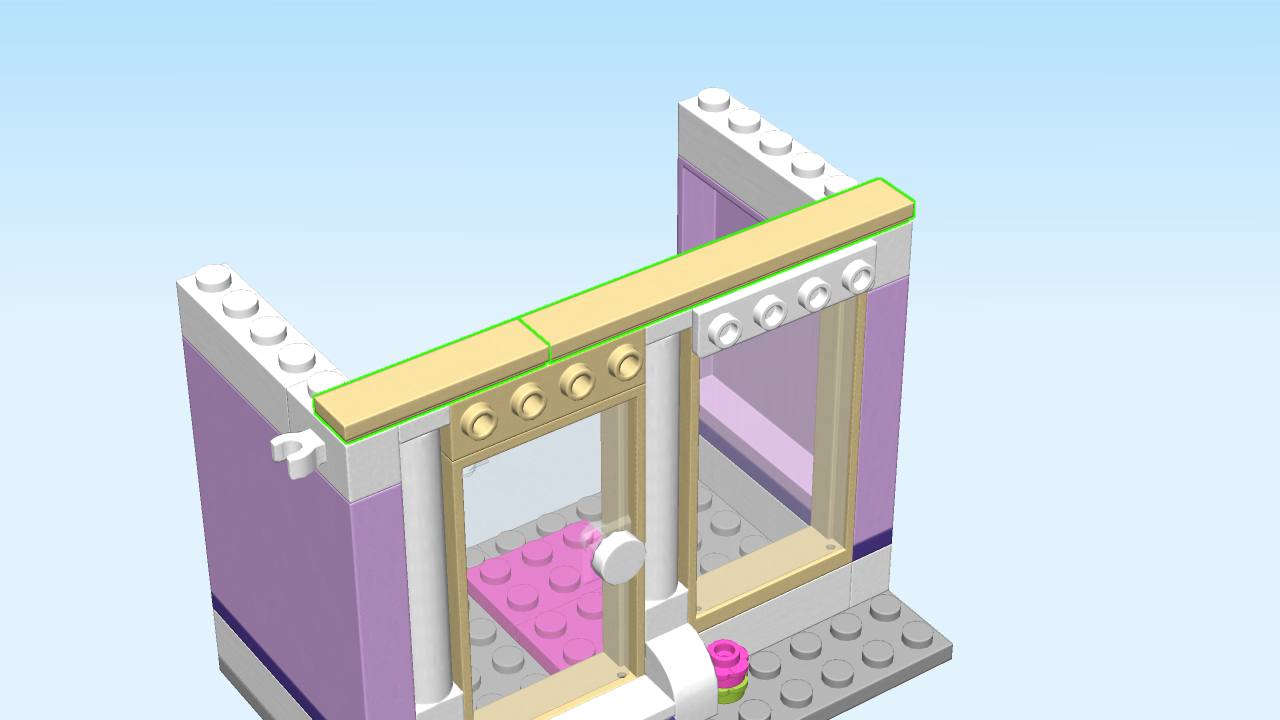
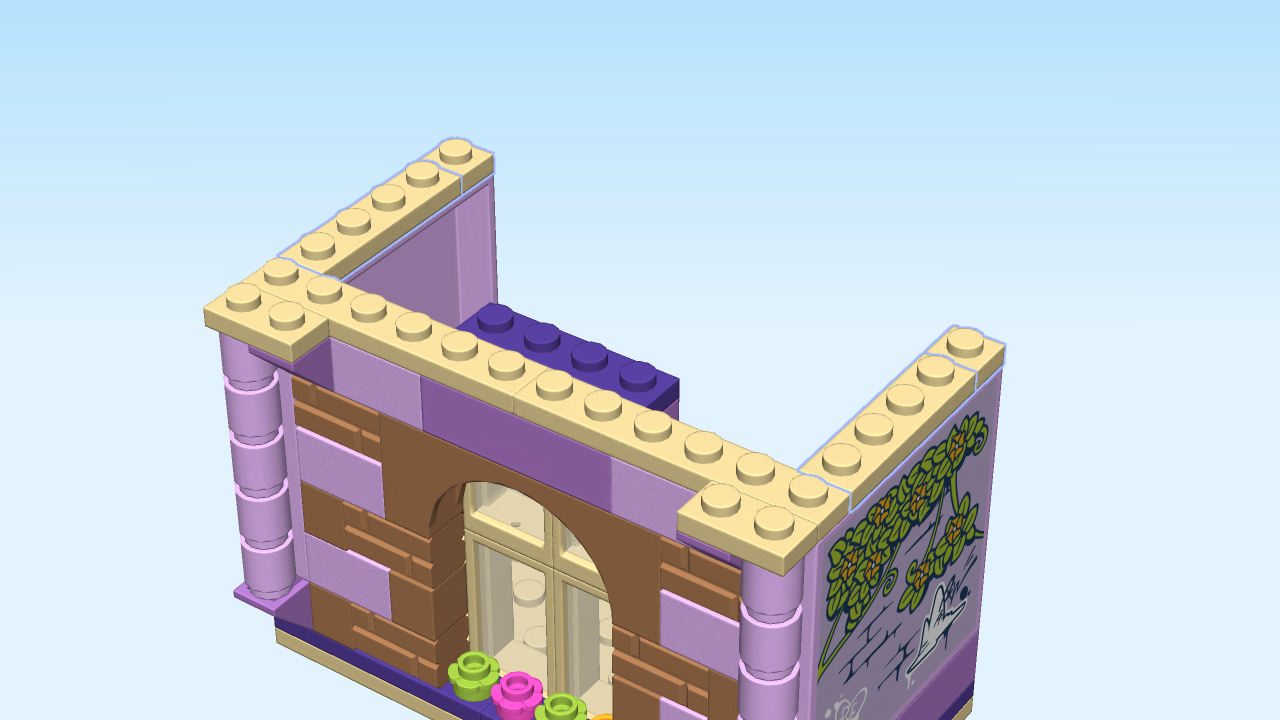
| Put the flat tile 1x4 horizontally on top, starting from the left. |
| Put the flat tile 1x8 horizontally to the right. |
| Collect the following 4 pieces: |
| 2 brick yellow flat tiles 1x1, |
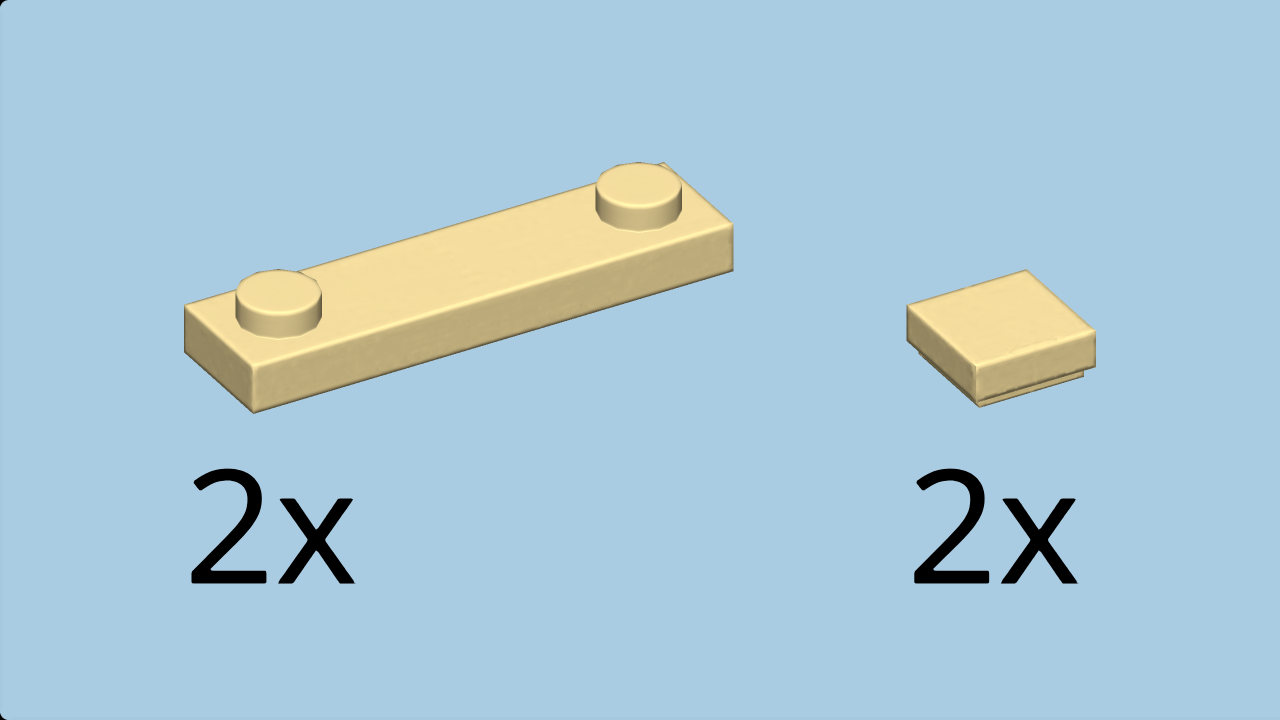
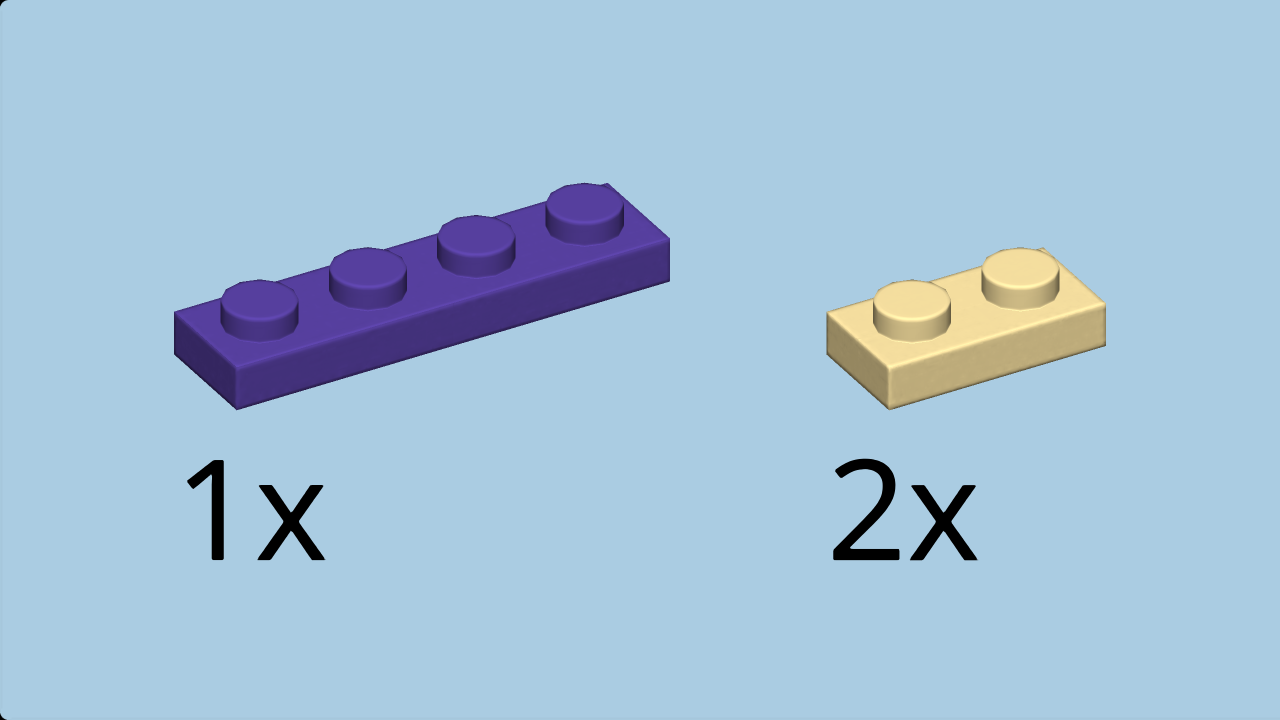
| and 2 brick yellow plates 1x4 with 2 knobs. |
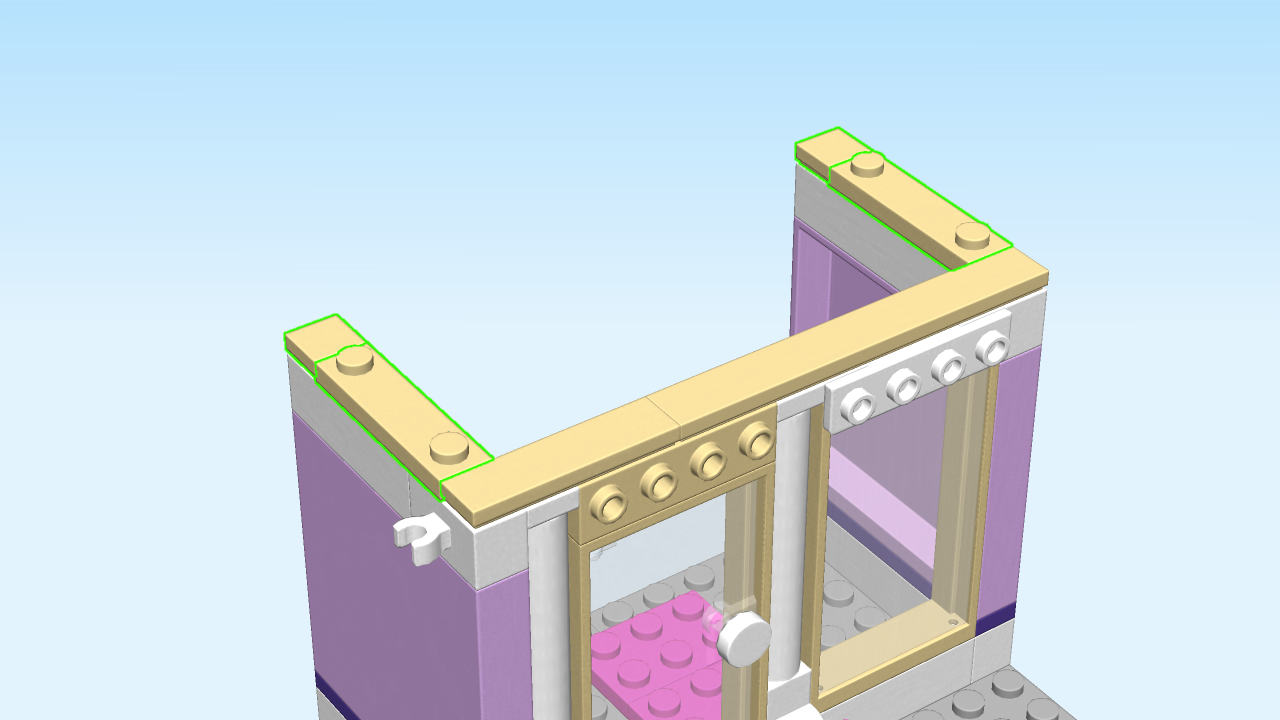
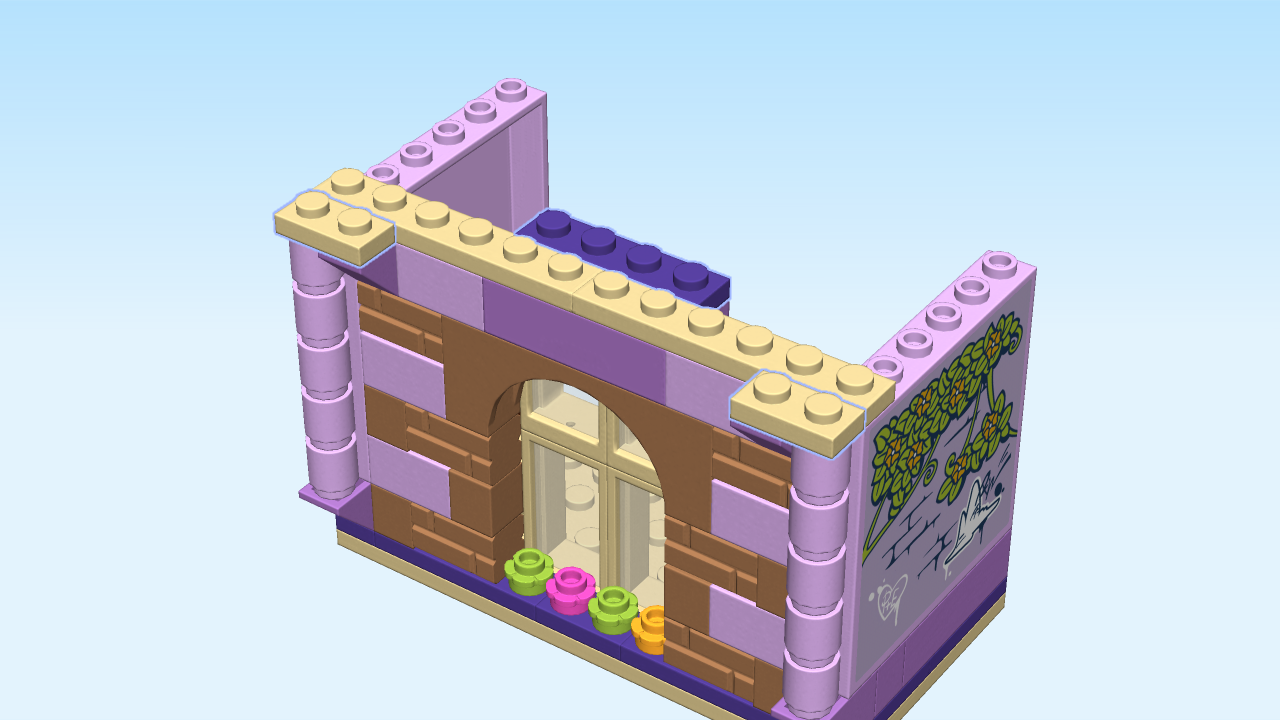
| Put one flat tile 1x1 on the backmost knob on the left wall. |
| Repeat symmetrically on the right. |
| Put one plate 1x4 with 2 knobs vertically in front of the previous piece. |
| Repeat symmetrically on the left. |
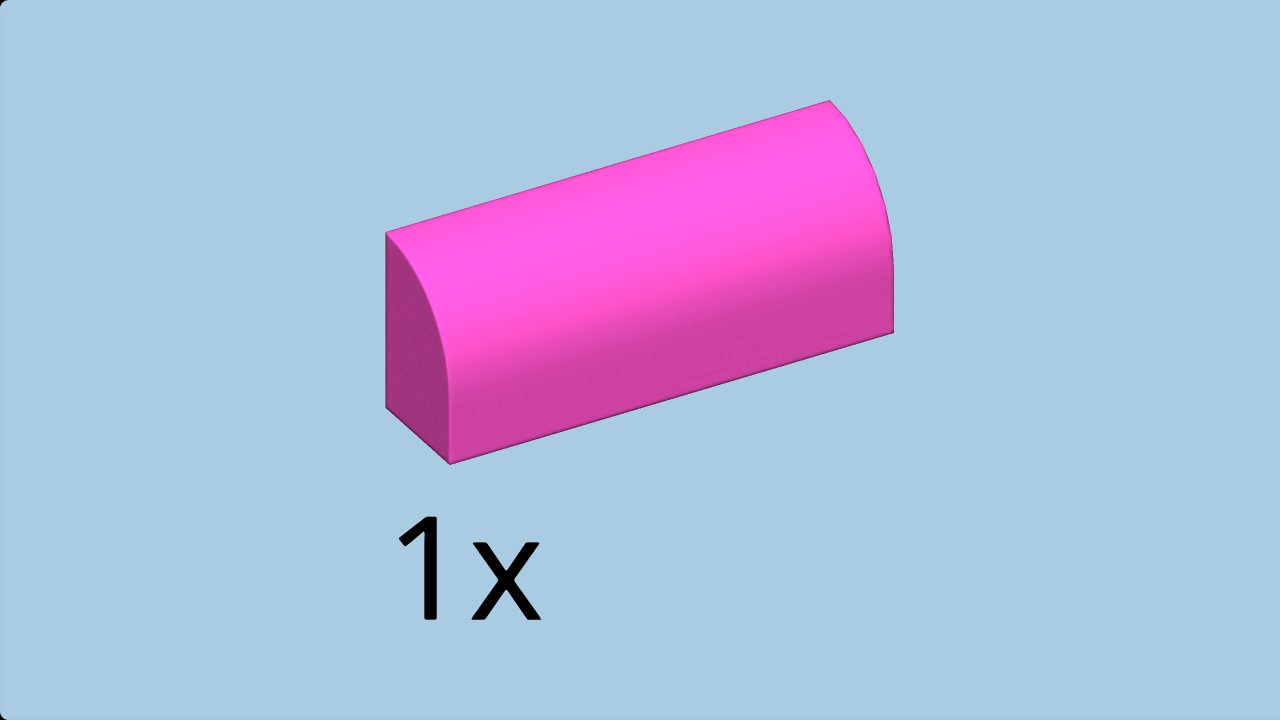
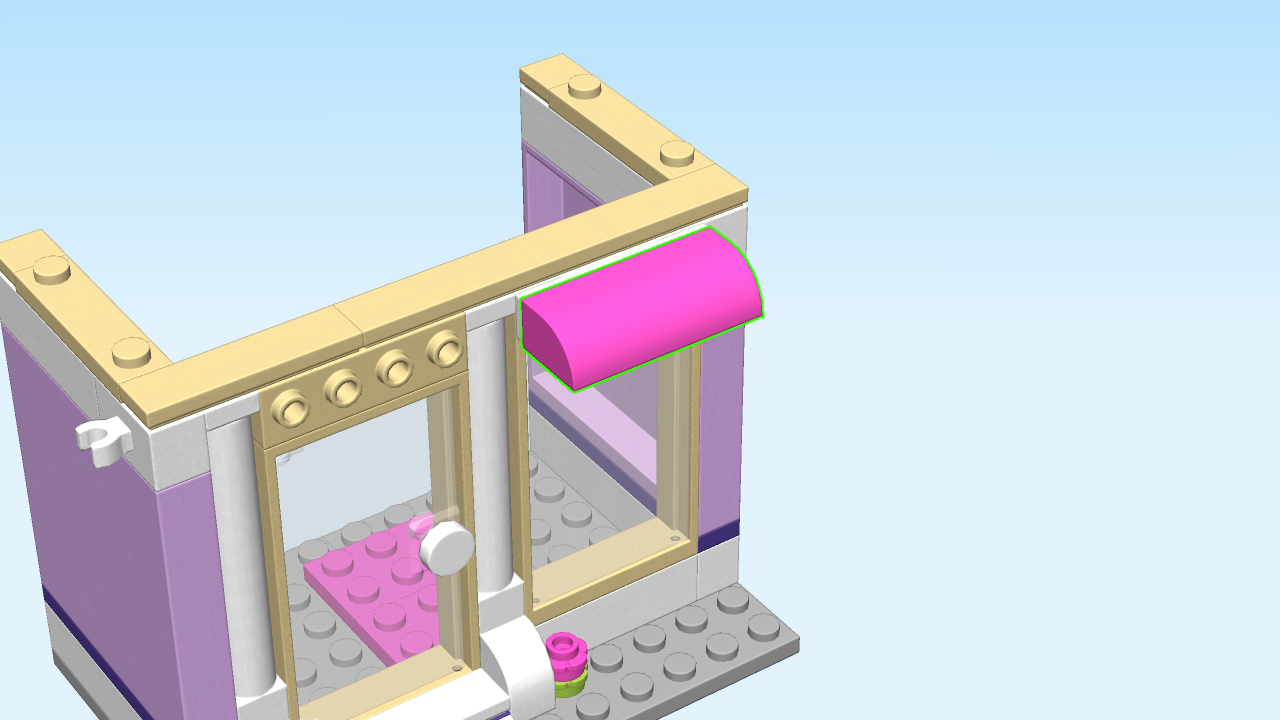
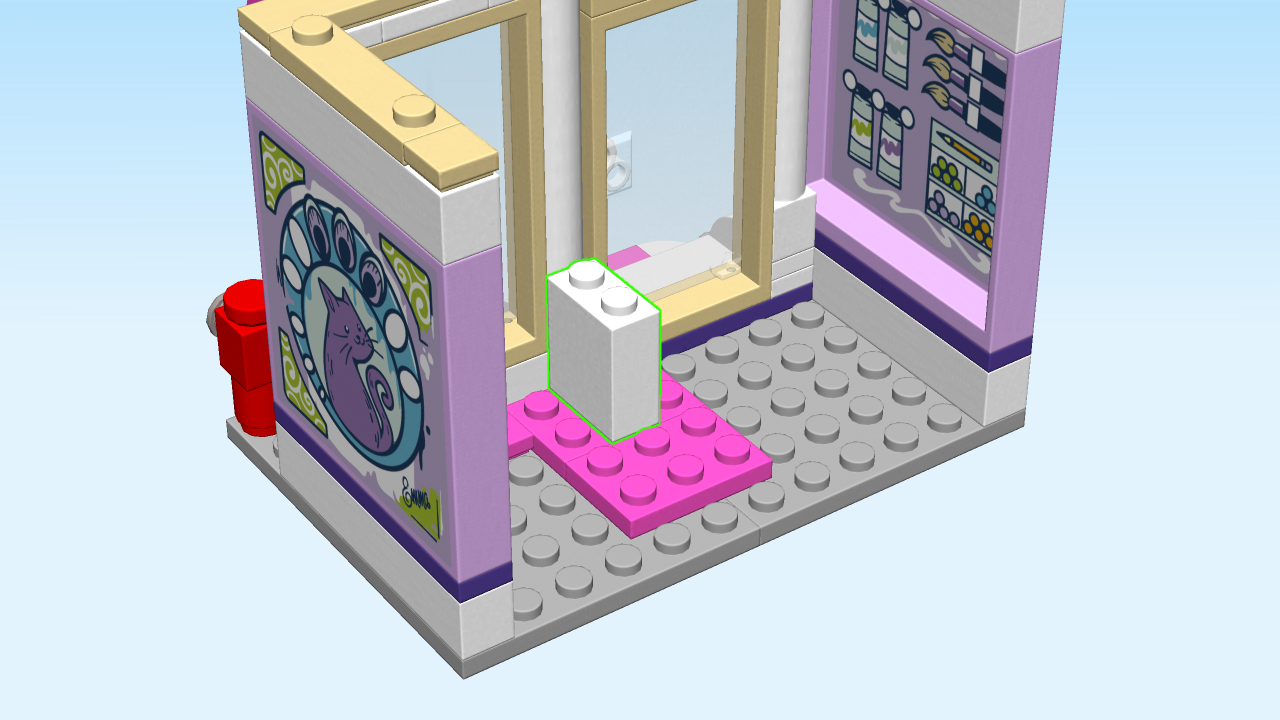
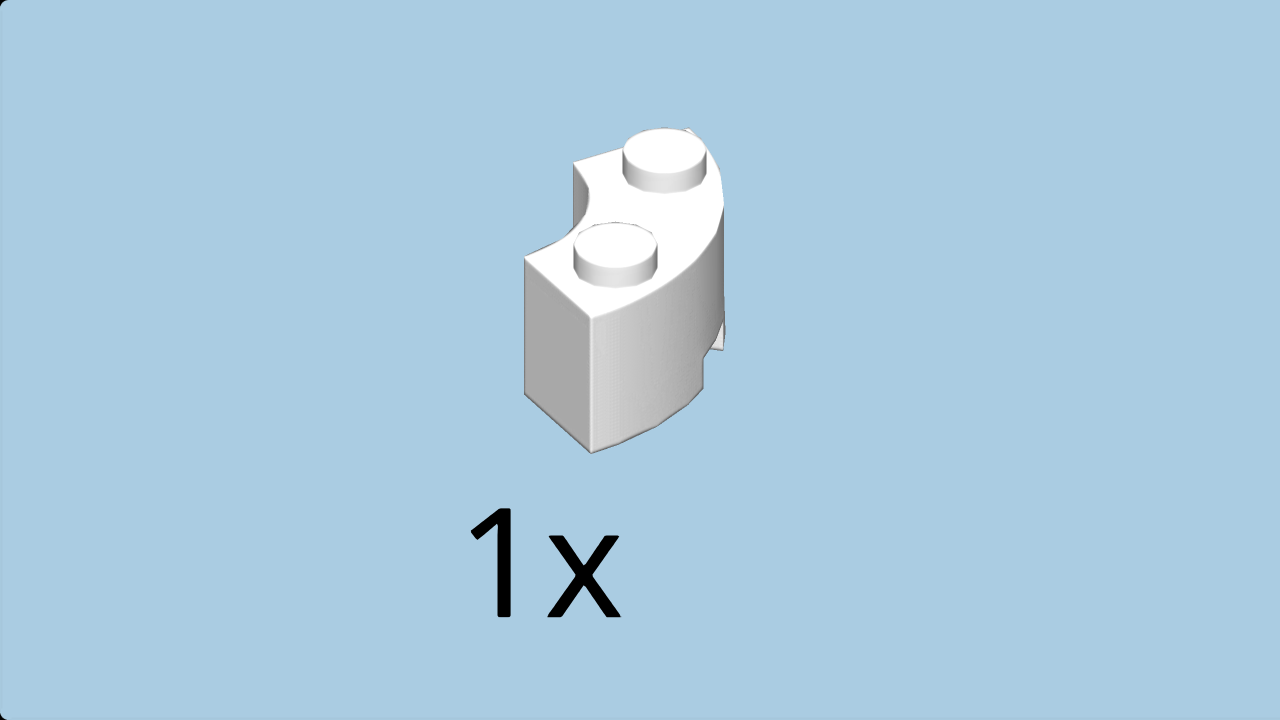
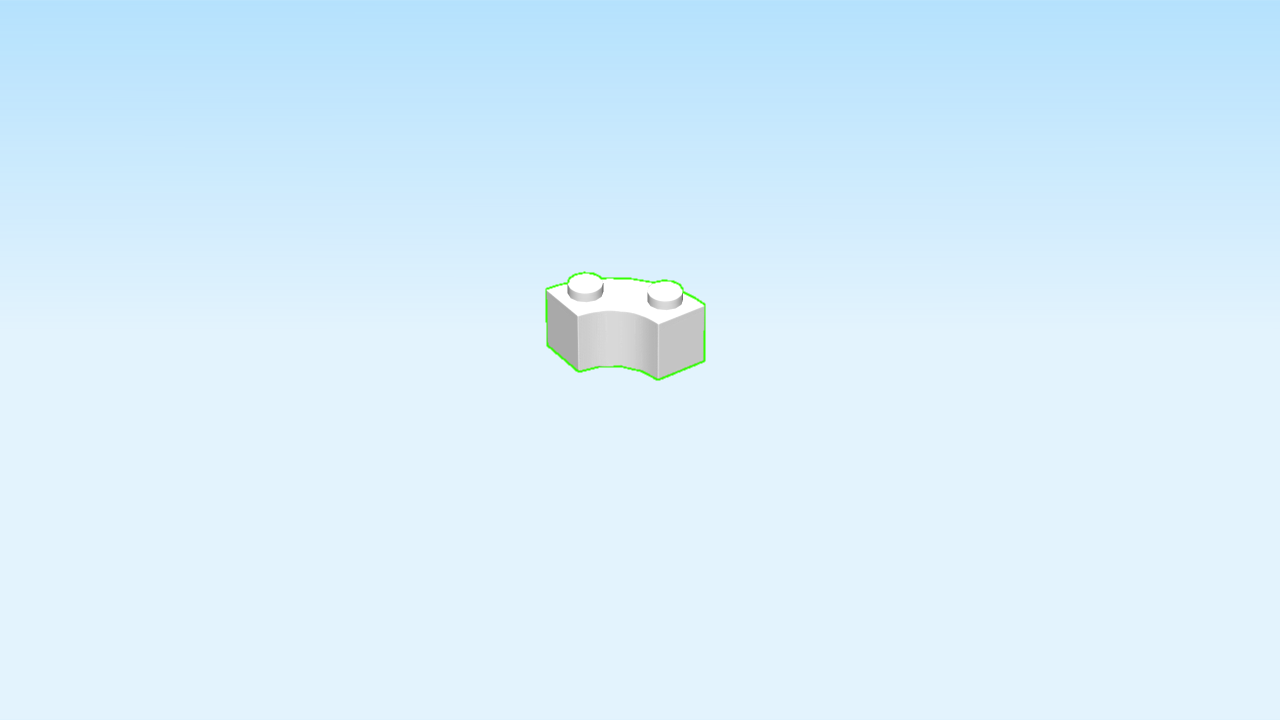
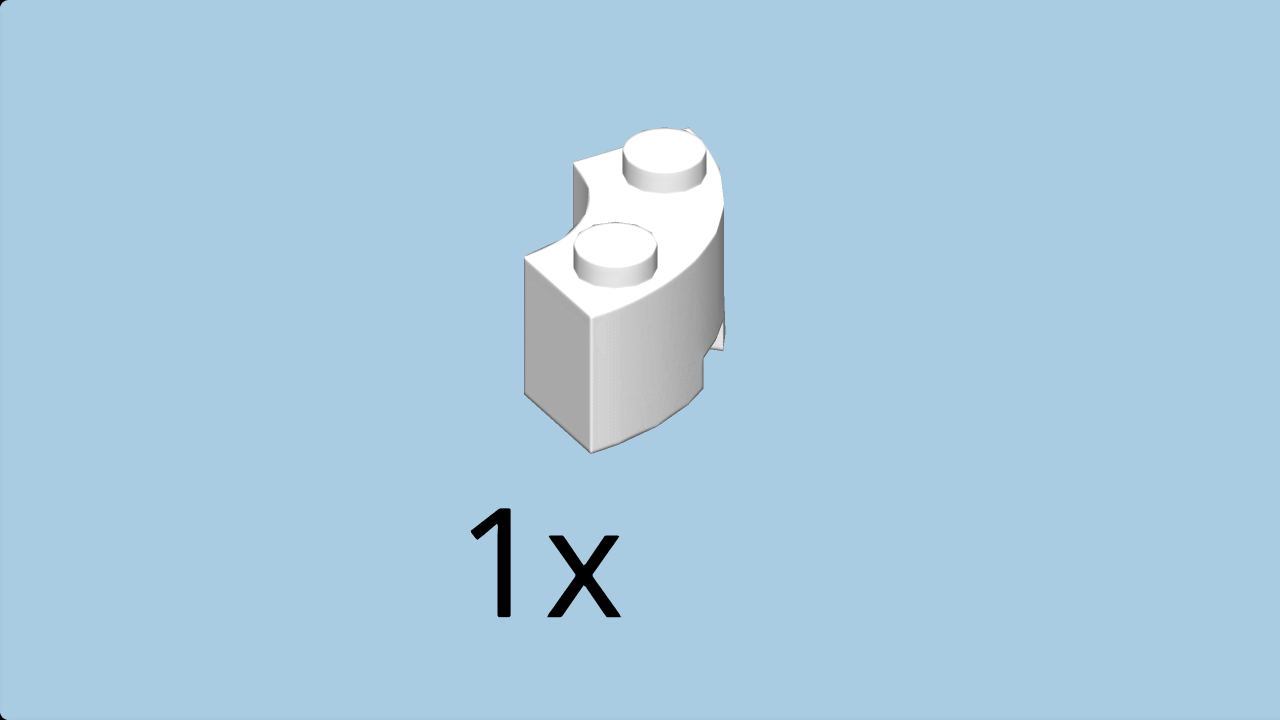
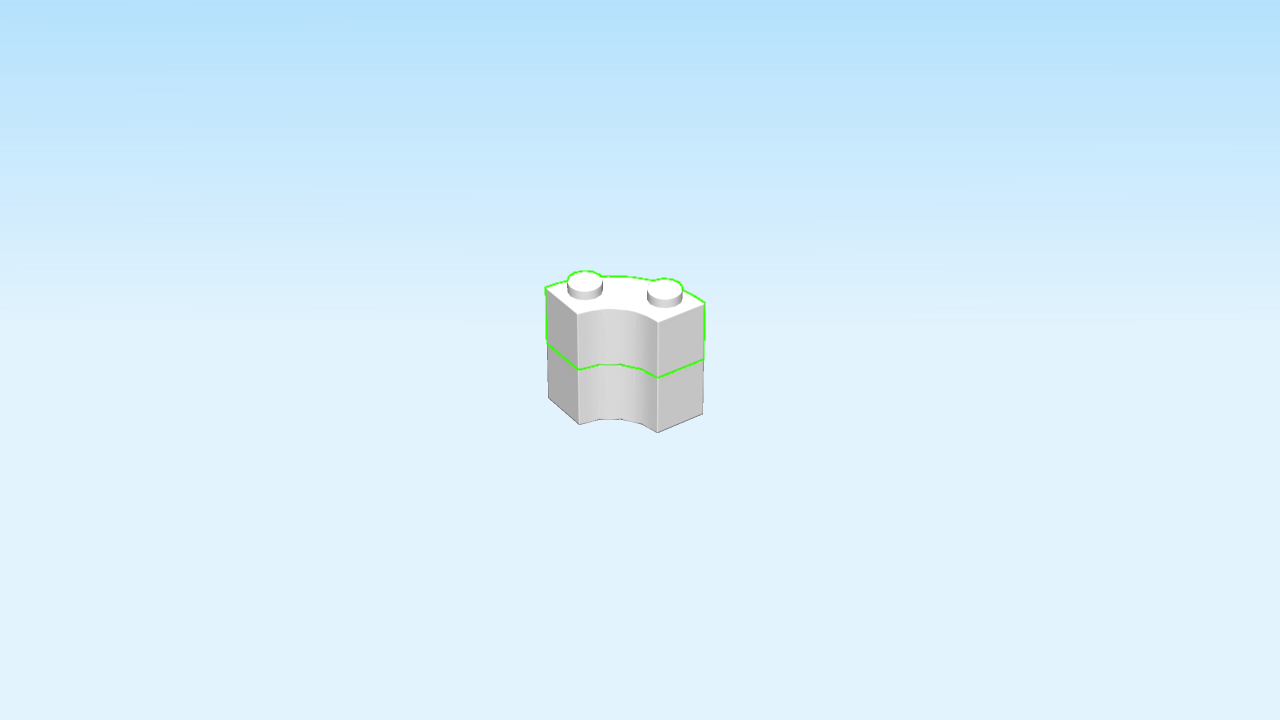
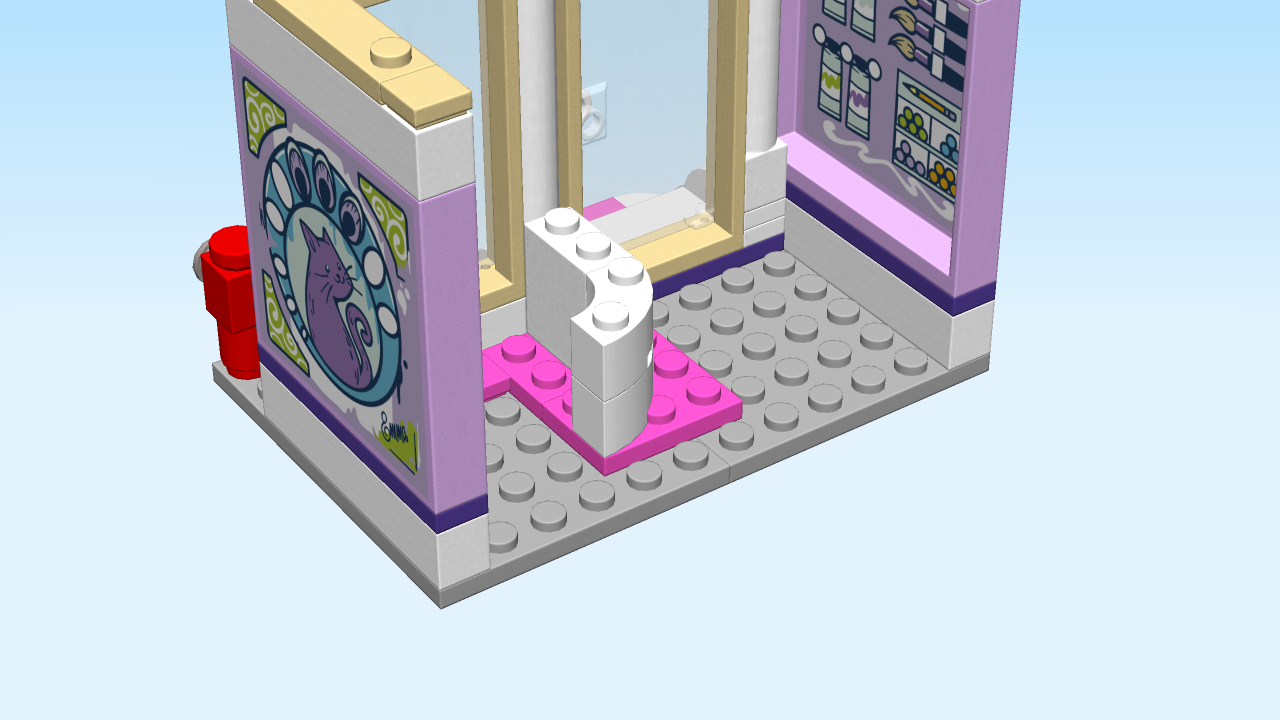
| Find 1 bright purple curve brick 1x4x1. |
| Careful: this piece has a special orientation! |
| Put it upright horizontally on the four side knobs on the right front side of the structure, slide to the top. |
| Next, we will build the doorway arch. |
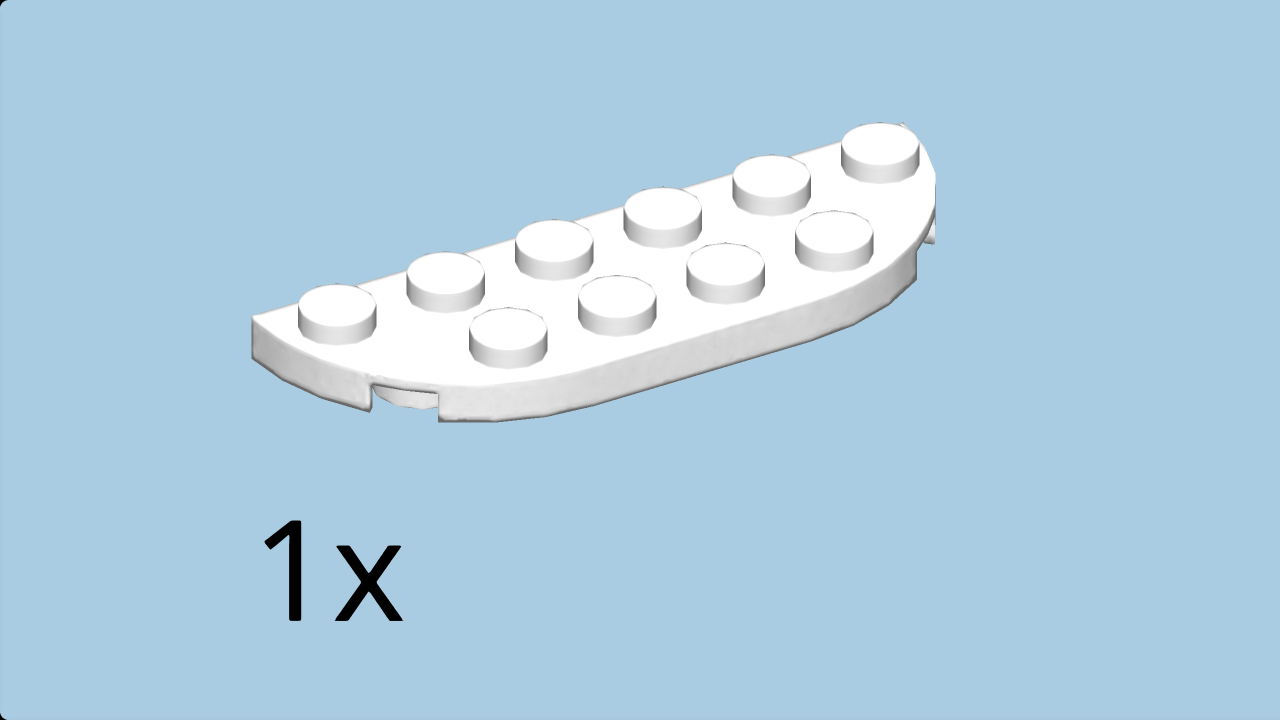
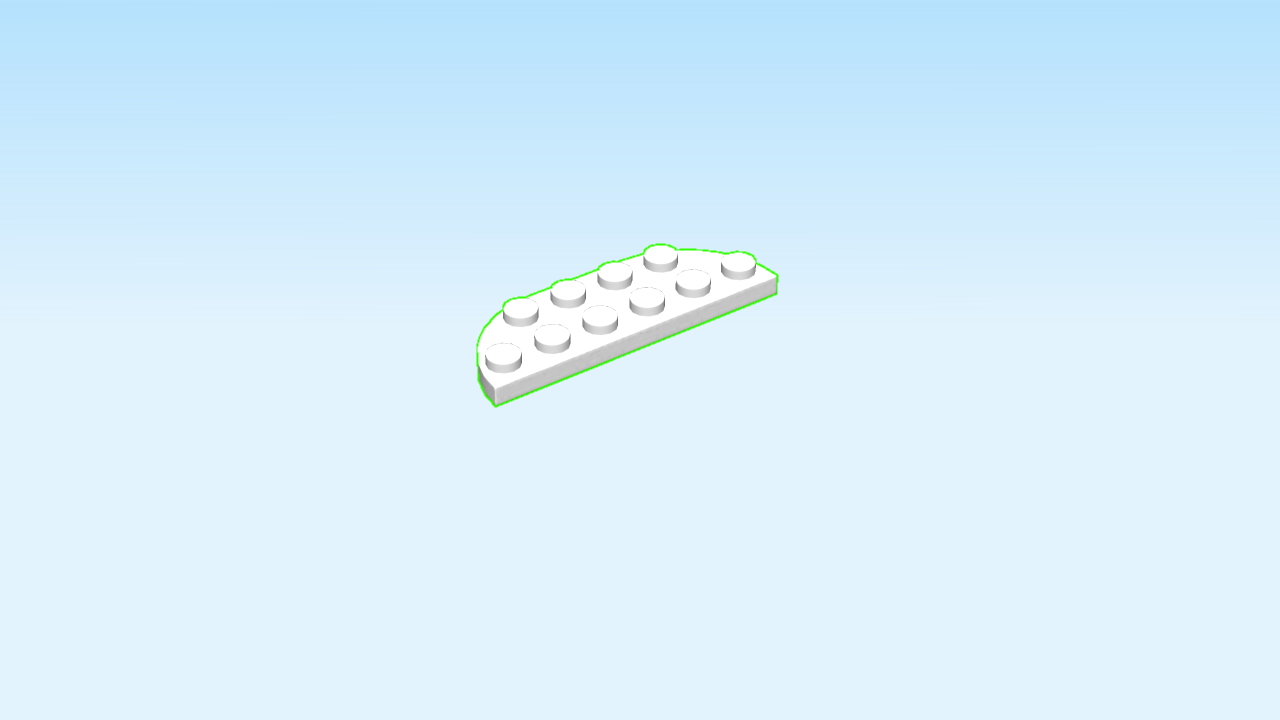
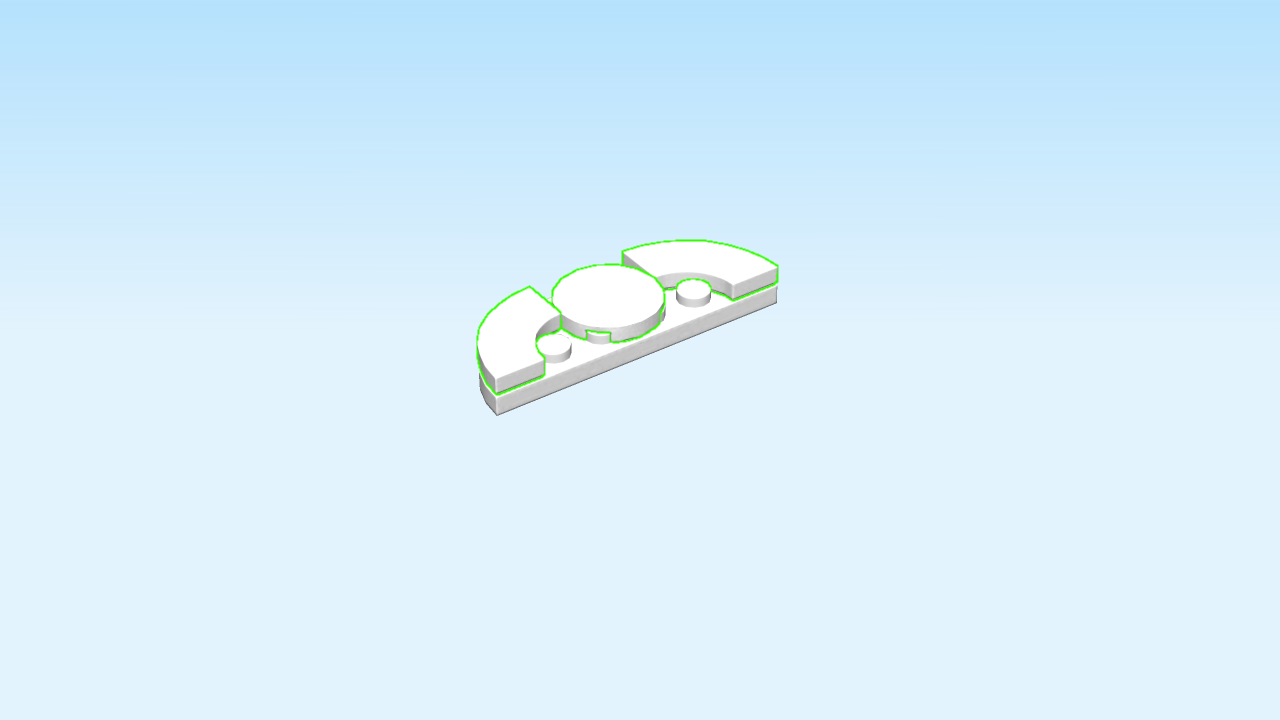
| Find 1 white half-circle plate 2x6. |
| Put it horizontally on the table, curved corners to the back. |
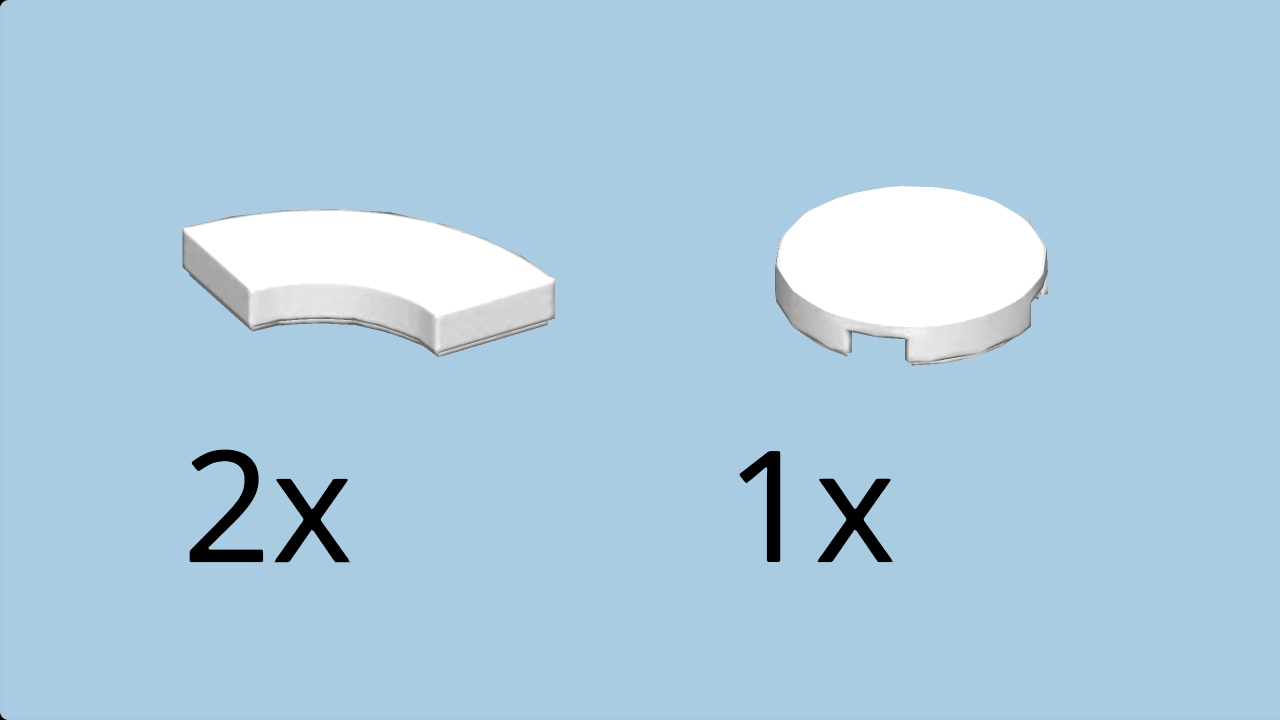
| Collect the following 3 pieces: |
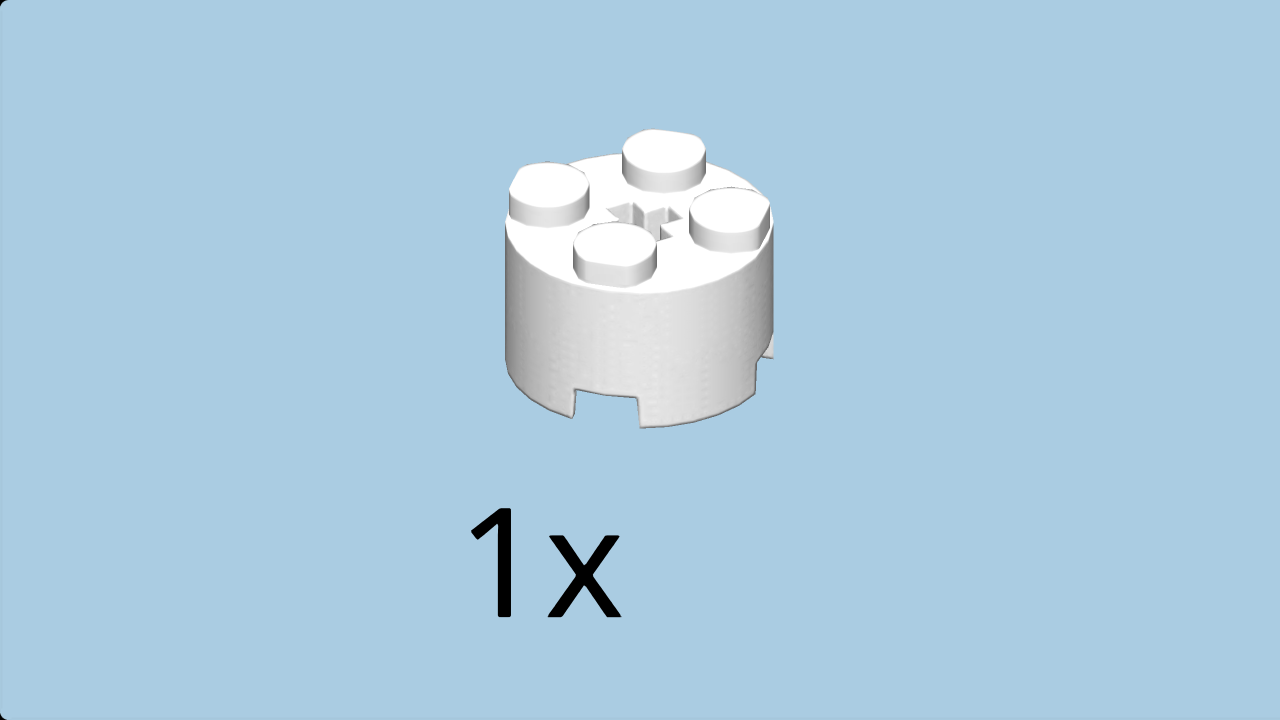
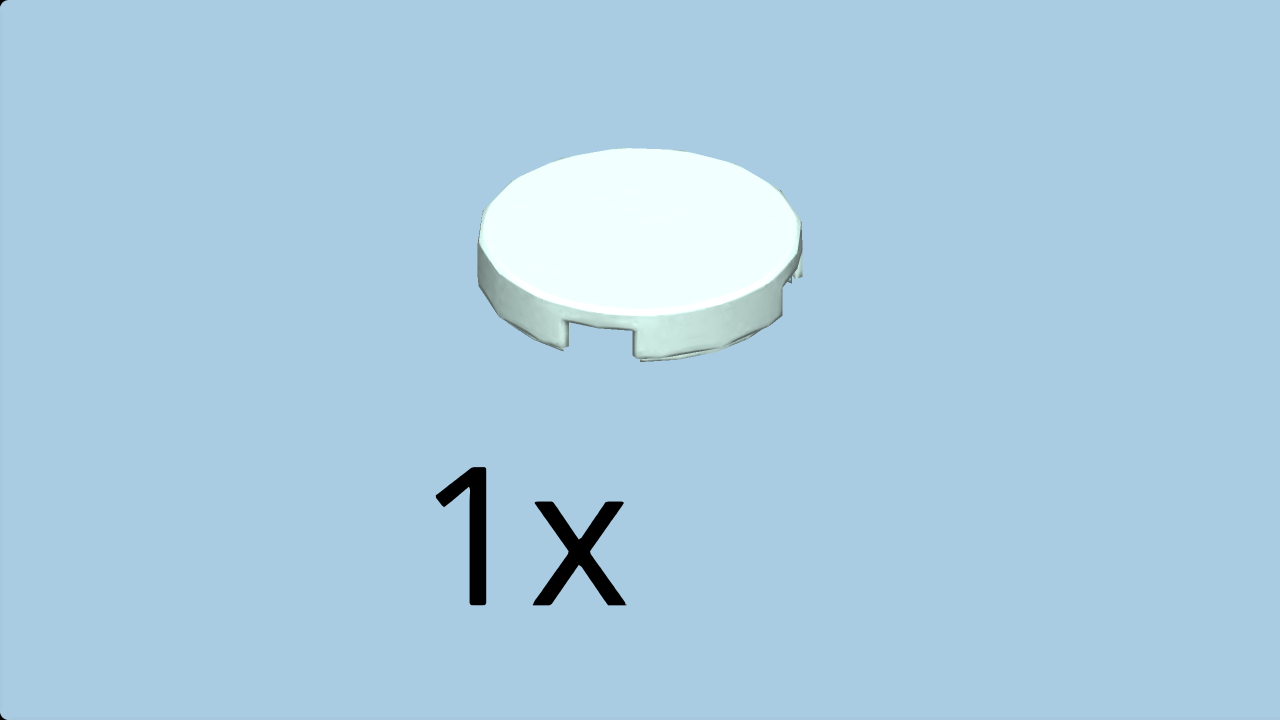
| 1 white round flat tile 2x2, |
| and 2 white quarter-arched tiles 2x2. |
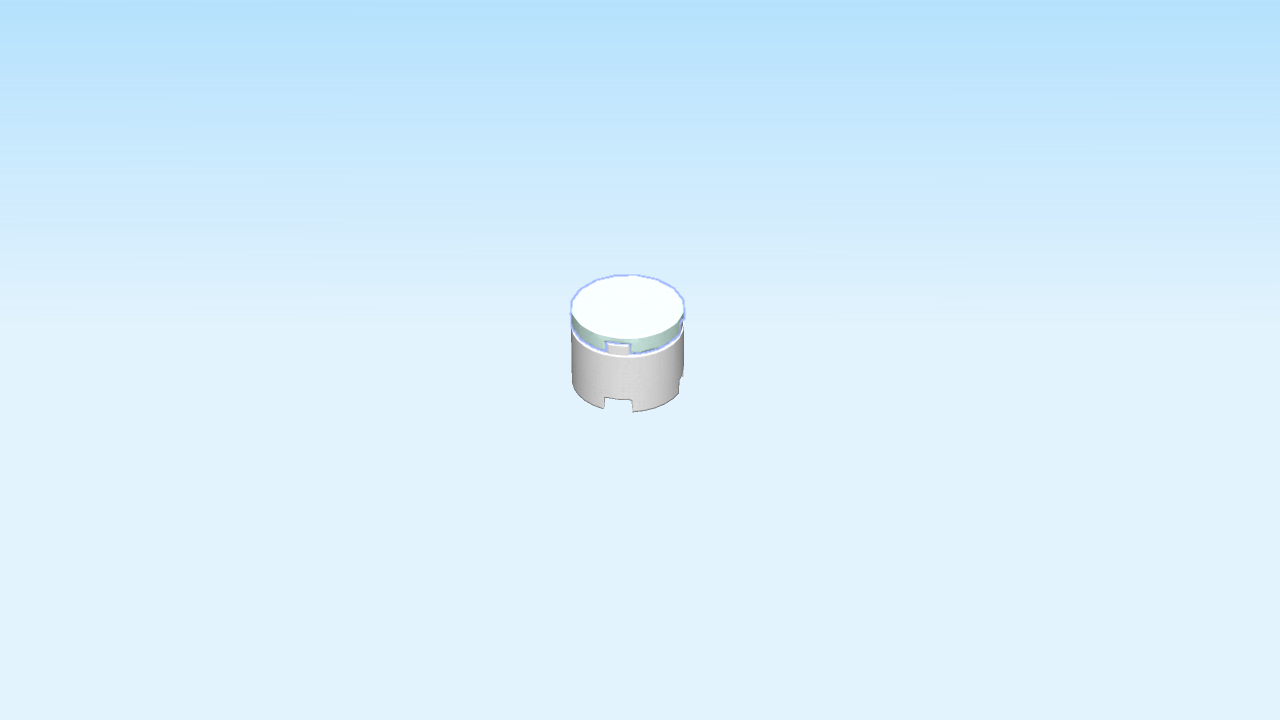
| Put the round flat tile 2x2 in the middle. |
| Put one quarter-arched tile 2x2 to the left, outside arch to the left back. |
| Repeat symmetrically on the right. |
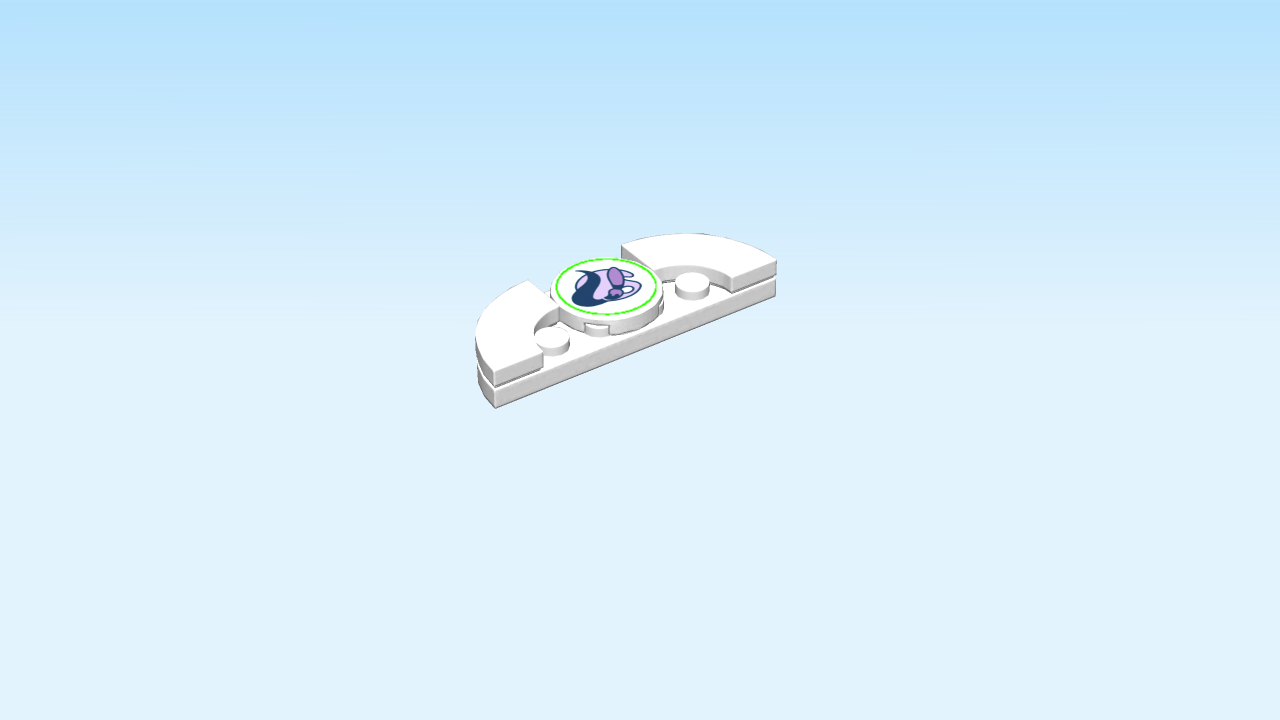
| Continue if you want to decorate the doorway arch with a sticker now. If not, skip the next three sentences. |
| Find 1 small round sticker number 9. Ask a sighted person to help you. |
| Put it on the round flat tile 2x2. |
| (The sticker features the logo of the art studio: a painter's palette, and a paint brush painting a thick violet brush stroke.) |
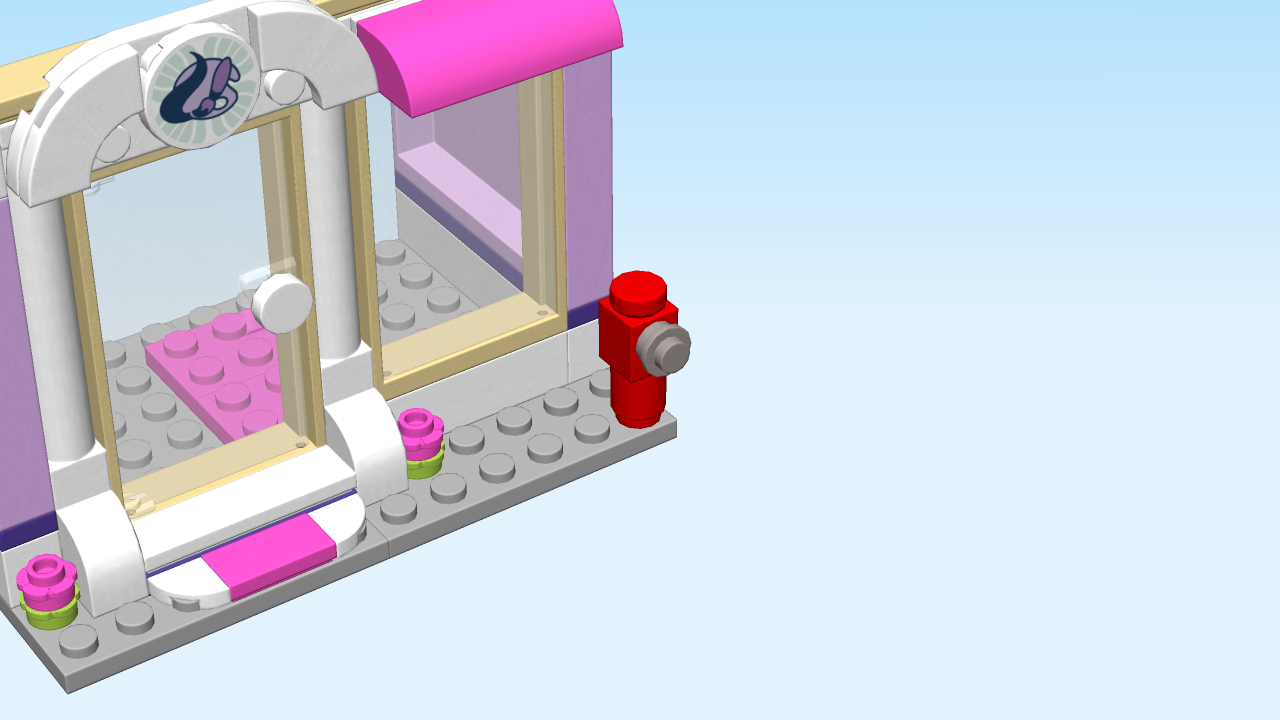
| The doorway arch is finished! Well done! |
| Careful: this build has a special orientation! |
| Mount it upright horizontally on the left front side knobs of the structure, piece overhanging to the top, curved corners to the top. |
| Next, we will build a fire hydrant. |
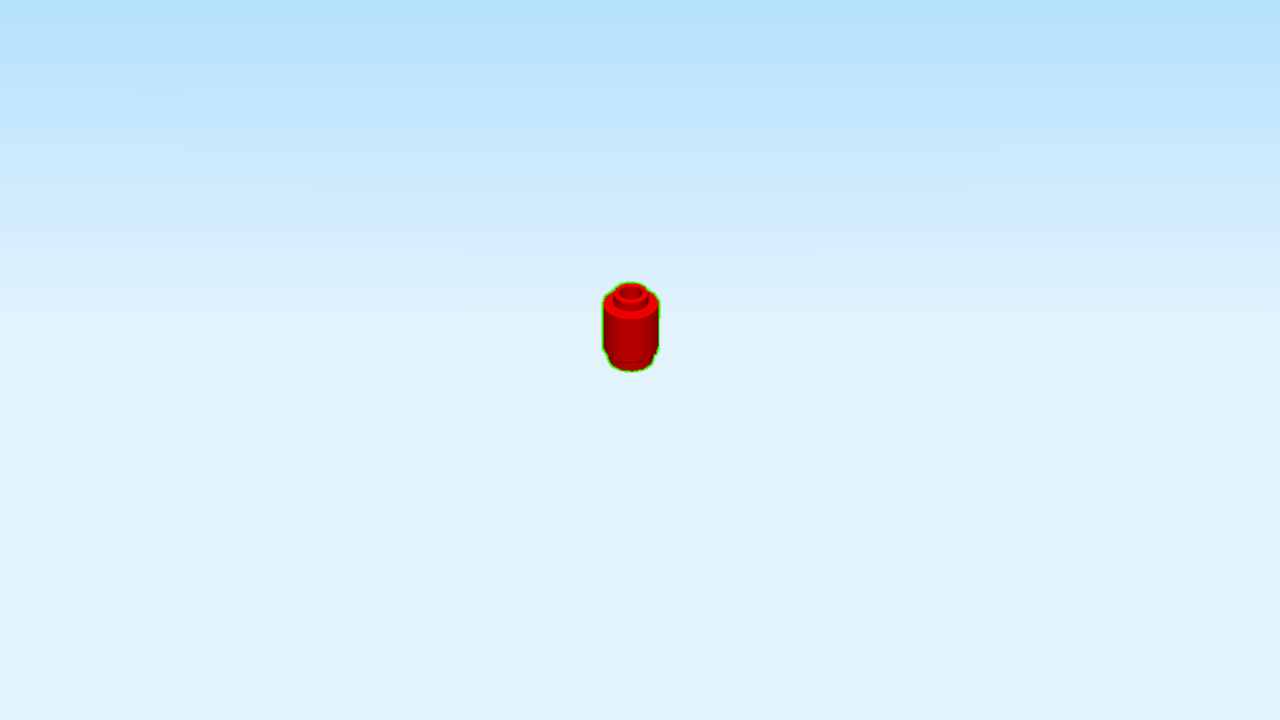
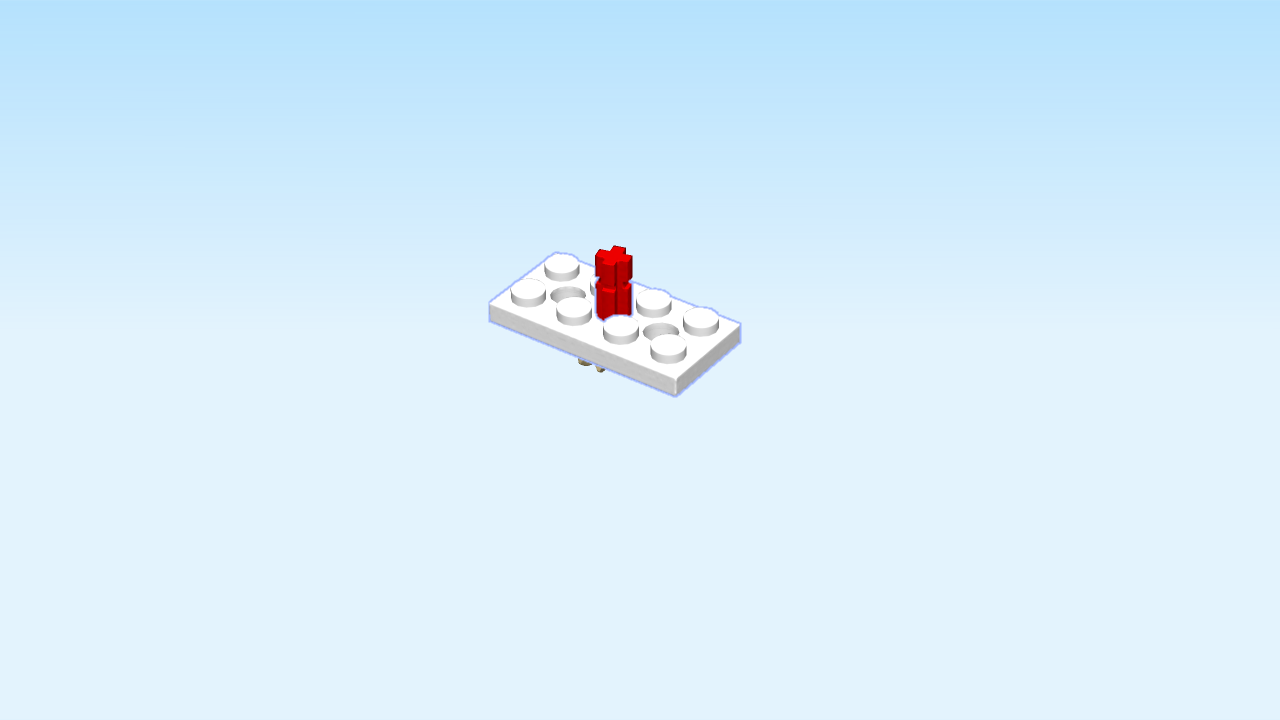
| Find 1 bright red cylinder 1x1. |
| Put it on the table. |
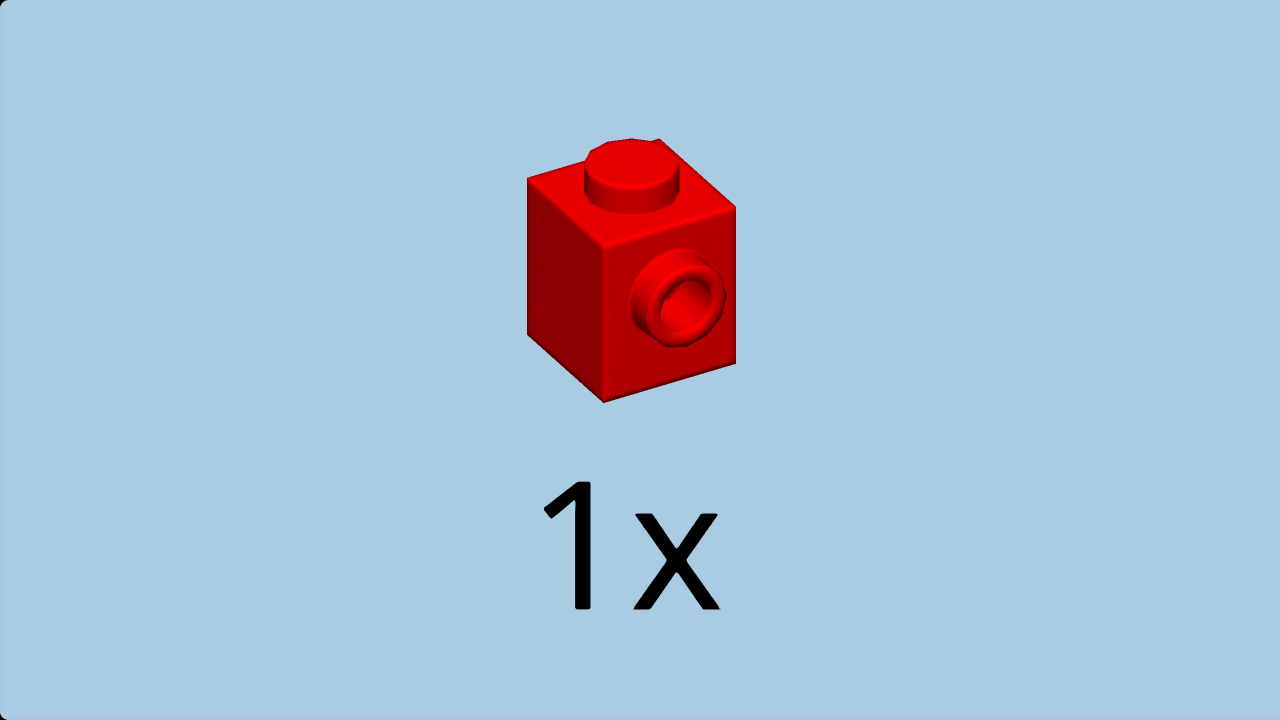
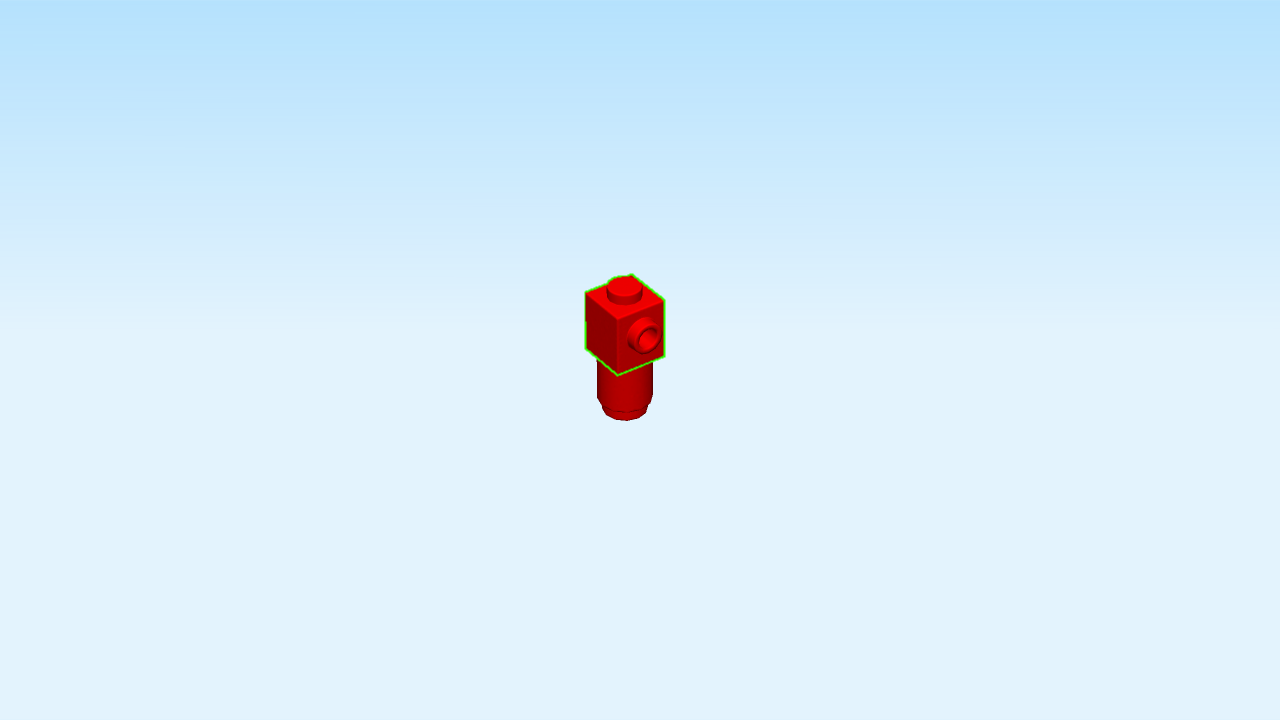
| Find 1 bright red brick 1x1 with 1 side knob. |
| Put it on top, side knob to the front. |
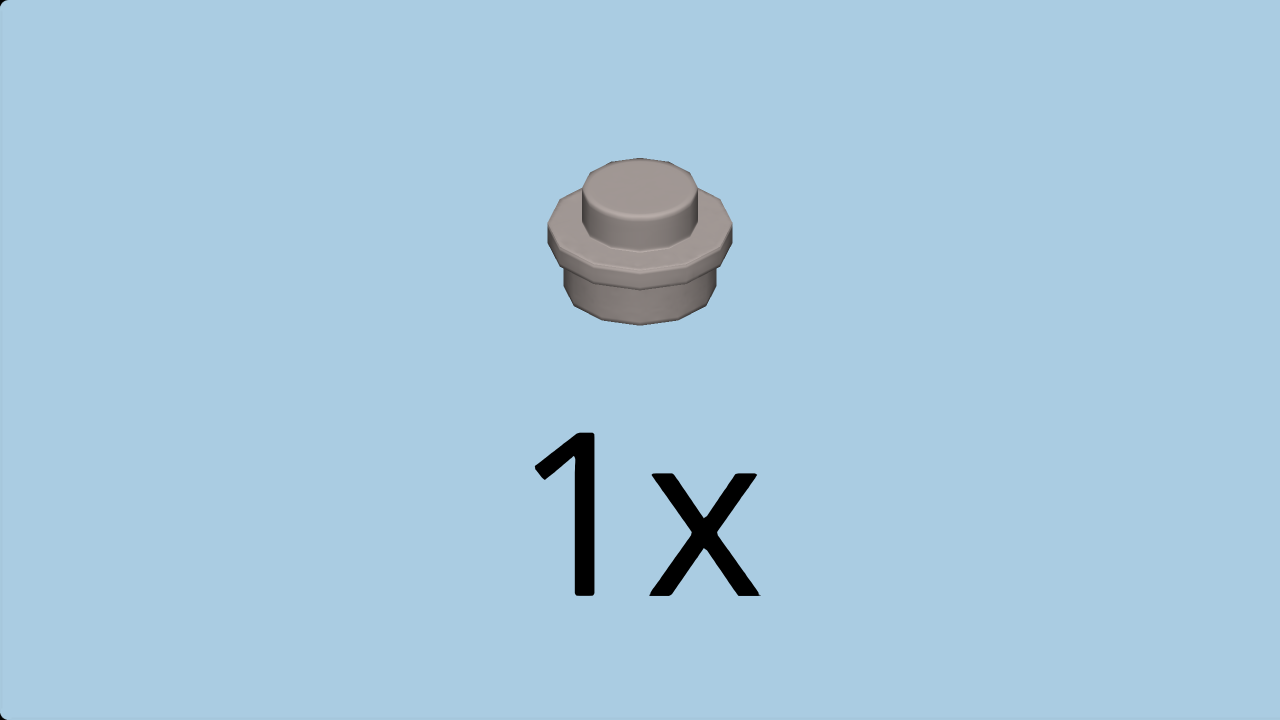
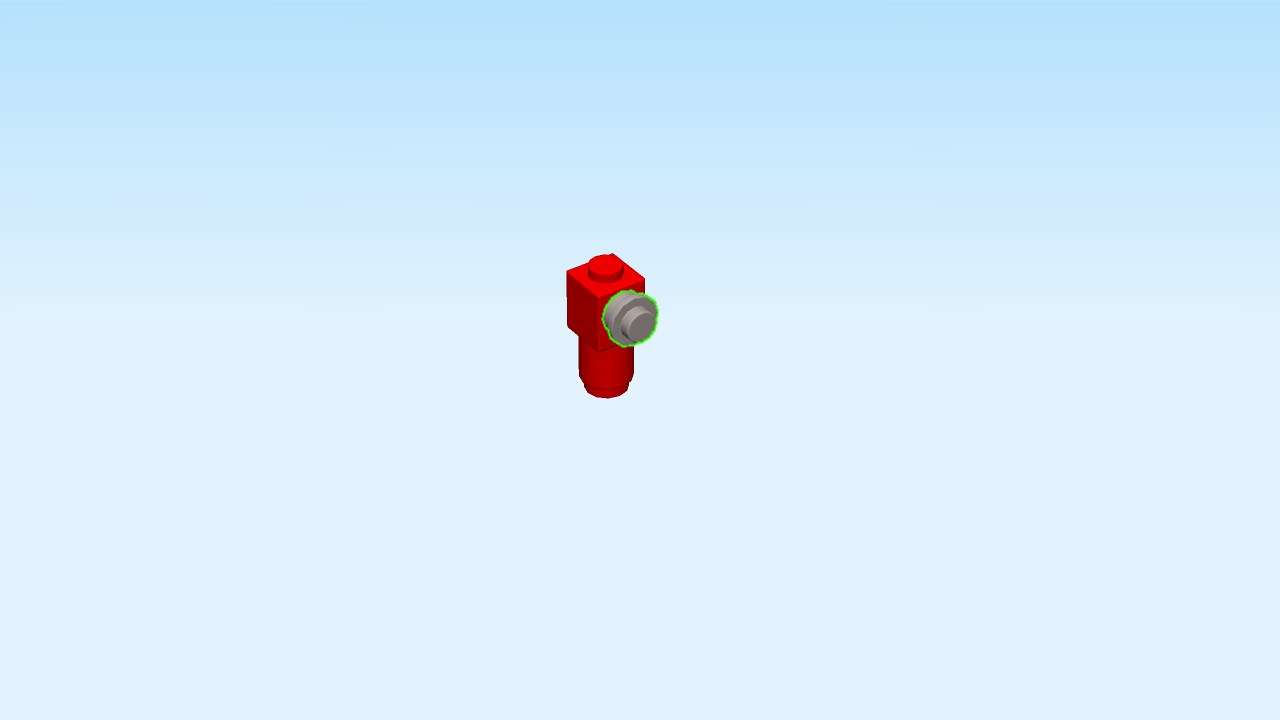
| Find 1 silver metallic round plate 1x1. |
| Careful: this piece has a special orientation! |
| Put it upright on the side knob of the previous piece. |
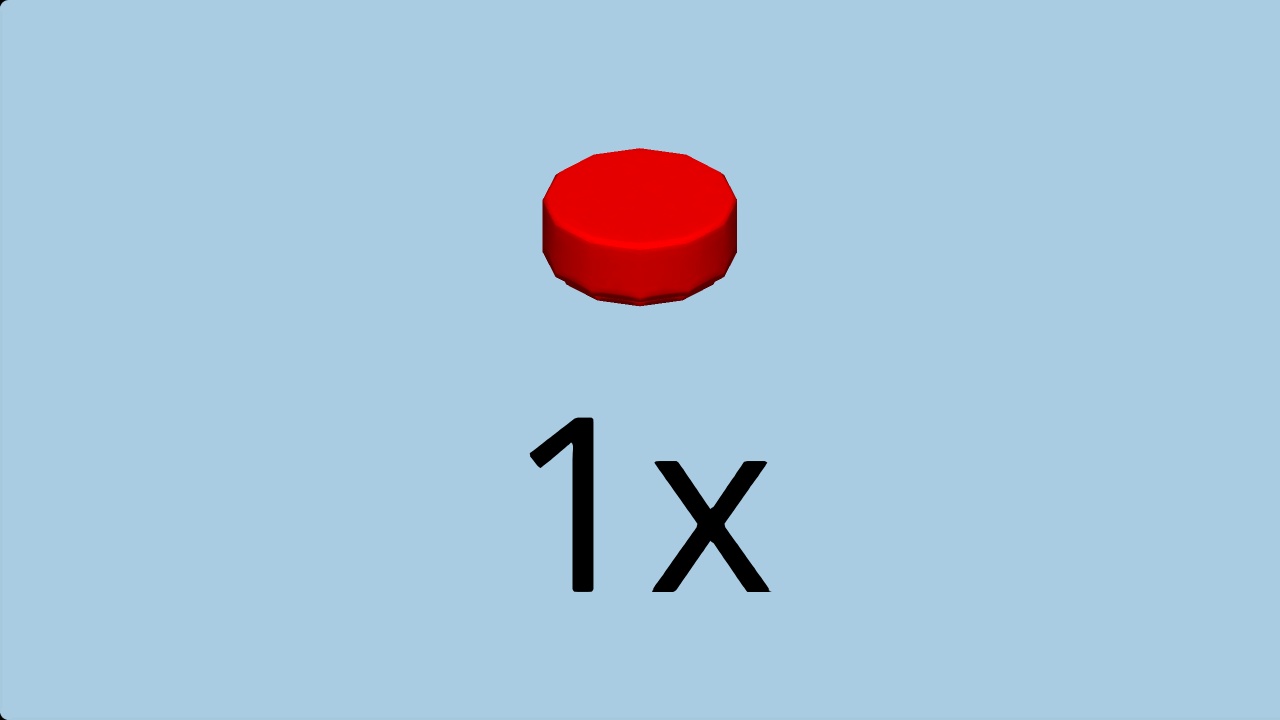
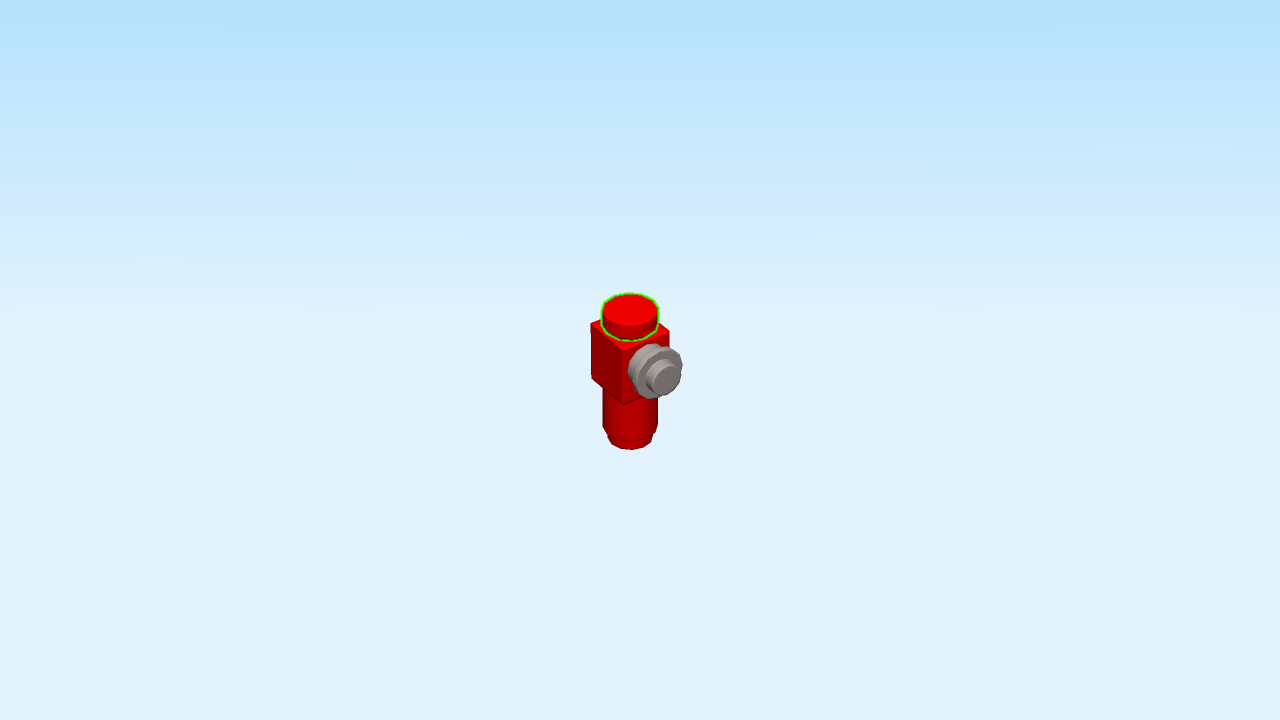
| Find 1 bright red round flat tile 1x1. |
| Put it on top of the structure. |
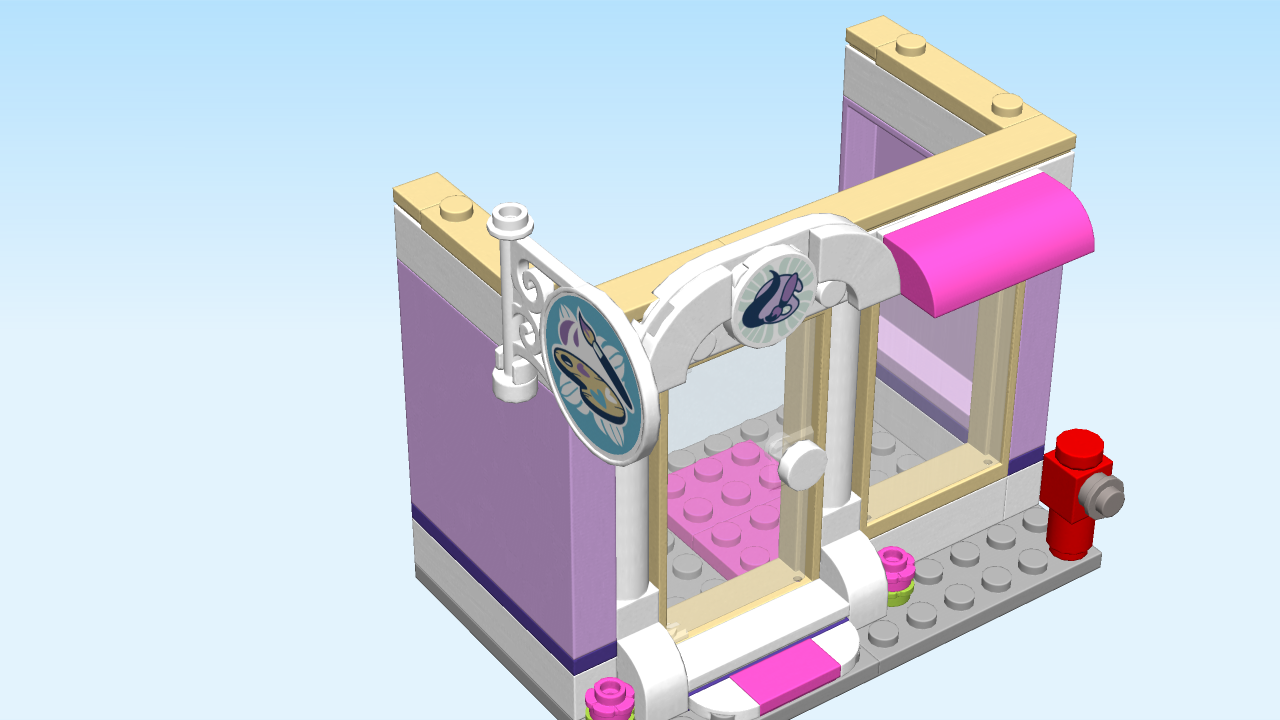
| The fire hydrant is finished! Well done! Put it on the rightmost knob of the front row. |
| Next, we will decorate the store sign. |
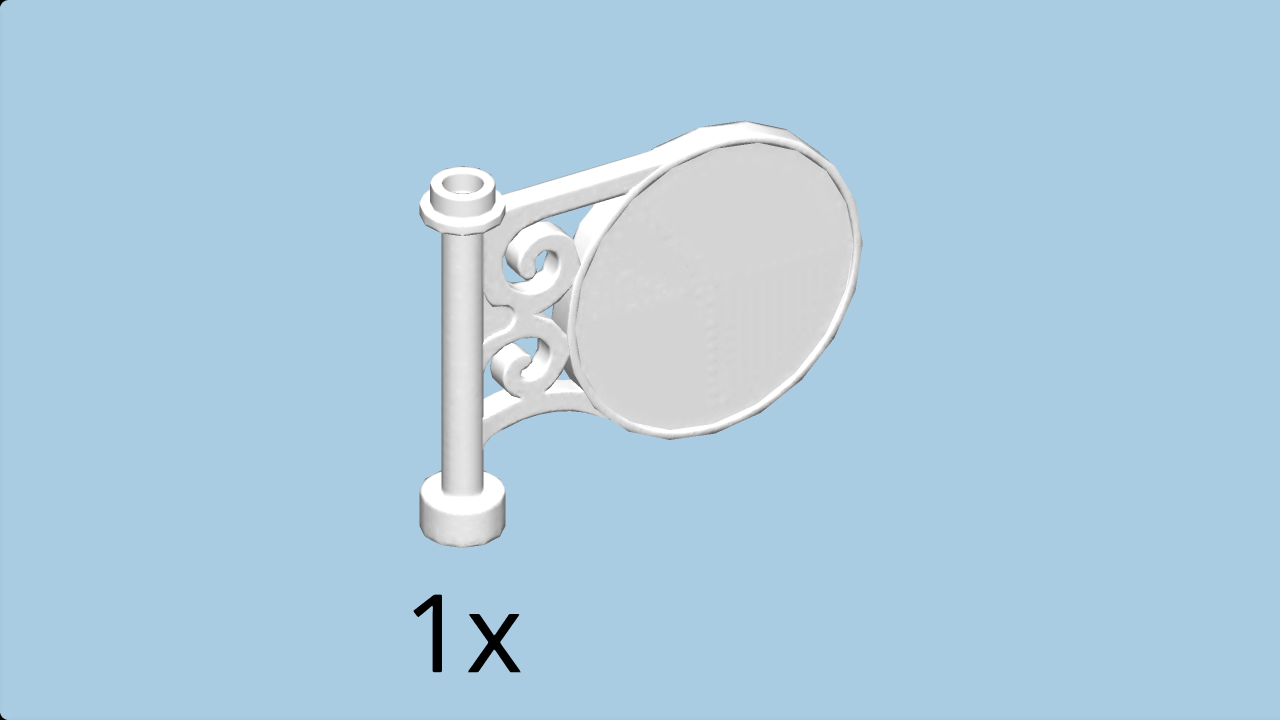
| Find 1 white round sign 1x5x3. |
| Continue if you want to decorate it with 2 stickers now. If not, skip the next six sentences. |
| Put it flat on the table. |
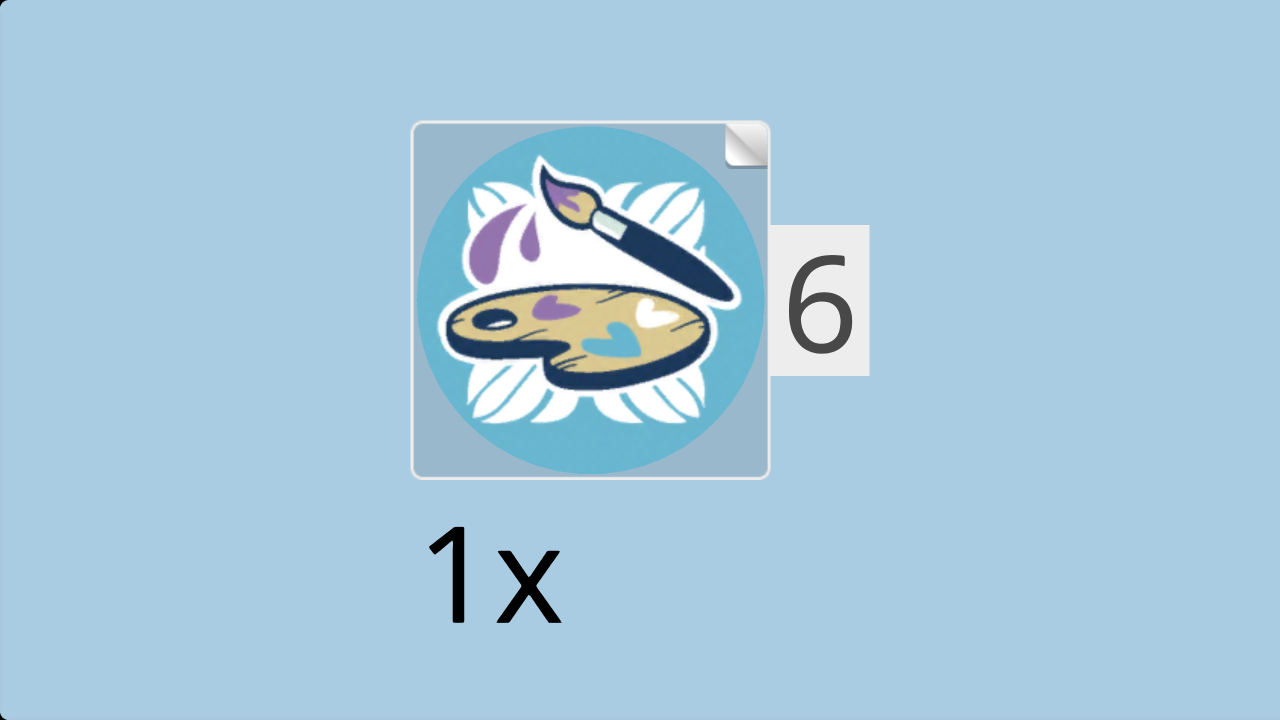
| Find 2 large round stickers number 6. Ask a sighted person to help you. |
| Put one on the round part of the store sign. |
| Repeat symmetrically on the back side of the store sign. |
| (The stickers show another version of the studio's logo: a wooden palette with purple, blue, and white dabs of paint, and a paint brush.). |
| The store sign is finished! Well done! |
| Put it vertically in the side clasp on the left side of the structure, round sign to the front. |
| Now, turn the whole structure 180 degrees. This means that the store front will now be the back of the structure. It is still oriented horizontally. |
| Find 1 white brick 1x2x2. |
| Put it vertically in the middle starting from the back. |
| Find 1 white quarter-arched brick 2x2. |
| Put it on the table. |
| Find another white quarter-arched brick 2x2. |
| Stack it on top of the previous piece so that their bases match. |
| Put them in front of the brick 1x2x2, outside arch to the front right. |
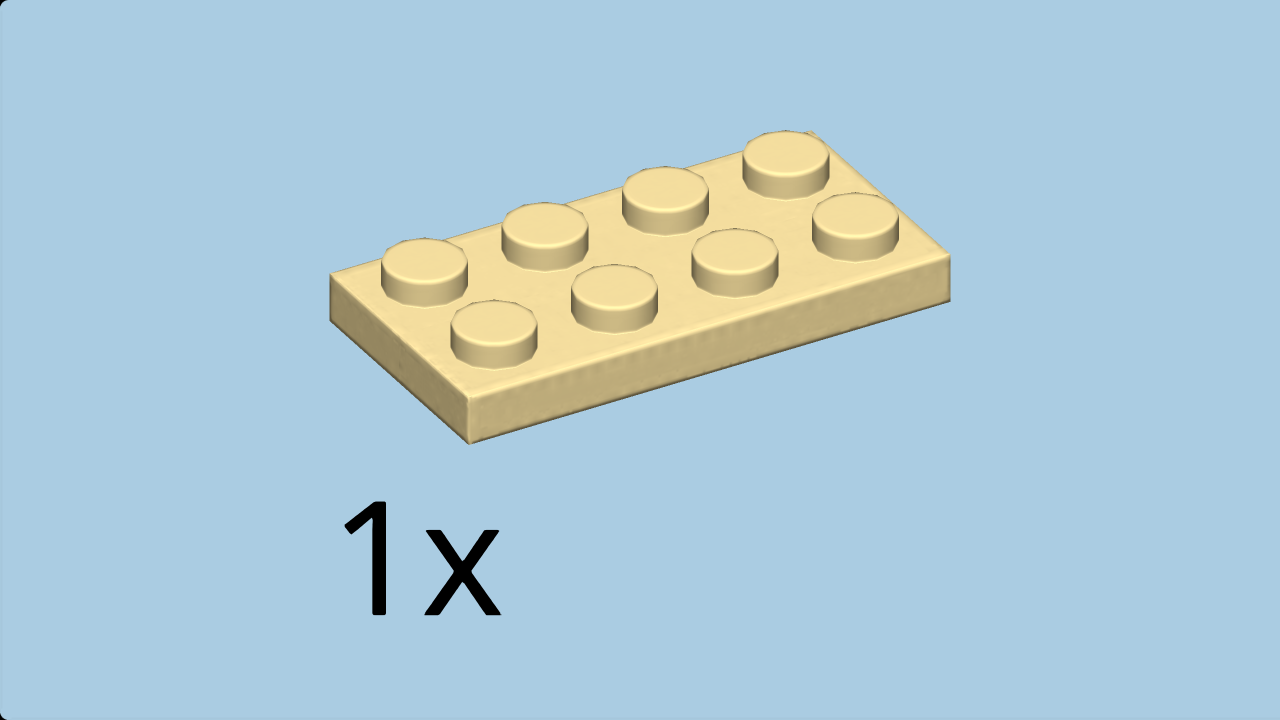
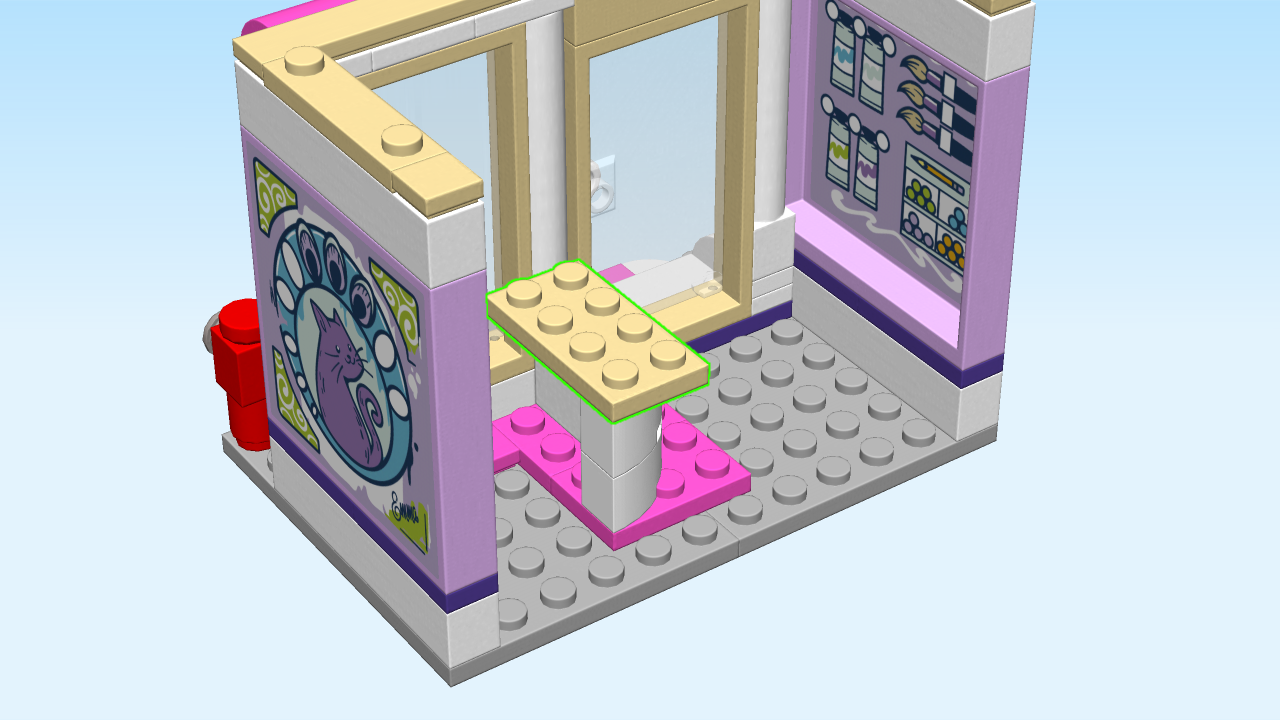
| Find 1 brick yellow plate 2x4. |
| Put it vertically on top of the previous three pieces, starting from the back. |
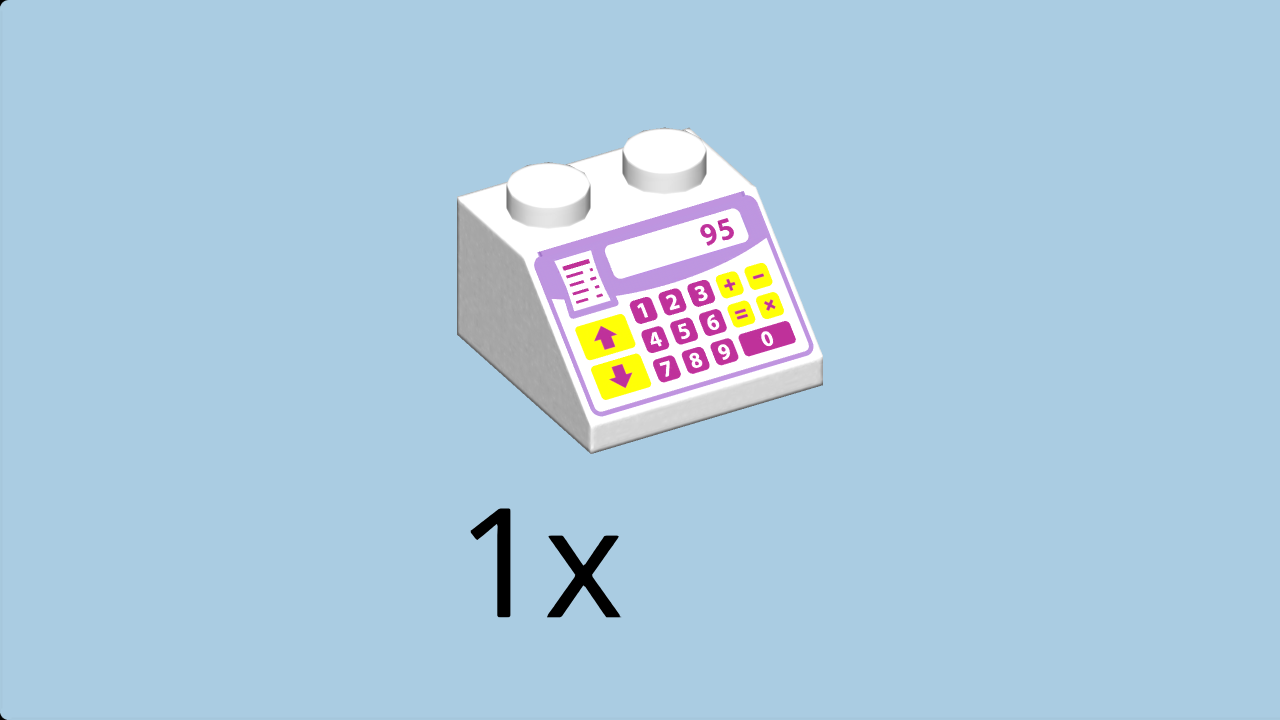
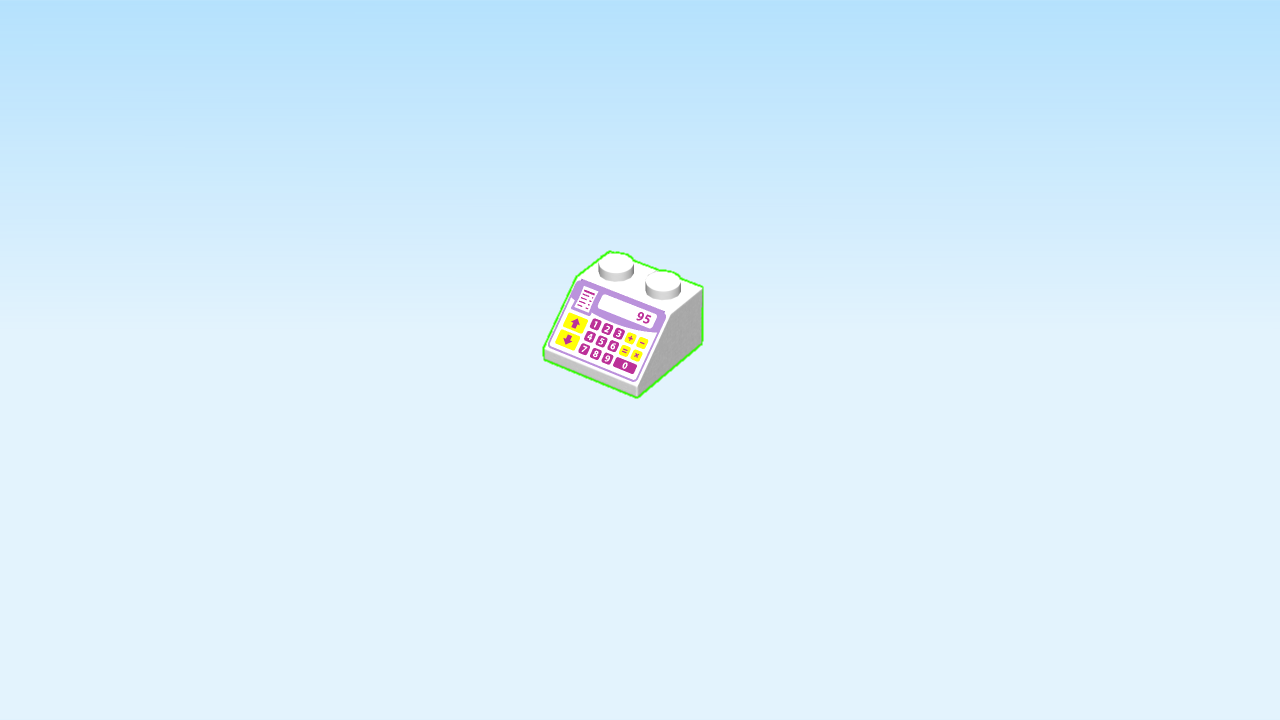
| Find 1 white roof tile 2x2. |
| Put it horizontally on the table. |
| (It is printed with a cash register.) |
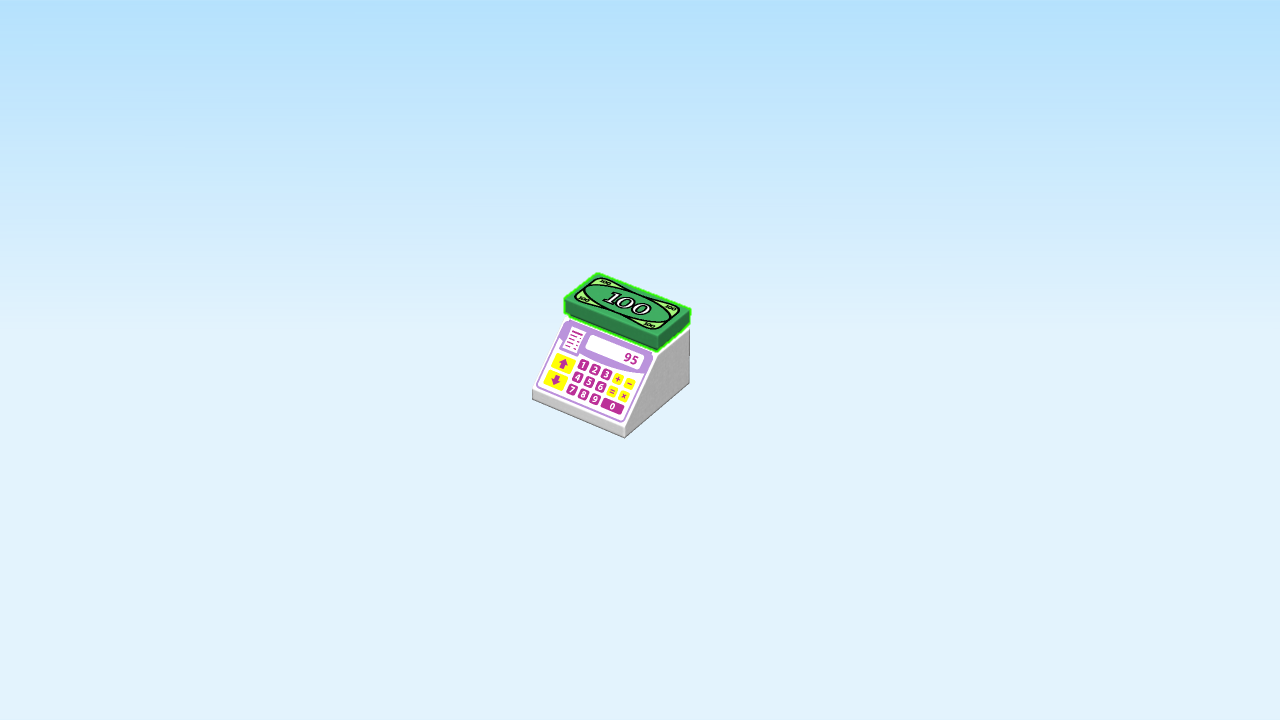
| Find 1 dark green flat tile 1x2. |
| Put it horizontally on top. |
| (It is printed with a 100 dollar note.) |
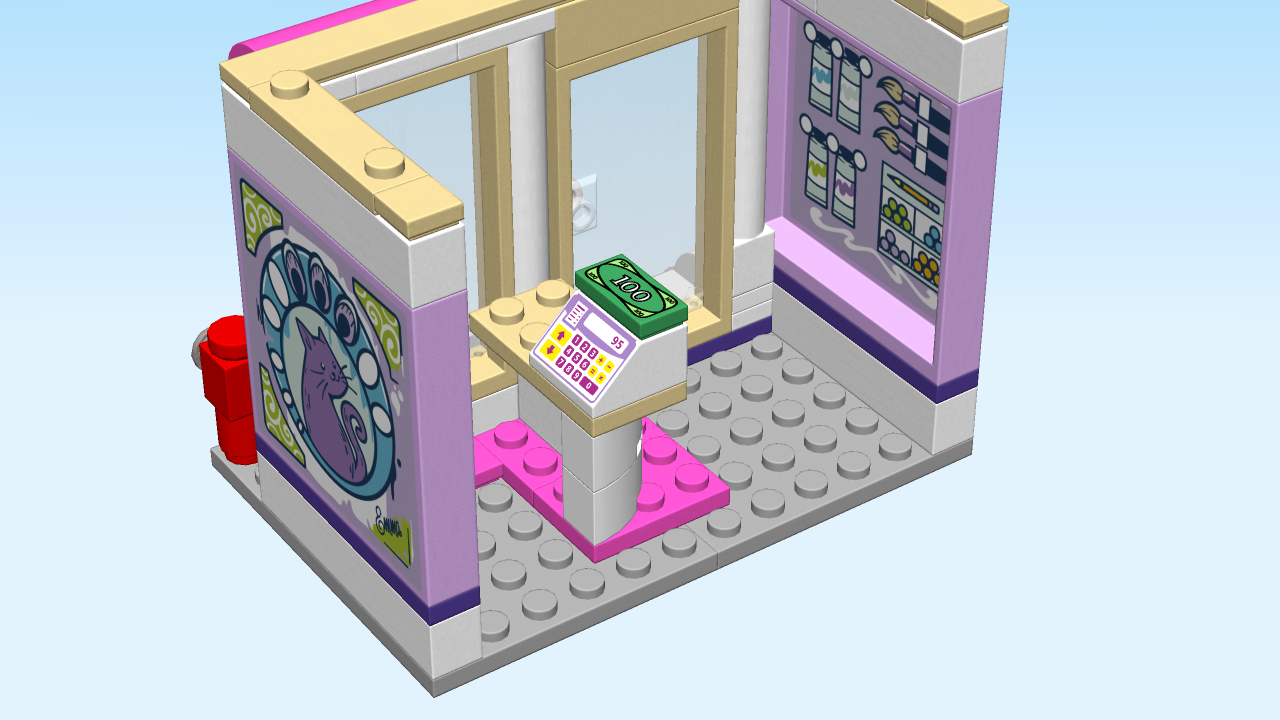
| Put the cash register on the front four knobs of the previous piece, slide to the left. |
| You have now built the sales counter of the art store! Andrea and Emma can sell their art here later. |
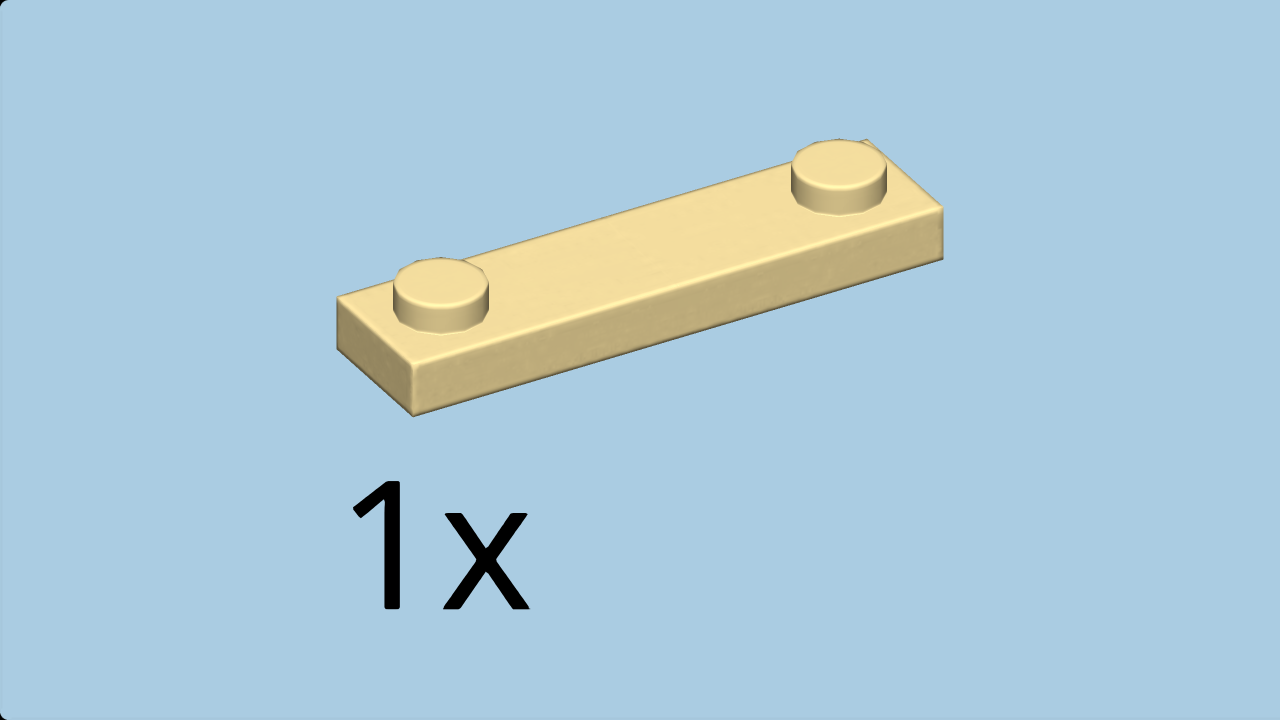
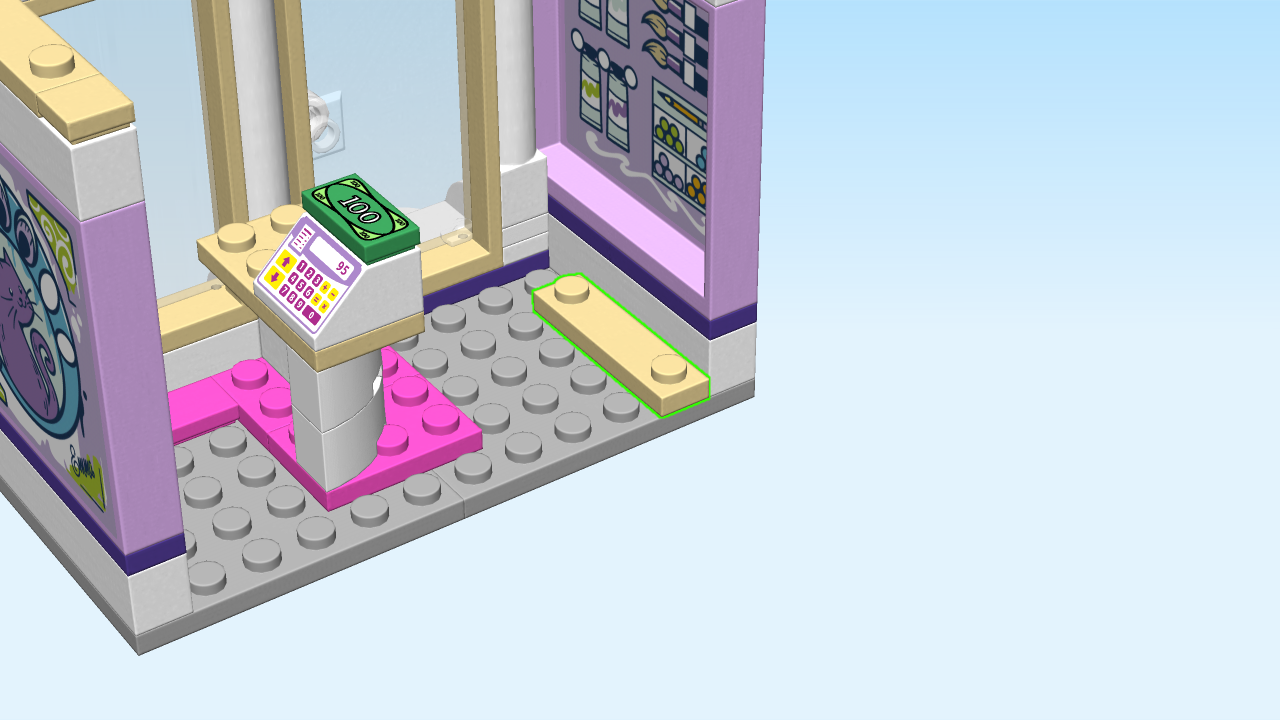
| Find 1 brick yellow plate 1x4 with 2 knobs. |
| Put it vertically on the second column of the structure from the right, starting from the front. |
| Next, we will build a small paint shelf. |
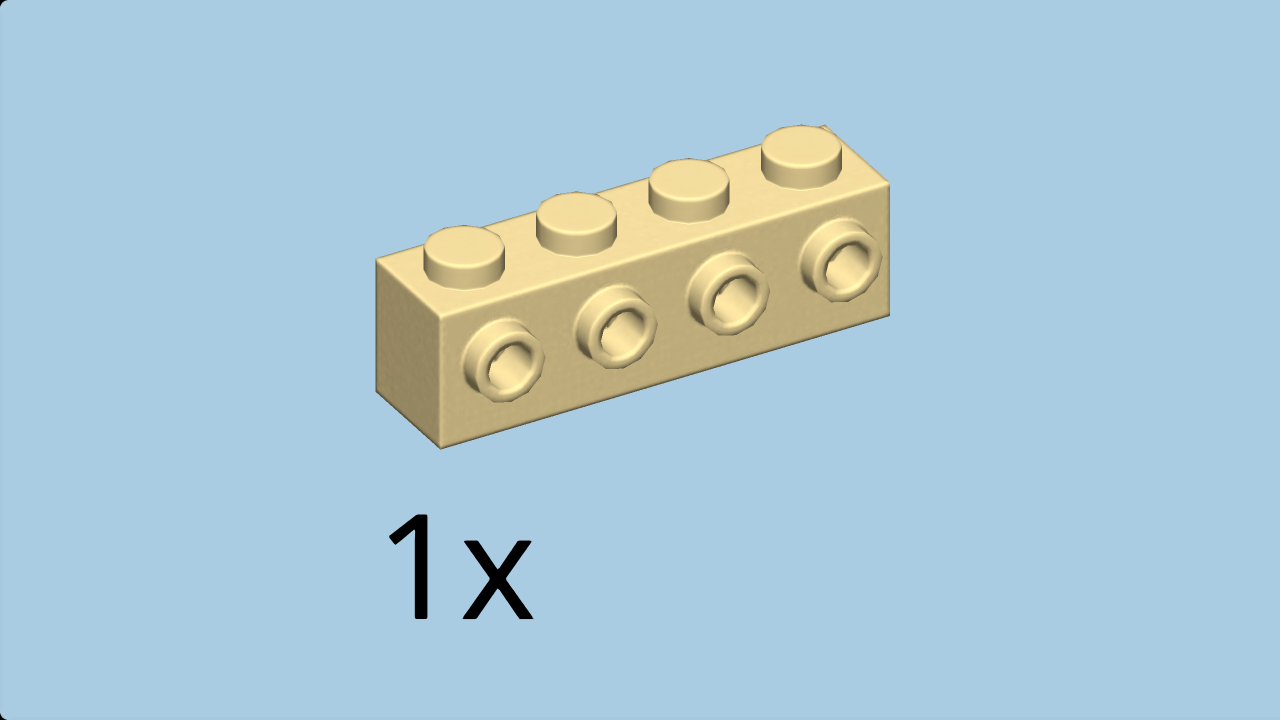
| Find 1 brick yellow brick 1x4 with 4 side knobs. |
| Put it horizontally on the table, side knobs to the front. |
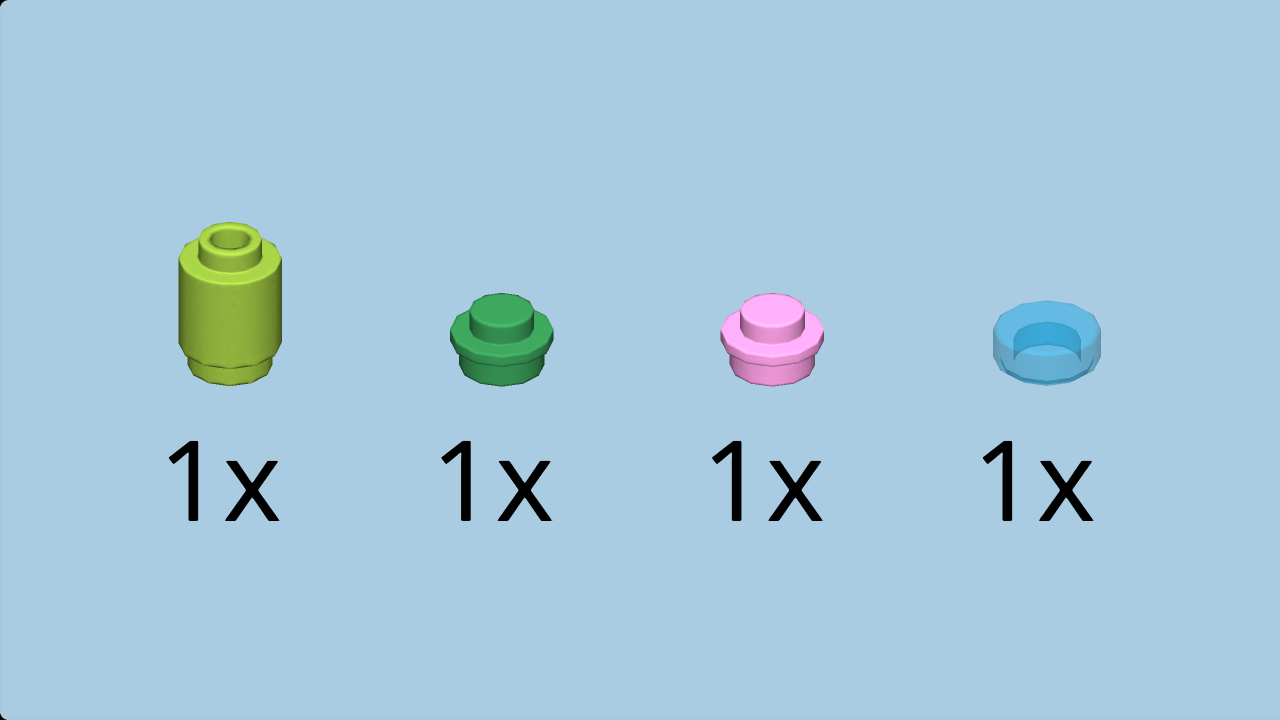
| Collect the following 4 pieces: |
| 1 dark green round plate 1x1, |
| 1 light purple round plate 1x1, |
| 1 bright yellowish green cylinder 1x1, |
| and 1 transparent blue flat tile 1x1 round. |
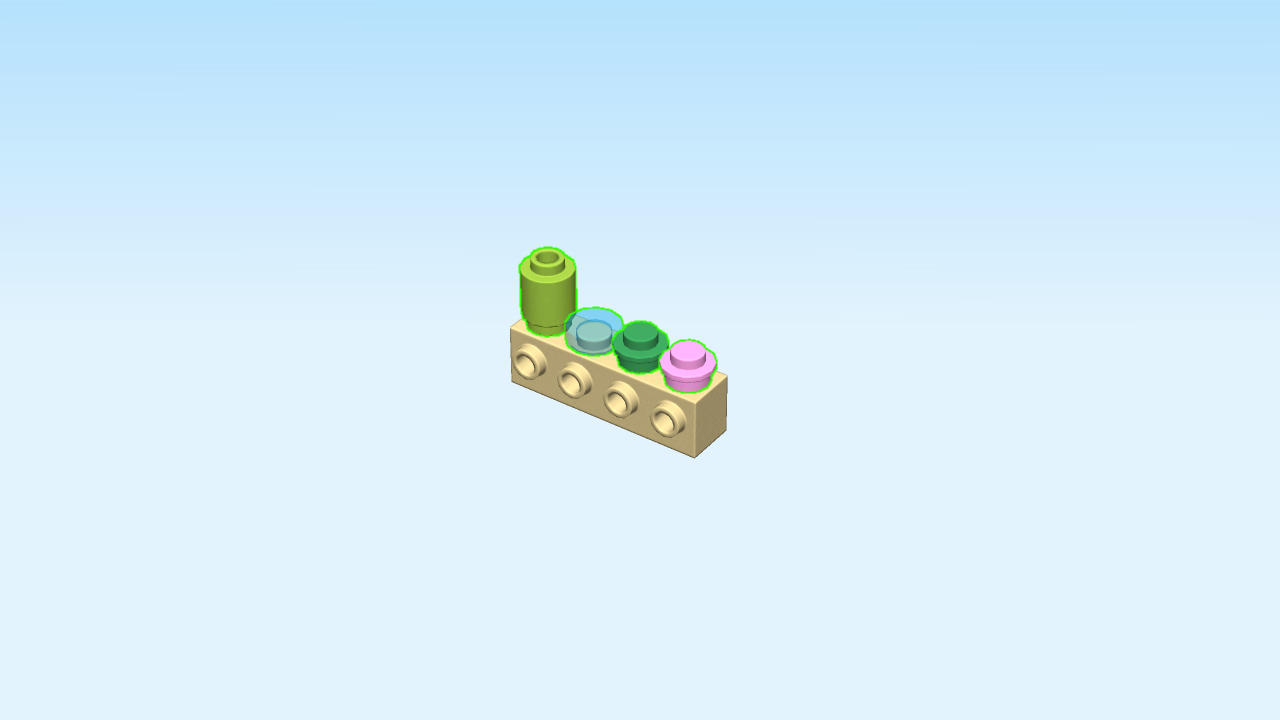
| (You can follow our color suggestions if you like, but you can also pick your own.) |
| Put the dark green round plate 1x1 on the second knob from the right. |
| Put the light purple round plate 1x1 to the right. |
| Put the cylinder 1x1 on the leftmost knob. |
| Put the round flat tile 1x1 on the second knob from the left. |
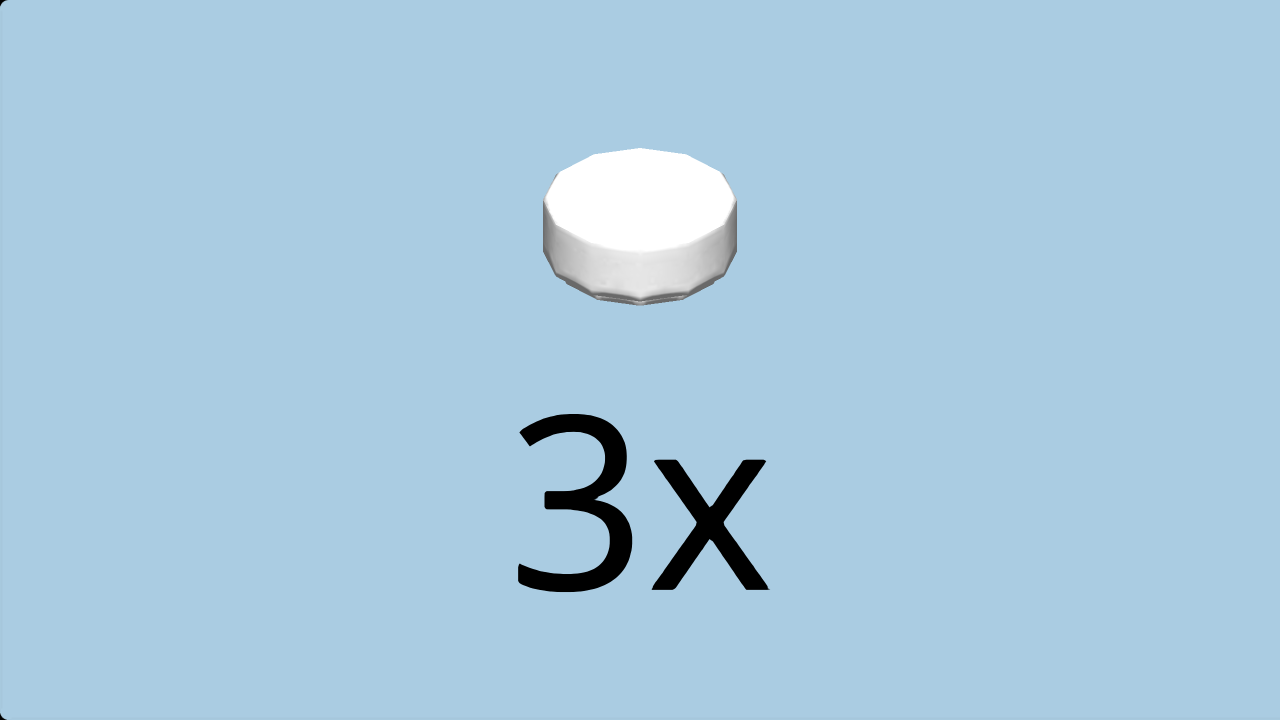
| Find 3 white round flat tiles 1x1. |
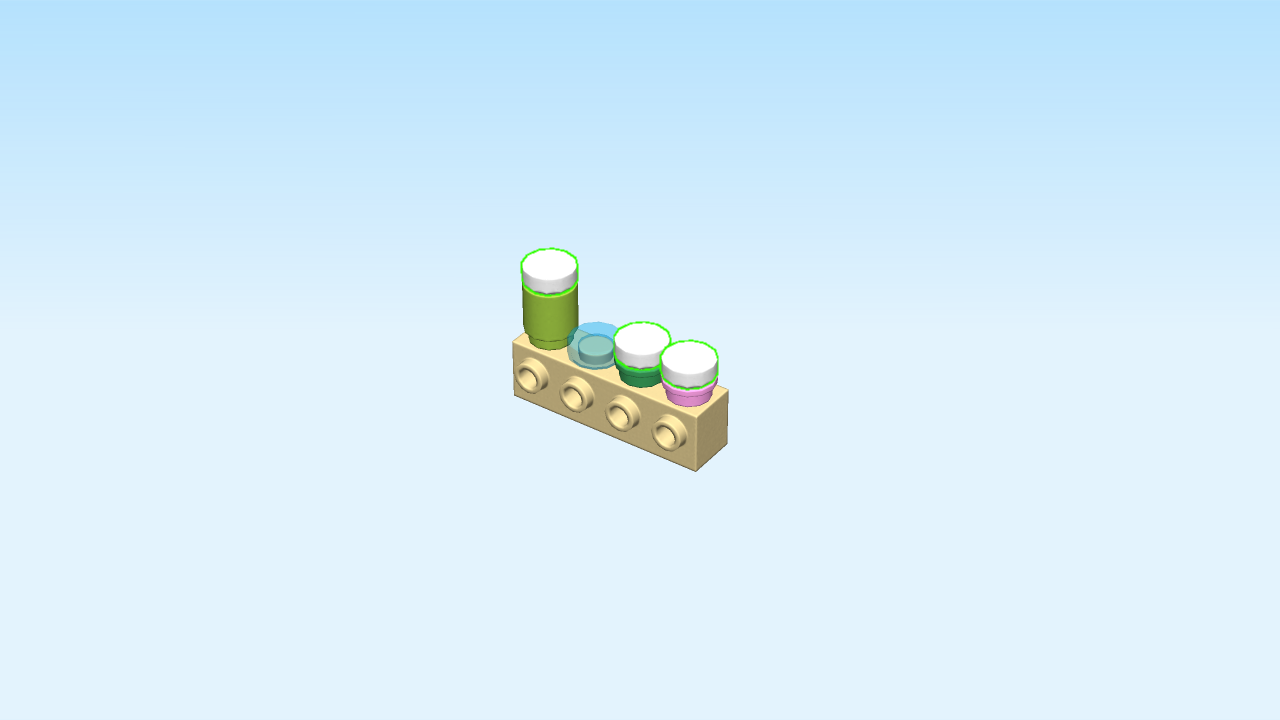
| Put one on top of the cylinder 1x1. |
| Put the other two on top of the round plates 1x1. |
| Collect the following 2 pieces: |
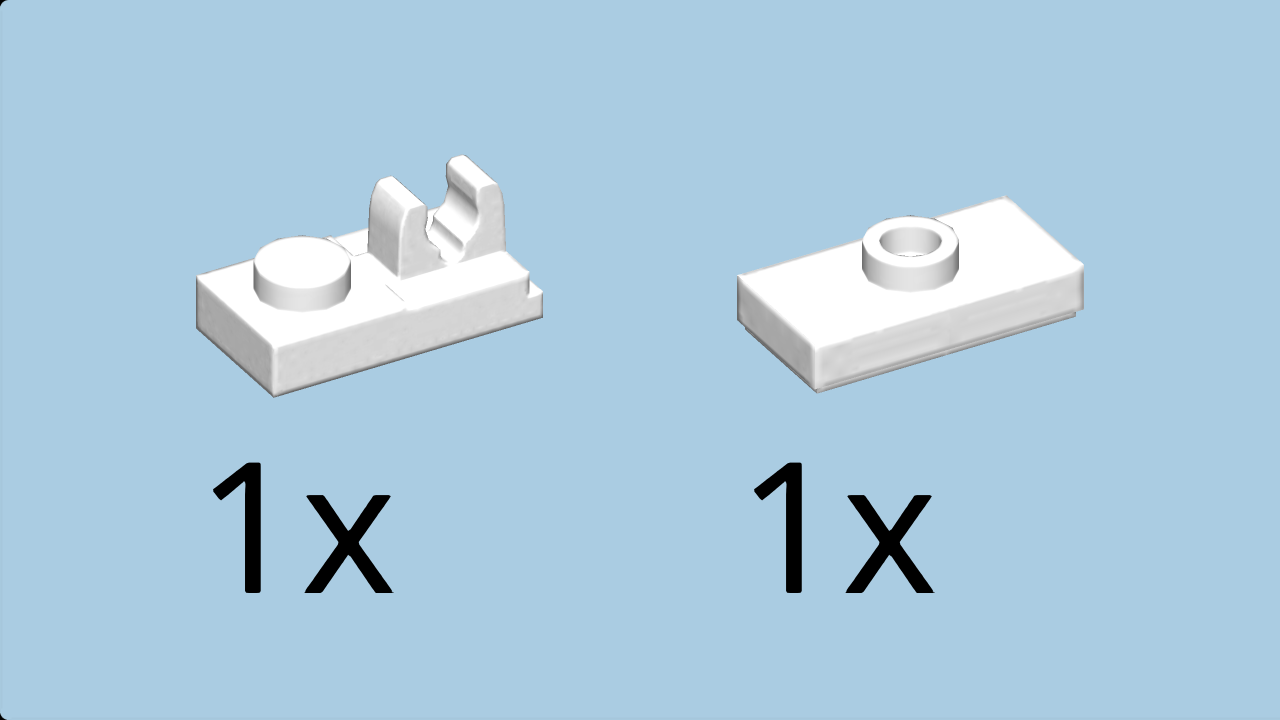
| 1 white plate 1x2 with 1 knob, |
| and 1 white plate 1x2 with 1 knob and top clasp. |
| Careful: these two pieces have a special orientation! |
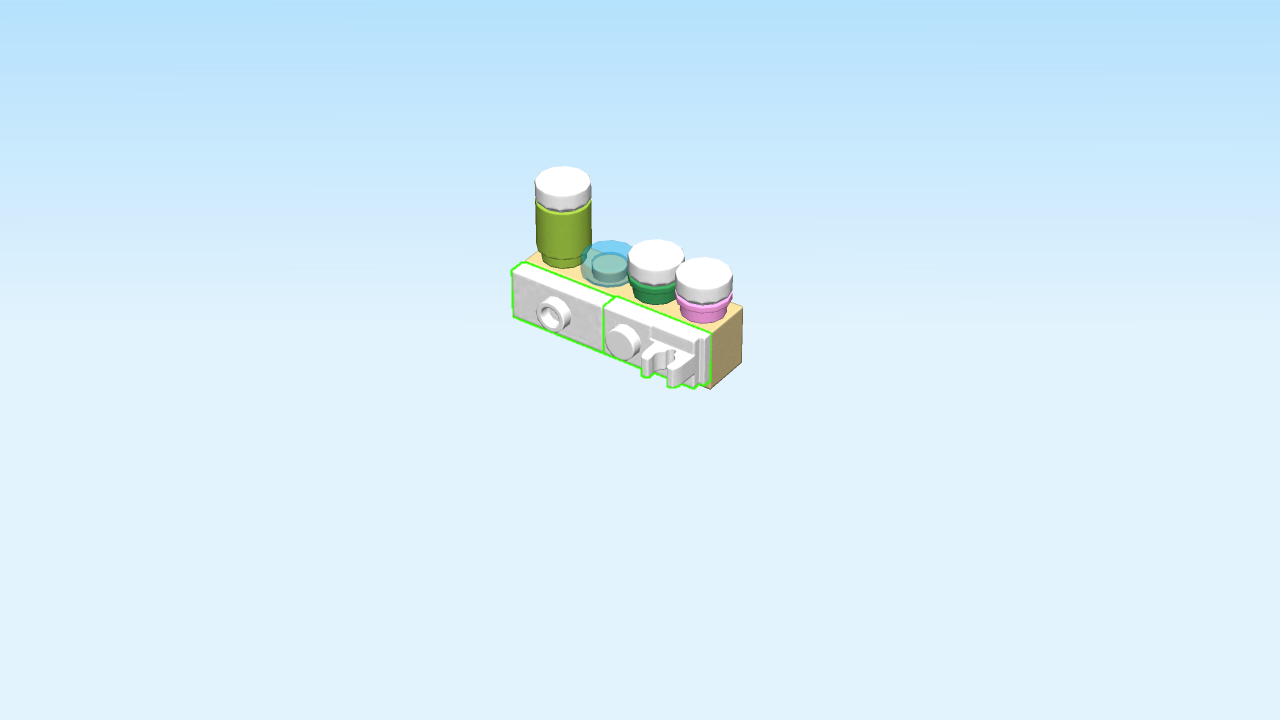
| Put the plate 1x2 with 1 knob upright horizontally on the left two side knobs. |
| Put the plate 1x2 with top clasp upright horizontally to the right, clasp on the right. |
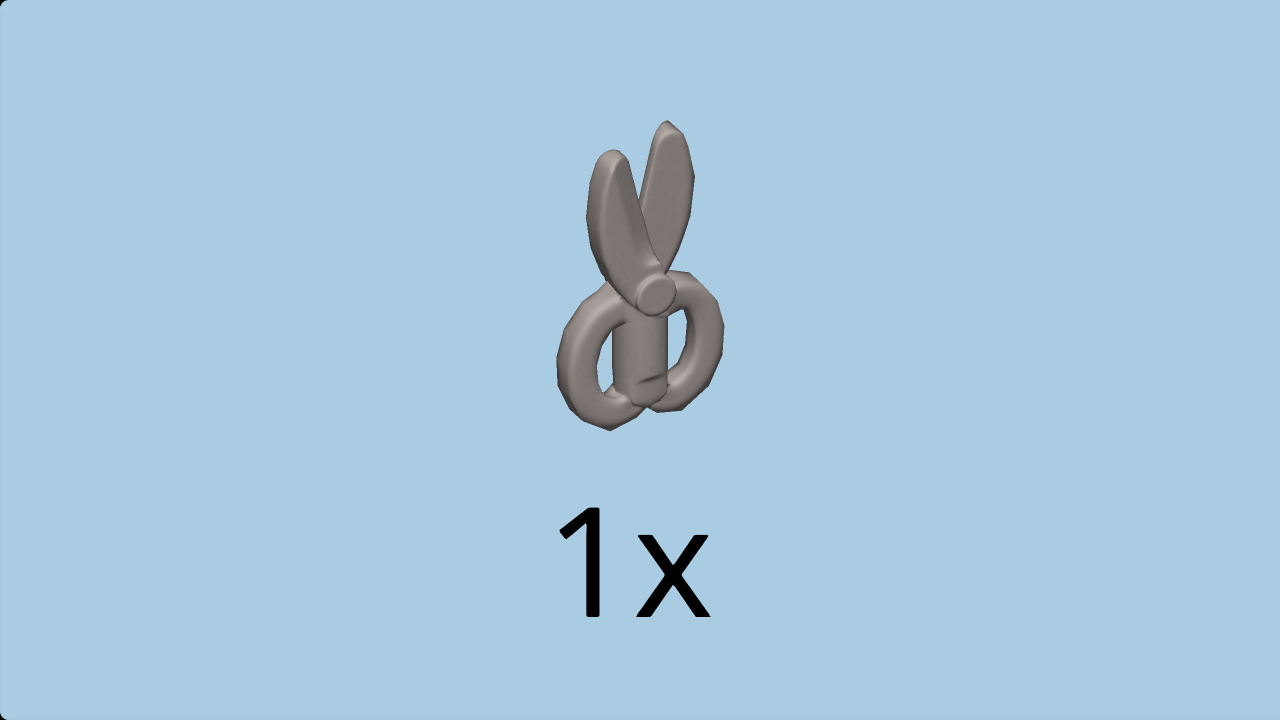
| Find 1 silver metallic pair of scissors. |
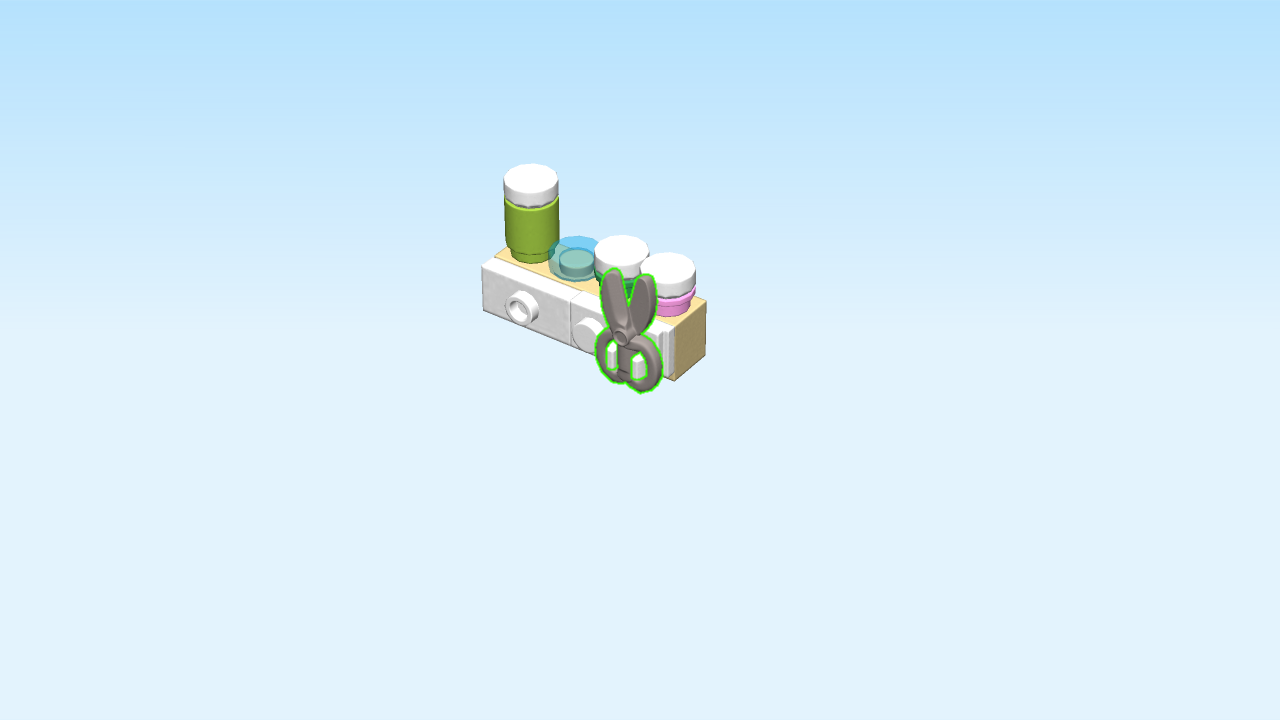
| Put it upright in the side clasp, shears to the top. |
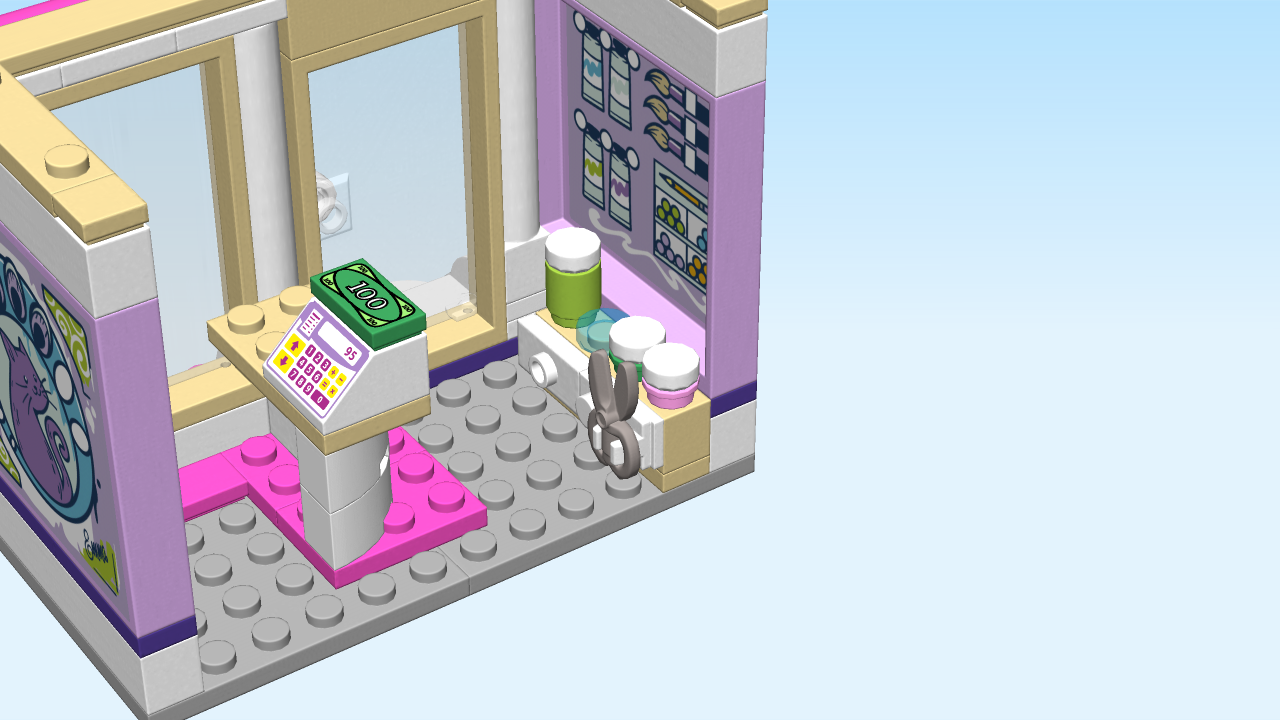
| The small paint shelf is finished! Well done! |
| Put it vertically on the second column of the structure from the right, starting from the front. |
| Next, we will build a display stand. |
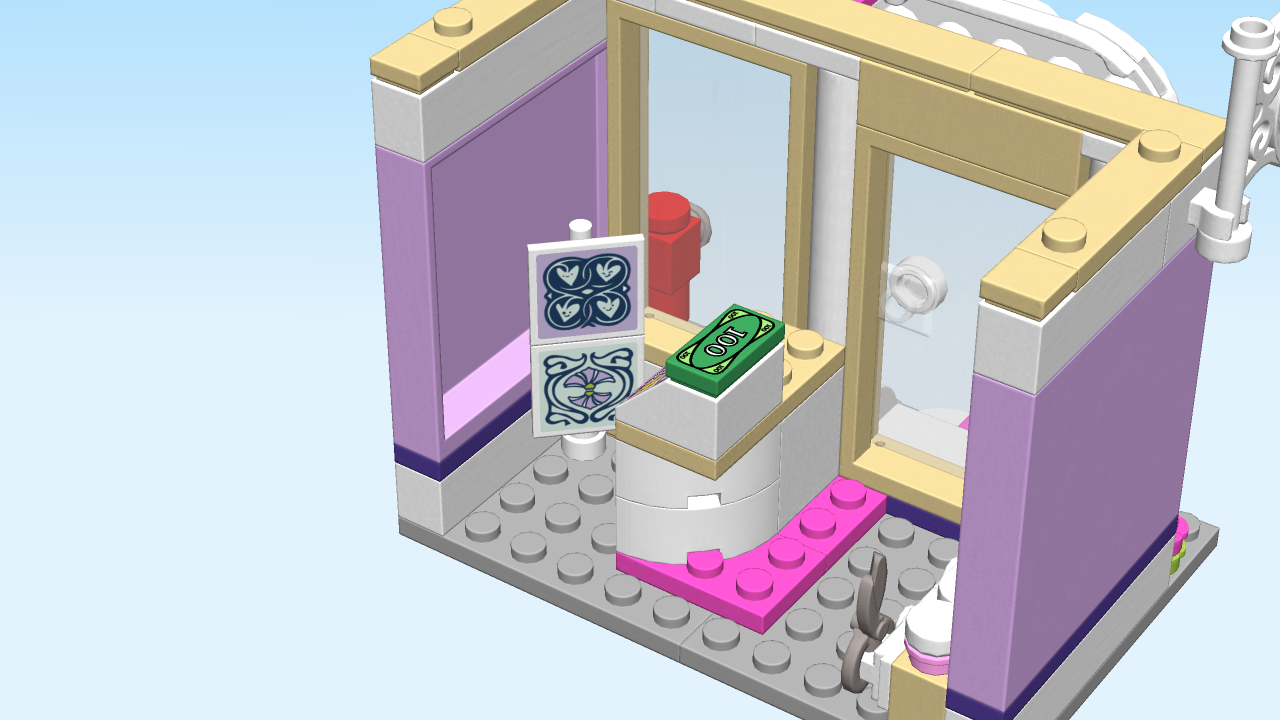
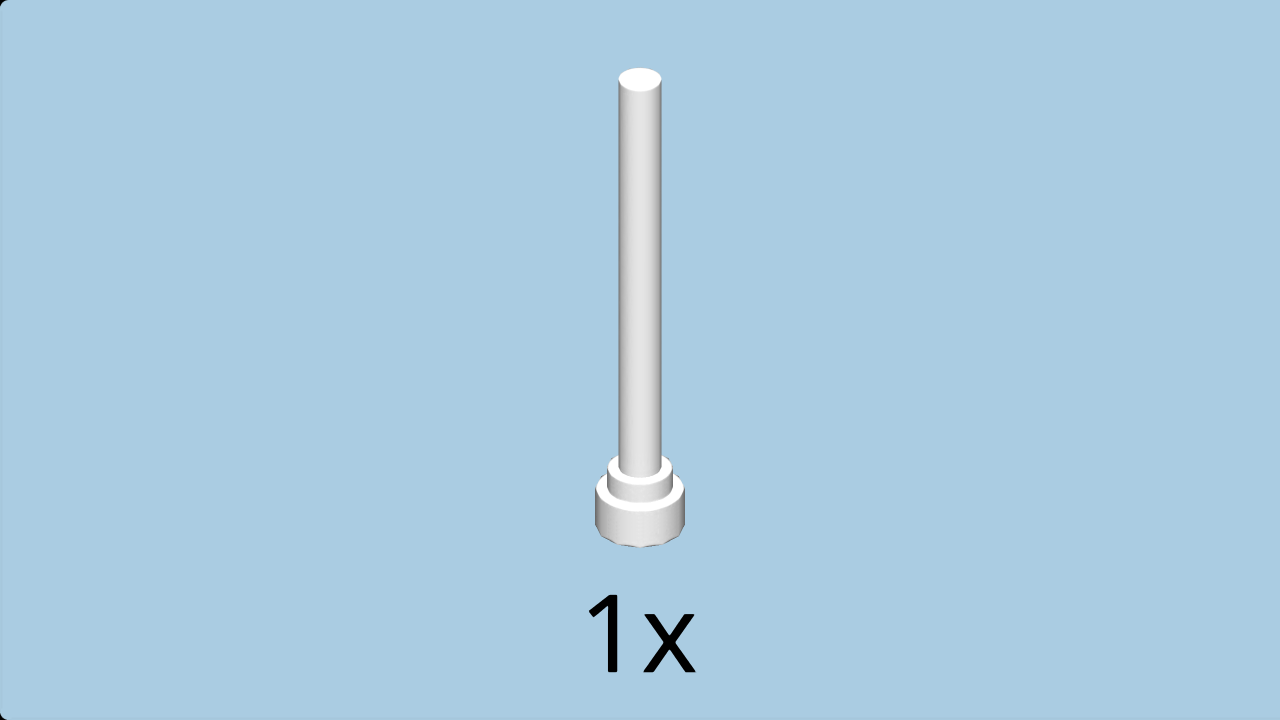
| Find 1 white flag pole 1x1x3. |
| Put it on the table. |
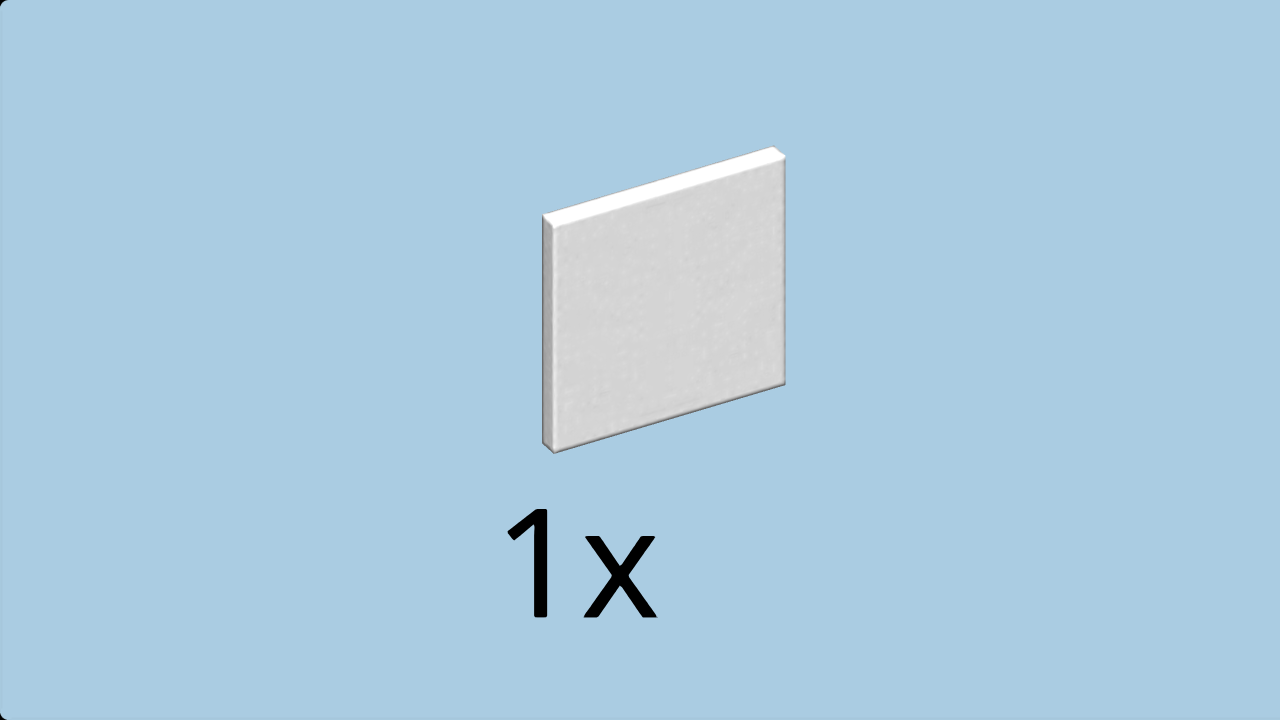
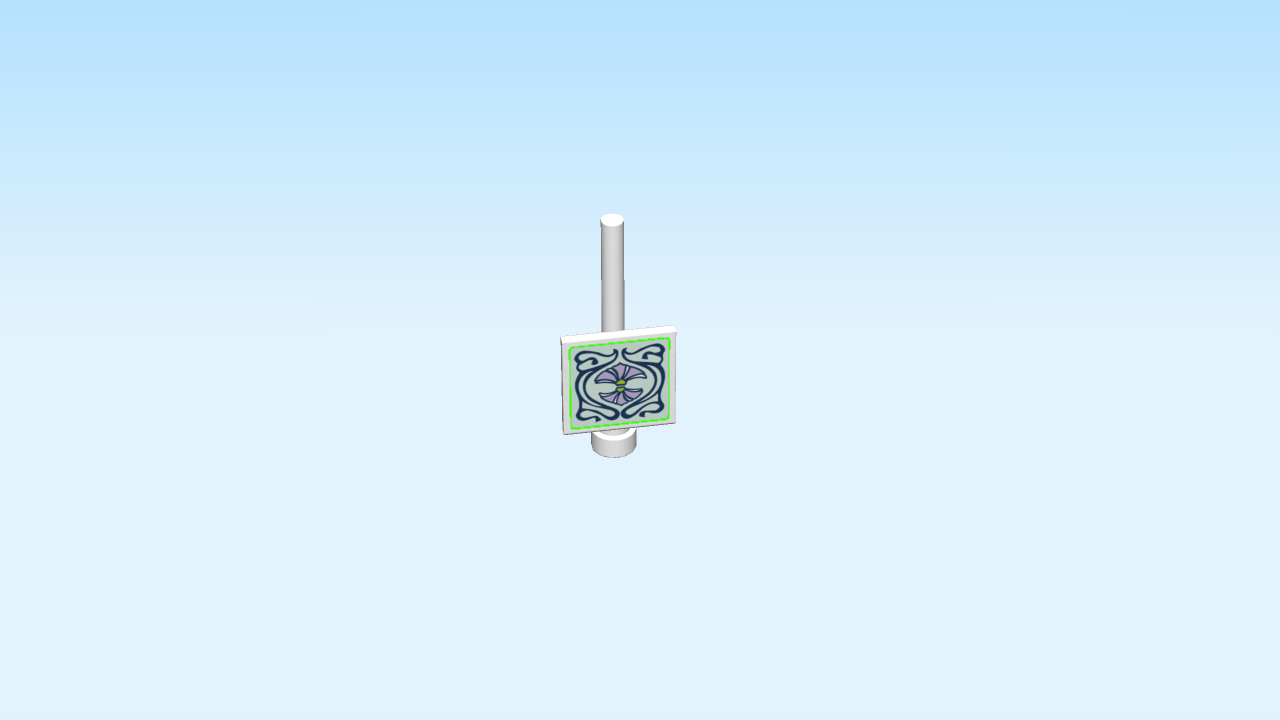
| Find 1 white square sign 2x2 with snap. |
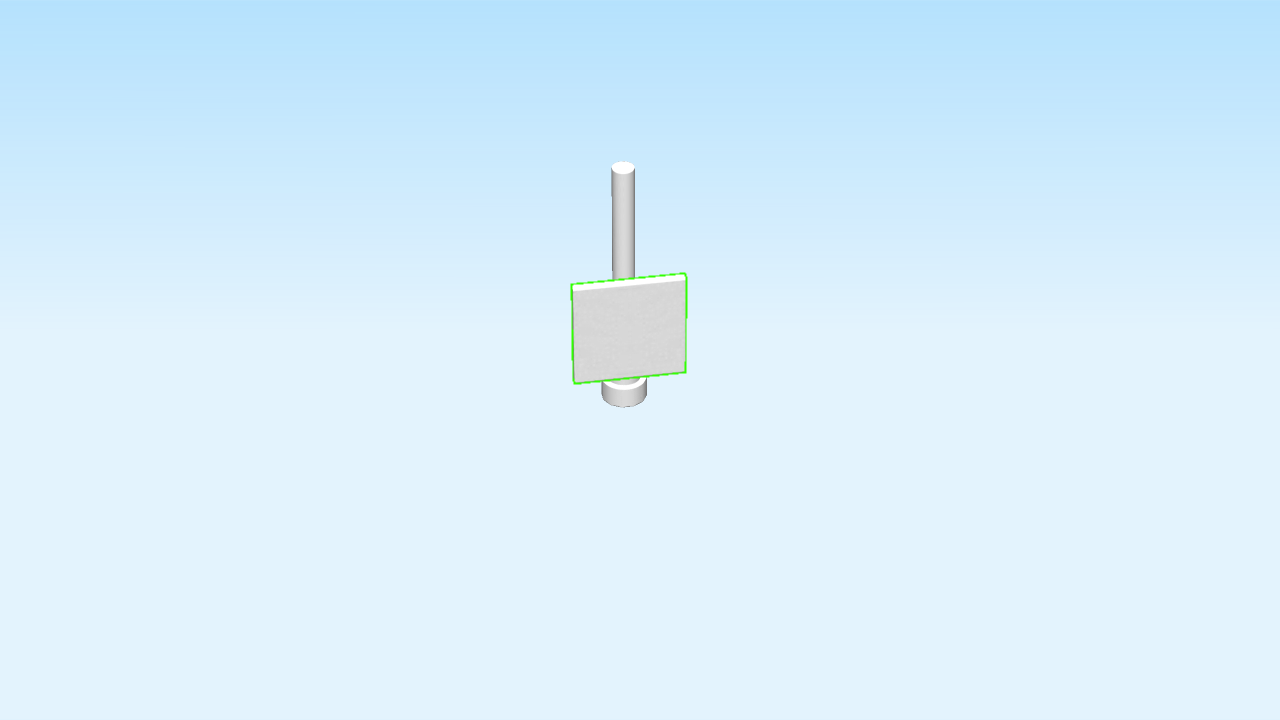
| Put the snap on the flag pole 1x1x3 at the bottom. |
| Continue if you want to decorate it with a sticker now. If not, skip the next three sentences. |
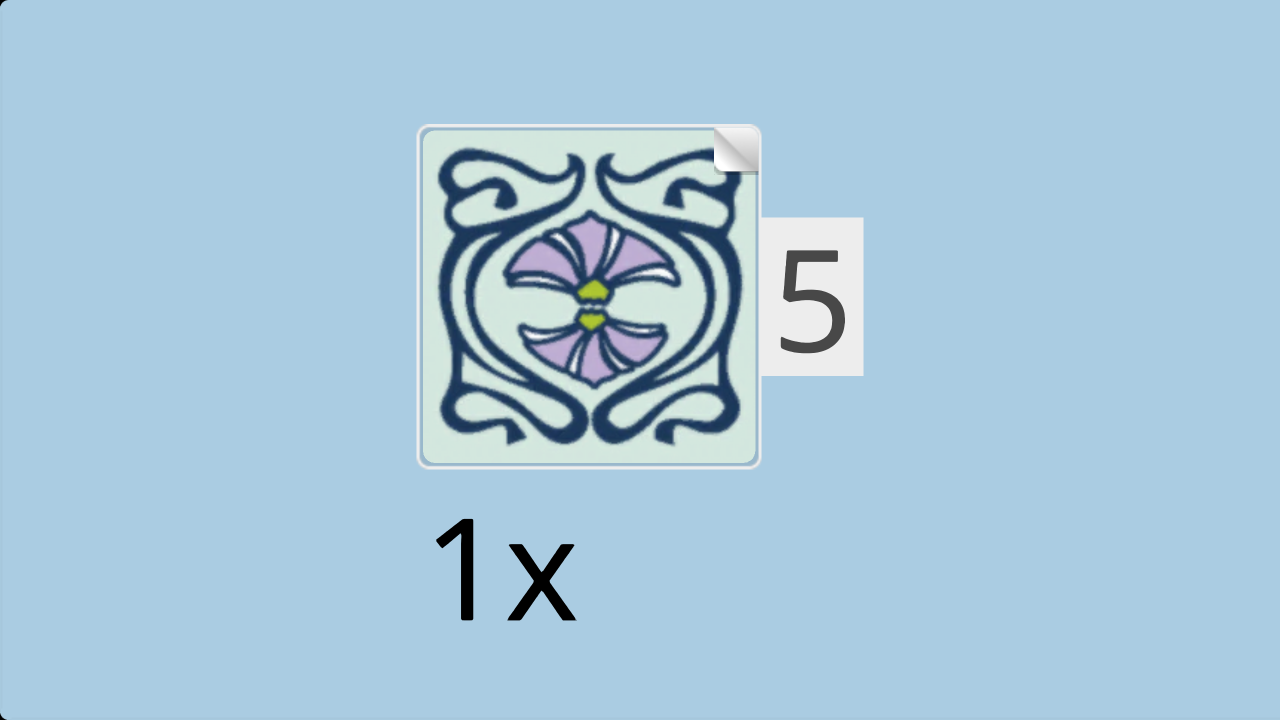
| Find 1 small square sticker number 5. Ask a sighted person to help you. |
| Put it on the square sign 2x2 with snap. |
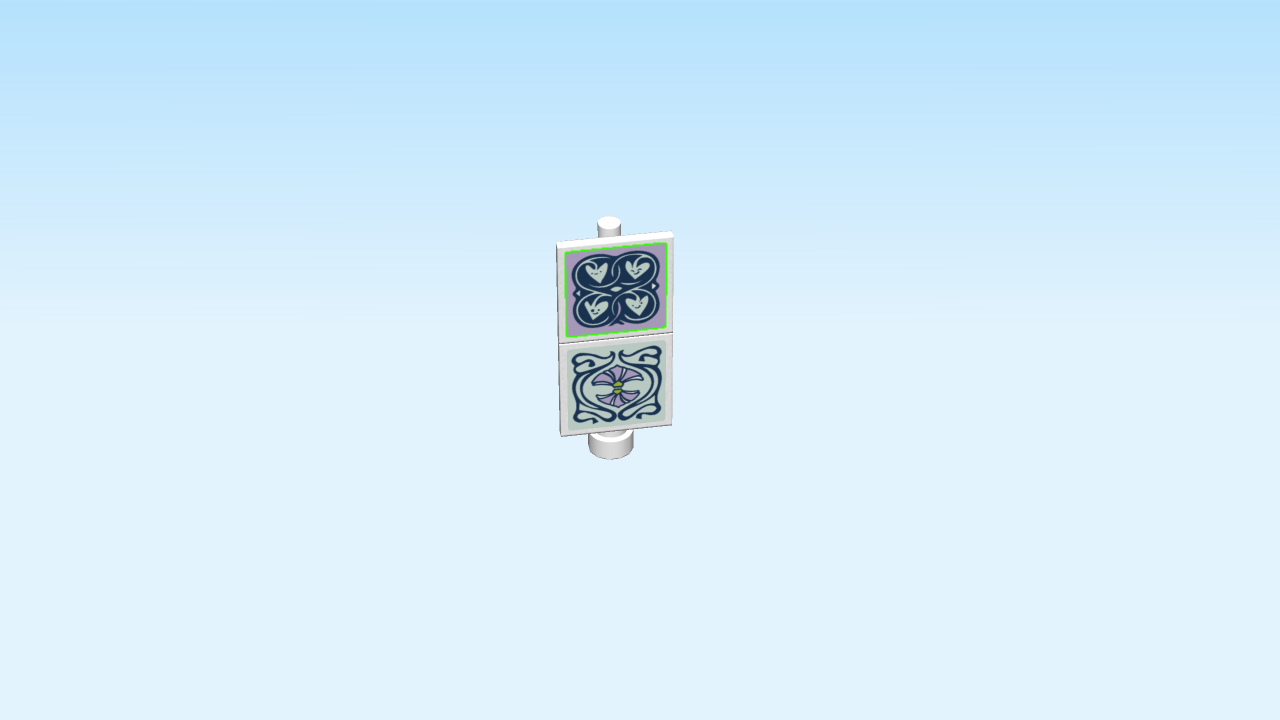
| (The sticker shows a painting of ornaments on a mint-green background with black scrollwork, and a lilac flower in the middle.) |
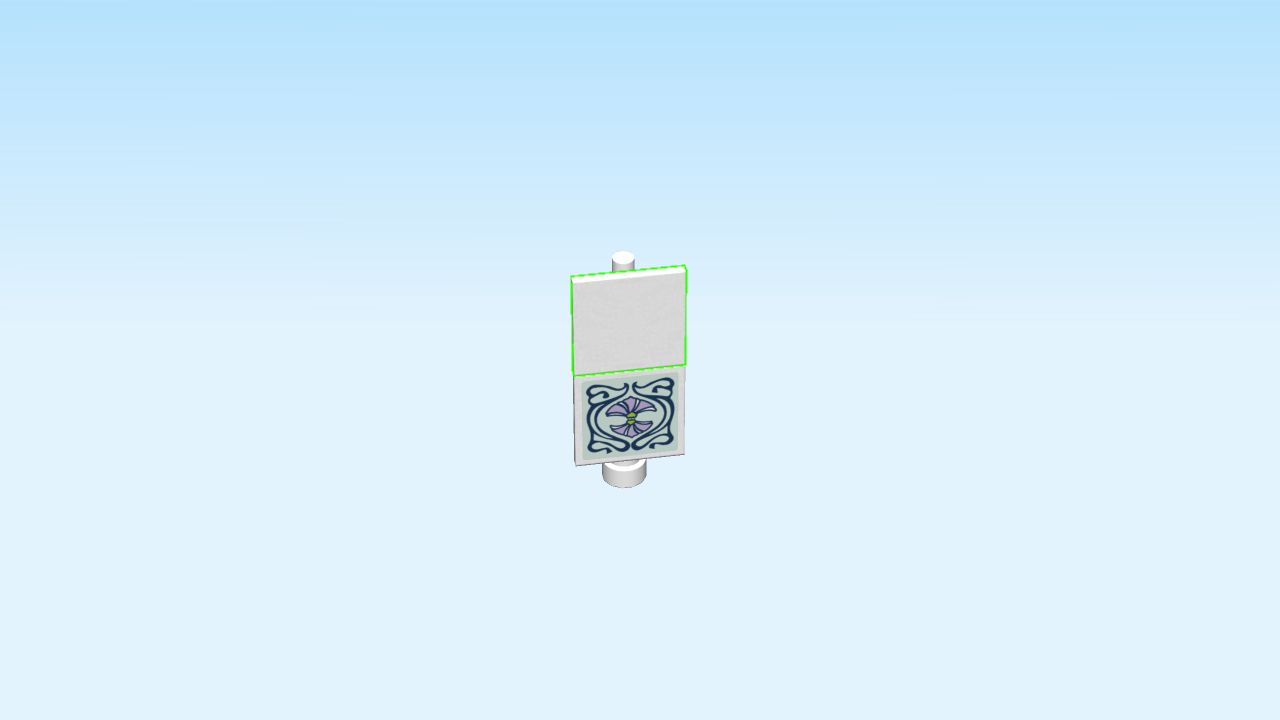
| Find 1 square sign 2x2 with snap. |
| Put it on the flag pole 1x1x3 at the top. |
| Continue if you want to decorate it with a sticker now. If not, skip the next three sentences. |
| Find 1 small square sticker number 4. Ask a sighted person to help you. |
| Put it on the square sign 2x2 with snap. |
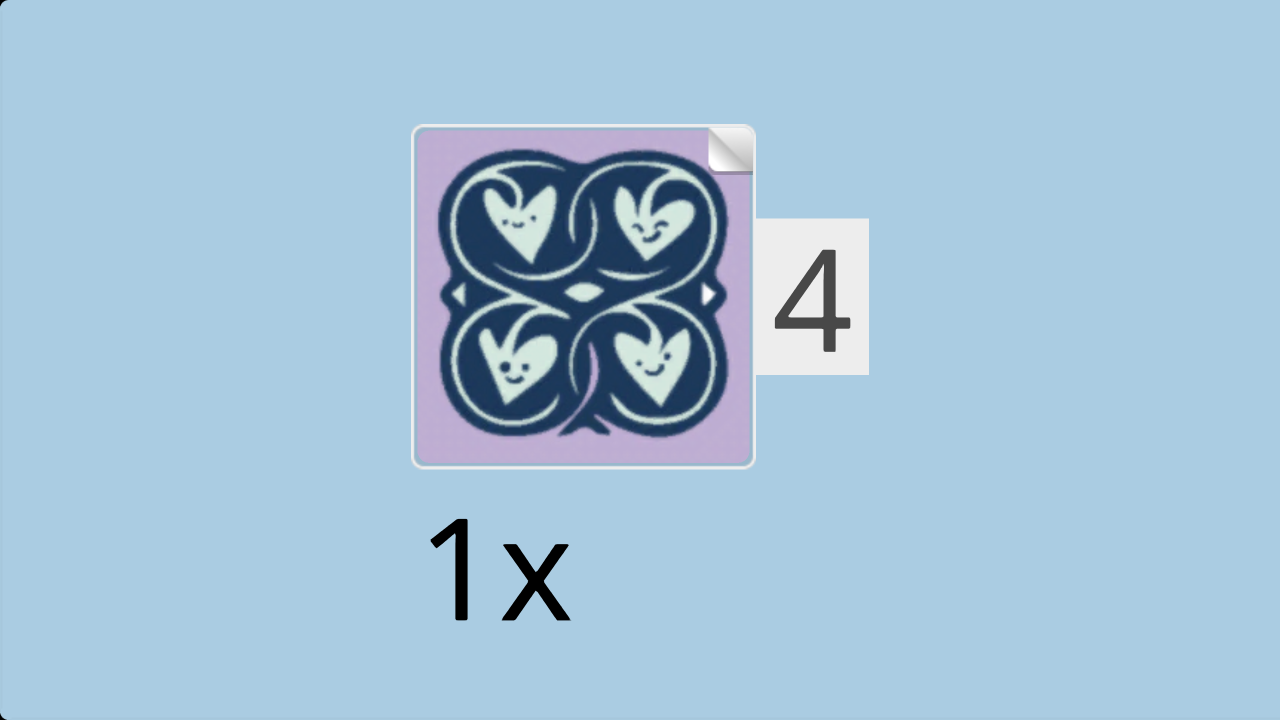
| (The sticker shows a painting of ornaments on a lilac background with dark-blue scrollwork, and four white leaves in the middle.). |
| The display stand is finished! Well done! Put it on the backmost knob of the second column from the left. (Push the paintings up a little, otherwise the stand won't fit). |
| Next, we will build a billboard. |
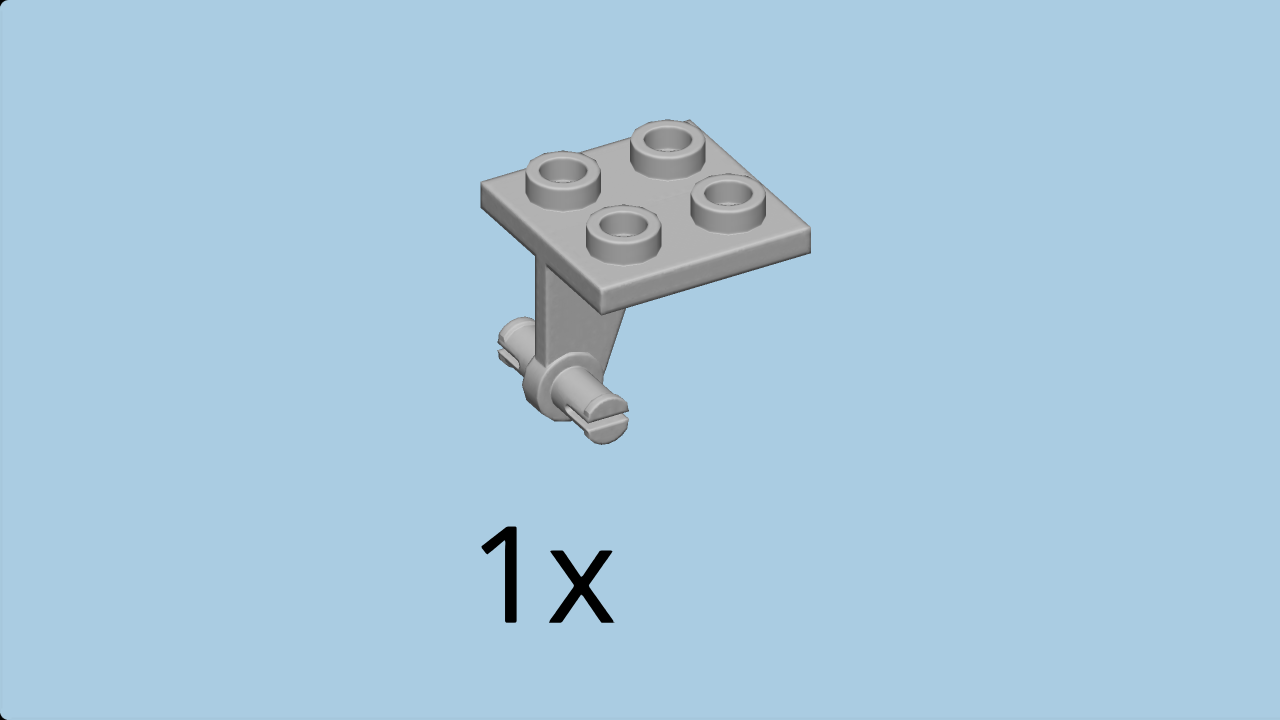
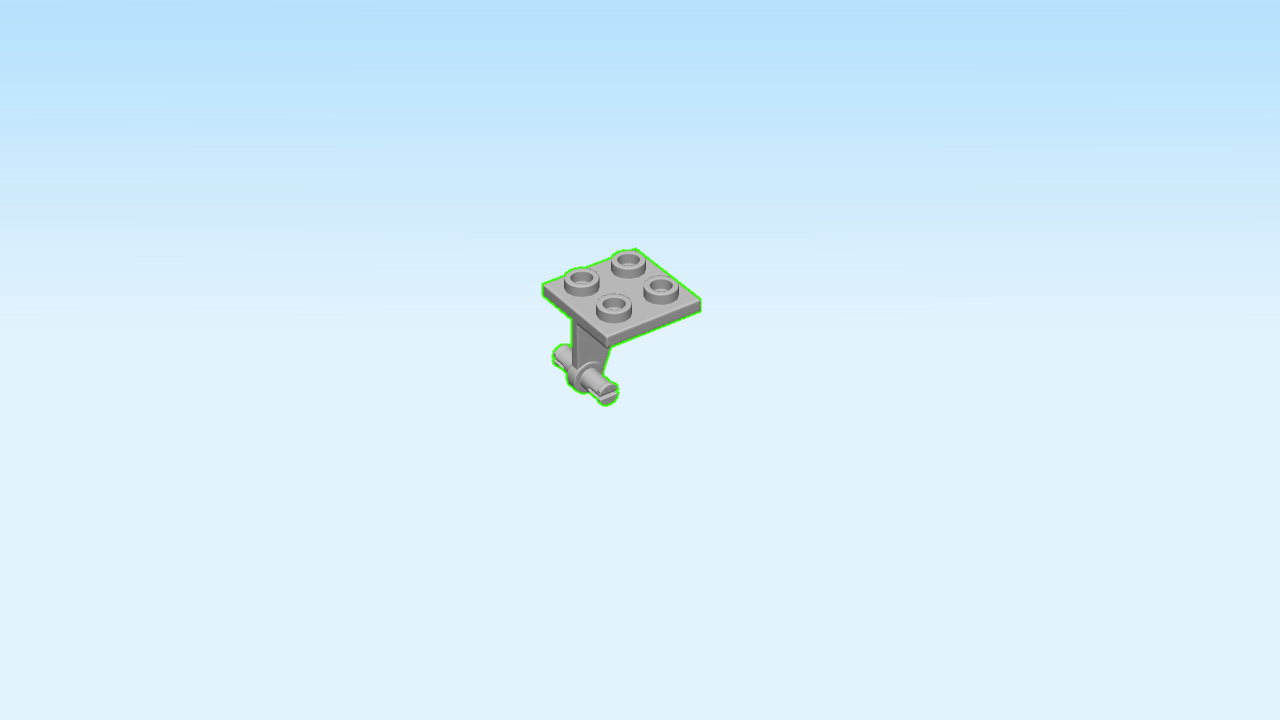
| Find 1 medium stone grey plate 2x2 with aeroplane wheel holder. |
| Put it on the table, holder to the bottom and to the back. |
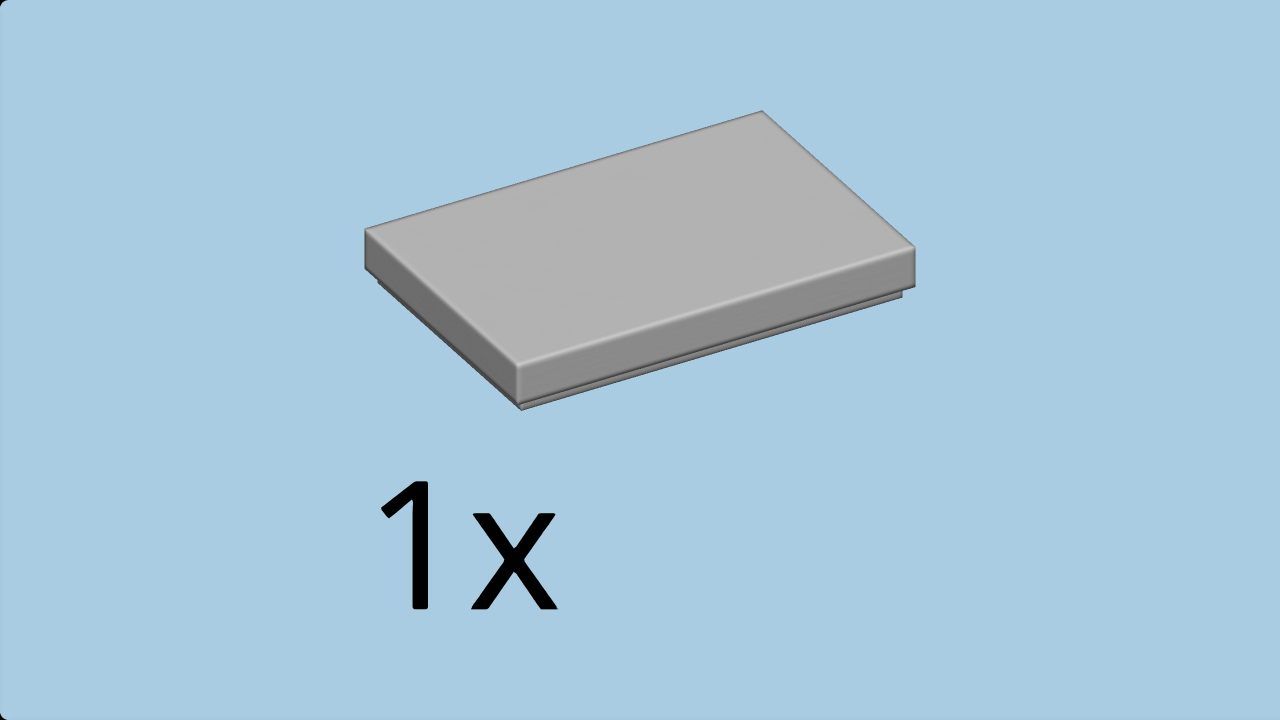
| Find 1 medium stone grey flat tile 2x3. |
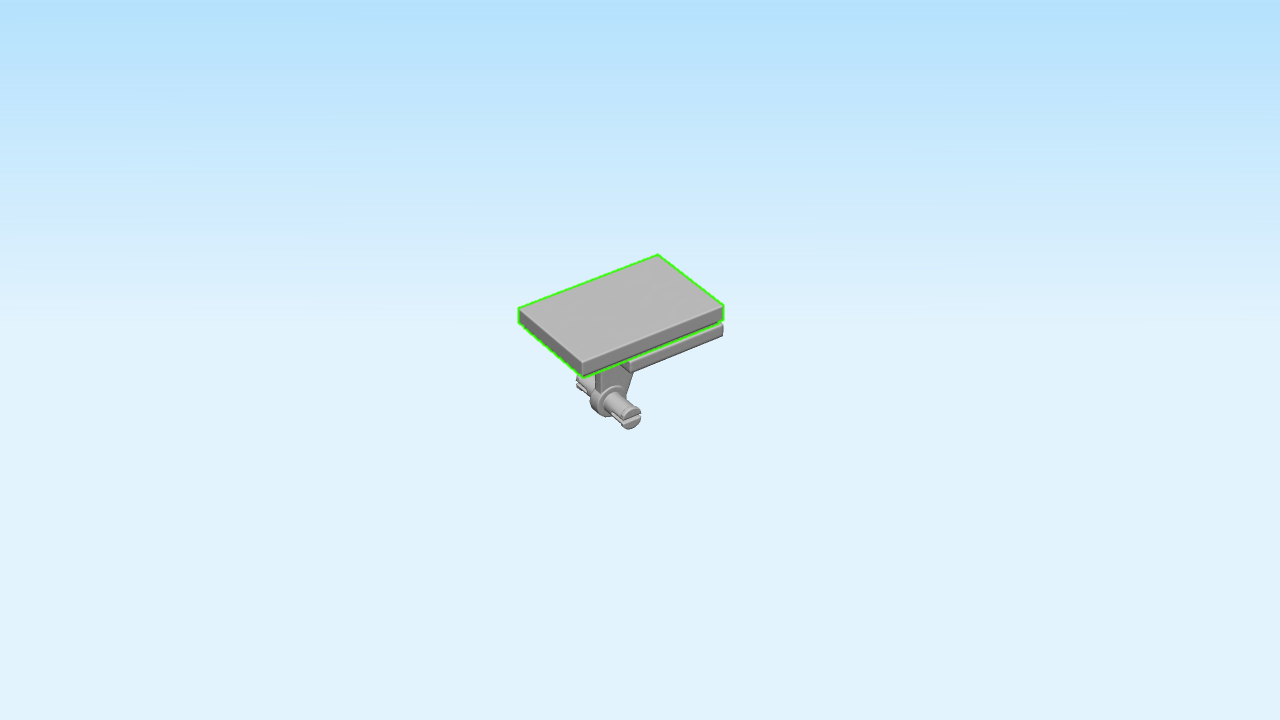
| Put it vertically on top, overhanging to the back. |
| Continue if you want to decorate it with a sticker now. If not, skip the next three sentences. |
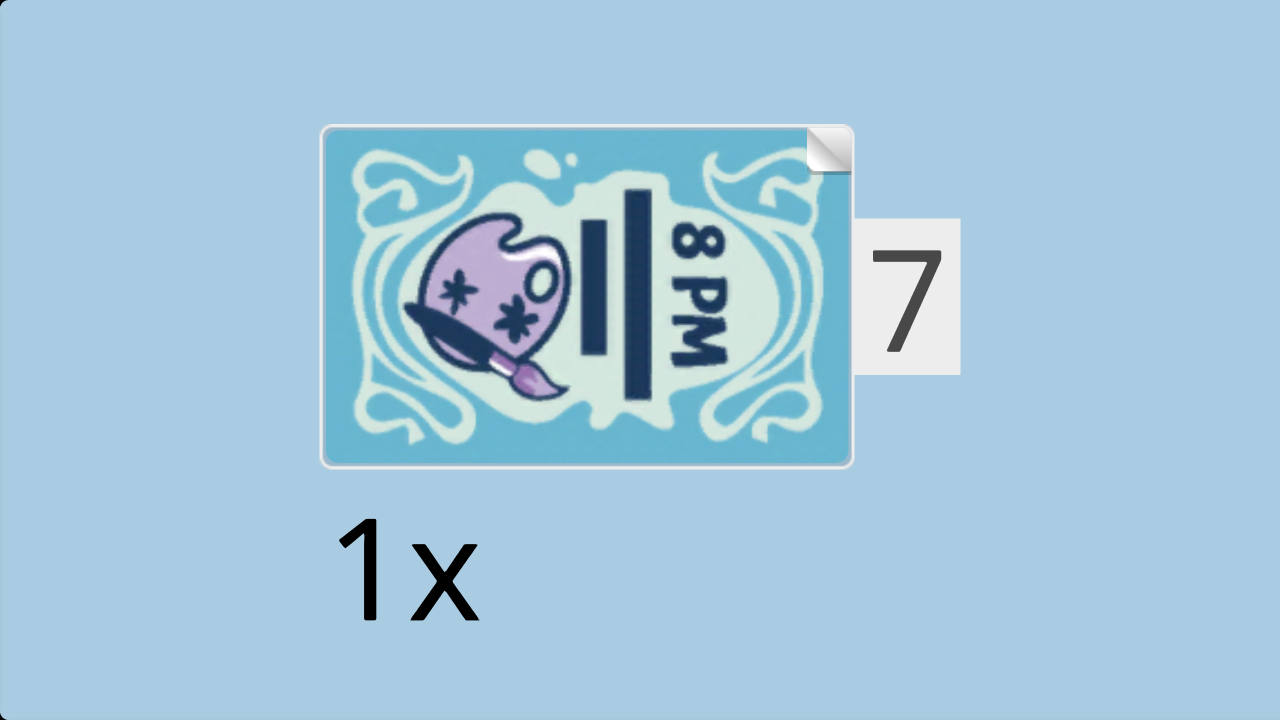
| Find 1 rectangular sticker number 7. Ask a sighted person to help you. |
| Put it vertically on top. |
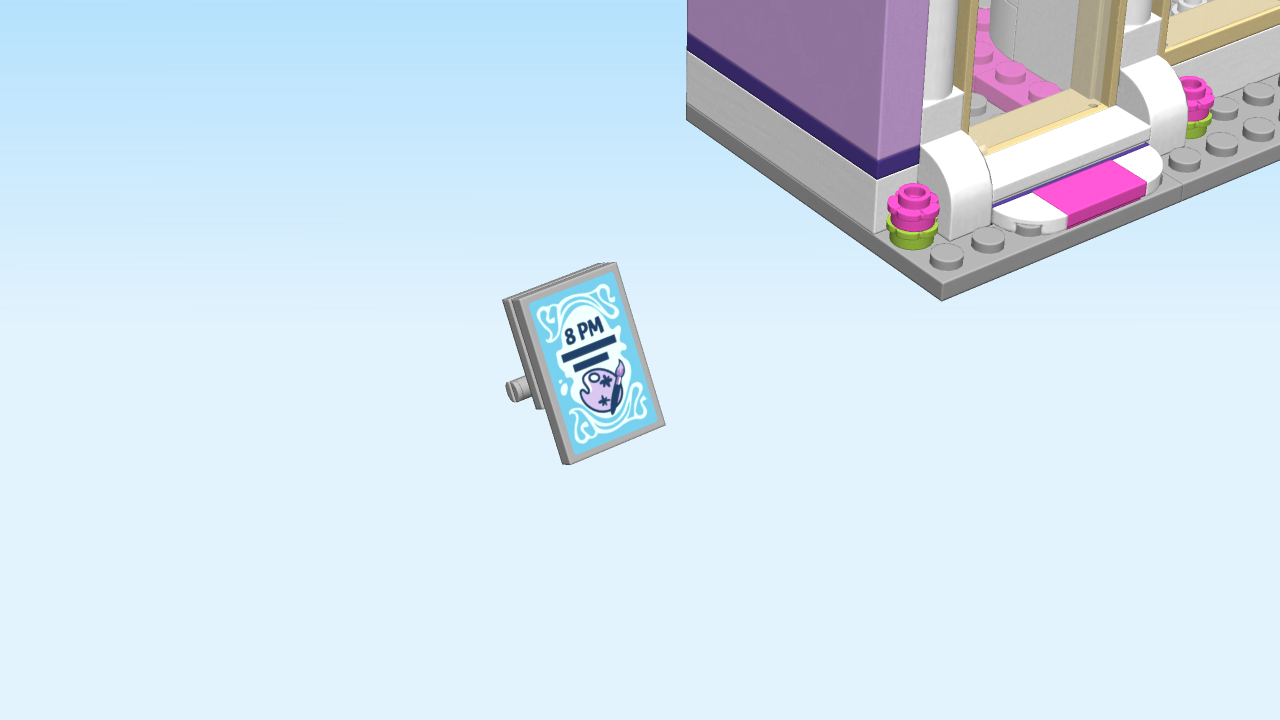
| (The sticker shows an announcement for an art event at 8 p.m. and the logo of the art studio.). |
| The billboard is finished! Well done! You can put it next to the art studio entrance to attract visitors for the art event. |
| The ground floor of the art studio is finished! Well done! You can put it aside for now, or let Andrea sell her artwork immediately! |
| We always pack some extra pieces in case some get lost. You can put those aside, or use them as you see fit. |
| Now, carefully open bag two and the two sub-bags in it. Keep the little box for the end. |
| Ask a sighted person to help you sort the pieces by color before you start building. |
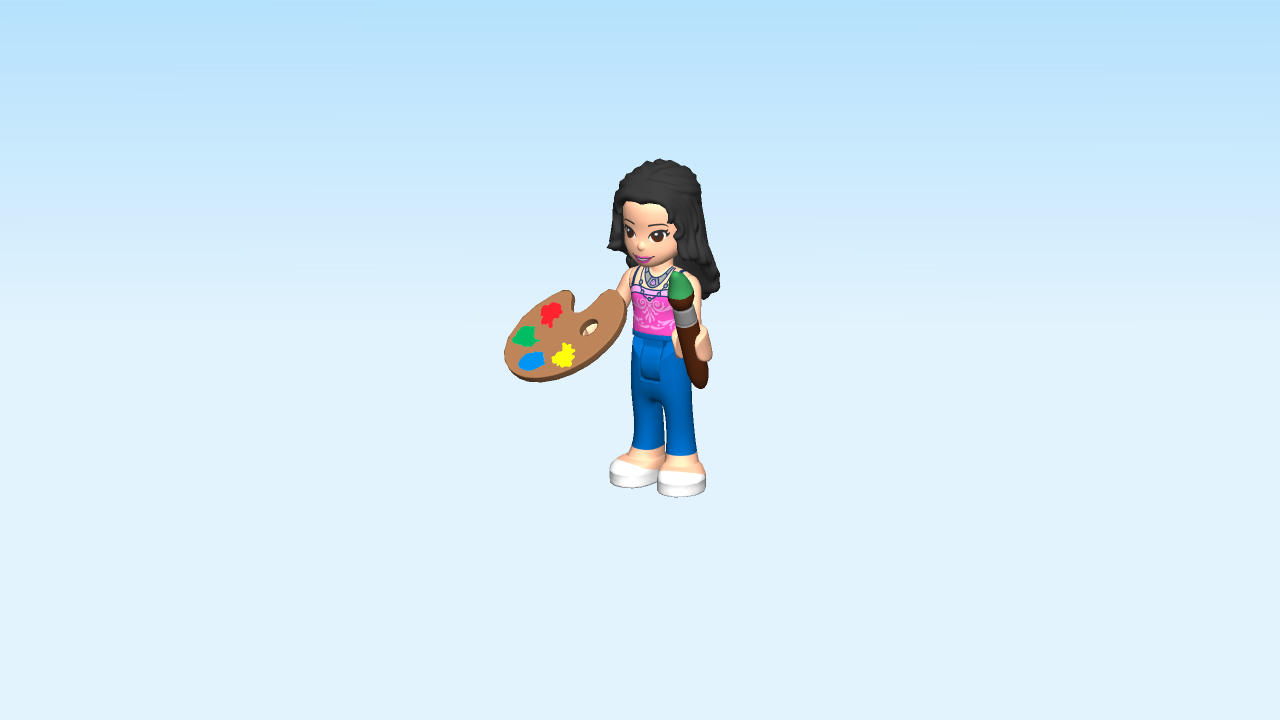
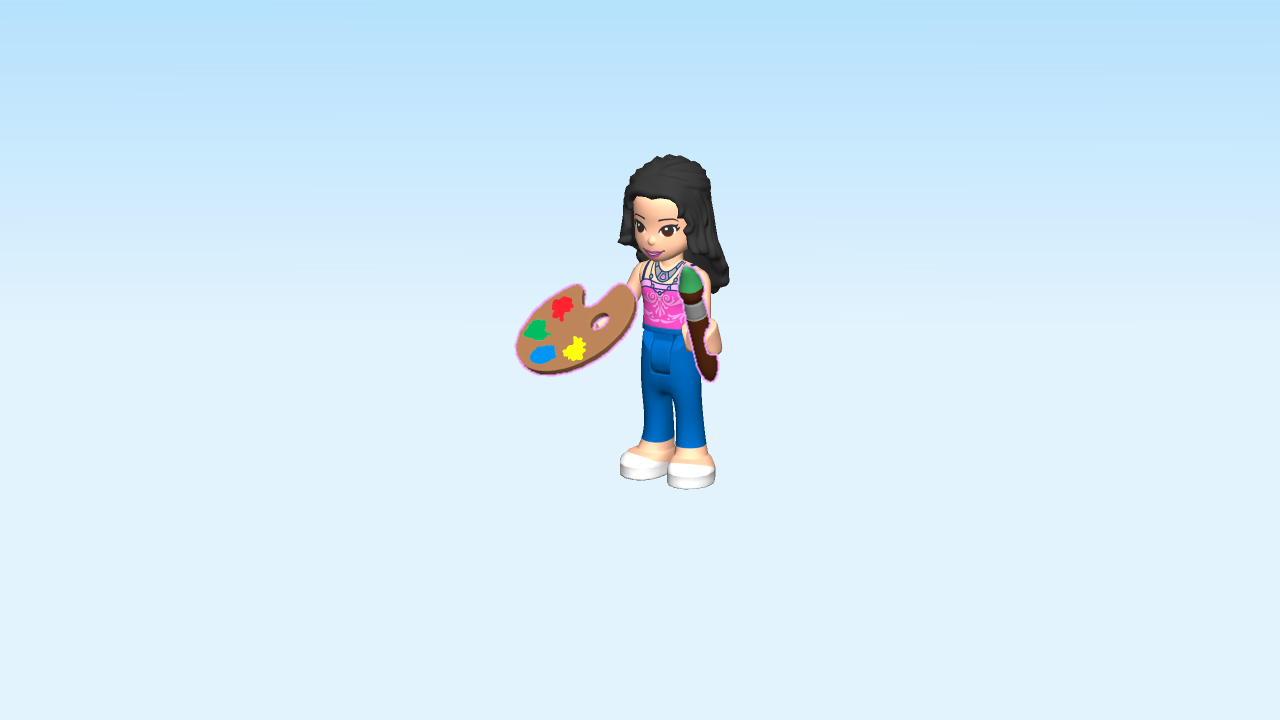
| First, we will build mini-figure Emma. |
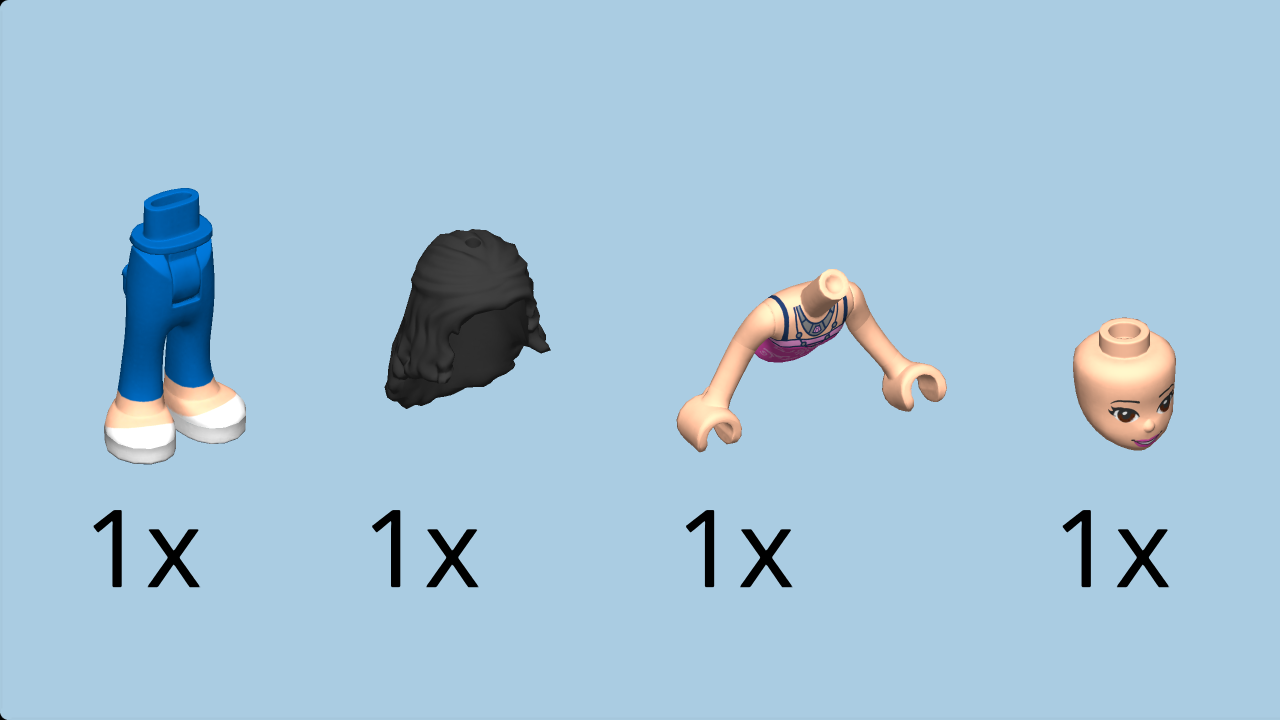
| Collect the following 4 pieces: |
| 1 bright blue pair of legs with trousers, |
| 1 light nougat upper part of the body, |
| 1 light nougat head, |
| and 1 black hairpiece with tied back bangs. |
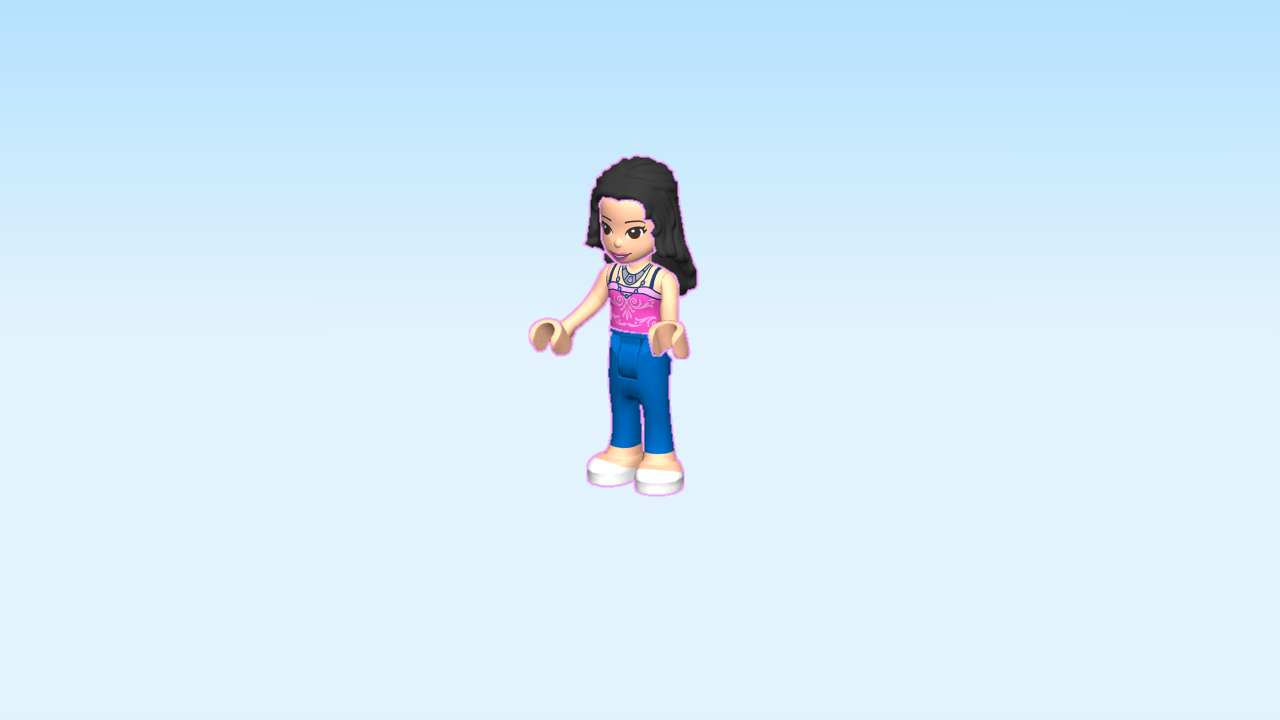
| Put the upper part of the body on the legs with trousers. |
| Put the head on top. |
| Put the hair on top. |
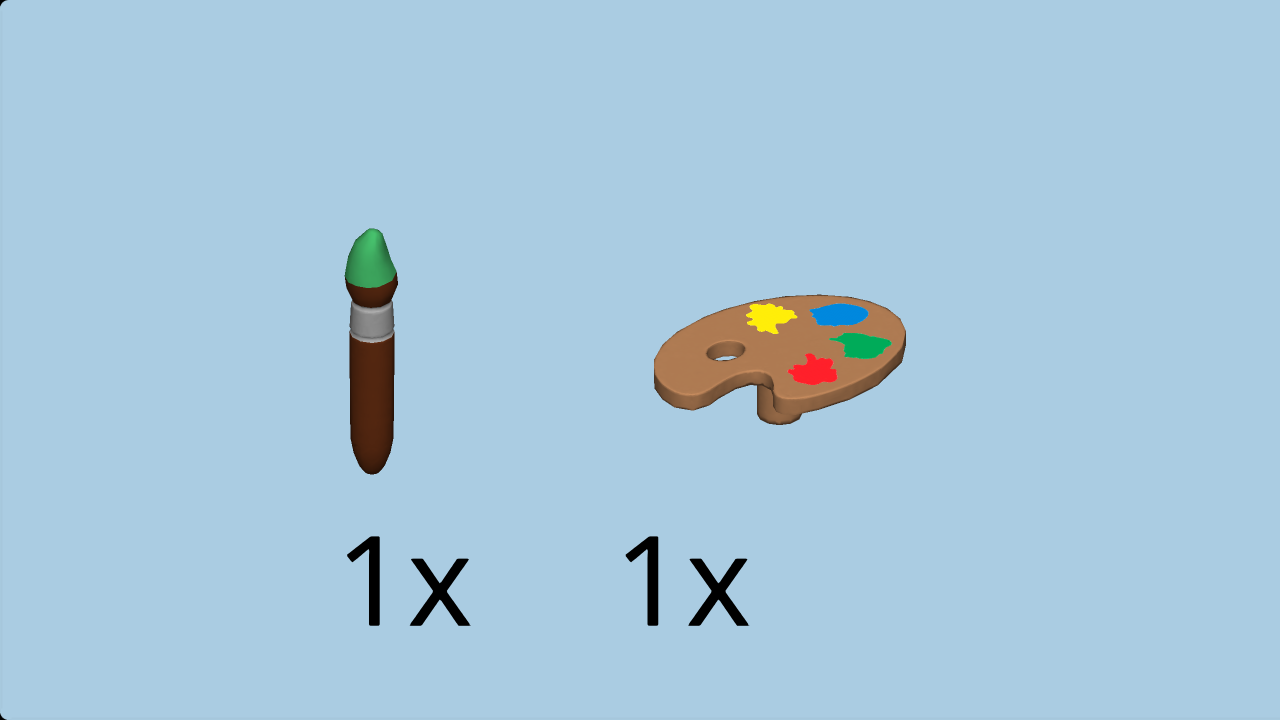
| Collect the following 2 pieces: |
| 1 medium nougat mini palette, |
| and 1 reddish brown mini brush. |
| Put the mini palette in Emma's right hand. |
| Put the mini brush in her left hand. |
| Emma is finished! Well done! You can put her aside for now, or let her organize things in the art store. |
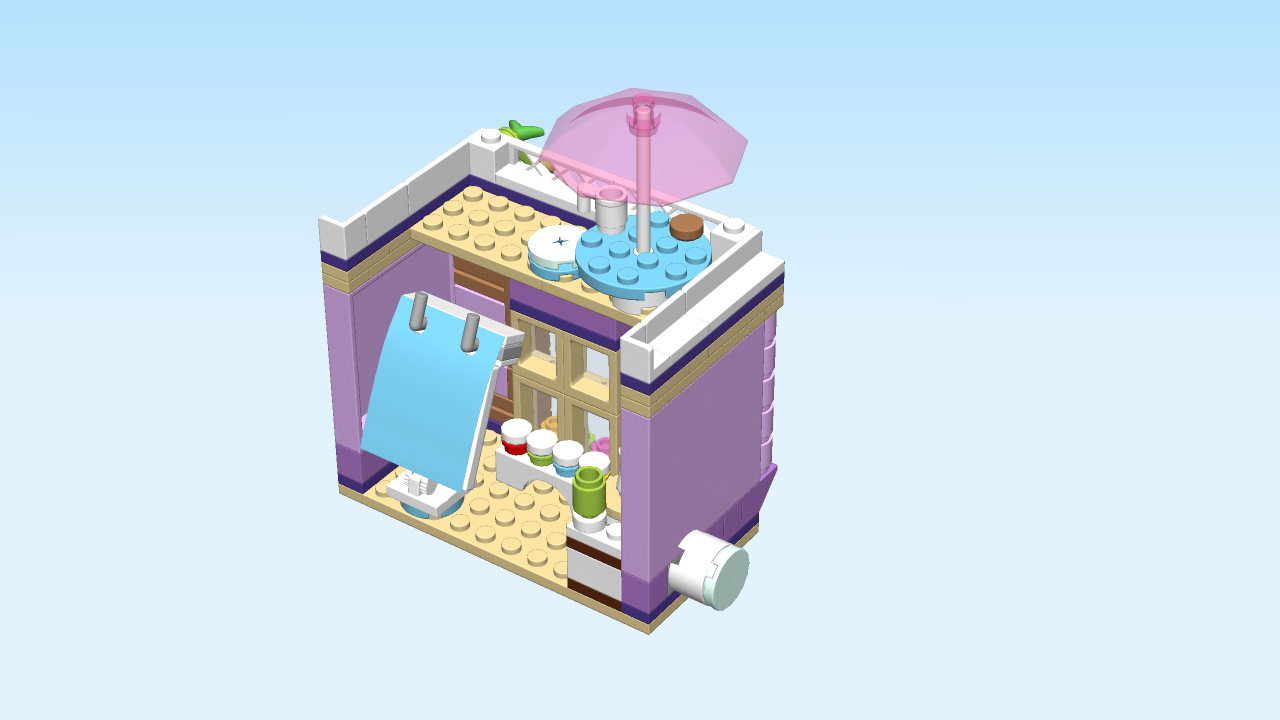
| Next, we will build the second floor of the art studio. |
| (This is where Emma and Andrea can paint on the easel and create art on a pottery wheel. On the roof there is a small terrace café with a sunshade as well as a table and a stool to sit, relax and have a soda.). |
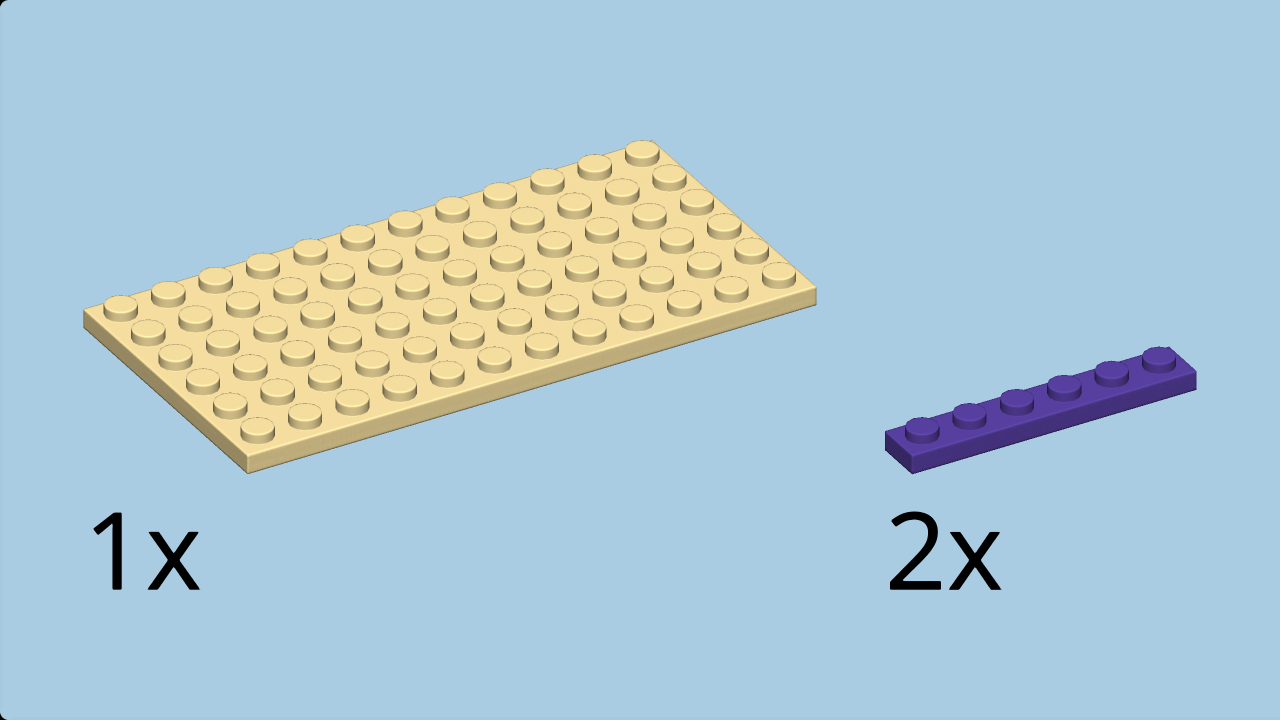
| Collect the following 3 pieces: |
| 1 brick yellow plate 6x12, |
| and 2 medium lilac plates 1x6. |
| Put the plate 6x12 horizontally on the table. |
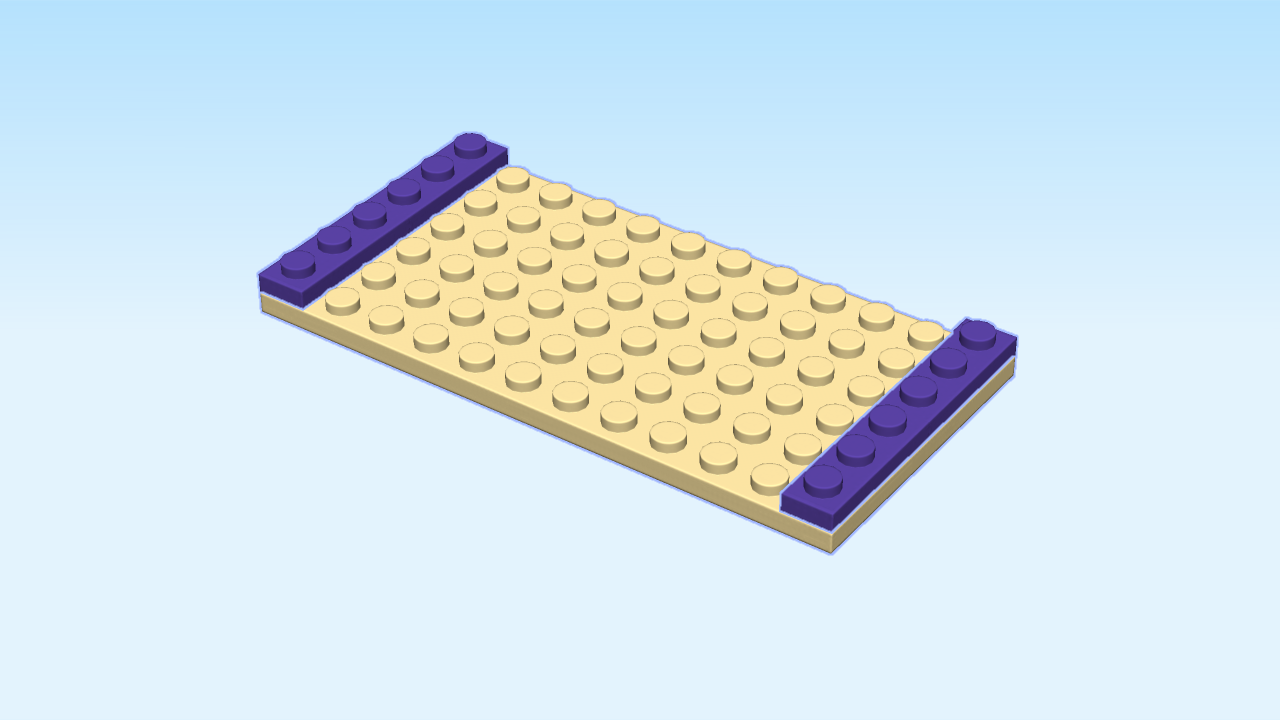
| Put one plate 1x6 vertically on the rightmost column. |
| Repeat symmetrically on the left. |
| Collect the following 3 pieces: |
| 2 medium lilac plates 1x4, |
| and 1 medium azur round plate 2x2 with 1 knob. |
| Put one plate 1x4 horizontally on the front row, starting from the second knob from the left. |
| Repeat symmetrically on the right. |
| Skipping two columns from the right, put the round plate 2x2 with 1 knob on the back four knobs. |
| Next, we will build the window flower box. |
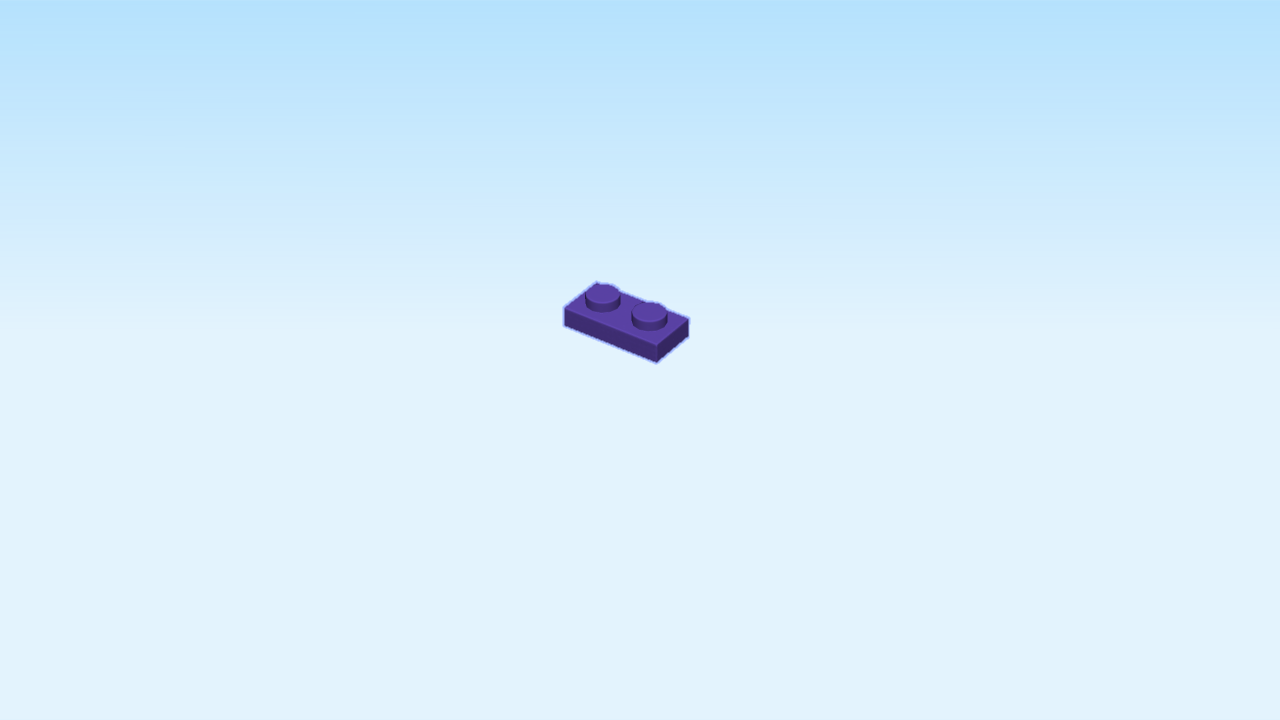
| Find 1 medium lilac plate 1x2. |
| Put it horizontally on the table. |
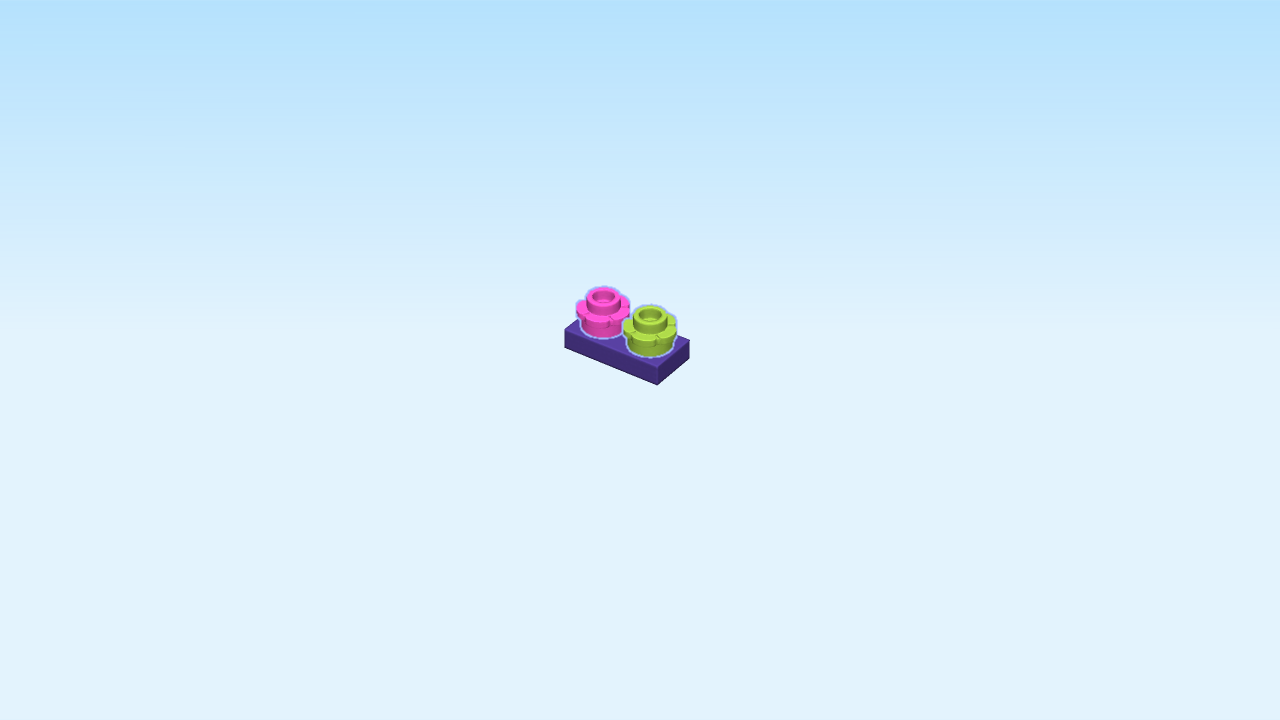
| Collect the following two pieces: |
| 1 bright purple flower 1x1, |
| and 1 bright yellowish green flower 1x1. |
| Put the bright purple flower 1x1 on the left knob. |
| Put the bright yellowish green flower 1x1 on the right knob. |
| The window flower box is finished! |
| Mount it horizontally on the front row in the middle. |
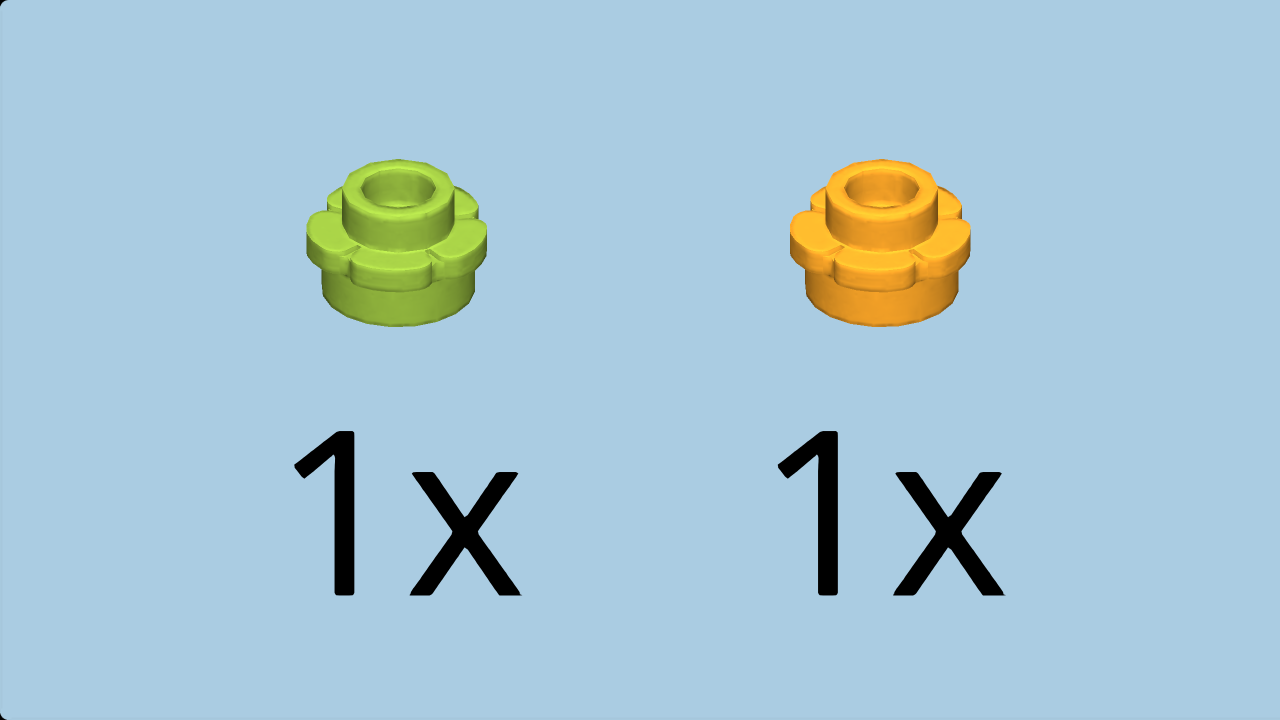
| Collect the following 2 pieces: |
| 1 bright yellowish green flower 1x1, |
| and 1 flame yellowish orange flower 1x1. |
| Put the bright yellowish green flower 1x1 to the left of the previous piece. |
| Put the flame yellowish orange flower 1x1 to the right of the flower box. |
| Collect the following 3 pieces: |
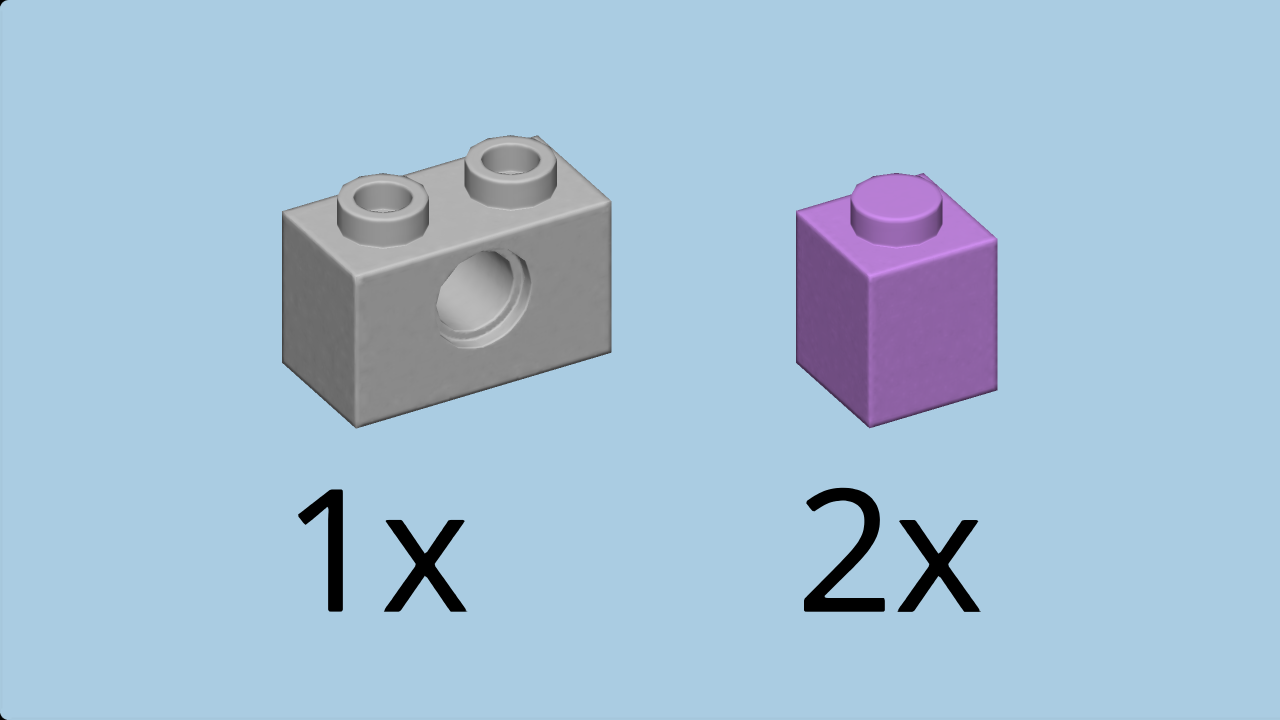
| 2 medium lavender bricks 1x1, |
| and 1 medium stone grey brick 1x2 with side hole. |
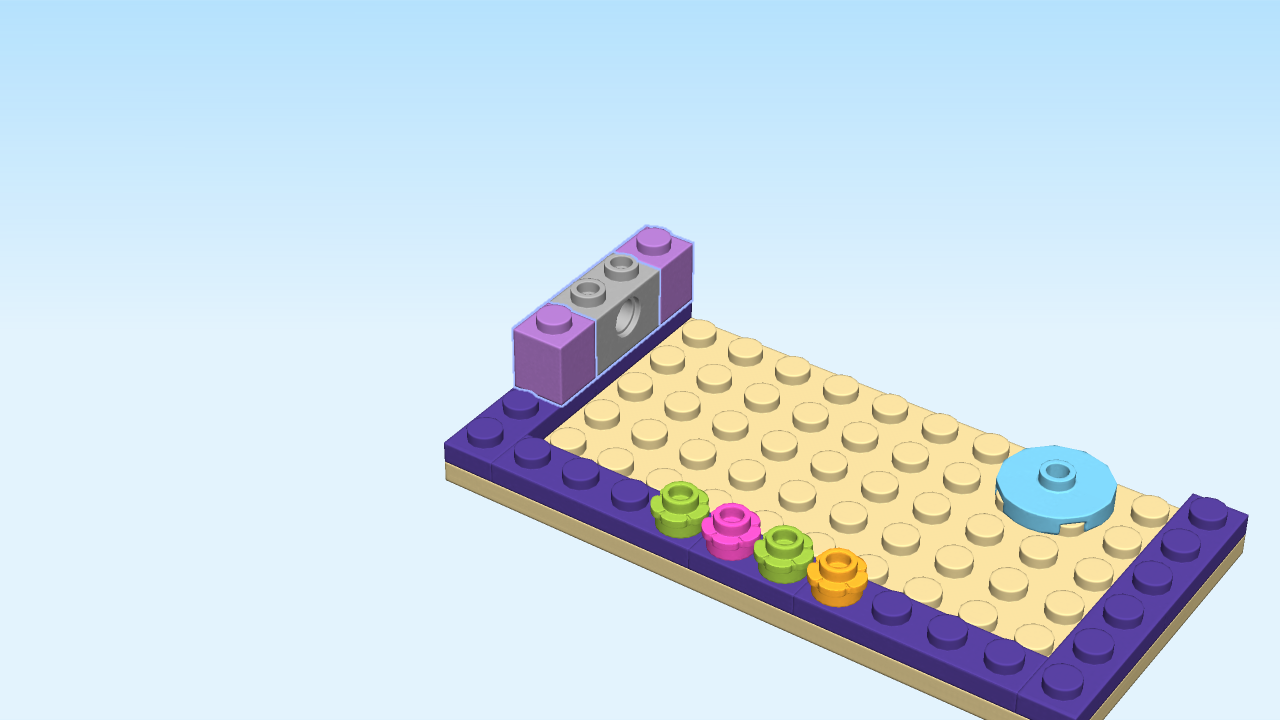
| Put one brick 1x1 on the backmost knob of the leftmost column. |
| Skip two knobs to the front and put the other brick 1x1 on the fourth knob from the back. |
| Put the brick 1x2 with side hole vertically between the previous pieces. |
| Next, we will build the drive mechanism of the pottery wheel engine. |
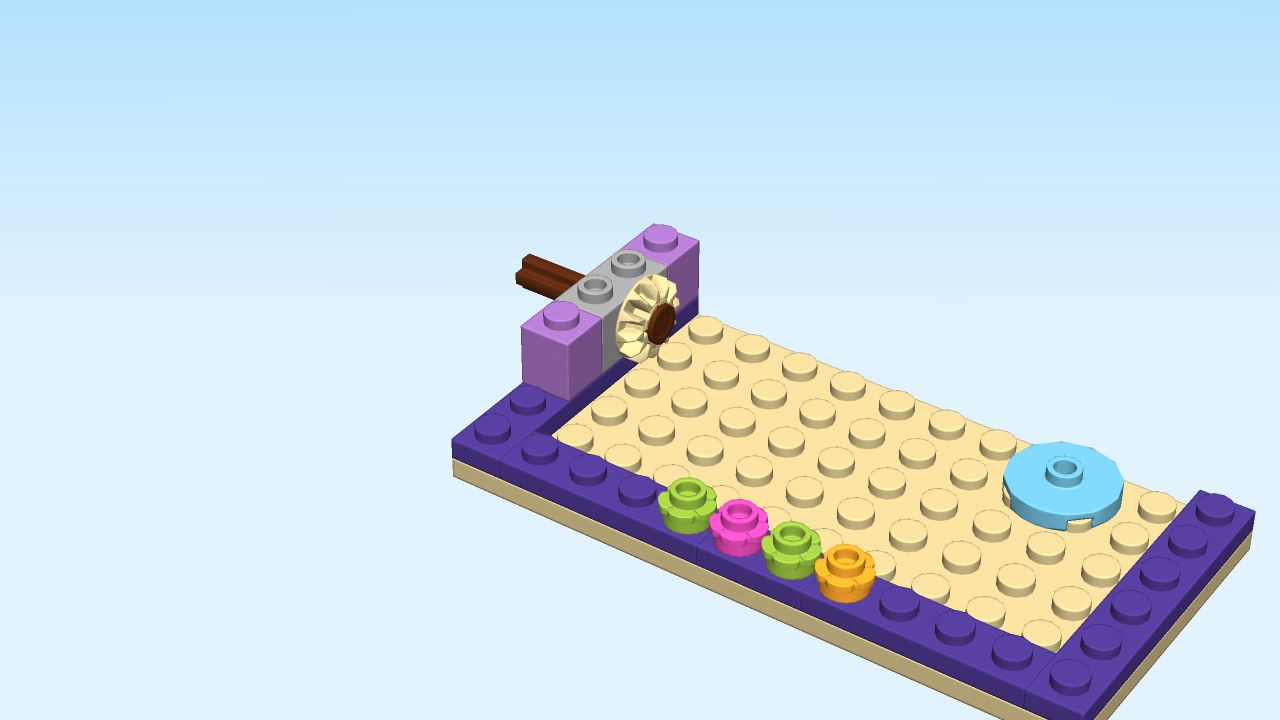
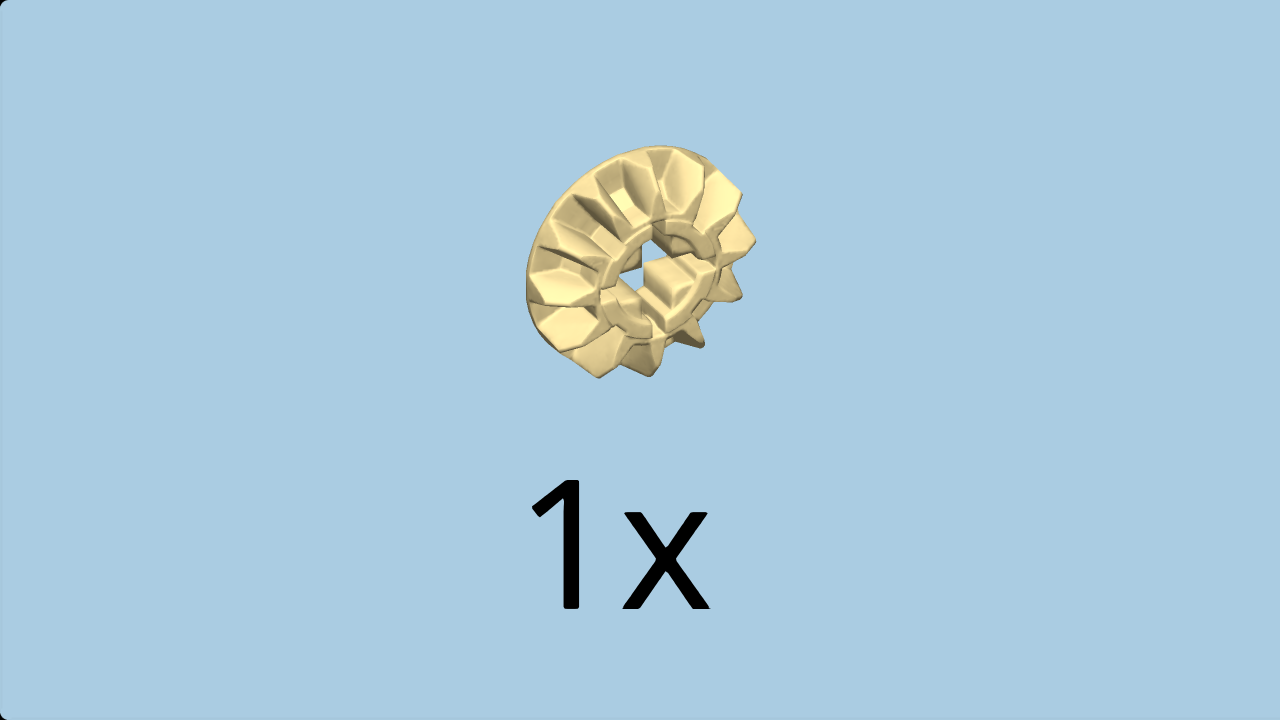
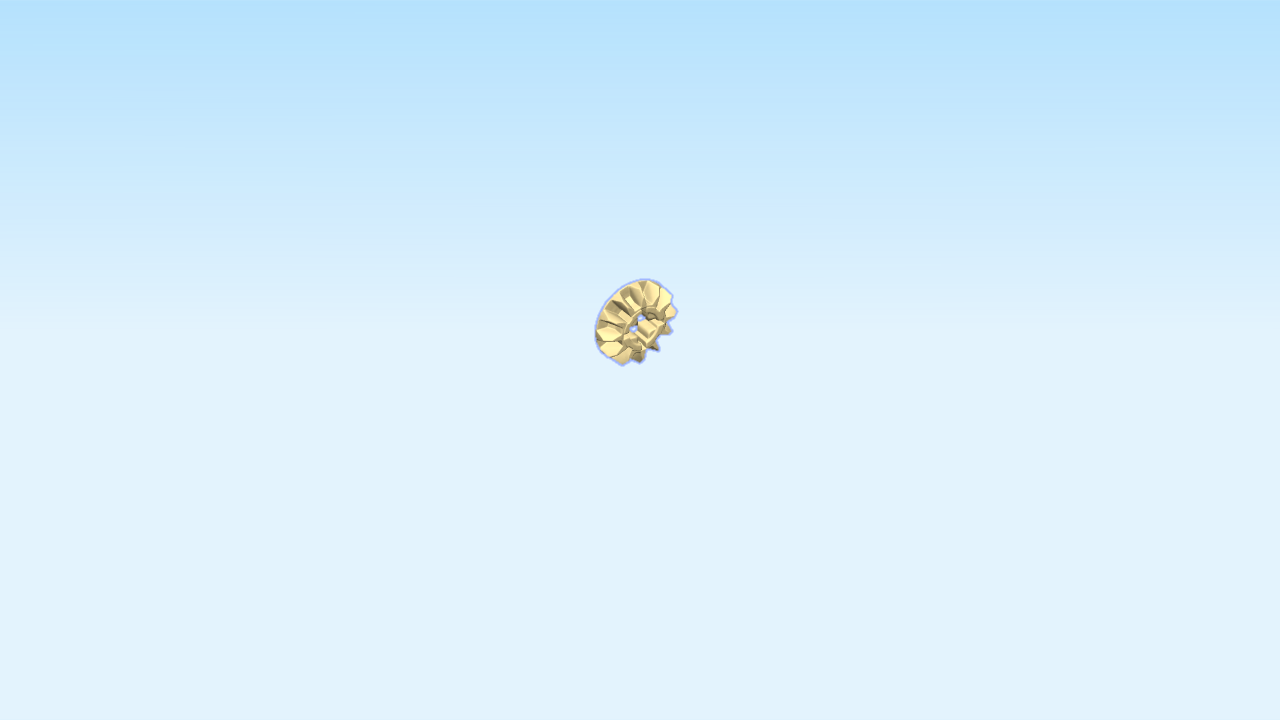
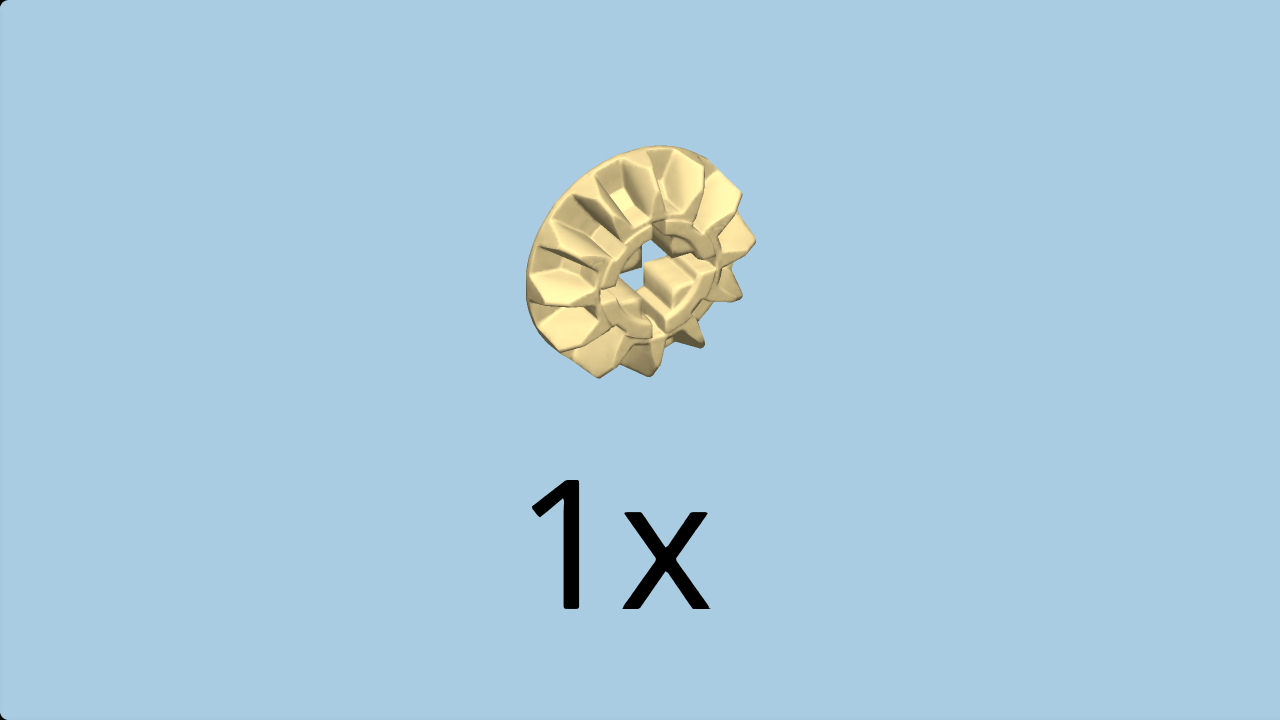
| Find 1 brick yellow gear wheel with 12 fins. |
| Put it on the table, fins to the top. |
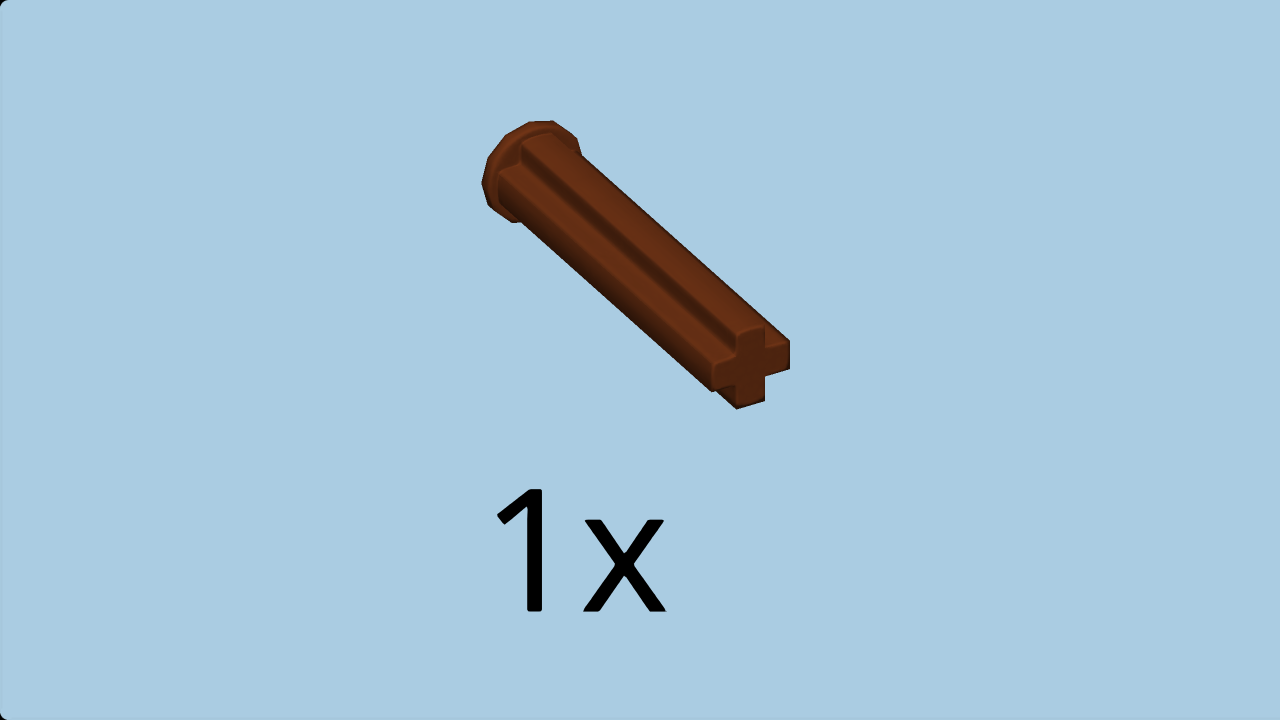
| Find 1 reddish brown cross axle with end stop, 3 knobs long. |
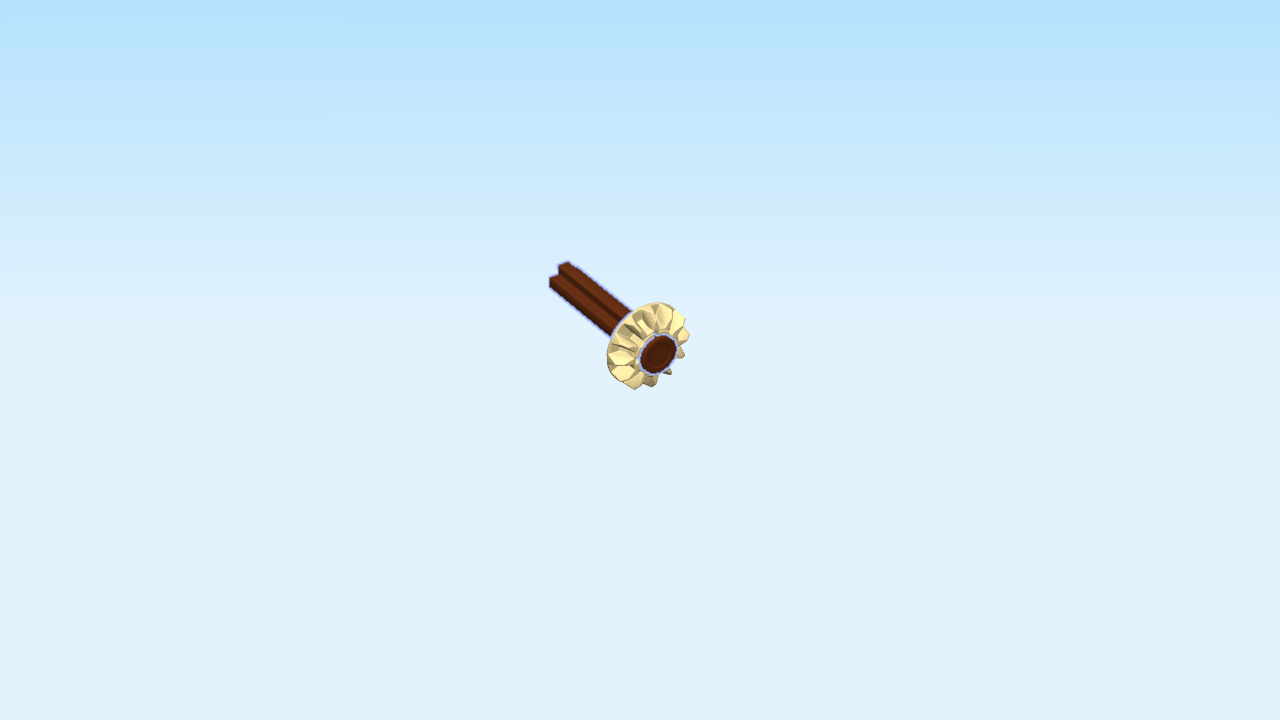
| Insert the cross axle into the gear wheel, fins facing the end stop. |
| Careful: the orientation of the fins is important. Otherwise the engine of the pottery wheel won't work. |
| (Push the gear wheel all the way to the end stop.). |
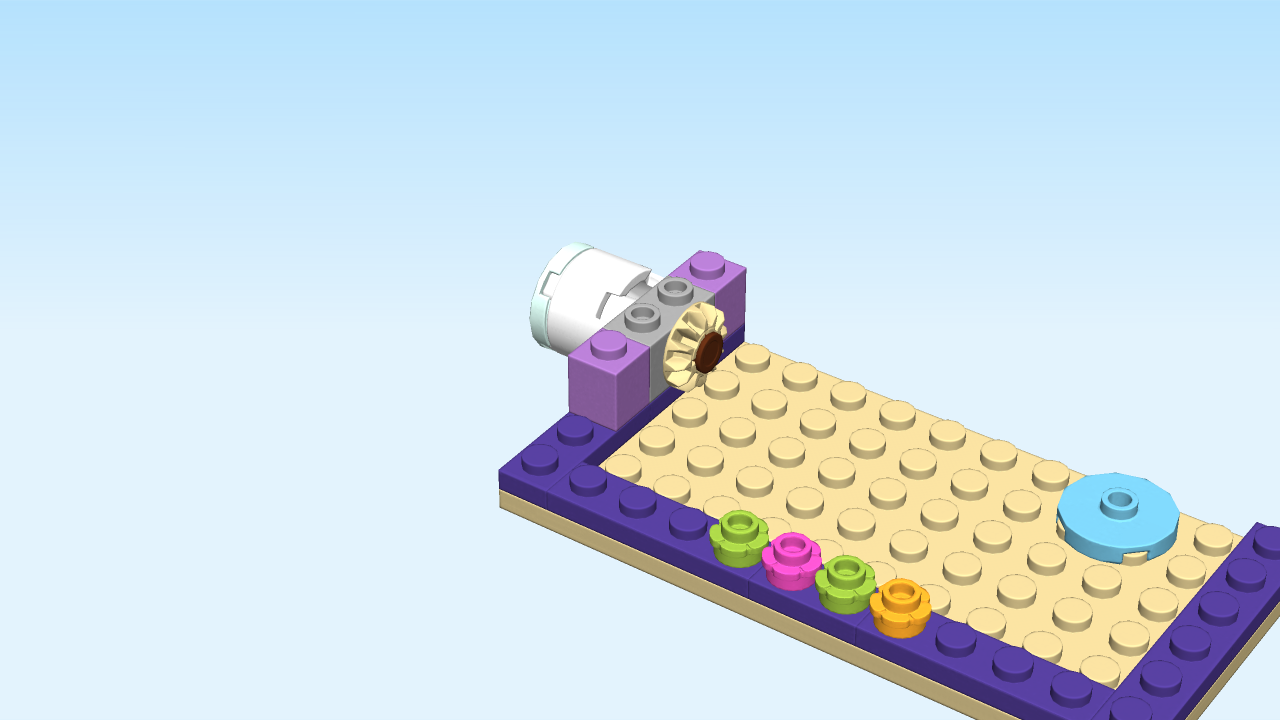
| Now, insert the cross axle into the side hole on the left side of the structure, gear wheel to the right. |
| (This means that the gear wheel stays inside the room, and the cross axle protrudes to the left). |
| Next, we will build the crank part of the pottery wheel engine. |
| Find 1 white cylinder 2x2 with top cross hole. |
| Put it on the table. |
| Find 1 aqua round flat tile 2x2. |
| Put it on top. |
| Insert the protruding part of the cross axle into the cylinder 2x2 with top cross hole. |
| The pottery wheel engine is finished! Well done! |
| Find 1 medium lavender brick 1x1. |
| Put it on the second knob from the front on the leftmost column. |
| Collect the following 3 pieces: |
| 1 medium lavender inverted roof tile 1x2, |
| 1 medium nougat brick 1x1, |
| and 1 medium nougat profile brick 1x2 with brick carvings. |
| Put the inverted roof tile 1x2 vertically in front of the previous piece, slide to the front. |
| Put the brick 1x1 to the right. |
| Put the profile brick 1x2 with brick carvings horizontally to the right. |
| Note that for all bricks with brick carvings in this model, the carvings that consist of a single horizontal line are facing to the back, and the more complex horizontal and vertical carvings are facing to the front. |
| Collect the following 5 pieces: |
| 1 medium lavender brick 1x4, |
| 1 medium lavender brick 1x1, |
| 1 medium lavender inverted roof tile 1x2, |
| 1 medium nougat brick 1x1, |
| and 1 medium nougat profile brick 1x2 with brick carvings. |
| Put the brick 1x4 vertically on the rightmost column, starting from the back. |
| Put the medium lavender brick 1x1 in front. |
| Put the inverted roof tile 1x2 vertically in front, slide to the front. |
| Put the medium nougat brick 1x1 to the left. |
| Put the profile brick 1x2 with brick carvings horizontally to the left. |
| Collect the following 4 pieces: |
| 2 medium nougat bricks 1x1, |
| and 2 lavender bricks 1x2. |
| Put one brick 1x1 on the fourth knob of the front row from the right. |
| Repeat symmetrically on the left. |
| Put 1 brick 1x2 horizontally to the left. |
| Repeat symmetrically on the right. |
| Collect the following 4 pieces: |
| 2 medium nougat bricks 1x1, |
| and 2 medium nougat profile bricks 1x2 with brick carvings. |
| Put one brick 1x1 on the rightmost knob of the previous piece. |
| Put one profile brick 1x2 with brick carvings horizontally to the left. |
| Skip two columns from the left, and put the other profile brick 1x2 with brick carvings horizontally on the front row. |
| Put the other brick 1x1 to the left. |
| Next, we will assemble the two large windows of the second floor! |
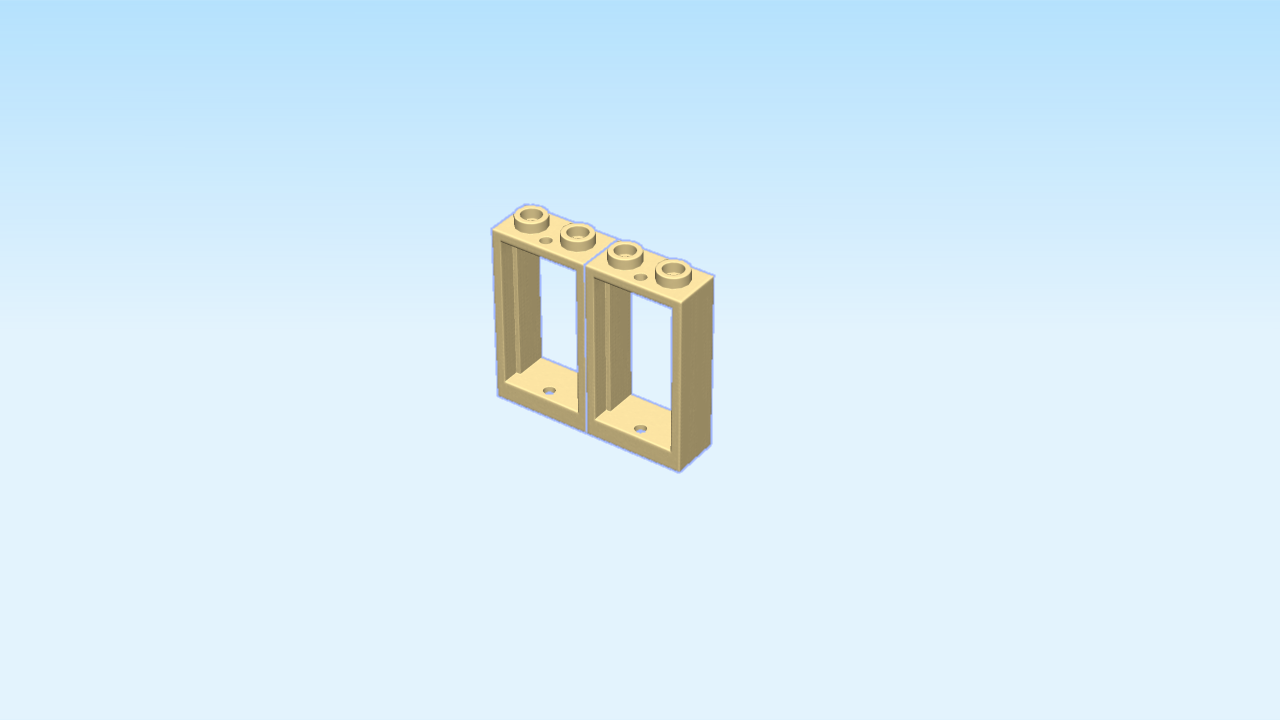
| Find 2 brick yellow window frames 1x2x3. |
| Put them flat on the table, inner notches to the top, knobs to the back. |
| Find 2 transparent glasses for window frame 1x2x3. |
| Snap the glasses into the inner notches of the window frames. |
| The large windows are finished! Well done! |
| Put them horizontally in the middle of the second row from the front, hollows to the back. |
| Next, we will build the two small windows of the second floor! |
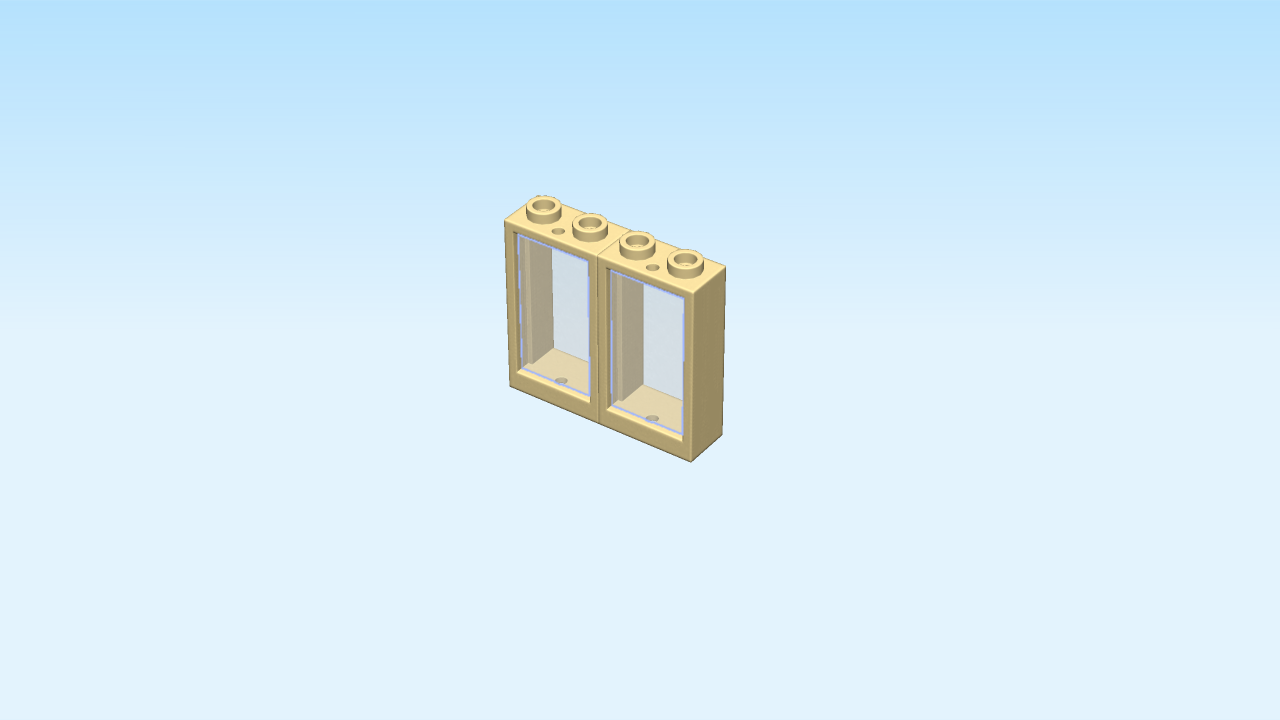
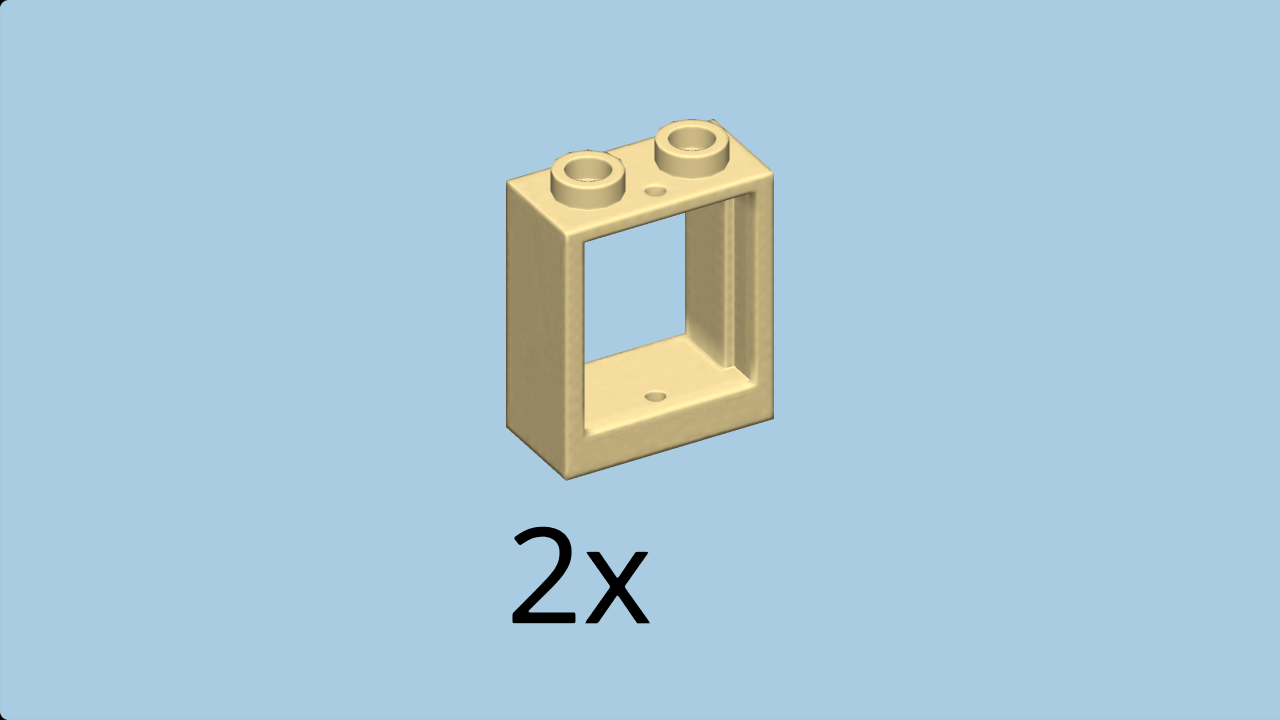
| Find 2 brick yellow window frames 1x2x2. |
| Put them flat on the table, inner notches to the top, knobs to the back. |
| Find 2 transparent glasses for window frame 1x2x2. |
| Snap the glasses into the notches of the window frames. (The glasses have two small bumps that fit perfectly into two small notches on the window frames). |
| The two small windows are finished! Well done! |
| Put them horizontally on the two large windows, hollows to the back. |
| Collect the following 3 pieces: |
| 2 lavender bricks 1x2, |
| and 1 medium nougat brick 1x6x2 with inside arch. |
| Skip one column from the right, and put one brick 1x2 horizontally on the front row. |
| Repeat symmetrically on the left. |
| Put the brick 1x6x2 with inside arch horizontally between the two previous pieces. |
| Collect the following 3 pieces: |
| 1 medium lilac plate 1x4, |
| and 2 medium nougat profile bricks 1x2 with brick carvings. |
| Put the plate 1x4 horizontally on the windows. They are in the middle of the second row from the front. |
| Skip one column from the right, and put one profile brick 1x2 with brick carvings horizontally on the front row. |
| Repeat symmetrically on the left. |
| Find 1 lavender wall element 1x6x5. |
| Put it vertically on the leftmost column of the structure, starting from the back, hollow to the right. |
| Collect the following 5 pieces: |
| 1 medium lavender brick 2x4, |
| 2 lavender bricks 1x2, |
| and 2 medium lavender inverted roof tiles 1x2. |
| Put the brick 2x4 horizontally in the middle of the front two rows. |
| Put one brick 1x2 horizontally to the right. |
| Repeat symmetrically on the left. |
| Put one inverted roof tile 1x2 vertically to the left, slide to the front. |
| Repeat symmetrically on the right. |
| Next, we will decorate a wall element. |
| Find 1 lavender wall element 1x6x5. |
| Continue if you want to decorate it with a sticker now. If not, skip the next four sentences. |
| Put the wall element 1x6x5 flat on the table, hollow to the bottom and knobs to the back. |
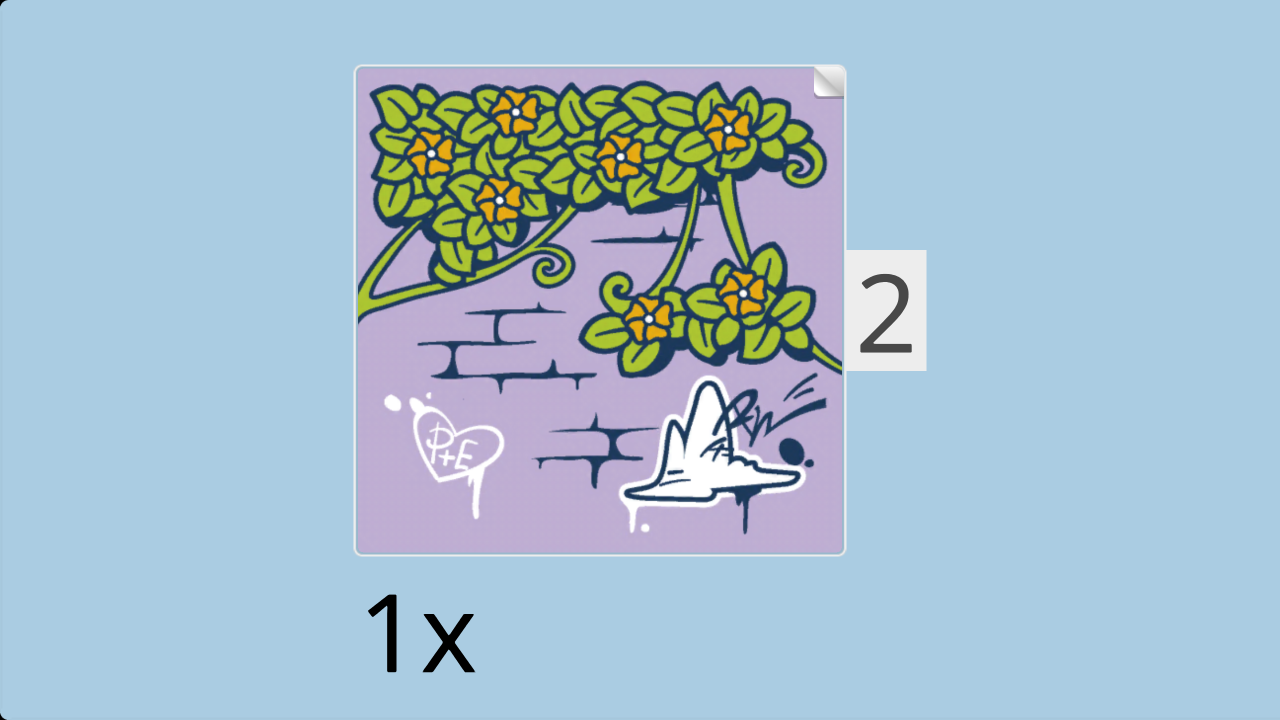
| Find 1 large-sized square sticker number 2. Ask a sighted person to help you find it. |
| Put it on top in the middle. |
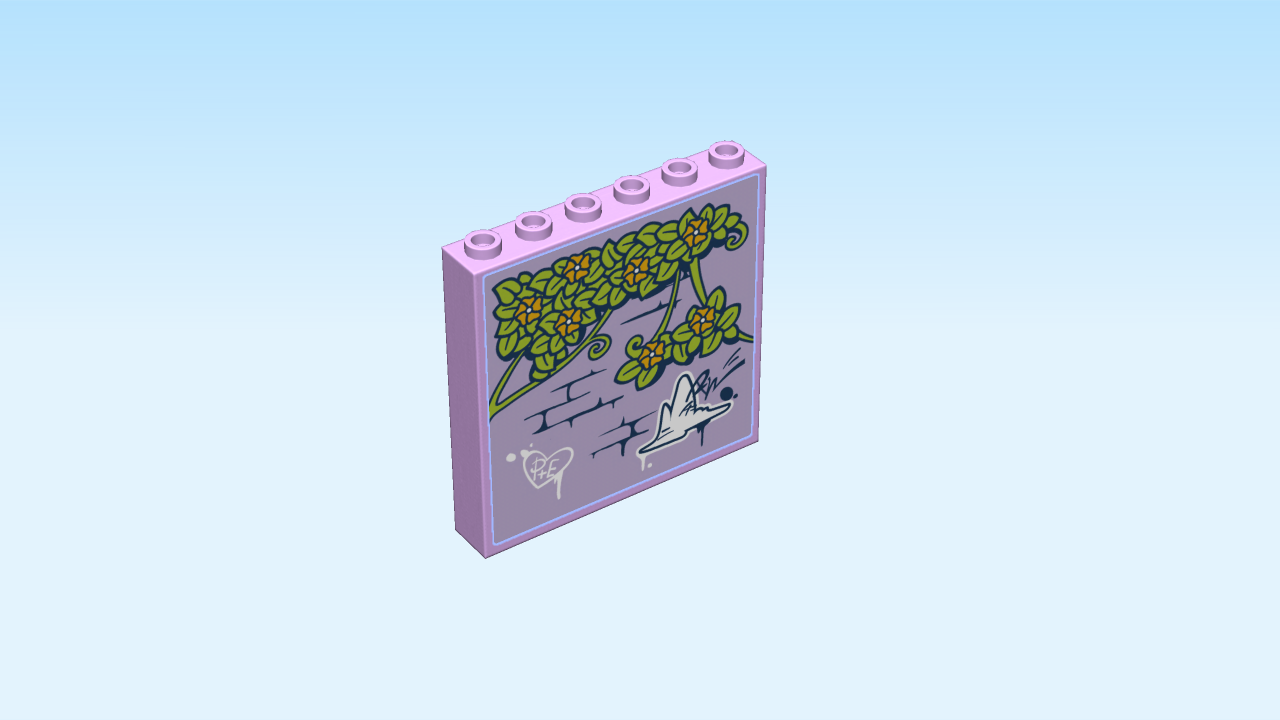
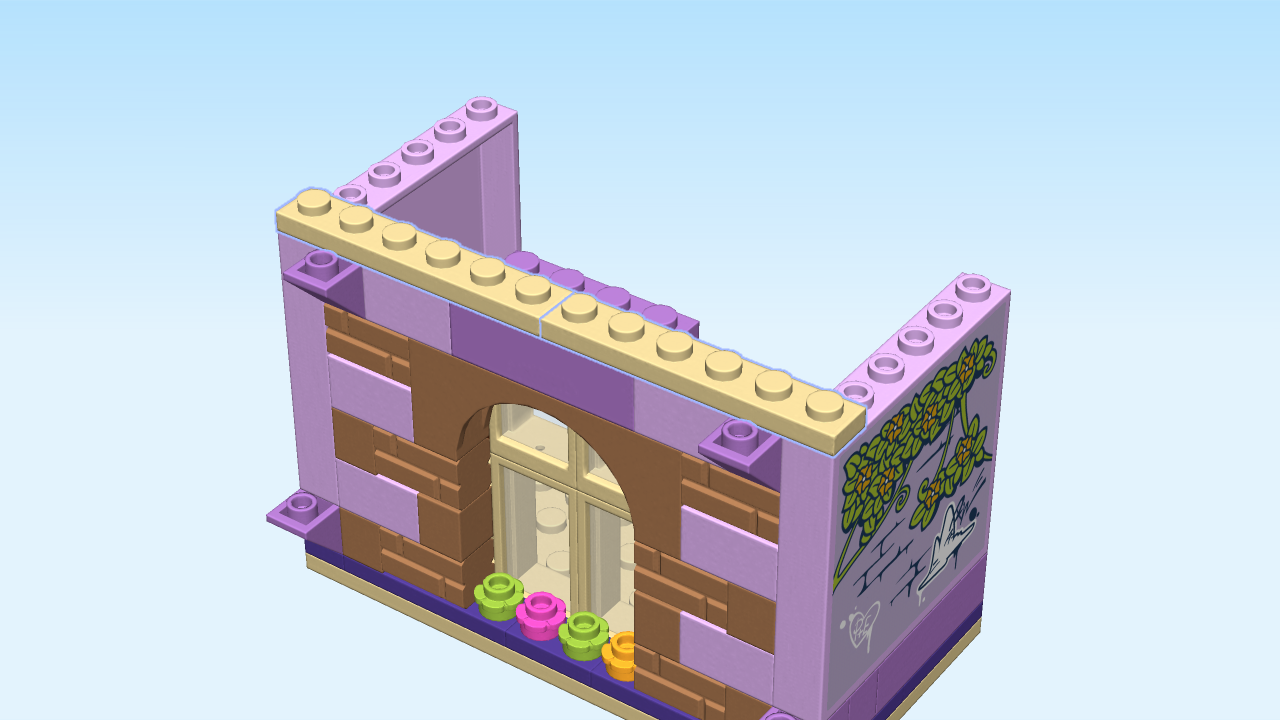
| (The sticker shows a wall covered in a climbing plant with orange blossoms and some graffiti, one showing a heart that has the initials P plus E in it, the other being a small funny, but rather abstract drawing.). |
| Put the wall element 1x6x5 vertically on the rightmost column of the structure, starting from the back, hollow to the left. |
| Find 2 brick yellow plates 1x6. |
| Put them horizontally on the front wall. |
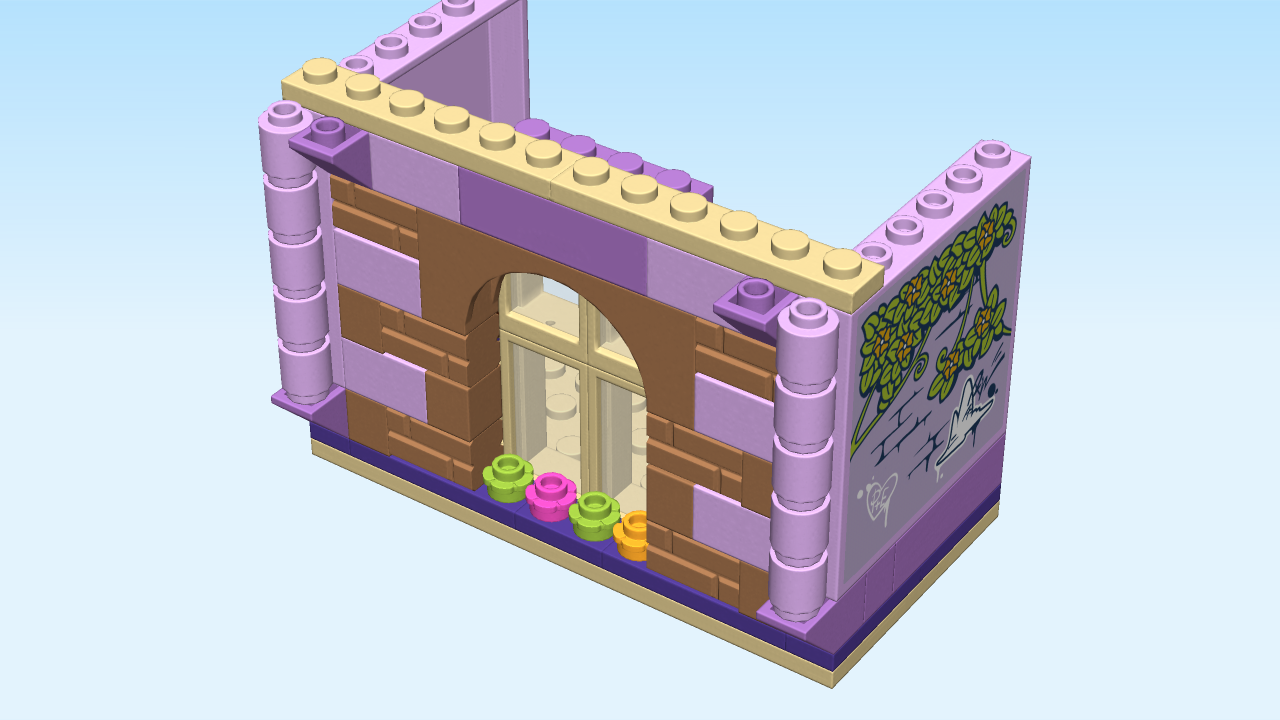
| Next, we will build 2 pillars for the facade. |
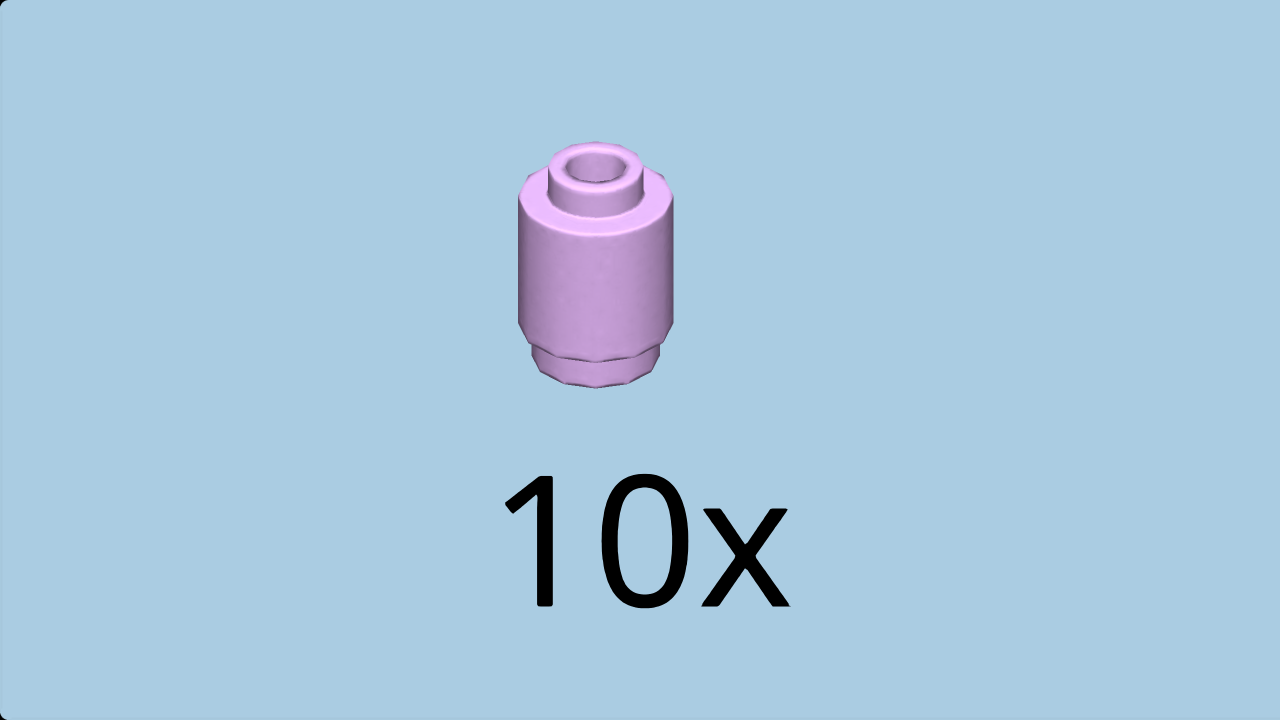
| Find 10 lavender cylinders 1x1. |
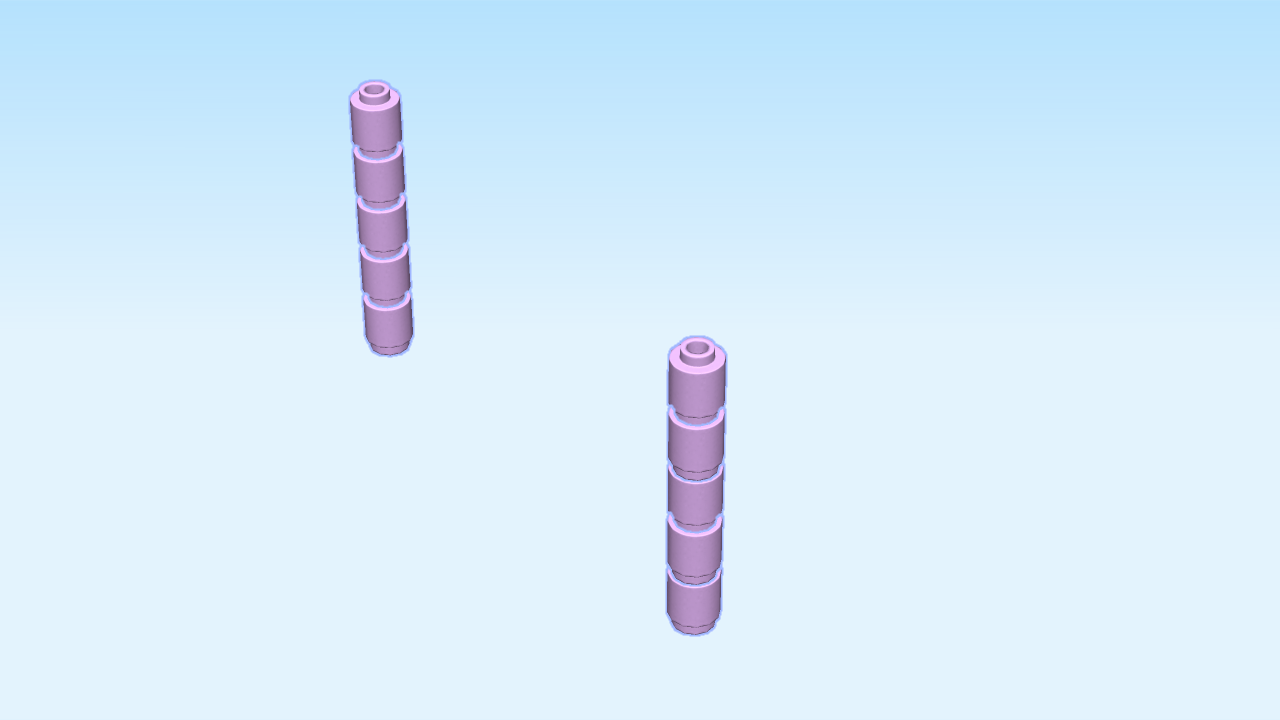
| Stack 5 on top of each other. |
| Repeat to make a second pillar. |
| The pillars are finished! Put them on the protruding inverted roof tiles at the front bottom of the structure, one on the left, one on the right. |
| Collect the following 3 pieces: |
| 2 brick yellow plates 1x2, |
| and 1 medium lilac plate 1x4. |
| Put one plate 1x2 horizontally on the left pillar and the protruding knob to its right. |
| Repeat symmetrically on the right. |
| Put the plate 1x4 horizontally in the middle of the second row from the front. |
| Collect the following 4 pieces: |
| 2 brick yellow plates 1x4, |
| and 2 brick yellow plates 1x1. |
| Skip the backmost knob, and put one plate 1x4 vertically on the left wall. |
| Repeat symmetrically on the right. |
| Put one plate 1x1 behind the previous piece. |
| Repeat symmetrically on the left. |
| Now, turn the structure 180 degrees. This means that the front facade of the second floor becomes the back of the structure. It is still oriented horizontally. |
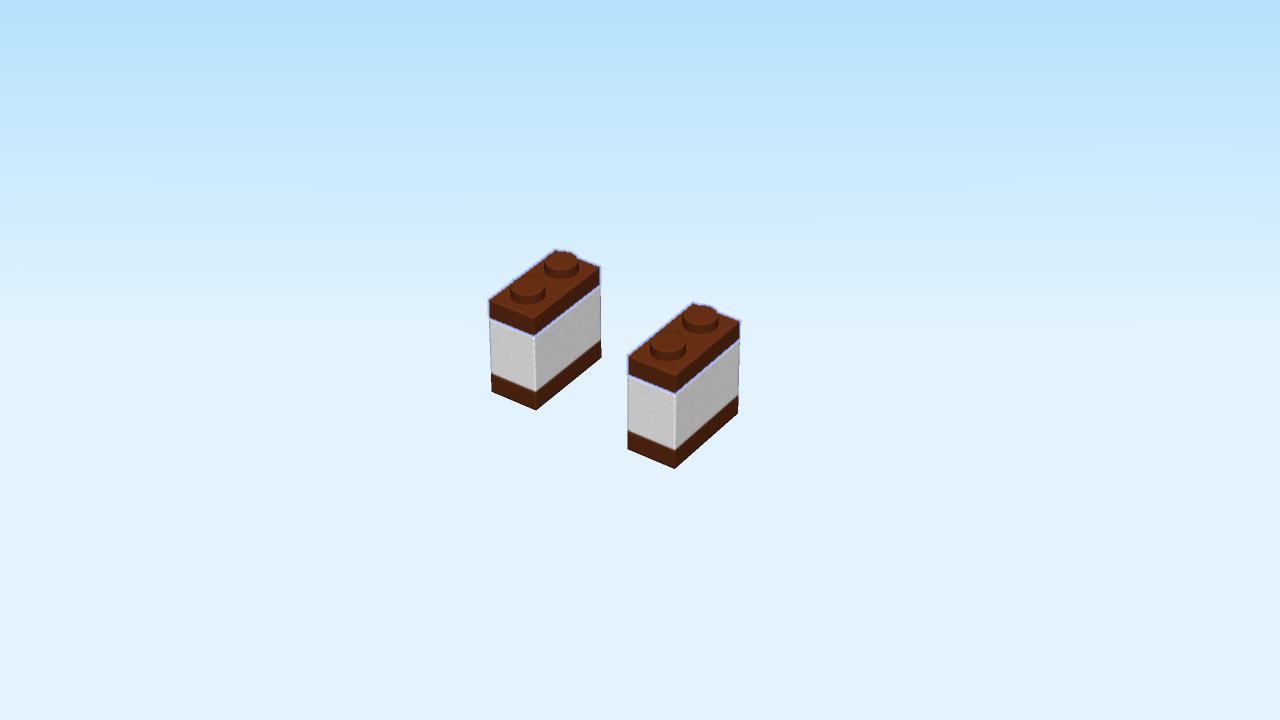
| Next, we will build the 2 bases of the pottery table. |
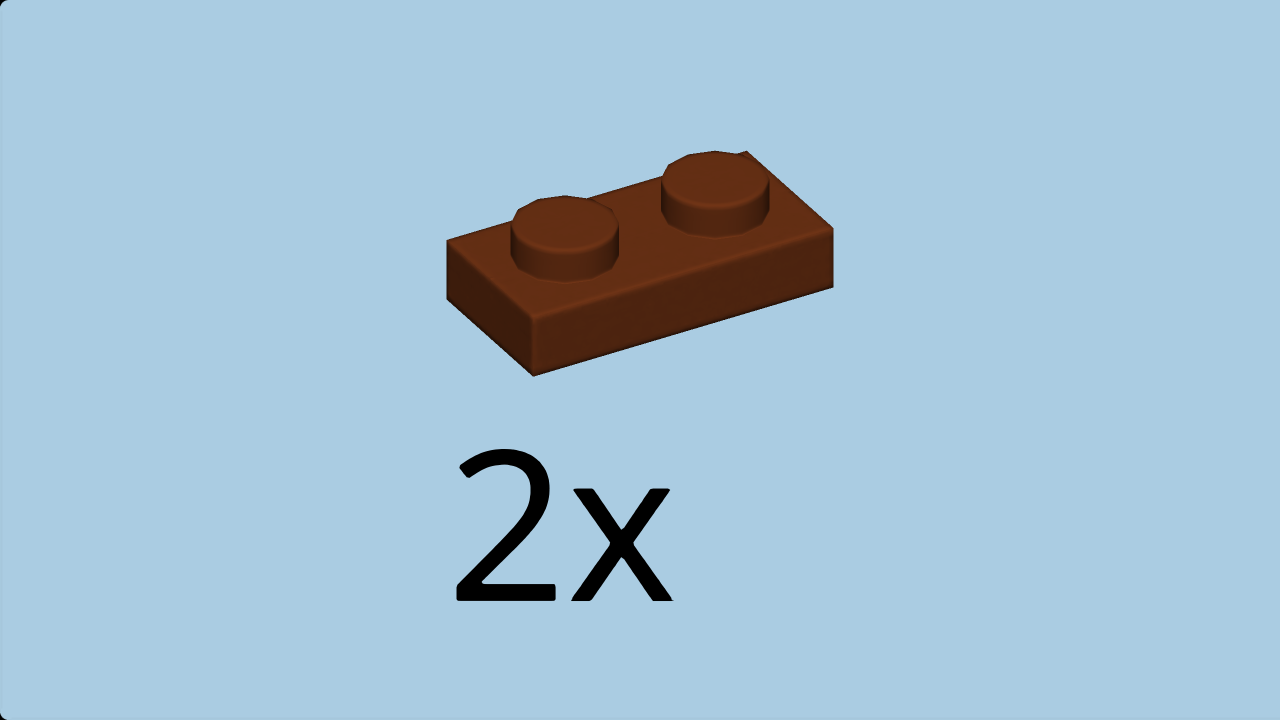
| Find 2 reddish brown plates 1x2. |
| Put them horizontally on the table. |
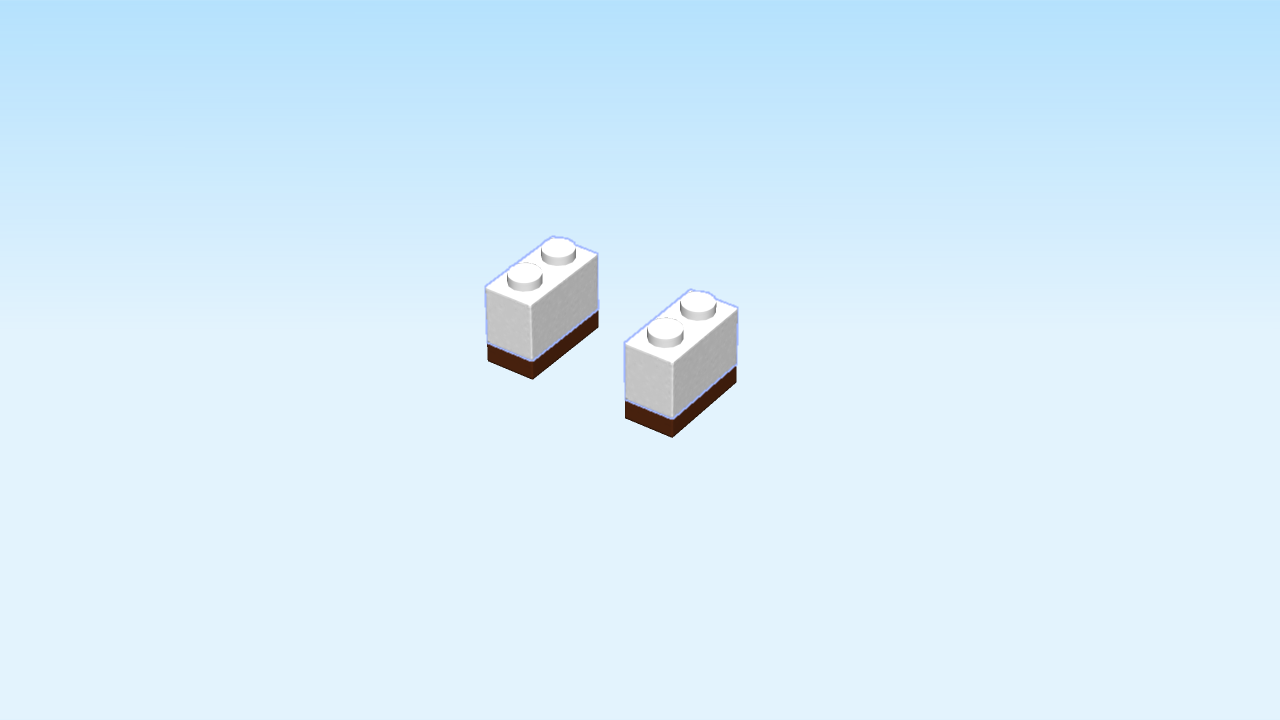
| Find 2 white bricks 1x2. |
| Put them horizontally on top of each plate 1x2. |
| Find 2 reddish brown plates 1x2. |
| Put them horizontally on top of the previous pieces. |
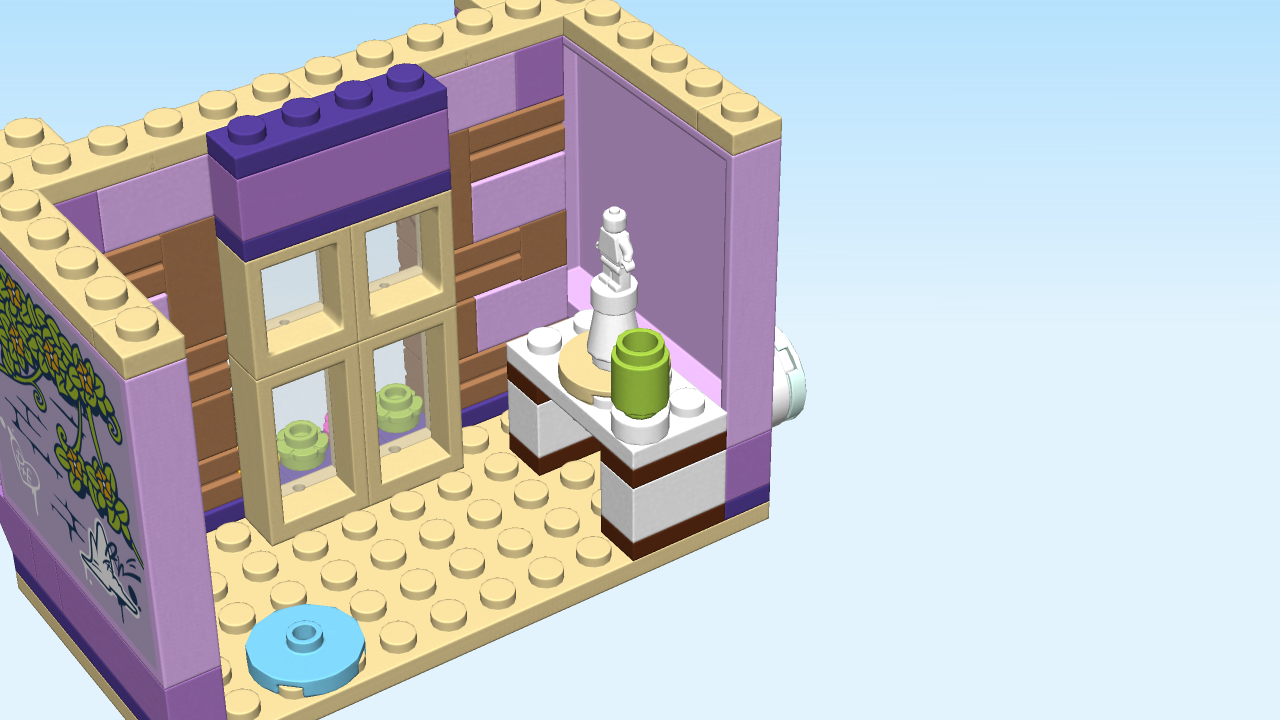
| Mount one base horizontally on the front row of the structure, starting from the right. |
| Skip two rows to the back and mount the other base horizontally, starting from the right. |
| Next, we will build the pottery table. |
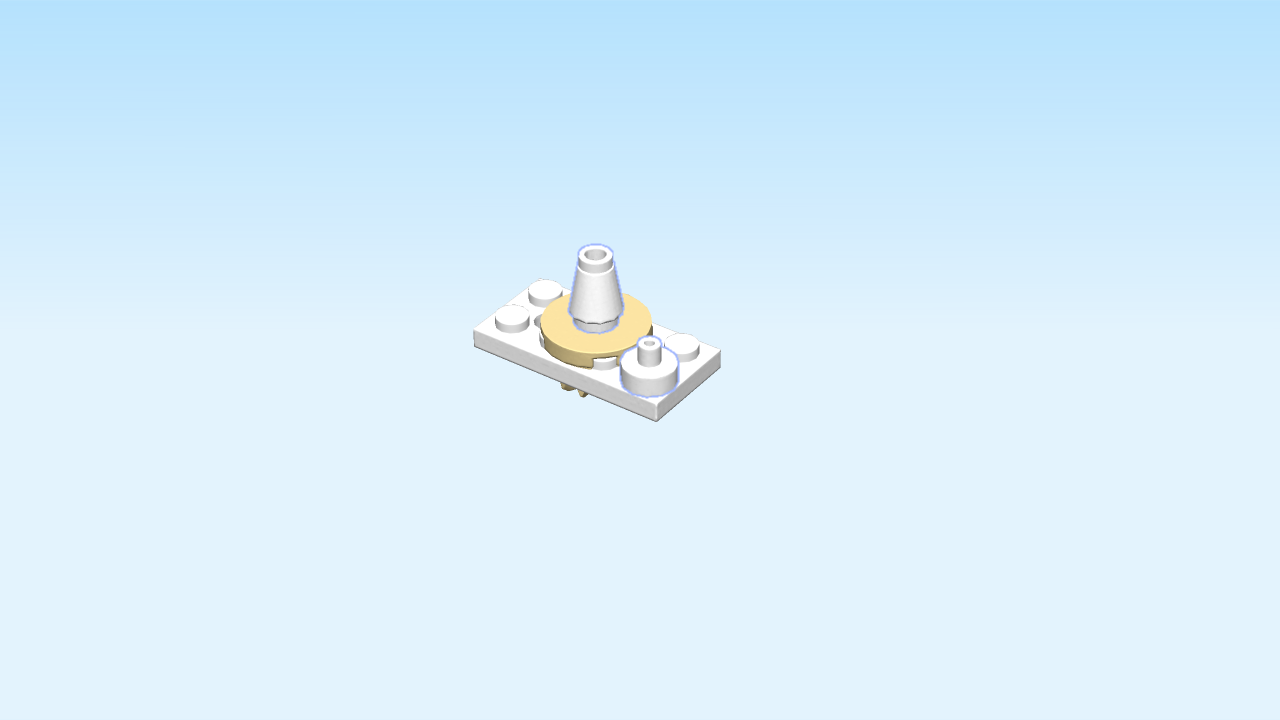
| Find 1 brick yellow gear wheel with 12 fins. |
| Put it on the table, fins to the bottom. |
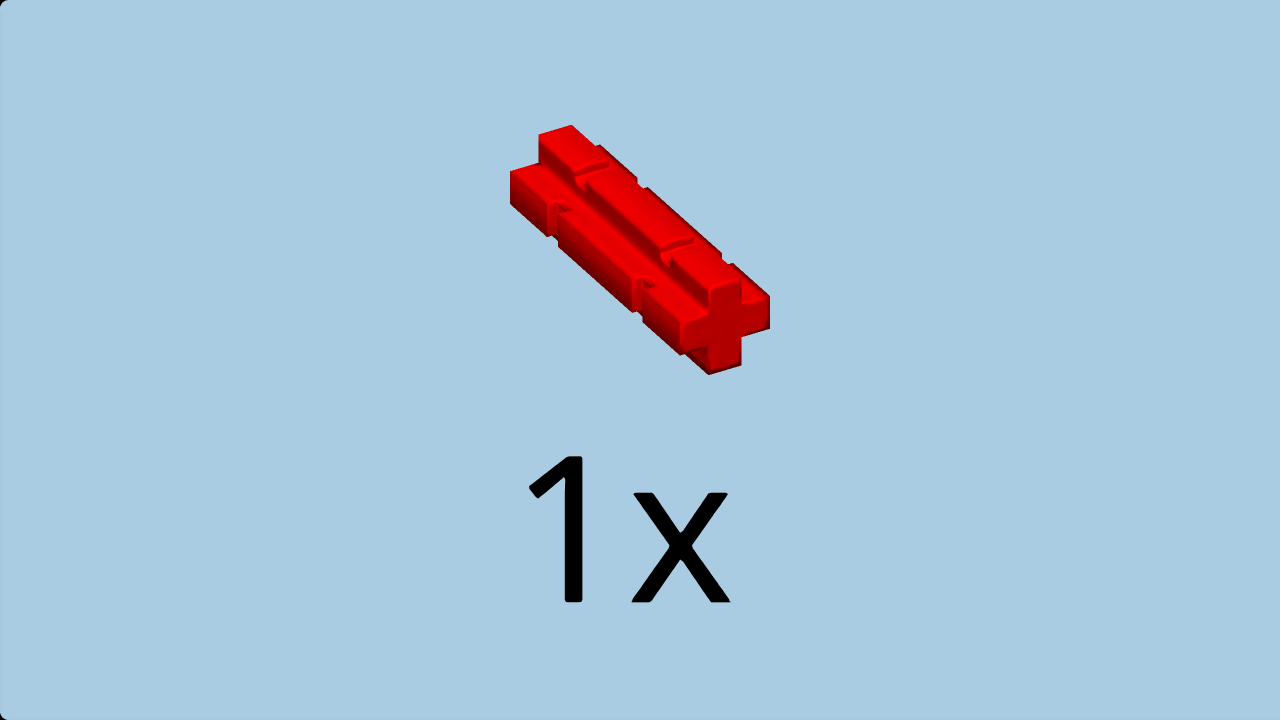
| Find 1 bright red cross axle with 2 grooves, 2 knobs long. |
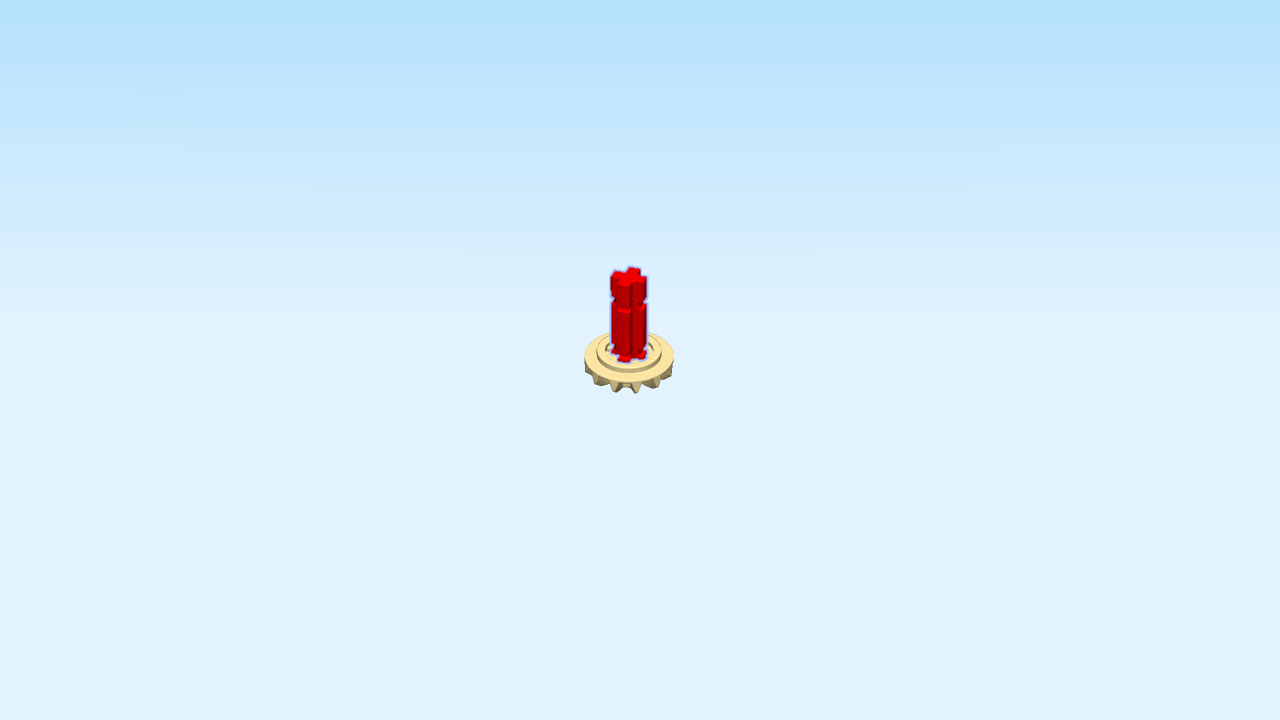
| Insert the cross axle into the gear wheel. |
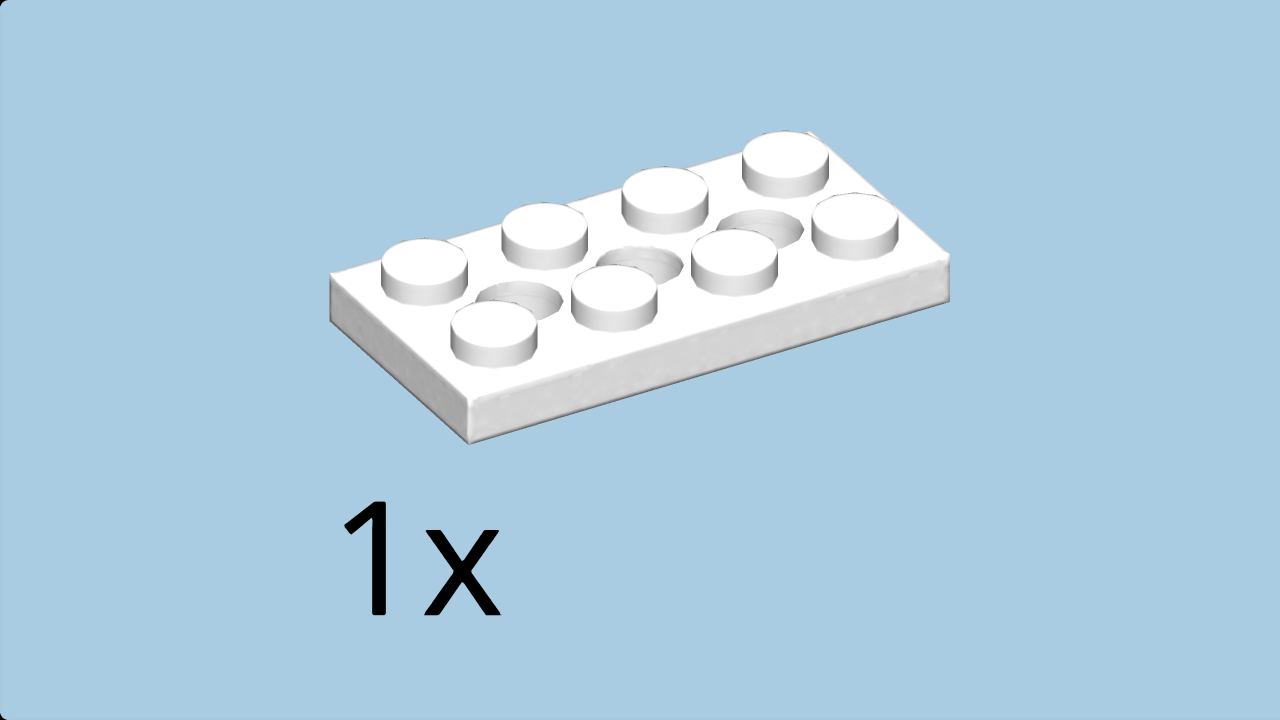
| Find 1 white plate 2x4 with 3 holes. |
| Put it vertically on top, inserting the middle hole into the cross axle. |
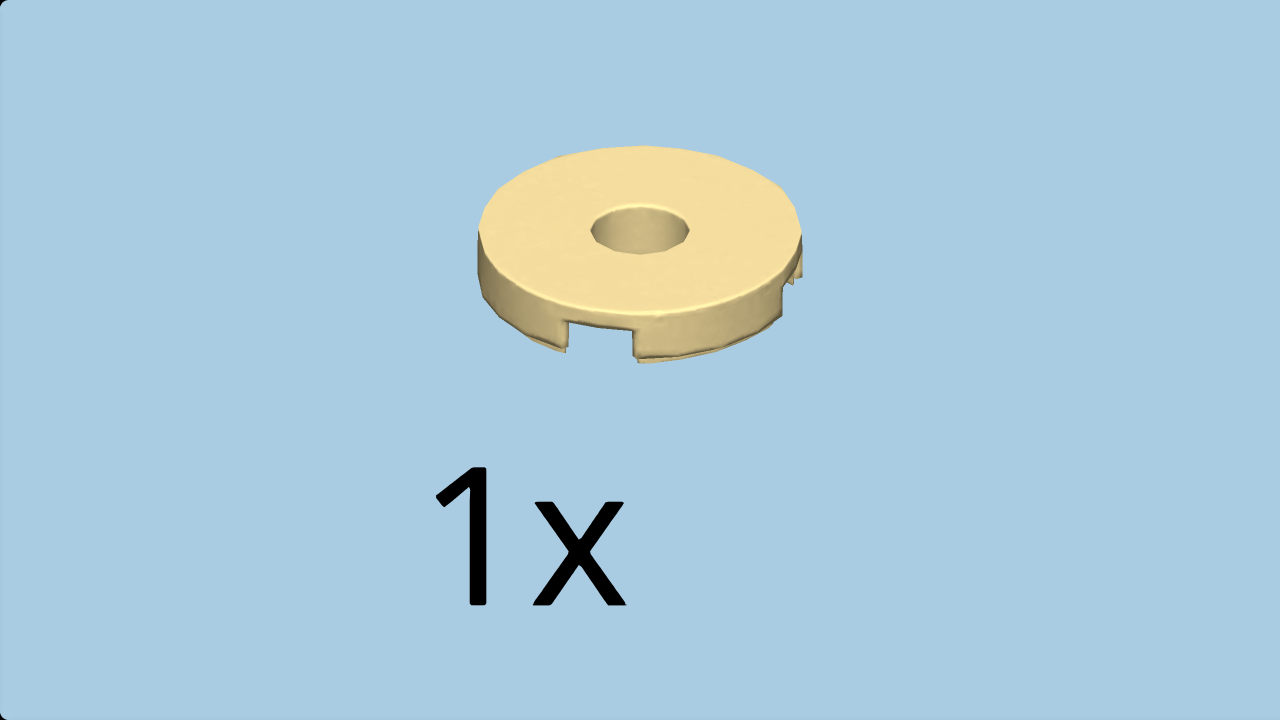
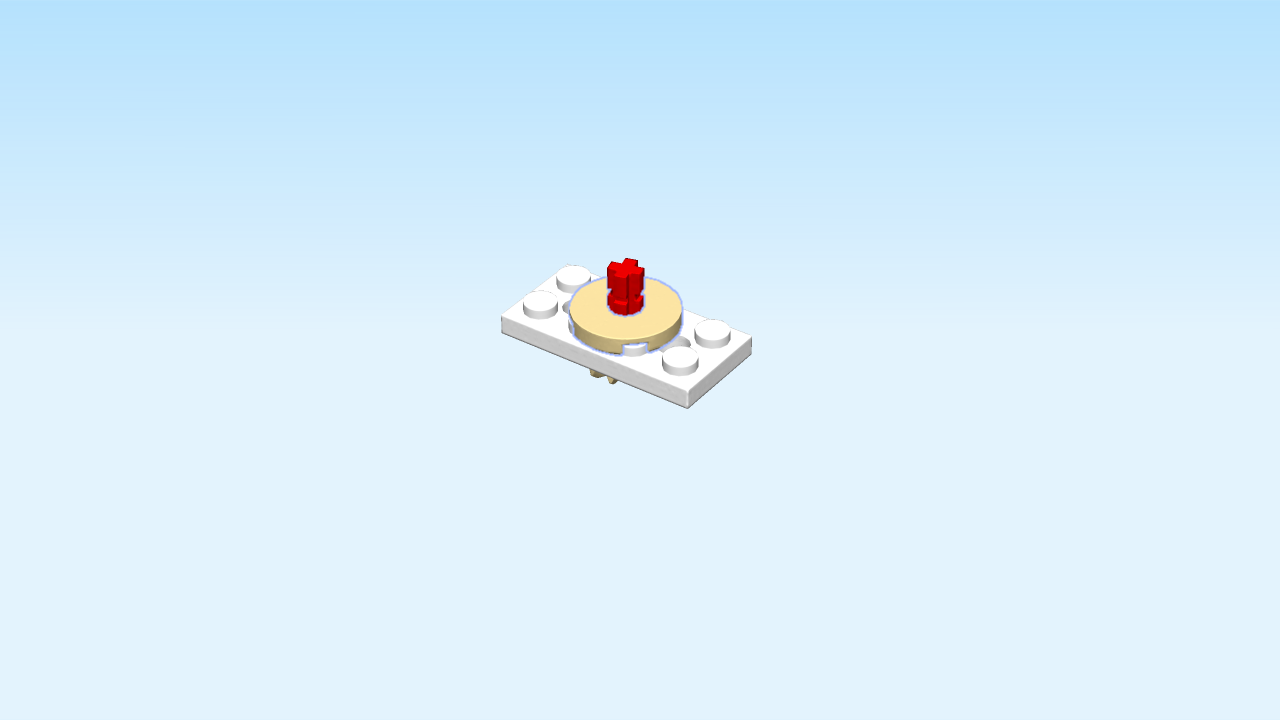
| Find 1 brick yellow round flat tile 2x2 with middle hole. |
| Put it on top, inserting the middle hole into the cross axle. |
| Collect the following 2 pieces: |
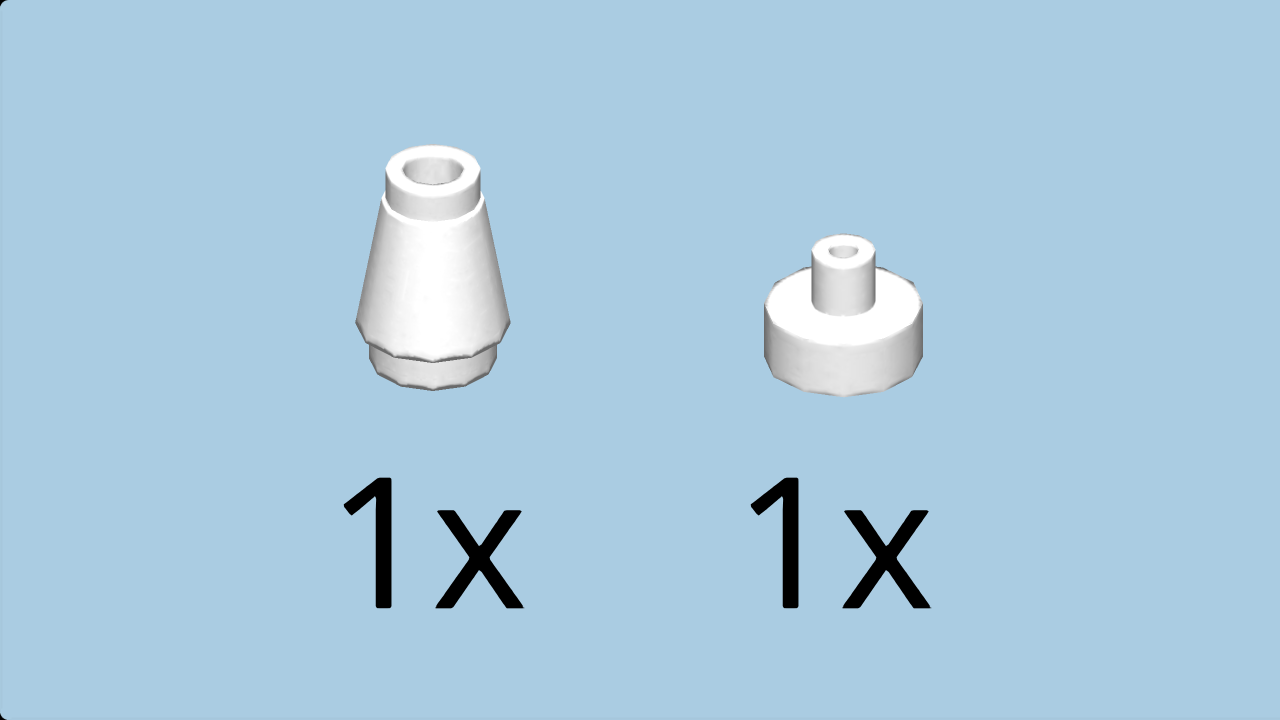
| 1 white round plate 1x1 with small pole, |
| and 1 white small nose cone 1x1. |
| Put the round plate 1x1 with small pole on the frontmost knob on the left. |
| Put the small nose cone 1x1 on the cross axle with 2 grooves. |
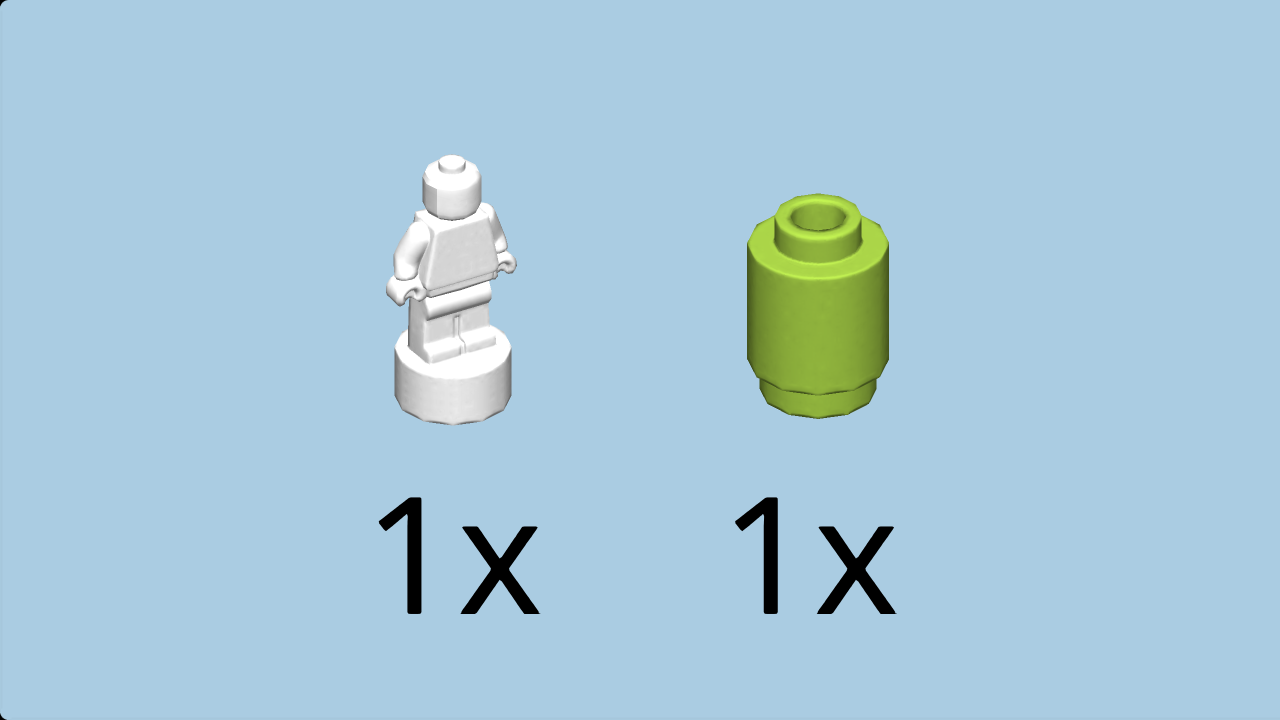
| Collect the following 2 pieces: |
| 1 white mini figure trophy, |
| and 1 bright yellowish green cylinder 1x1. |
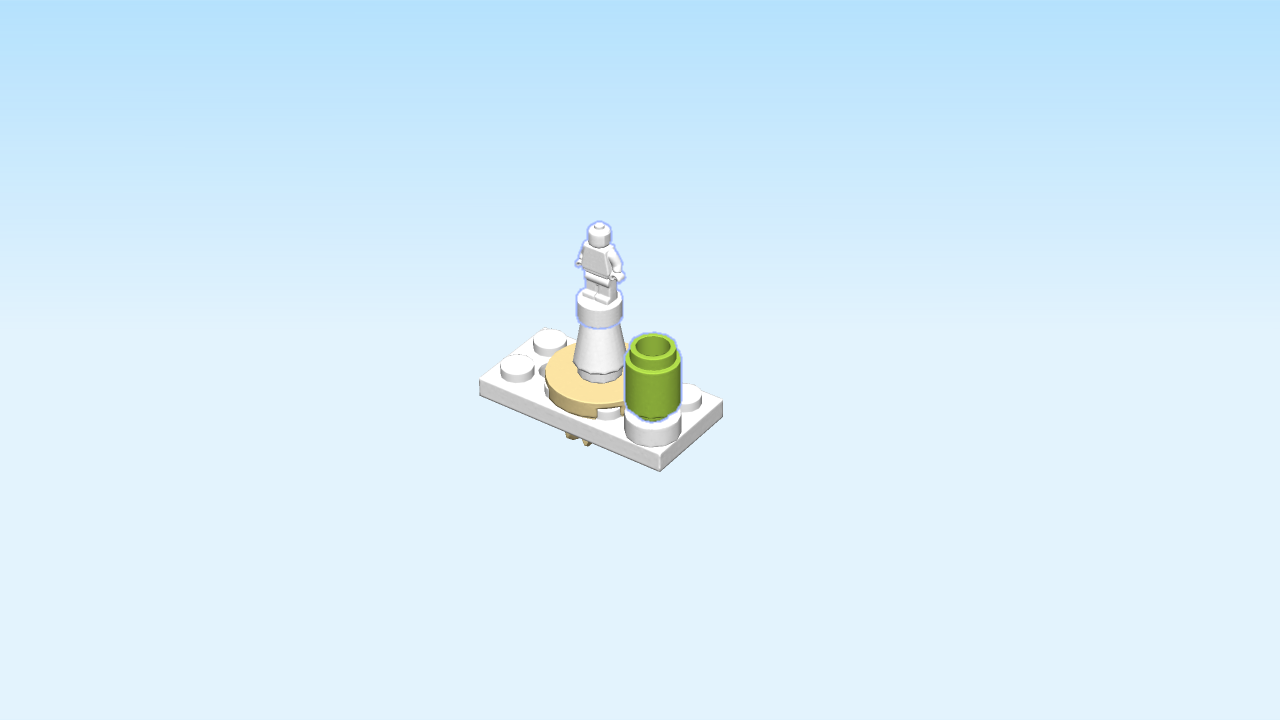
| Put the mini figure trophy on the previous piece. |
| Careful: the next piece has a special orientation! |
| Flip the cylinder 1x1 upside down; then insert its knob into the small pole of the round plate 1x1 with small pole. |
| The pottery table is finished! Well done! |
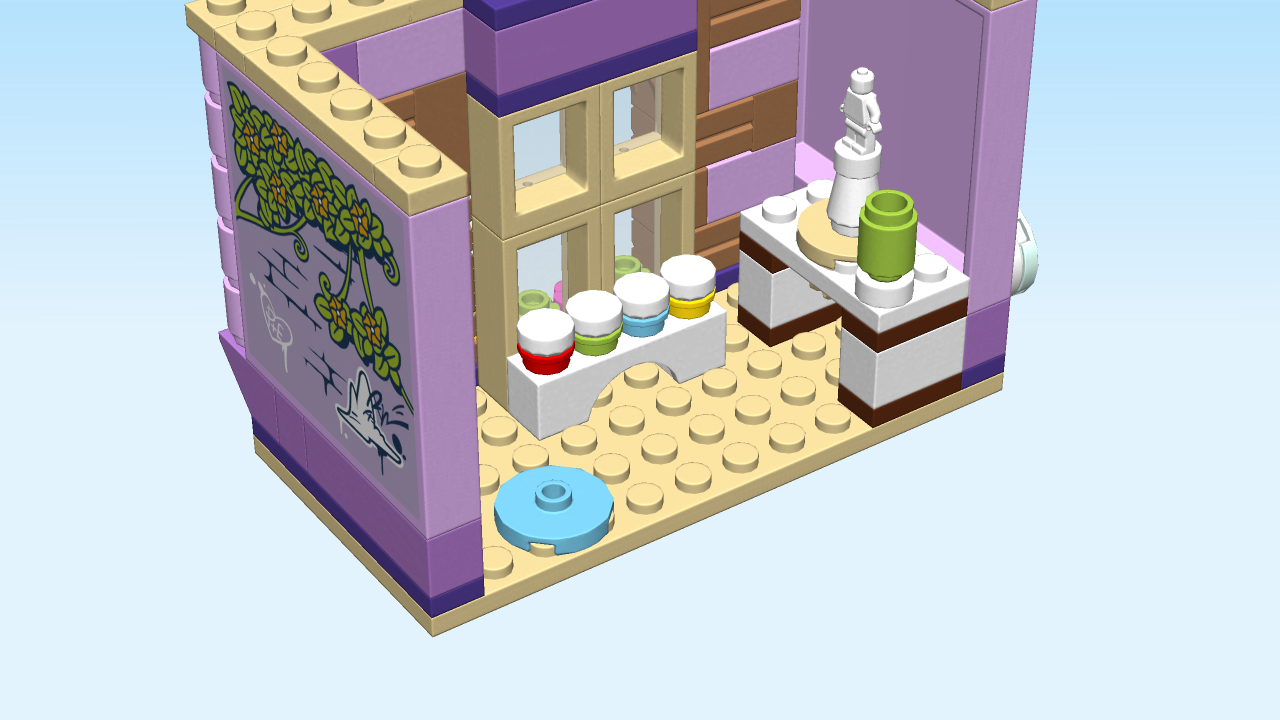
| Put it vertically on top of the two pottery table bases on the right side. |
| You can now turn the pottery wheel engine on the right side and make your pottery wheel spin! |
| Next, we will build a paint shelf. |
| Find 1 white brick 1x4 with inside arch. |
| Put it horizontally on the table. |
| Collect the following 4 pieces: |
| 1 bright yellow round plate 1x1, |
| 1 bright red round plate 1x1, |
| 1 bright yellowish green round plate 1x1, |
| and 1 medium azur round plate 1x1. |
| Put the bright yellow round plate 1x1 on the rightmost knob. |
| Put the bright red round plate 1x1 on the leftmost knob. |
| Put the bright yellowish green round plate 1x1 to the right. |
| Put the medium azur round plate 1x1 to the right. |
| Find 4 white round flat tiles 1x1. |
| Put them on top of the round plates 1x1. |
| The paint shelf is finished! Mount it horizontally in front of the window. This is the third row from the back in the middle. |
| Now, turn the structure 180 degrees. This means that now, the facade of the second floor again becomes the front of your building structure. It is still oriented horizontally. |
| Collect the following 6 pieces: |
| 2 brick yellow plates 4x6, |
| 2 brick yellow plates 1x1, |
| and 2 brick yellow plates 1x2. |
| Put the 2 plates 4x6 horizontally on top, starting from the front. |
| Put one plate 1x1 behind the previous piece on the rightmost column. |
| Repeat symmetrically on the left. |
| Put one plate 1x2 vertically to the back. |
| Repeat symmetrically on the right. |
| Collect the following 4 pieces: |
| 2 medium lilac plates 1x6, |
| 1 medium azur round plate 2x2 with 1 knob, |
| and 1 cylinder 2x2 with top cross hole. |
| Put one plate 1x6 vertically on the rightmost column, starting from the back. |
| Repeat symmetrically on the left. |
| Skip two rows from the front, and put the round plate with 1 knob in the middle. |
| Skip one column to the left, and put the cylinder 2x2 with top cross hole there. |
| Find 3 medium lilac plates 1x4. |
| Put them horizontally on the front row. |
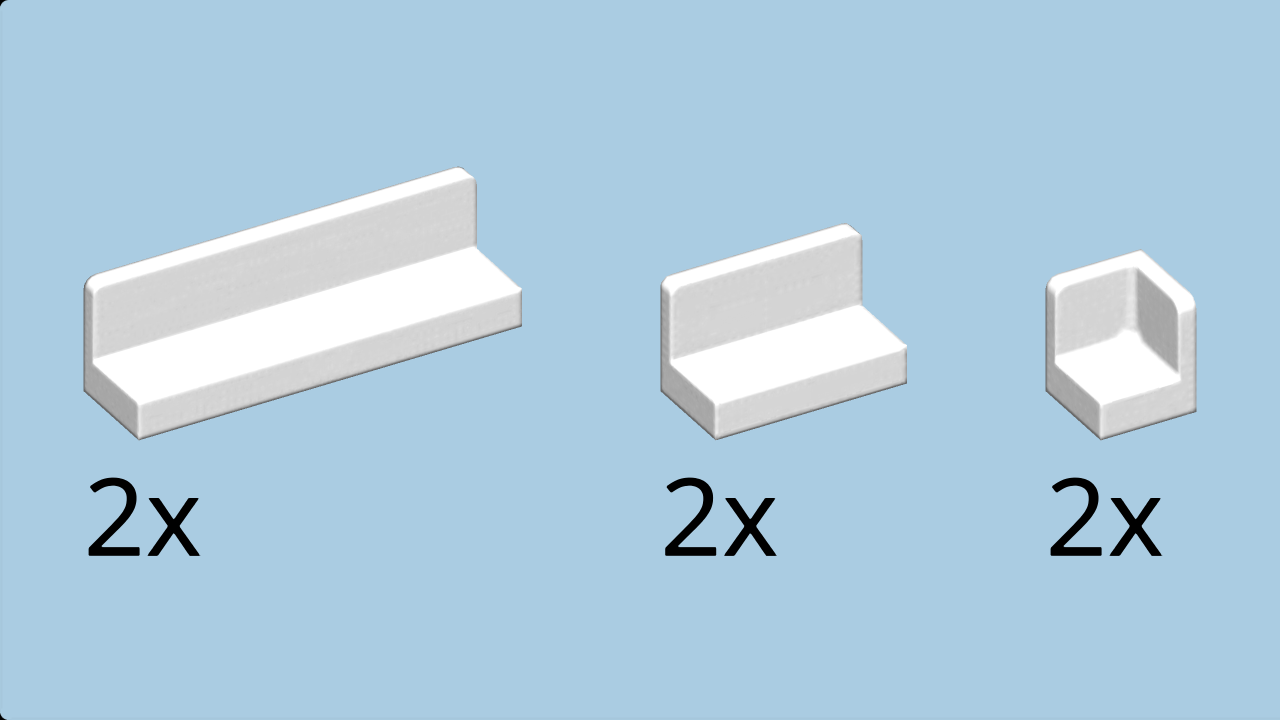
| Collect the following 6 pieces: |
| 2 white wall corners 1x1x1, |
| 2 white small bench elements 1x2x1, |
| and 2 white small bench elements 1x4x1. |
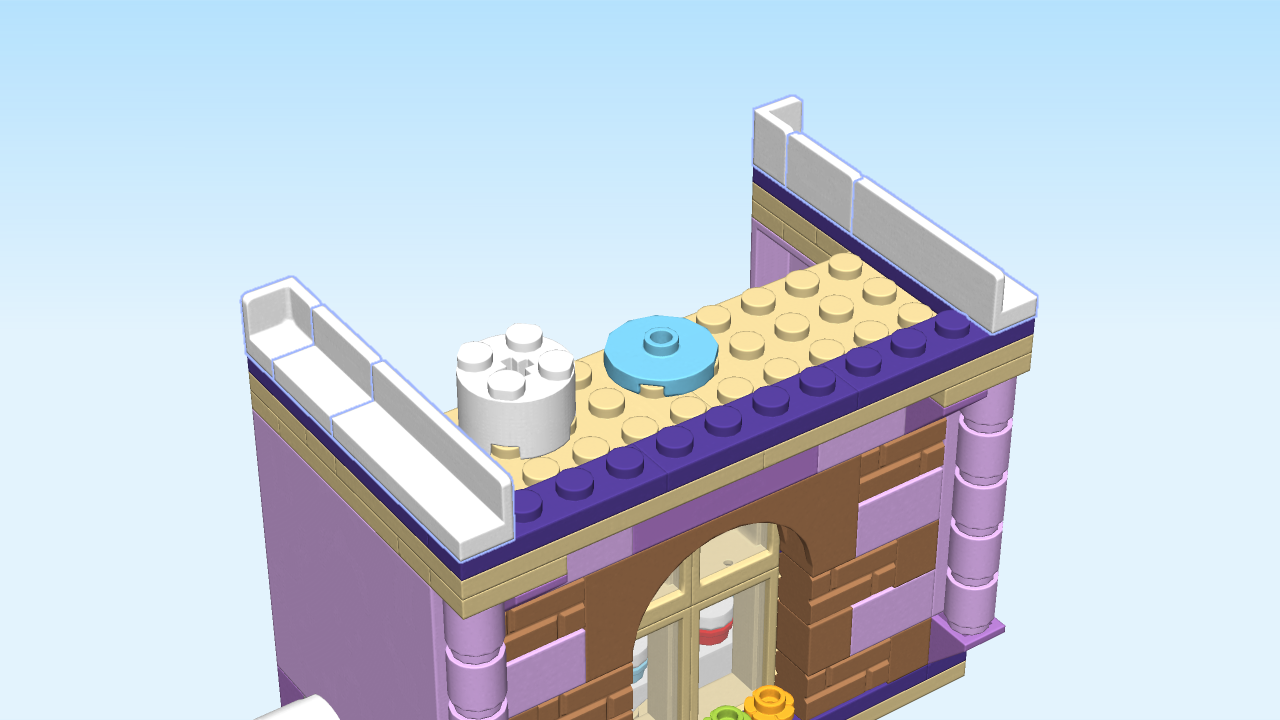
| Put one wall corner 1x1x1 on the backmost knob of the left wall, walls to the back and to the right. |
| Repeat symmetrically on the right. |
| Put one small bench element 1x4x1 vertically in front, wall to the left. |
| Repeat symmetrically on the left. |
| Put one small bench element 1x2x1 vertically in front, wall to the right. |
| Repeat symmetrically on the right. |
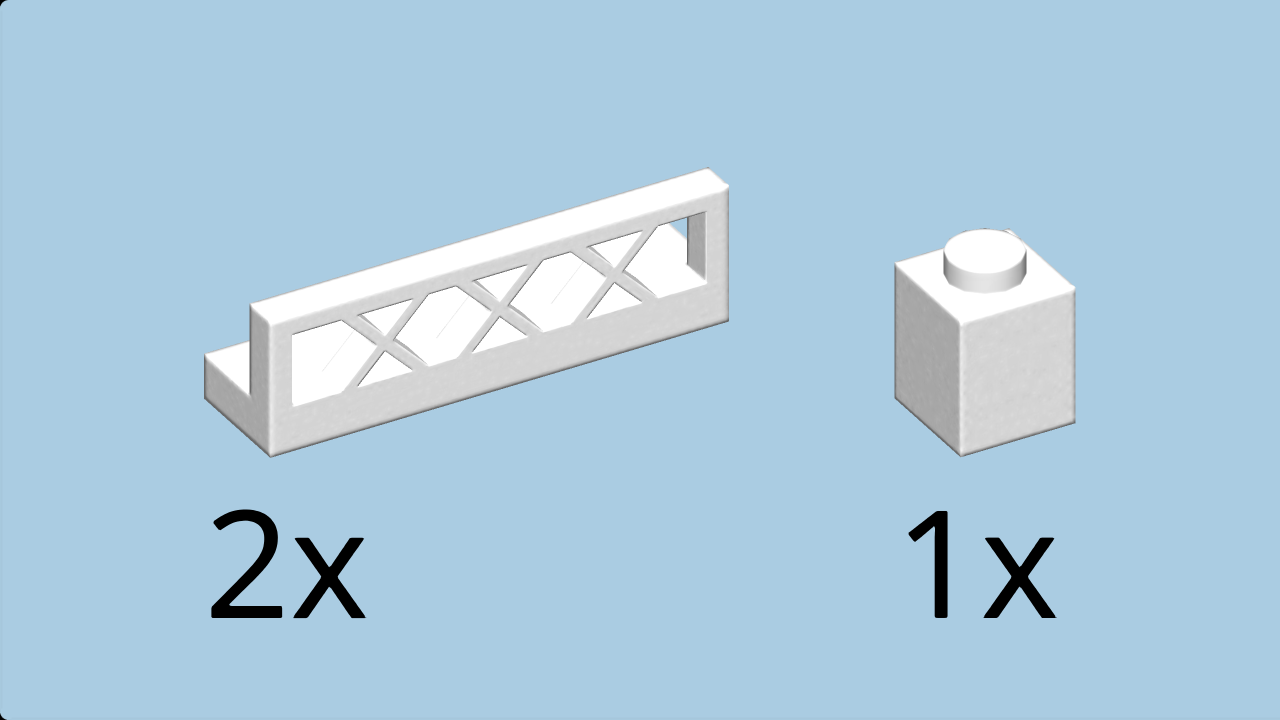
| Collect the following 3 pieces: |
| 1 white brick 1x1, |
| and 2 white fence elements 1x4x1. |
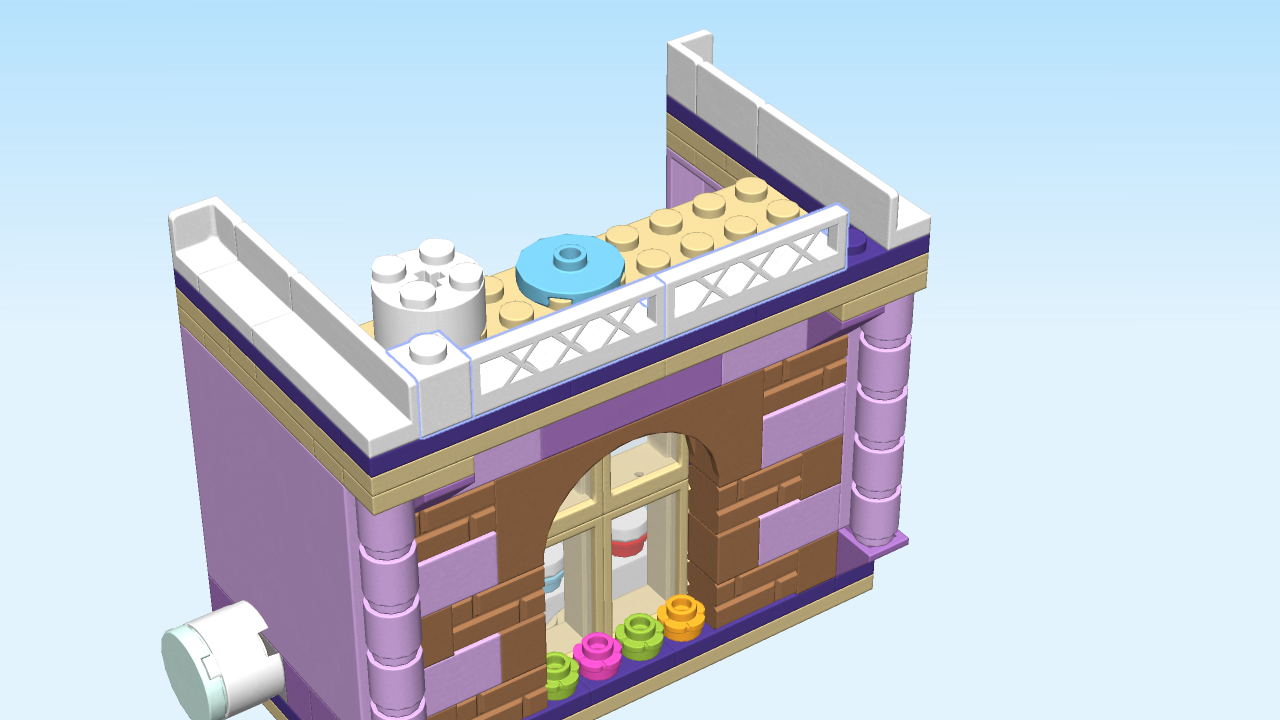
| Put the brick 1x1 on the second knob of the front row from the left. |
| Put the 2 fence elements 1x4x1 horizontally to the right, fences to the front. |
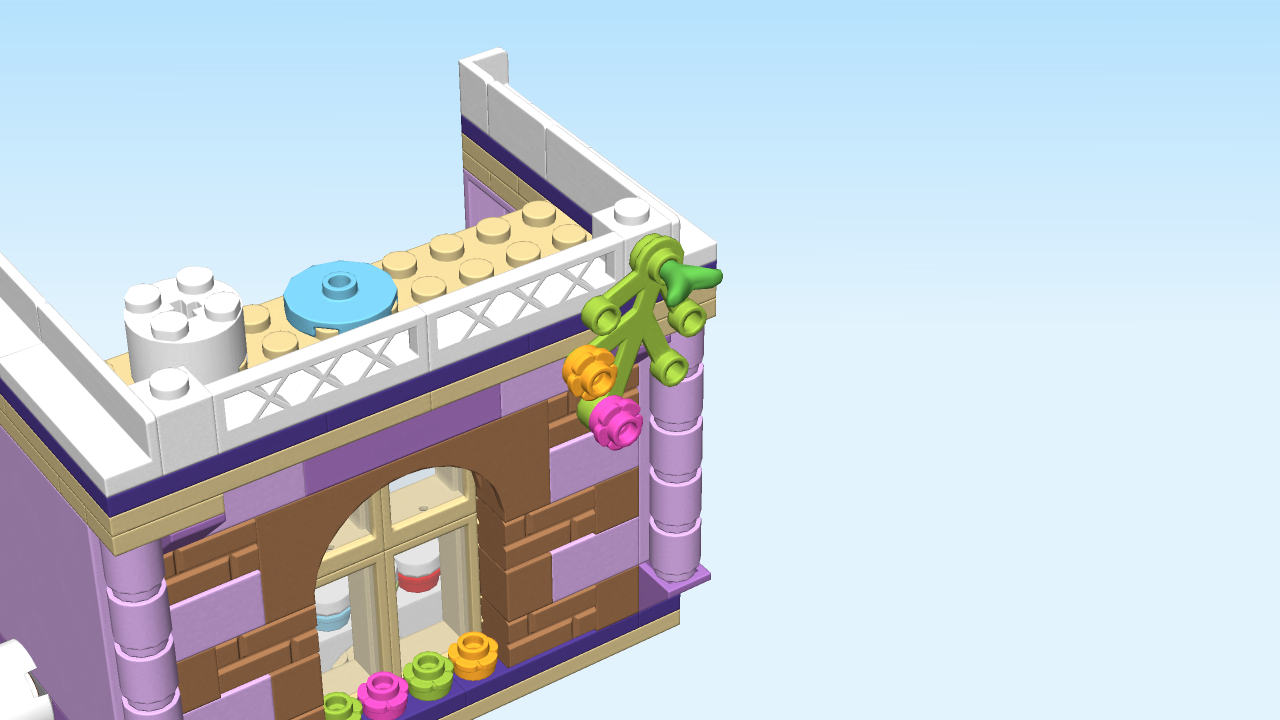
| Next, we will build a wall flower element. |
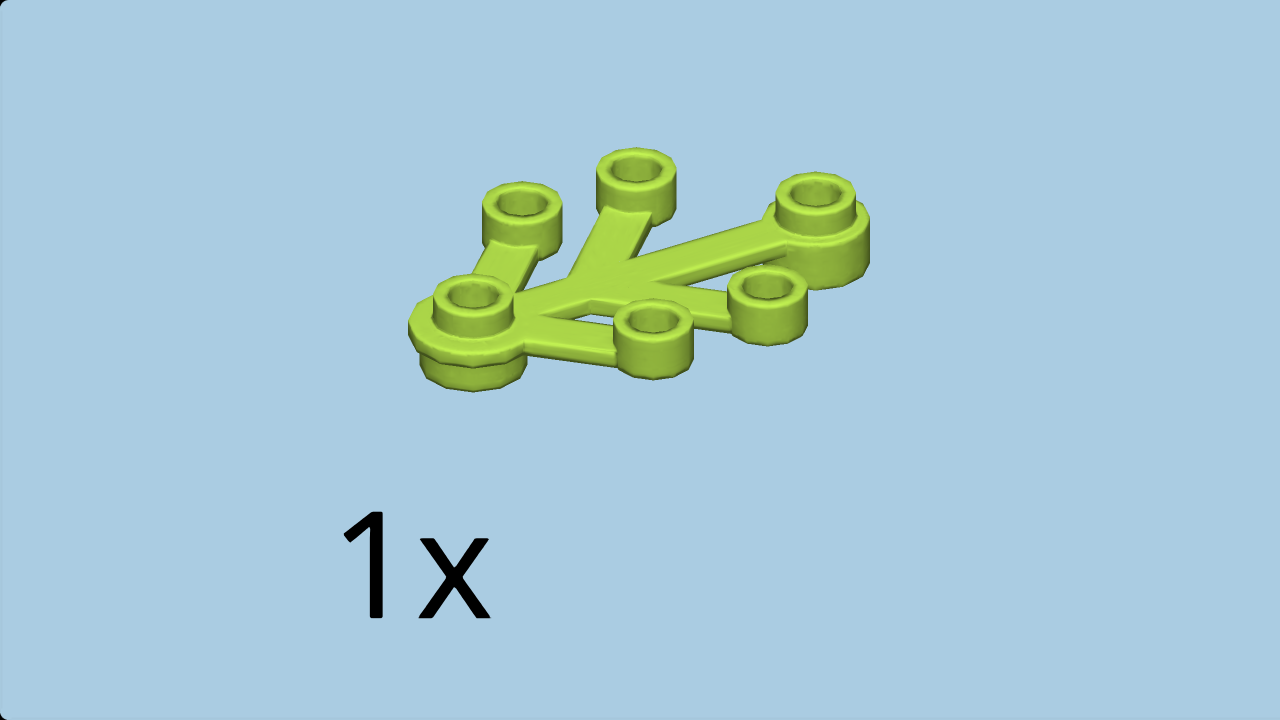
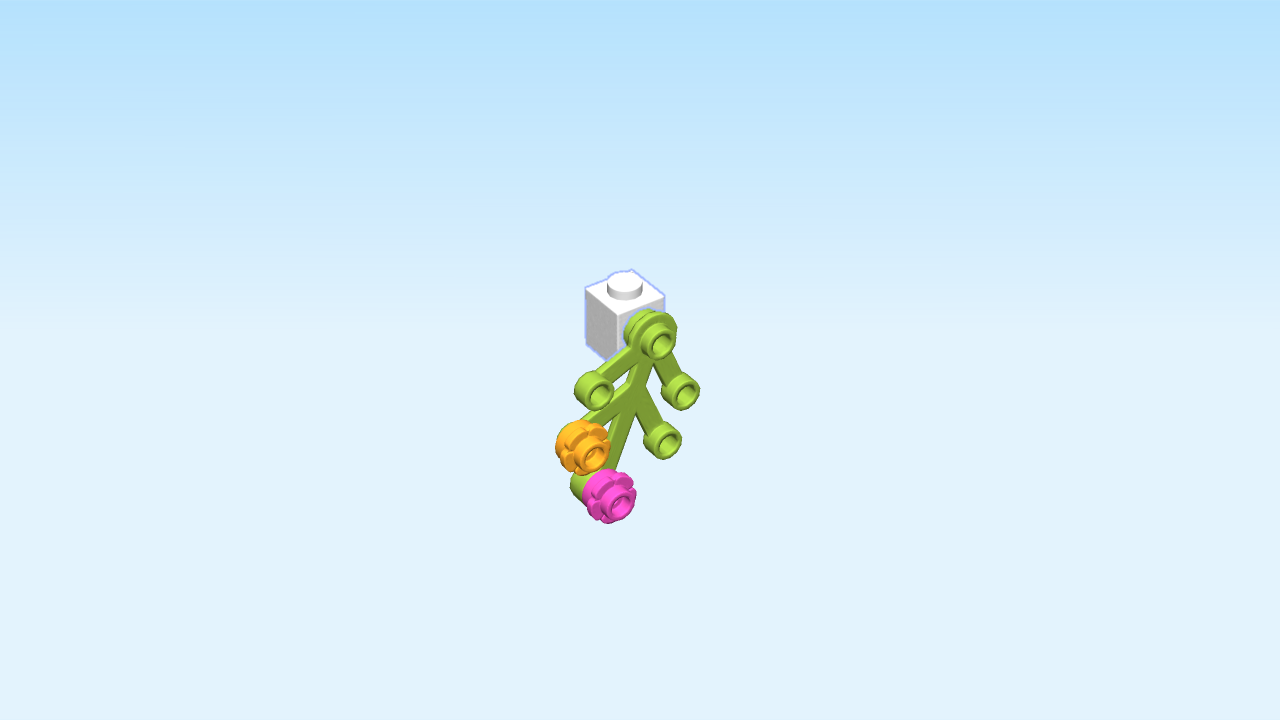
| Find 1 bright yellowish green plant element. (It has 5 branches, but there are 6 knobs). |
| Put it on the table, branches pointing to the front. |
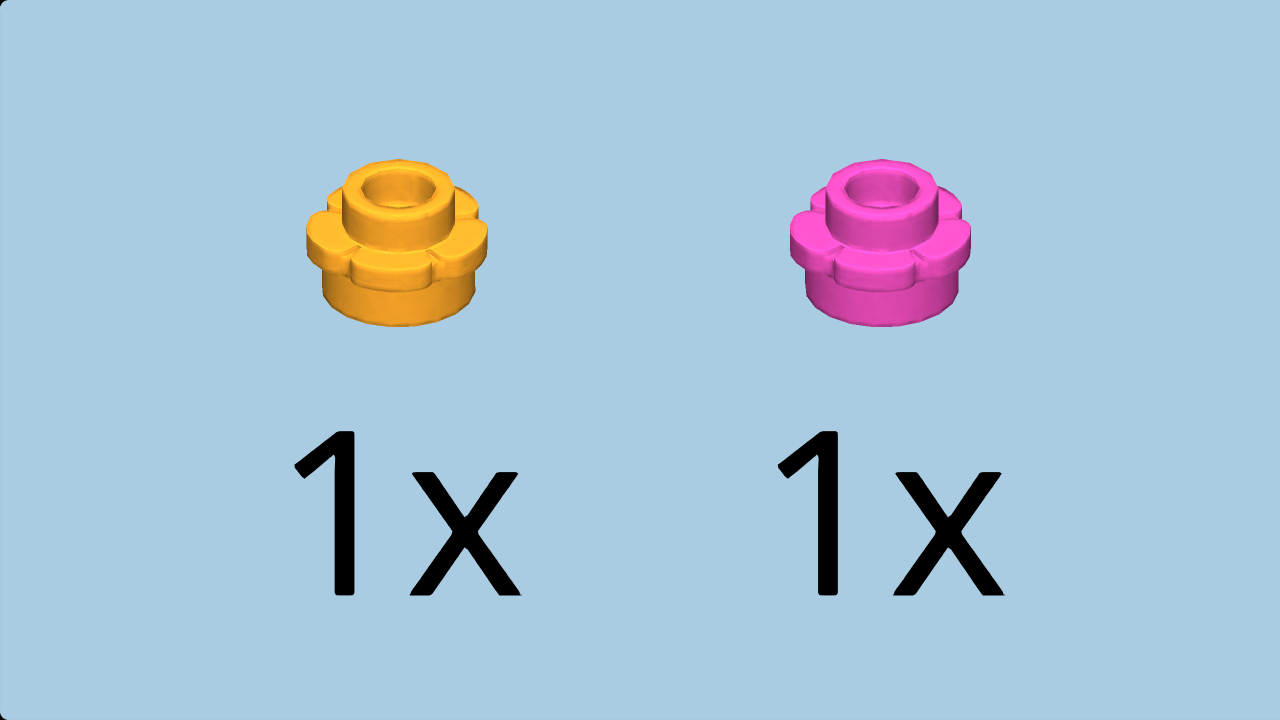
| Collect the following 2 pieces: |
| 1 flame yellowish orange flower 1x1, |
| and 1 bright purple flower 1x1. |
| Put the flame yellowish orange flower 1x1 on the front knob on the left side. |
| Put the bright purple flower 1x1 on the frontmost knob in the middle. |
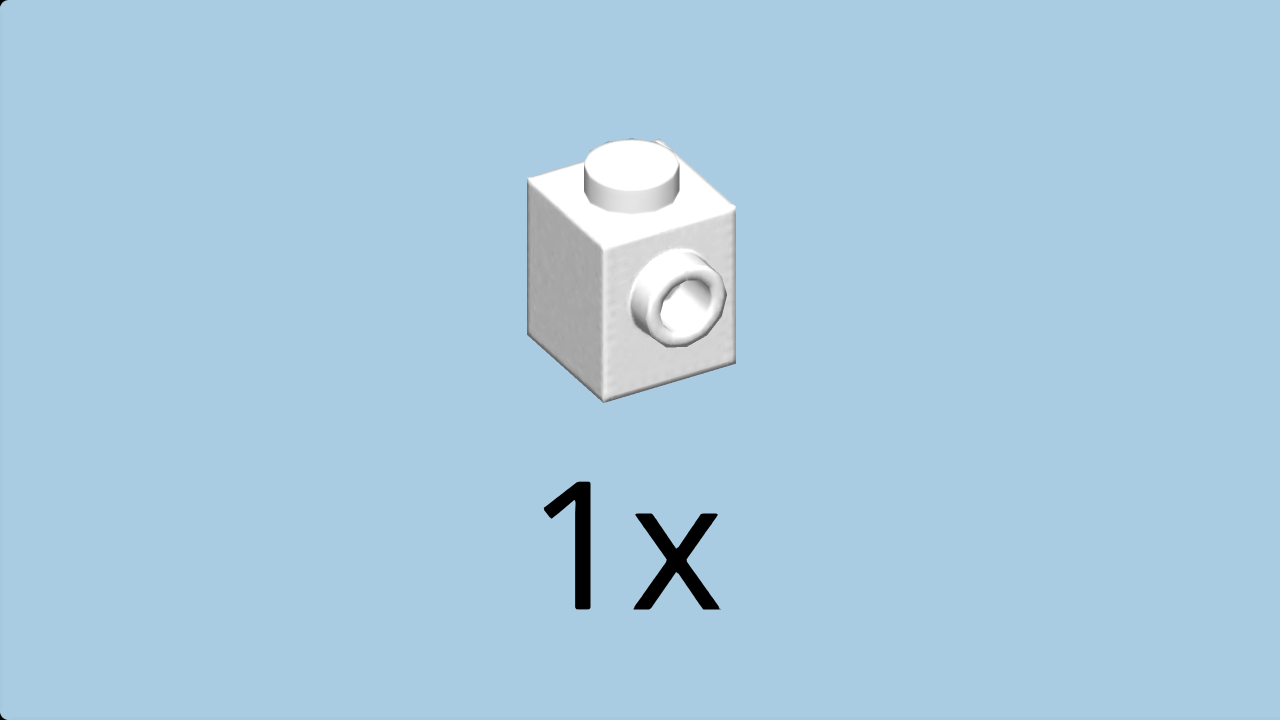
| Find 1 white brick 1x1 with side knob. |
| Put the plant element upright on the side knob of the brick 1x1 with side knob, branches to the bottom. |
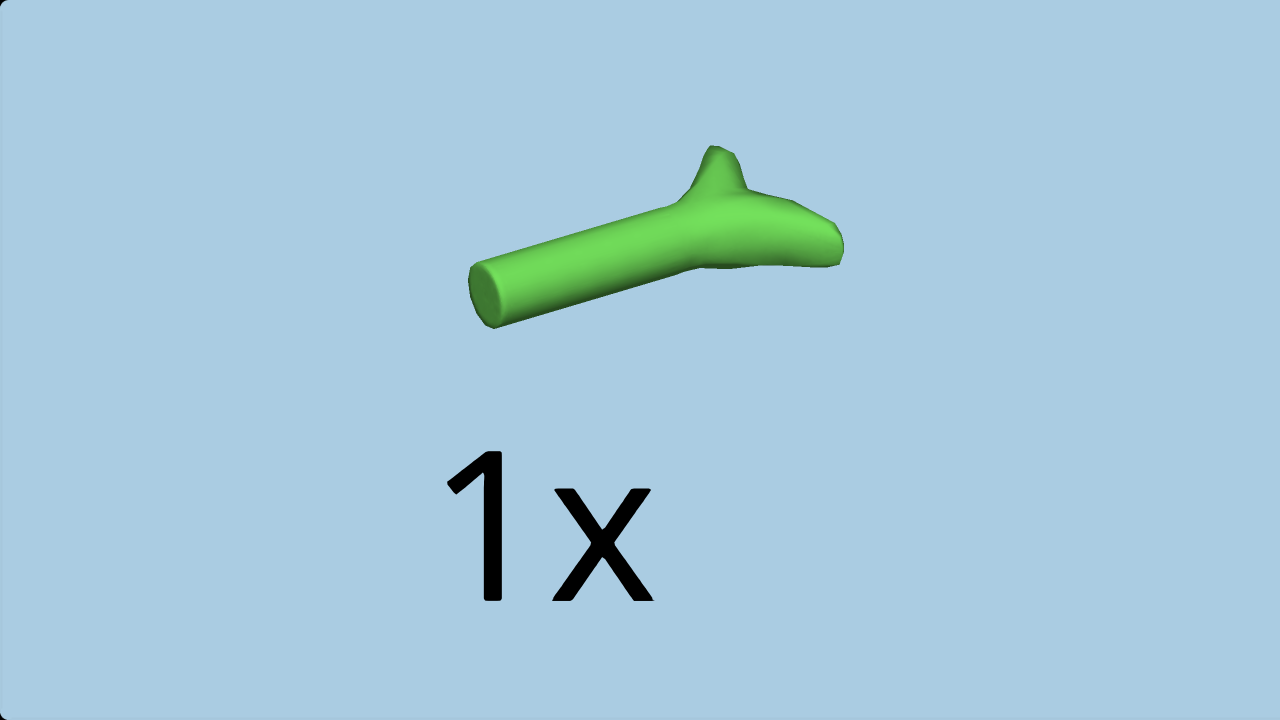
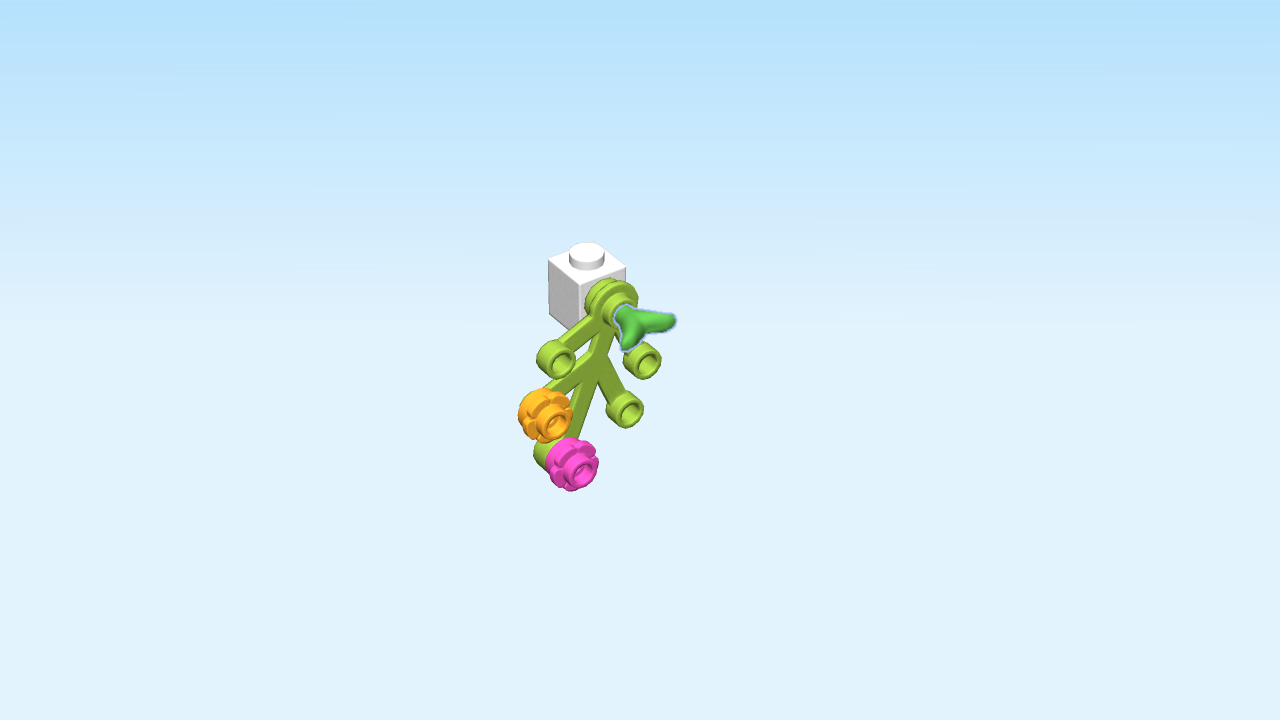
| Find 1 bright green twig stick. |
| Careful: this piece has a special orientation! |
| Insert the twig stick into the top knob hole of the plant element. |
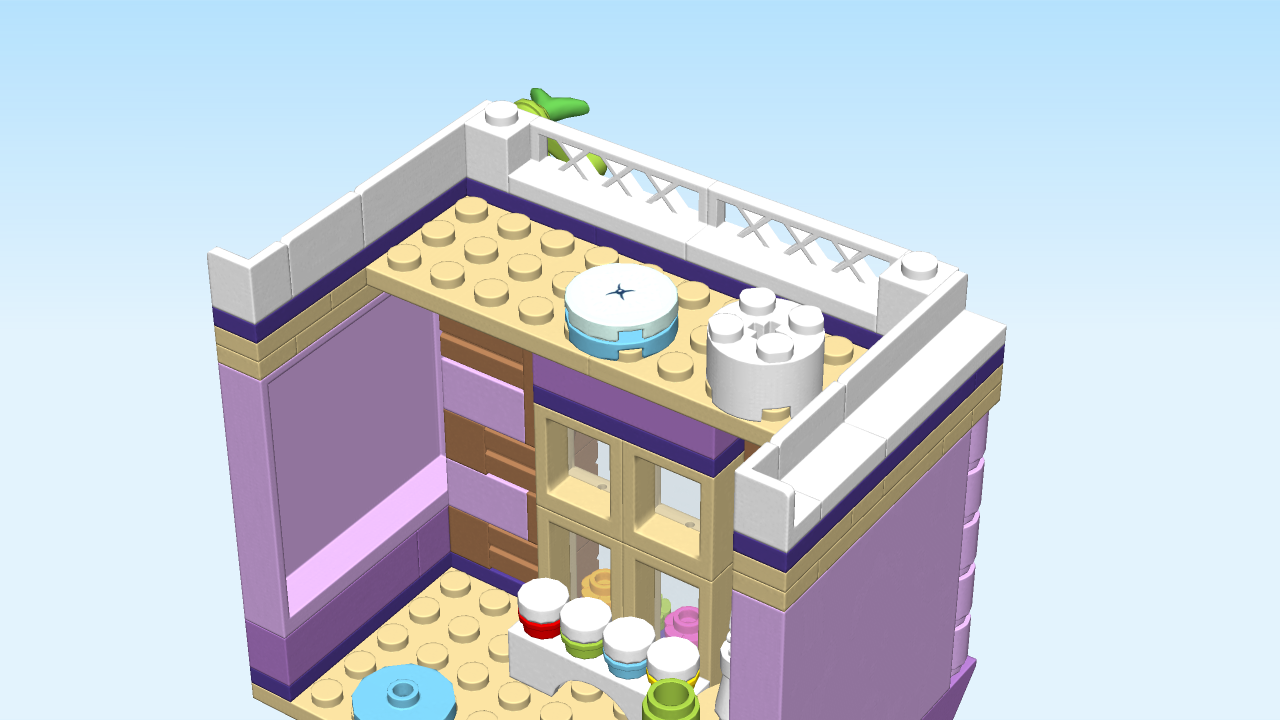
| The wall flower element is finished! Well done! Mount it on the second knob from the right of the front row, plant element overhanging to the front. |
| Now, turn the structure 180 degrees. This means that the facade of the second floor now becomes the back of your building structure. It is still oriented horizontally. |
| Next, we will decorate the stool cushion. |
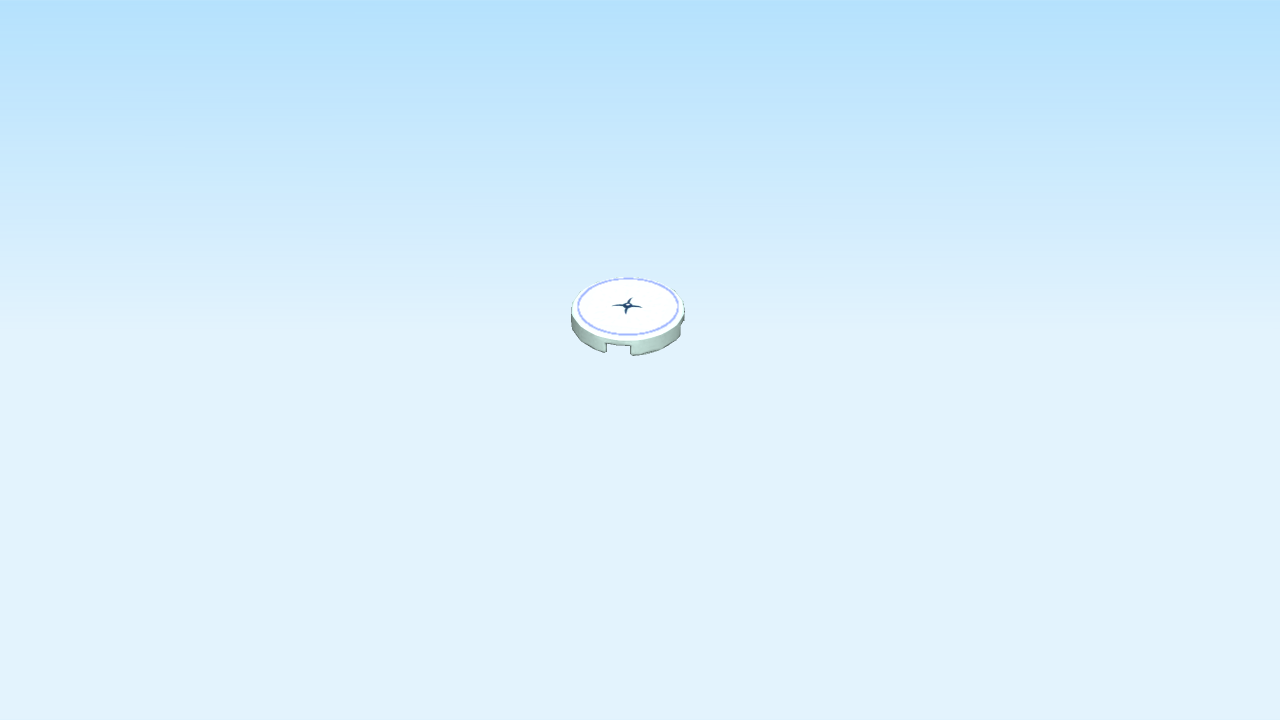
| Find 1 aqua round flat tile 2x2. |
| Continue if you want to decorate it with a sticker now. If not, skip the next four sentences. |
| Put the round flat tile 2x2 on the table. |
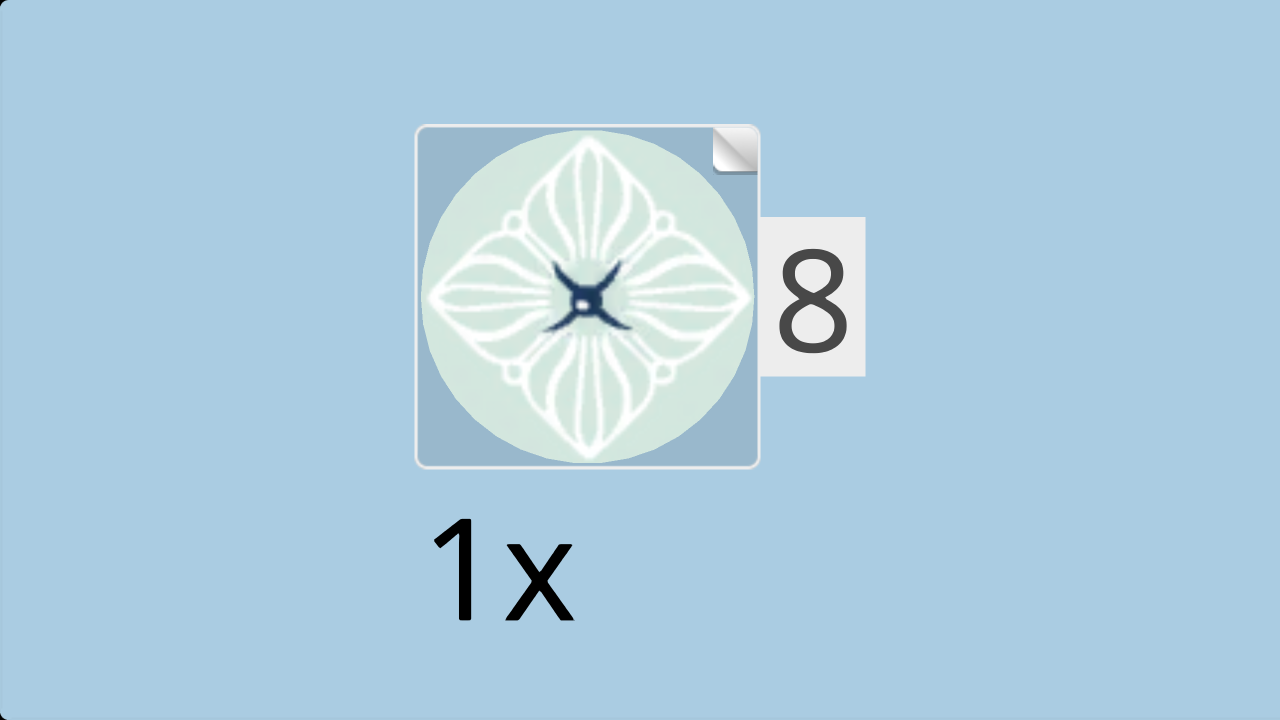
| Find one small round sticker number 8. Ask a sighted person to help you. |
| Put it on top. |
| (The sticker shows a decorative cushion; its base color is mint green, and the embroidery is white ornaments.). |
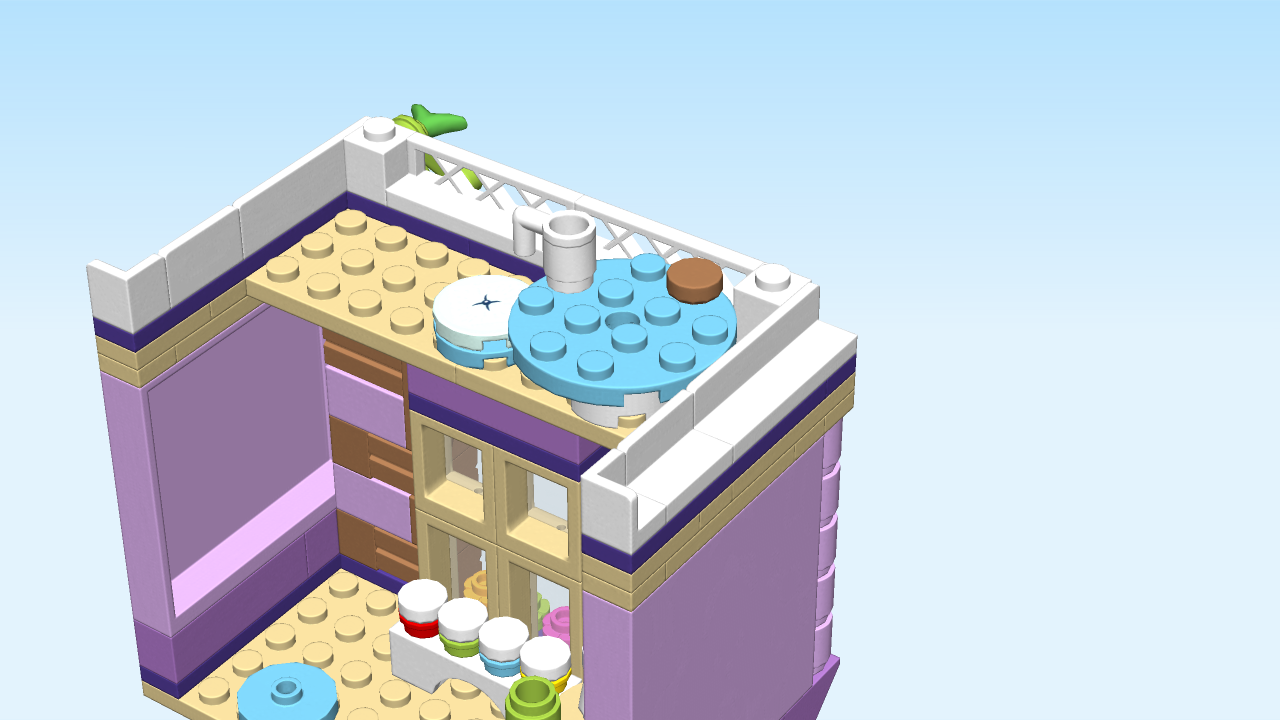
| Mount it on the round plate 2x2 with 1 knob on top in the middle of the structure. |
| Next, we will build the terrace table top. |
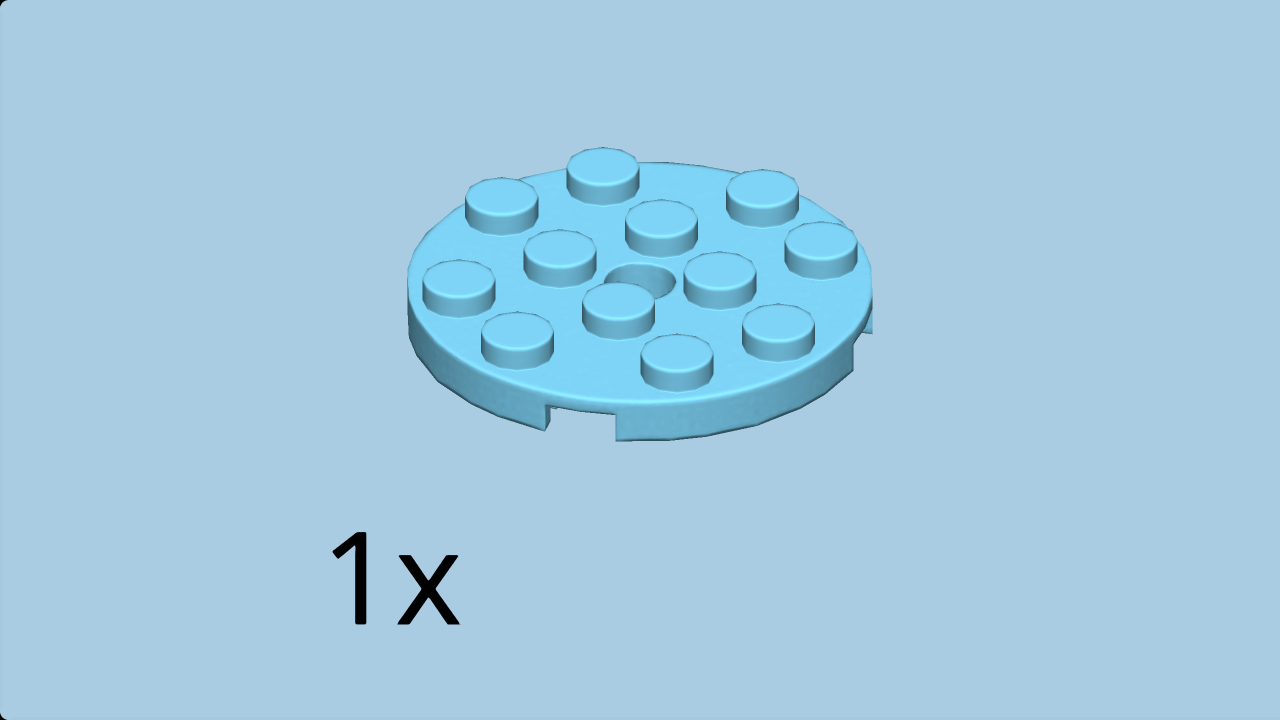
| Find 1 medium azur round plate 4x4 with middle hole. |
| Put it on the table. |
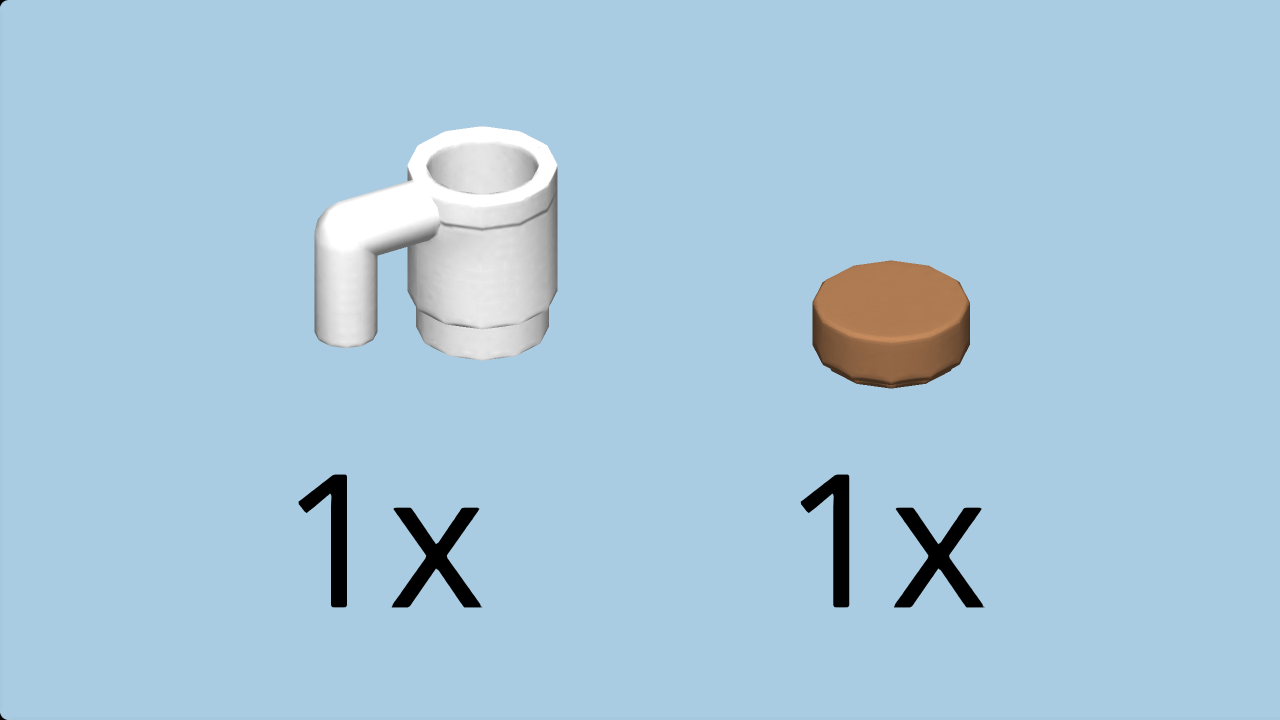
| Collect the following 2 pieces: |
| 1 medium nougat round flat tile 1x1, |
| and 1 white mug with handle. |
| Put the round flat tile 1x1 on one of the knobs. |
| Put the mug with handle on another knob. |
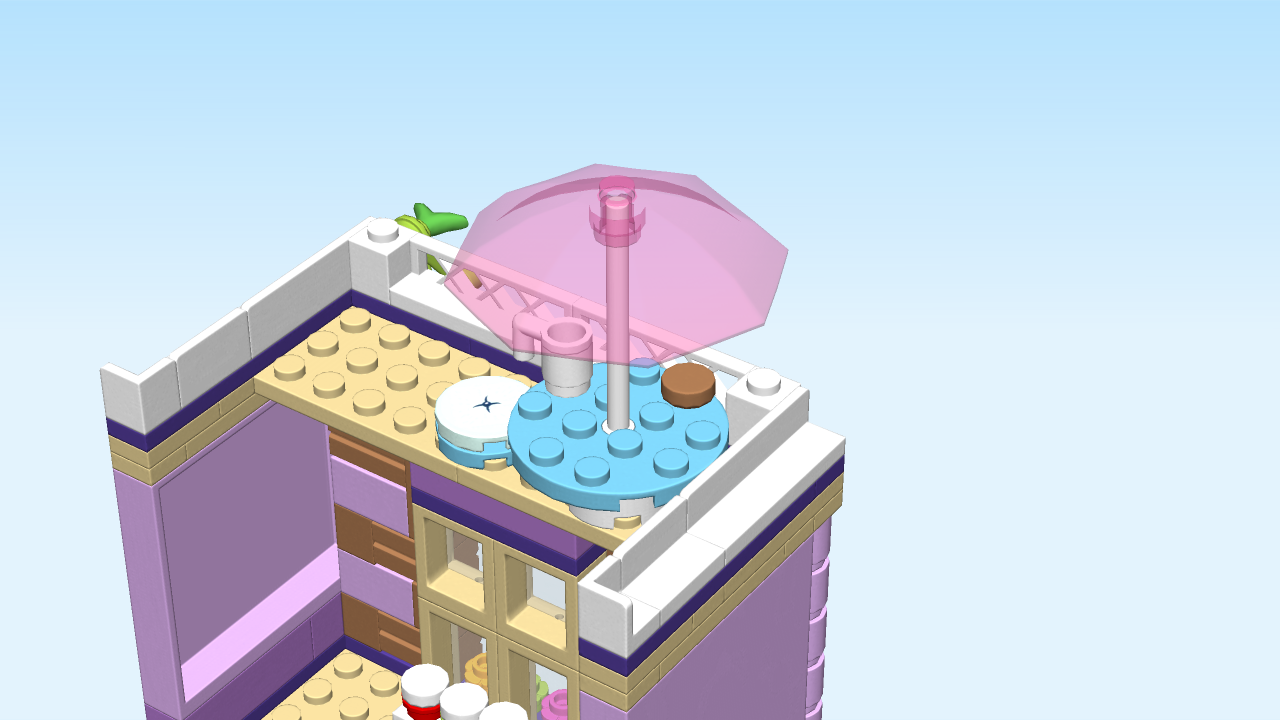
| Mount the terrace table top on the cylinder 2x2 on top of the structure to the left of the terrace stool. |
| Next, we will build a sunshade. |
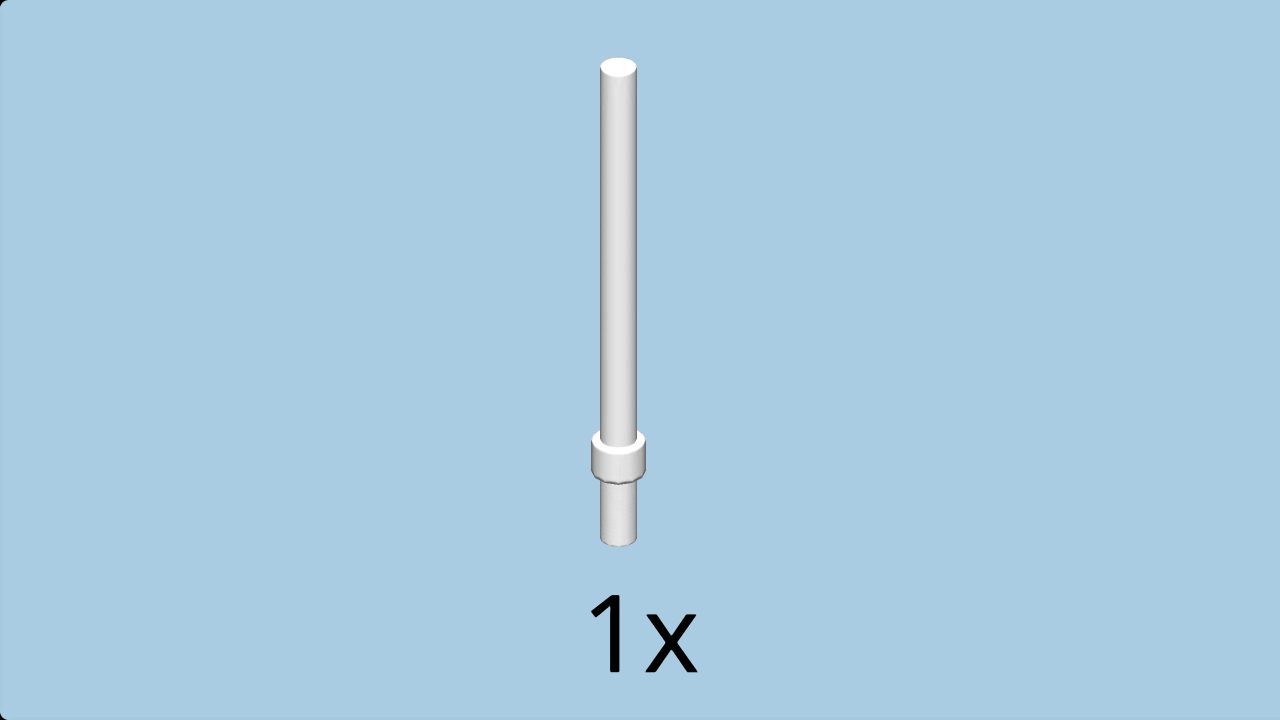
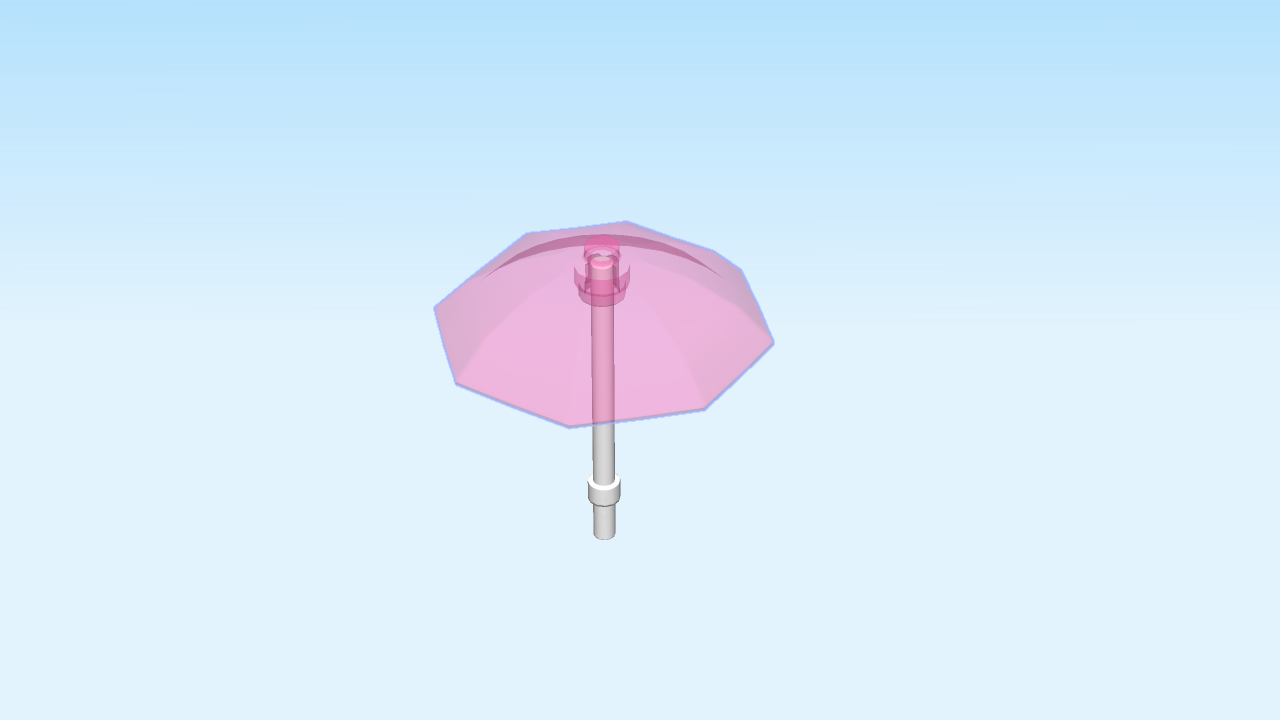
| Find 1 white stick with ring, 6 knobs long. |
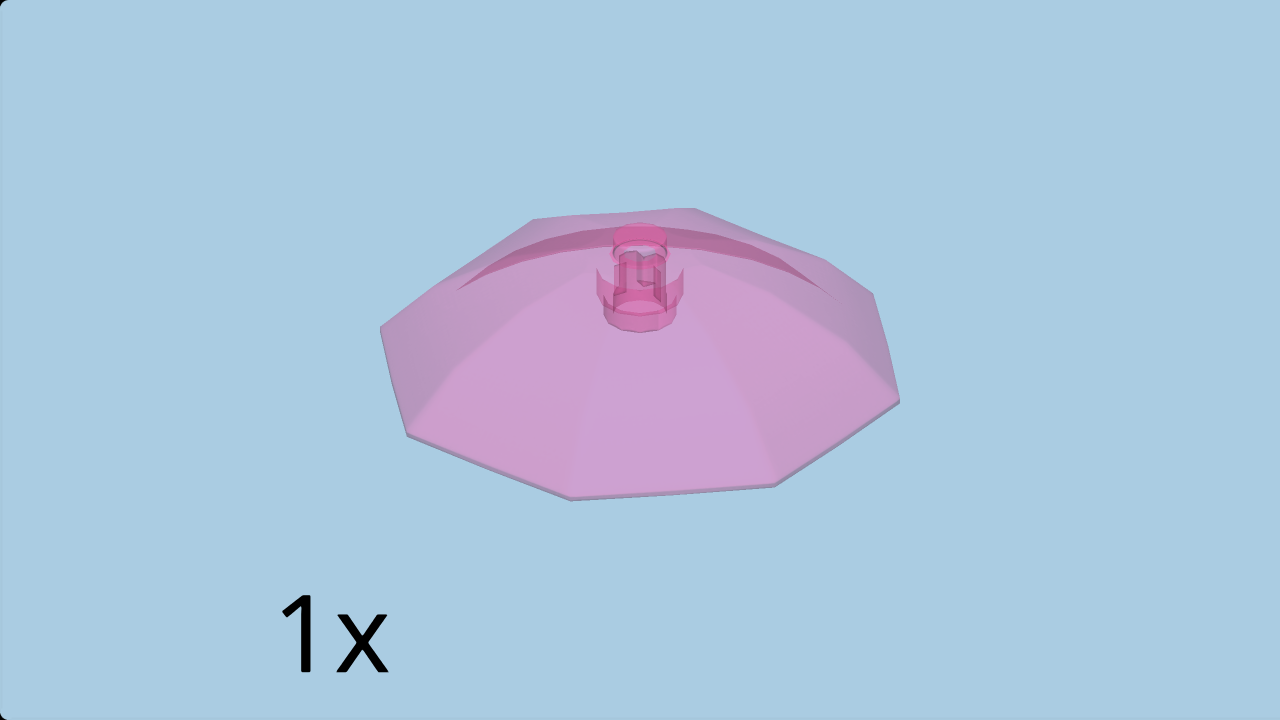
| Find 1 transparent medium reddish violet sunshade. |
| Hold the stick, ring to the bottom, and insert it into the bottom hole of the sunshade. |
| The sunshade is finished! Mount it in the middle hole of the terrace table top. |
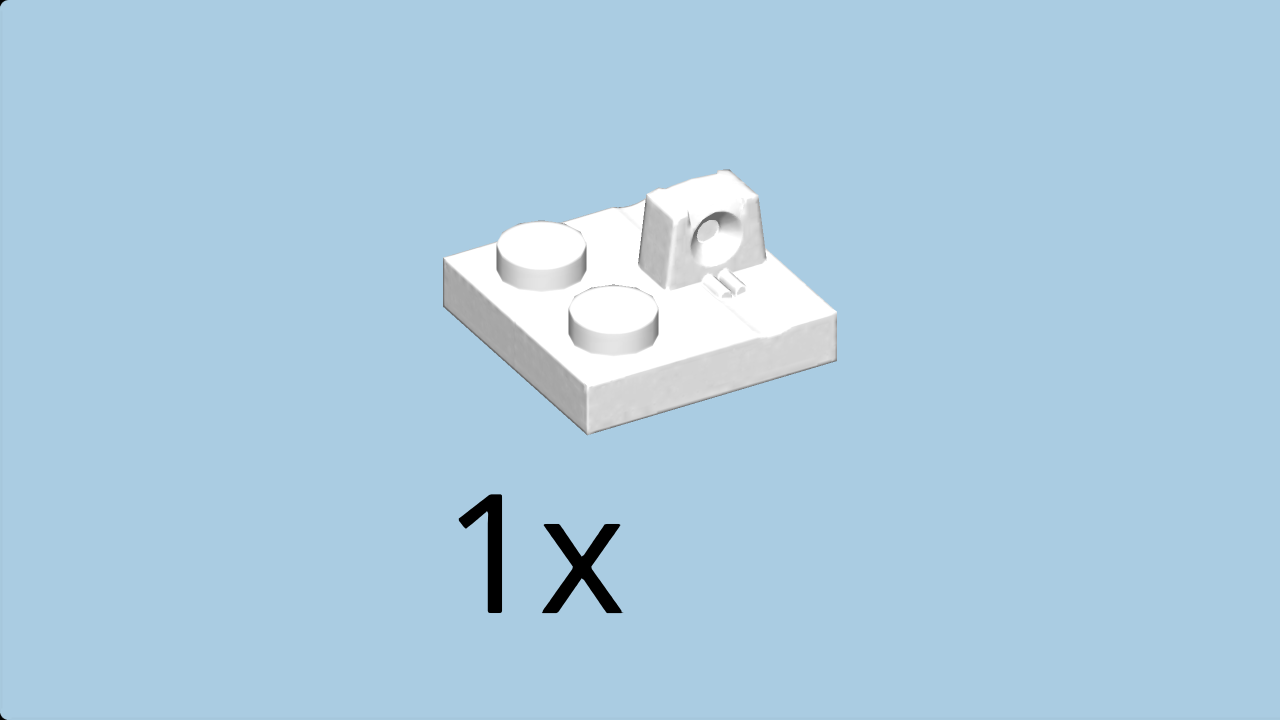
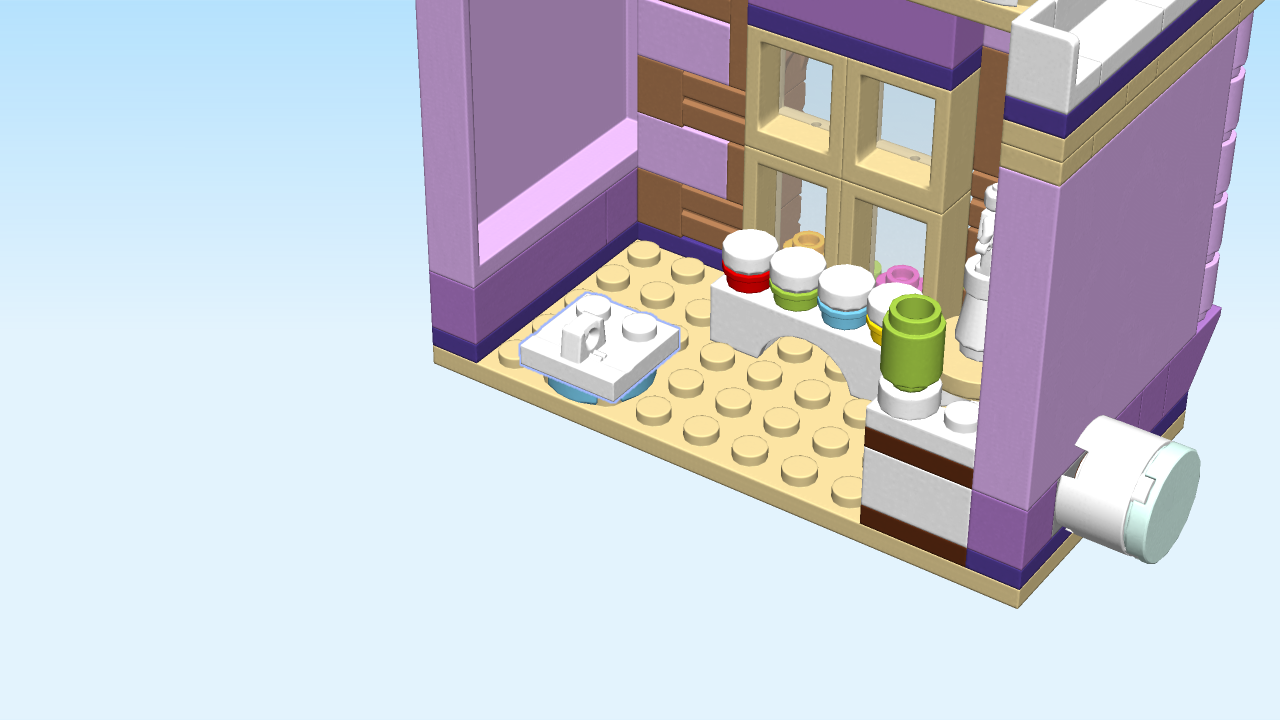
| Find 1 white plate 2x2 with 2 knobs and 1 top hinge part. |
| Put it on the round plate 2x2 with one knob at the front left of the structure, top hinge part to the front. |
| Next, we will build the easel. |
| Find 1 medium lilac plate 1x2. |
| Put it horizontally on the table. |
| Find 1 white plate 2x4 with 3 holes. |
| Put it vertically on top, previous piece underneath the back row. |
| Find 1 white angle plate 1x2 - 1x4 with 4 side knobs. |
| Put it horizontally on the back row, side knobs to the back. |
| Collect the following 2 pieces: |
| 1 white plate 1x2 with side hinge fork, |
| and 1 medium stone grey plate 2x2. |
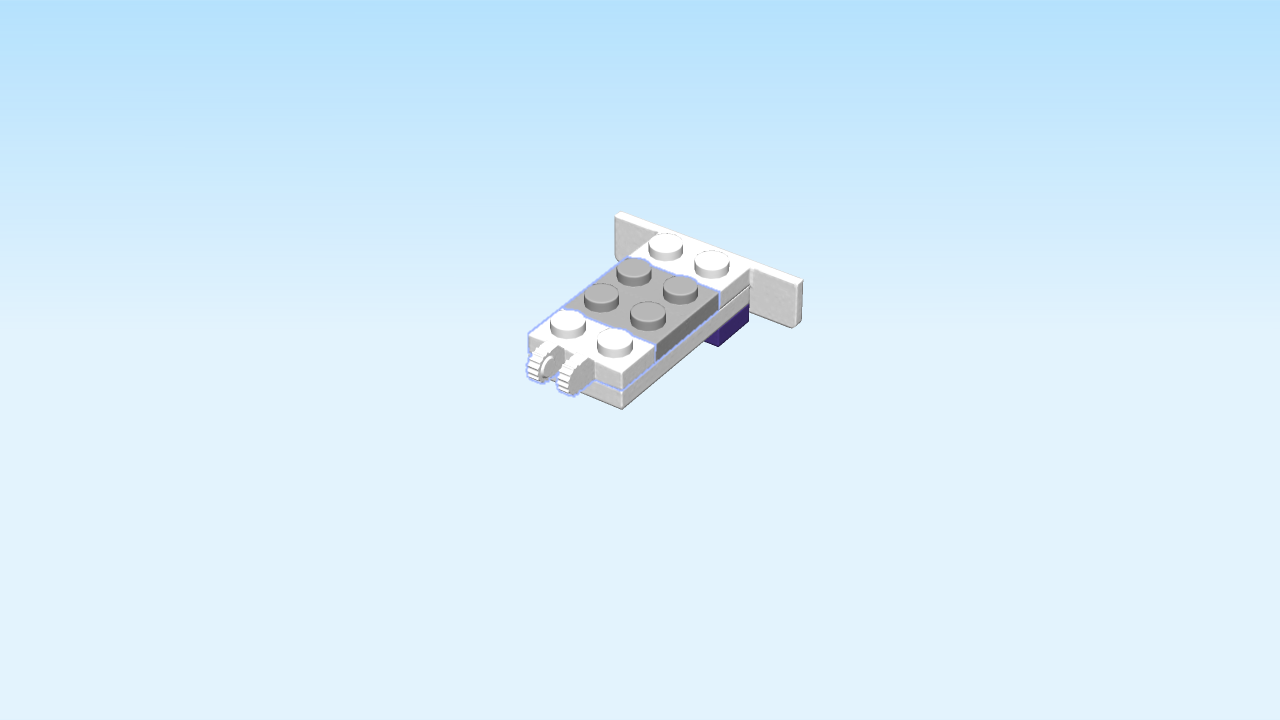
| Put the white plate 1x2 with side hinge fork horizontally on the front row, side hinge fork to the front. |
| Put the plate 2x2 on top in the middle of your part. |
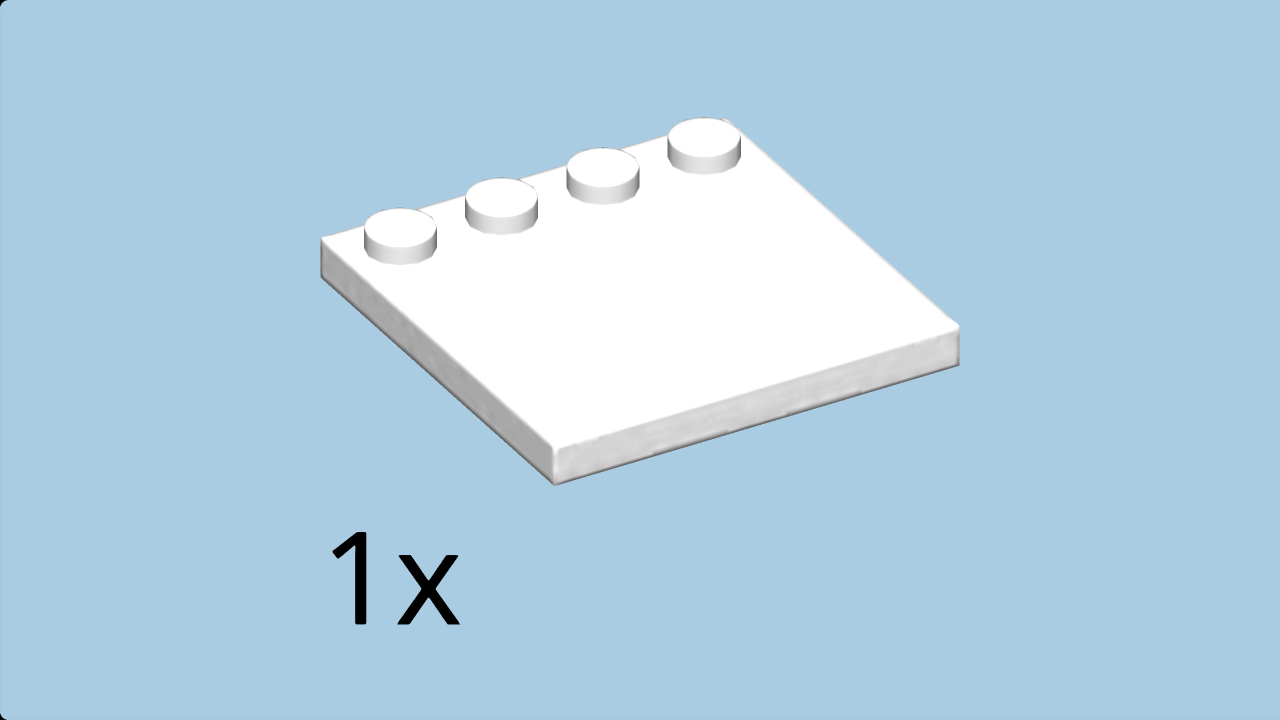
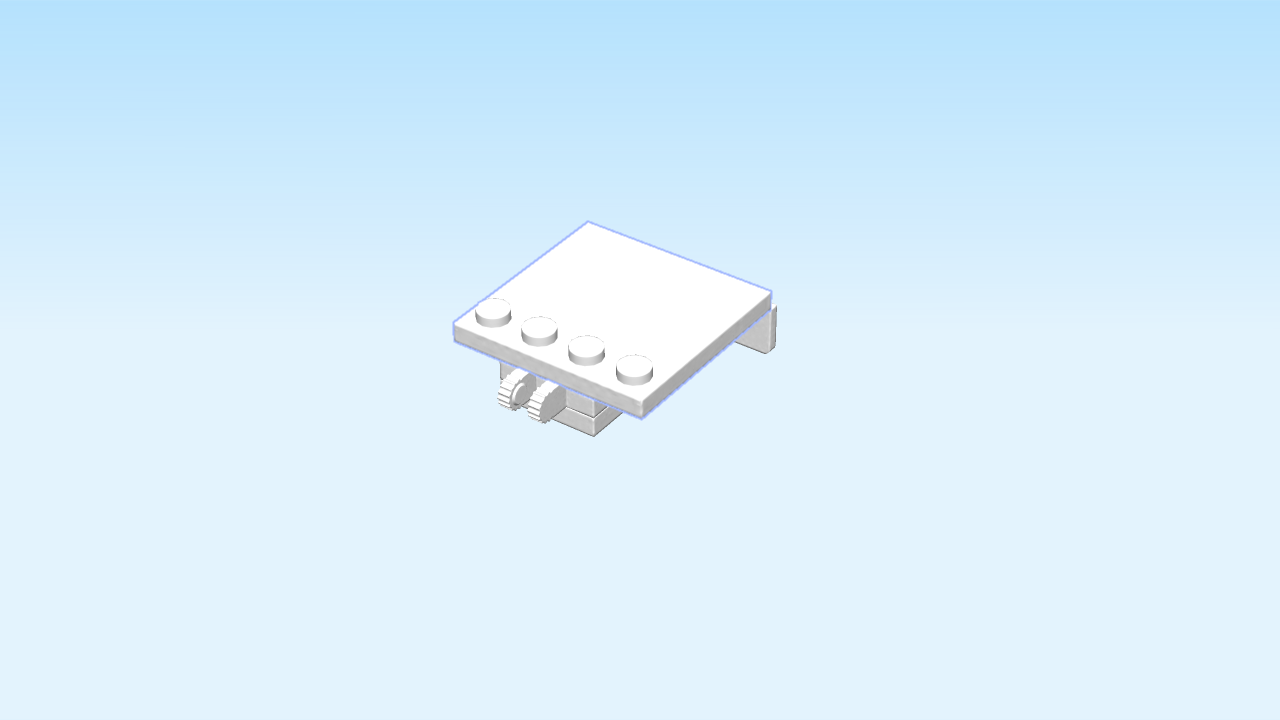
| Find 1 white plate 4x4 with 4 knobs. |
| Put it on top in the middle, 4 knobs to the front. |
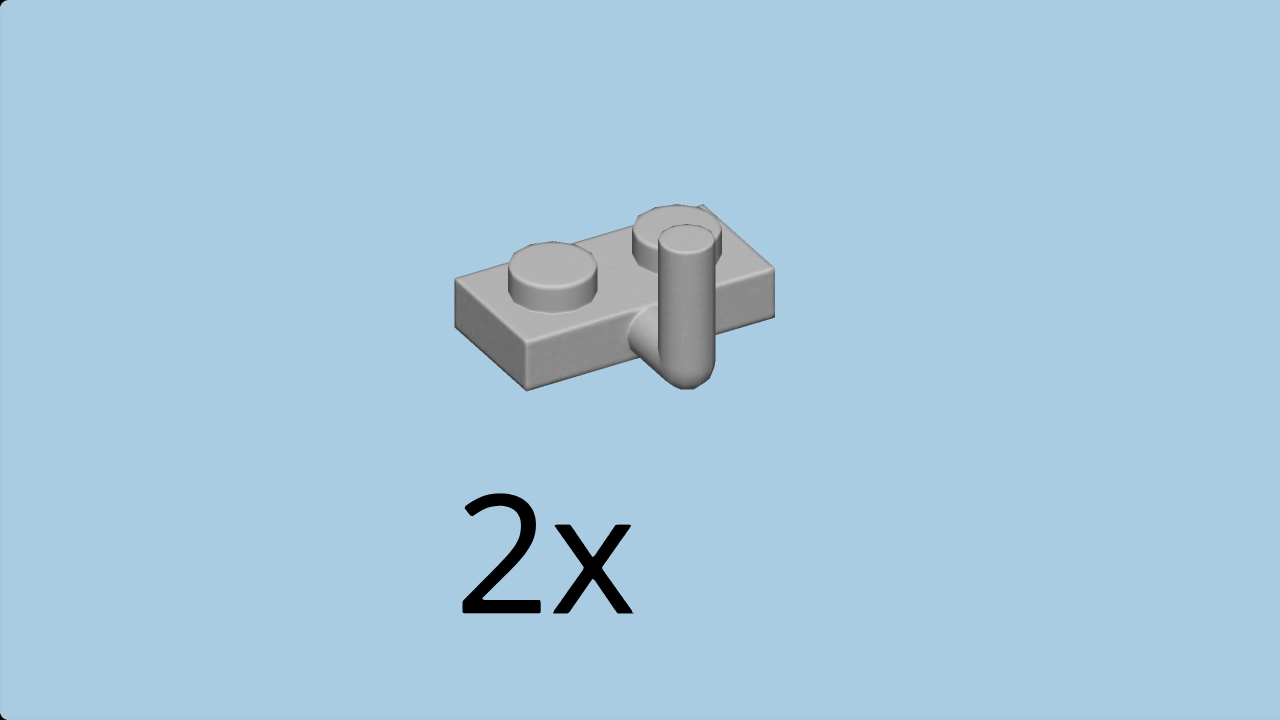
| Find 2 medium stone grey plates 1x2 with elbow handle. |
| Careful: these two pieces have a special orientation! |
| Put them upright horizontally on the four side knobs at the back of the structure, elbow handles to the top. |
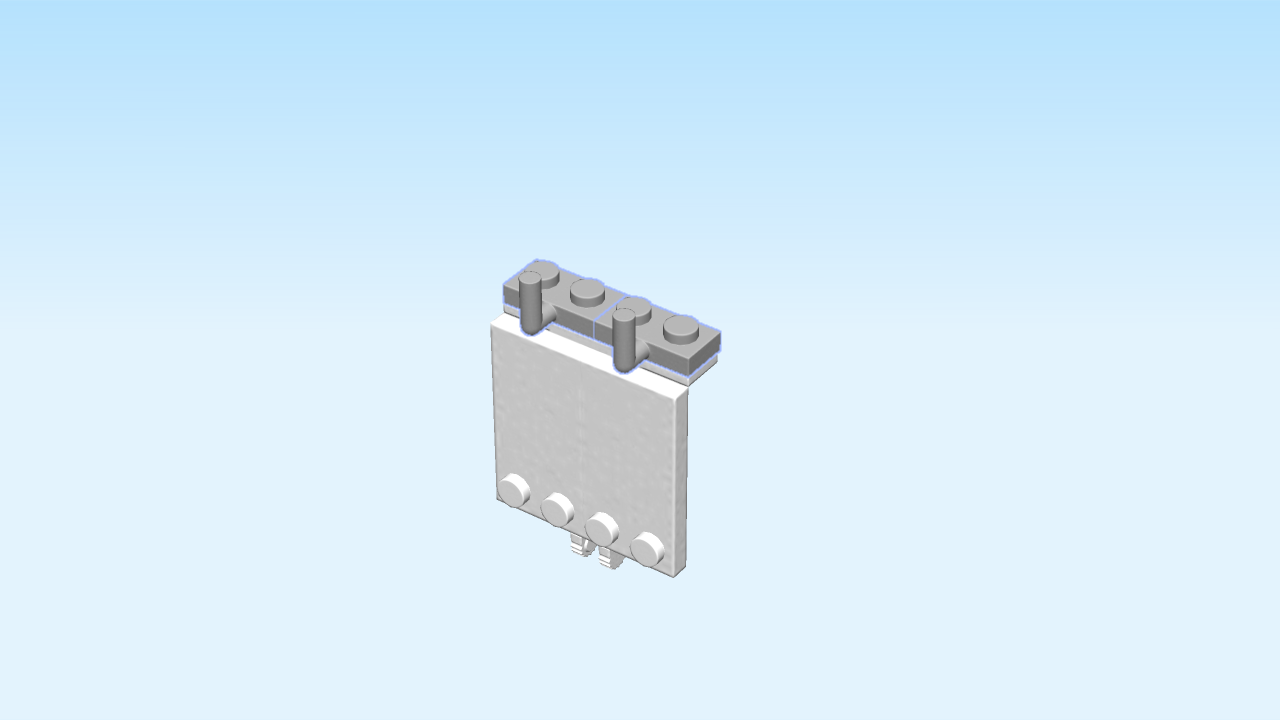
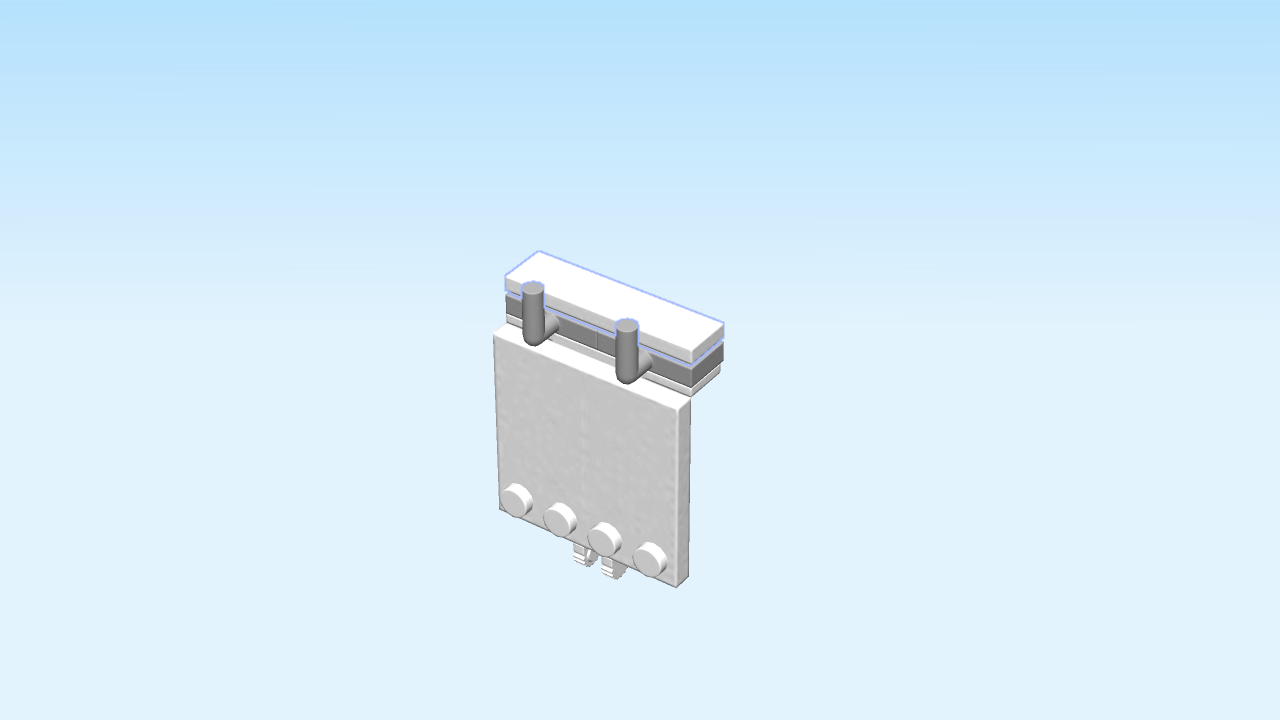
| Find 1 white flat tile 1x4. |
| Careful: this piece has a special orientation! |
| Put it upright horizontally on the two plates 2x1 with elbow handle at the back side of the structure. |
| The easel is finished! Well done! |
| Mount the hinge fork on the plate 2x2 with 2 knobs and 1 hinge part. This piece is at the front of the structure on the left. |
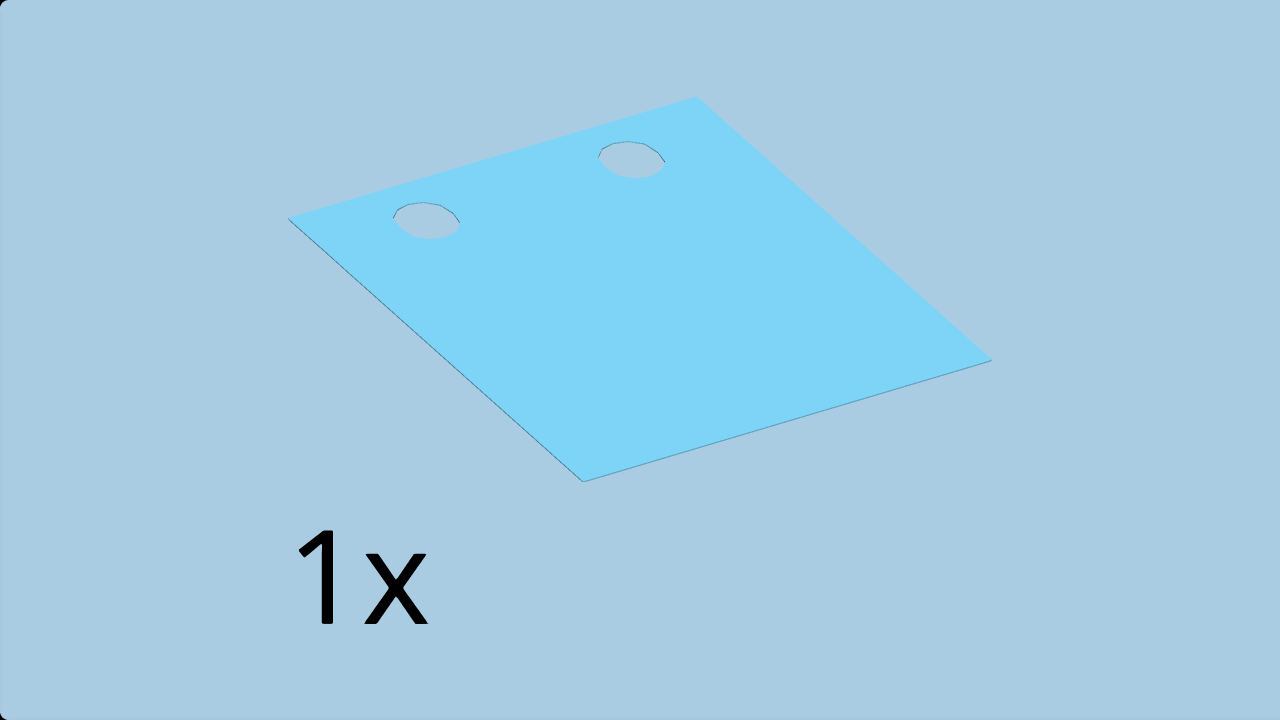
| Open the small box and take out the canvas. |
| Put the two holes of the canvas into the elbow handles on top of the easel. |
| The second floor is finished! Well done! Now you can mount the second floor on top of the ground floor of the art studio. |
| You are all done! Help Andrea and Emma with their paintings and their pottery, and sell some of your art in the little art shop! |
| Enjoy! |
