| LEGO Audio & Braille Building Instructions for the LEGO Minecraft set "The Turtle Beach House". |
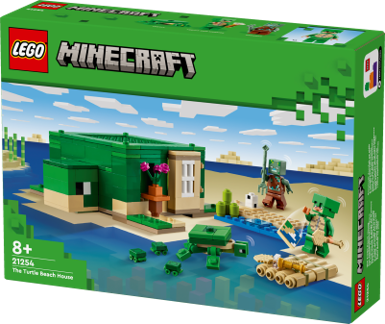
| Build the Turtle Skin Warrior and their Turtle Beach House filled with everything they need to eat, sleep and craft while living on a Minecraft island in the Ocean Biome. Outside, there’s a beach where you can feed seagrass to a Turtle as it guards its eggs. But when a Drowned appears holding a trident, you must fend them off, before hopping on a bamboo raft and sailing to your next adventure. |
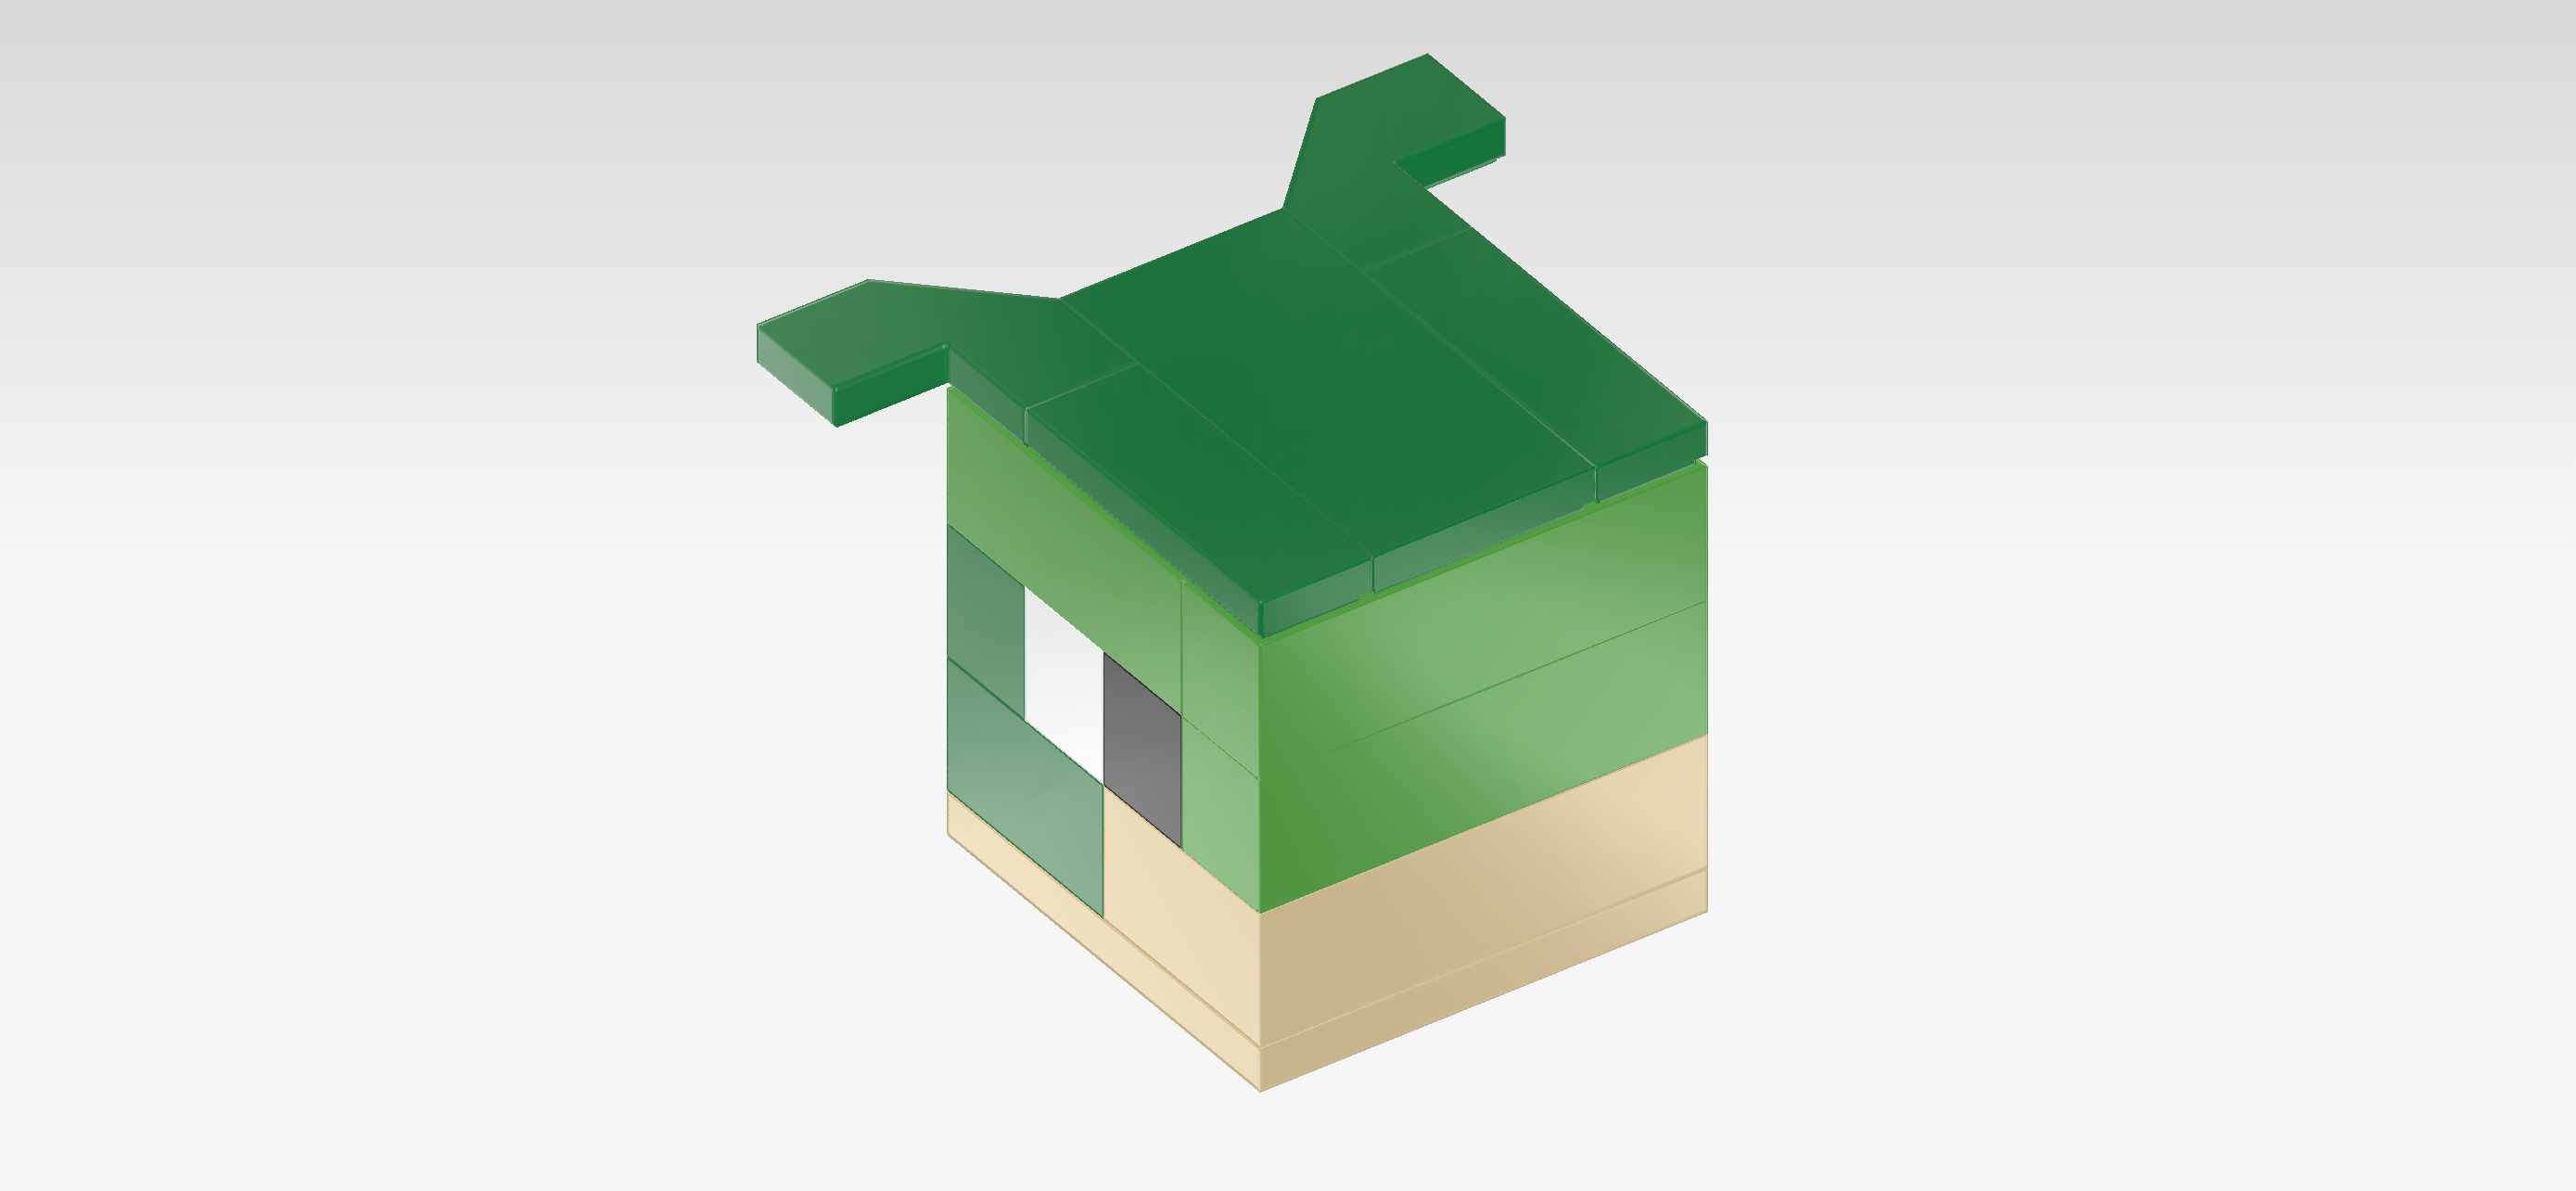
| The box cover shows a tranquil Minecraft beach scene on a sunny, slightly cloudy day. As usual in the Minecraft universe, everything is pixelated. Yes, even the clouds! The turtle-shaped beach house is located directly at the waterfront. It is in the left half of the box cover. It has a square floor plan with four flat side extensions that mimic the turtle's feet. There is also a smaller block attached at the front. It is the turtle's head! The Turtle Beach House is mainly green with a few sand brown elements. It has a sand brown door, and a beautiful flower vase with purple flowers is set out front. From the door, a footbridge leads into the shallow water. There are a few sugarcane plants growing right next to it. In front of the house, a parent sea turtle is frolicking in the water with three tiny sea turtle babies! What an adorable sight. Next to them, the Turtle Warrior is about to mount the bamboo raft. It looks like the Warrior is setting off on an adventure! But watch out! The scene might not be as tranquil as it seems. The Drowned is approaching from the back, trident in hand! They look grim, so the Turtle Warrior better watches out and protects the turtles. But now, let's start building! |
| Open the box. This can be tricky; ask someone to help you! |
| The box contains 1 booklet with visual building instructions and 2 bags with numbers printed on them. Ask a sighted person to help you find the correct bag! |
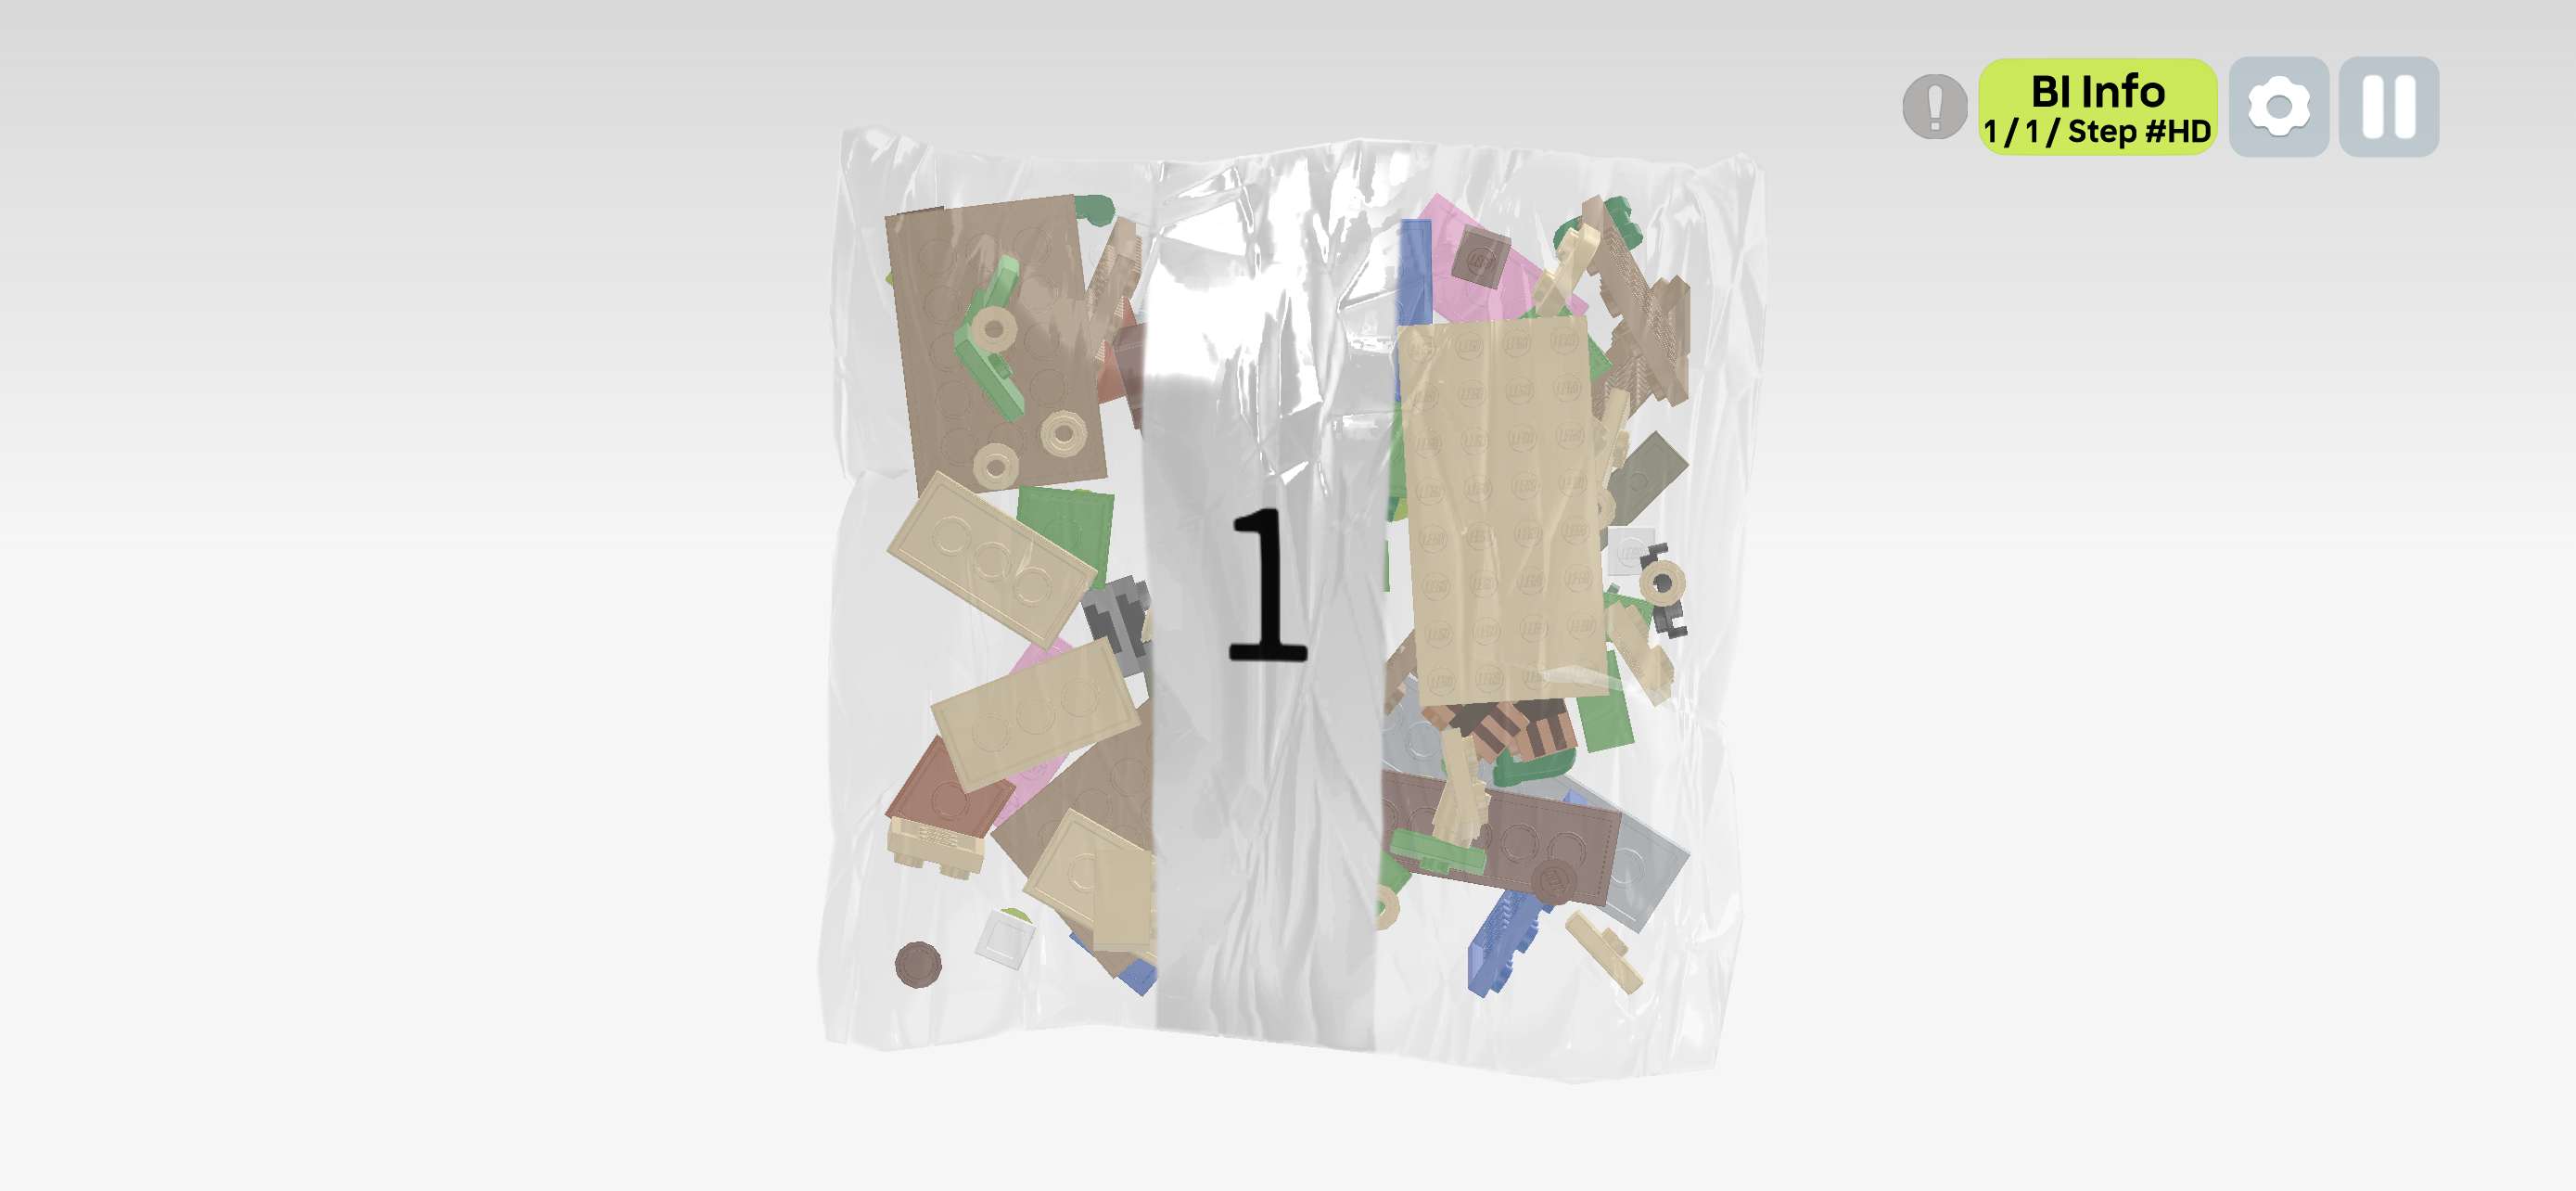
| Carefully open bag number 1 and any small sub-bags in it. This bag contains all bricks and pieces for the Drowned Minifigure, the bed, the crafting table, a flower vase, the furnace, the nightstand with lamp, the sea turtle with its babies, and the base plate of the Turtle Beach House with beach area. |
| Before you start building, ask a sighted person to help you sort the pieces by color. This makes finding the correct pieces even easier! |
| First, we will build the Drowned Minifigure. |
| Attention: The bricks and pieces for the Drowned Minifigure and the Turtle Warrior Minifigure have identical shapes. If you have opened all bags already, they can only be differentiated by their colors and prints. Ask for help if you are not sure. If you have only opened bag 1 so far, there is no danger of mixing the pieces up and you can continue. |
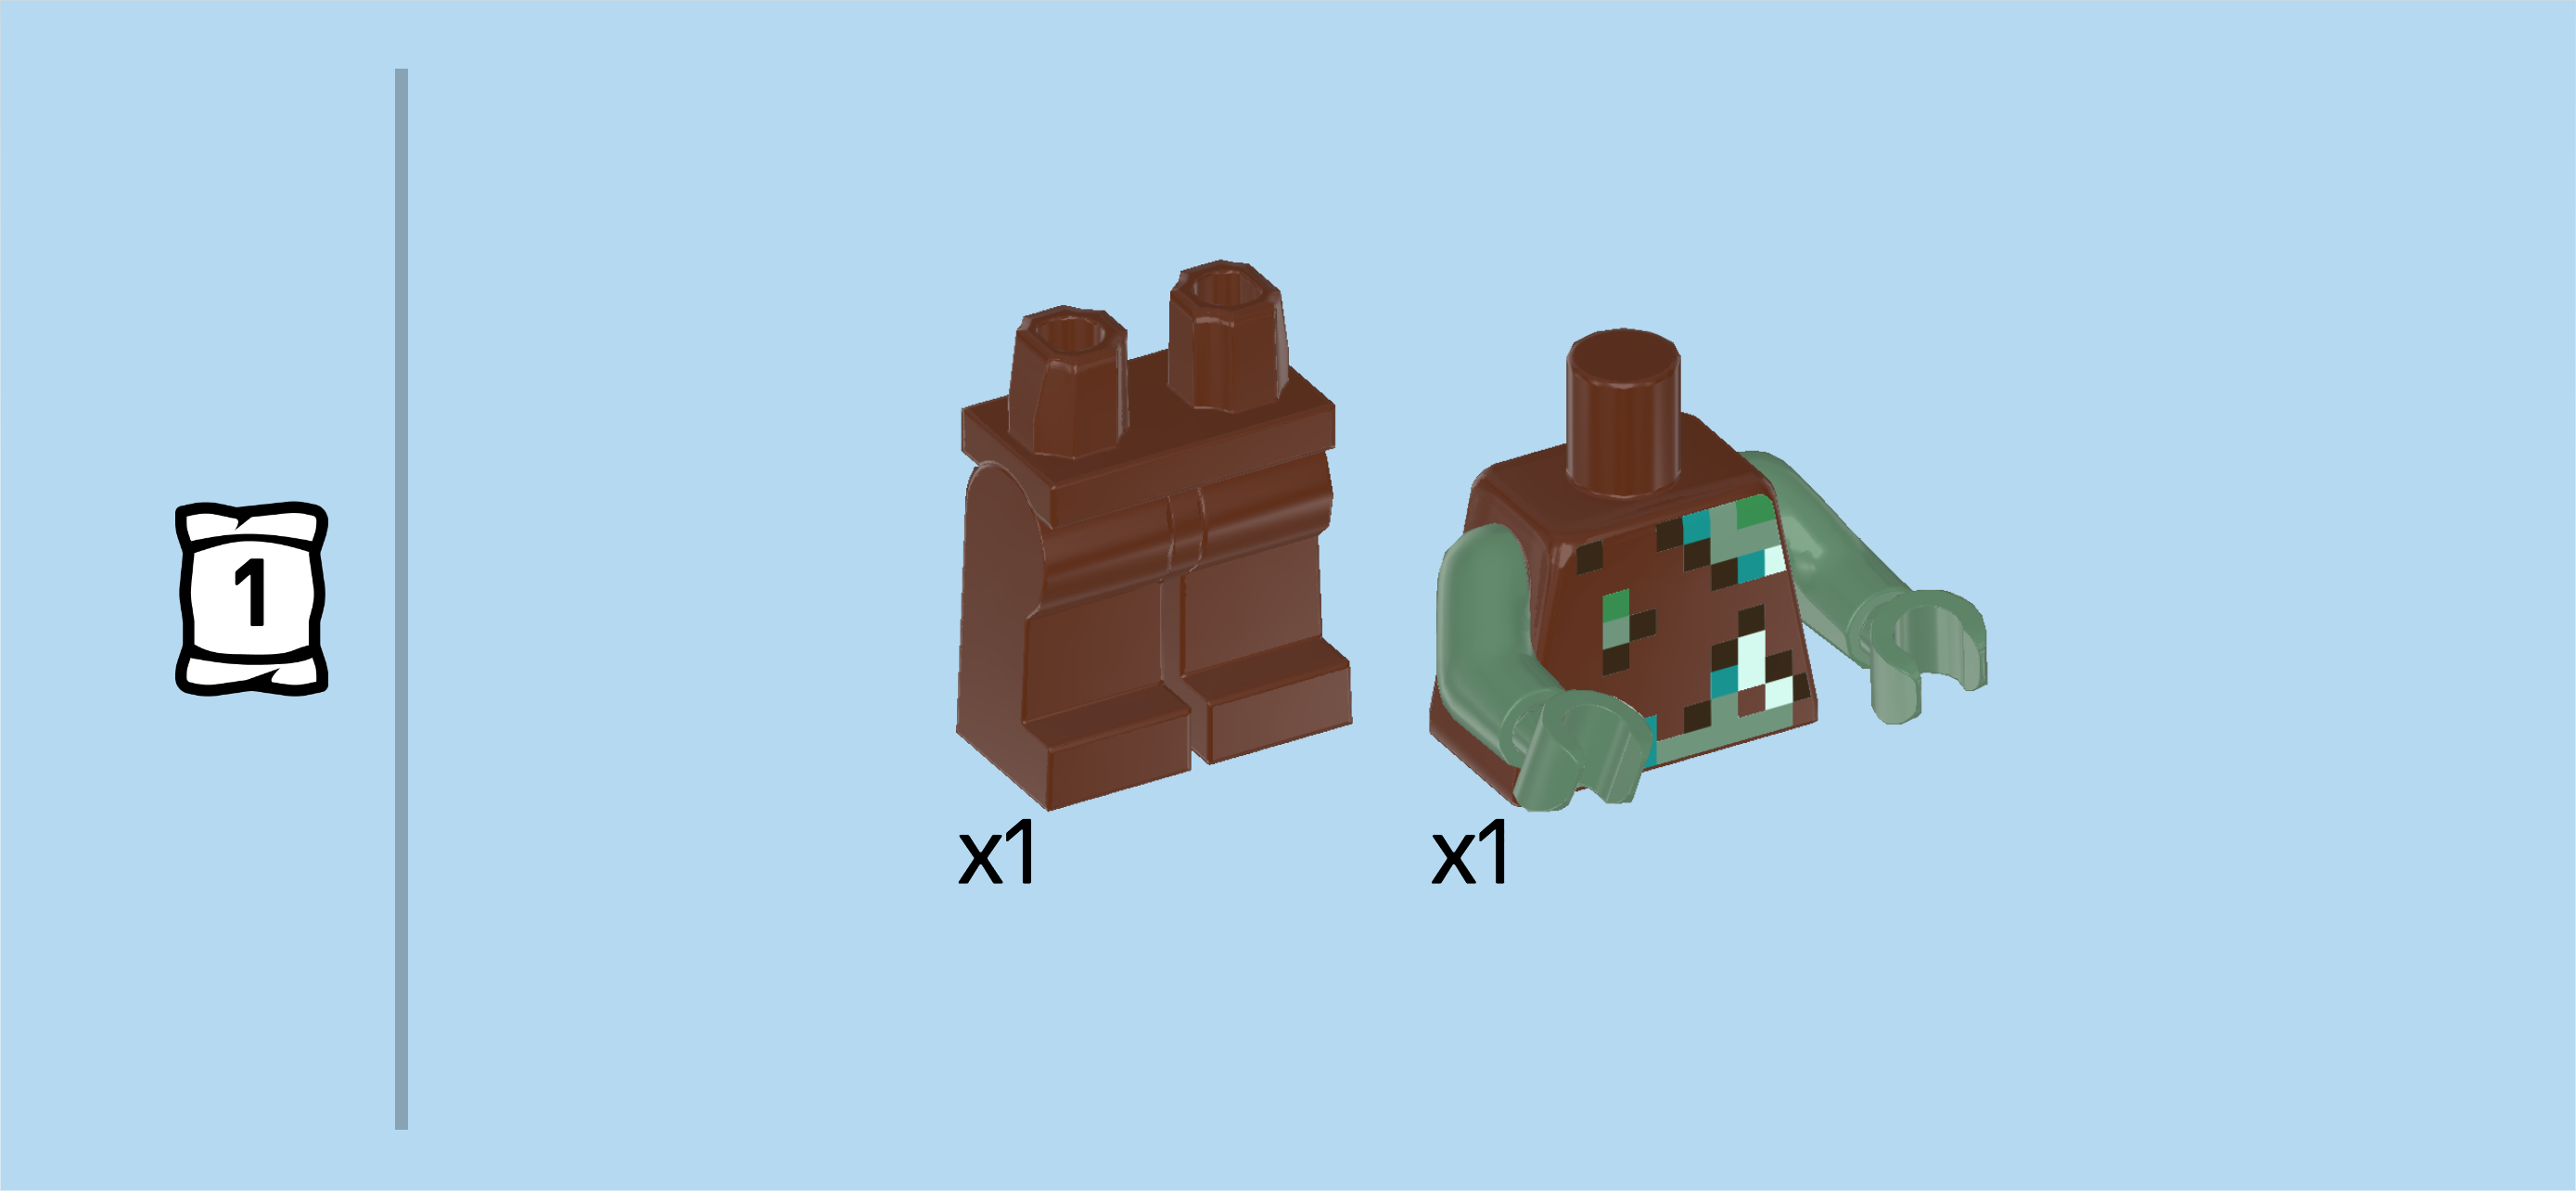
| Collect the following 2 pieces: |
| 1 reddish brown and sand green upper part of the body, |
| and 1 reddish brown pair of legs. |
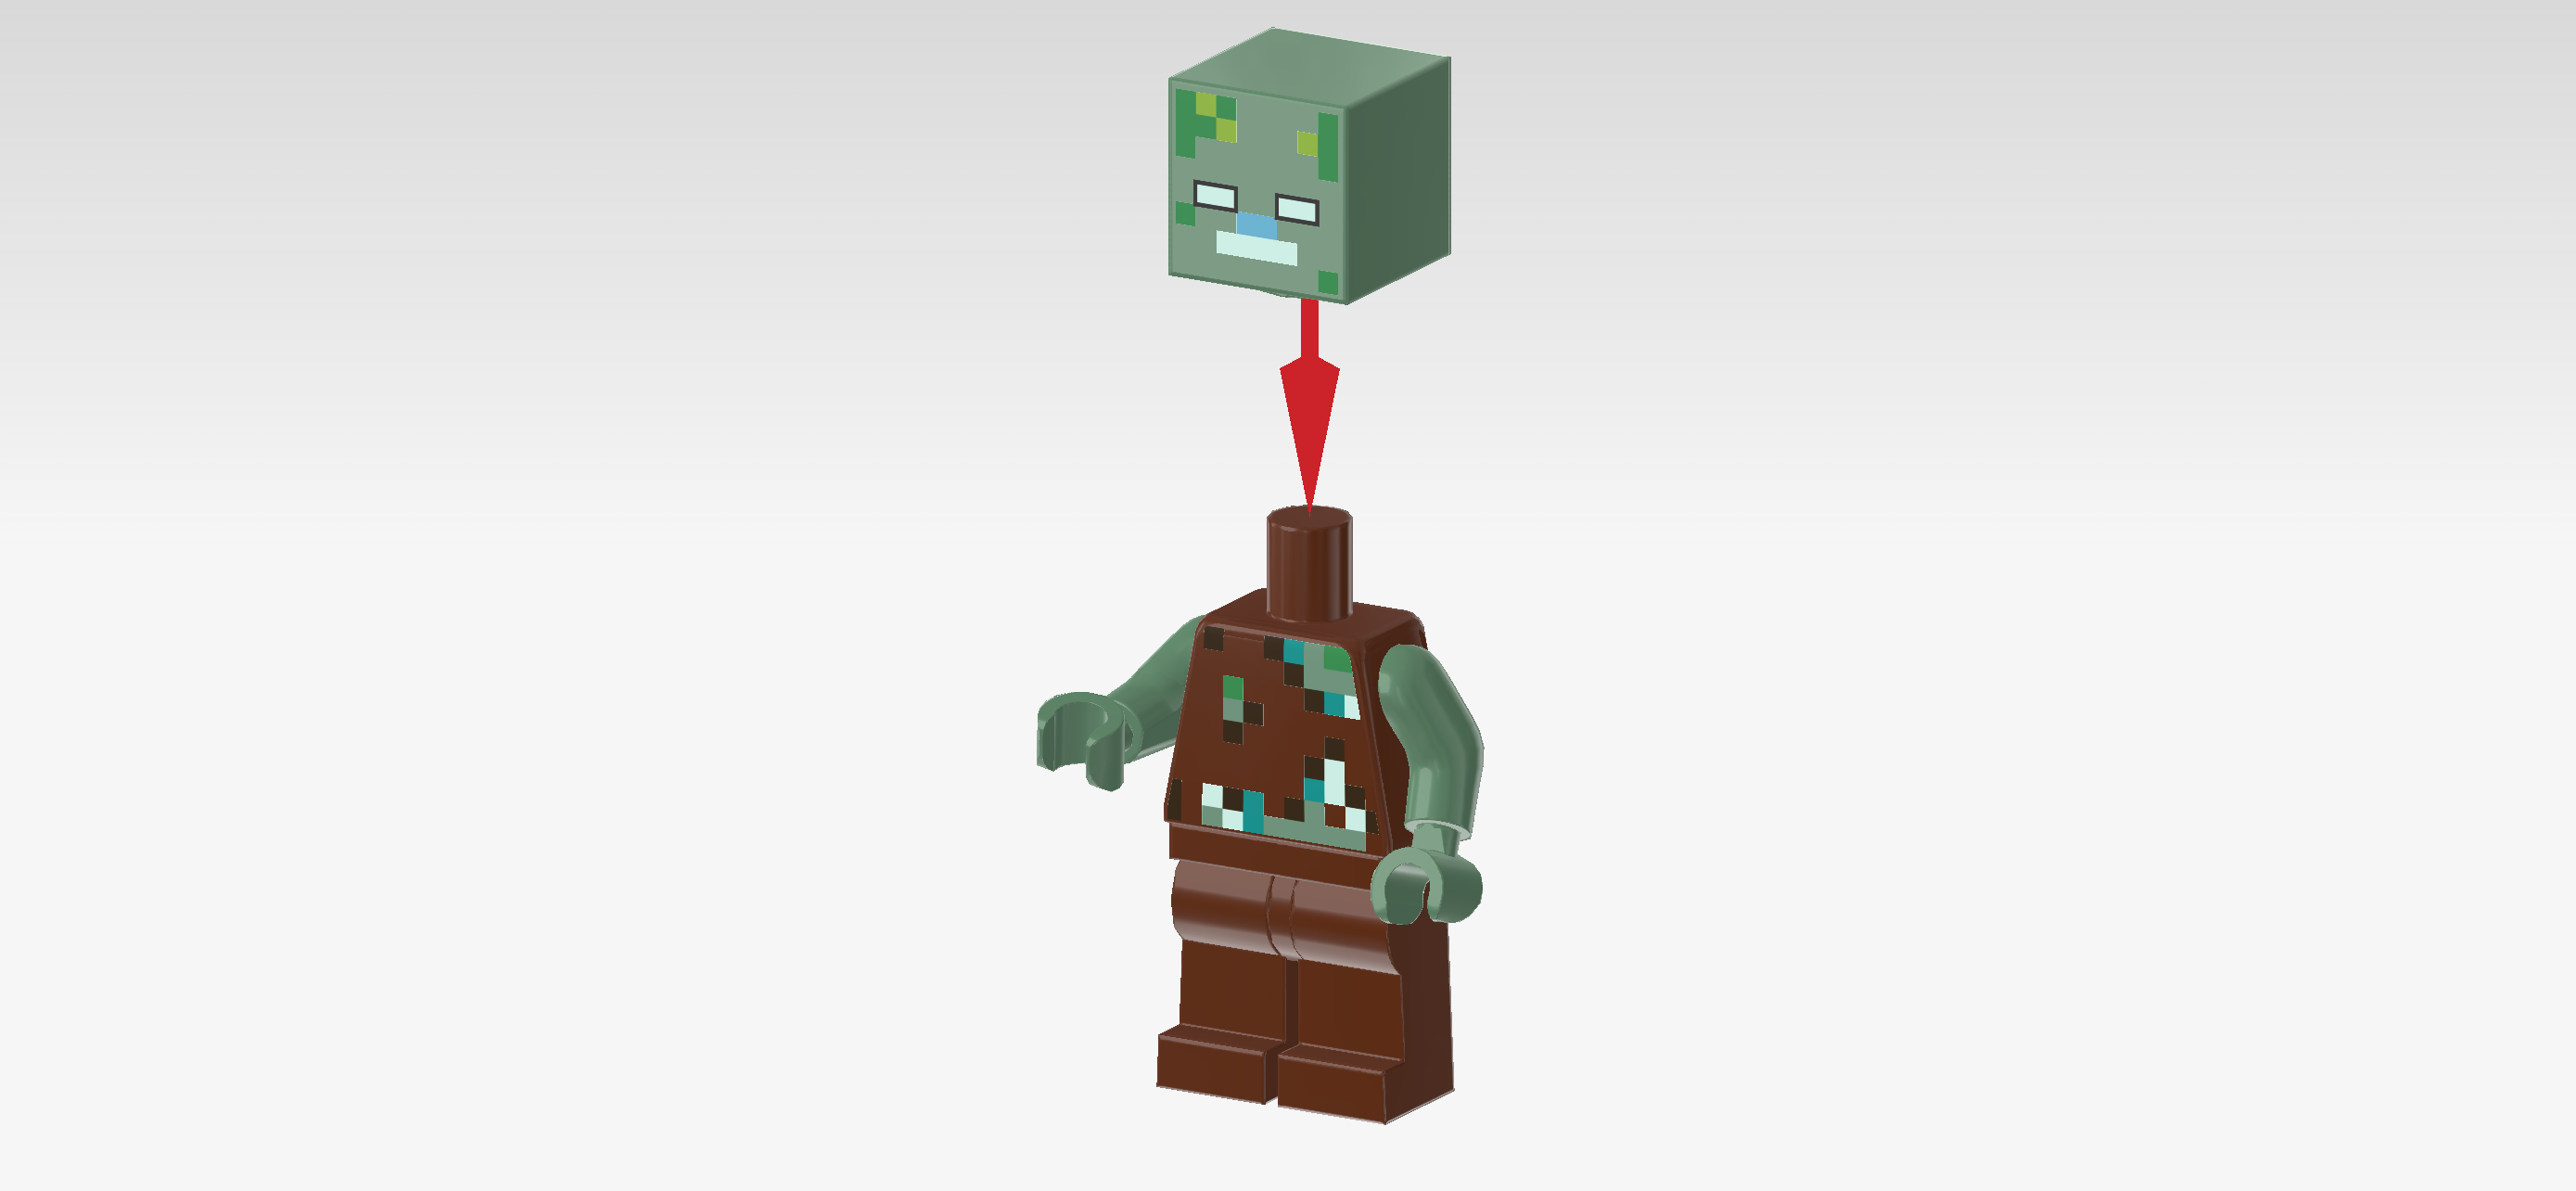
| Put the upper body on top of the legs. |
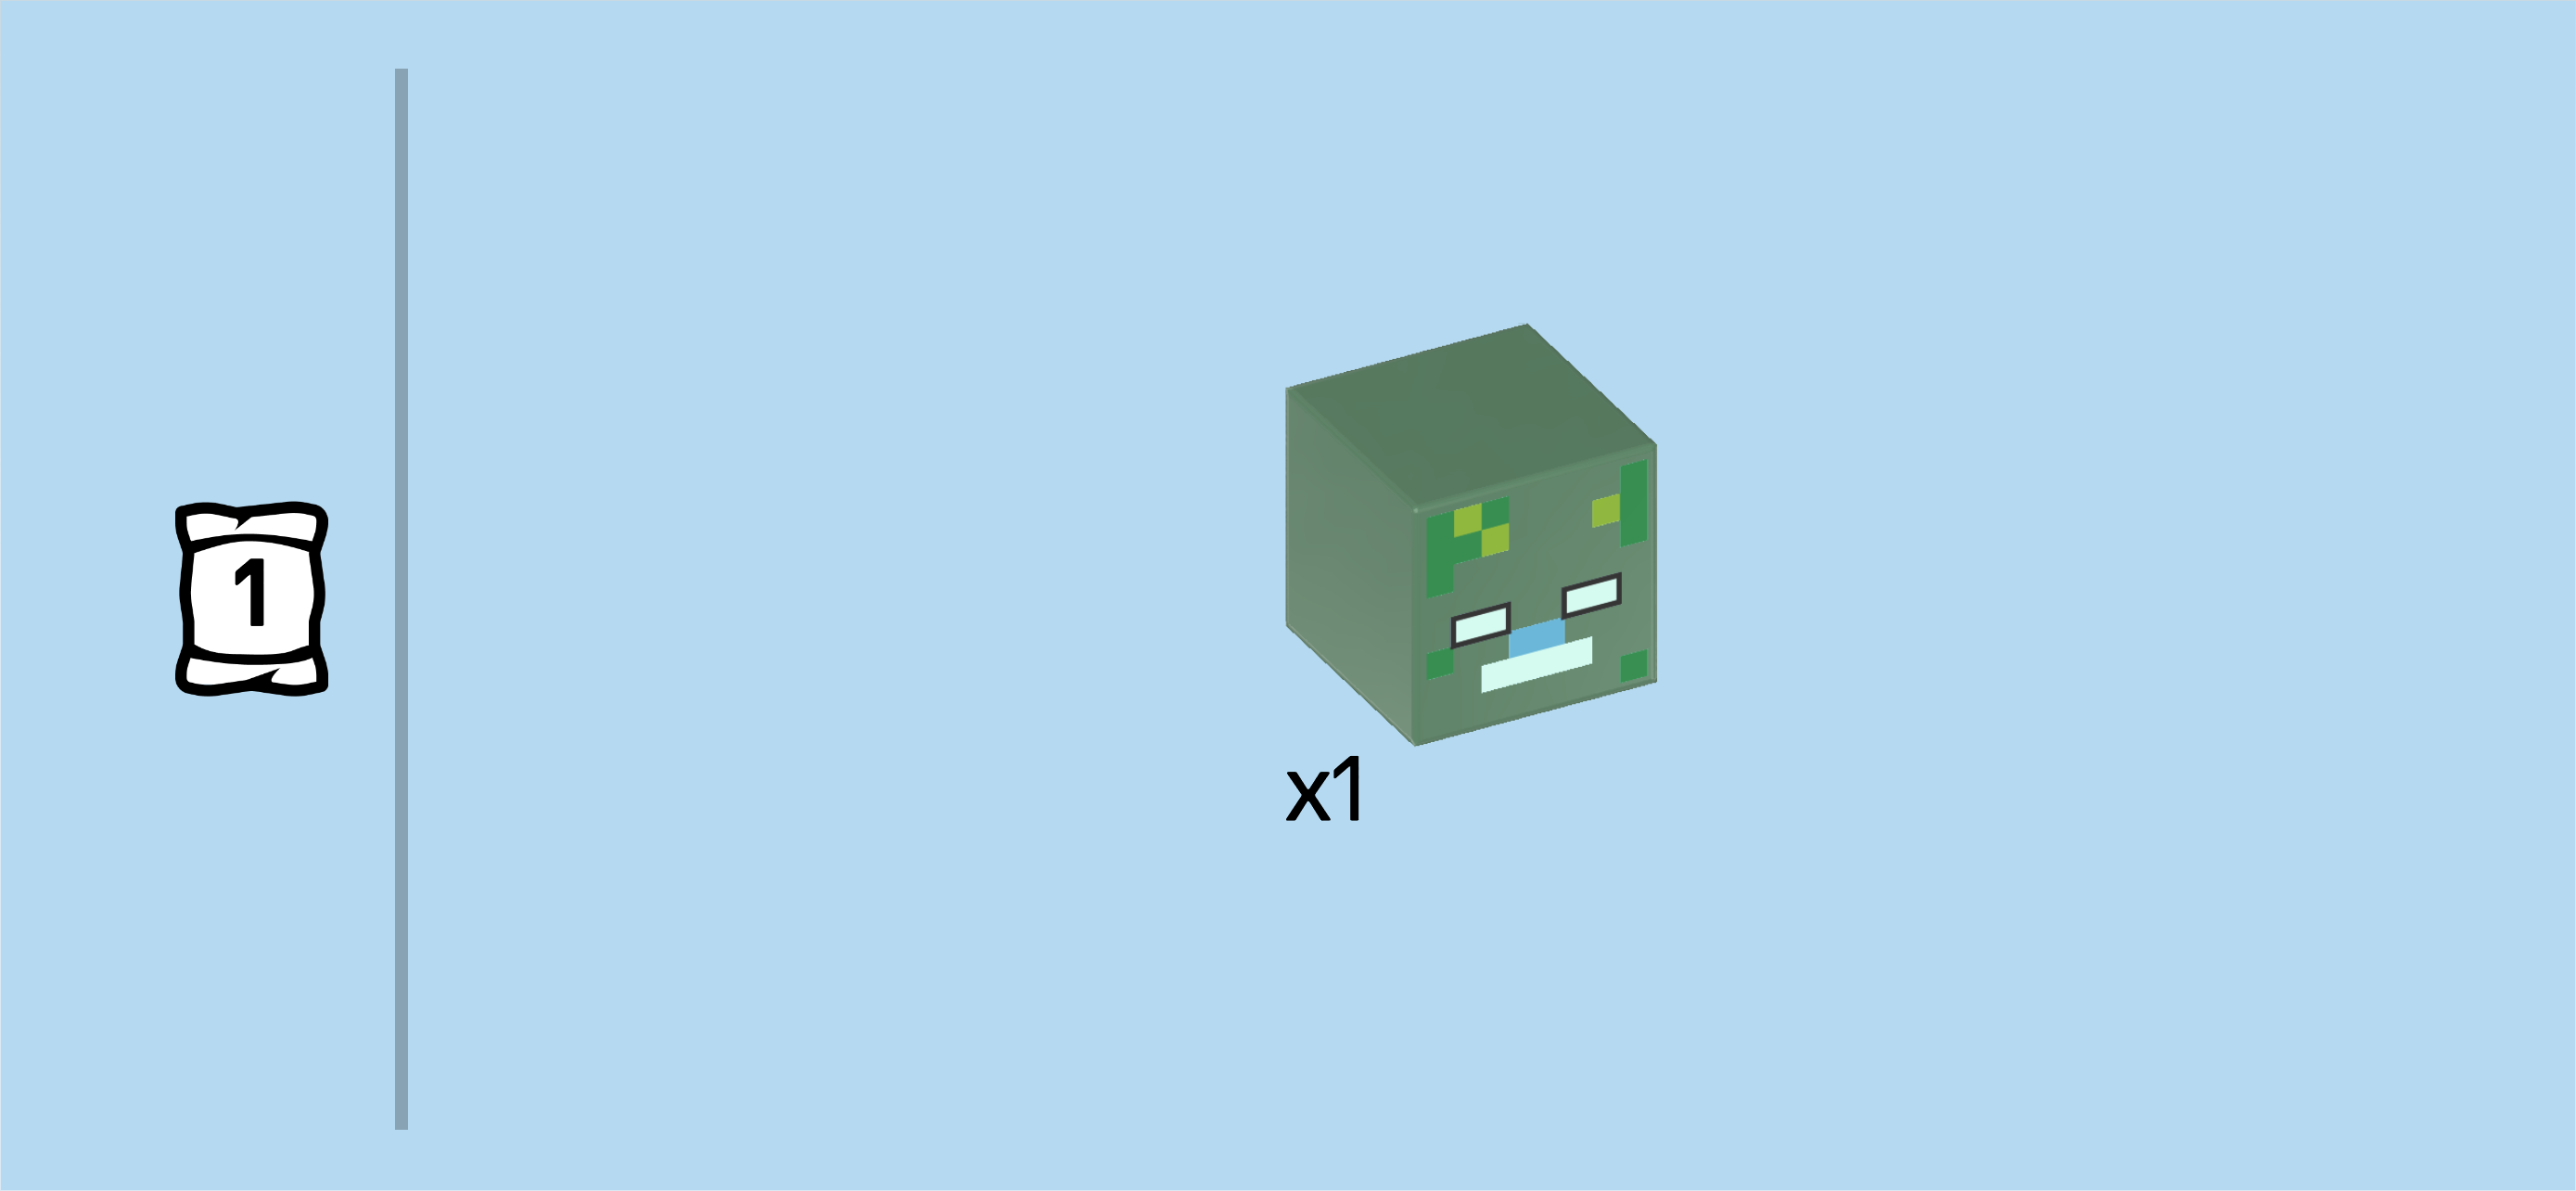
| Find 1 sand green square Minifigure head. |
| Put it on the body. |
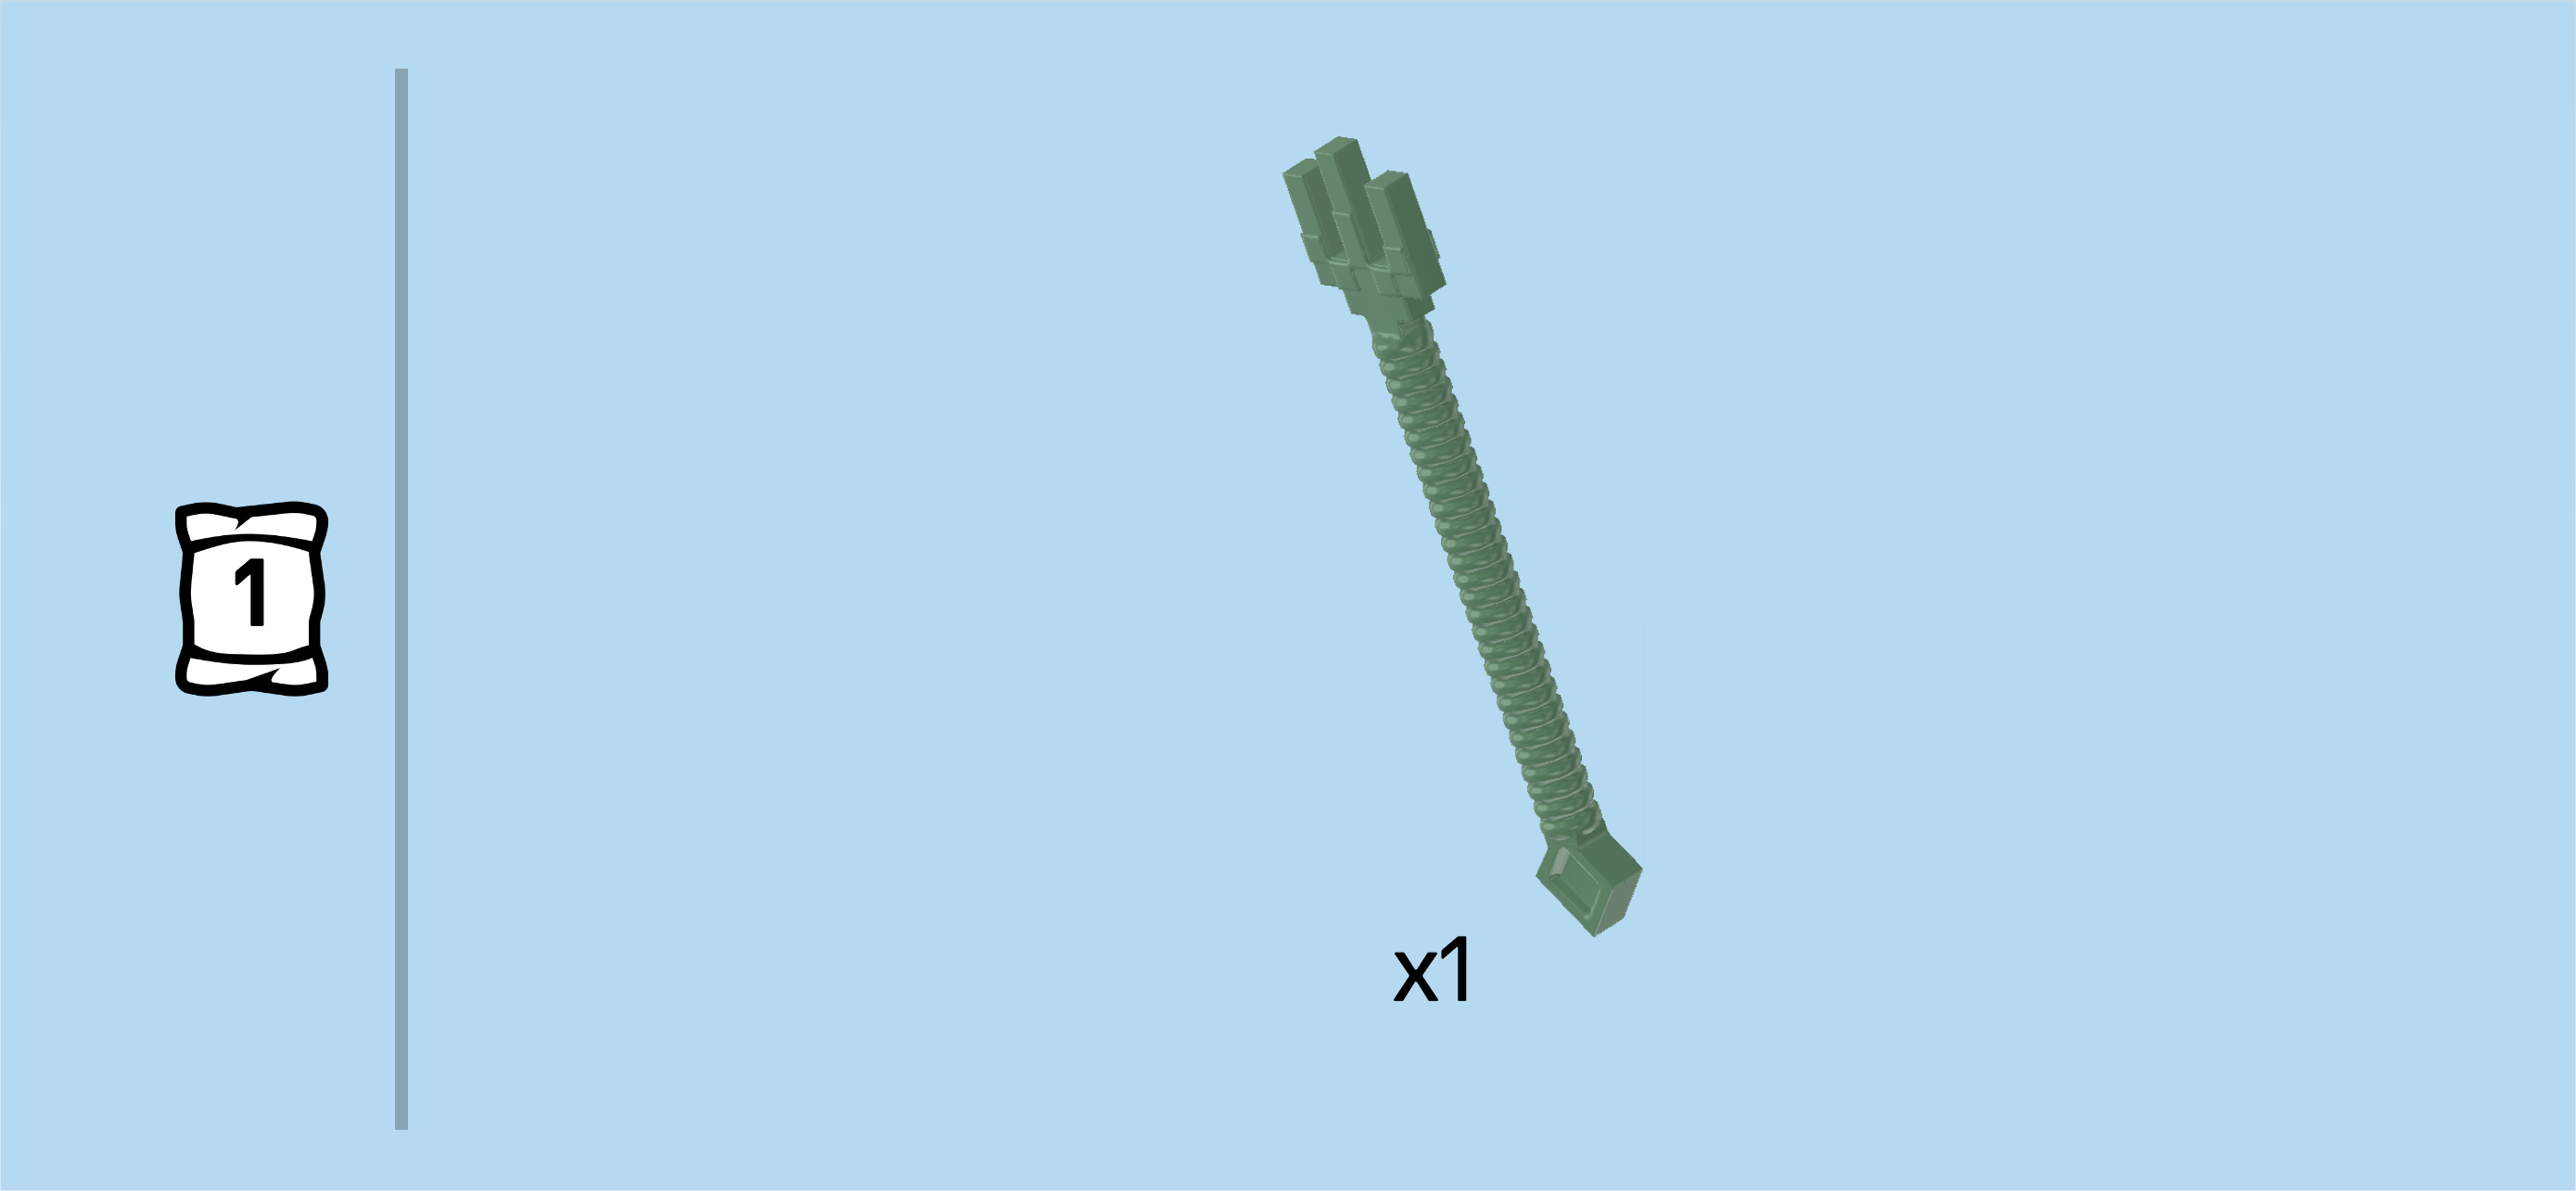
| Find 1 sand green trident. |
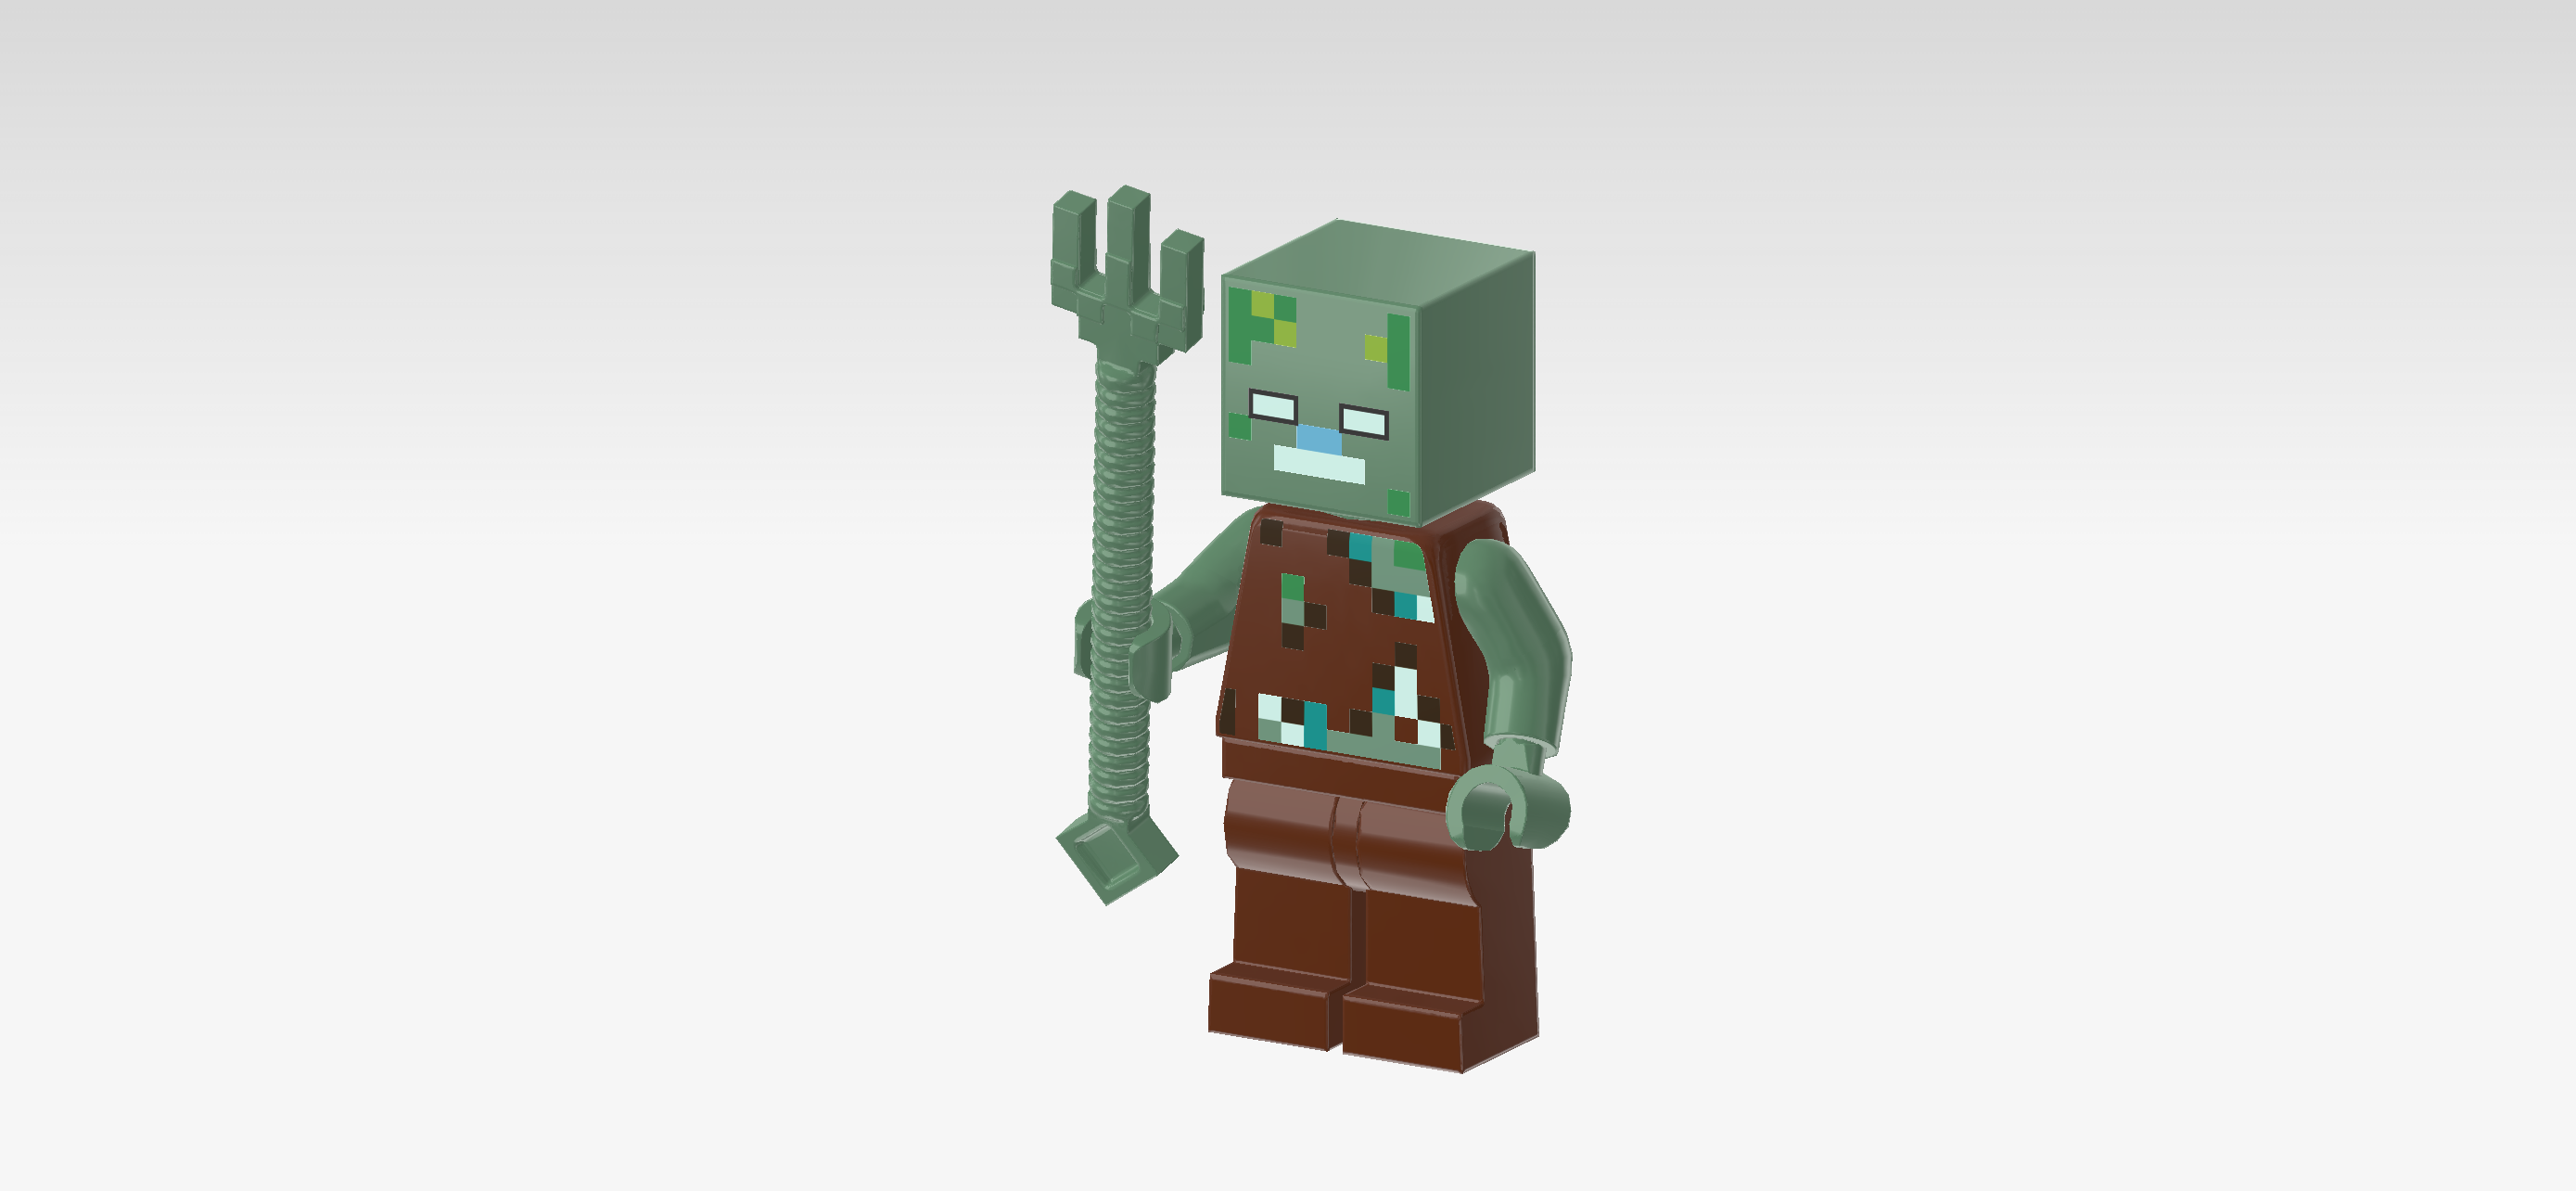
| Snap it into the Drowned's right hand, spikes to the top. |
| The Drowned Minifigure is finished! Well done! It is wearing dark brown pants and a dark brown sleeveless shirt. The shirt is already torn on several spots, revealing the Drowned's mud green skin. It has a grim look on its face and the skin has several greenish spots. It seems like the Drowned is rotting away! But that doesn't make it any less dangerous, so you better watch out! |
| Next, we will build the Turtle Warrior's bed. |
| Collect the following 3 pieces: |
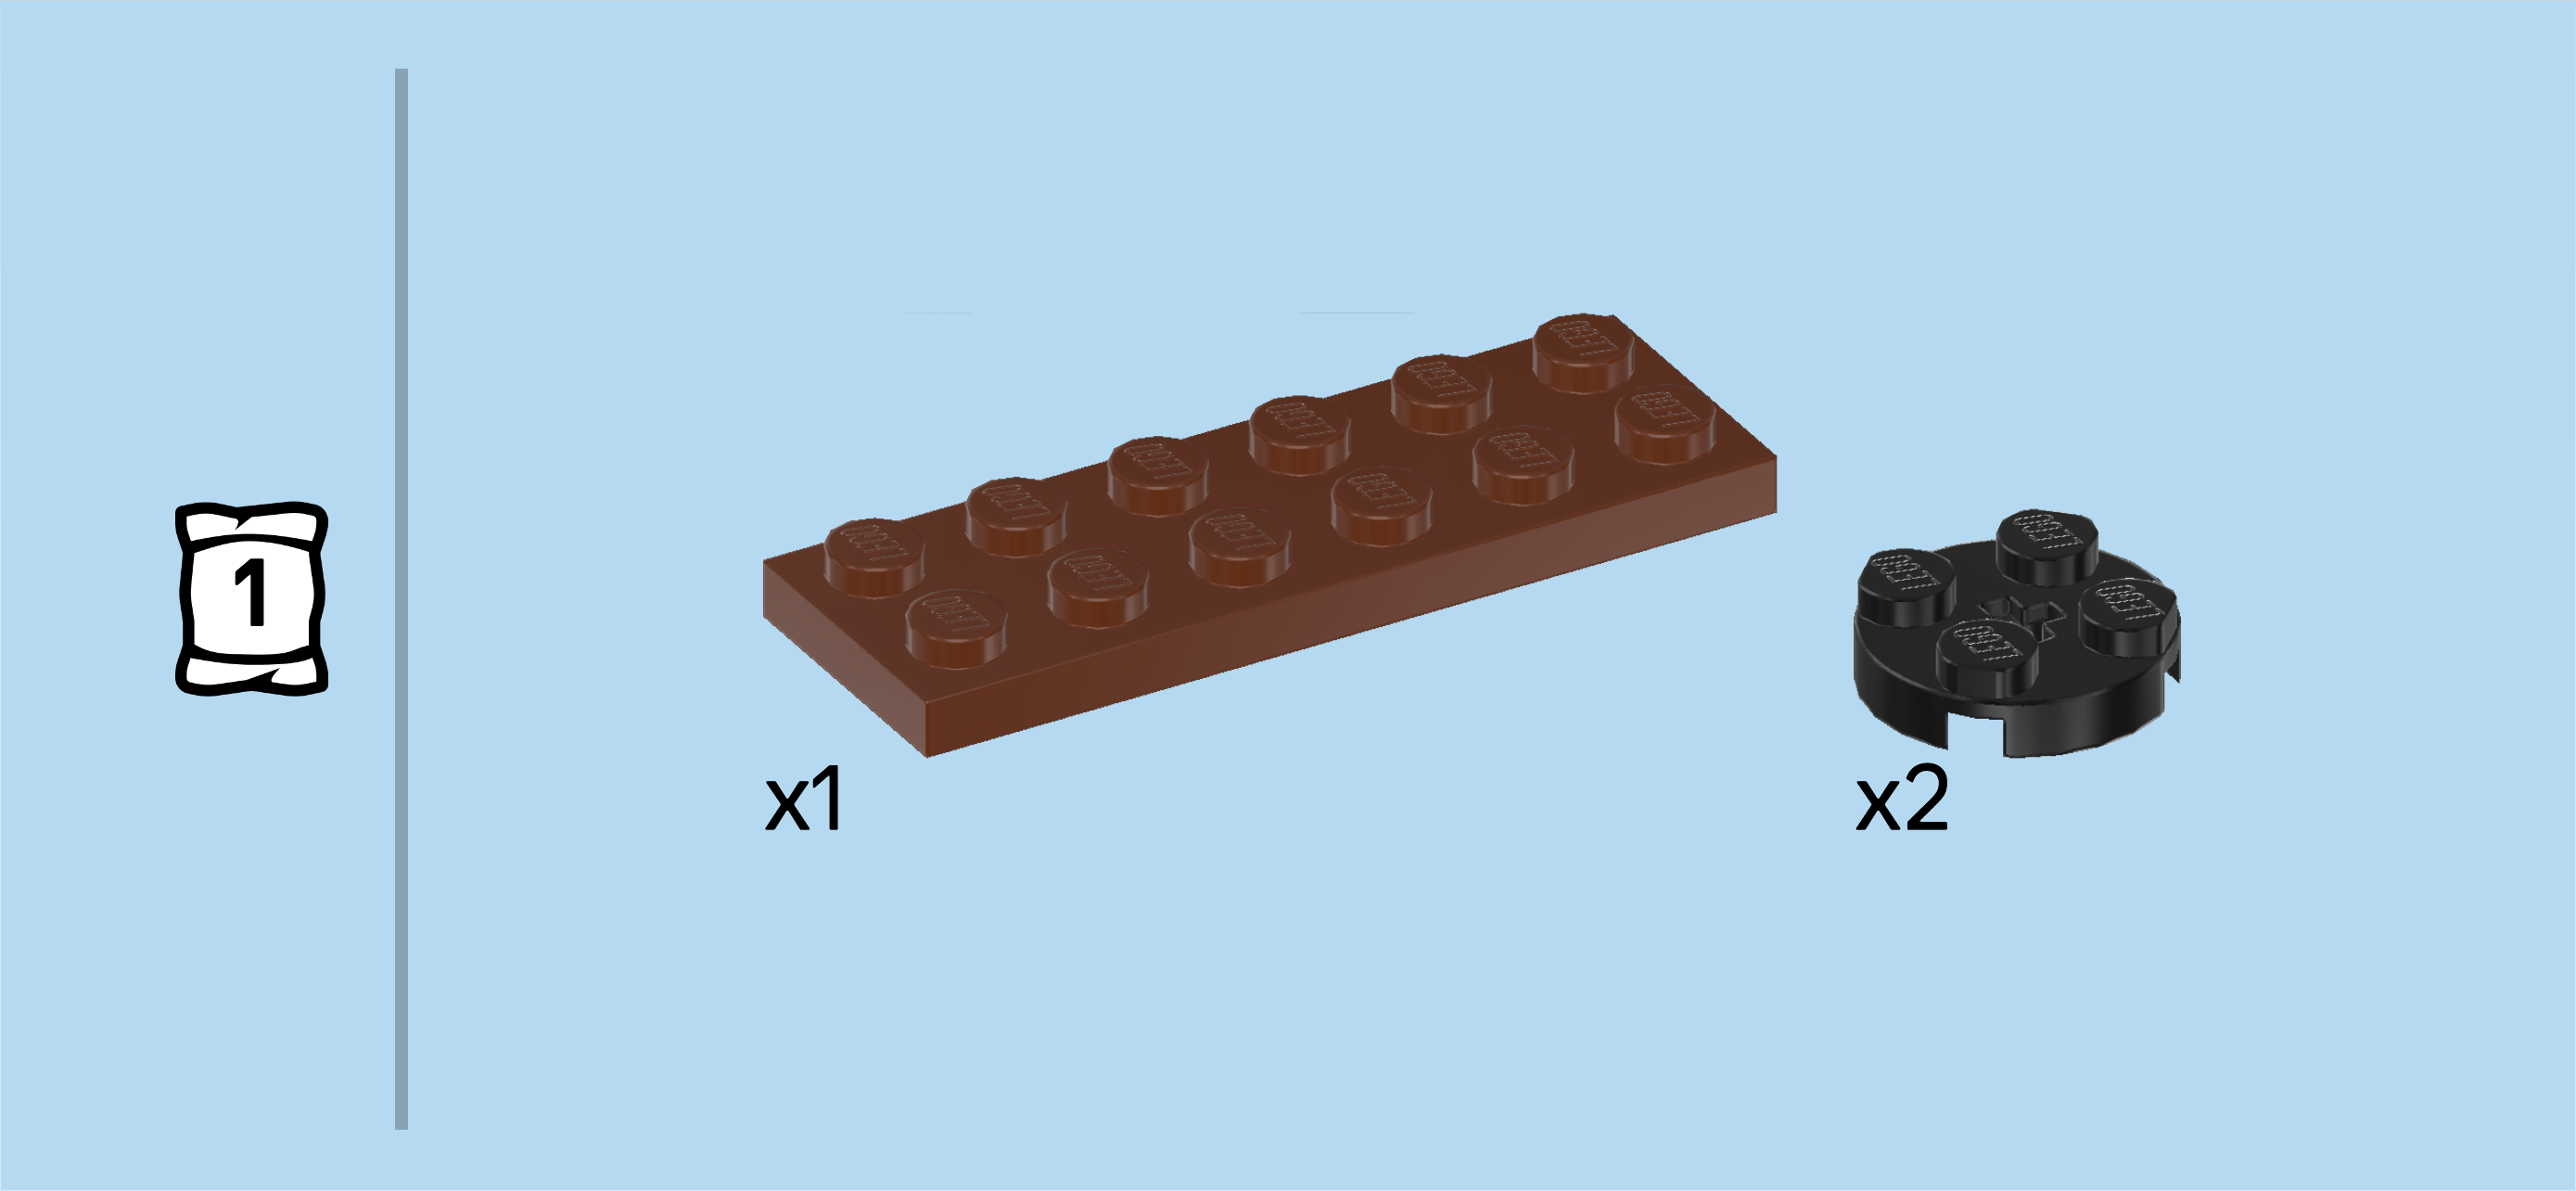
| 1 reddish brown plate 2x6, |
| and 2 black round plates 2x2. |
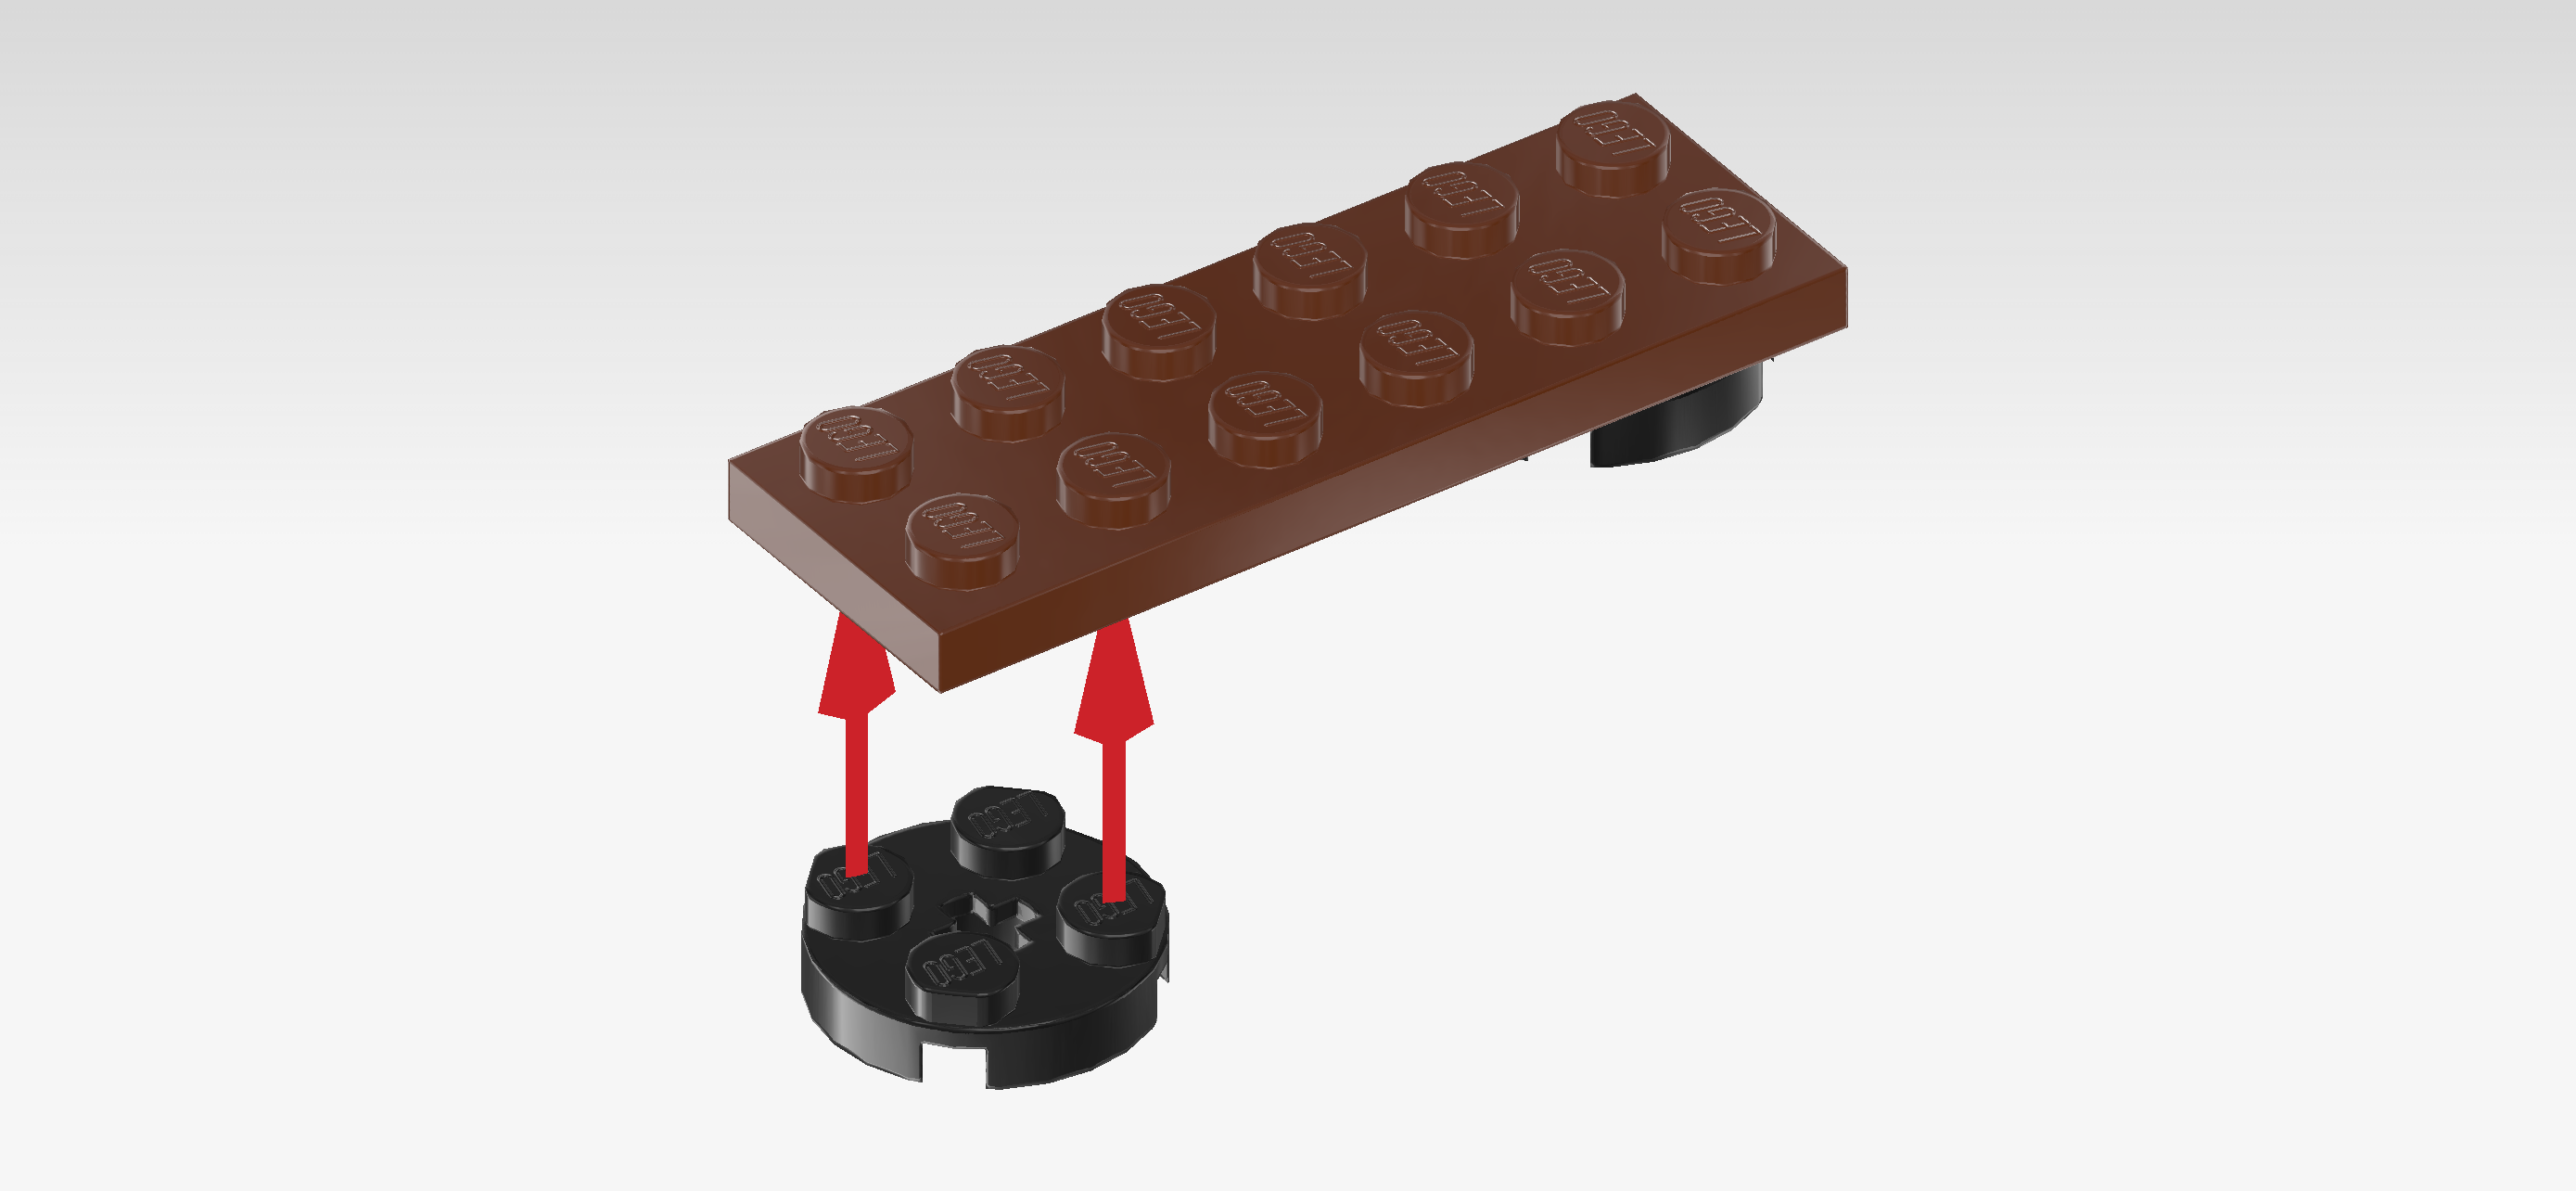
| Hold the plate 2x6 horizontally in your hand. |
| Mount 1 round plate 2x2 underneath the 4 leftmost knobs of the plate. This means that you should attach this piece at the bottom surface of the plate 2x6, not at the top. |
| Repeat symmetrically on the right: put the other round plate 2x2 underneath the 4 rightmost knobs of the plate 2x6. |
| These two round plates will later be the feet of the bed. |
| Collect the following 2 pieces: |
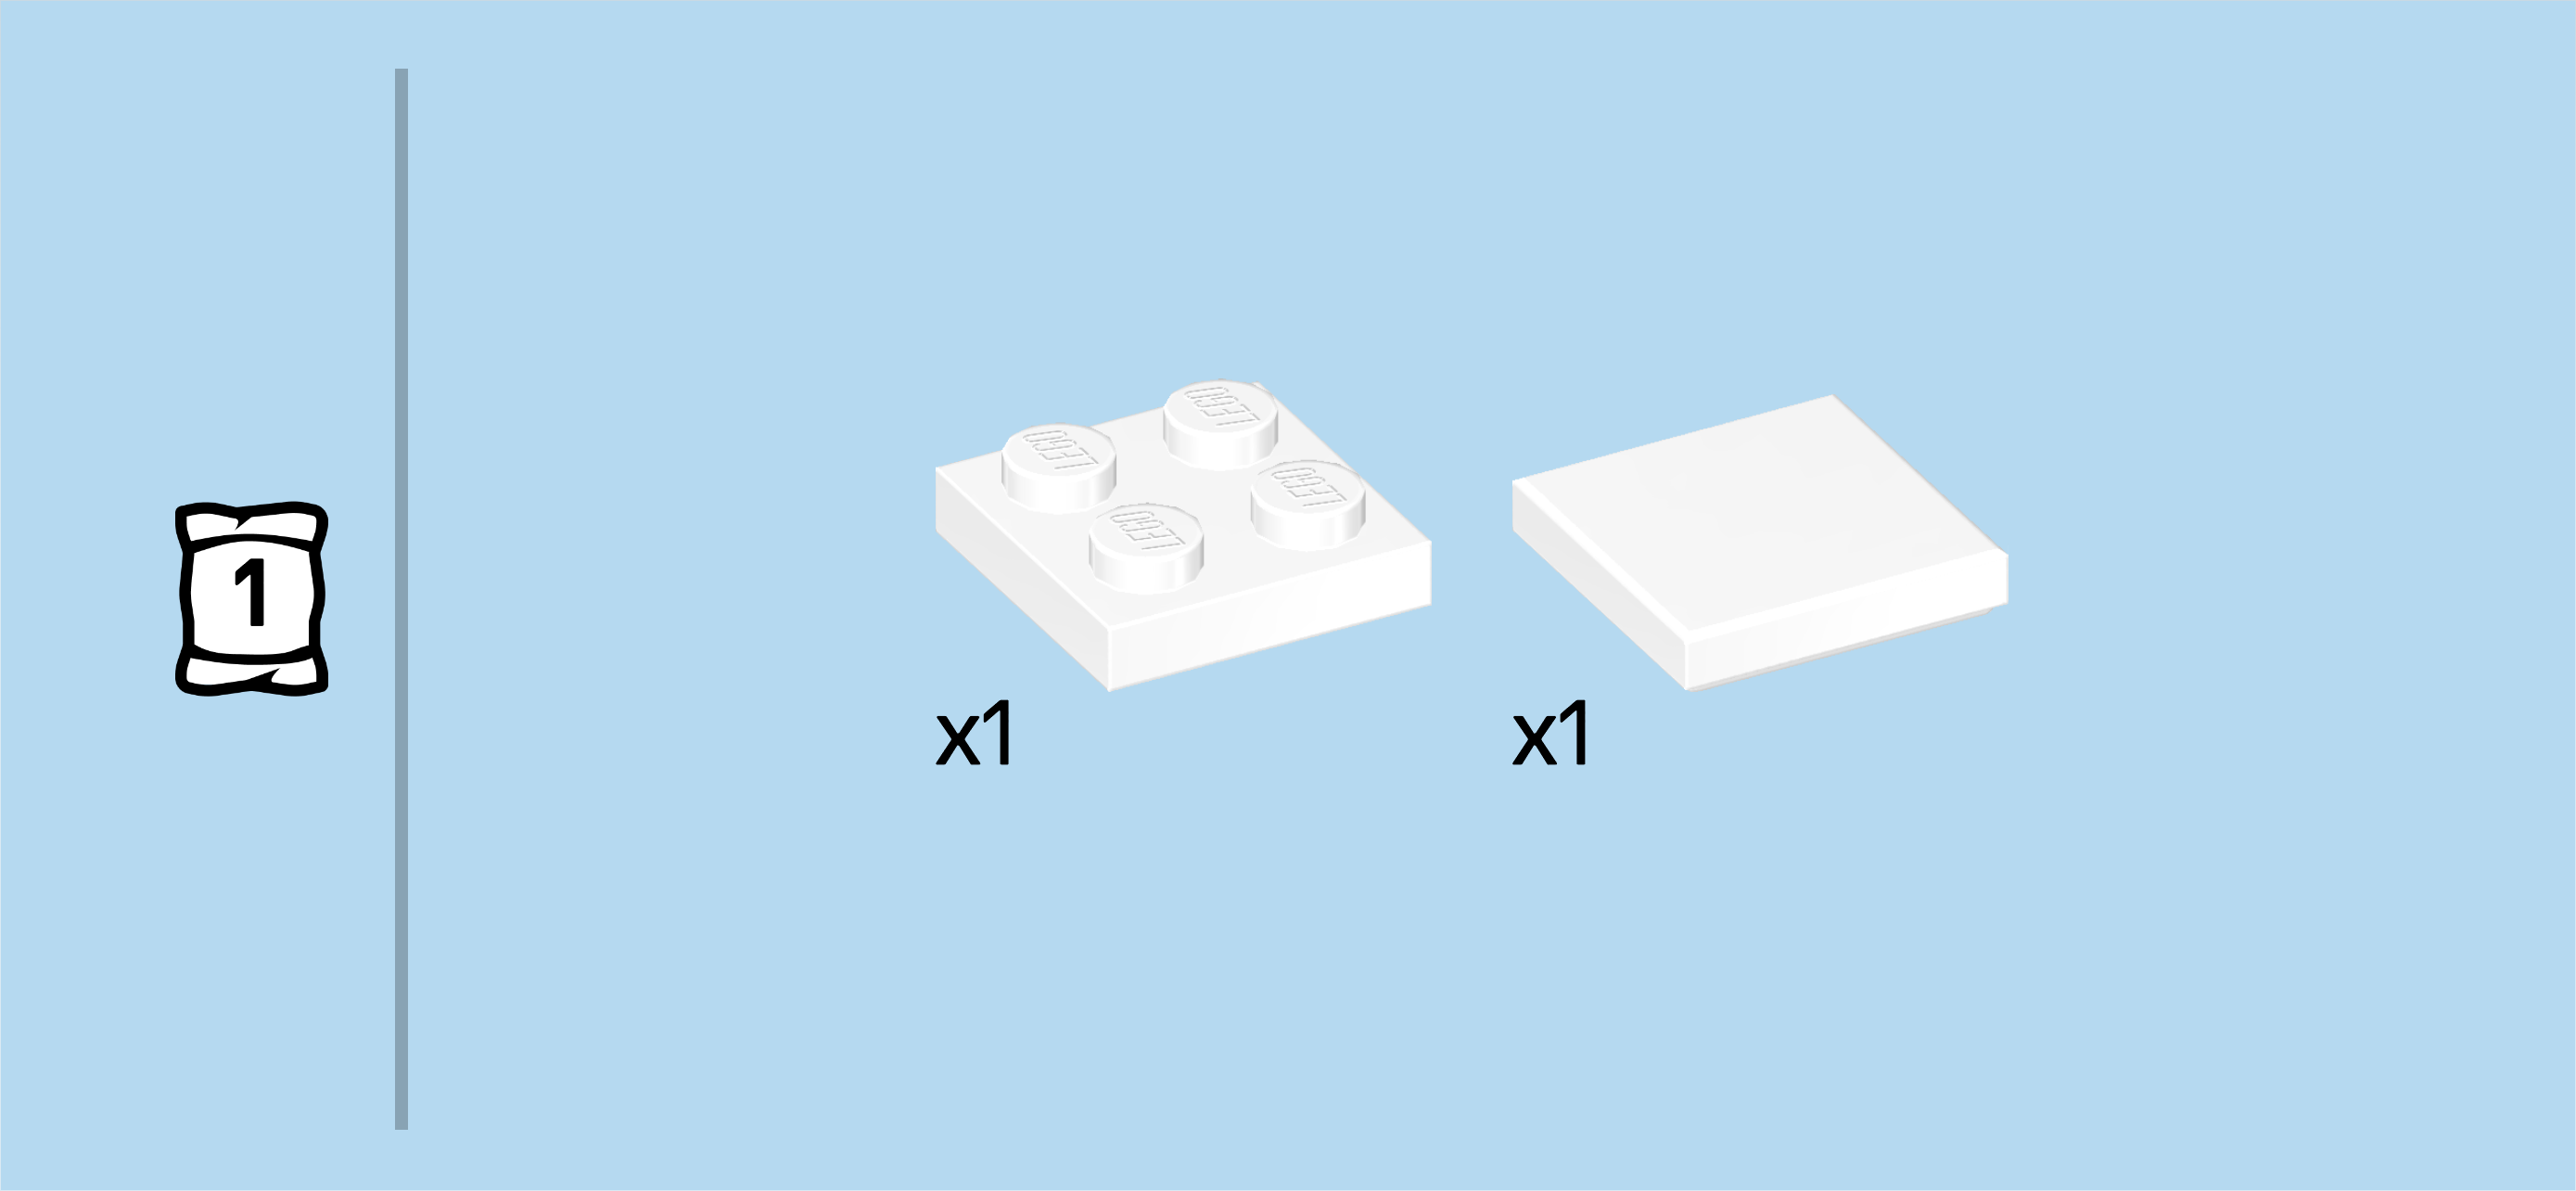
| 1 white plate 2x2, |
| and 1 white flat tile 2x2. |
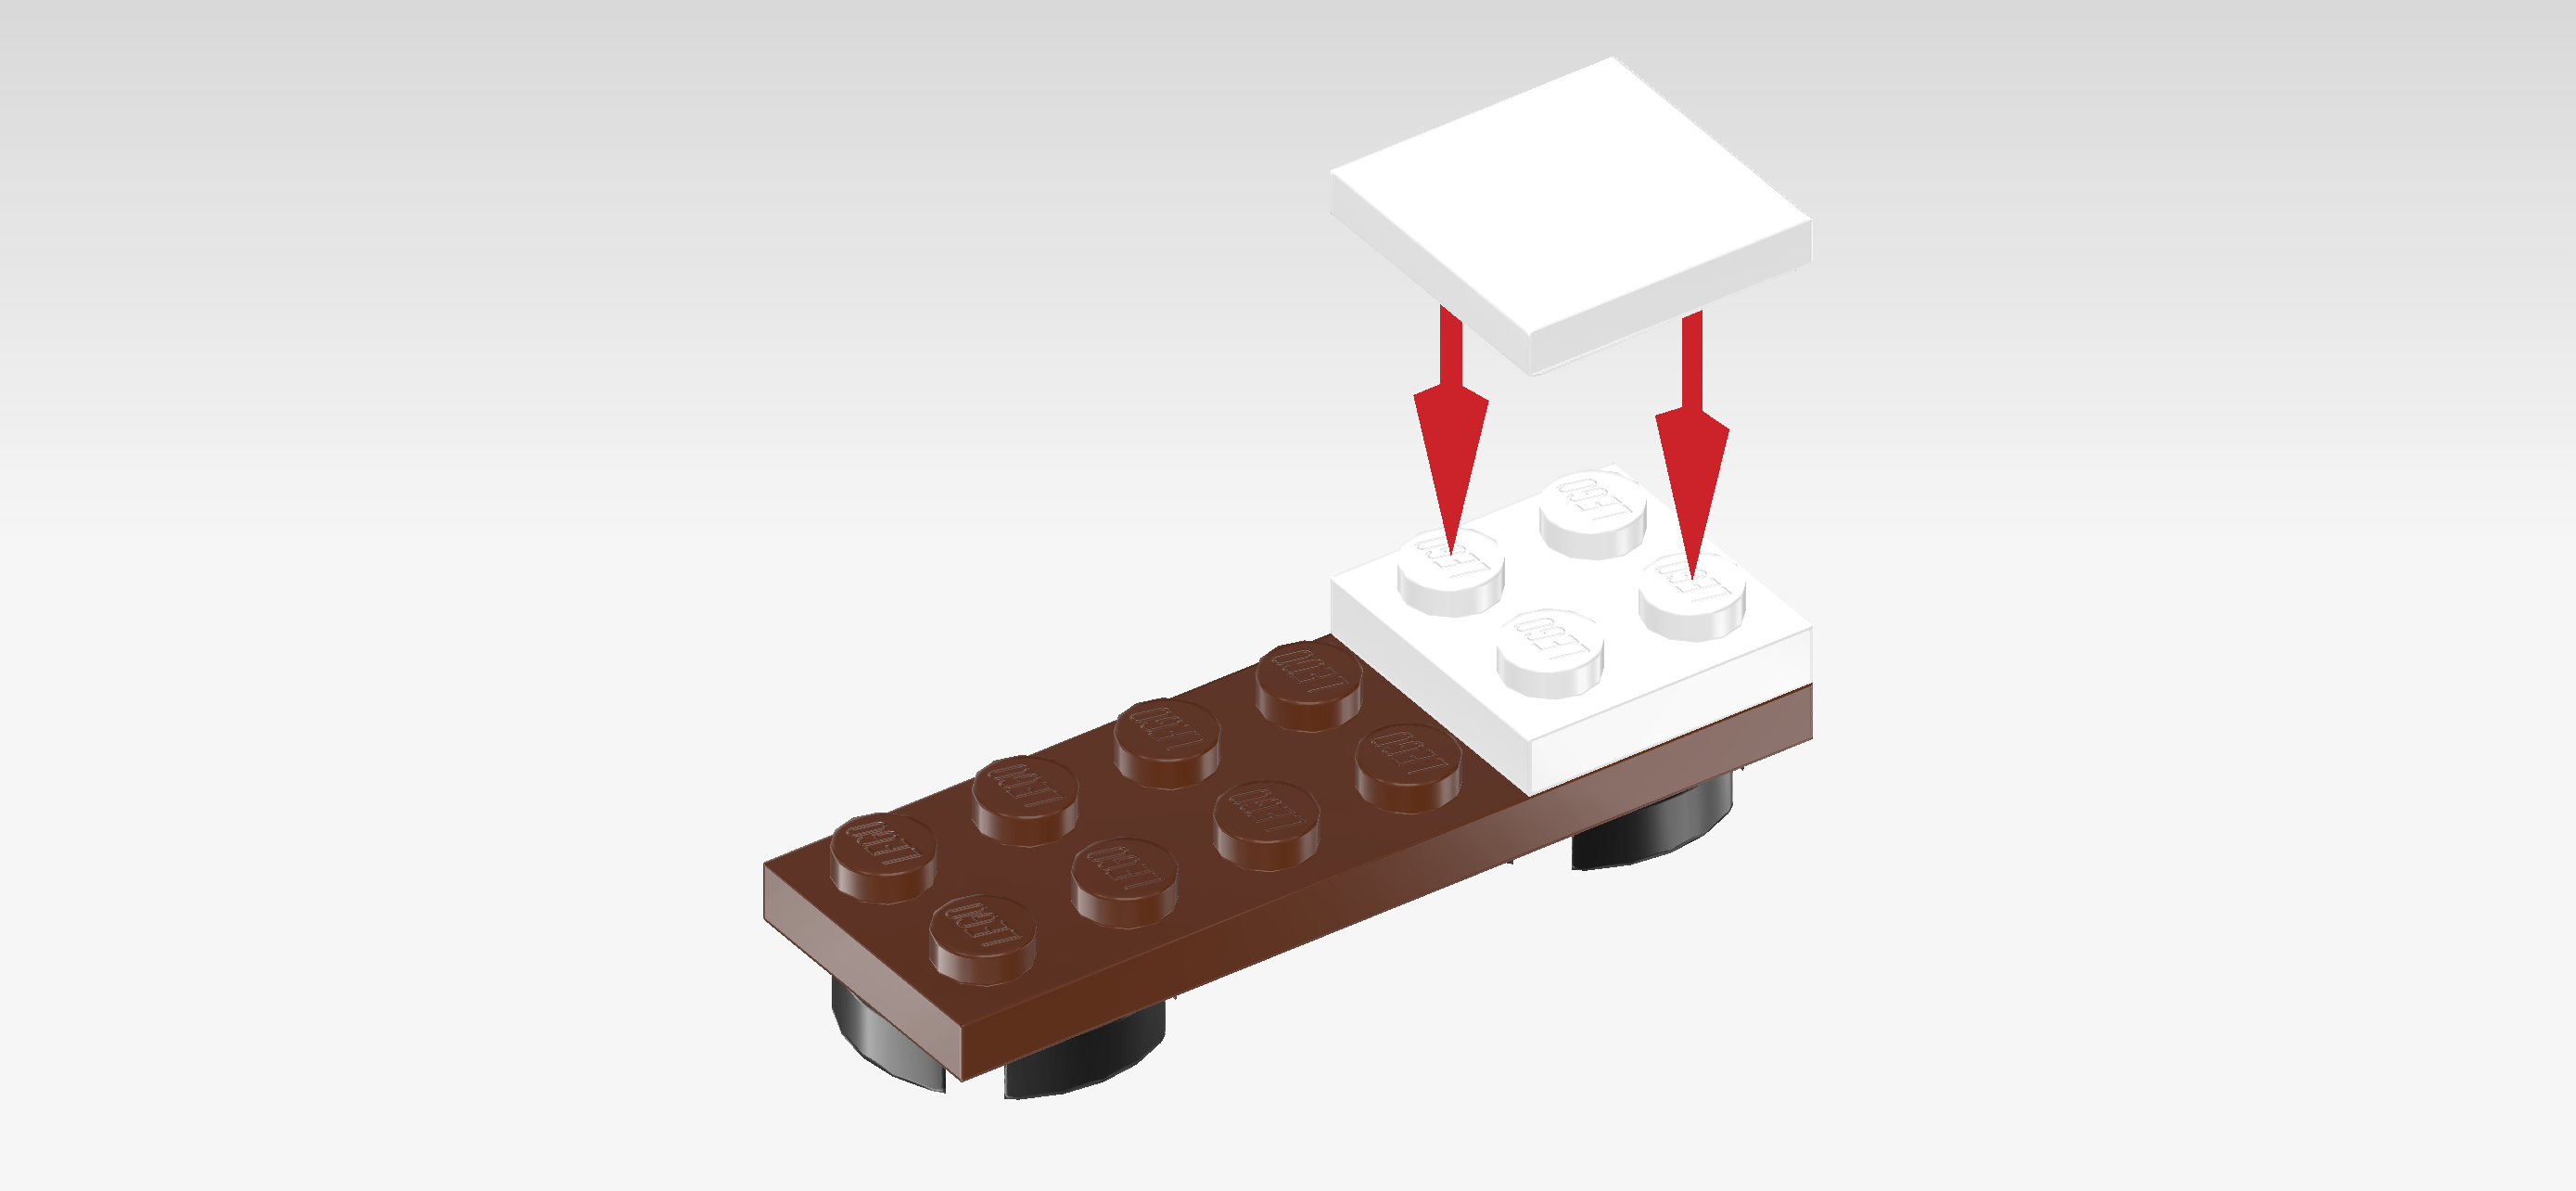
| Put the plate 2x2 on the 4 rightmost knobs on the top surface of the plate 2x6. |
| Put the flat tile 2x2 on top of the previous piece. |
| This will be the pillow of the bed! |
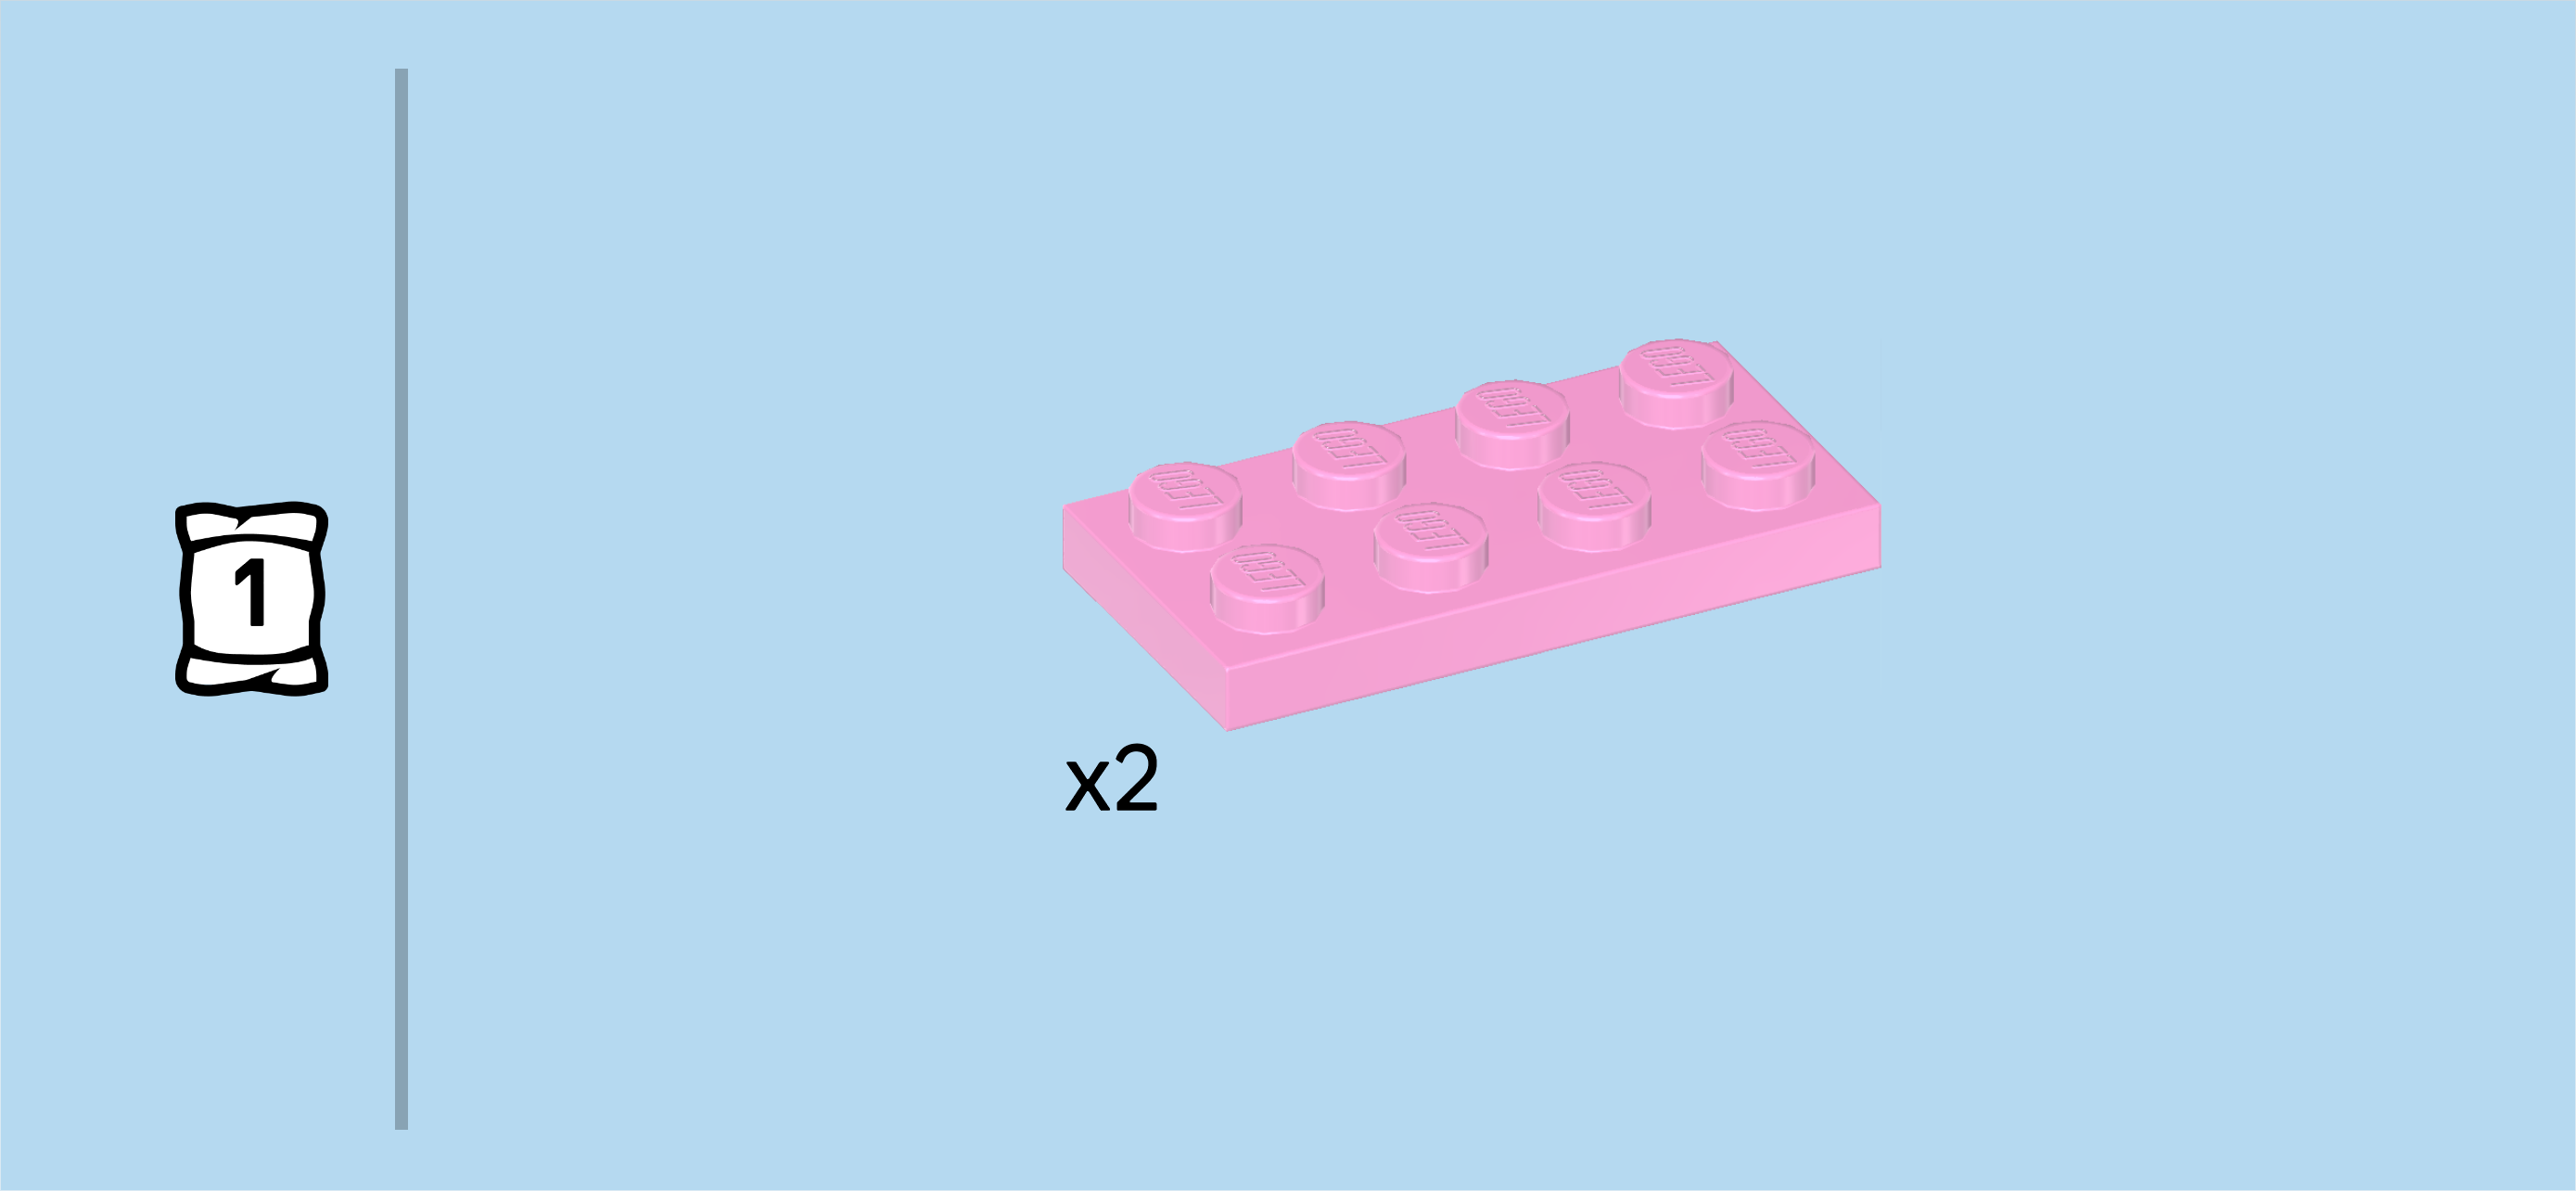
| Find 2 light purple plates 2x4. |
| Put 1 horizontally to the left of the previous piece. |
| Put the other one horizontally on top of the previous piece. |
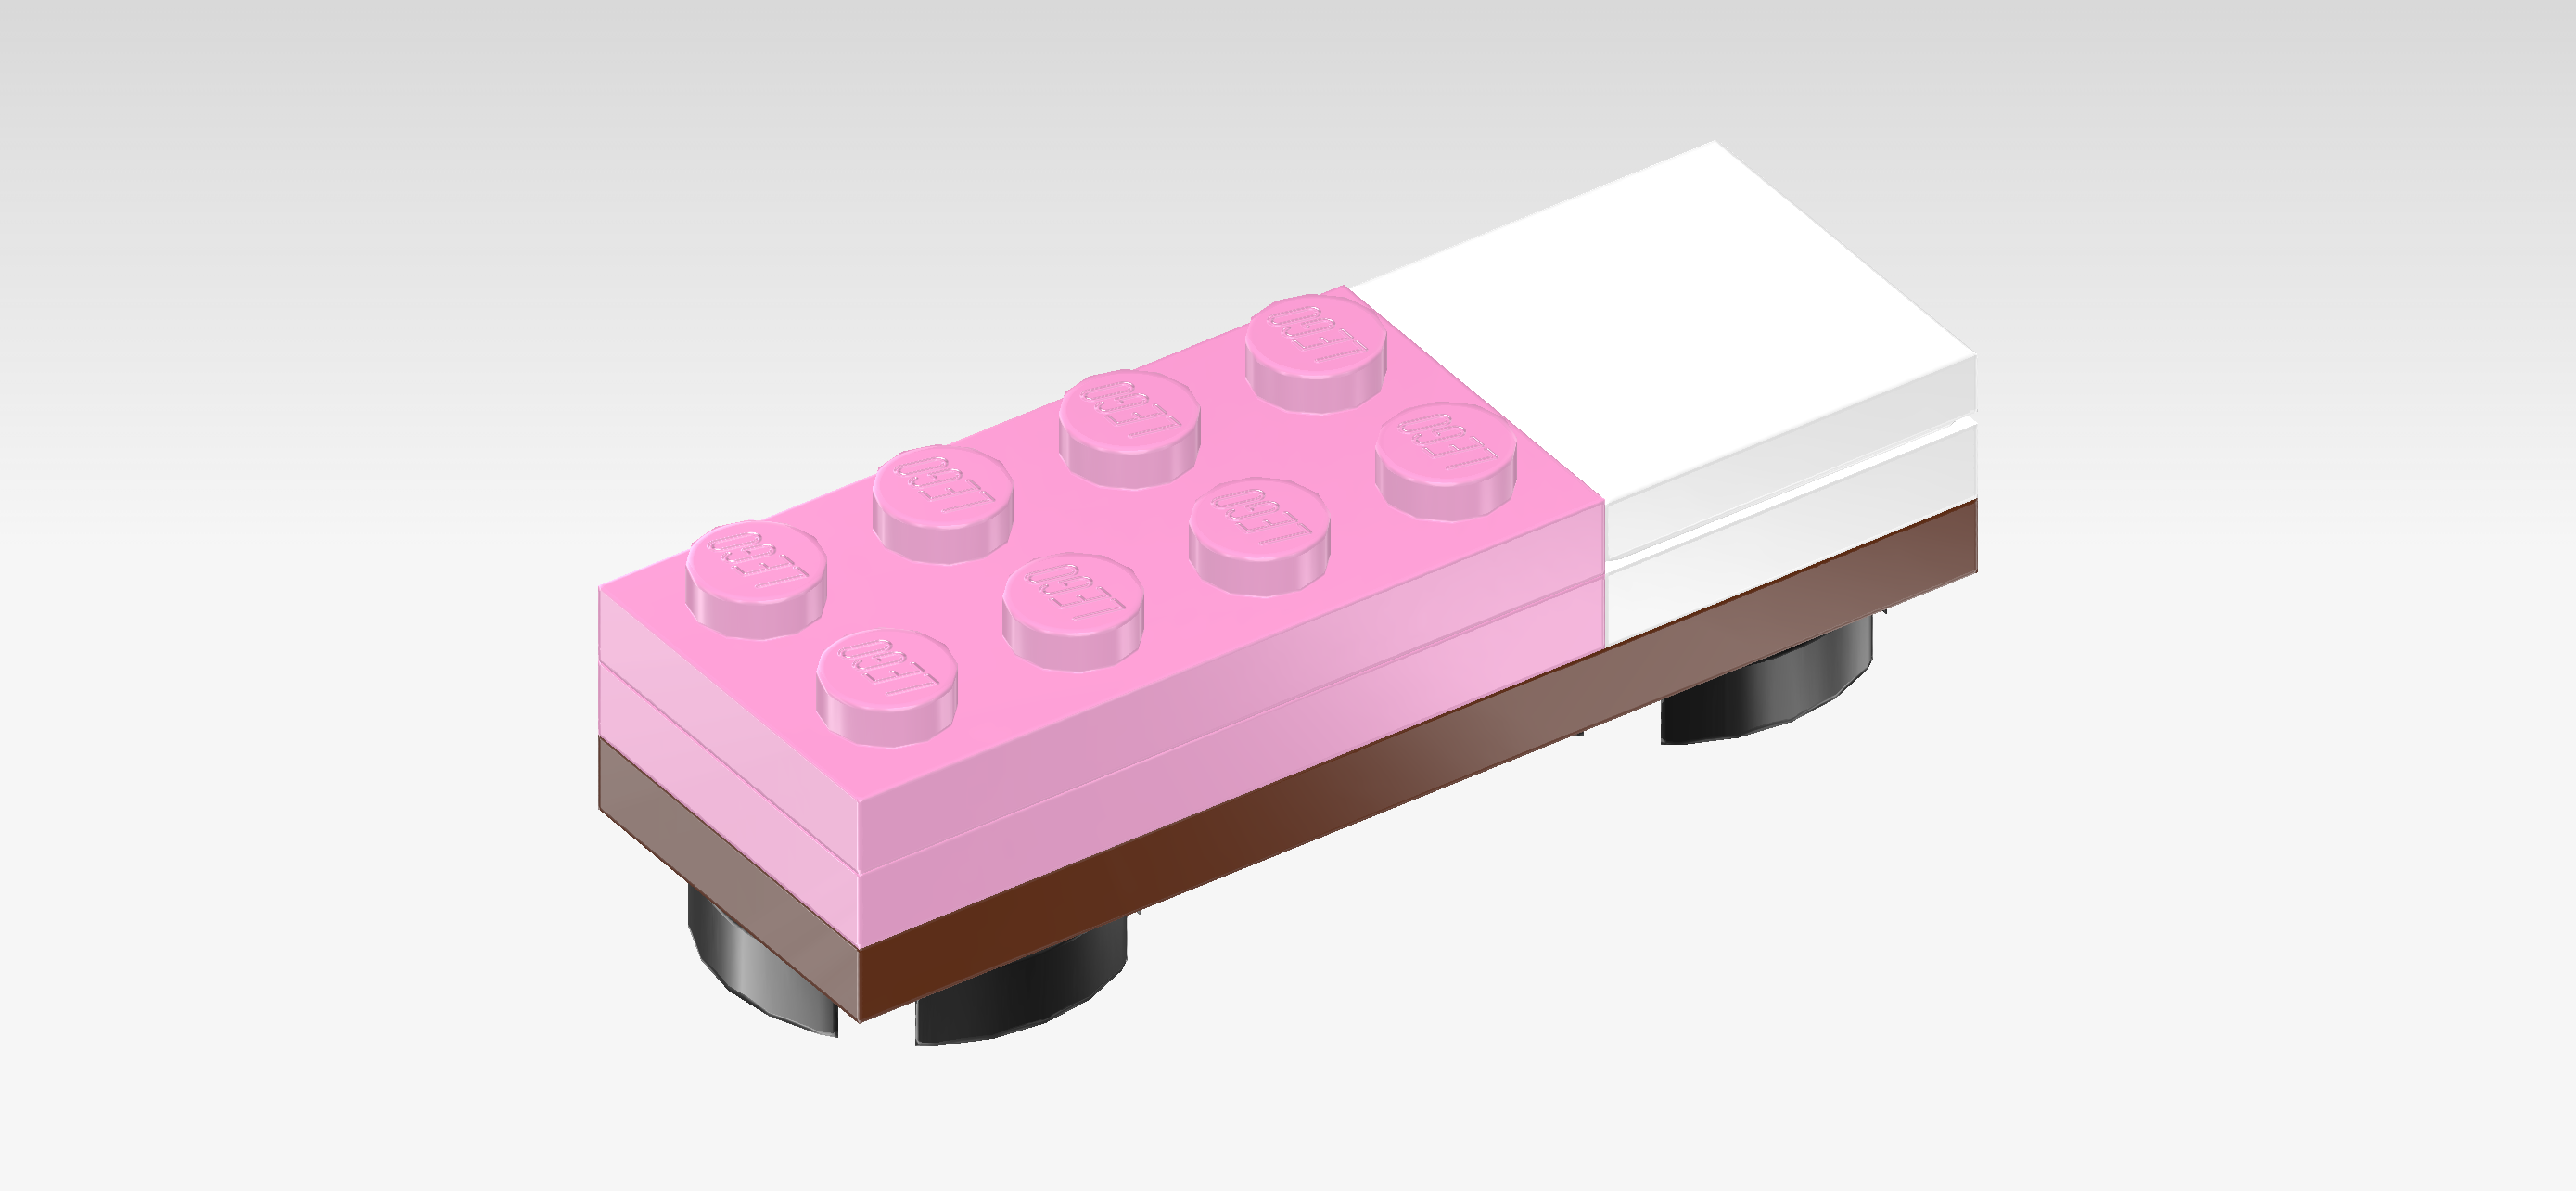
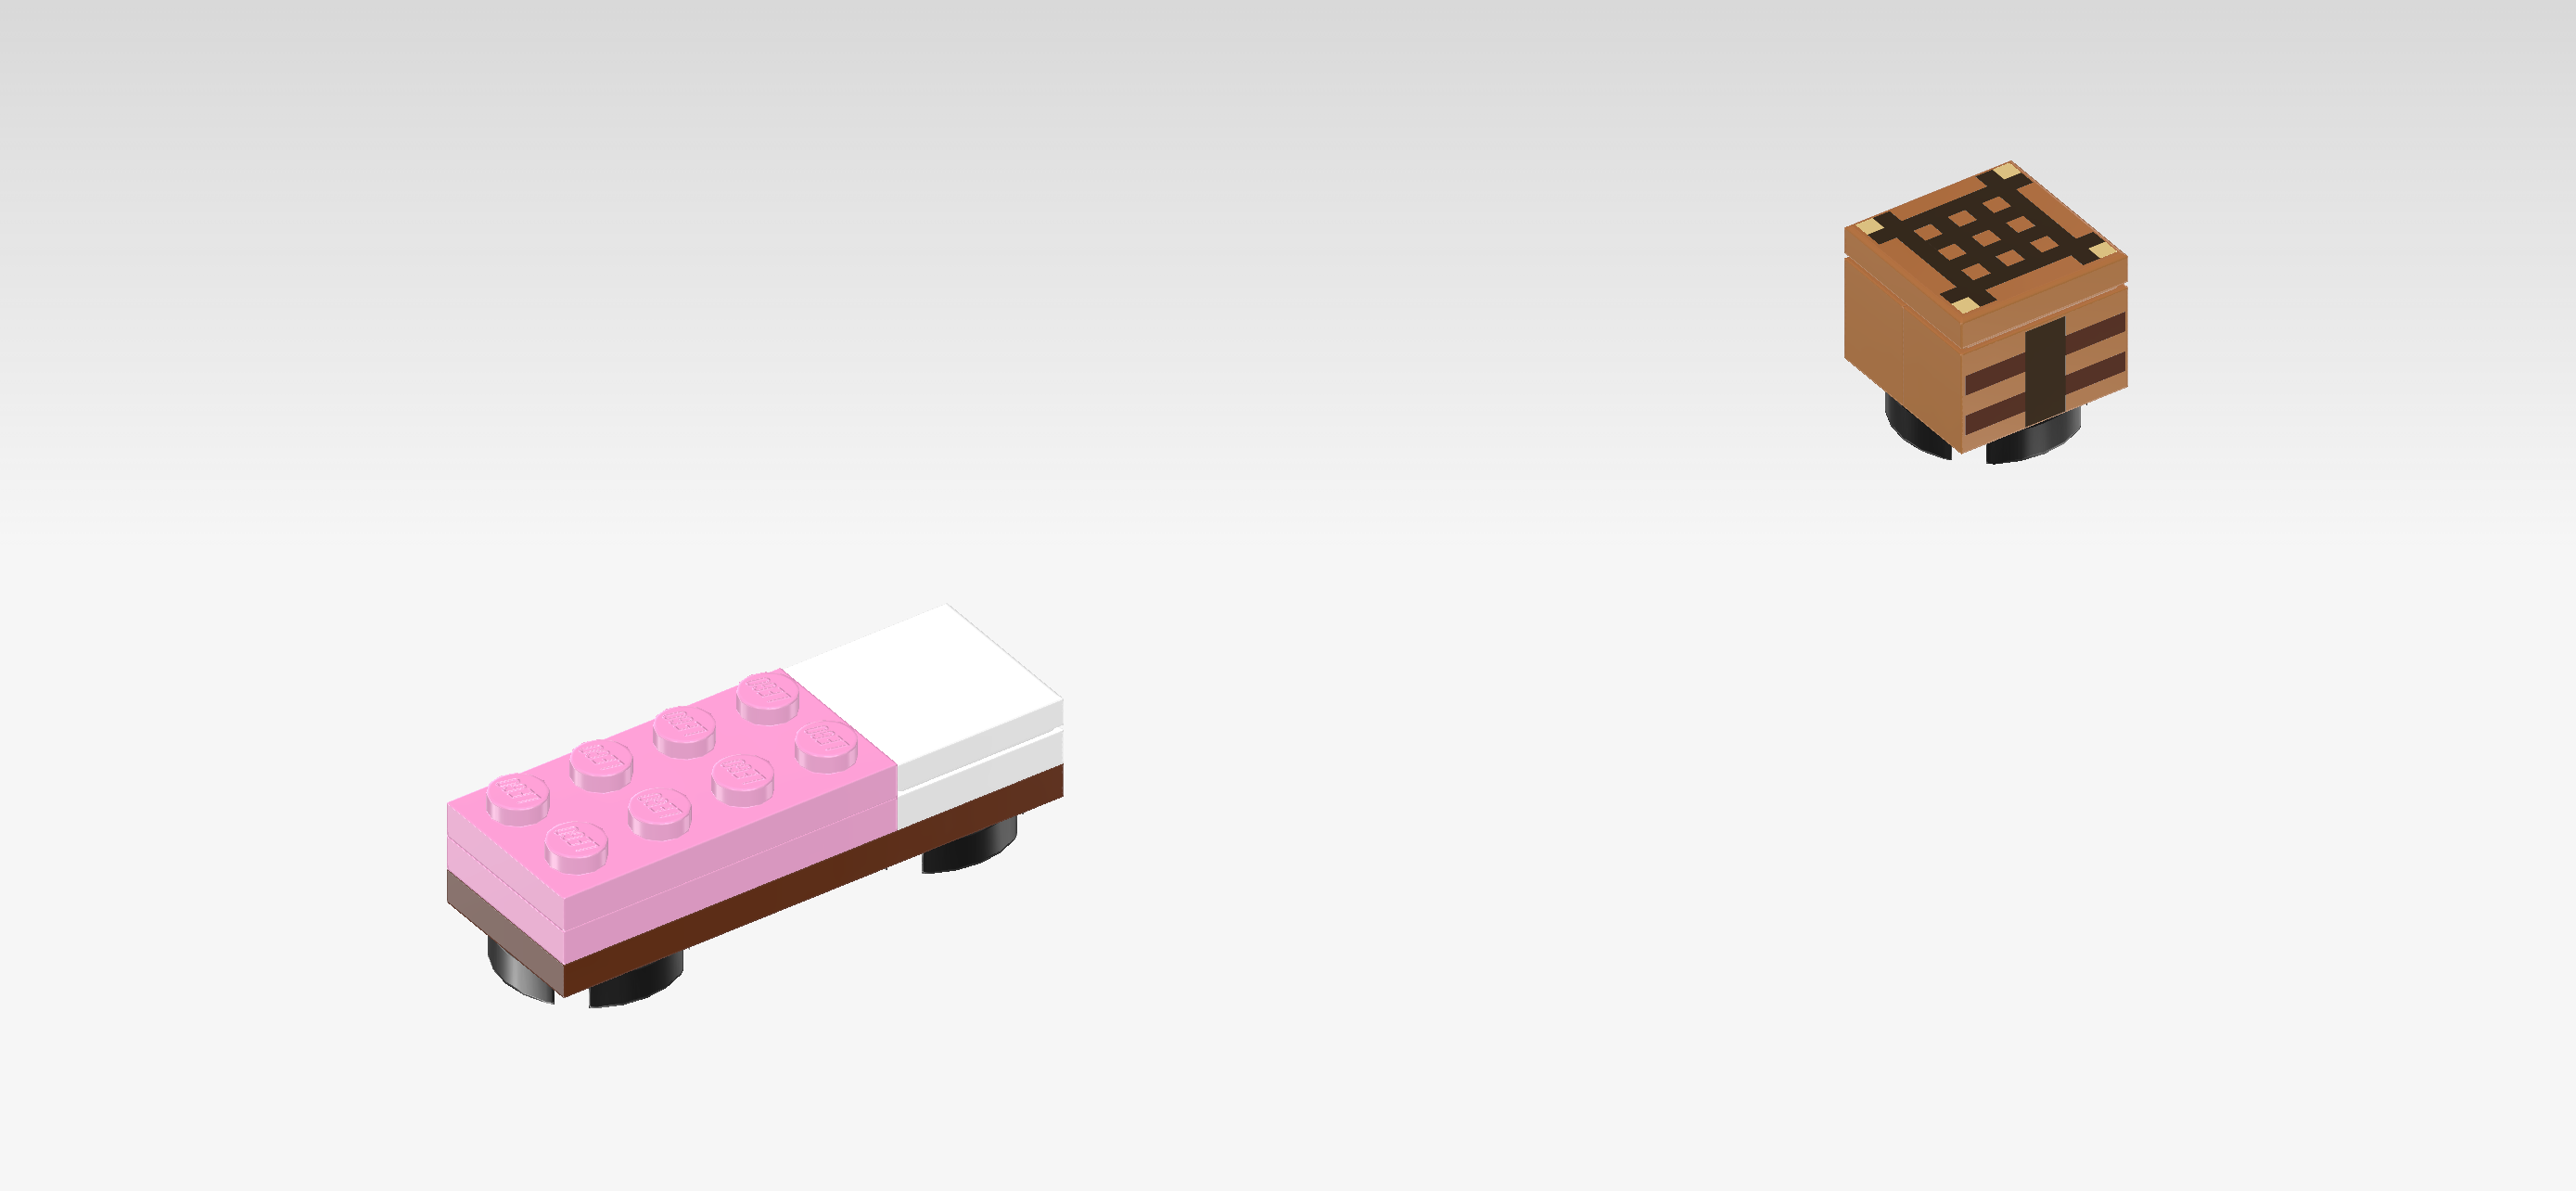
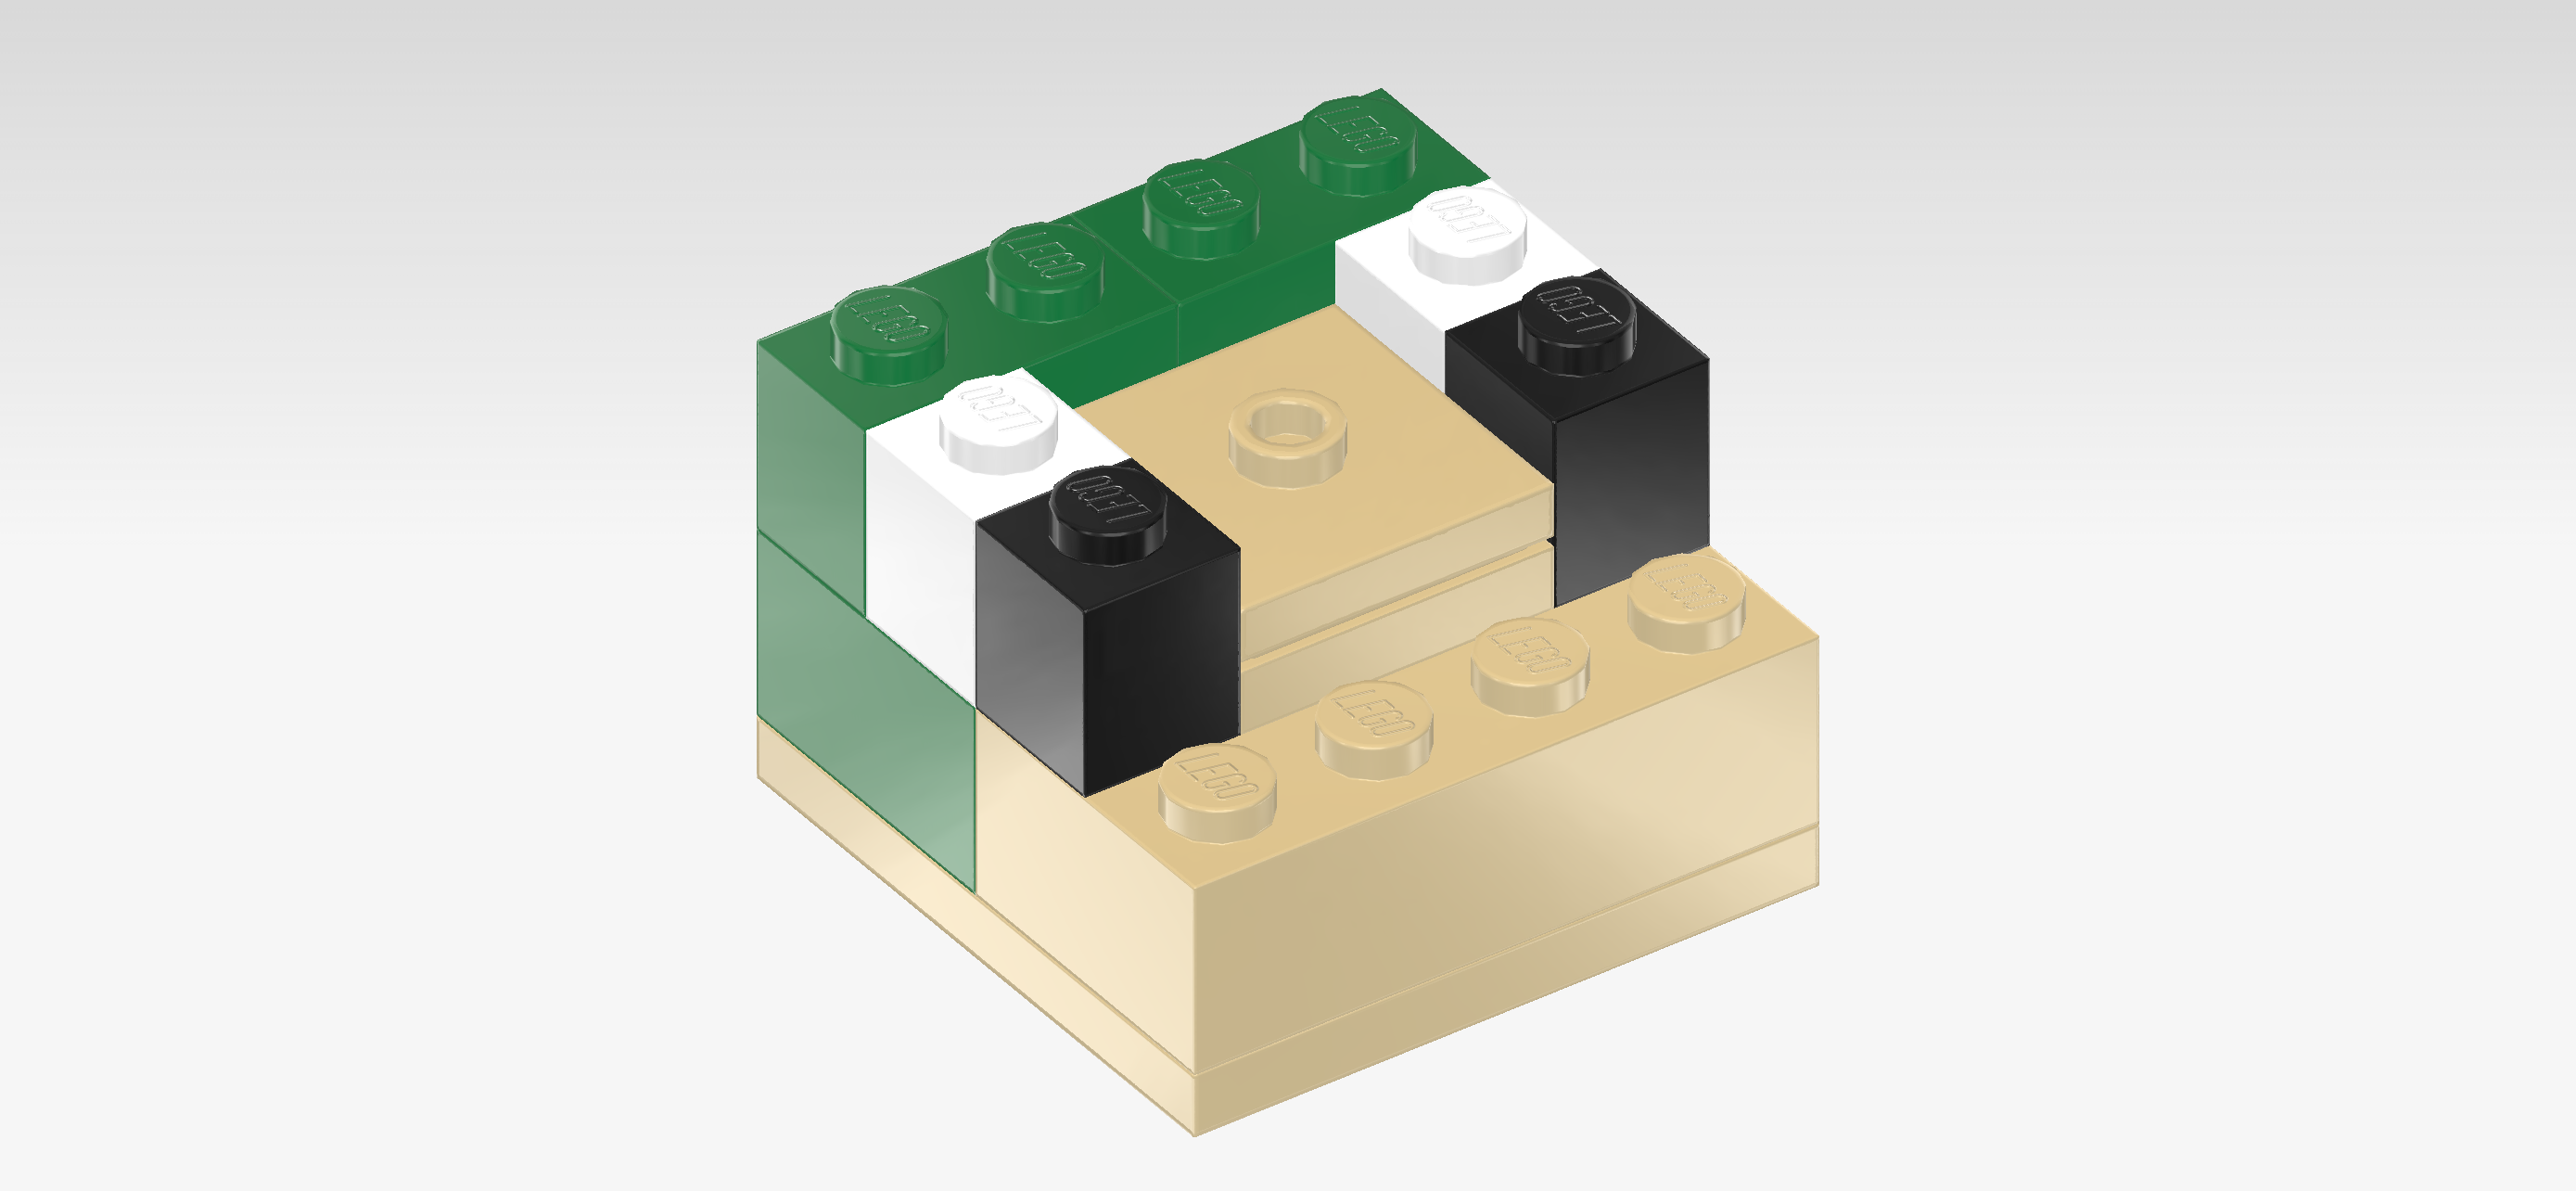
| The bed is finished! Well done! You can put it aside for now, we will mount it in the Turtle Beach House at a later stage of the building process. |
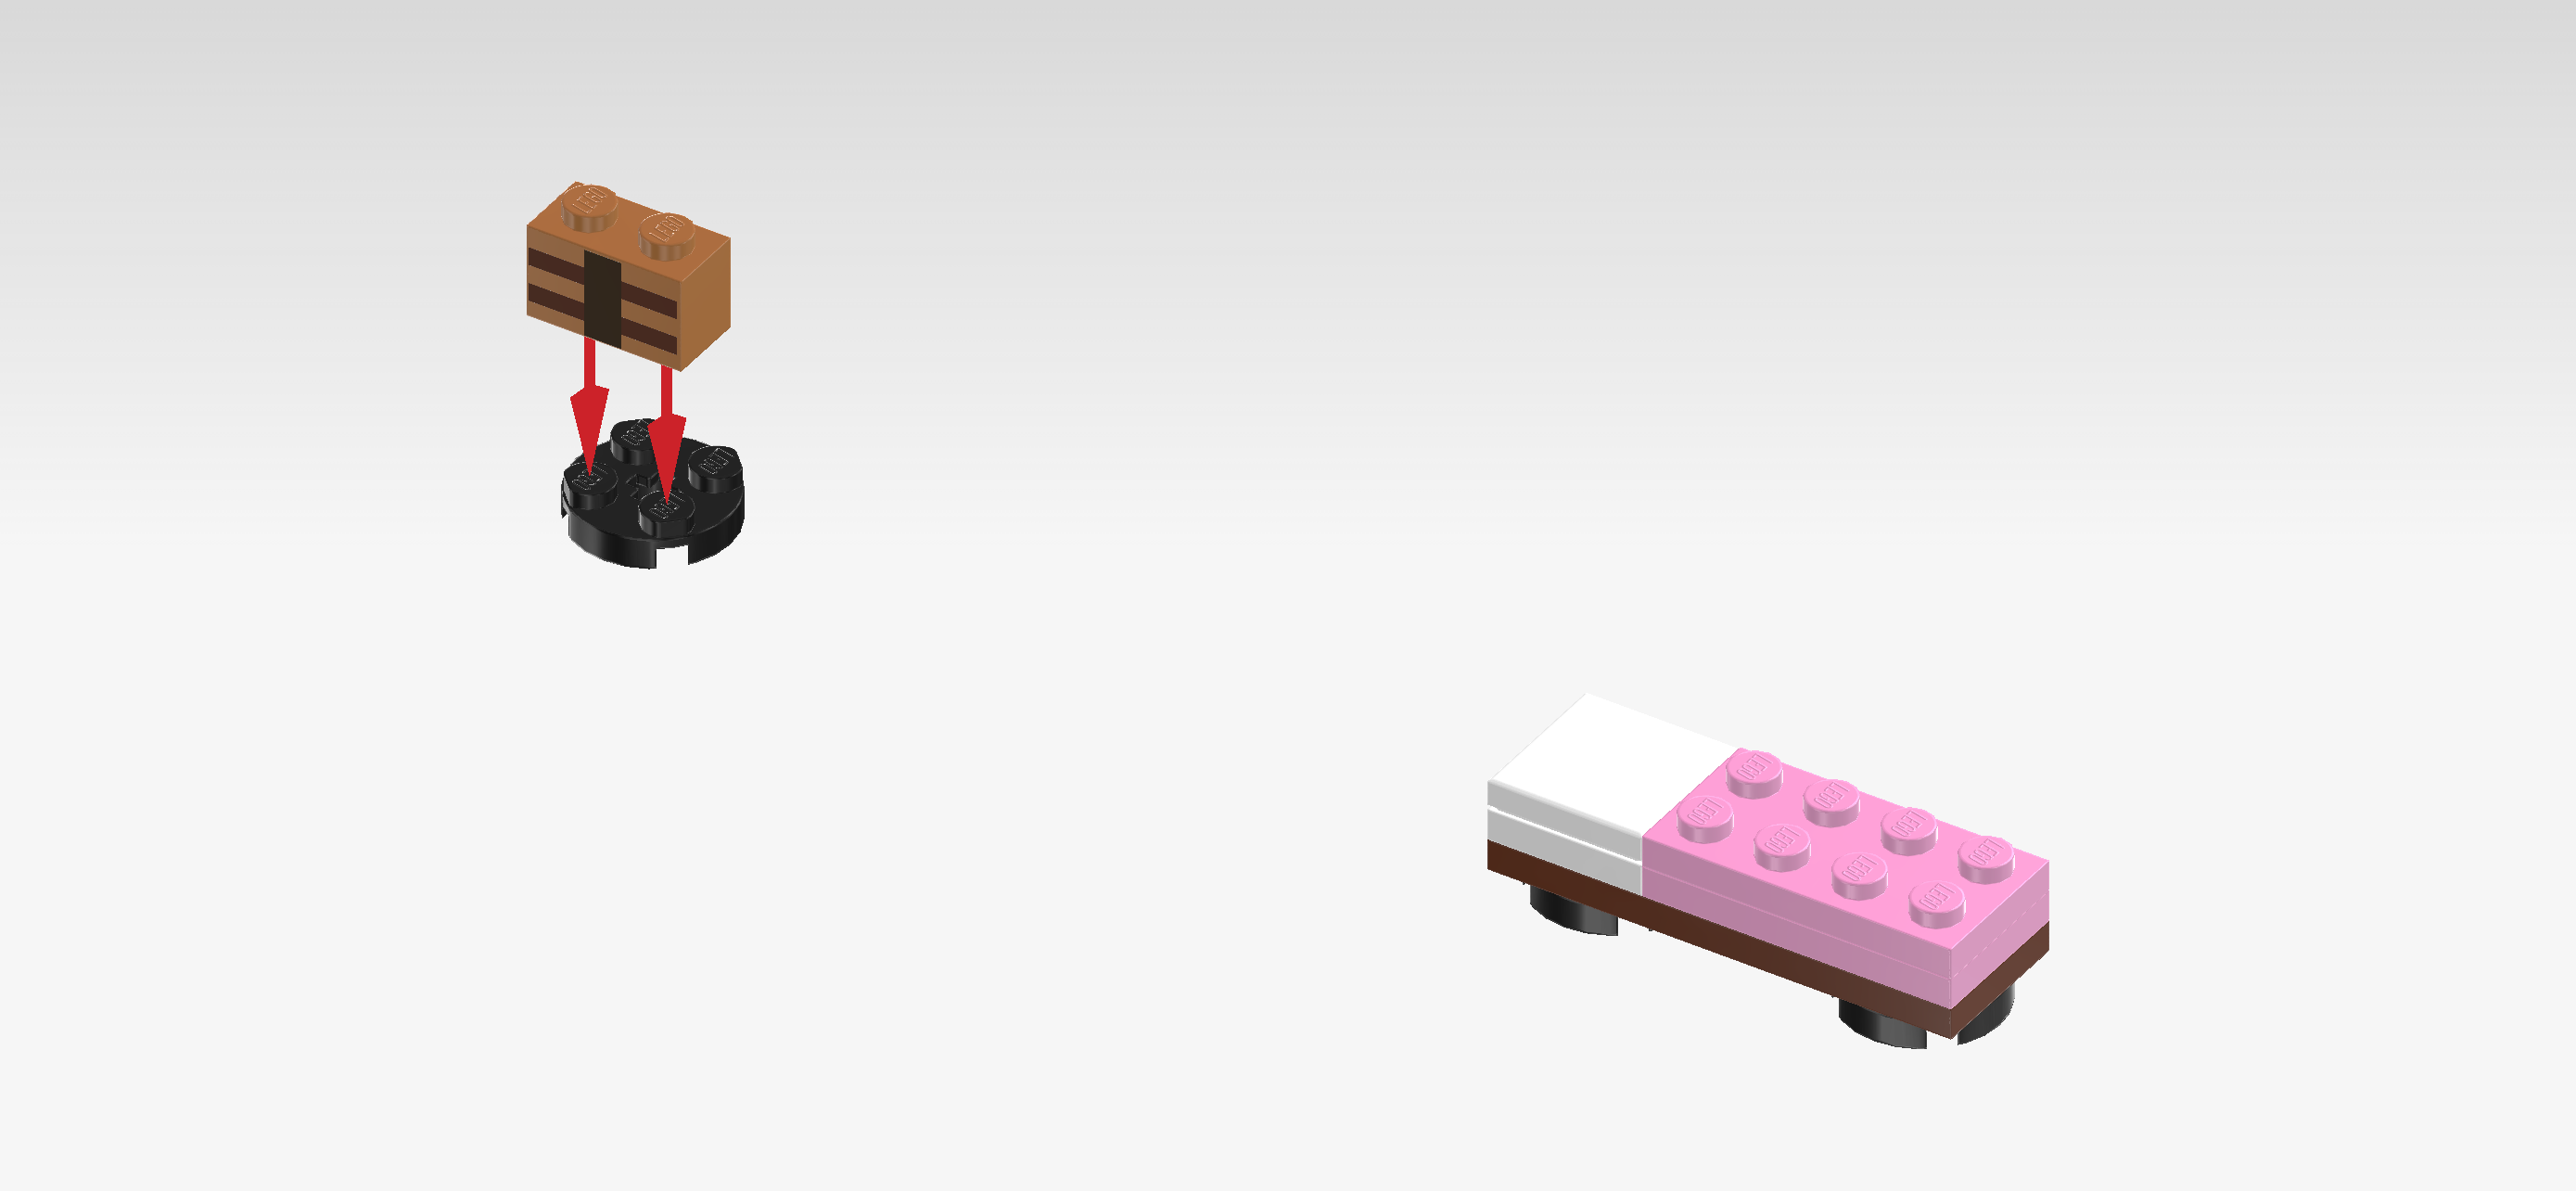
| Now, we will assemble the crafting table. |
| Collect the following 2 pieces: |
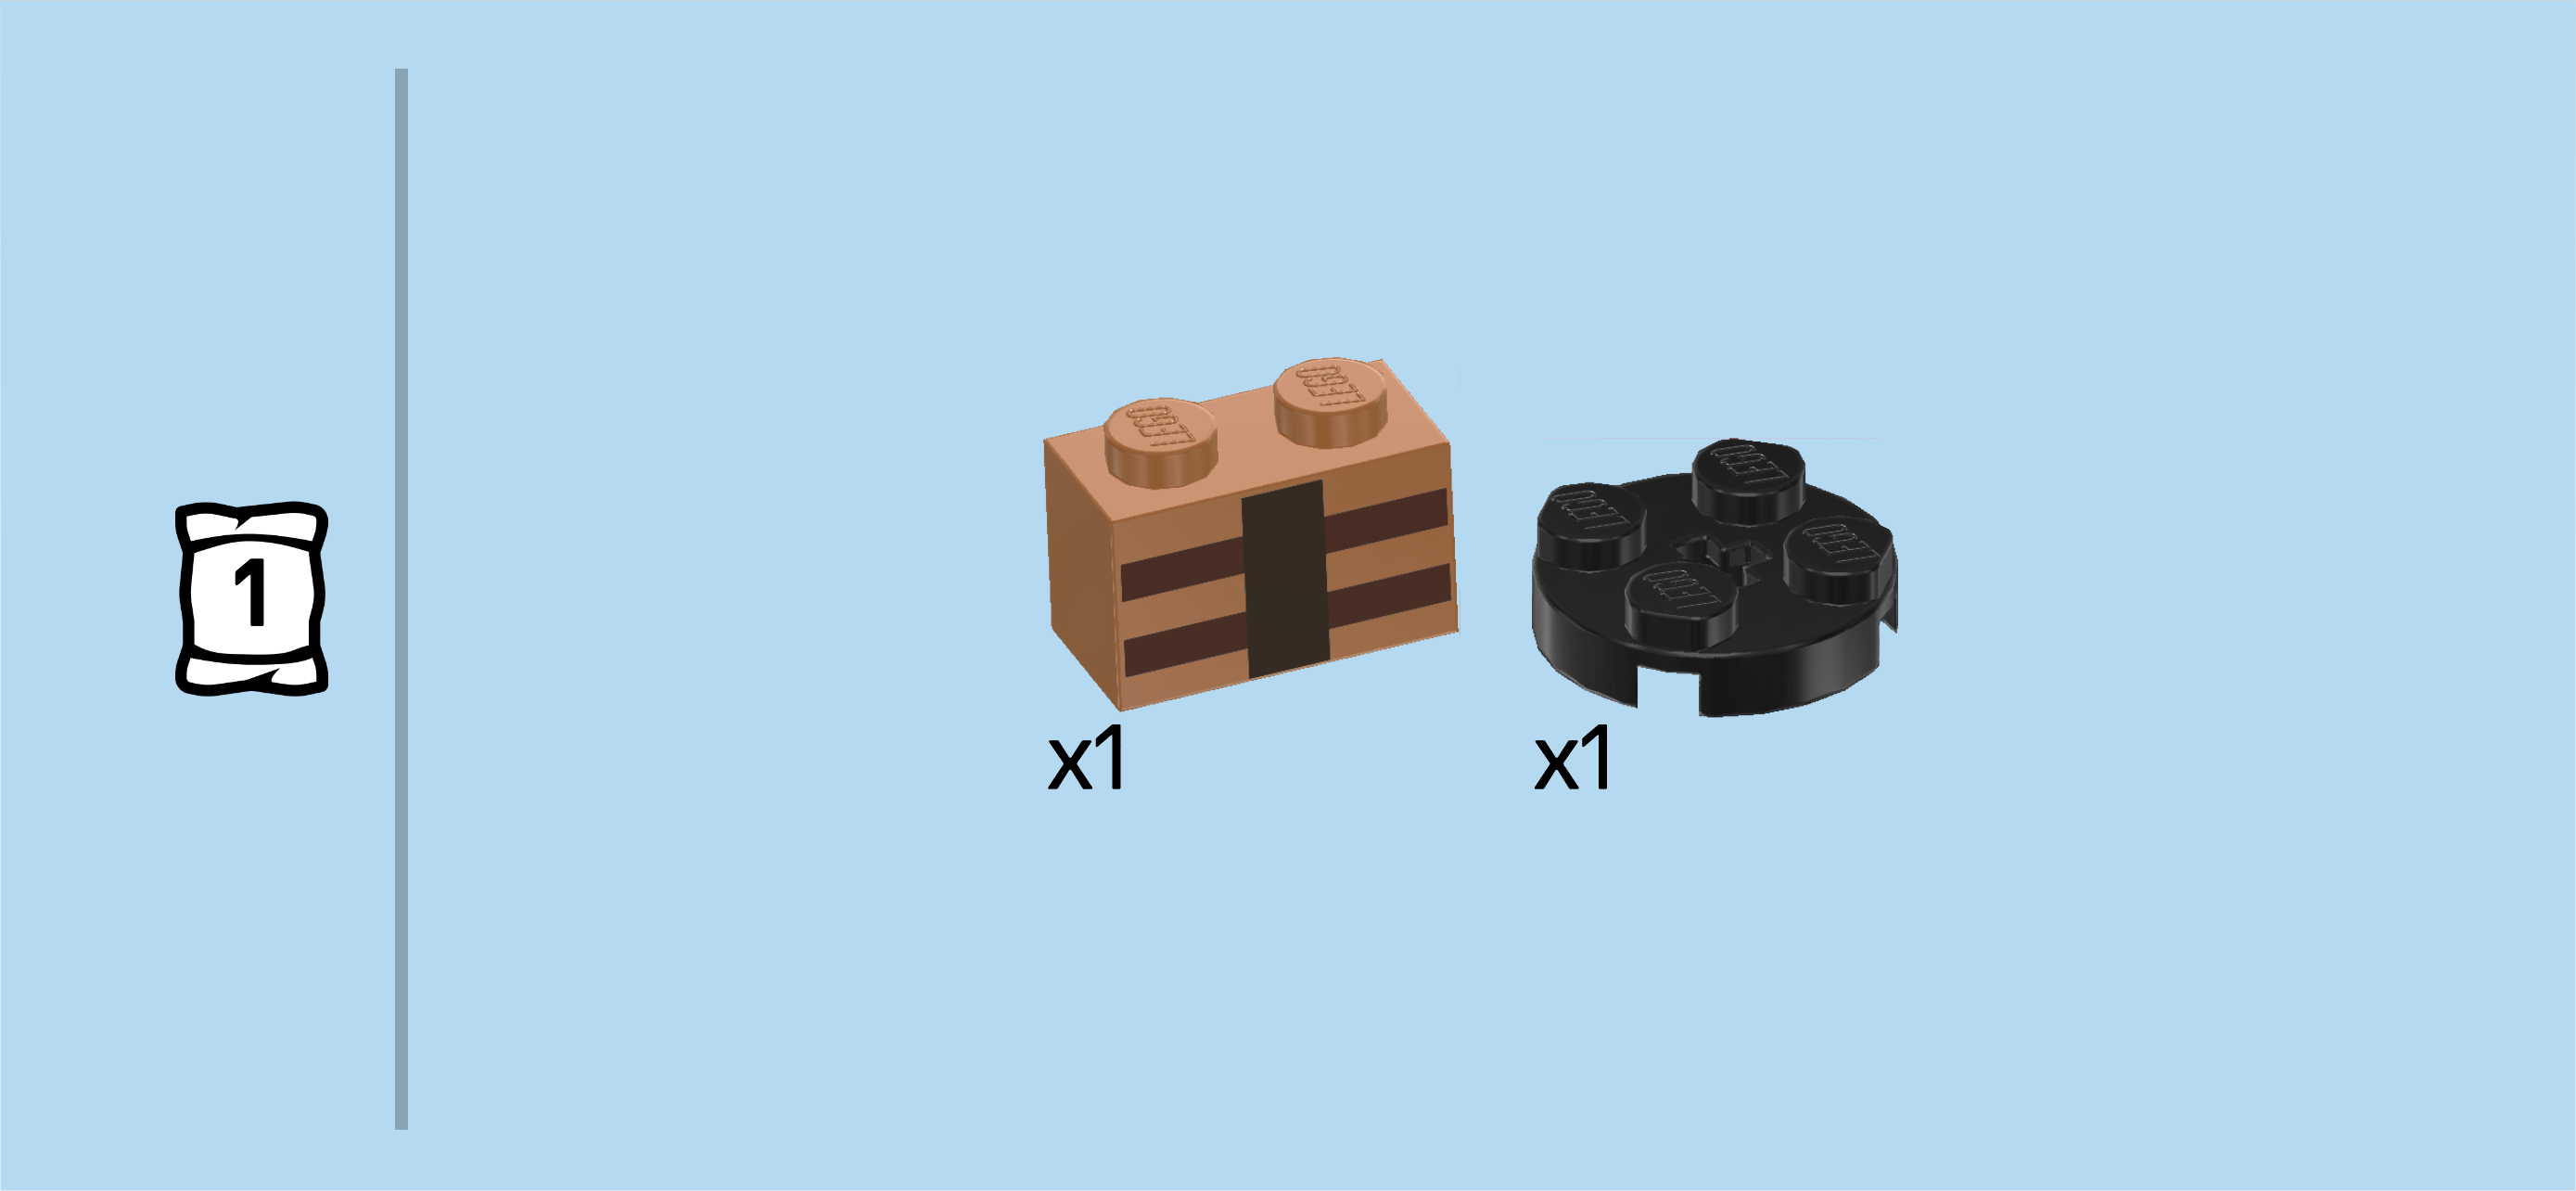
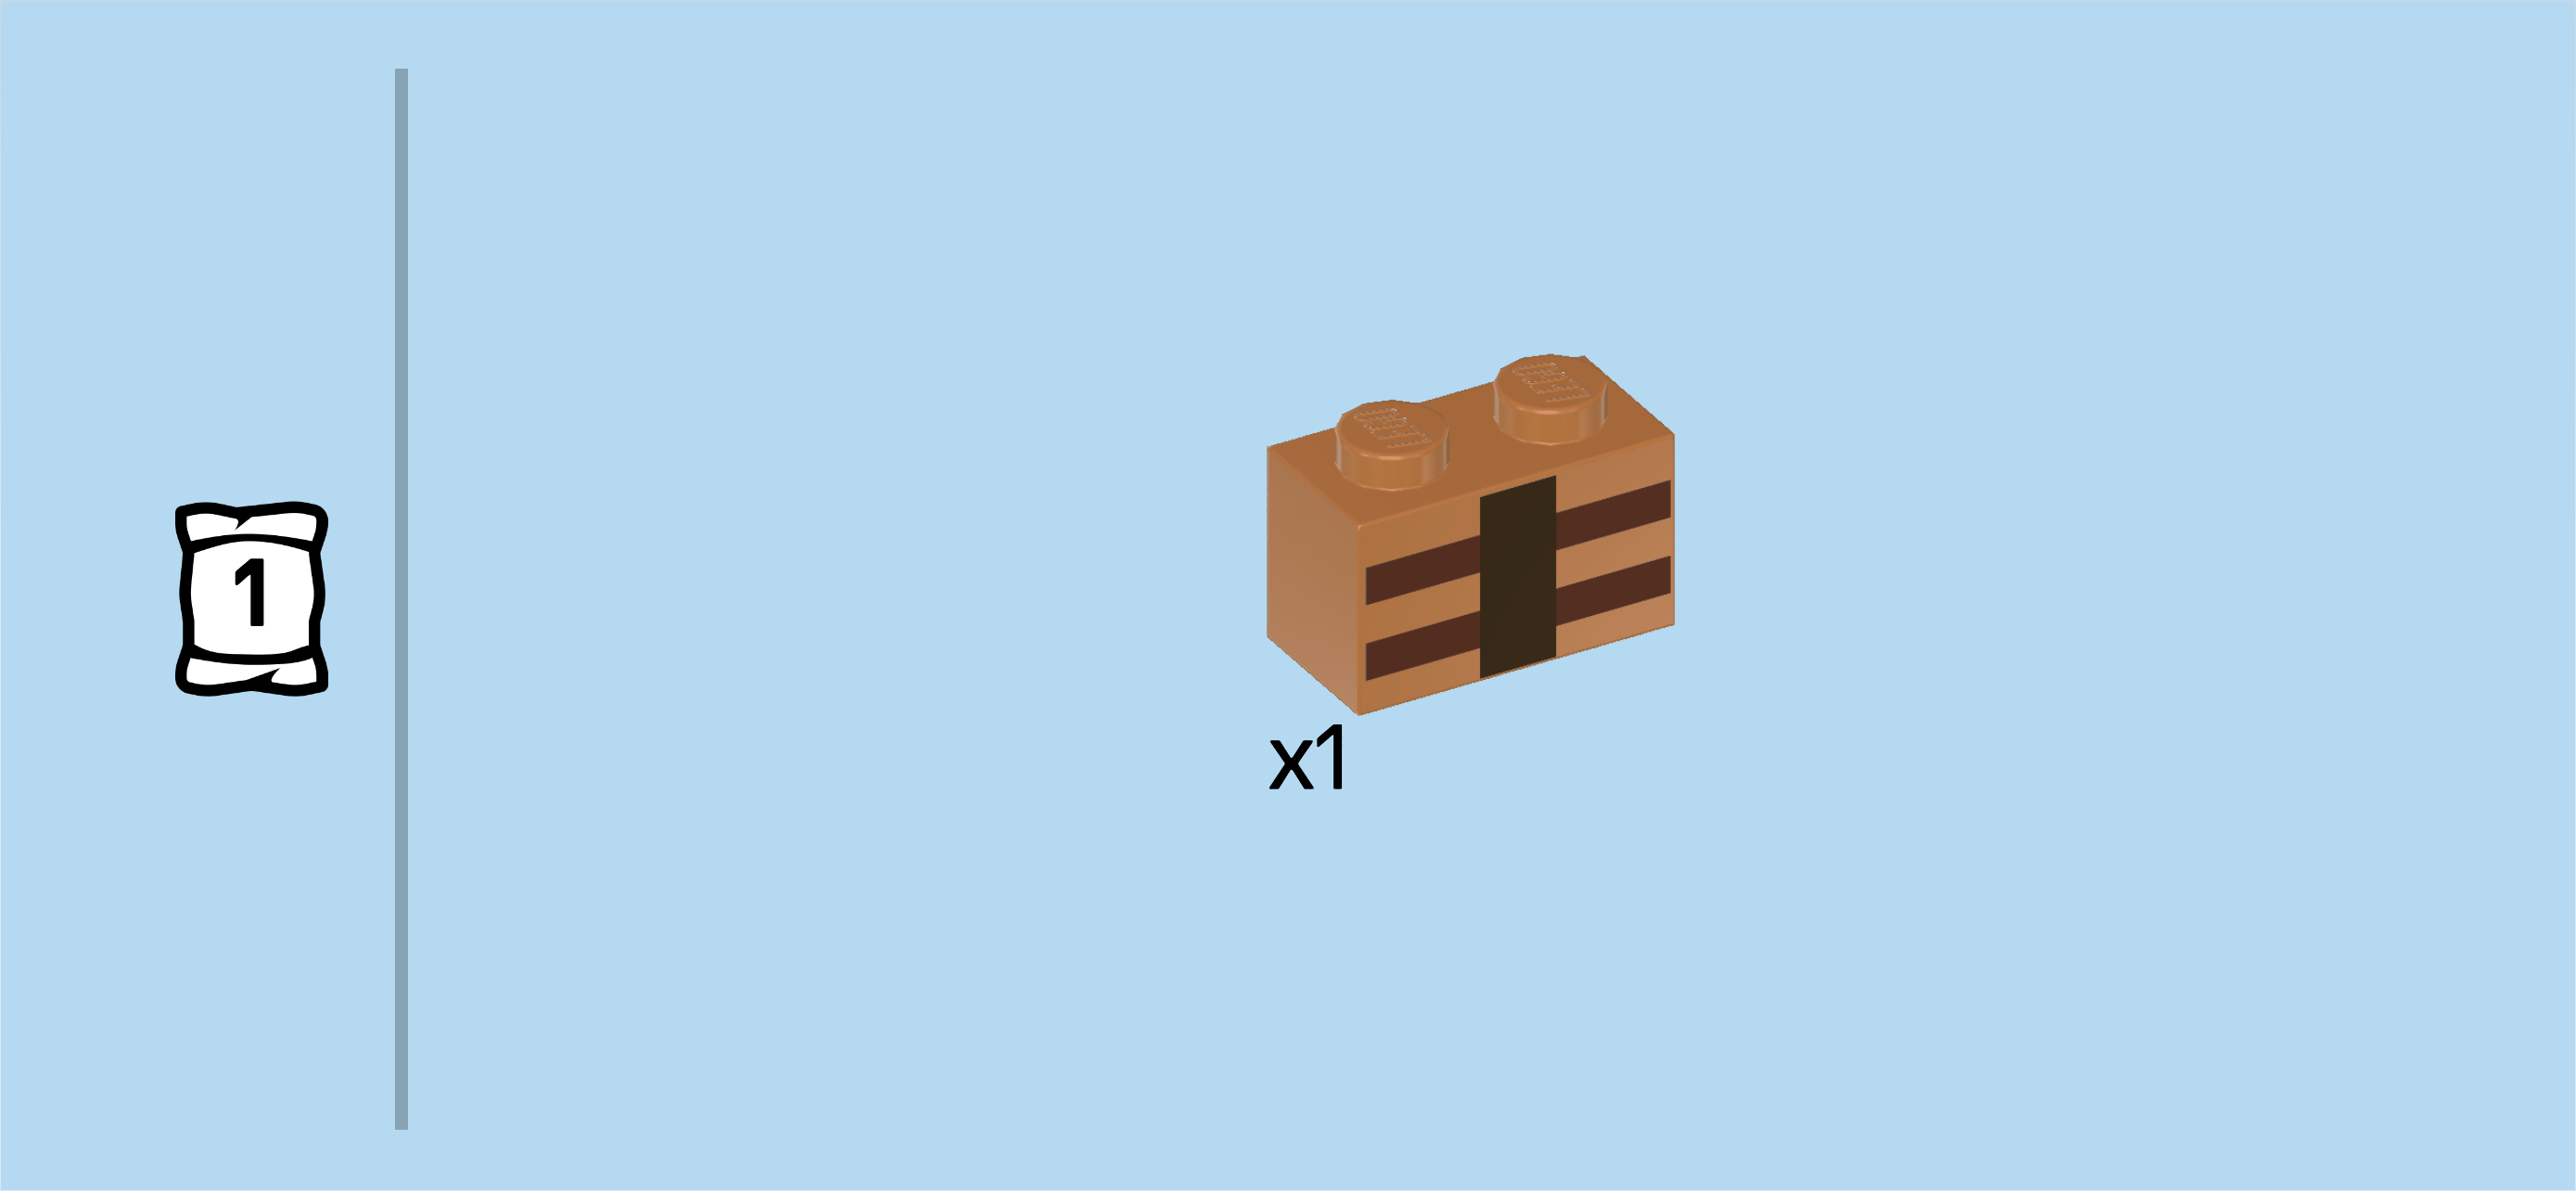
| 1 medium nougat brown brick 1x2, |
| and 1 black round plate 2x2. |
| Put the round plate 2x2 on the table in front of you. |
| Put the brick 1x2 horizontally on the 2 frontmost knobs of the previous piece, printed side towards the front. |
| The brick is printed with a thick dark brown vertical line in the middle and two slightly thinner dark brown horizontal lines. |
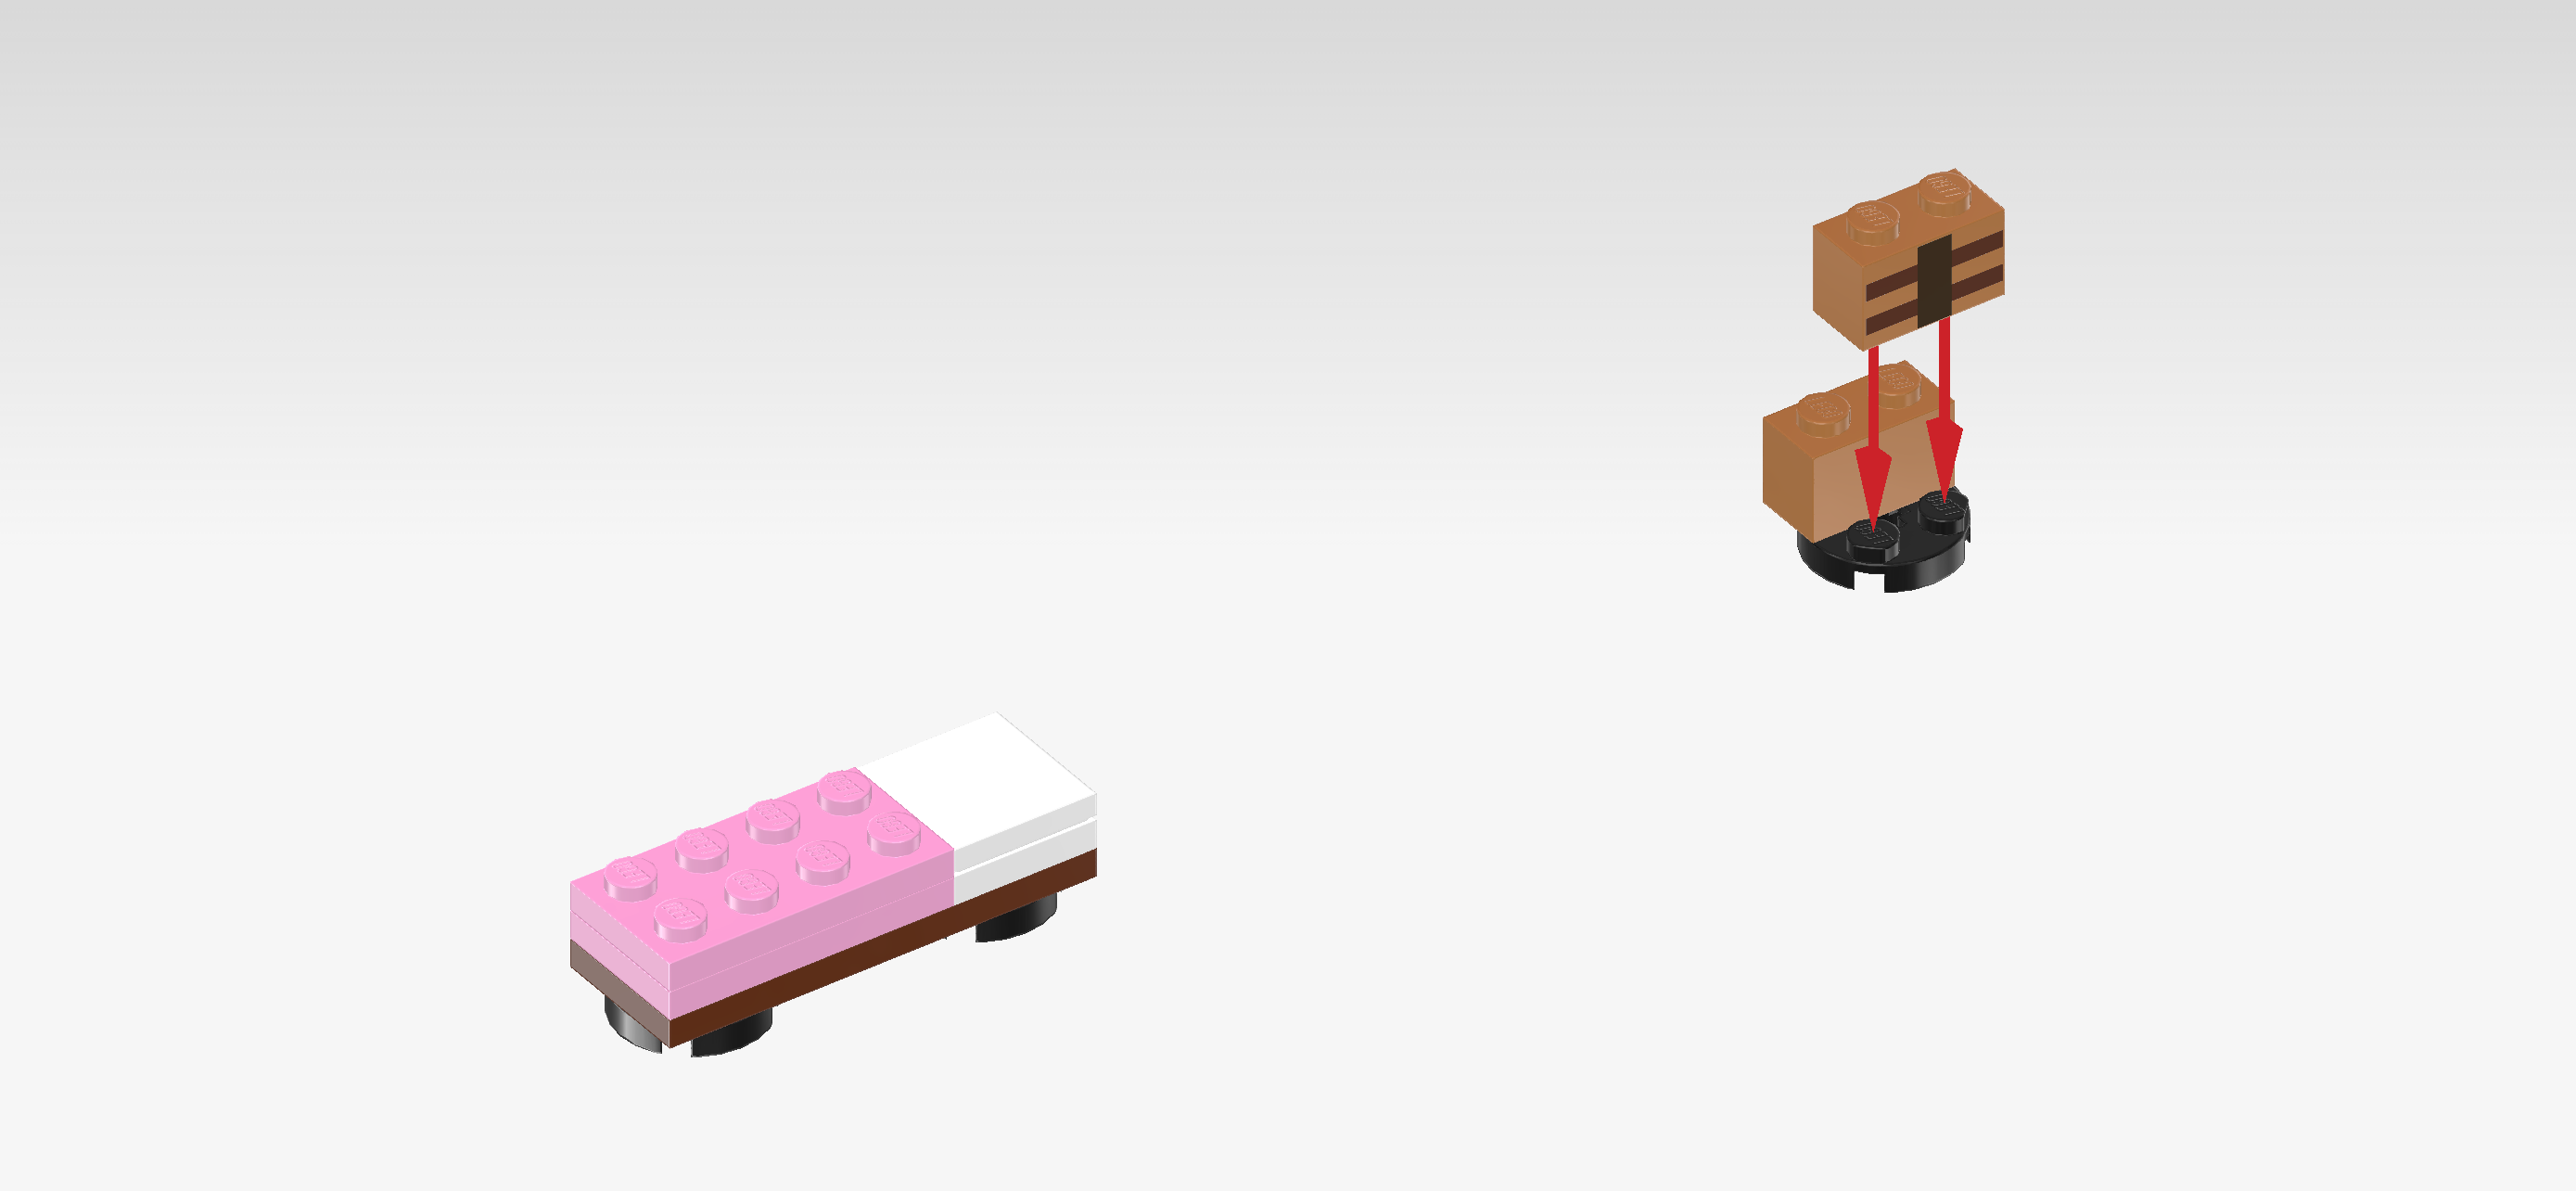
| Find another medium nougat brown brick 1x2. |
| Put it horizontally behind the previous piece, printed side to the back. |
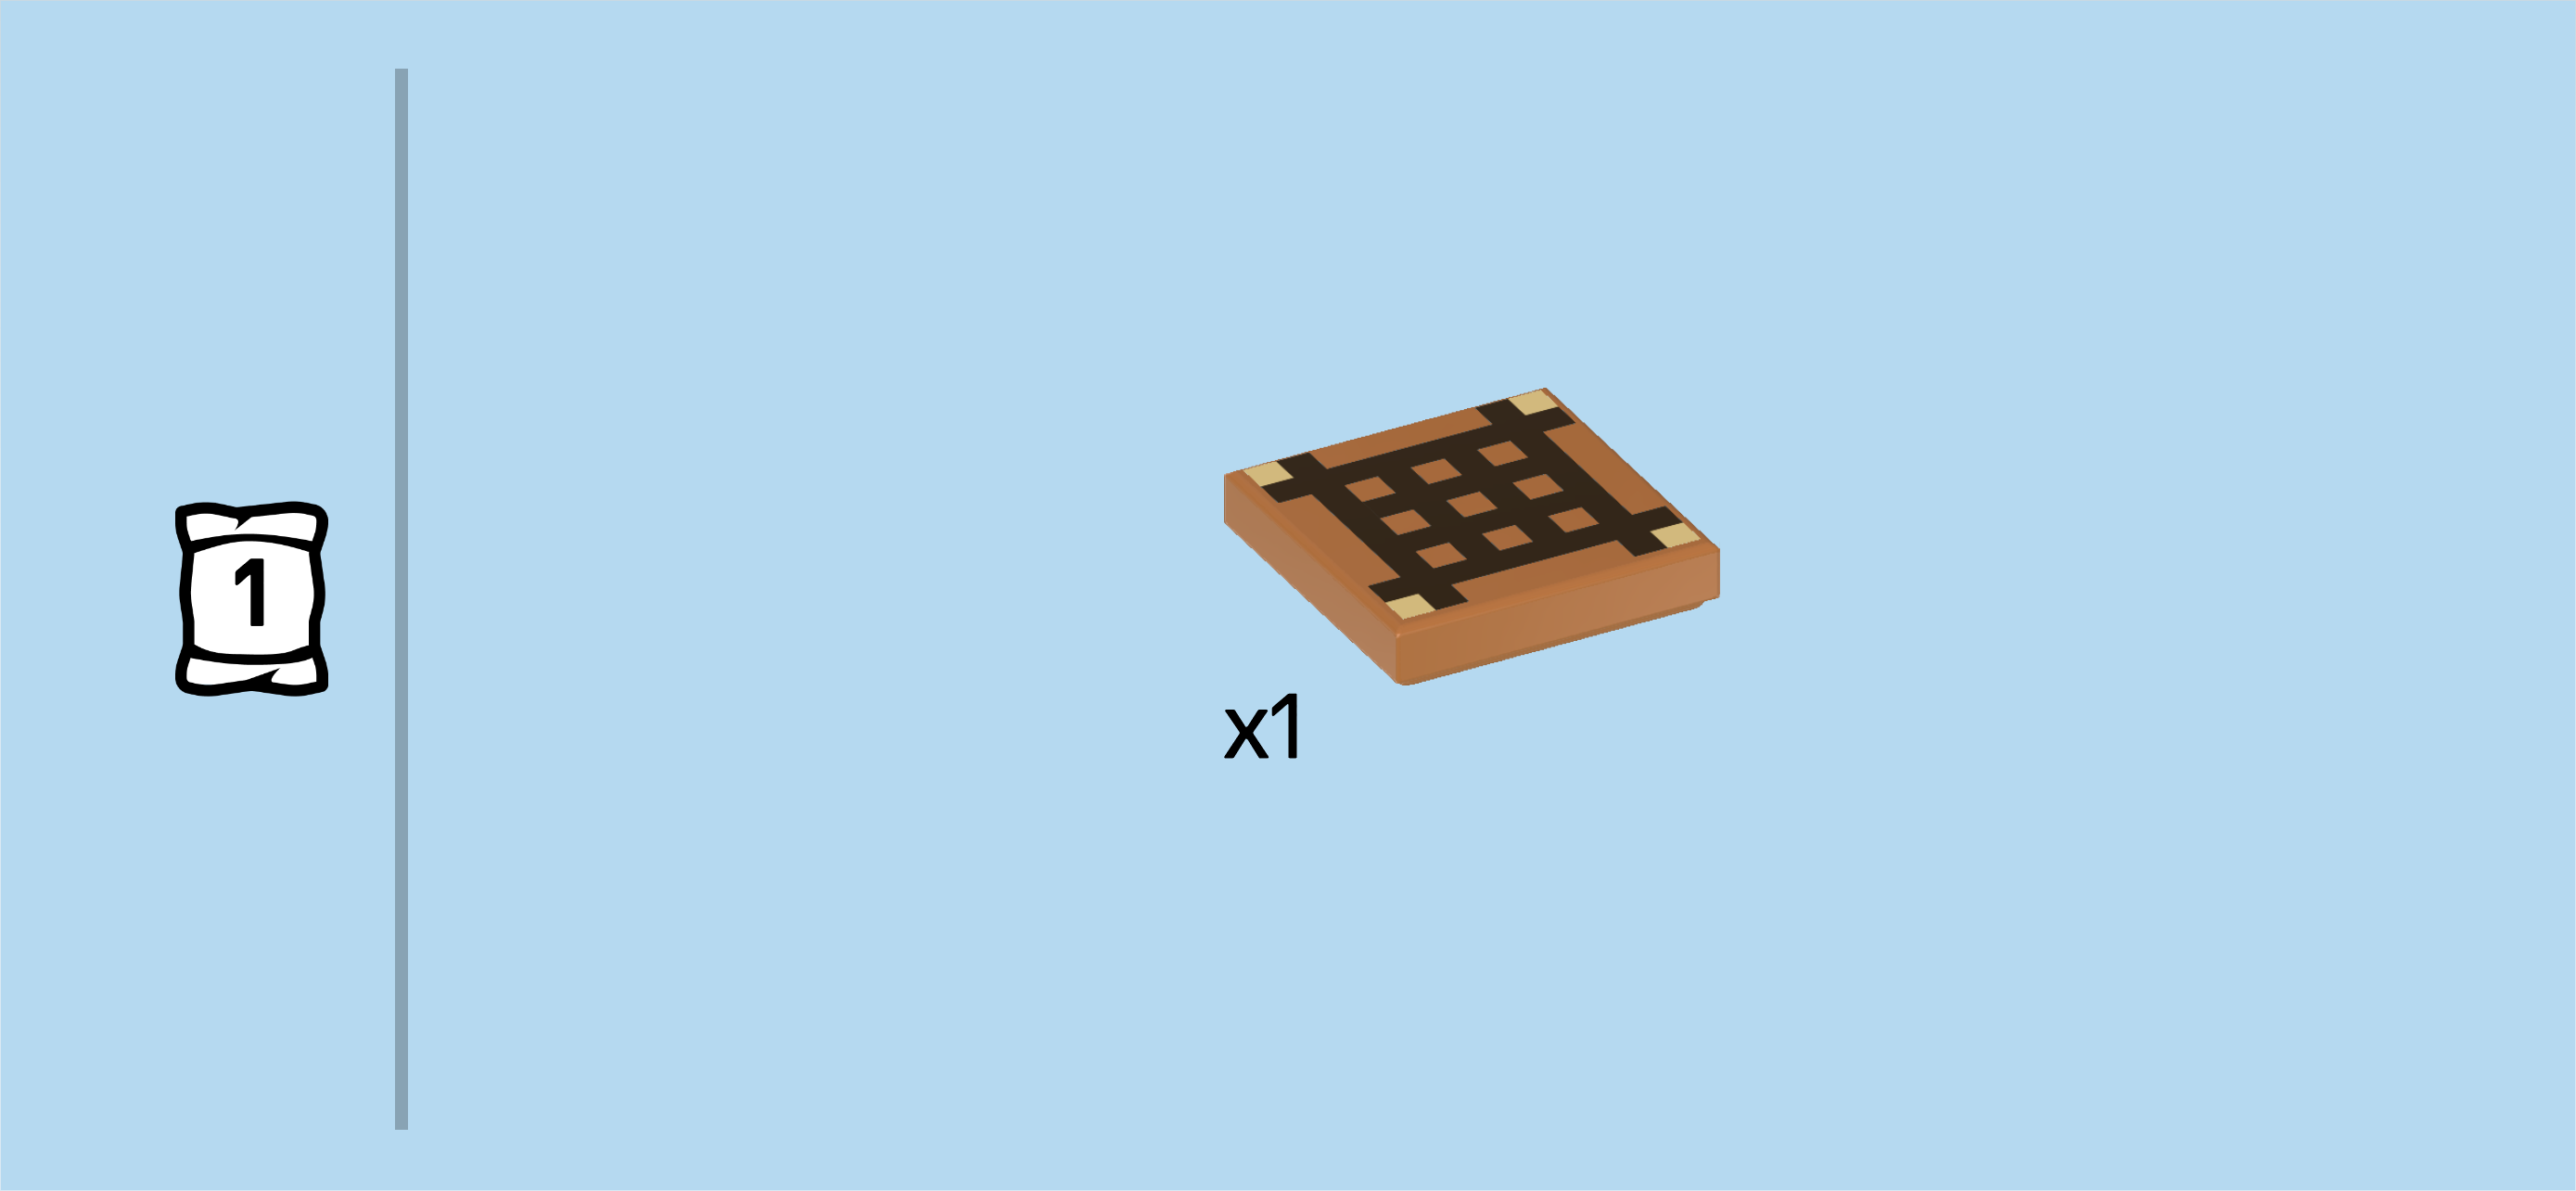
| Find 1 medium nougat brown flat tile 2x2. |
| Put it on top of the 2 previous pieces. It is printed with a grid made up of dark brown lines and four yellow corners. |
| The crafting table is finished! Great job! The crafting table is a utility block for manual crafting that gives access to all crafting recipes. It can also serve as fuel for the furnace that we will build later, and it is used to repair damaged tools and weapons. You can already tell that it is a very handy device to have! For now, you can put it aside as we continue building. |
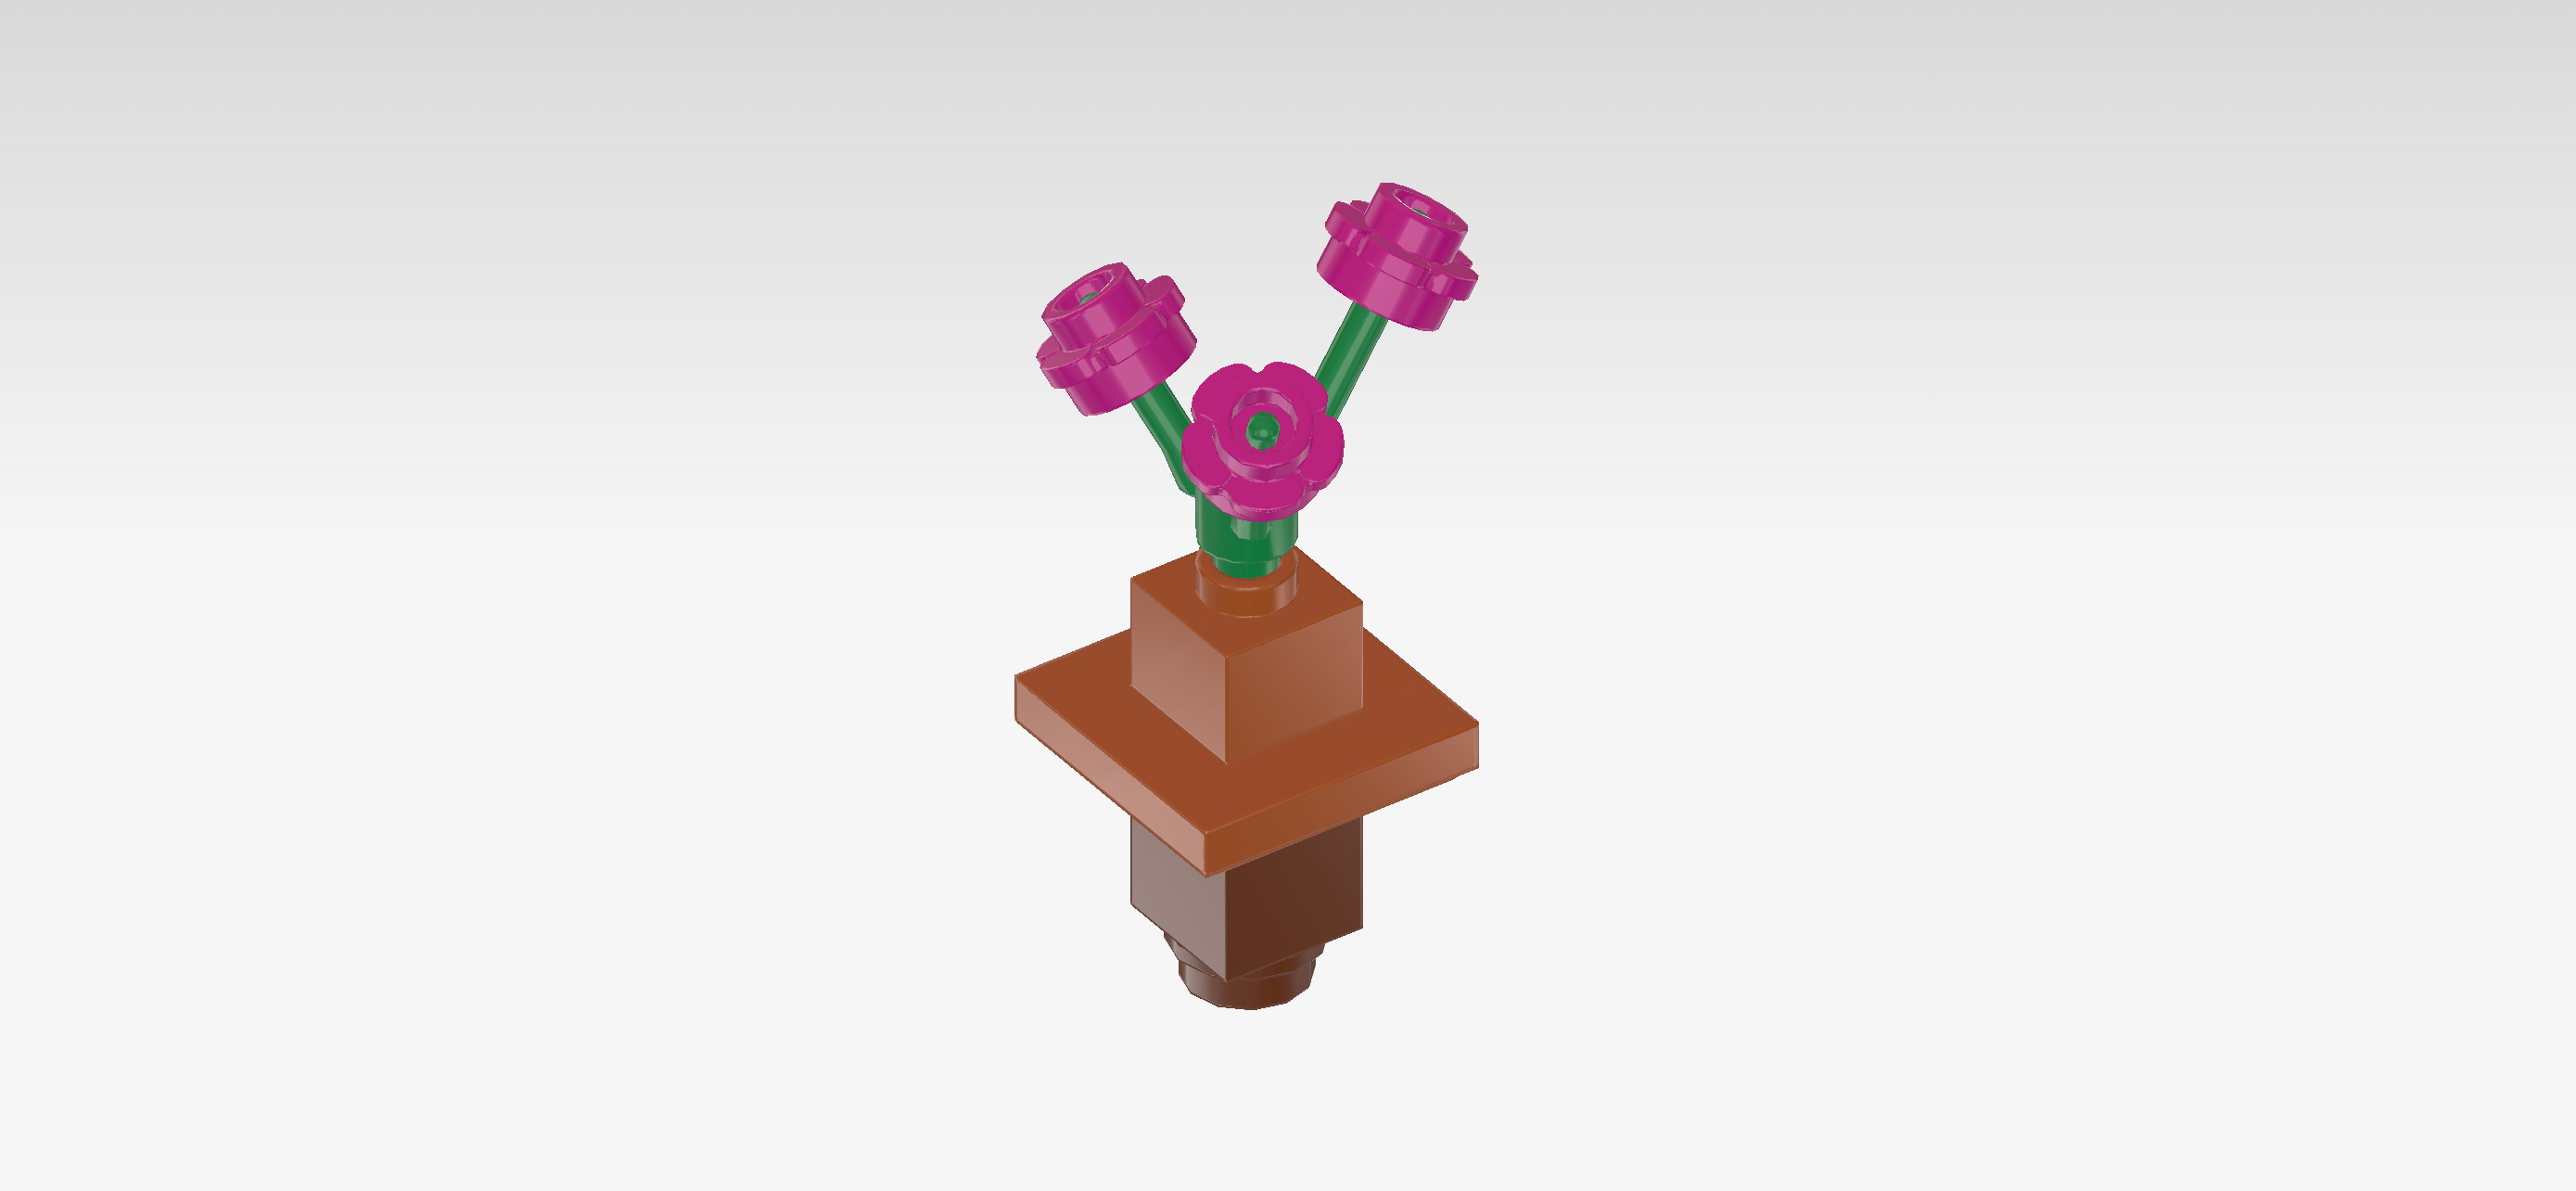
| Next, we will build the flower vase. |
| Collect the following 2 pieces: |
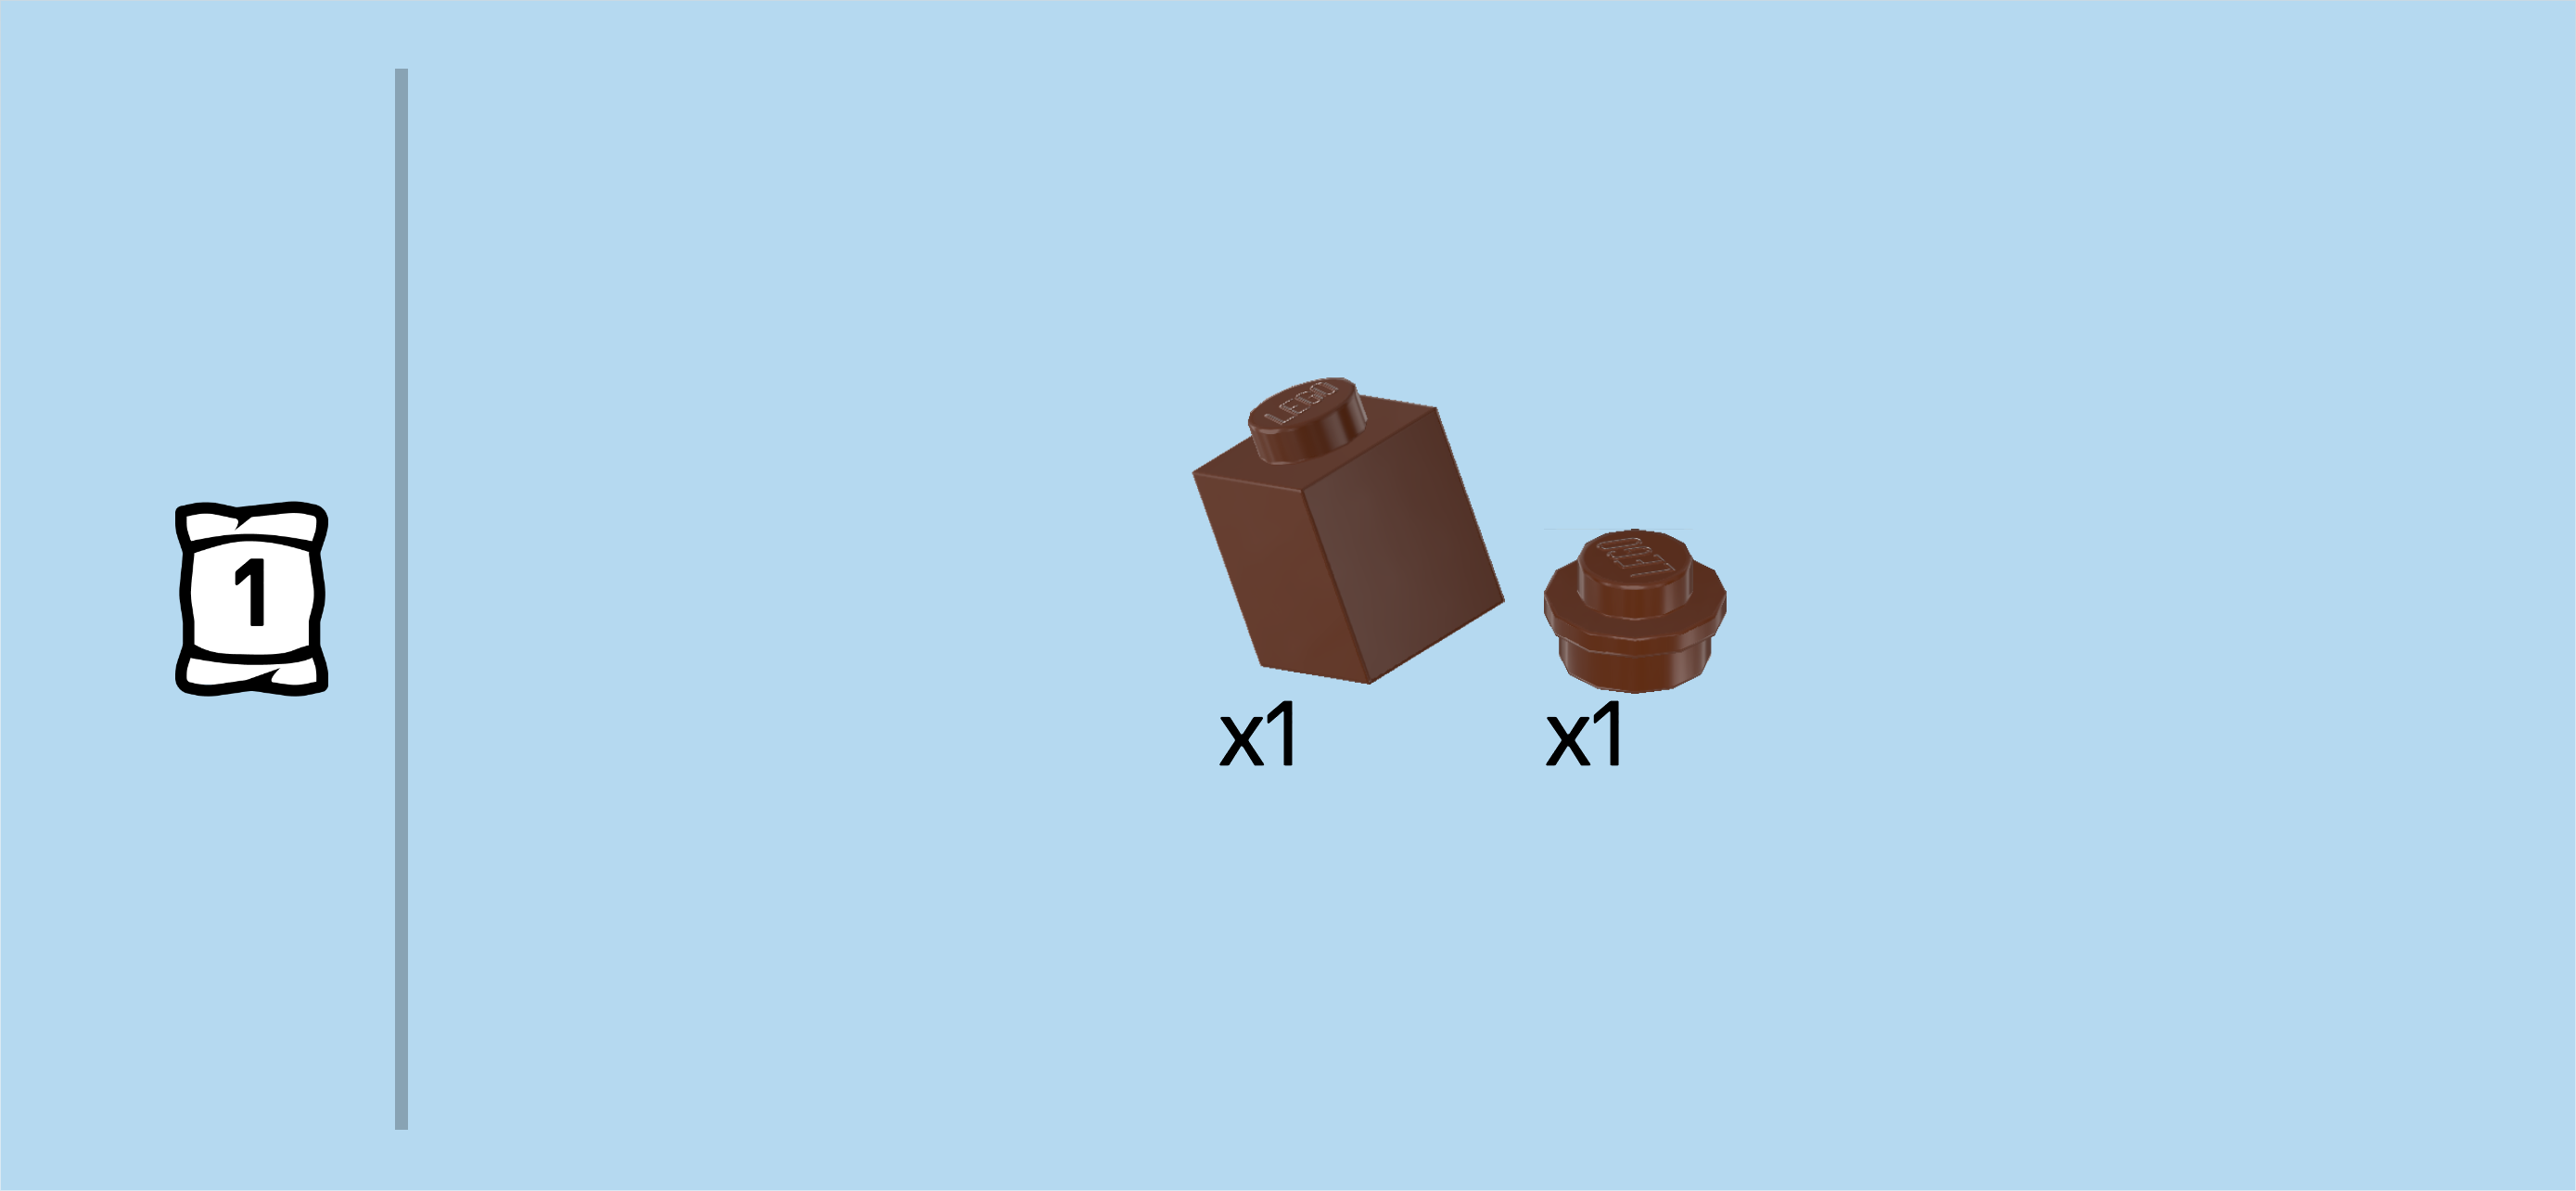
| 1 reddish brown brick 1x1, |
| and 1 reddish brown round plate 1x1. |
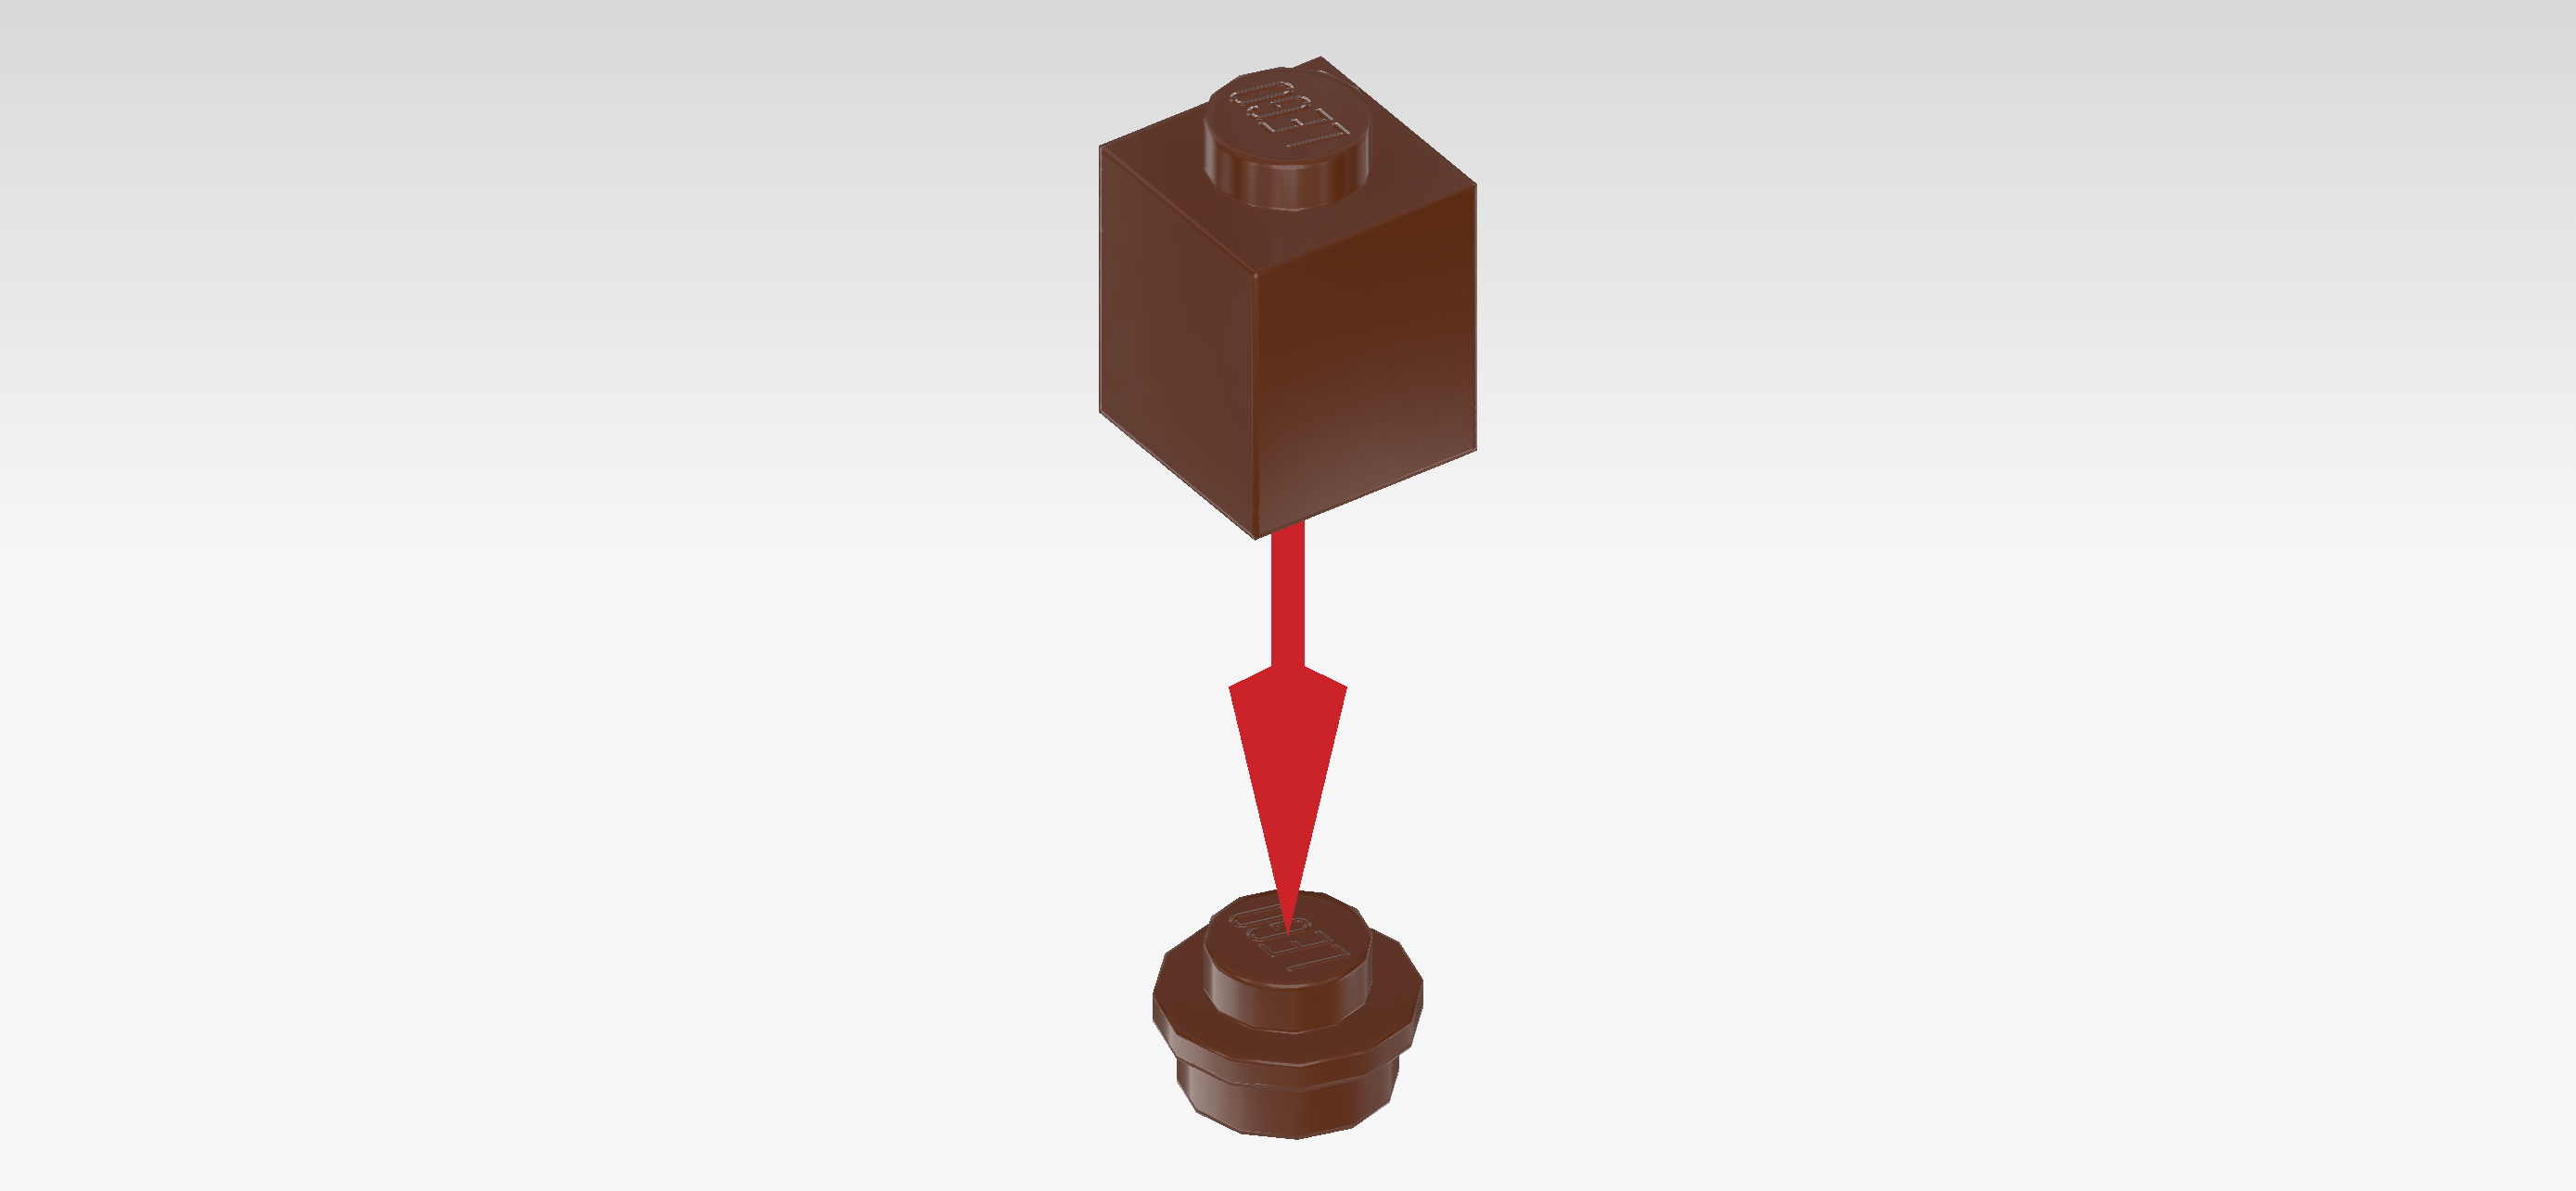
| Put the round plate on the table. |
| Put the brick on top. |
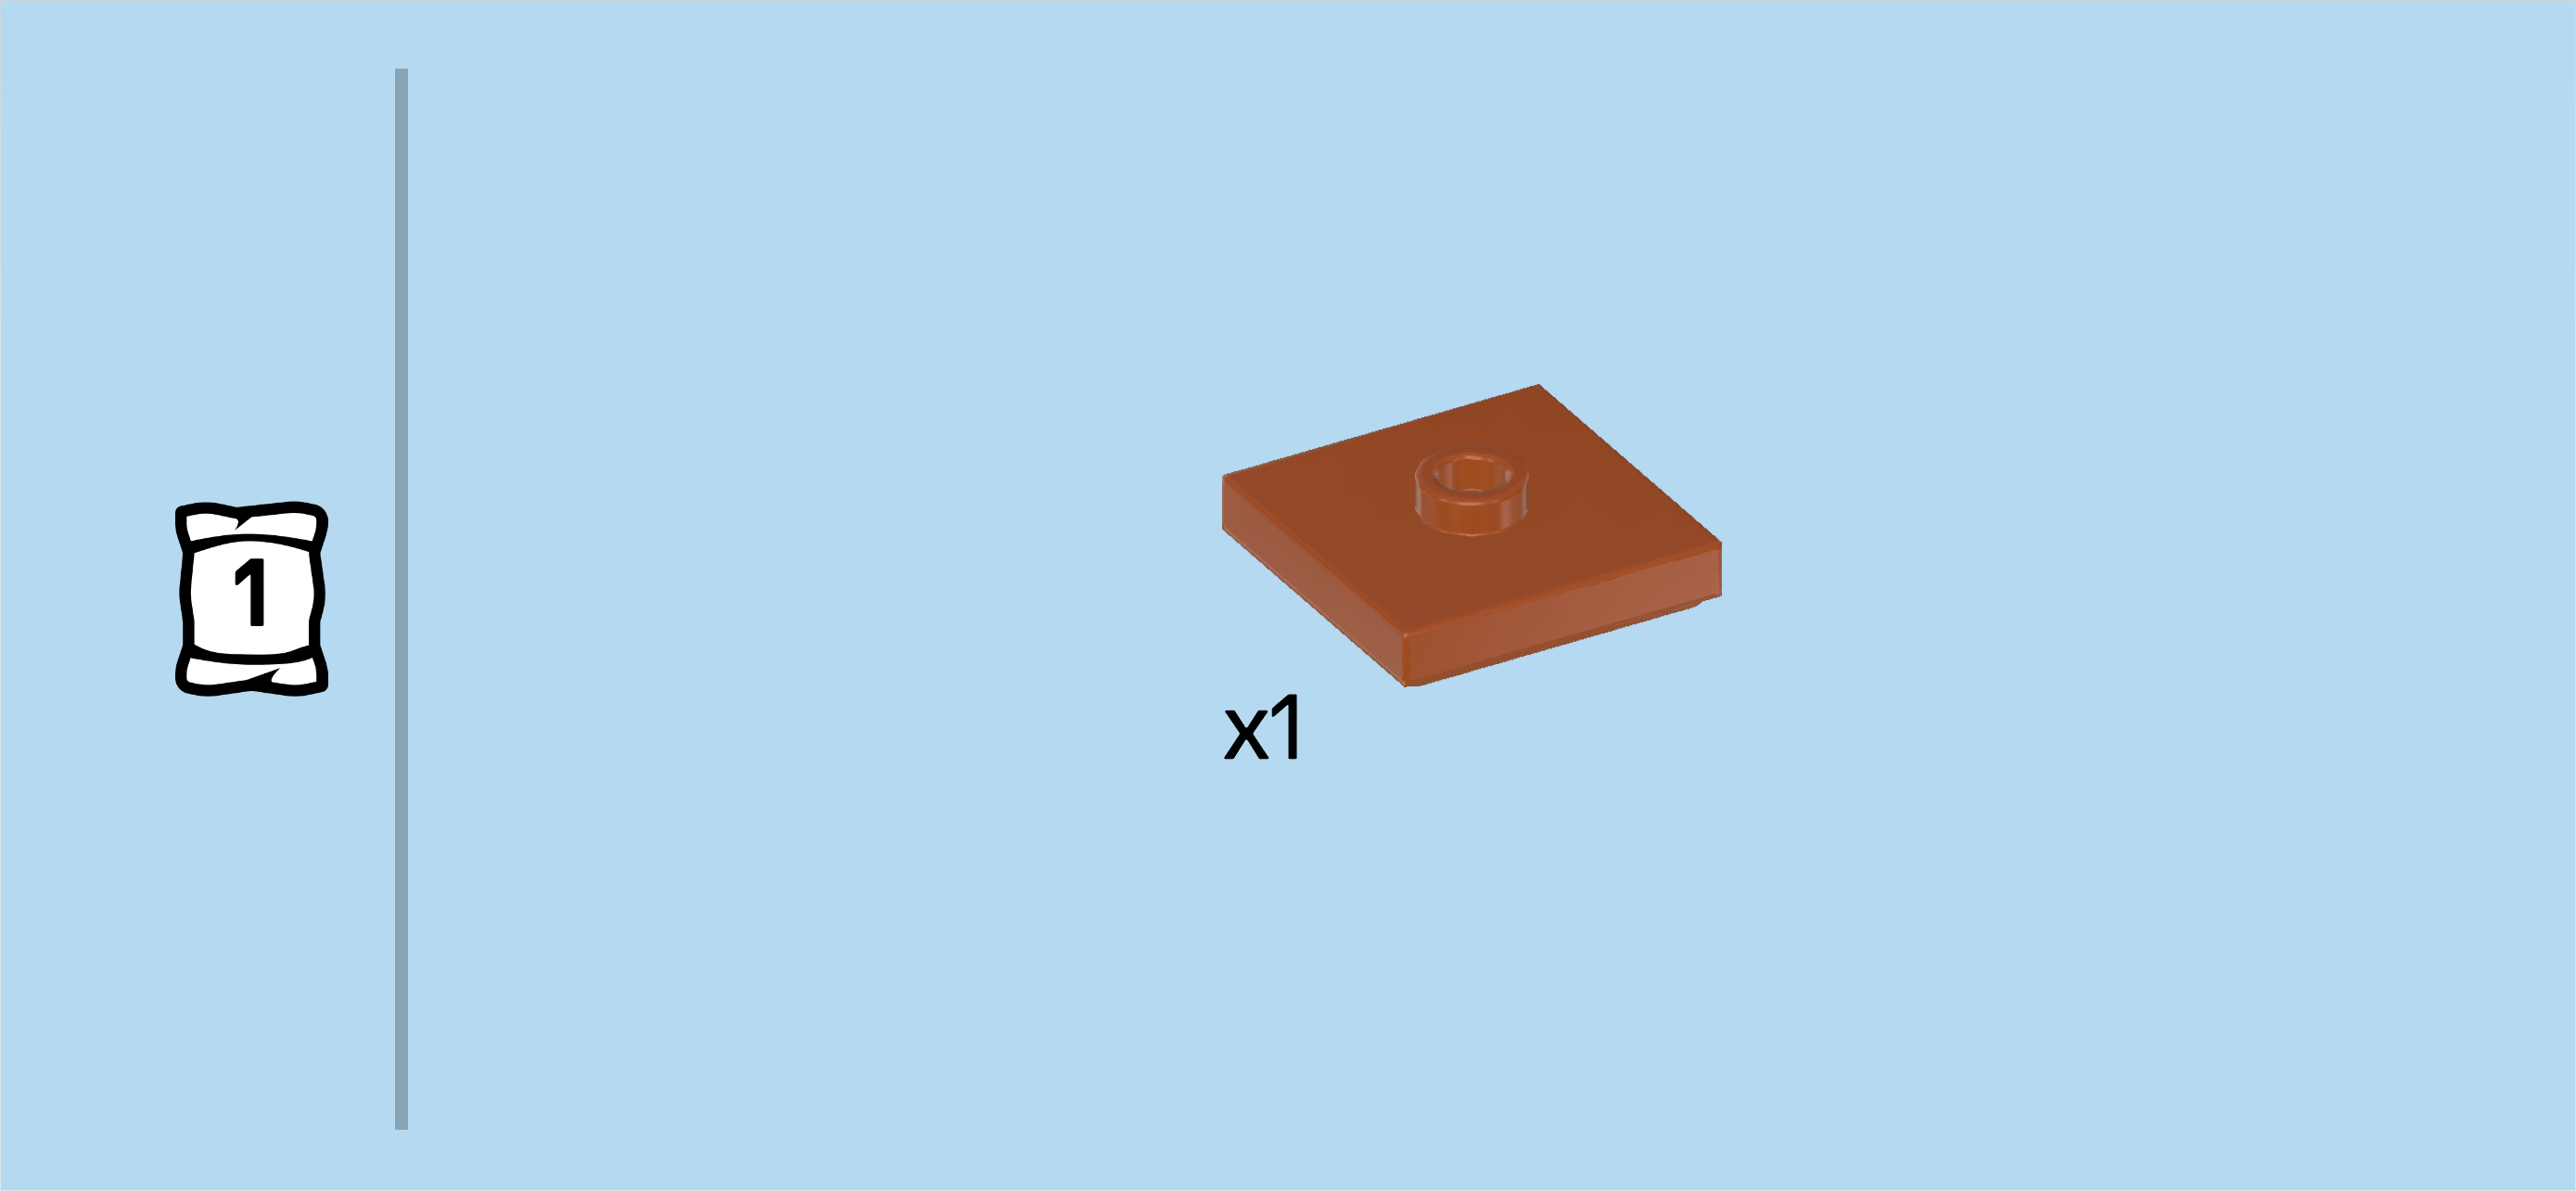
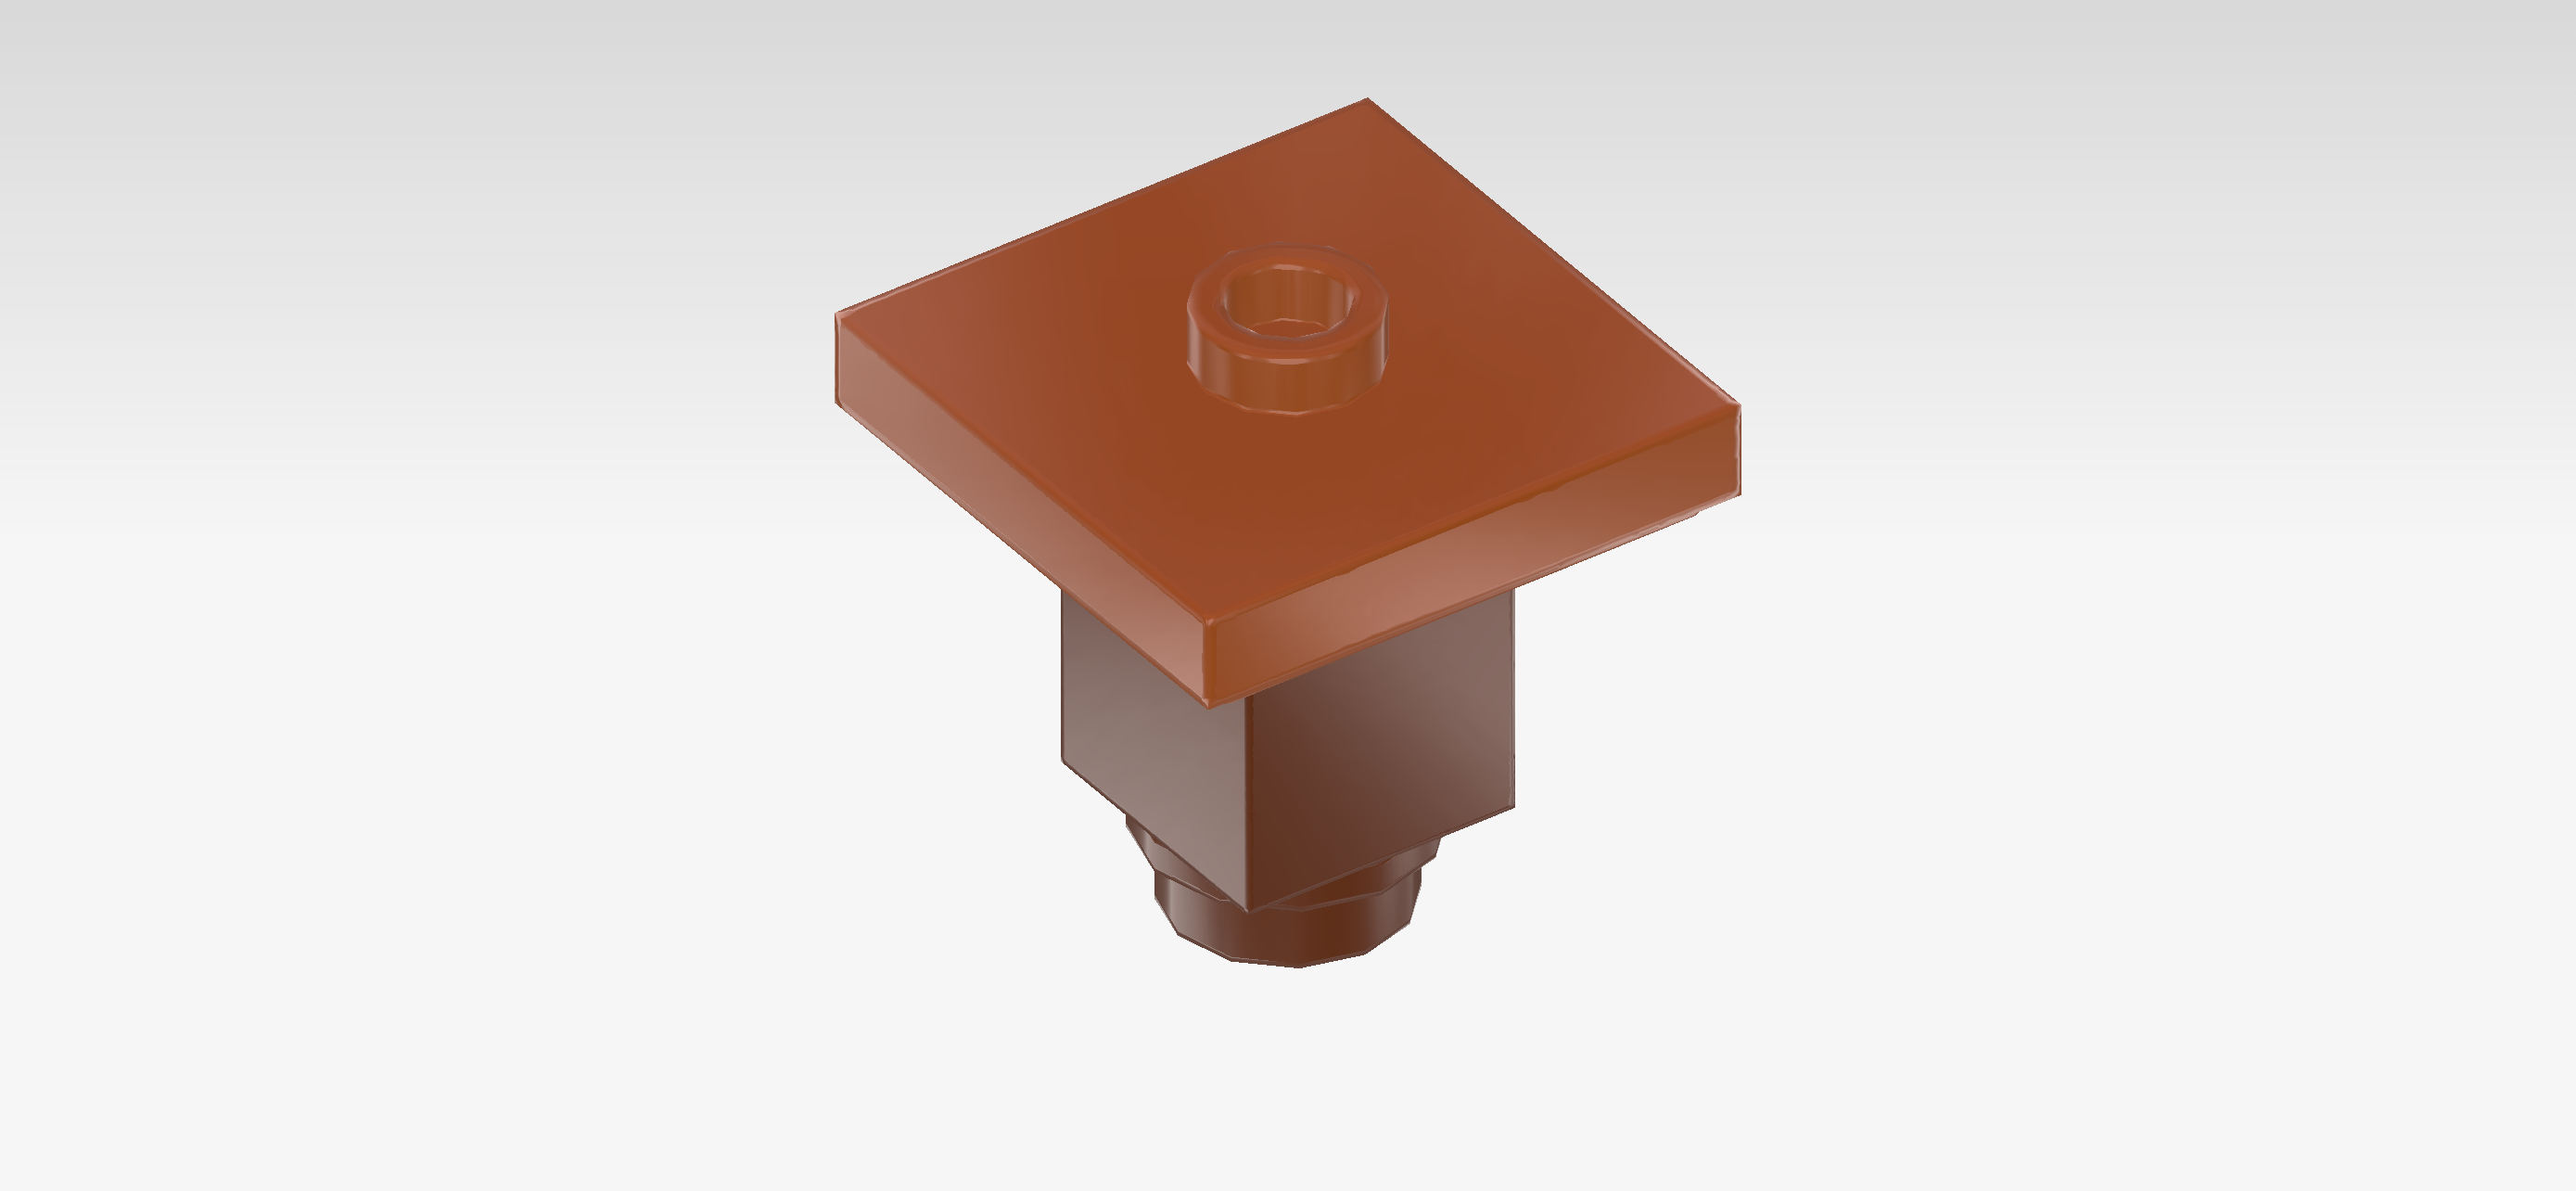
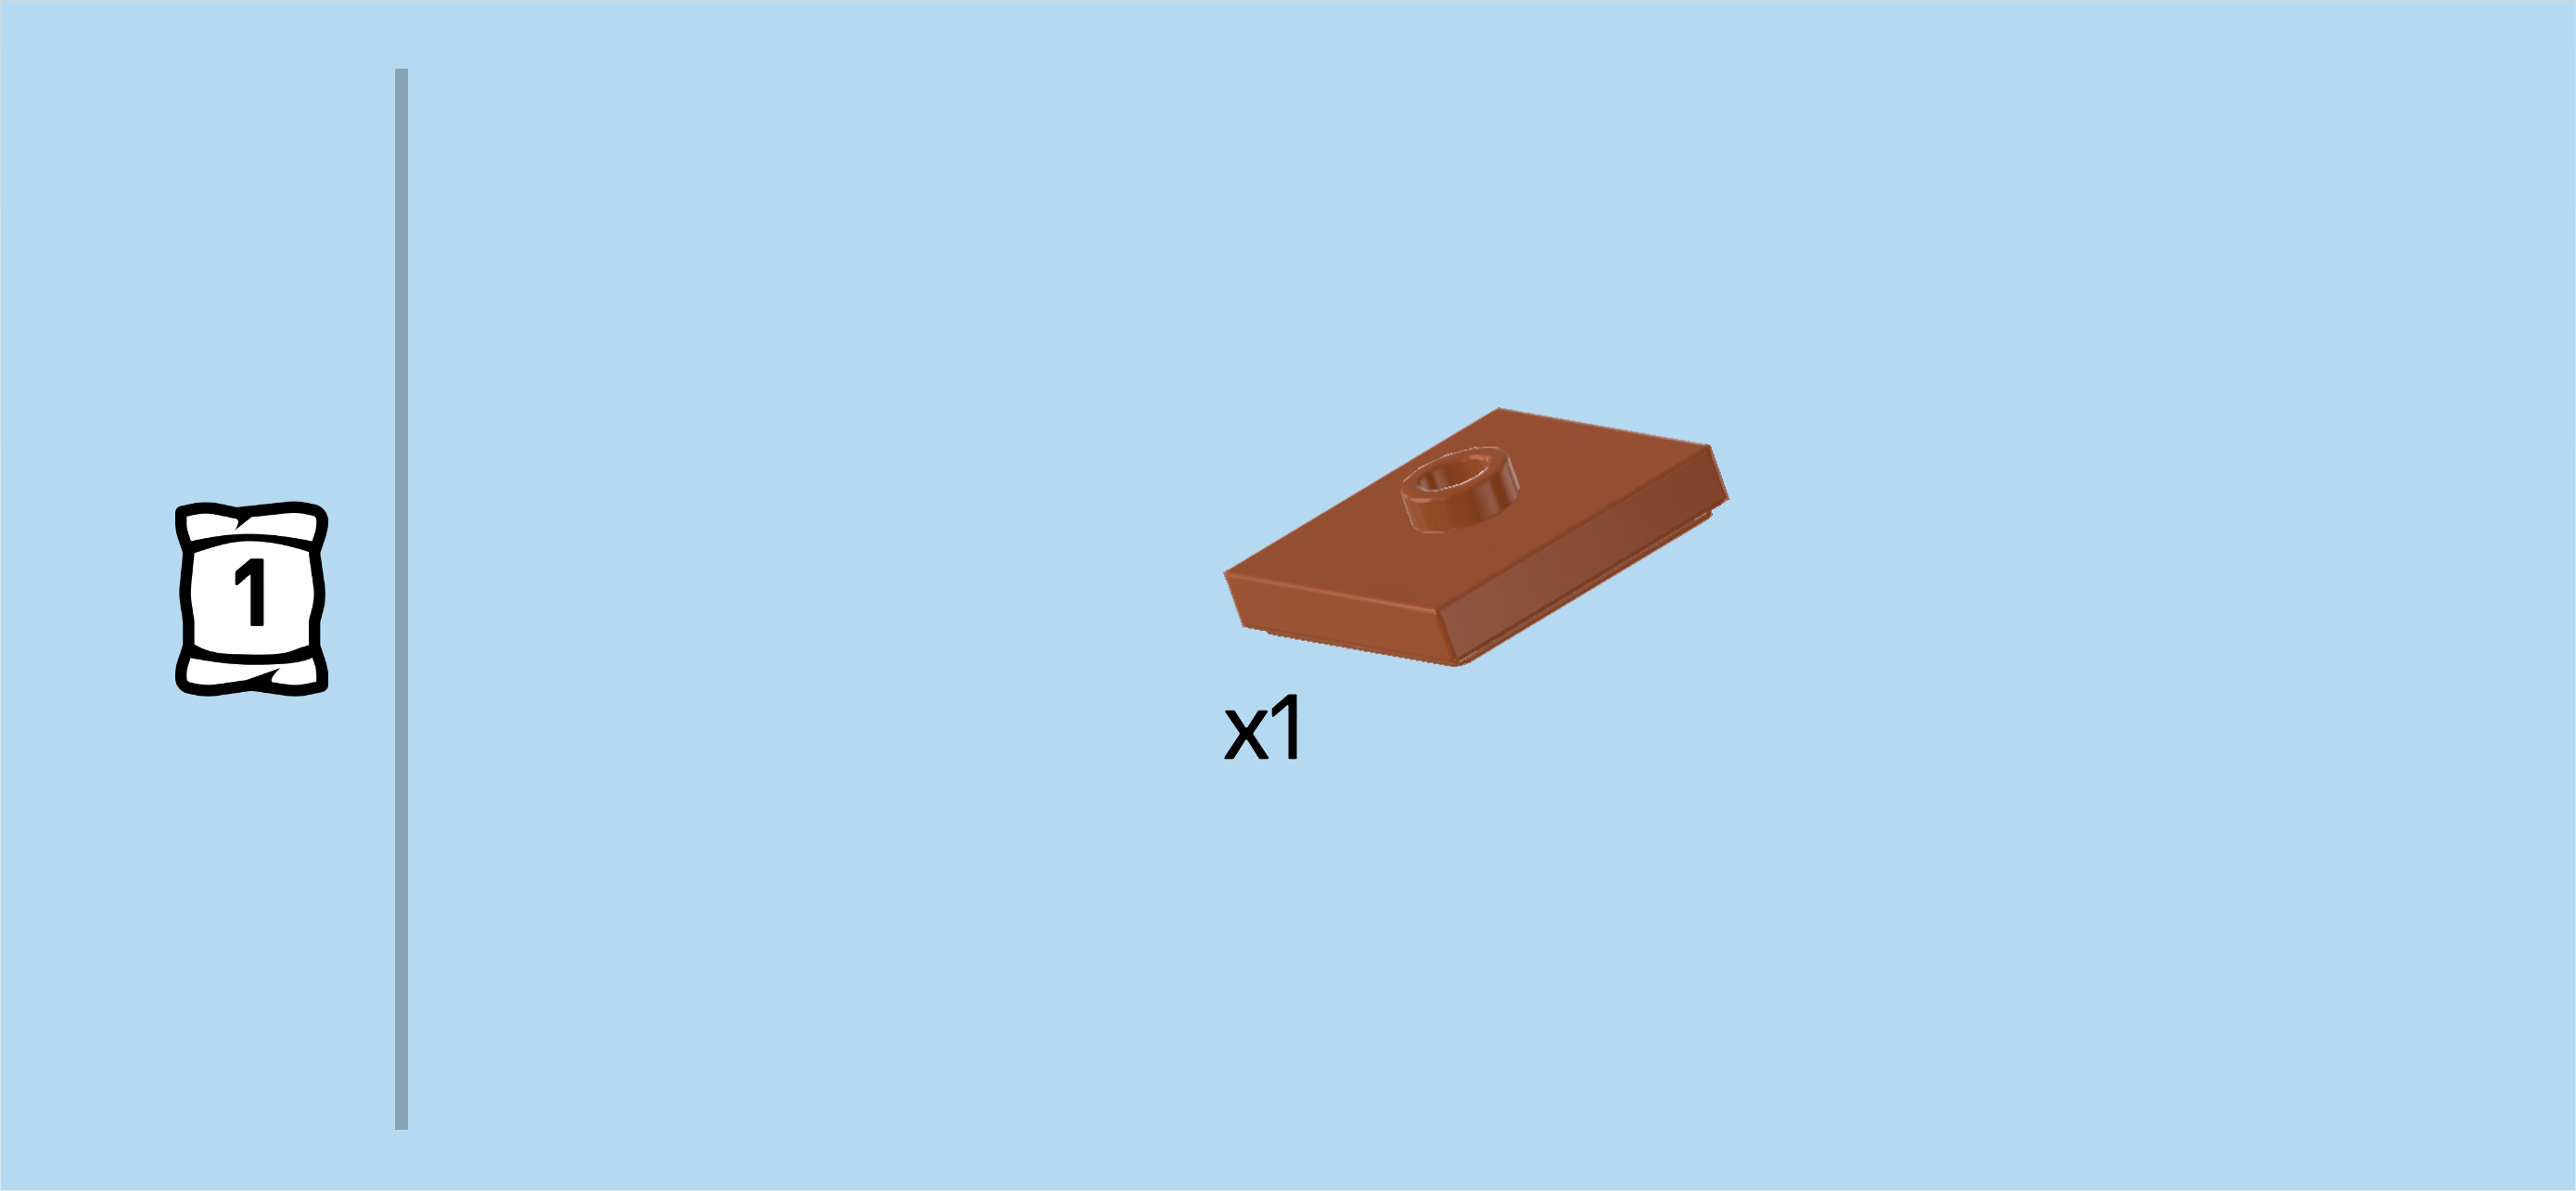
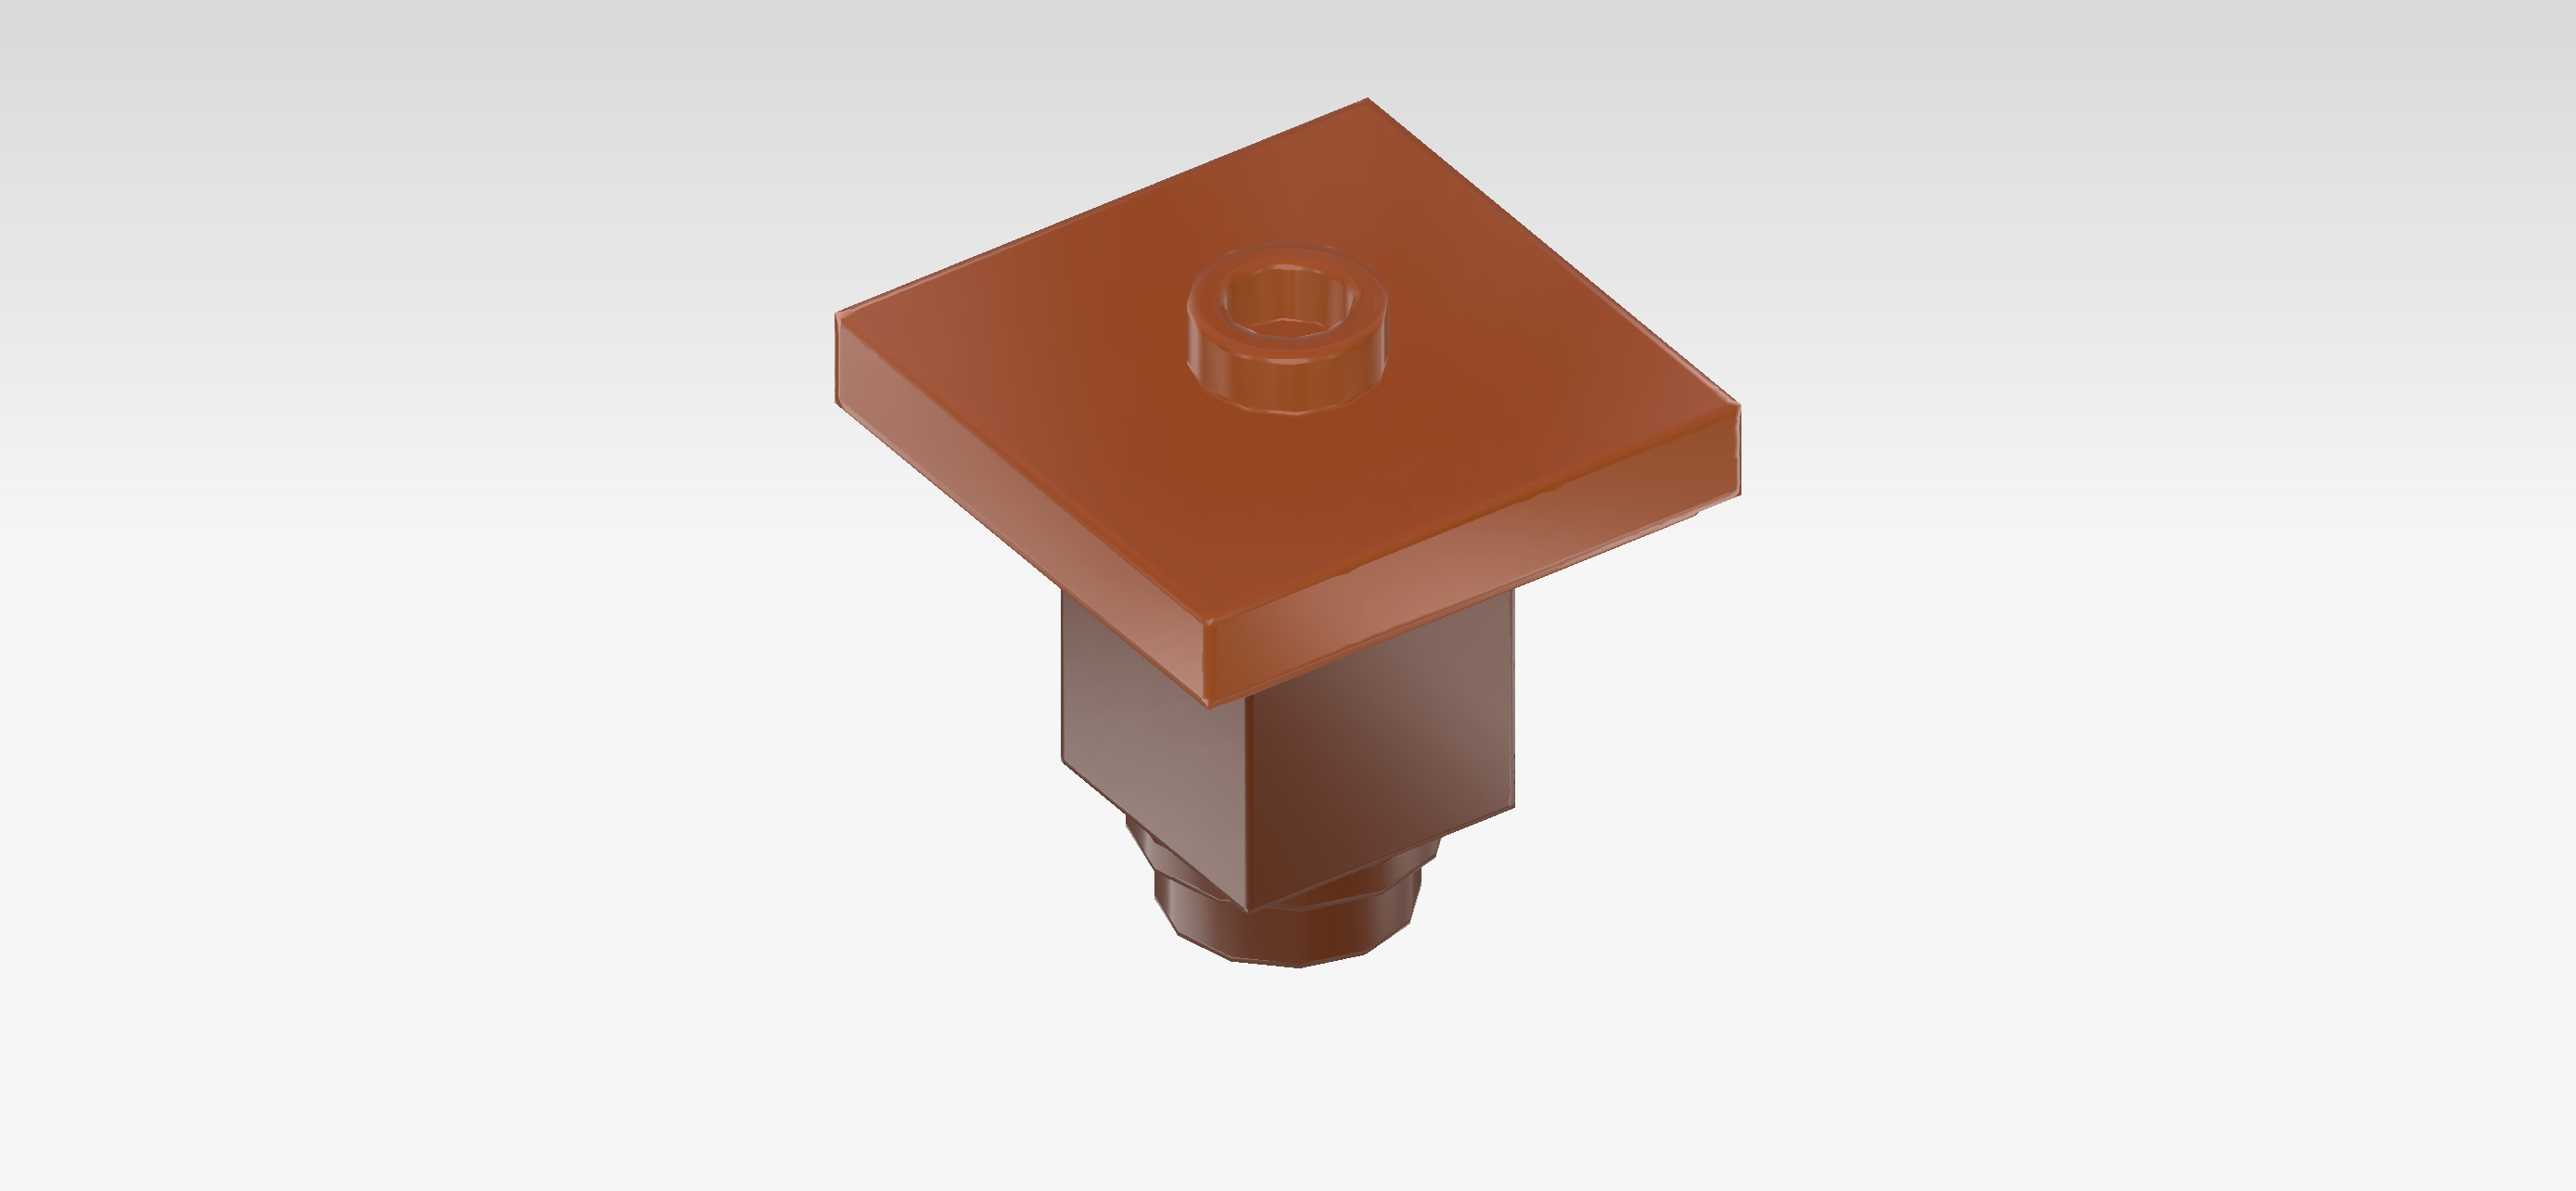
| Find 1 dark orange plate 2x2 with 1 knob. |
| Put it centered on top of the previous piece. Make sure that the straight edges of the brick 1x1 and the plate 2x2 are aligned. |
| Now, let's make the flower. |
| Collect the following 2 pieces: |
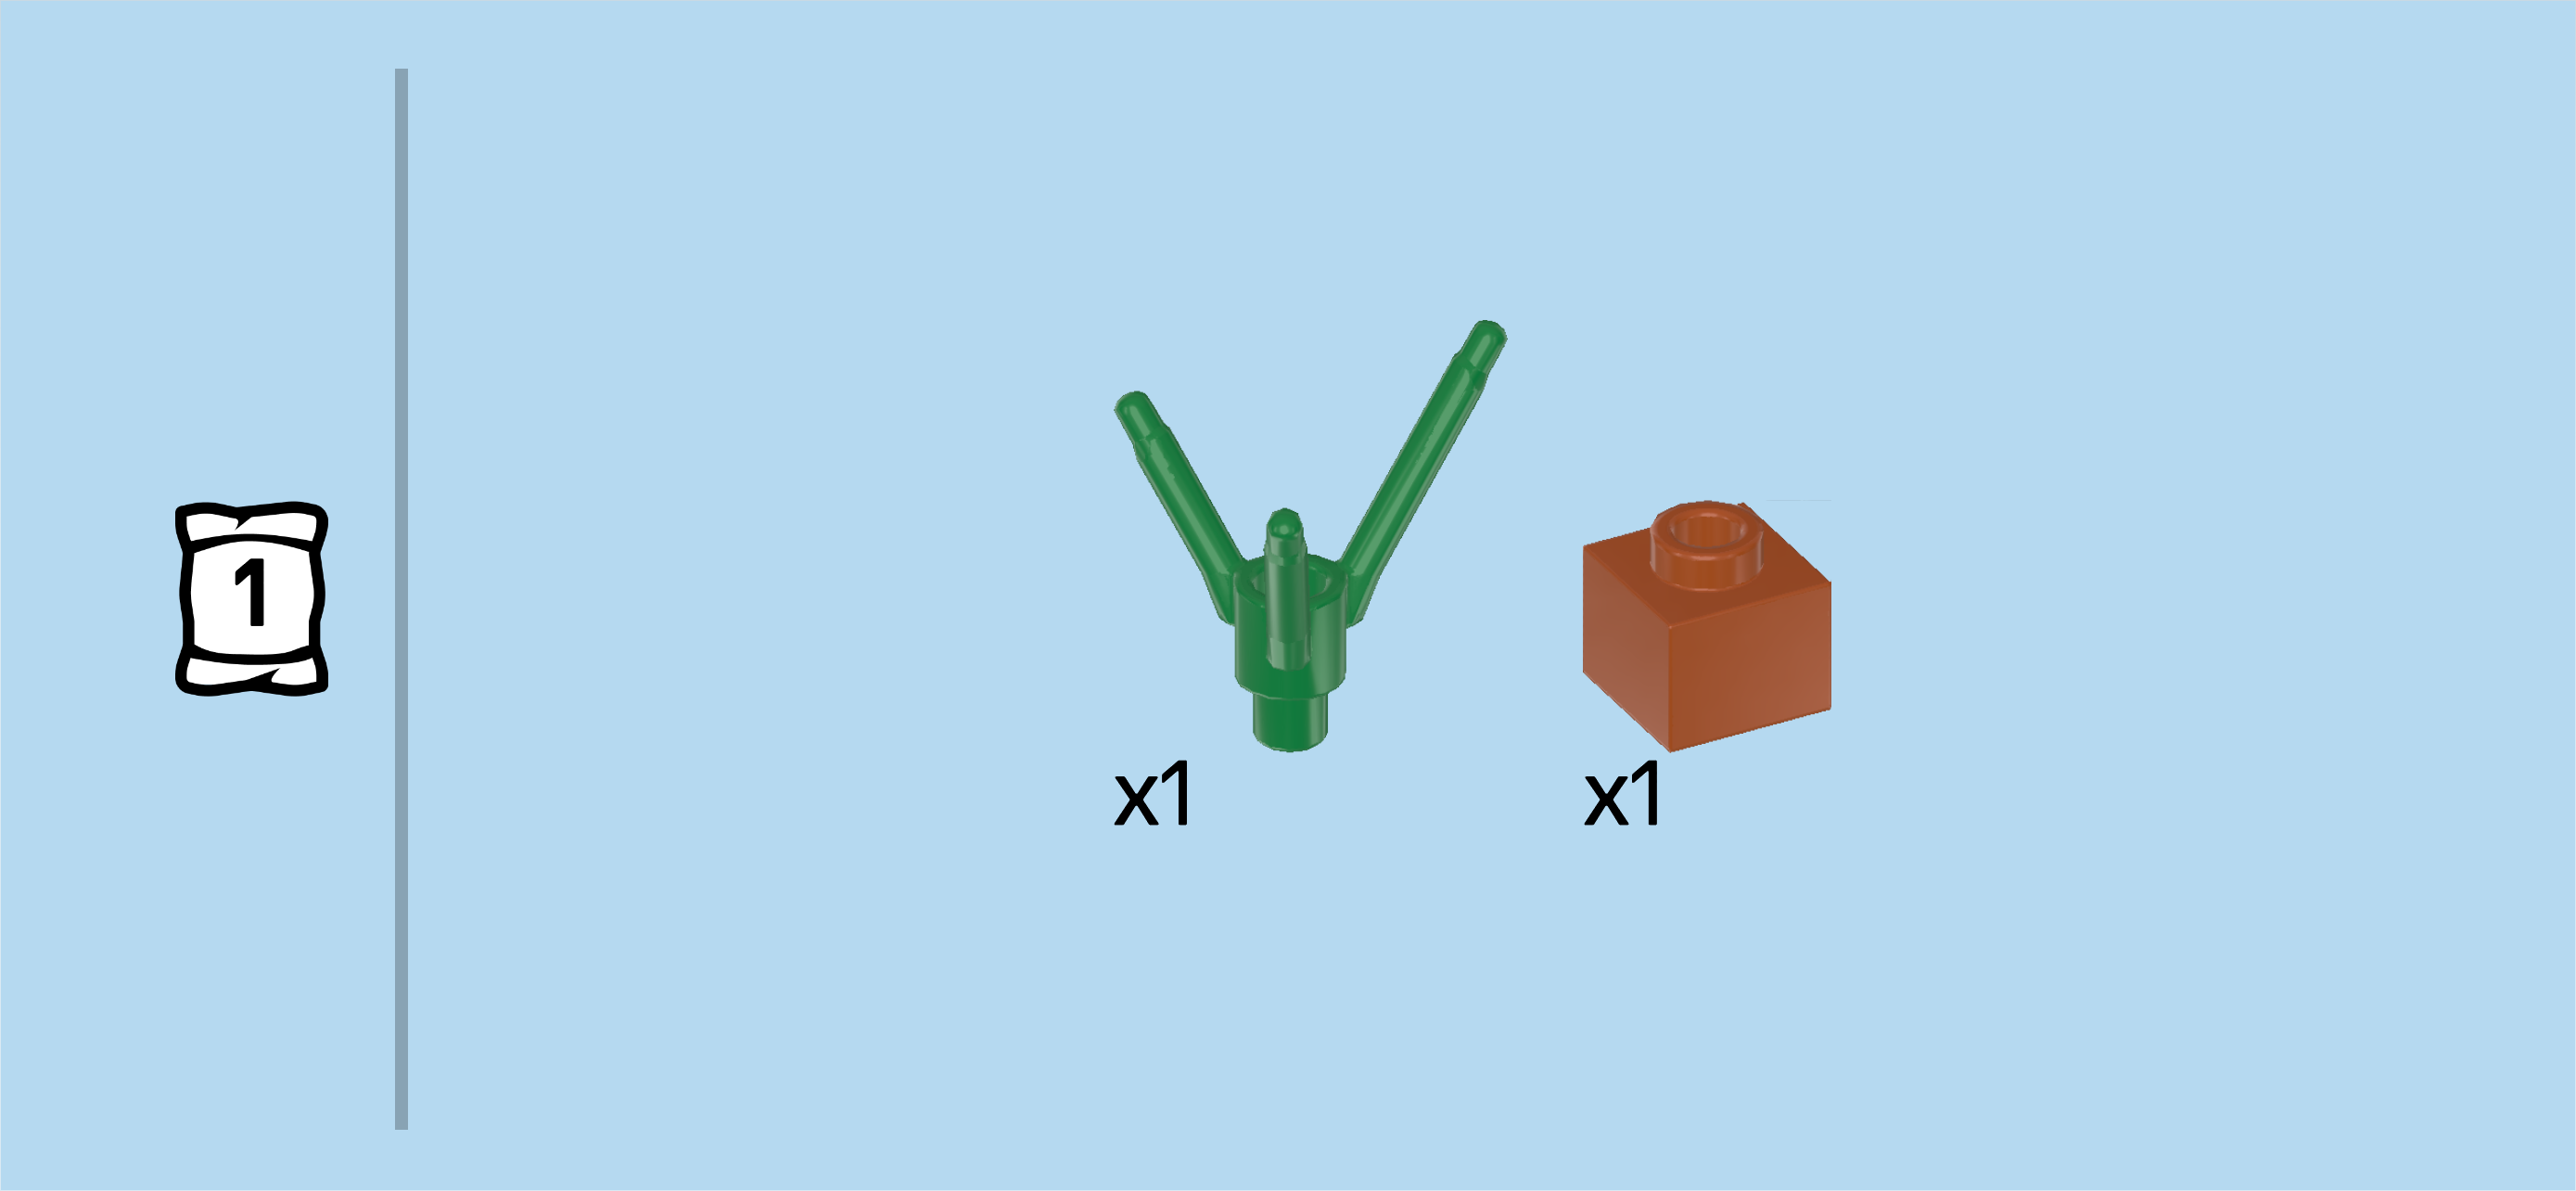
| 1 dark green plant base with 3 branches and bottom pin, |
| and 1 dark orange low brick 1x1x⅔. |
| Put the low brick on the table. |
| Insert the bottom pin of the plant base into the knob of the low brick. |
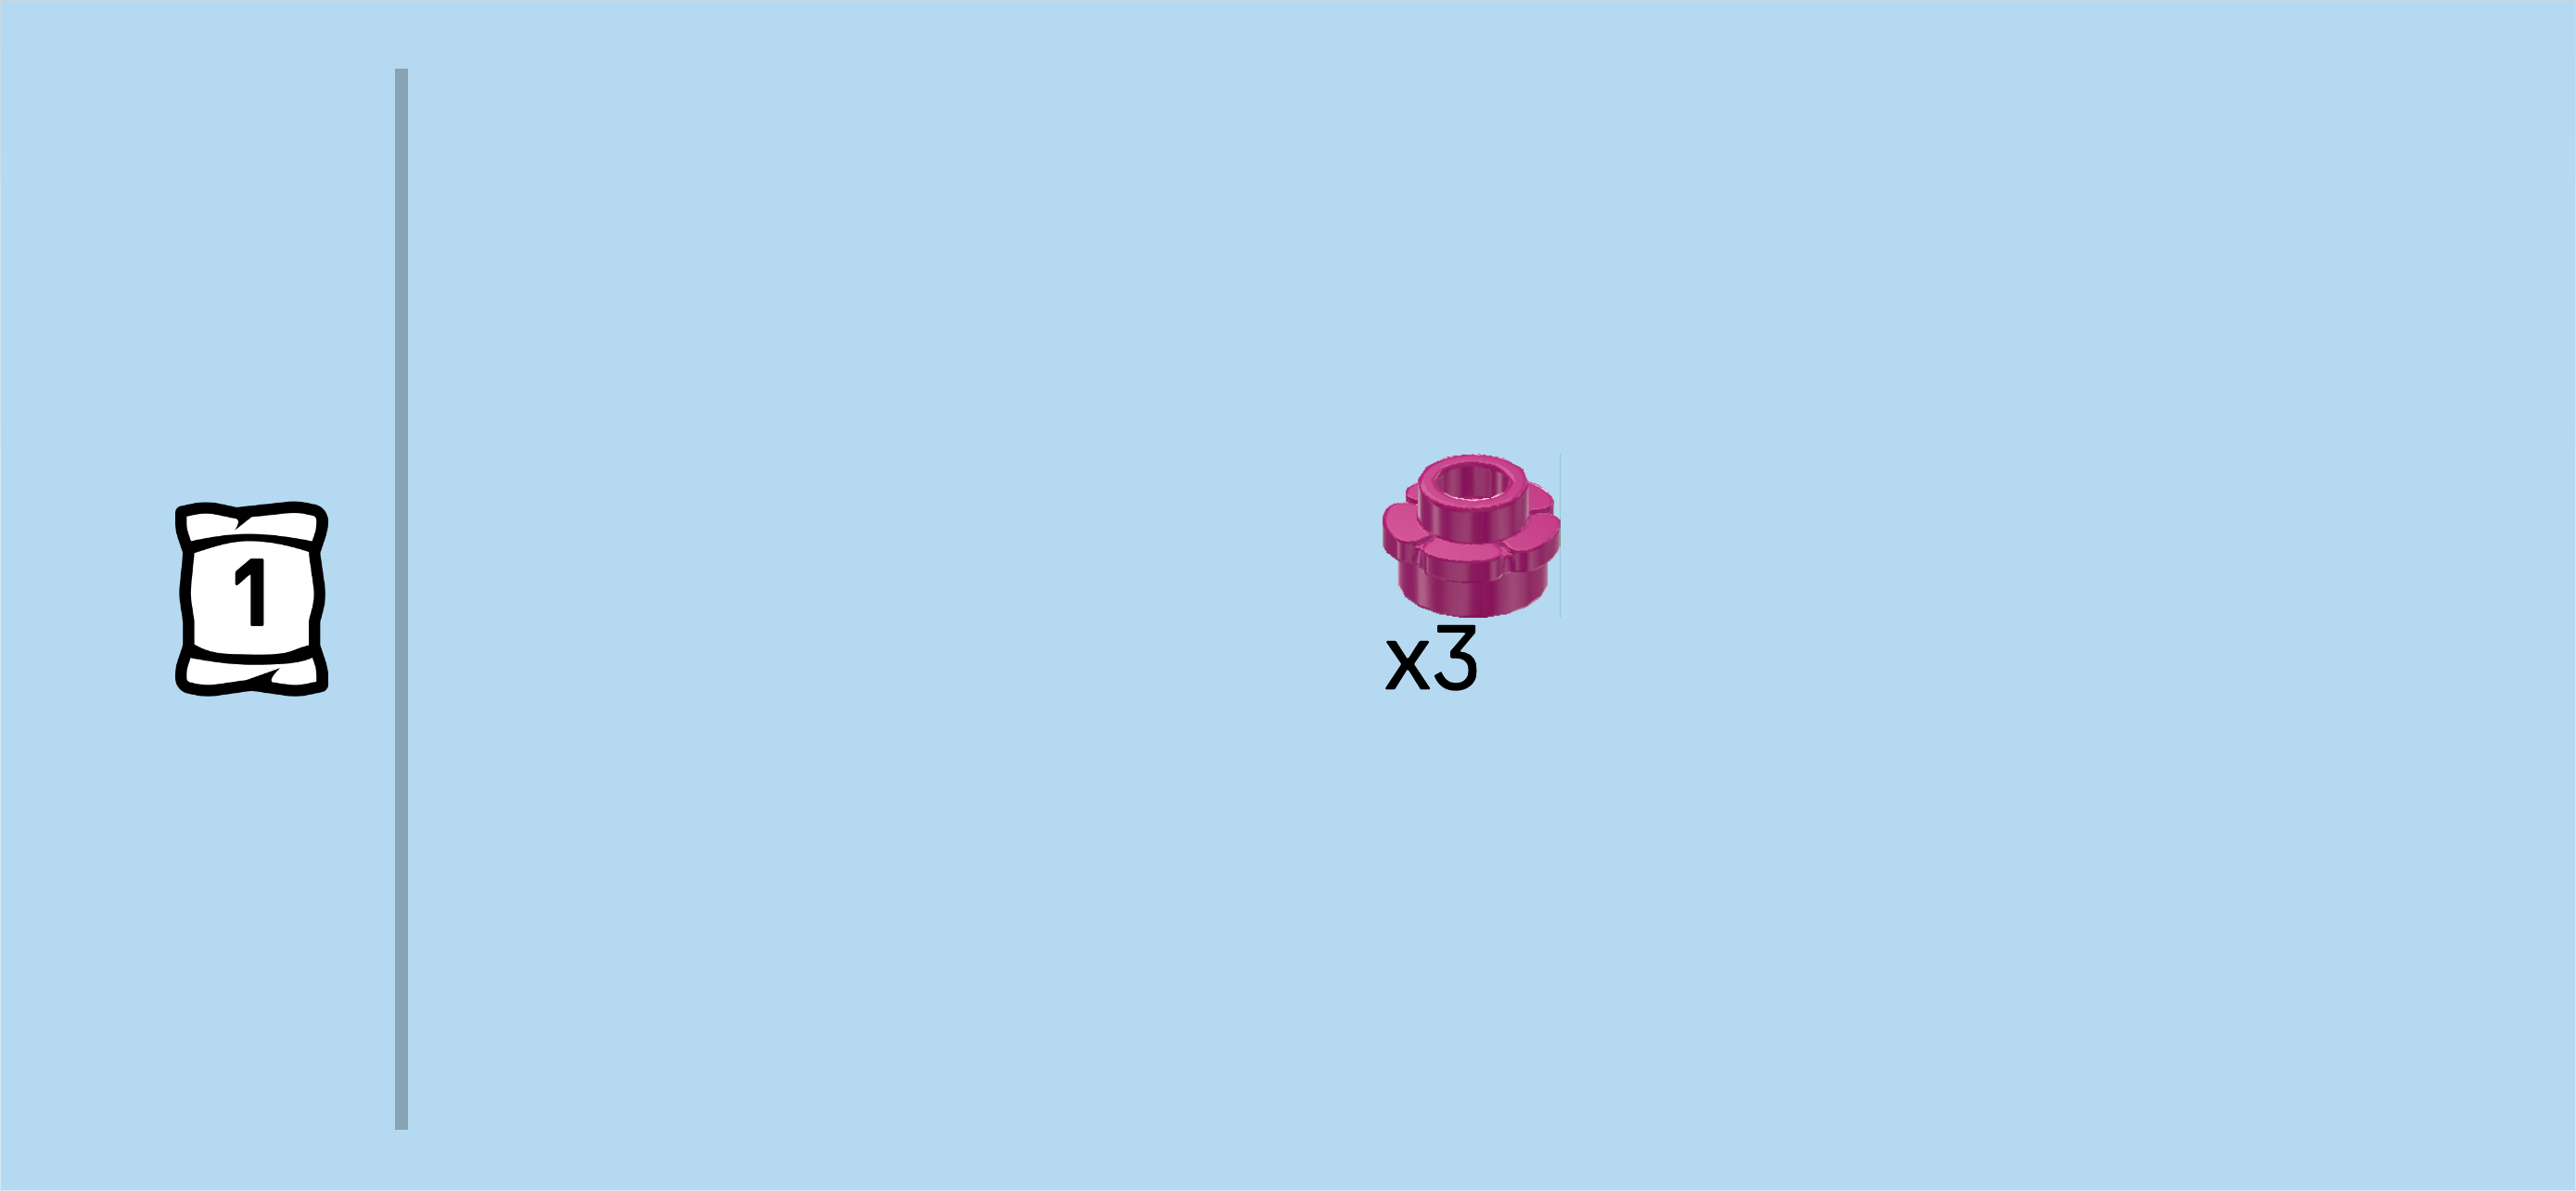
| Find 3 purple violet flower pieces 1x1 with through-hole. |
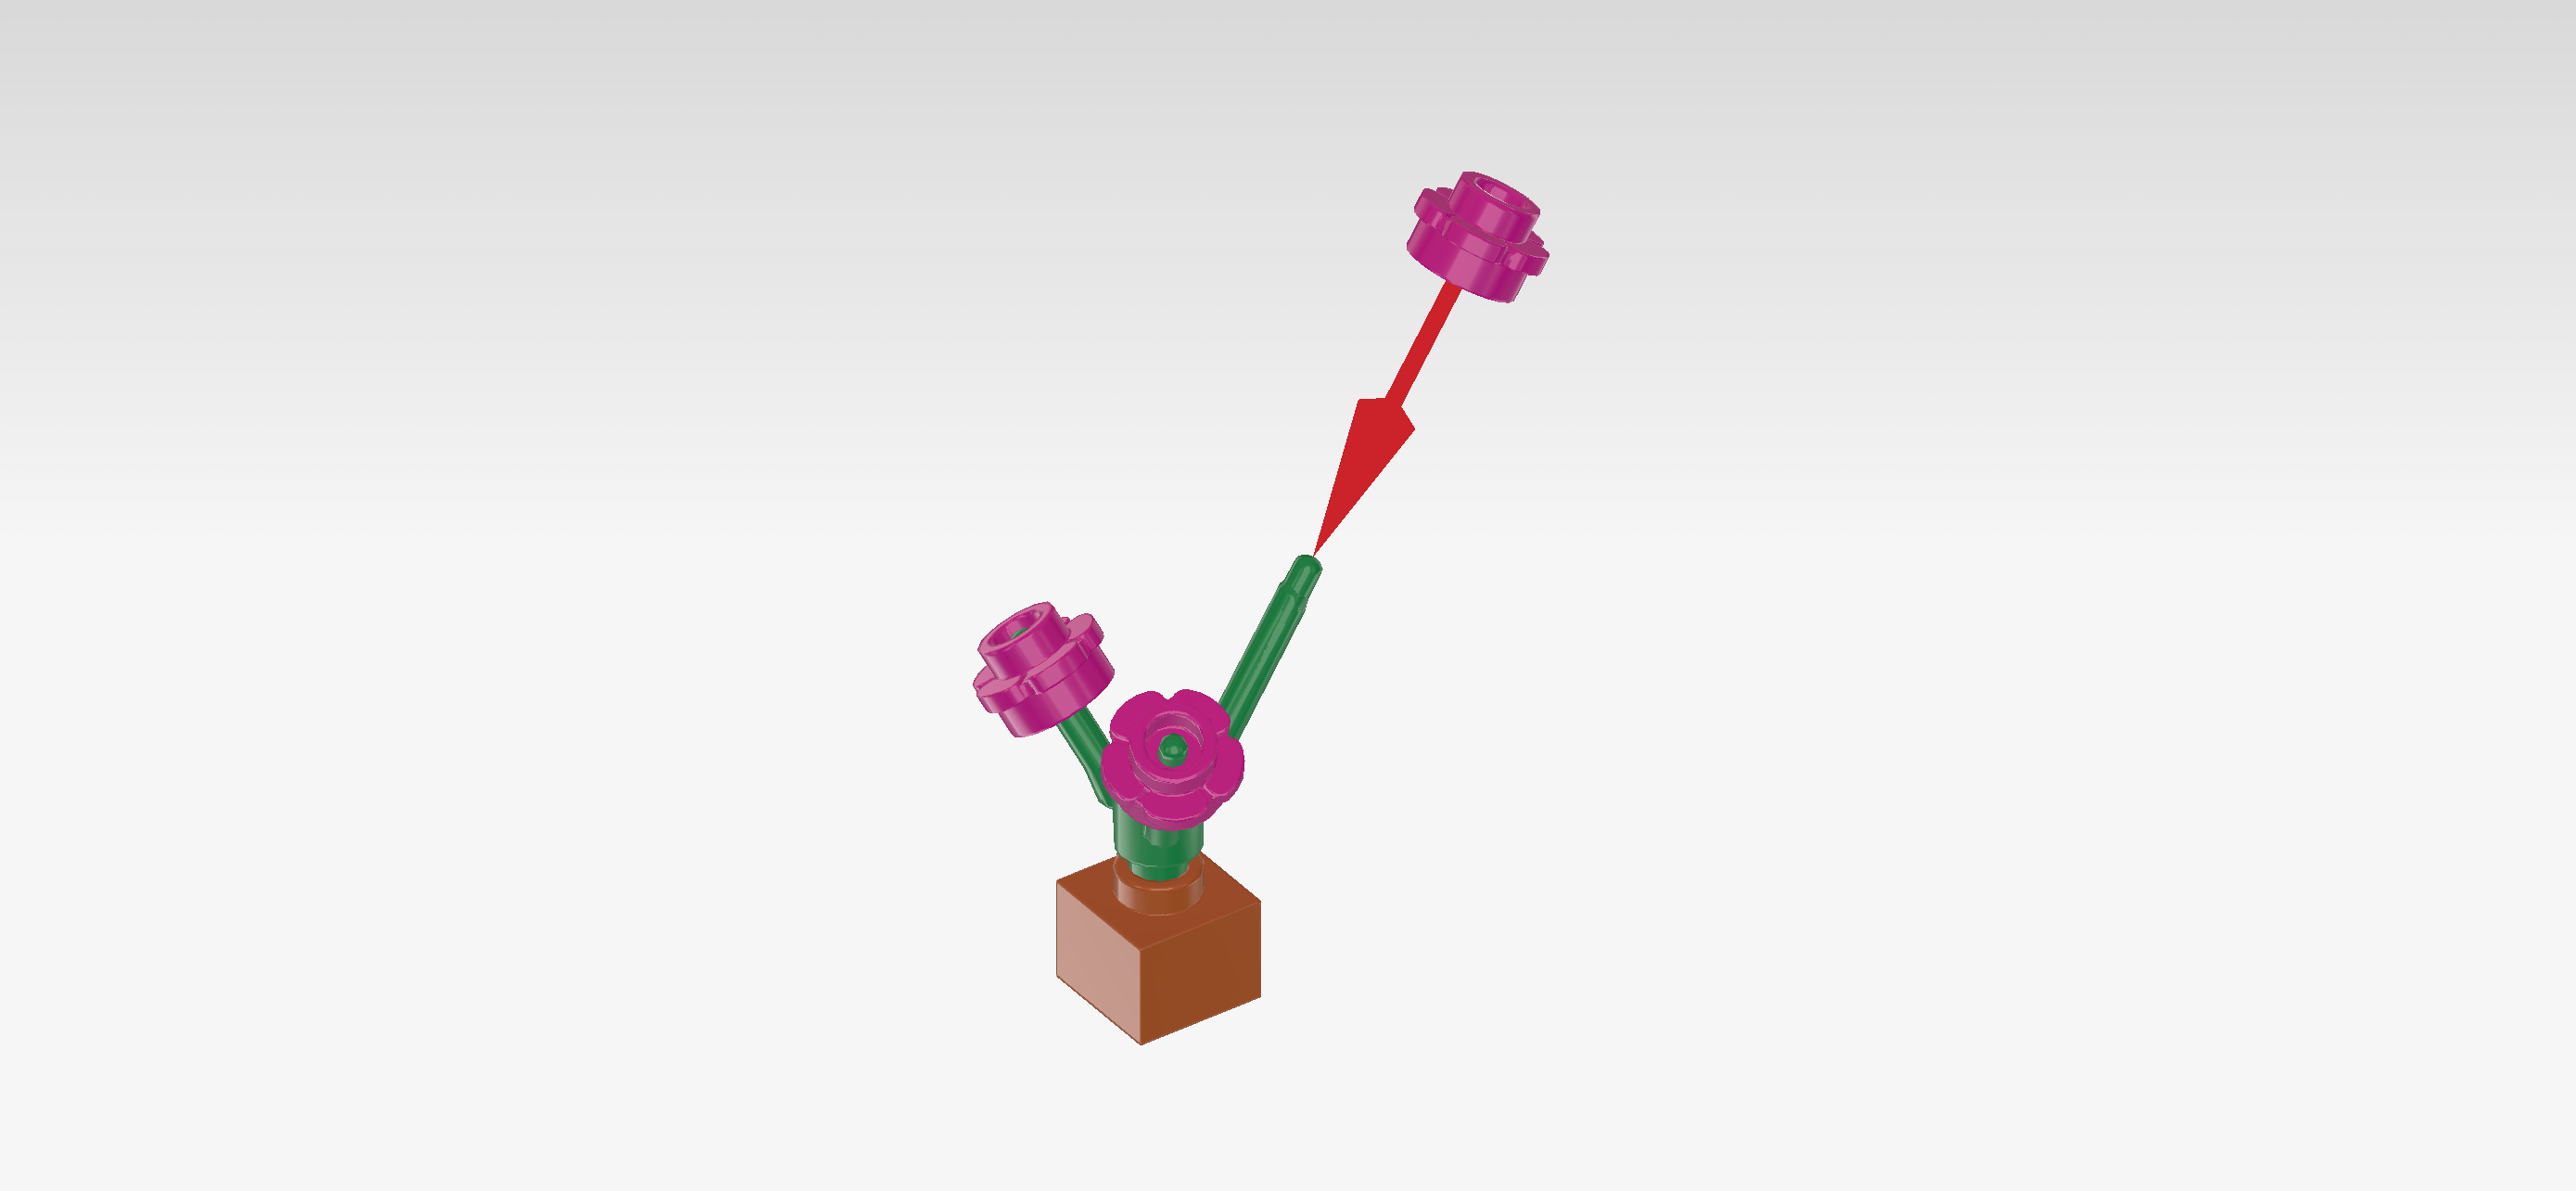
| Put them on the 3 branches. |
| Mount the flower on top of the flower vase. Make sure that the straight edges of the low brick are aligned with the straight edges of the plate 2x2. |
| The flower vase is finished! Well done! You can put it aside for now. |
| Next, we will make the furnace. |
| Collect the following 2 pieces: |
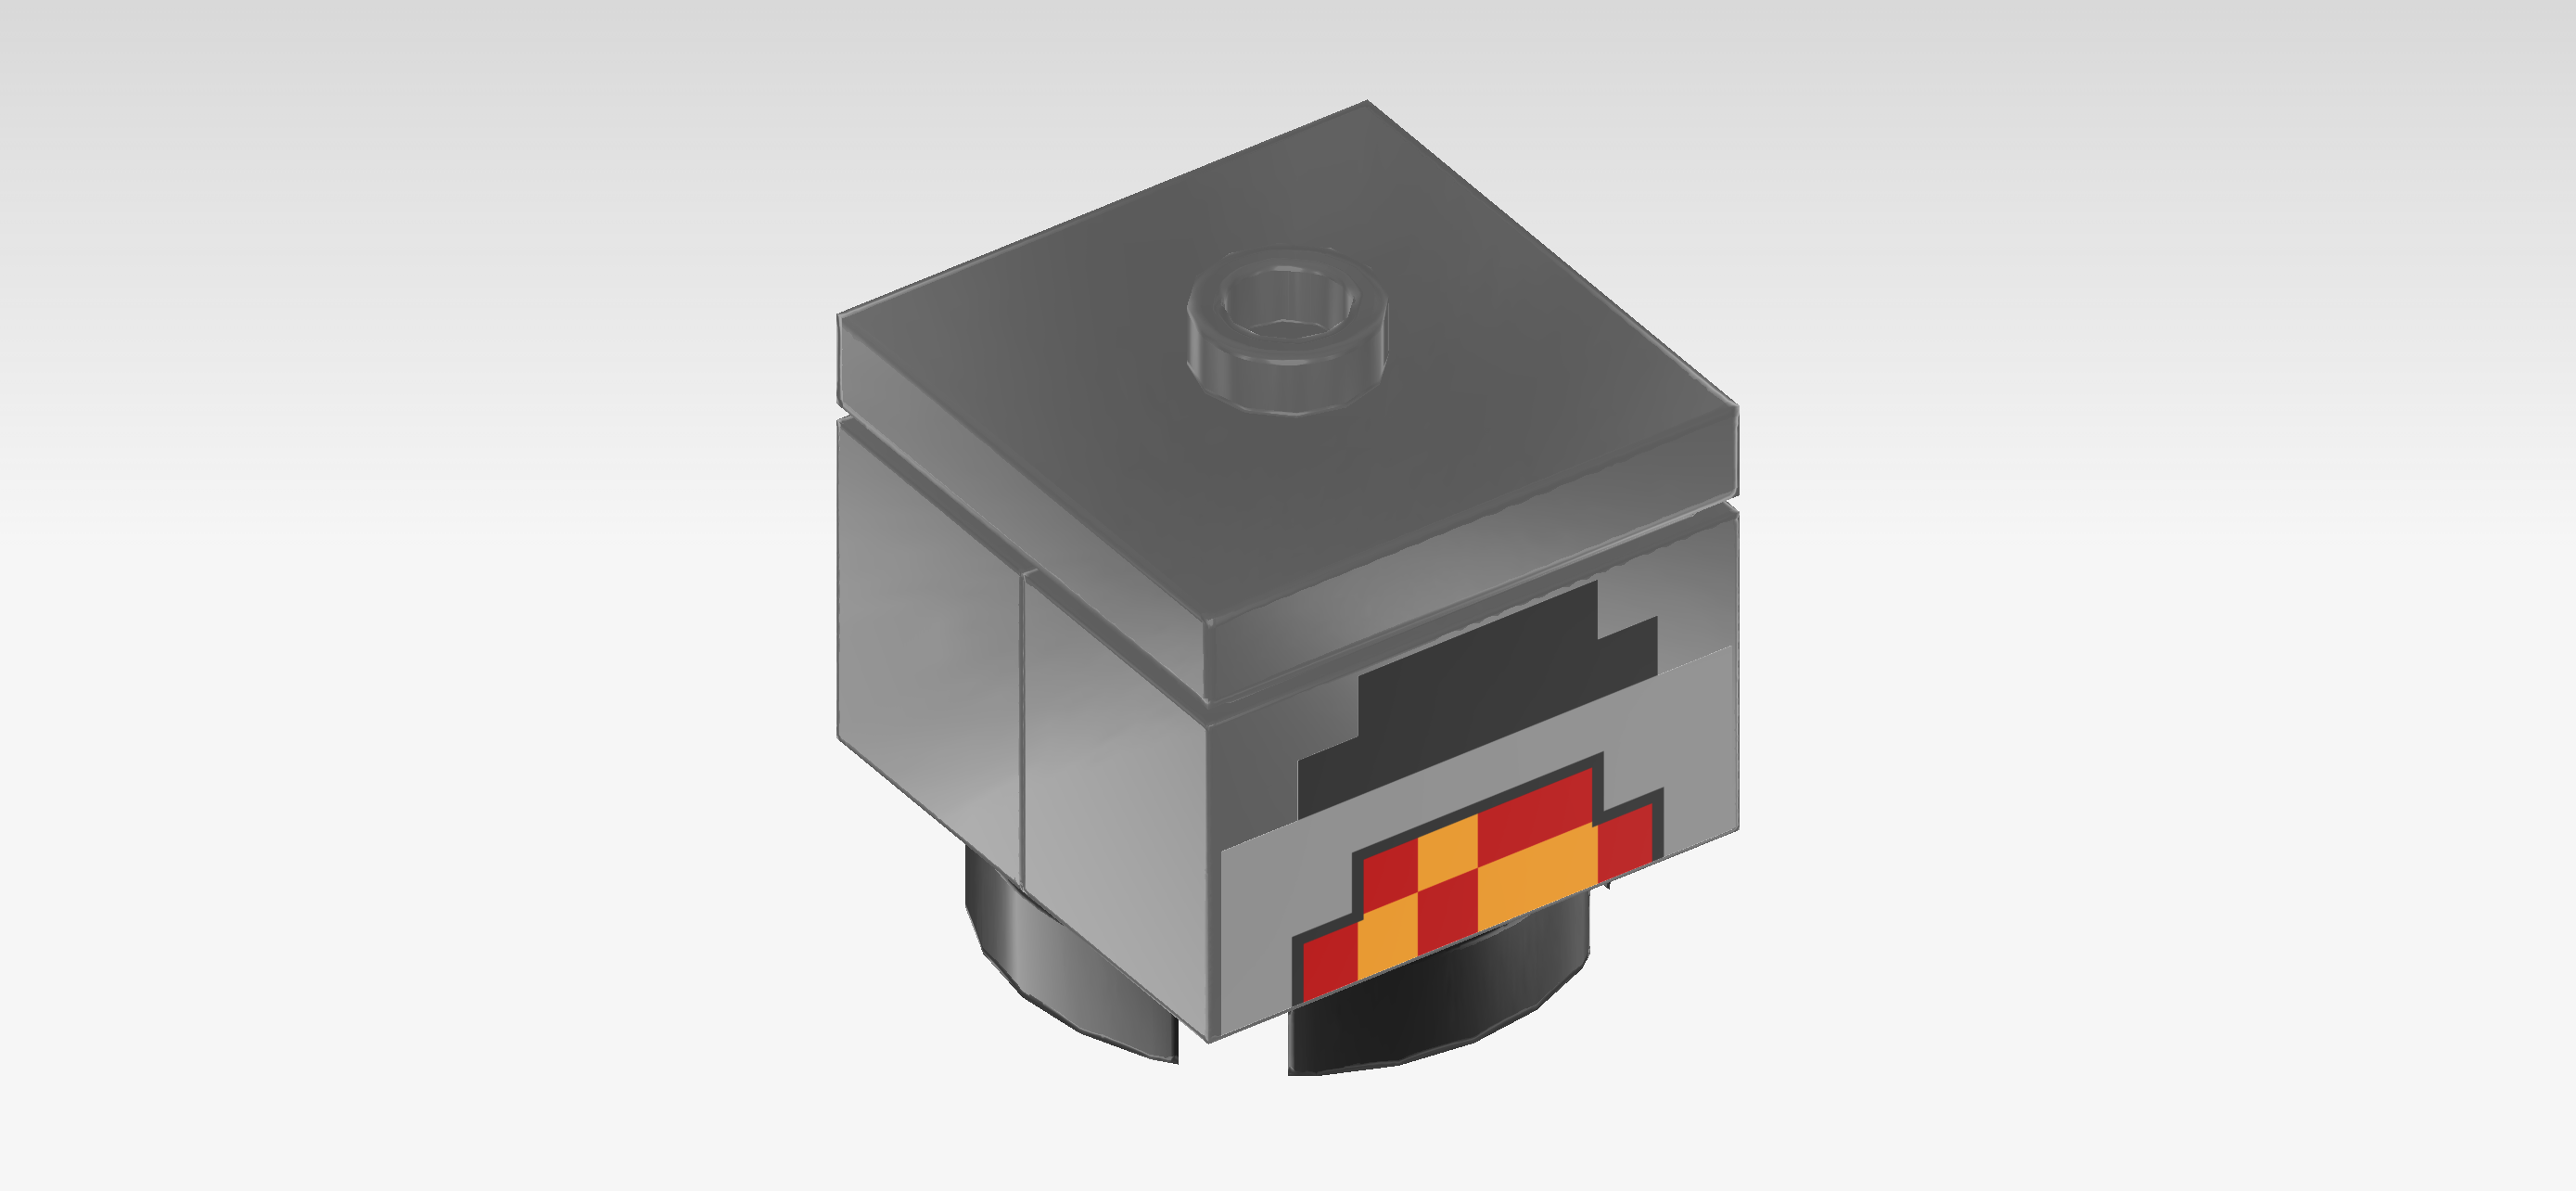
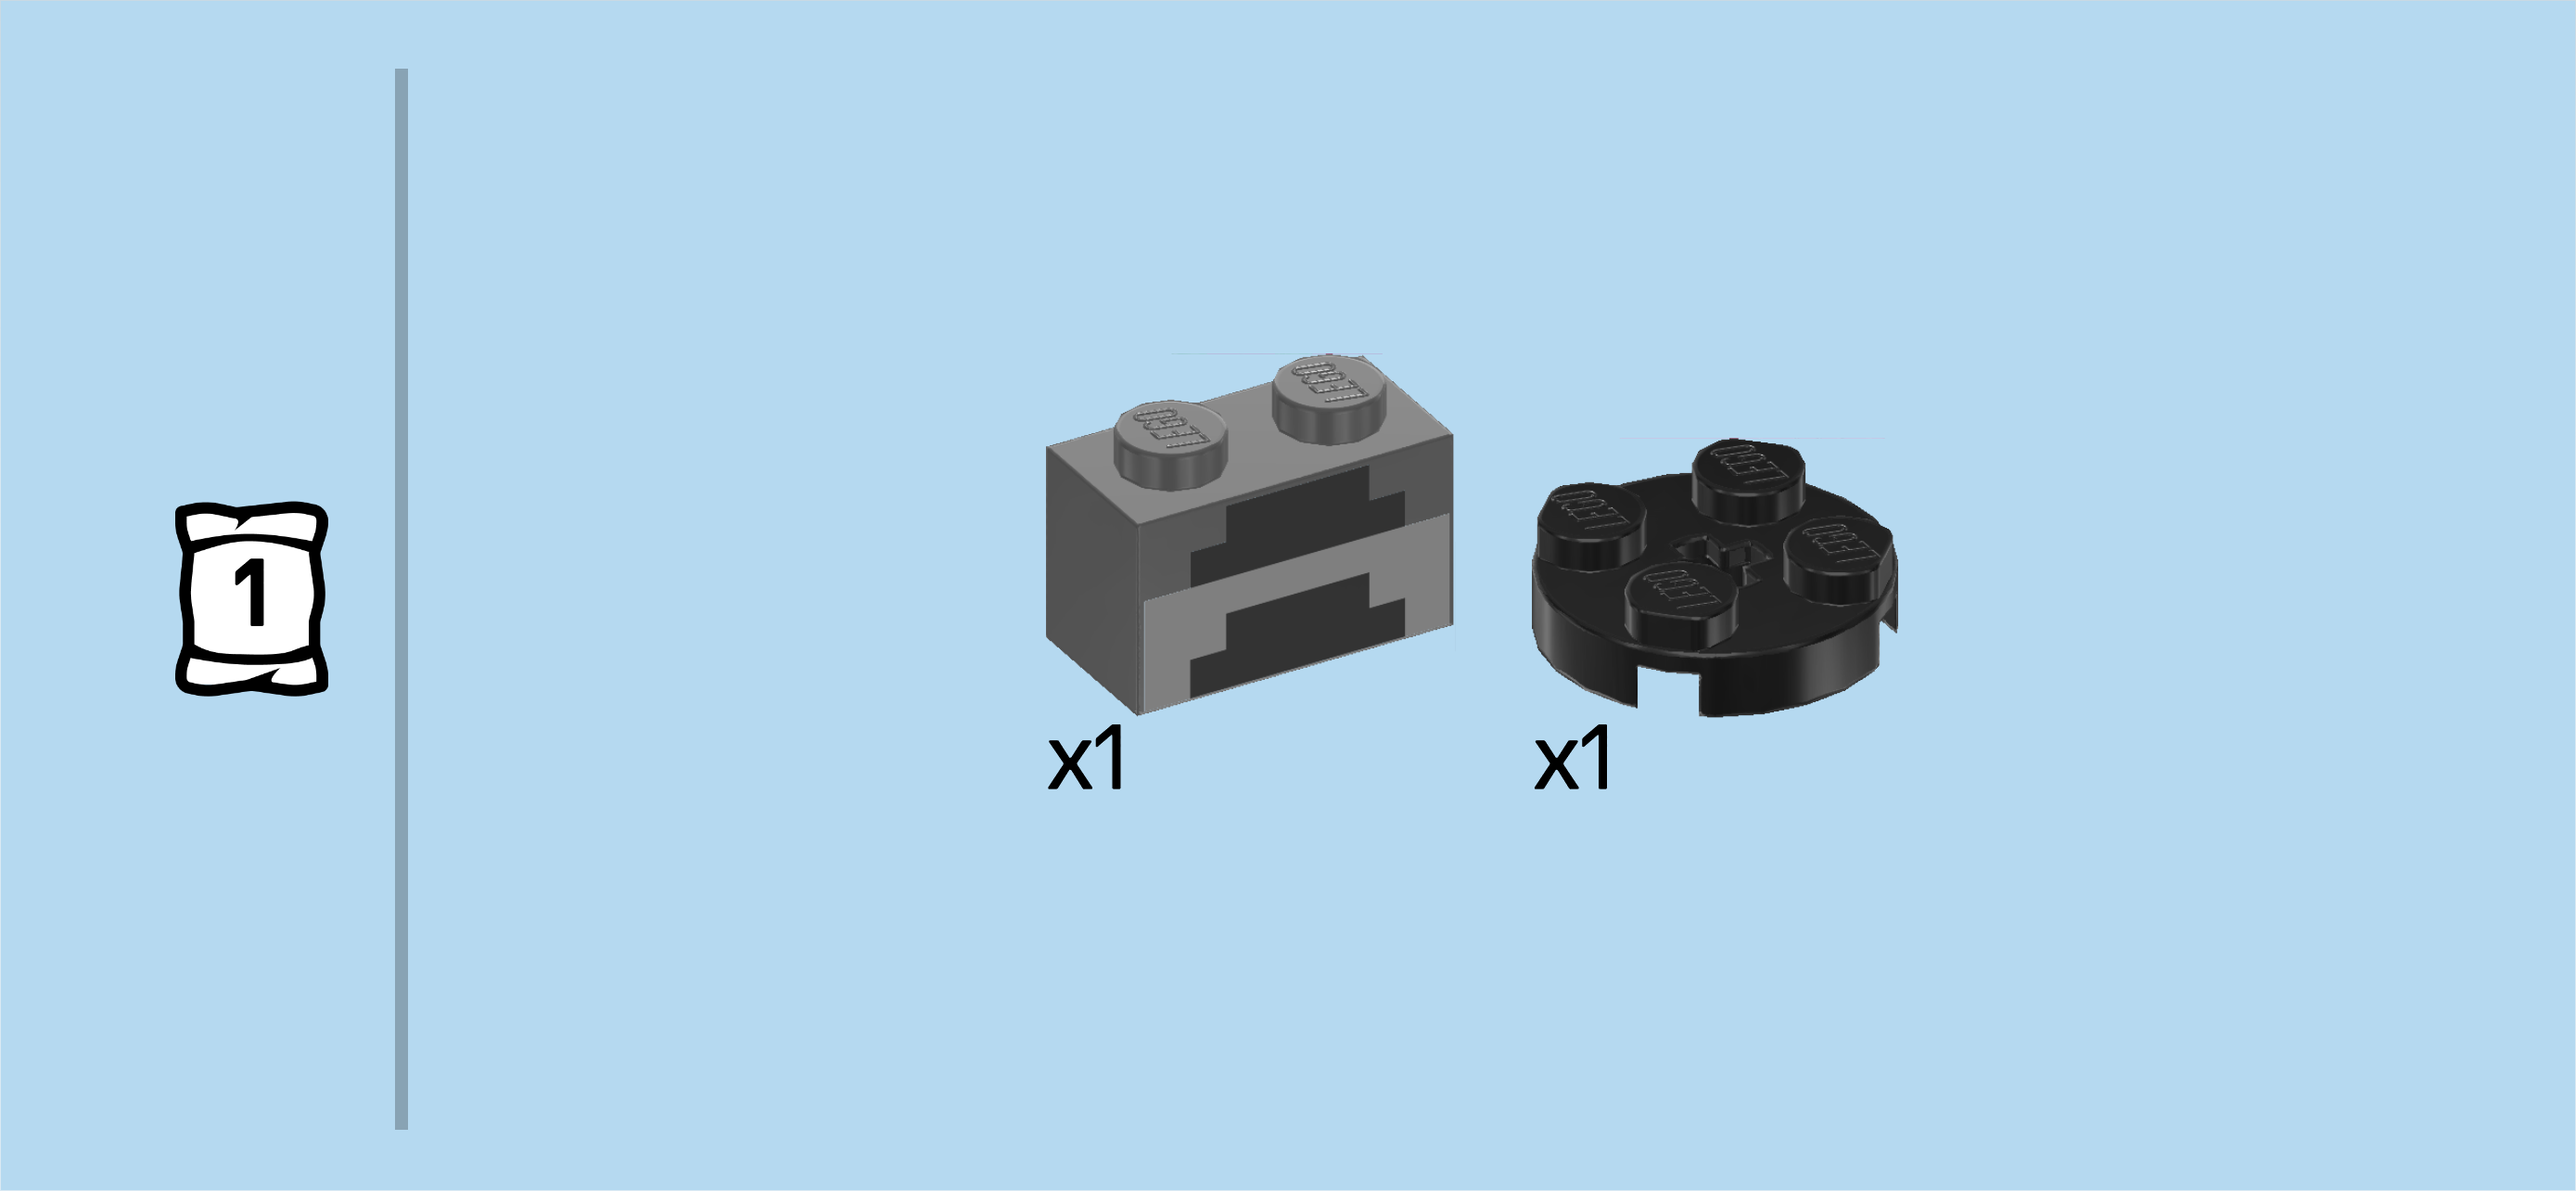
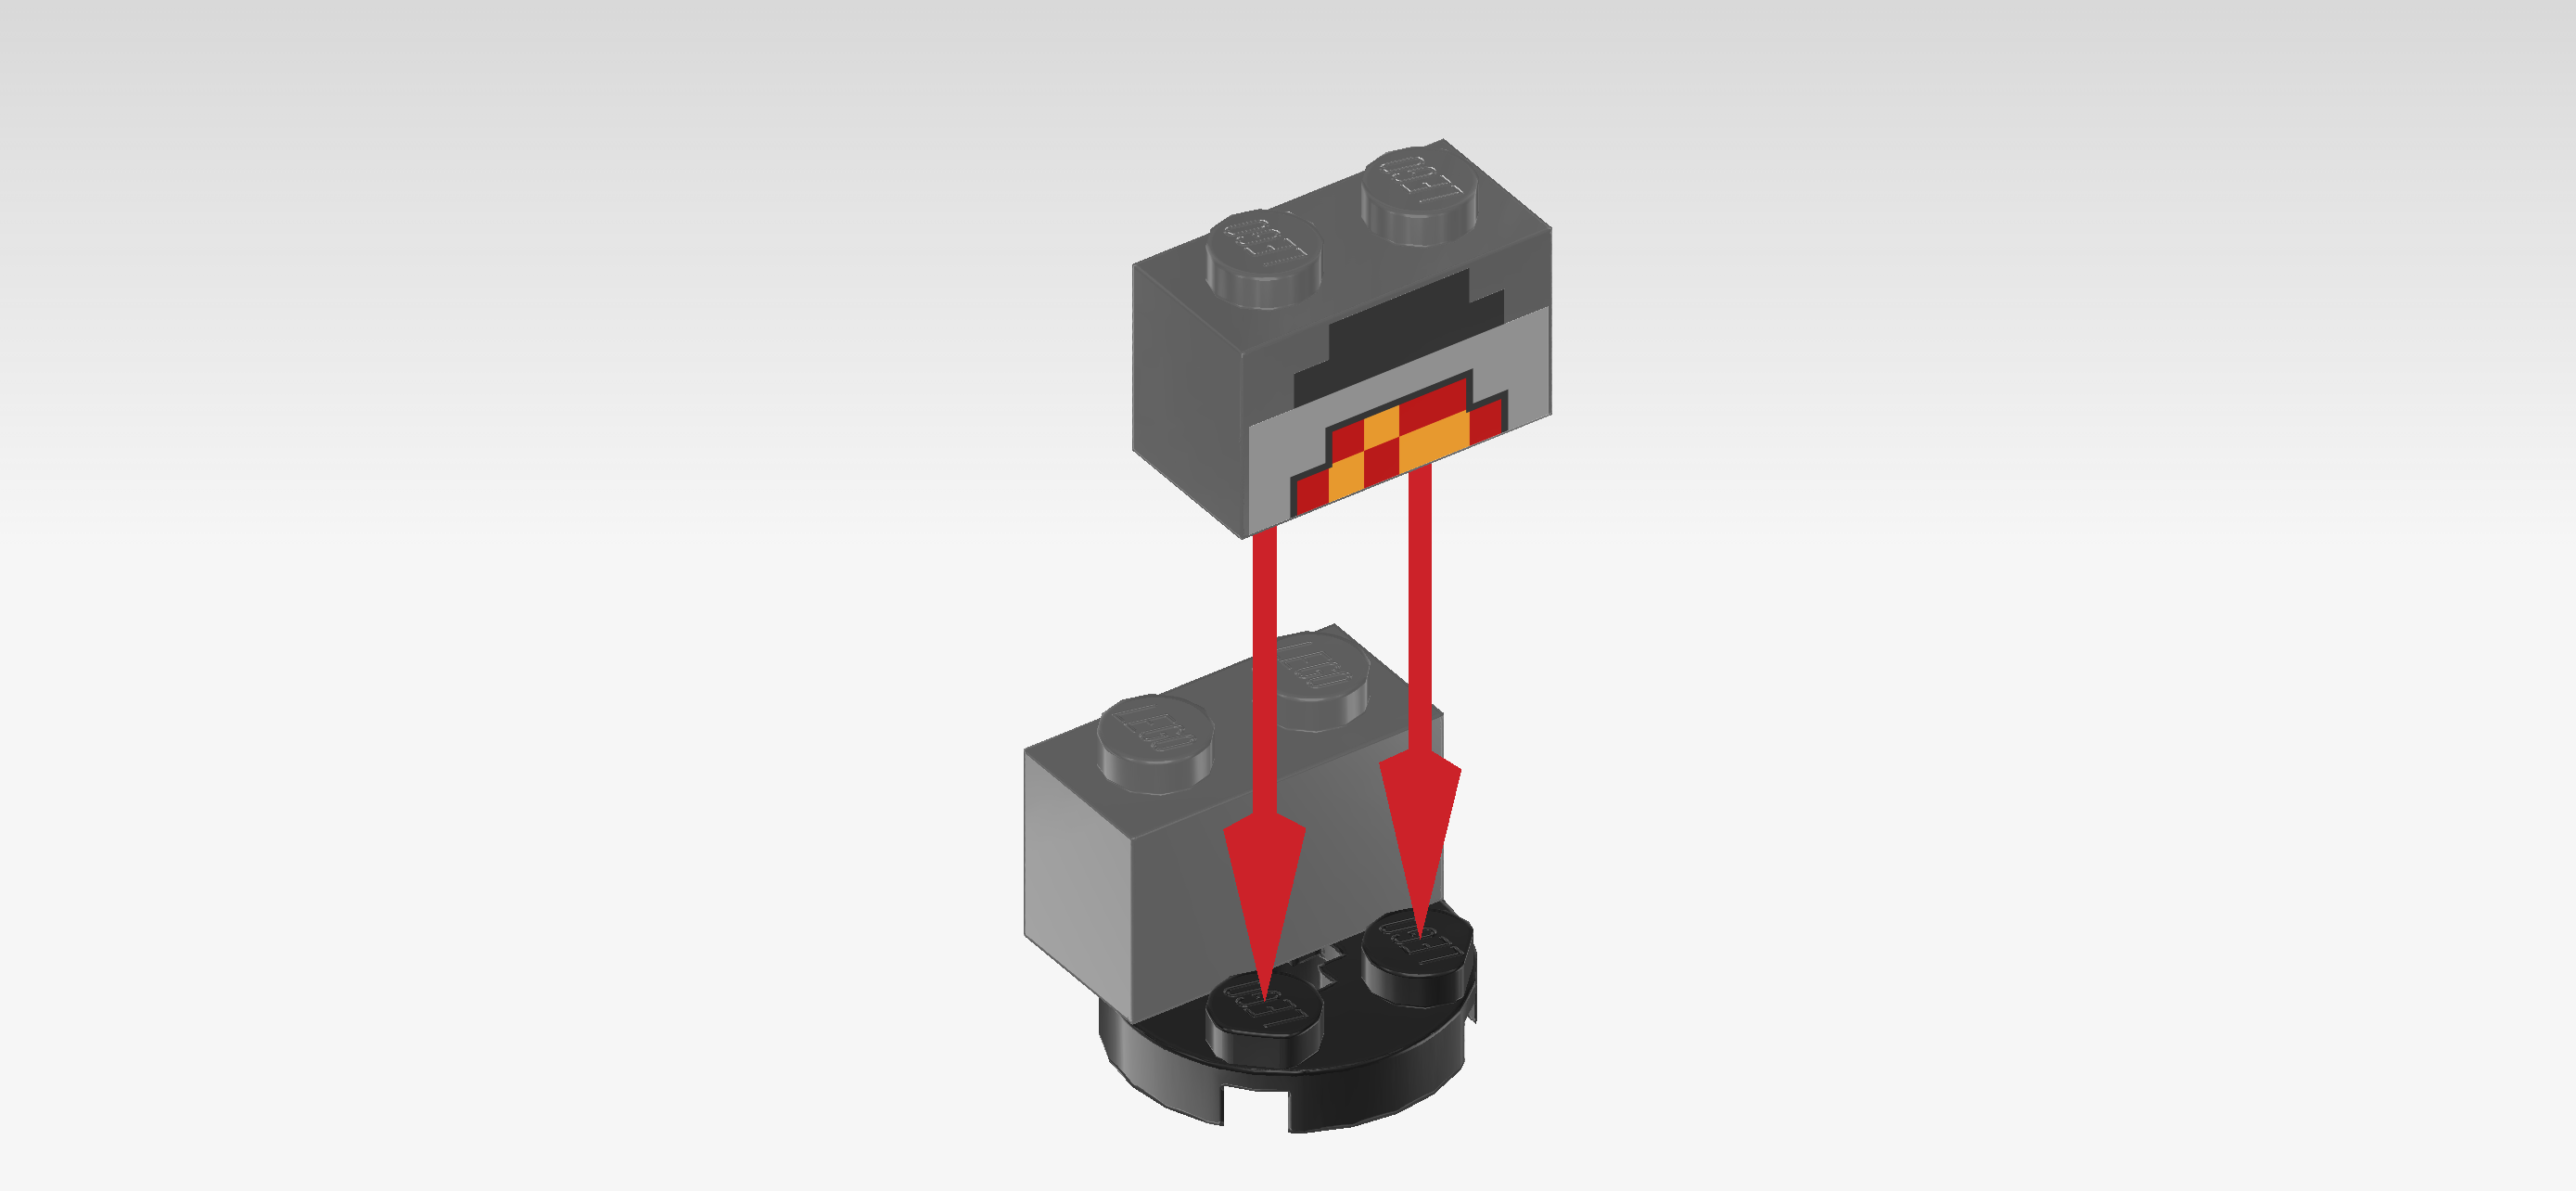
| 1 dark stone grey brick 1x2, (This piece is printed on its long side with two black smelting slots. There is a second dark stone grey brick 1x2 with side print that has a slightly different print (namely one black and one fired up smelting slot), so if you want to make absolutely sure that you have the correct piece, you can ask a sighted person for help.) |
| and 1 black round plate 2x2. |
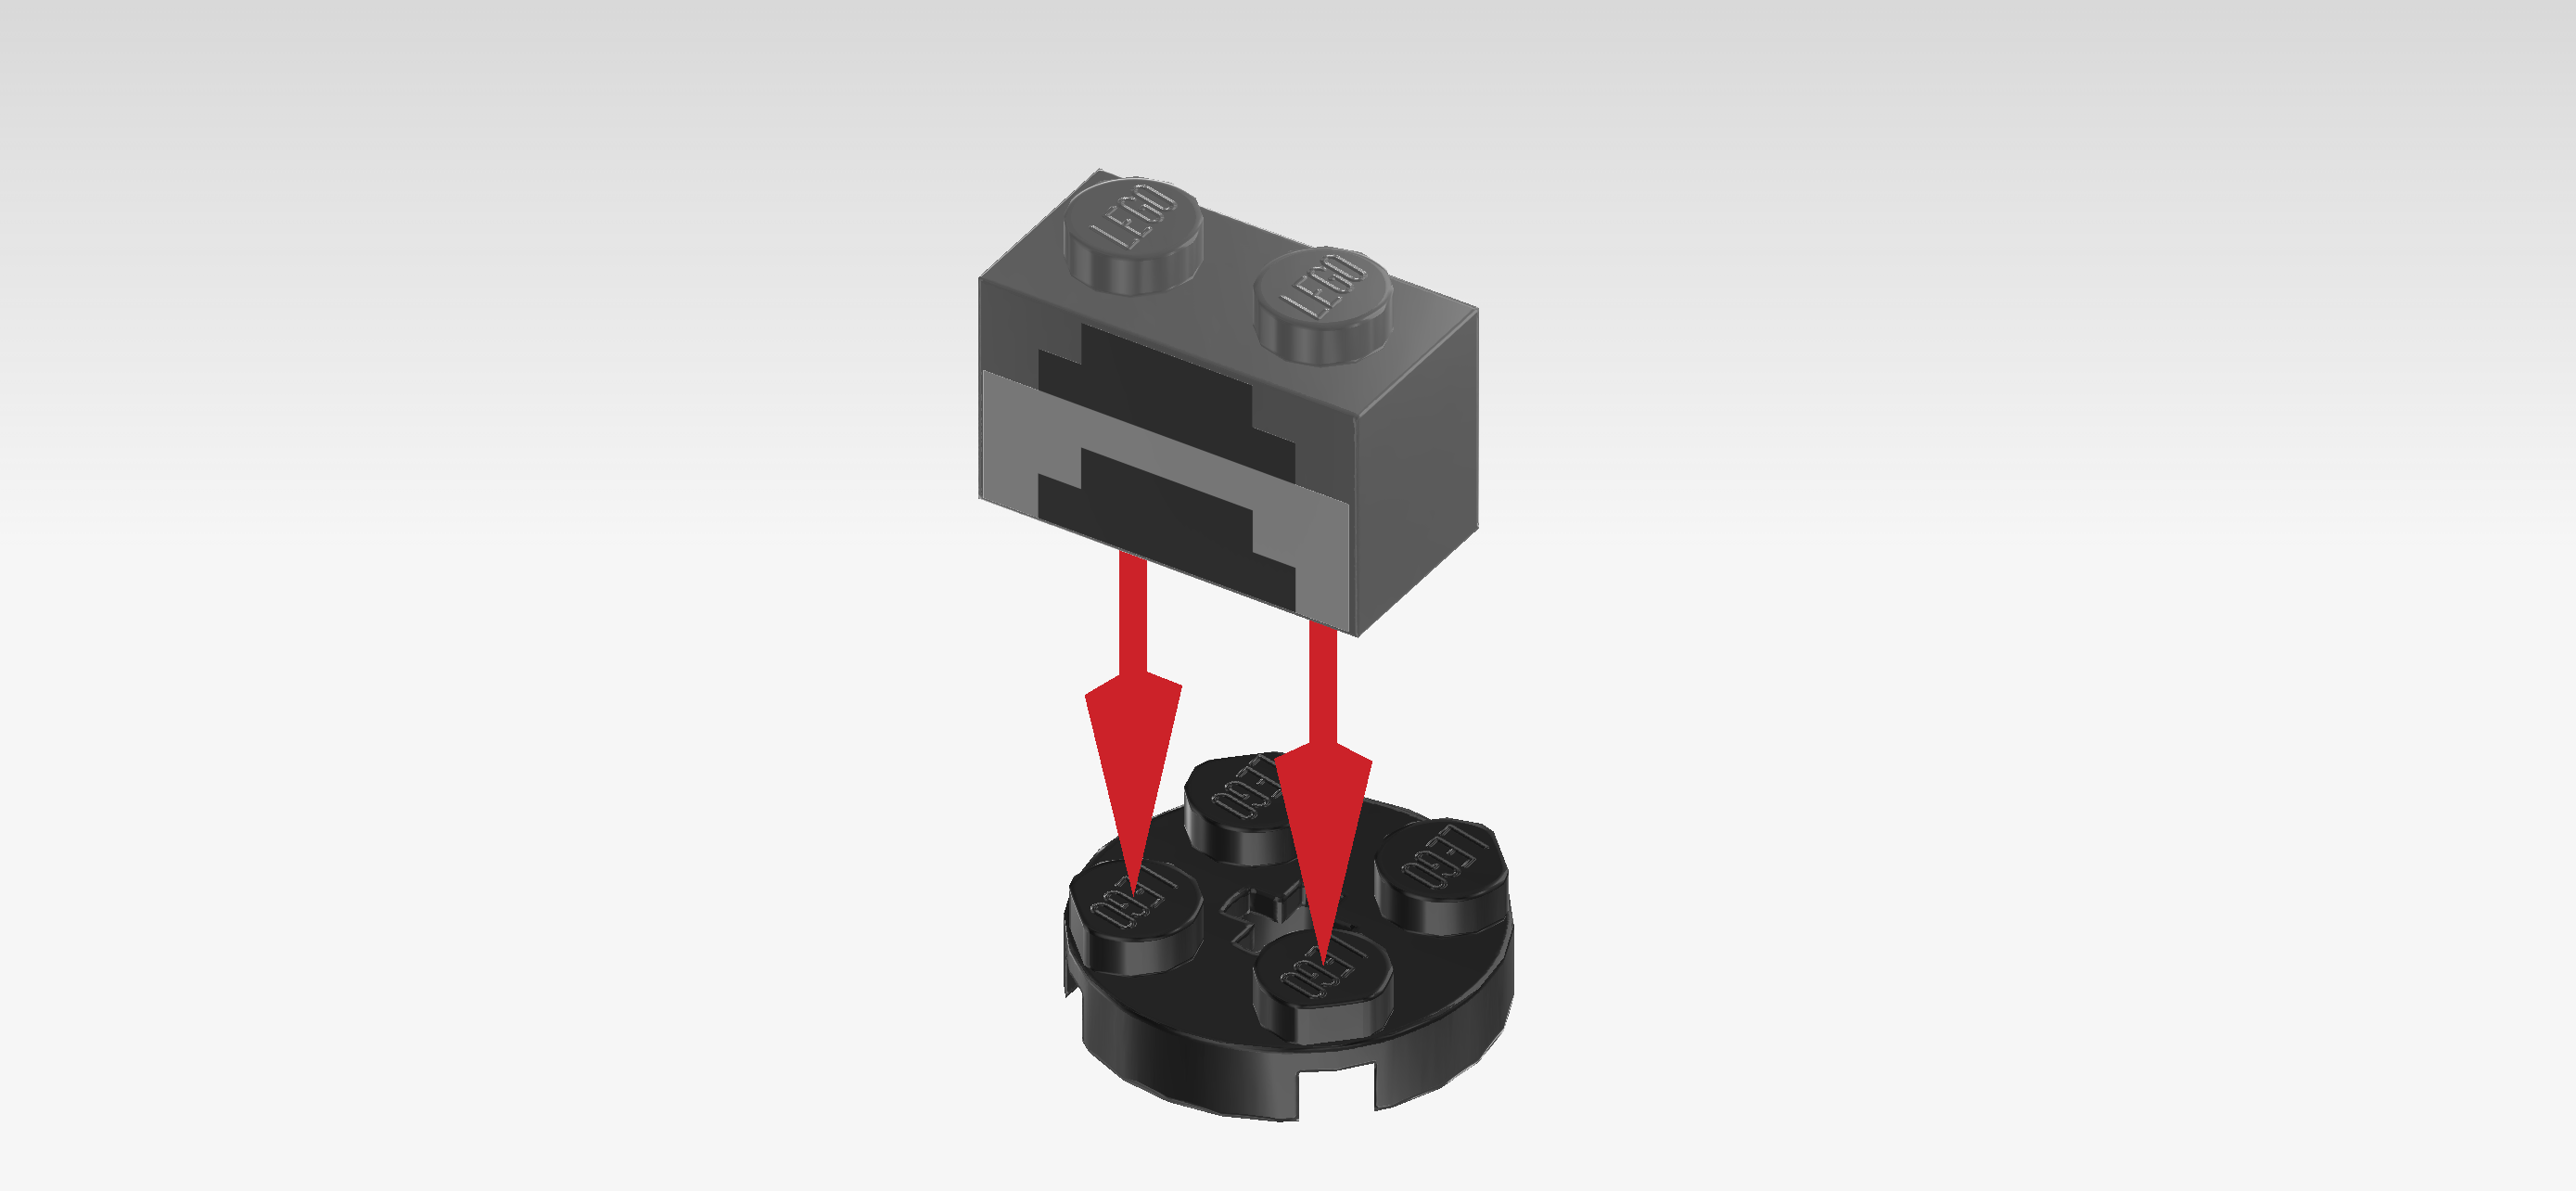
| Put the round plate on the table. |
| Put the brick 1x2 horizontally on the 2 frontmost knobs, print to the front. |
| This brick is printed with two black smelting slots. |
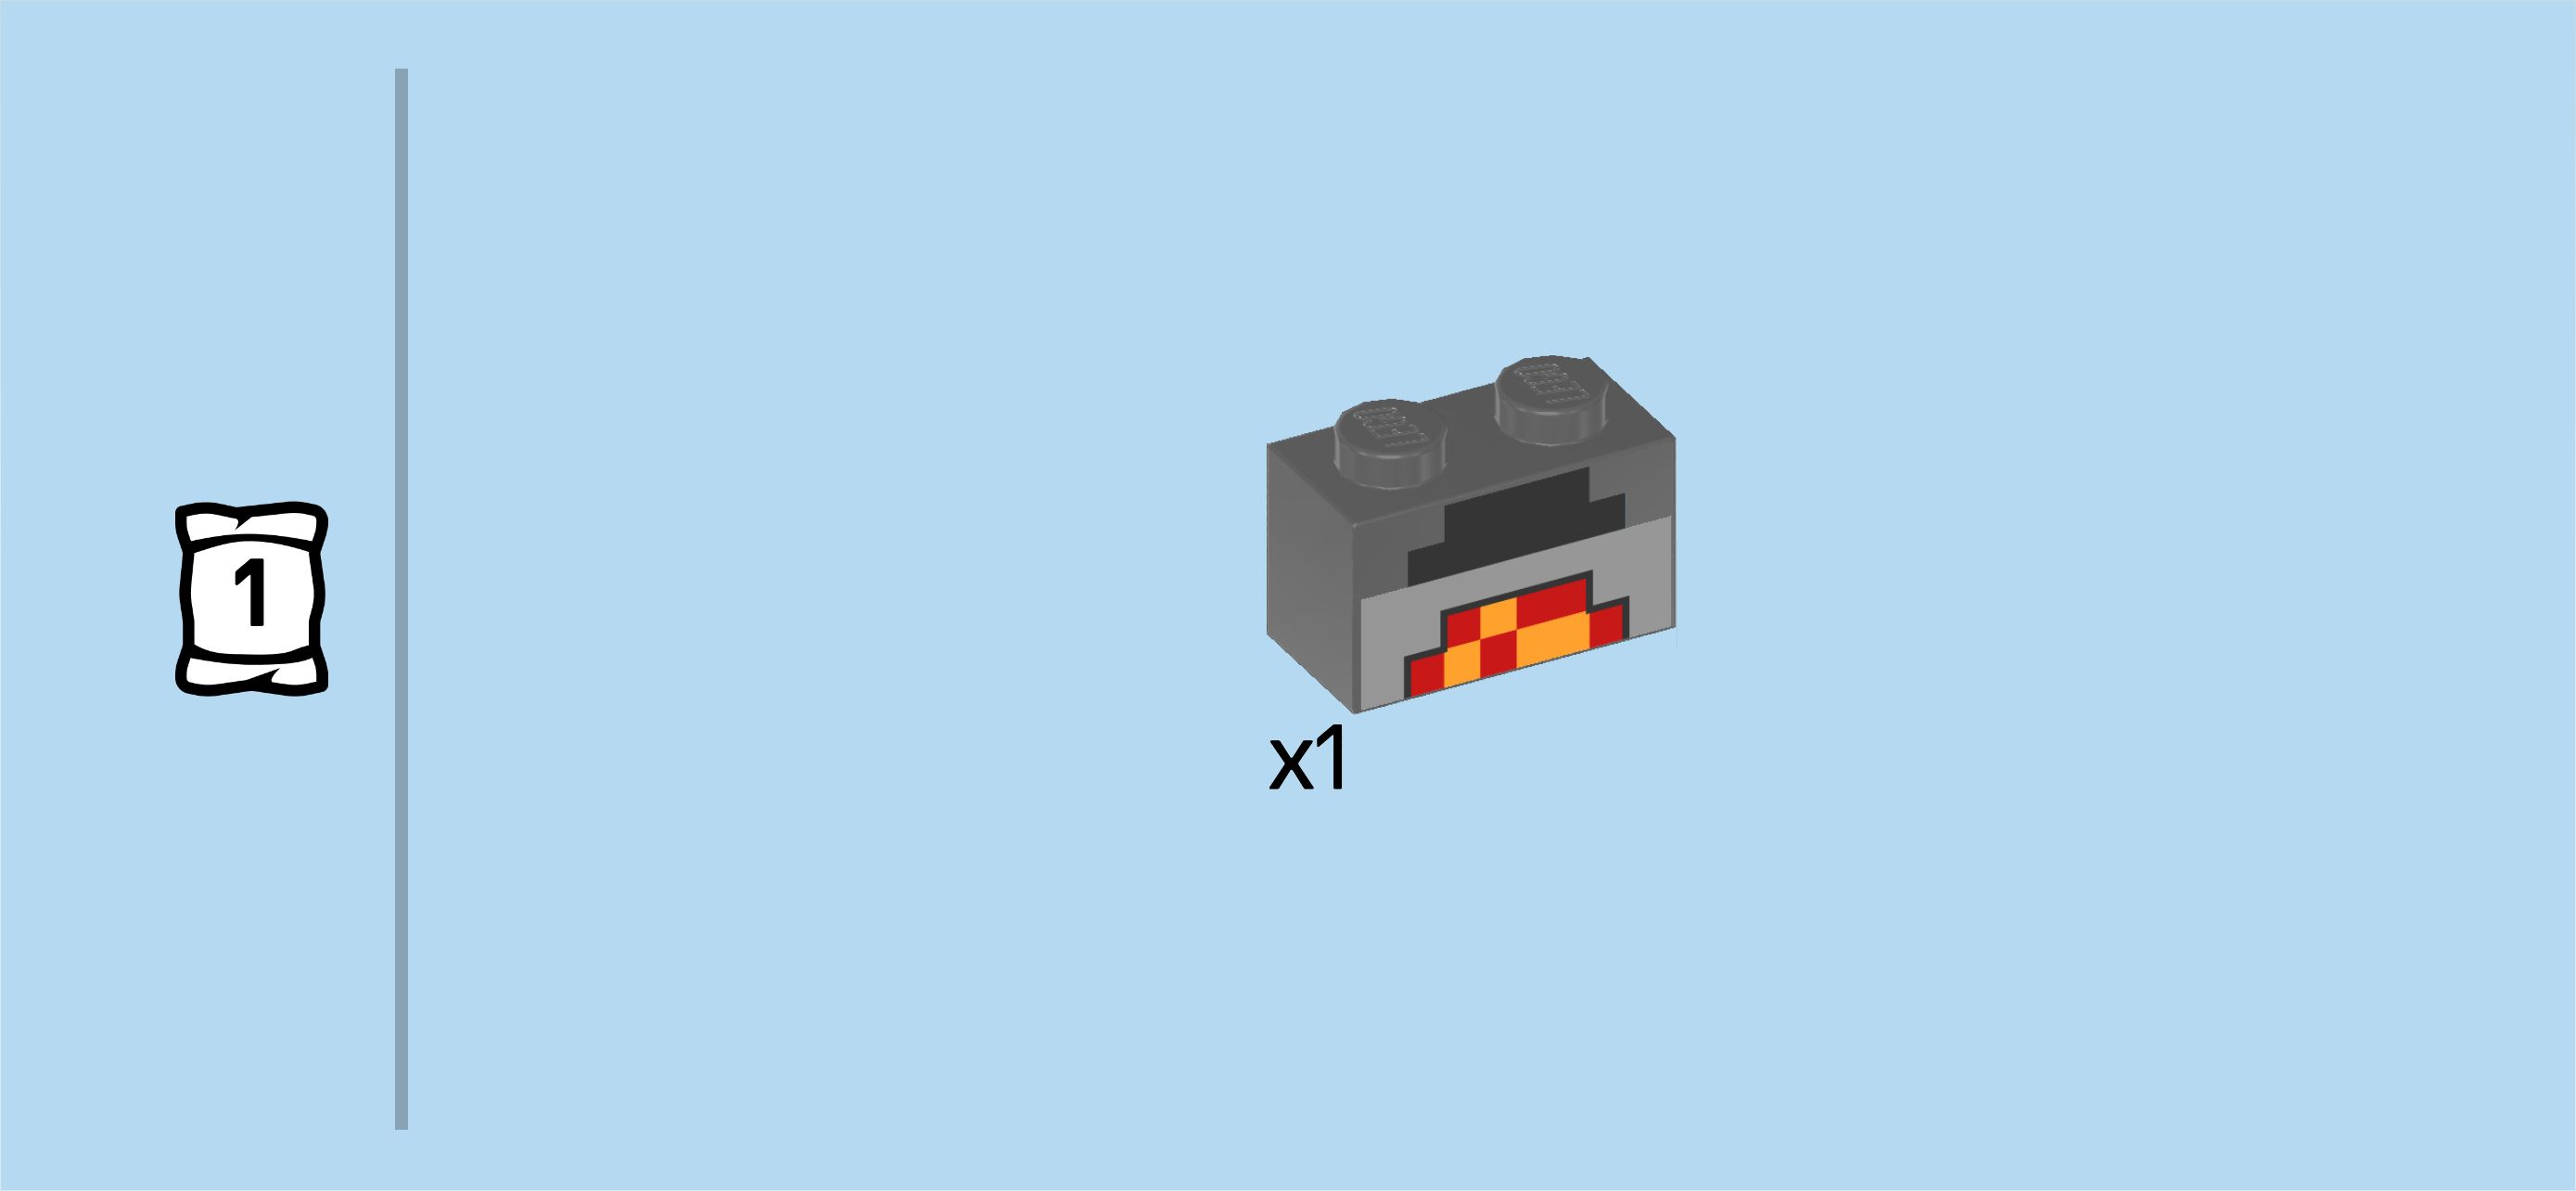
| Find 1 dark stone grey brick 1x2. |
| Put it horizontally behind the previous piece, print to the back. |
| This piece is also printed with two slots, but there is a fire burning in the lower slot. This means that the furnace can be used for smelting later! |
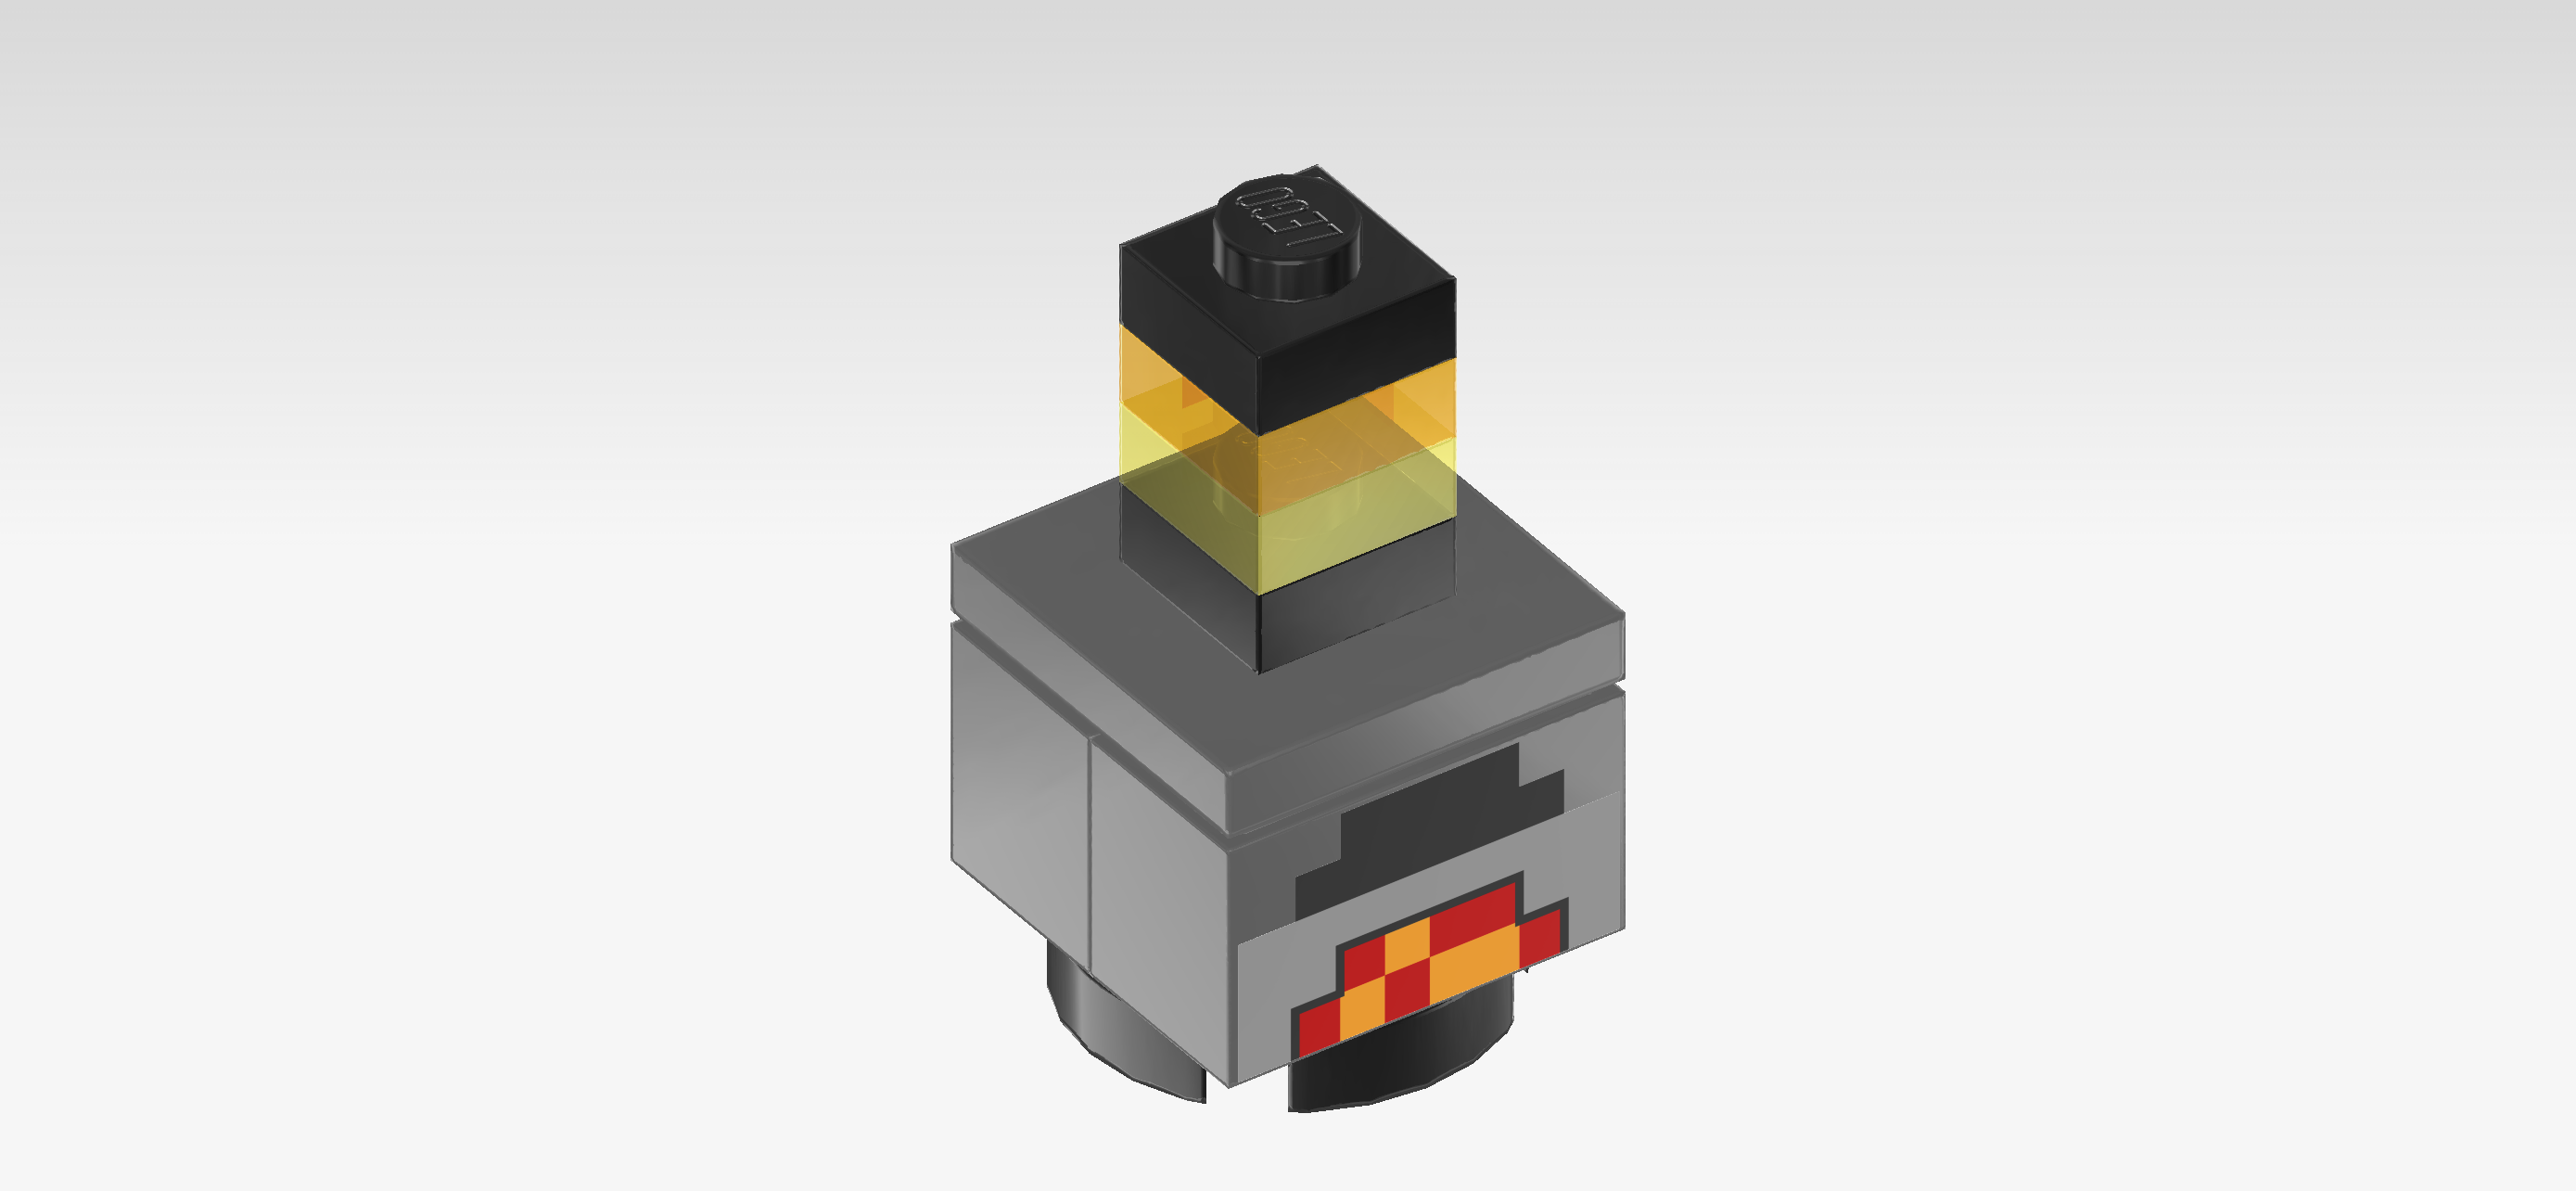
| Find 1 dark stone grey plate 2x2 with 1 knob. |
| Put it on top of the 2 previous pieces. |
| Now, we will assemble a lamp. |
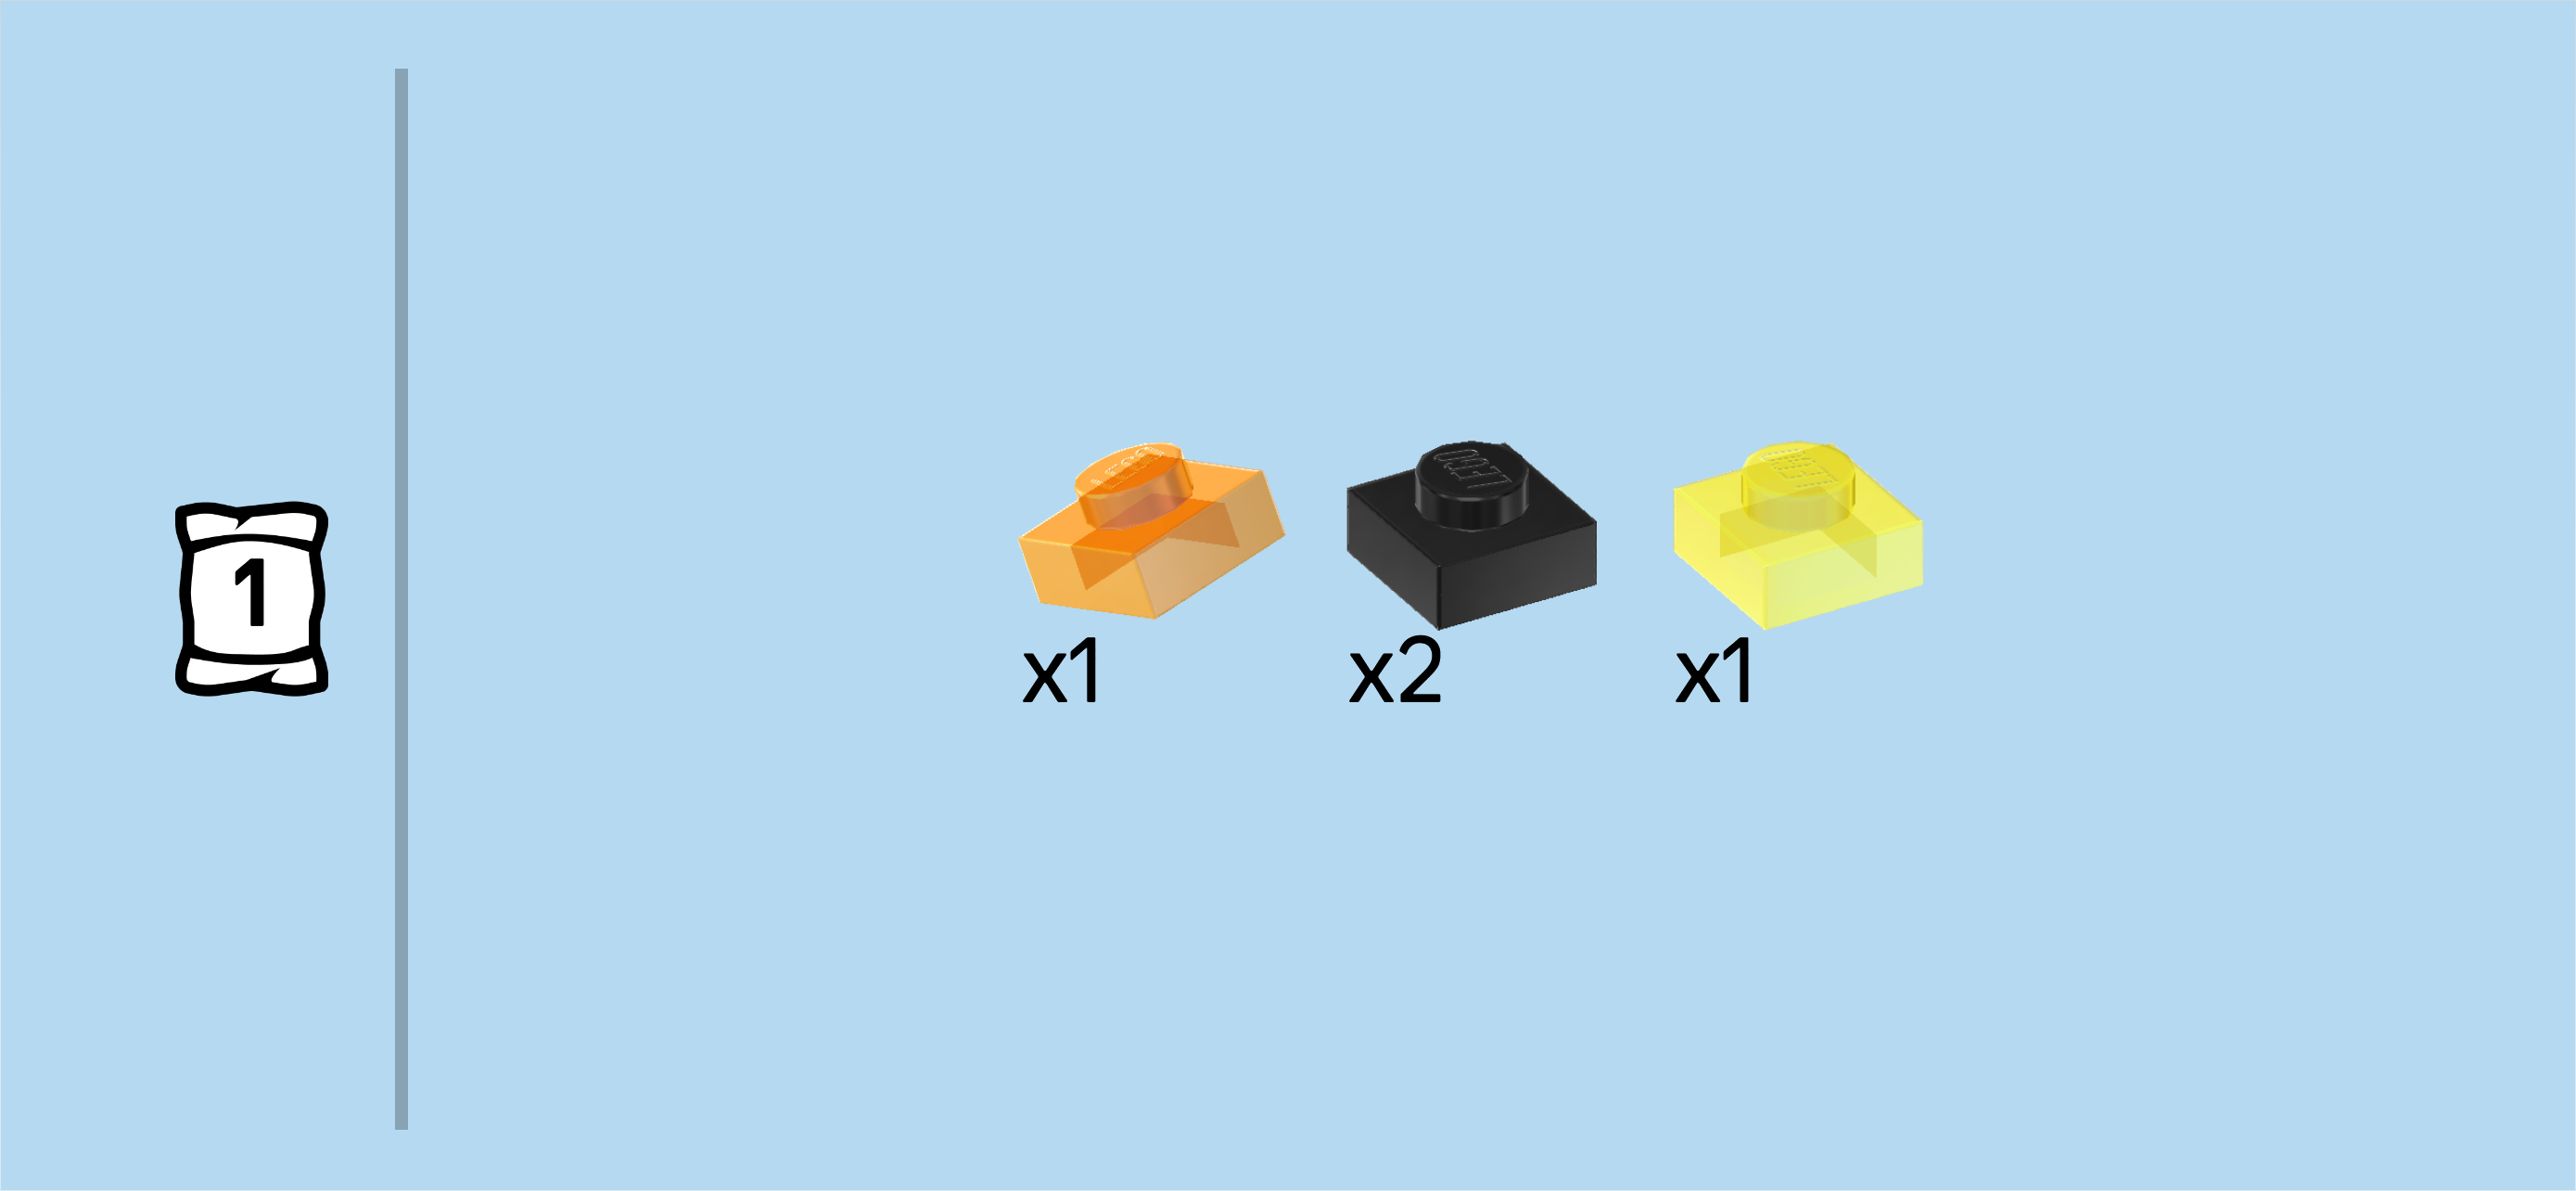
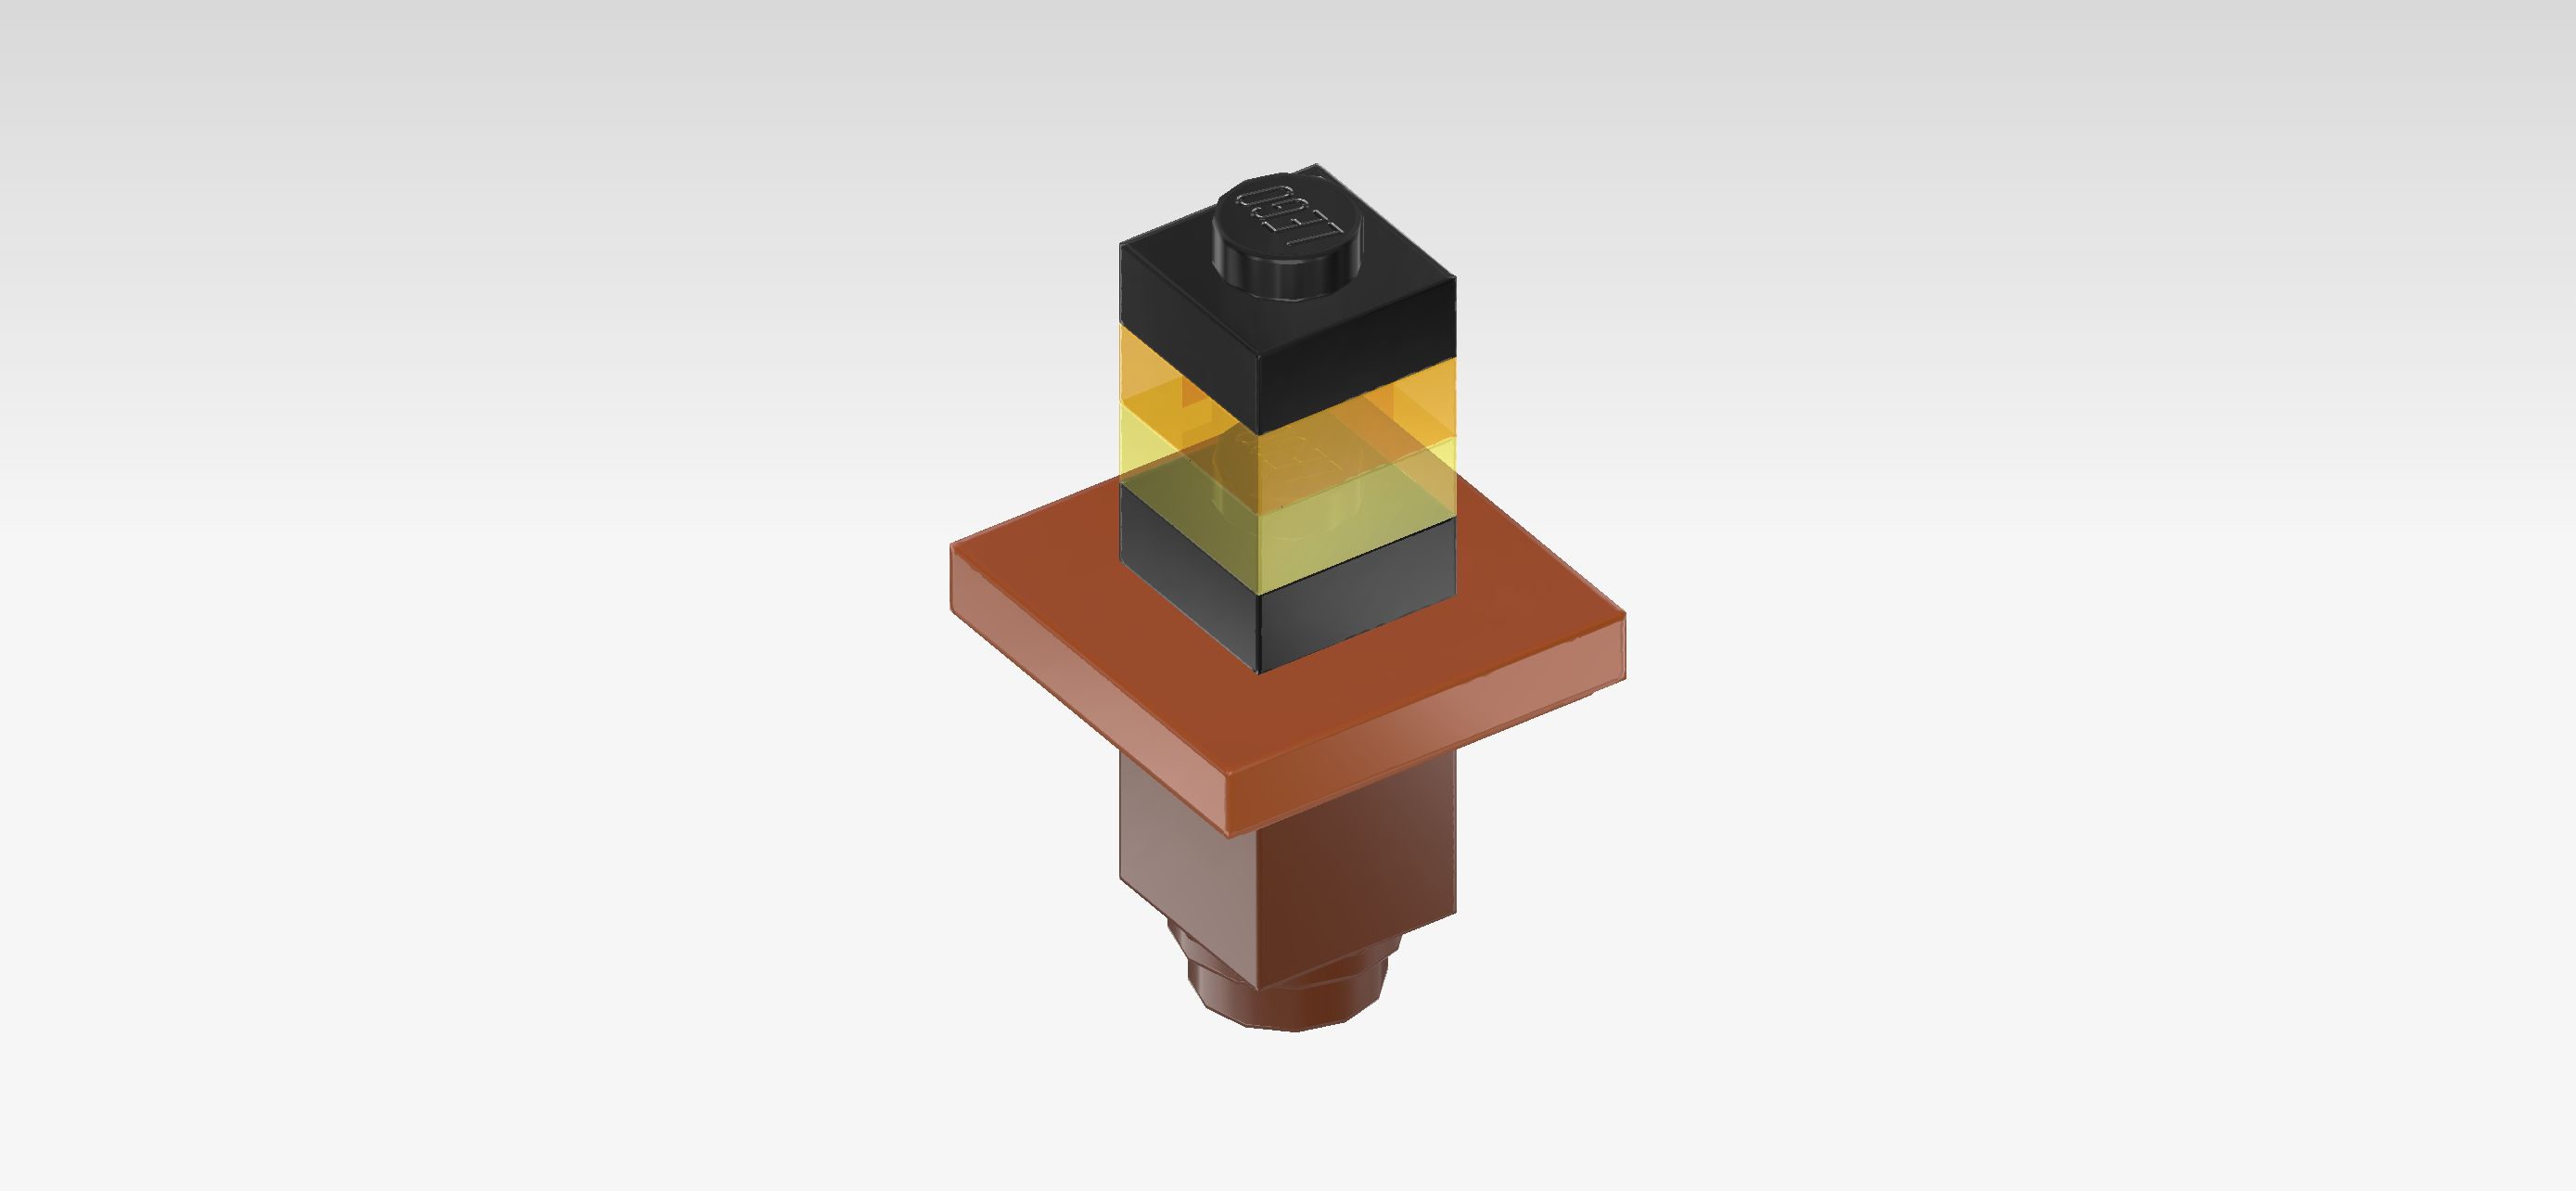
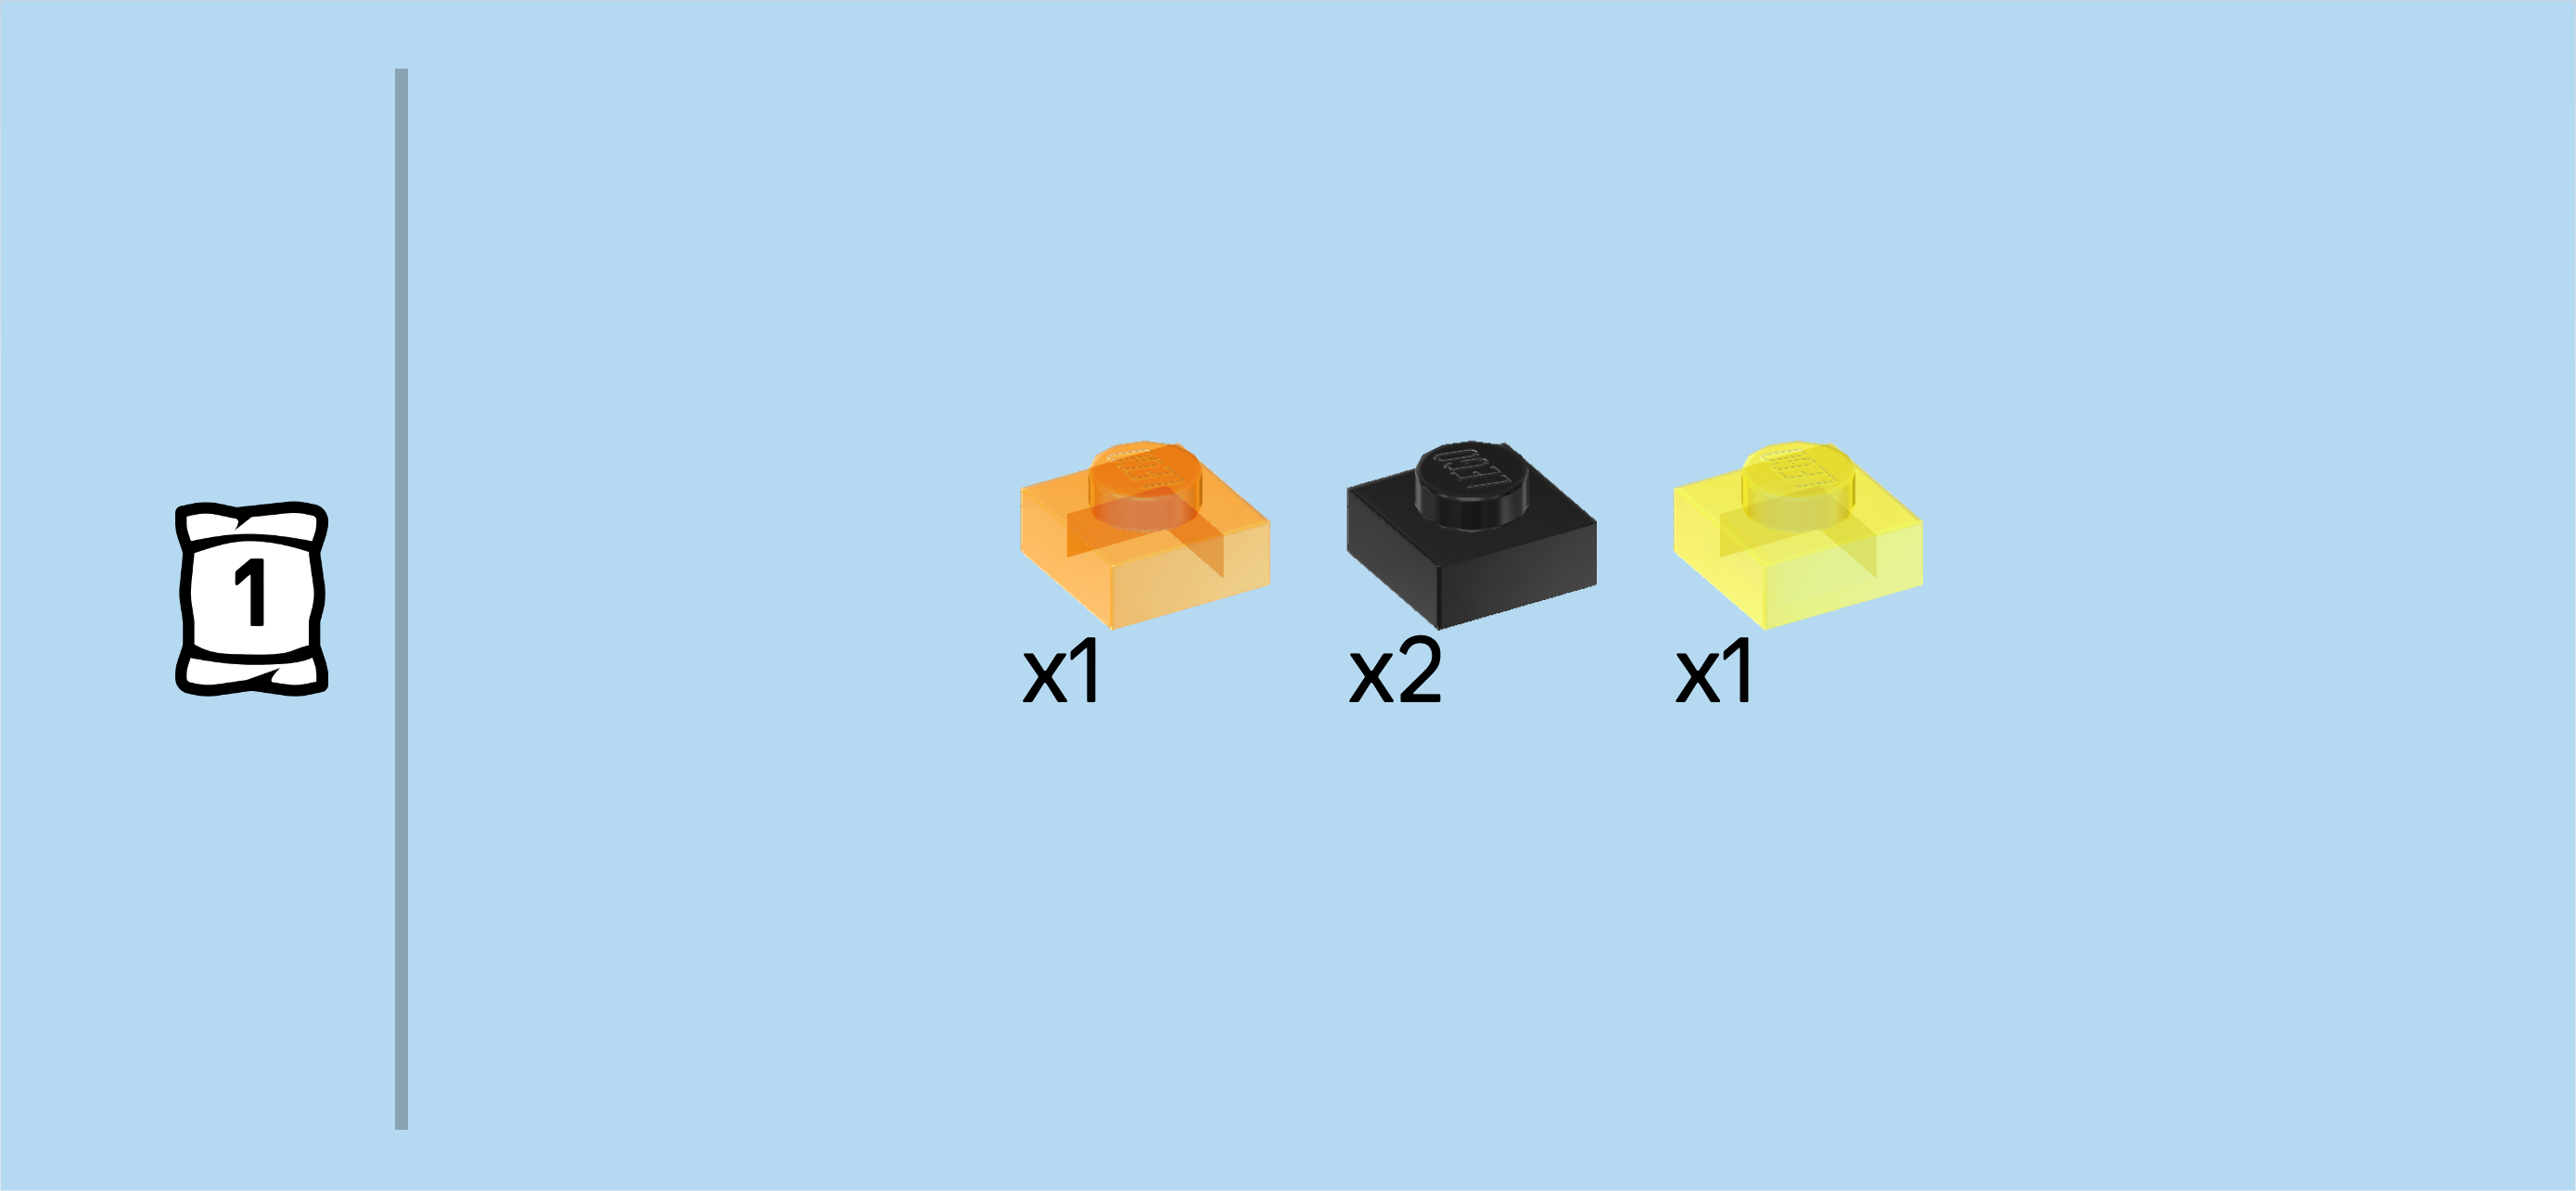
| Collect the following 4 pieces: |
| 1 transparent bright orange plate 1x1, |
| 1 transparent yellow plate 1x1, |
| and 2 black plates 1x1. |
| Put 1 black plate 1x1 on the table. |
| Put the transparent yellow plate on top. Make sure their edges are aligned. |
| Put the transparent bright orange plate on top, aligning their edges. |
| Put the other black plate on top. |
| Mount the lamp on top of the furnace, aligning the edges of the furnace and the lamp. |
| The furnace is finished! Great job! There is a fire burning in the furnace, meaning that you can use it for smelting. The warm light of the lamp will create a cozy atmosphere in the Turtle Beach House! |
| Now, we will build the nightstand with lamp. |
| Collect the following 2 pieces: |
| 1 reddish brown brick 1x1, |
| and 1 reddish brown round plate 1x1. |
| Put the round plate on the table. |
| Put the brick on top of the previous piece. |
| Find 1 dark orange plate 2x2 with 1 knob. |
| Put it centered on top of the previous piece, aligning their straight edges. |
| Now, we will assemble the bedside lamp. |
| Collect the following 4 pieces: |
| 1 transparent bright orange plate 1x1, |
| 2 black plates 1x1, |
| and 1 transparent yellow plate 1x1. |
| Put 1 black plate on the table. |
| Put the transparent yellow plate on top of the previous piece, aligning their edges. |
| Put the transparent bright orange plate on top, again aligning their edges. |
| Put the other black plate 1x1 on top, aligning the edges. |
| Put the lamp on top of the nightstand, aligning the straight edges. |
| The nightstand with lamp is finished! Great job! We will mount it later in the Turtle Beach House. |
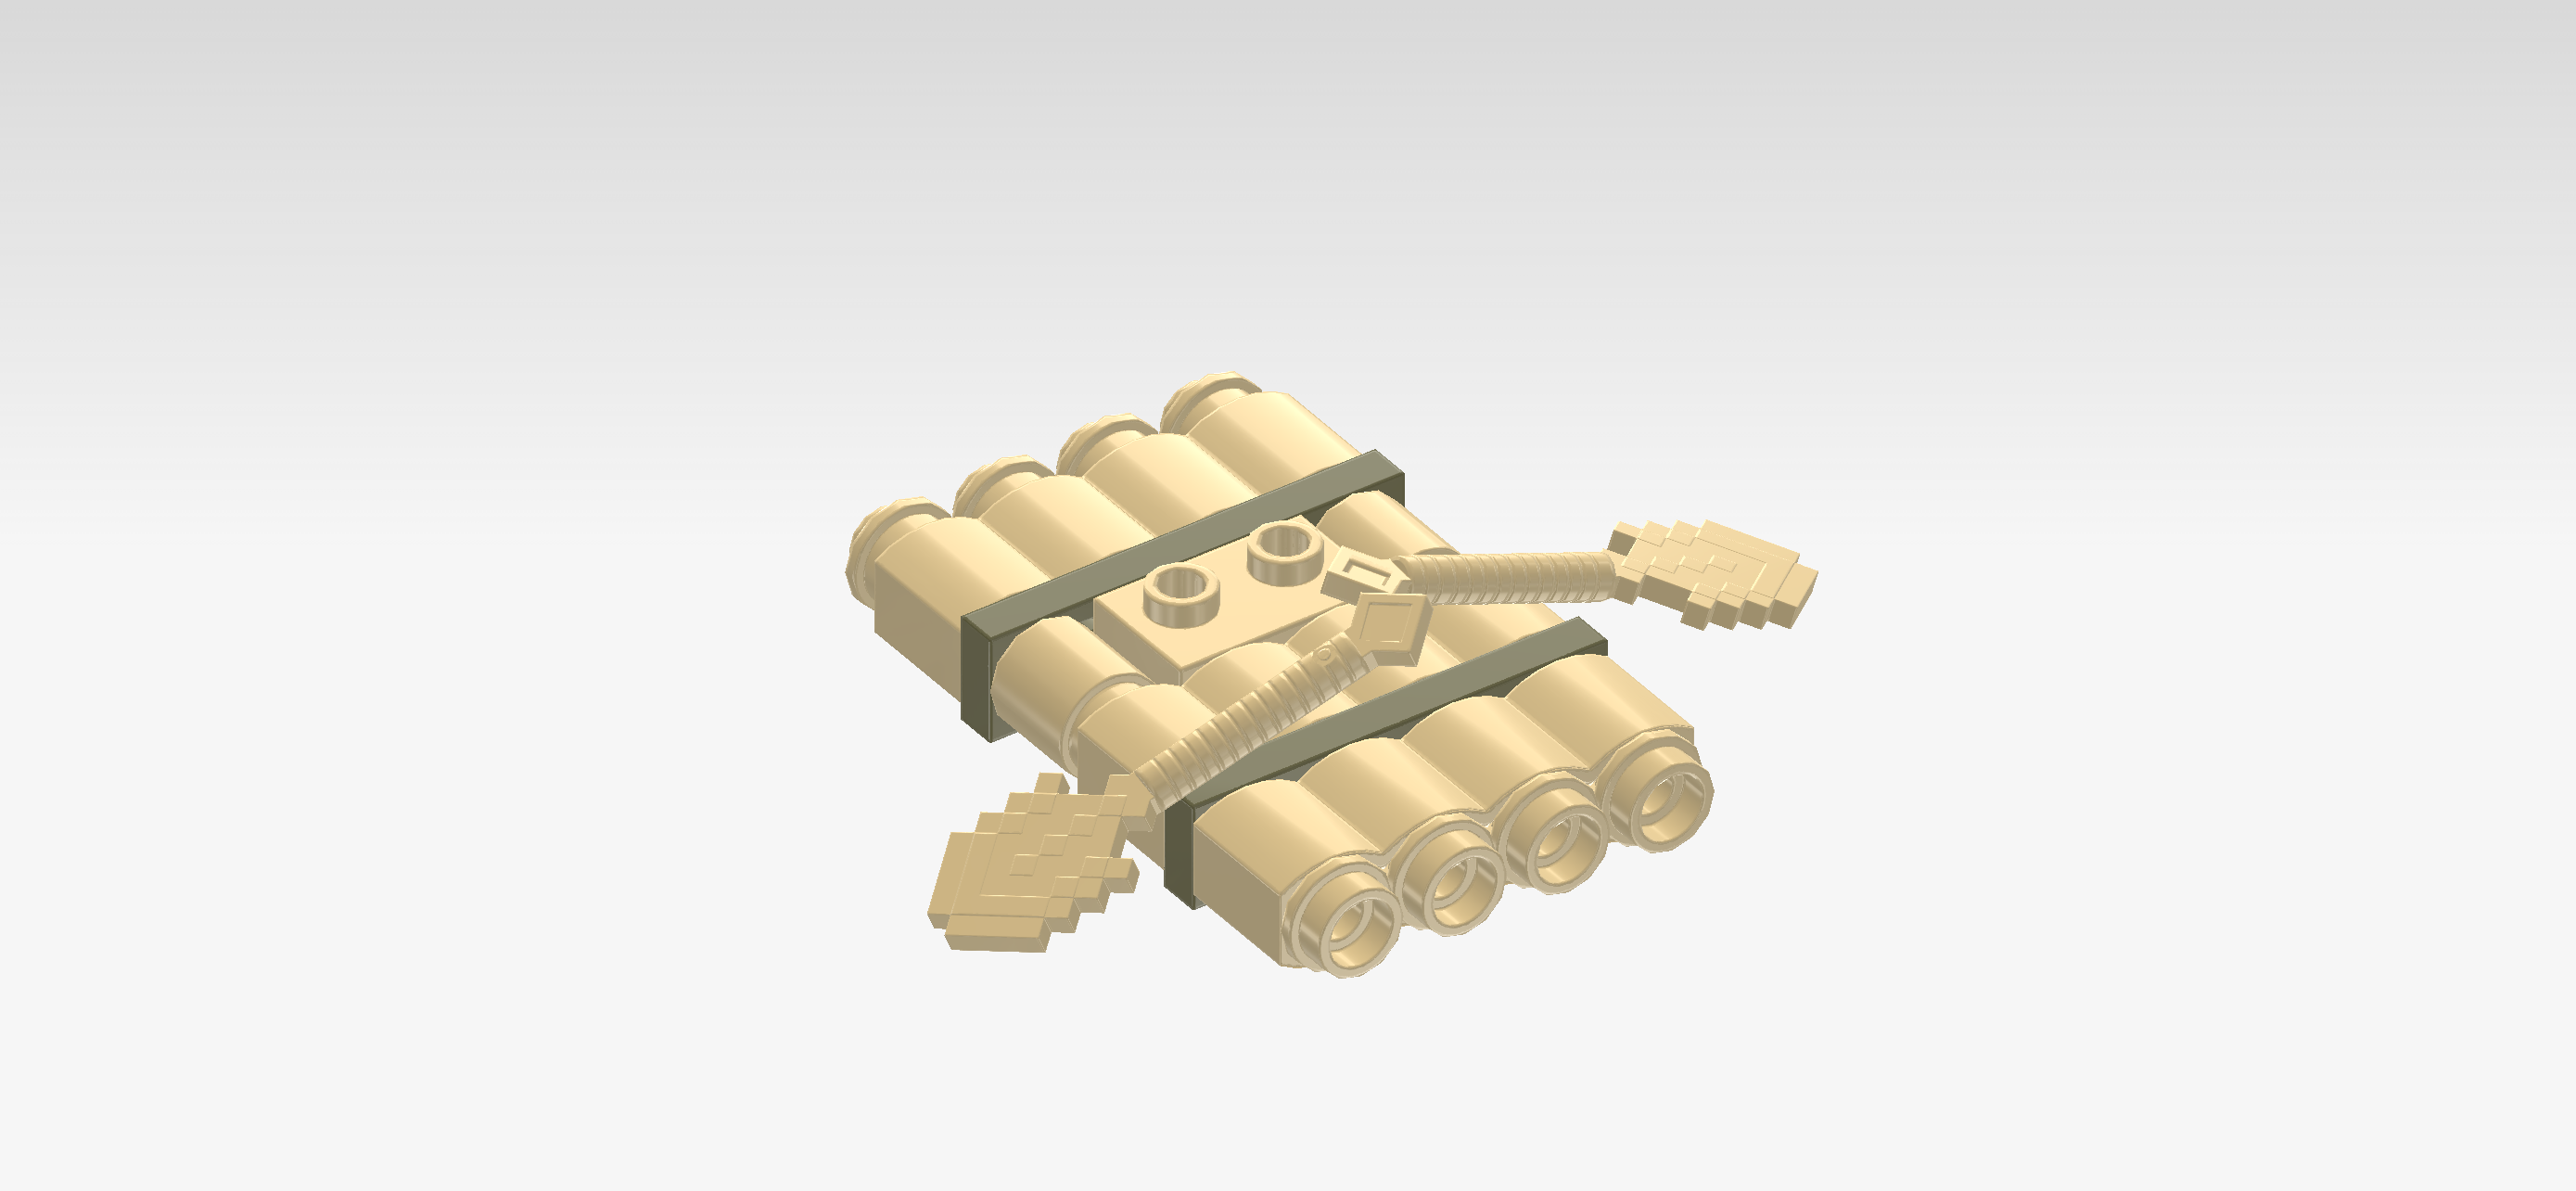
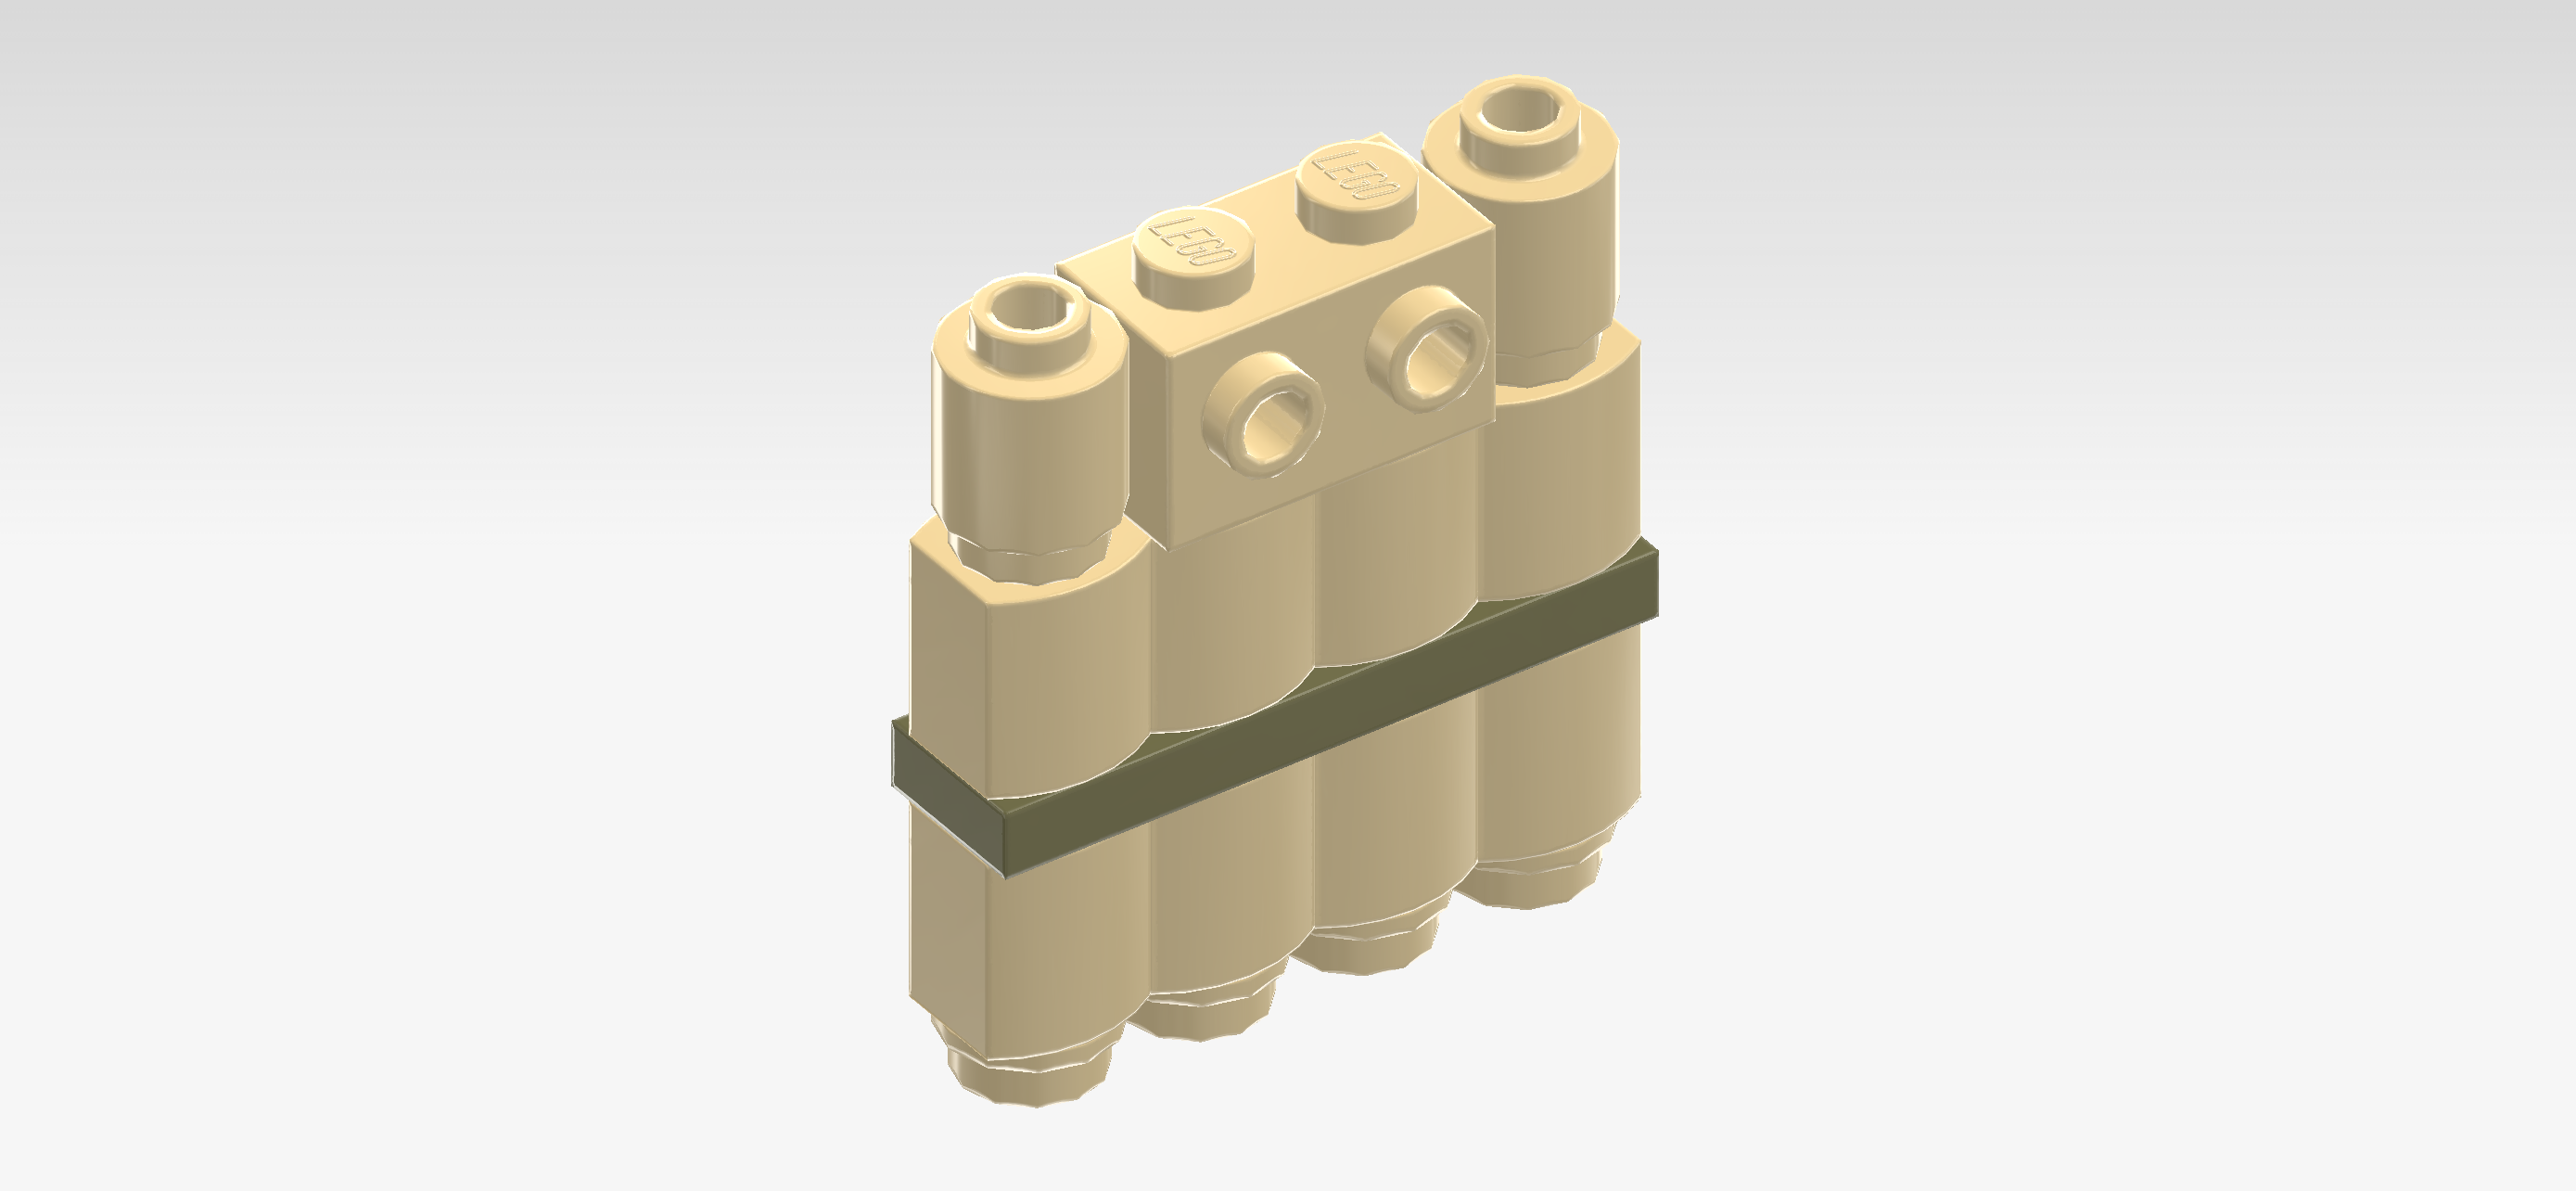
| Next, we will build the bamboo raft. |
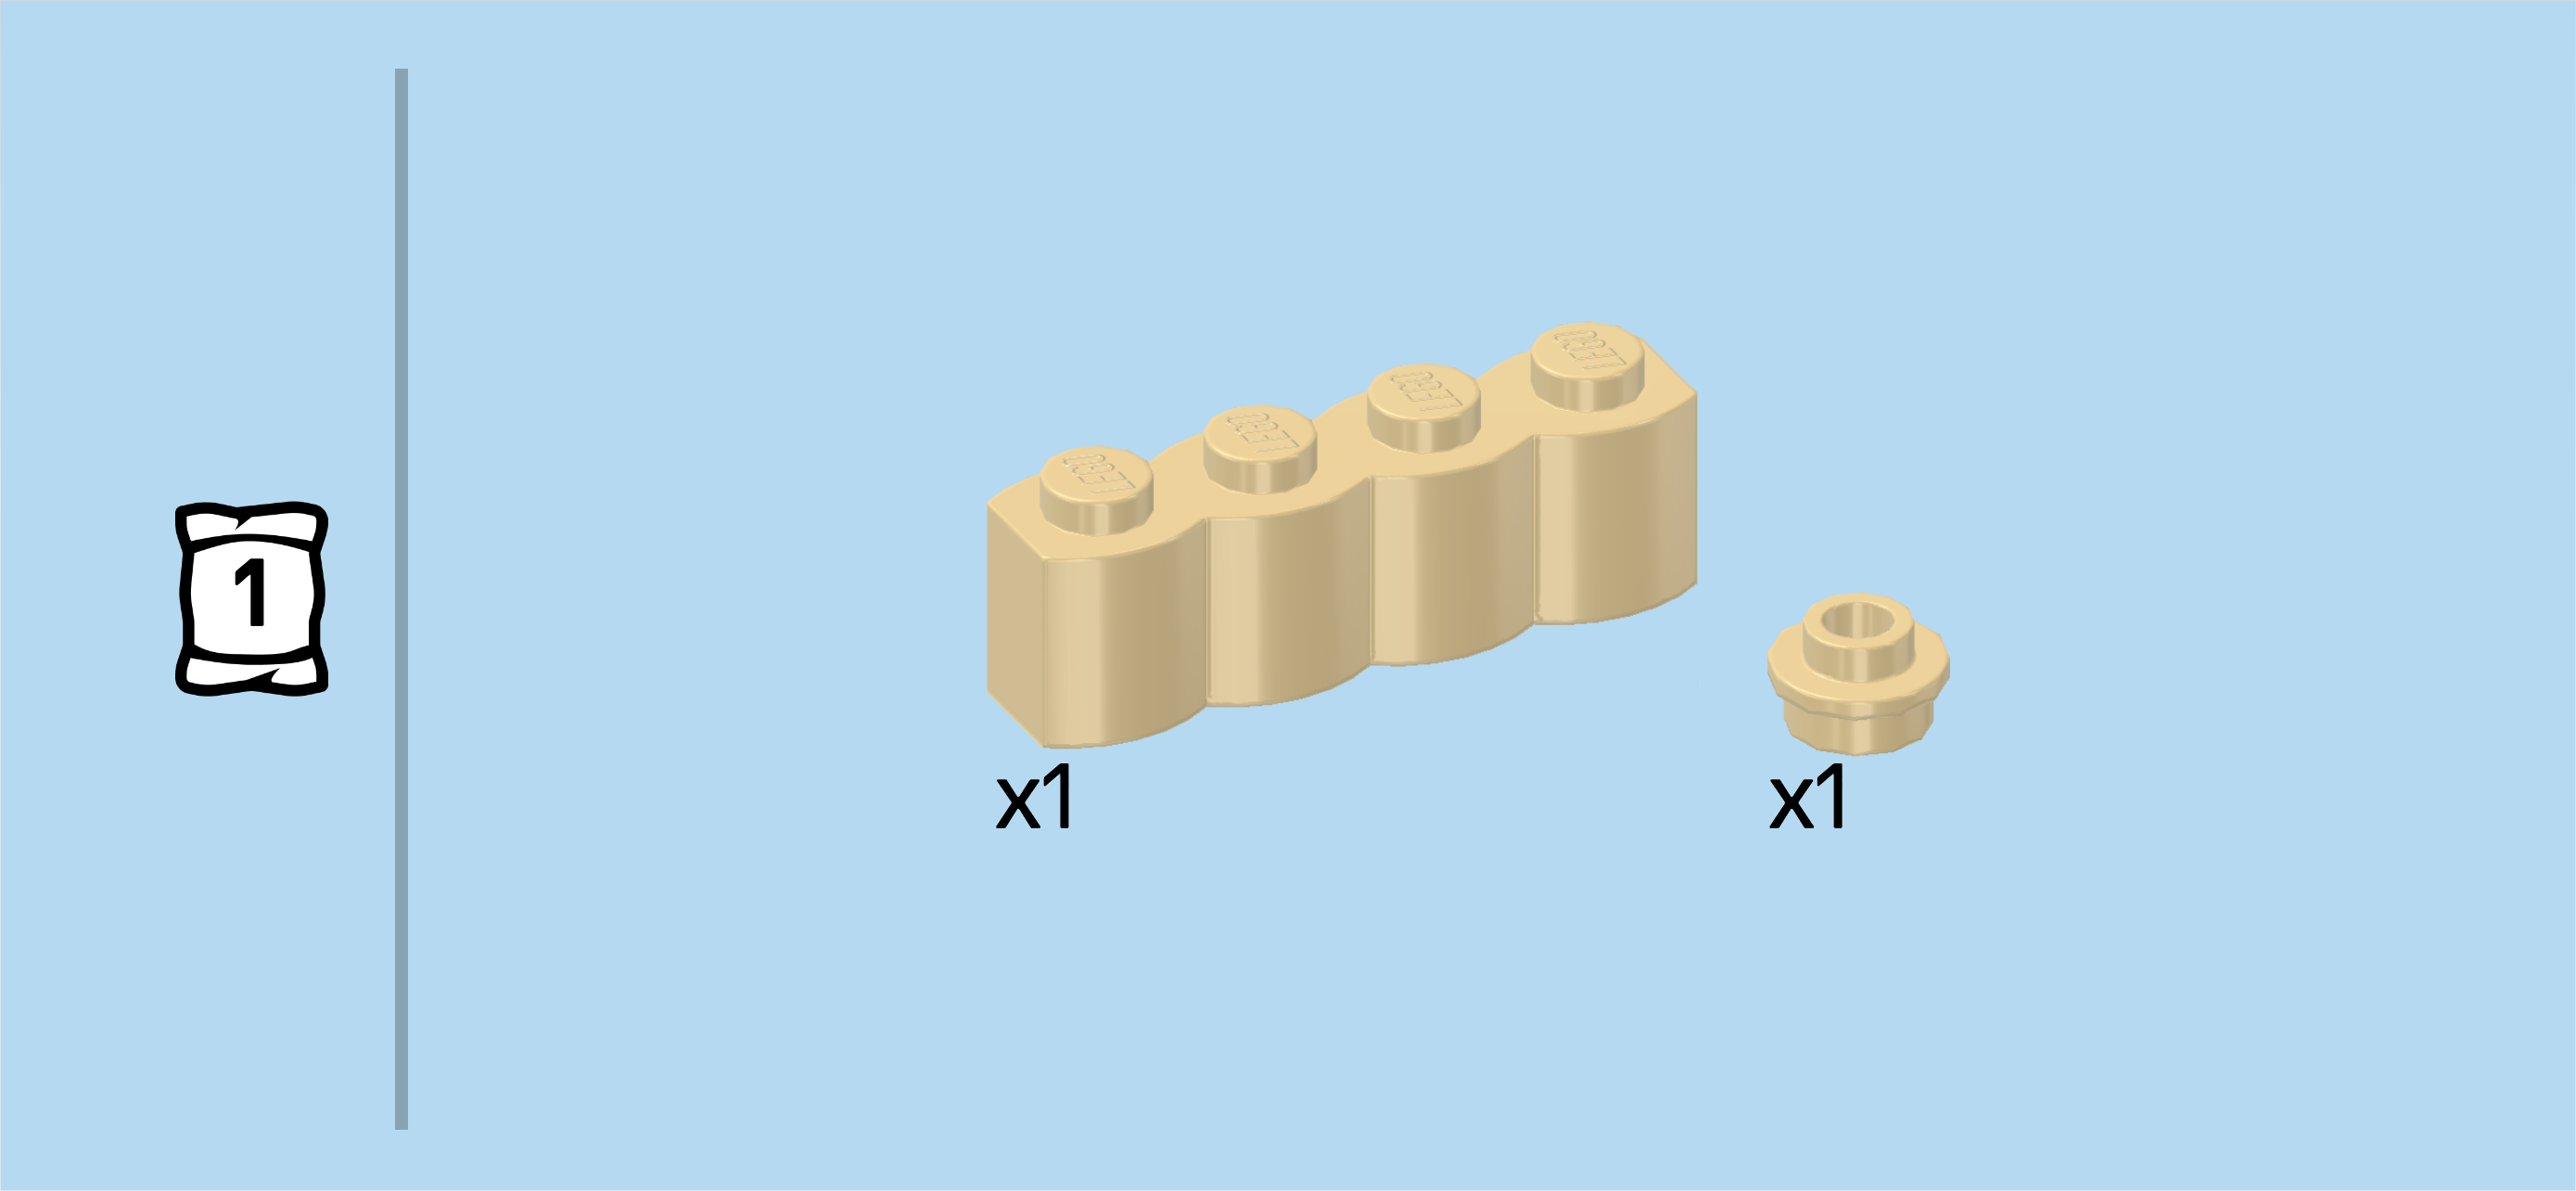
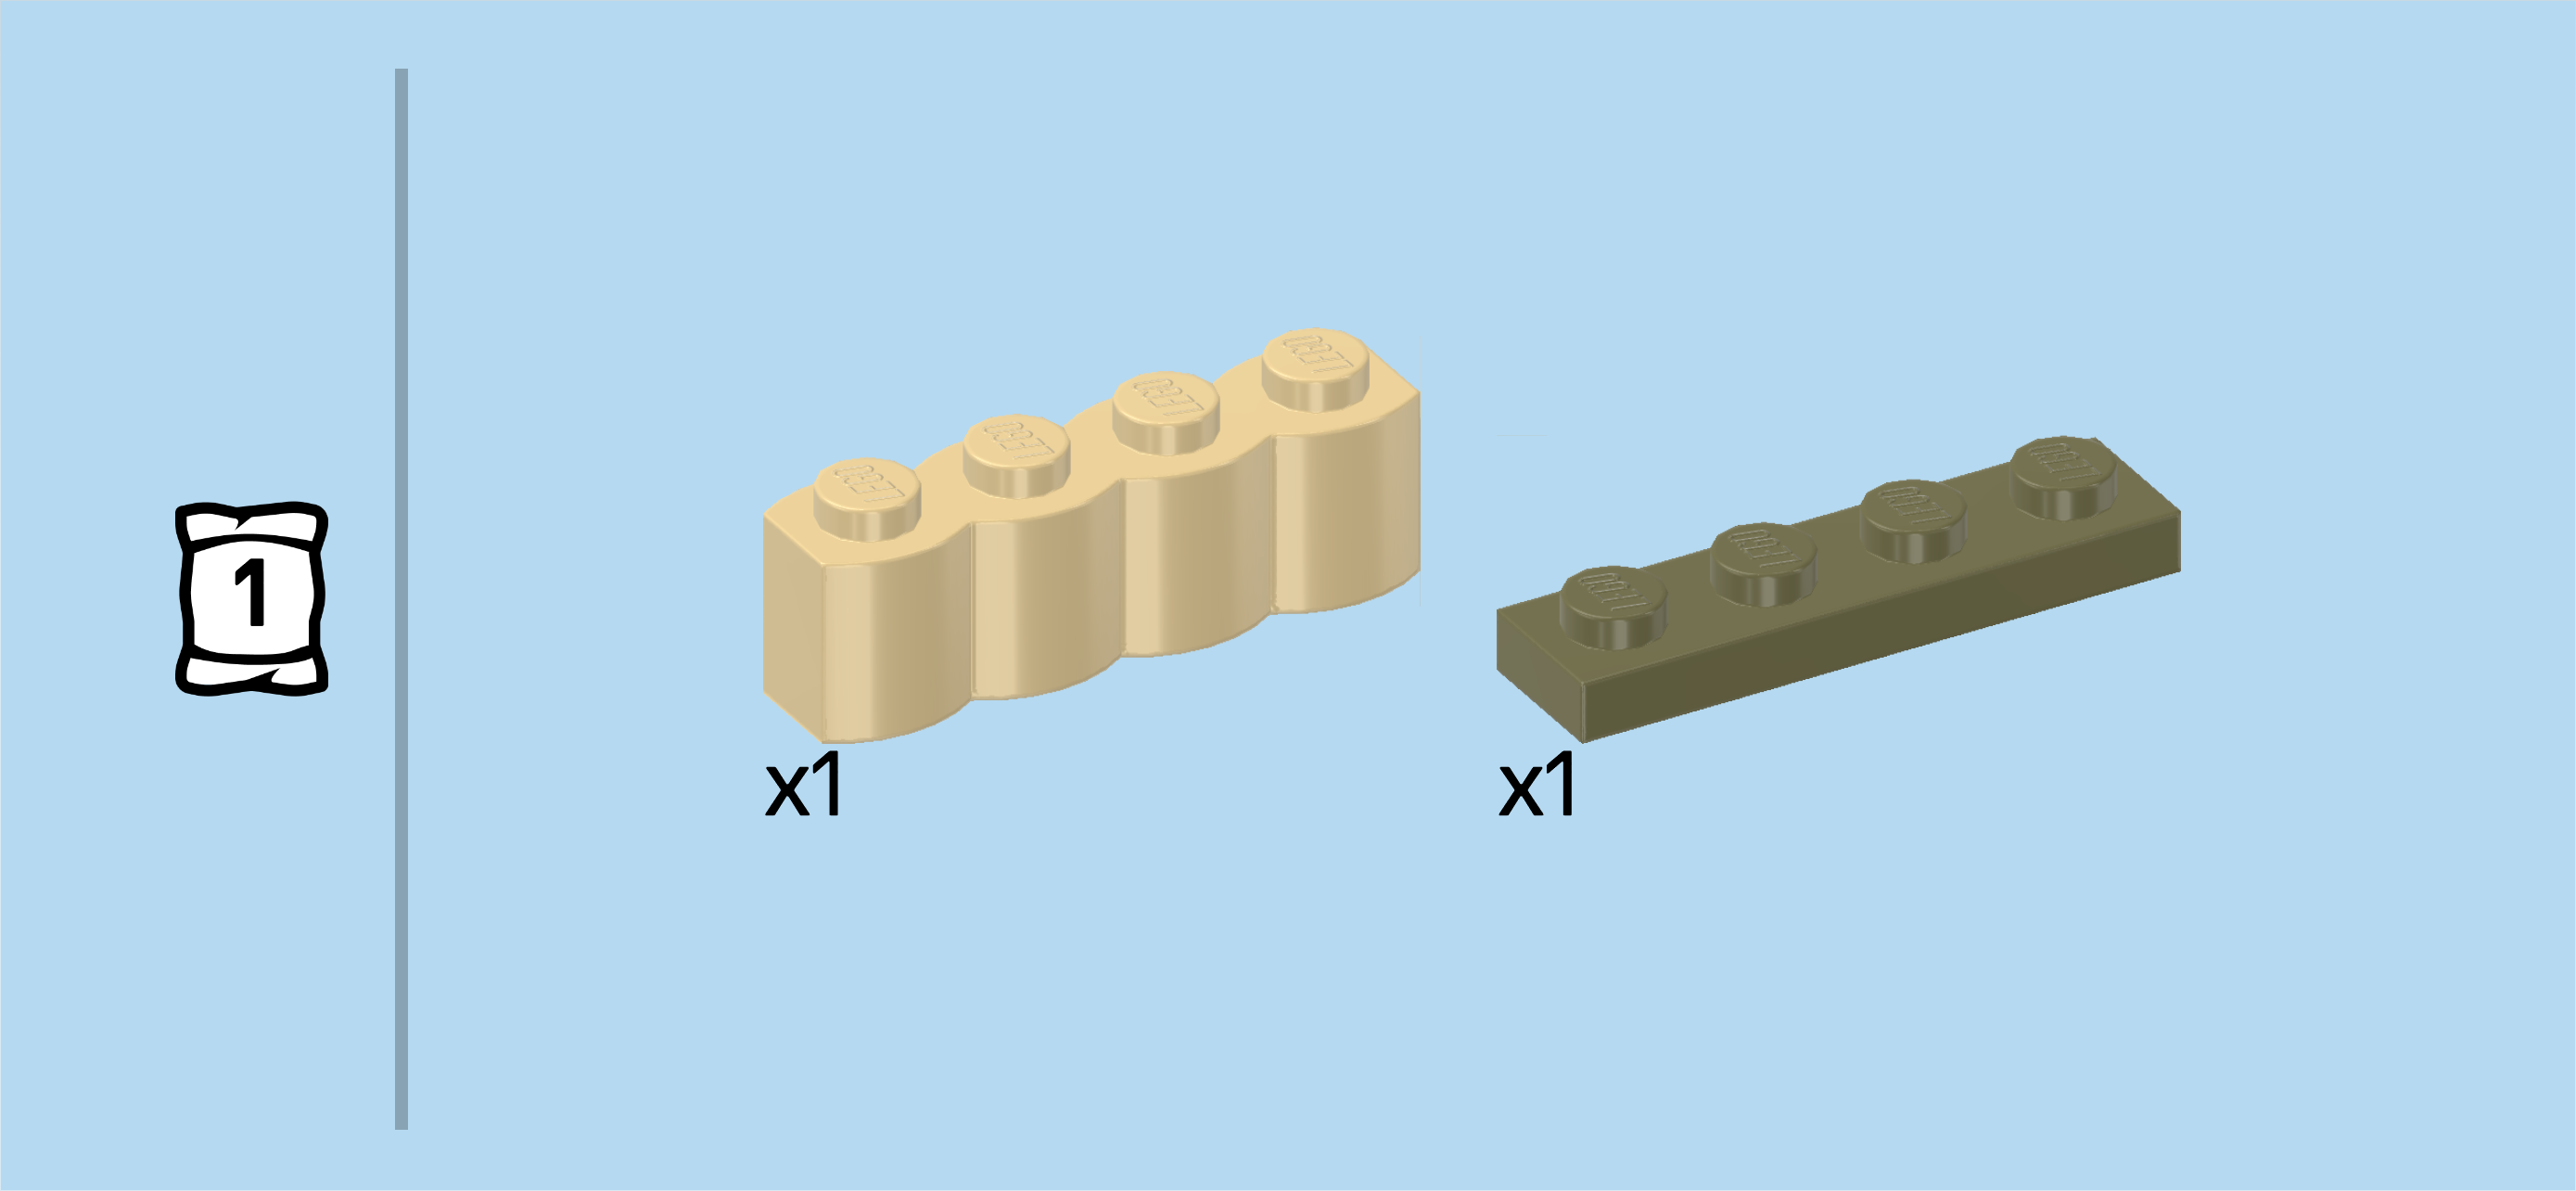
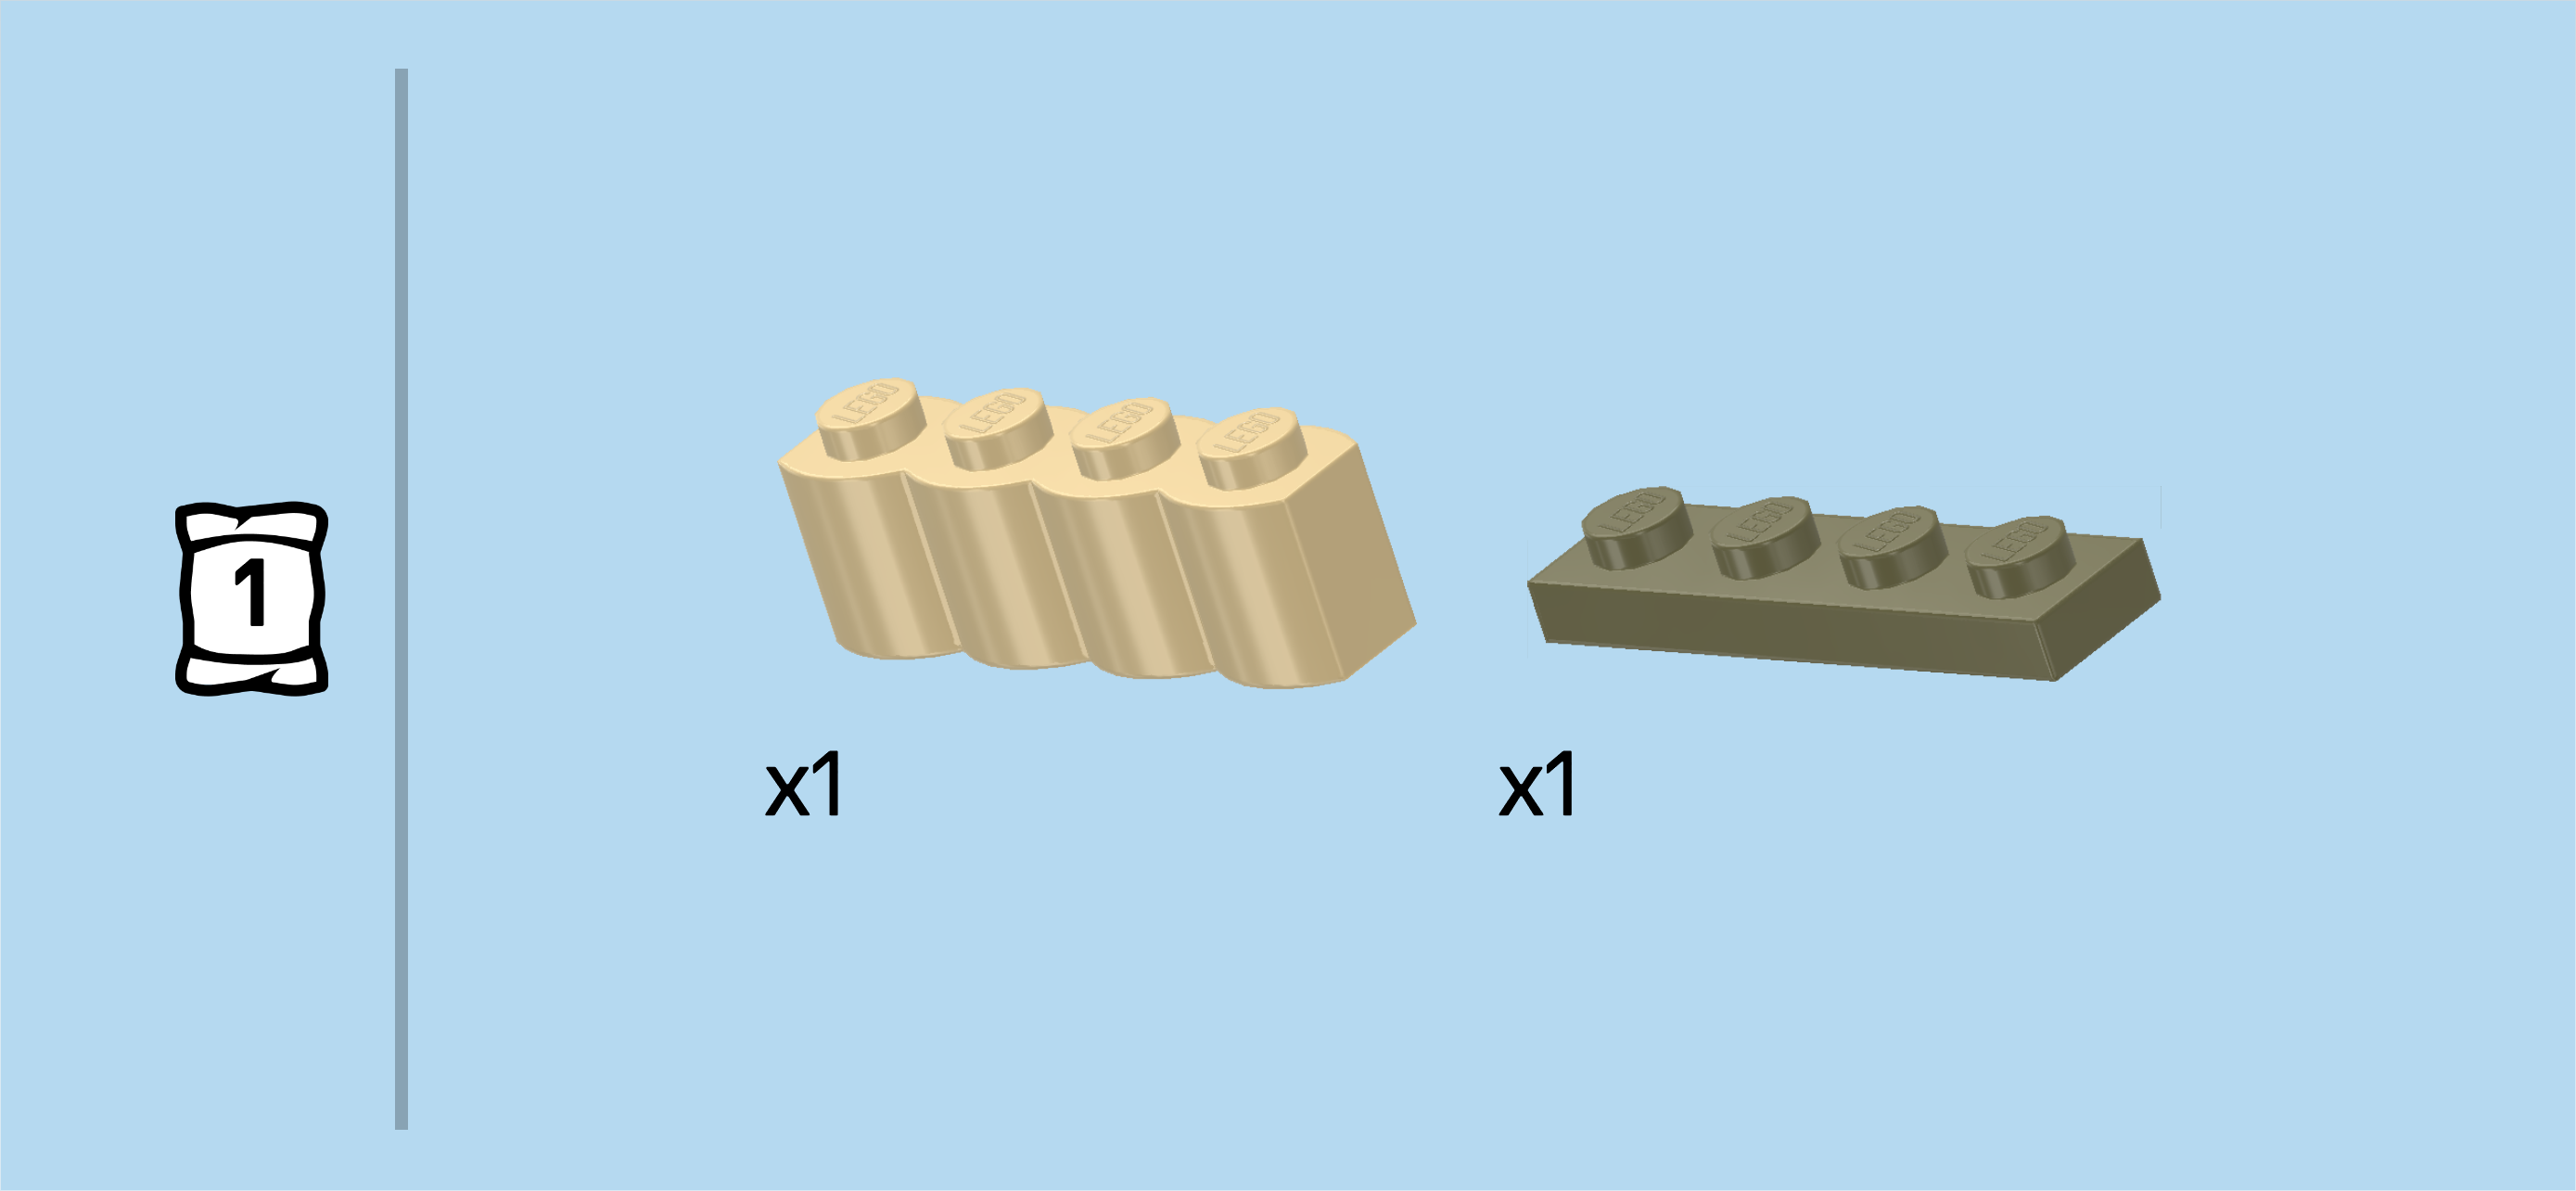
| Collect the following 2 pieces: |
| 1 pale ocher yellow round plate 1x1 with through-hole, |
| and 1 pale ocher yellow palisade brick 1x4. |
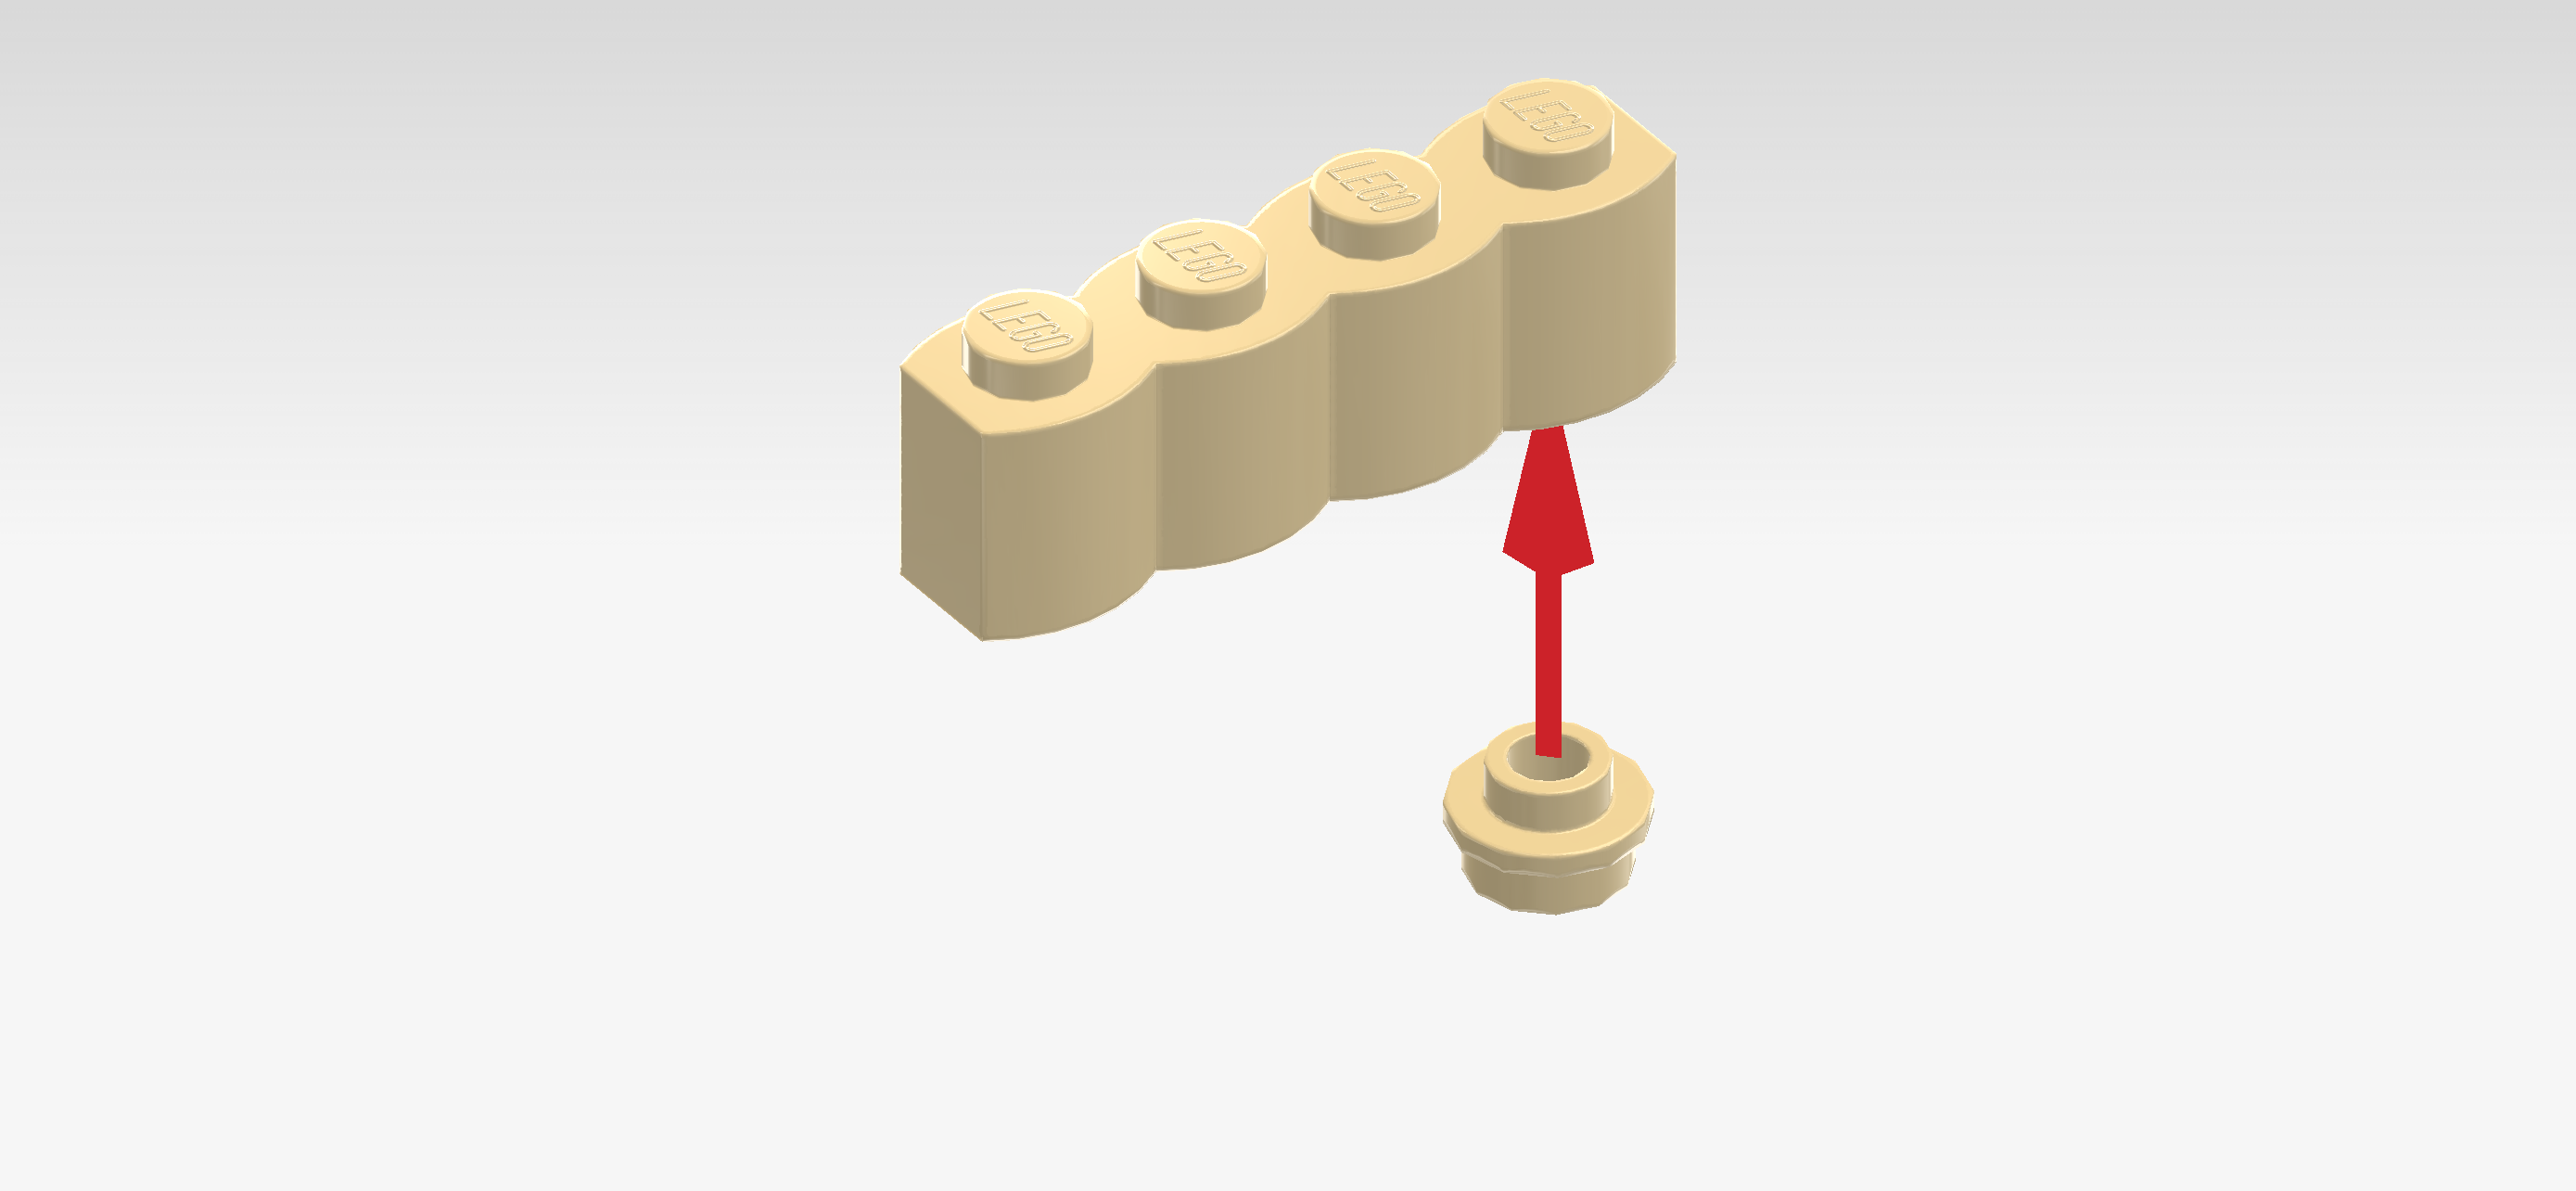
| Hold the palisade brick horizontally in your hand. |
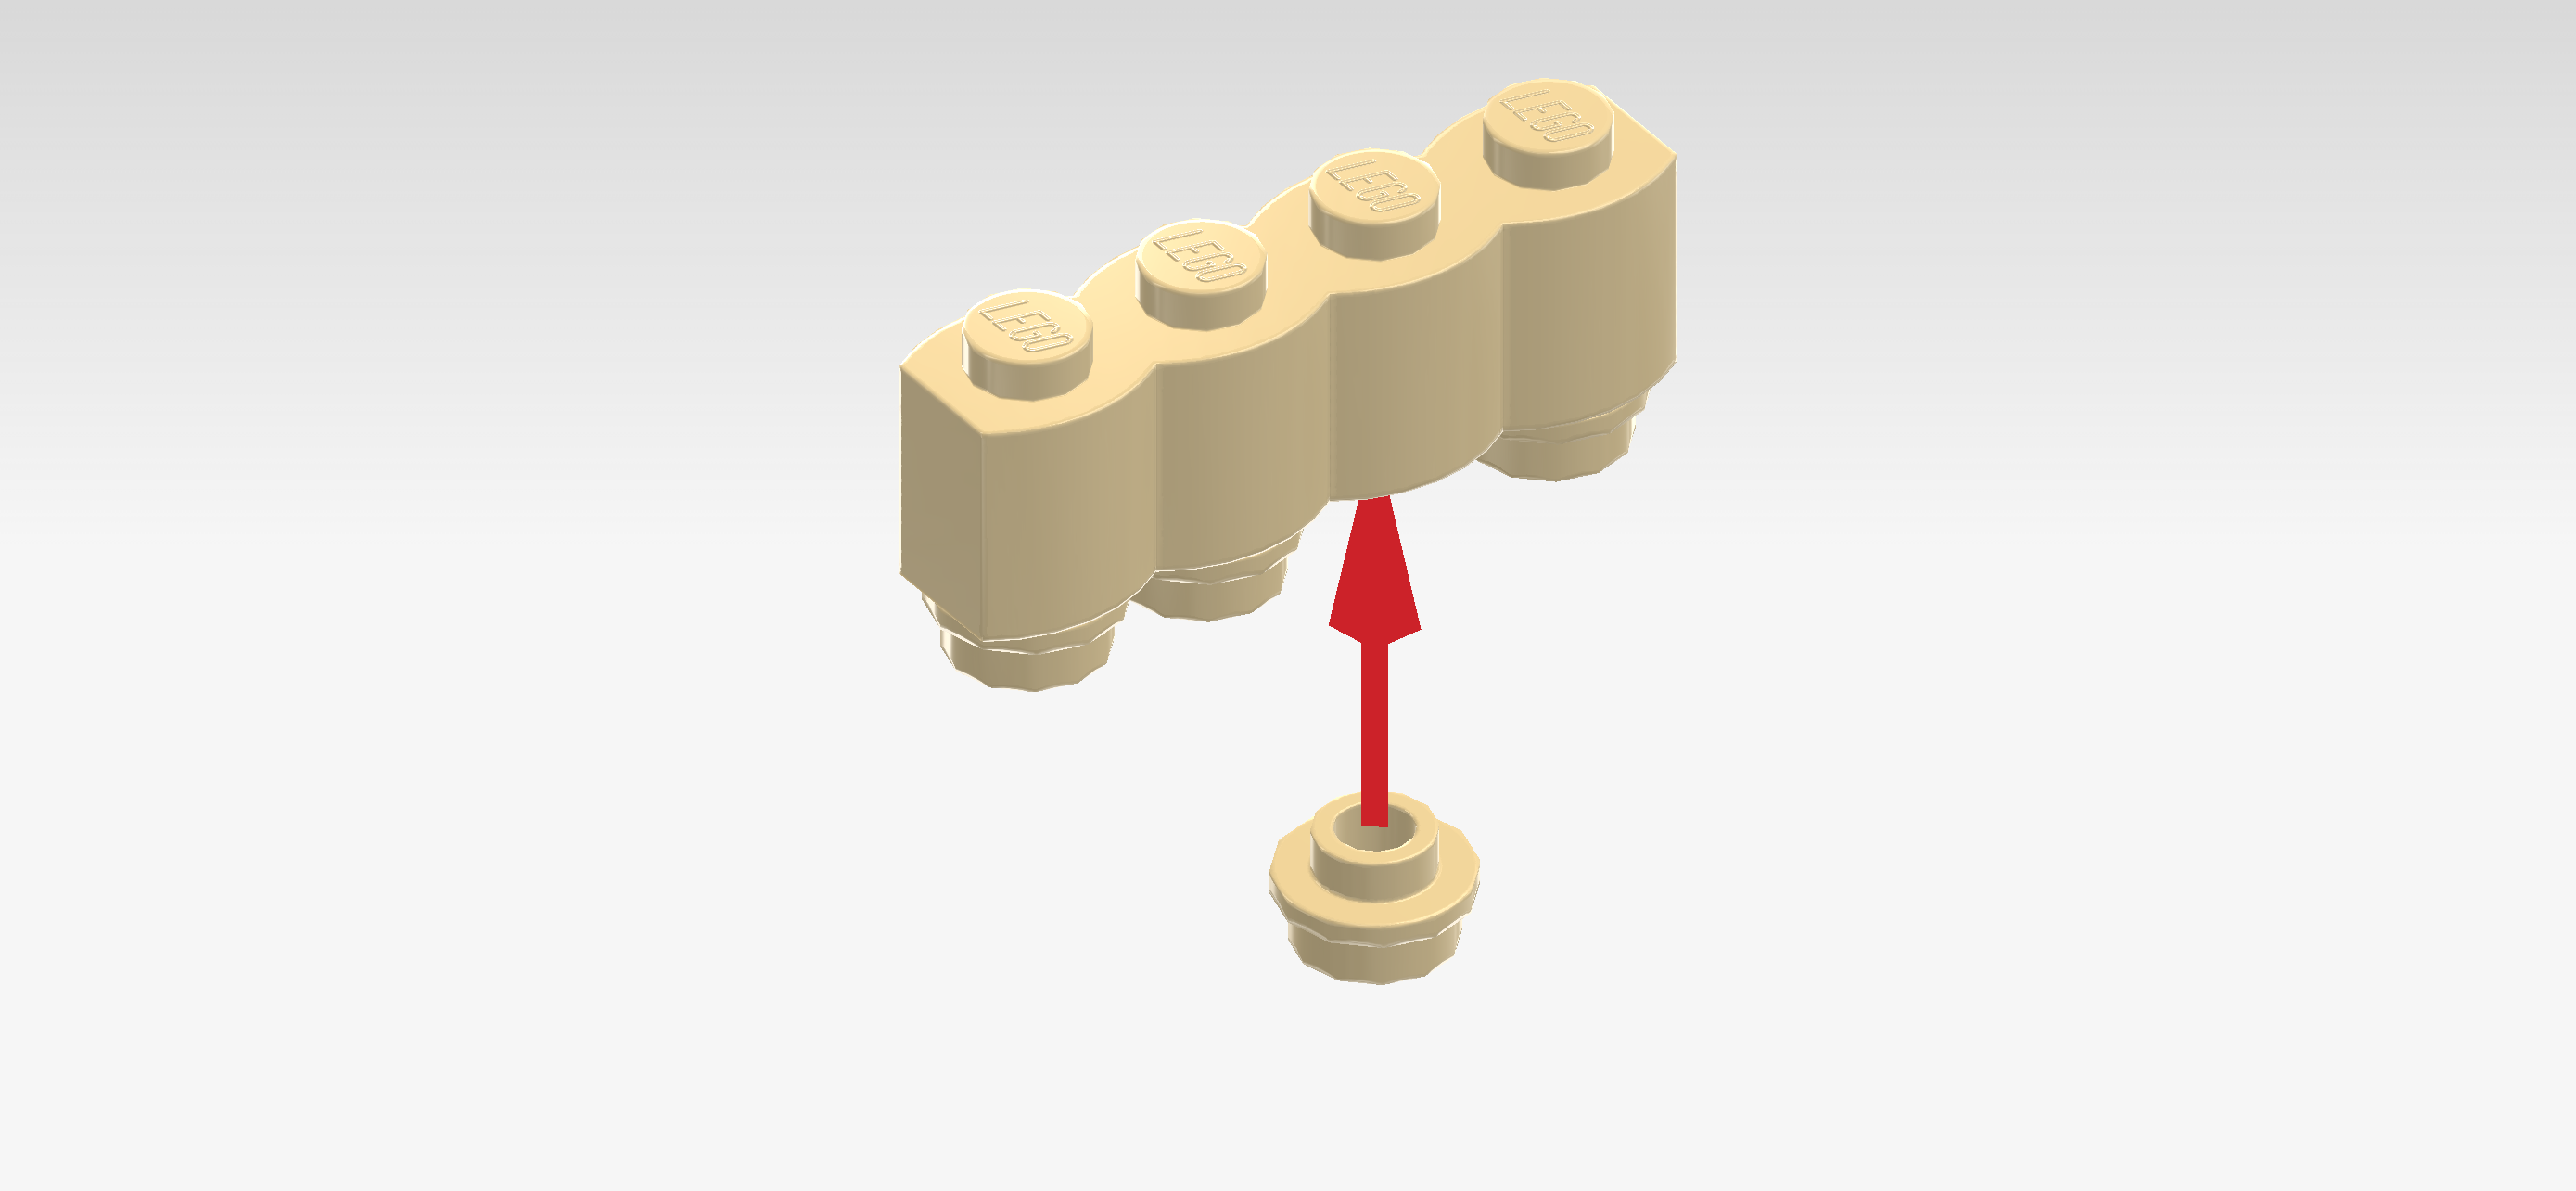
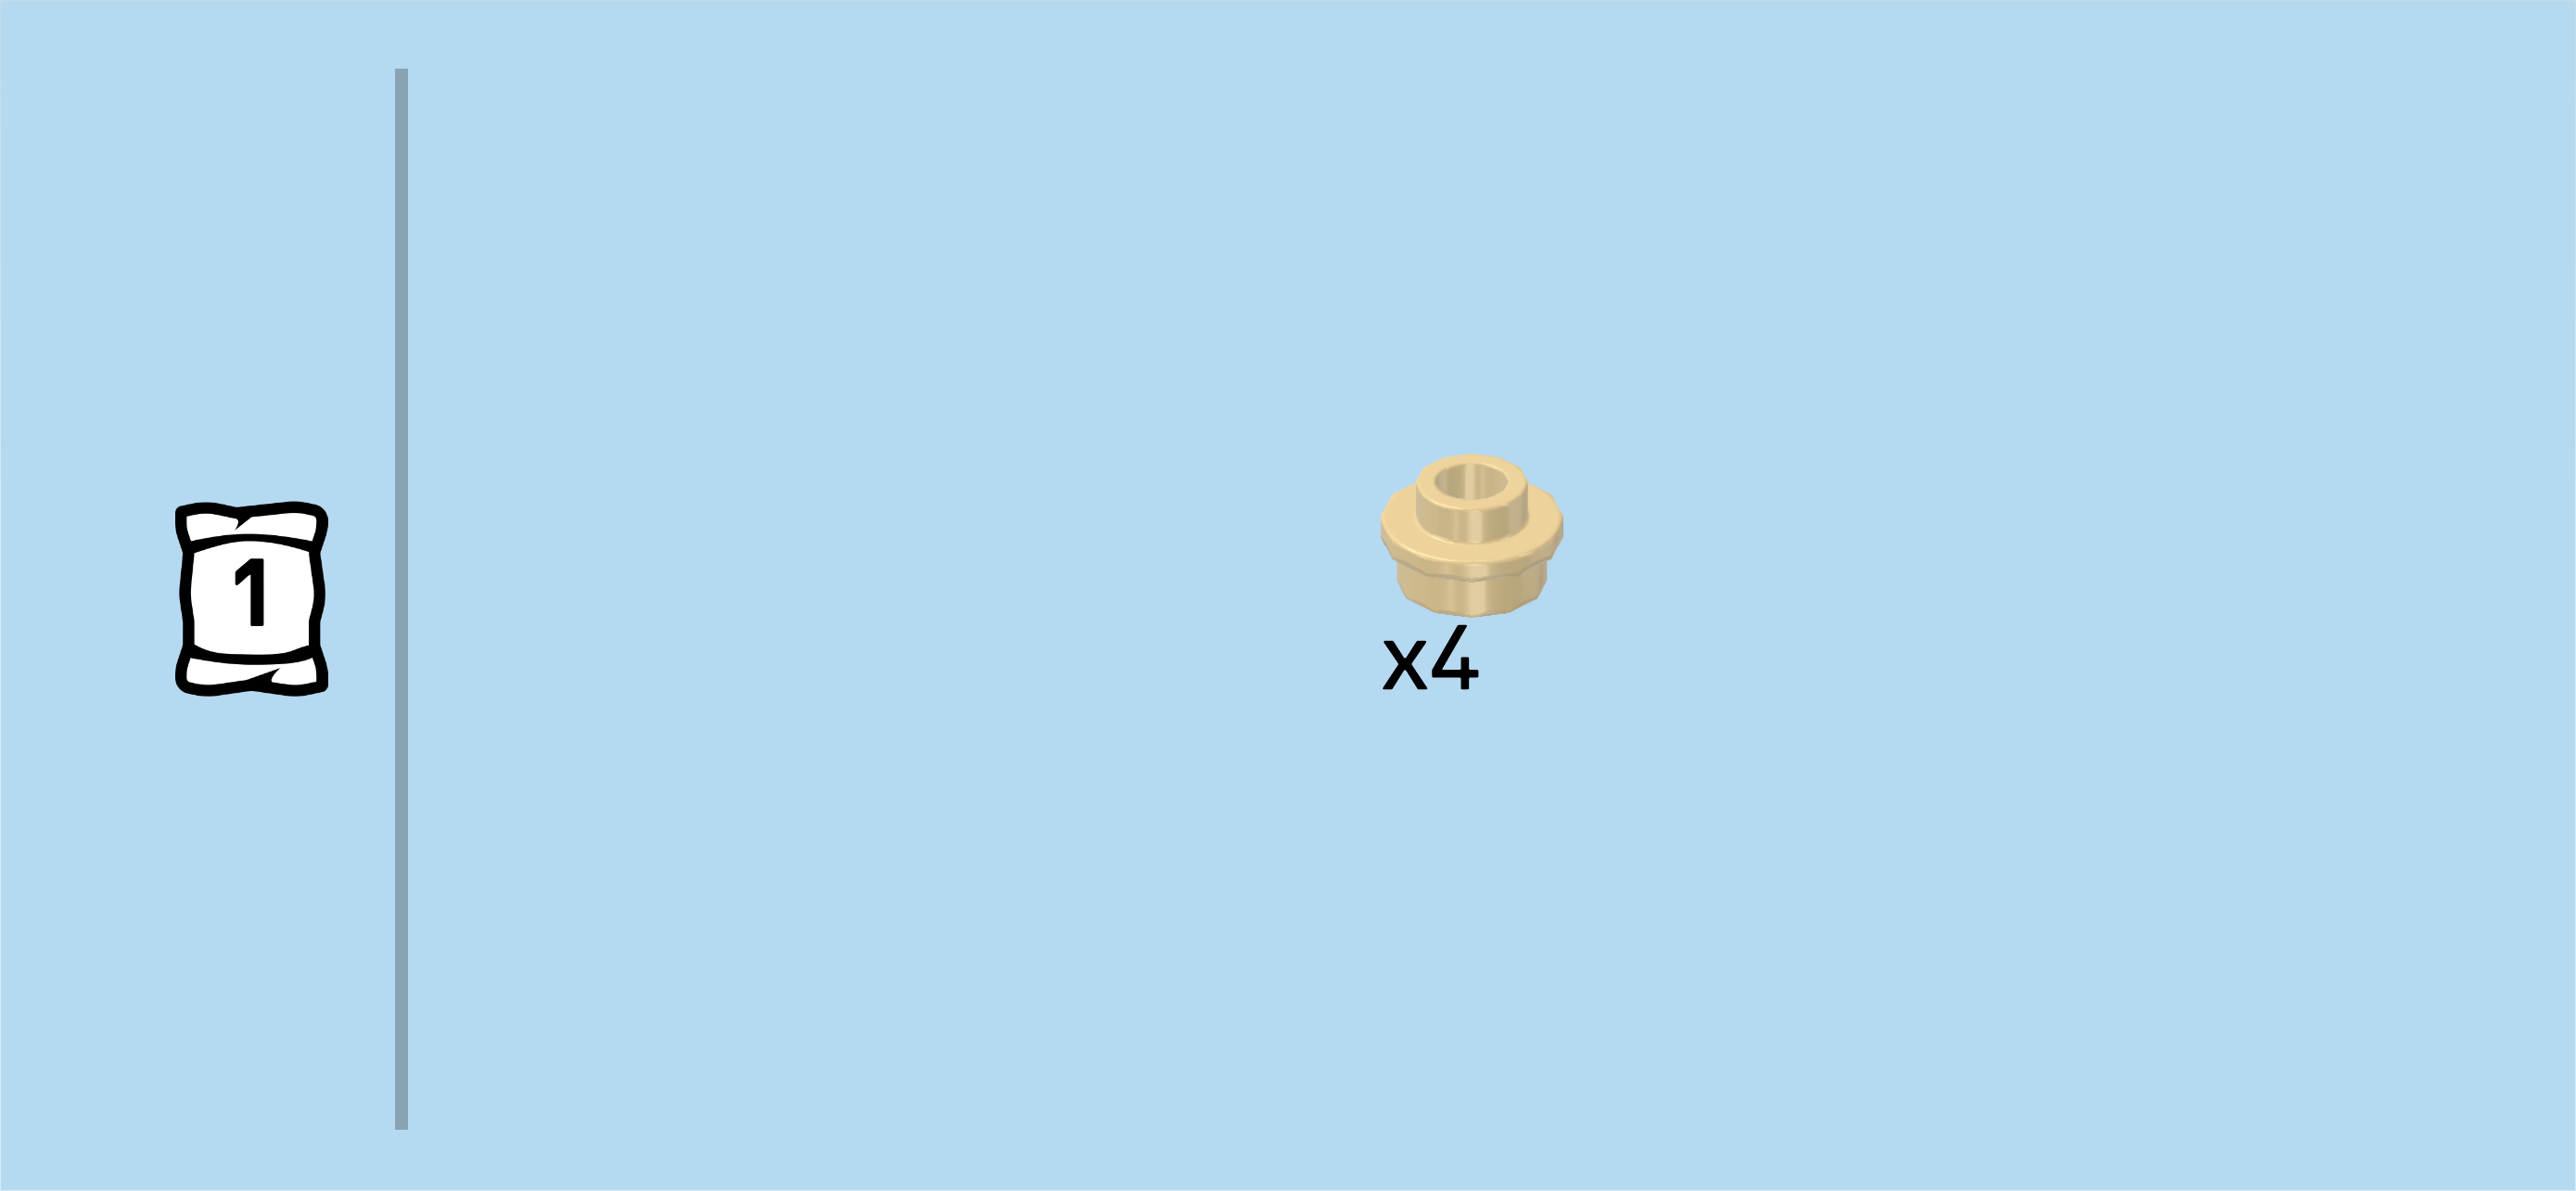
| Put the round plate 1x1 underneath the rightmost knob of the previous piece. This means it will be mounted on the bottom side of the palisade brick. |
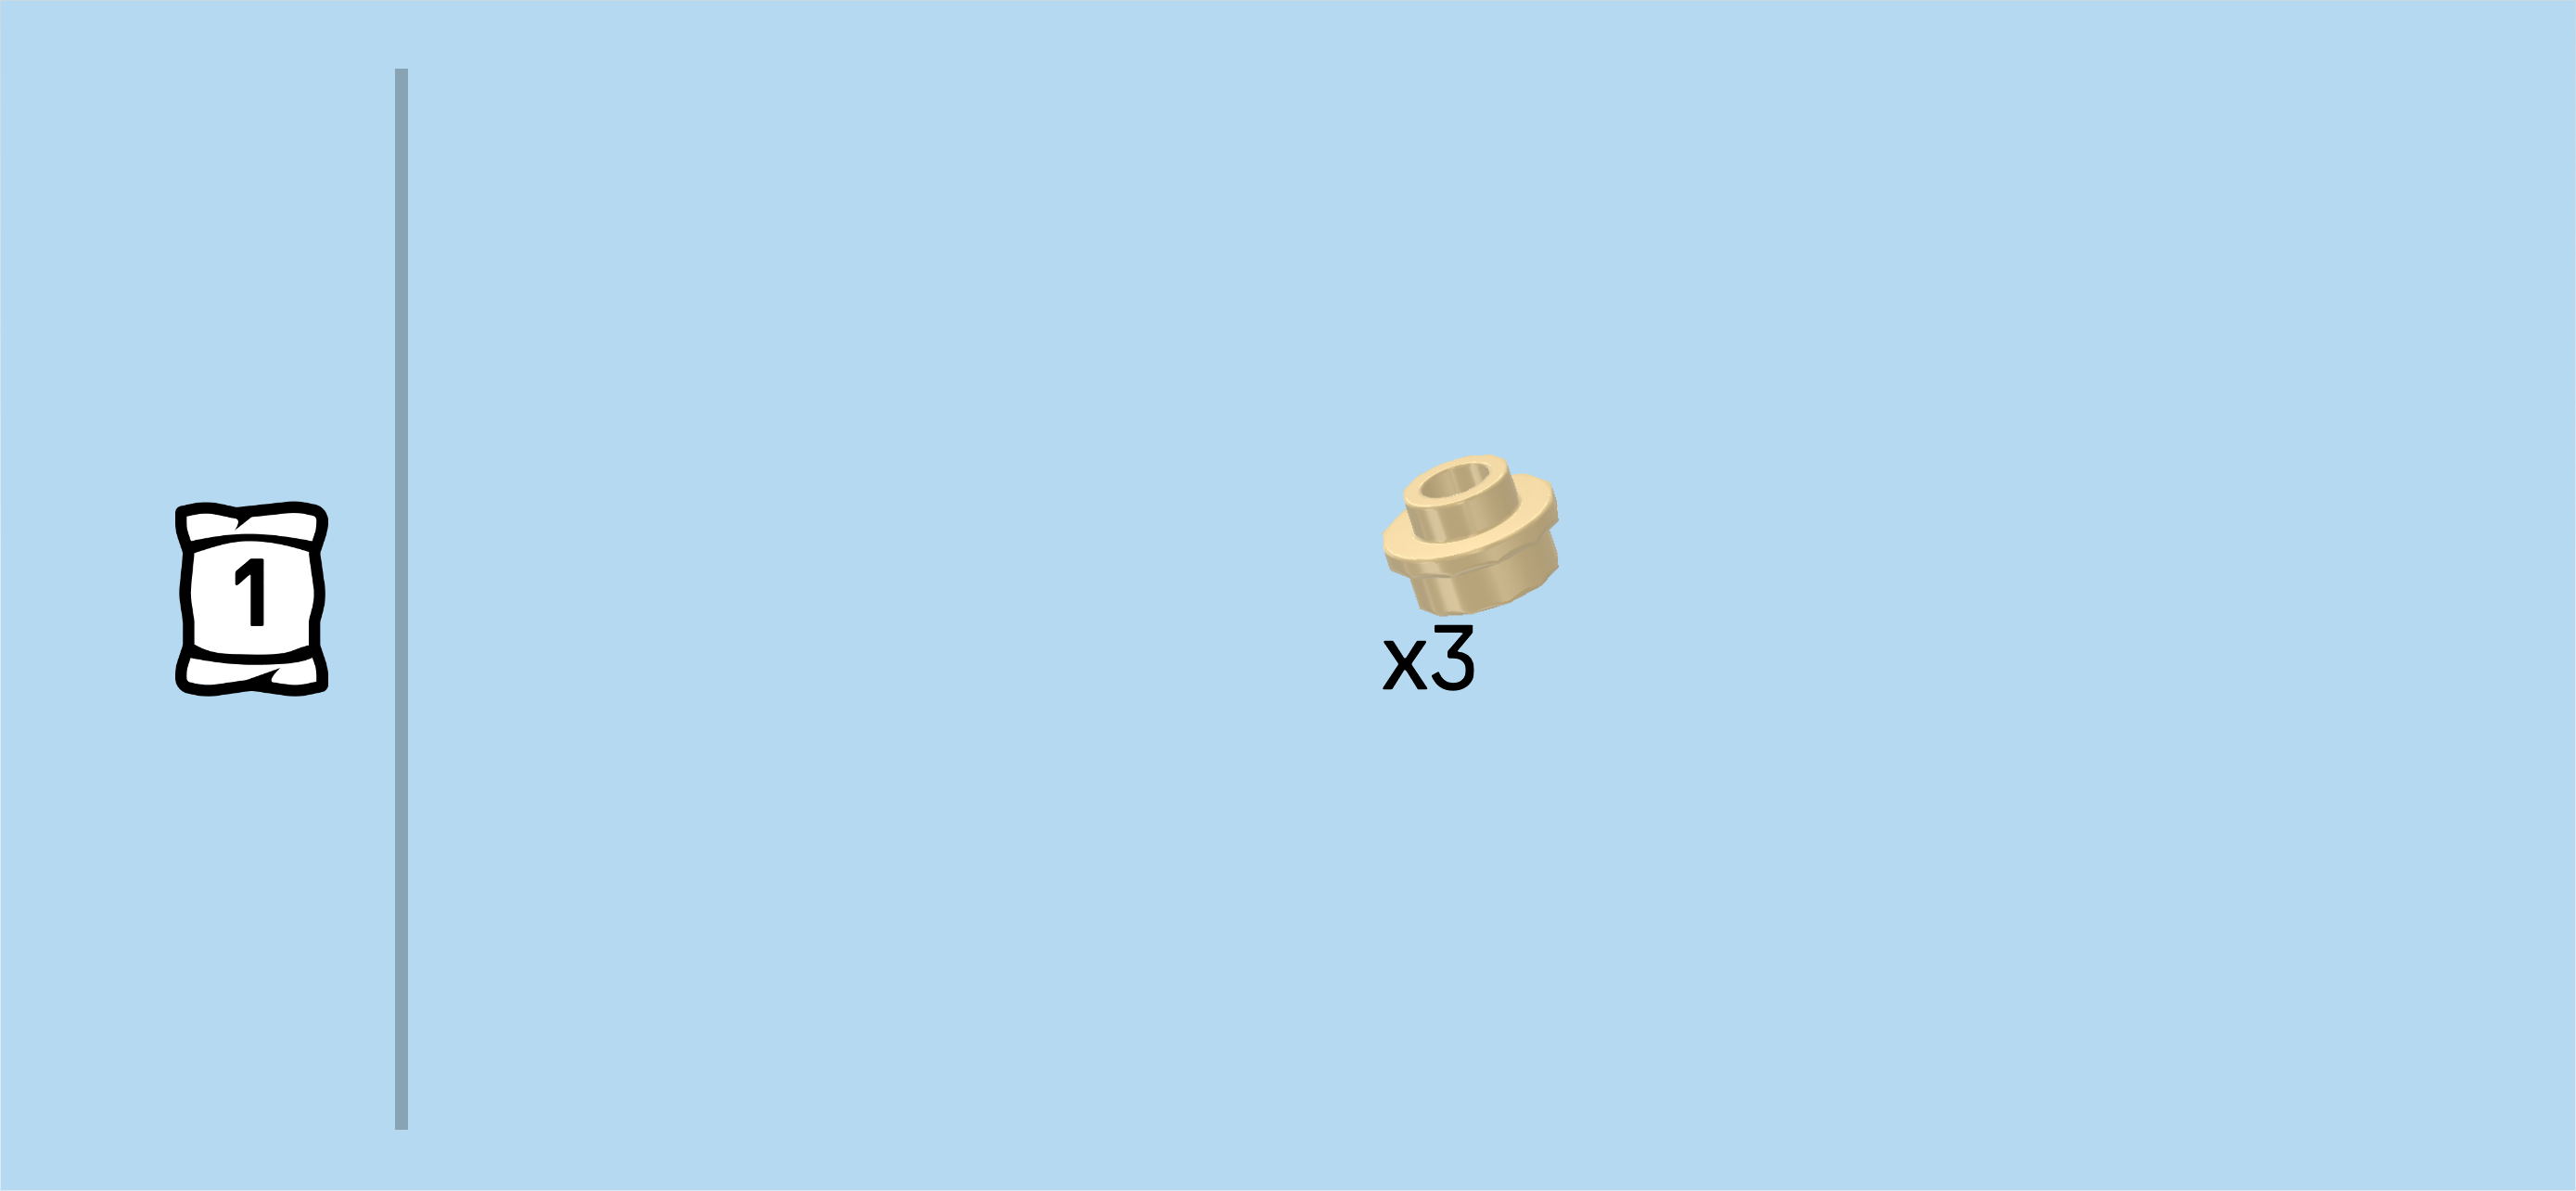
| Find another 3 pale ocher yellow round plates 1x1 with through-hole. |
| Put them to the left of the previous piece to fully cover the bottom side of the palisade brick with round plates 1x1. |
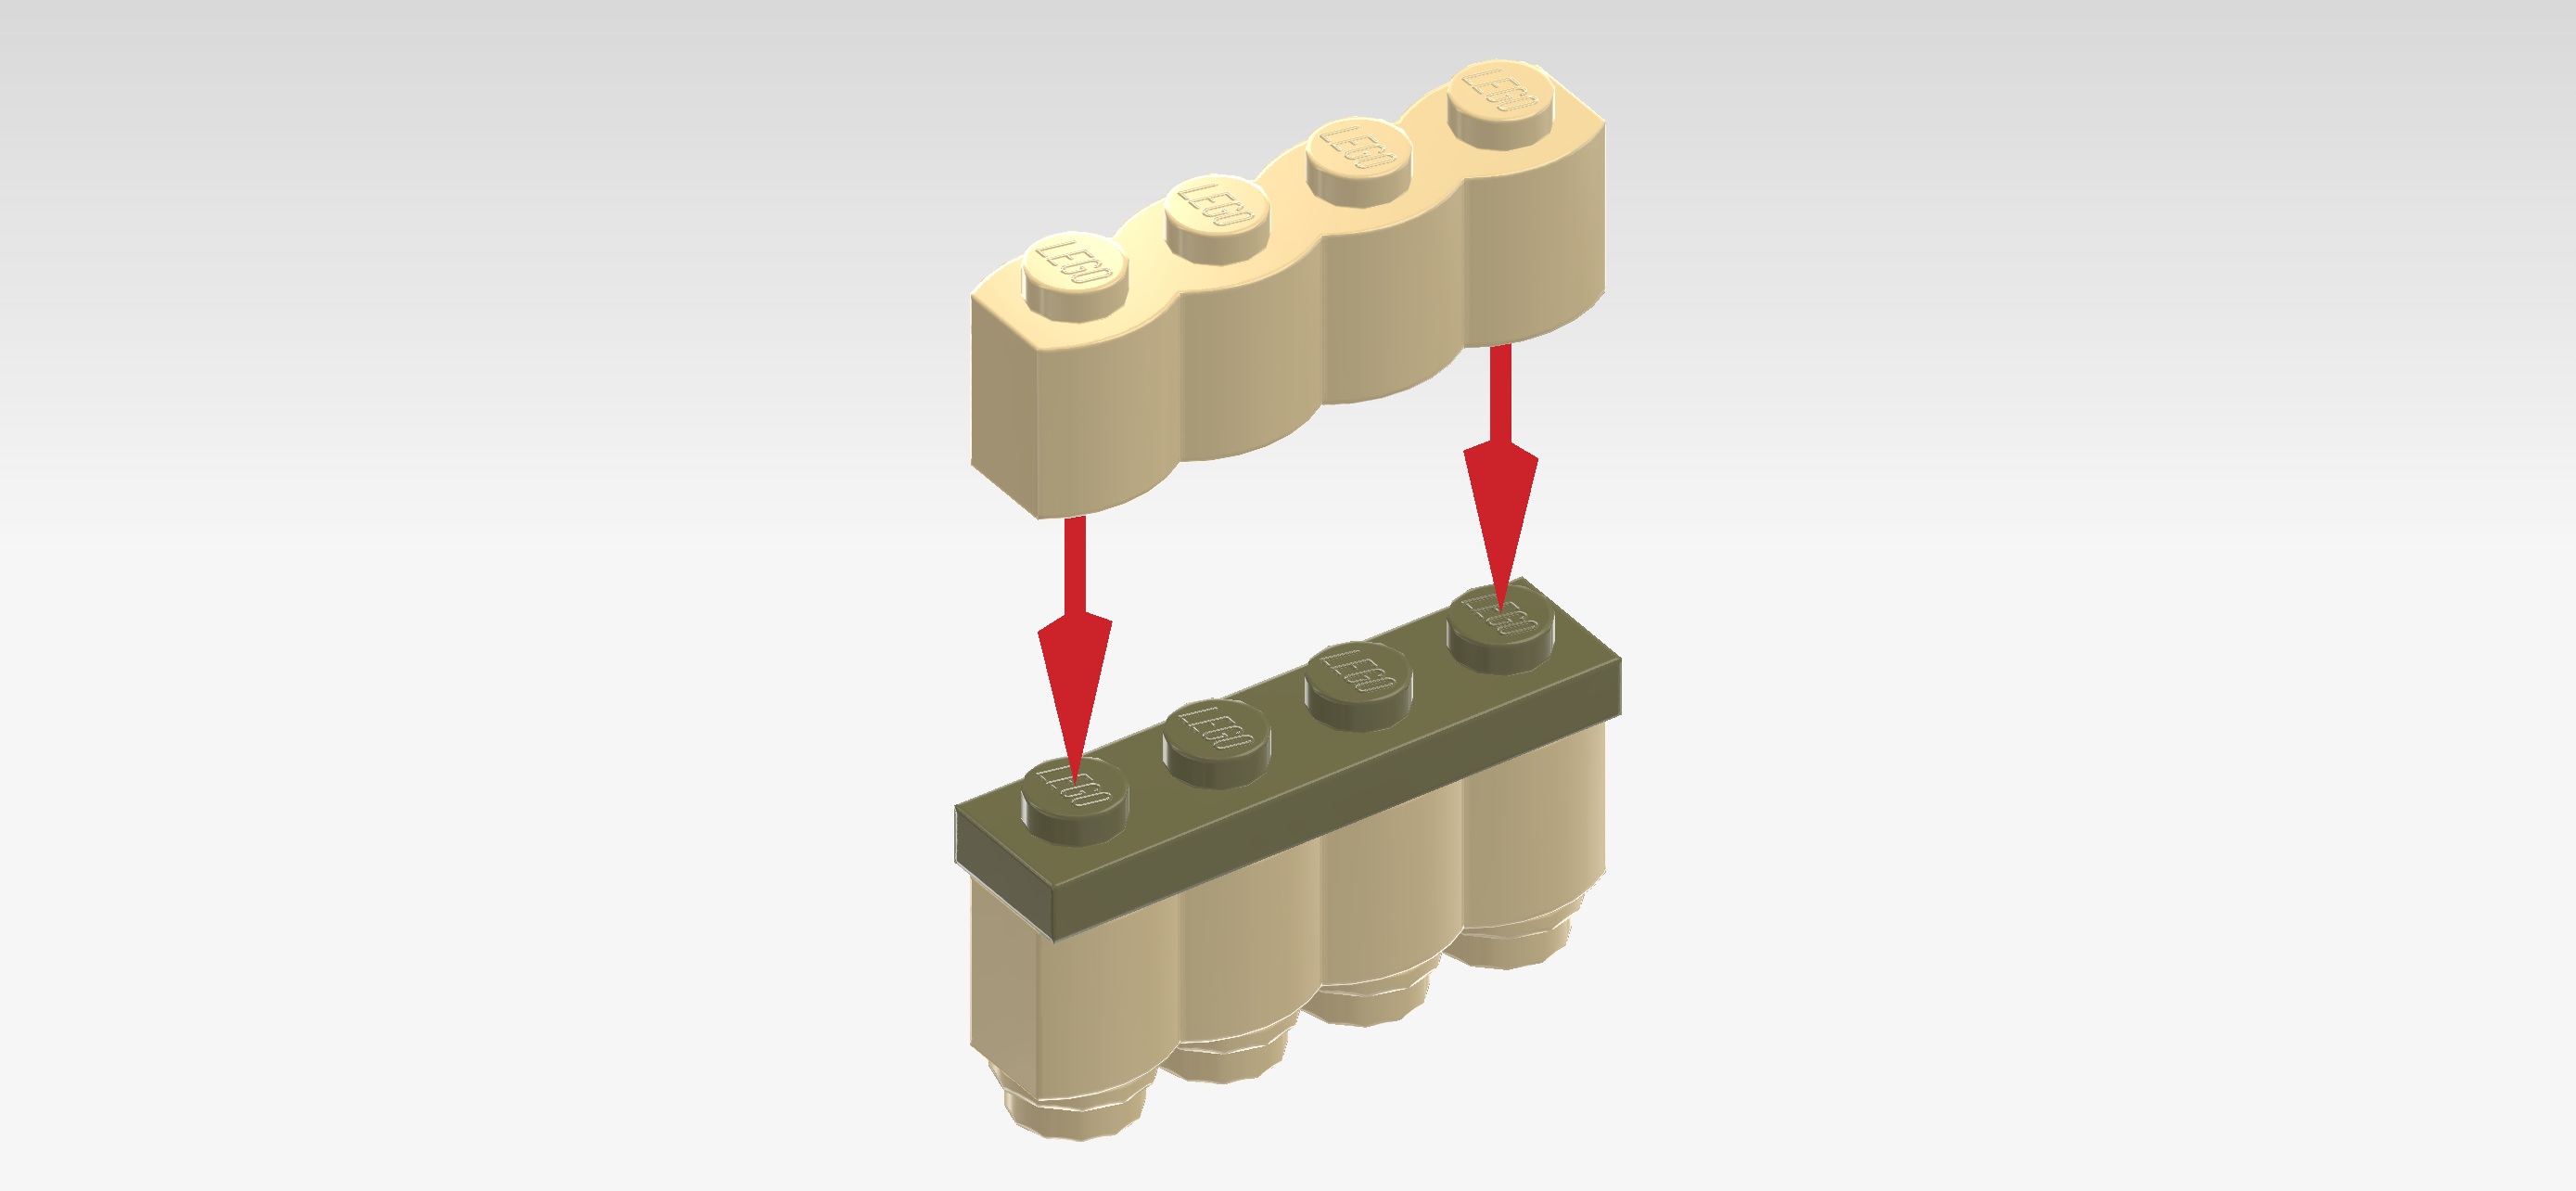
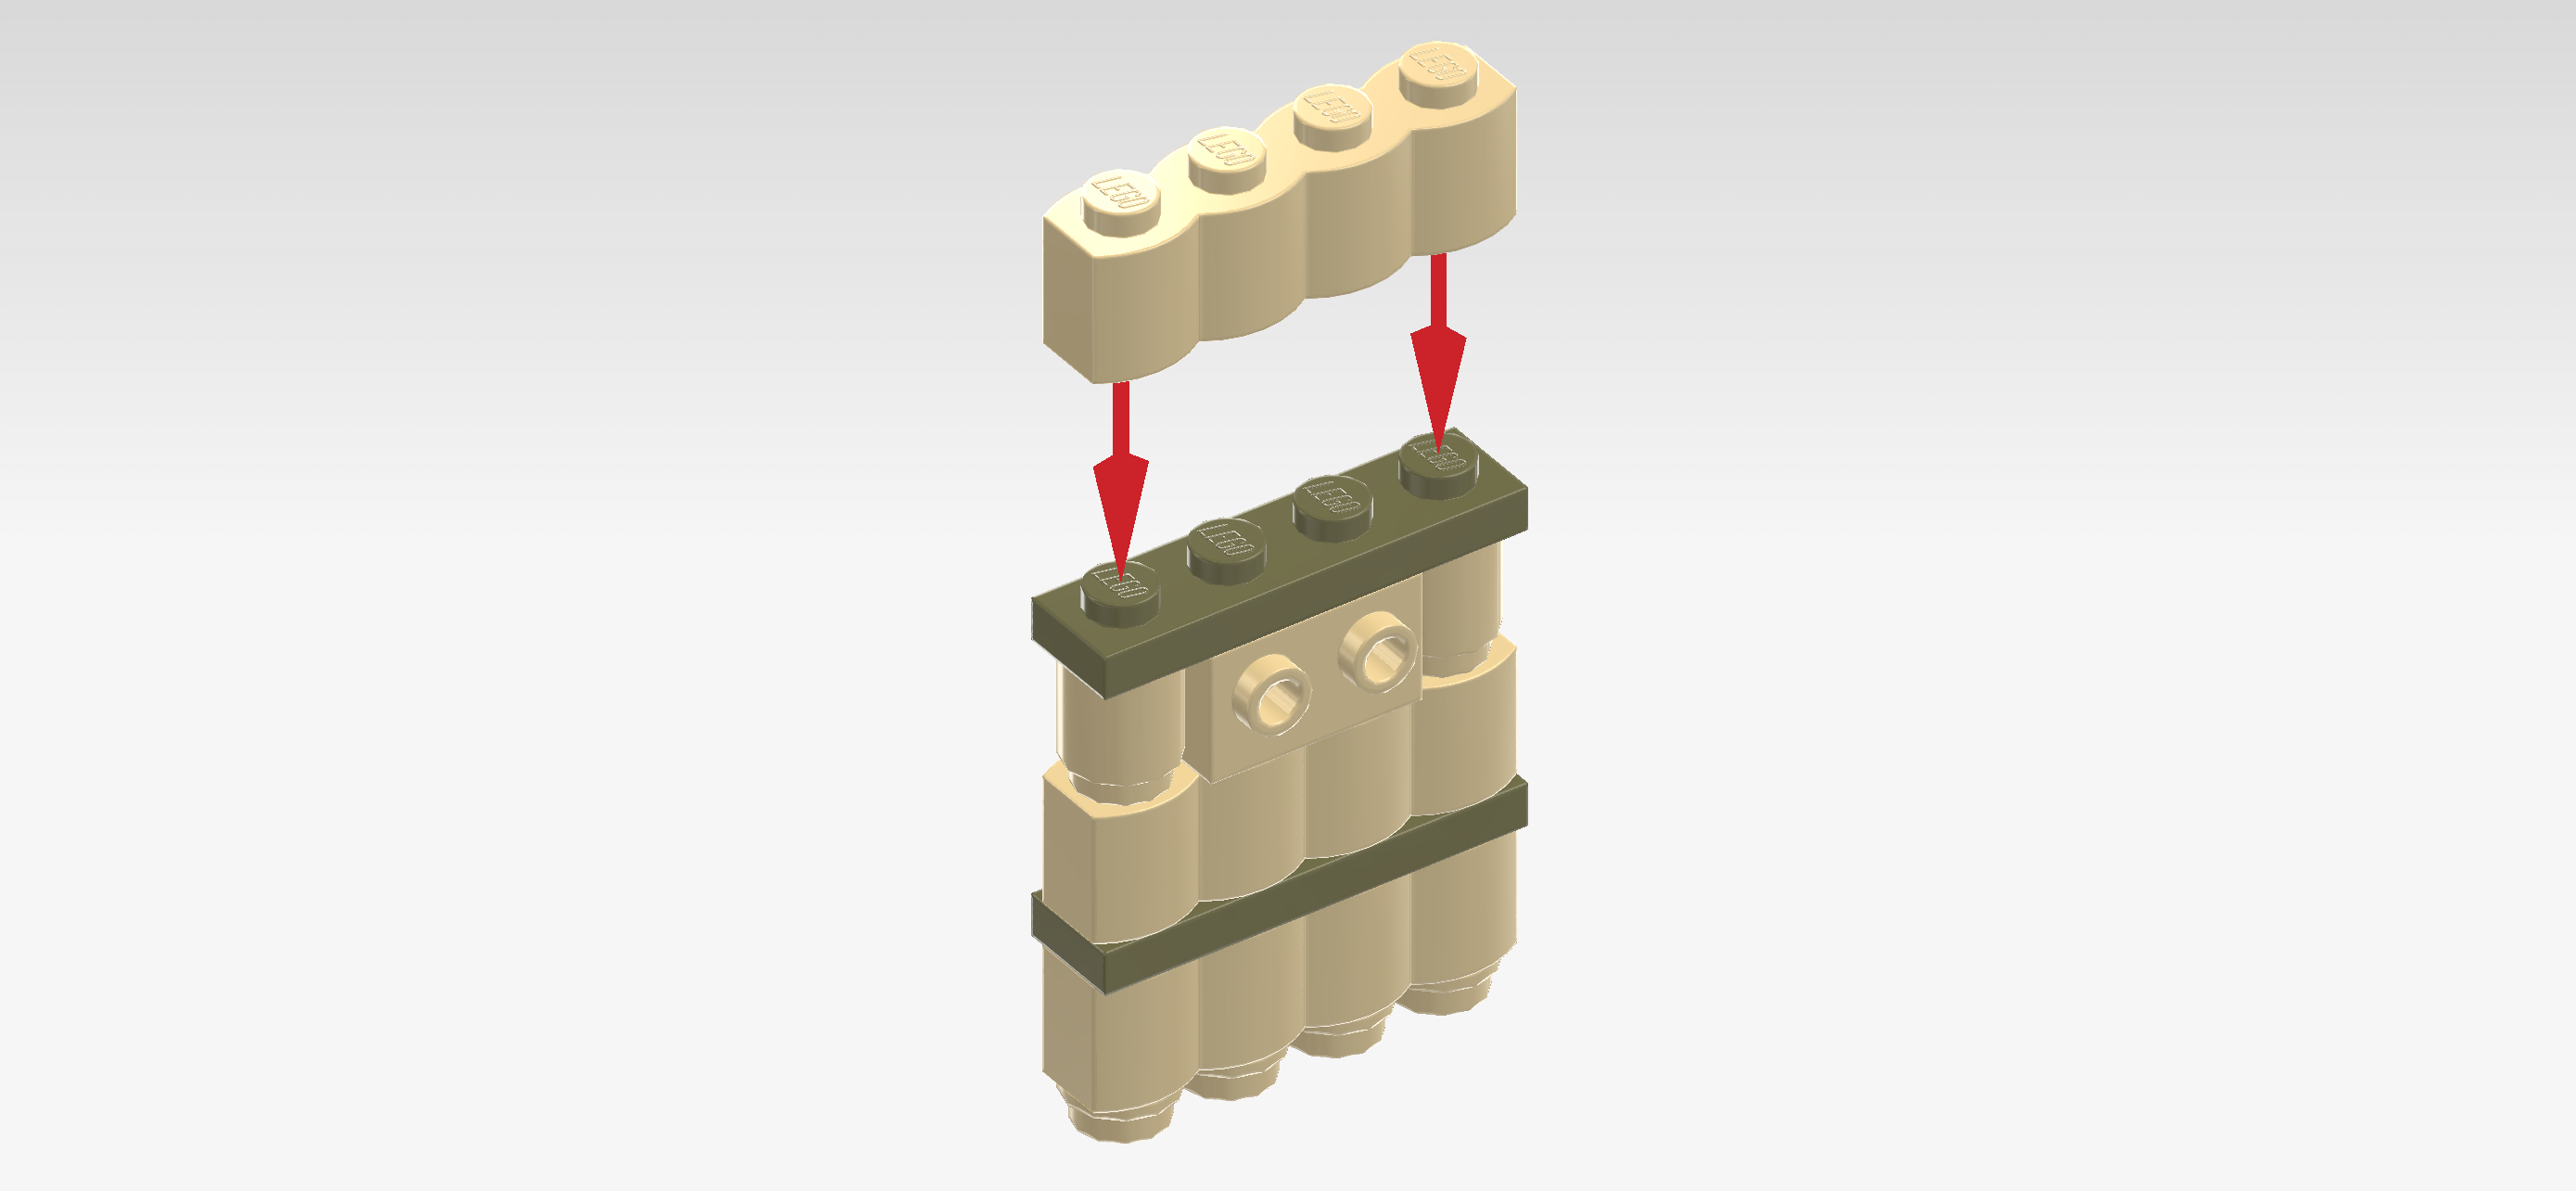
| Collect the following 2 pieces: |
| 1 olive green plate 1x4, |
| and another pale ocher yellow palisade brick 1x4. |
| Put the plate 1x4 on top of the original palisade brick 1x4. |
| Put the new palisade brick 1x4 horizontally on top of the previous piece. |
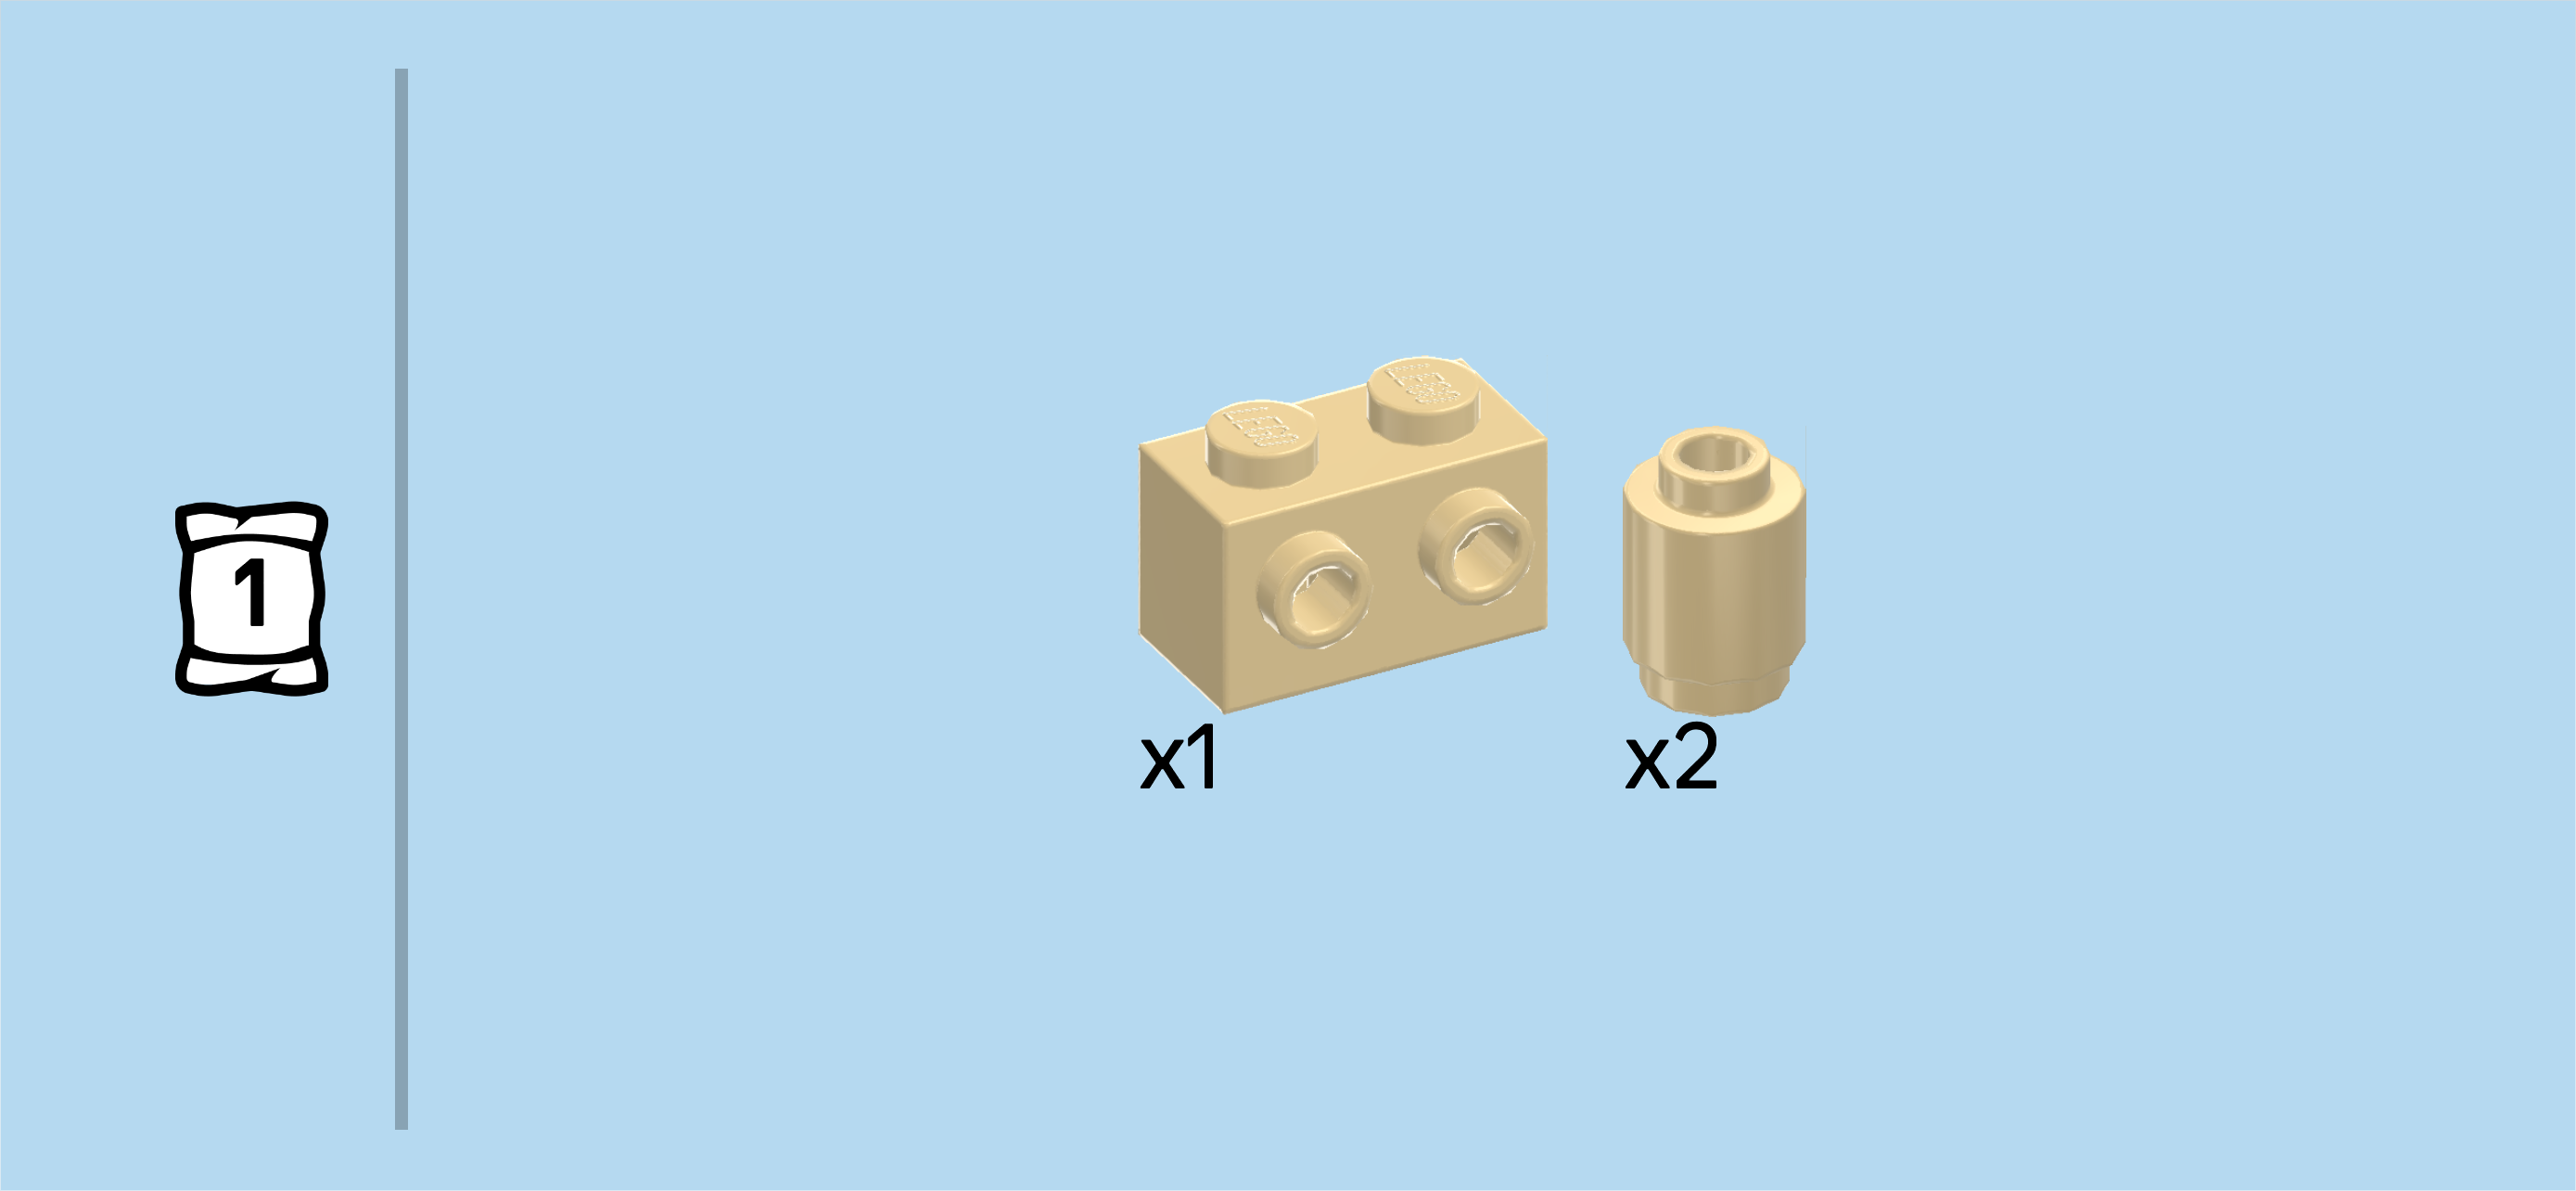
| Collect the following 3 pieces: |
| 2 pale ocher yellow round bricks 1x1, |
| and 1 pale ocher yellow brick 1x2 with 2 side knobs on long side. |
| Put 1 round brick 1x1 on the rightmost knob of the previous piece. |
| Put the brick 1x2 horizontally to the left of the previous piece, side knobs to the front. |
| Put the other round brick 1x1 to the left of the previous piece. |
| Collect the following 2 pieces: |
| 1 olive green plate 1x4, |
| and 1 pale ocher yellow palisade brick 1x4. |
| Put the plate 1x4 horizontally on top of the 3 previous pieces. |
| Put the palisade brick 1x4 horizontally on top of the previous piece. |
| Find 4 pale ocher yellow round plates 1x1 with through-hole. |
| Put them on the previous piece, covering the topmost 4 knobs. |
| Find 2 pale ocher yellow oars. |
| First put the raft flat on the table, making sure that the 2 side knobs are now pointing to the top. |
| Place the 2 oars loosely on the raft. |
| The raft is finished! Well done! Later, you can snap the oars into the Turtle Warrior's hands, mount the Warrior on the 2 knobs and explore the sea! |
| Now, let's build the 3 baby turtles. |
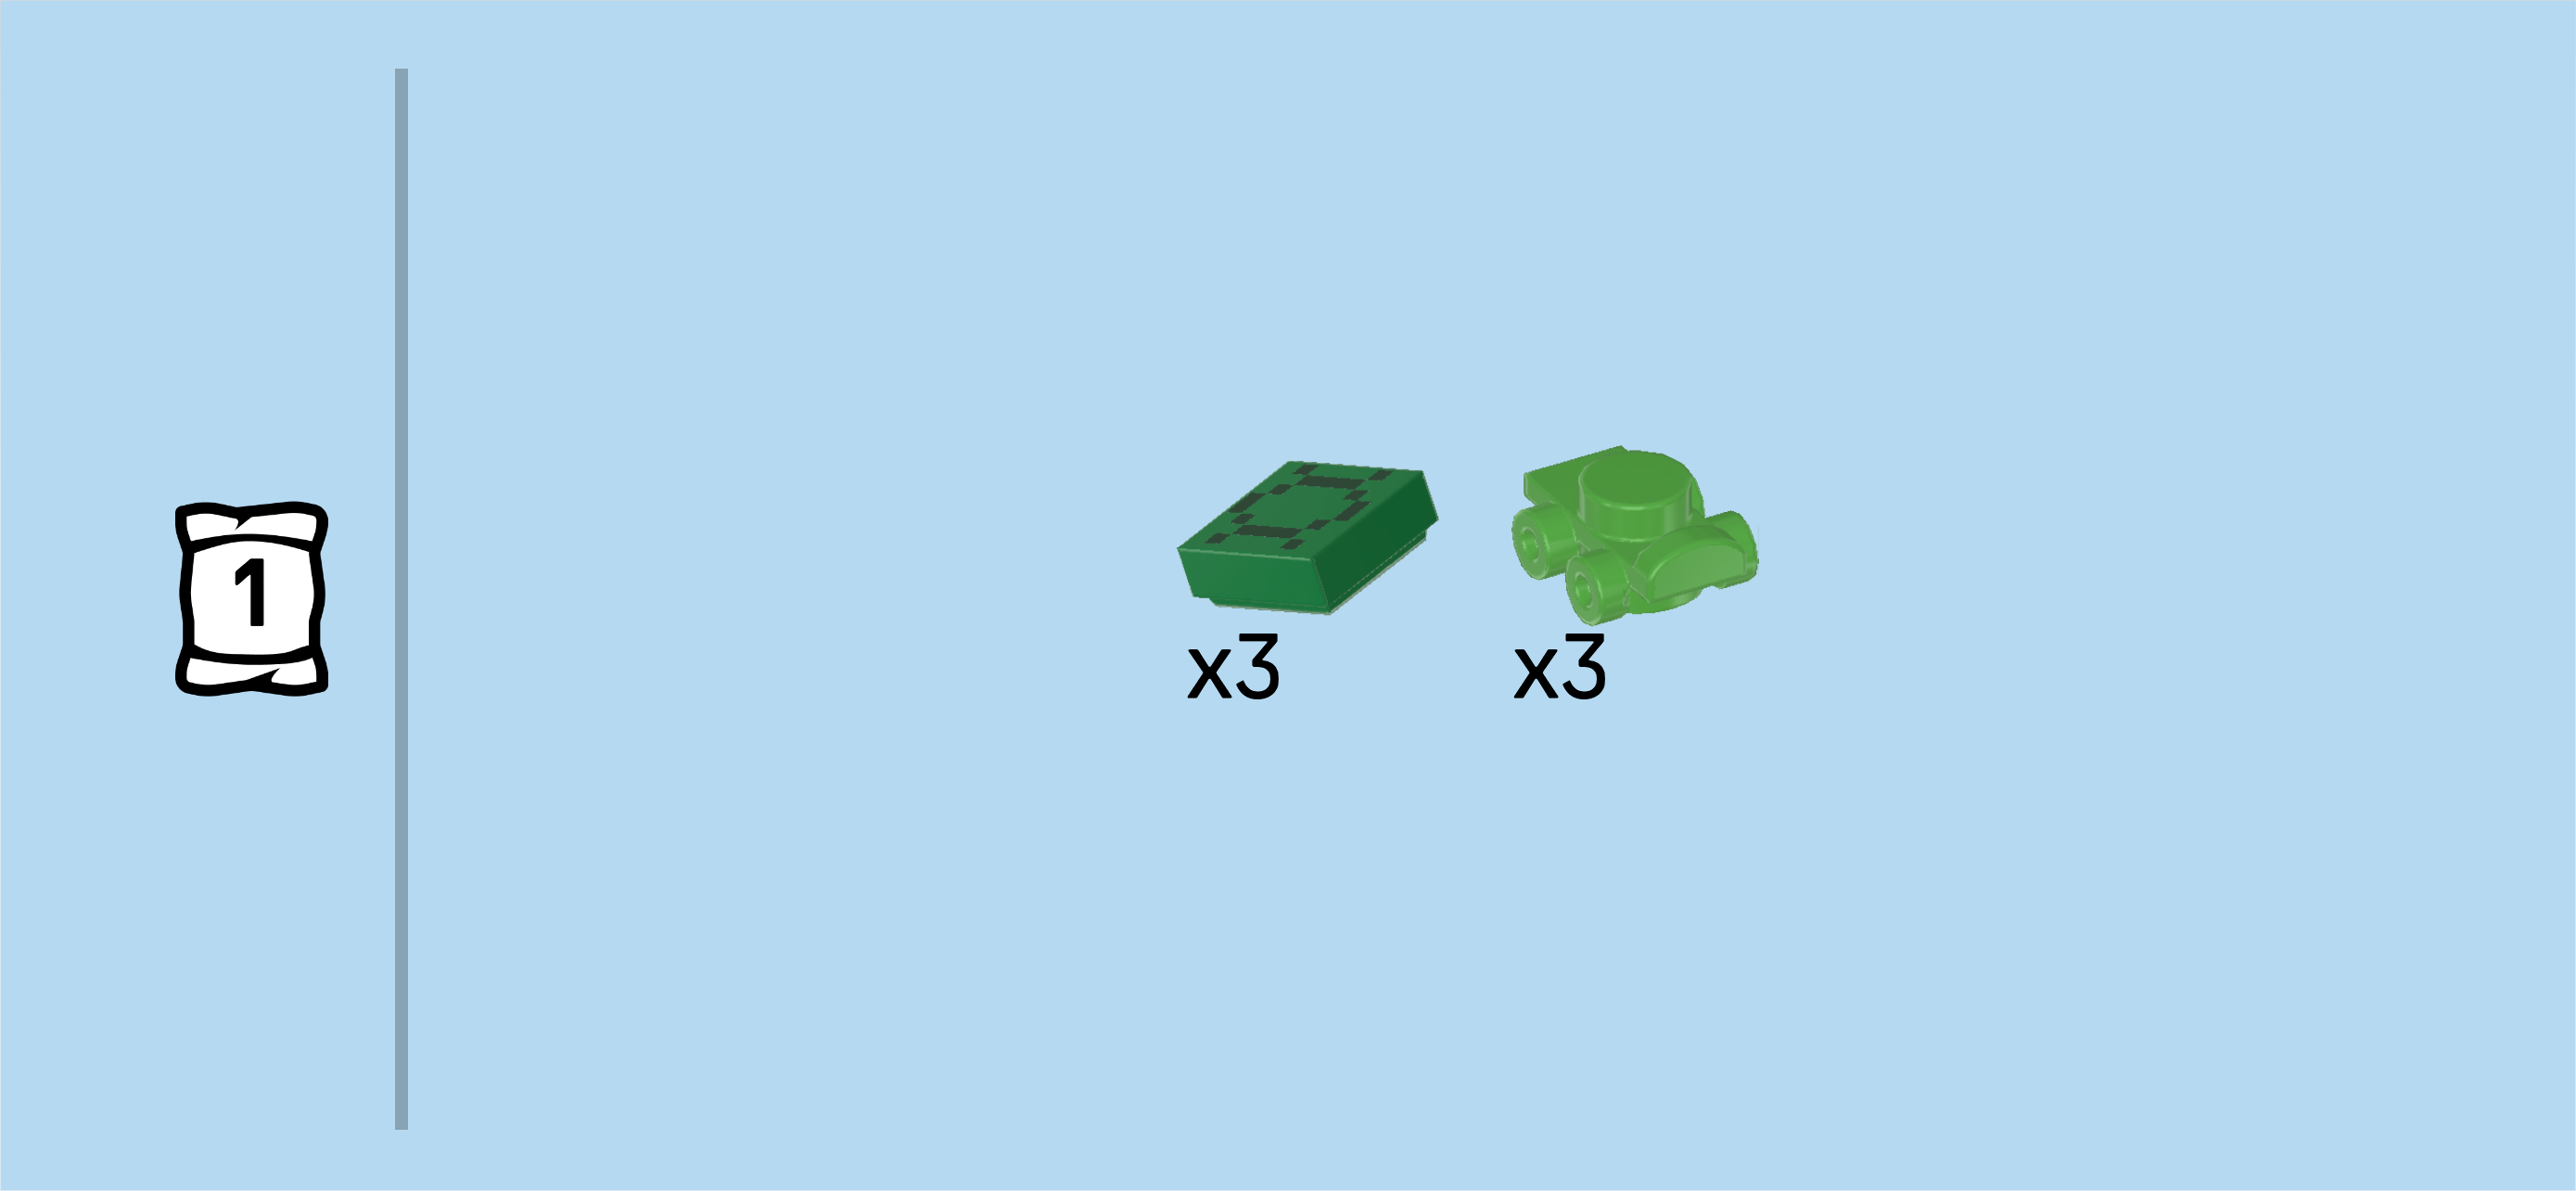
| Collect the following 6 pieces: |
| 3 bright green roller skate bottoms 1x1, |
| and 3 dark green flat tiles 1x1. |
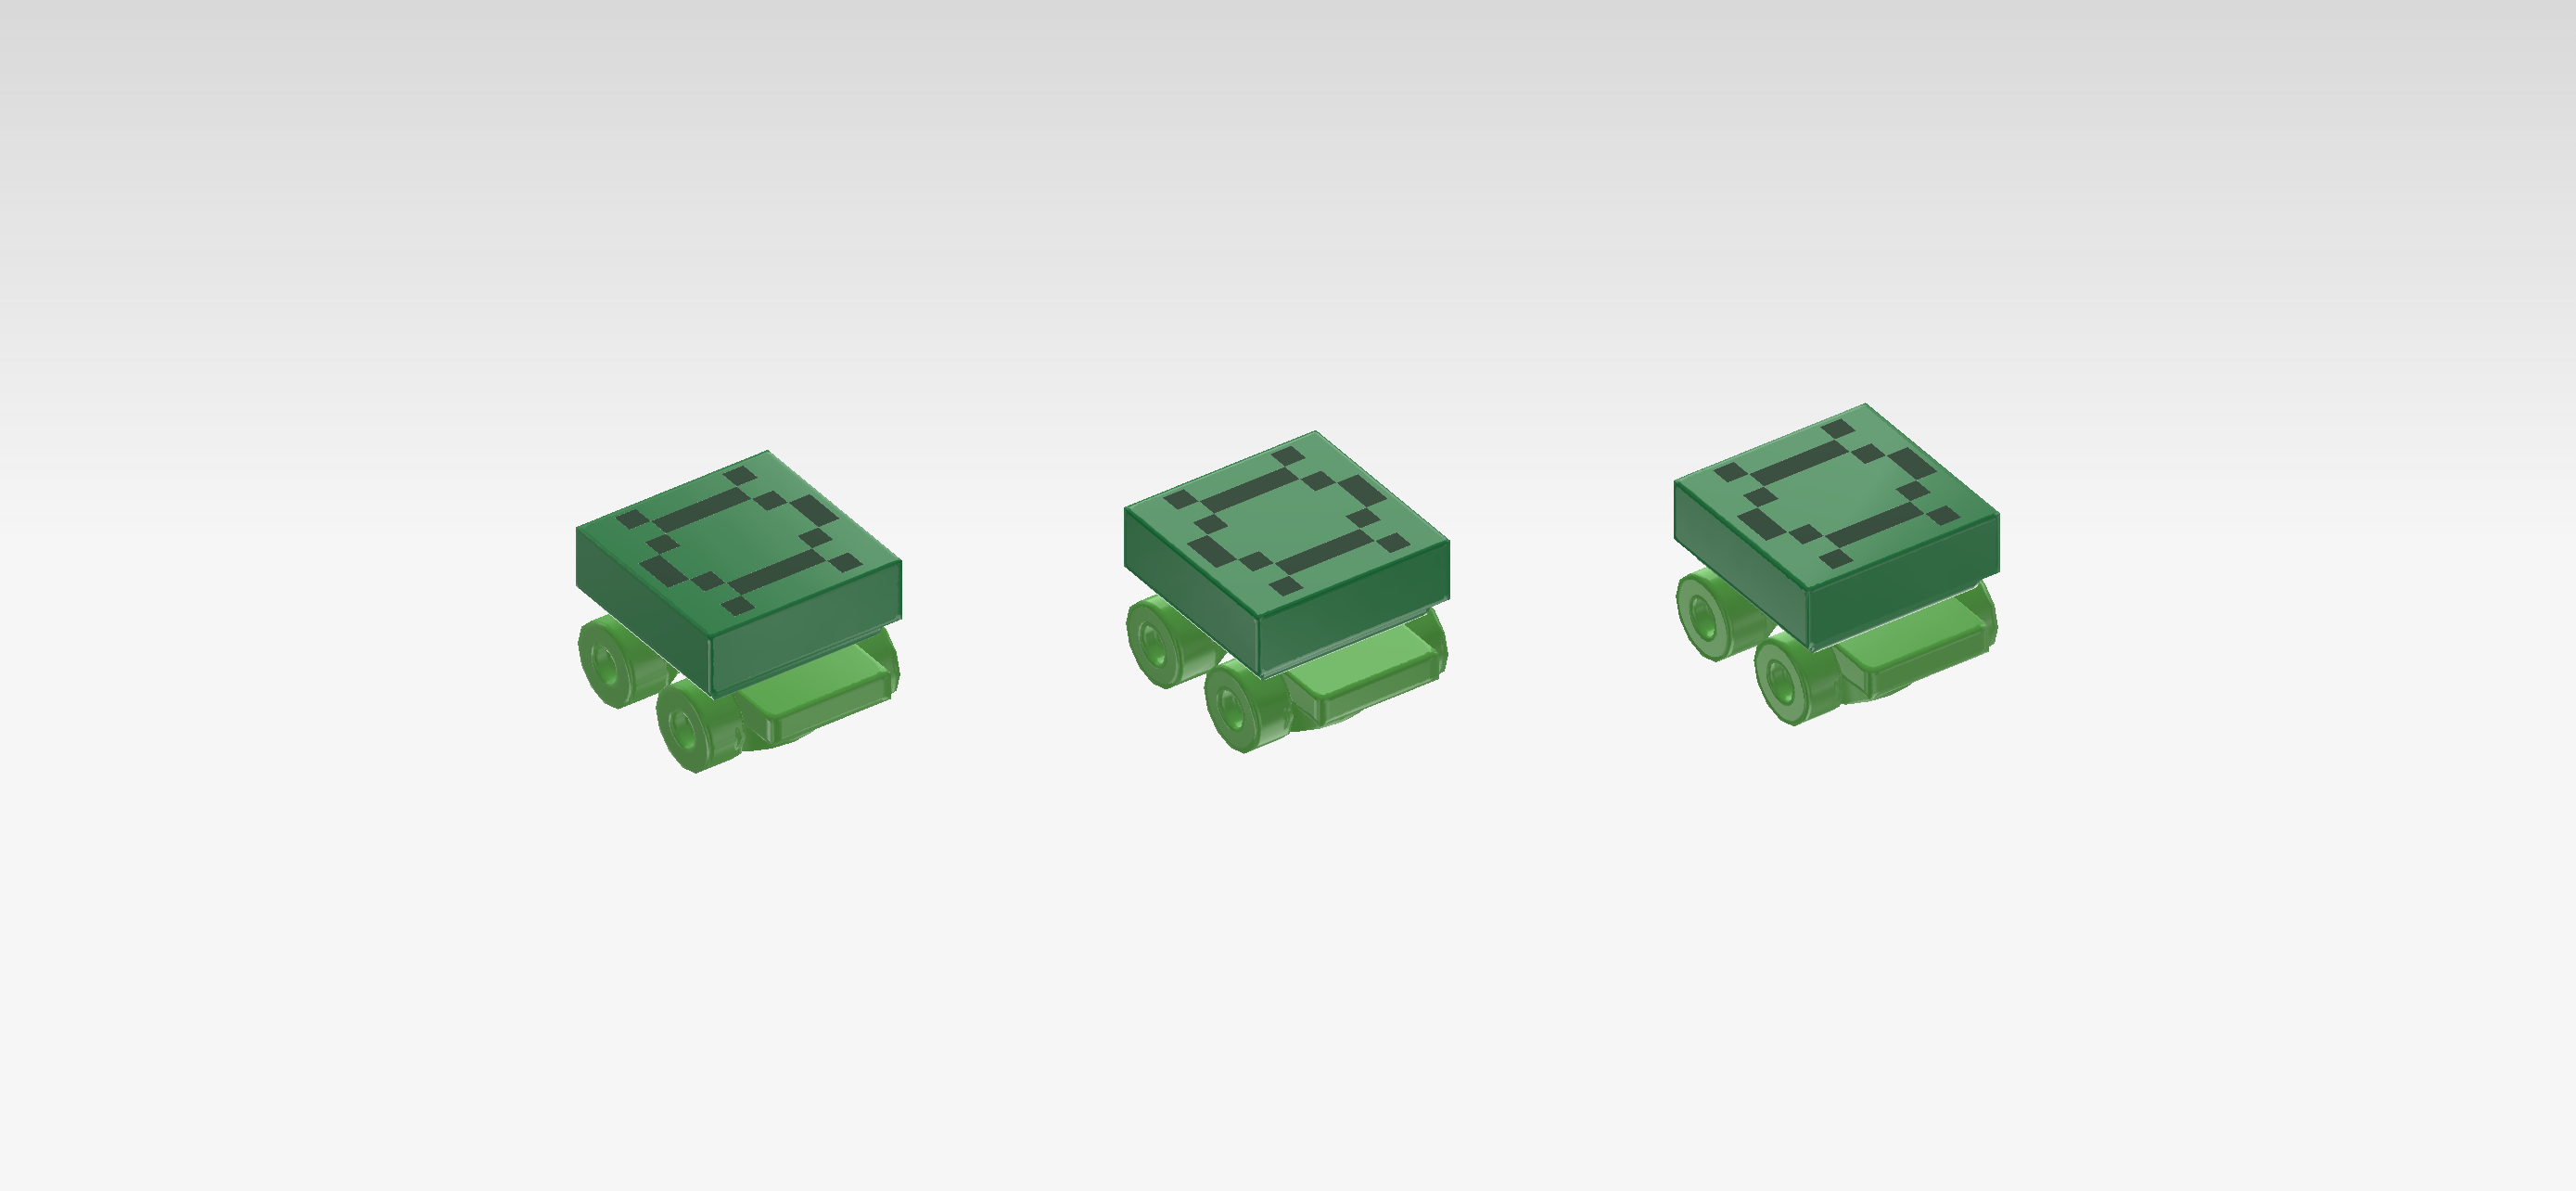
| Put the 3 roller skate bottoms on the table, tab to the front, upward nose to the back. This means that the tiny wheels are on the left and right. |
| Put 1 flat tile on each roller skate bottom. These tiles are printed with the pattern of turtle shells in a black dotted line. |
| Now, we will assemble the parent sea turtle. |
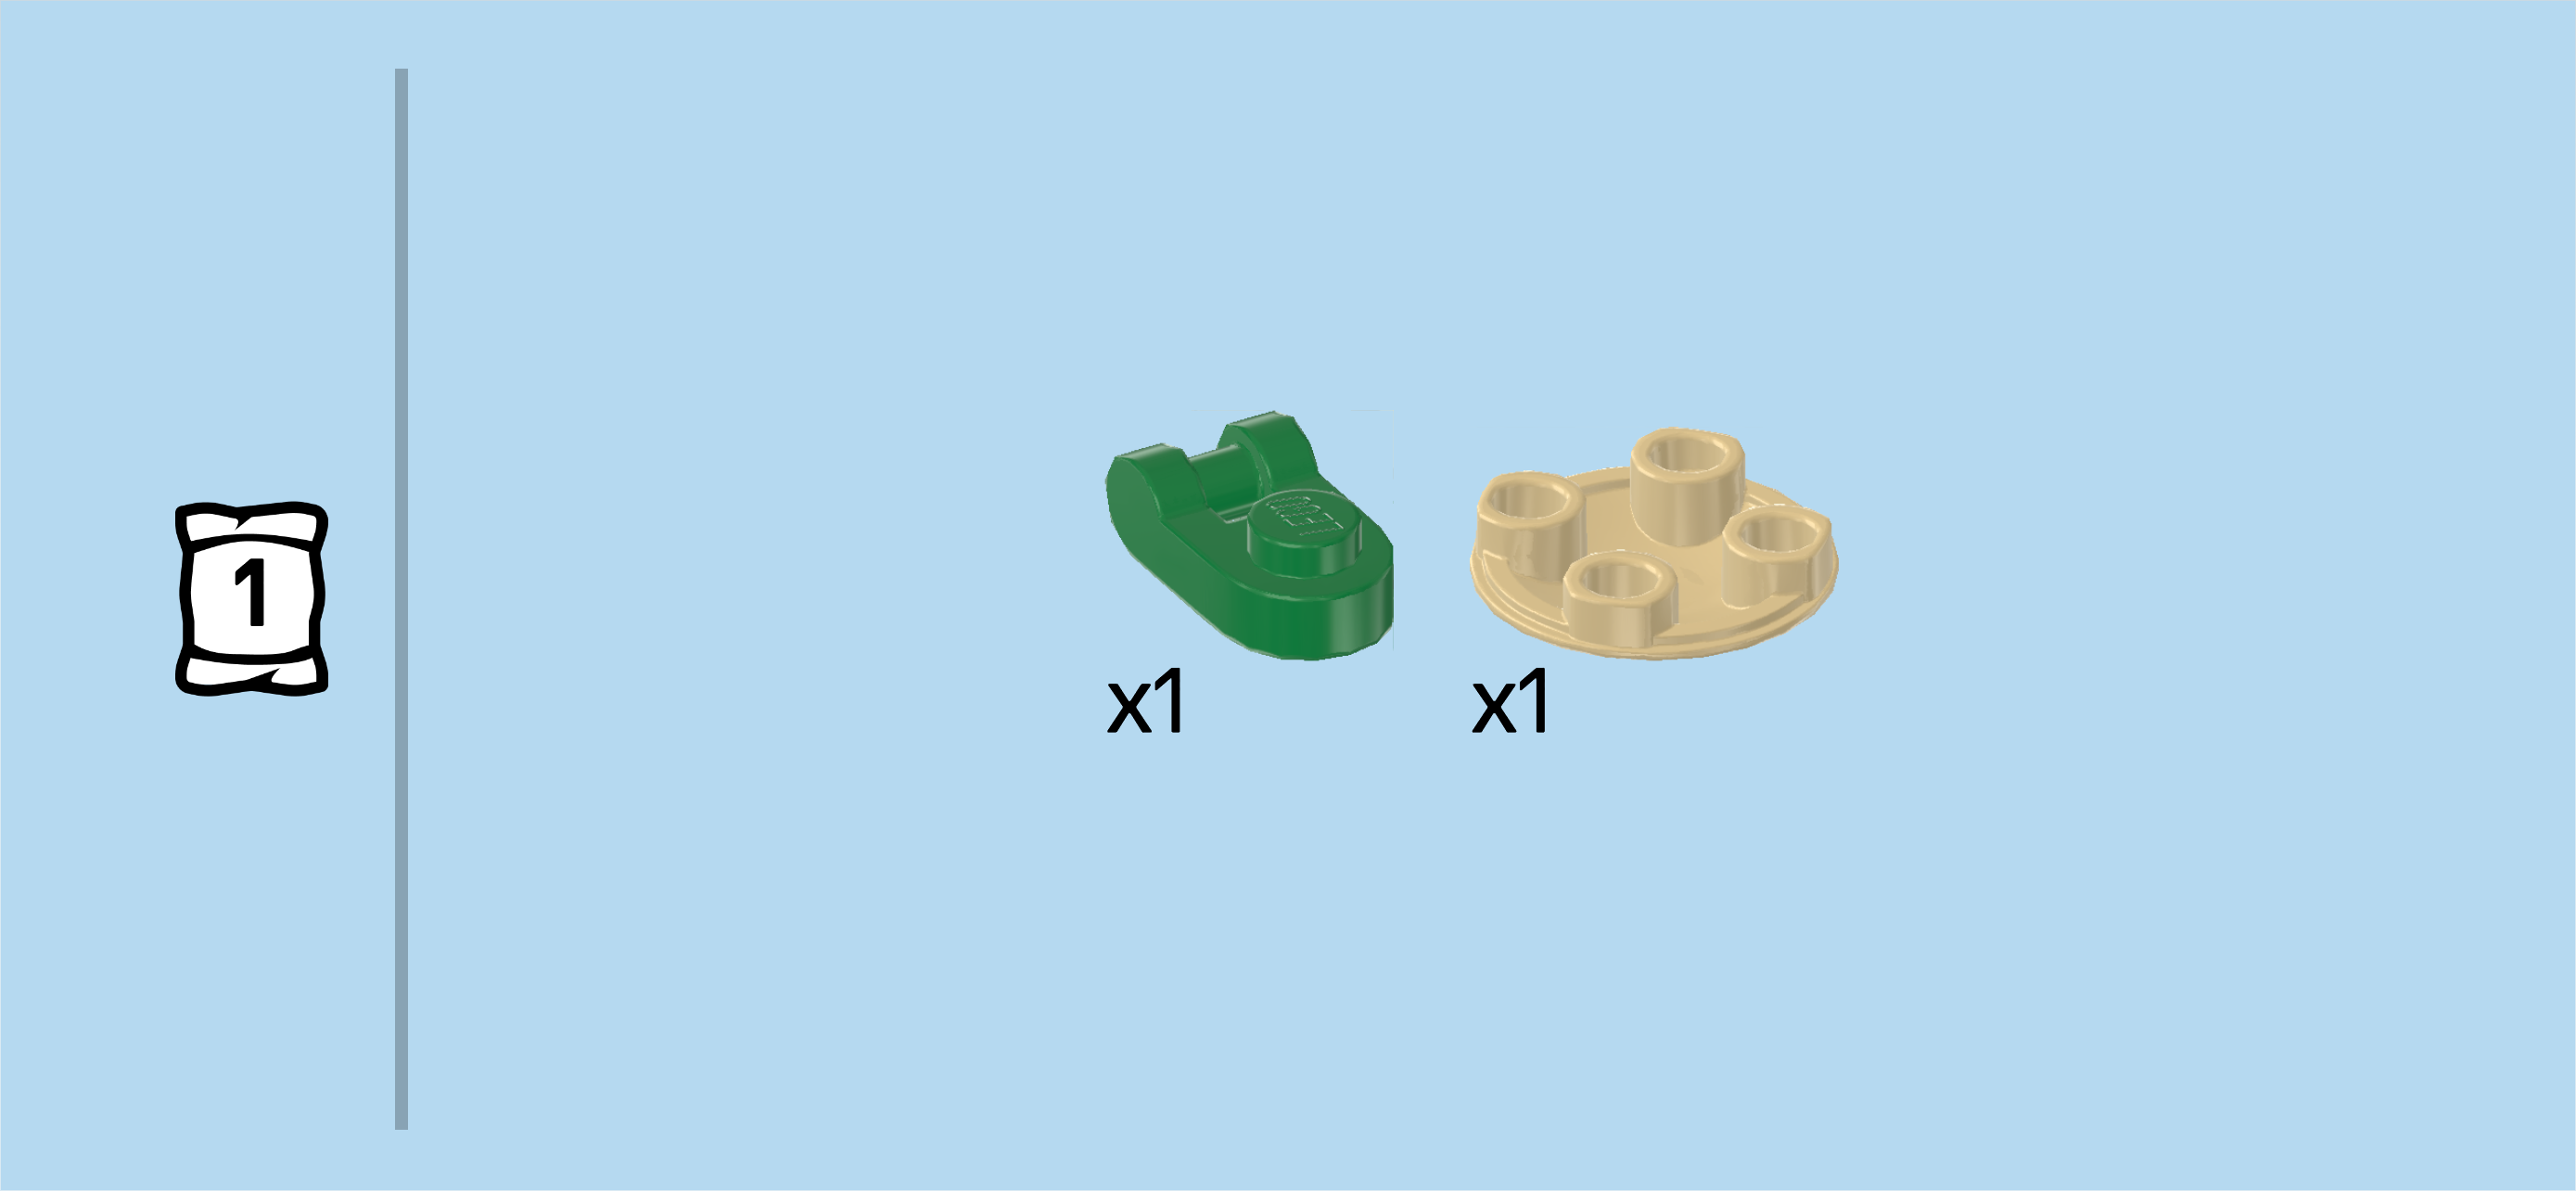
| Collect the following 2 pieces: |
| 1 dark green rounded plate 1x1 with side shaft, |
| and 1 pale ocher yellow inverted curve disk 2x2 with 4 knobs. |
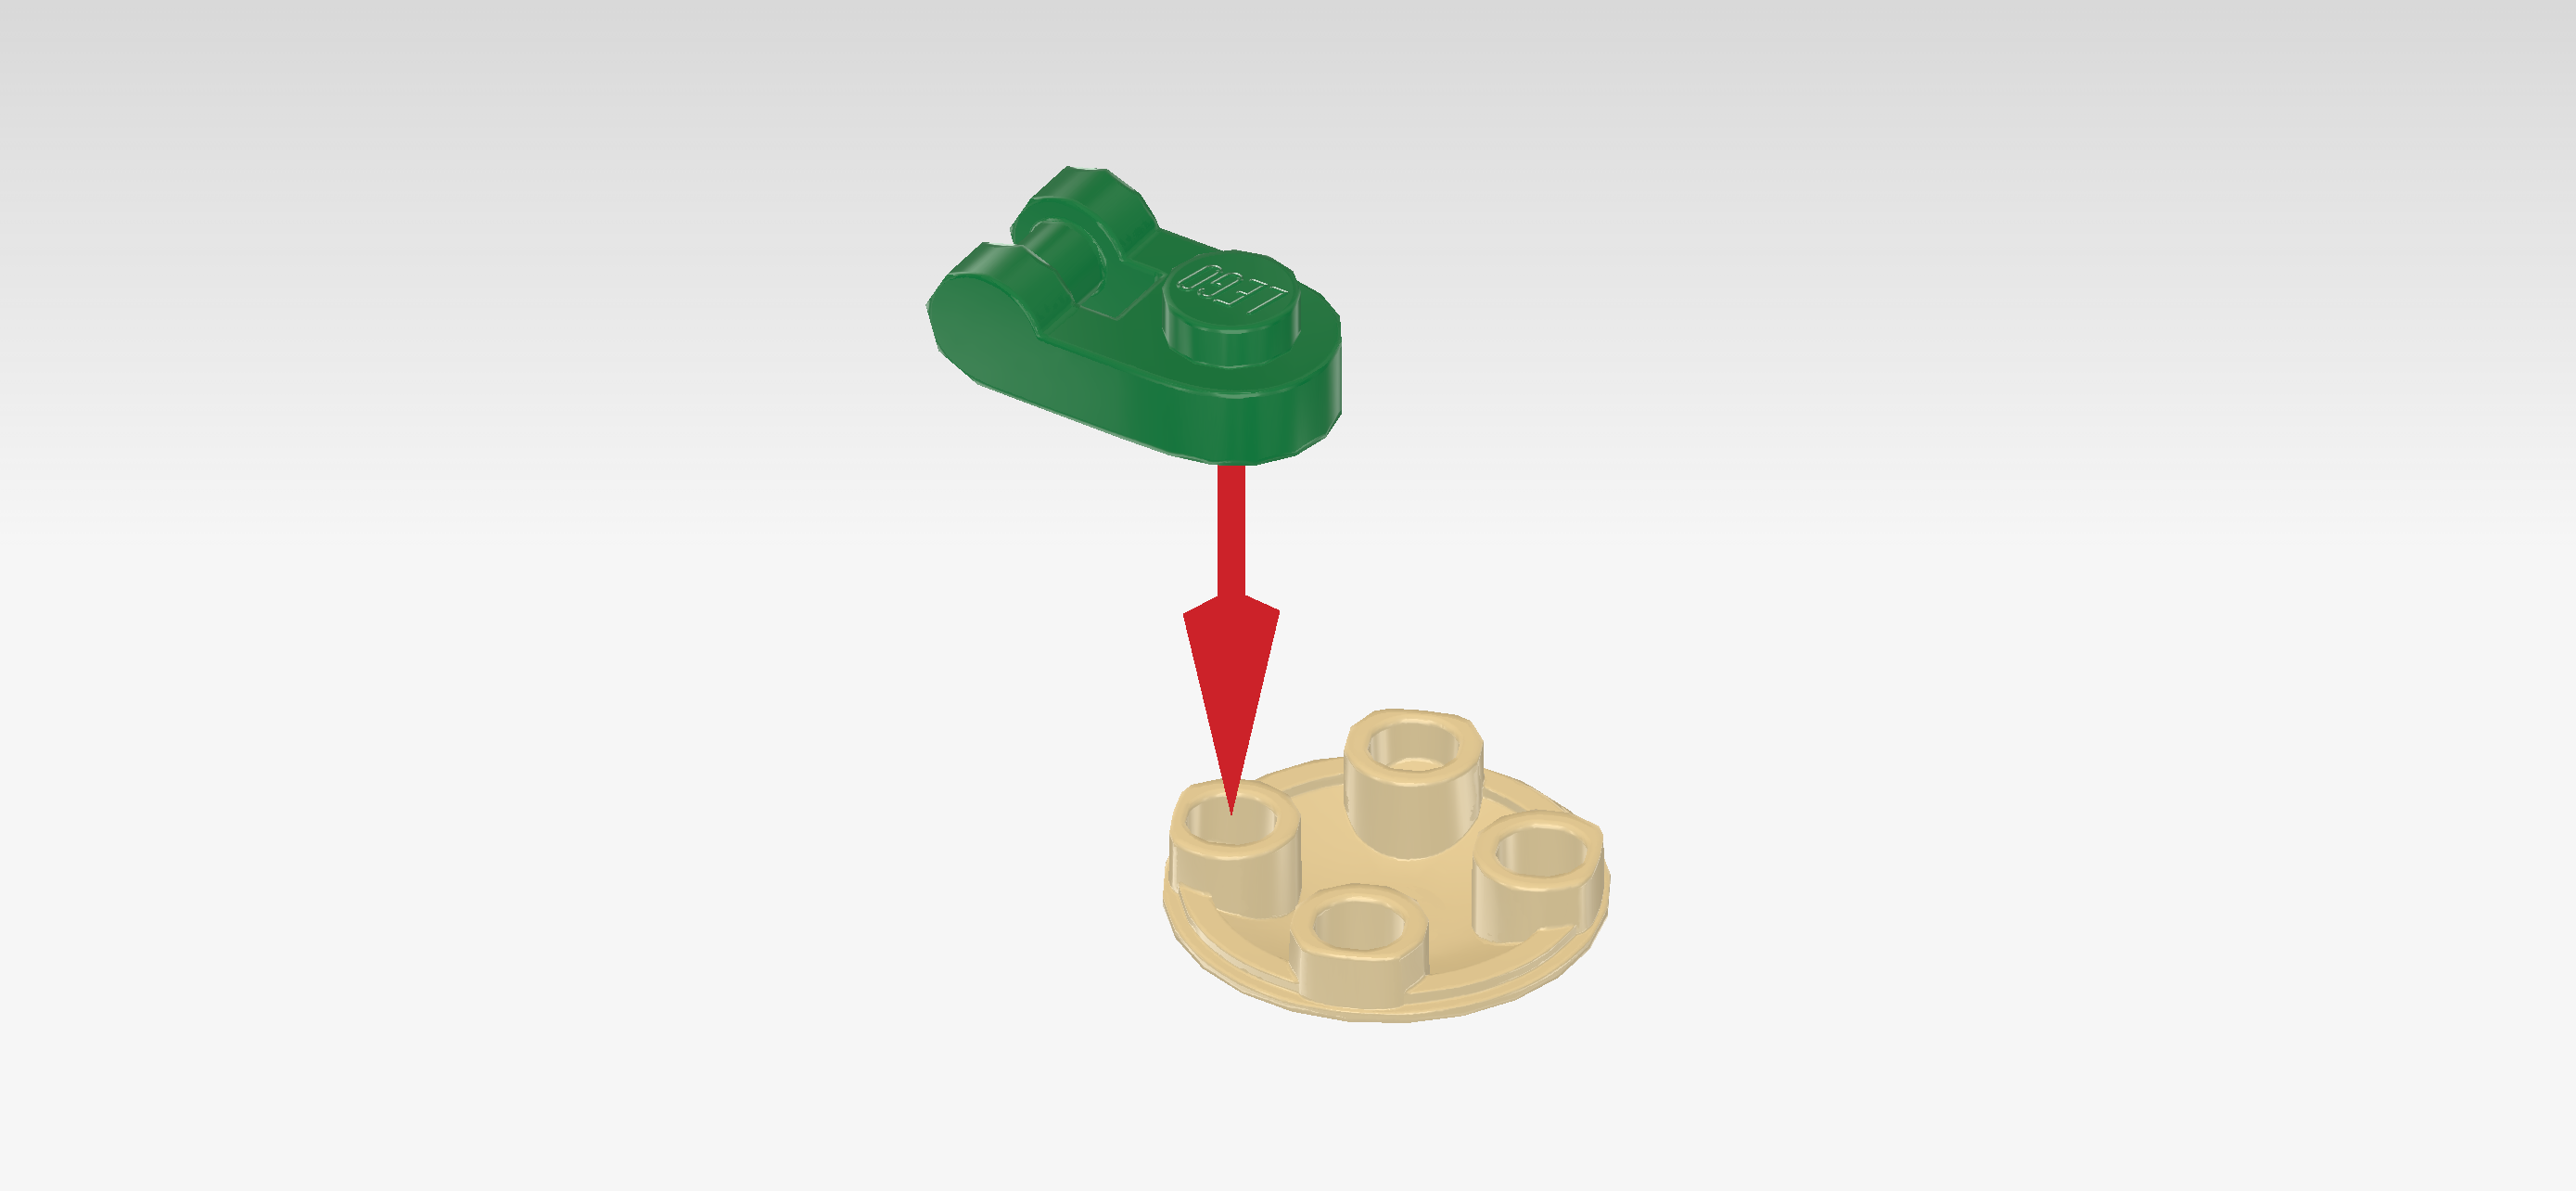
| Put the inverted curve disk on the table, knobs pointing to the top. |
| Put the rounded plate on the back left knob, side shaft pointing to the back left. |
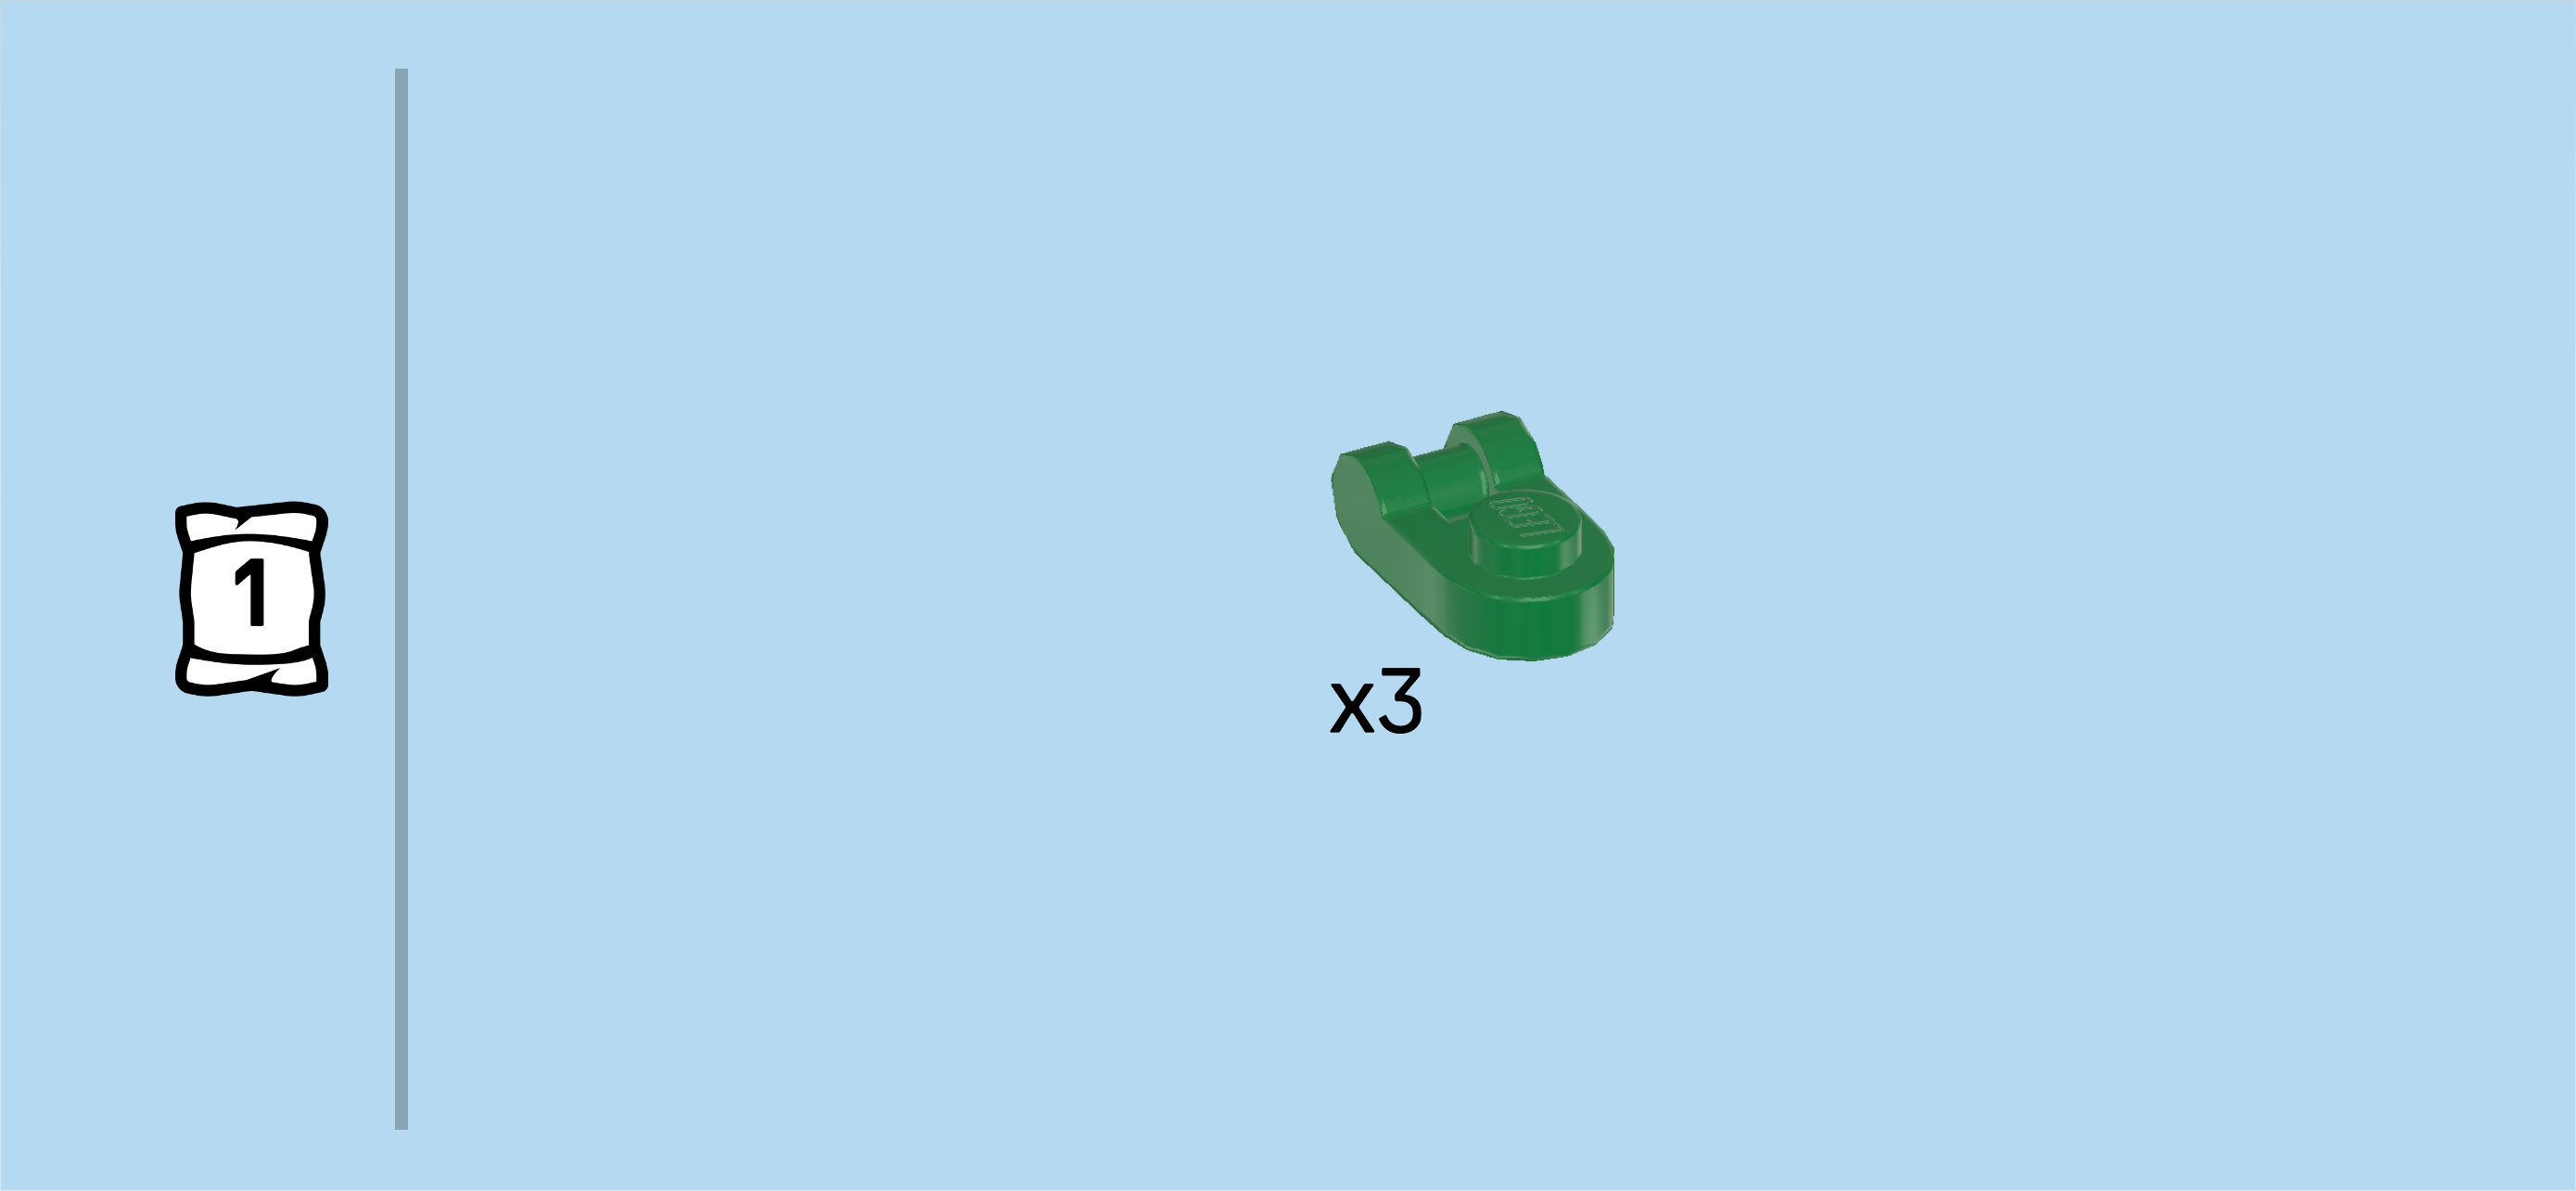
| Find another 3 dark green rounded plates 1x1 with side shaft. |
| Put 1 to the right of the previous piece, side shaft to the back right. |
| Put 1 in front of the previous piece, side shaft to the right. |
| Put the last one to the left of the previous piece, shaft to the left. |
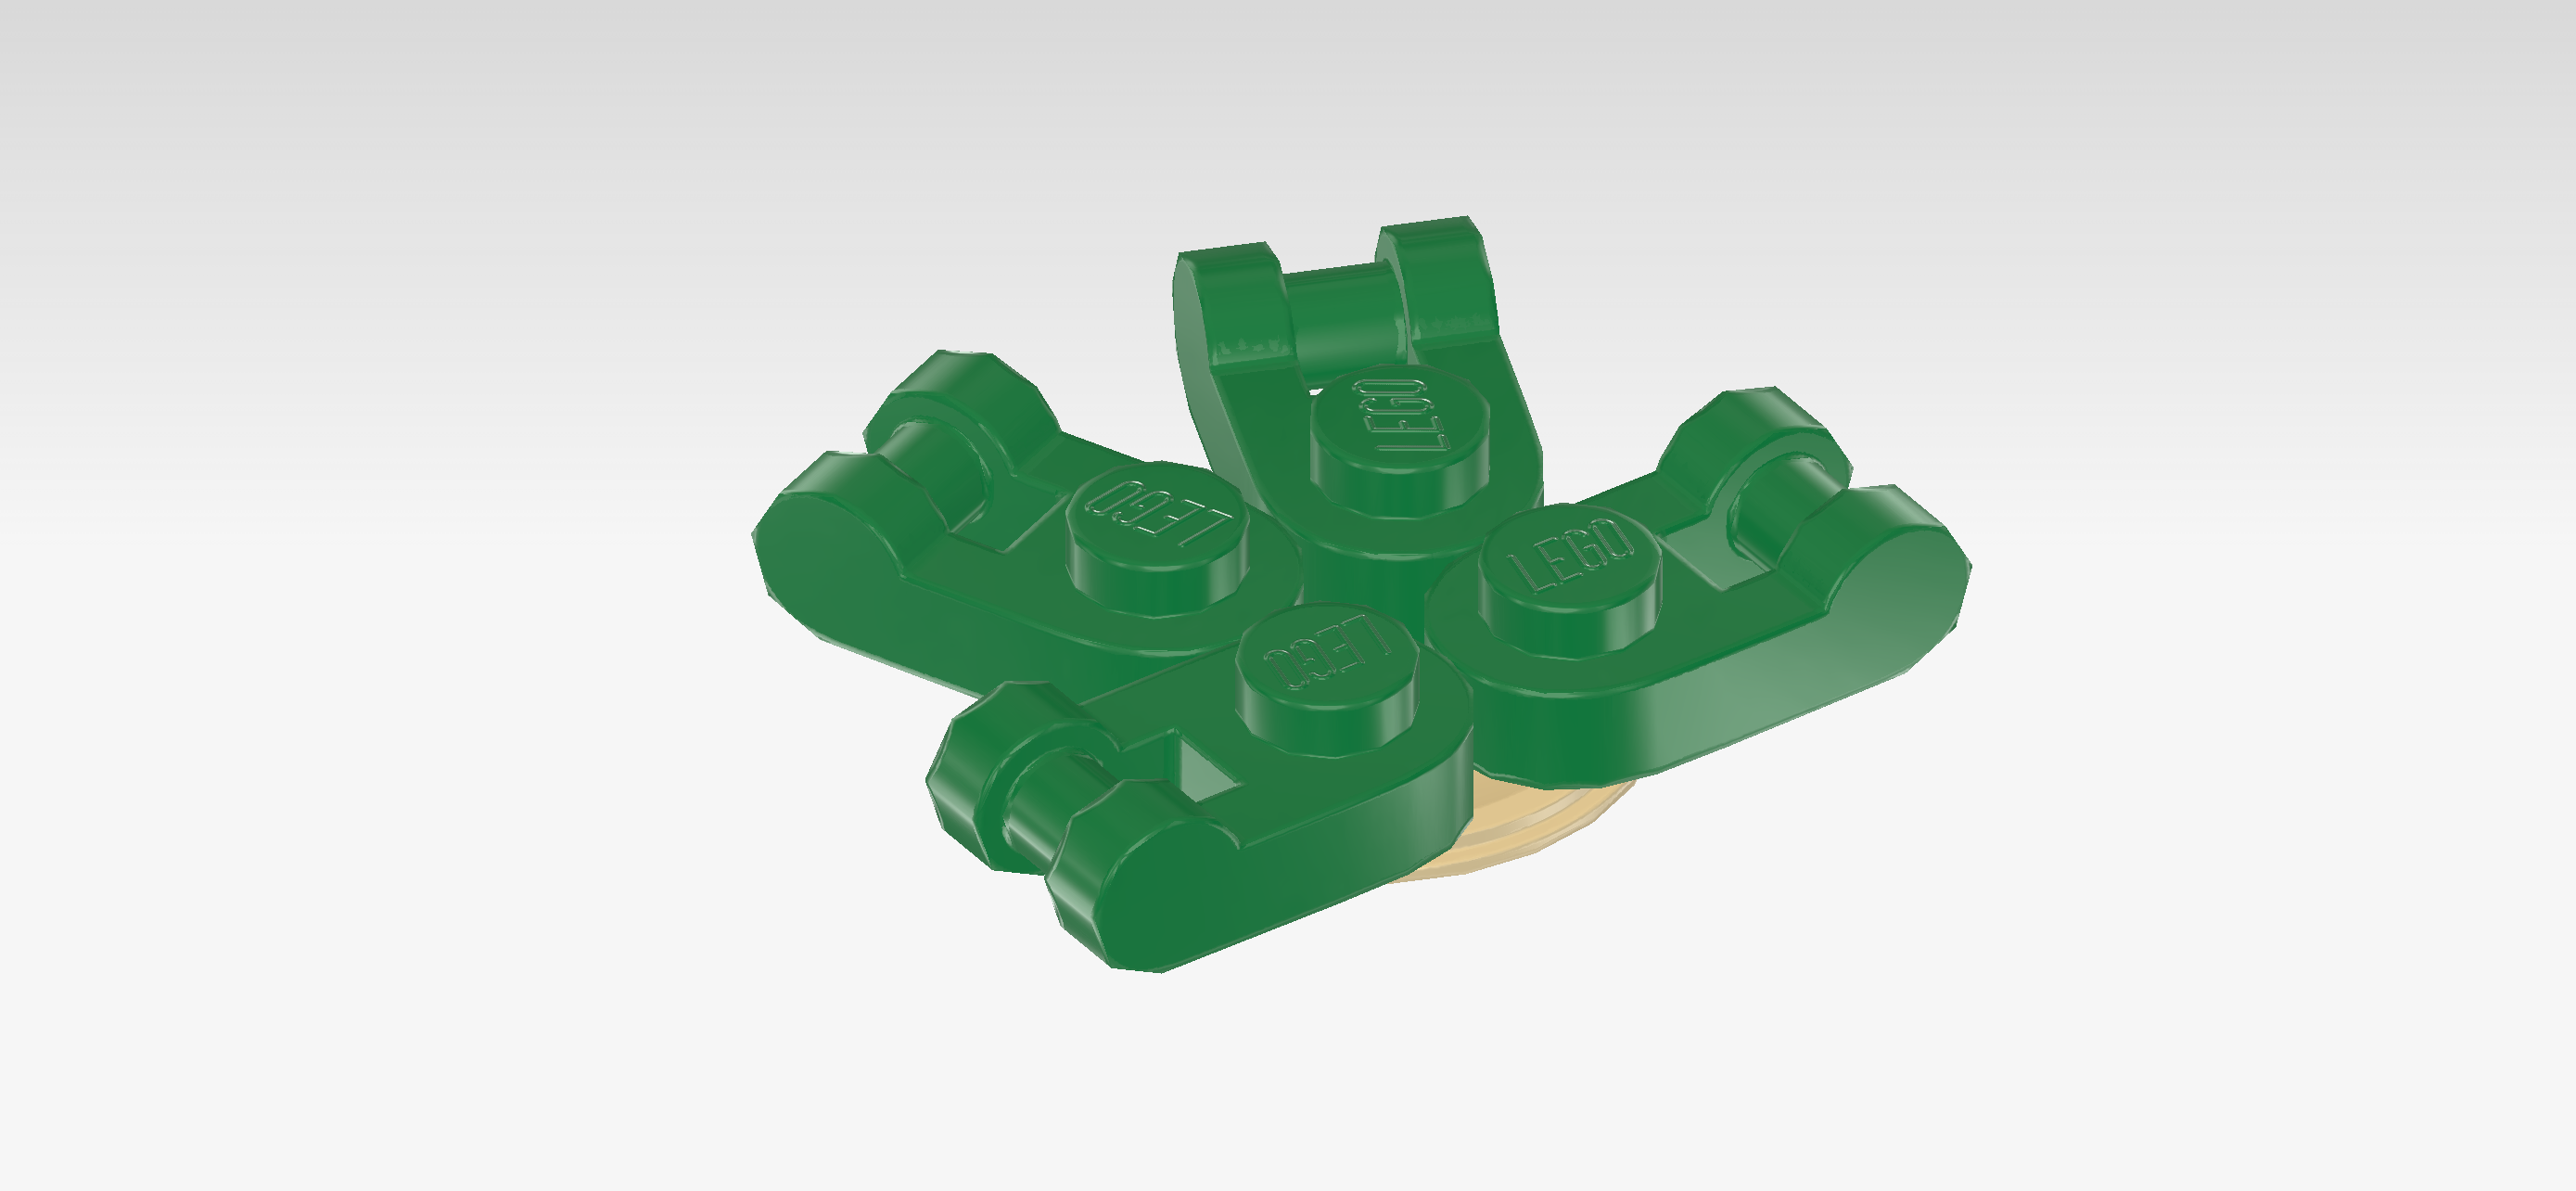
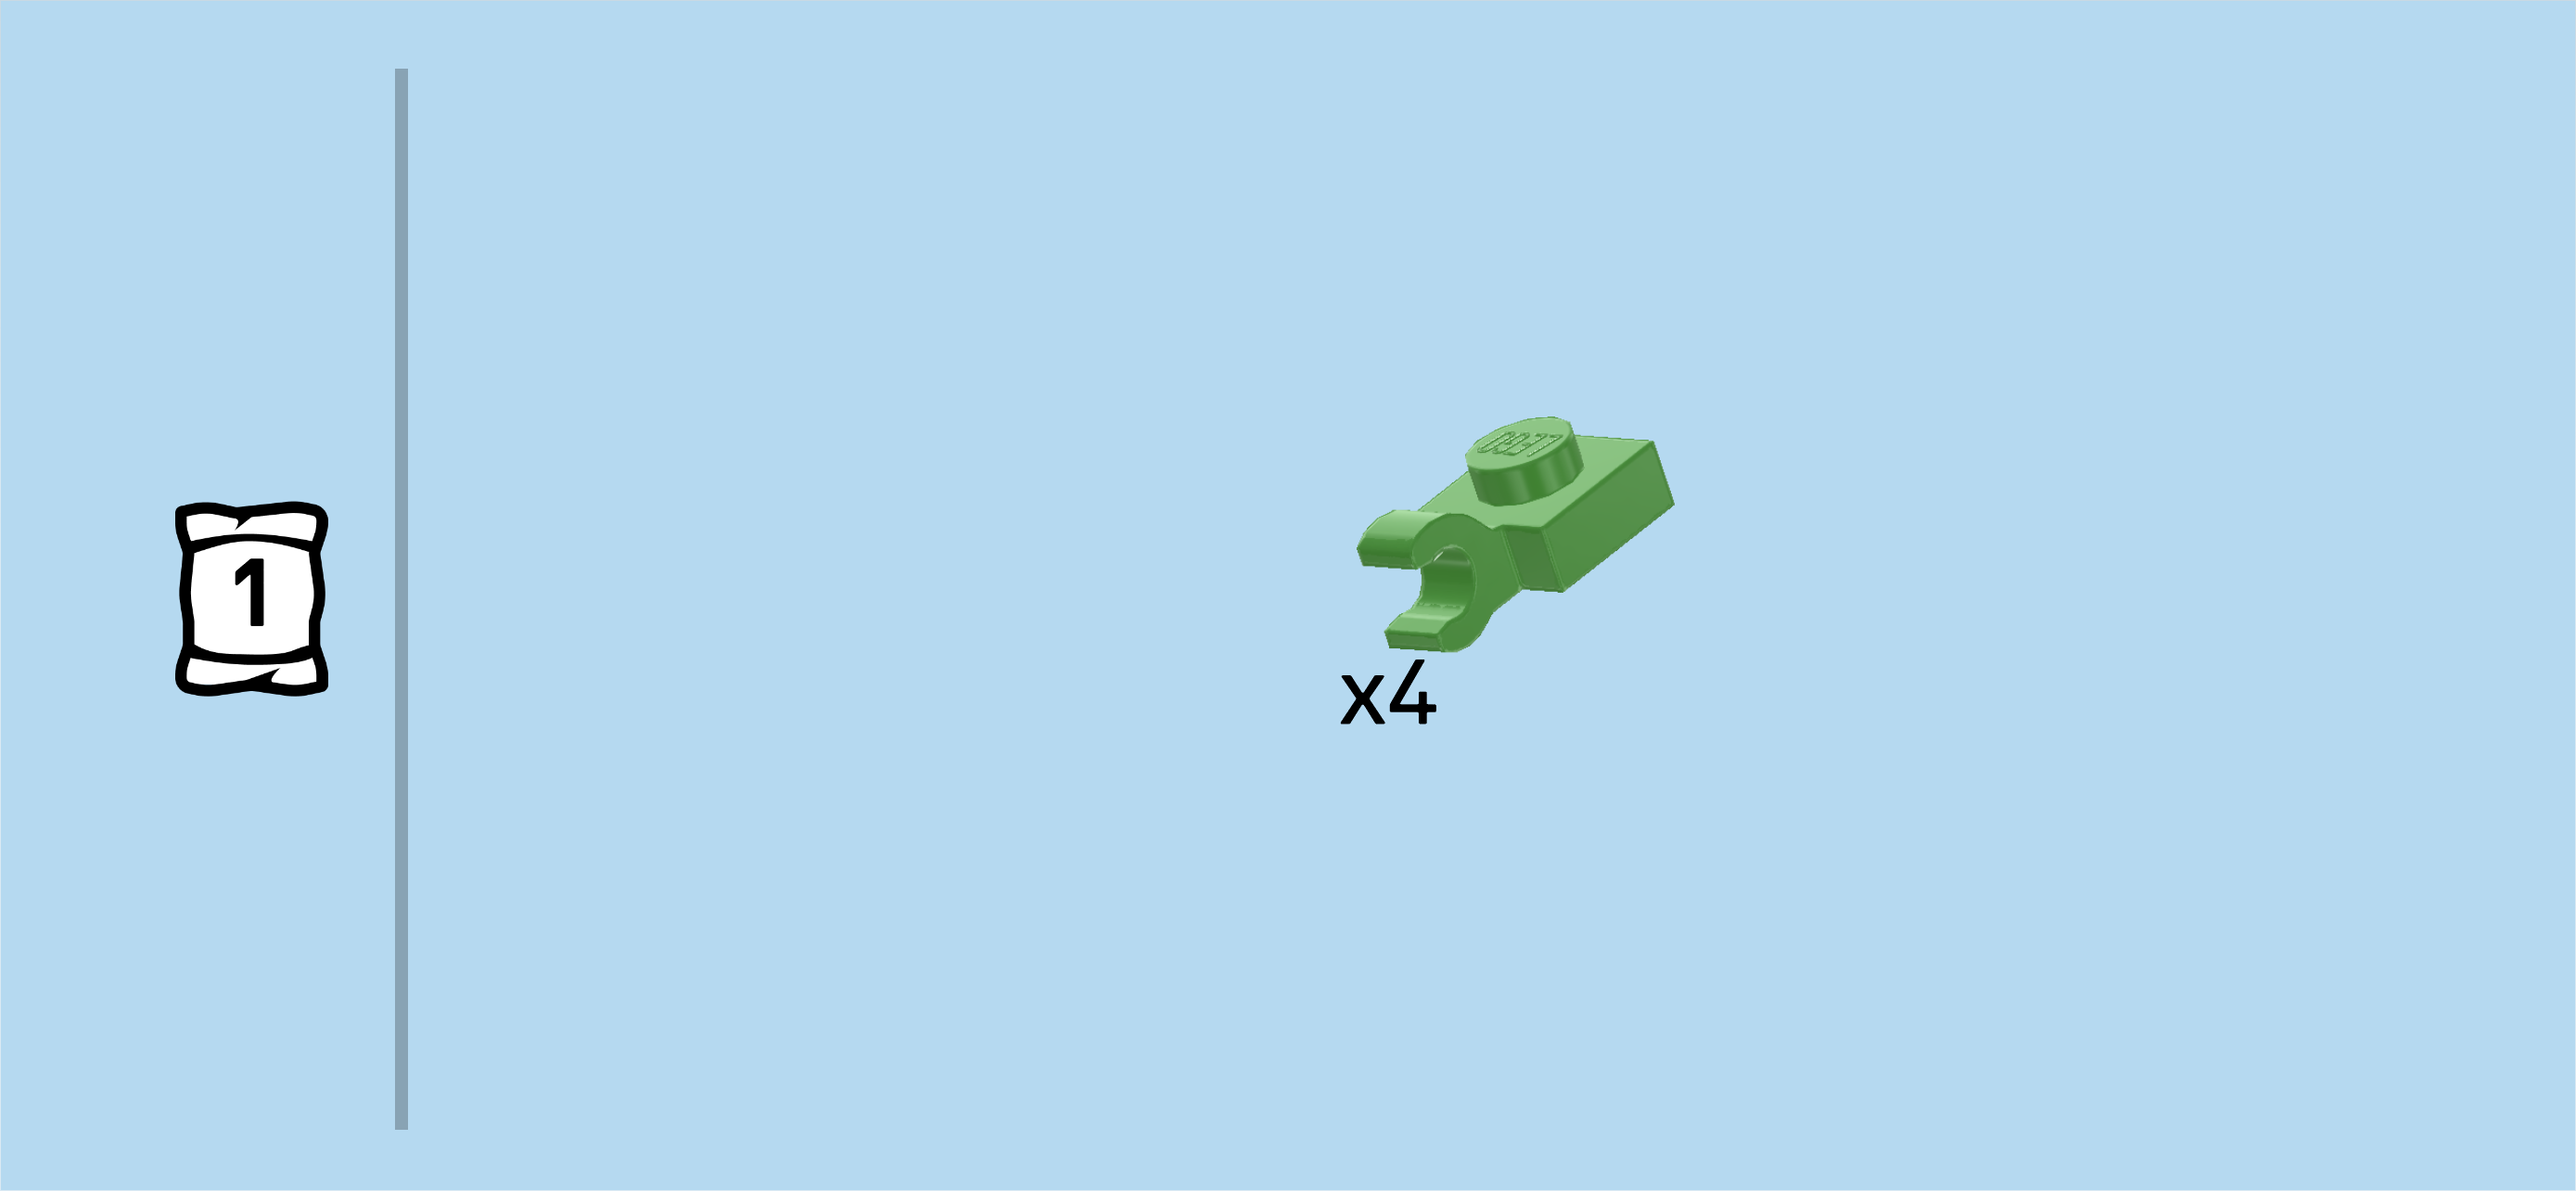
| Find 4 bright green plates 1x1 with vertical side clasp. |
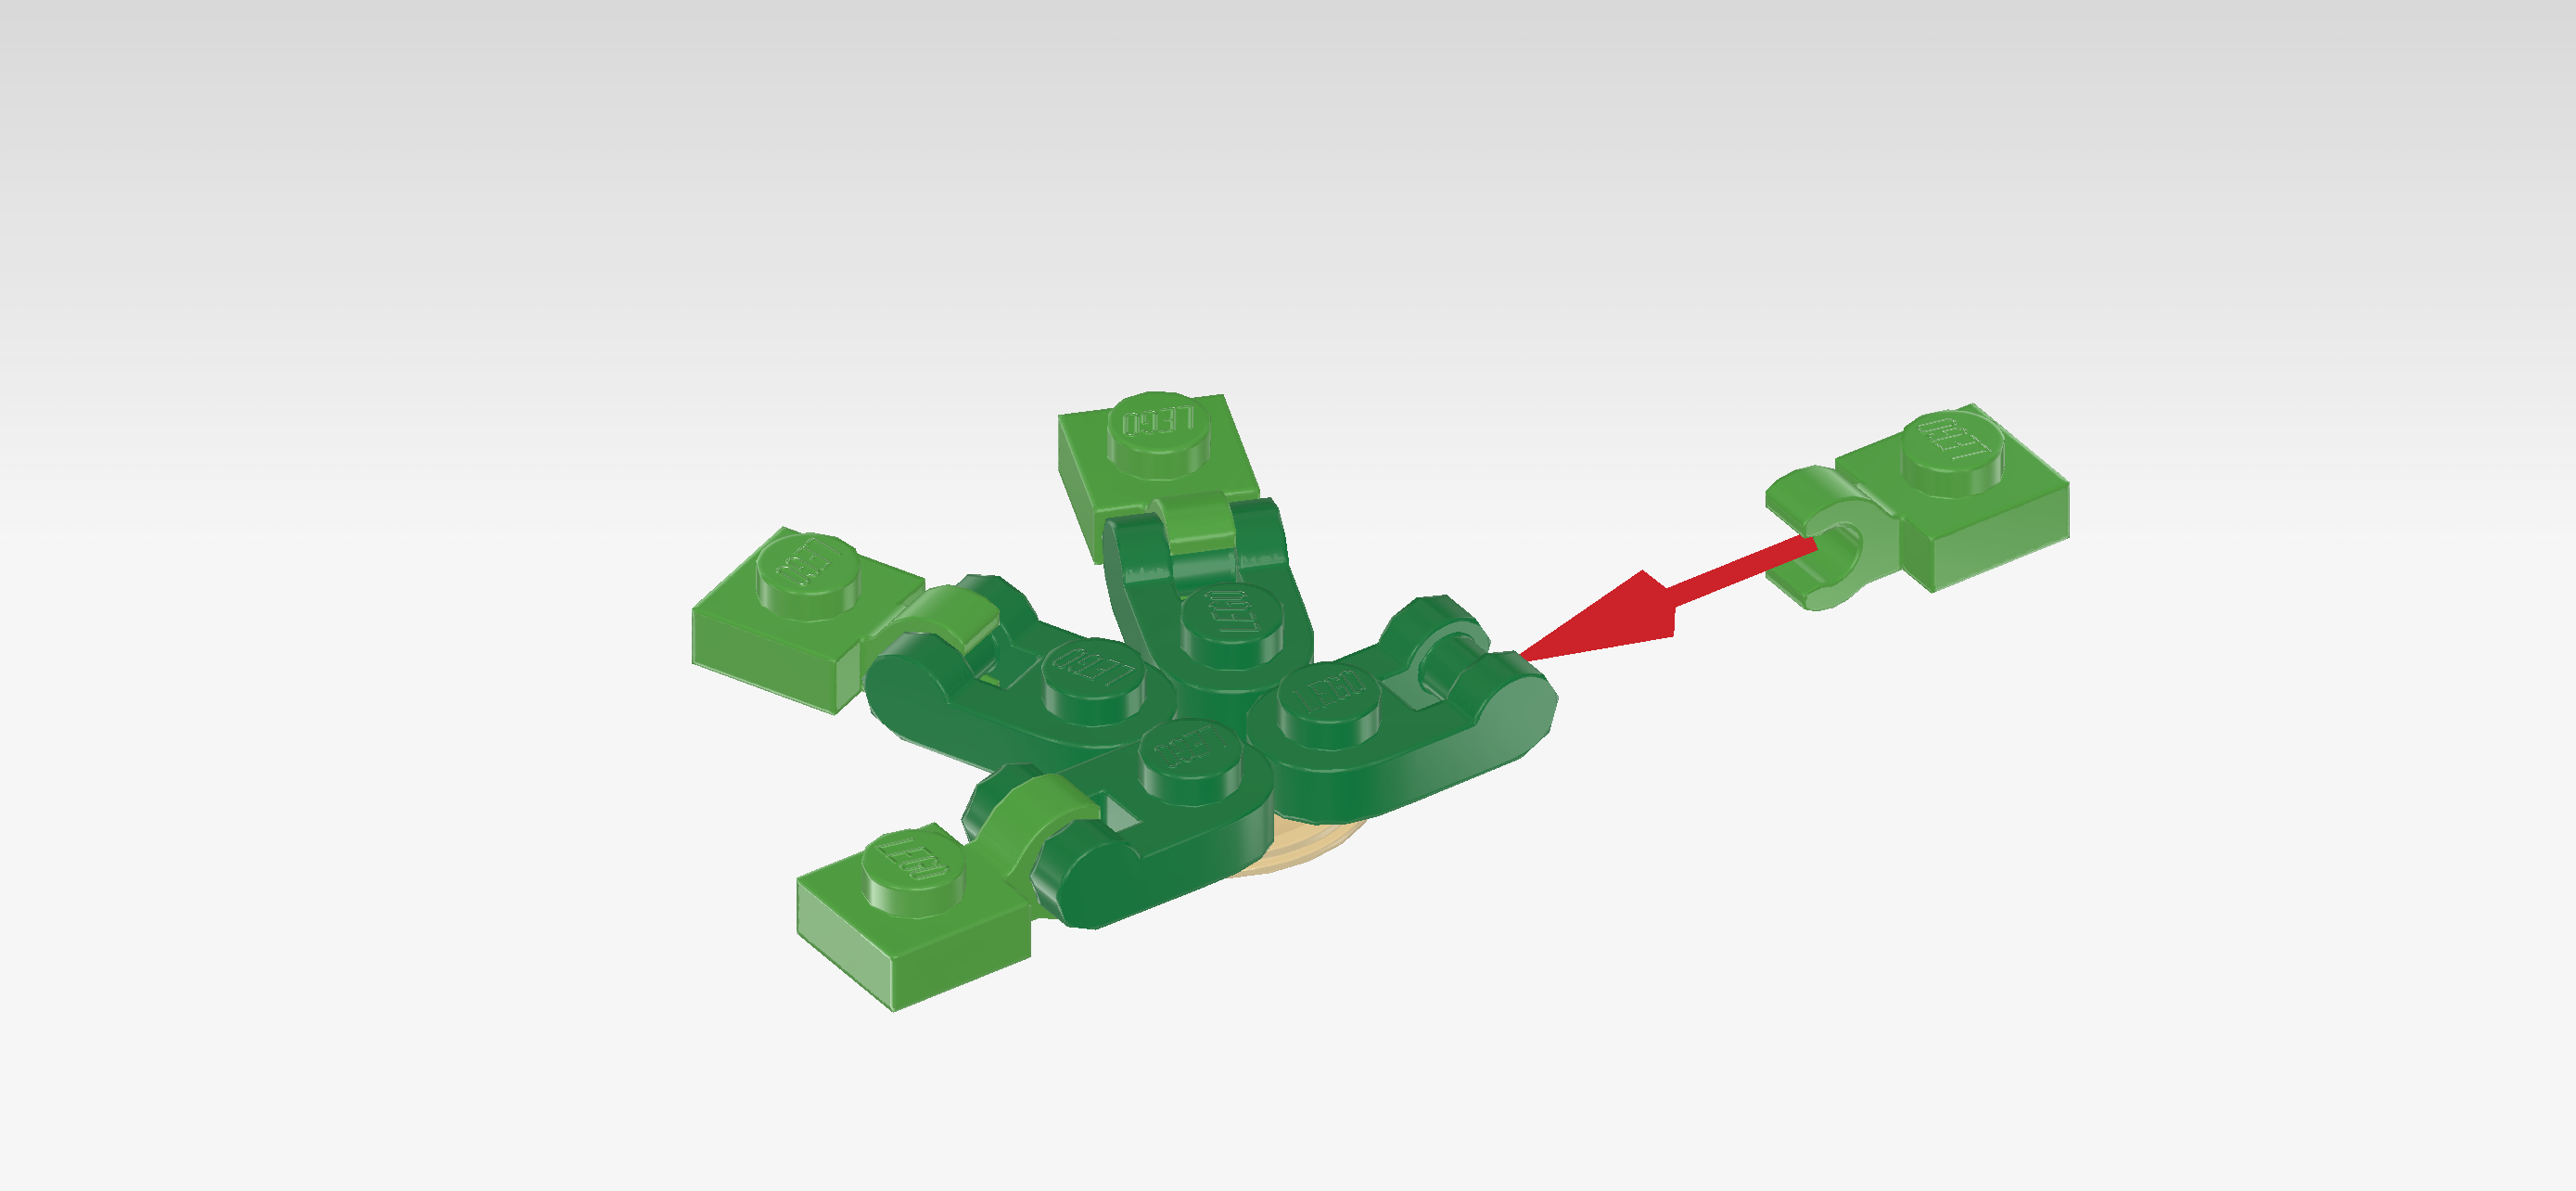
| Snap the clasp of 1 plate on the shaft of the previous piece, coming from the left. If done correctly, the plate 1x1 is overhanging to the left and its knob is pointing to the top. |
| Repeat with the other three plates with side clasps on the 3 remaining turtle legs. |
| Next up, we will build the sea turtle head and body. |
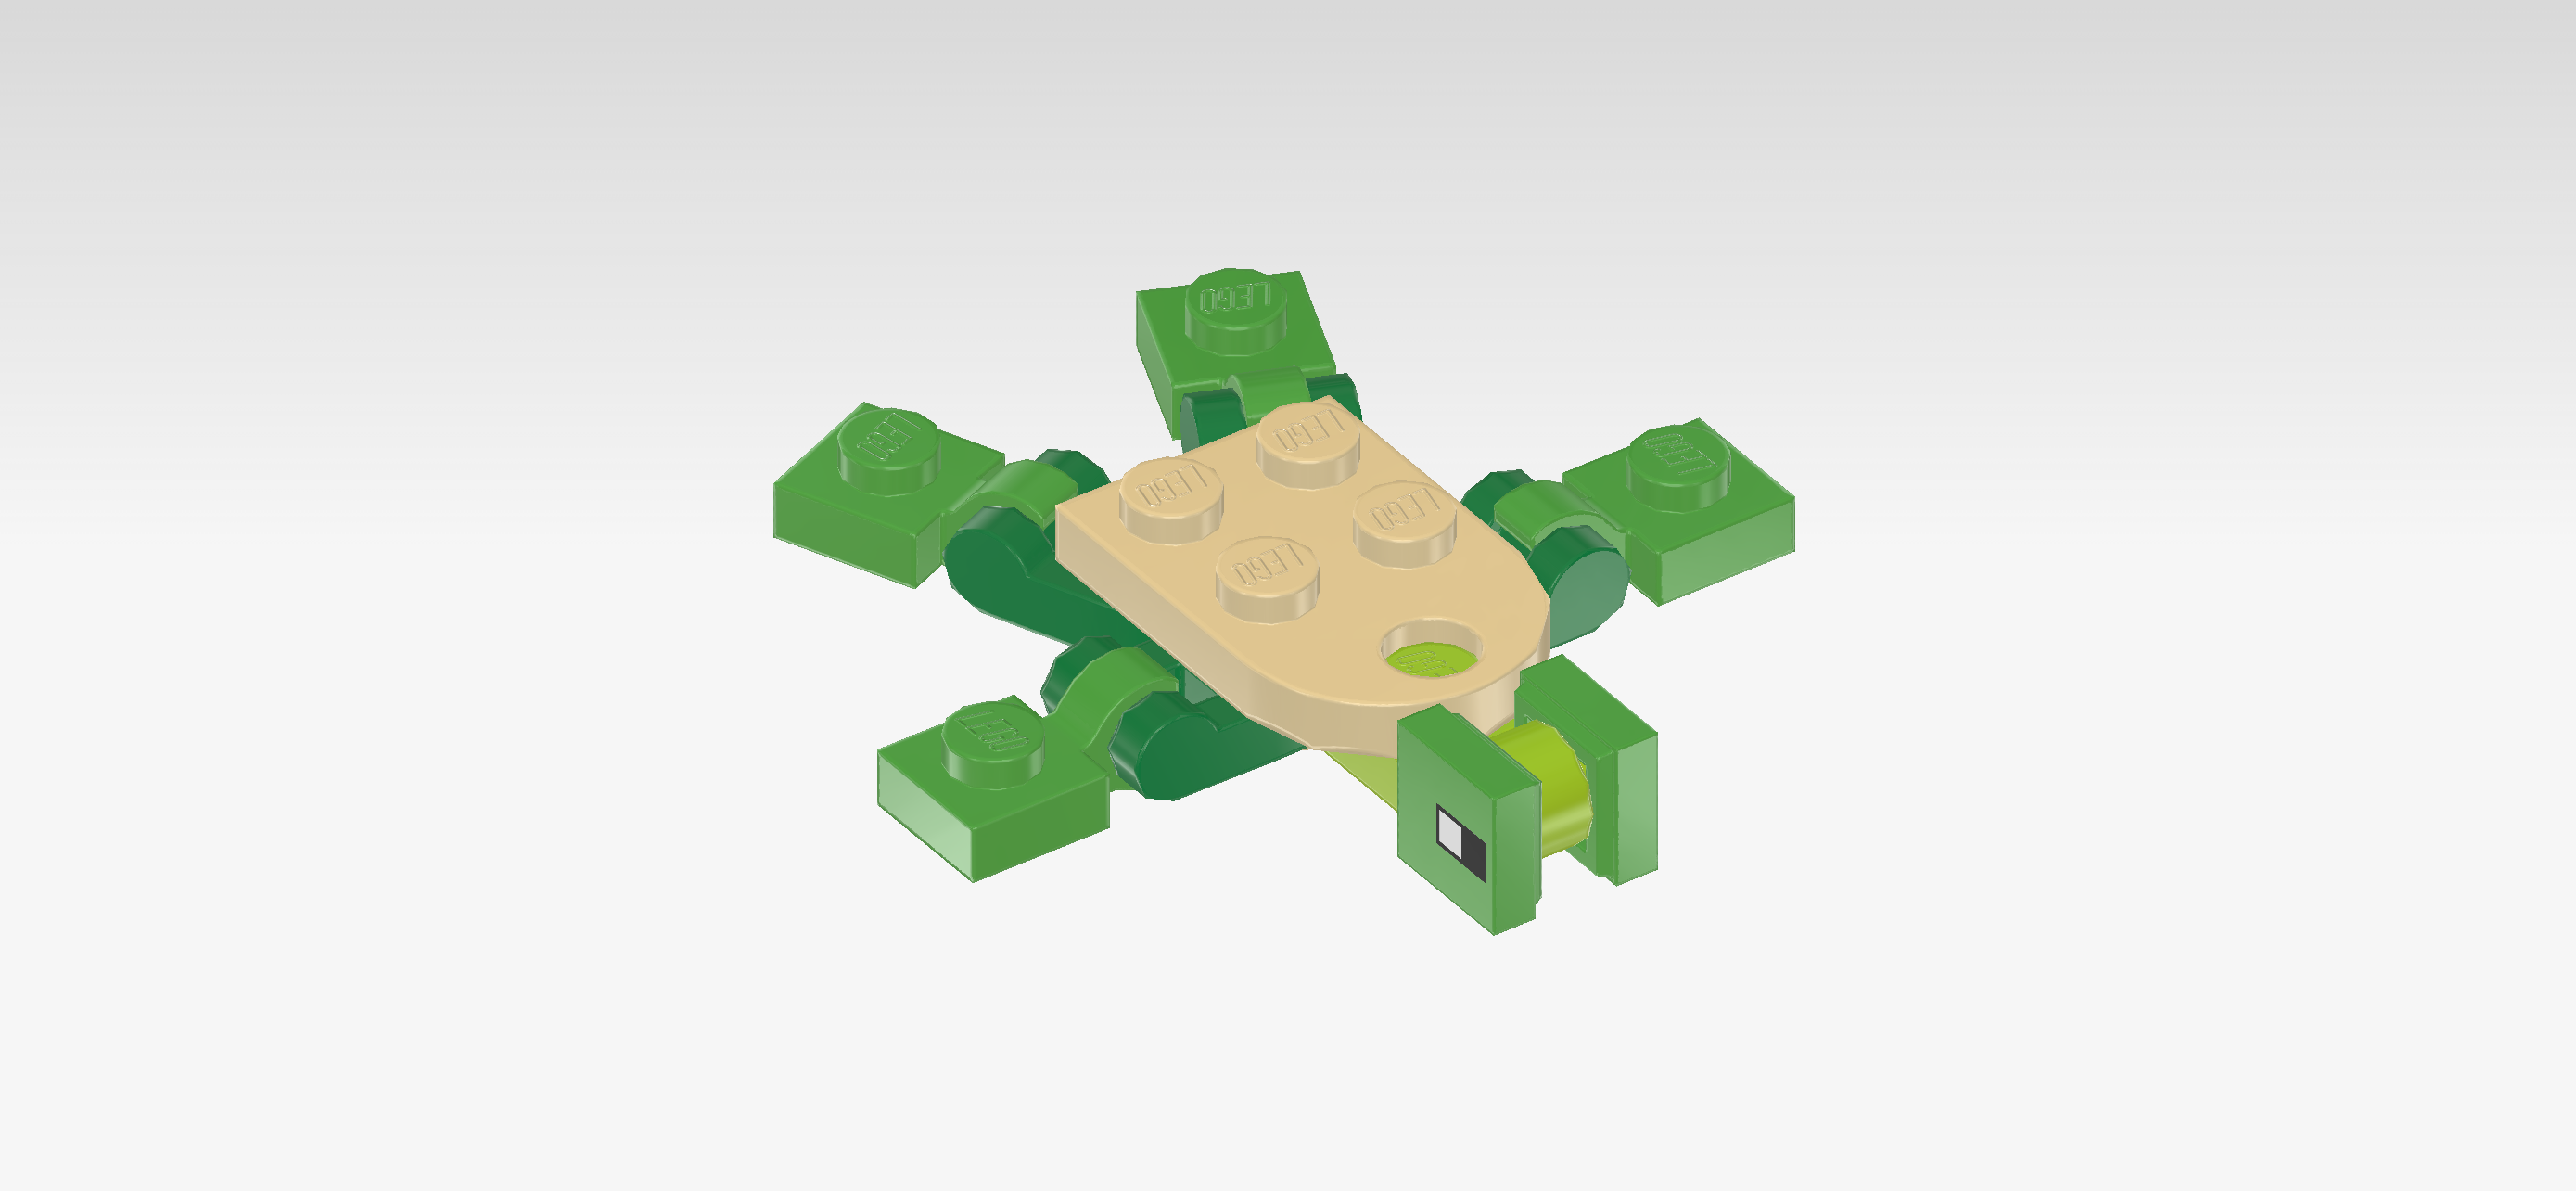
| Collect the following 2 pieces: |
| 1 pale ocher yellow plate 2x3 with half circle and hole, |
| and 1 bright yellowish green plate 1x1 with double knob collar. |
| Put the plate 1x1 on the table, double knob collar to the front. |
| Put the hole of the plate 2x4 on the top knob of the previous piece, plate overhanging to the back. |
| Find 2 bright green flat tiles 1x1. |
| Put 1 upright on the right side knob of the double knob collar, print at the front edge. Make sure the edges are aligned straight. |
| Repeat on the left side knob with the other flat tile, print at the front edge. |
| These tiles are printed with the black-and-white eyes of the turtle! The eyes should be facing forward, so the print should be in the middle of the front edge. If you are not sure about the orientation of the print, ask a sighted person for help. |
| The sea turtle head and body are finished! Well done! Mount this part on top of the sea turtle body, half circle and head overhanging to the front. |
| Next, we will build the sea turtle shell. |
| Collect the following 2 pieces: |
| 1 dark green plate 3x3, |
| and 1 bright green flat tile 1x2. |
| Put the plate 3x3 on the table. Make sure its knobs form straight rows and columns in front of you. |
| Put the flat tile 1x2 horizontally on the backmost row, starting from the right edge. |
| Find 3 bright green flat tiles 1x2. |
| Put 1 vertically in front of the previous piece on the rightmost column. |
| Put 1 vertically on the leftmost column, starting from the back edge. |
| Put the last one horizontally on the frontmost column on its 2 empty knobs. |
| If done correctly, these three pieces cover the outer circumference of the plate 3x3, leaving only the middle knob empty for now. |
| Find 1 mossy green plate 1x1. |
| Put it on the middle knob. |
| The sea turtle shell is finished! Well done! Mount it centered on the base plate of the sea turtle body. |
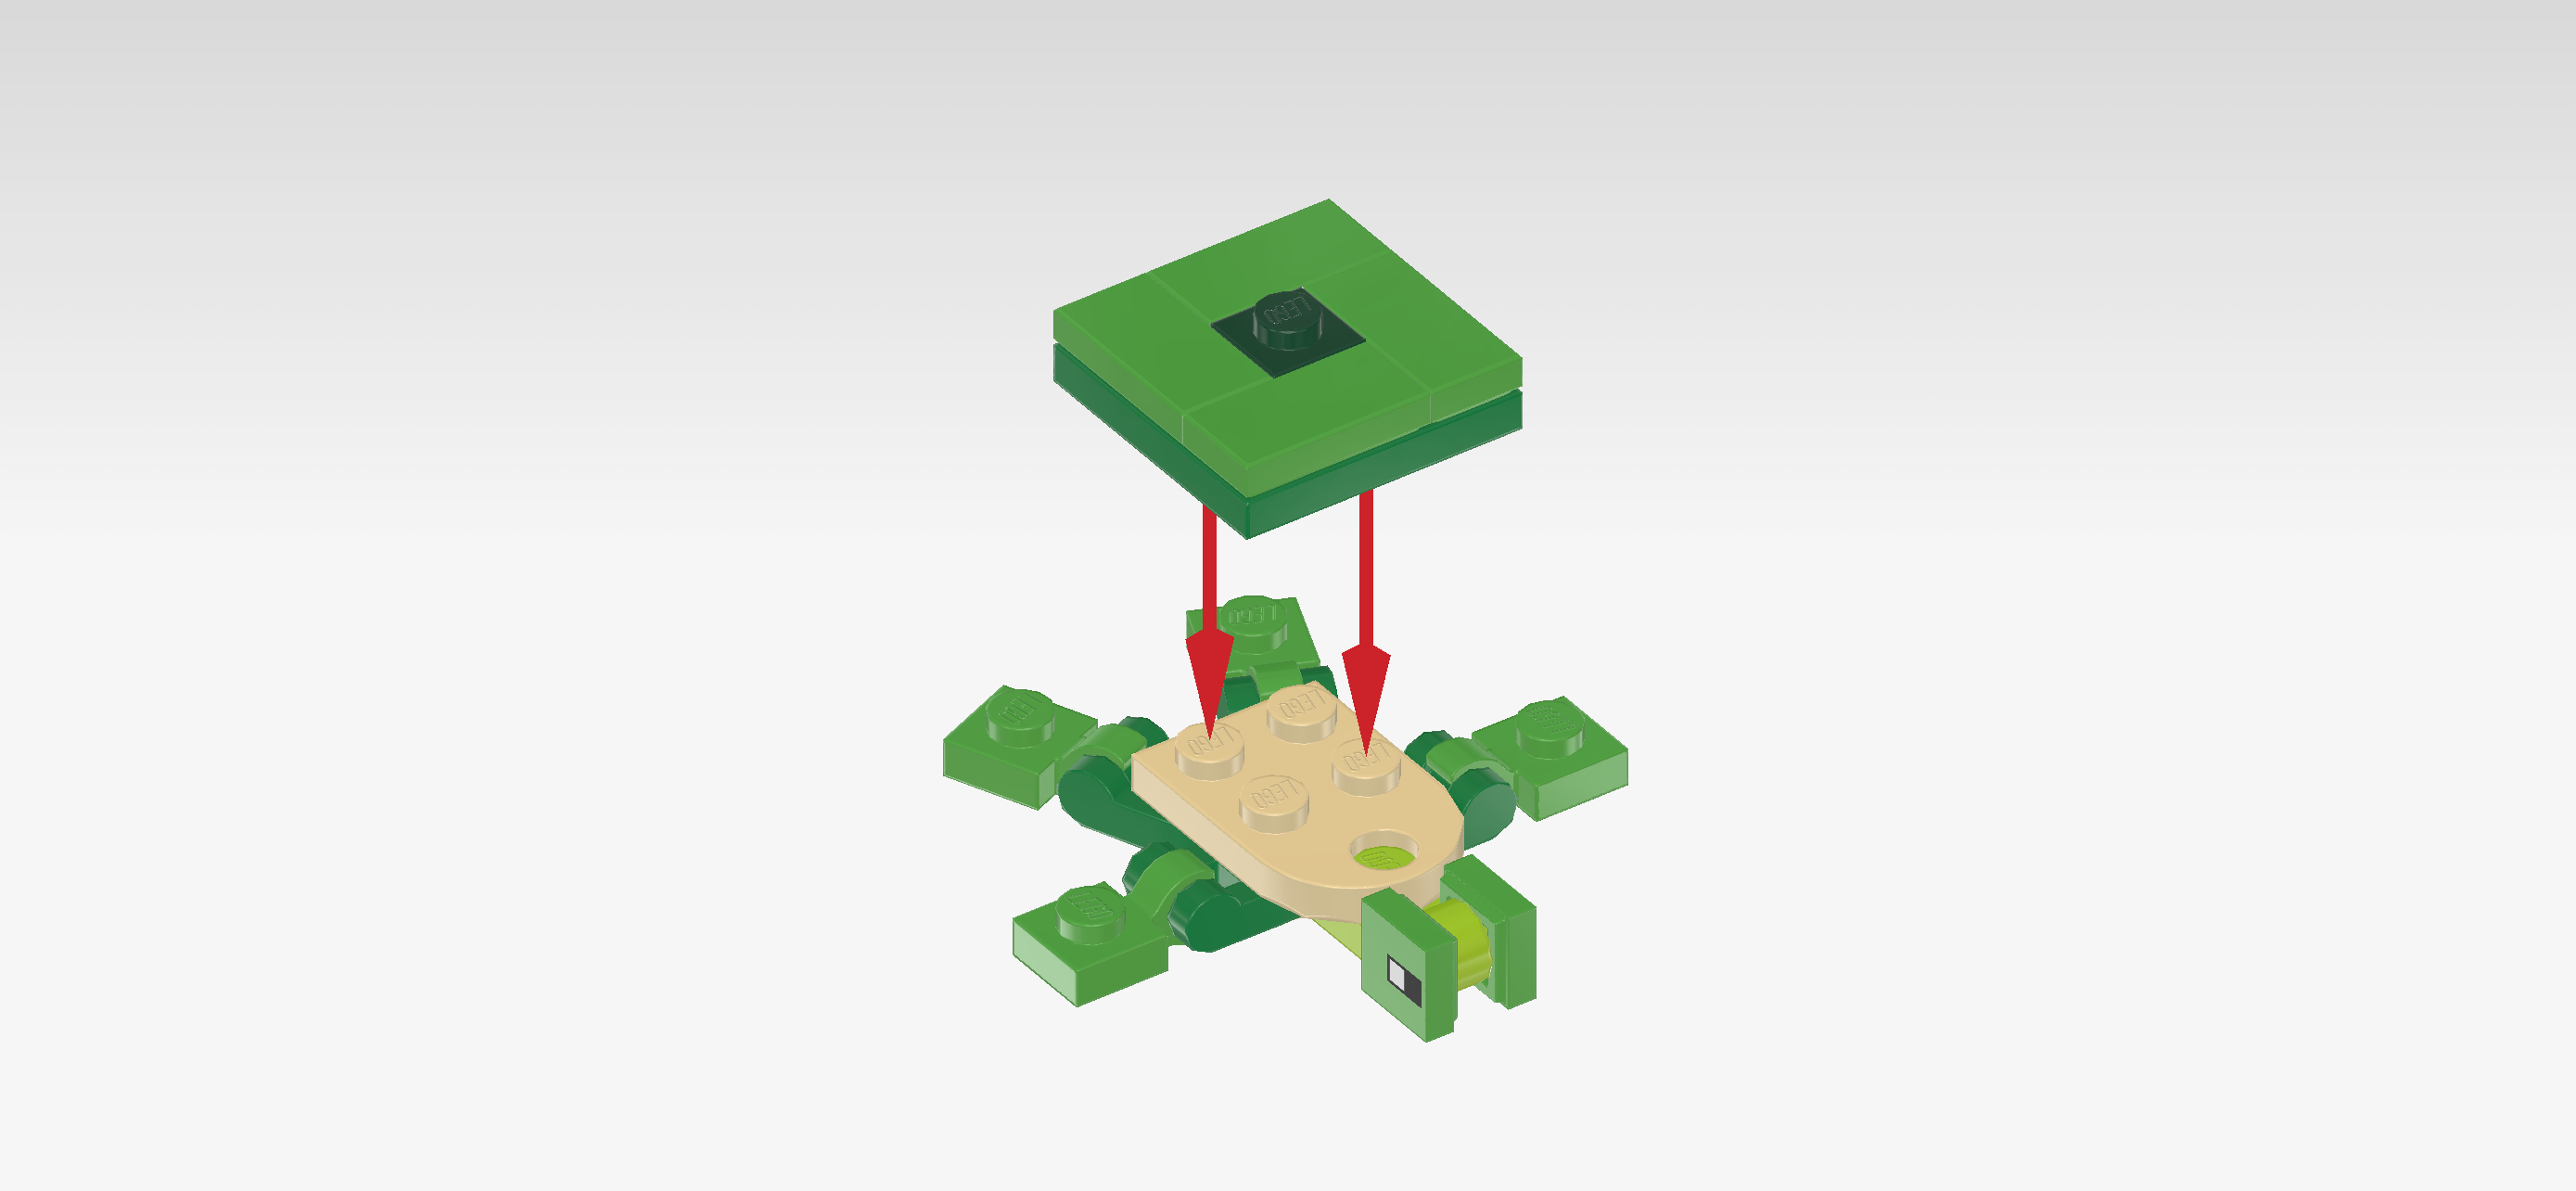
| The parent sea turtle is finished! Great job! You can unite it with its babies and test the waters. What a cute little family! |
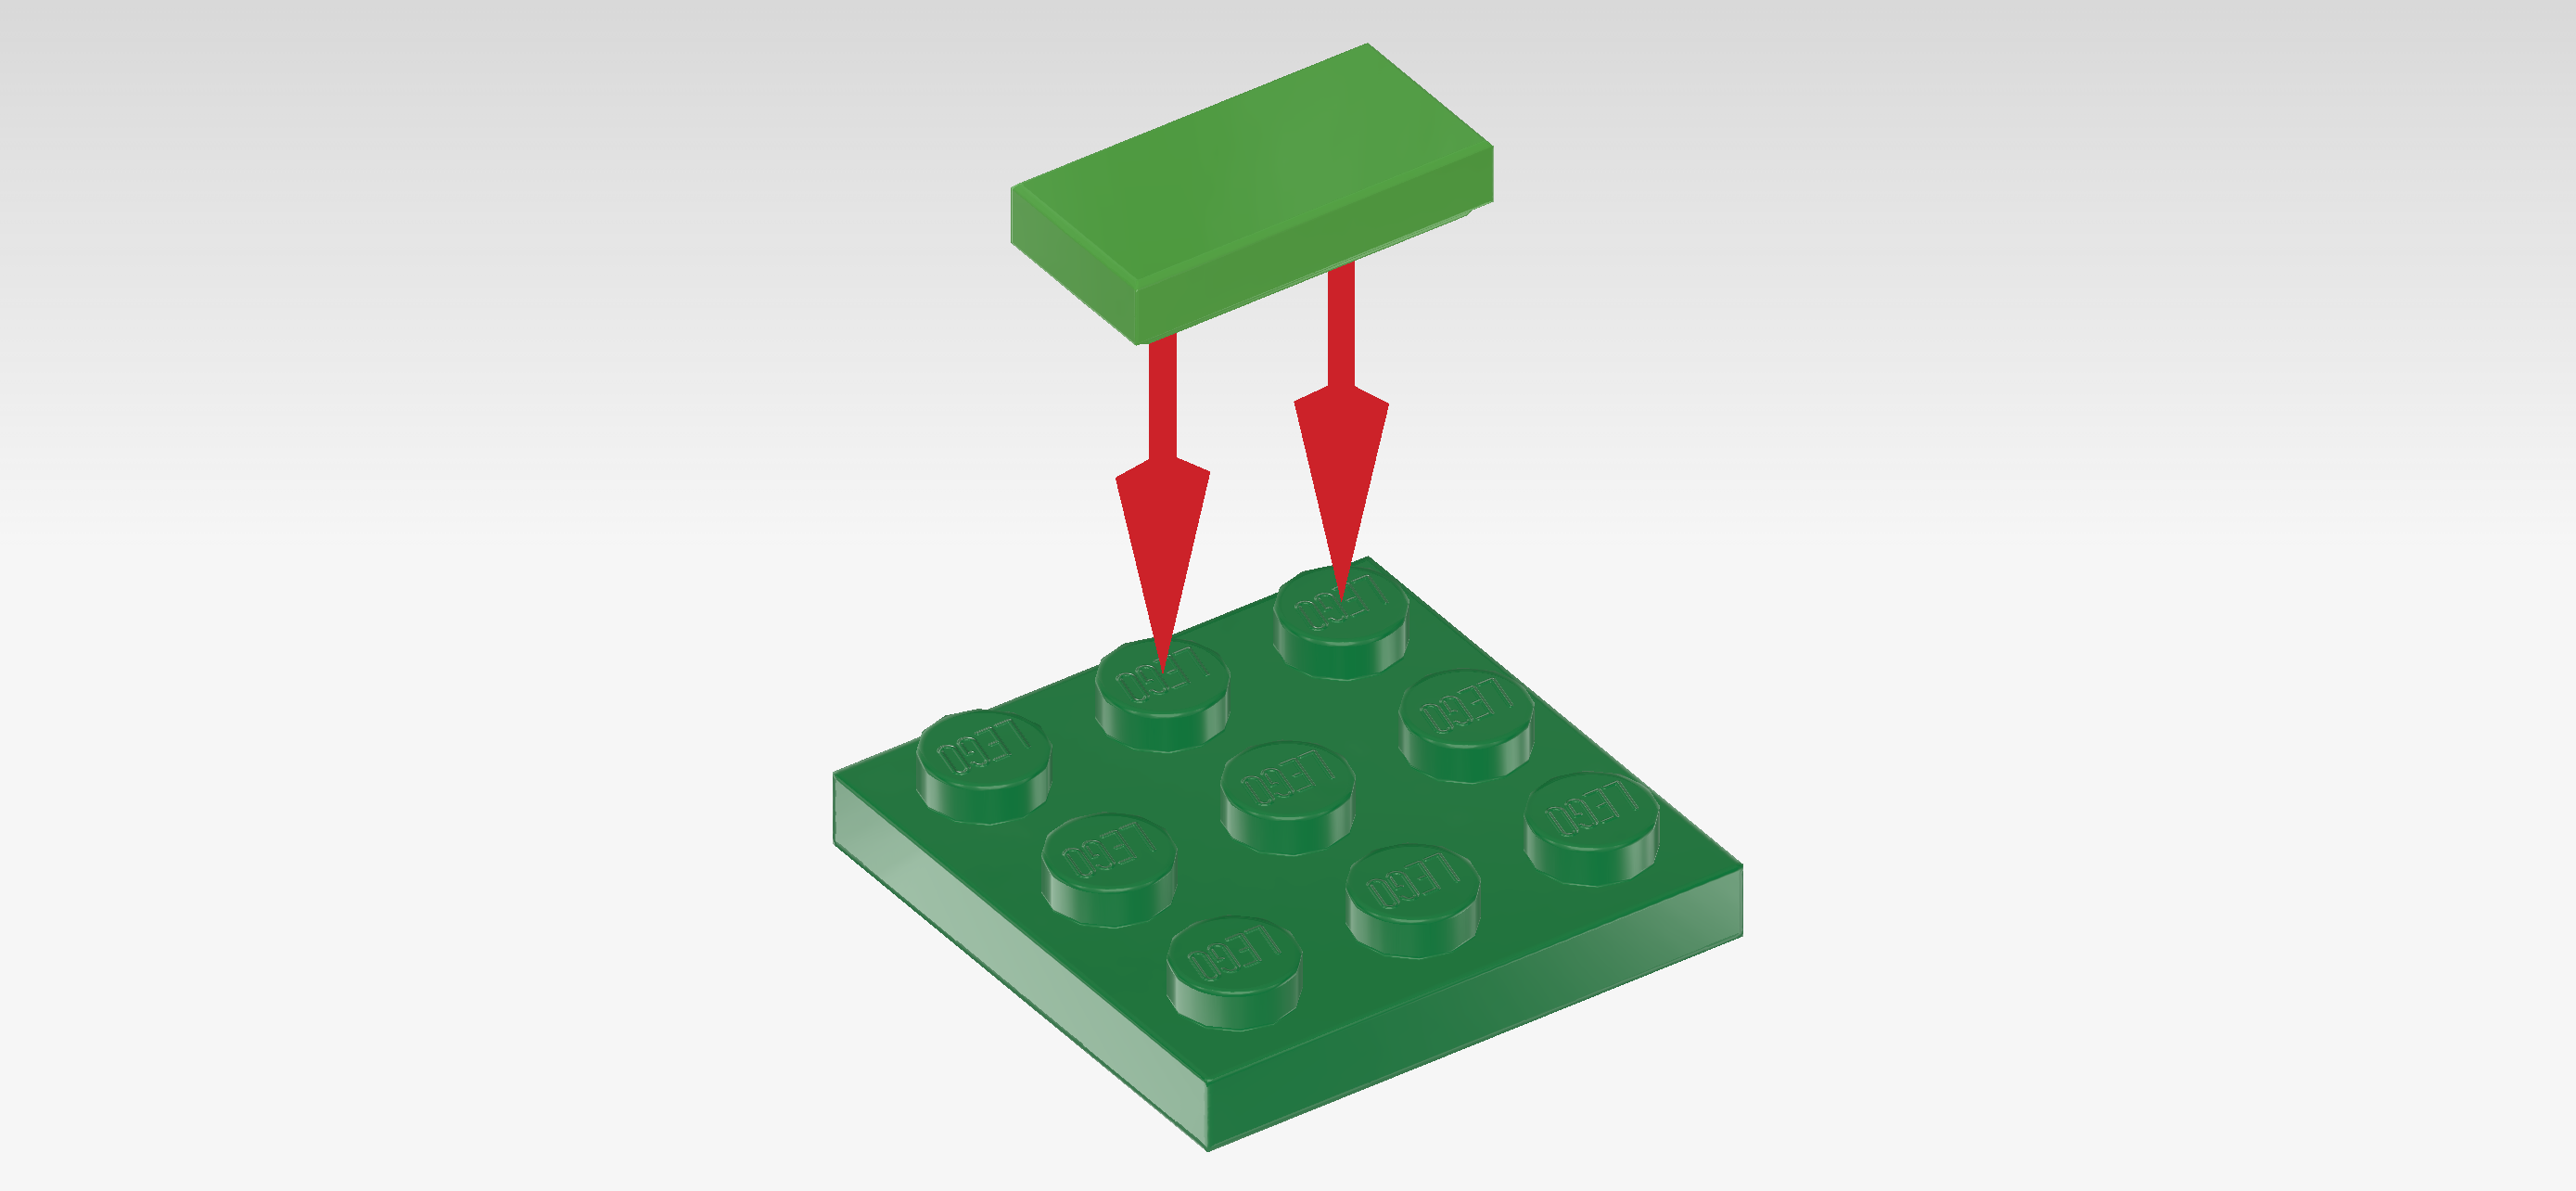
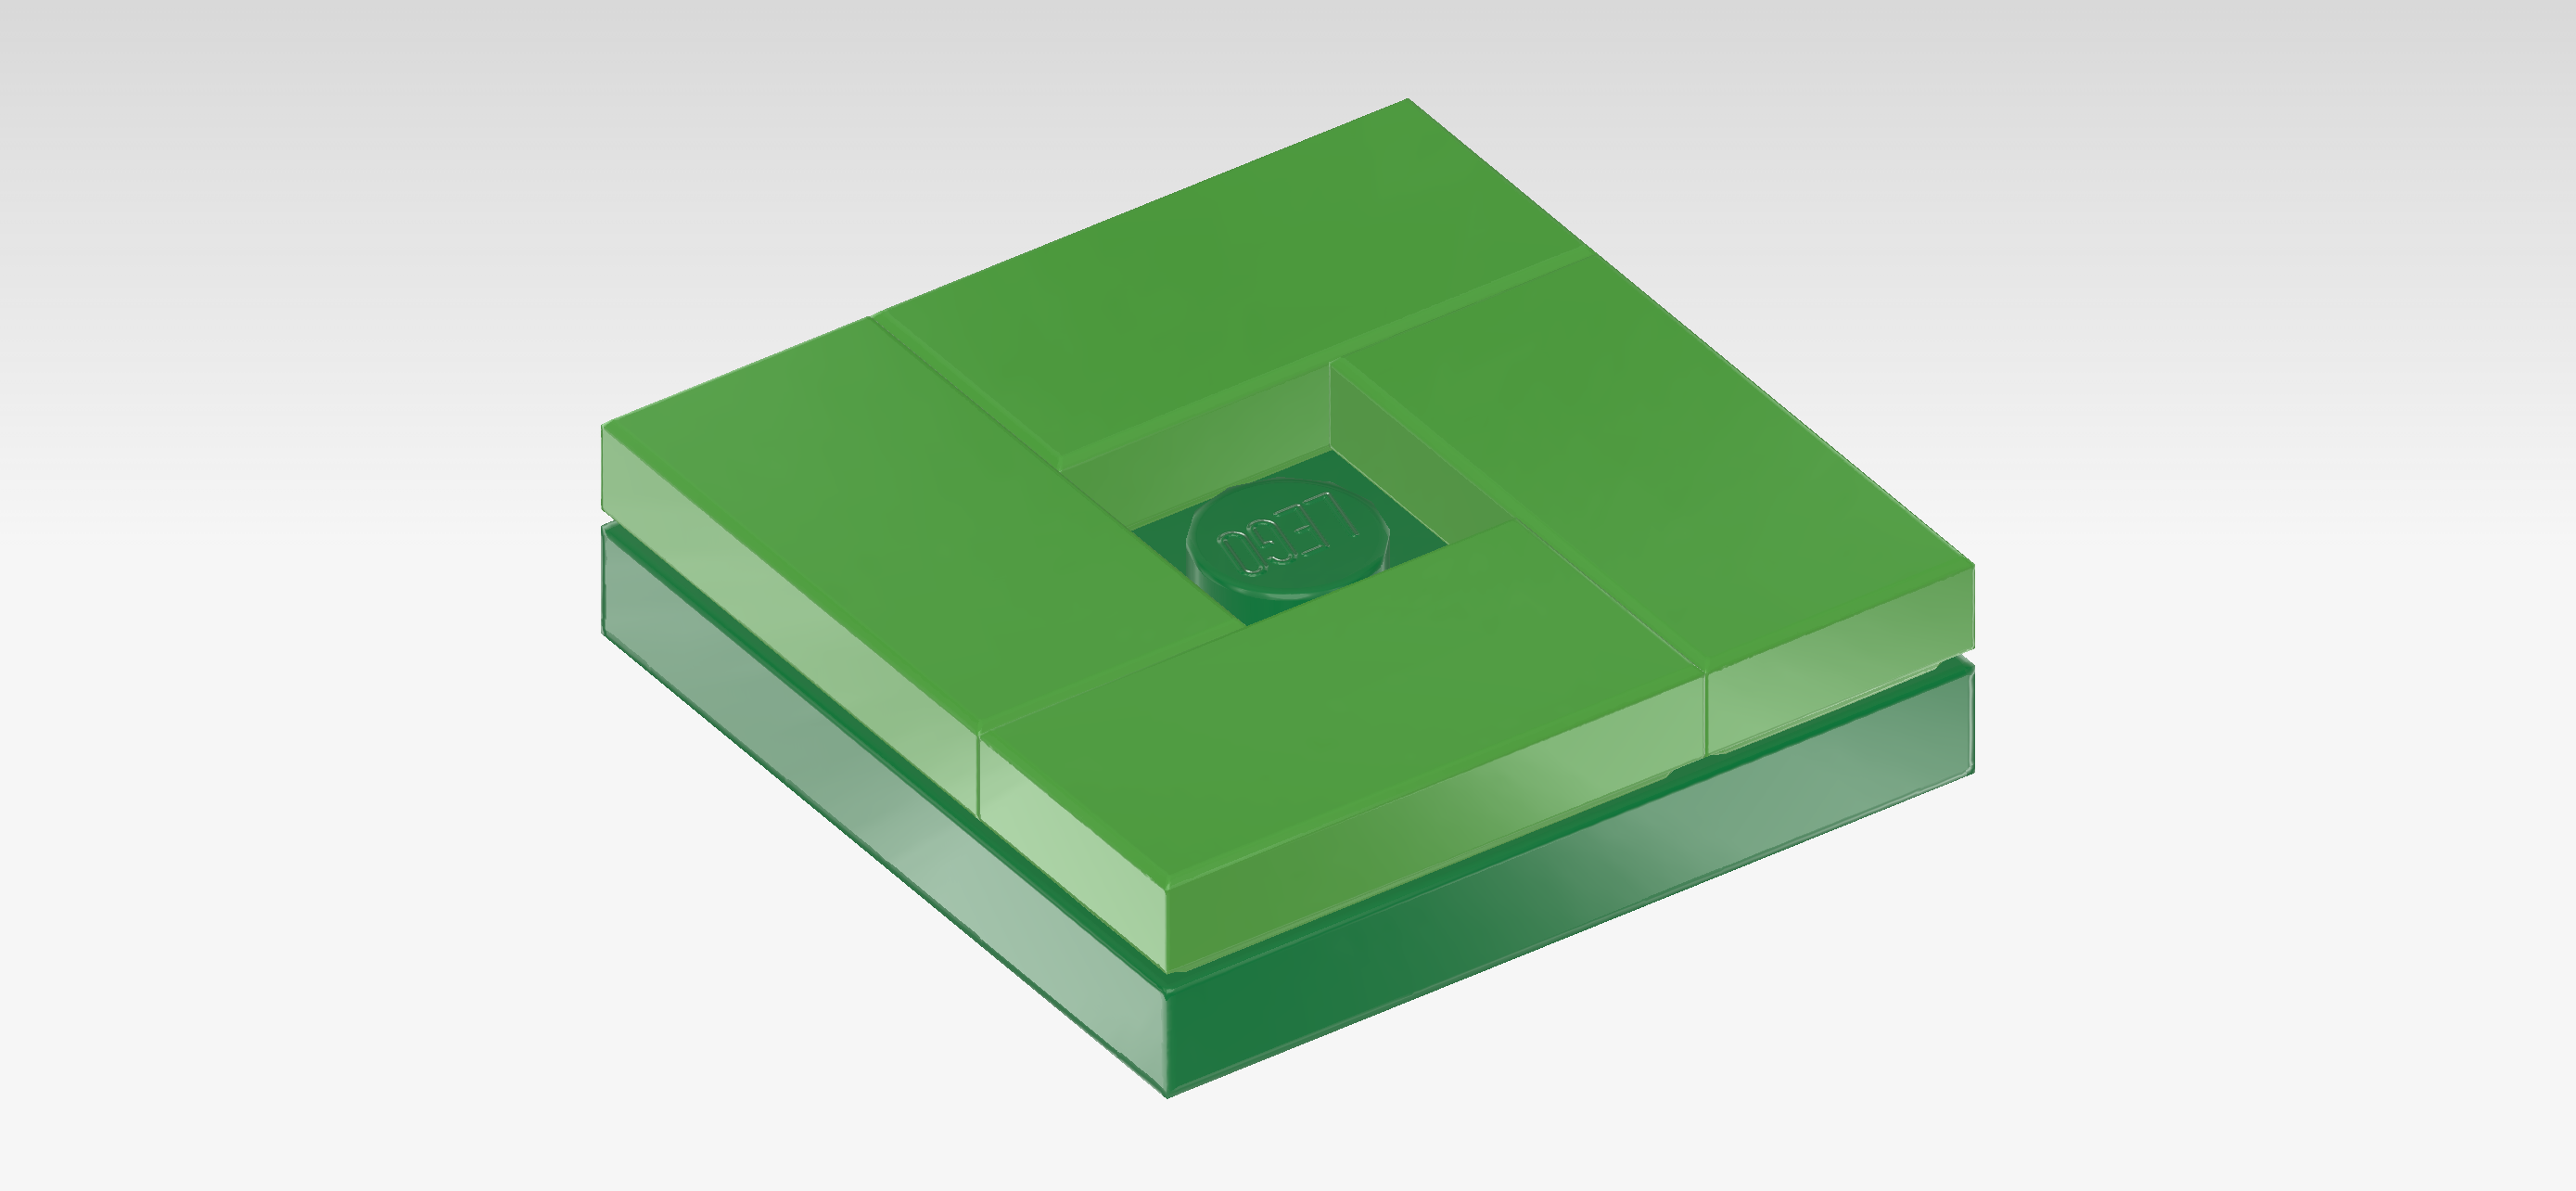
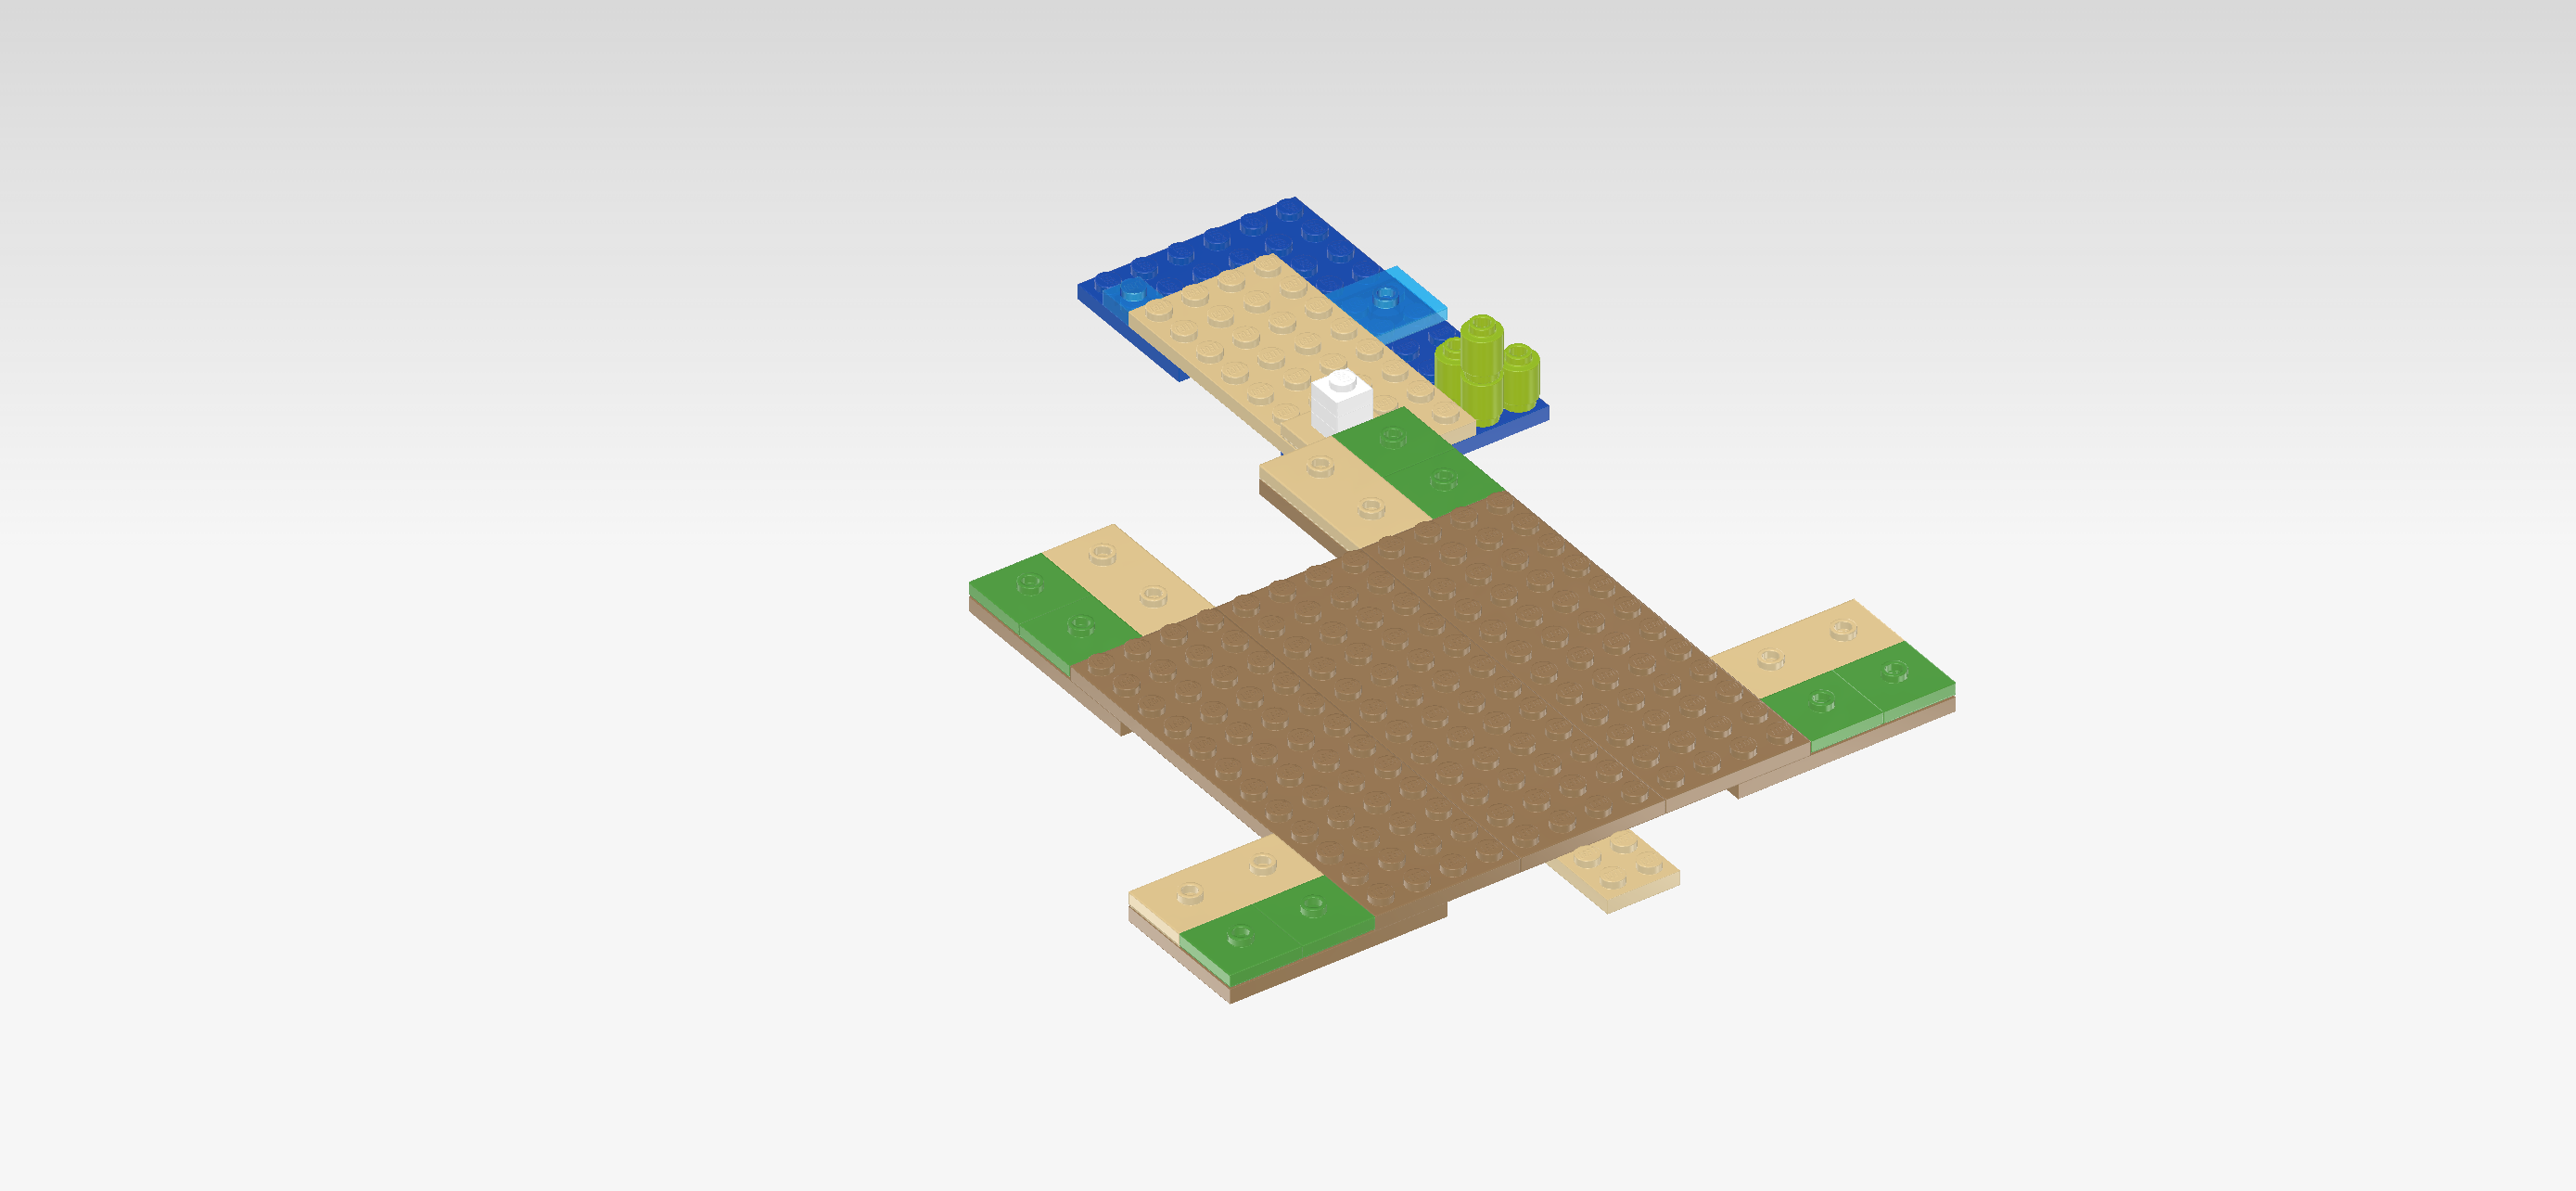
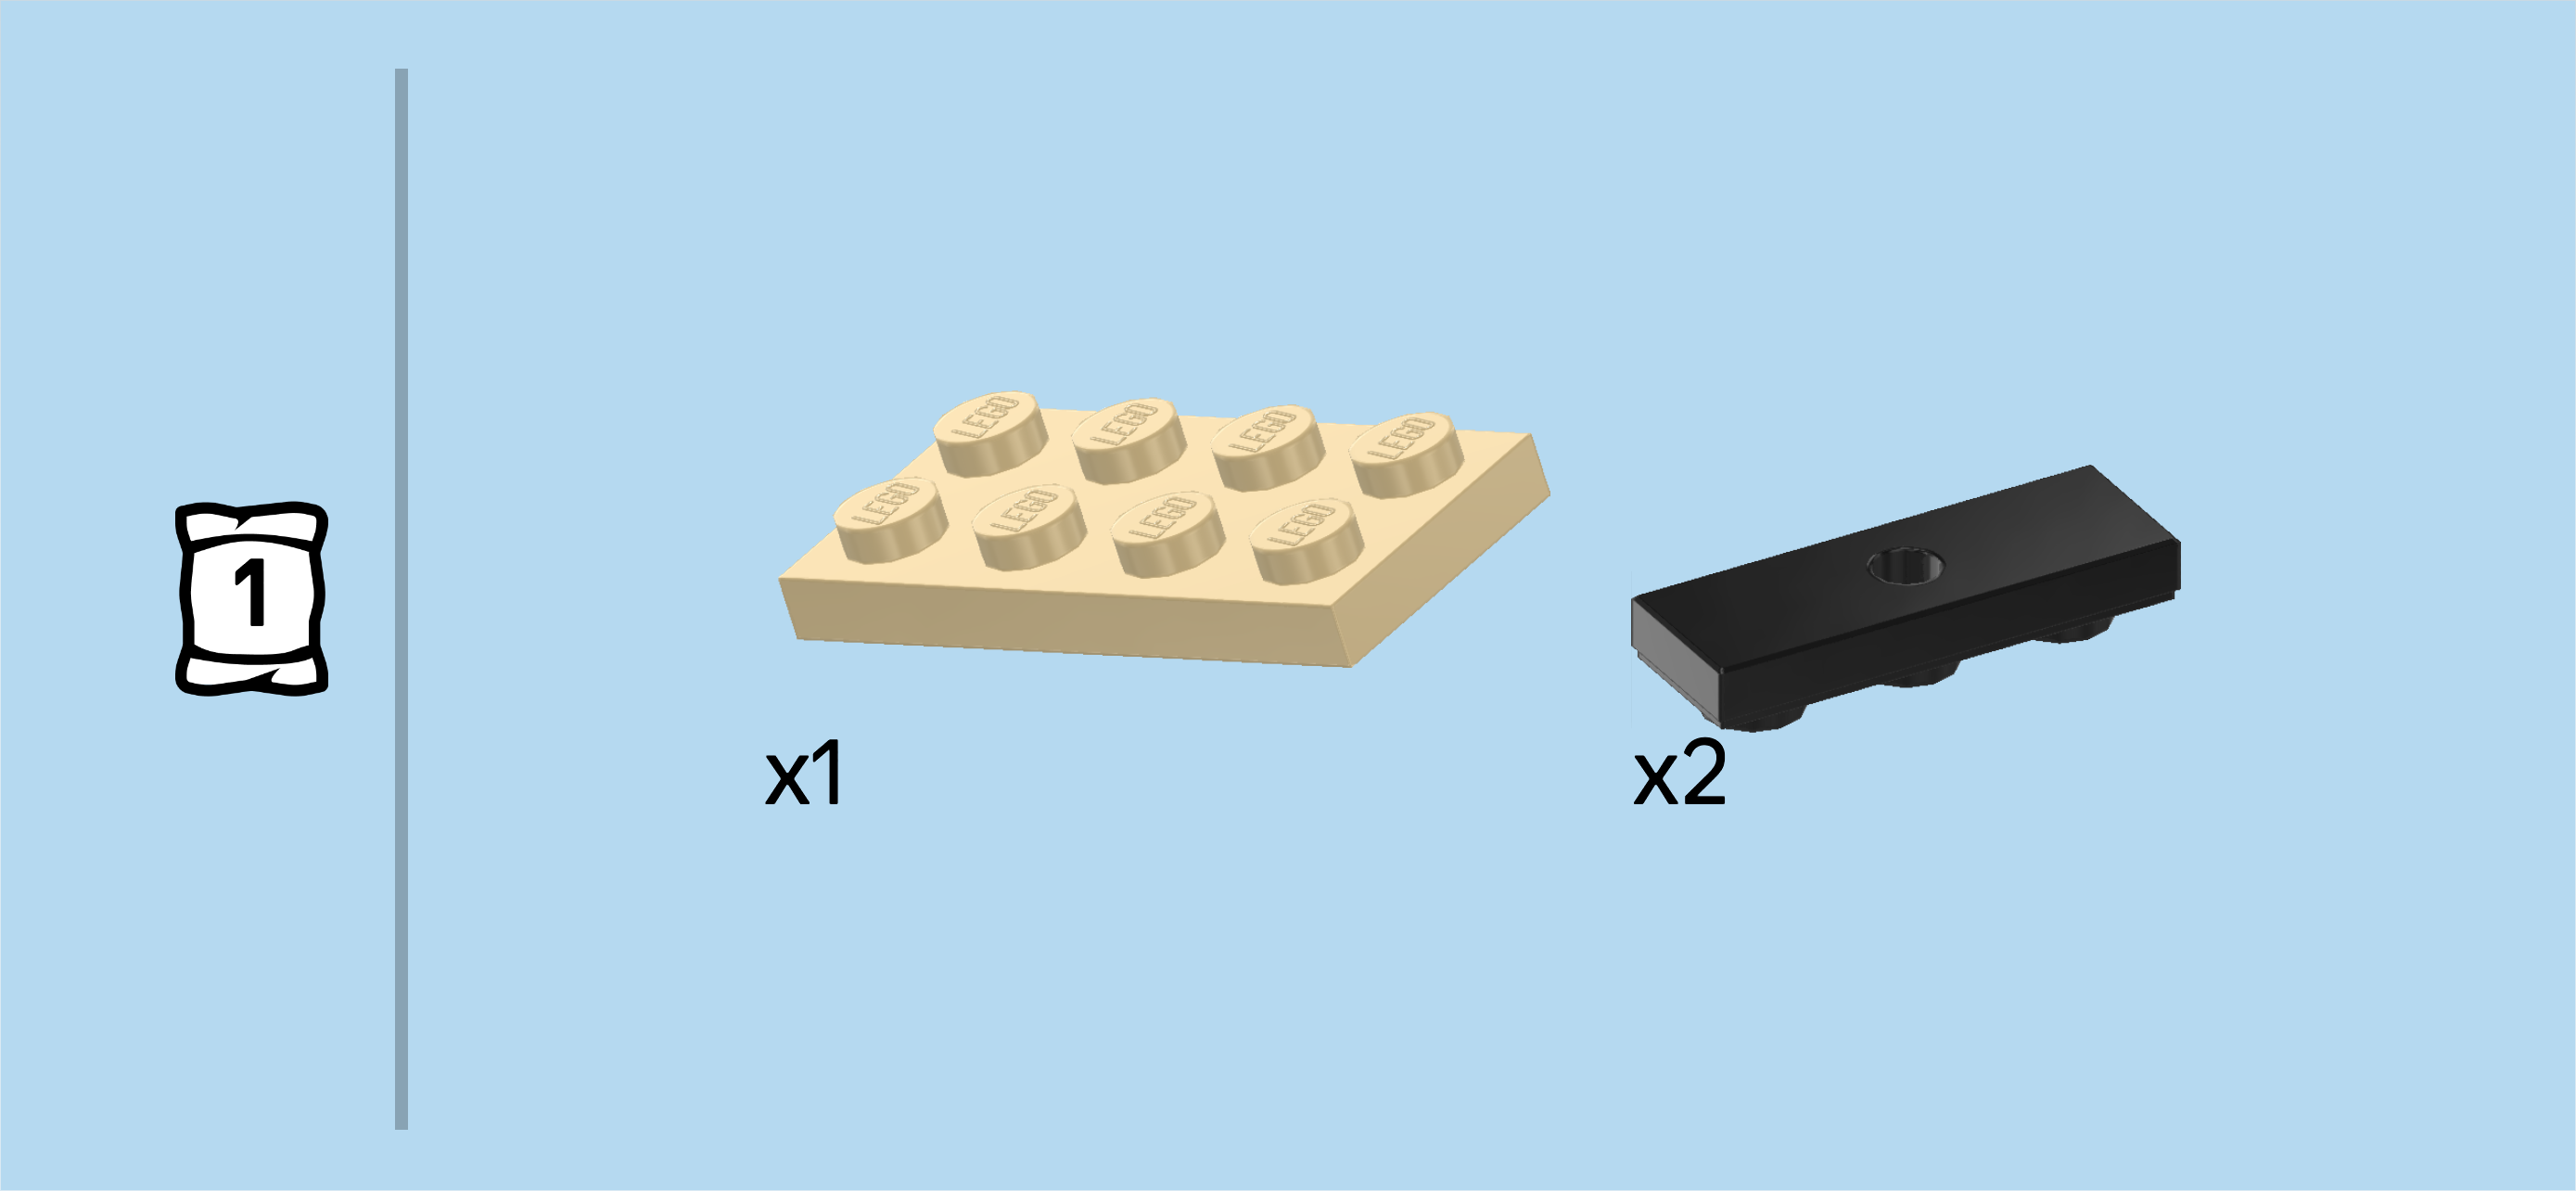
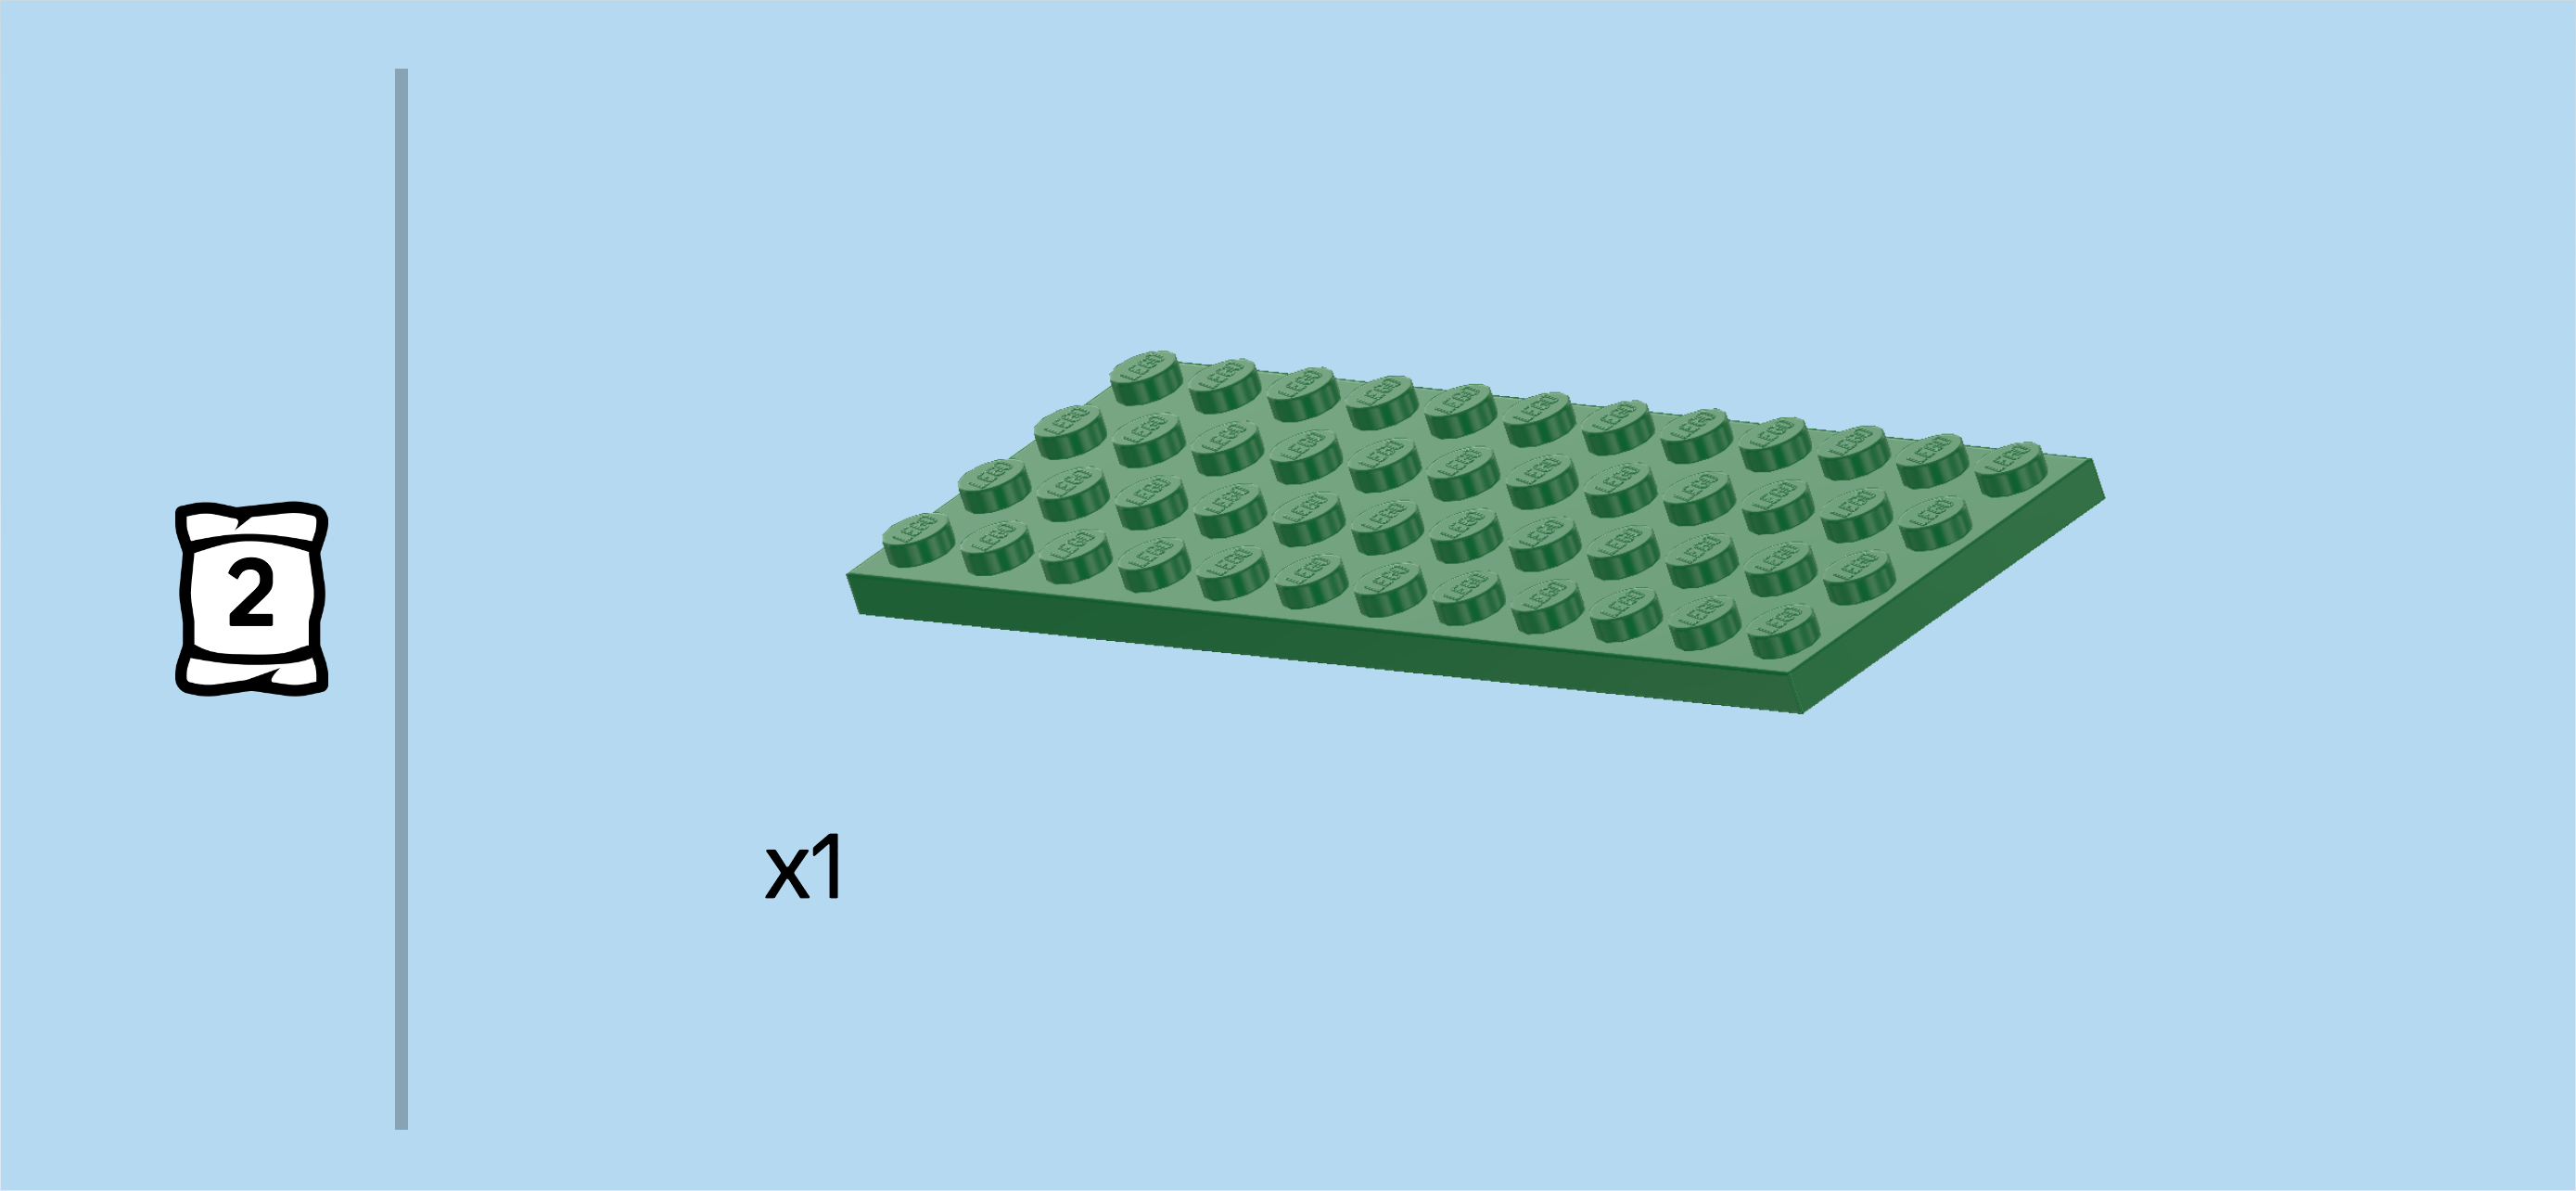
| Now, we will build the base plate of the Turtle Beach House with beach area. |
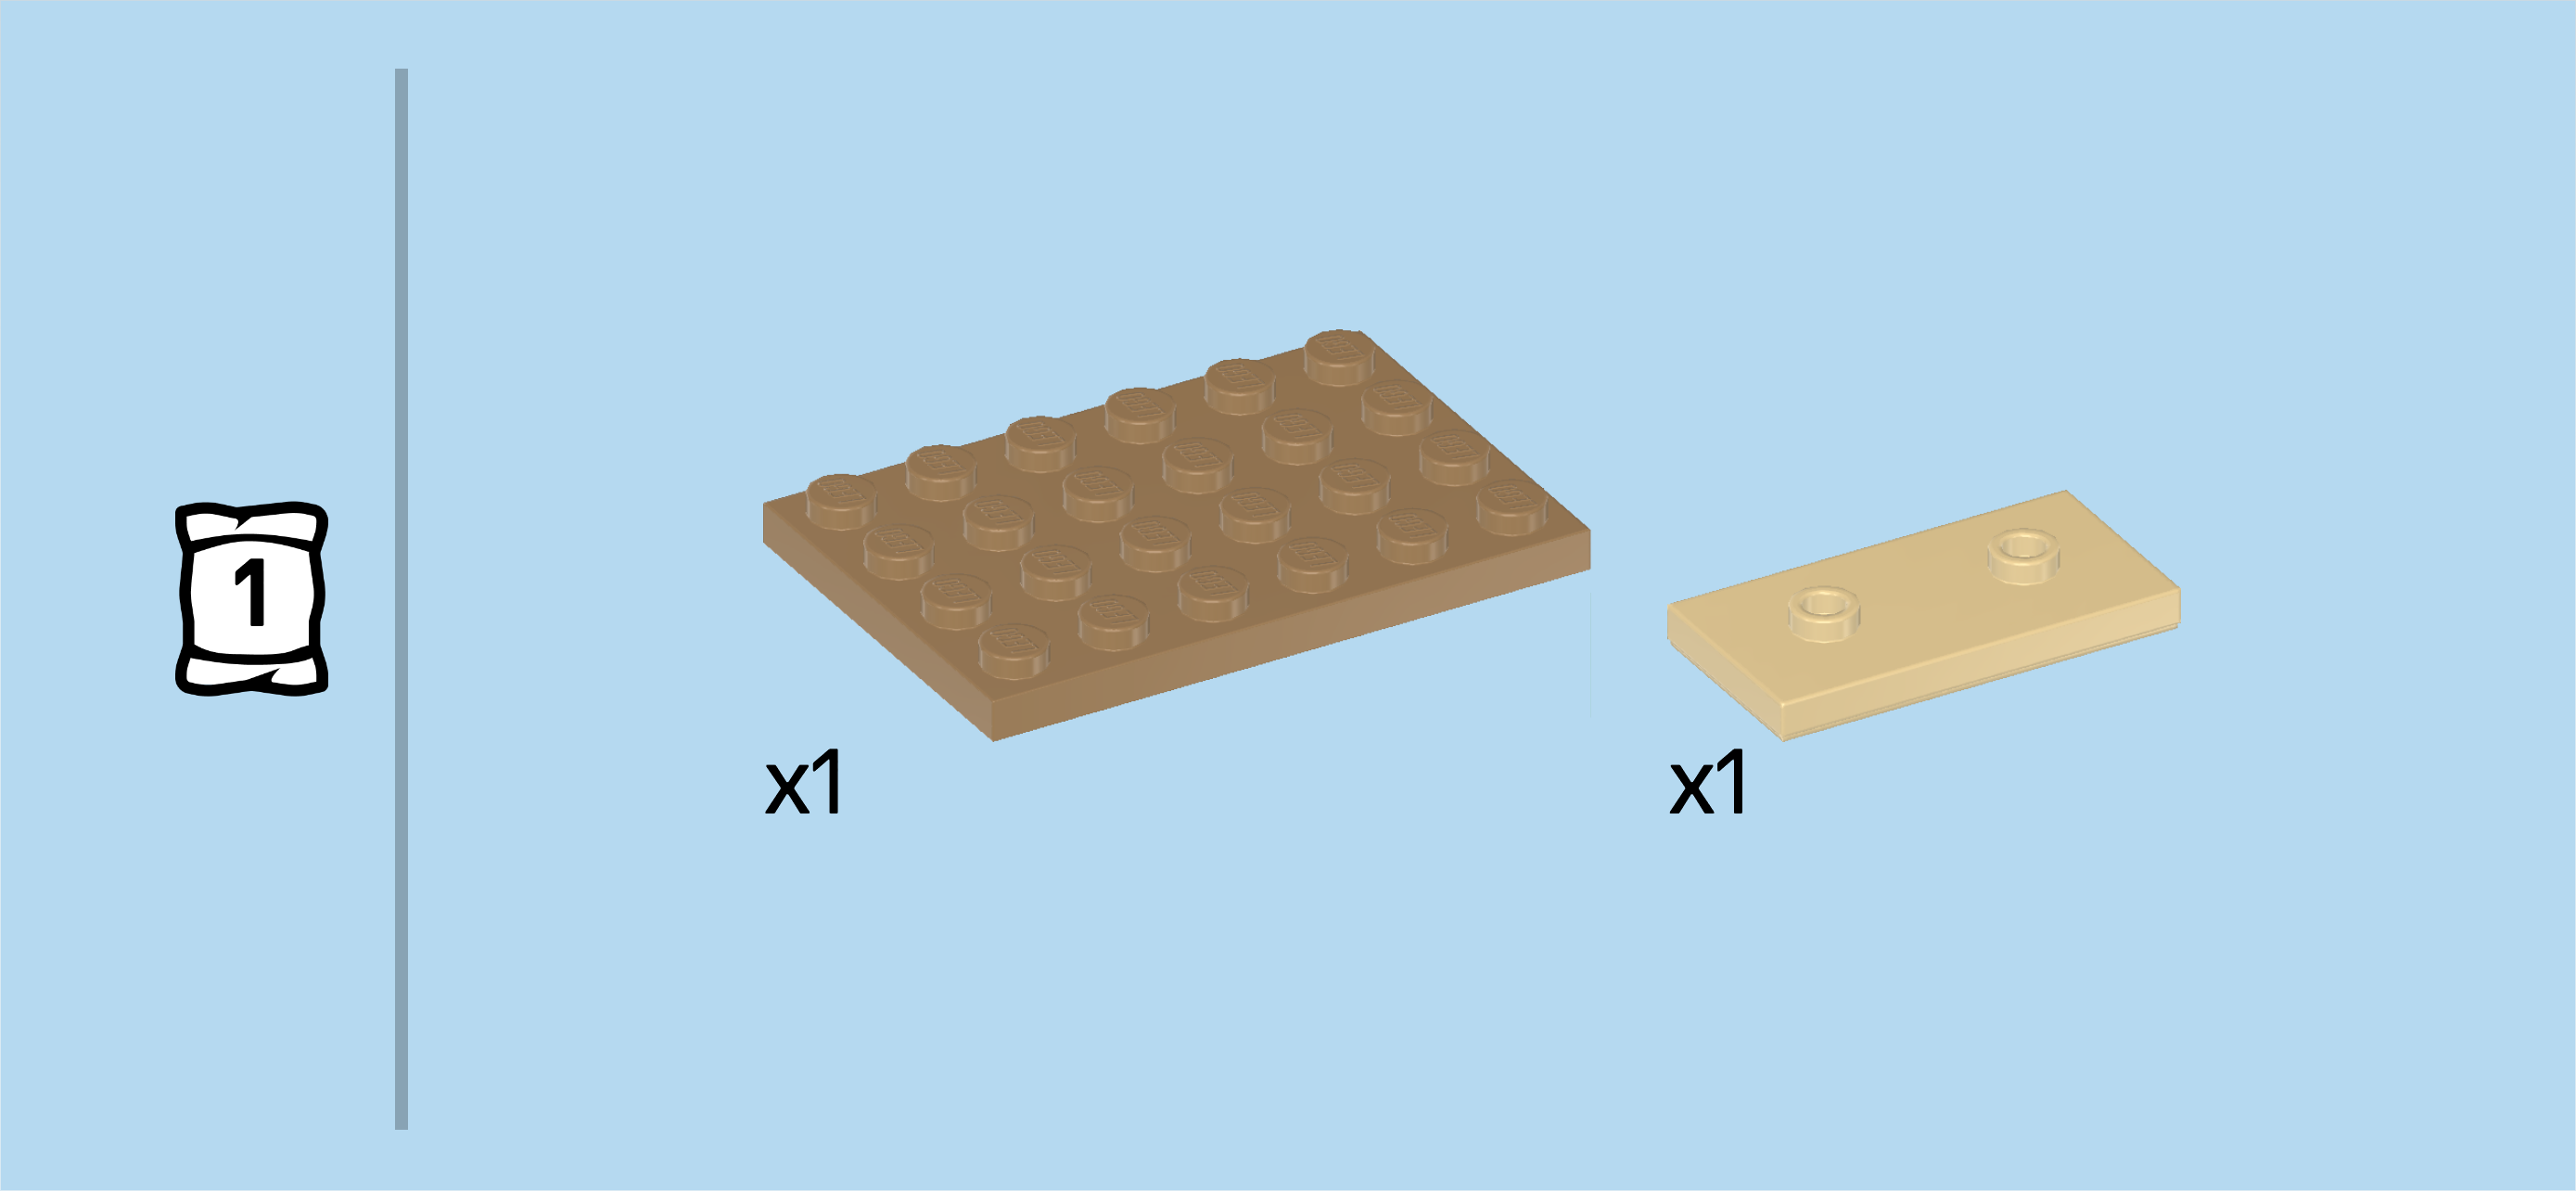
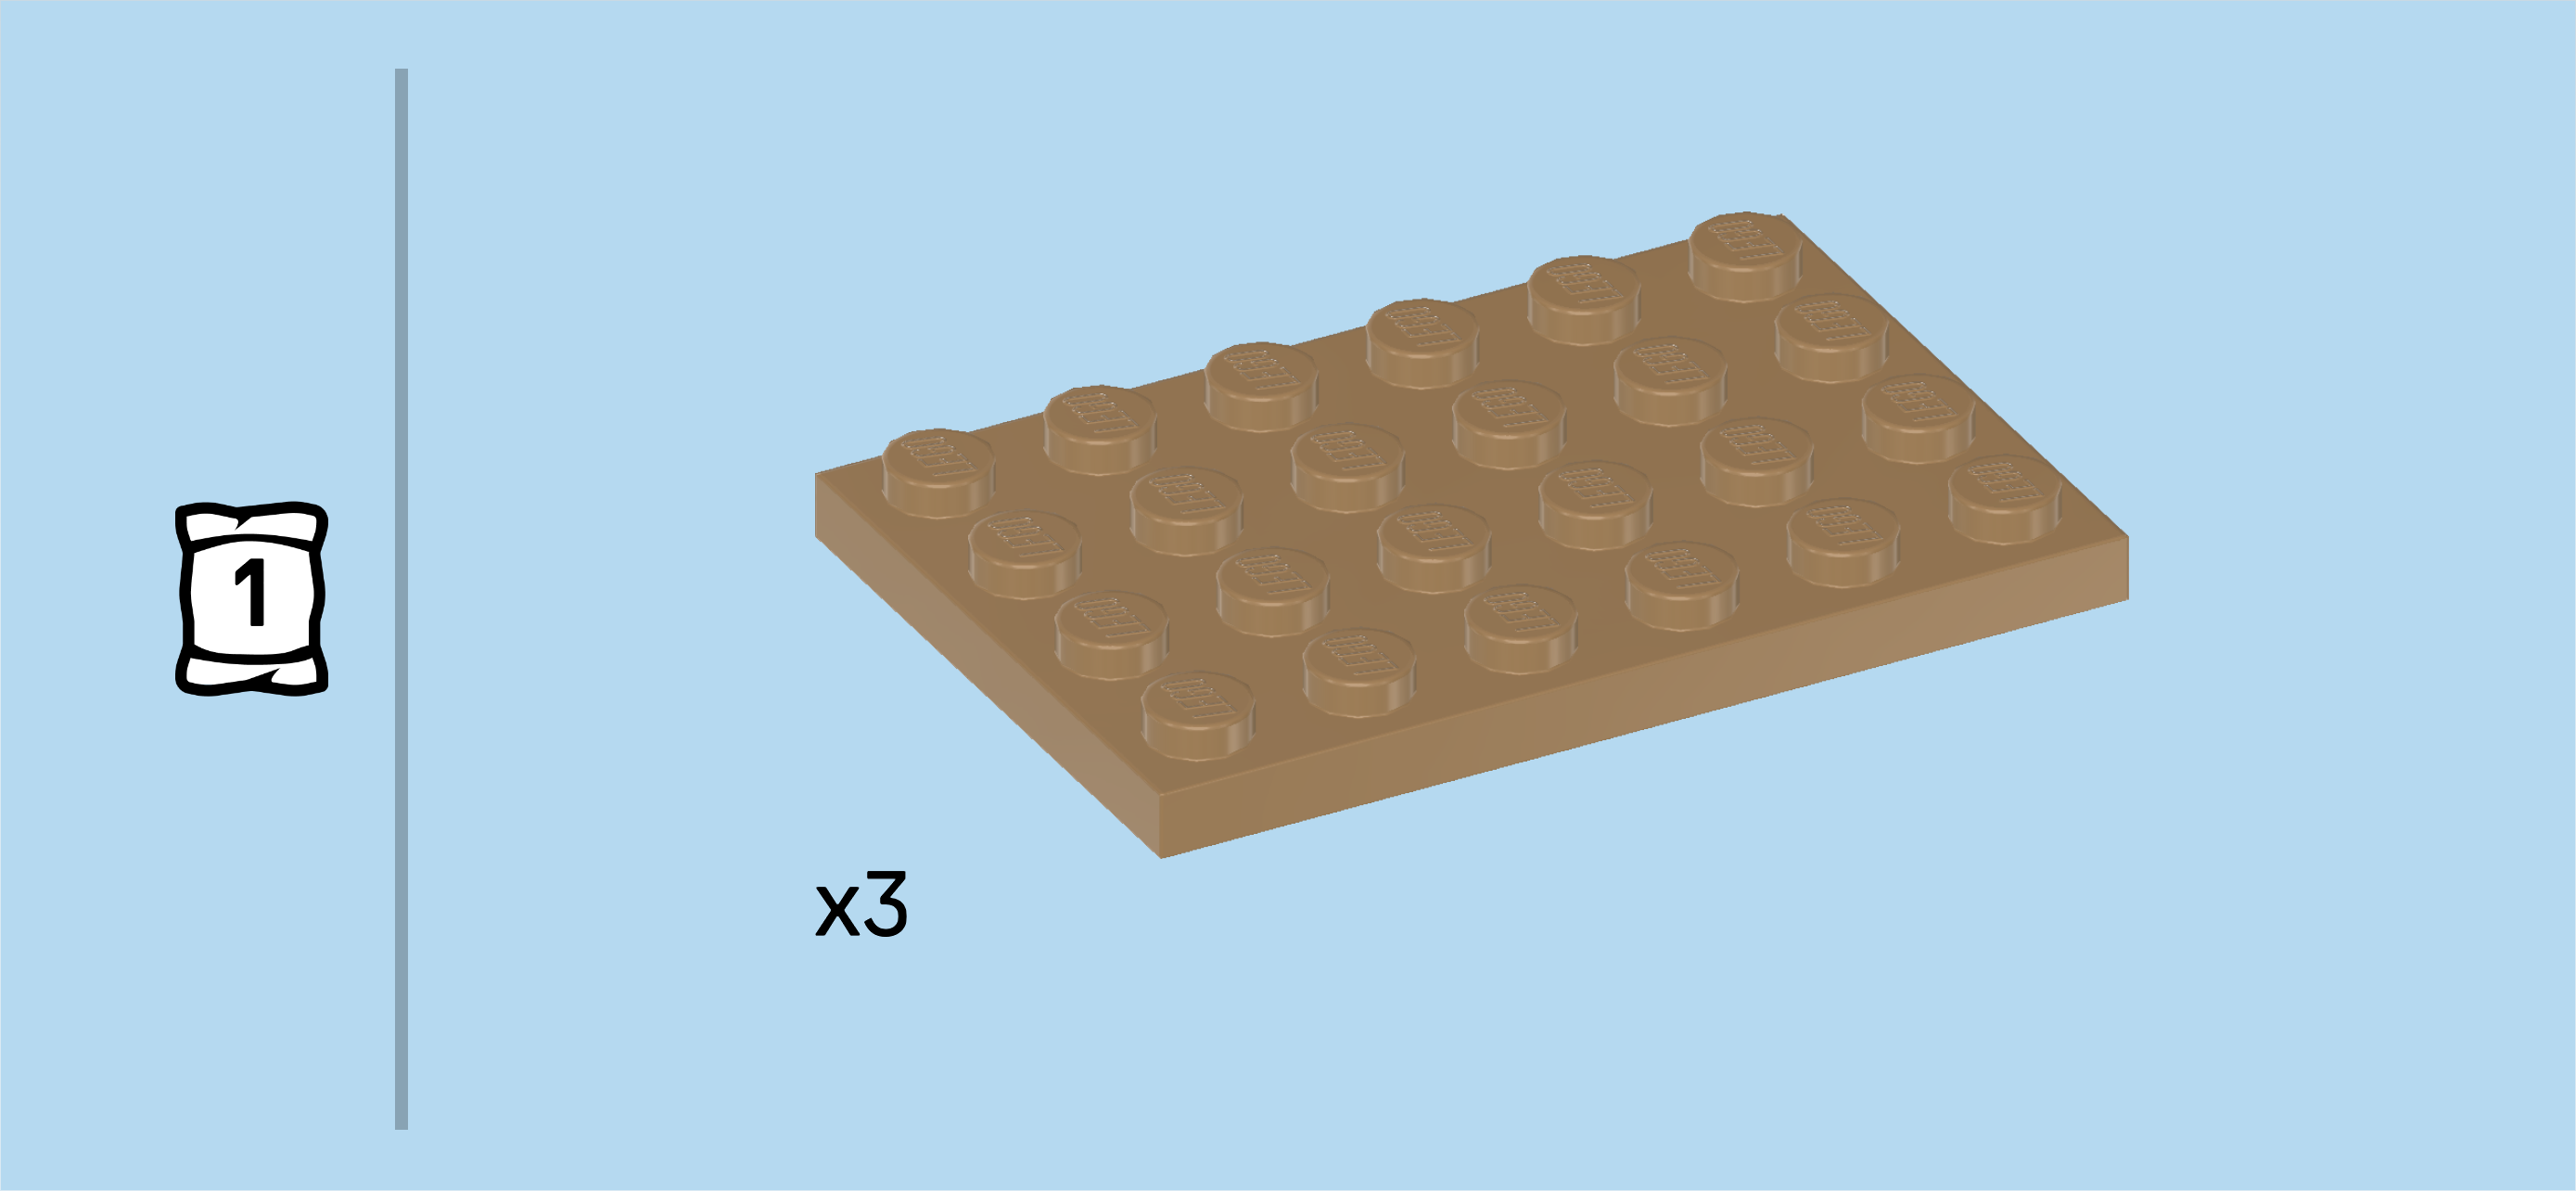
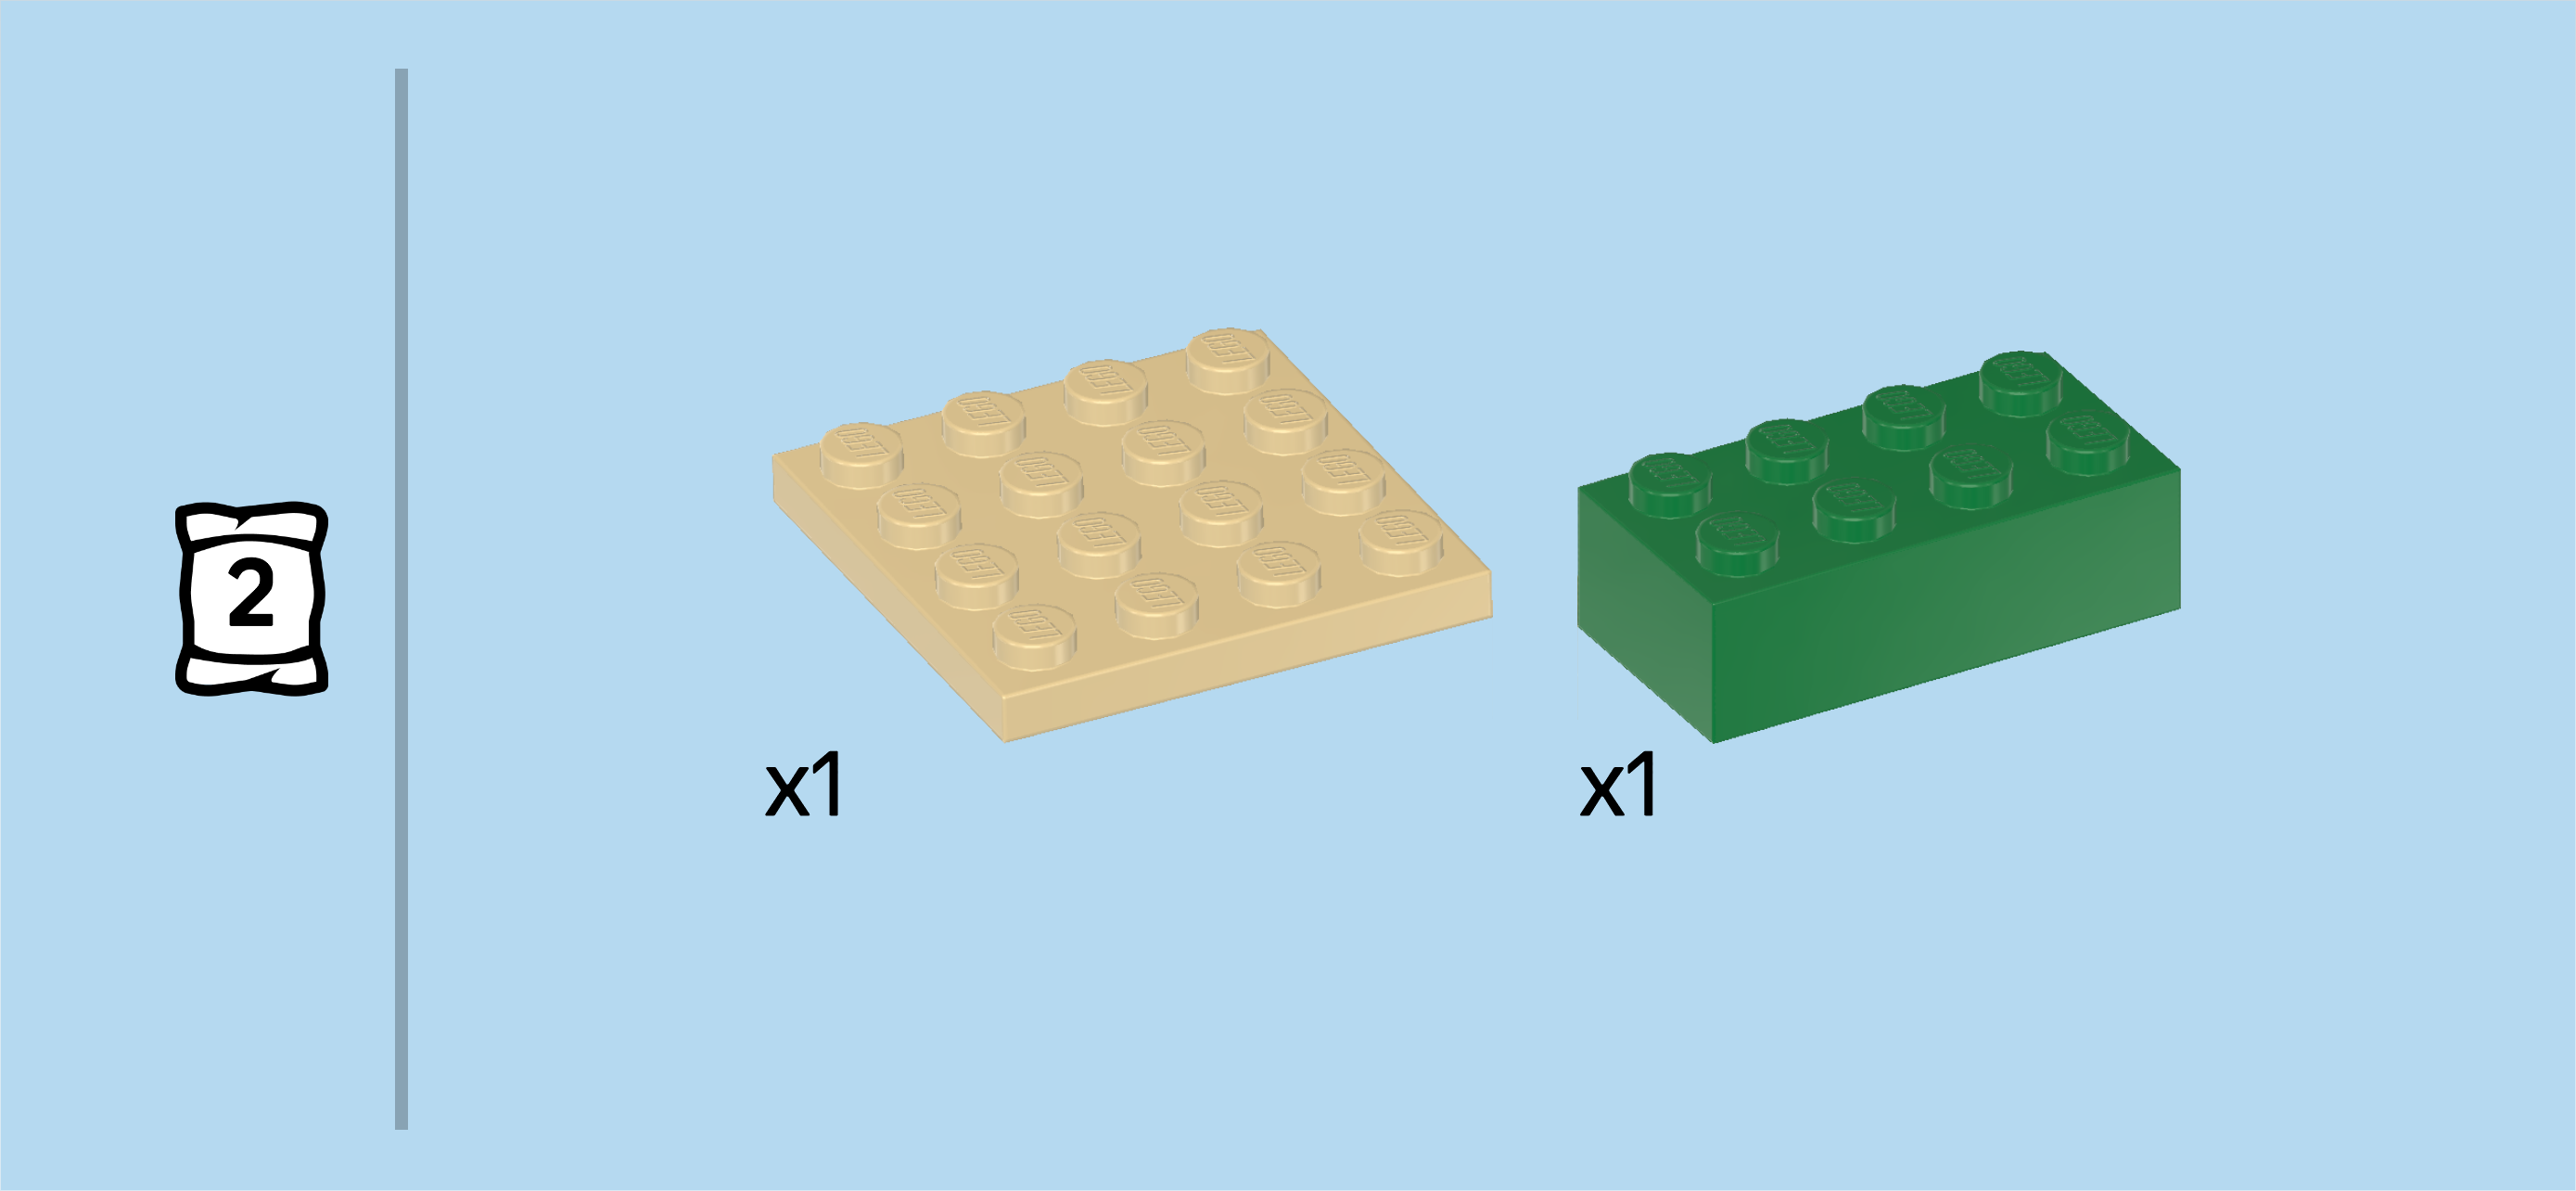
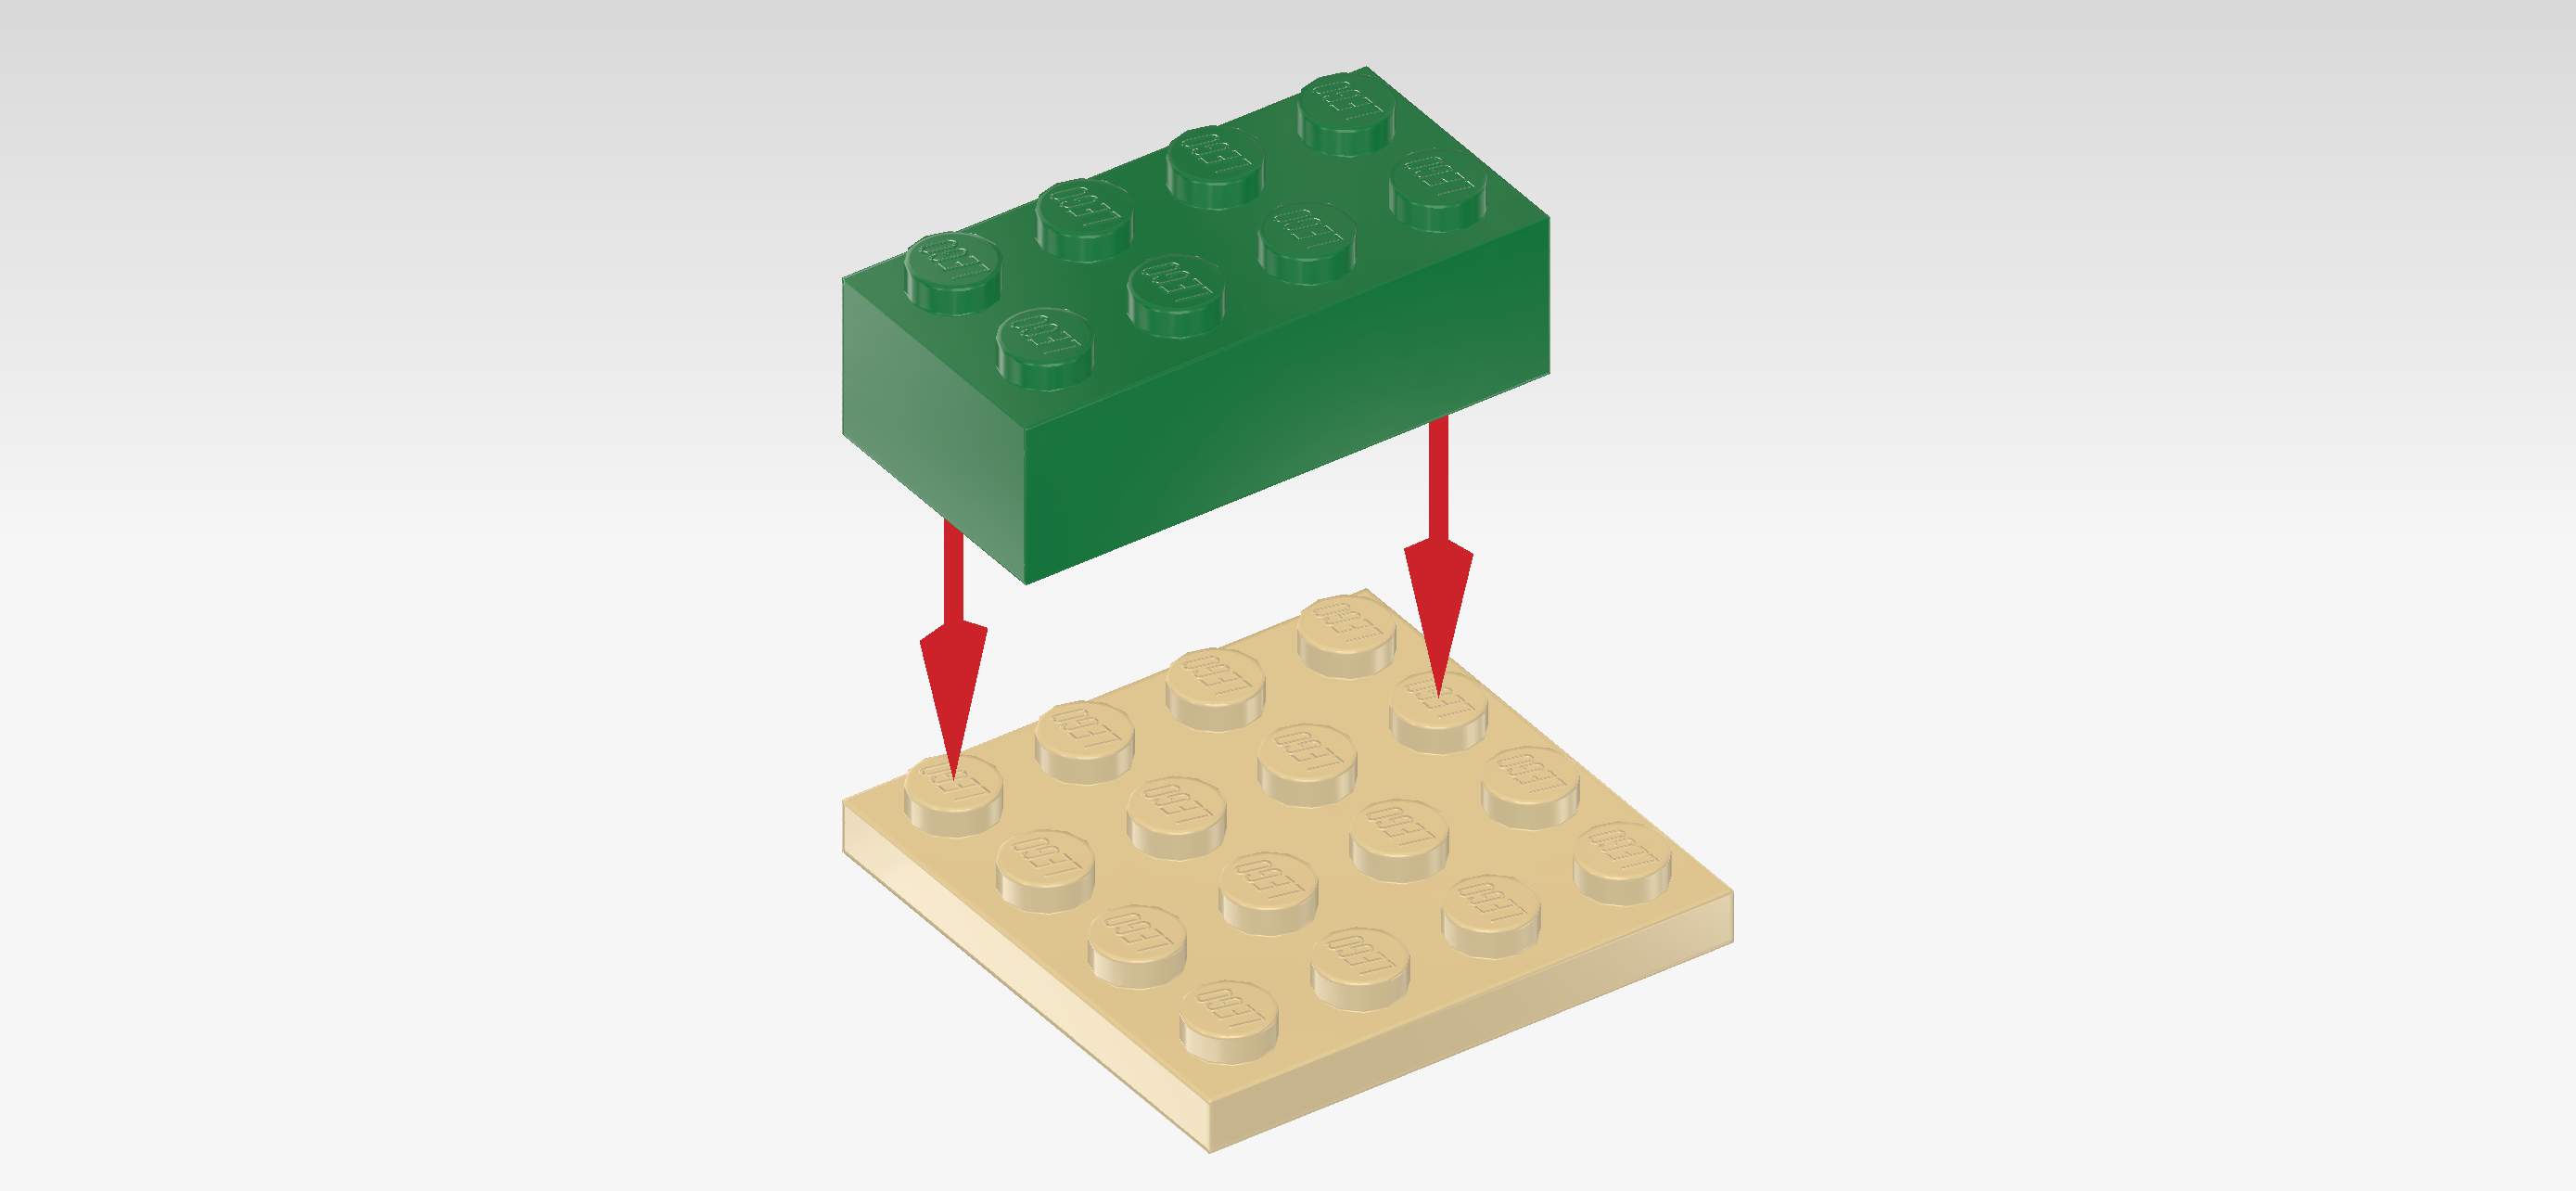
| Collect the following 2 pieces: |
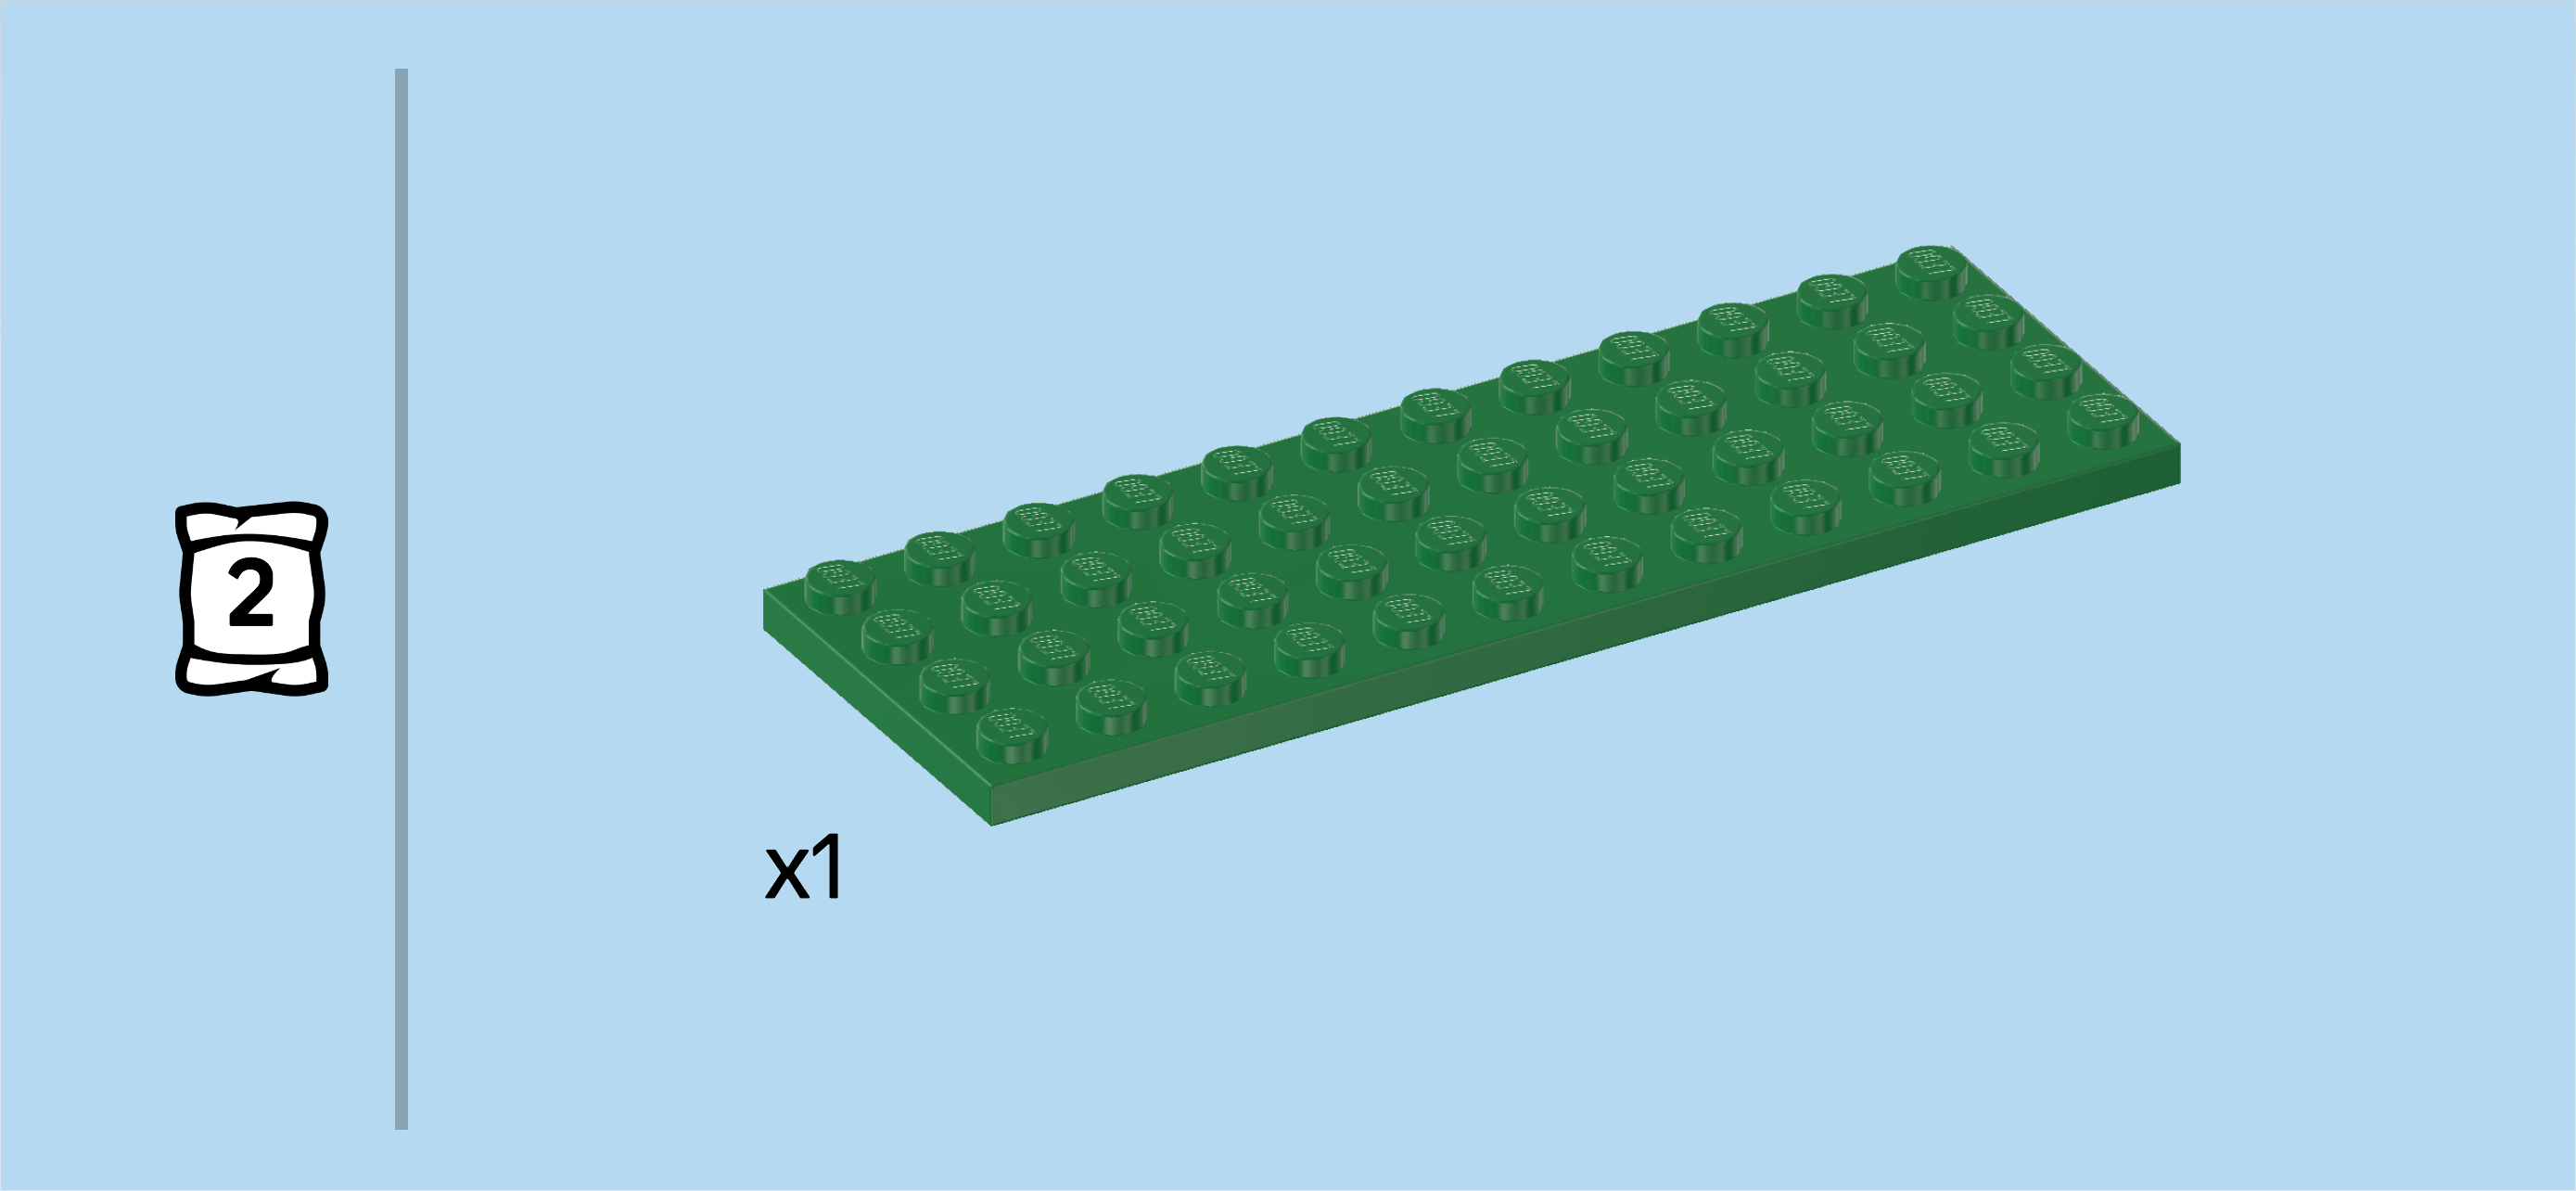
| 1 mud grey plate 4x6, |
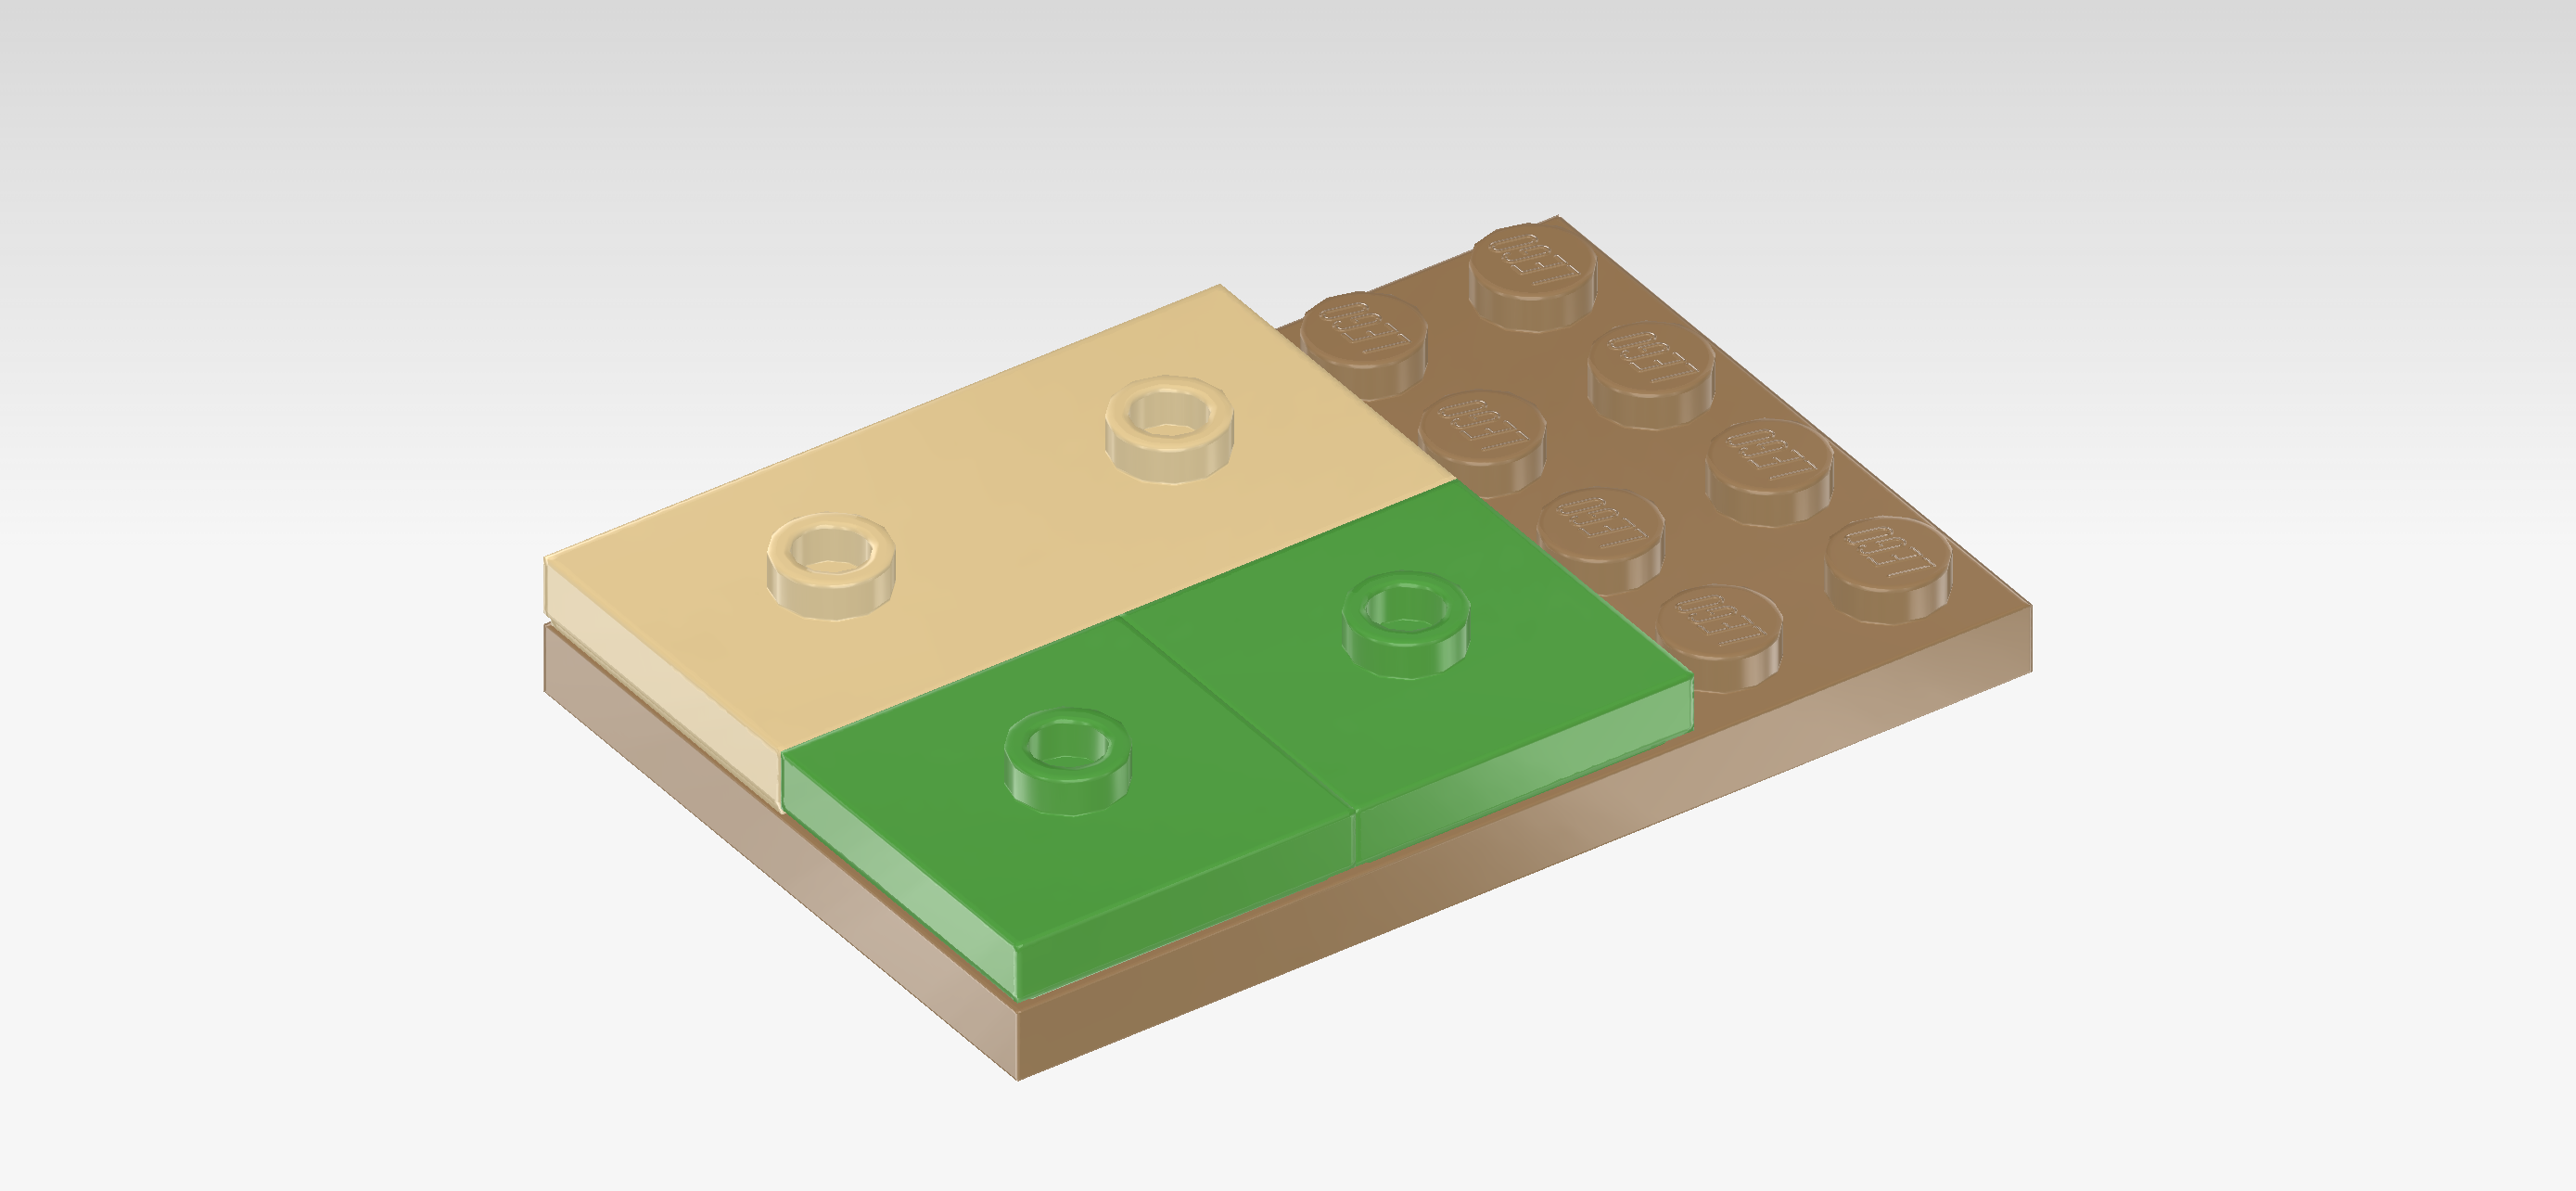
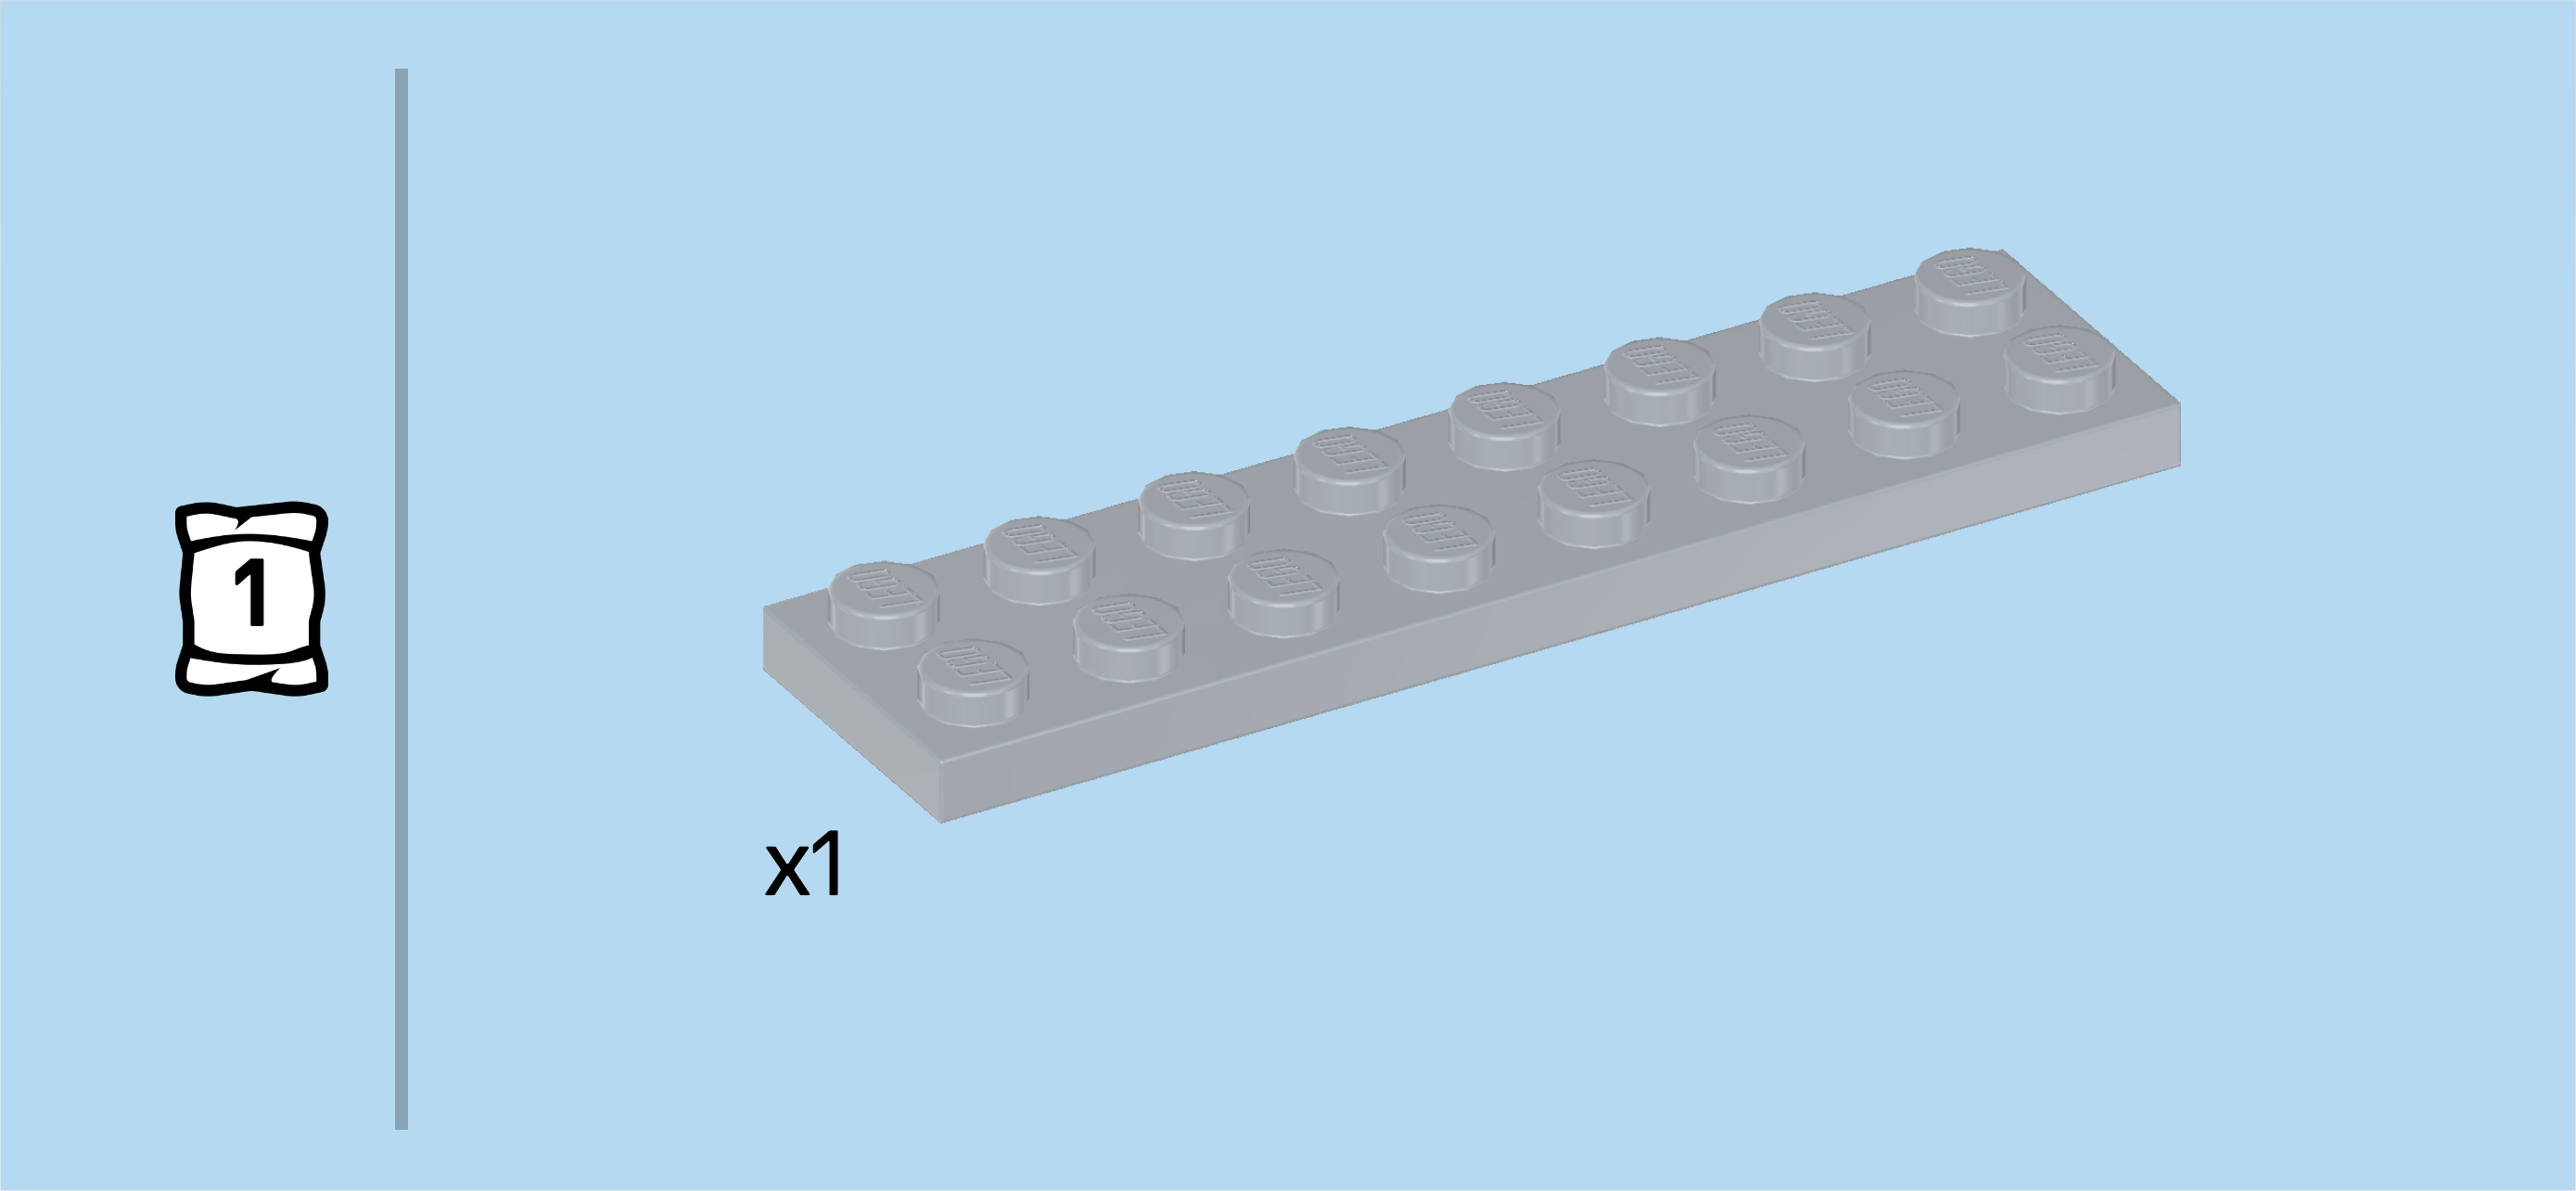
| and 1 pale ocher yellow plate 2x4 with 2 knobs. |
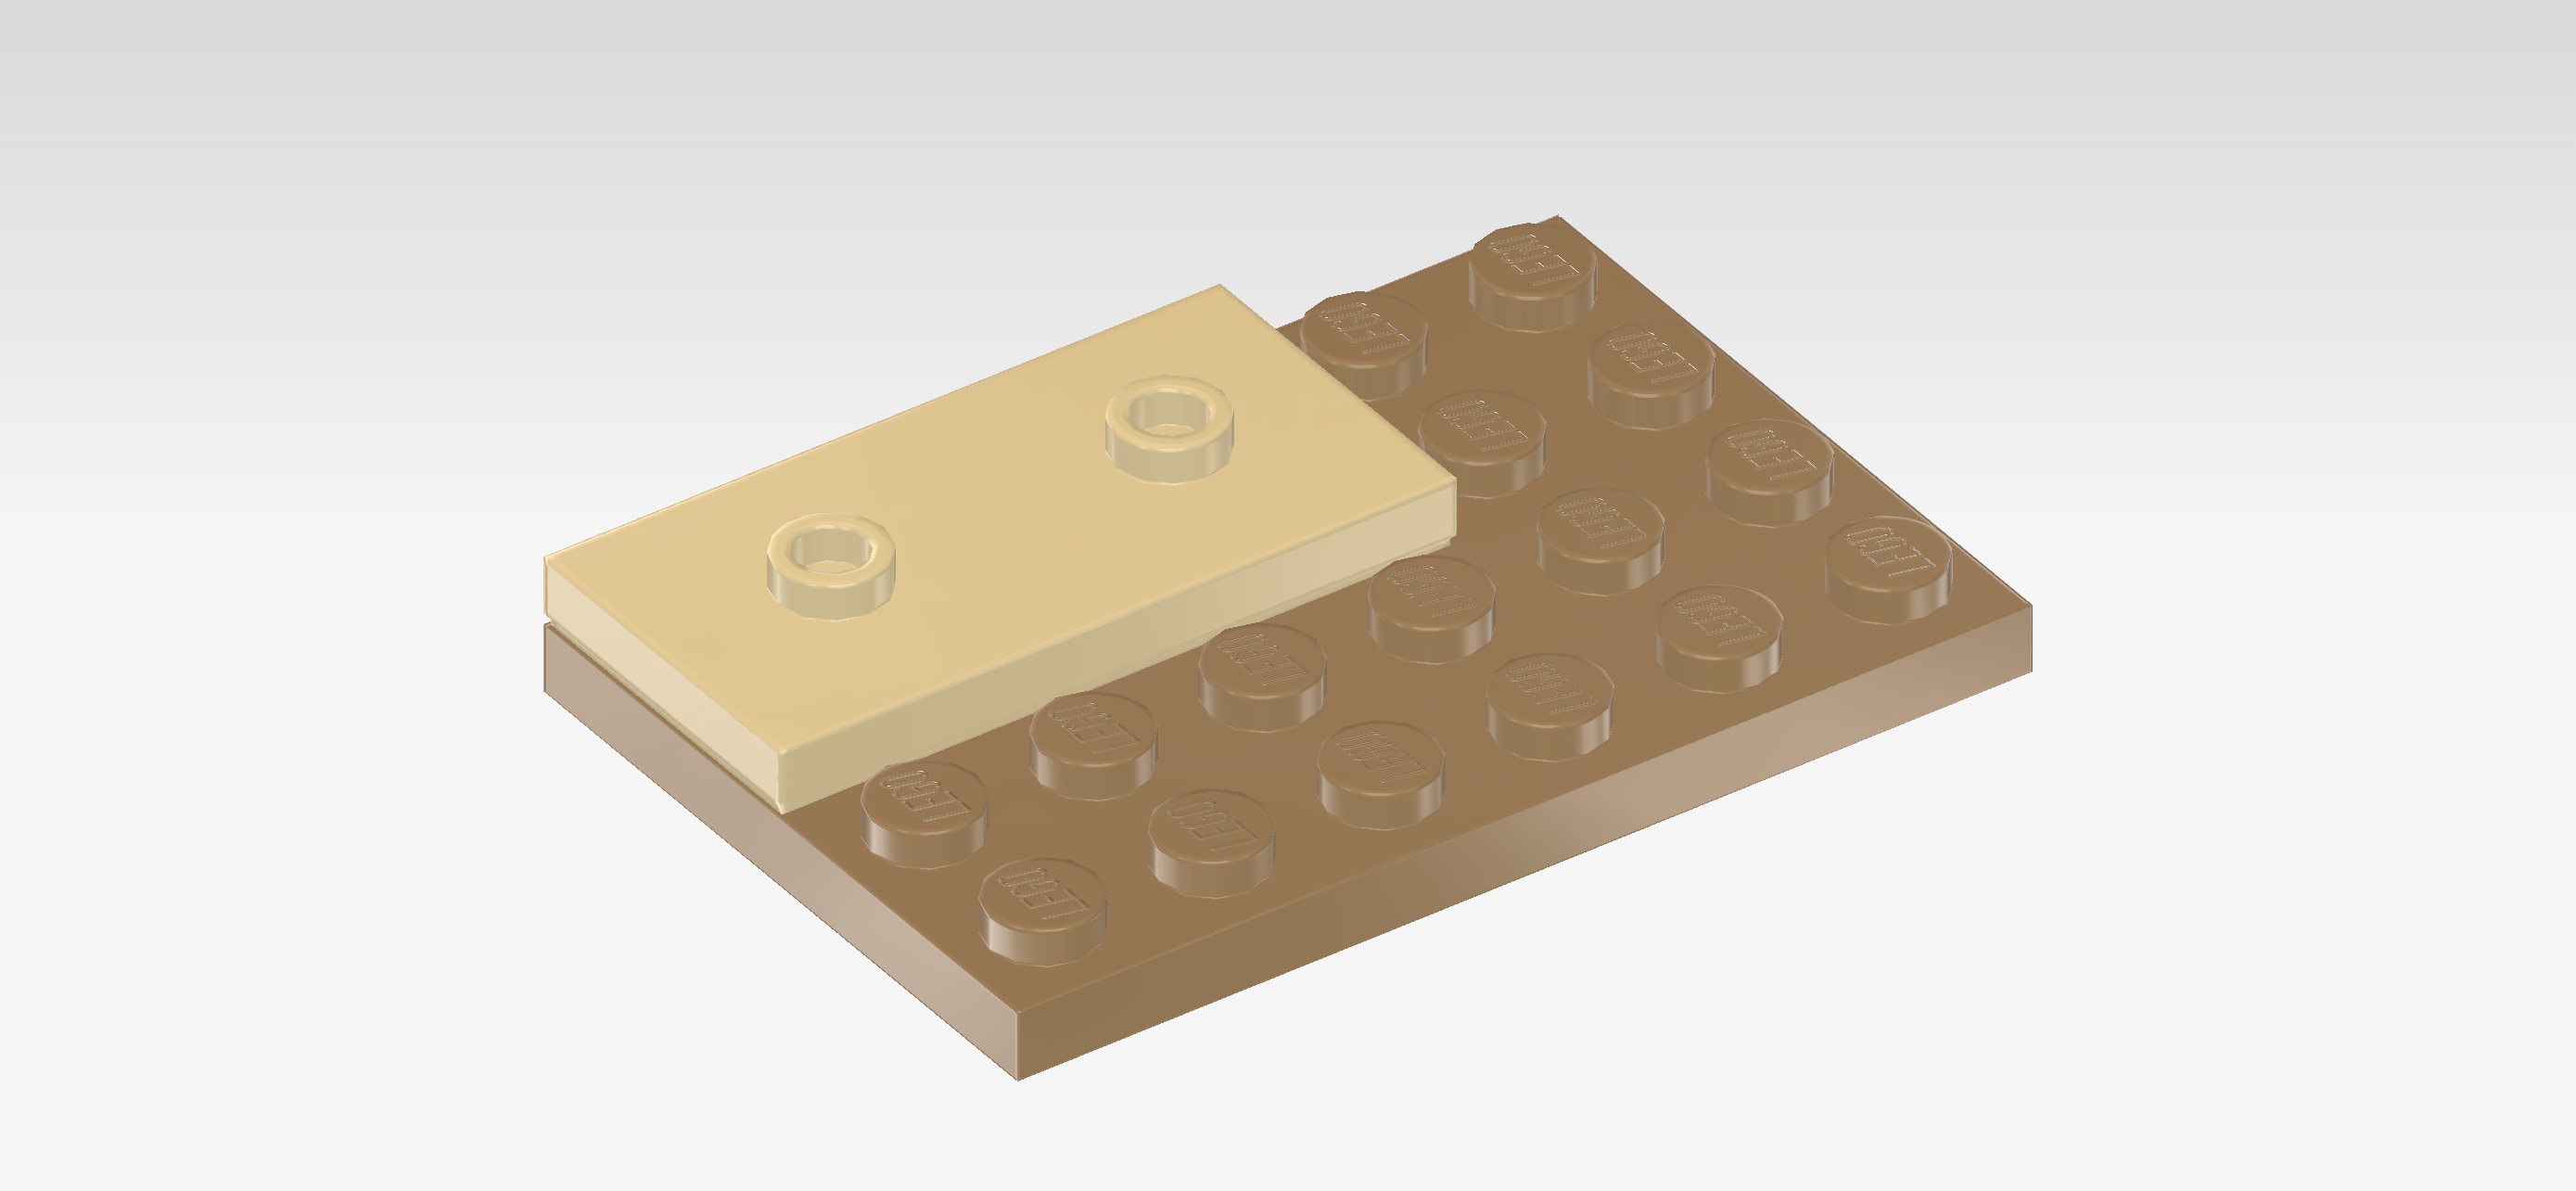
| Put the plate 4x6 horizontally on the table. |
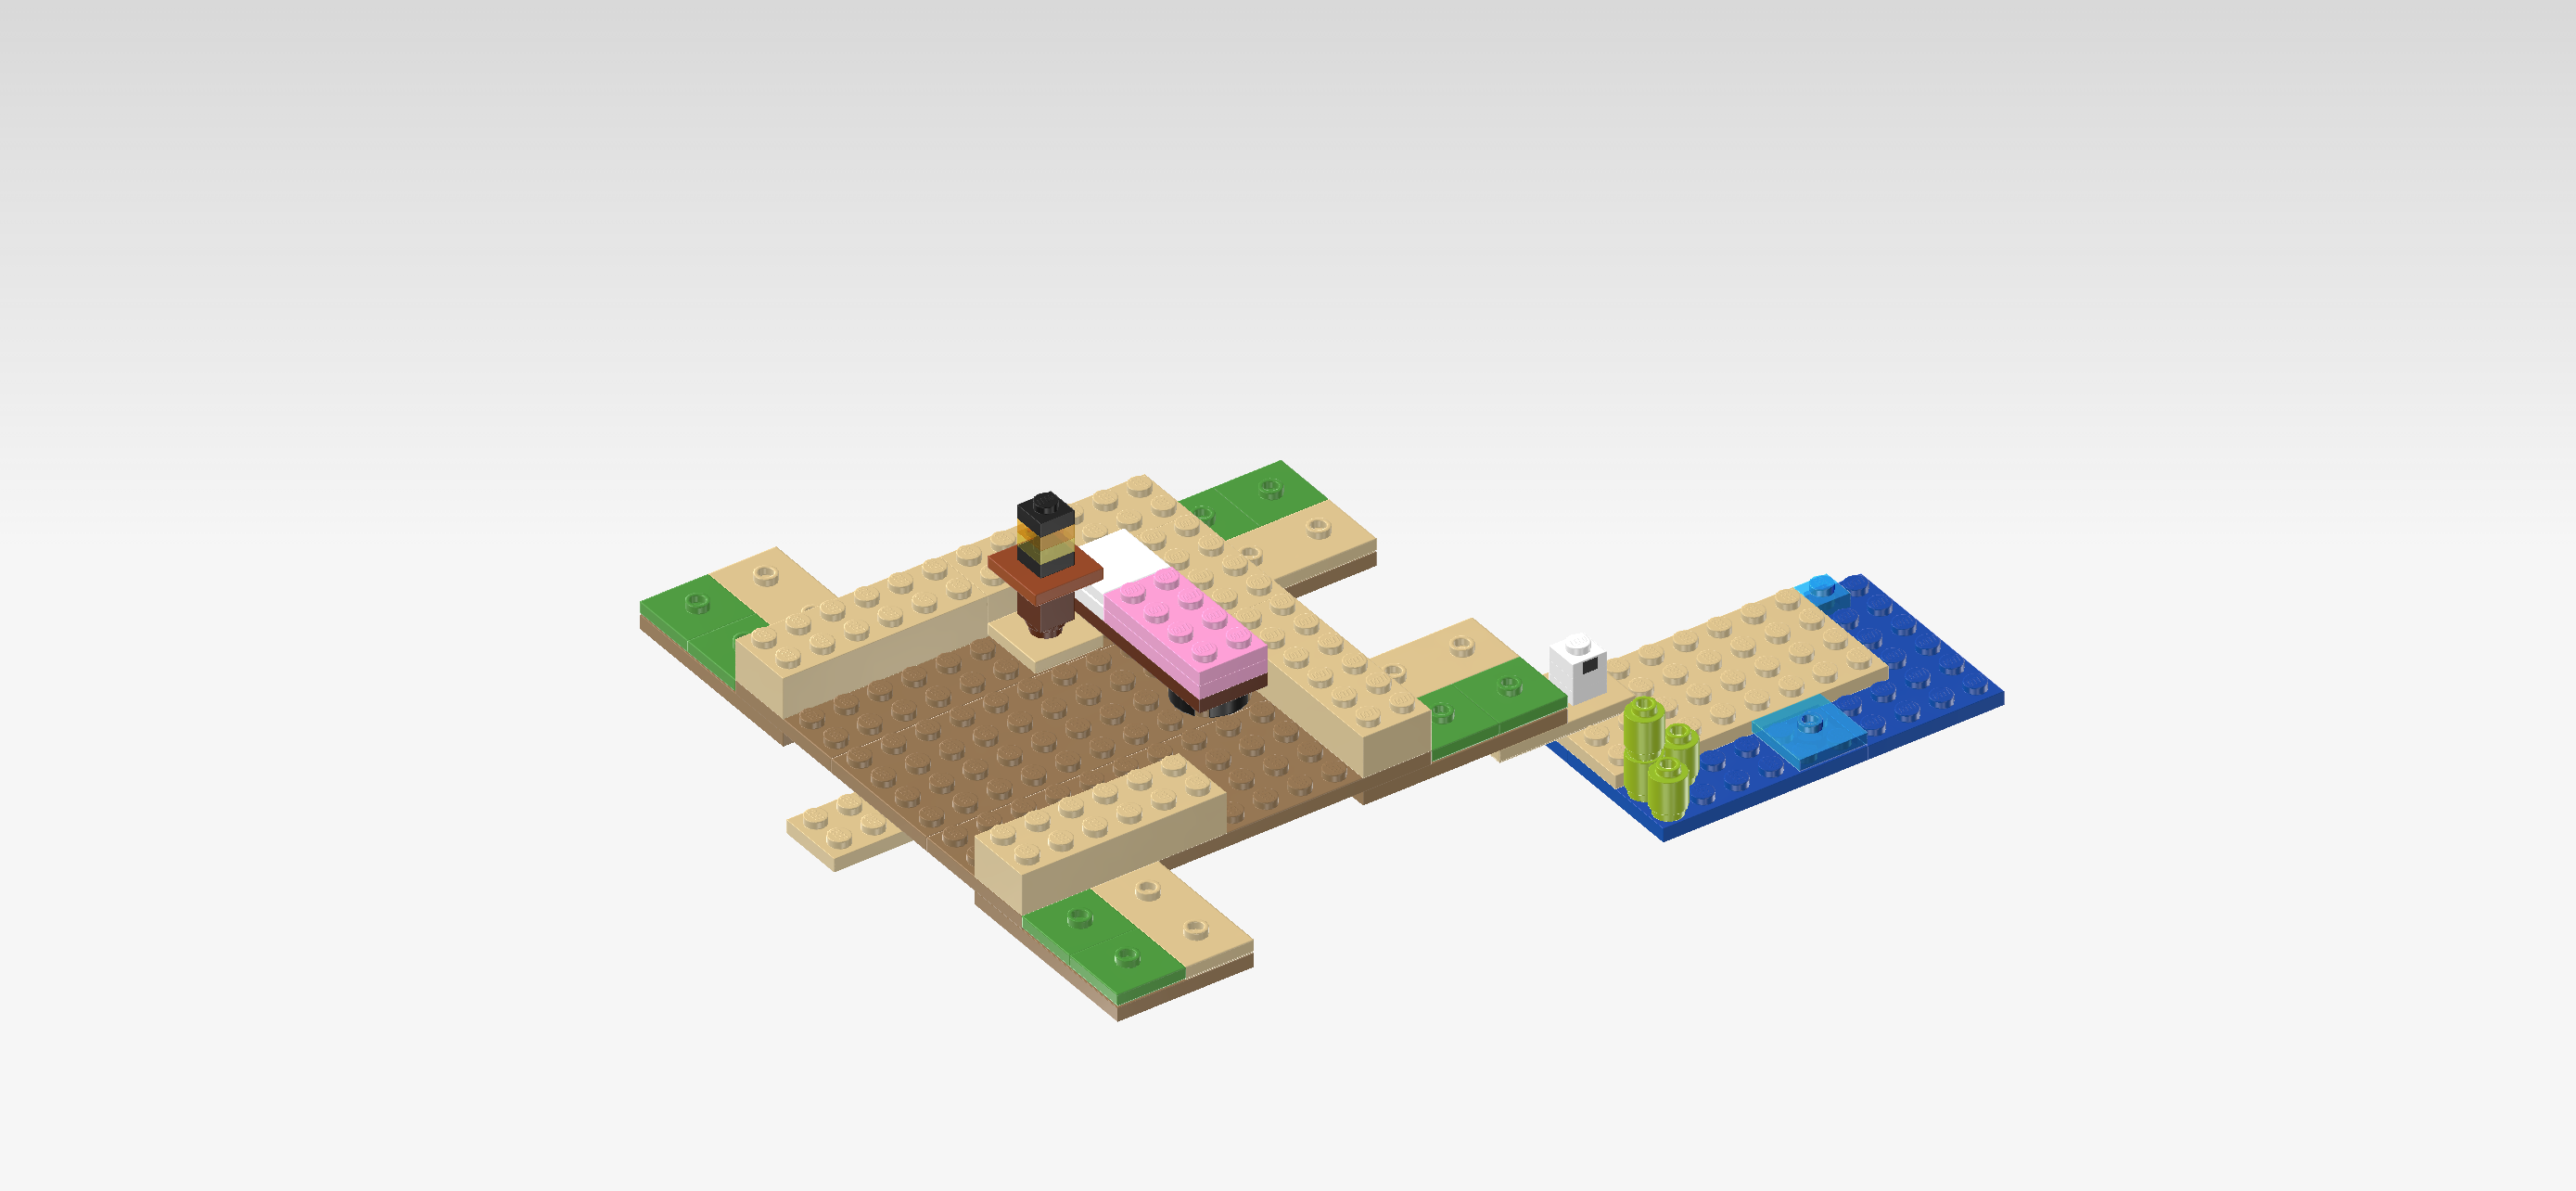
| Put the plate 2x4 horizontally on the 2 backmost rows, starting from the left edge. |
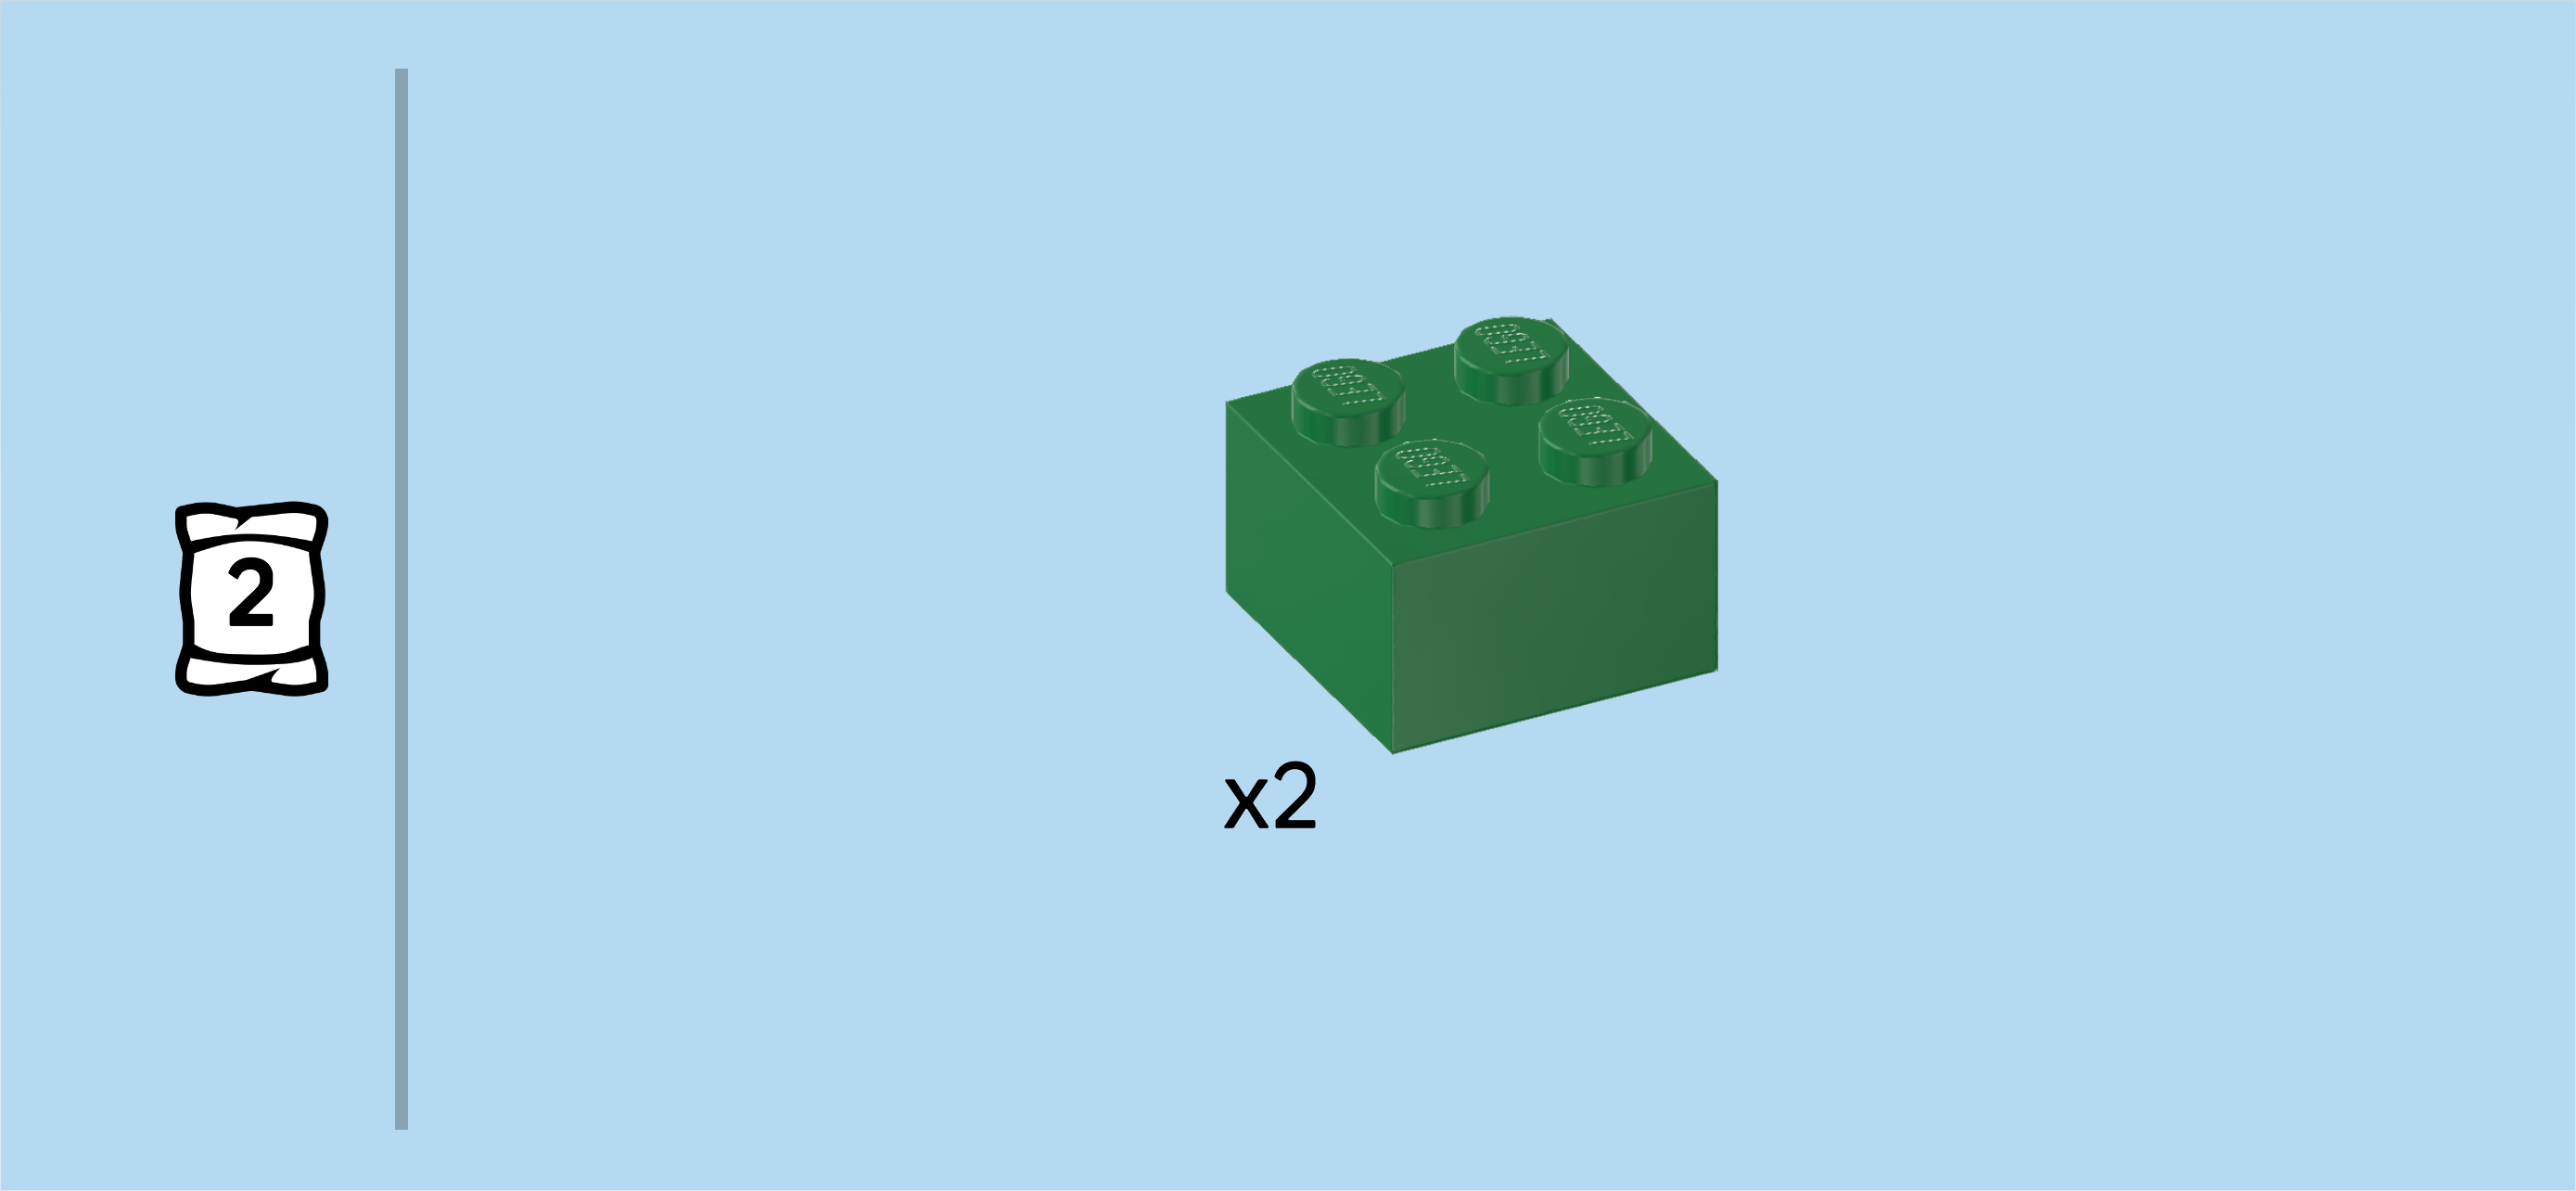
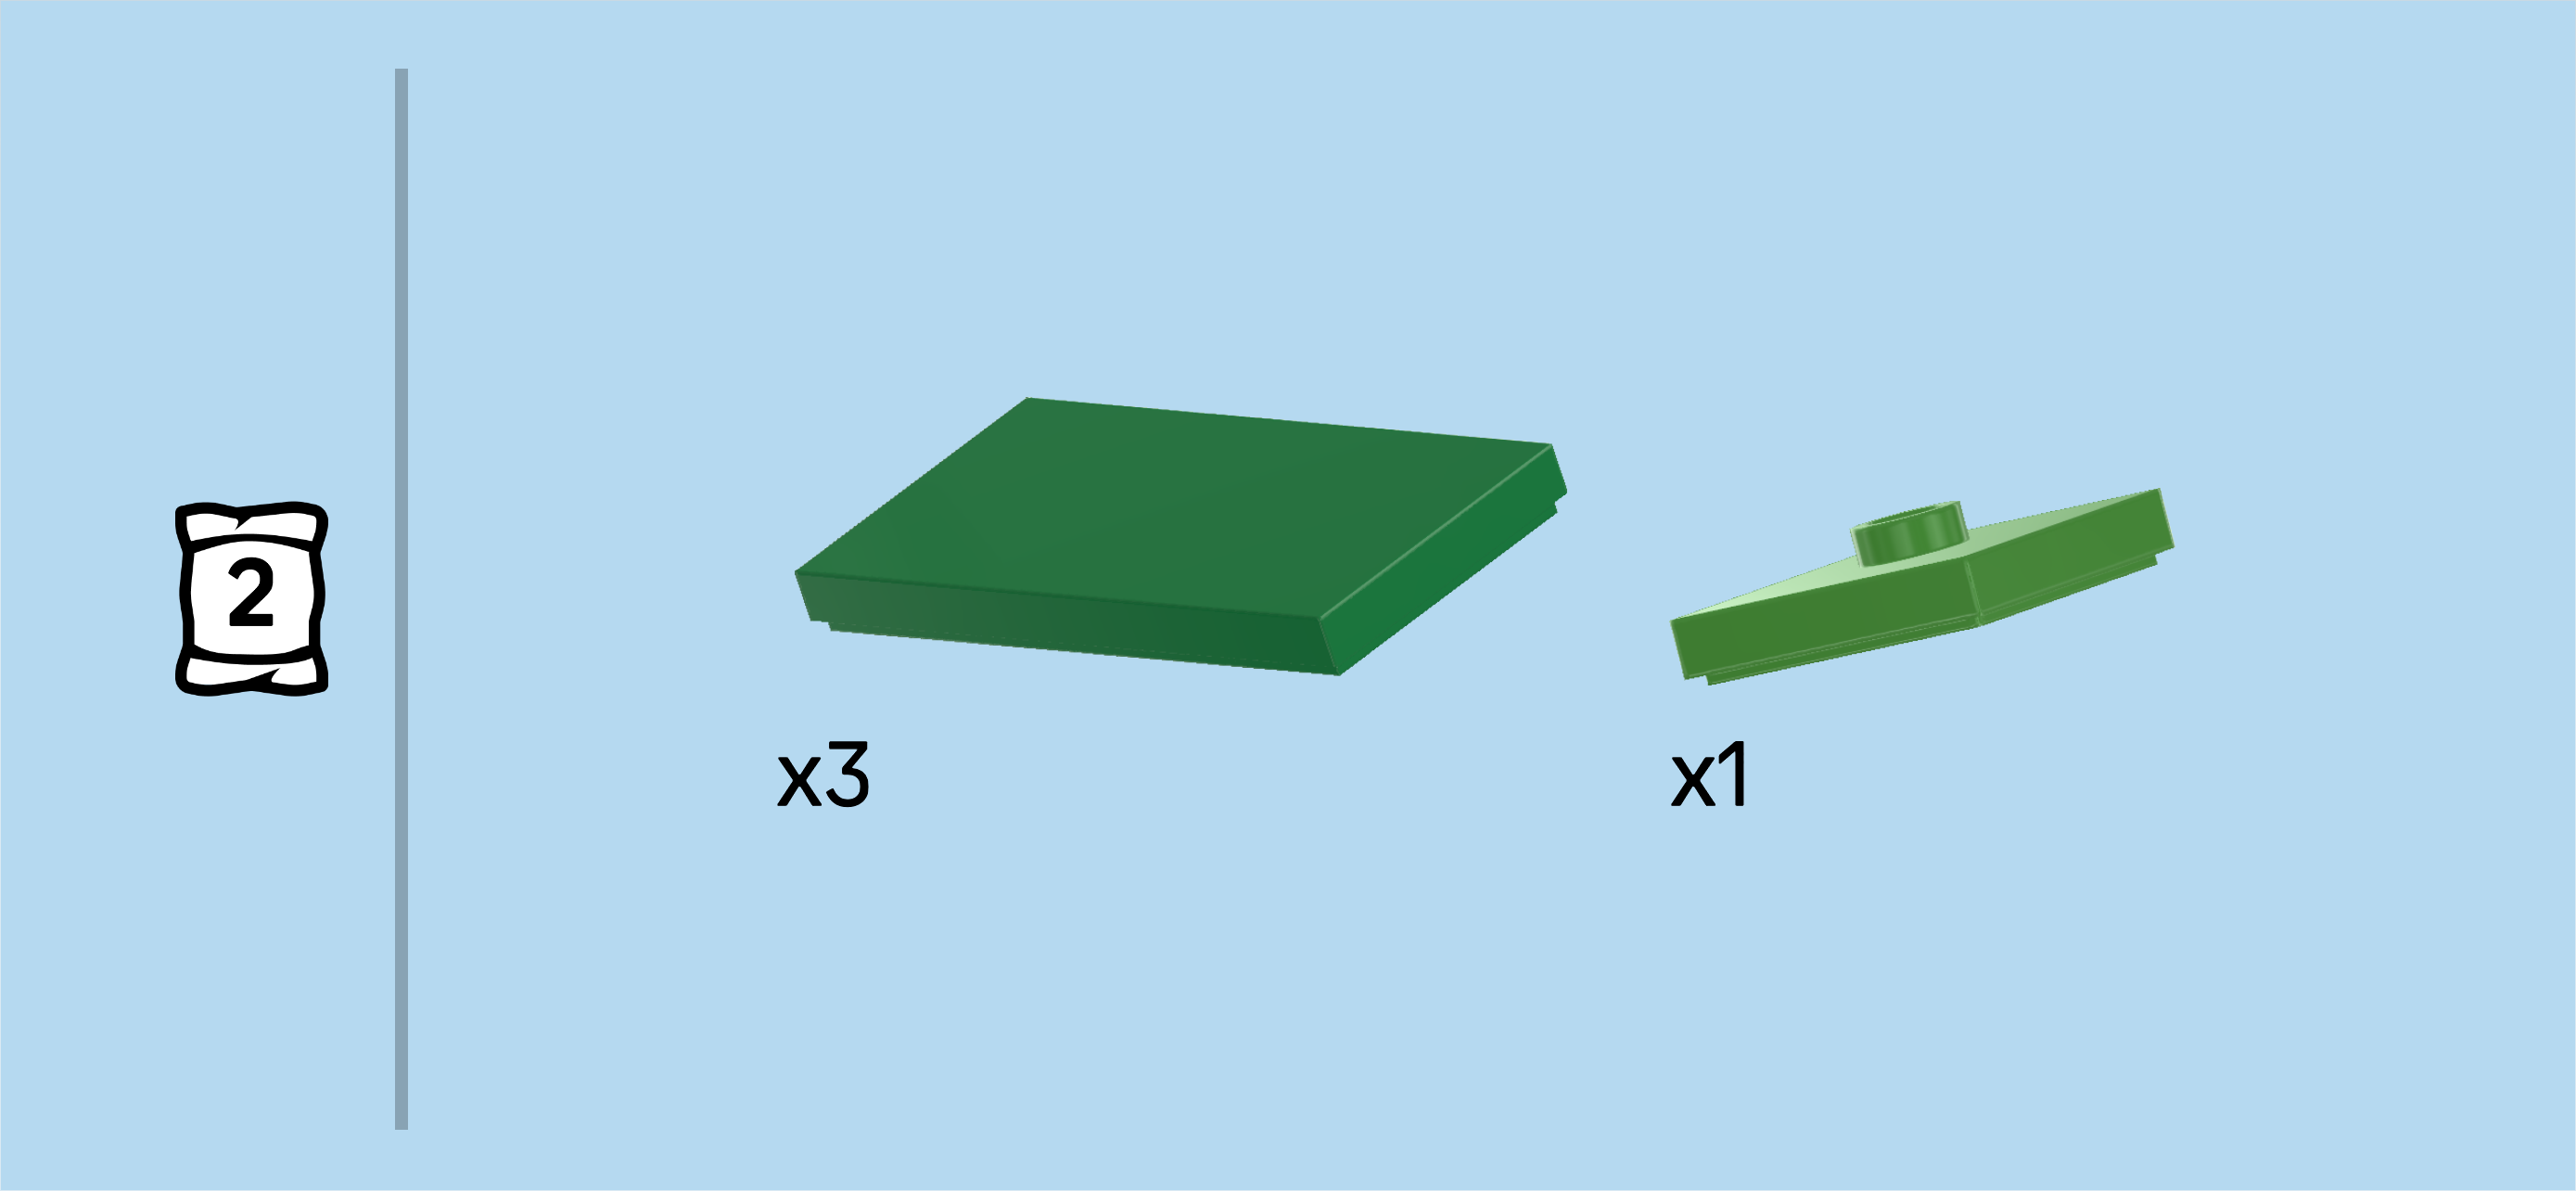
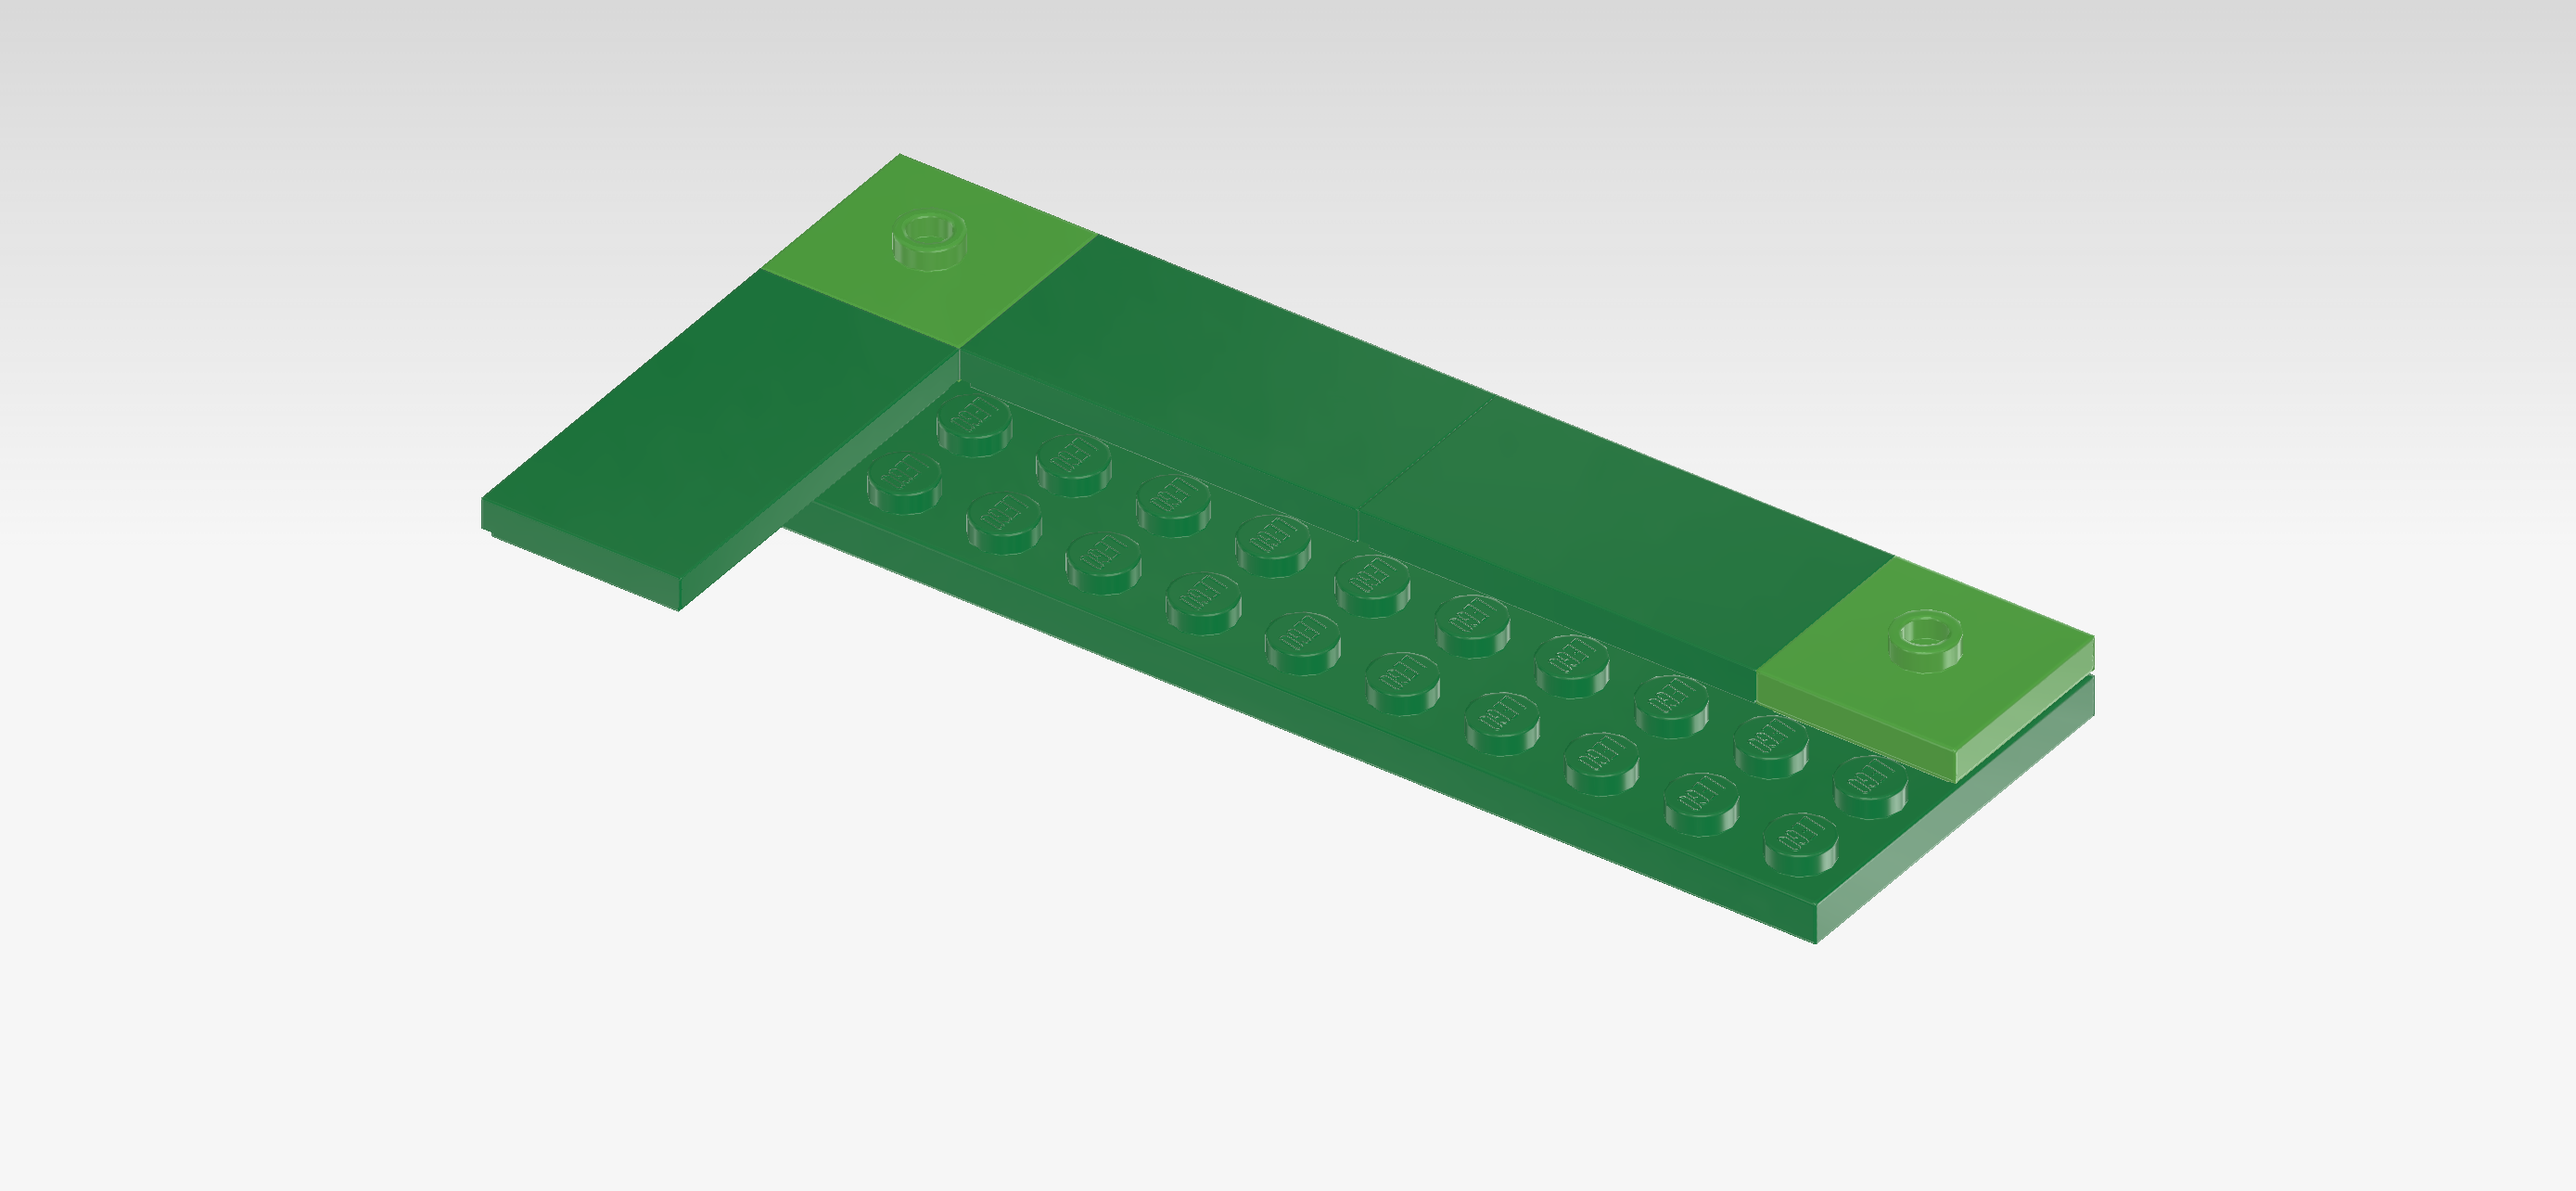
| Find 2 bright green plates 2x2 with 1 knob. |
| Put them next to each other in front of the previous piece. If done correctly, the two rightmost columns remain empty for now. |
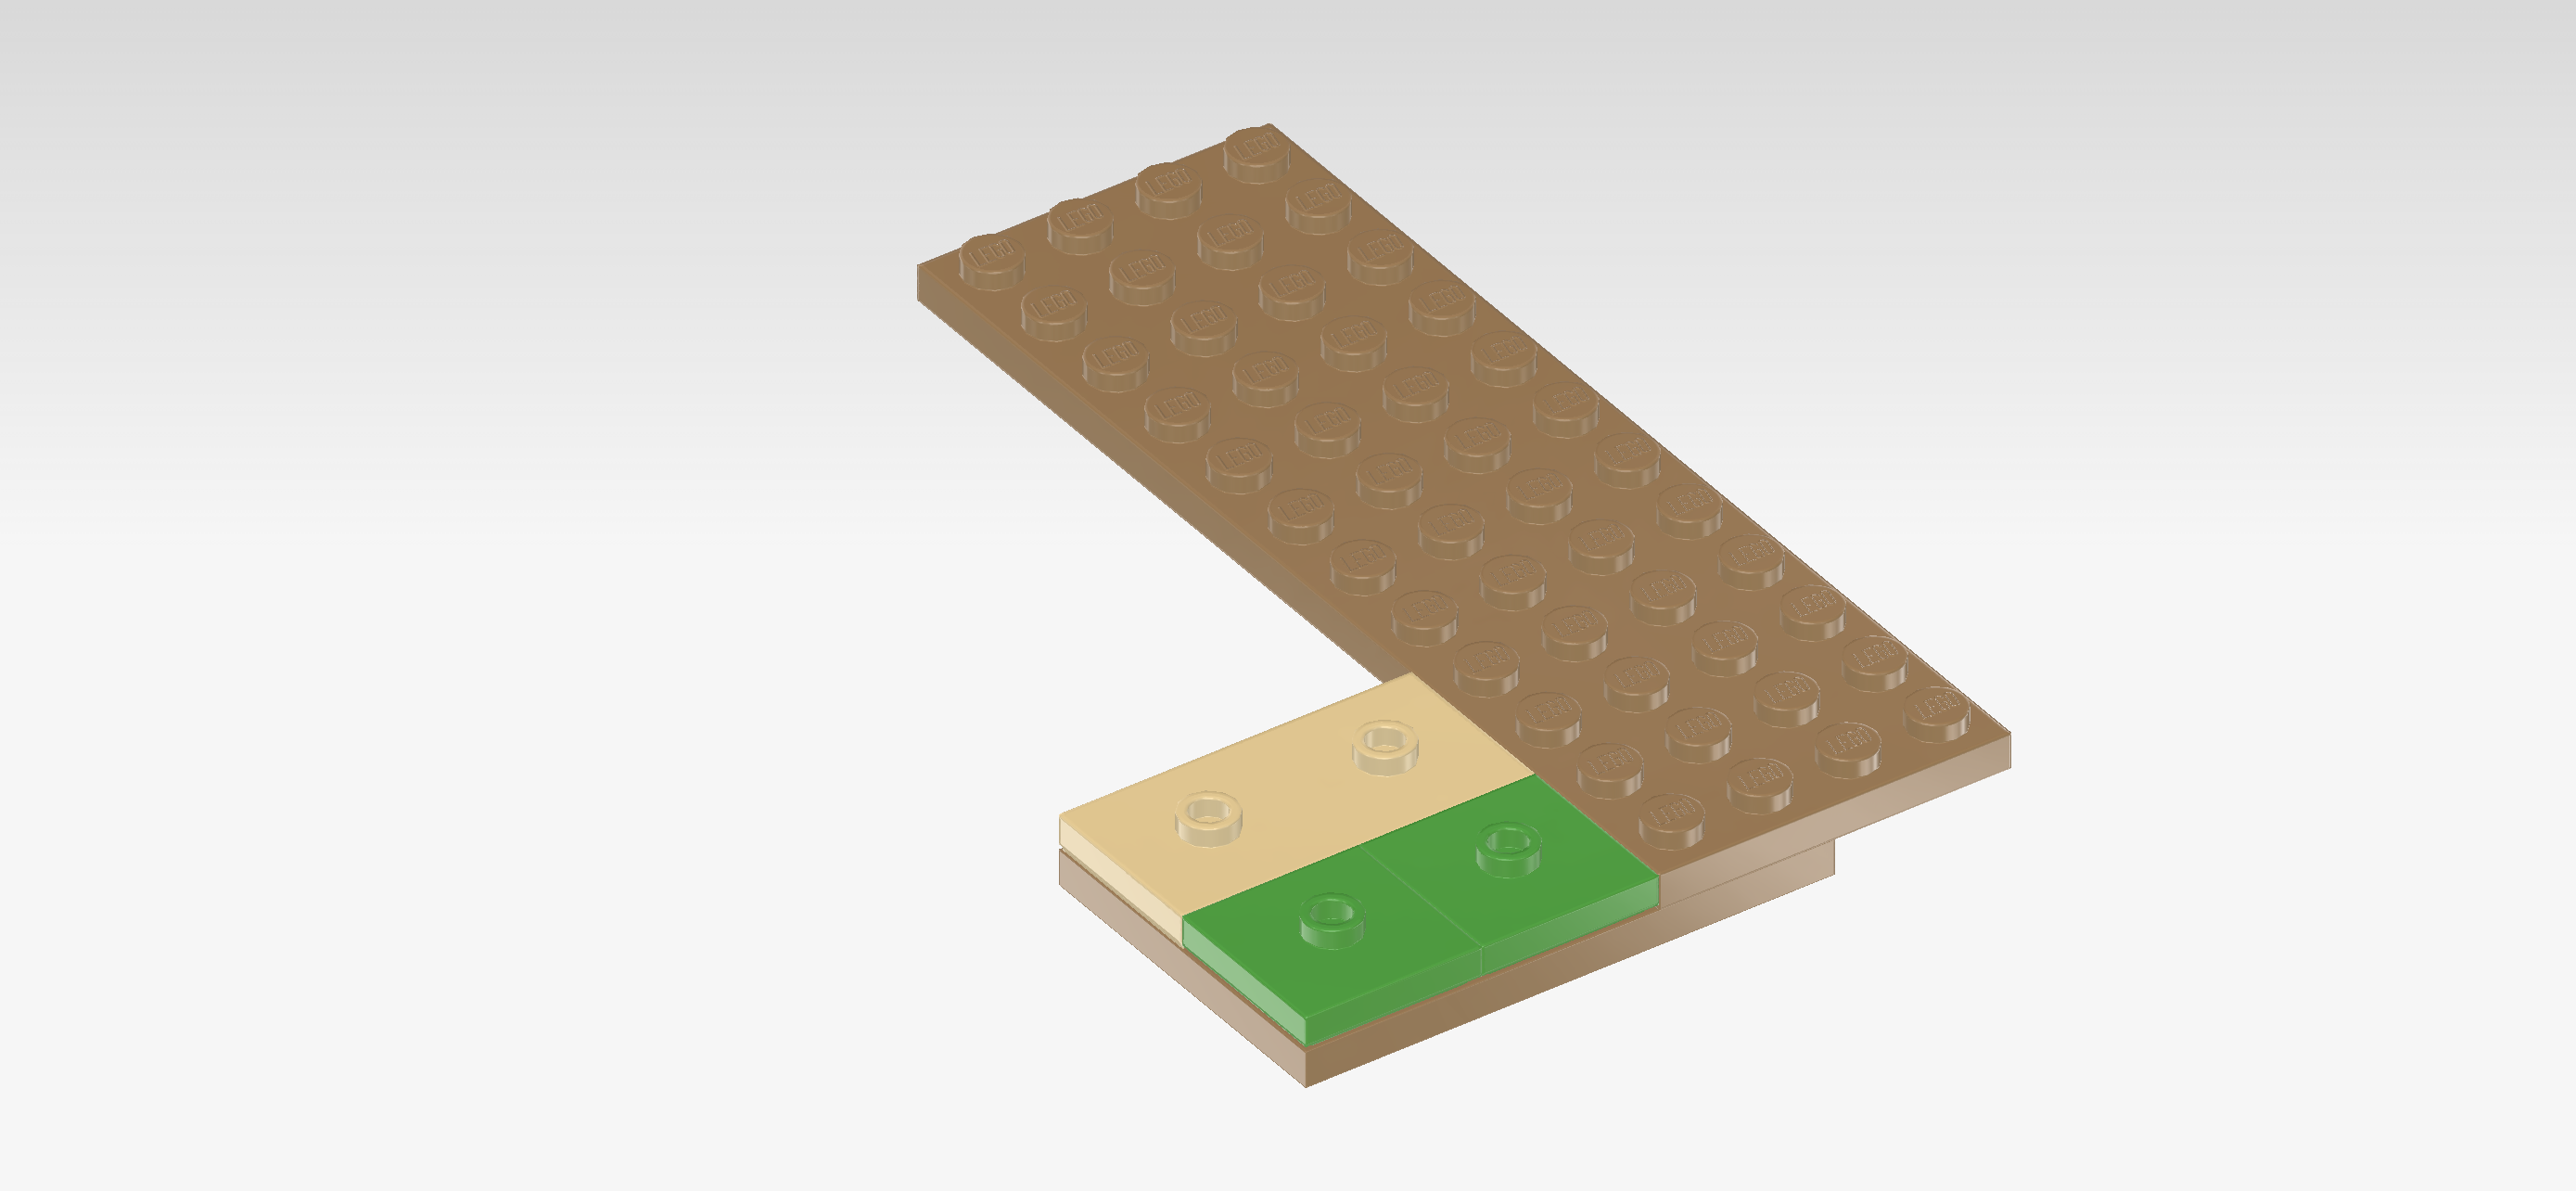
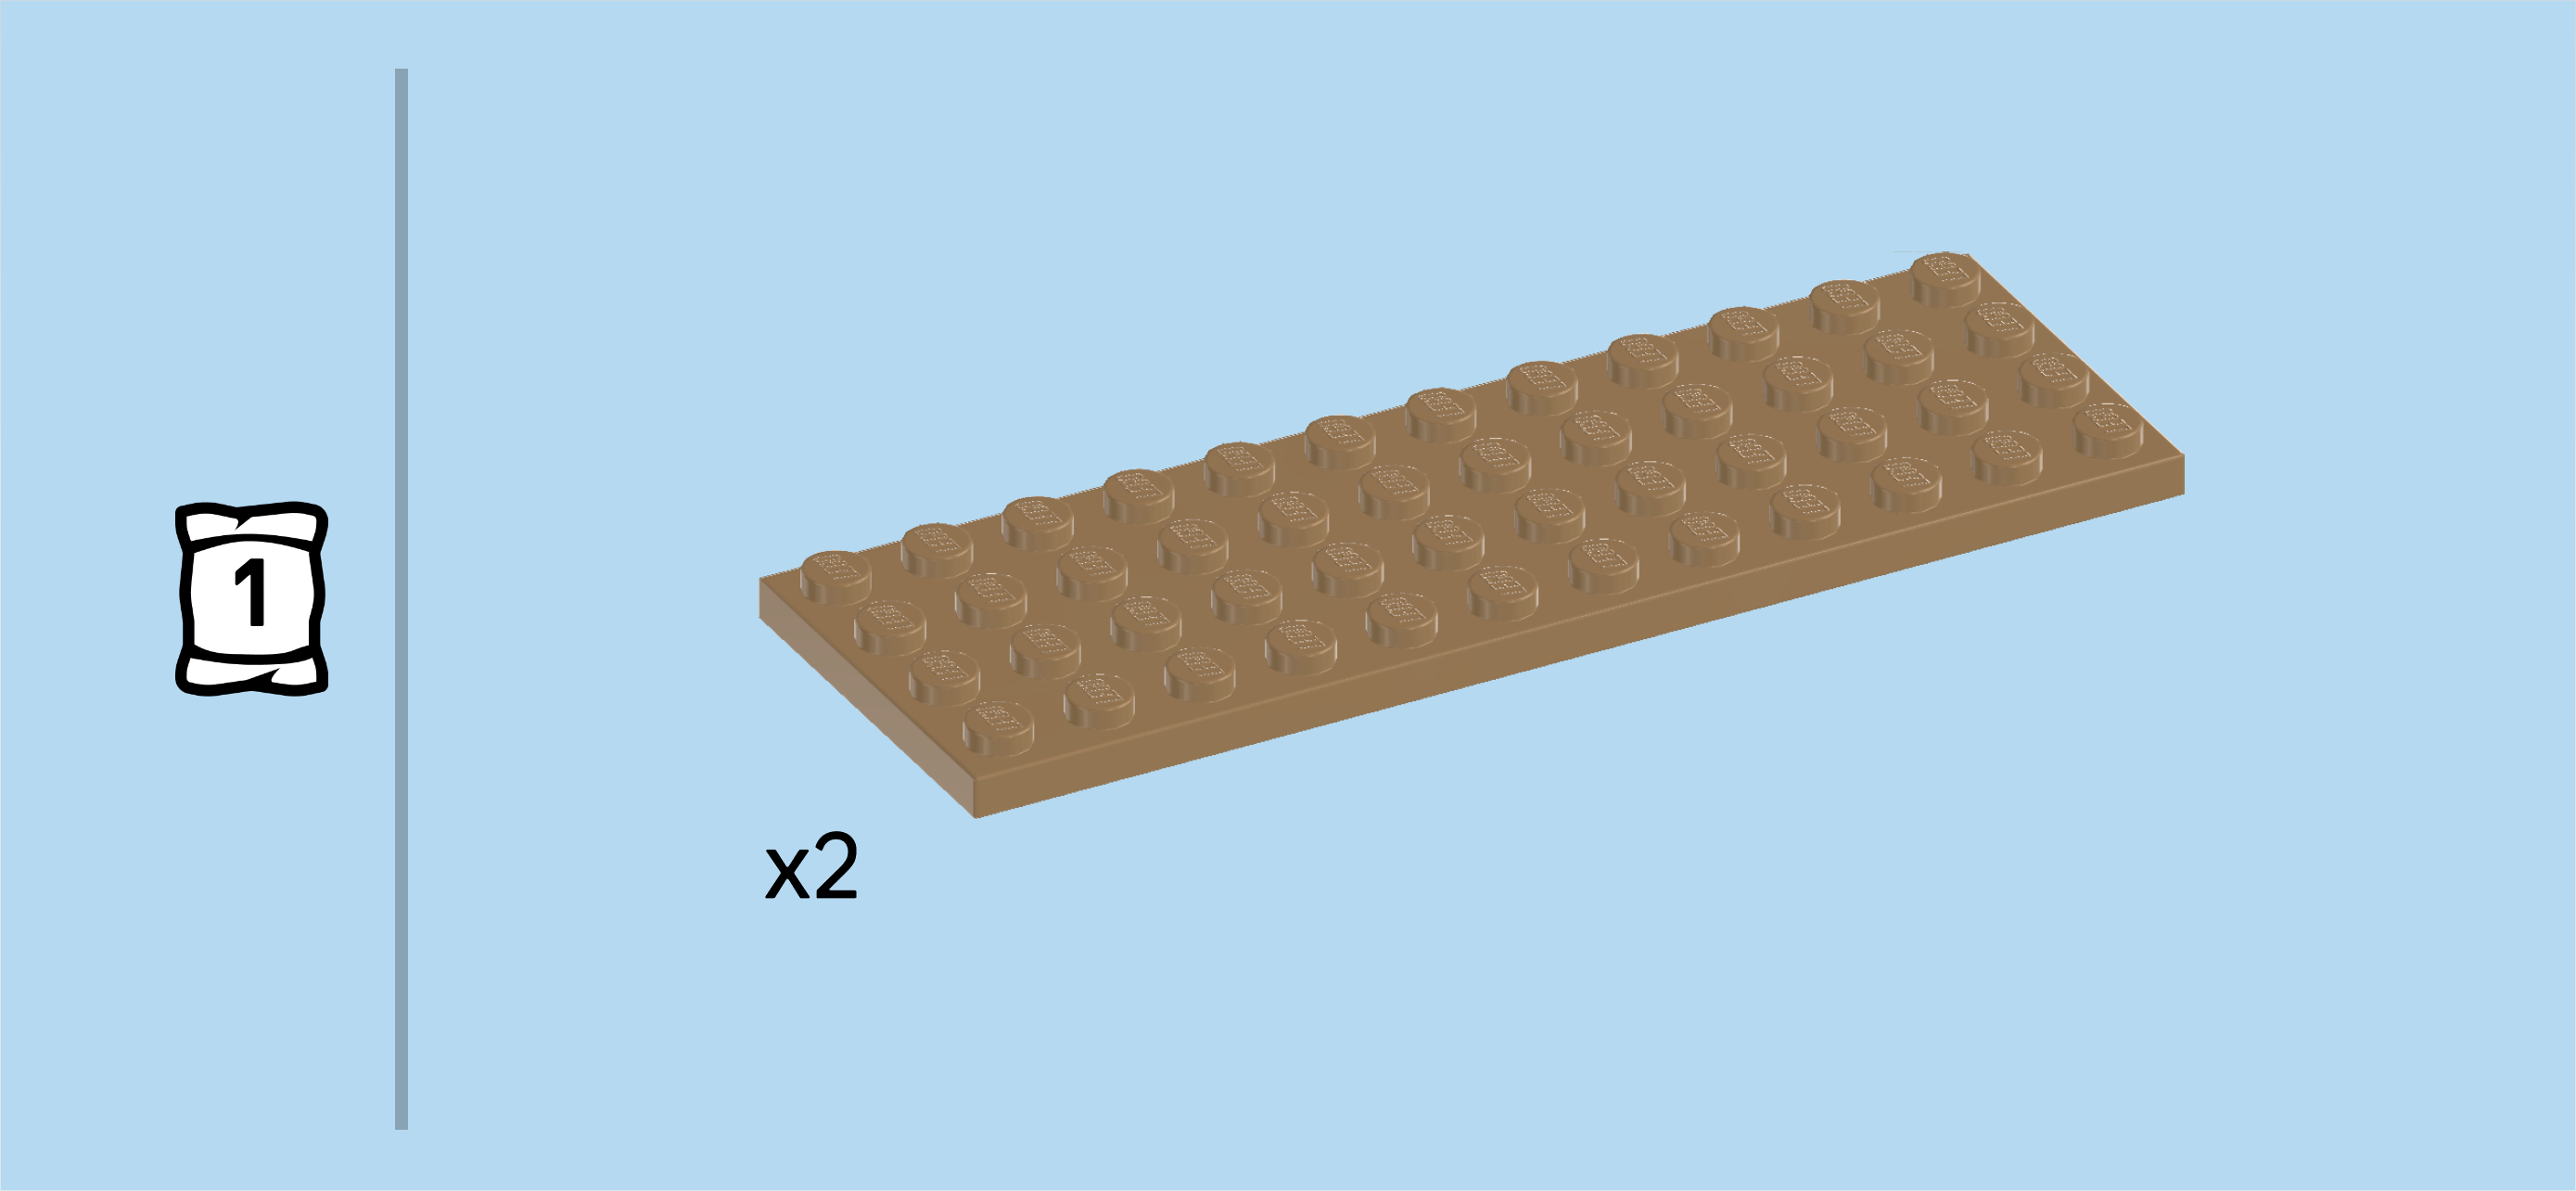
| Find 1 mud grey plate 4x12. |
| Put it vertically on the 2 rightmost columns, aligning the front edges of the bottom plate and the new plate. This means that there will be 2 columns overhanging to the right and 8 rows overhanging to the back. |
| Find 1 medium stone grey plate 2x8. |
| First, turn the structure upside down so that the knobs are touching the table. Make sure that the plate 4x12 is still protruding to the back, but it should be on the left edge now. |
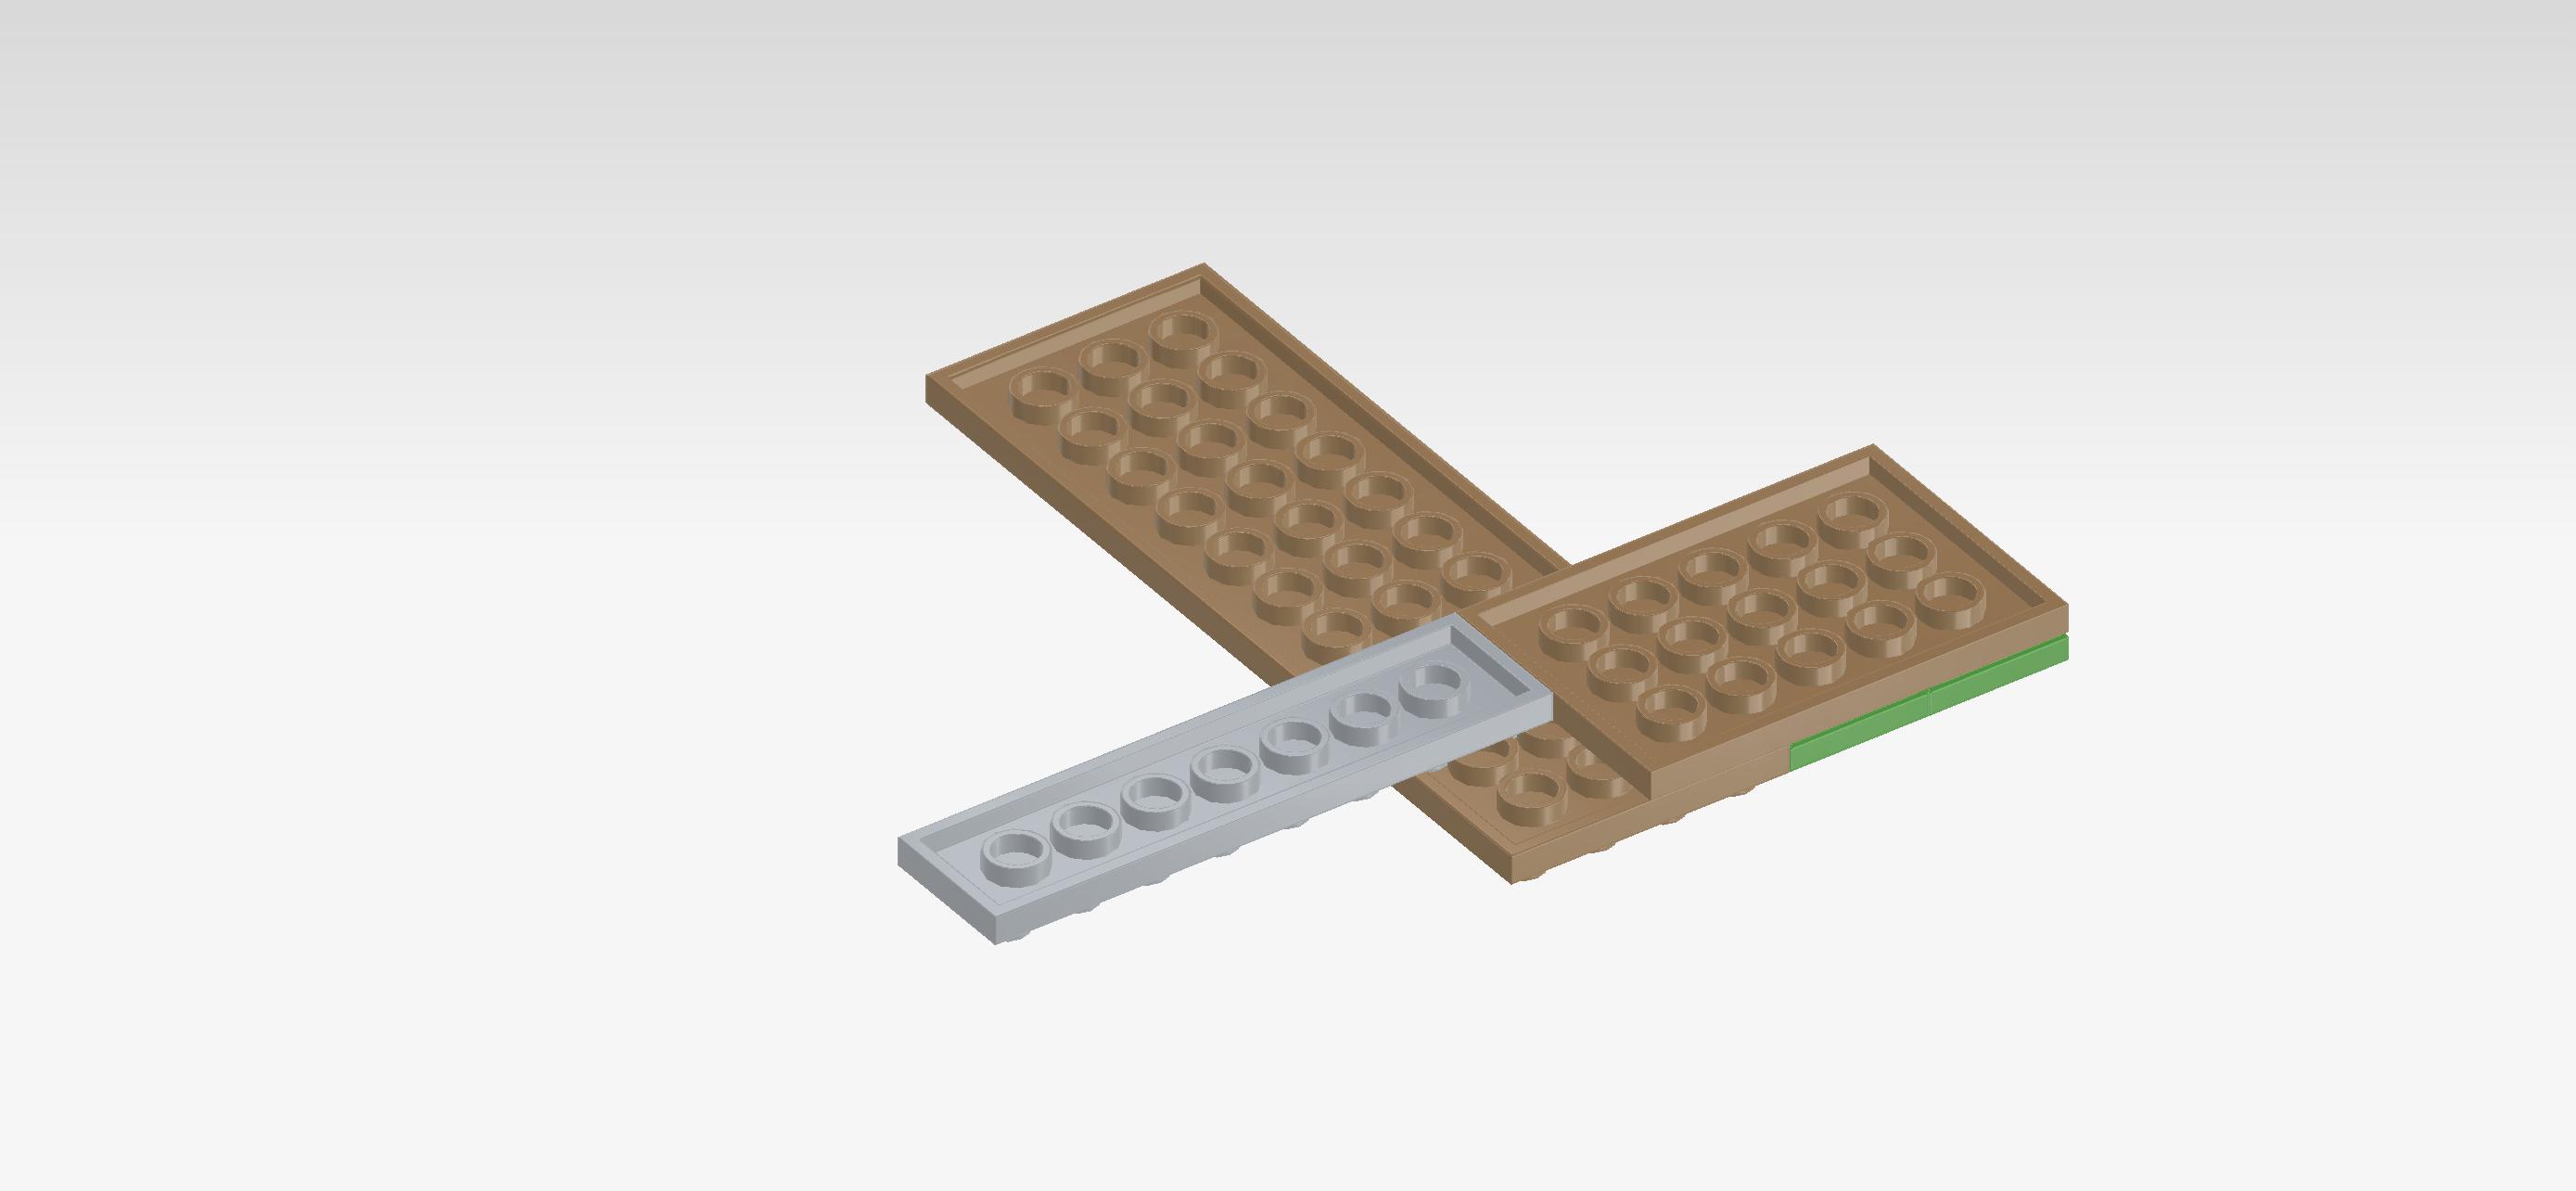
| Mount the plate 2x8 horizontally to the left of the plate 4x6's back half. This means it will sit horizontally on the third and fourth row from the front, but 6 of its columns will be overhanging to the left. |
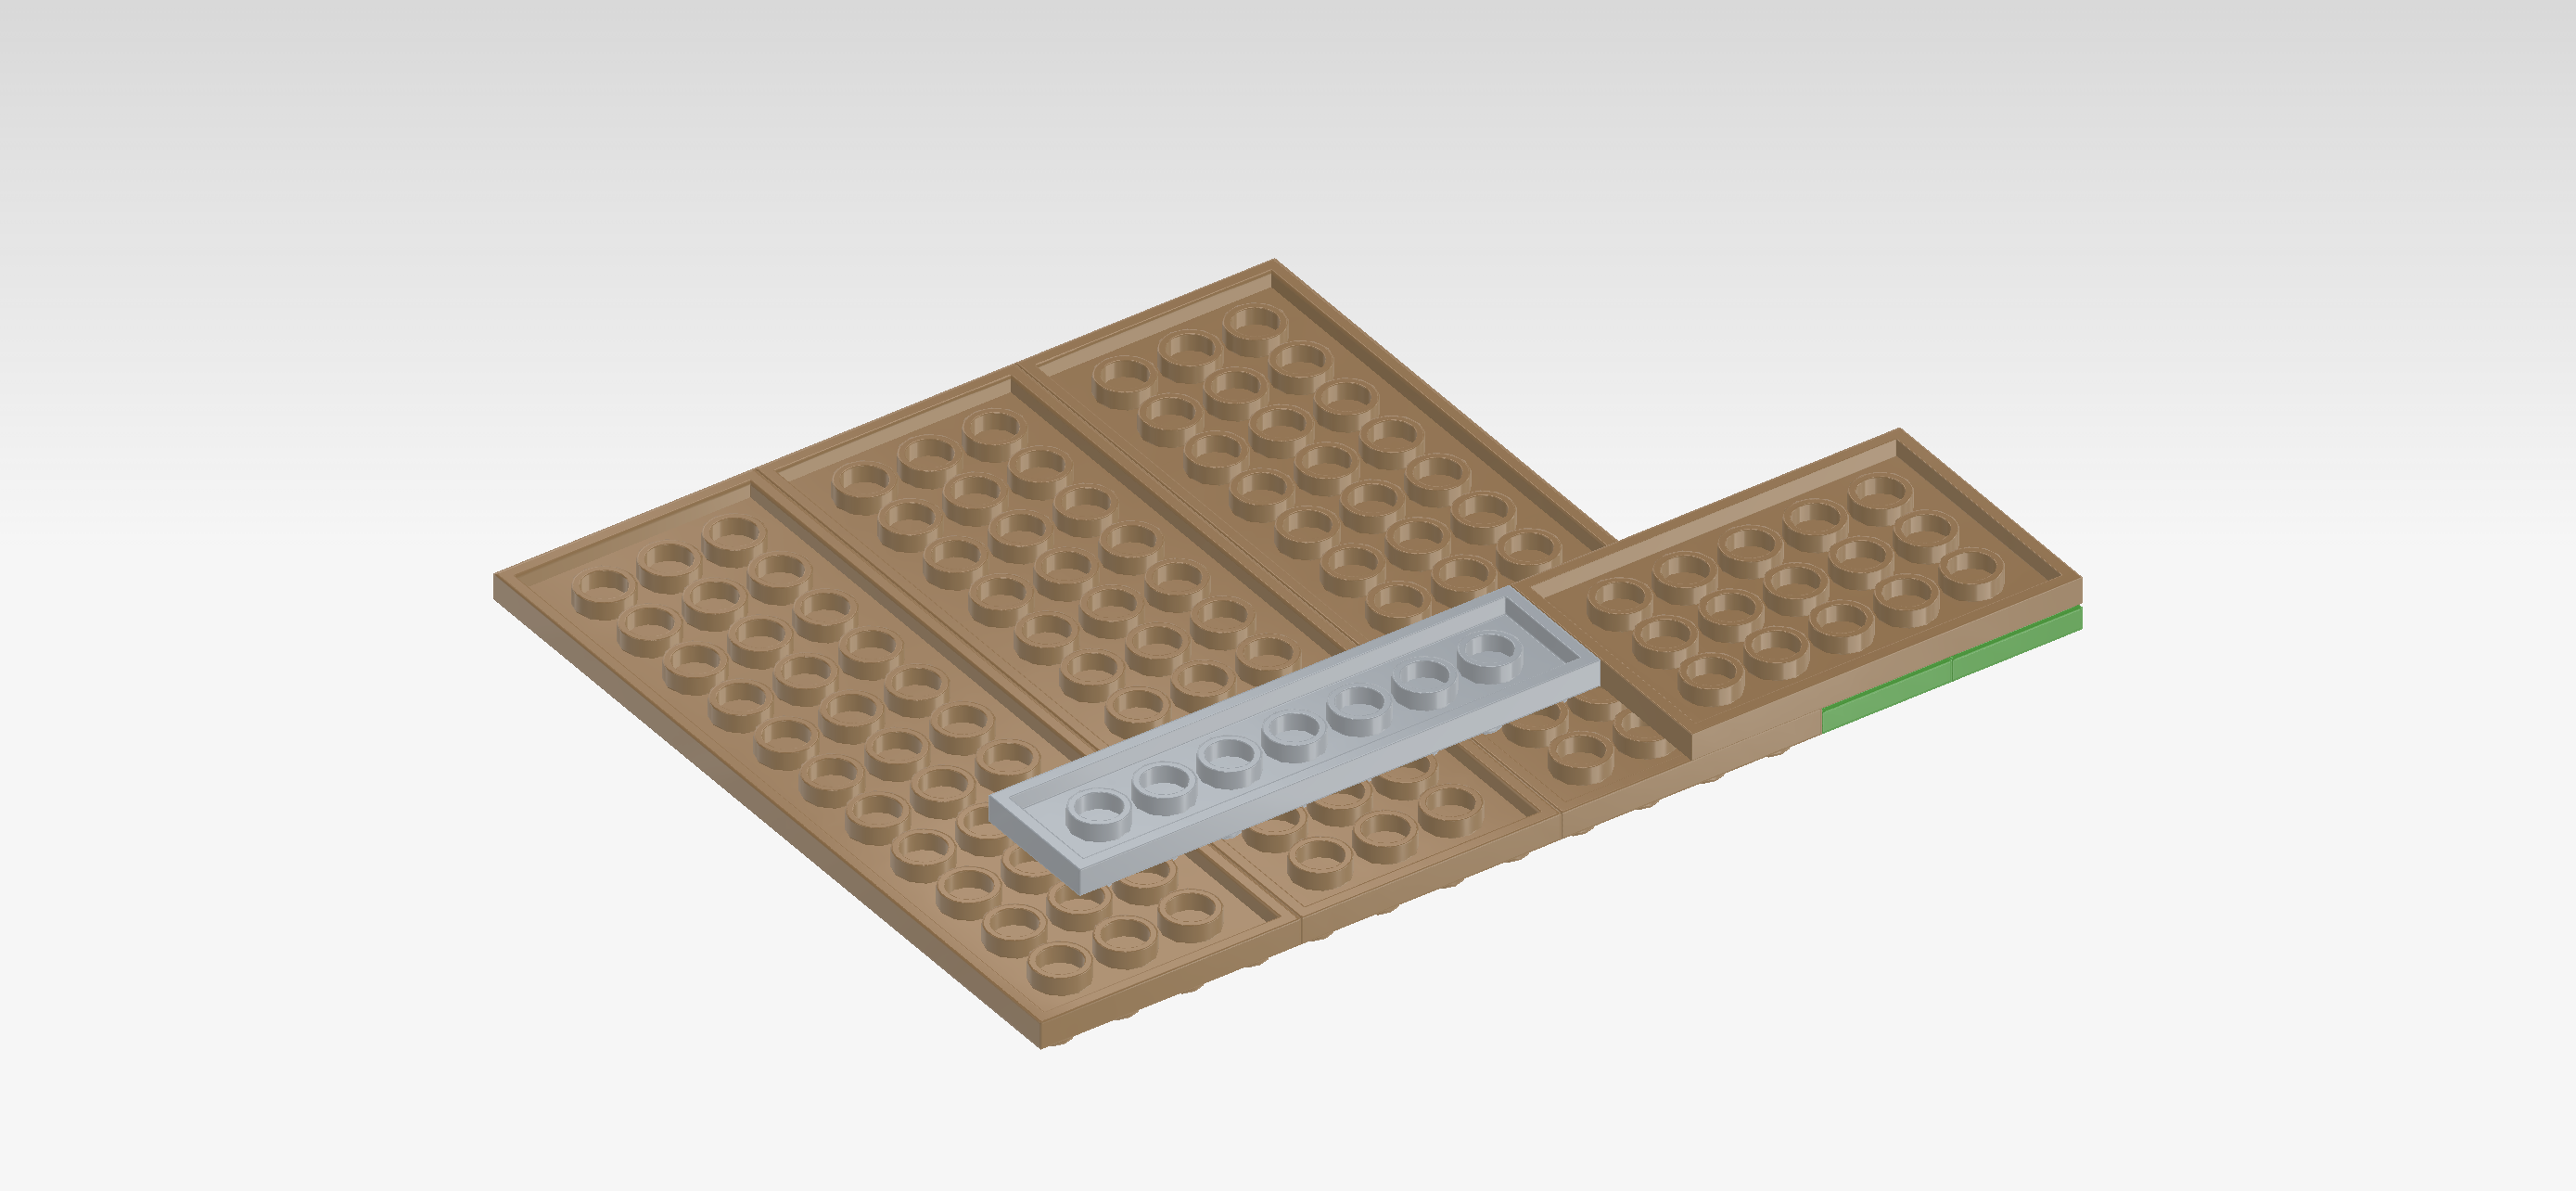
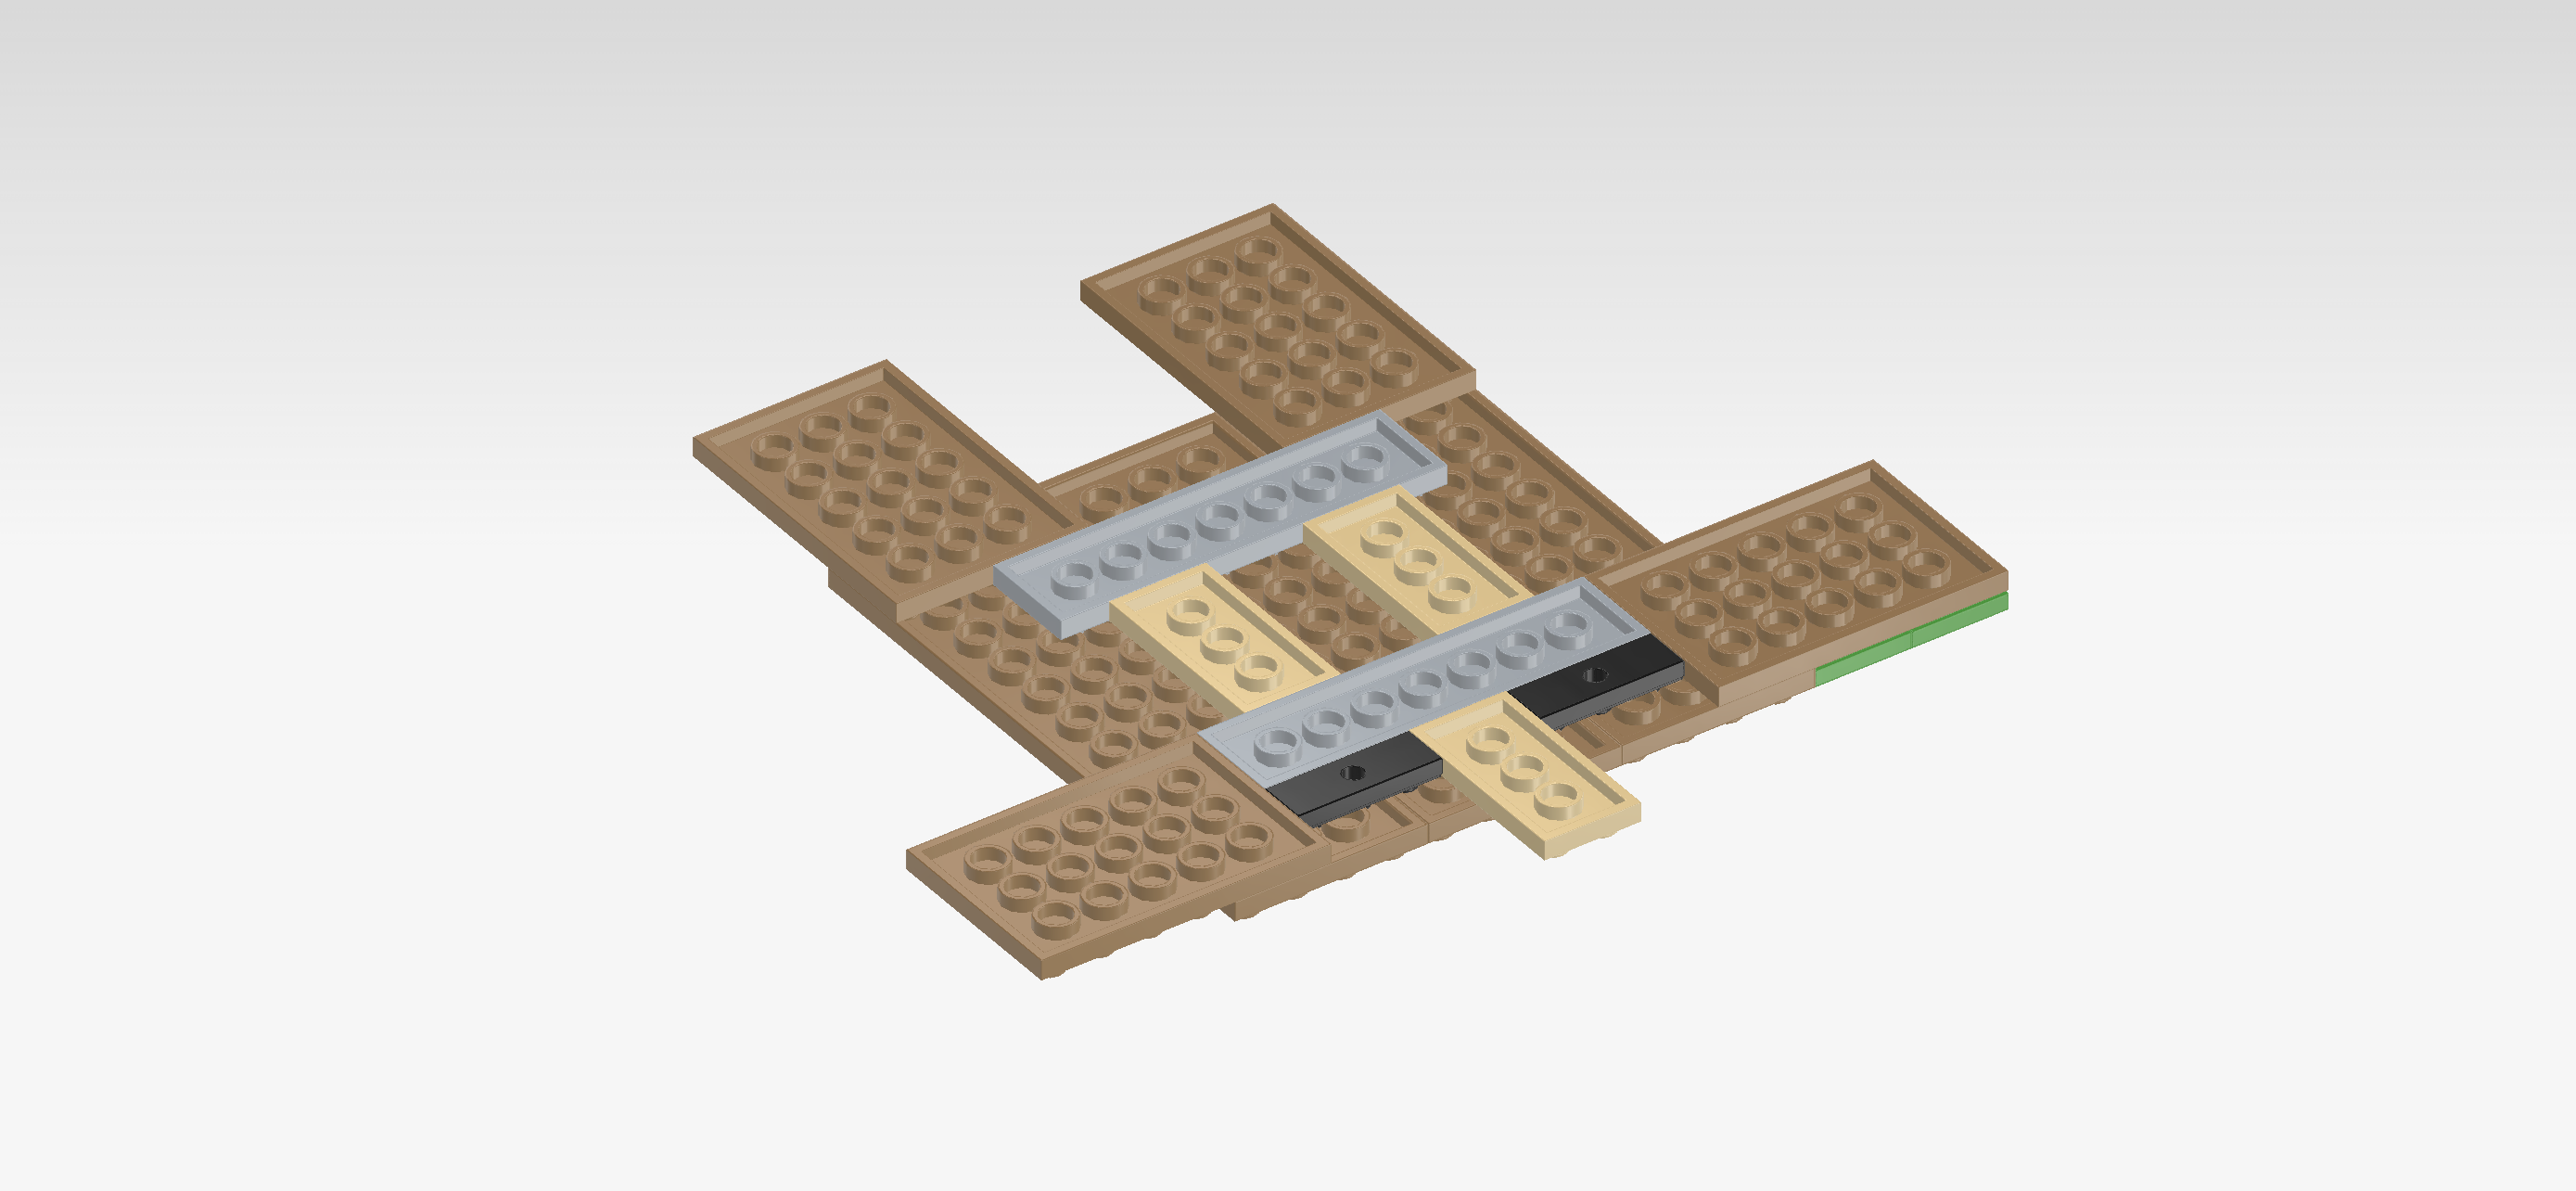
| Find 2 mud grey plates 4x12. |
| Put 1 vertically underneath the previous piece, making sure that its right edge touches the long edge of the already mounted plate 4x12. Also, the front and back edges of the two plates 4x12 must be flush. |
| Put the other one vertically underneath the 4 remaining knobs of the plate 2x8. Again, make sure that its right edge touches the long edge of the previous piece and that their front and back edges are flush. |
| Collect the following 3 pieces: |
| 1 pale ocher yellow plate 2x4, |
| and 2 black inverted tiles 1x3 with round hole. |
| Put 1 inverted tile 1x3 horizontally in front of the already mounted plate 2x8, starting from its right edge. |
| Put the plate 2x4 vertically to the left of the previous piece, again touching the plate 2x8 at the back, and 2 of its rows are overhanging to the front. |
| Put the other inverted tile 1x3 horizontally to the left of the previous piece, again directly in front of the plate 2x8. |
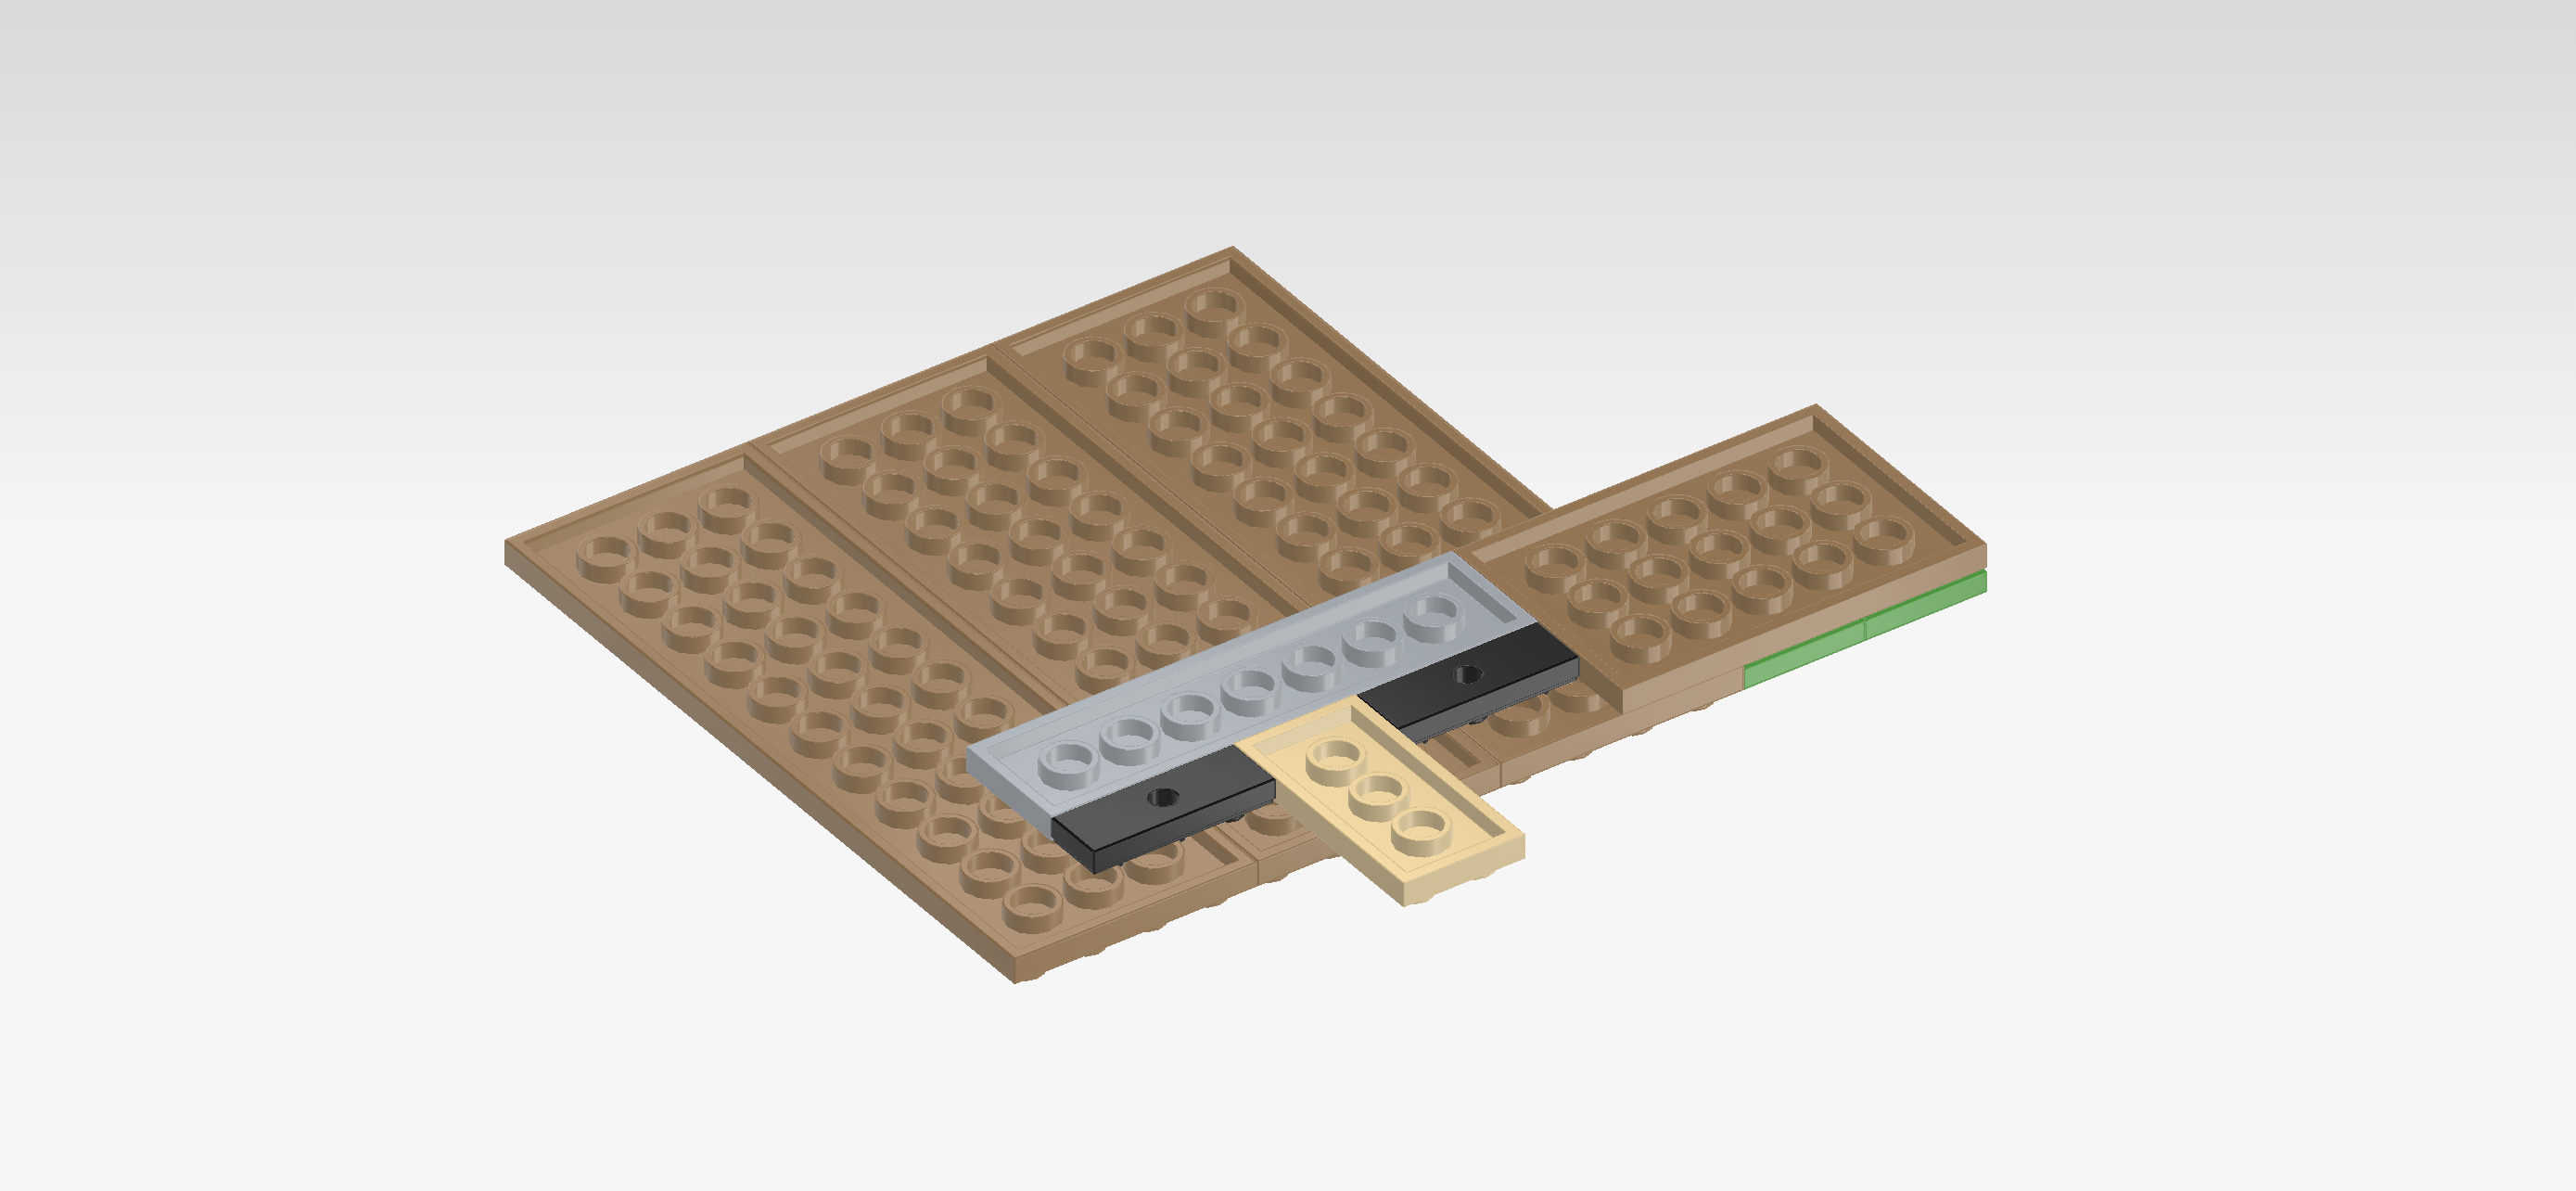
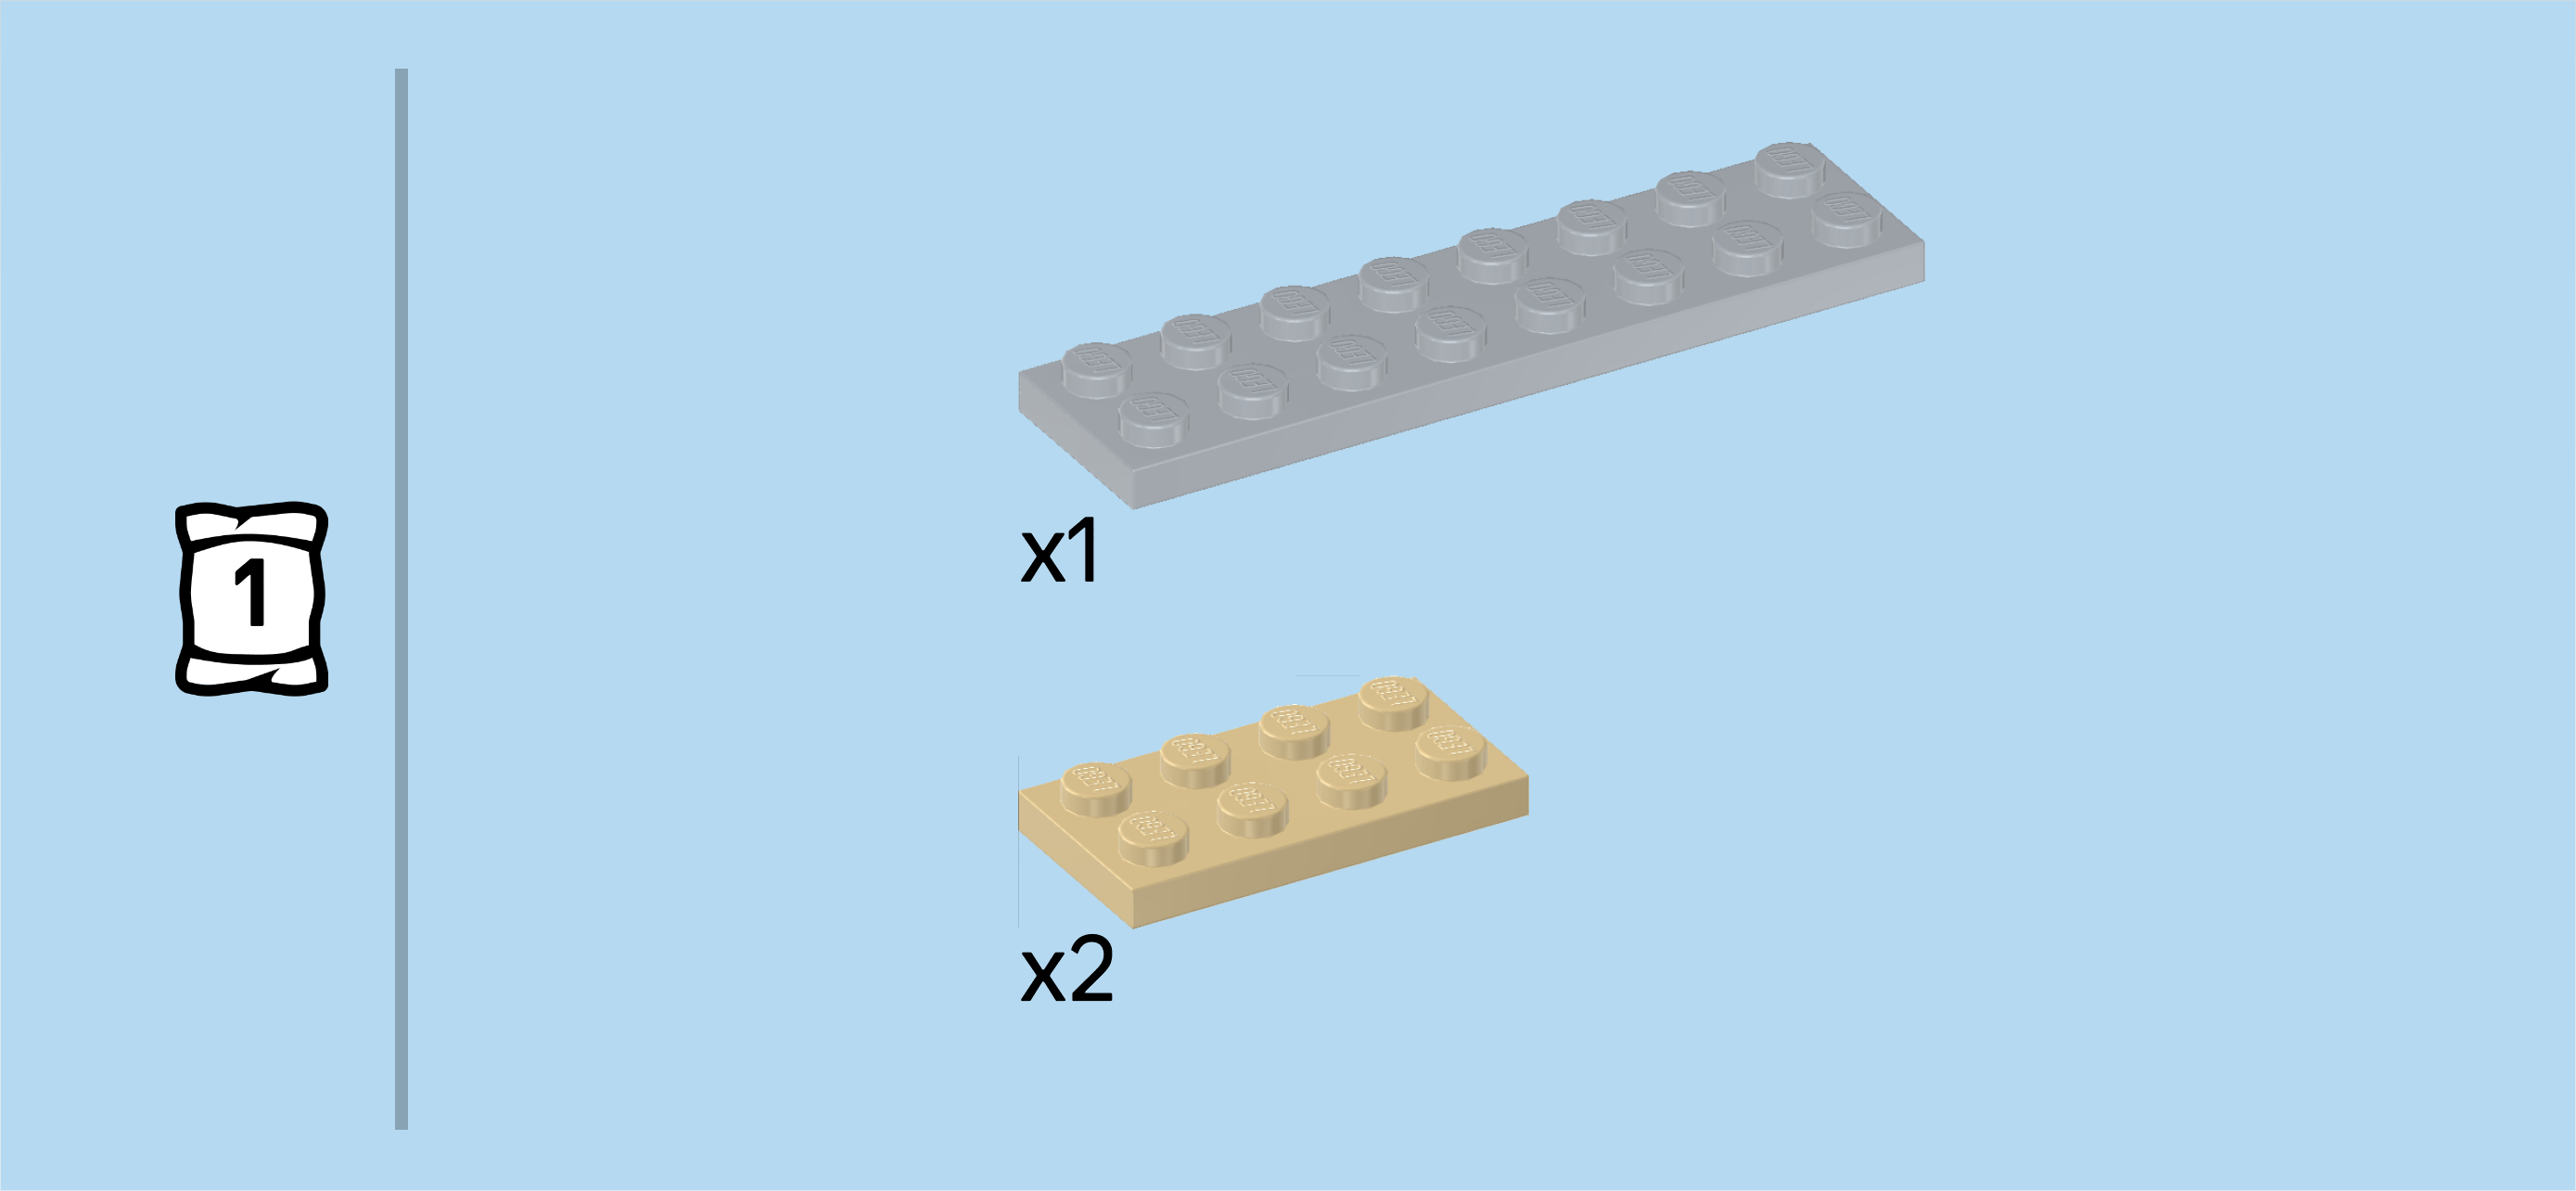
| Collect the following 3 pieces: |
| 1 medium stone grey plate 2x8, |
| and 2 pale ocher yellow plates 2x4. |
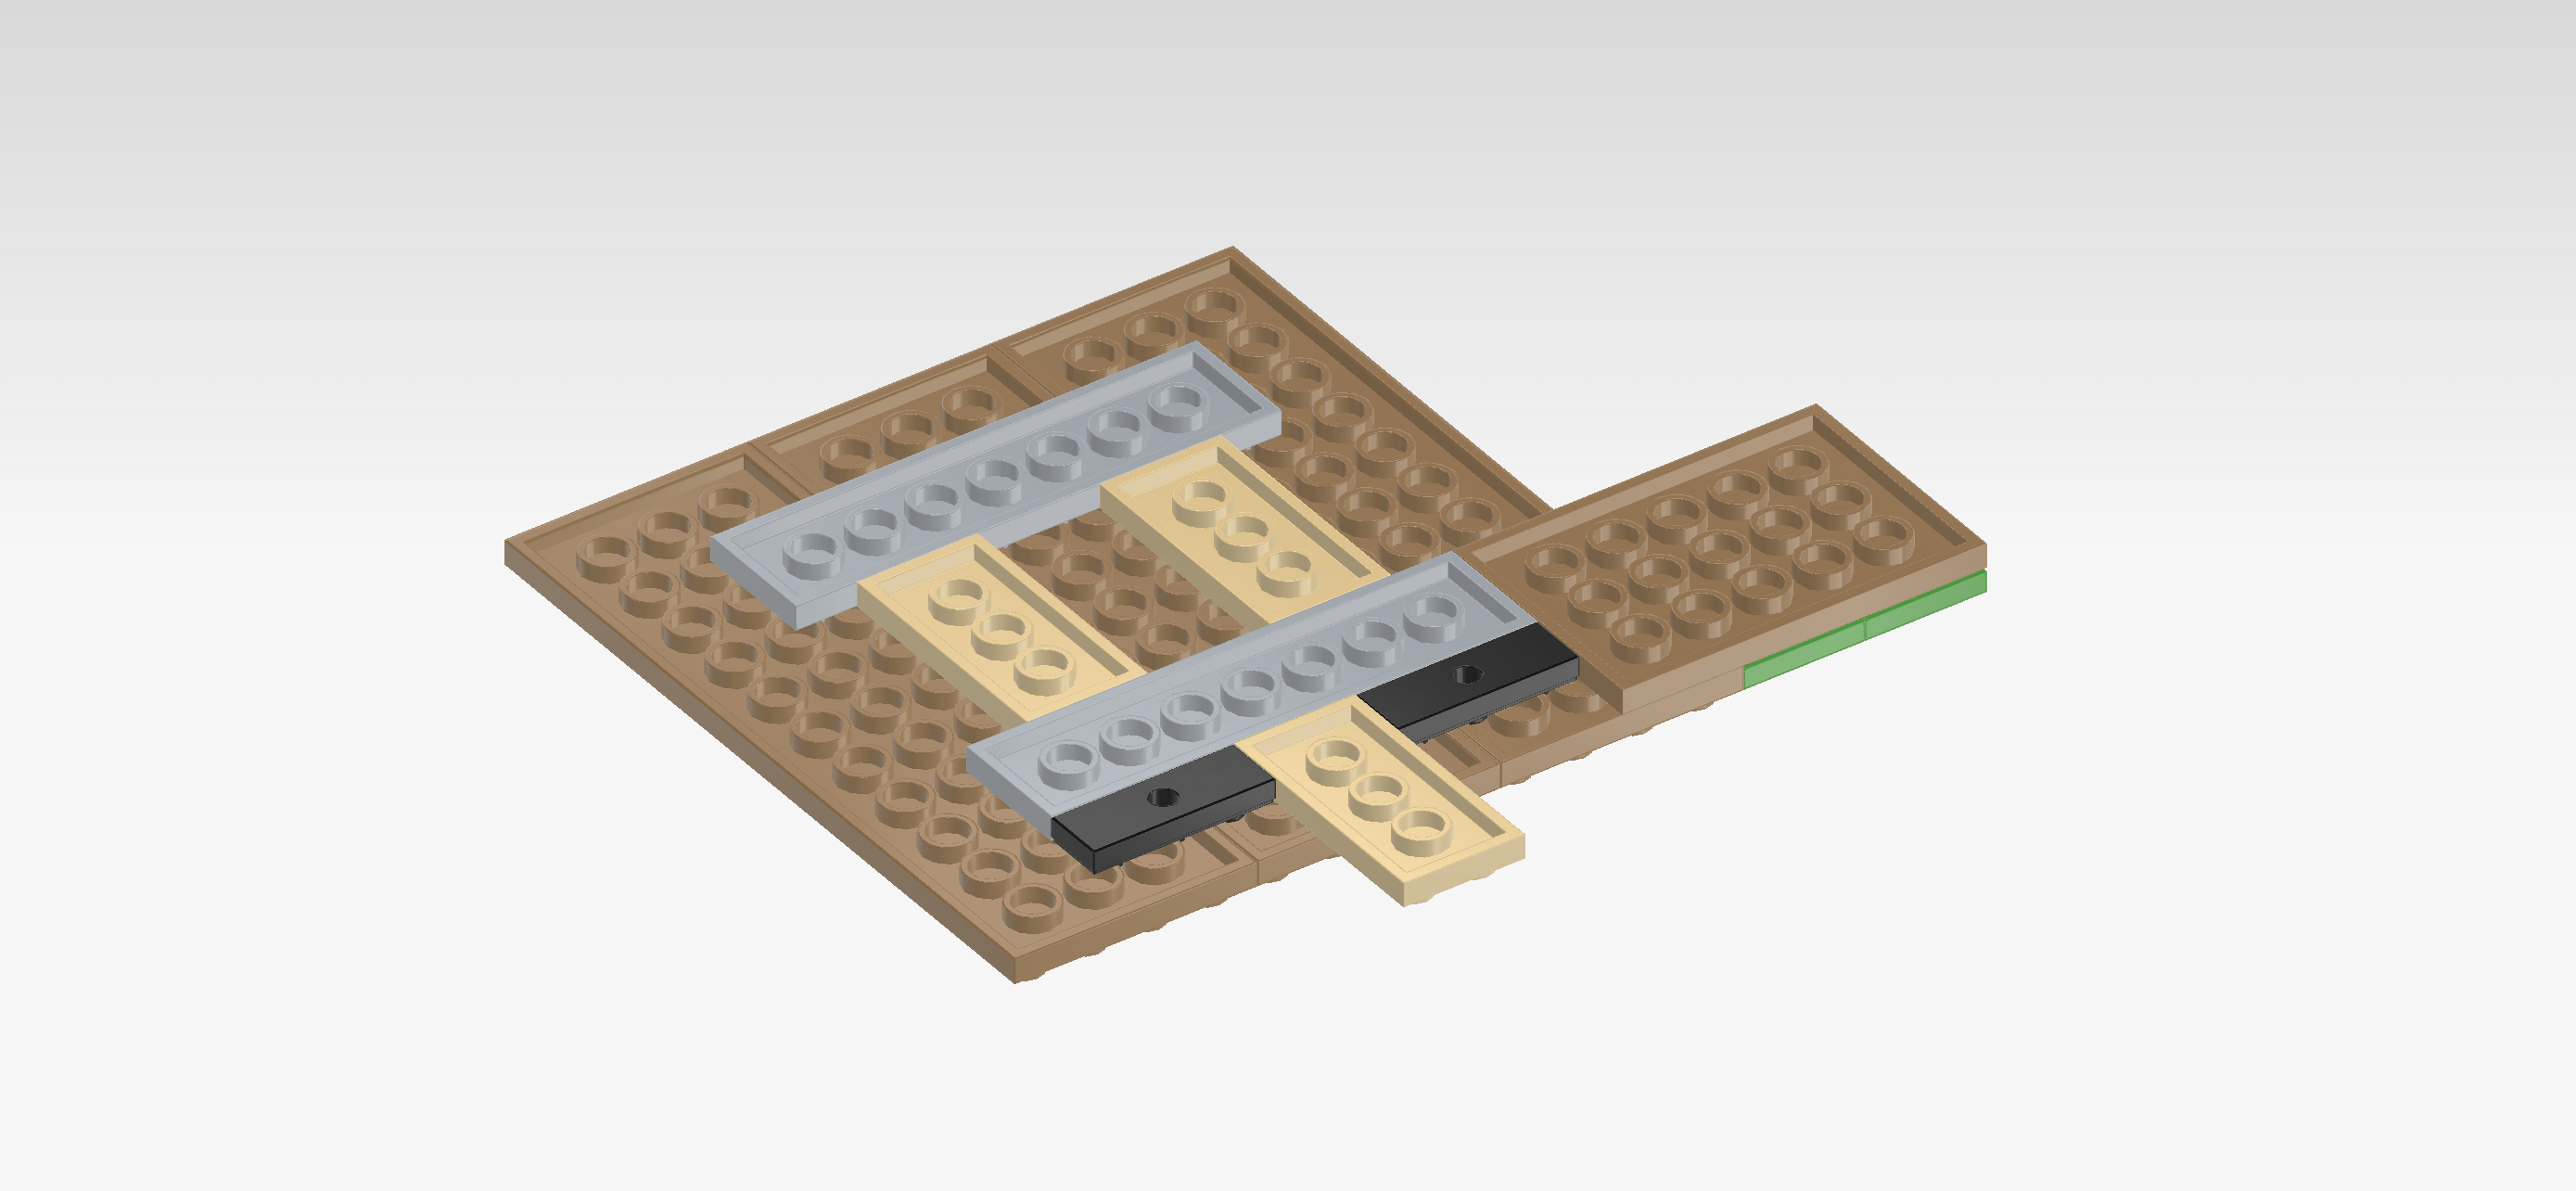
| Put 1 plate 2x4 vertically behind the already mounted plate 2x8 on the splice between the right and the middle plate 4x21. This means that we use this piece to make the connection between the two plates 4x12 sturdier. |
| Repeat symmetrically on the left. This means that we also put the other plate 2x4 vertically behind the already mounted plate 2x8, but this time it will connect the left and middle plate 4x12. |
| Put the plate 2x8 horizontally centered behind the 2 previous pieces. This means you will mirror the already mounted plate 2x8. |
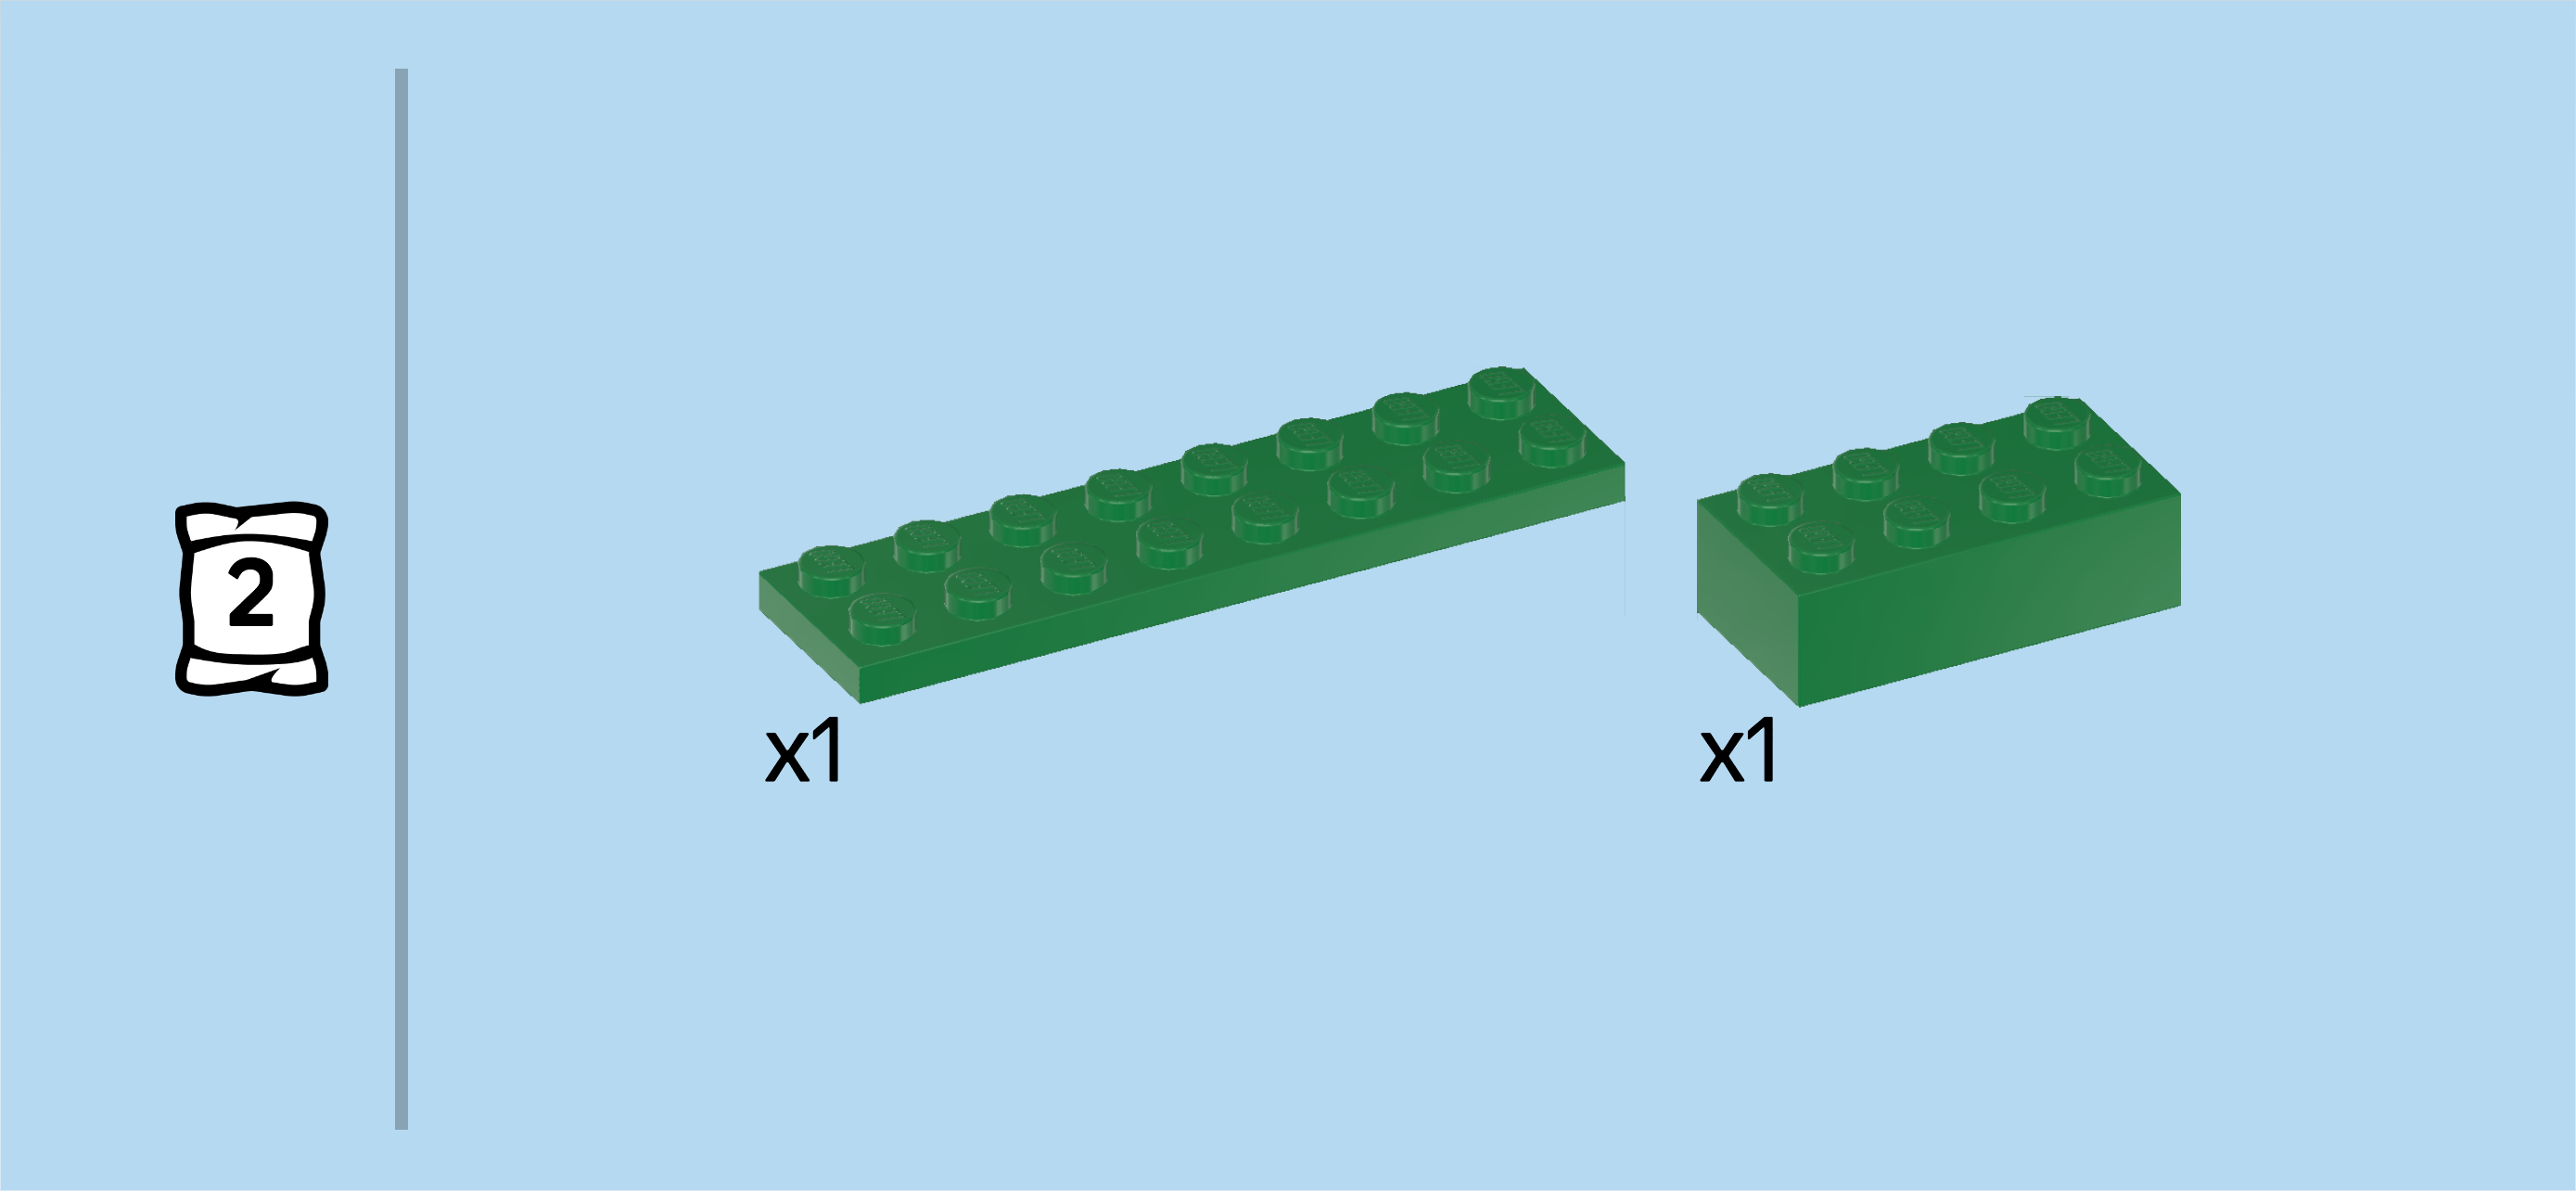
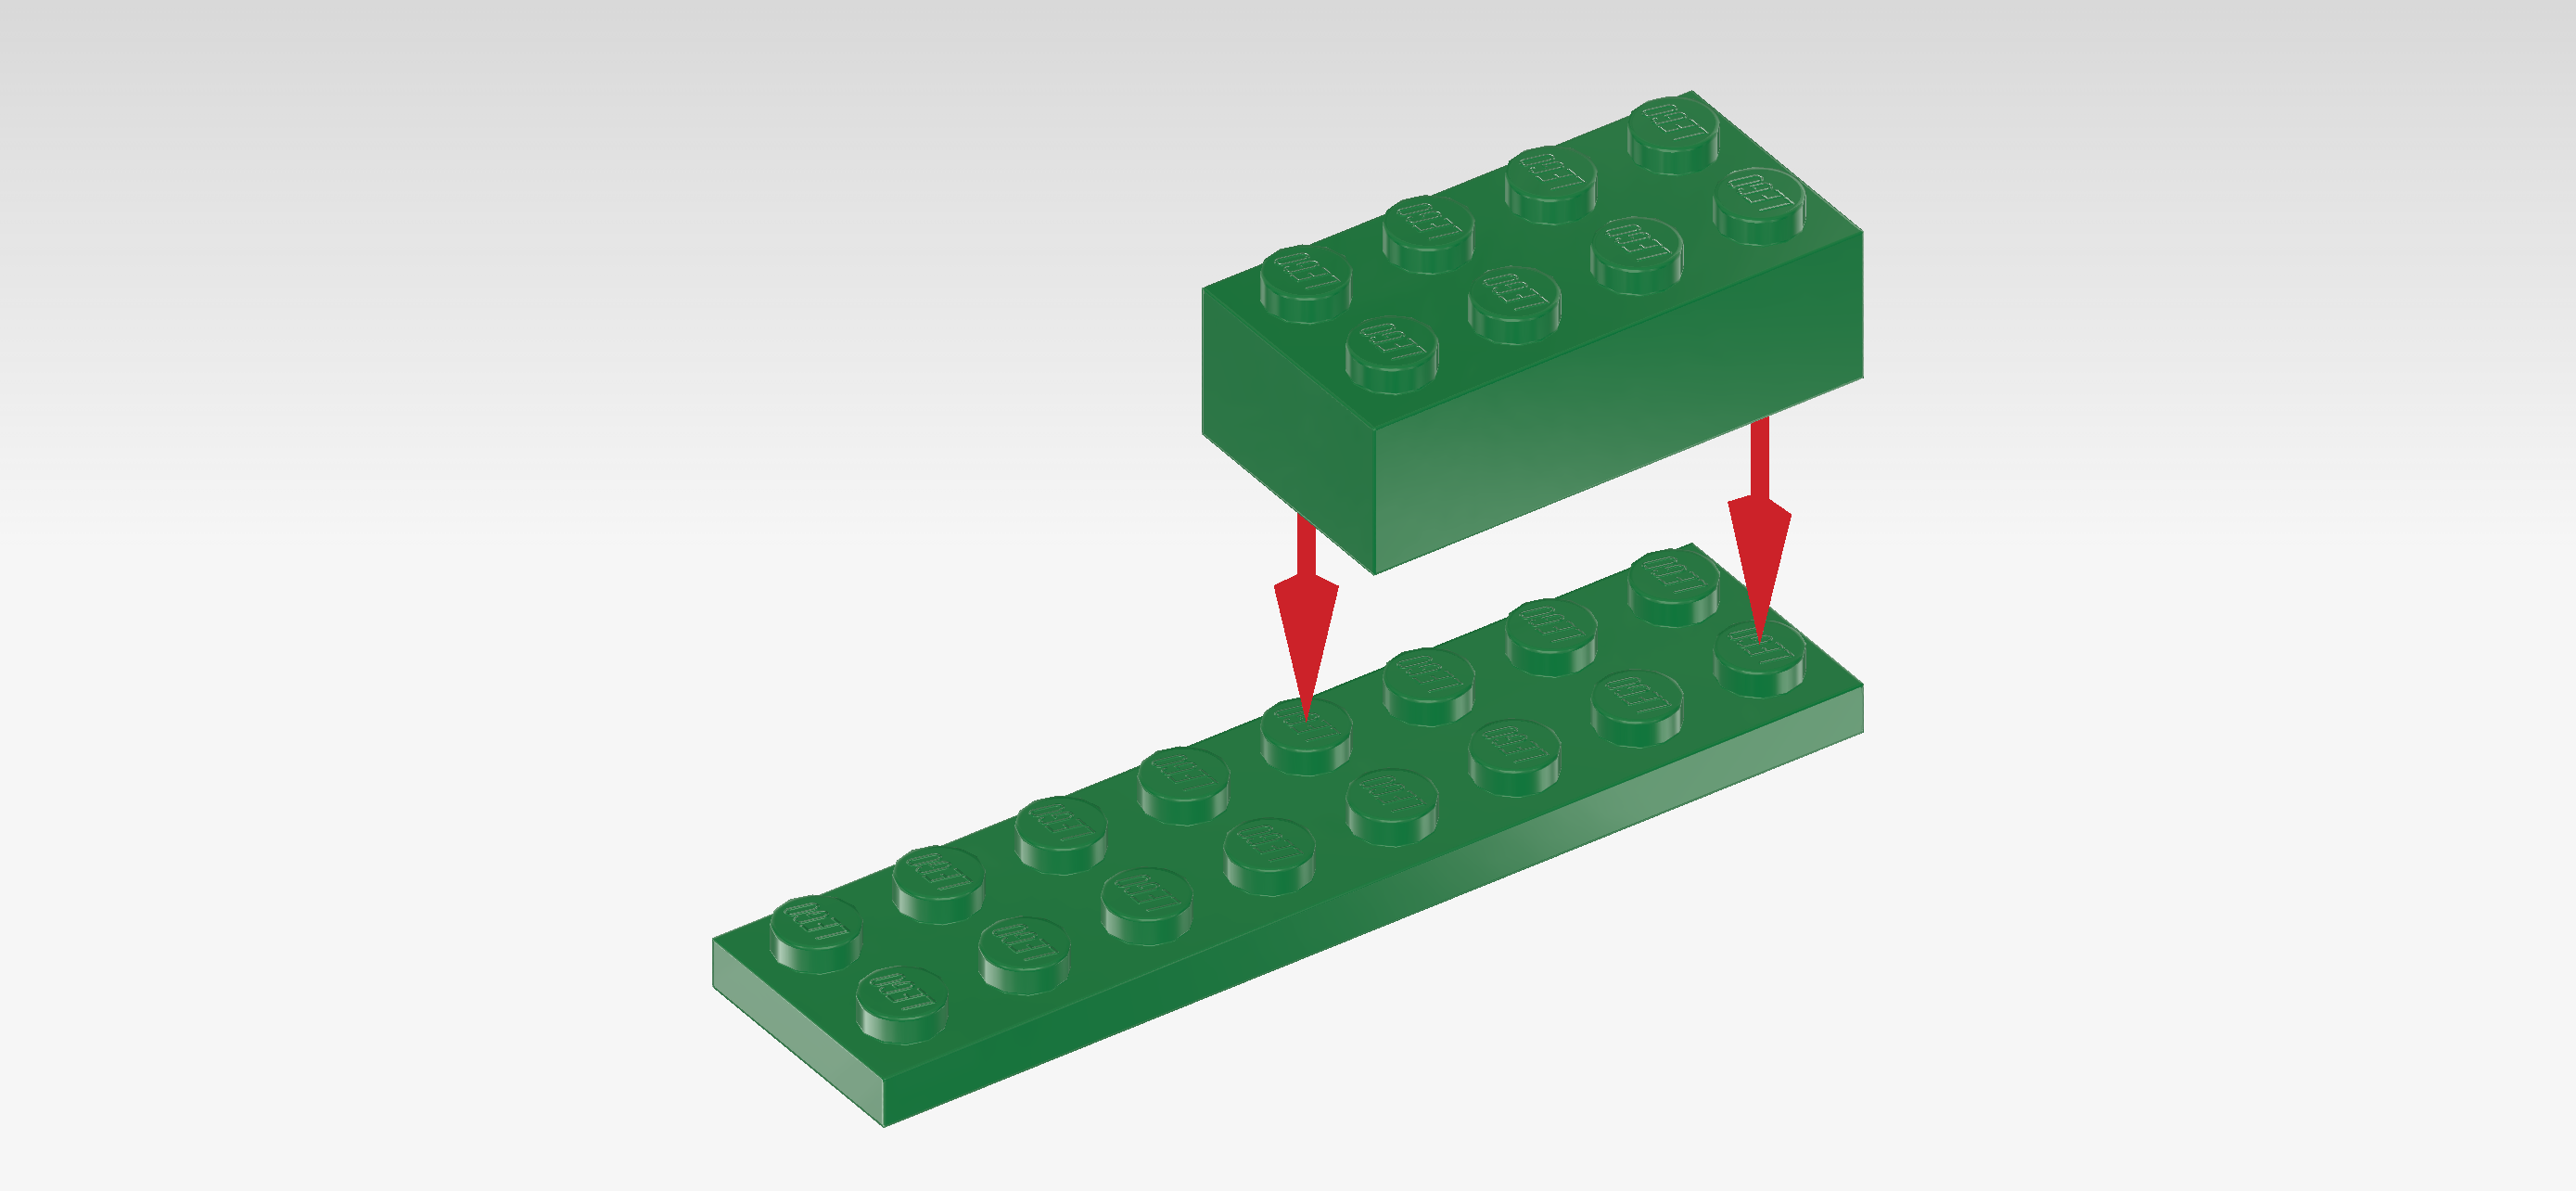
| Find 3 mud grey plates 4x6. |
| Put 1 vertically behind the previous piece on the 2 backmost rows, starting from their right edge, 4 rows overhanging to the back. |
| Repeat symmetrically on the left. |
| Put the last one horizontally on the 2 leftmost columns of the entire base plate, starting from their front edge, 4 columns overhanging to the left. |
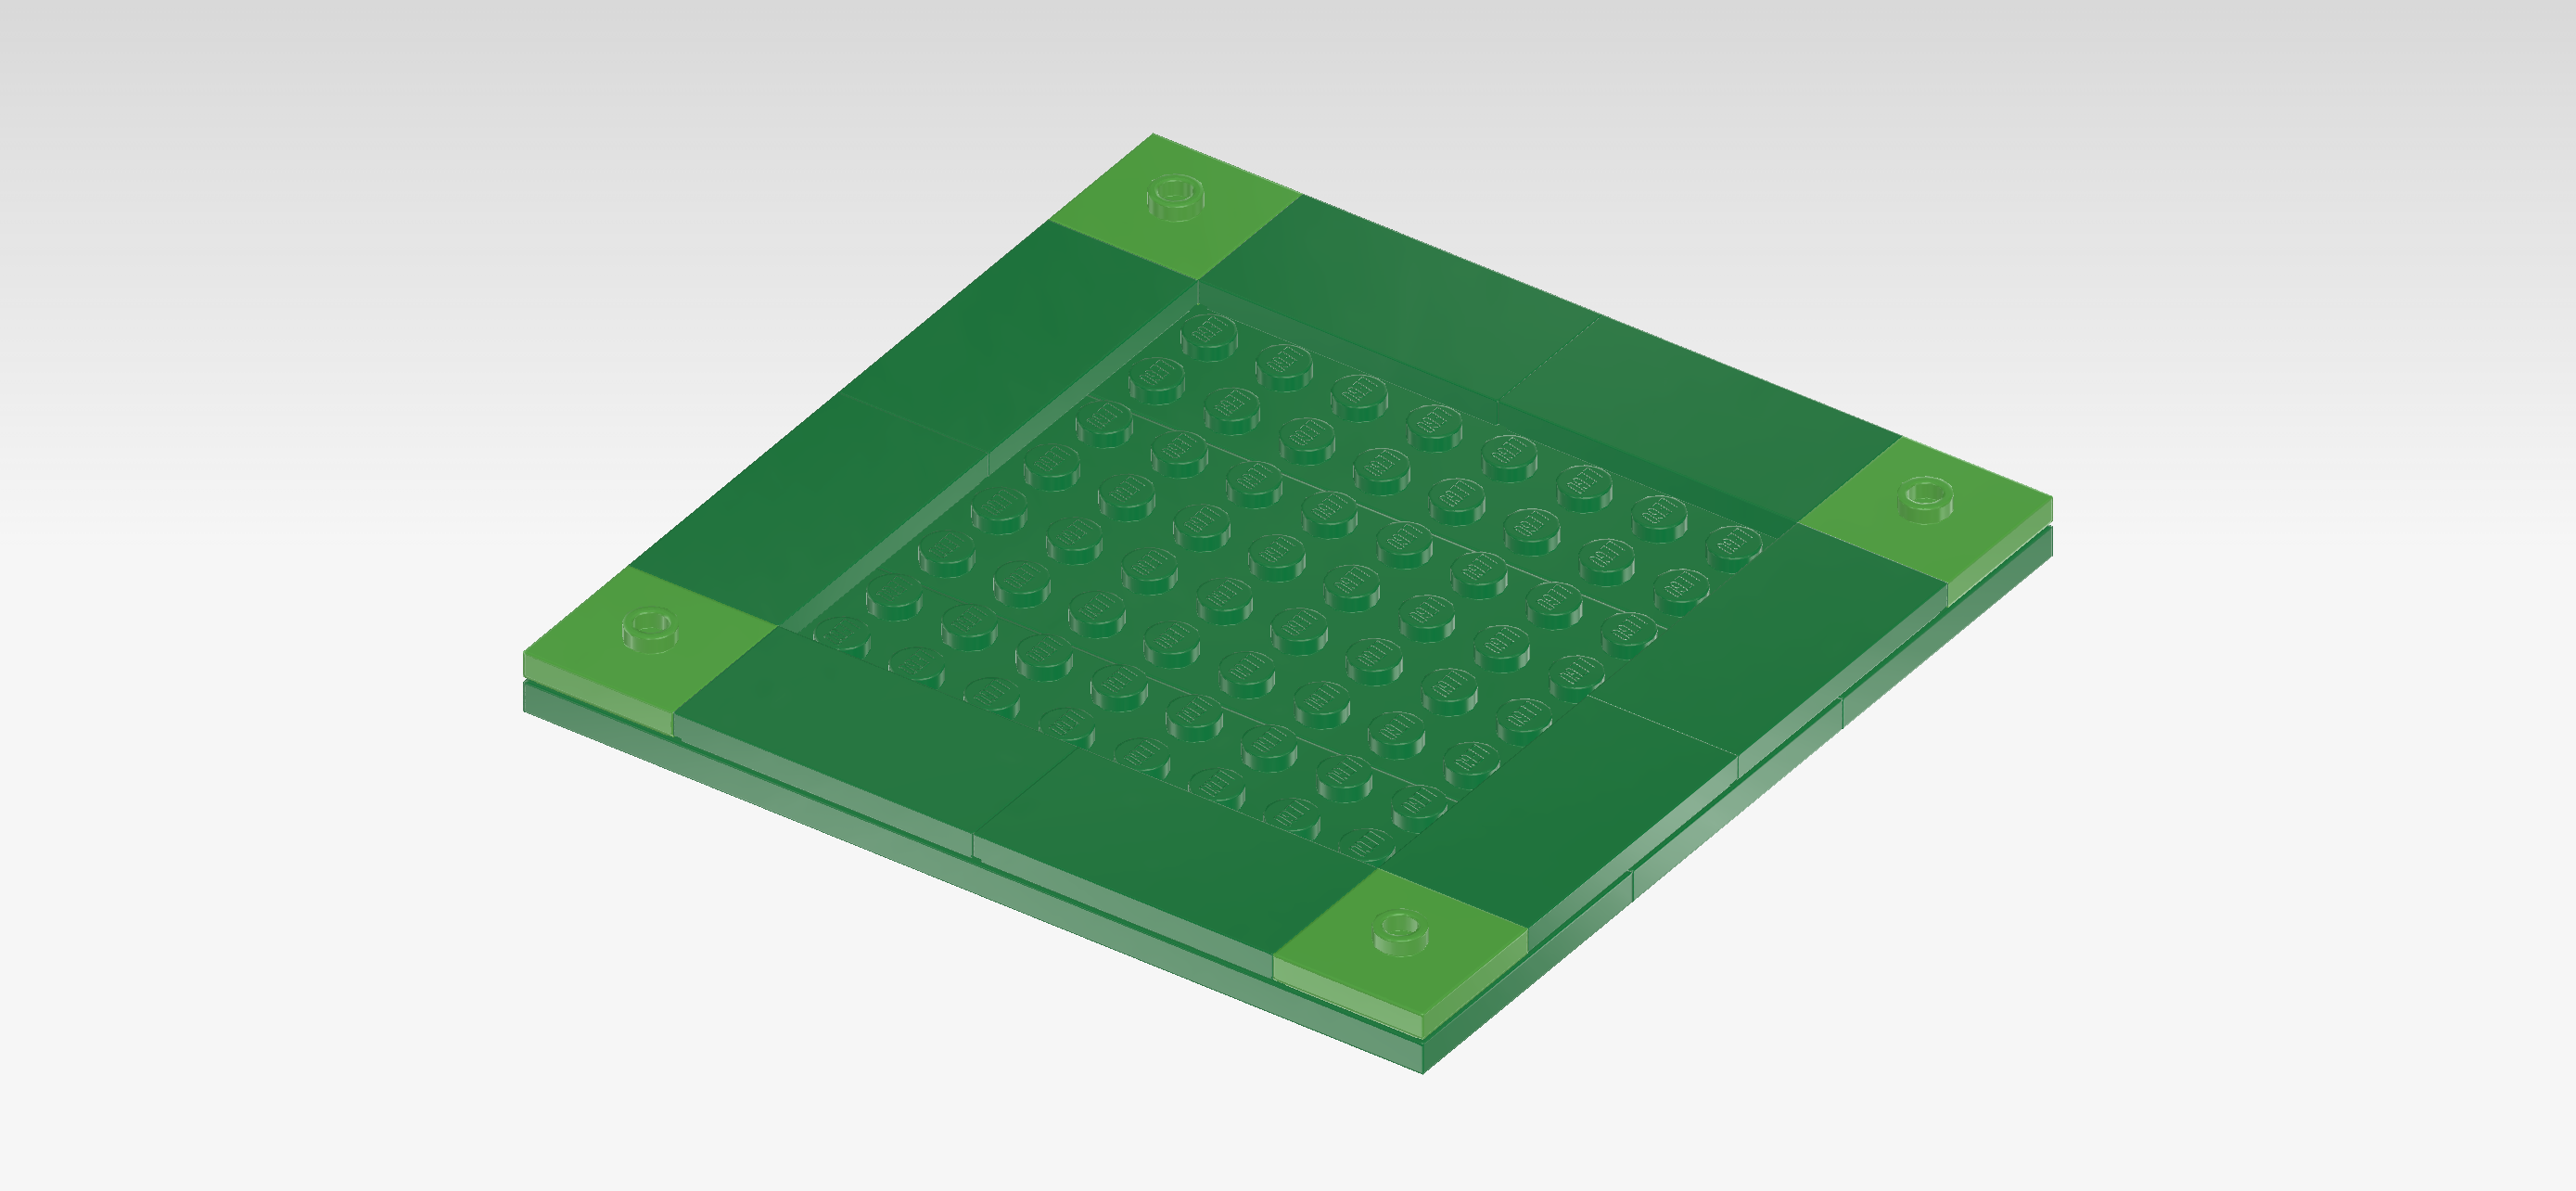
| At this point, make sure that all plates are connected tightly by carefully pushing down on them individually. |
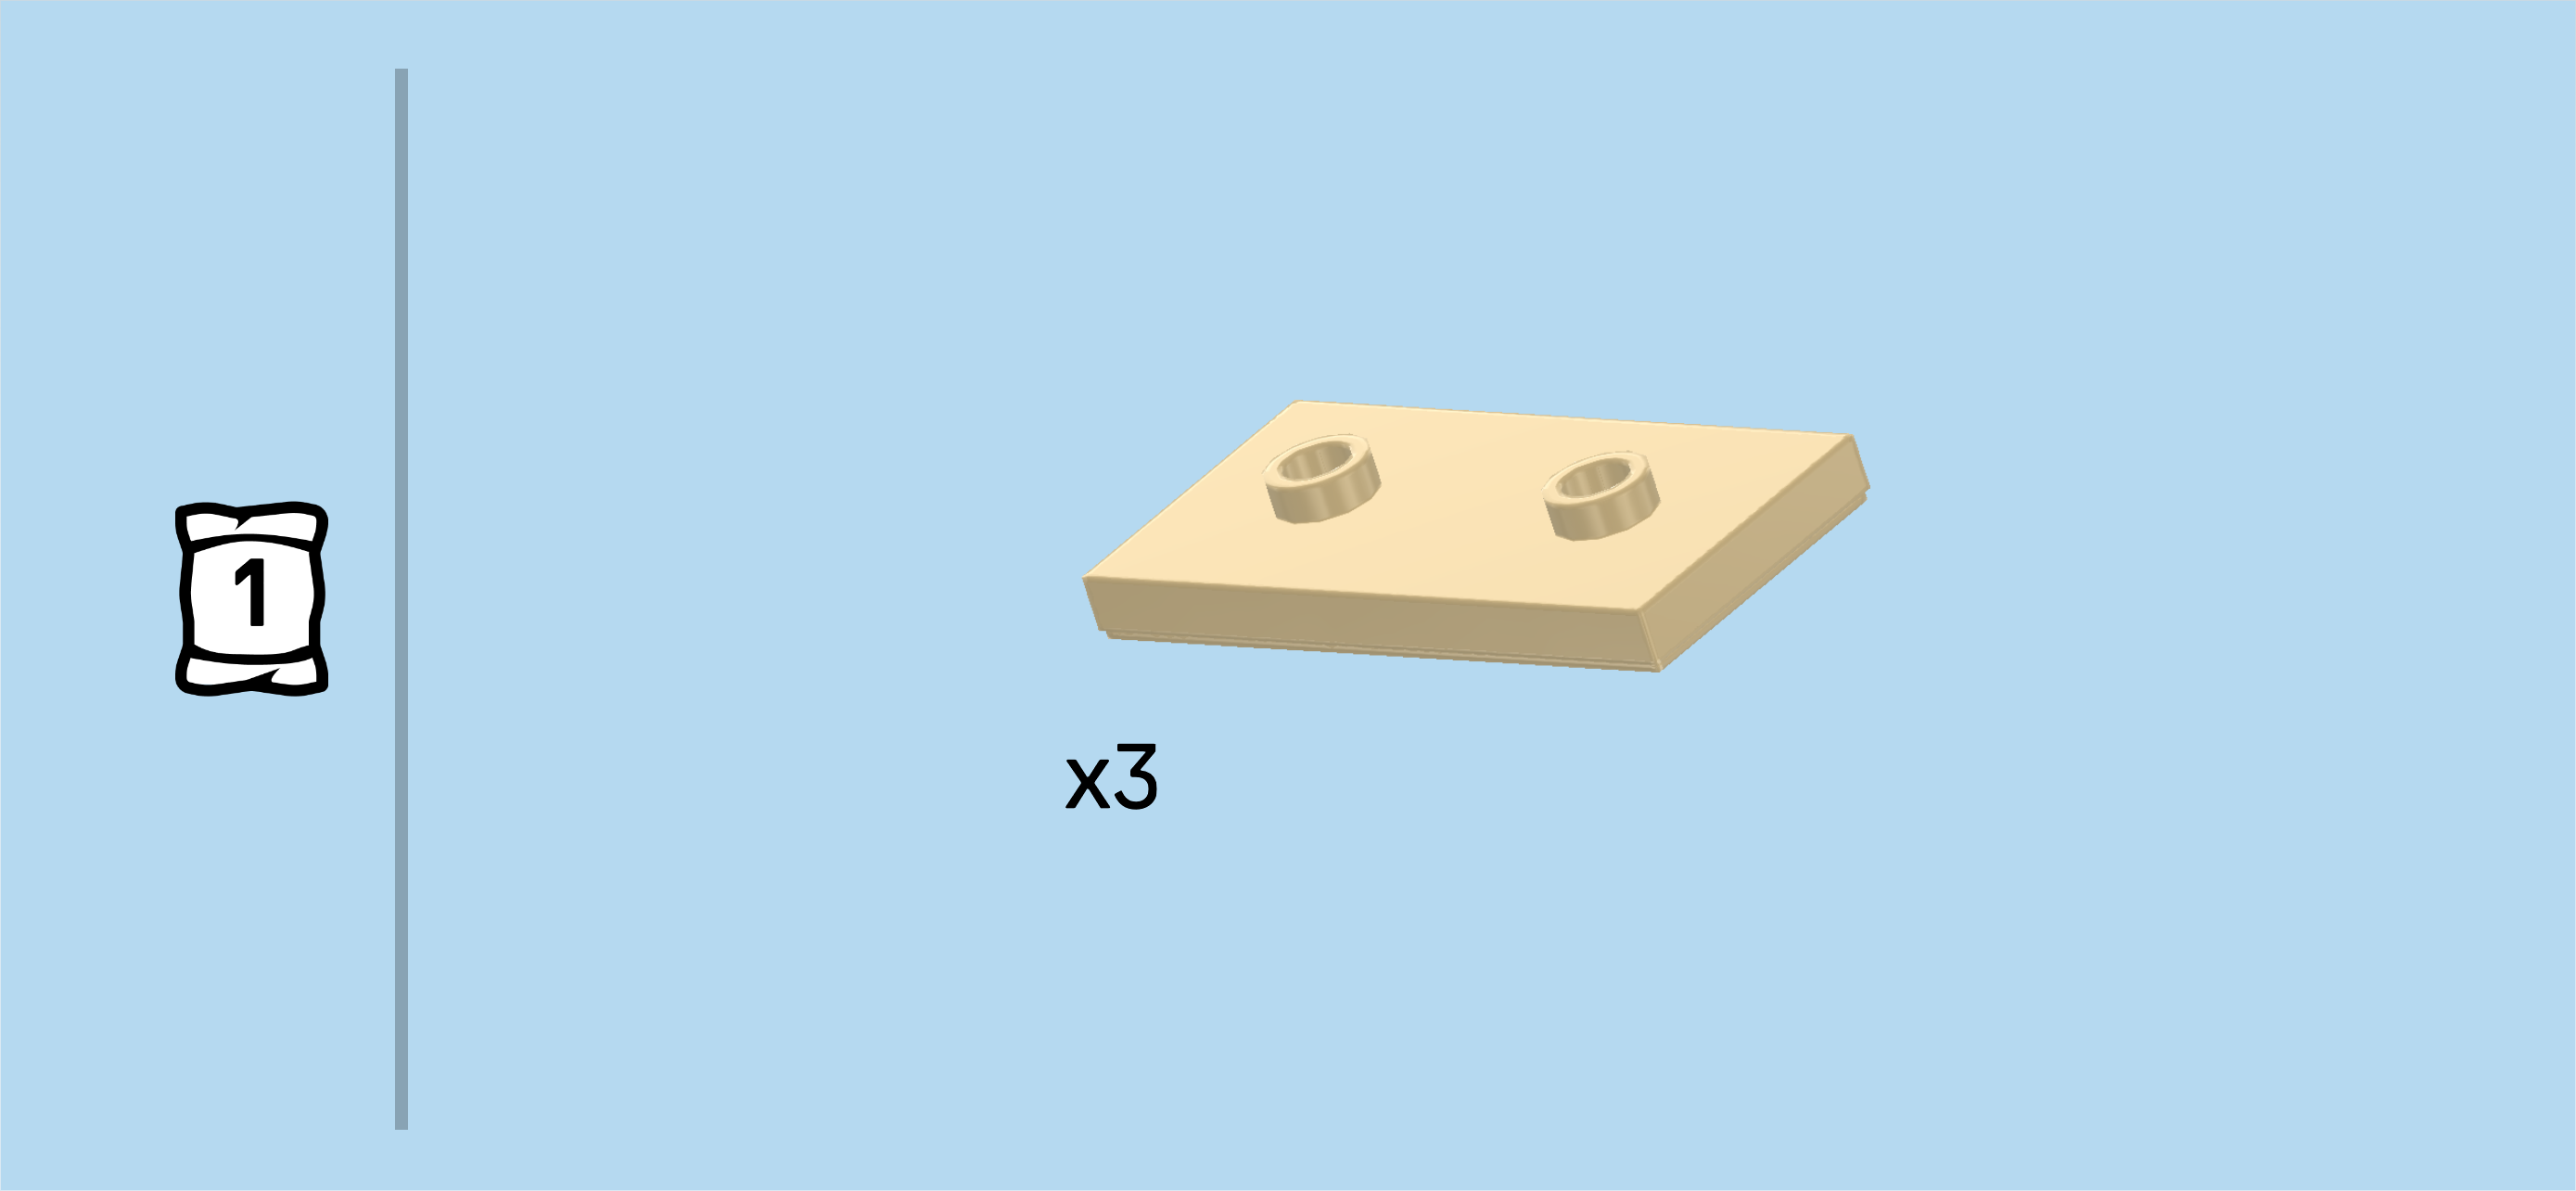
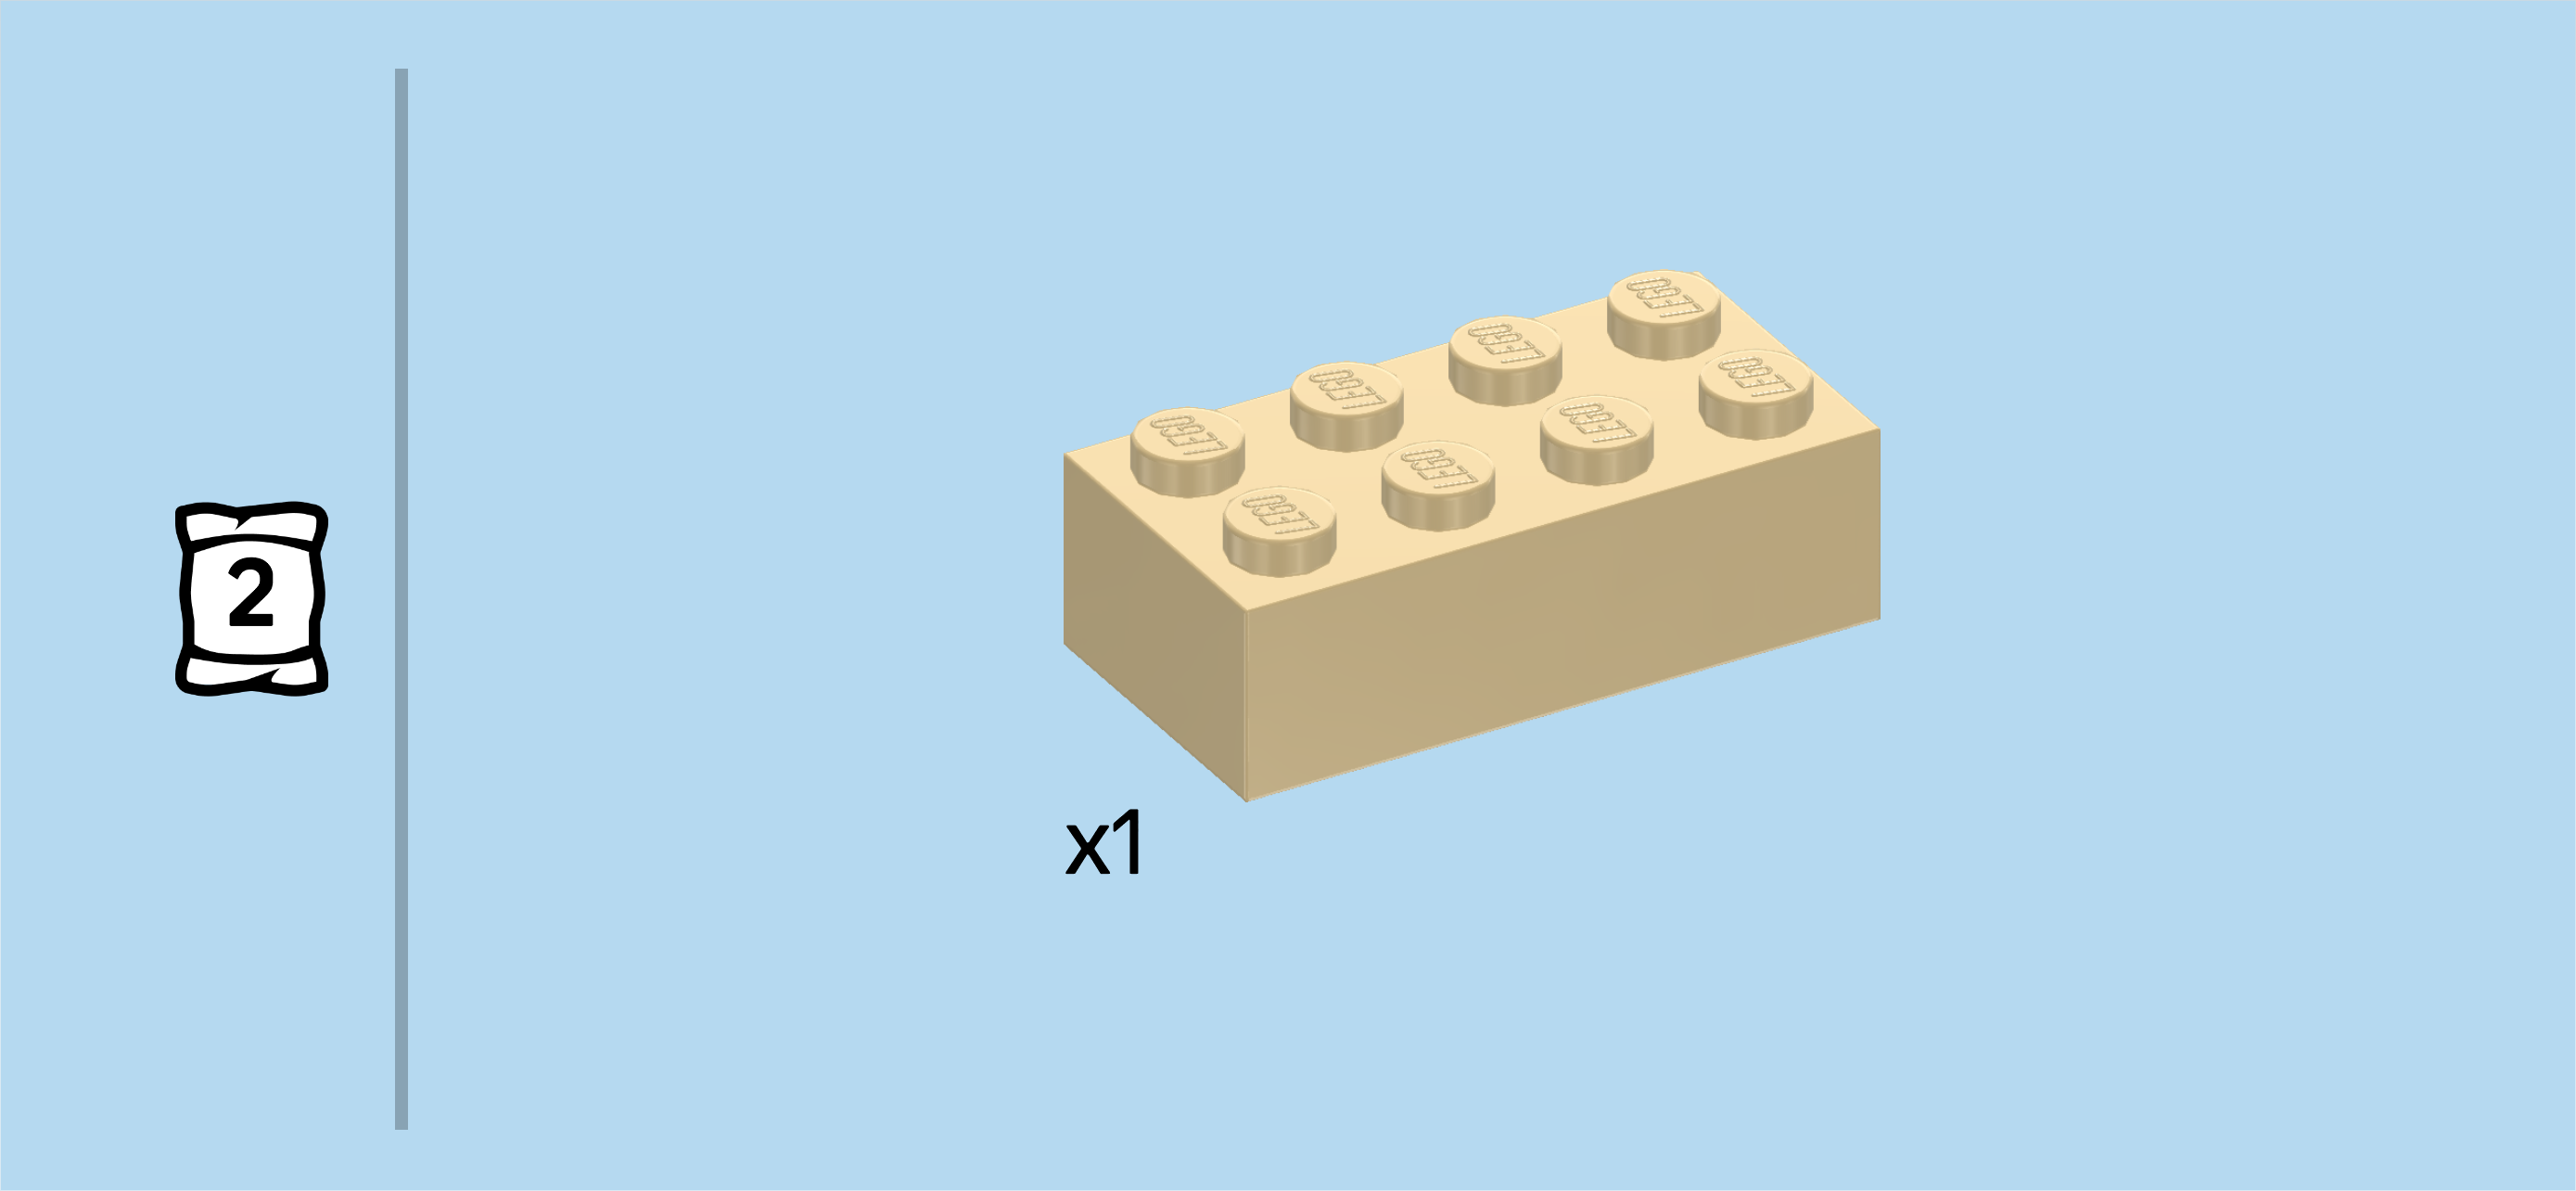
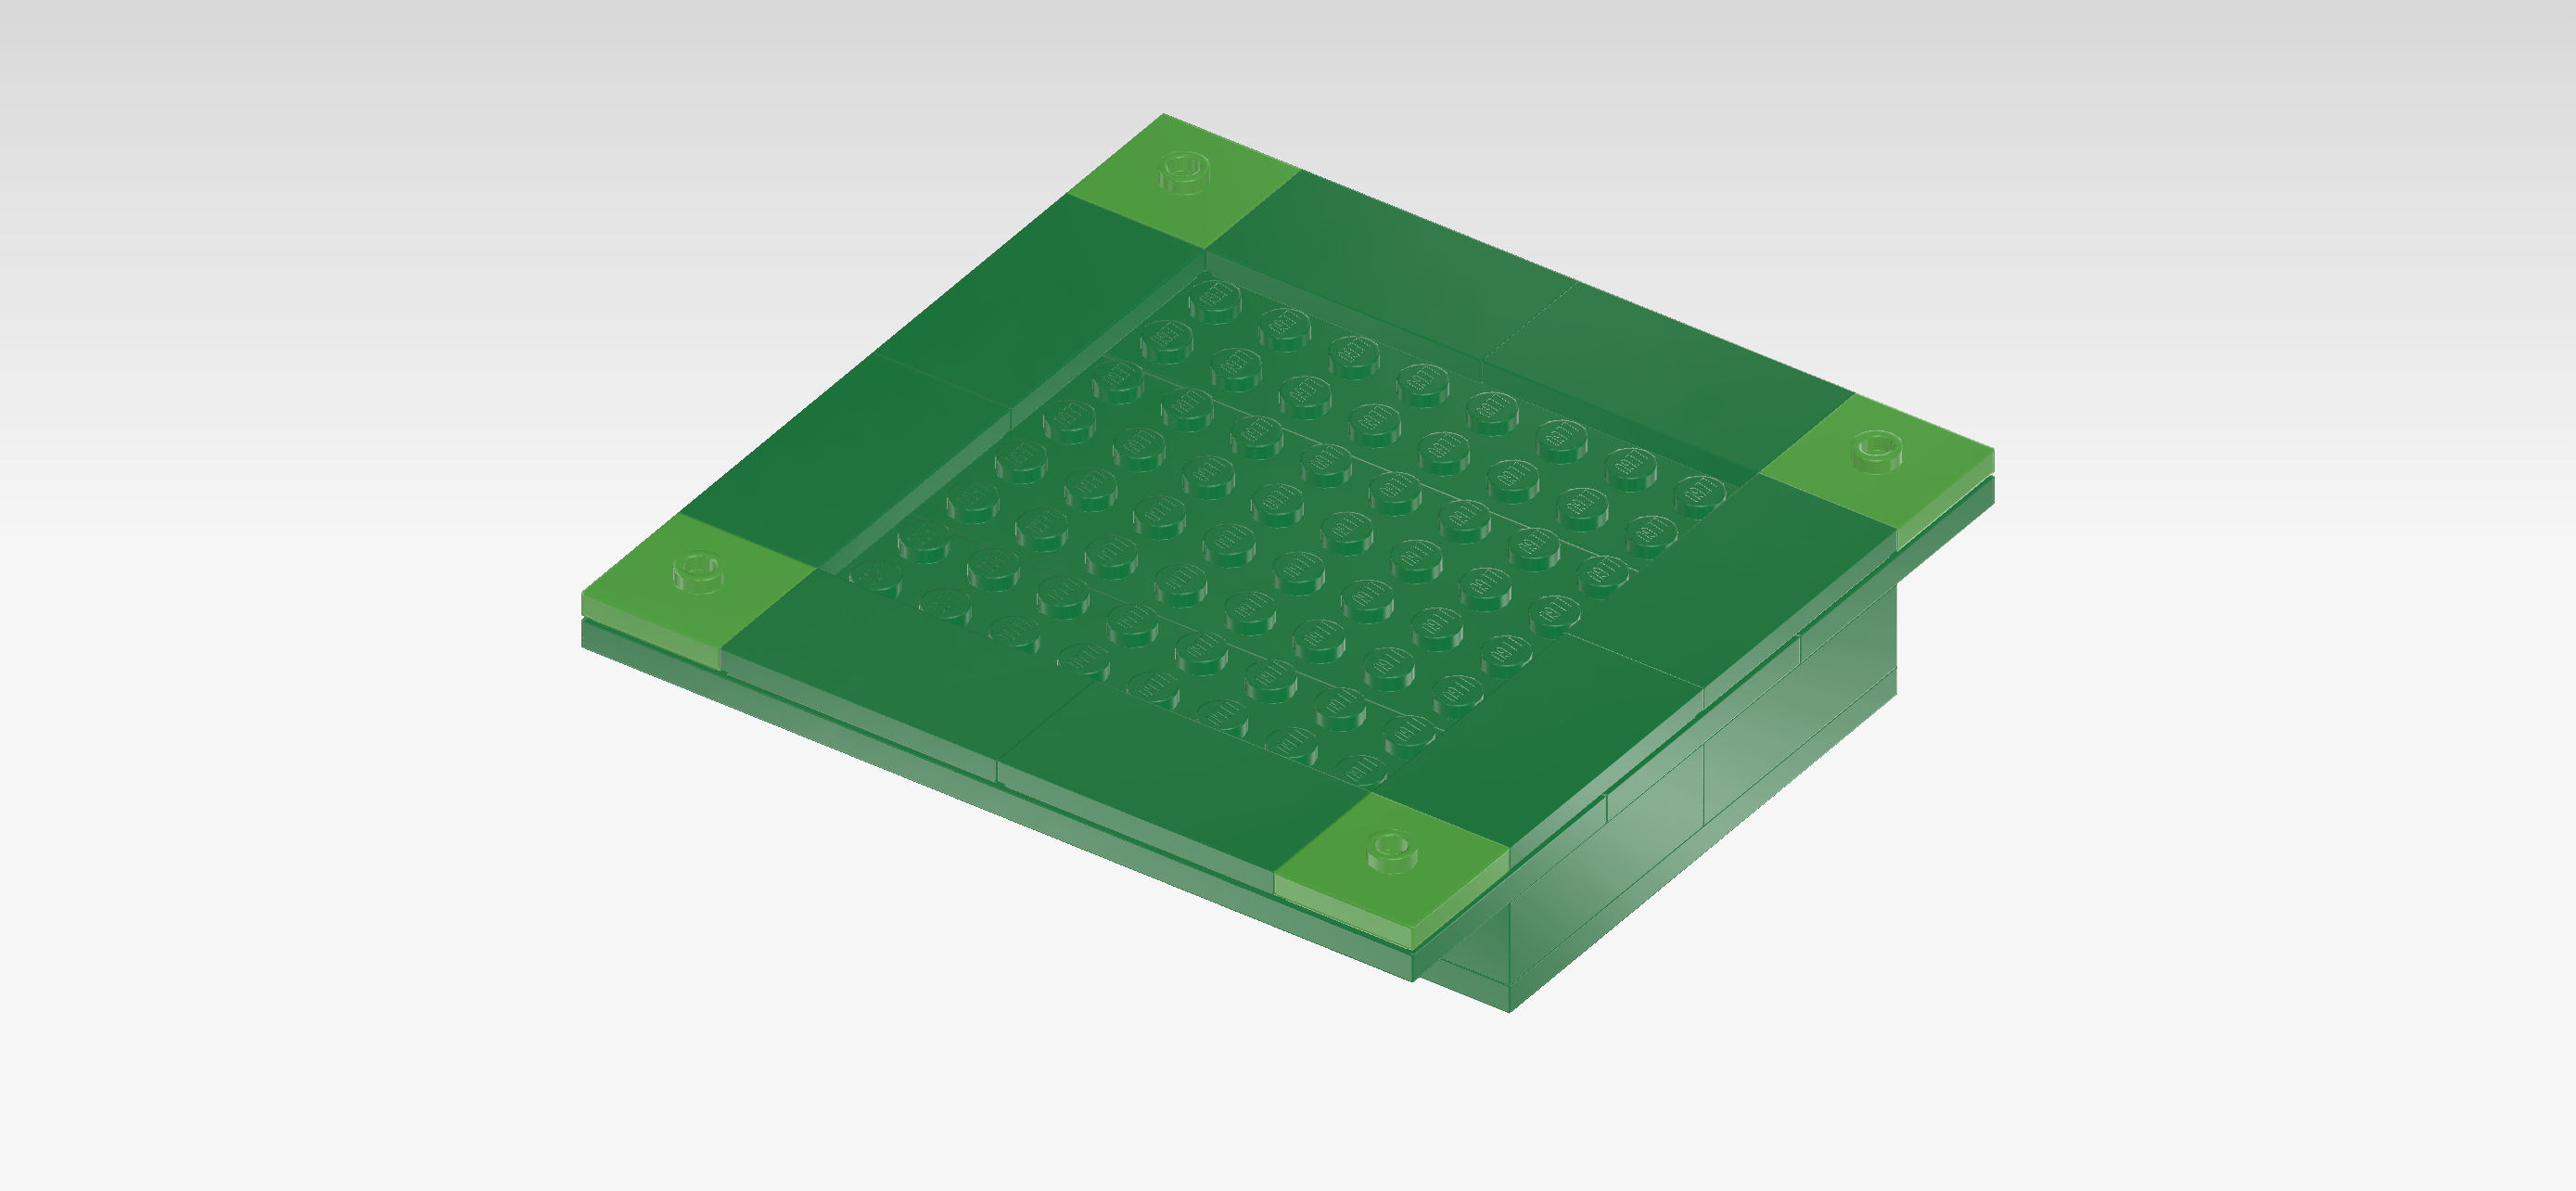
| Find 3 pale ocher yellow plates 2x4 with 2 knobs. |
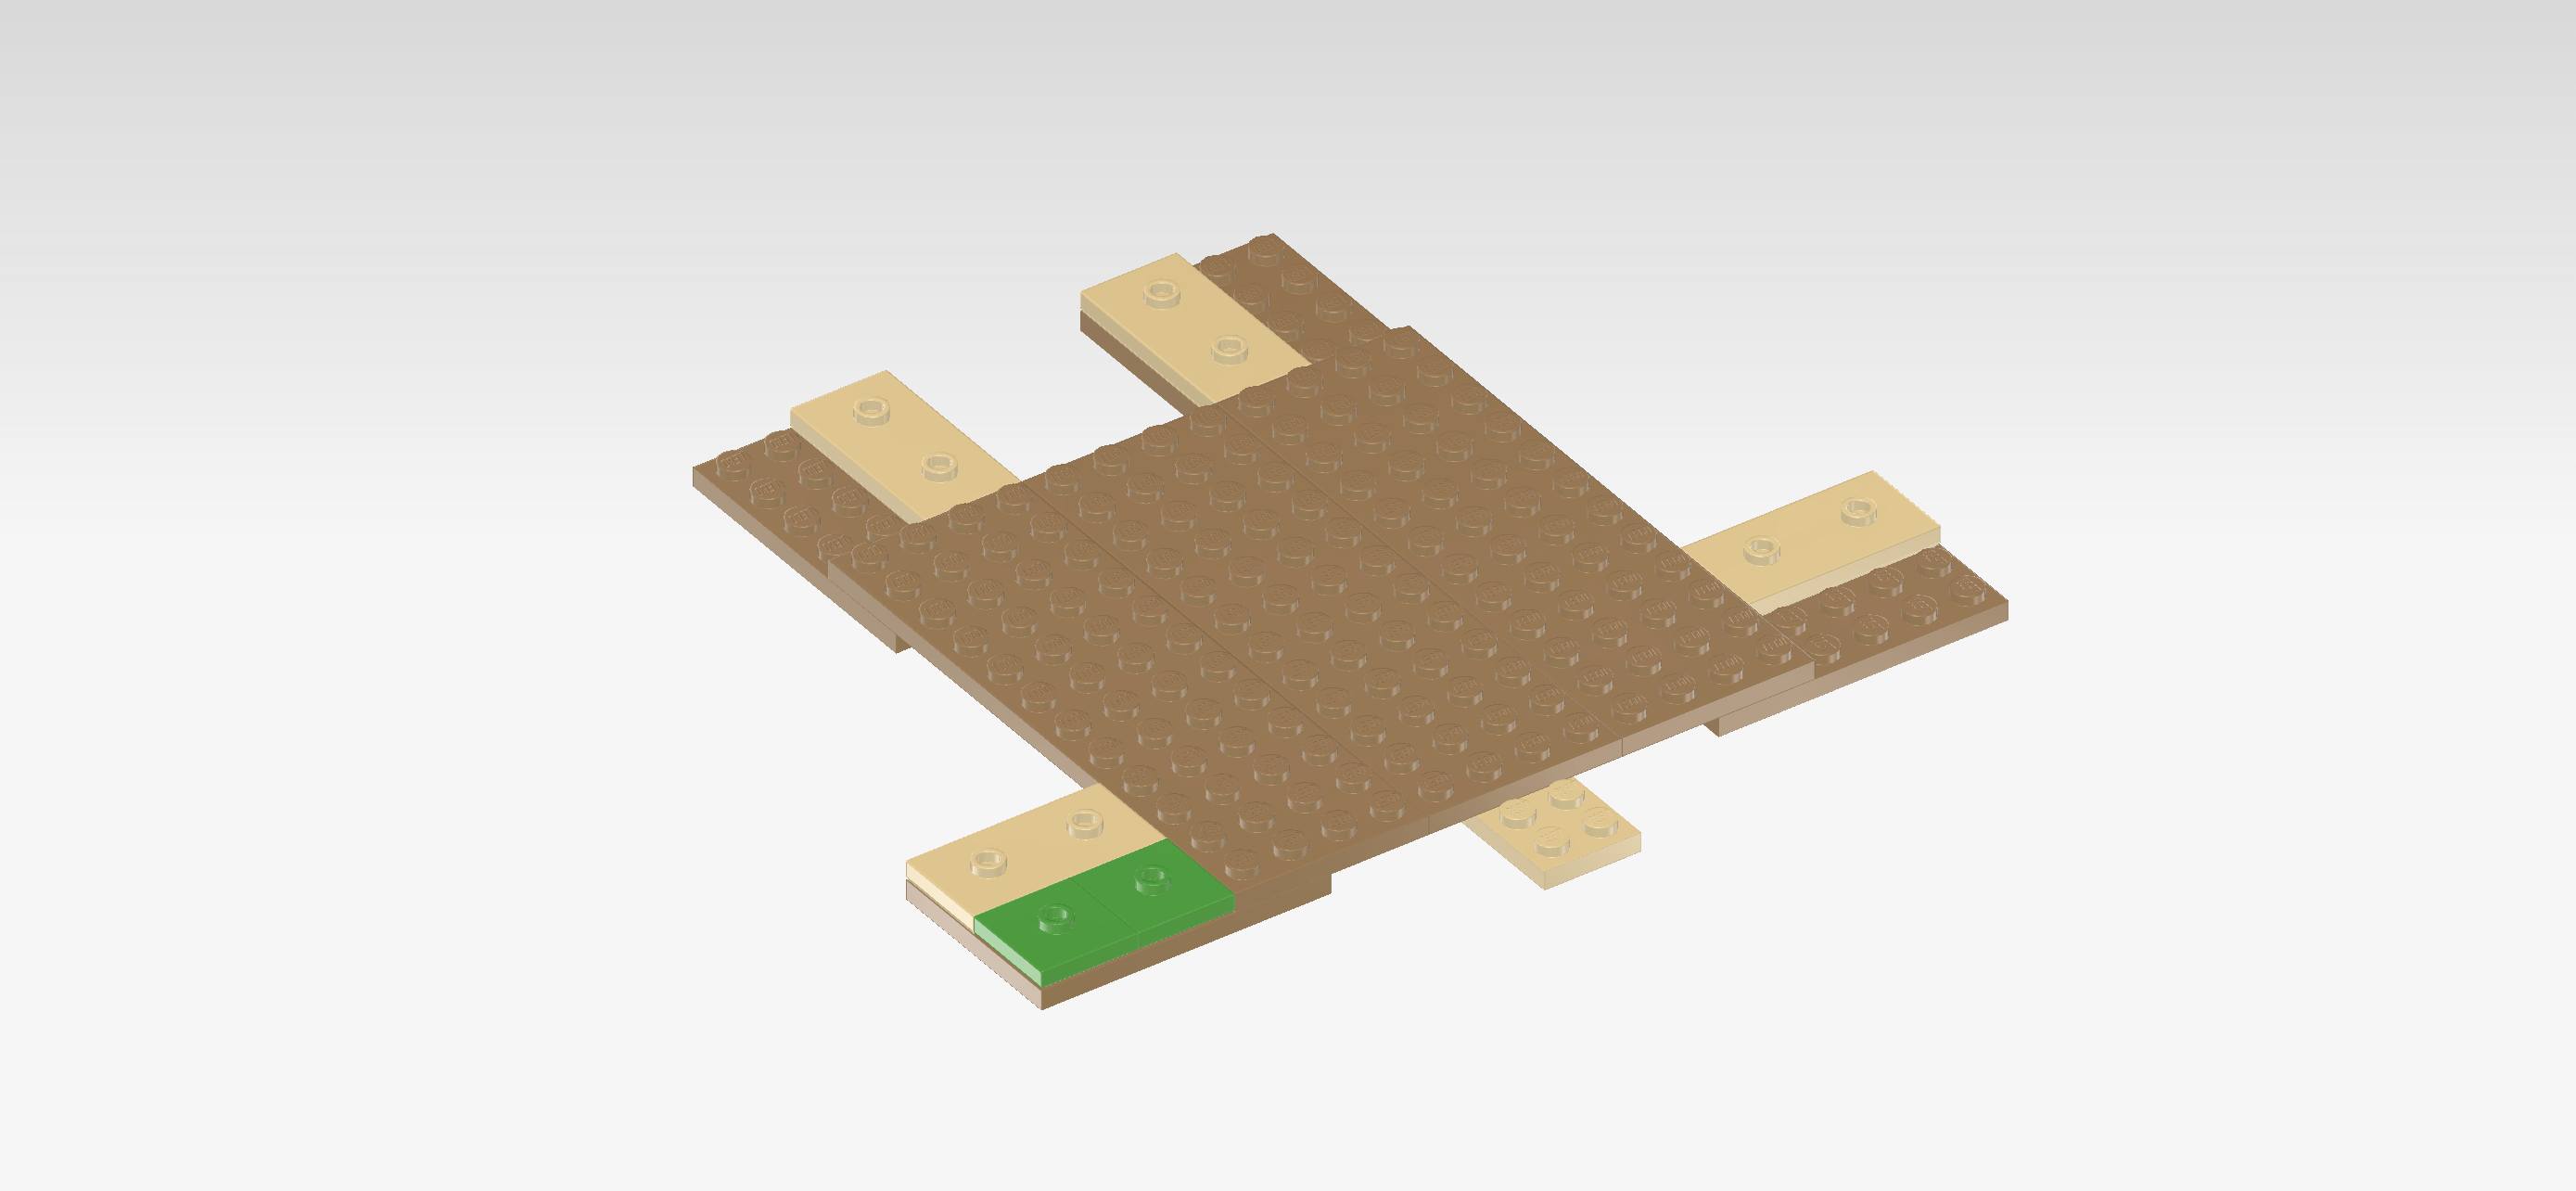
| Now, carefully flip the entire base plate right side up again. Make sure that the singular 2x2 surface (that stems from a plate 2x4 that we have mounted earlier) is still protruding to the front. The 4x4 protrusion on the left already has other plates attached to it. The three remaining 4x4 protrusions on the right and at the back are still empty for now. |
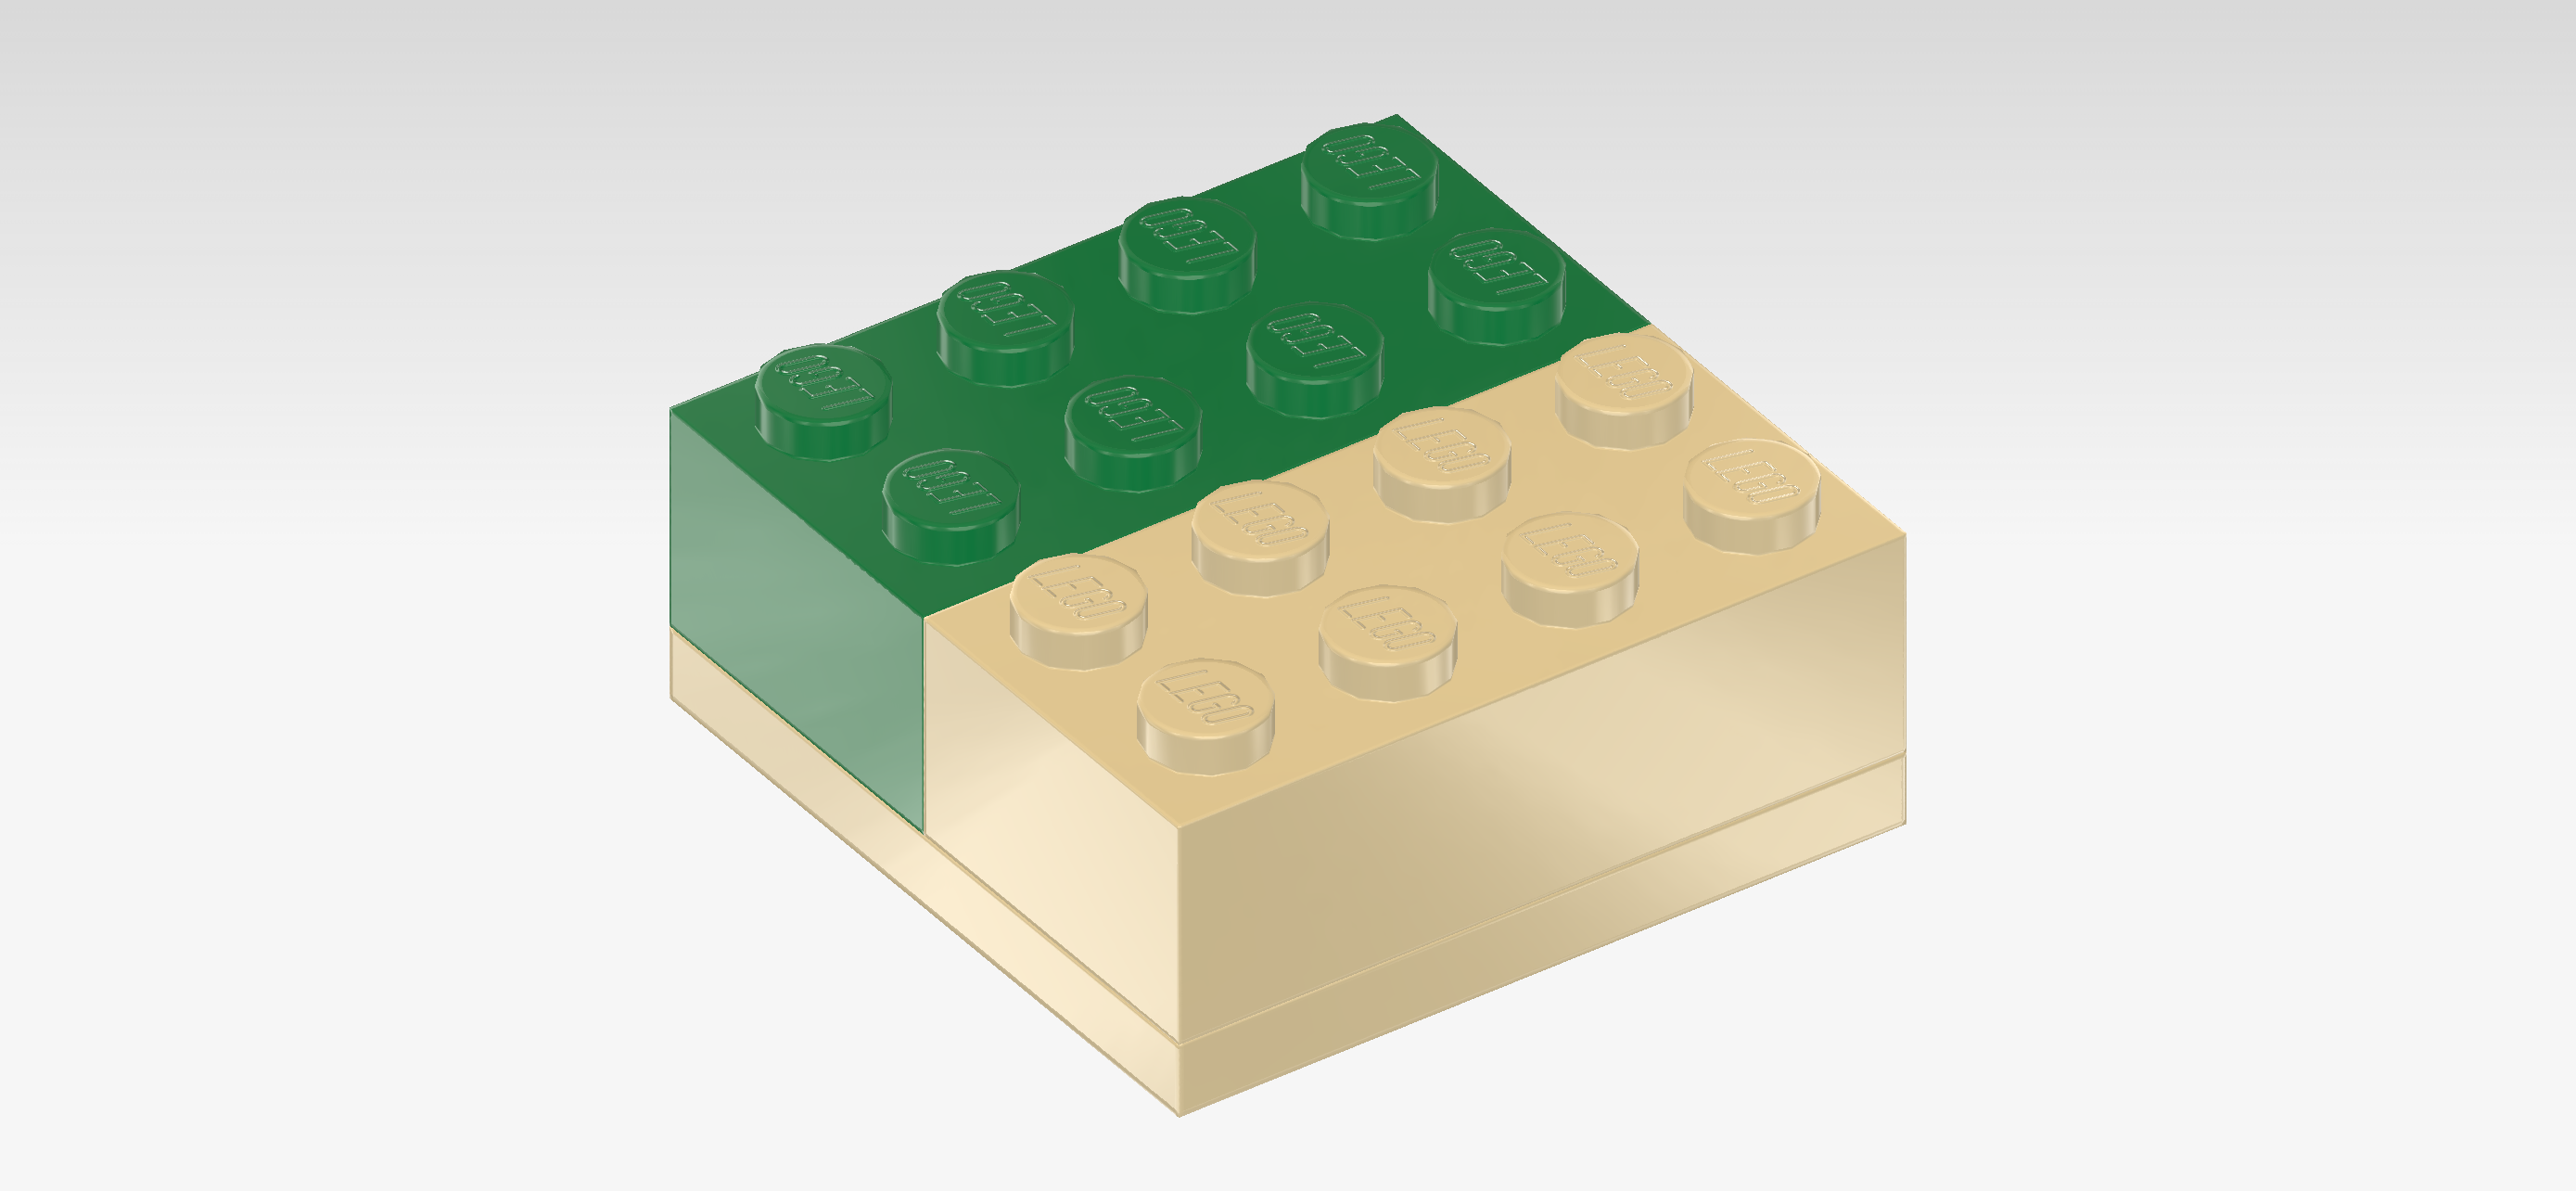
| Put 1 plate with 2 knobs horizontally on the 2 back rows of the 4x4 protrusion on the right edge. |
| Put 1 vertically on the 2 left columns of the 4x4 protrusion on the right edge at the back. |
| Put 1 vertically on the 2 right columns of the left 4x4 protrusion at the back. |
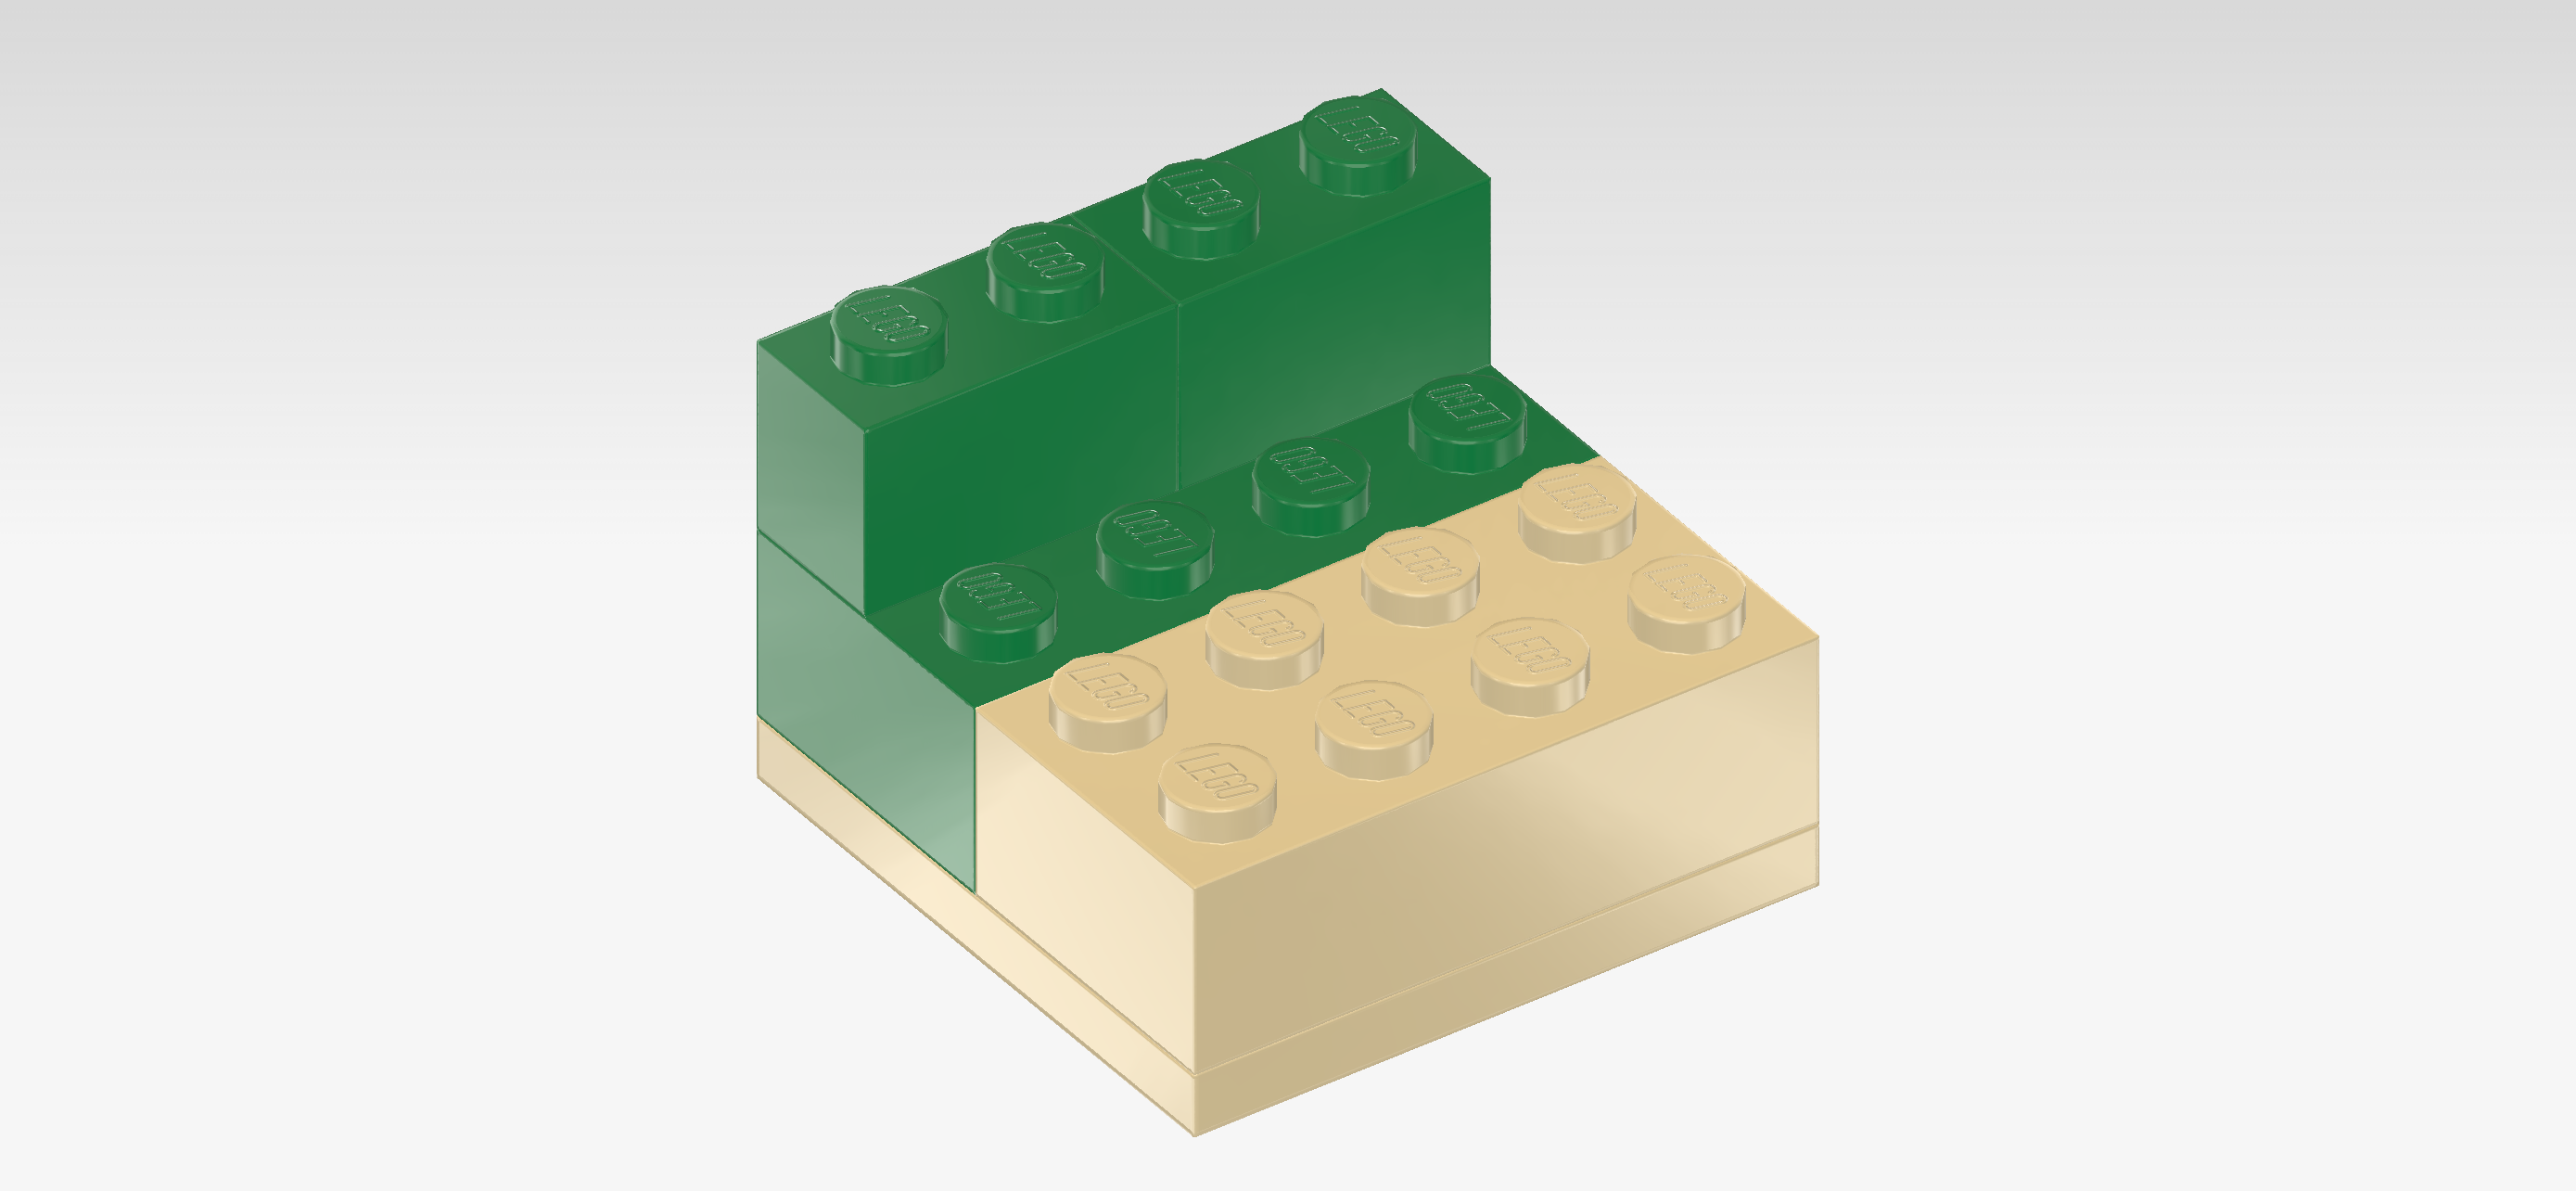
| These 4x4 protrusions mimic the feet of the turtle-shaped beach house! |
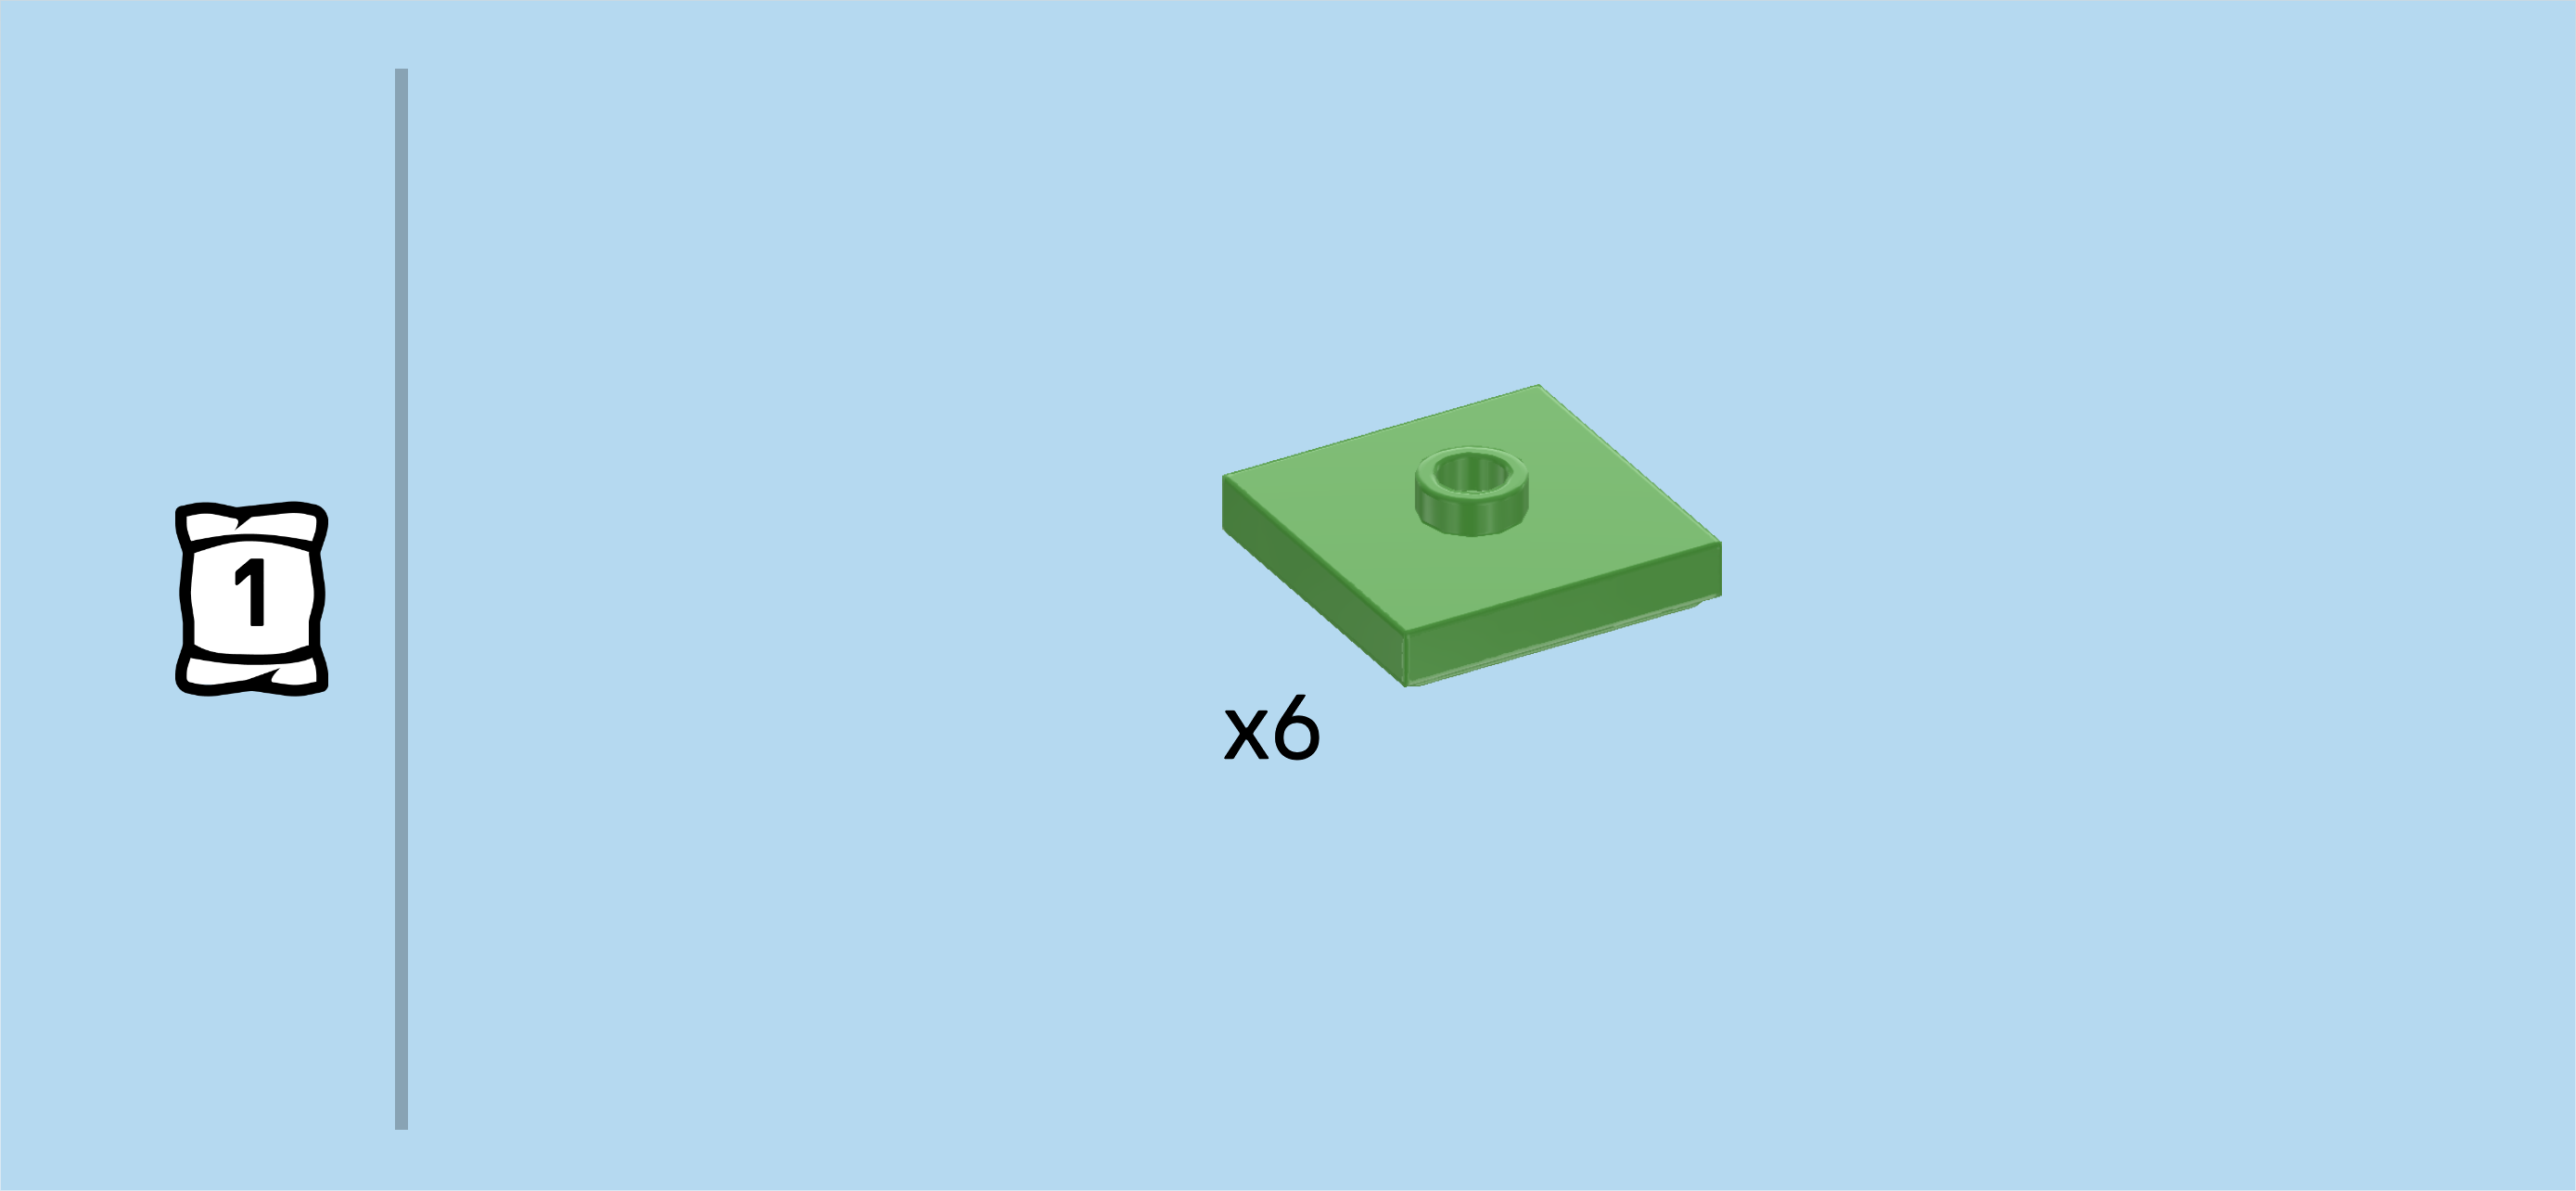
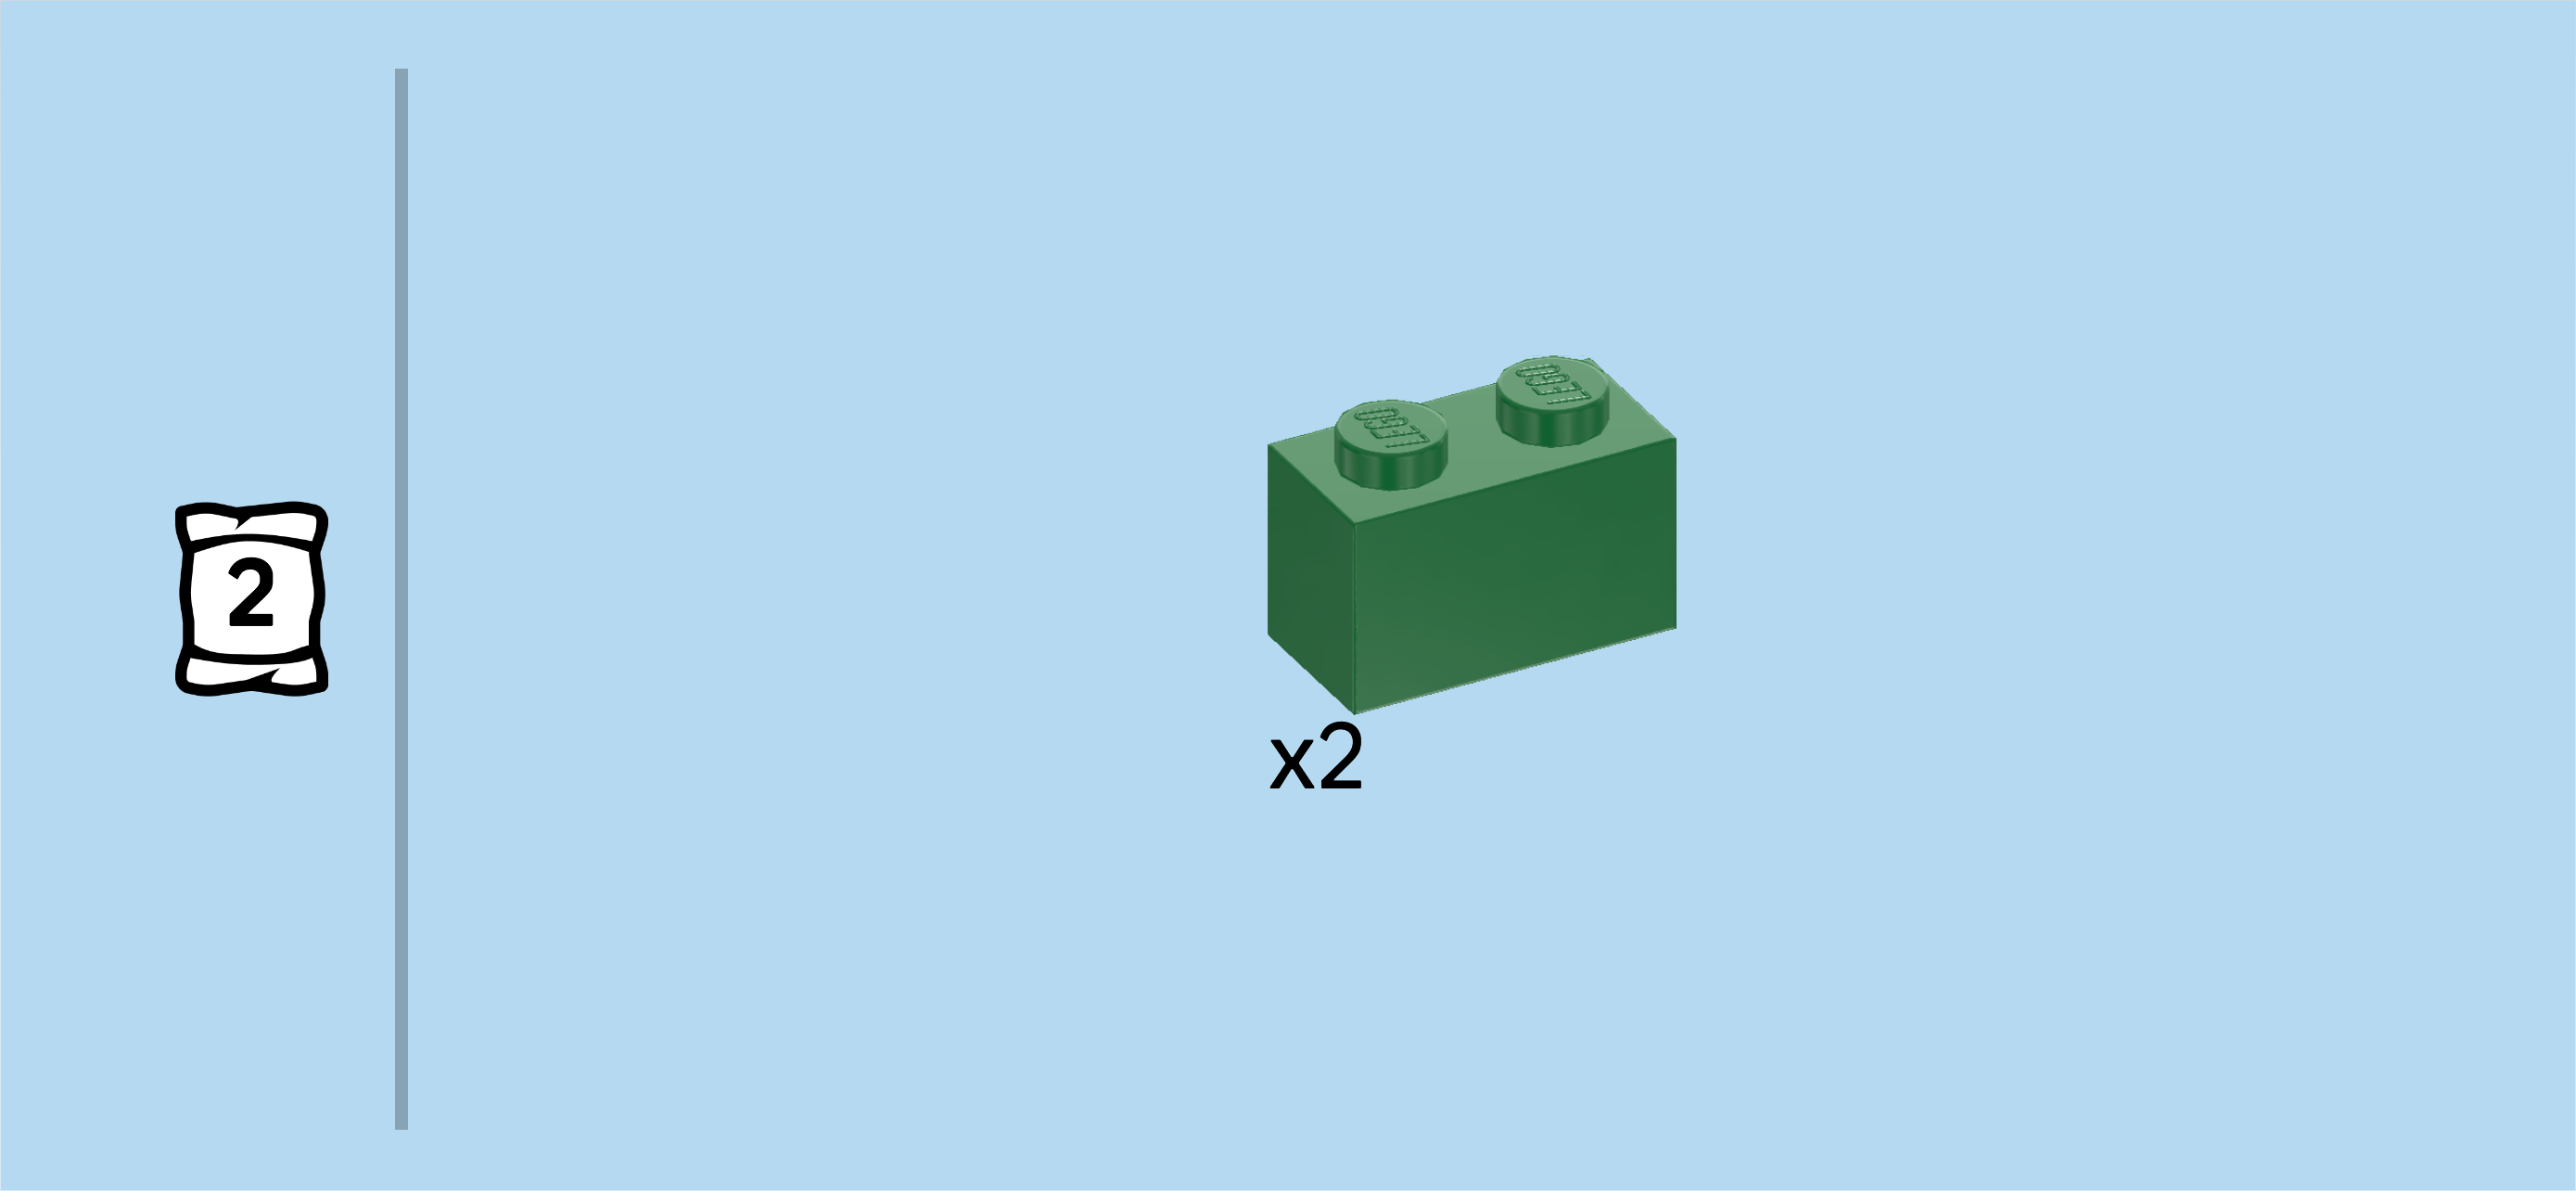
| Find 6 bright green plates 2x2 with 1 knob. |
| Put 2 next to each other to the left of the previous piece. This means they will fill the 2 empty columns of the turtle foot at the back left. |
| Repeat symmetrically on the right. |
| Put the 2 remaining pieces on the 2 front rows of the turtle foot at the right edge. |
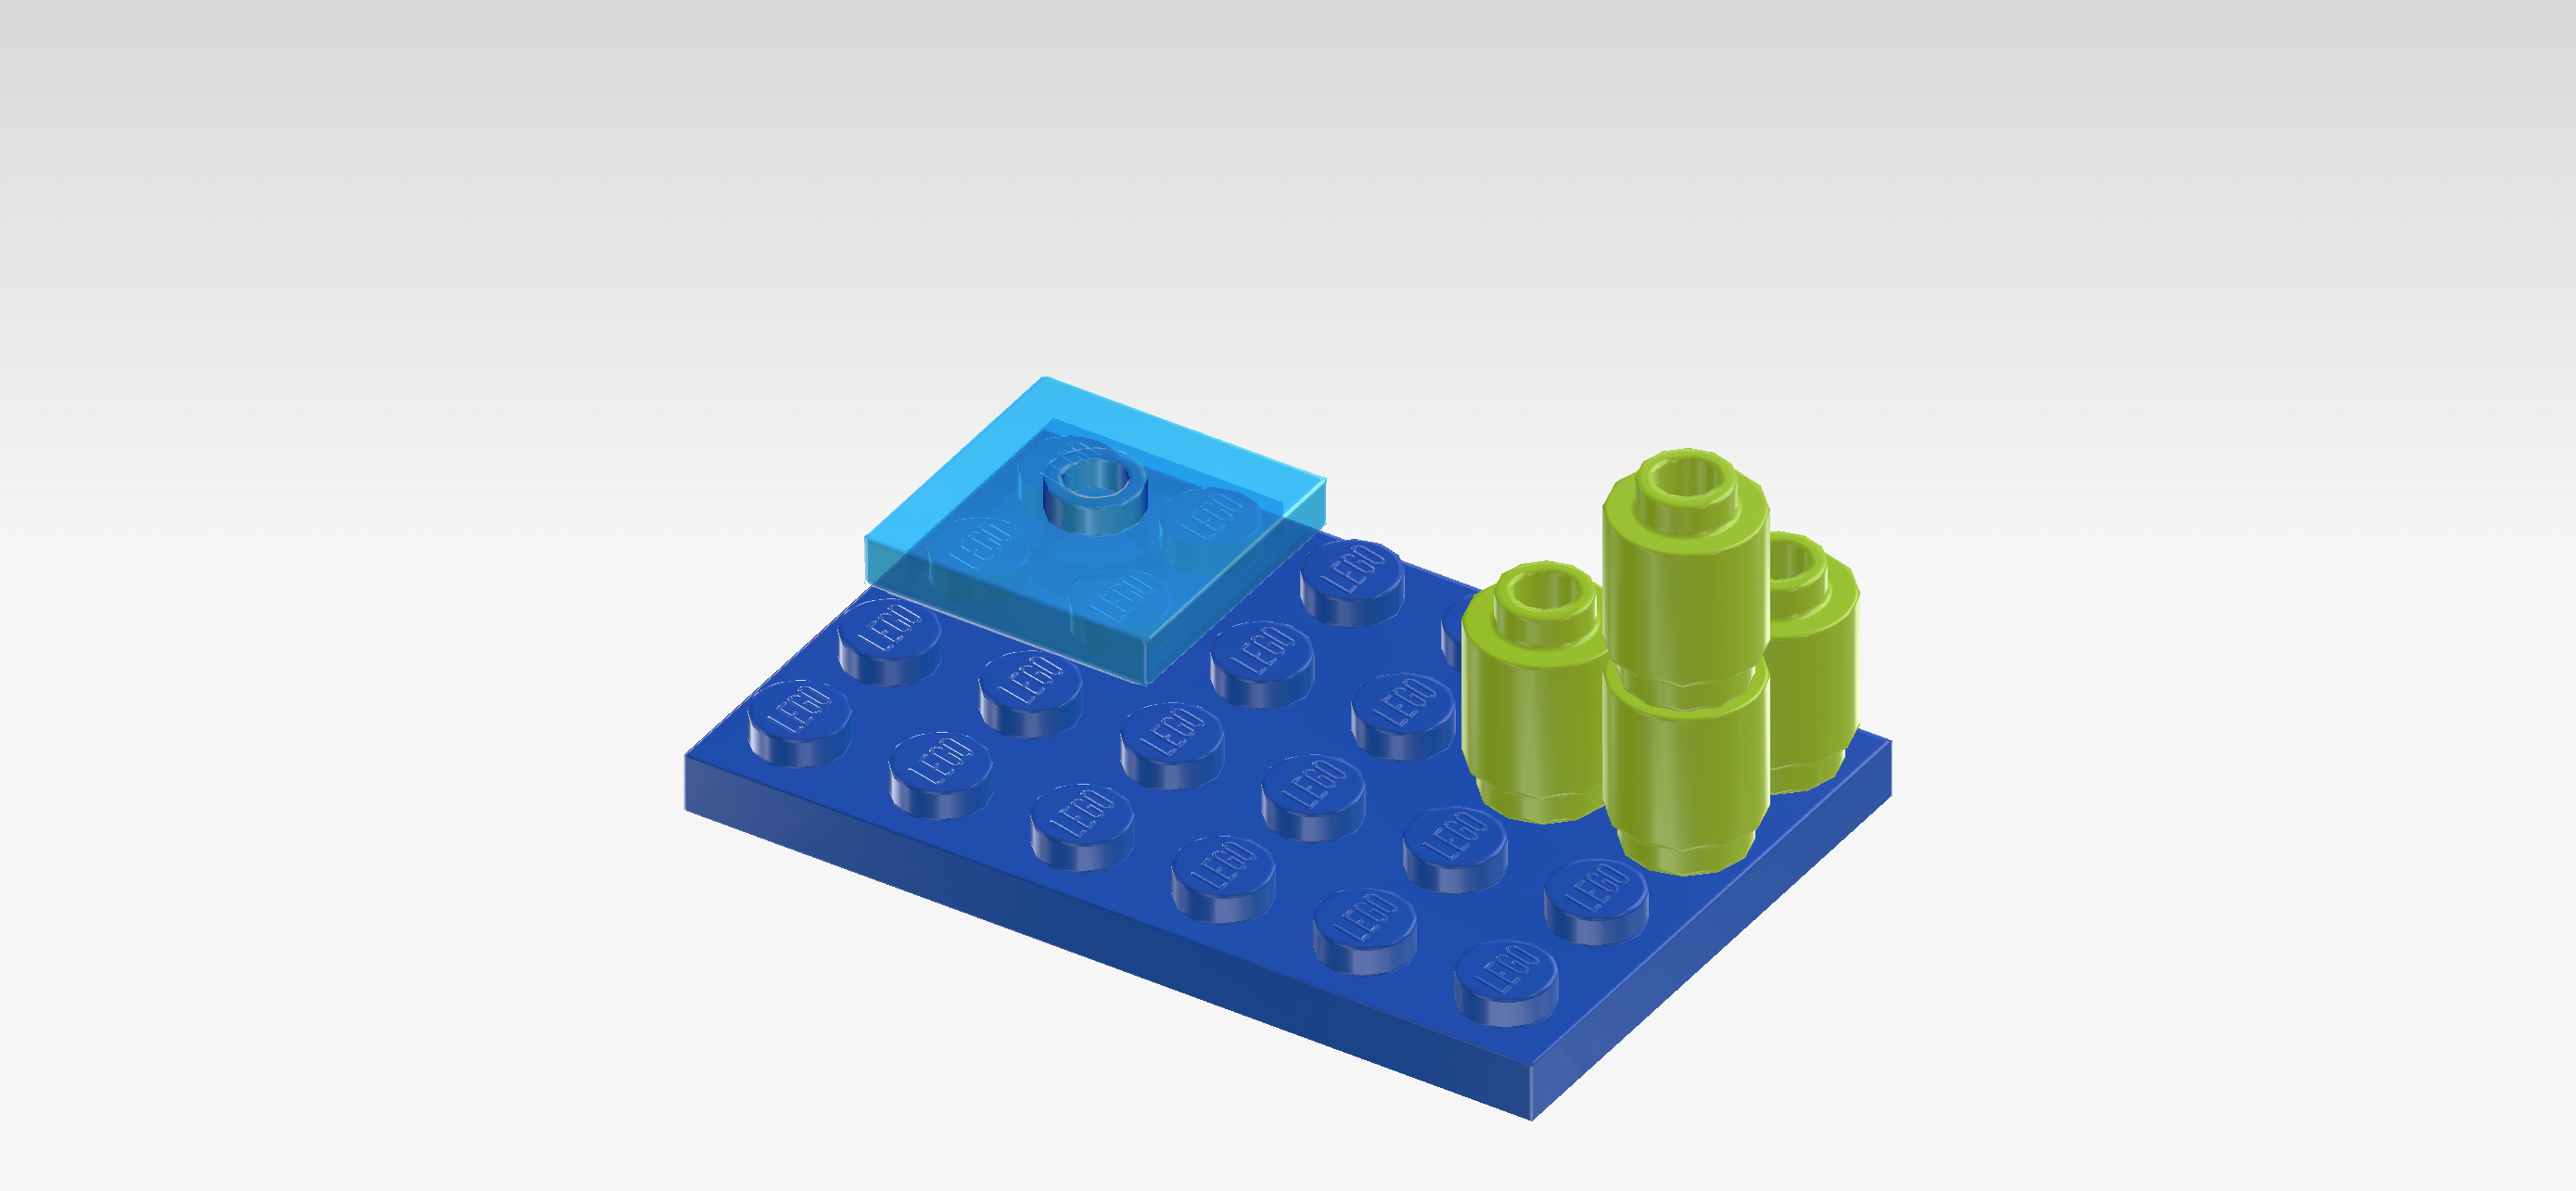
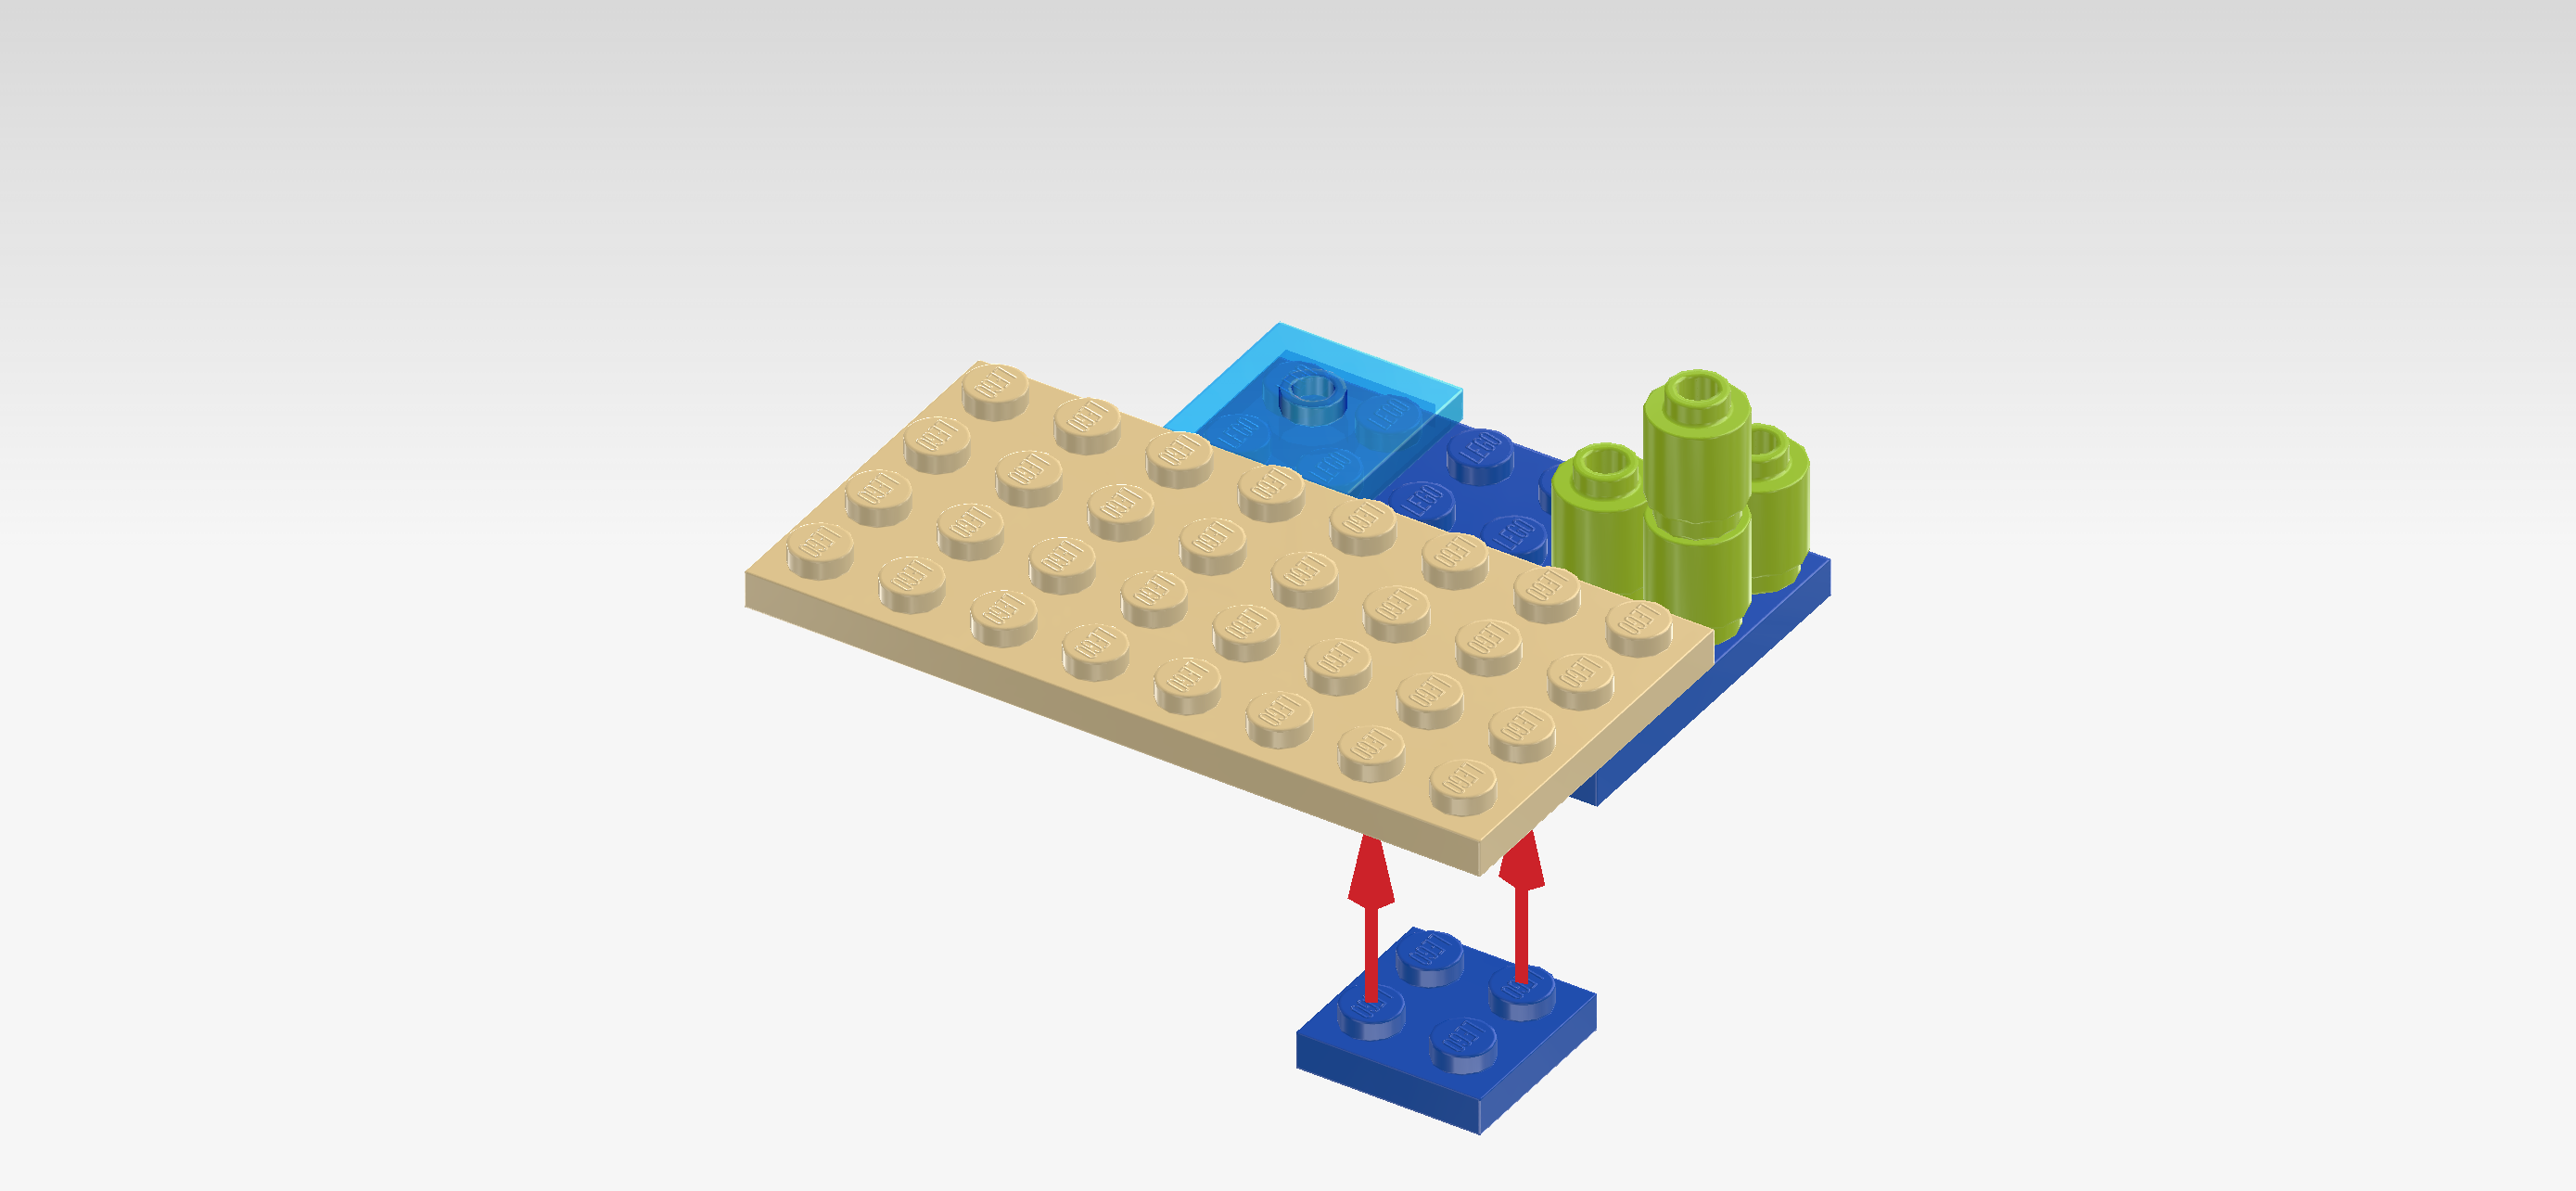
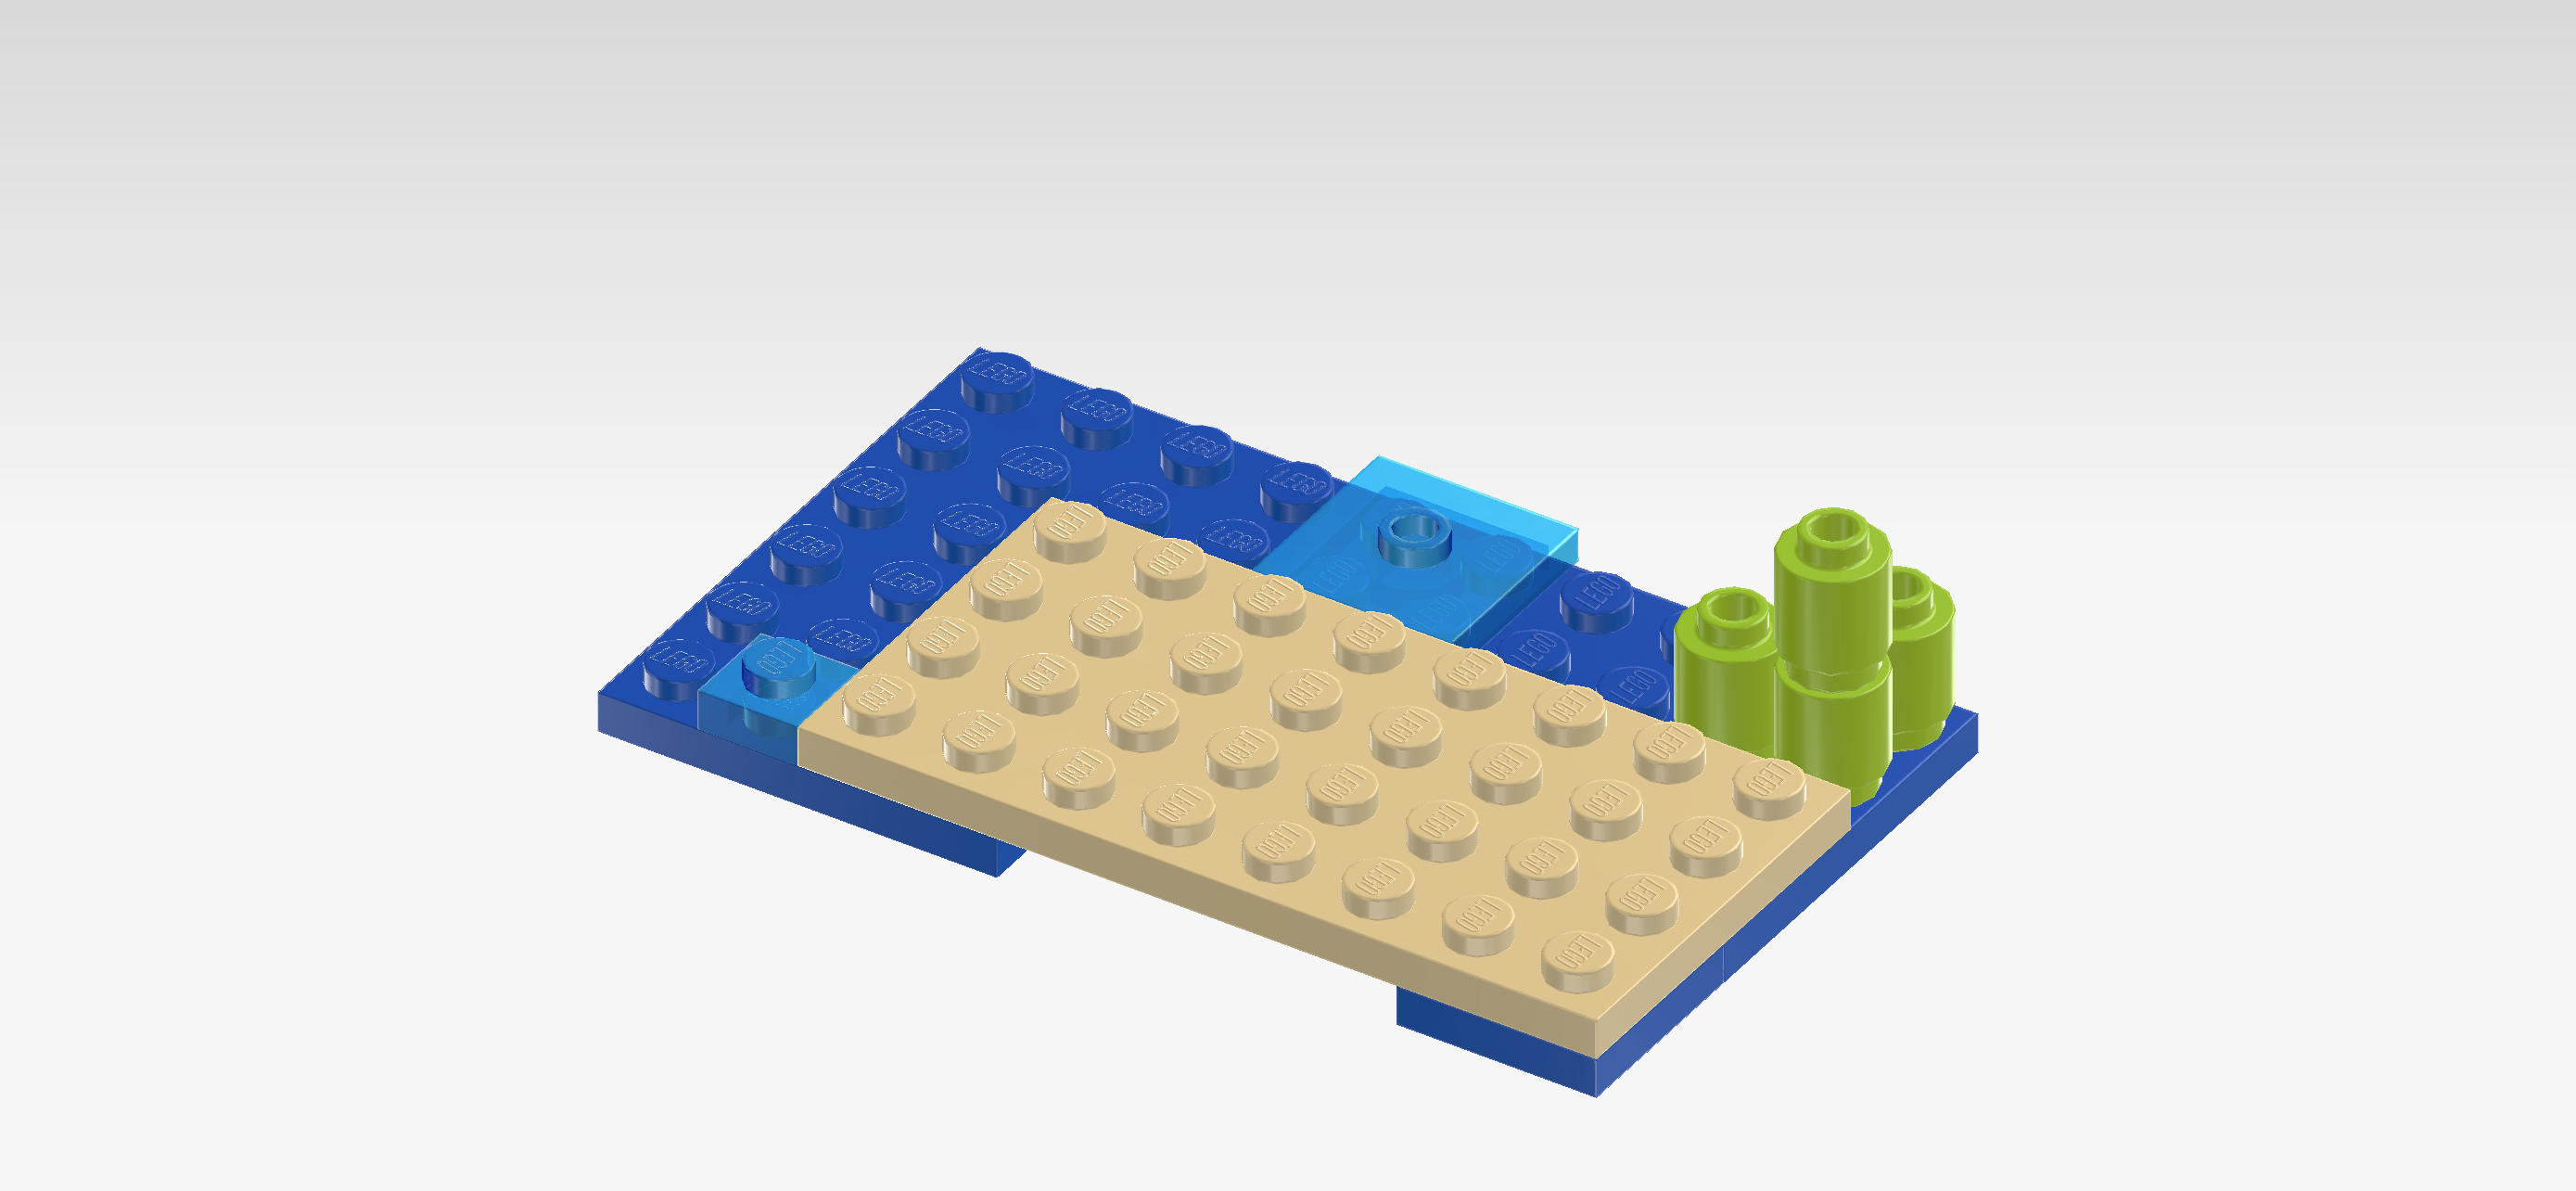
| Next, we will build the beach area with footbridge, turtle egg and sugarcane plant. |
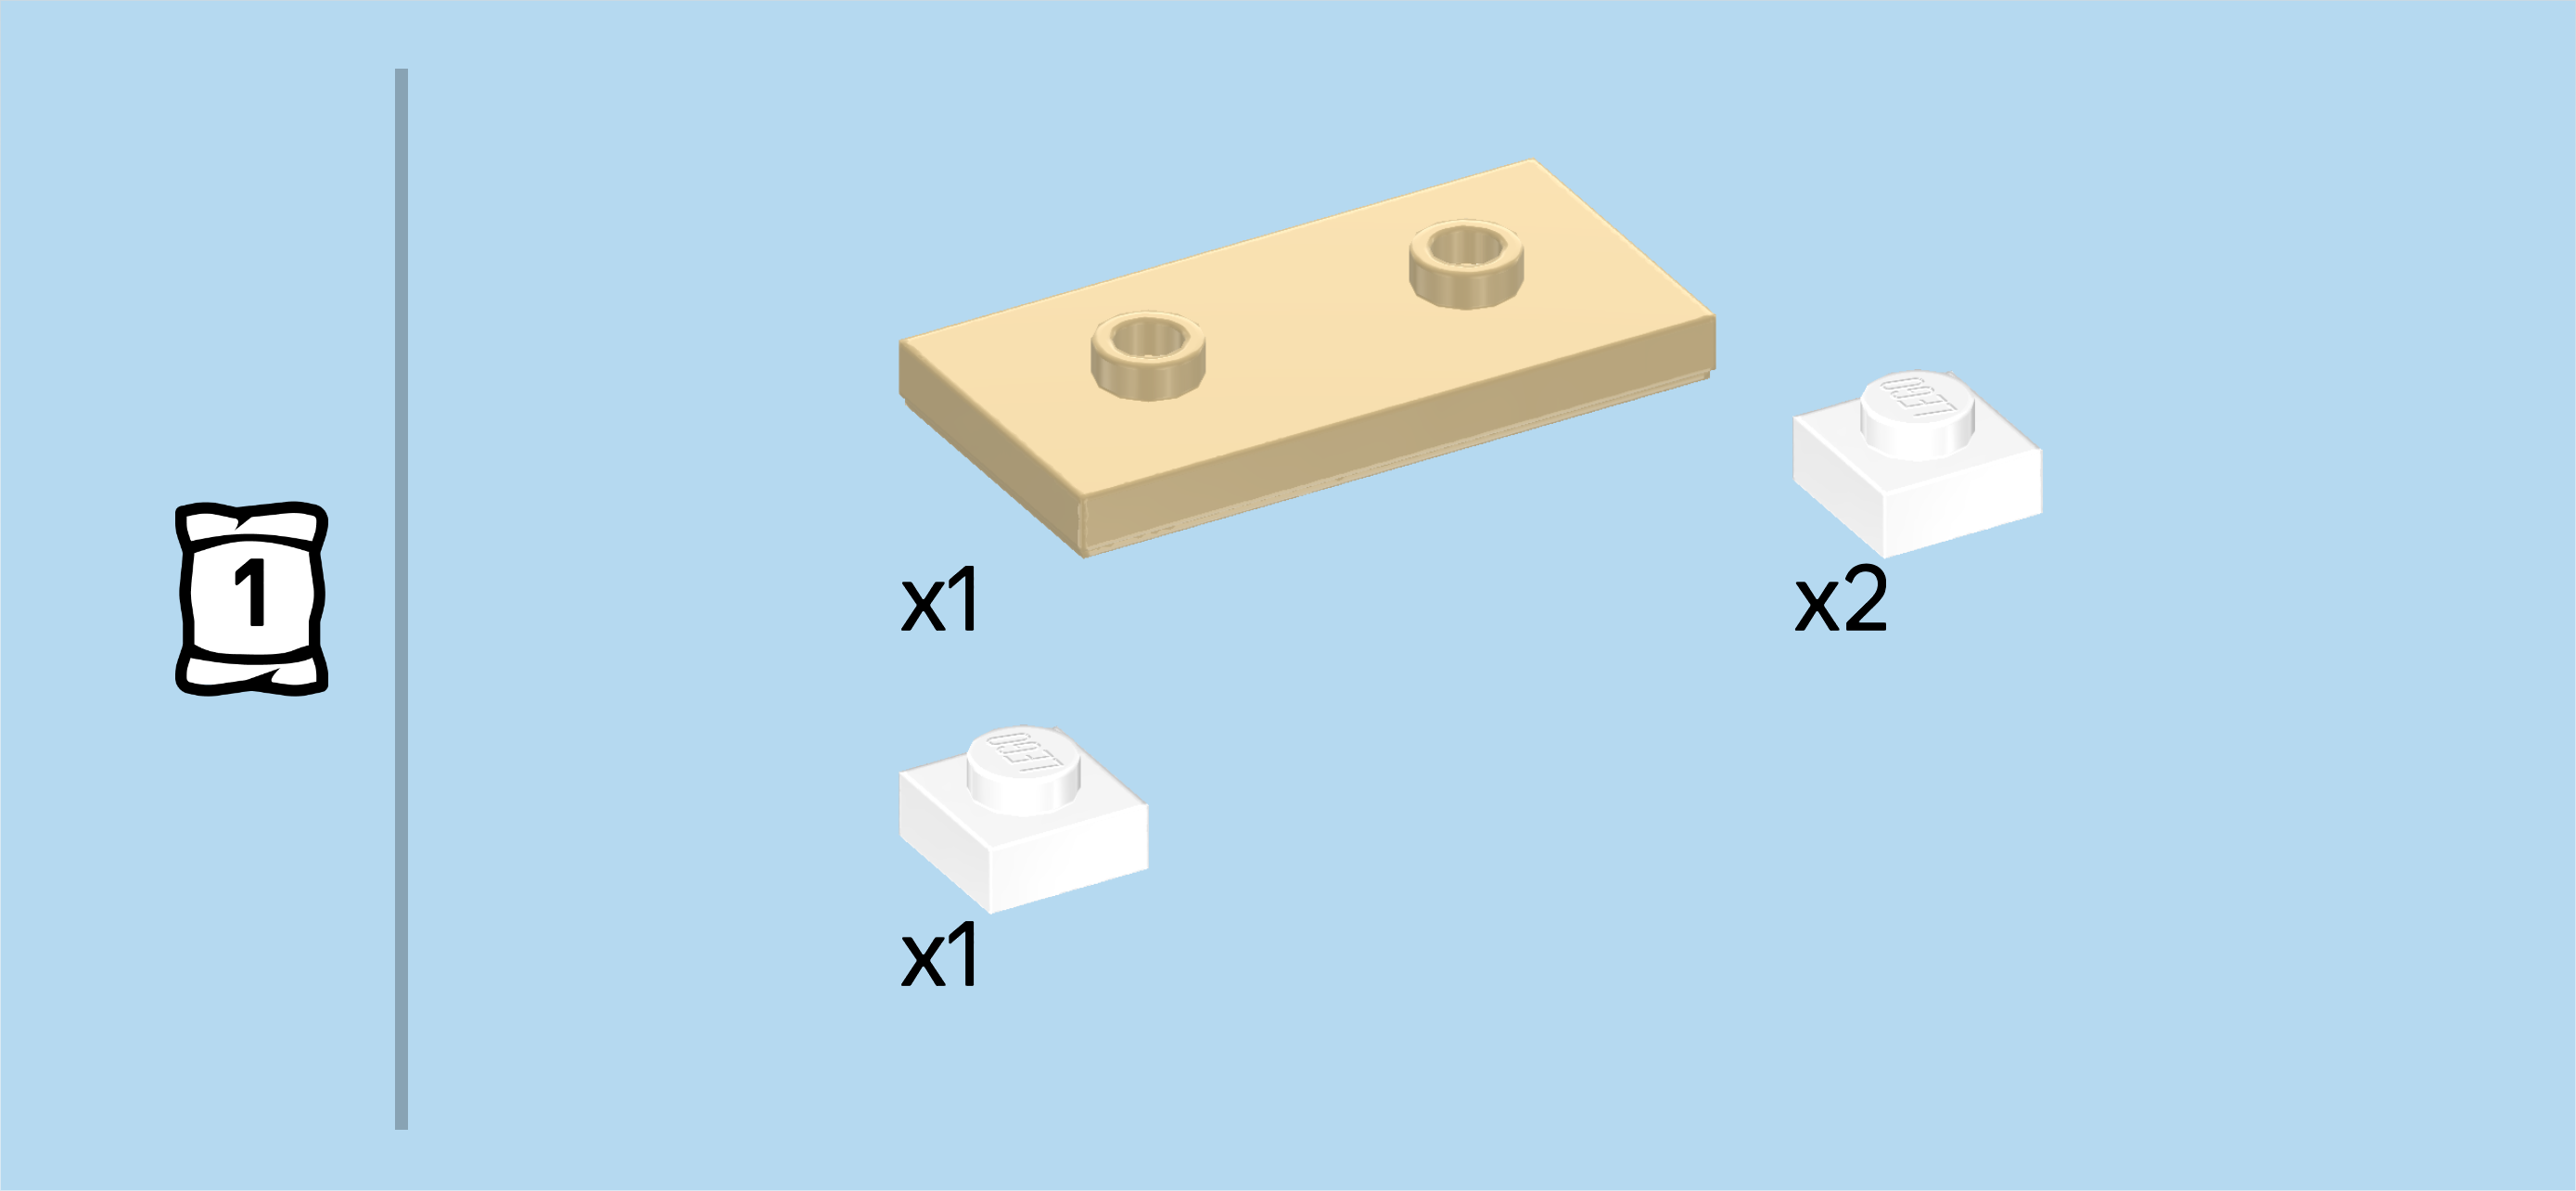
| Collect the following 2 pieces: |
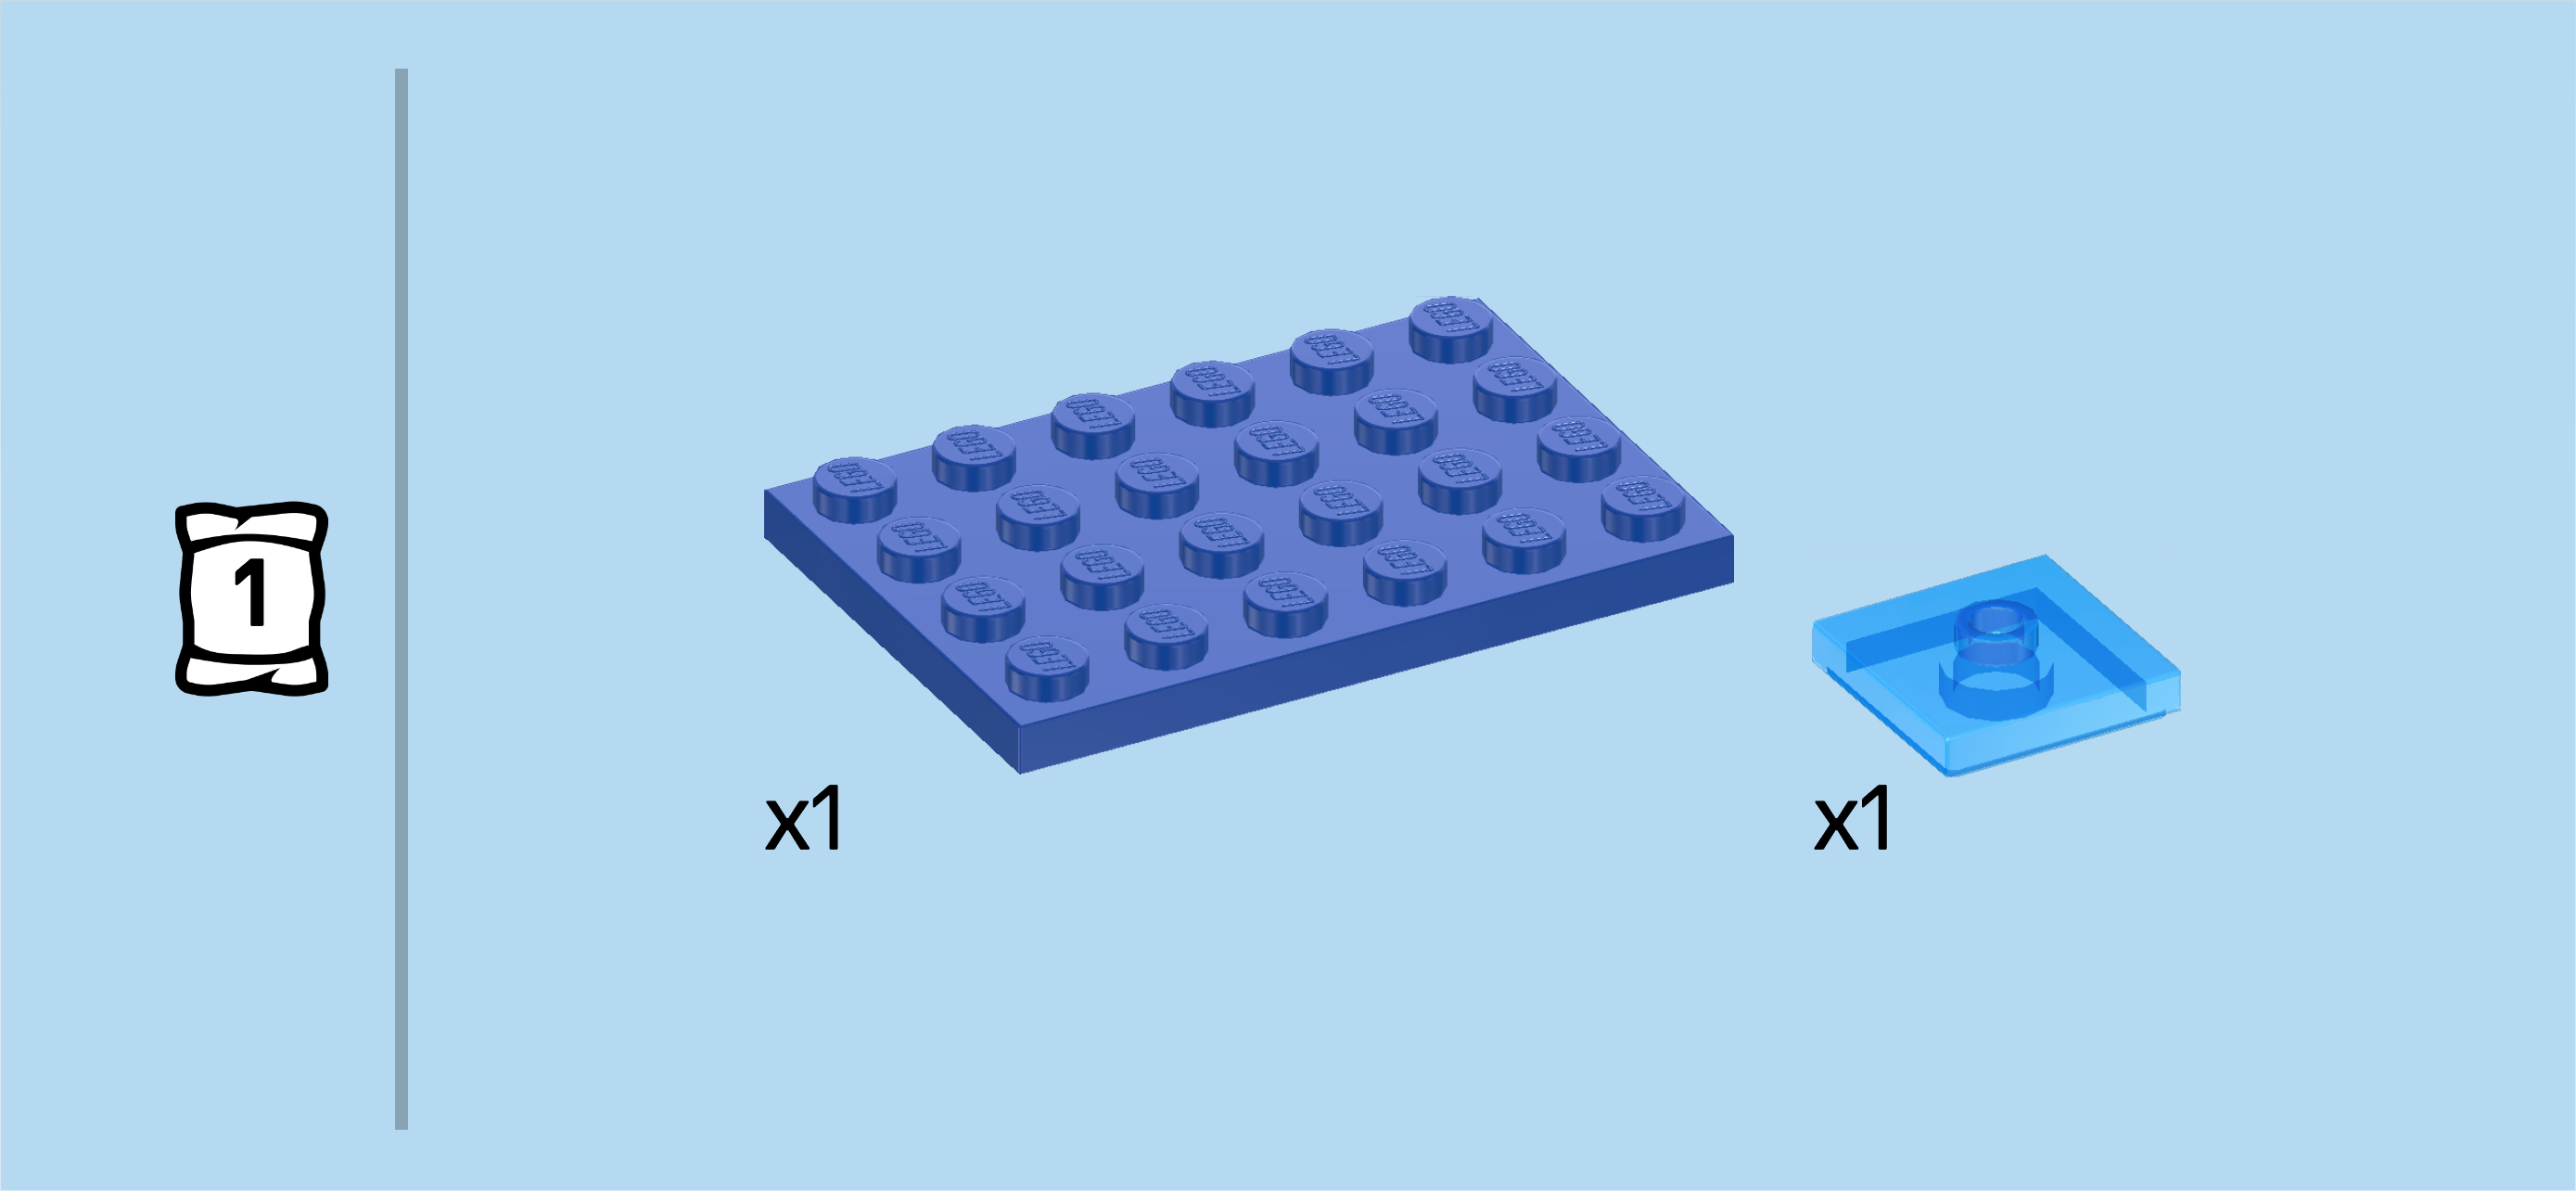
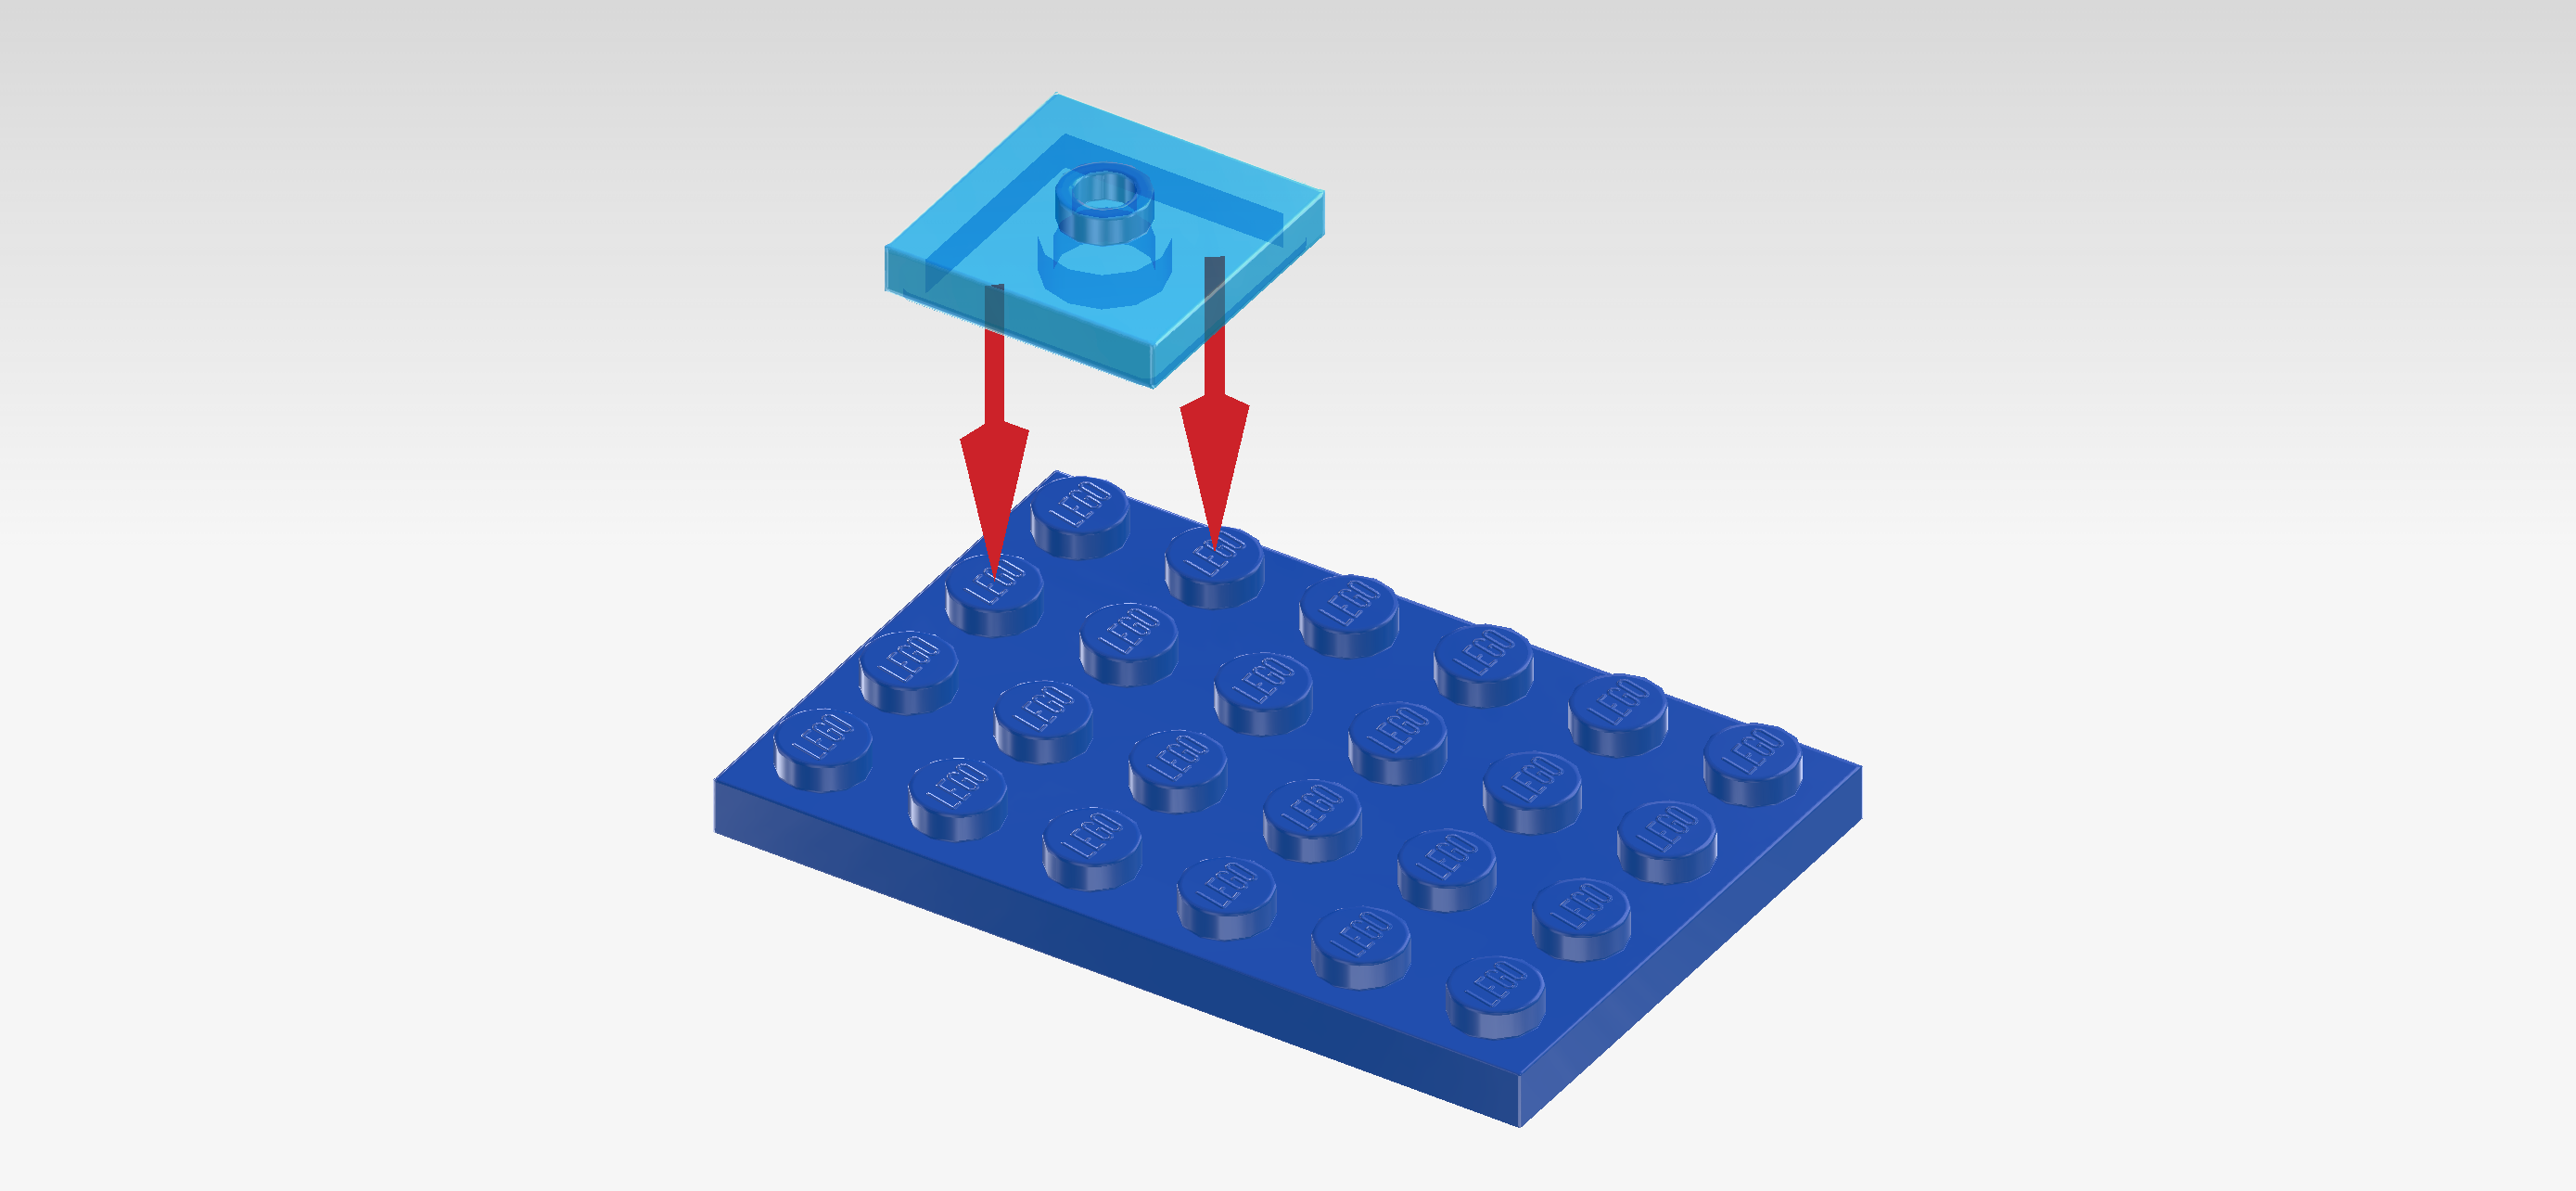
| 1 transparent blue plate 2x2 with 1 knob, |
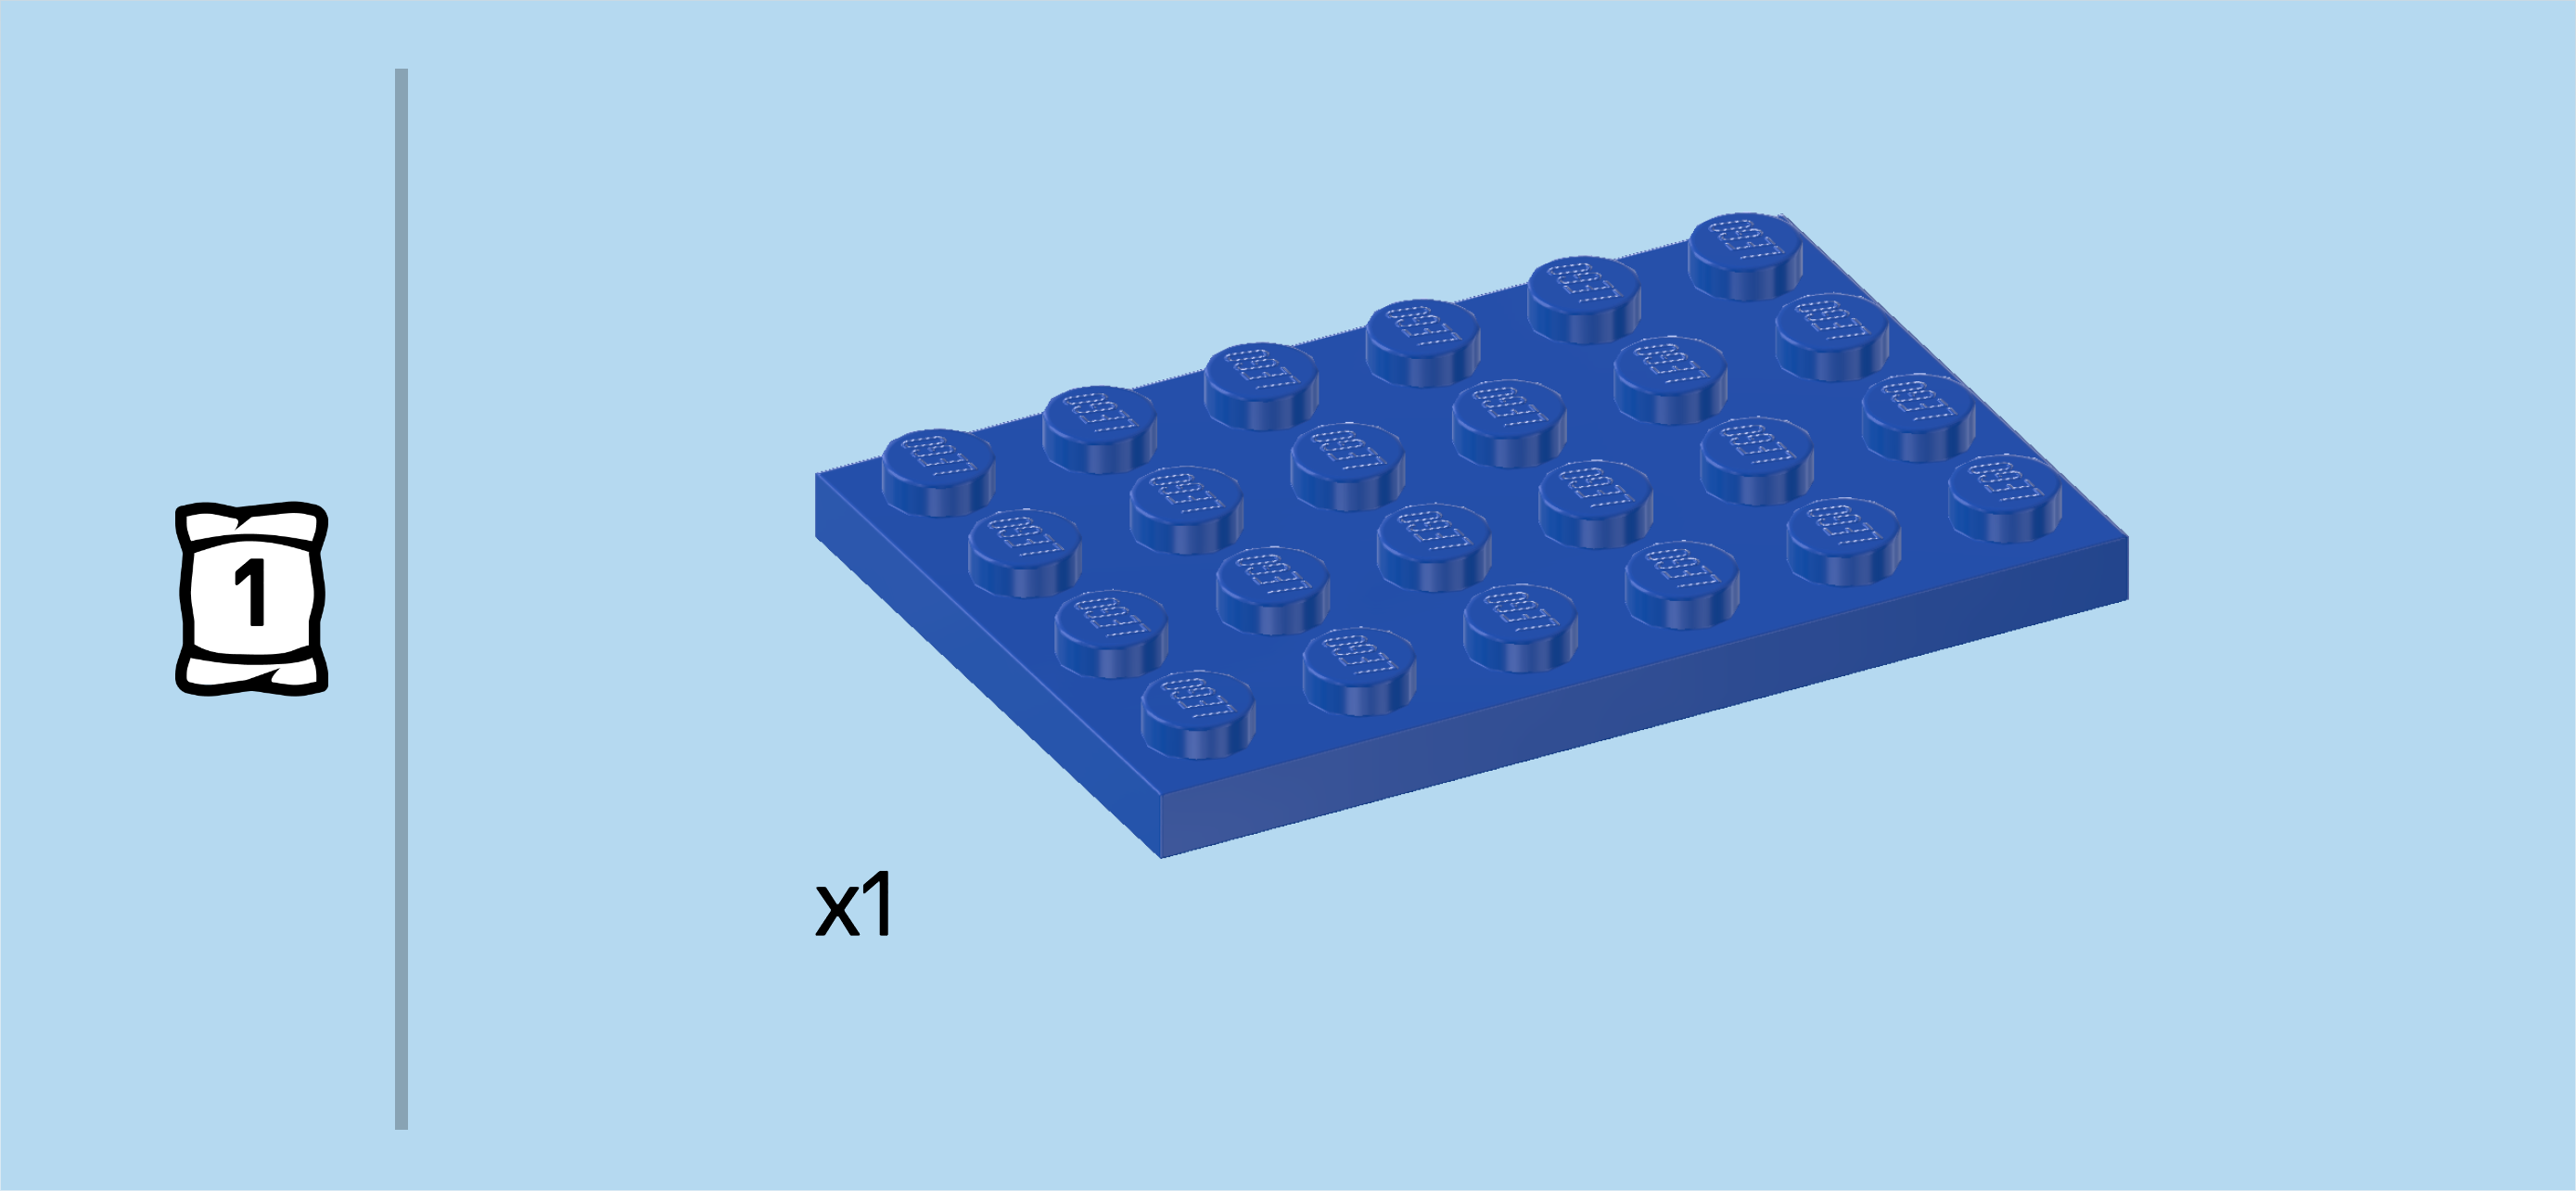
| and 1 bright blue plate 4x6. |
| Put the plate 4x6 horizontally on the table. |
| Put the plate 2x2 in the back left corner of the previous piece. |
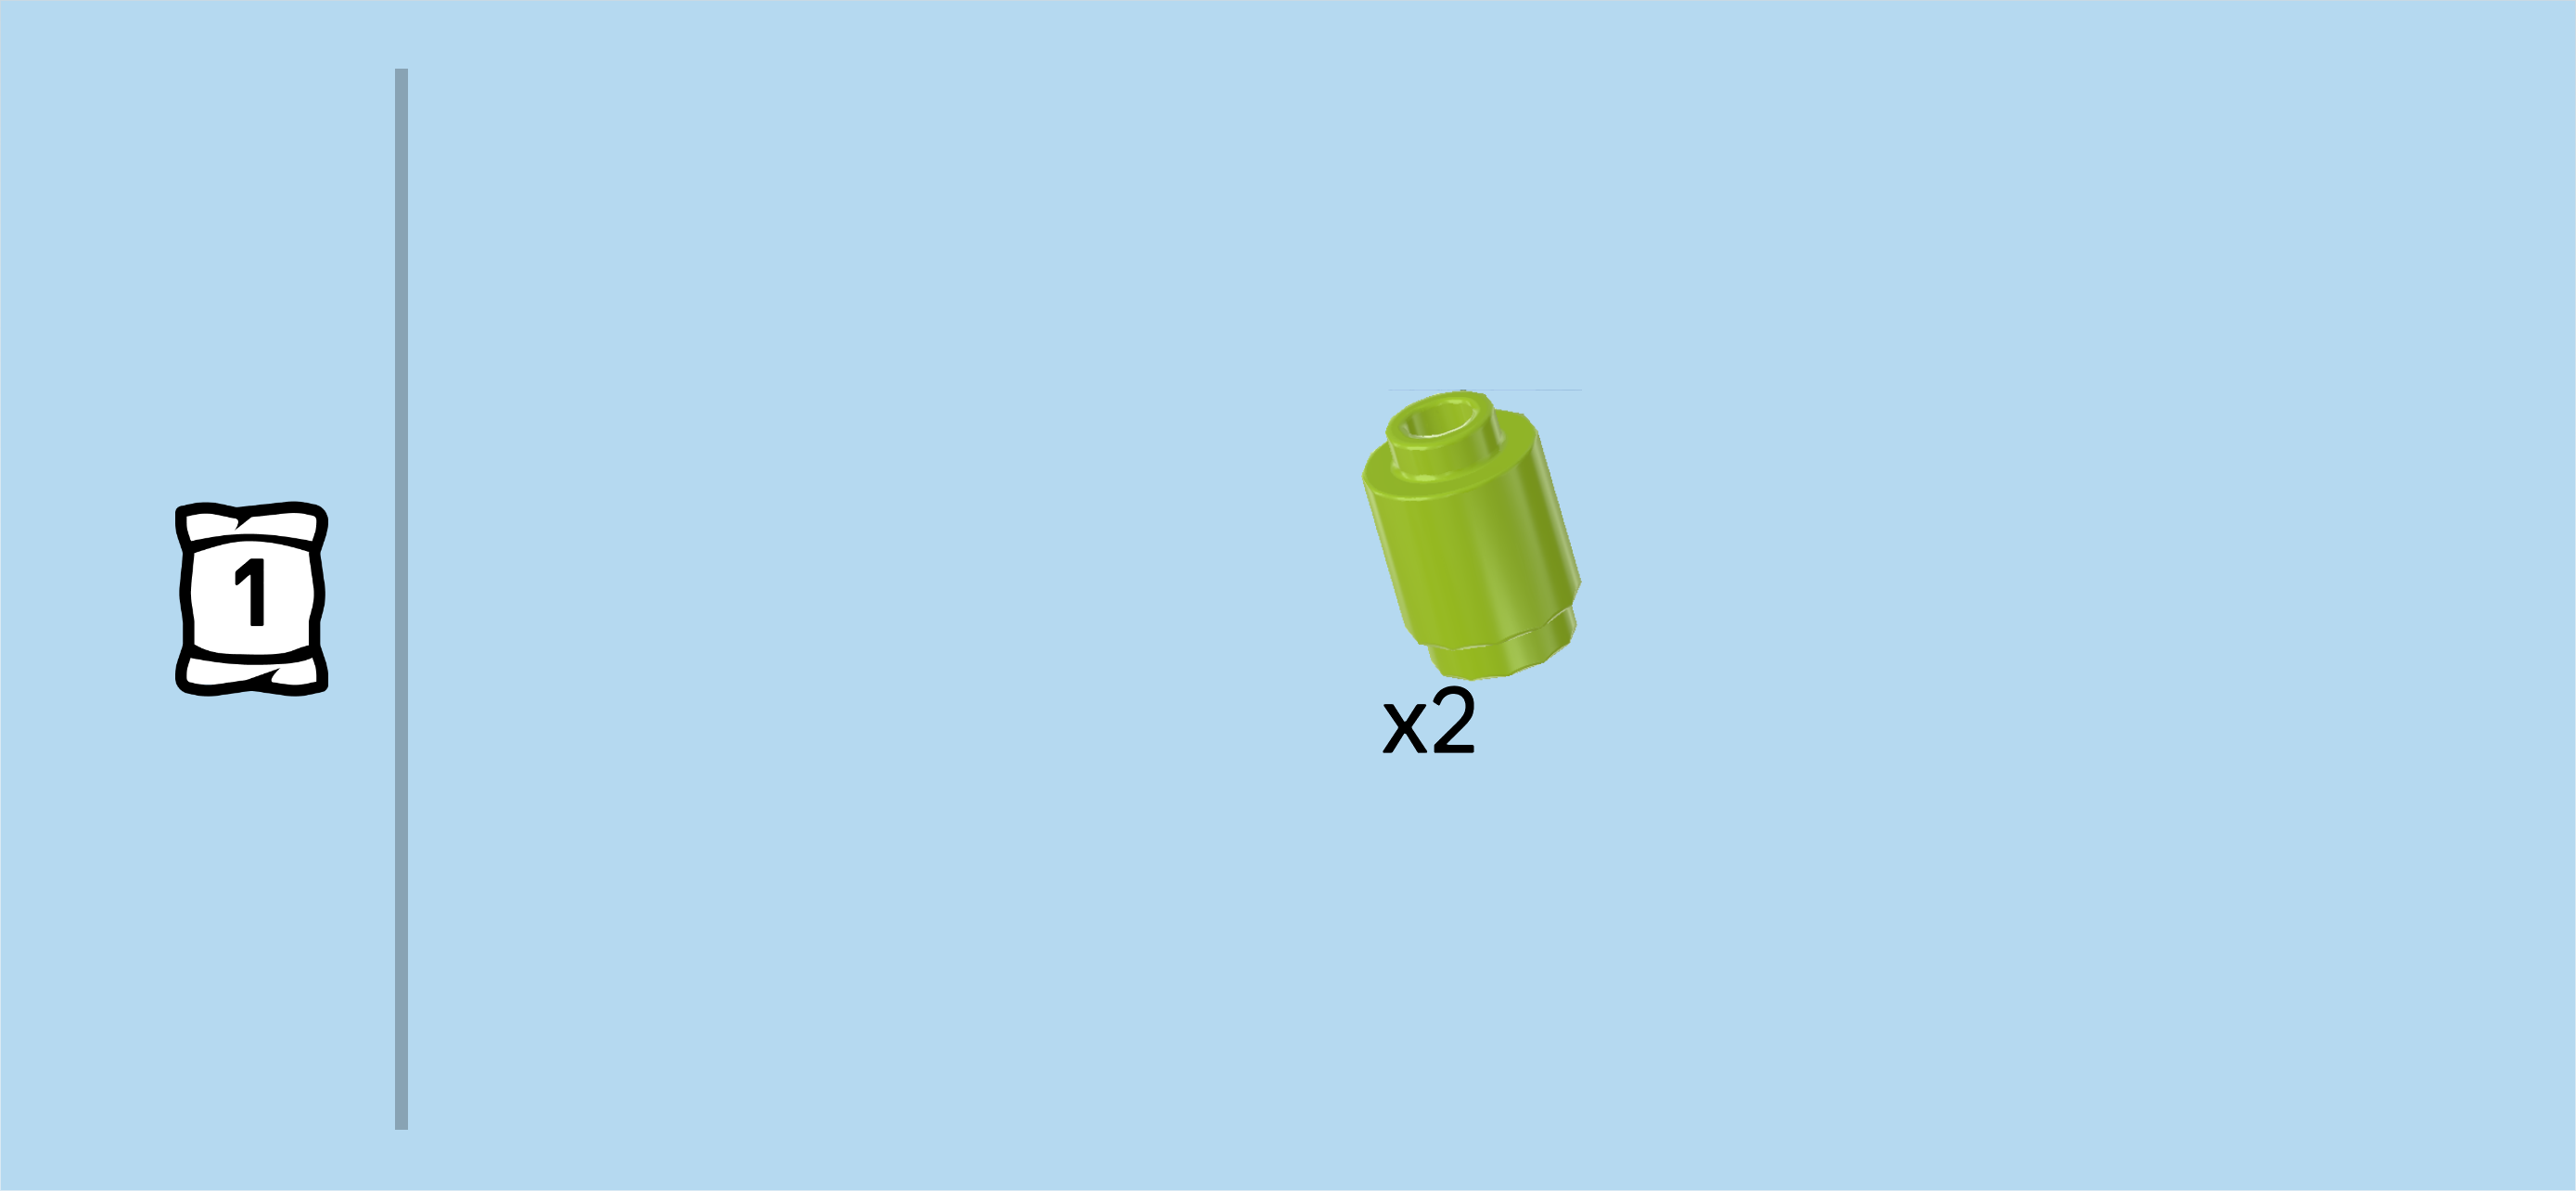
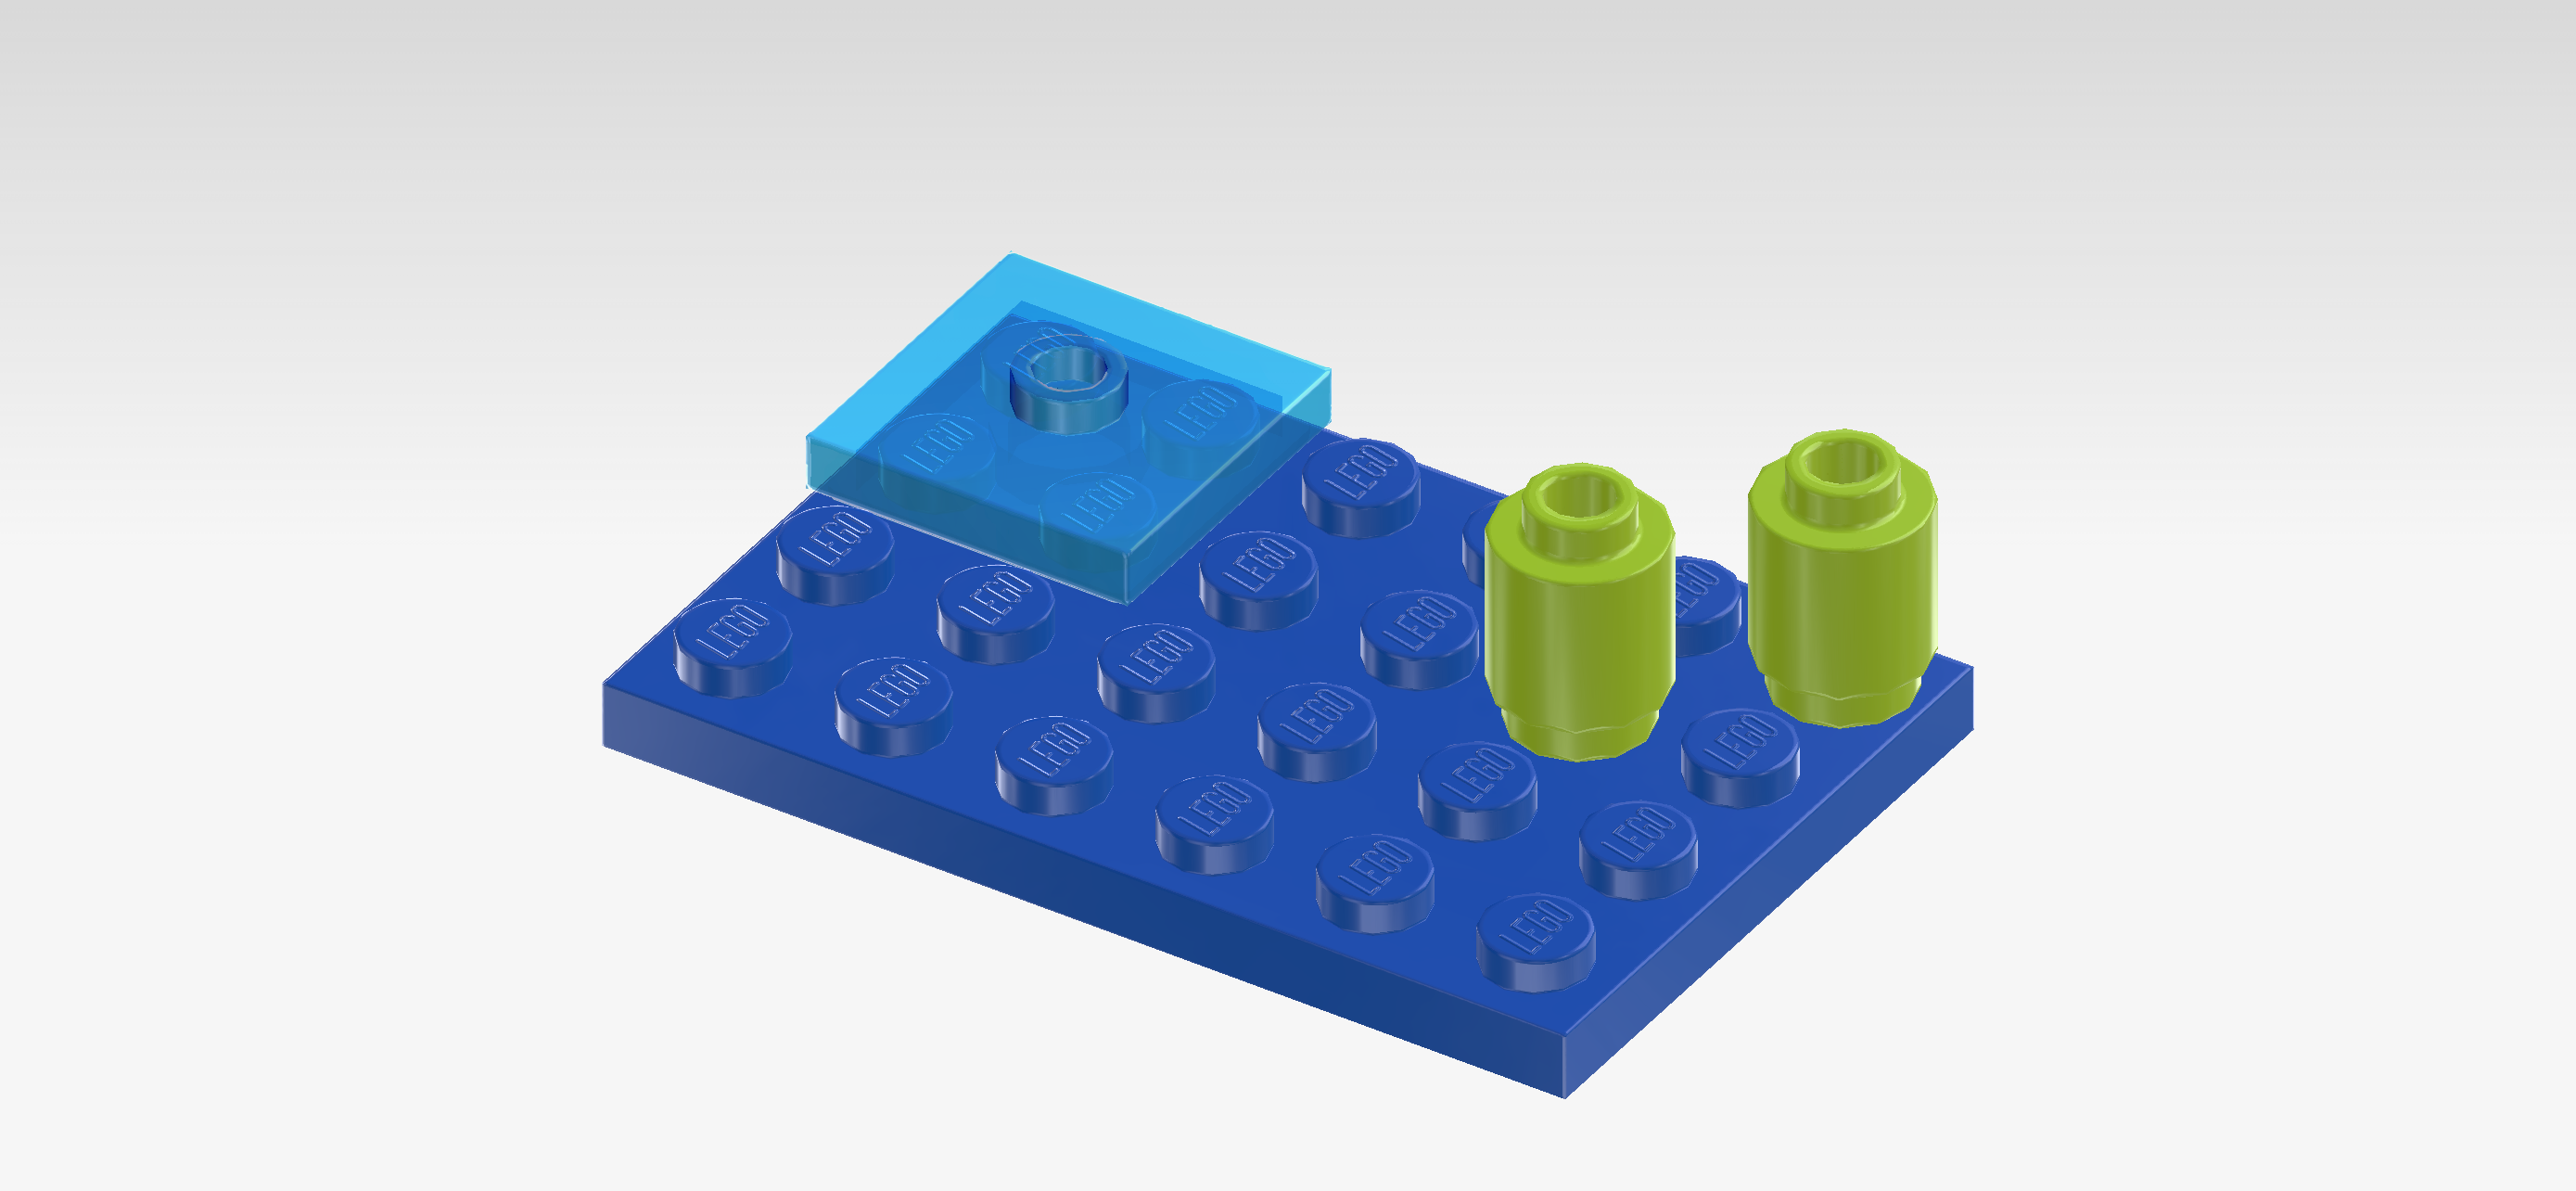
| Find 2 bright yellowish green round bricks 1x1. |
| Put 1 in the back right corner. |
| Put the other one diagonally in front of the previous piece. This means it will sit on the second column from the right on its third knob from the front. |
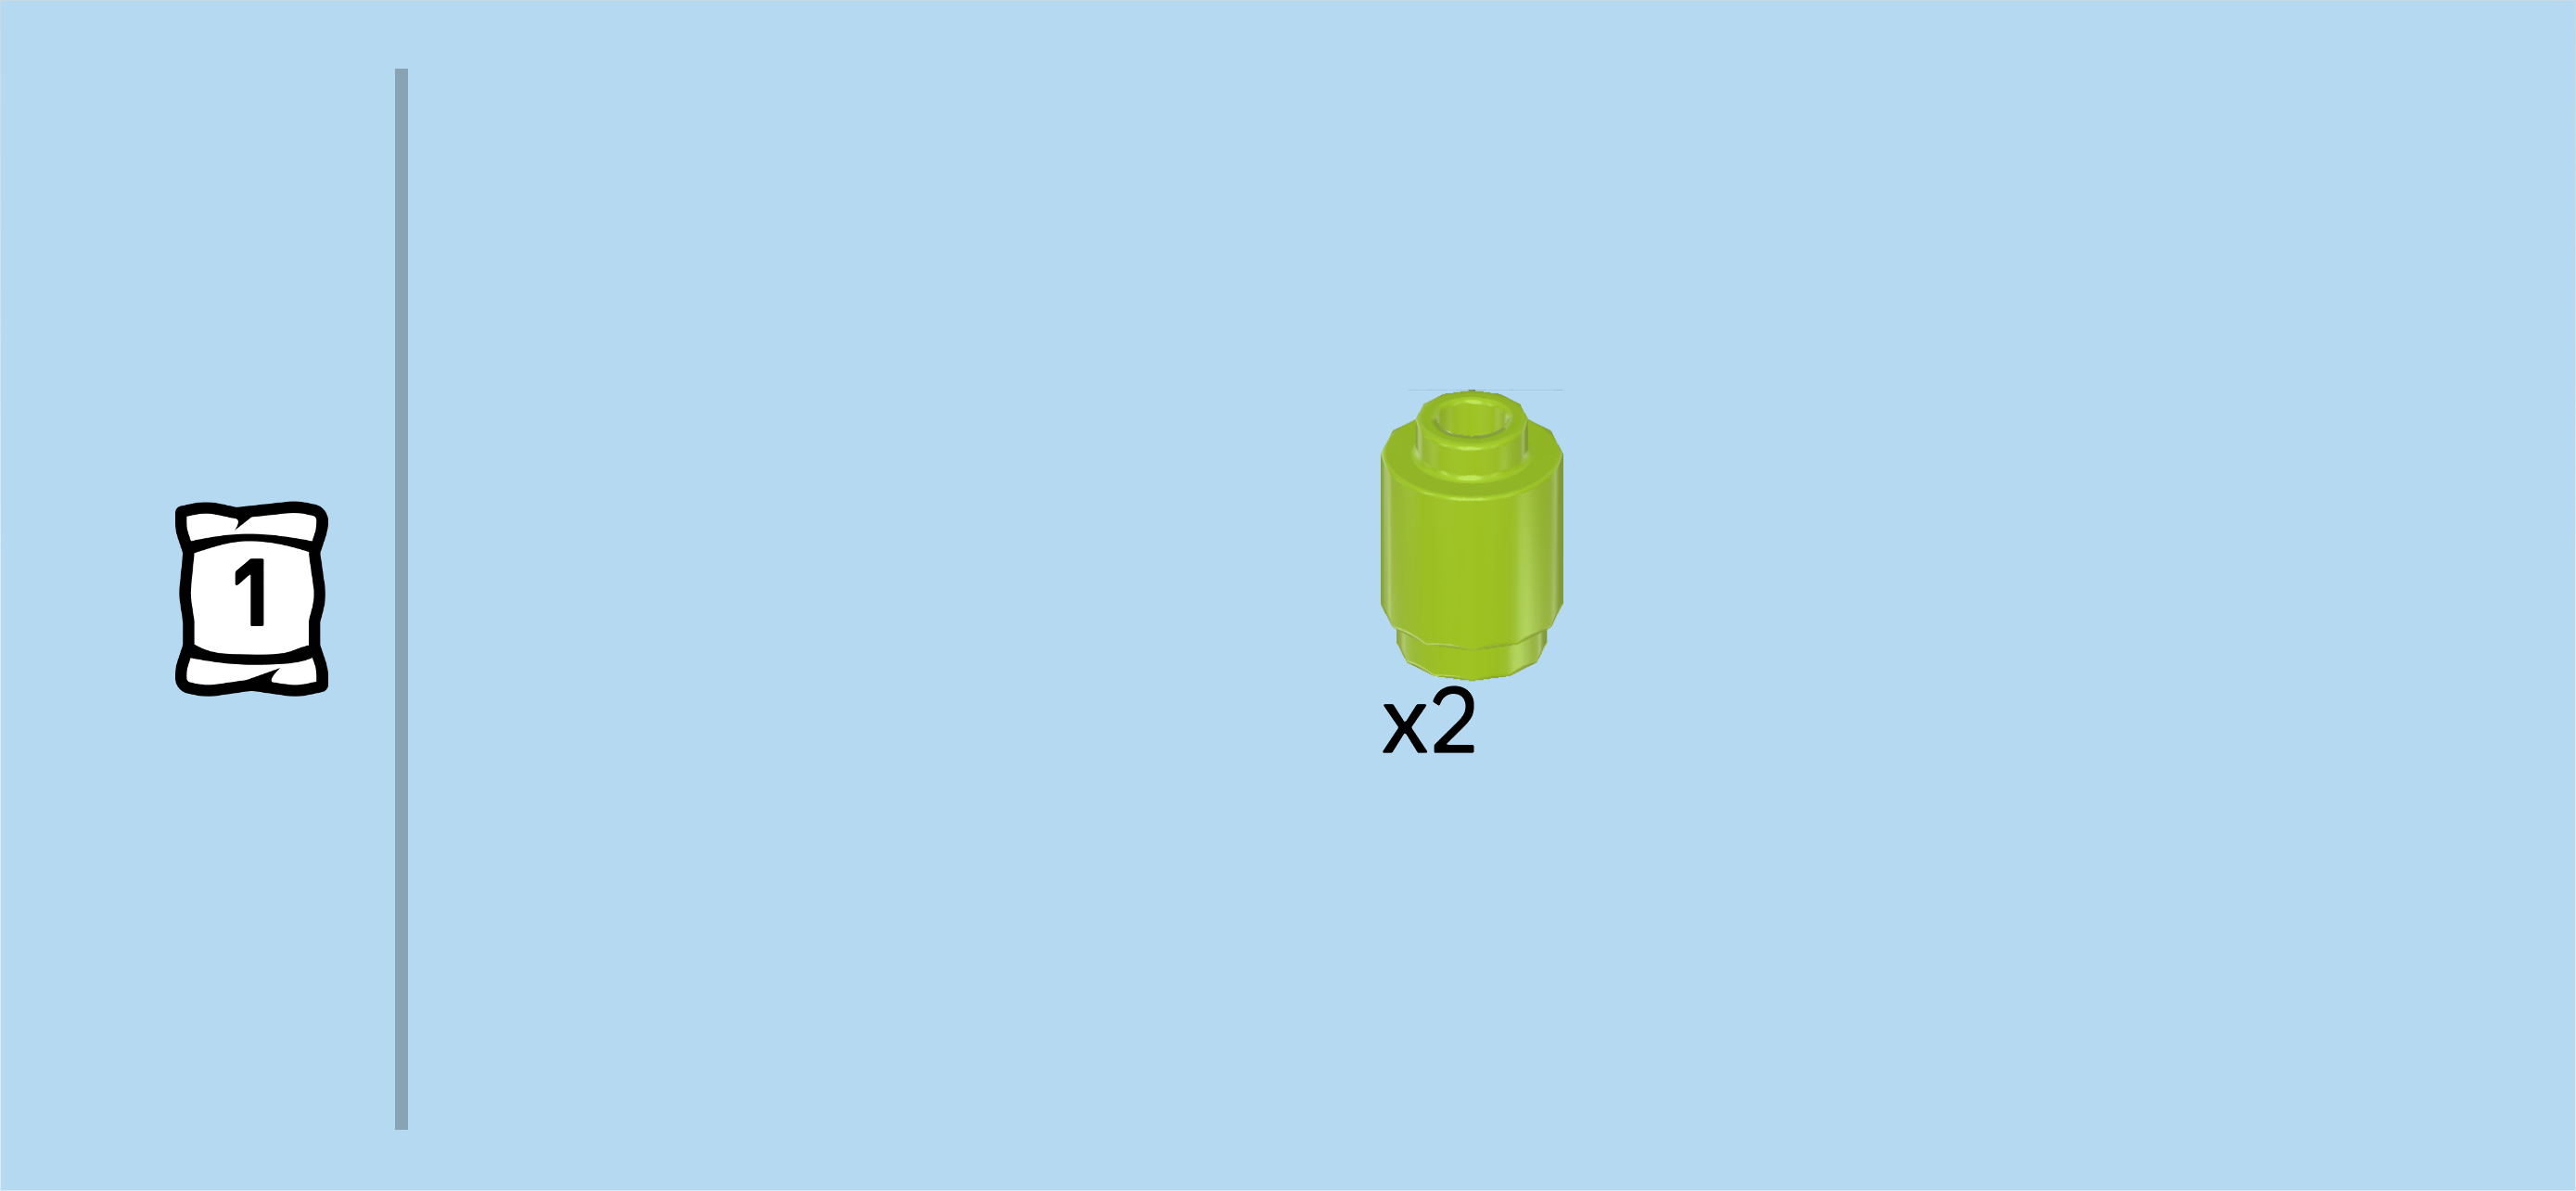
| Find 2 bright yellowish green round bricks 1x1. |
| Stack them on top of each other. |
| Mount the stack to the right of the previous piece. This means it will sit on the rightmost column on its third knob from the front. |
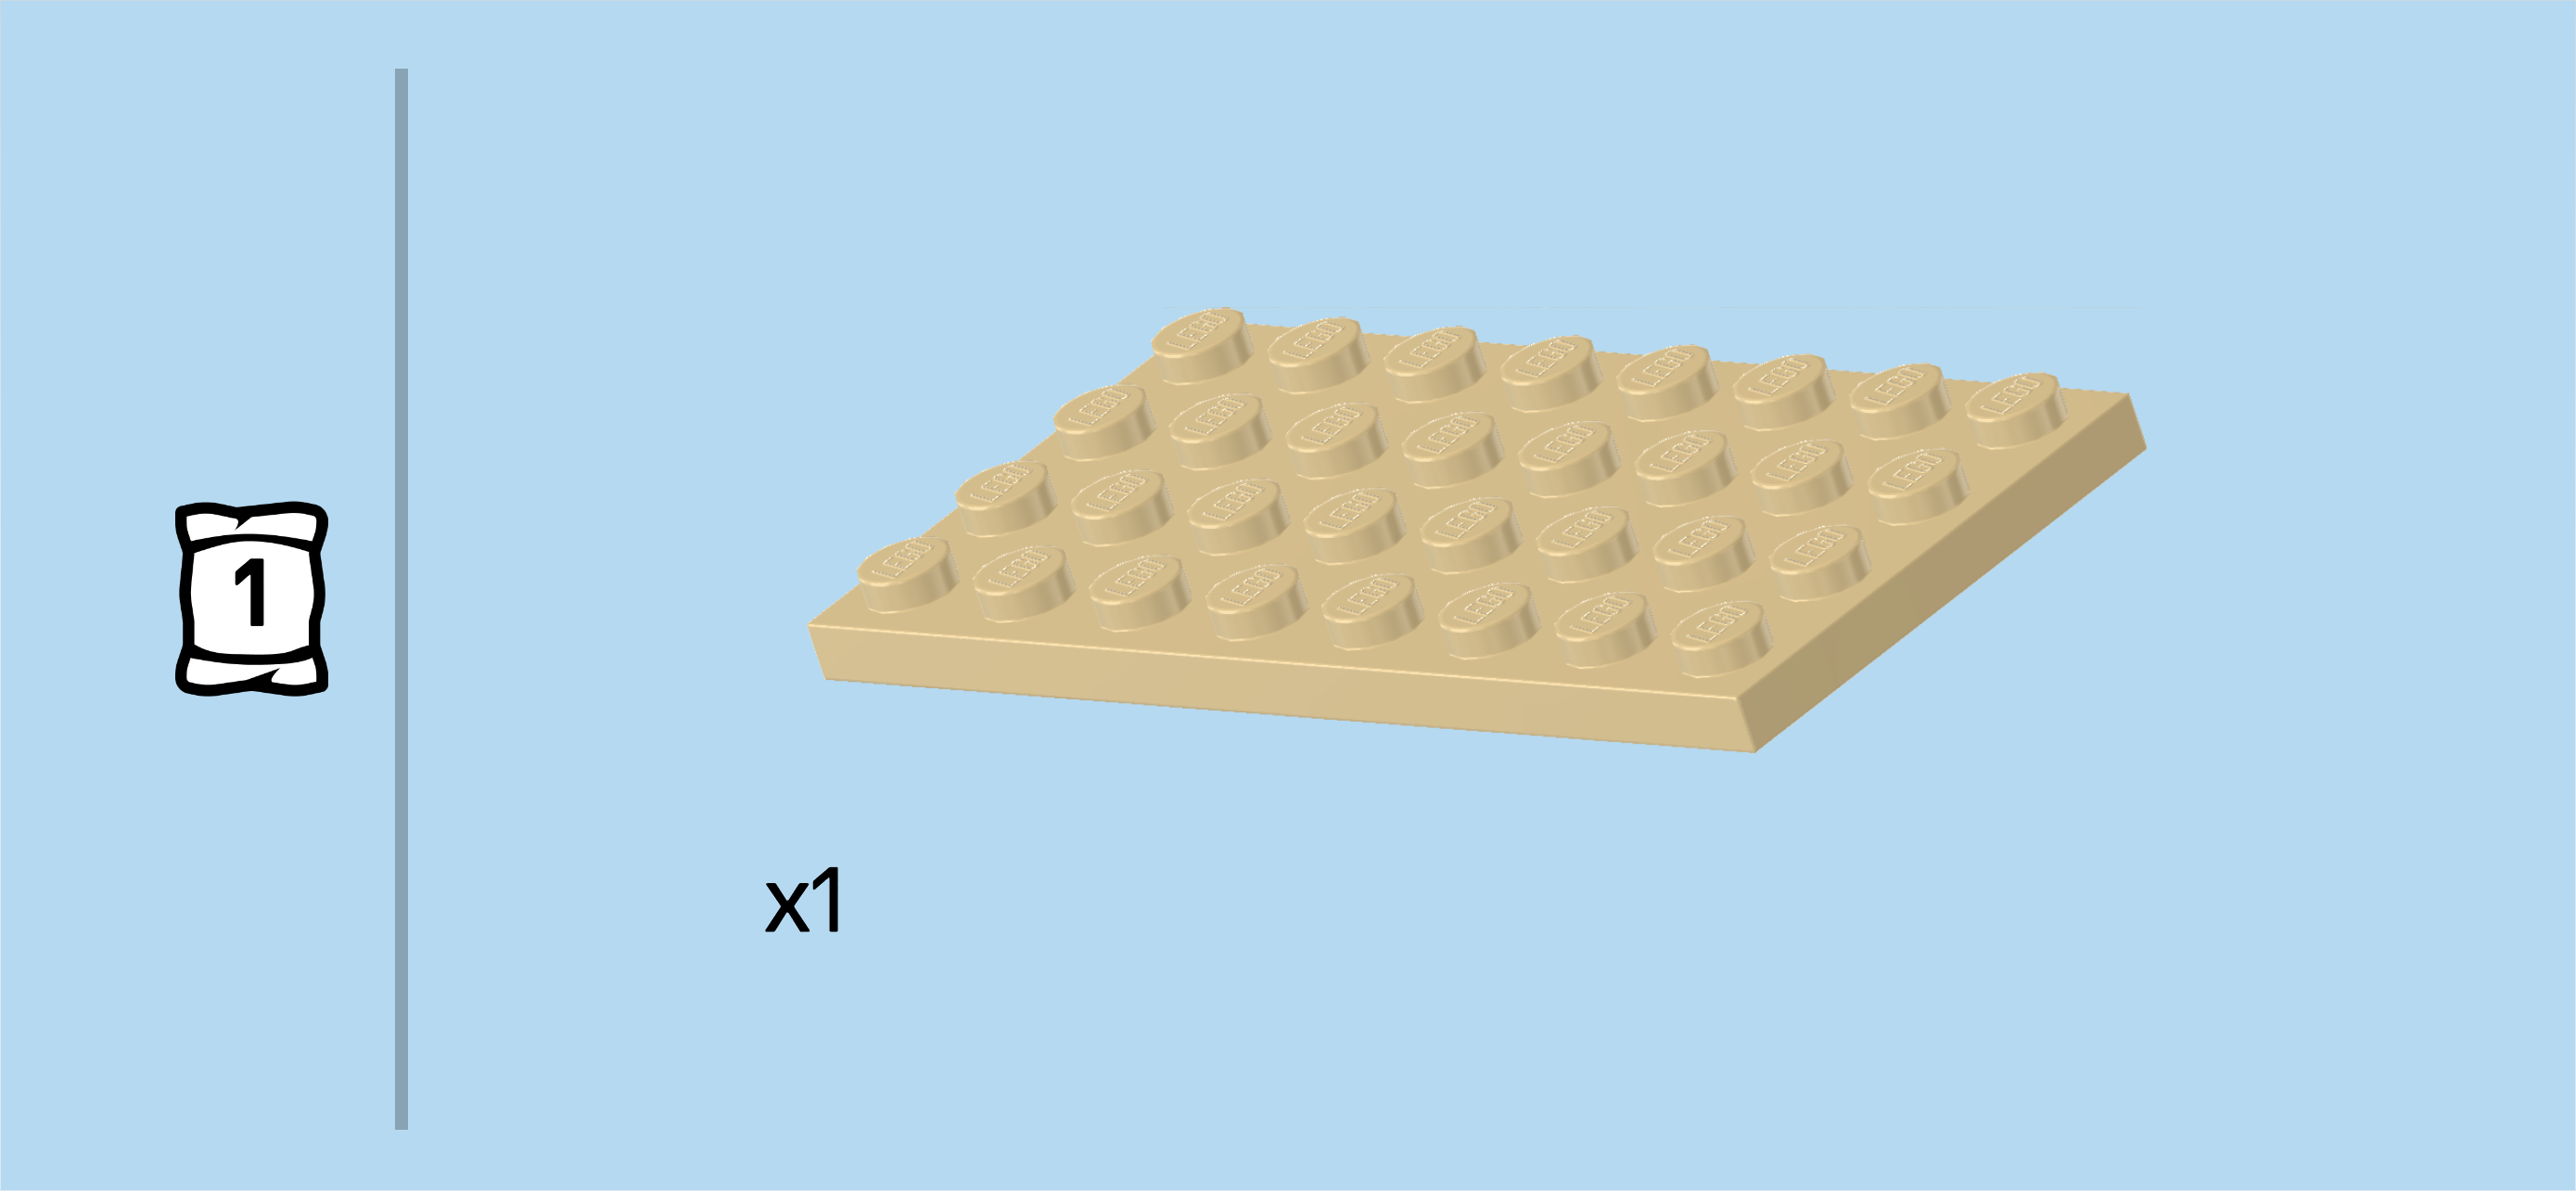
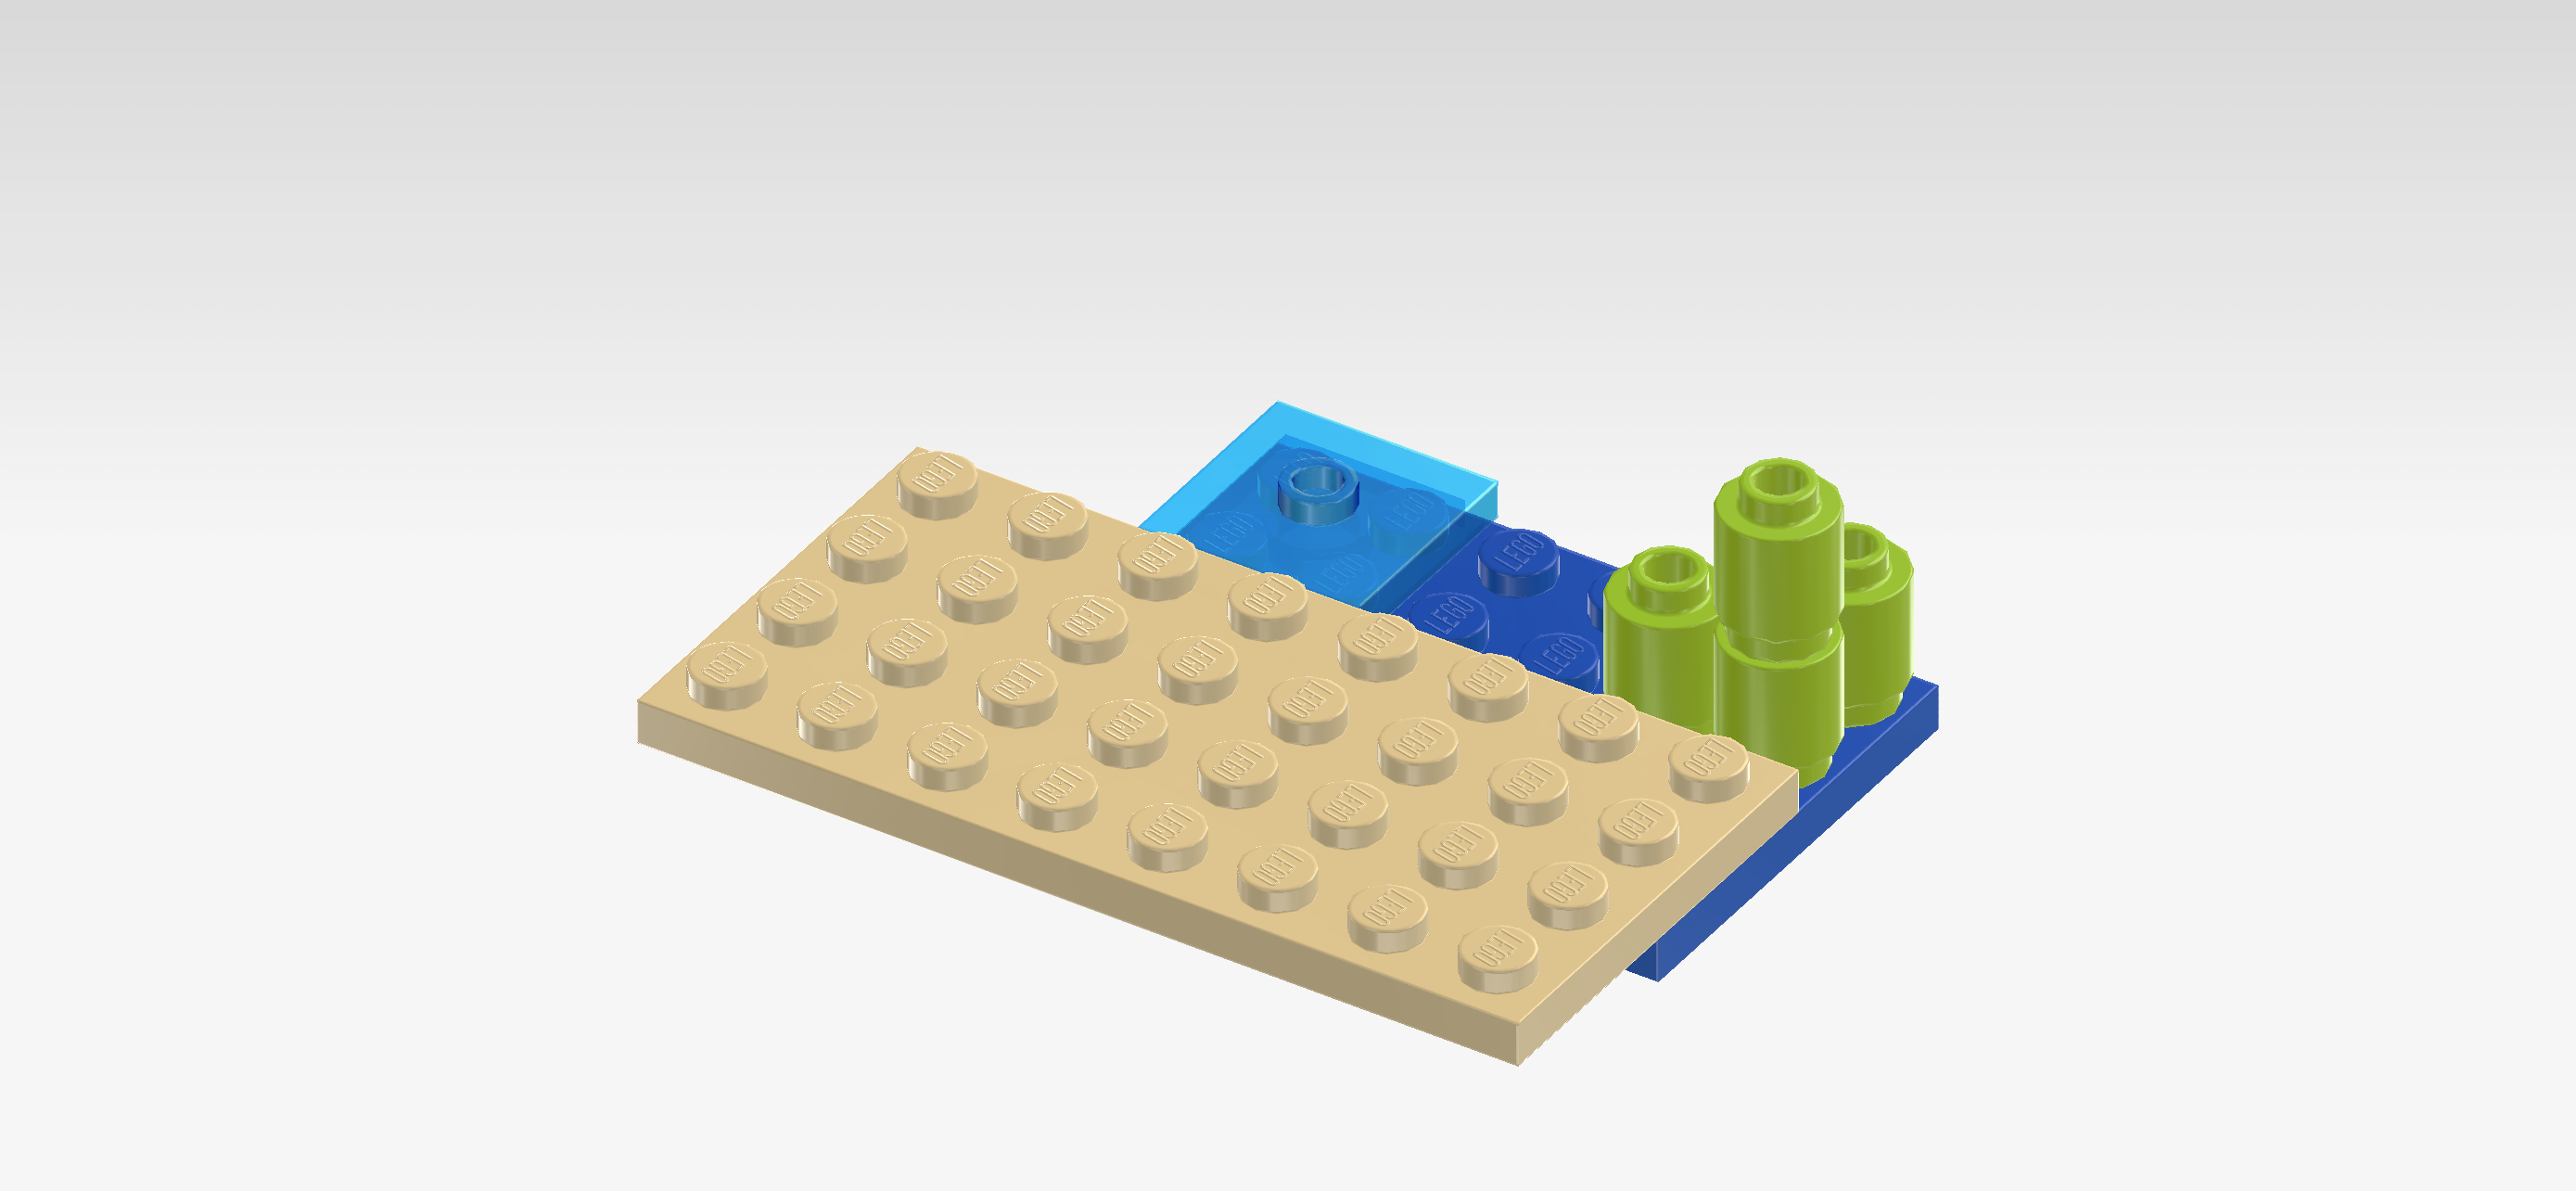
| Find 1 pale ocher yellow plate 4x8. |
| Put it horizontally on the 2 frontmost rows, 2 columns overhanging to the left, 2 rows overhanging to the front. |
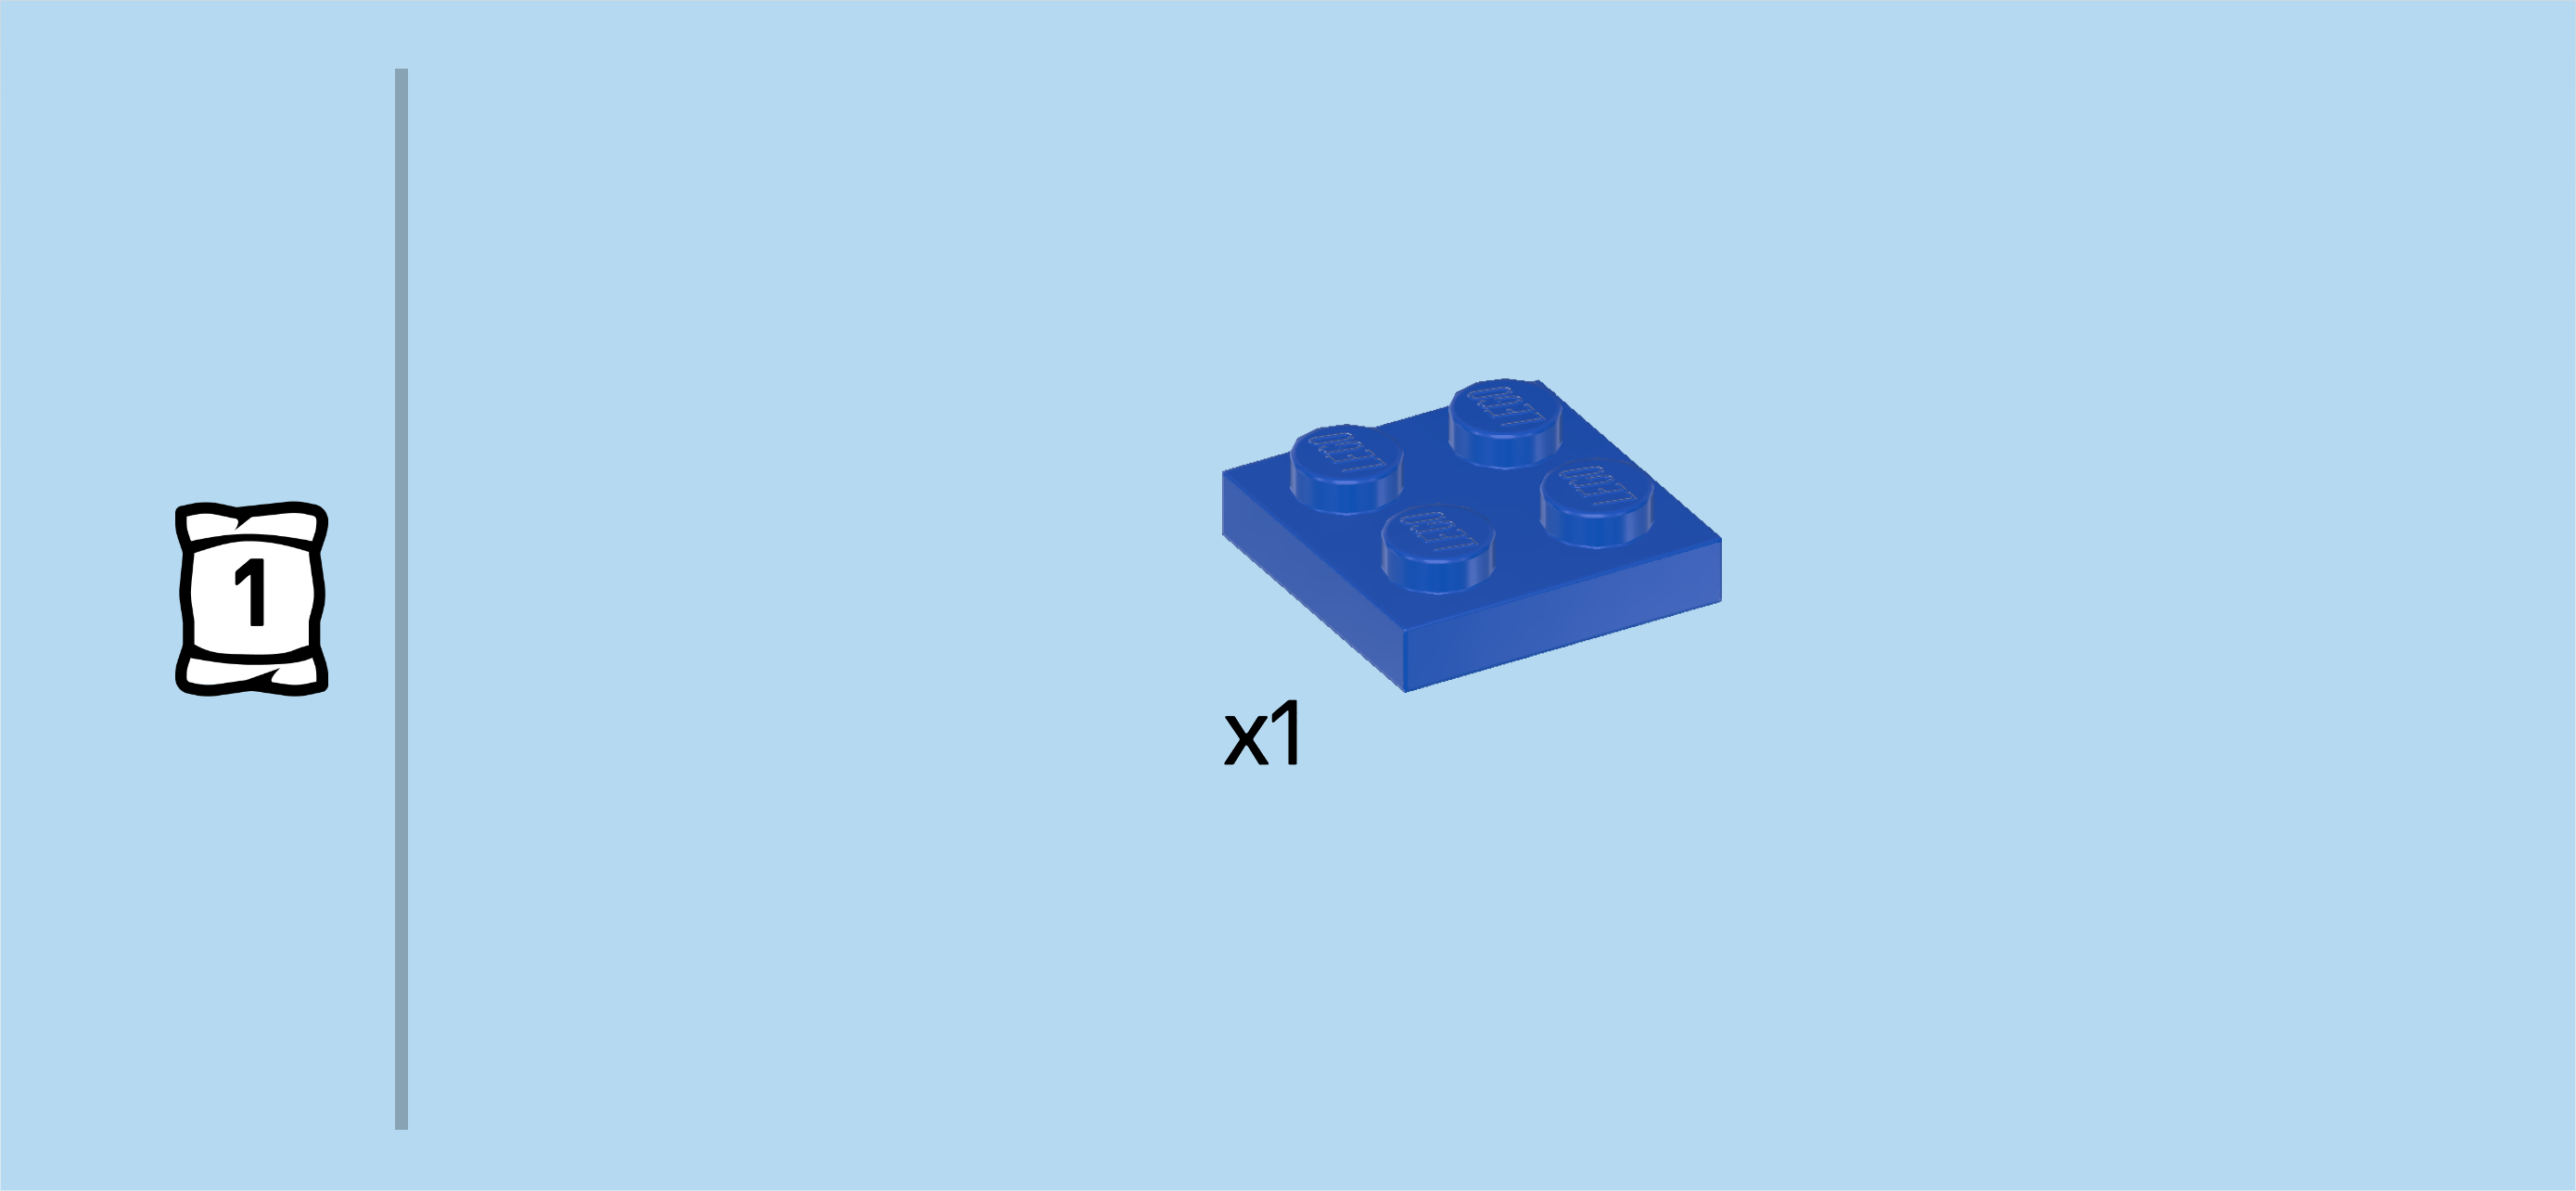
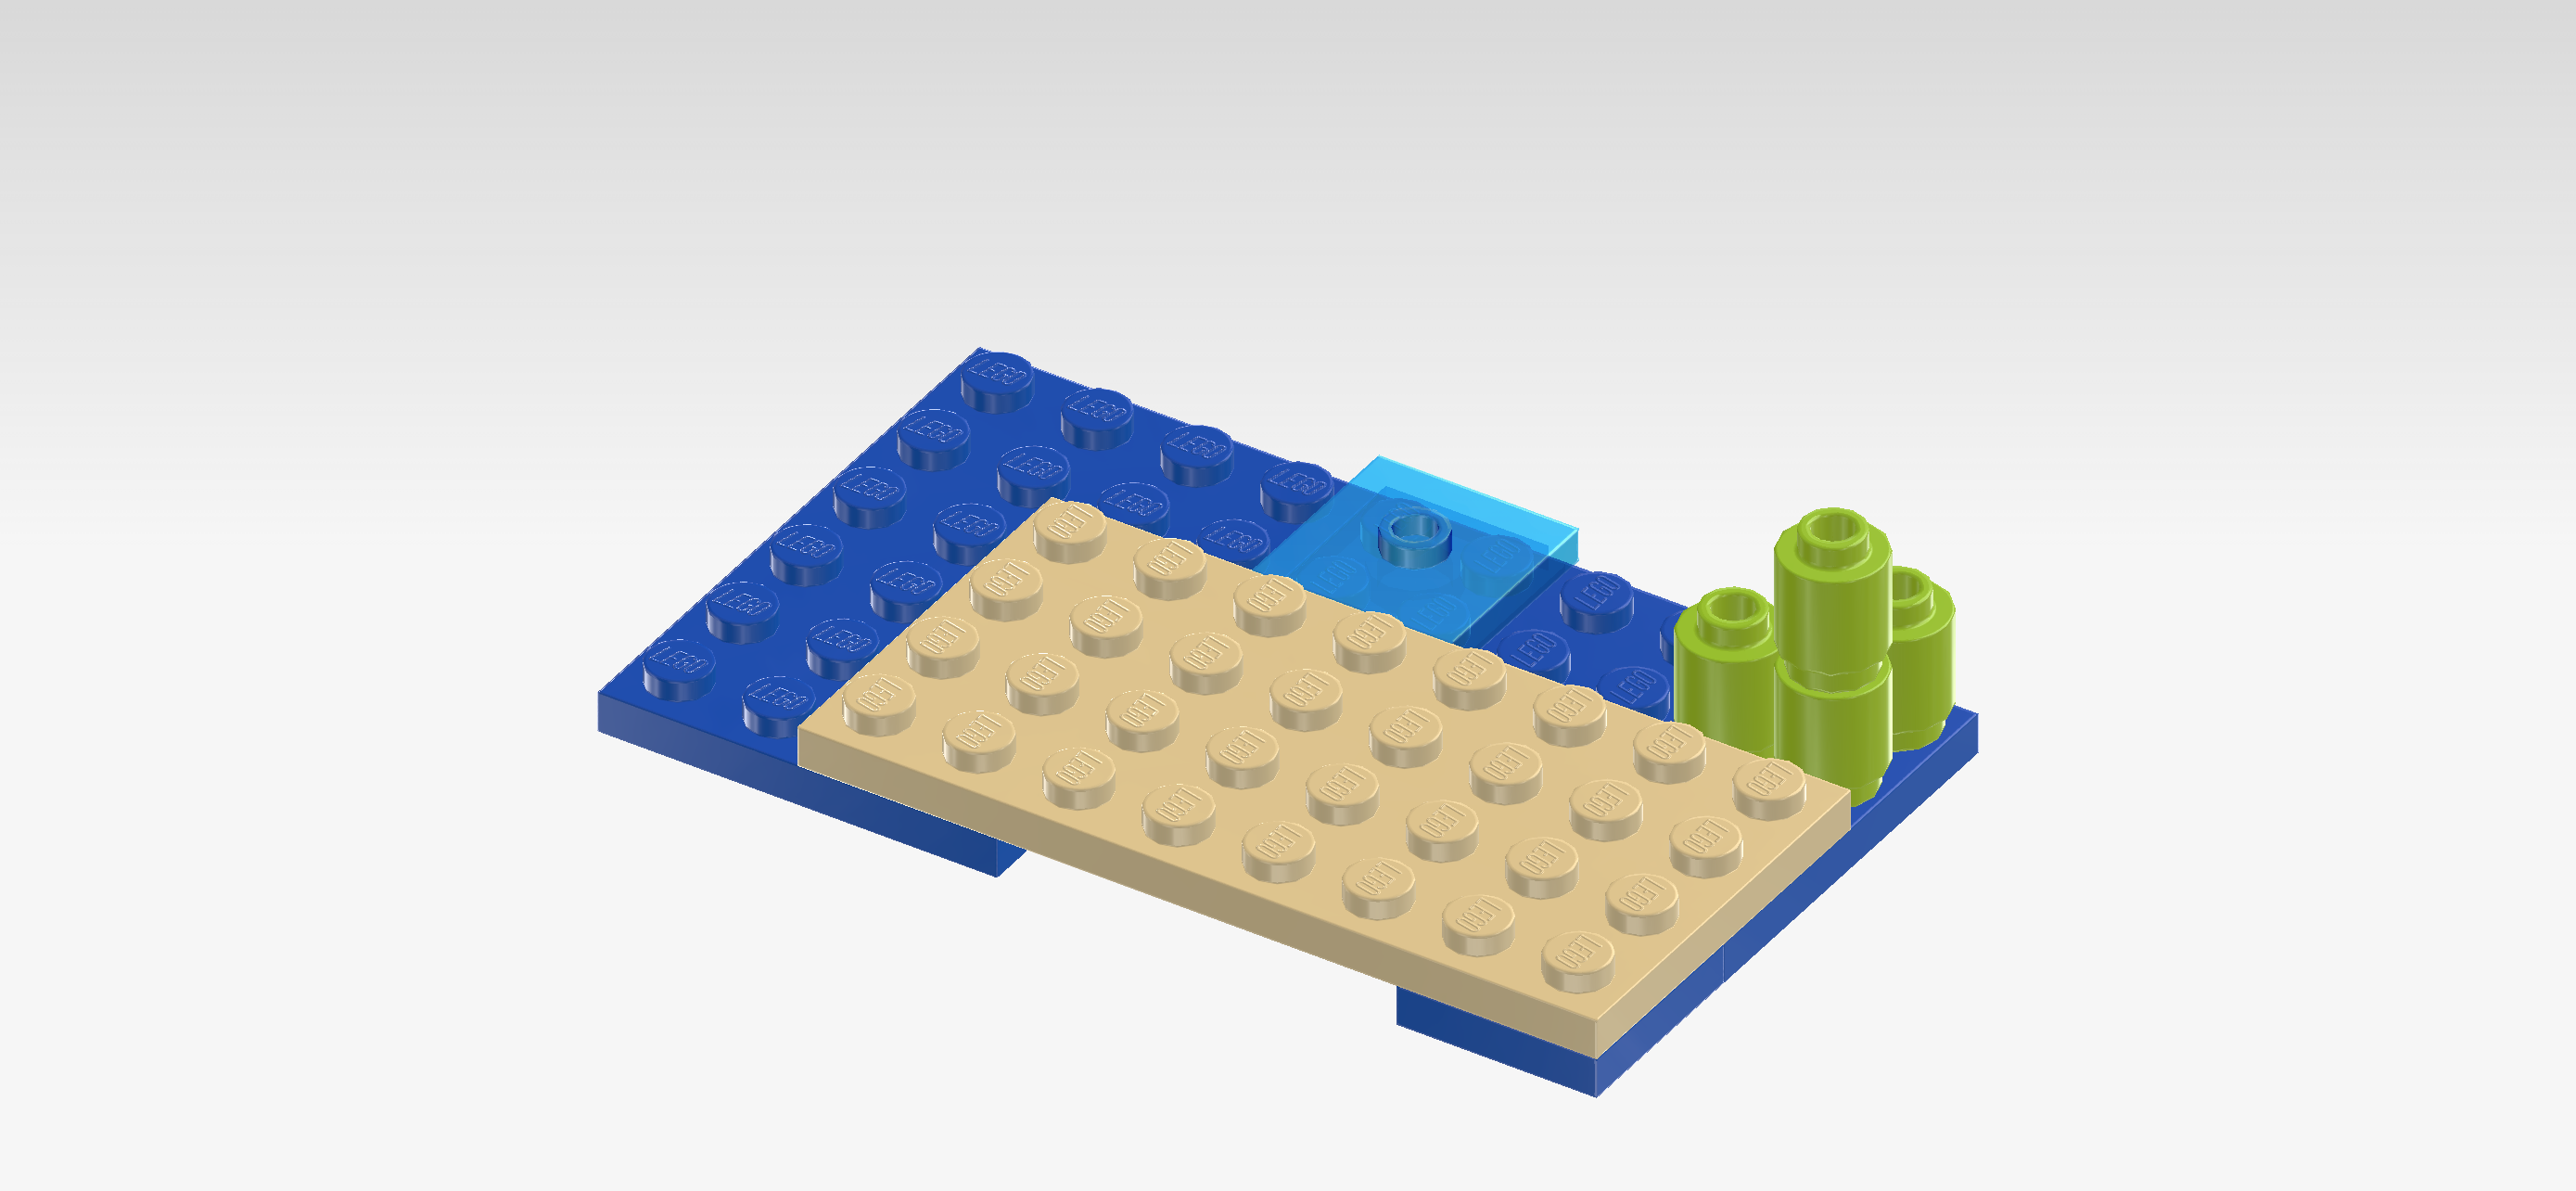
| Find 1 bright blue plate 2x2. |
| Put it underneath the front right corner of the previous piece. This will give the beach area more stability. |
| Find 1 bright blue plate 4x6. |
| Put it vertically underneath the 2 overhanging columns of the plate 4x8, 2 columns protruding to the left. Make sure the front and back edges of the current piece and the 2 other large plates are aligned. |
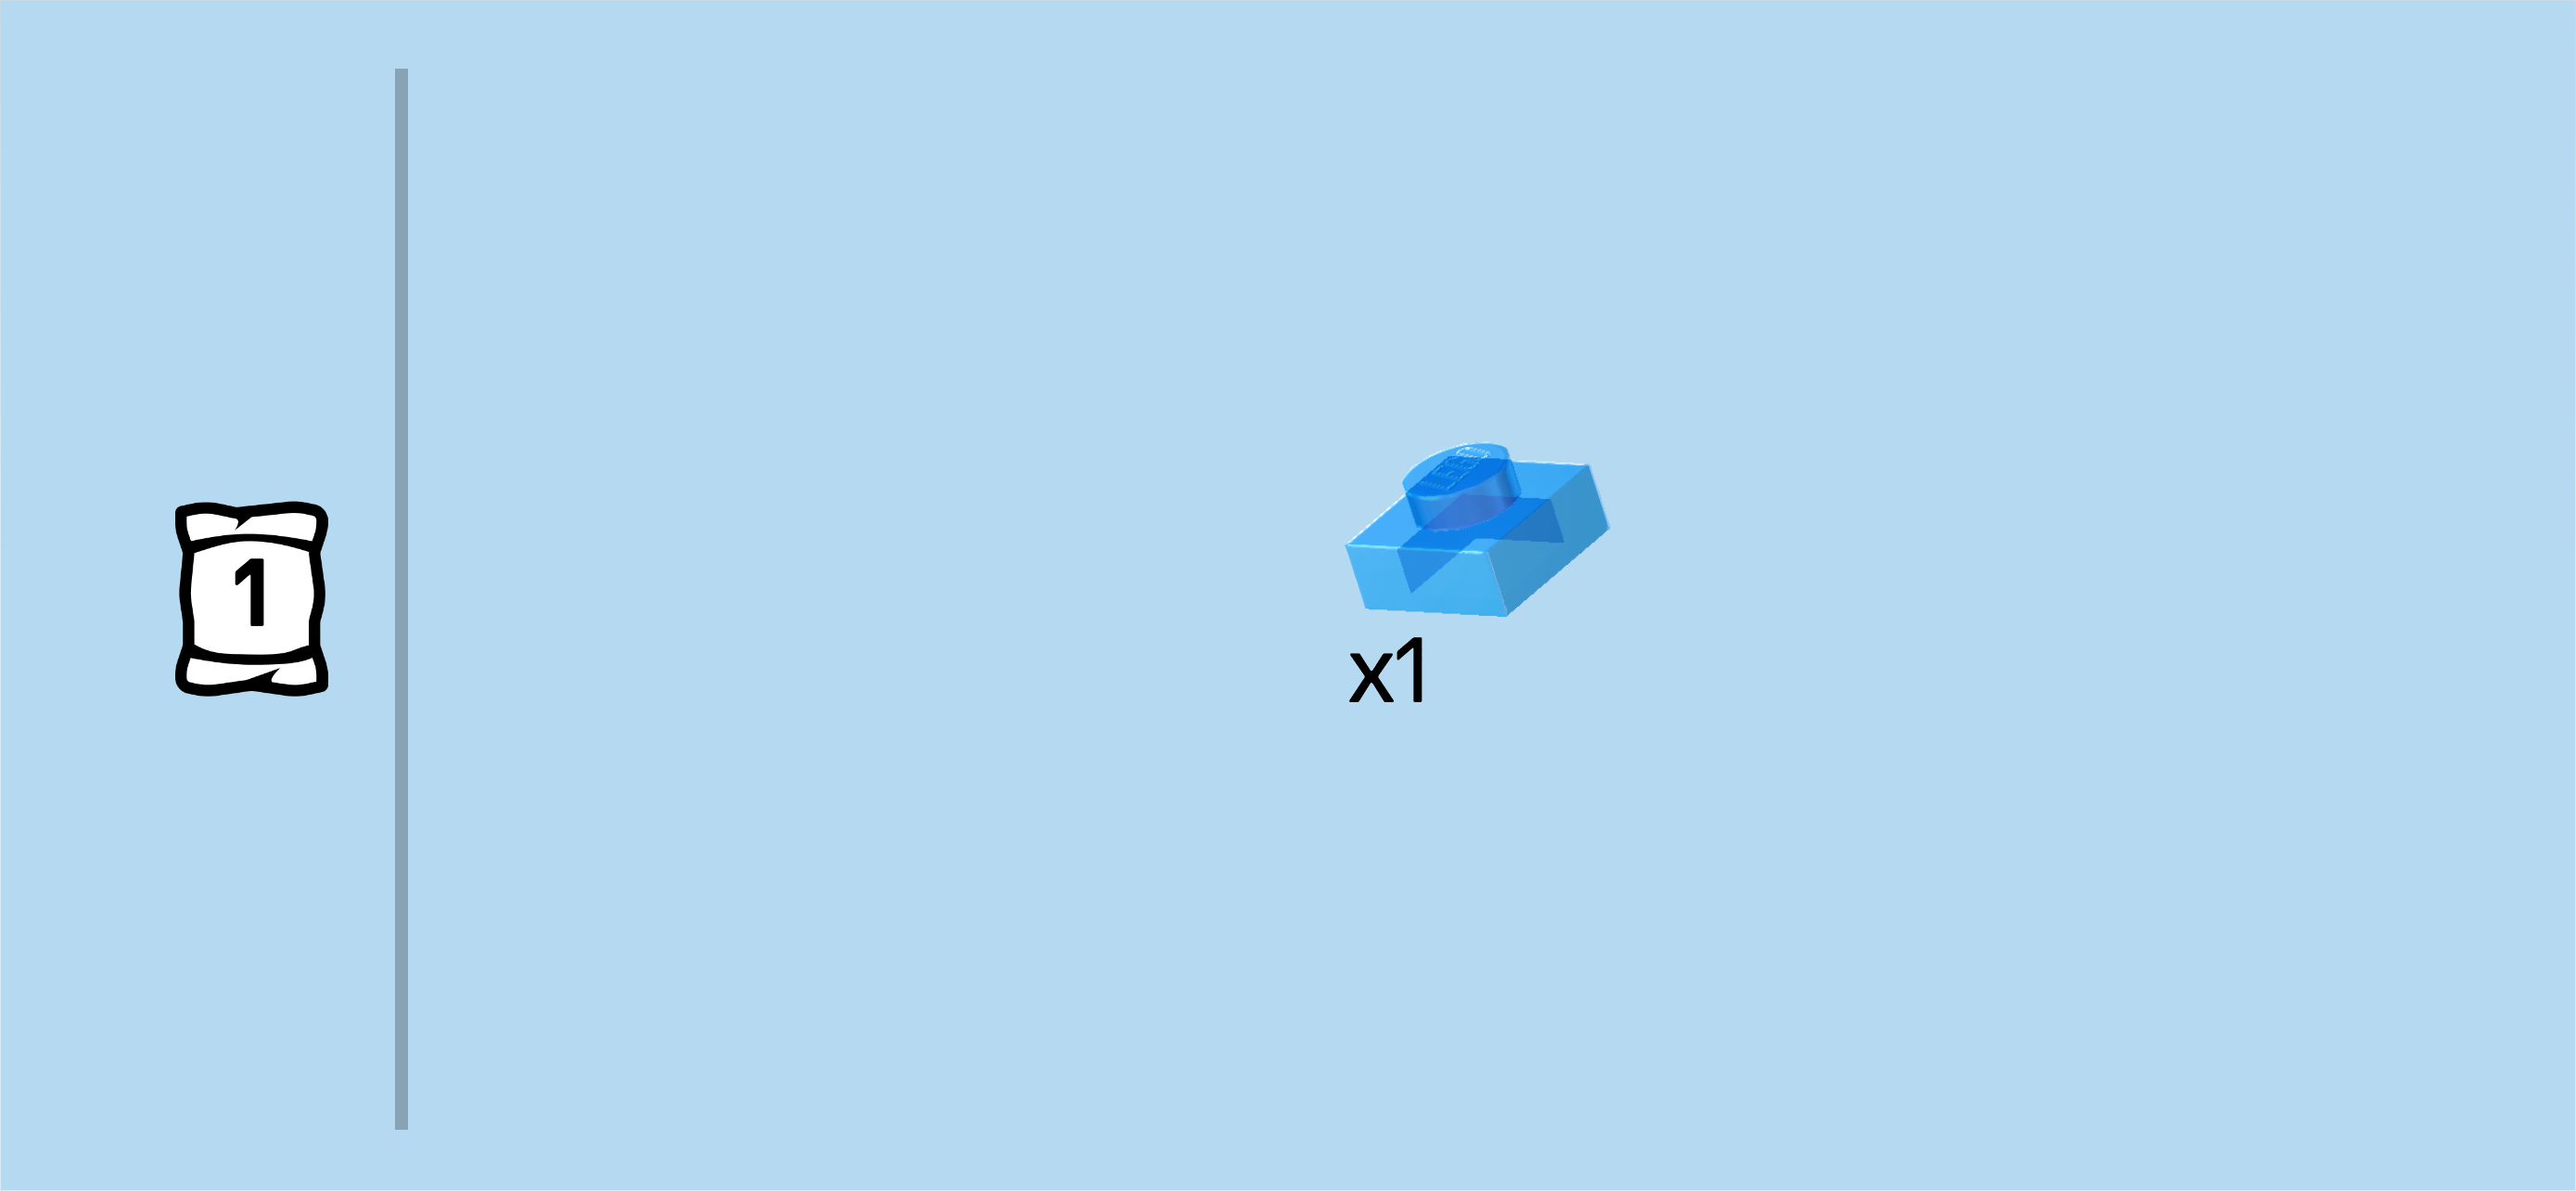
| Find 1 transparent blue plate 1x1. |
| Put it on the frontmost row of the previous piece on its second knob from the left. |
| Next, we will assemble the sea turtle egg. |
| Collect the following 4 pieces: |
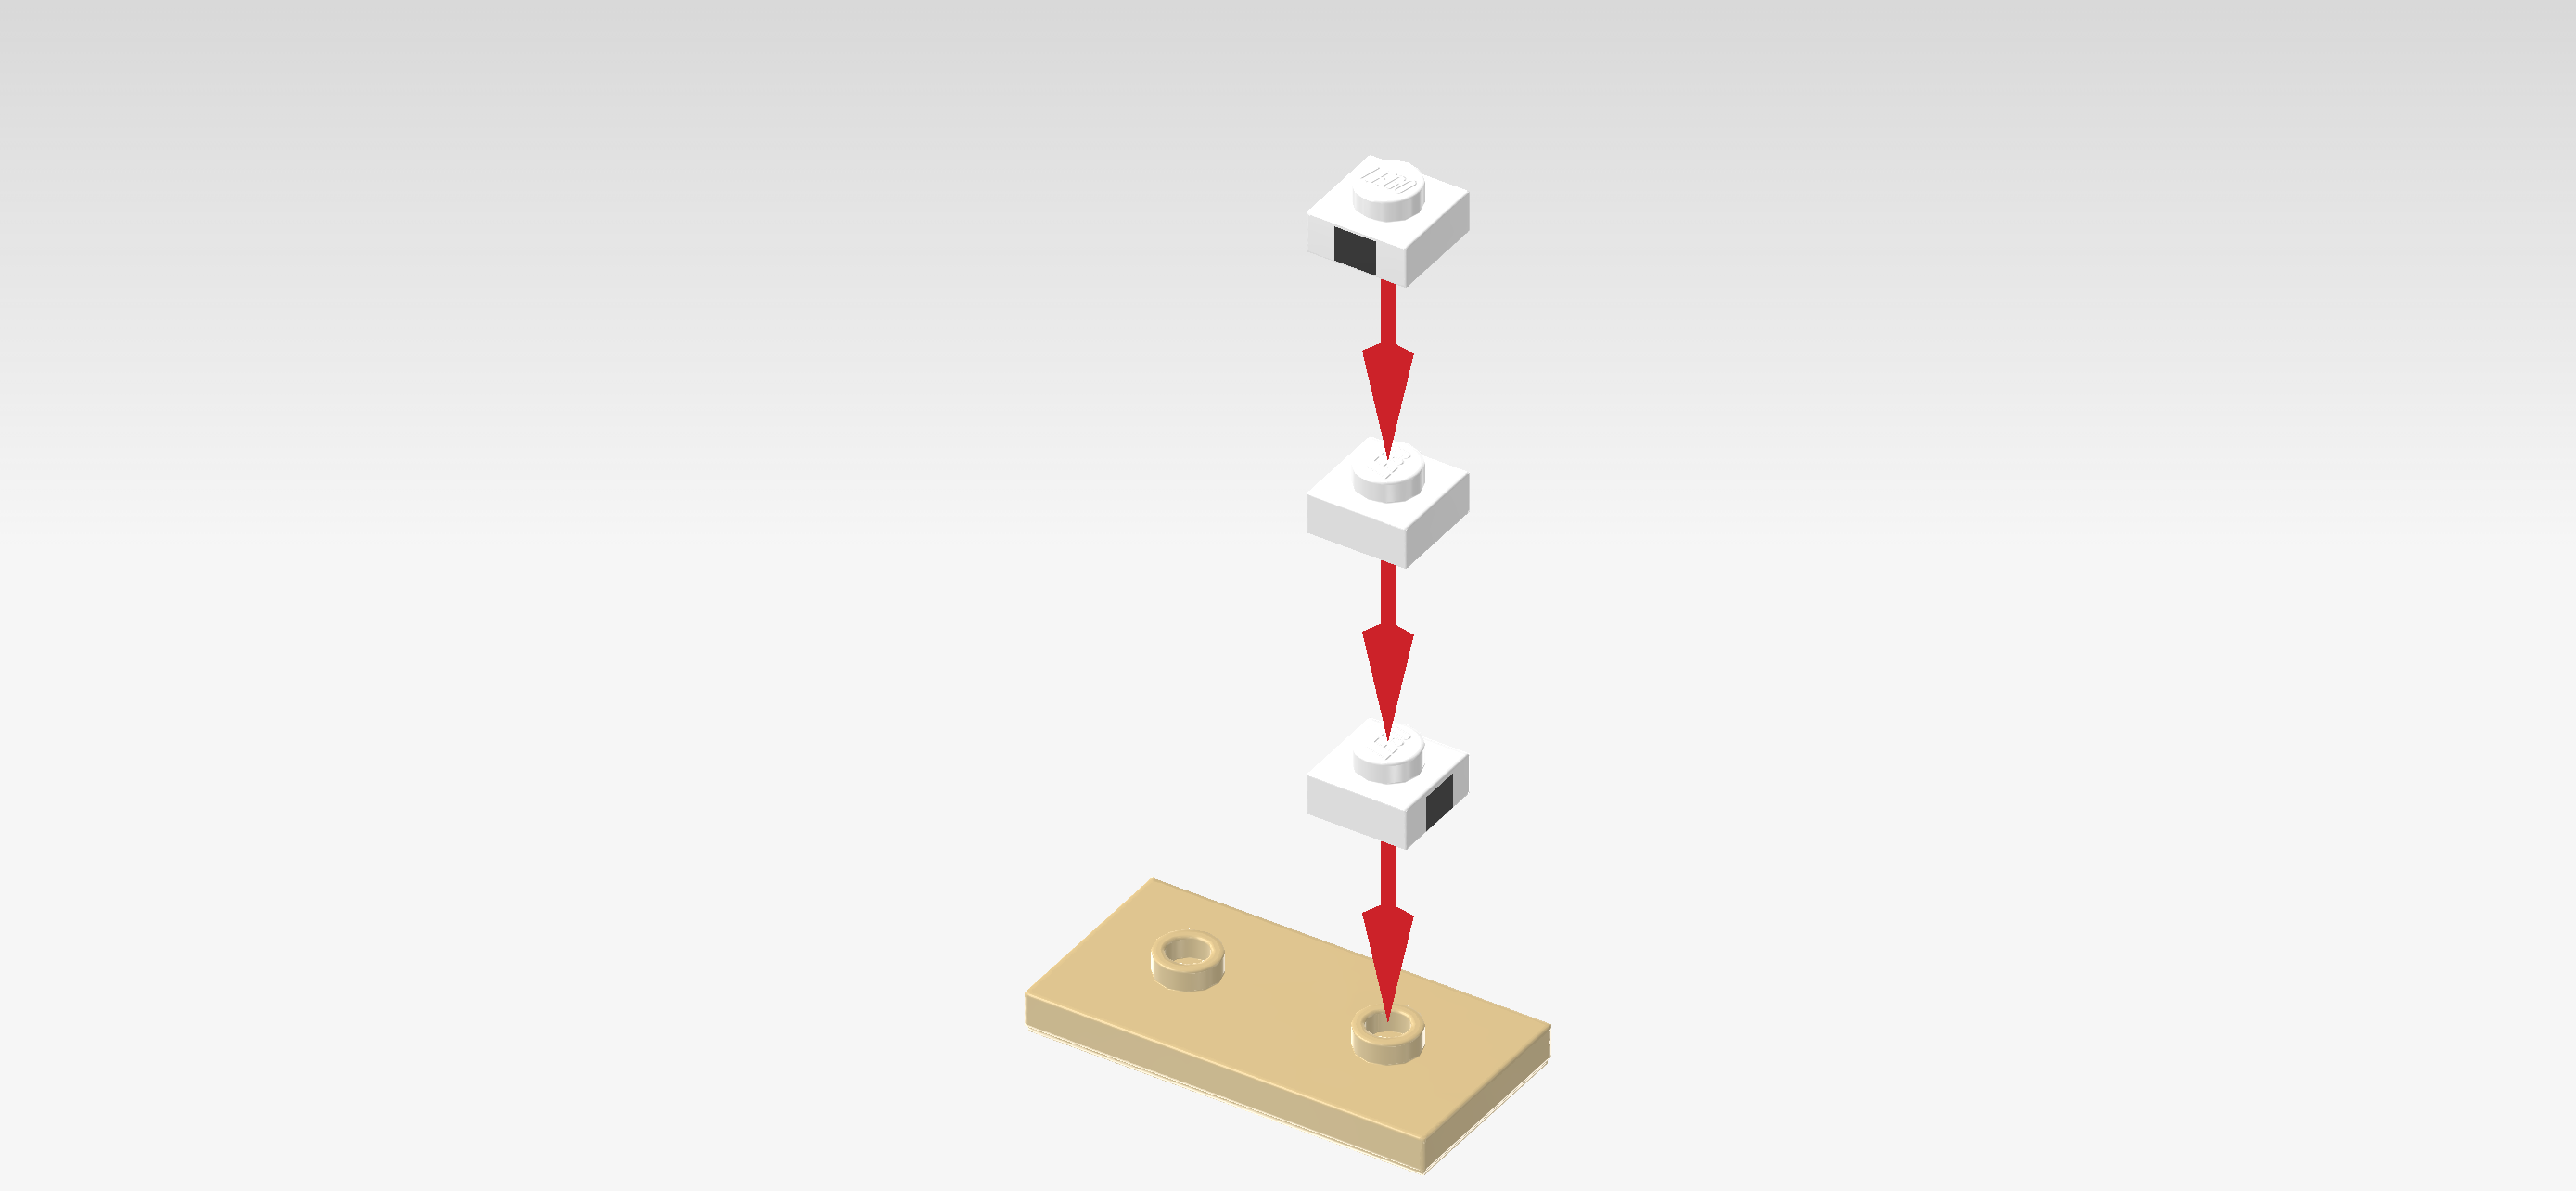
| 3 white plates 1x1, |
| and 1 pale ocher yellow plate 2x4 with 2 knobs. |
| Put the plate 2x4 horizontally on the table. |
| Put 1 plate 1x1 with side print on the right knob, print to the right. |
| Put the plate 1x1 without side print on top, aligning the straight edges. |
| Put the other plate with side print on top, print to the front. |
| The prints are small black dots (of course pixelated) which are the blemishes that can naturally occur on sea turtle eggs. |
| The sea turtle egg is finished! Well done! Turn the mount plate of the egg from left to right so that the egg is on the left side. Mount the left half of that plate on the 2 frontmost rows, one half overhanging to the right. |
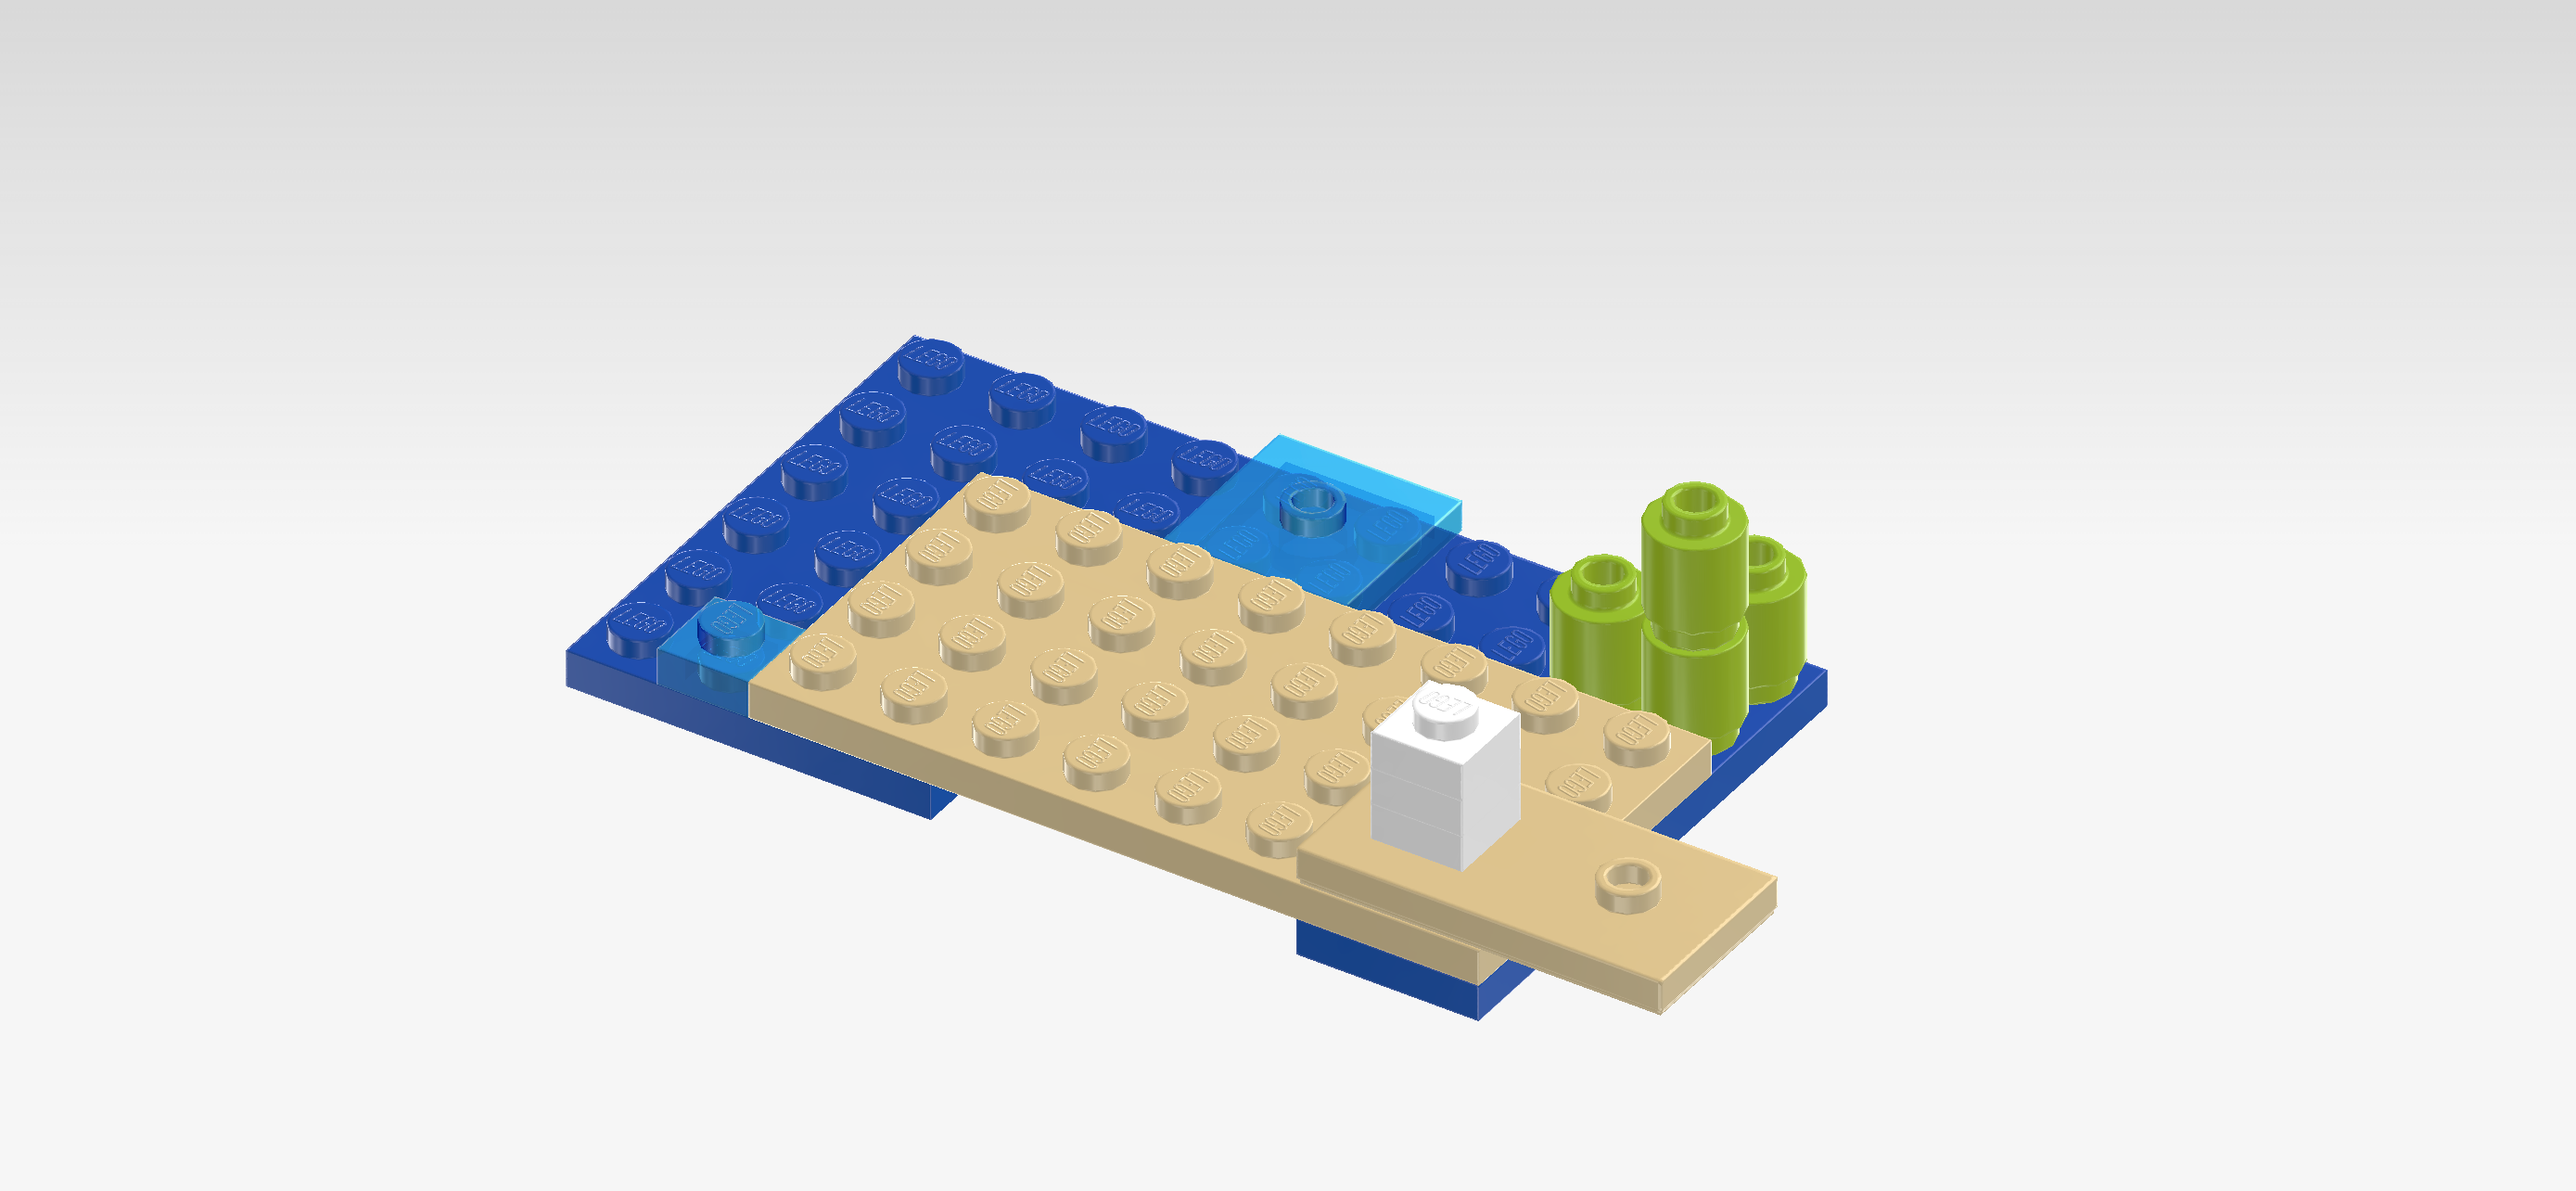
| The beach area with footbridge, turtle egg and sugarcane plant is finished! Great job! Turn it vertically so that the overhanging part of the egg plate is pointing to the front. |
| Mount the overhanging plate on the rightmost backmost knob of the build, beach area extending to the back. This means that it will be attached on the right back turtle foot in its right back corner. |
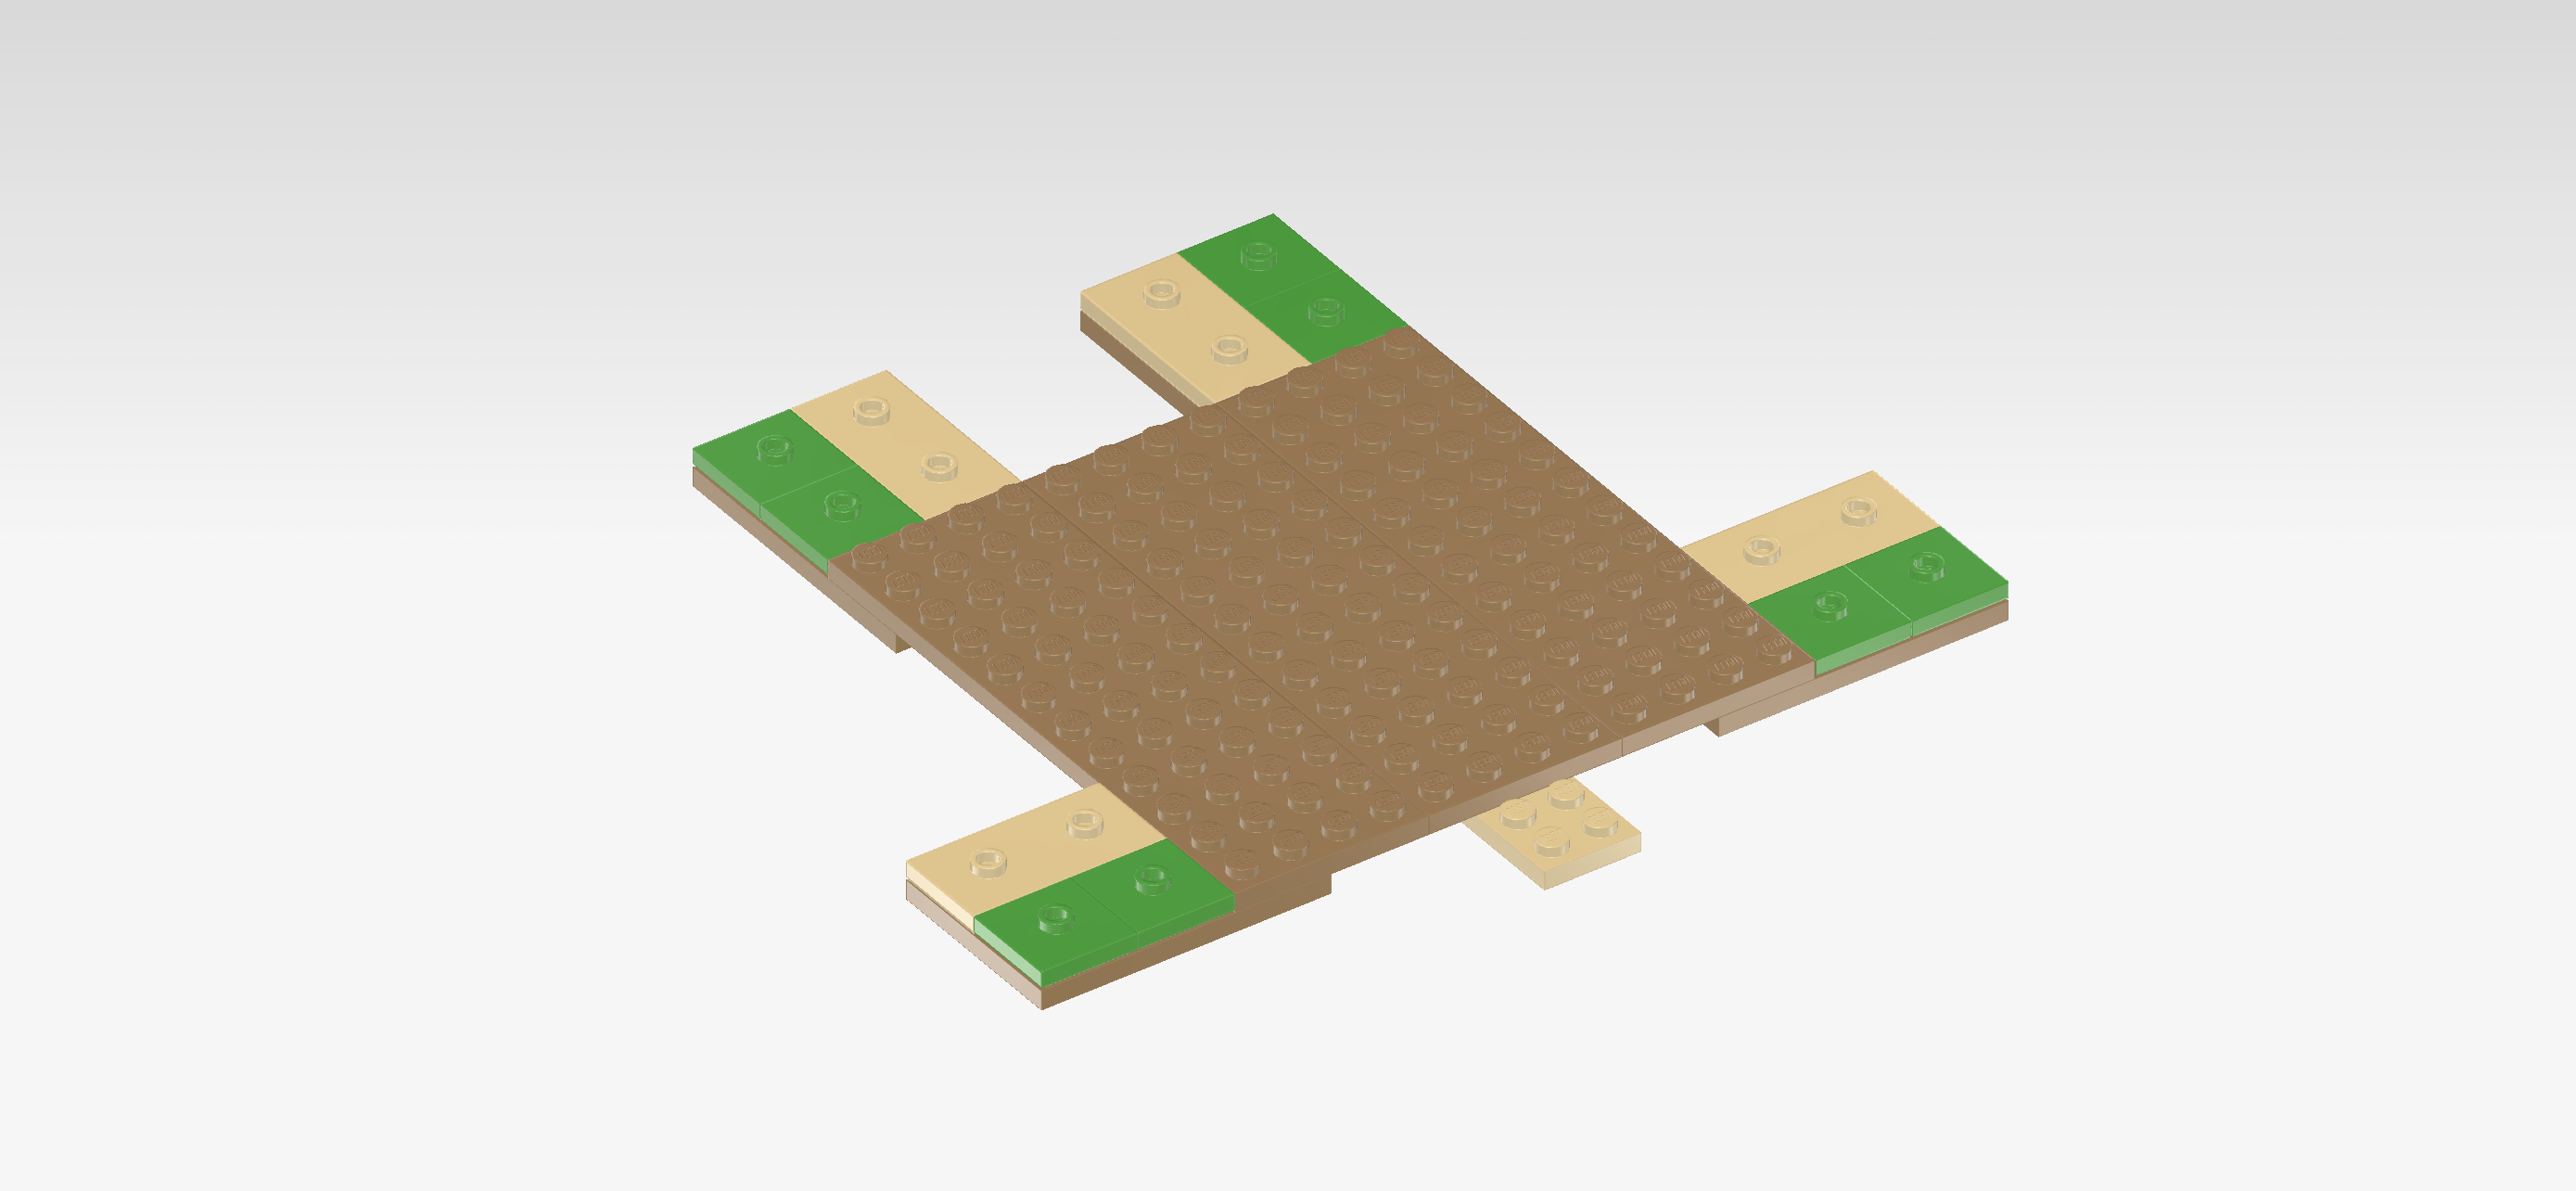
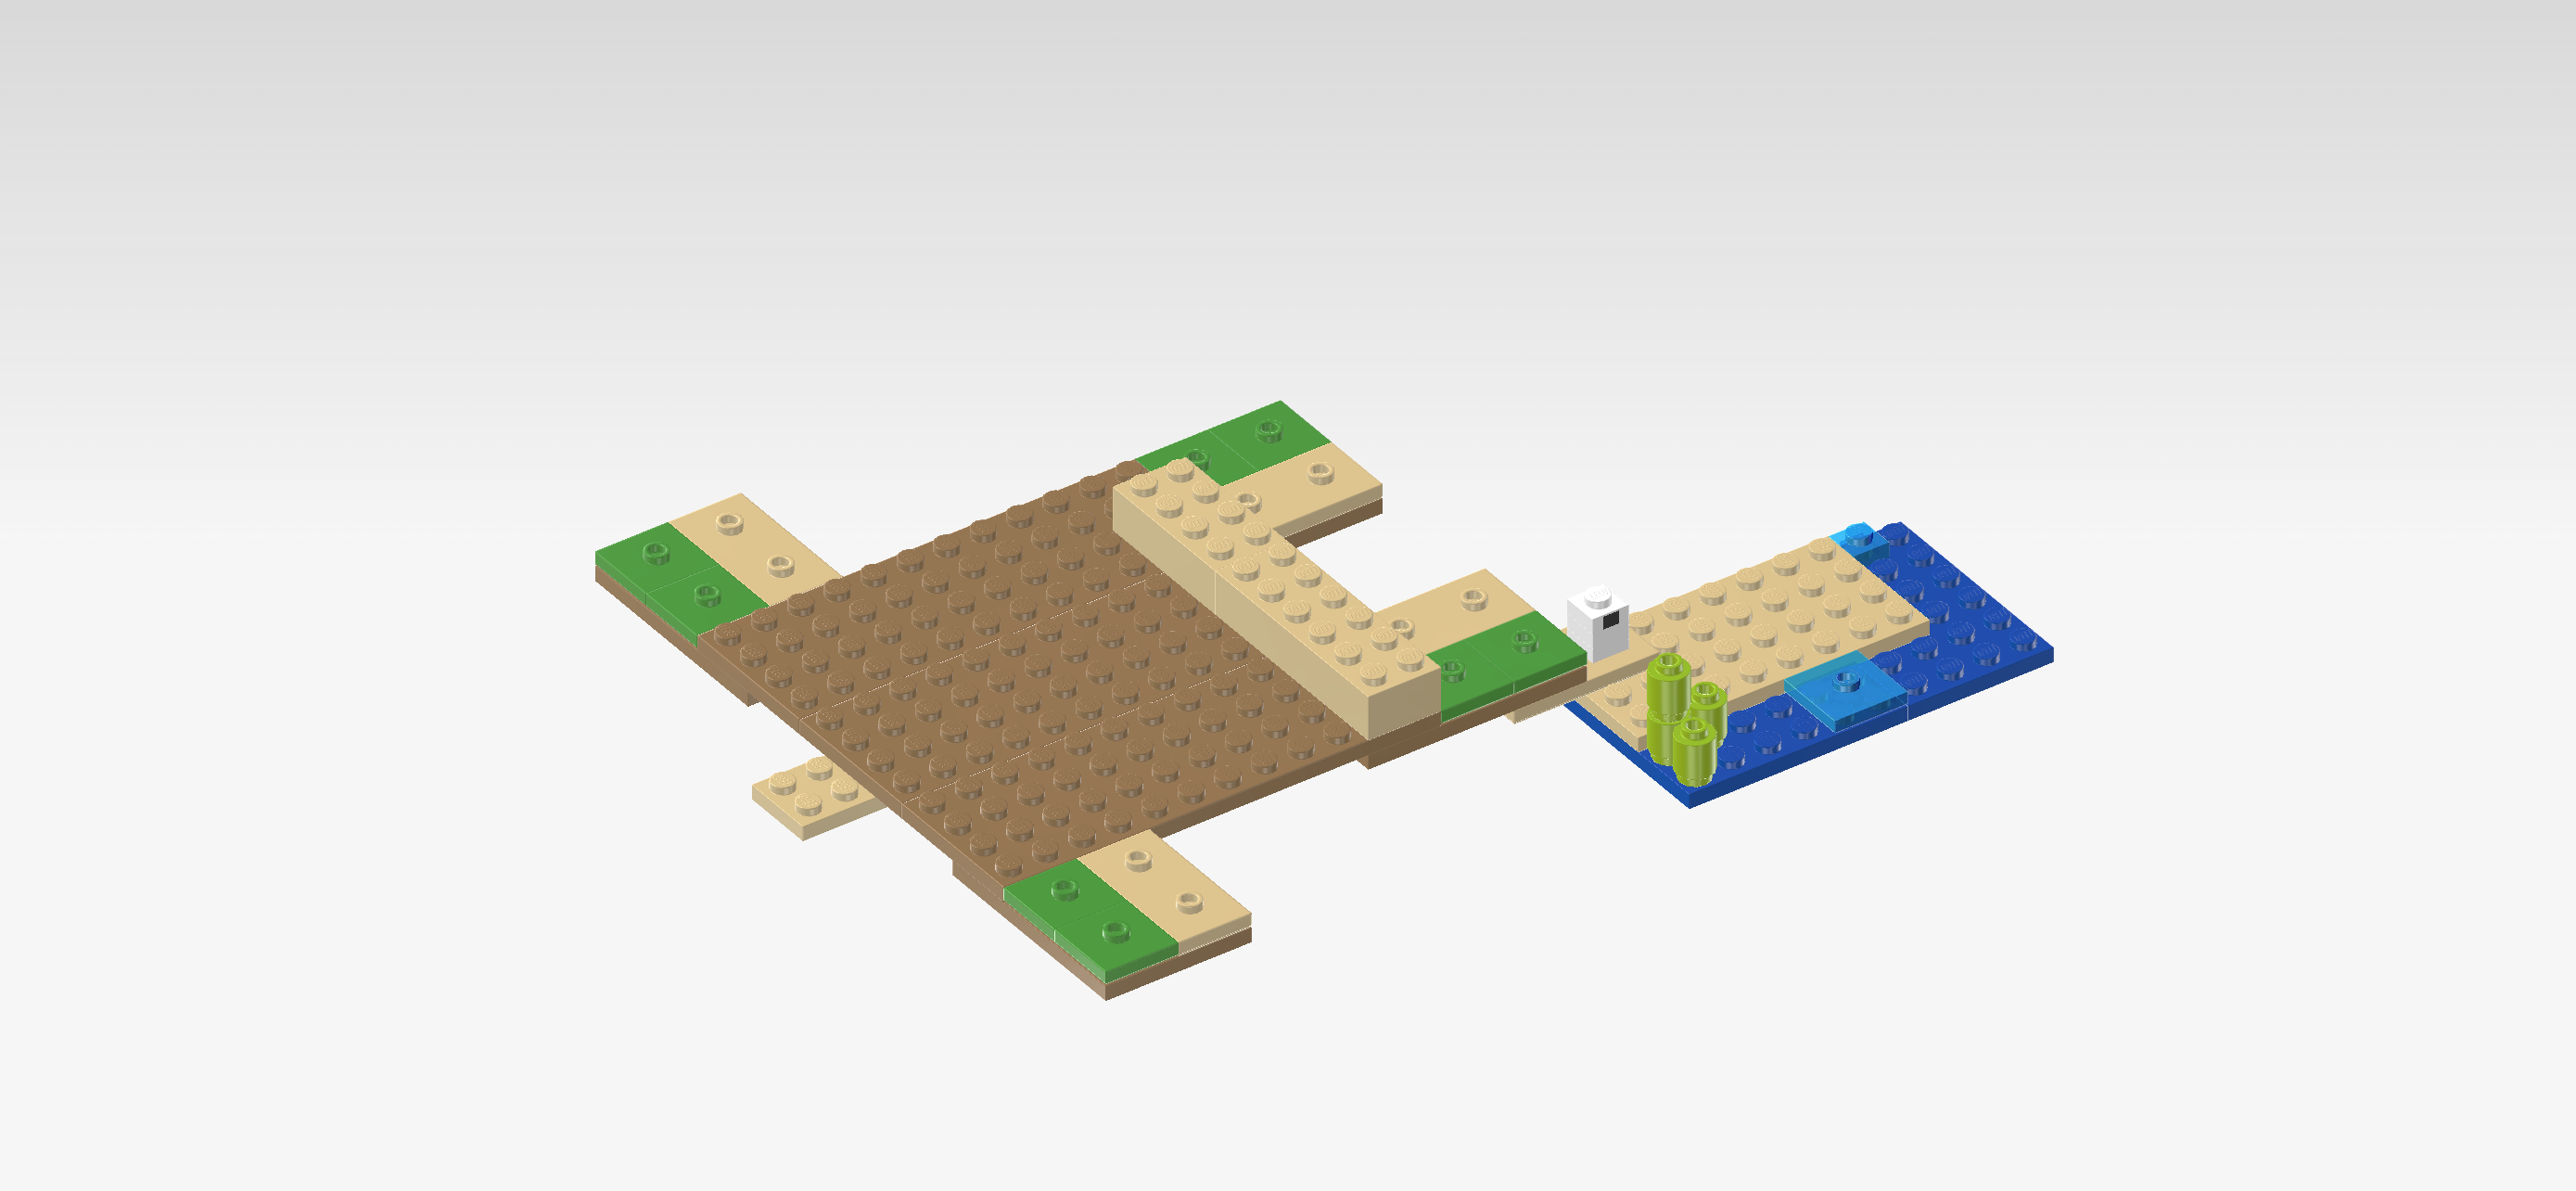
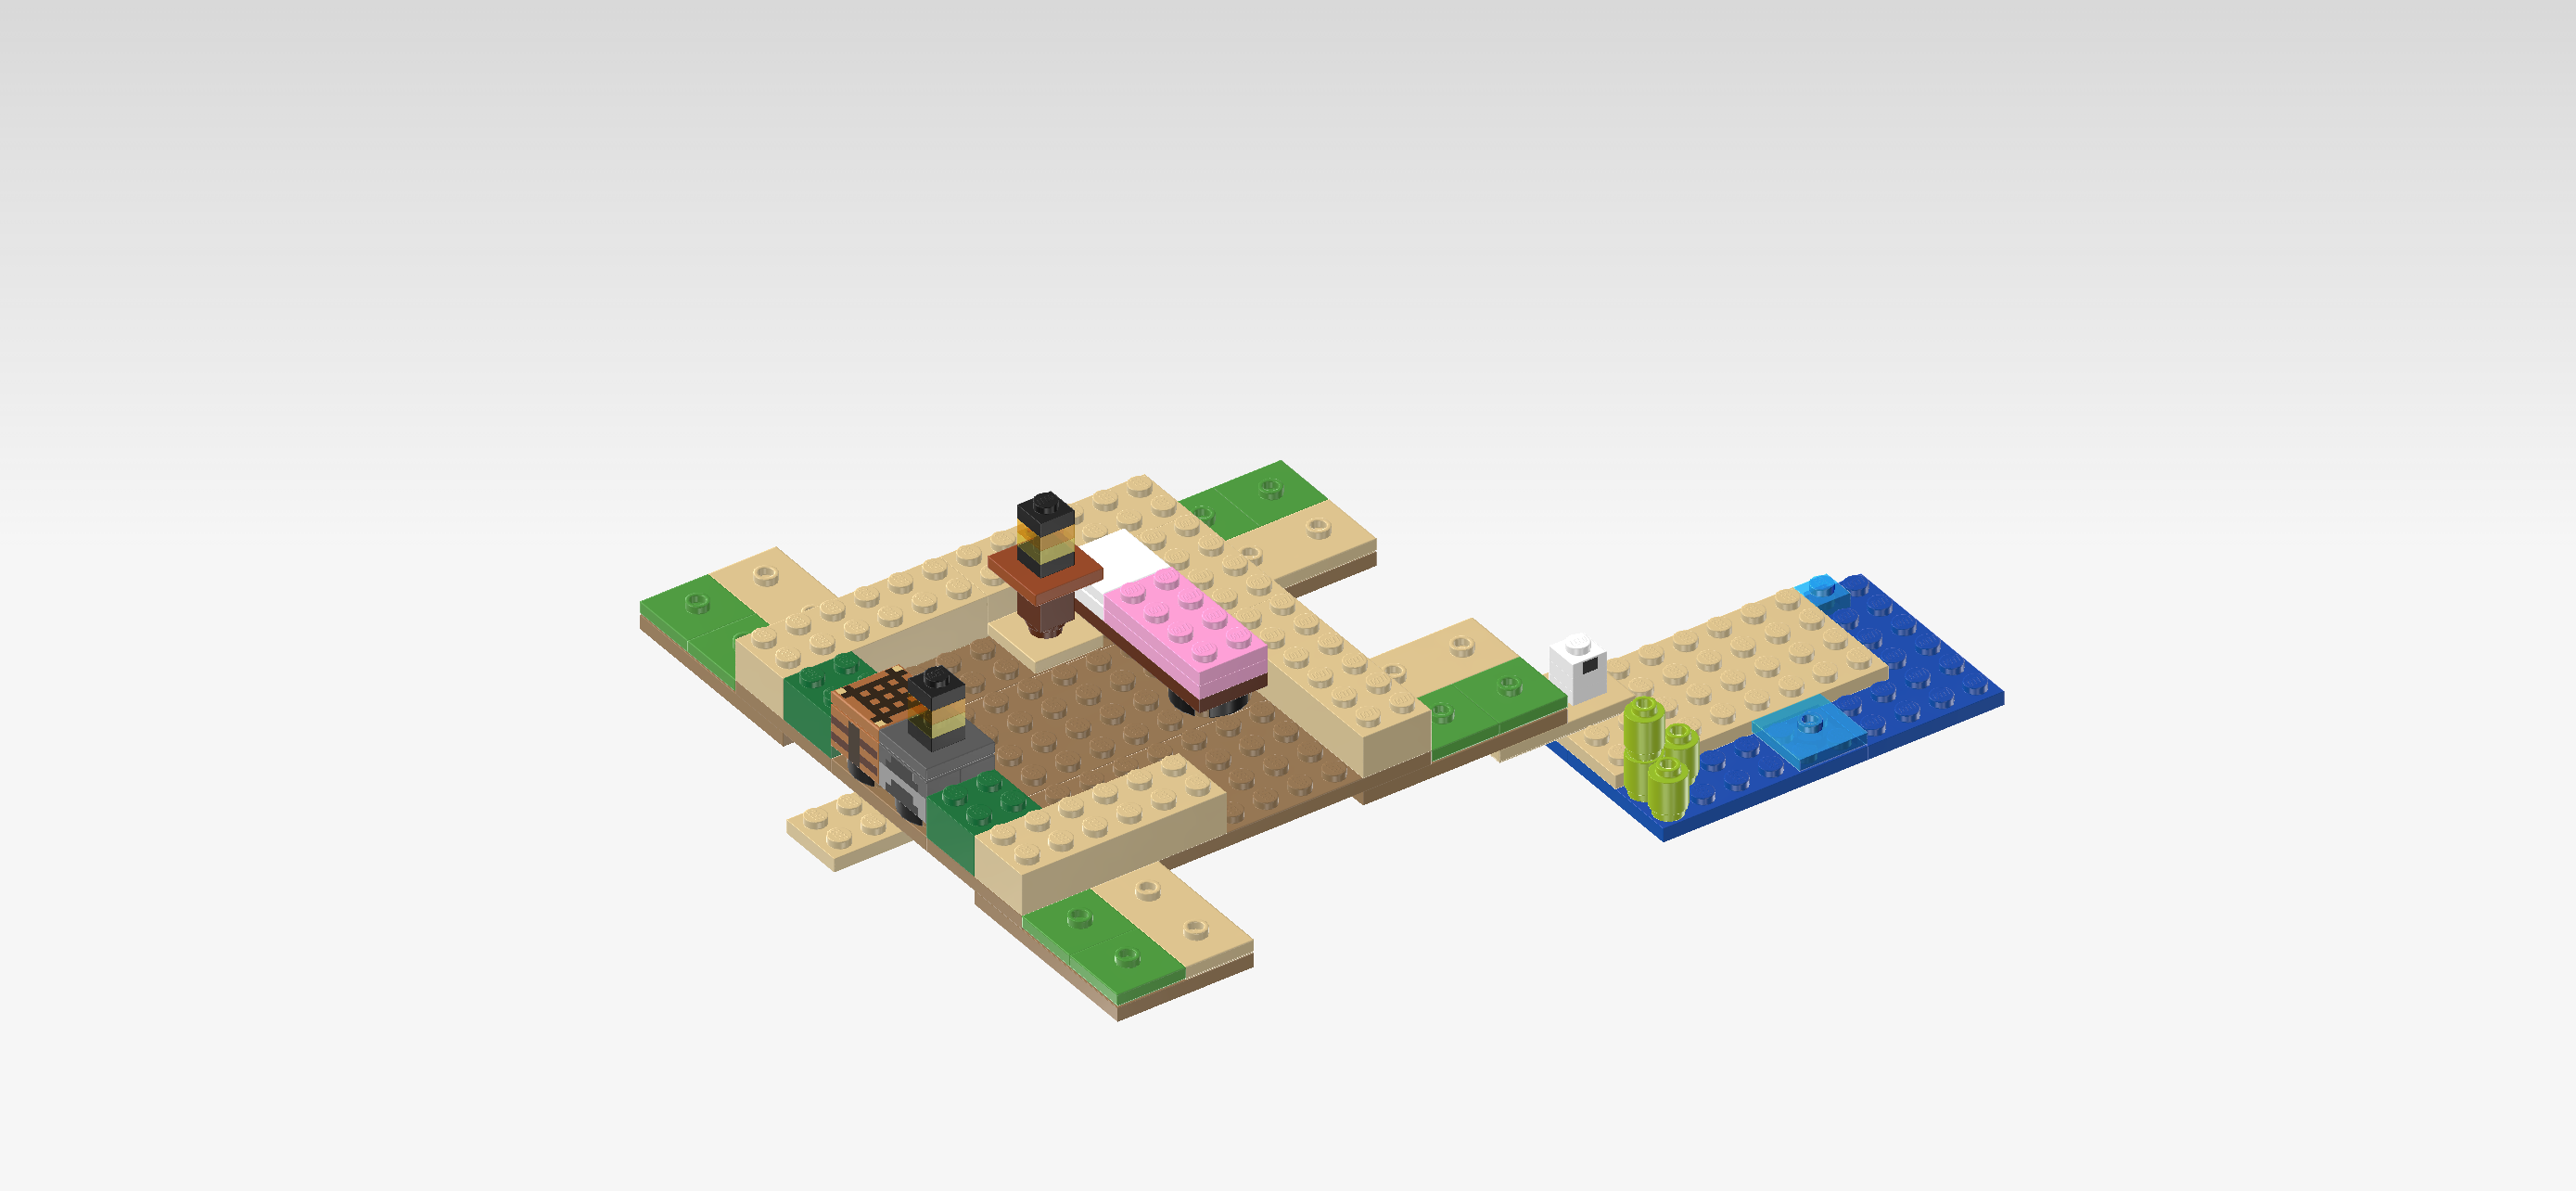
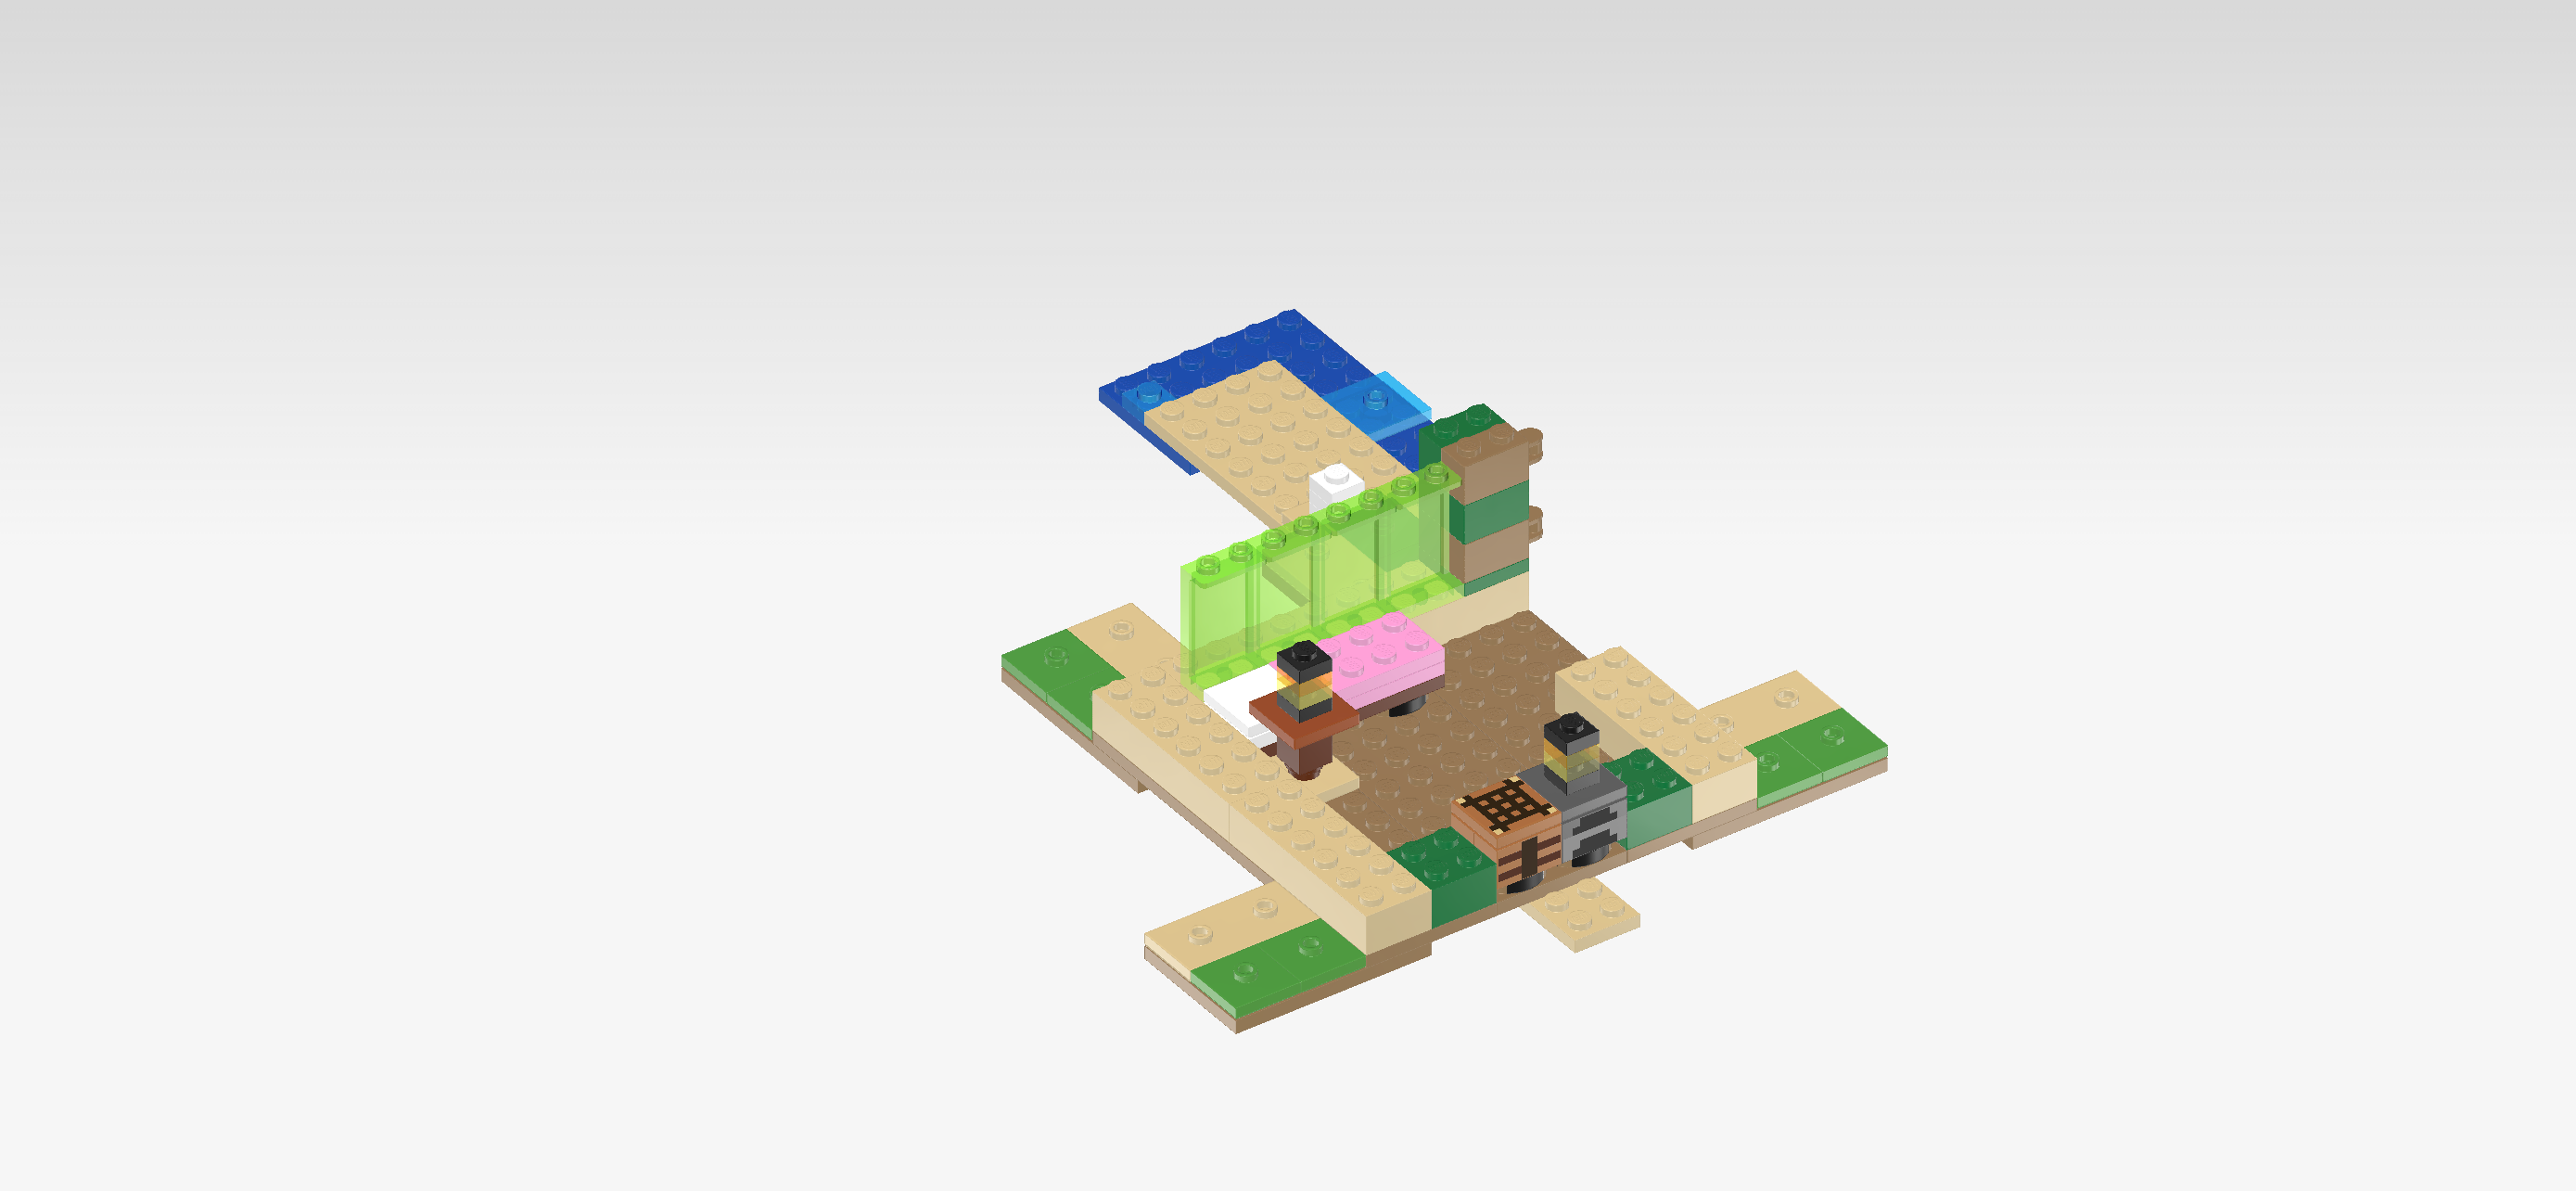
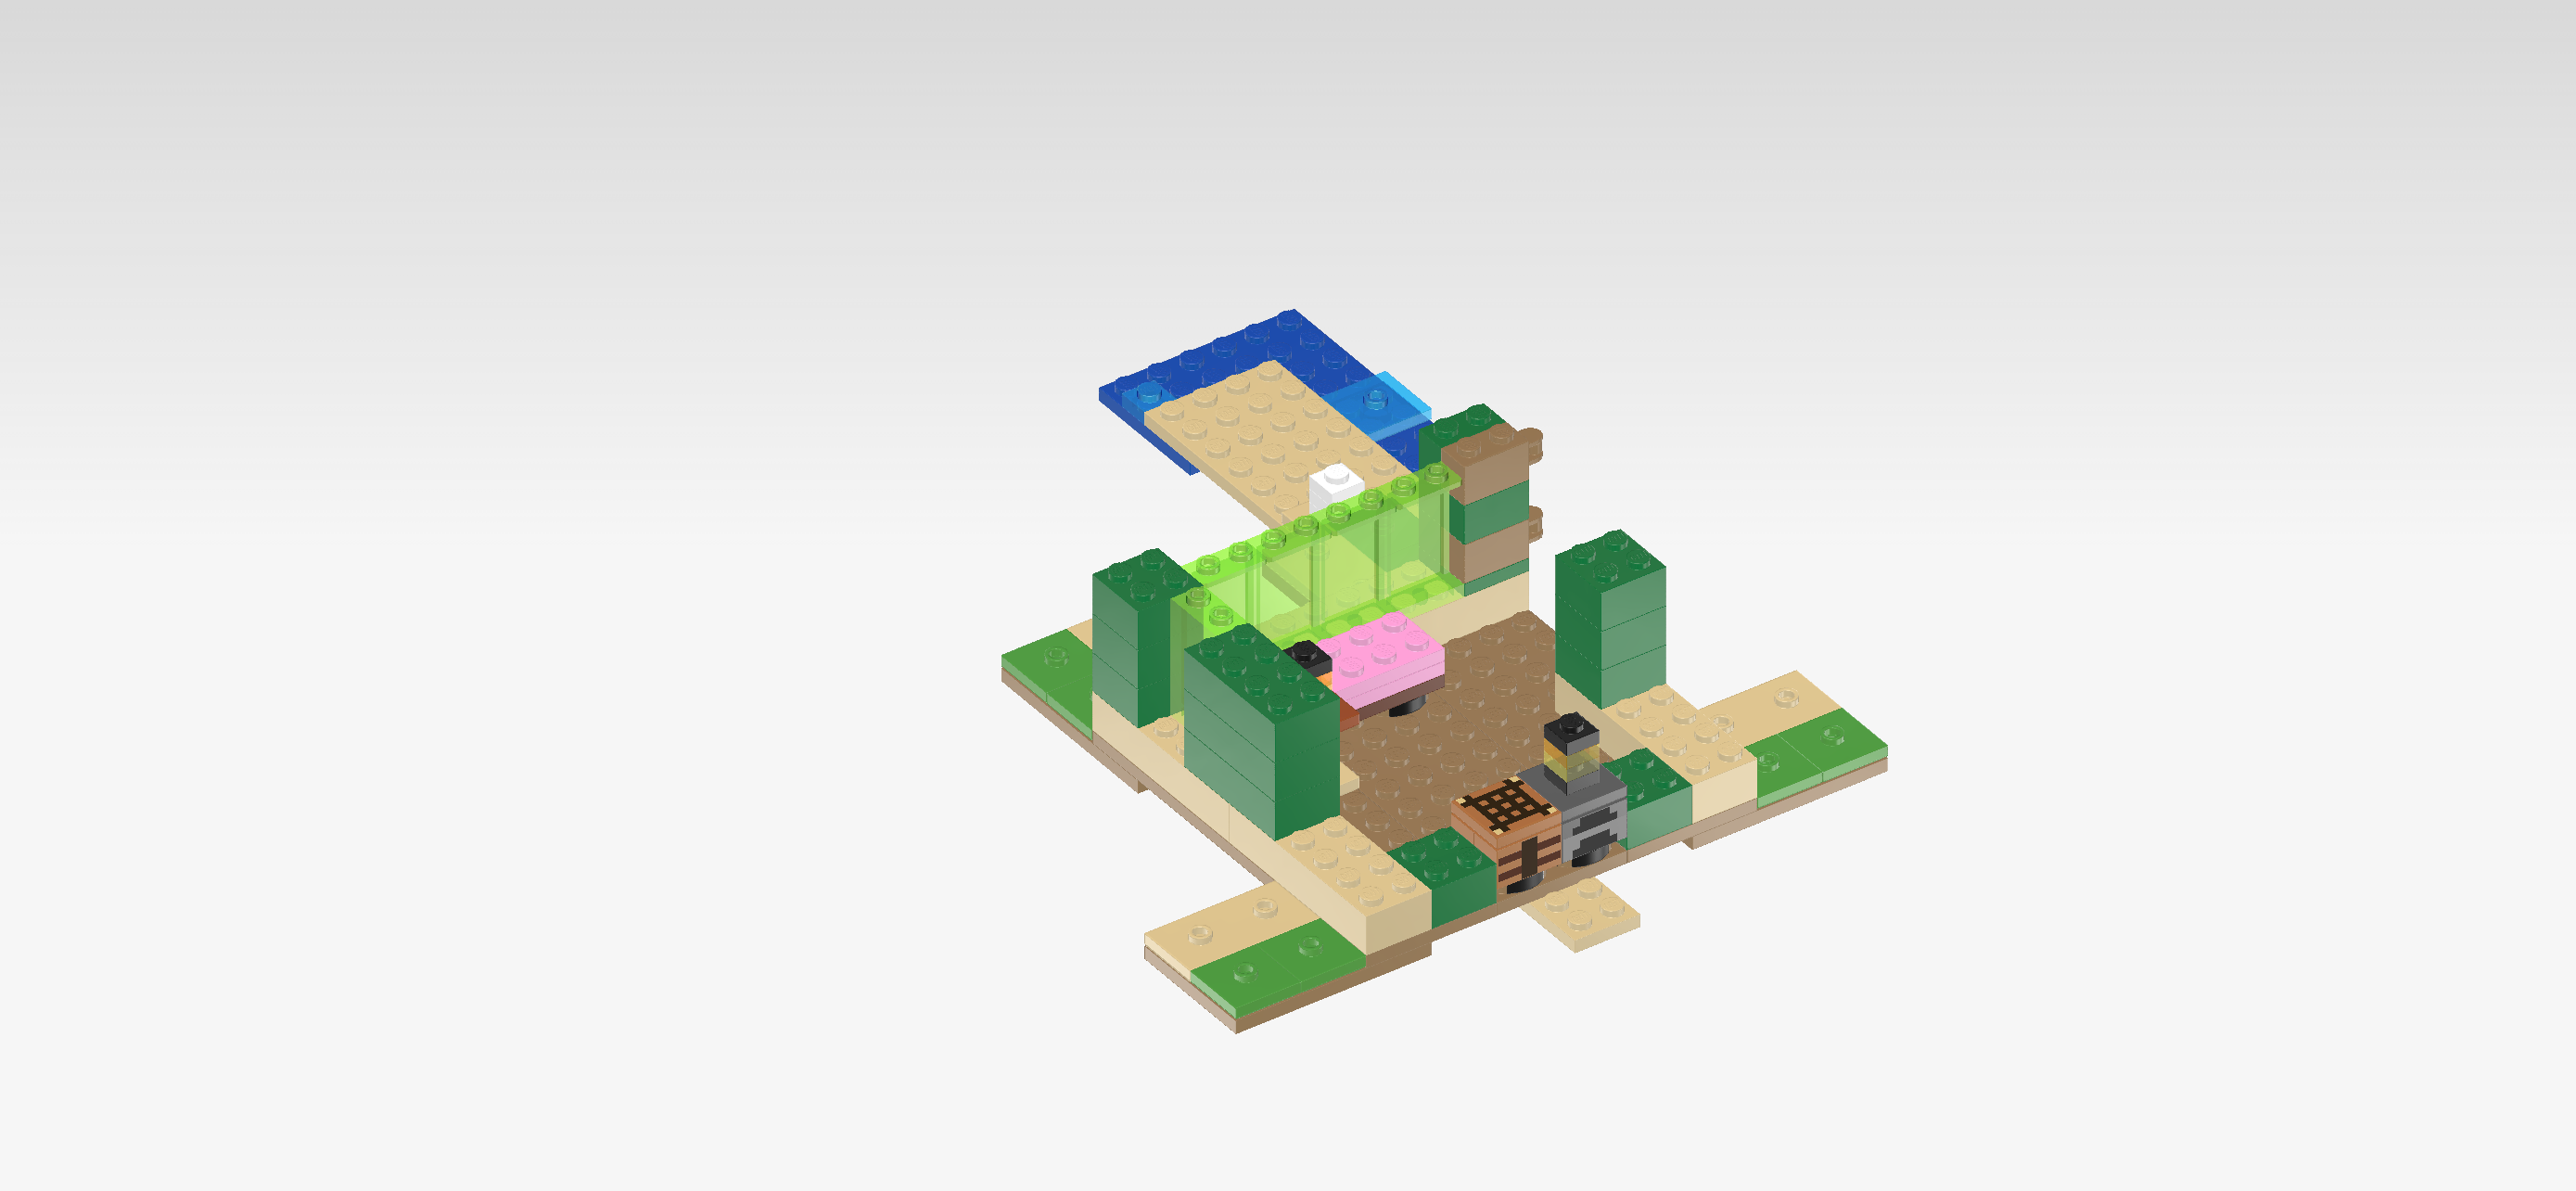
| You have finished building the base plate of the Turtle Beach House with beach area and all other builds of bag one! Great progress so far! The small 2x2 protrusion at the front will be the connecting point for the turtle head later. The 4 turtle legs are the 4x4 protrusions. They are finished now, we will not mount anything on them anymore. We will continue building the house on the center base plate measuring 12x12 knobs. |
| Open bag number 2. You can choose to have the bricks sorted by color again. This bag contains all bricks and pieces for the Turtle Warrior Minifigure, and the Turtle Beach House with door, turtle head and detachable roof. |
| Next, we will build the Turtle Warrior Minifigure. |
| Collect the following 2 pieces: |
| 1 bright green and nougat brown upper part of the body, |
| and 1 bright green pair of legs. |
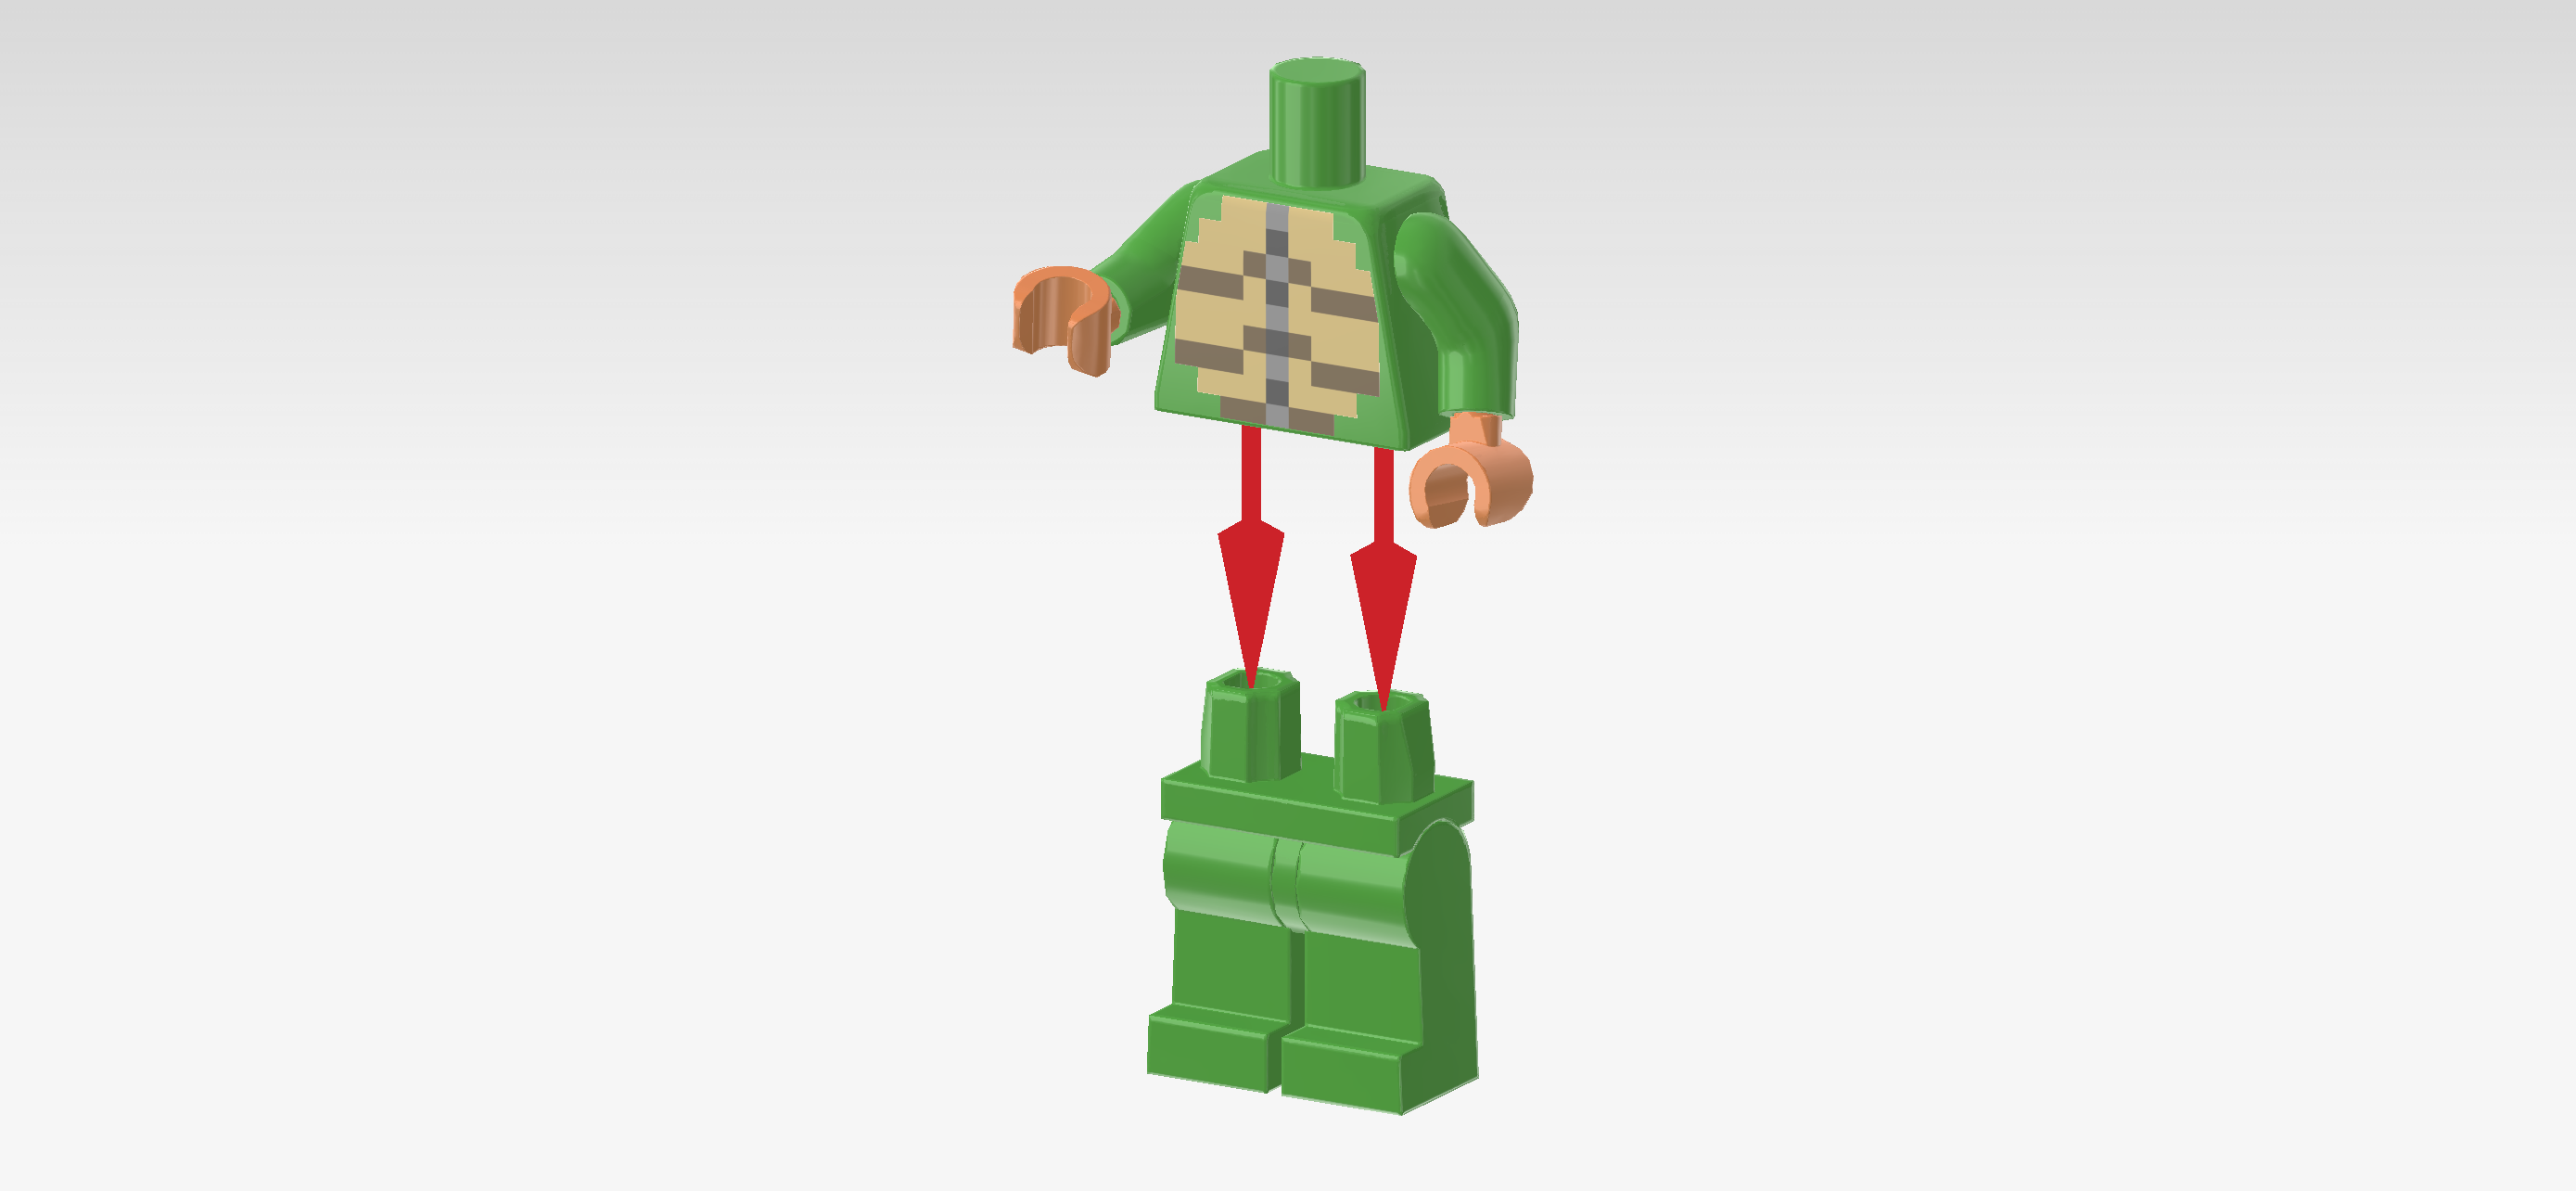
| Put the upper body on top of the legs. |
| Collect the following 2 pieces: |
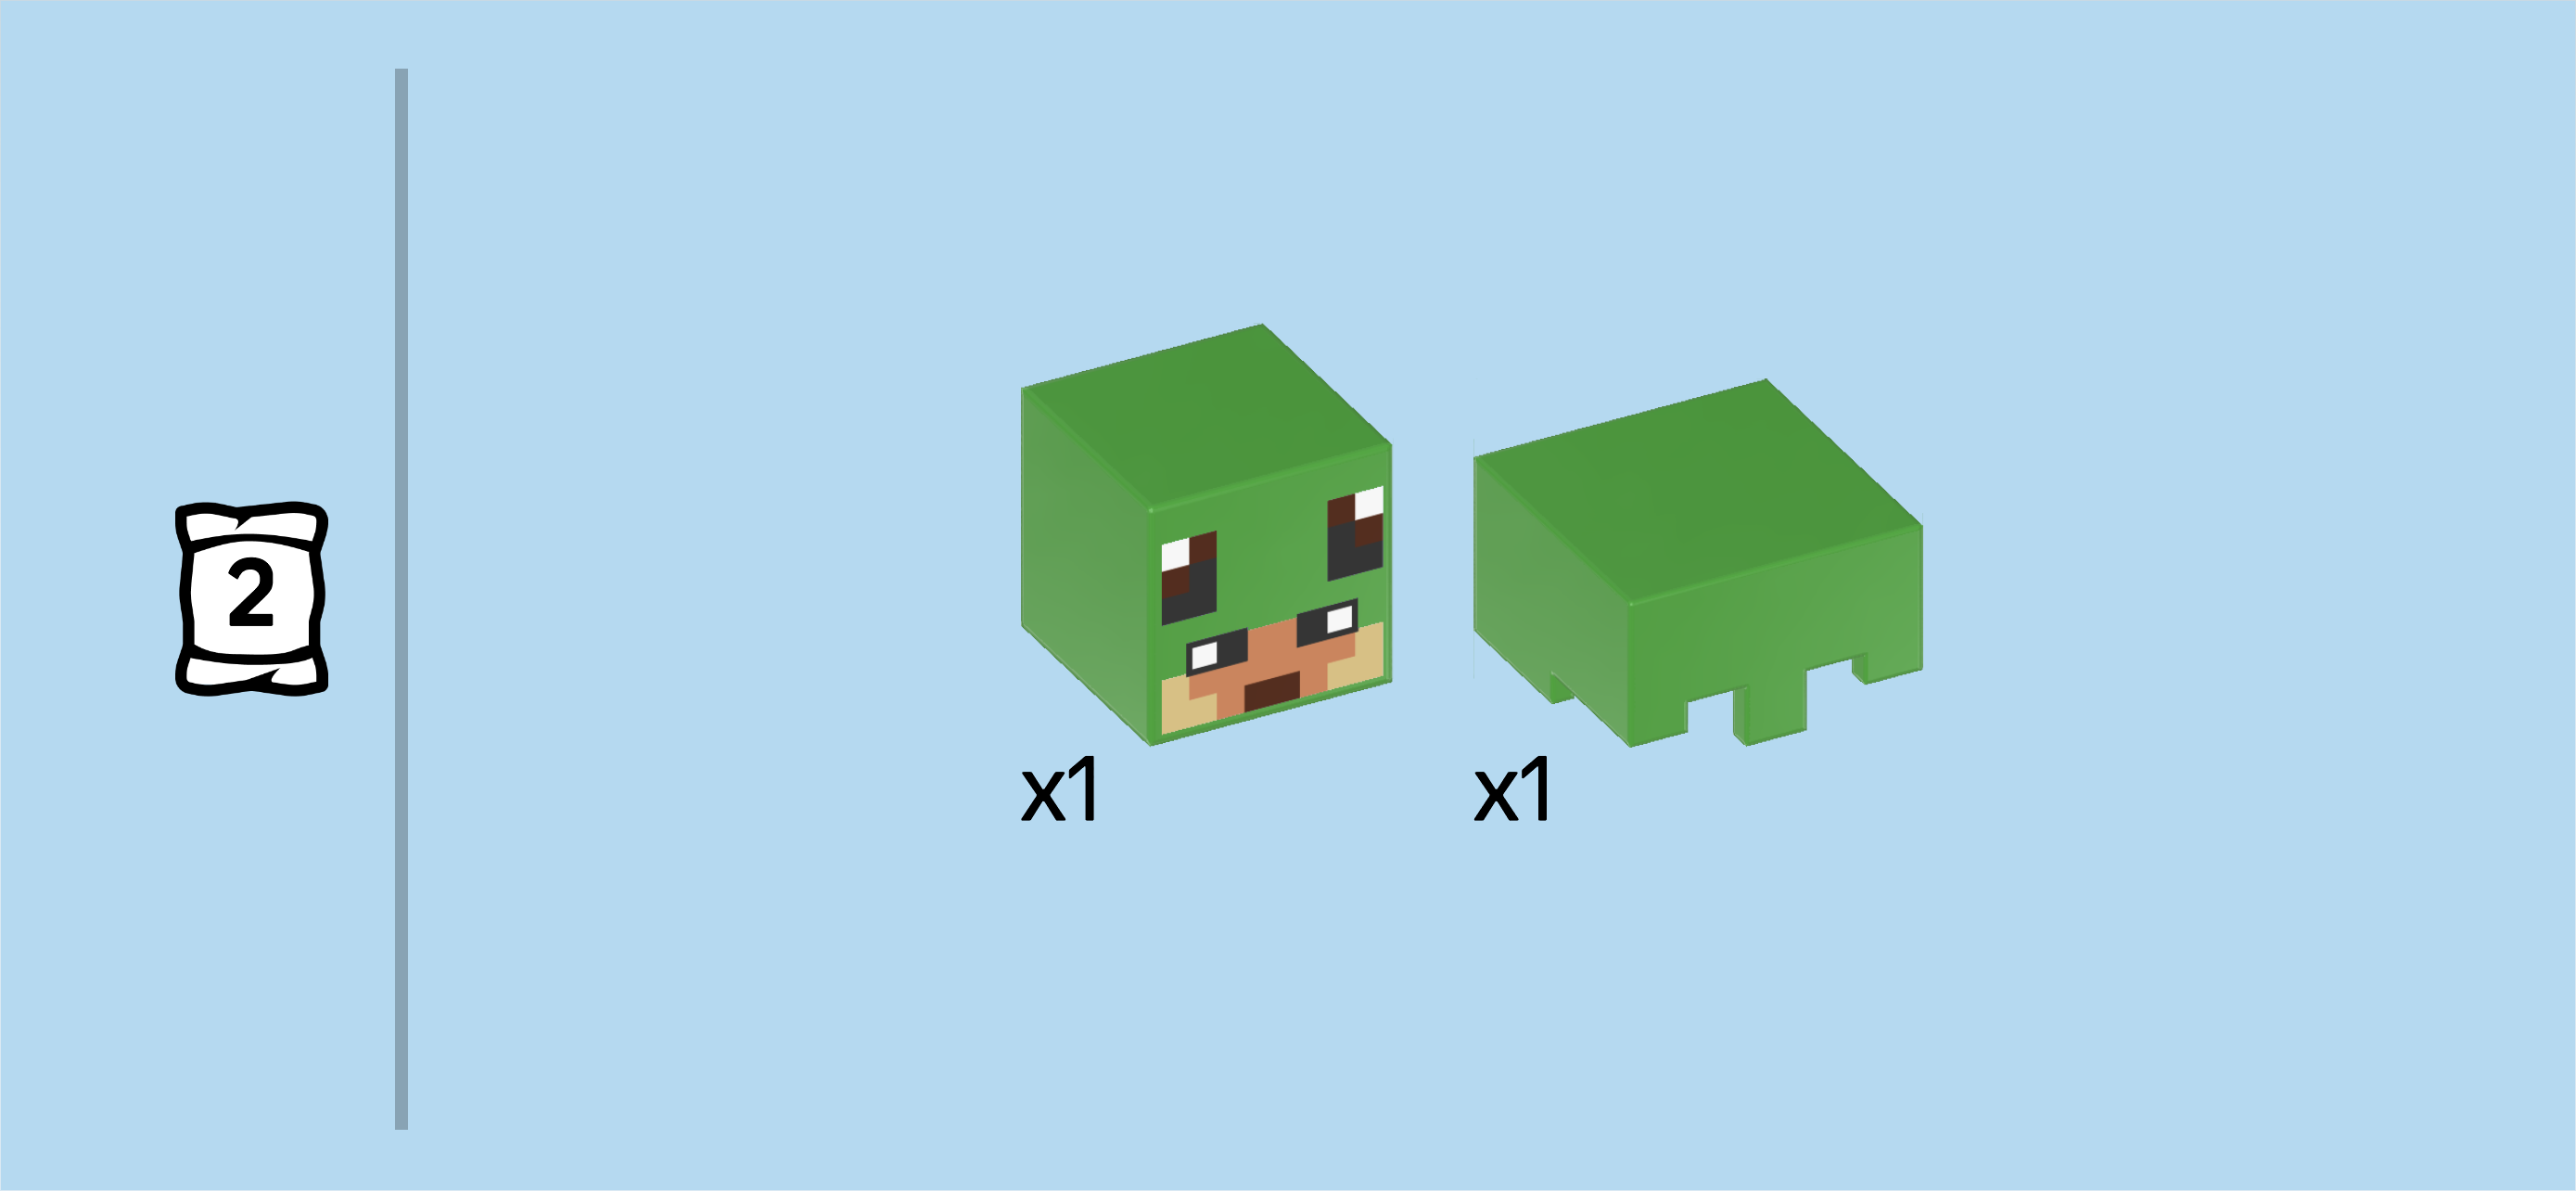
| 1 bright green Minecraft helmet, |
| and 1 bright green Minecraft Minifigure head. |
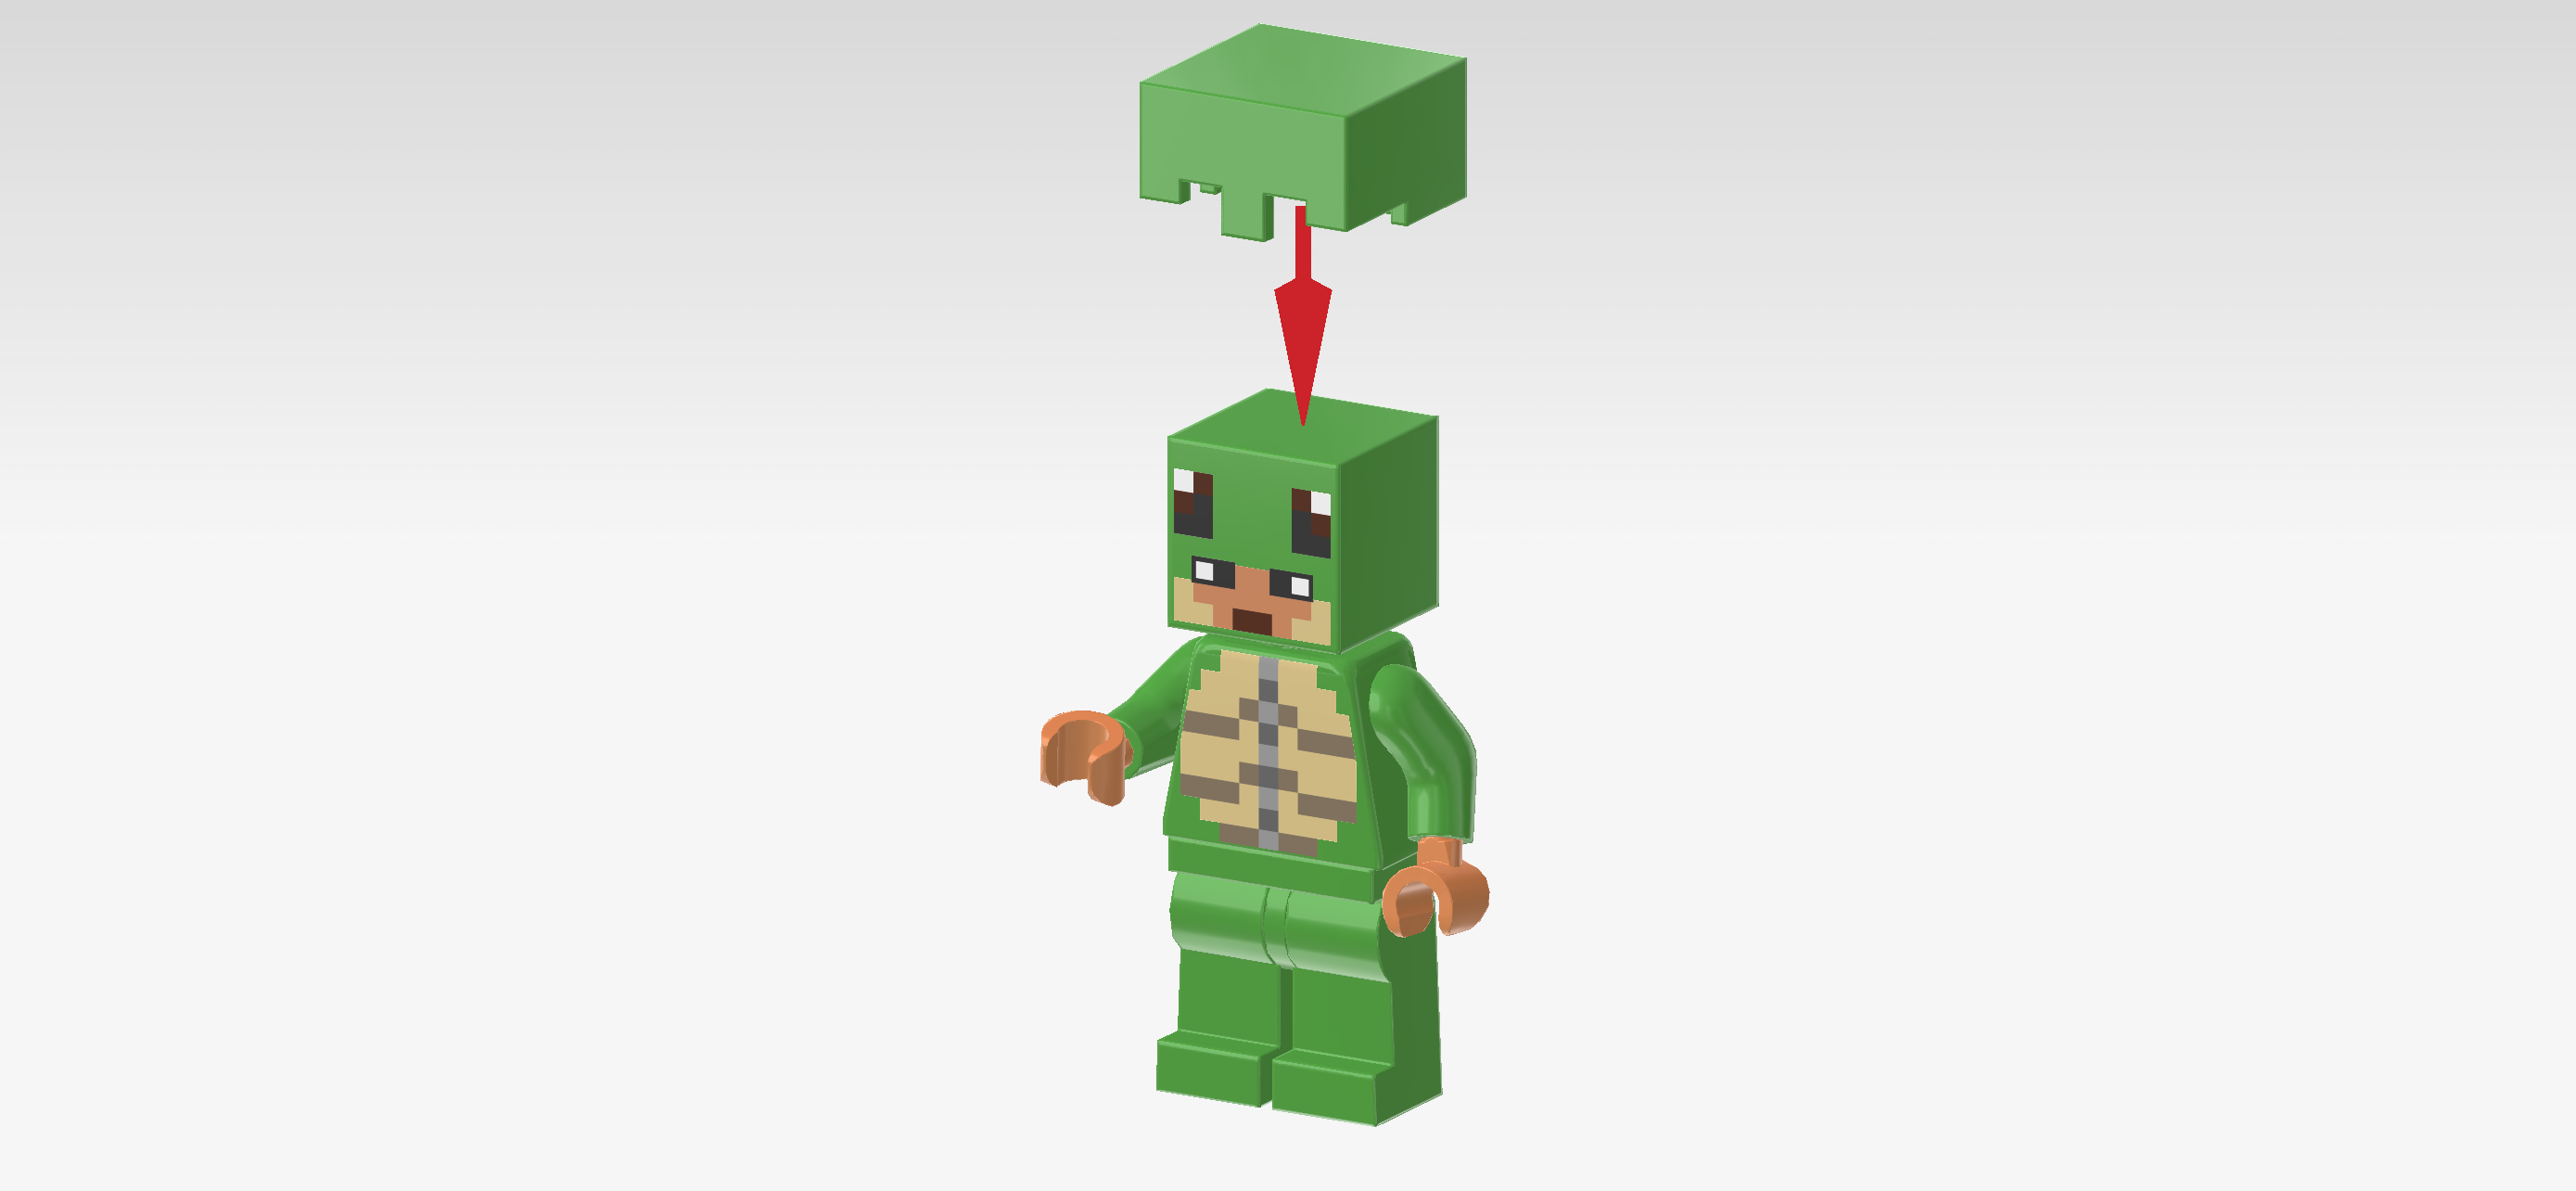
| Put the head on the body. |
| Put the helmet on top, cutouts to the front. |
| Now, we will build the spyglass. |
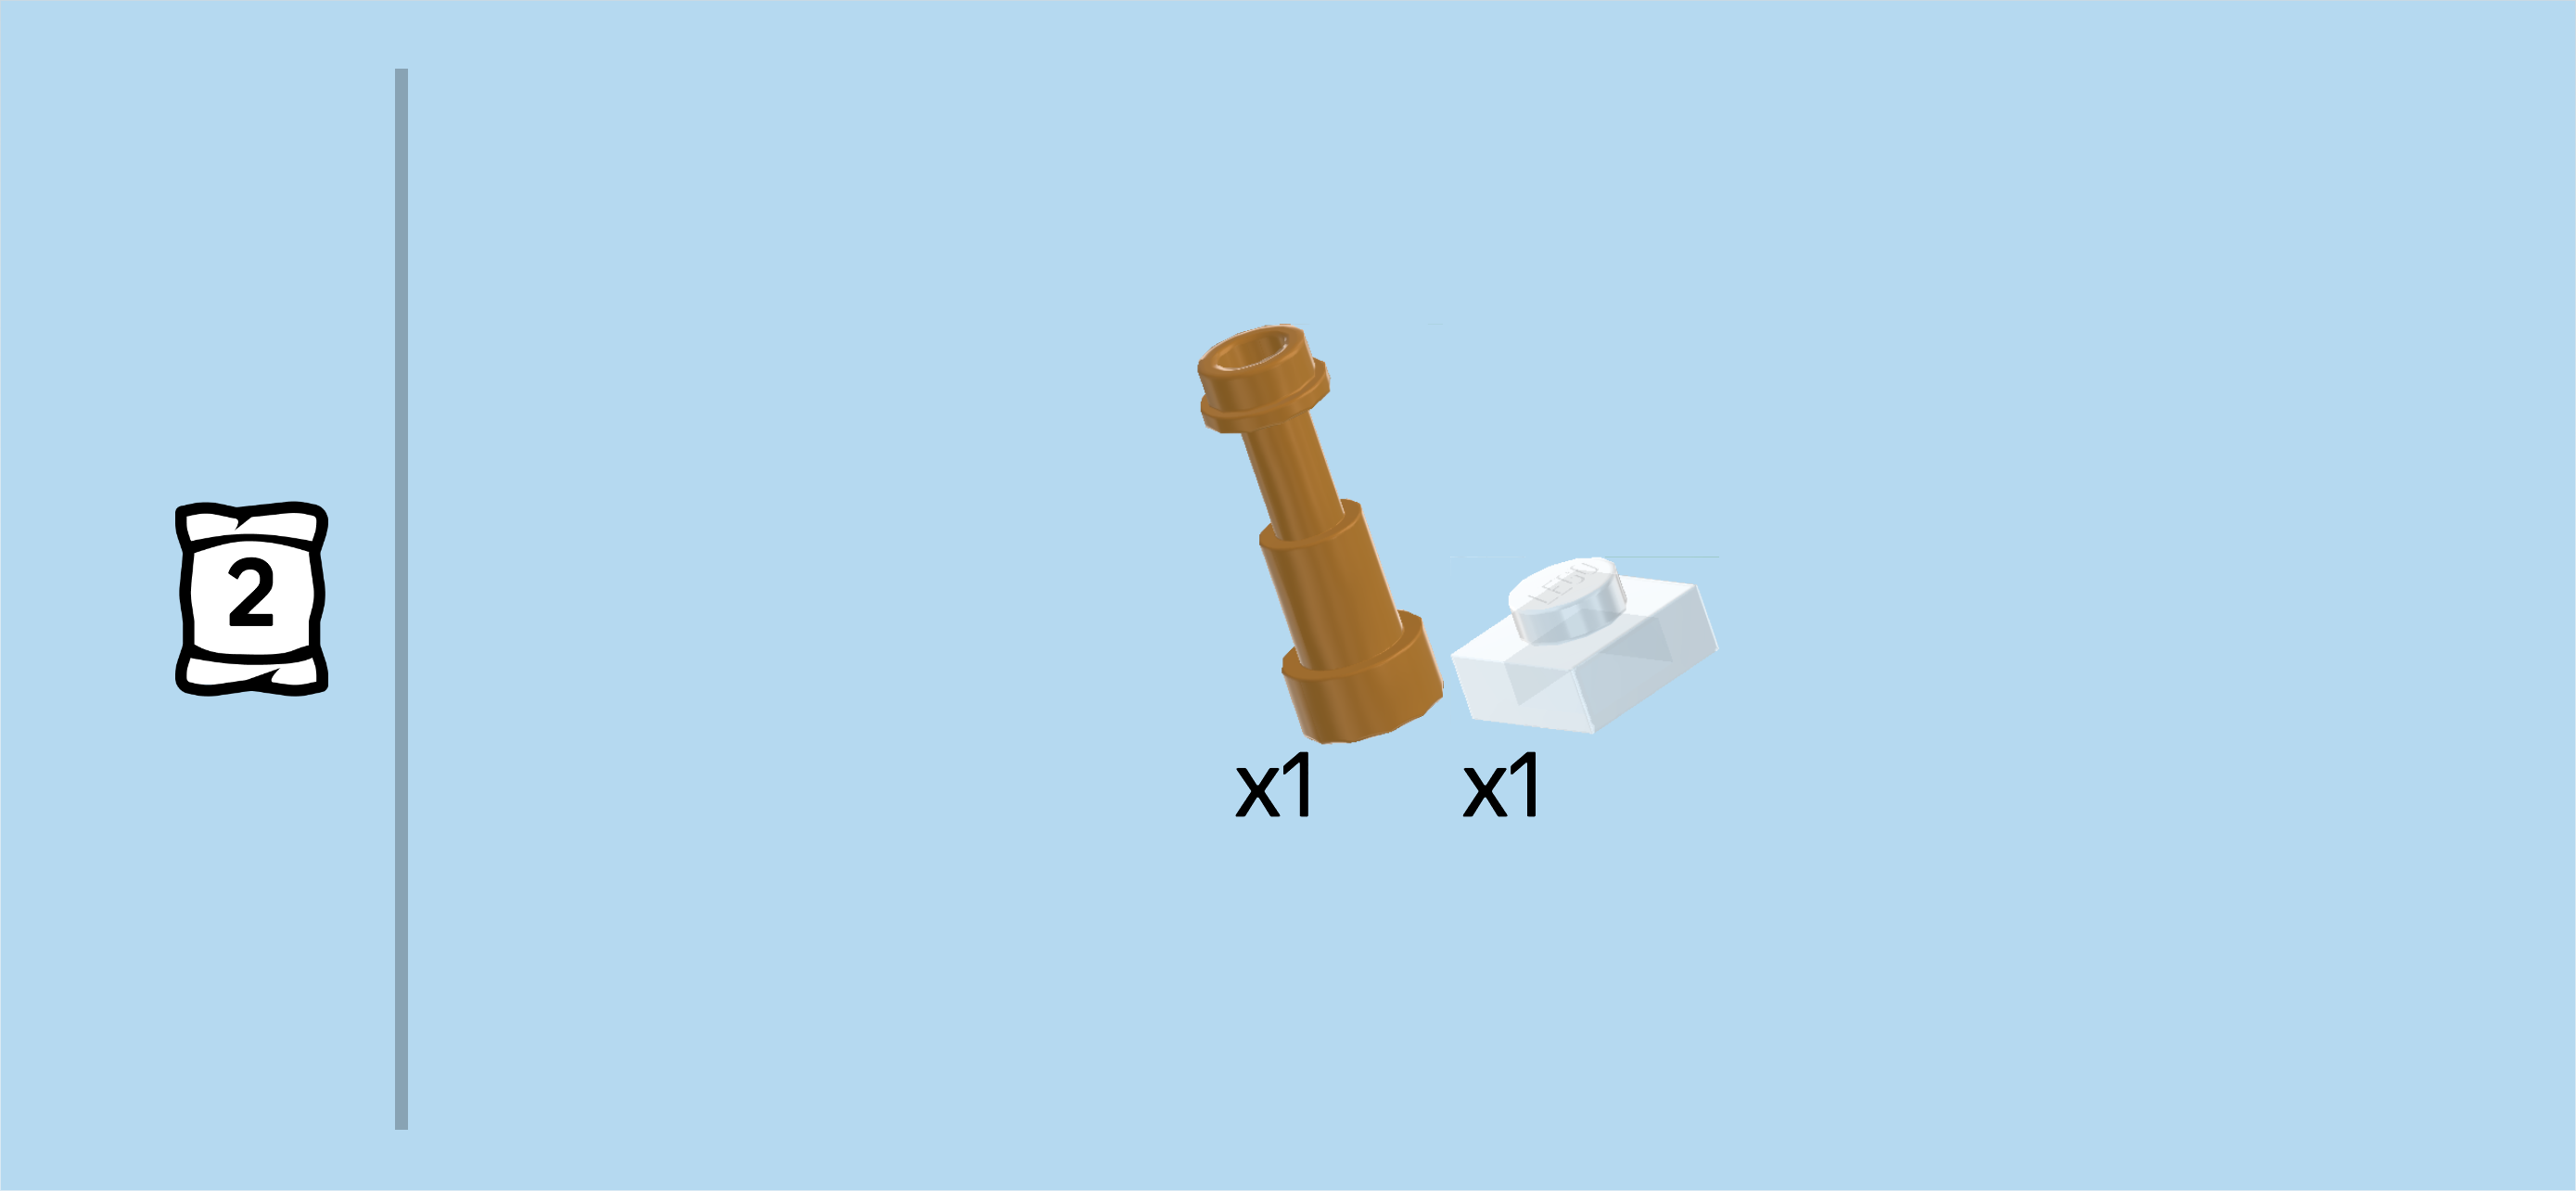
| Collect the following 2 pieces: |
| 1 warm gold Minifigure telescope 1x1x1½ with knob, |
| and 1 transparent plate 1x1. |
| Put the plate 1x1 on the table. |
| Put the telescope on the previous piece's knob, wide end to the bottom, hollow knob to the top. |
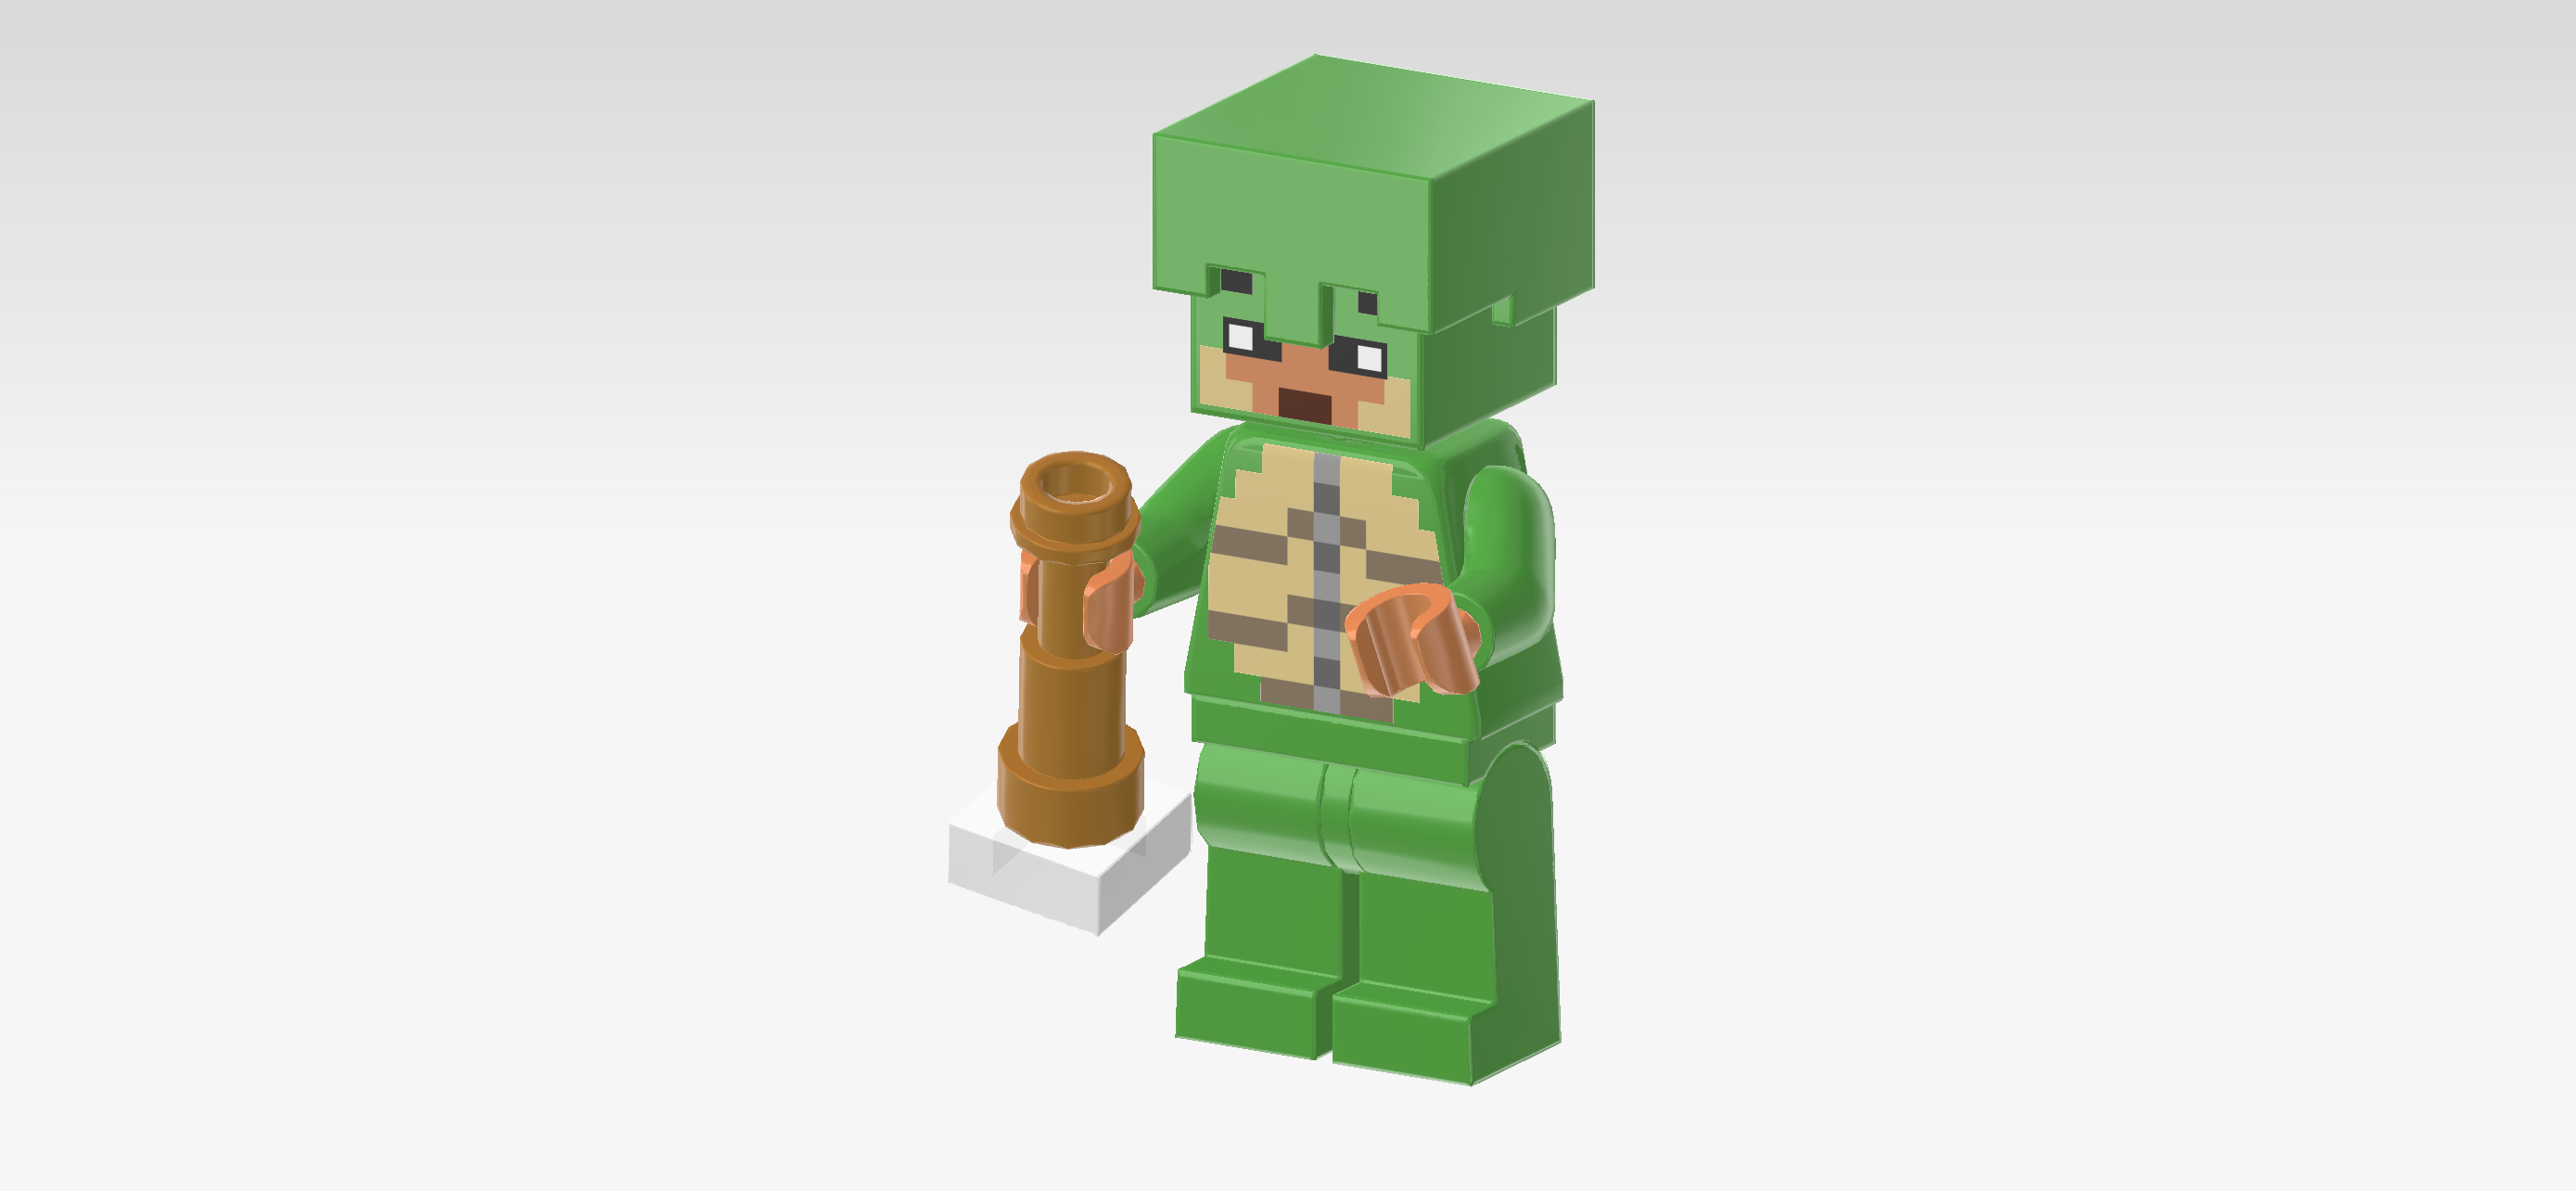
| Snap the spyglass into the Turtle Warrior's right hand, plate 1x1 to the bottom. The transparent plate is the magnifying lens of the spyglass! If the warrior lifts up the spyglass to their eyes, they can see far and wide! |
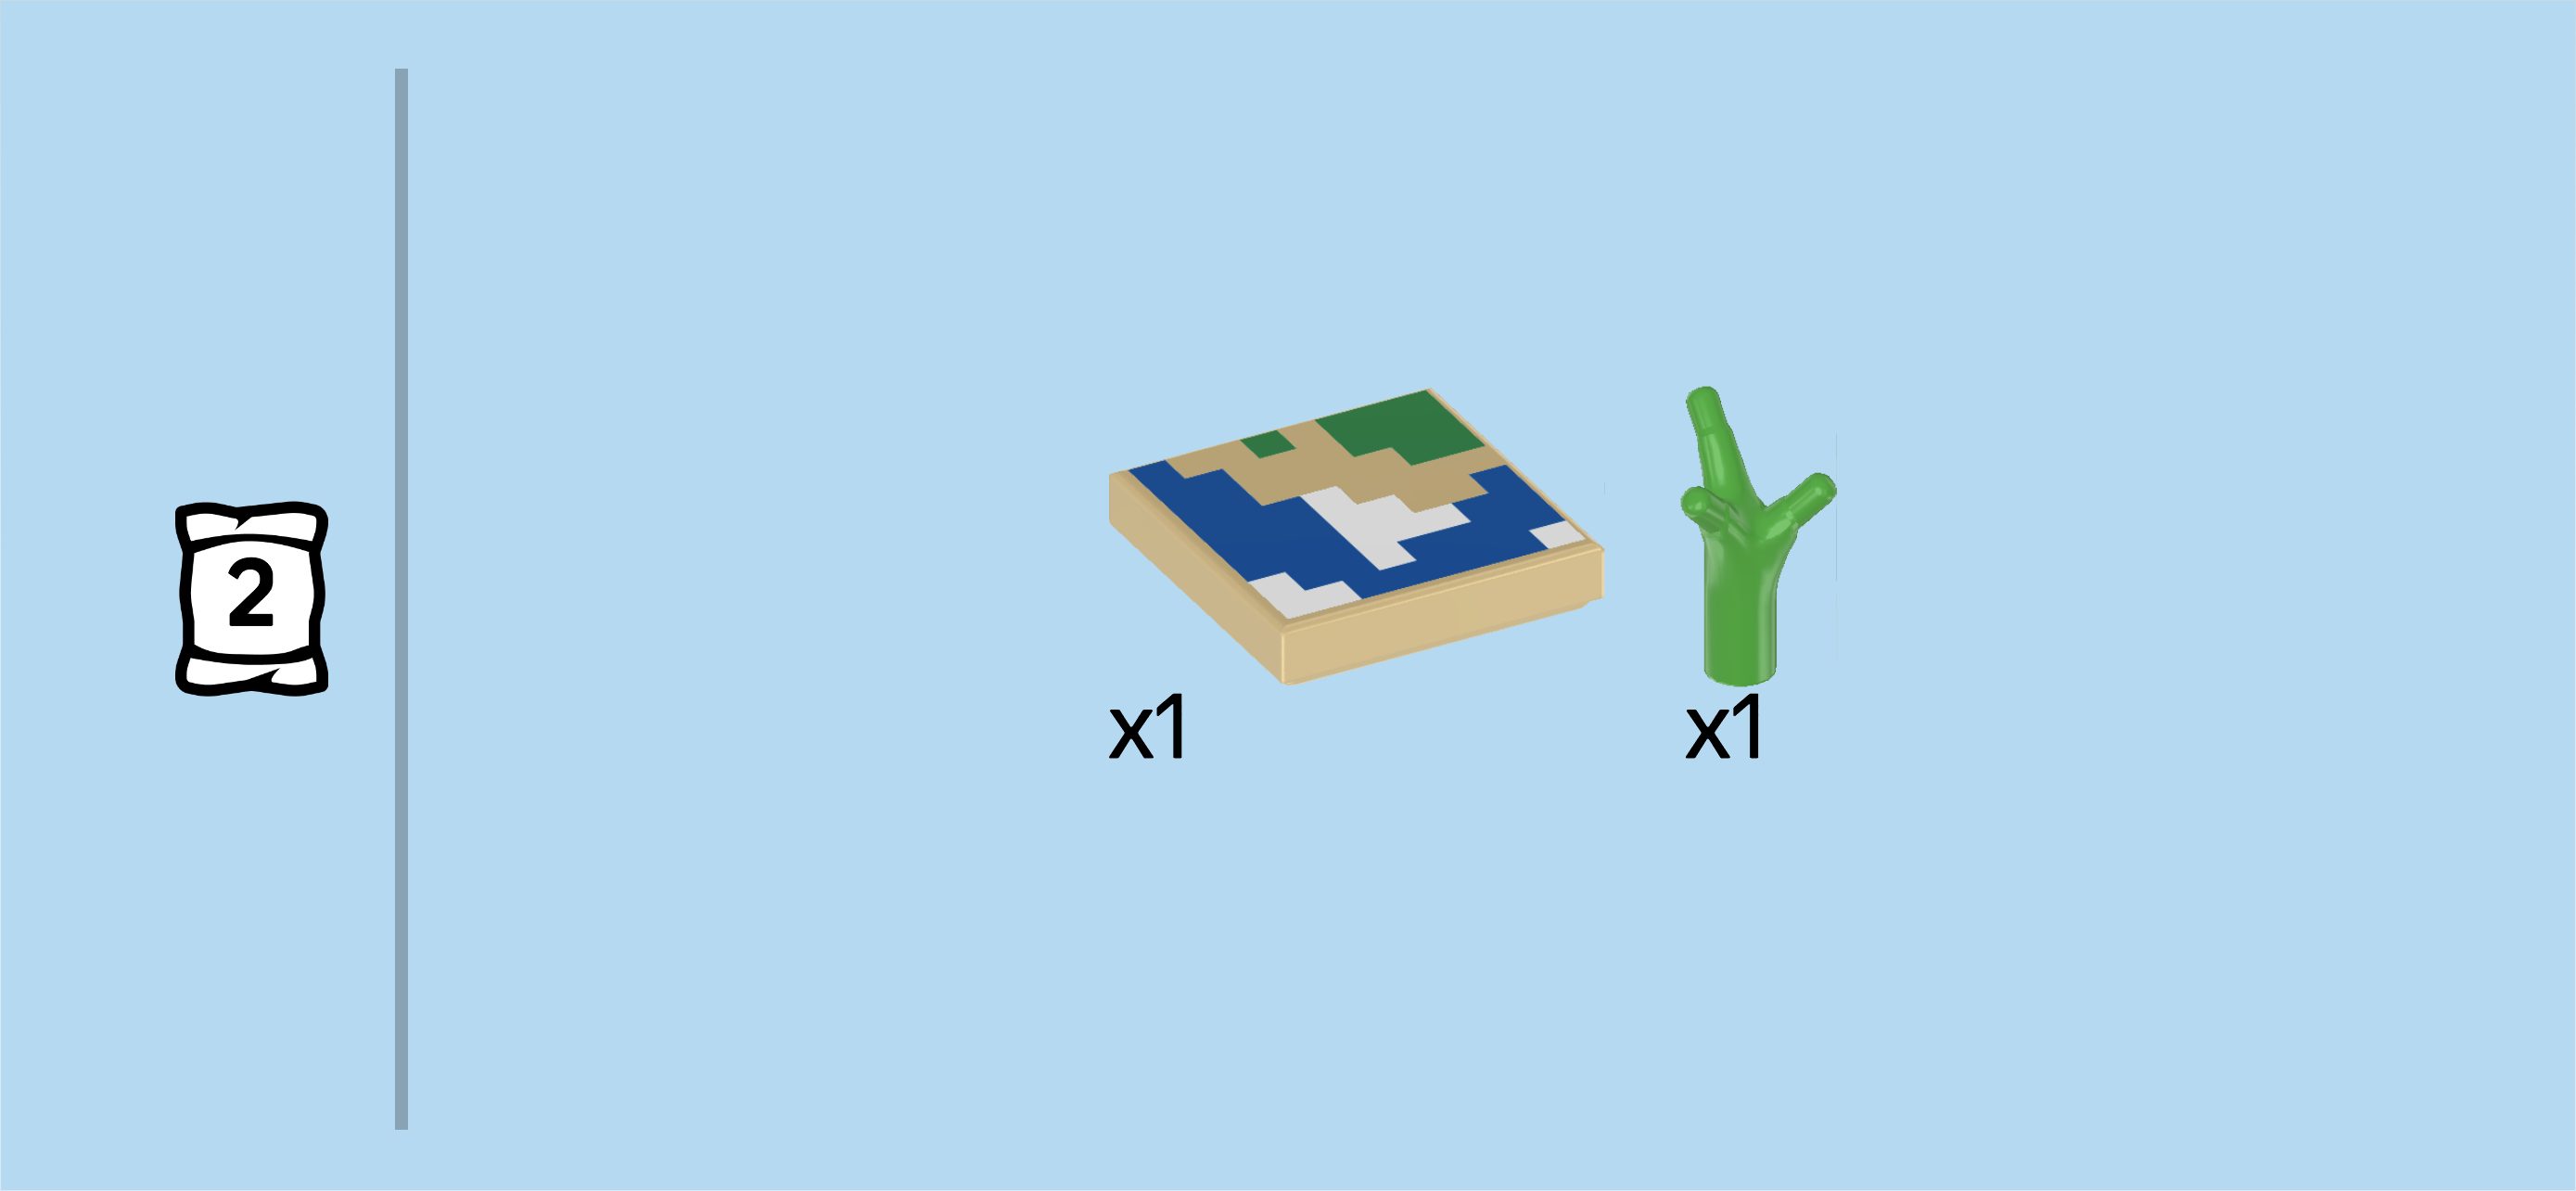
| Collect the following 2 pieces: |
| 1 bright green tree branch 1x1 with 3 small twigs, |
| and 1 pale ocher yellow flat tile 2x2. |
| Snap the flat tile into the Turtle Warrior's left hand. This piece is printed with a map of the beach and sea area where the Turtle Beach House is located! The Turtle Warrior can use it for navigation when exploring unknown waters with the bamboo raft. |
| The small tree branch is a piece of seagrass, a delicacy for sea turtles. You can use it to feed your turtle friends! |
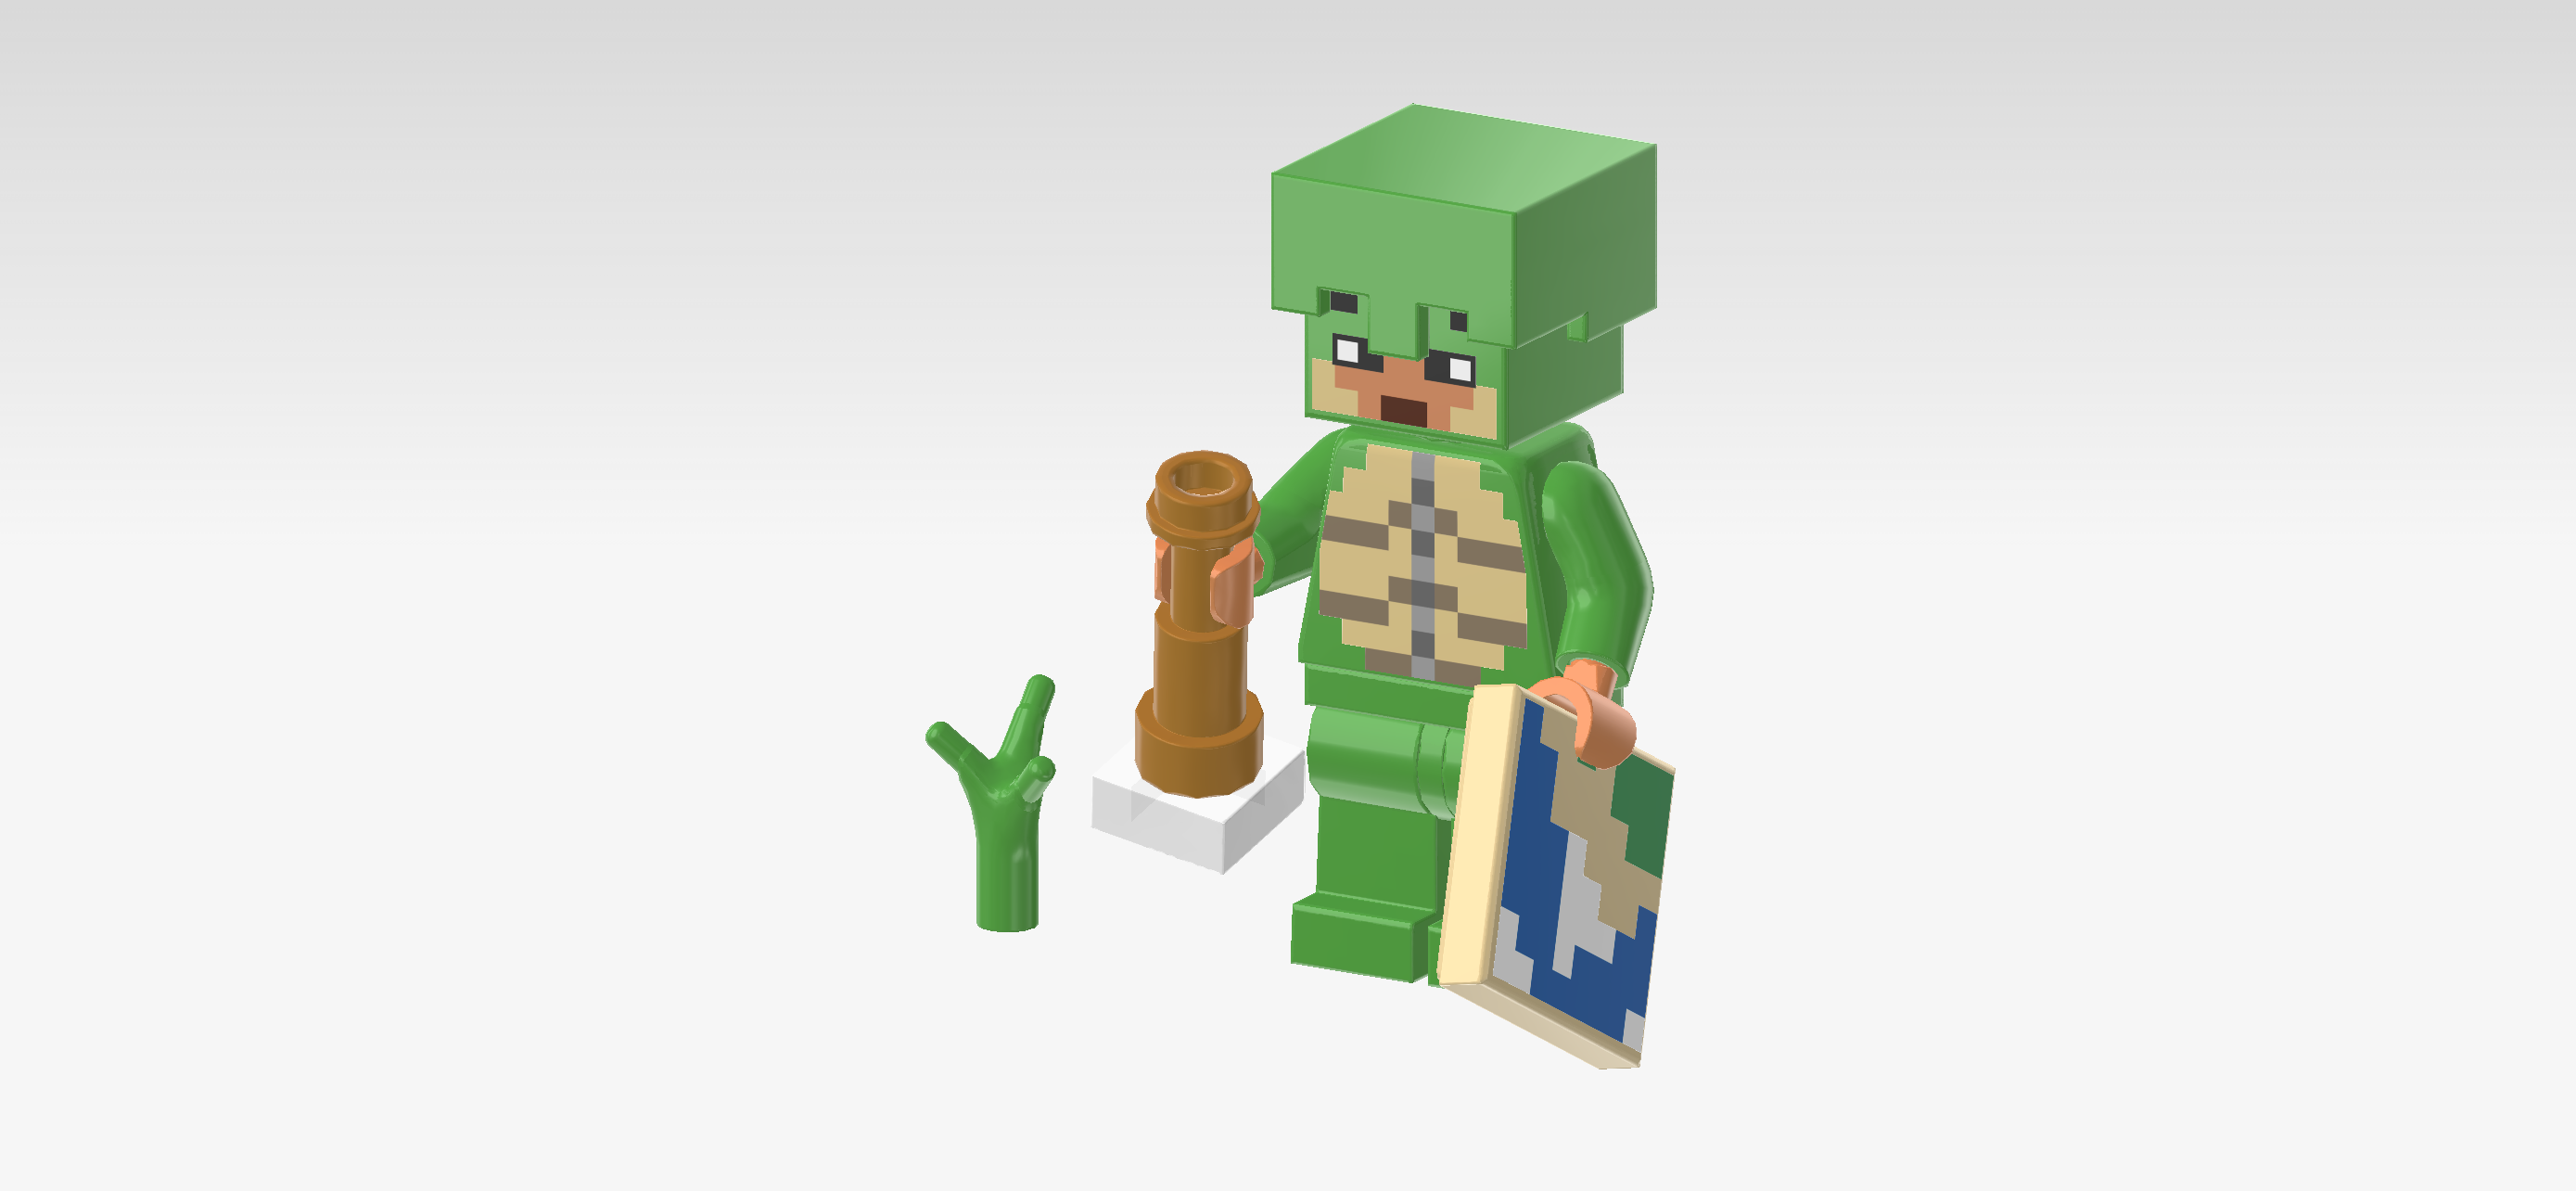
| The Turtle Warrior Minifigure is finished! Great job! The Warrior is wearing a green turtle skin. The chest is printed with a sand brown turtle belly pattern that looks a bit like a sixpack. The back is printed with the pattern of a carapace which is the turtle's outer shell where dark green lines form two horizontal oval shapes that are filled with light green and yellow shades. The warrior's cheeks and mouth area are also sand brown and light brown, and the Warrior has black-and-white eyes and black eyebrows. They have a friendly look on their face! |
| Next, we will continue building the Turtle Beach House. First, we will lay the foundation of the walls. |
| Collect the following 2 pieces: |
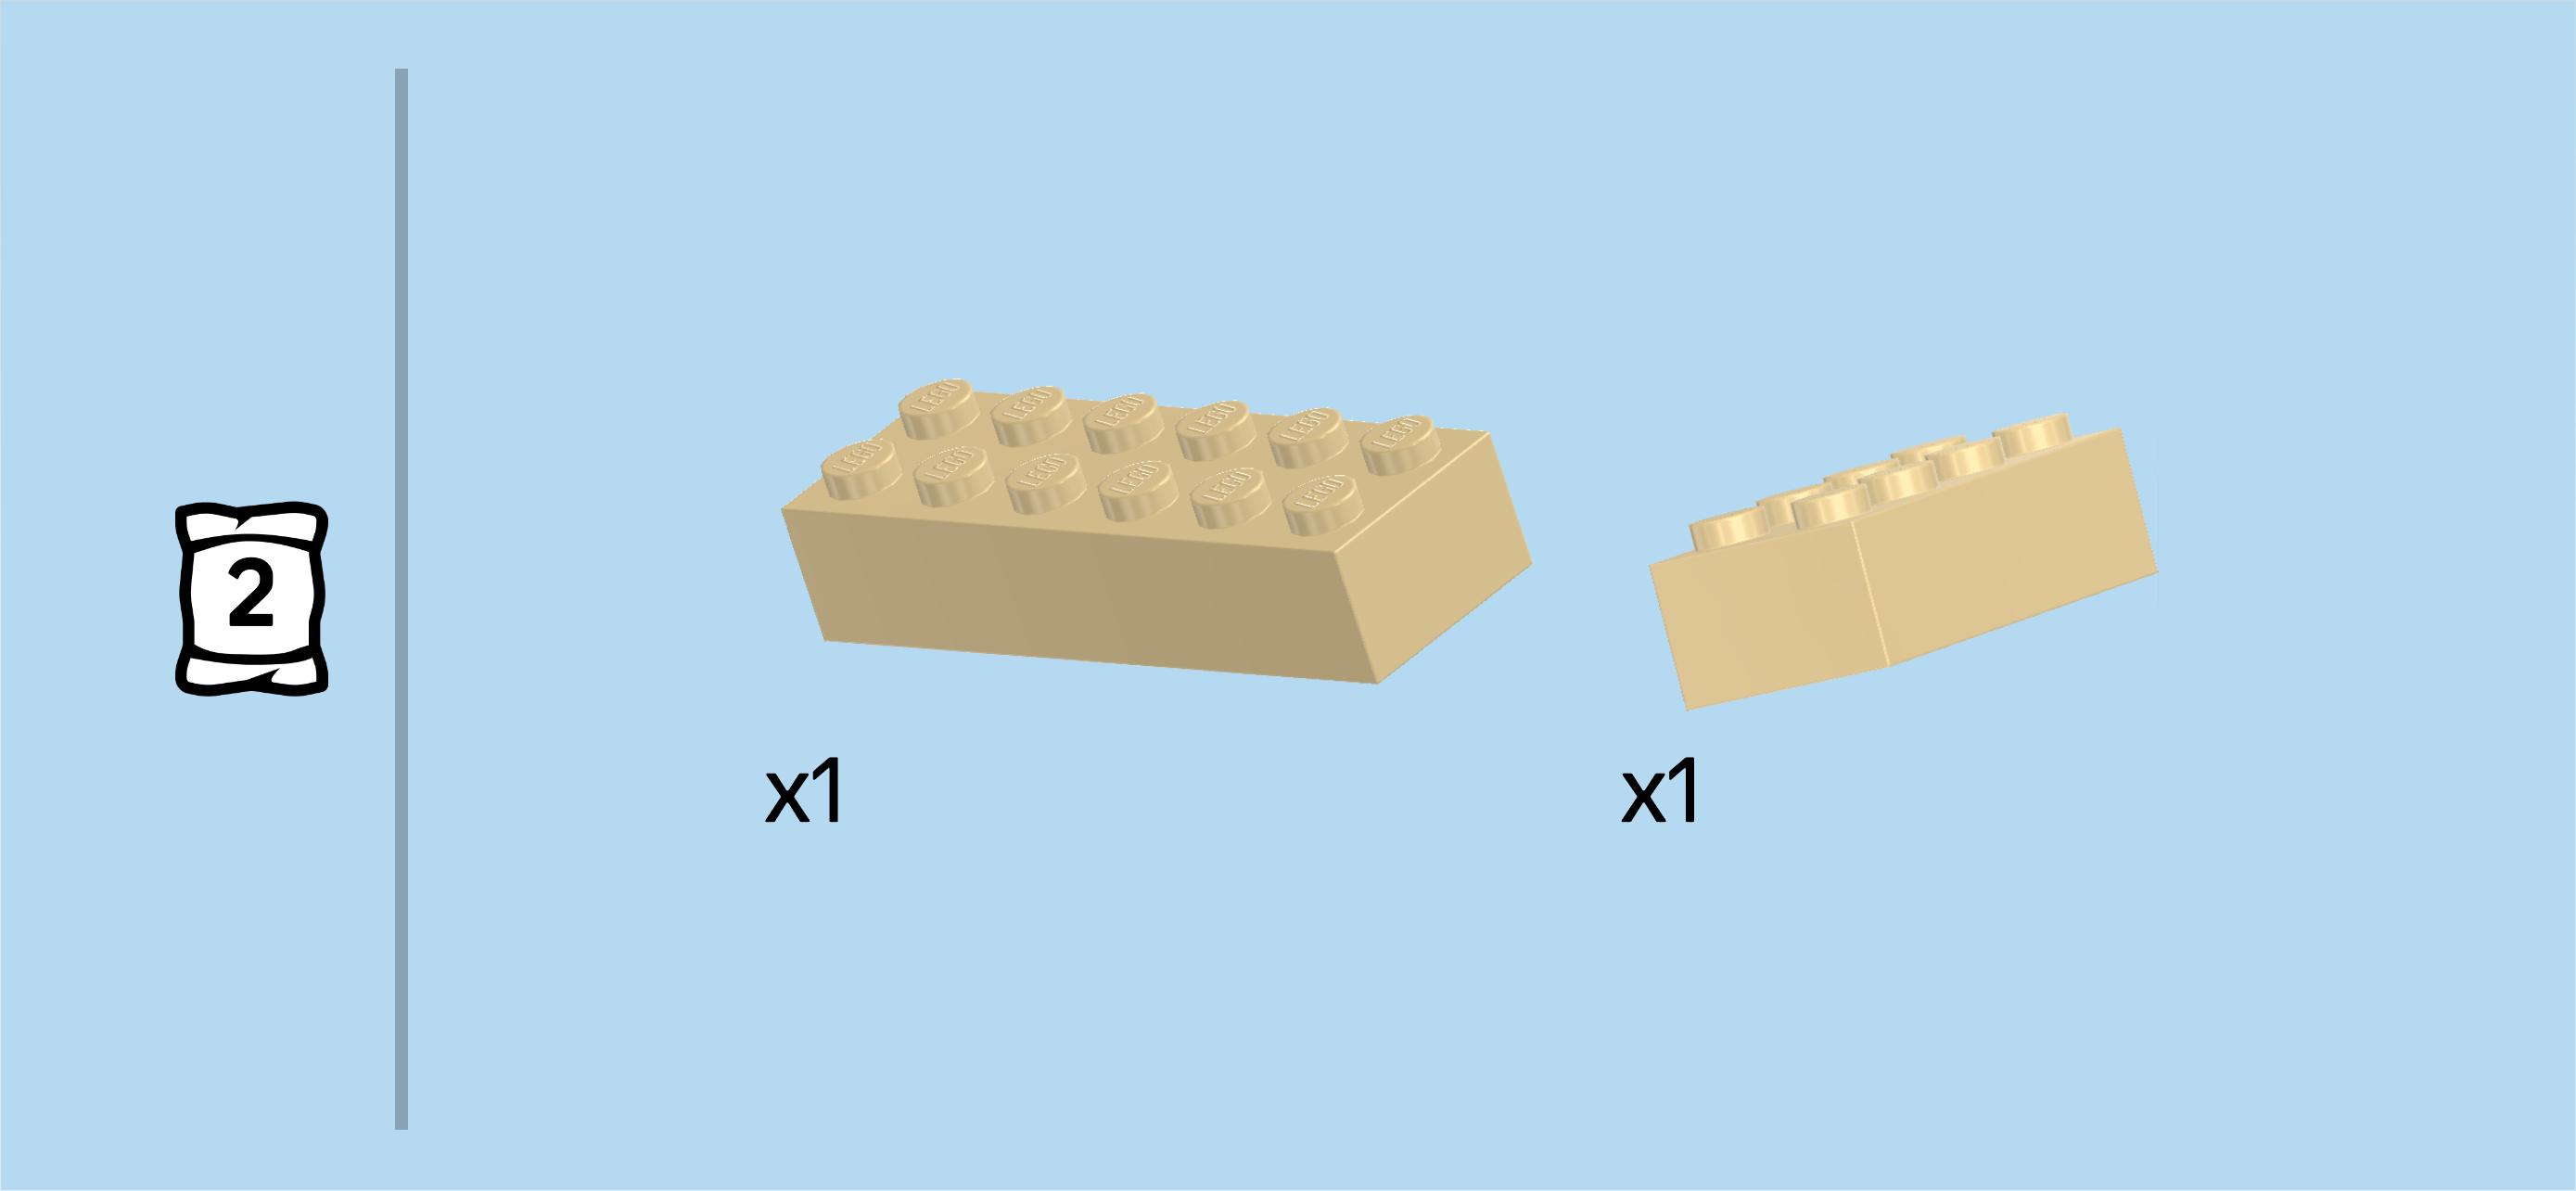
| 1 pale ocher yellow brick 2x6, |
| and 1 pale ocher yellow brick 2x4. |
| Put the base plate of the house with beach area horizontally in front of you. Make sure the beach area and 2 of the 4x4 protrusions are pointing to the right, the small 2x2 protrusion is pointing to the left, and the other two 4x4 protrusions are pointing to the front and back. |
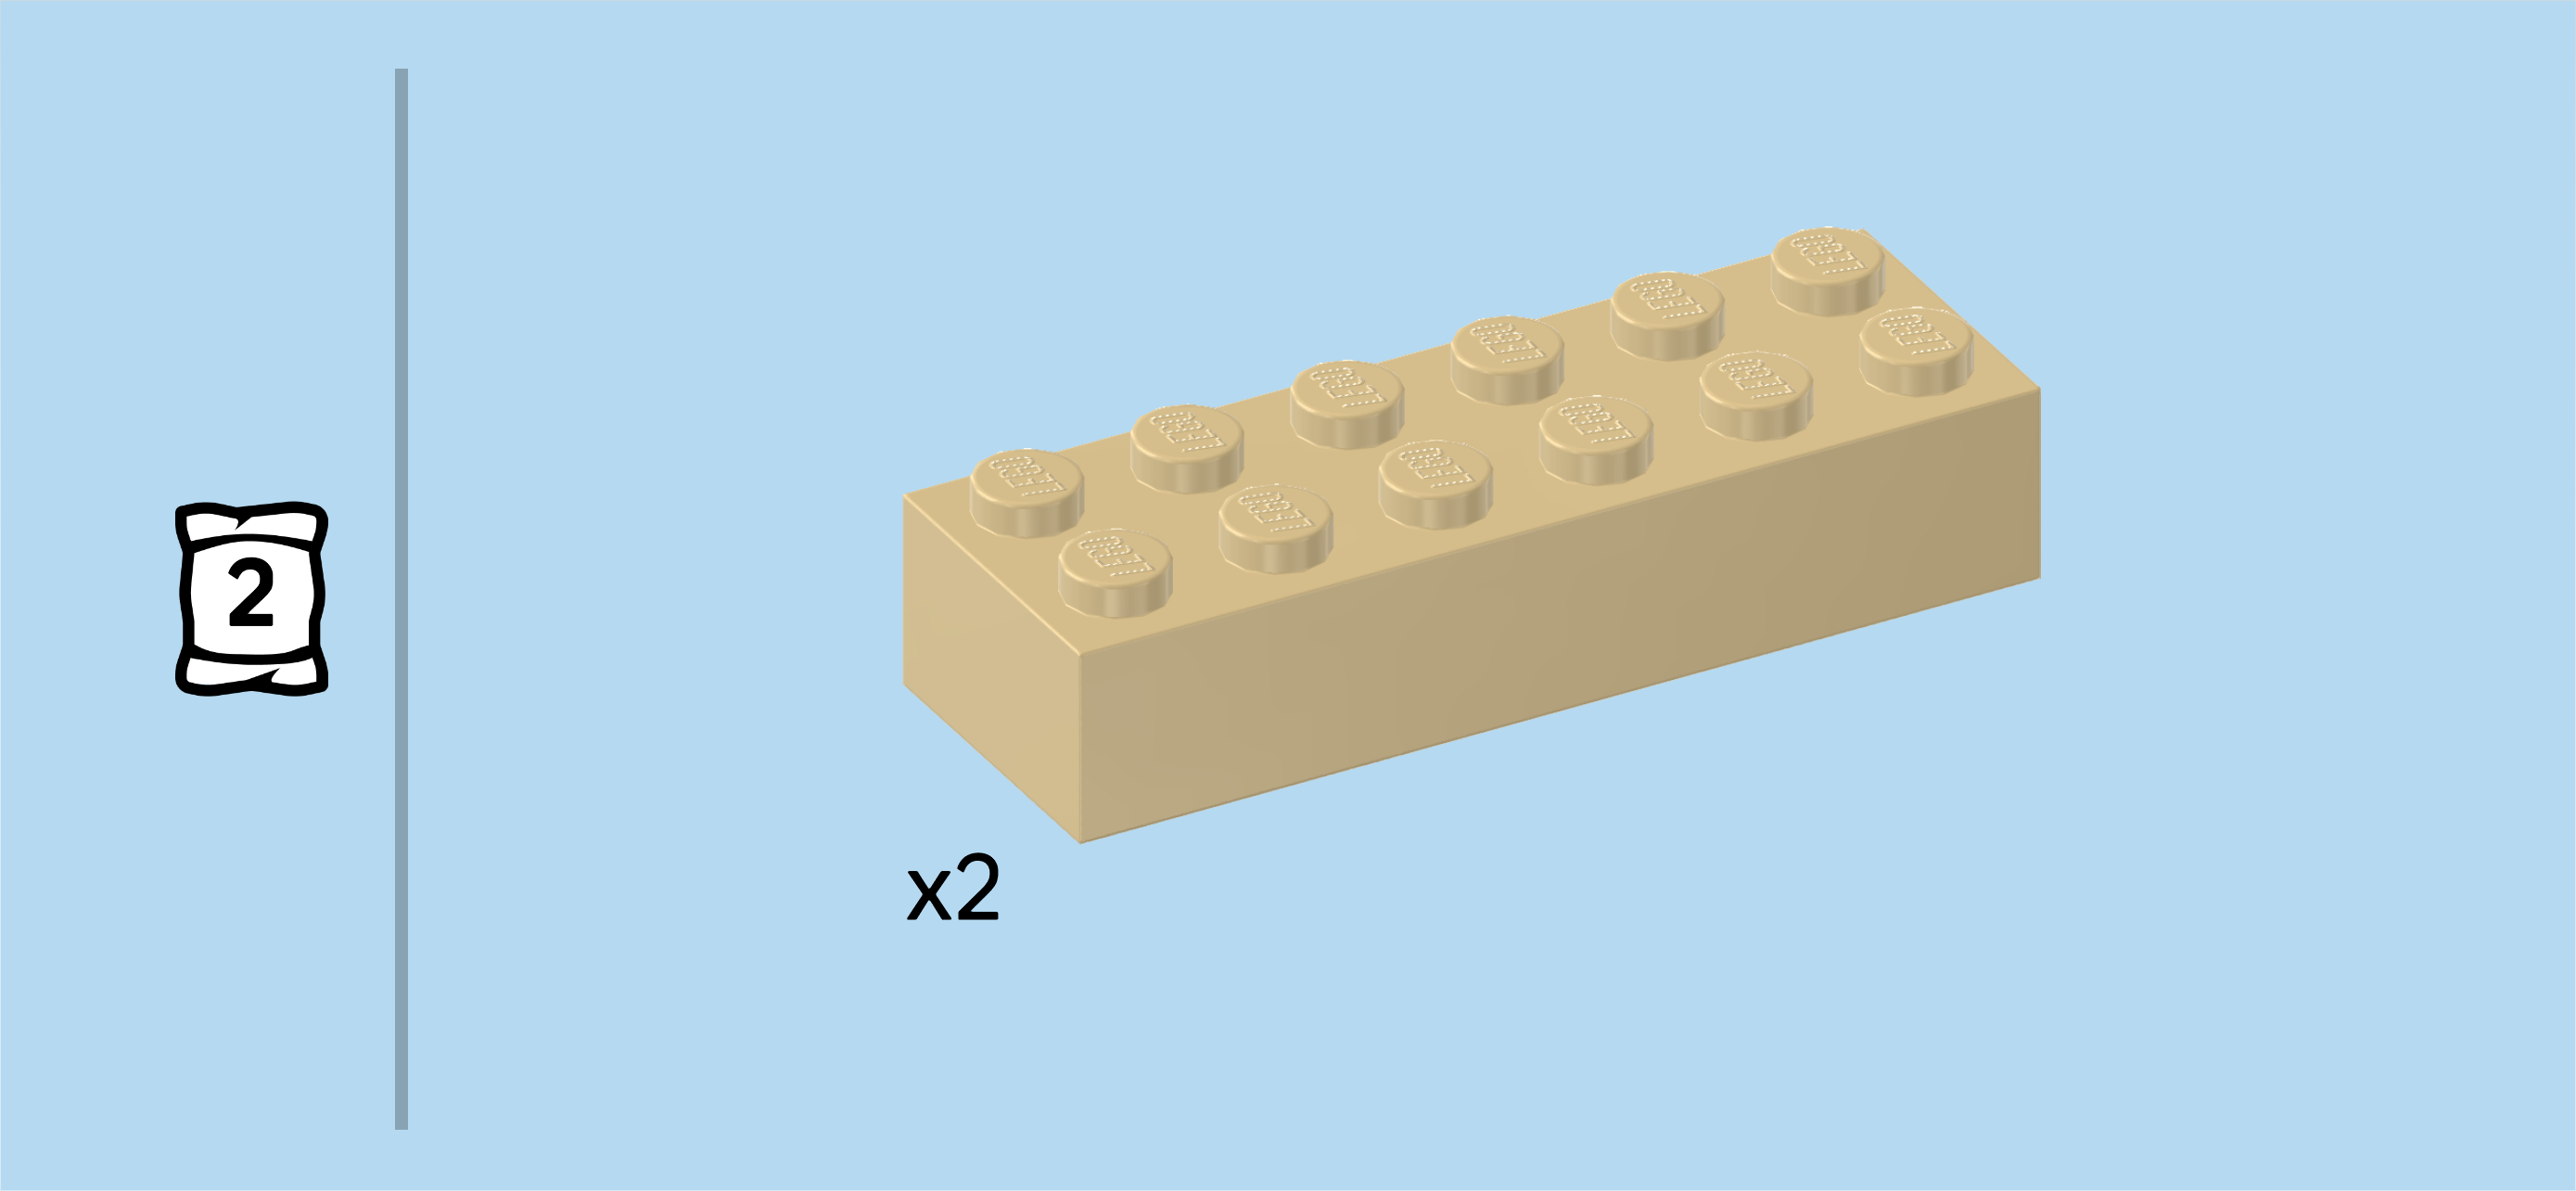
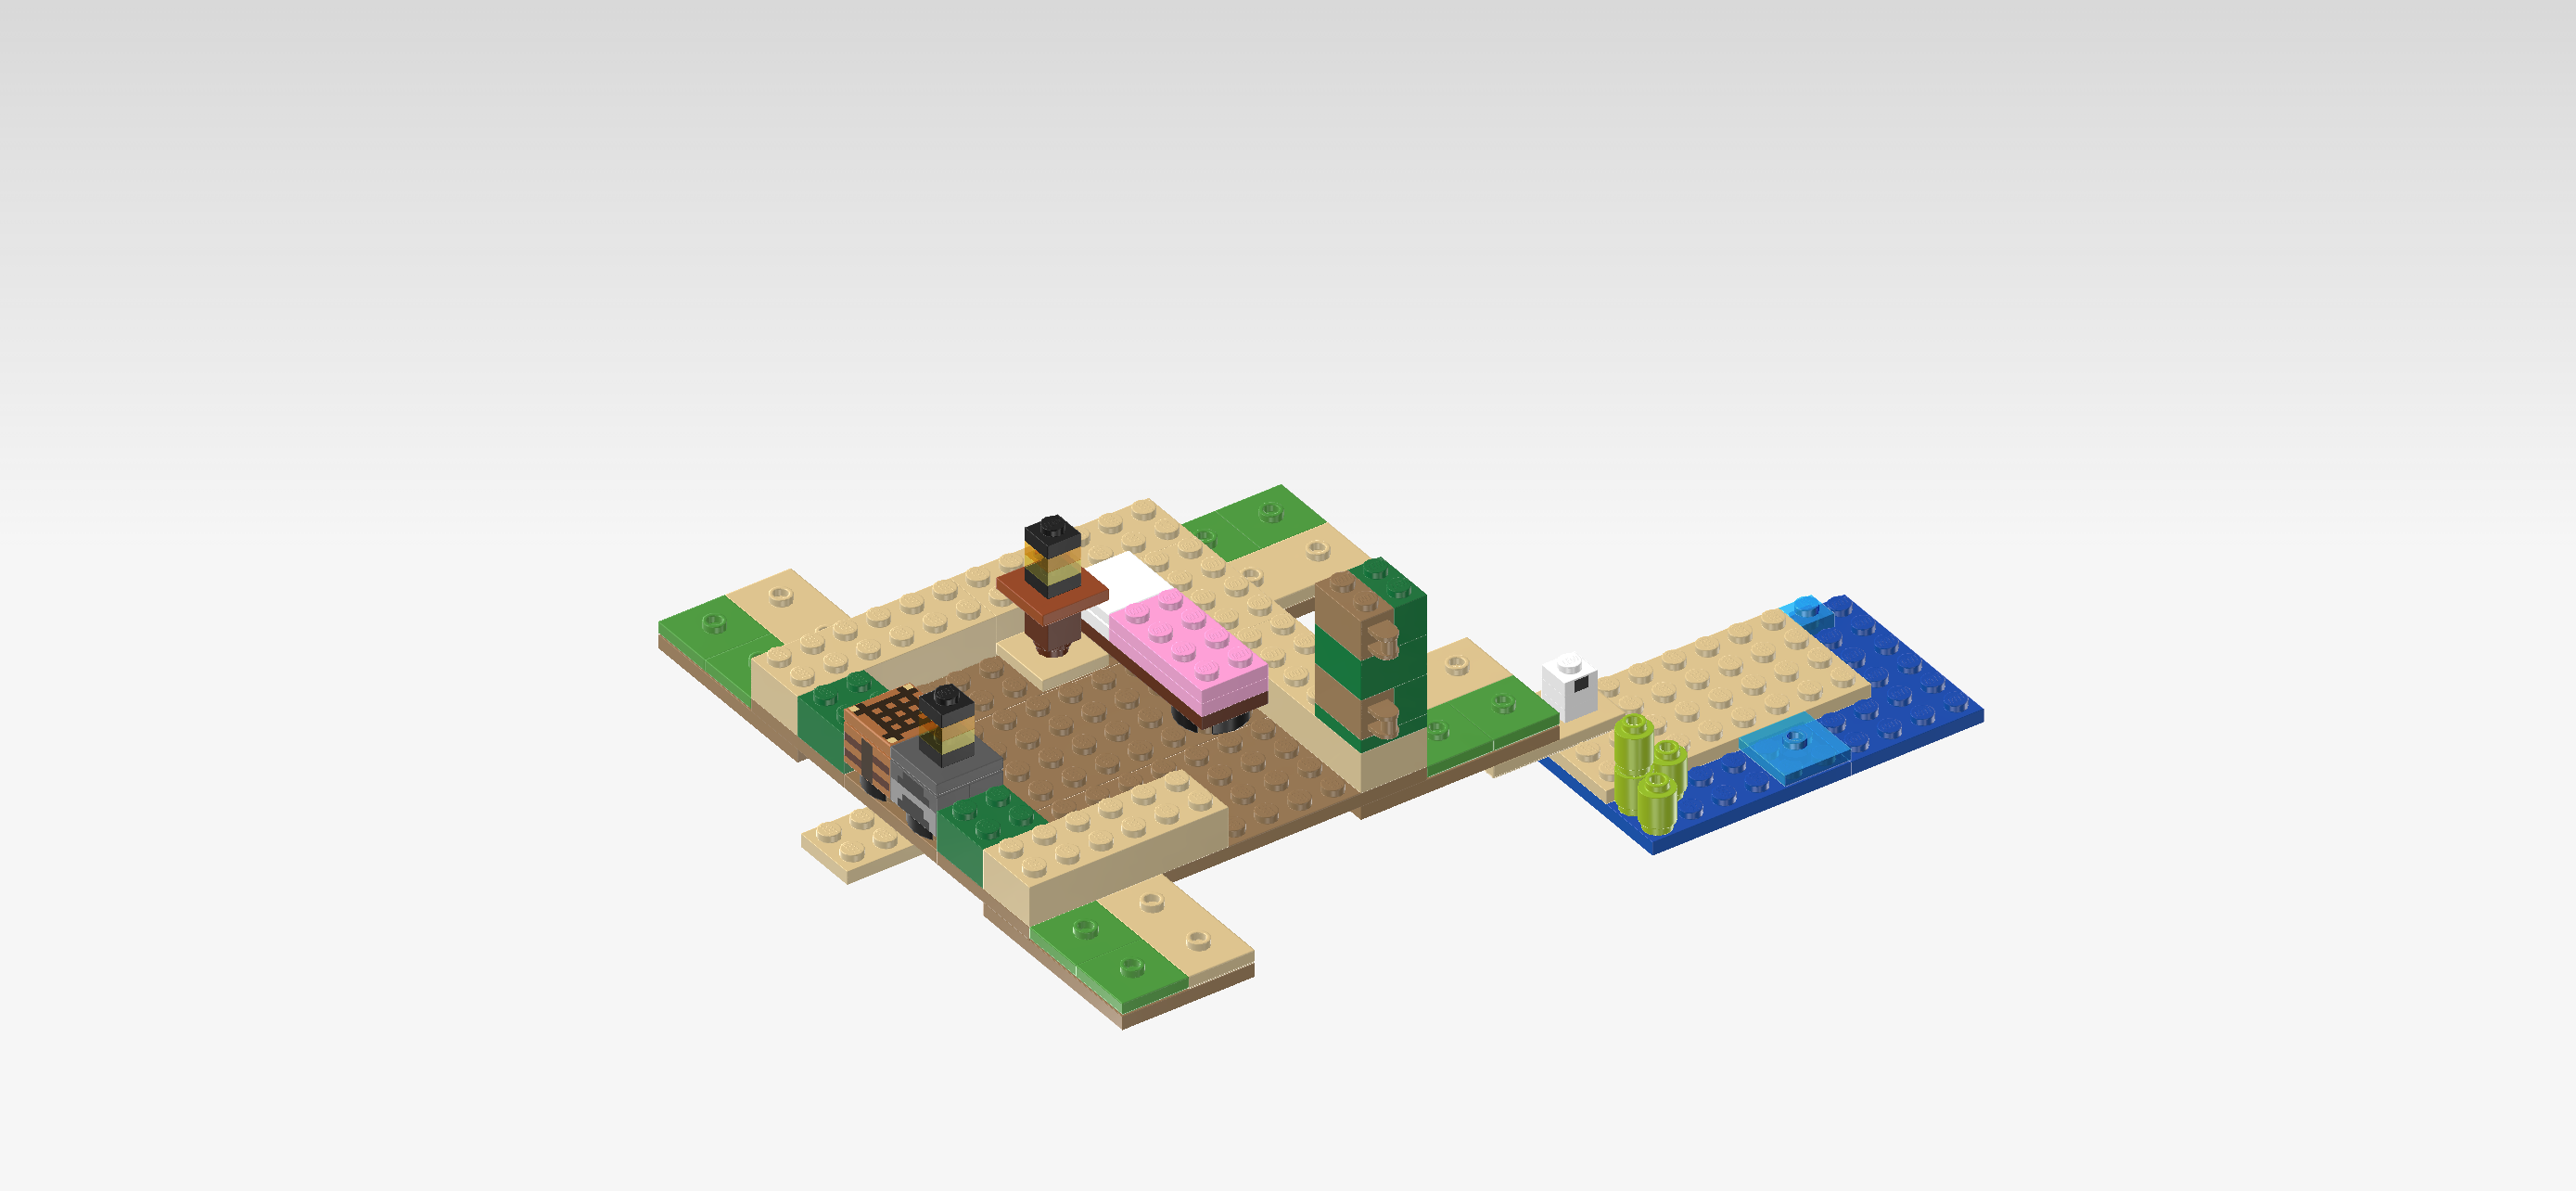
| Put the brick 2x6 vertically on the 2 rightmost columns of the 12x12 base plate, starting from their front edge. This refers to the regular columns of the base plate, meaning that you should leave the beach area and the 4x4 protrusions empty. |
| Put the brick 2x4 vertically behind the previous piece. |
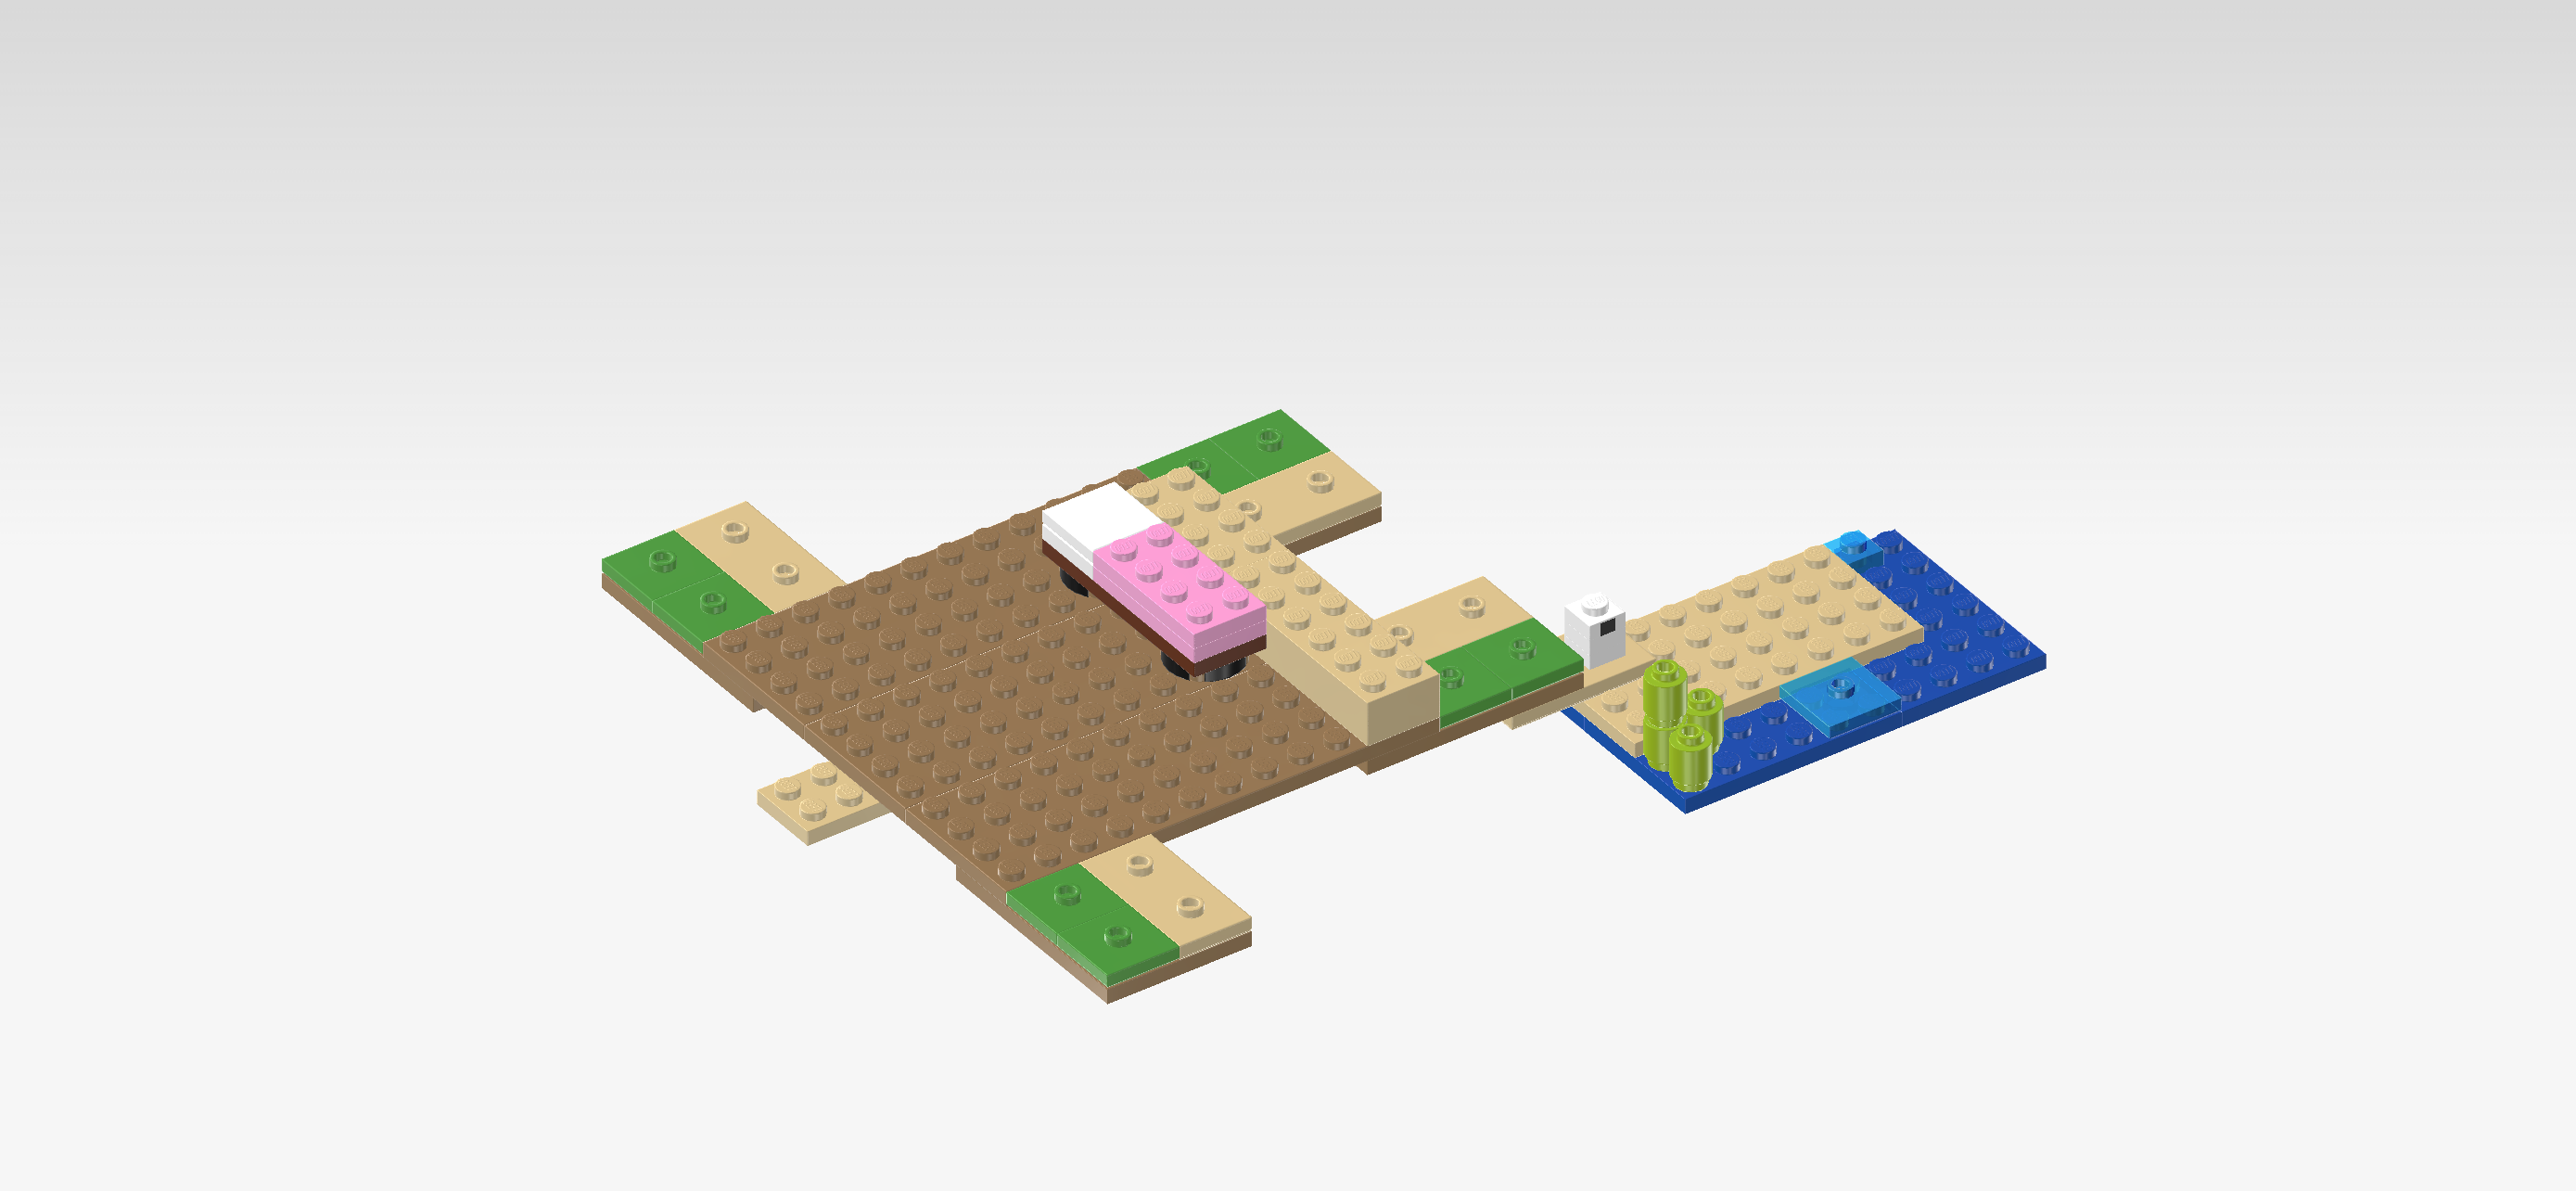
| Now, fetch the bed sub-build that we have built in the beginning. The bed is a 2x6 structure. Its surface has a smooth part and a part with knobs. There are 2 flat round feet mounted at its bottom. |
| Turn it vertically so that the smooth part (the pillow of the bed) is to the back. |
| Mount it directly to the left of the previous piece, starting from its back edge. If done correctly, the 2 backmost rows of the base plate remain empty for now. |
| Collect the following 2 pieces: |
| 1 pale ocher yellow brick 2x6, |
| and 1 pale ocher yellow plate 2x2 with 1 knob. |
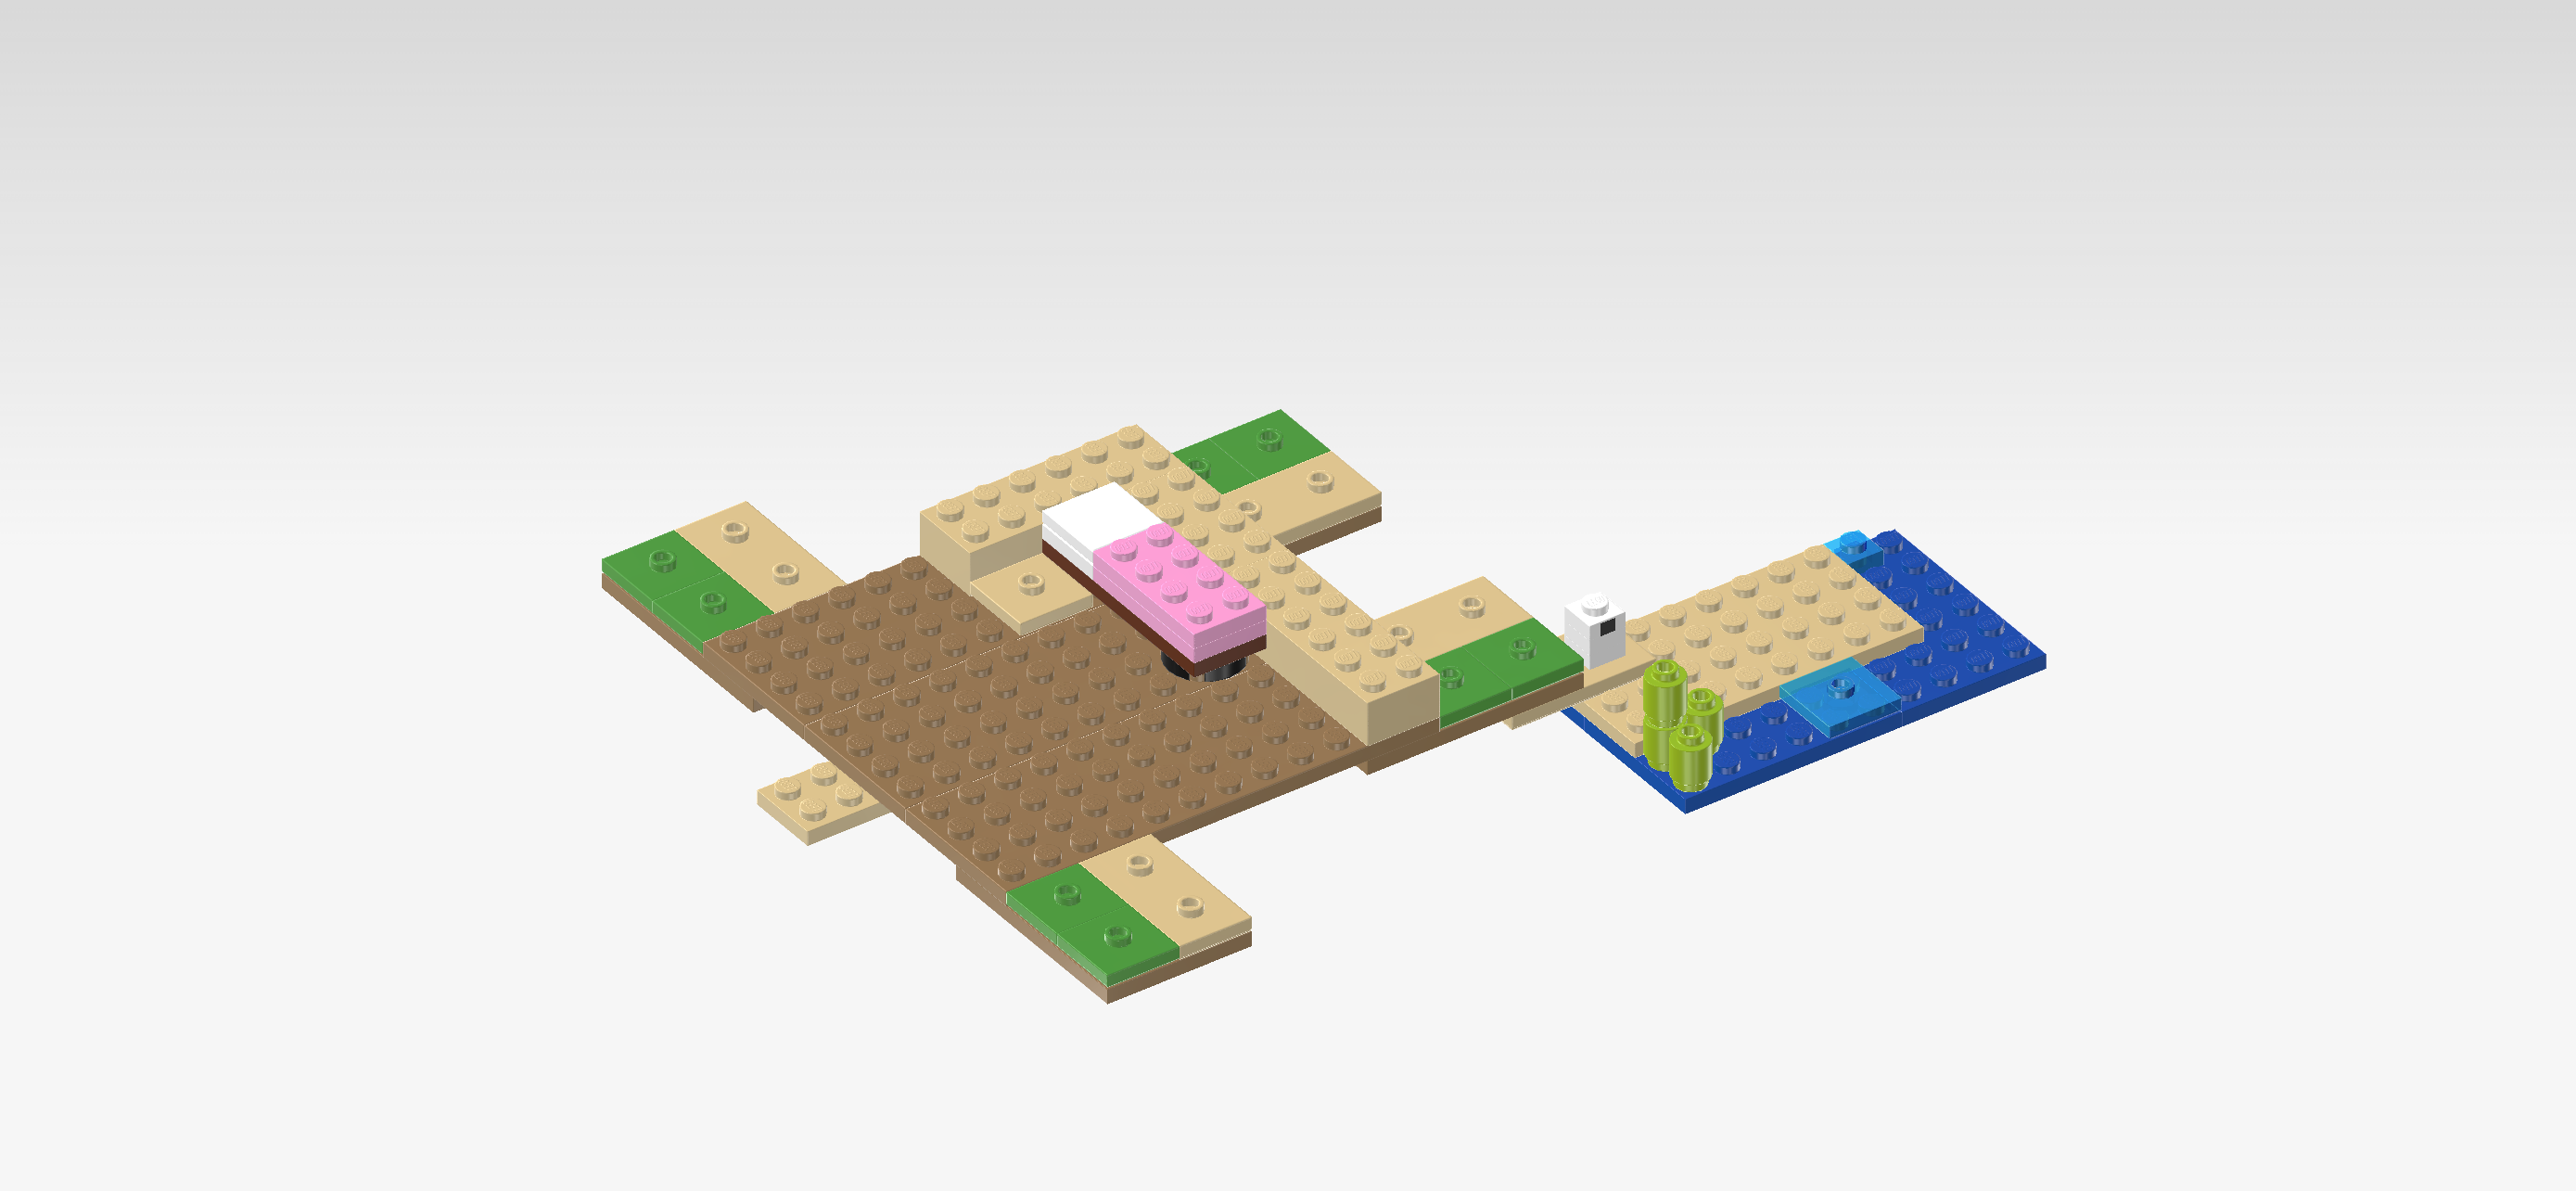
| Put the brick 2x6 horizontally on the 2 backmost rows of the base plate, starting from their right edge. If done correctly, this piece forms the back right wall corner with the right side wall. |
| Put the plate 2x2 in front of the 4 leftmost knobs of the previous piece. This means it will be mounted to the left of the bed's pillow. |
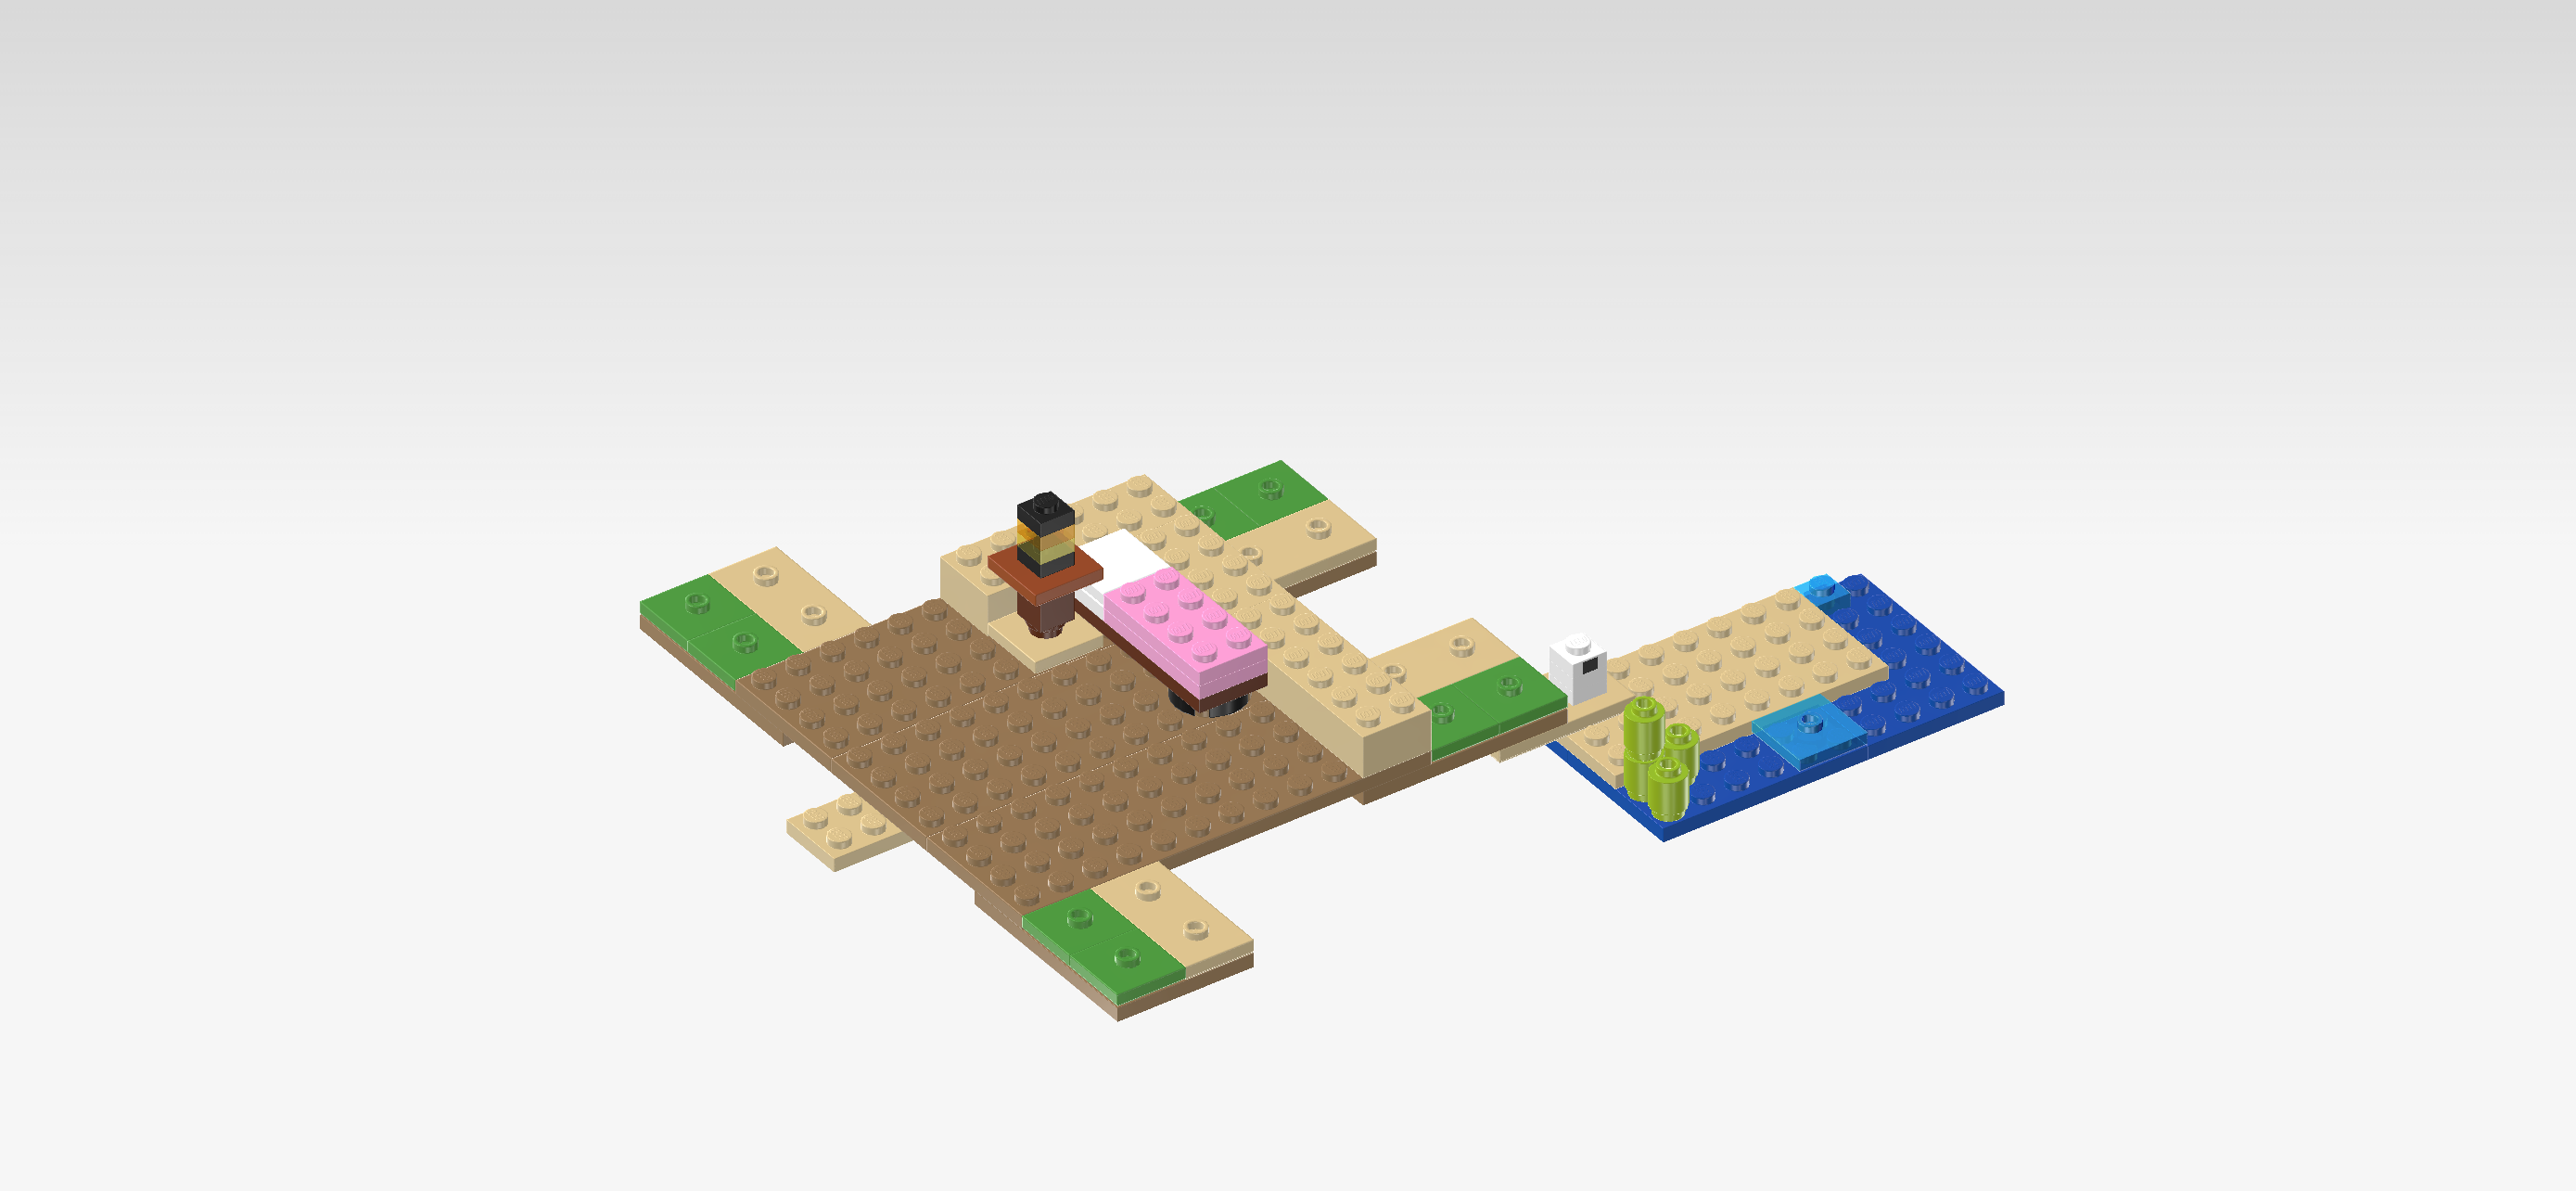
| Next, fetch the nightstand with lamp we have built earlier. It does not have a table foot yet, so its bottom is rather narrow. Do not confuse it with the furnace which is a solid cube with lamp on top. |
| Put it on top of the previous piece to the left of the bed. Make sure its straight edges are aligned with the edges of the bed and surrounding pieces. |
| Find 2 pale ocher yellow bricks 2x6. |
| Put 1 horizontally to the left of the previously mounted brick 2x6. This means that it will sit on the 2 backmost regular rows, so make sure that the 4x4 protrusion towards the back remains empty. |
| Repeat symmetrically at the front with the other brick 2x6. This means you should put it on the 2 frontmost regular rows, starting from their left edge, but leave the 4x4 protrusion towards the front empty. |
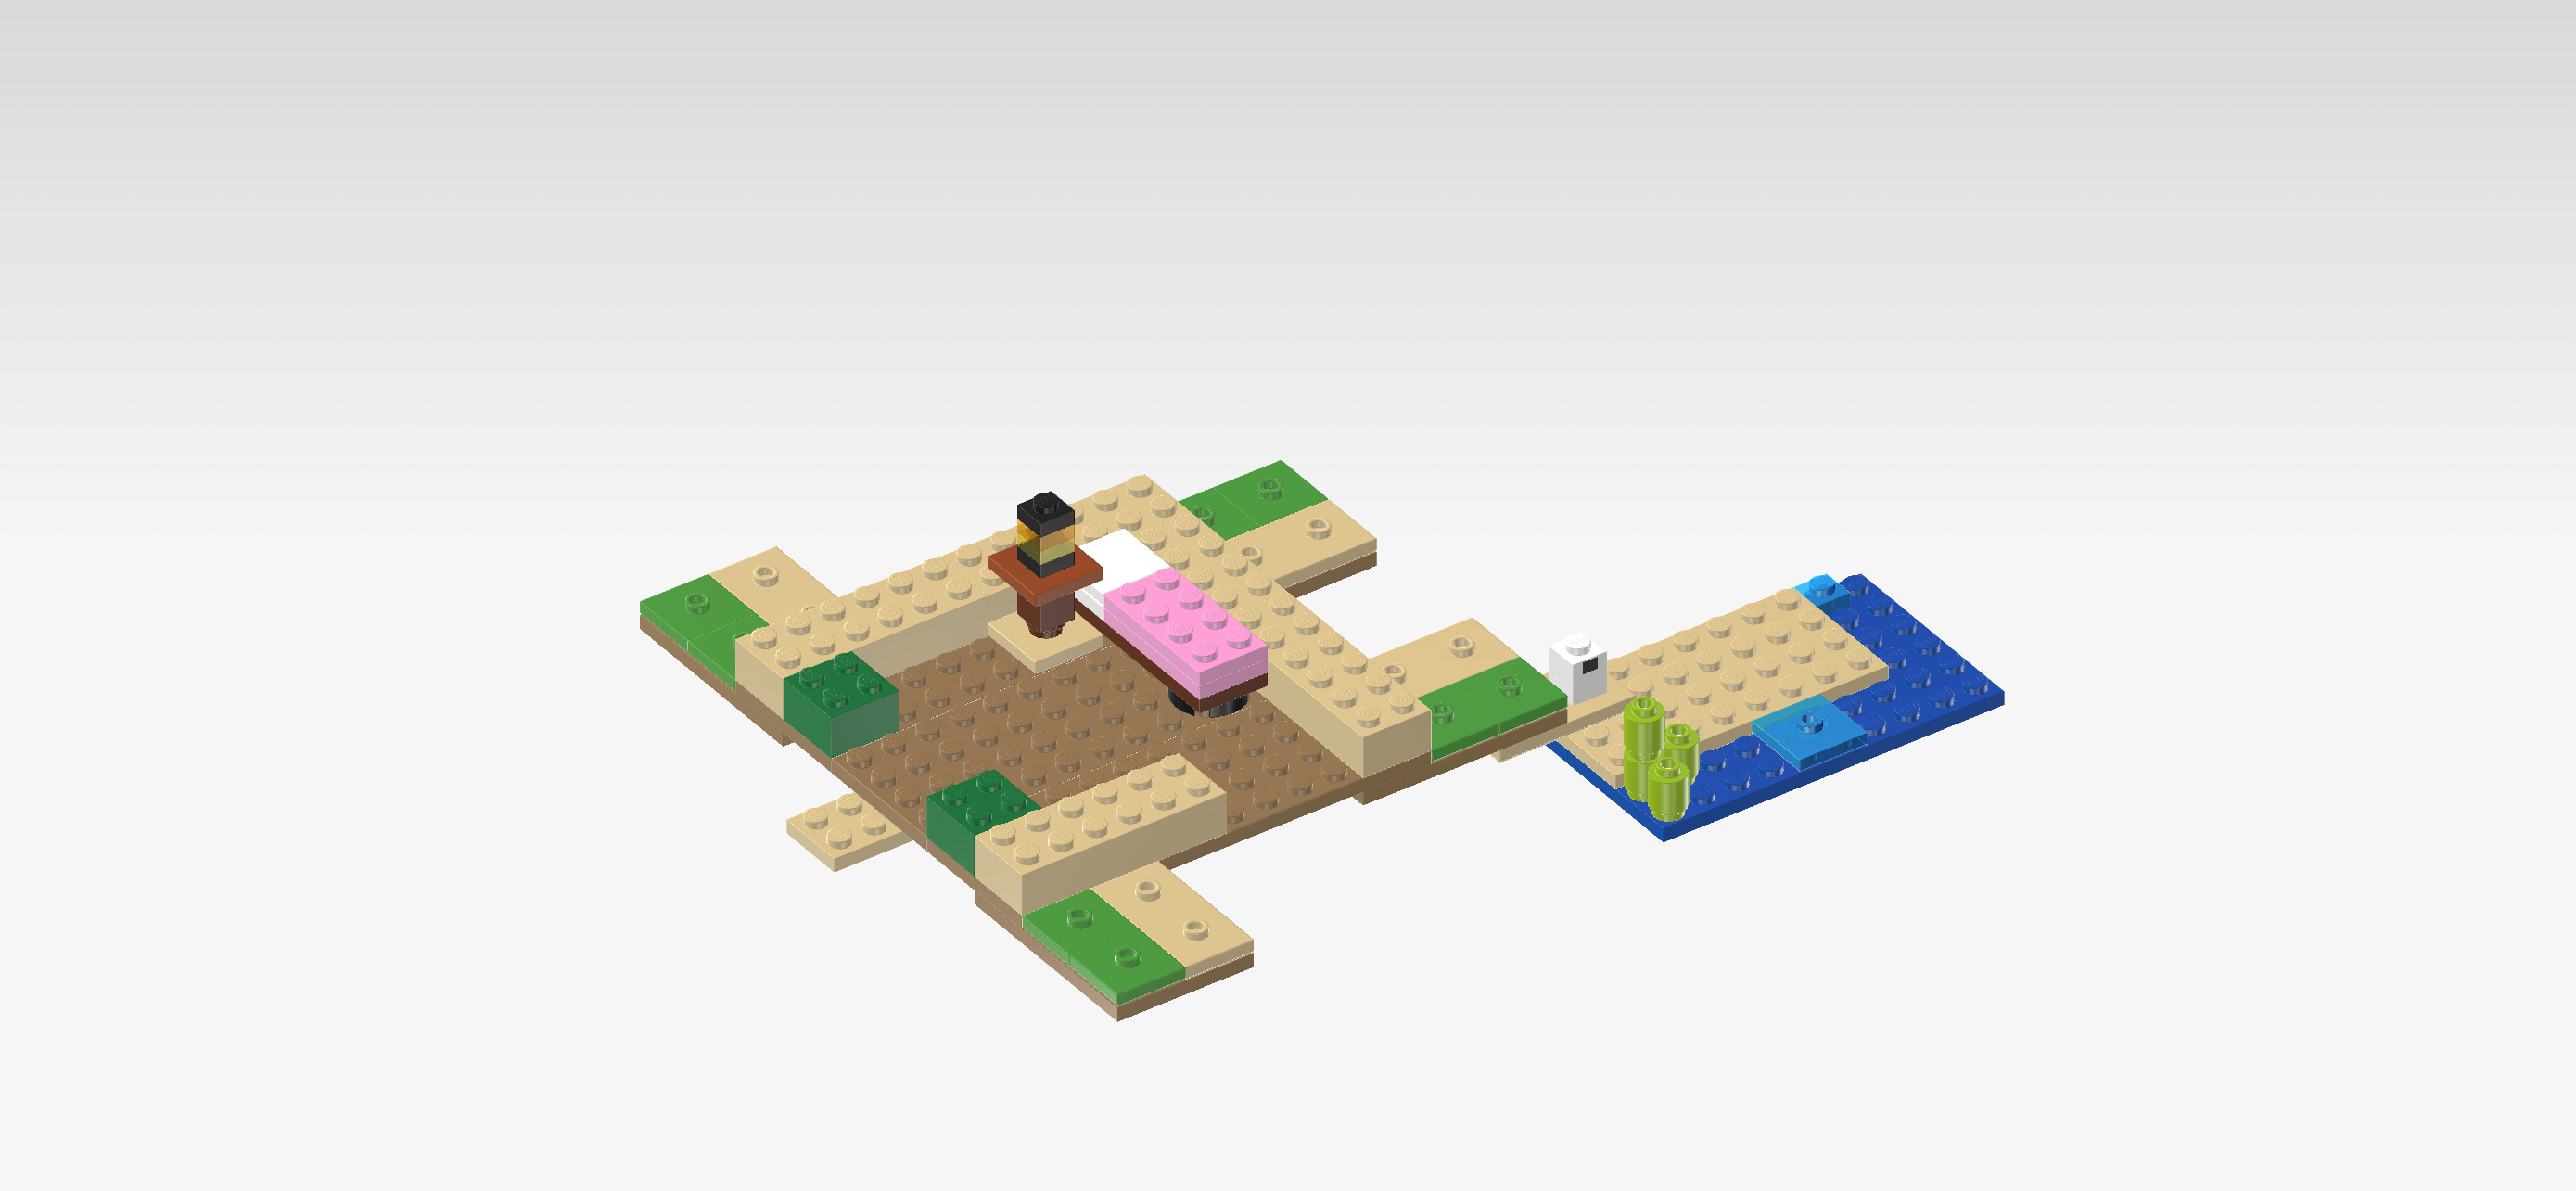
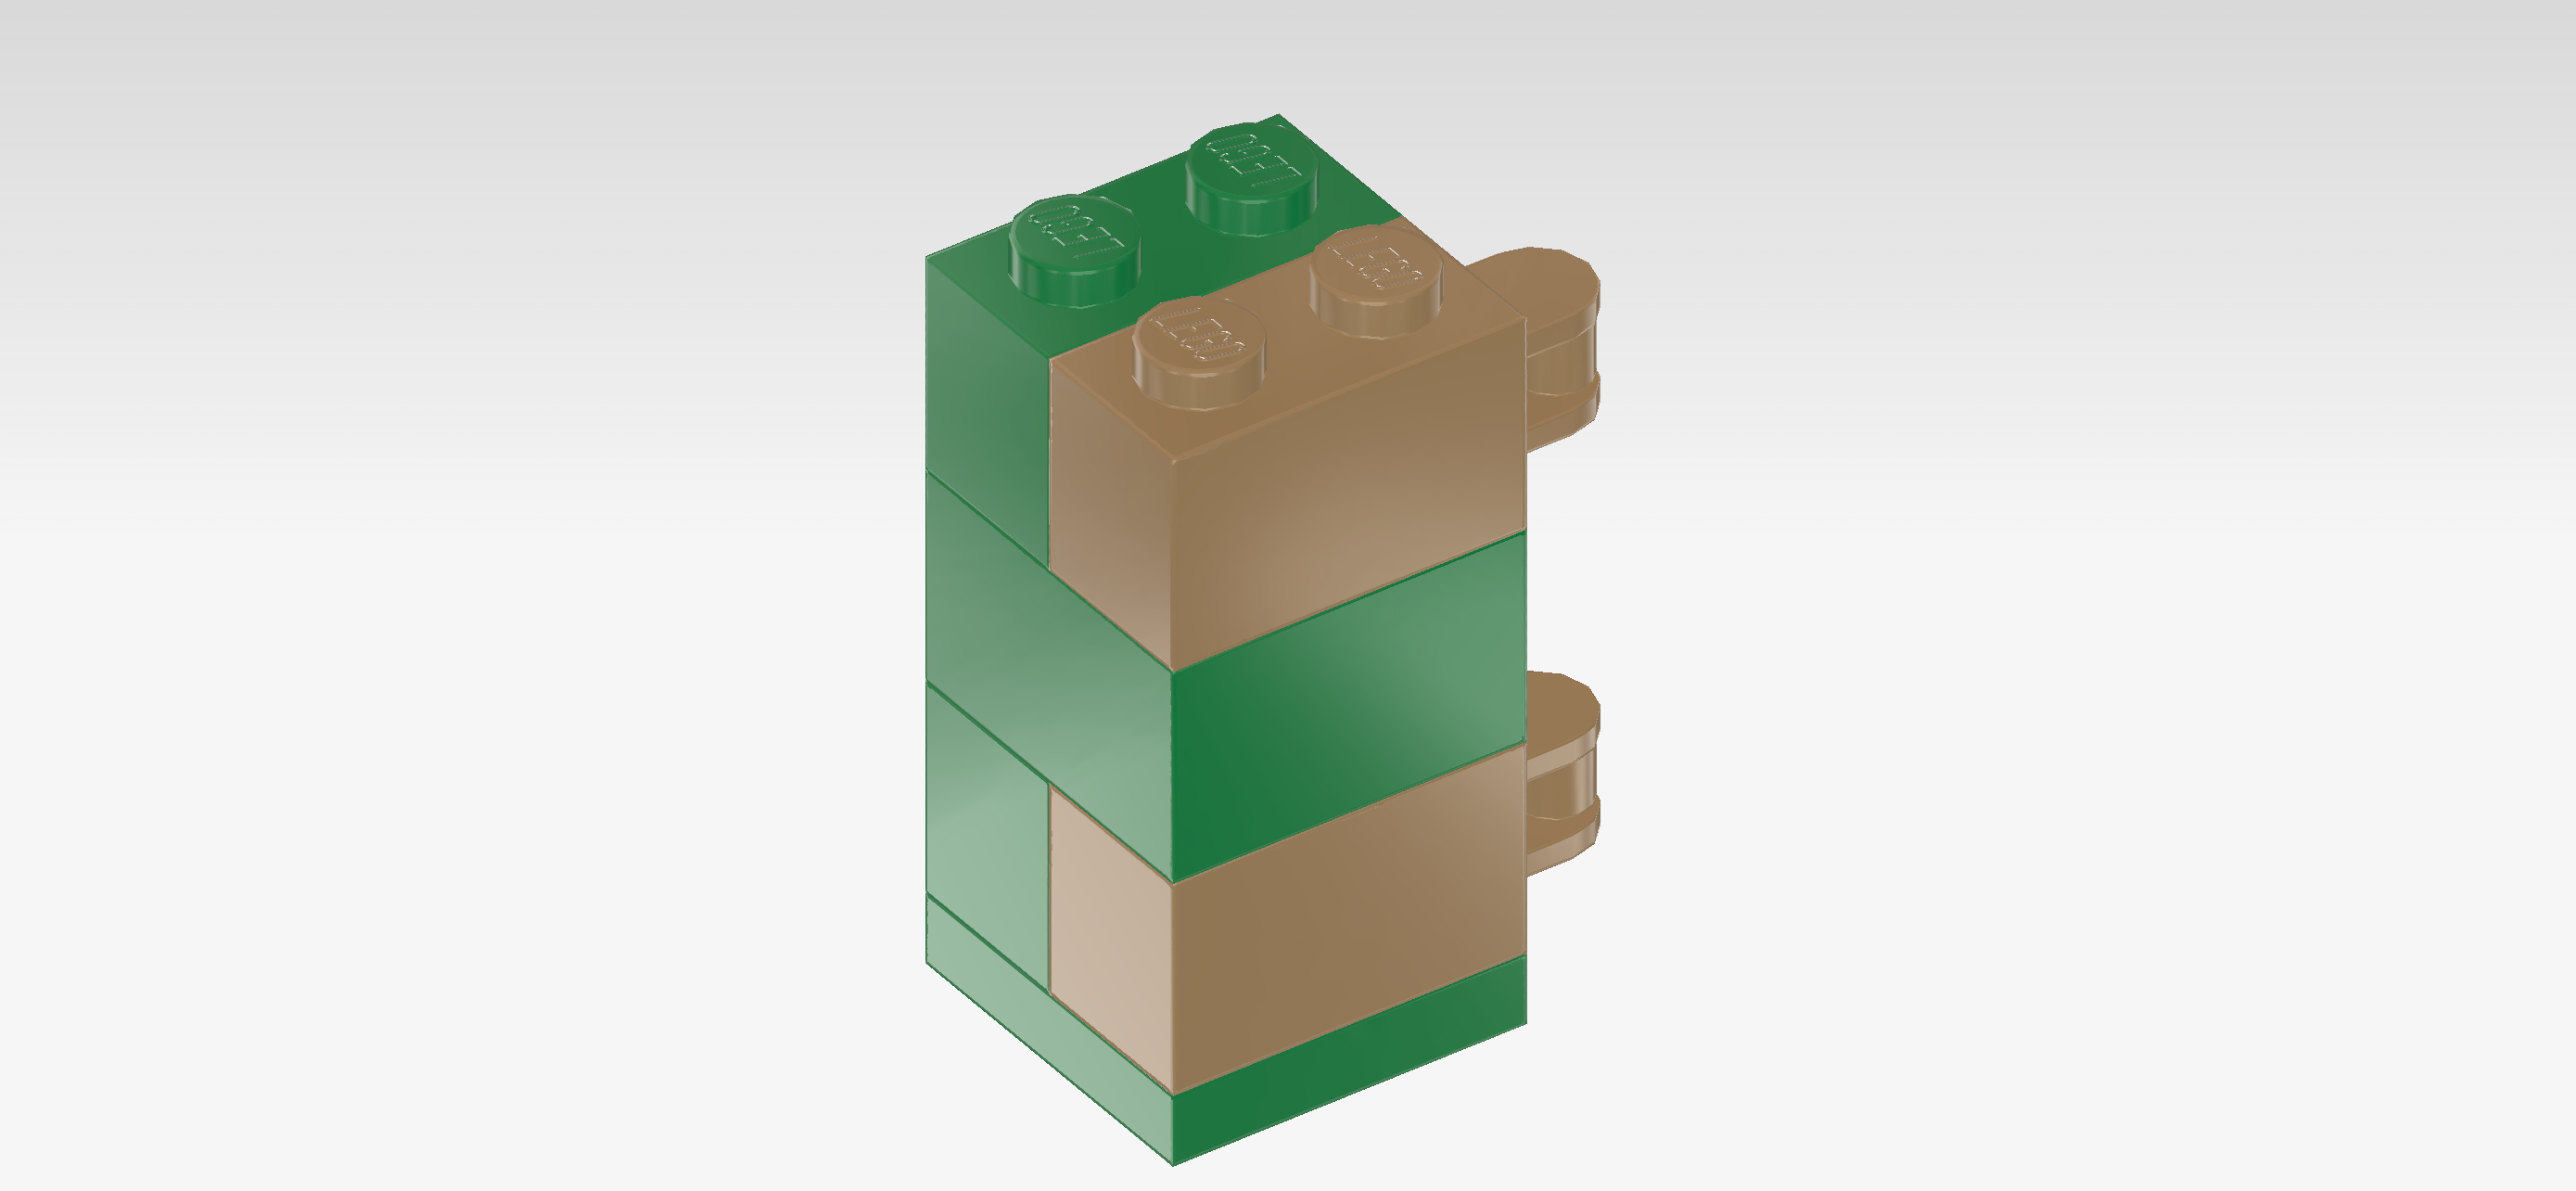
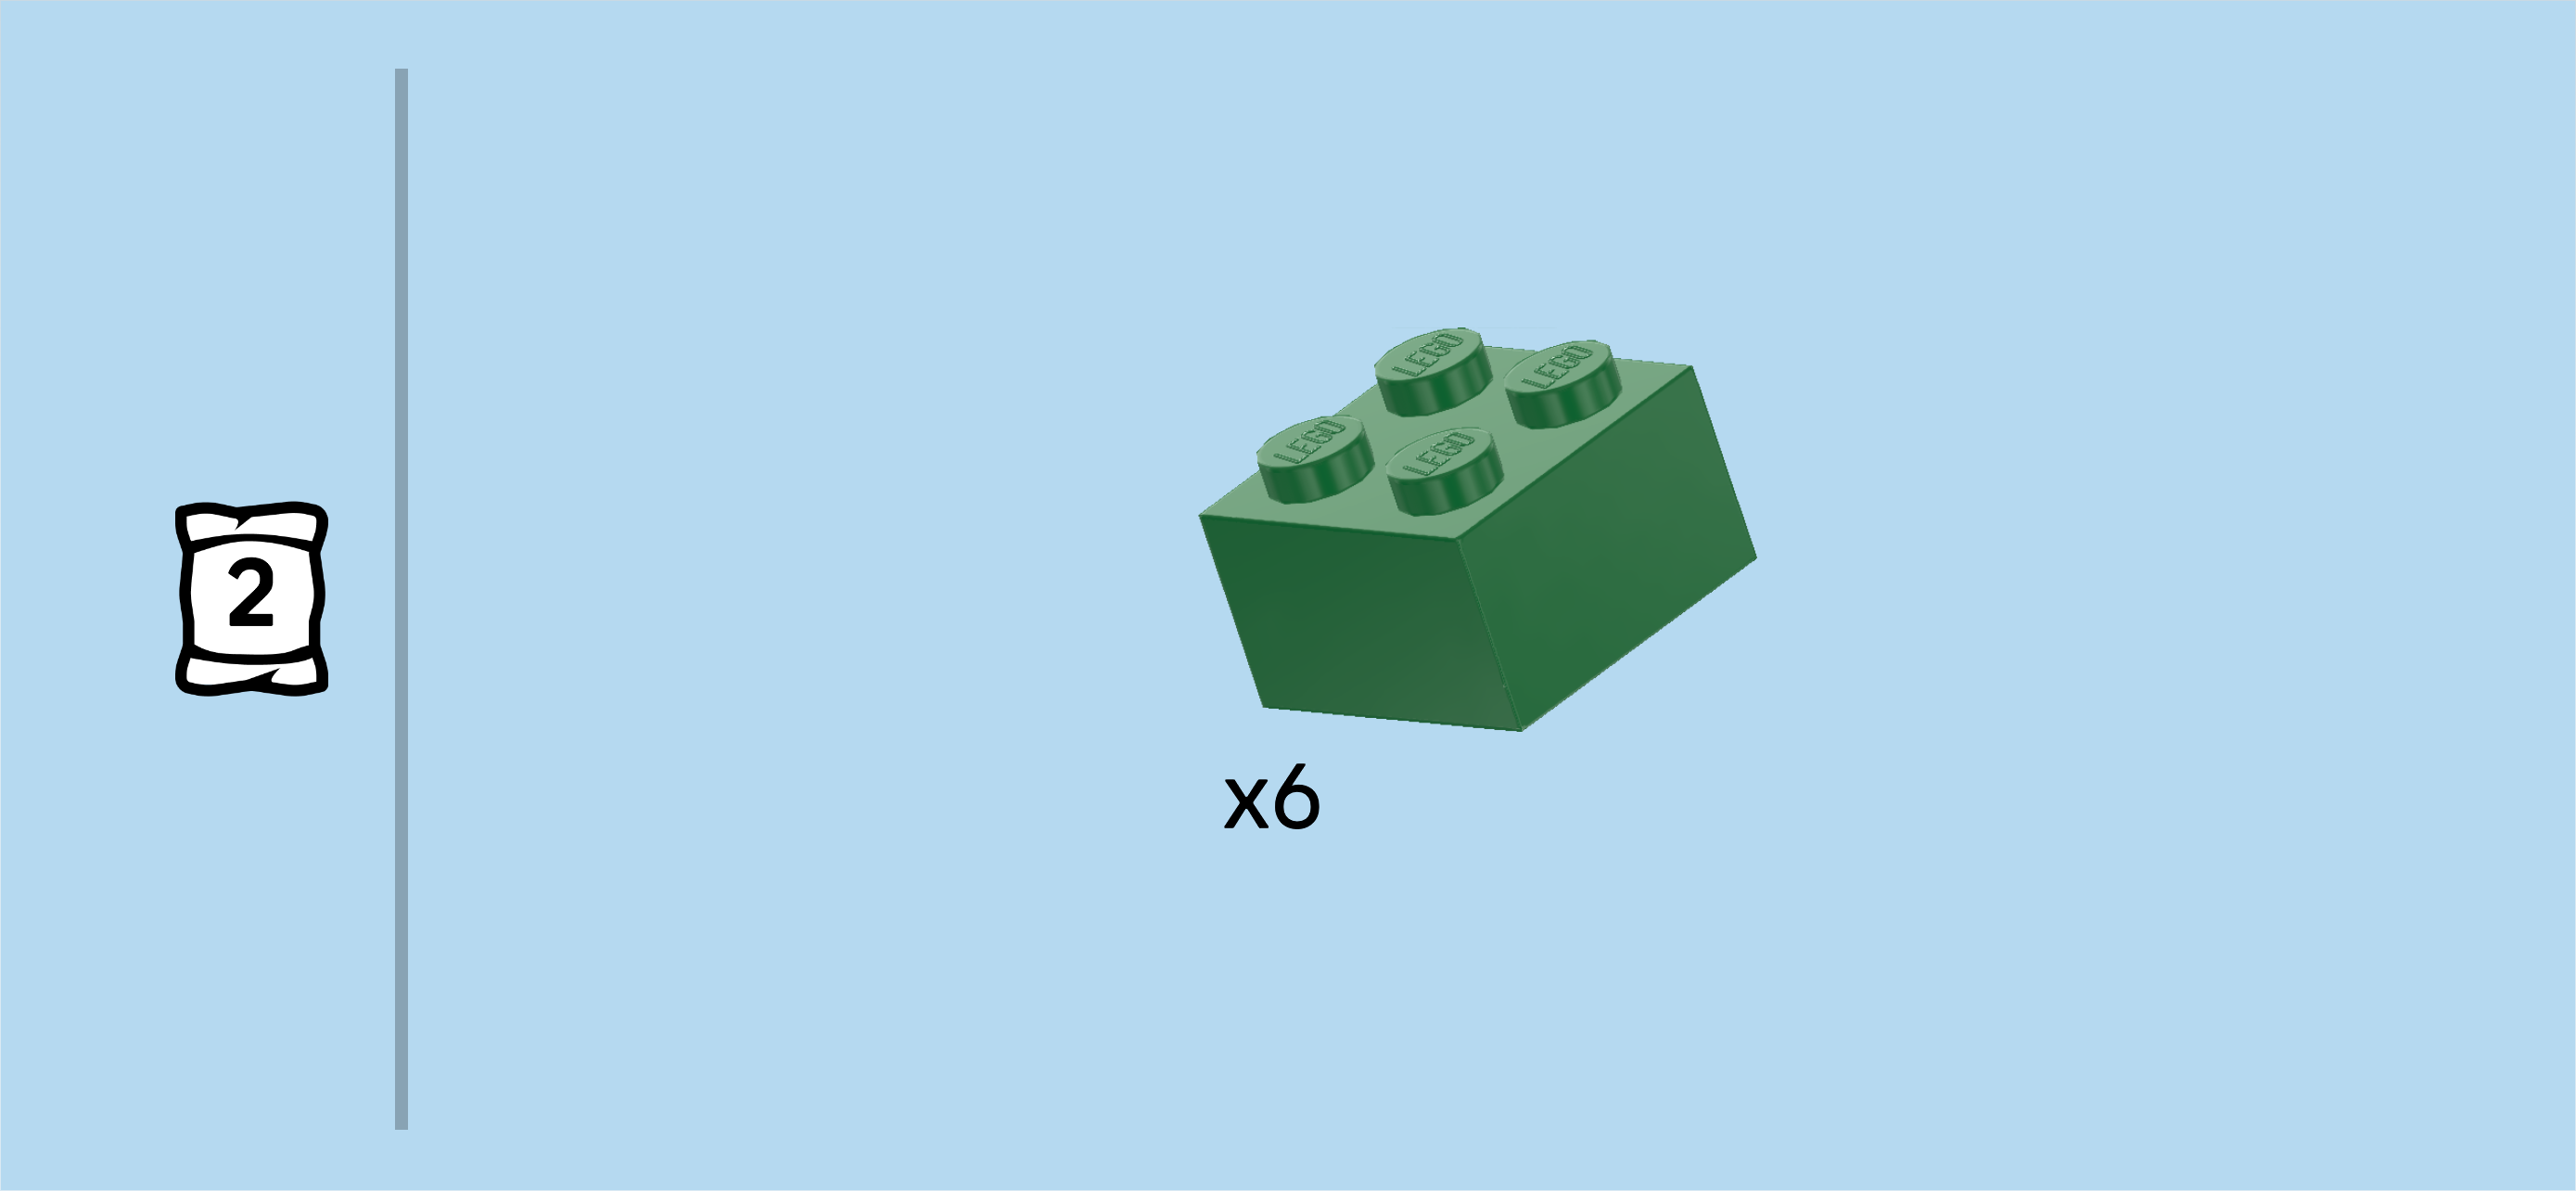
| Find 2 dark green bricks 2x2. |
| Put 1 behind the 4 leftmost knobs of the previous piece. |
| Repeat symmetrically at the back. This means it will sit in front of the back brick 2x6 from the previous step. |
| If done correctly, both of these pieces sit on the left edge of the base plate with 4 rows between them while the small 2x2 protrusion towards the left remains empty. |
| Now, fetch the crafting table (the 2x2 cube with a smooth tabletop that we have built earlier) and the furnace with lamp (another 2x2 cube with a vertical lamp structure on top). |
| First, mount the crafting table in front of the previous piece. Its side prints are identical and the top print is symmetrical in all directions, so you can mount it in any orientation. |
| Now, mount the furnace with lamp in front of the crafting table. One side print shows a burning fire, this print should be pointing to the right so it's inside the house. Ask a sighted person to help you identify the correct side if you want. |
| If done correctly, the 2x2 protrusion to the left is still empty. The crafting table, furnace and the 2x2 as well as 2x6 bricks are the foundation of the house walls. |
| Next, we will build the door frame with hinges. |
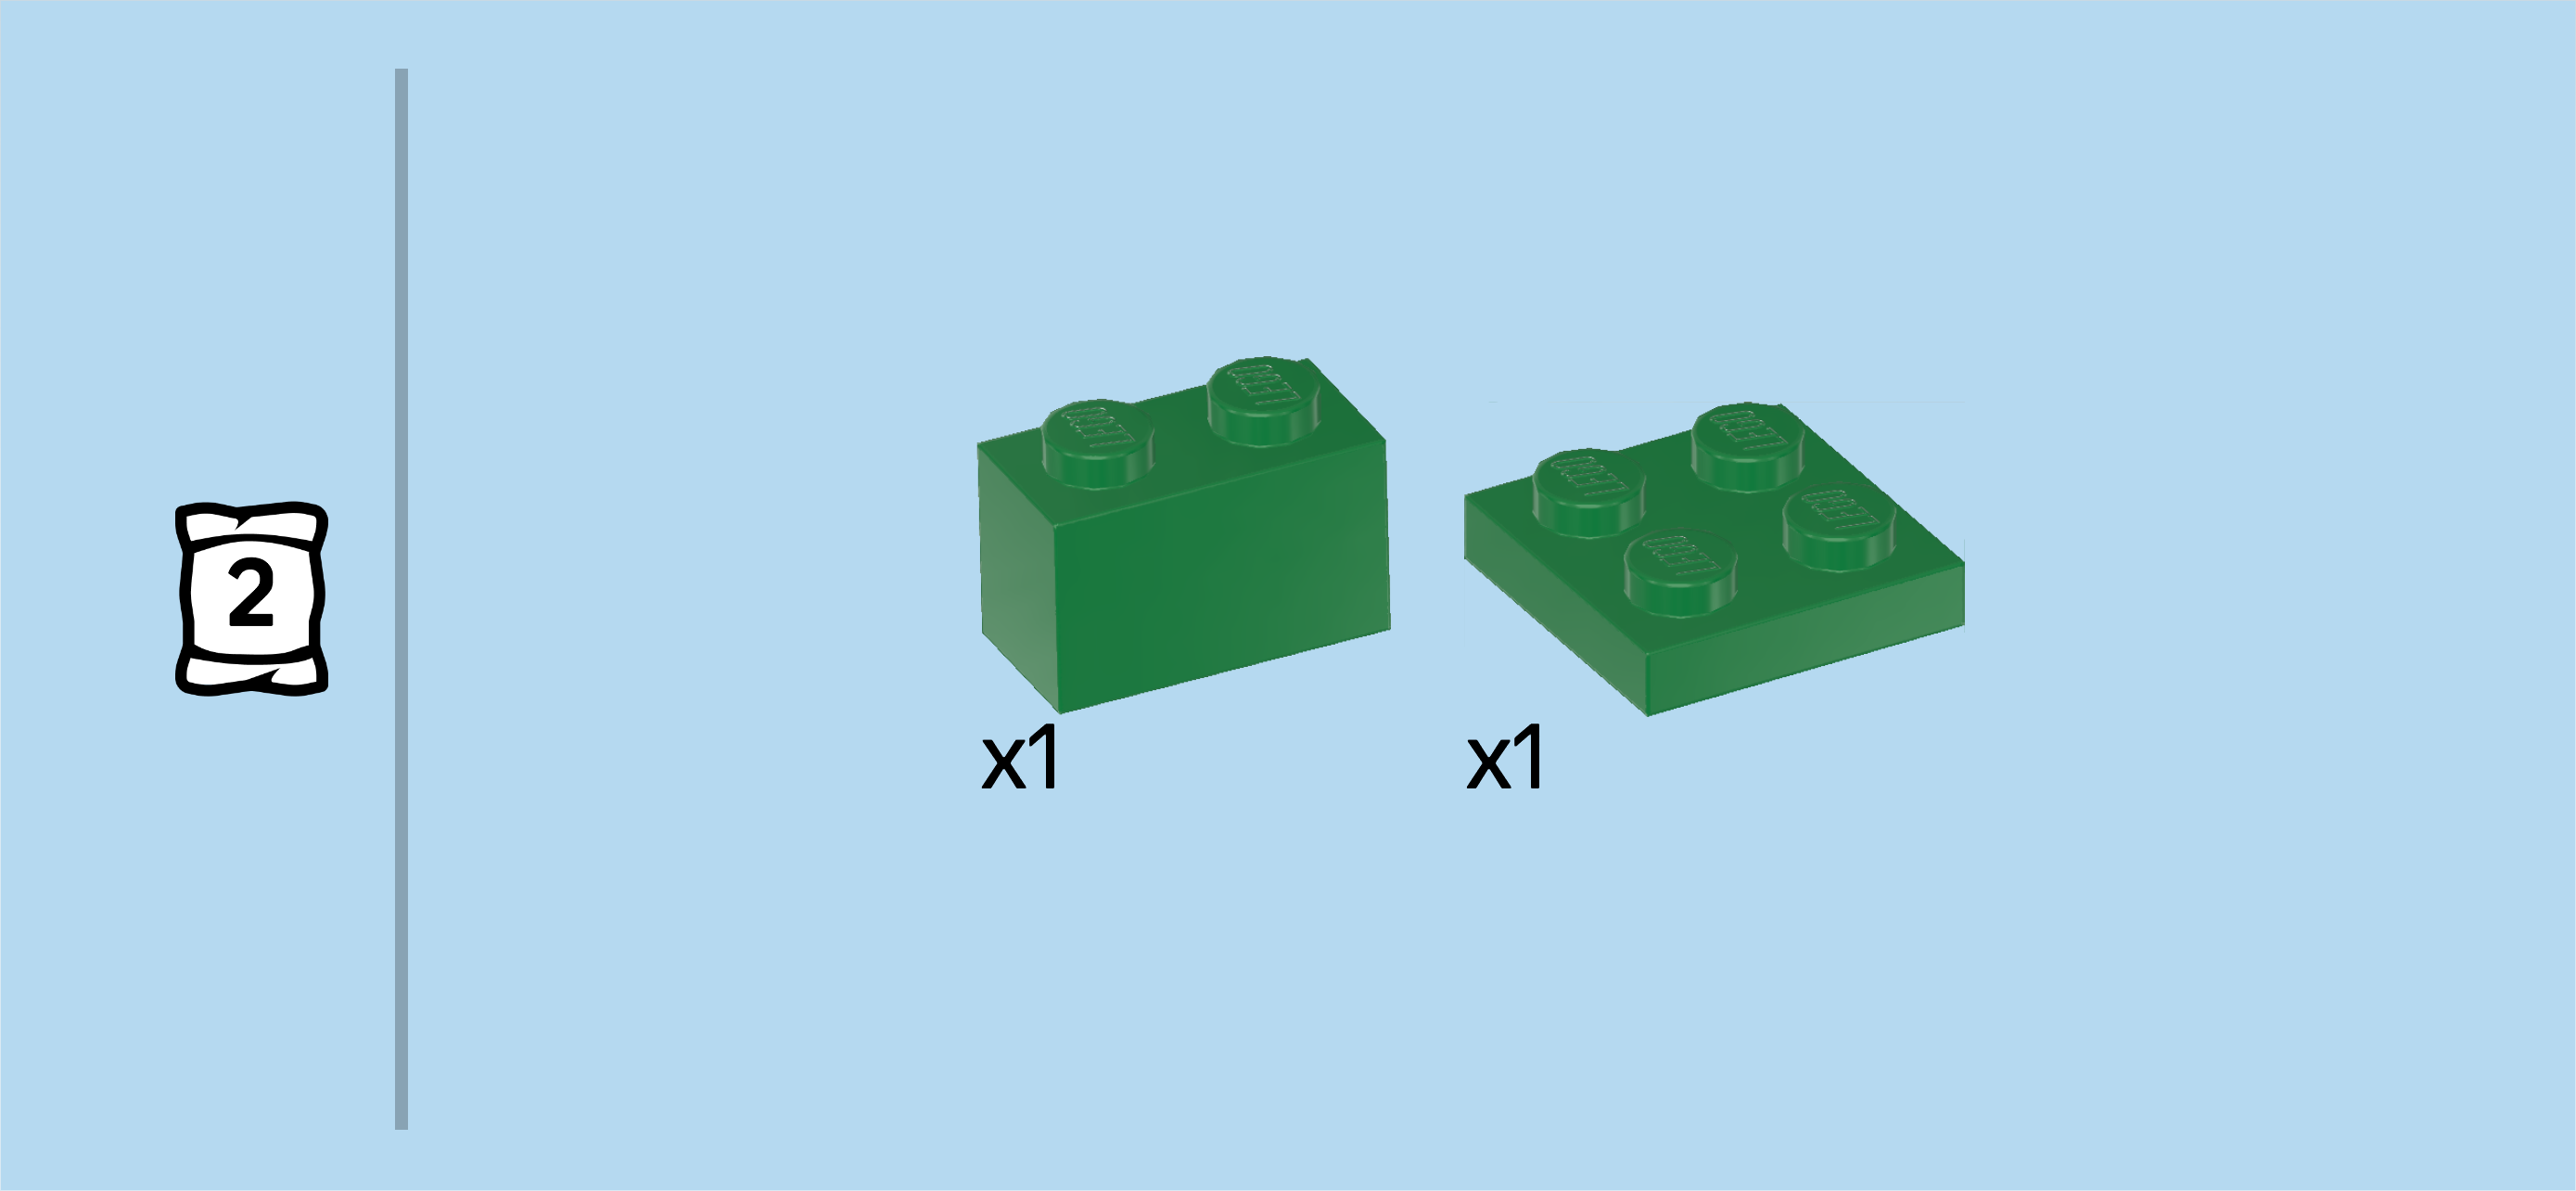
| Collect the following 2 pieces: |
| 1 dark green plate 2x2, |
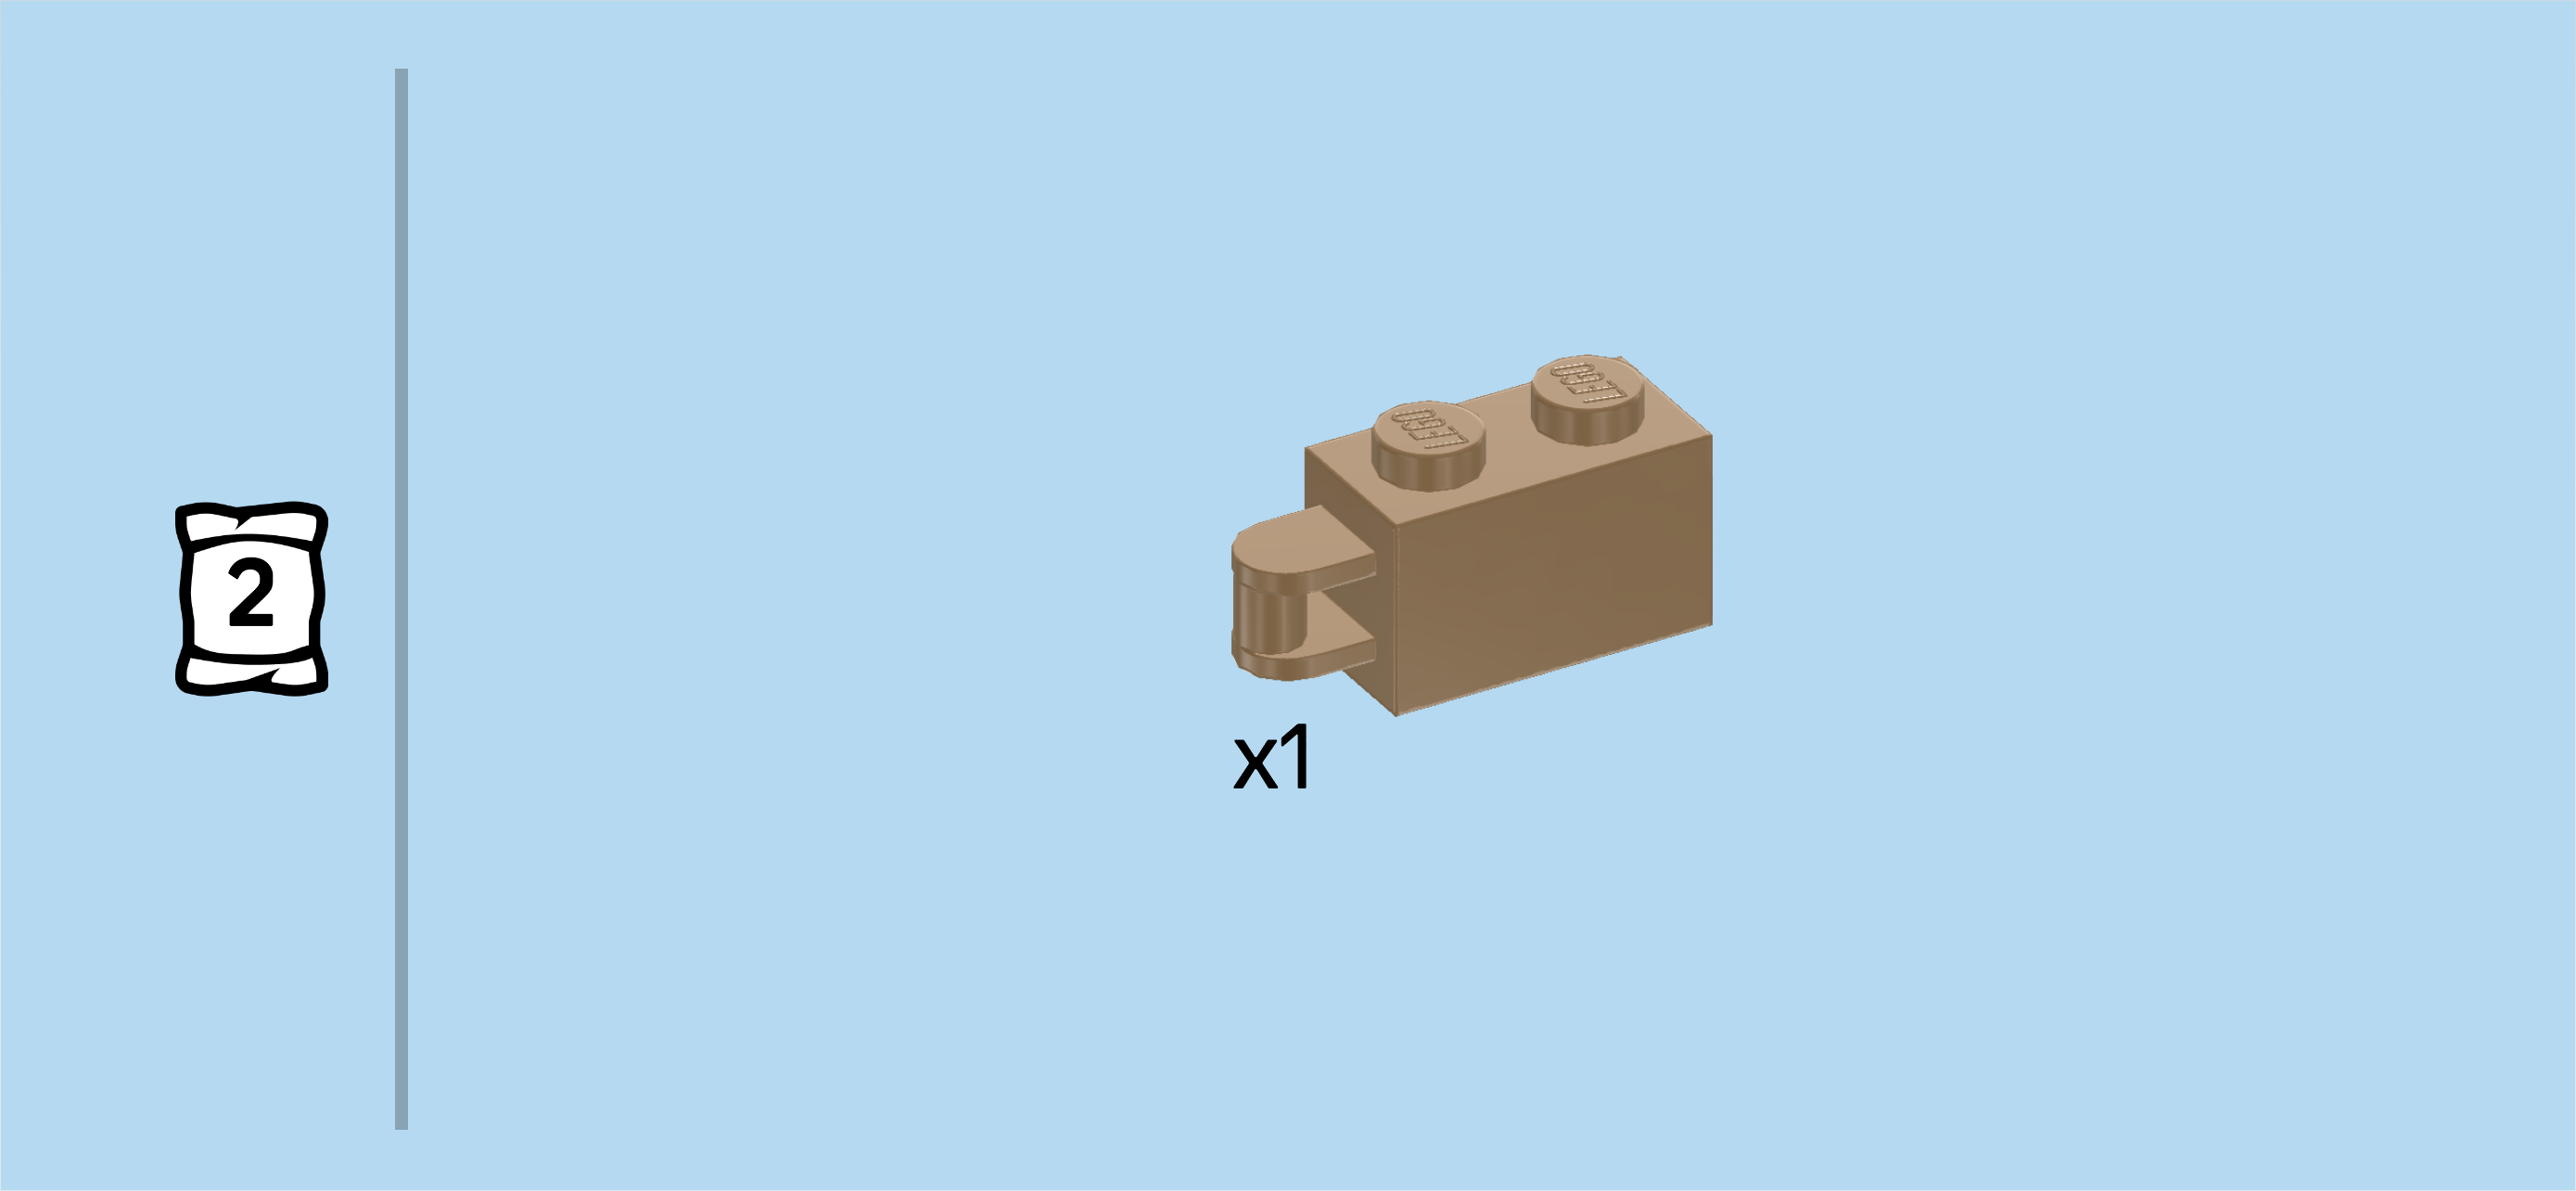
| and 1 dark green brick 1x2. |
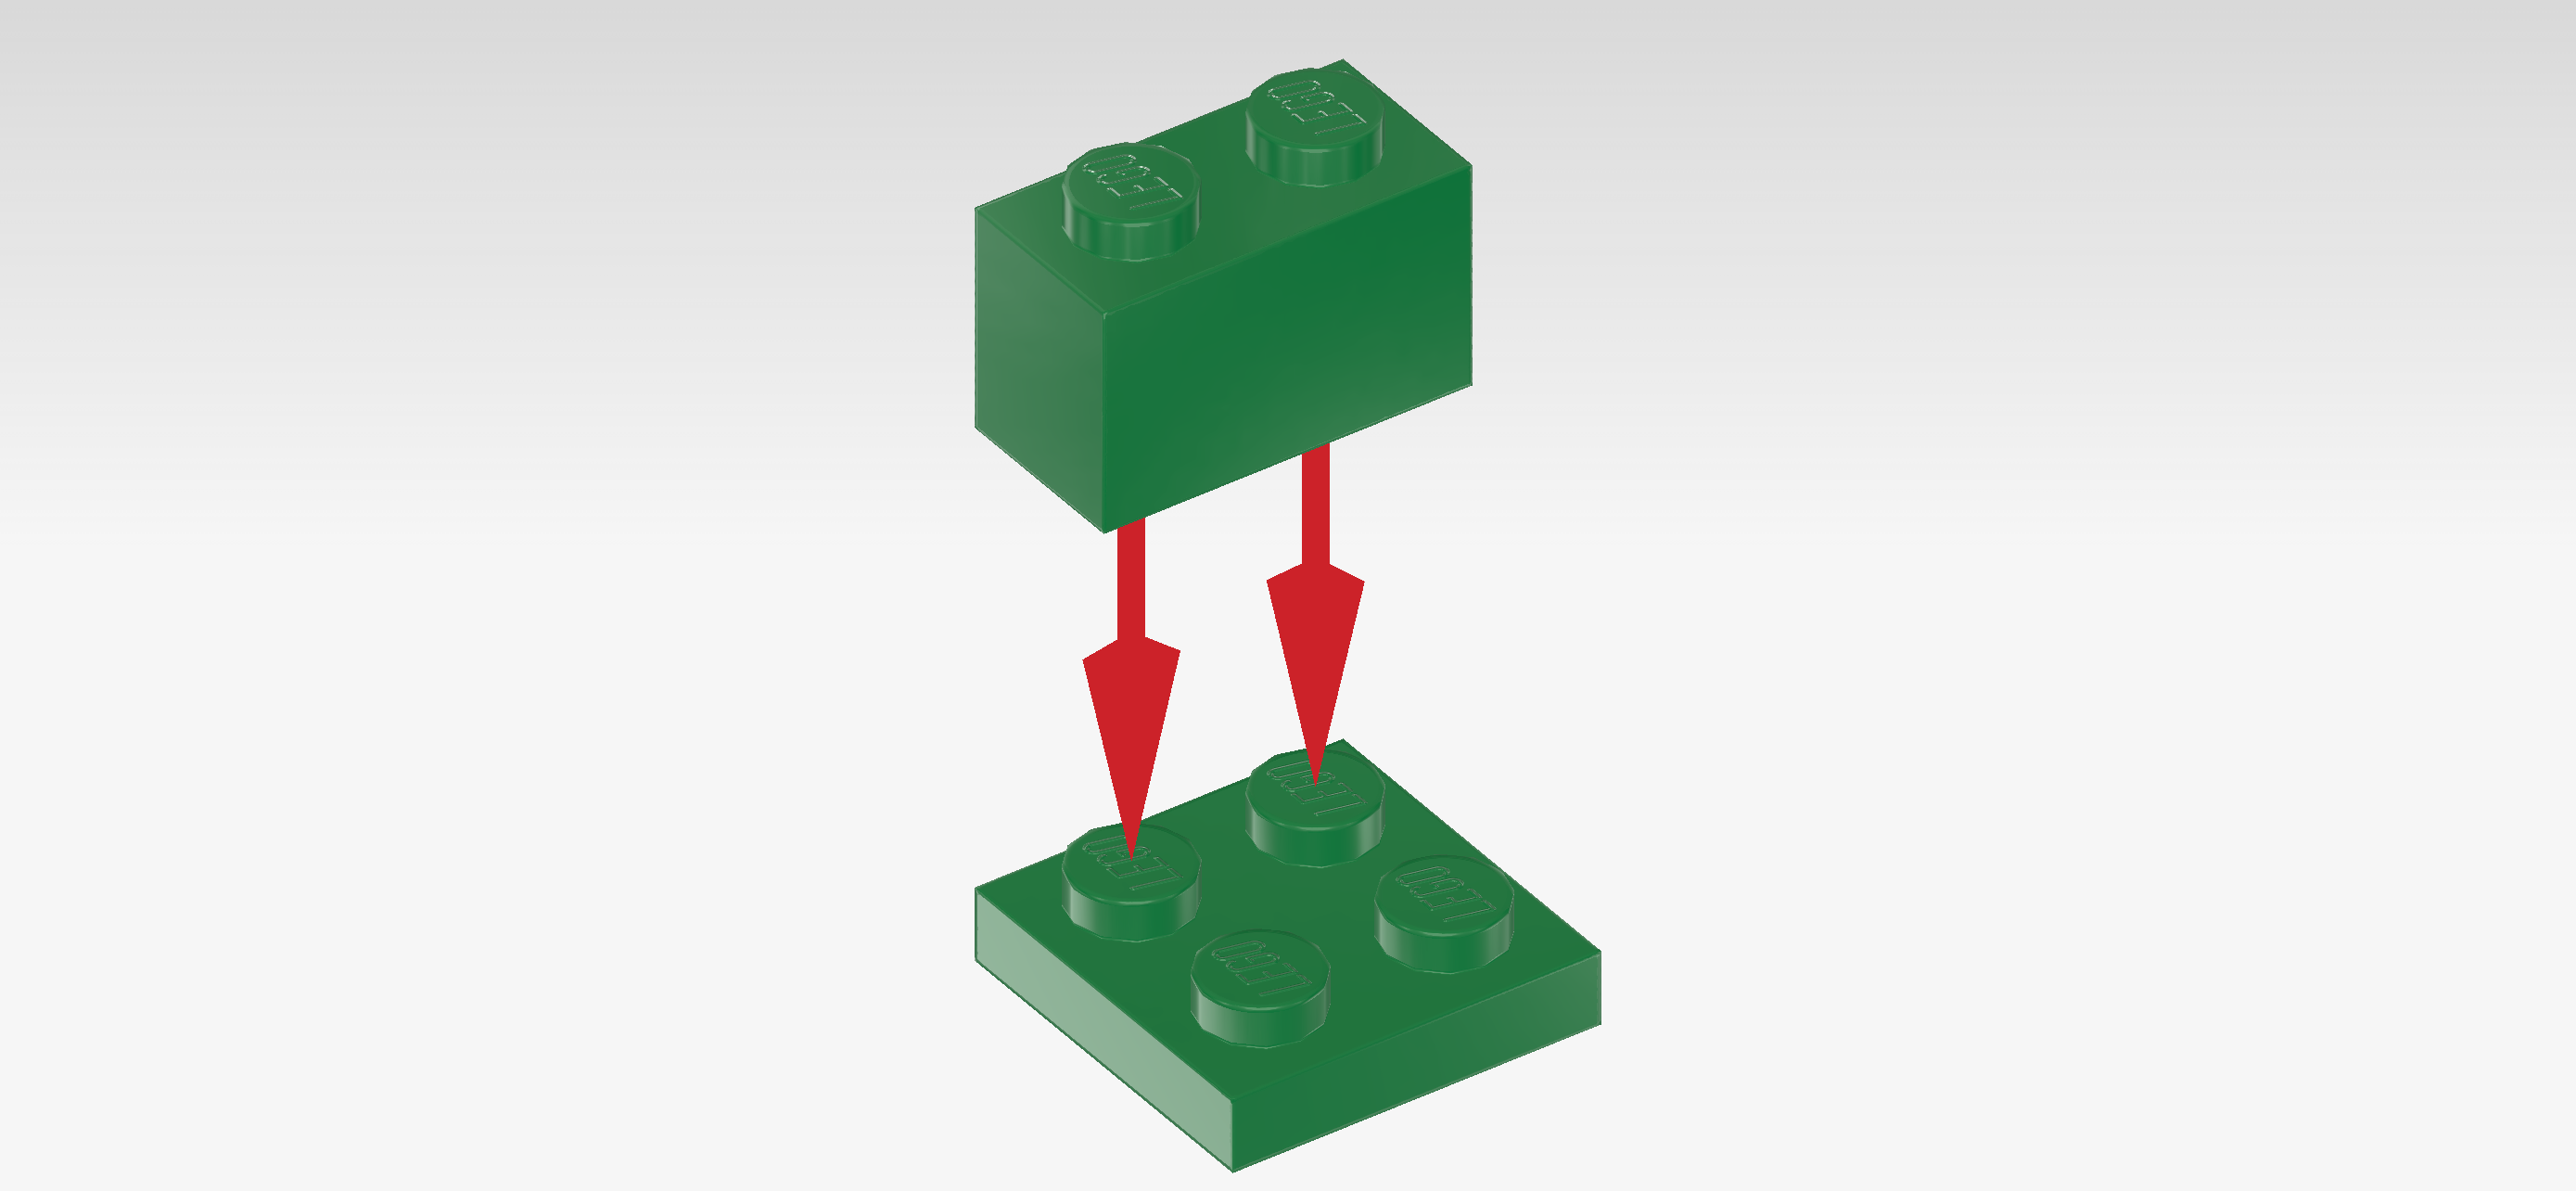
| Put the plate 2x2 on the table. |
| Put the brick 1x2 horizontally on the back row of the previous piece. |
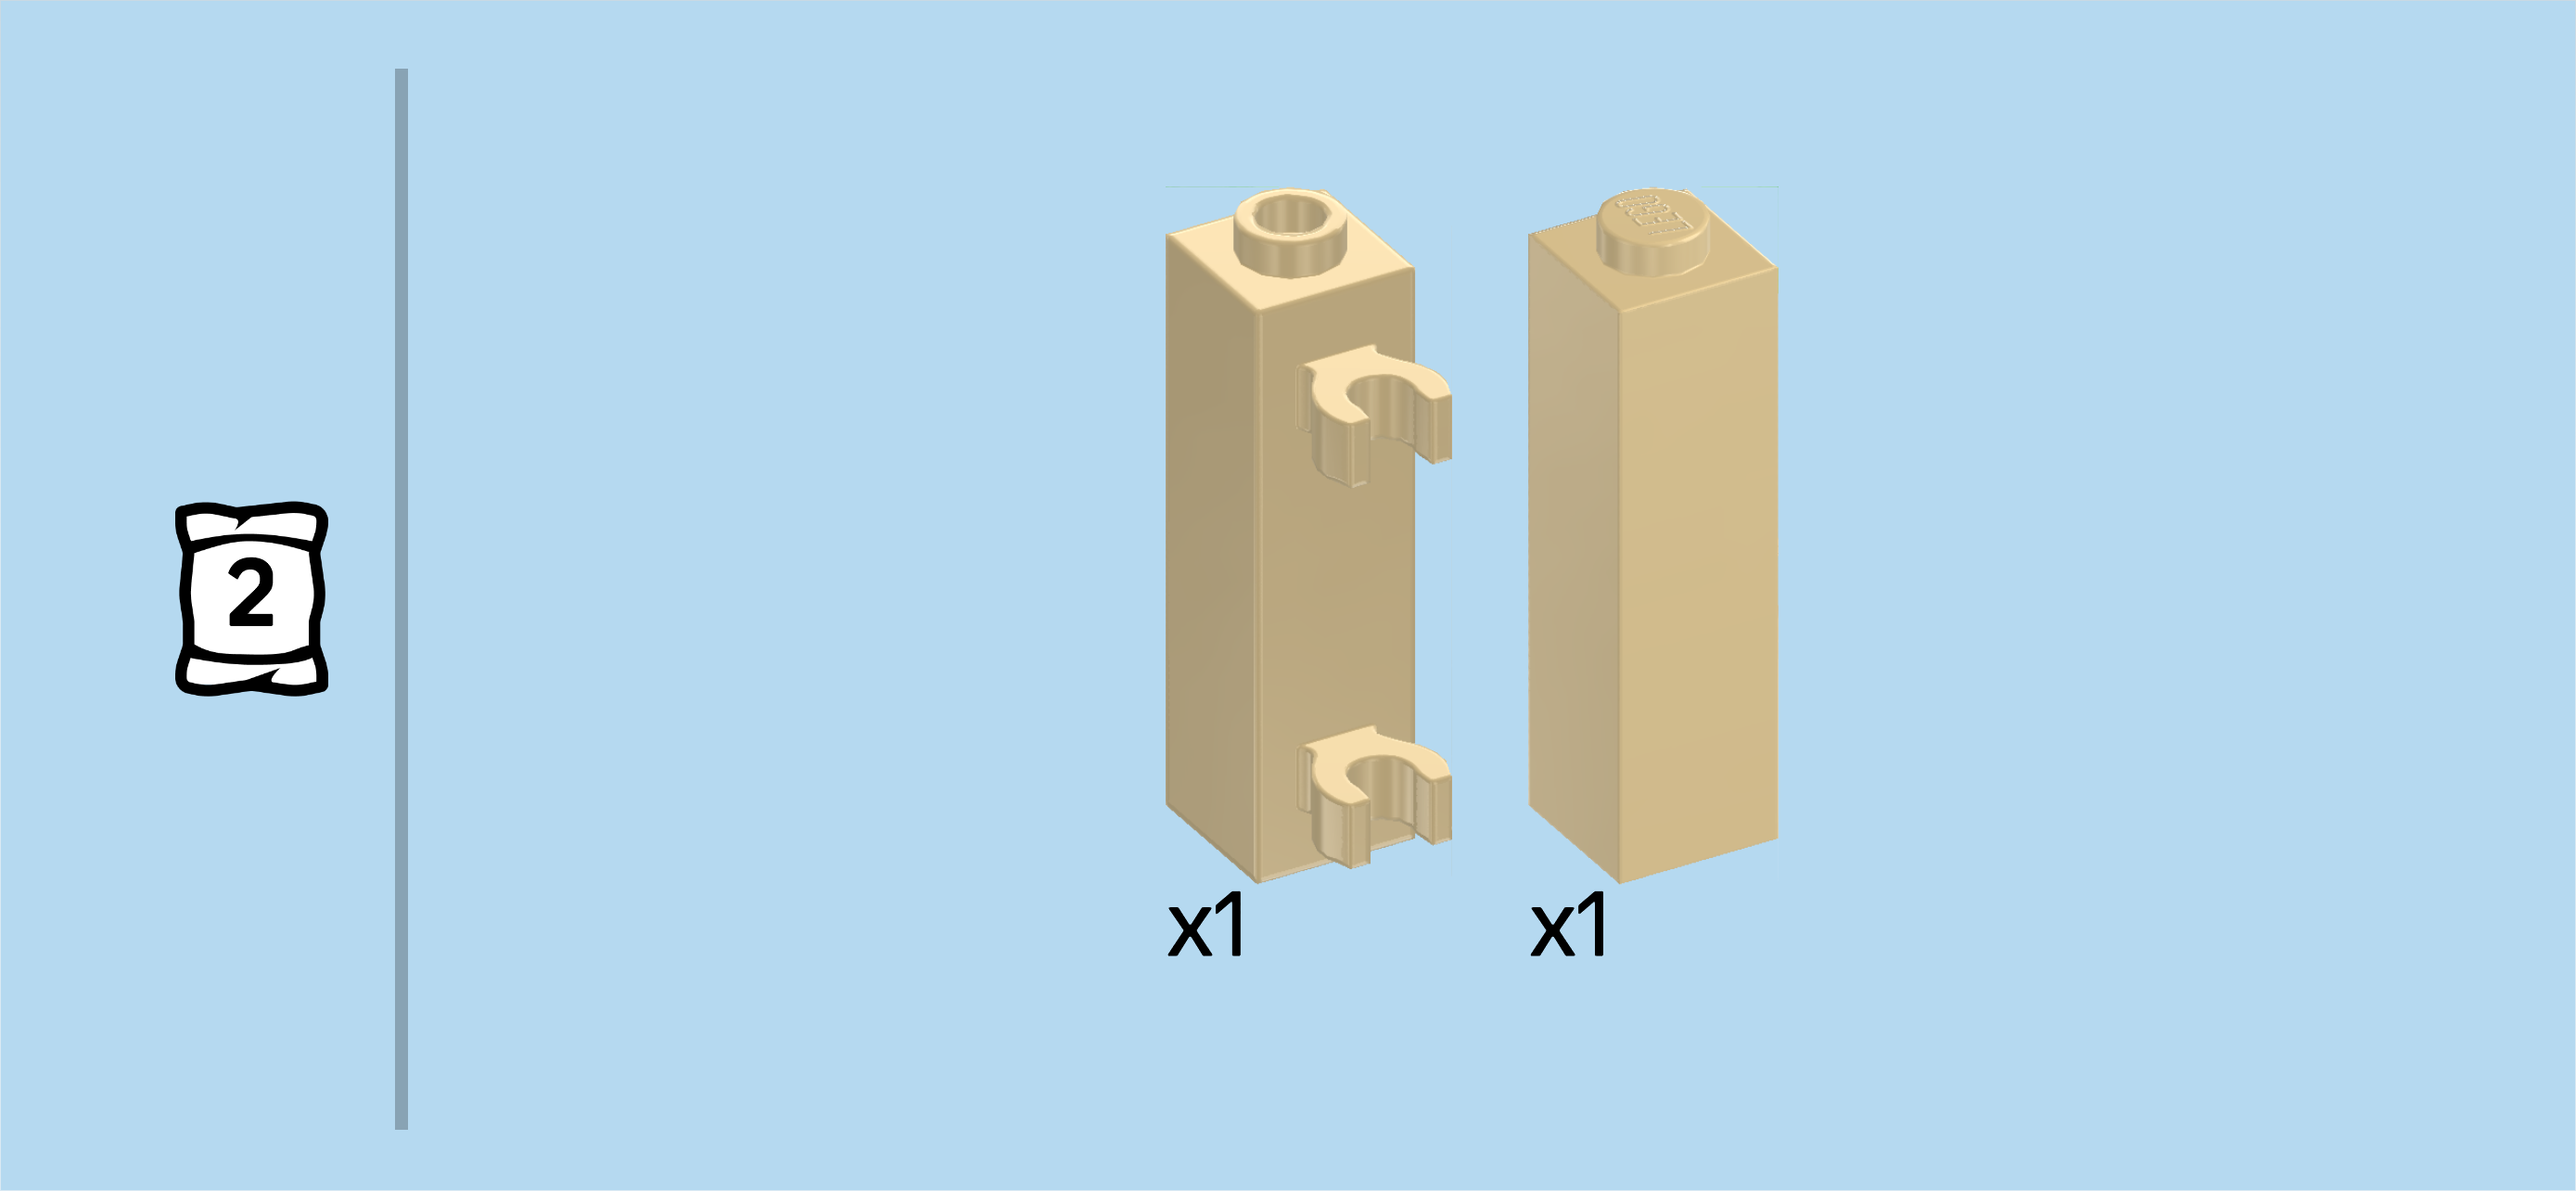
| Find 1 mud grey brick 1x2 with vertical shaft on short side. |
| Put it horizontally in front of the previous piece, shaft to the right. |
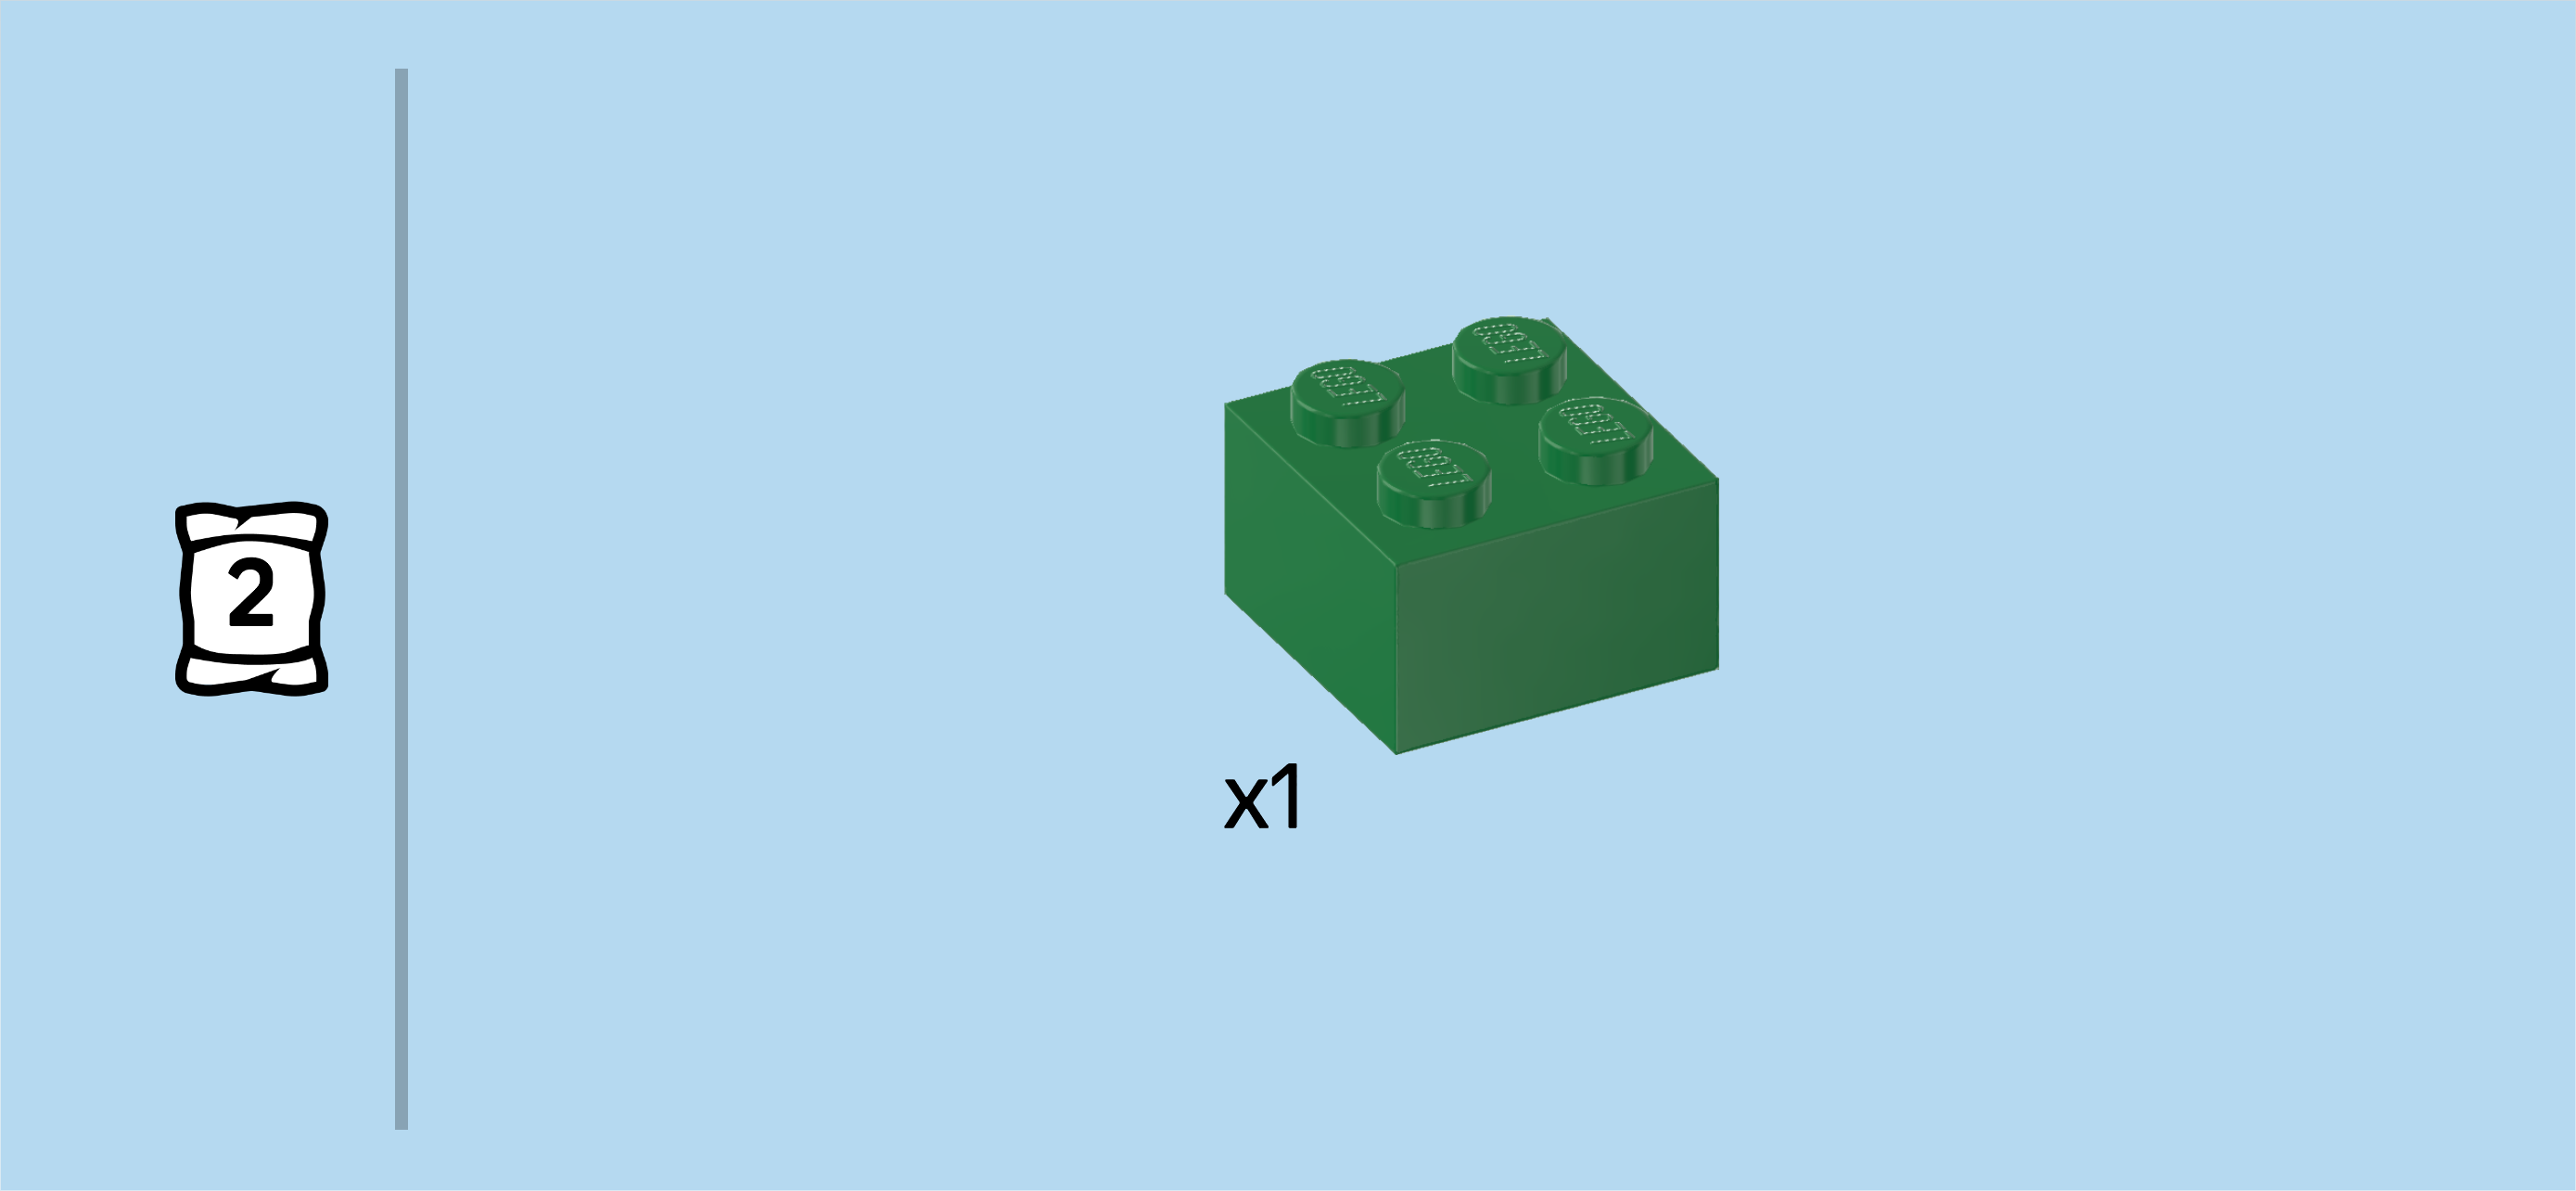
| Find 1 dark green brick 2x2. |
| Put it on top of the 2 previous pieces. |
| Collect the following 2 pieces: |
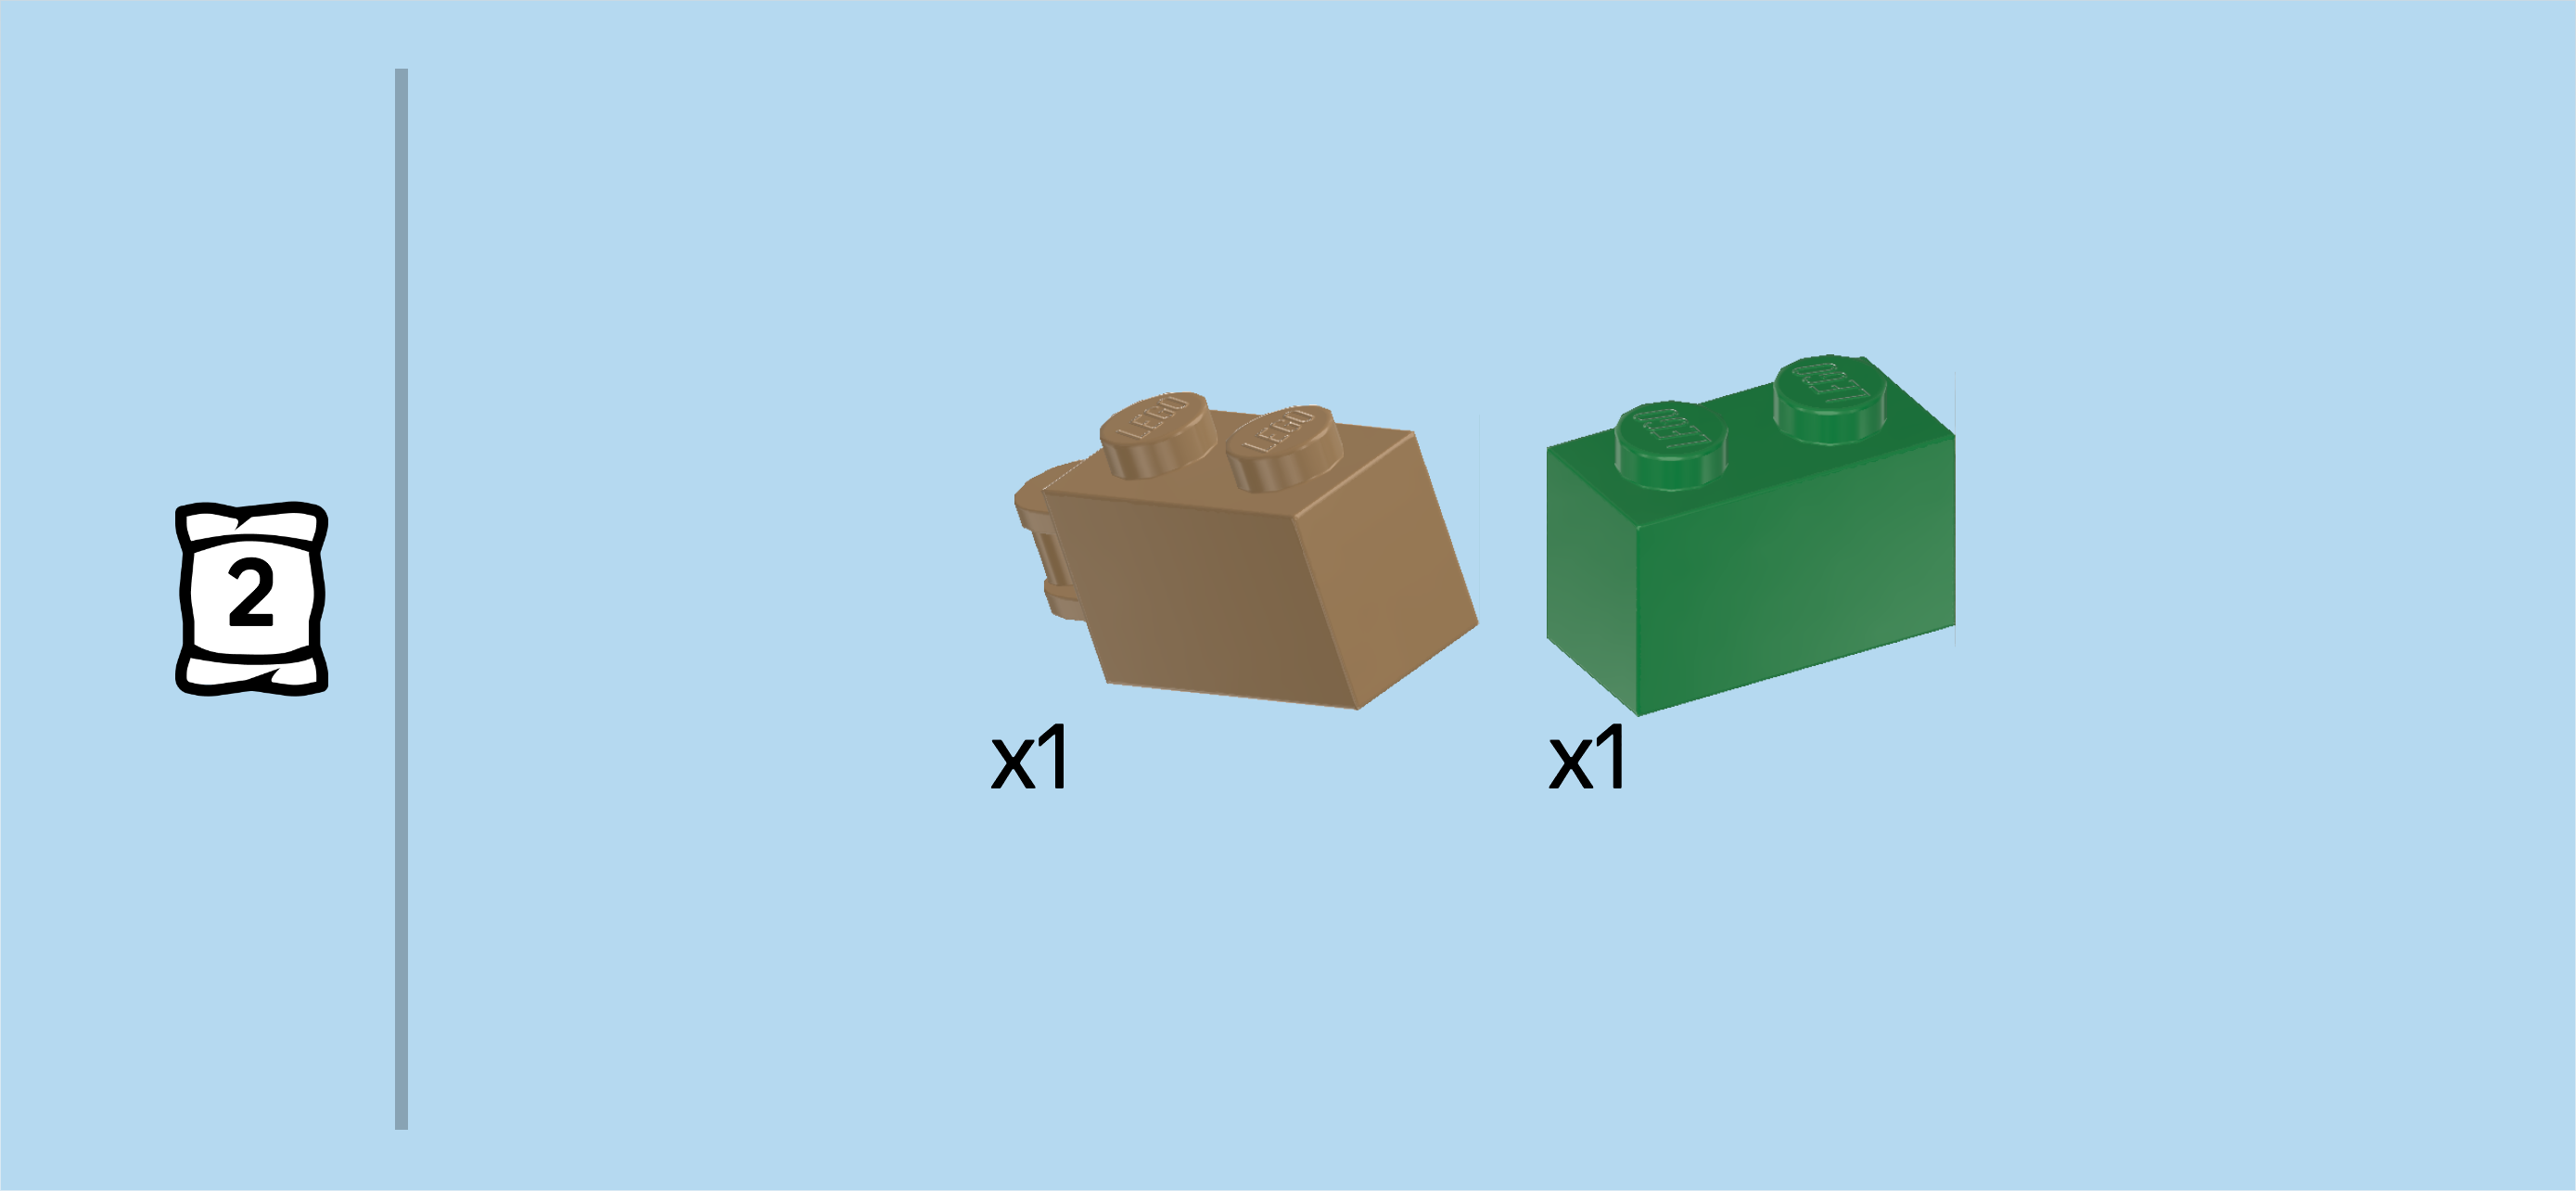
| 1 mud grey brick 1x2 with vertical shaft on short side, |
| and 1 dark green brick 1x2. |
| Put the dark green brick 1x2 horizontally on the back row. |
| Put the brick 1x2 with shaft horizontally in front of the previous piece, shaft again to the right. |
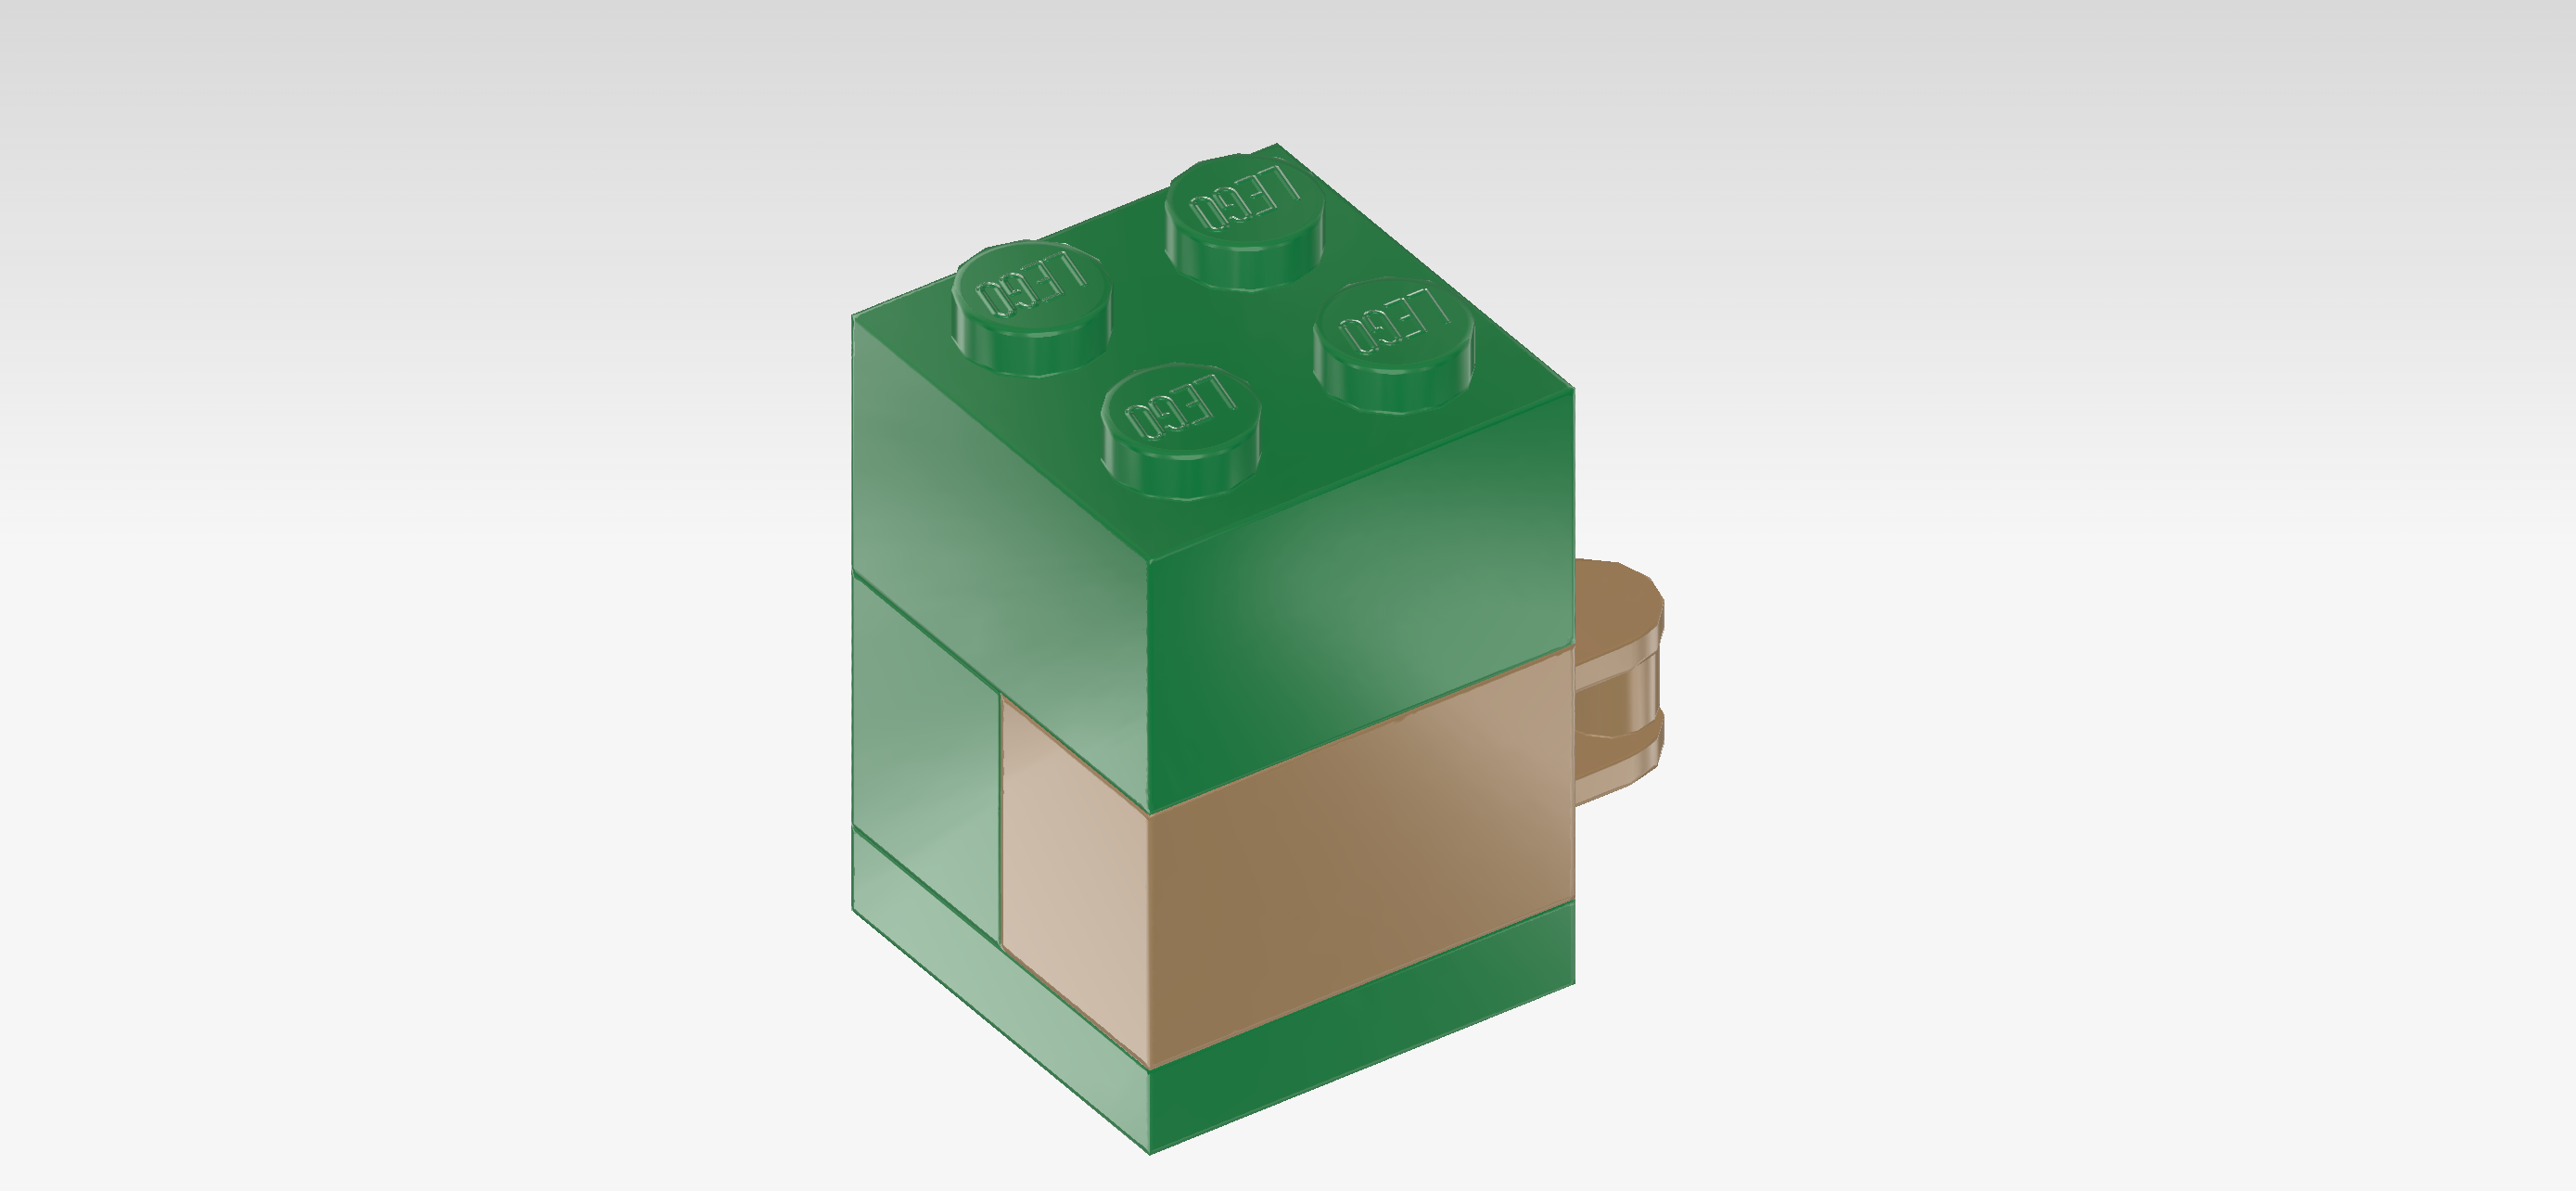
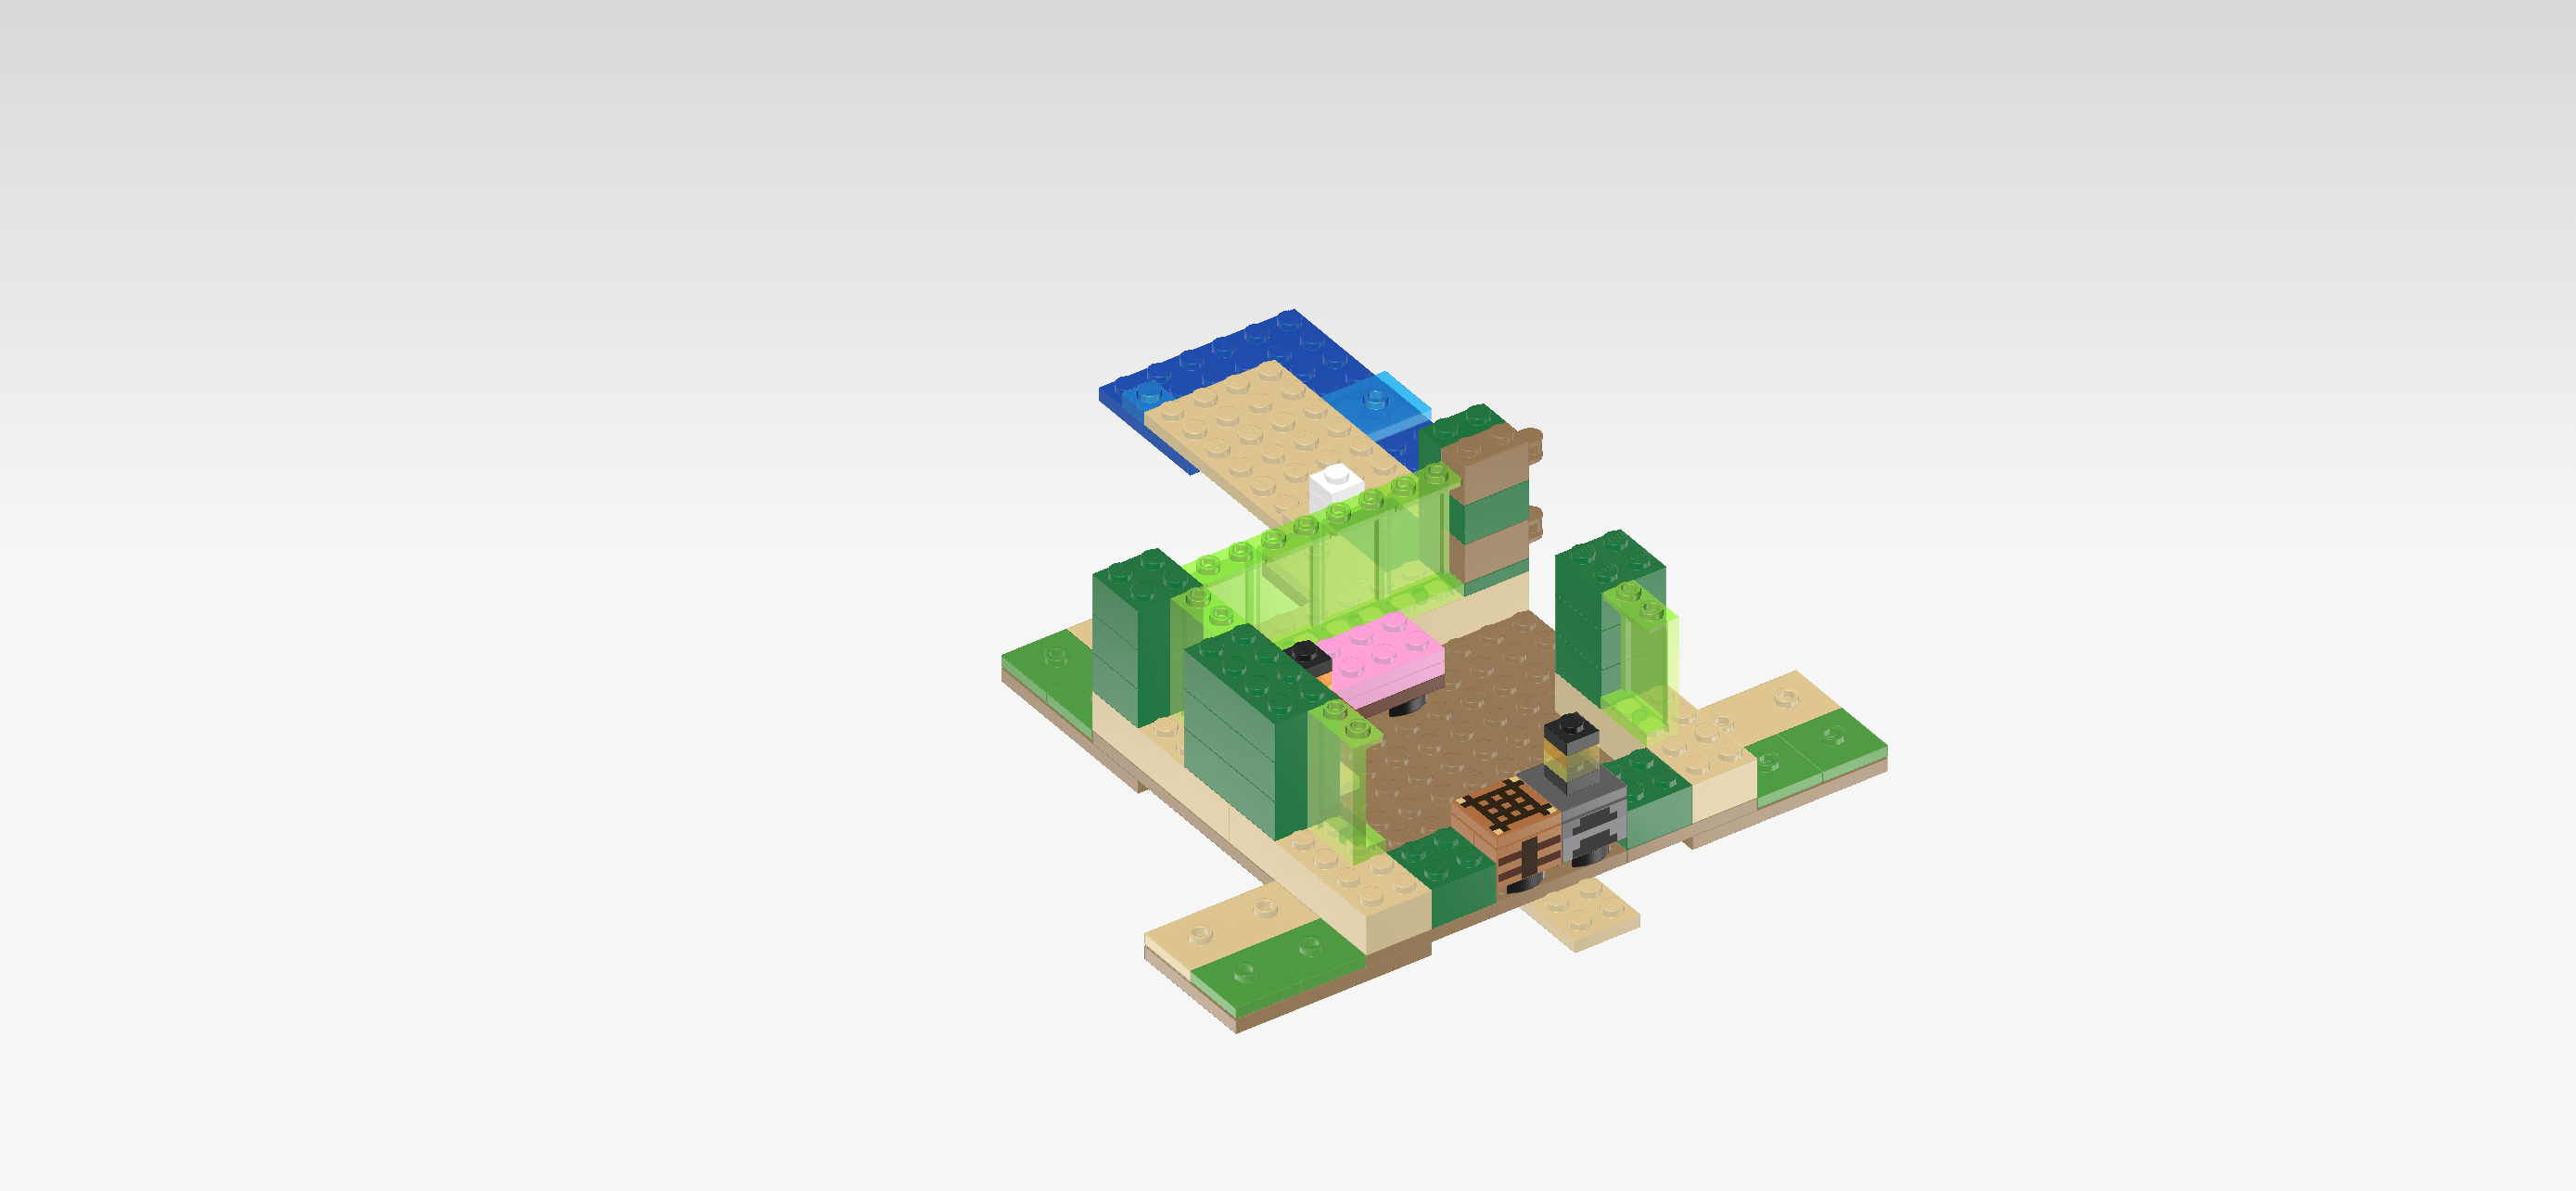
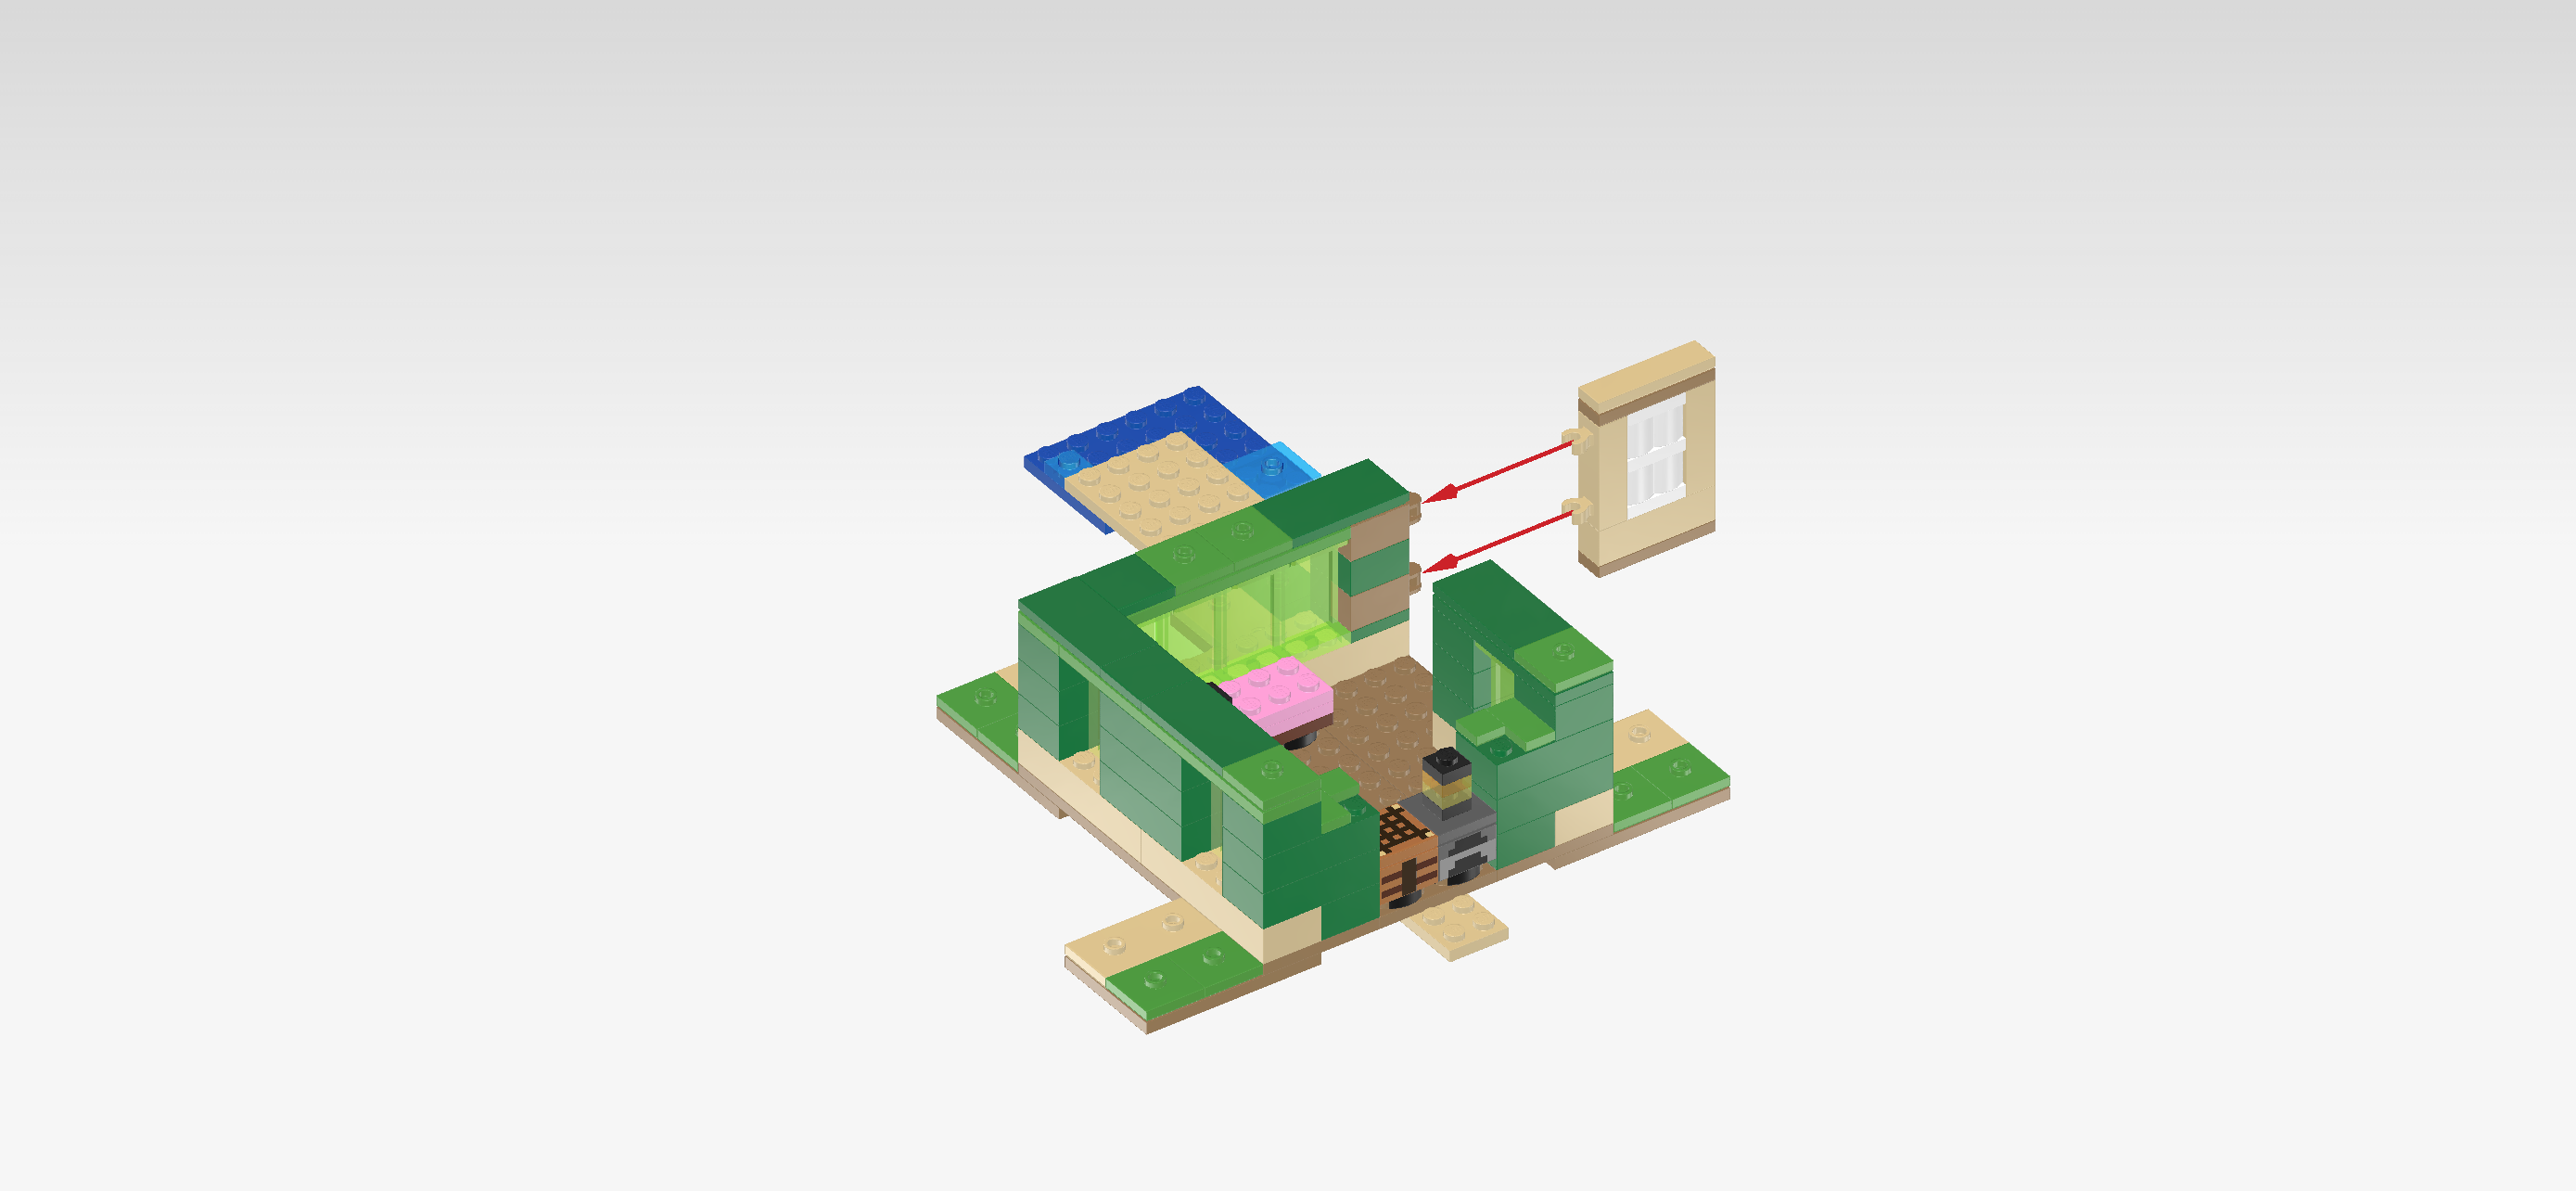
| To mount the door frame with hinges, turn it so that the hinges point towards you. Mount it on the 4 frontmost knobs of the right house wall, hinges pointing to the front. This means it will sit on the brick 2x6 that is mounted vertically on the right side at the front edge. |
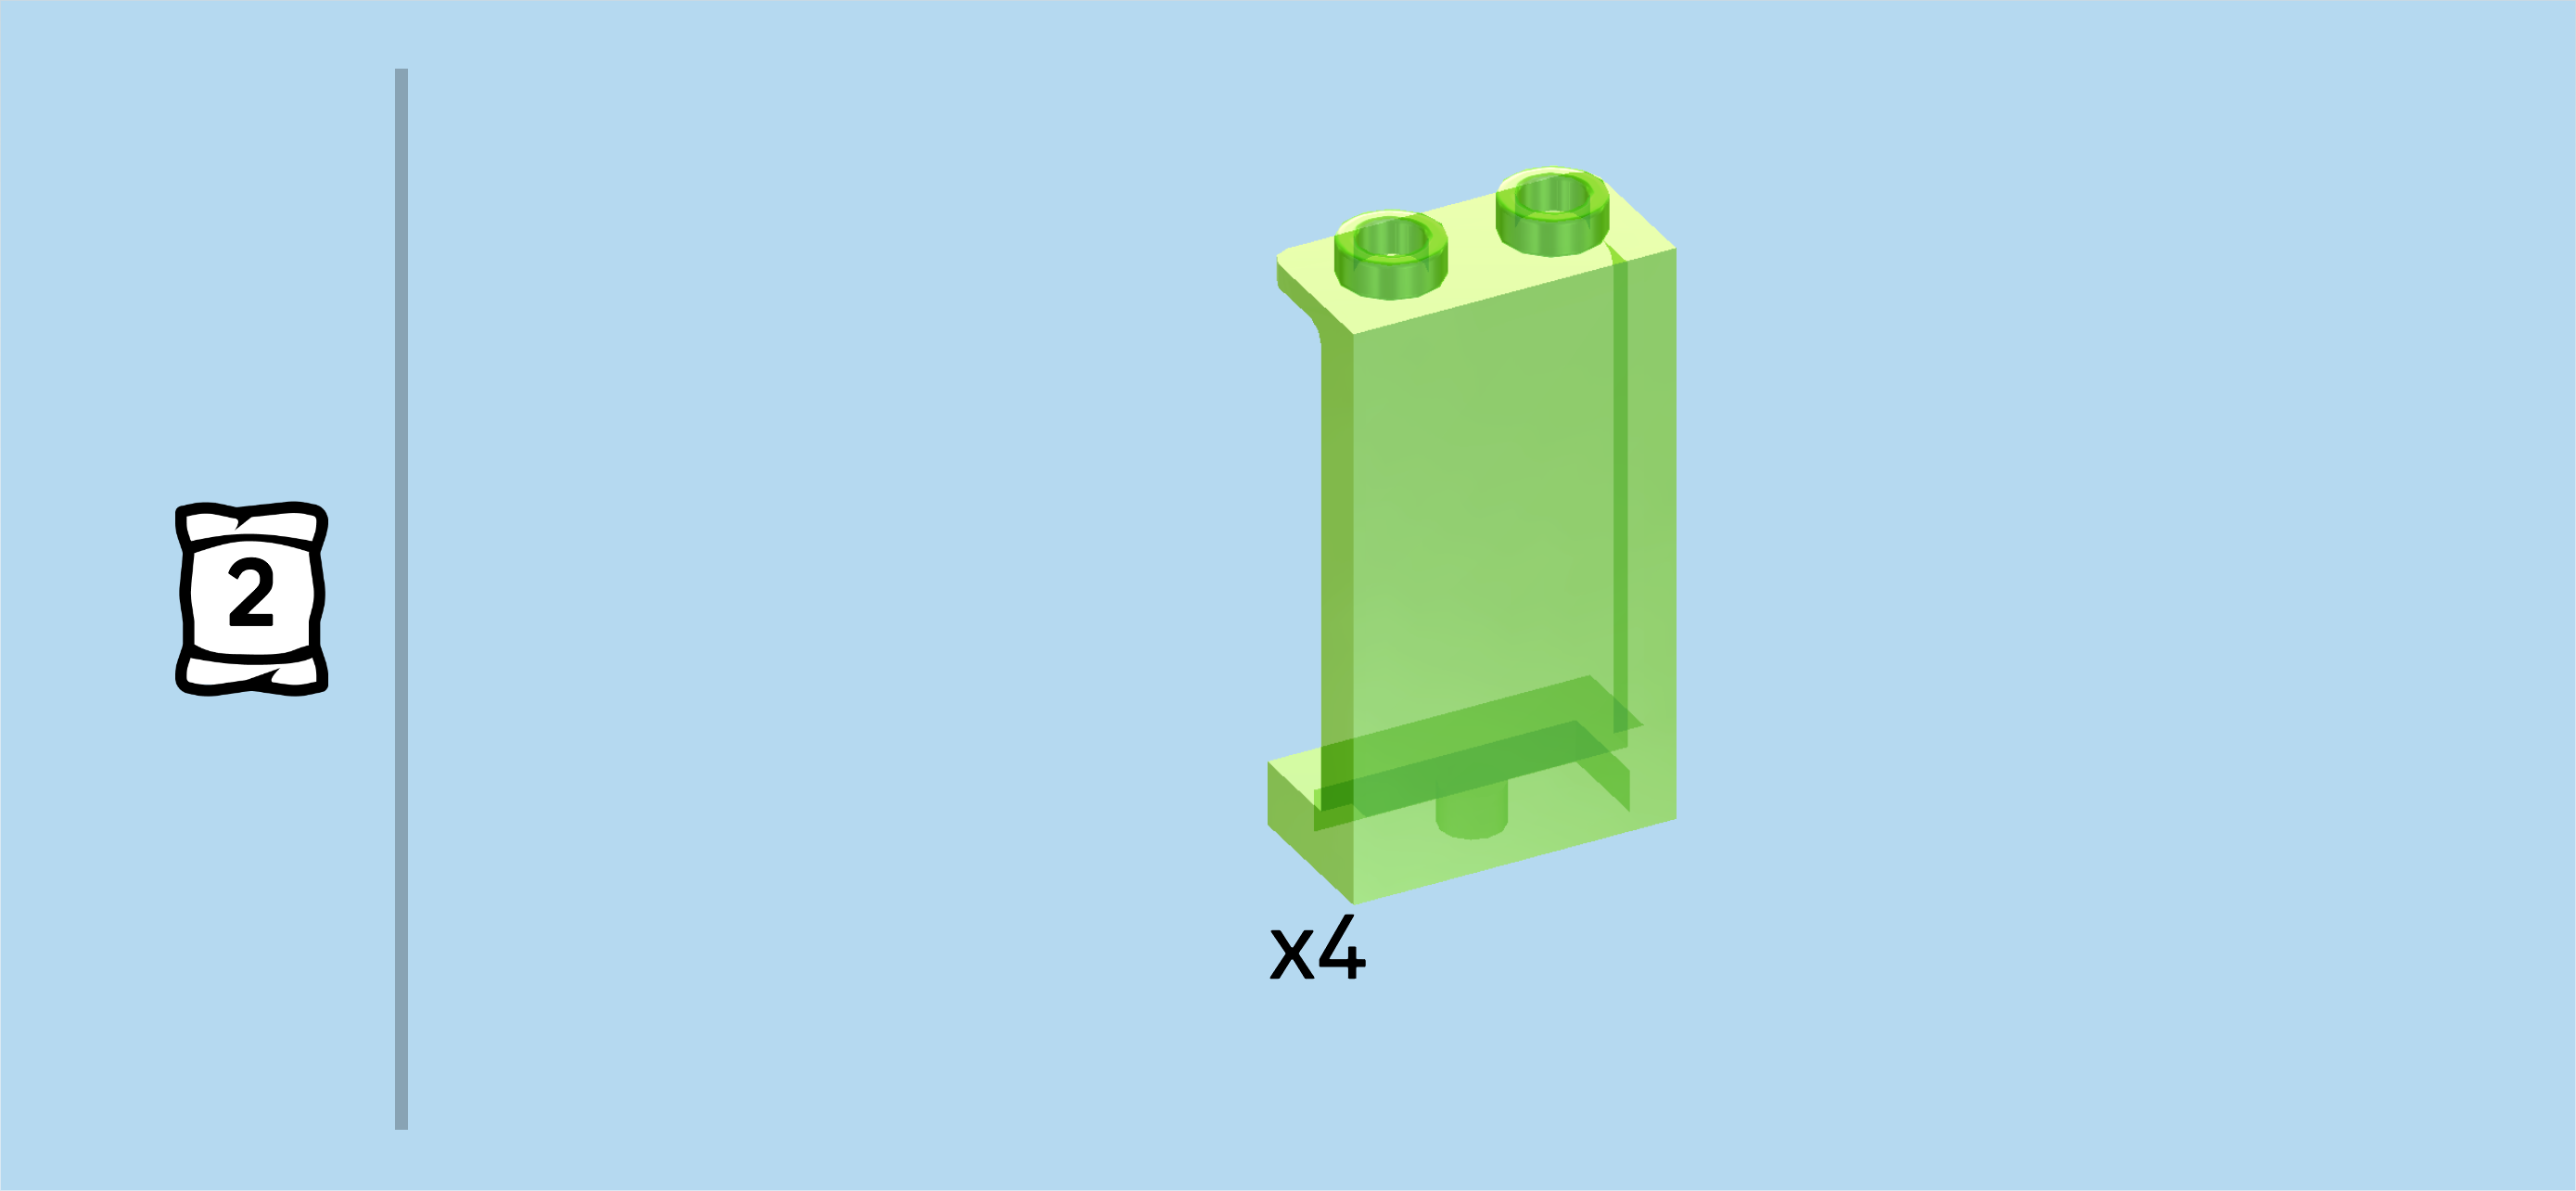
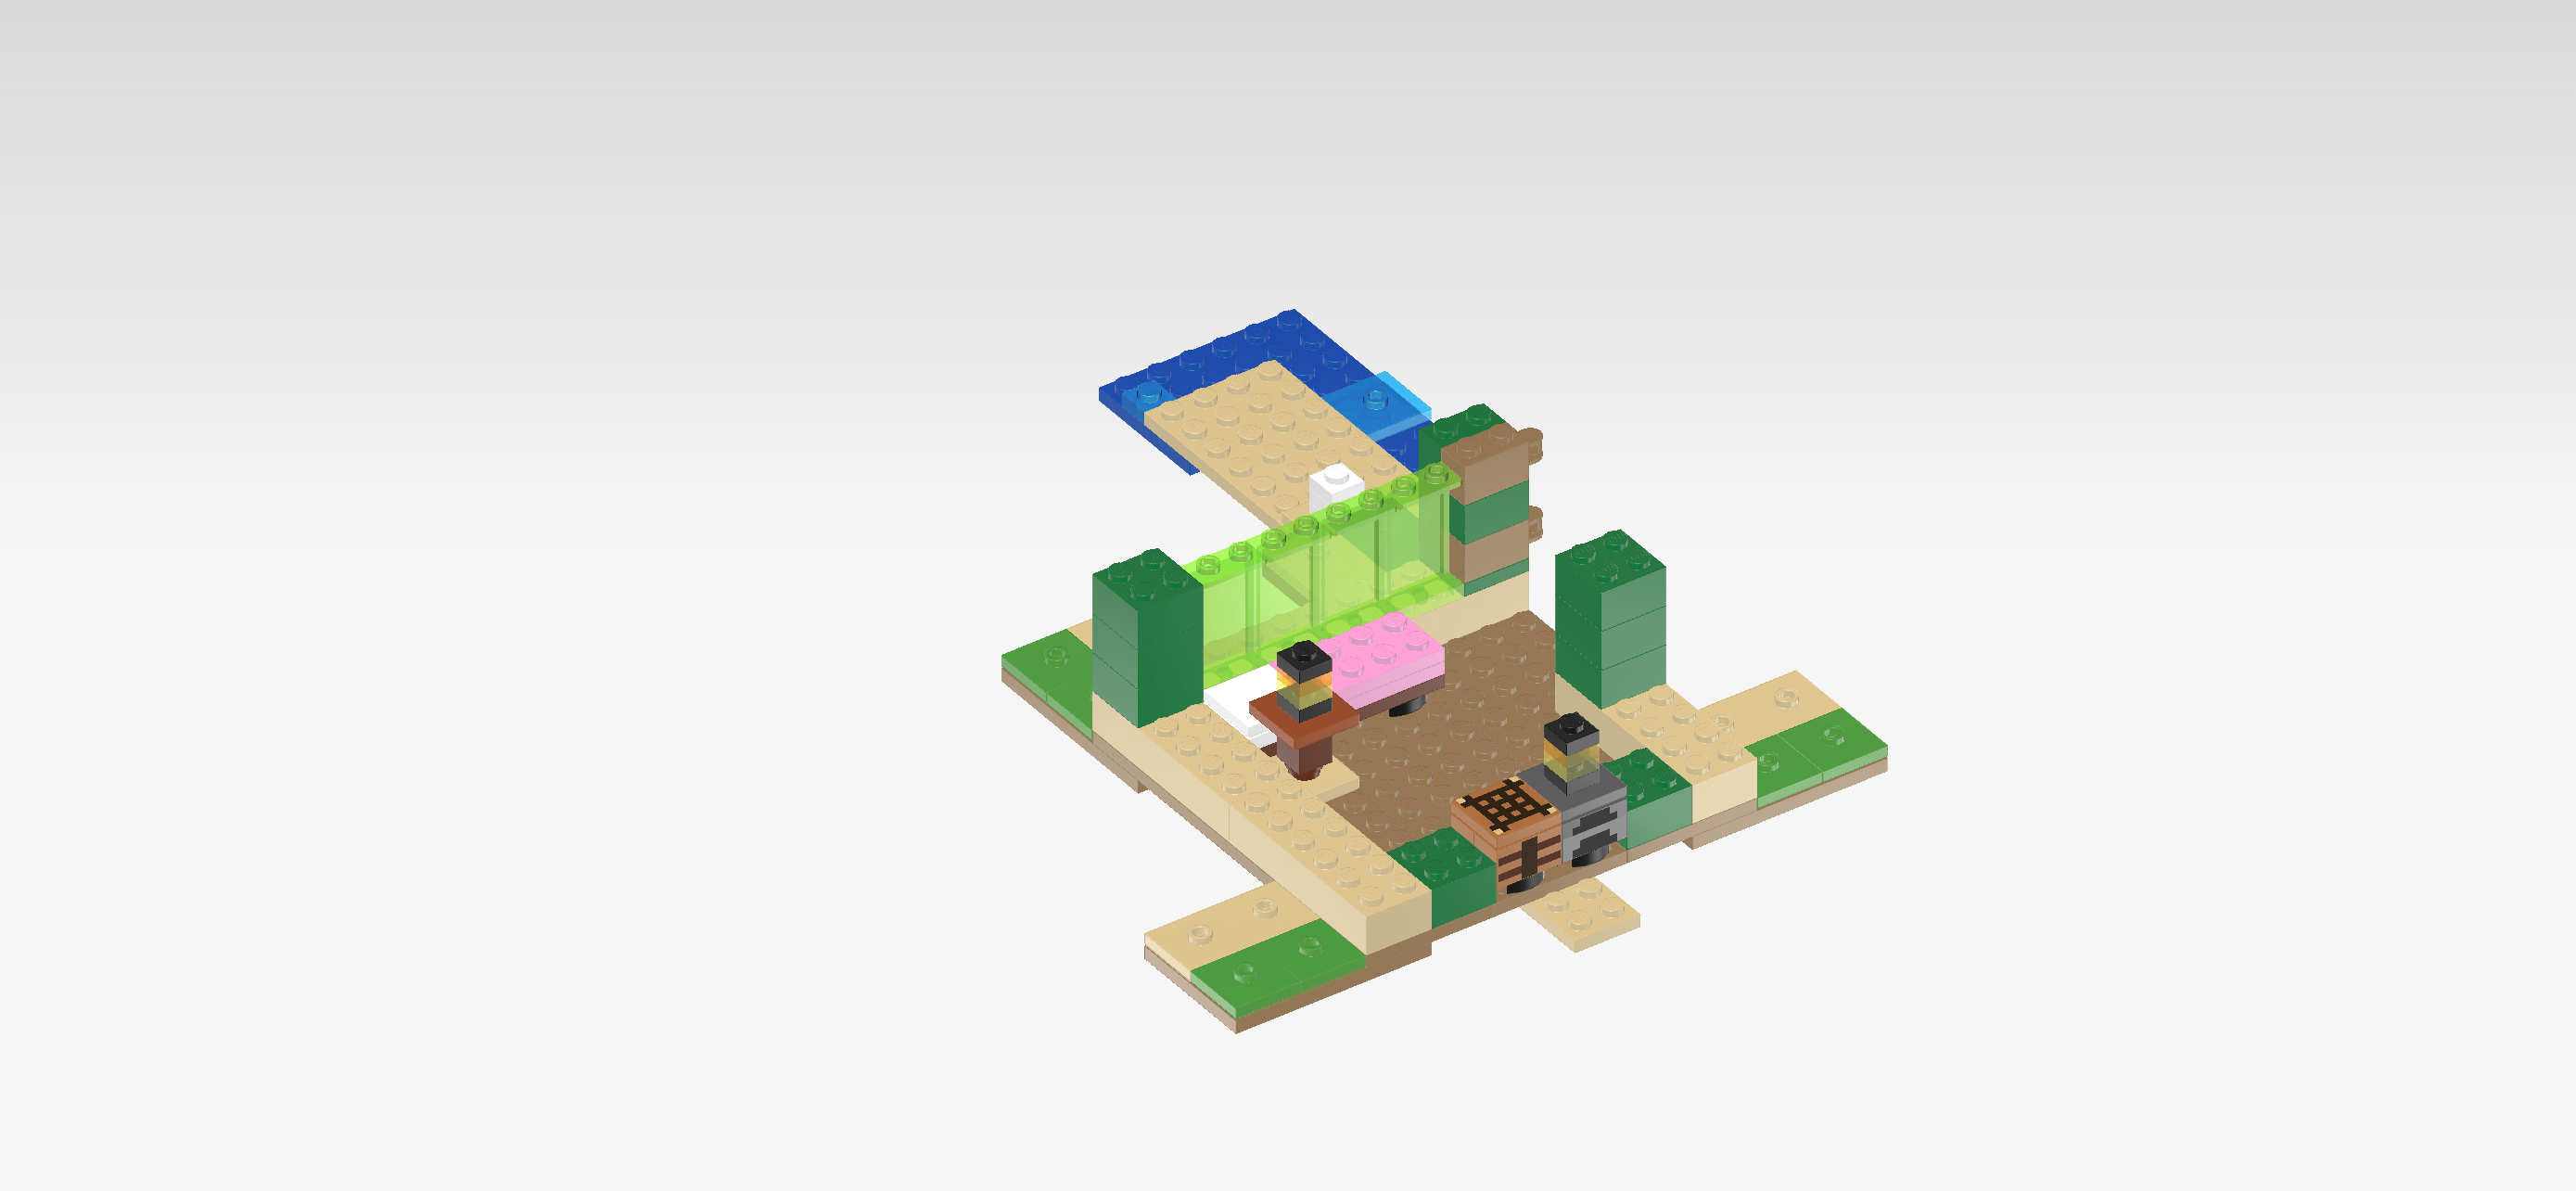
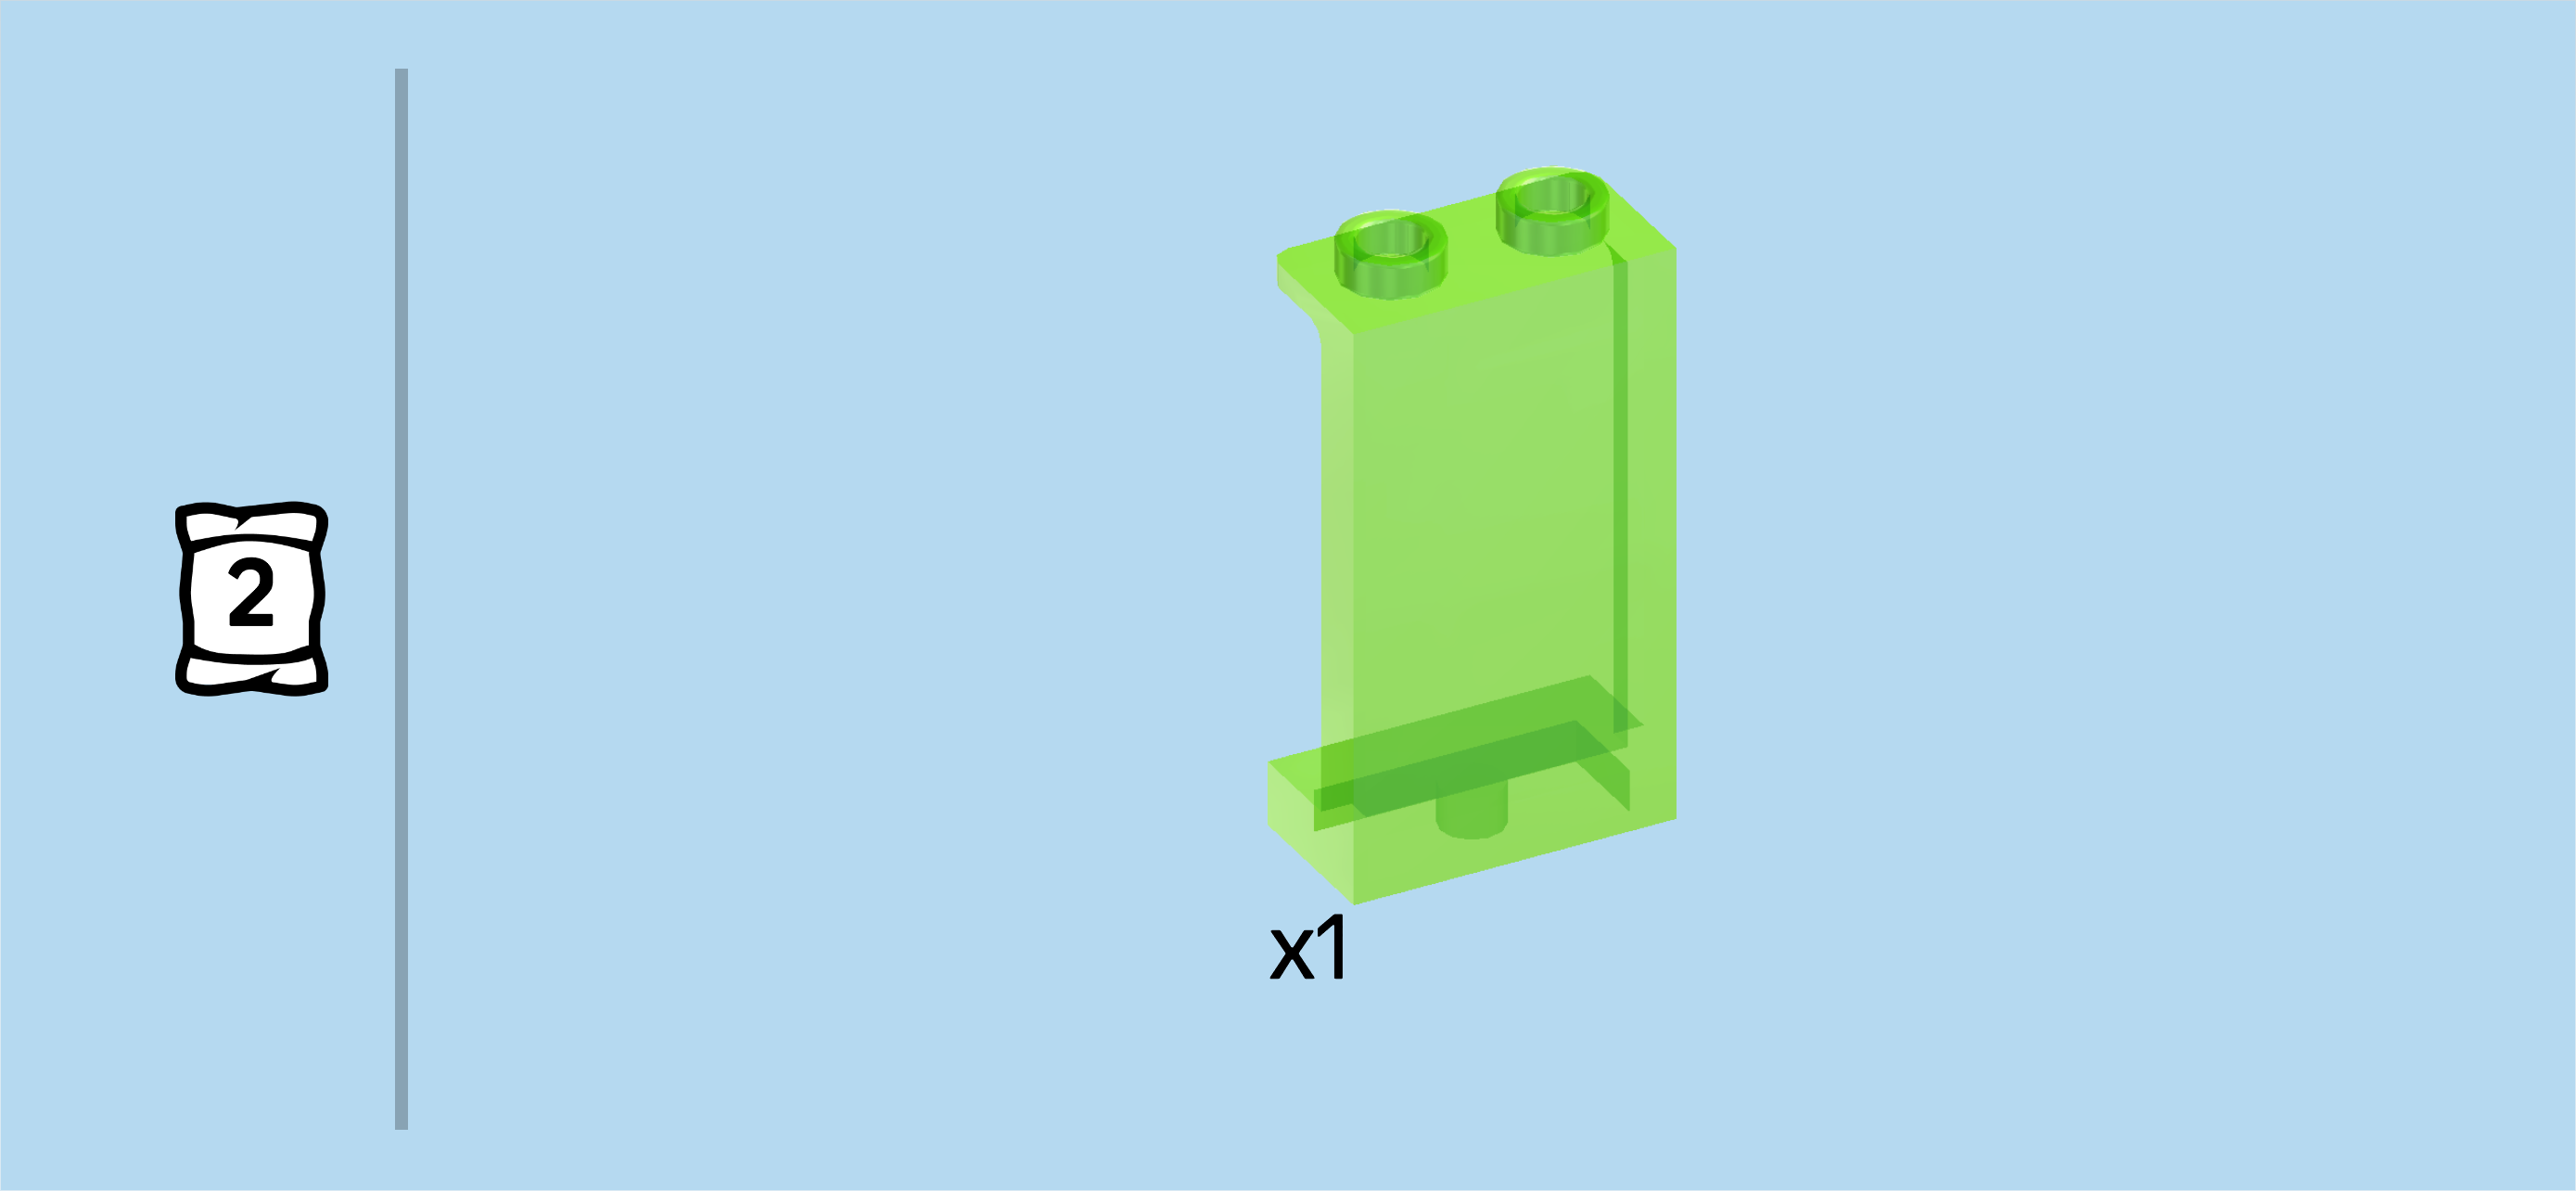
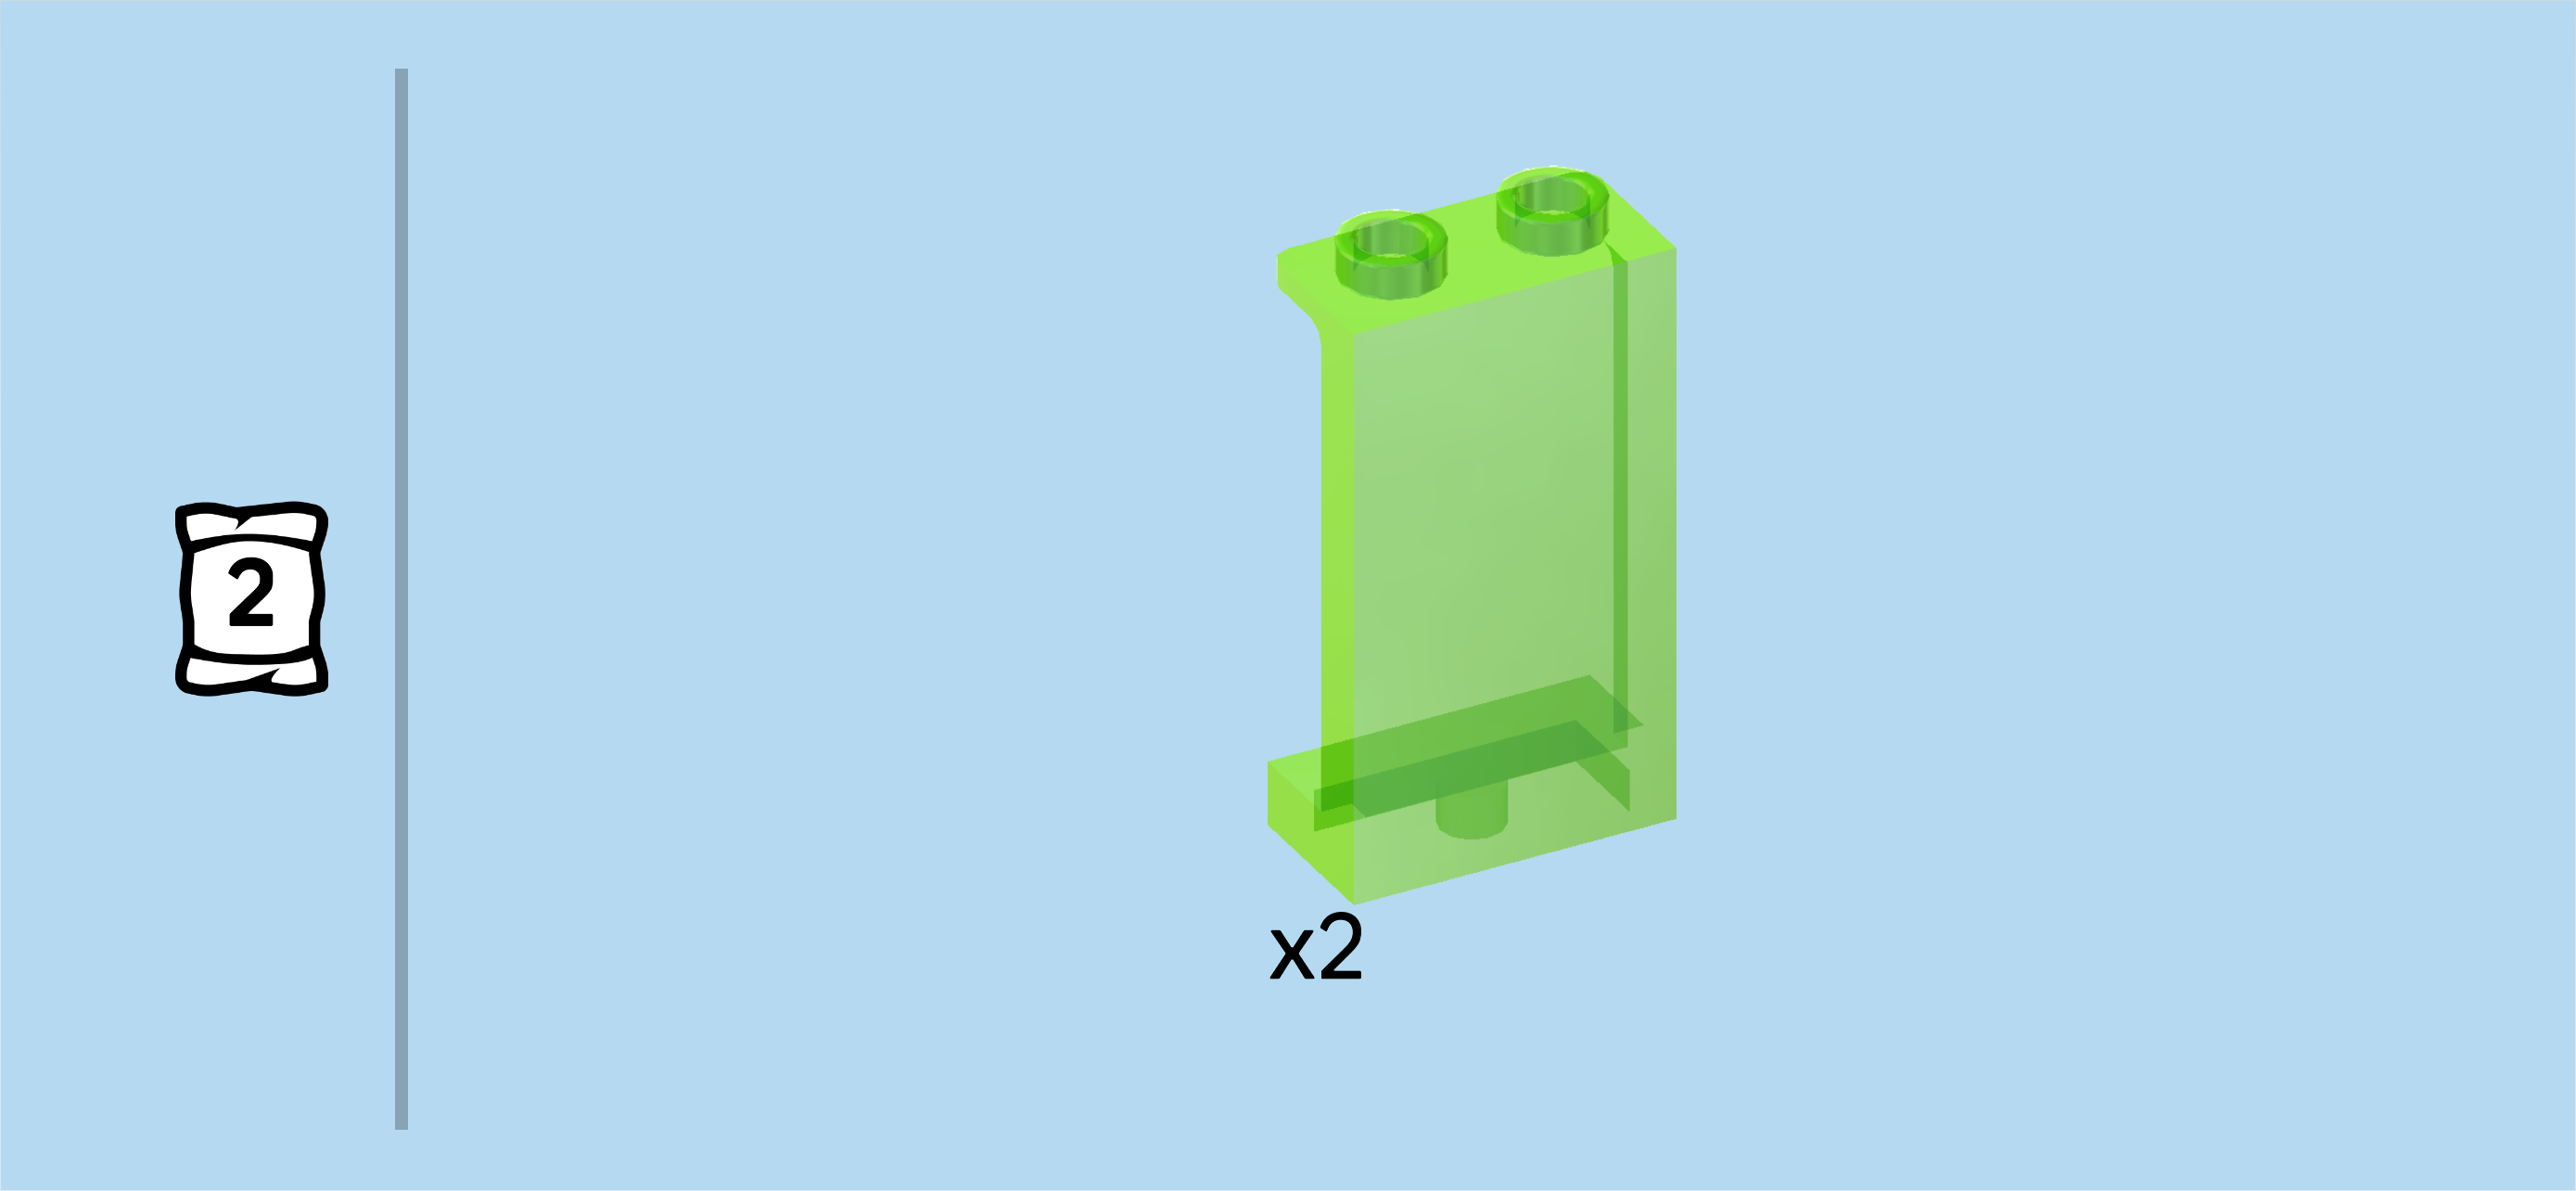
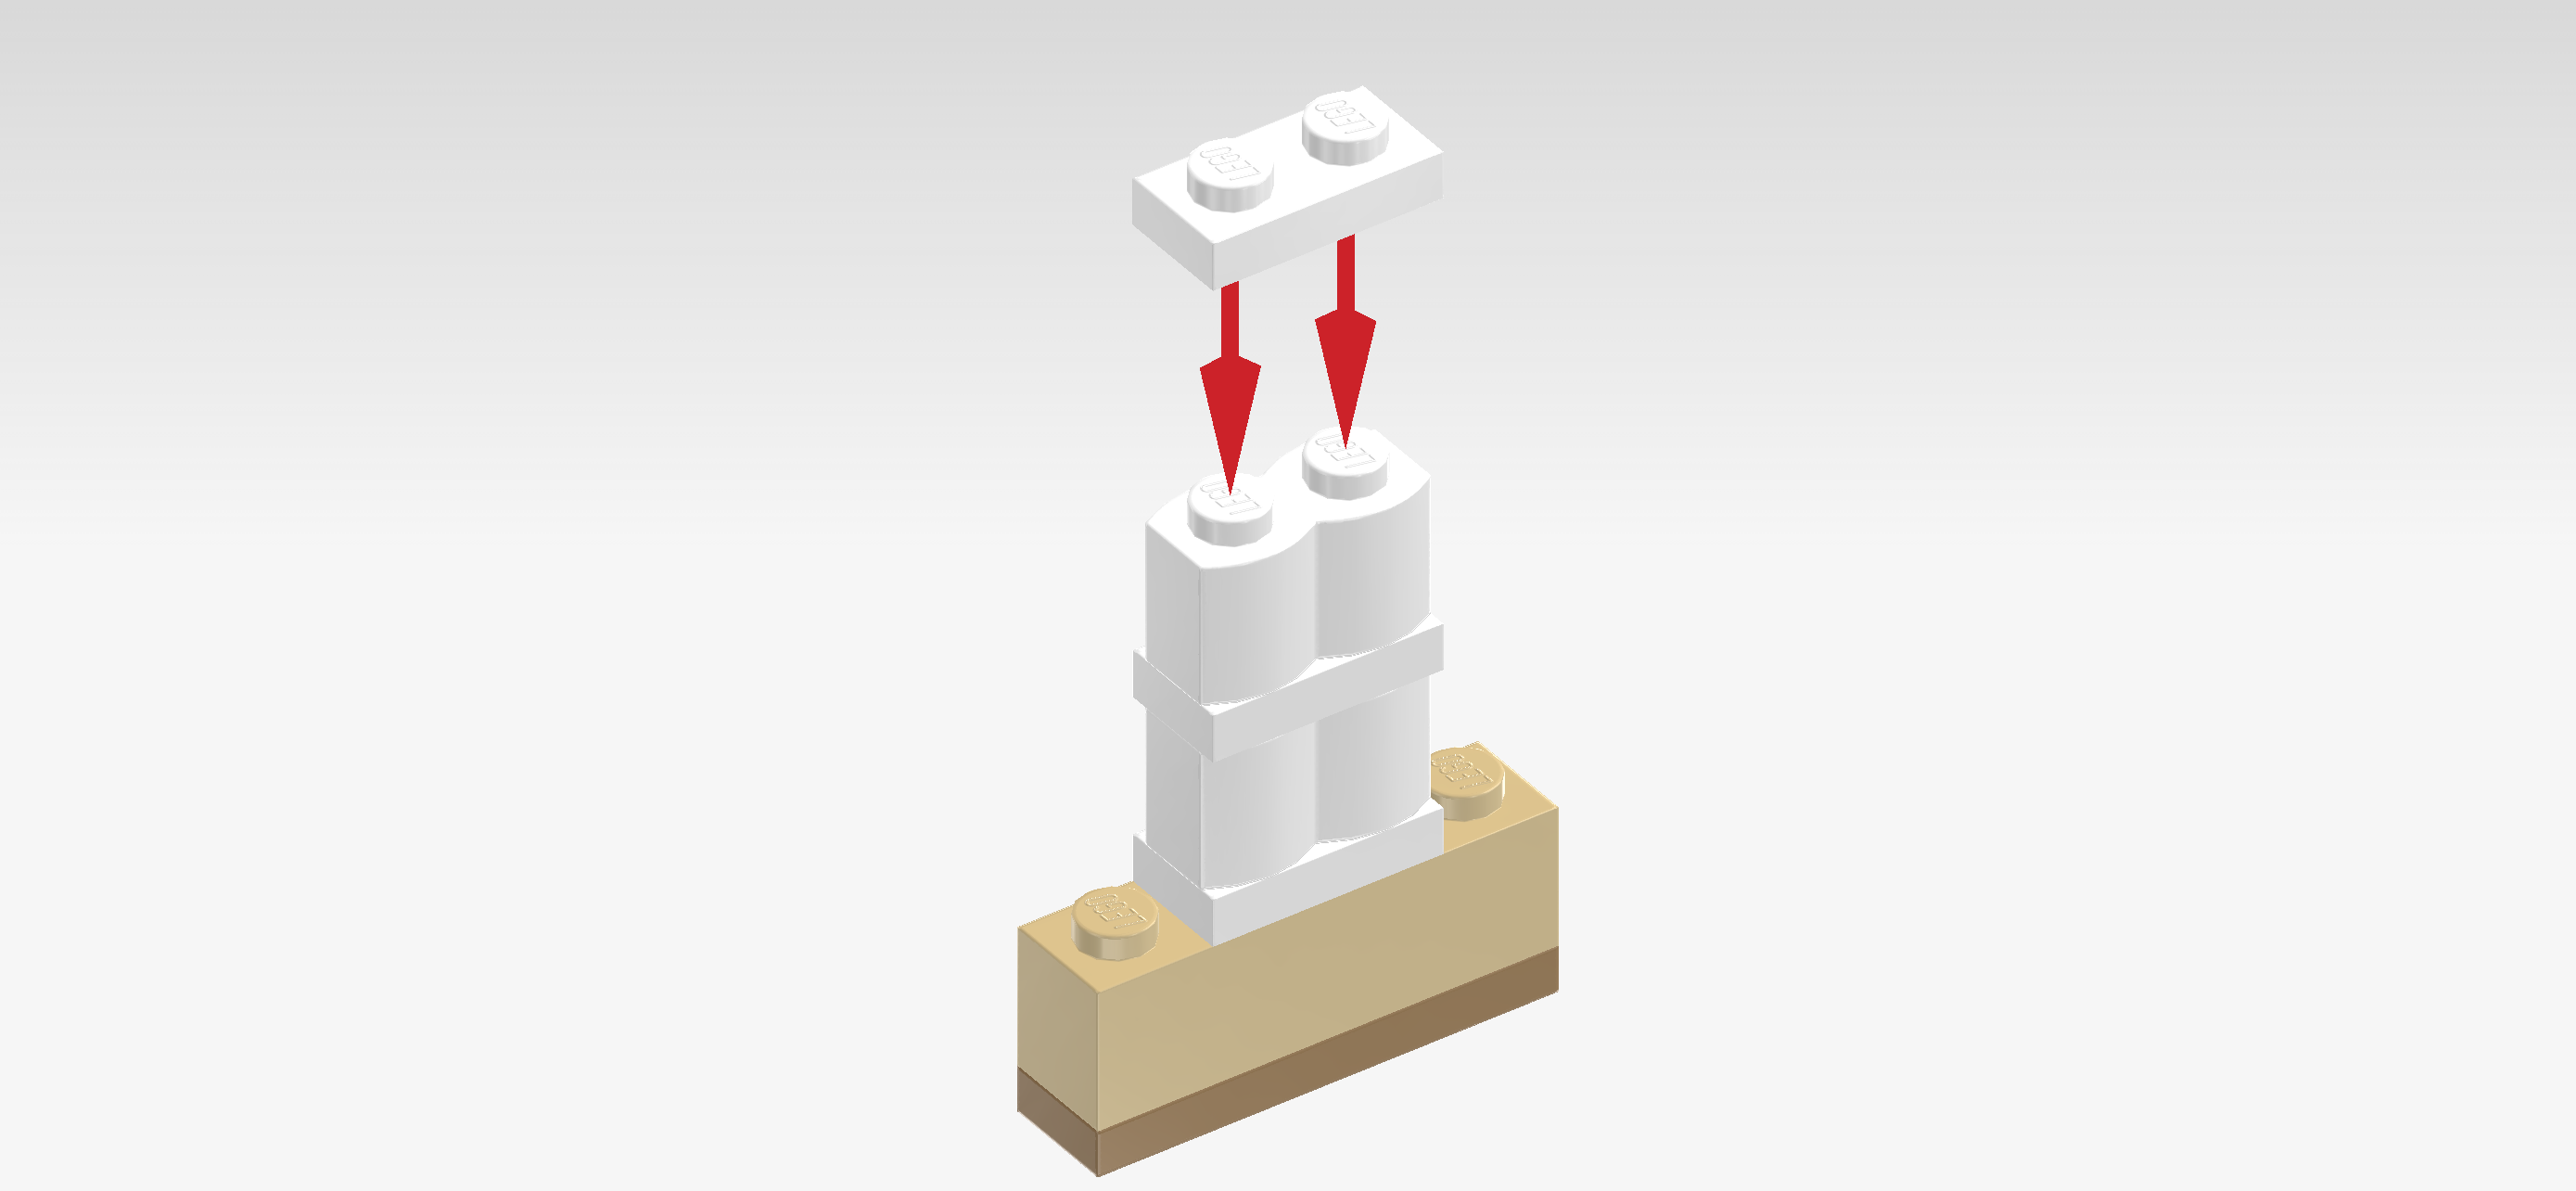
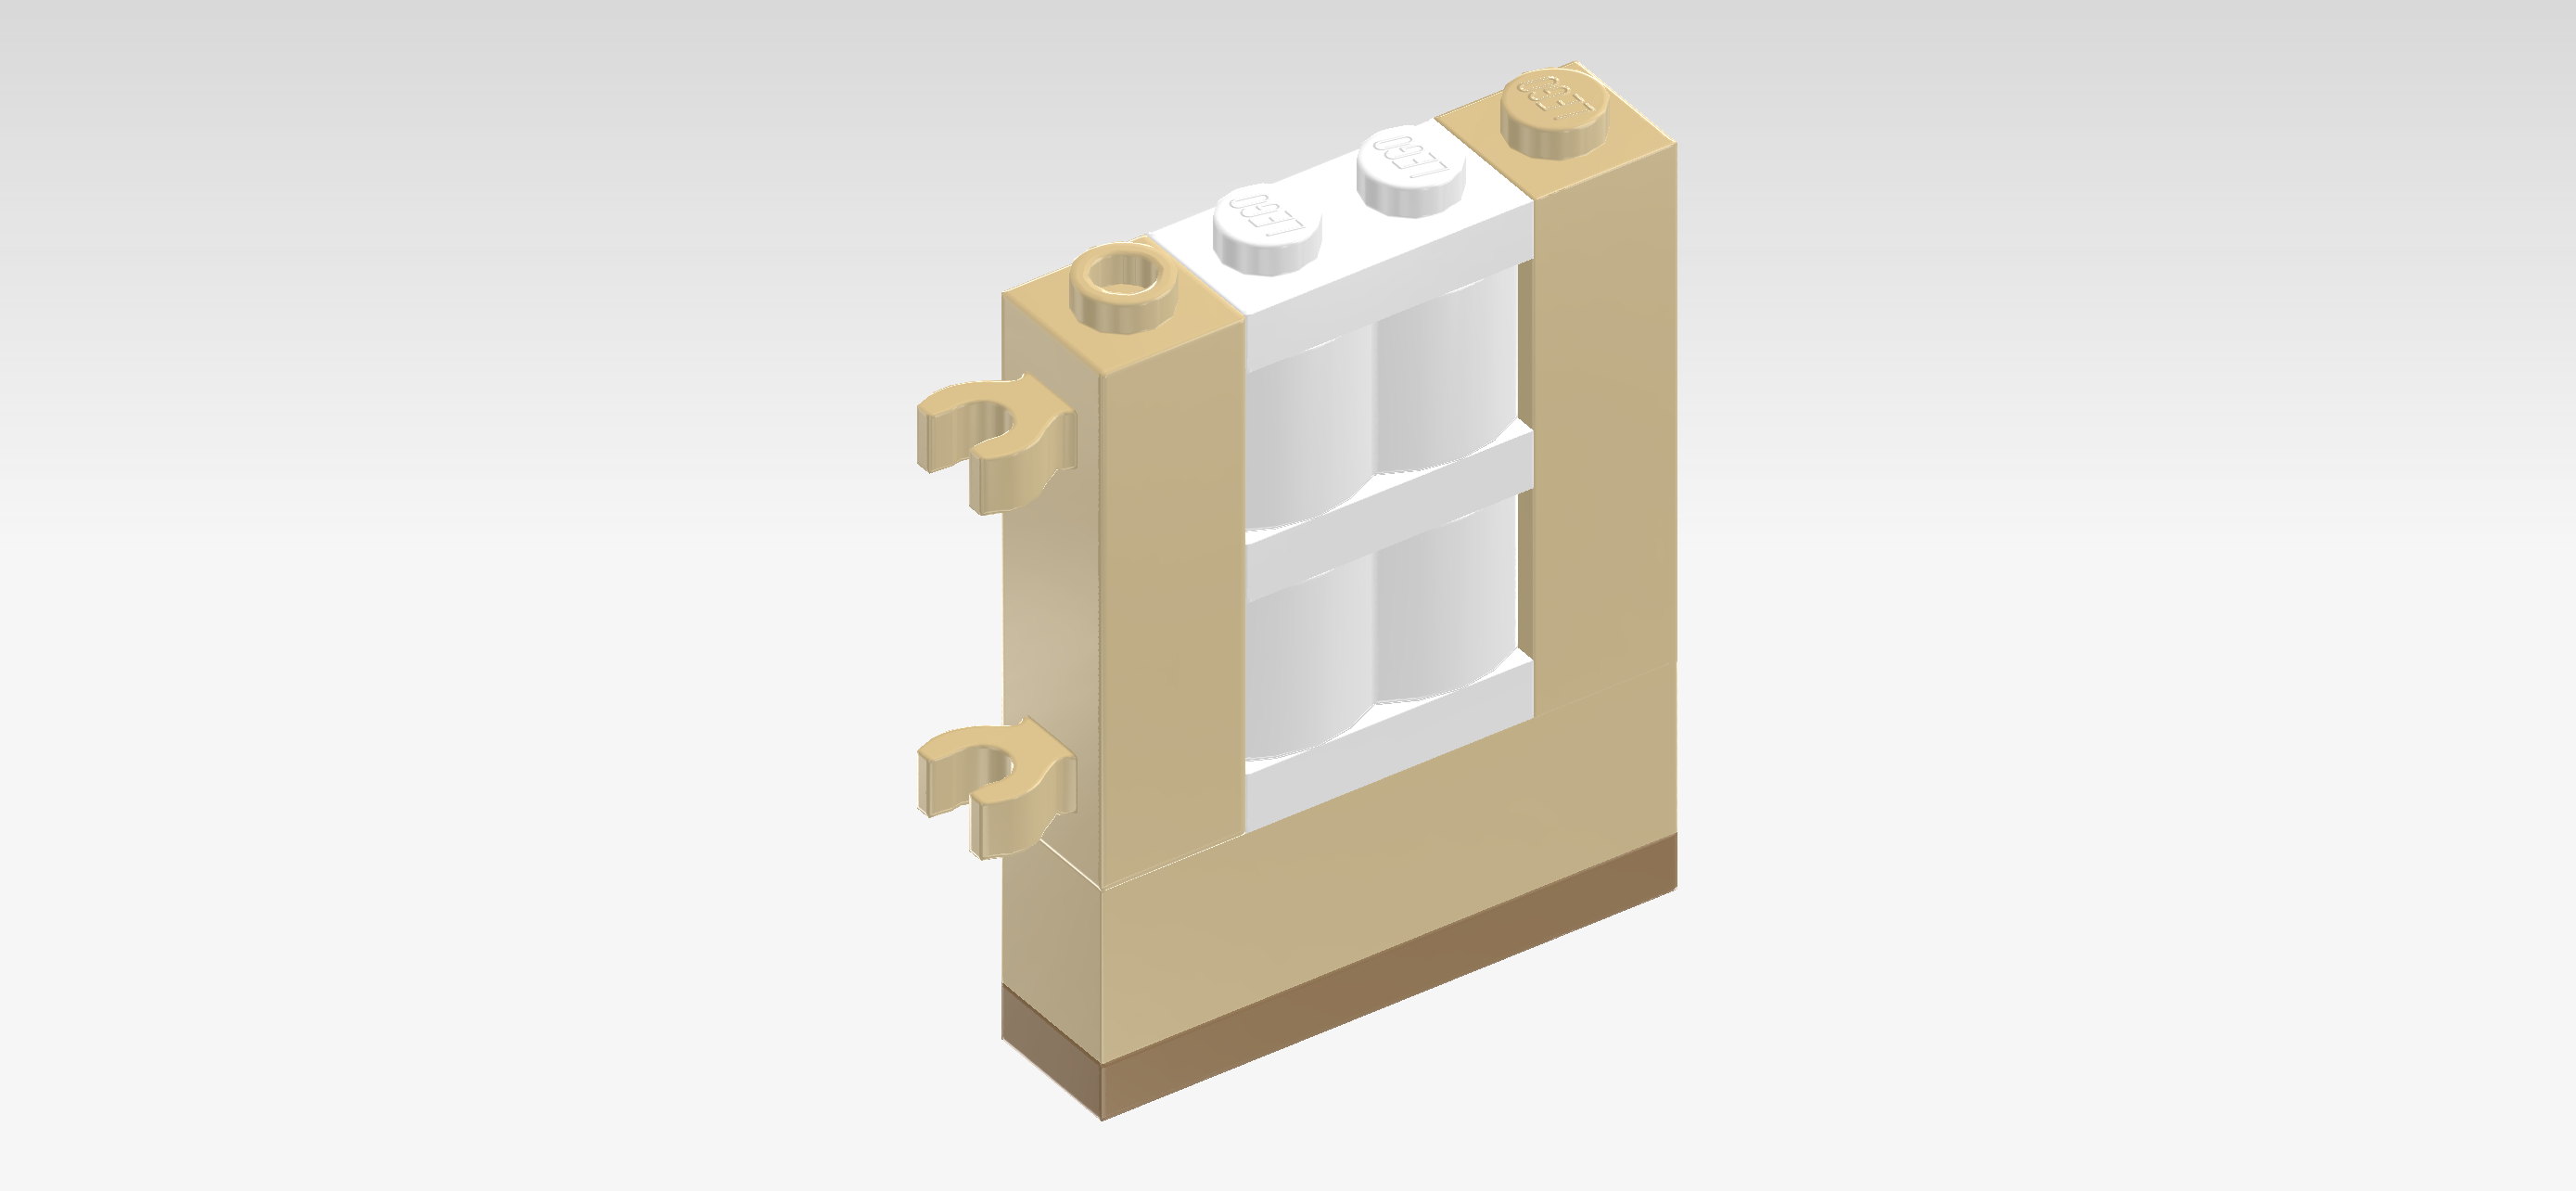
| Find 4 transparent bright green wall elements 1x2x3 with 2 top knobs. |
| First, turn the whole structure 90° to the left so that the door hinges are pointing to the right, the small 2x2 protrusion is pointing to you and the beach area with footbridge is now towards the back. |
| Put 1 wall element horizontally to the left of the door frame with hinges on the same row as the hinges, panel towards the back. This means that it will sit on the front row of the brick 2x6 on which it is mounted. |
| Put 1 horizontally to the left of the previous piece, panel towards the back. |
| Put another 1 horizontally to the left of the previous piece, panel to the back. |
| Put the last one horizontally to the left of the previous piece, panel to the back. |
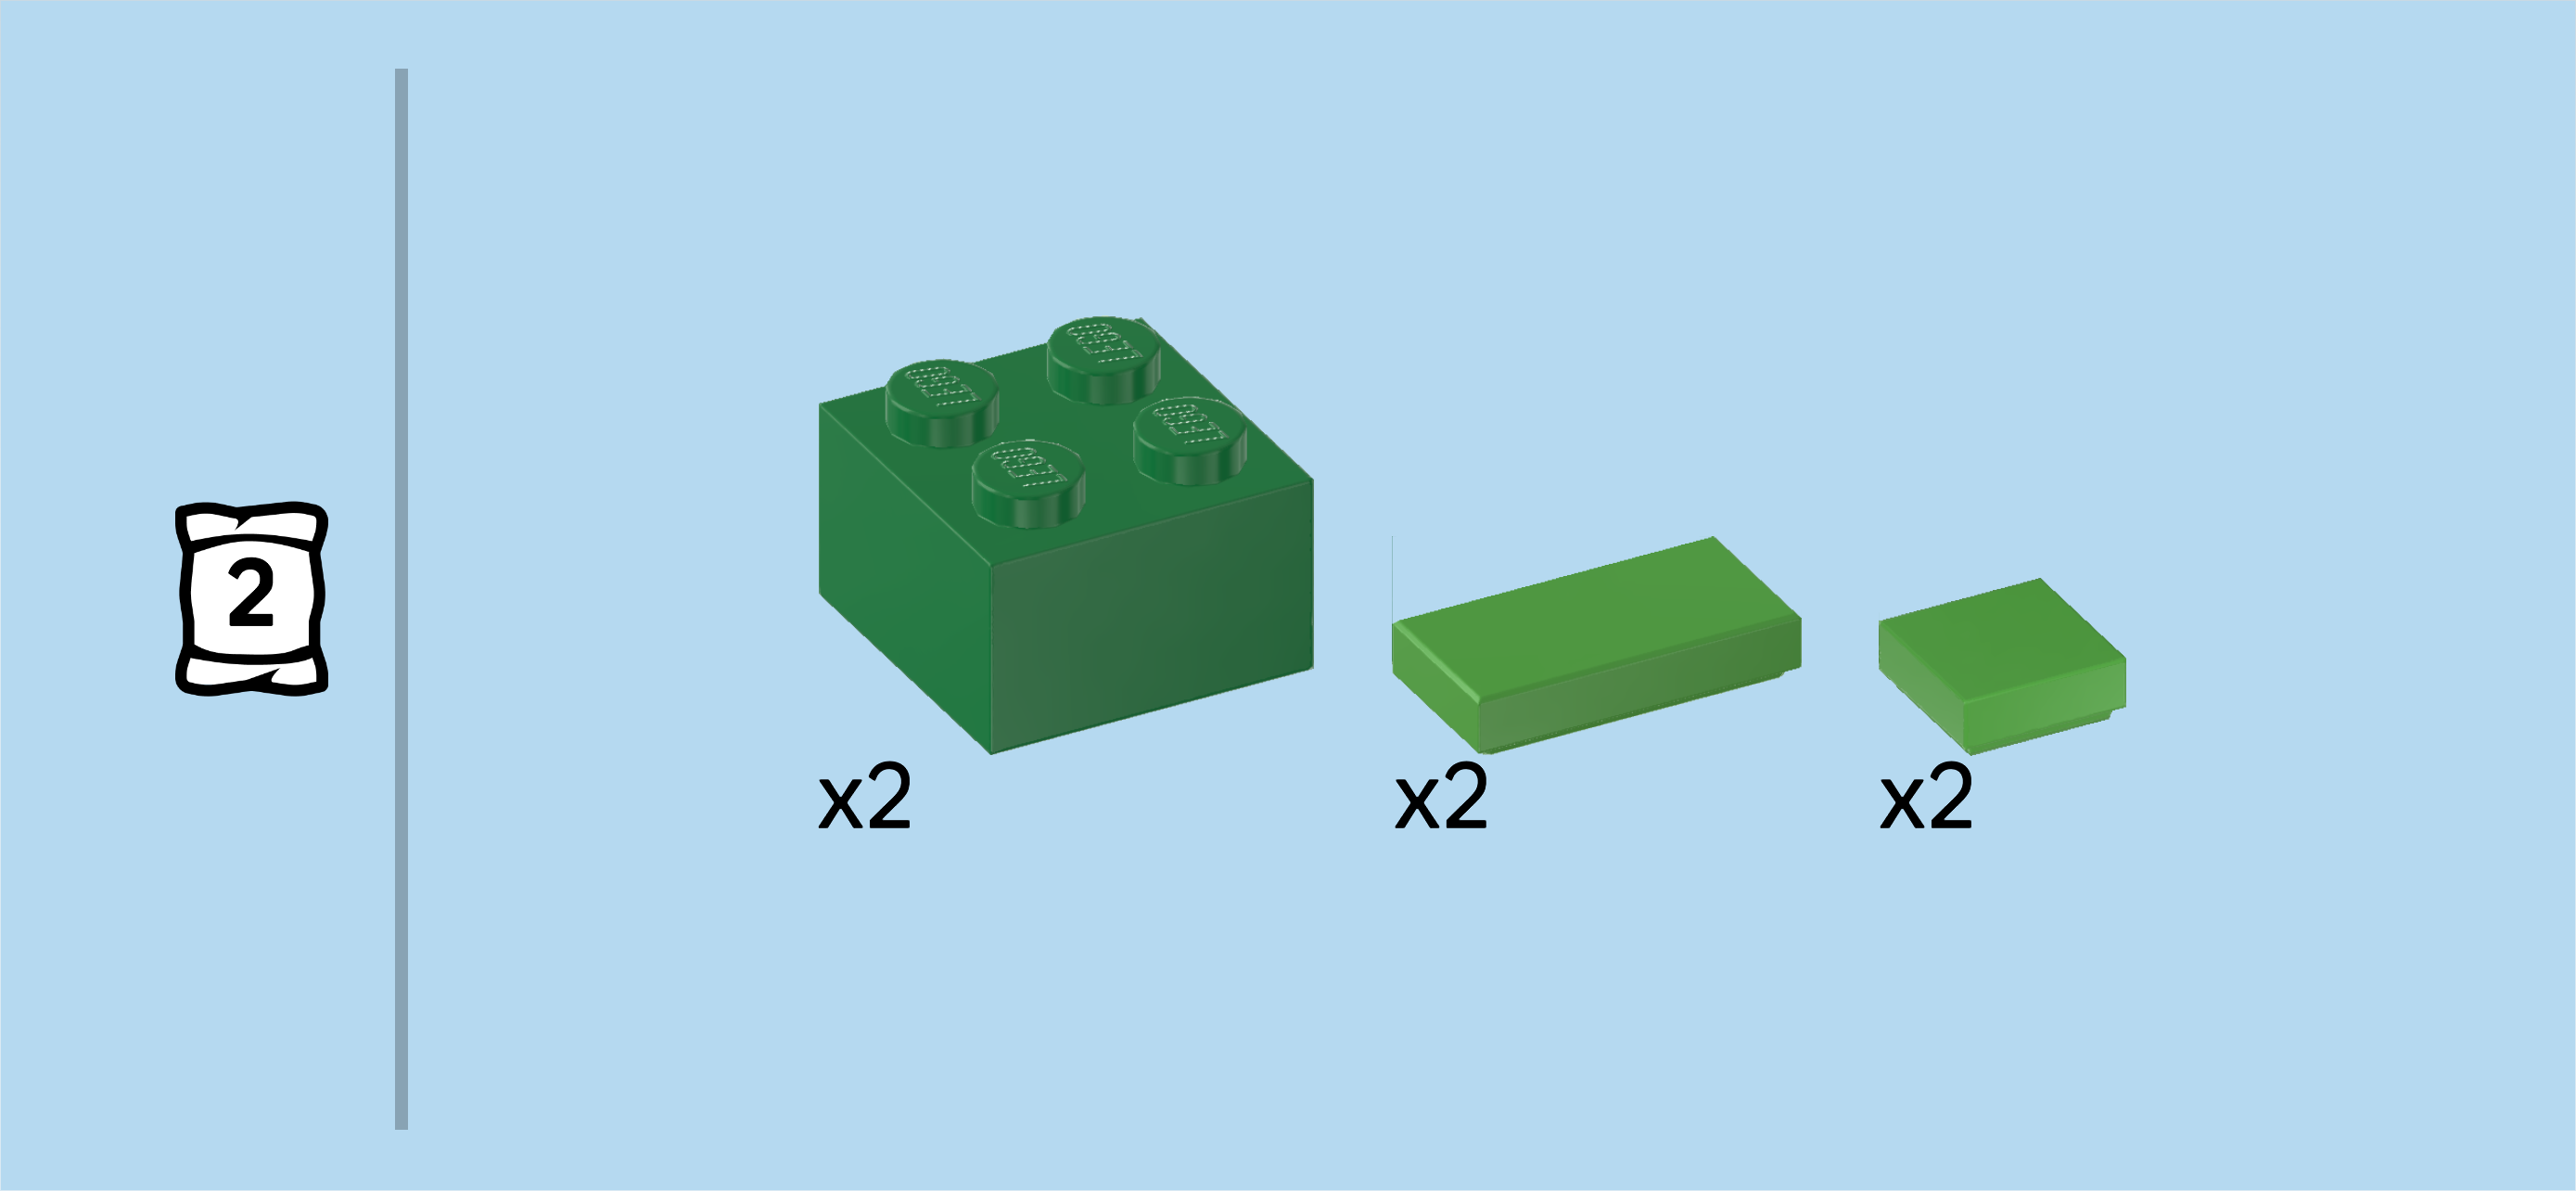
| Find 6 dark green bricks 2x2. |
| Make 2 identical stacks: stack 3 of them on top of each other, aligning their edges, and repeat with the other 3. |
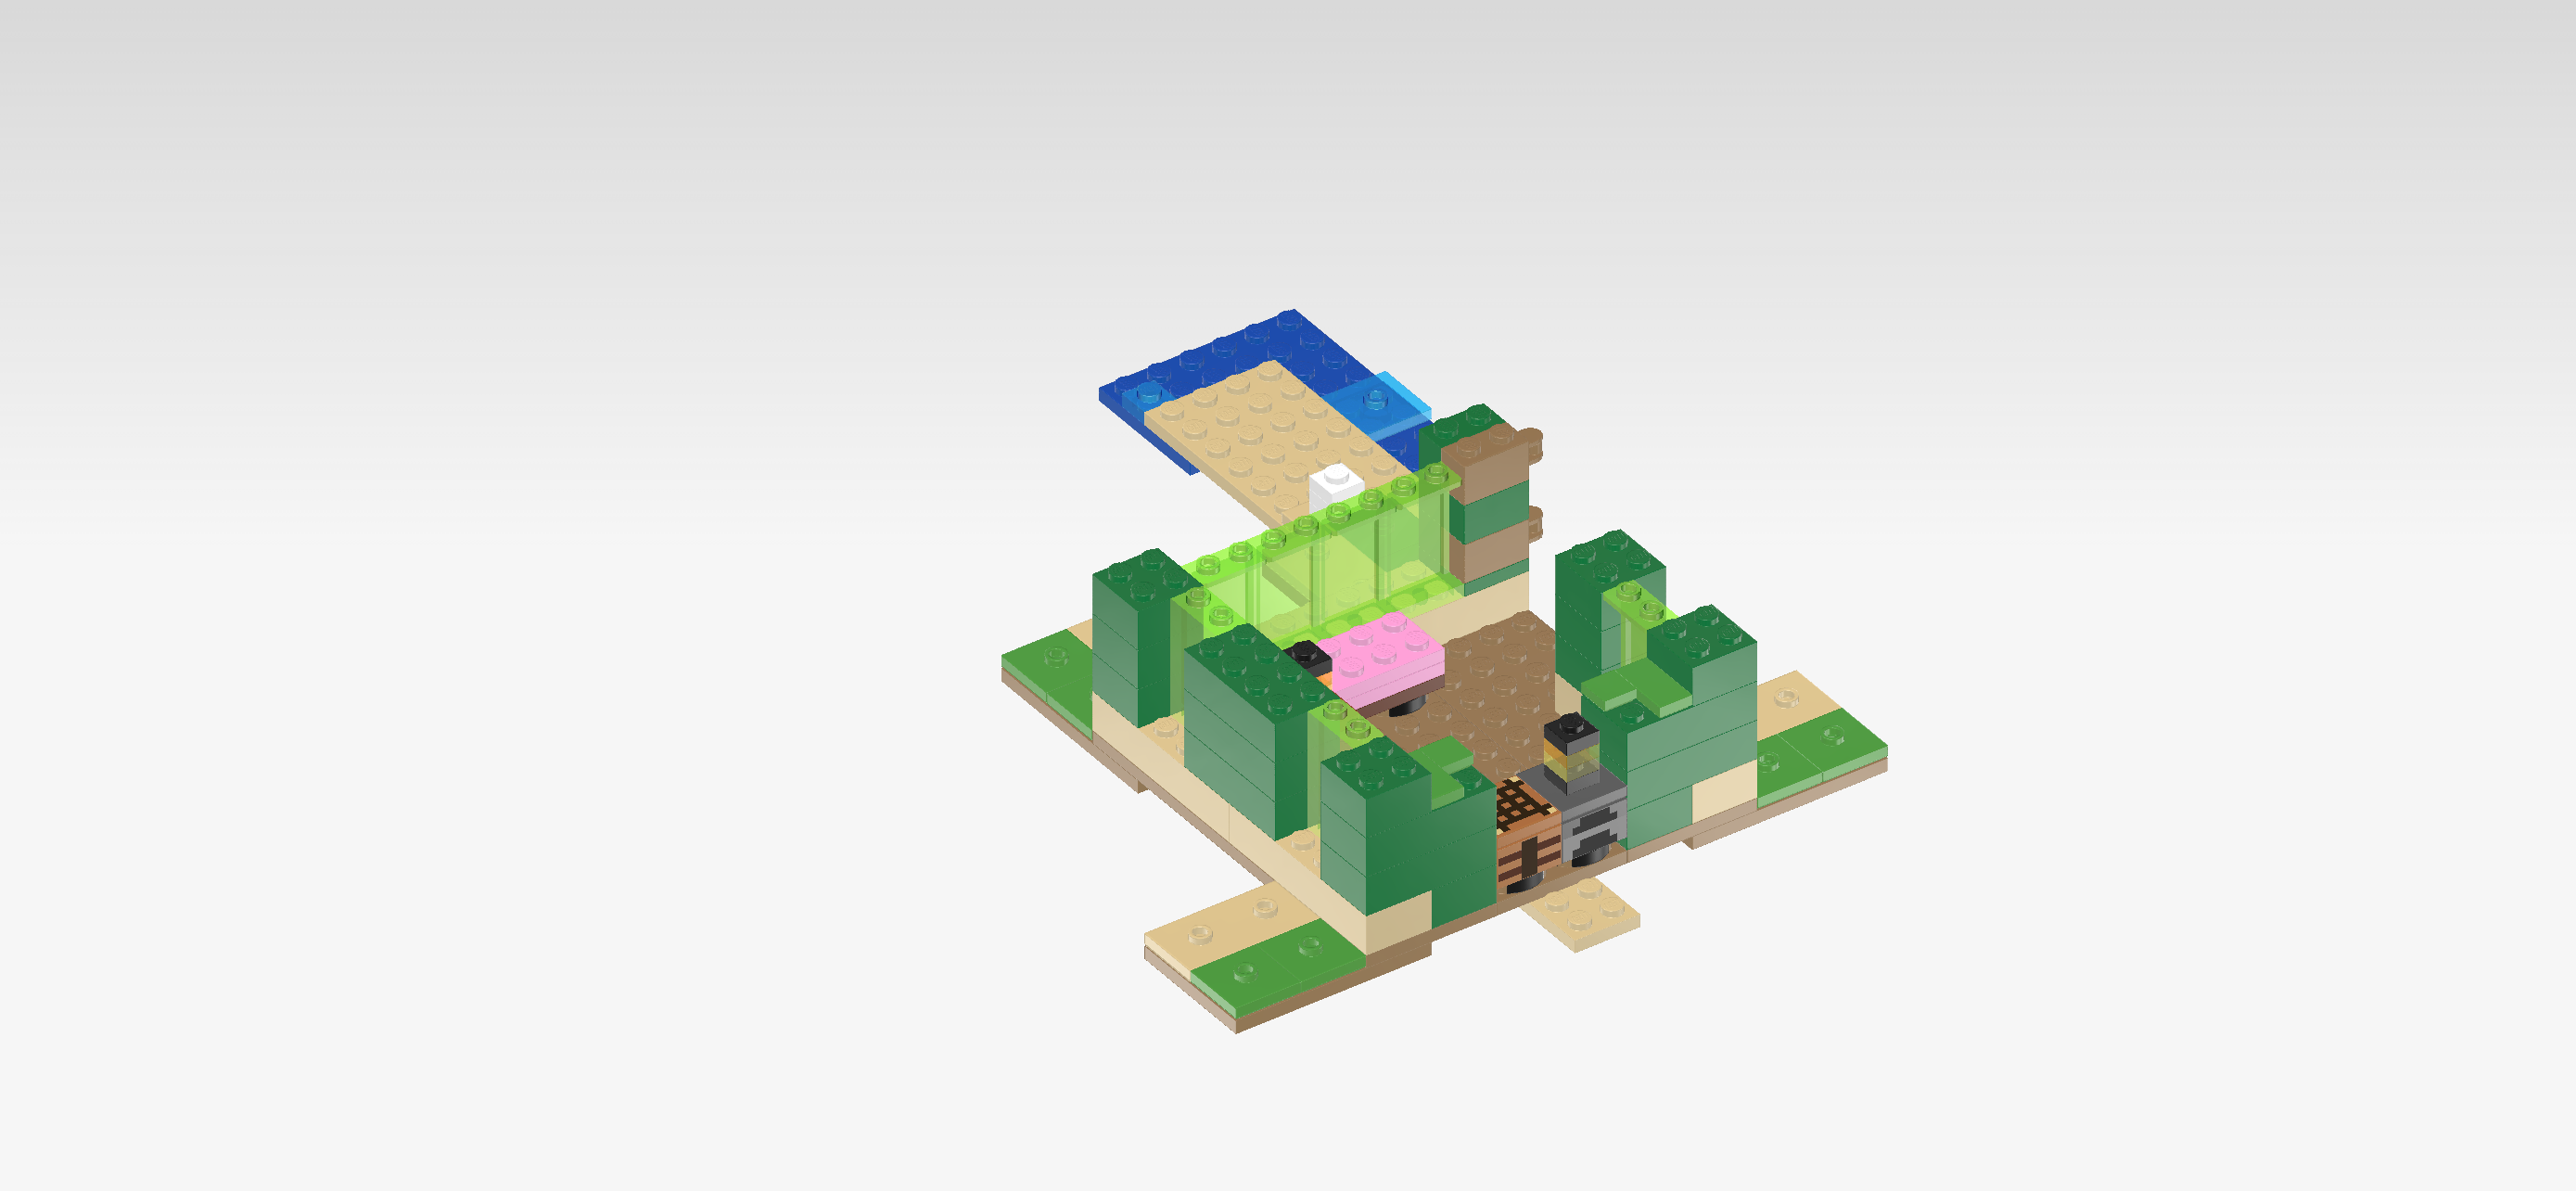
| Put 1 stack to the left of the previous piece and the row to its back. This means that it will sit directly on the wall corner on the back left. |
| Put the other stack opposite of the door frame with hinges. This means that it will sit on the fifth and sixth rows of the 2 rightmost regular columns (leaving the 4x4 protrusion with 4 singular knobs empty). |
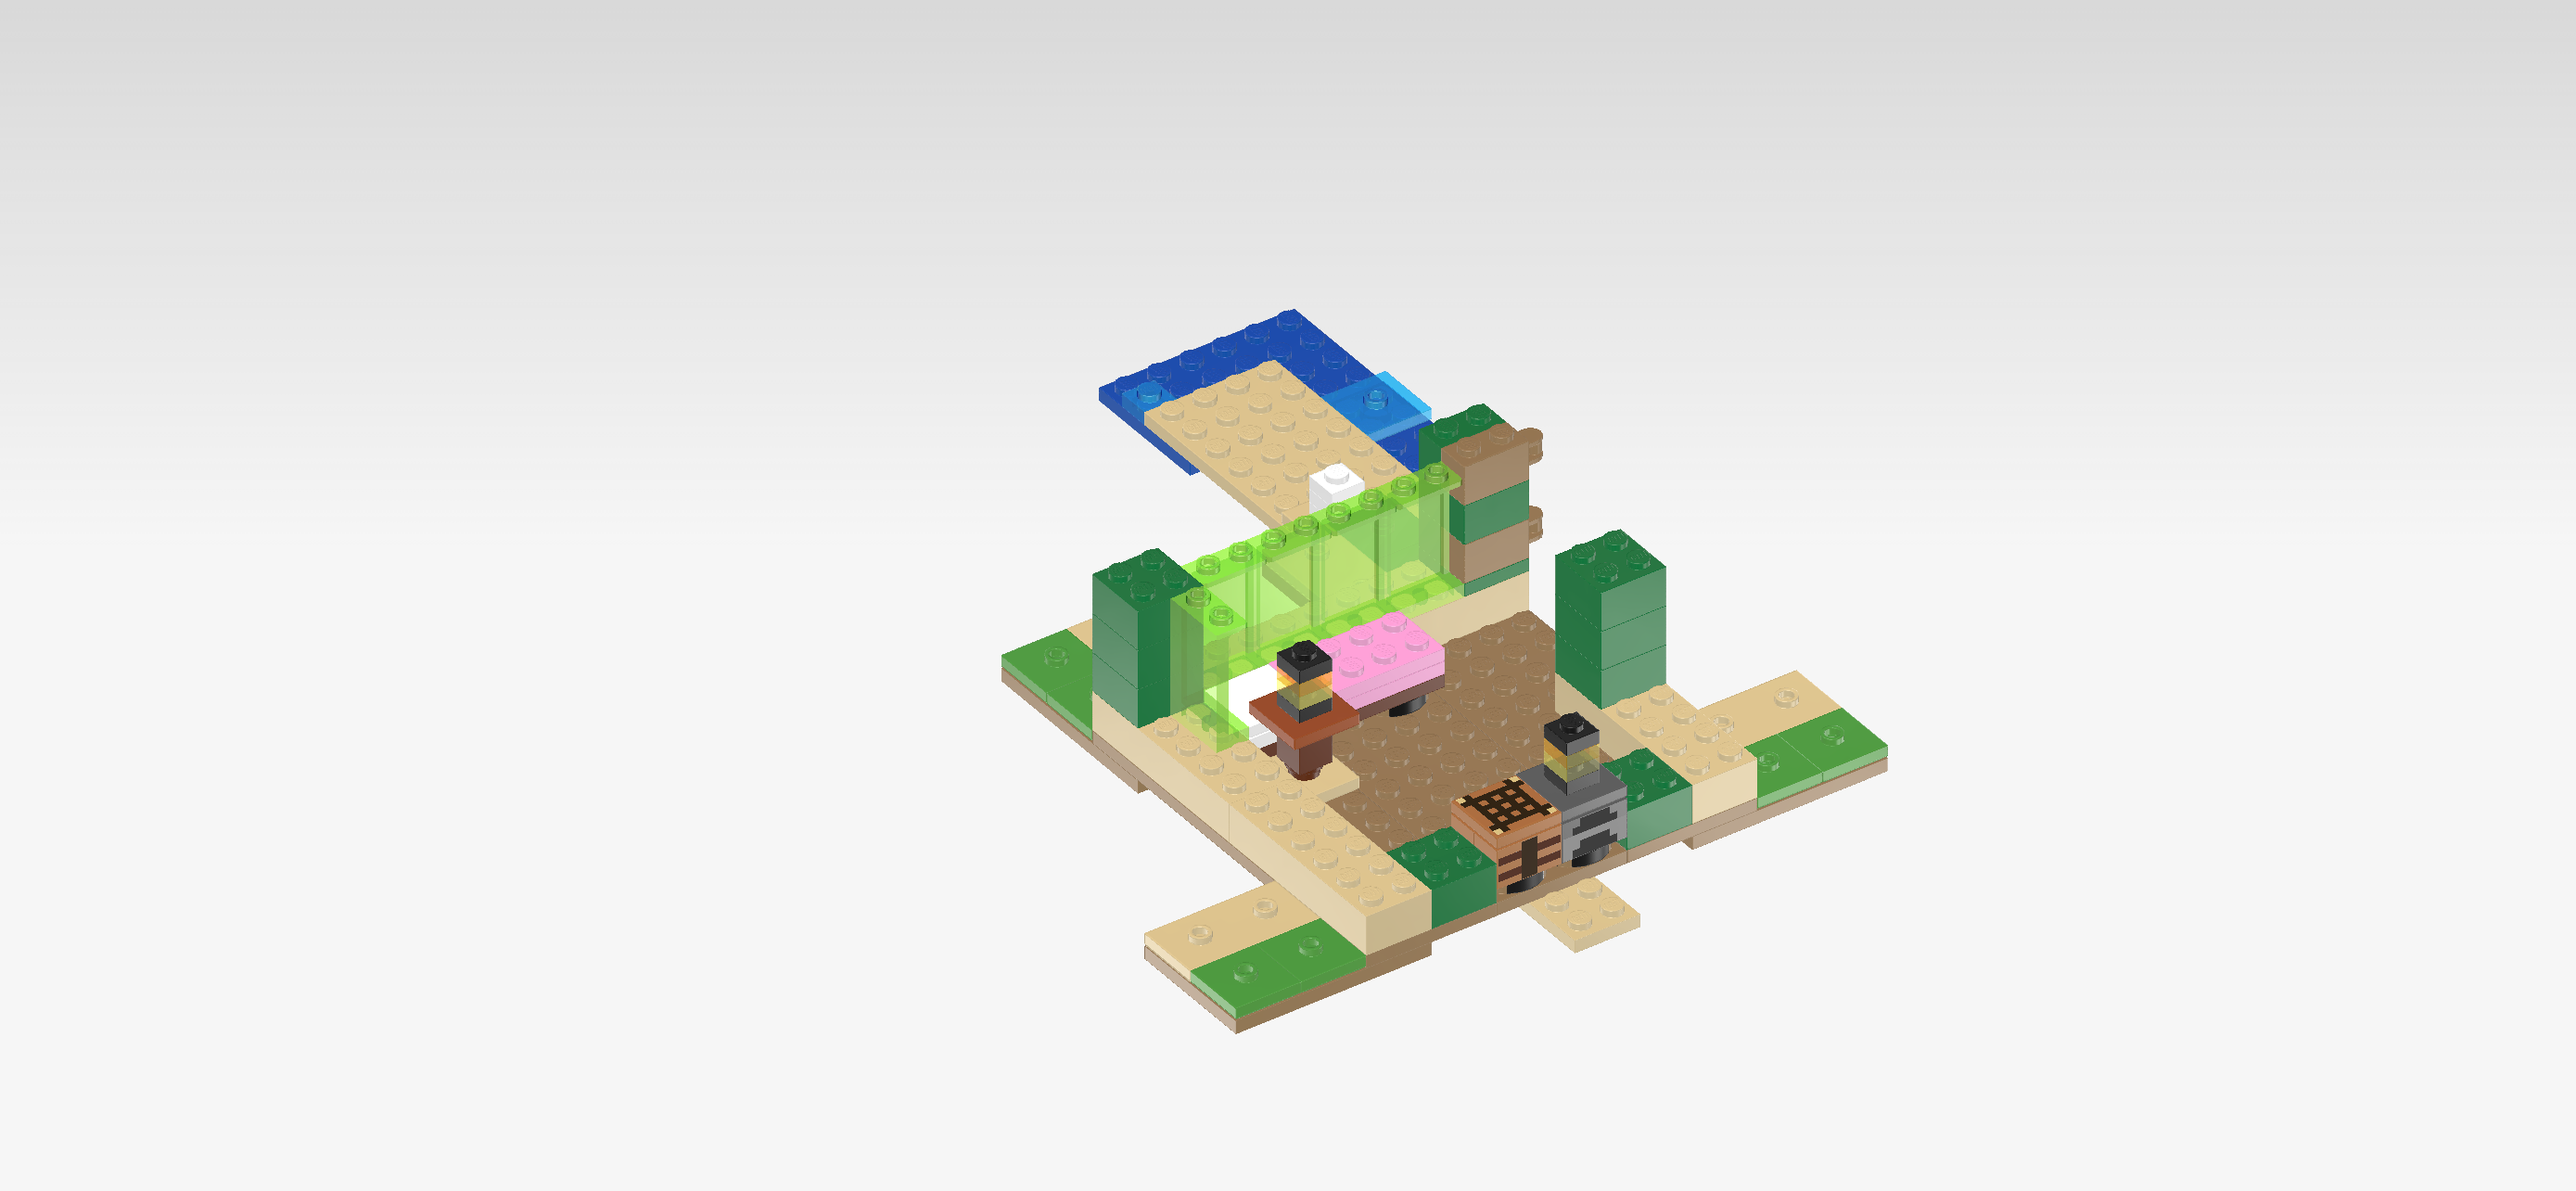
| Find 1 transparent bright green wall element 1x2x3 with 2 top knobs. |
| Put it vertically in front of the first stack we have mounted, aligning it with its right half, panel to the left. |
| If done correctly, this piece is sitting on the inner column of the left house wall with 8 empty knobs in front of it. |
| Find 3 dark green bricks 2x4. |
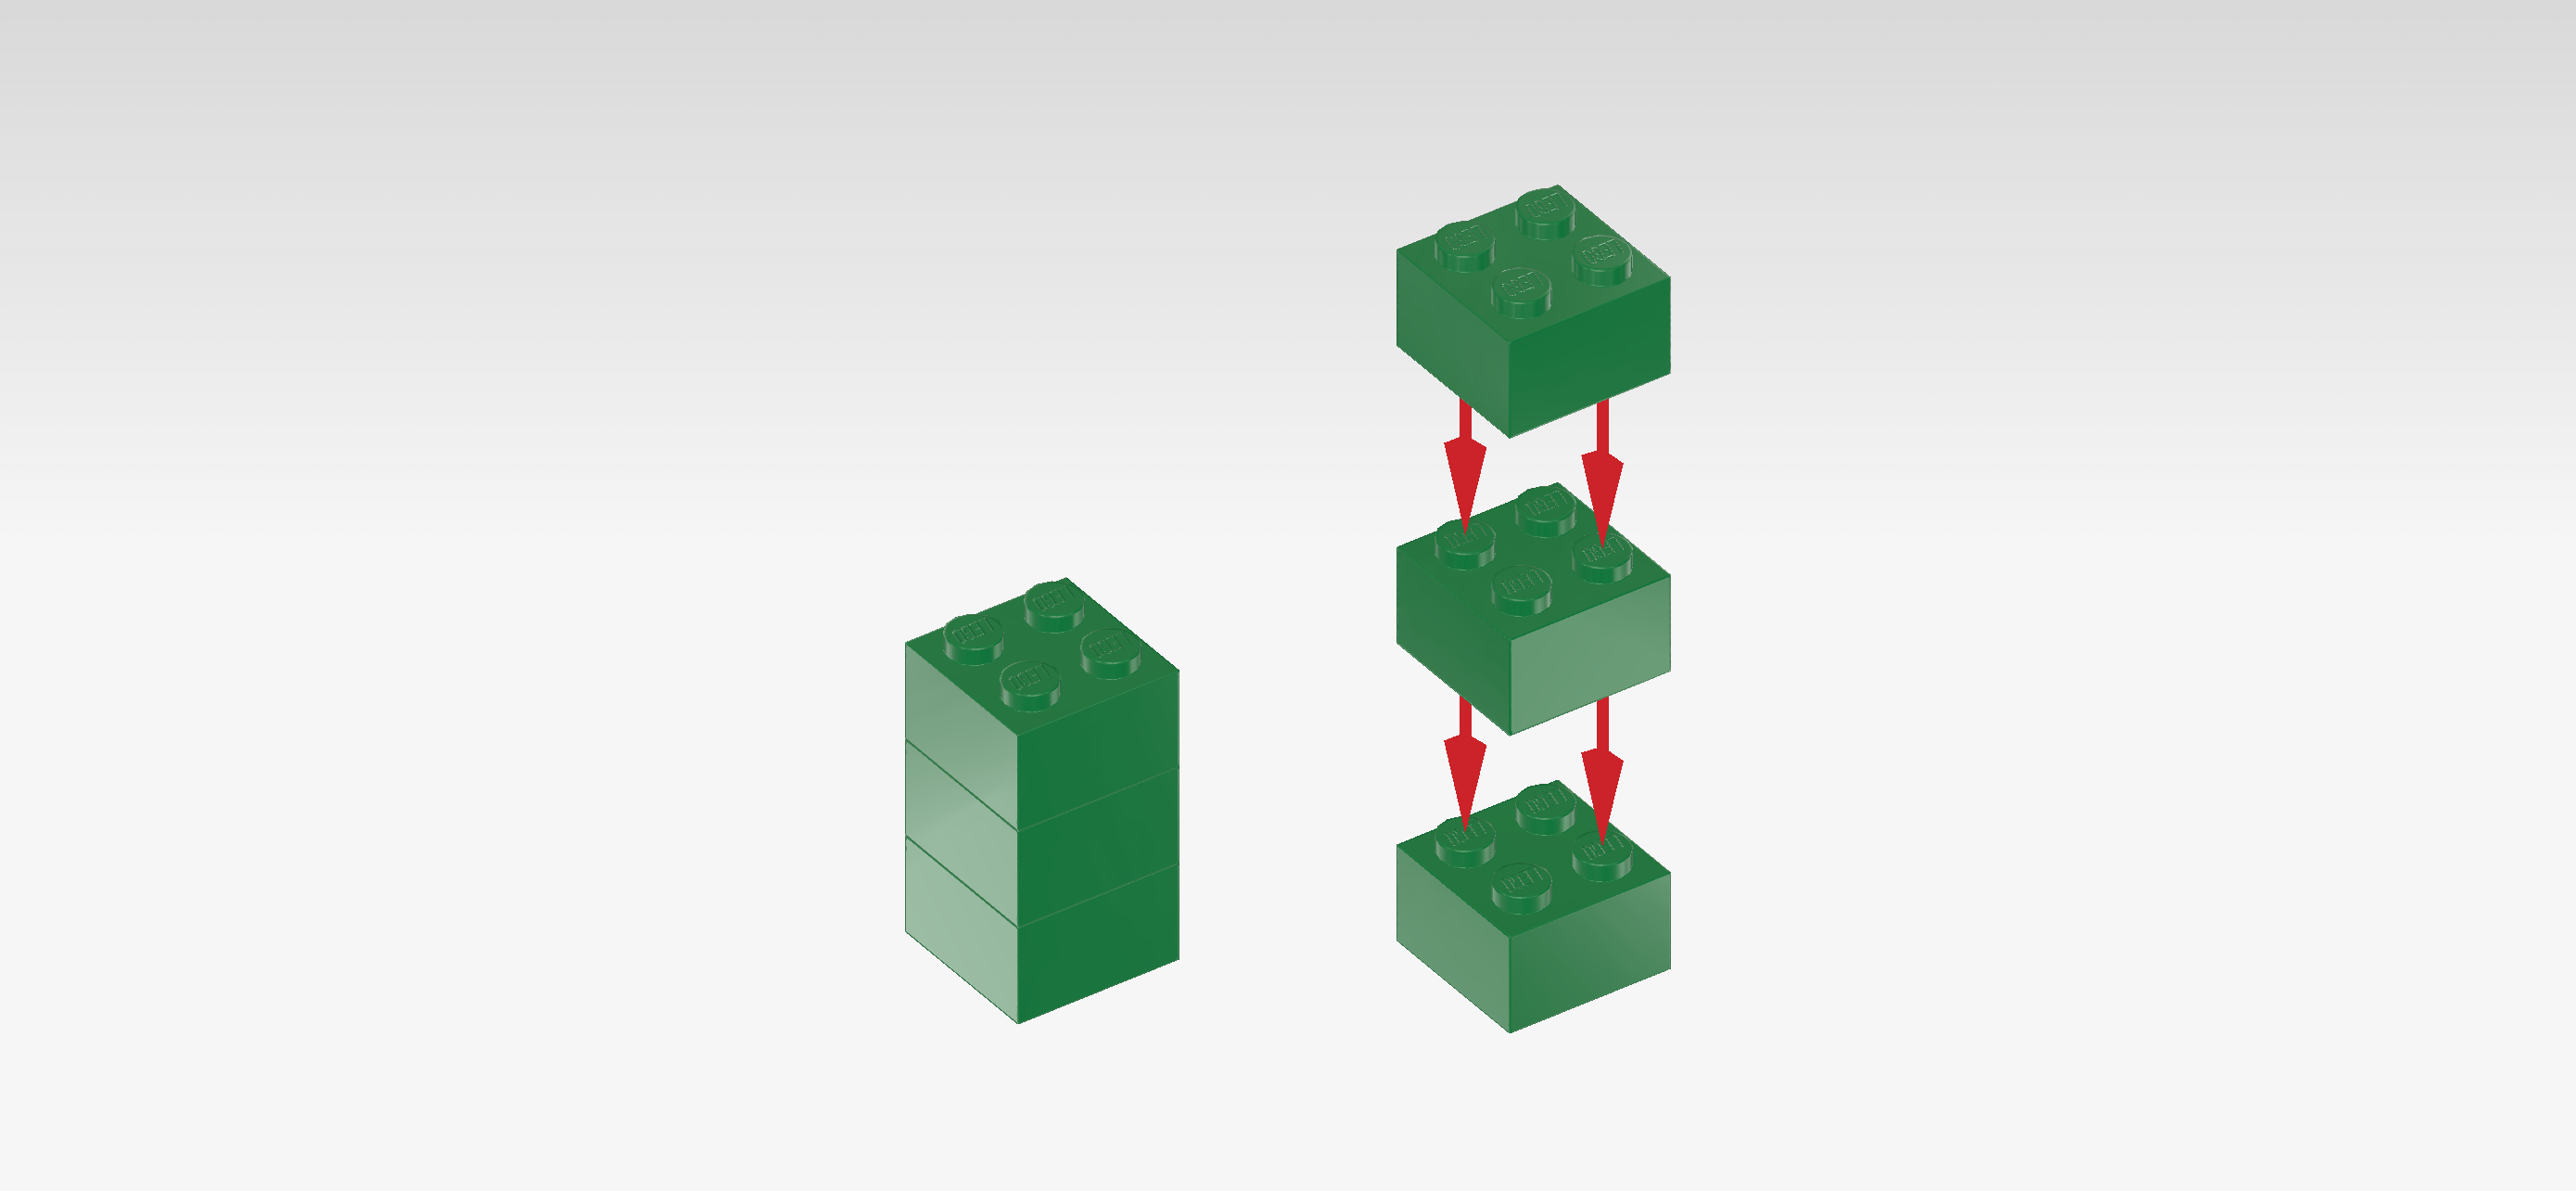
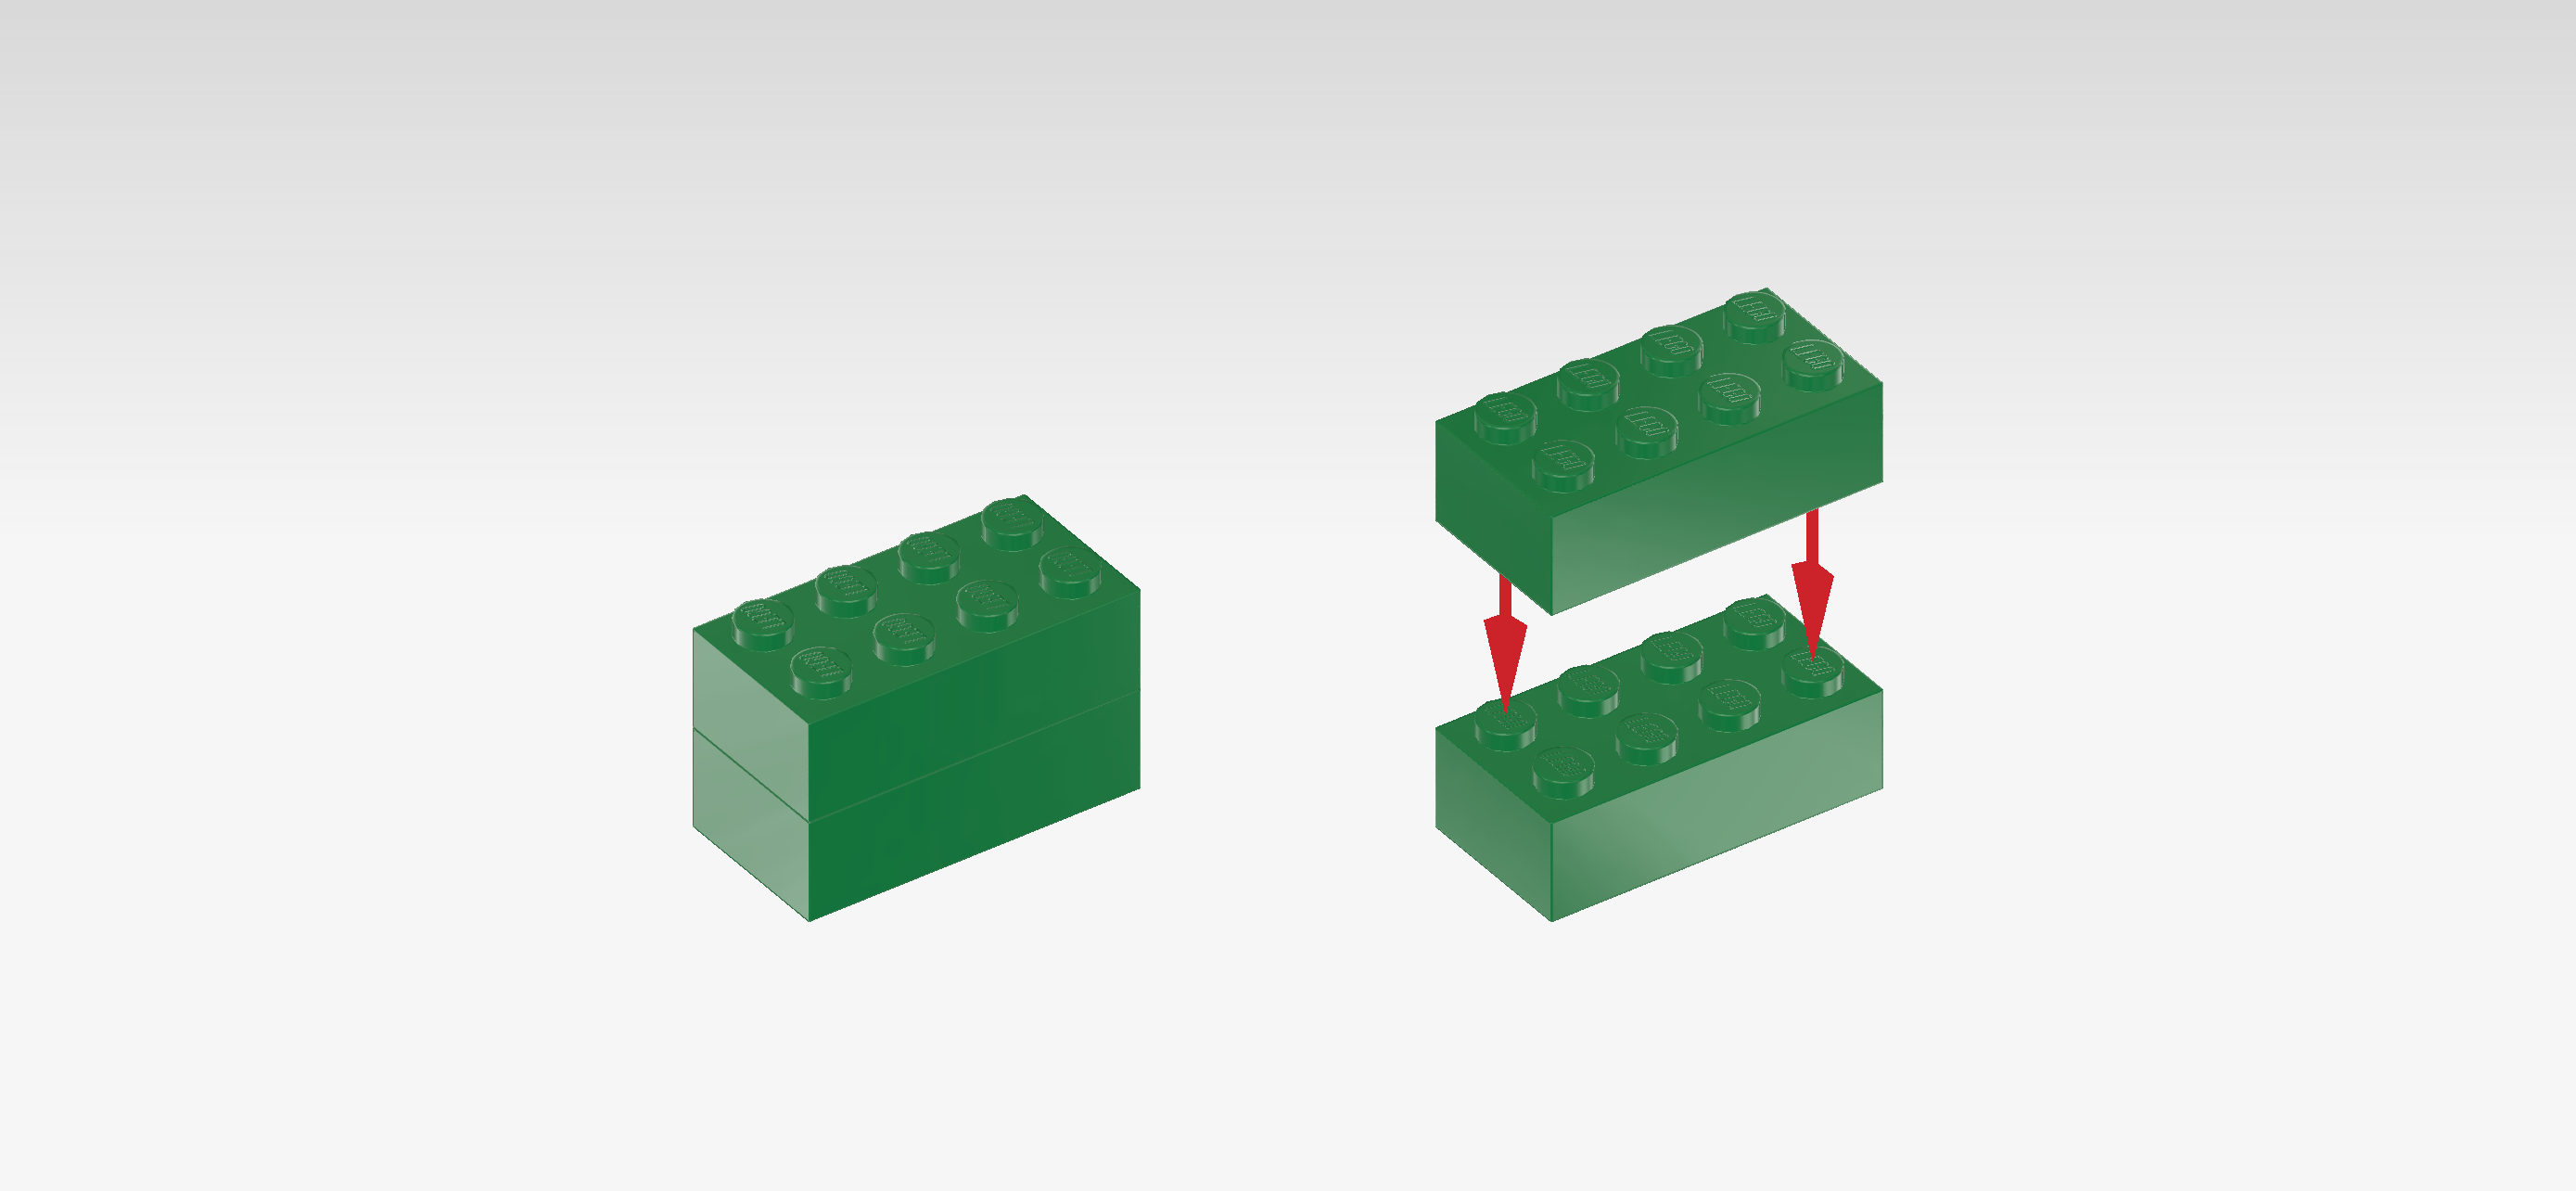
| Stack them on top of each other. |
| Mount this stack vertically in front of the previous piece on the left house wall. |
| Find 2 transparent bright green wall elements 1x2x3 with 2 top knobs. |
| Put 1 vertically in front of the previous piece's right row, panel to the left. |
| Put the other one vertically on the right side wall directly in front of the 2x2 stack that is mounted there. Use the inner column of that wall and make sure the panel is to the right. |
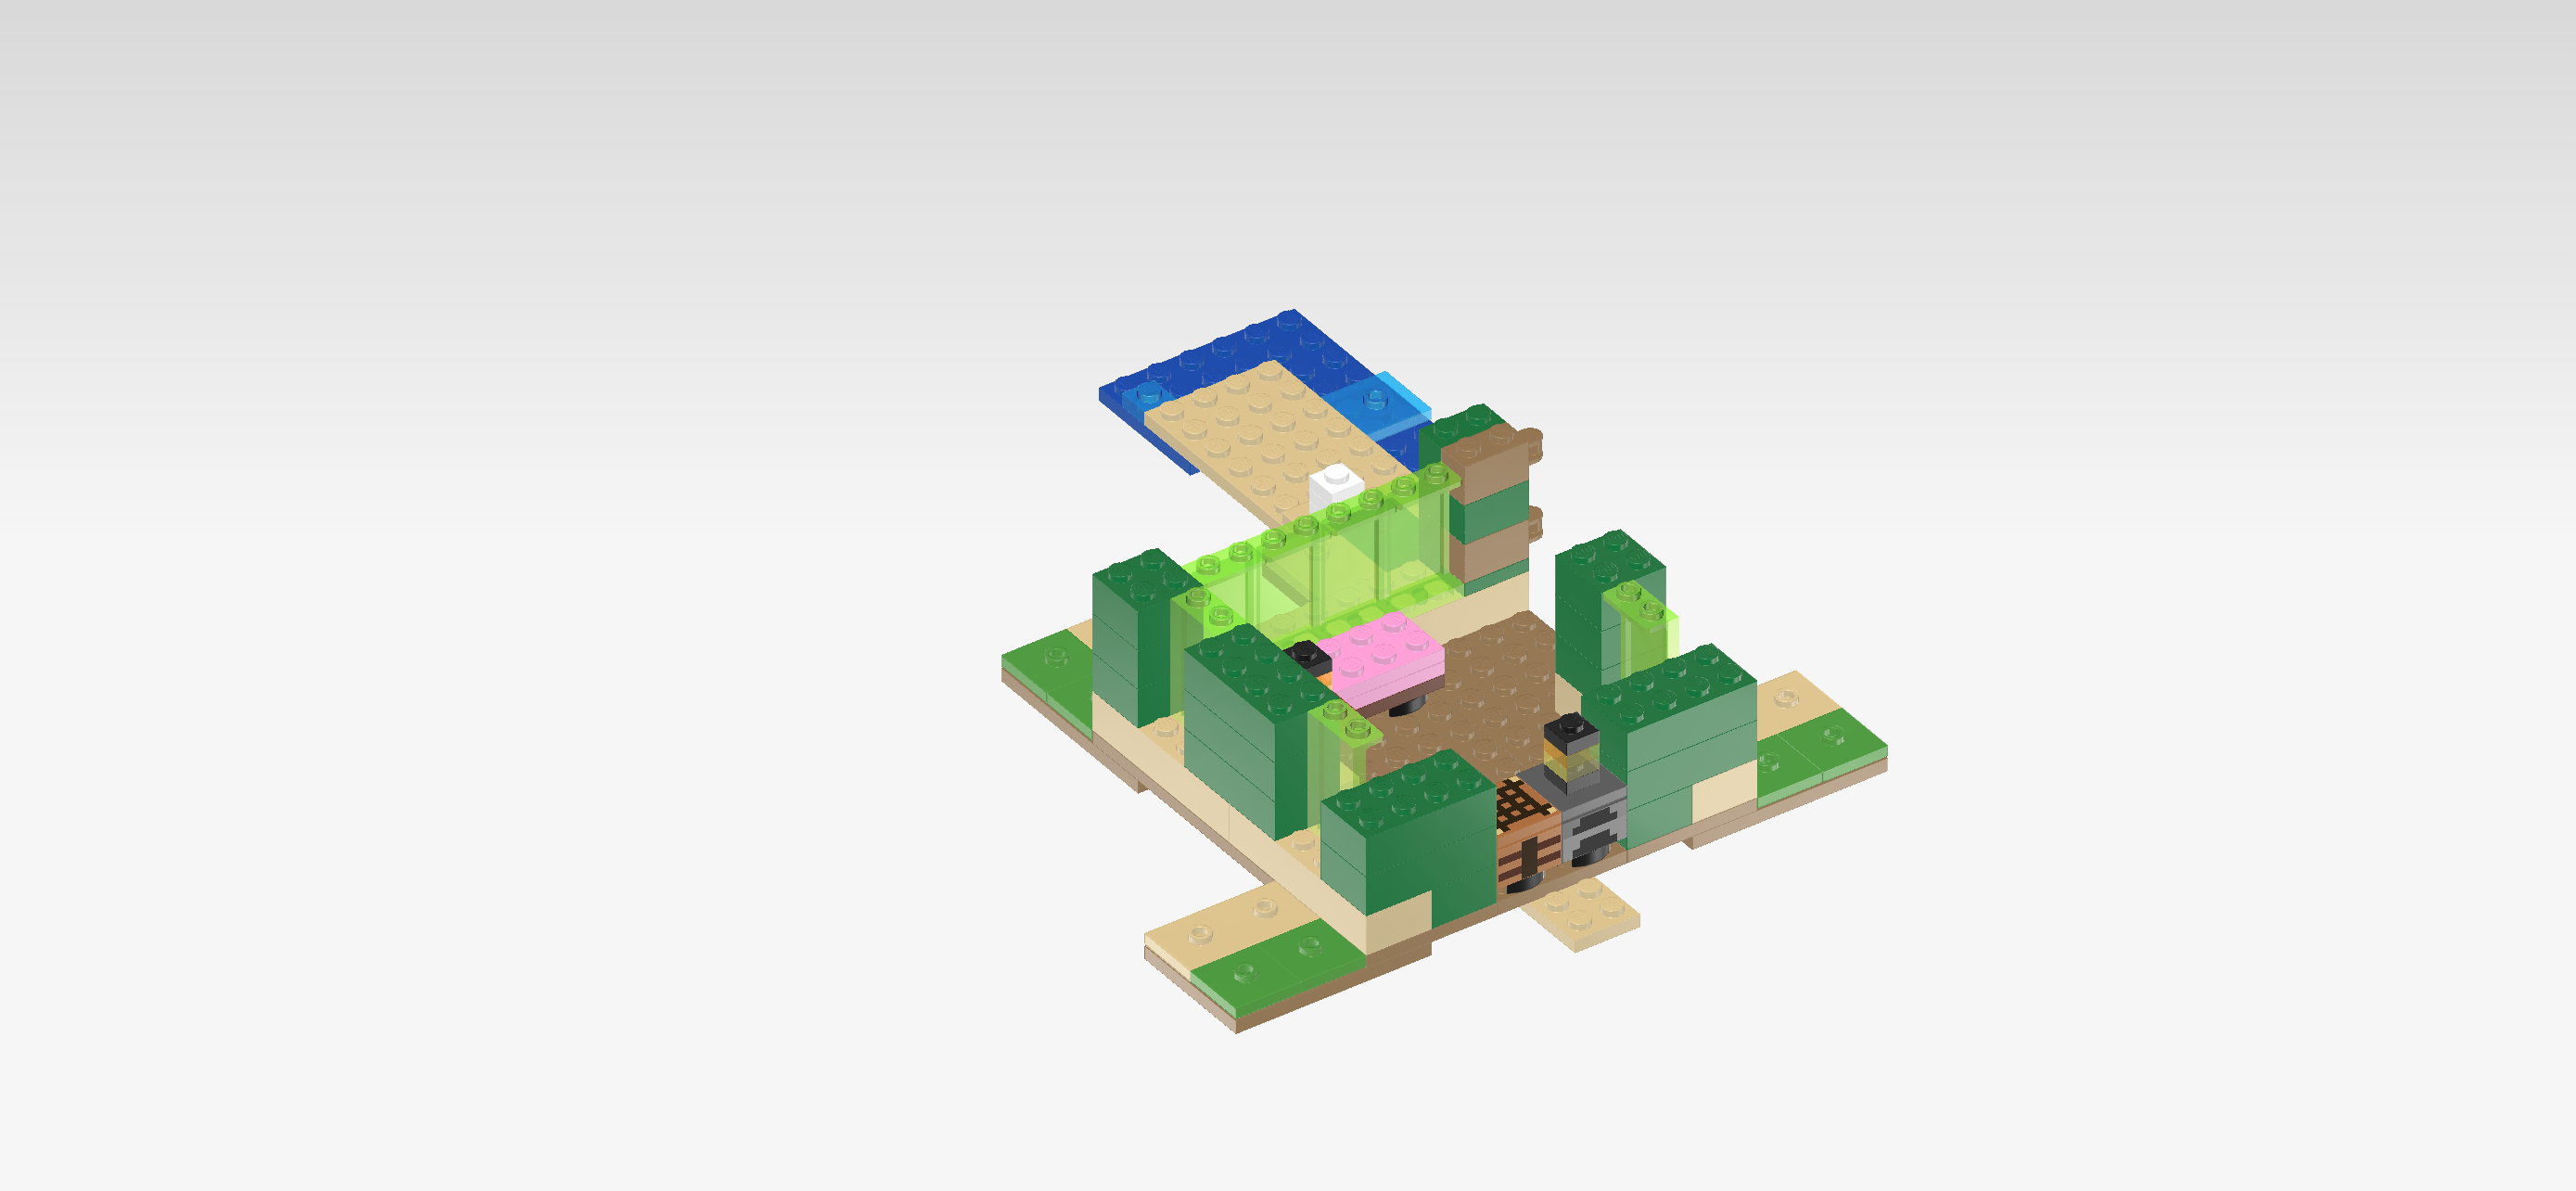
| Find 4 dark green bricks 2x4. |
| Use them 2 make 2 identical stacks: put 2 of them on top of each other, and repeat with the 2 remaining pieces. |
| Put 1 stack horizontally in front of the previous piece which means it will sit on the front wall. Make sure the right edges of the stack and house wall are flush. |
| Repeat symmetrically on the left. |
| Collect the following 6 pieces: |
| 2 dark green bricks 2x2, |
| 2 bright green flat tiles 1x1, |
| and 2 bright green flat tiles 1x2. |
| Put 1 brick 2x2 on the 4 leftmost knobs of the previous piece. |
| Put 1 flat tile 1x2 vertically to the right of the previous piece. |
| Put 1 flat tile 1x1 to the right of the previous piece's back half. |
| Repeat symmetrically on the right: put the brick 2x2 on the rightmost edge of the front wall, put the flat tile 1x2 vertically to its left, and put the flat tile 1x1 to the left of the previous piece's back half. |
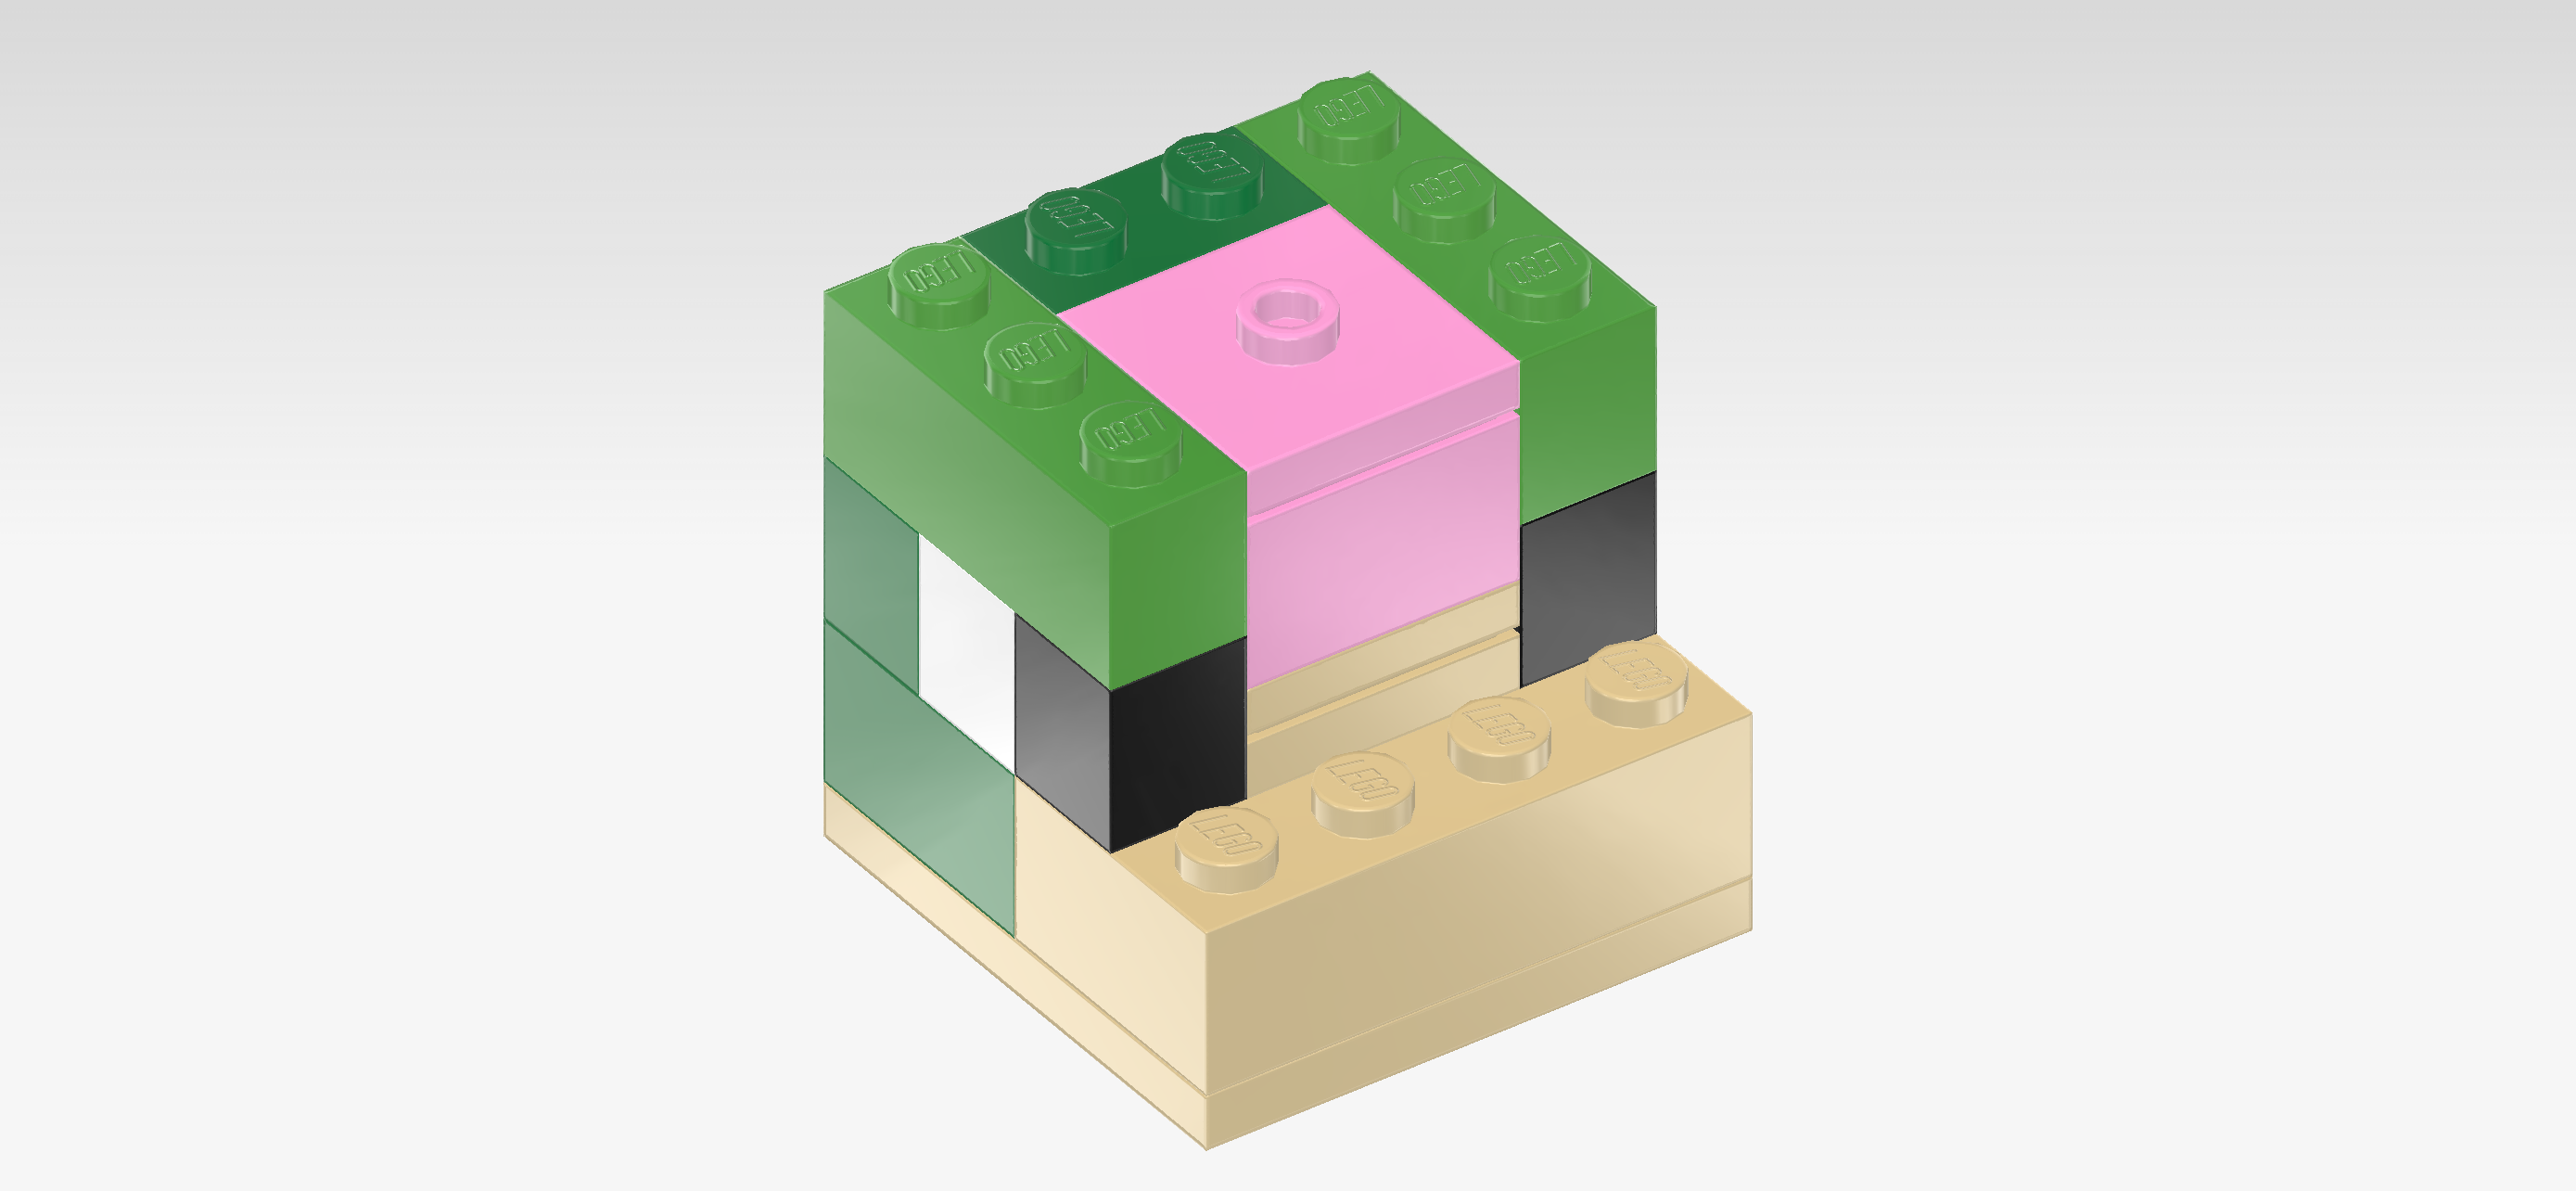
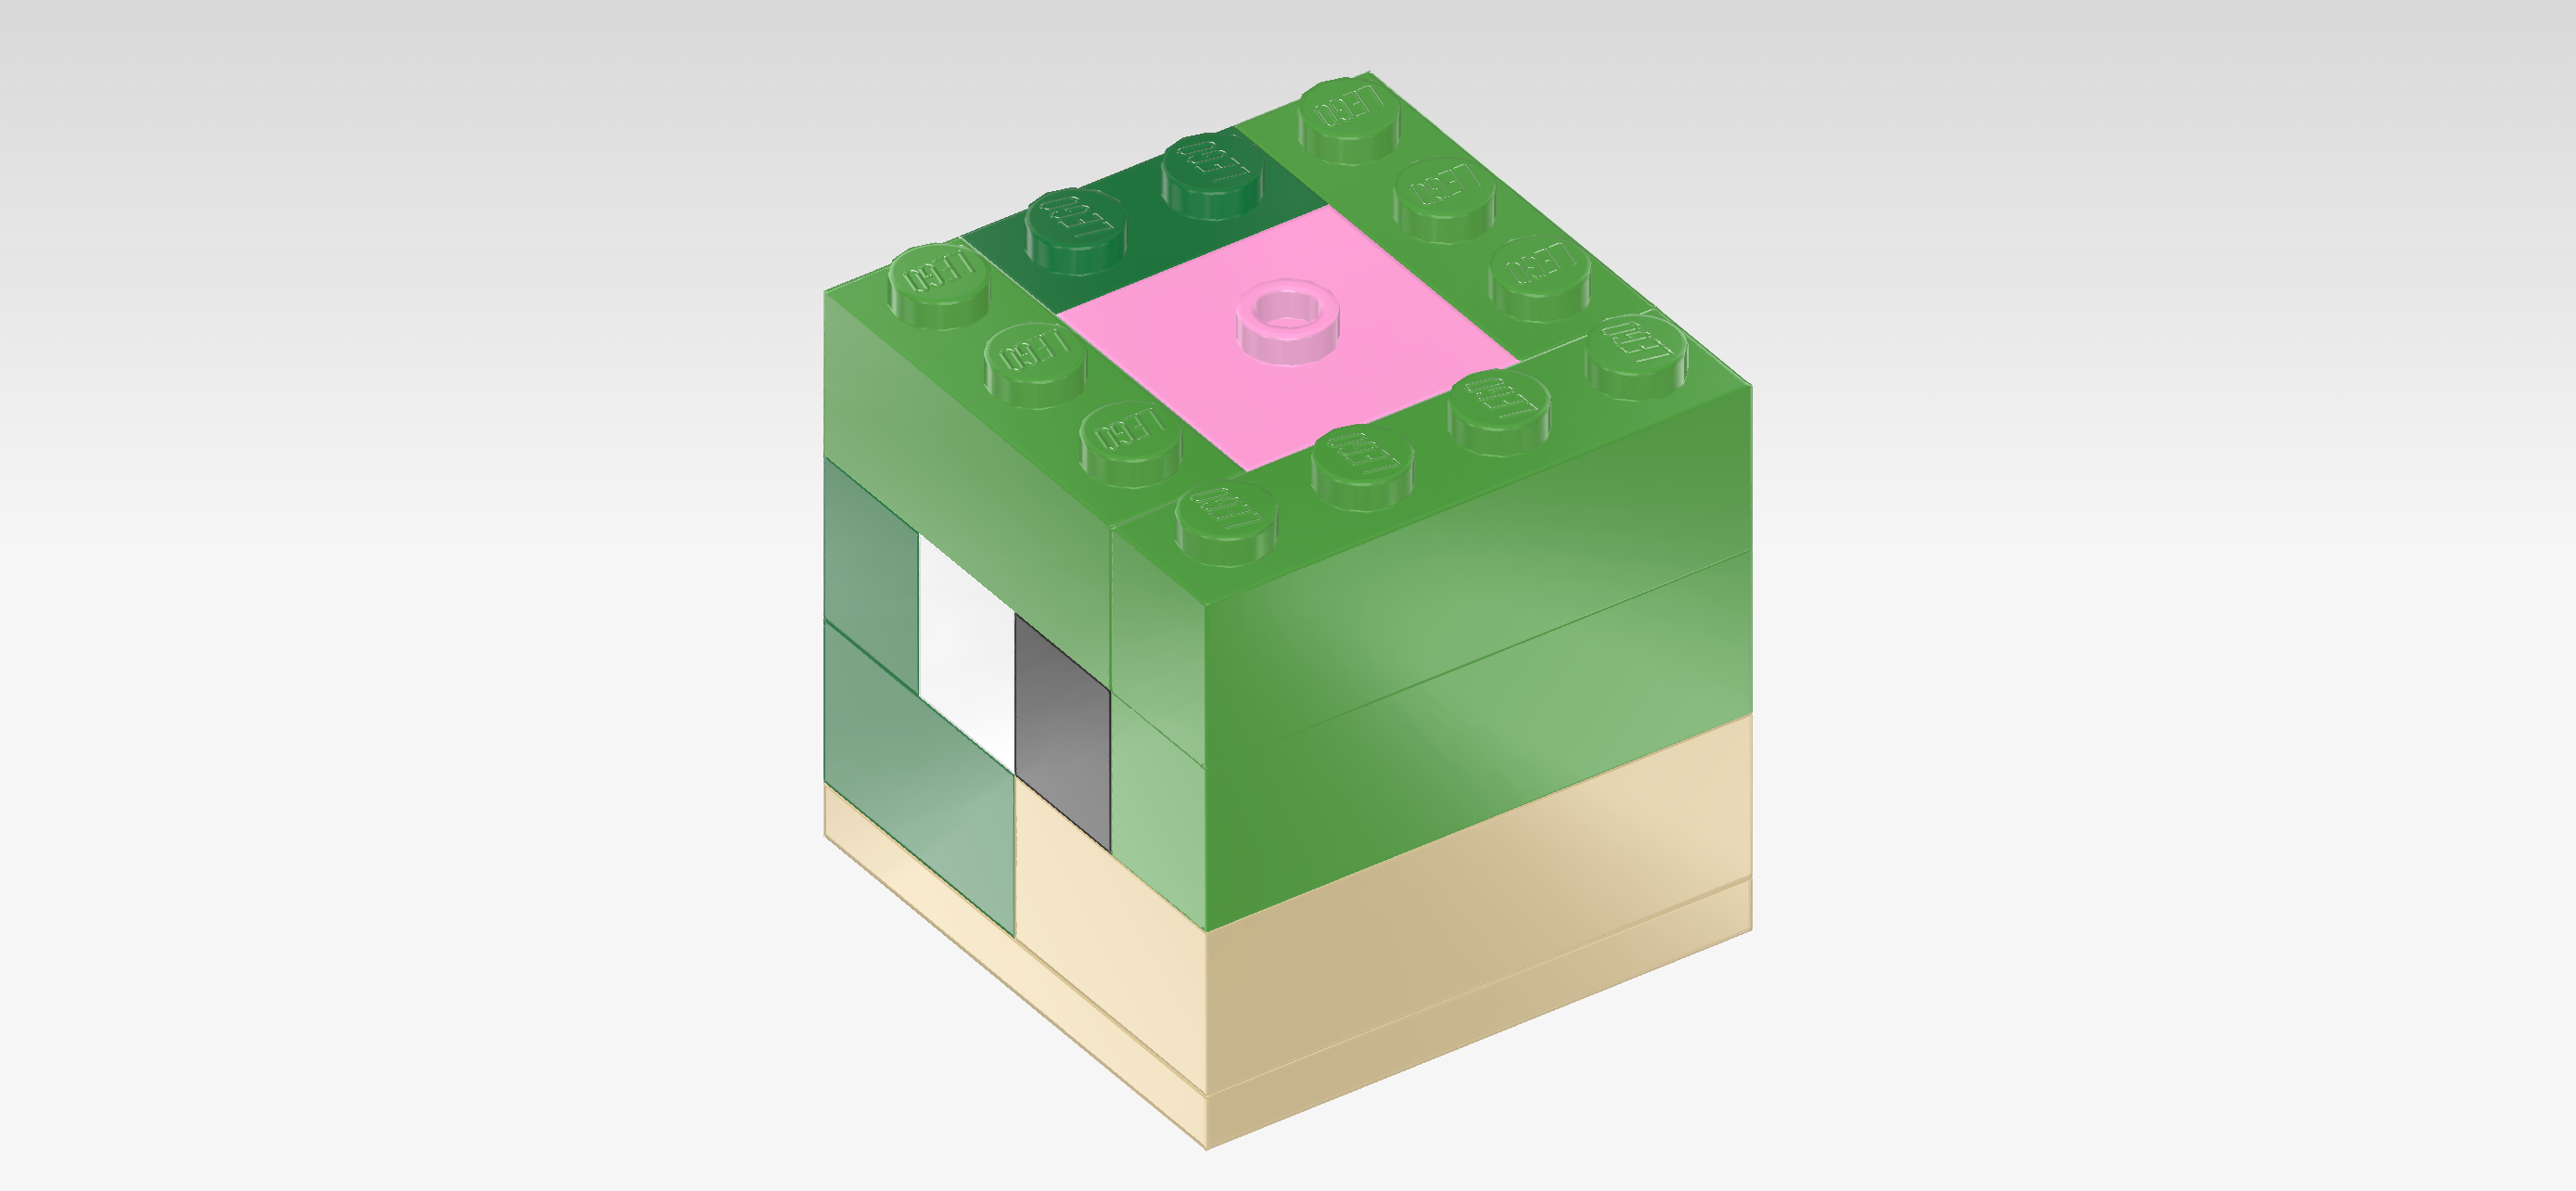
| The 2 empty knobs that are surrounded by the flat tiles of this step will later serve as the connection points for the turtle house head. Do keep them in mind! |
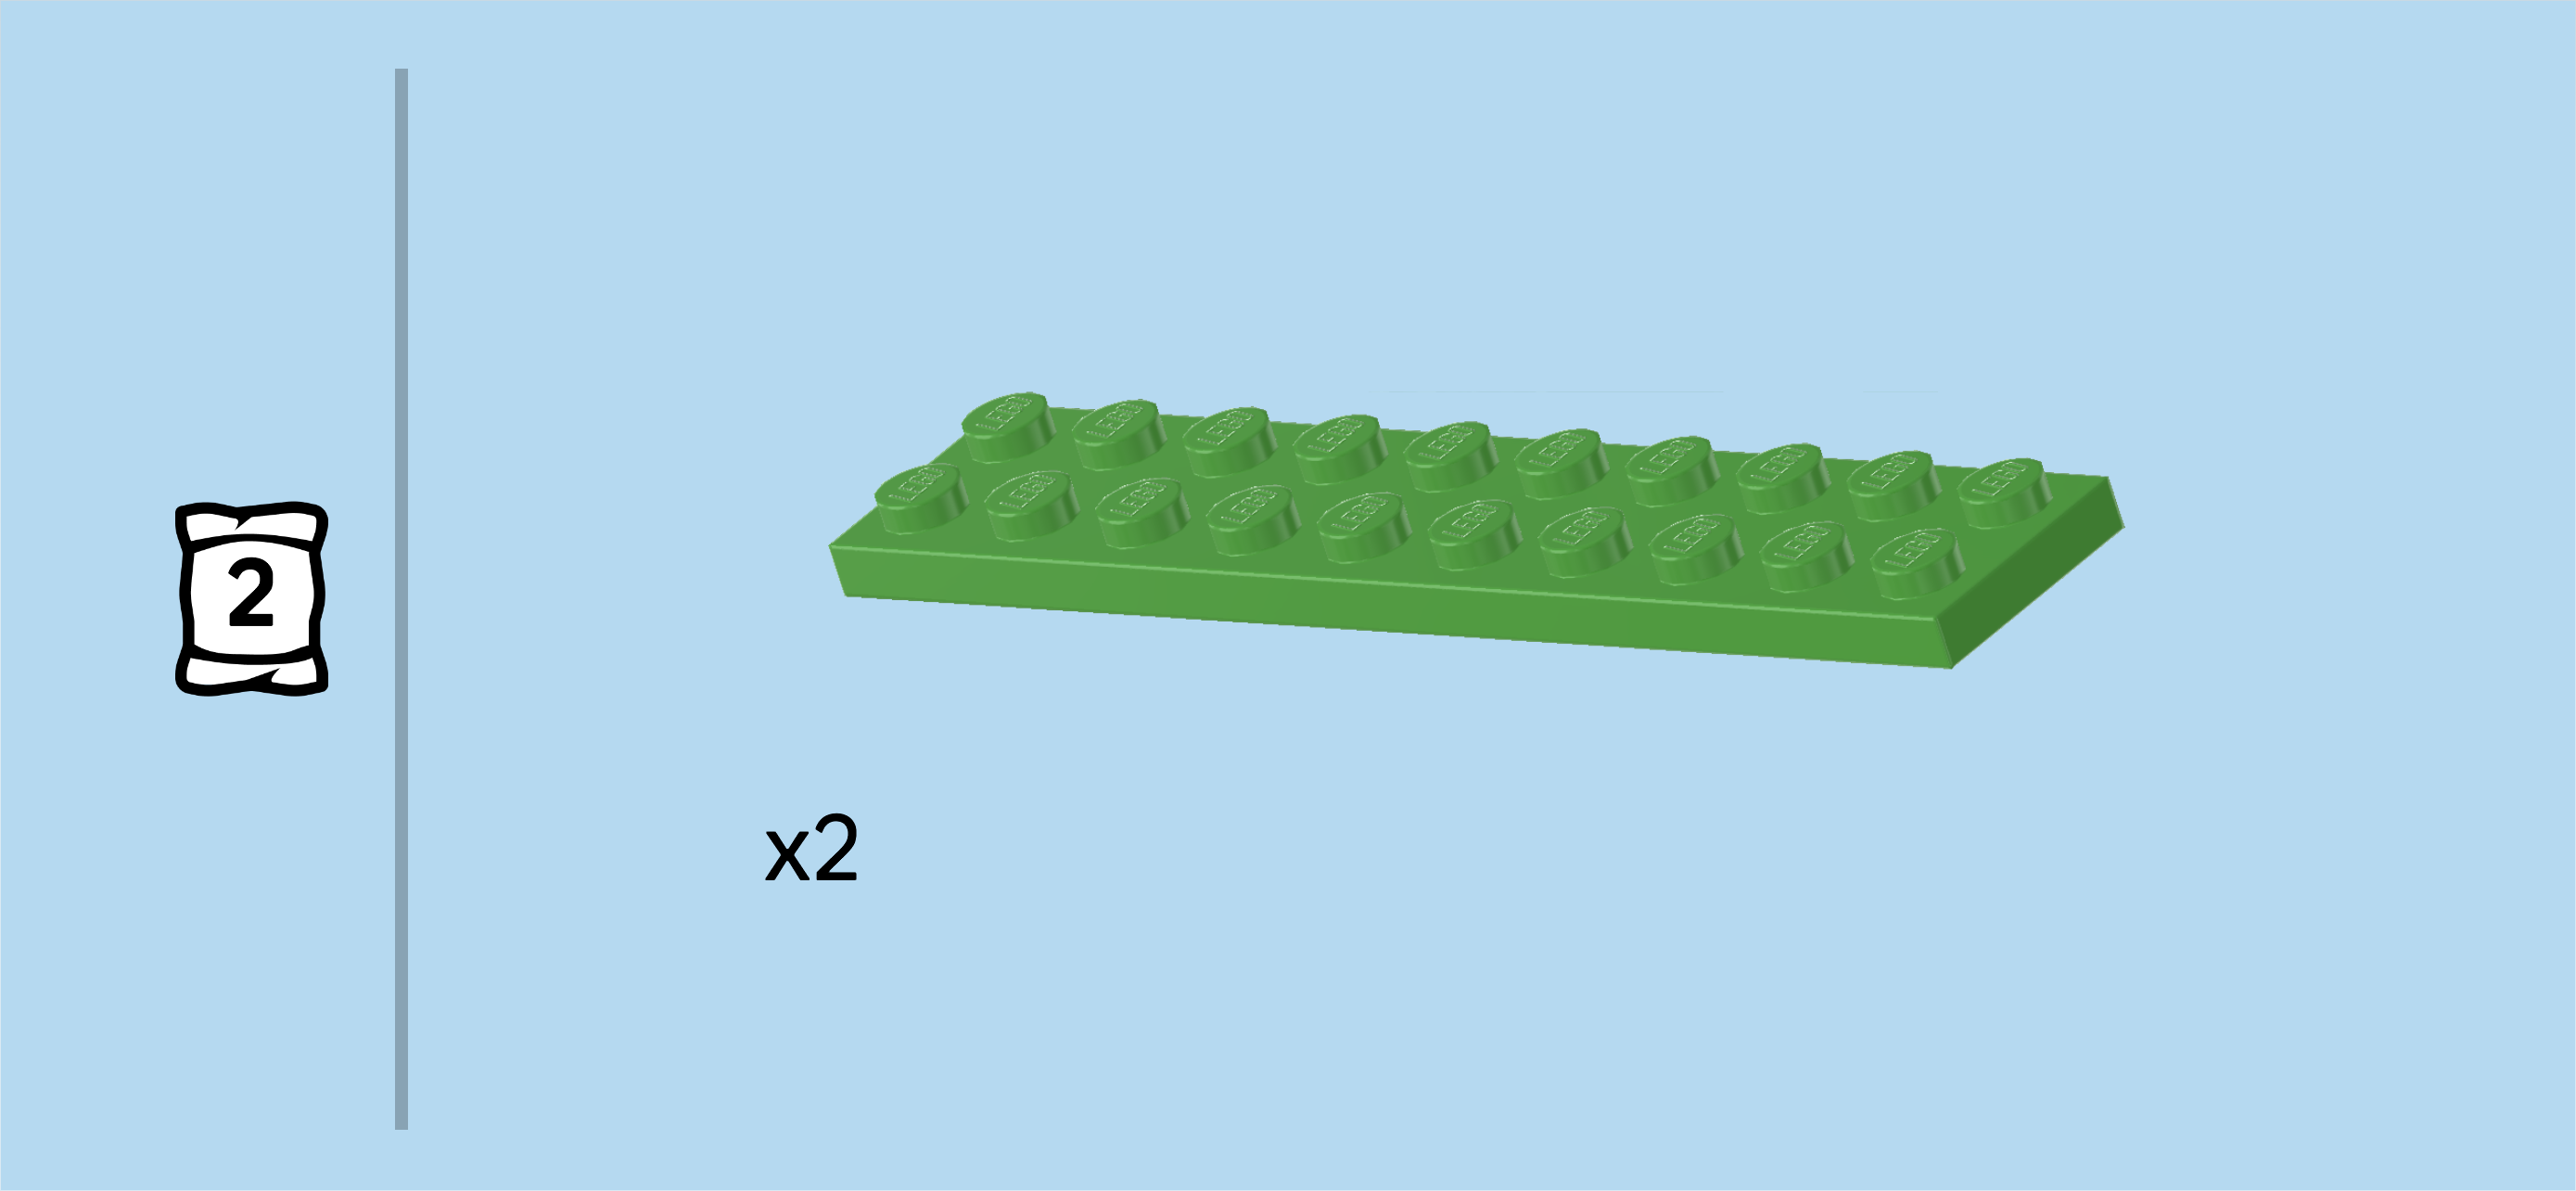
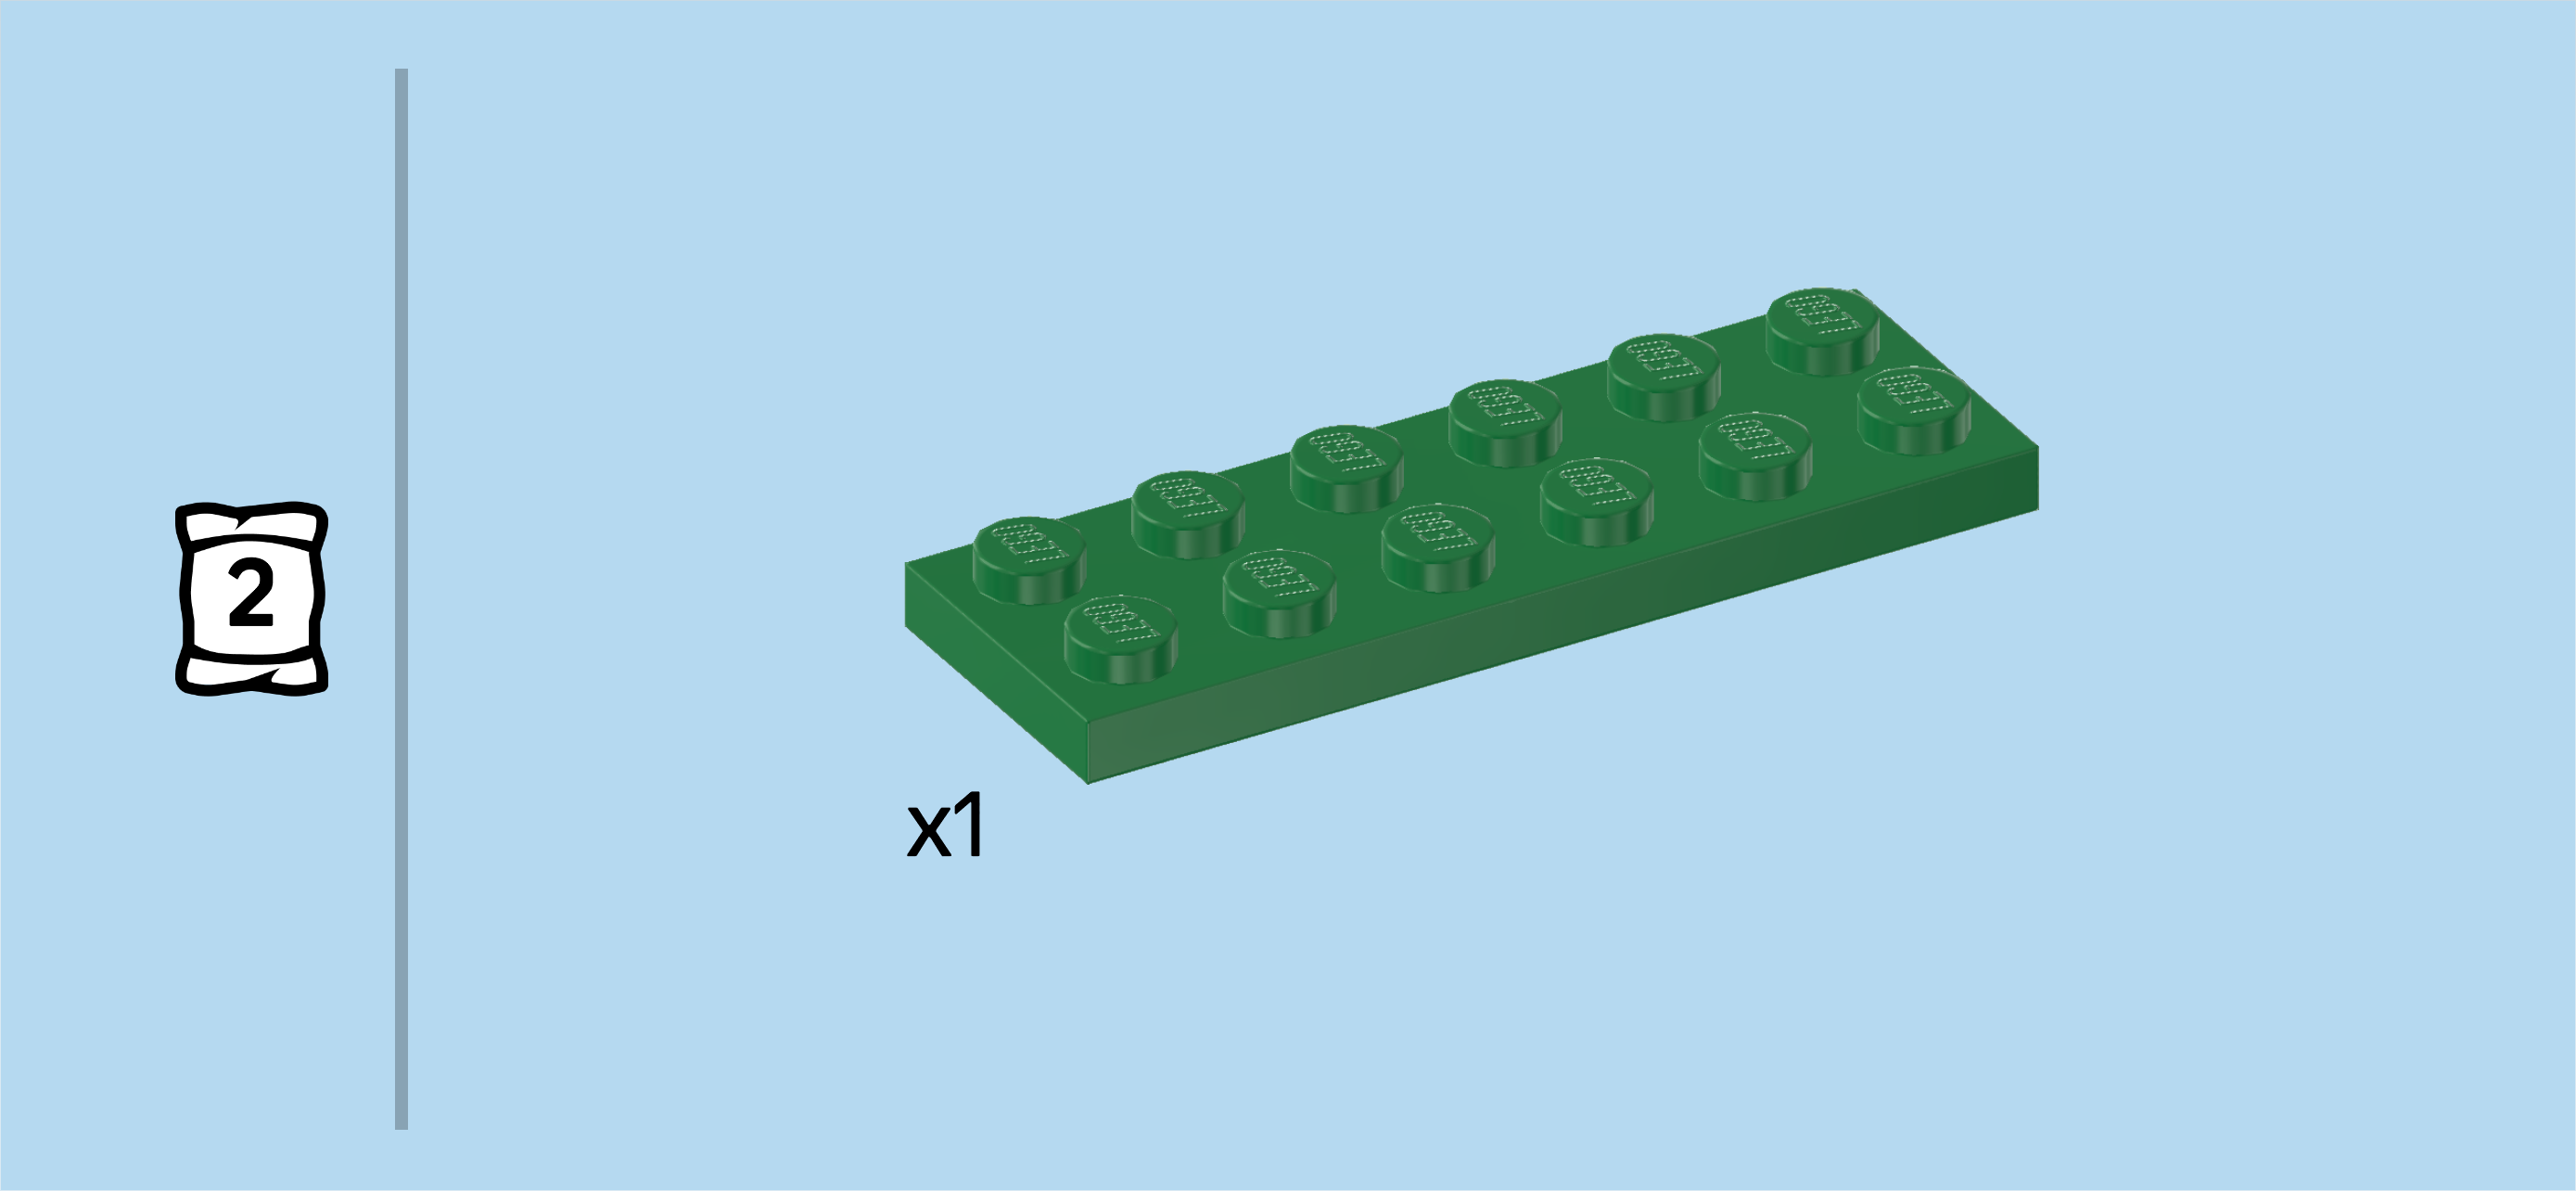
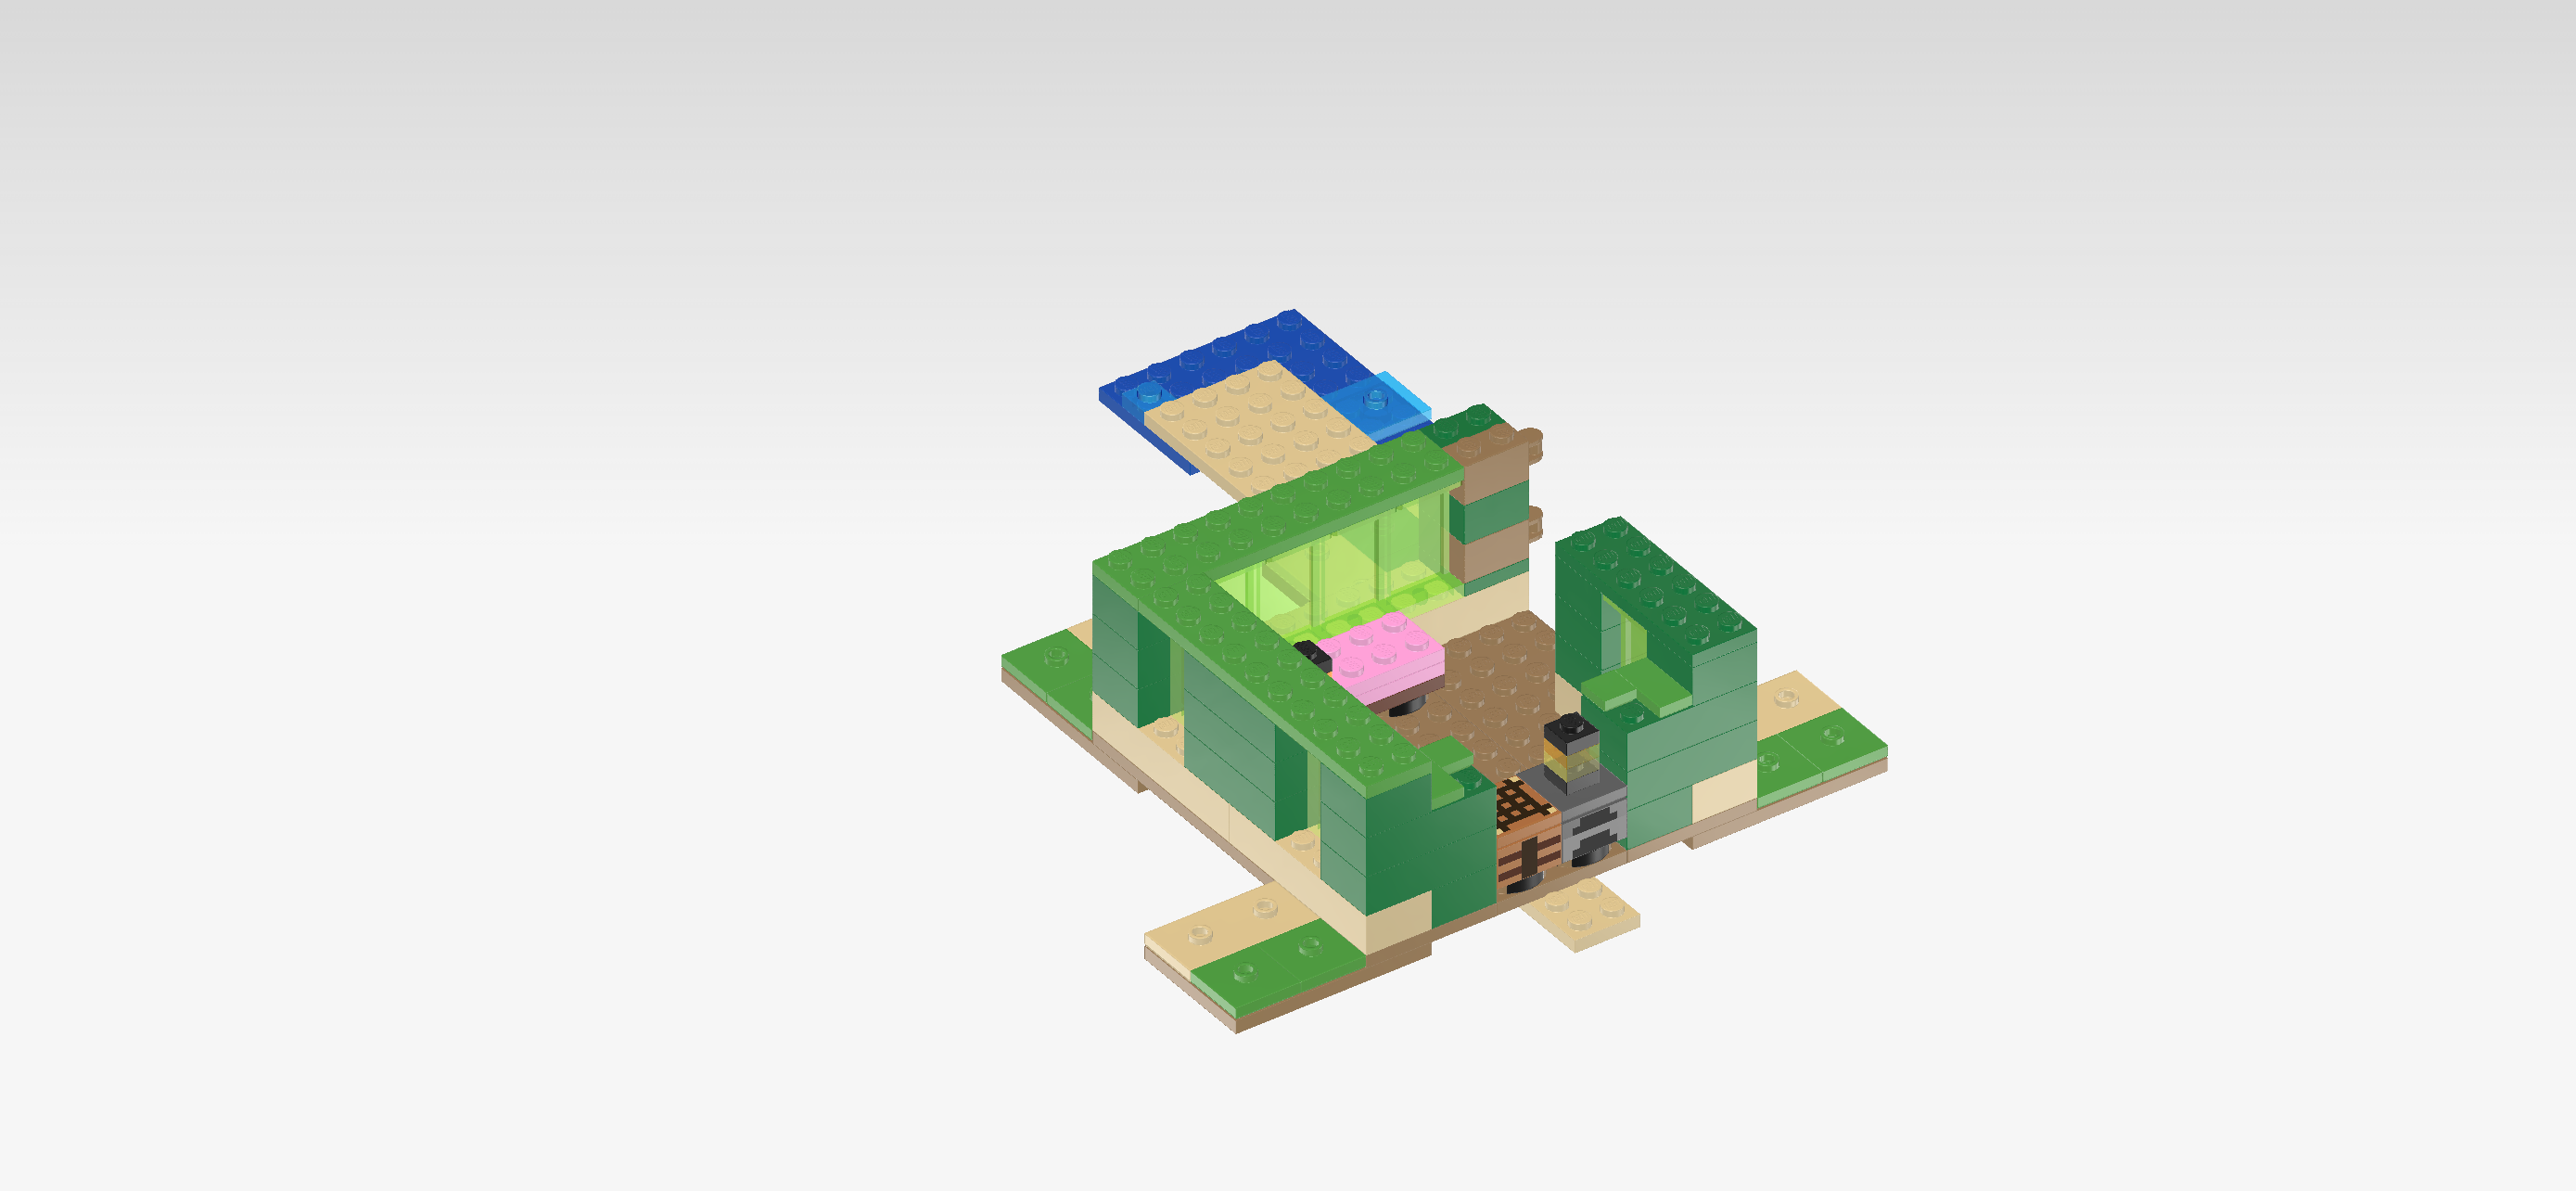
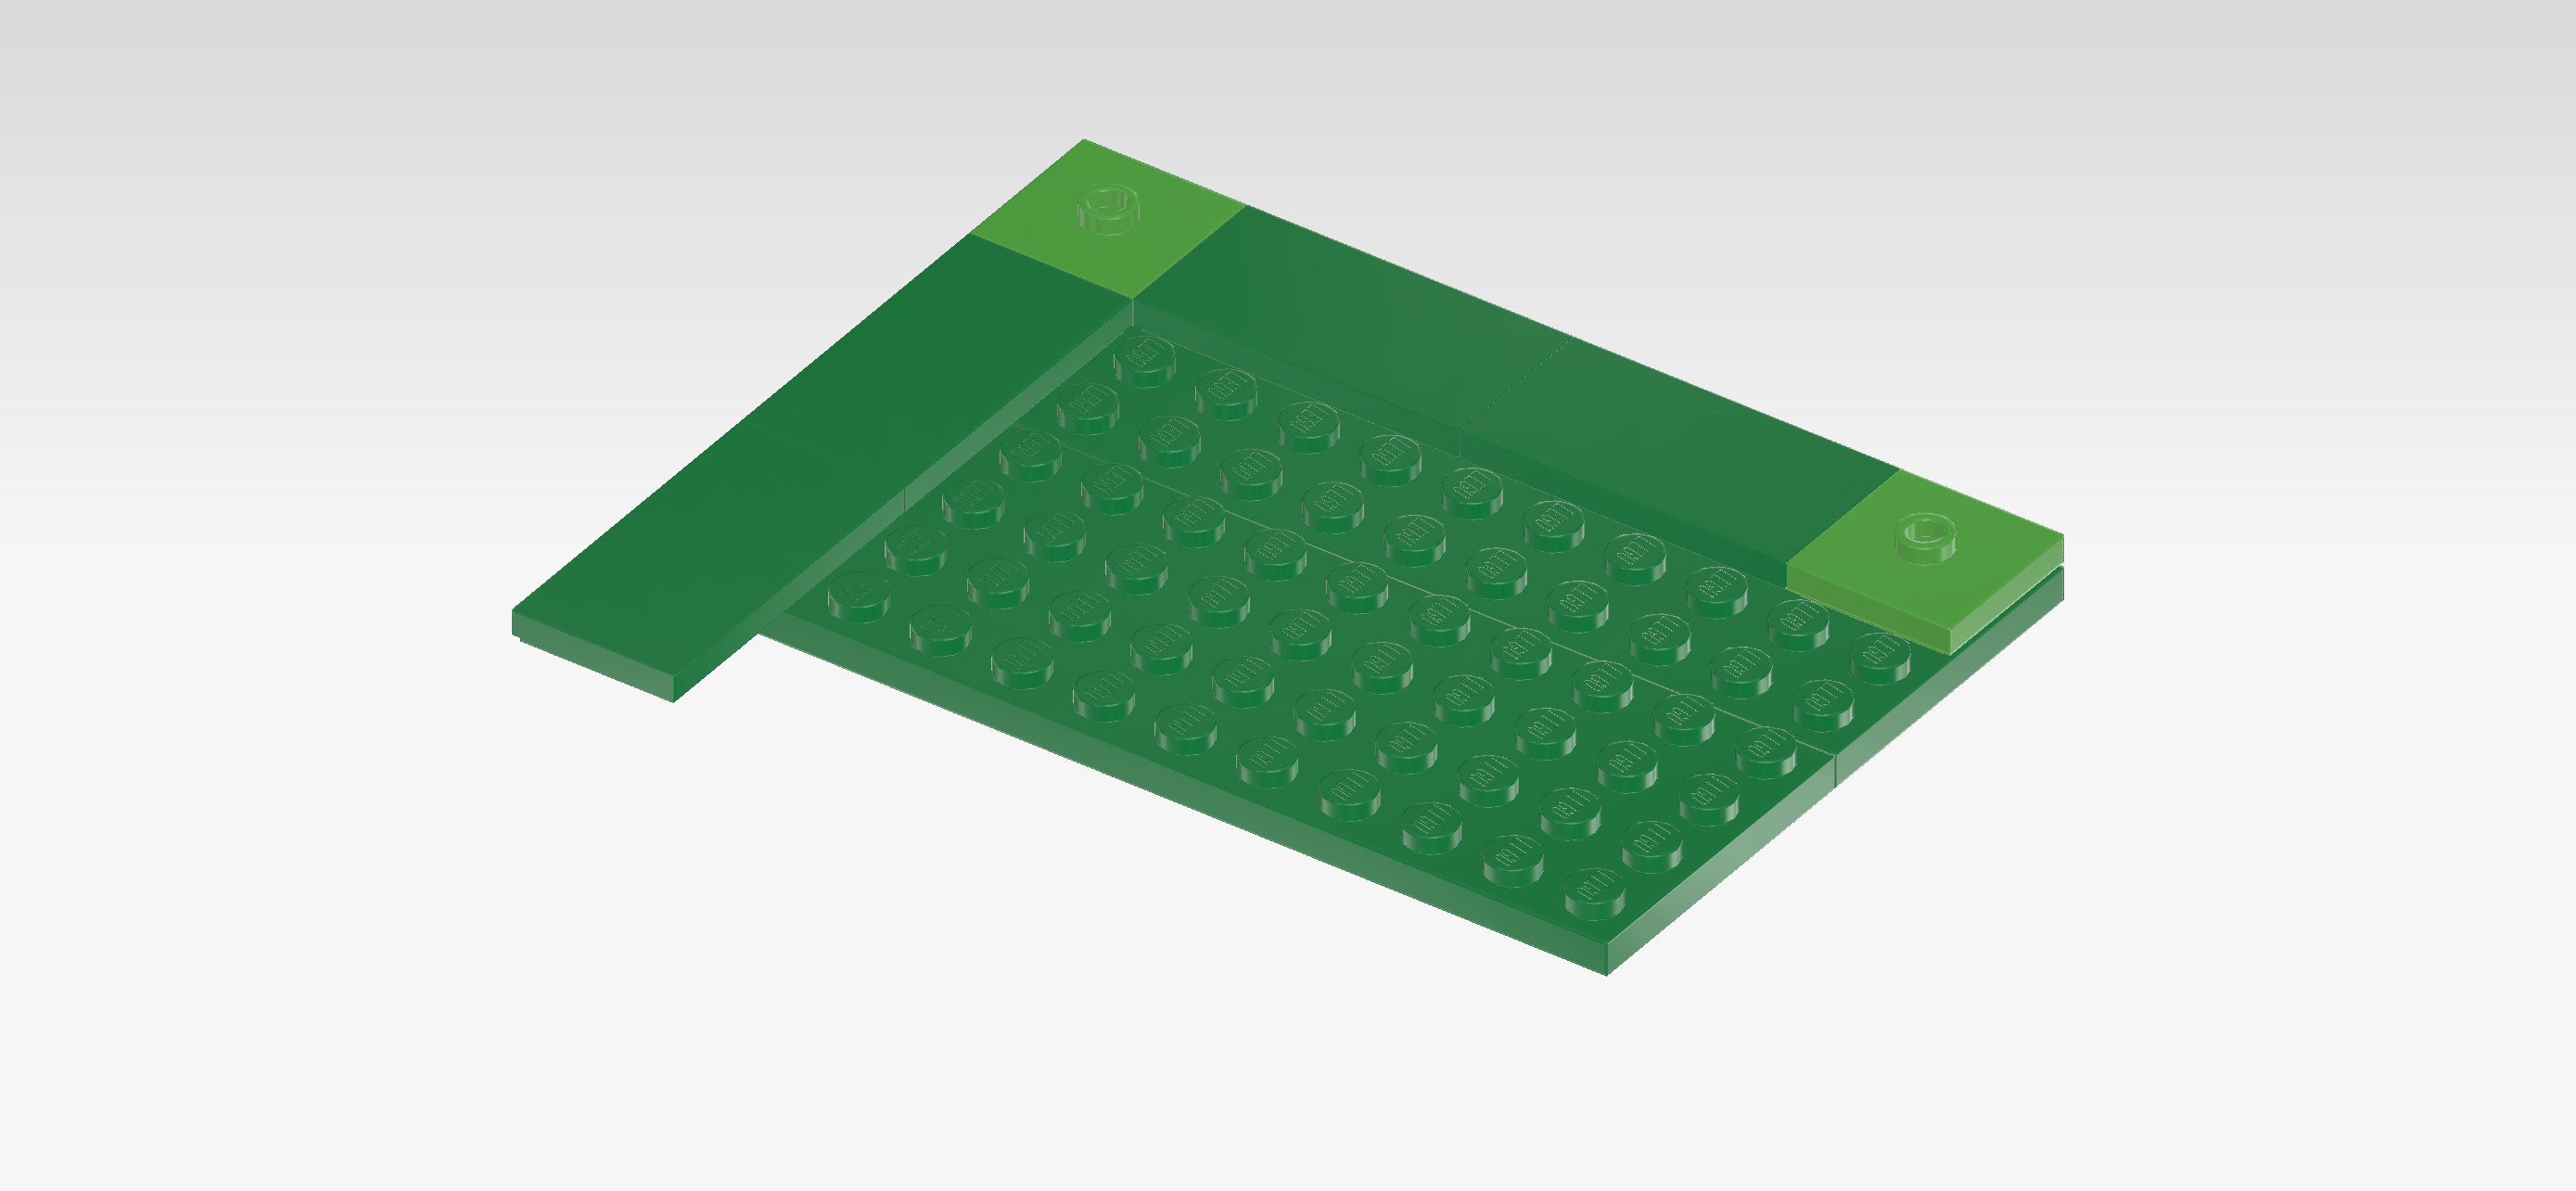
| Find 2 bright green plates 2x10. |
| Put 1 vertically on the left wall, starting from its front edge. |
| Put the other one horizontally on the back wall, starting from its left edge. |
| Find 1 dark green plate 2x6. |
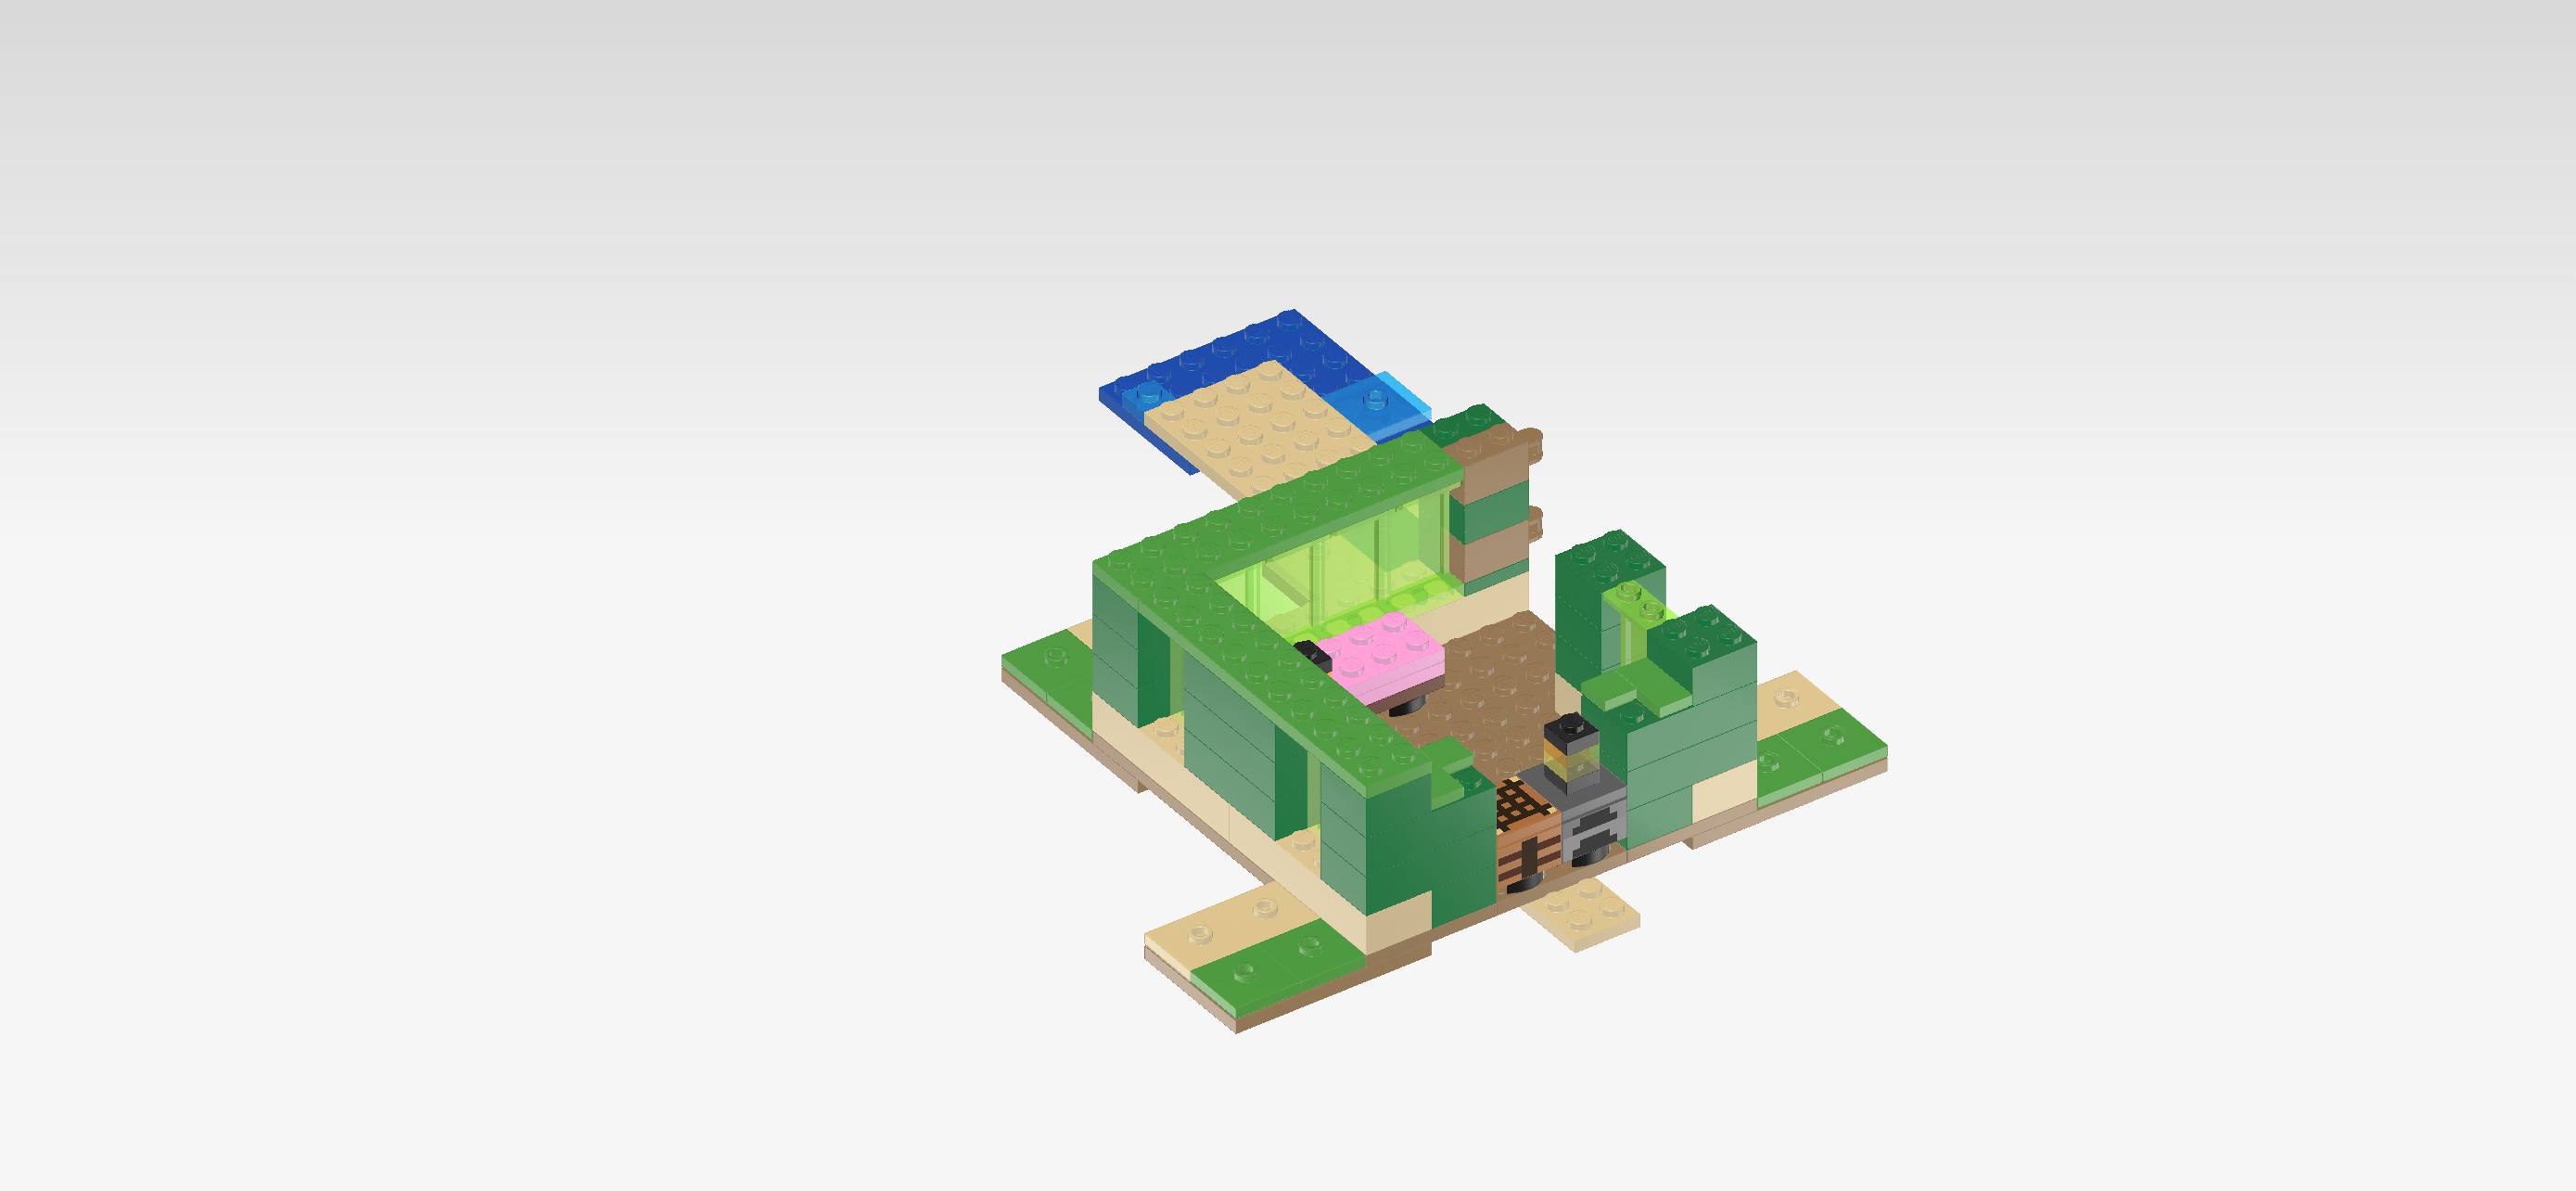
| Put it vertically on the right wall, starting from its front edge. |
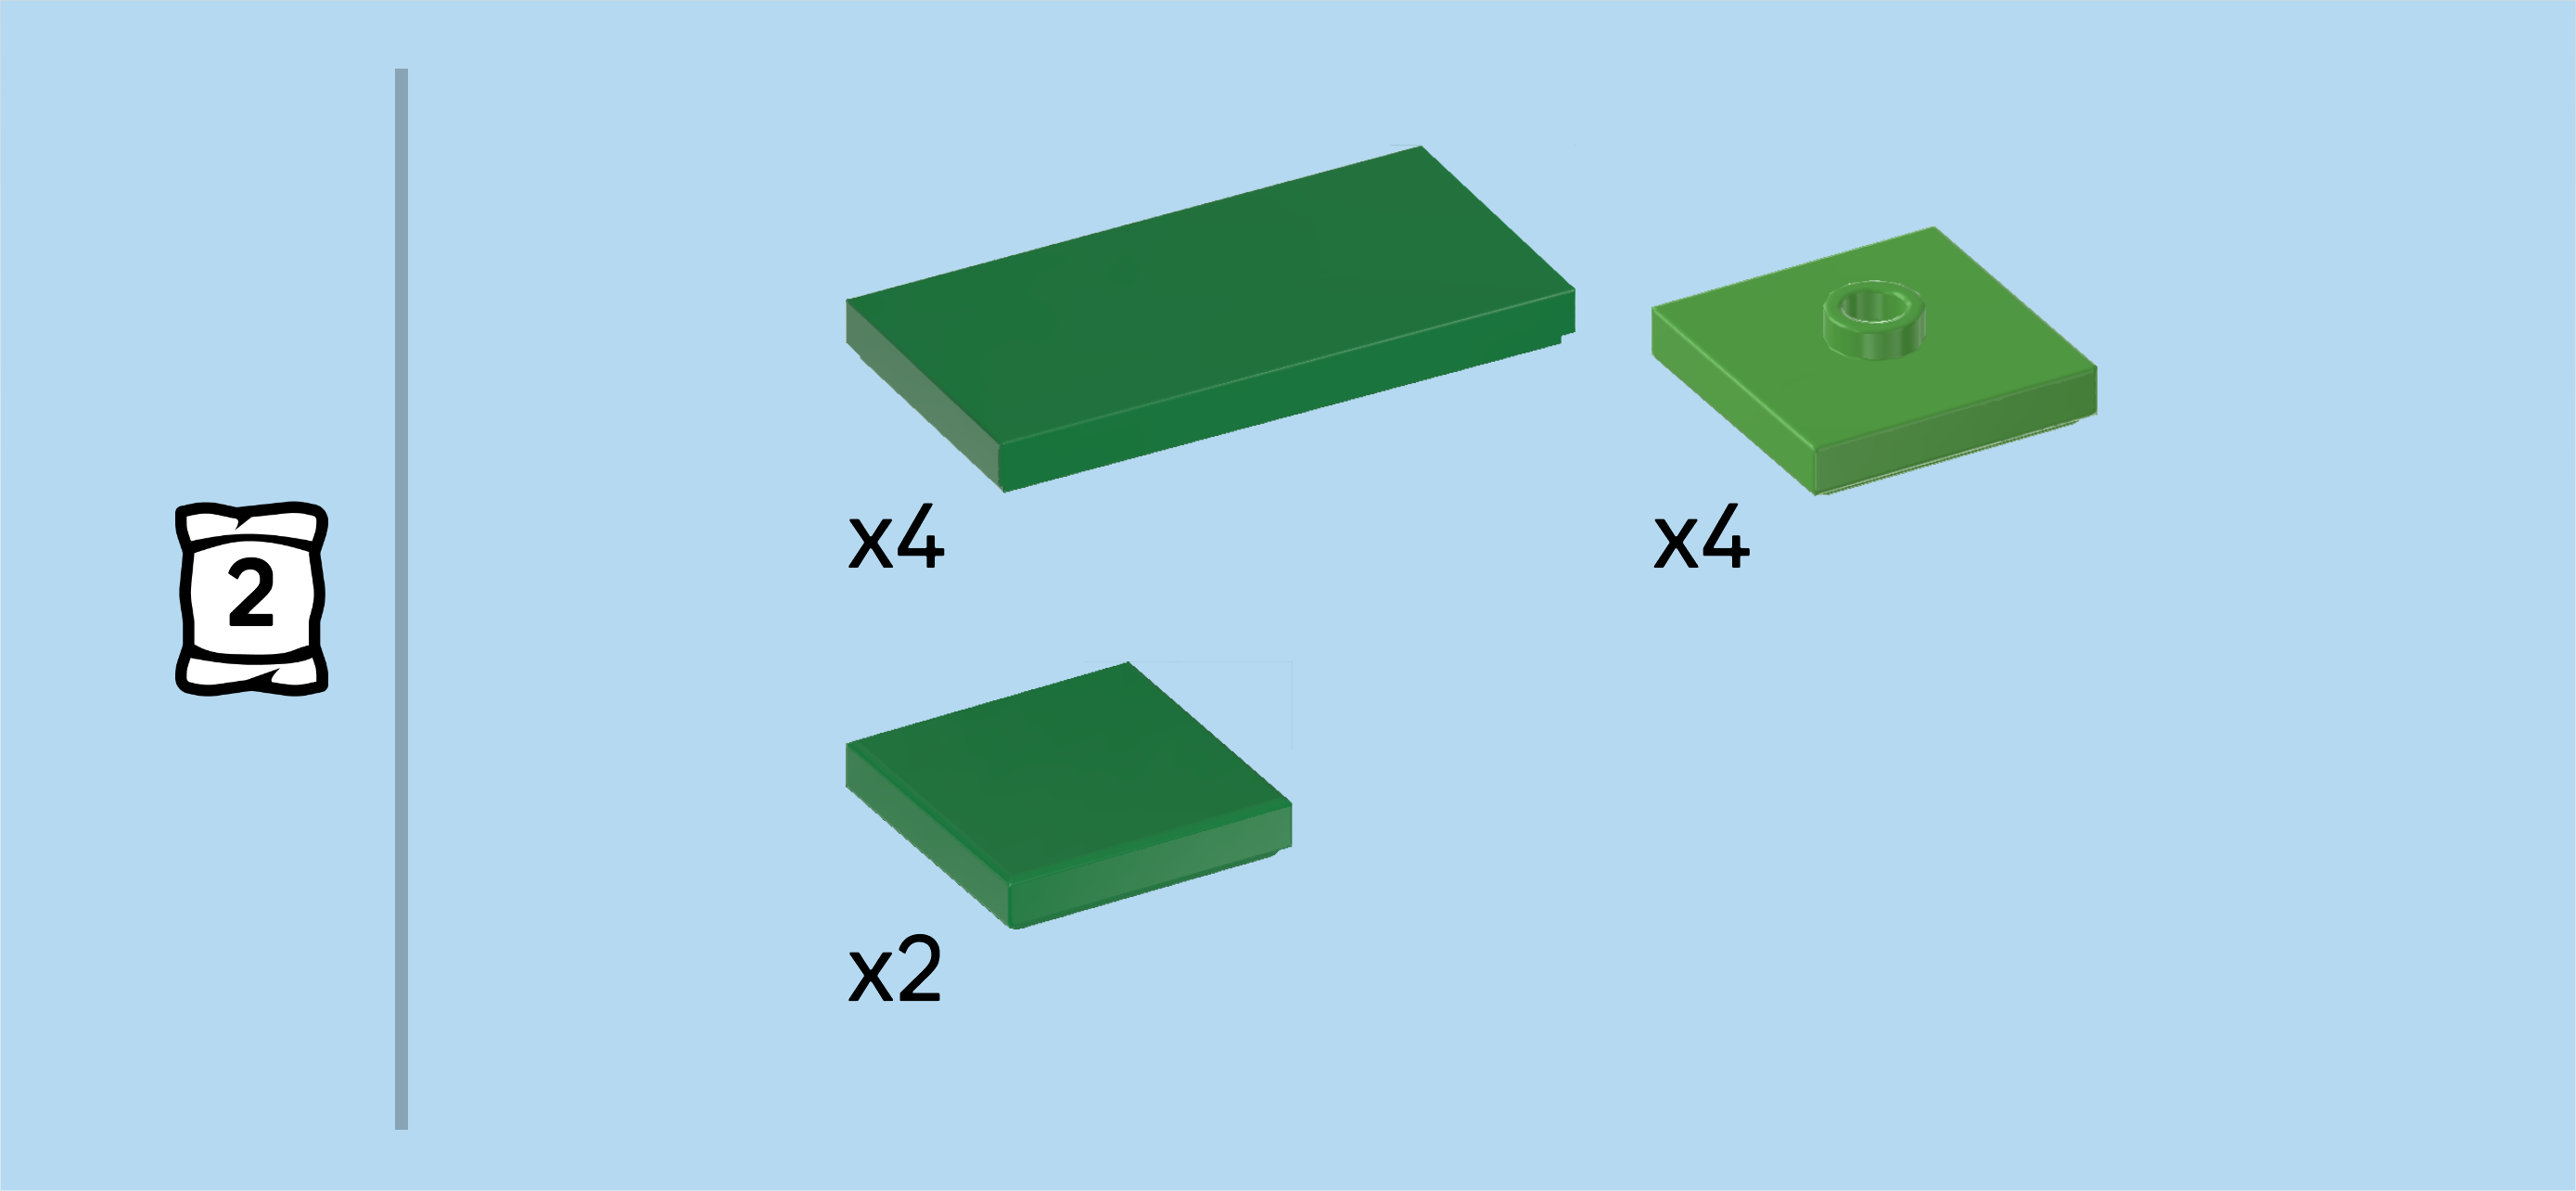
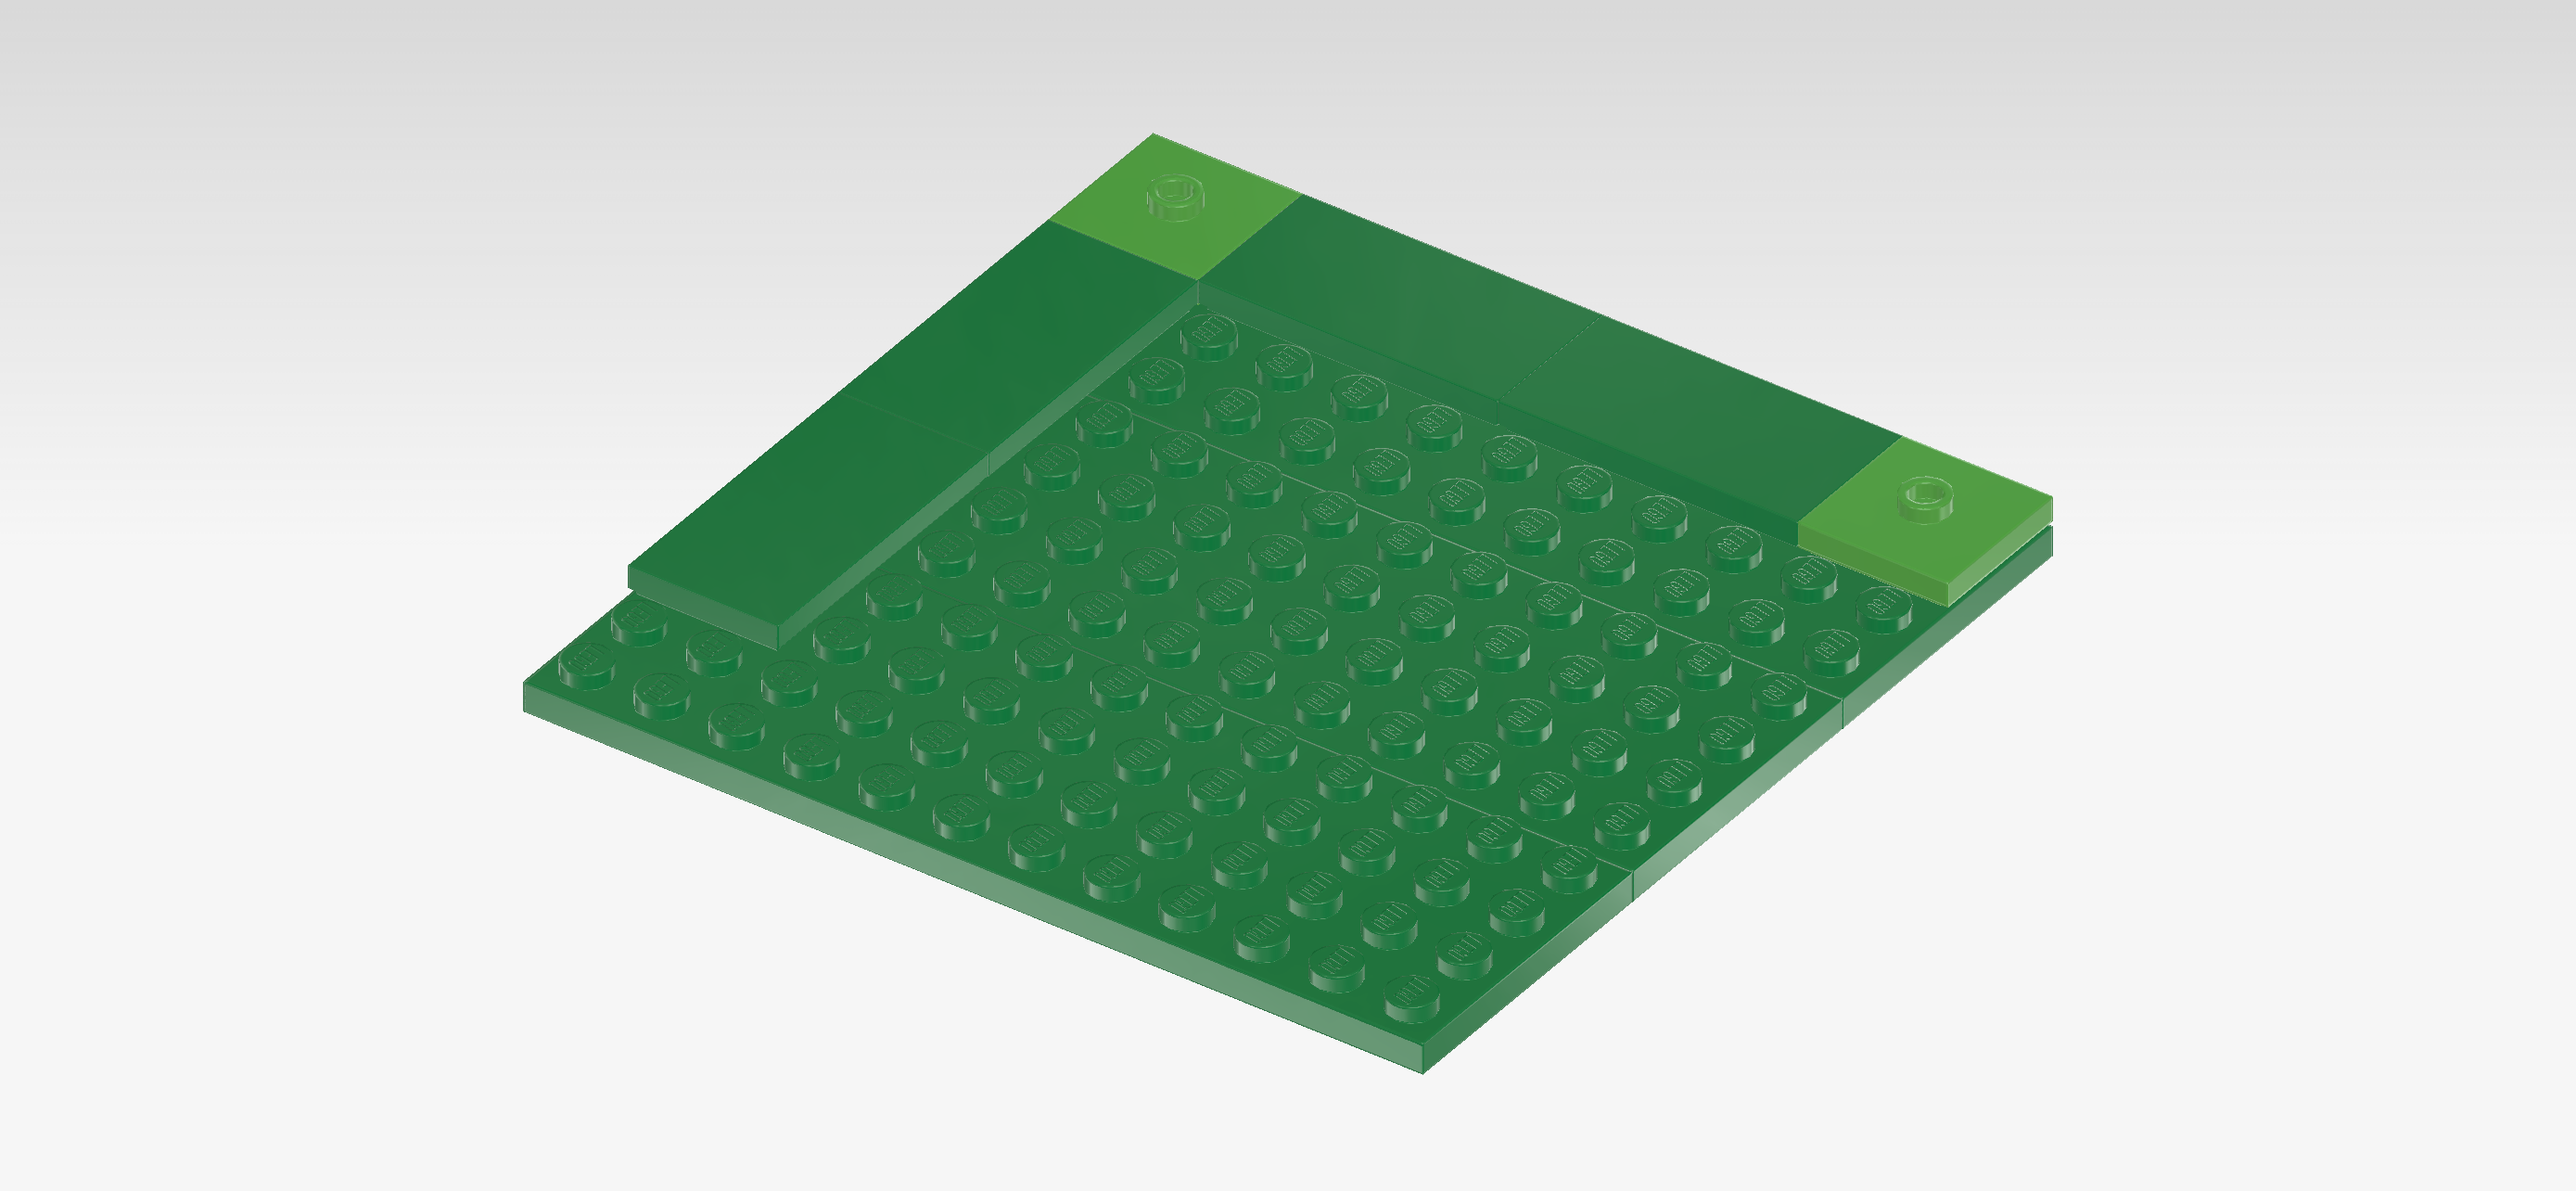
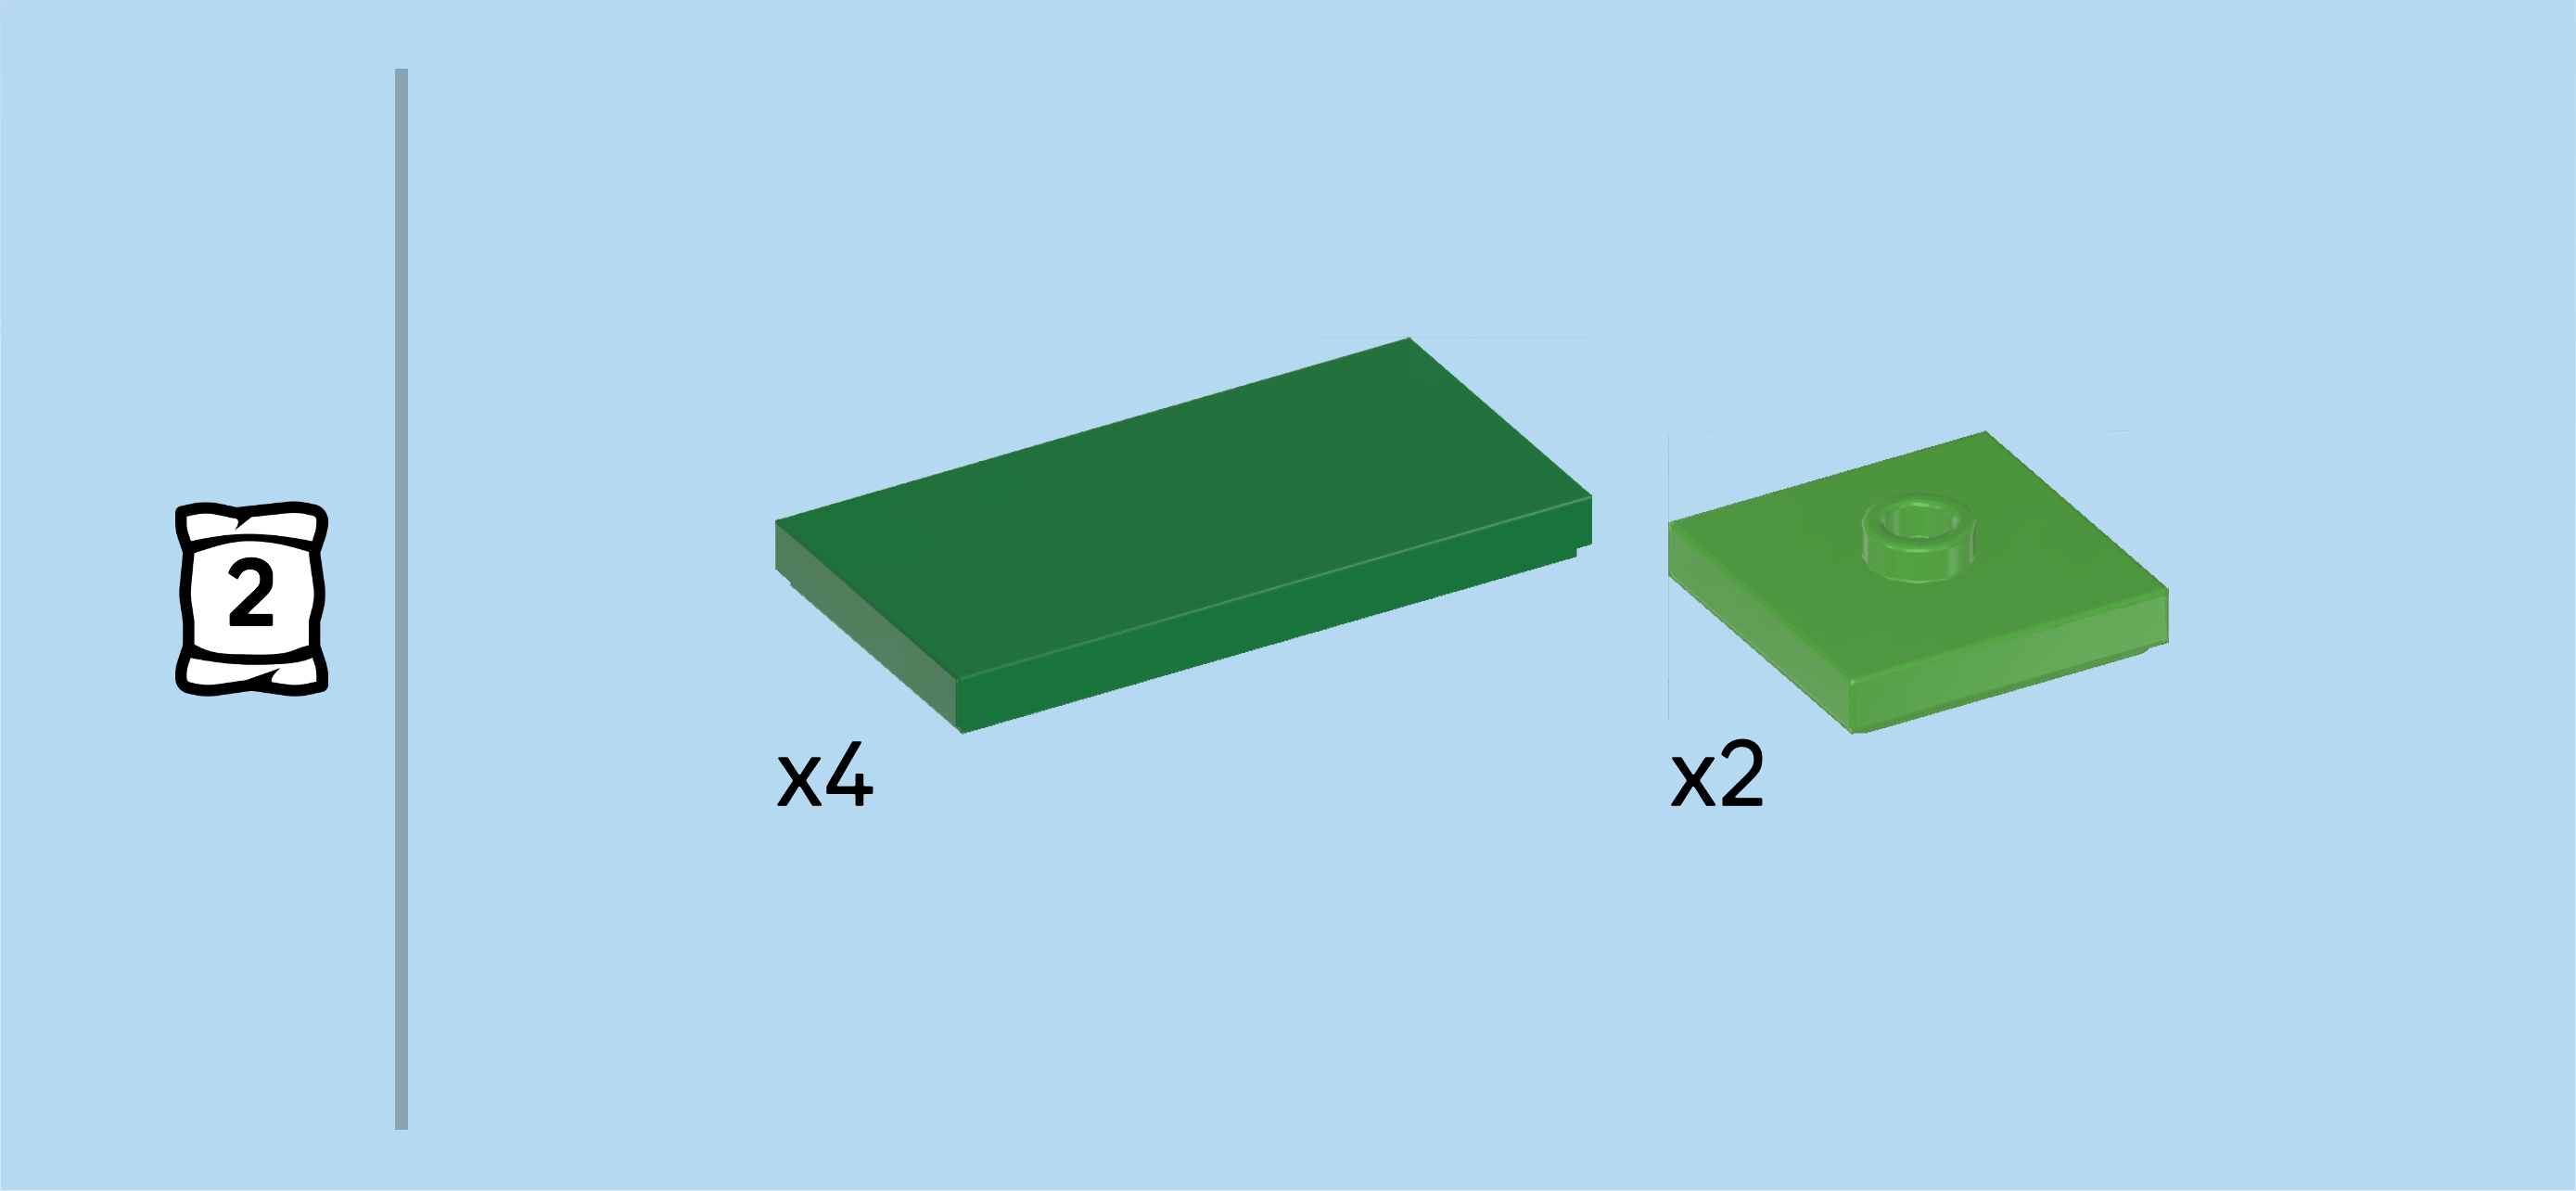
| Collect the following 10 pieces: |
| 4 dark green flat tiles 2x4, |
| 4 bright green plates 2x2 with 1 knob, |
| and 2 dark green flat tiles 2x2. |
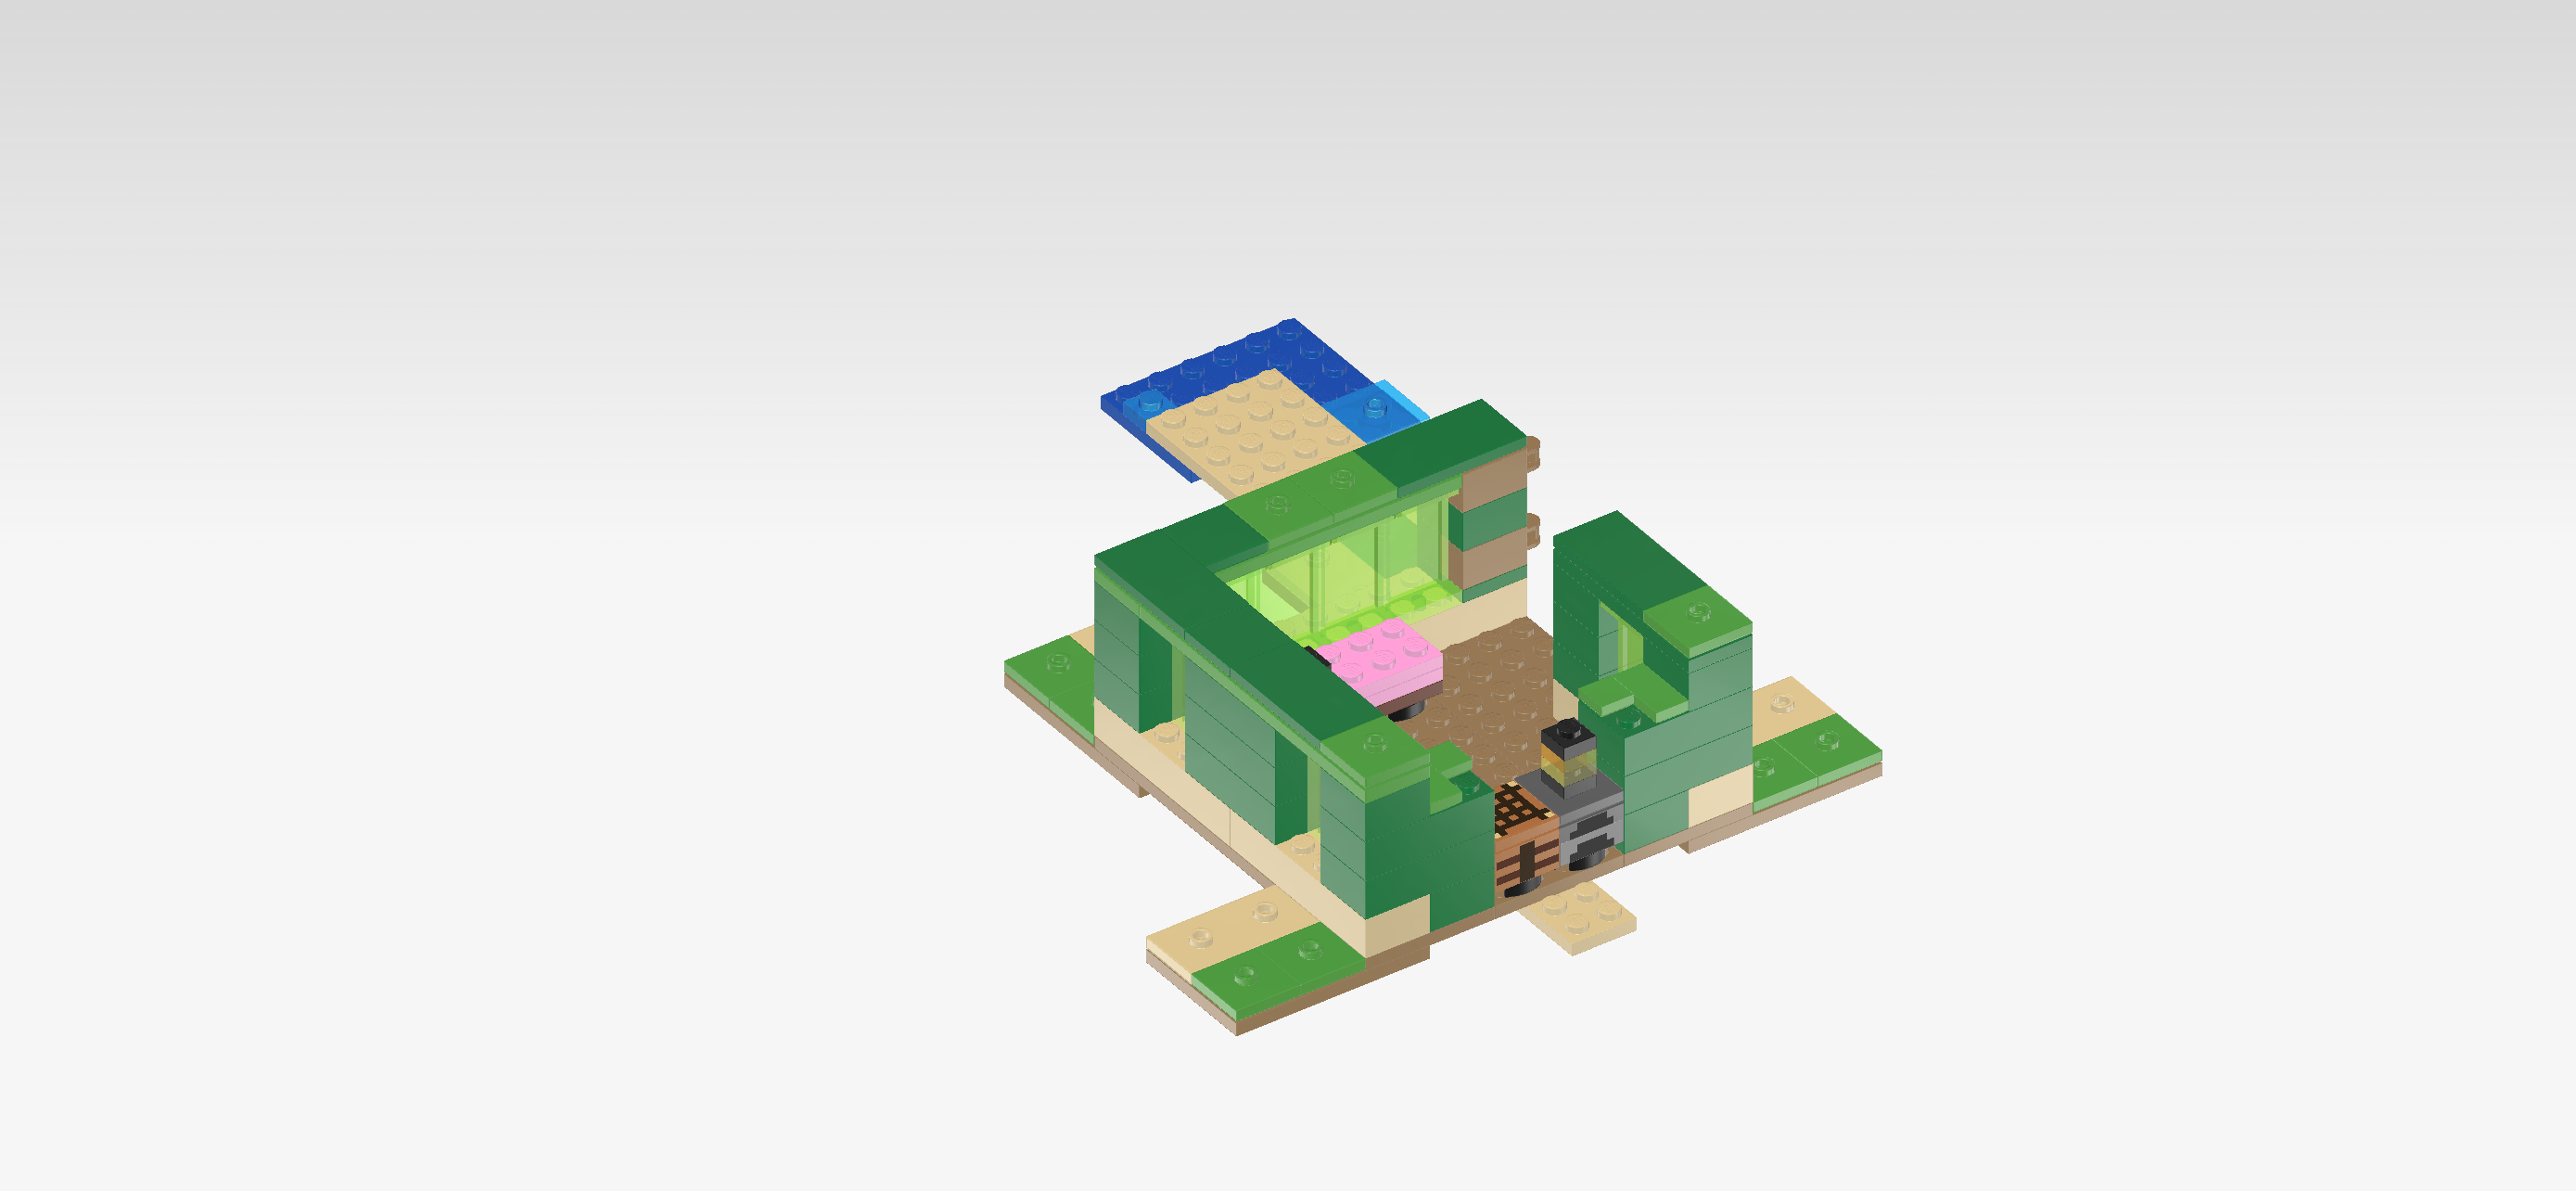
| Put 1 plate 2x2 with 1 knob on the previous piece's 4 frontmost knobs. |
| Put 1 flat tile 2x4 vertically behind the previous piece. |
| Put 1 flat tile 2x4 horizontally on the back wall, starting from its right edge. |
| Put 1 plate 2x2 with 1 knob to the left of the previous piece. |
| Put another plate 2x2 with 1 knob to the left of the previous piece. |
| Put 1 flat tile 2x2 to the left of the previous piece. |
| Put 1 flat tile 2x4 vertically to the left of the previous piece. Make sure its back edge is flush with the left wall's back edge. |
| Put 1 flat tile 2x2 in front of the previous piece. |
| Put 1 flat tile 2x4 vertically in front of the previous piece. |
| Put the last plate 2x2 with 1 knob in front of the previous piece. If done correctly, this one will sit on the front left wall corner. |
| Next up, we will build the door. |
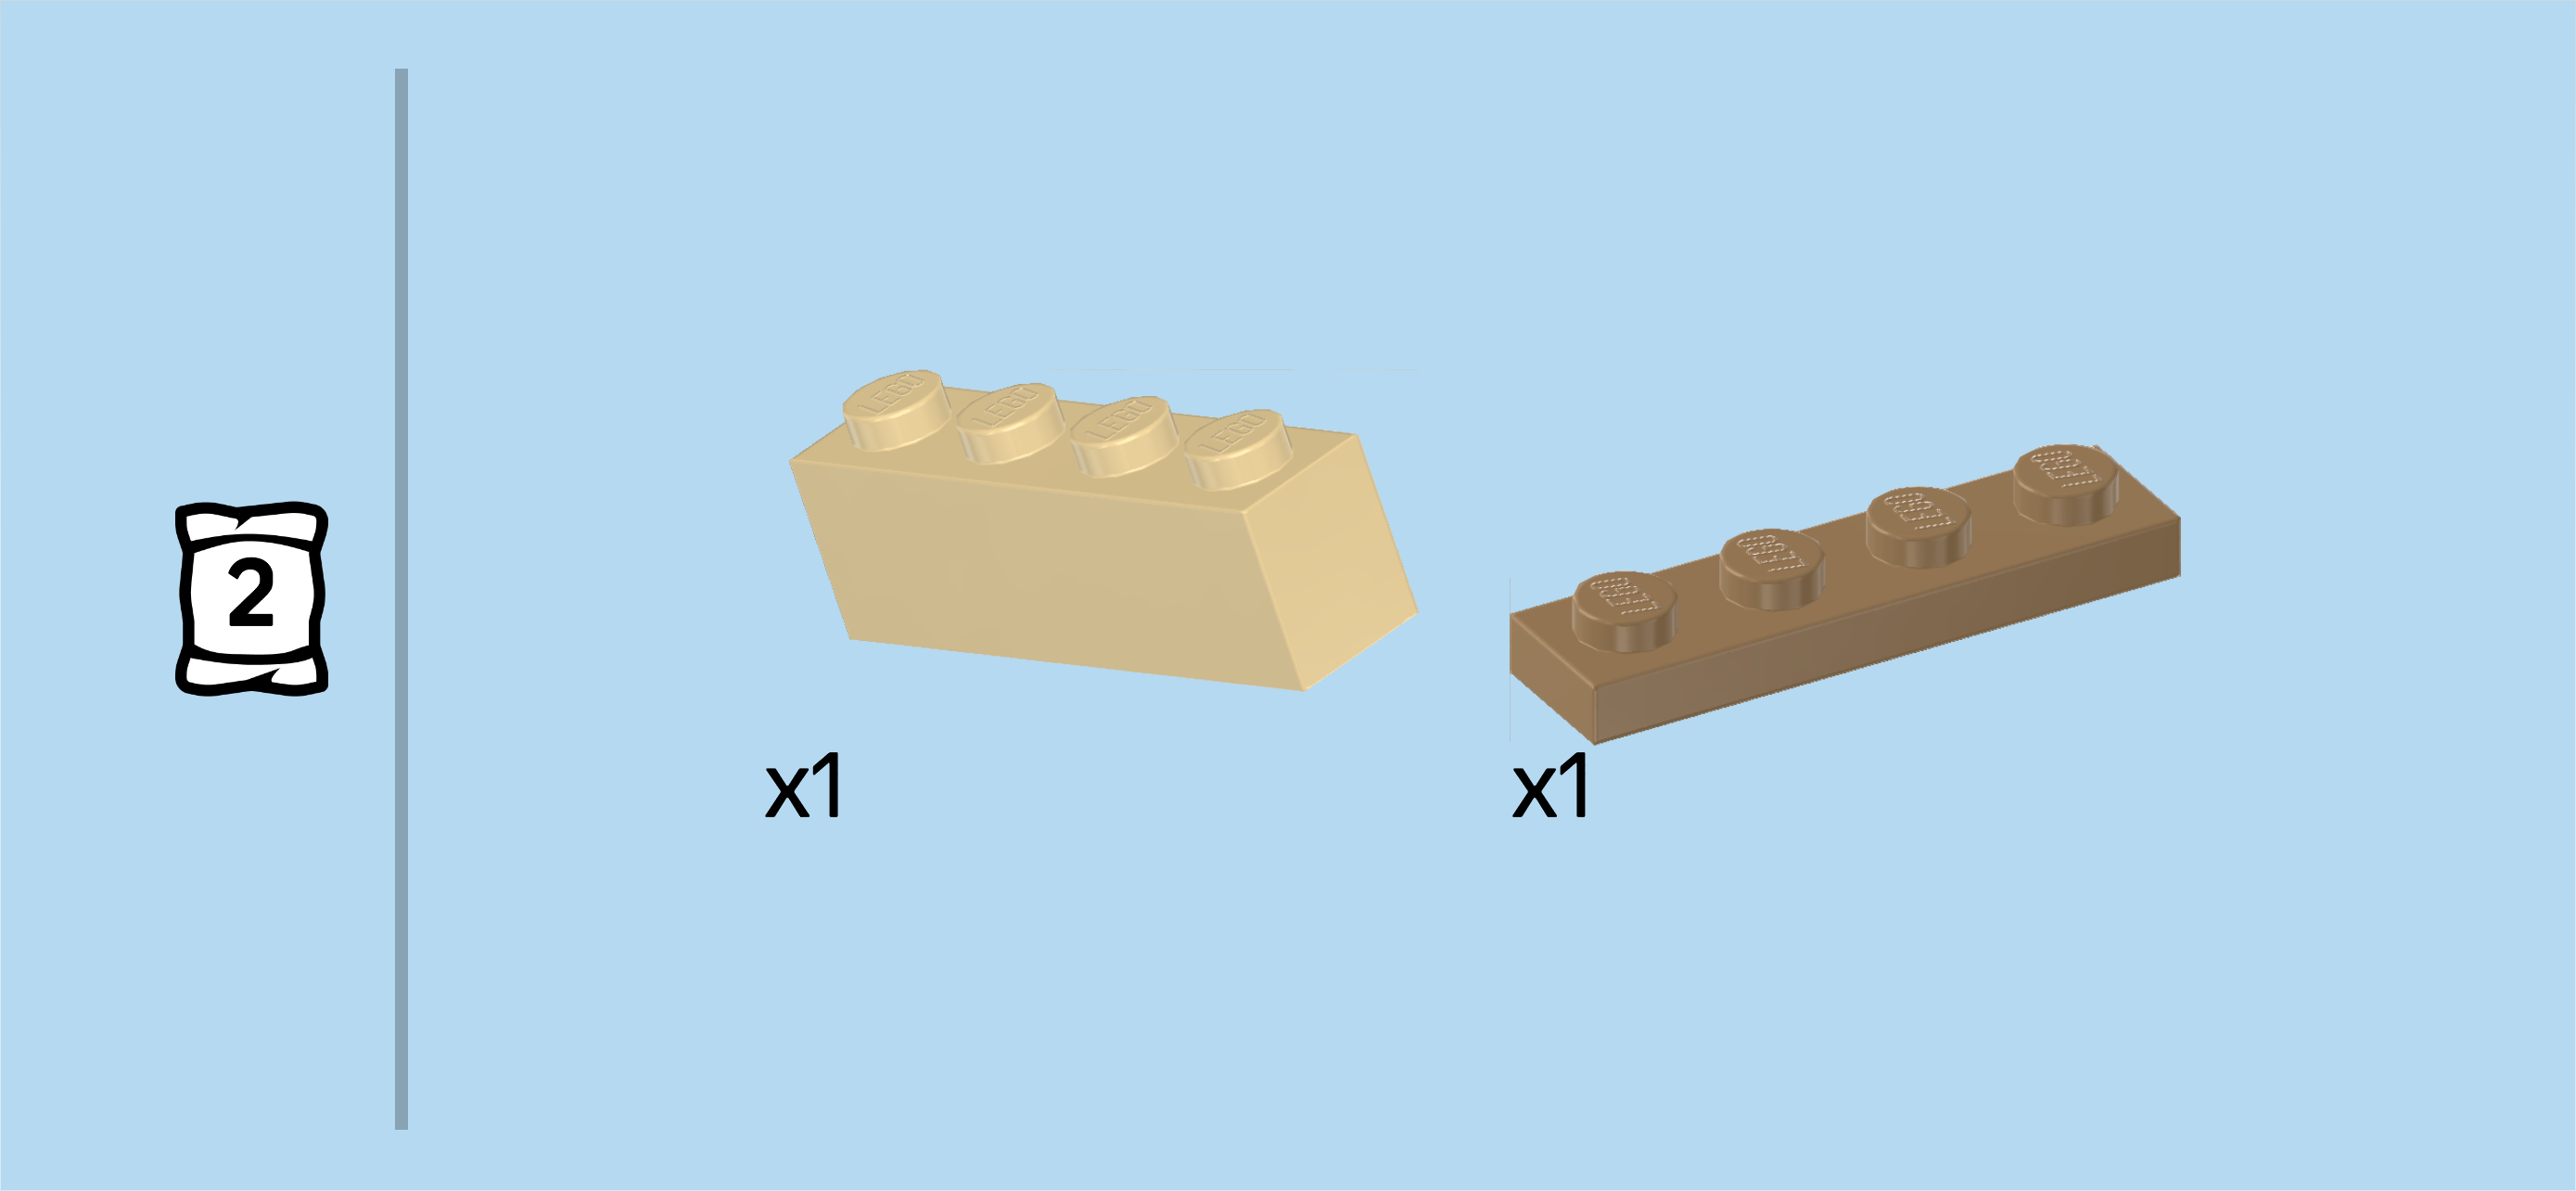
| Collect the following 2 pieces: |
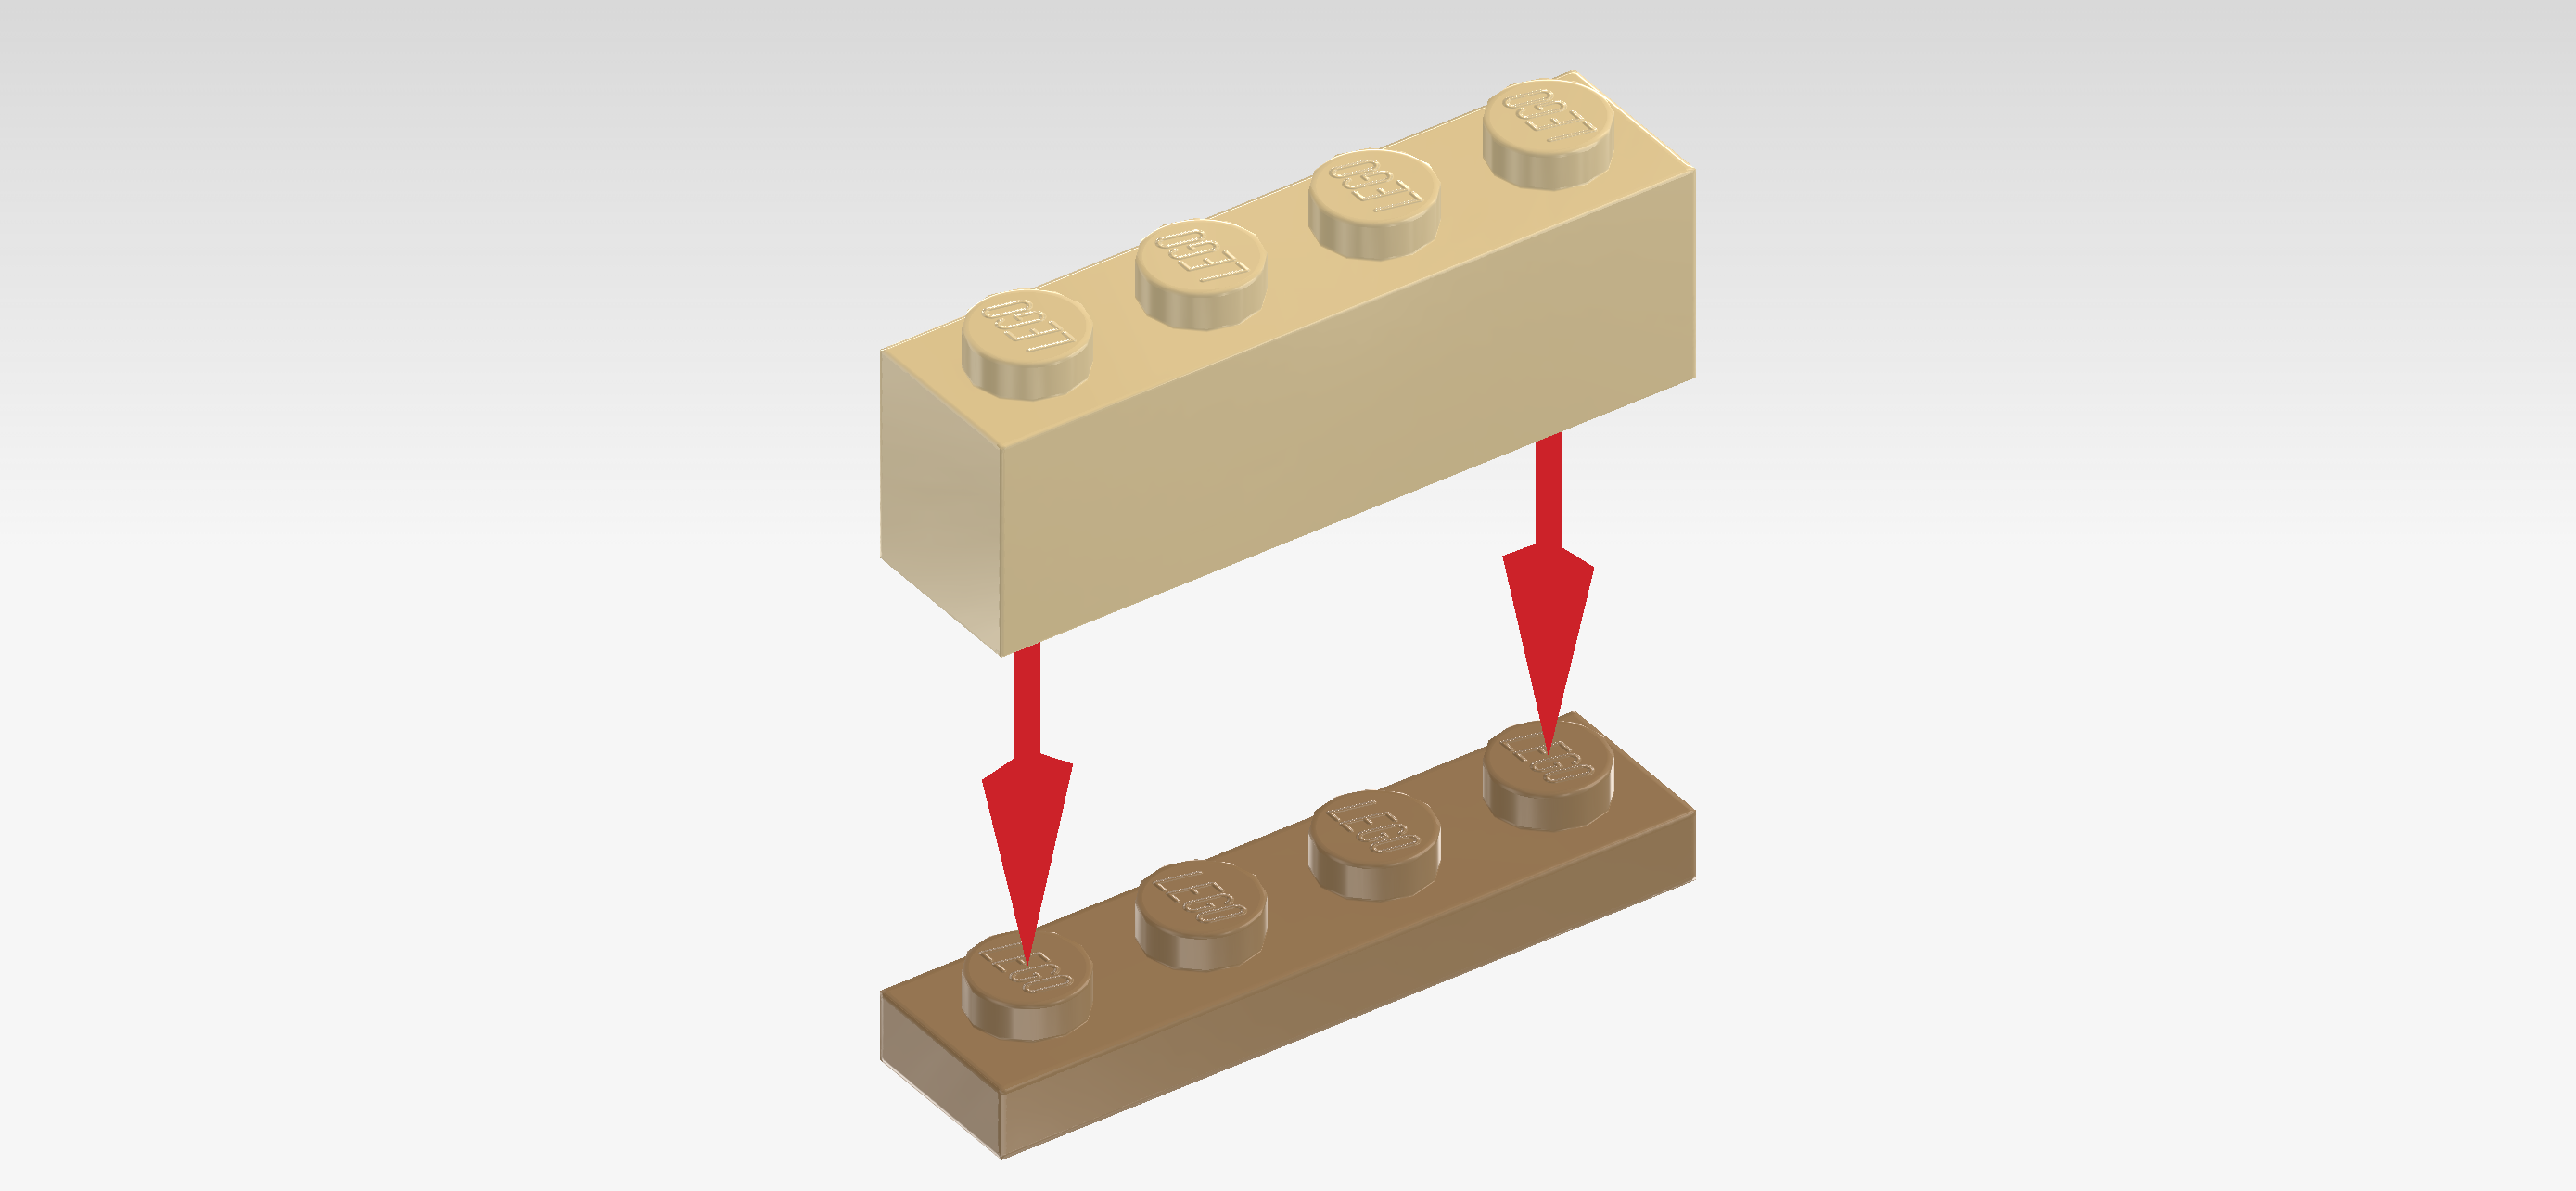
| 1 pale ocher yellow brick 1x4, |
| and 1 mud grey plate 1x4. |
| Put the plate 1x4 horizontally on the table. |
| Put the brick 1x4 horizontally on top. |
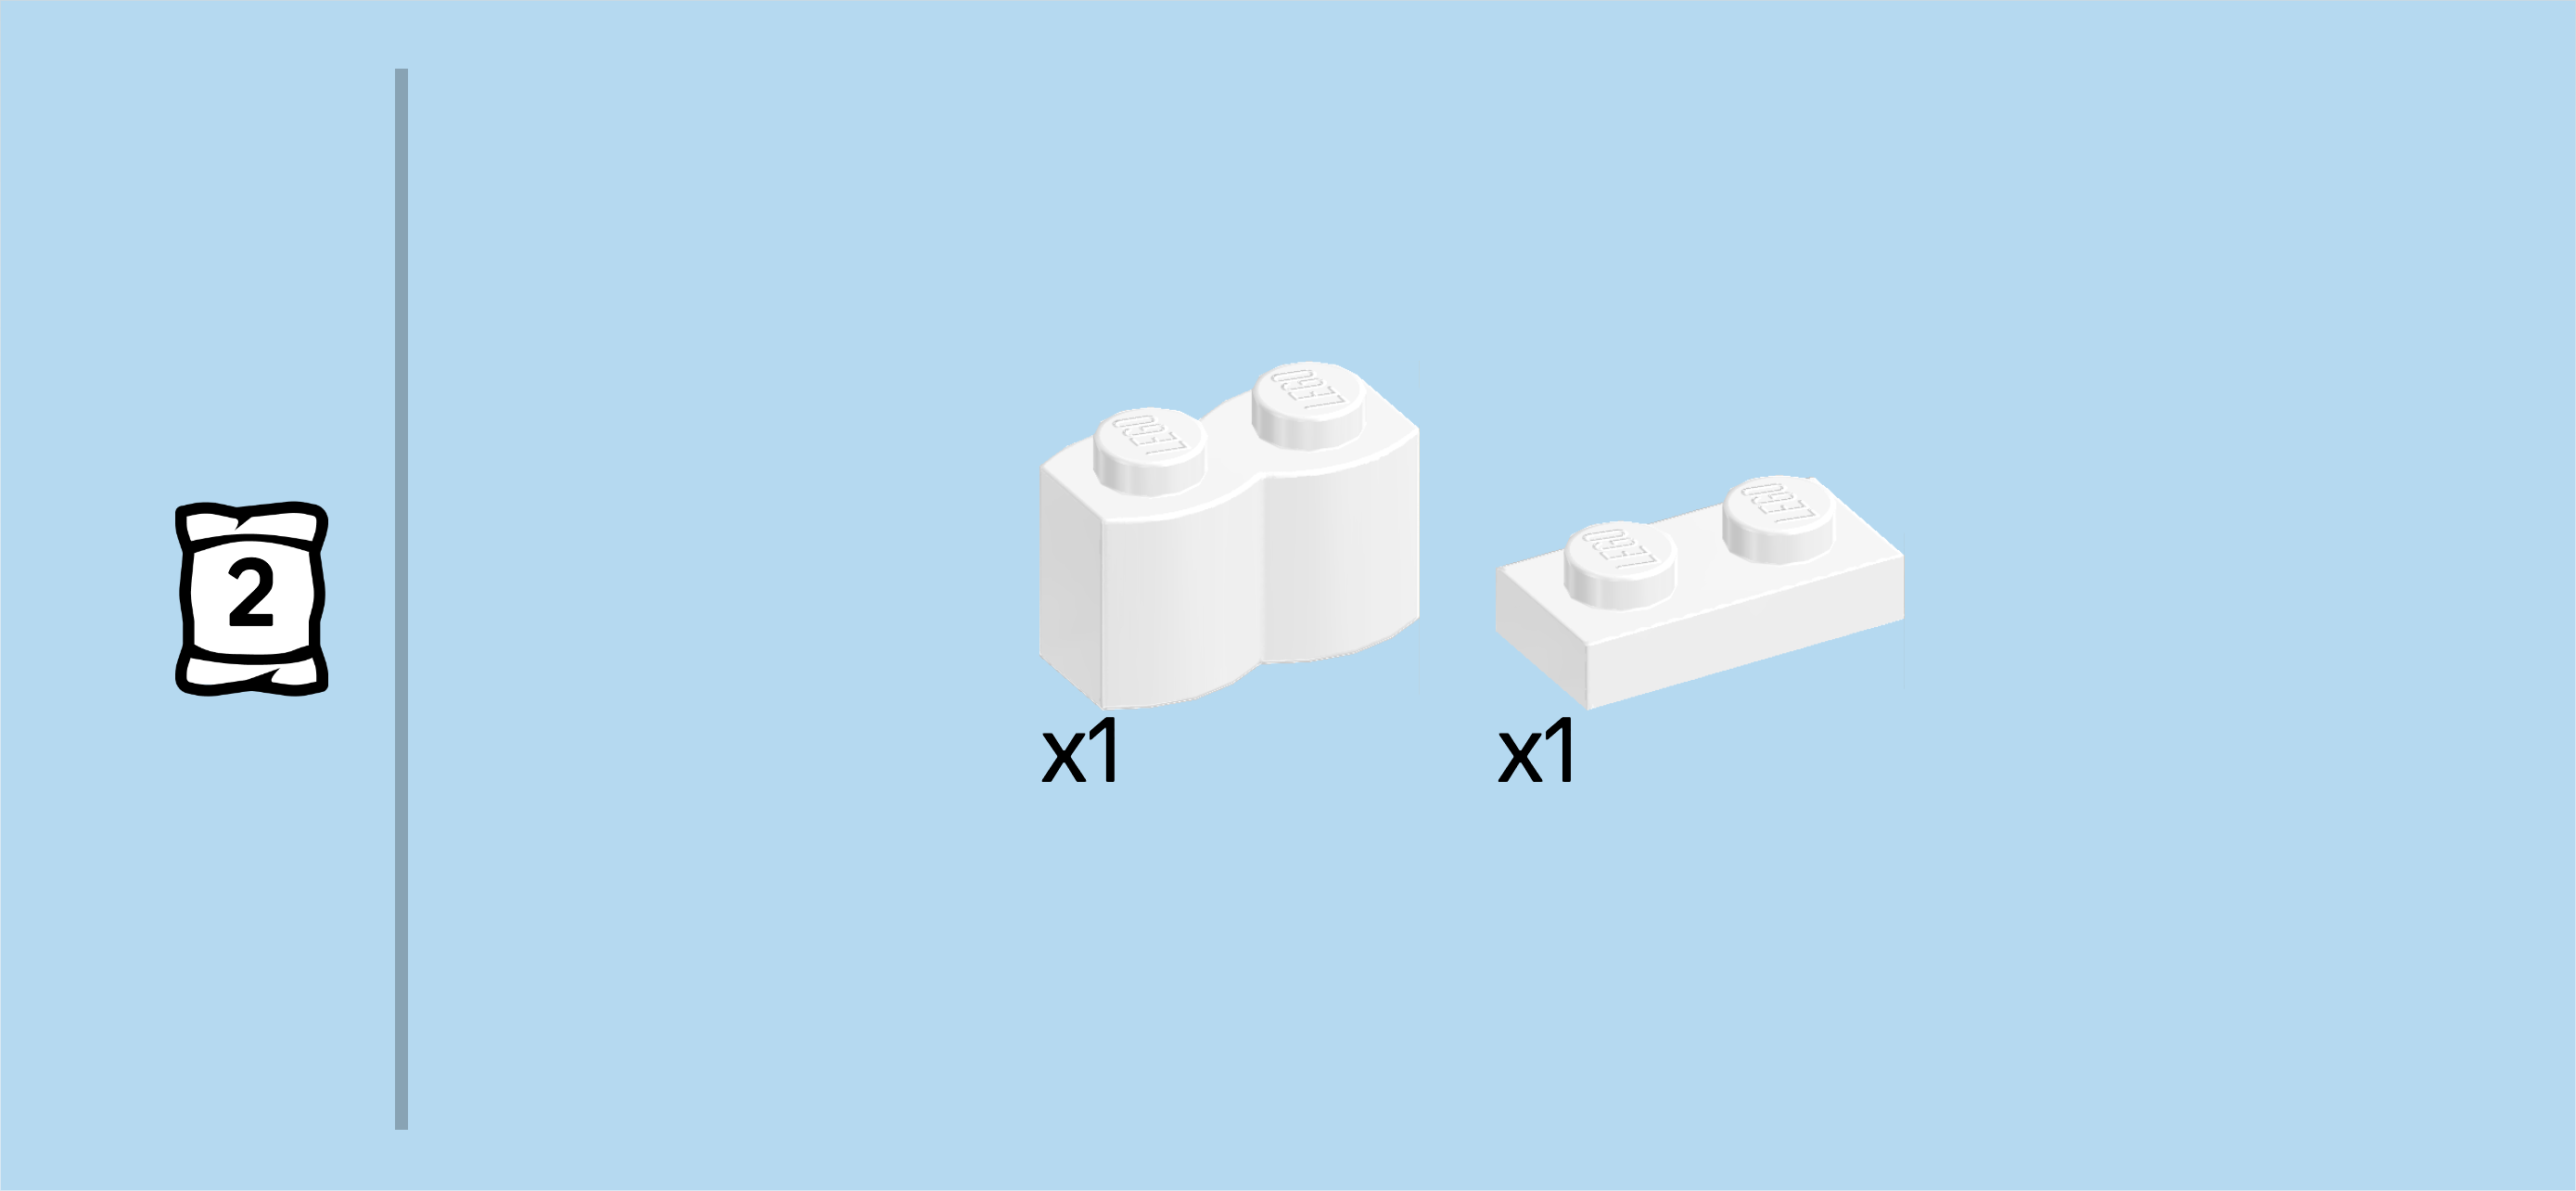
| Collect the following 2 pieces: |
| 1 white plate 1x2, |
| and 1 white palisade brick 1x2. |
| Put the plate 1x2 horizontally on the 2 middle knobs of the previous piece. |
| Put the palisade brick 1x2 horizontally on the previous piece. |
| Find 1 white plate 1x2. |
| Put it horizontally on top of the previous piece. |
| Collect the following 2 pieces: |
| 1 white plate 1x2, |
| and 1 white palisade brick 1x2. |
| Put the palisade brick 1x2 horizontally on top of the previous piece. |
| Put the plate 1x2 horizontally on top of the previous piece. |
| Collect the following 2 pieces: |
| 1 pale ocher yellow brick 1x1x3, |
| and 1 pale ocher yellow brick 1x1x3 with 2 horizontal side clasps. |
| Put the brick without clasps to the right of the previous piece on the rightmost knob. |
| Put the brick with side clasps horizontally on the leftmost knob, clasps to the left. |
| Collect the following 2 pieces: |
| 1 pale ocher yellow flat tile 1x4, |
| and 1 mud grey plate 1x4. |
| Put the plate 1x4 horizontally on the top row. |
| Put the flat tile 1x4 horizontally on the previous piece. |
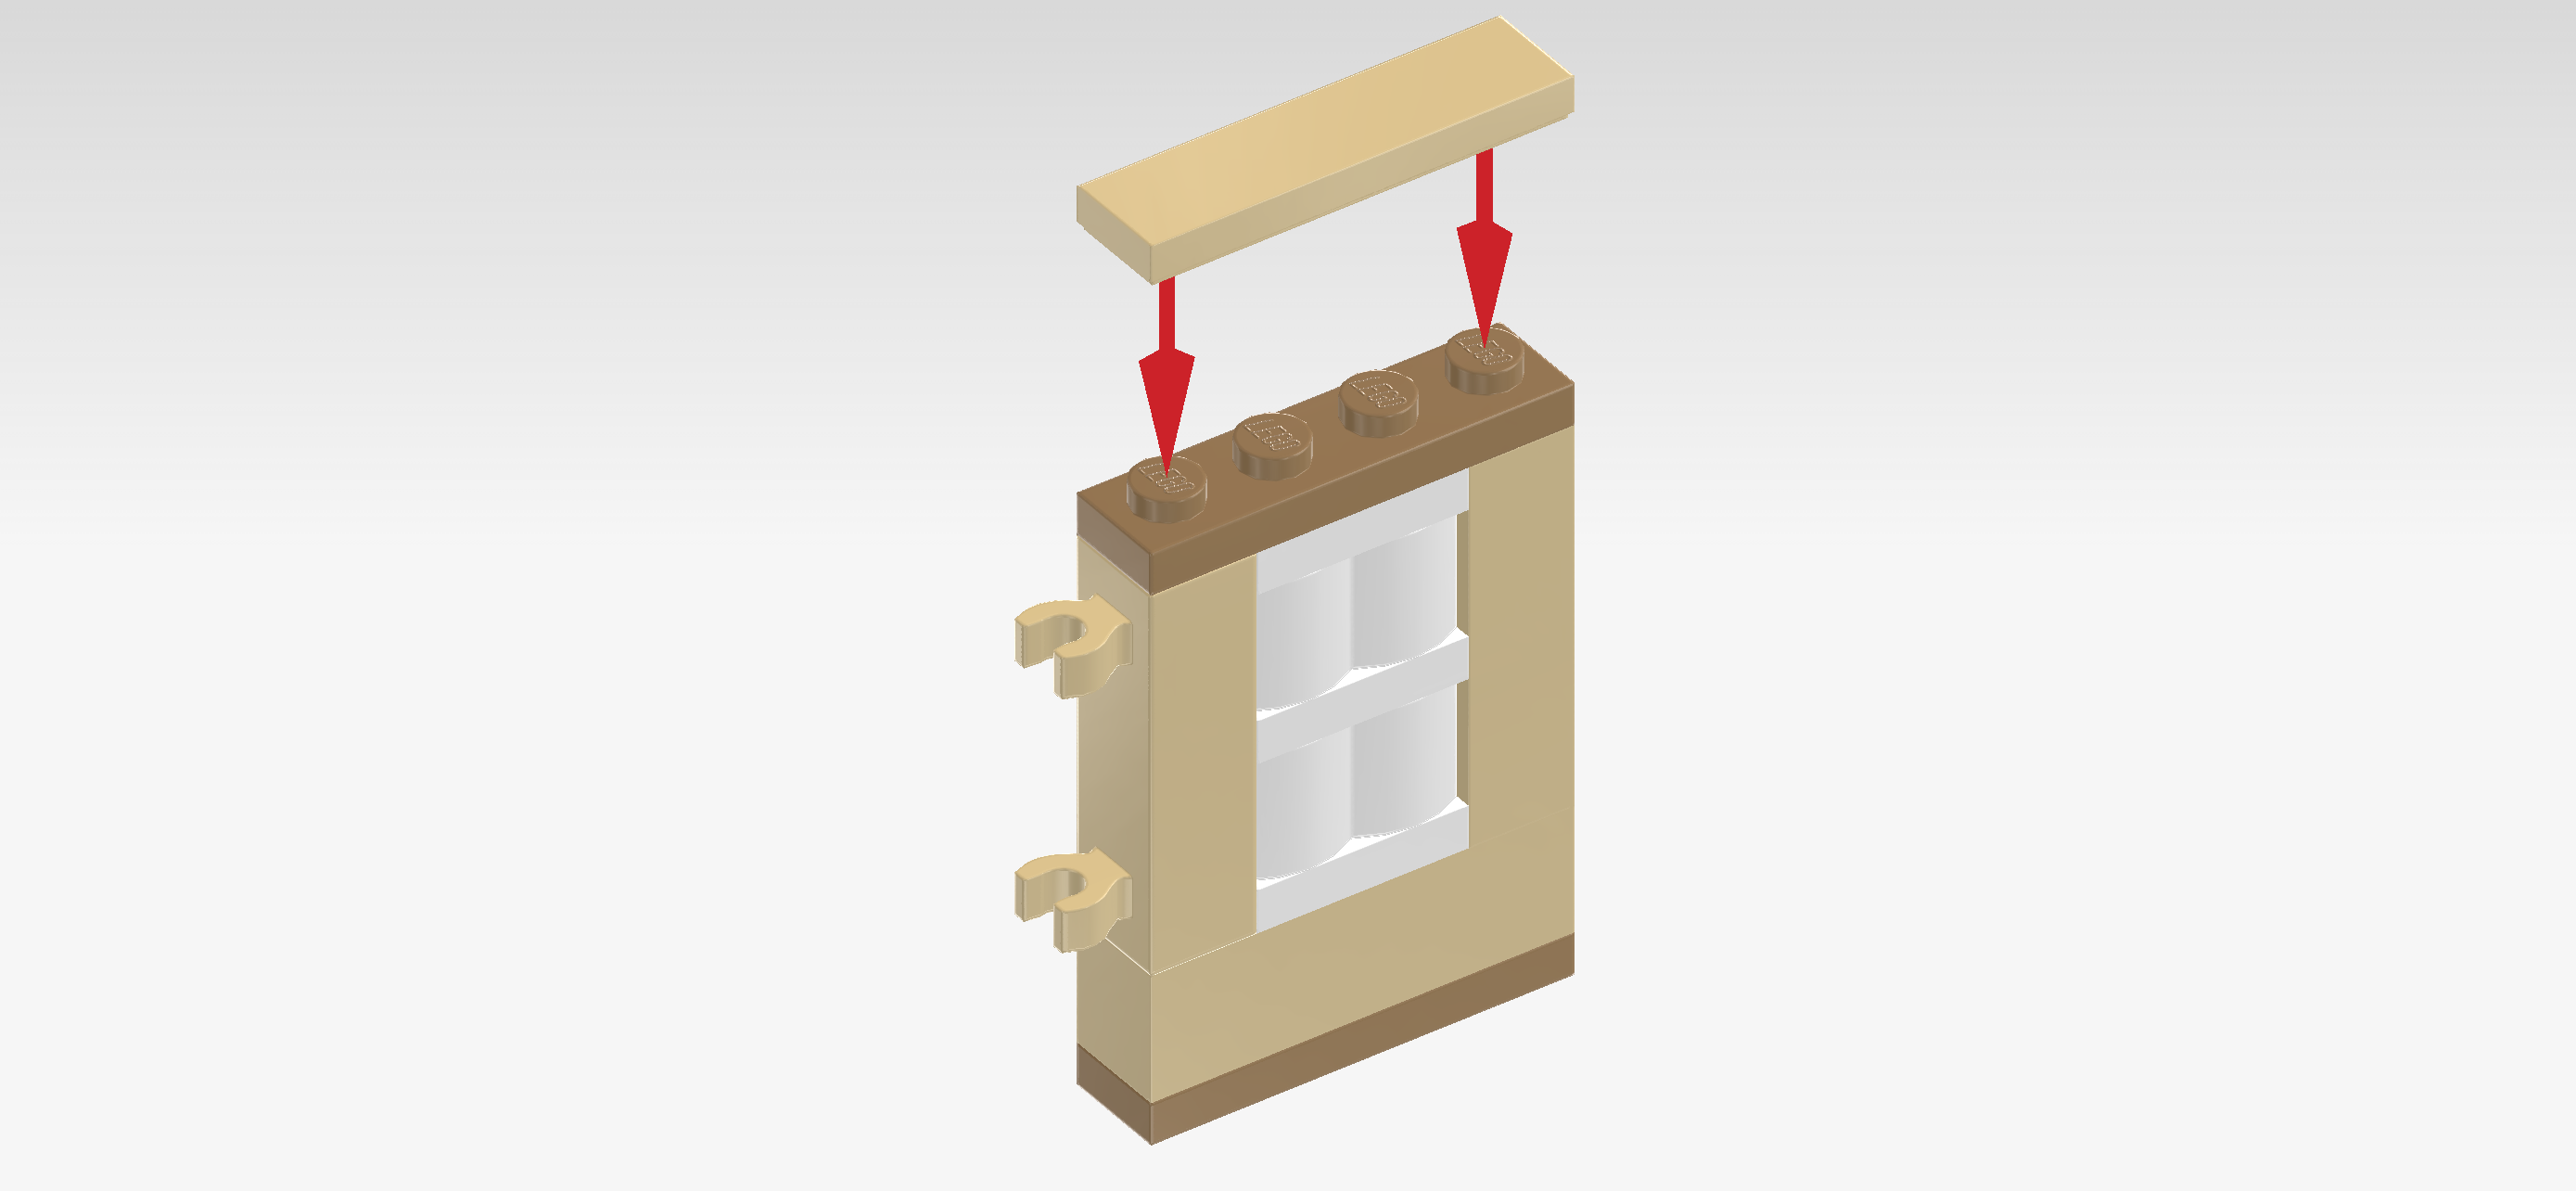
| The door is finished! Well done! Keep its building orientation and snap the two clasps on the 2 hinges of the door frame, door extending to the right. You can now open and close it as you please. |
| Next, we will build the turtle head of the Turtle Beach House. |
| Collect the following 2 pieces: |
| 1 dark green brick 2x4, |
| and 1 pale ocher yellow plate 4x4. |
| Put the plate 4x4 on the table. Make sure its knobs form straight rows and columns in front of you. |
| Put the brick 2x4 horizontally on the 2 back rows. |
| Find 1 pale ocher yellow brick 2x4. |
| Put it horizontally in front of the previous piece. |
| Find 2 dark green bricks 1x2. |
| Put them horizontally next to each other on the backmost row. |
| Collect the following 2 pieces: |
| 1 pale ocher yellow plate 2x2, |
| and 1 pale ocher yellow plate 2x2 with 1 knob. |
| Put the plate 2x2 on the table. |
| Put the plate 2x2 with 1 knob on top. |
| Mount this stack centered in front of the 2 previous pieces. This means that it will sit precisely on the 4 center knobs of the 4x4 structure. |
| Collect the following 4 pieces: |
| 2 black bricks 1x1, |
| and 2 white bricks 1x1. |
| Put 1 white brick 1x1 on the rightmost column on its third knob from the front. |
| Put 1 black brick 1x1 in front of the previous piece. |
| Repeat symmetrically on the left. |
| Collect the following 3 pieces: |
| 2 bright green bricks 1x3, |
| and 1 dark green brick 1x2. |
| Put the brick 1x2 horizontally centered on the backmost row. |
| Put 1 brick 1x3 on the rightmost column, starting from the back edge. |
| Repeat symmetrically on the left. |
| Collect the following 2 pieces: |
| 1 light purple plate 2x2 with 1 knob, |
| and 1 light purple brick 2x2. |
| Put the brick 2x2 on the table and the plate 2x2 on top. |
| Mount this stack in the center of the 4x4 structure. This means it will be wrapped by the 3 previous pieces. |
| Find 2 bright green bricks 1x4. |
| Stack them on top of each other. |
| Mount this stack horizontally on the frontmost row. |
| Collect the following 5 pieces: |
| 1 dark green flat tile 2x4, |
| 2 dark green flat tiles 1x3, |
| and 2 dark green corner tiles 1x2 - 1x2 with cut-off corner. |
| Put the flat tile 2x4 vertically centered on the 2 middle columns. |
| Put 1 flat tile 1x3 vertically on the rightmost column, starting from the front edge. |
| Put 1 corner tile 1x2 behind the previous piece, cut-off corner to the back left, second half overhanging and pointing to the right. |
| Repeat symmetrically on the left: put 1 flat tile 1x3 vertically on the leftmost column, starting from the front. Put the corner tile behind it, making sure its second half is overhanging and pointing to the left. |
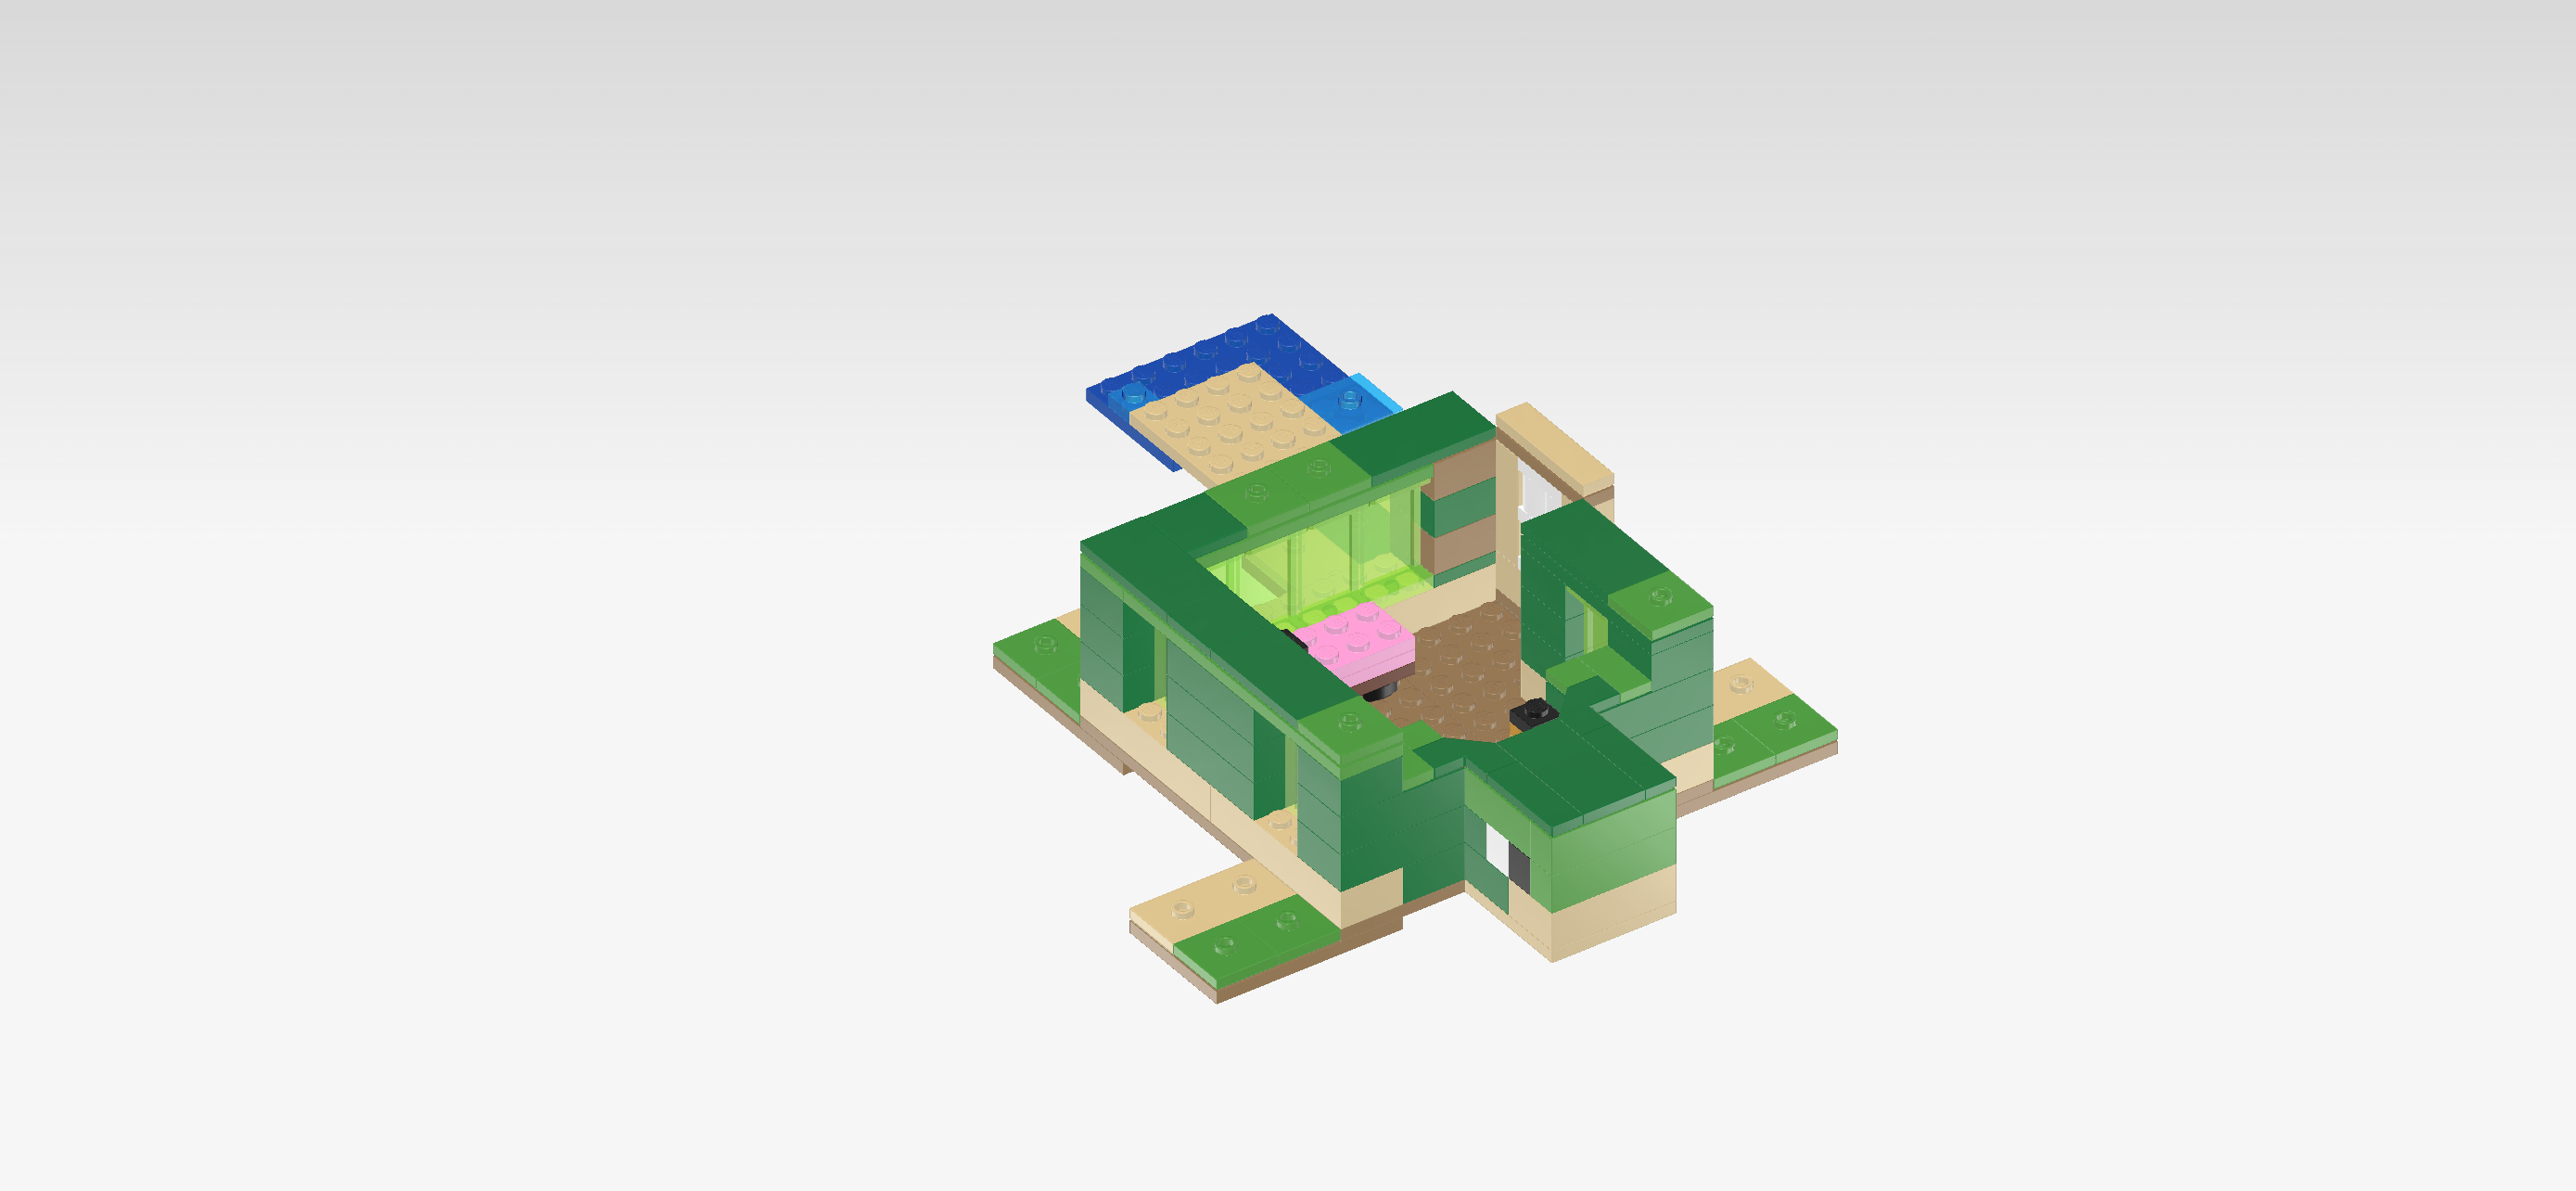
| The turtle head of the Turtle Beach House is finished! Great job! Keep its building orientation and mount it centered on the 2x2 surface that is protruding towards the front. Make sure 2 protruding corner tiles from the previous step connect to the empty knobs on the house walls. |
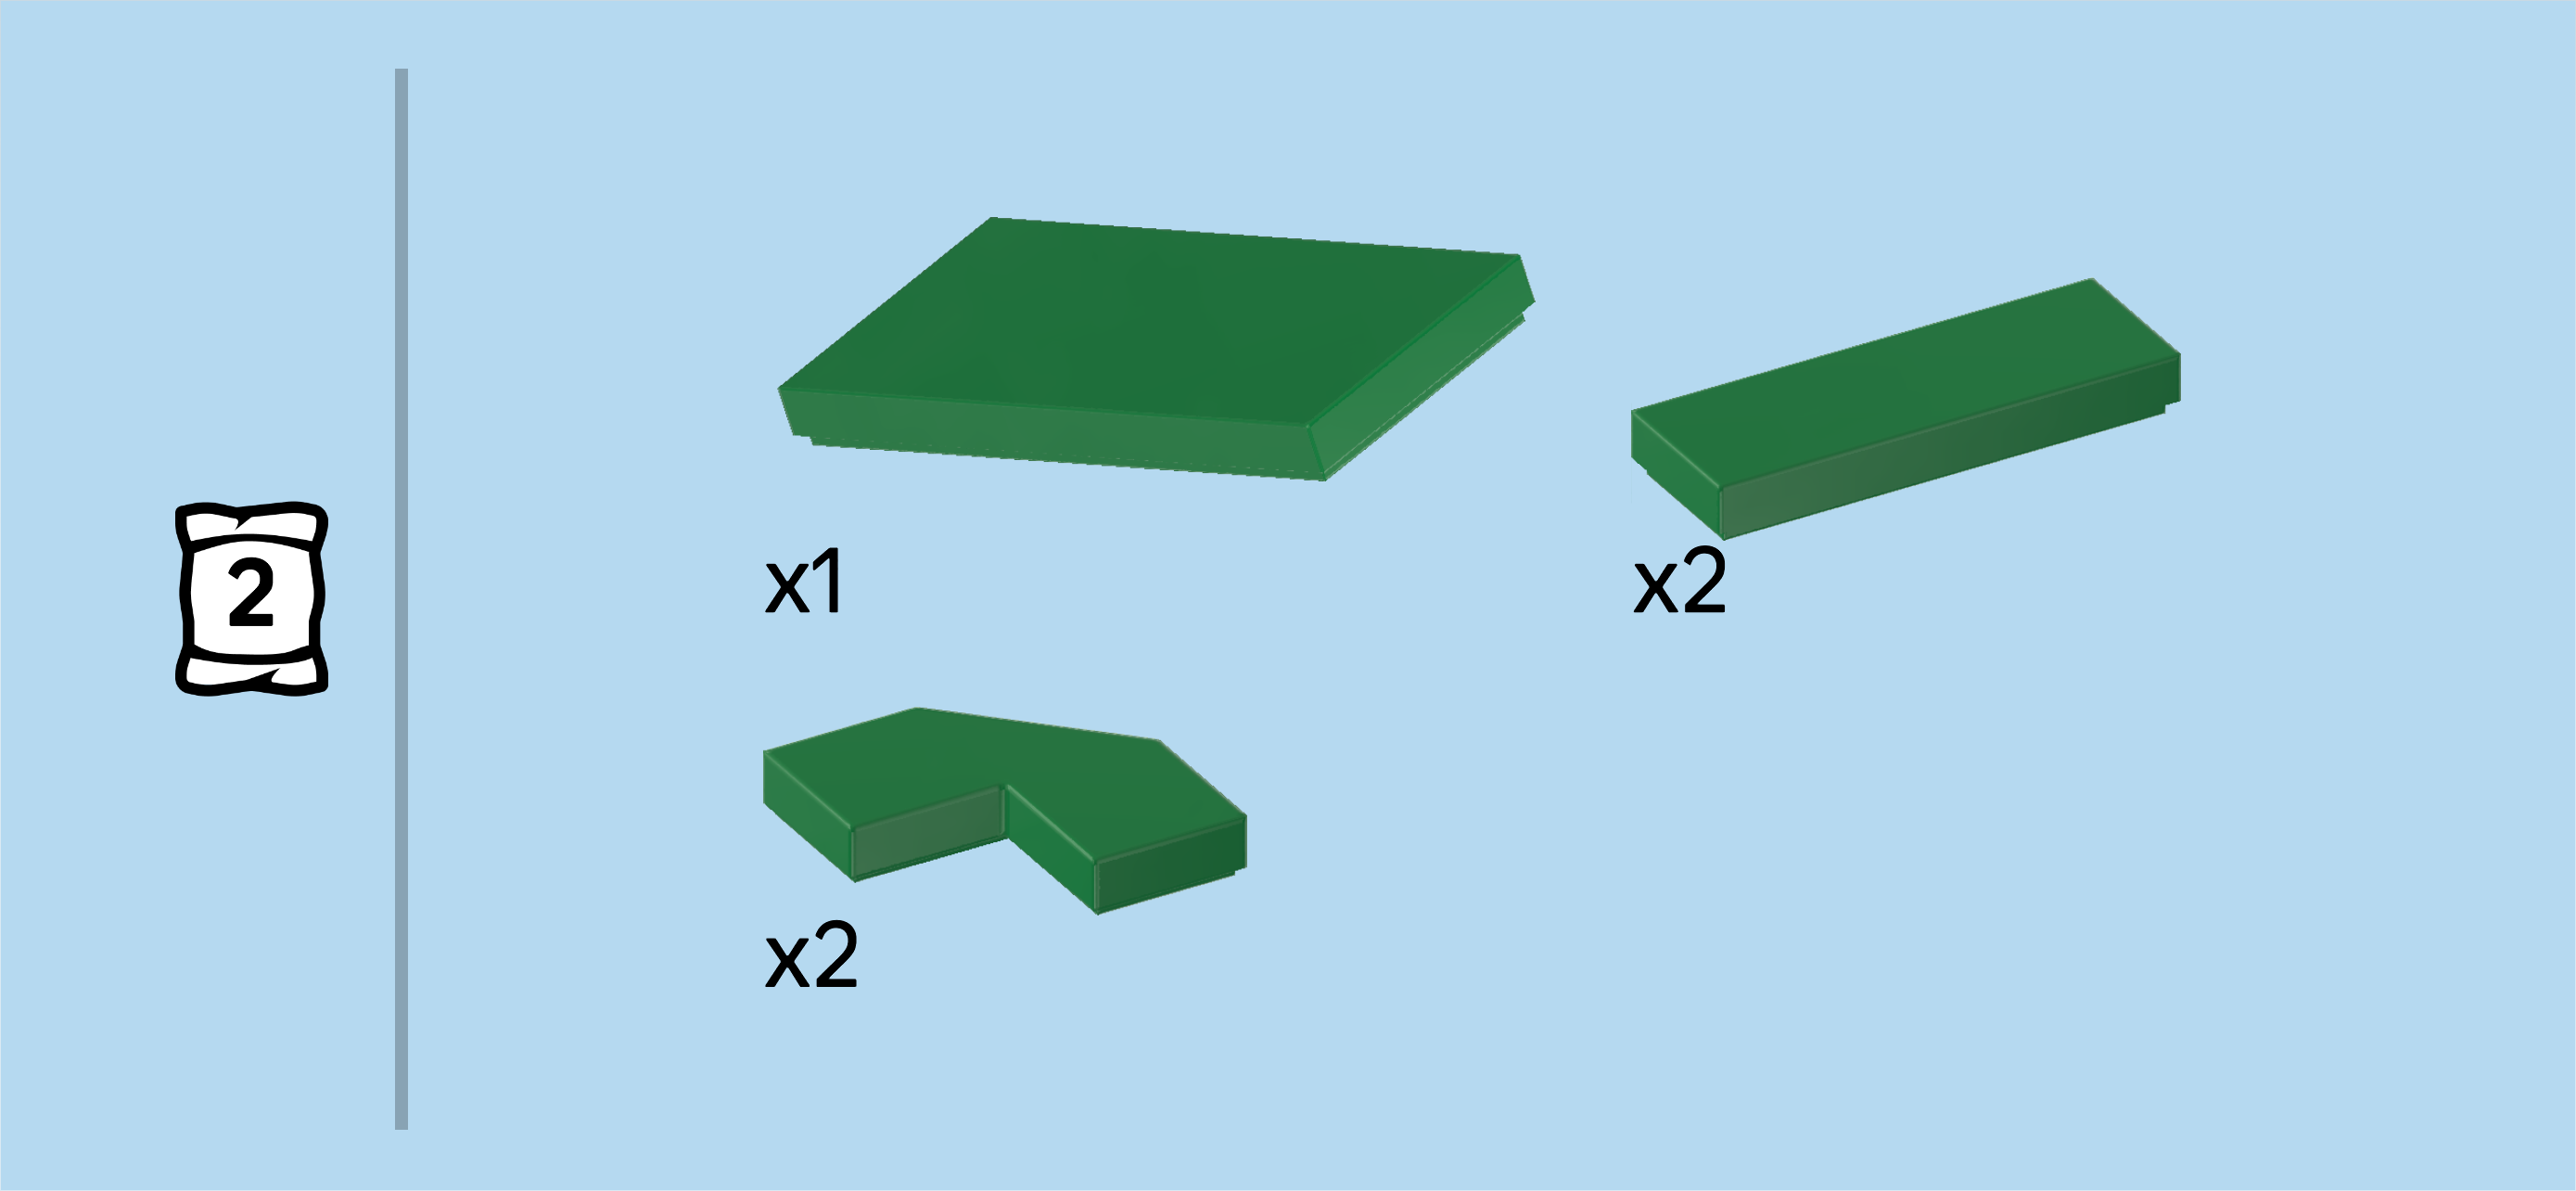
| Now, we build the Turtle Beach House shell which is also the roof of the house. |
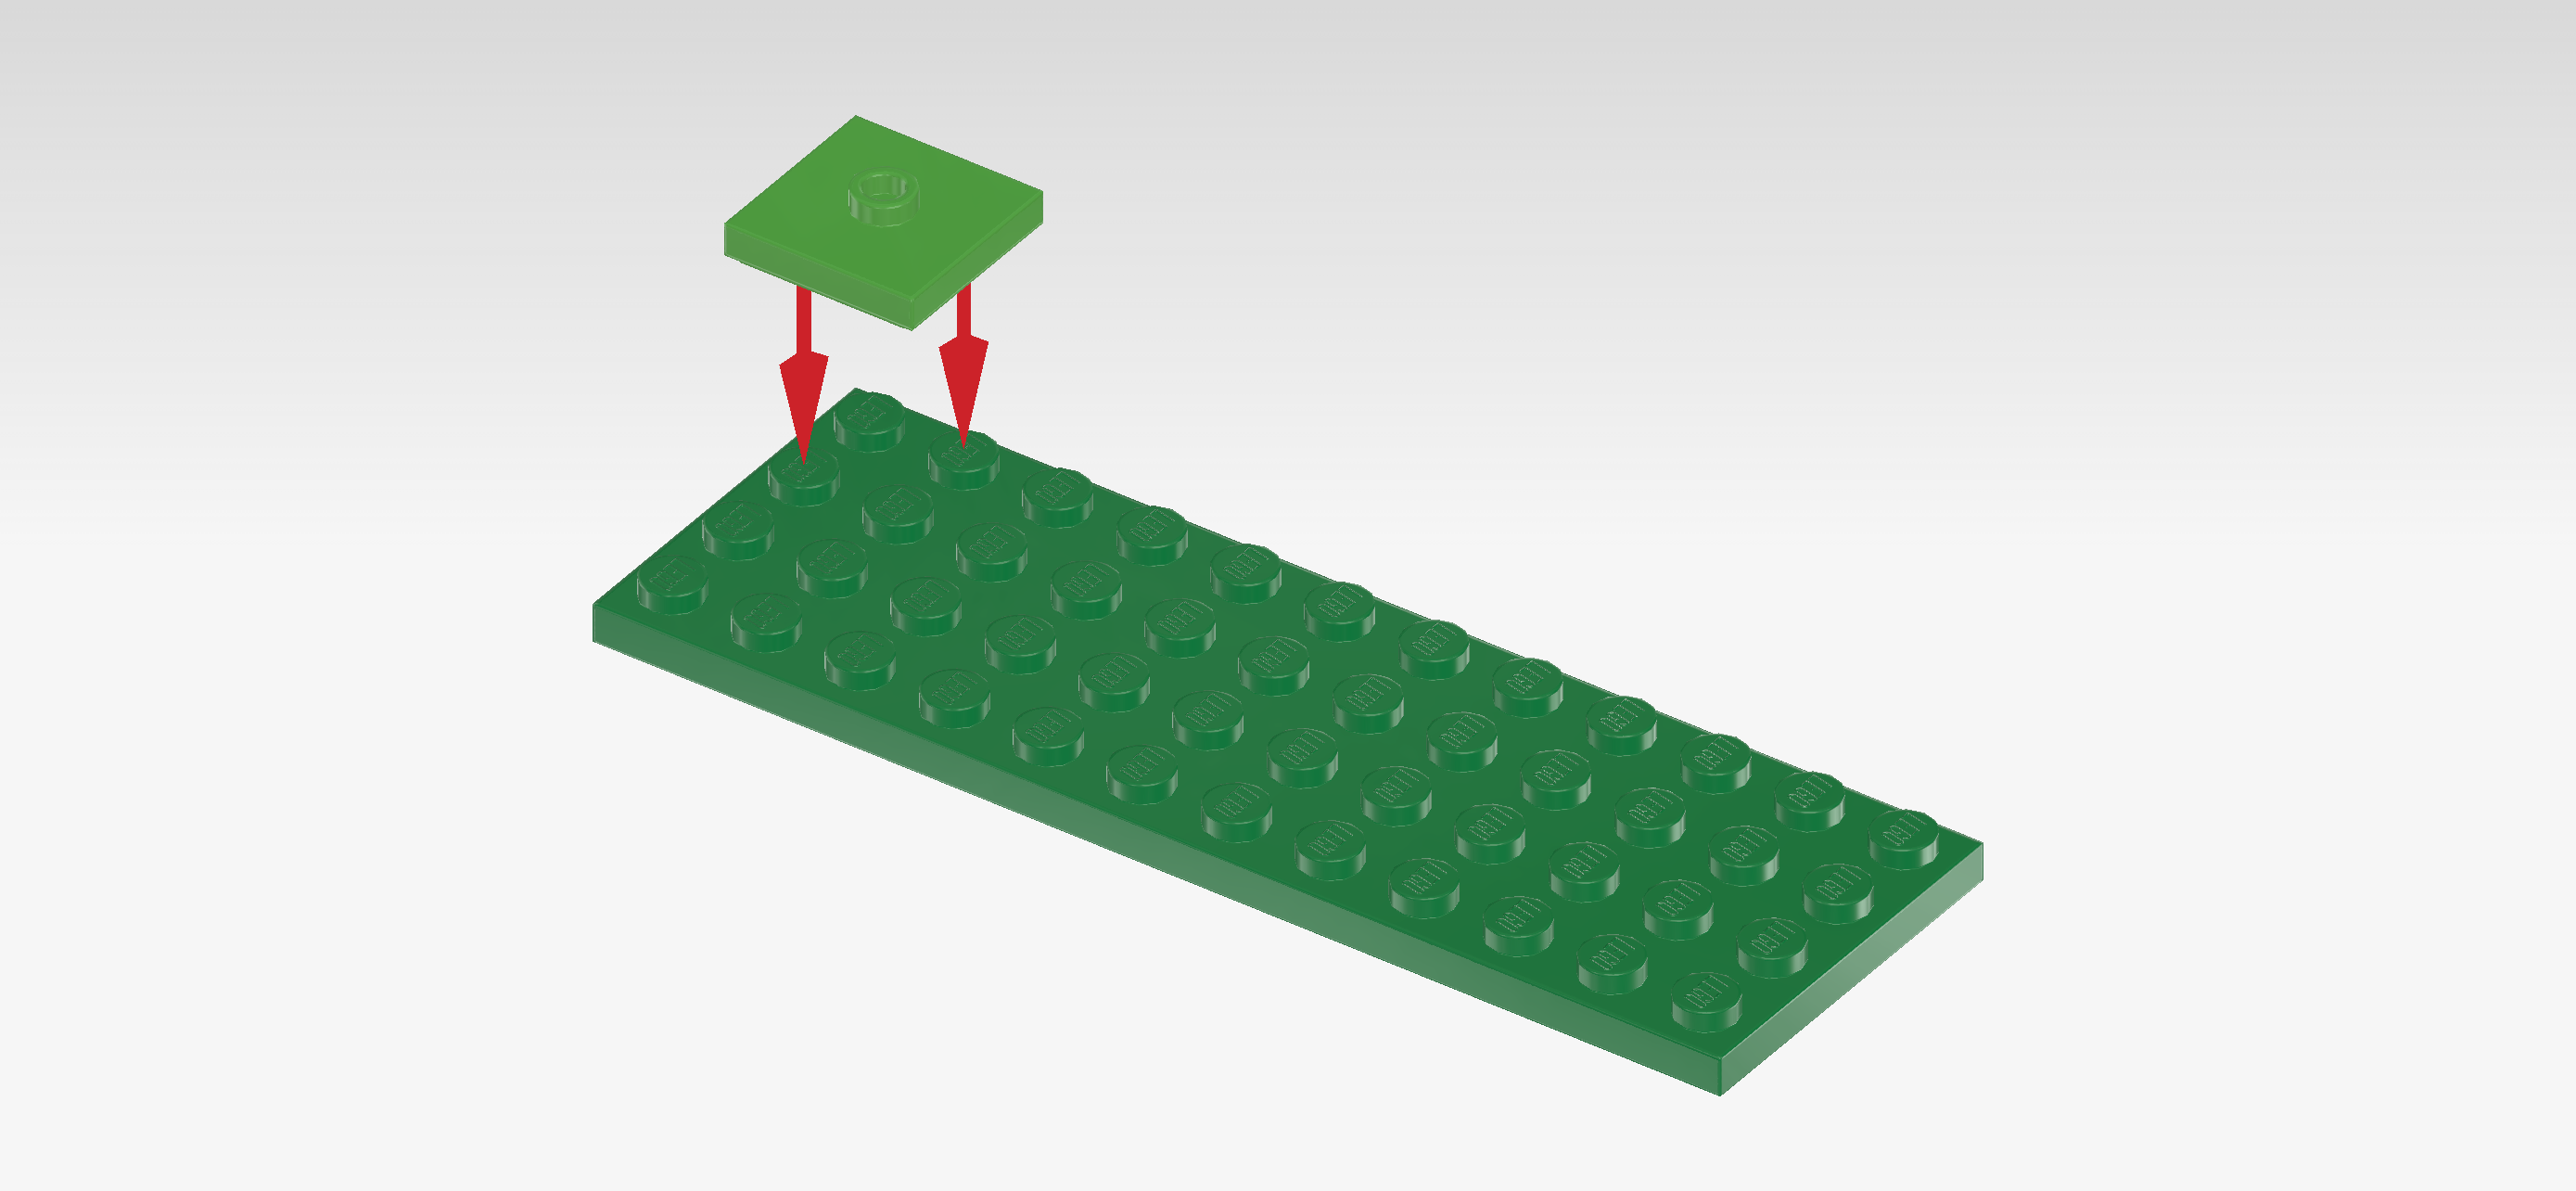
| Collect the following 2 pieces: |
| 1 bright green plate 2x2 with 1 knob, |
| and 1 dark green plate 4x12. |
| Put the plate 4x12 horizontally on the table. |
| Put the plate 2x2 on the back left corner of the previous piece. |
| Collect the following 4 pieces: |
| 3 dark green flat tiles 2x4, |
| and 1 bright green plate 2x2 with 1 knob. |
| Put 1 flat tile 2x4 horizontally to the right of the previous piece. |
| Put another flat tile 2x4 horizontally to the right of the previous piece. |
| Put the plate 2x2 with 1 knob to the right of the previous piece. |
| Put the remaining flat tile 2x4 vertically on the 2 leftmost columns, one half overhanging to the front. |
| Find 1 dark green plate 4x12. |
| Put it horizontally underneath the overhanging part of the previous piece, making sure that the left and right edges of the two base plates are flush. |
| Find 1 dark green flat tile 2x4. |
| Put it vertically on the 2 leftmost columns, one half overhanging to the front. |
| Find another dark green plate 4x12. |
| Put it horizontally underneath the previous piece, again making sure that the left and right edges of the base plates are flush. |
| Collect the following 6 pieces: |
| 2 bright green plates 2x2 with 1 knob, |
| and 4 dark green flat tiles 2x4. |
| These pieces will be used to cover the perimeter of the roof. Continue for detailed instructions. |
| Put 1 plate 2x2 with 1 knob on the front left corner. |
| Put 1 flat tile 2x4 horizontally to the right of the previous piece. This means it will sit on the frontmost row. |
| Put another flat tile 2x4 horizontally to the right of the previous piece. |
| Put the other plate 2x2 with 1 knob to the right of the previous piece. |
| Put 1 flat tile 2x4 vertically behind the previous piece. |
| Put the remaining flat tile 2x4 vertically behind the previous piece. |
| Next, we will build a roof beam. |
| Collect the following 2 pieces: |
| 1 dark green plate 2x8, |
| and 1 dark green brick 2x4. |
| Put the plate 2x8 horizontally on the table. |
| Put the brick 2x4 horizontally on the right half of the previous piece. |
| Find 1 dark green brick 2x4. |
| Put it horizontally to the left of the previous piece. |
| Mount the roof beam vertically centered underneath the 2 rightmost columns. This will make the roof lopsided for now. |
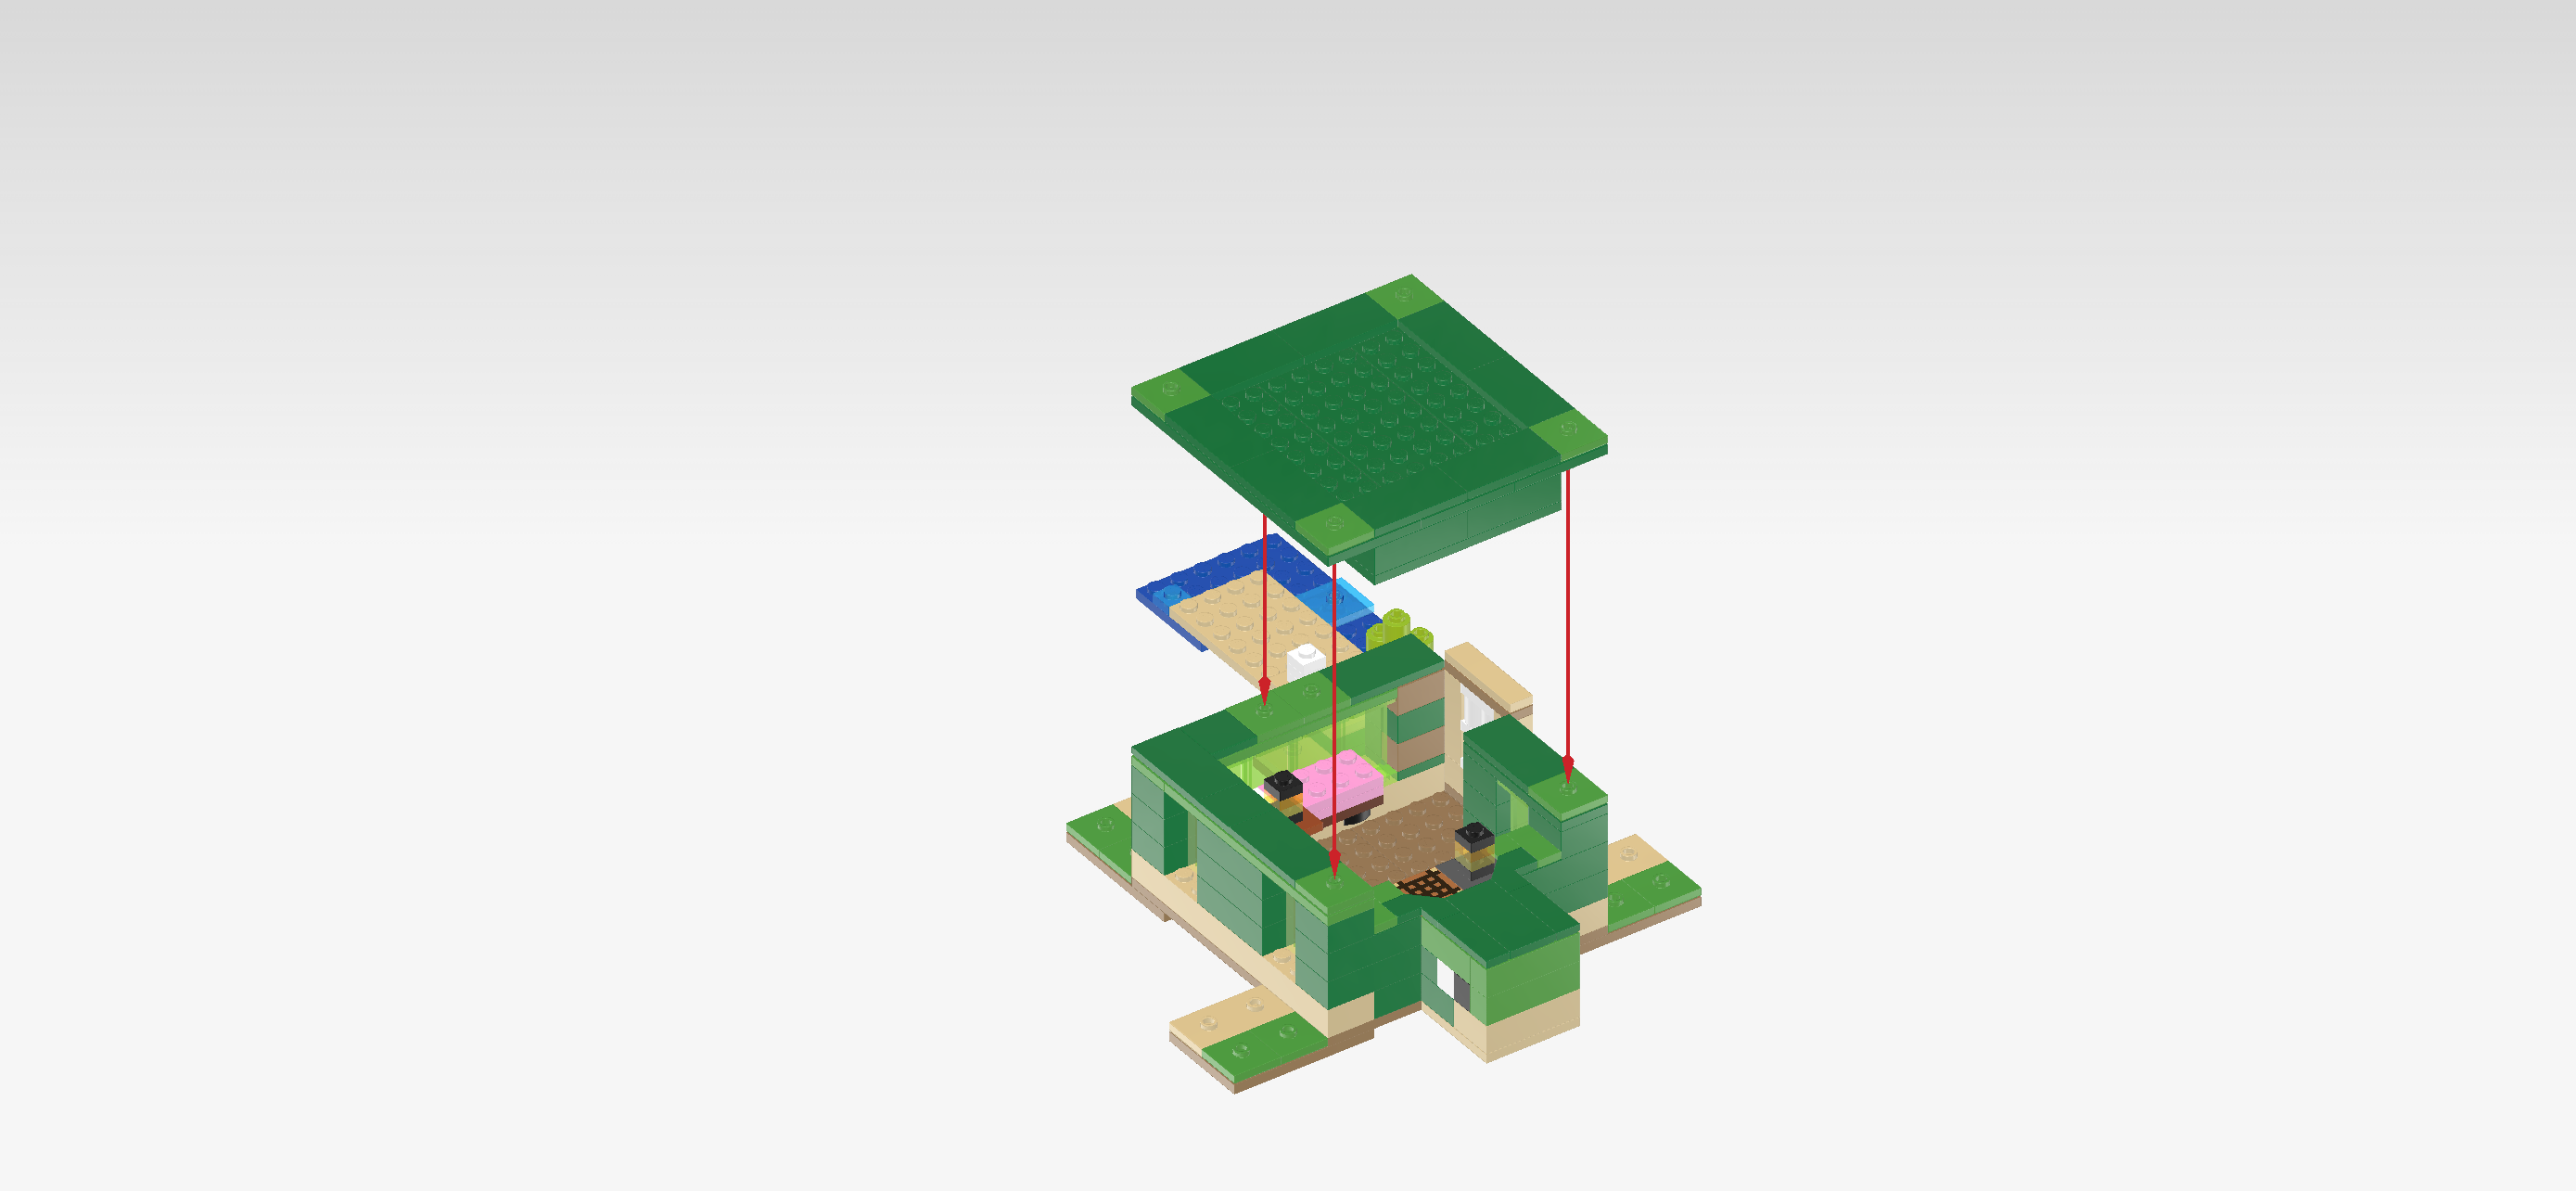
| The turtle house shell is finished! Great job! Turn it so that the roof beam is at the front edge. Lower it onto the turtle house. The roof beam fits exactly into the lower part behind the turtle head. |
| Since the top surfaces of the walls only have a few knobs, you can lift off the roof any time you want and play with the interior of the house. You can just as easily close it again to protect it from rain or intruders. |
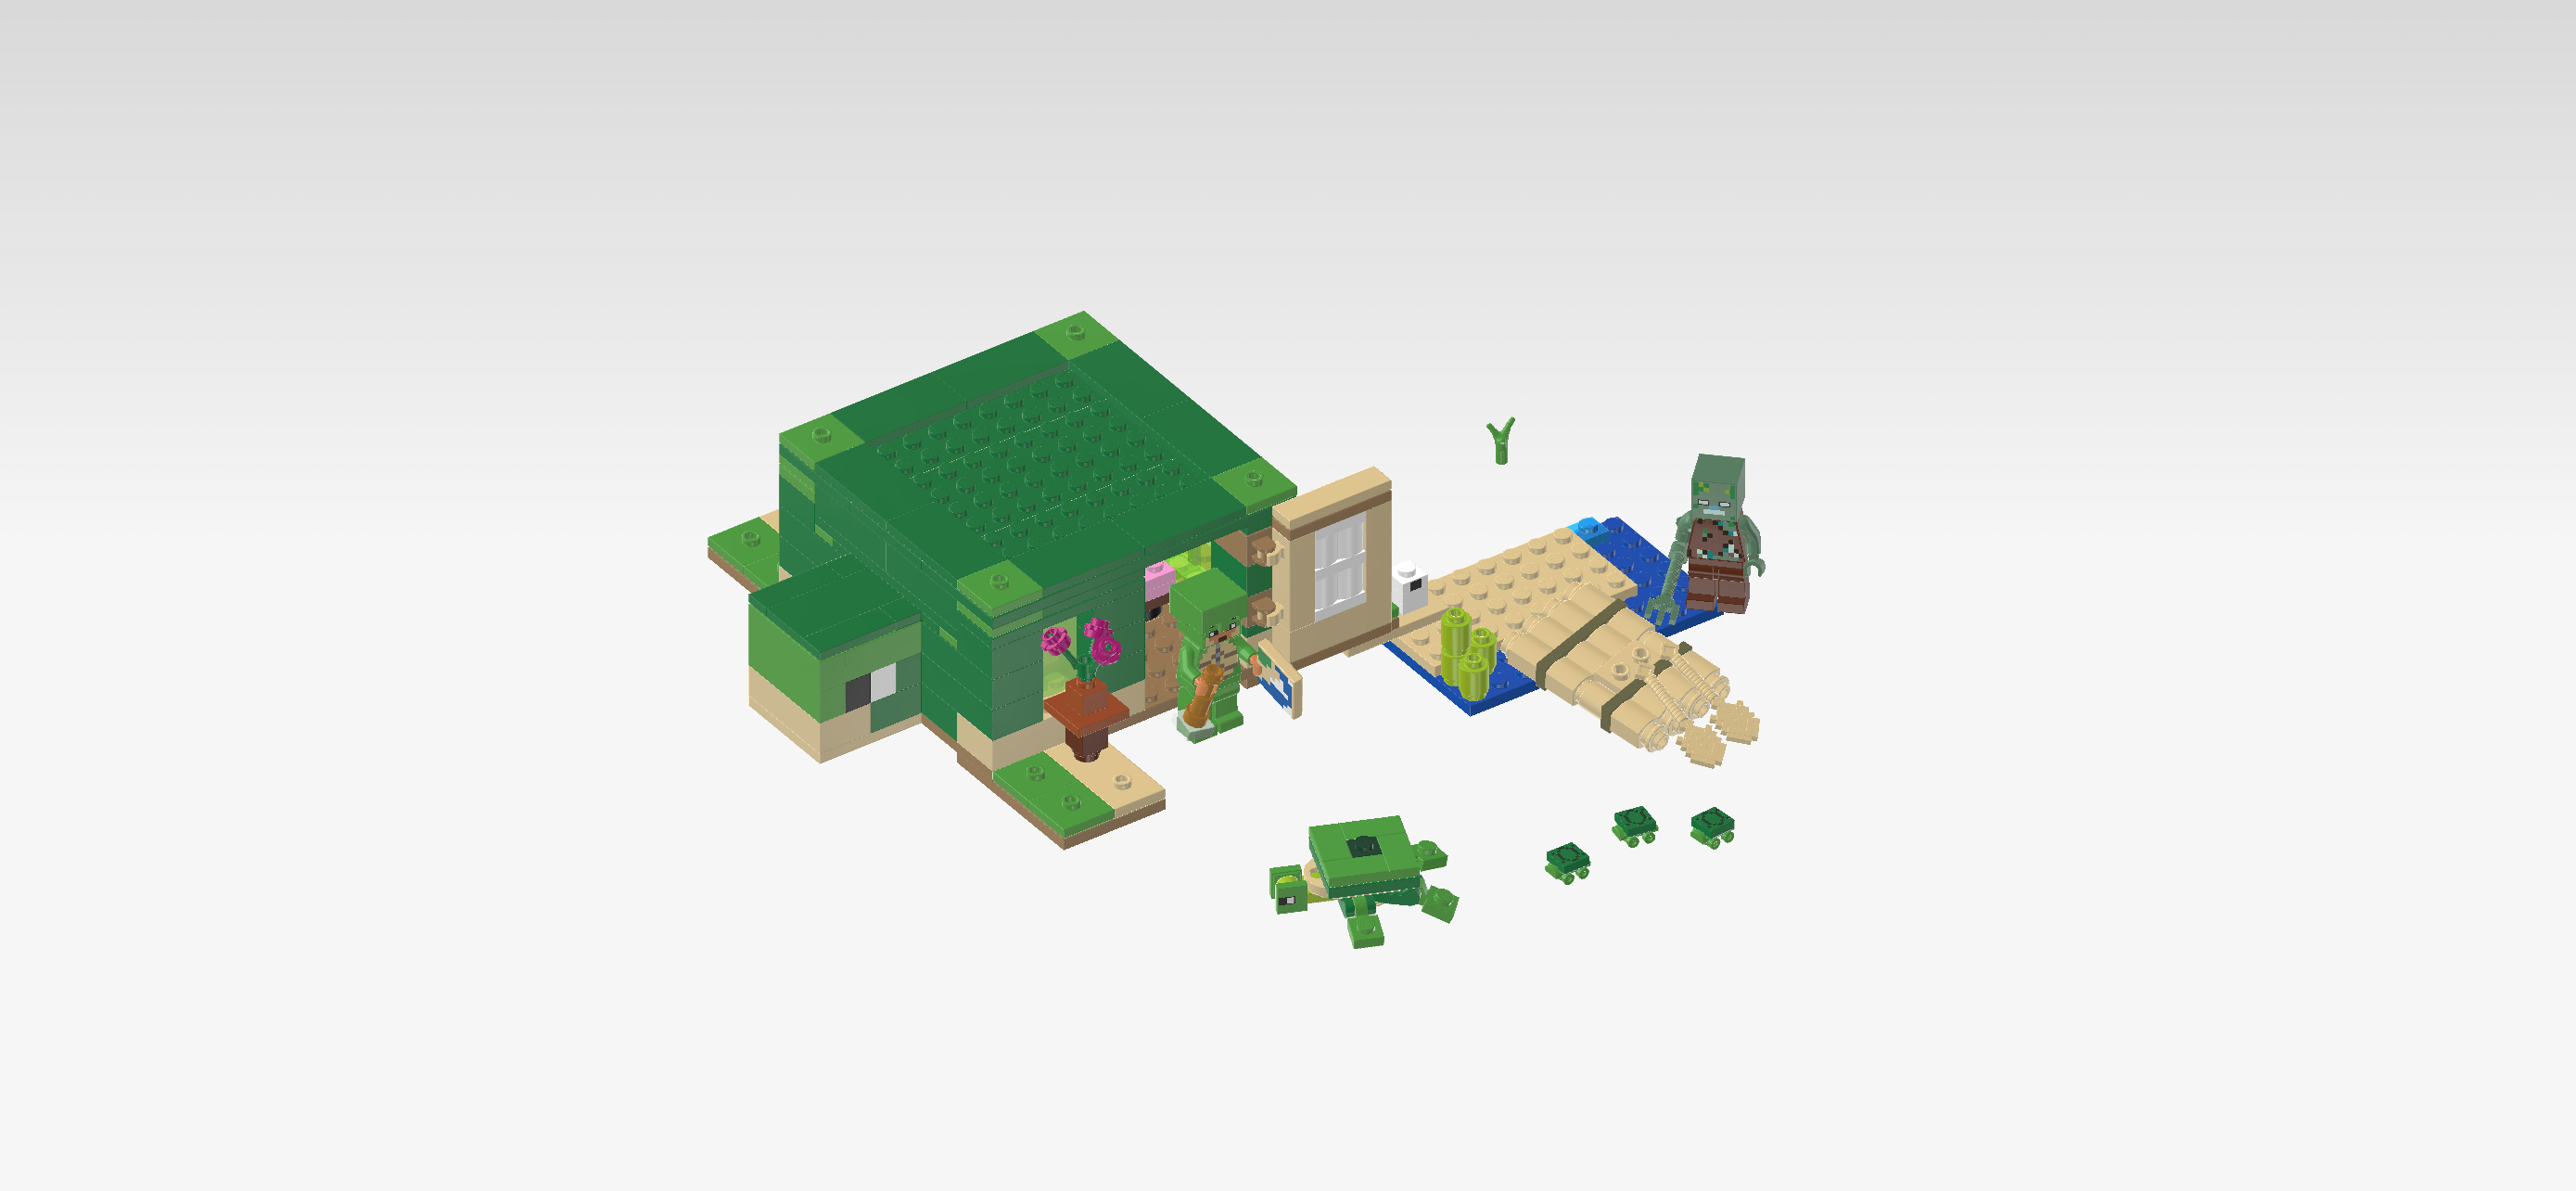
| You have finished building the entire set! Fantastic job! It is time to enjoy some quality time with your sea turtles on the beach! Watch the baby turtles play in the water, mount your raft for a little tour of the bay or get busy with your crafting table for more Minecraft fun. But watch out for the Drowned! You never know when one might show up. |
| Enjoy! |
