| LEGO Audio & Braille Building Instructions for the LEGO Minecraft set "The End Arena". |
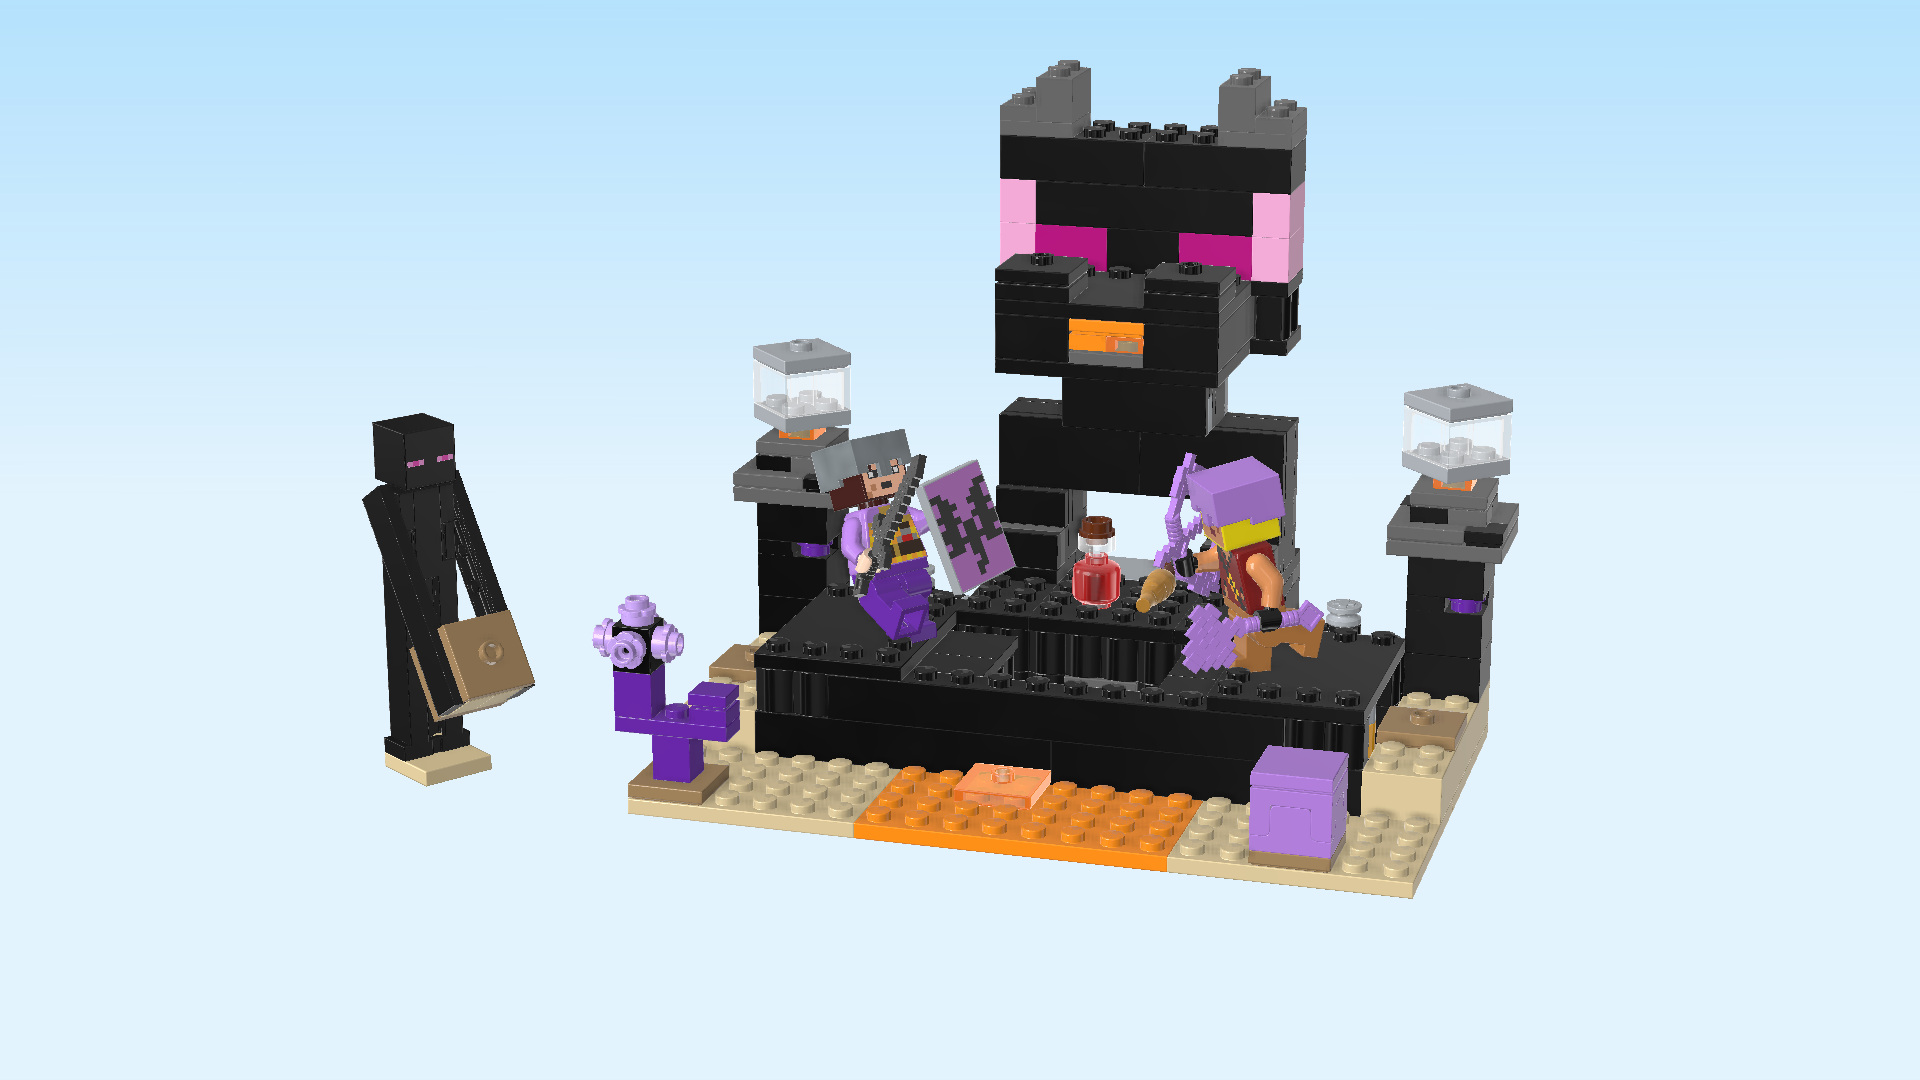
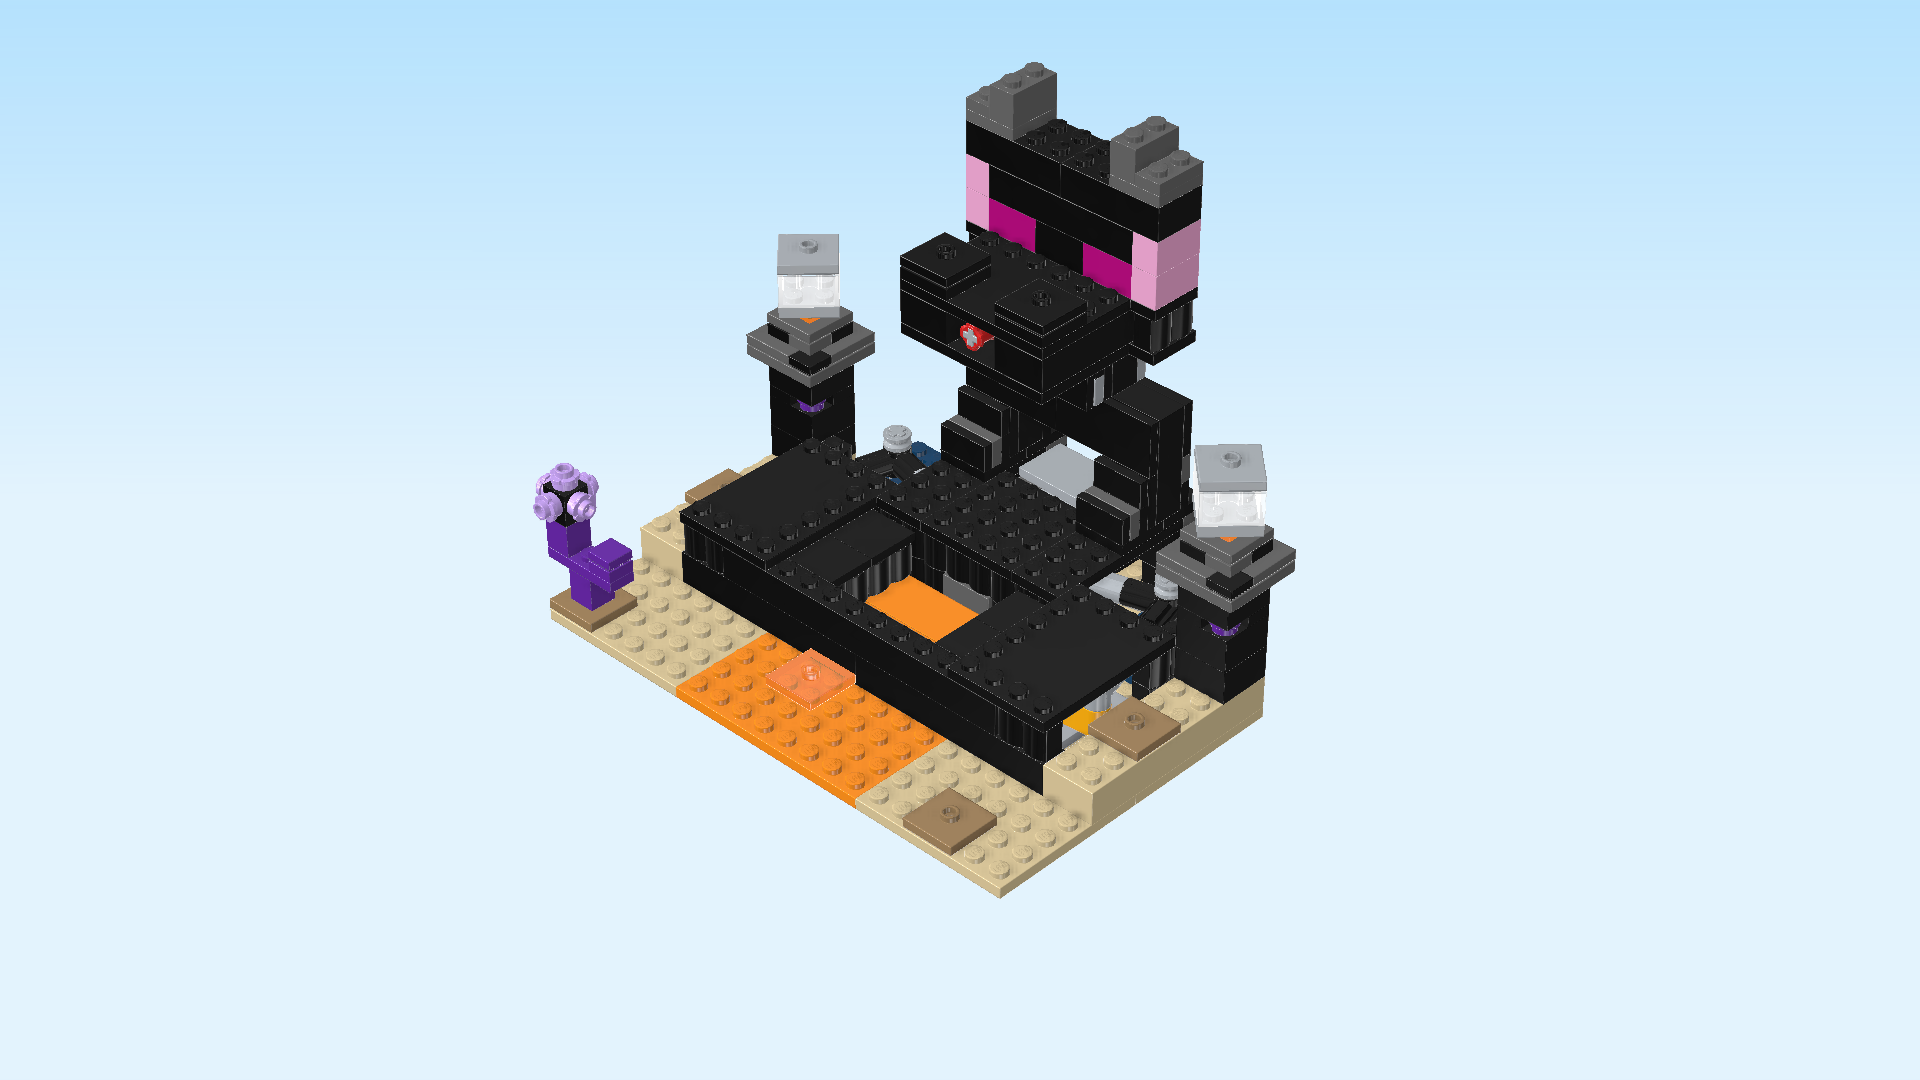
| When an End warrior takes on a dragon archer in the End Arena, they must watch out for more than each other’s weapons. The Ender Dragon sculpture that towers above them launches lava blocks from its mouth, while the movable floor could slide apart at any moment, causing one of them to fall into a pool of lava! Do you have the Minecraft skills to survive a battle in the End Arena? |
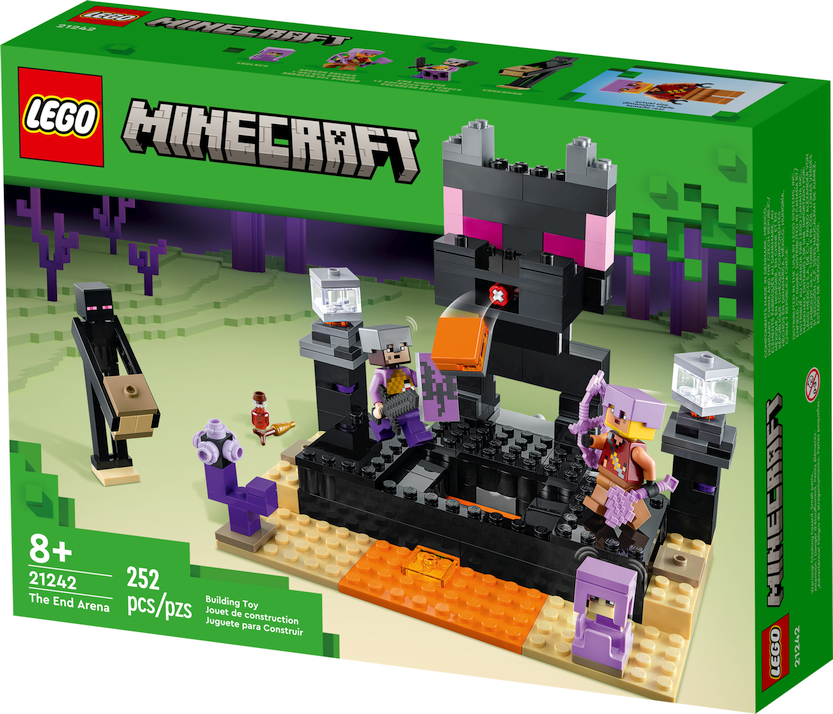
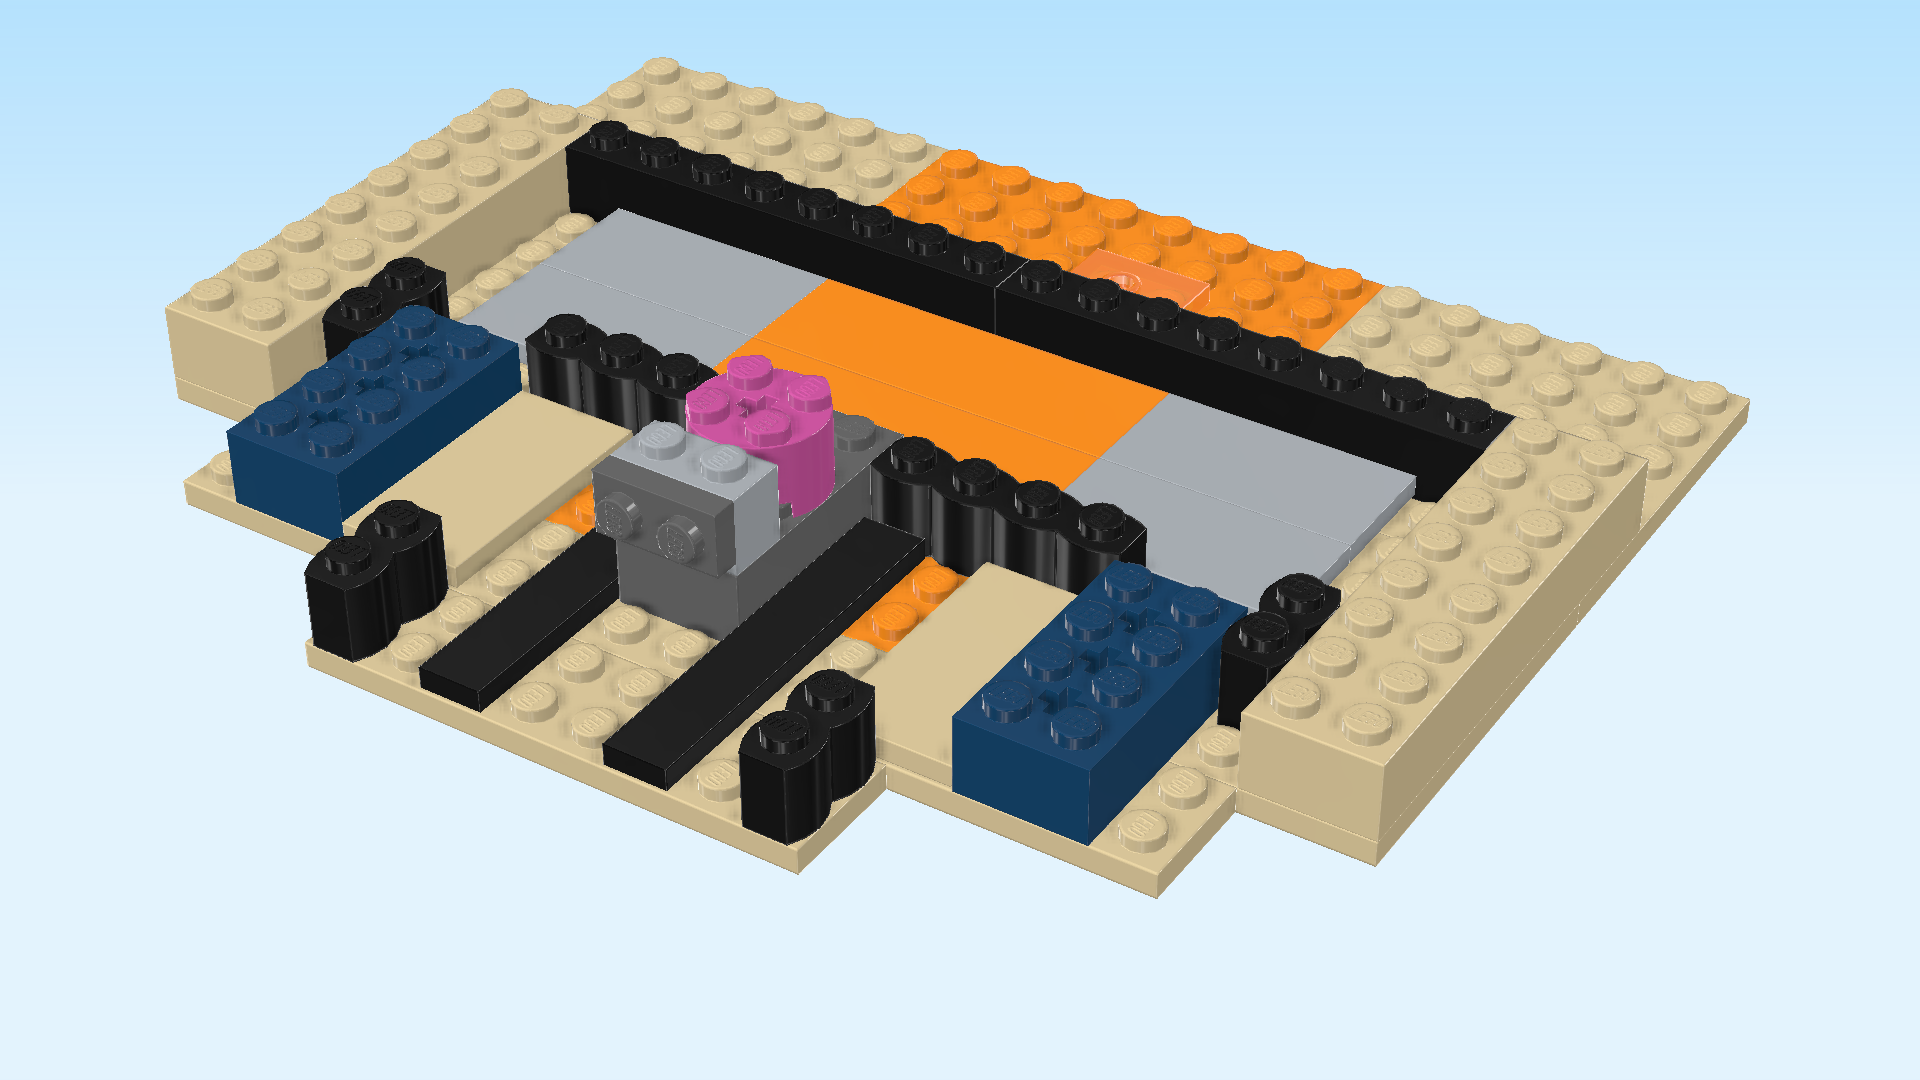
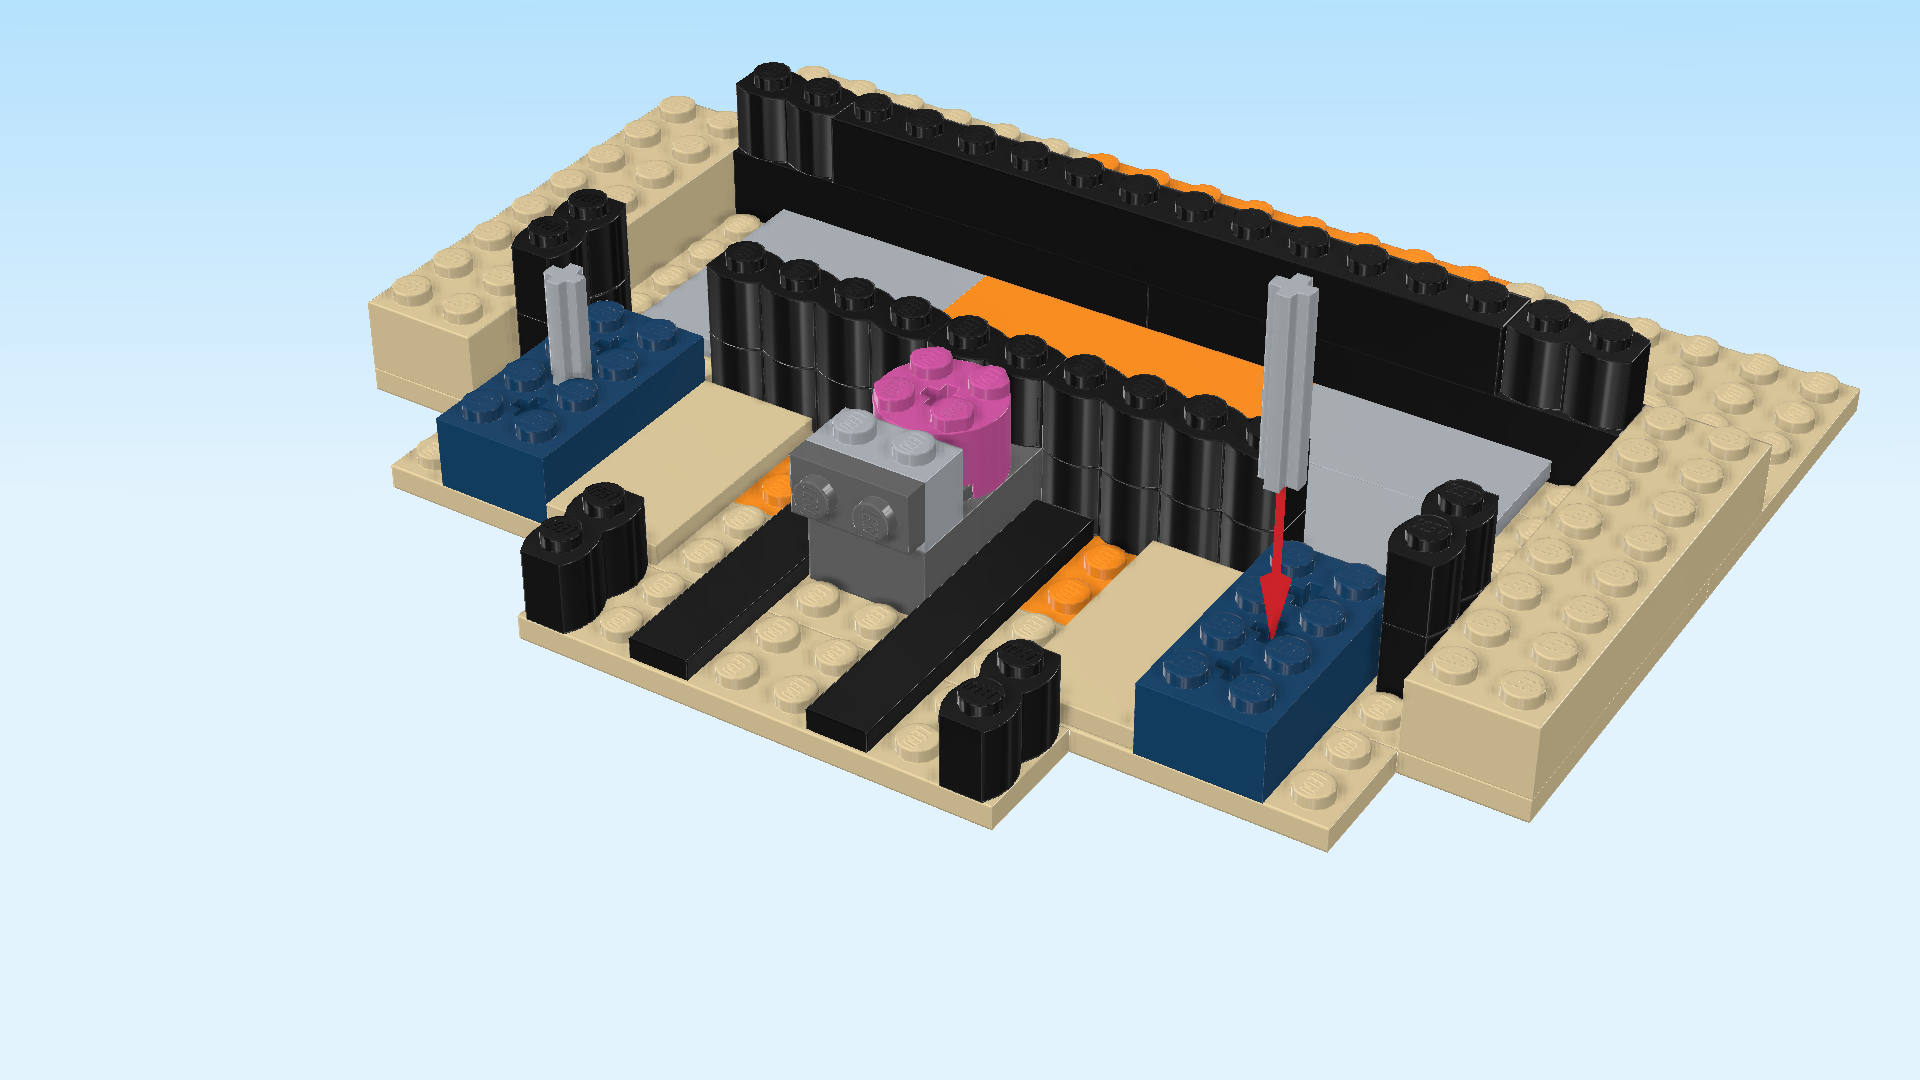
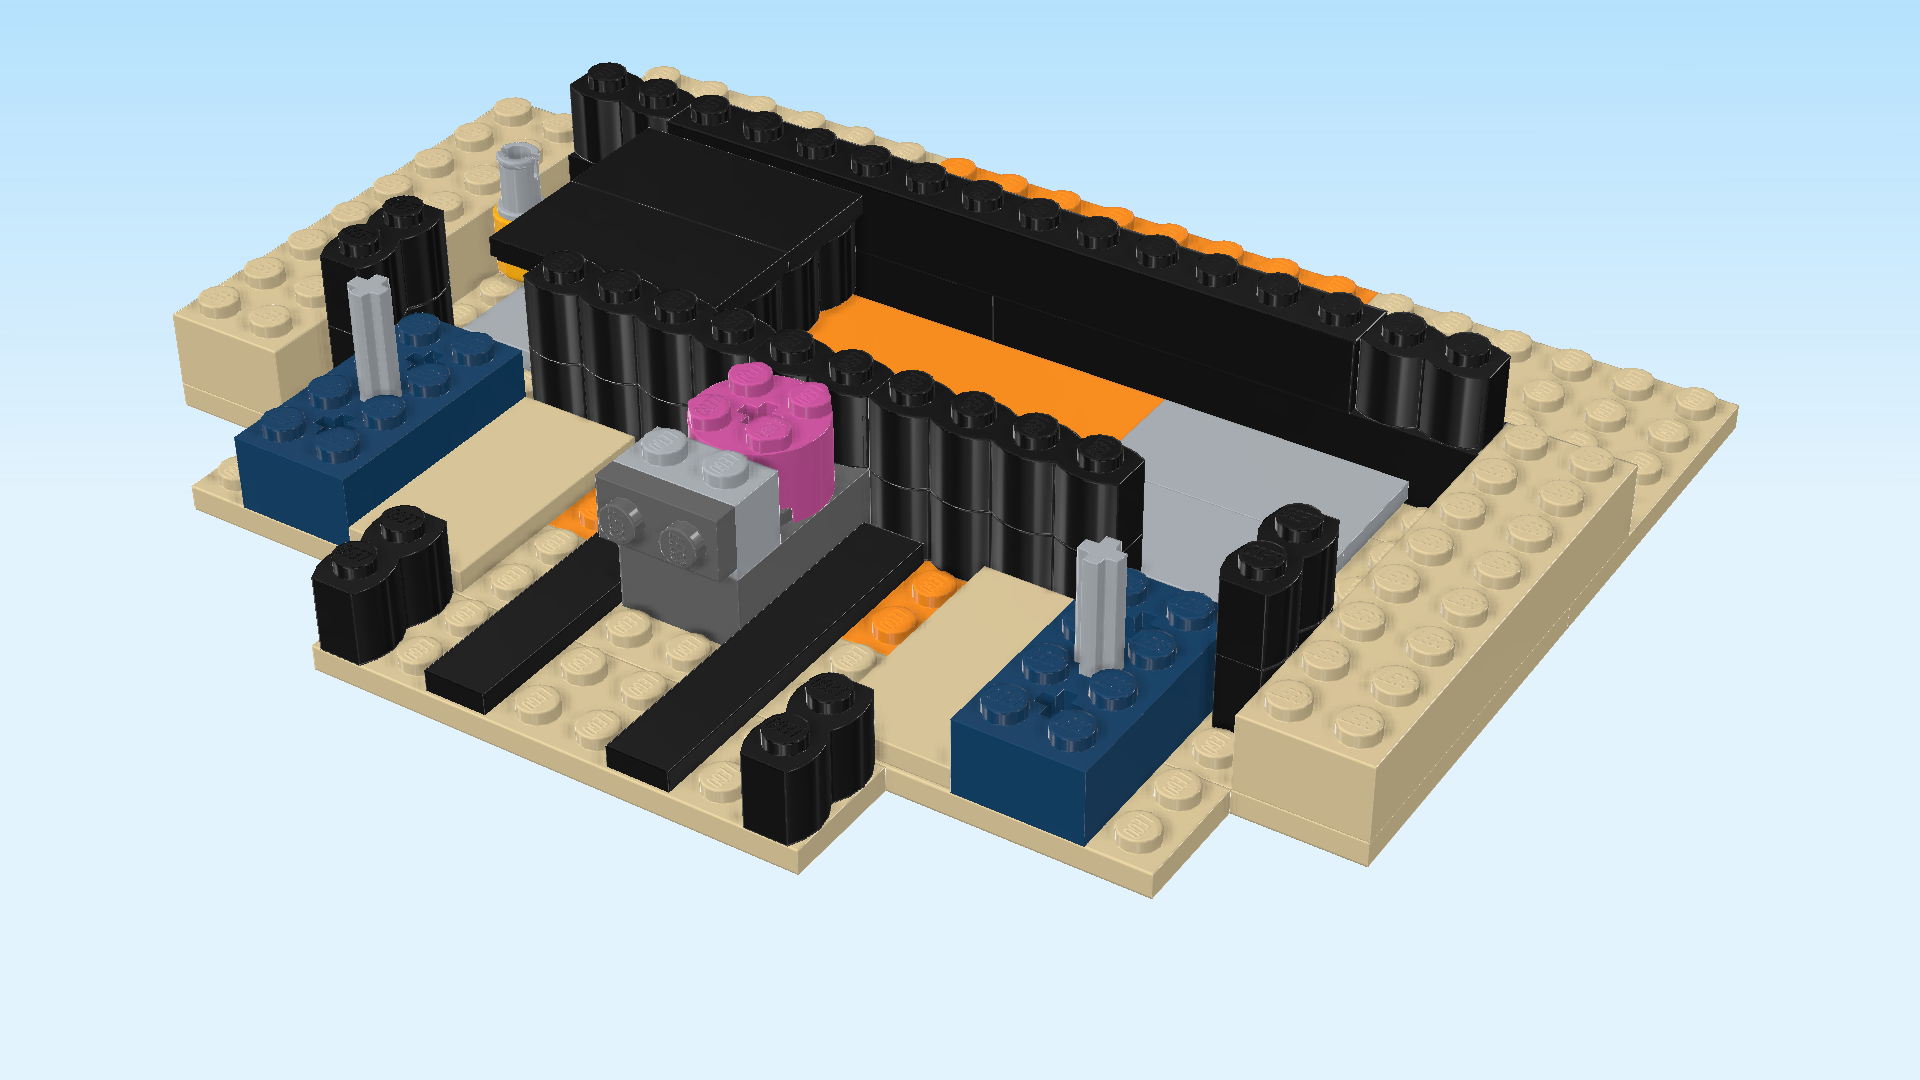
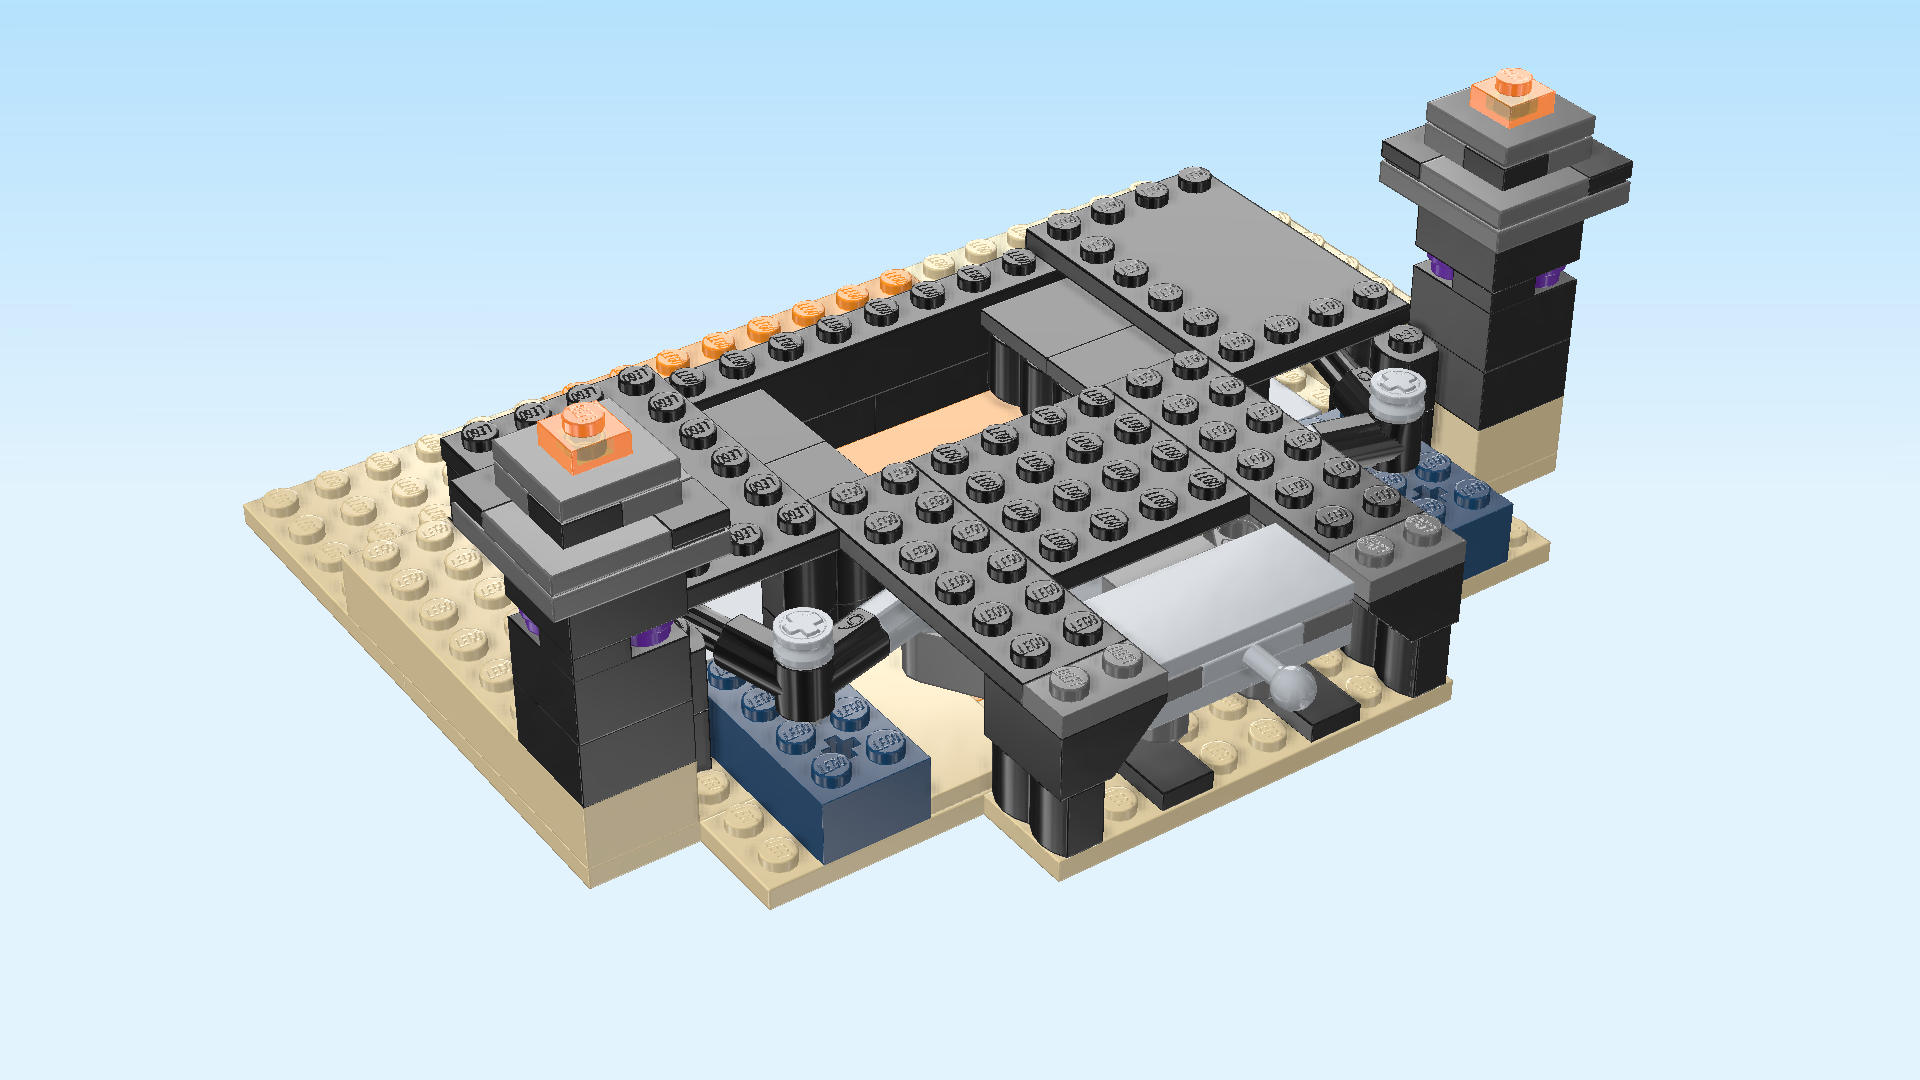
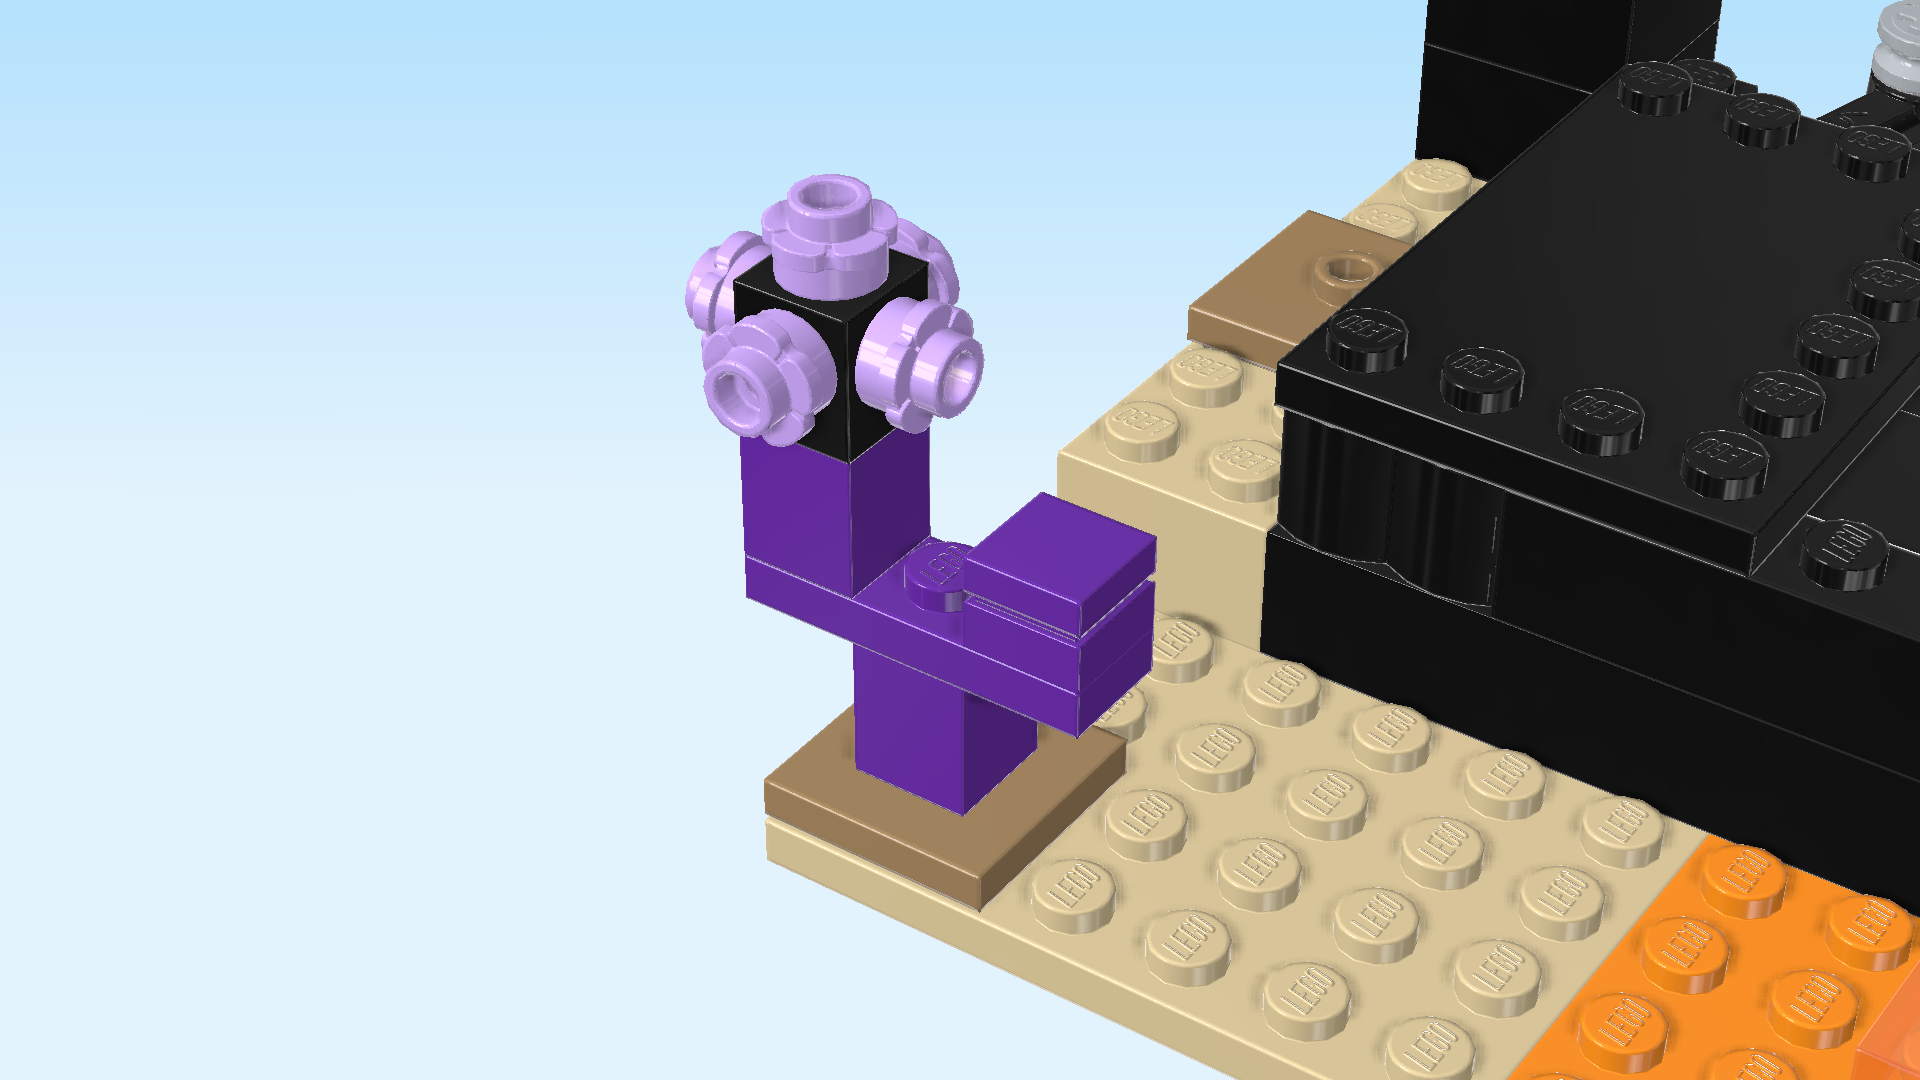
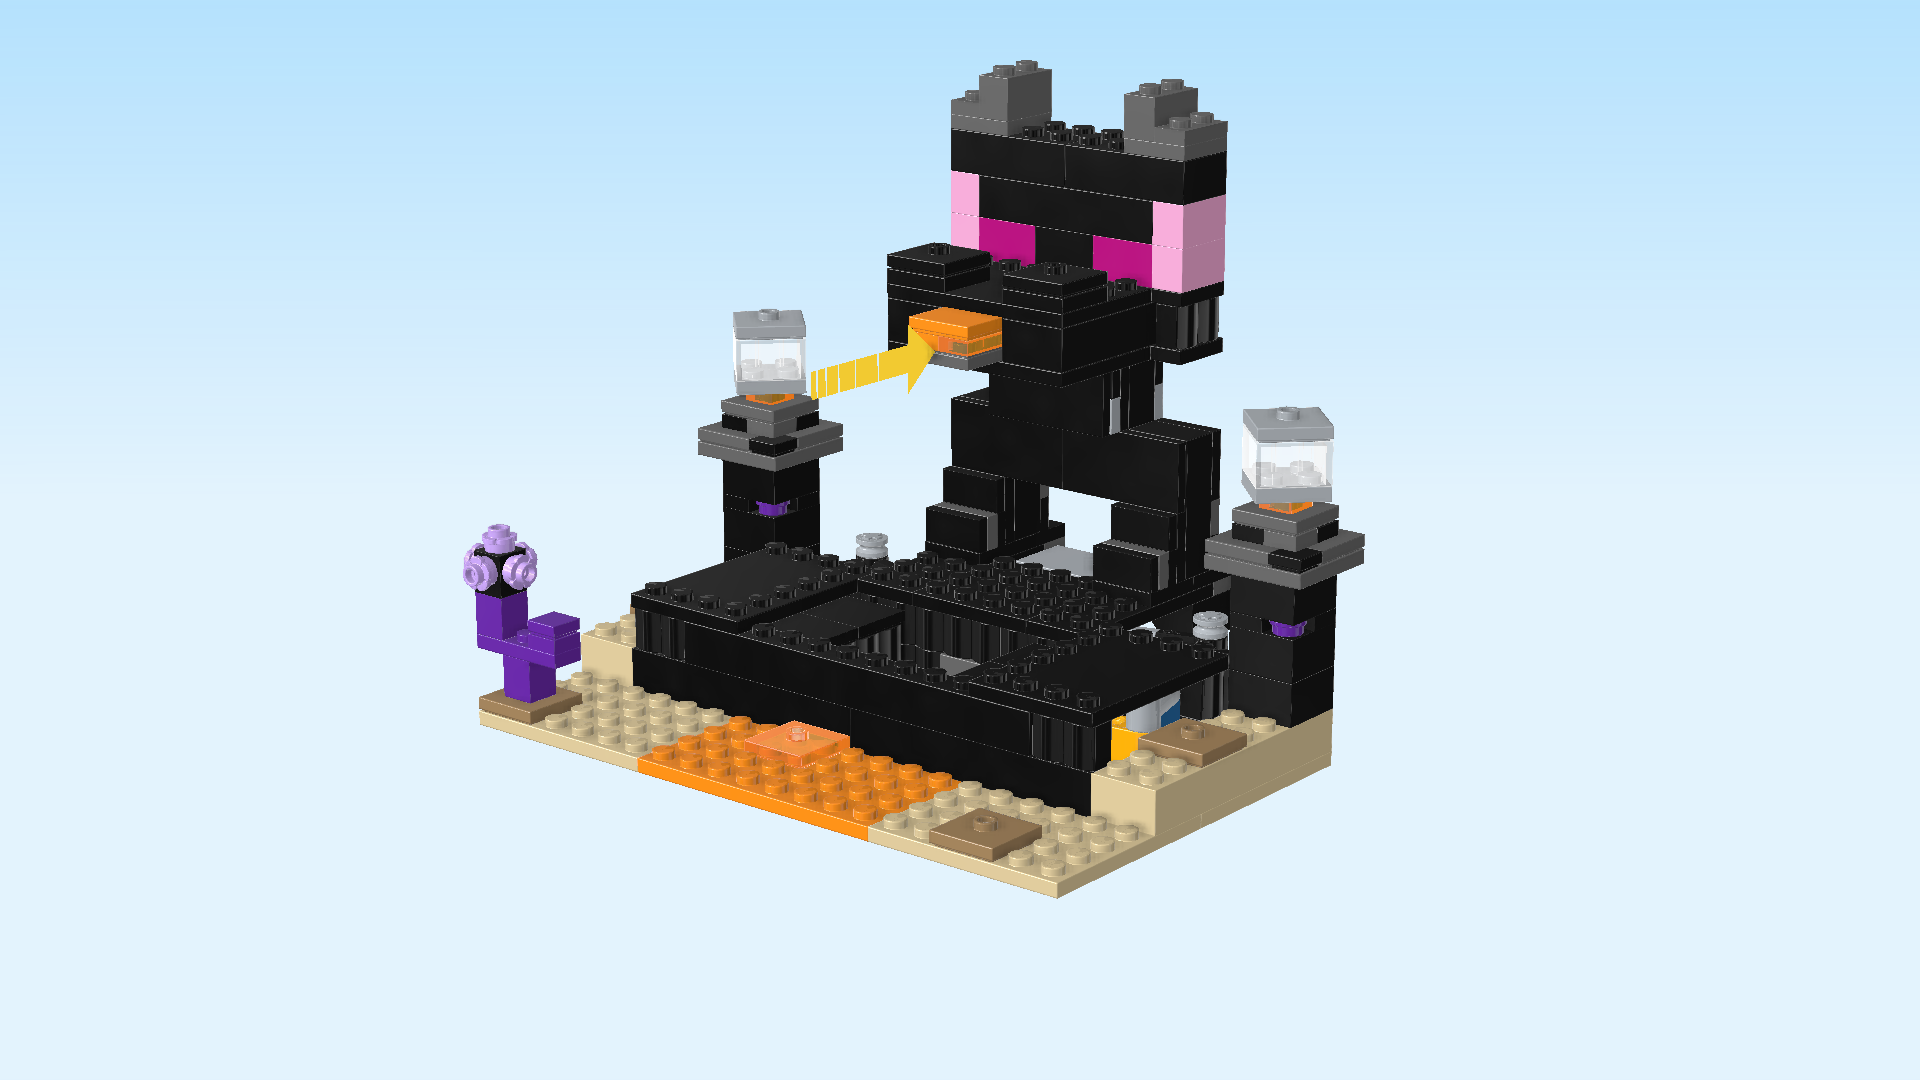
| On the box cover, the fight between the two combatants in the arena is in full swing. The arena of course is at the center of the scene. It's an obsidian platform built above a fiery-orange lava stream. The square platform actually comes with a trap door: in the current scene, the floor is split wide open, revealing a dangerous lava pit! There are obsidian towers at the left and right edge of the arena with end crystals at their tops. At the arena's back edge, you will find the towering black and pink Ender dragon statue; it is spitting out a big block of lava. The End warrior is standing on the left edge of the arena. He is fighting with his Netherite sword, while his opponent, the dragon archer, relies on his enchanted bow and axe for combat. At the front edge of the scene, far away from the arena's platform, a shulker is anxiously peeking out of its shell. To the left of the fight scene, there is an enderman carrying a block. The backdrop of the scene is green Minecraft meadows that are overgrown with lilac choral plants. We will build one of those choral plants, too! Let's get started. |
| Open the box. This can be tricky; ask someone to help you! |
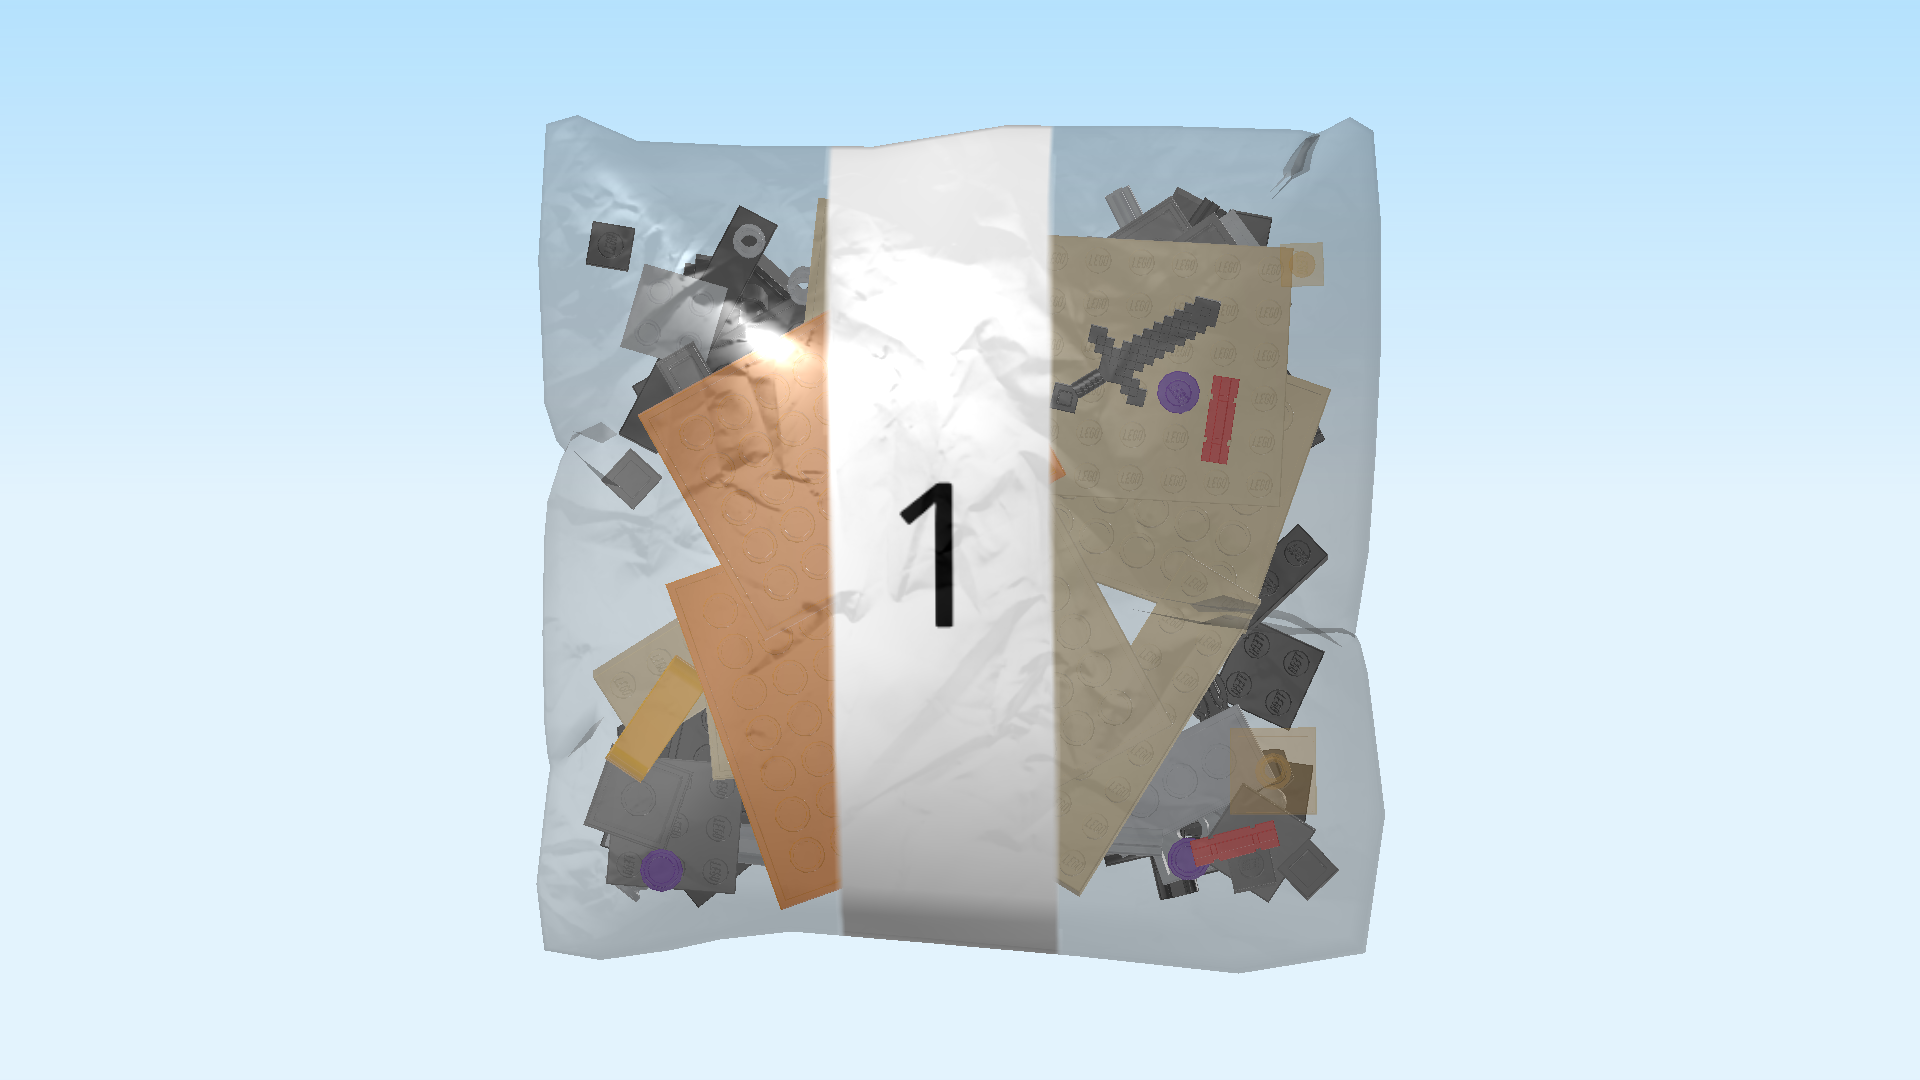
| The box contains 1 booklet with visual building instructions, and 2 bags with numbers printed on them. Ask a sighted person to help you find the correct bag! |
| Carefully open bag number 1 and any small sub-bags in it. This bag contains all bricks and pieces for the End warrior Minifigure, the Shulker Minifigure, and the arena platform with trap door and obsidian towers. |
| Before you start building, ask a sighted person to help you sort the pieces by color. This makes finding the correct pieces even easier! |
| First, we will build the End warrior Minifigure. |
| Note that if you have already opened bag 2 as well, the parts of the Minifigures are identical in shape and only differ in colors and prints. If you are not sure whether you have the correct pieces, ask a sighted person for help. |
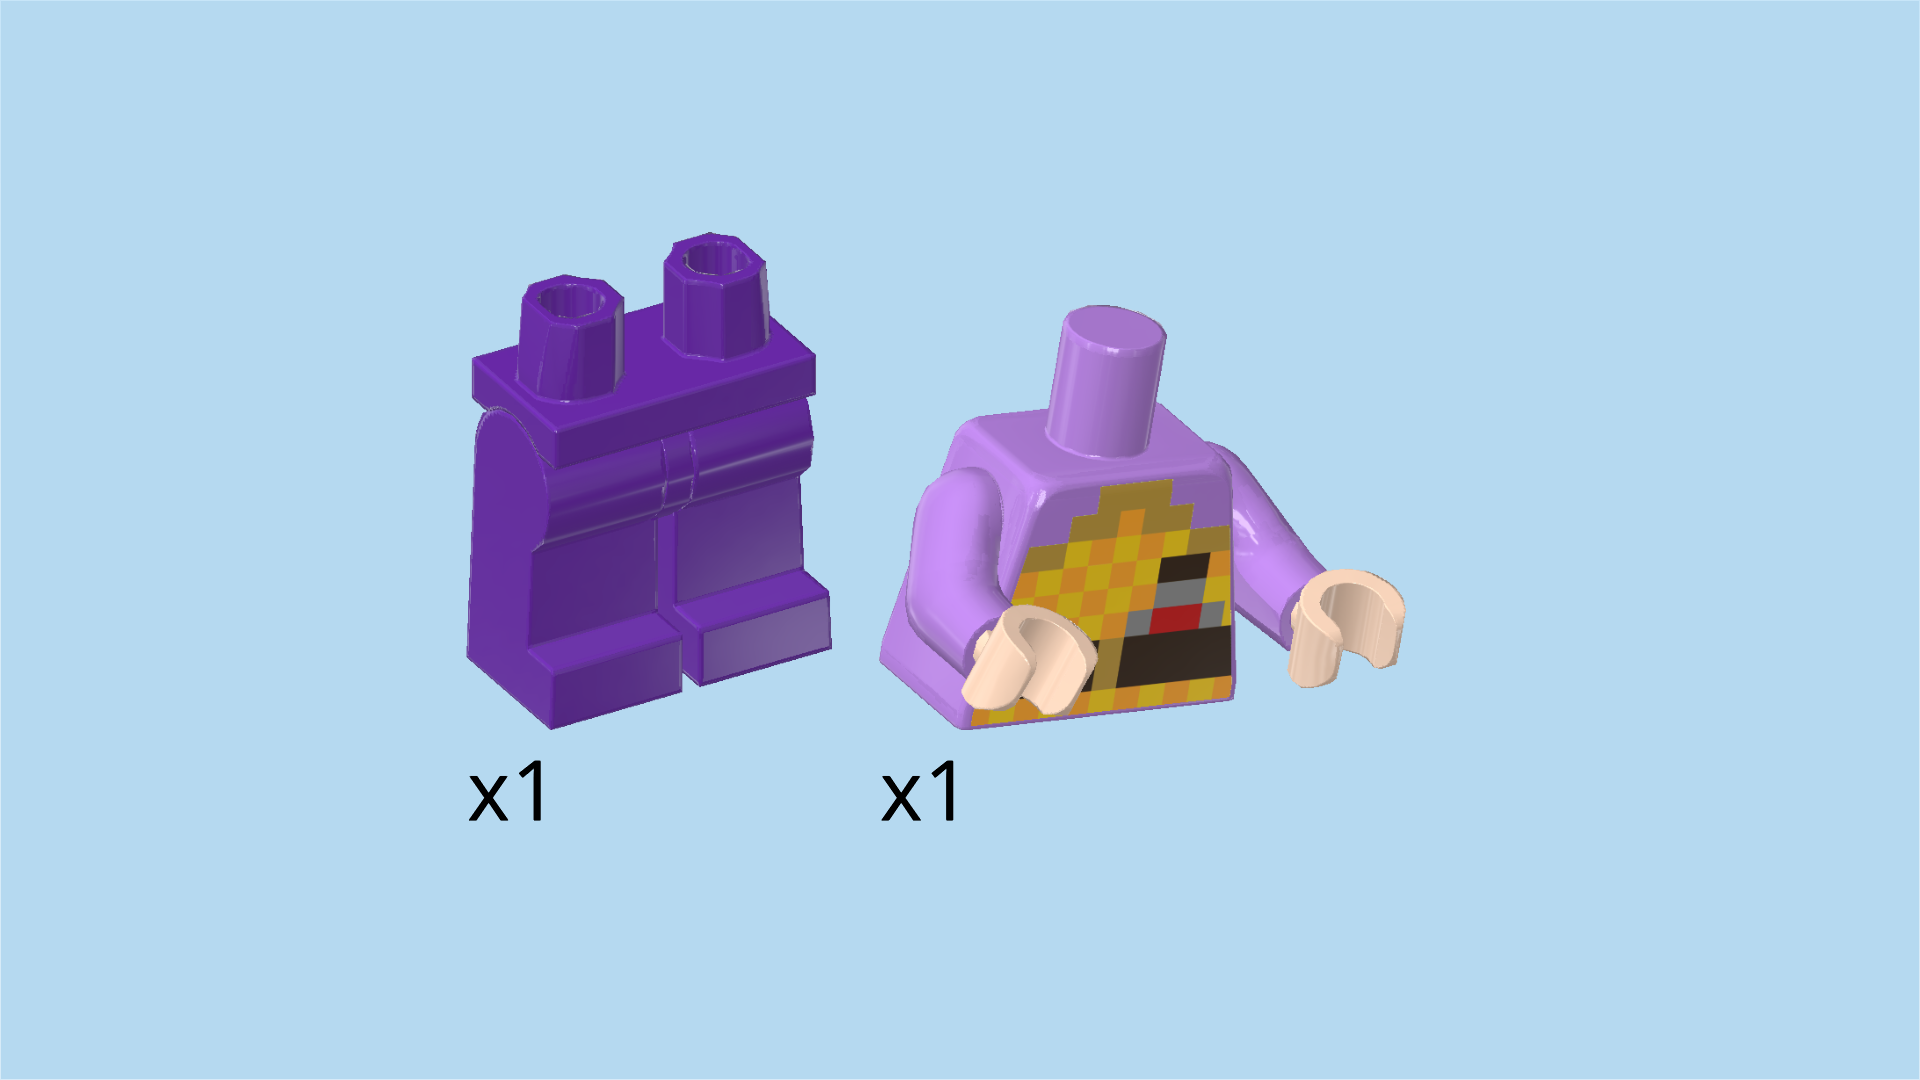
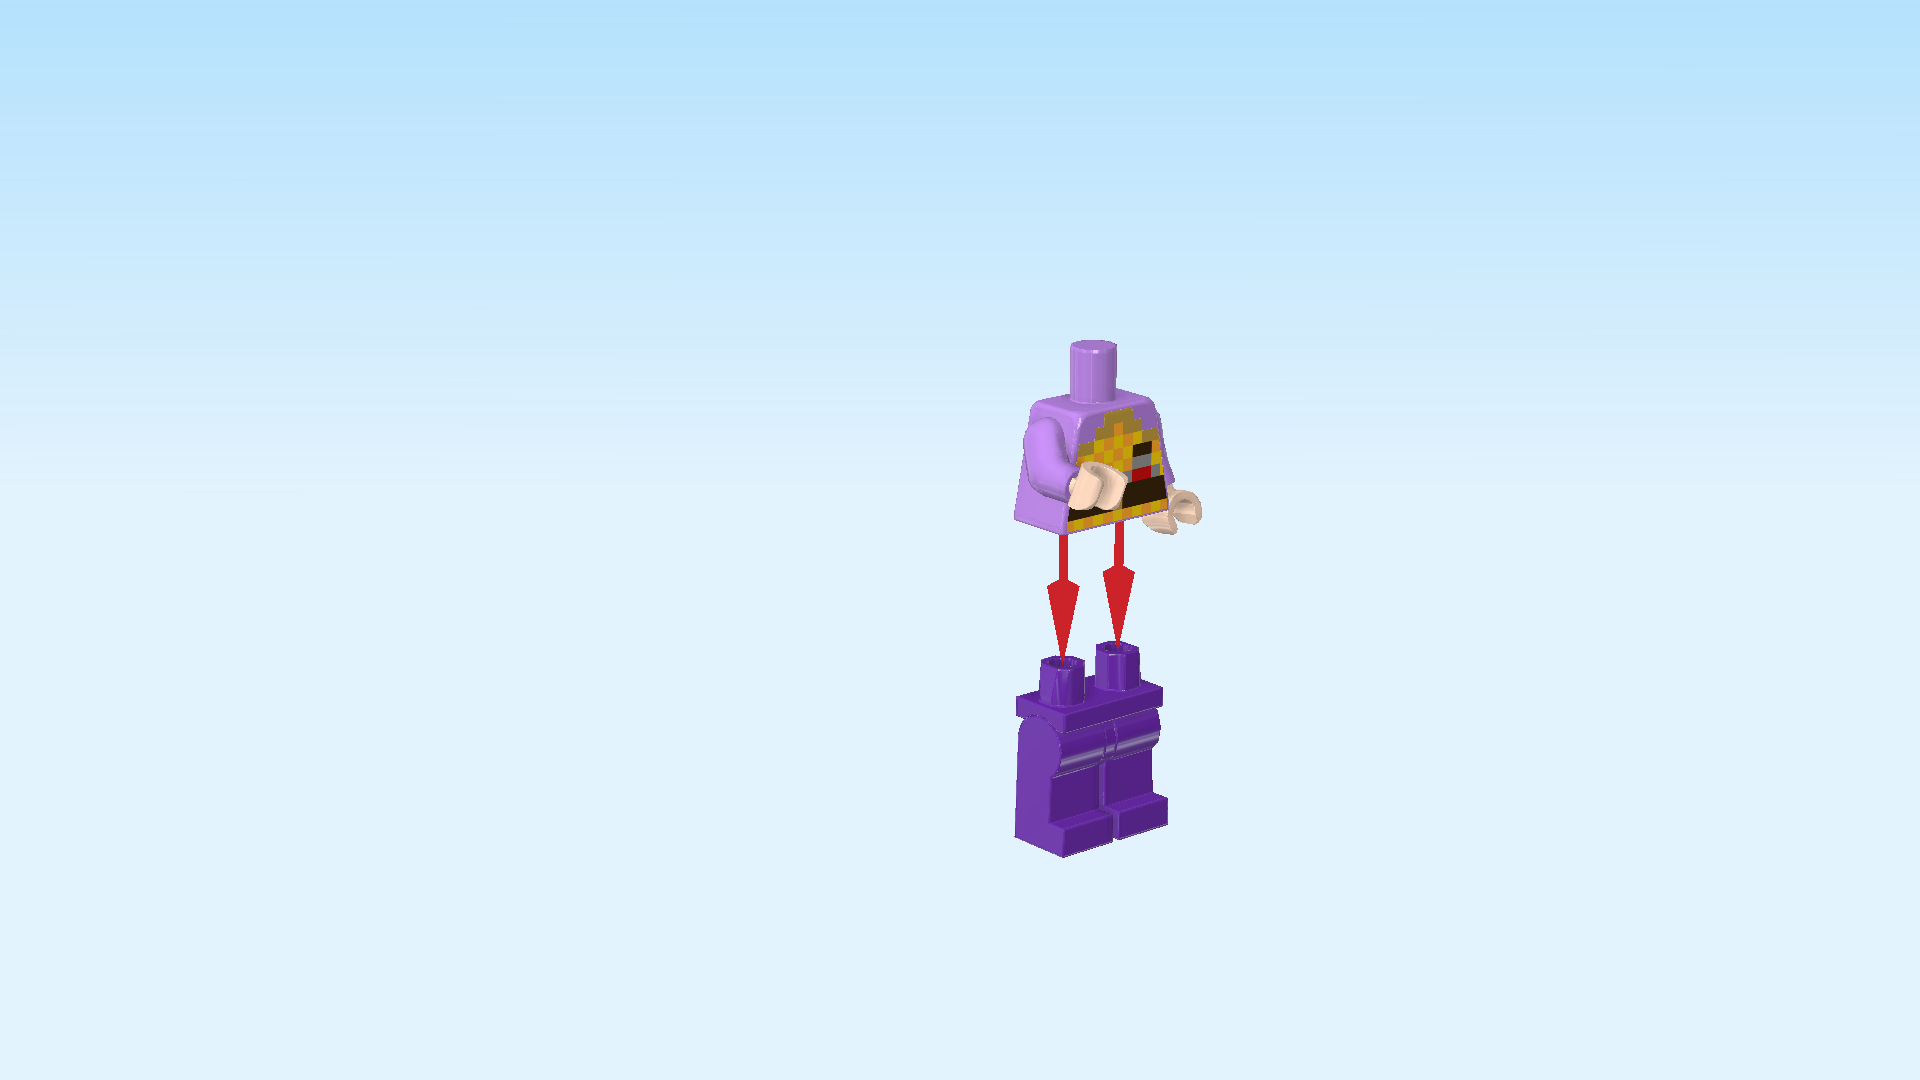
| Collect the following 2 pieces: |
| 1 lavender and light nougat brown upper part of the body, |
| and 1 medium lilac pair of legs. |
| Put the upper body on the legs. |
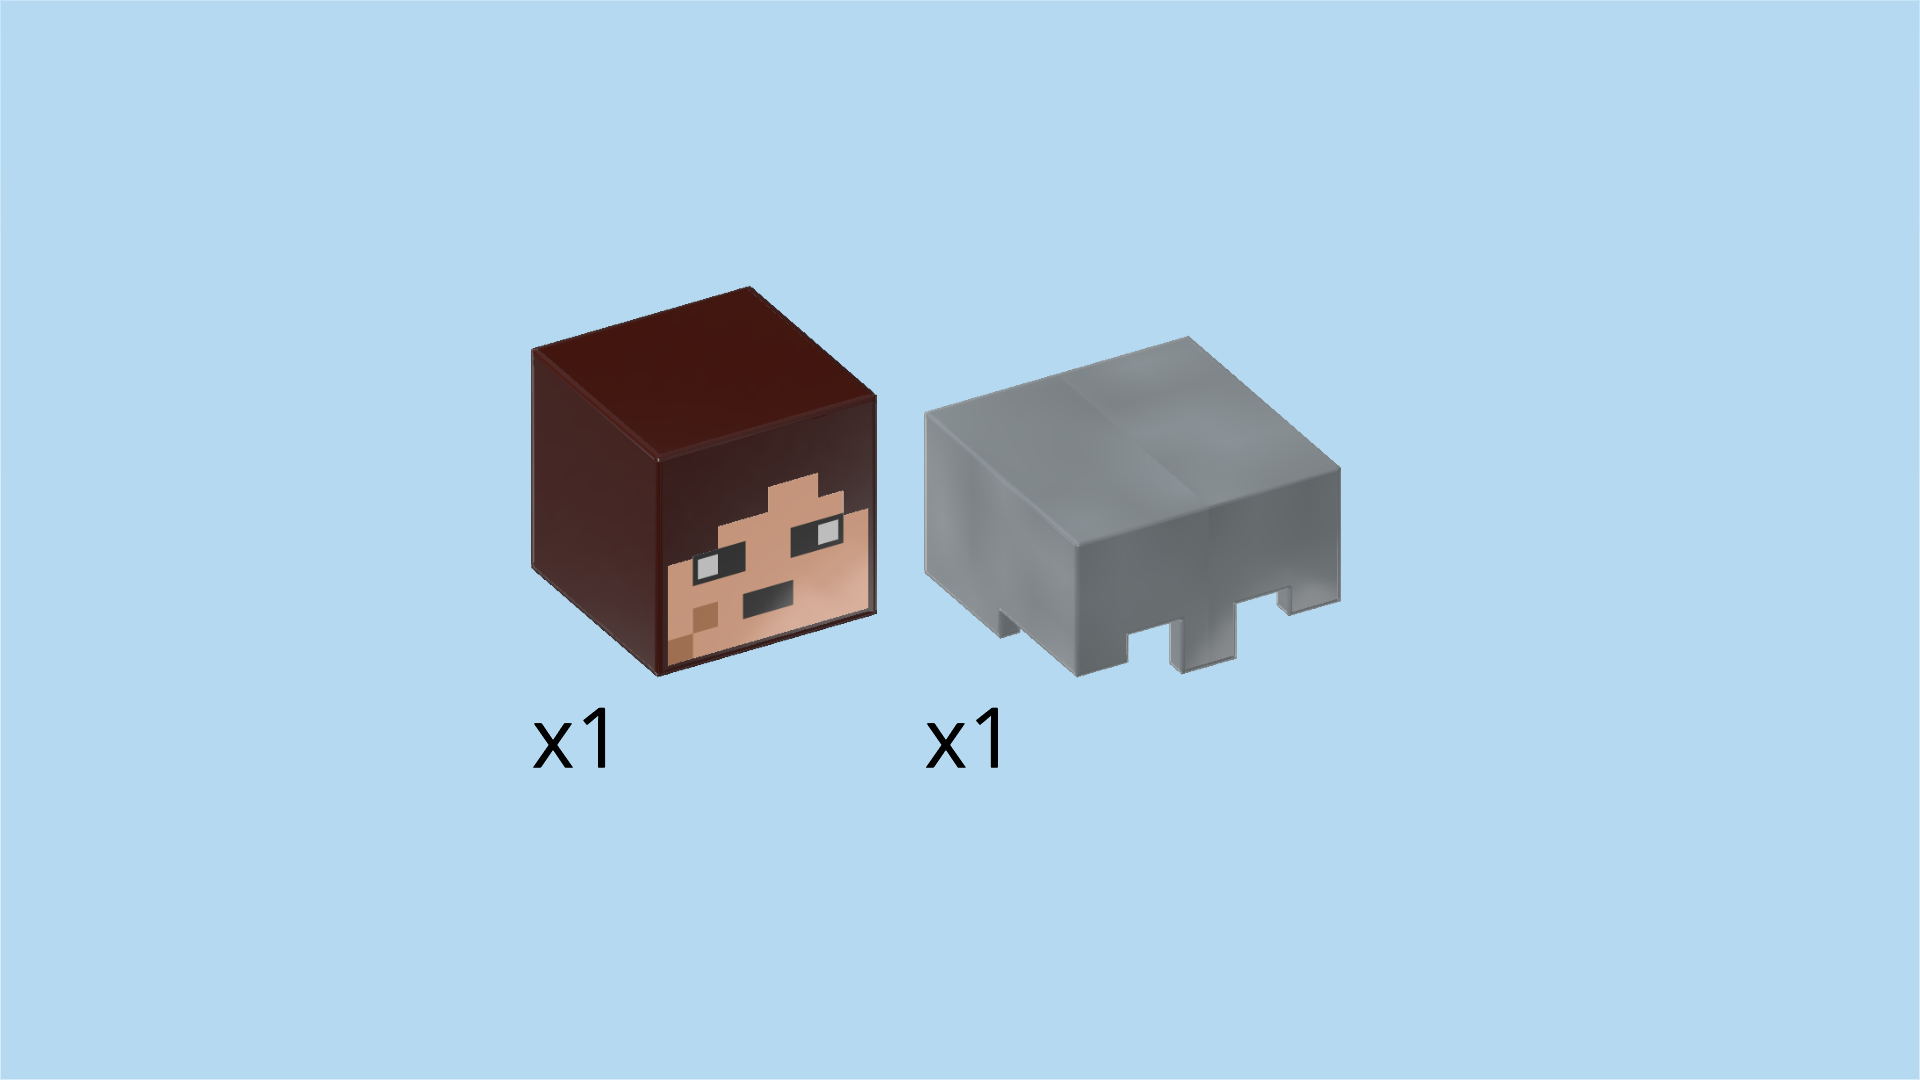
| Collect the following 2 pieces: |
| 1 dark brown square Minifigure head, |
| and 1 silver metallic Minecraft helmet. |
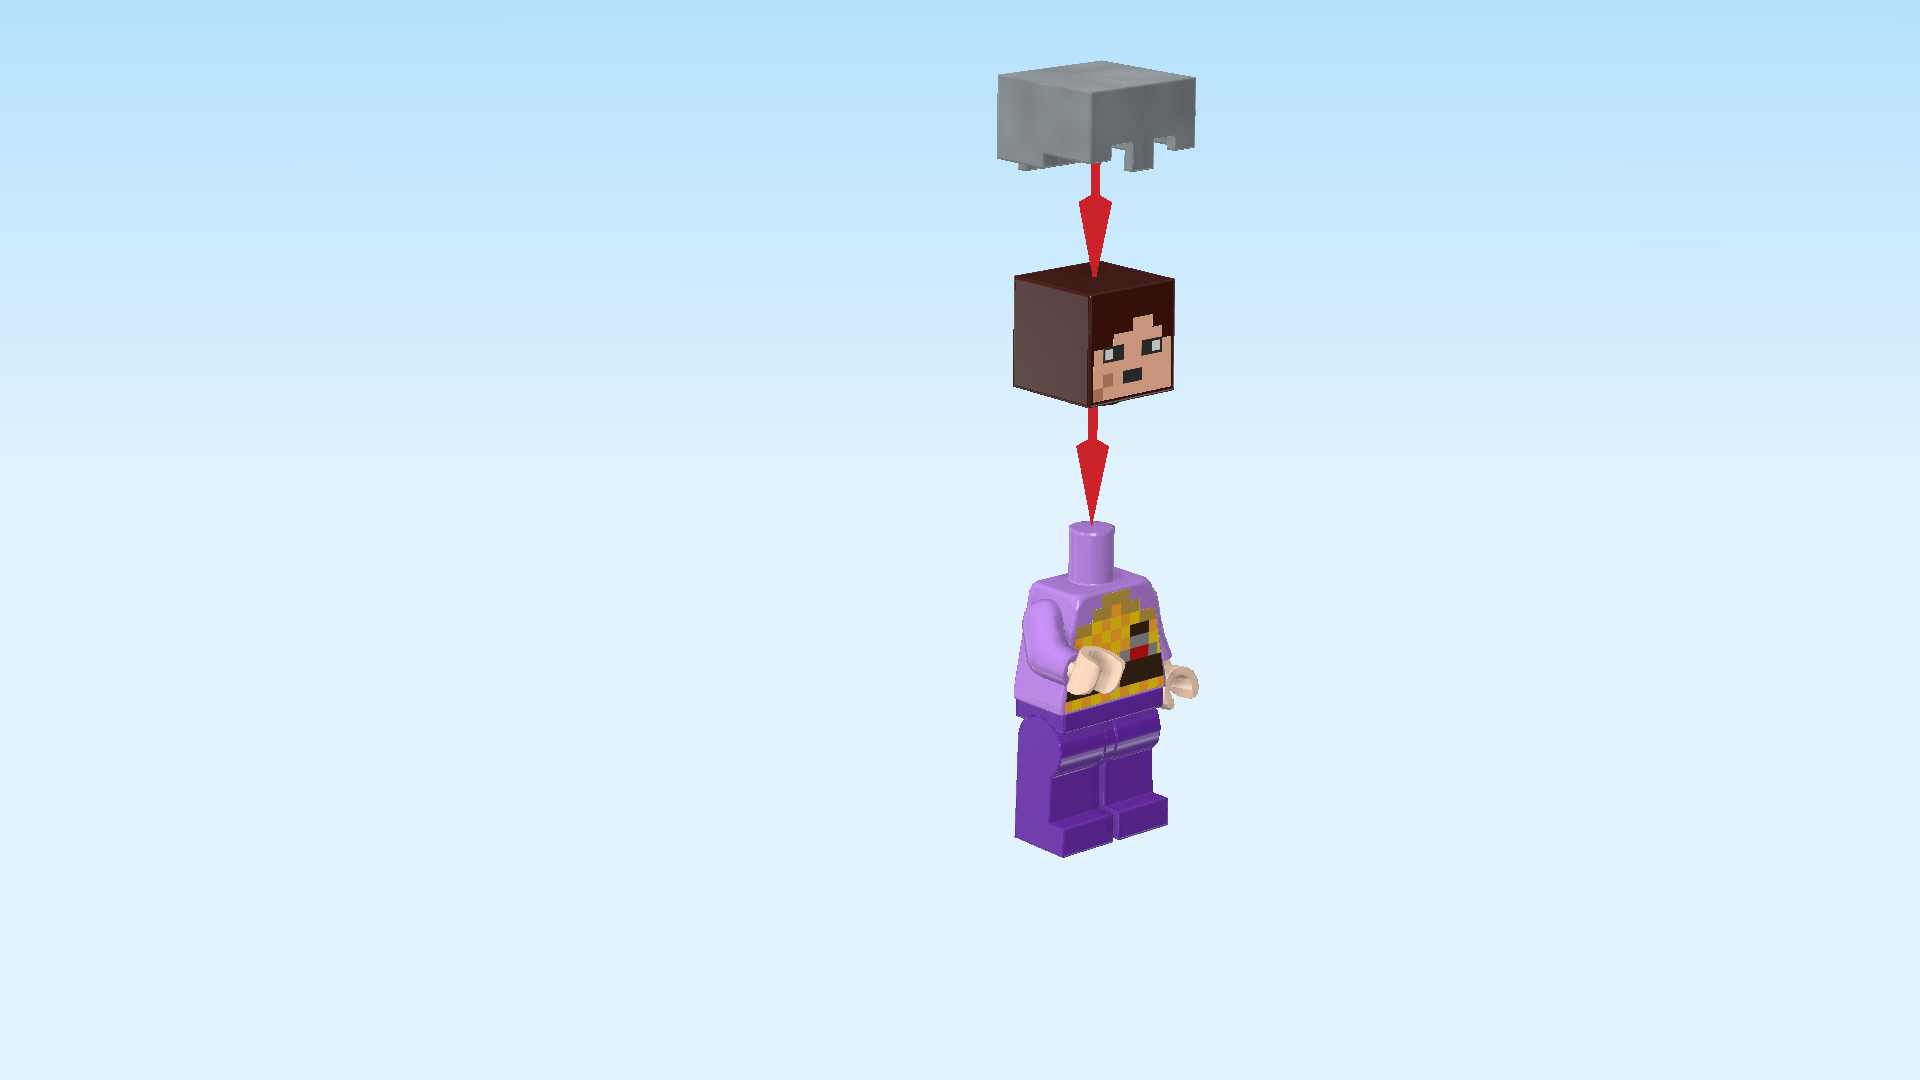
| Put the square Minifigure head on the body. |
| Put the Minecraft helmet on the head. Make sure the cutouts are aligned with the printed side of the head which is the face print. |
| Next up, we will assemble the End warrior's shield. |
| Collect the following 2 pieces: |
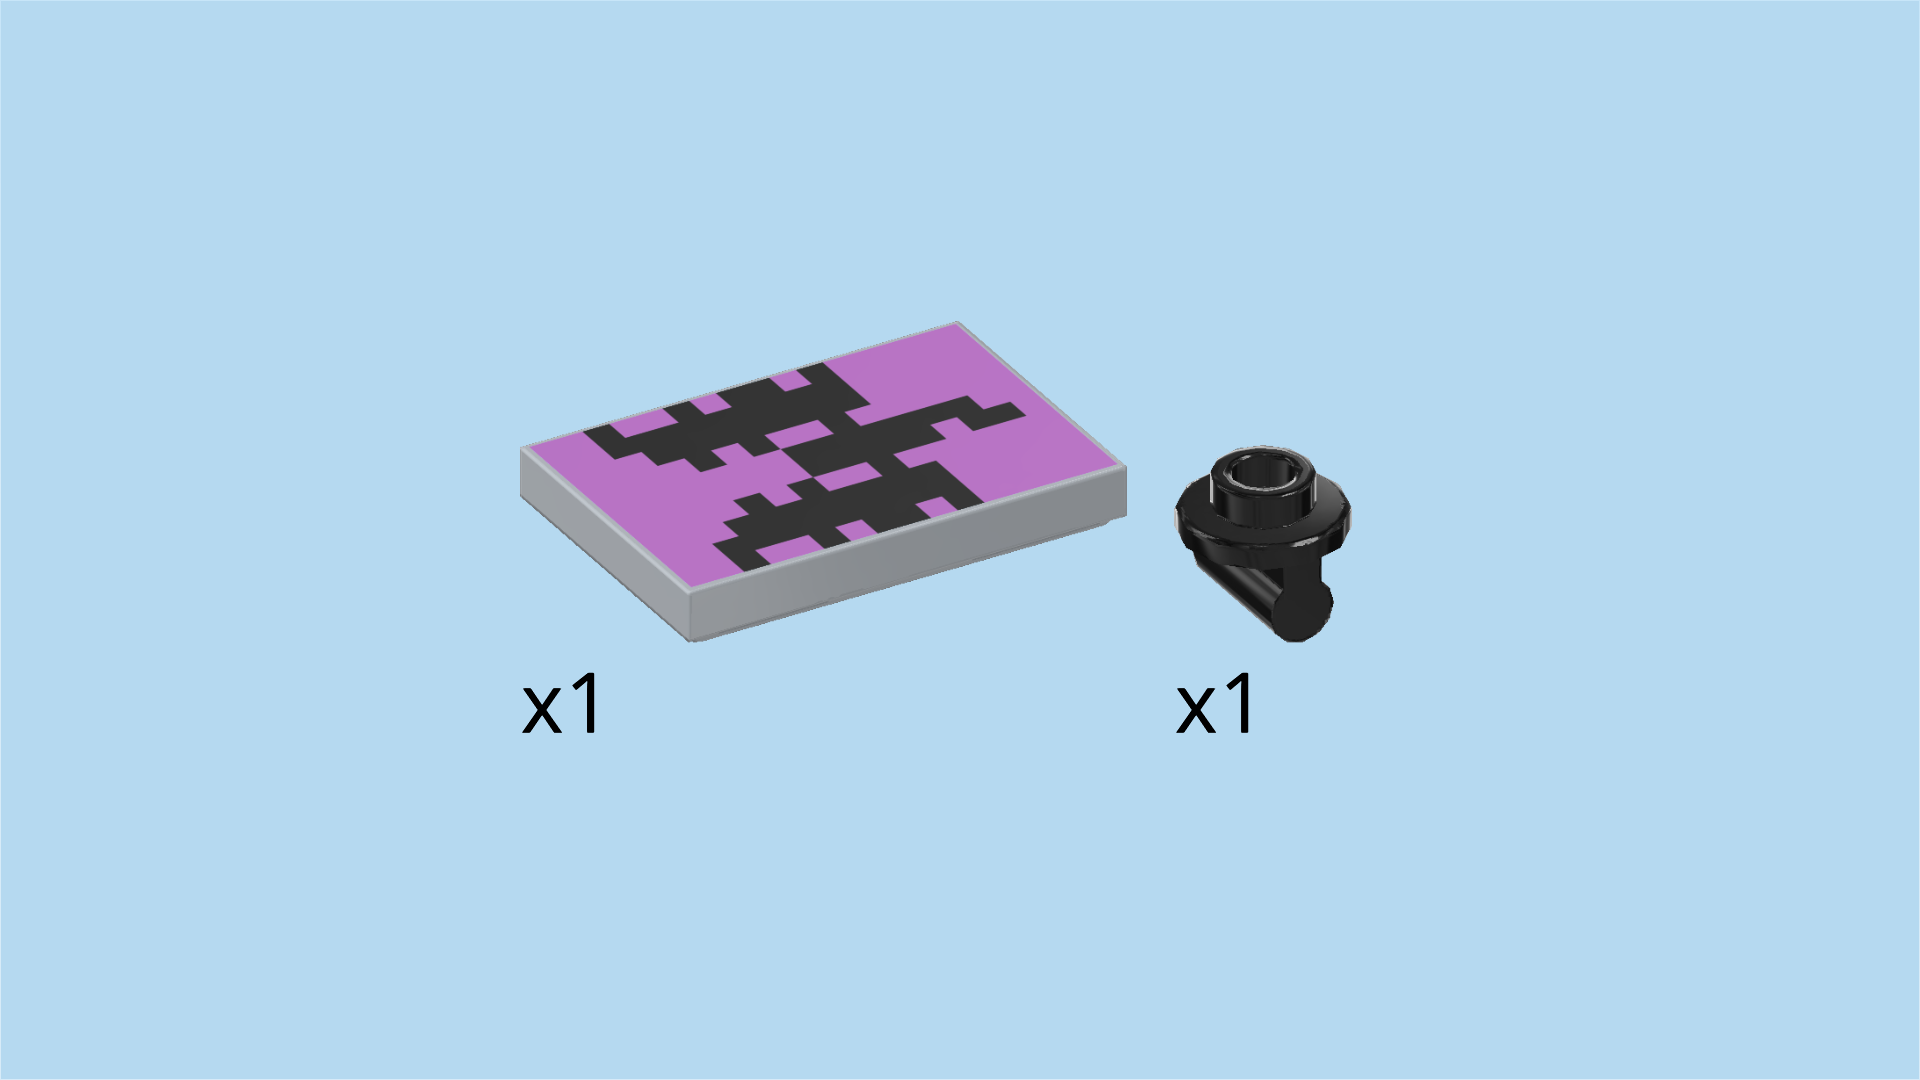
| 1 black round plate 1x1 with bottom shaft, |
| and 1 medium stone grey flat tile 2x3. |
| Hold the flat tile 2x3 upright. |
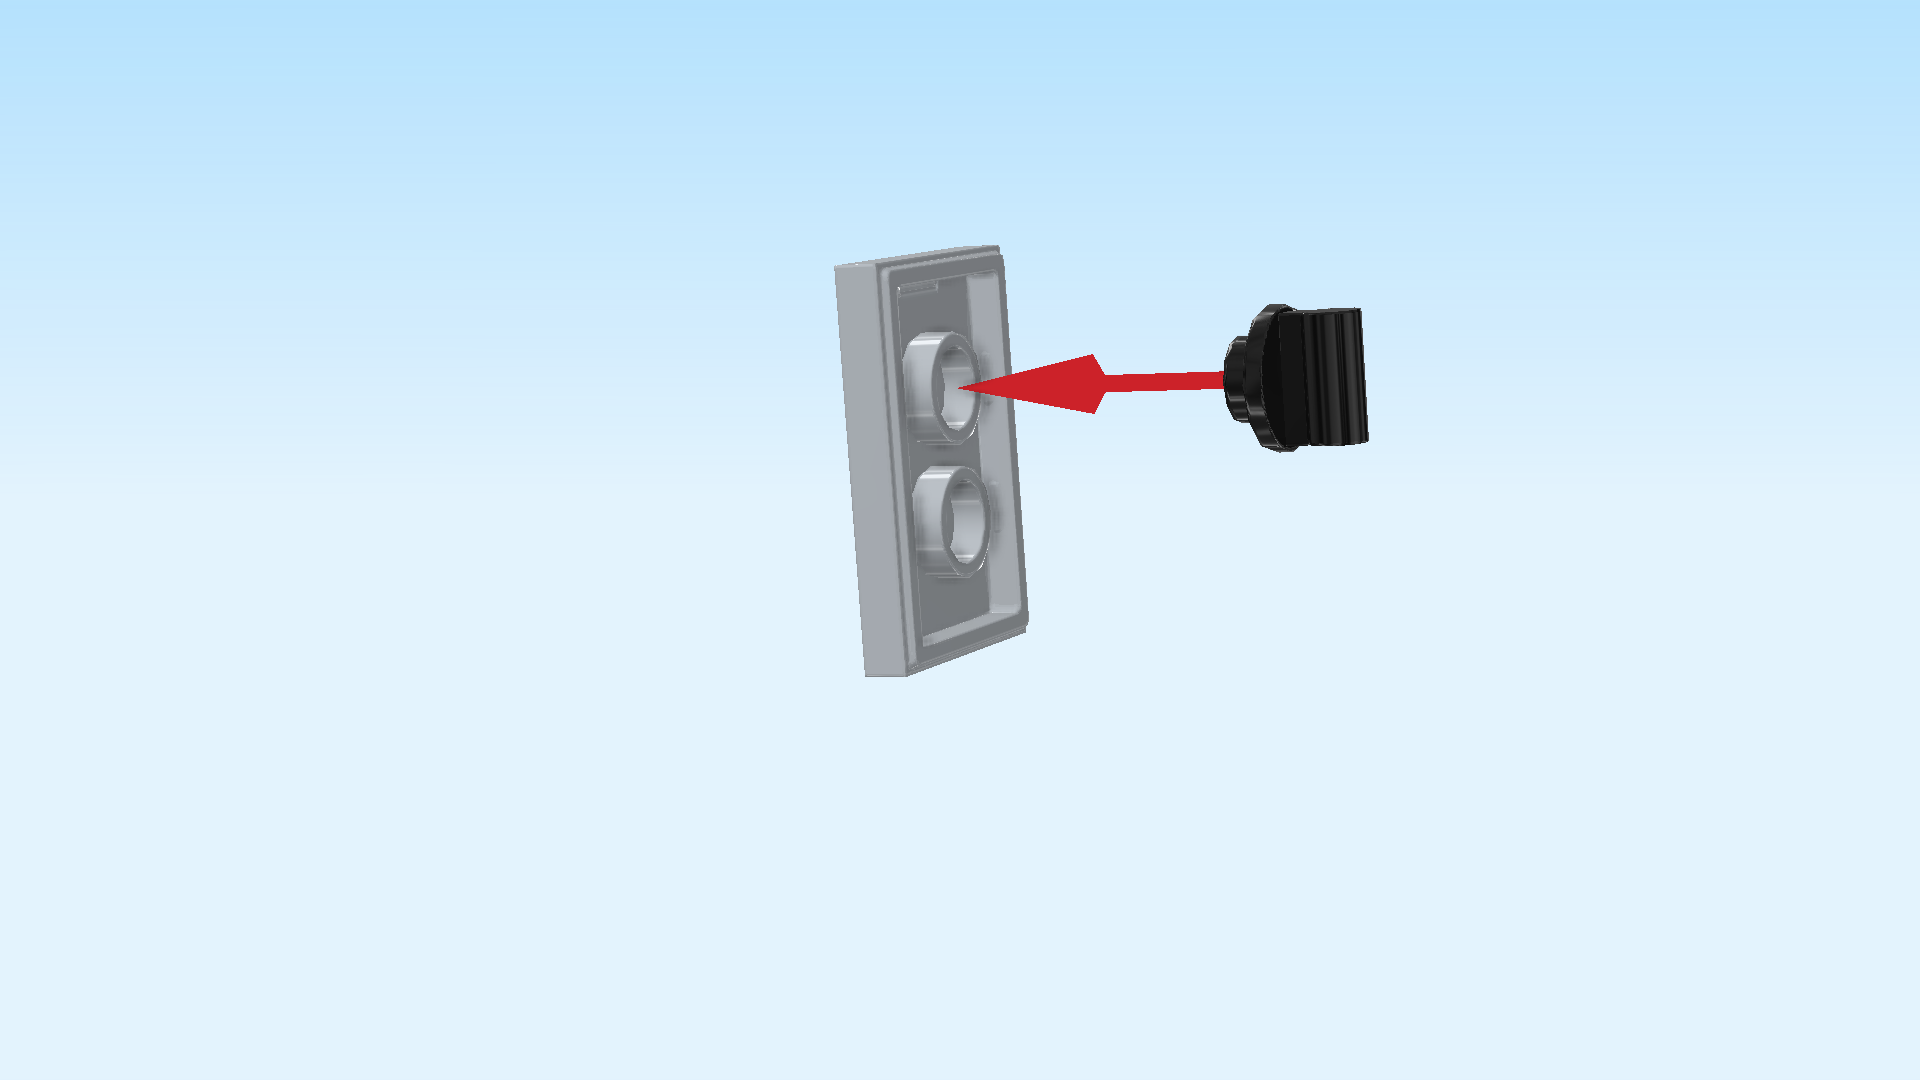
| Put the round plate with shaft on the top connection point of the flat tile. Make sure the shaft is running vertically from top to bottom. |
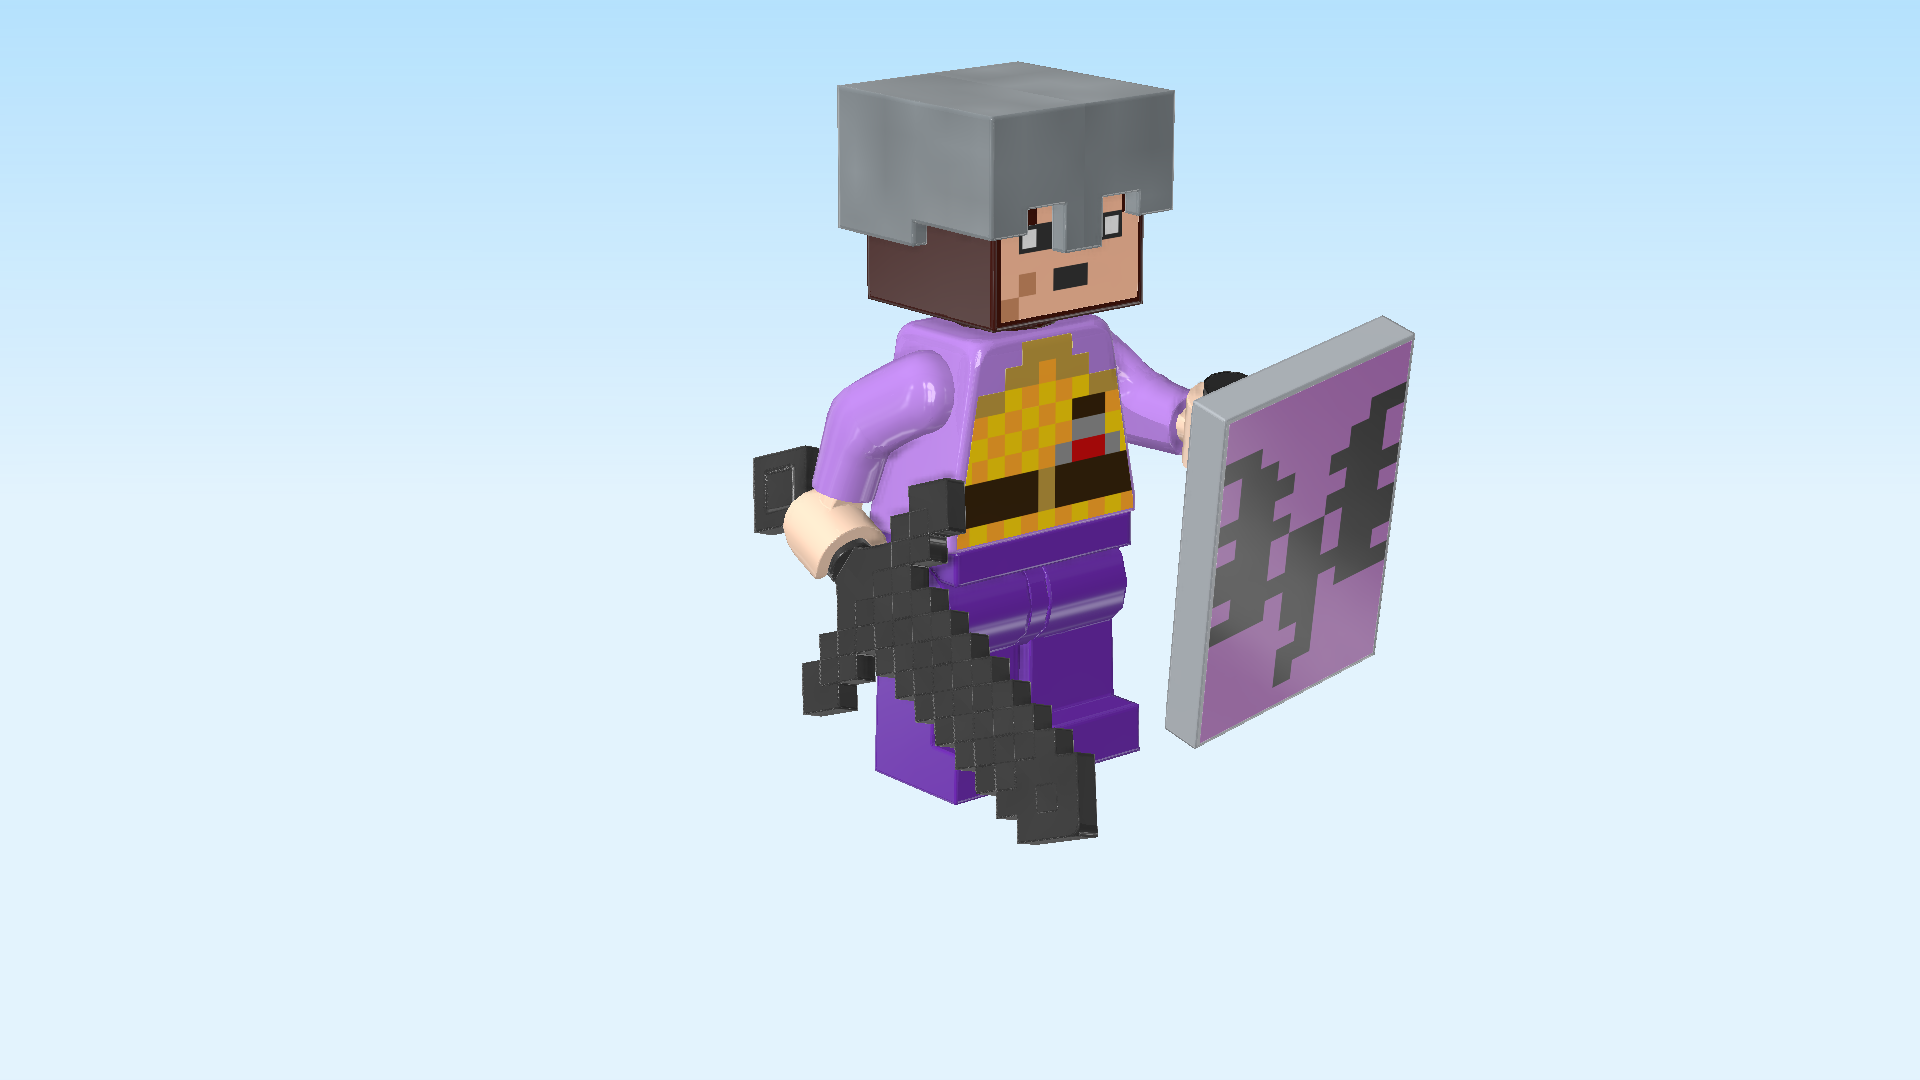
| Snap the shaft into the End warrior's left hand. The tile is printed with a lavender background and a black pixelated dragon in its center. |
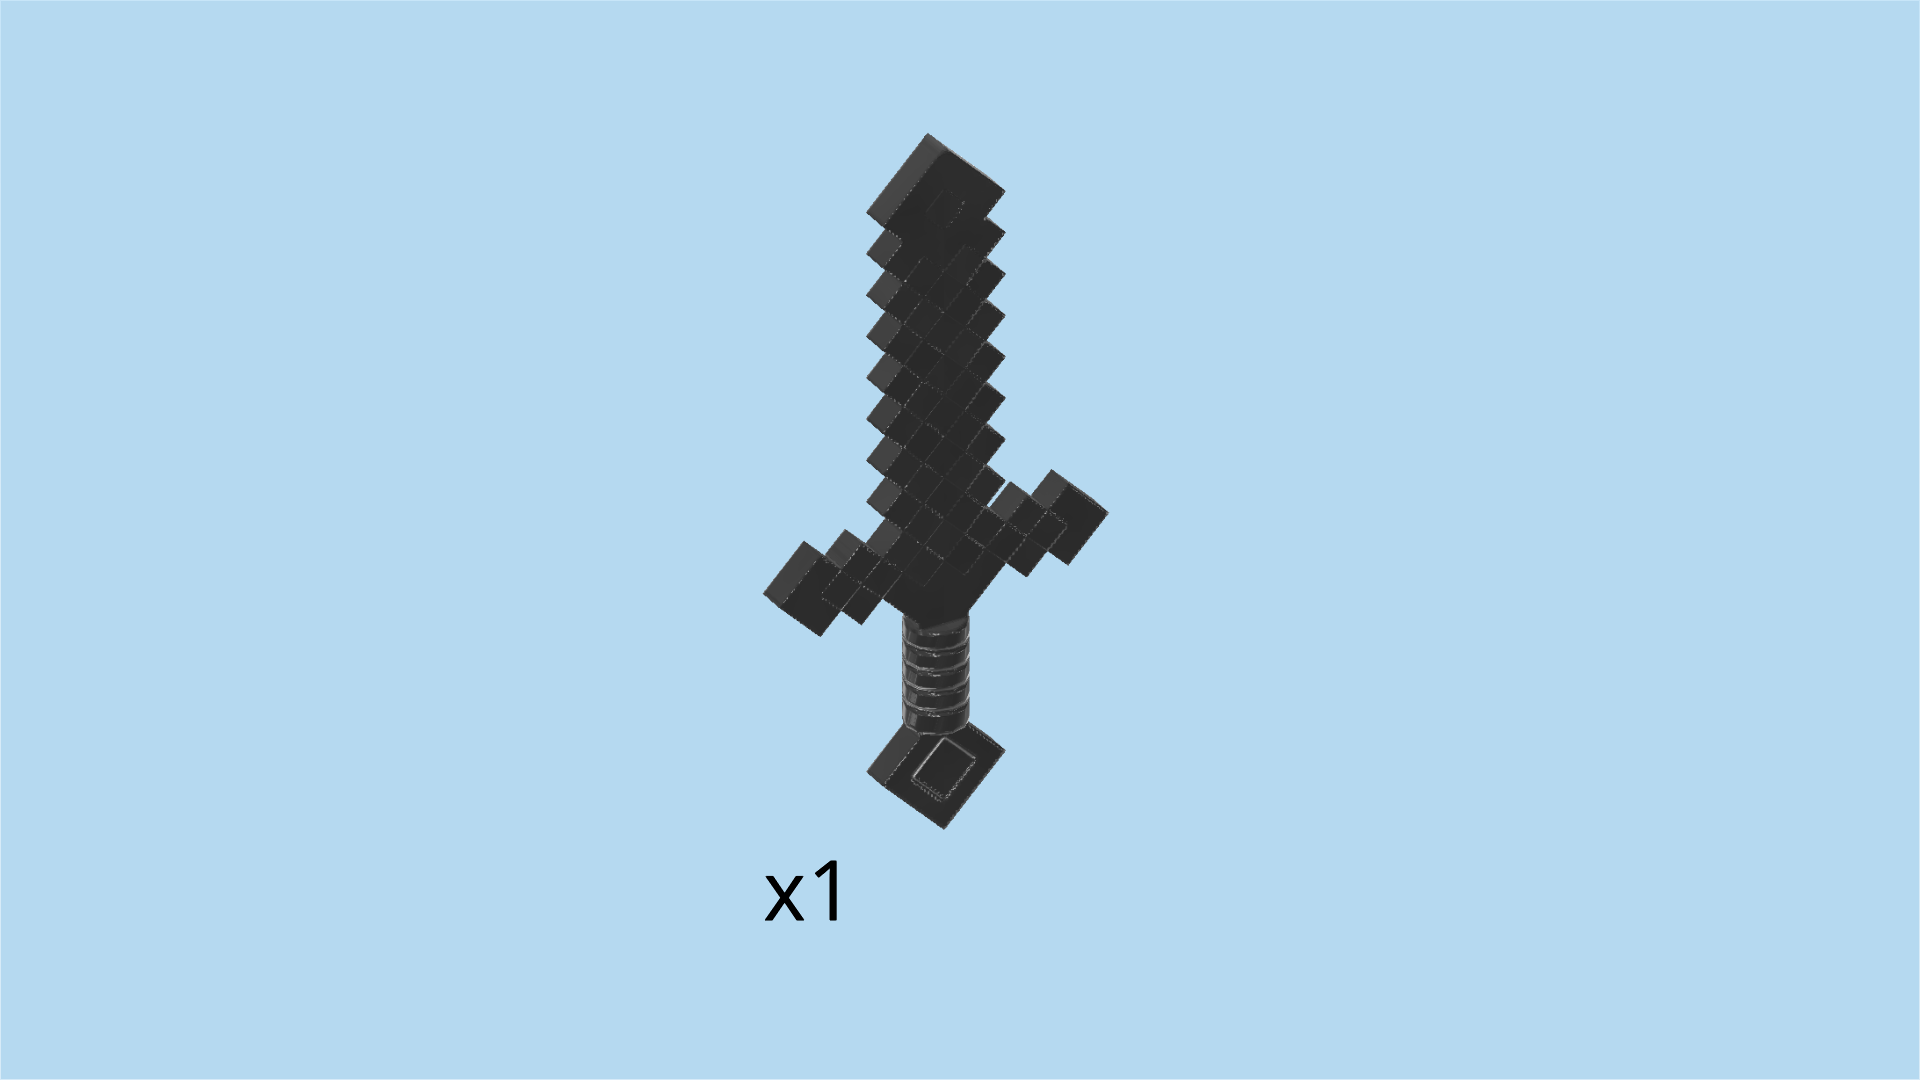
| Find 1 titanium metallic Netherite sword (pixelated). |
| Snap it into the warrior's right hand. |
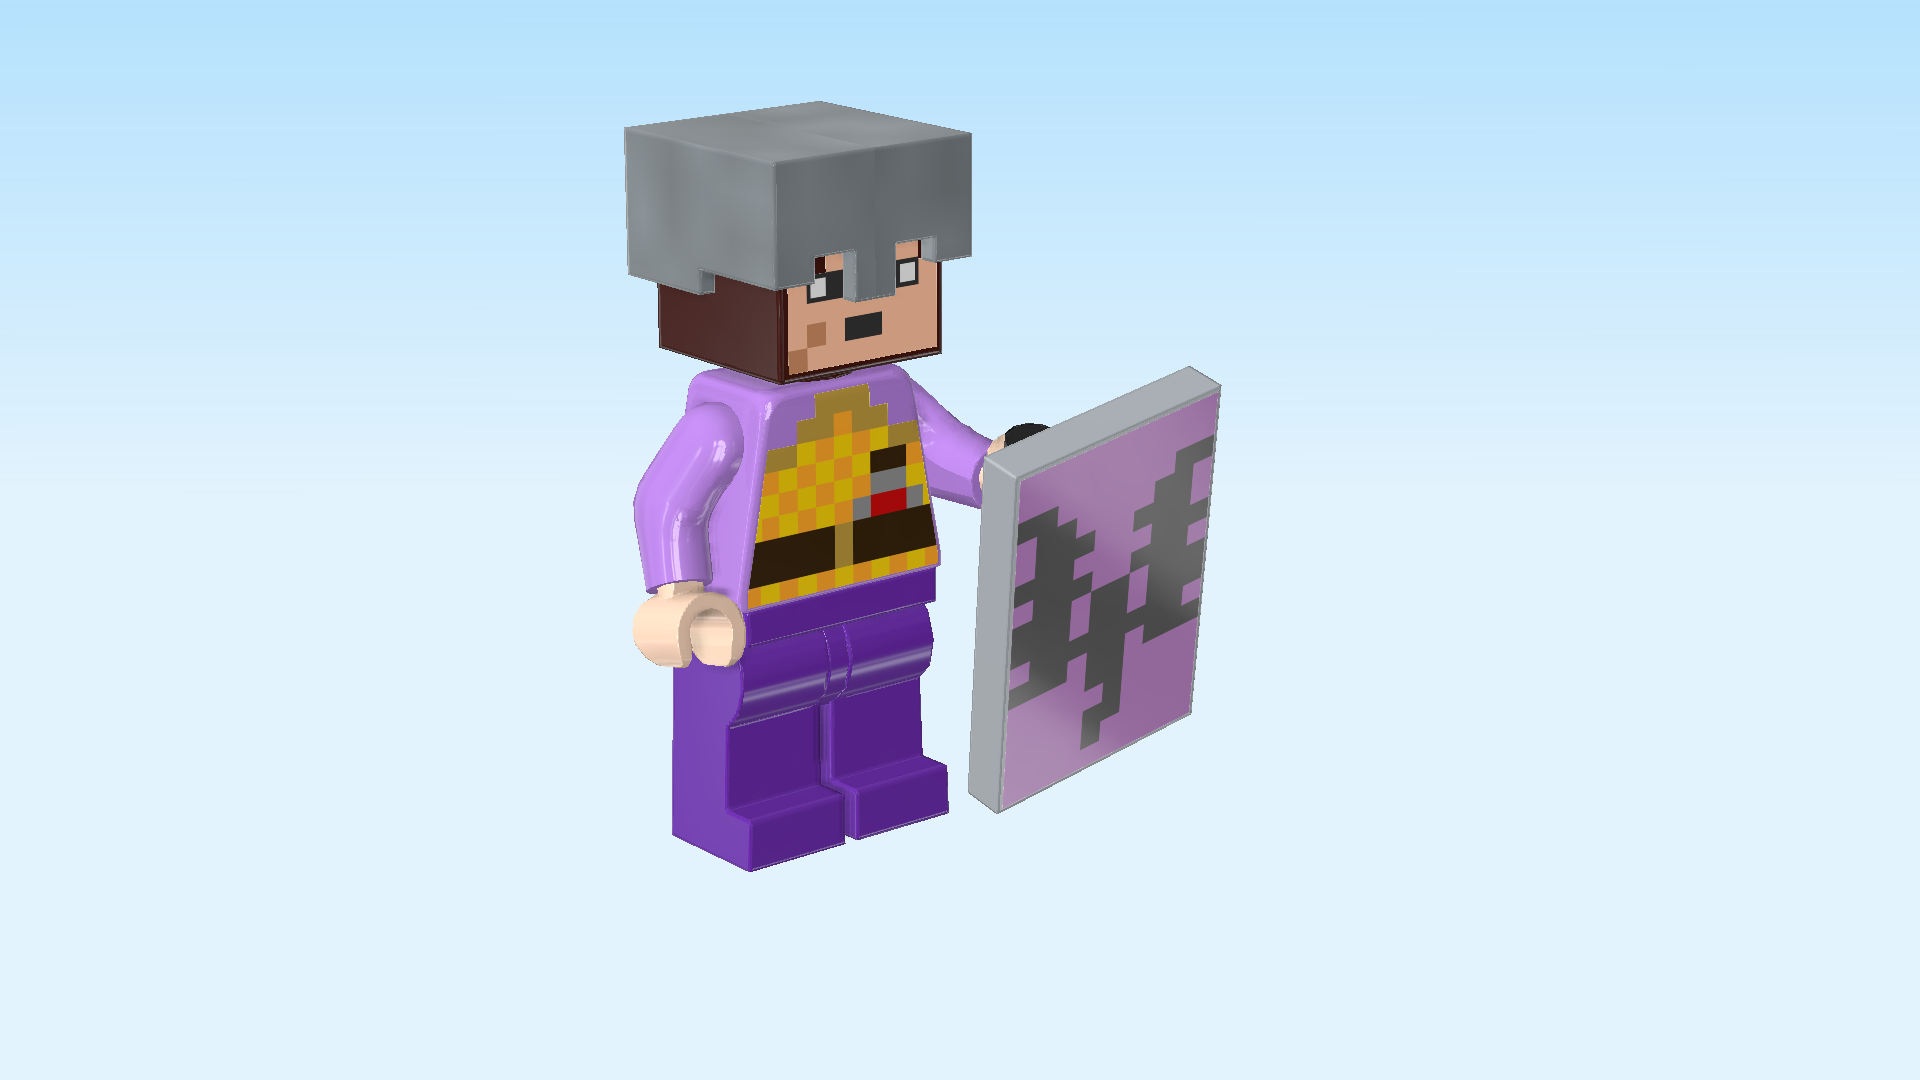
| The End warrior Minifigure is finished! Well done! All his prints and features are pixelated and squared: he has a pinkish-beige face with a small black mouth and black-and-white eyes. His hair is dark brown. There is a pixelated scar on his right cheek. His suit is dark and light lavender, and his chest and back plates have golden linings at the top and are yellow and orange checkered below that. He is wearing a black belt, and in said belt he is carrying a potion bottle. With his dragon shield and netherite sword, he is ready for combat! But of course, he will have to wait until the arena and his opponent are built. Let's continue! |
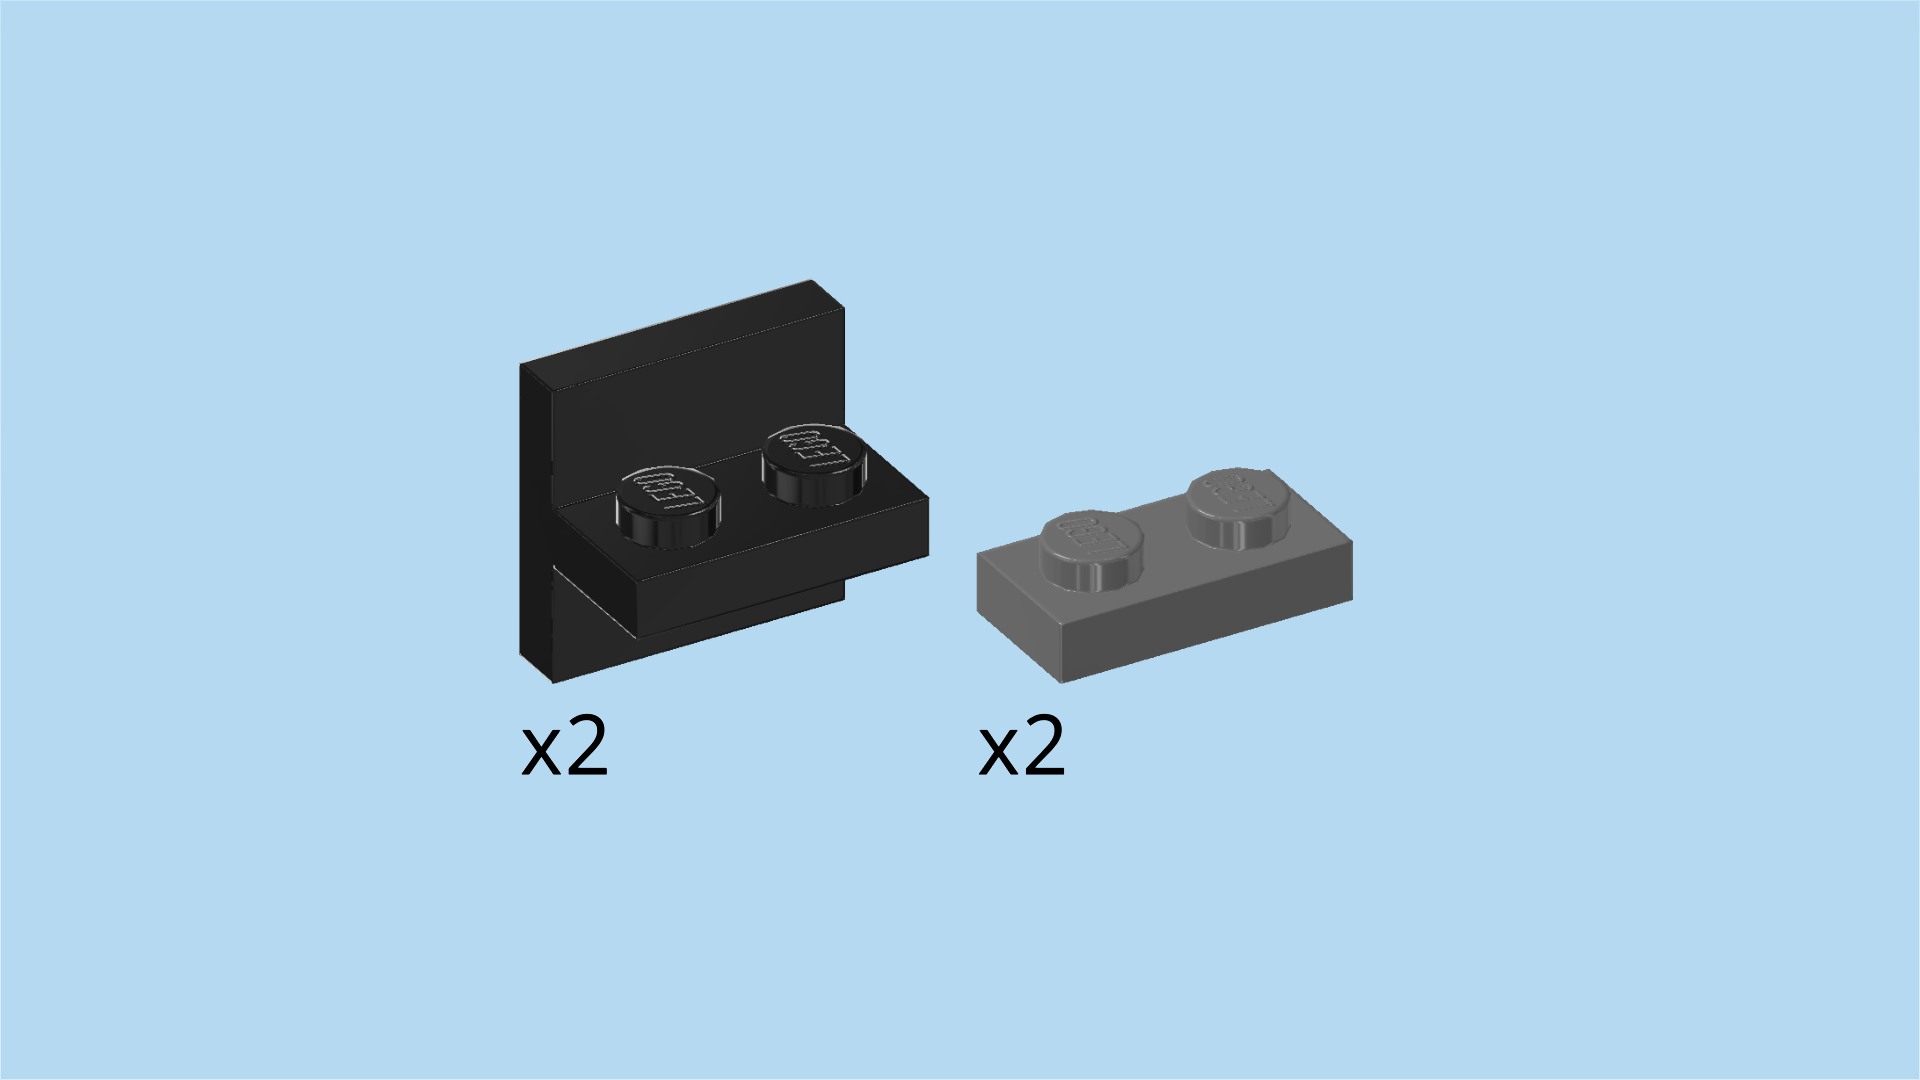
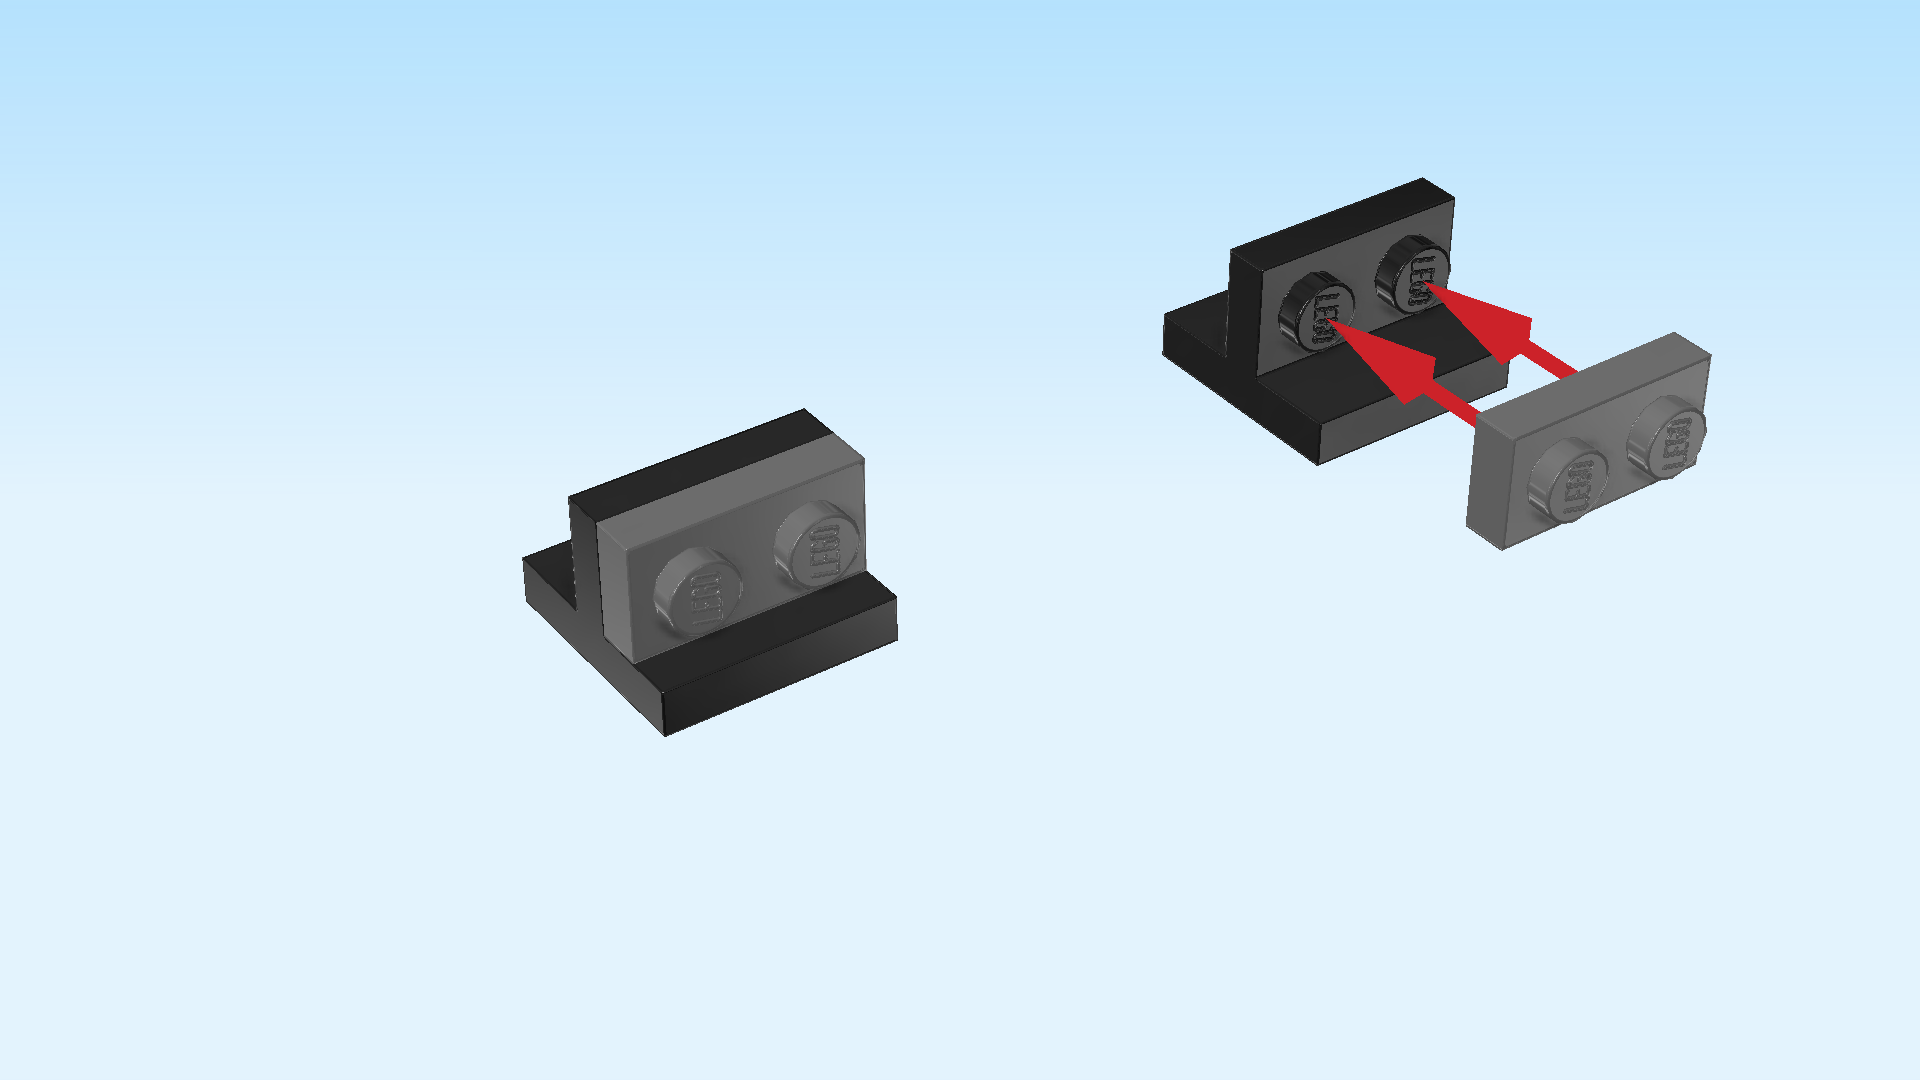
| Next, we will assemble the shulker. |
| Collect the following 2 pieces: |
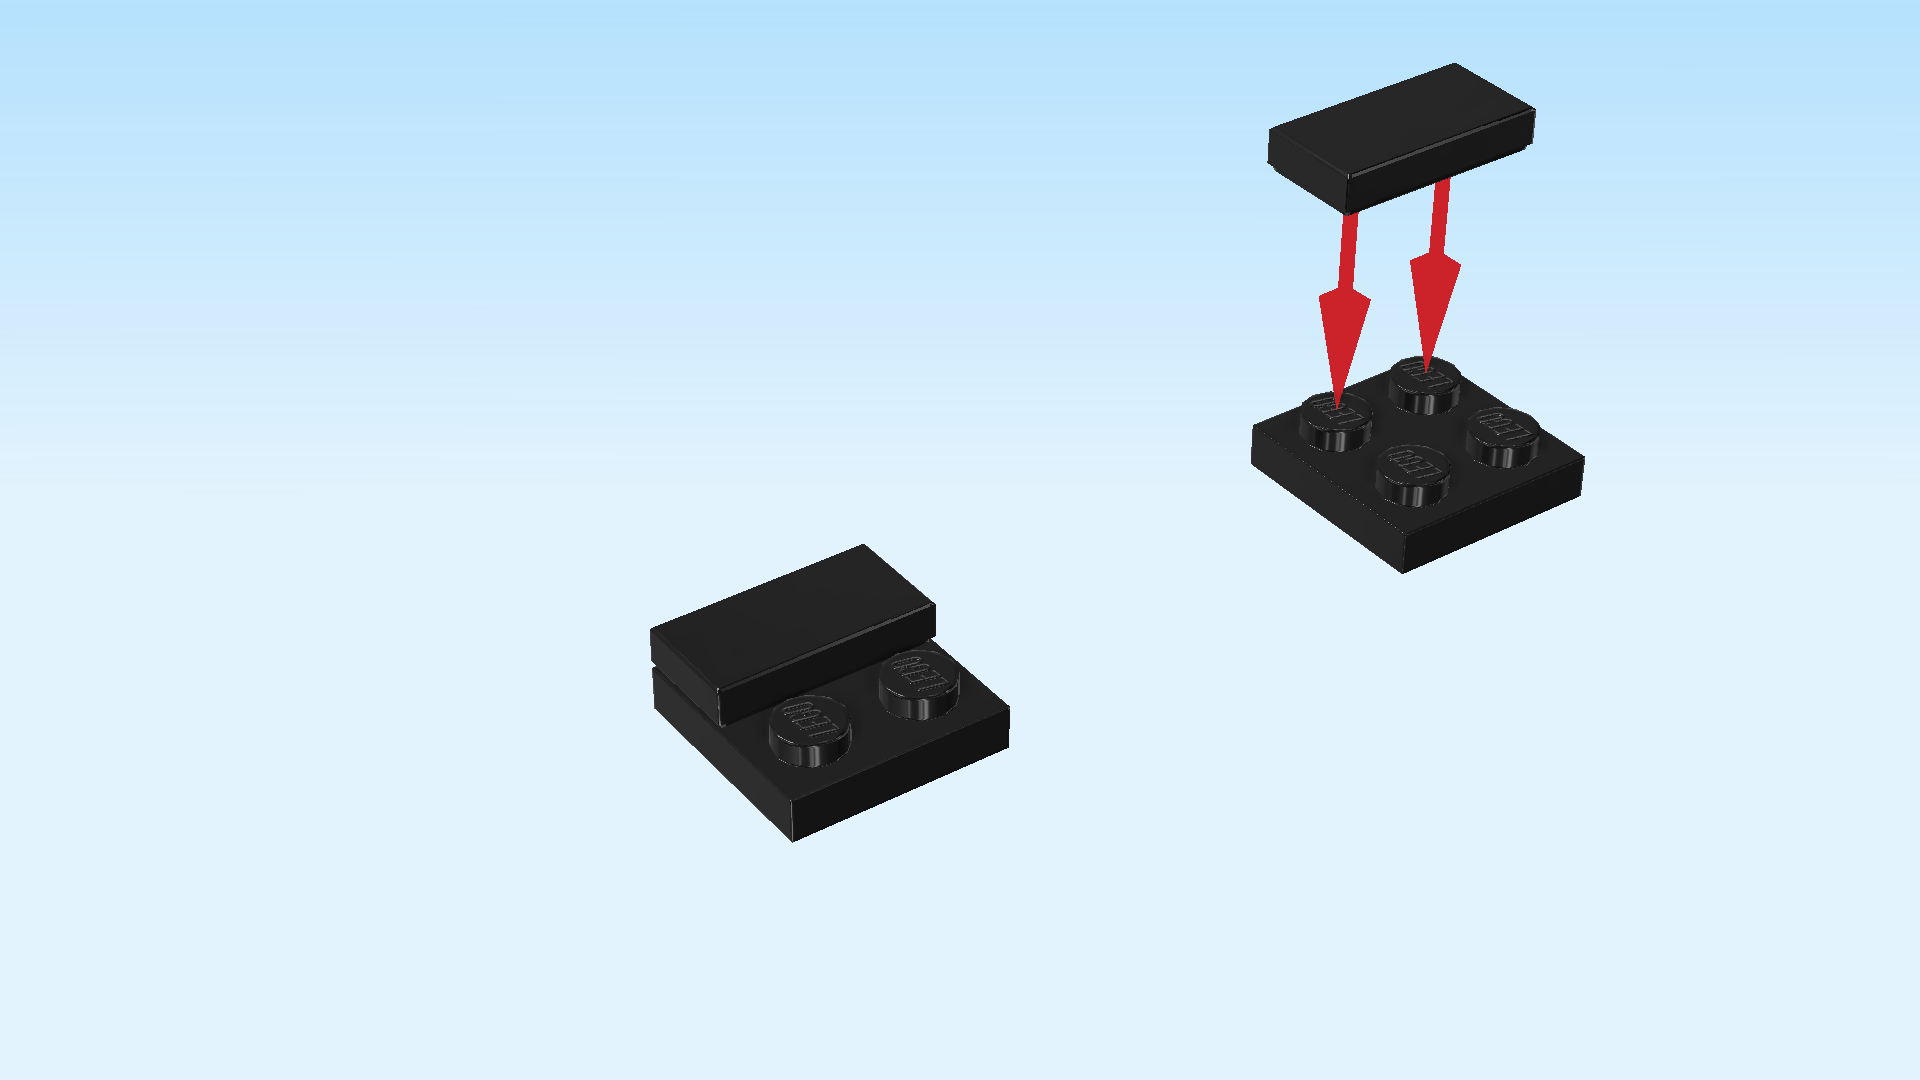
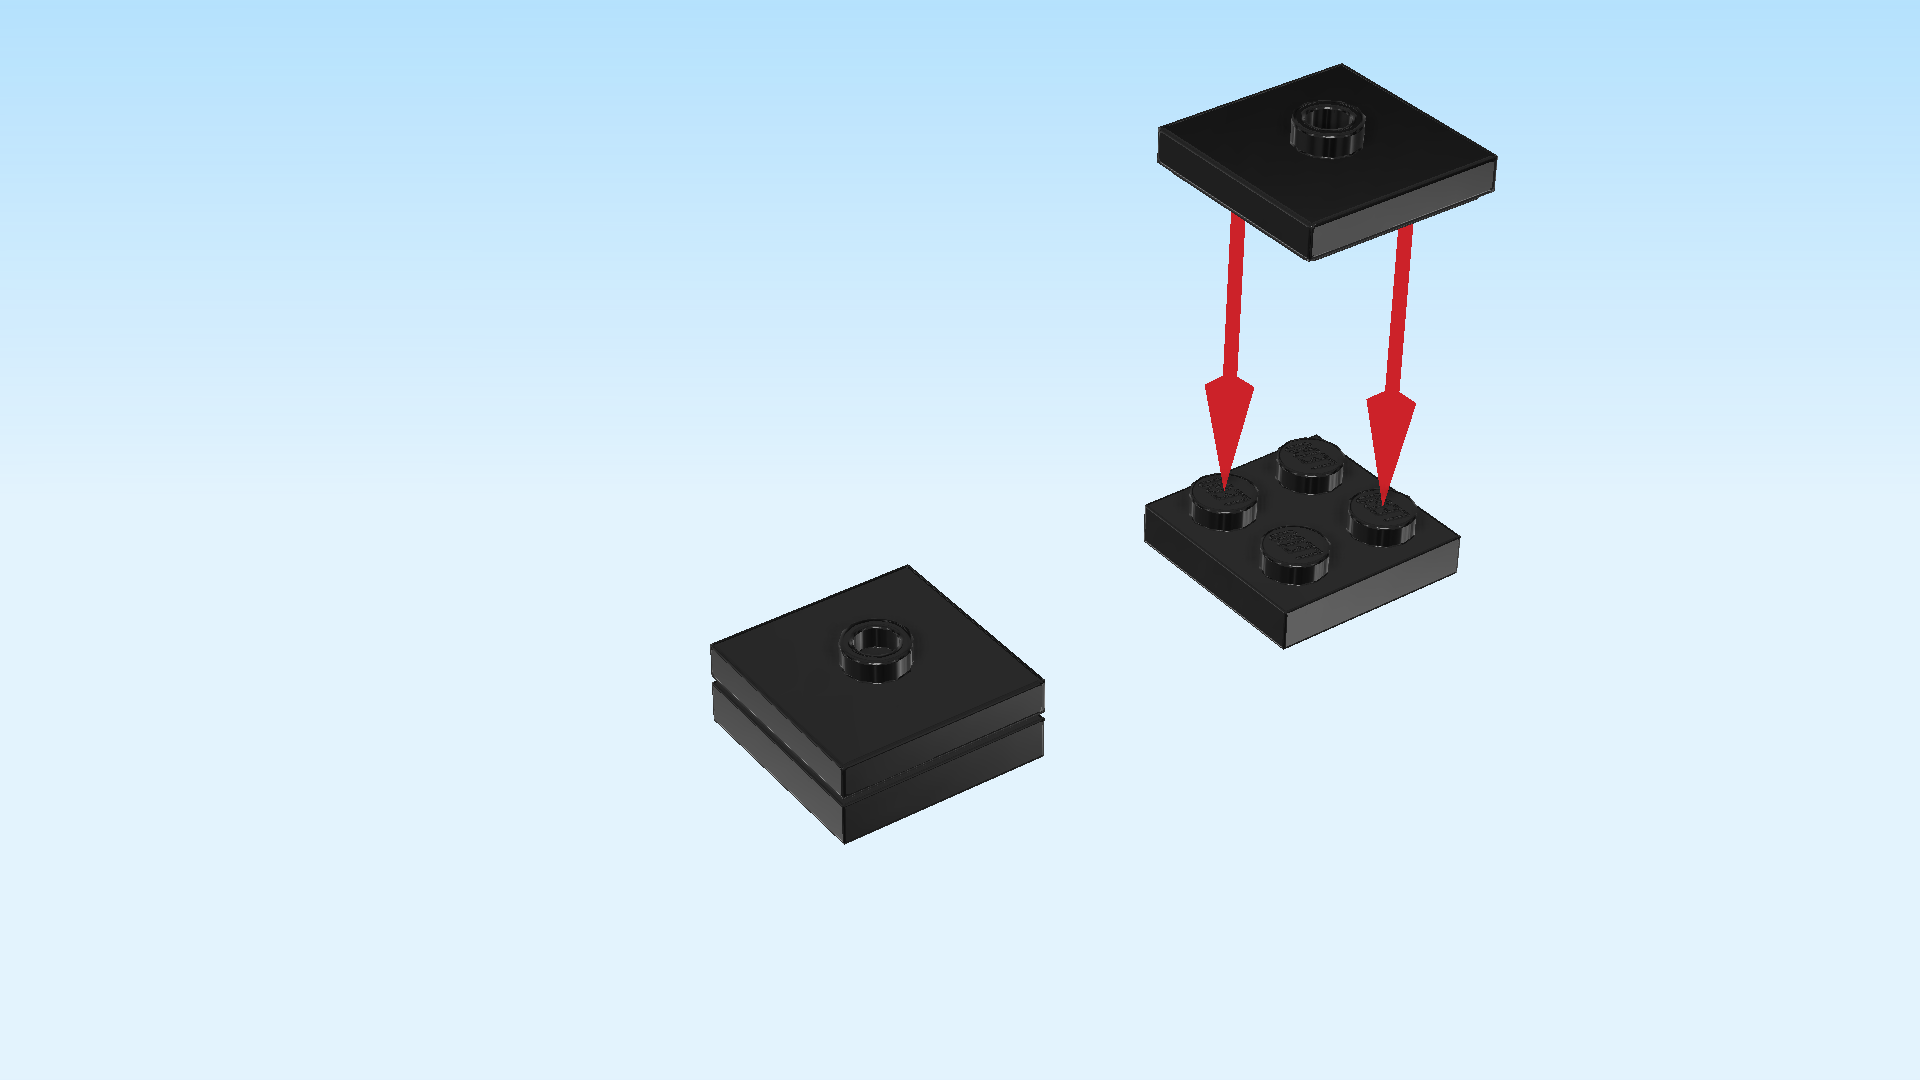
| 1 lavender inverted flat tile 2x2 with 4 hollow knobs, |
| and 1 lavender plate 2x2 with 1 knob and 4 corner posts. |
| Put the inverted flat tile 2x2 on the table, knobs to the top. |
| Put the plate with 4 corner posts on top. |
| Collect the following 2 pieces: |
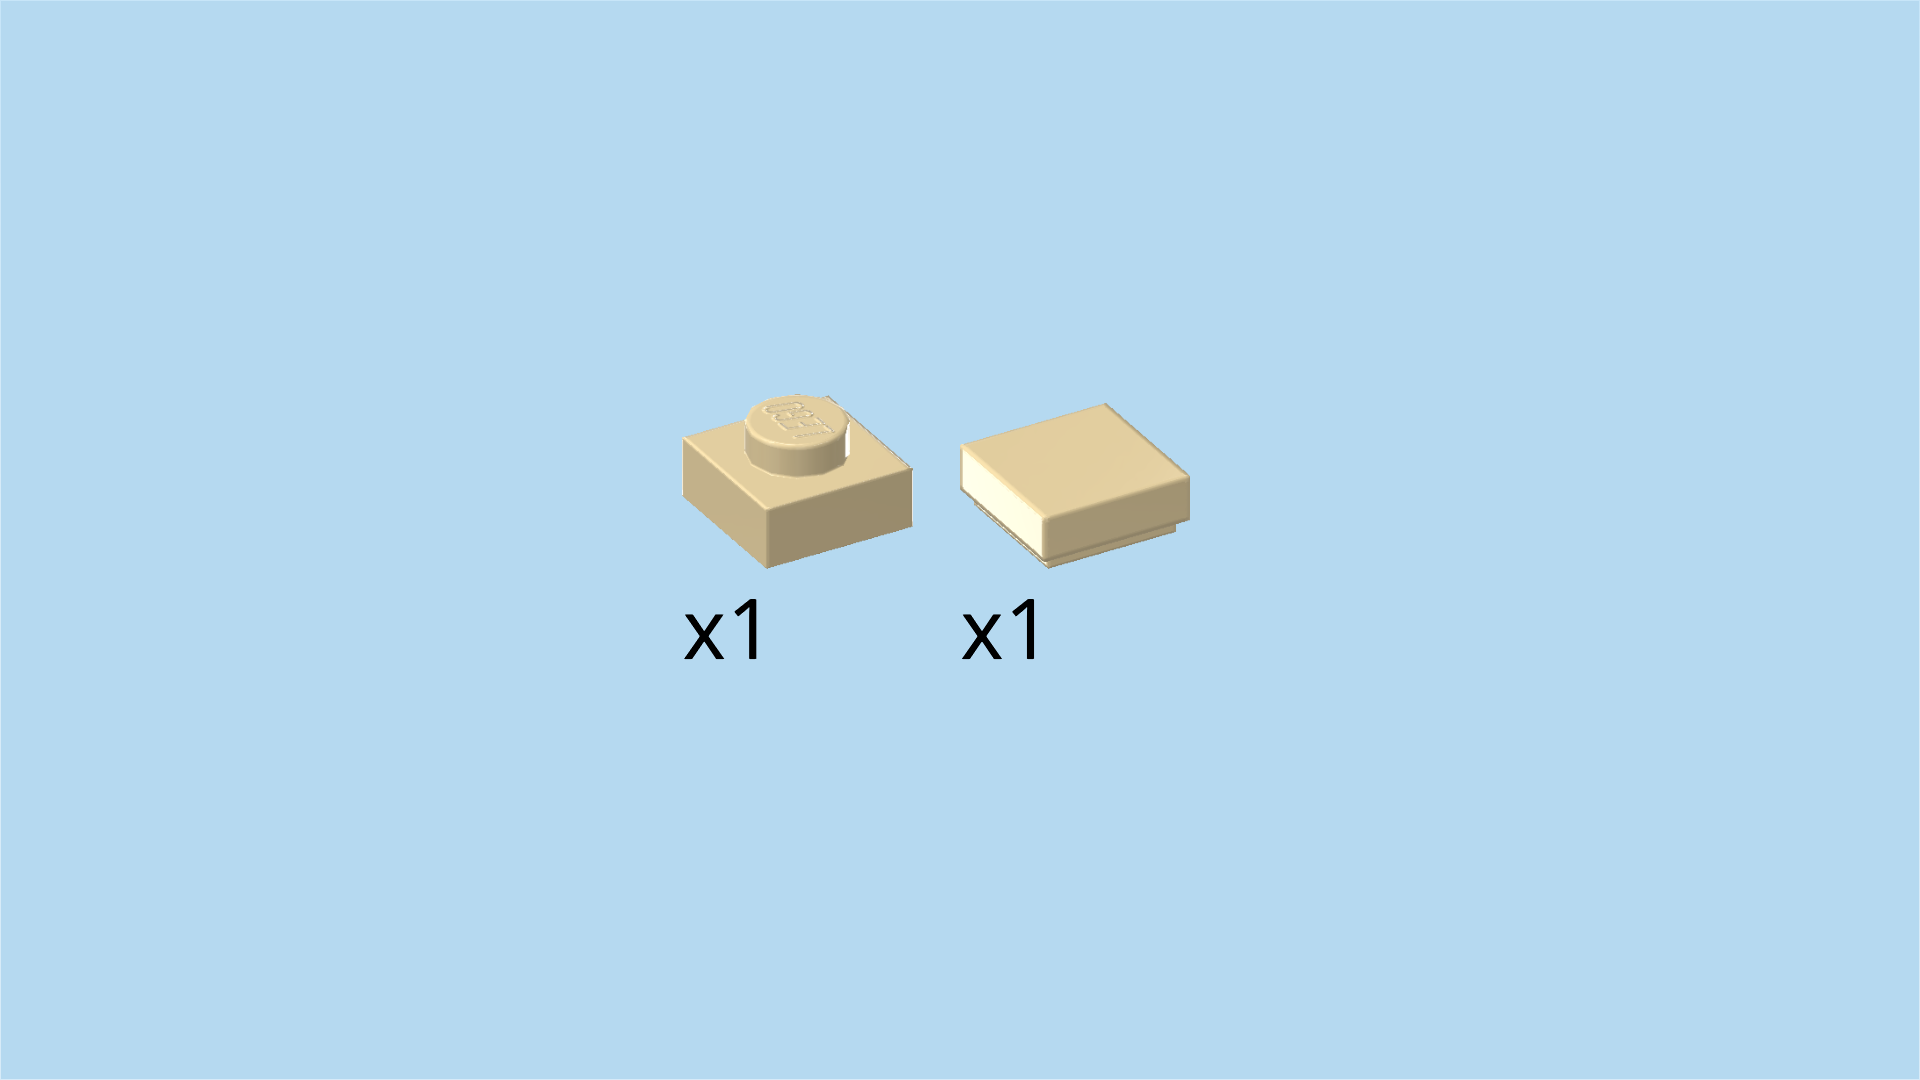
| 1 pale ocher yellow plate 1x1, |
| and 1 pale ocher yellow flat tile 1x1. |
| Take the plate 1x1. Identify the side with the print. It is printed with the black-and-white eyes of the shulker! |
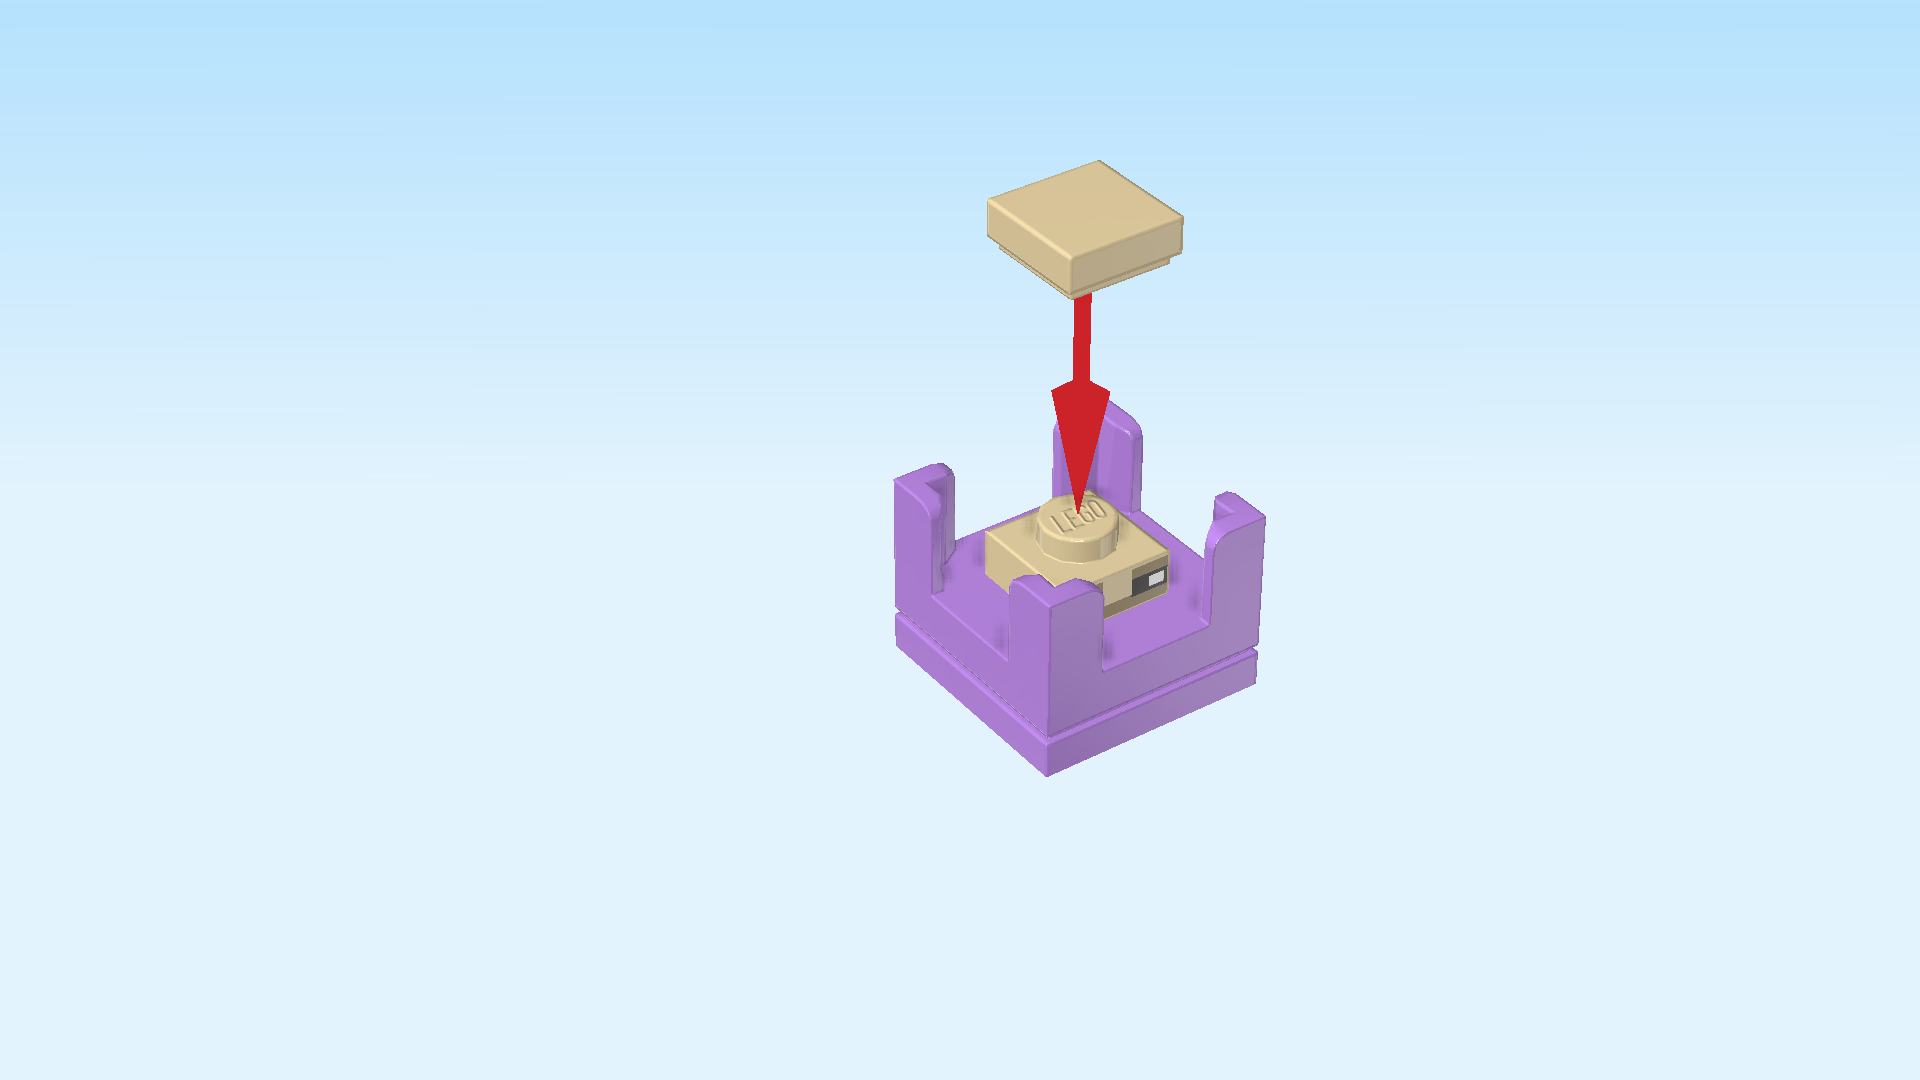
| Put it on the knob of the previous piece, eye print to the front. |
| Put the flat tile 1x1 on top. |
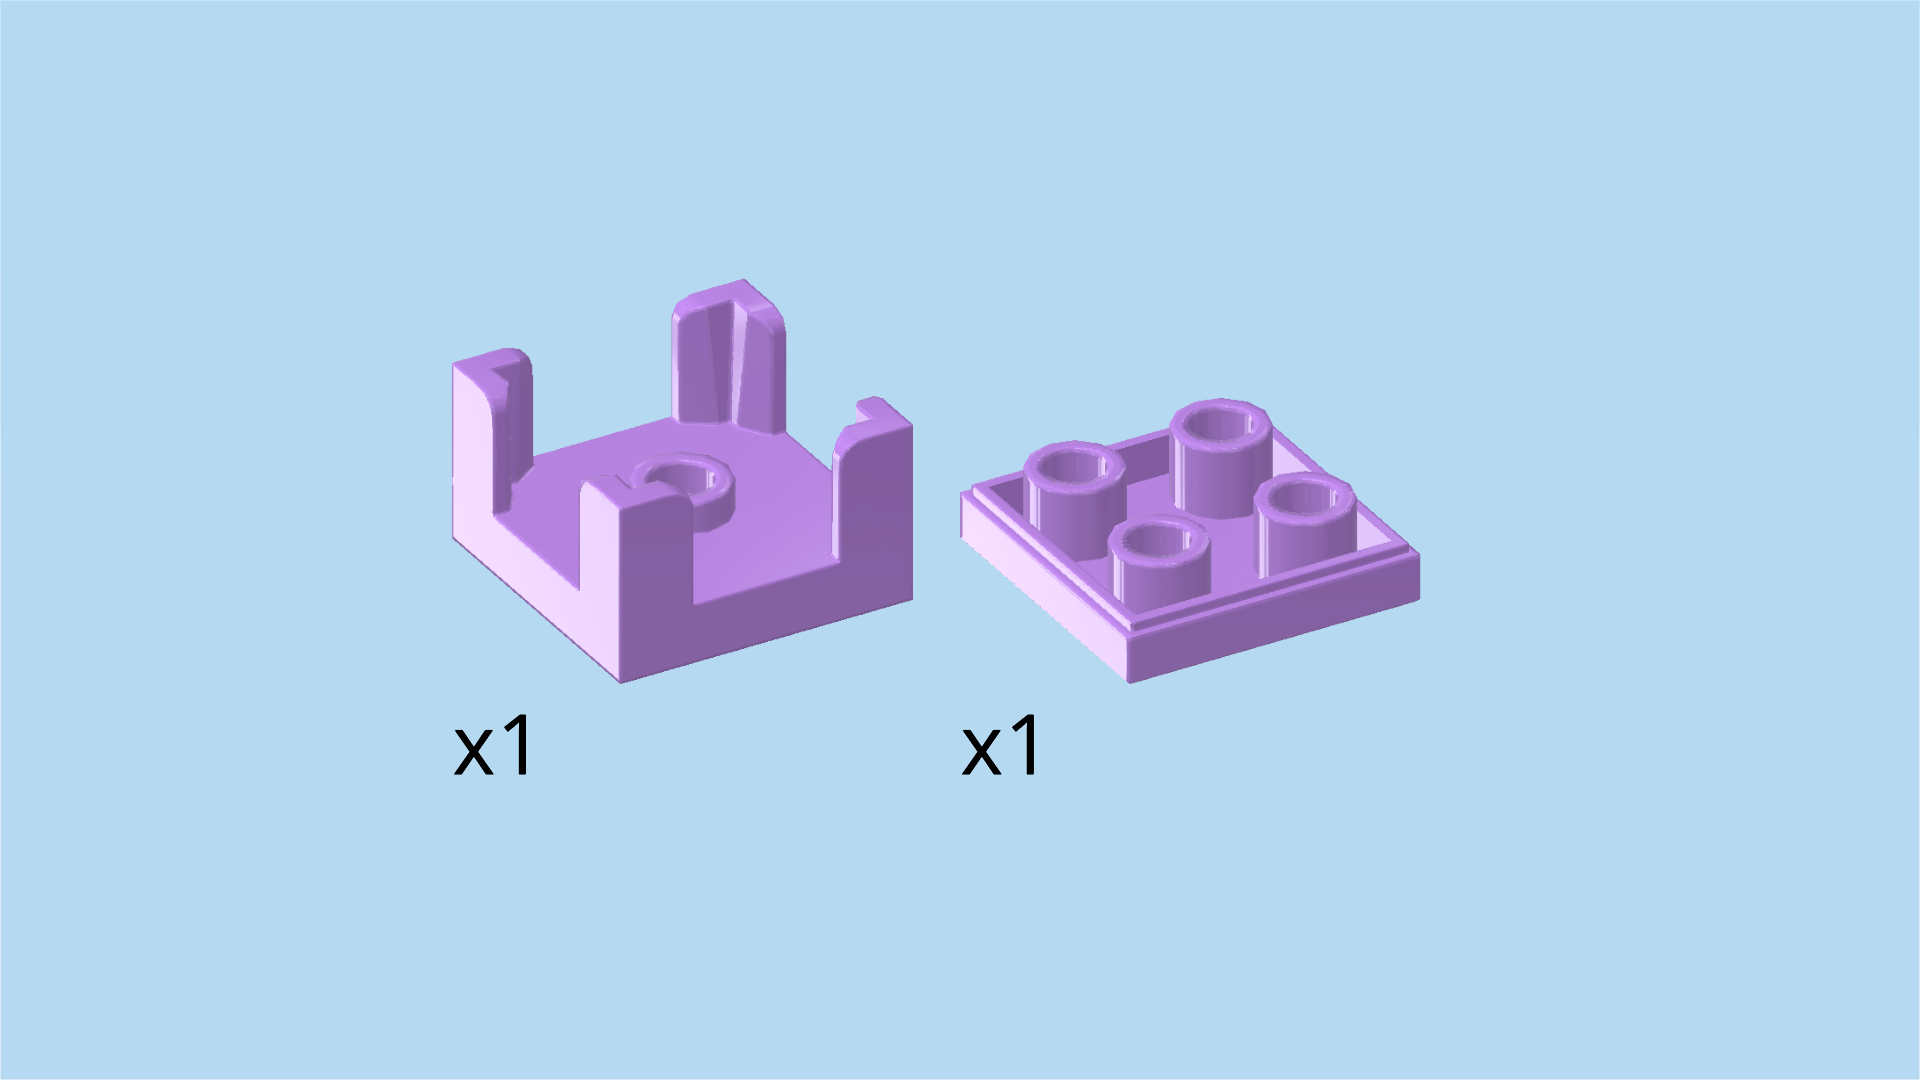
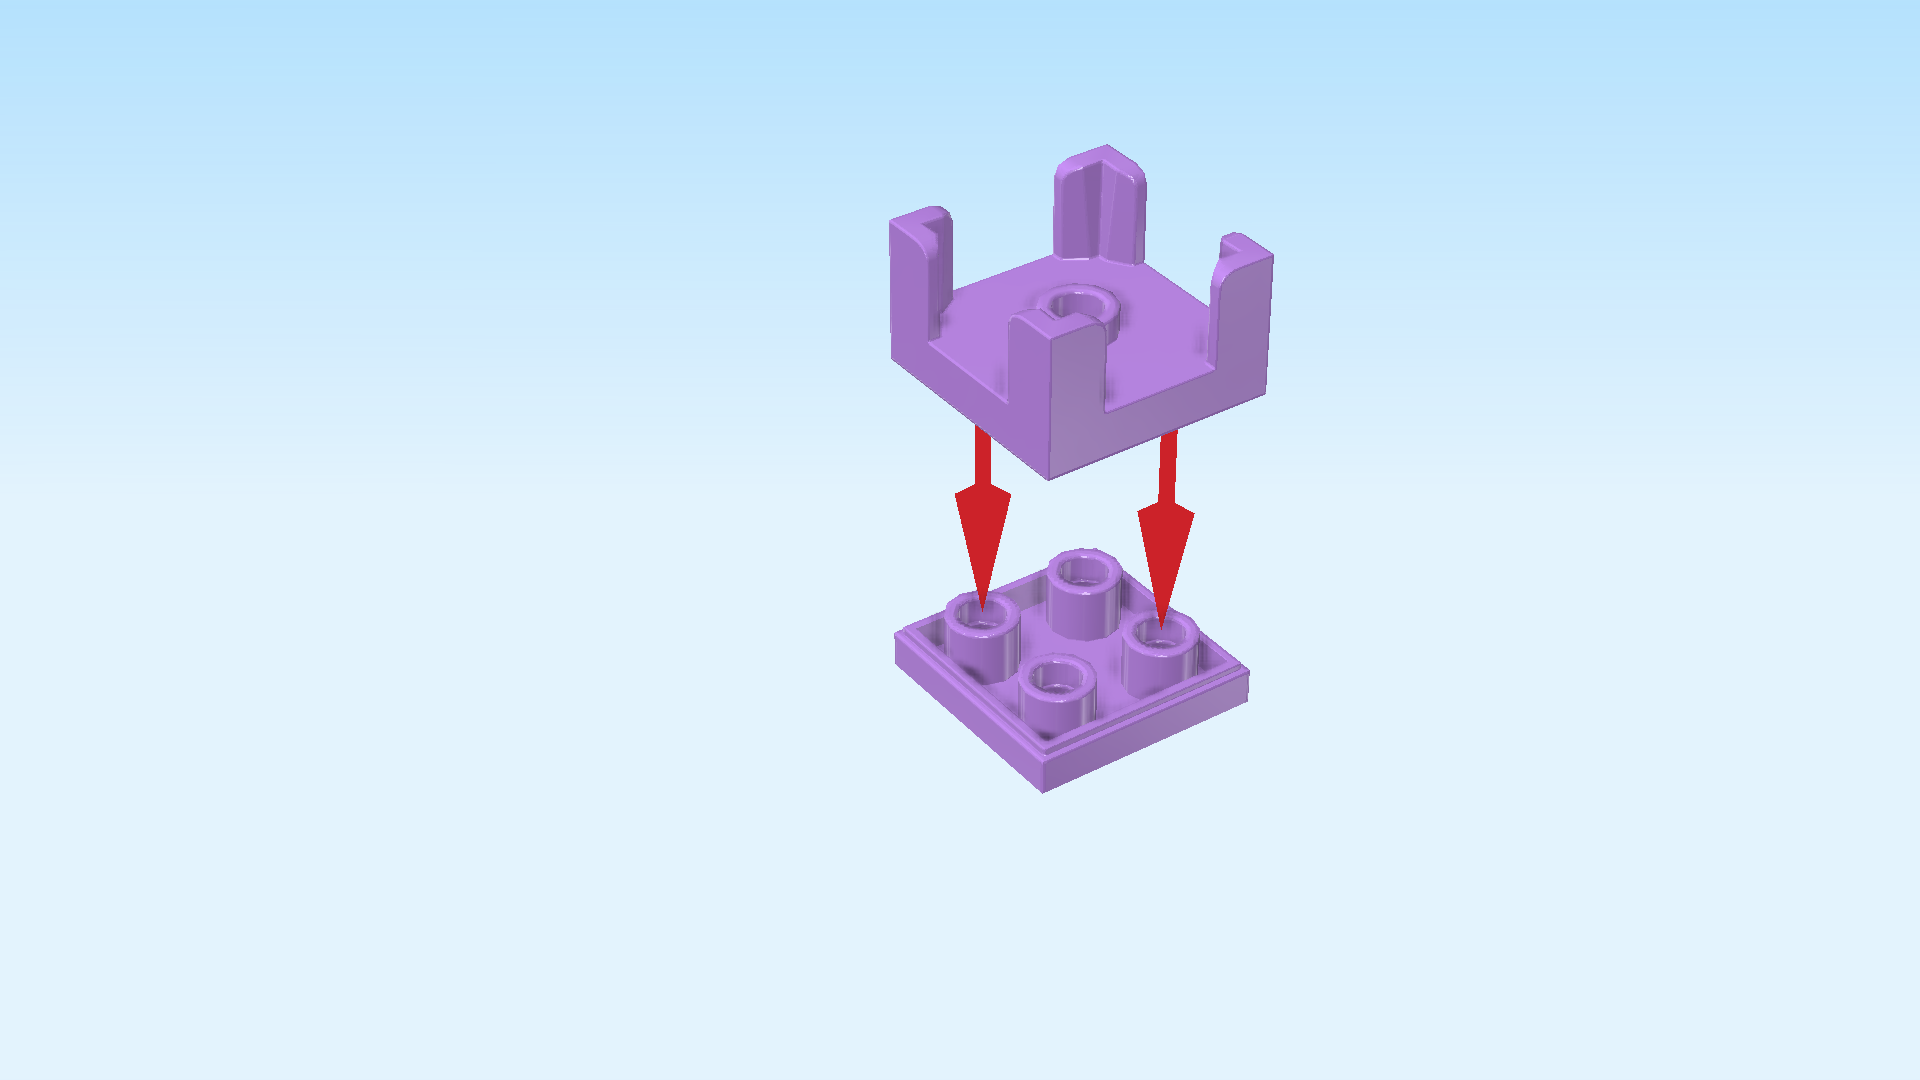
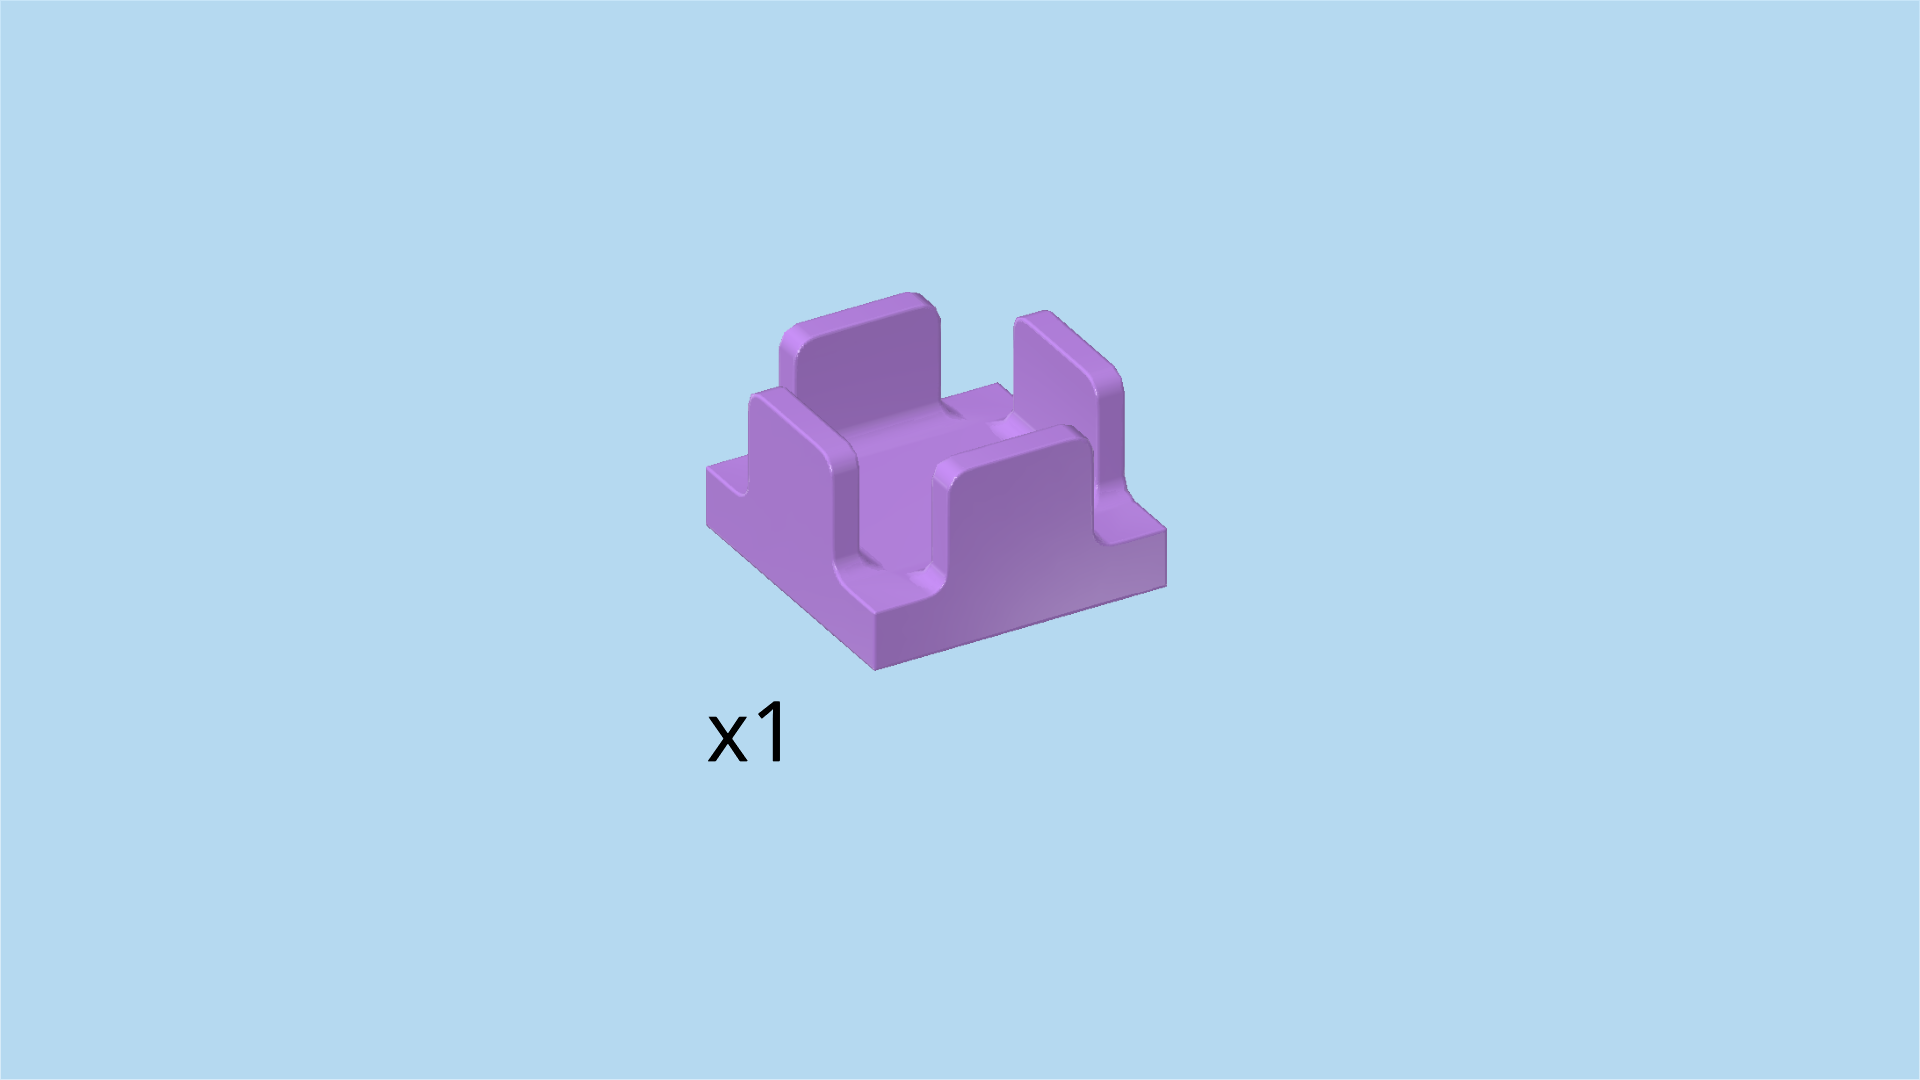
| Find 1 lavender flat tile 2x2 with 4 wall tongues. |
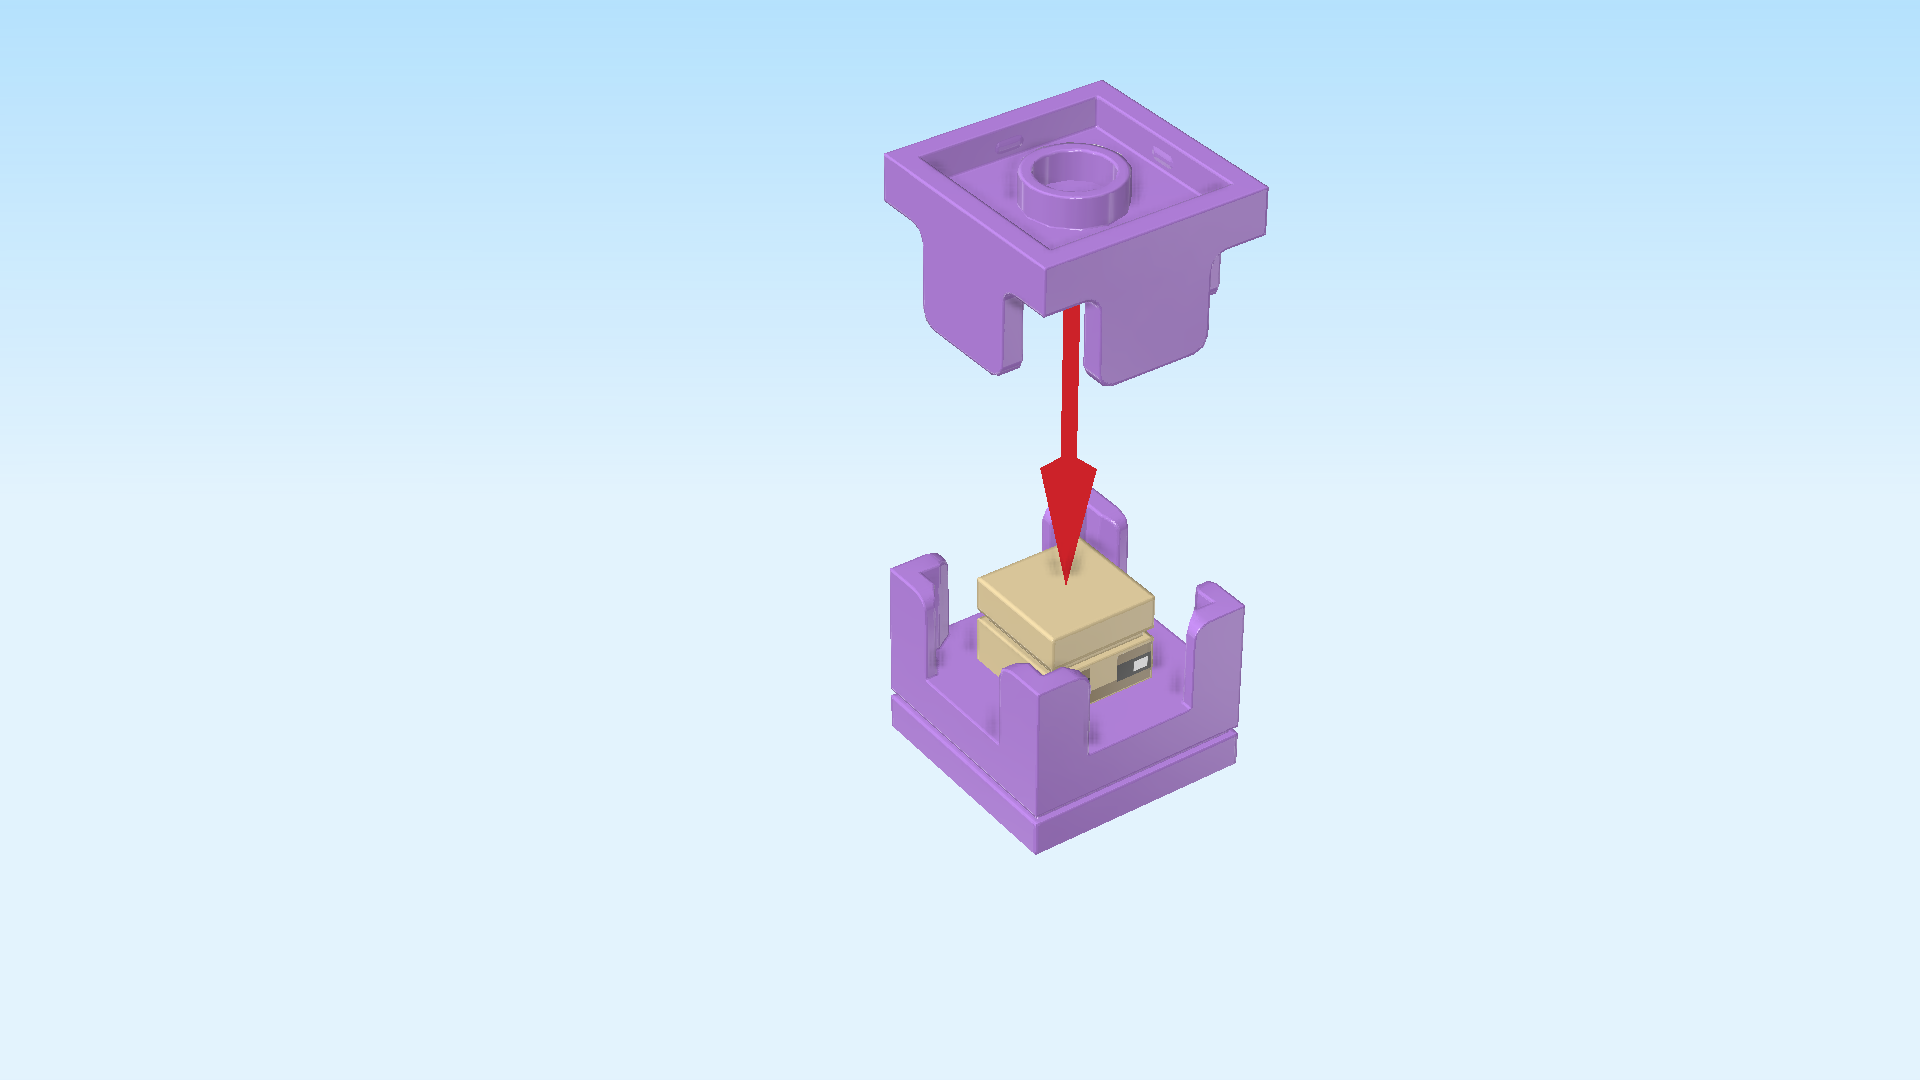
| Turn it upside down and put it on top of the shulker. The wall tongues fit neatly between the corner posts. |
| Collect the following 2 pieces: |
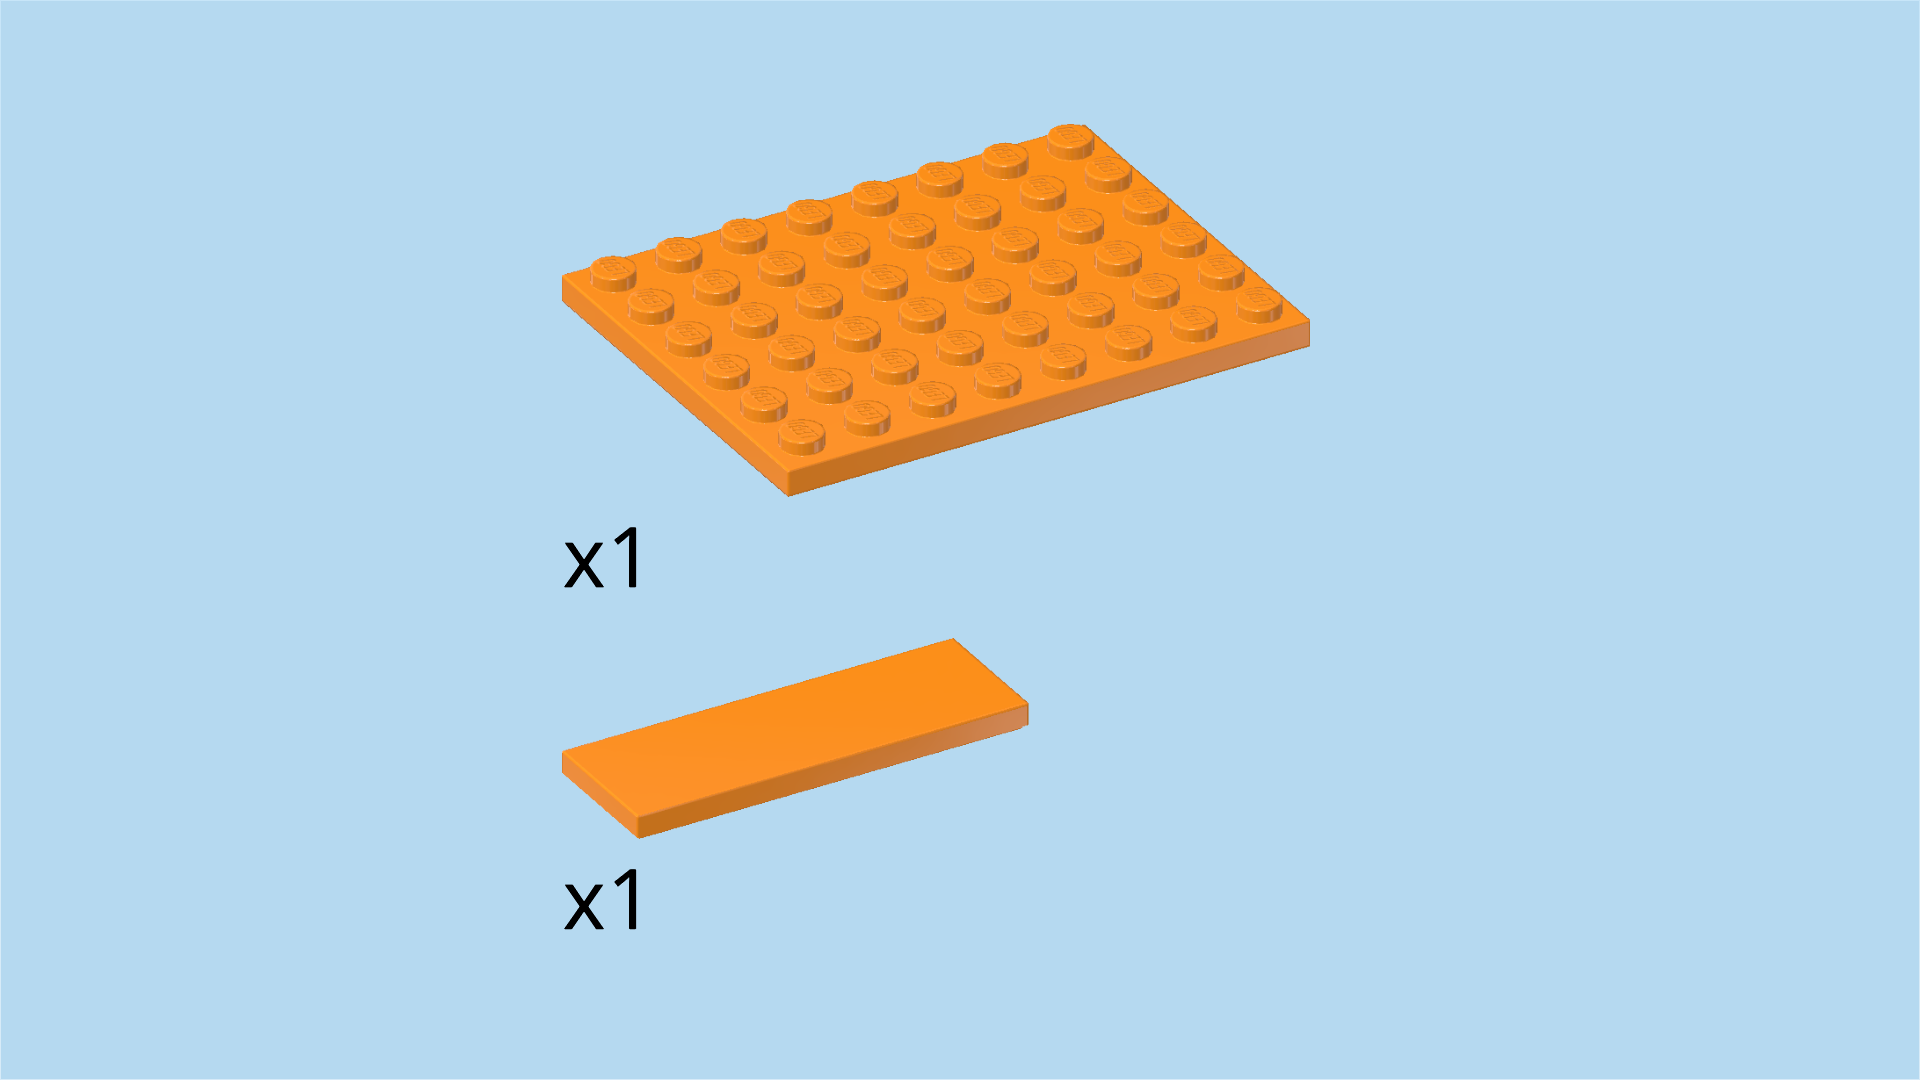
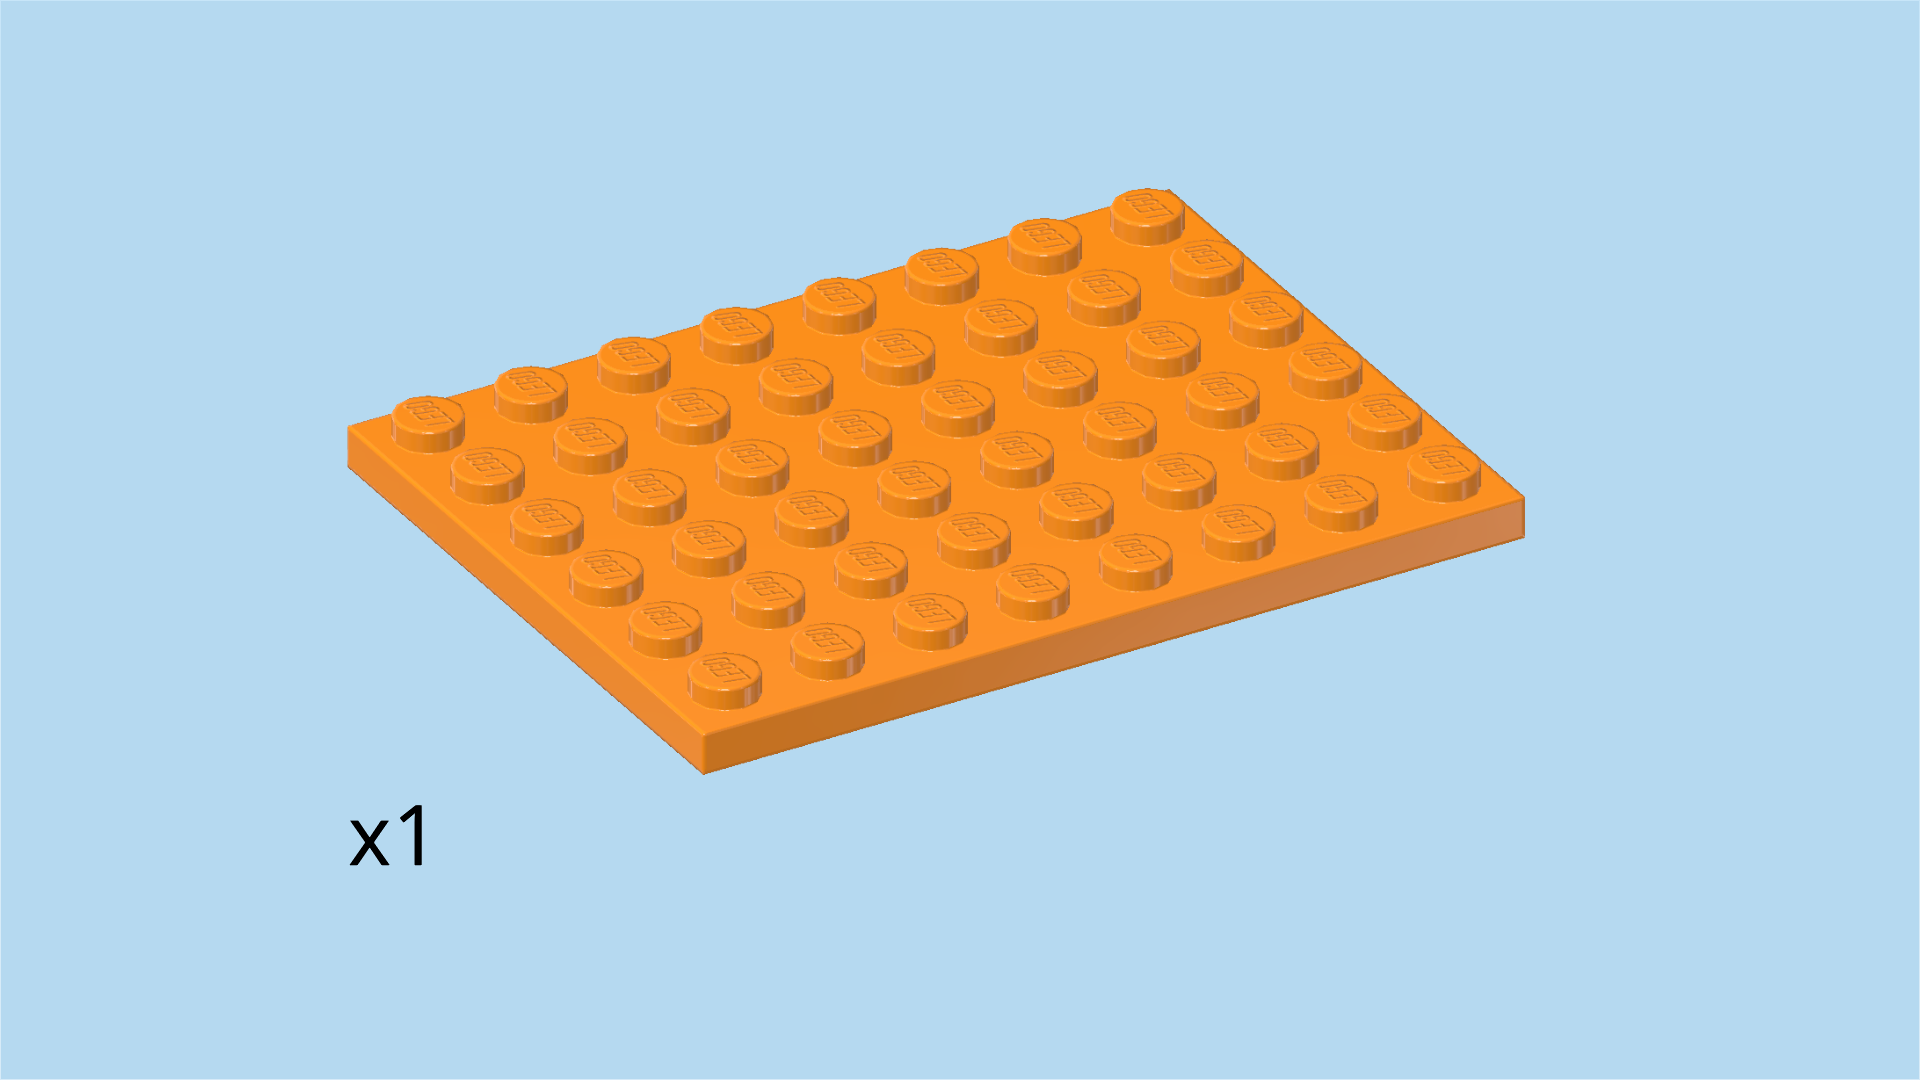
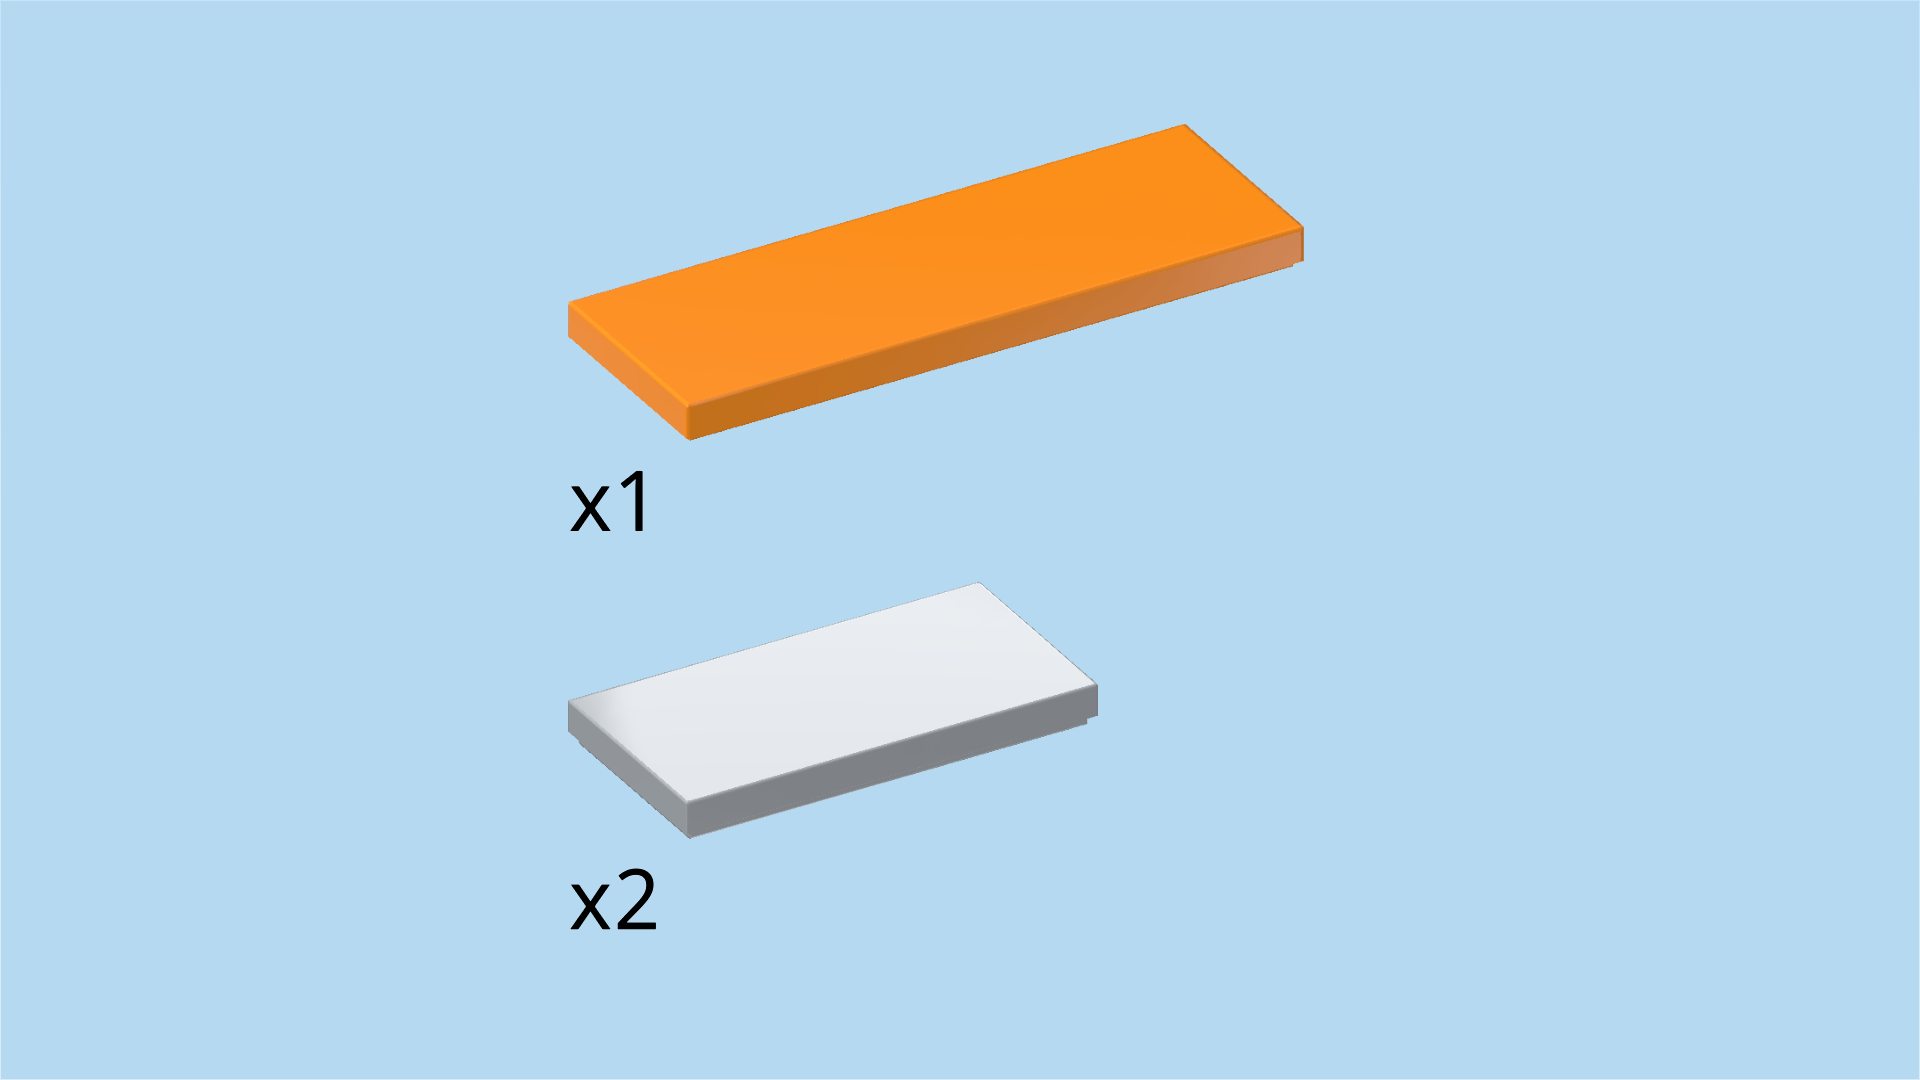
| 1 bright orange plate 6x8, |
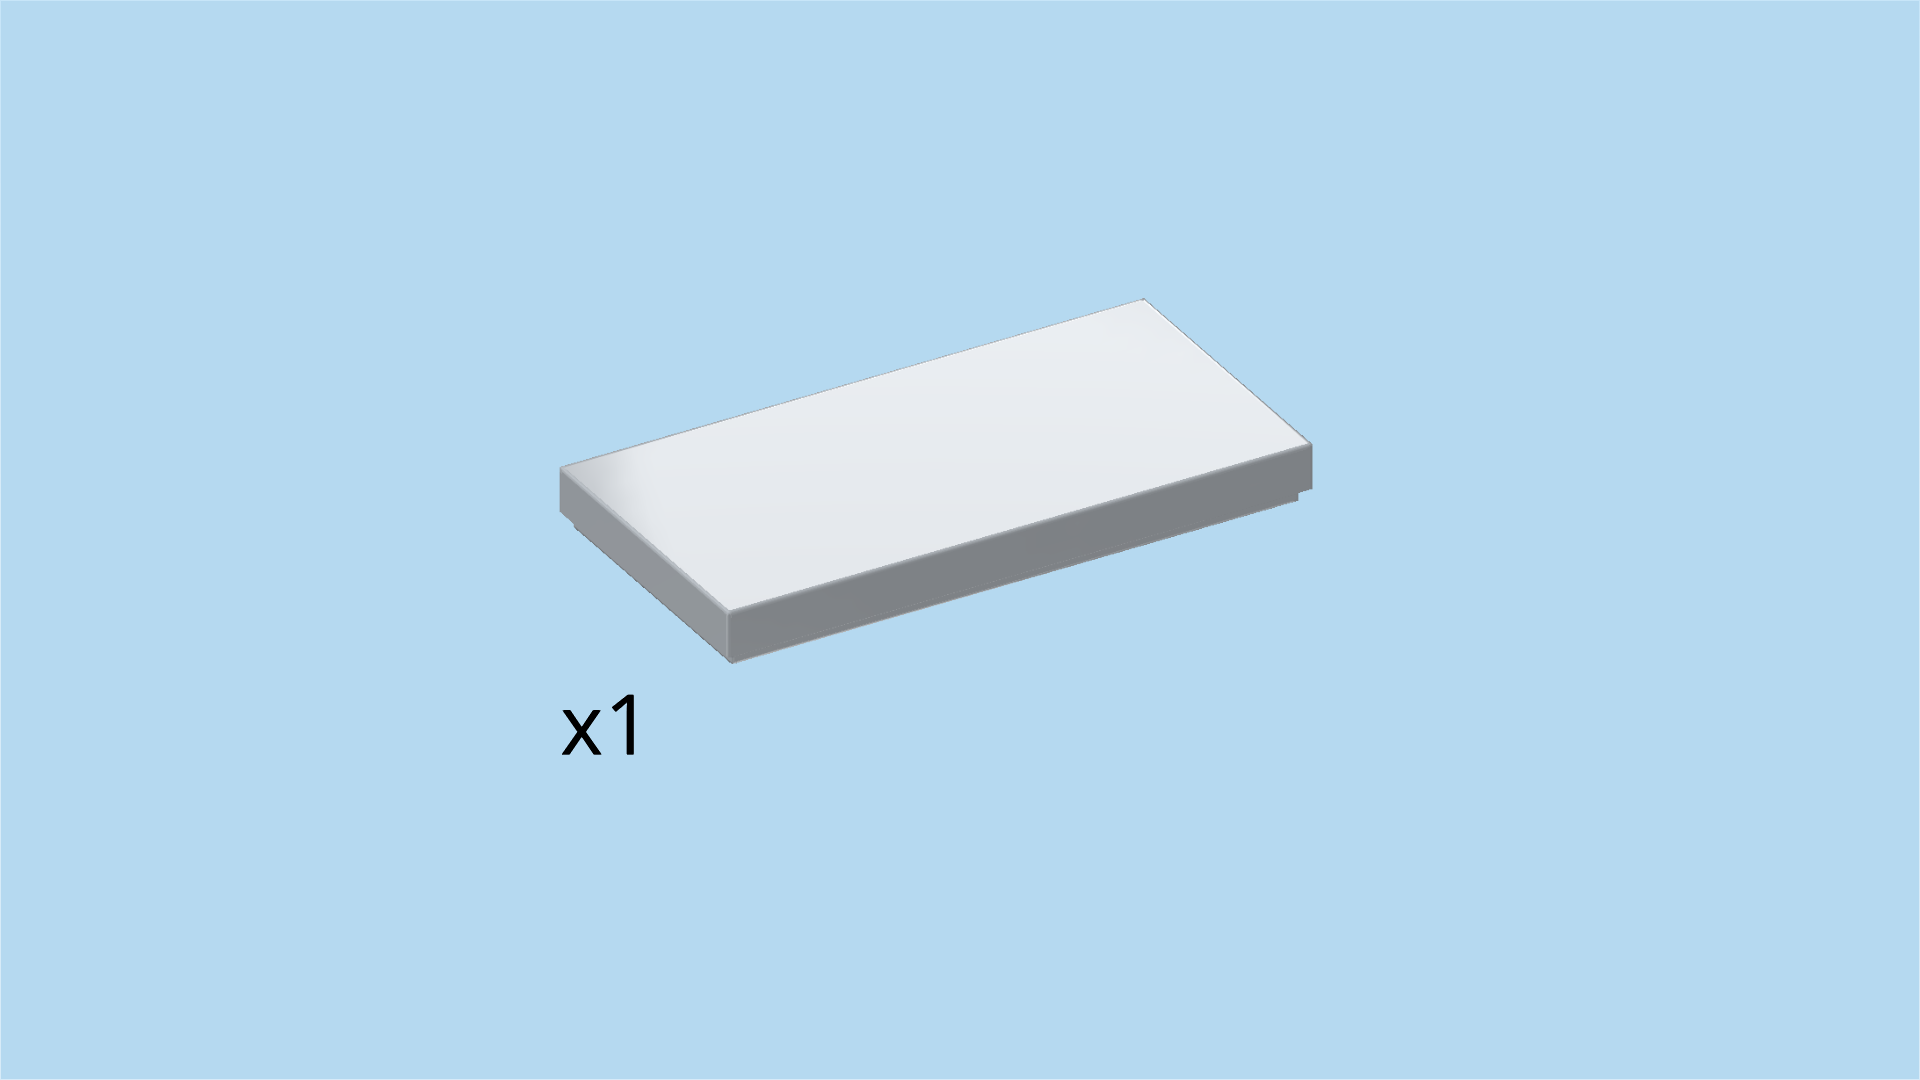
| and 1 bright orange flat tile 2x6. |
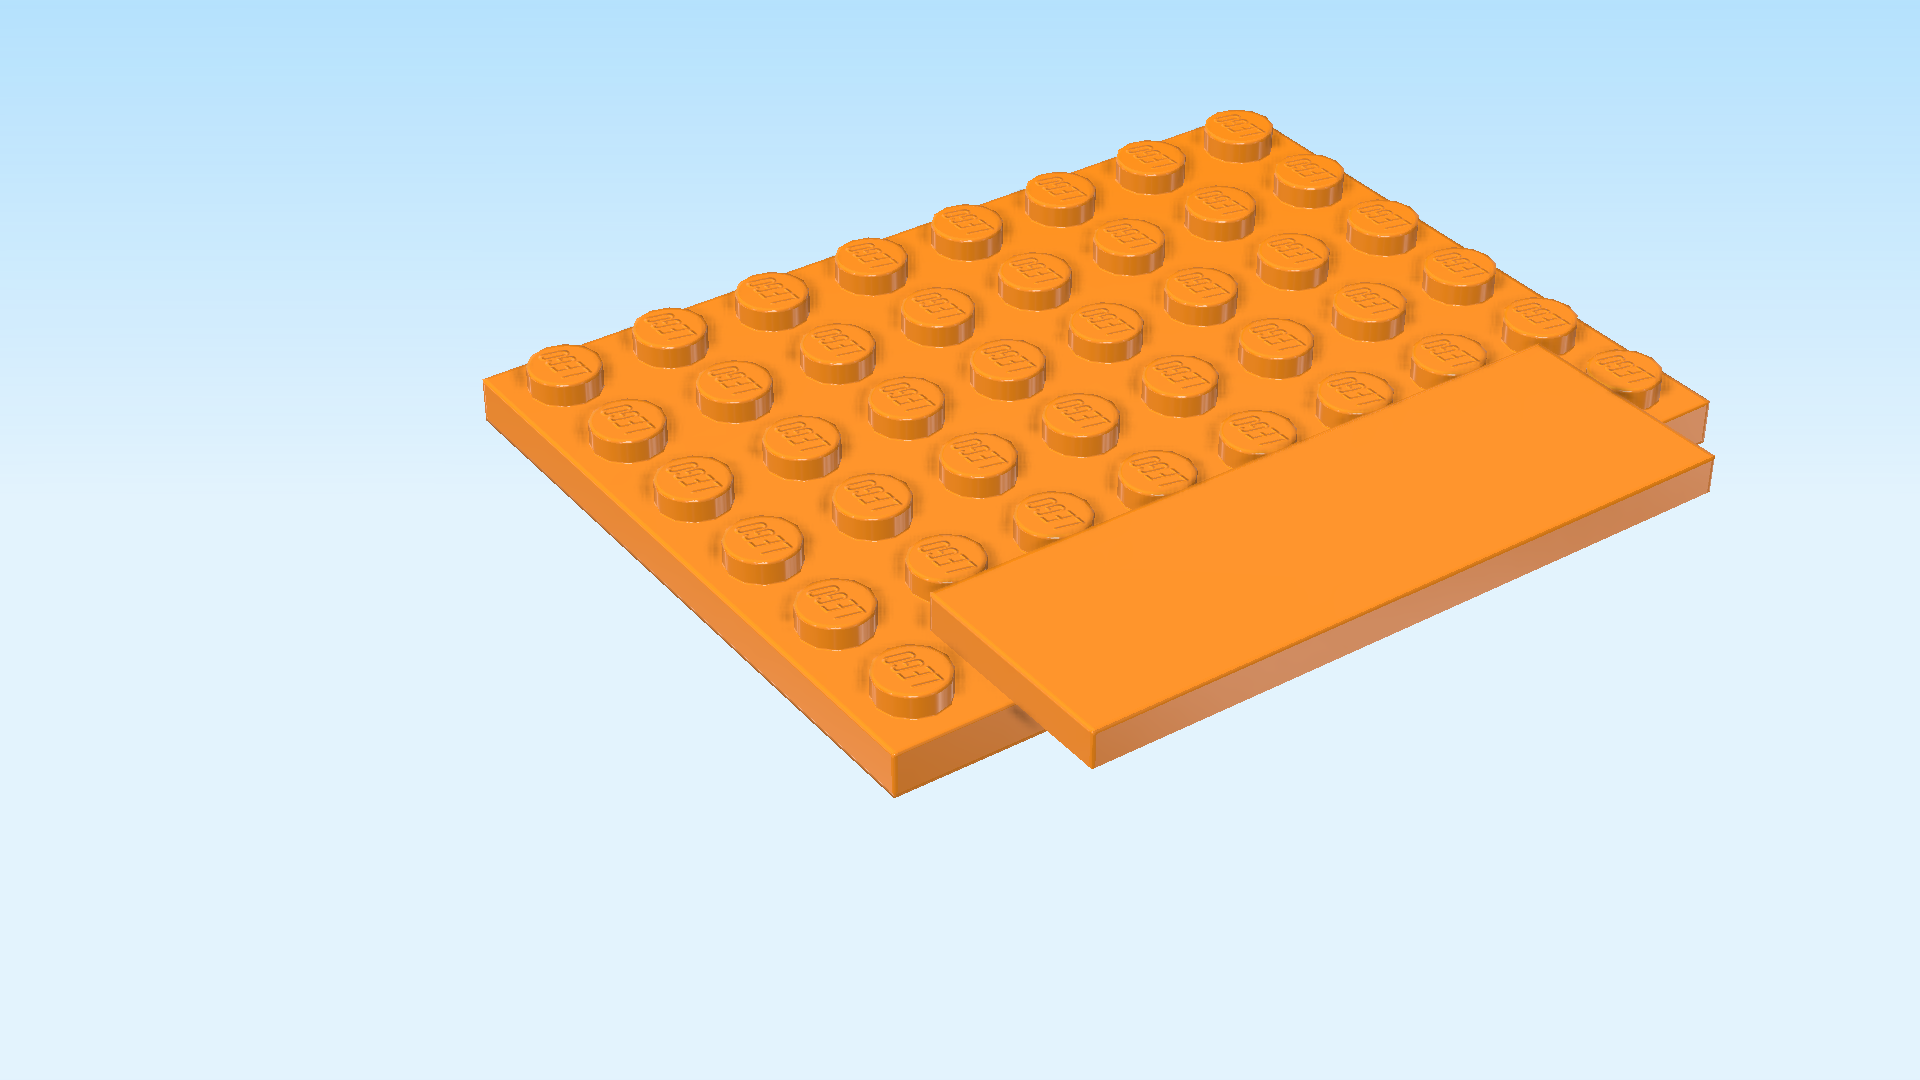
| Put the plate 6x8 horizontally on the table. |
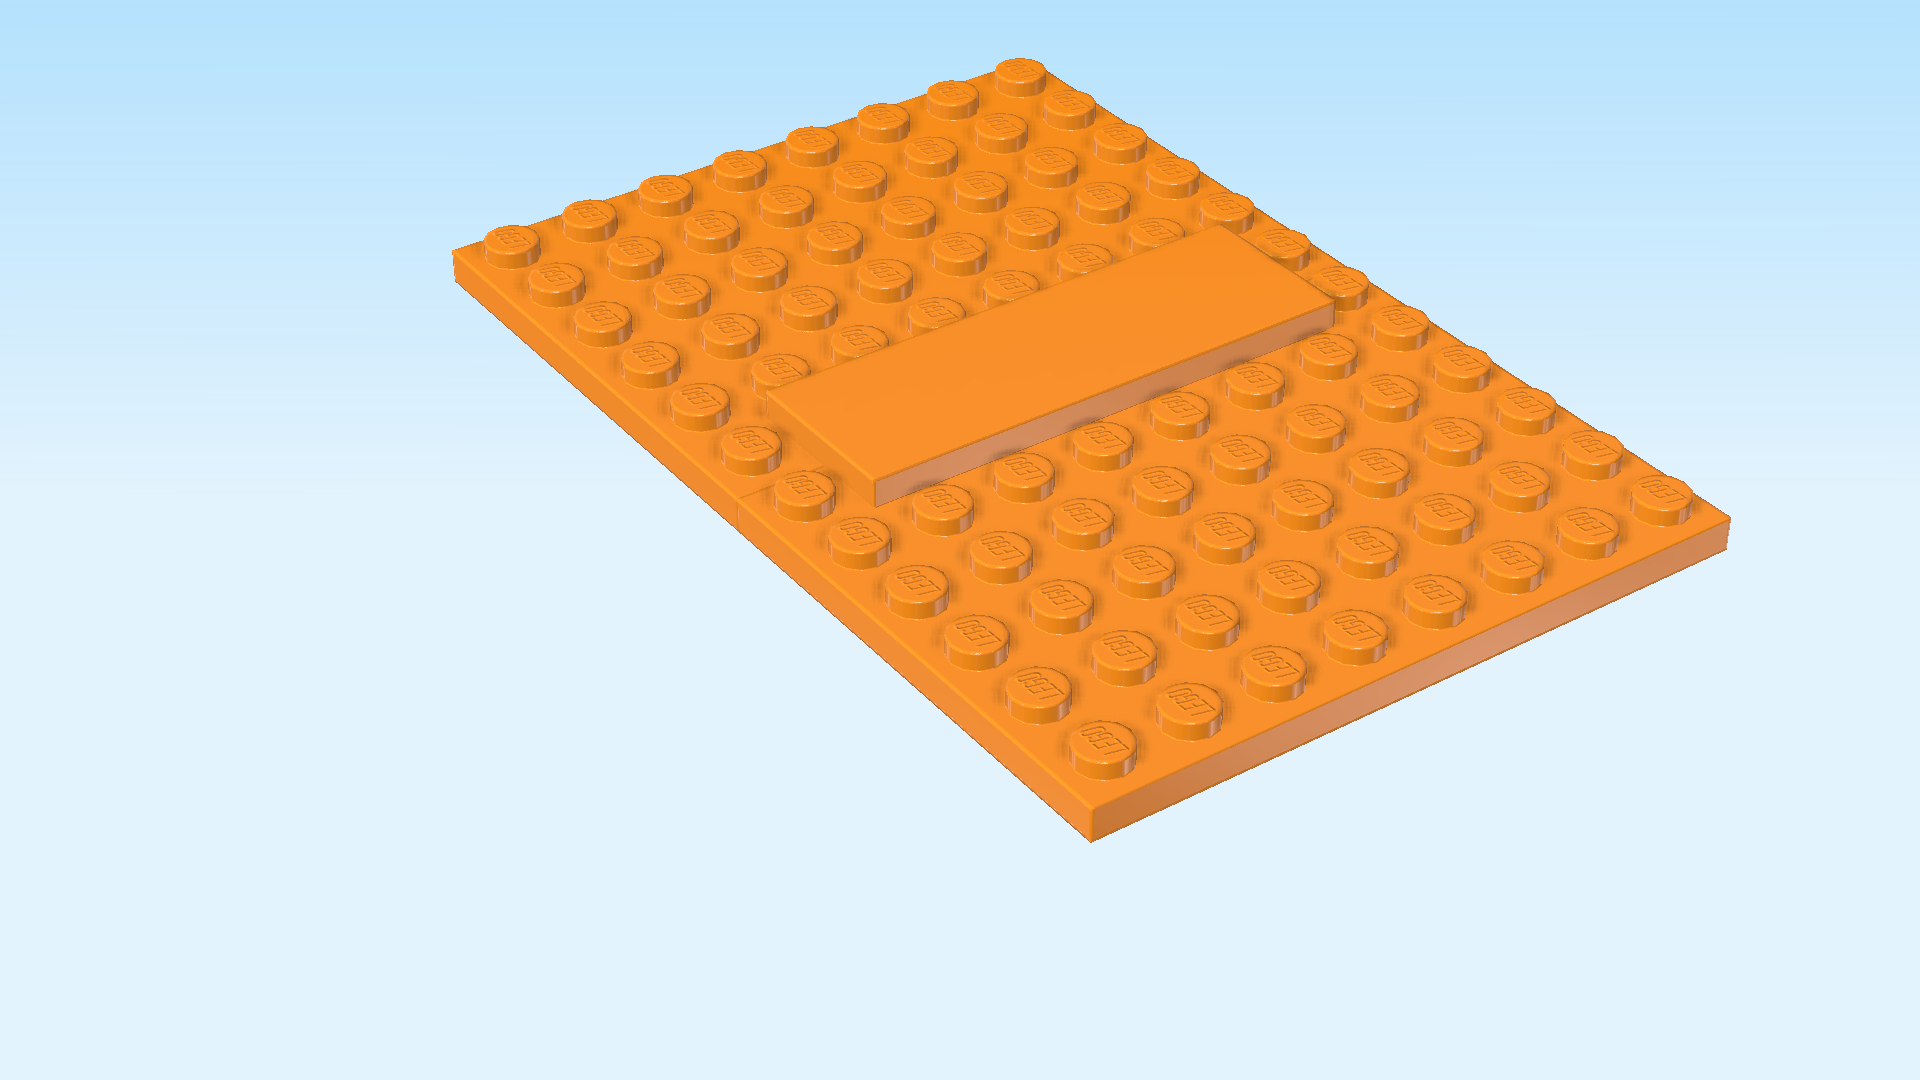
| Put the flat tile 2x6 horizontally centered on the frontmost row, 1 row overhanging to the front. |
| If done correctly, there is 1 empty knob to its right and 1 empty knob to its left. |
| Find 1 bright orange plate 6x8. |
| Put it horizontally centered underneath the overhanging row of the previous piece, connecting the 2 plates 6x8. |
| Make sure the edges of the 2 plates 6x8 are flush. |
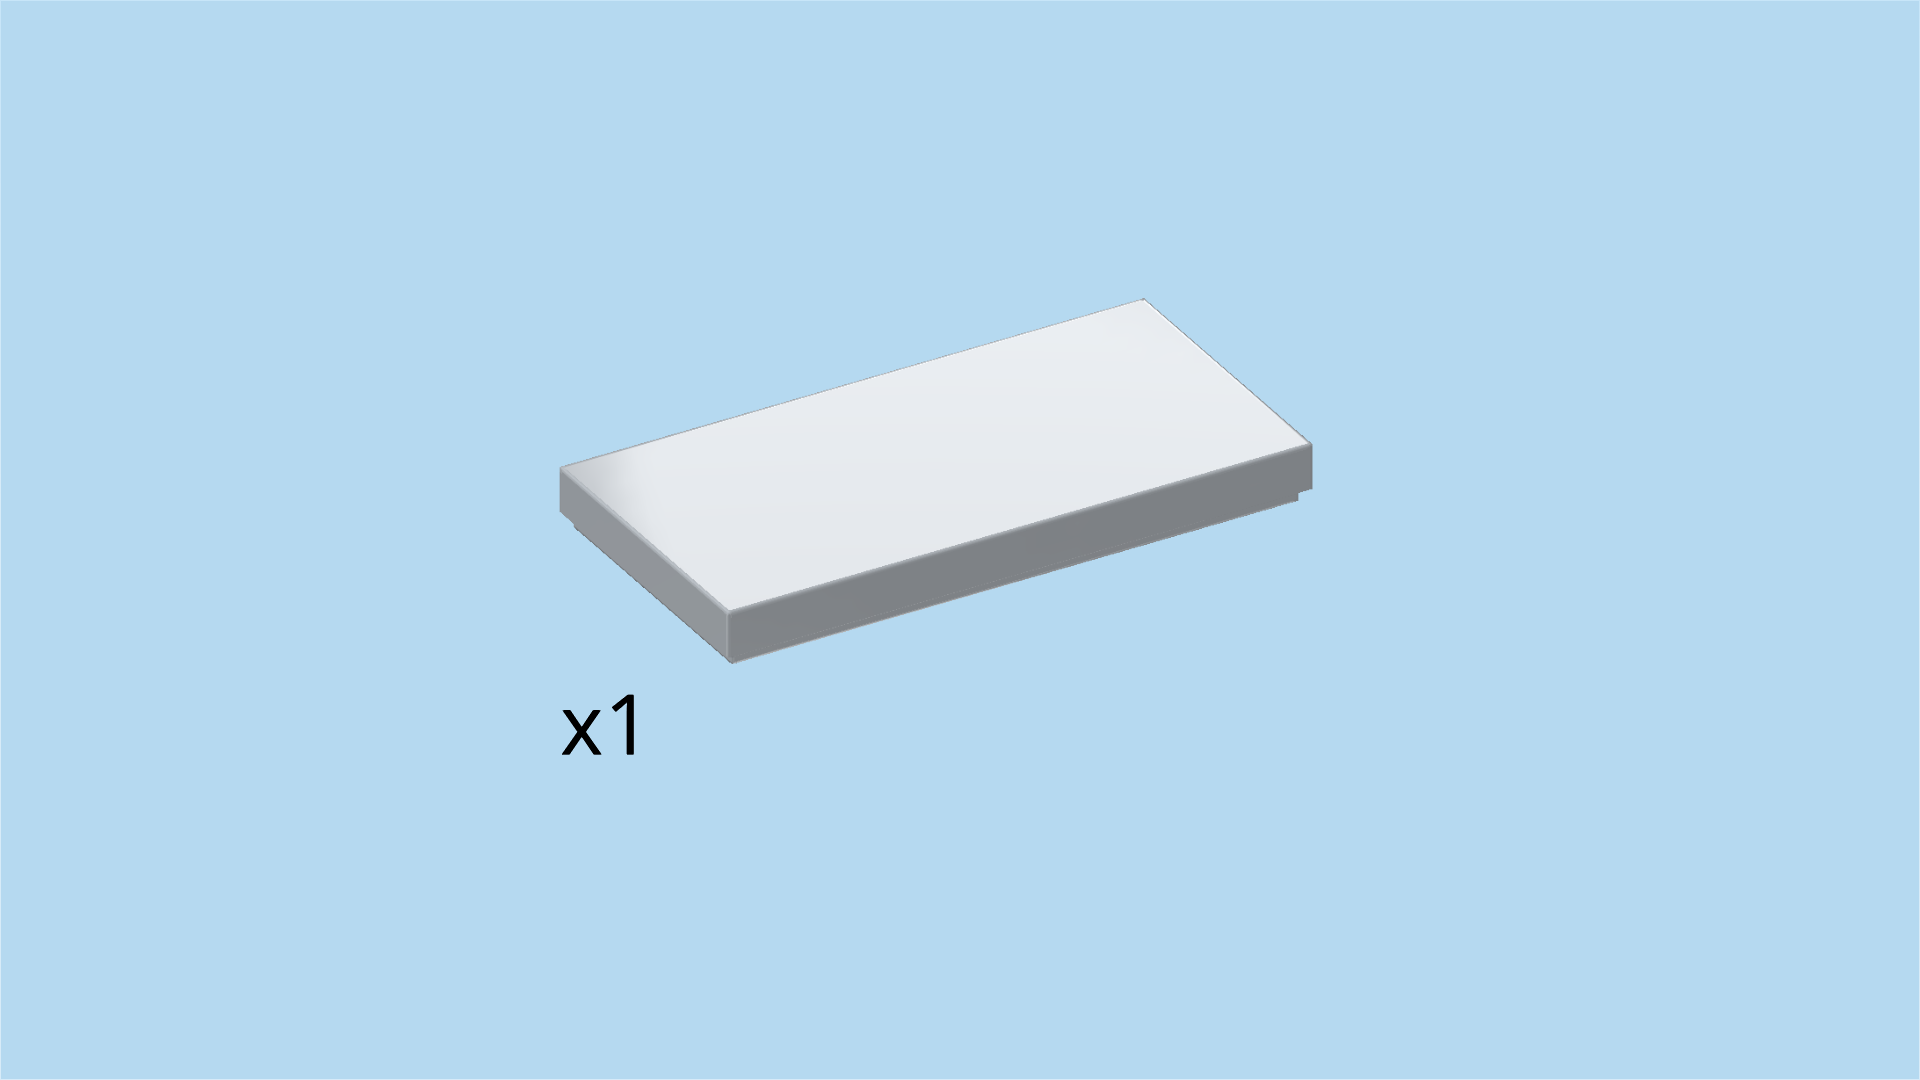
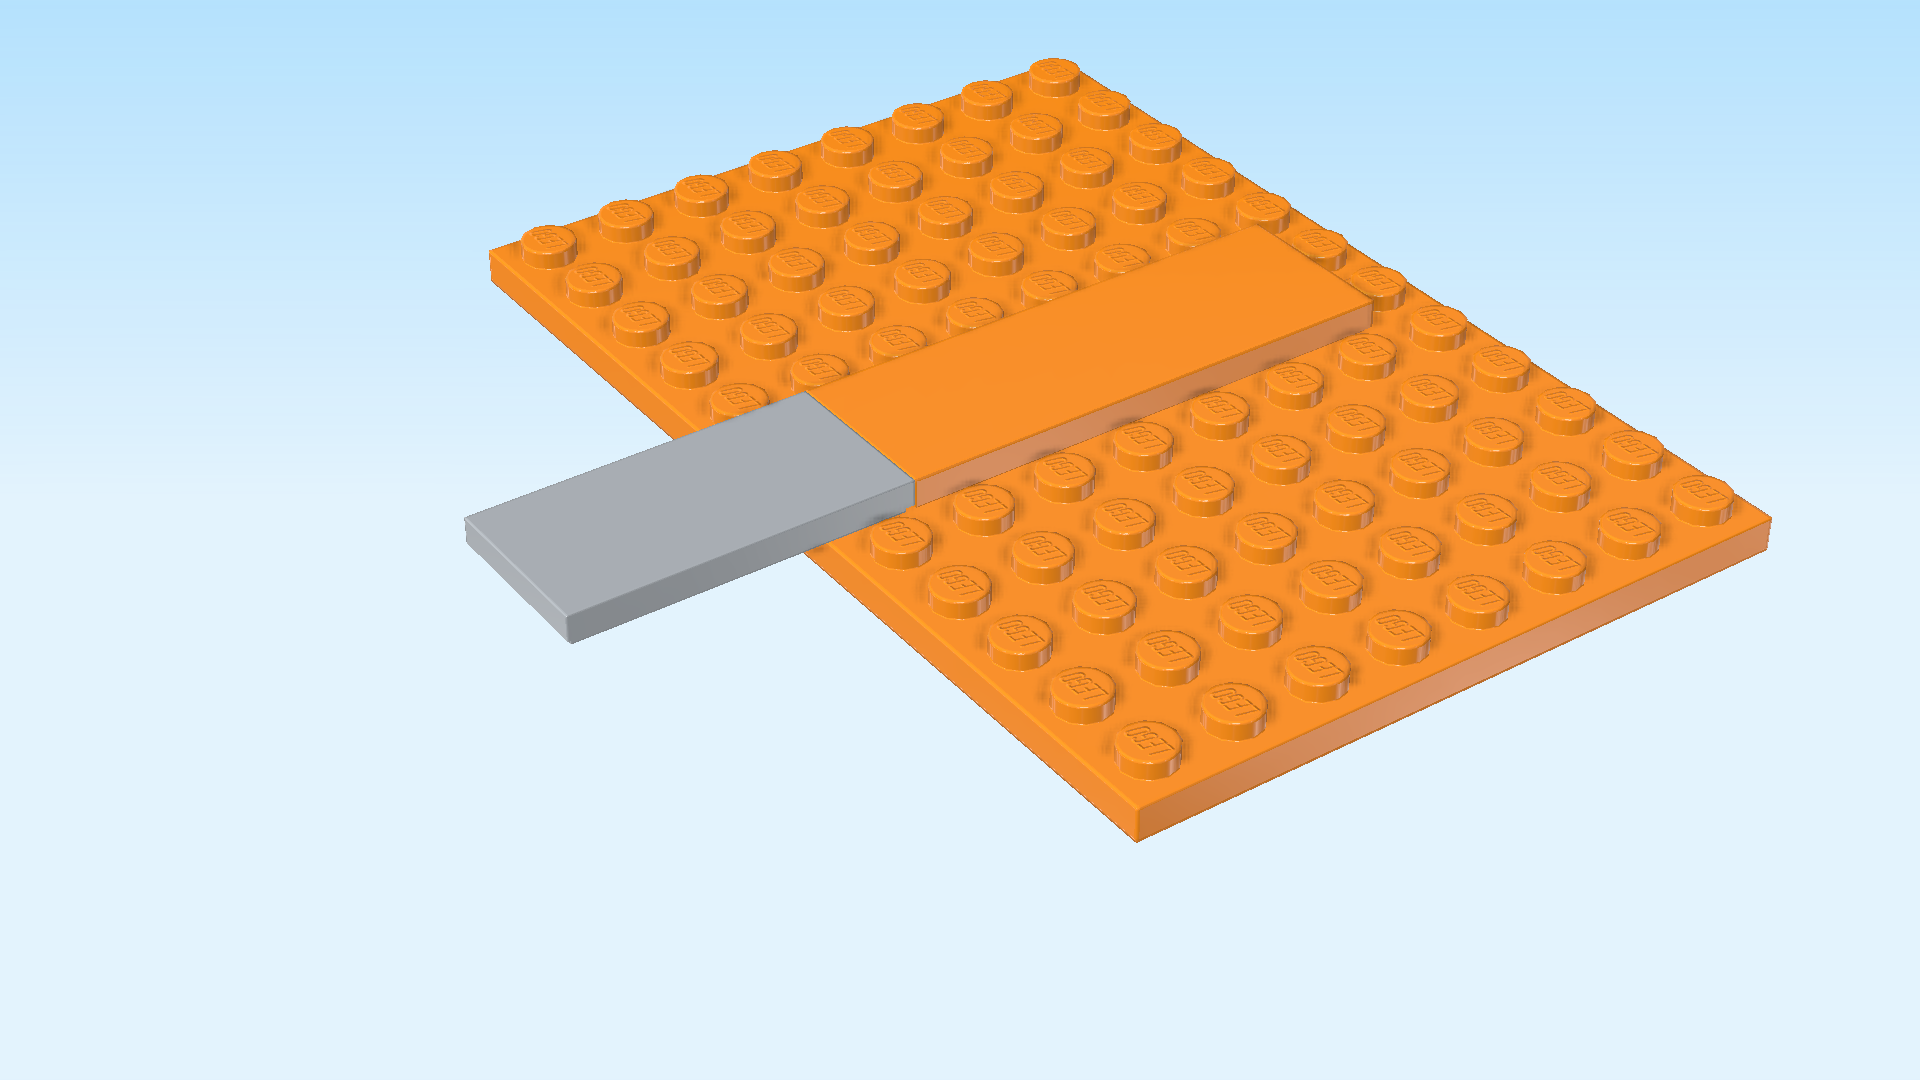
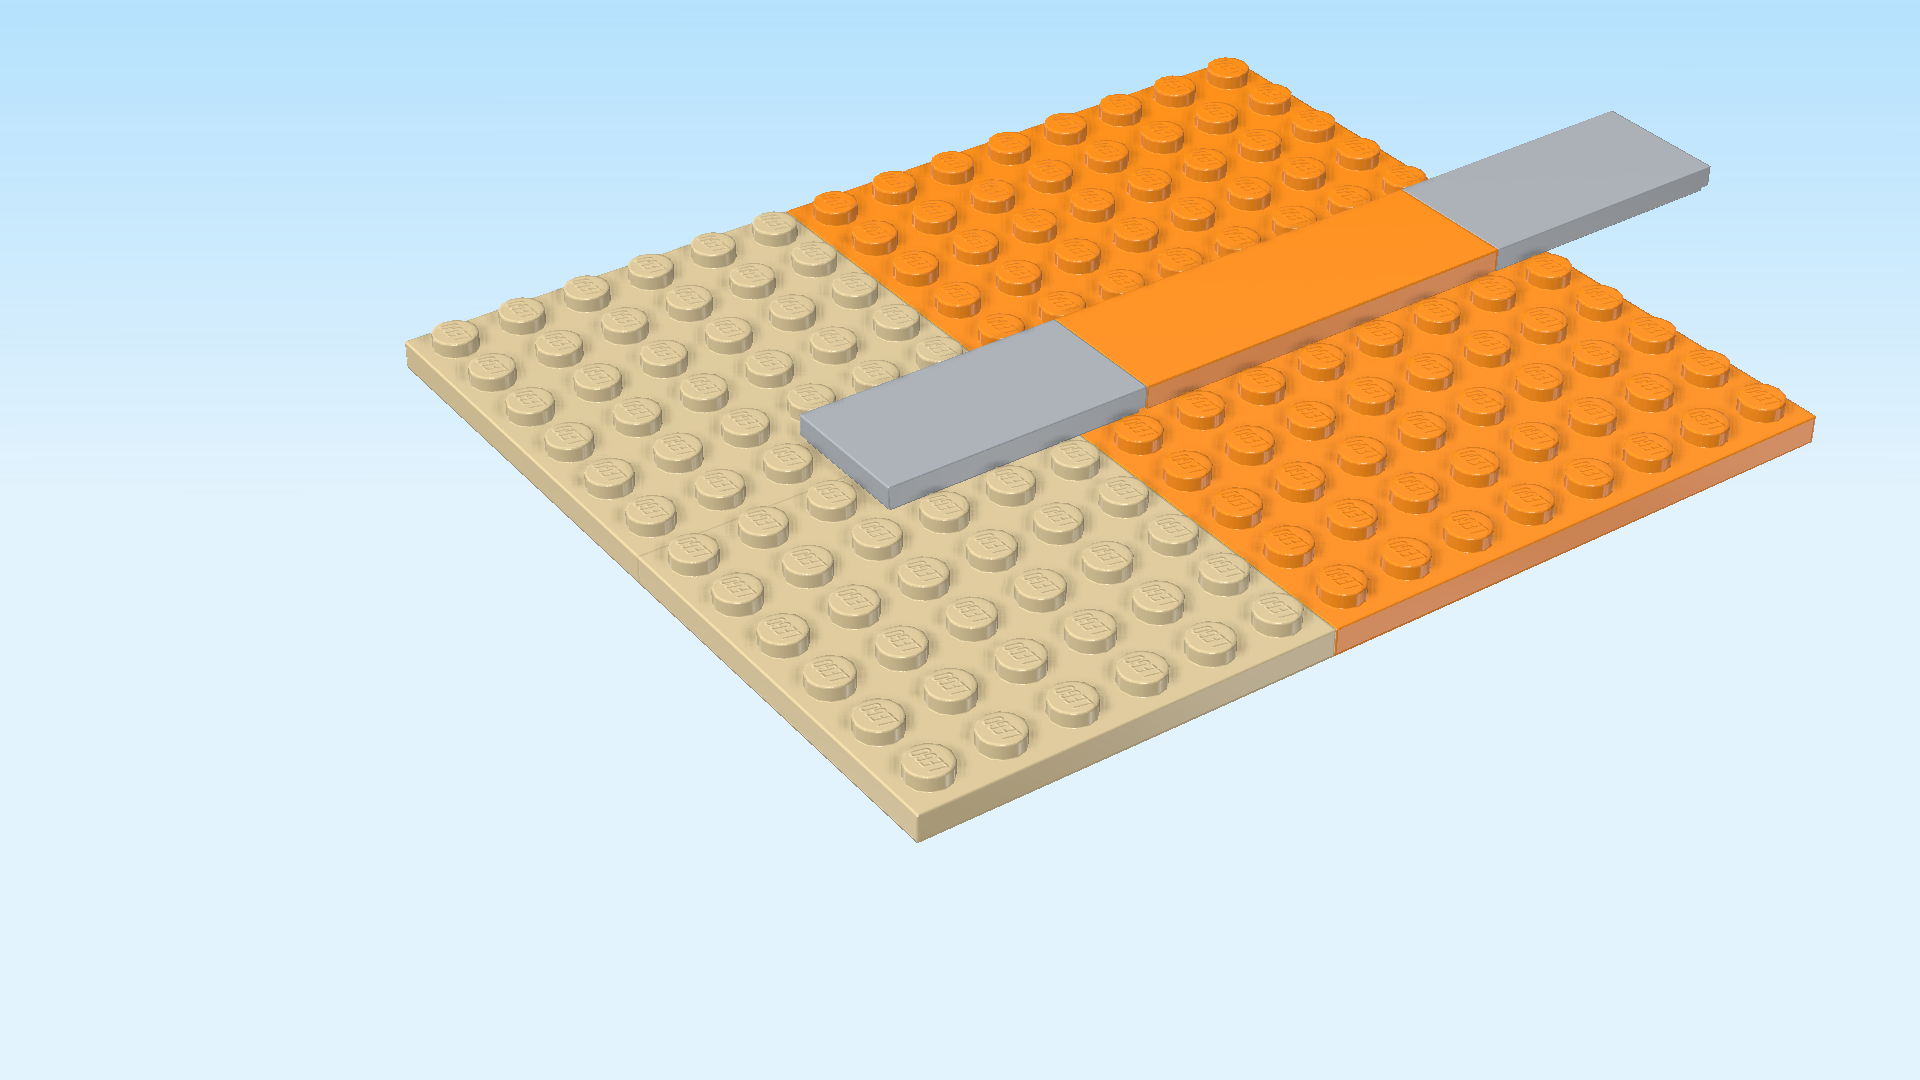
| Find 1 medium stone grey flat tile 2x4. |
| Put it horizontally to the left of the flat tile 2x6, 3/4 of the tile overhanging to the left. |
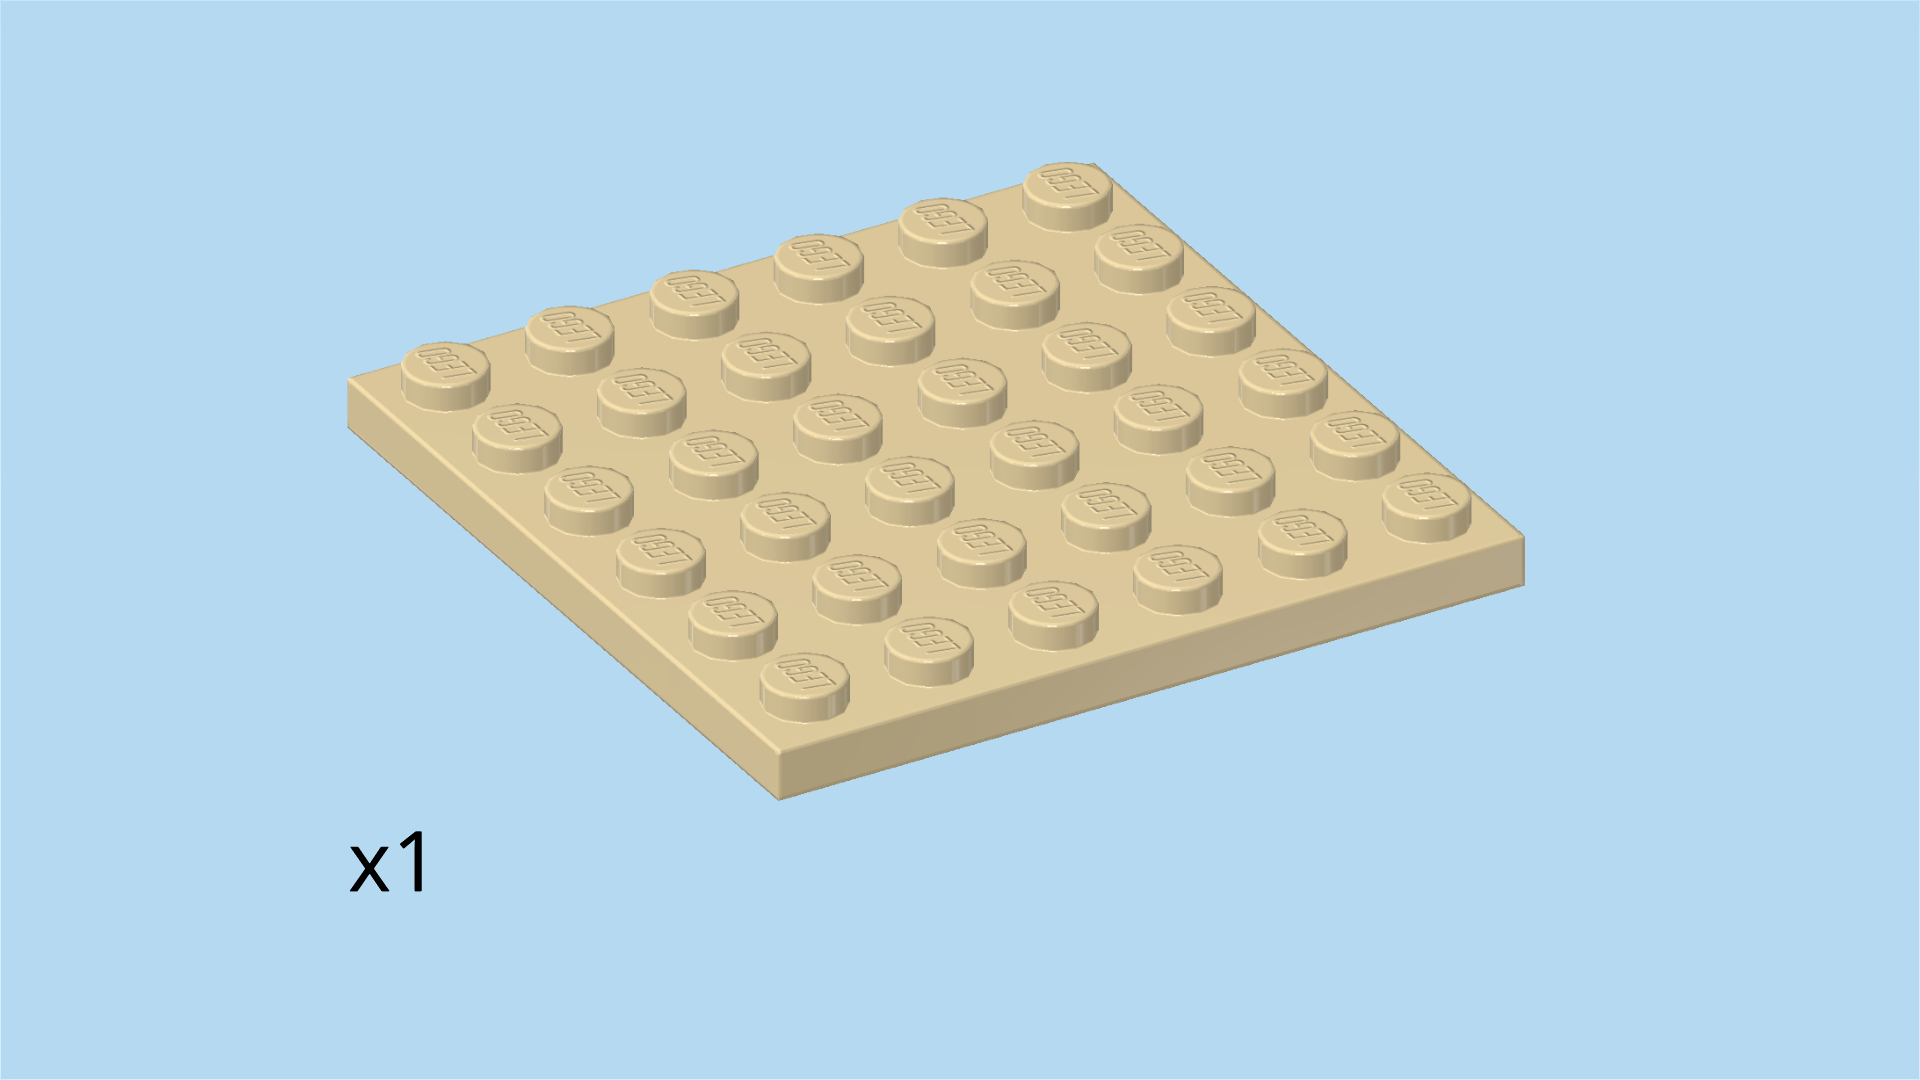
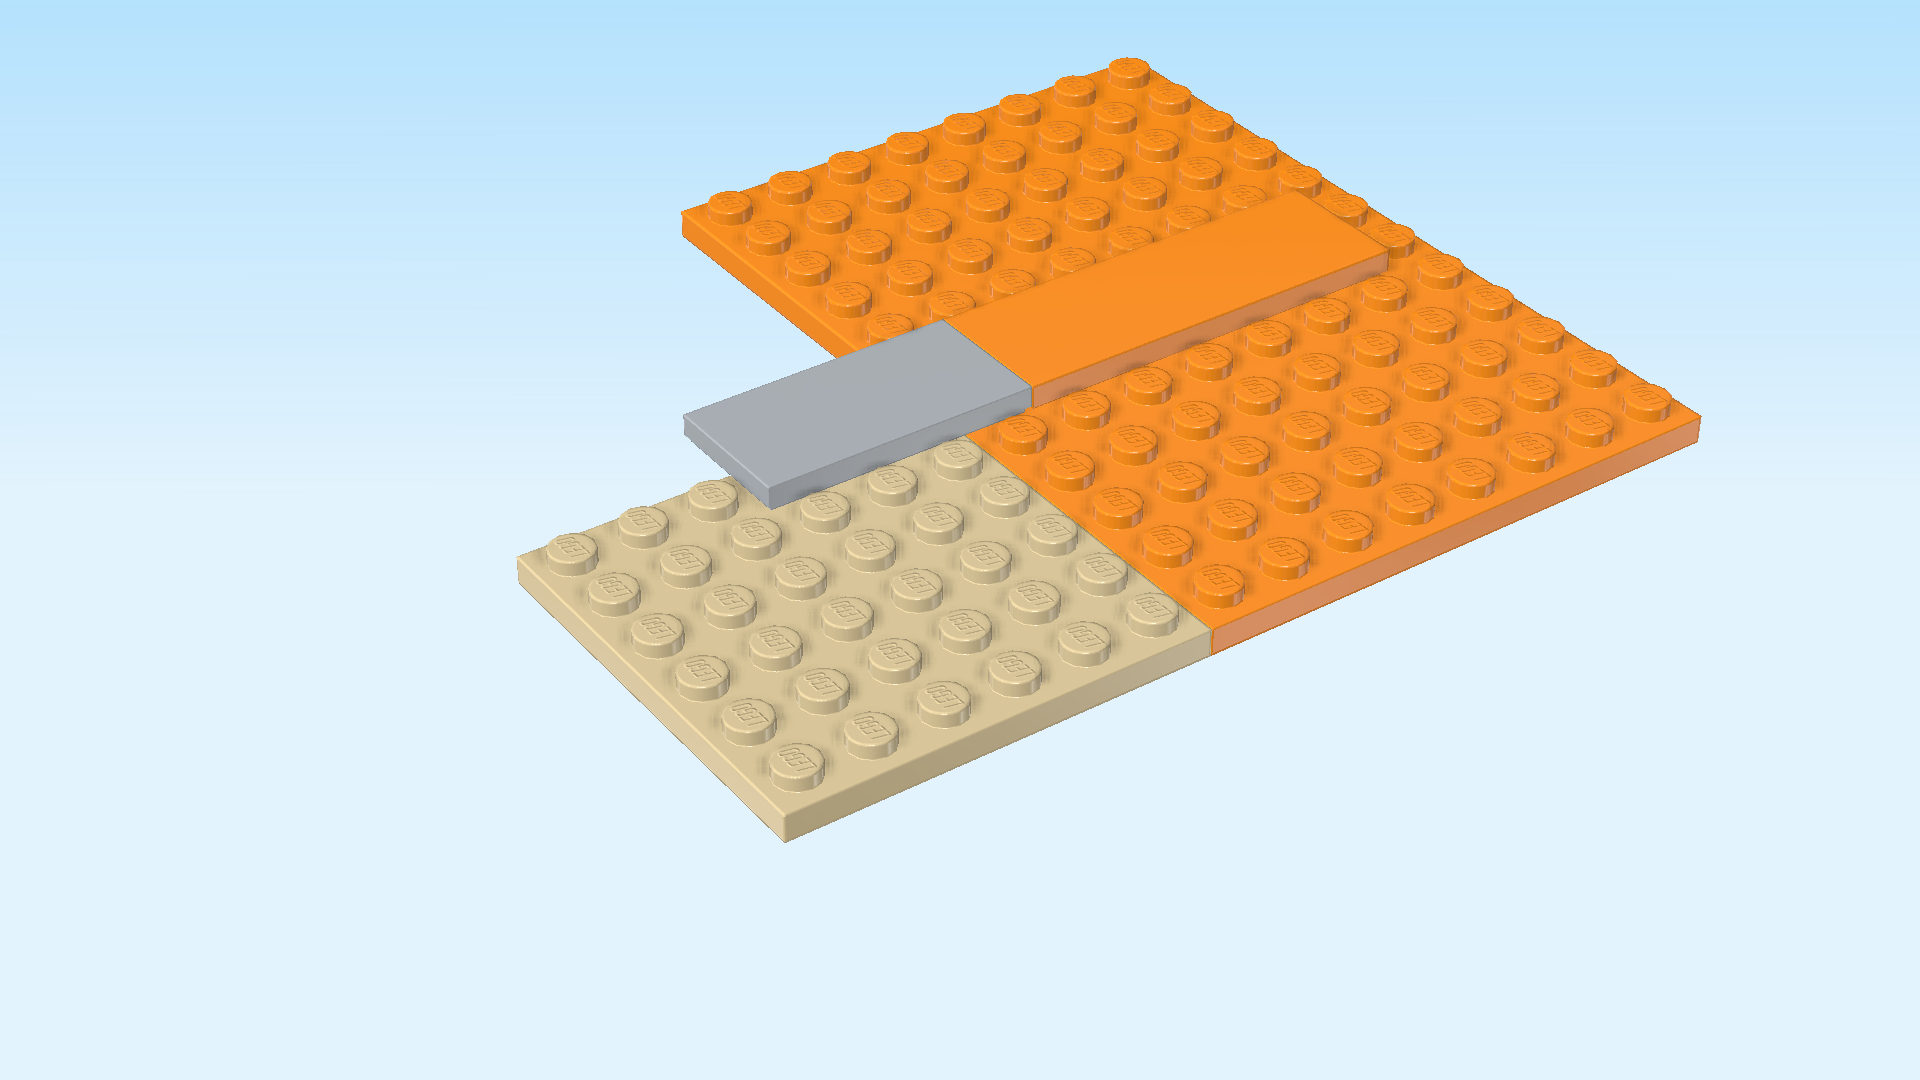
| Find 1 pale ocher yellow plate 6x6. |
| Put it to the left of the plate 6x8 at the front, and mount it underneath the front row of the previous piece. It only connects with the 3 right knobs of its backmost row. |
| If done correctly, its front edge is flush with the front edge of the front plate 6x8, and its leftmost 3 columns will remain empty. |
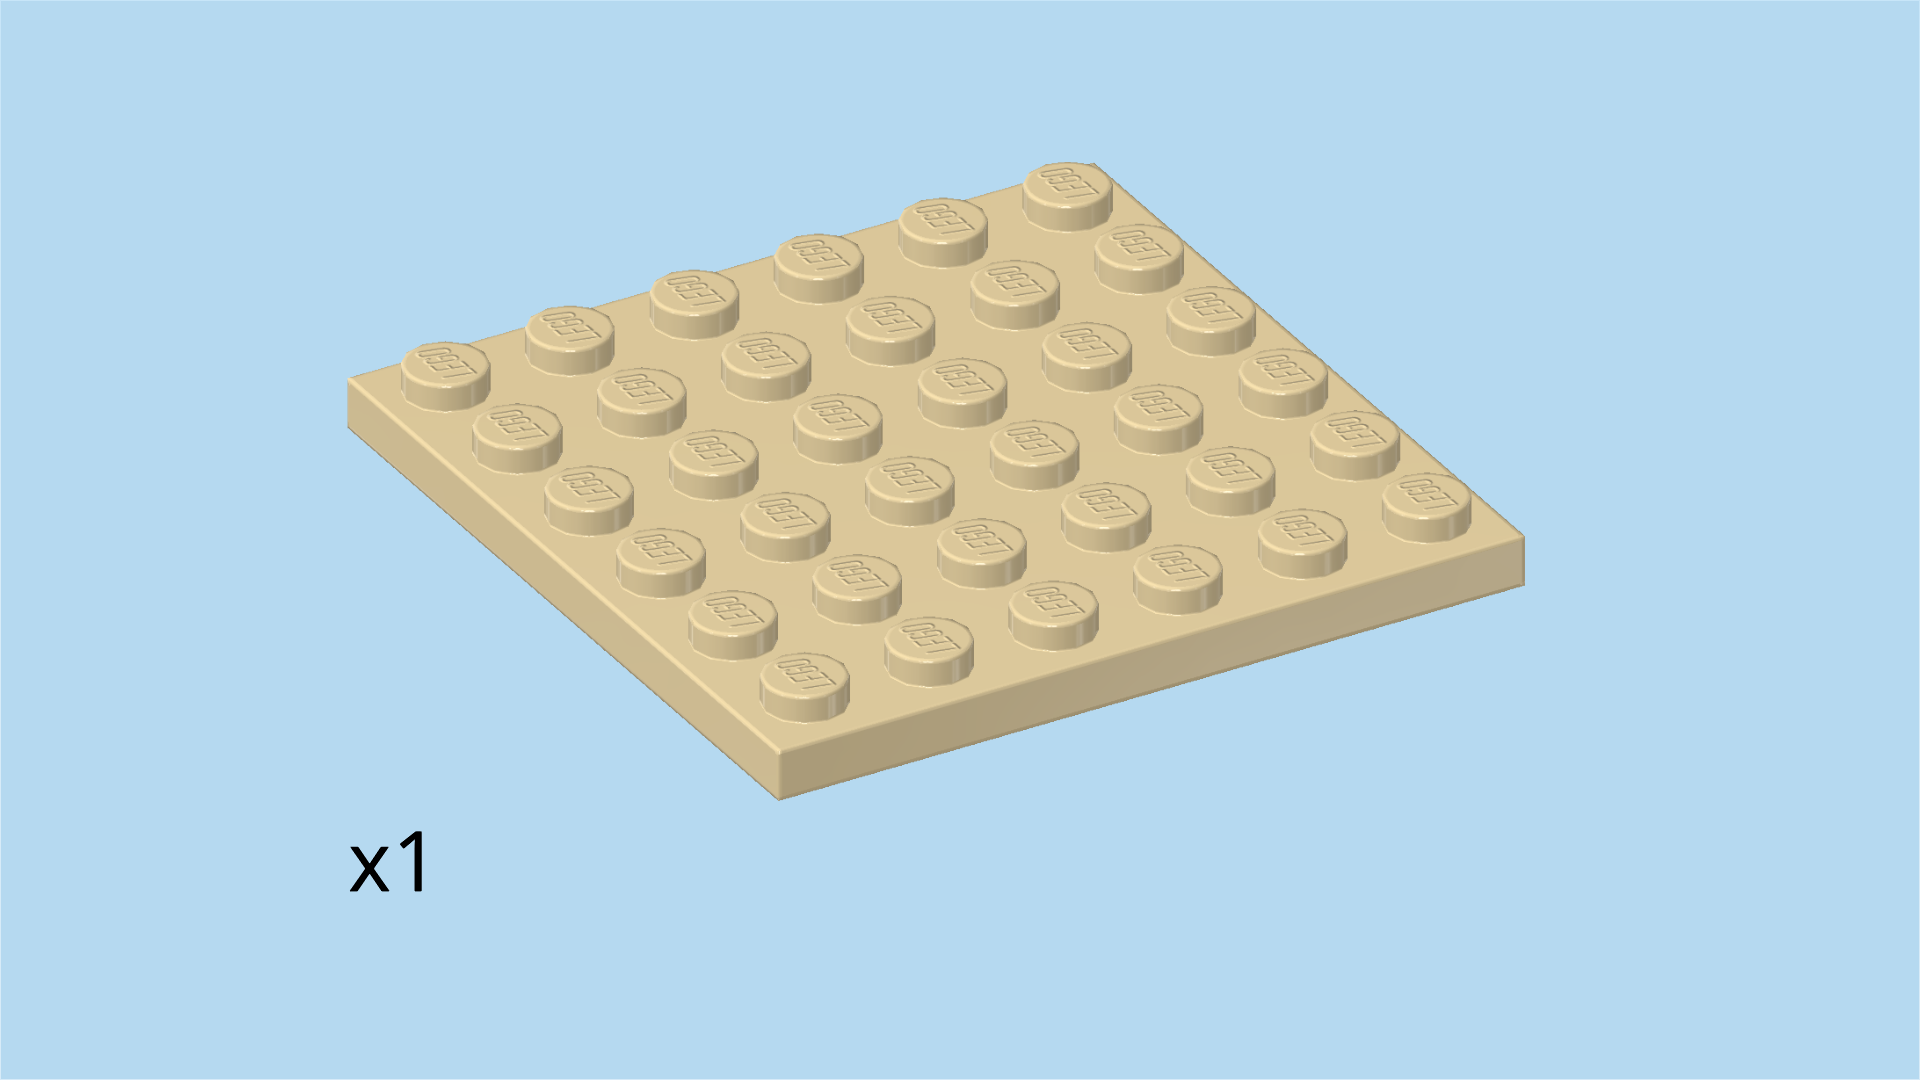
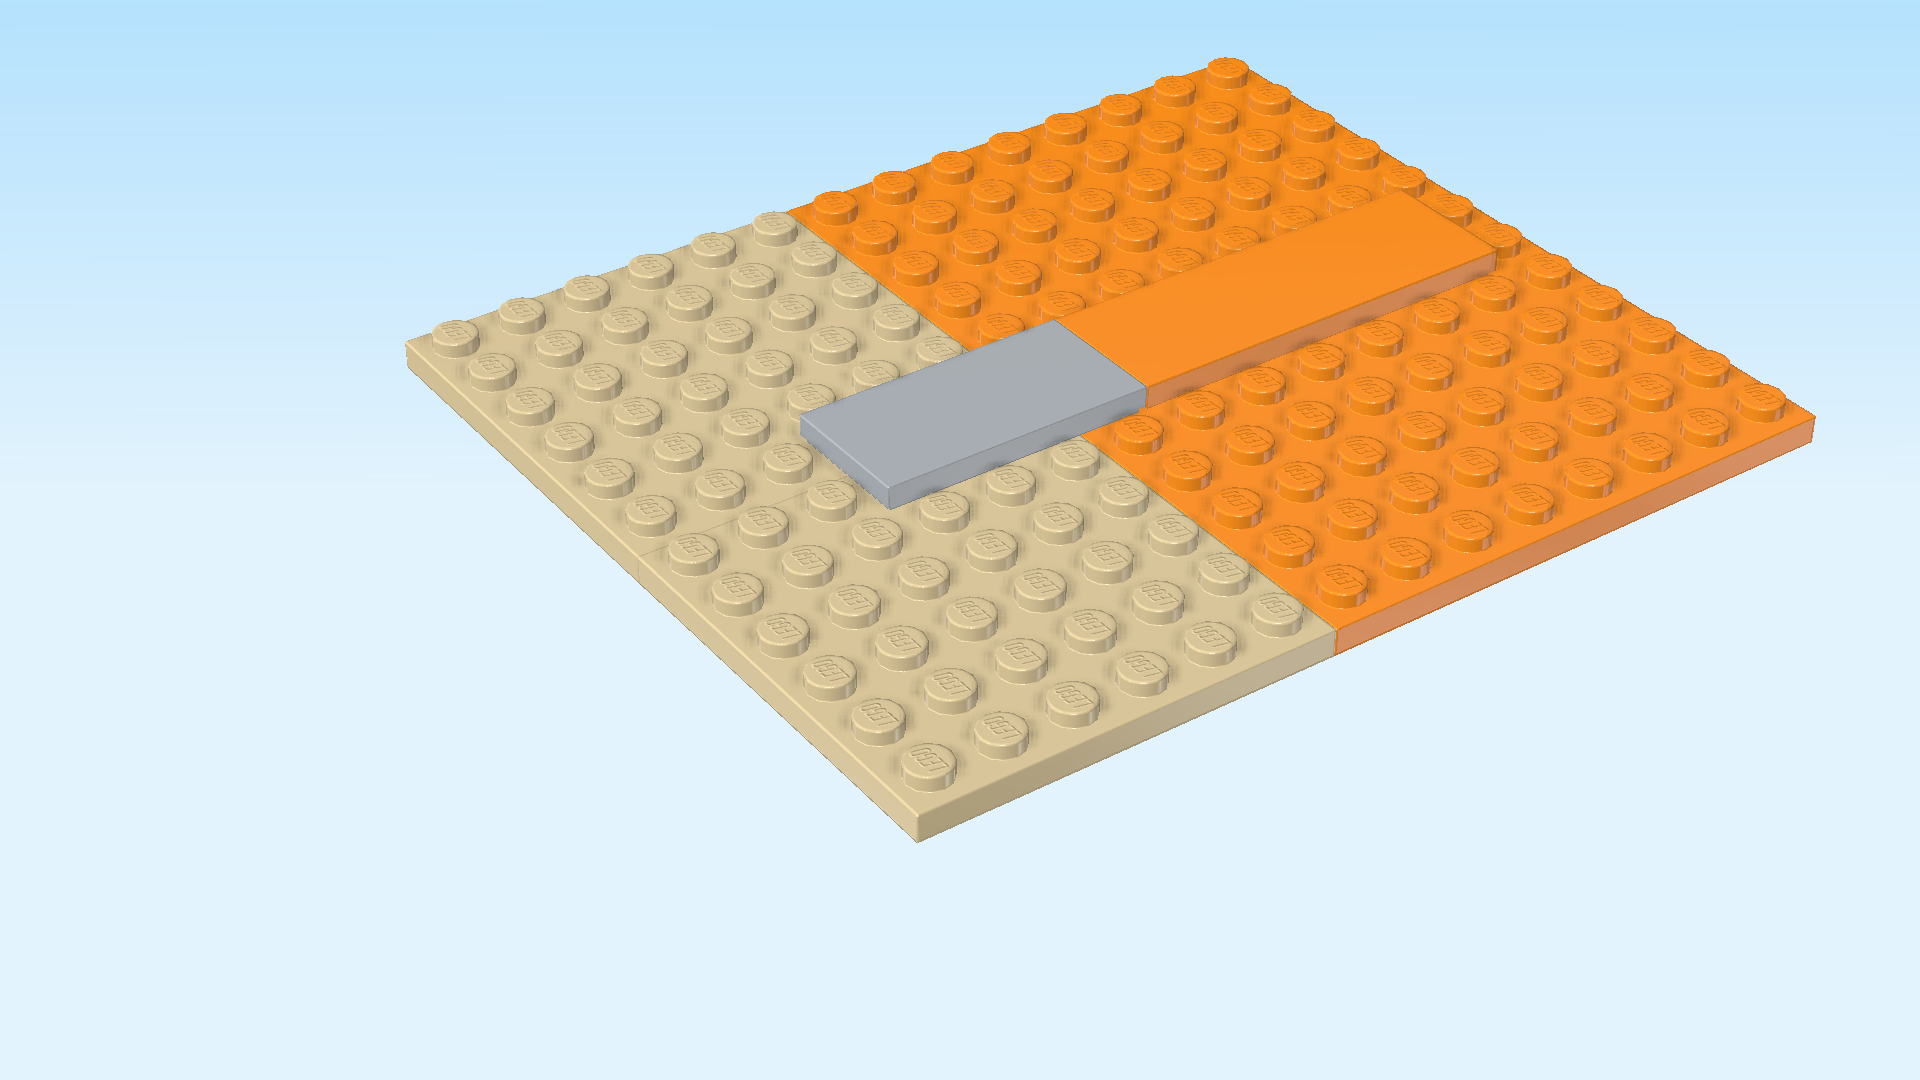
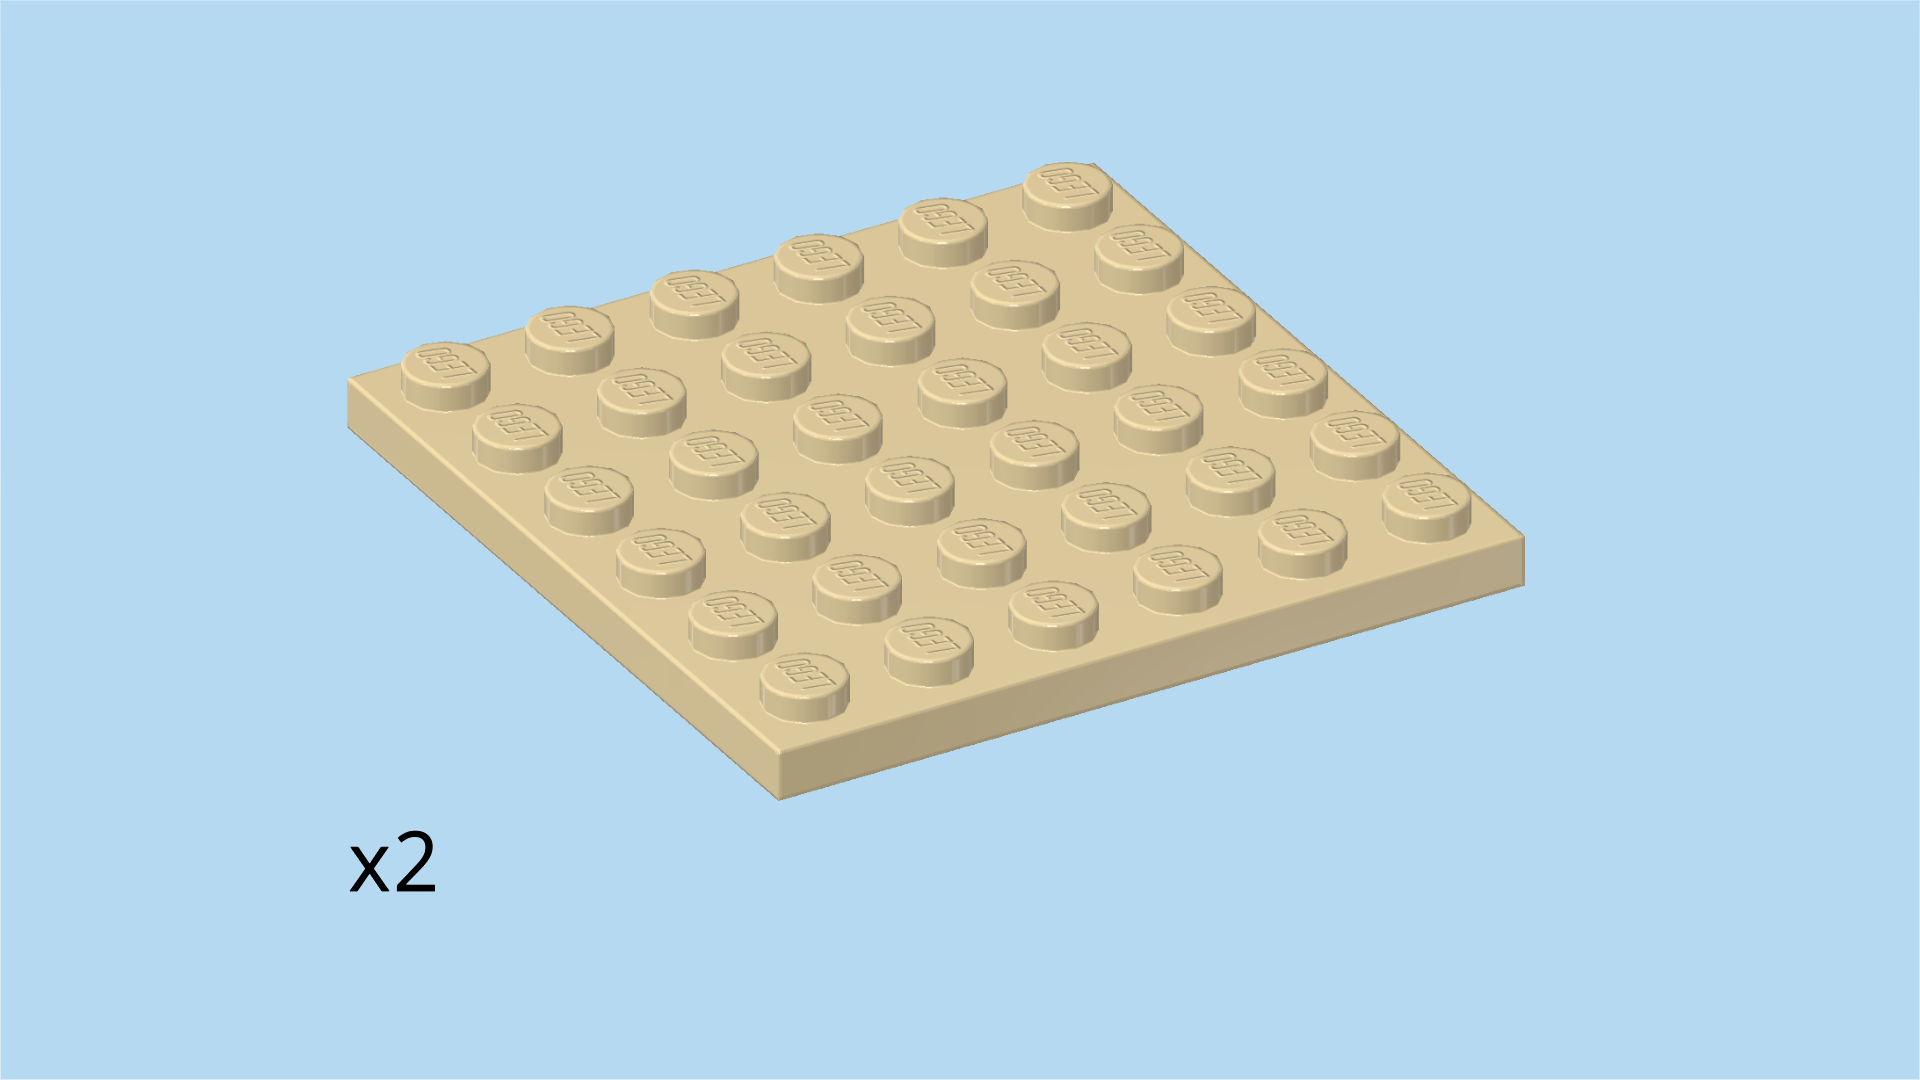
| Find 1 pale ocher yellow plate 6x6. |
| Put it behind the previous piece and mount it underneath the protruding flat tile's back row. Only the 3 right knobs of its frontmost row will connect. |
| You should now have a 14x12 base plate. |
| We will now replicate this on the right side. Continue for detailed instructions. |
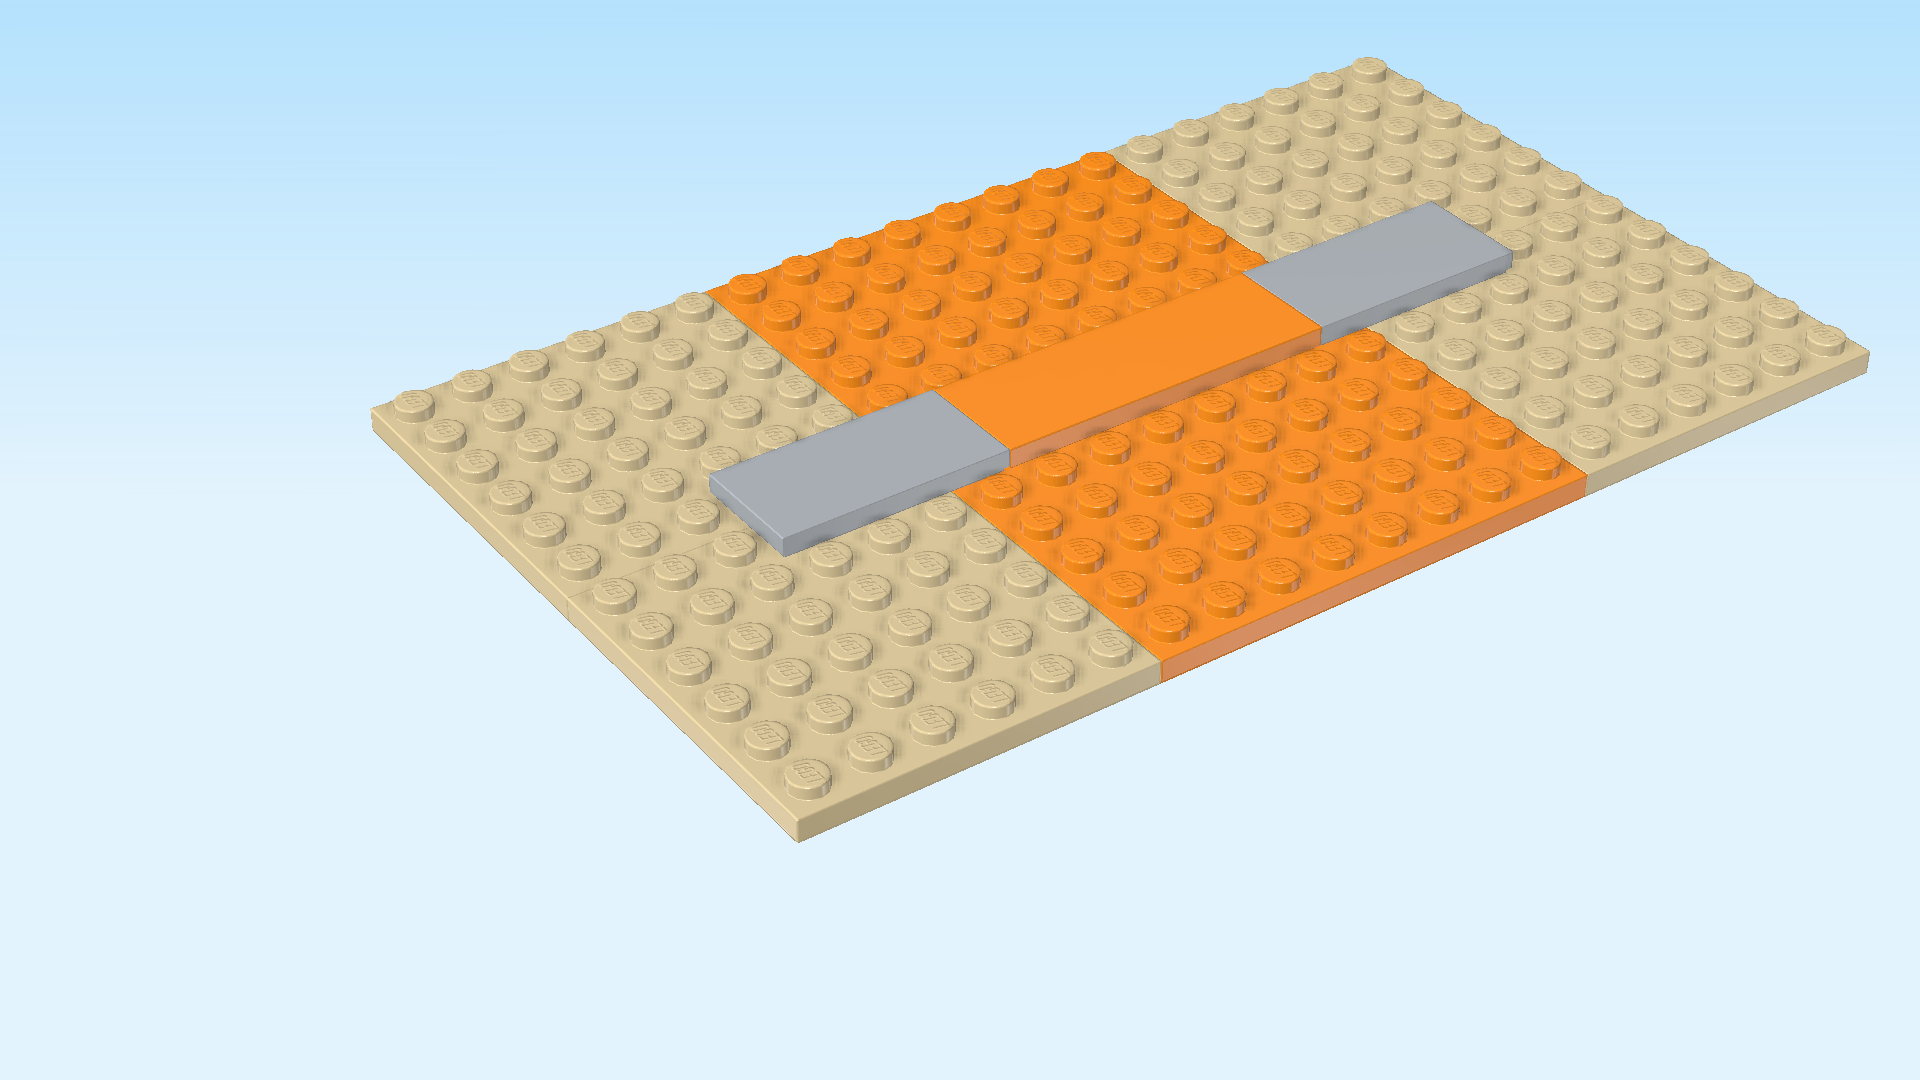
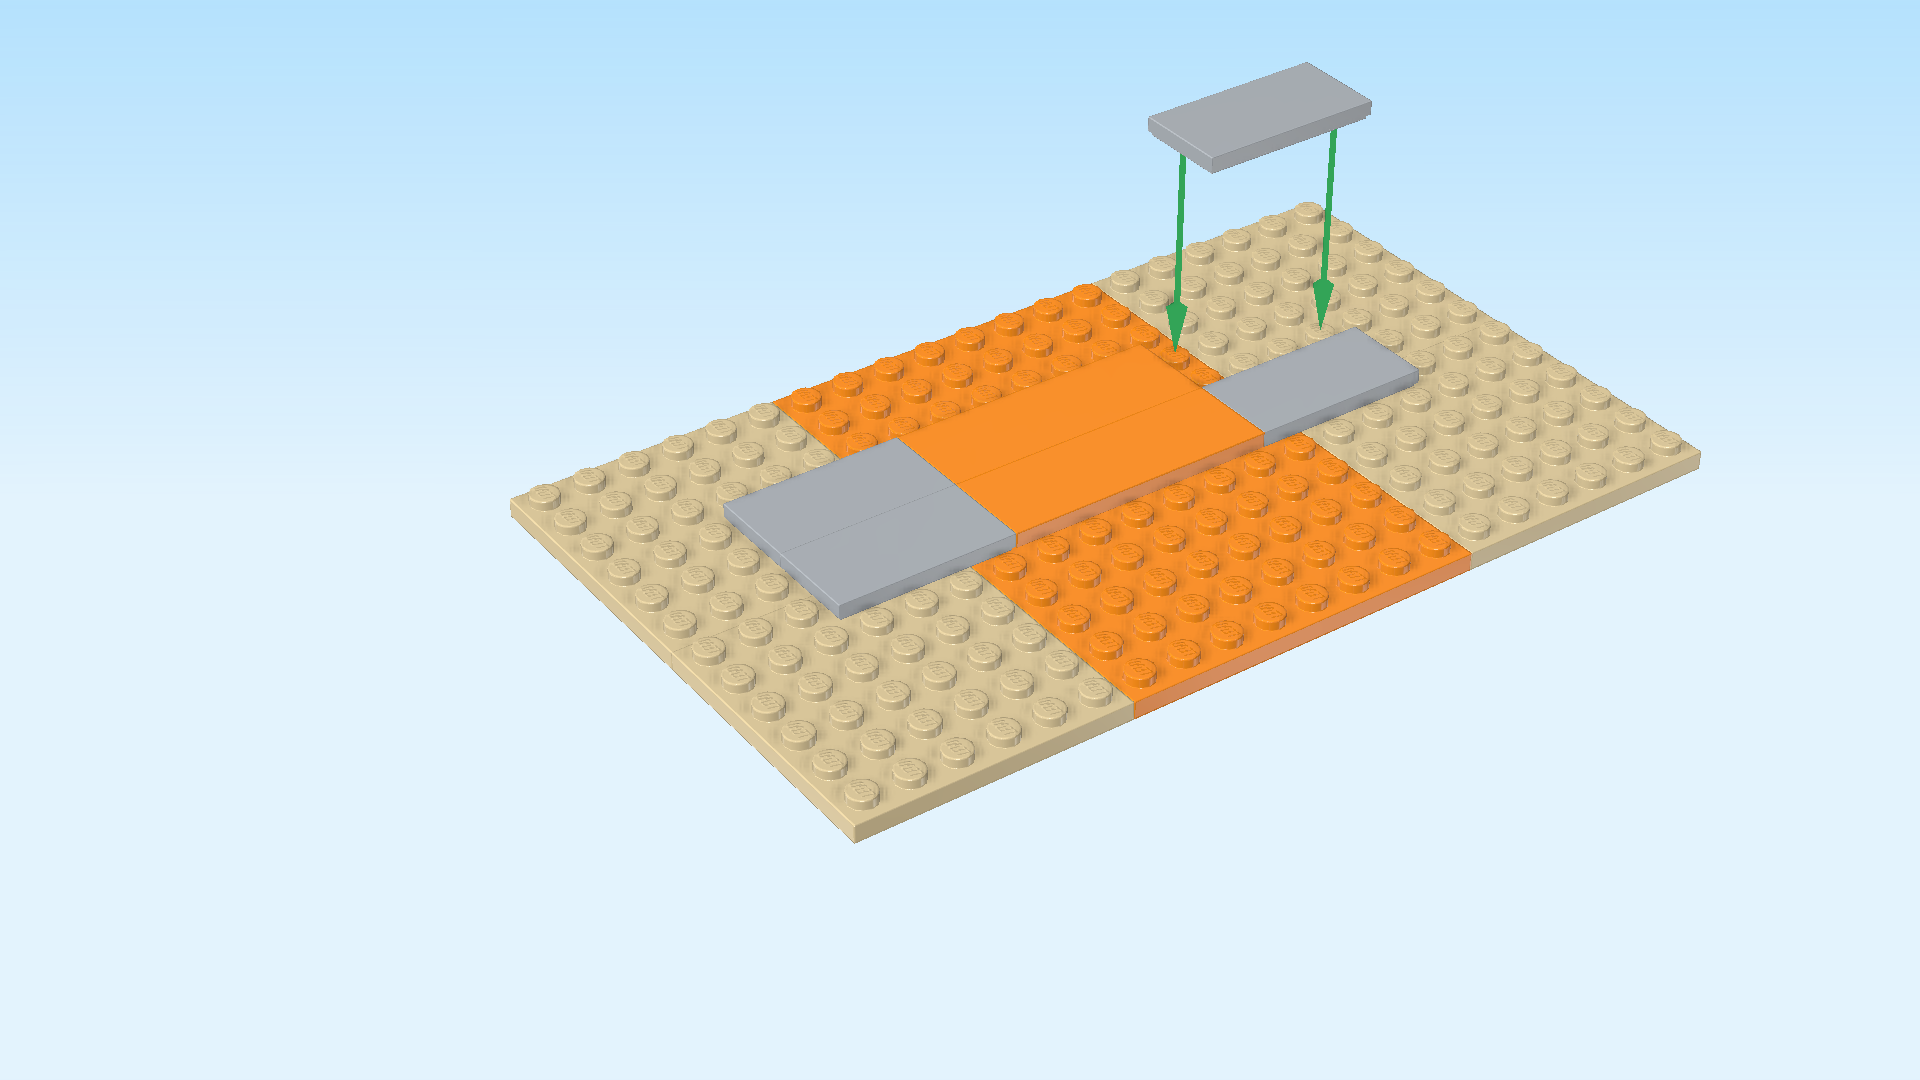
| Find 1 medium stone grey flat tile 2x4. |
| Put it horizontally to the right of the flat tile 2x6 mounted in the middle, 3/4 overhanging to the right. |
| Find 2 pale ocher yellow plates 6x6. |
| Mount them underneath the previous piece, mirroring the left side. Make sure the front and back edges are flush with those of the already mounted base plates. |
| Collect the following 3 pieces: |
| 1 bright orange flat tile 2x6, |
| and 2 medium stone grey flat tiles 2x4. |
| Put the flat tile 2x6 horizontally centered behind the flat tile 2x6 already mounted on the structure. |
| Put 1 flat tile 2x4 horizontally to the left of the previous piece, and the other one horizontally to the right of the previous piece. |
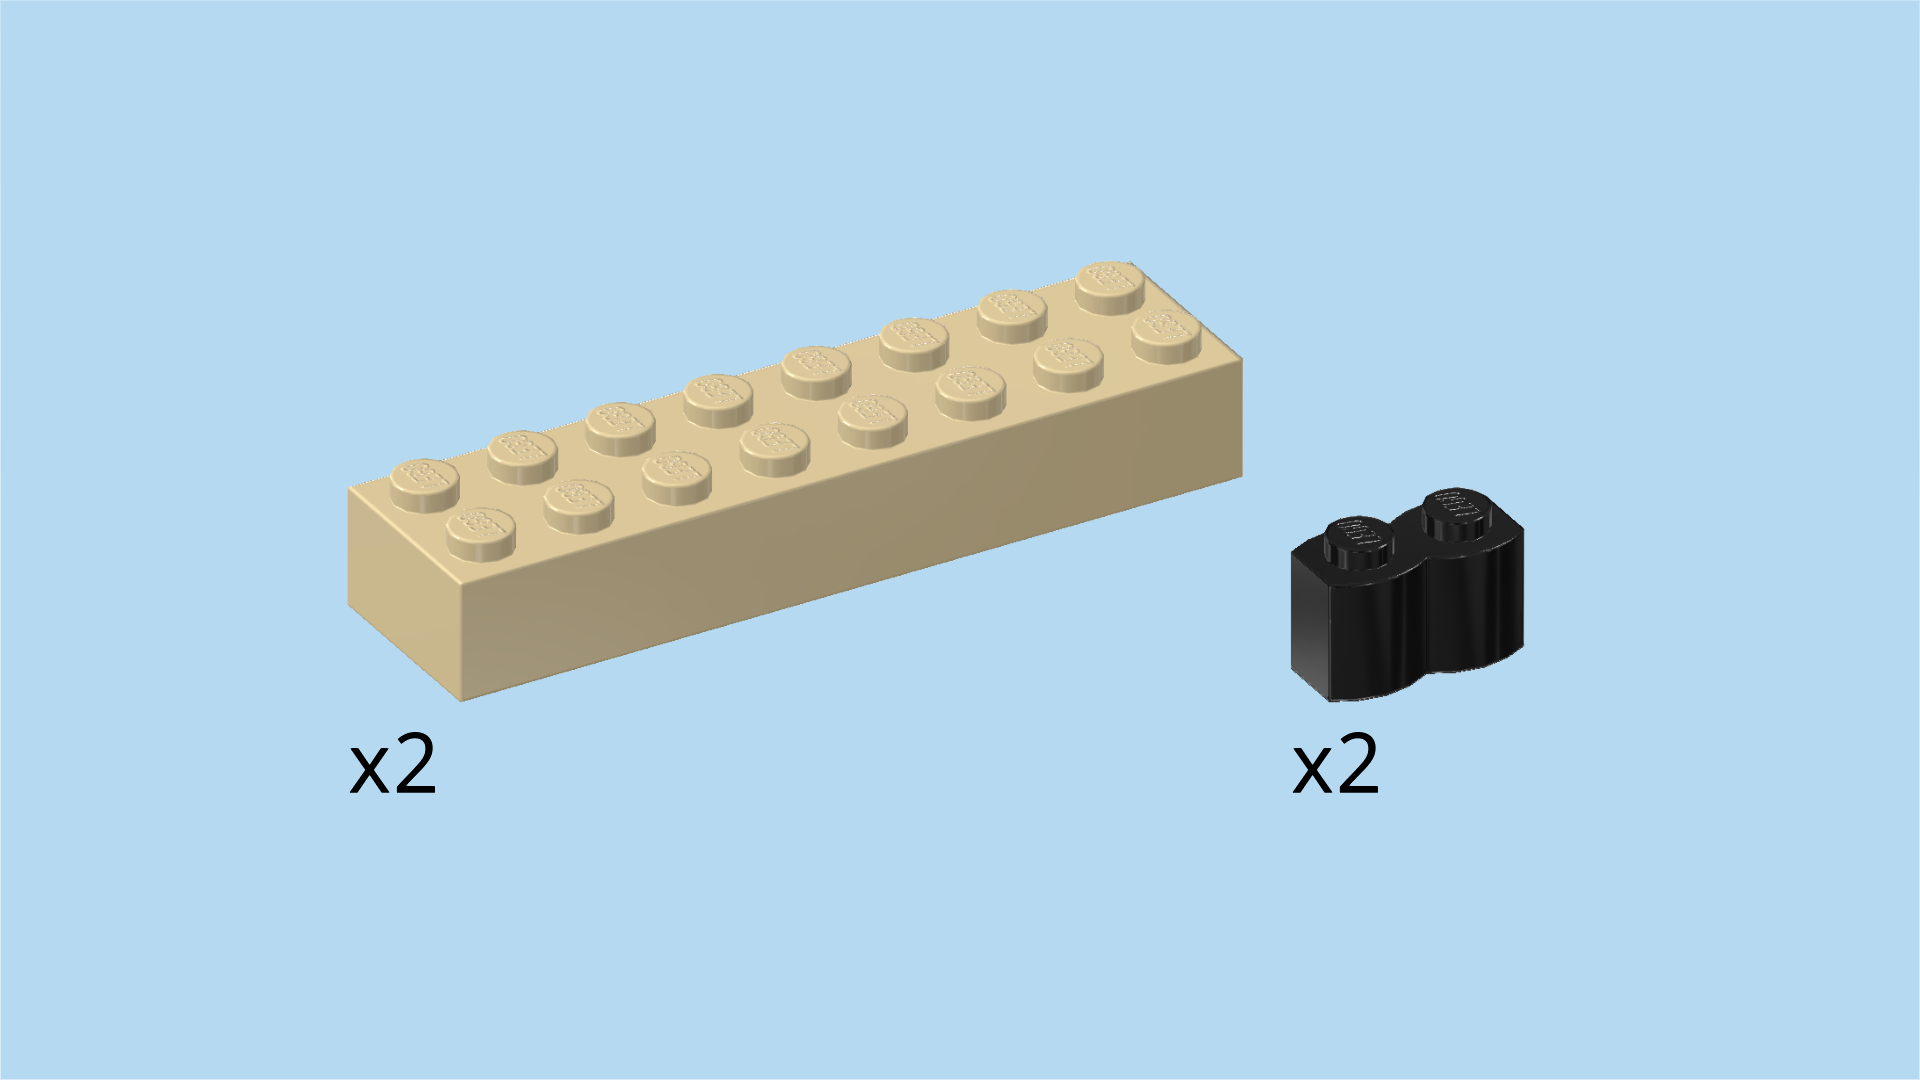
| Collect the following 4 pieces: |
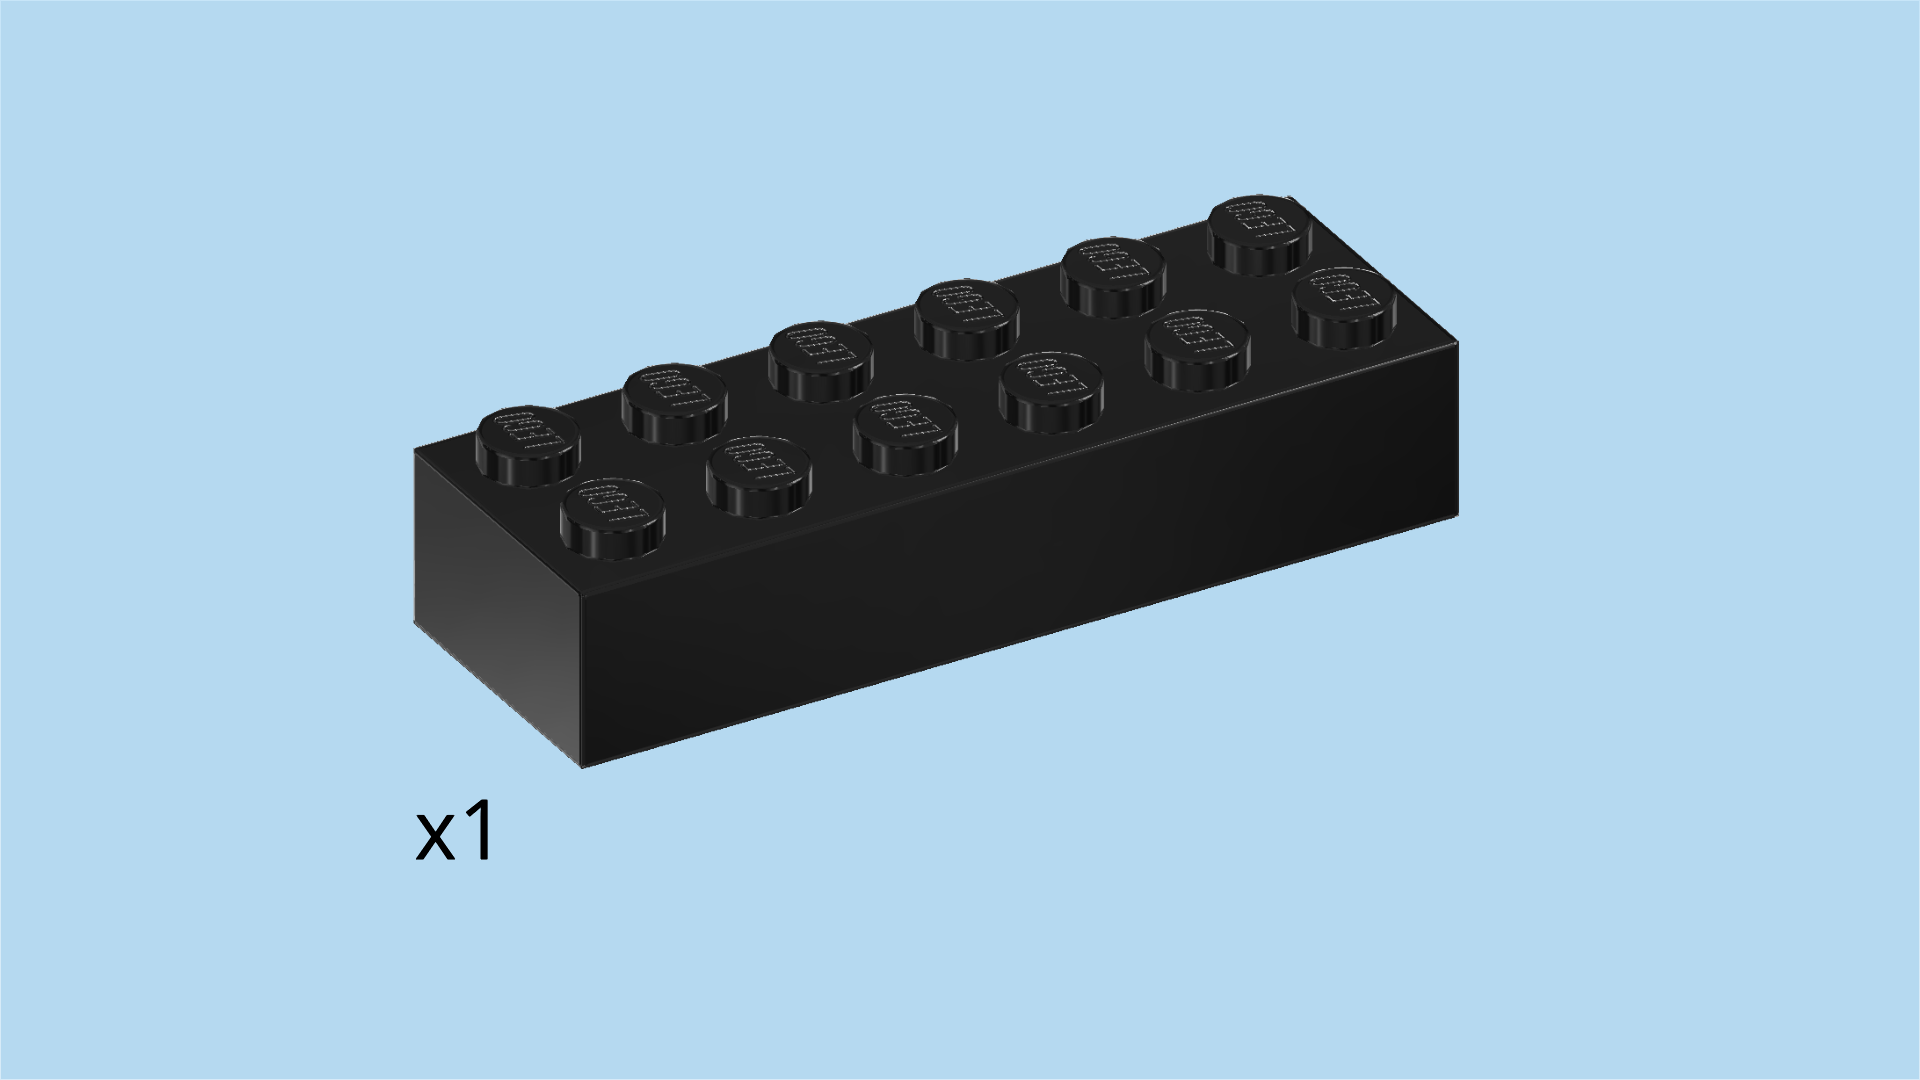
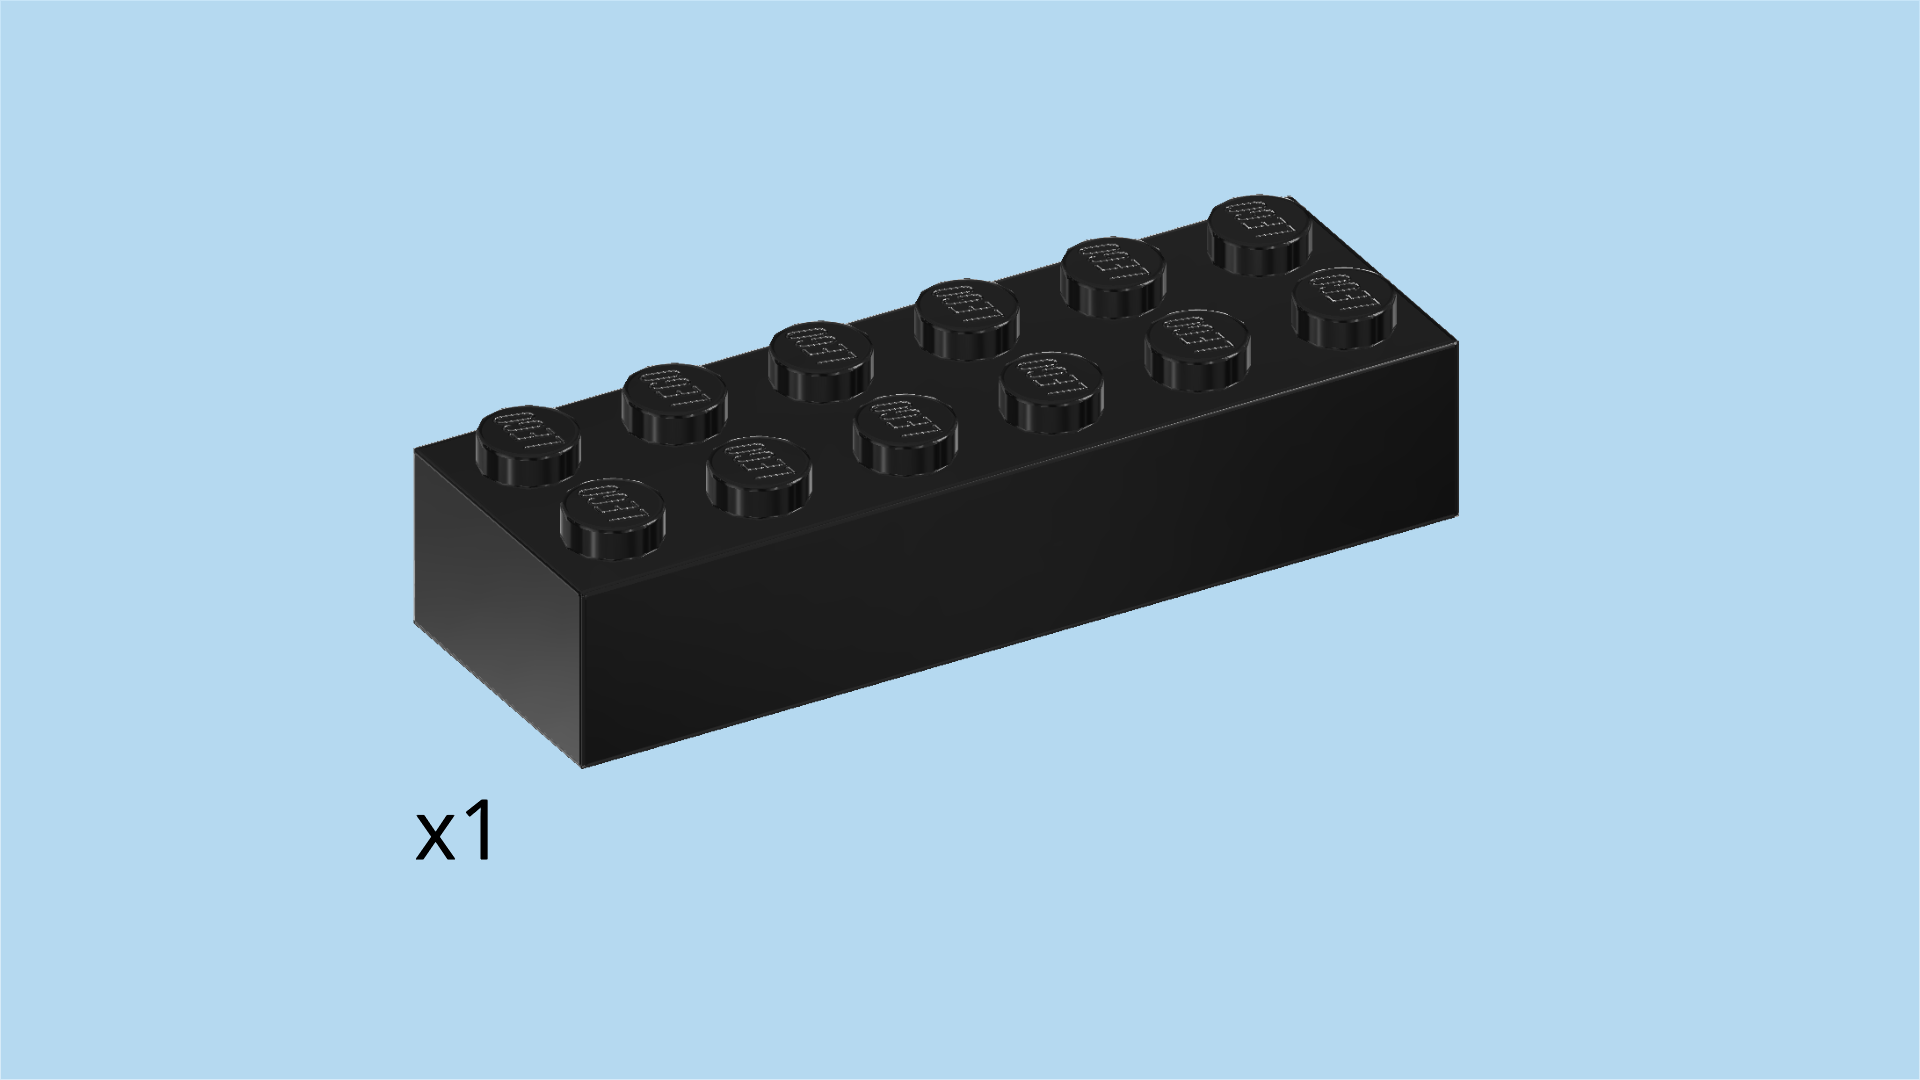
| 2 pale ocher yellow bricks 2x8, |
| and 2 black palisade bricks 1x2. |
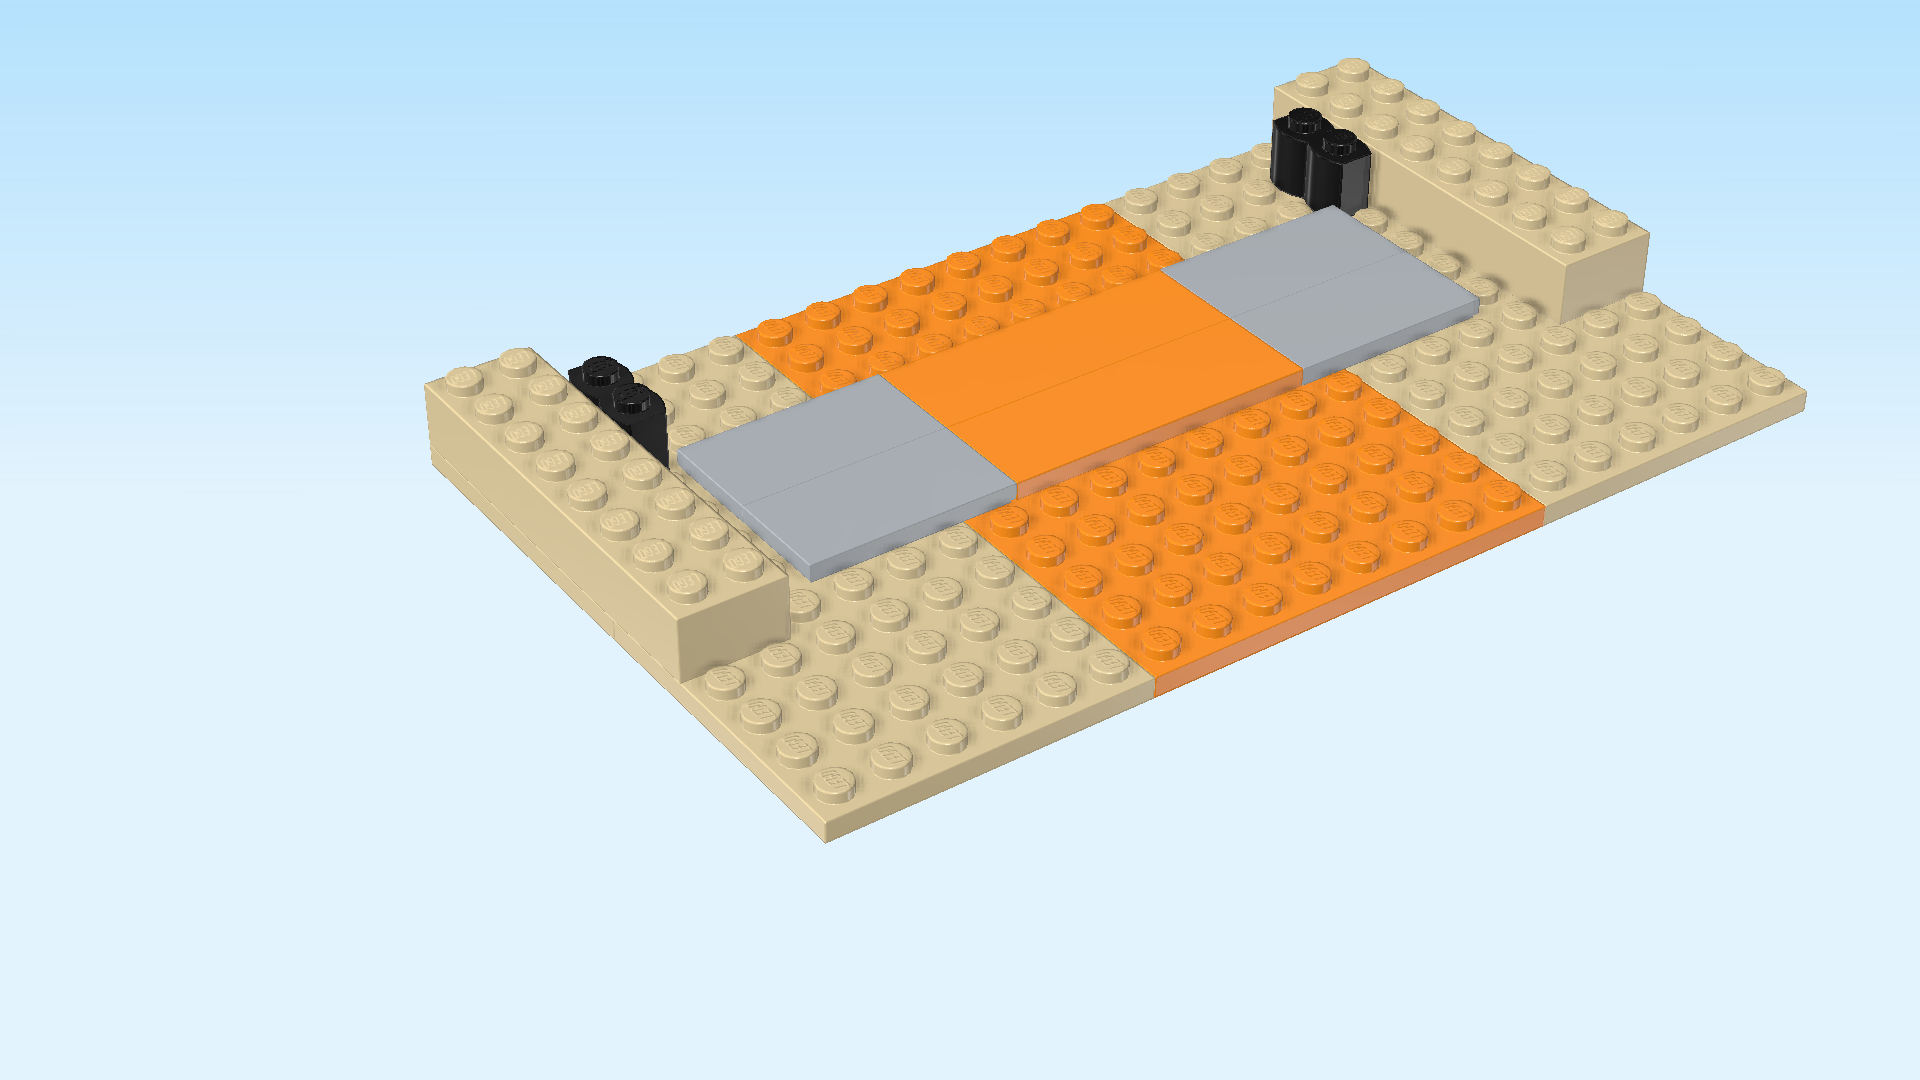
| Put 1 brick 2x8 vertically on the 2 leftmost columns, starting from the back edge. |
| Repeat symmetrically on the right. |
| Put 1 palisade brick 1x2 vertically to the right of the previous piece, skipping the backmost knob. |
| Repeat symmetrically on the left. |
| Collect the following 3 pieces: |
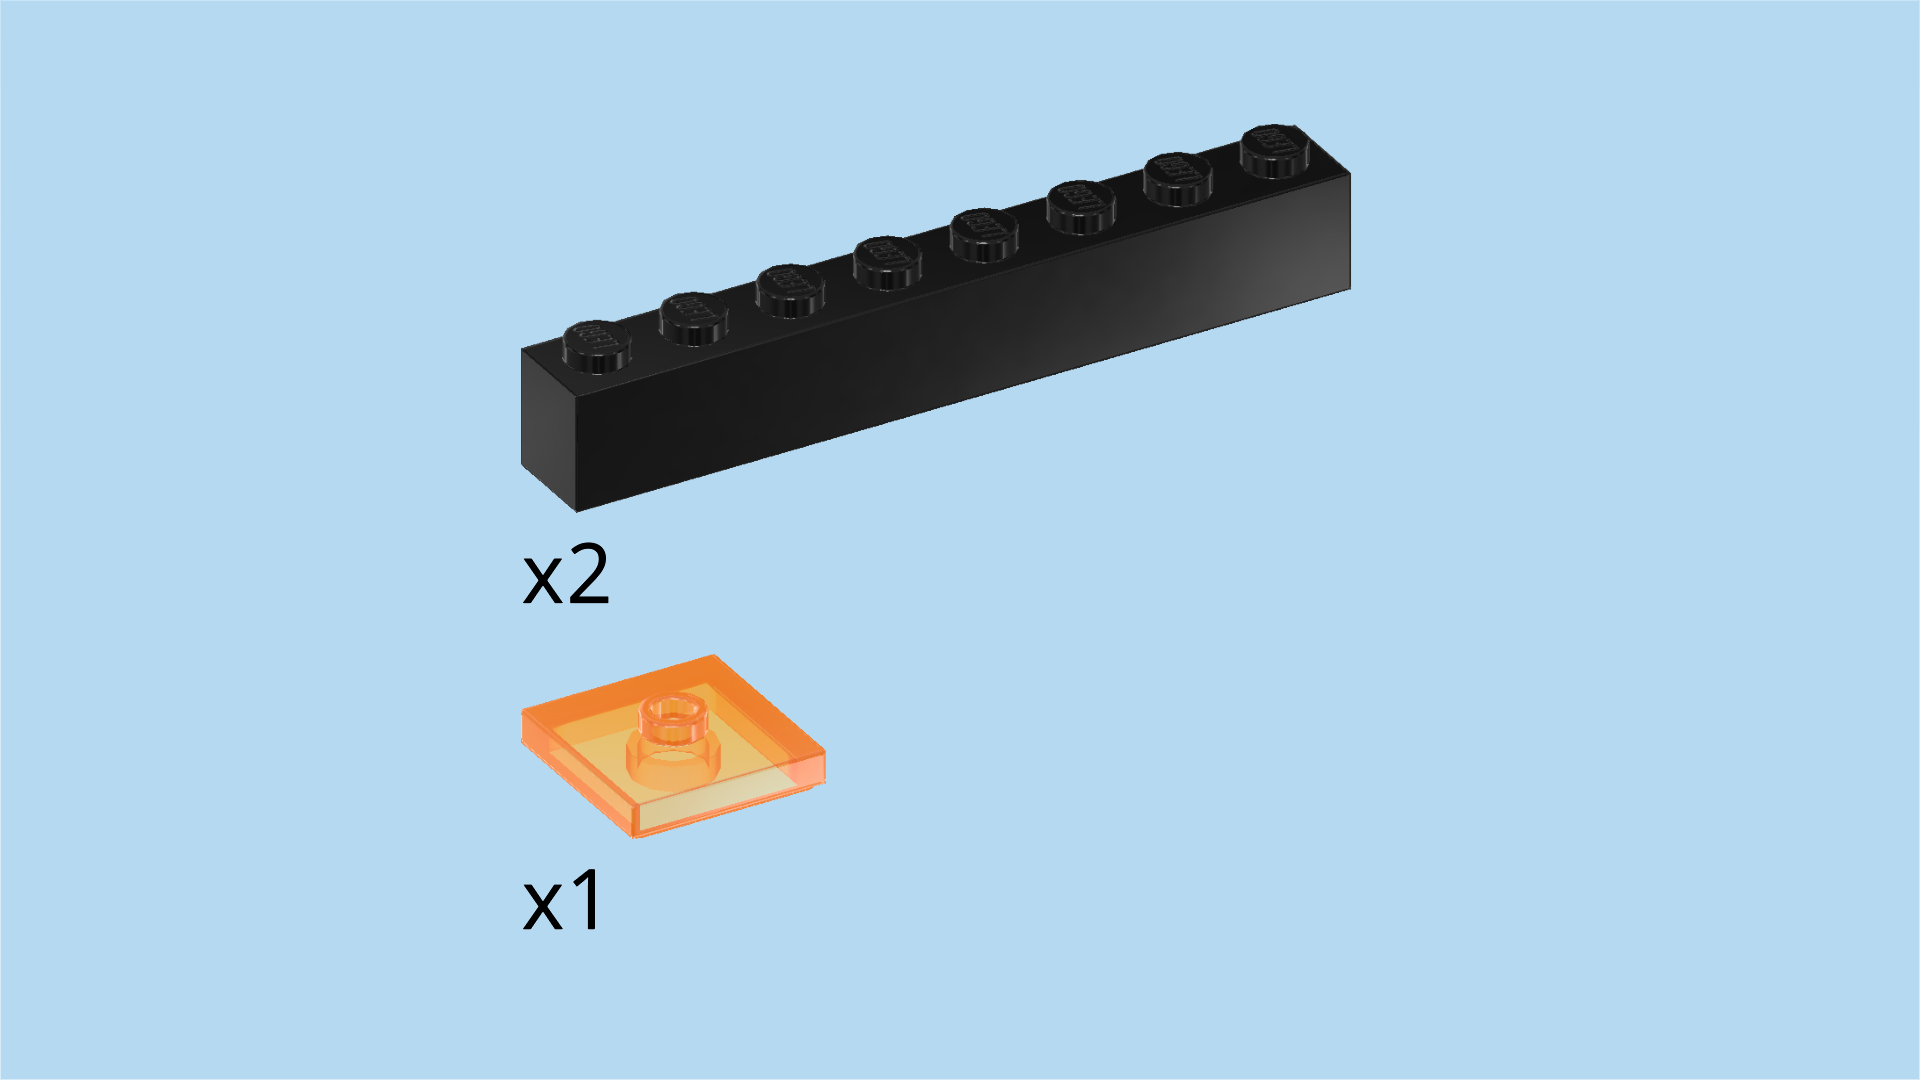
| 2 black bricks 1x8, |
| and 1 transparent bright orange plate 2x2 with 1 knob. |
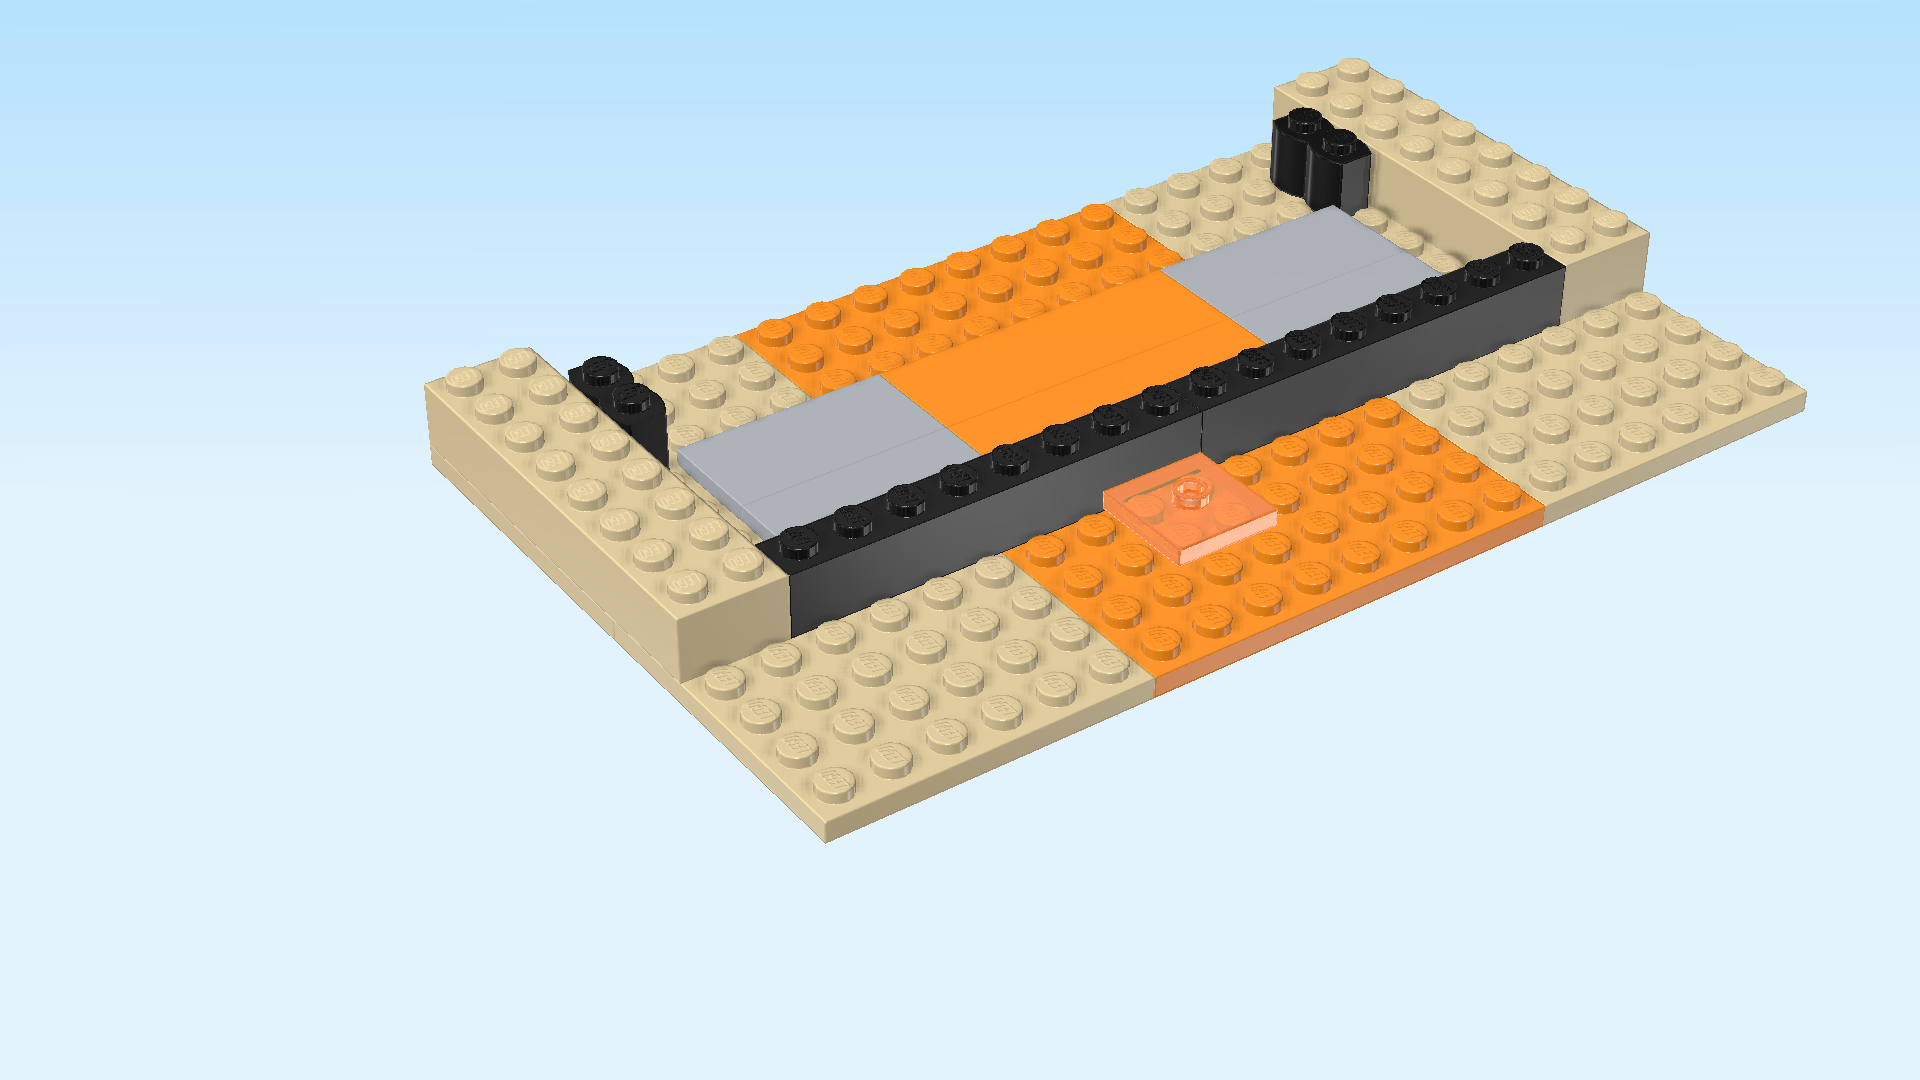
| Put the 2 bricks 1x8 horizontally next to each other directly in front of the area with flat tiles. If done correctly, they form a line with the front rows of the bricks 2x8. |
| Put the plate 2x2 in front of the 2 rightmost knobs of the left brick 1x8. |
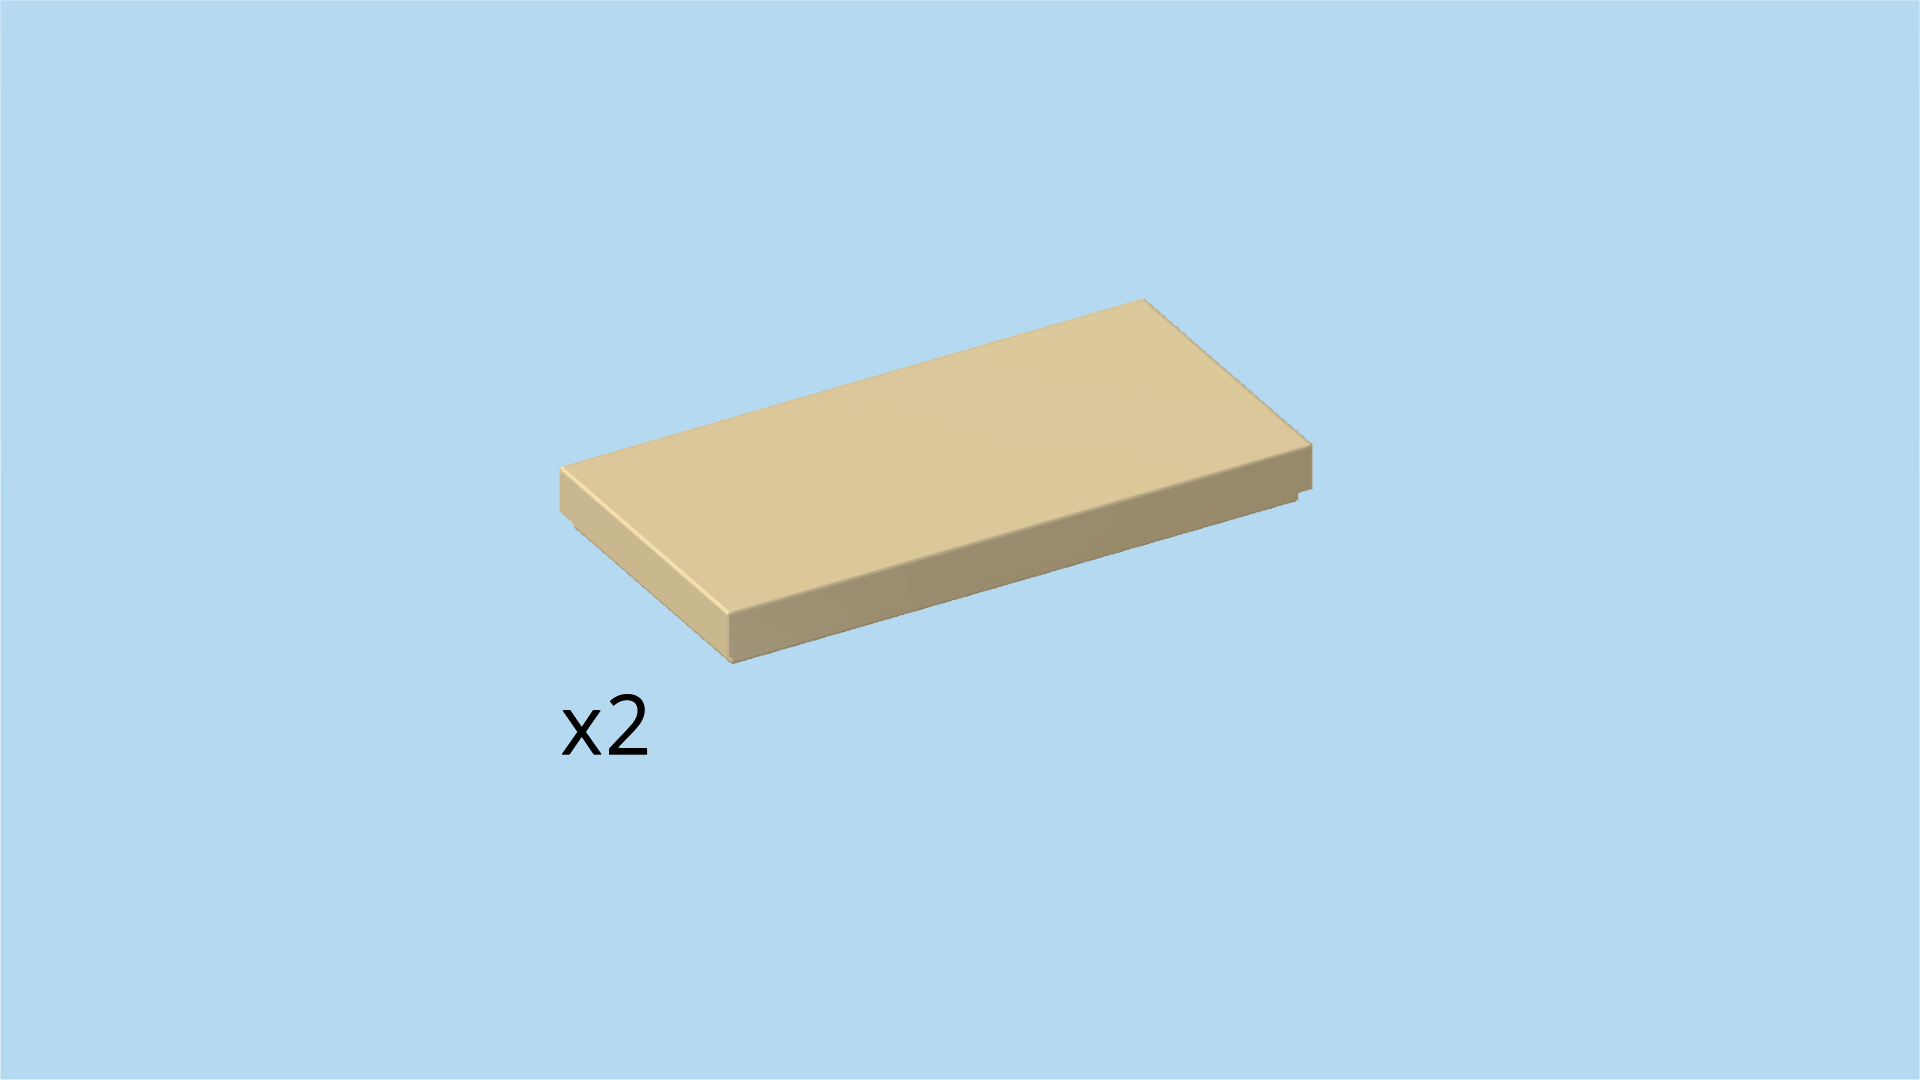
| Find 2 pale ocher yellow flat tiles 2x4. |
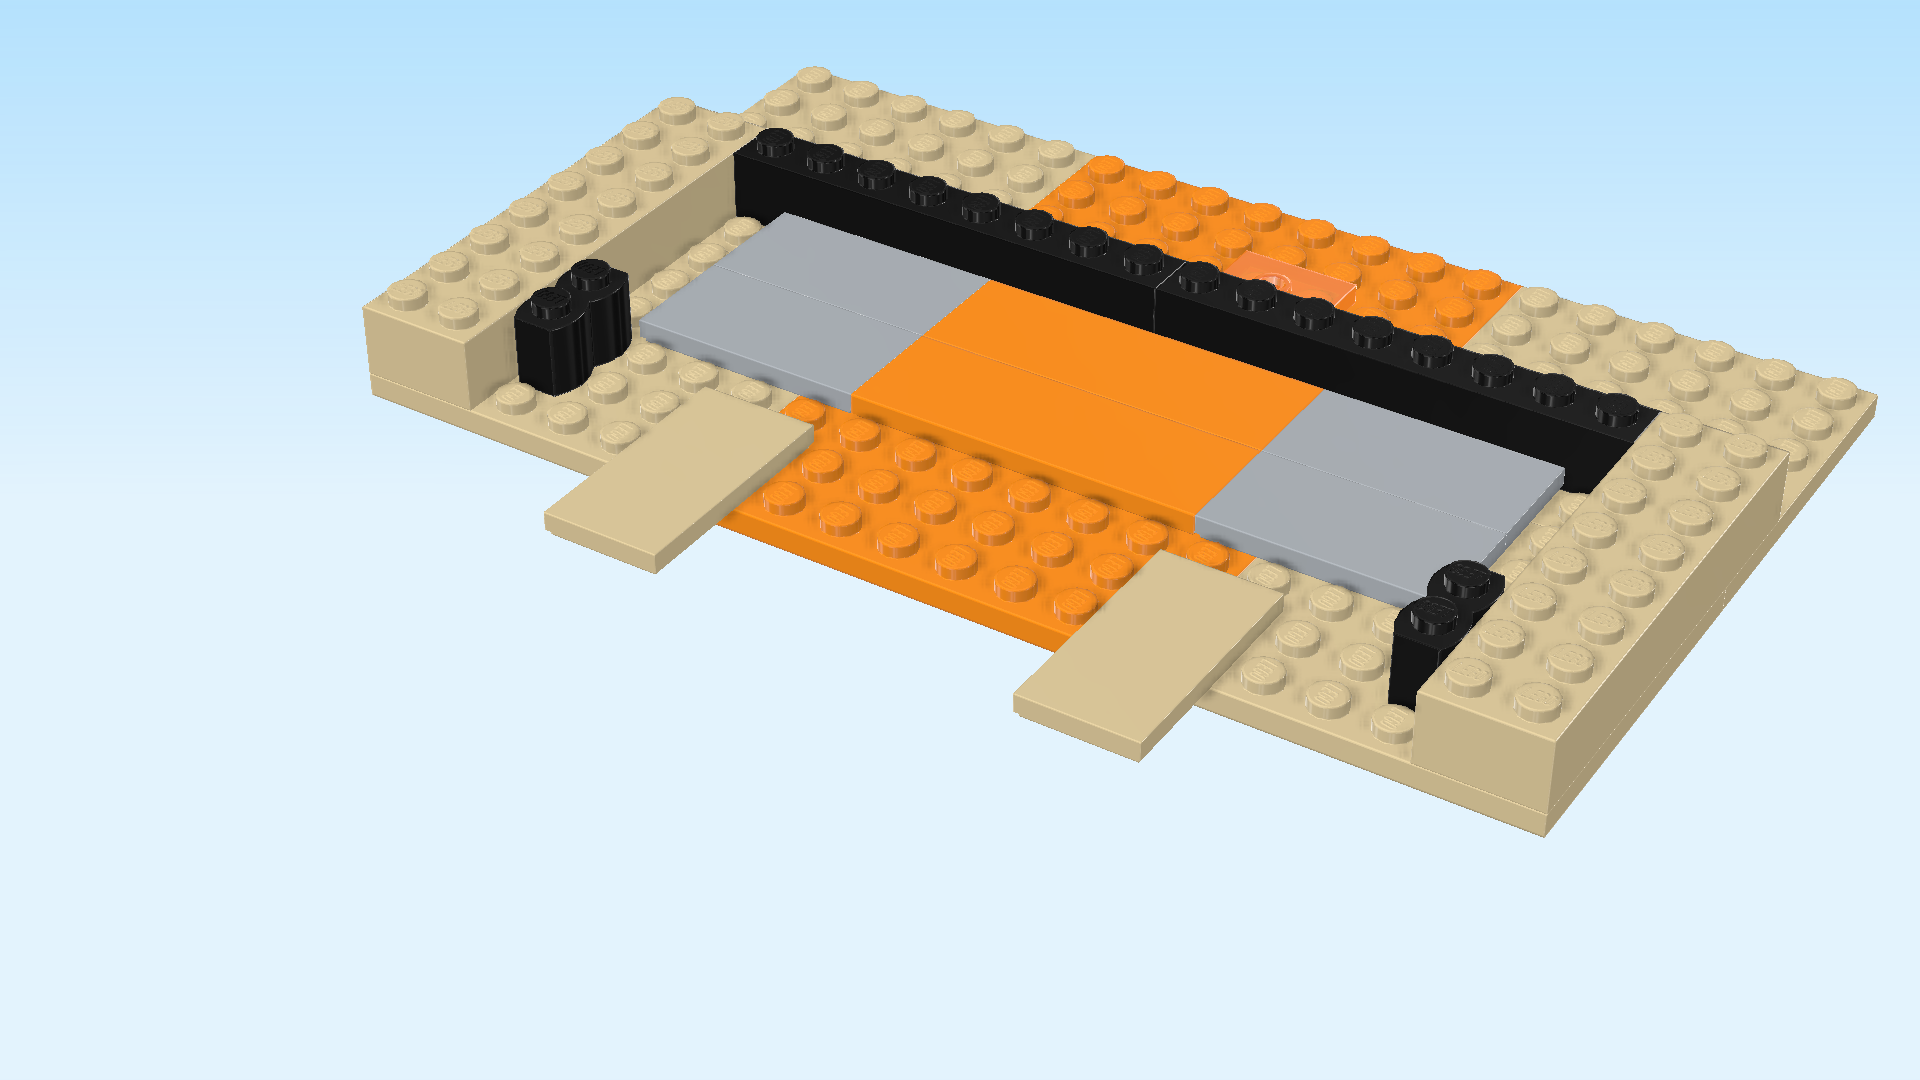
| Turn the entire structure from left to right. Now, the 2 palisade bricks 1x2 are close to the front, and the plate 2x2 from the previous step is towards the back. |
| Put 1 vertically on the 6th and 7th column from the left, one half overhanging to the front. |
| Put the other one vertically on the 6th and 7th column from the right, one half overhanging to the front. |
| If done correctly, there are 6 empty columns between these two pieces. |
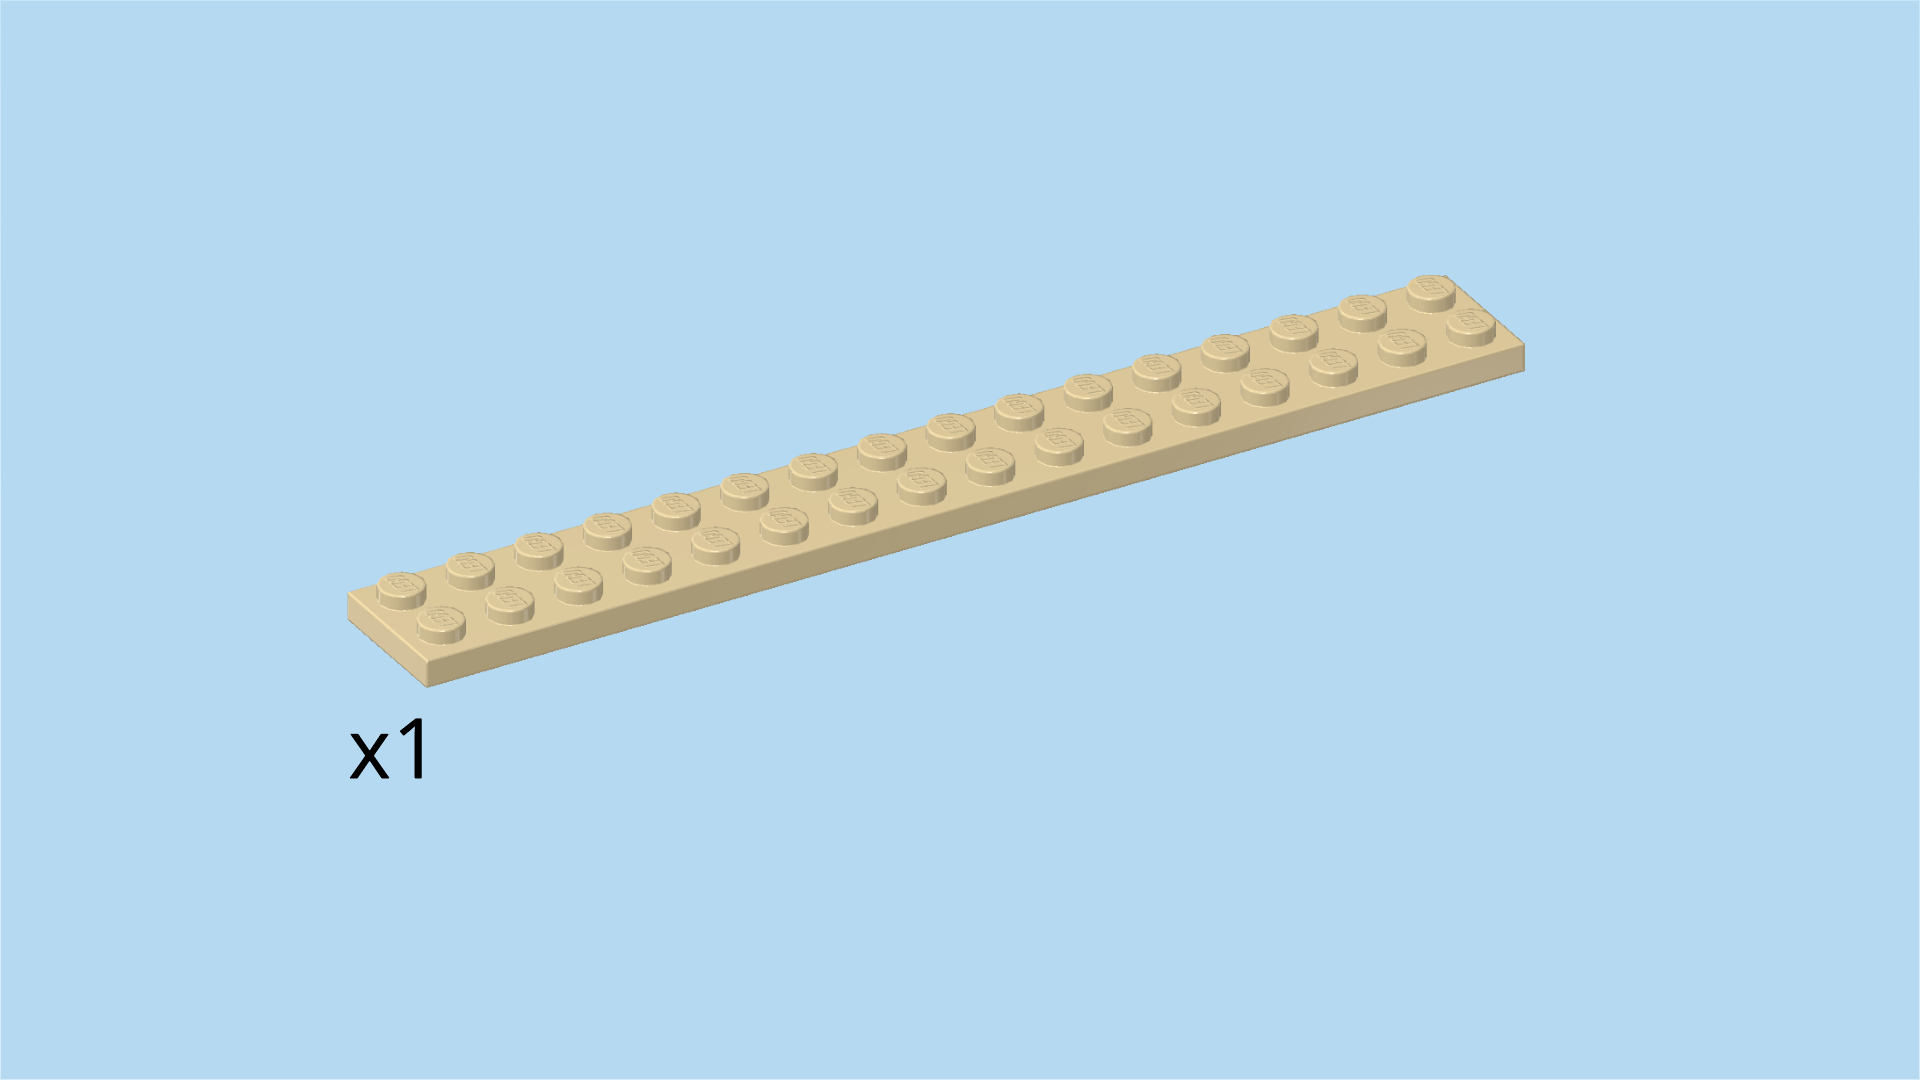
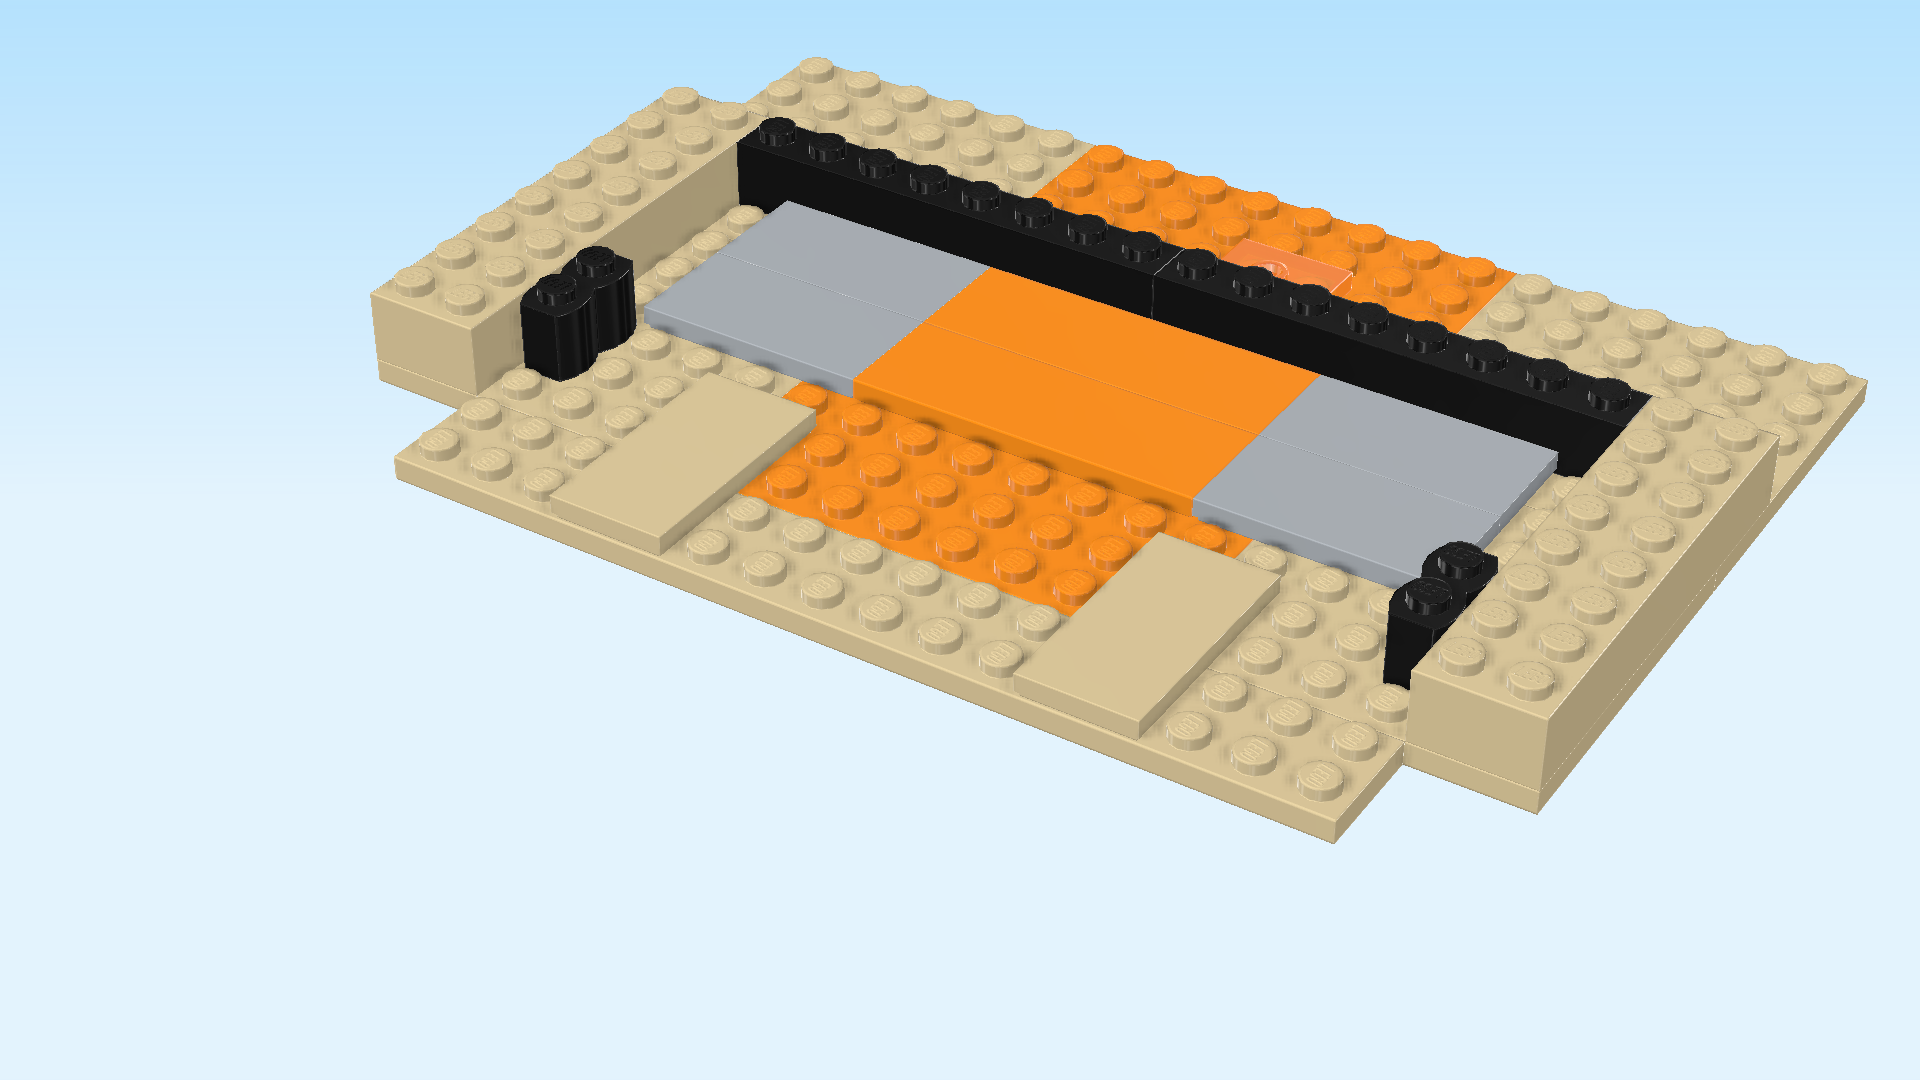
| Find 1 pale ocher yellow plate 2x16. |
| Mount it horizontally centered underneath the 2 previous pieces. Make sure it is protruding symmetrically to the right and left underneath the 2 previous pieces. |
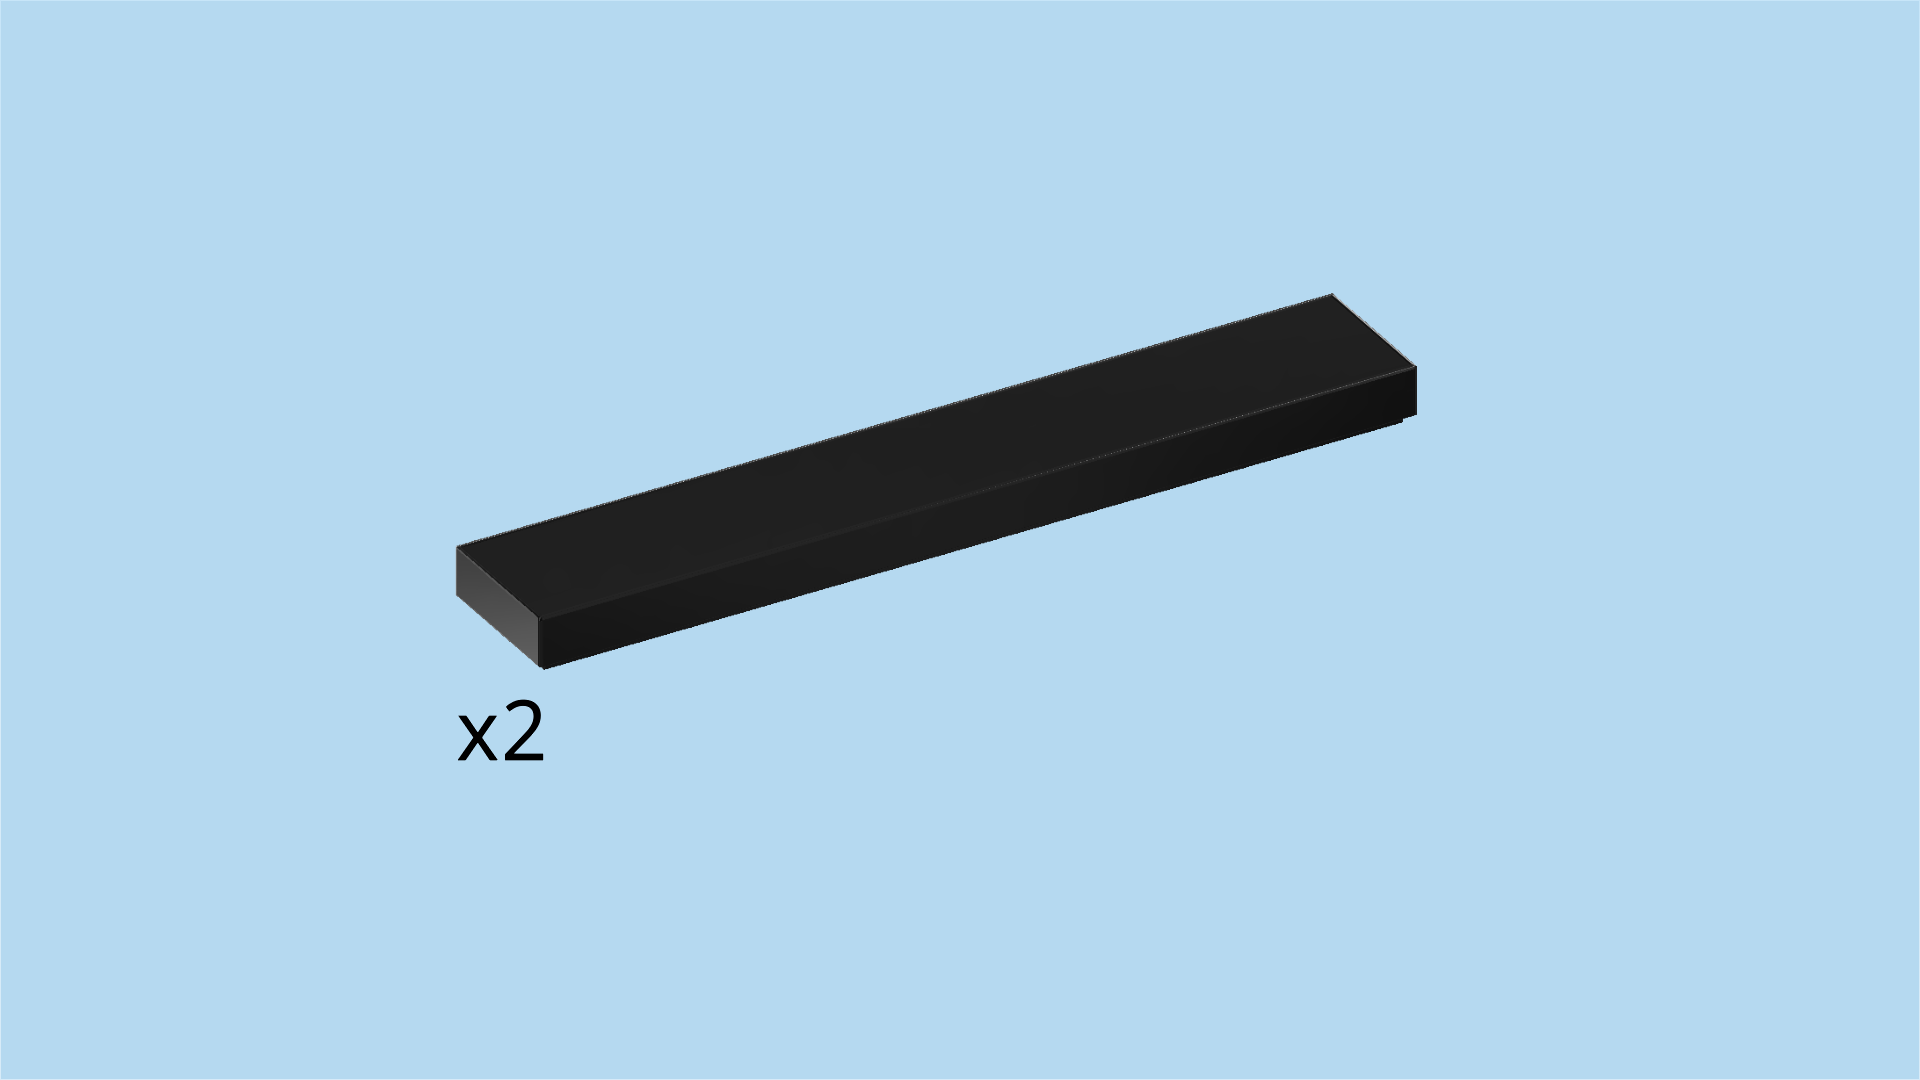
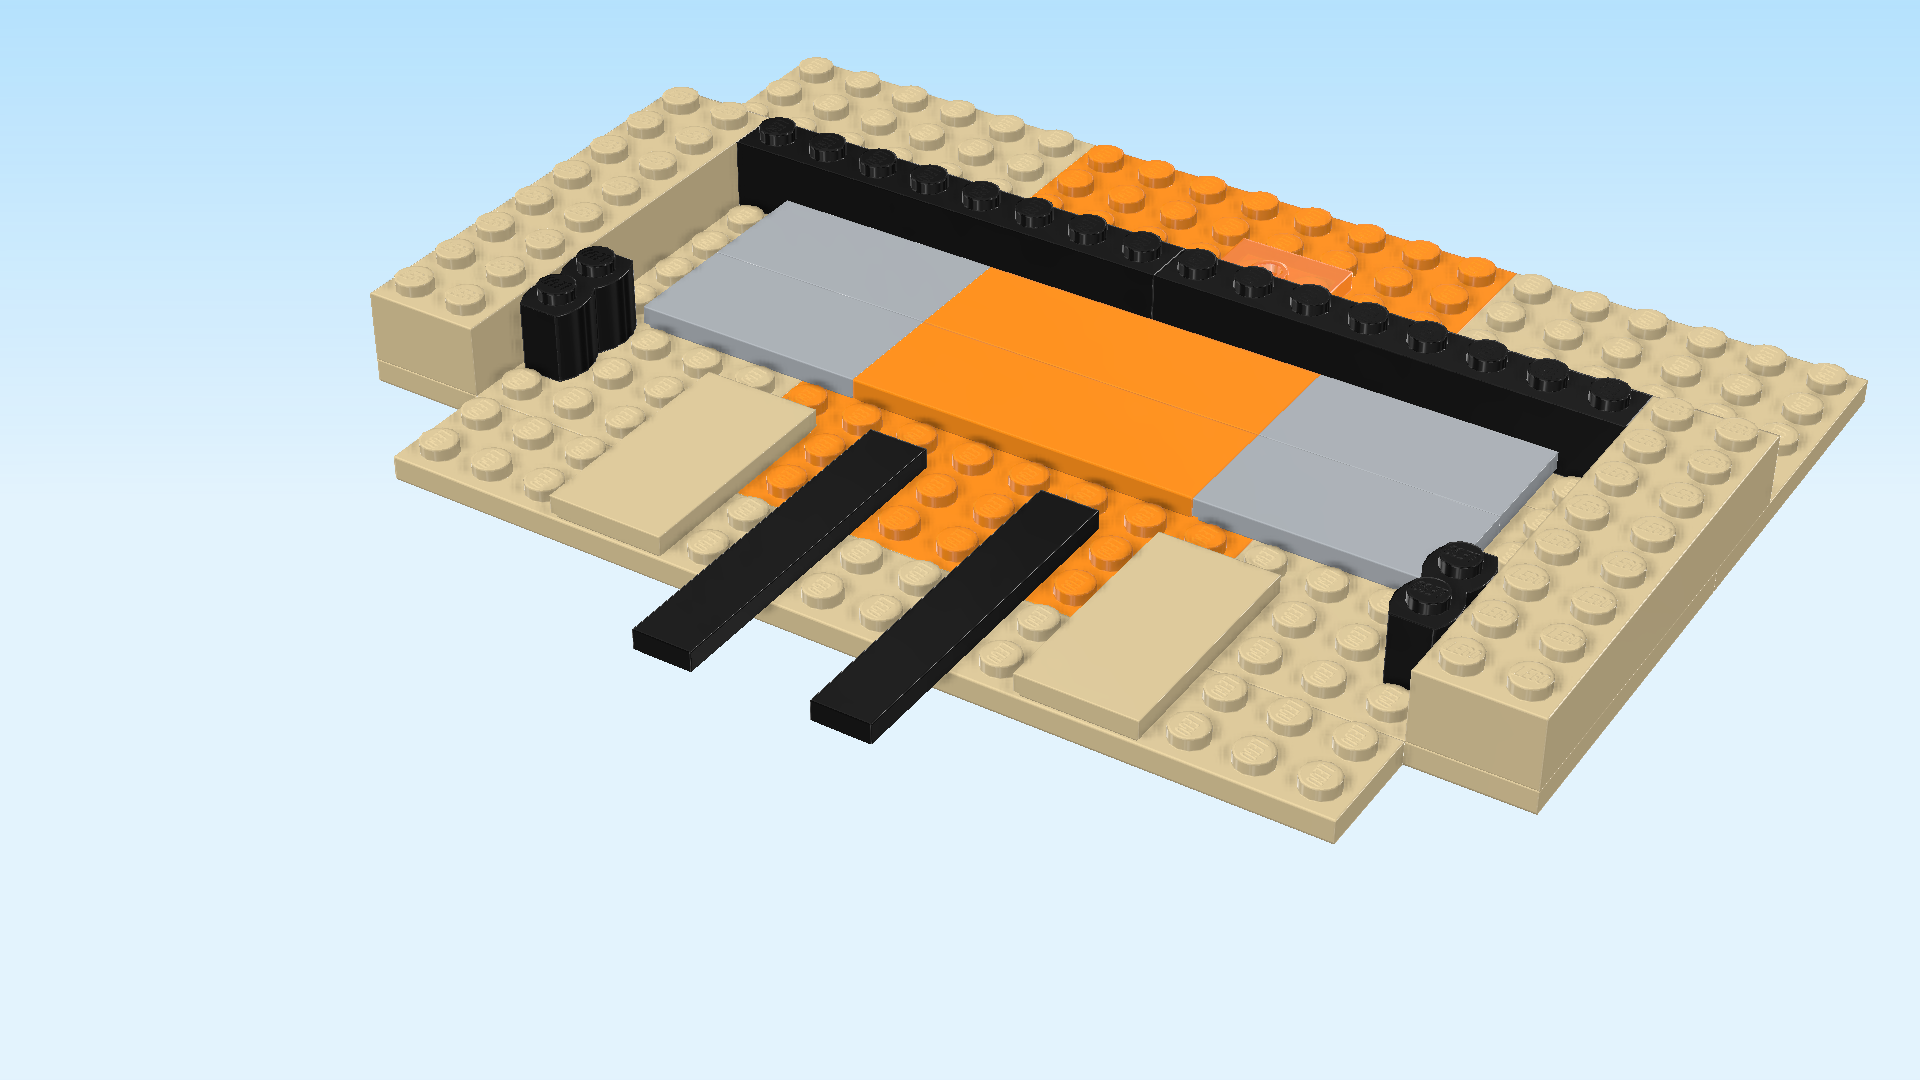
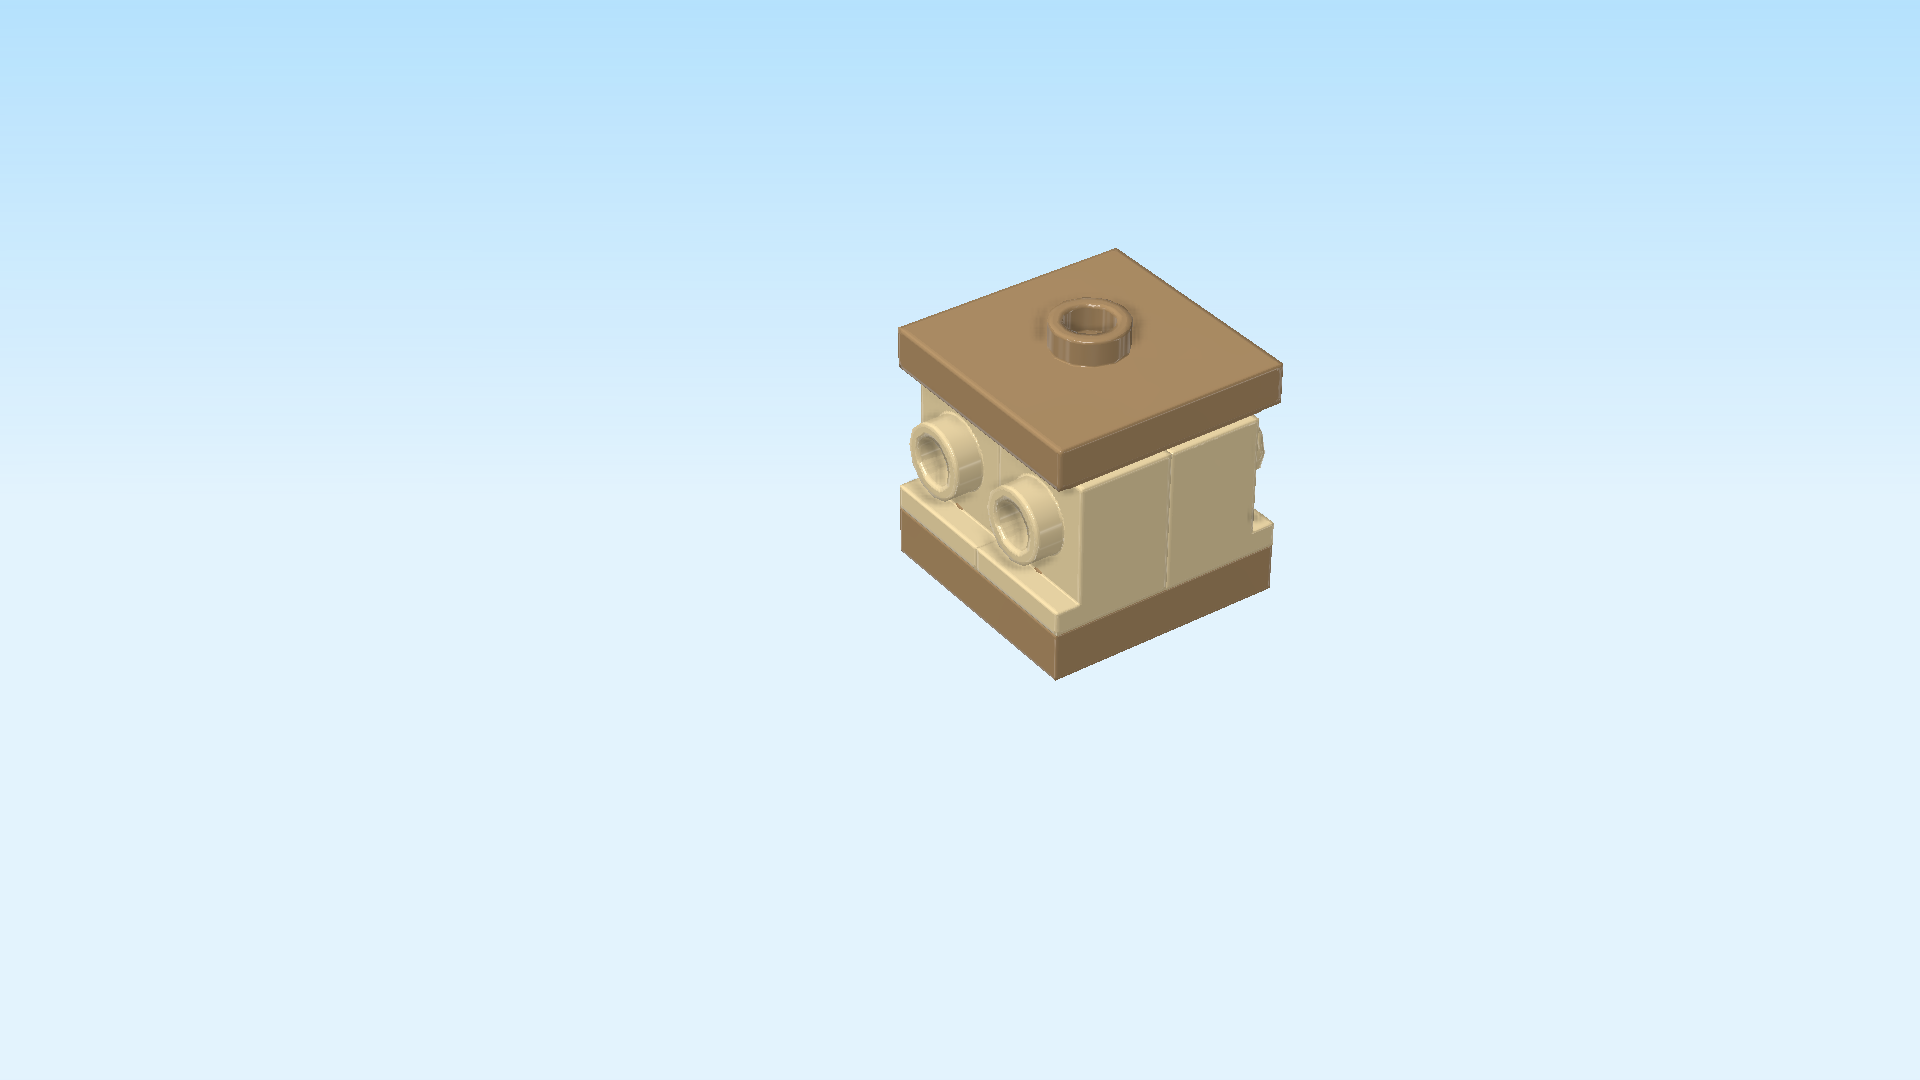
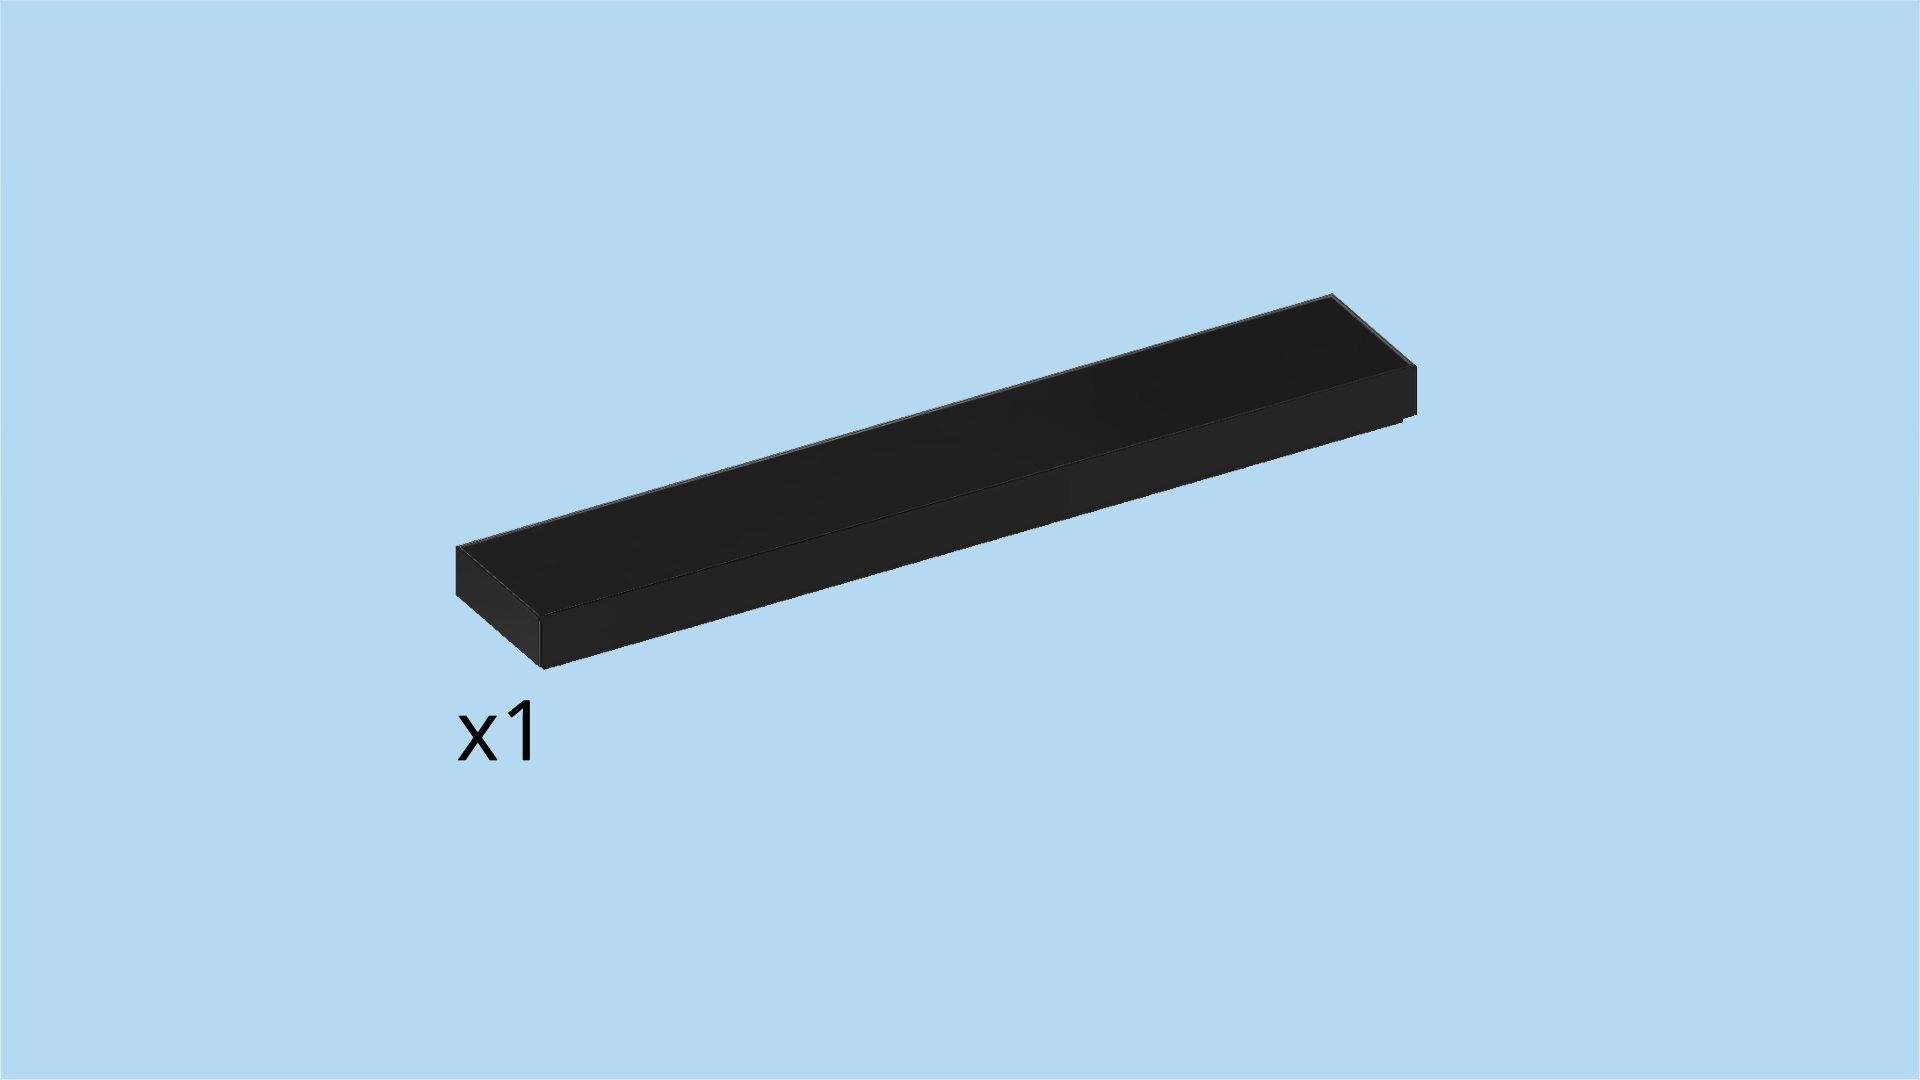
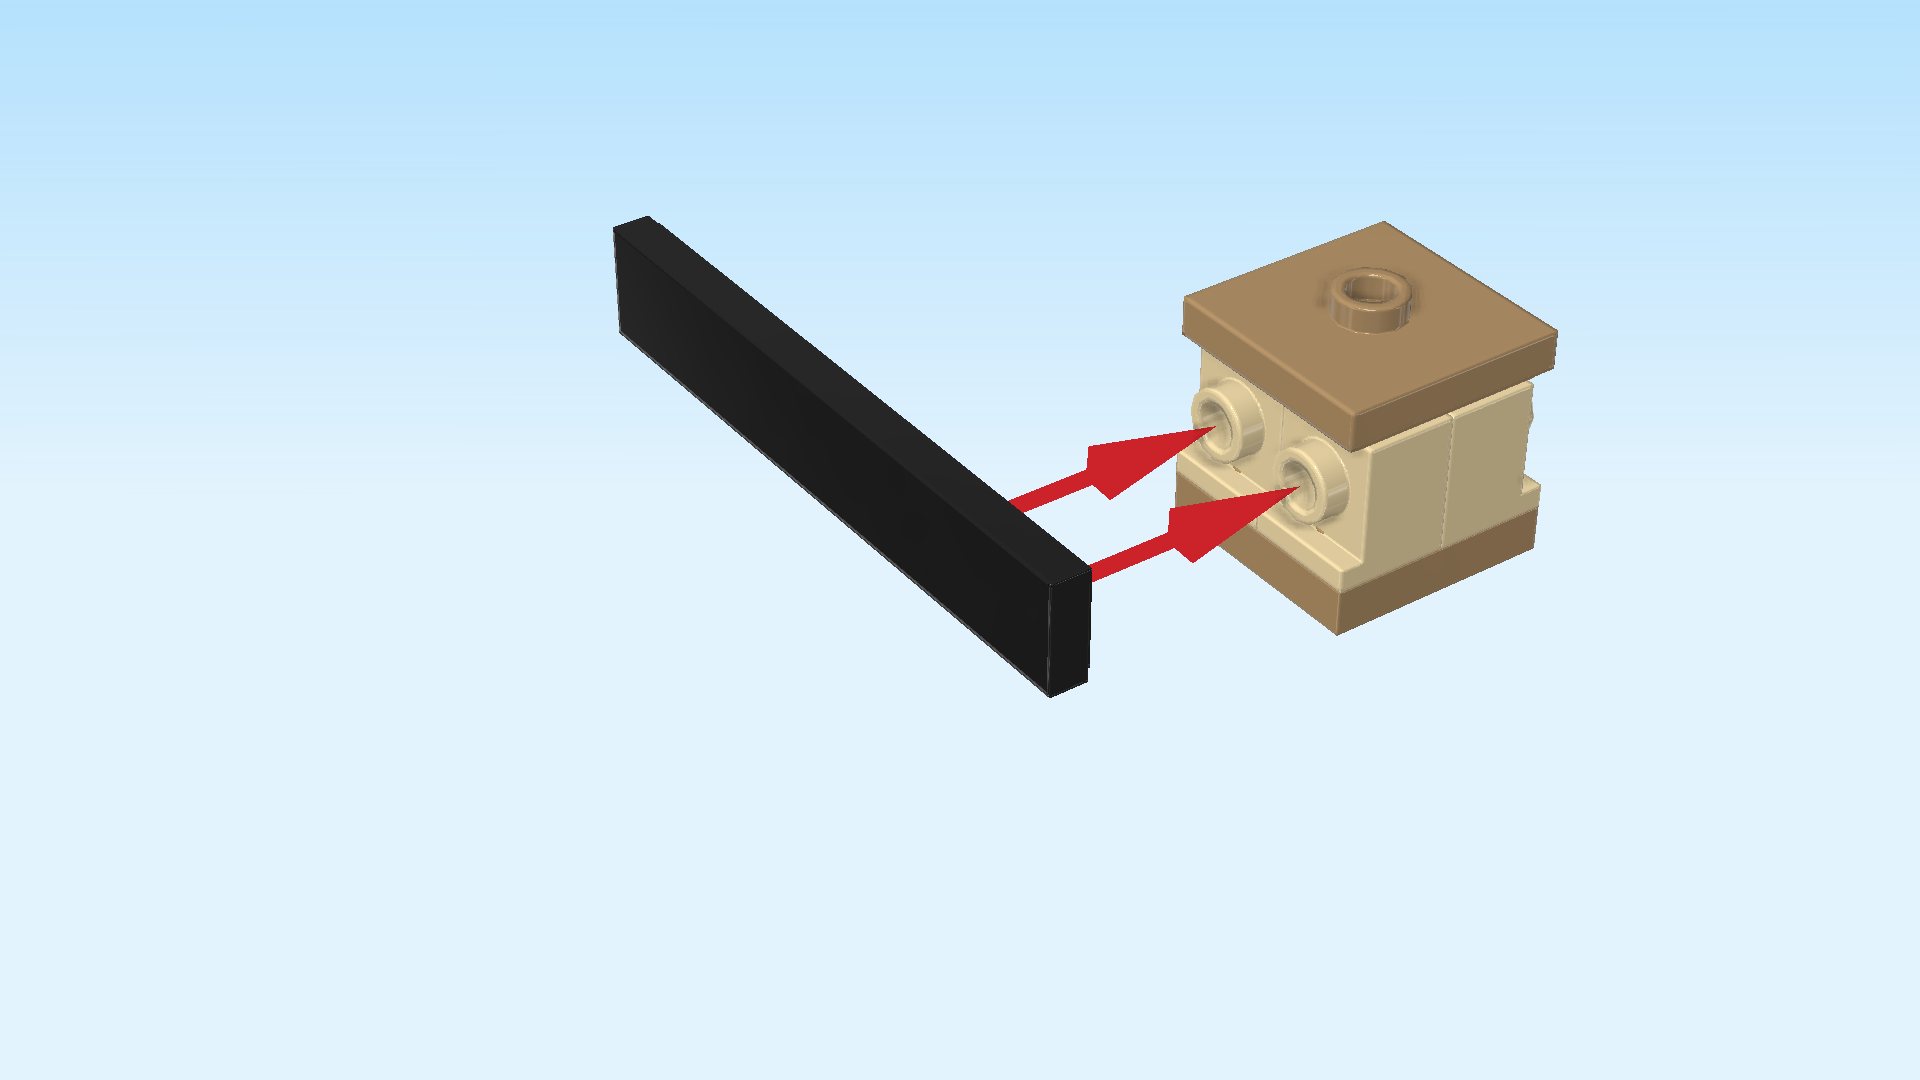
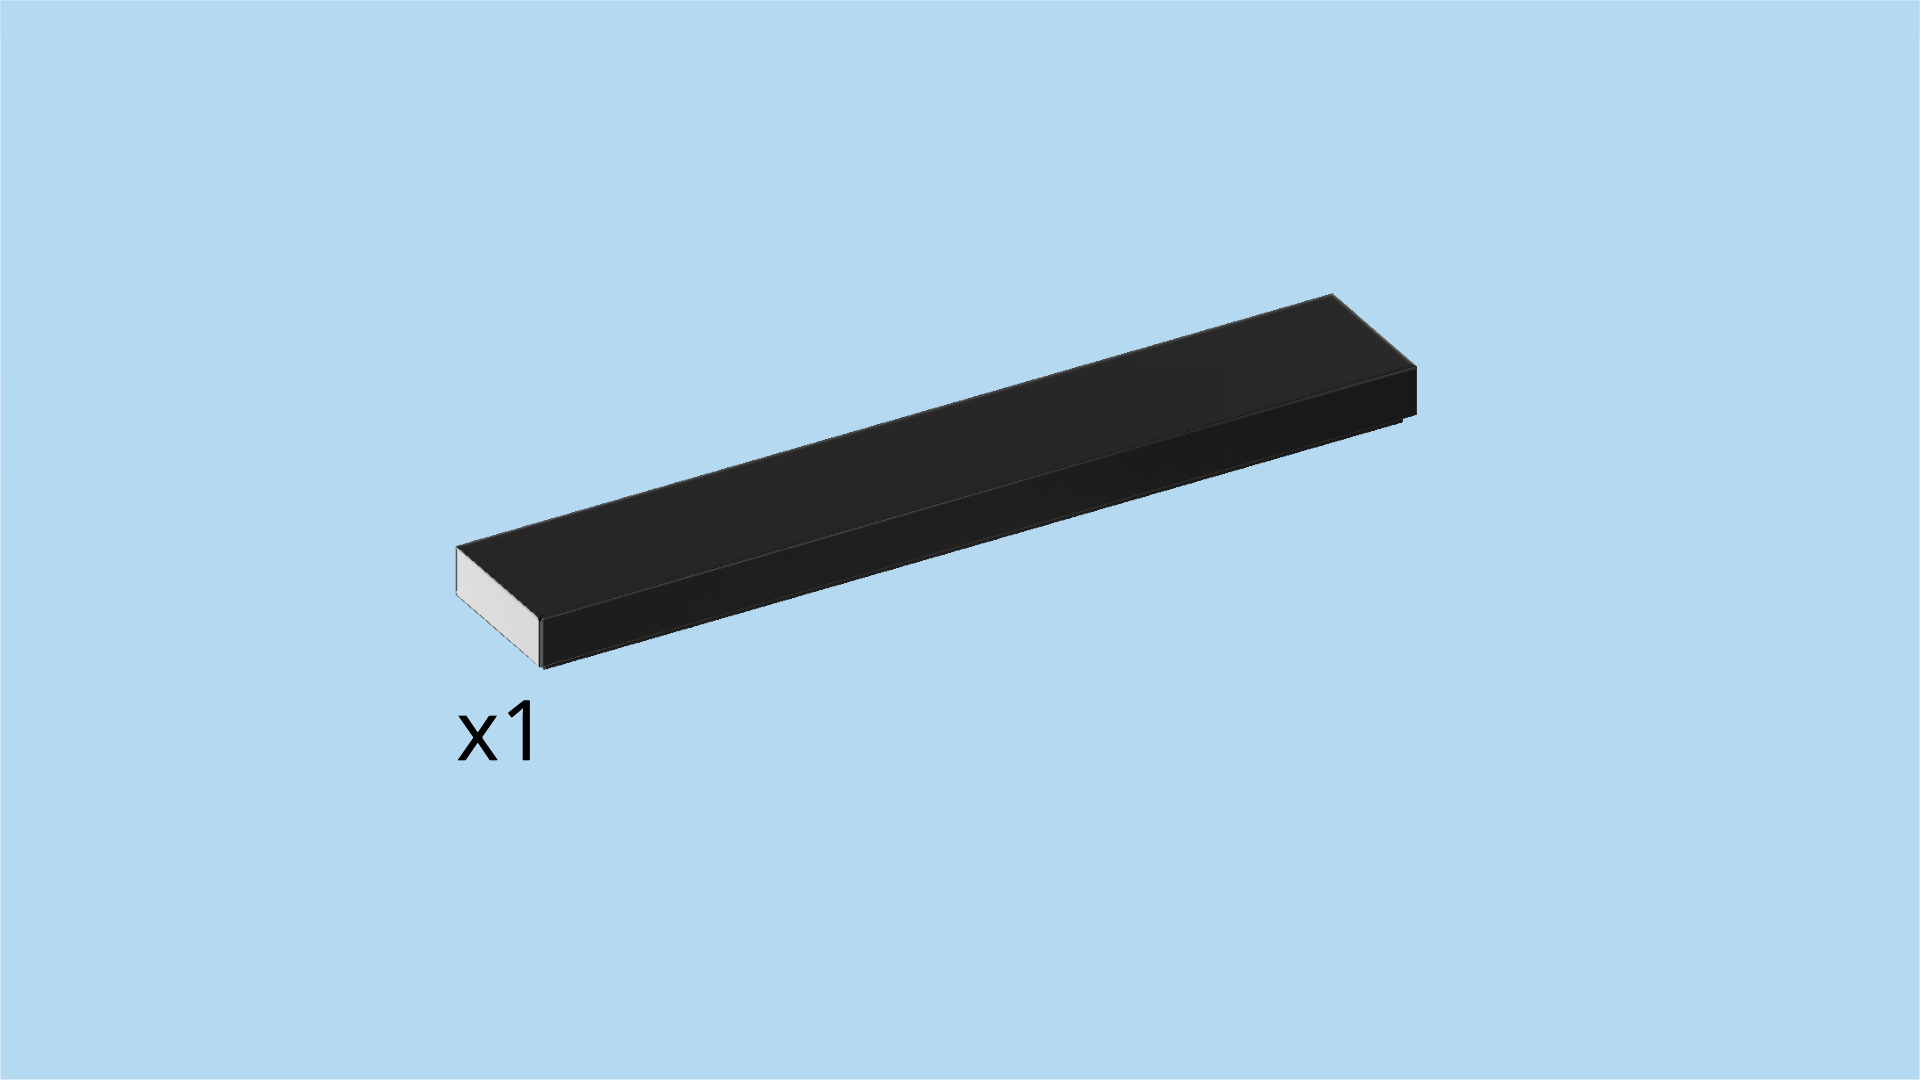
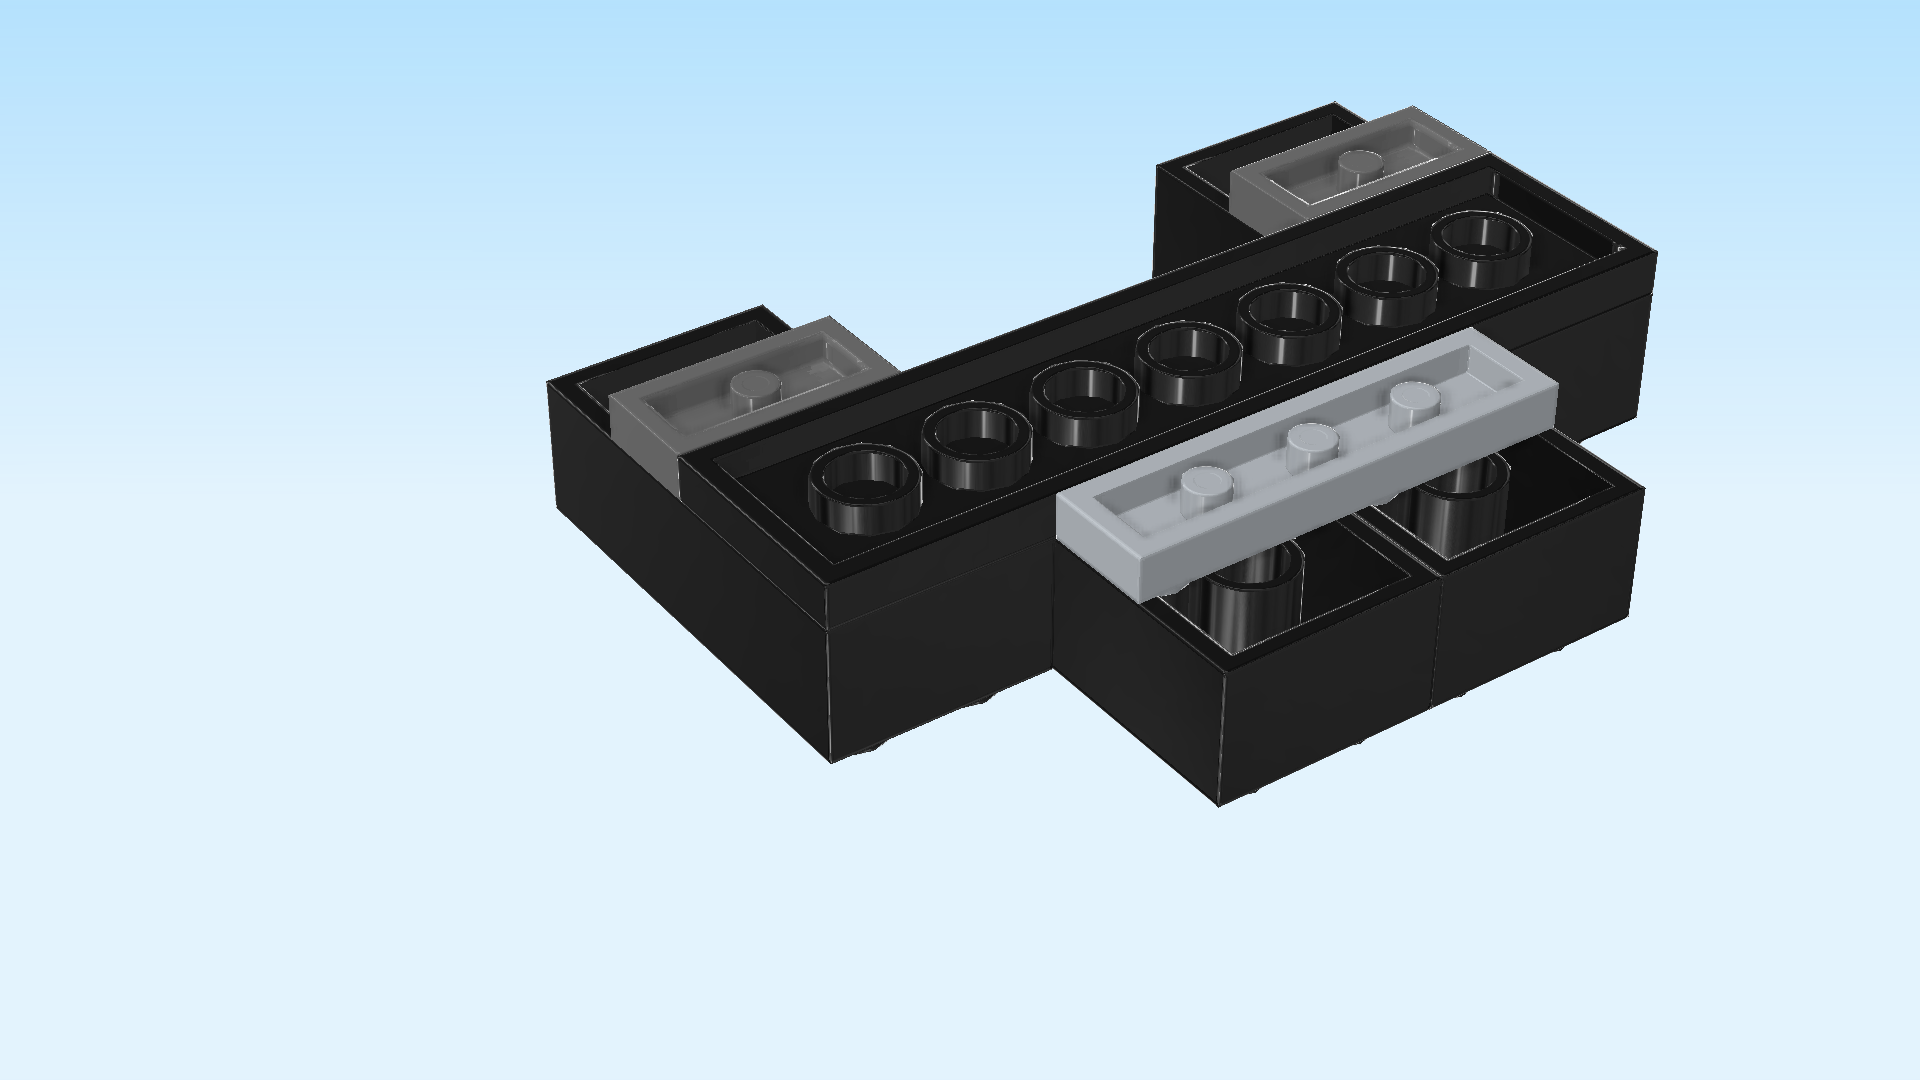
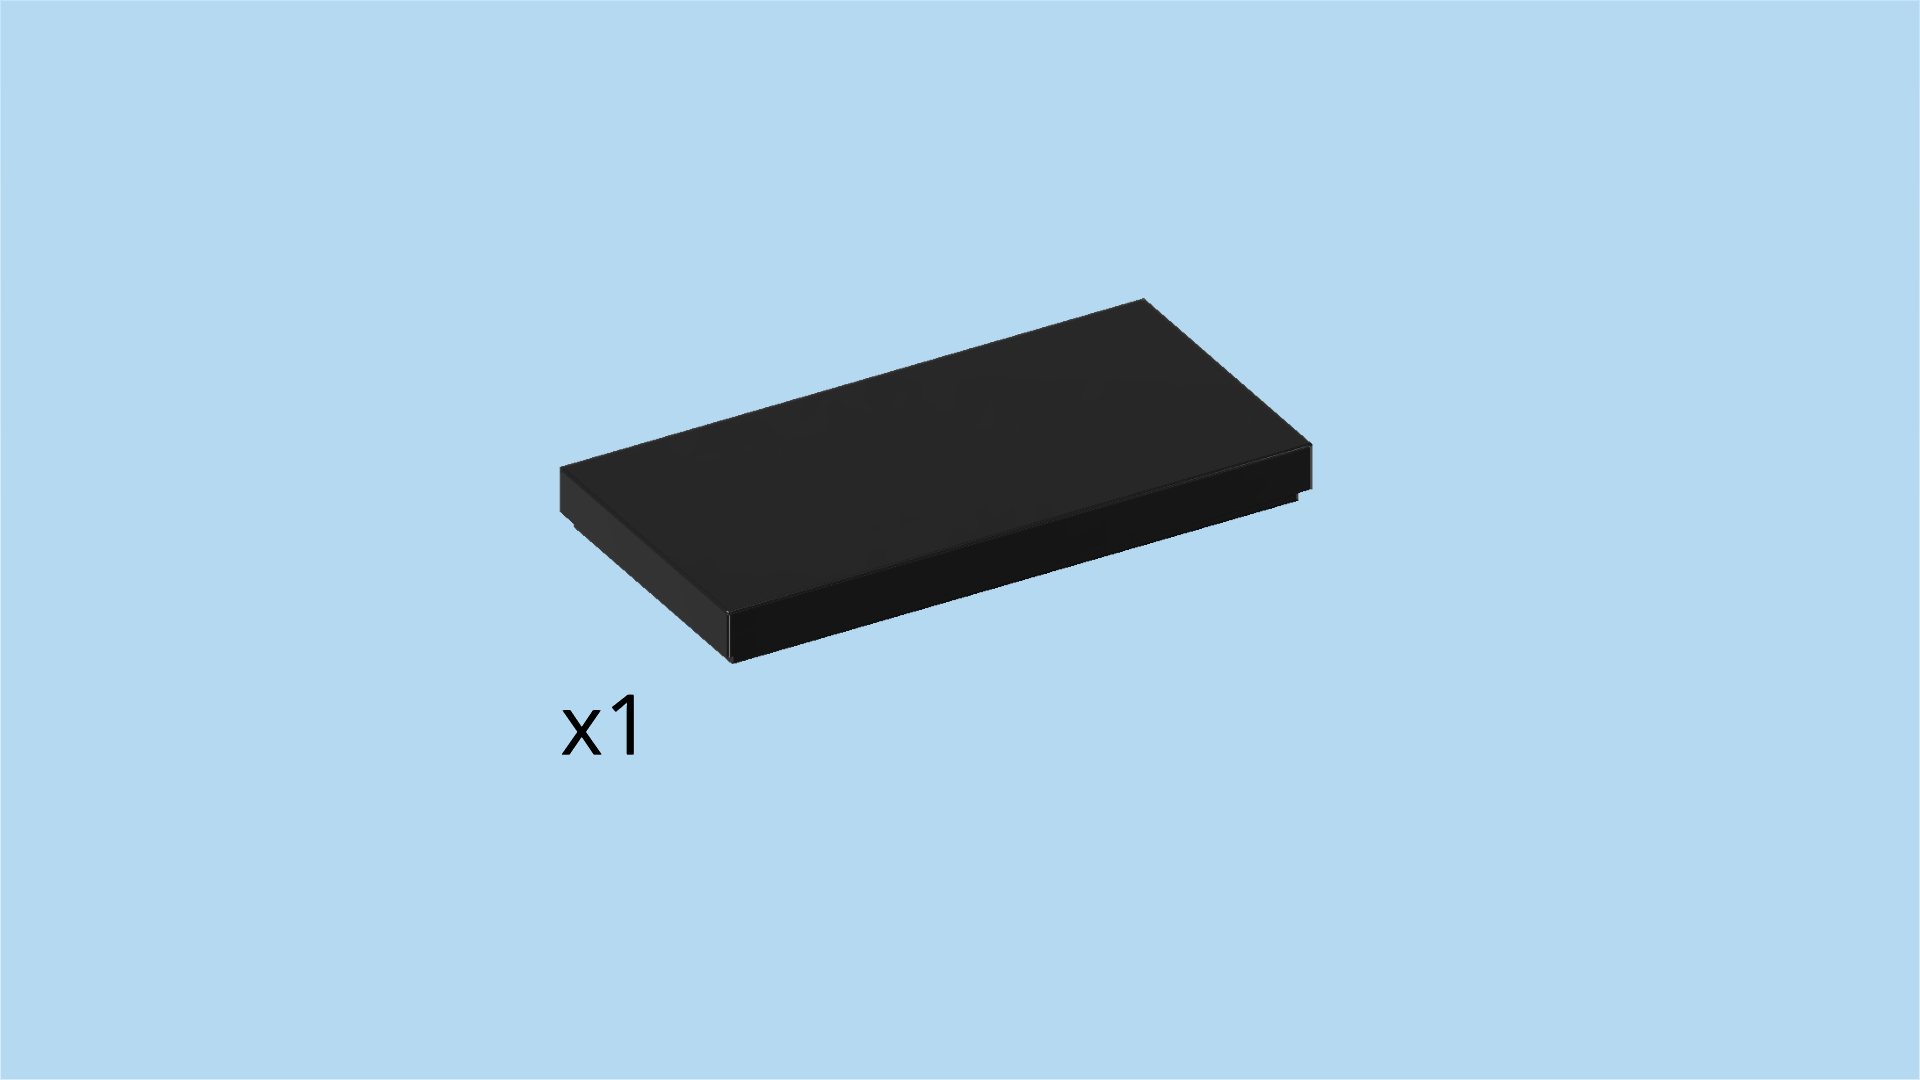
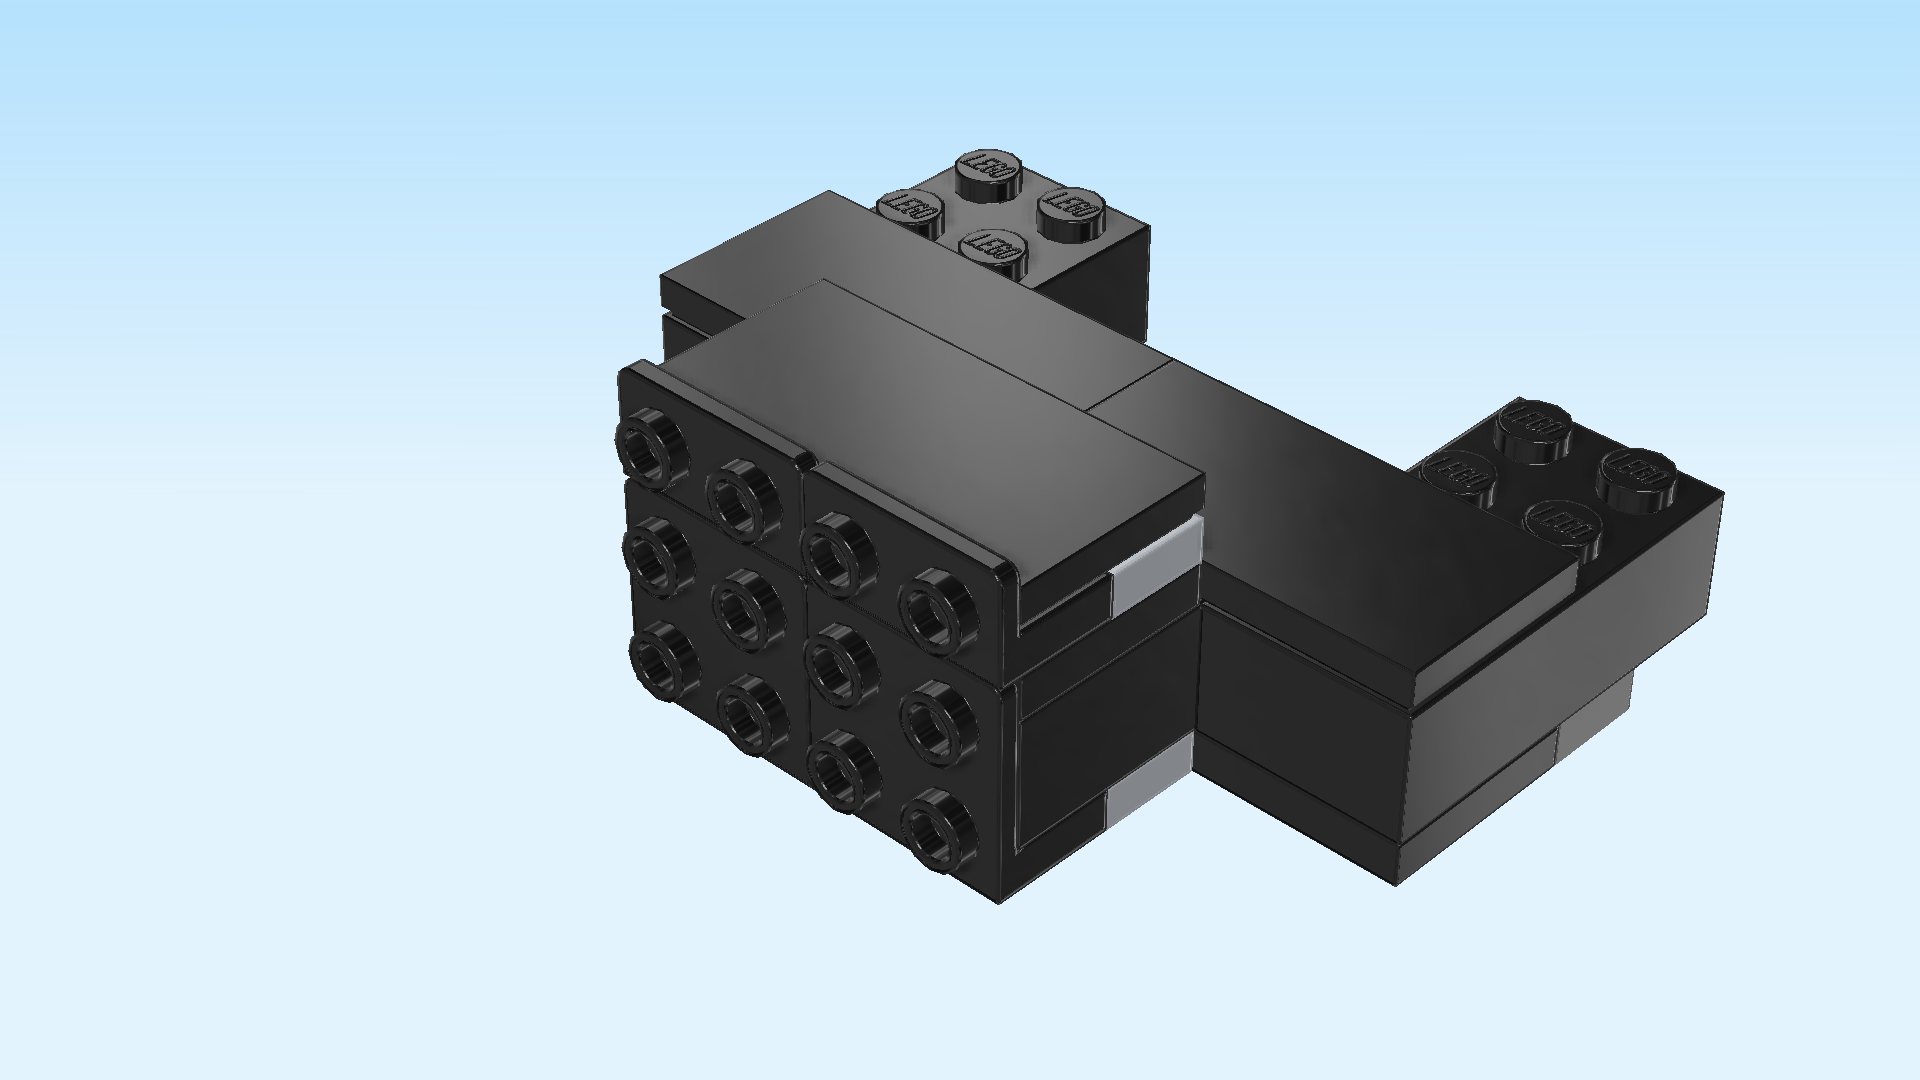
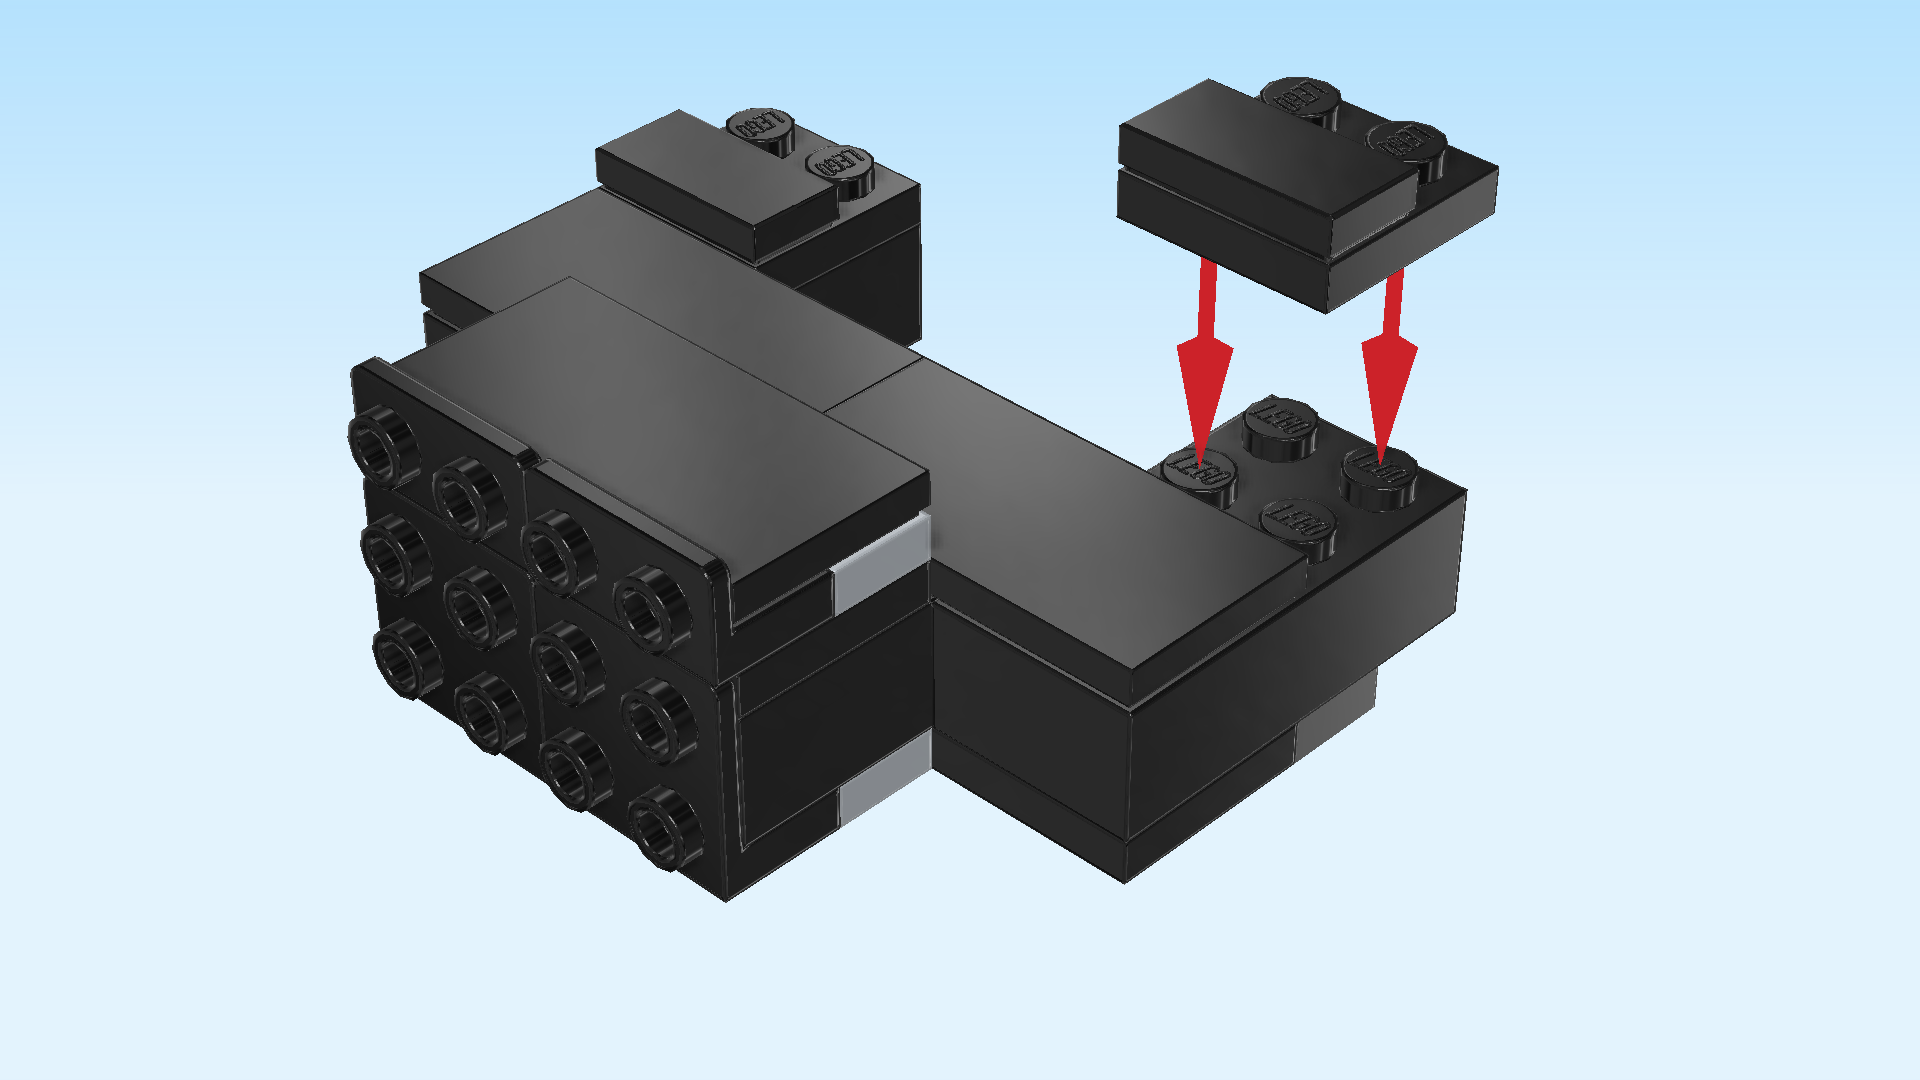
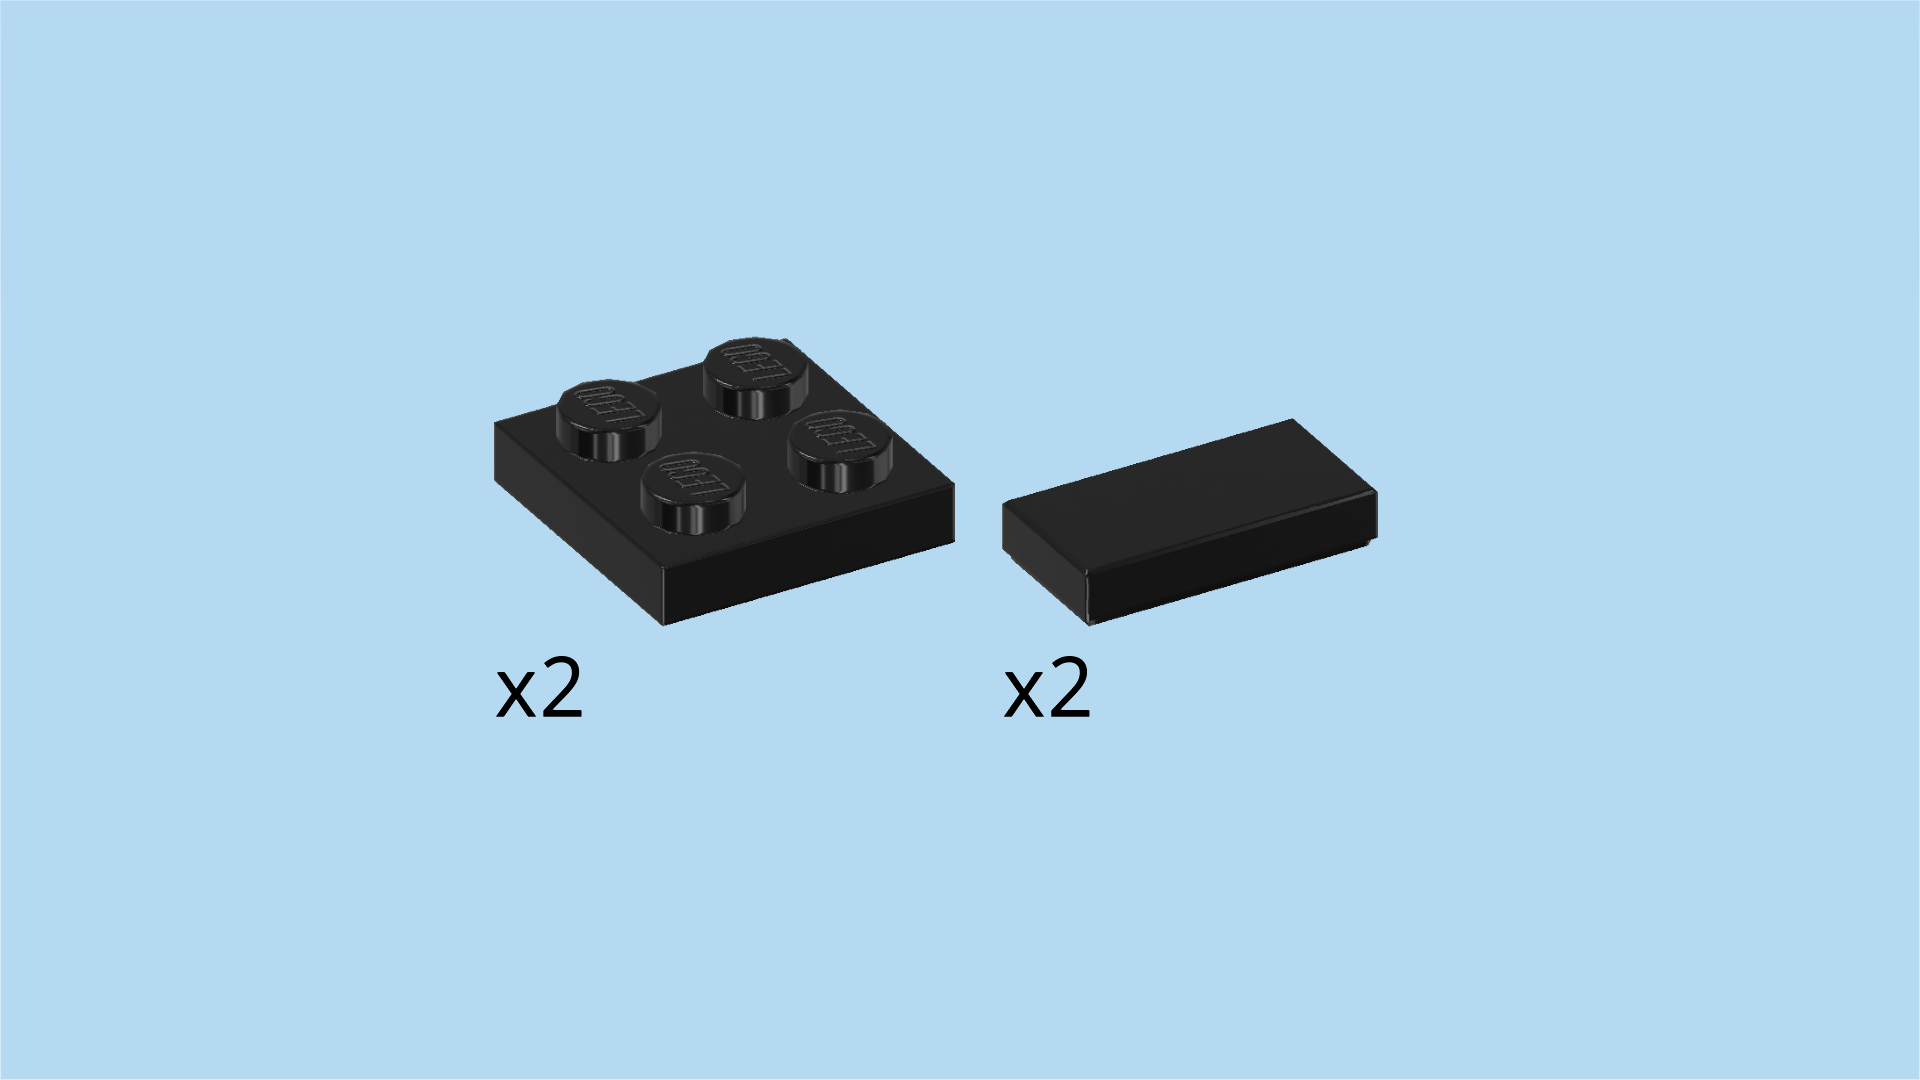
| Find 2 black flat tiles 1x6. |
| First, identify the 2 middle columns of the structure at the front edge. We will use them for reference now, but note that they will remain empty in this step. |
| Put 1 flat tile vertically to the left of the 2 middle columns, 2 rows overhanging to the front. |
| Put the other one vertically to the right of the 2 middle columns, again 2 rows overhanging to the front. |
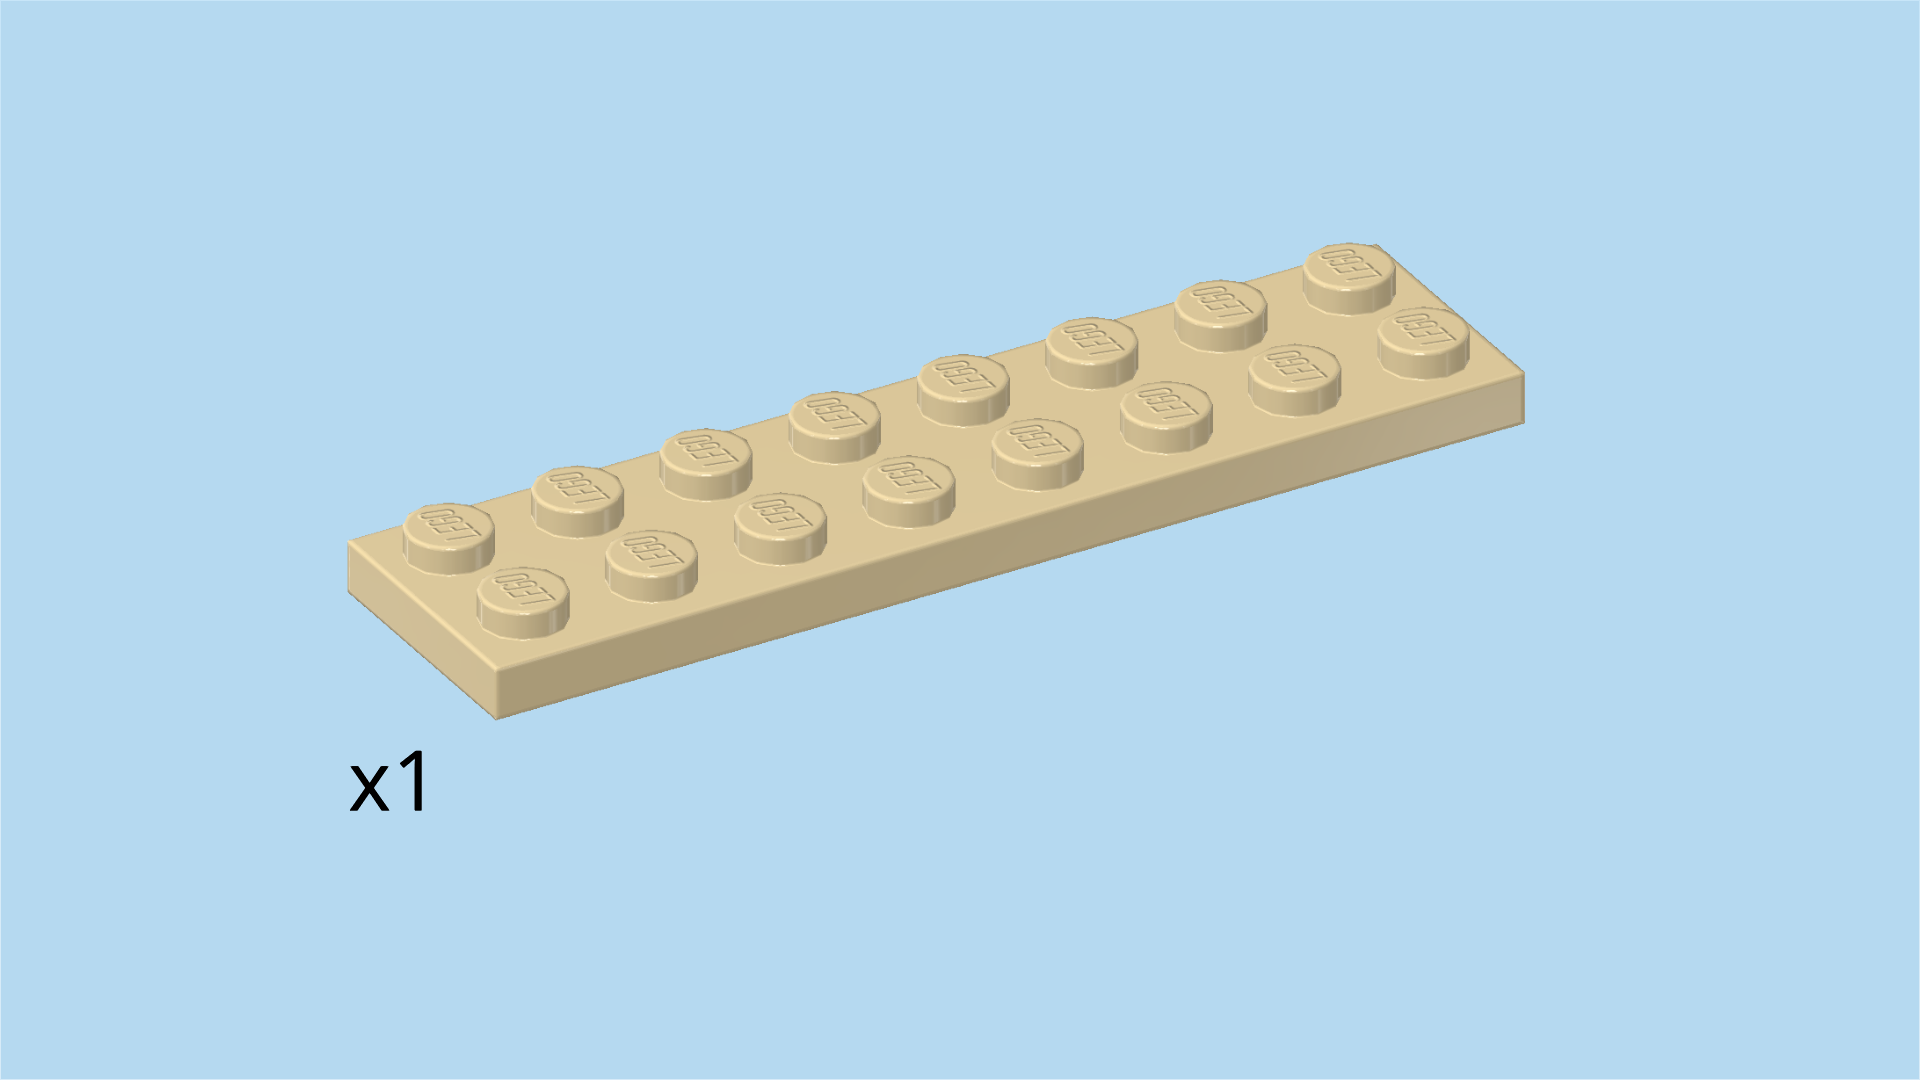
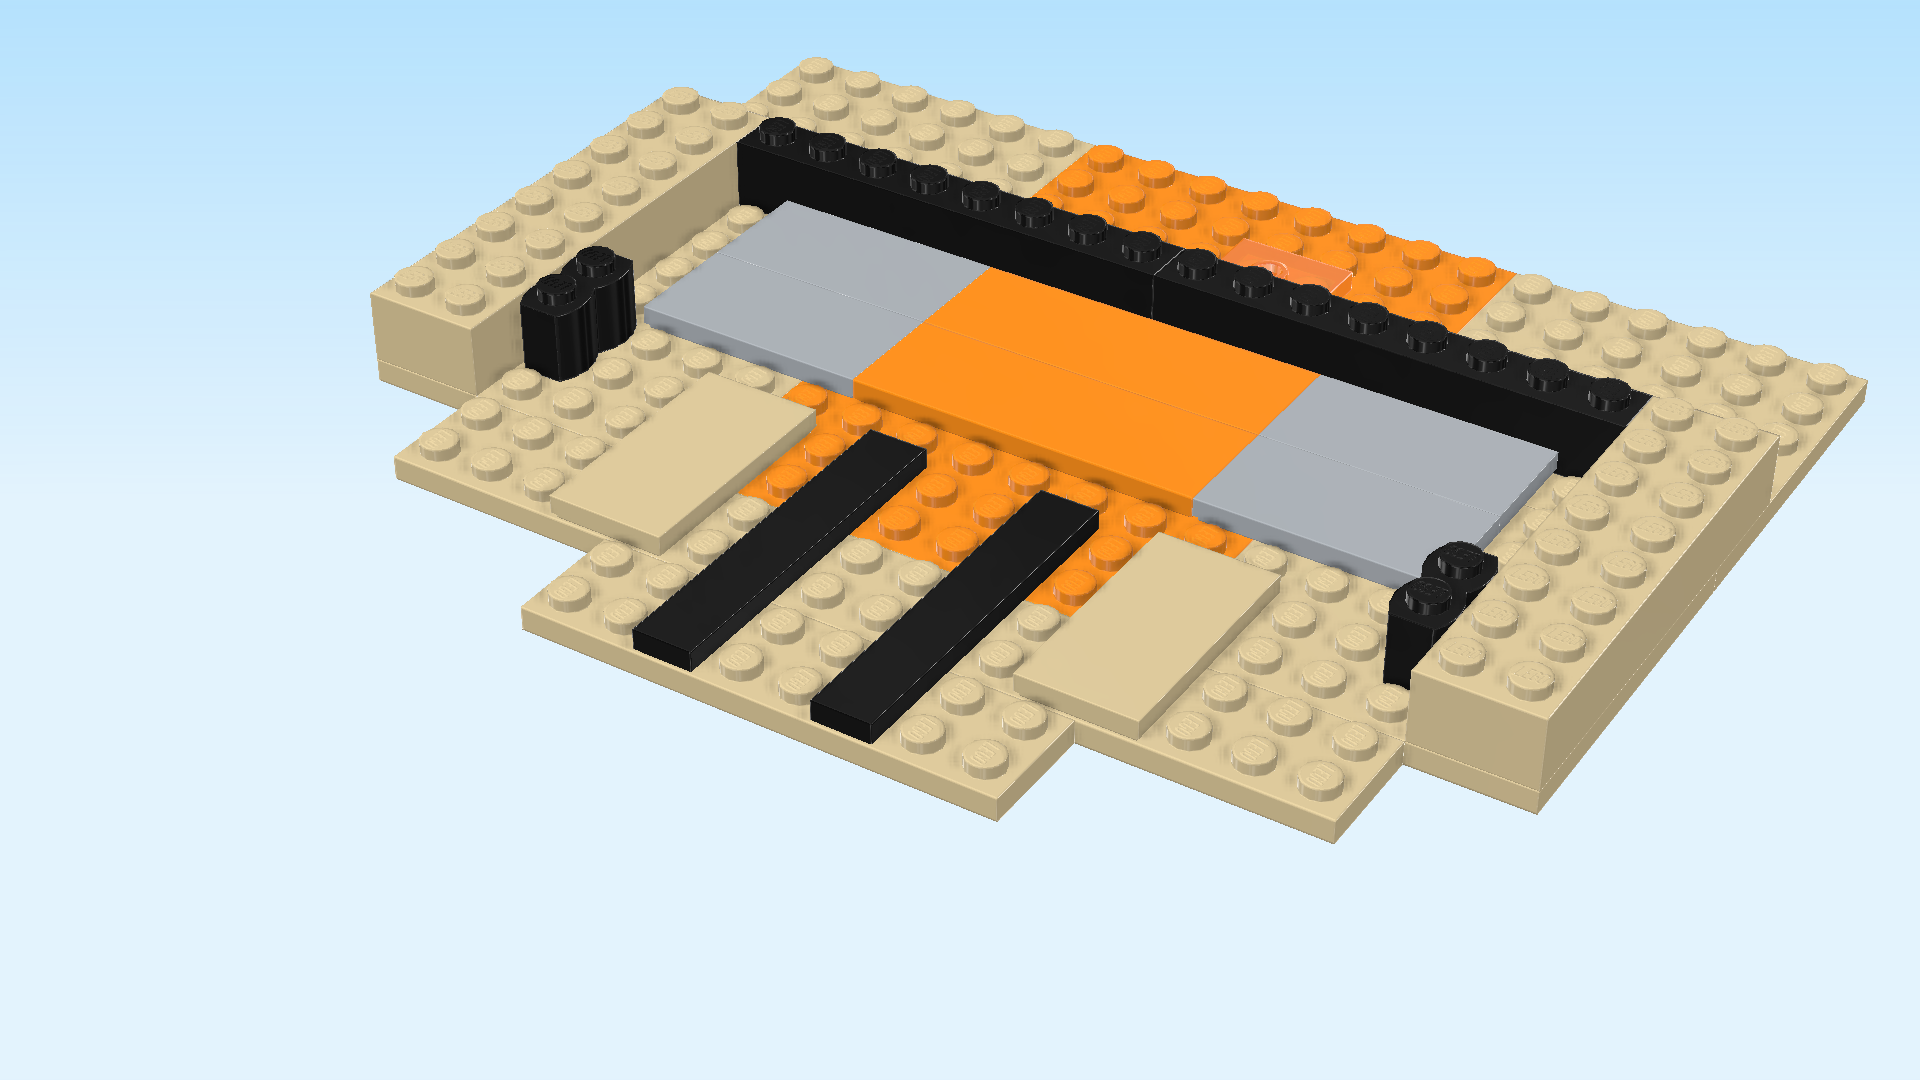
| Find 1 pale ocher yellow plate 2x8. |
| Mount it horizontally centered underneath the overhanging parts of the previous pieces. |
| If done correctly, the front edge of this piece is flush with the front edges of the 2 flat tiles 1x6 from the previous step. Make sure it protrudes symmetrically to the left and right from underneath the flat tiles. |
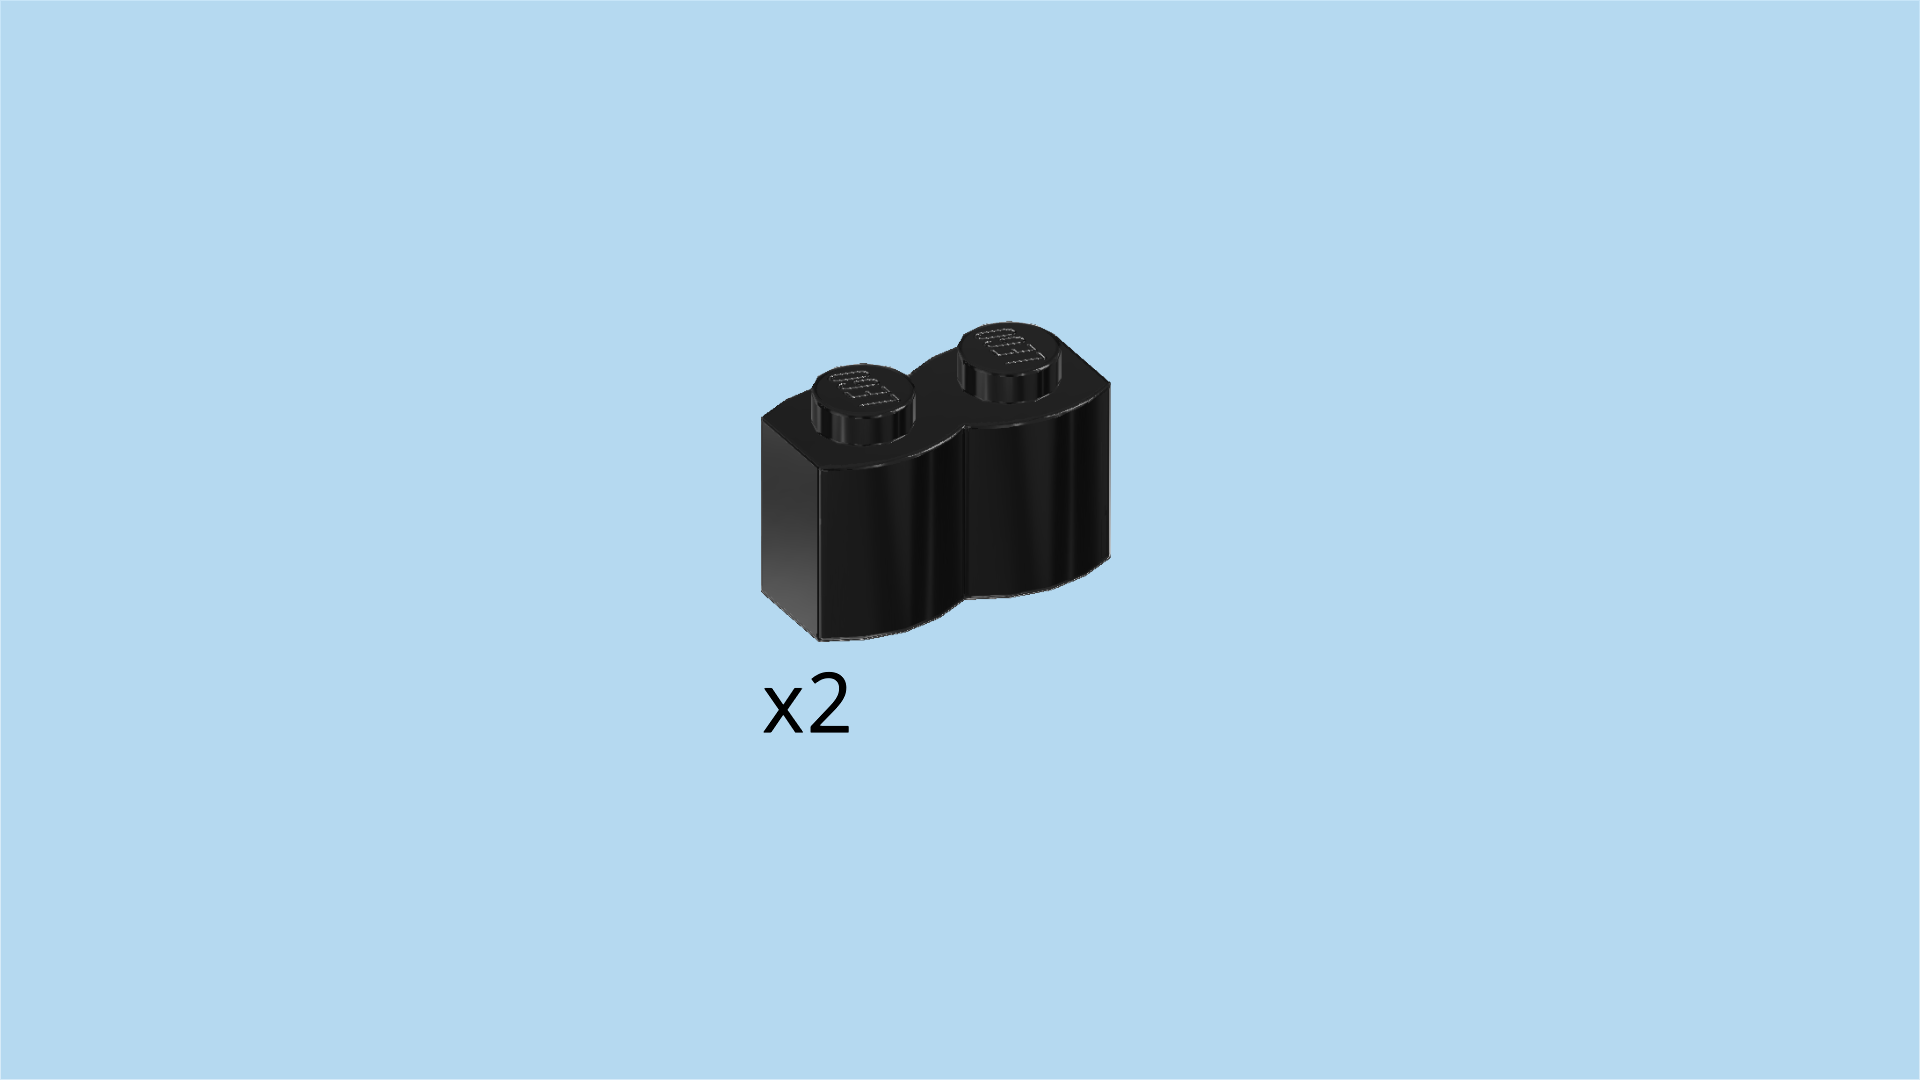
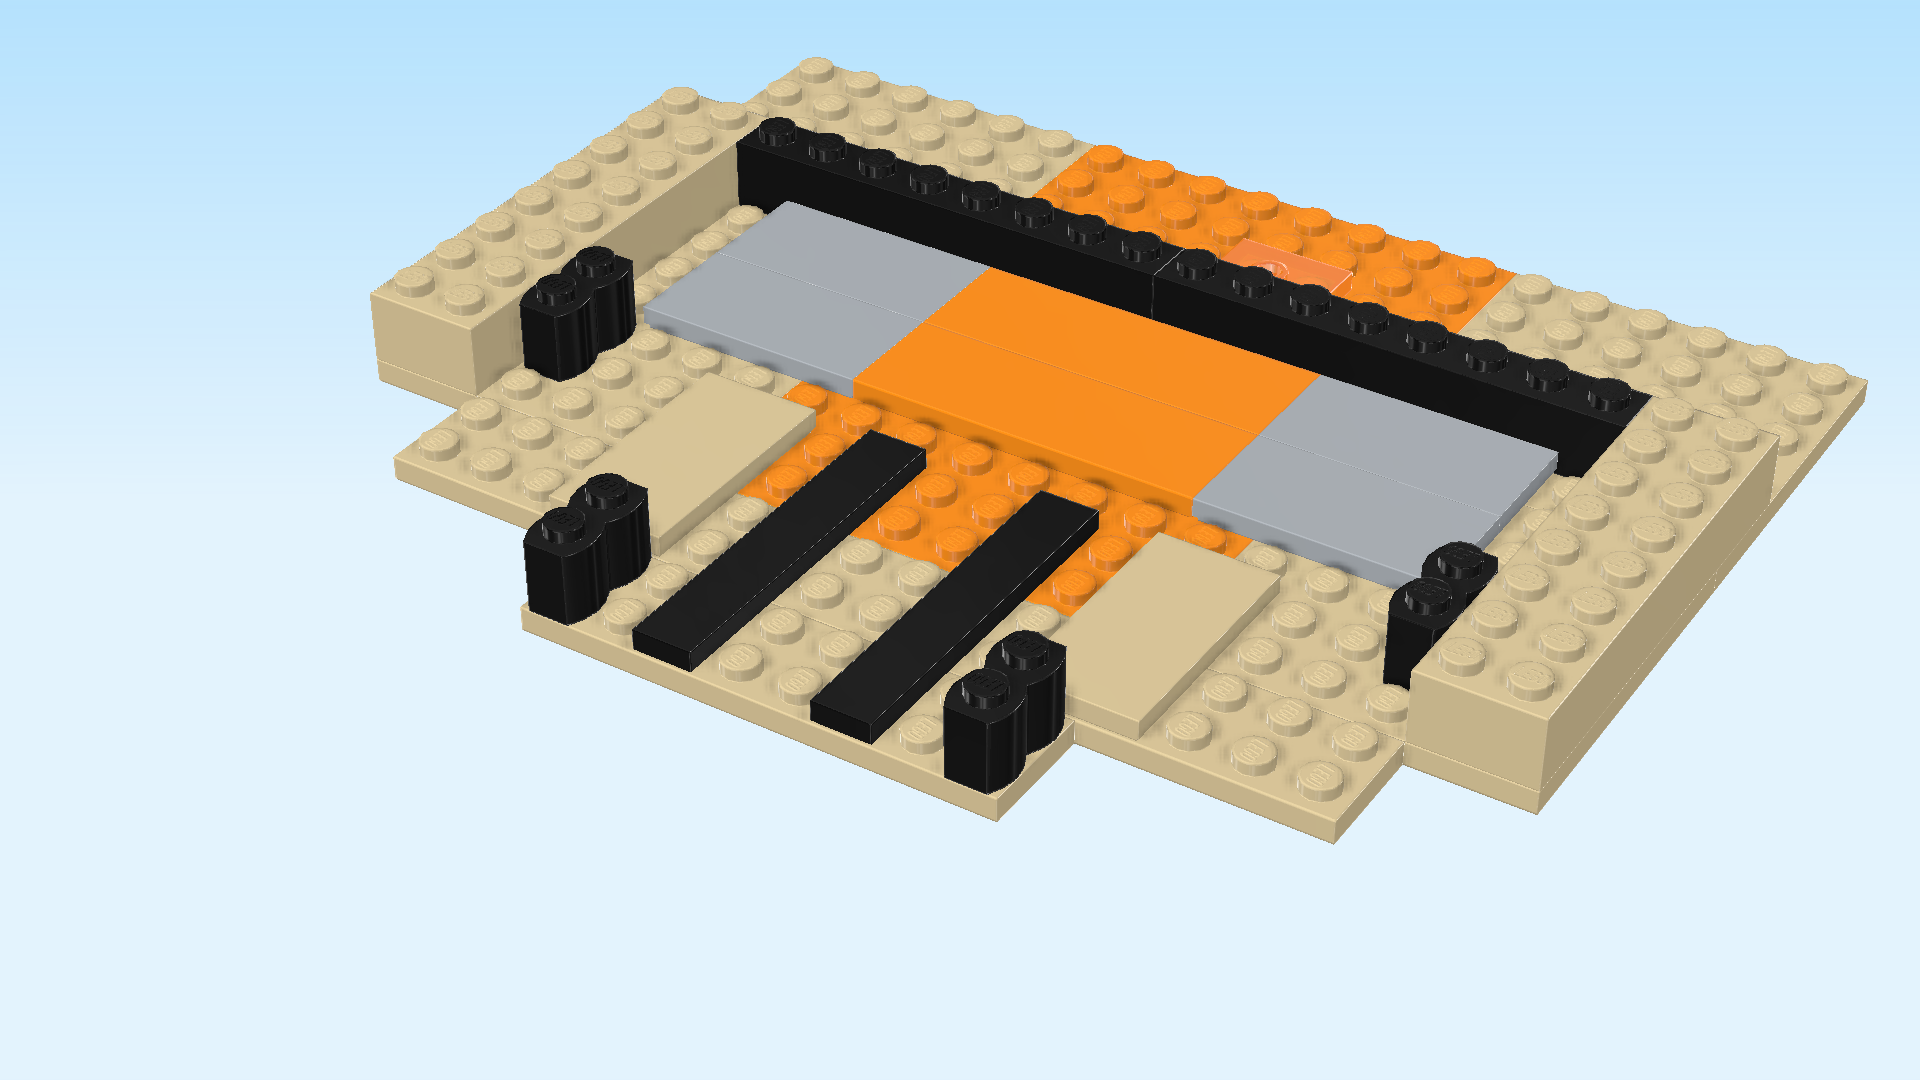
| Find 2 black palisade bricks 1x2. |
| Put 1 vertically on the leftmost column of the previous piece. |
| Repeat symmetrically on the rightmost column of that same plate. |
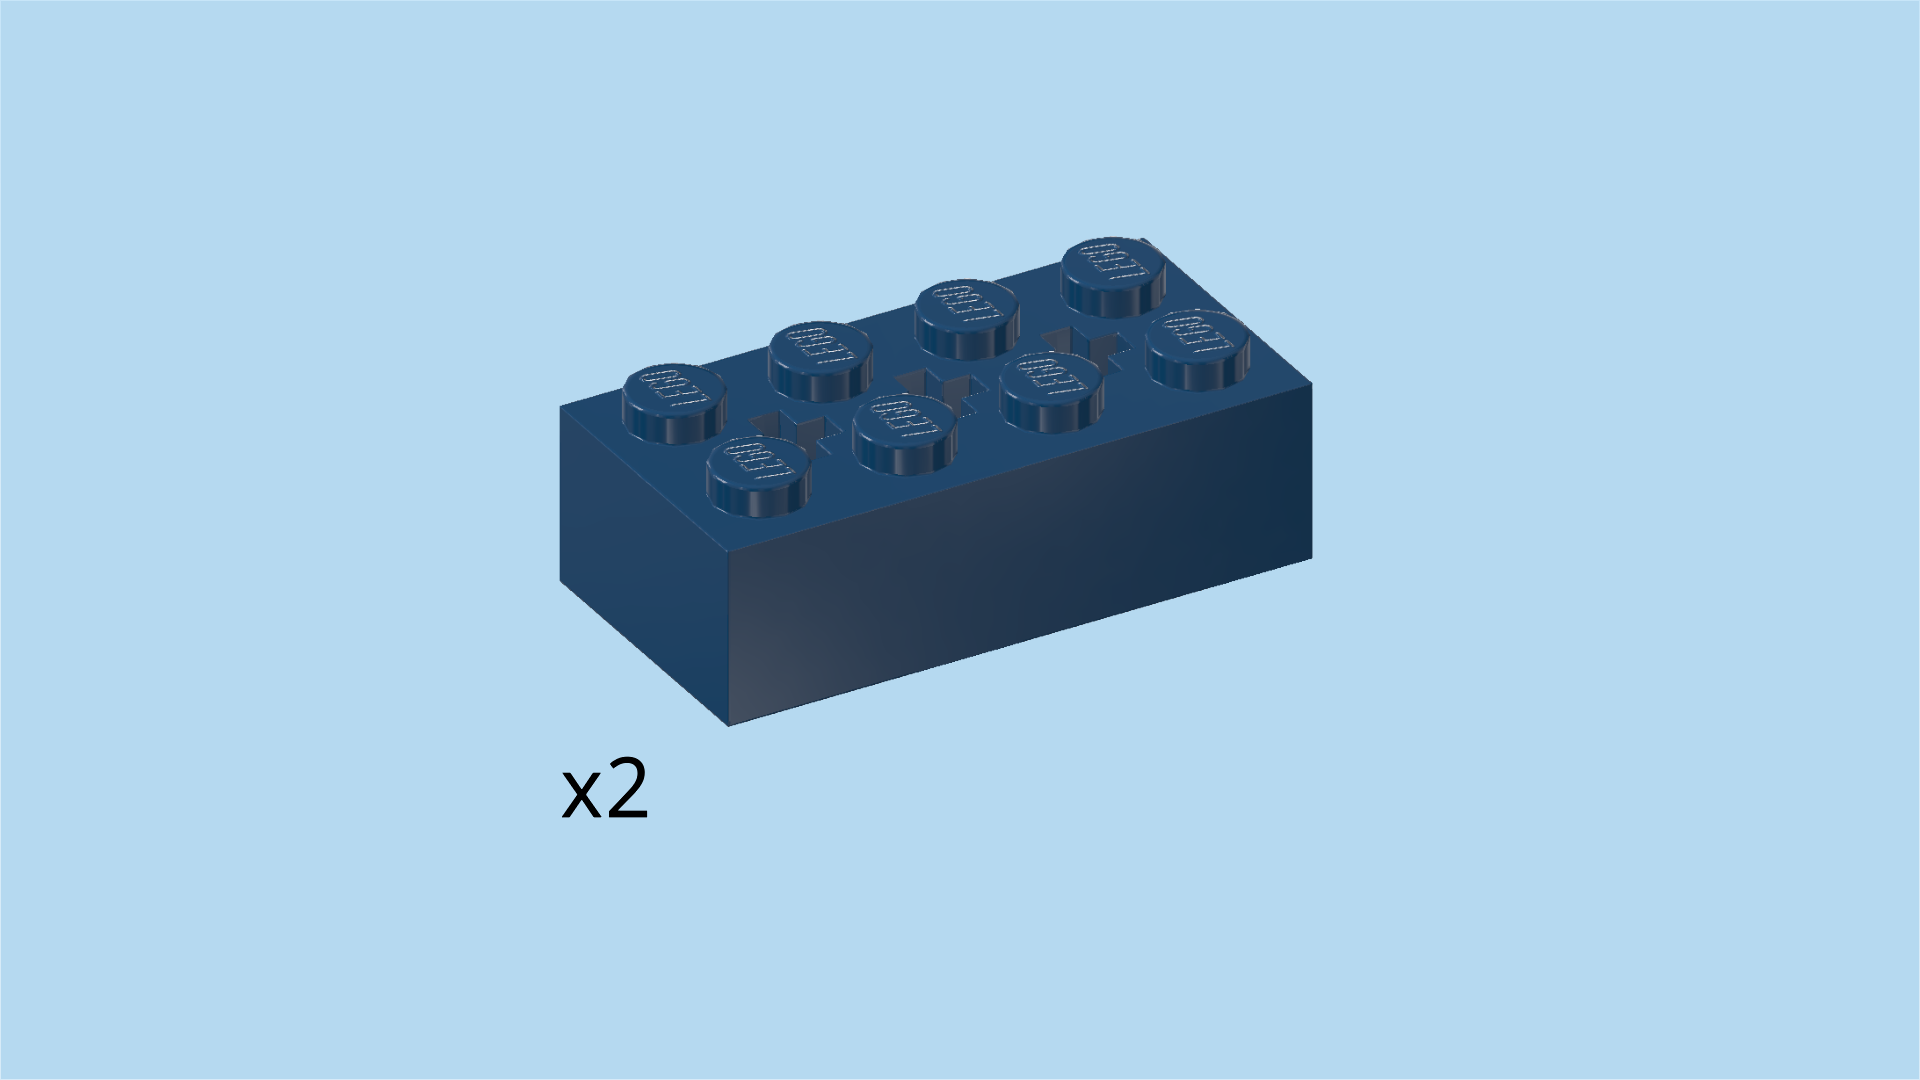
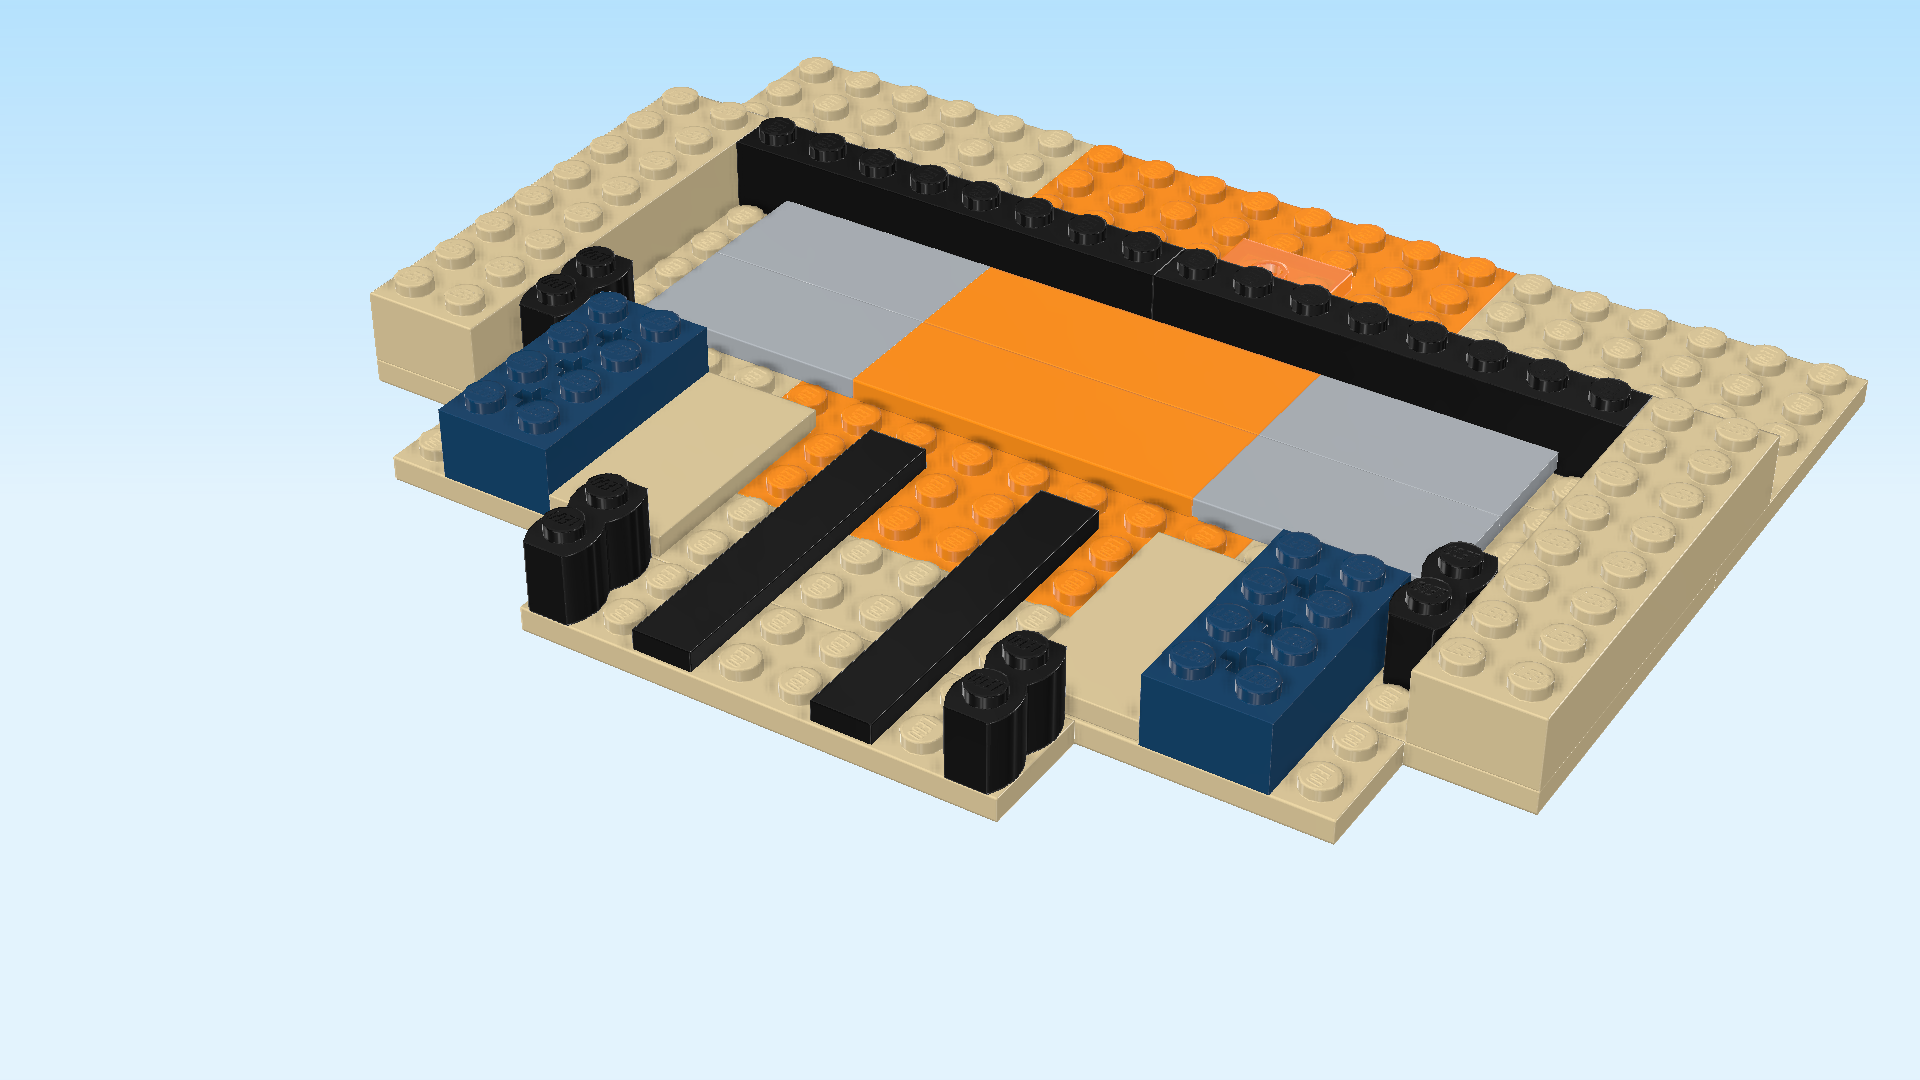
| Find 2 earth blue bricks 2x4 with 3 top cross holes. |
| There are 2 flat tiles 2x4 mounted vertically directly behind the palisade bricks we have just mounted. We will use them for reference now. |
| Put 1 brick 2x4 vertically to the left of the left flat tile 2x4. |
| Repeat symmetrically on the right. The bricks are wedged in between a flat tile 2x4 and a palisade brick on each side. |
| Keep in mind that these 2 bricks have 3 holes. We will use their middle holes later to mount cross axles. |
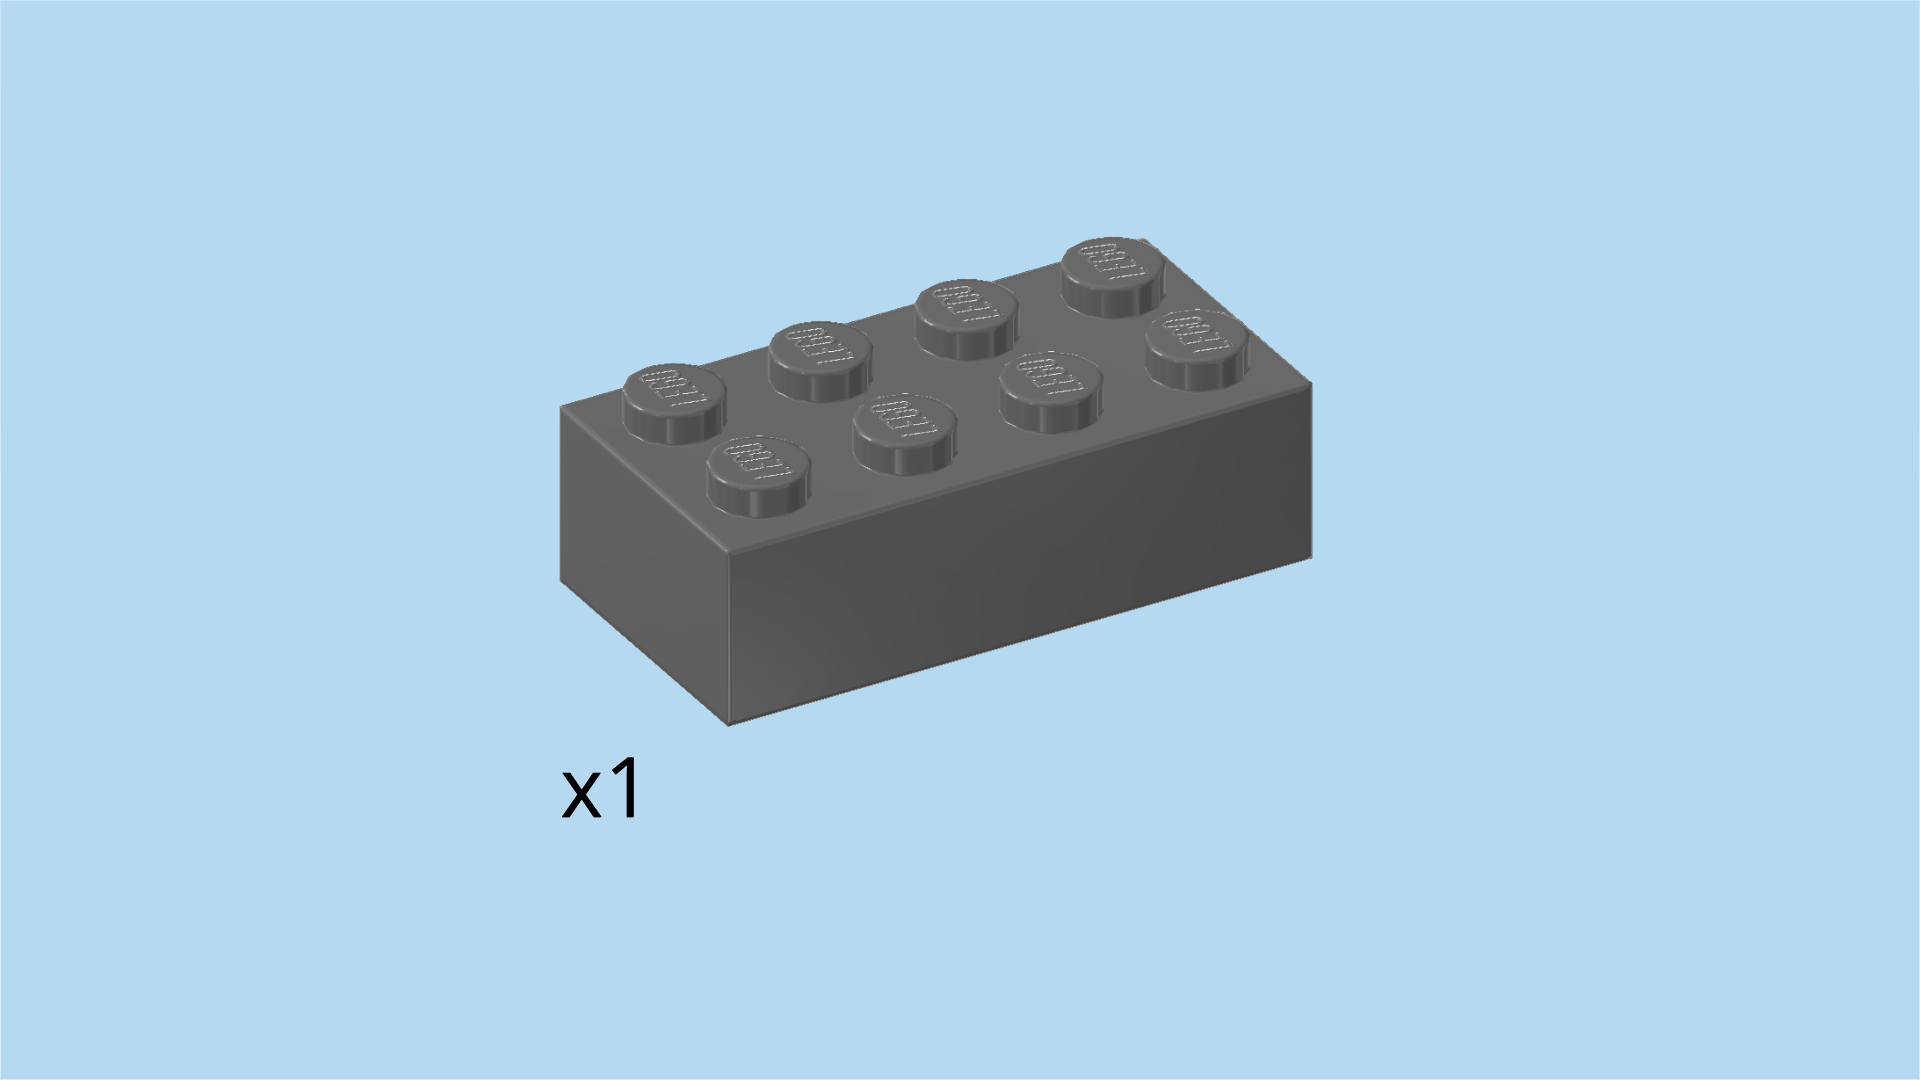
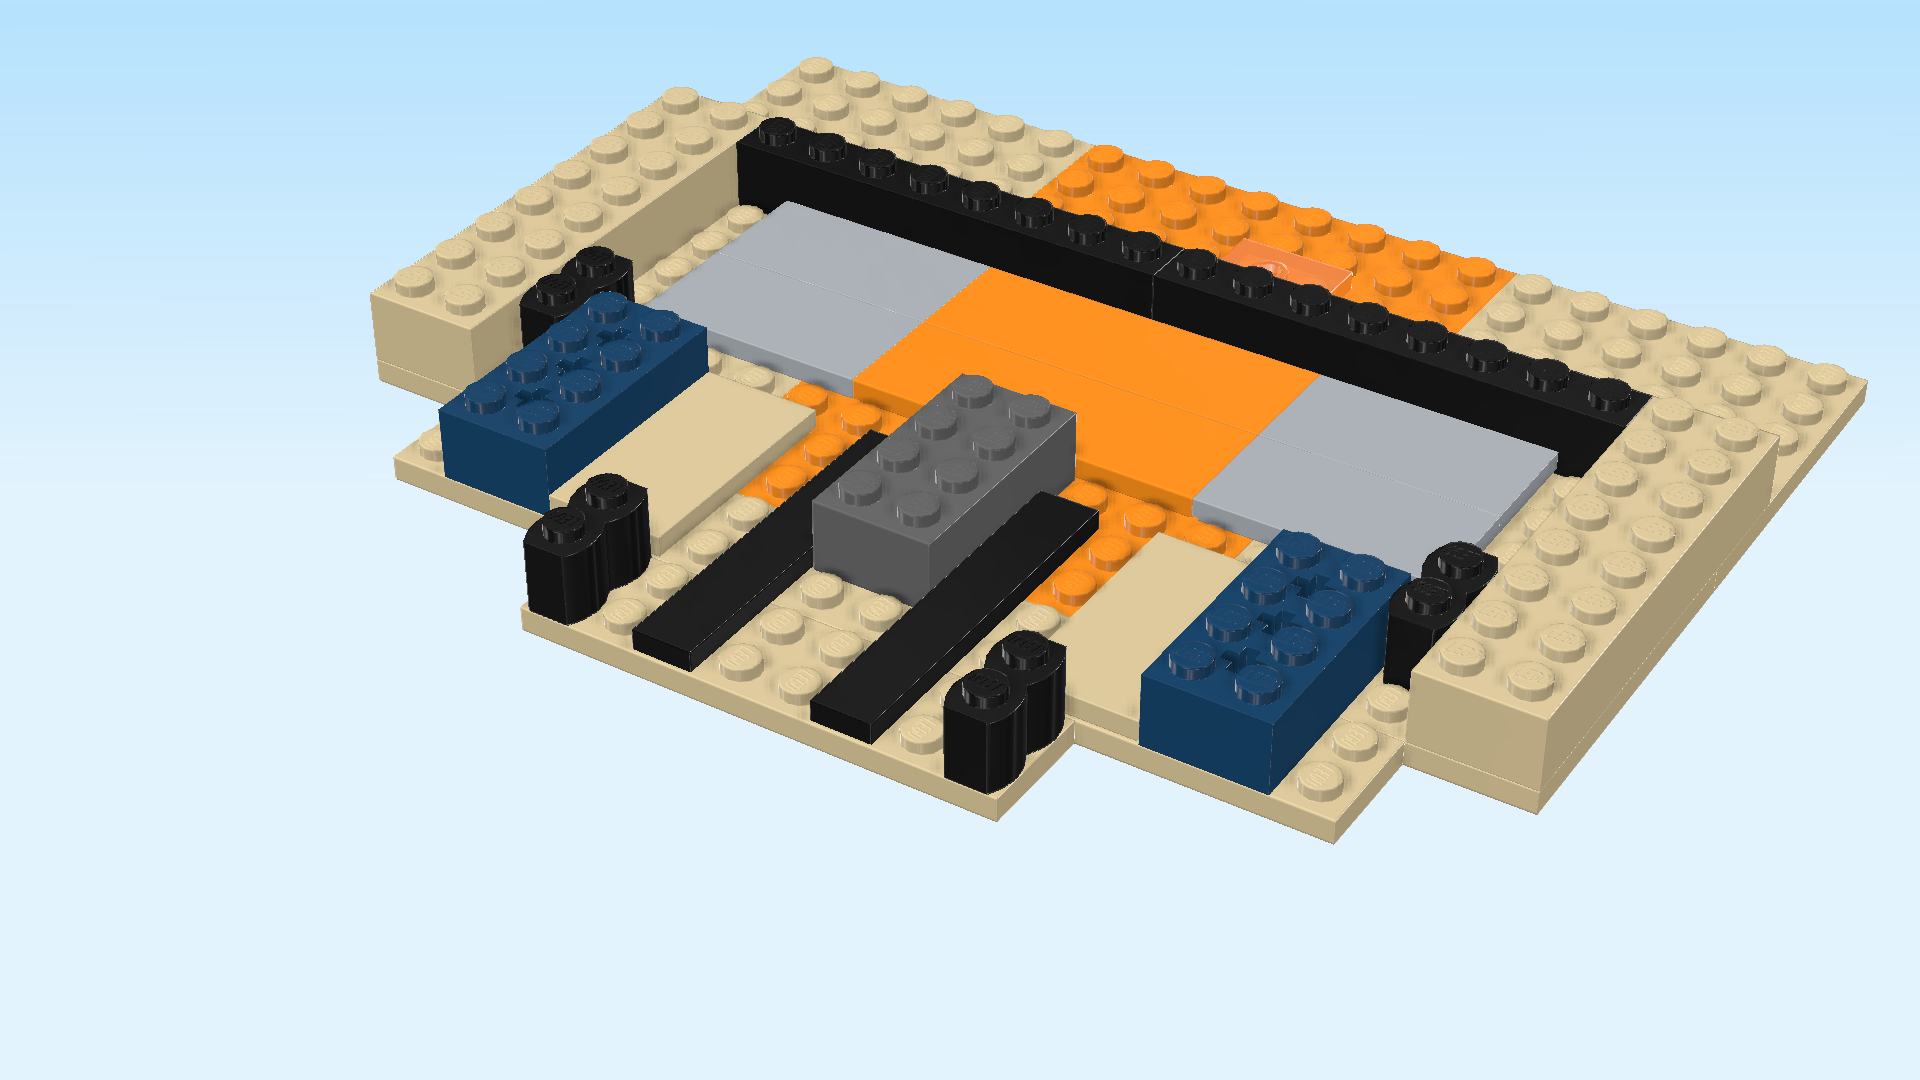
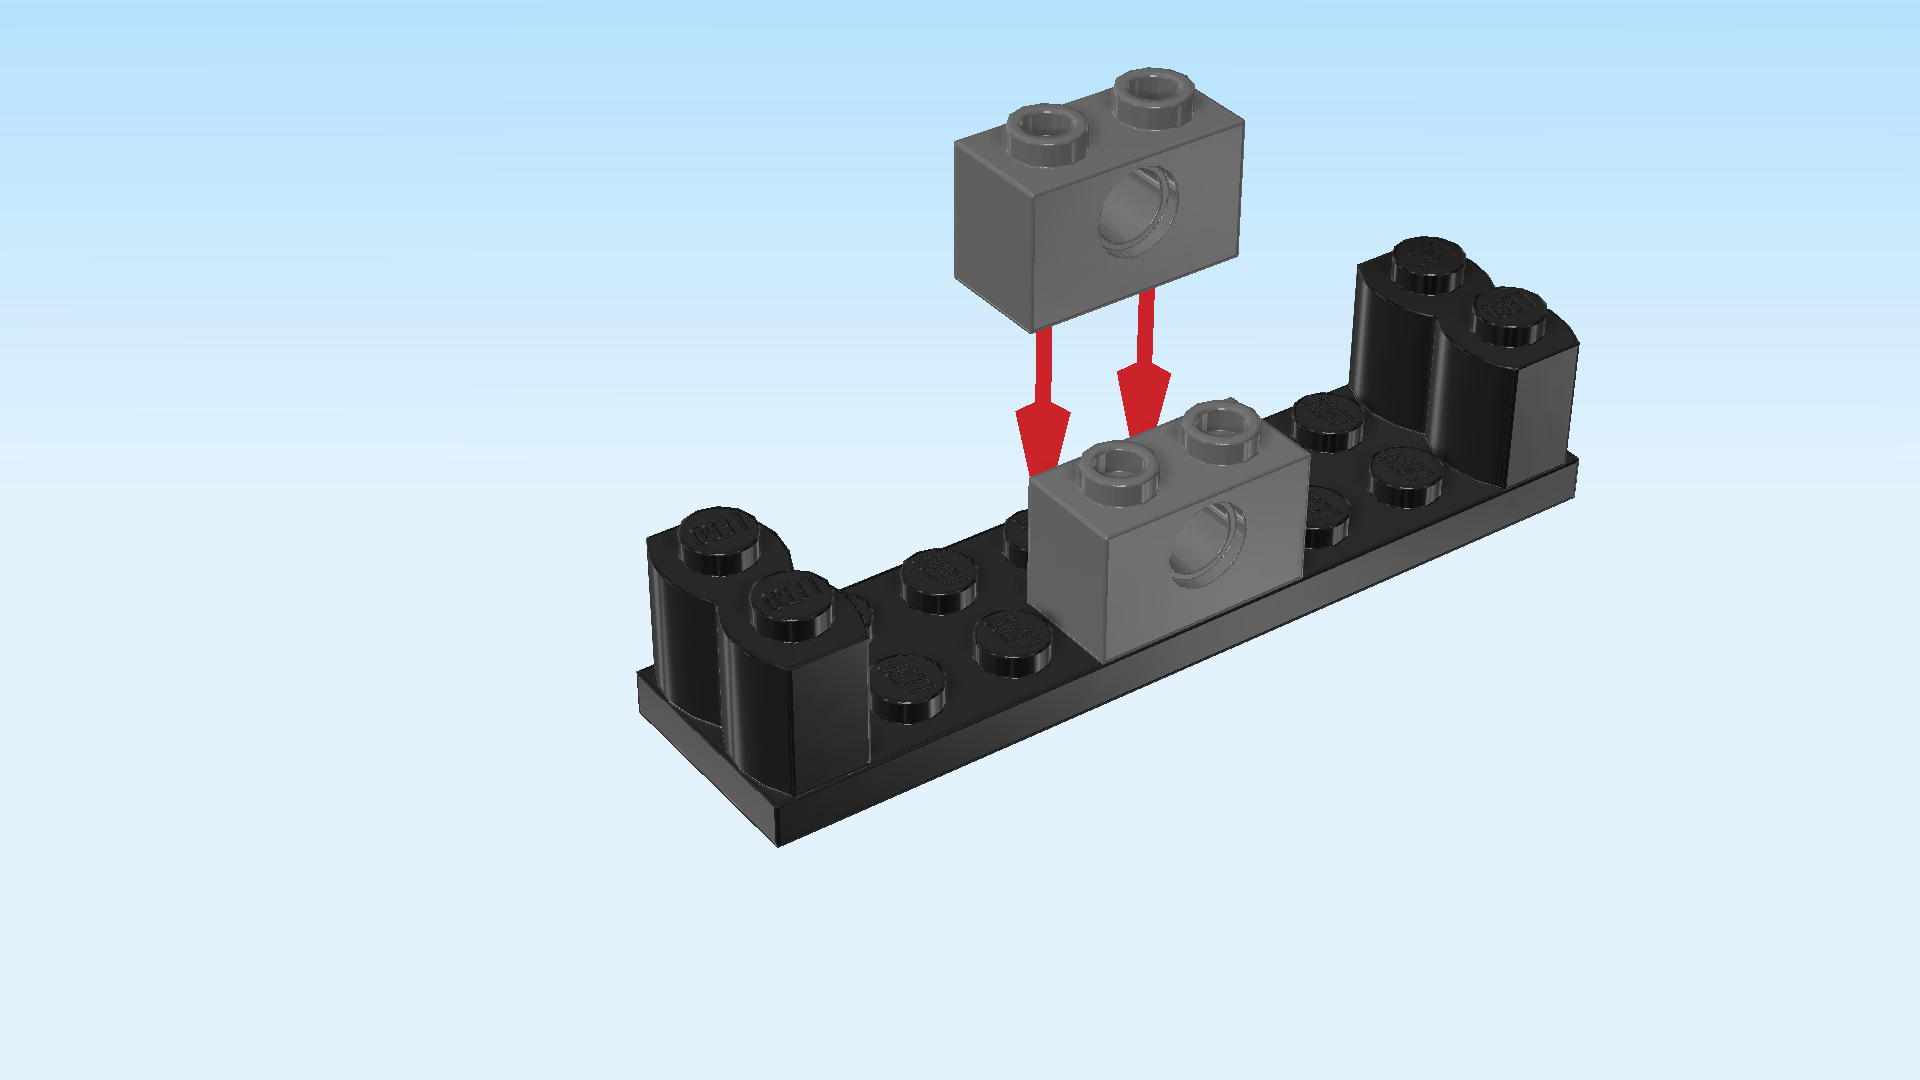
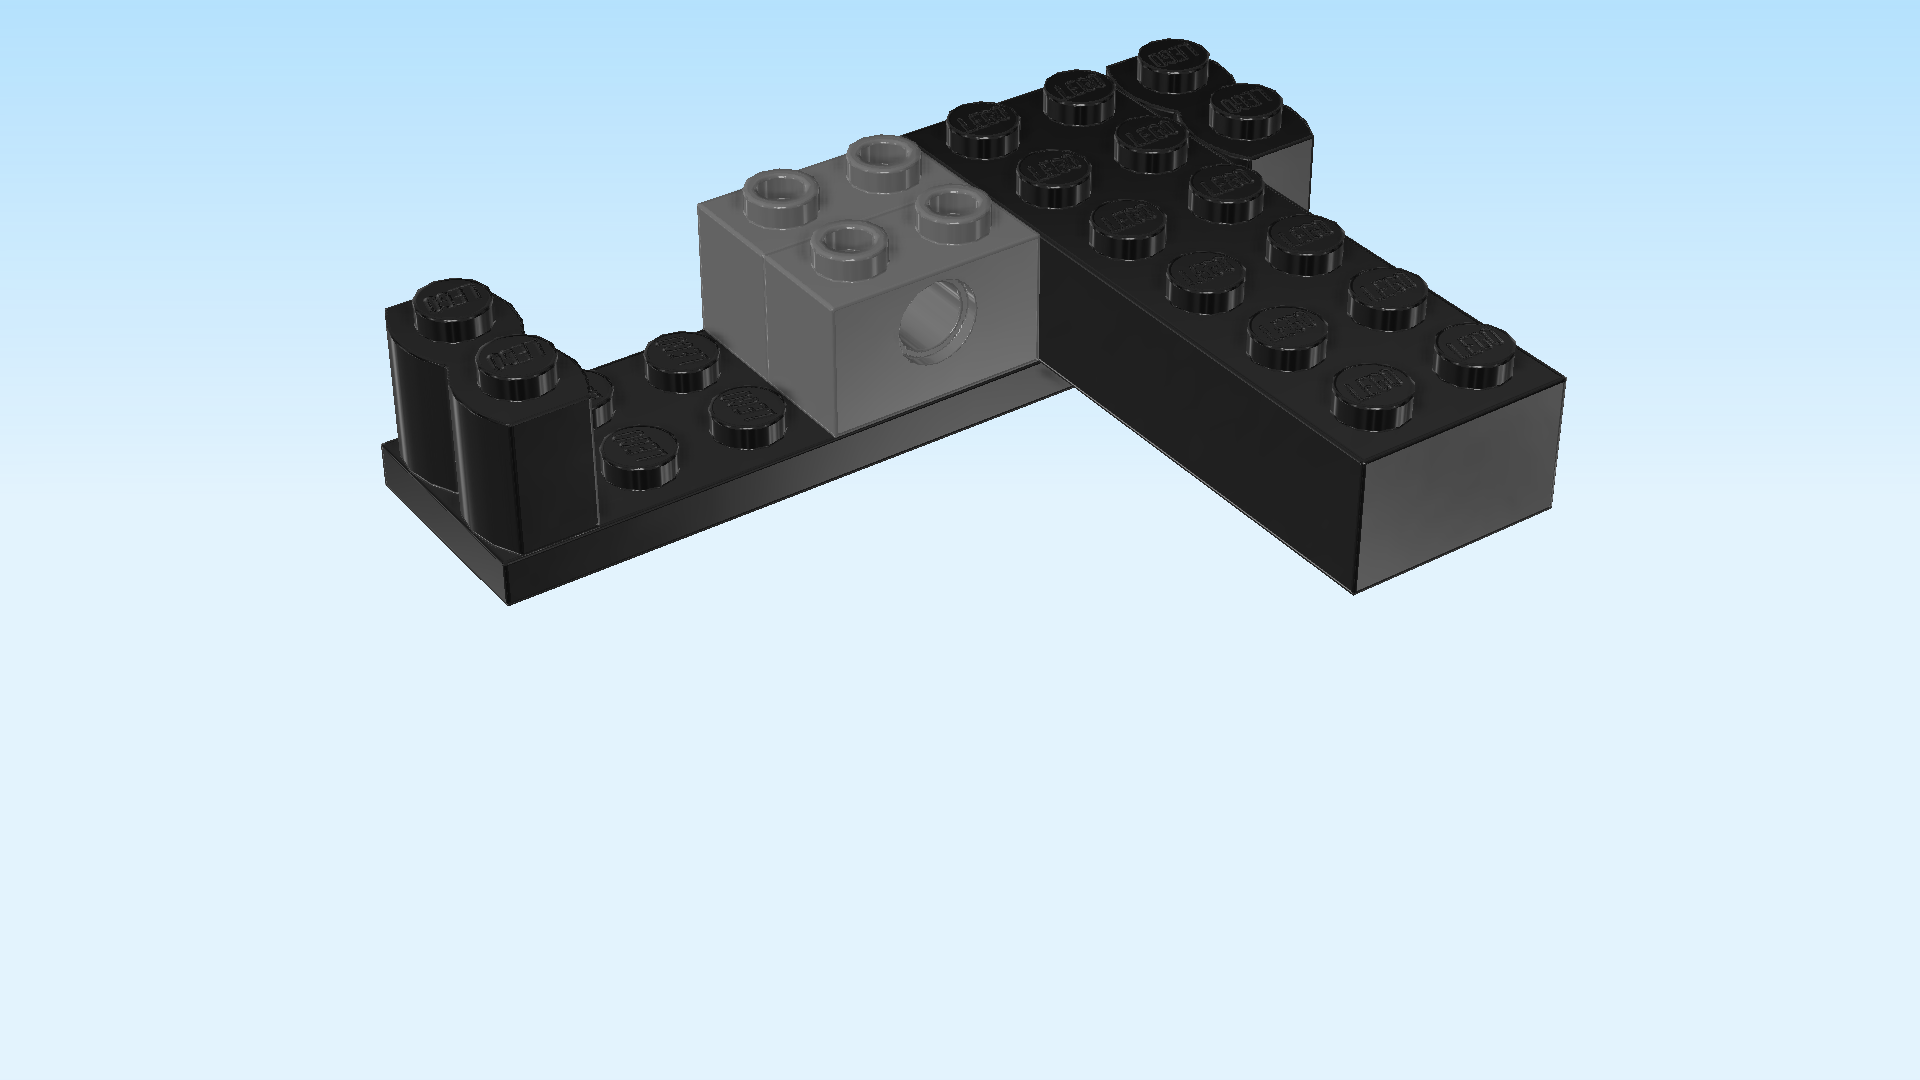
| Find 1 dark stone grey brick 2x4. |
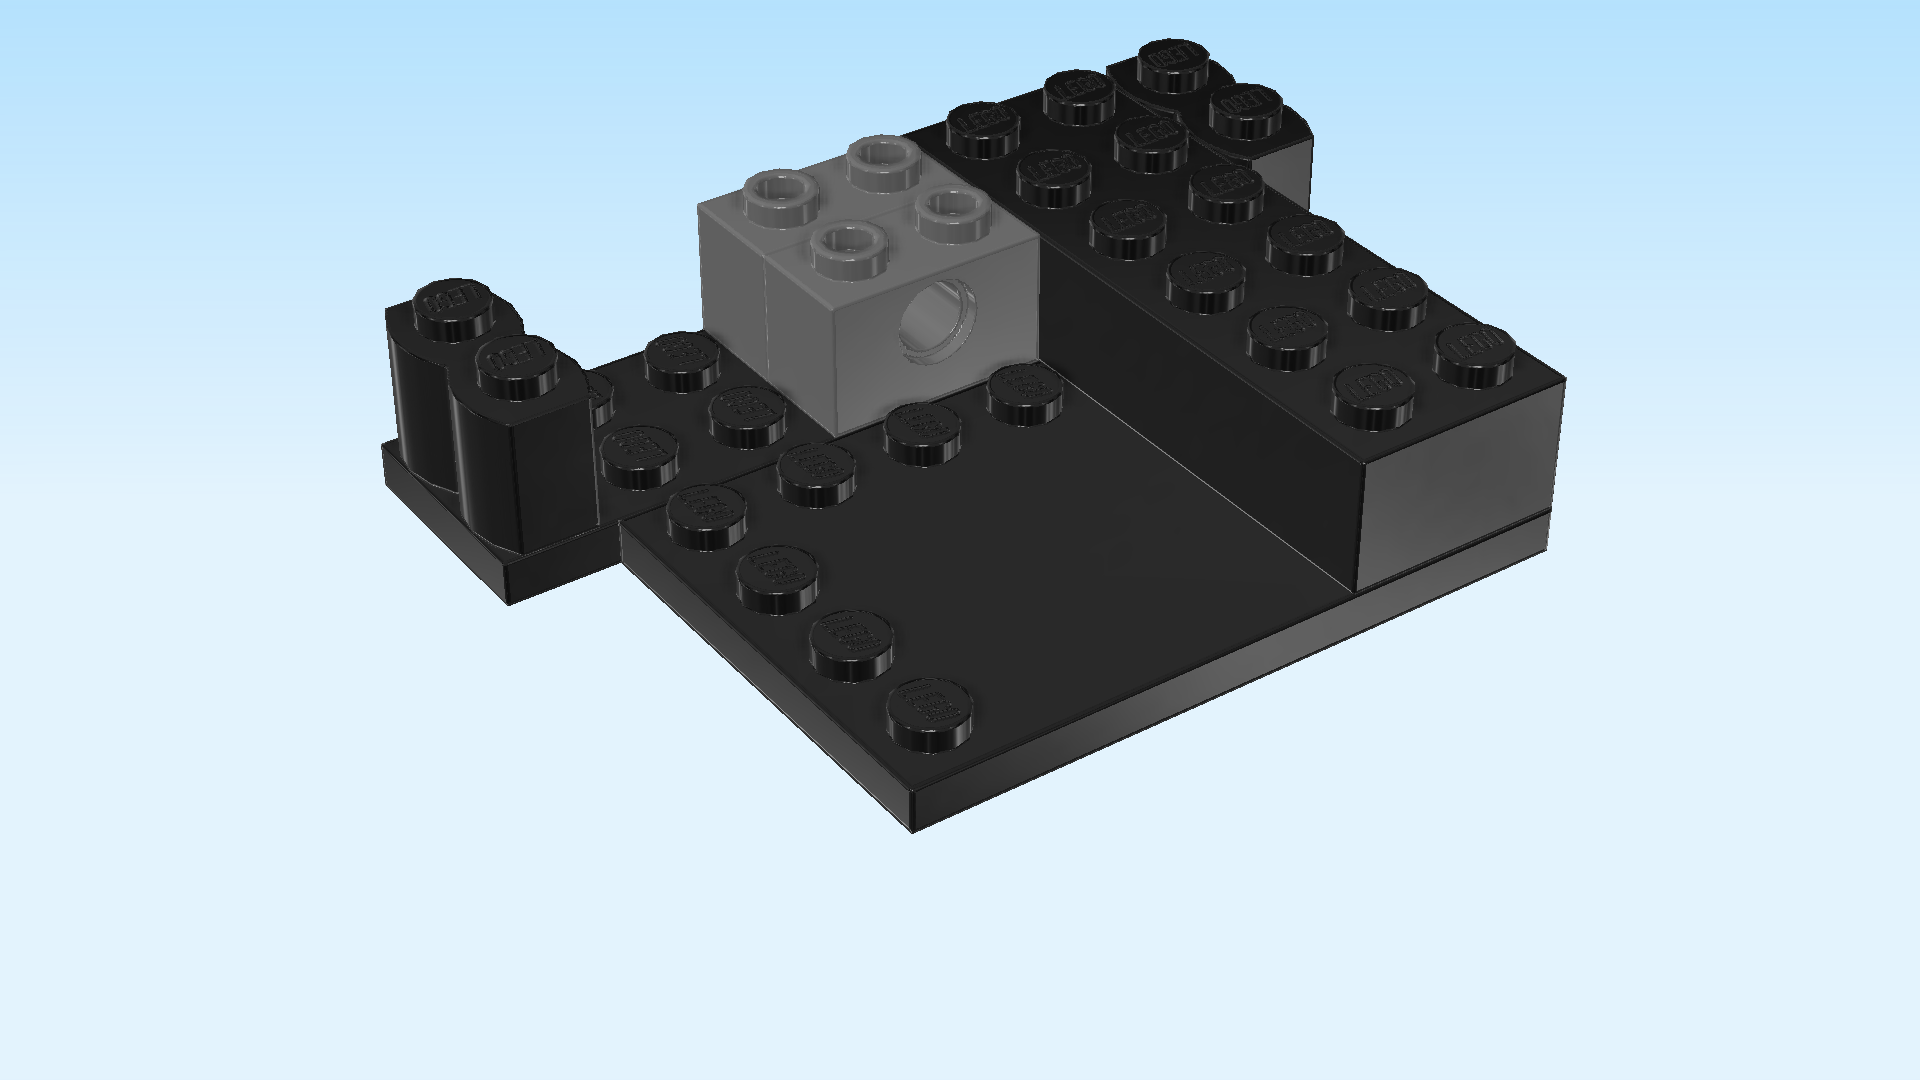
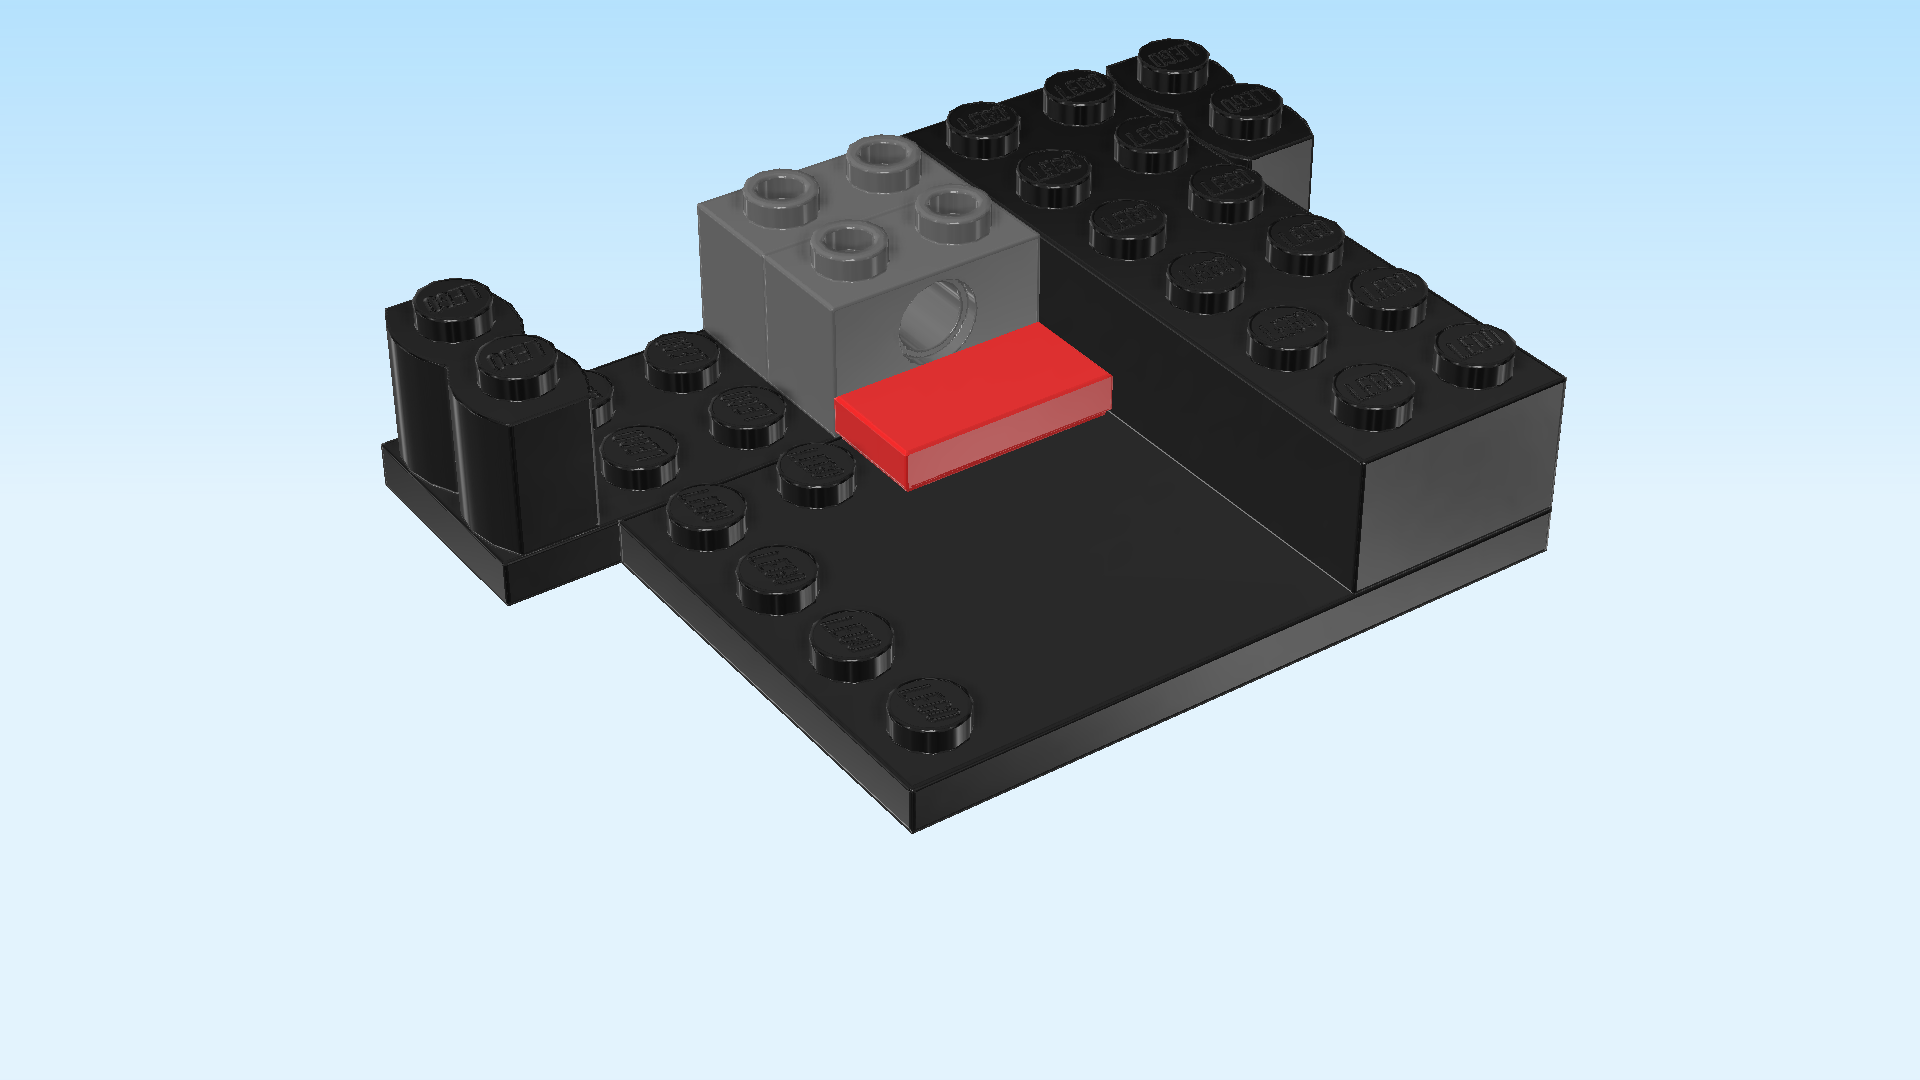
| Put it vertically on the 2 middle columns of the structure, but make sure to leave the first 3 rows empty. |
| If done correctly, this piece touches the large flat tile area with its back edge, and the 2 flat tiles 1x6 with its the left and right edge. |
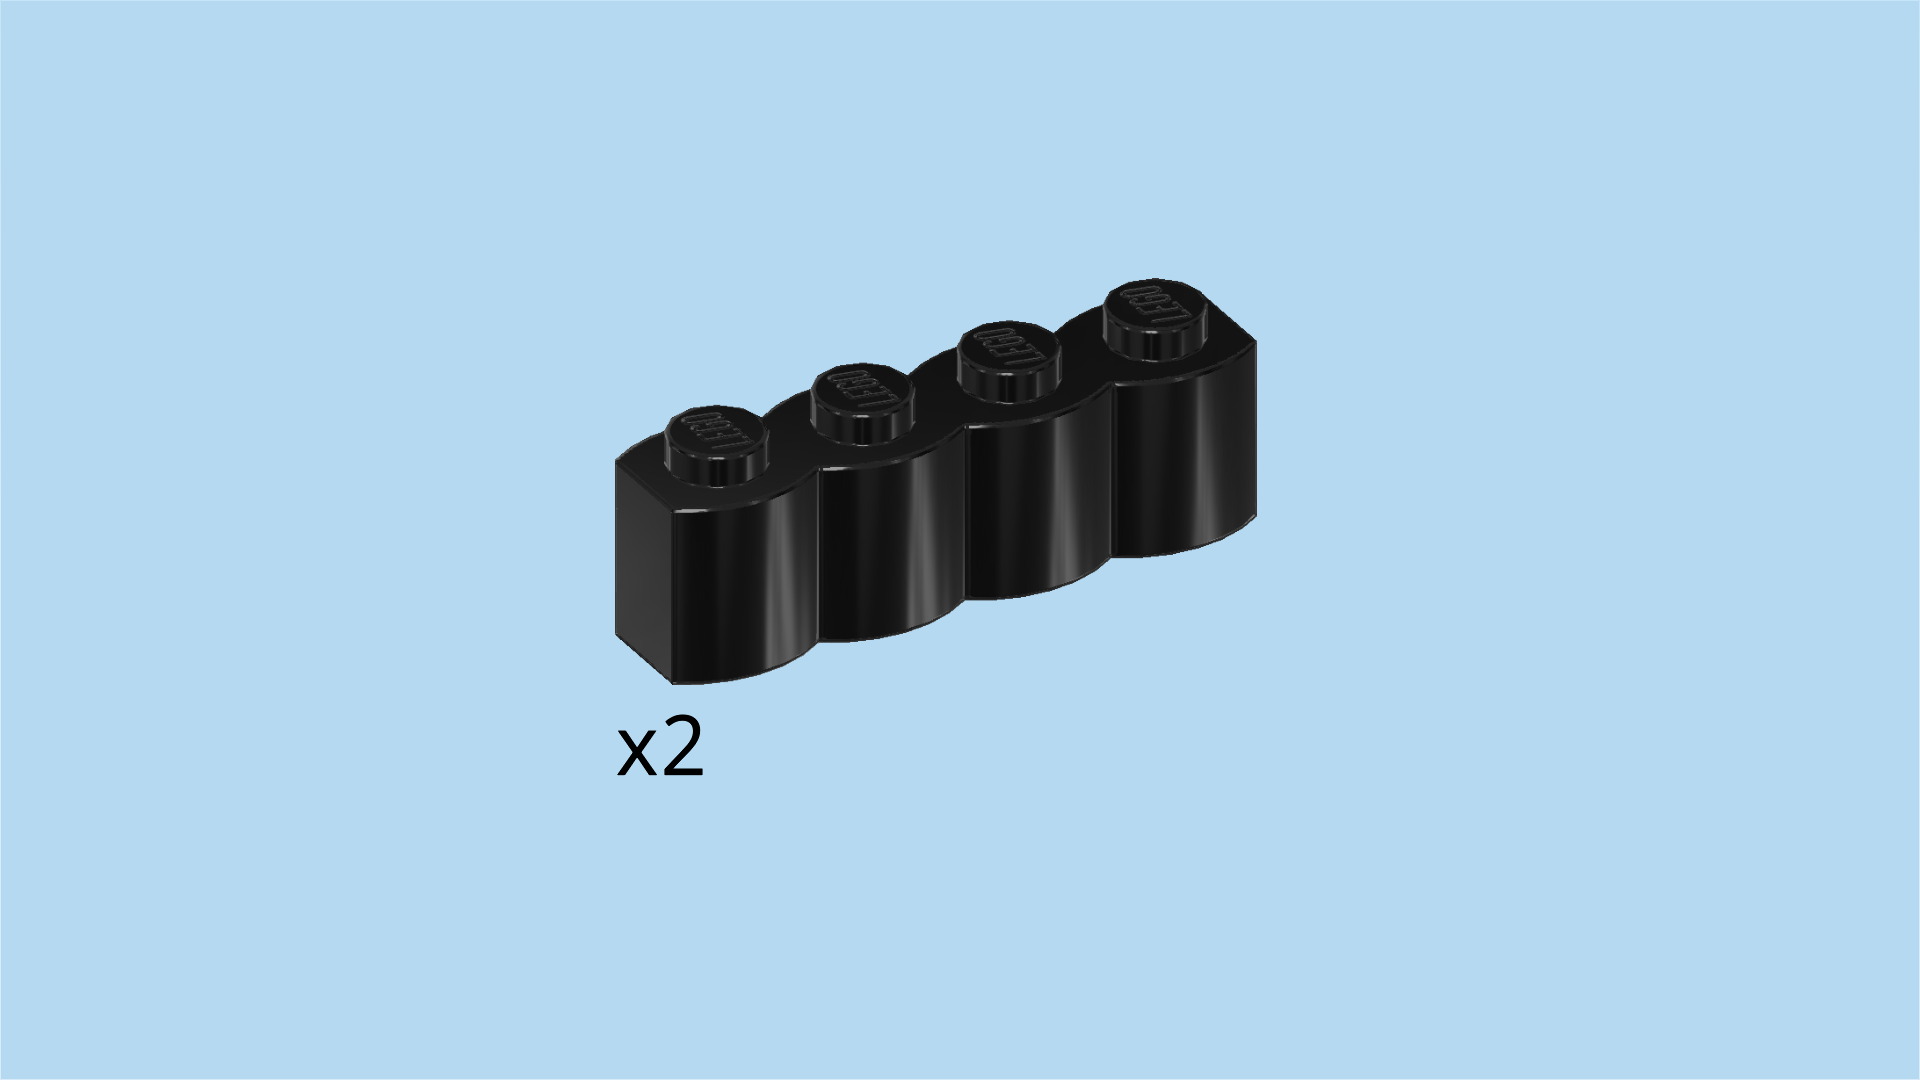
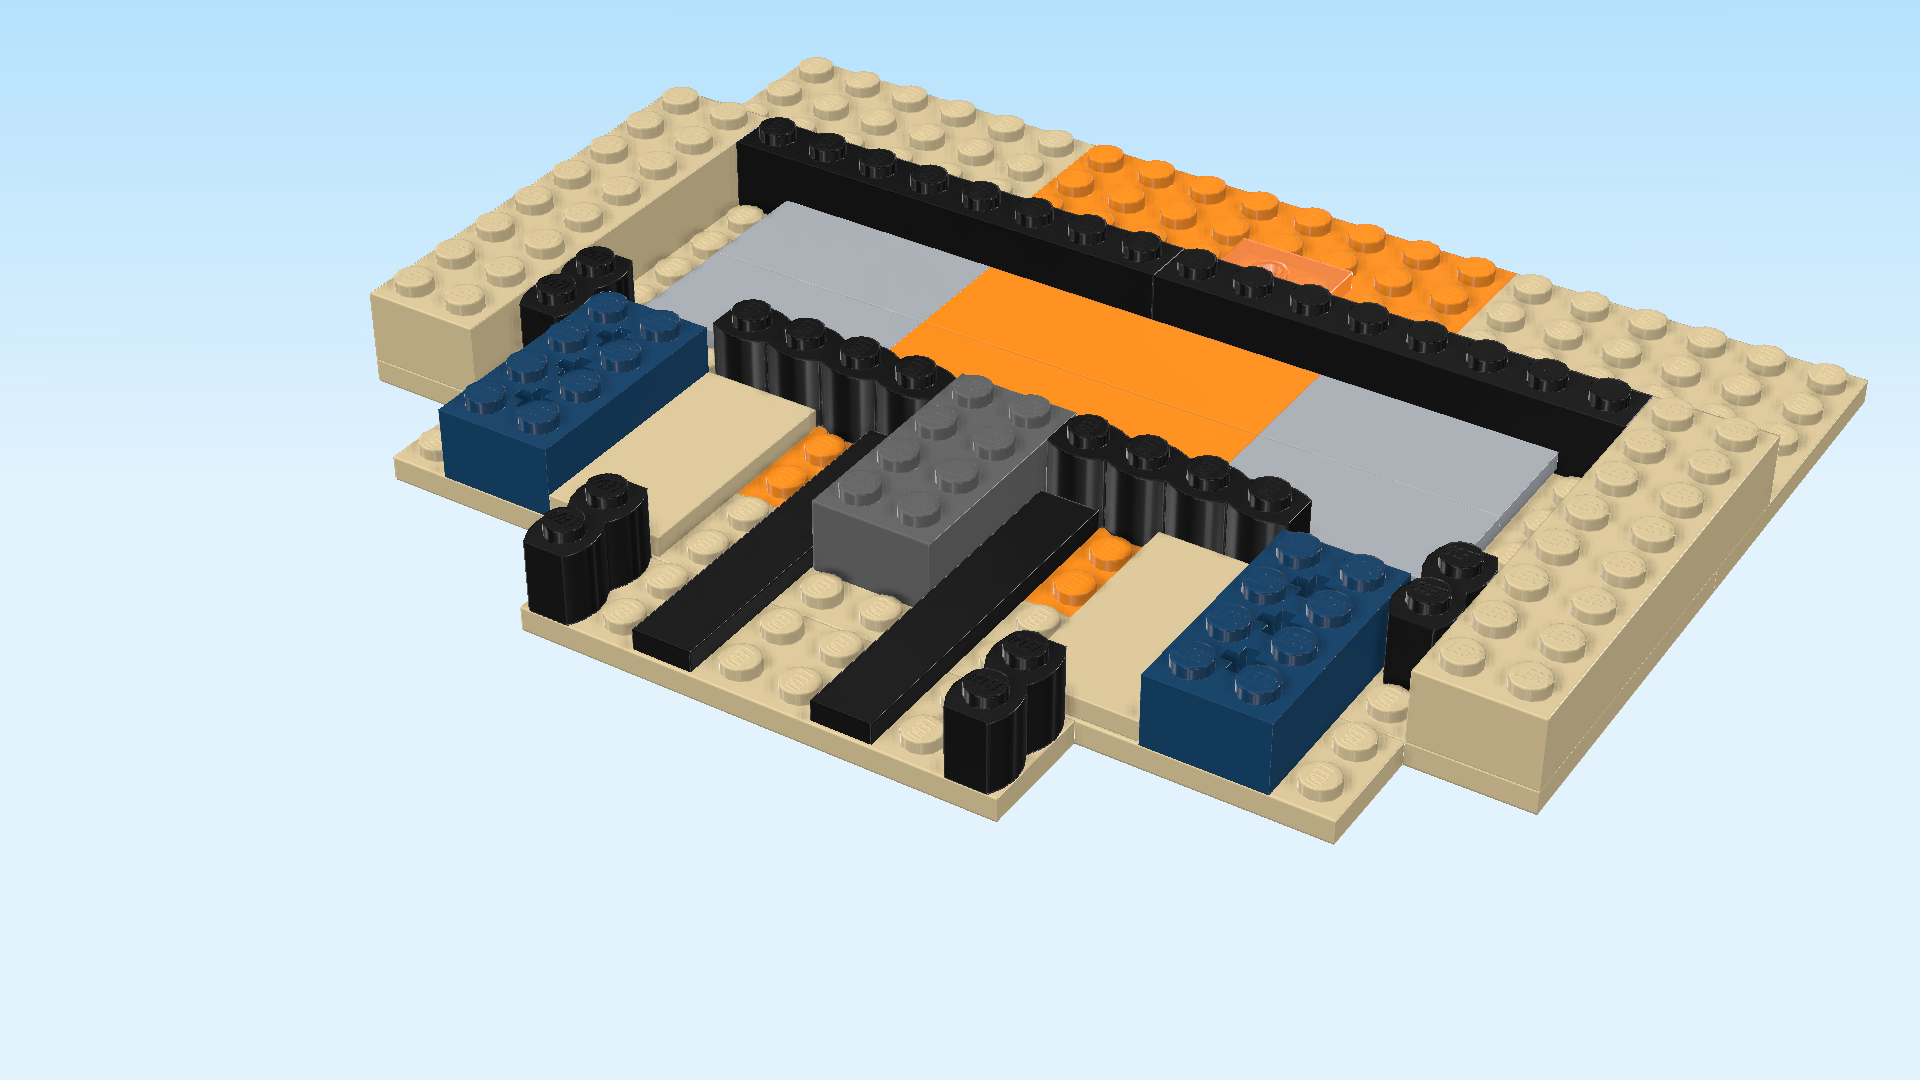
| Find 2 black palisade bricks 1x4. |
| Put 1 horizontally to the left of the previous piece's backmost row, and the other one horizontally to the right of that same row. |
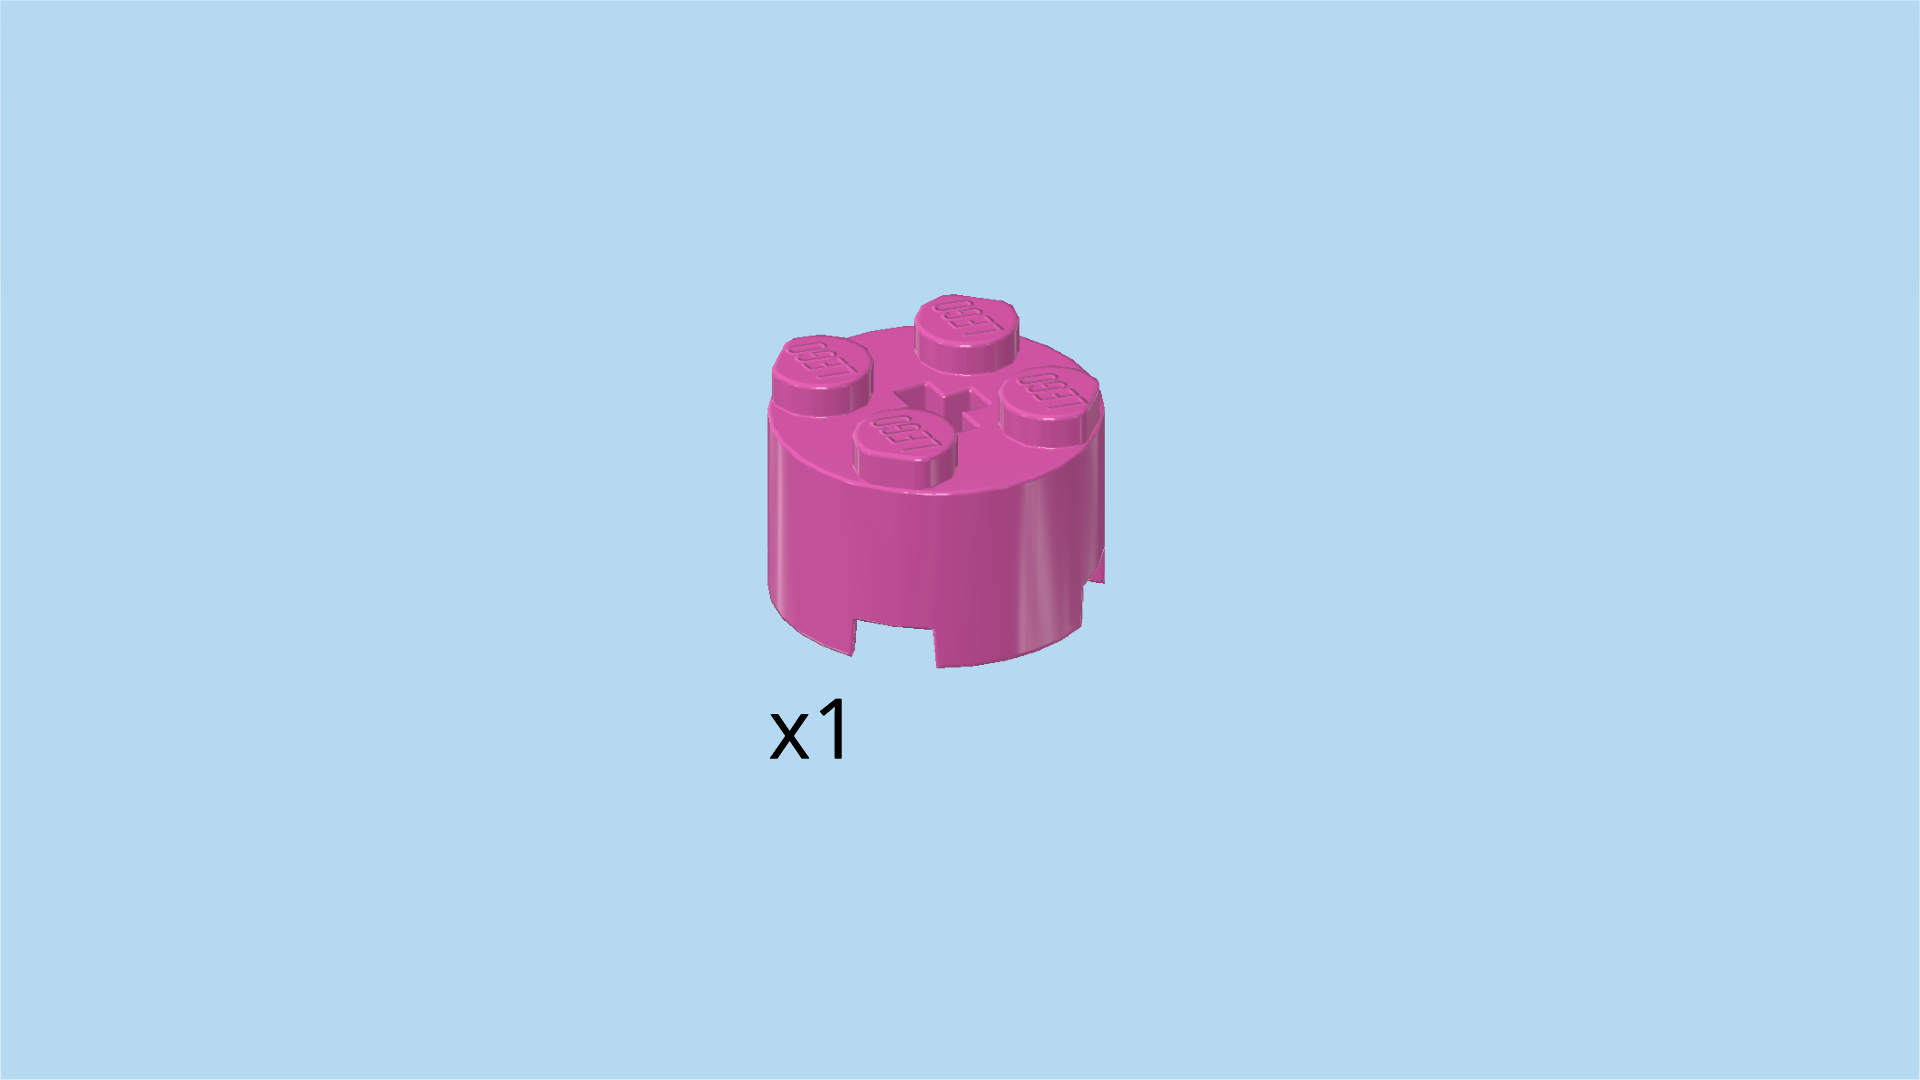
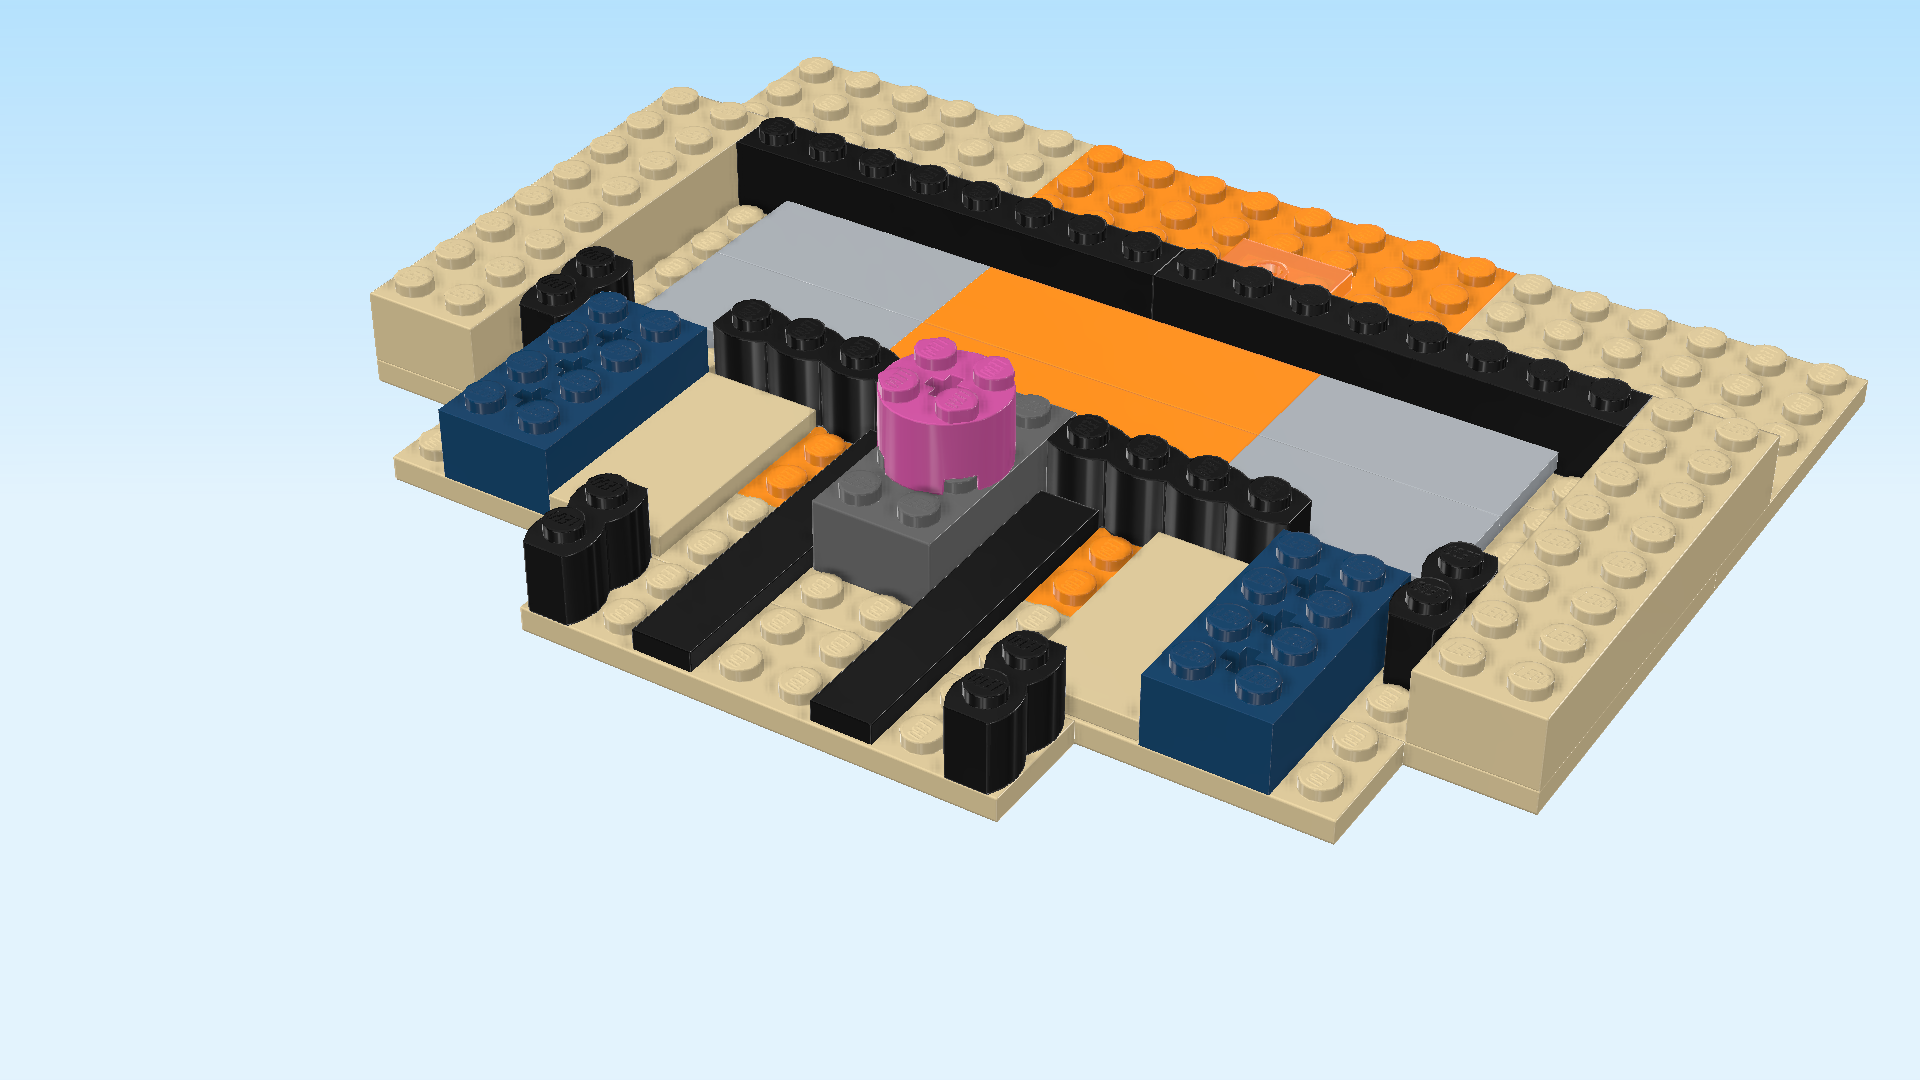
| Find 1 bright purple round brick 2x2 with top cross hole. |
| Put it on the 4 middle knobs of the brick 2x4 mounted on the 2 middle columns. |
| Next, we will make a small sub-part. |
| Collect the following 2 pieces: |
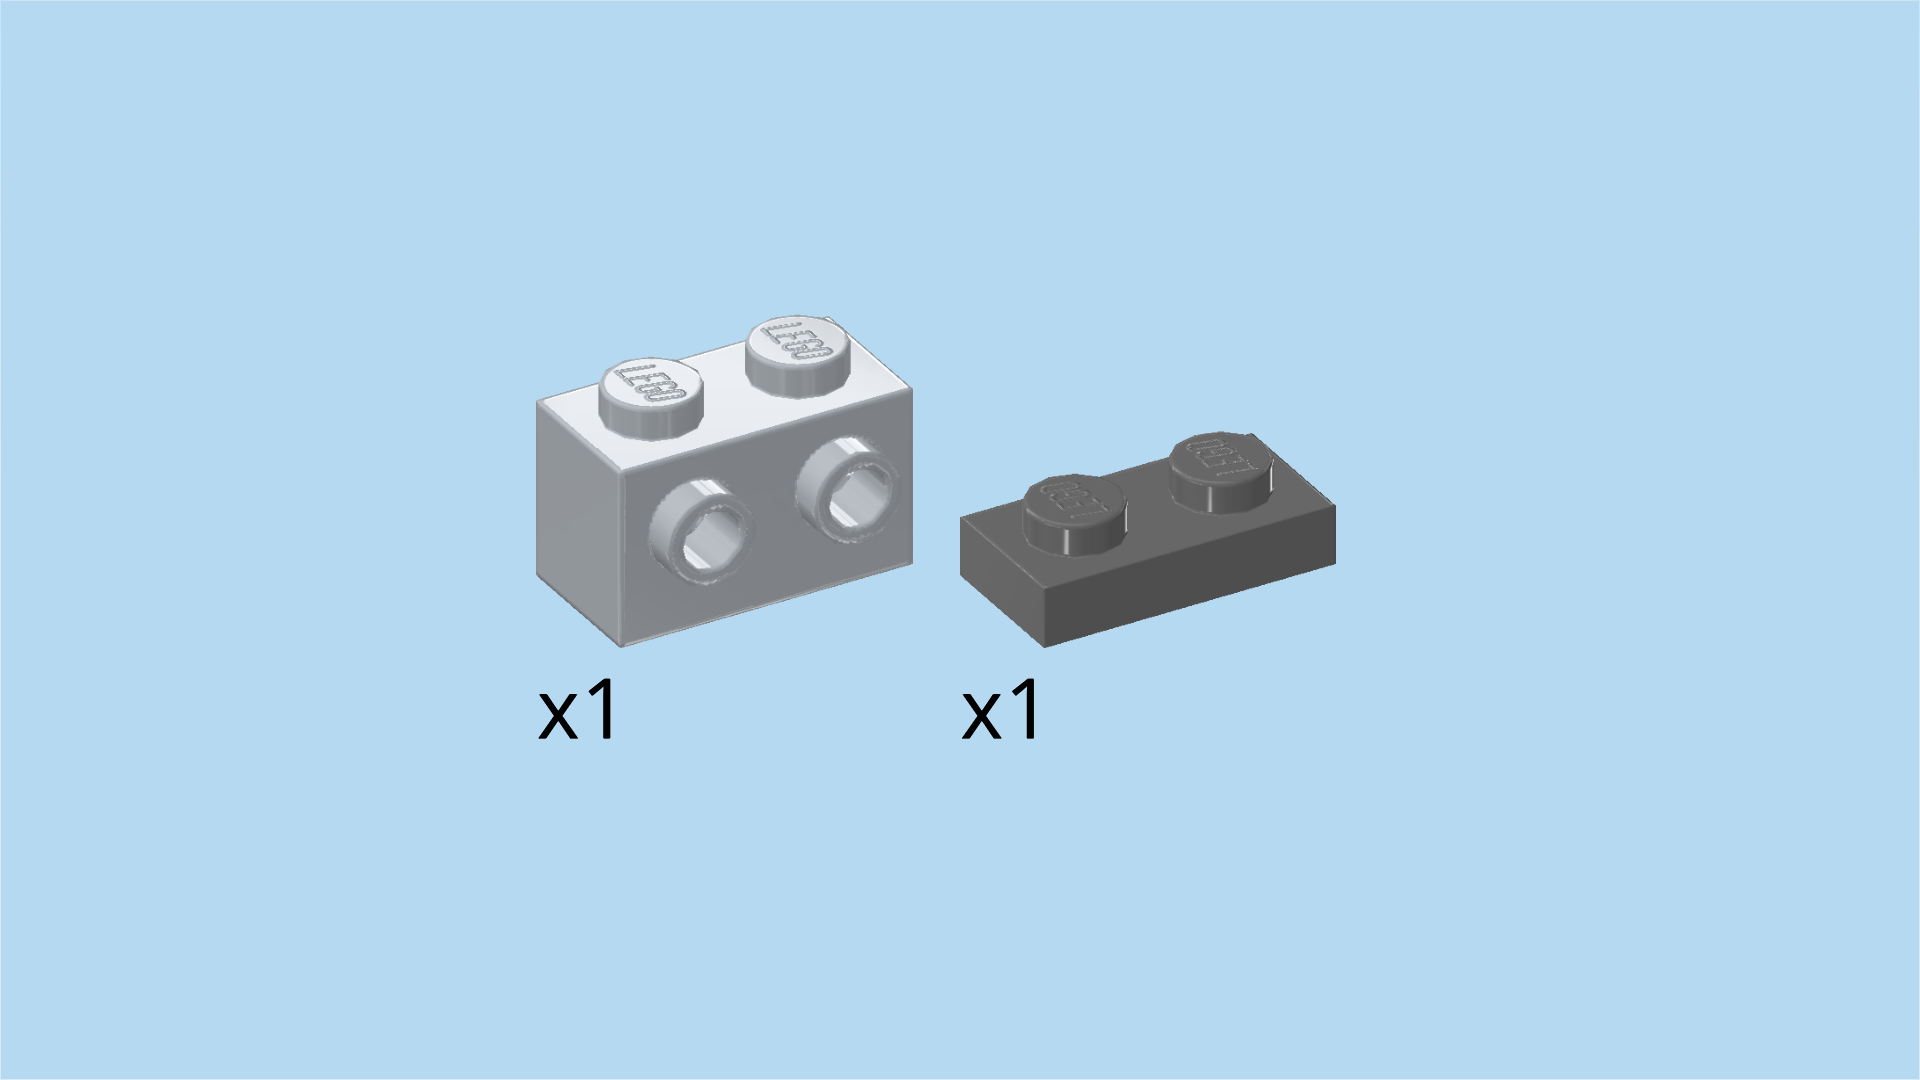
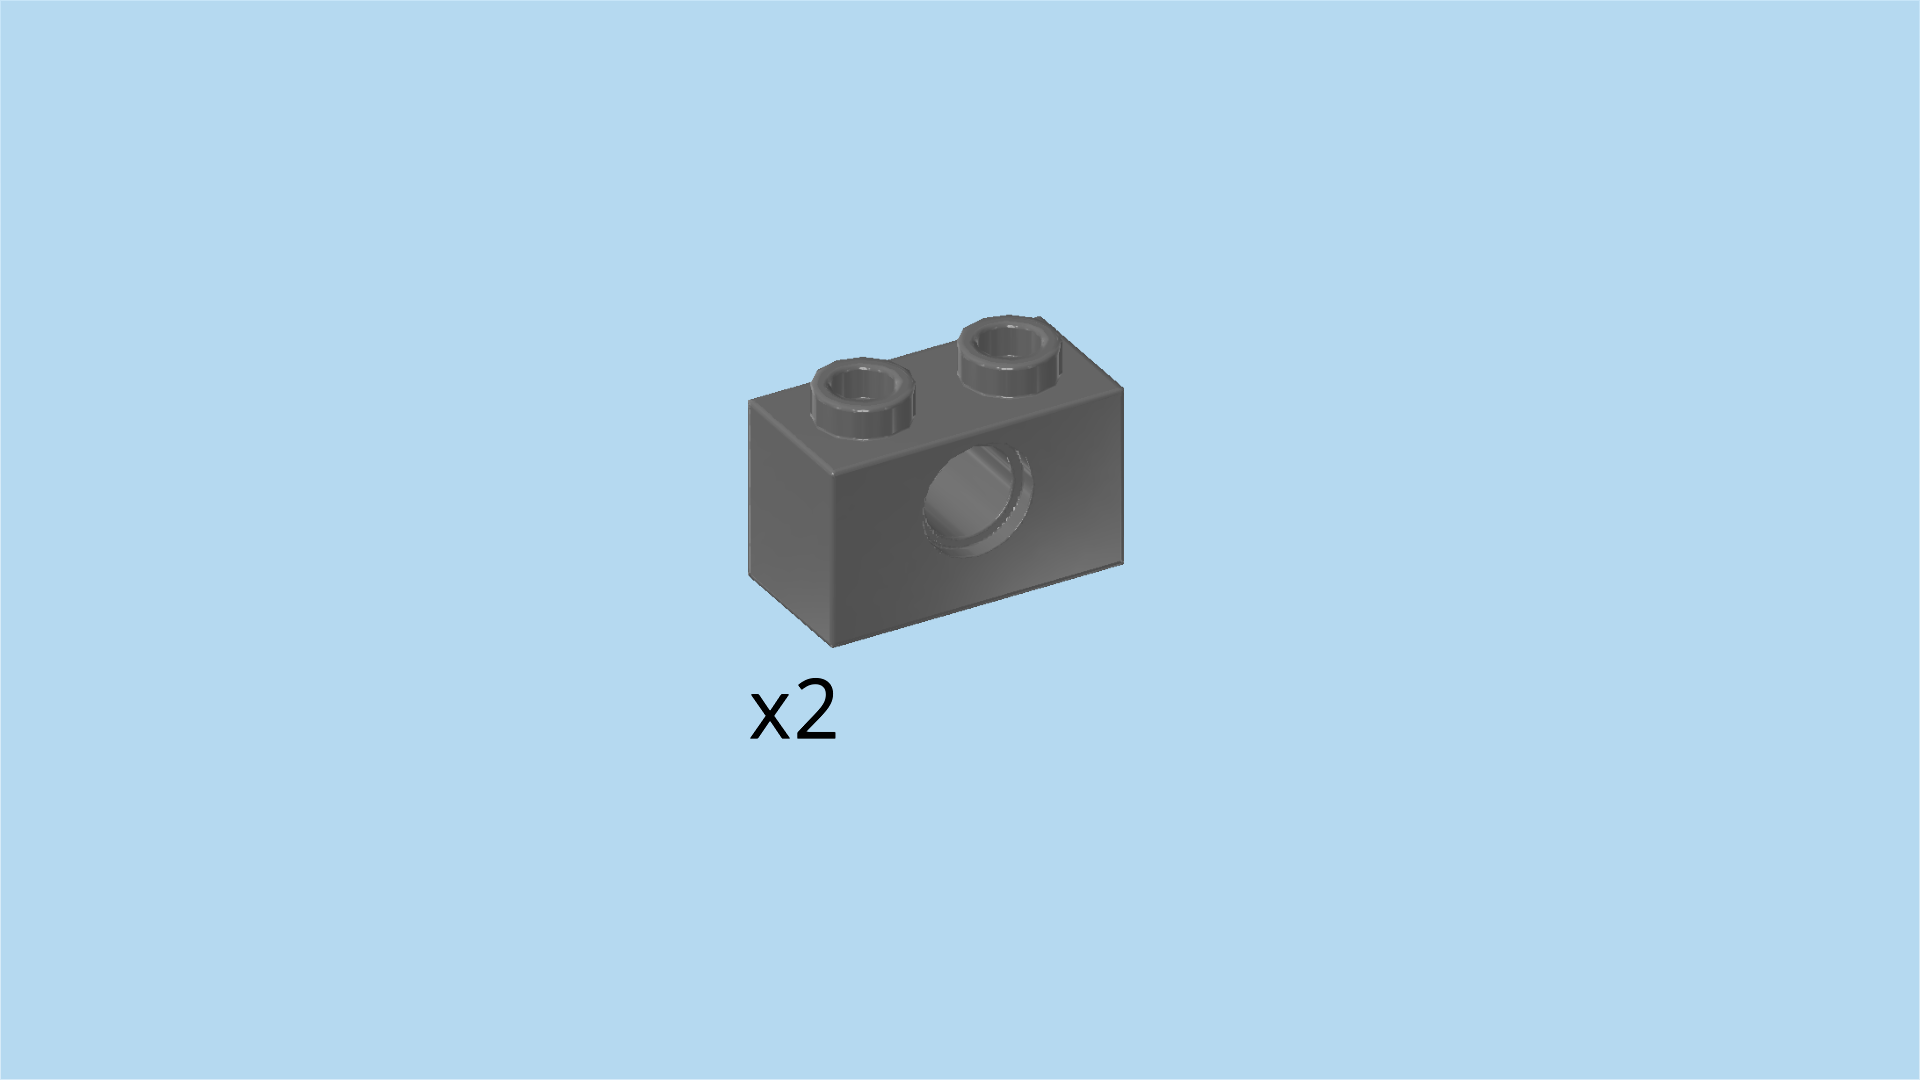
| 1 medium stone grey brick 1x2 with 2 side knobs on long side, |
| and 1 dark stone grey plate 1x2. |
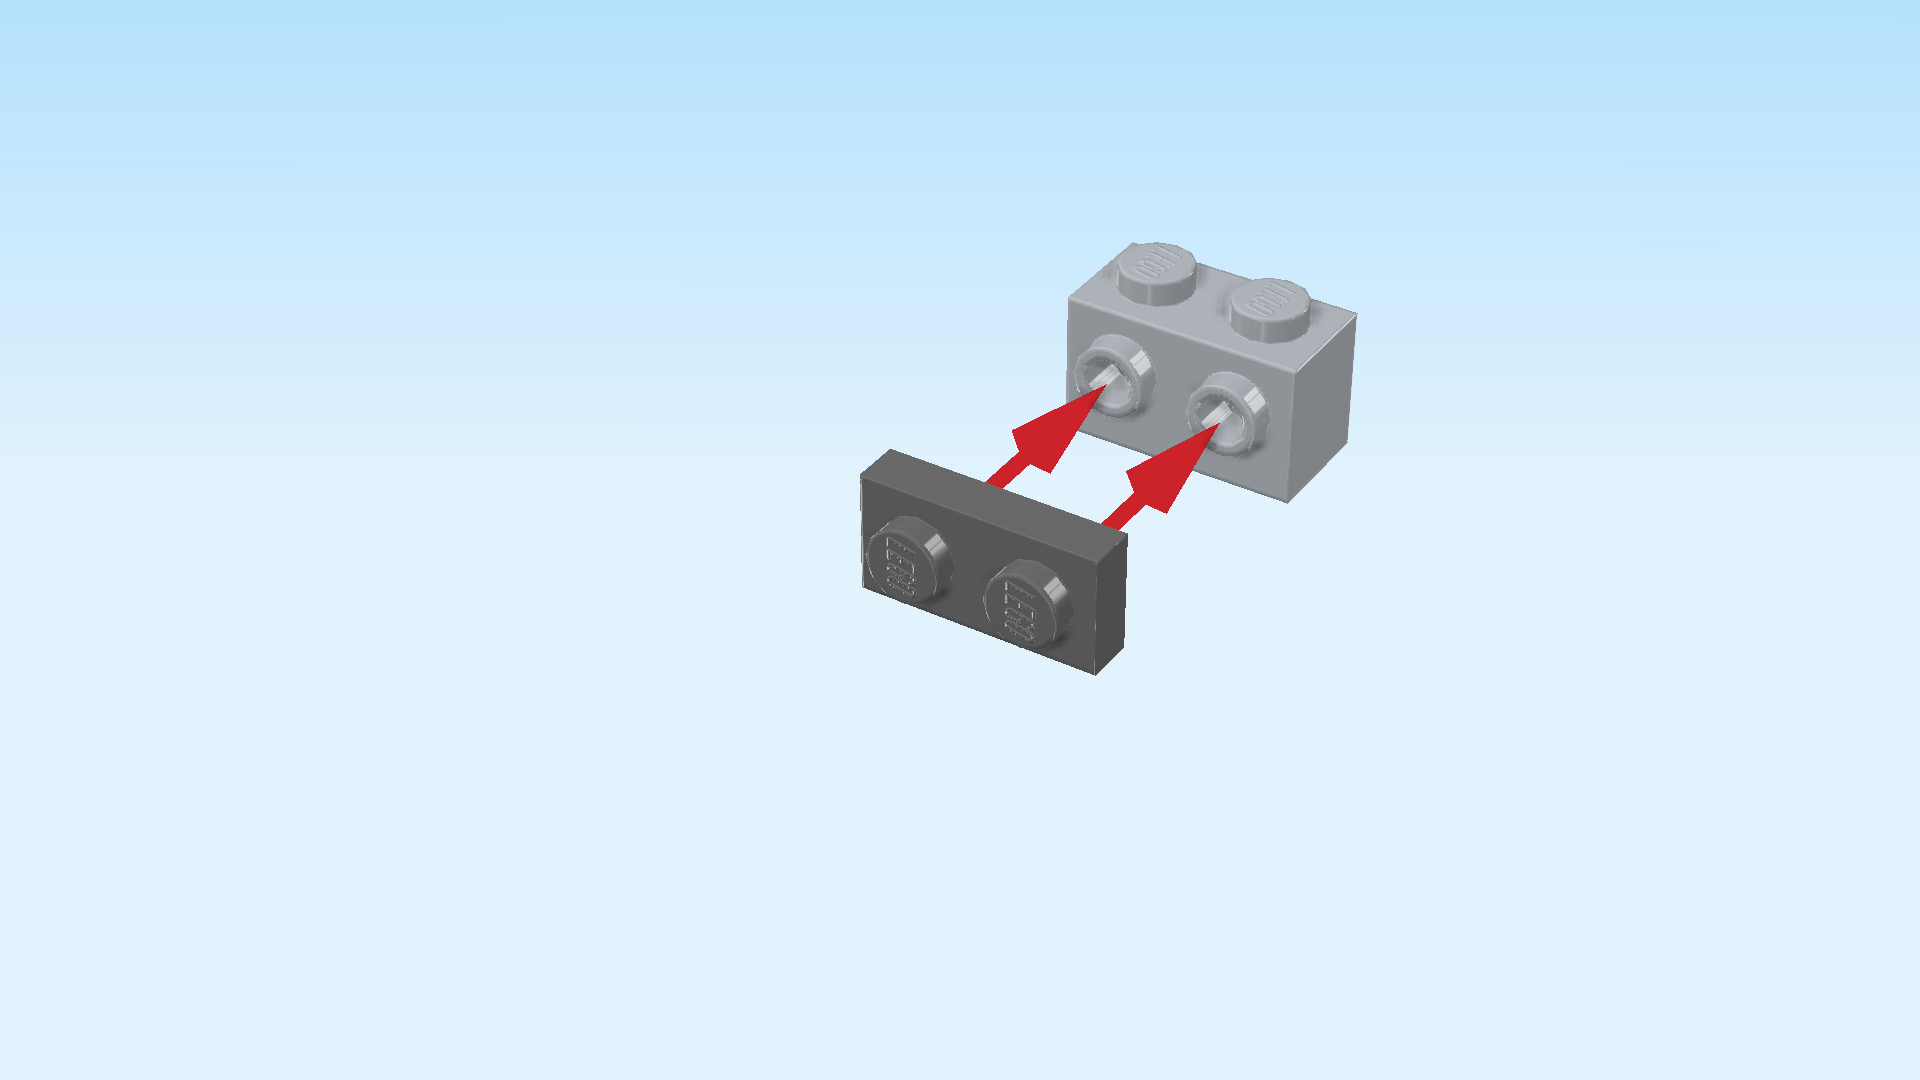
| Put the brick 1x2 horizontally on the table, side knobs to the front. |
| Put the plate 1x2 upright horizontally on the 2 side knobs. |
| Mount this sub-part horizontally in front of the round brick 2x2 in the center of the structure. |
| Collect the following 3 pieces: |
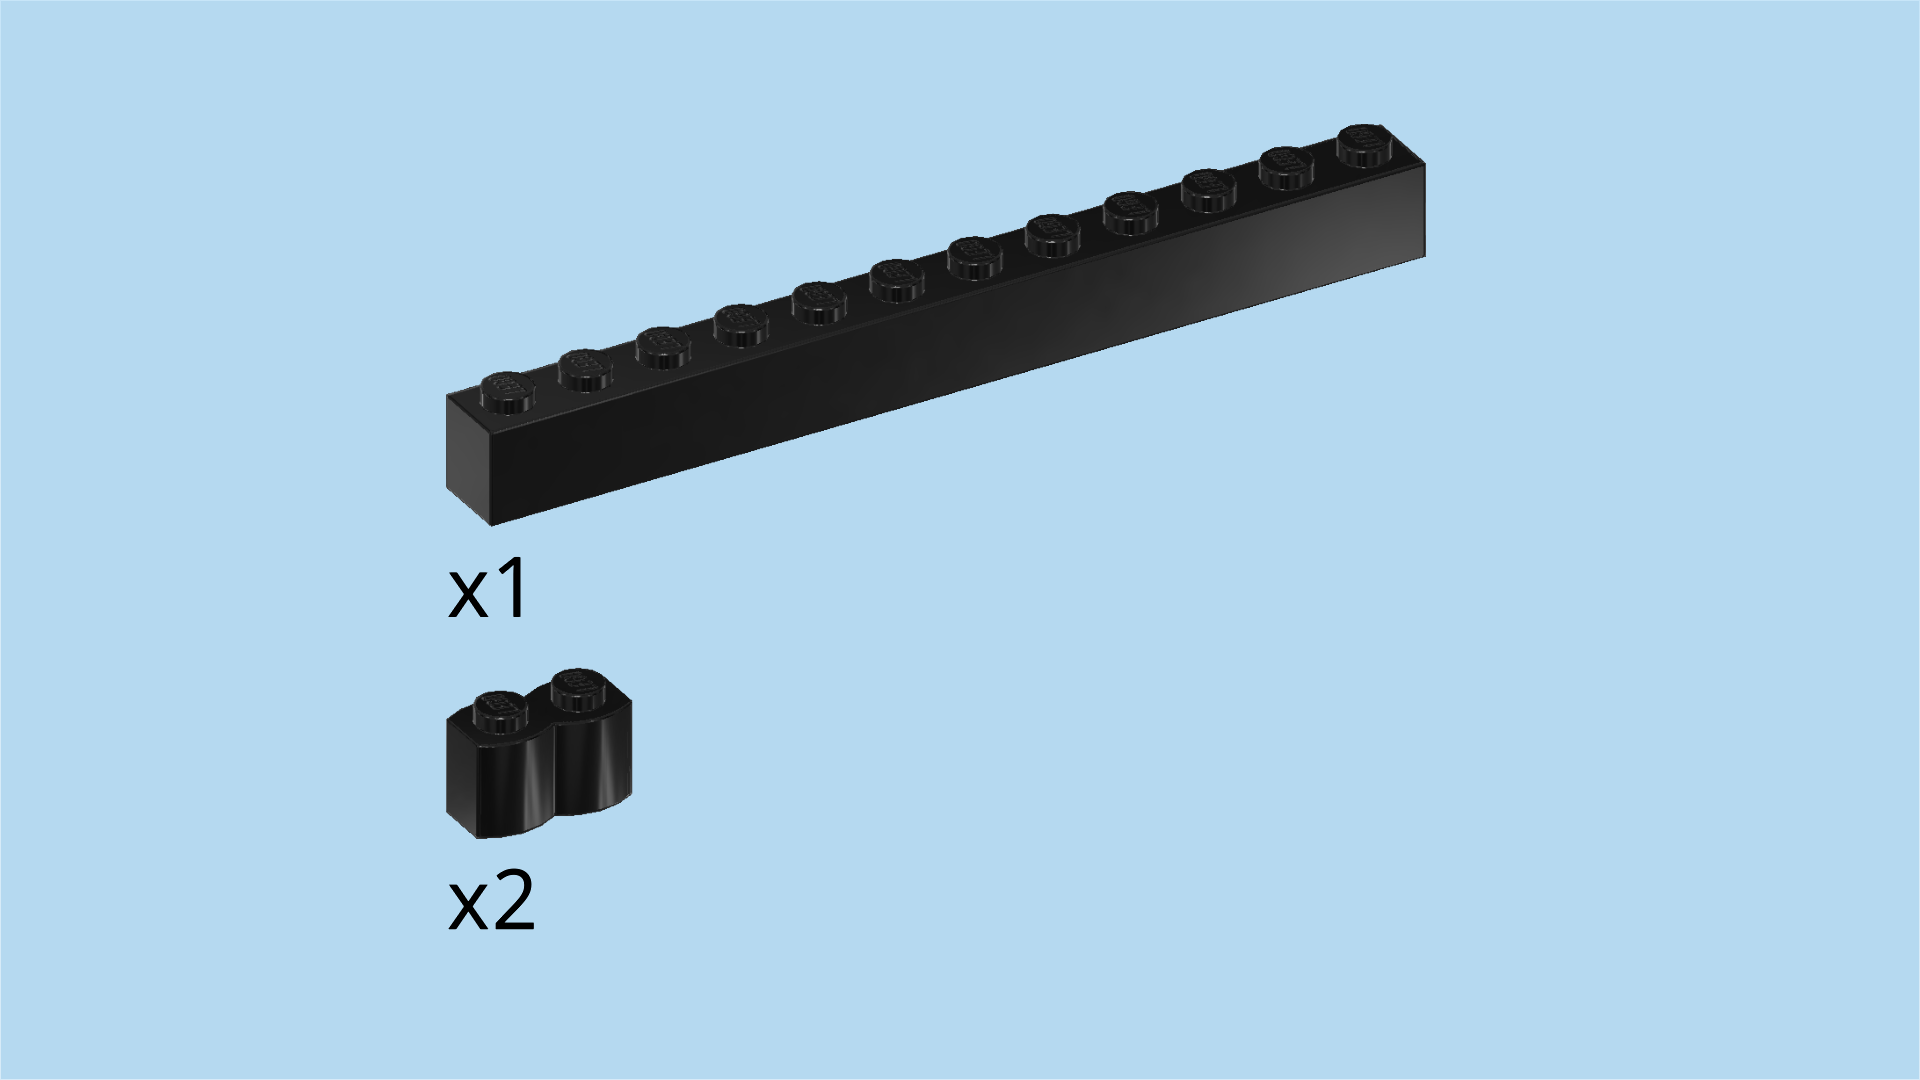
| 1 black brick 1x12, |
| and 2 black palisade bricks 1x2. |
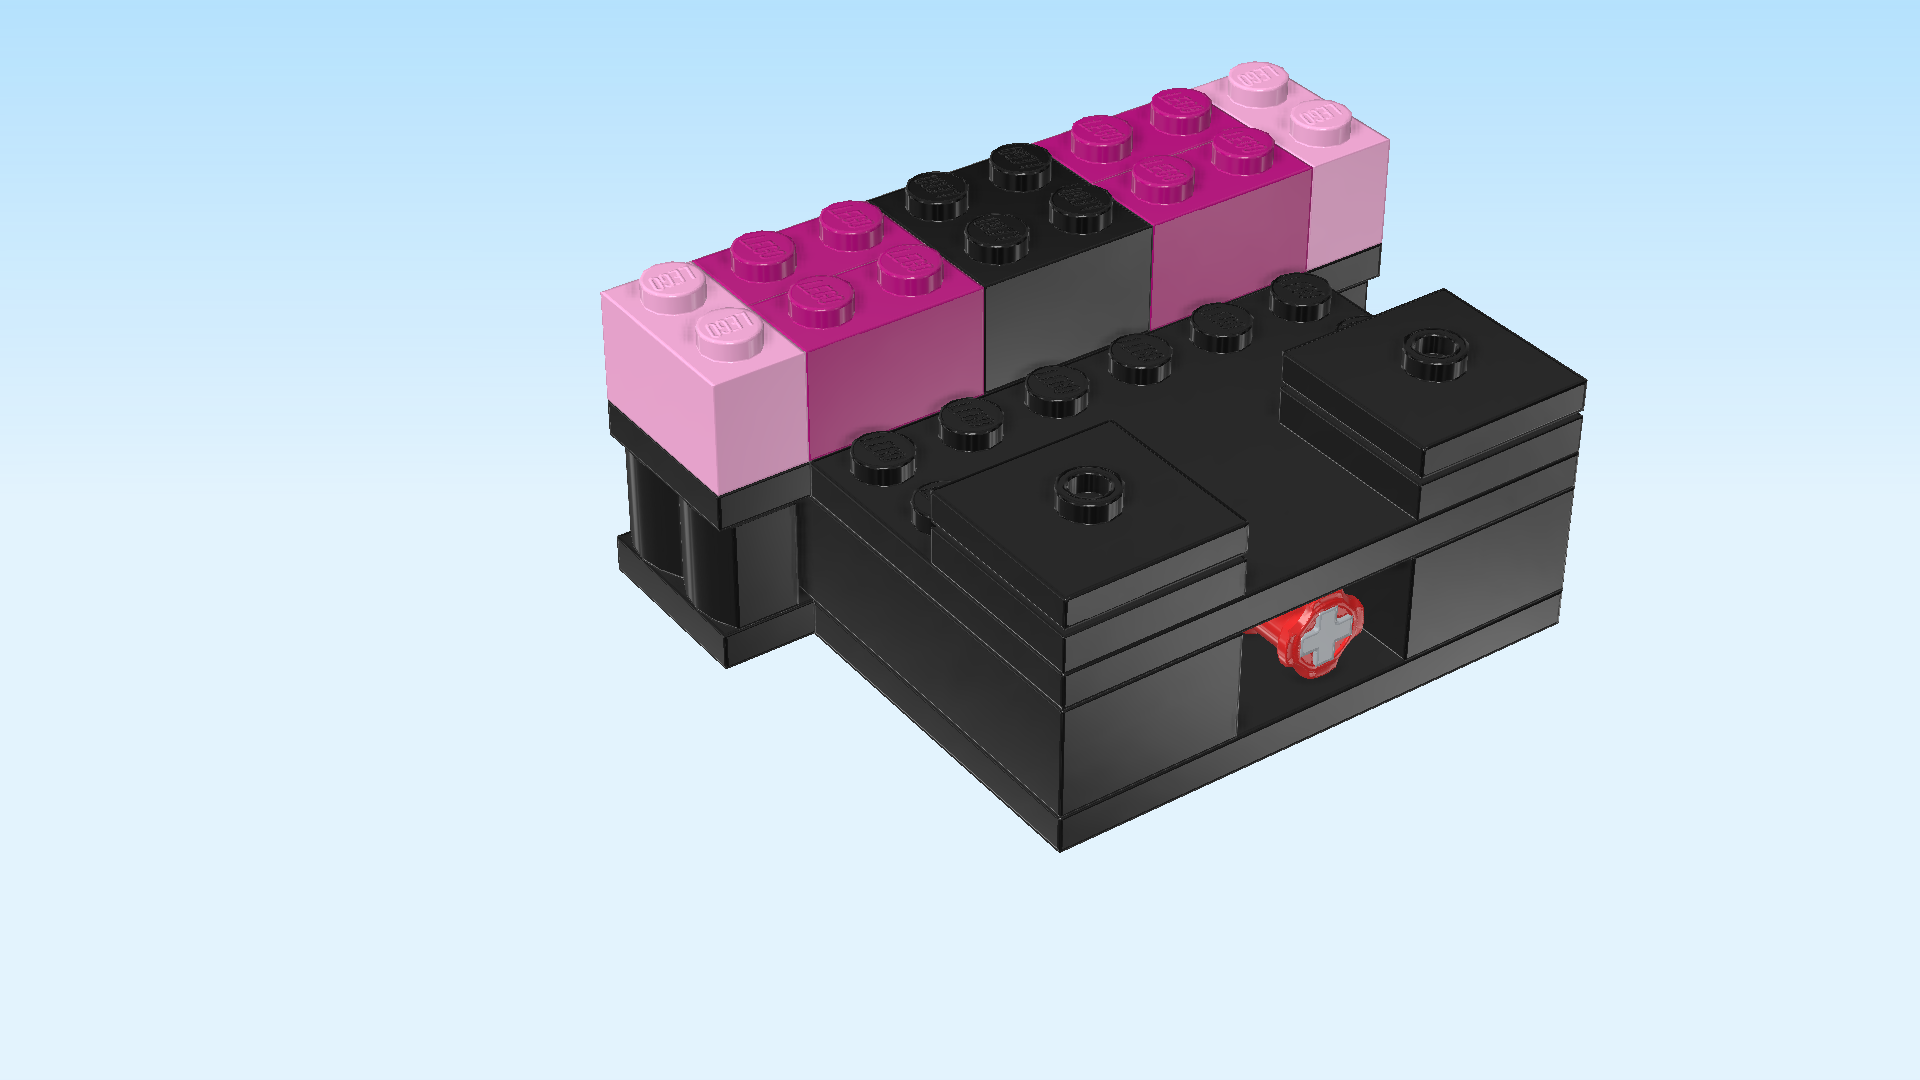
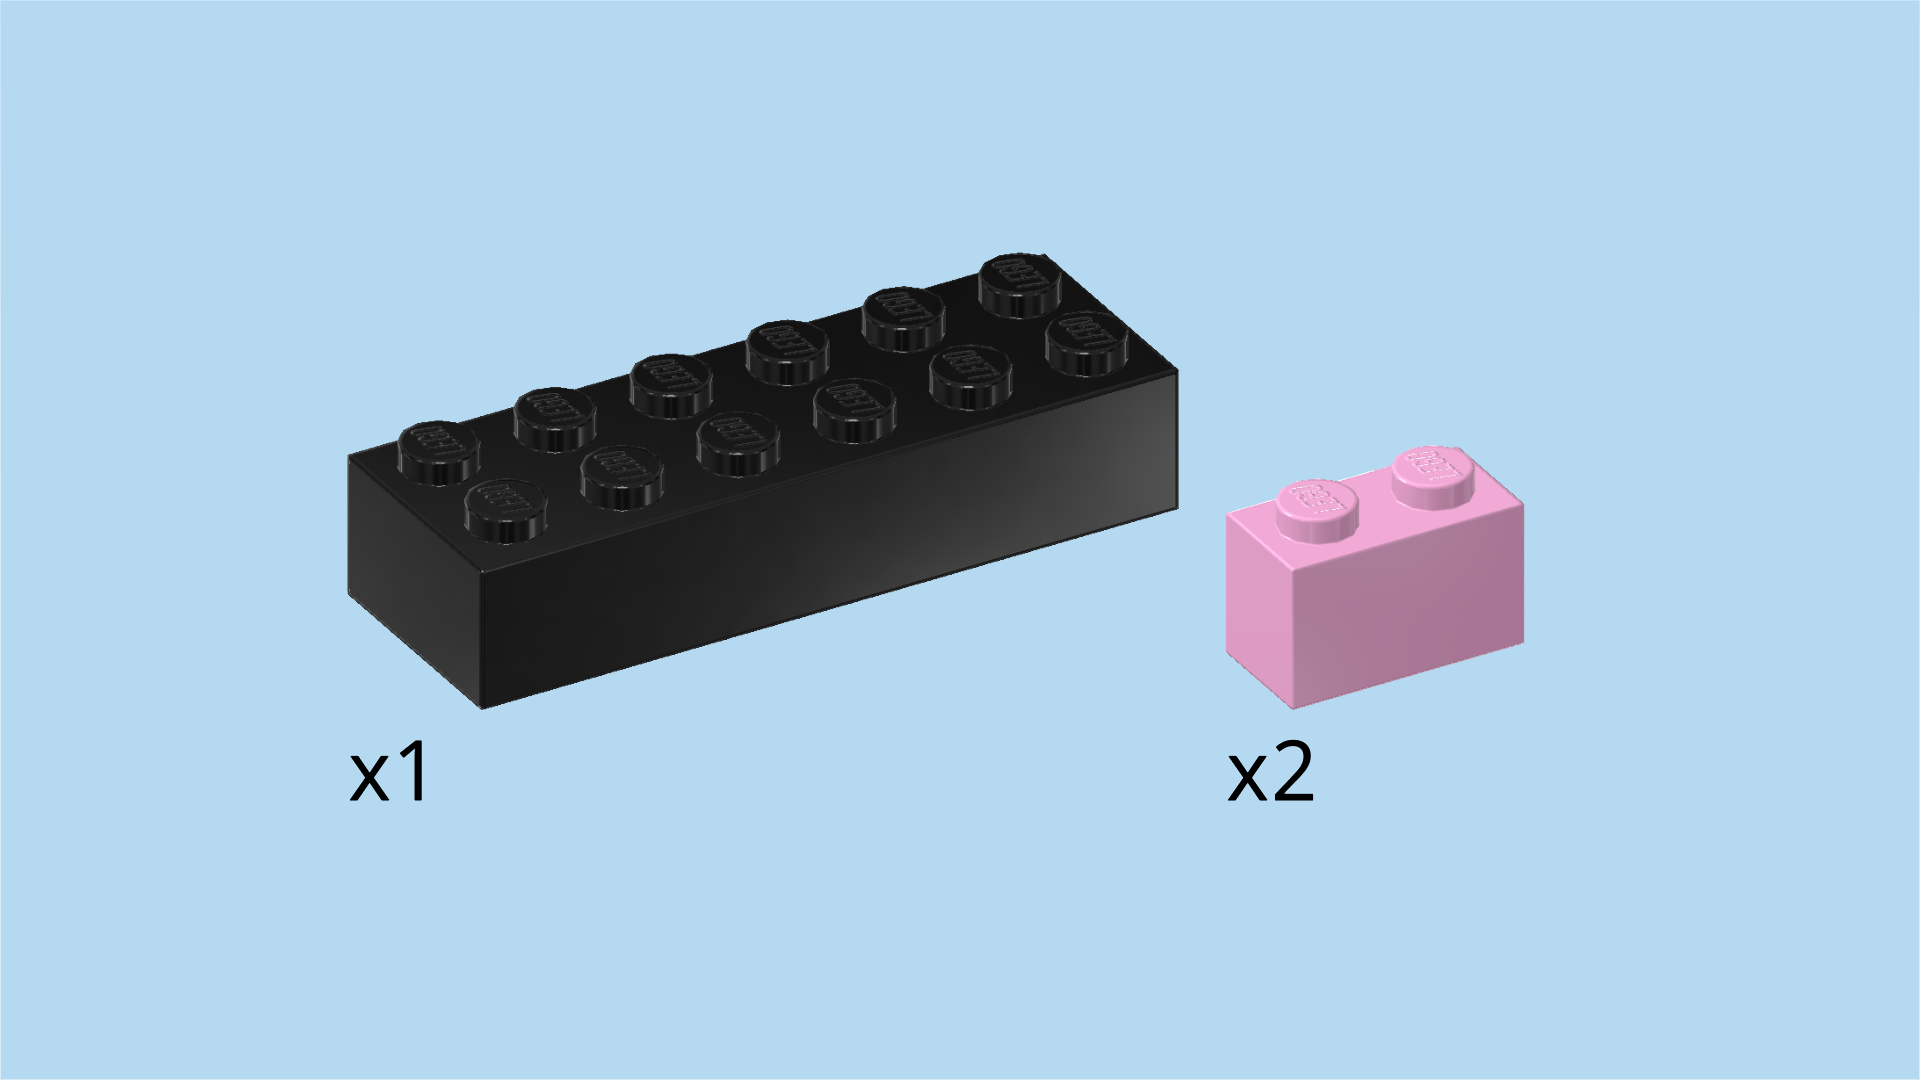
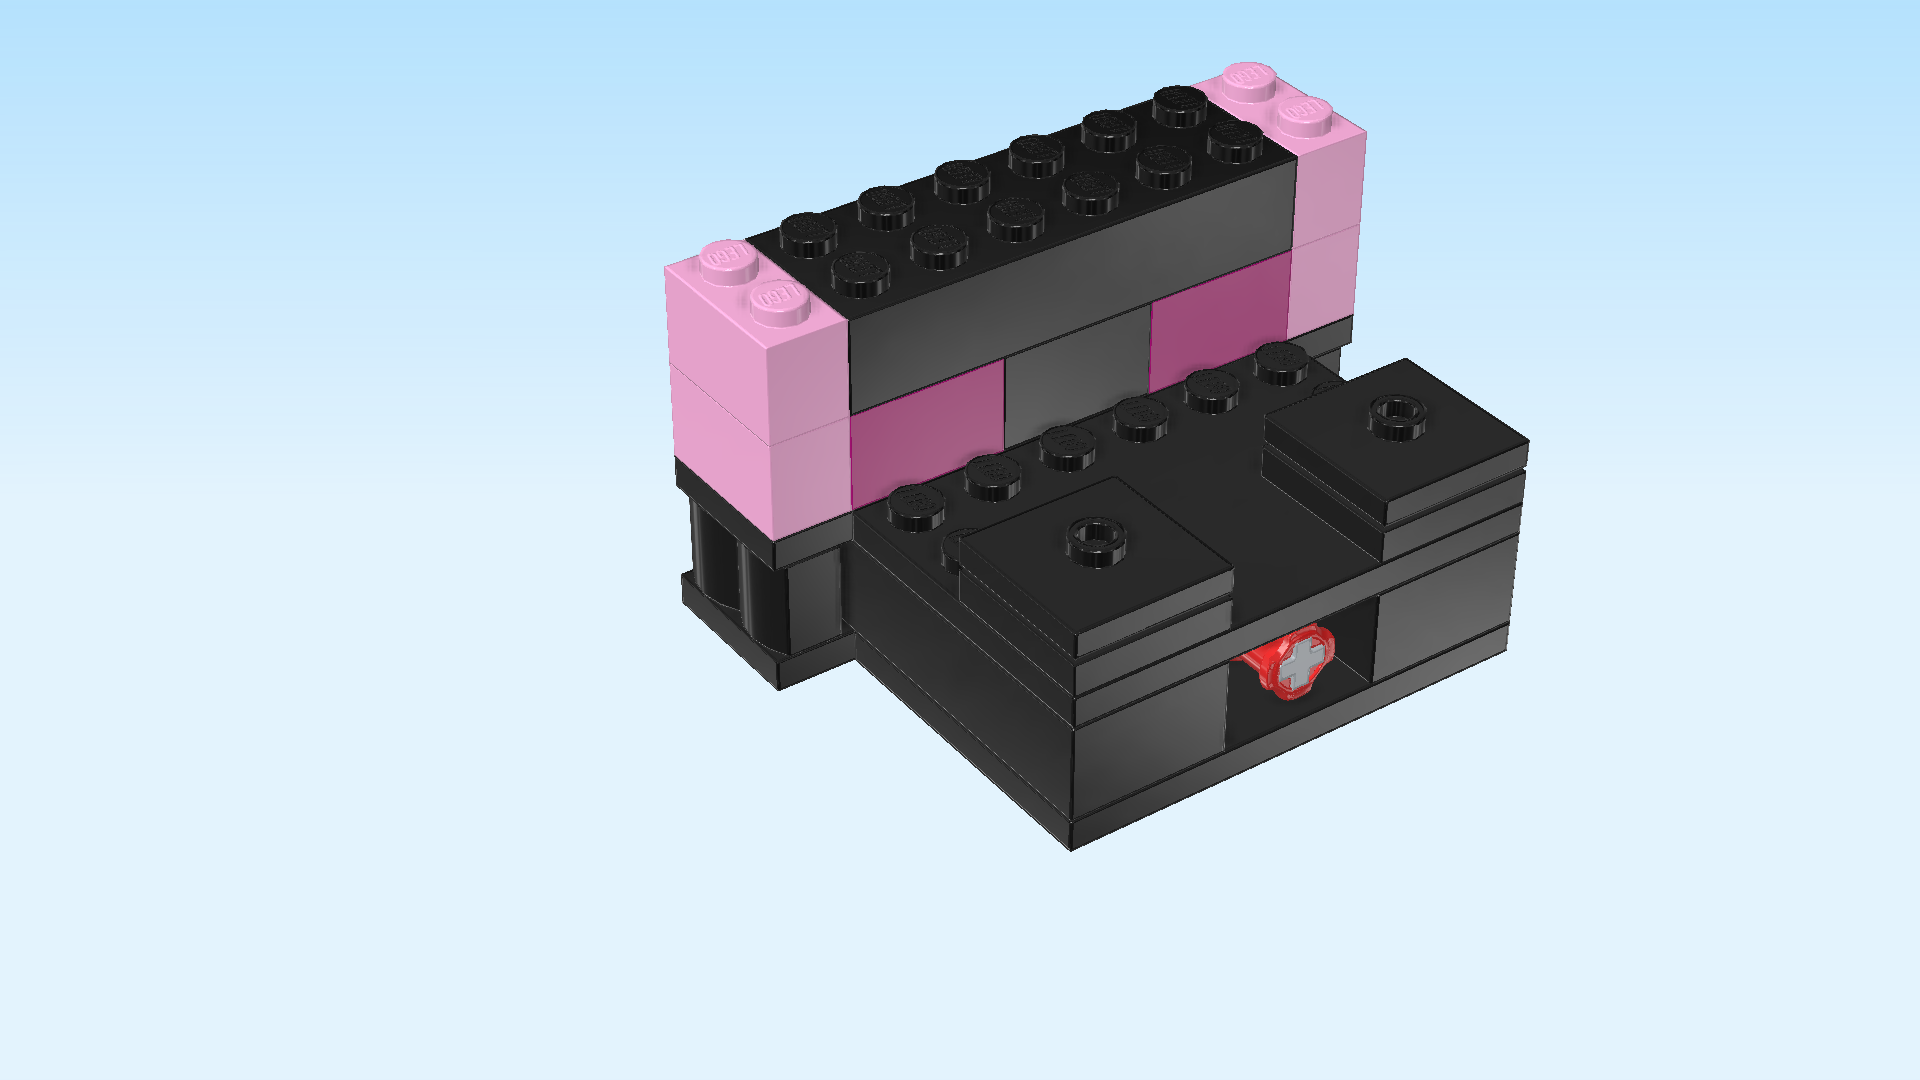
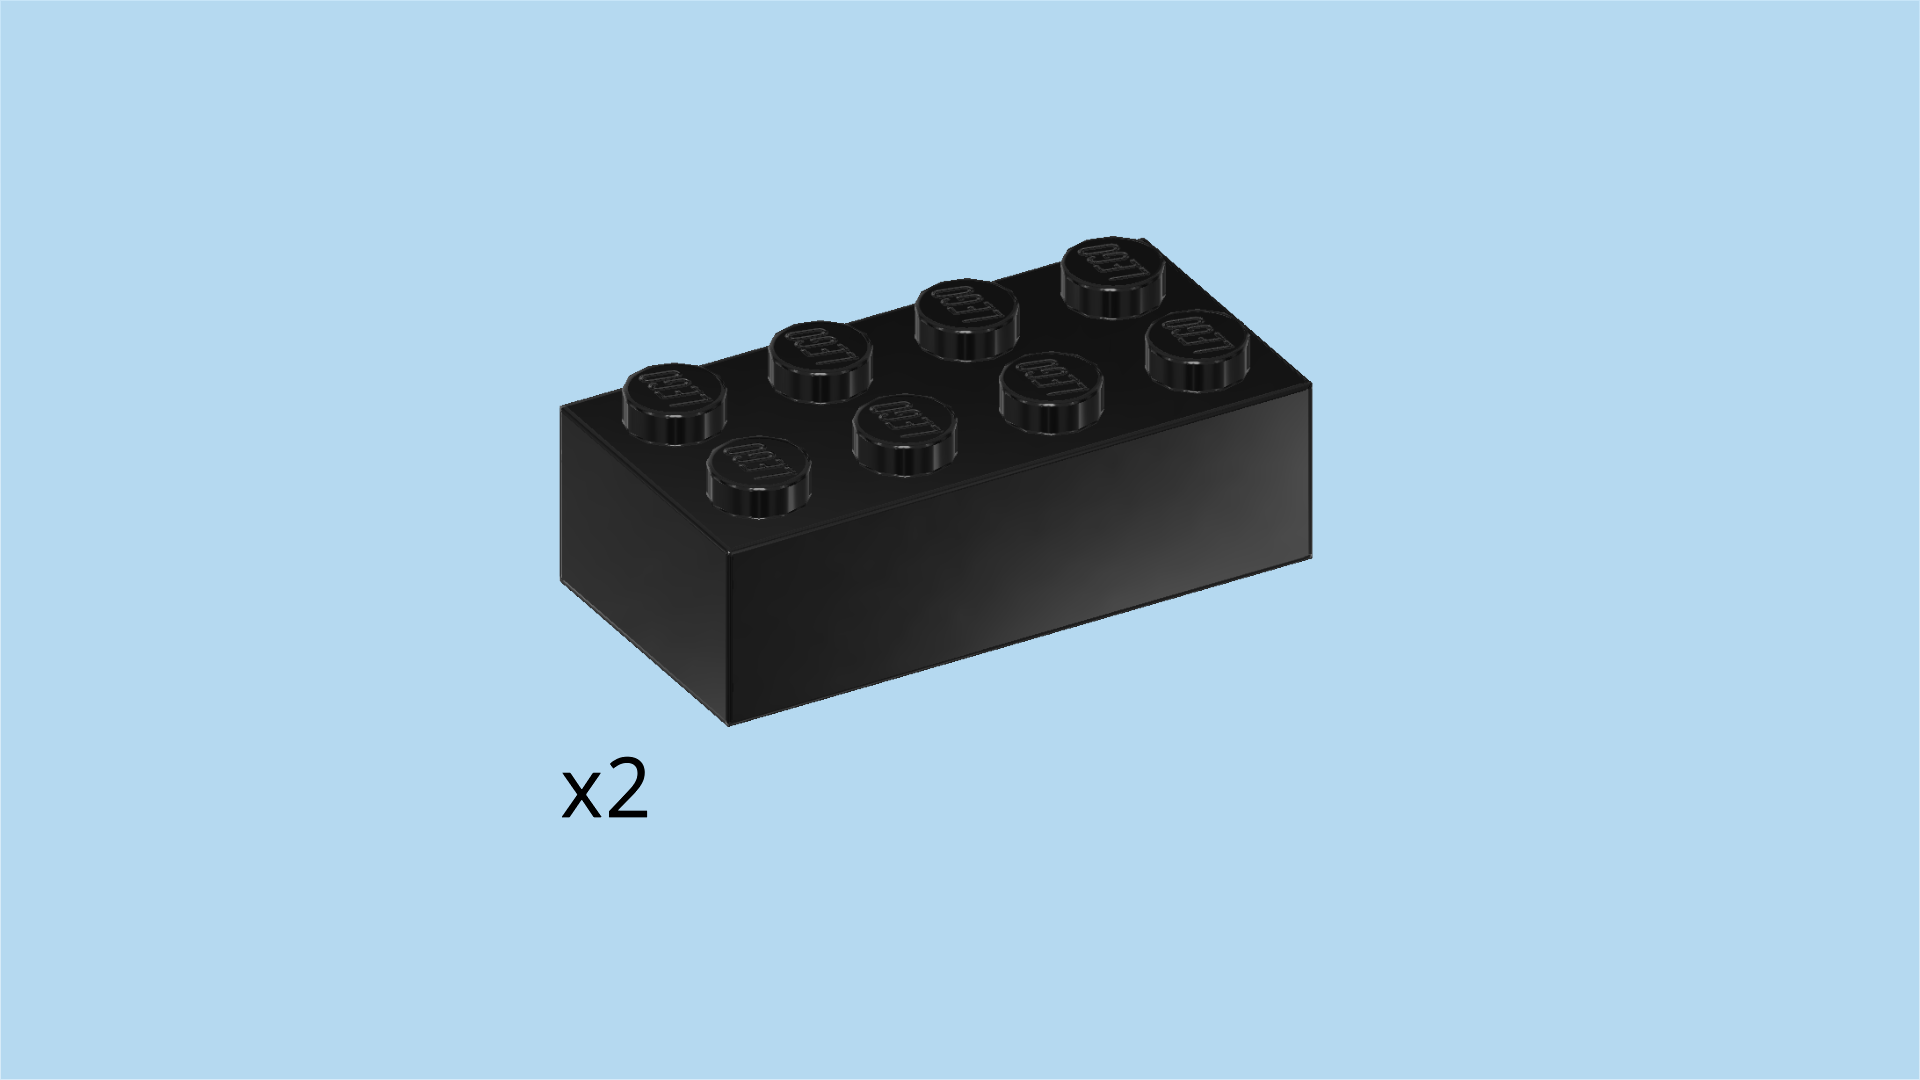
| Put the brick 1x12 horizontally centered on the 2 bricks 1x8 forming a single row of bricks at the back (this is the fifth row from the back). |
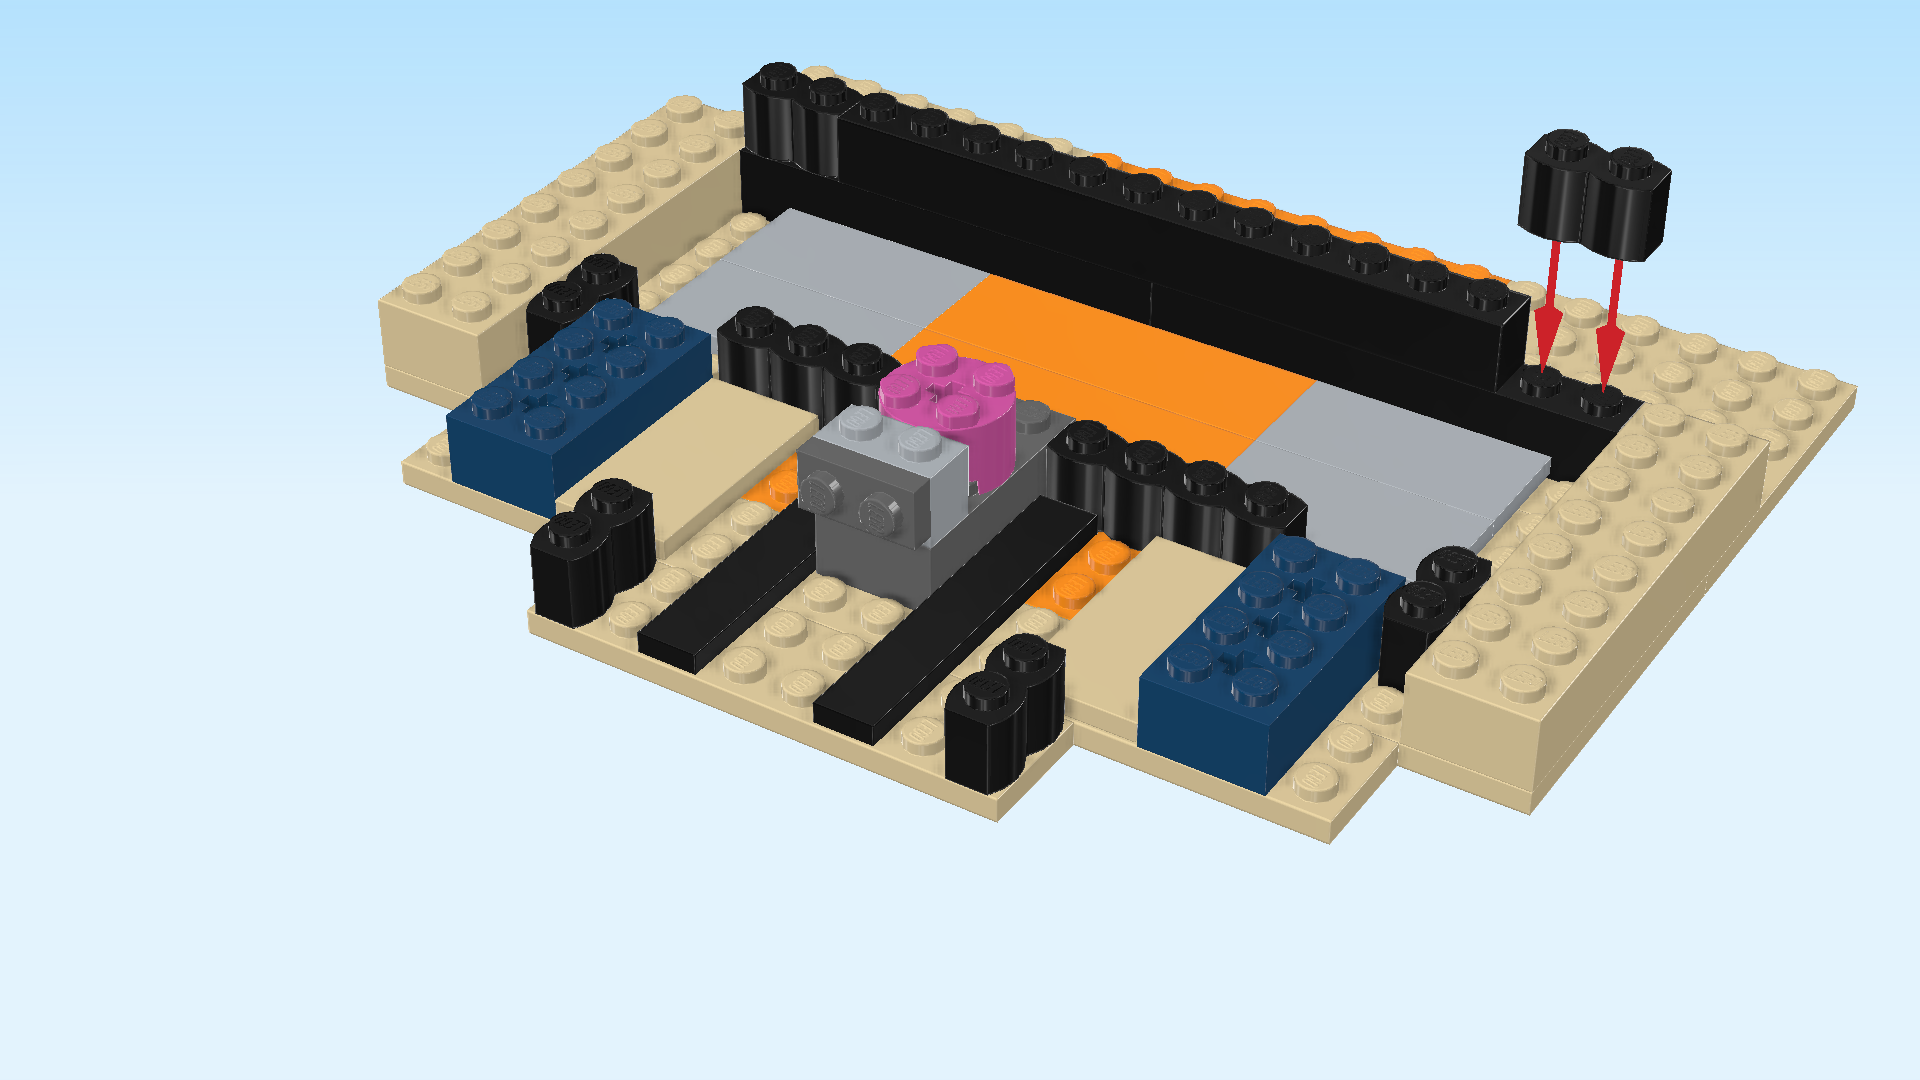
| Put 1 palisade brick 1x2 horizontally to the left of the previous piece, and the other one horizontally to the right of the previous piece. |
| If done correctly, the 2 bricks 2x8 on the left and right edge remain empty. |
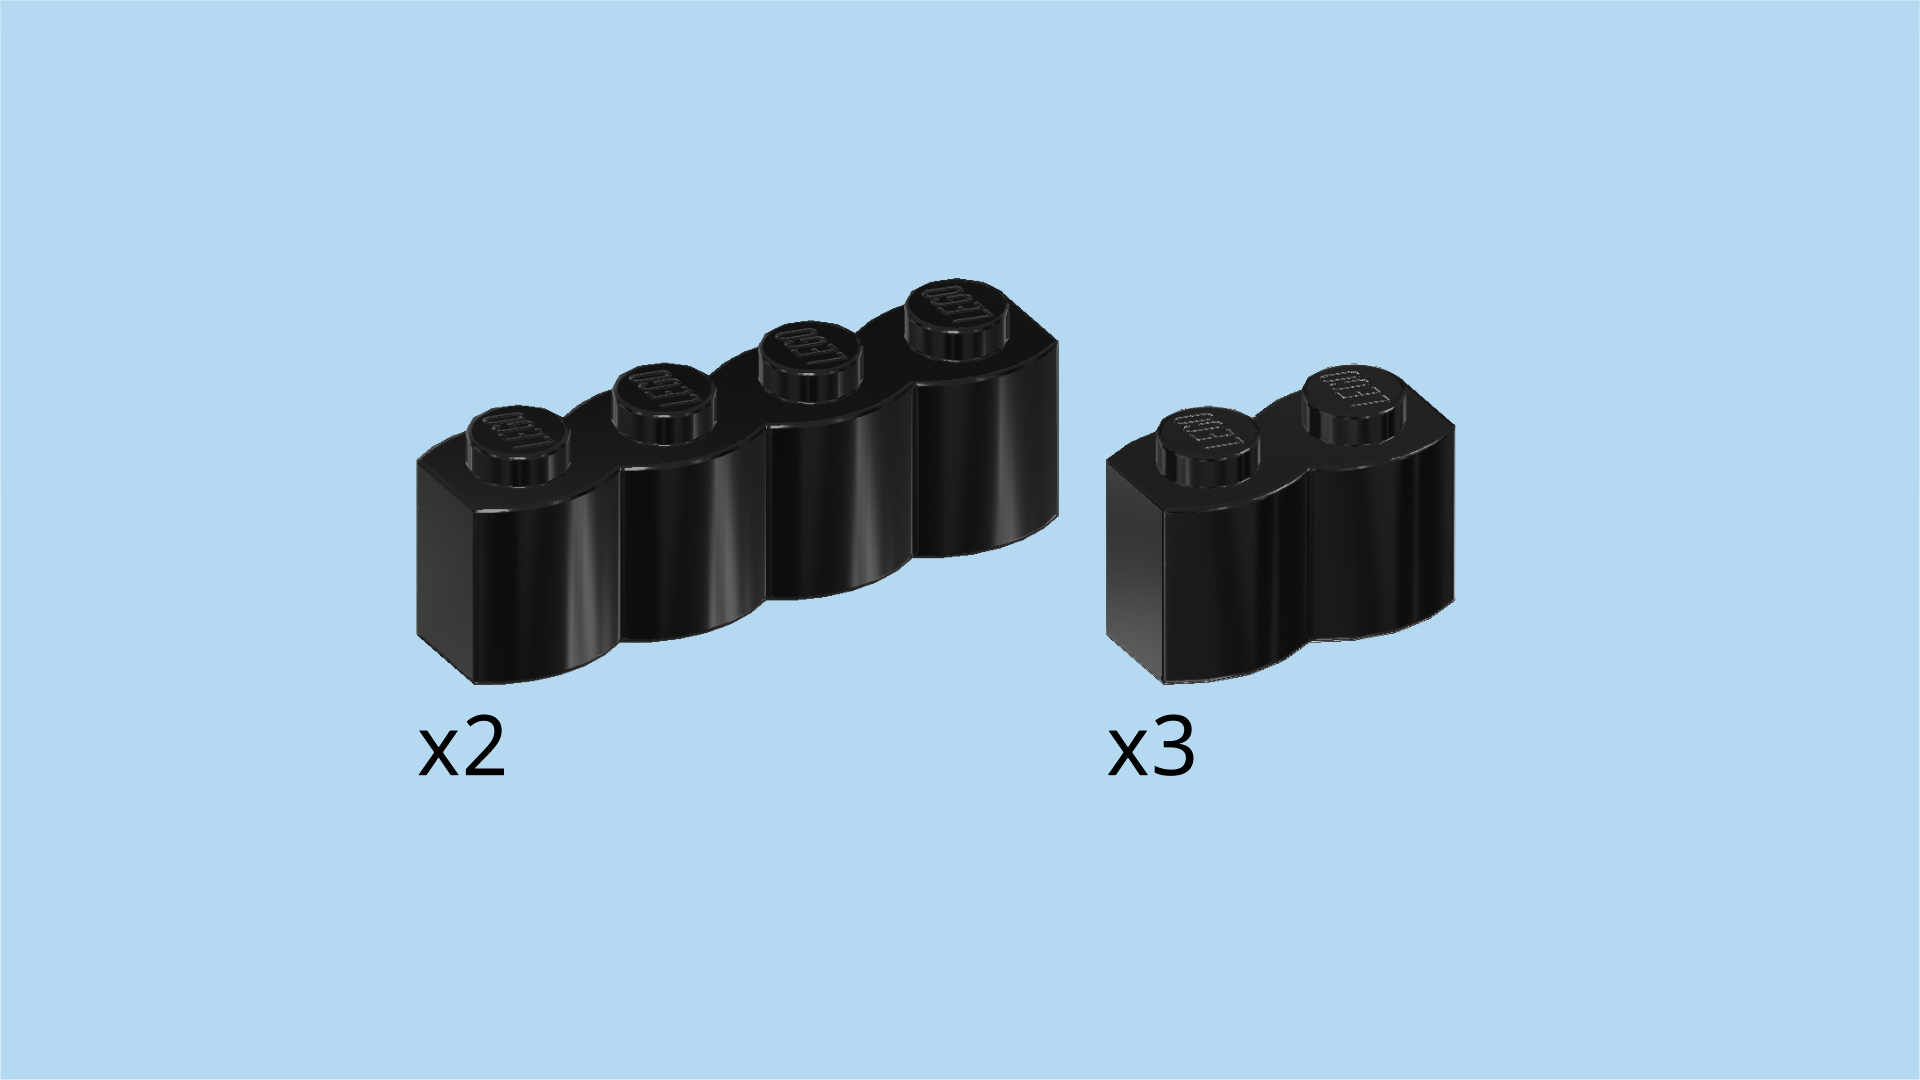
| Collect the following 5 pieces: |
| 2 black palisade bricks 1x4, |
| and 3 black palisade bricks 1x2. |
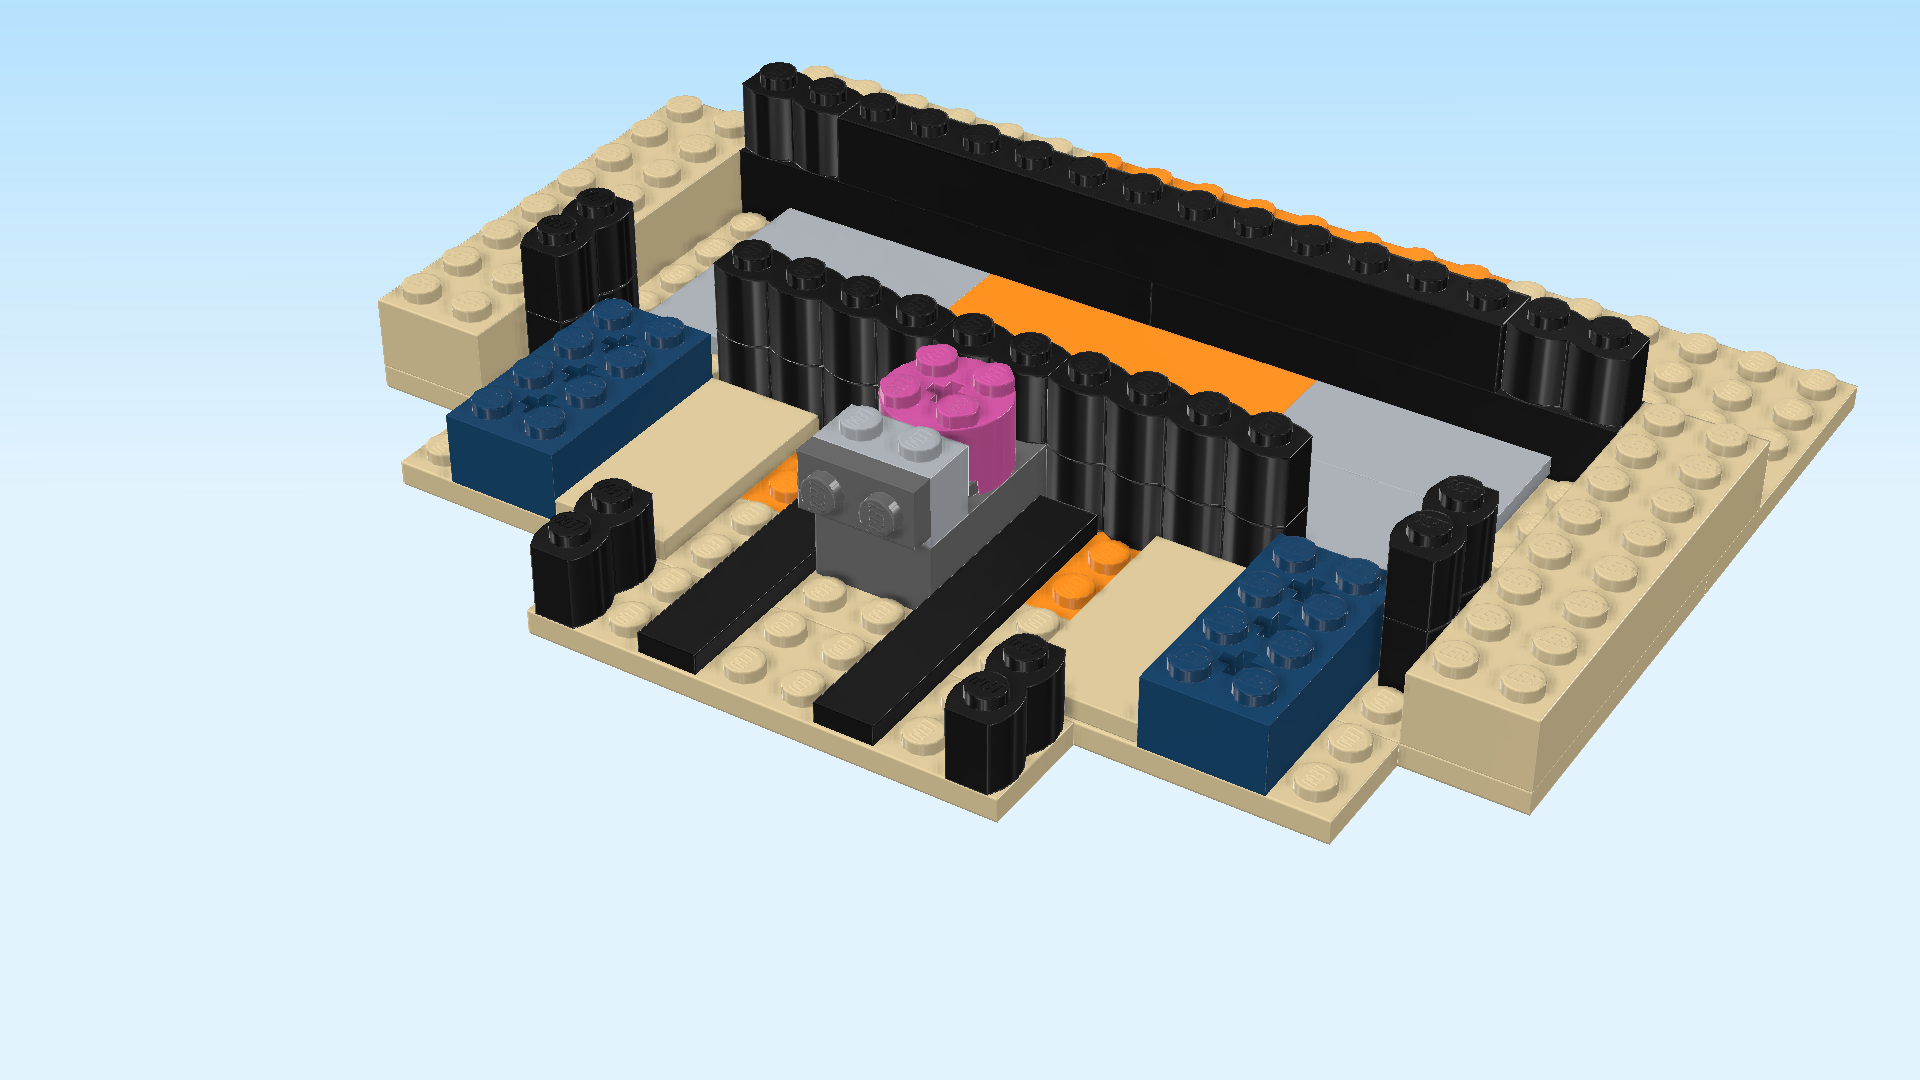
| Put 1 palisade brick 1x2 horizontally behind the round brick 2x2 mounted in the center of the structure. |
| Put 1 palisade brick 1x4 horizontally to the right and the other one horizontally to the left of the previous piece. |
| Put 1 palisade brick 1x2 vertically on the palisade brick 1x2 mounted on the left edge (directly next to the brick 2x8). Do not confuse it with the palisade bricks 1x2 mounted at the front edge. |
| Repeat symmetrically on the right. |
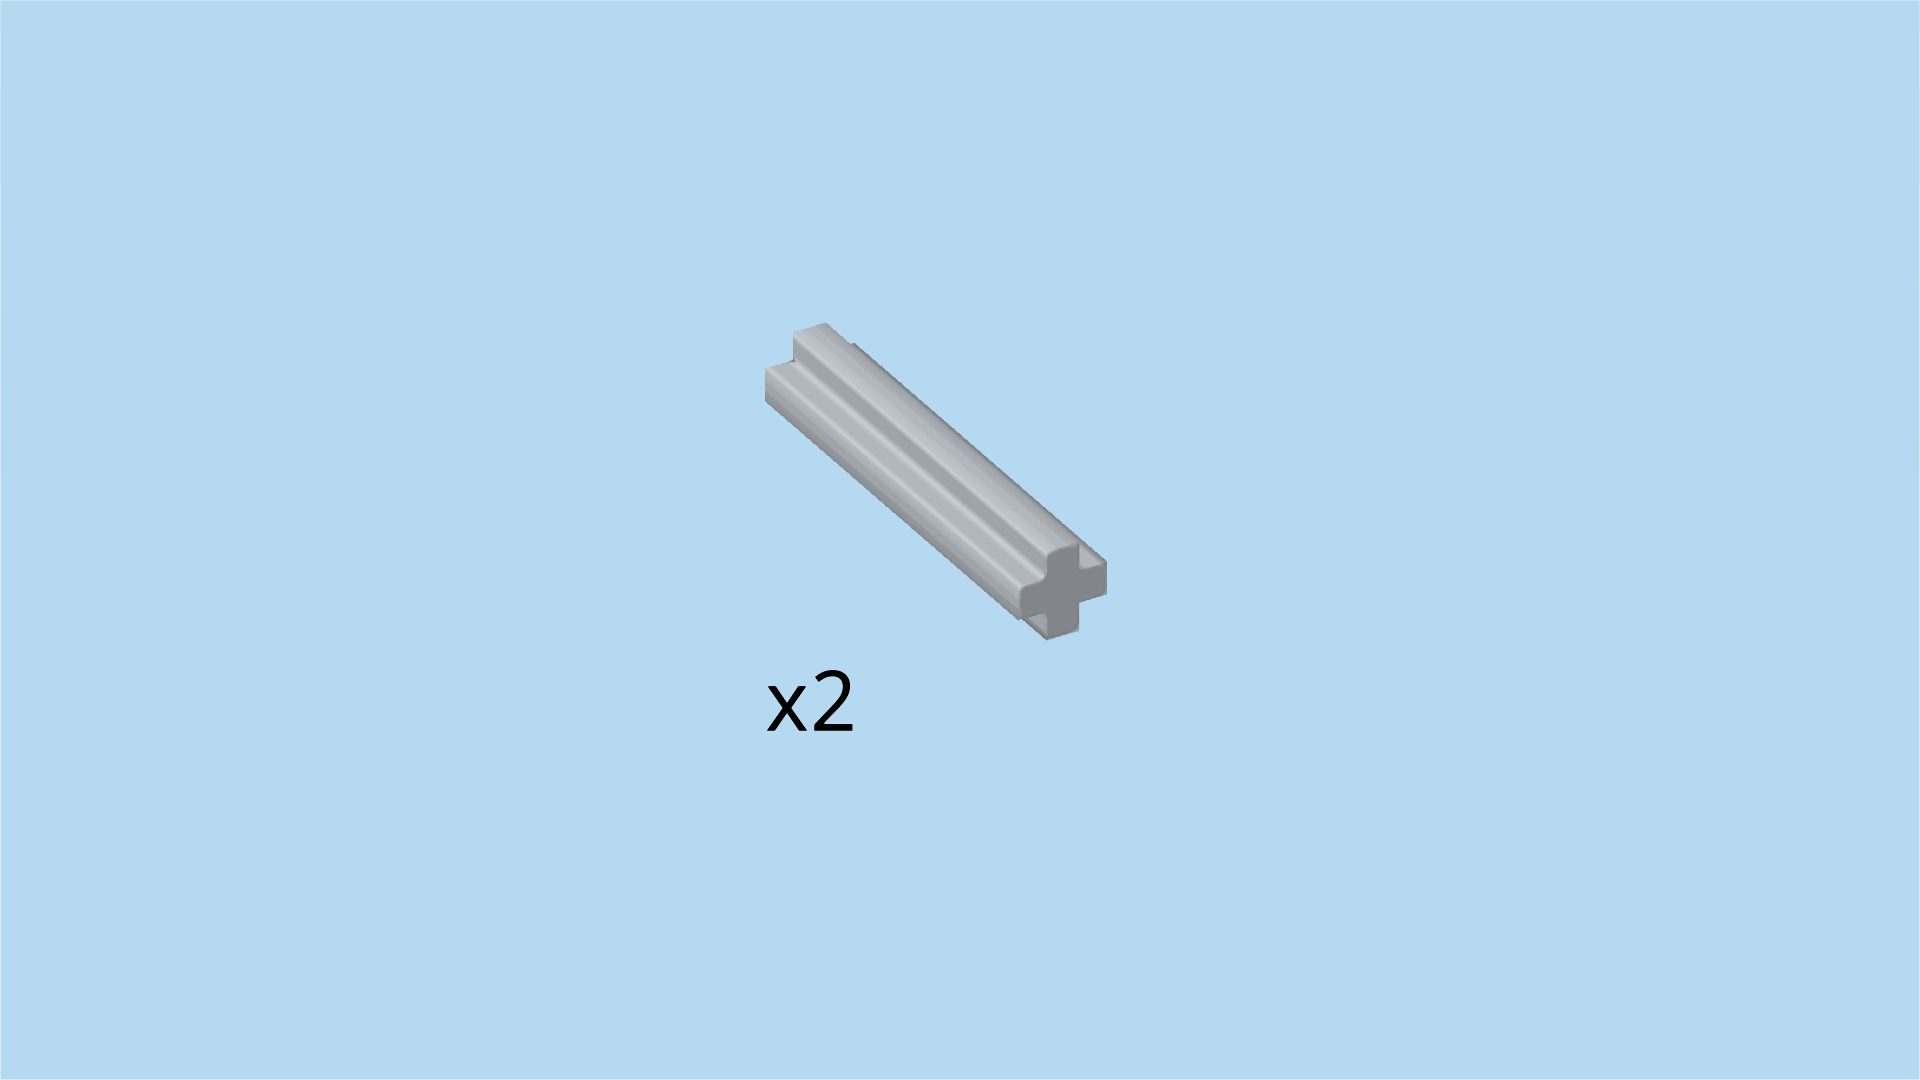
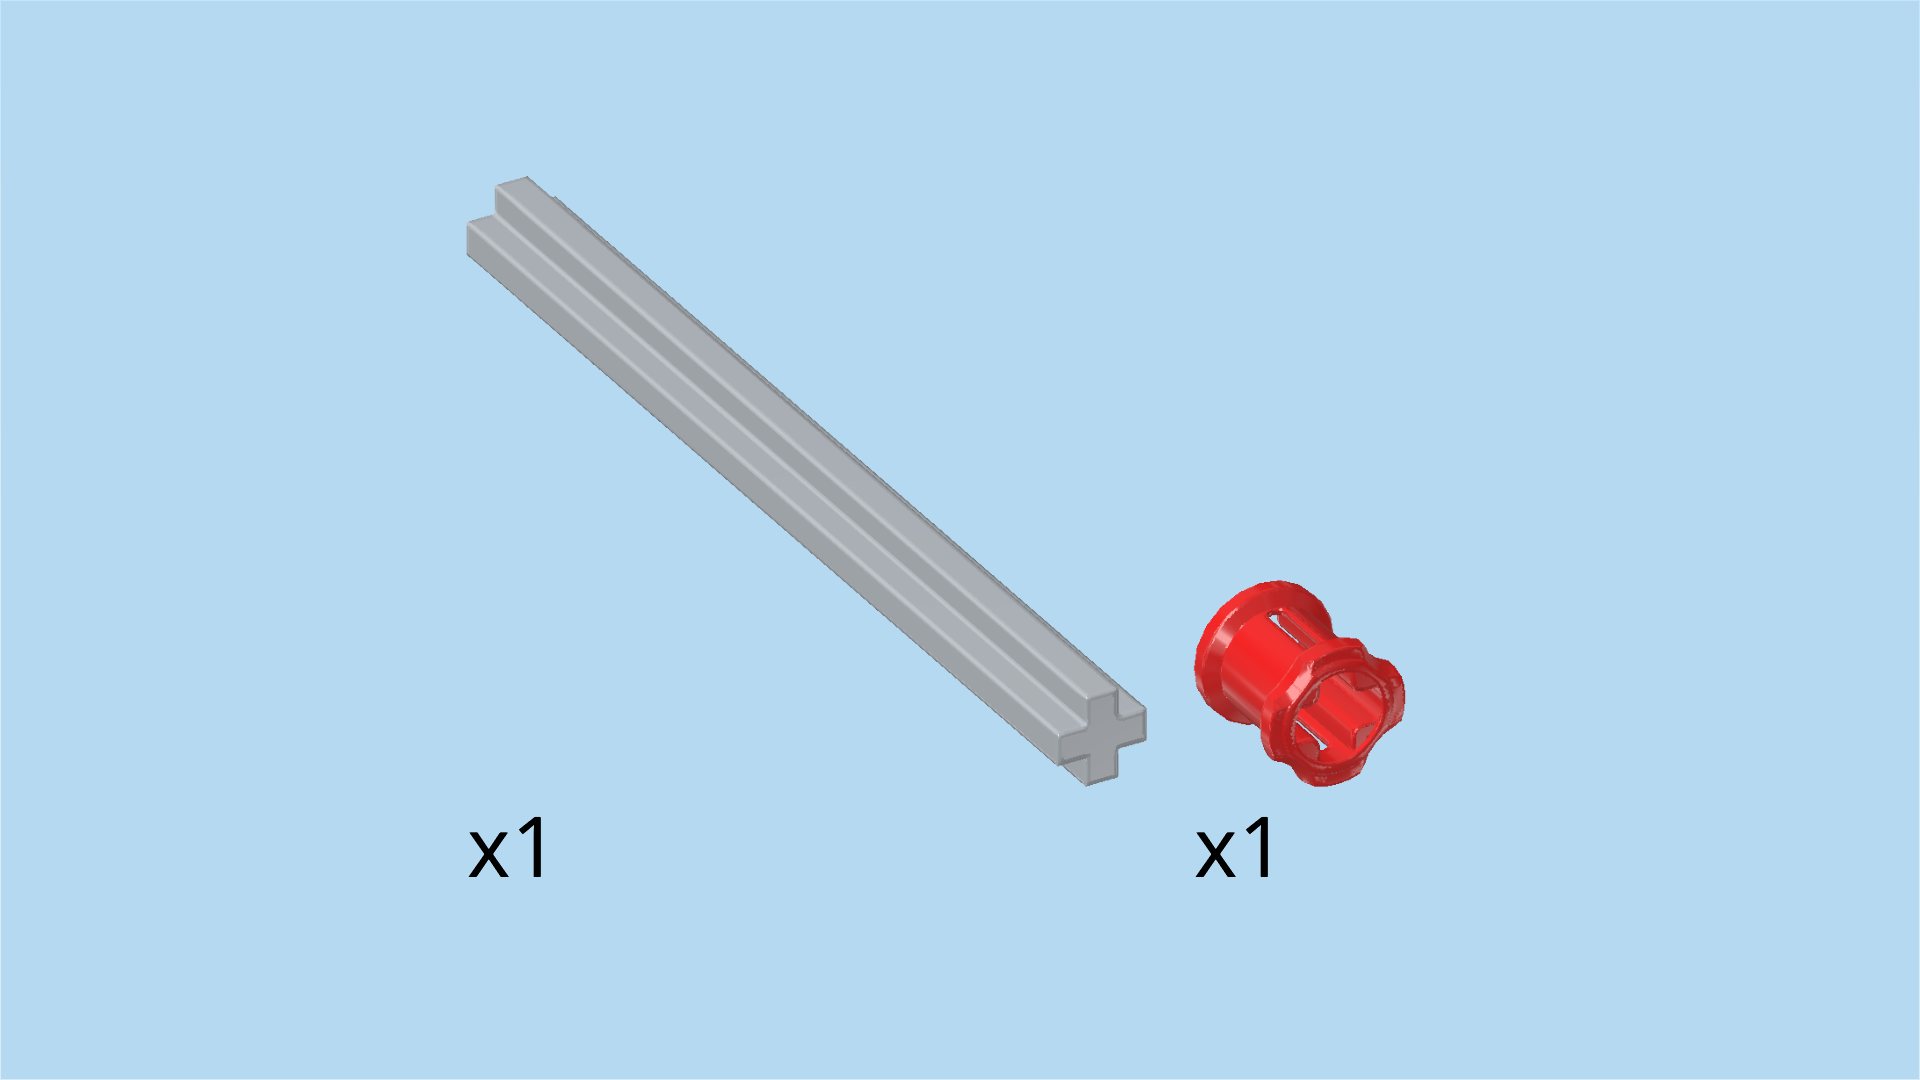
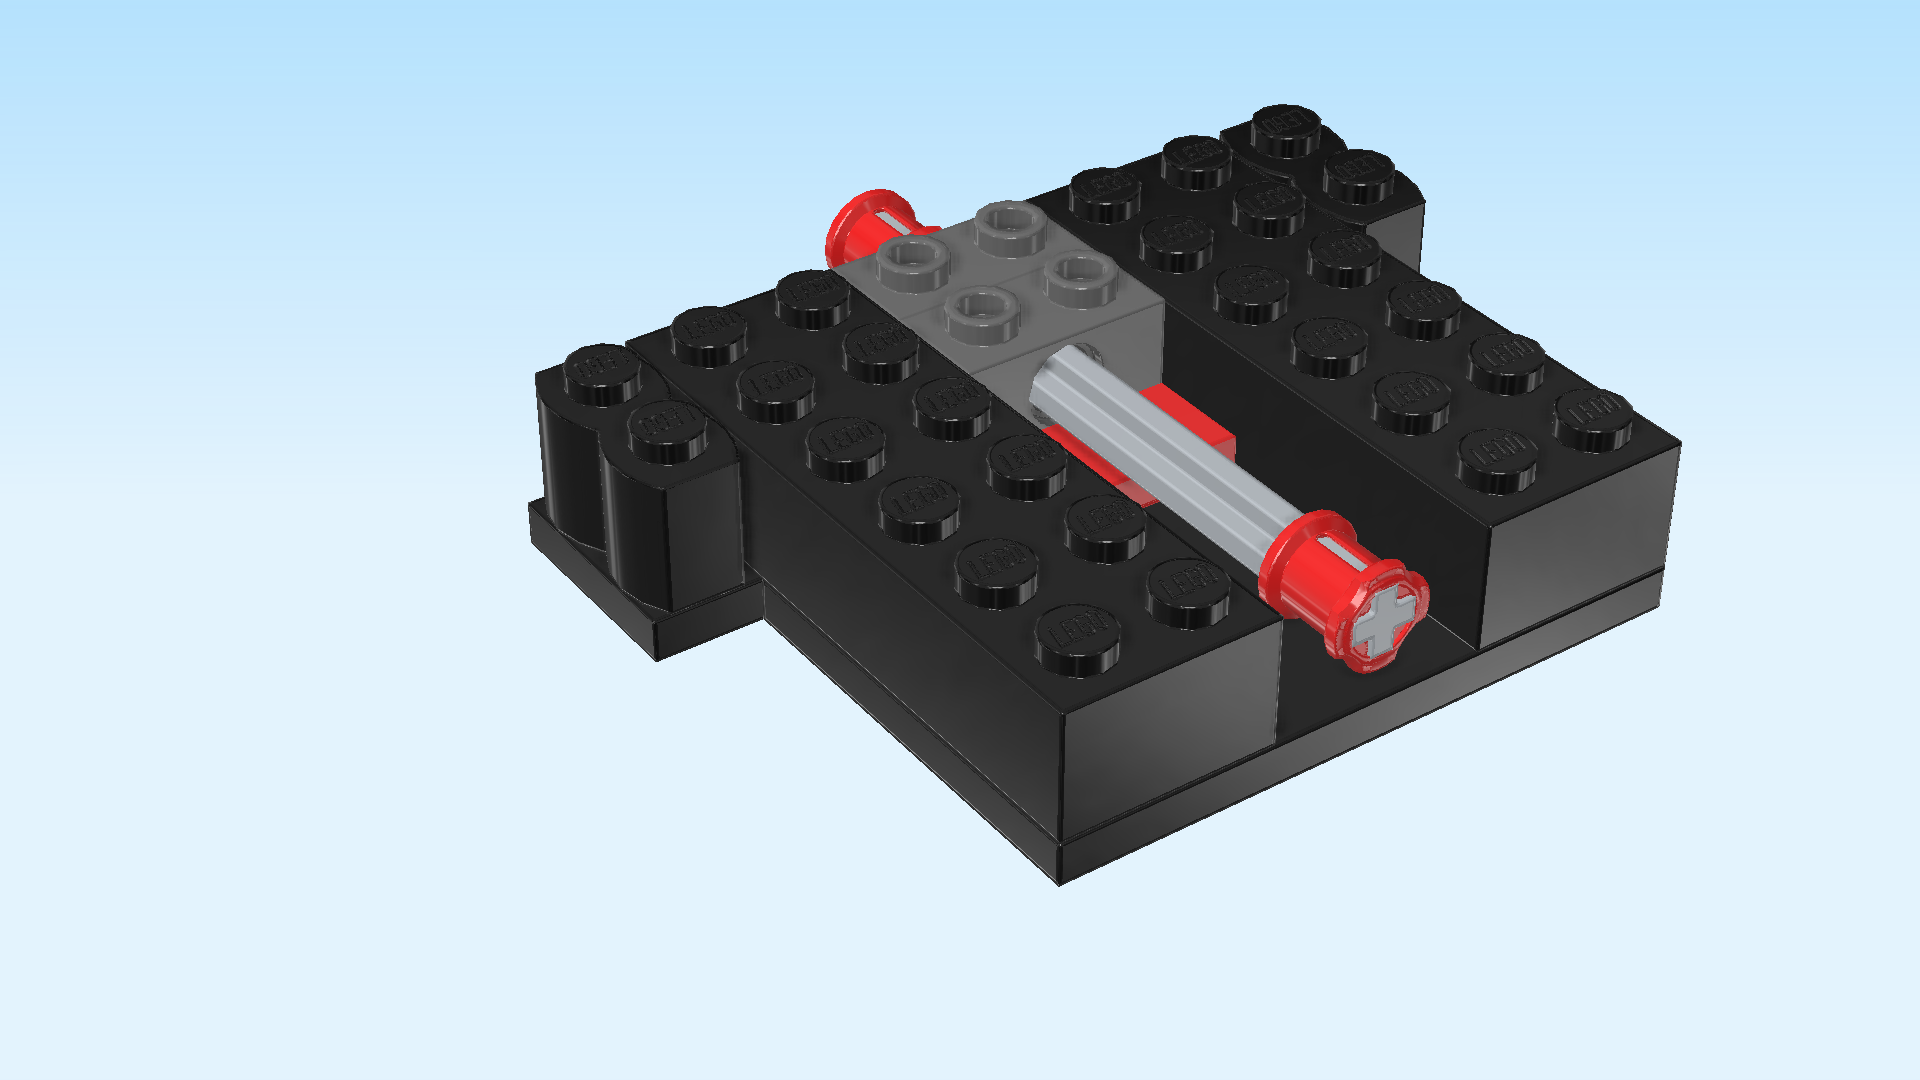
| Find 2 medium stone grey cross axles 3m. |
| Identify the 2 bricks 2x4 with holes mounted vertically towards the left and right sides. Do not confuse them with the bricks 2x8 on the edges. |
| Insert 1 cross axle from the top into the middle hole of the right brick 2x4. Since this brick has three holes, make sure you are not using the front or back hole. |
| Repeat symmetrically on the left. |
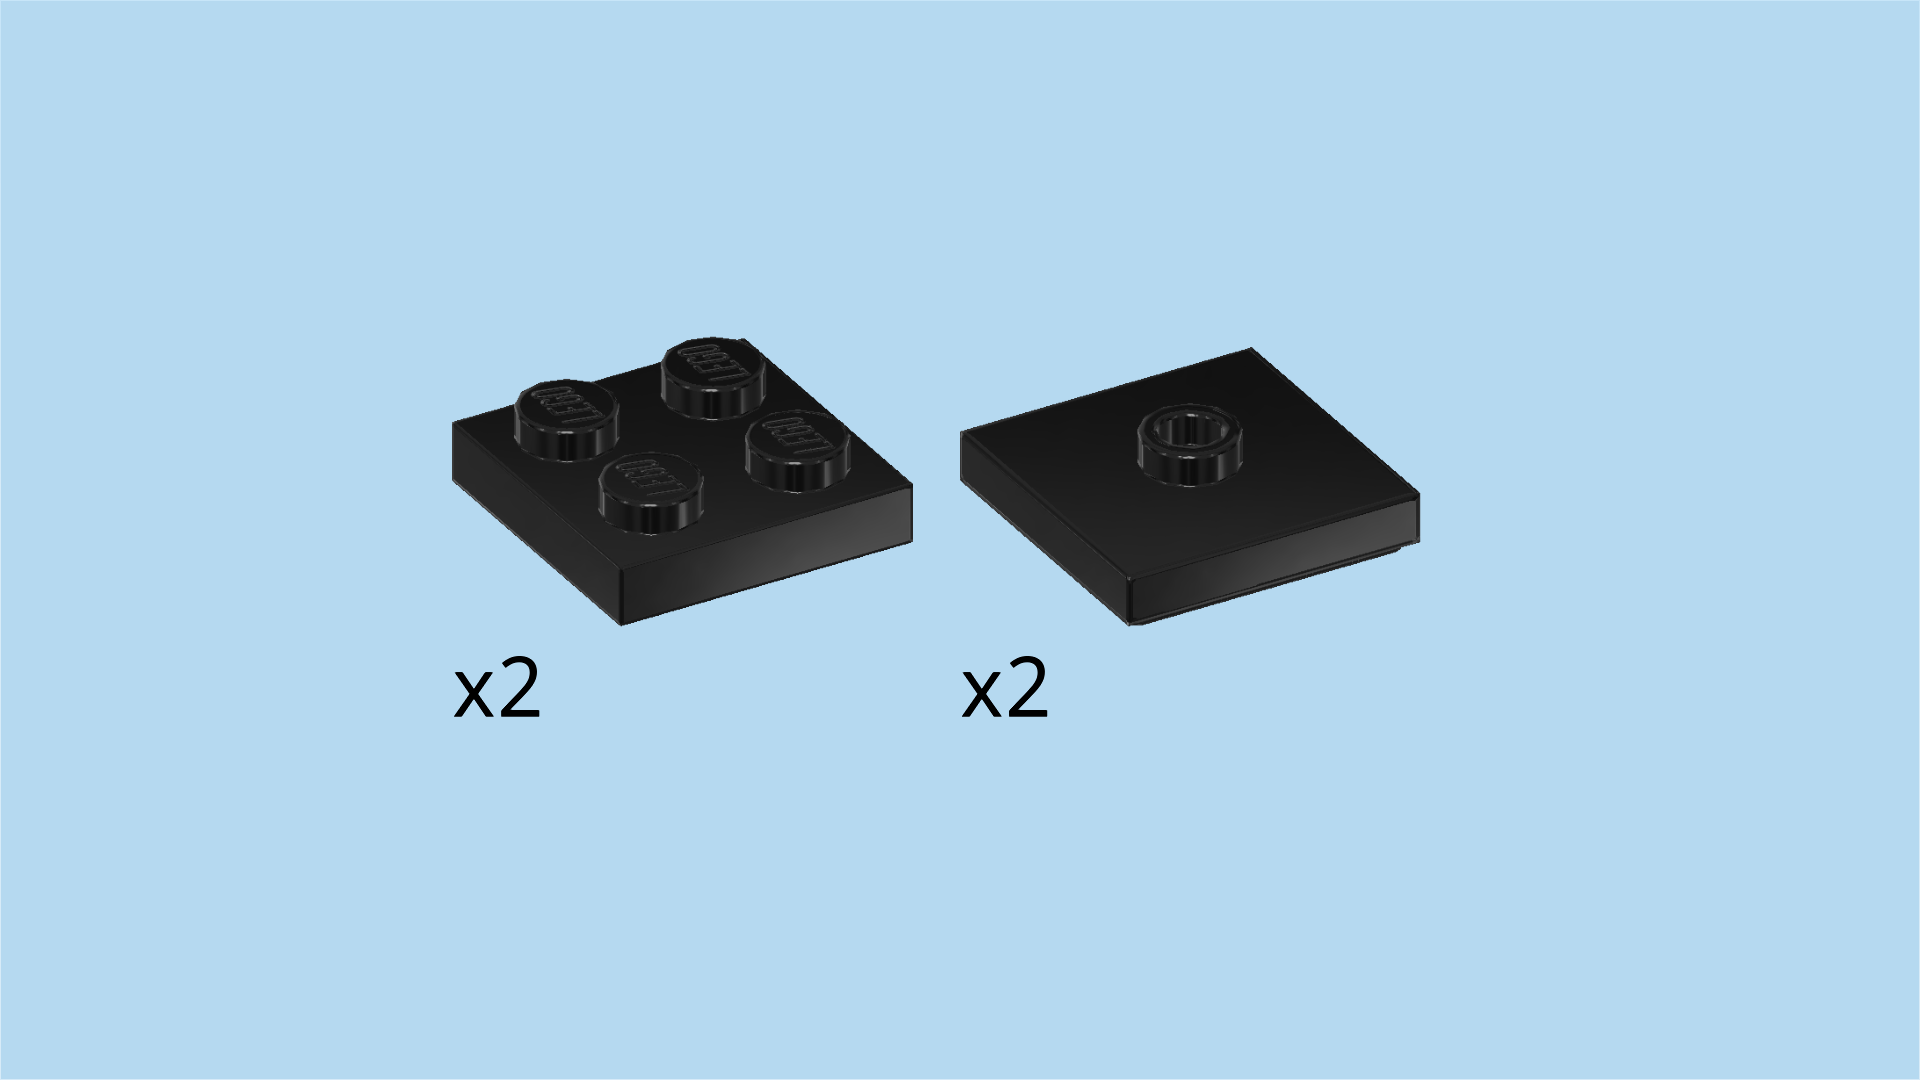
| Now, we will make the first half of the trap door. |
| Collect the following 3 pieces: |
| 2 black flat tiles 2x4, |
| and 1 black palisade brick 1x4. |
| Put the palisade brick 1x4 vertically on the table. |
| Put 1 flat tile 2x4 horizontally on the 2 back knobs, 3/4 overhanging to the right. |
| Put the other flat tile 2x4 horizontally in front of the previous piece, 3/4 overhanging to the right. |
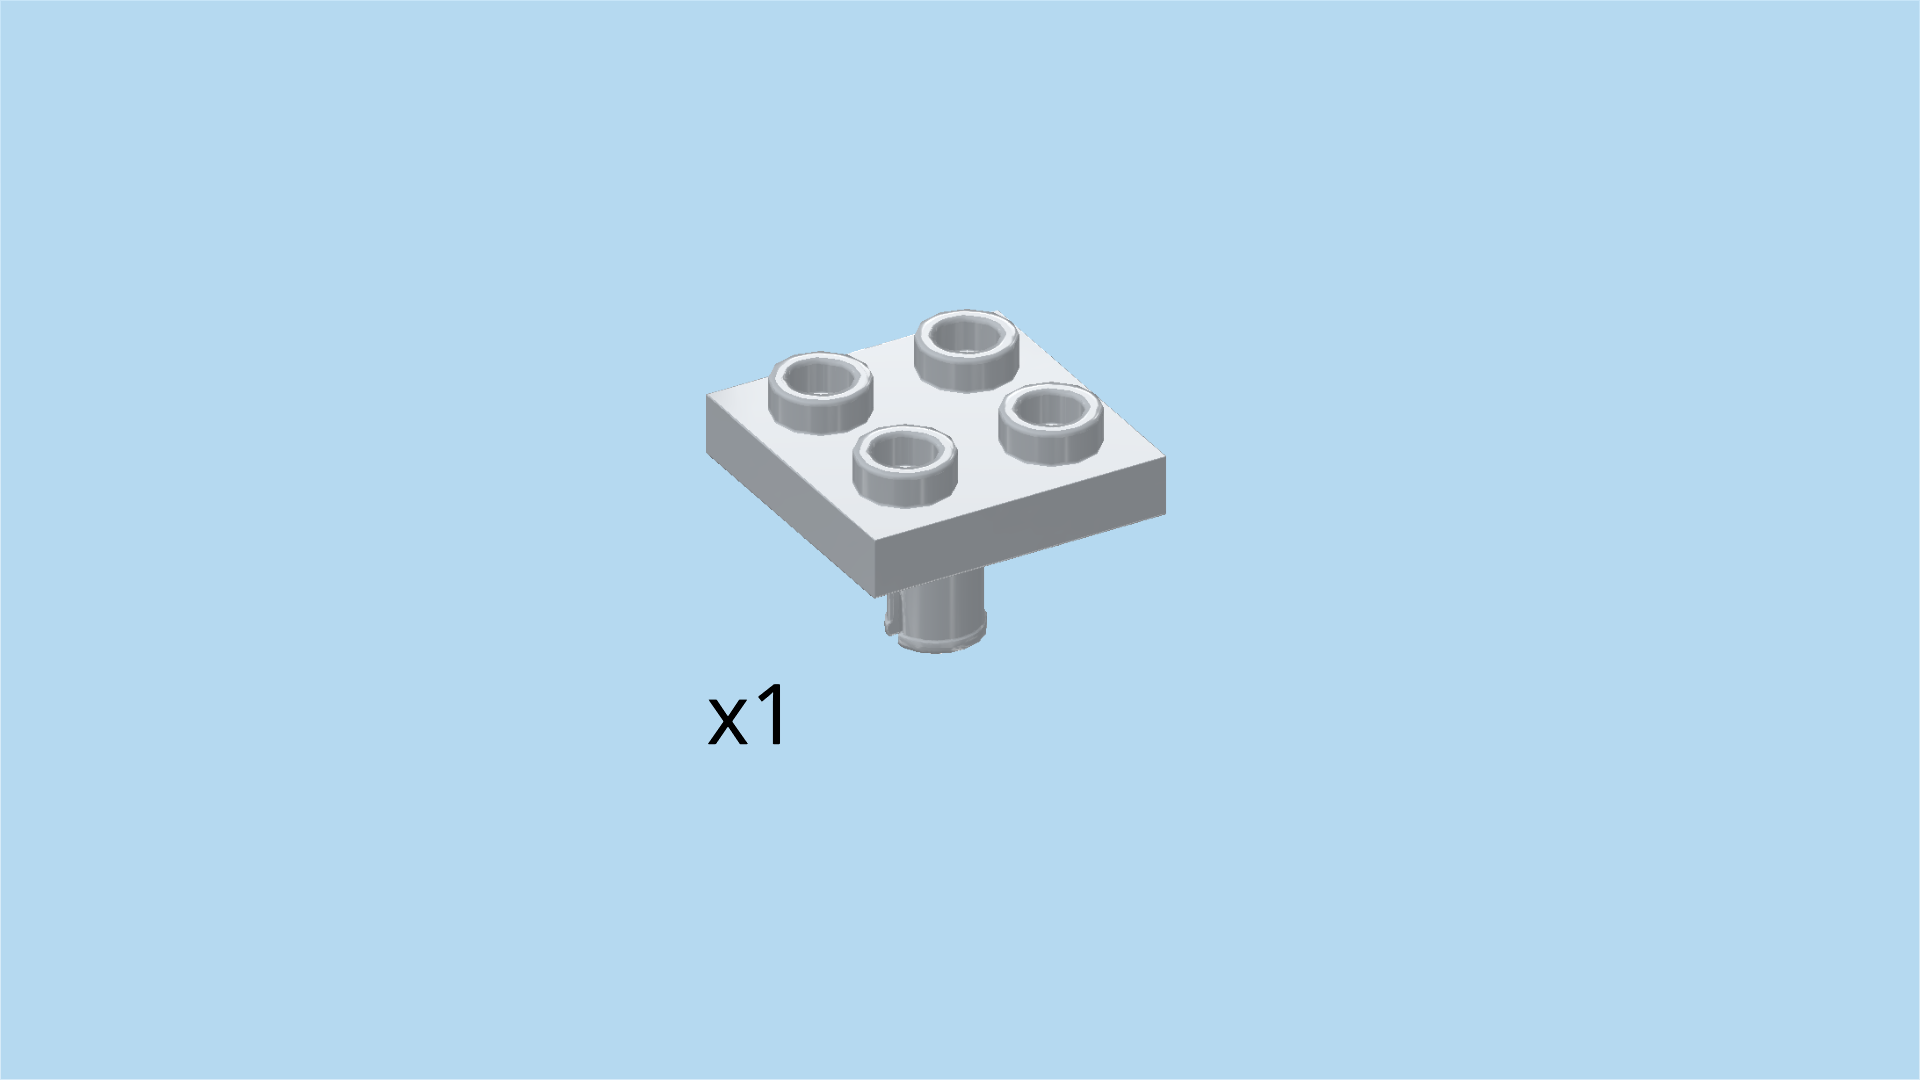
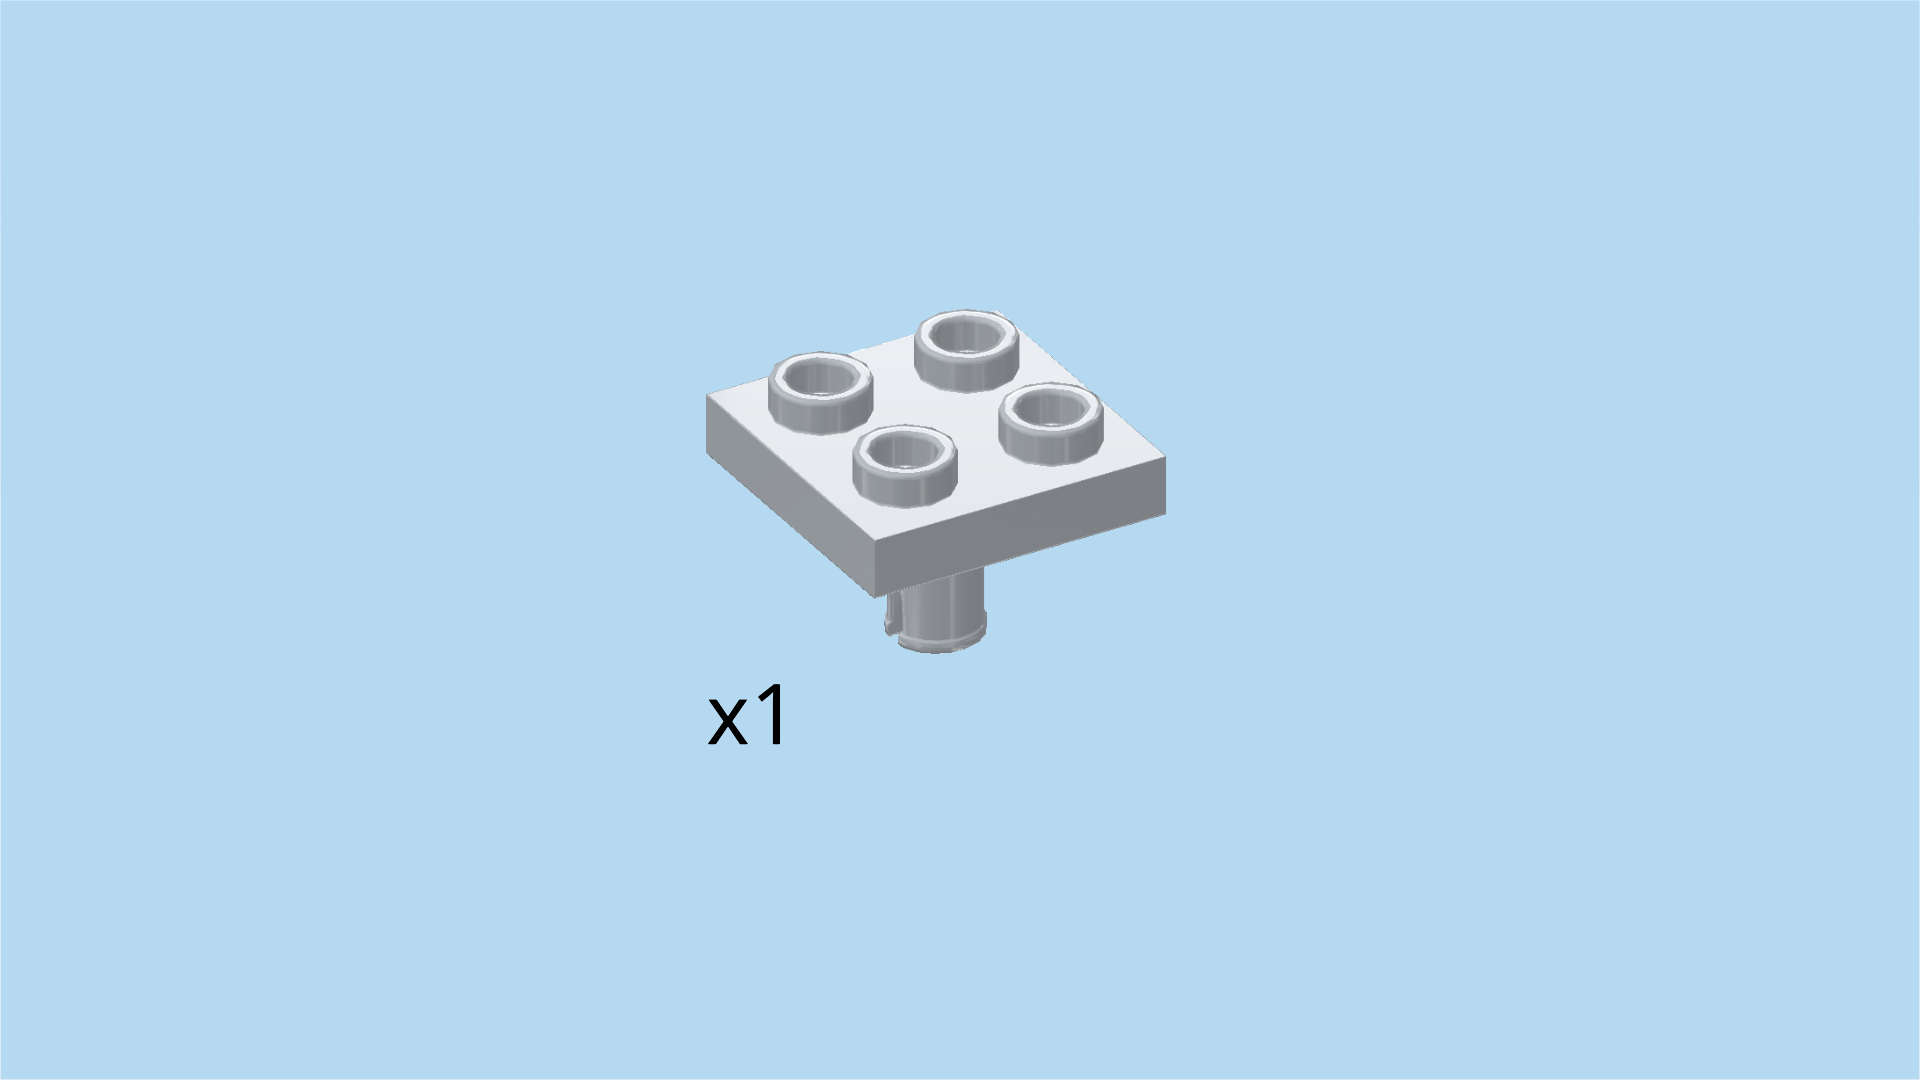
| Find 1 medium stone grey plate 2x2 with bottom connector. |
| First, flip the part from the previous step upside down. Turn it so that the palisade brick 1x4 forms a column on the right side. |
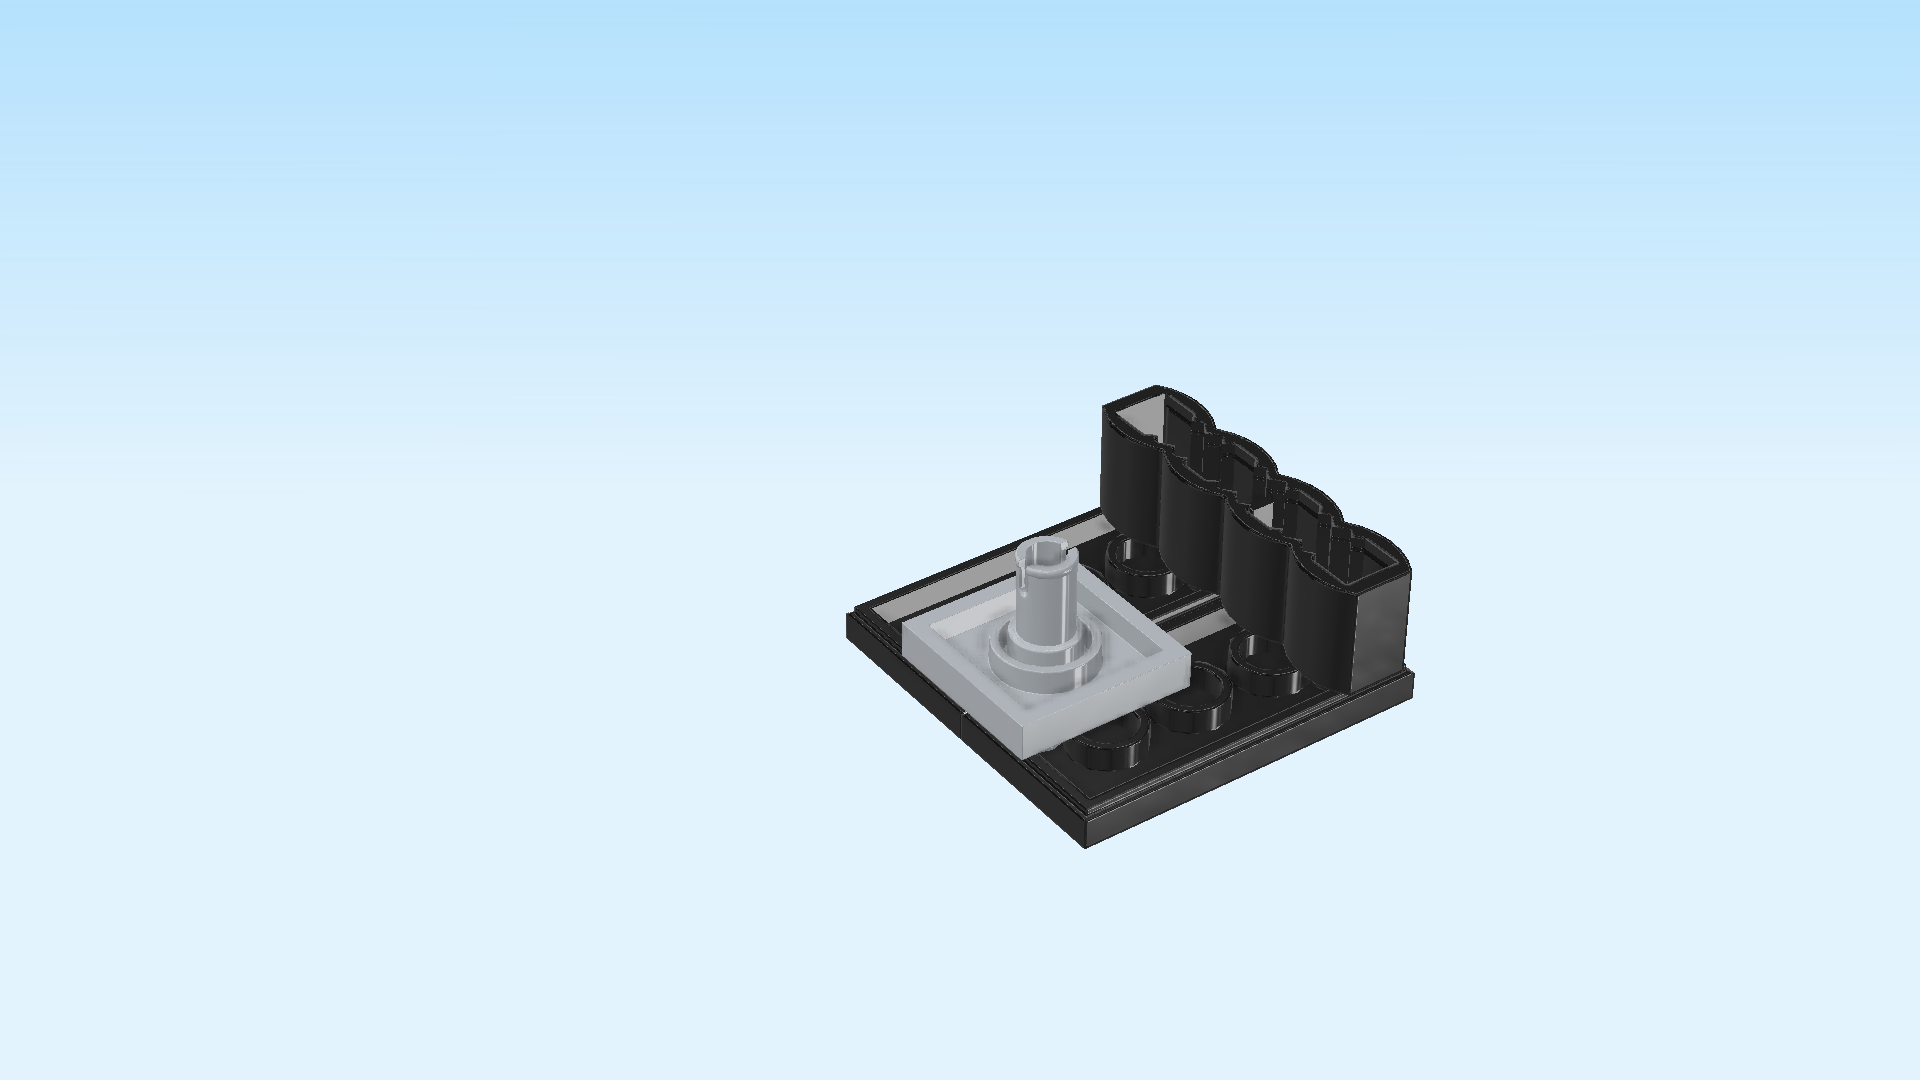
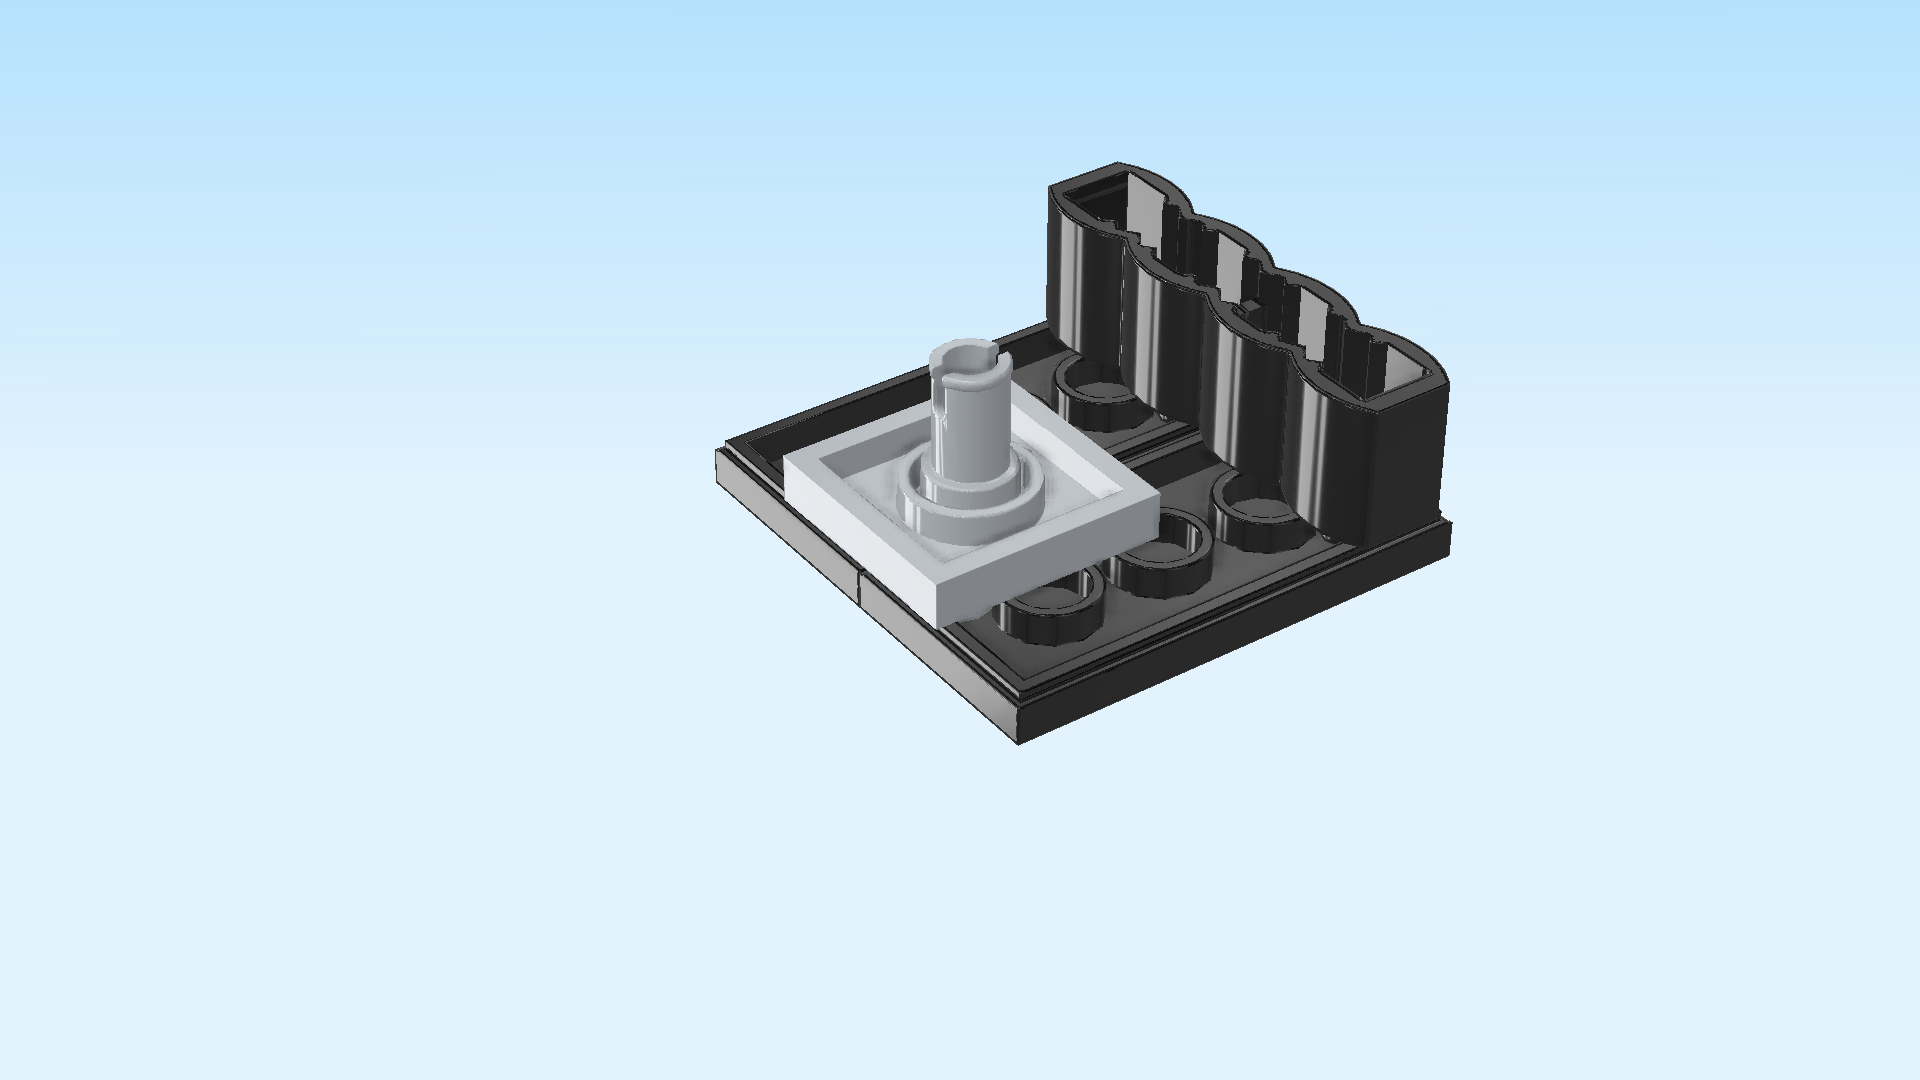
| Put the plate centered on the left edge, connector pointing to the top. This will connect the 2 flat tiles on their left edges. |
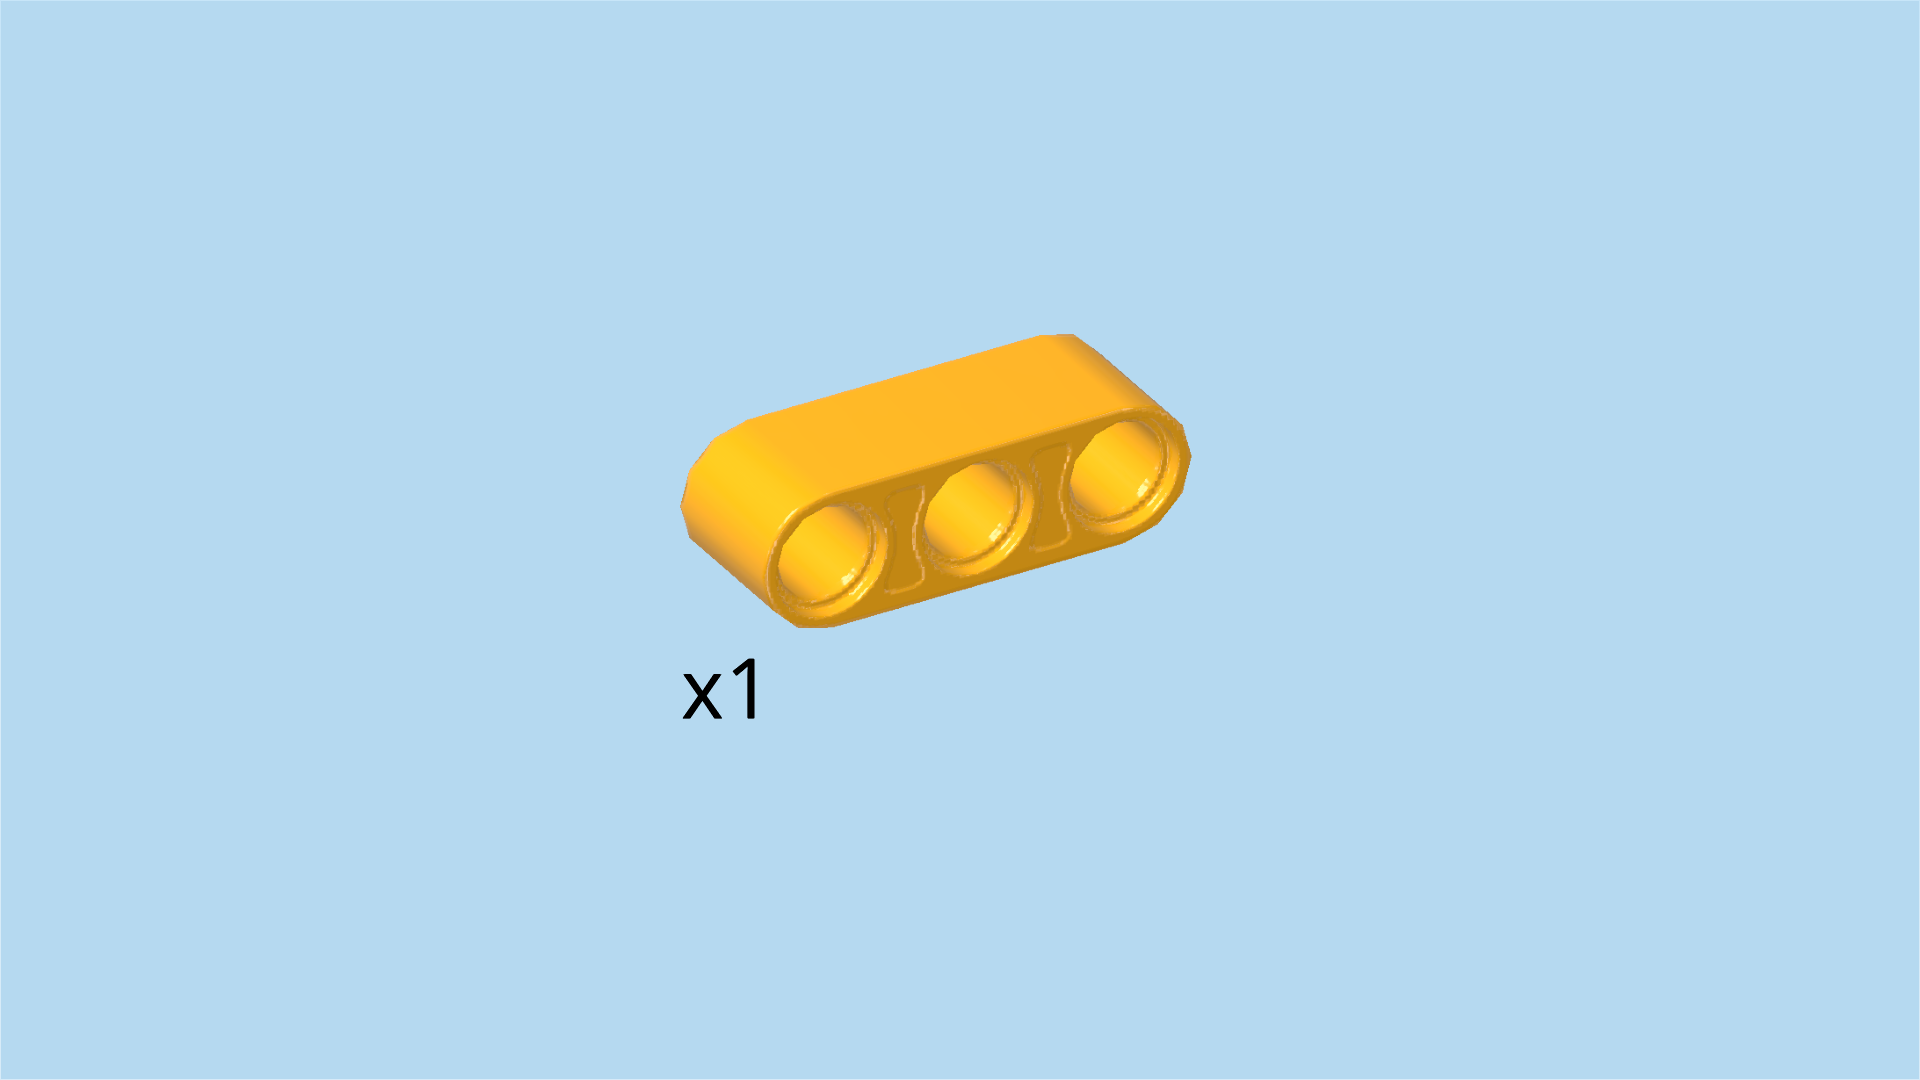
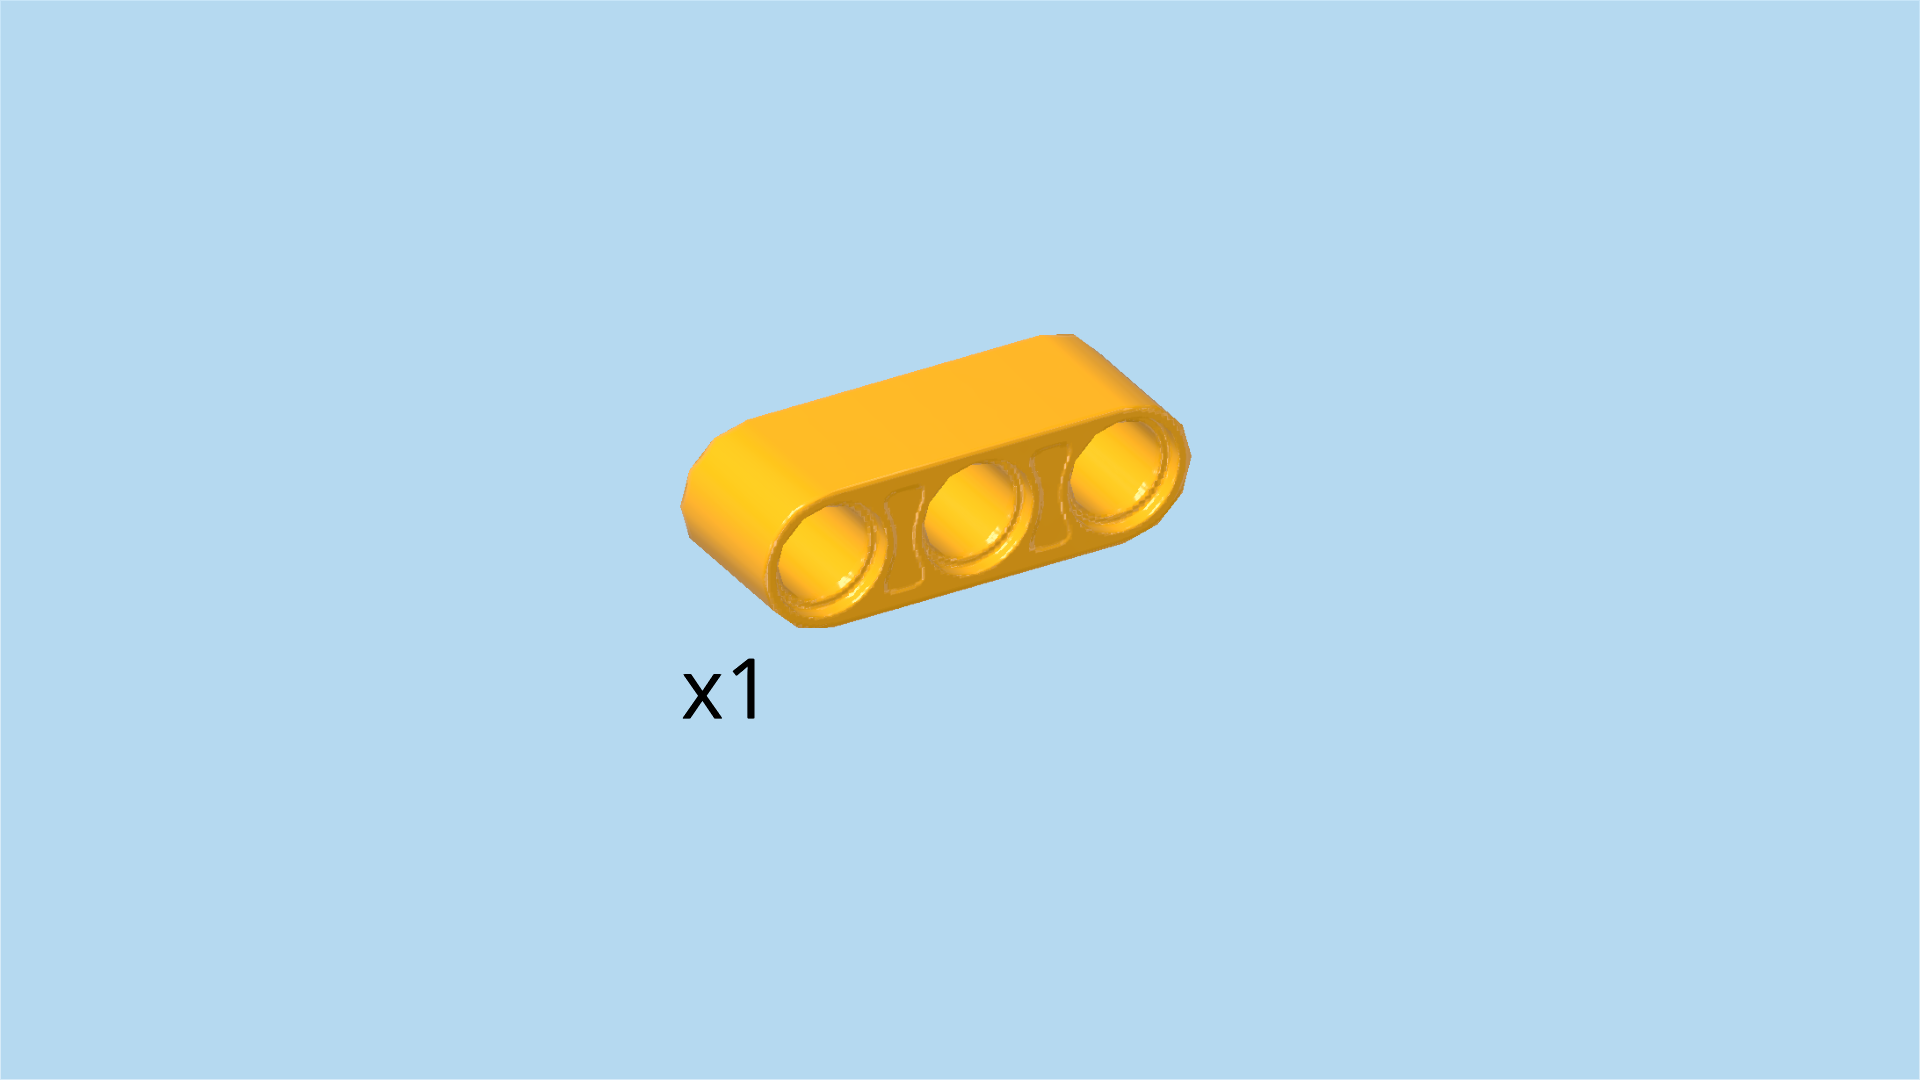
| Find 1 flame yellowish orange technic beam 3m. |
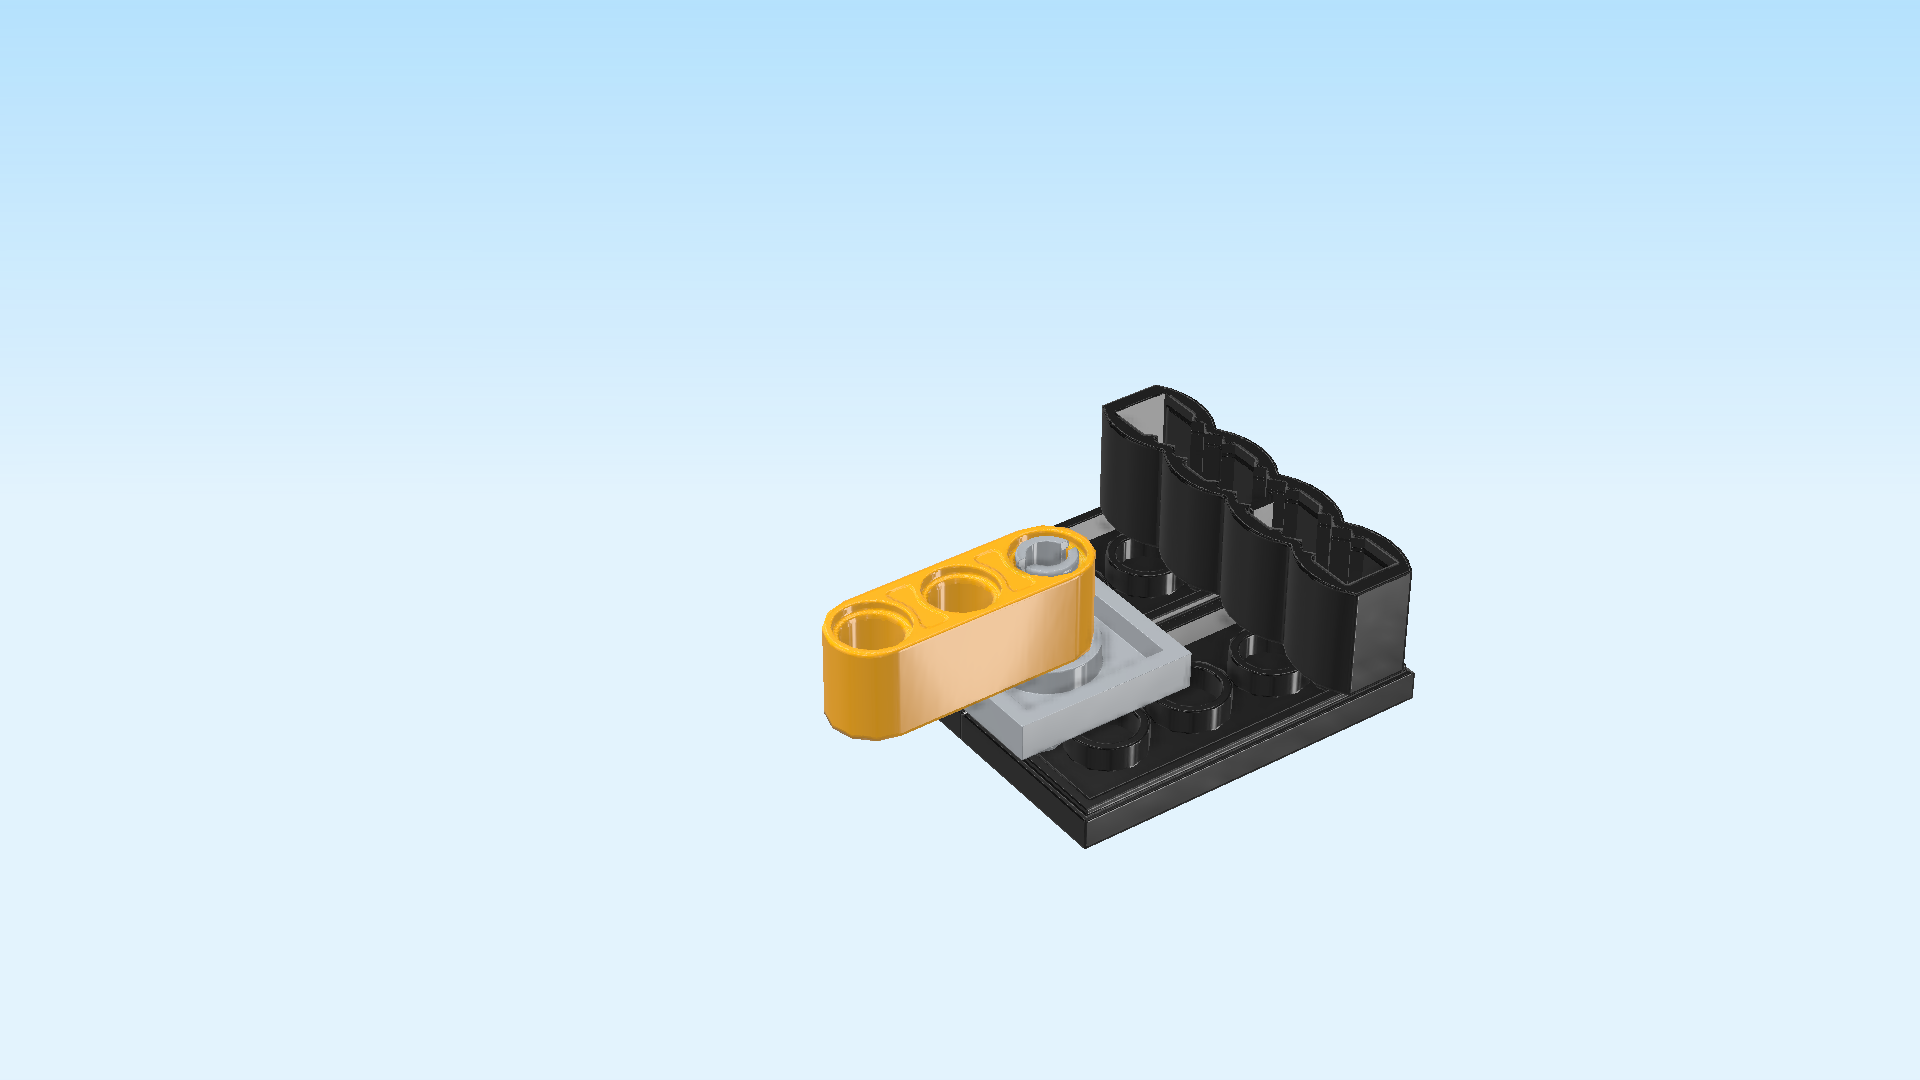
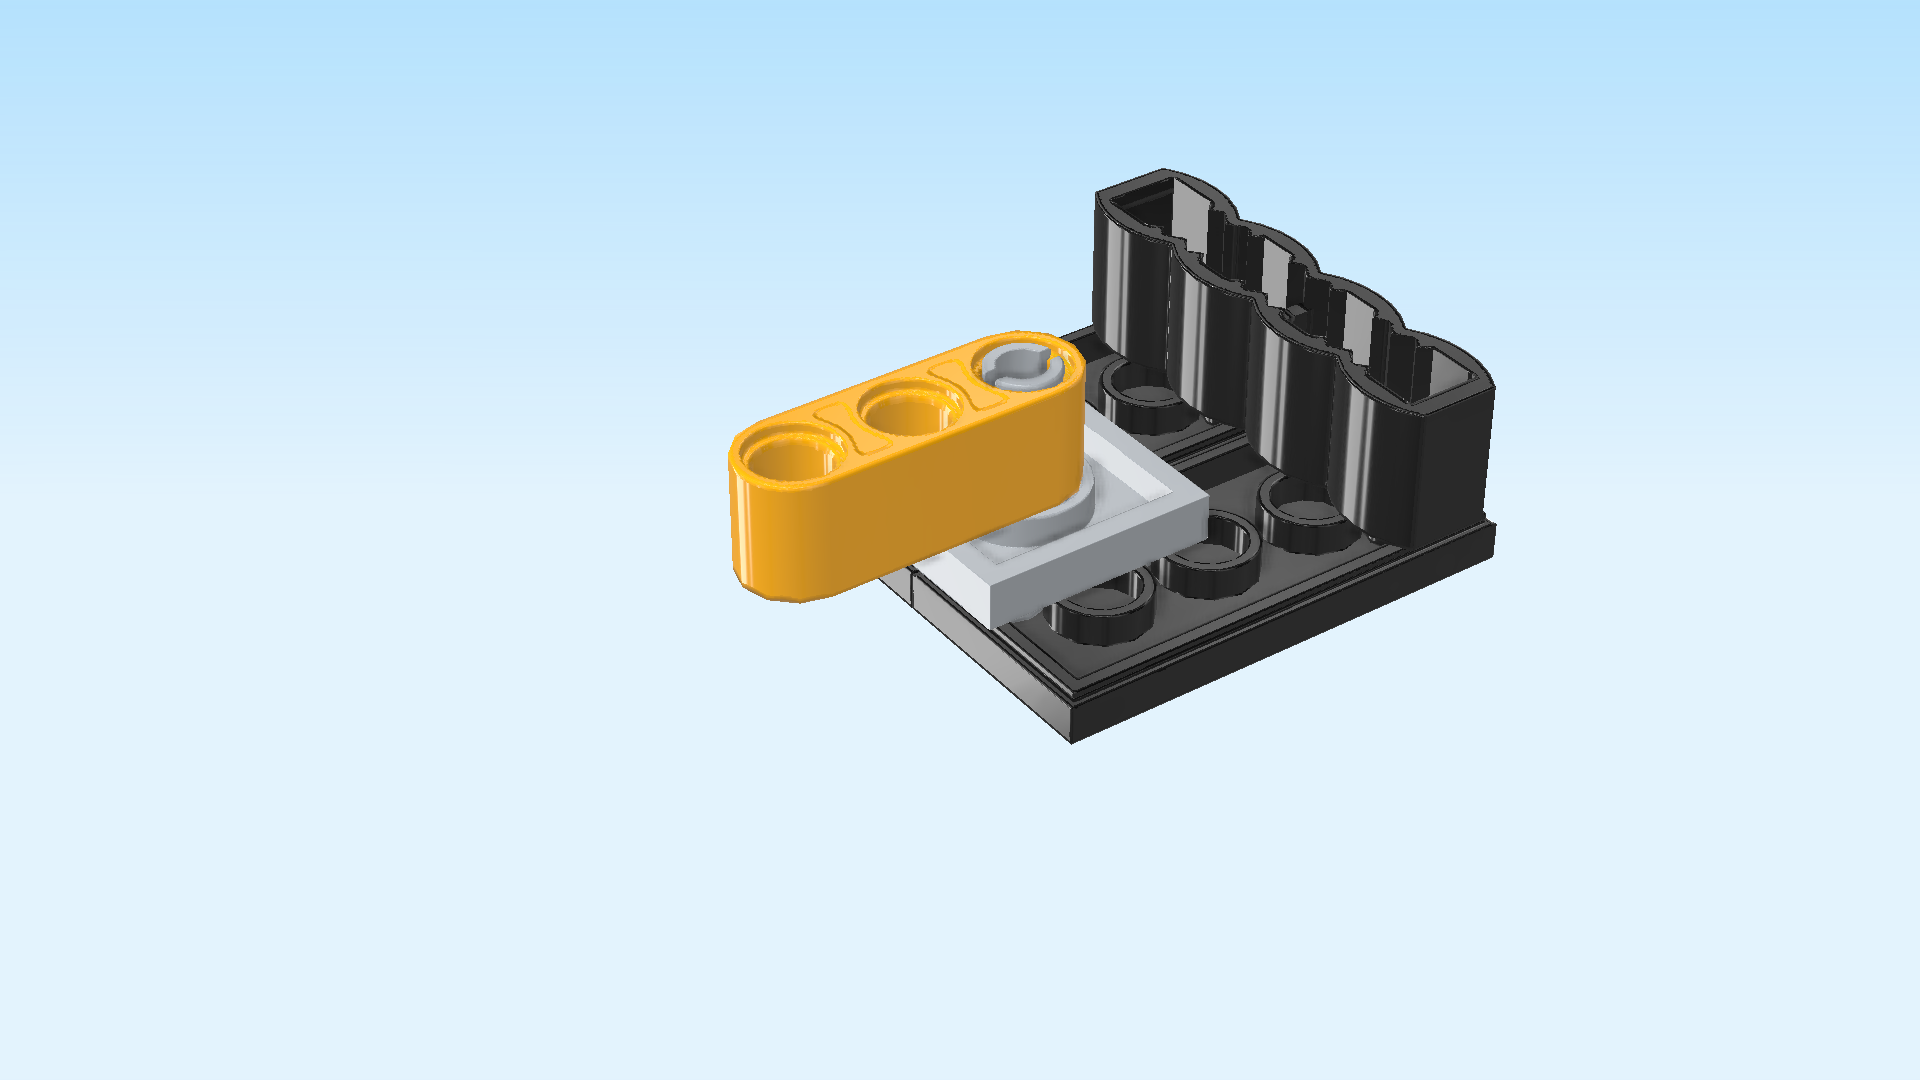
| Hold it horizontally, holes running from top to bottom, and insert the previous piece's connector from the bottom into the rightmost hole, beam overhanging to the left. |
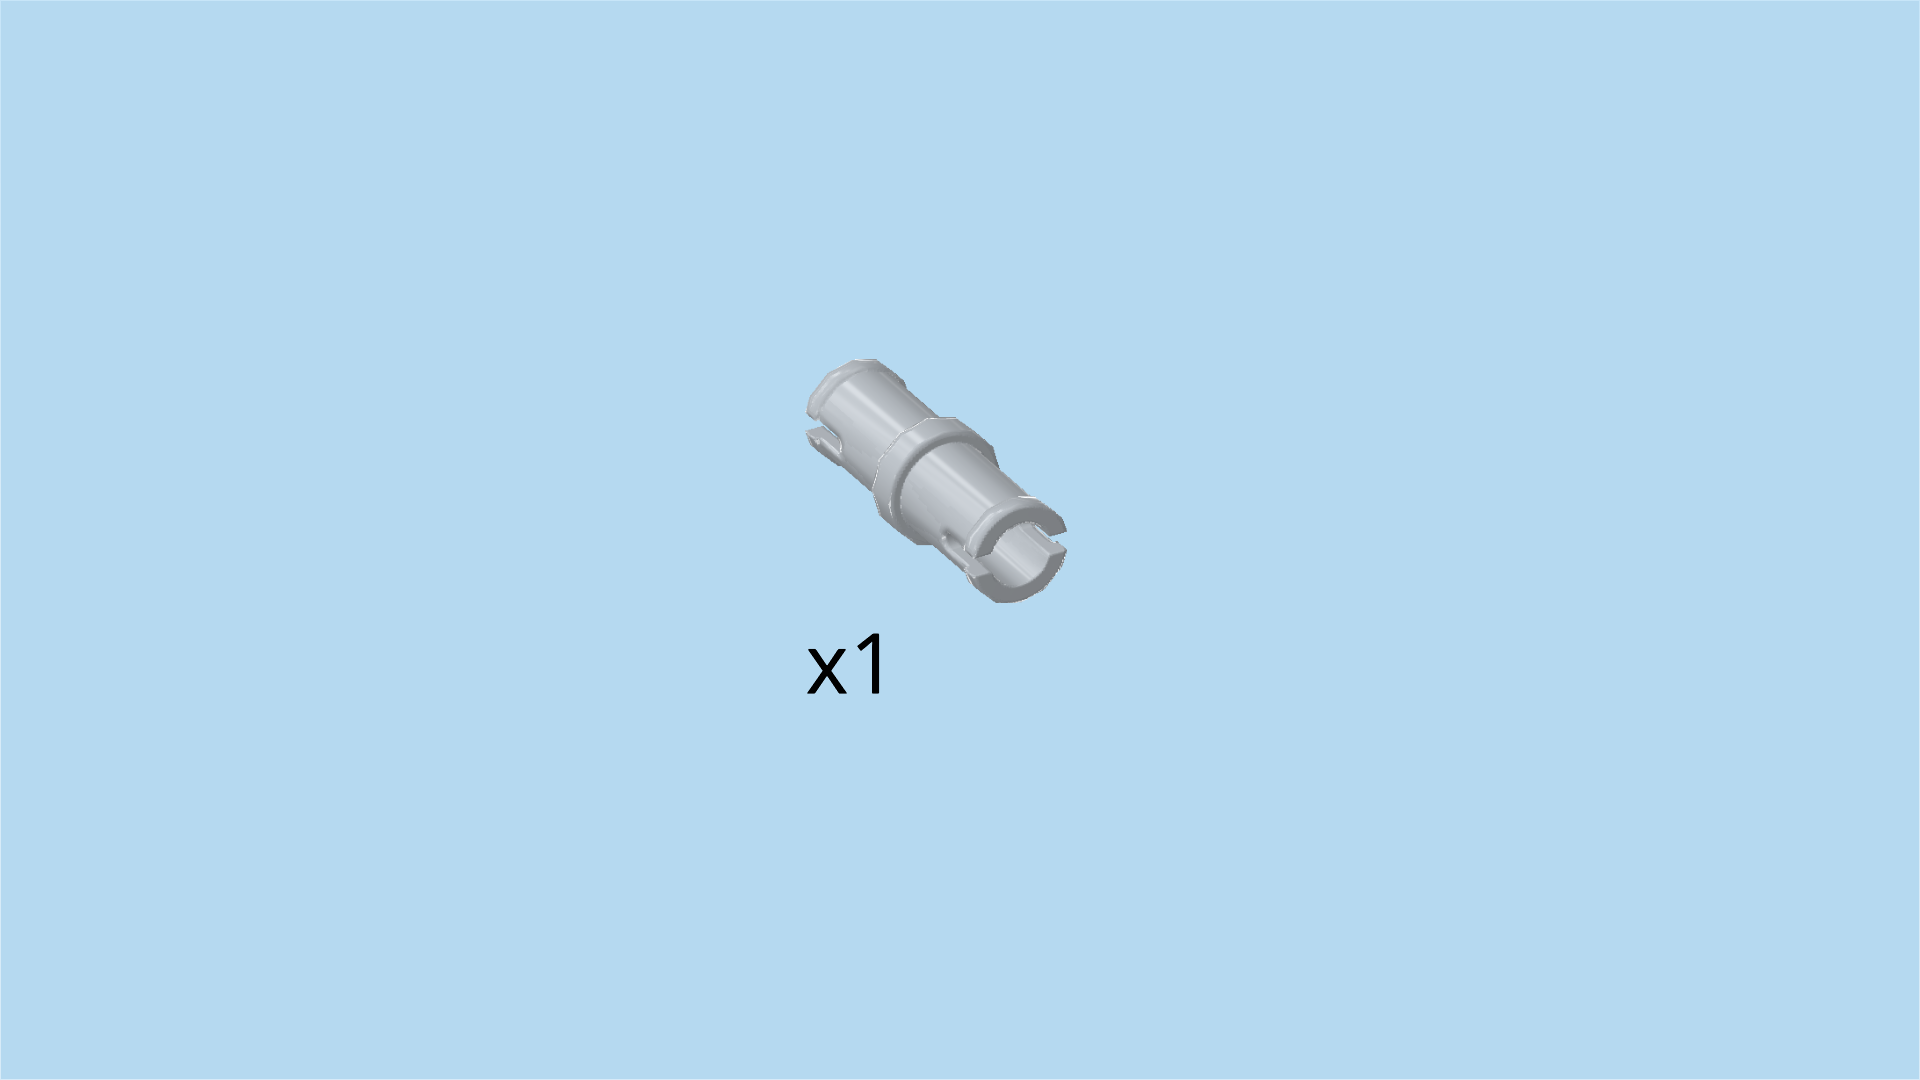
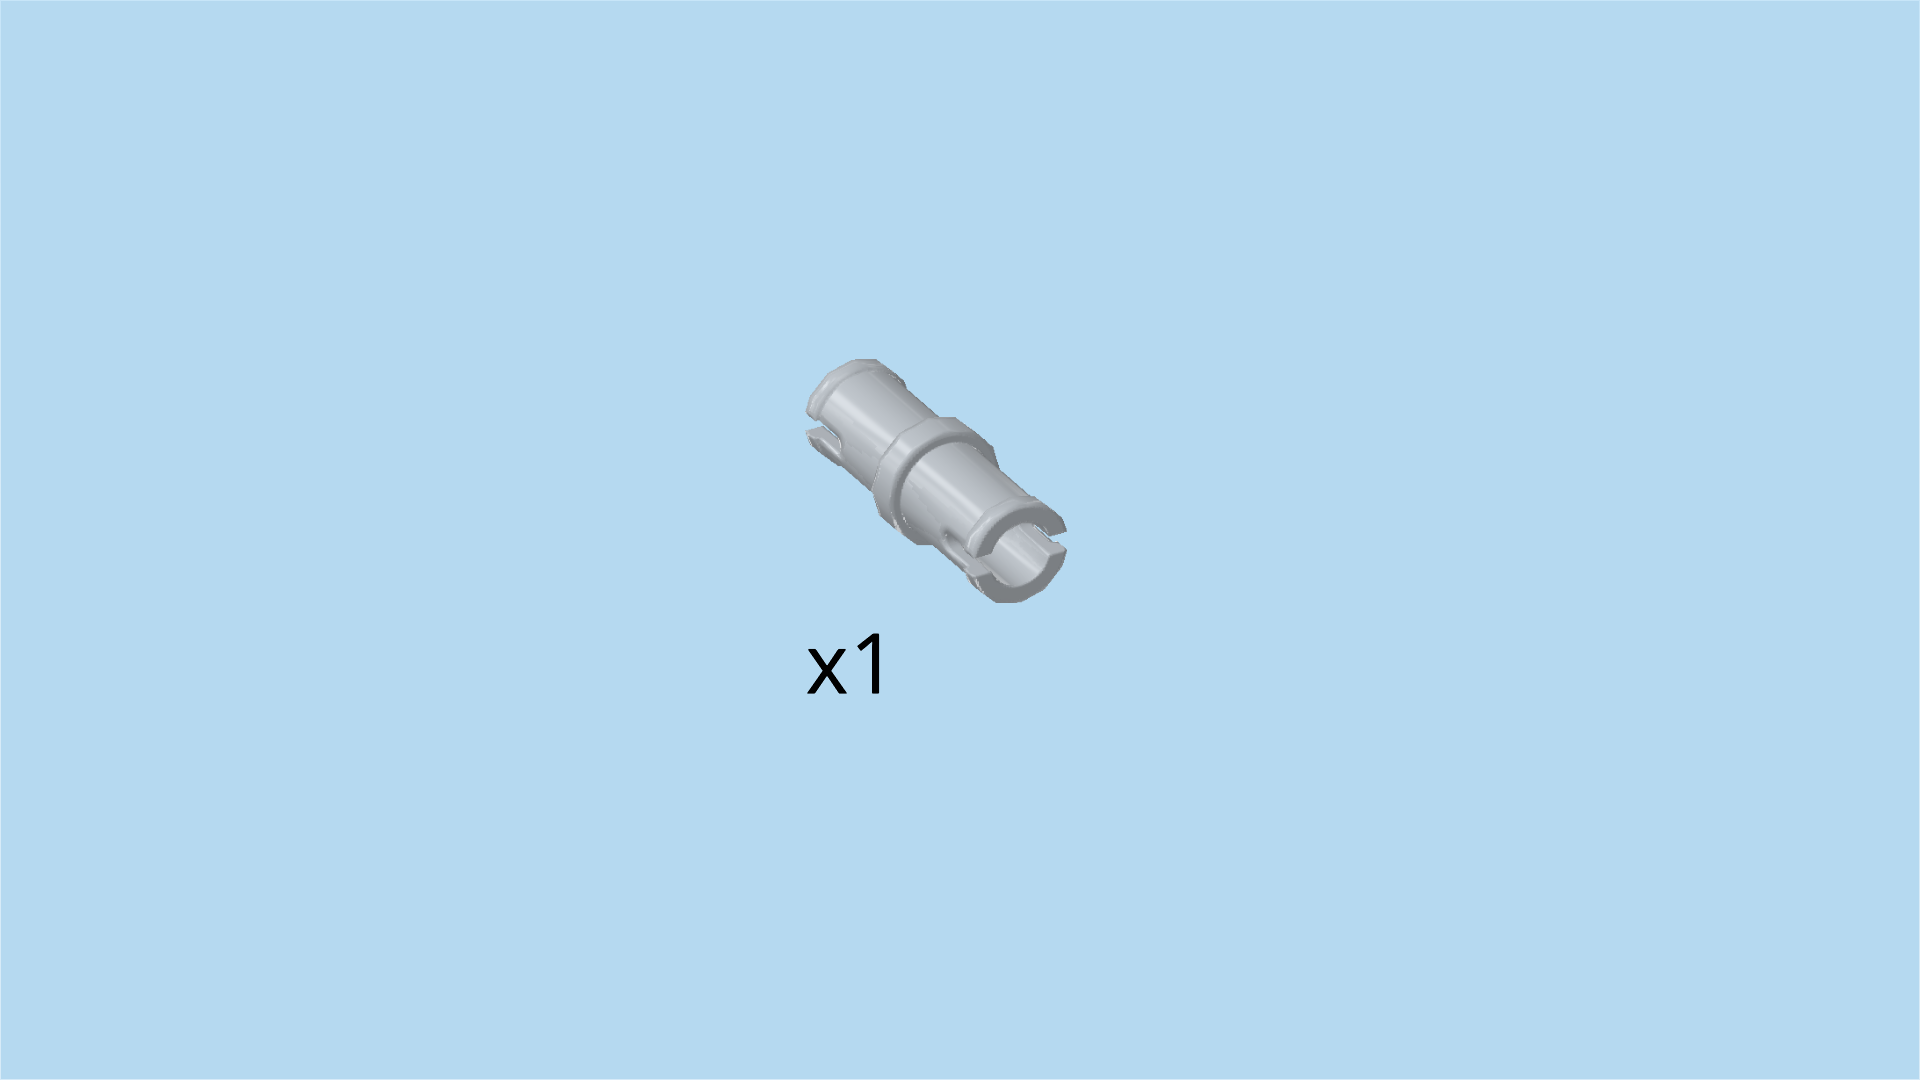
| Find 1 medium stone grey connector peg 2m with middle ring. |
| Flip the structure right side up again. Make sure the palisade brick is on the left, and the technic beam protrudes to the right. |
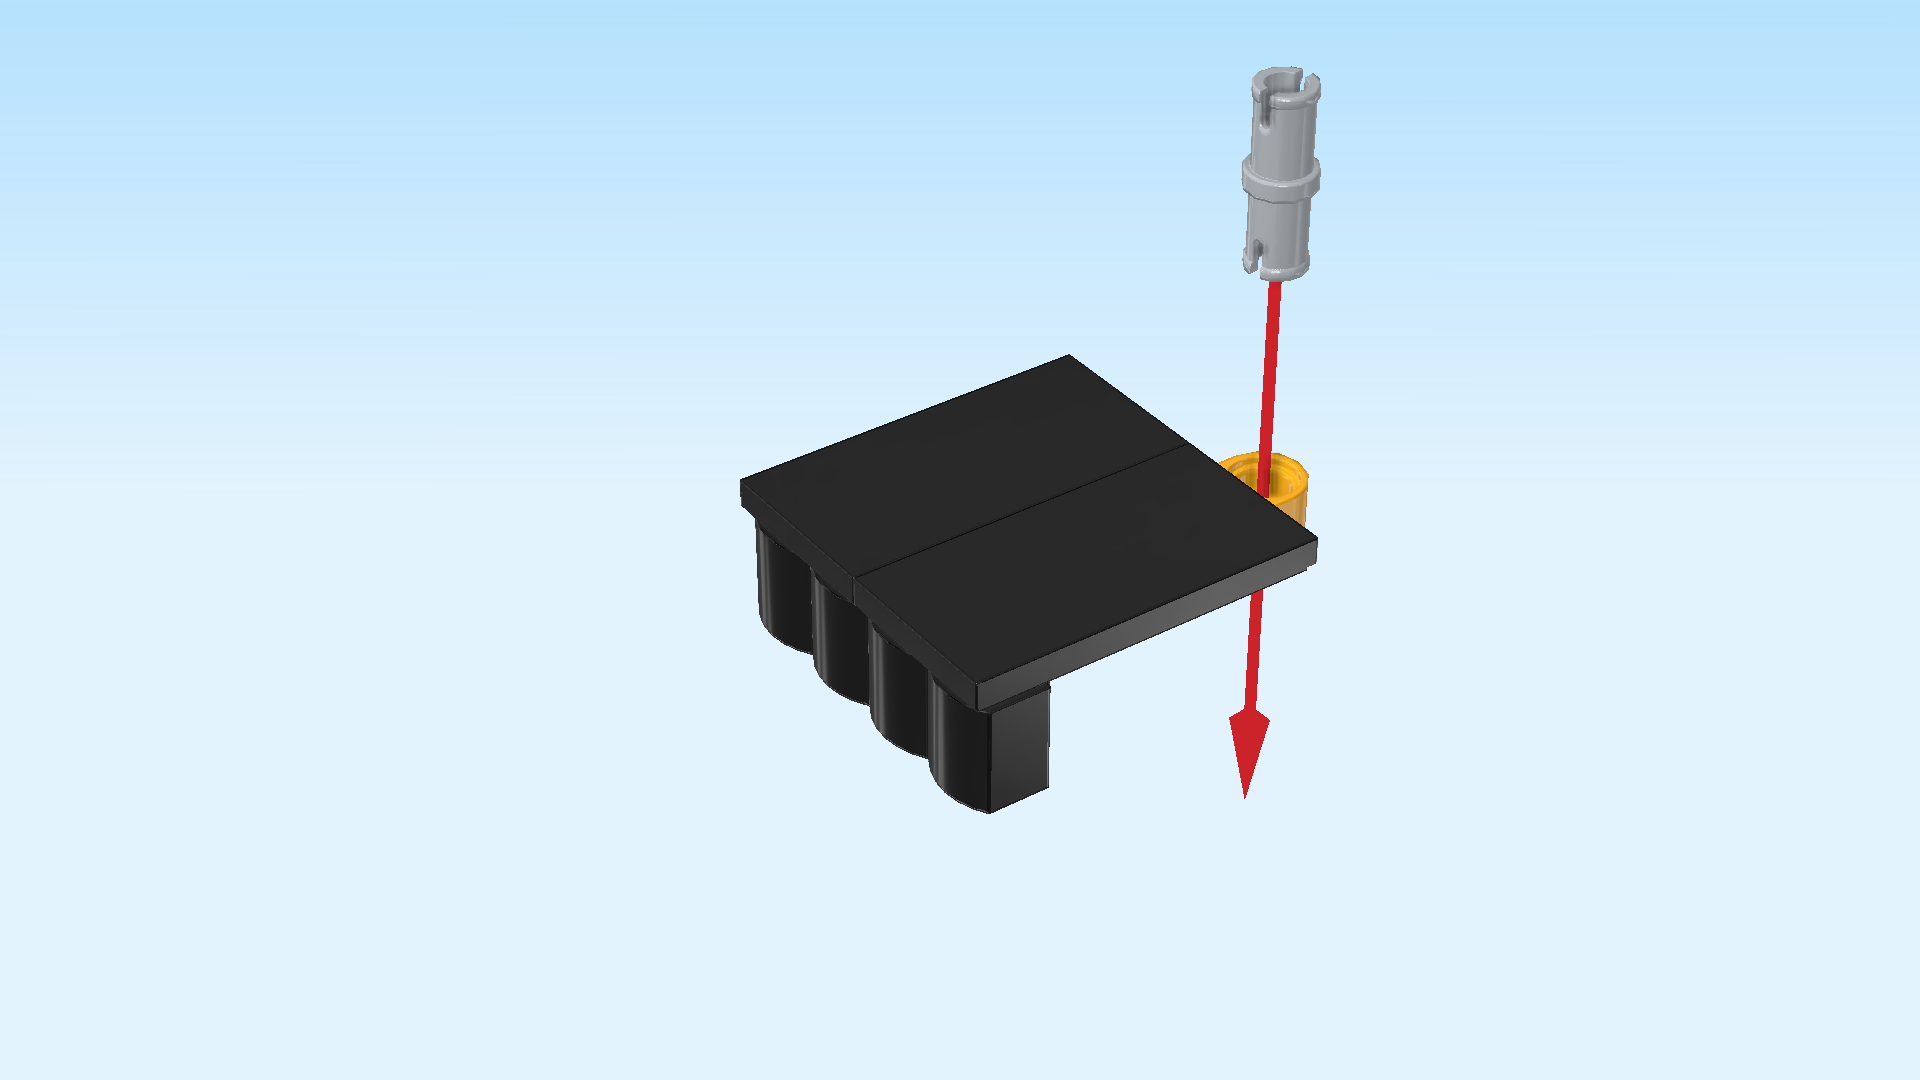
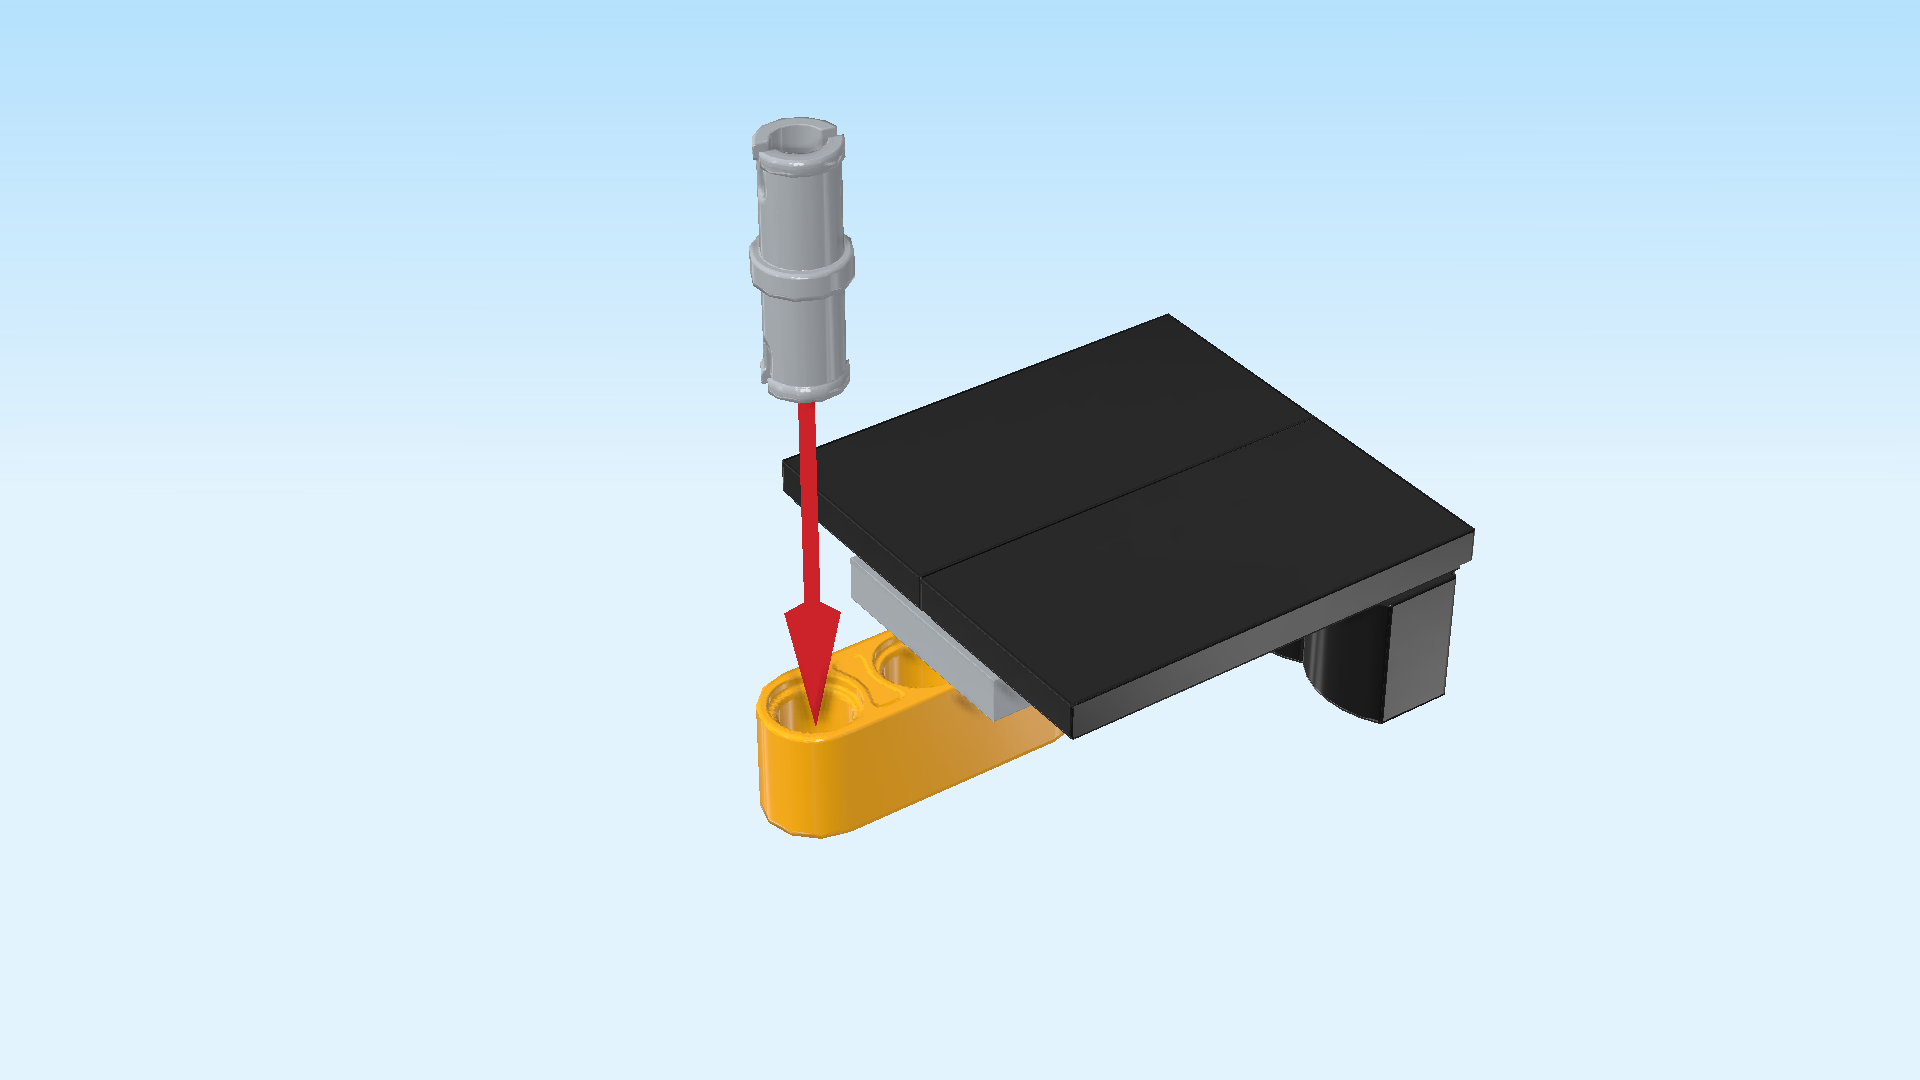
| Insert the connector peg from the top into the rightmost hole of the technic beam, one half protruding to the top. |
| The first half of the trap door is finished! Well done! Turn it so that the beam with connector is pointing to the left. Put it on the large flat tile area between palisade brick walls. Then, slide it to the left until the beam with connector touches the brick 2x8 on the left edge. The trap door half will only be fixed later, it is loose for now. |
| Next, we will build the first linkage of the trap door. |
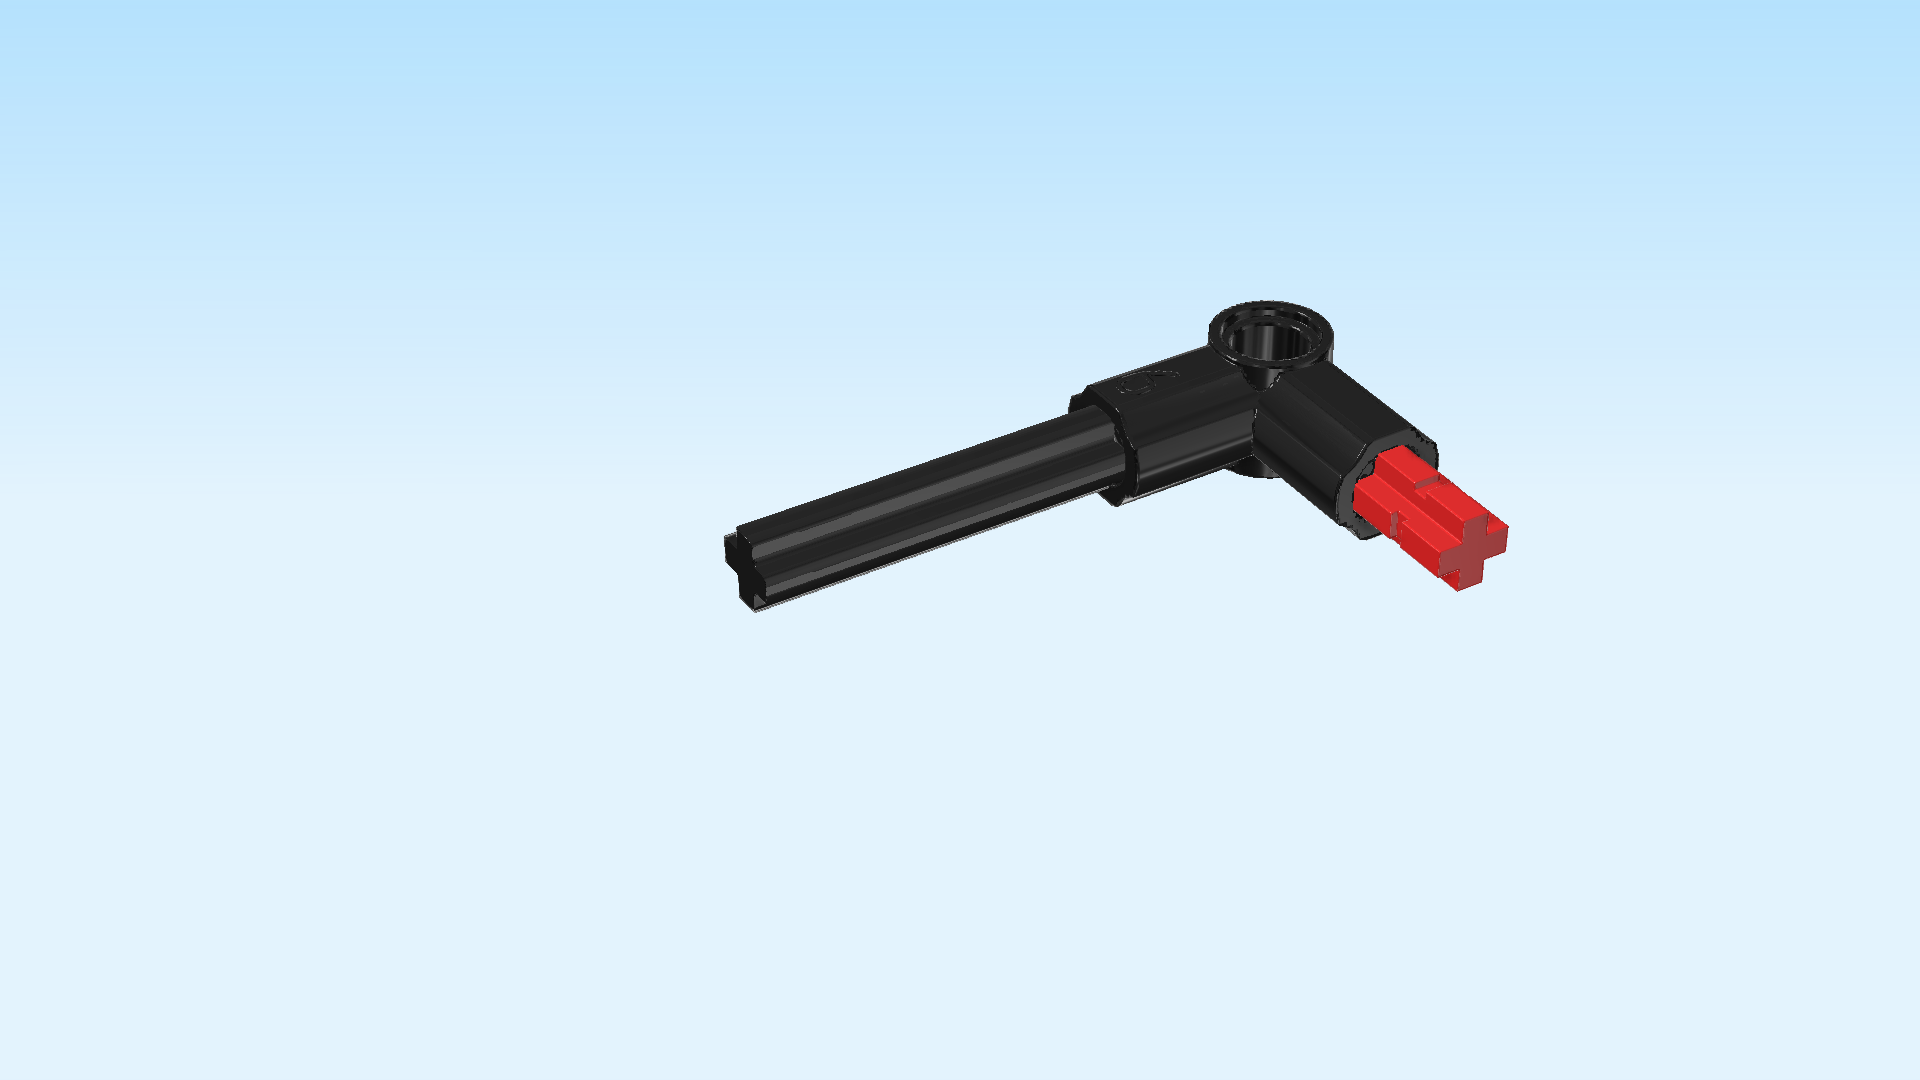
| Collect the following 3 pieces: |
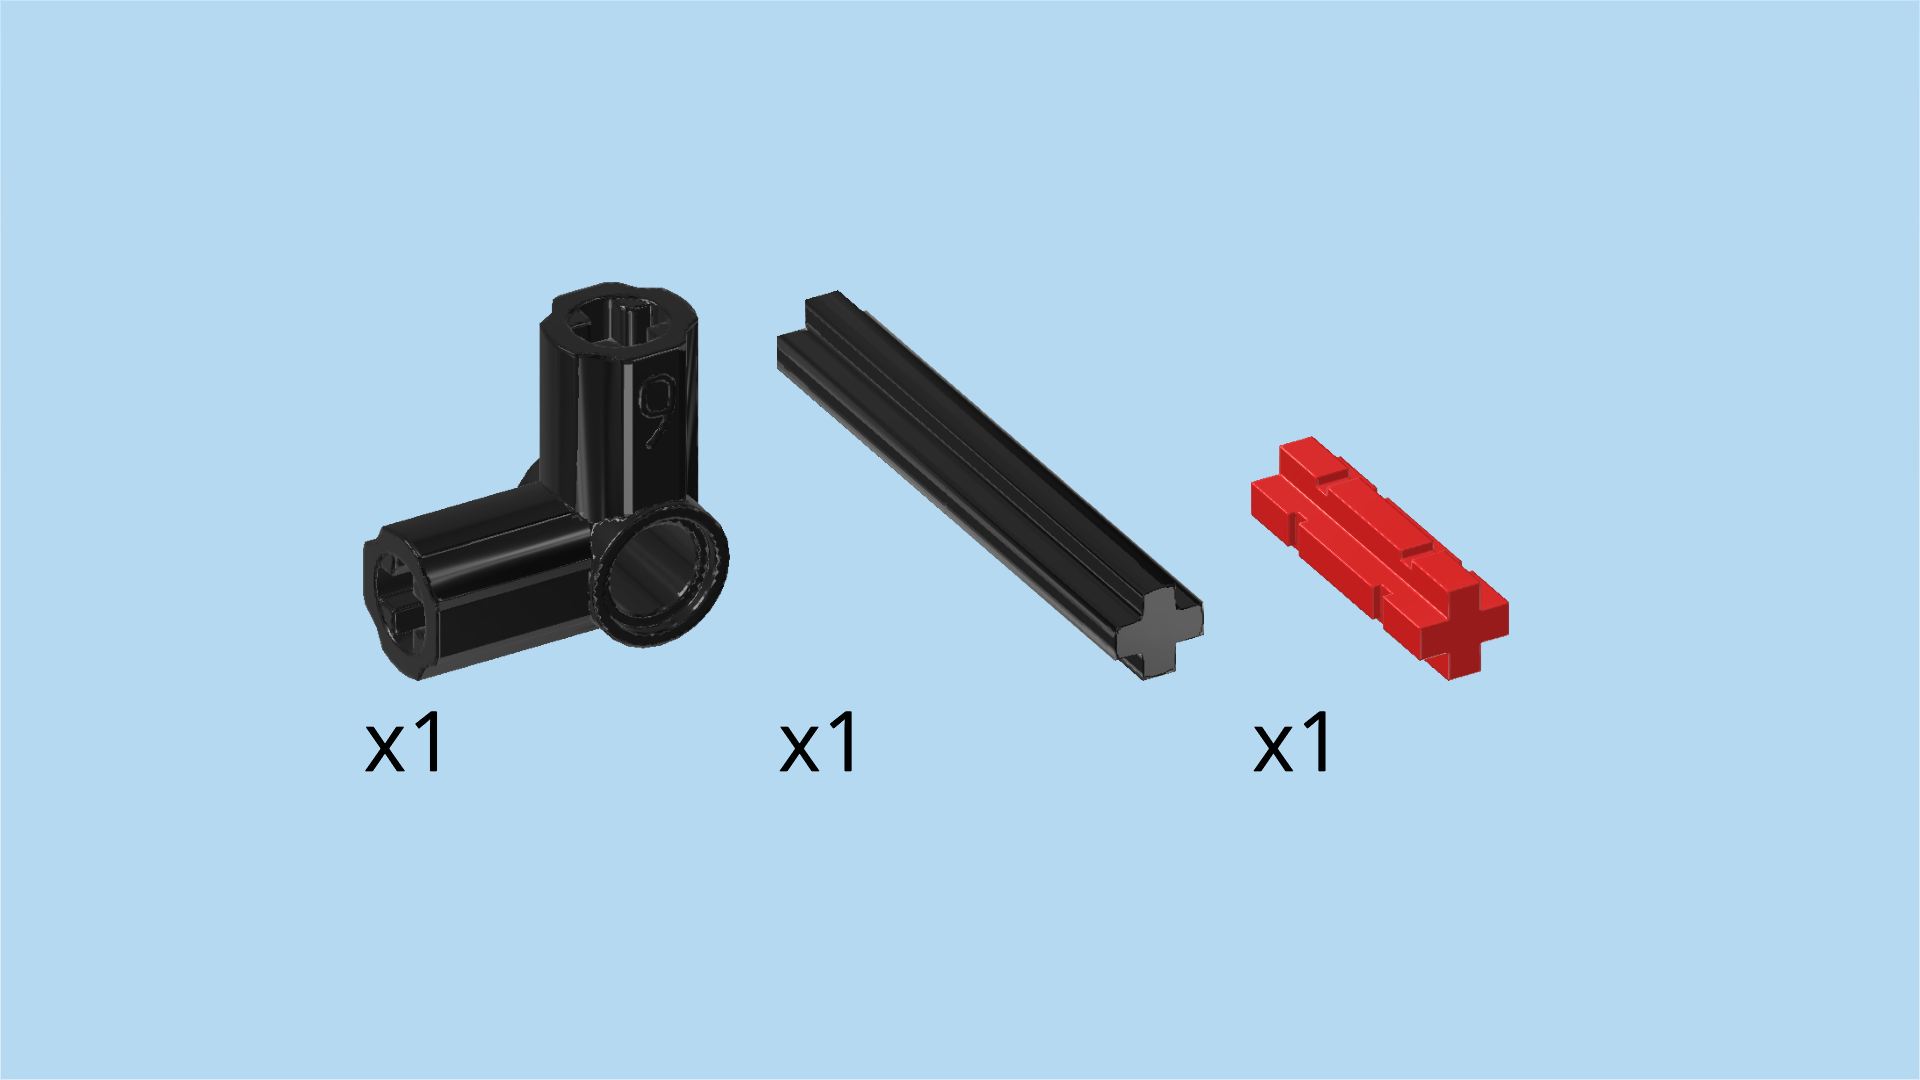
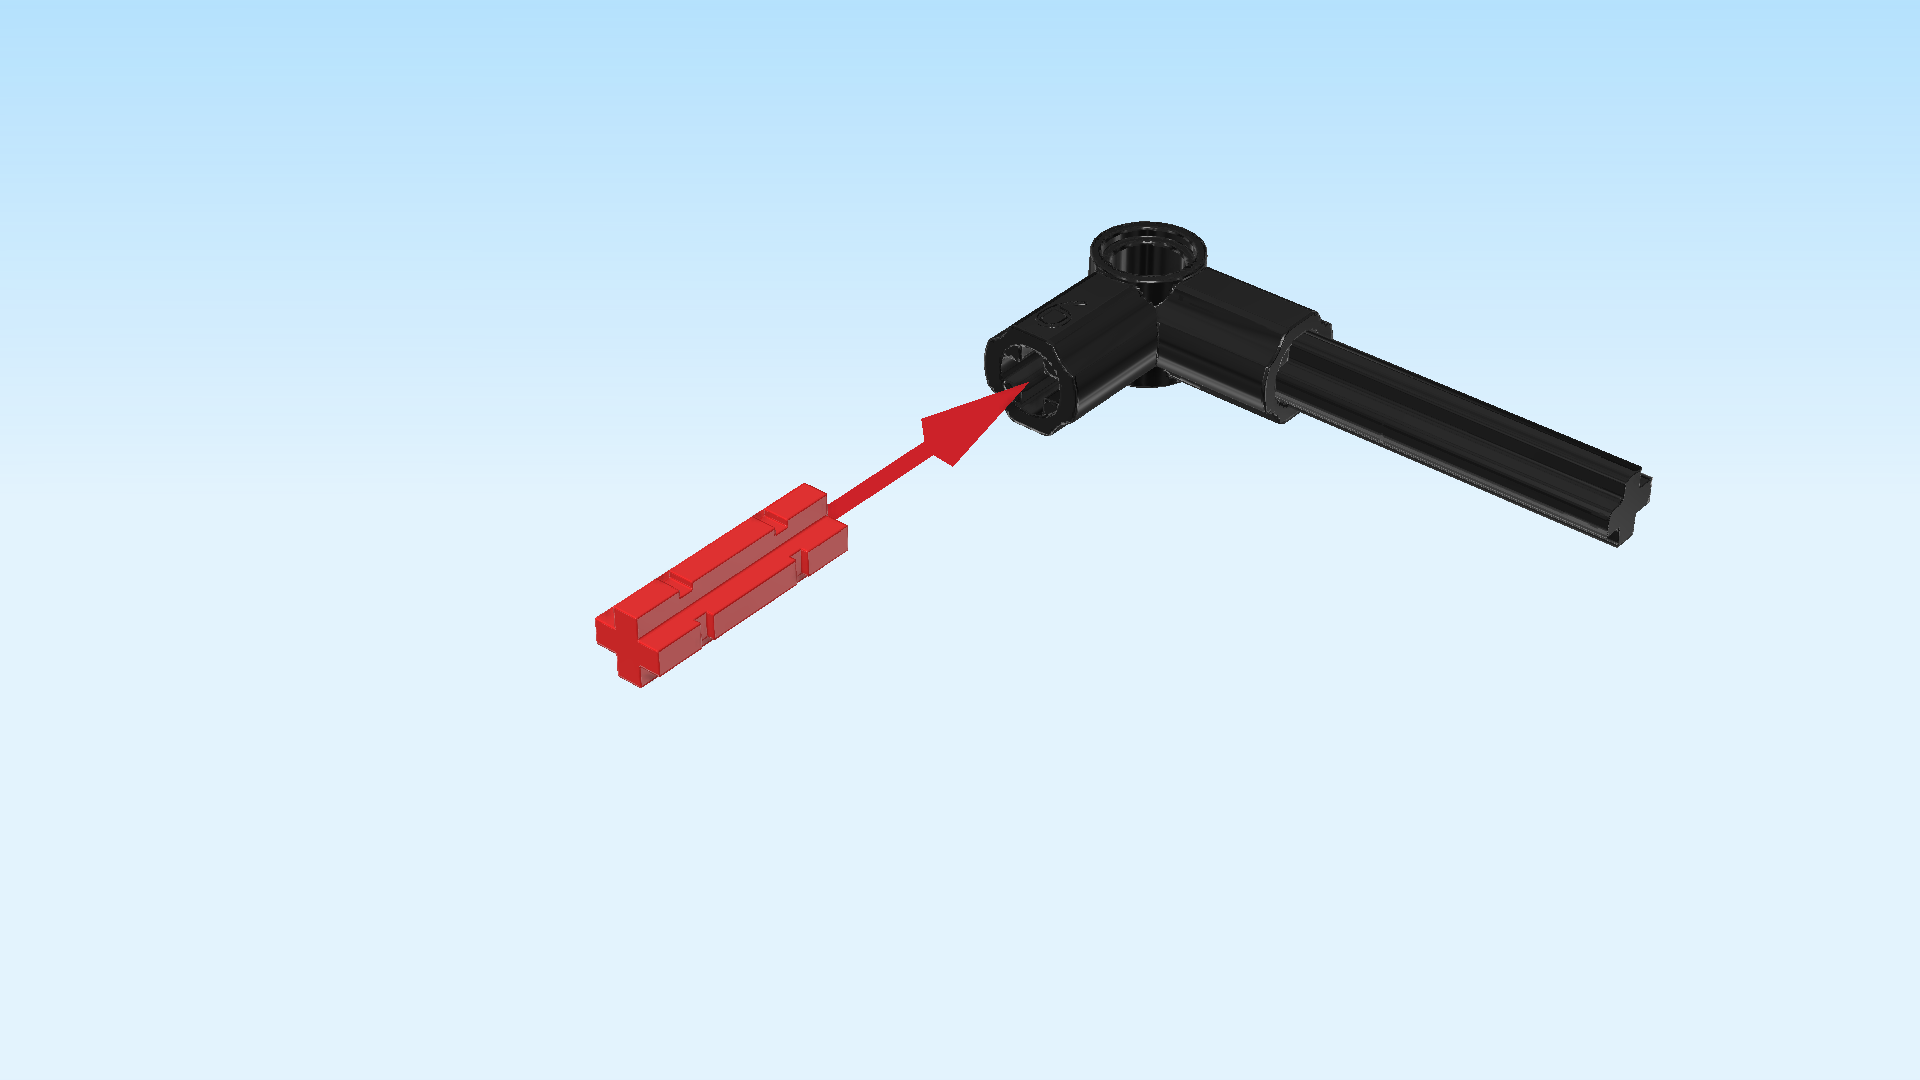
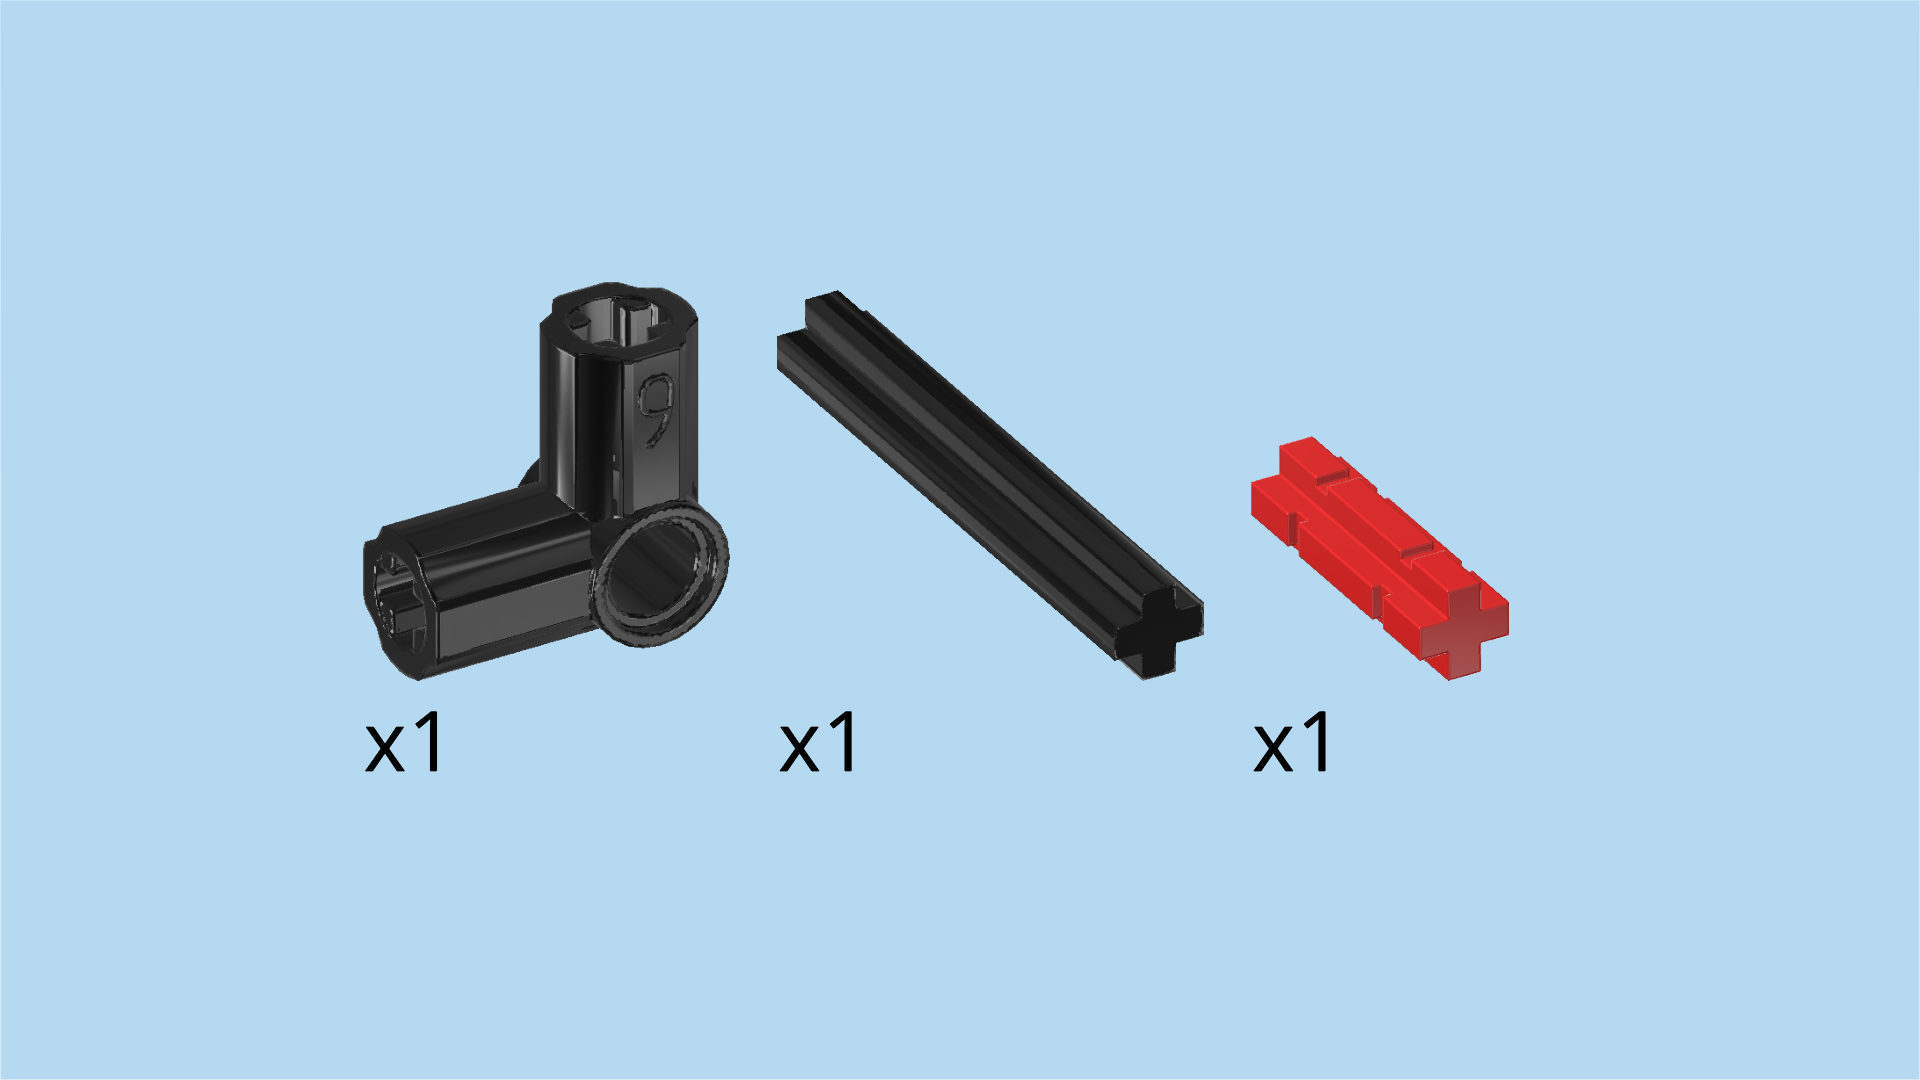
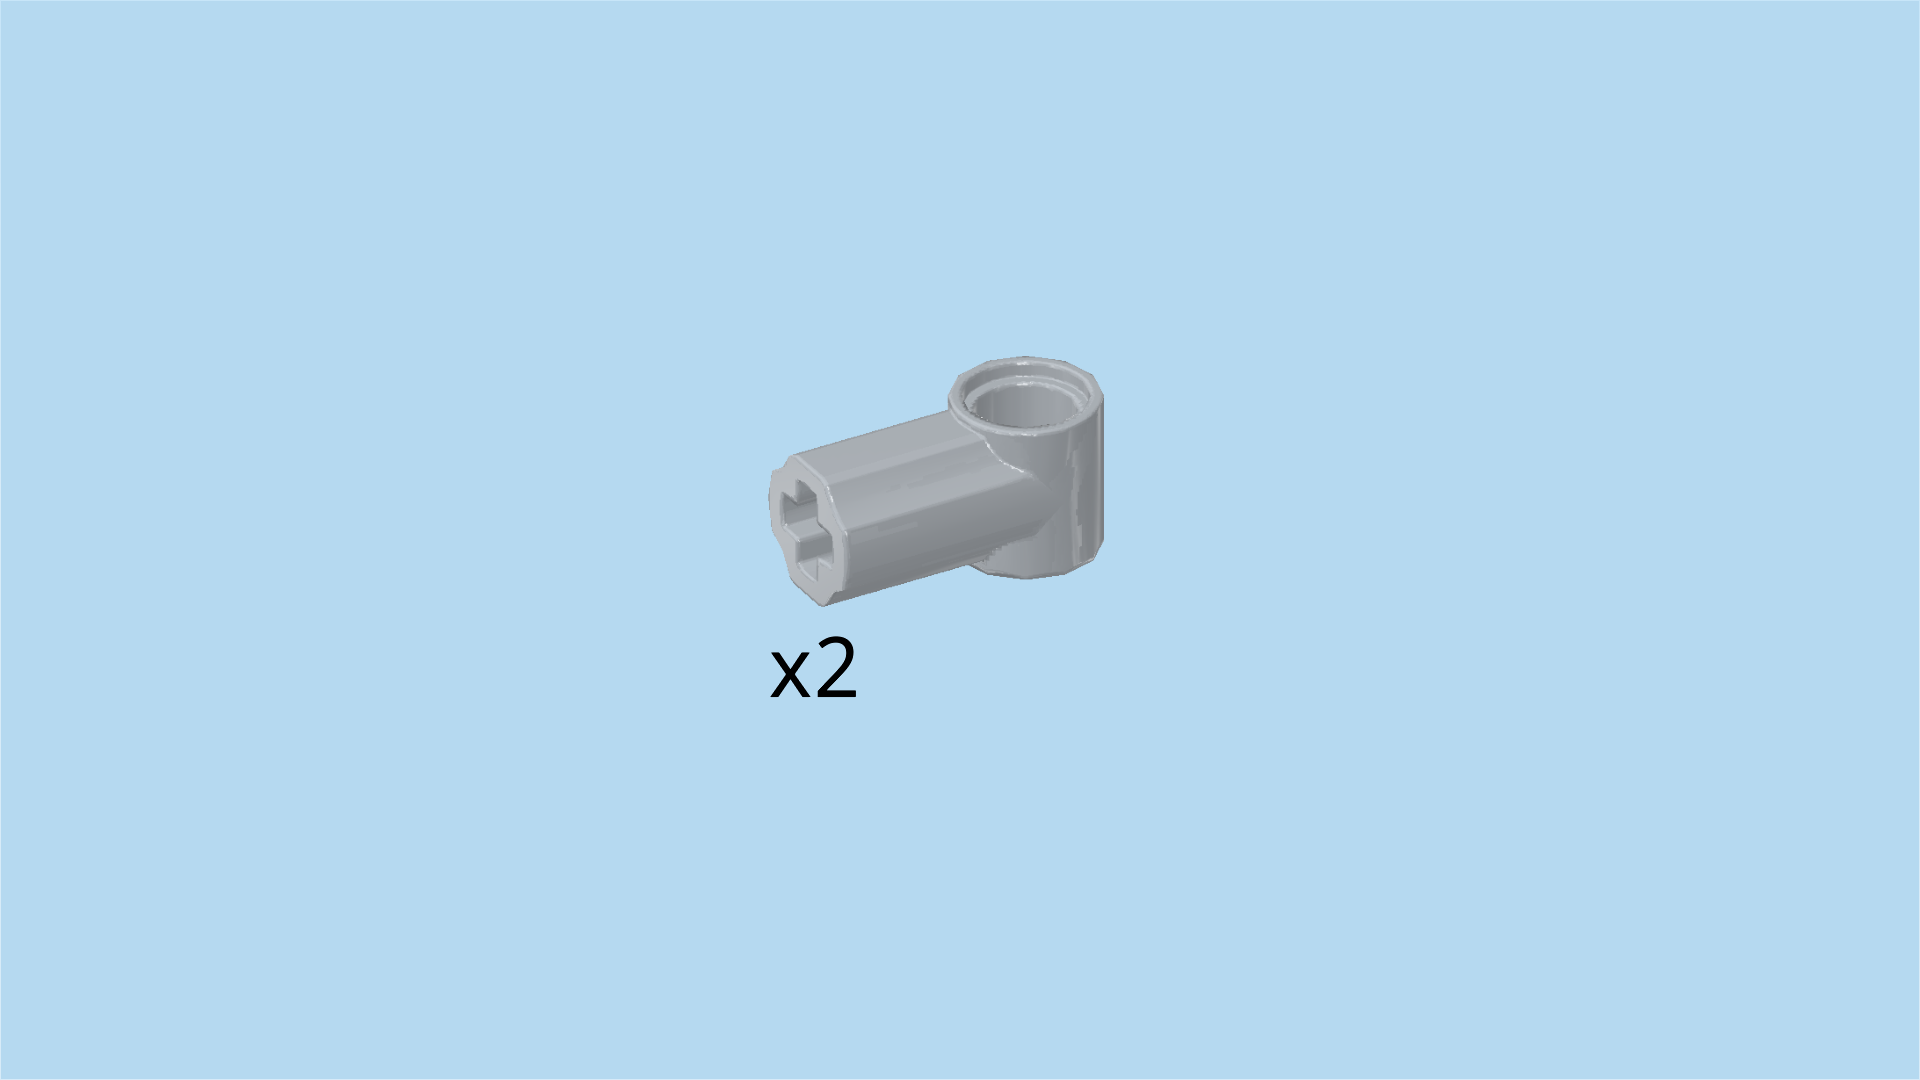
| 1 black angled cross axle extension 1m x 1m with round hole, |
| 1 black cross axle 4m, |
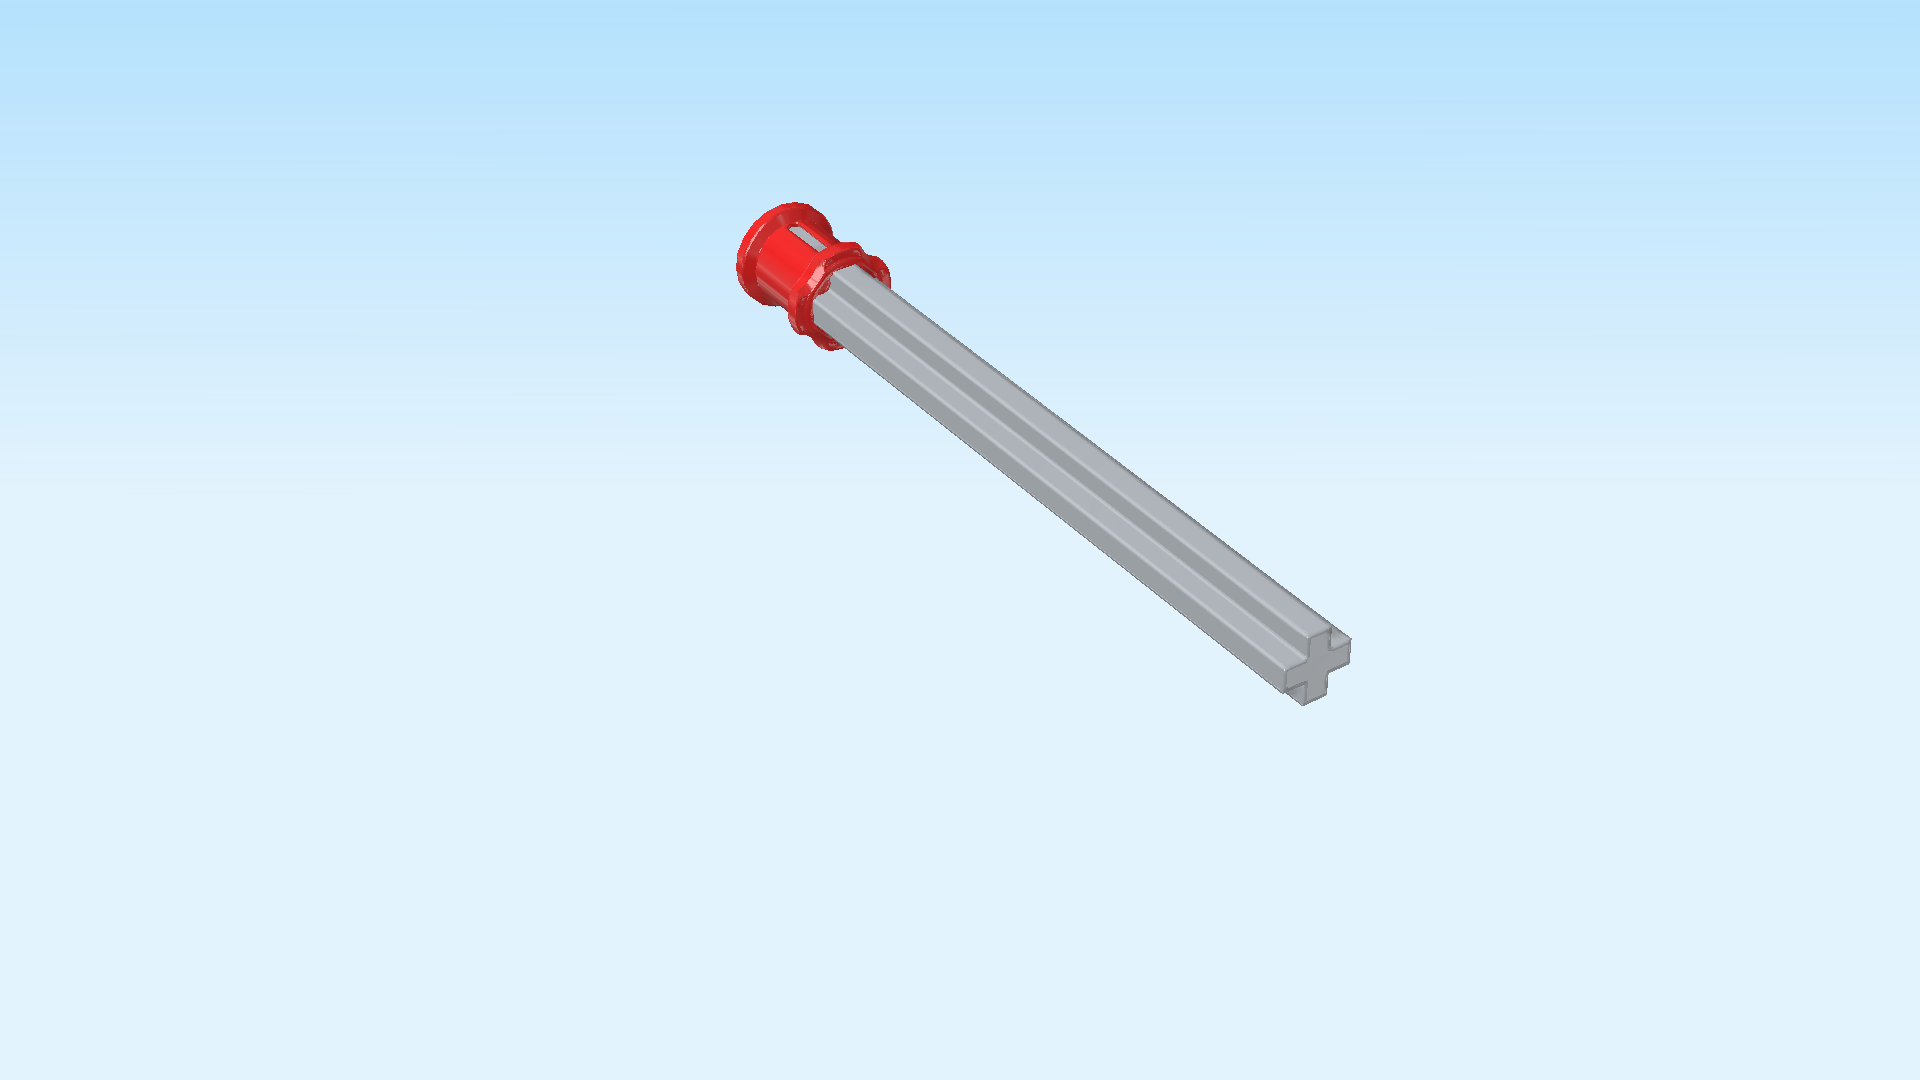
| and 1 bright red cross axle 2m with 2 grooves. |
| Put the angled cross axle extension flat on the table, one arm pointing to the front and the other arm pointing to the right. |
| Insert the cross axle 4m from the right into the arm pointing to the right, 3/4 overhanging to the right. |
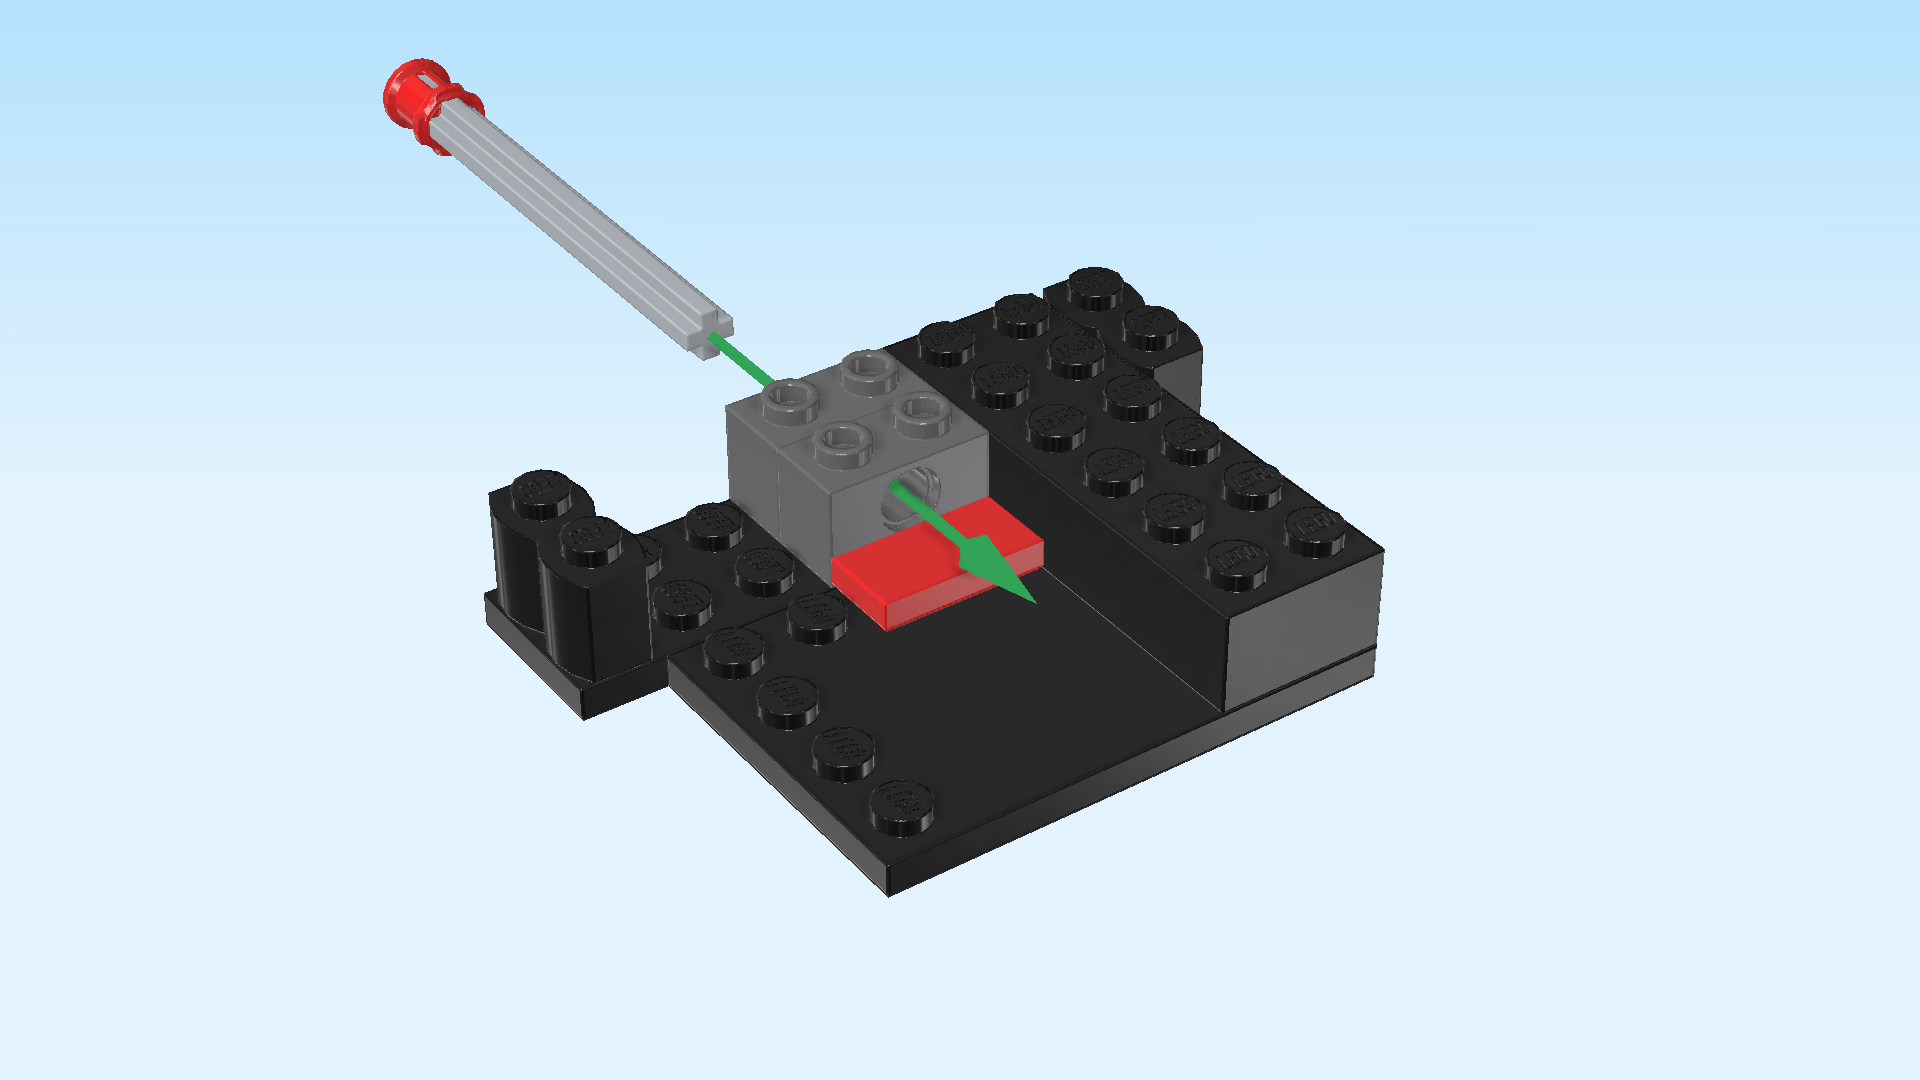
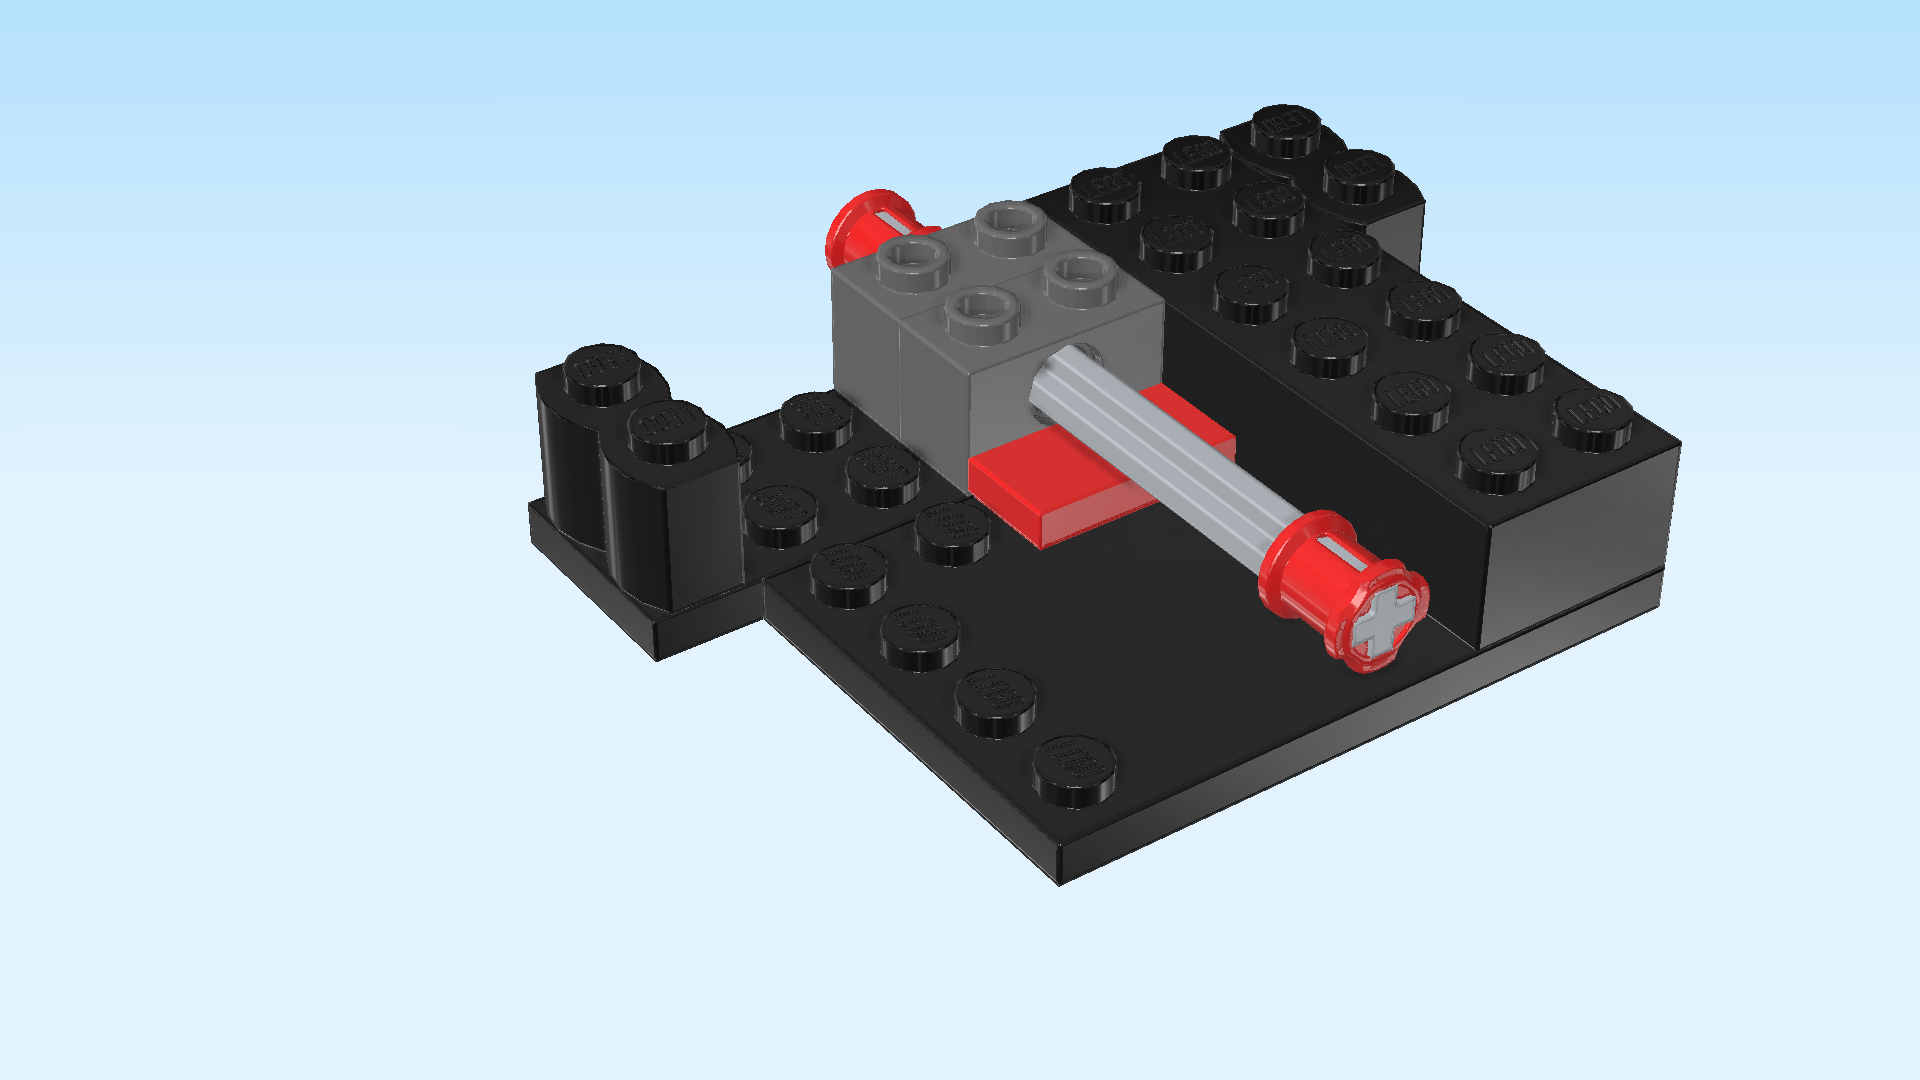
| Insert the cross axle 2m with 2 grooves from the front into the other arm, 1/2 overhanging to the front. |
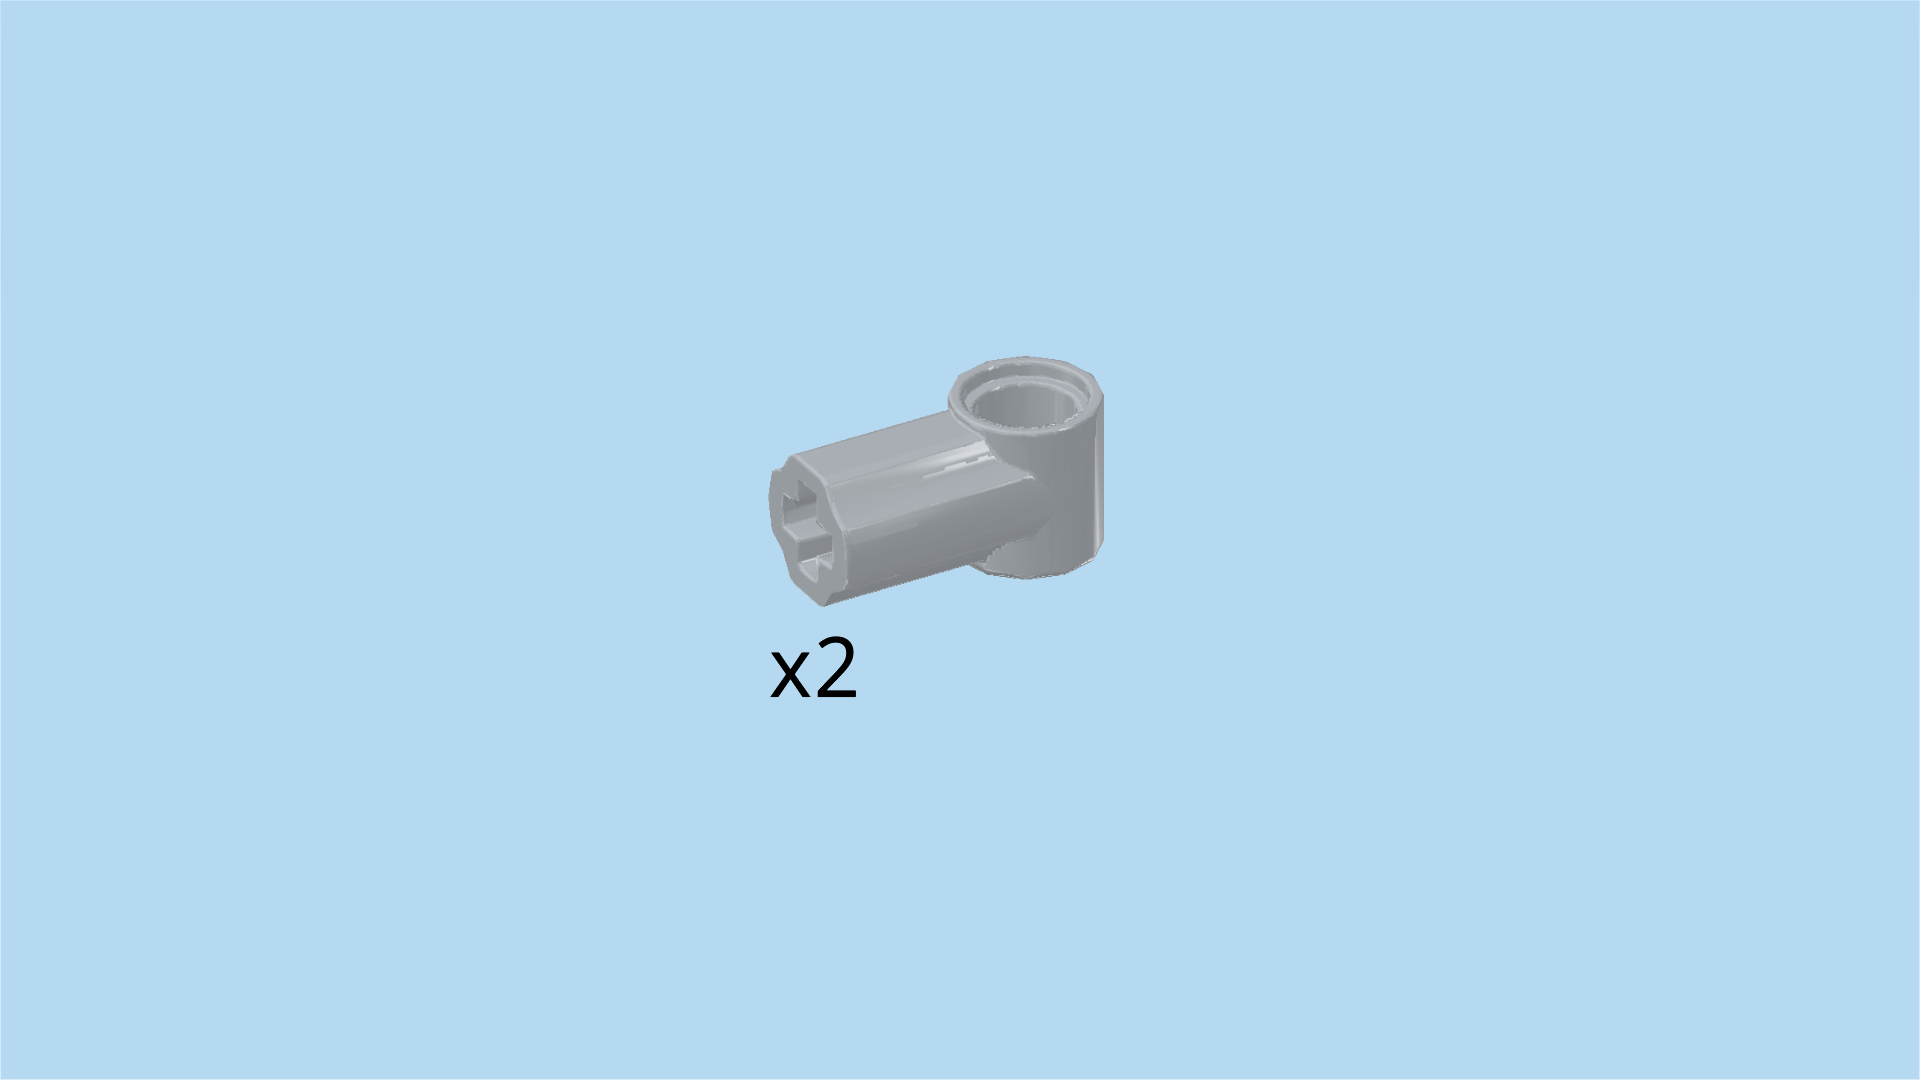
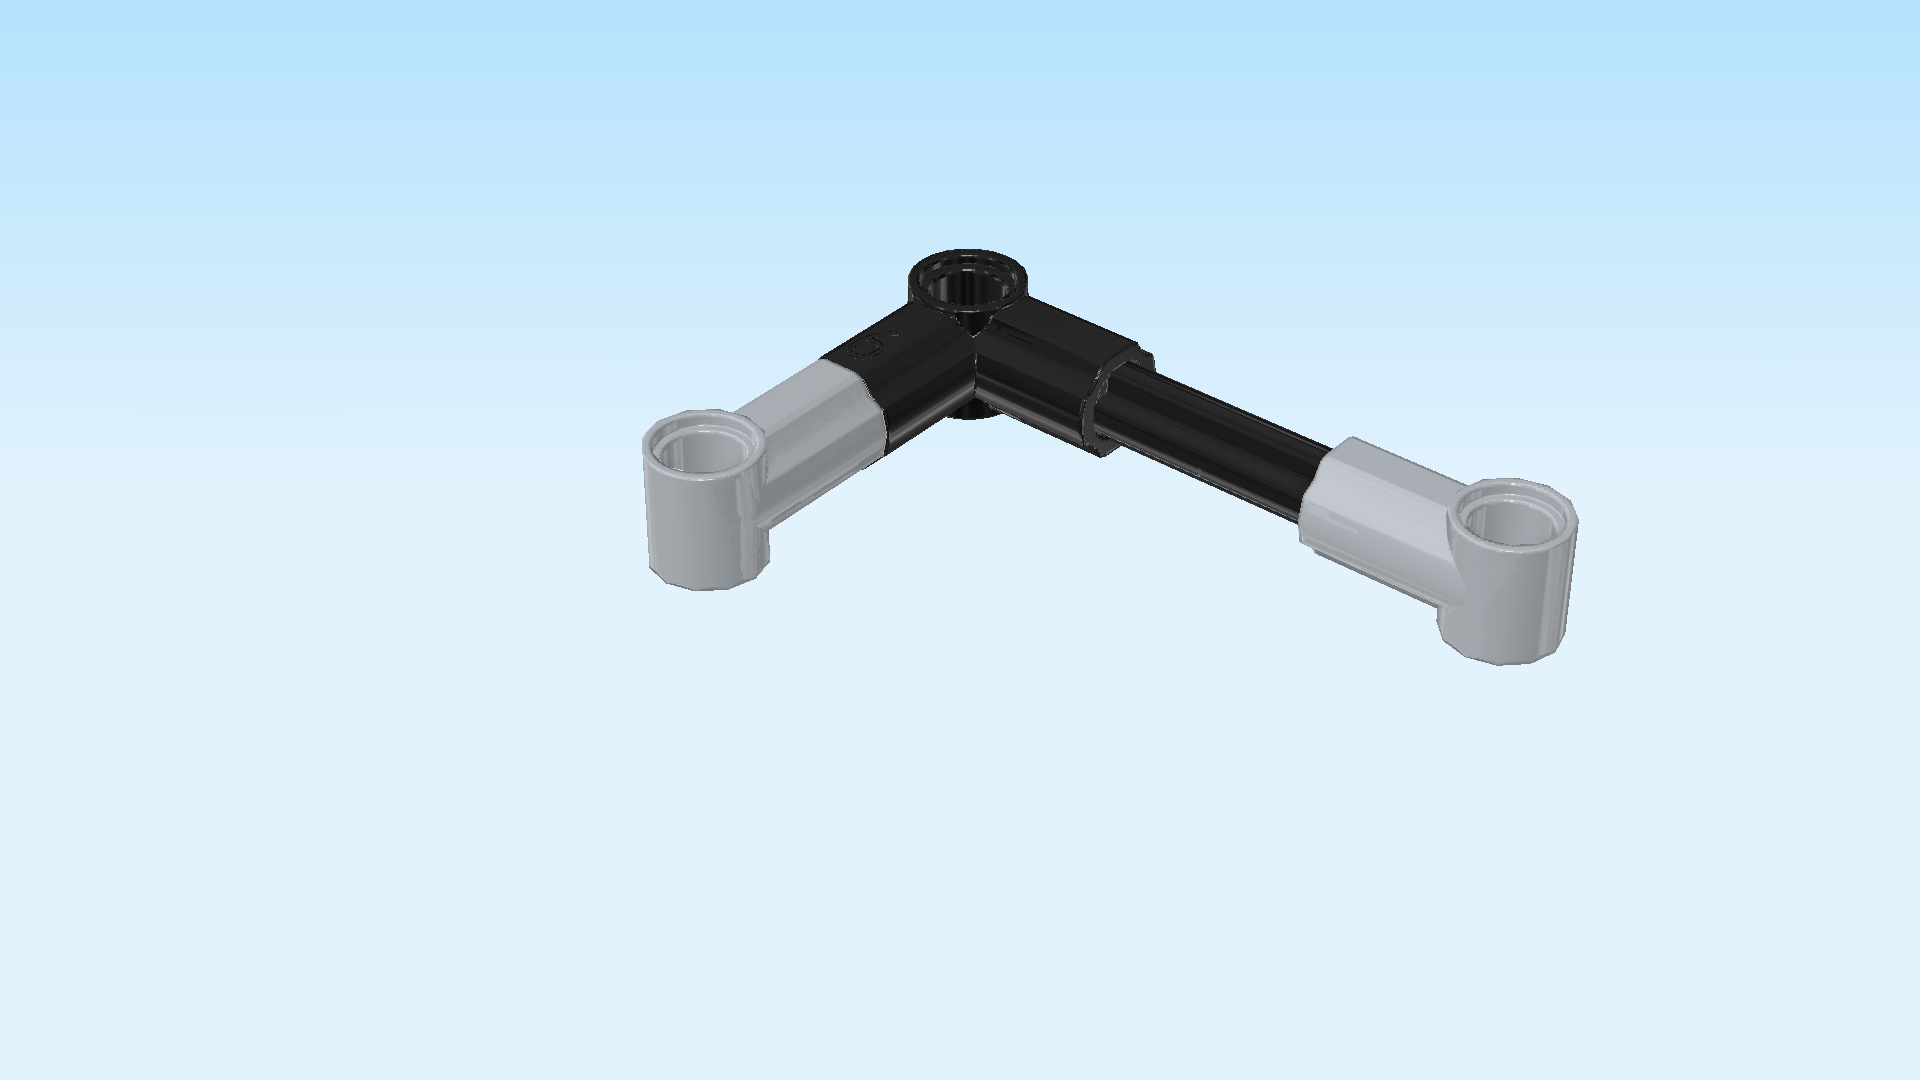
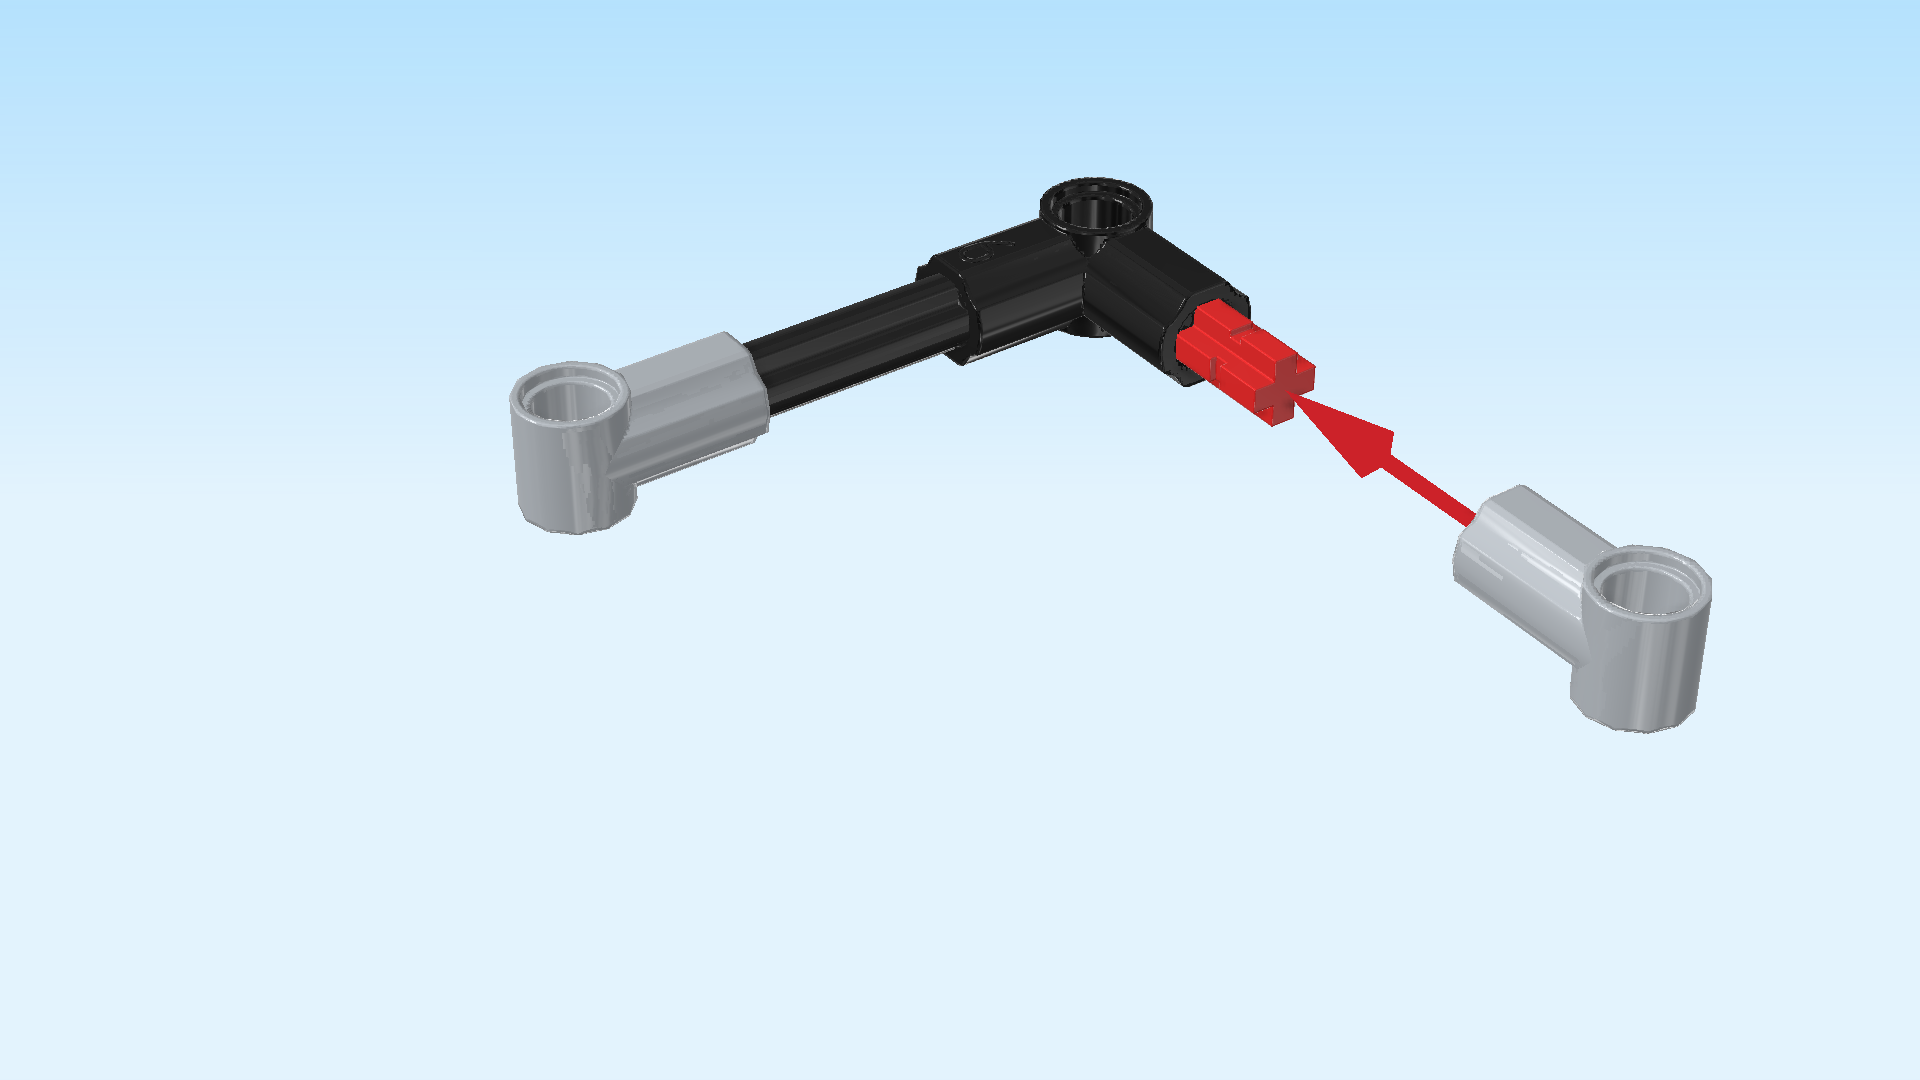
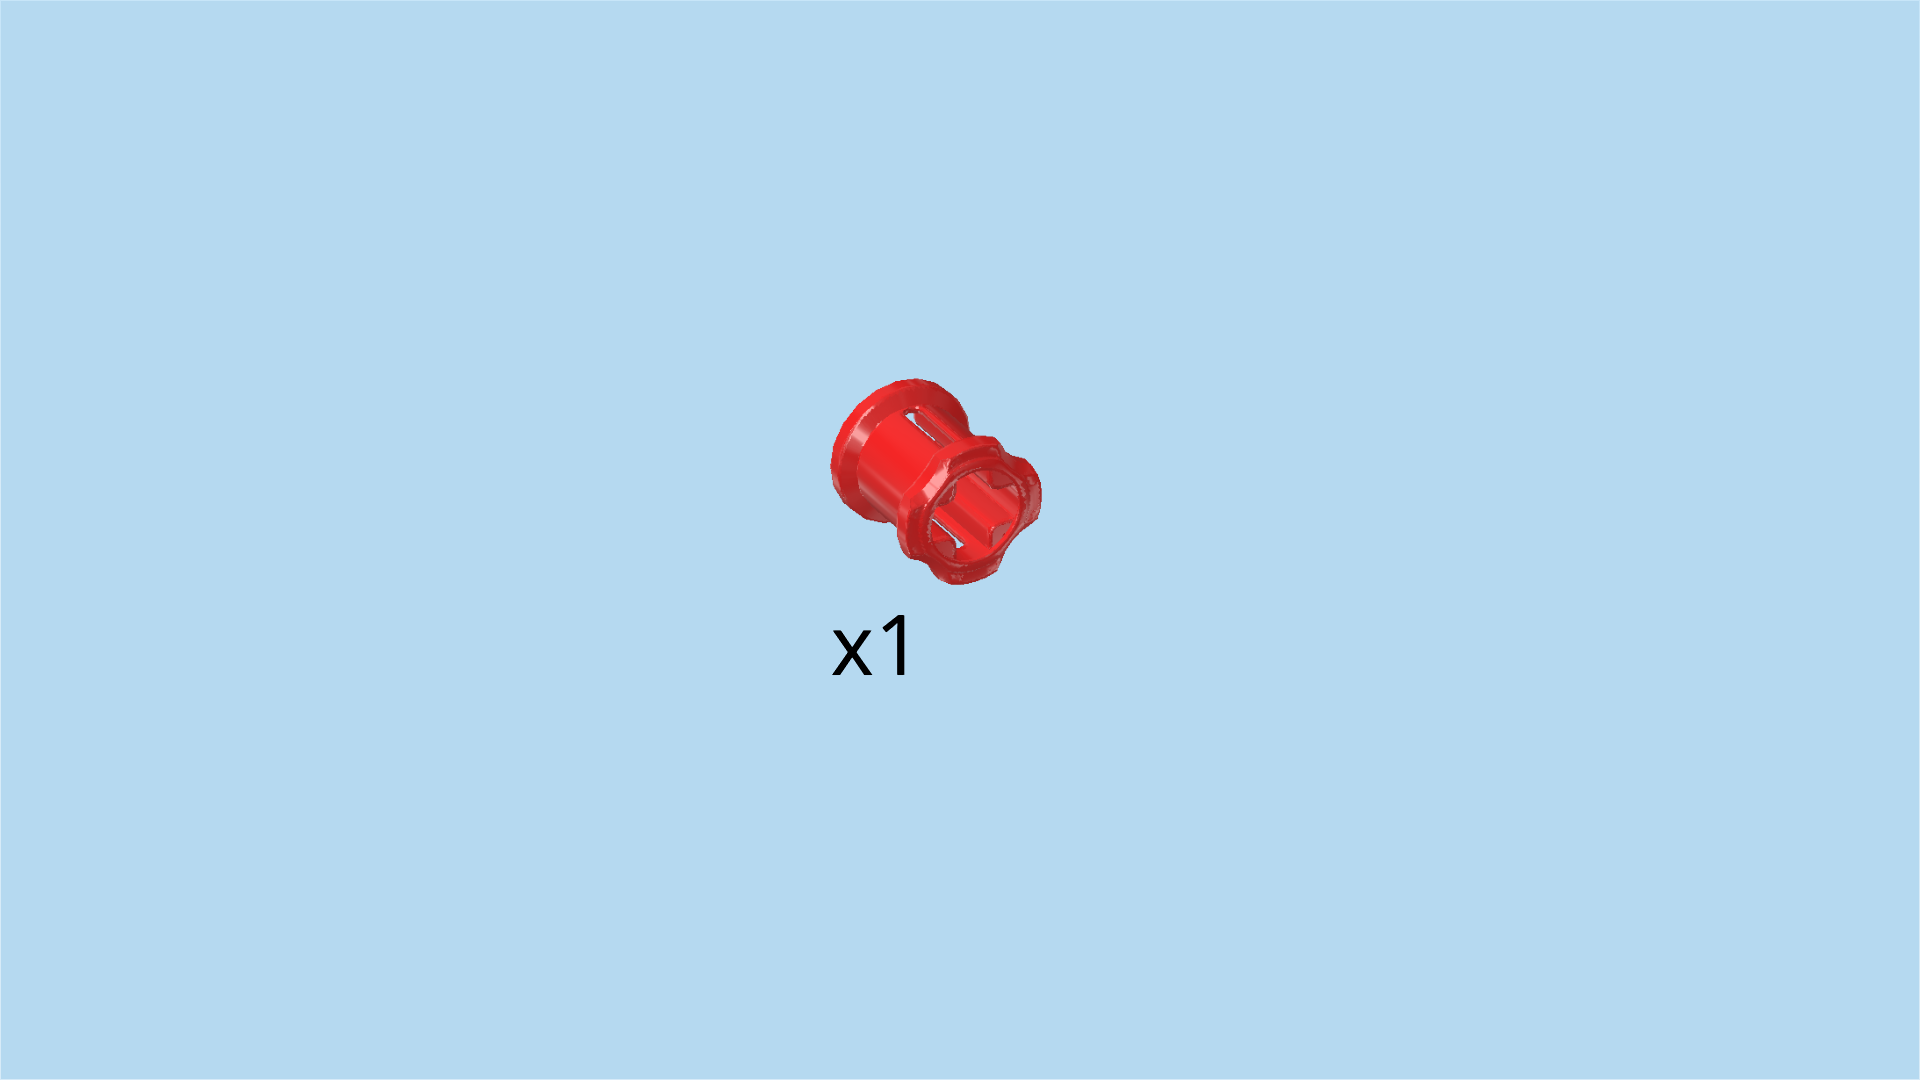
| Find 2 medium stone grey round bushings 1m with cross axle extension 1m. |
| Hold 1 so that its round hole is running from top to bottom. Put its cross axle extension on the cross axle pointing to the right. |
| Hold the other one so that its round hole again is running from top to bottom. Put its cross axle extension on the cross axle pointing to the front. |
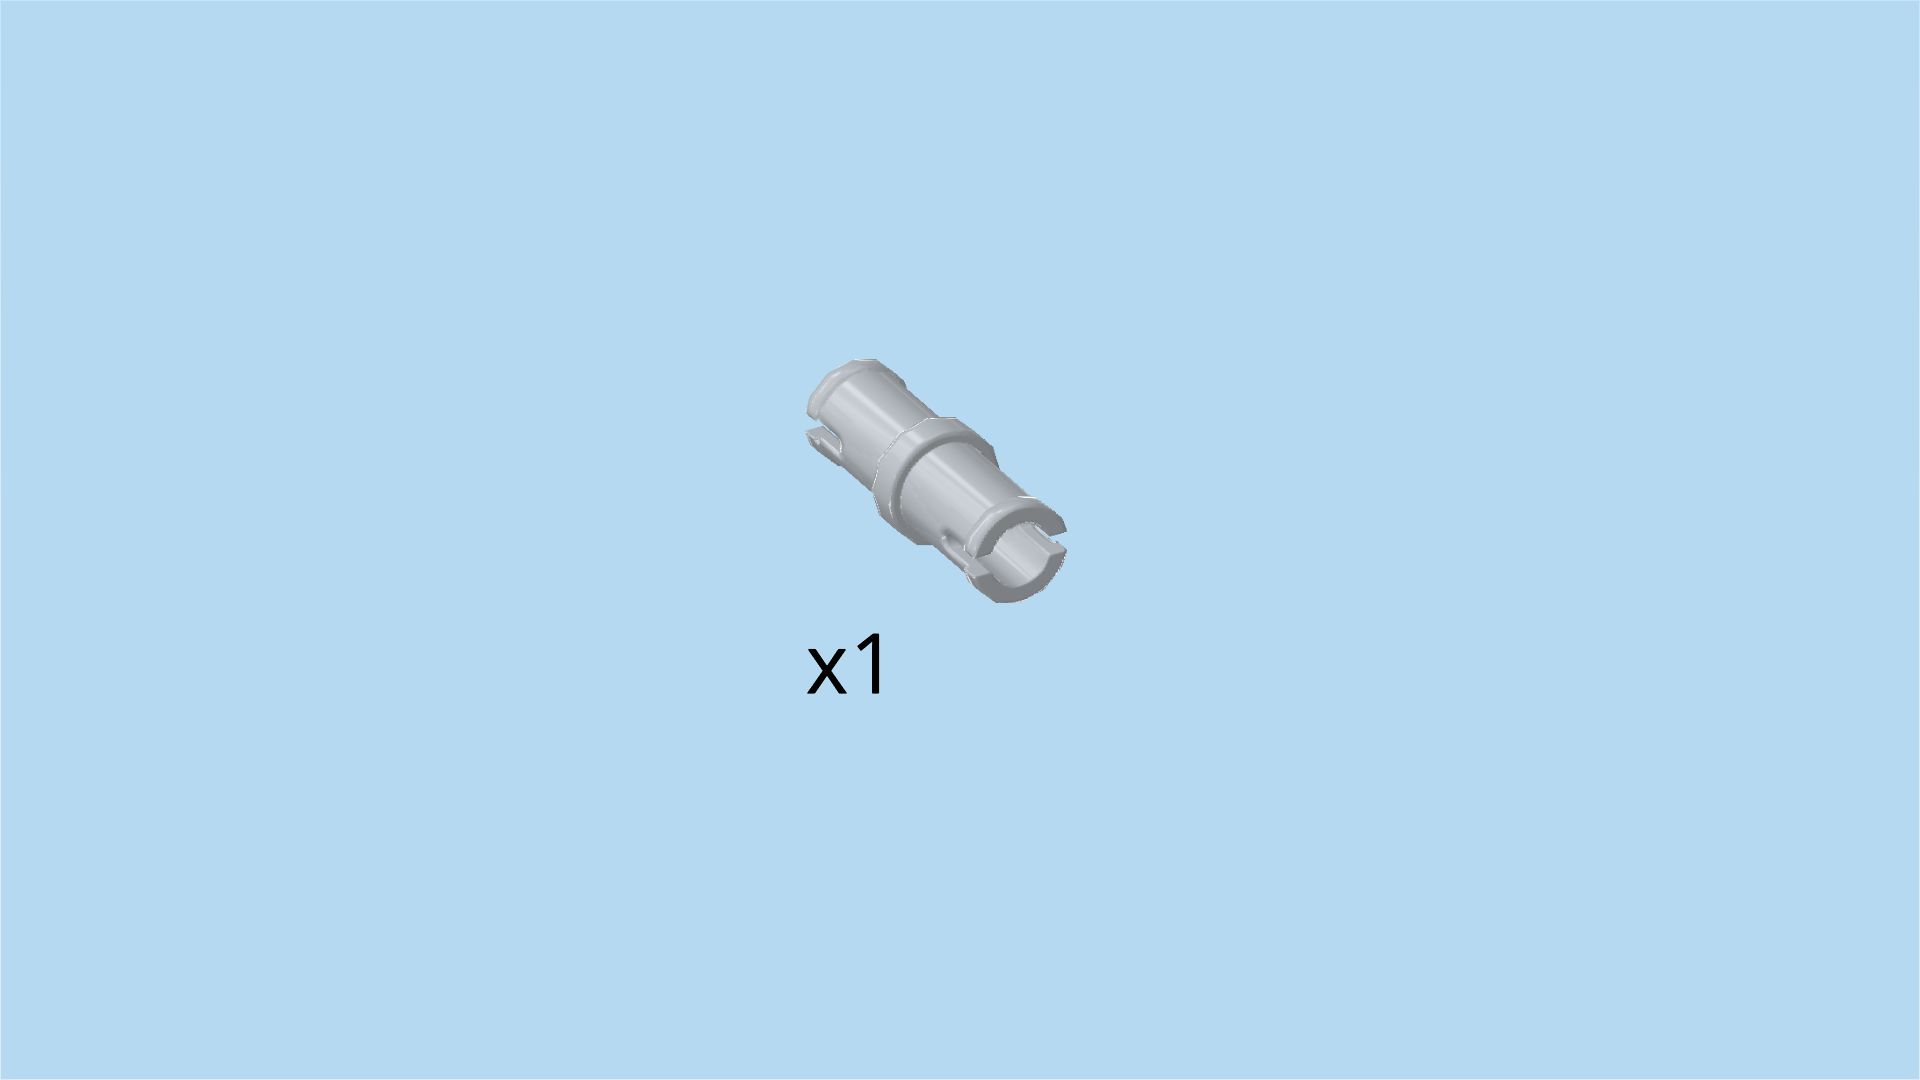
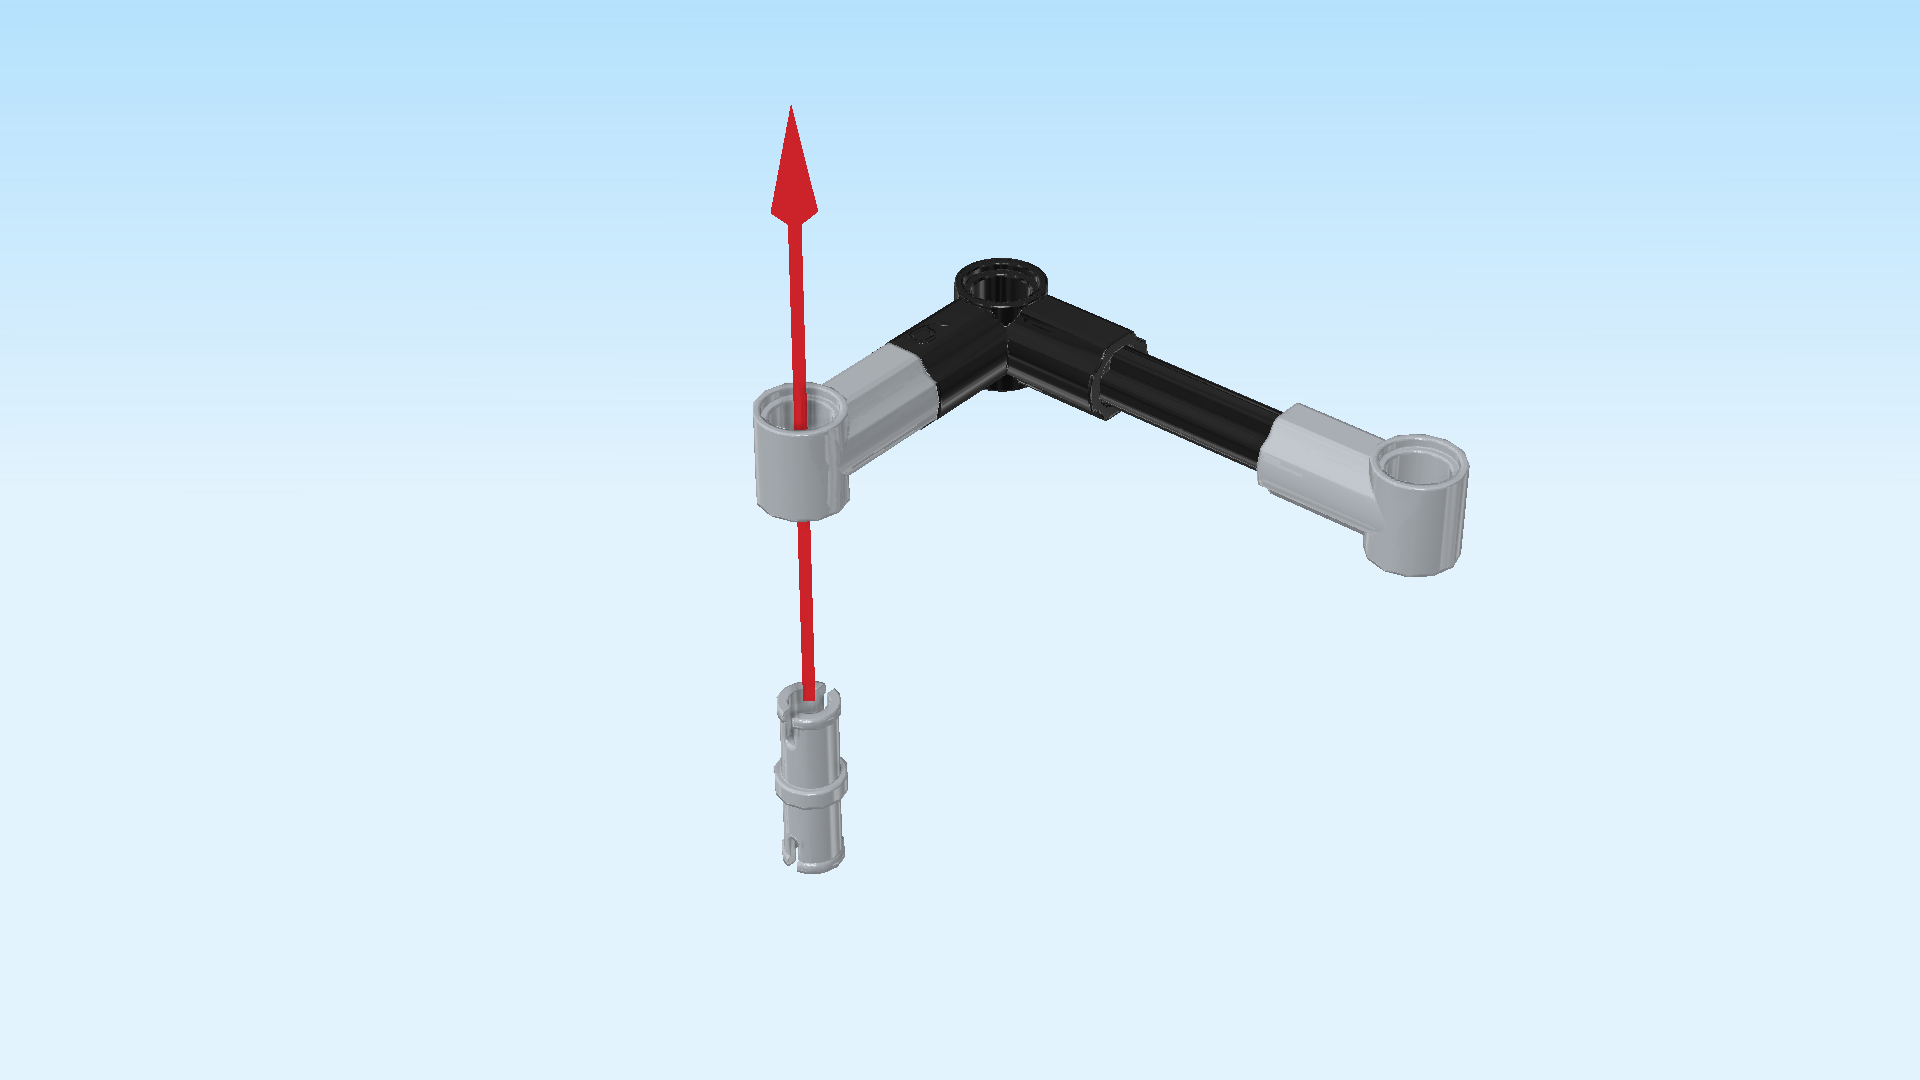
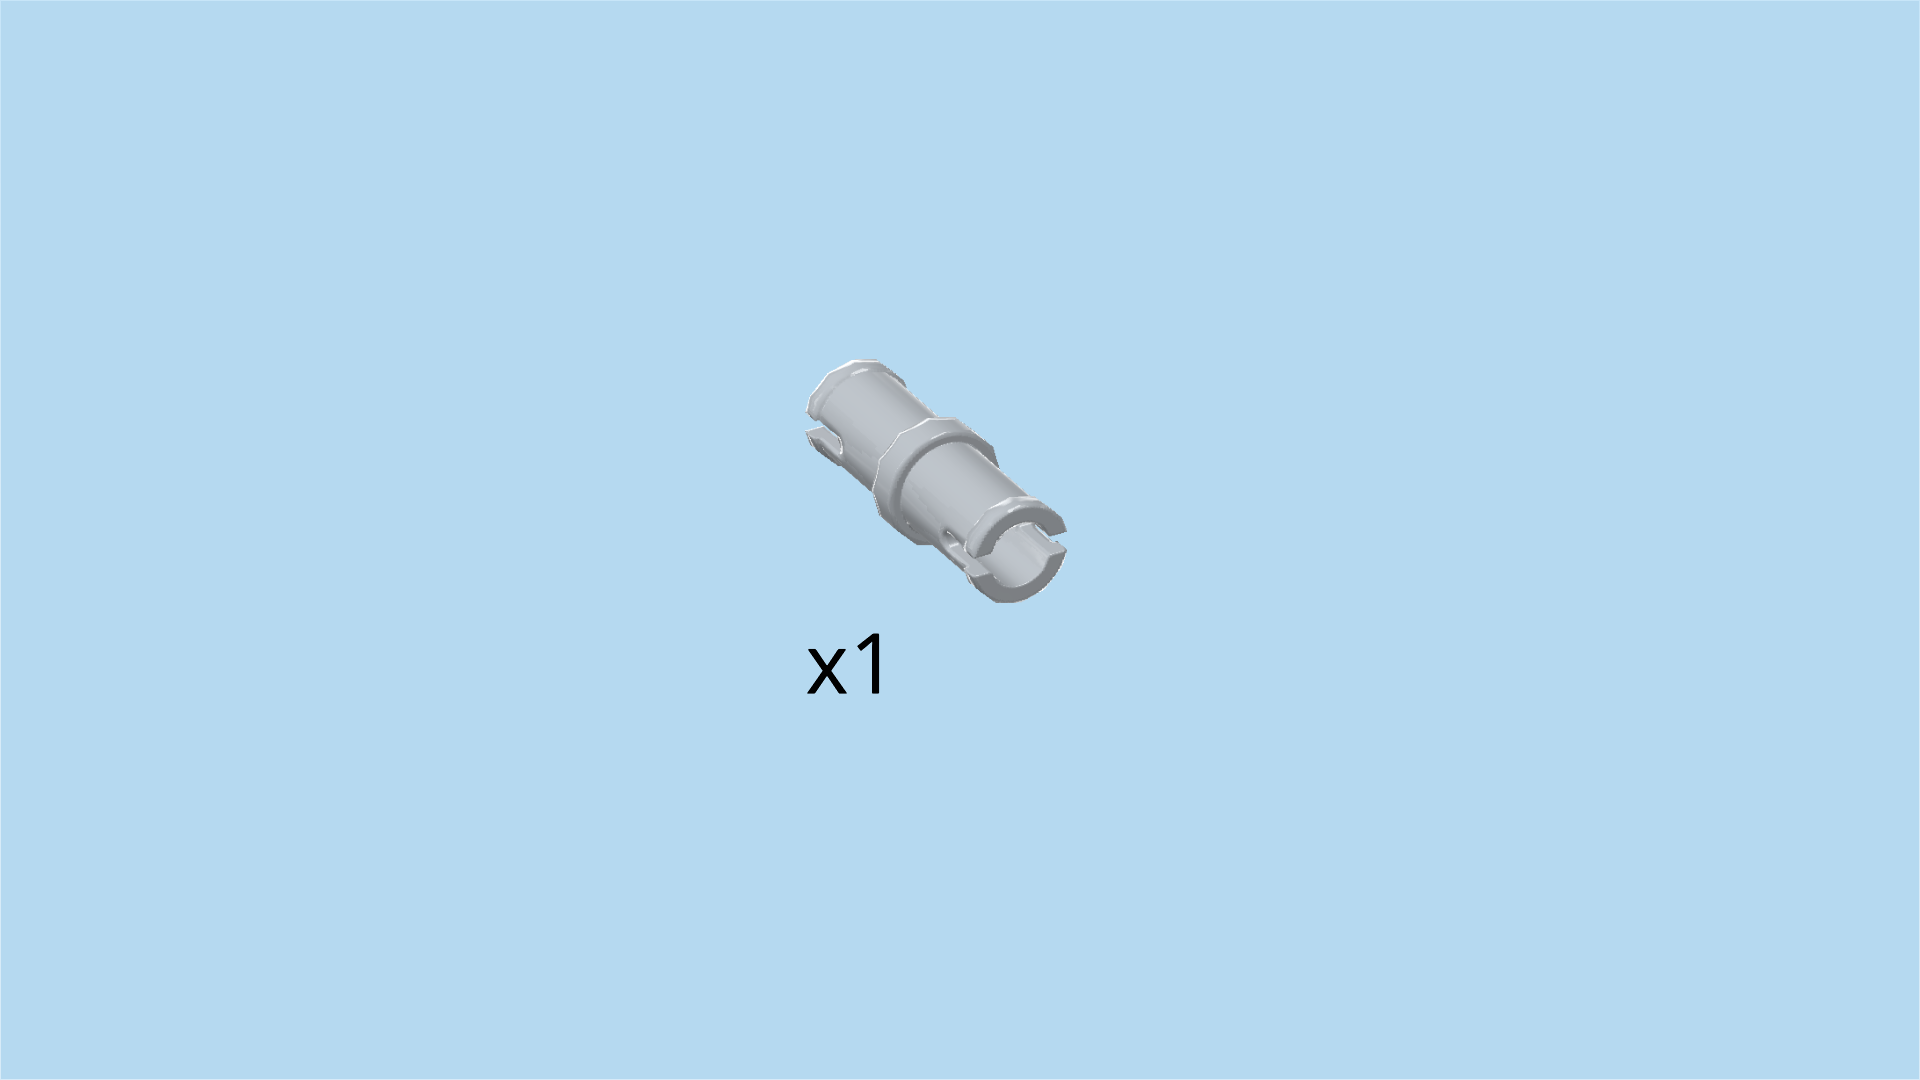
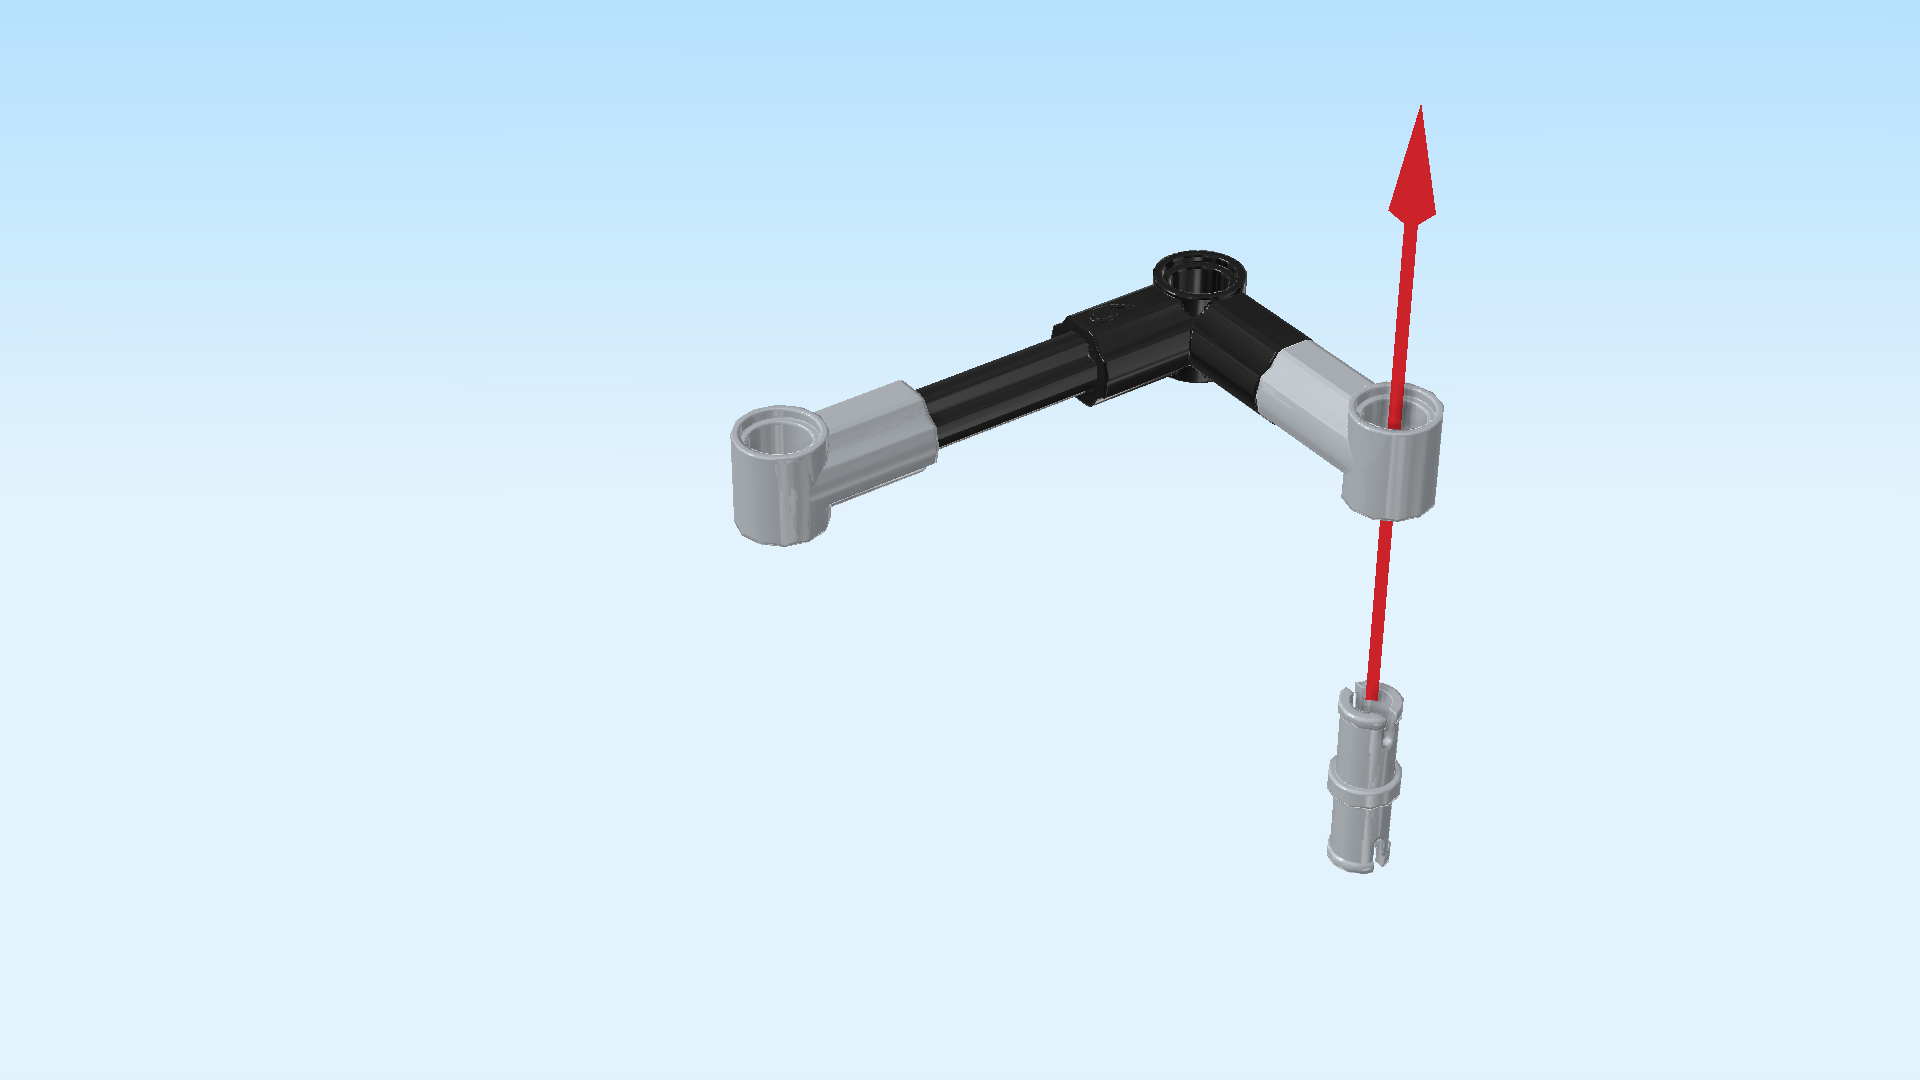
| Find 1 medium stone grey connector peg 2m with middle ring. |
| Insert it from the bottom into the round hole of the shorter arm (that is the arm pointing to the front, one half protruding to the bottom). |
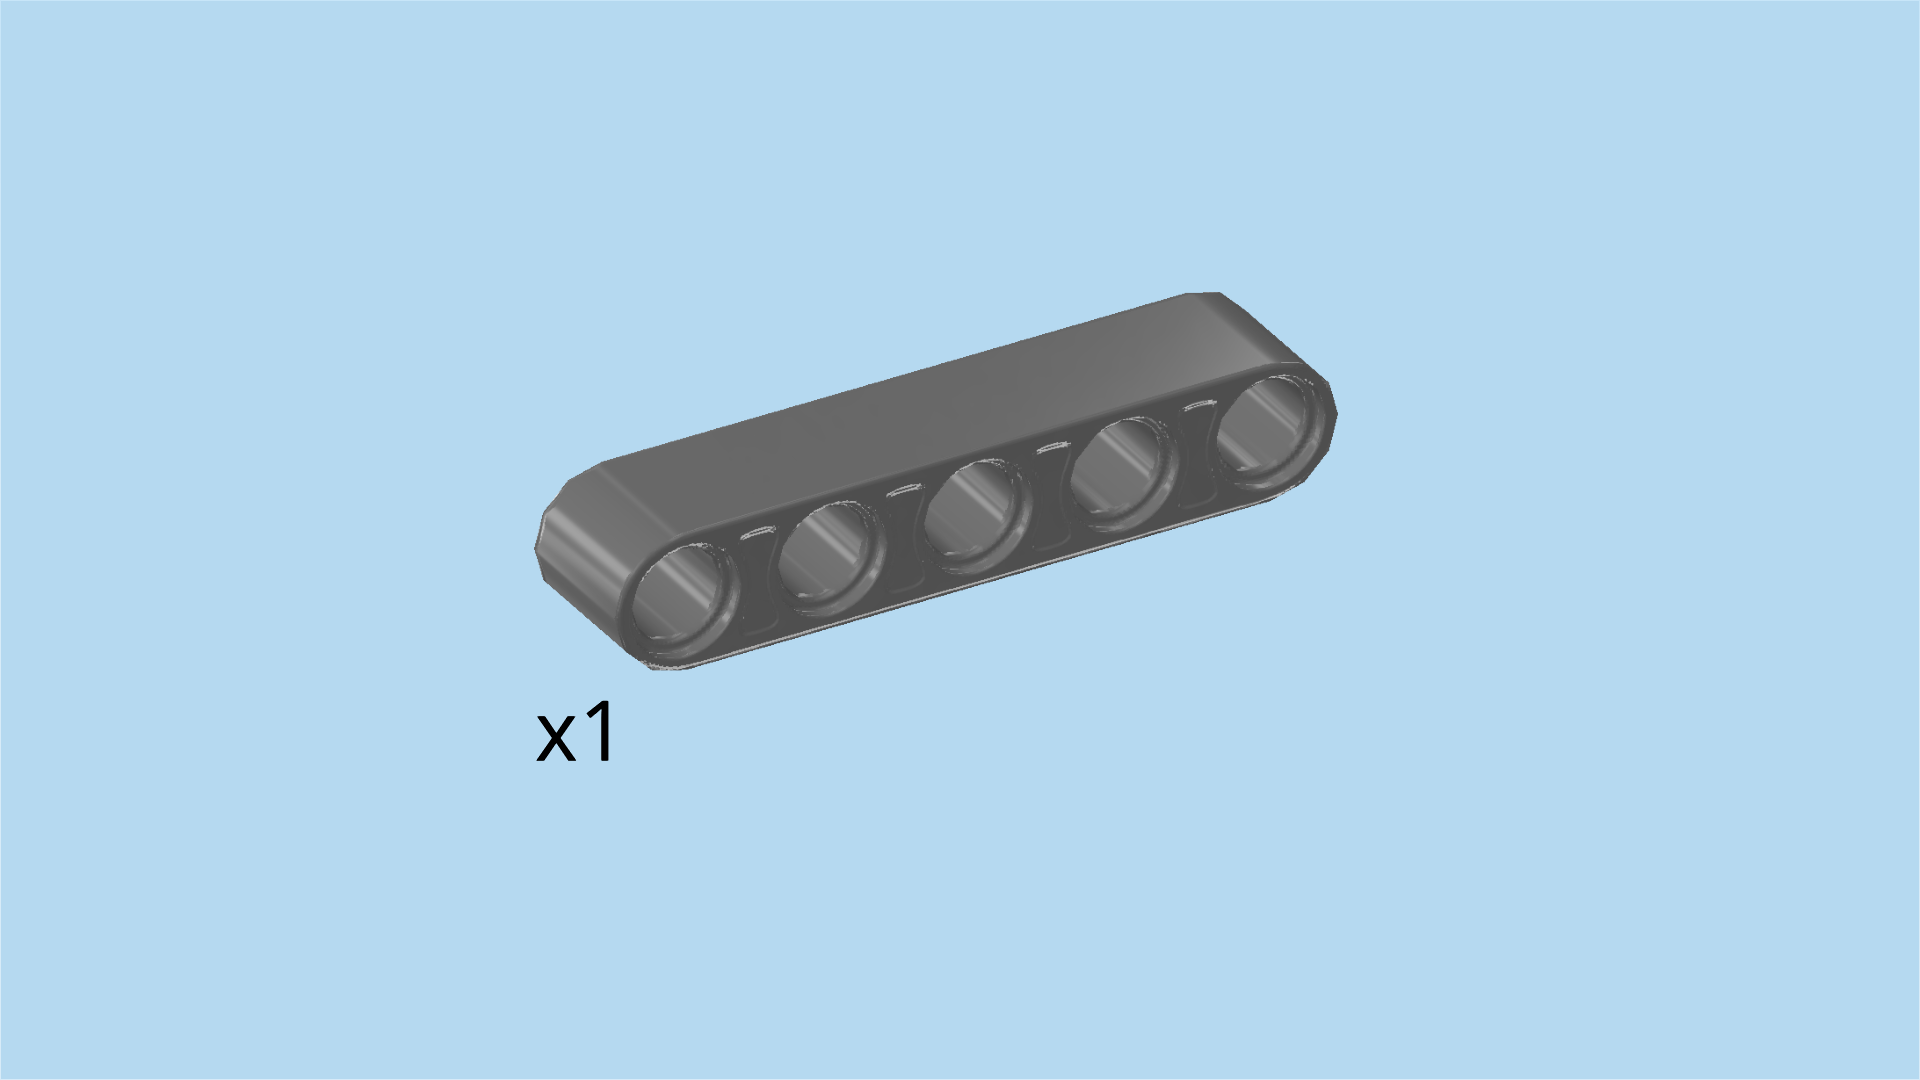
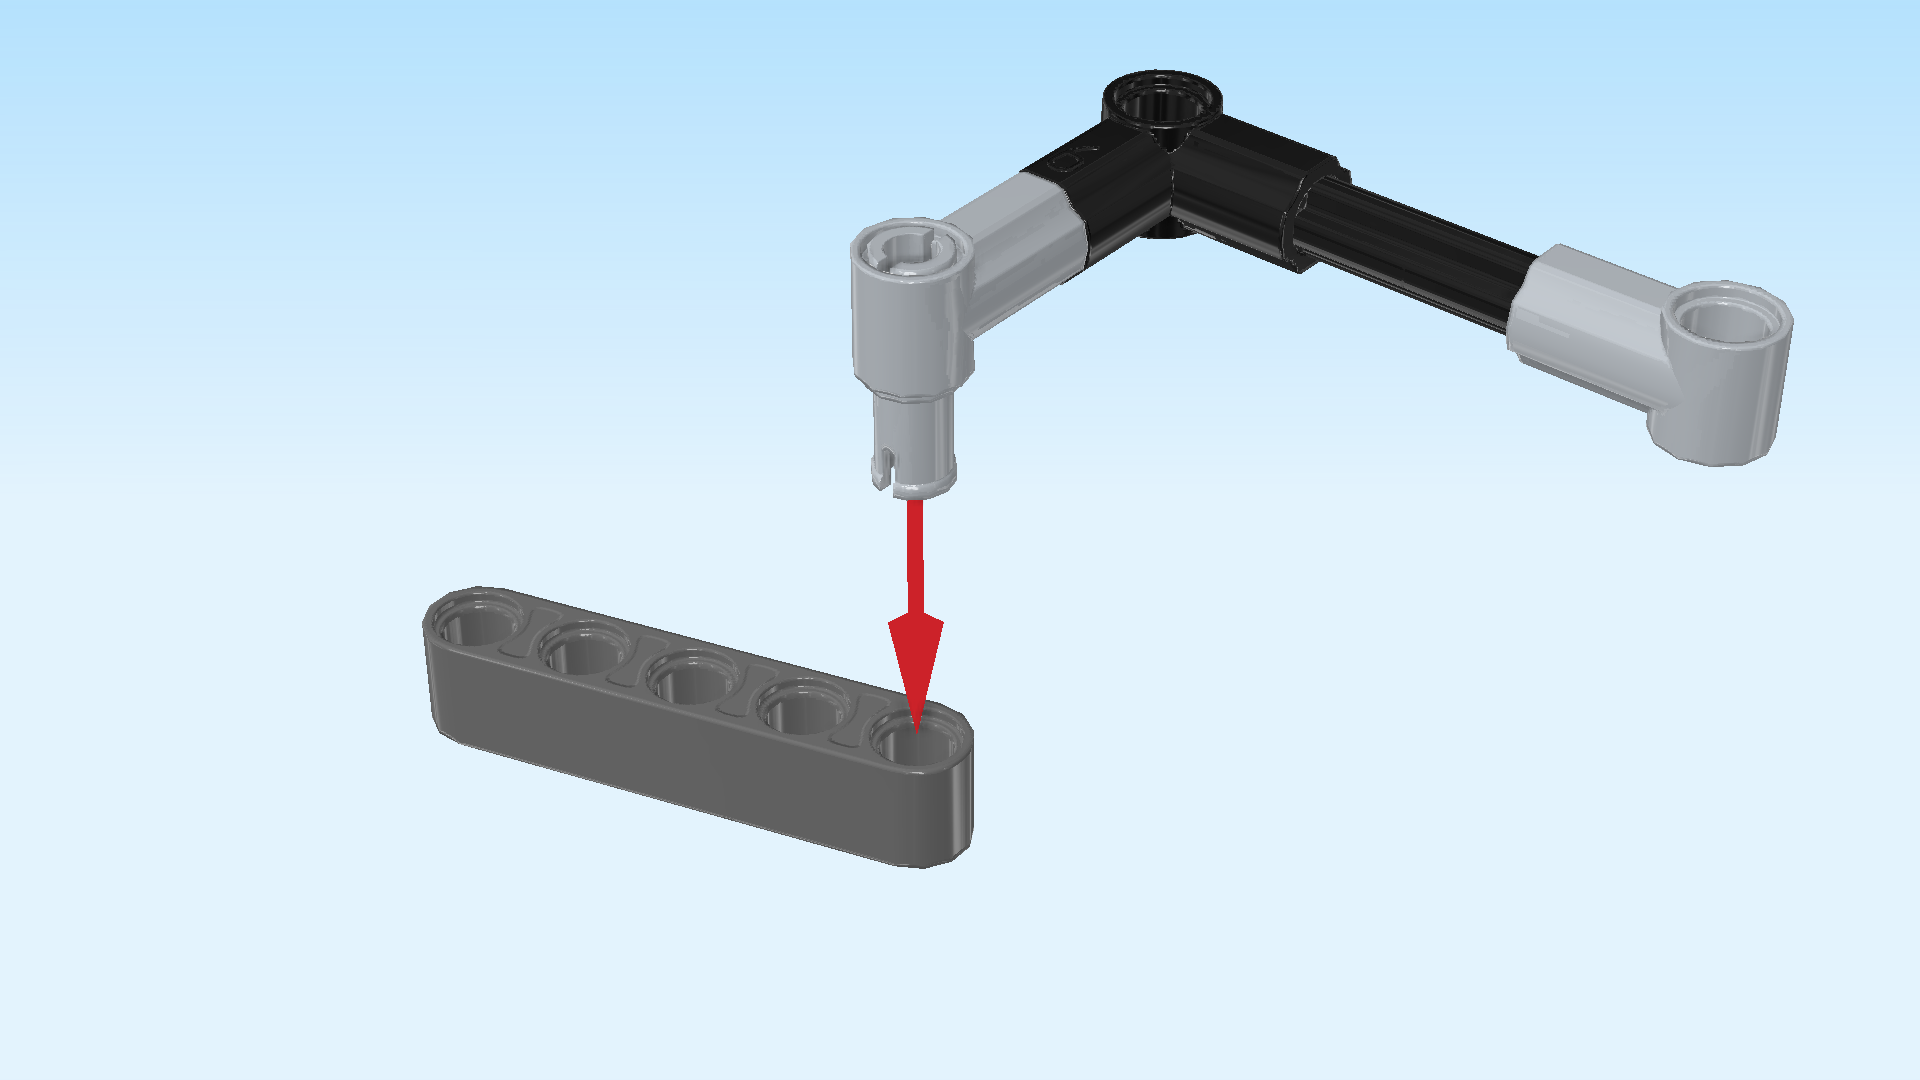
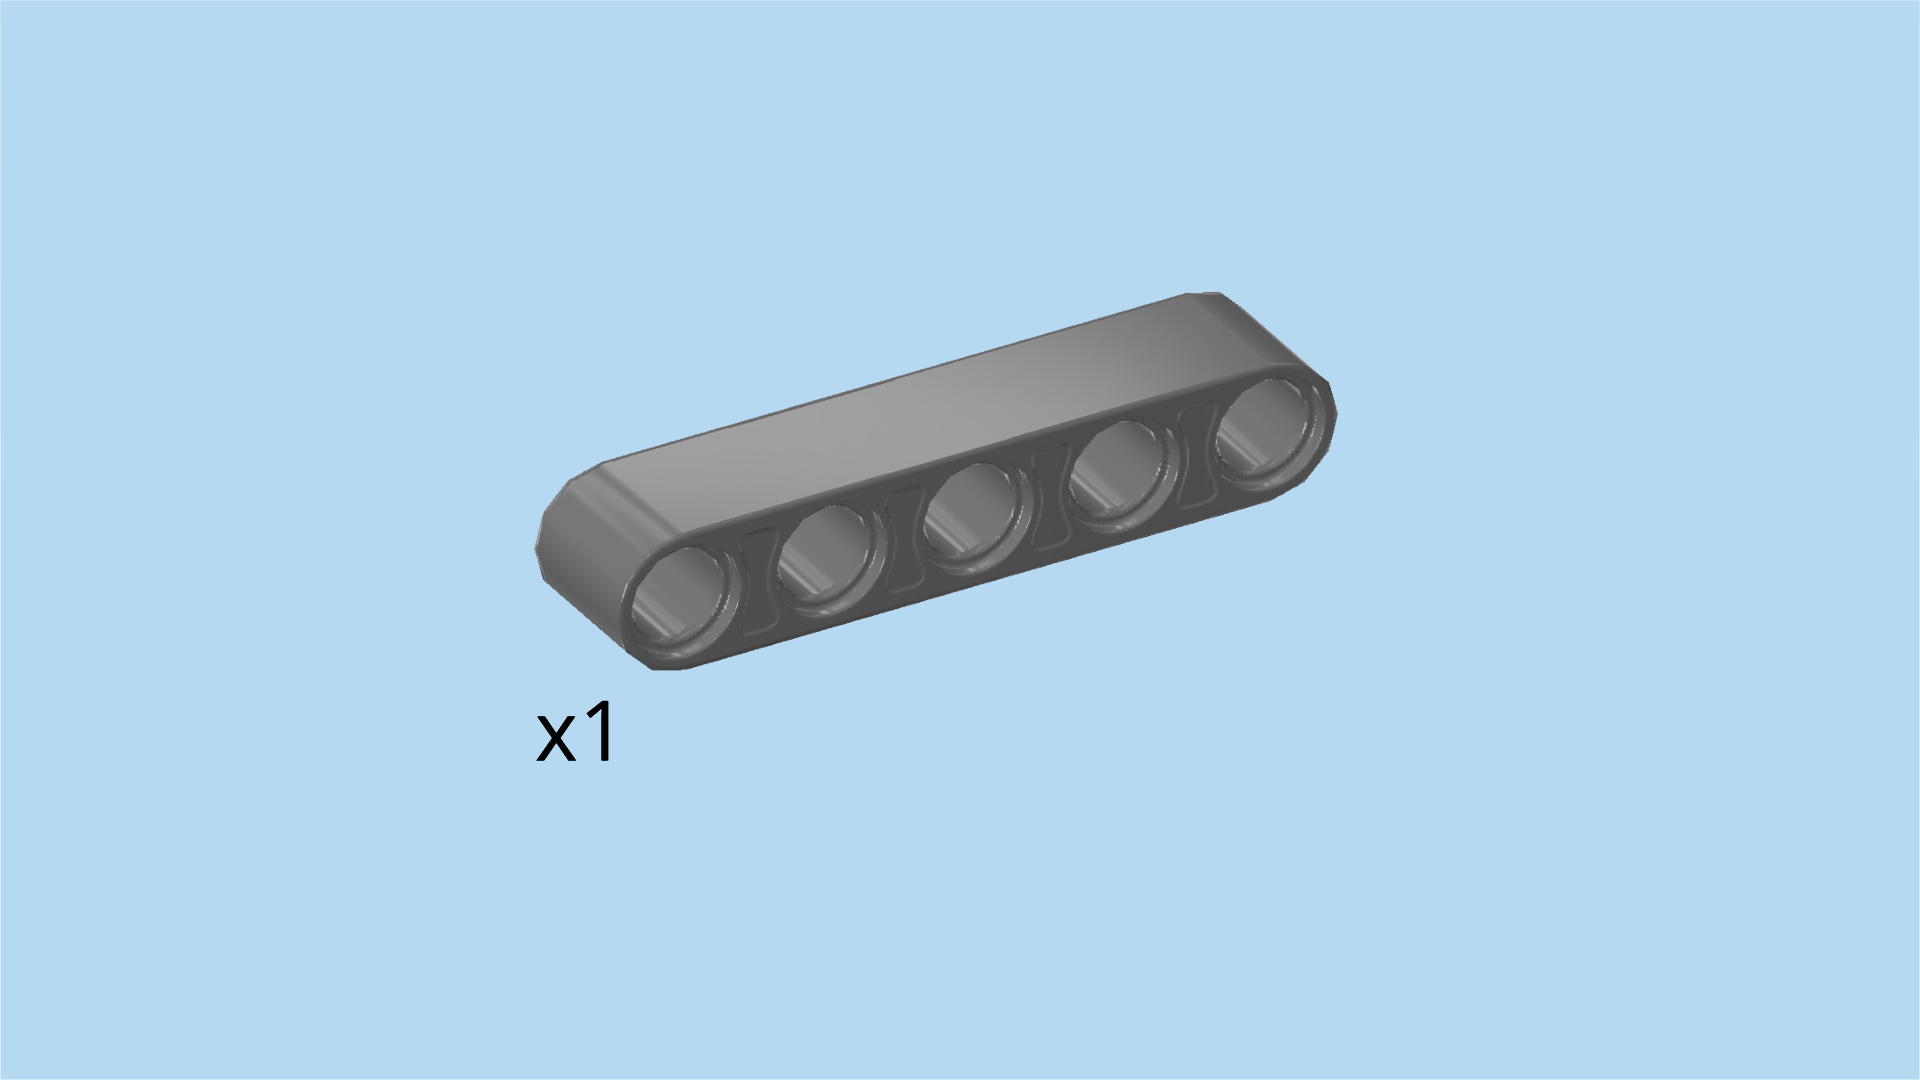
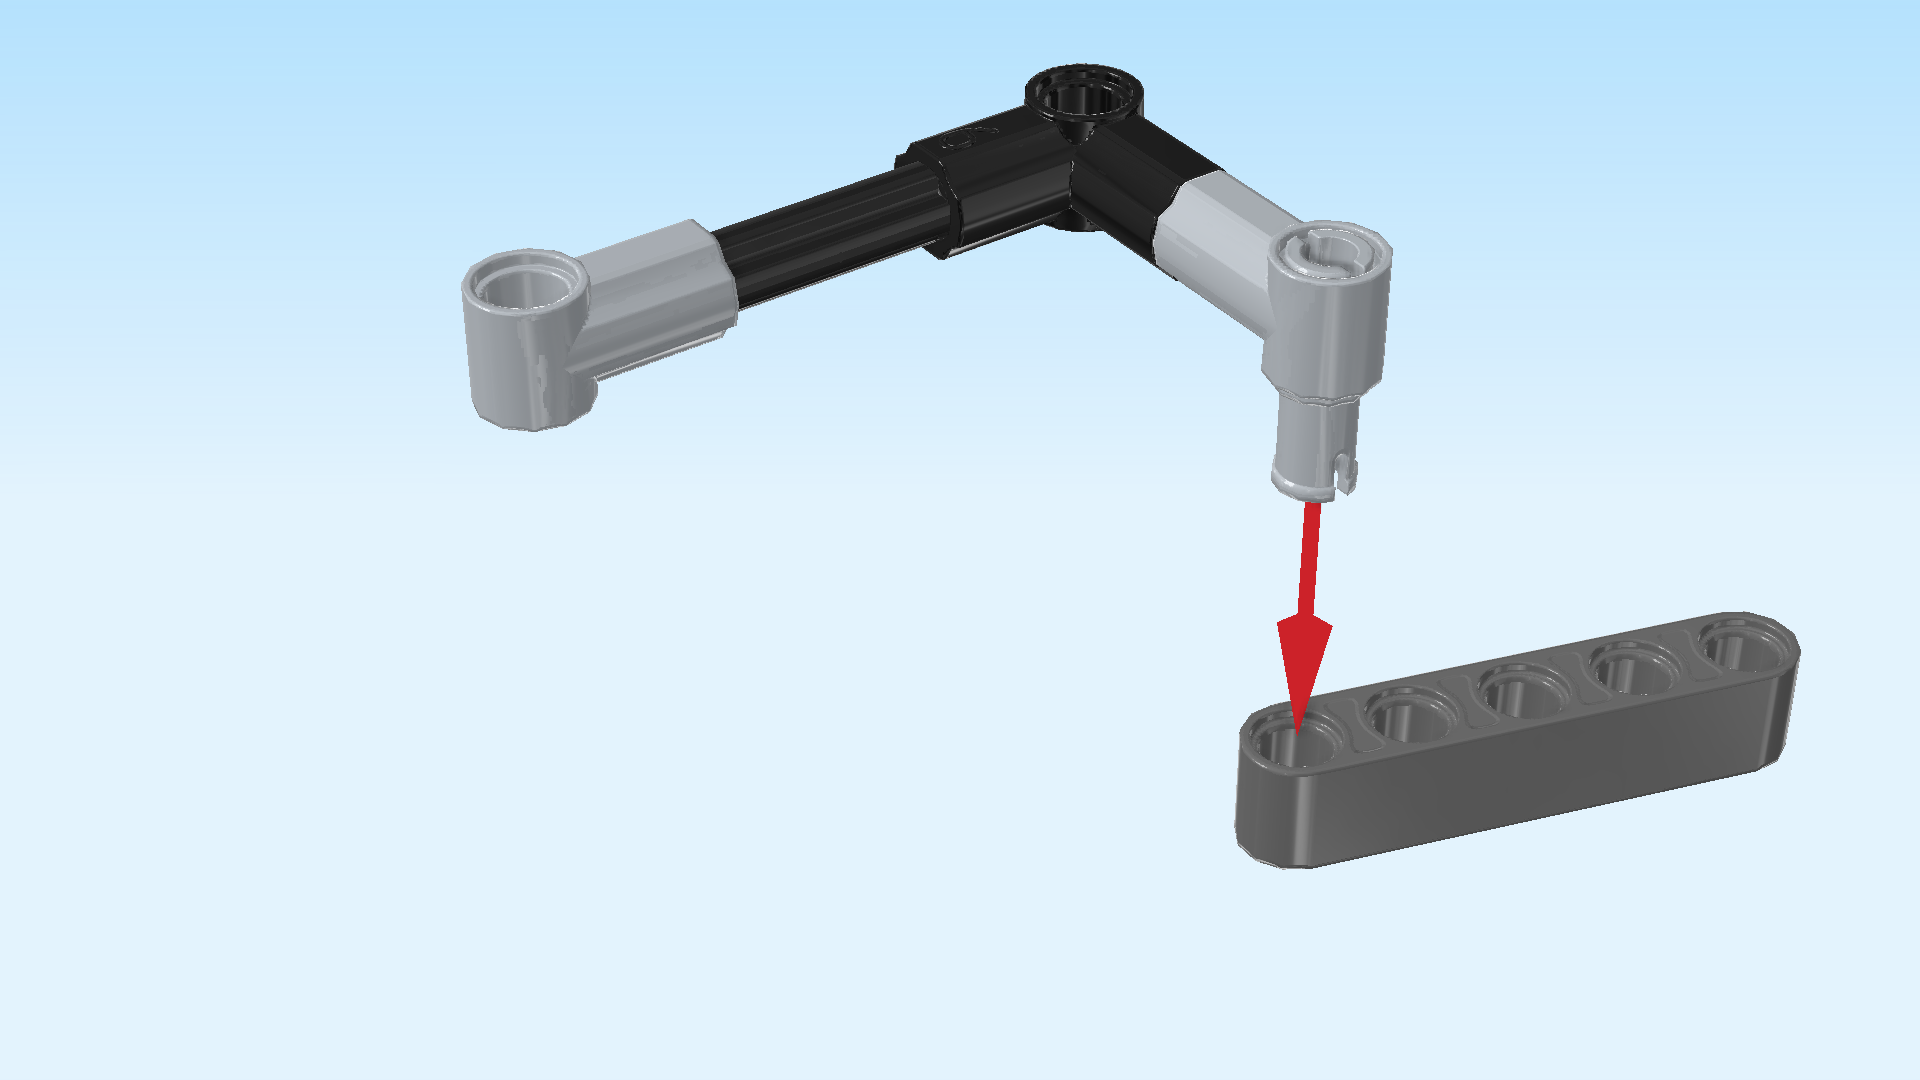
| Find 1 dark stone grey technic beam 5m. |
| Hold it horizontally, its holes running from top to bottom. |
| Insert the protruding connector from the top into the rightmost hole of the beam. |
| Note that this is a loose connection, meaning that the beam will move around for now. |
| The first linkage of the trap door is finished! Great job! We will use the 2 empty holes of the cross axle extensions as connecting points. The holes of the technic beam will remain empty for now. |
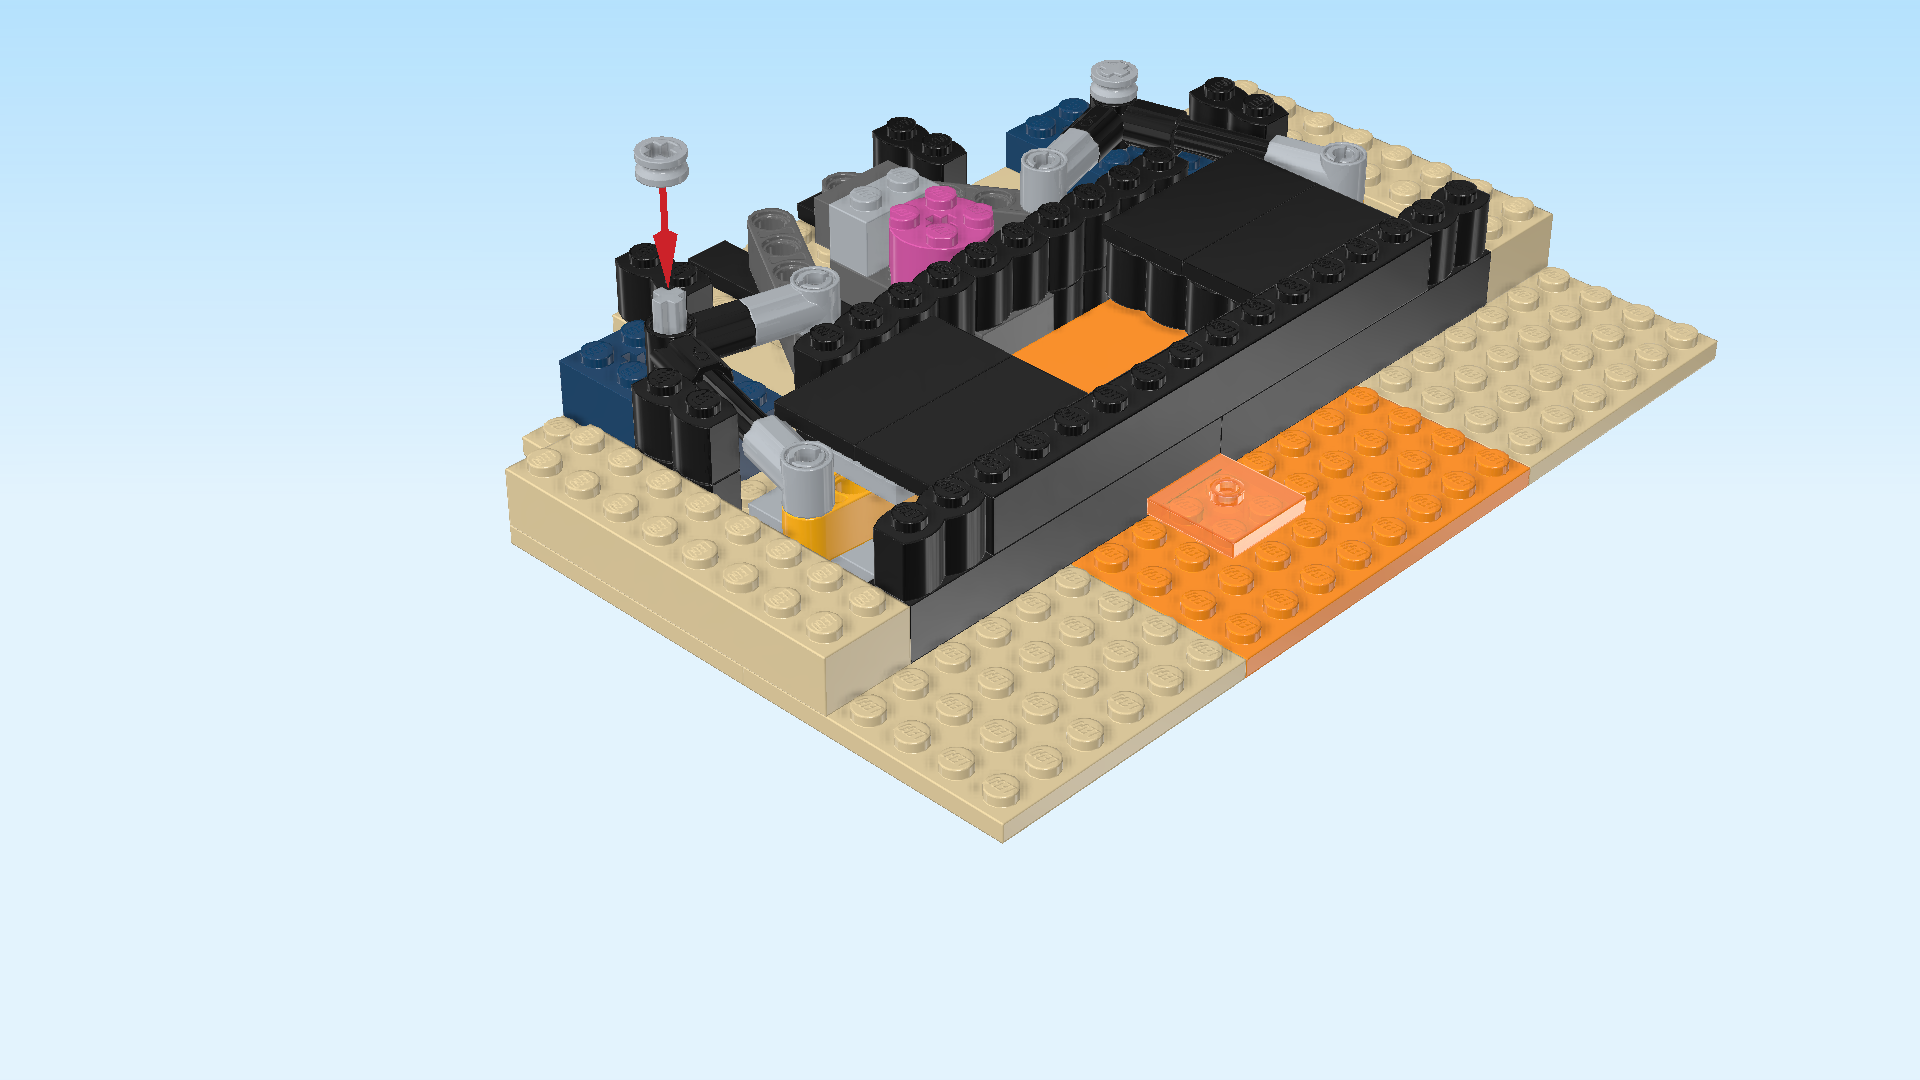
| Turn the main structure 90° so that it is vertically oriented, the relatively empty 4x8 area on the right. The first half of the trap door that we have already inserted should be towards the back. |
| Identify the connector peg sticking out from the trap door half and the cross axle sticking out at the back left edge. We will use those for connecting. |
| Turn the linkage so that its longer arm is pointing to the right, the shorter arm is pointing to the front, and the cross axle beam is loosely towards the front left. |
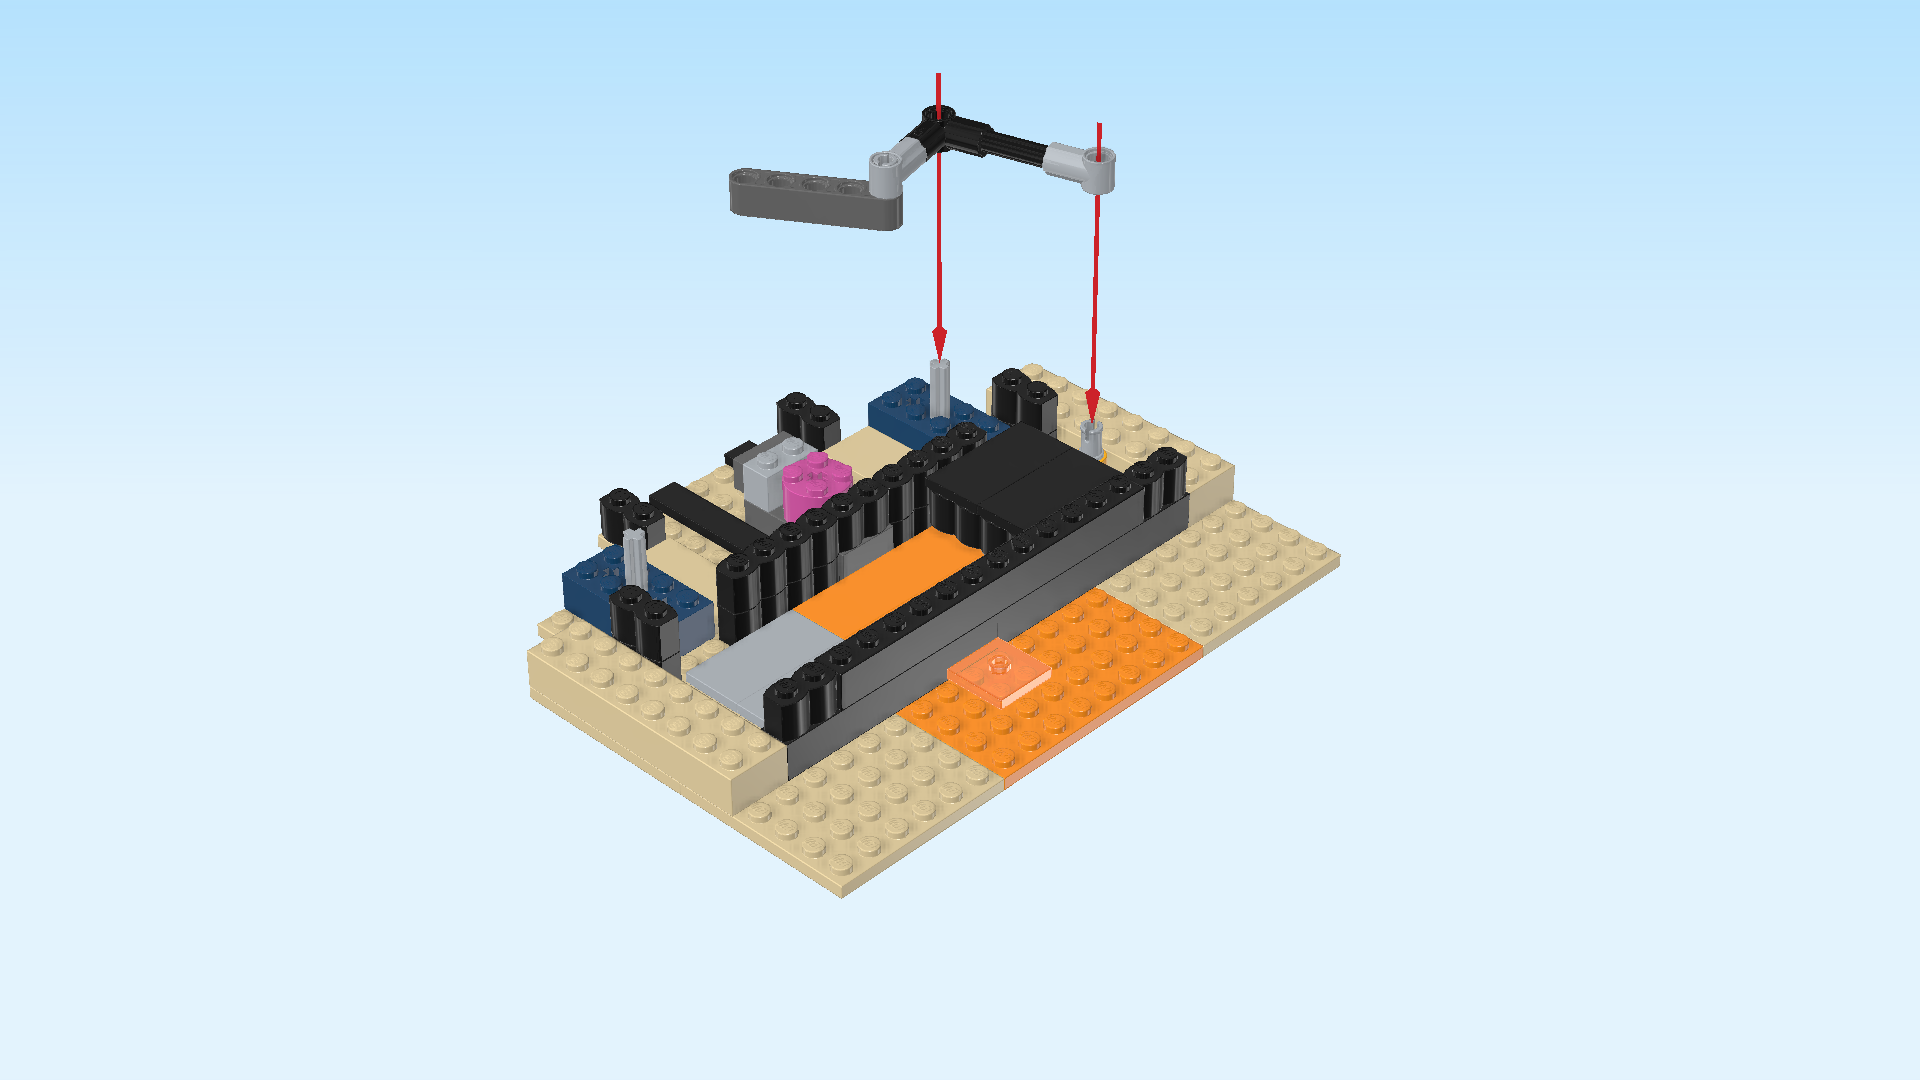
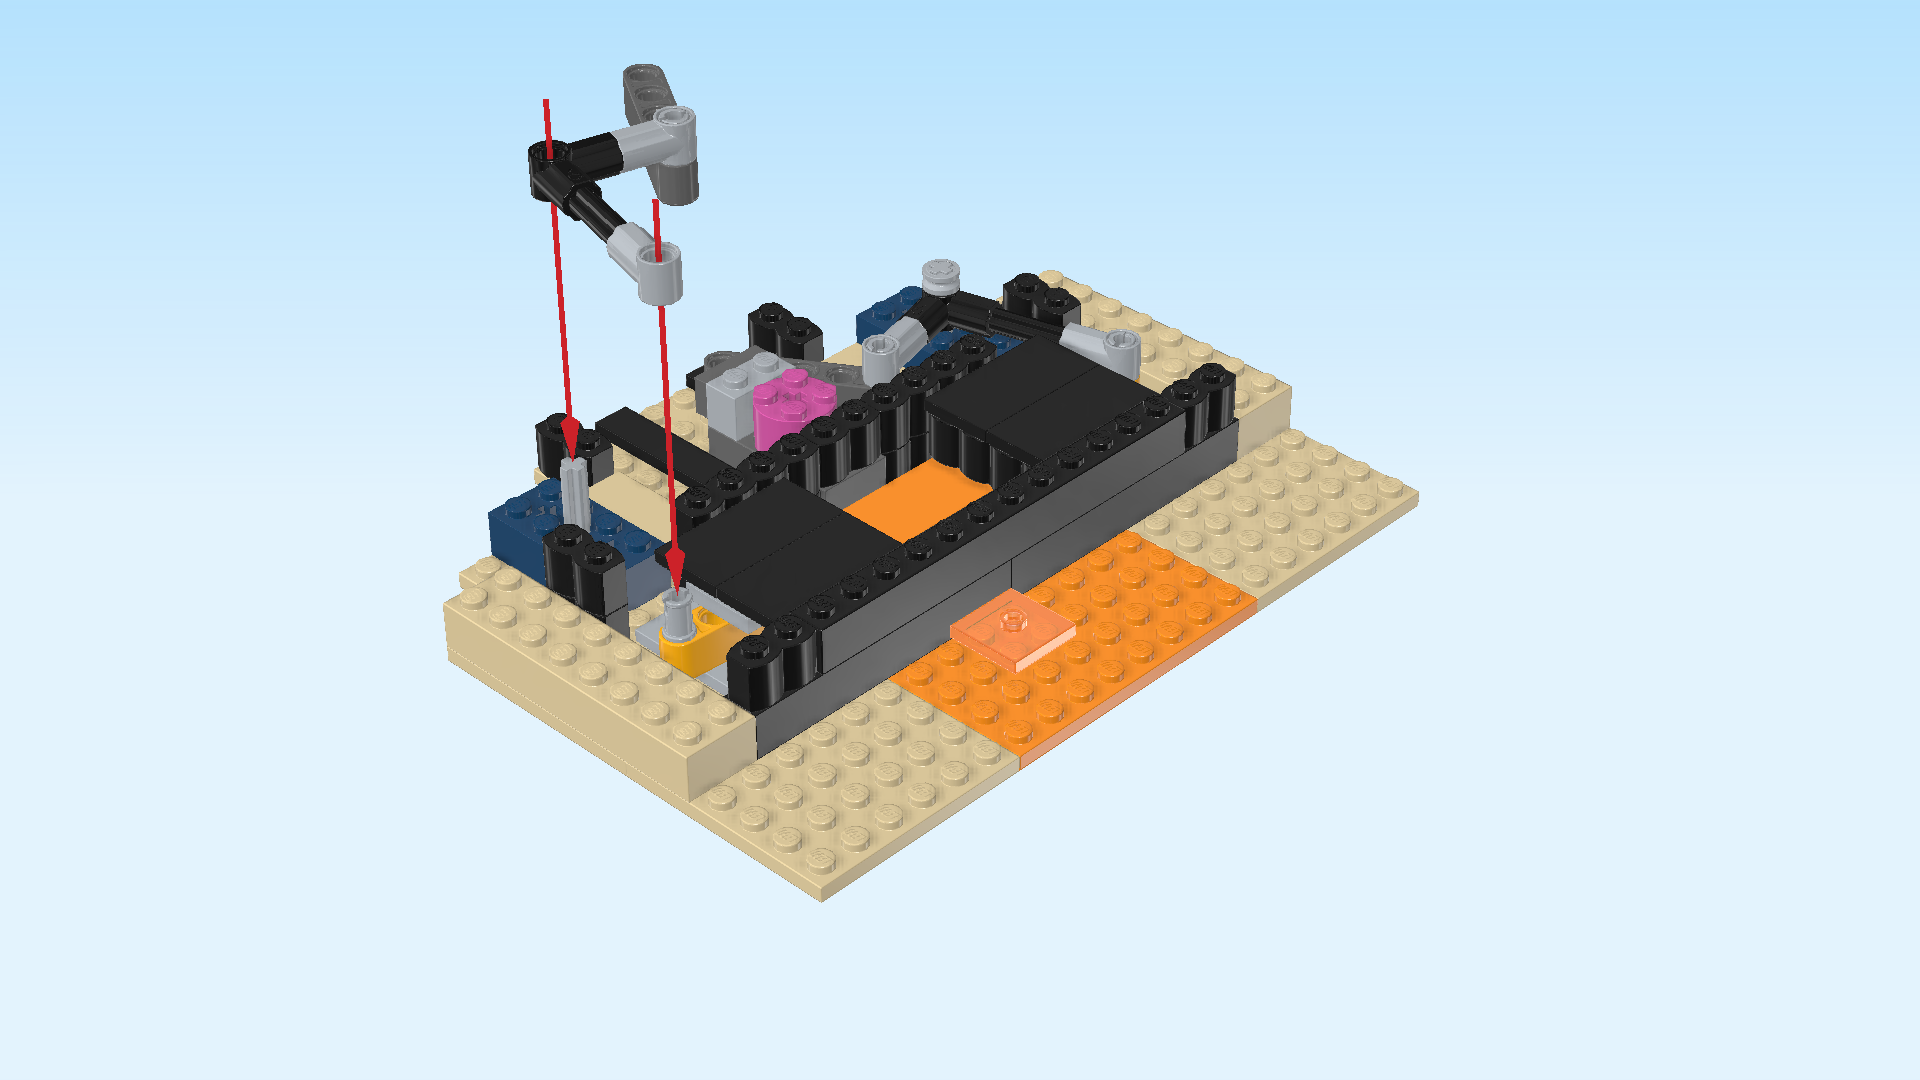
| Now, put the right hole of the linkage on the connector of the trap door. At the same time, put the middle hole of the linkage on the cross axle on the back left edge. This might need some adjusting because the trap door part is not fixed yet. |
| If done correctly, a small part of the cross axle should still stick out. Also note that the loose technic beam should point to the left and a bit to the front; it will rest on 2 flat tiles that are mounted on the base plate. |
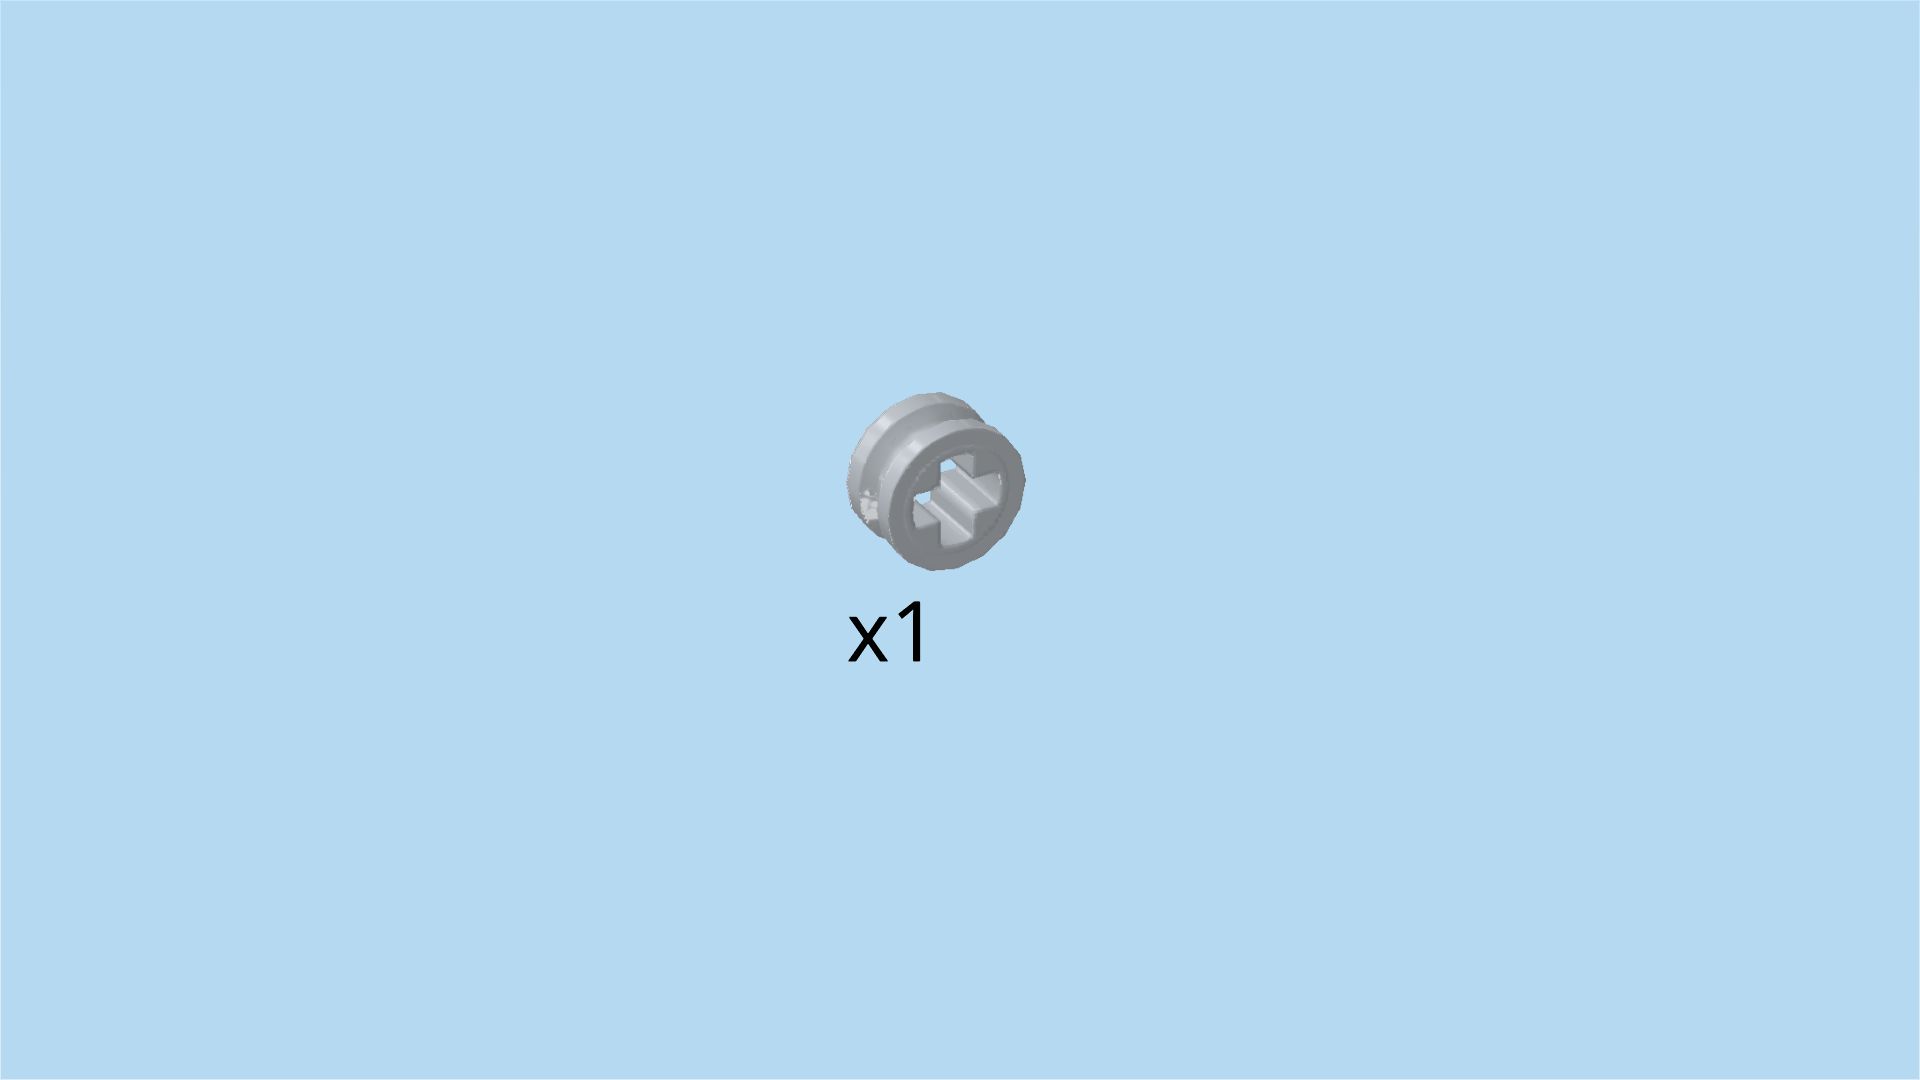
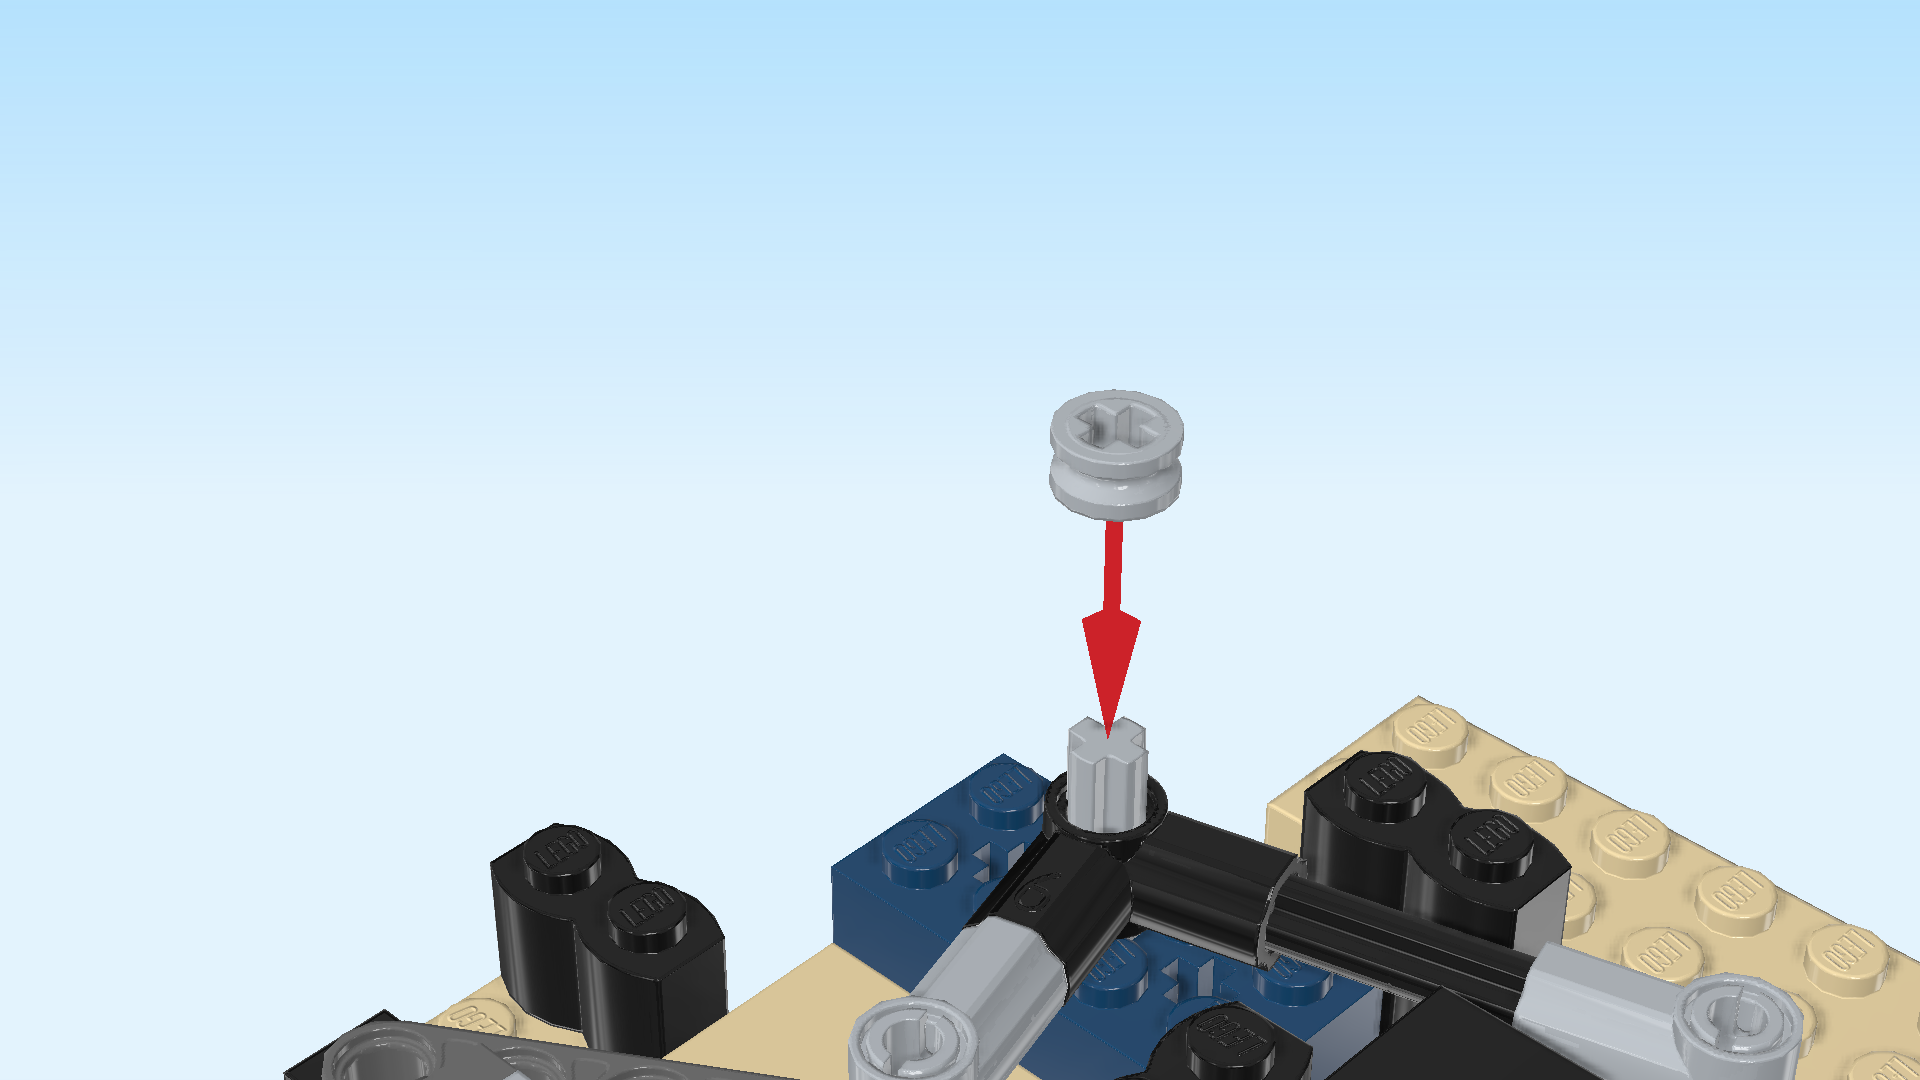
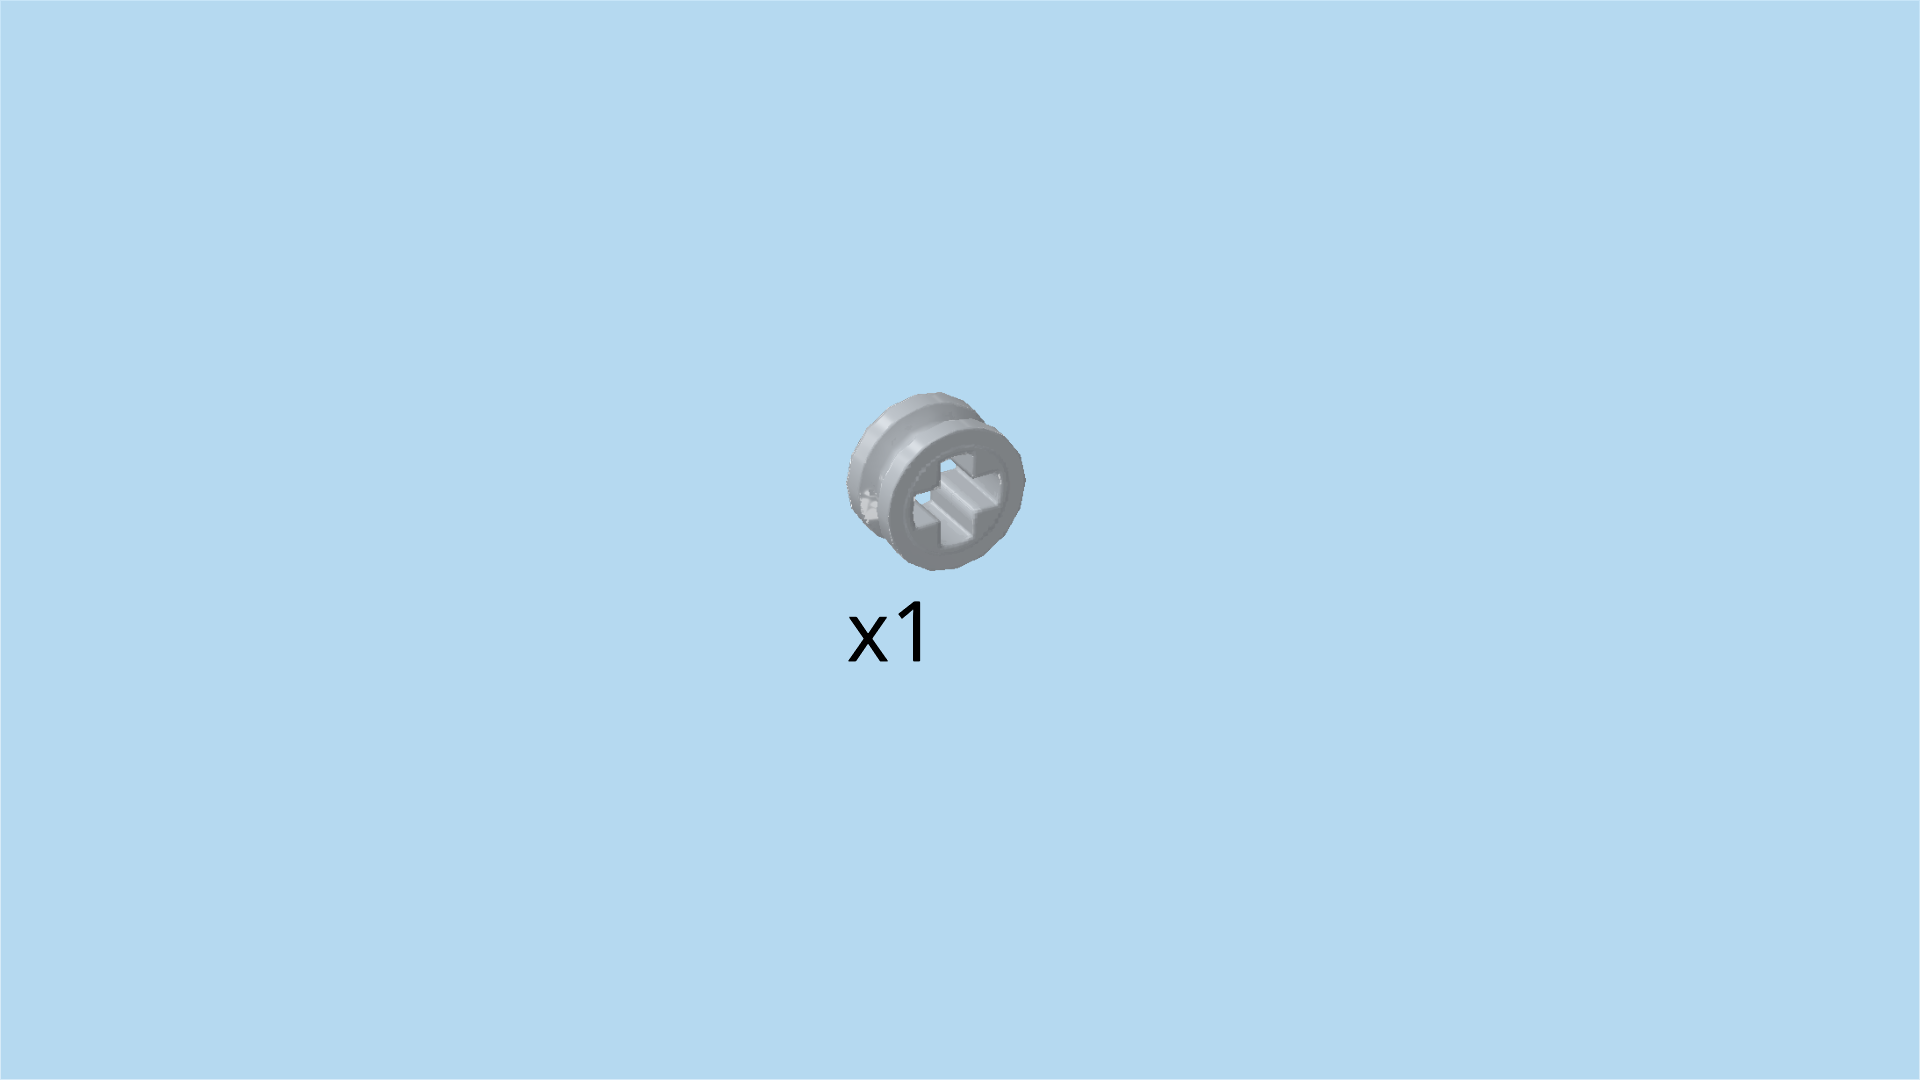
| Find 1 medium stone grey cross bushing 1x½. |
| Put it on the cross axle sticking out from the linkage to secure it. |
| Next, we will make the second half of the trap door. |
| Collect the following 3 pieces: |
| 2 black flat tiles 2x4, |
| and 1 black palisade brick 1x4. |
| Put the palisade brick 1x4 vertically on the table. |
| Put 1 flat tile 2x4 horizontally on the 2 front knobs, 2/3 of the tile overhanging to the left. |
| Put the other flat tile 2x4 horizontally behind the previous piece, 2/3 overhanging to the left. |
| Find 1 medium stone grey plate 2x2 with bottom connector. |
| First, flip the structure from the previous step upside down. Keep the palisade brick on the right edge. |
| Put the plate with connector centered on the left edge, connector to the top. |
| Find 1 flame yellowish orange technic beam 3m. |
| Hold it horizontally, holes running from top to bottom. |
| Put the rightmost hole on the connector of the previous piece, 2/3 overhanging to the left. |
| Find 1 medium stone grey connector peg 2m with middle ring. |
| Flip the structure right side up again, keeping the palisade brick on the right edge. |
| Insert the connector peg from the top into the leftmost hole of the technic beam, one half sticking out towards the top. |
| The second half of the trap door is finished! Well done! Turn it so that the technic beam with connector peg is pointing to the front. |
| Insert the trap door half into the flat tile area in front of the first trap door sub-part. Push it to the front (it will slide on the flat tile area) until the technic beam touches the brick 2x8 at the front edge. |
| Next, we will build the second linkage of the trap door. |
| Collect the following 3 pieces: |
| 1 black cross axle 4m, |
| 1 black angled cross axle extension 1m x 1m with round hole, |
| and 1 bright red cross axle 2m with 2 grooves. |
| Put the angled cross axle extension flat on the table, one arm pointing to the front and the other arm pointing to the left. |
| Insert the cross axle 4m from the left into the arm pointing to the left, 3/4 overhanging to the left. |
| Insert the cross axle 2m with 2 grooves from the front into the other arm, 1/2 overhanging to the front. |
| Find 2 medium stone grey round bushings 1m with cross axle extension 1m. |
| Turn both so that their round holes are running from top to bottom. |
| Put them on the 2 cross axles of the linkage. |
| Find 1 medium stone grey connector peg 2m with middle ring. |
| Insert it from the bottom into the round hole of the shorter linkage arm (this is the arm that is pointing to the front. One half of the connector peg is protruding to the bottom. |
| Find 1 dark stone grey technic beam 5m. |
| Hold it horizontally, its holes running from top to bottom. Insert the connector of the previous piece from the top into the leftmost hole of the beam. |
| Again, this is a loose connection, the beam will move around. |
| The second linkage of the trap door is finished! Well done! First, turn it so that the longer arm is pointing towards you, and the shorter arm with technic beam is pointing to the right. The technic beam should be to the left back. |
| Put its frontmost hole on the connector peg of the trap door half. At the same time, put its middle hole on the cross axle sticking out at the front left edge. |
| Again, part of the cross axle will stick out after mounting. Make sure the technic beam is pointing to the left and slightly to the back while resting on 2 flat tiles that are mounted on the base plate. |
| Find 1 medium stone grey cross bushing 1x½. |
| Put it on the cross axle that is still sticking out towards the top. |
| Now, we will build the slide trigger of the trap door. |
| Collect the following 2 pieces: |
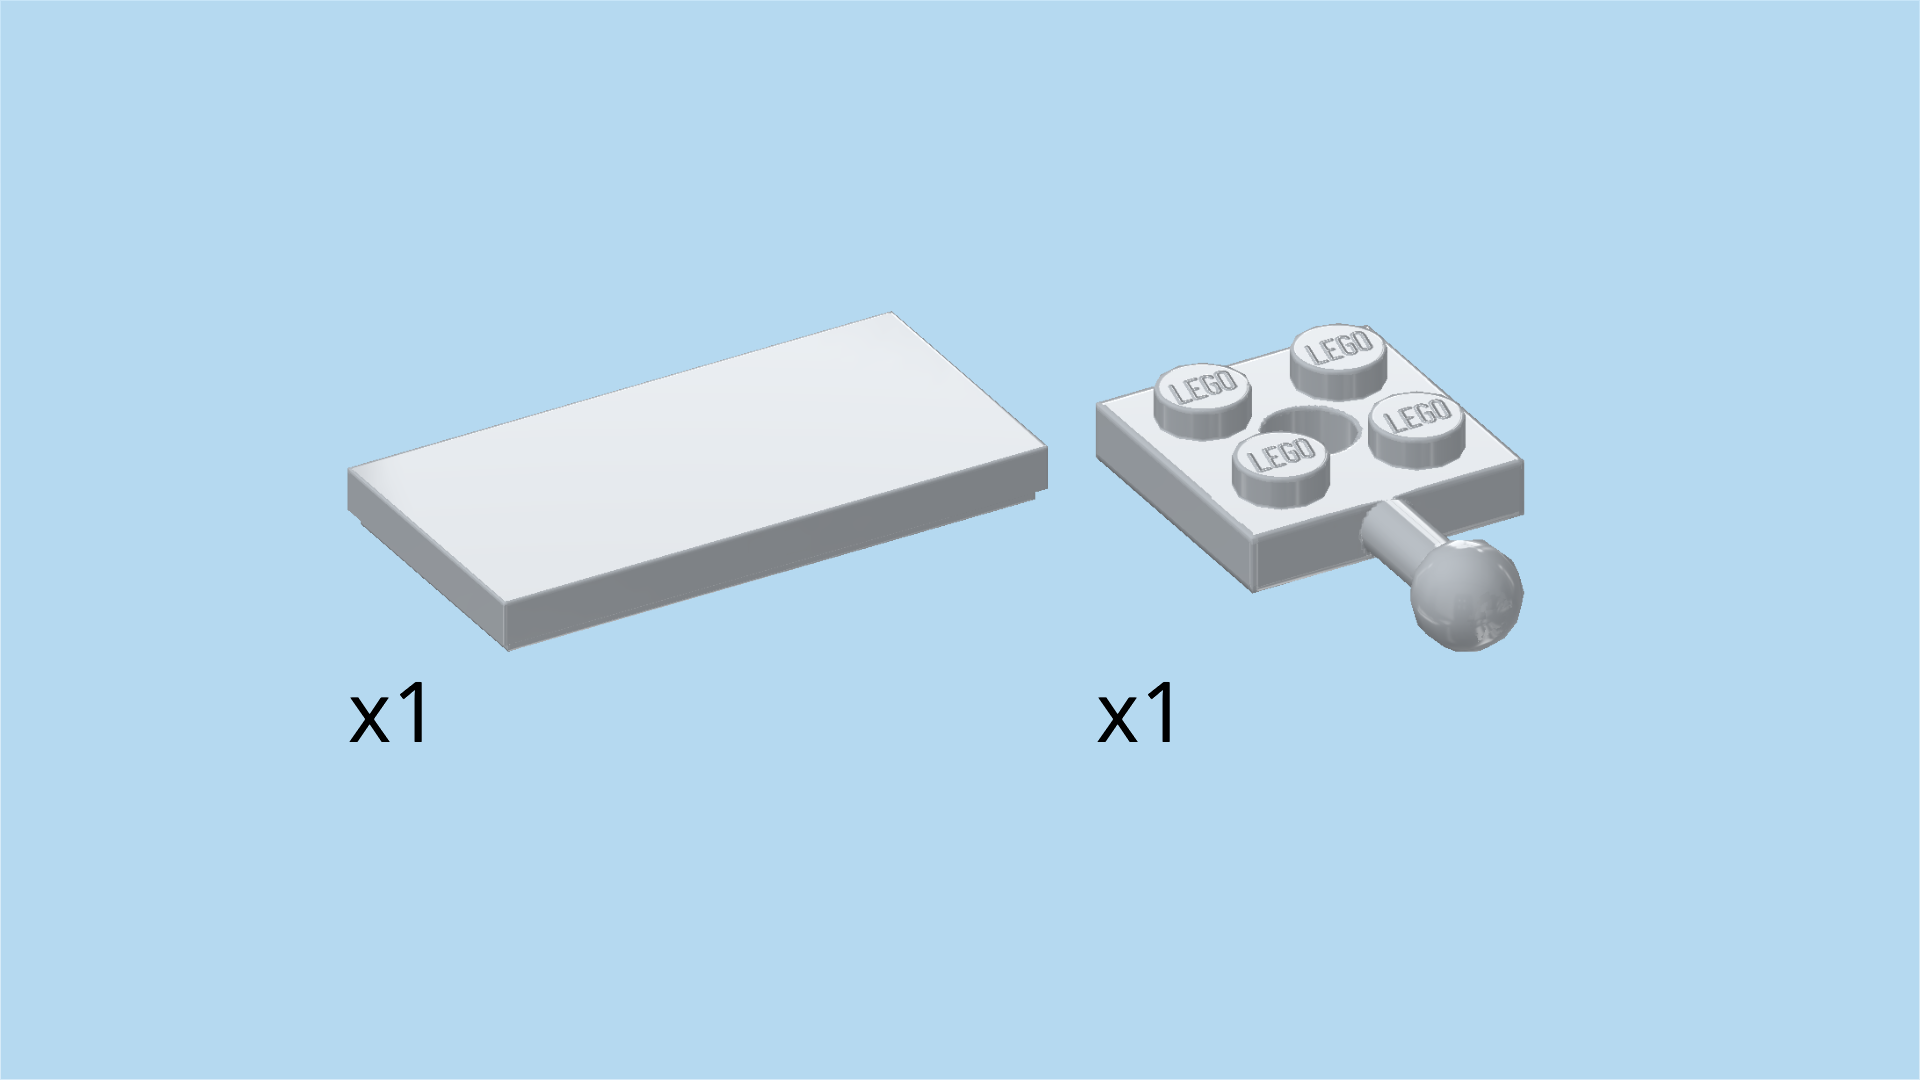
| 1 medium stone grey flat tile 2x4, |
| and 1 medium stone grey plate 2x2 with side shaft with ball. |
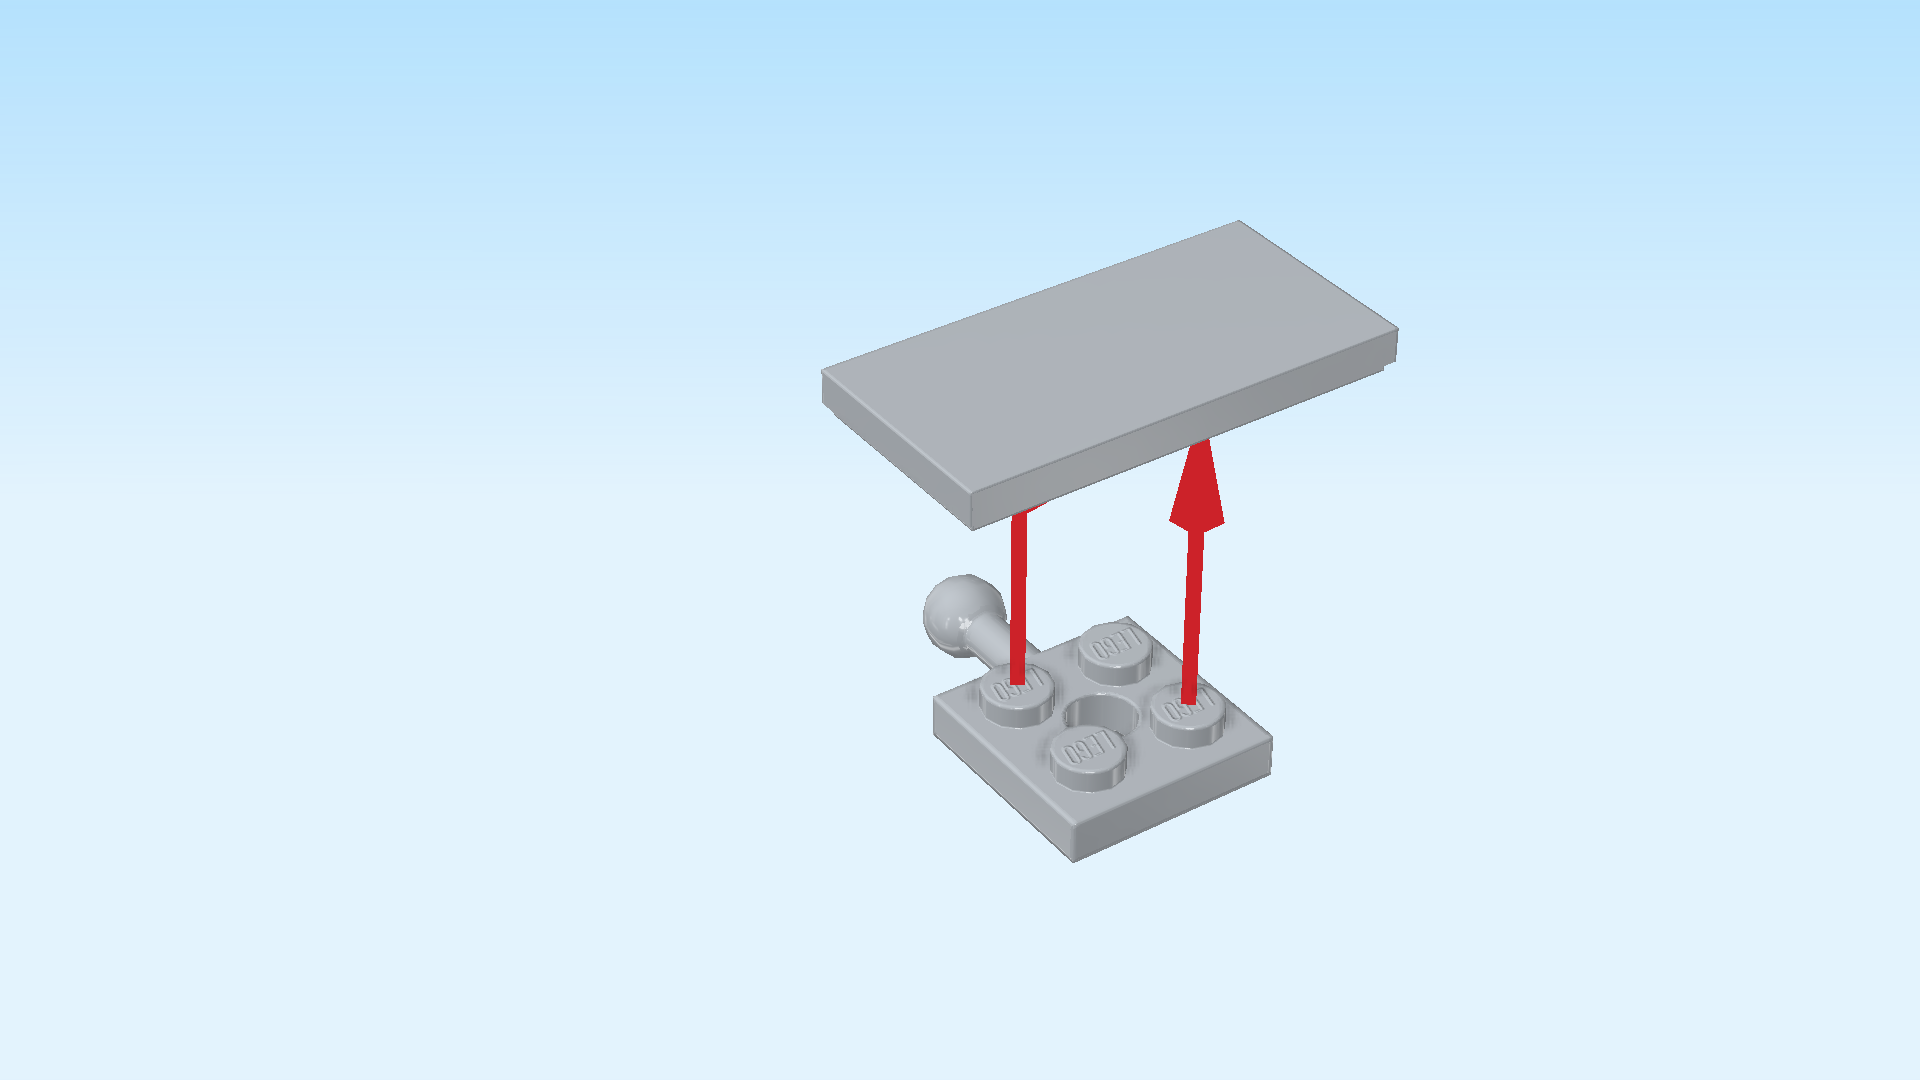
| Put the plate with shaft and ball on the table, shaft with ball pointing to the back. |
| Put the flat tile 2x4 horizontally centered on top, symmetrically overhanging to the left and right. |
| Find 2 dark stone grey plates 1x2. |
| Flip the part upside down, shaft with ball now pointing to the front. |
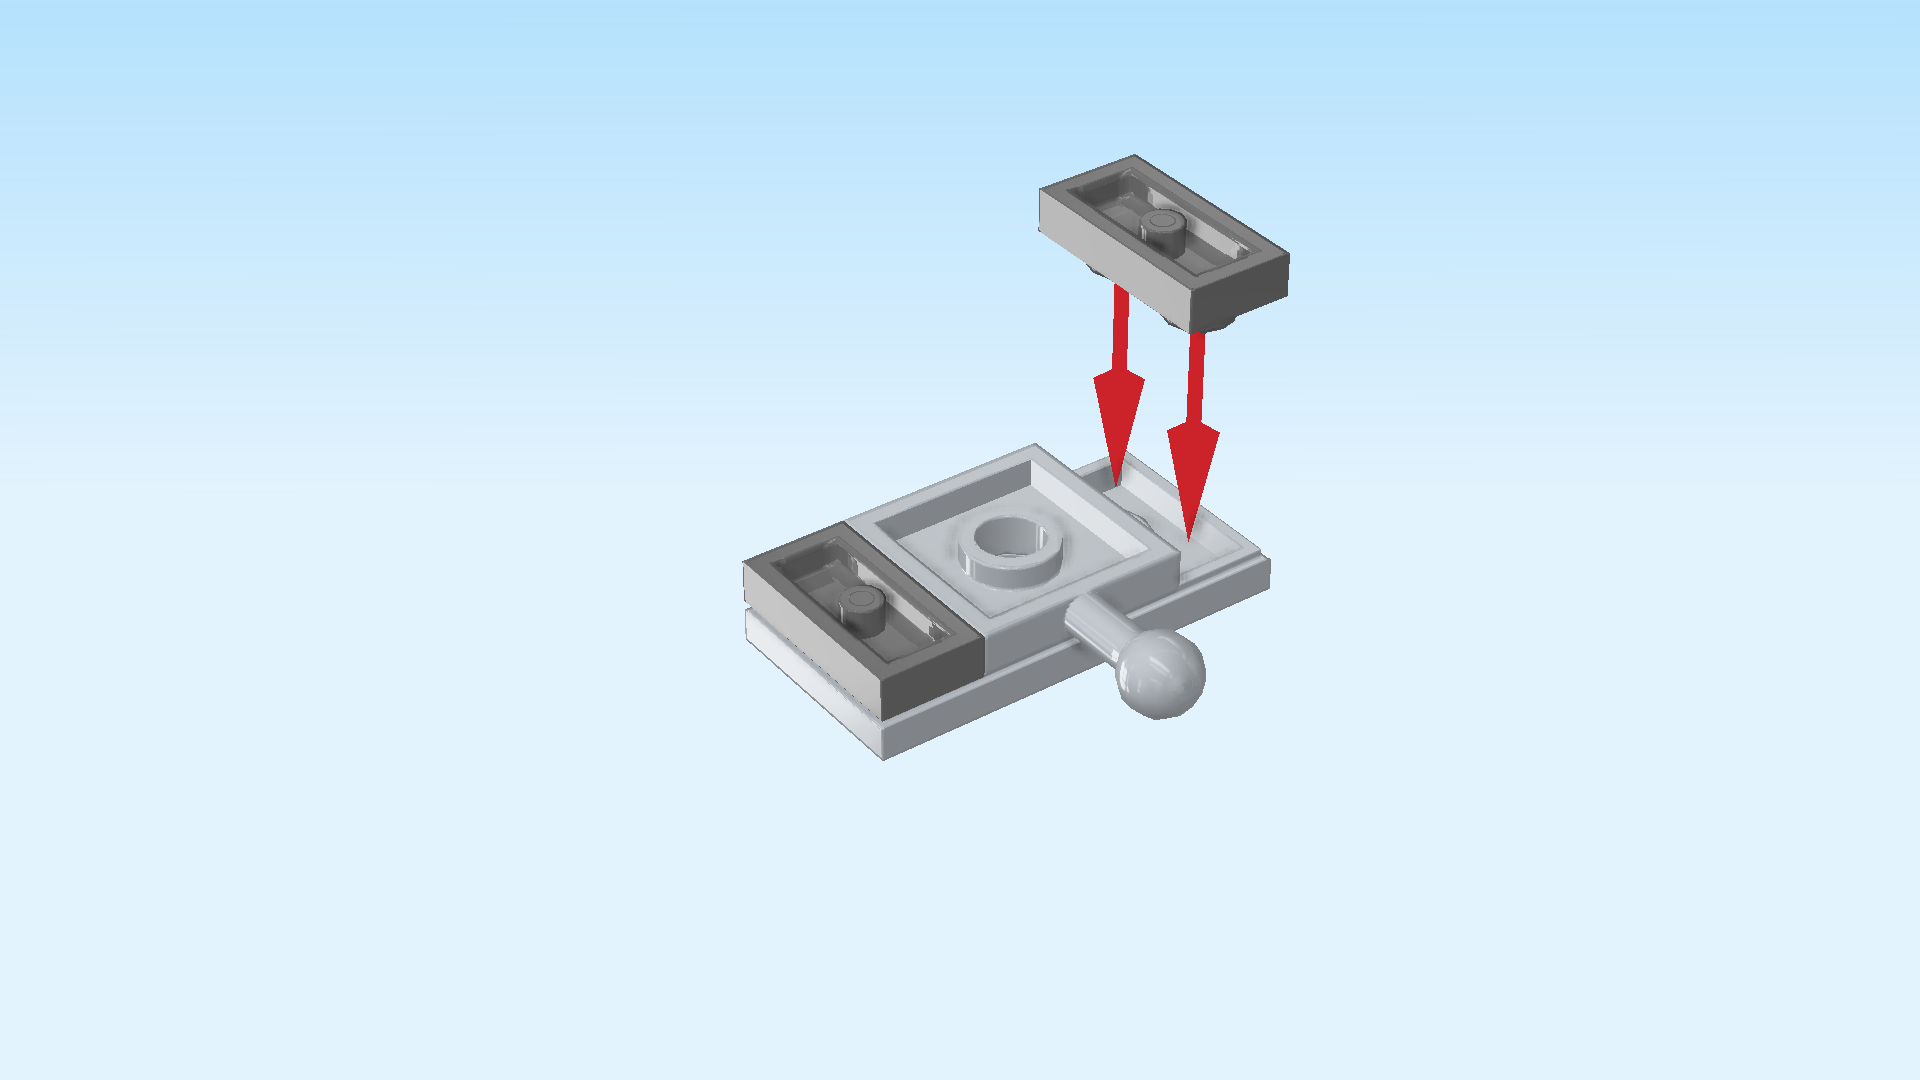
| Put 1 plate 1x2 vertically on the leftmost column, and the other one vertically on the rightmost column. |
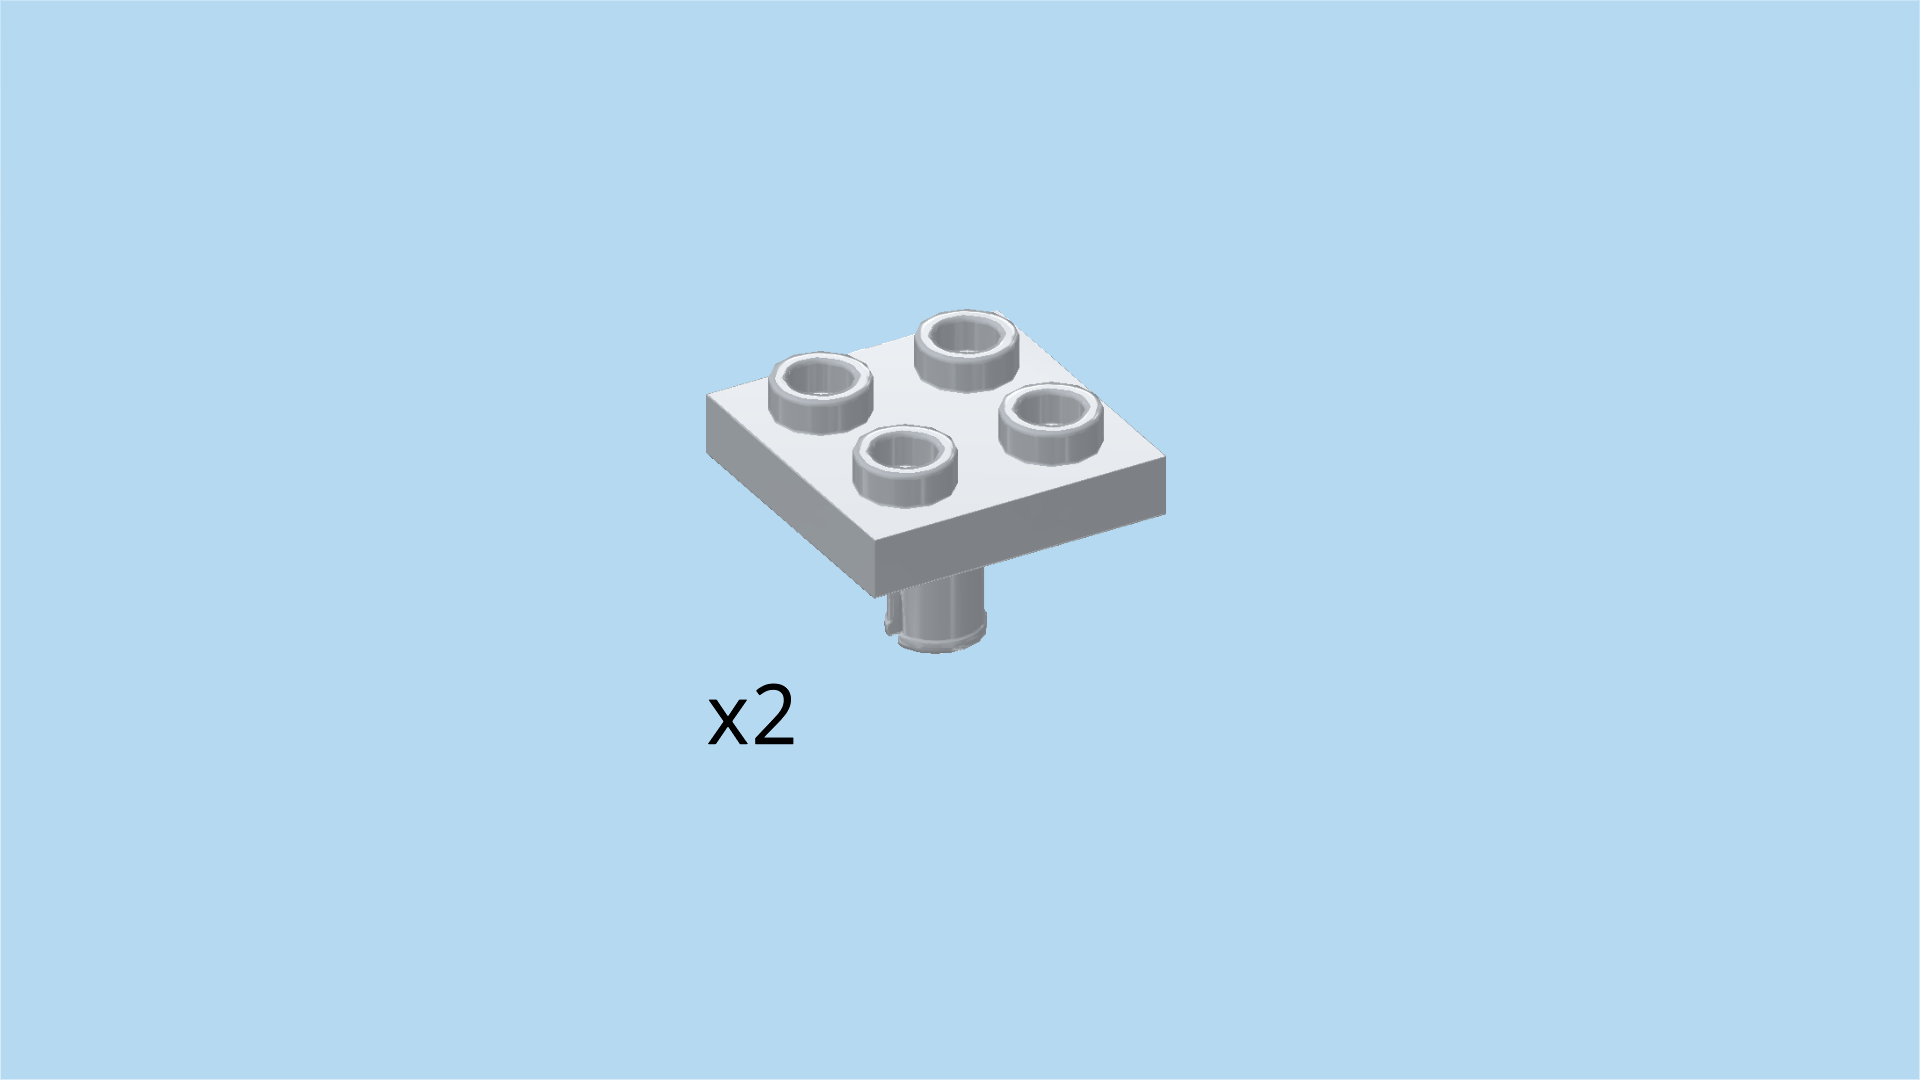
| Find 2 medium stone grey plates 2x2 with bottom connector. |
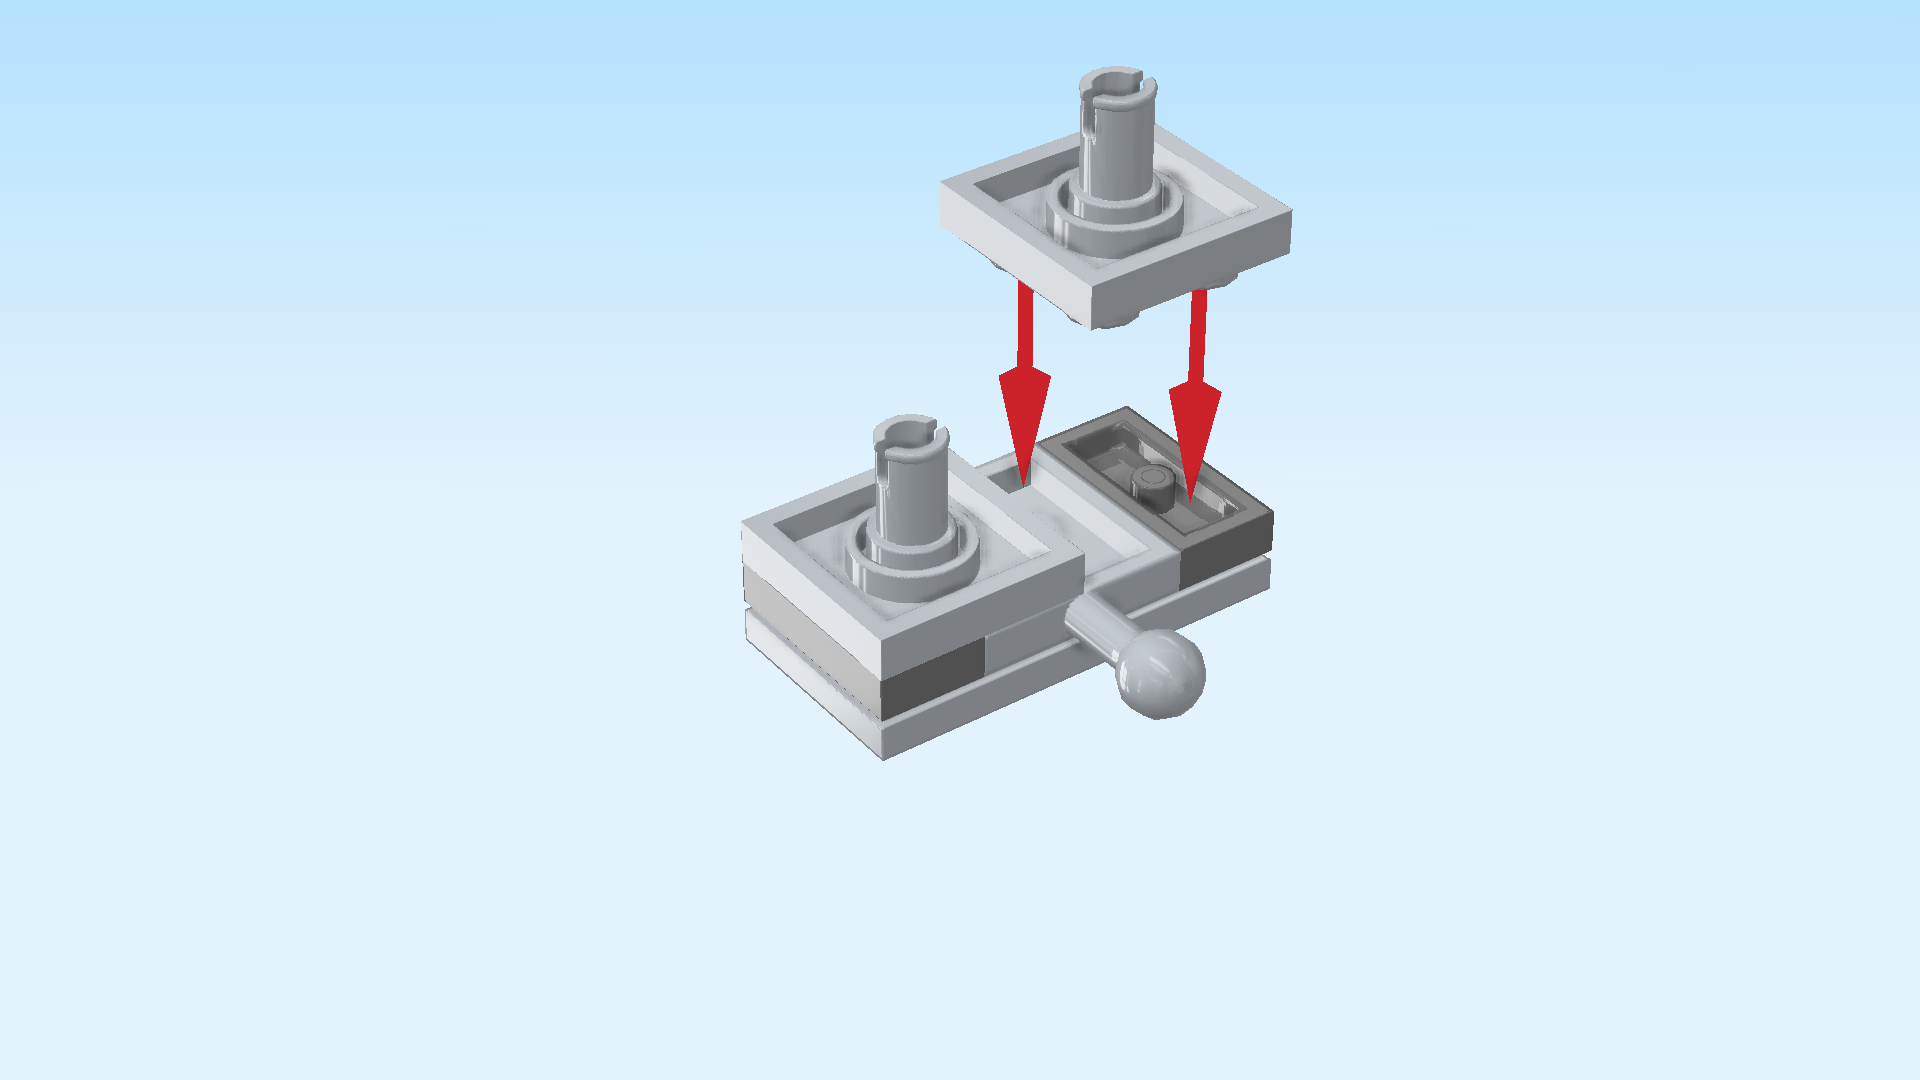
| Put 1 on the left half of the part, connector to the top. |
| Put the other one to the right of the previous piece, connector to the top. |
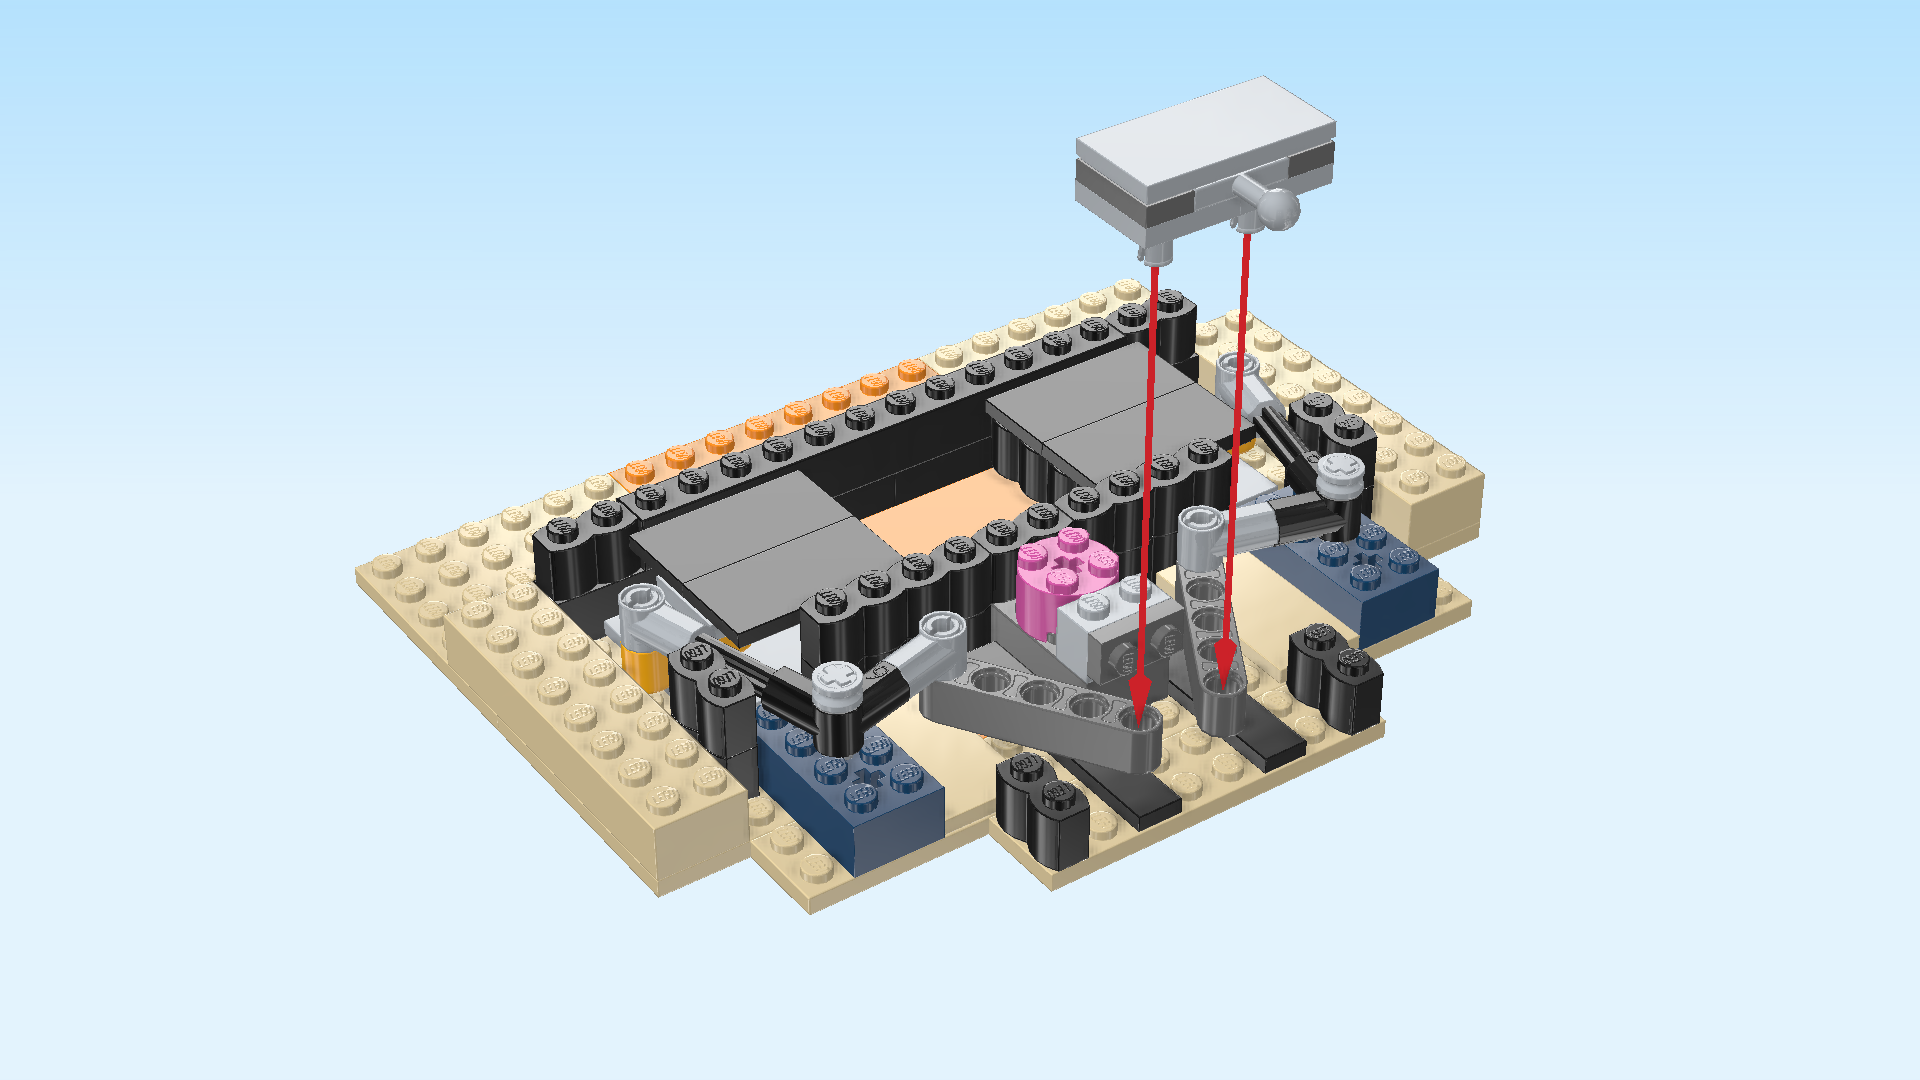
| The slide trigger of the trap door is finished! Flip it right side up again, shaft with ball still pointing to the front. Then, turn the whole structure horizontally, making sure that the 2 loose technic beams of the linkages are pointing towards you. |
| To mount it, we will insert the 2 connectors of the slide trigger from the top into the 2 frontmost holes of the technic beams. Since the beams are not fixed yet, this might take a bit of time. Lower the slide trigger onto the beams without pushing them in, and adjust the beams so that their holes are aligning with the connectors. Then try pushing them in. Ask for help if it does not work out. |
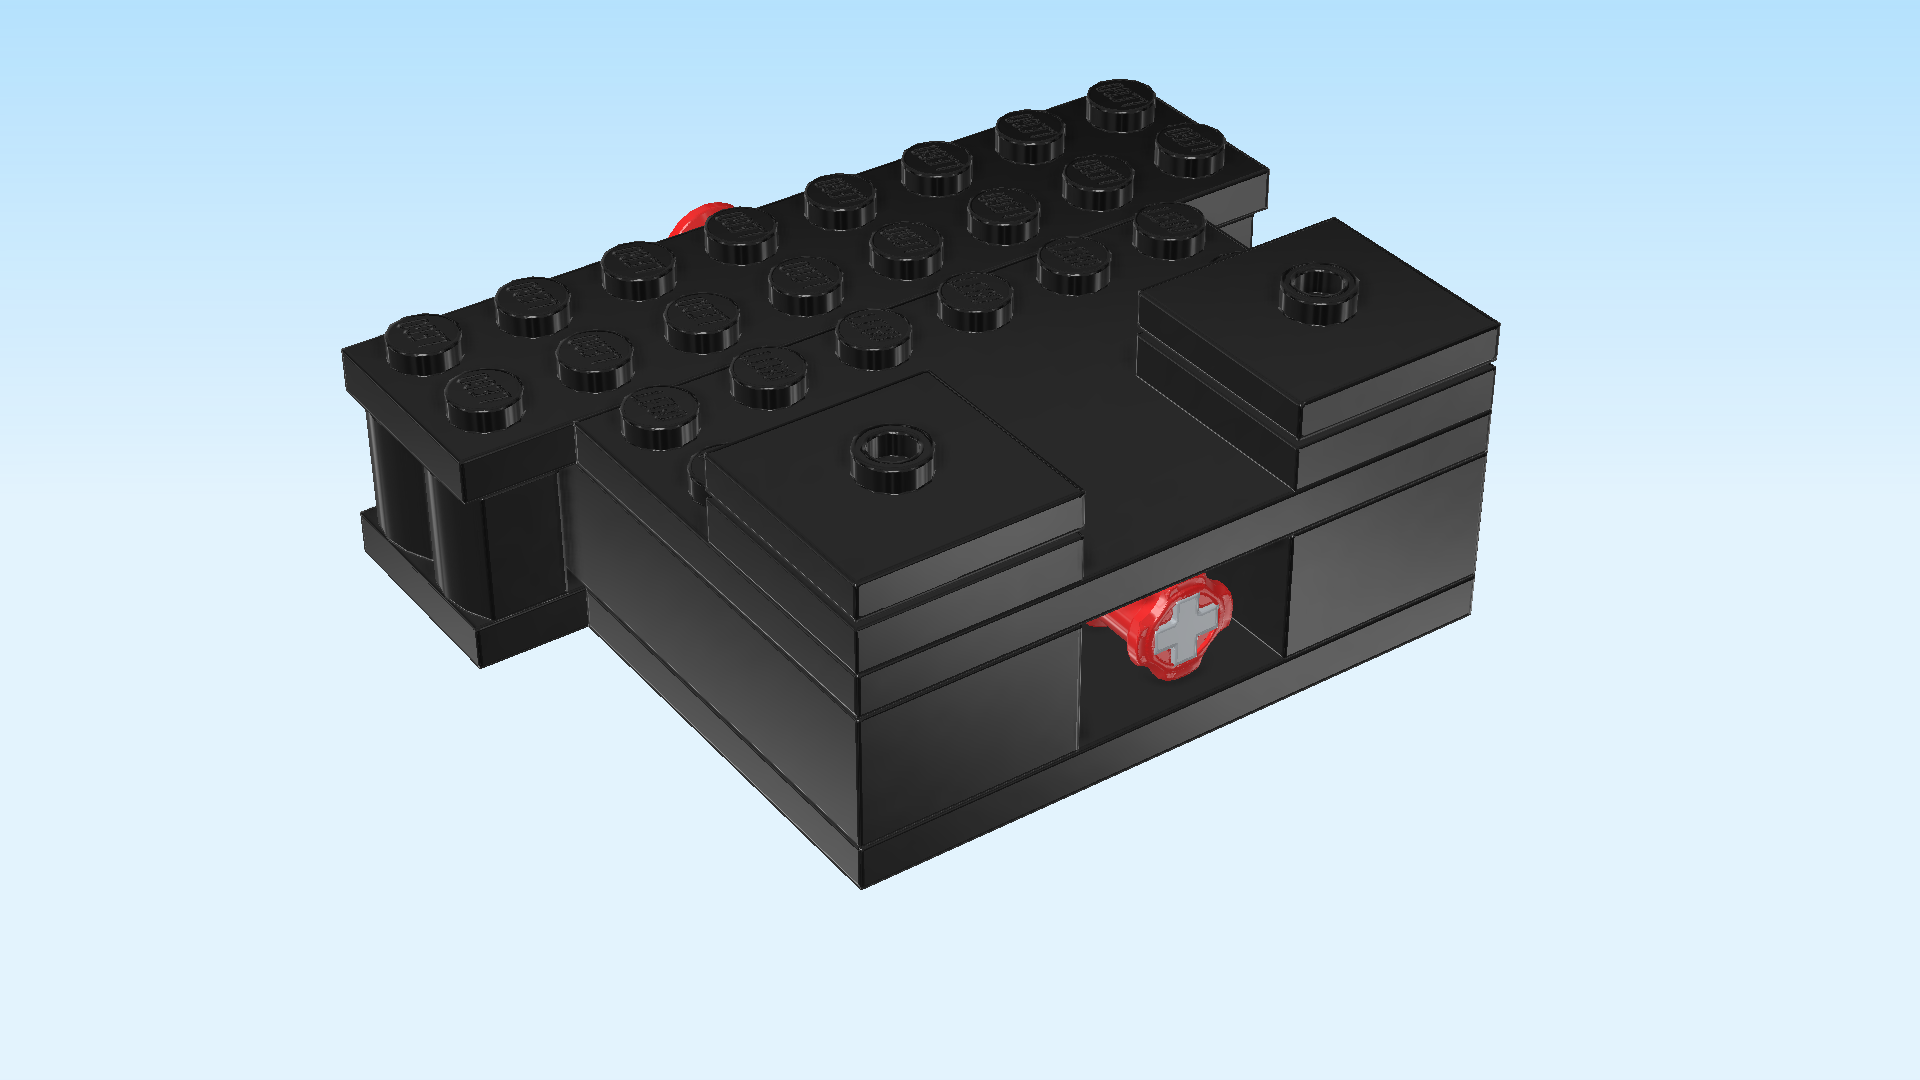
| With this, you have finished building the trap door mechanism! Great work, this was difficult to build! Pull on the trigger and push it in to move the trap doors and open or close them. |
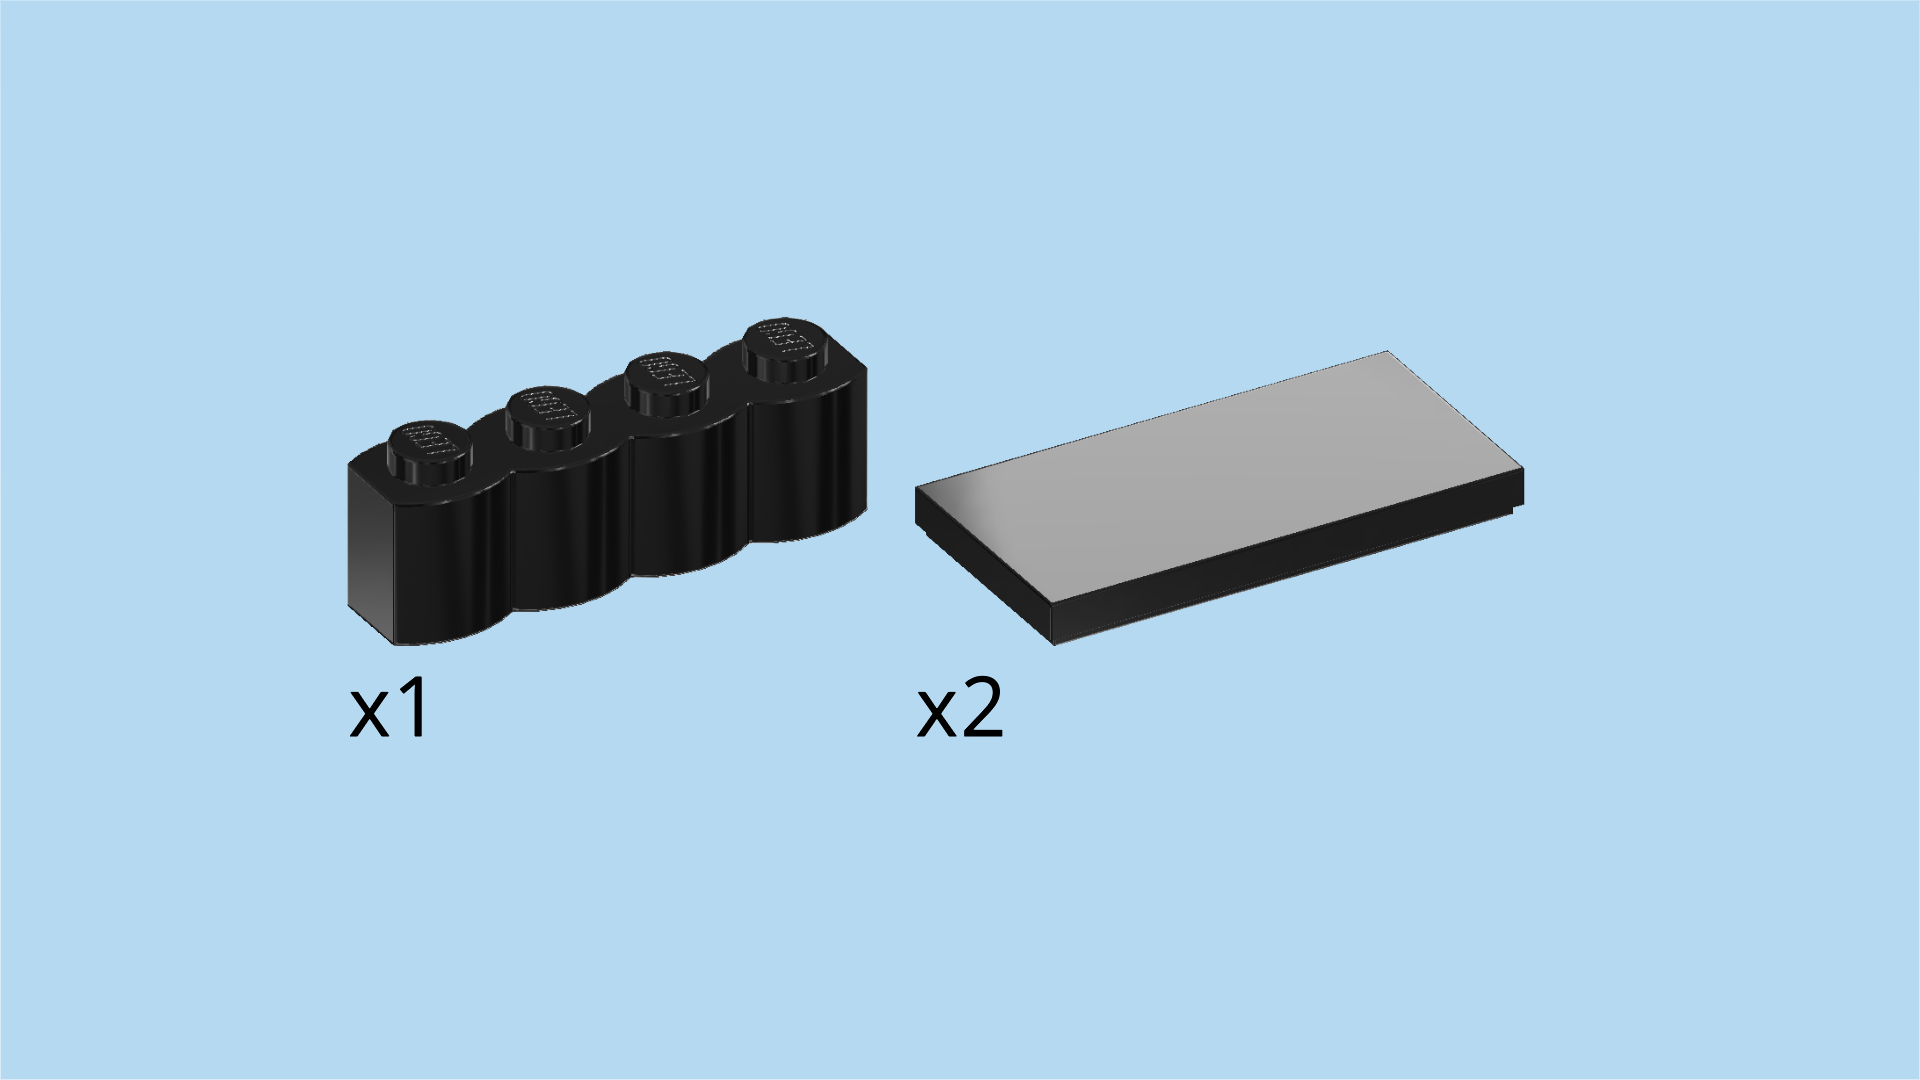
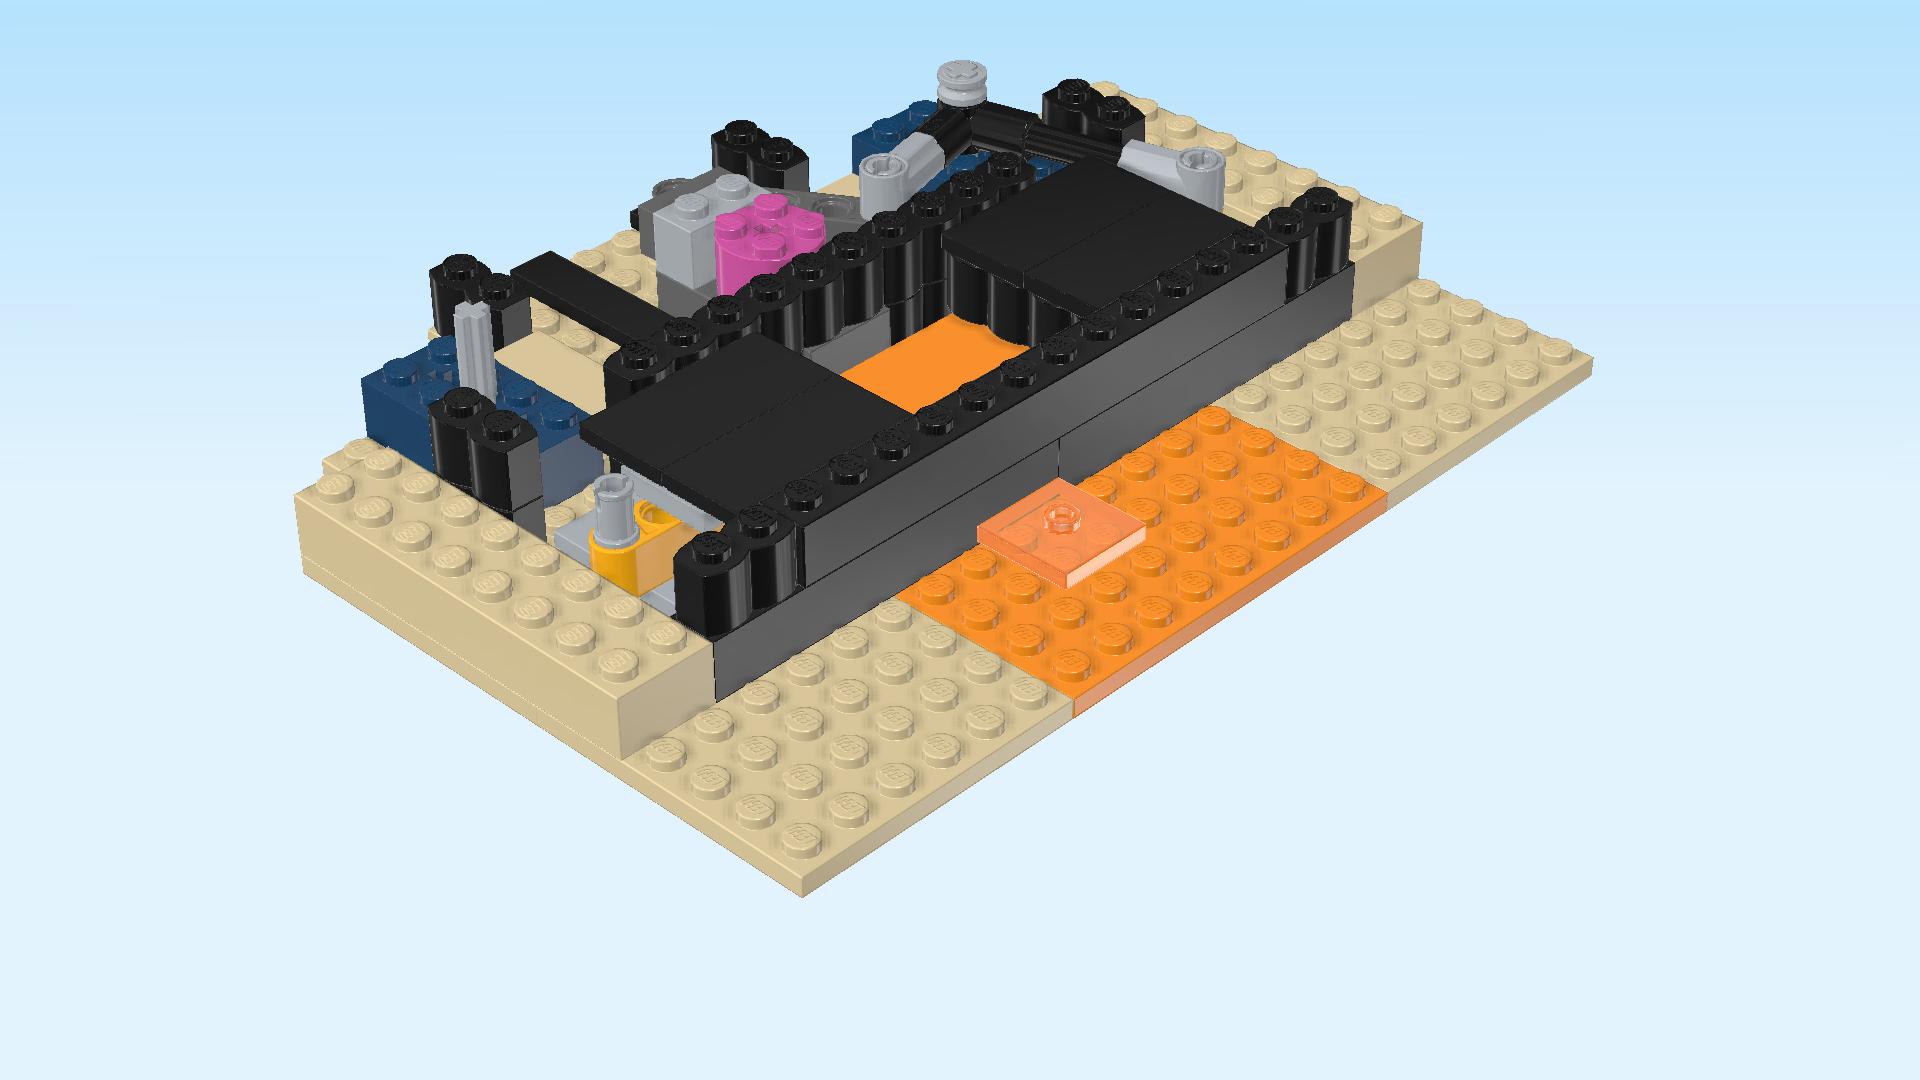
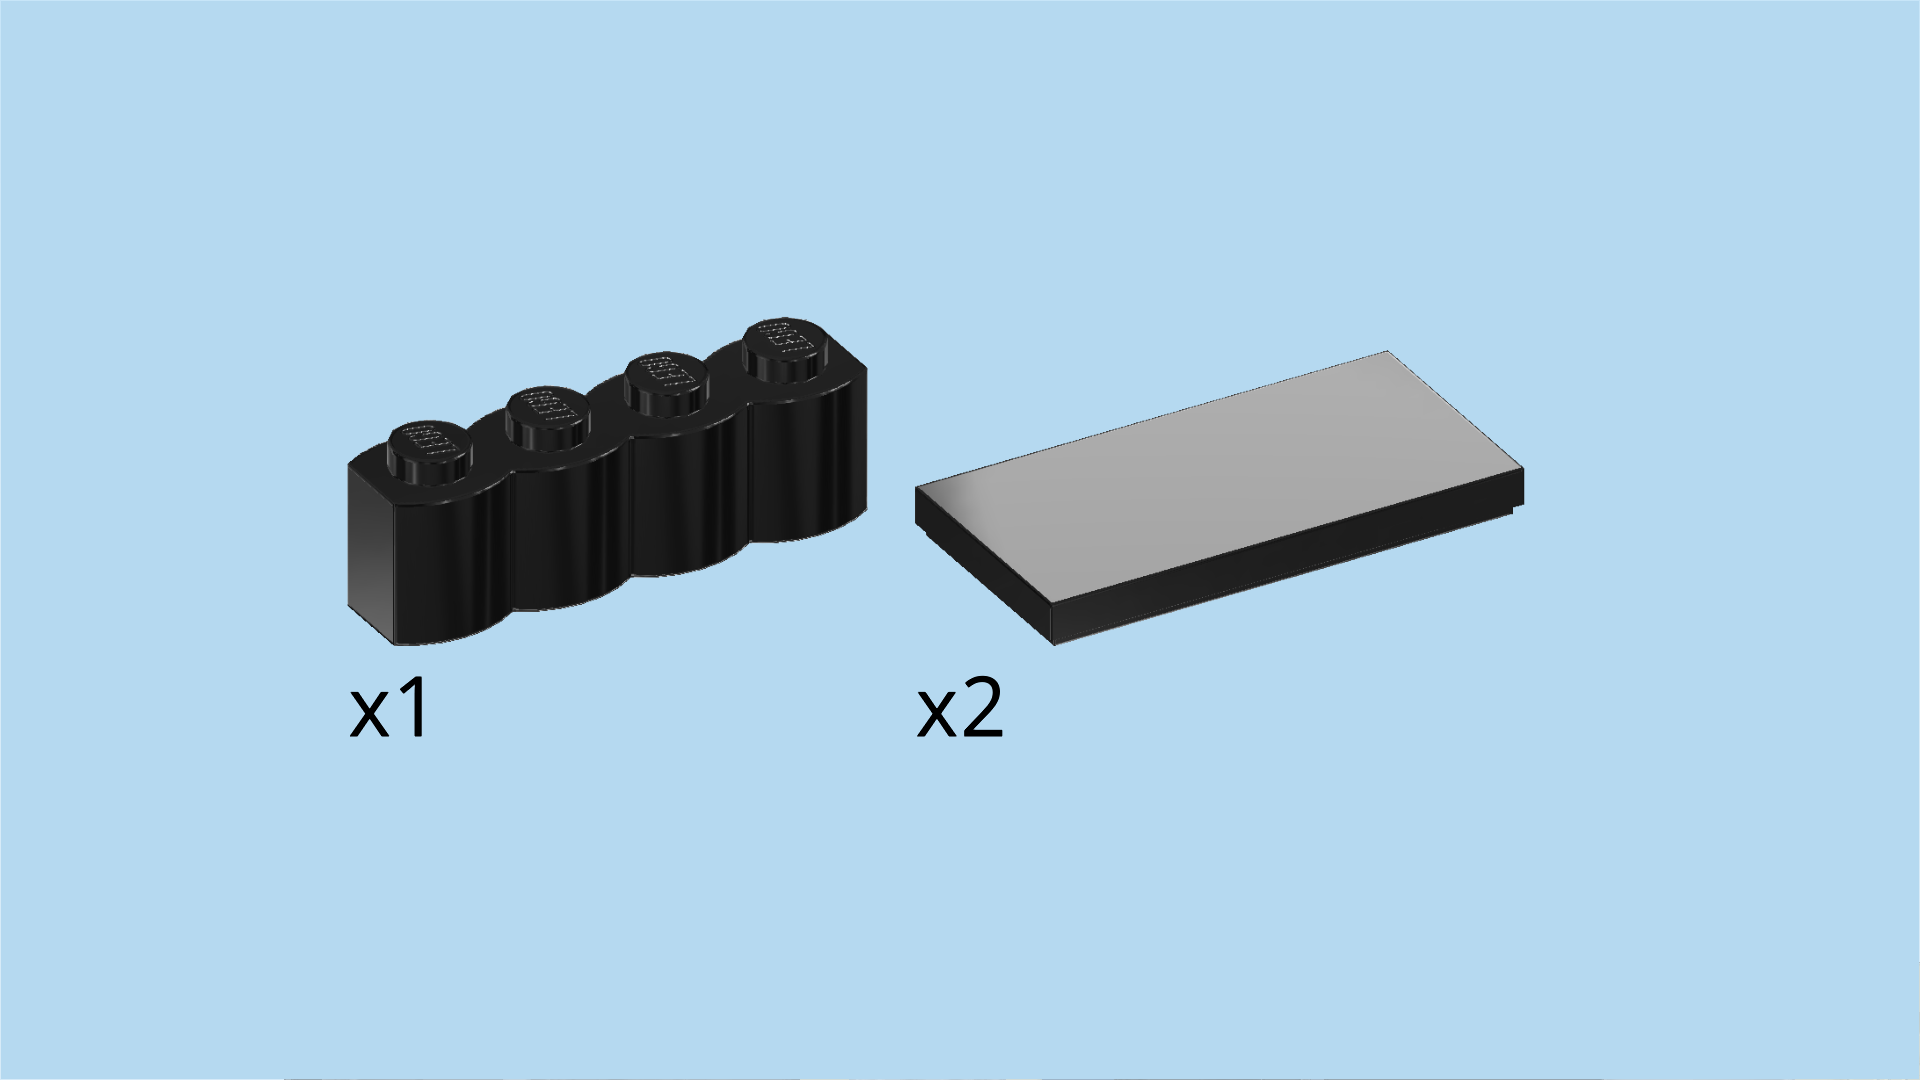
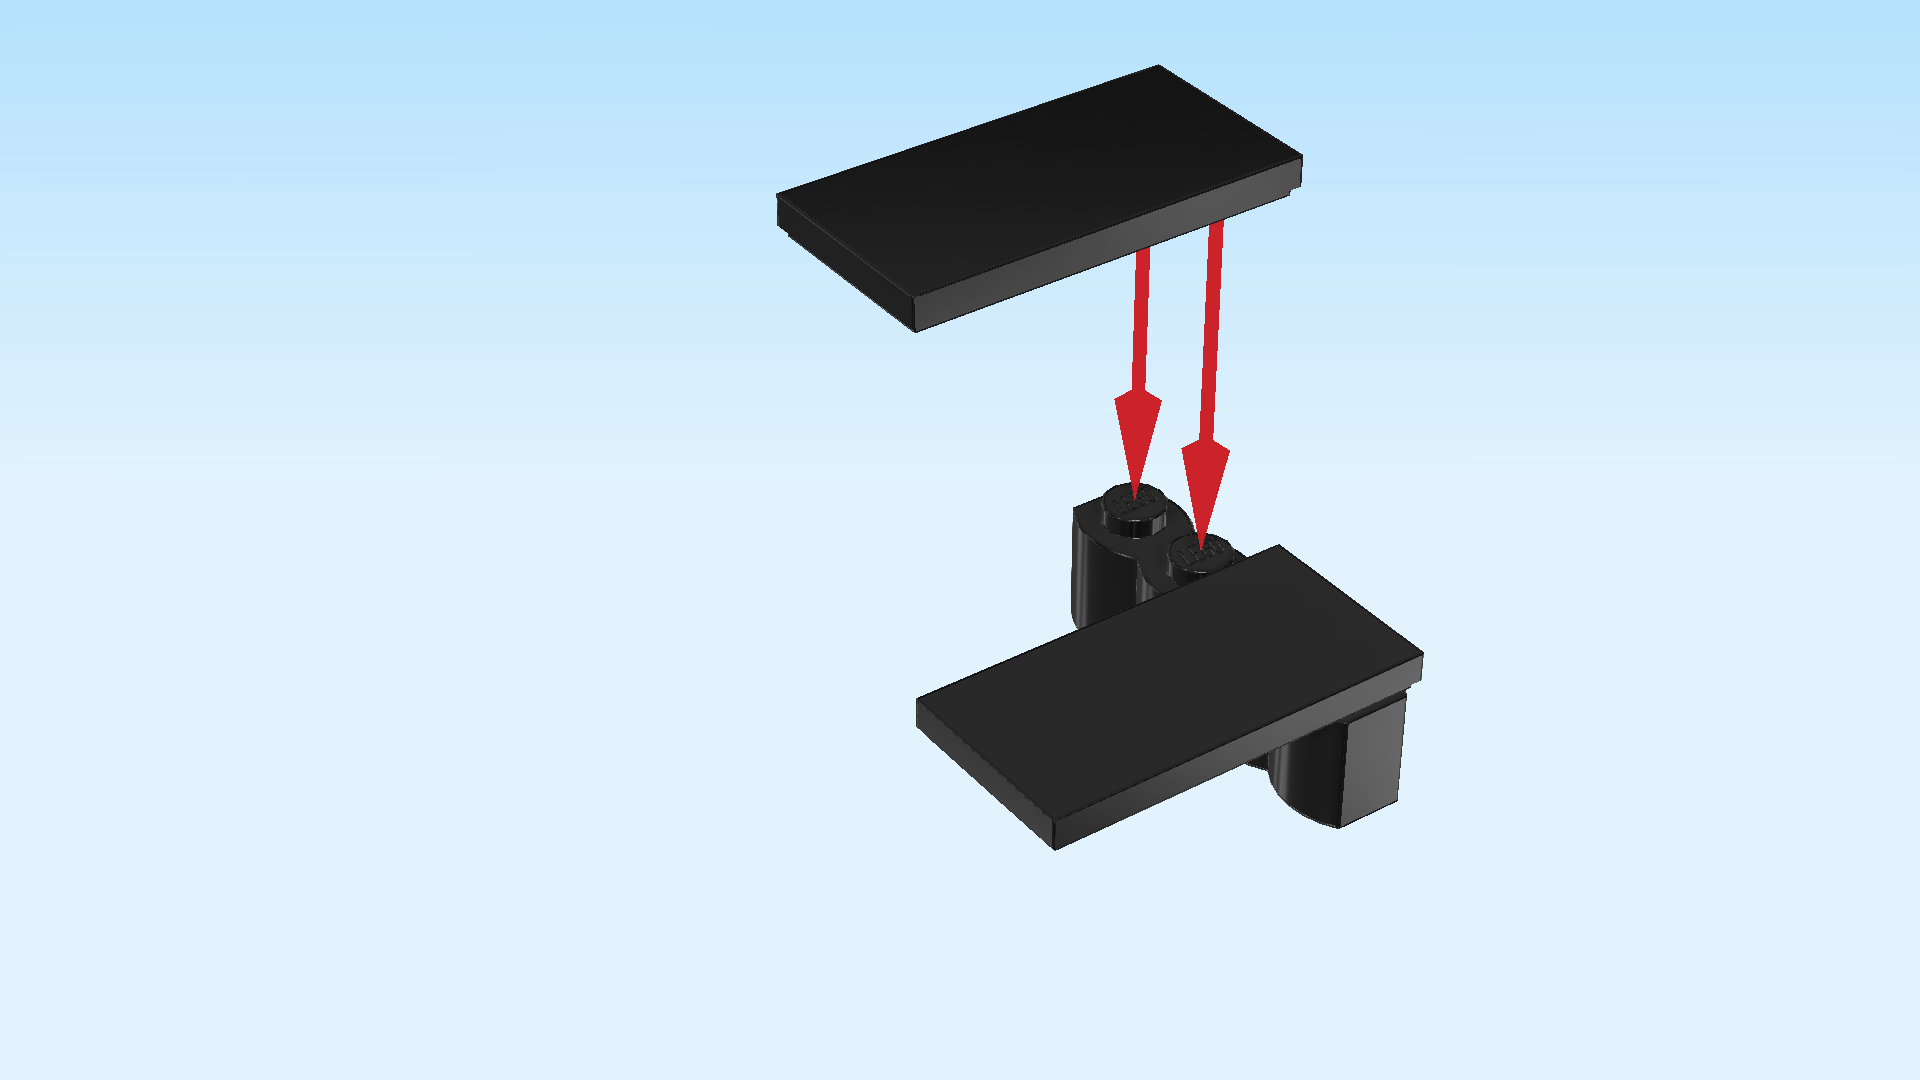
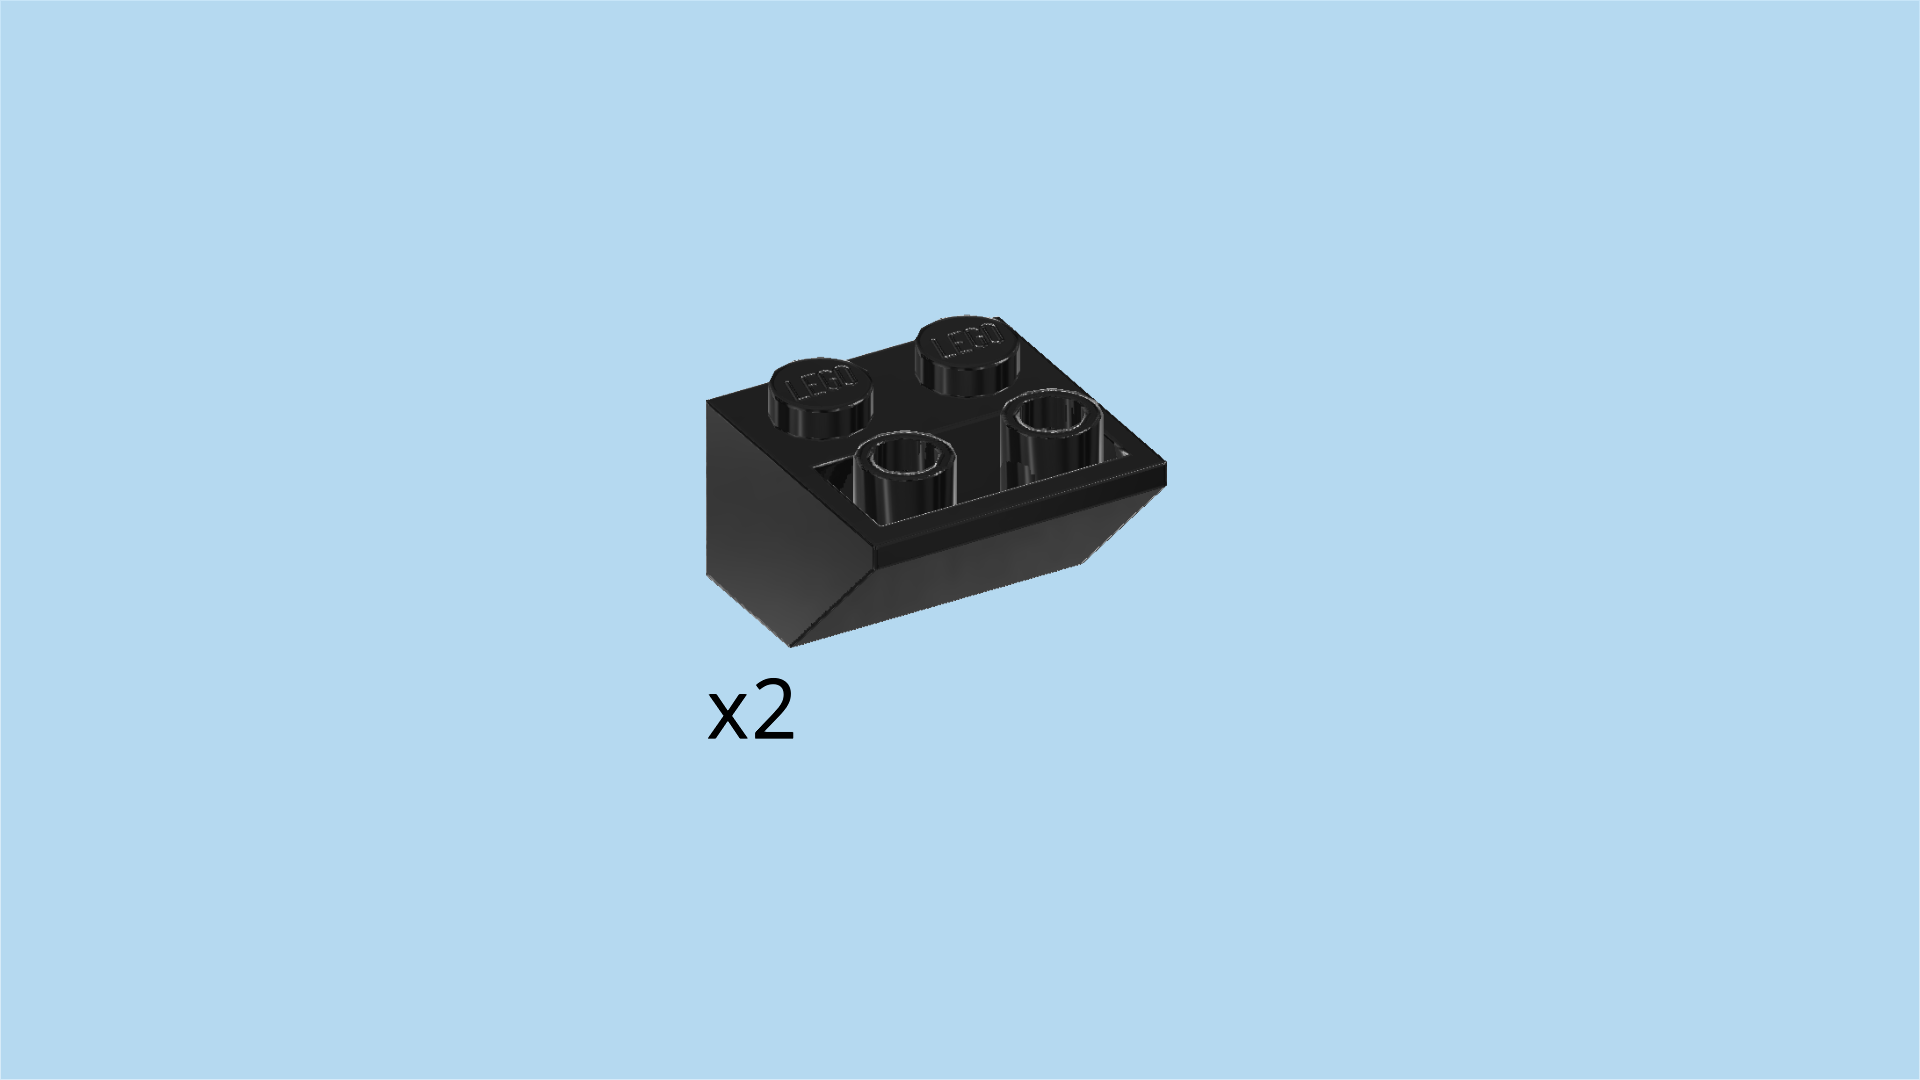
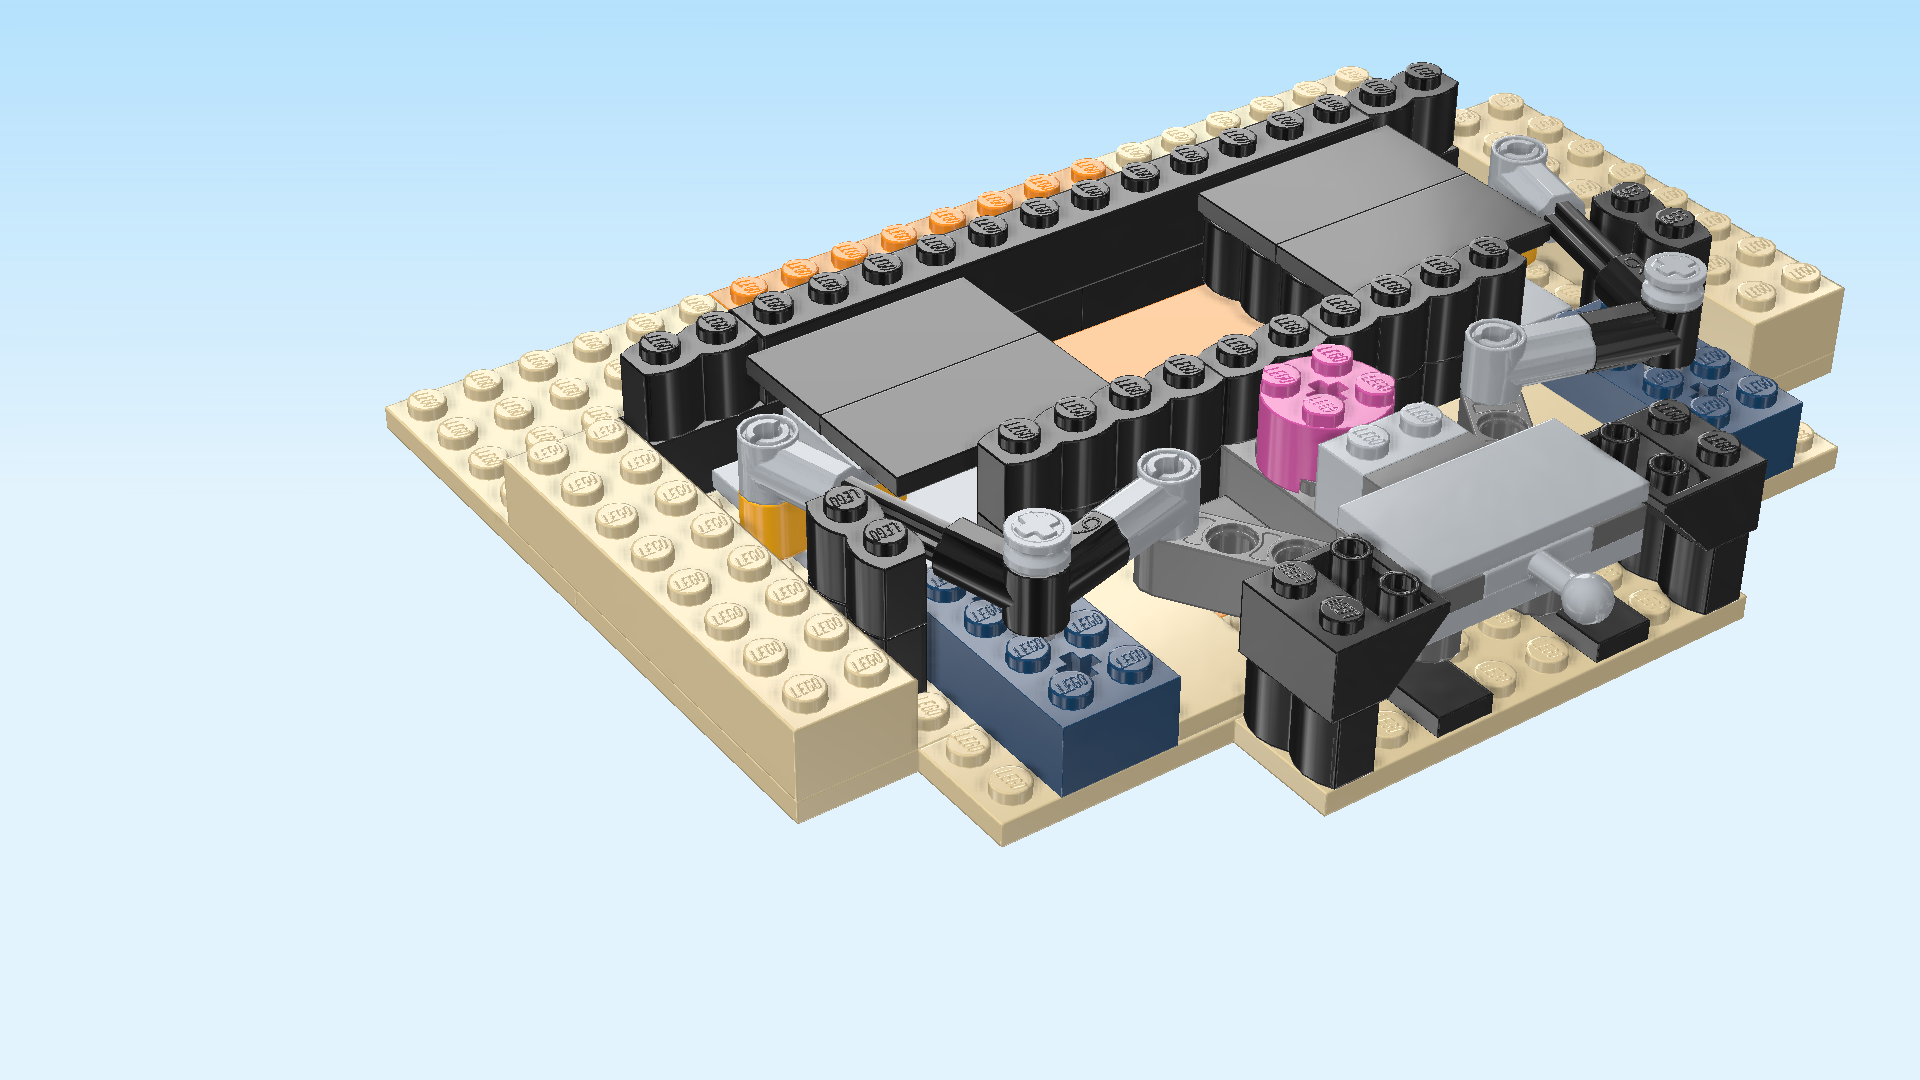
| Find 2 black inverted roof tiles 2x2, 45°. |
| Before you mount them, identify the 2 palisade bricks 1x2 that are mounted vertically on the front edge to the left and right of the slide trigger. |
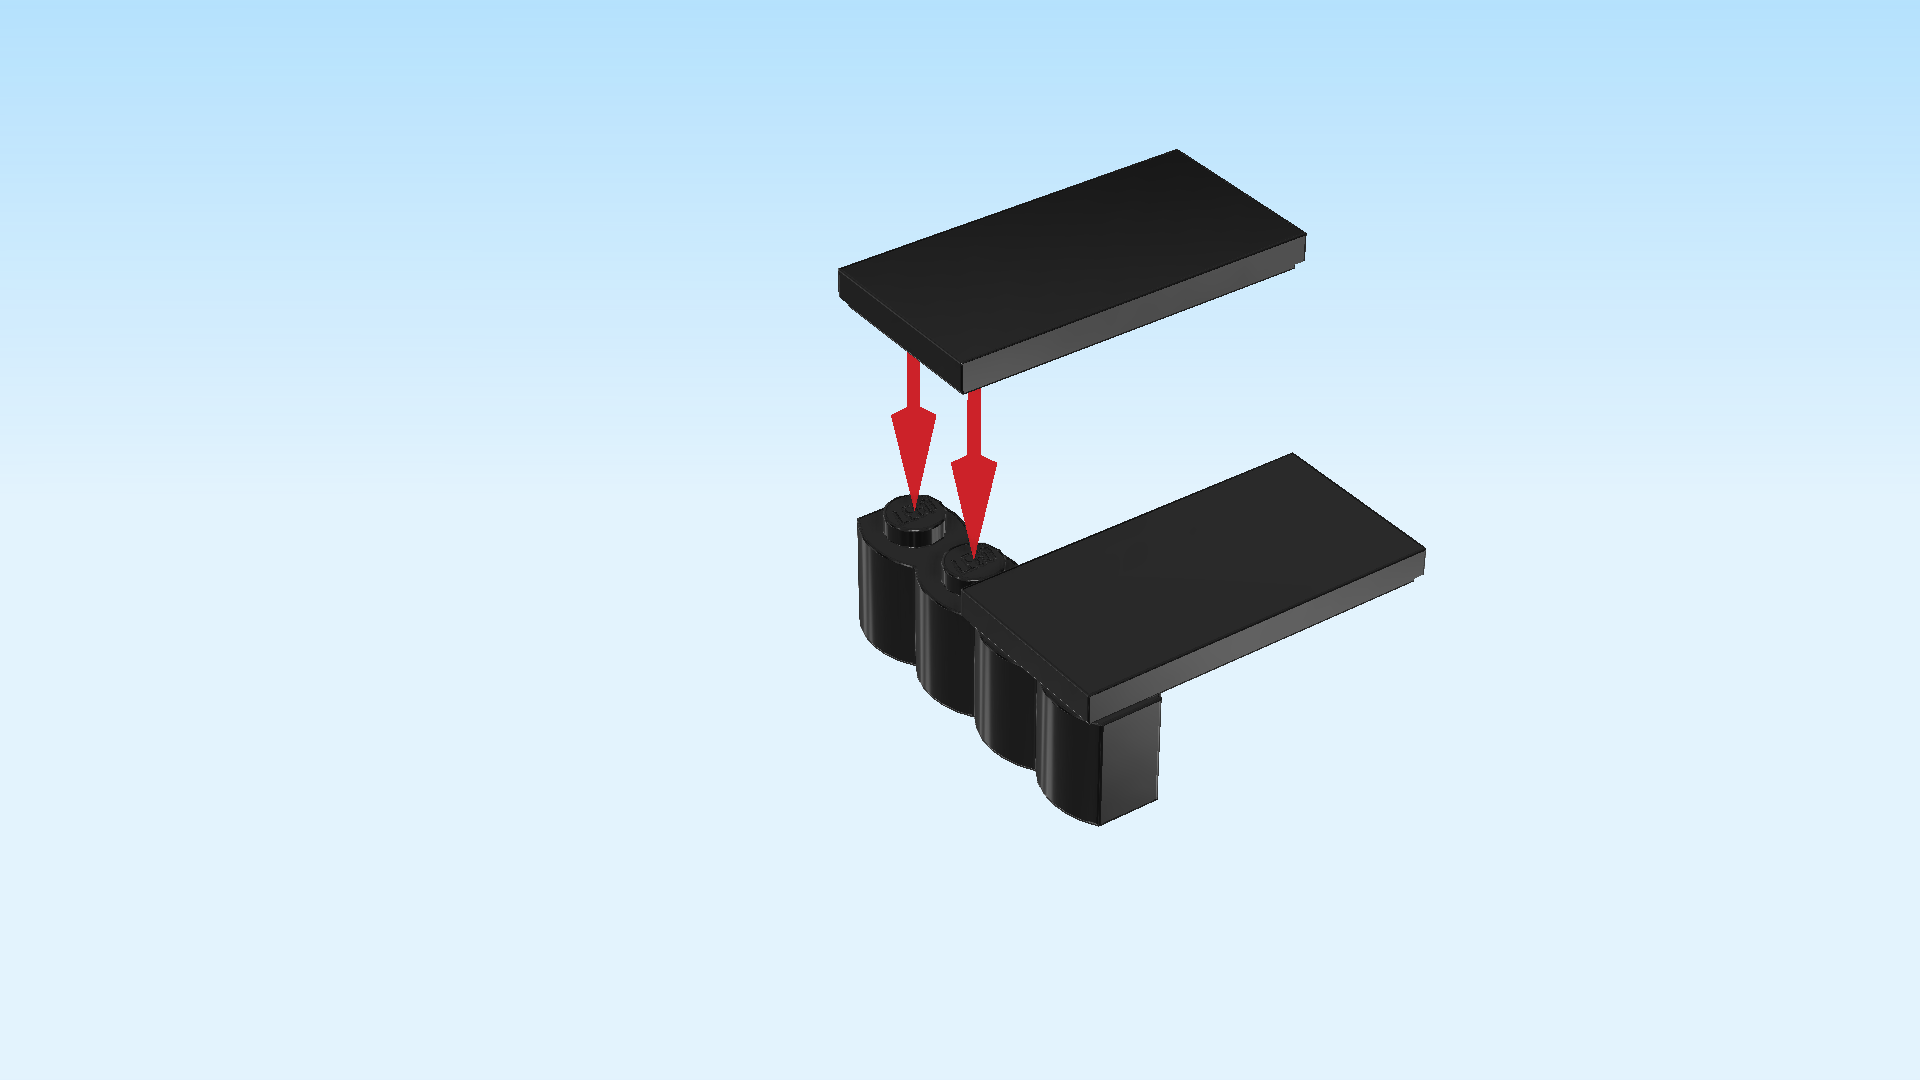
| Put 1 inverted roof tile on the left palisade brick 1x2 at the front edge, slope overhanging to the right. |
| Put the other one on the right palisade brick 1x2 at the front edge, slope overhanging to the left. |
| If done correctly, these two pieces enclose the slide trigger. |
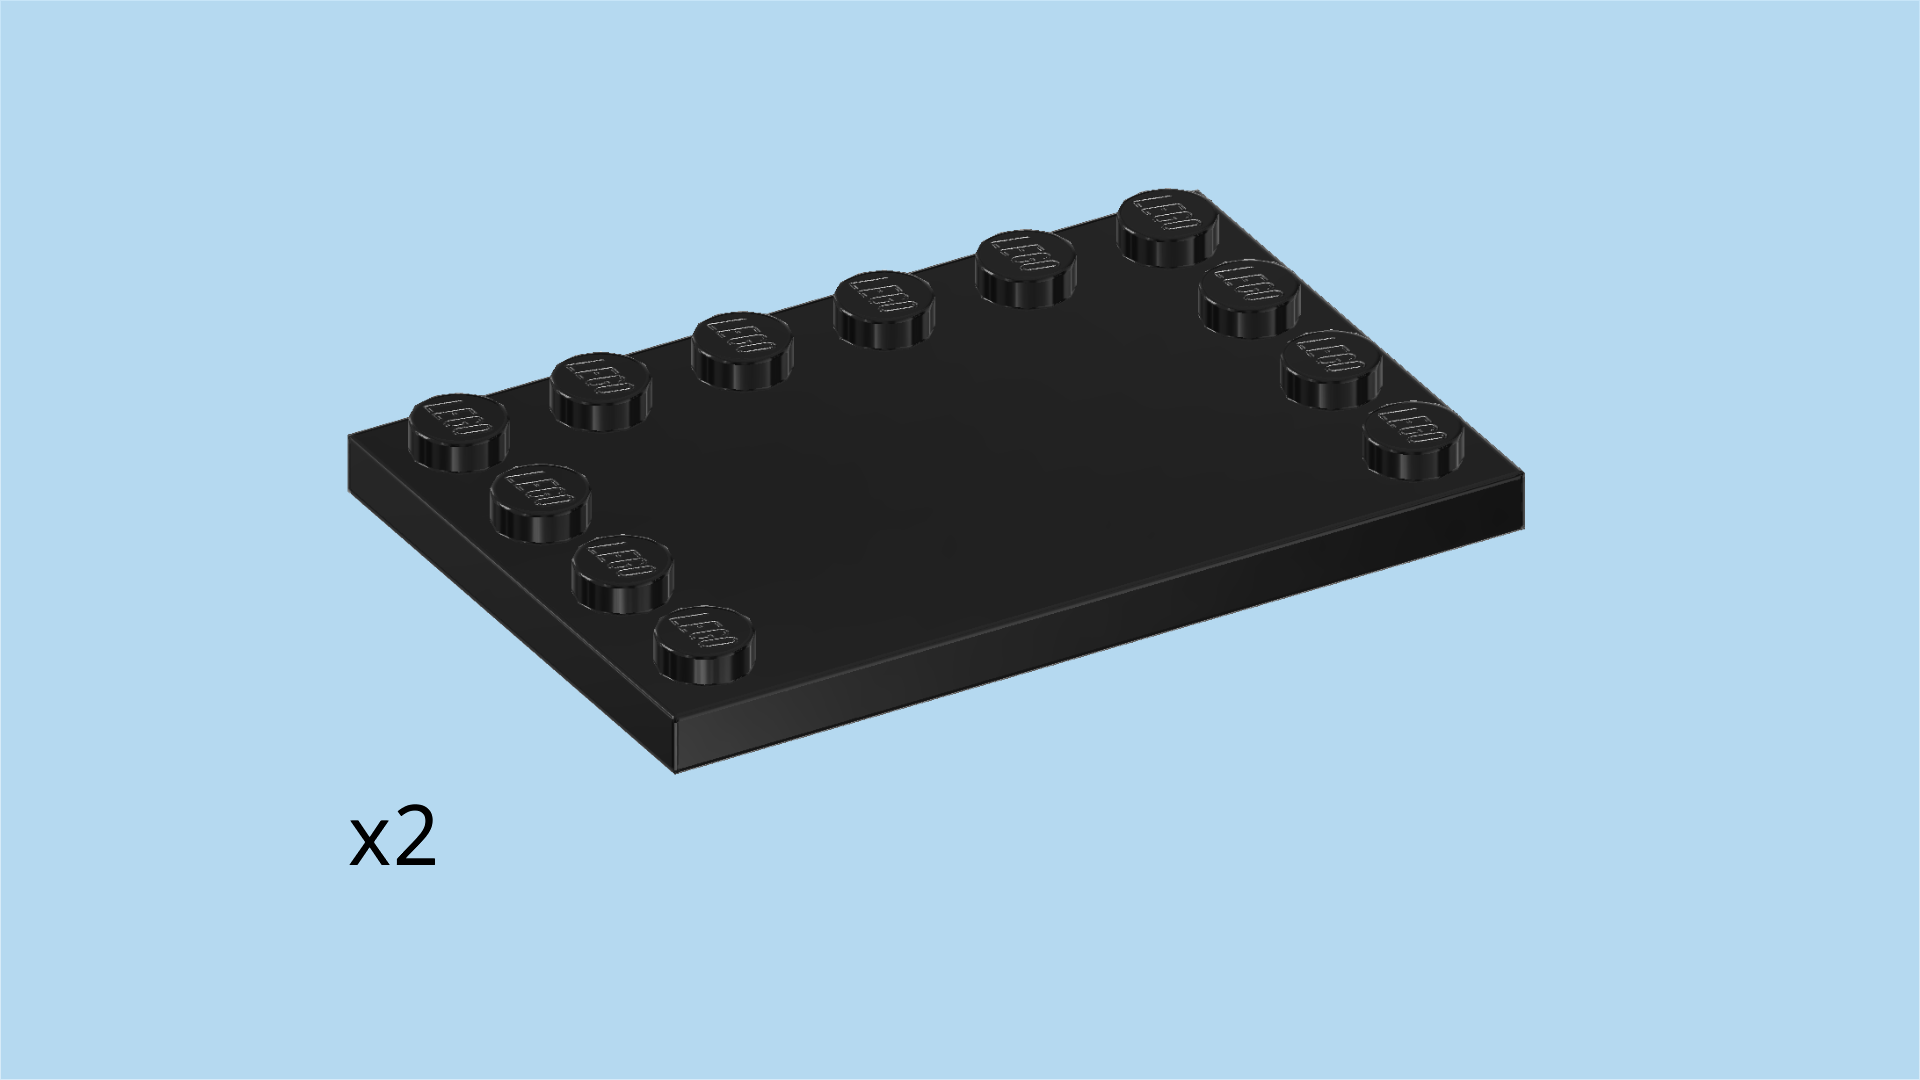
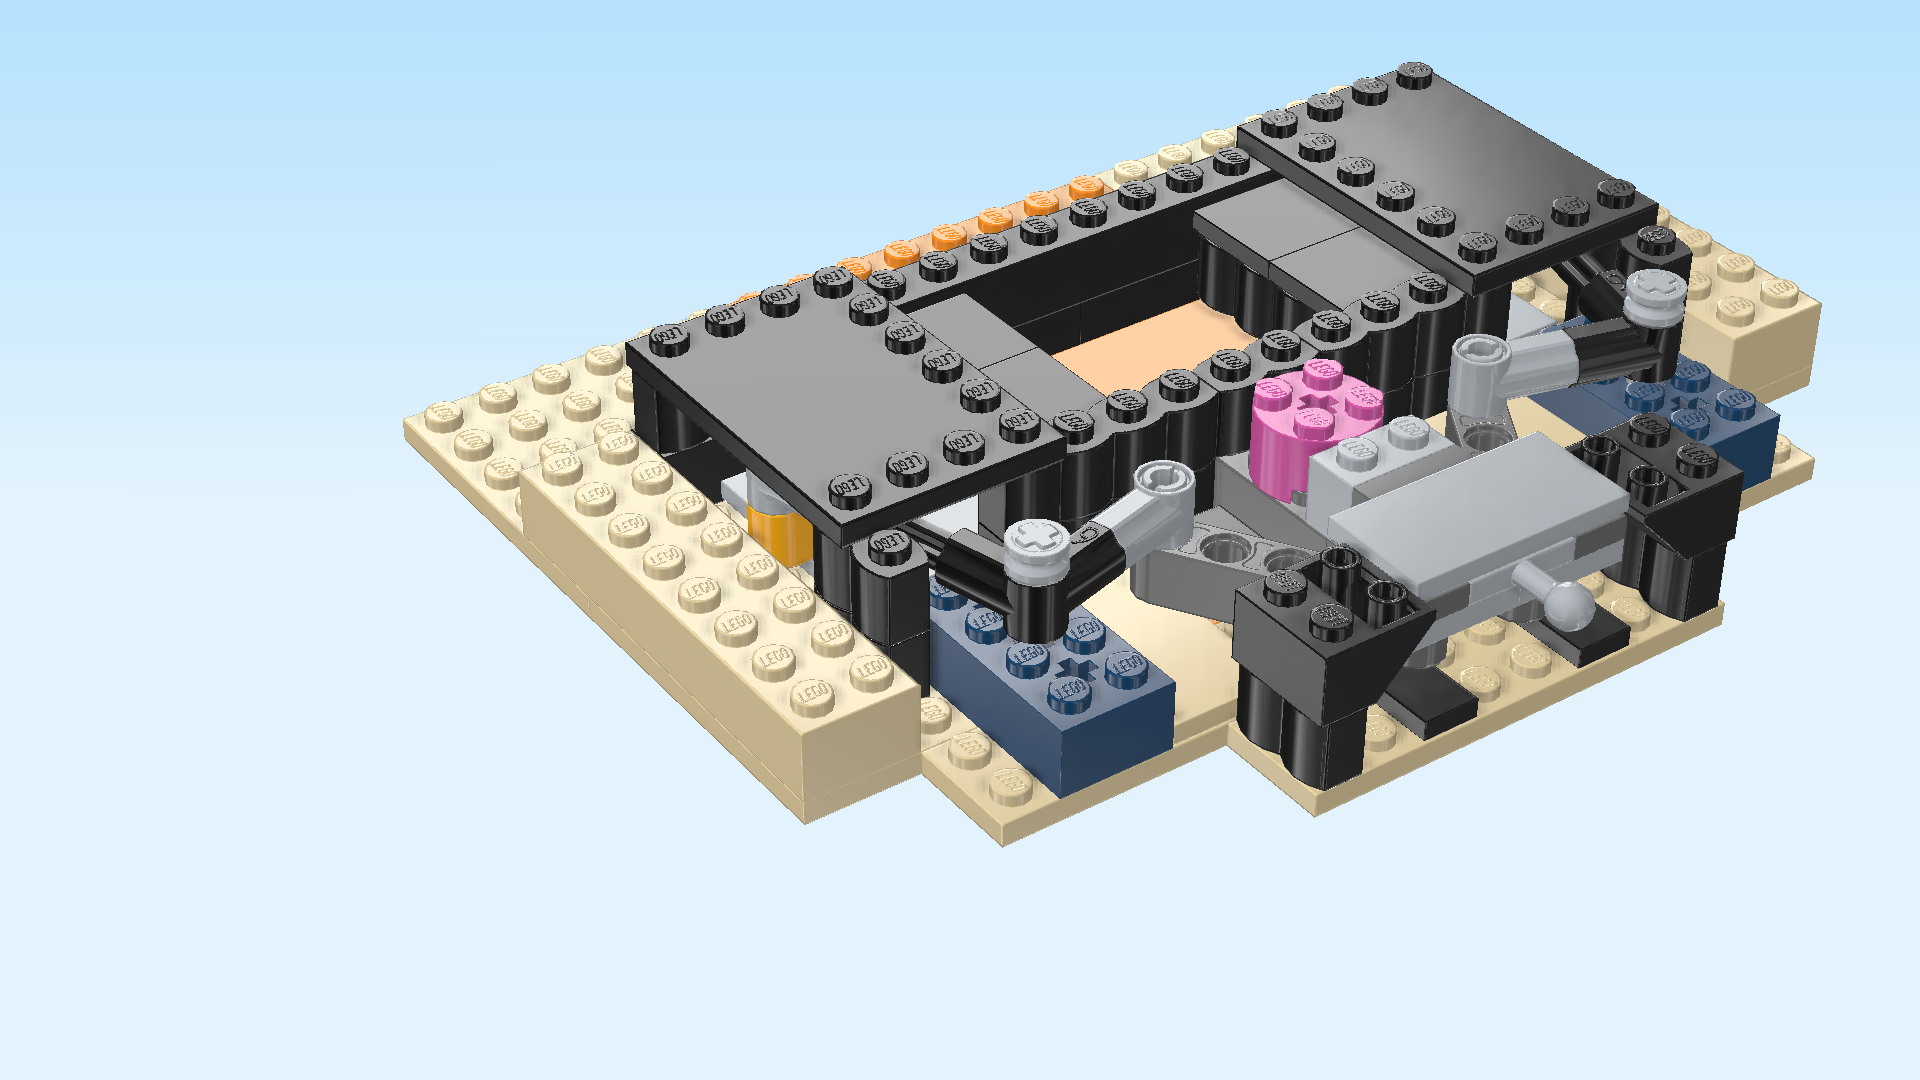
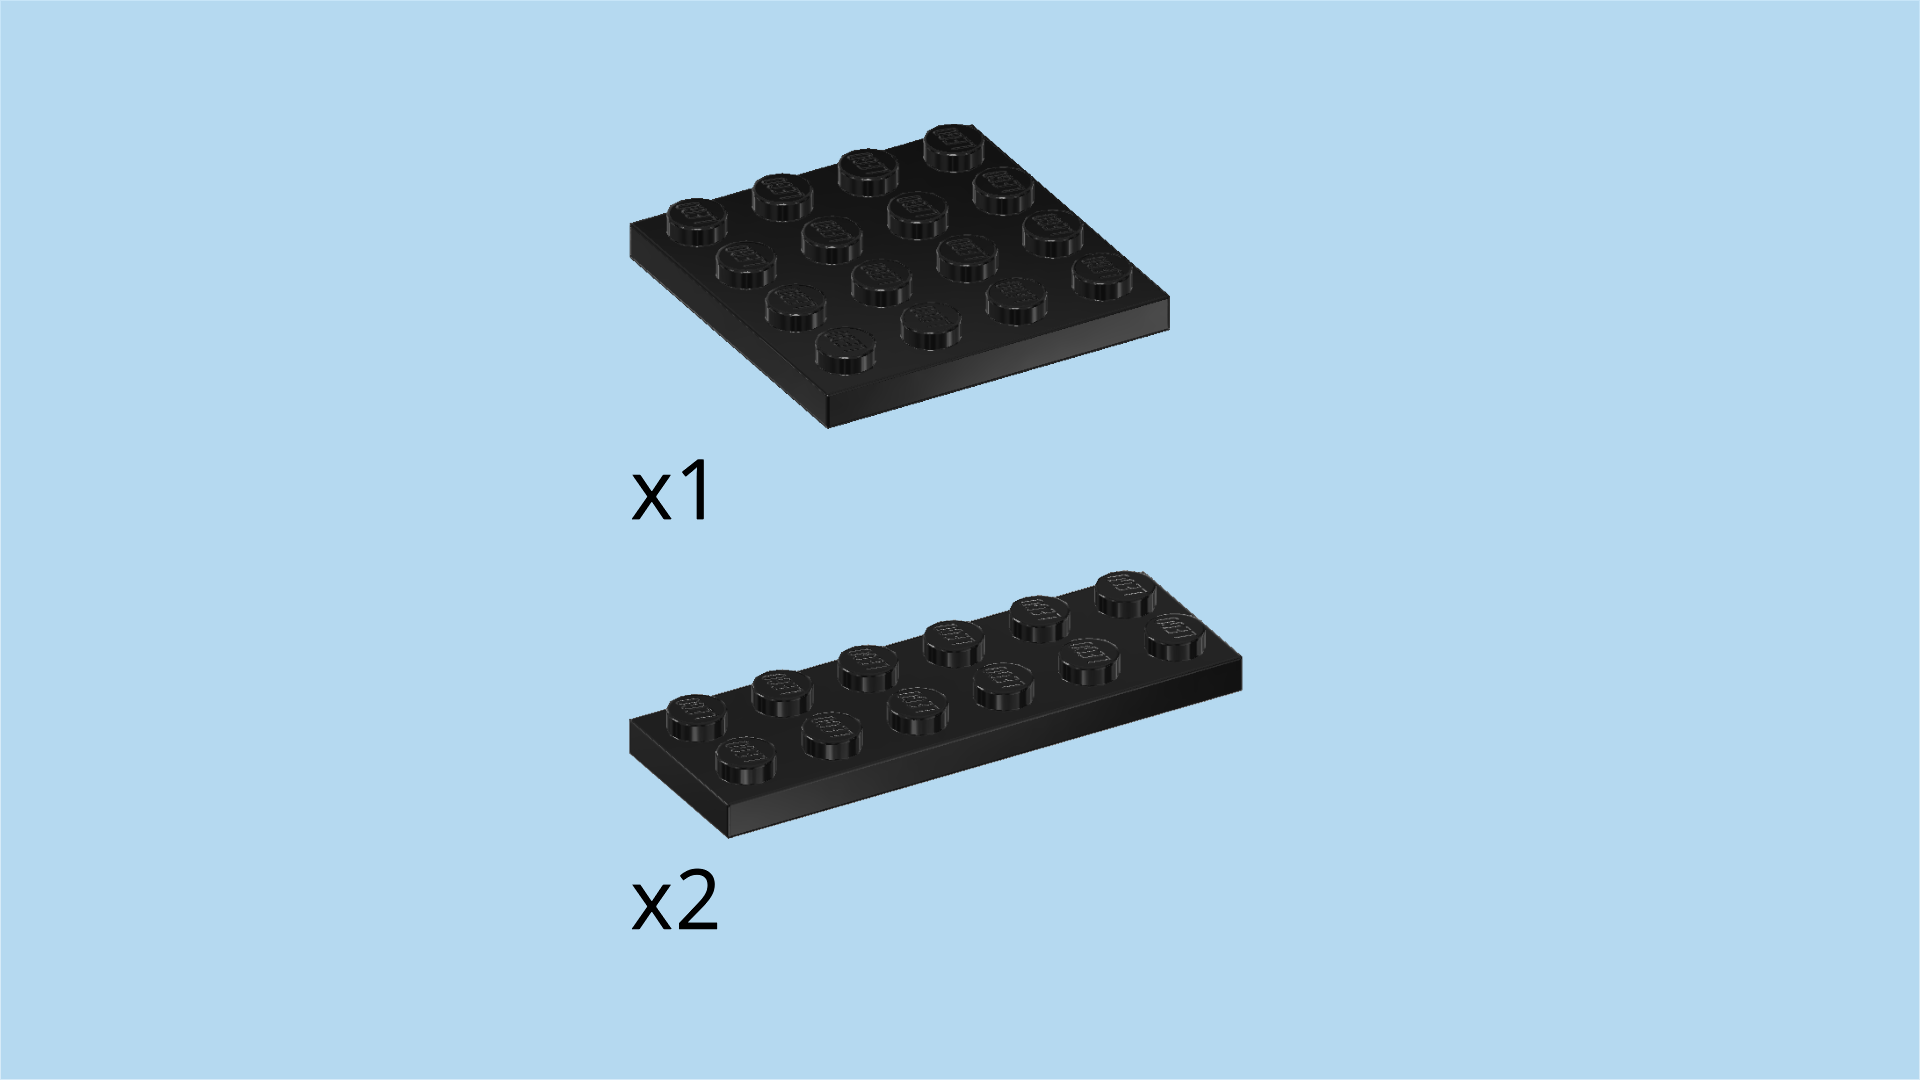
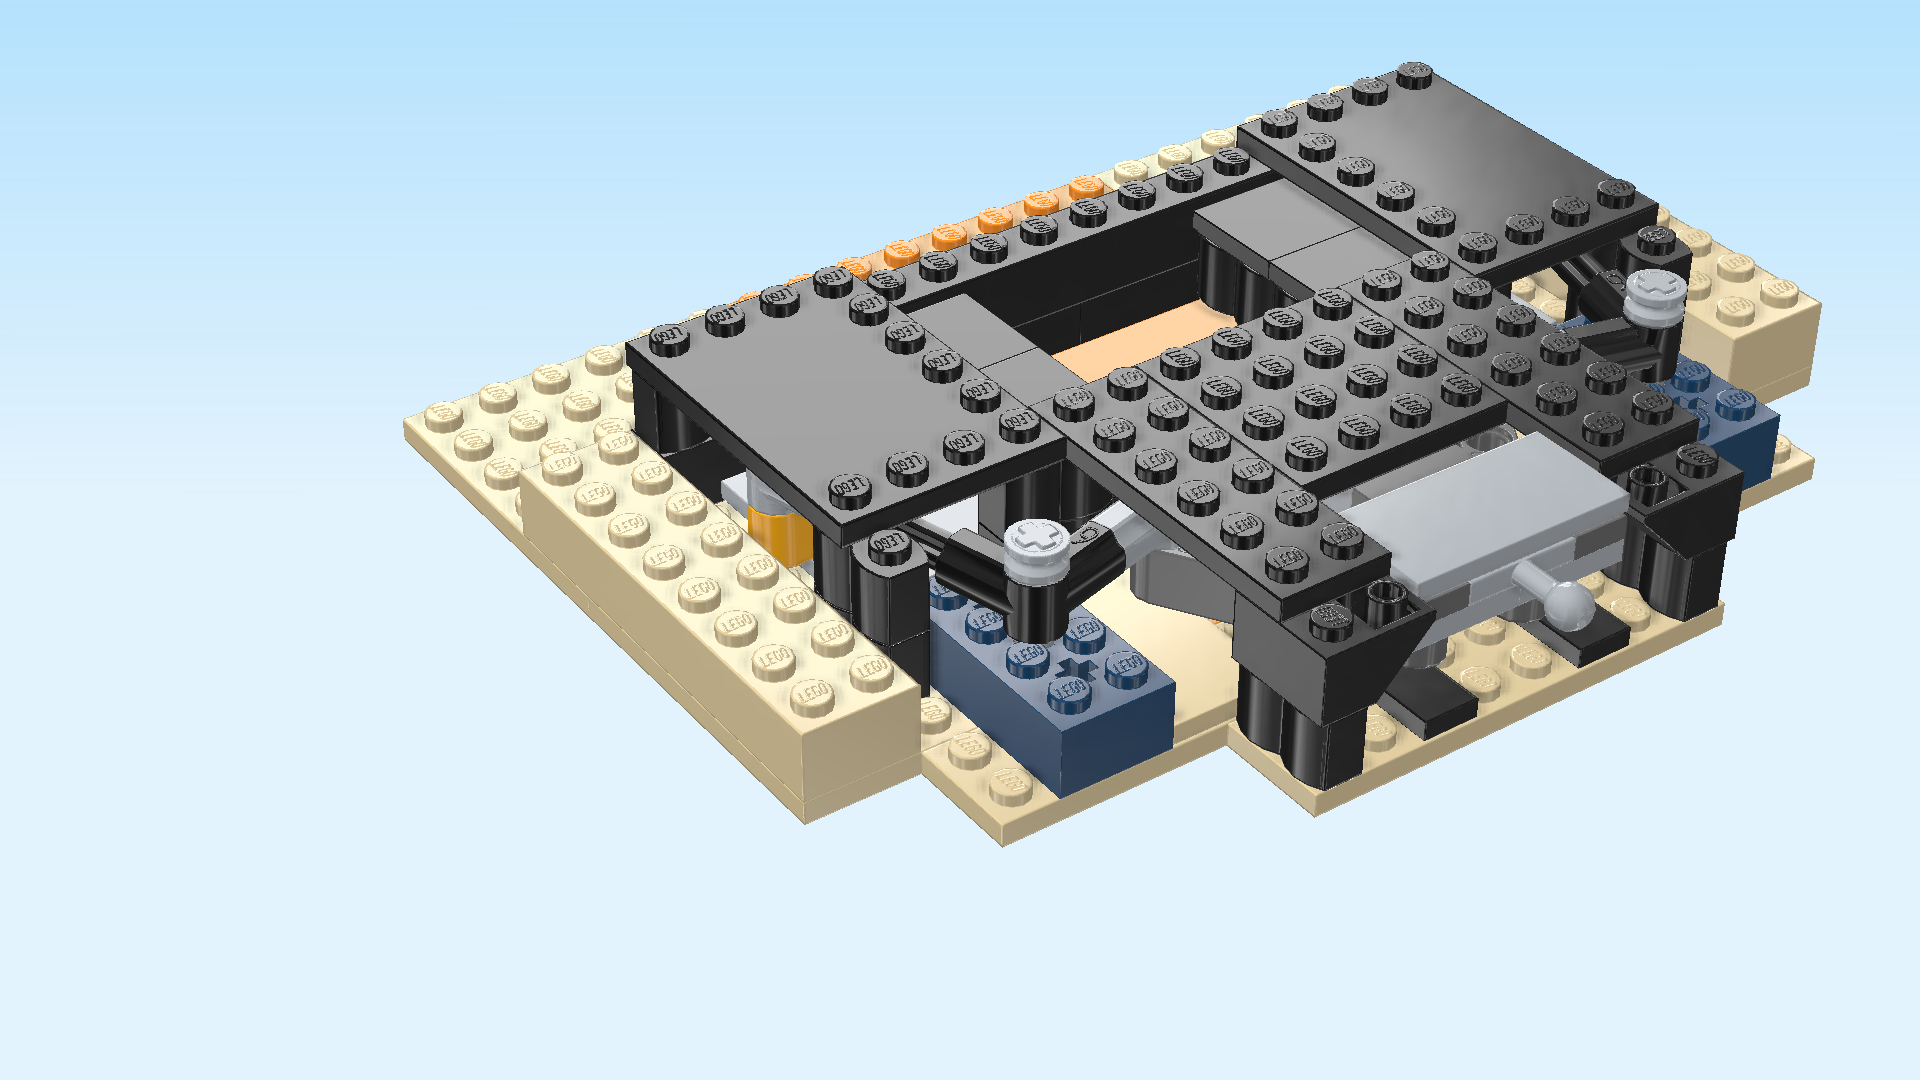
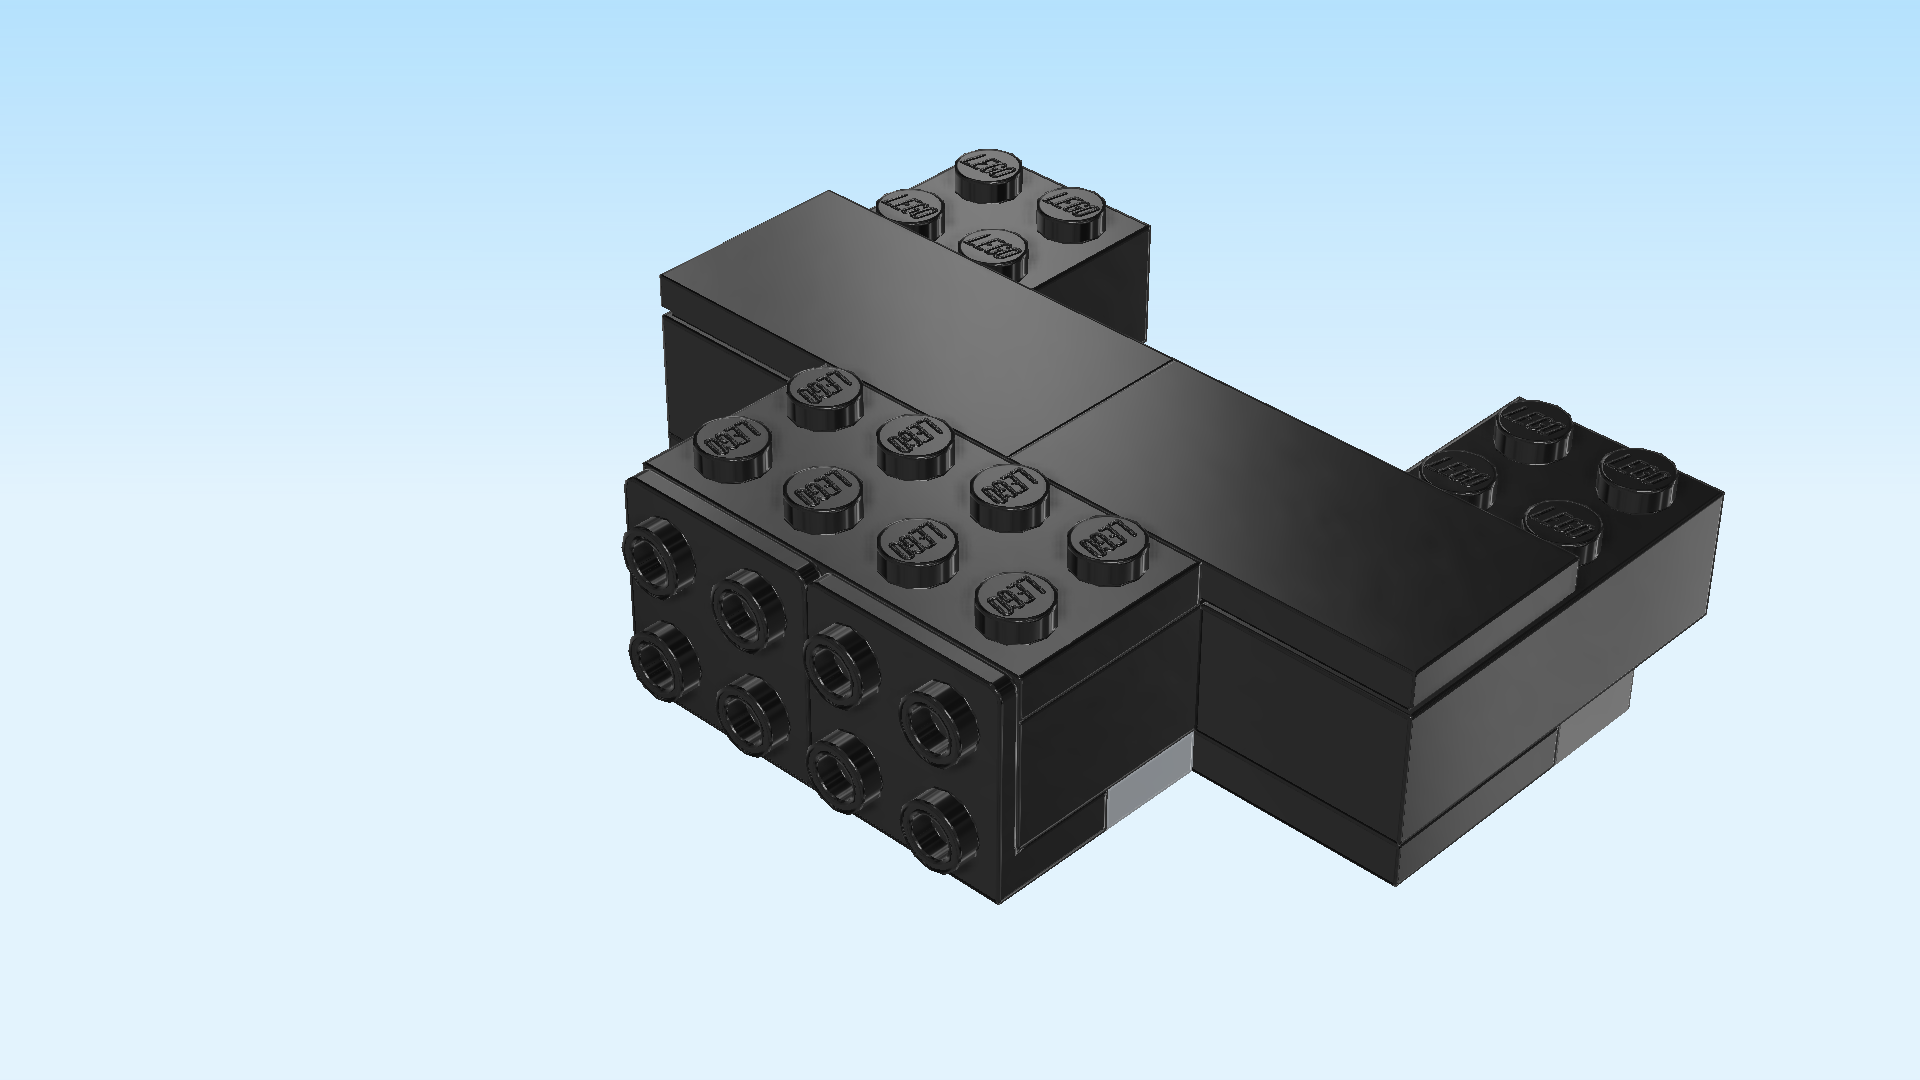
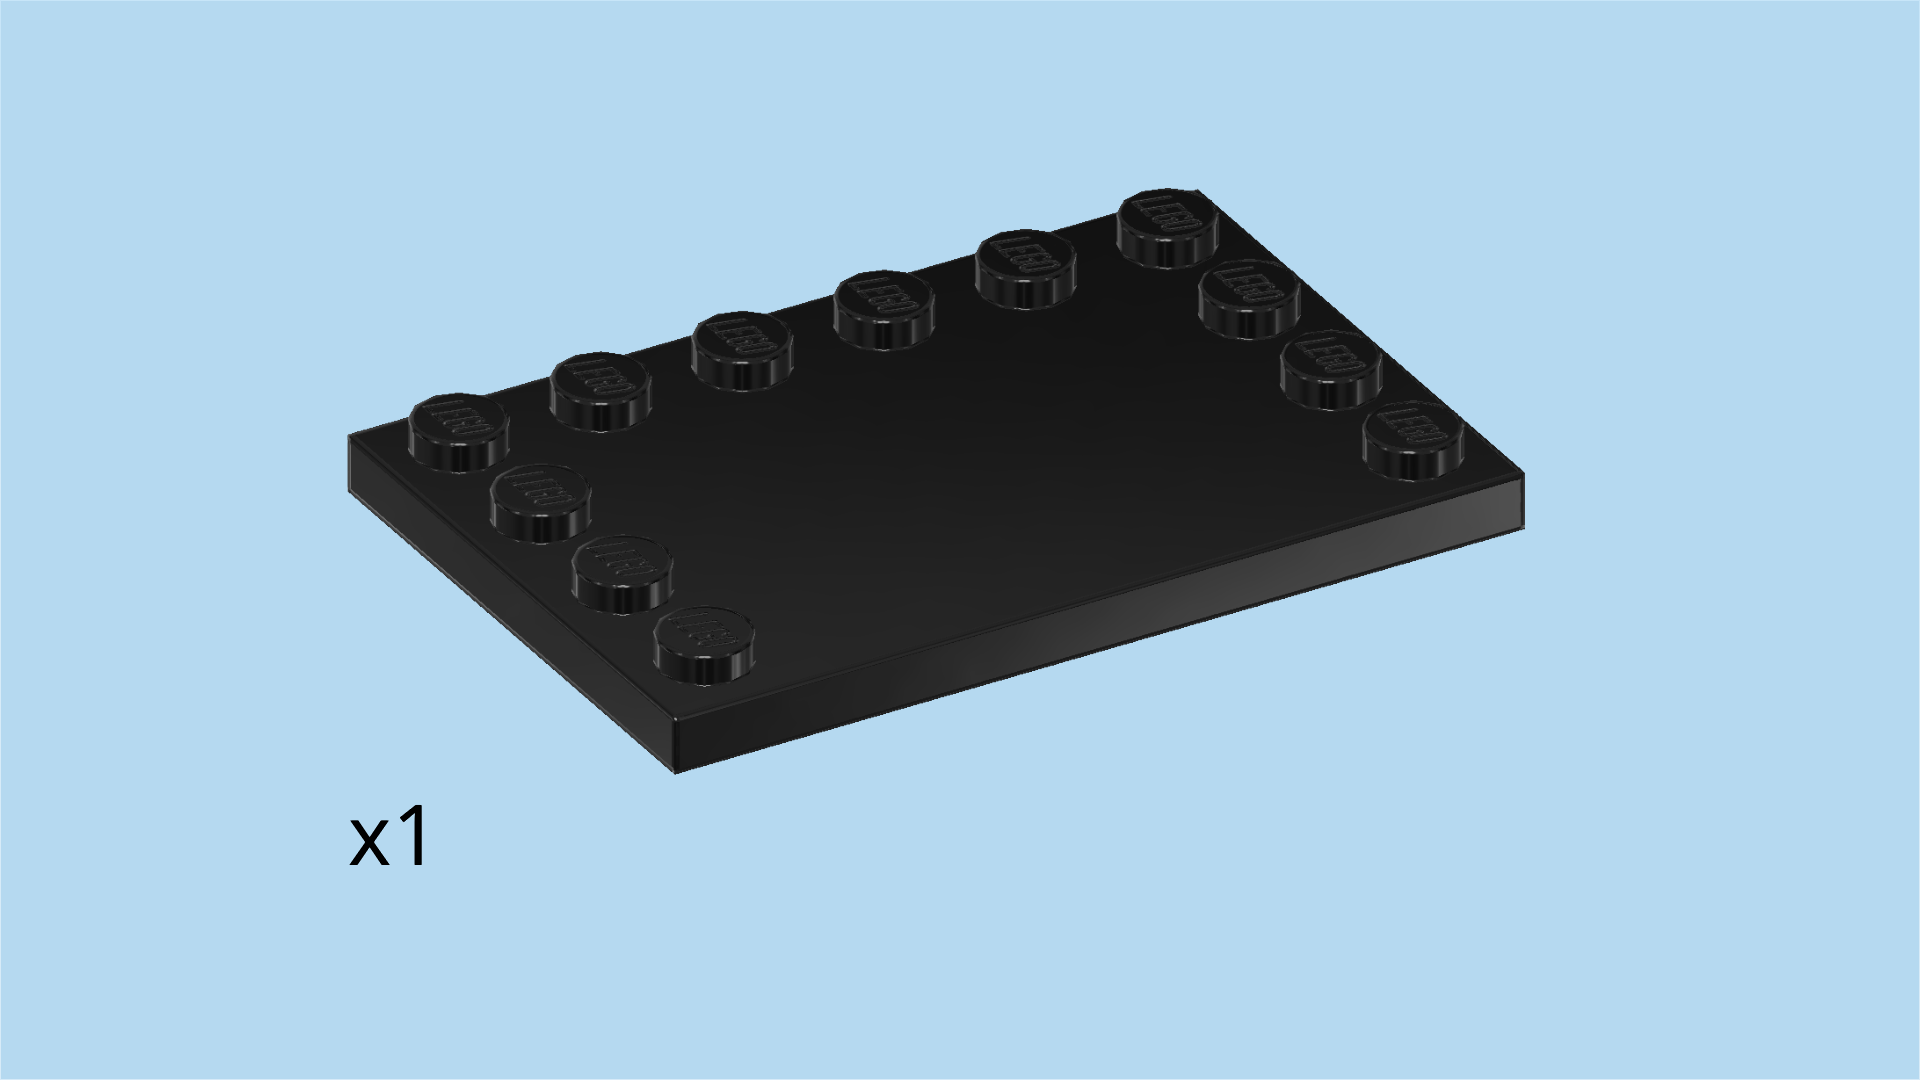
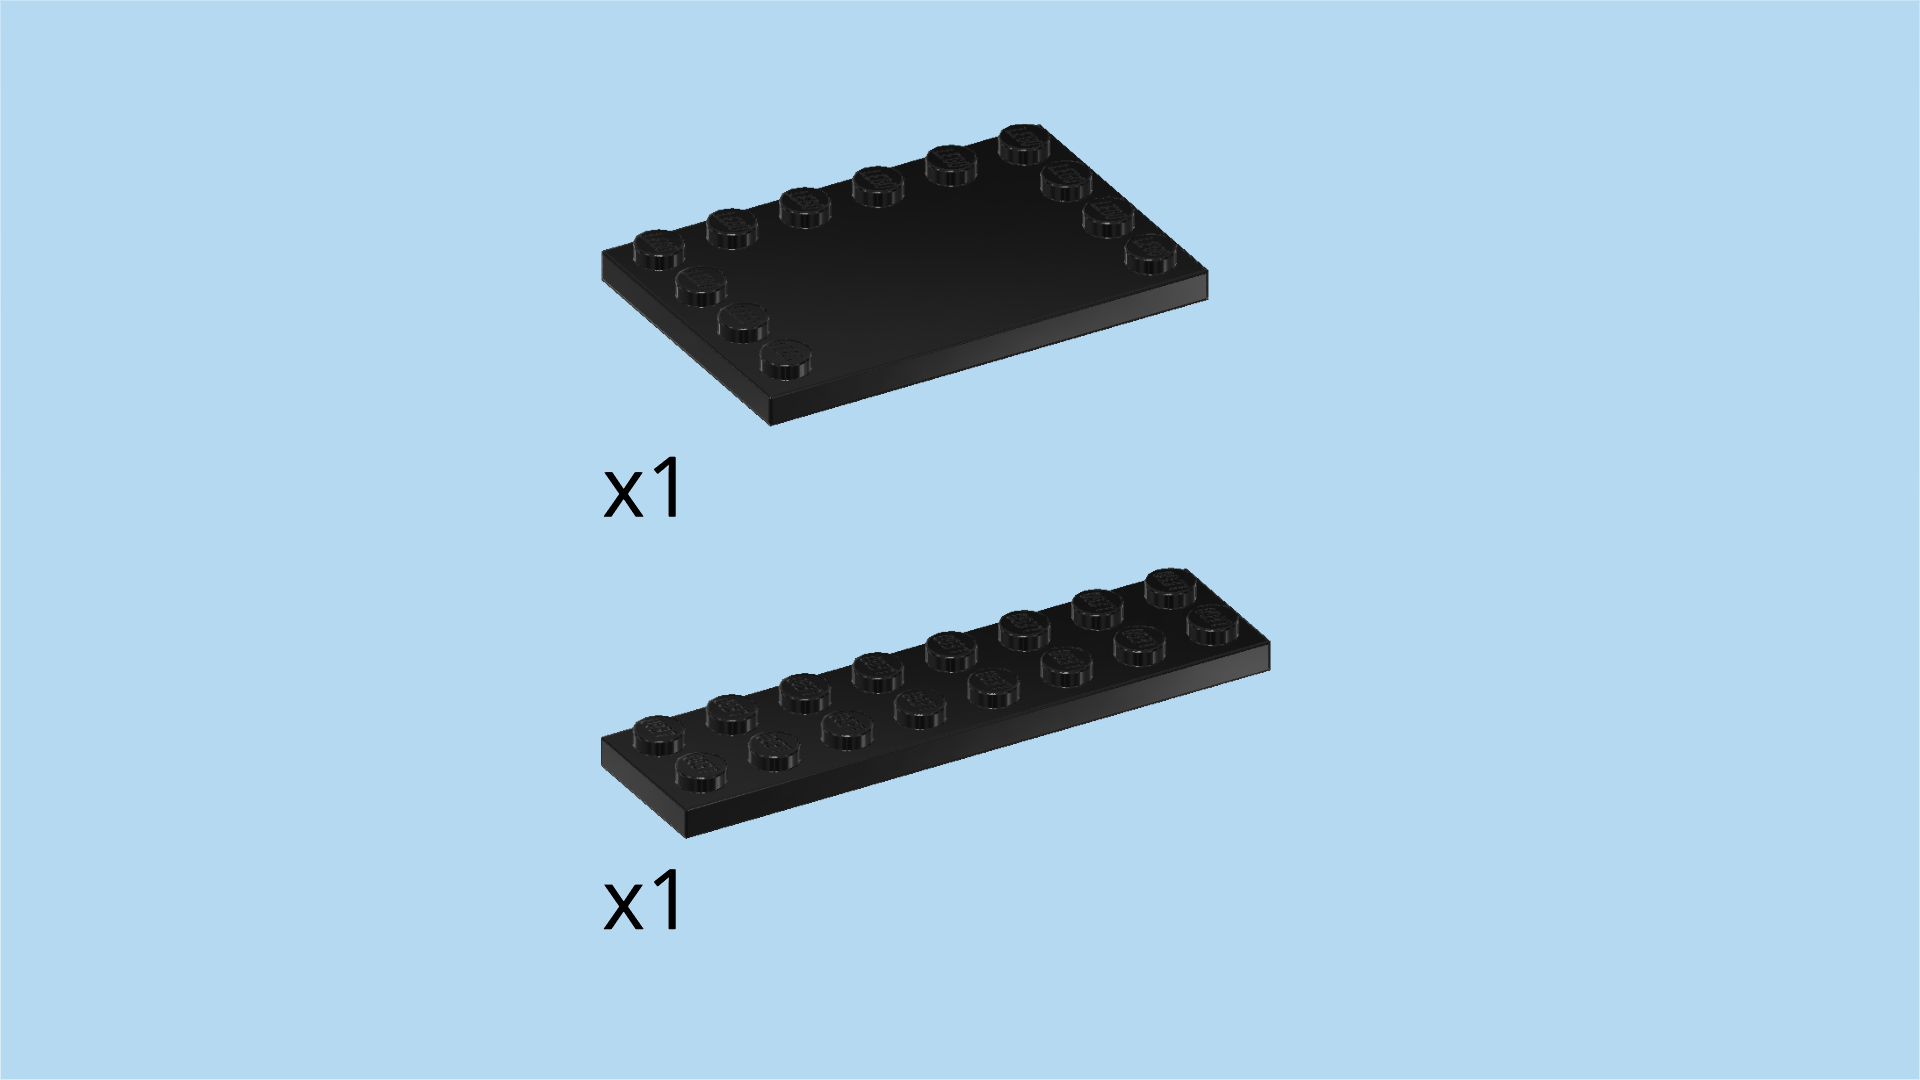
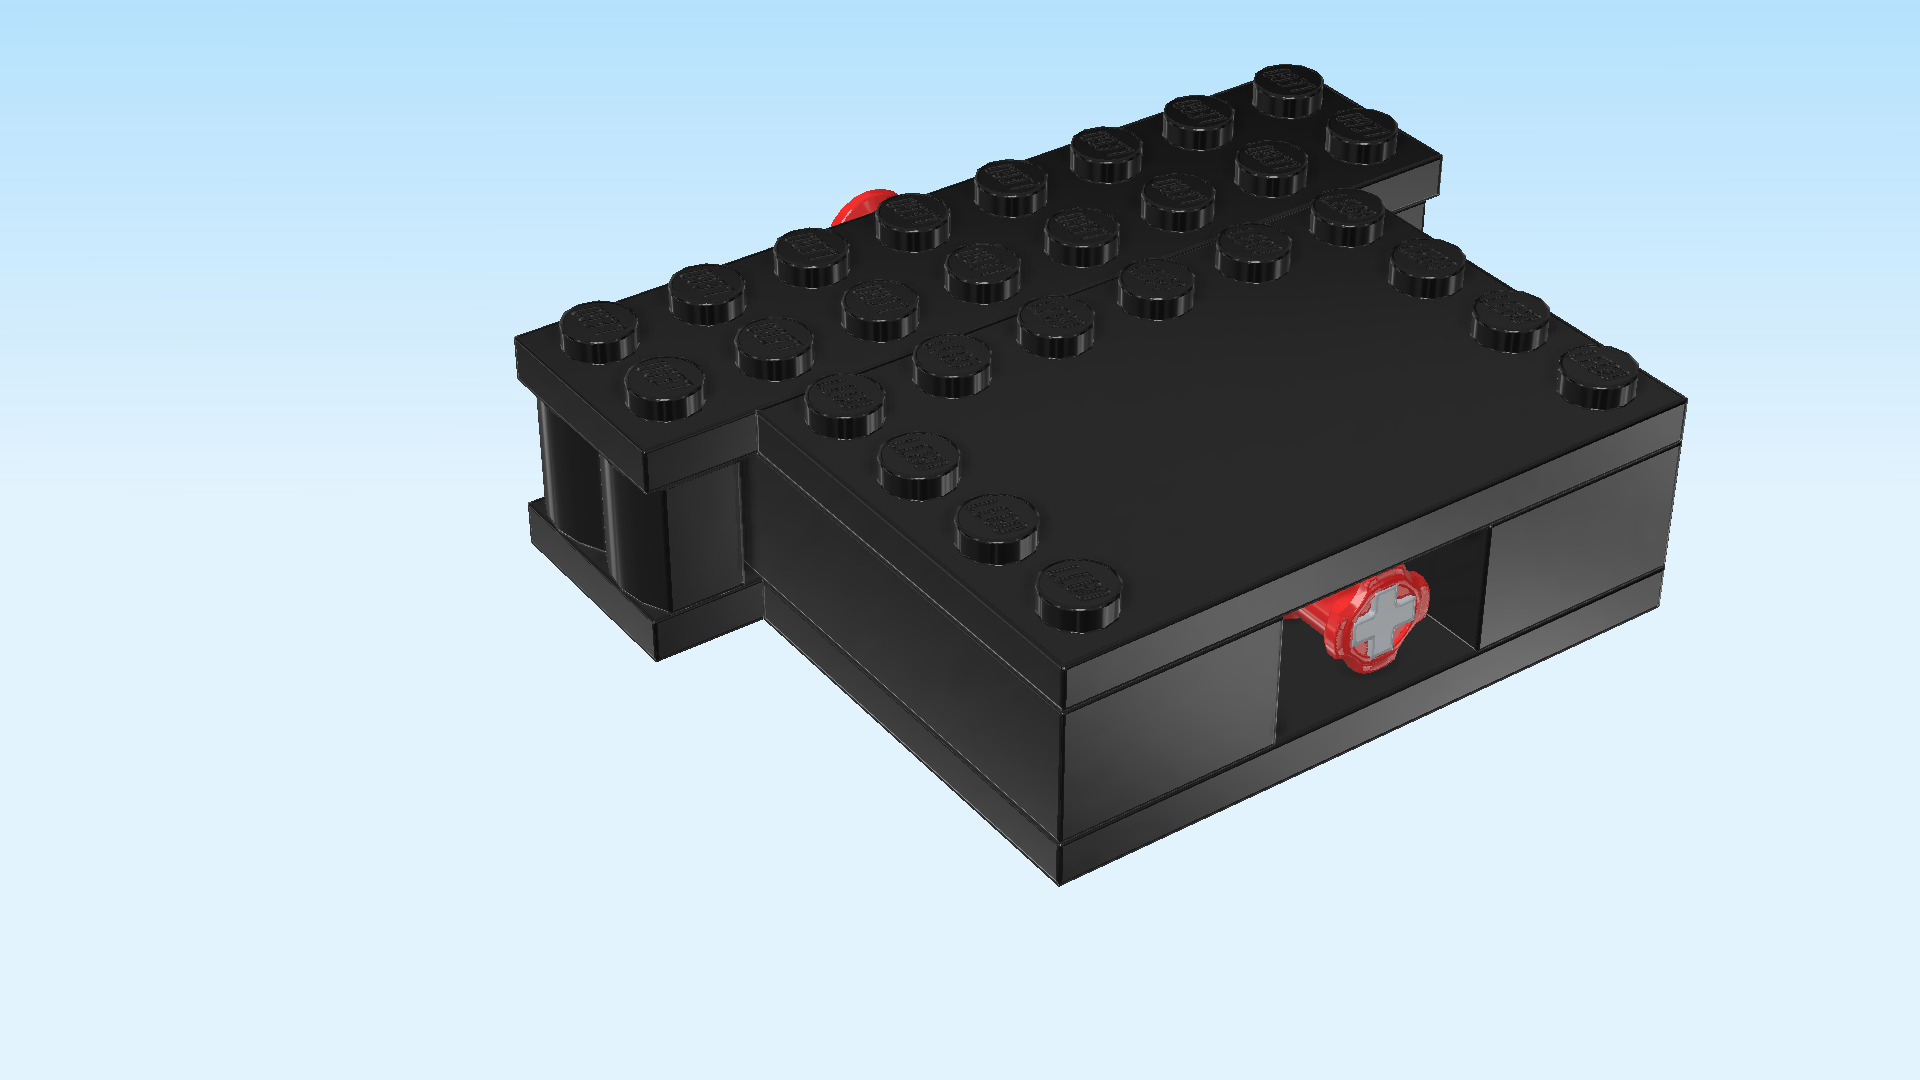
| Find 2 black plates 4x6 with 12 knobs on 3 edges. |
| Turn 1 vertically so that the edge without knobs is on the left. |
| Put its backmost row on the horizontal wall of palisade bricks that is mounted at the back, starting from the left edge of that wall. |
| If done correctly, this piece will be mounted directly to the right of the brick 2x8 on the left edge. It will only sit on knobs of palisade bricks; the 2 middle knobs of its frontmost row will not connect to anything. |
| Repeat symmetrically on the right with the other plate, knobless edge to the right. |
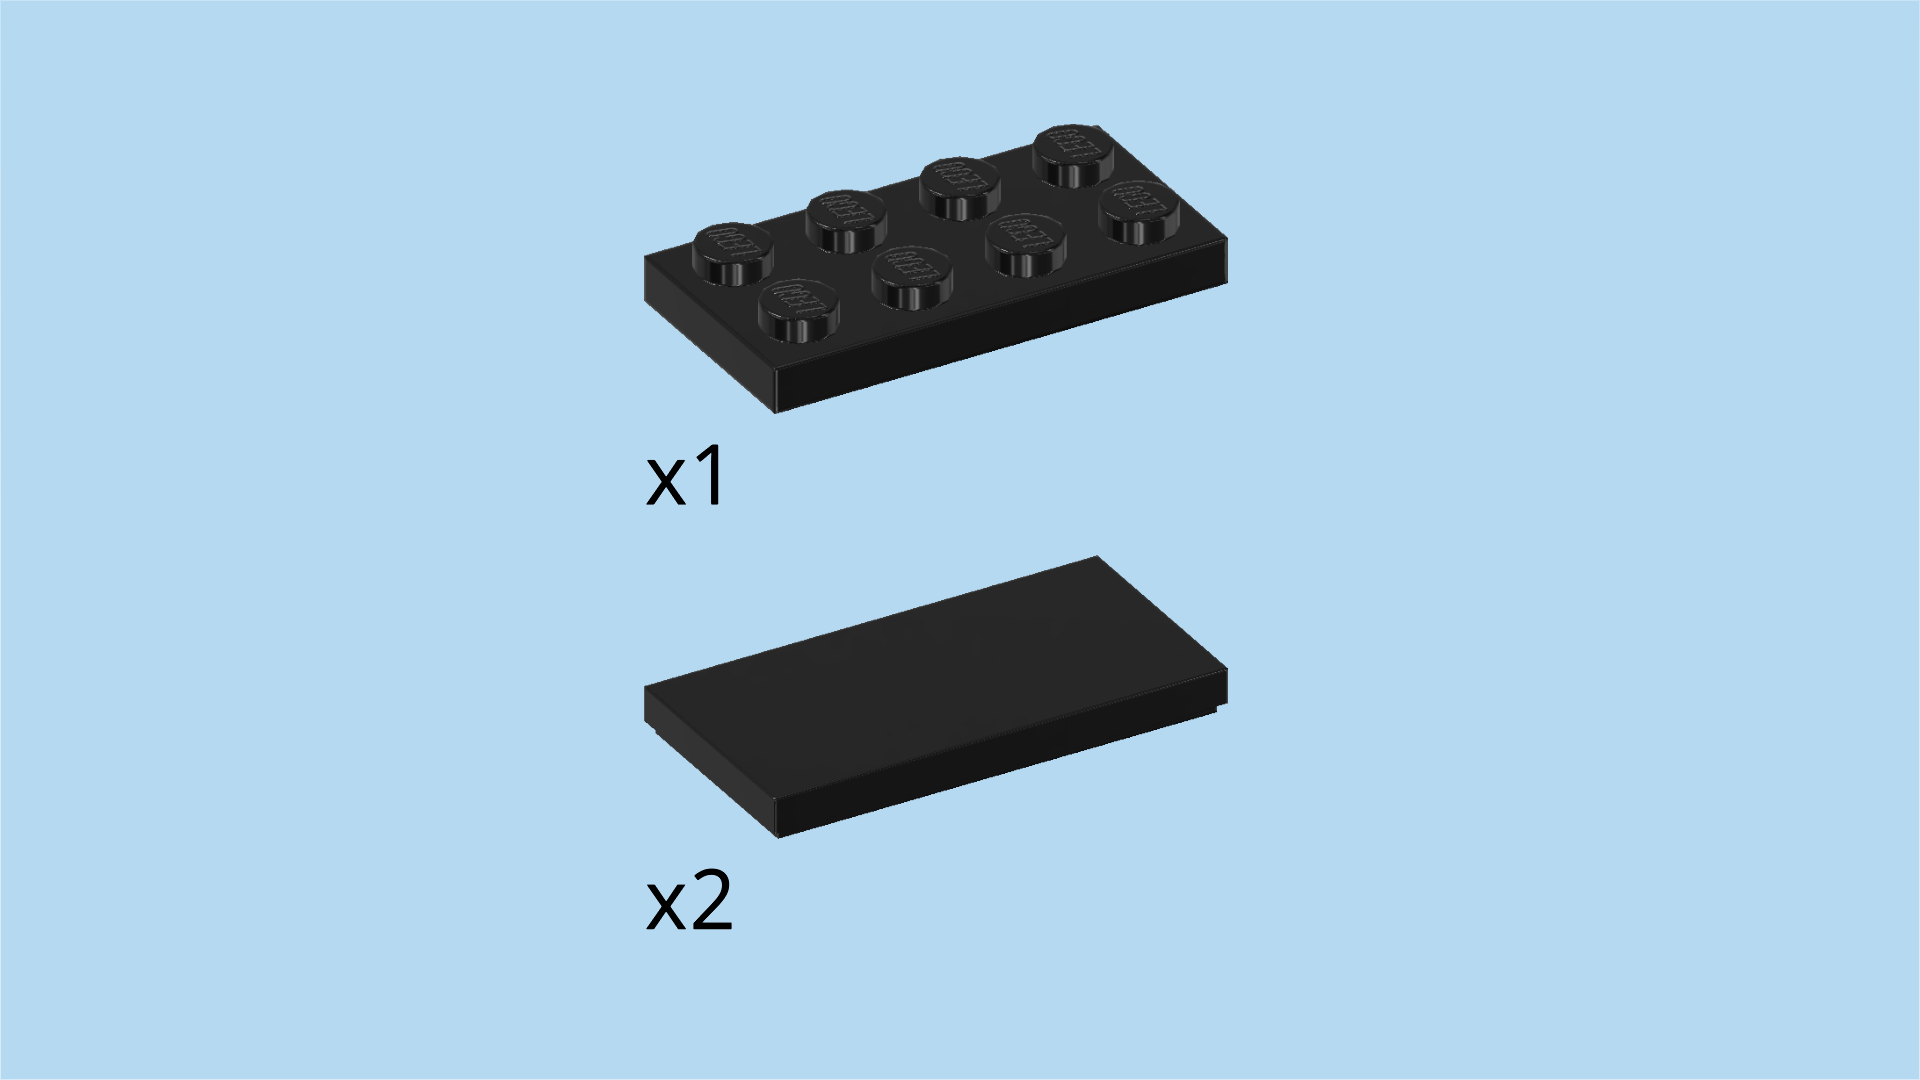
| Collect the following 3 pieces: |
| 1 black plate 4x4, |
| and 2 black plates 2x6. |
| Put 1 plate 2x6 vertically to the left of the previous piece, aligning the backmost row of the new plate with the frontmost row of the previous piece. |
| If done correctly, this piece will connect the horizontal palisade bricks in the middle with the inverted roof tile at the front, while the frontmost row of the inverted roof tile remains empty. |
| Repeat symmetrically on the left. |
| Put the plate 4x4 between the 2 previous pieces, aligning the backmost rows of those three pieces. |
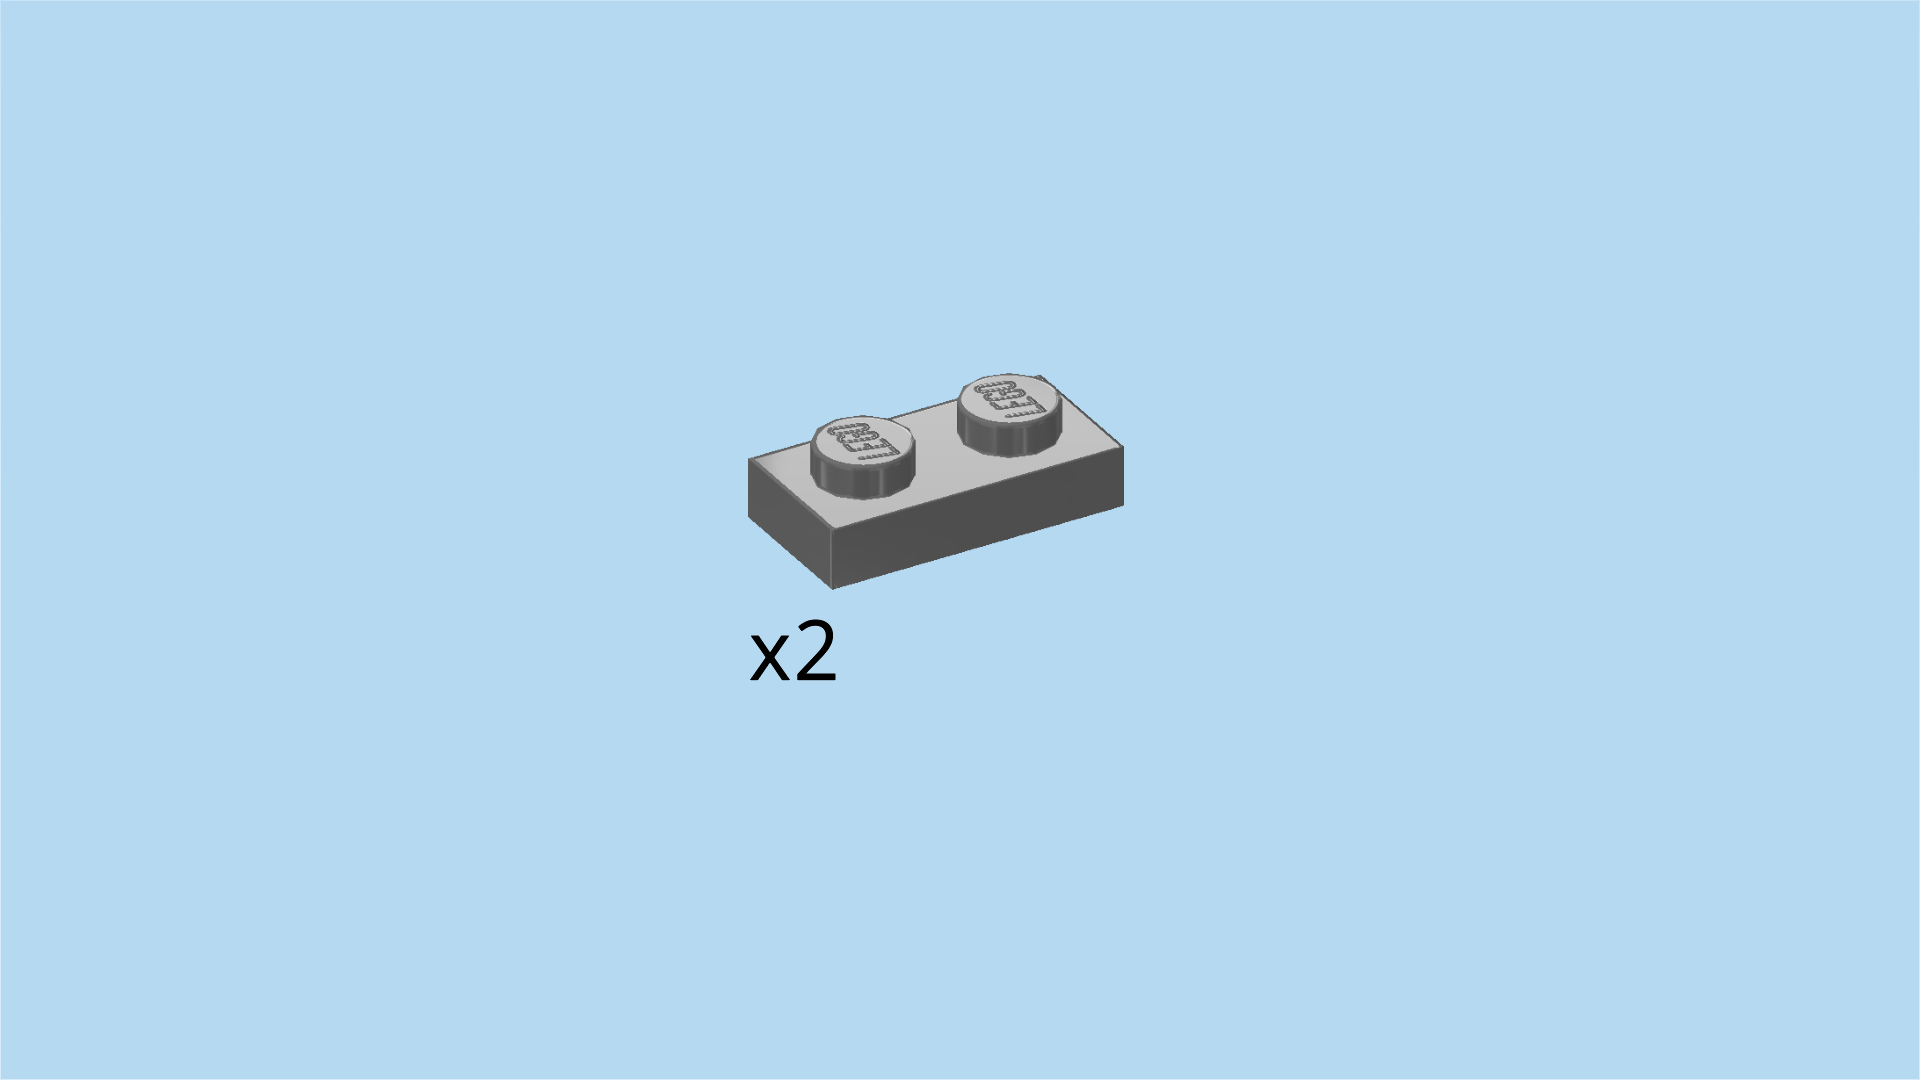
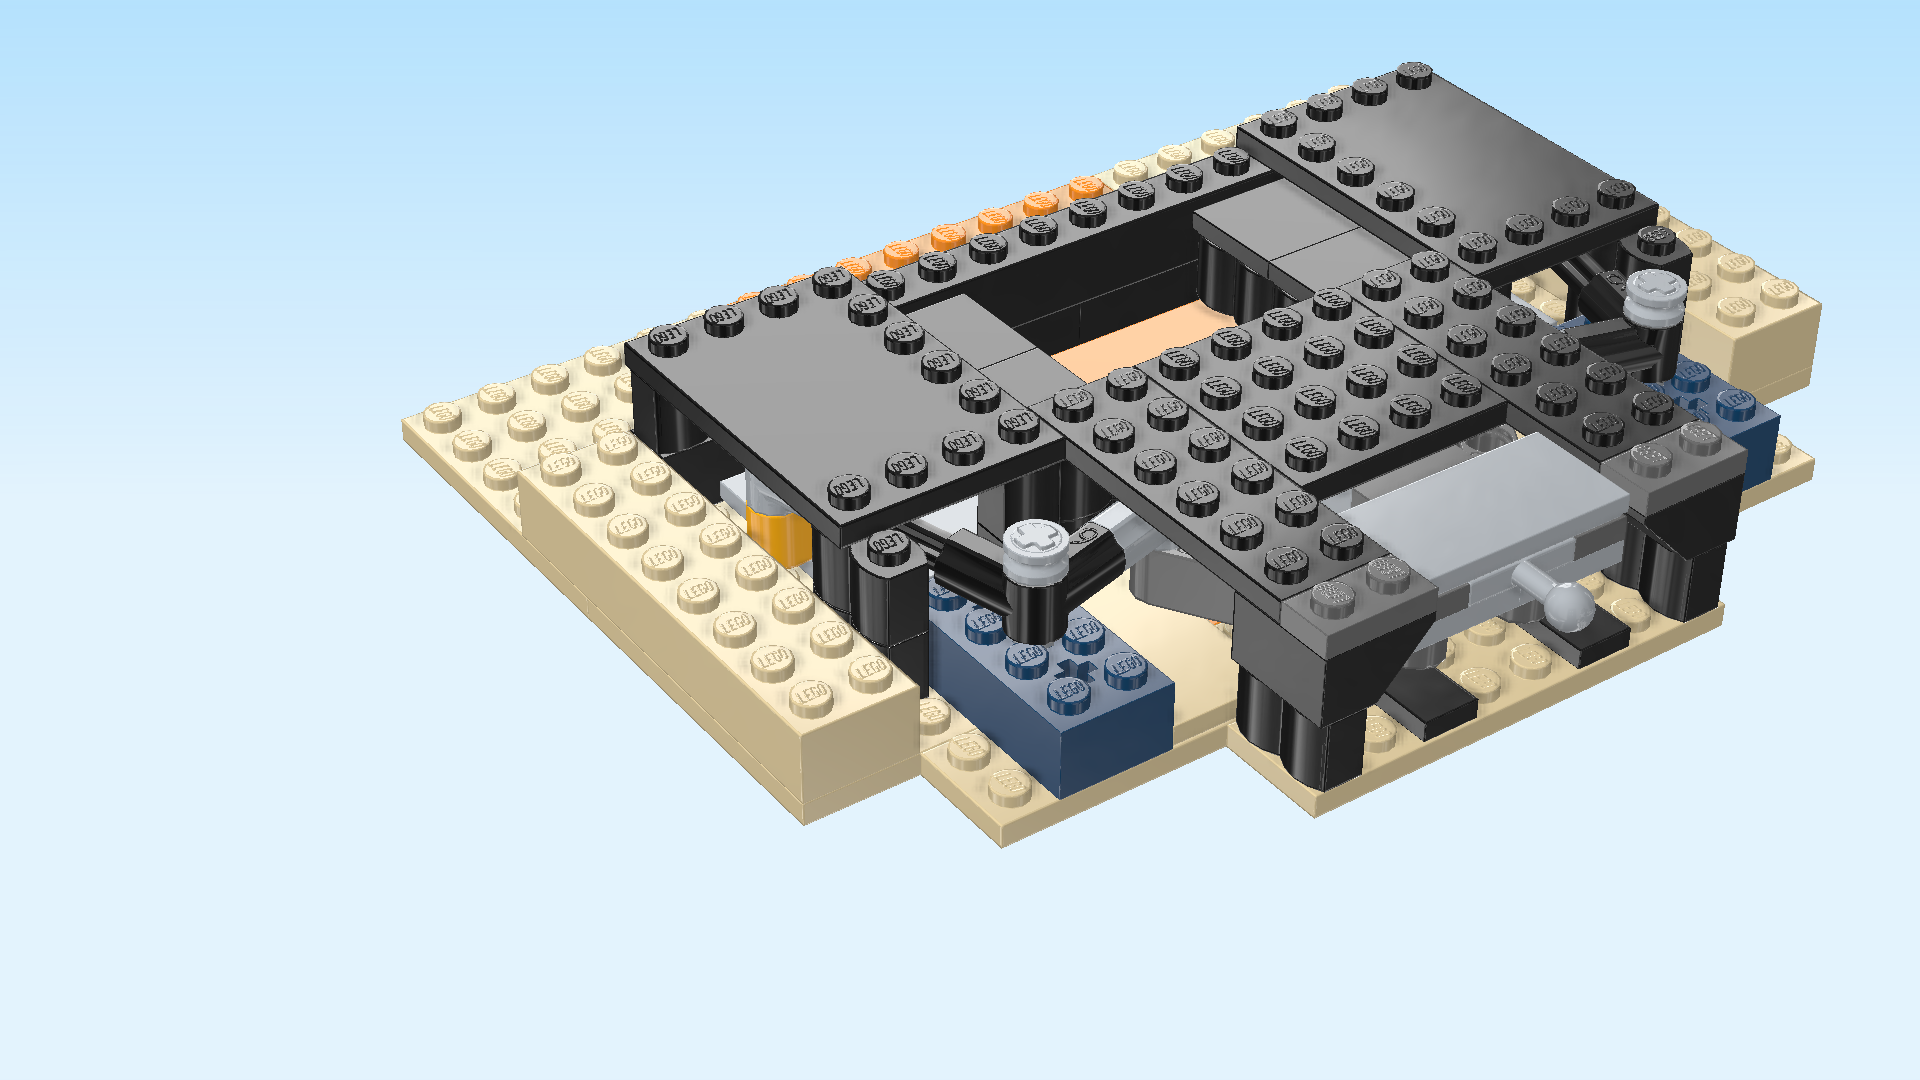
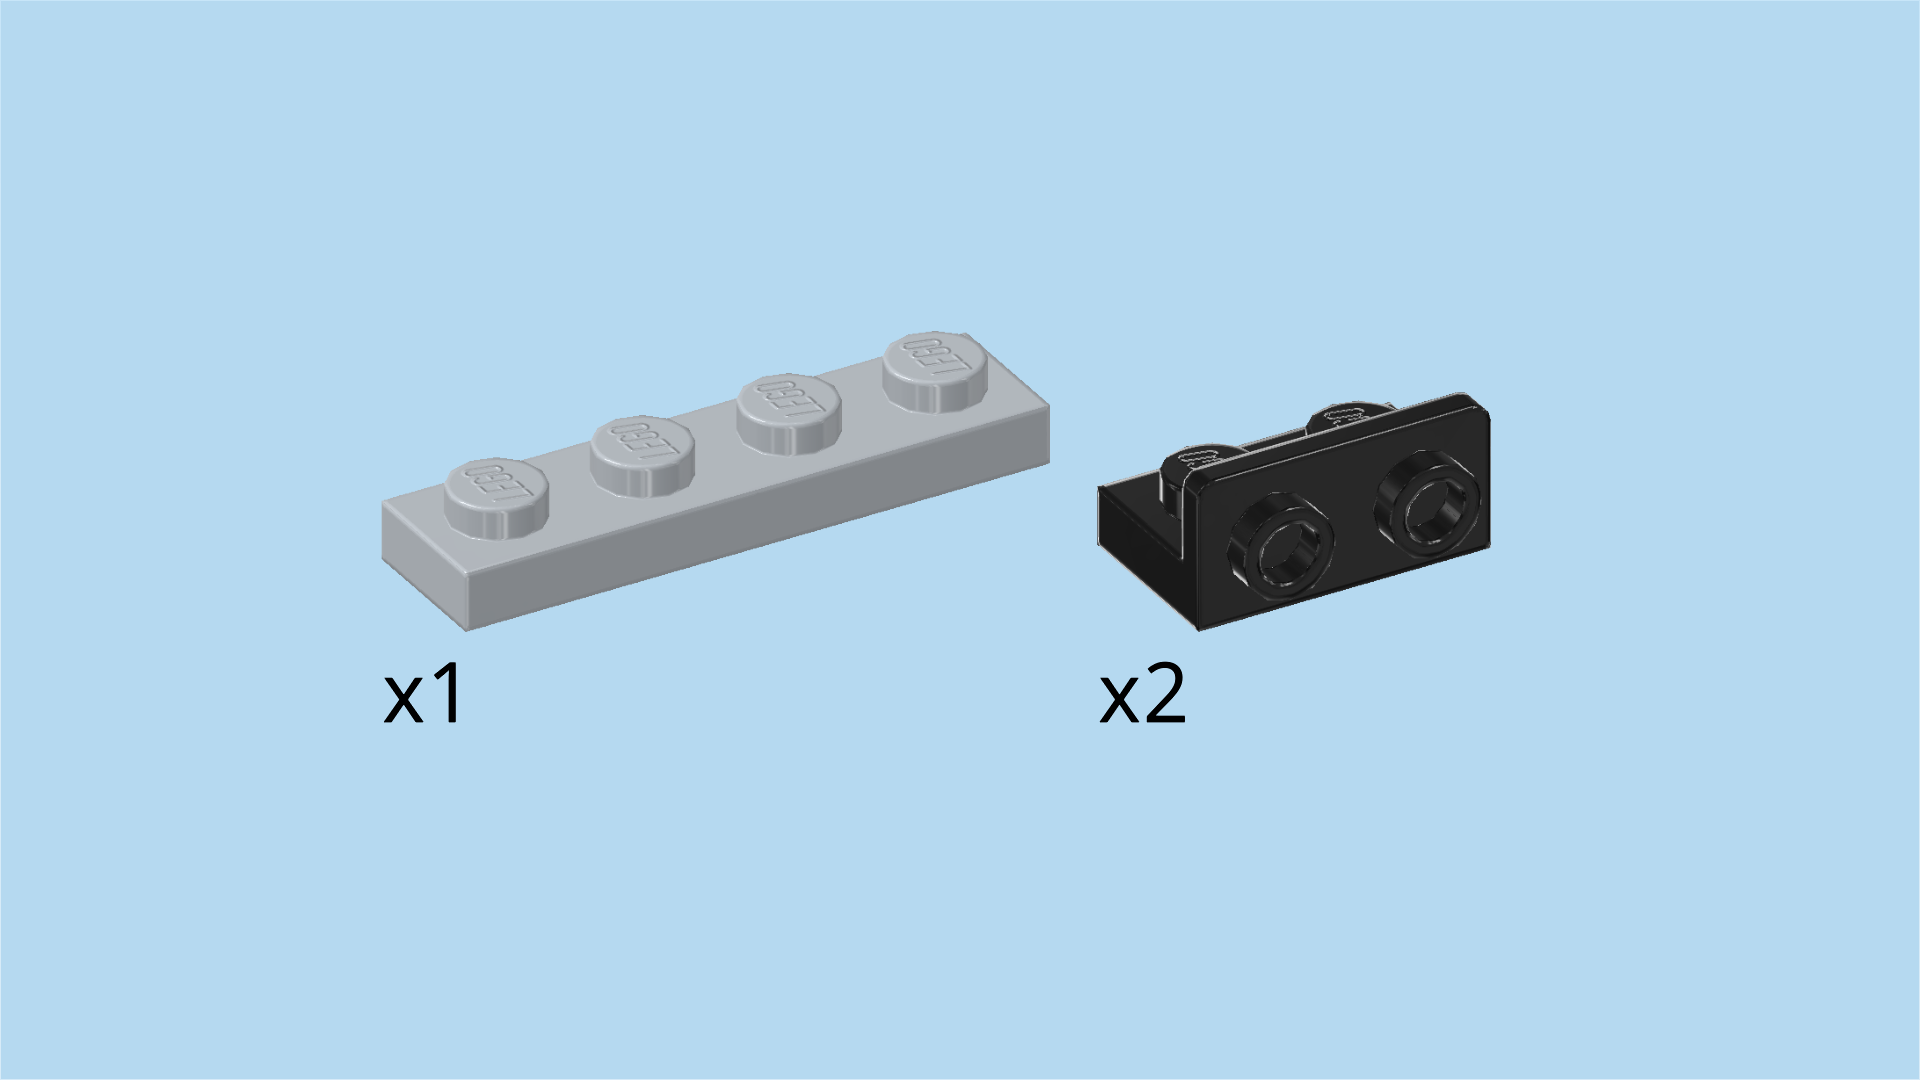
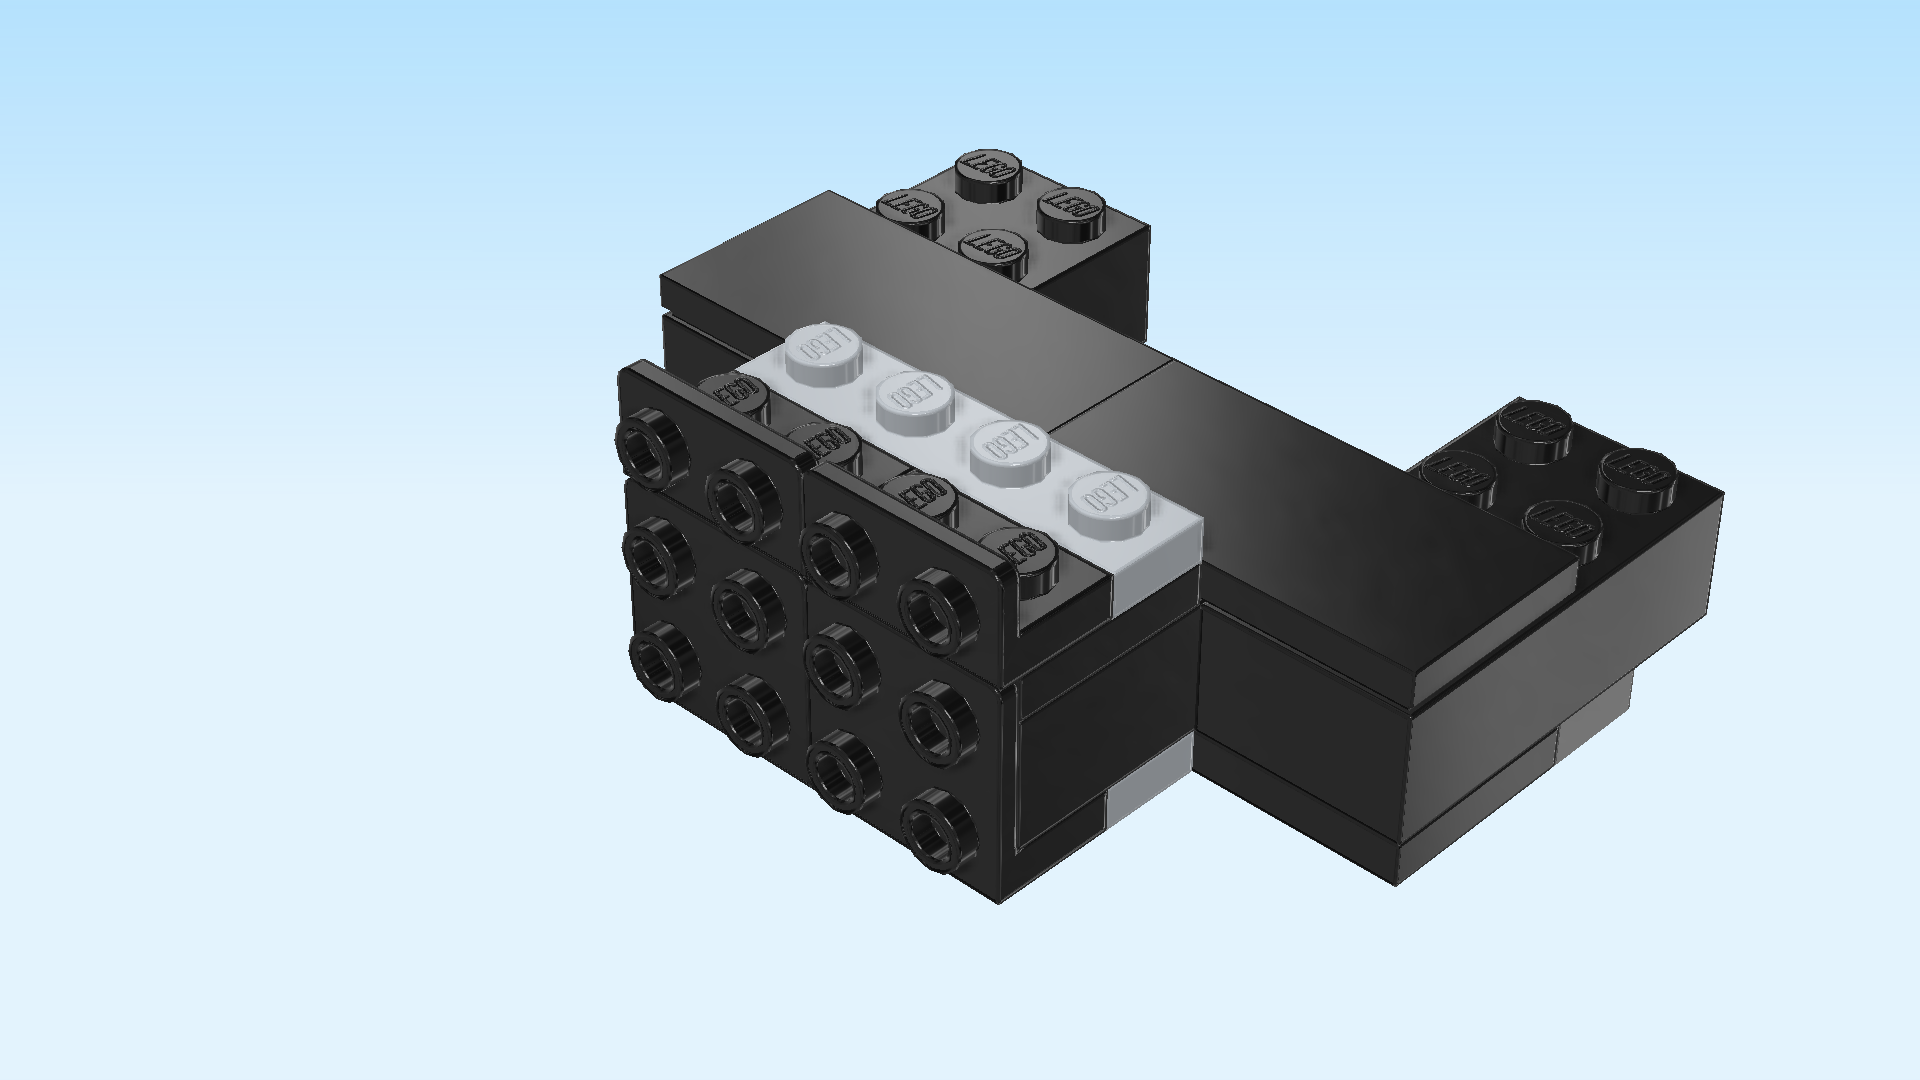
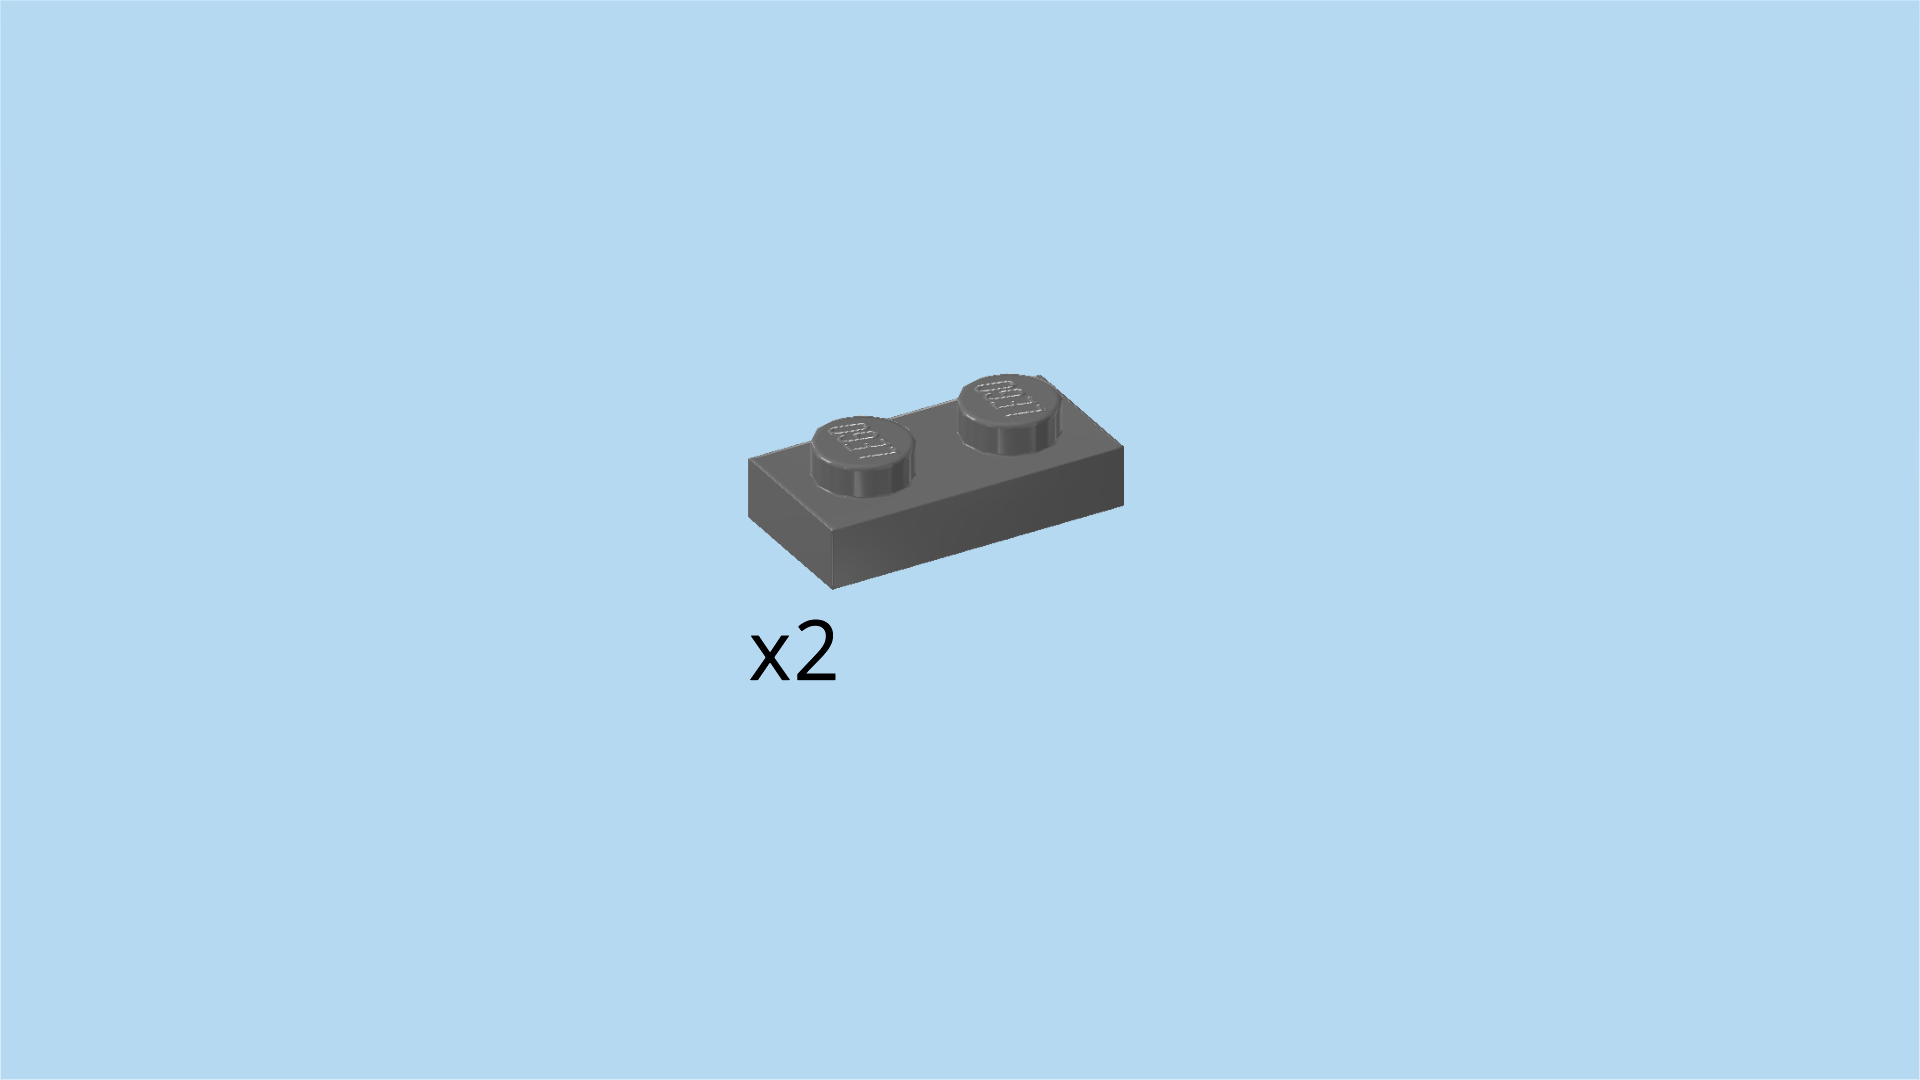
| Find 2 dark stone grey plates 1x2. |
| Put them horizontally in front of the 2 plates 2x6 of the previous step. If done correctly, they will cover the frontmost rows of the inverted roof tiles. |
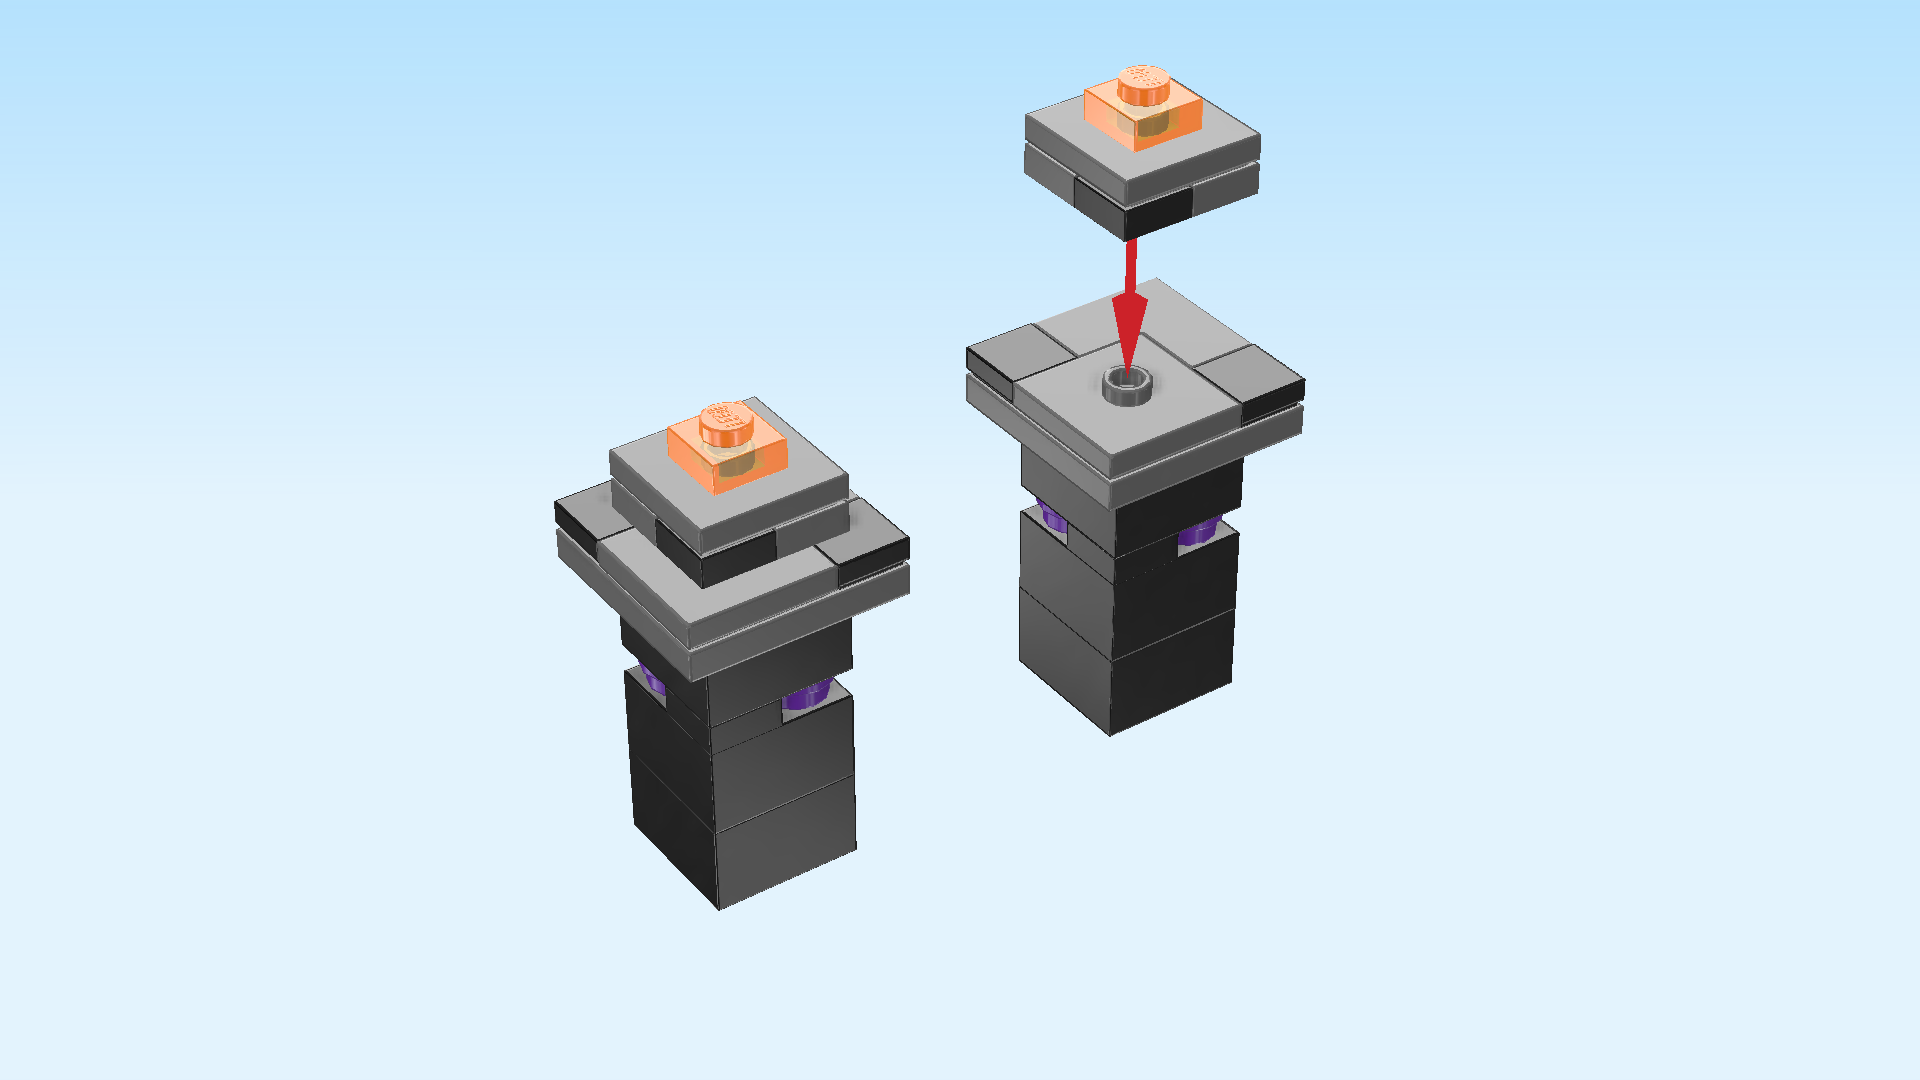
| Next, we will build the 2 obsidian towers. |
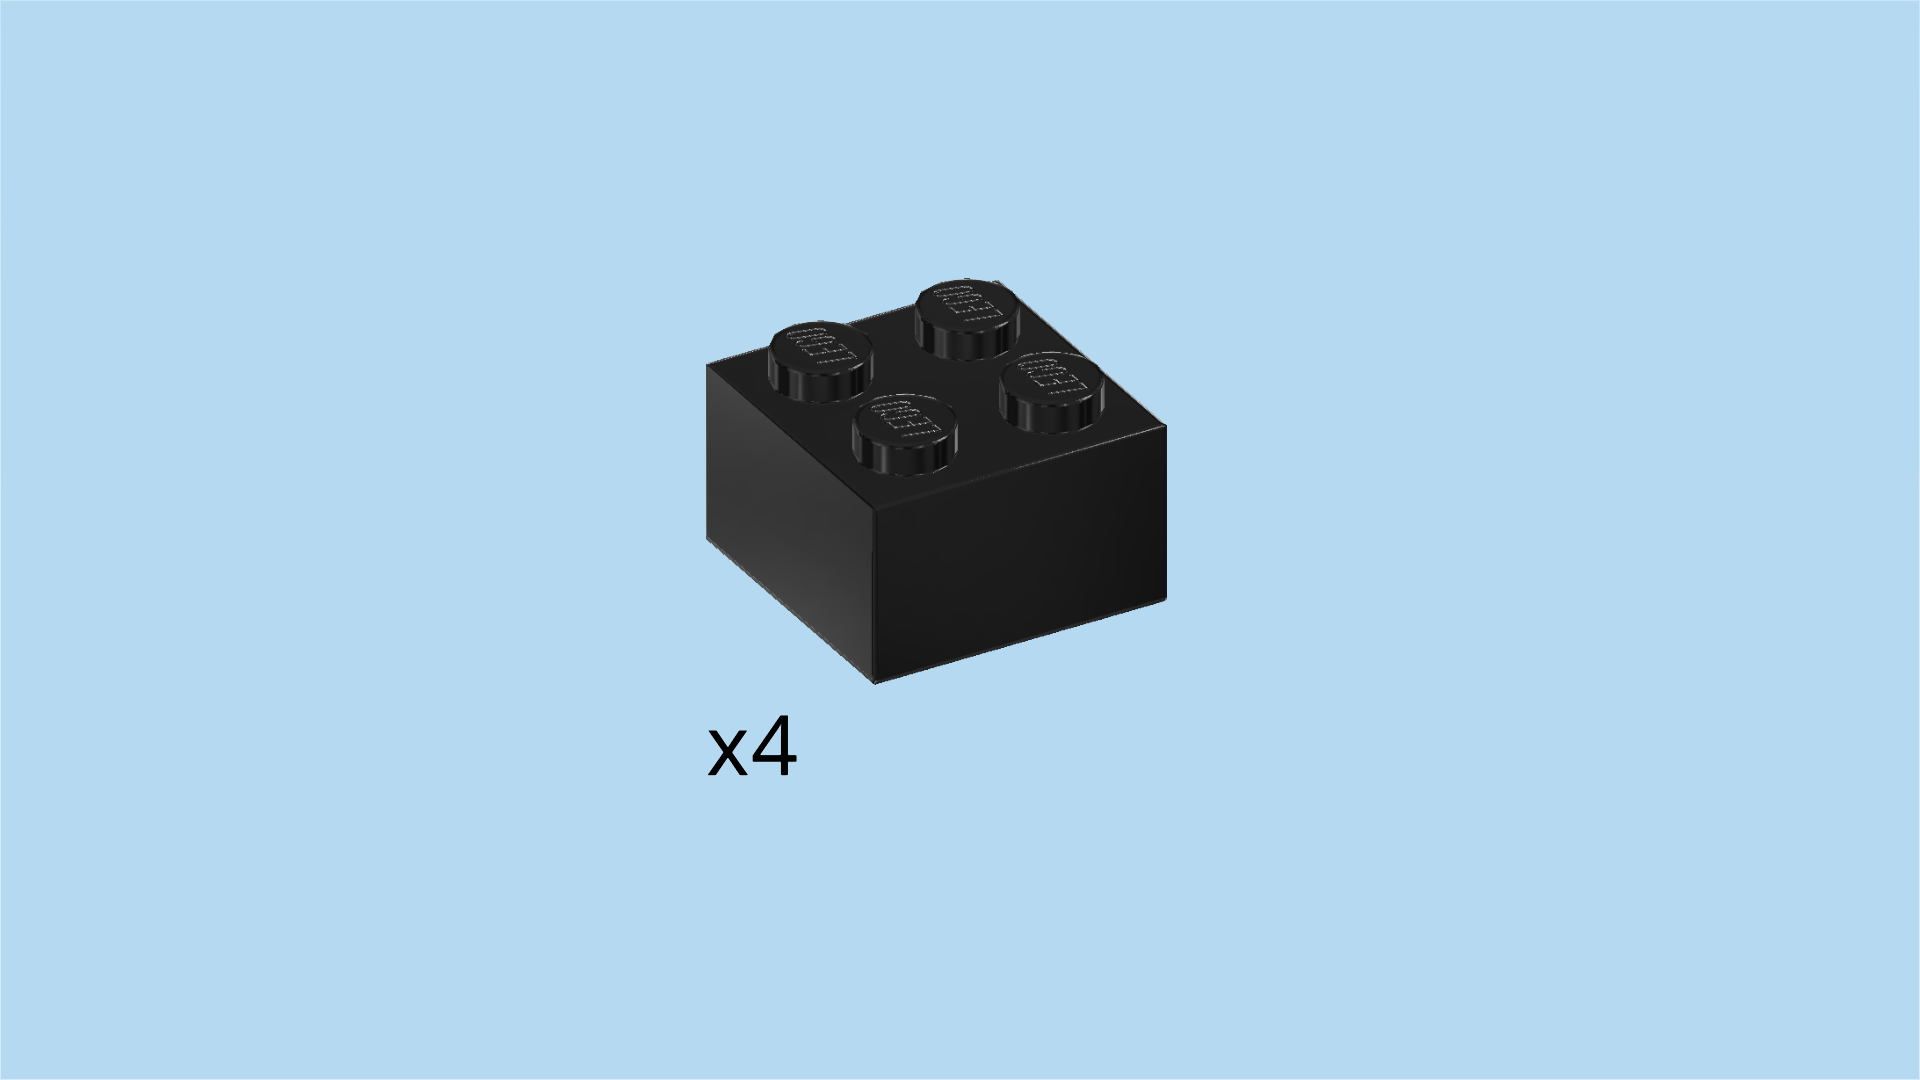
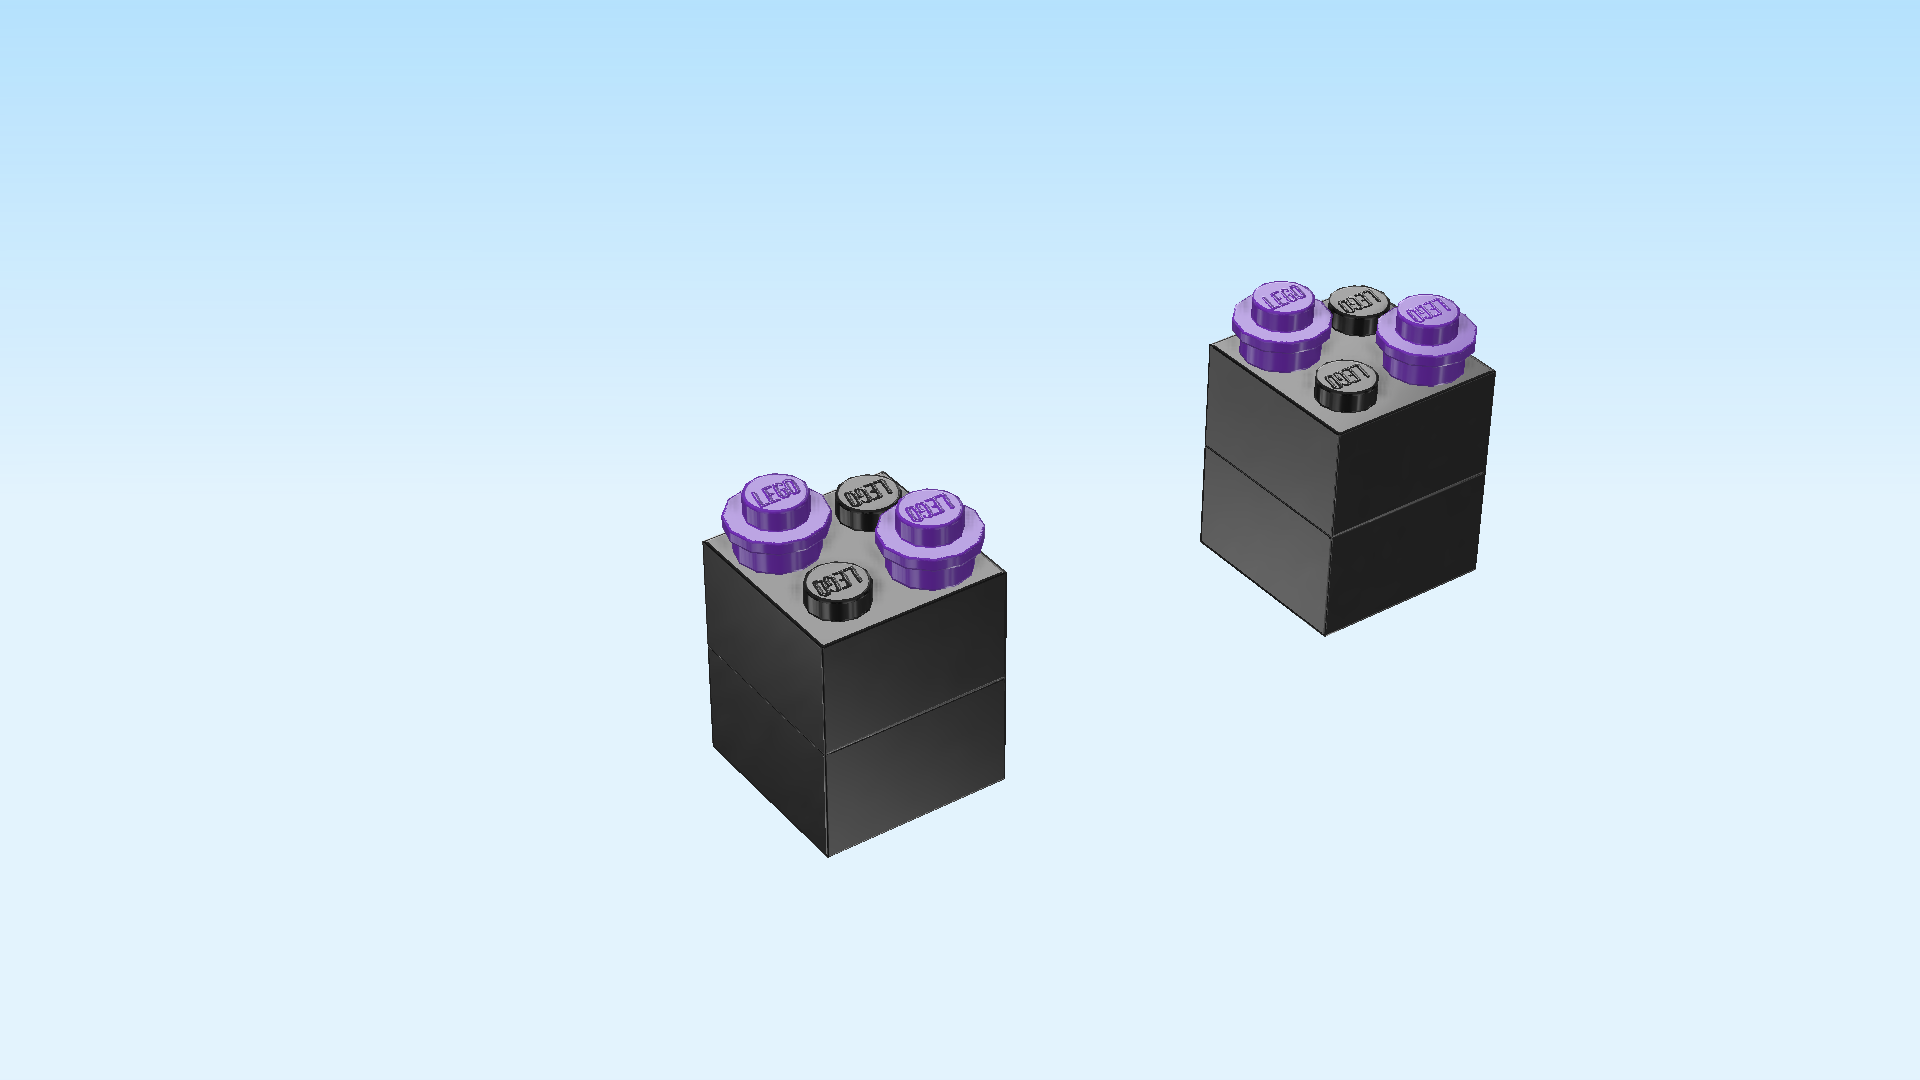
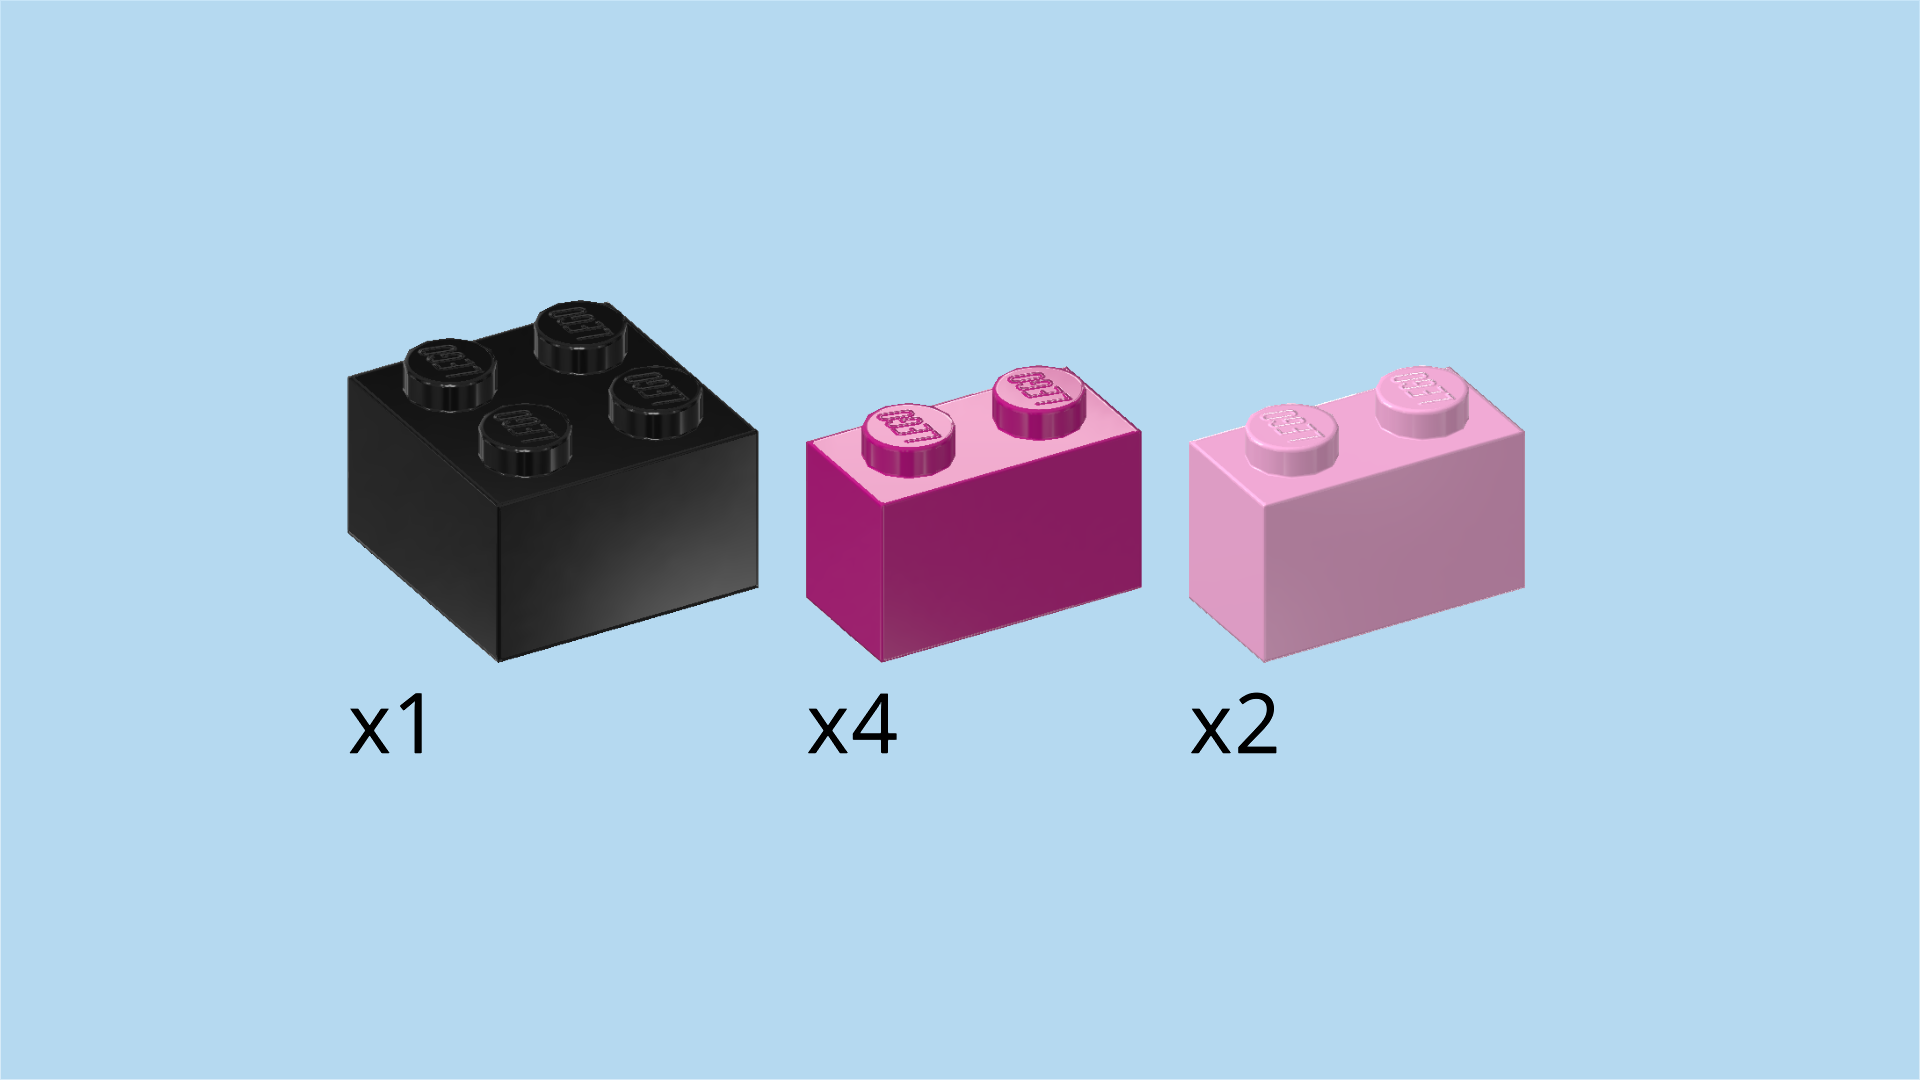
| Find 4 black bricks 2x2. |
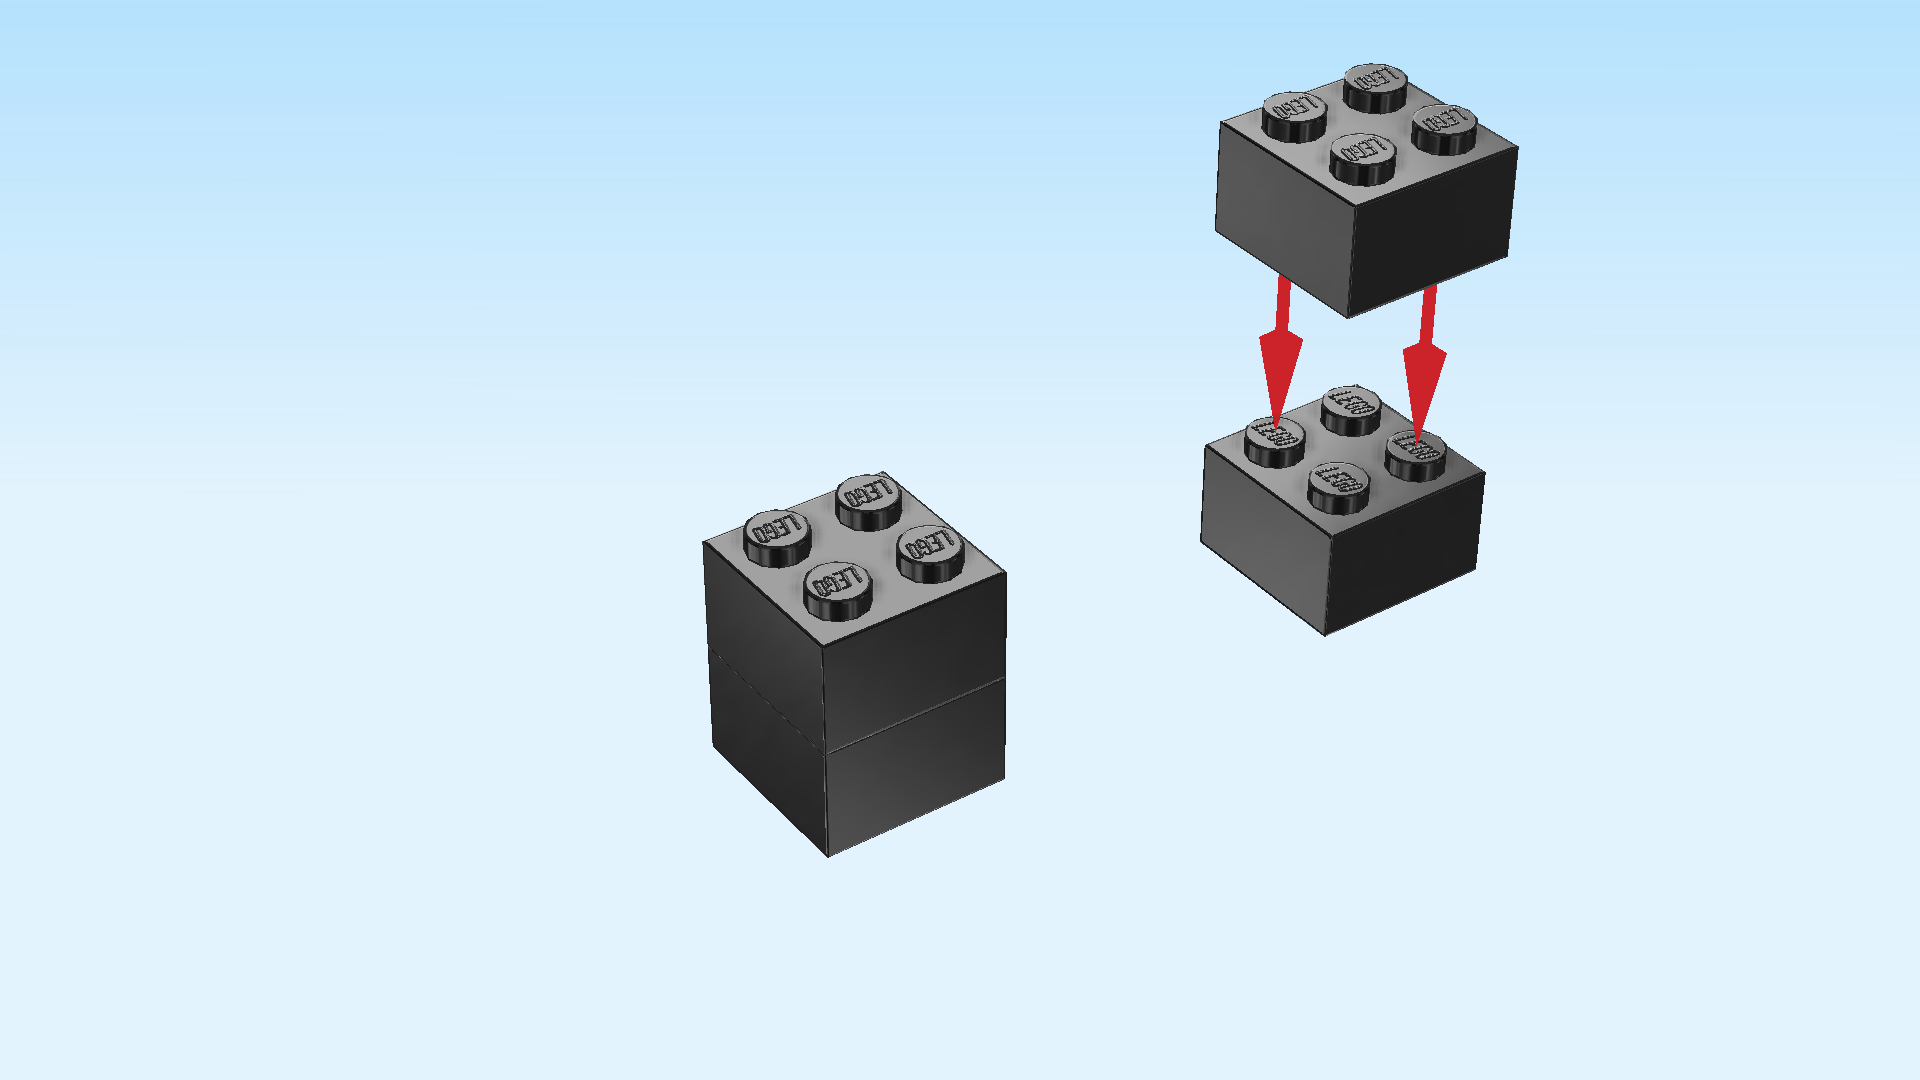
| Stack 2 on top of each other, their shapes matching. |
| Repeat with the other 2 bricks. |
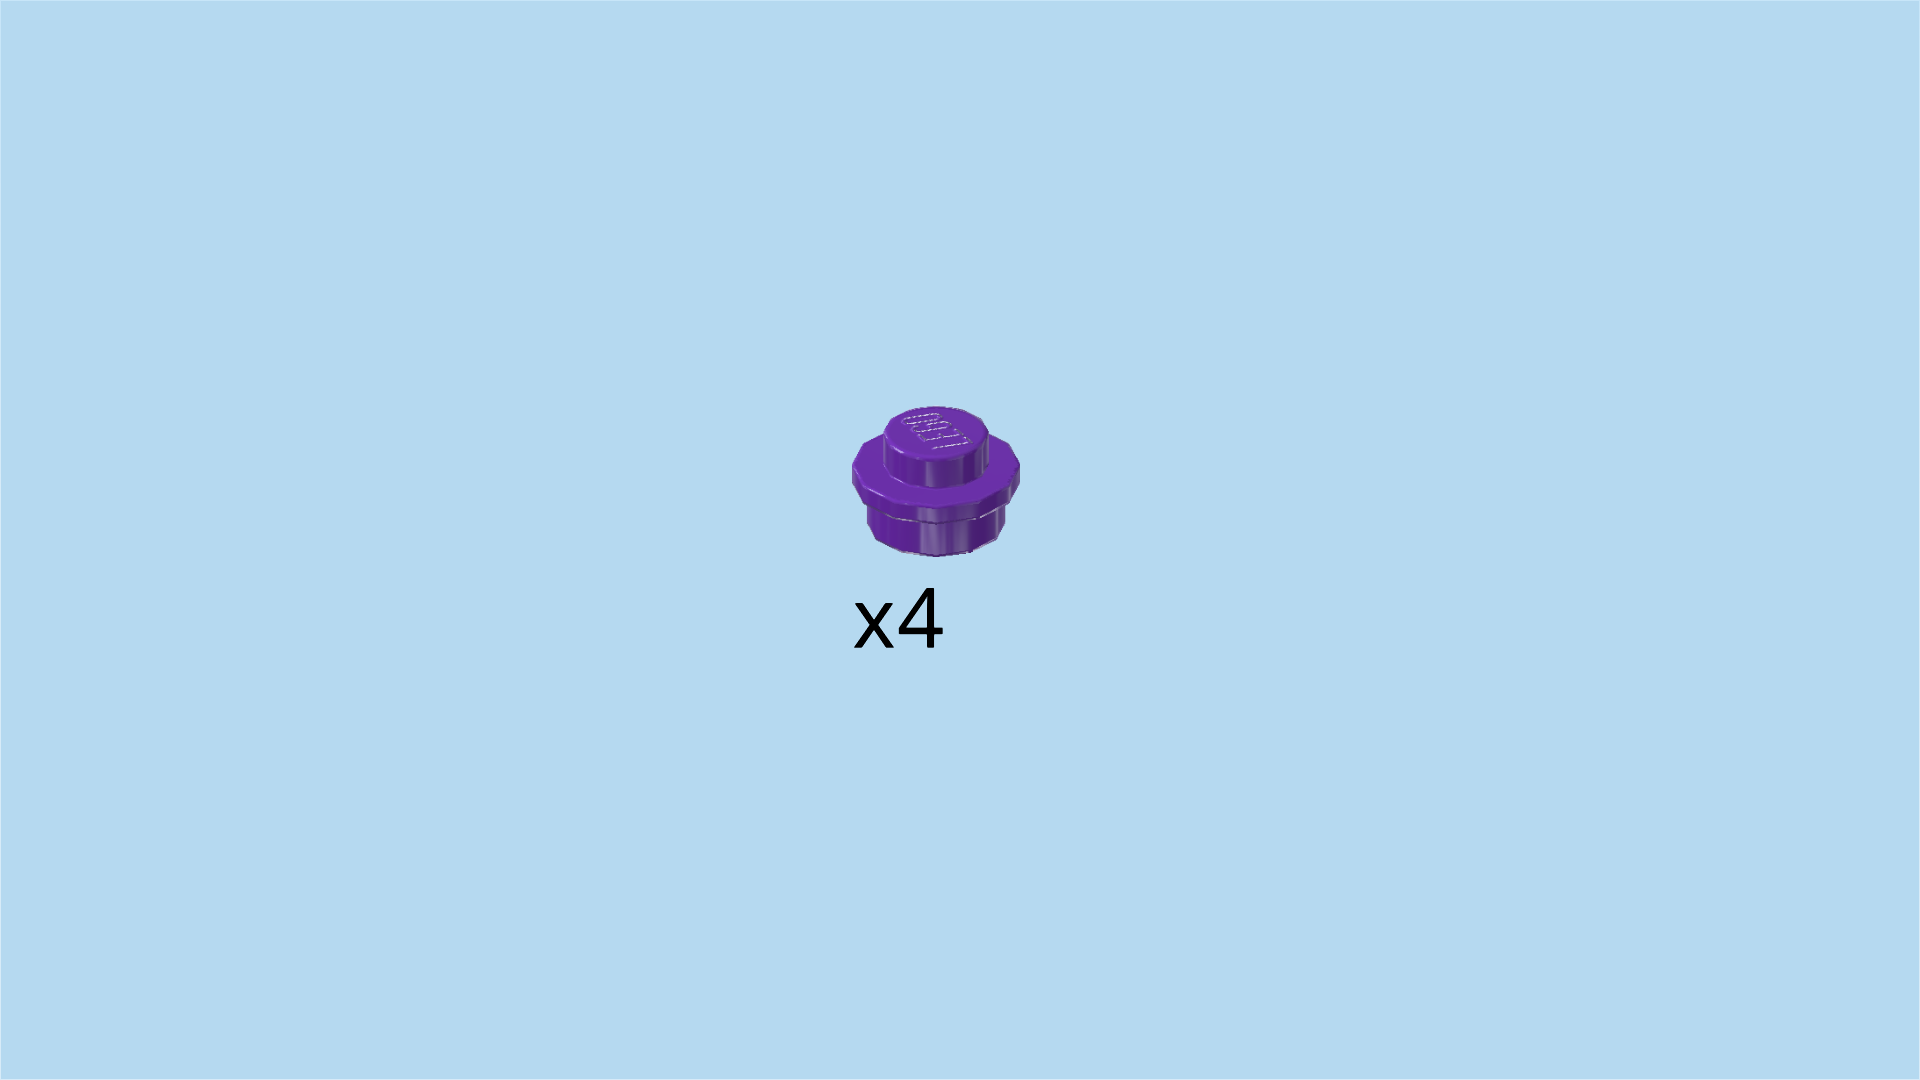
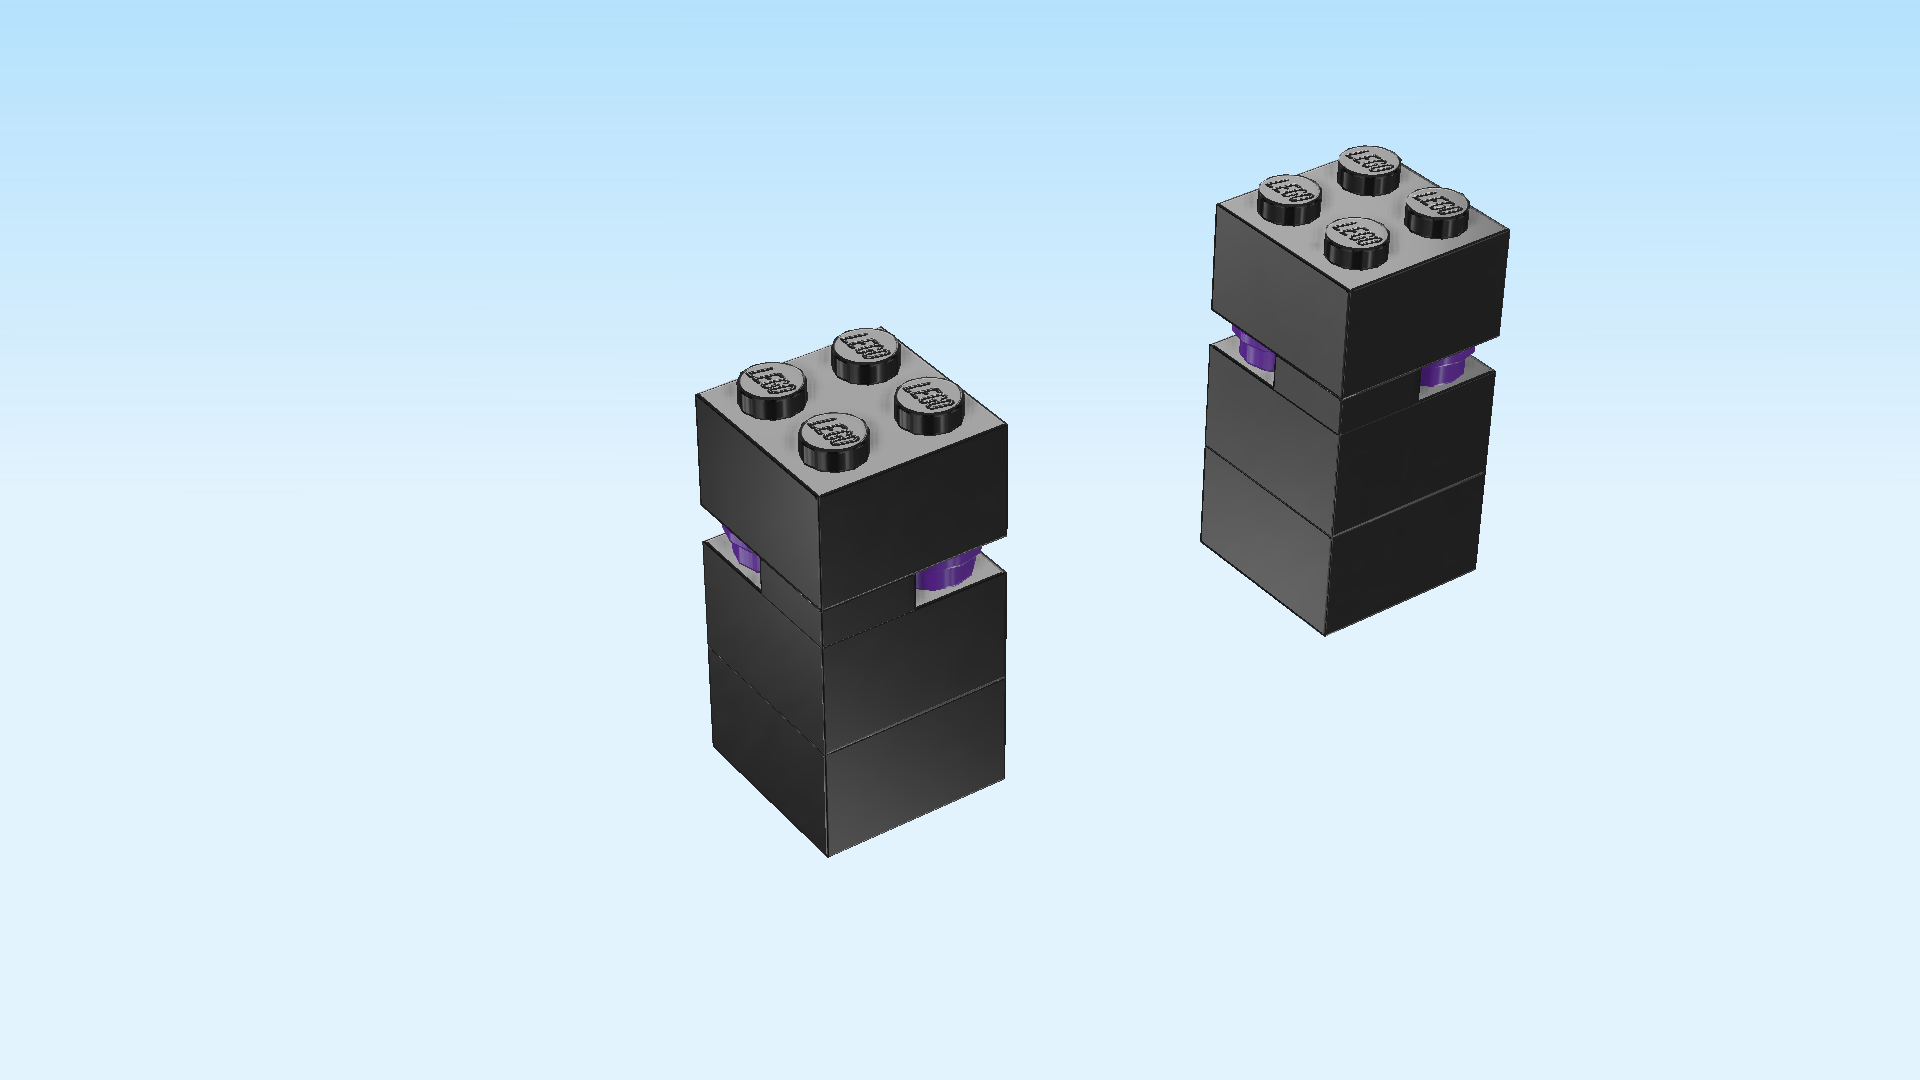
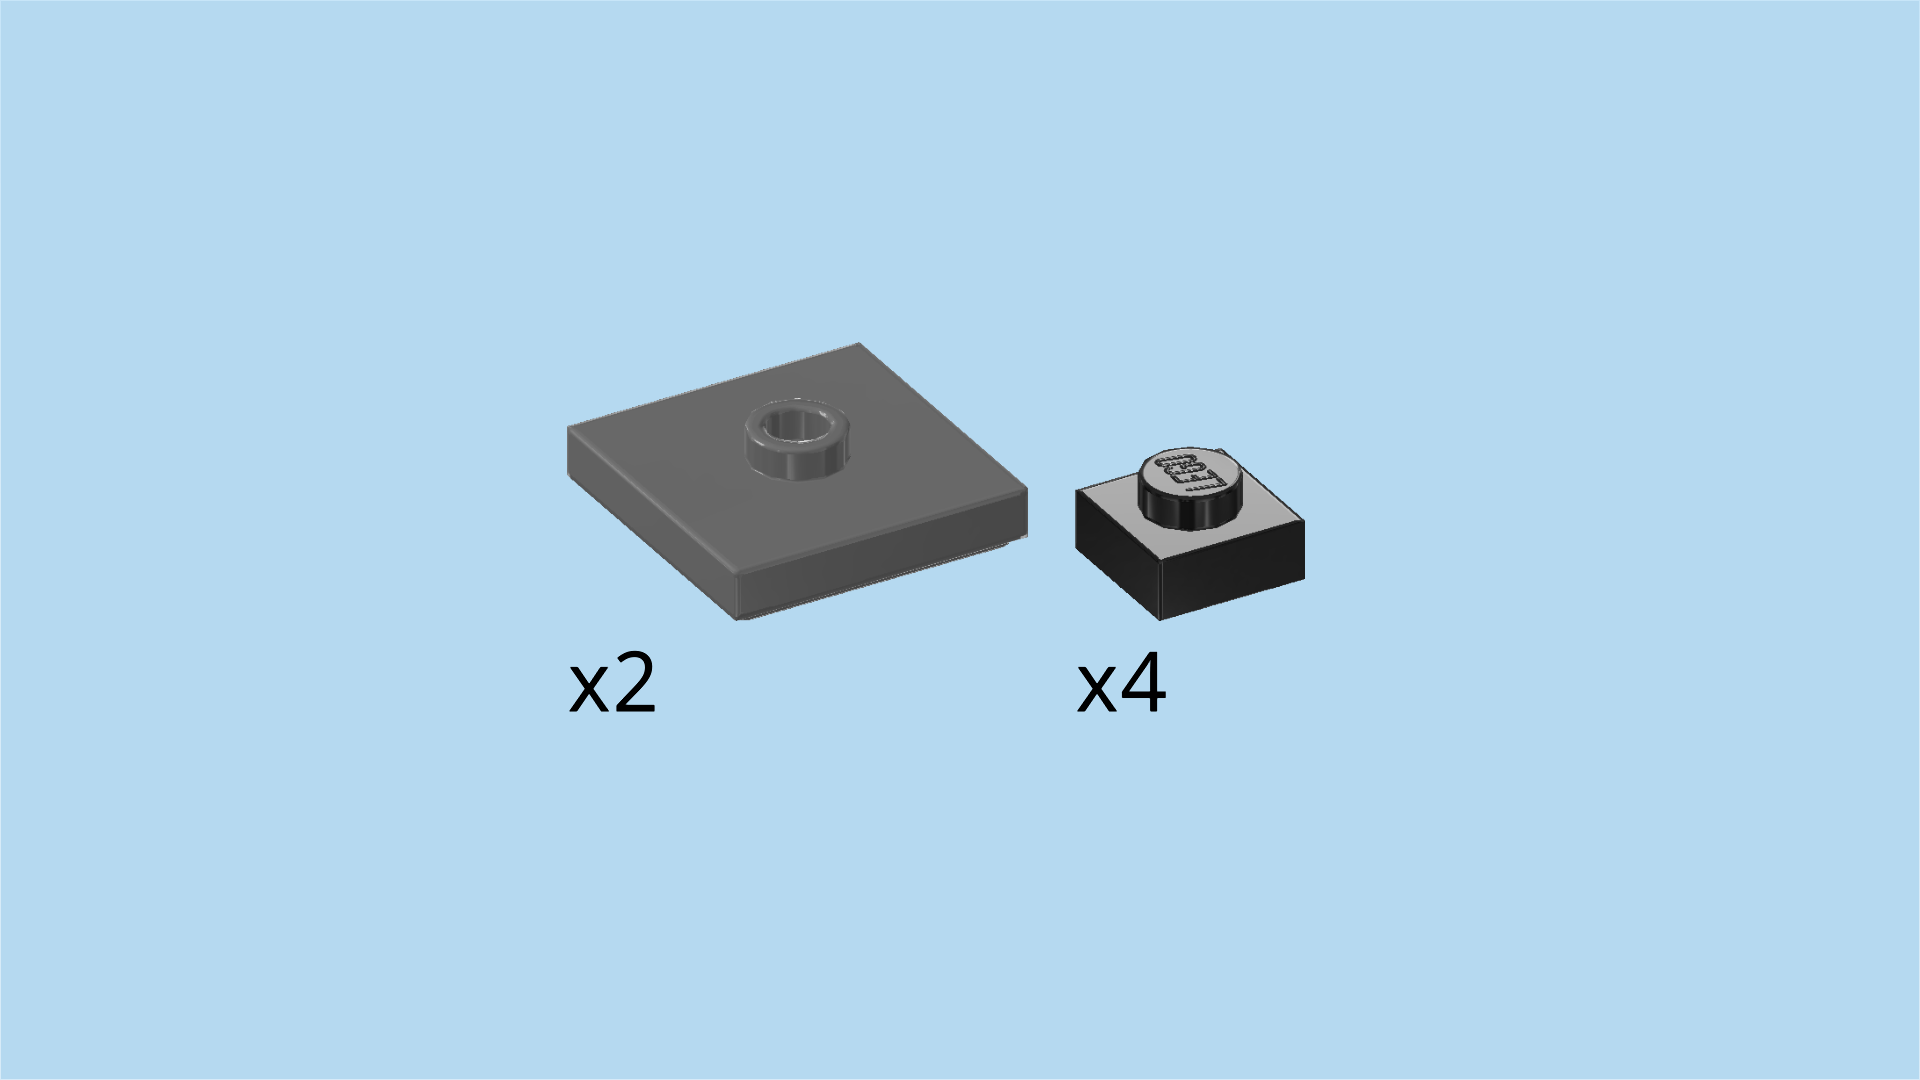
| Find 4 medium lilac round plates 1x1. |
| Put 1 on the front right knob of one obsidian tower. |
| Put another 1 on the back left knob of the same tower. |
| Repeat with the second tower: put 1 round plate on the front right knob, and the last one on the back left knob. |
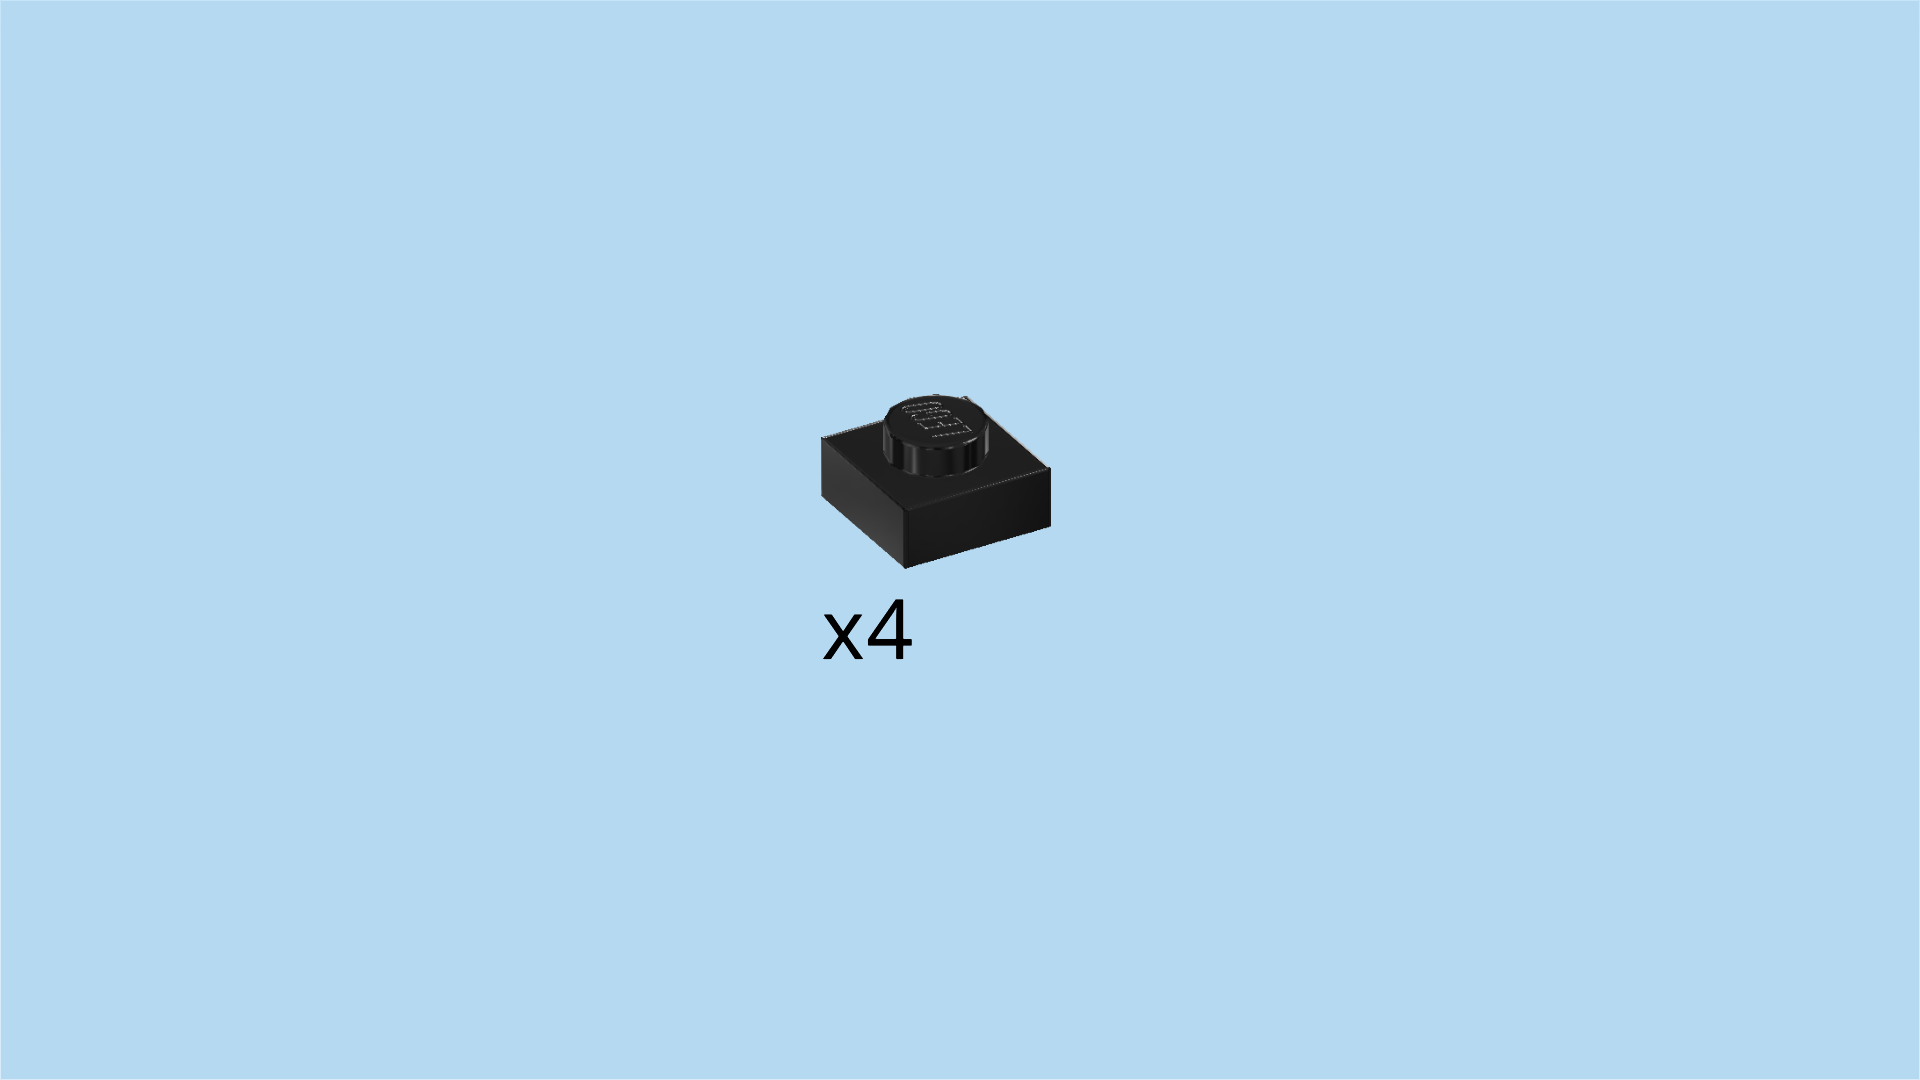
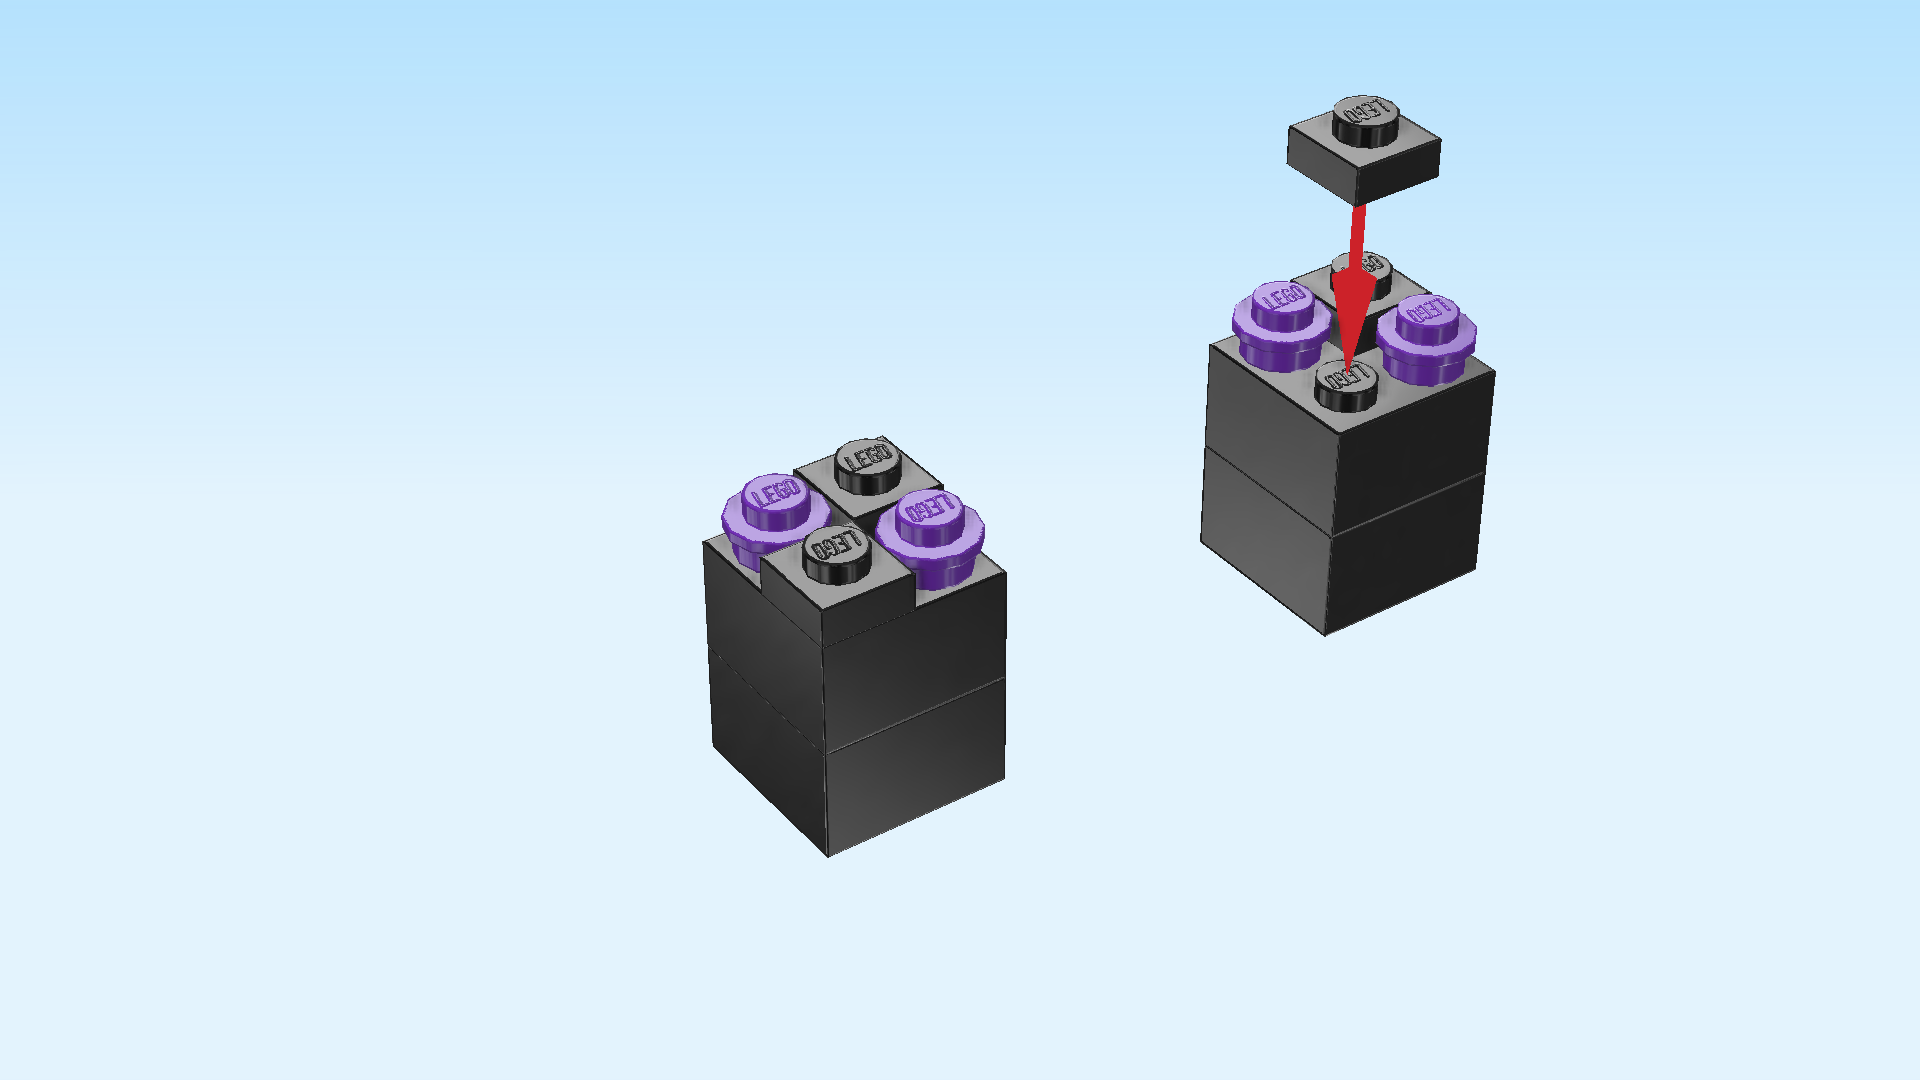
| Find 4 black plates 1x1. |
| Put 1 on the front left knob of one of the towers, and another one on the back right knob. |
| Repeat with the second obsidian tower. |
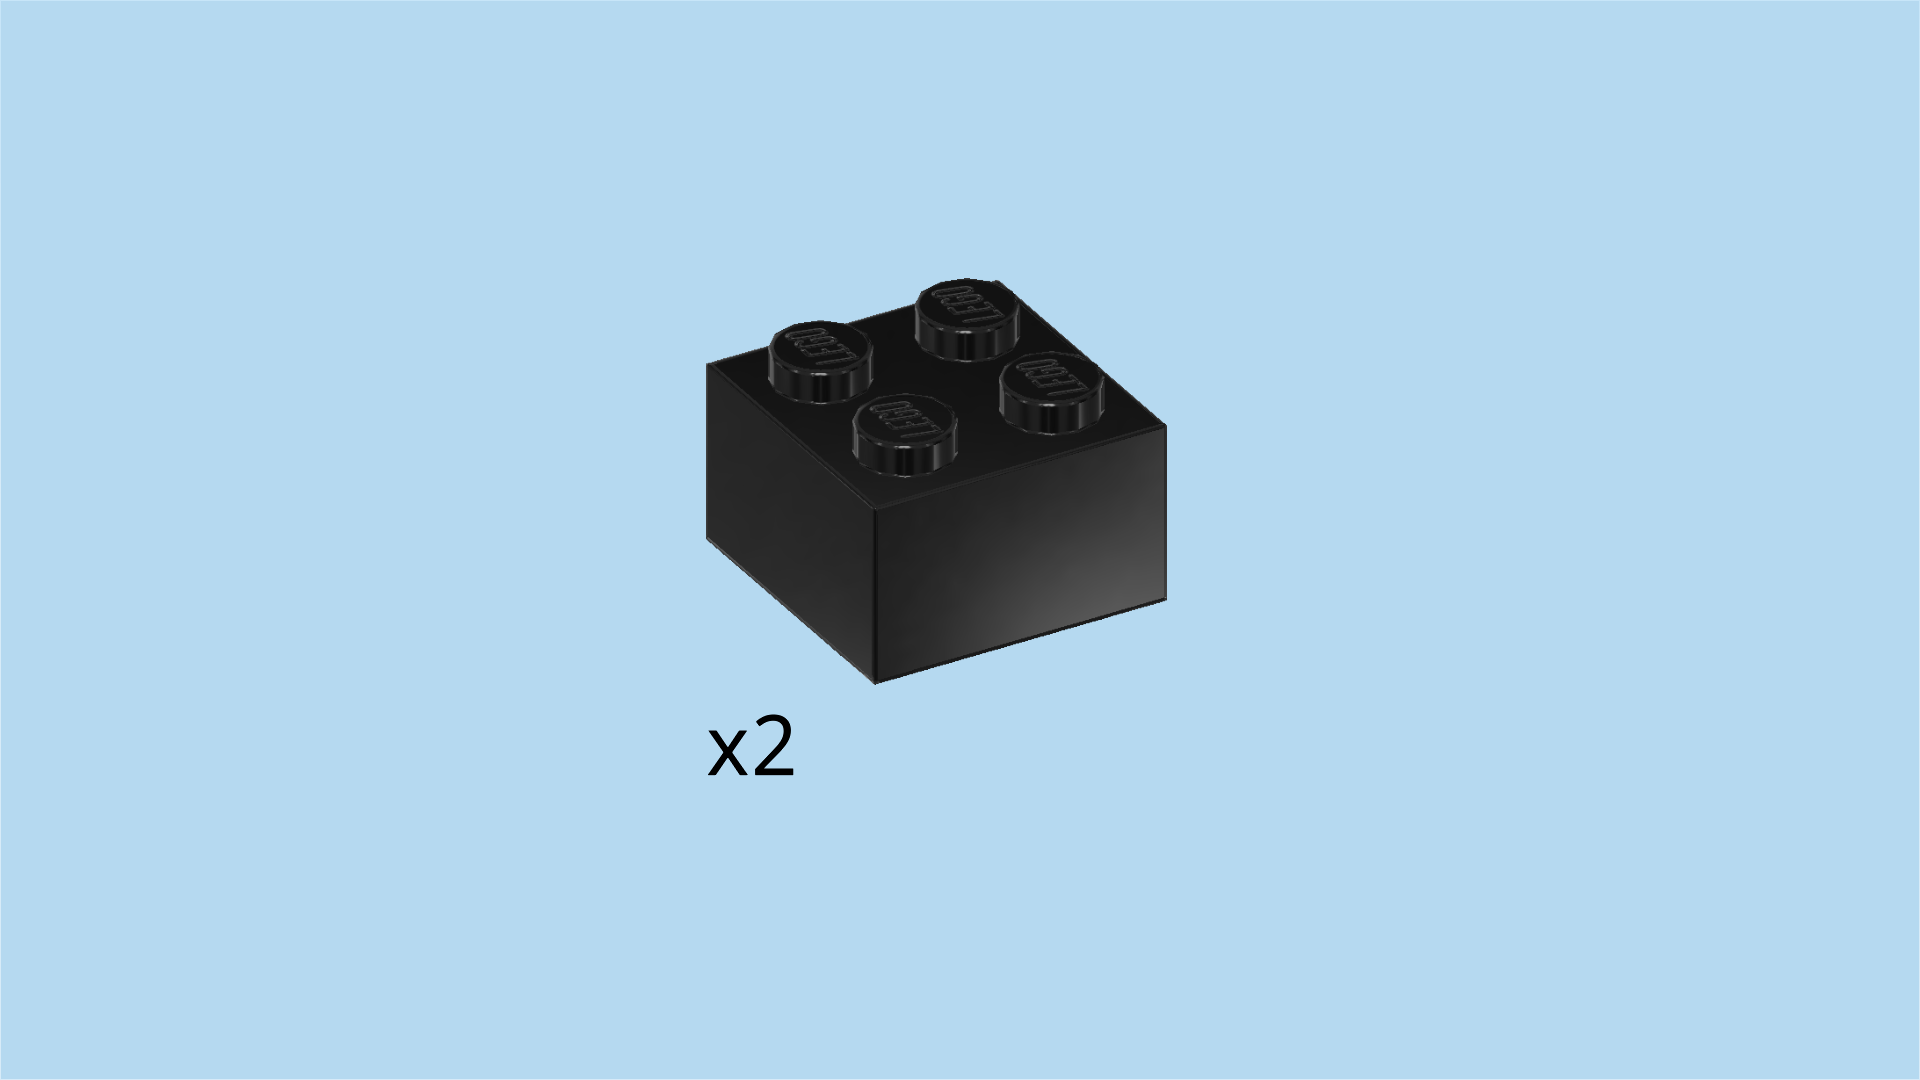
| Find 2 black bricks 2x2. |
| Put 1 on each obsidian tower. |
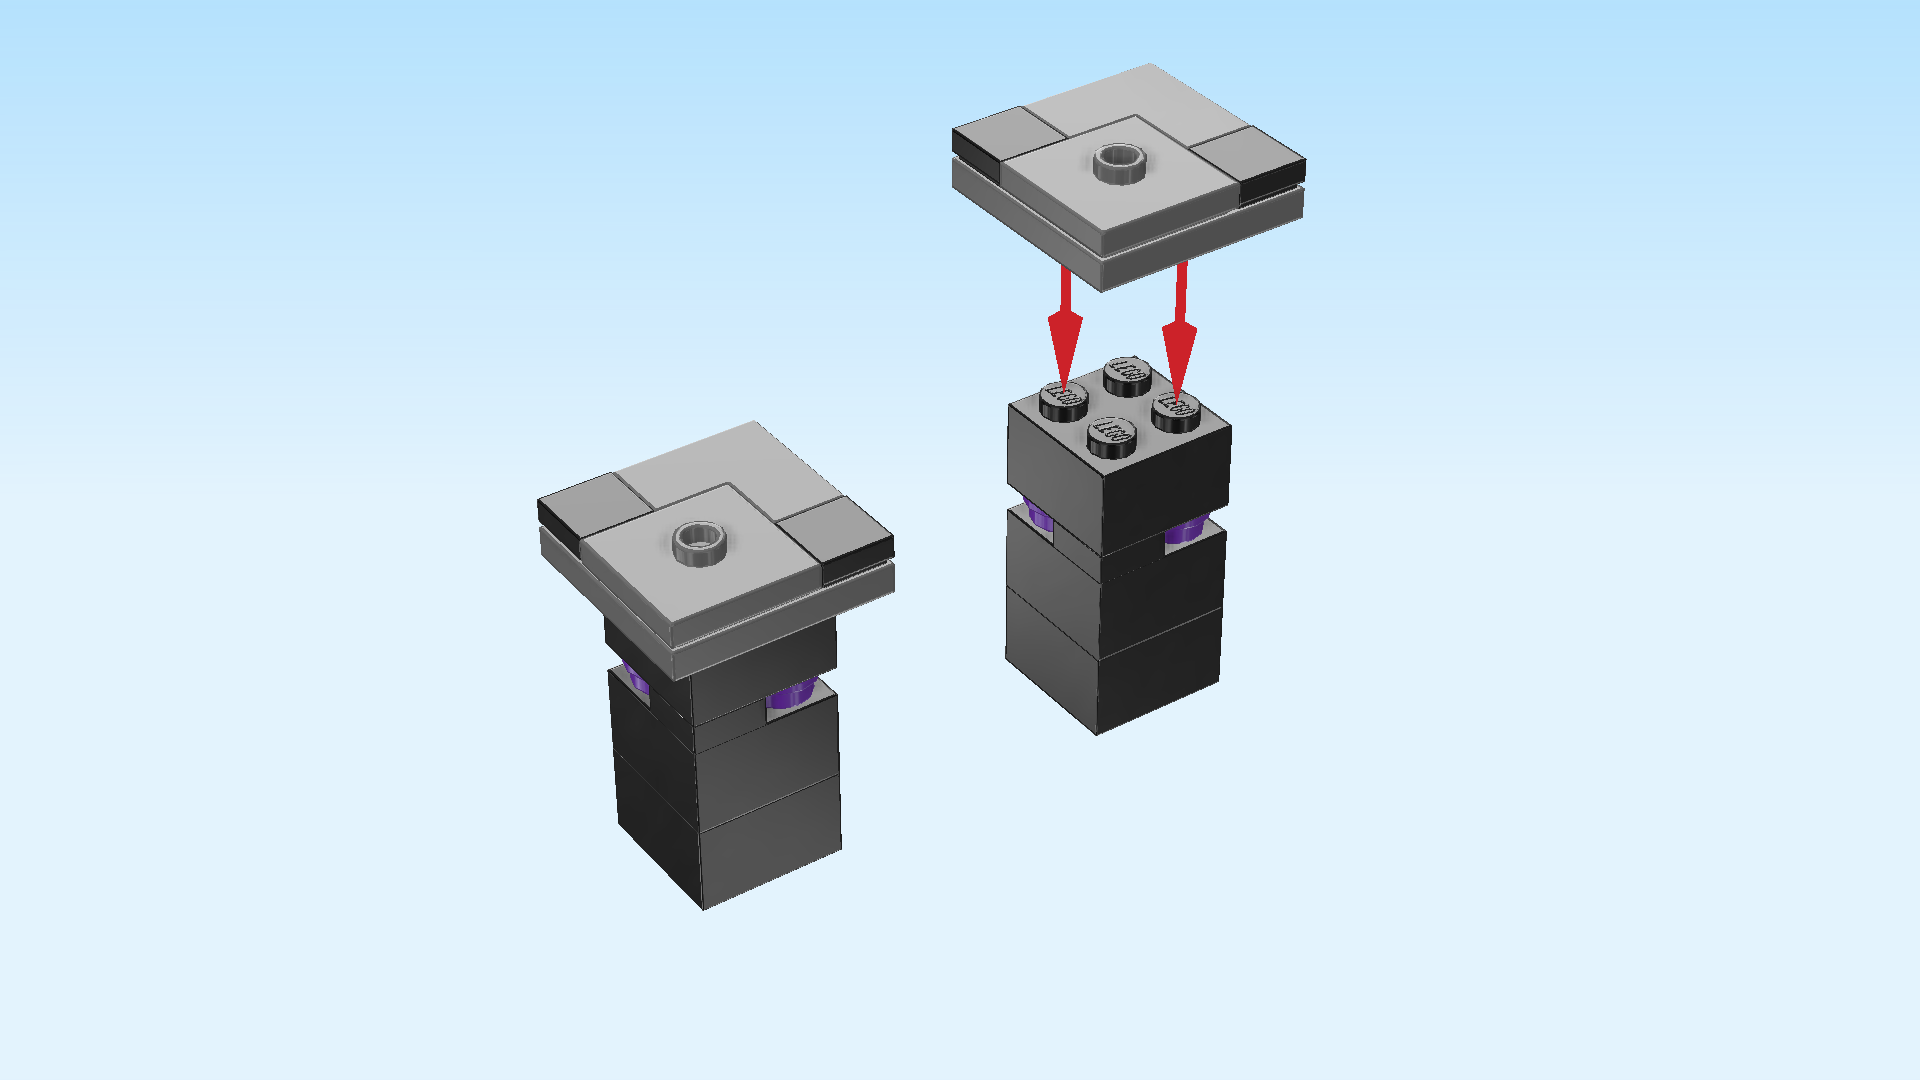
| Next, we will build the intermediate plates for the towers. |
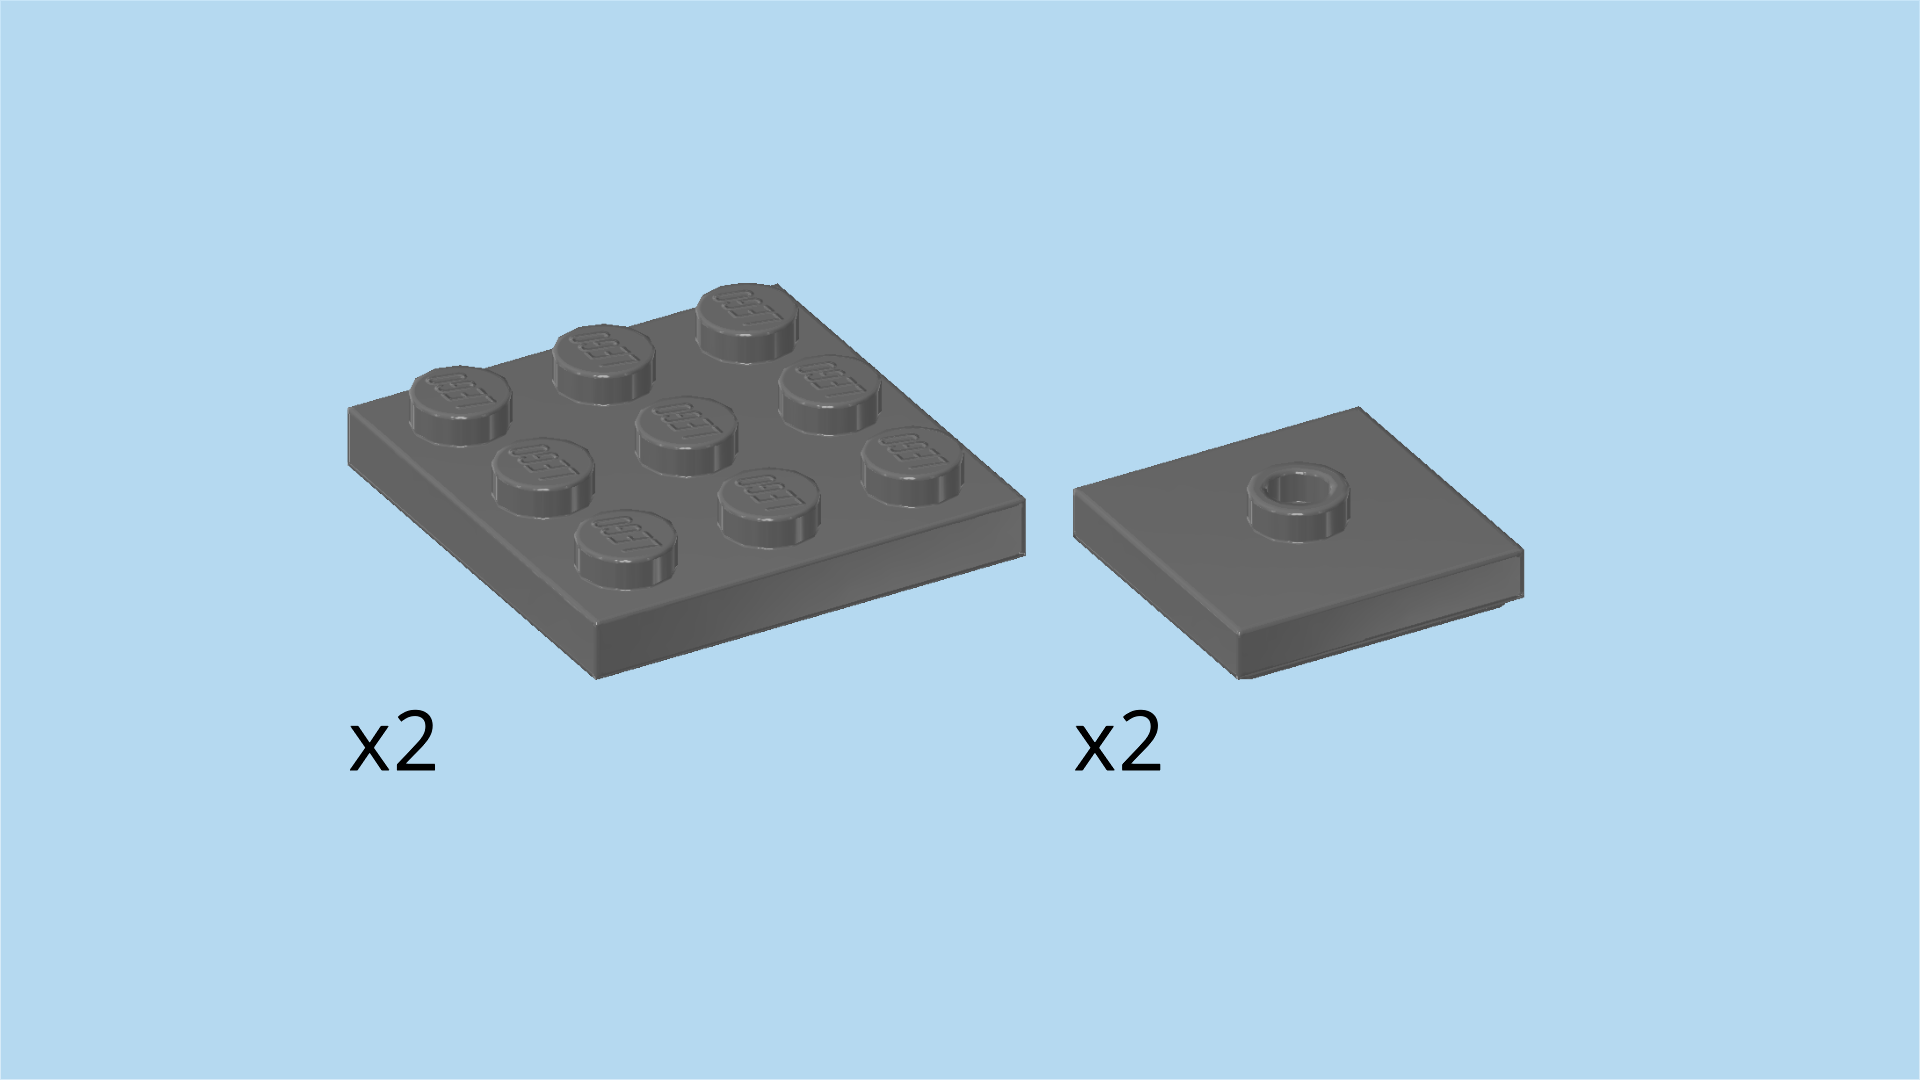
| Collect the following 4 pieces: |
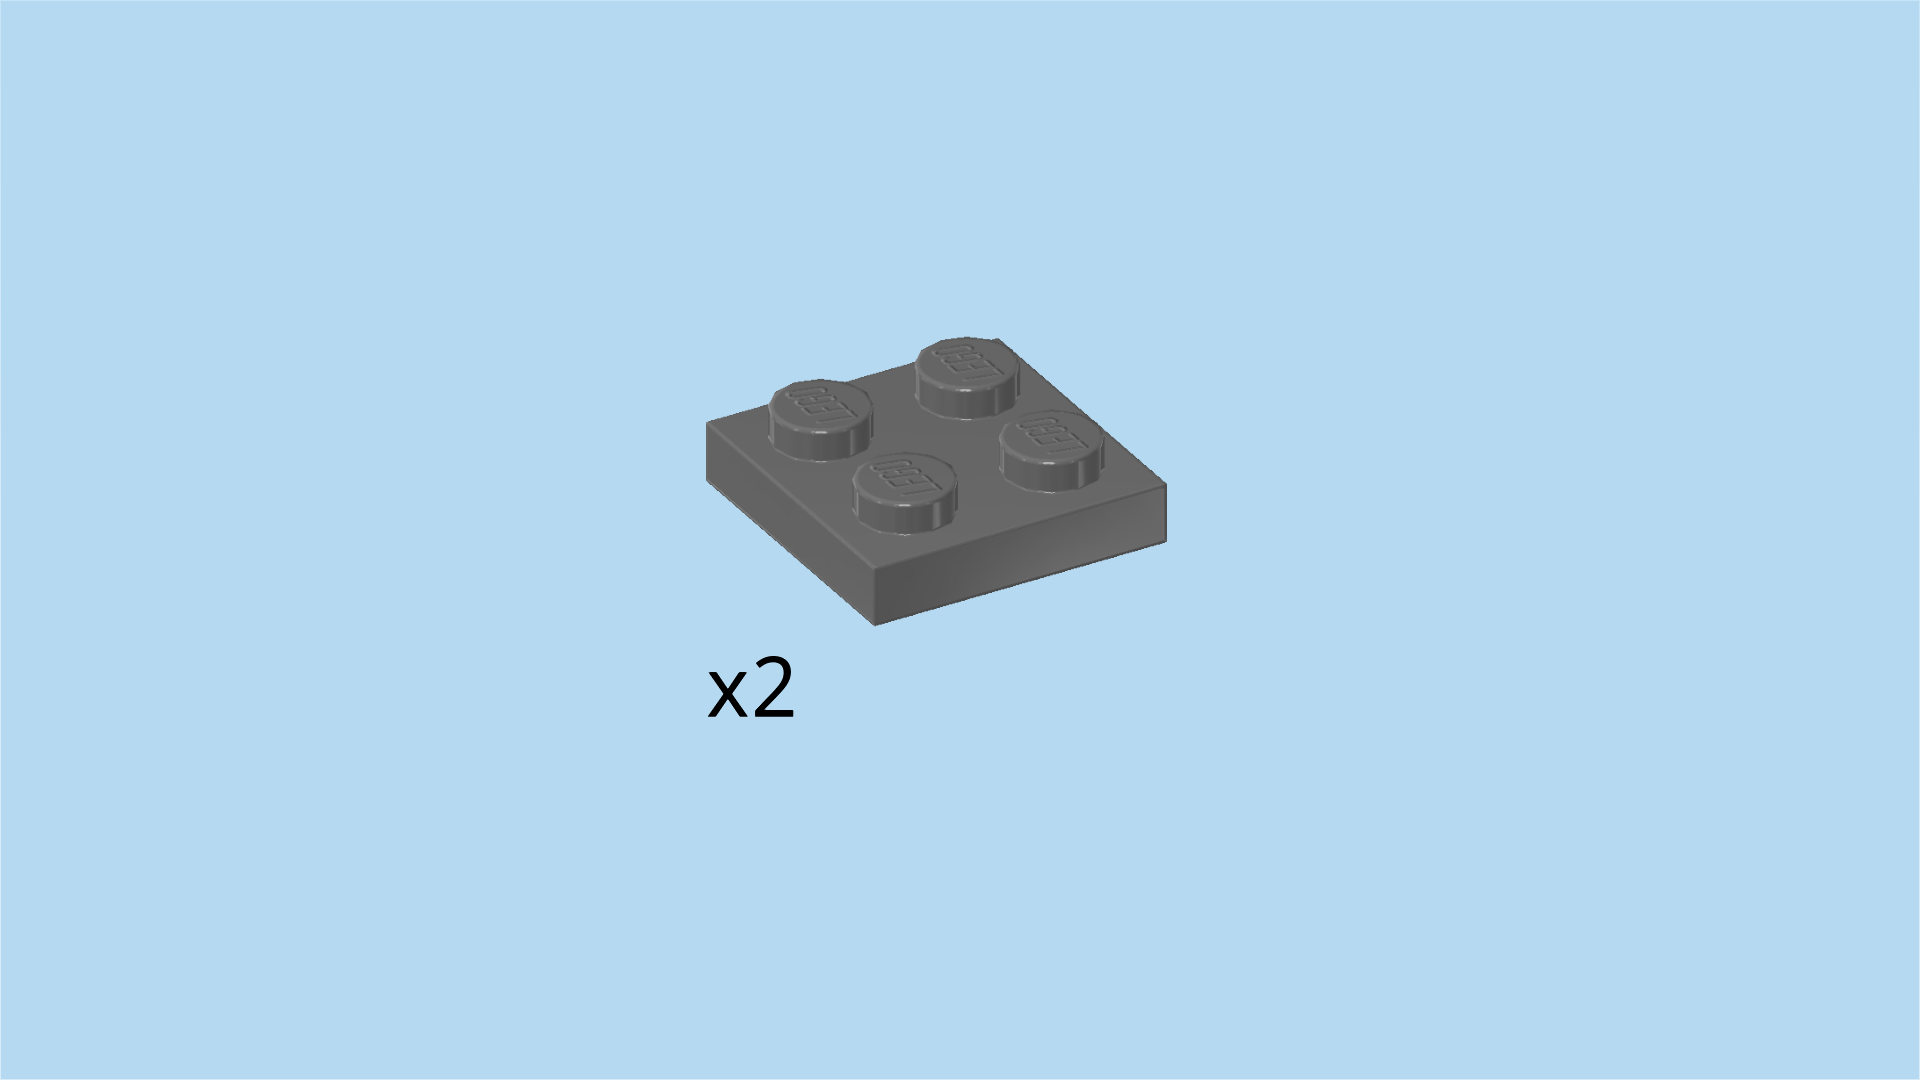
| 2 dark stone grey plates 2x2 with 1 knob, |
| and 2 dark stone grey plates 3x3. |
| Put the 2 plates 3x3 next to each other on the table. |
| Put 1 plate 2x2 on the front left corner of one of the 3x3 plates, leaving the backmost row and rightmost column empty. |
| Repeat with the other plate 2x2 on the other plate 3x3. |
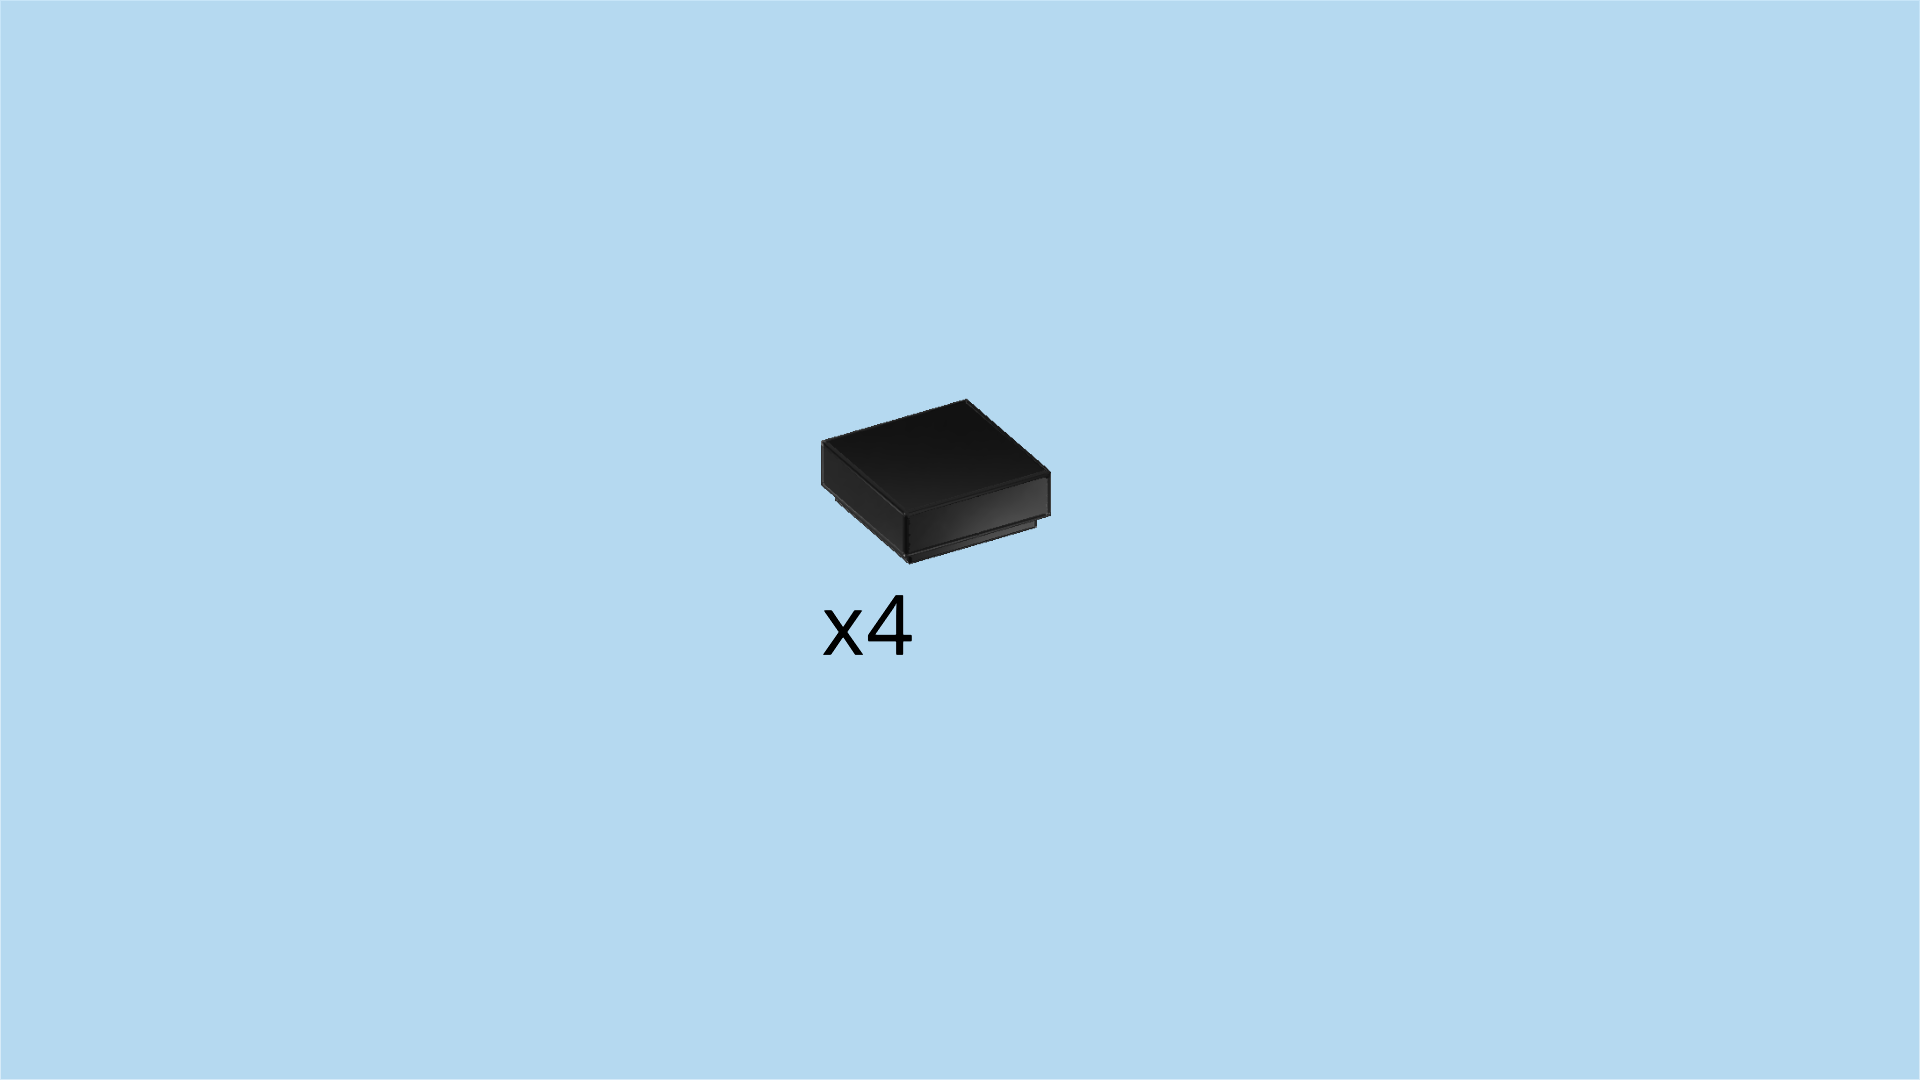
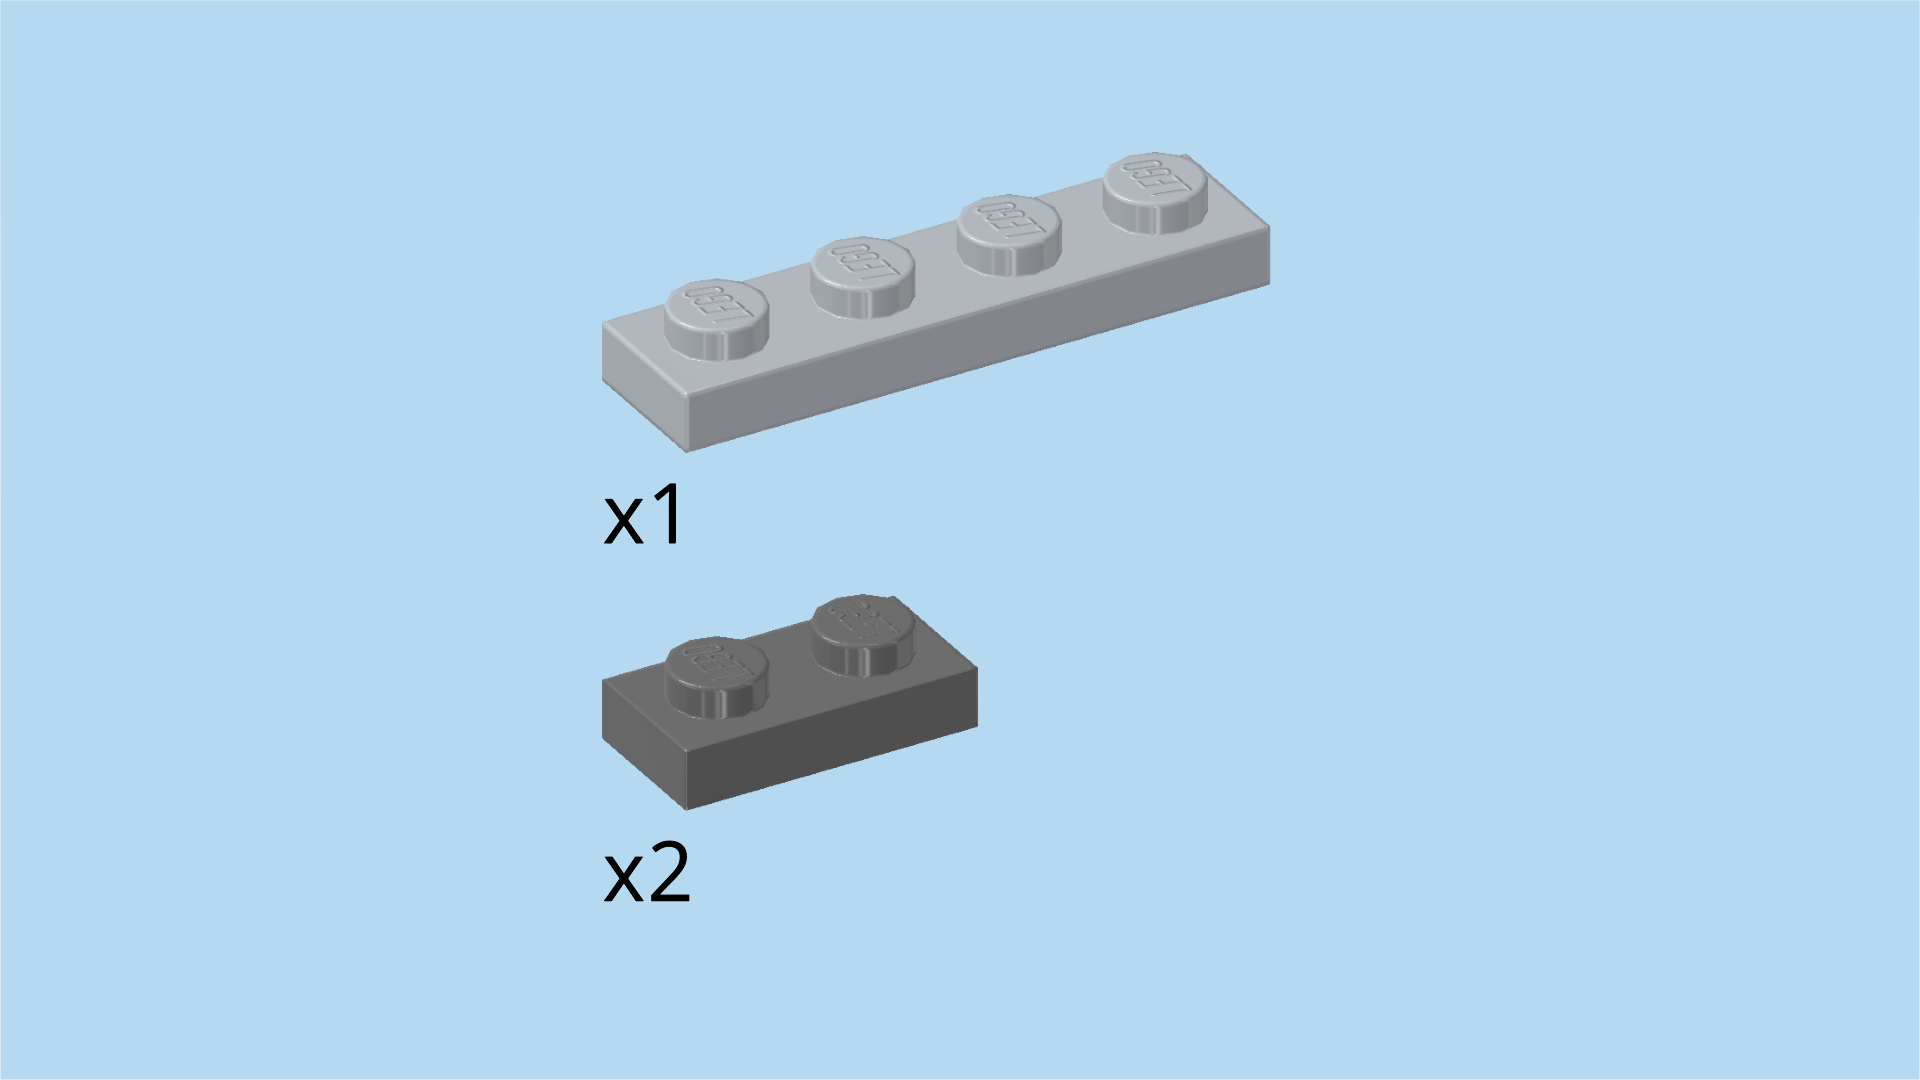
| Find 4 black flat tiles 1x1. |
| Put 1 on the leftmost backmost knob of one intermediate plate. |
| Put 1 on the frontmost rightmost knob of that same plate. |
| Repeat with the 2 remaining flat tiles 1x1 on the other intermediate plate. |
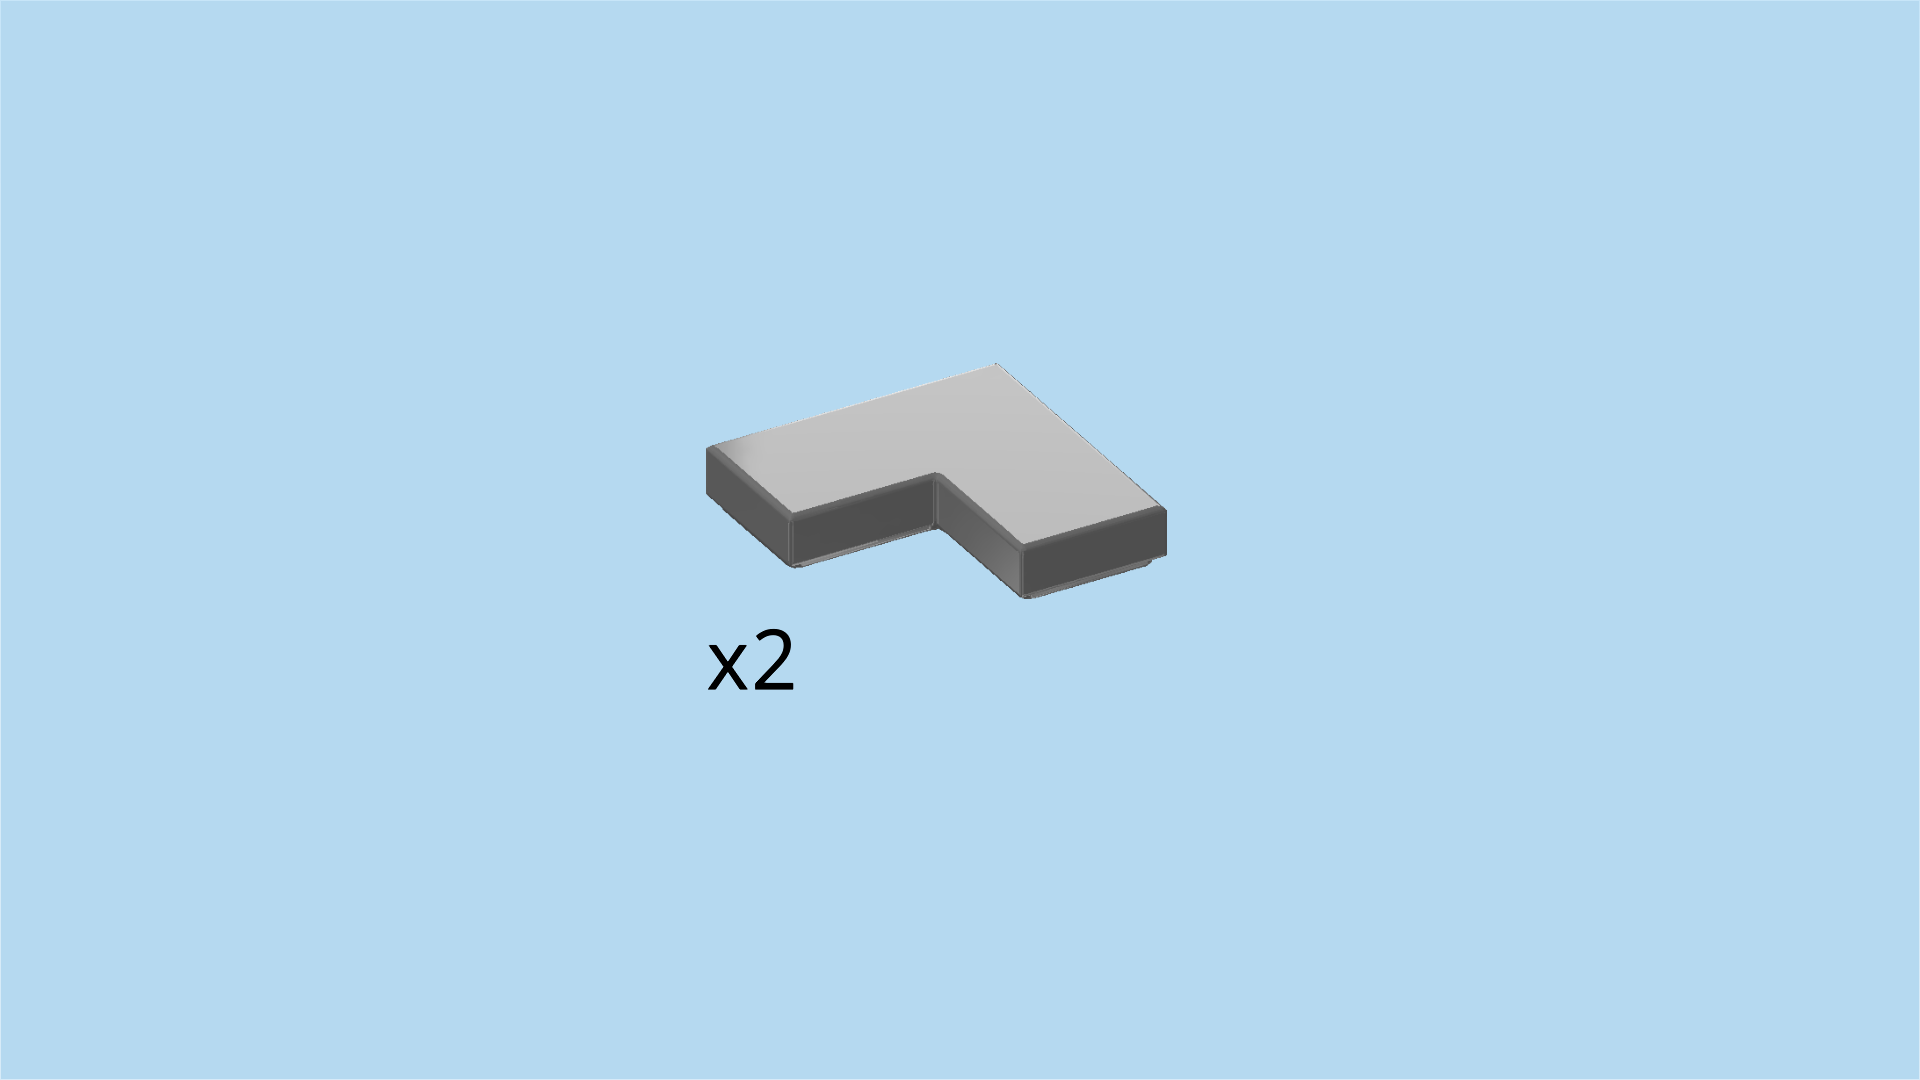
| Find 2 dark stone grey corner tiles 1x2 - 1x2. |
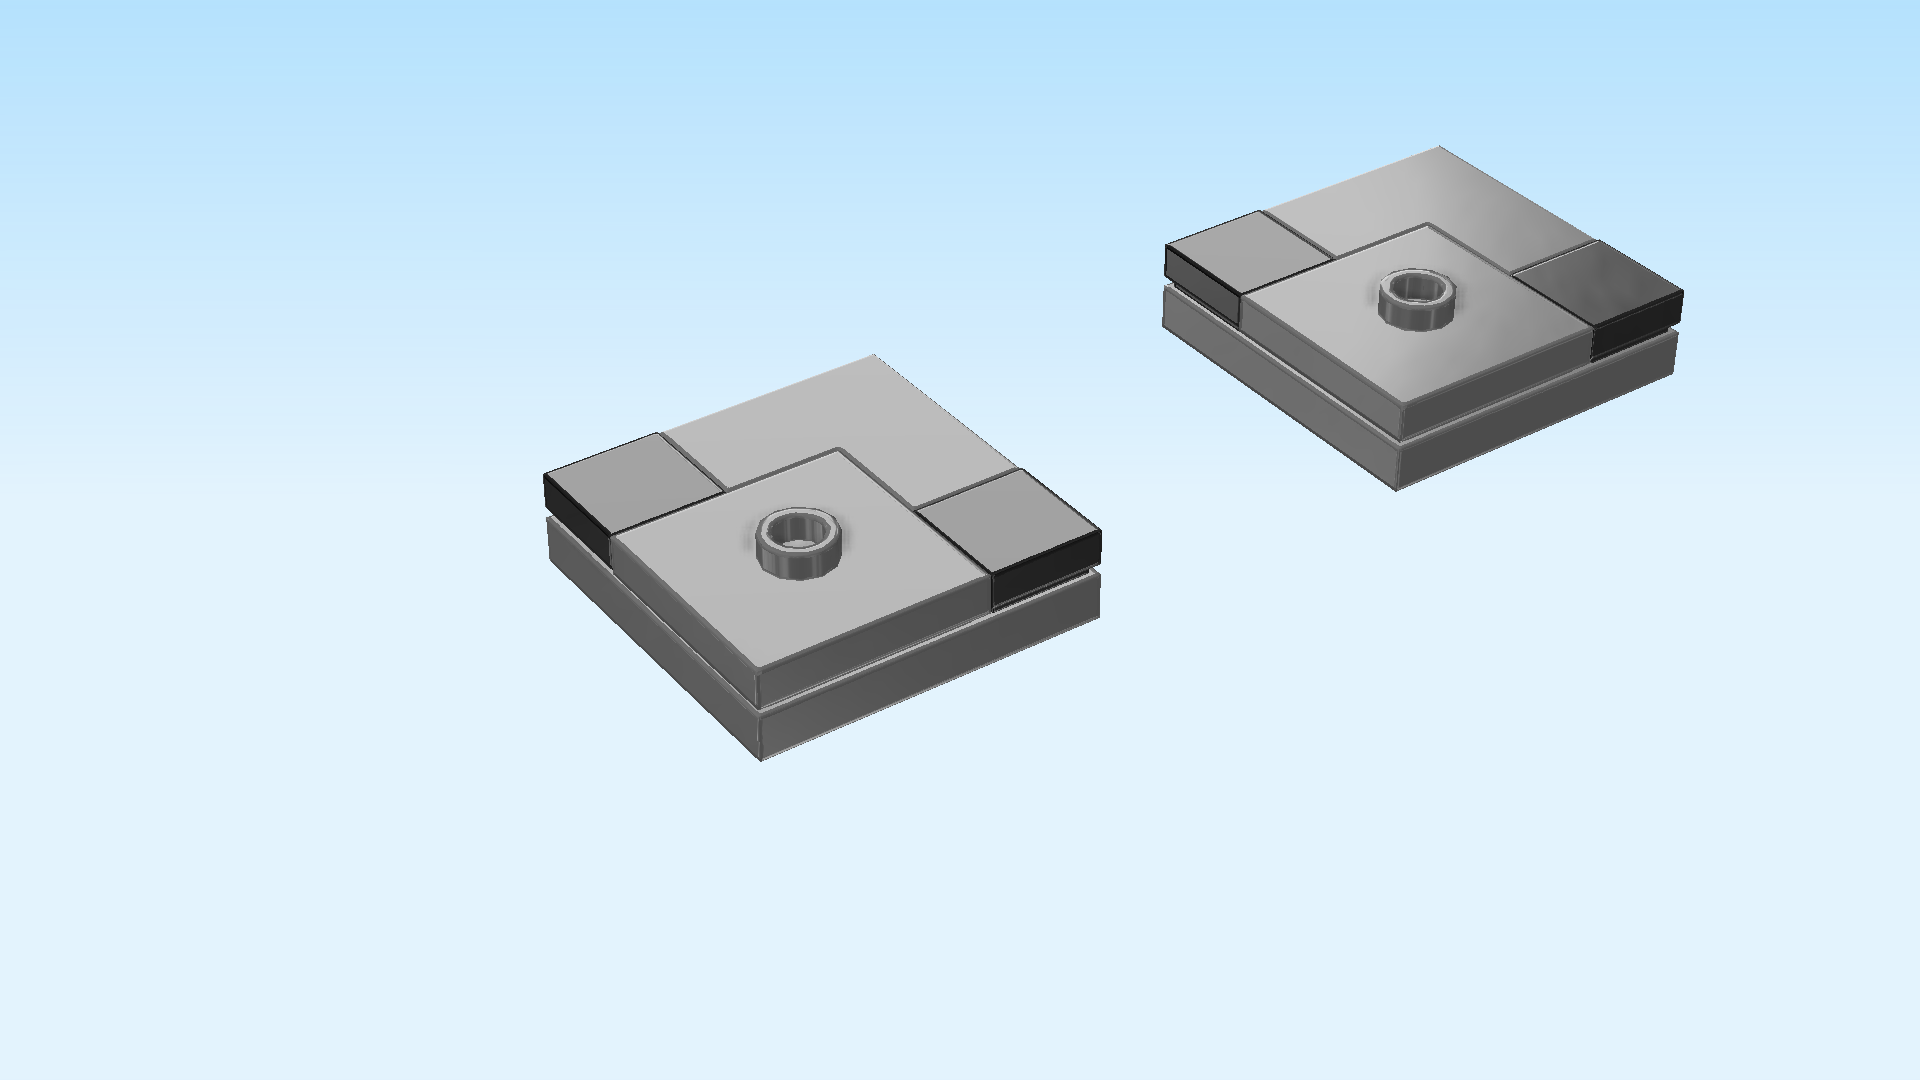
| Put 1 on the back right corner of one intermediate plate, matching the shape of that corner. If done correctly, the corner tile will sit between the 2 previous pieces. |
| Repeat with the remaining corner tile on the other intermediate plate. |
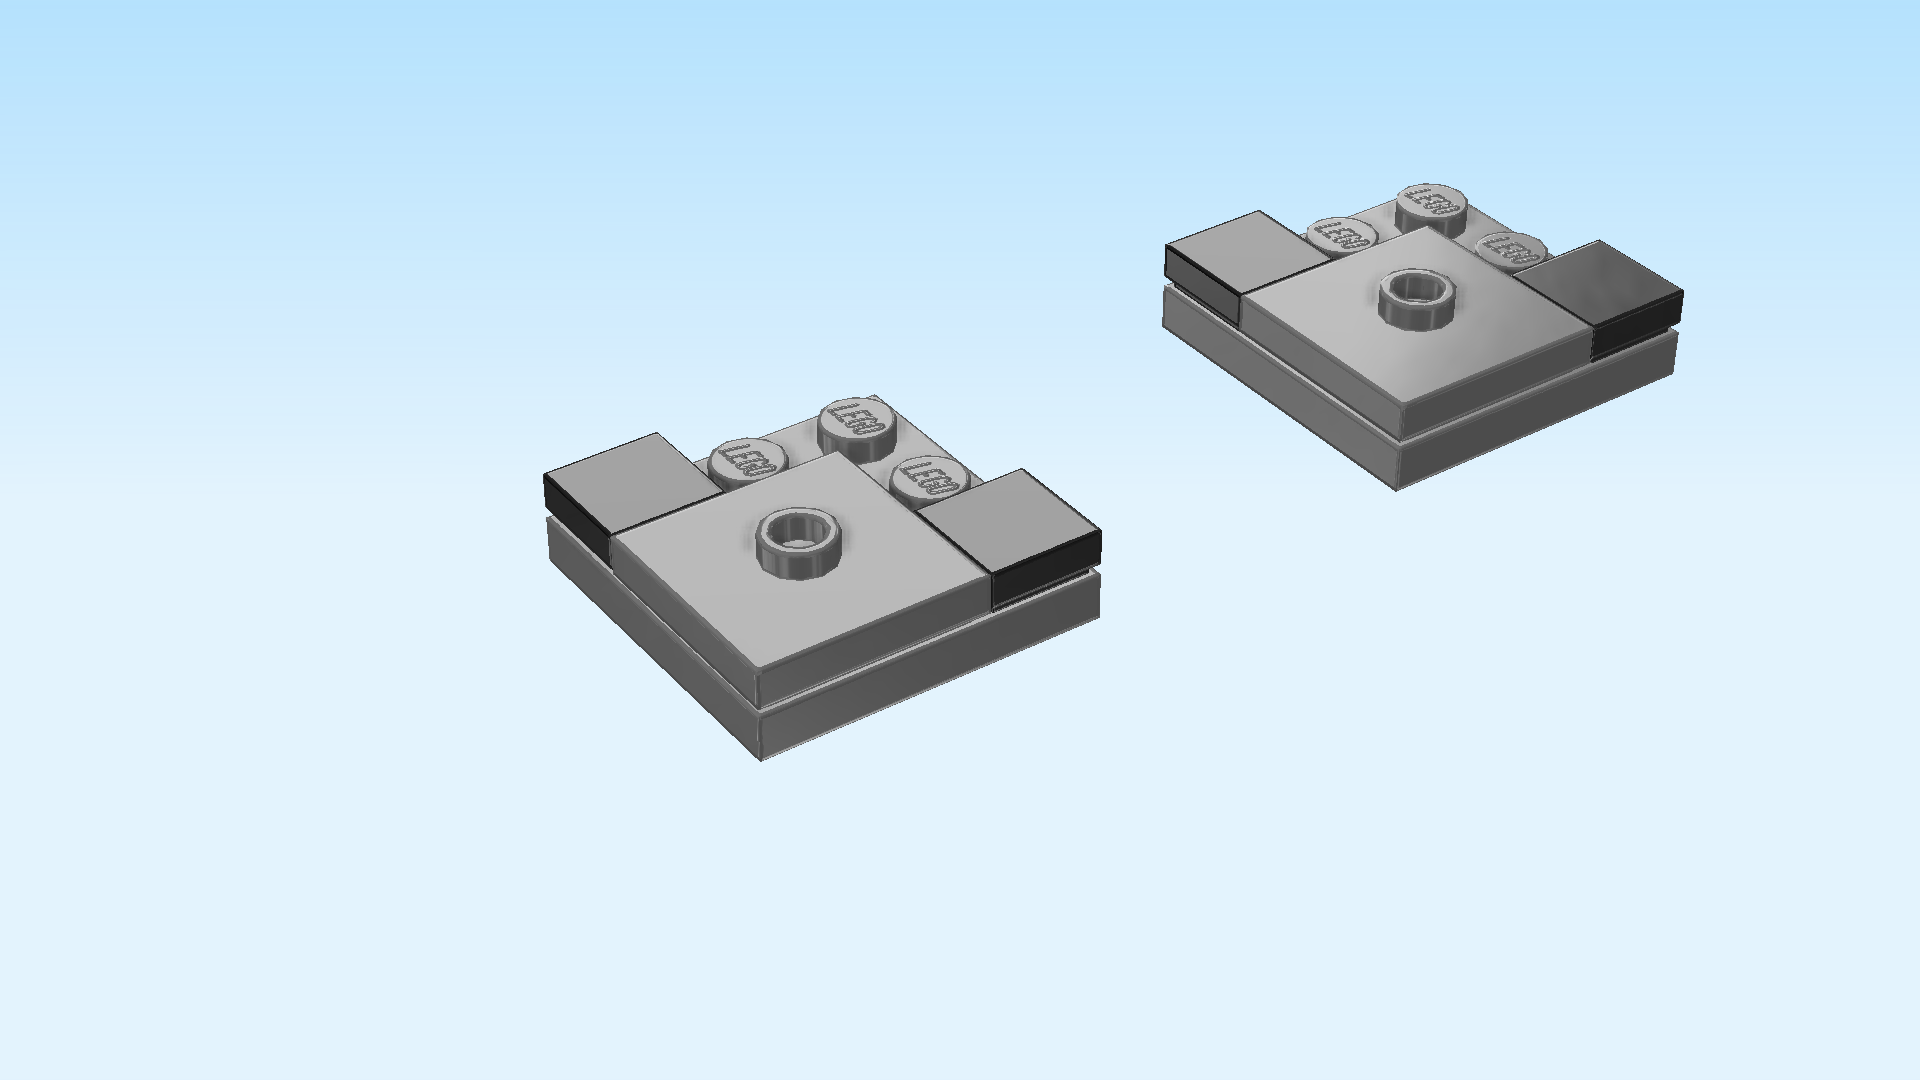
| The intermediate plates for the towers are finished! Great job! Put them centered on the 2 towers. Make sure that the plate 2x2 with 1 knob is in the front left corner in both cases. |
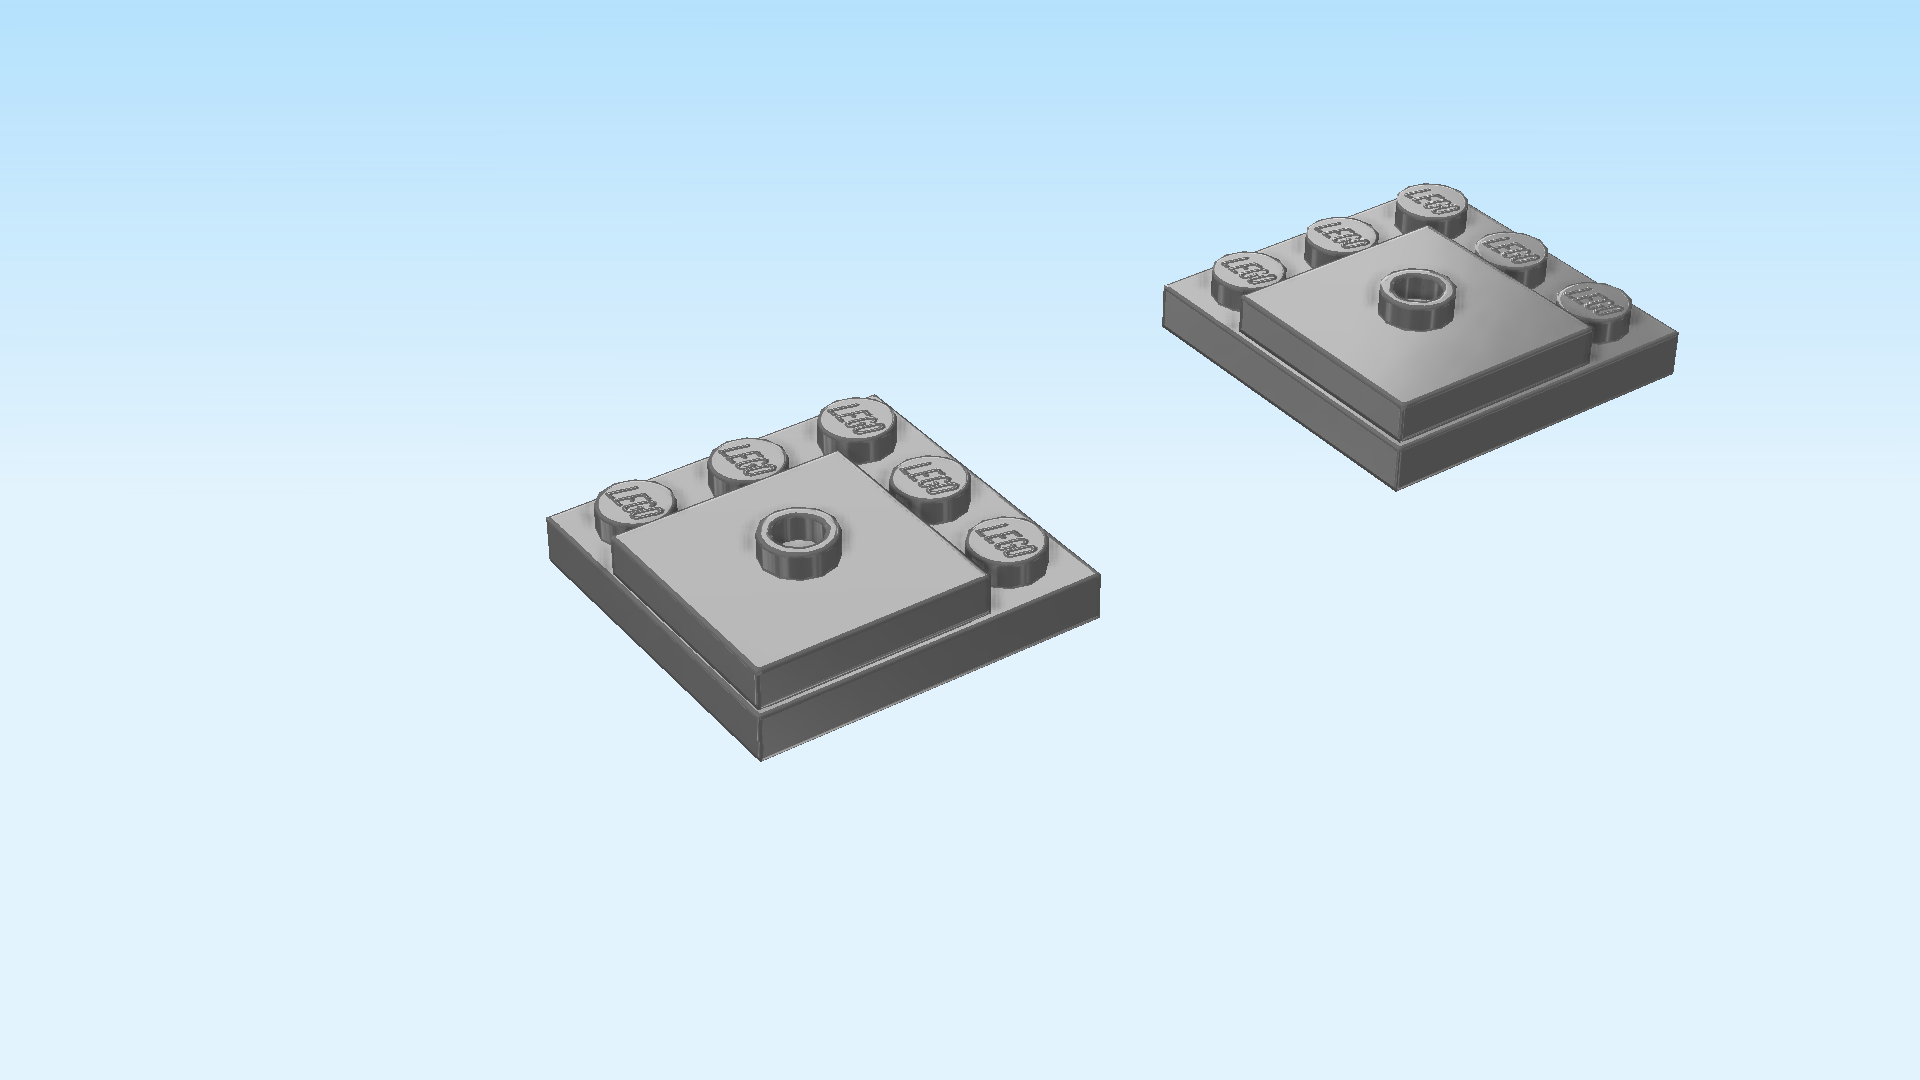
| Next, we will build 2 smaller intermediate plates. |
| Collect the following 6 pieces: |
| 4 black plates 1x1, |
| and 2 dark stone grey plates 2x2 with 1 knob. |
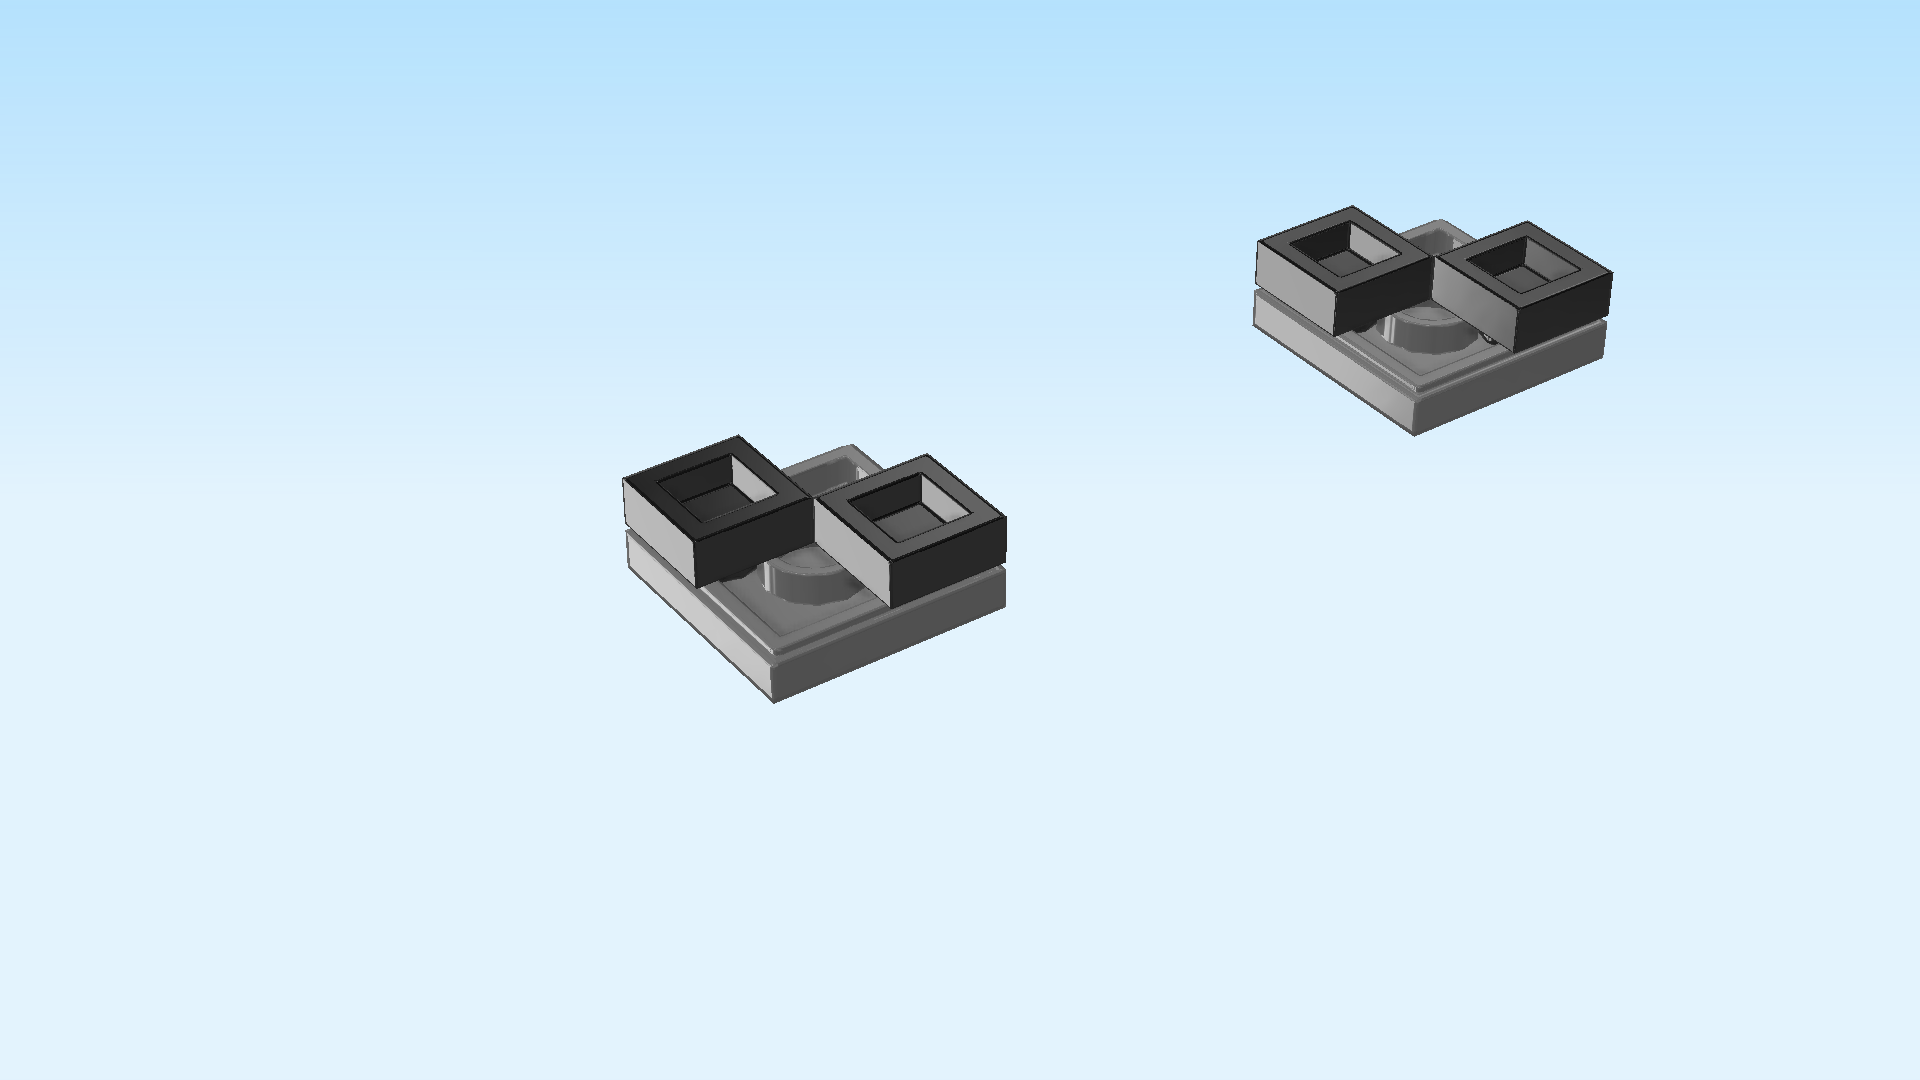
| Flip the 2 plates 2x2 upside down and put them next to each other on the table. That will be a bit wobbly because they will each rest on only 1 knob. |
| Put 1 plate 1x1 on the front right corner of one plate 2x2. |
| Put another plate 1x1 on the back left corner of that same plate 2x2. |
| Repeat with the 2 remaining plates 1x1 on the other plate 2x2. |
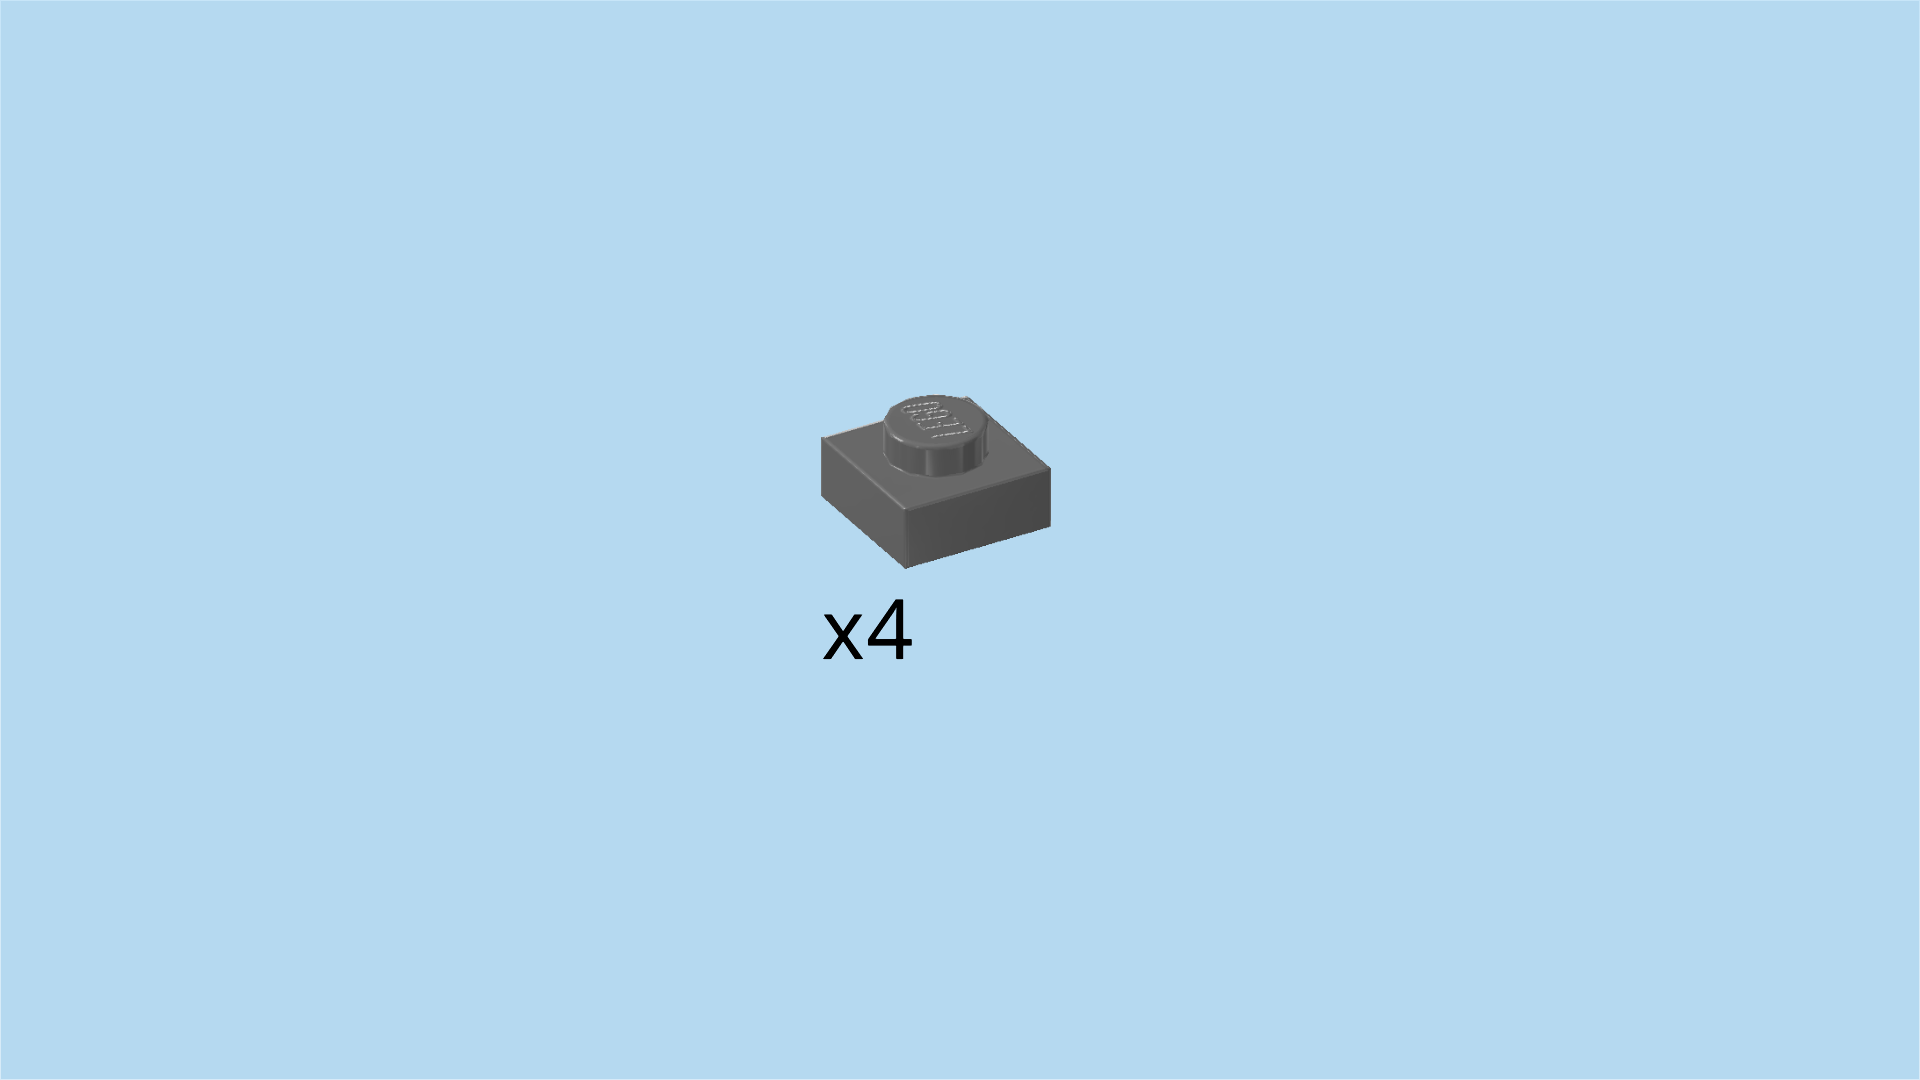
| Find 4 dark stone grey plates 1x1. |
| Put 1 on the back right corner of one plate 2x2. |
| Put 1 on the front left corner of that same plate. |
| Repeat with the 2 remaining plates 1x1 on the other smaller intermediate plate. |
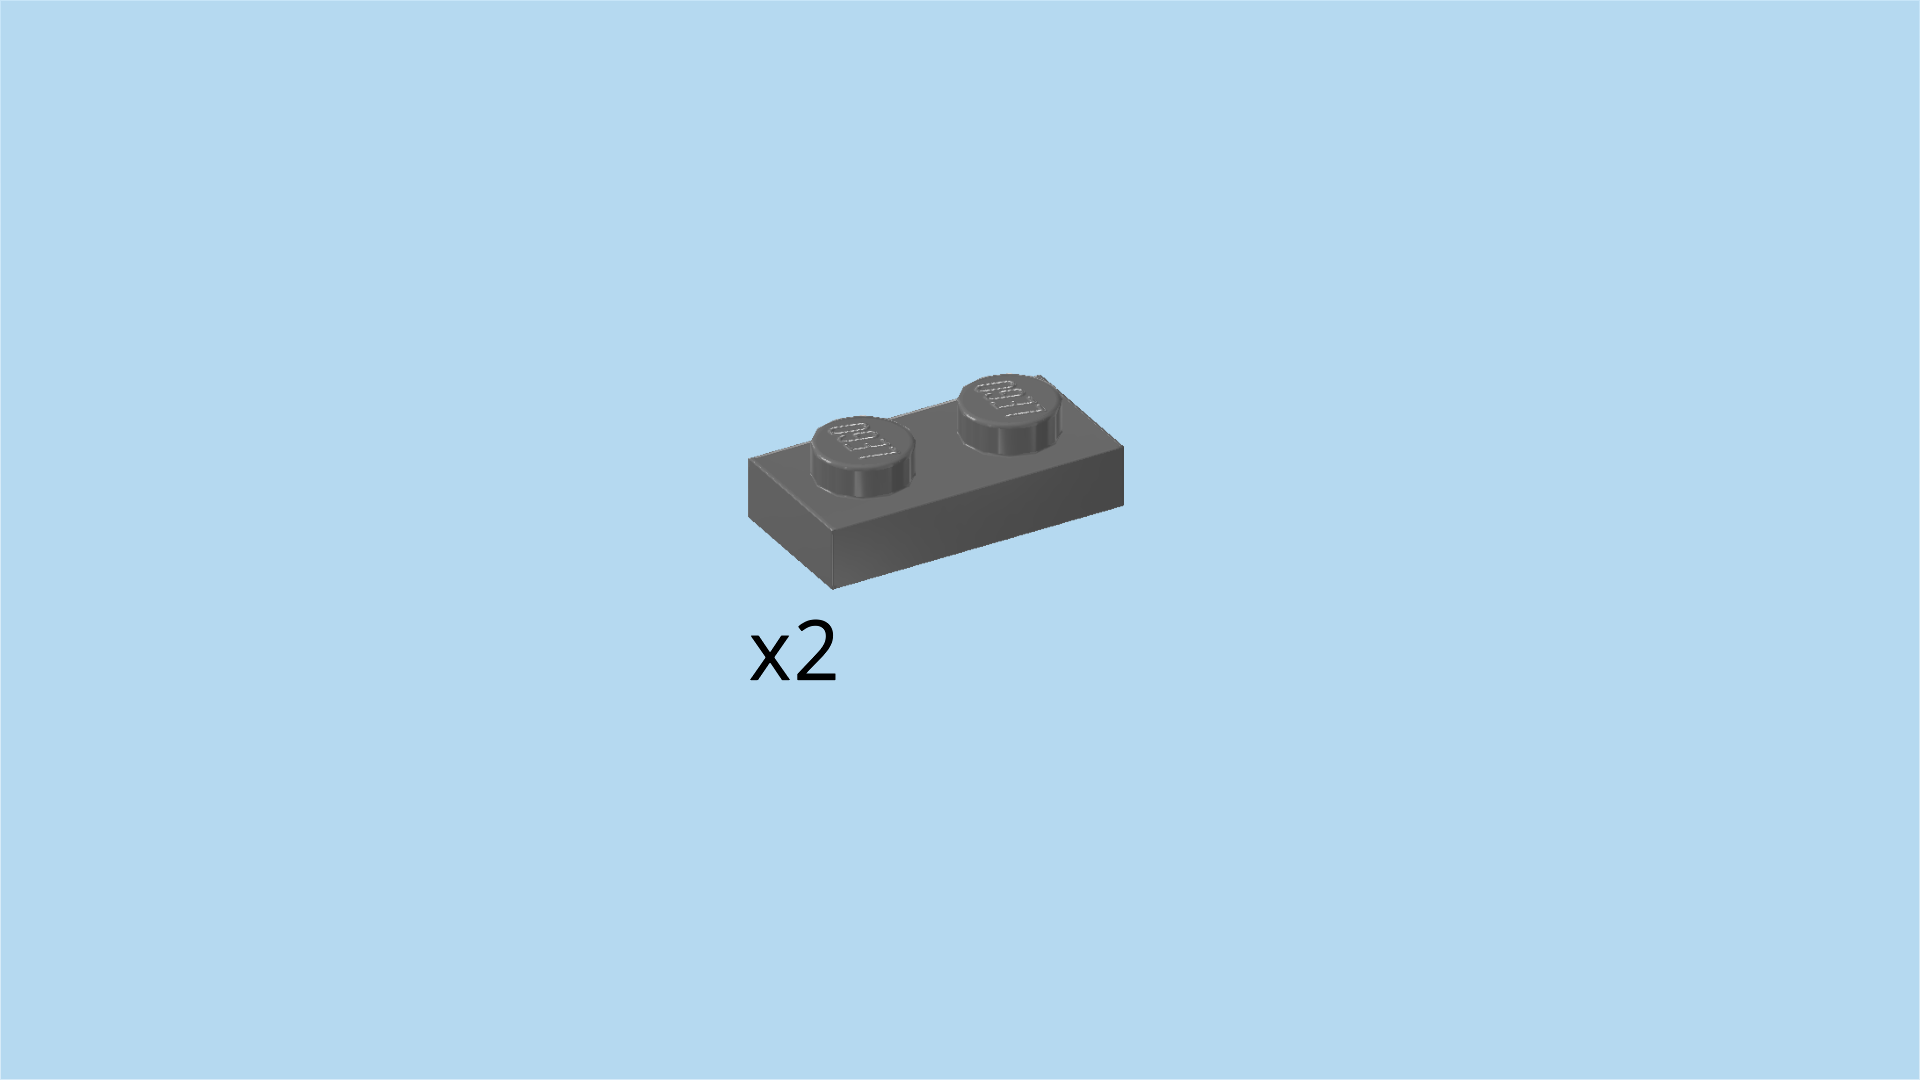
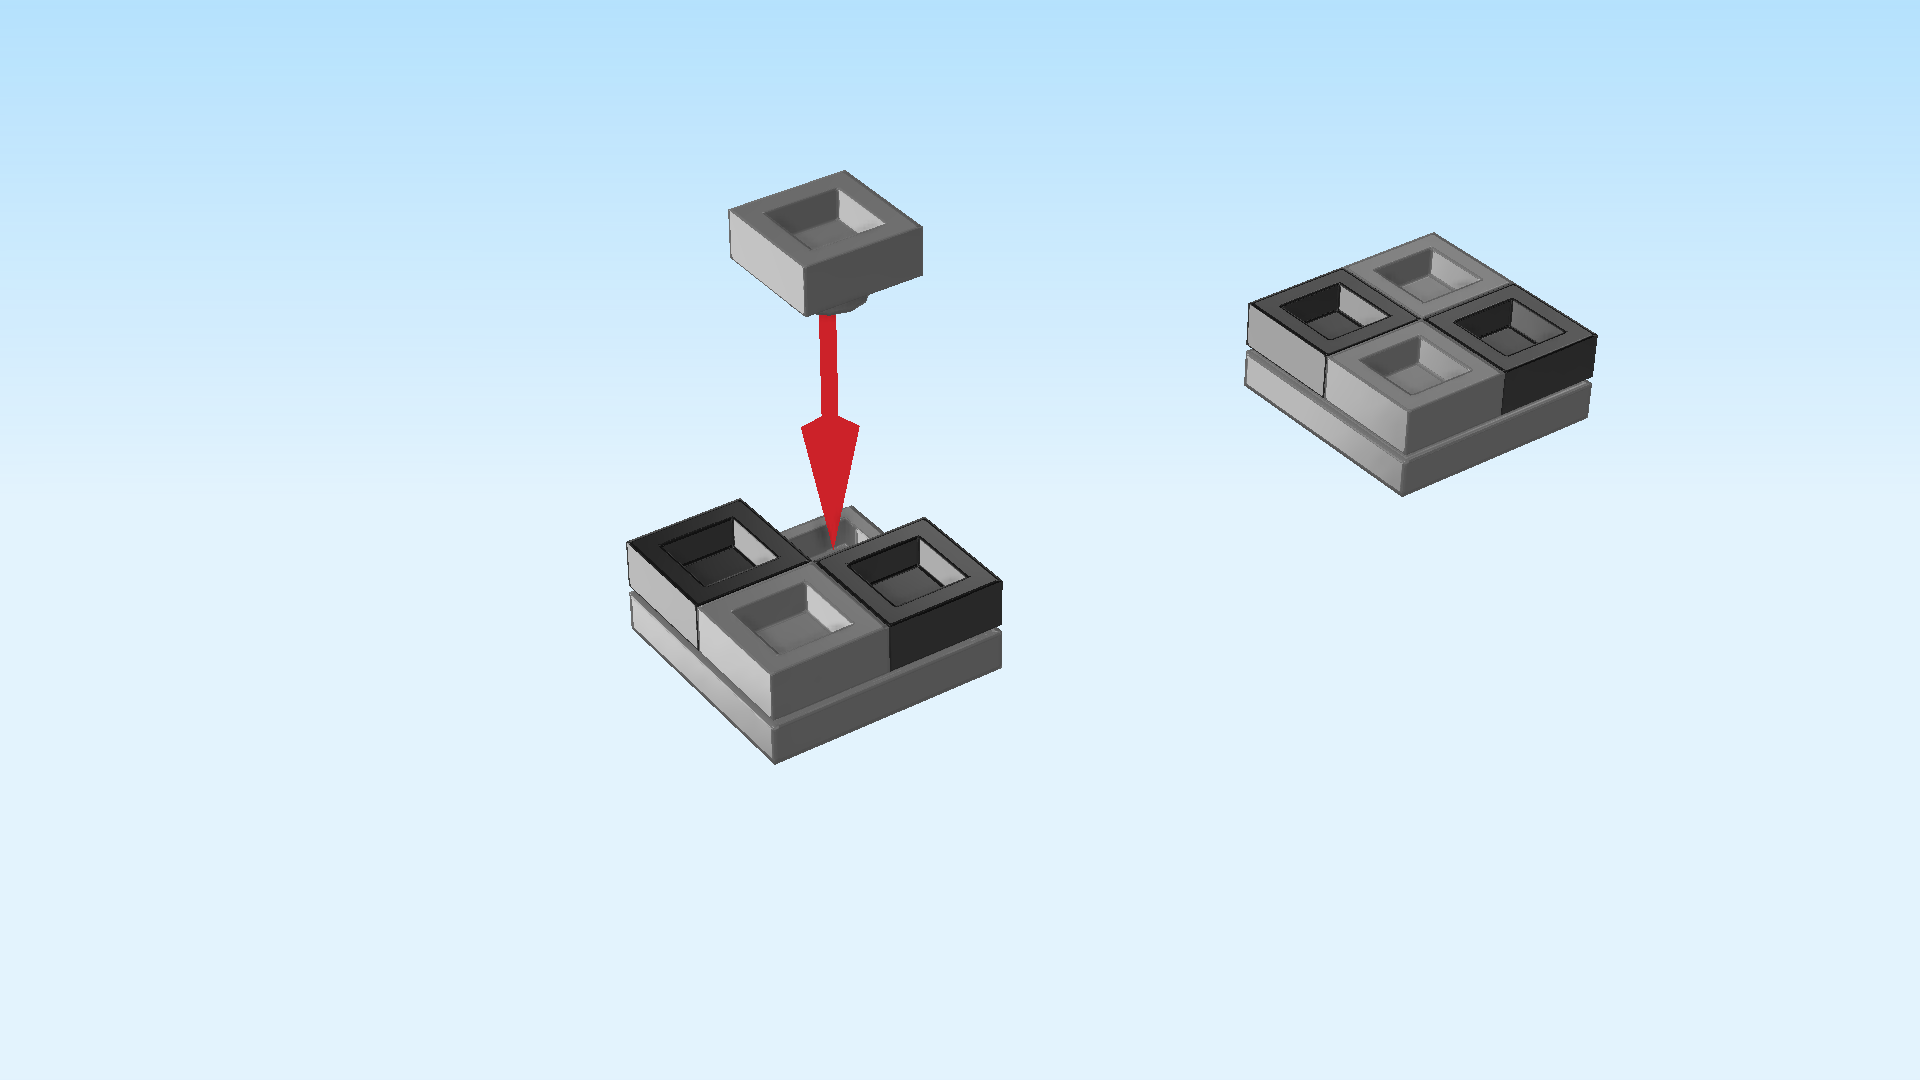
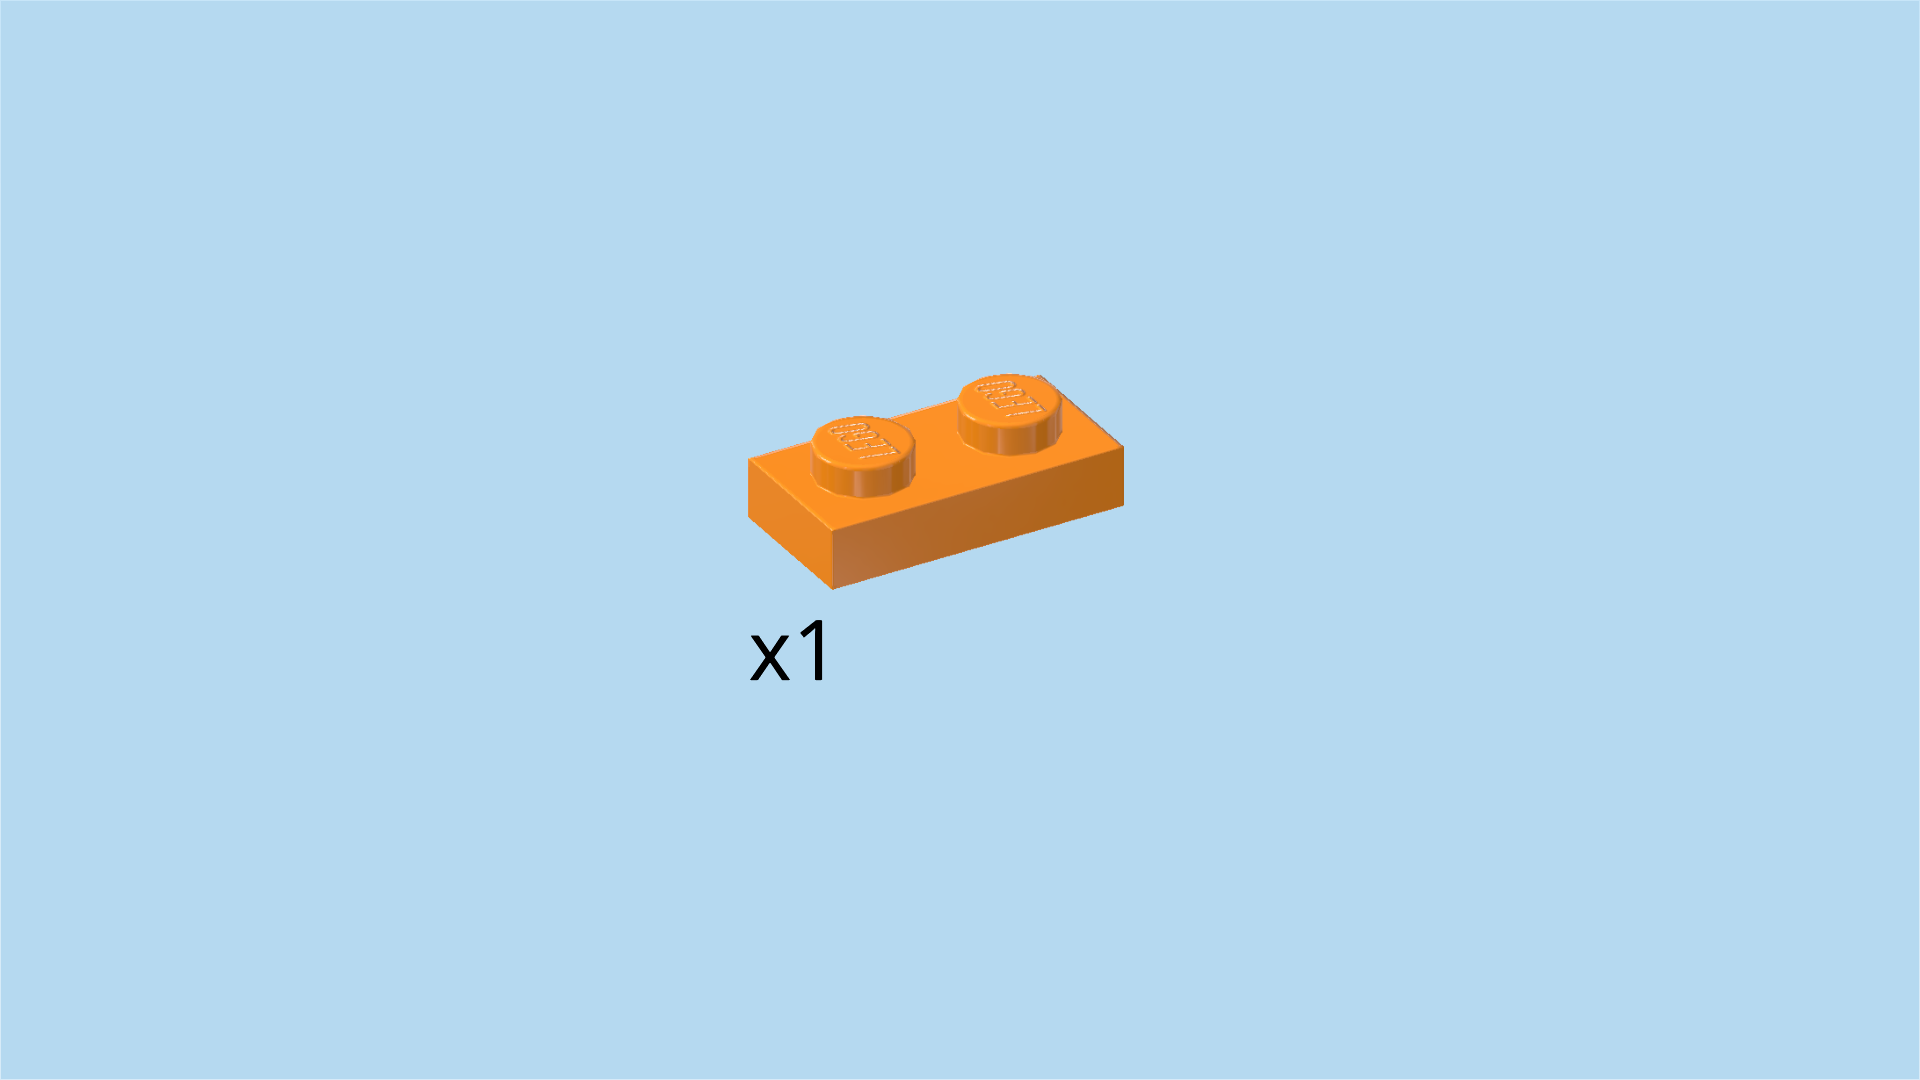
| Find 2 transparent bright orange plates 1x1. |
| Flip the 2 smaller intermediate plates right side up again. |
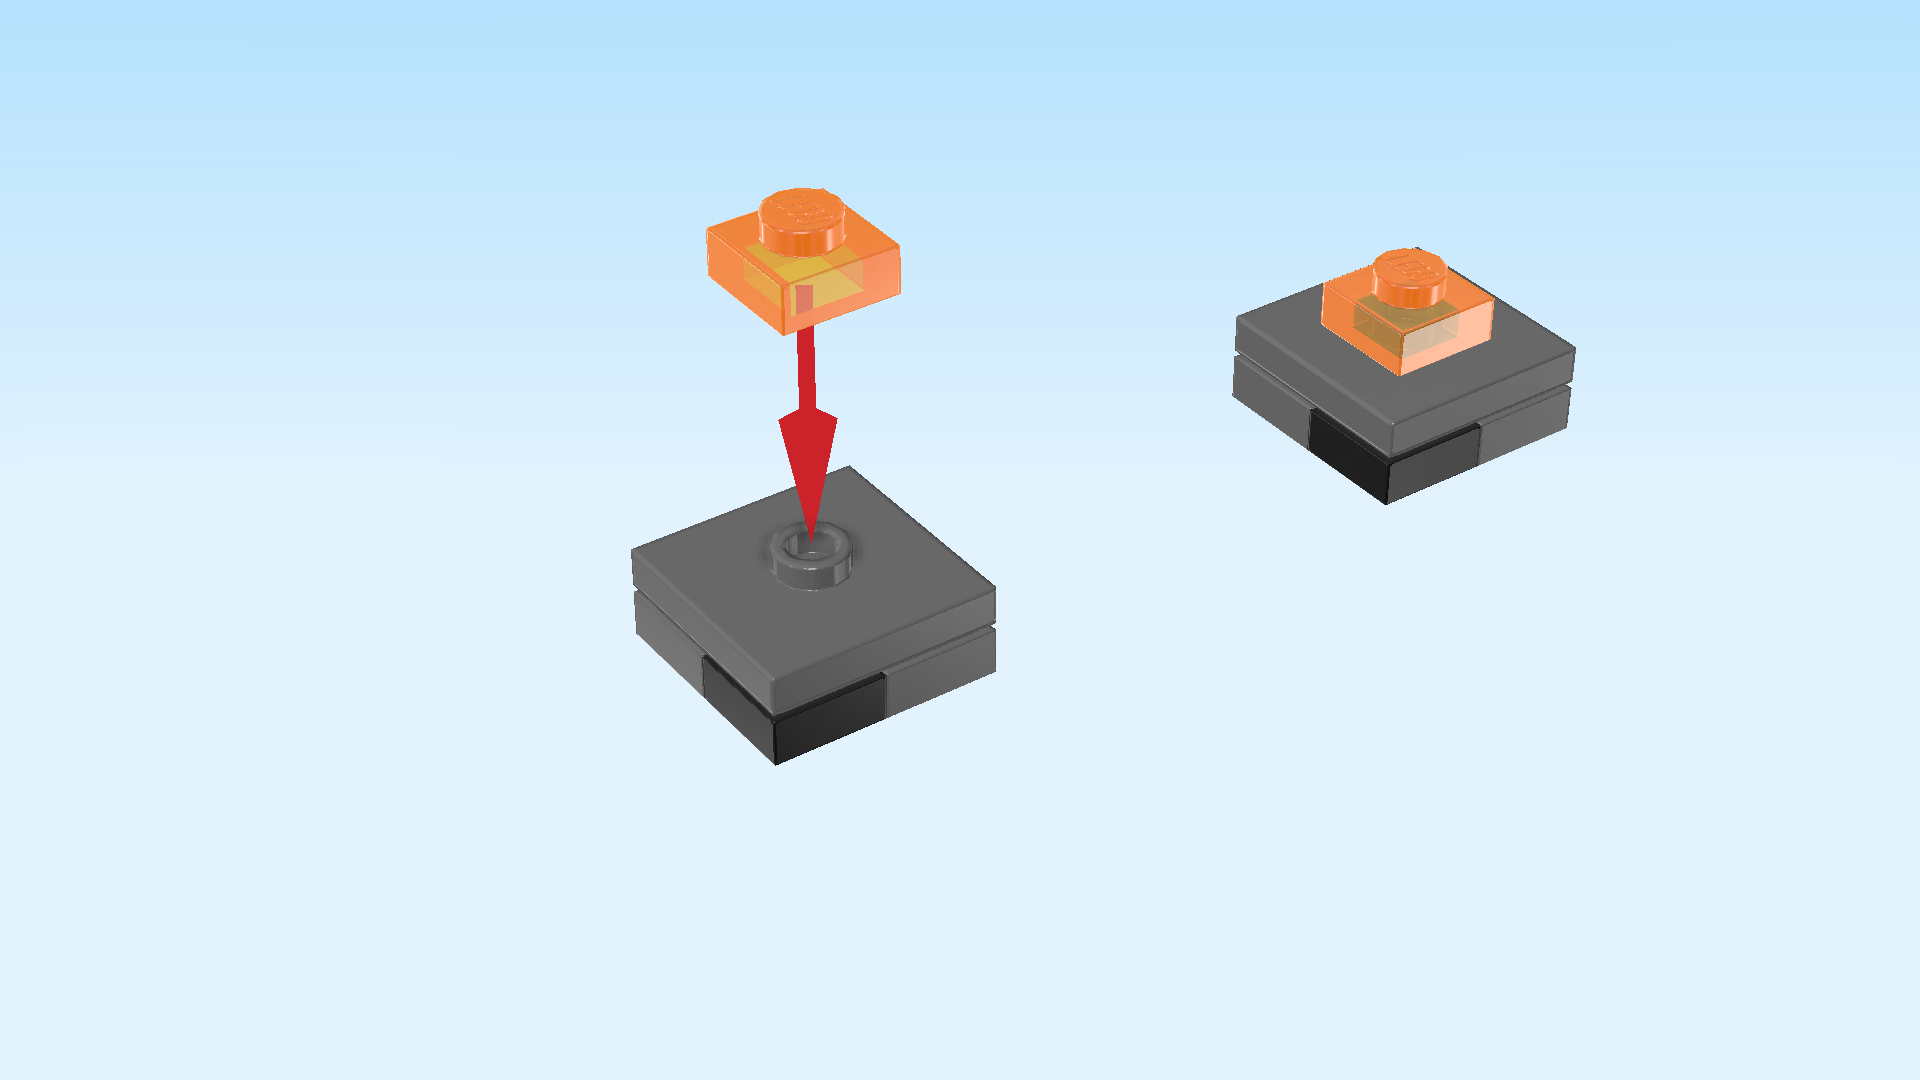
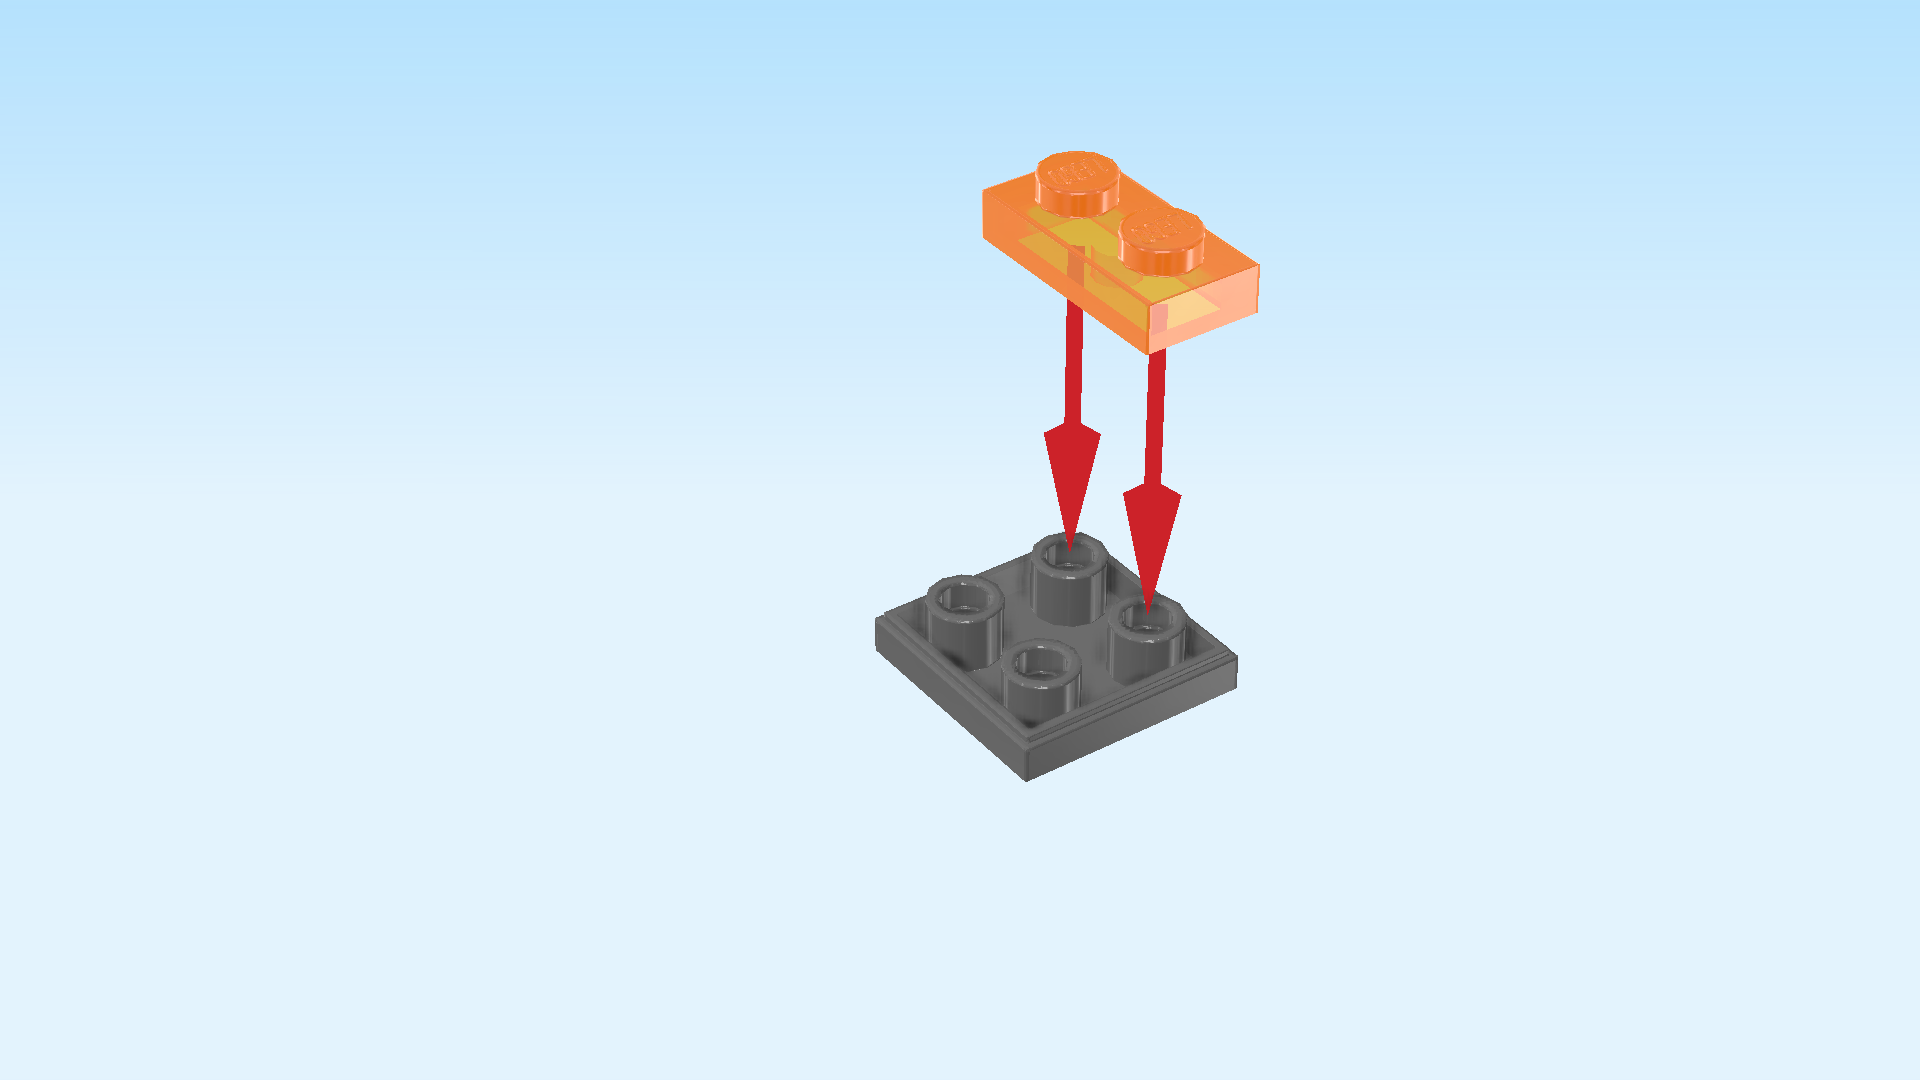
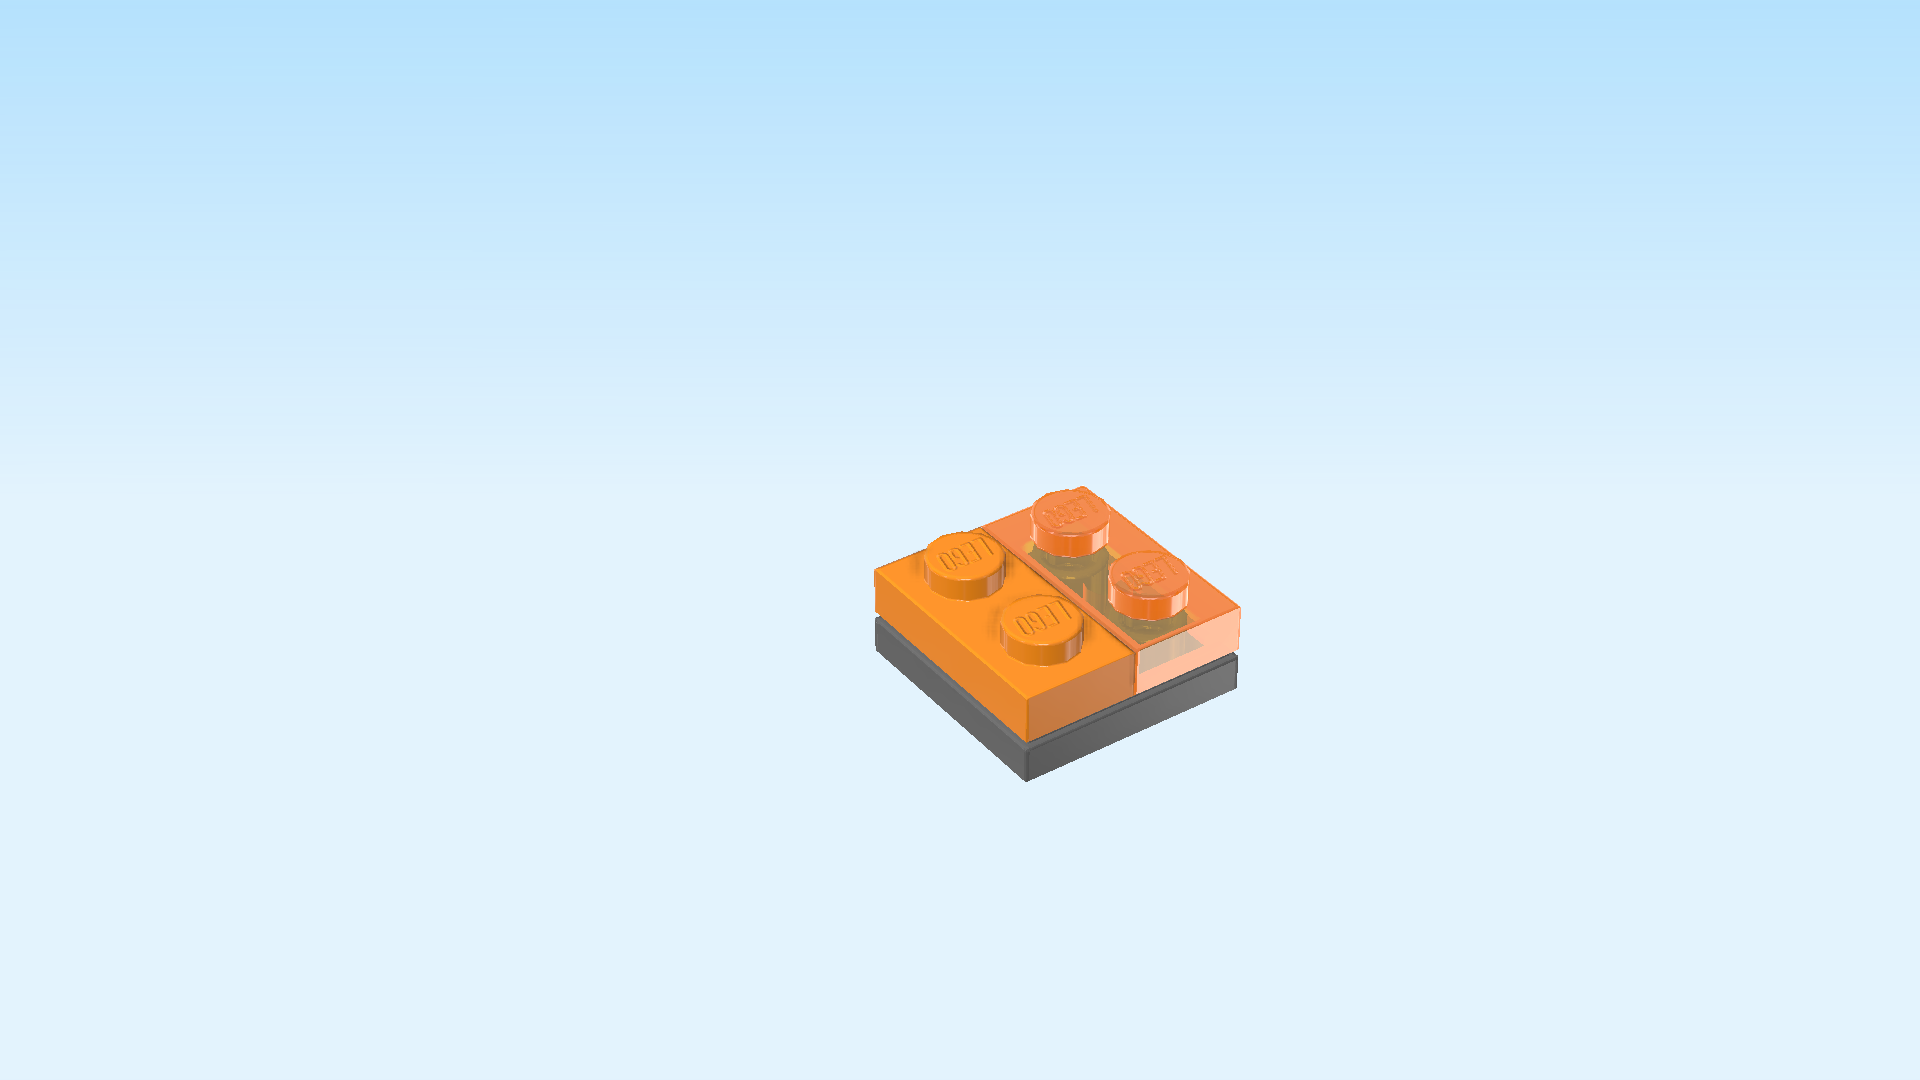
| Put the 2 plates 1x2 on the single knobs of the intermediate plates. |
| Make sure the sides of the smaller and larger plates are aligning in parallel. |
| The 2 smaller intermediate plates are finished! Mount them centered on the 2 bigger intermediate plates. Since the single knobs on the towers are not in the center, you need to attach the front left corners of the smaller intermediate plates. Make sure that the intermediate plates are centered and their edges are running in parallel. |
| The 2 obsidian towers are finished! Very well done! Before you mount them, identify the 2 bricks 2x8 mounted on the left and right edge of the structure. |
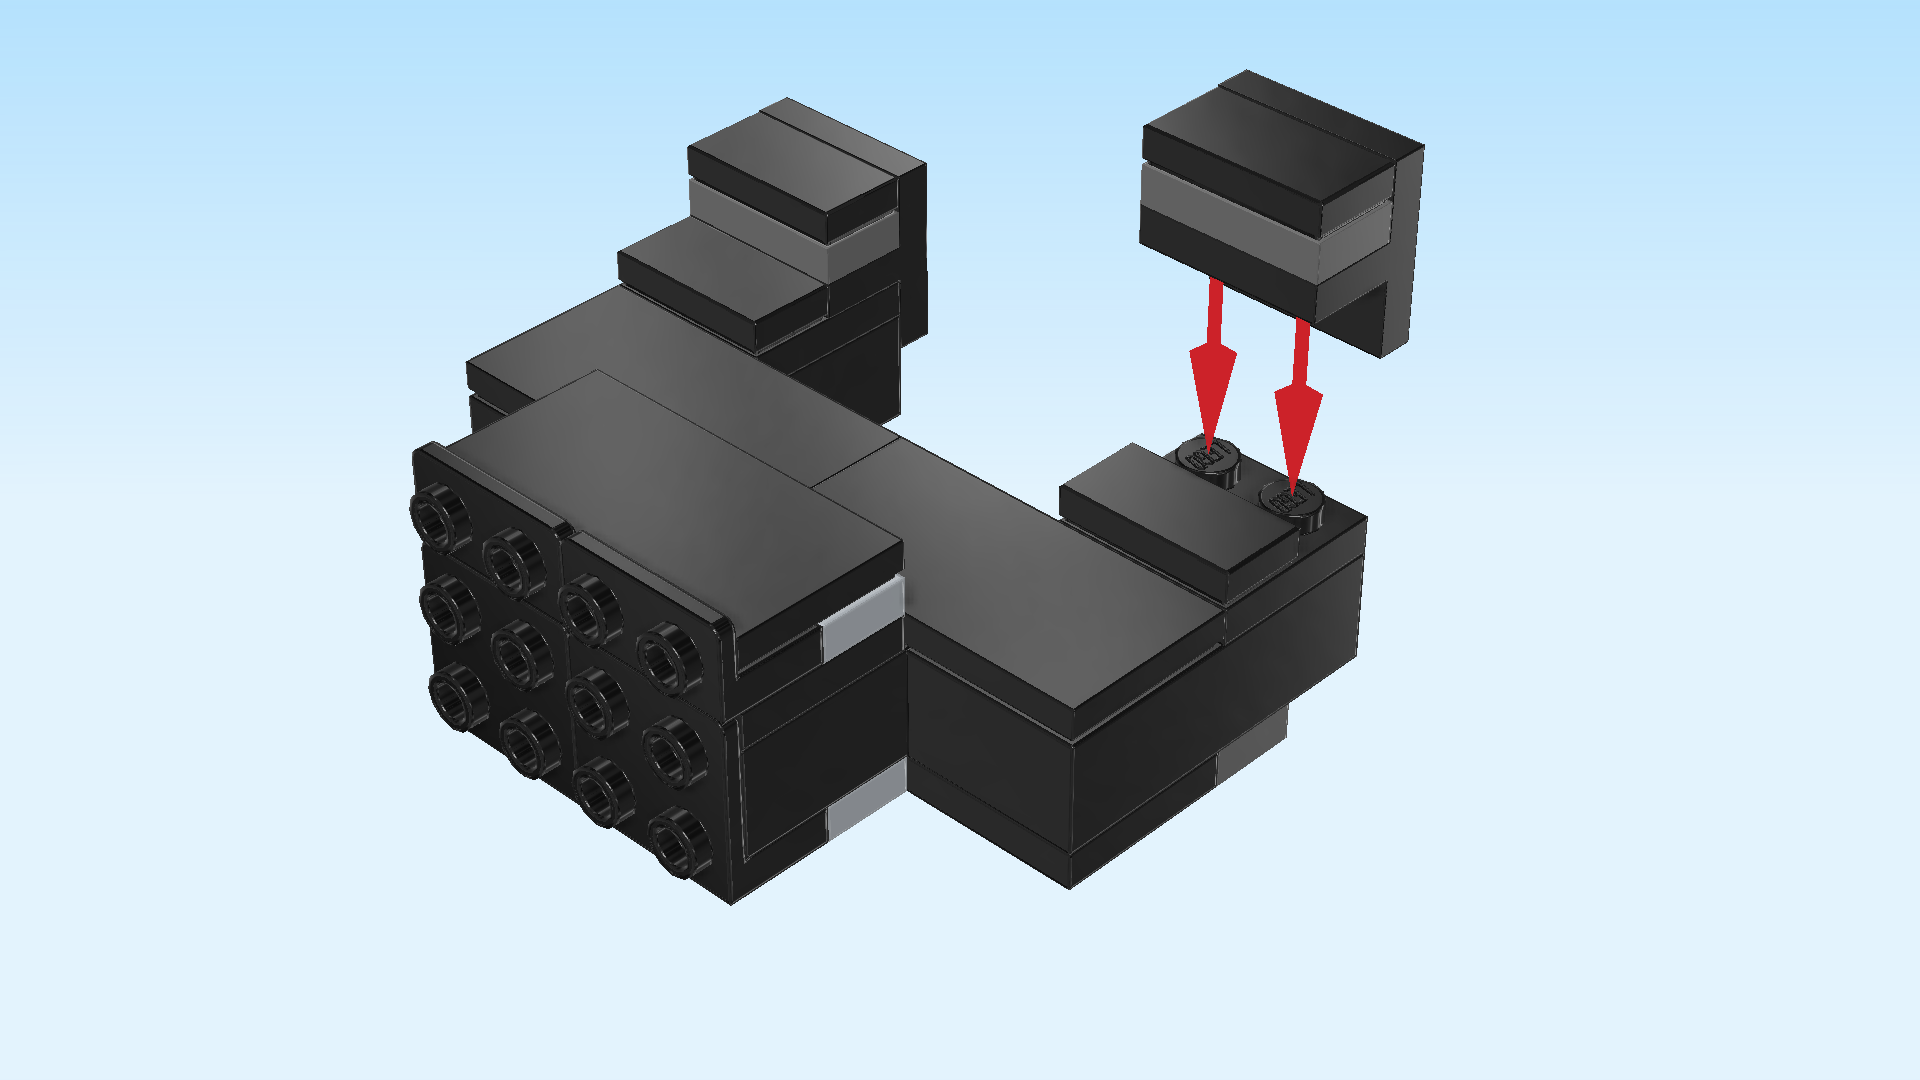
| Mount 1 obsidian tower on the 4 frontmost knobs of the left brick 2x8. Make sure the lilac round plates in the middle of the tower are at the front right and back left. |
| Repeat symmetrically on the right, lilac round plates again at the front right and back left. |
| Open bag number 2 and any small sub-bags in it. You can choose to have the bricks sorted by color again. This bag contains all bricks and pieces for the Dragon Archer Minifigure, the Enderman Minifigure, the health buffs, the choral plant, and the Ender dragon statue. |
| We will continue with building the Dragon Archer Minifigure. |
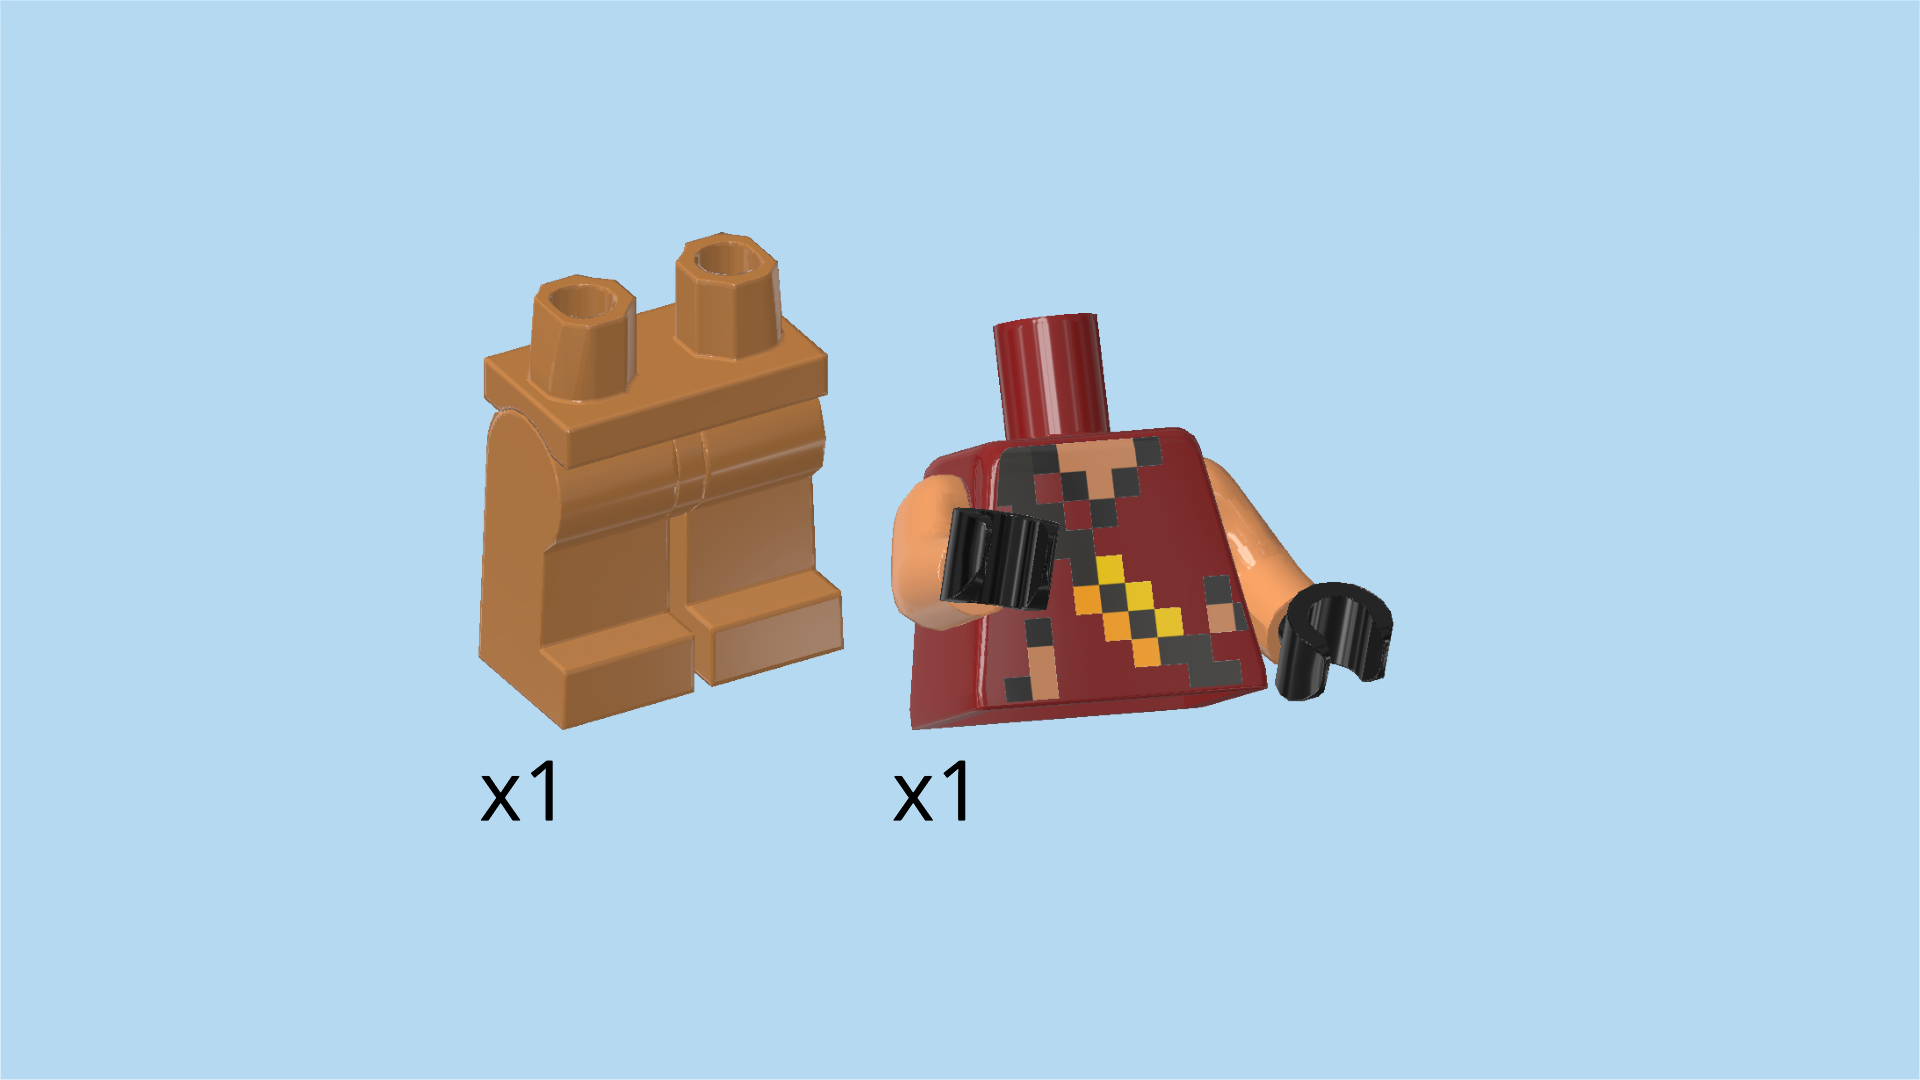
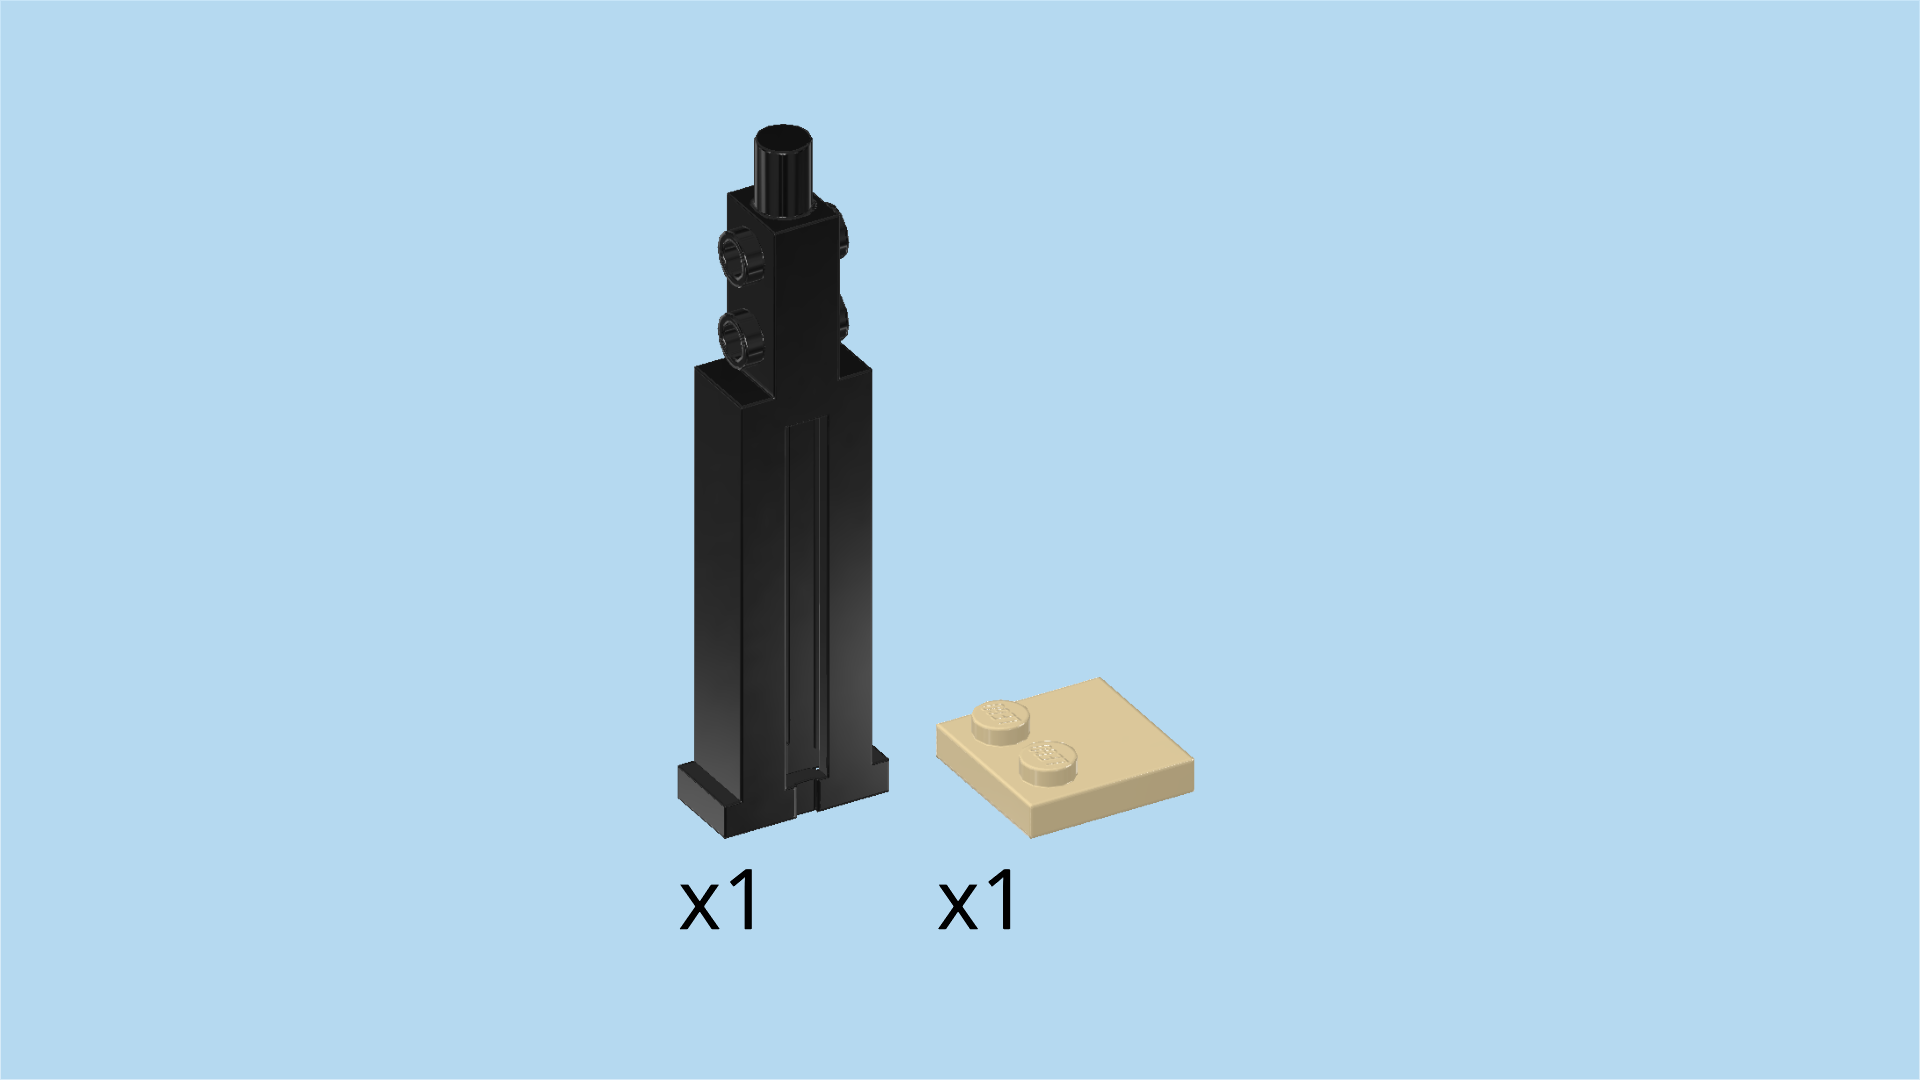
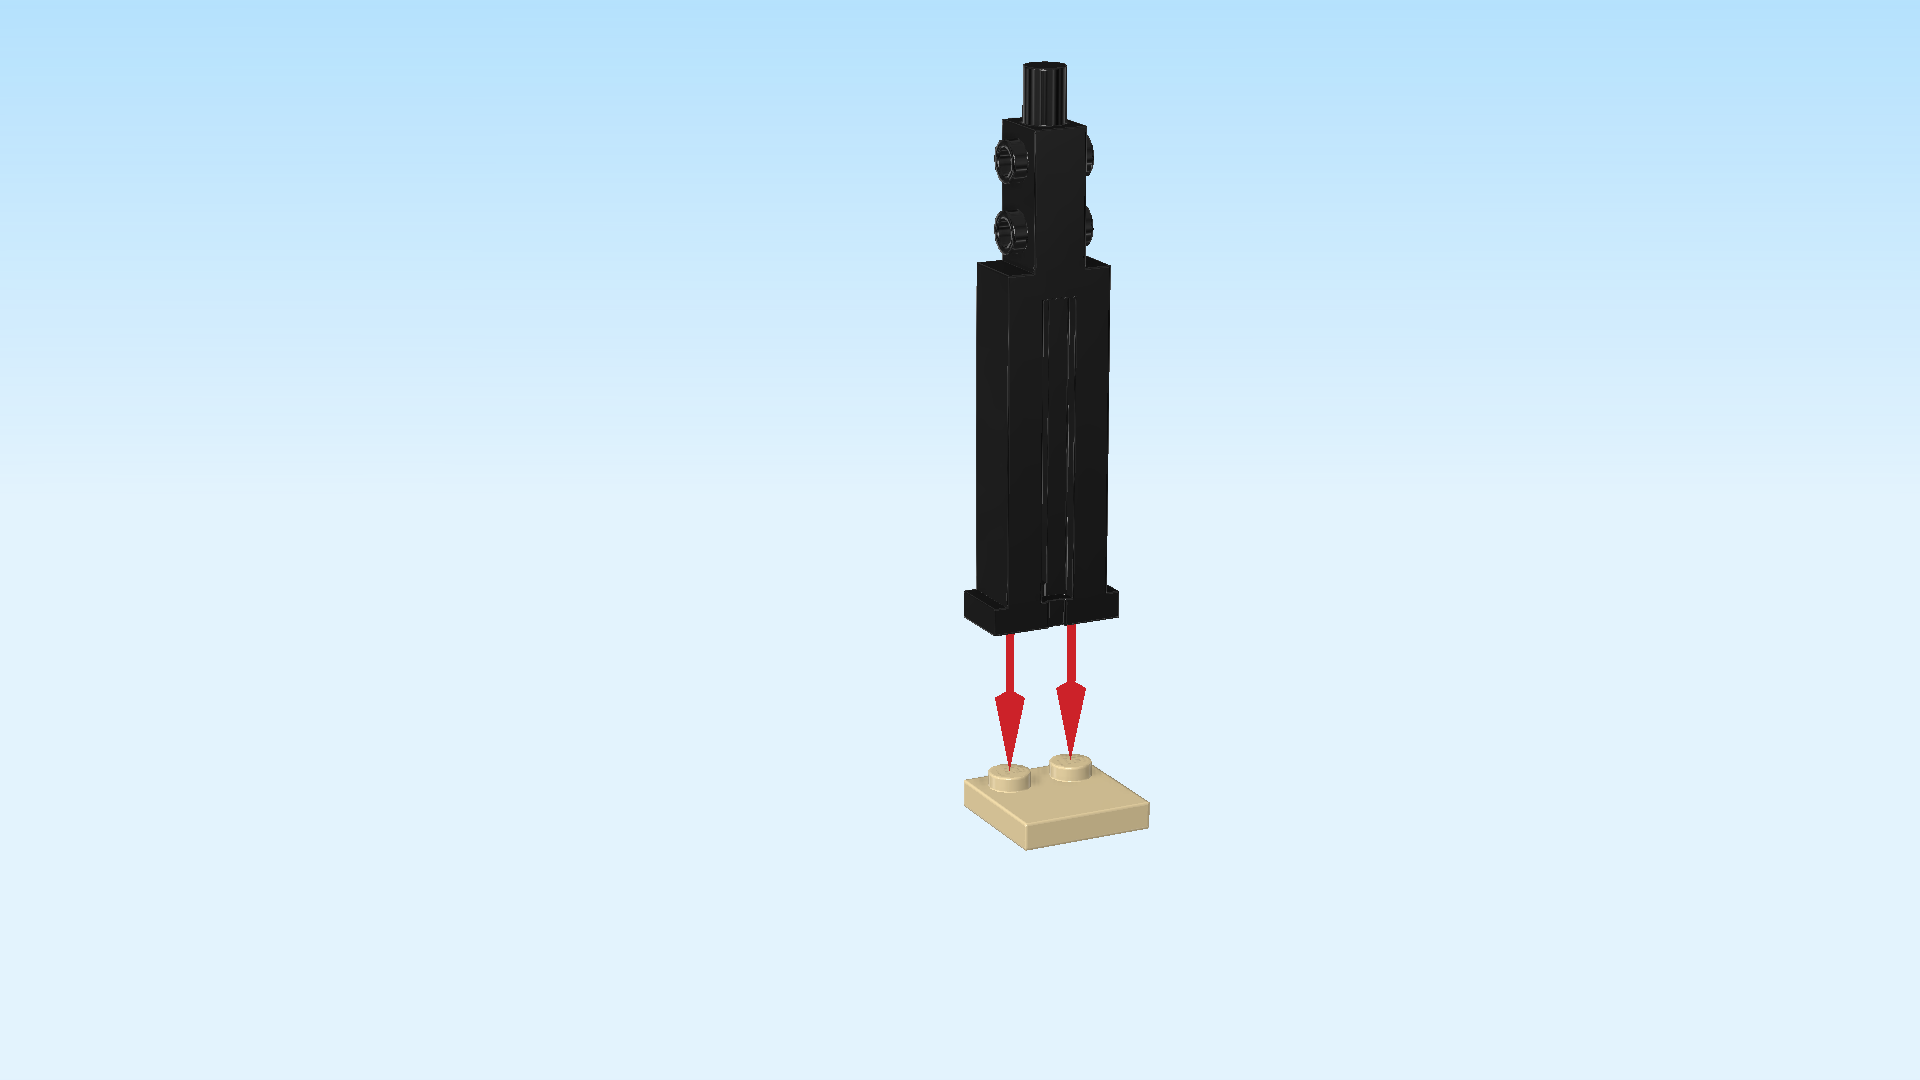
| Collect the following 2 pieces: |
| 1 maroon red, nougat brown and black upper part of the body, |
| and 1 medium nougat brown pair of legs. |
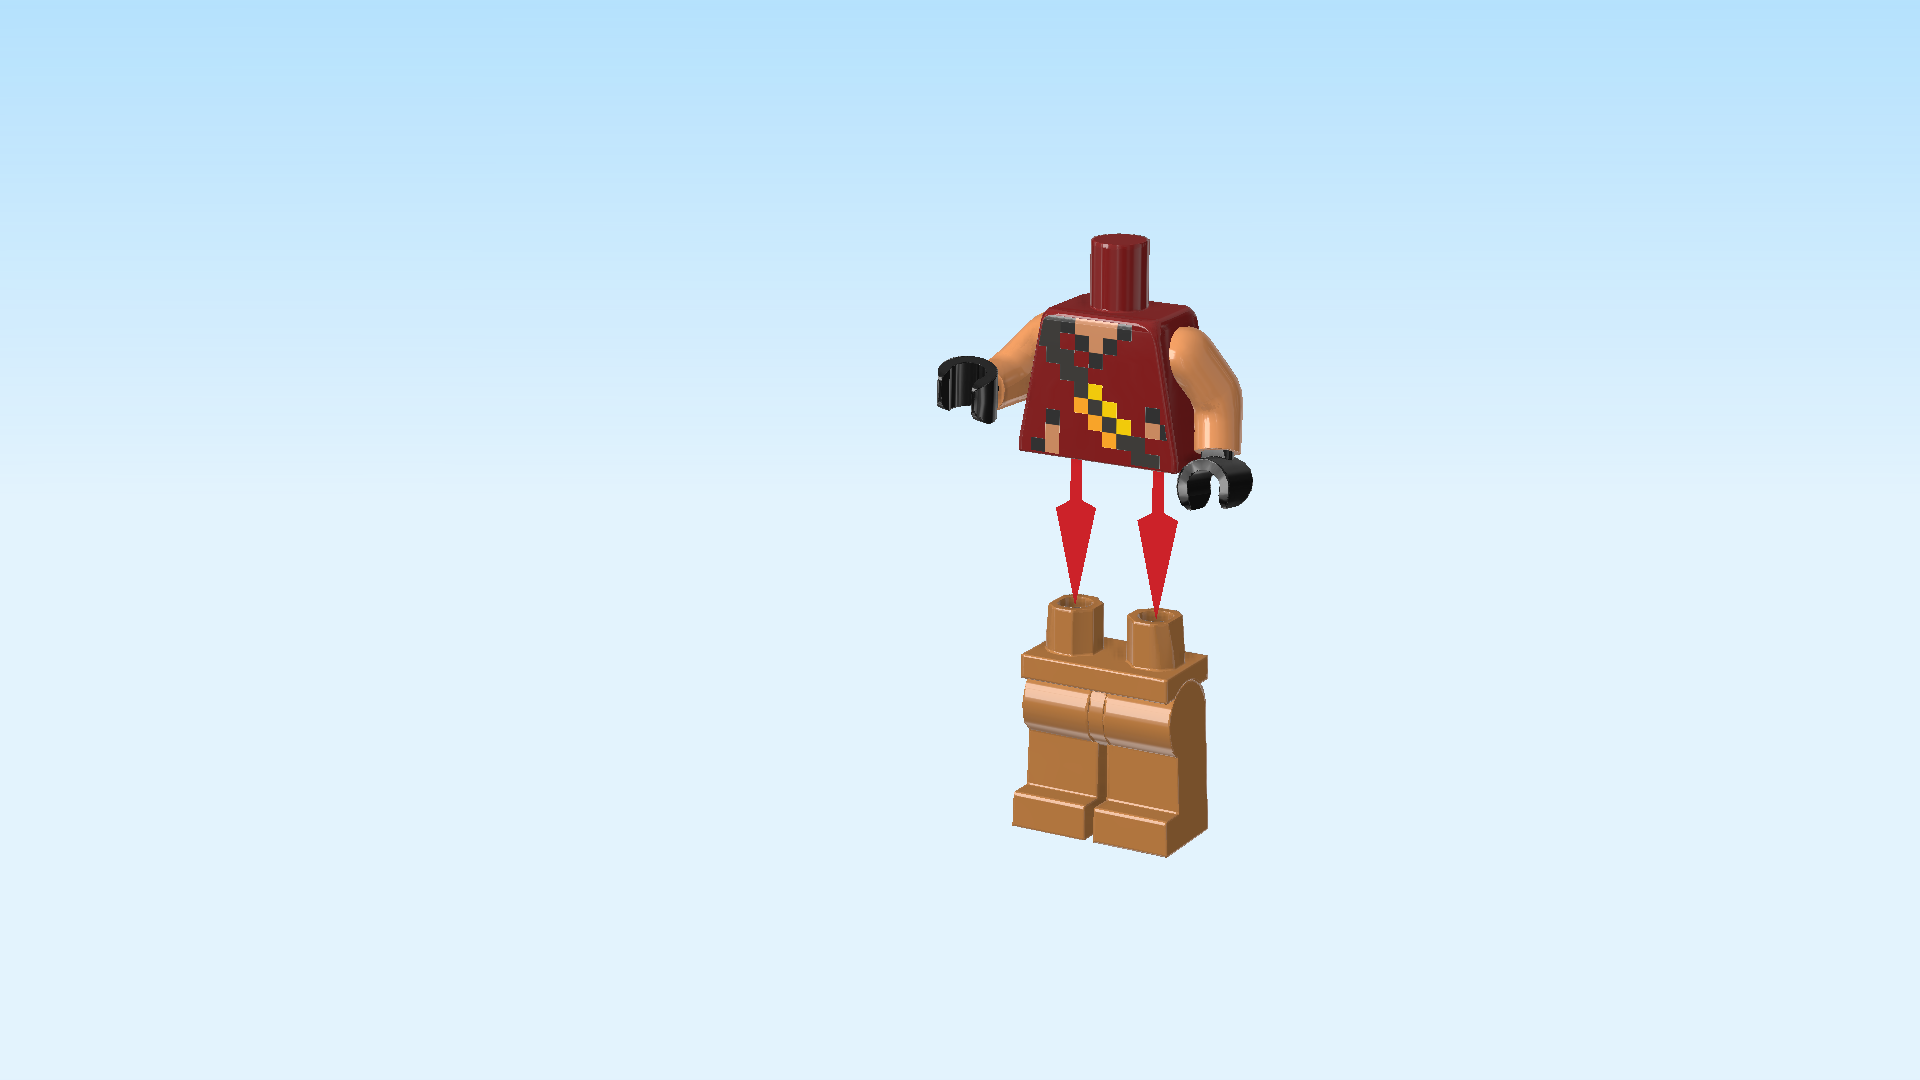
| Put the upper body on the legs. |
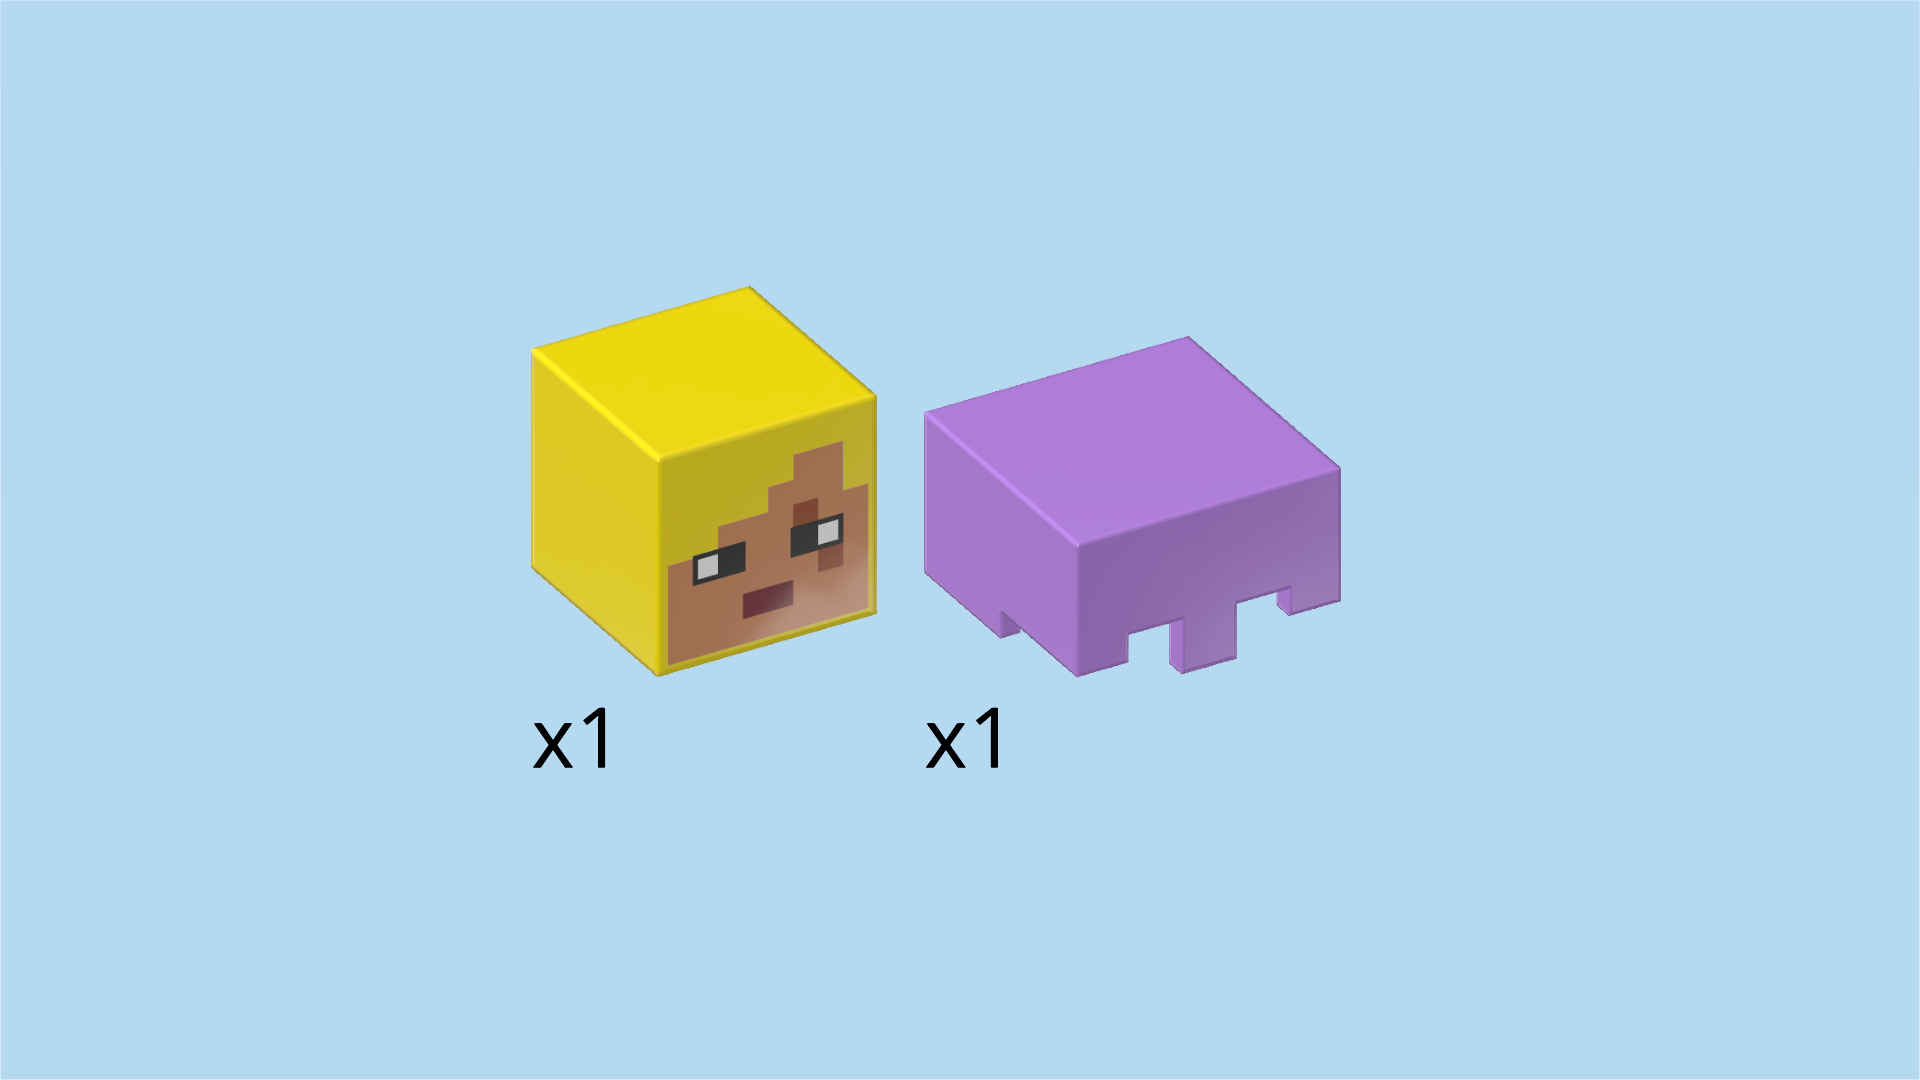
| Collect the following 2 pieces: |
| 1 lavender Minecraft helmet, |
| and 1 bright yellow square Minifigure head. |
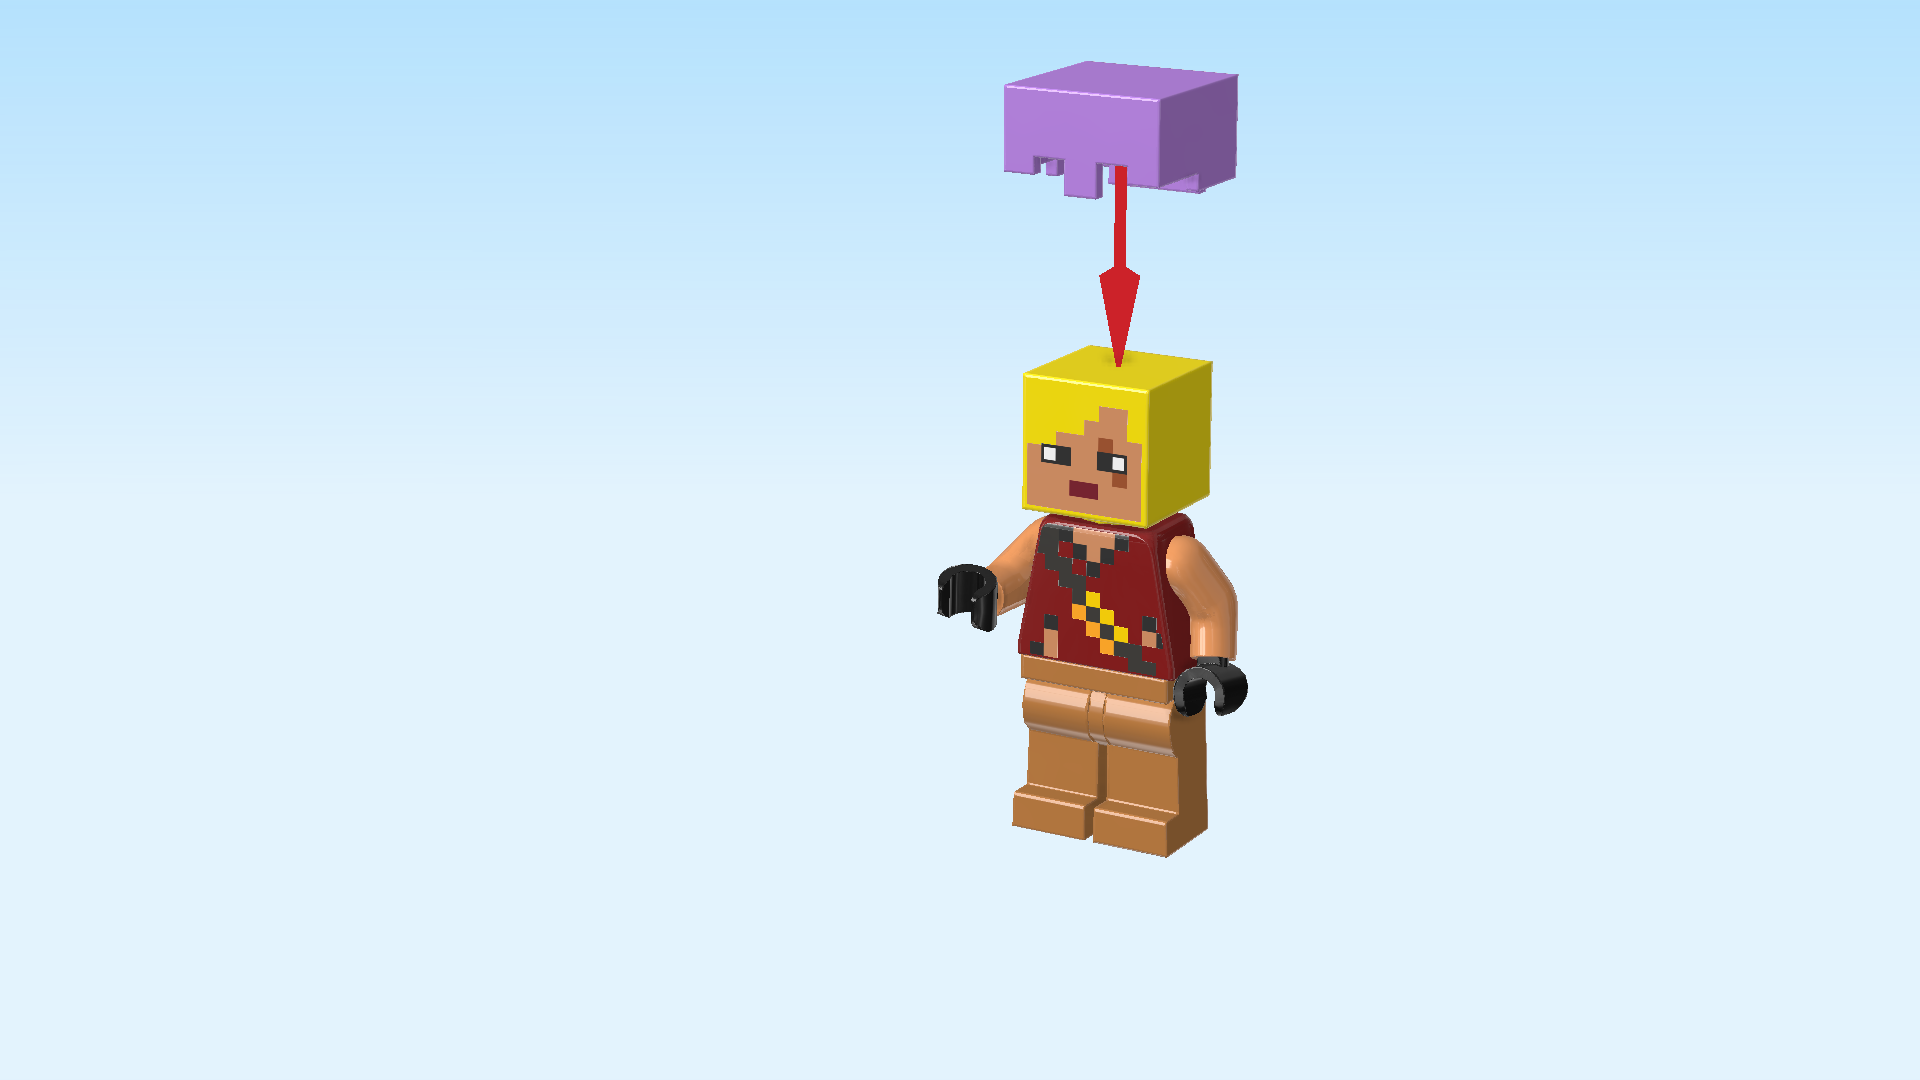
| Put the head on the body. |
| Put the Minecraft helmet on top. Make sure to align the cutouts for the eyes with the face print. |
| Collect the following 2 pieces: |
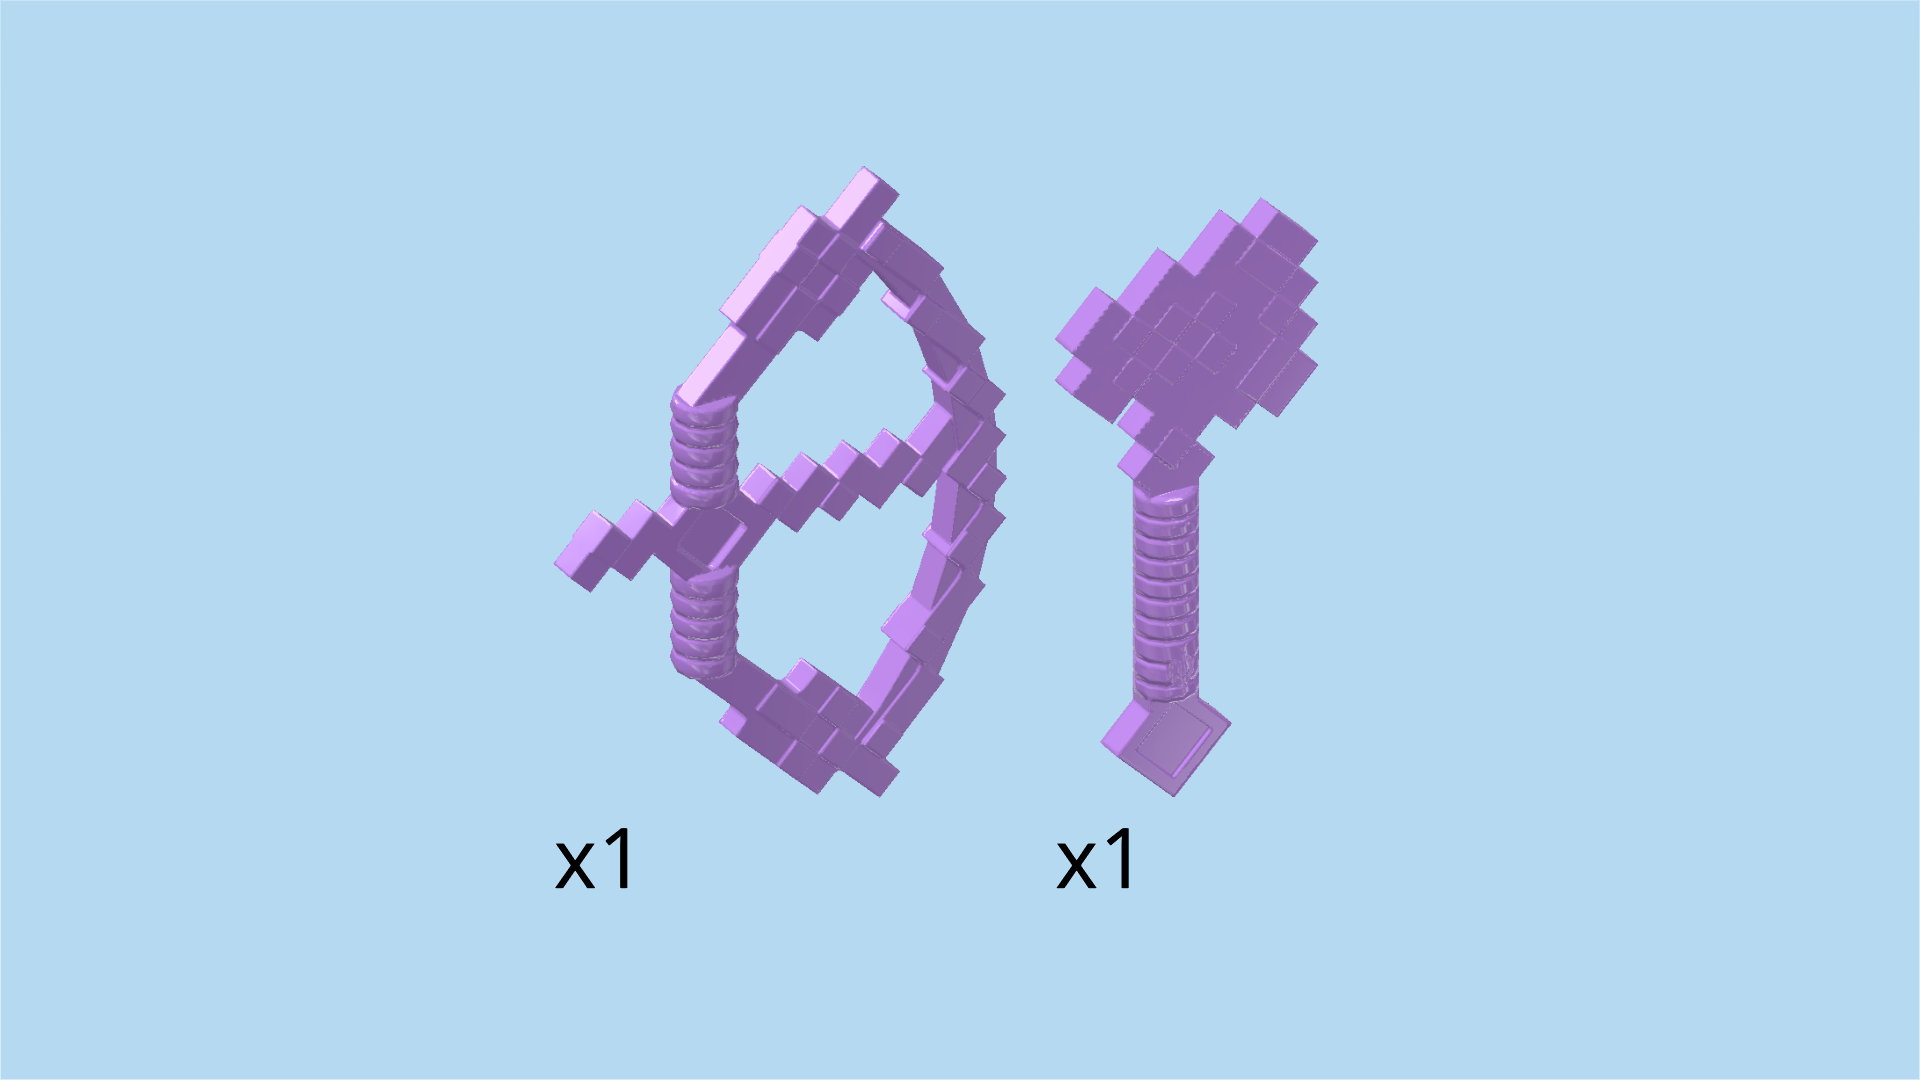
| 1 lavender enchanted bow (pixelated), |
| and 1 lavender enchanted axe (pixelated). |
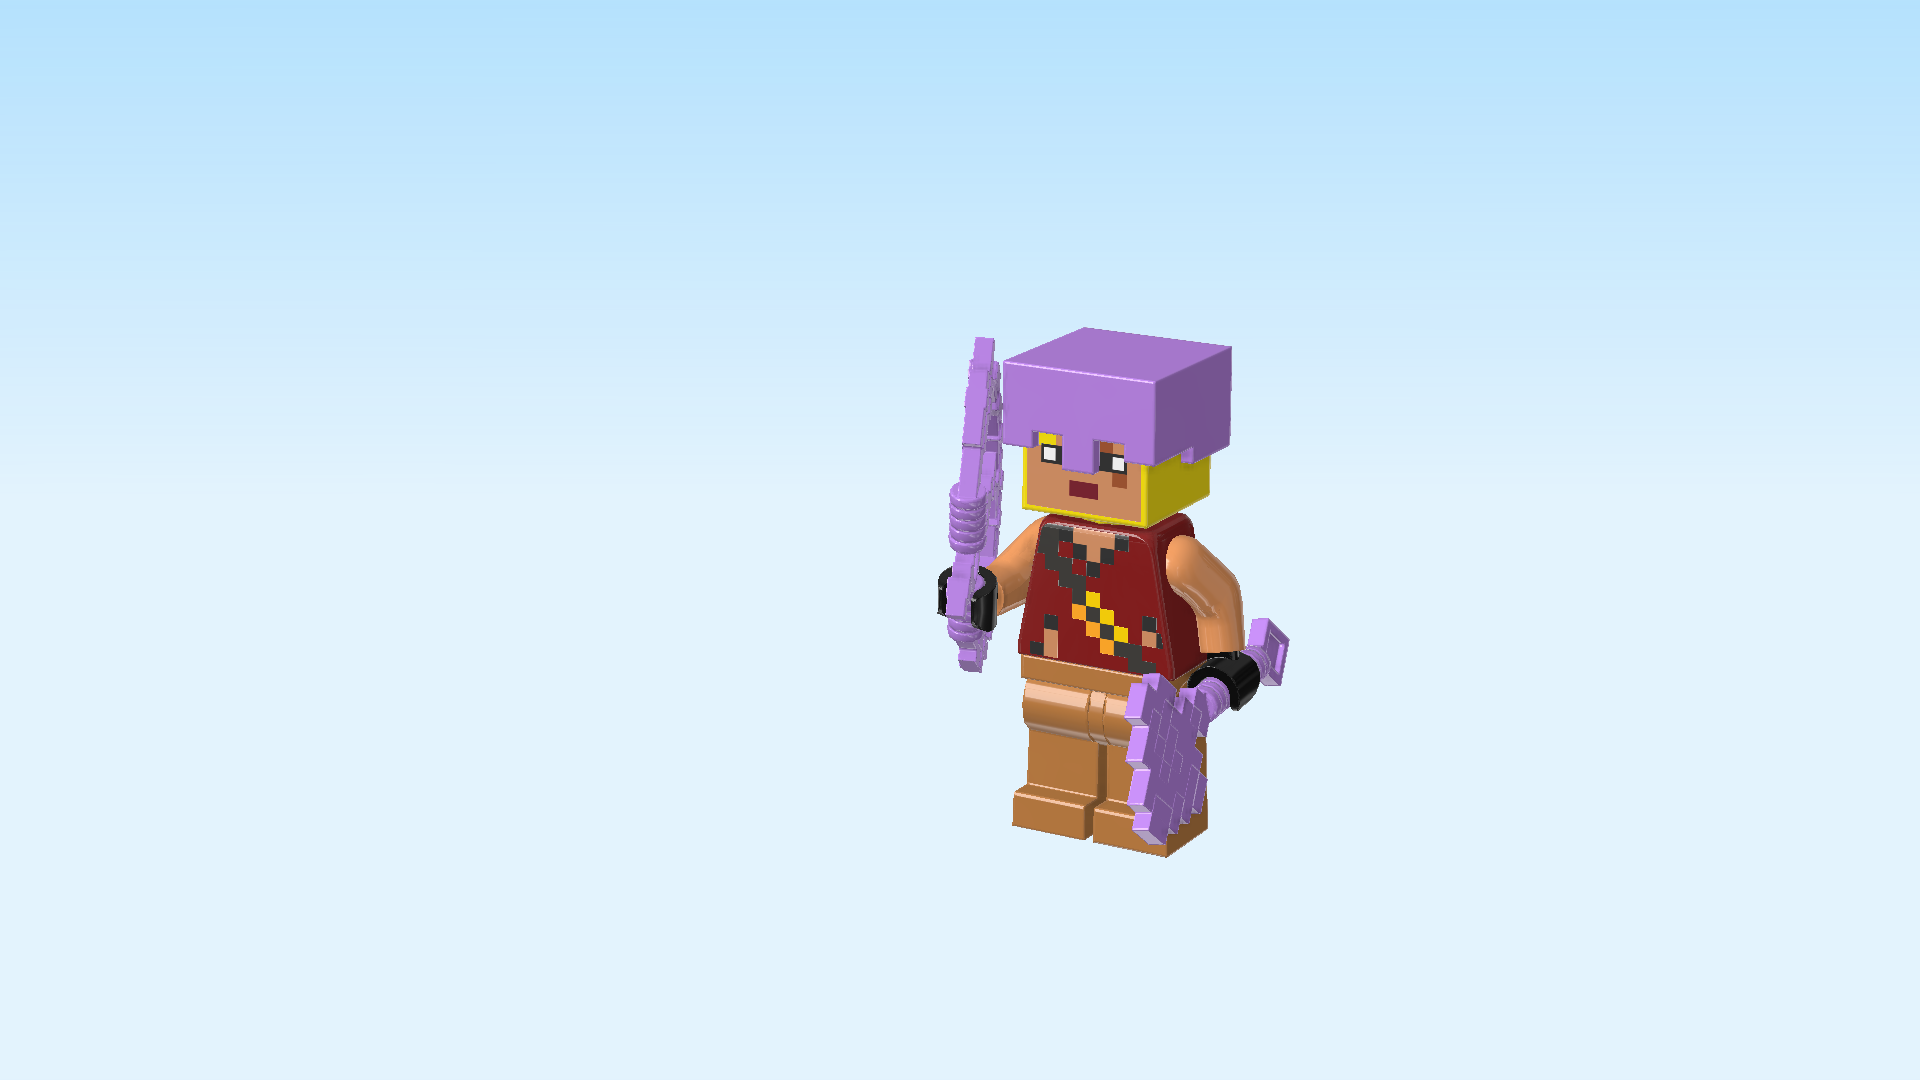
| Put the enchanted bow into the Minifigure's right hand. Use the ribbed handle just below the arrow tip and turn the rounded part of the bow to the back. |
| Put the enchanted axe into the left hand. |
| The dragon archer Minifigure is finished! The archer is wearing a silver metallic belt across his torso with a yellow buckle at the front and a brown and yellow quiver at the back. He has black and white eyes, and there is a scar across his left eye. He has blonde hair that he wears in a side parting. His maroon red sleeveless shirt has a few tears. He sure is a fearless fighter! |
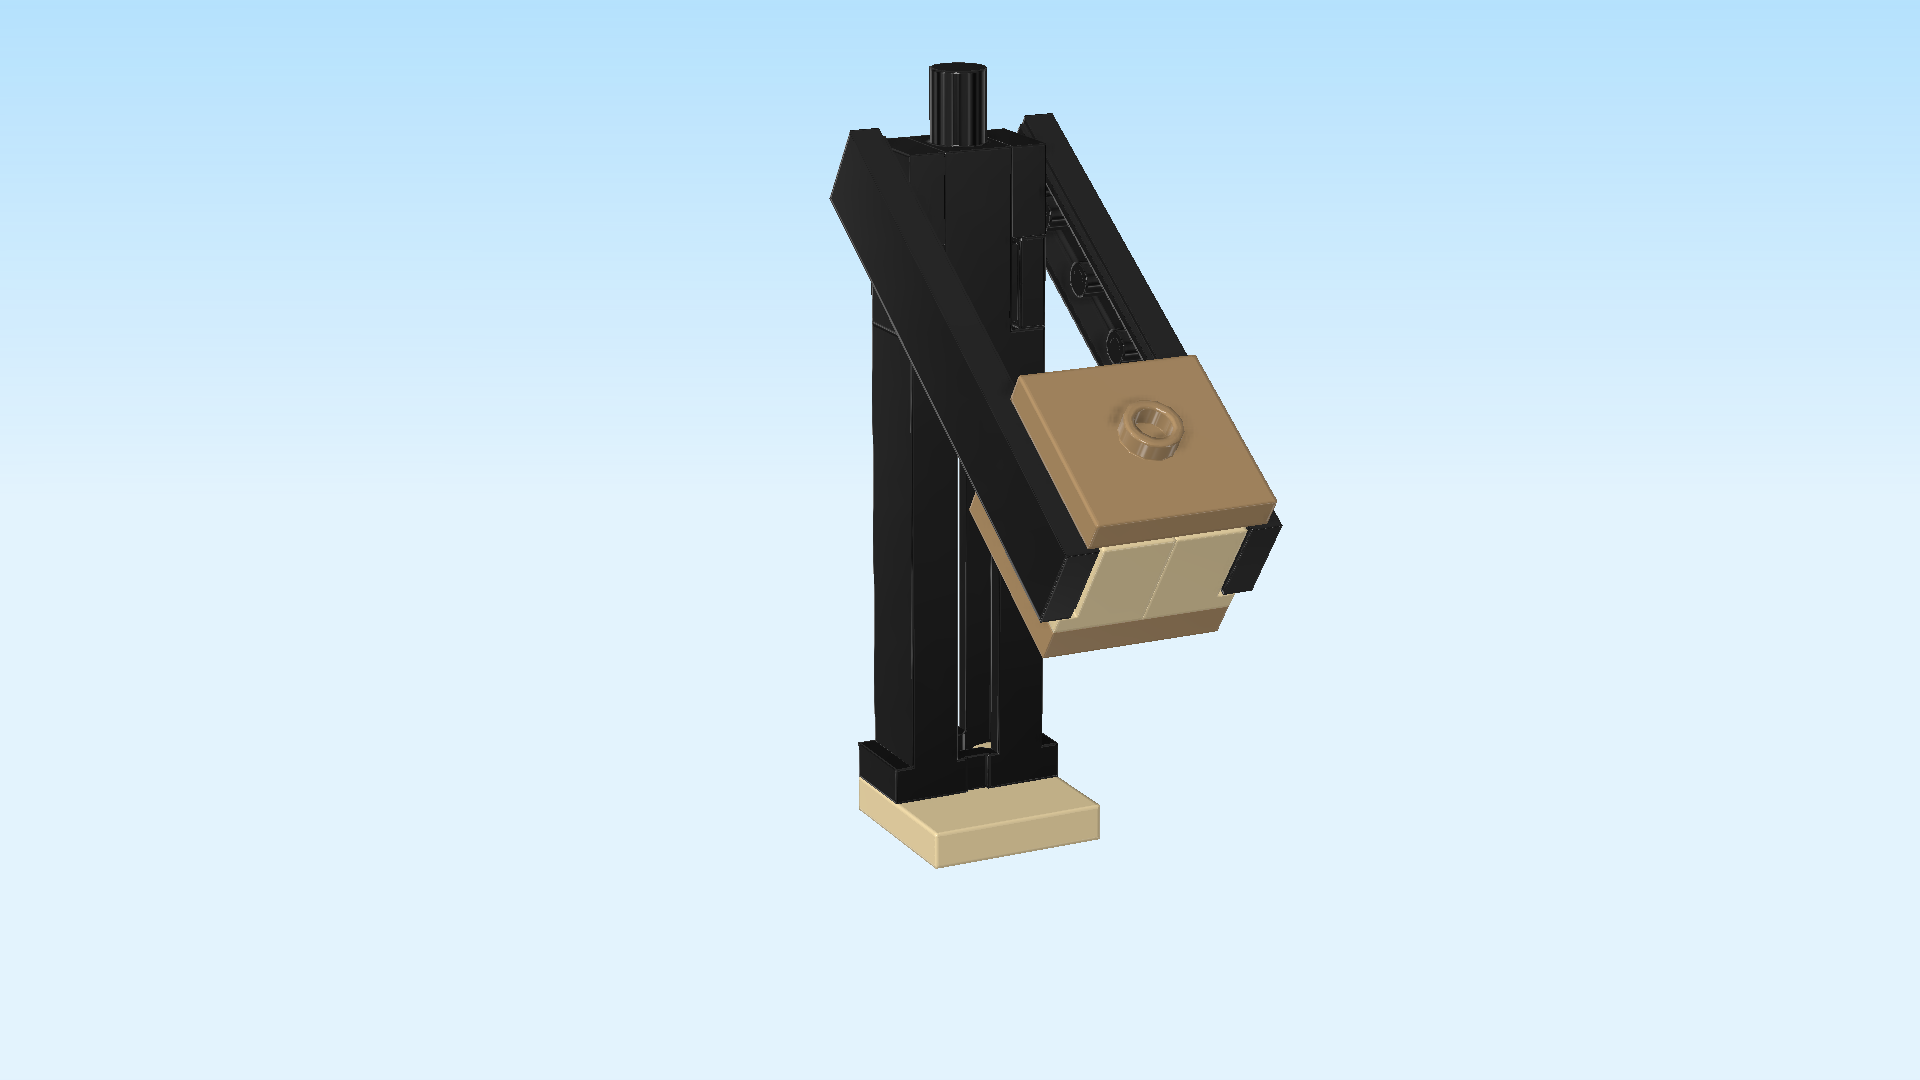
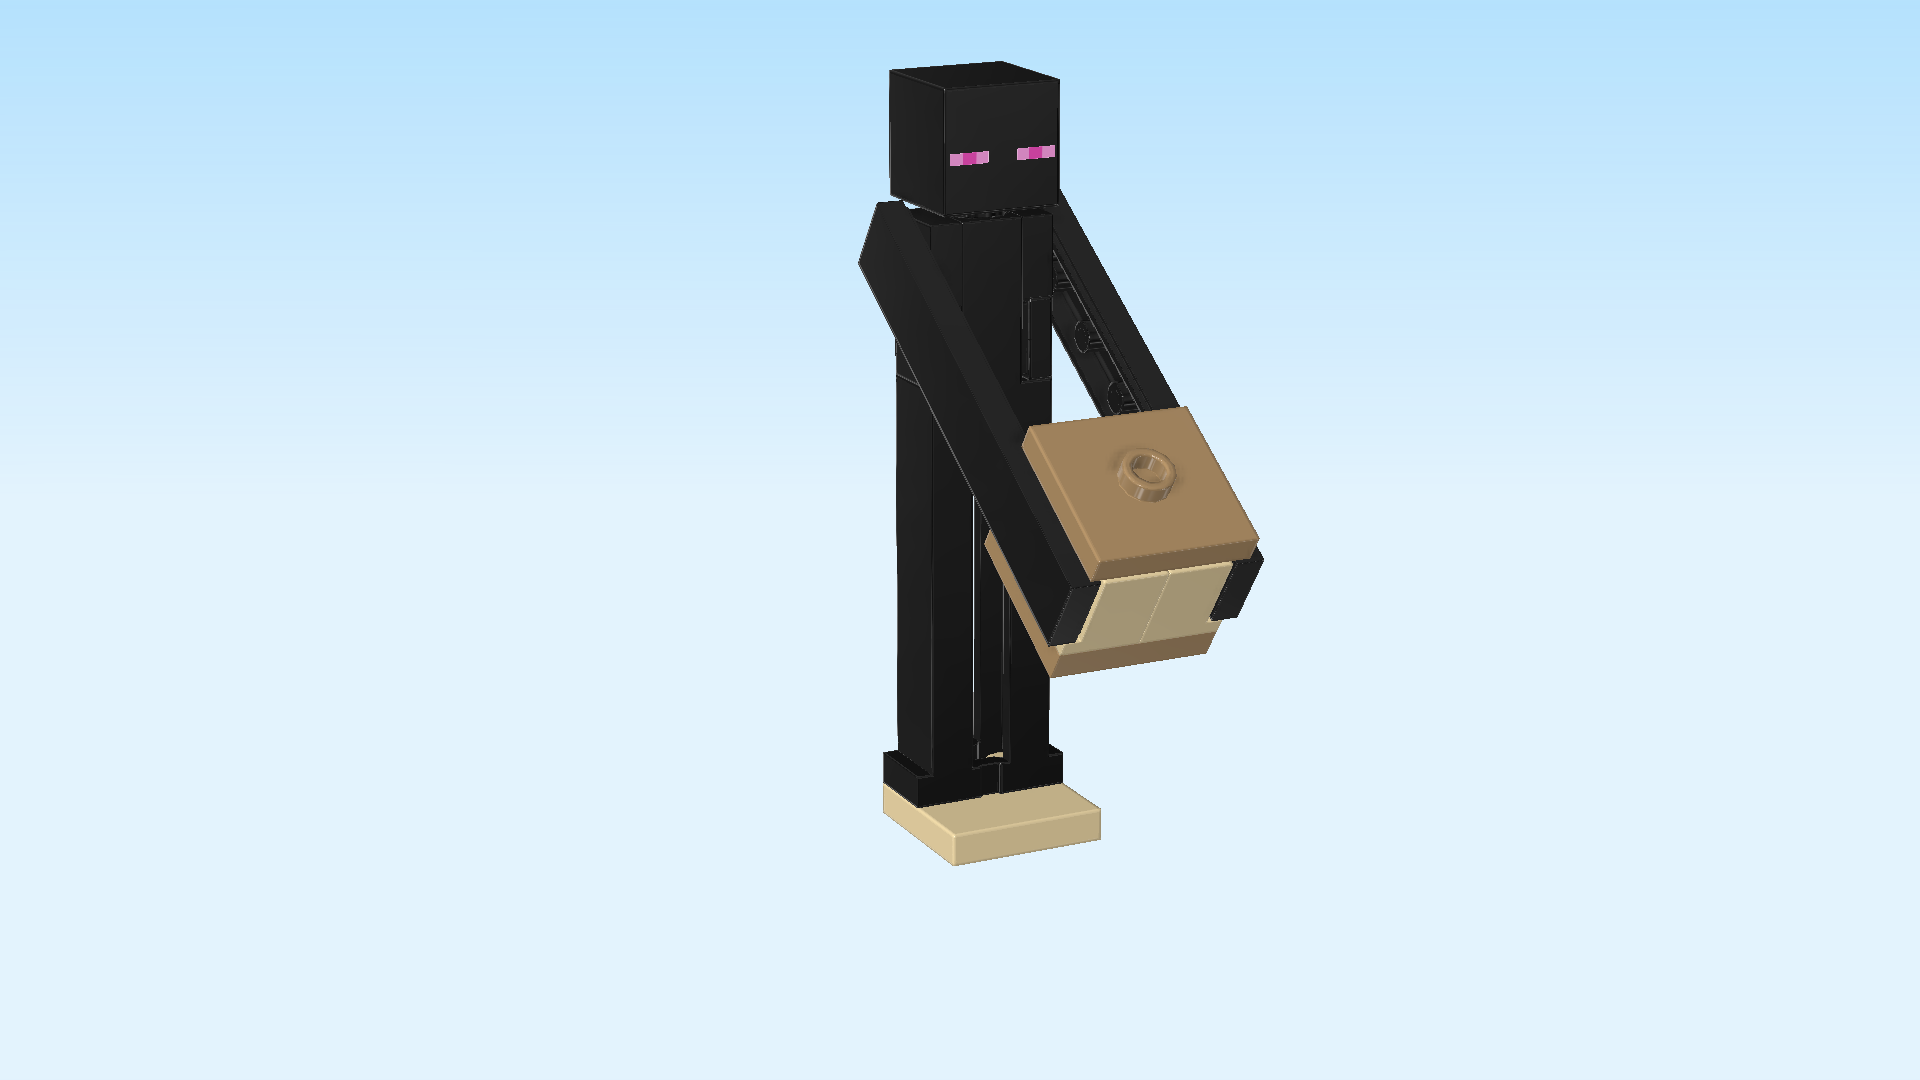
| Next, we will build the Enderman Minifigure. |
| Collect the following 2 pieces: |
| 1 black pair of enderman legs with 4 side knobs and top shaft, |
| and 1 pale ocher yellow plate 2x2 with 2 knobs. |
| Put the plate 2x2 on the table, 2 knobs forming a row at the back. |
| Put the enderman legs horizontally on top, side knobs pointing to the left and right. |
| Find 2 black flat tiles 1x1. |
| Put 1 upright on the lower side knob pointing to the right. |
| Repeat symmetrically on the left. |
| Find 2 black plates 1x1. |
| Put 1 upright above the previous piece. |
| Repeat symmetrically on the right. |
| Next, we will build the enderman's arms and box. |
| Find 1 mud grey plate 2x2. |
| Put it on the table. |
| Find 2 pale ocher yellow bricks 1x1 with side knob and bottom foot. |
| Put 1 on the left knob of the back row, side knob to the left. |
| Put the other one to the right of the previous piece, side knob to the right. |
| Find 2 pale ocher yellow bricks 1x1 with side knob and bottom foot. |
| Put them on the front row, side knobs again pointing to the left and right. |
| Find 1 mud grey plate 2x2 with 1 knob. |
| Put it on top. |
| Find 1 black flat tile 1x6. |
| Mount its 2 frontmost connection points on the 2 side knobs pointing to the left. Make sure it is flush at the front. |
| Mount the backmost connection point of the previous piece on the enderman by using the side knob pointing to the left. Tilt the arm with box down so that the enderman is carrying the box at an angle and not straight in front of him. |
| Find 1 black flat tile 1x6. |
| Put it upright on the 2 side knobs of the box and the 1 side knob on the enderman's right side, matching the other arm. |
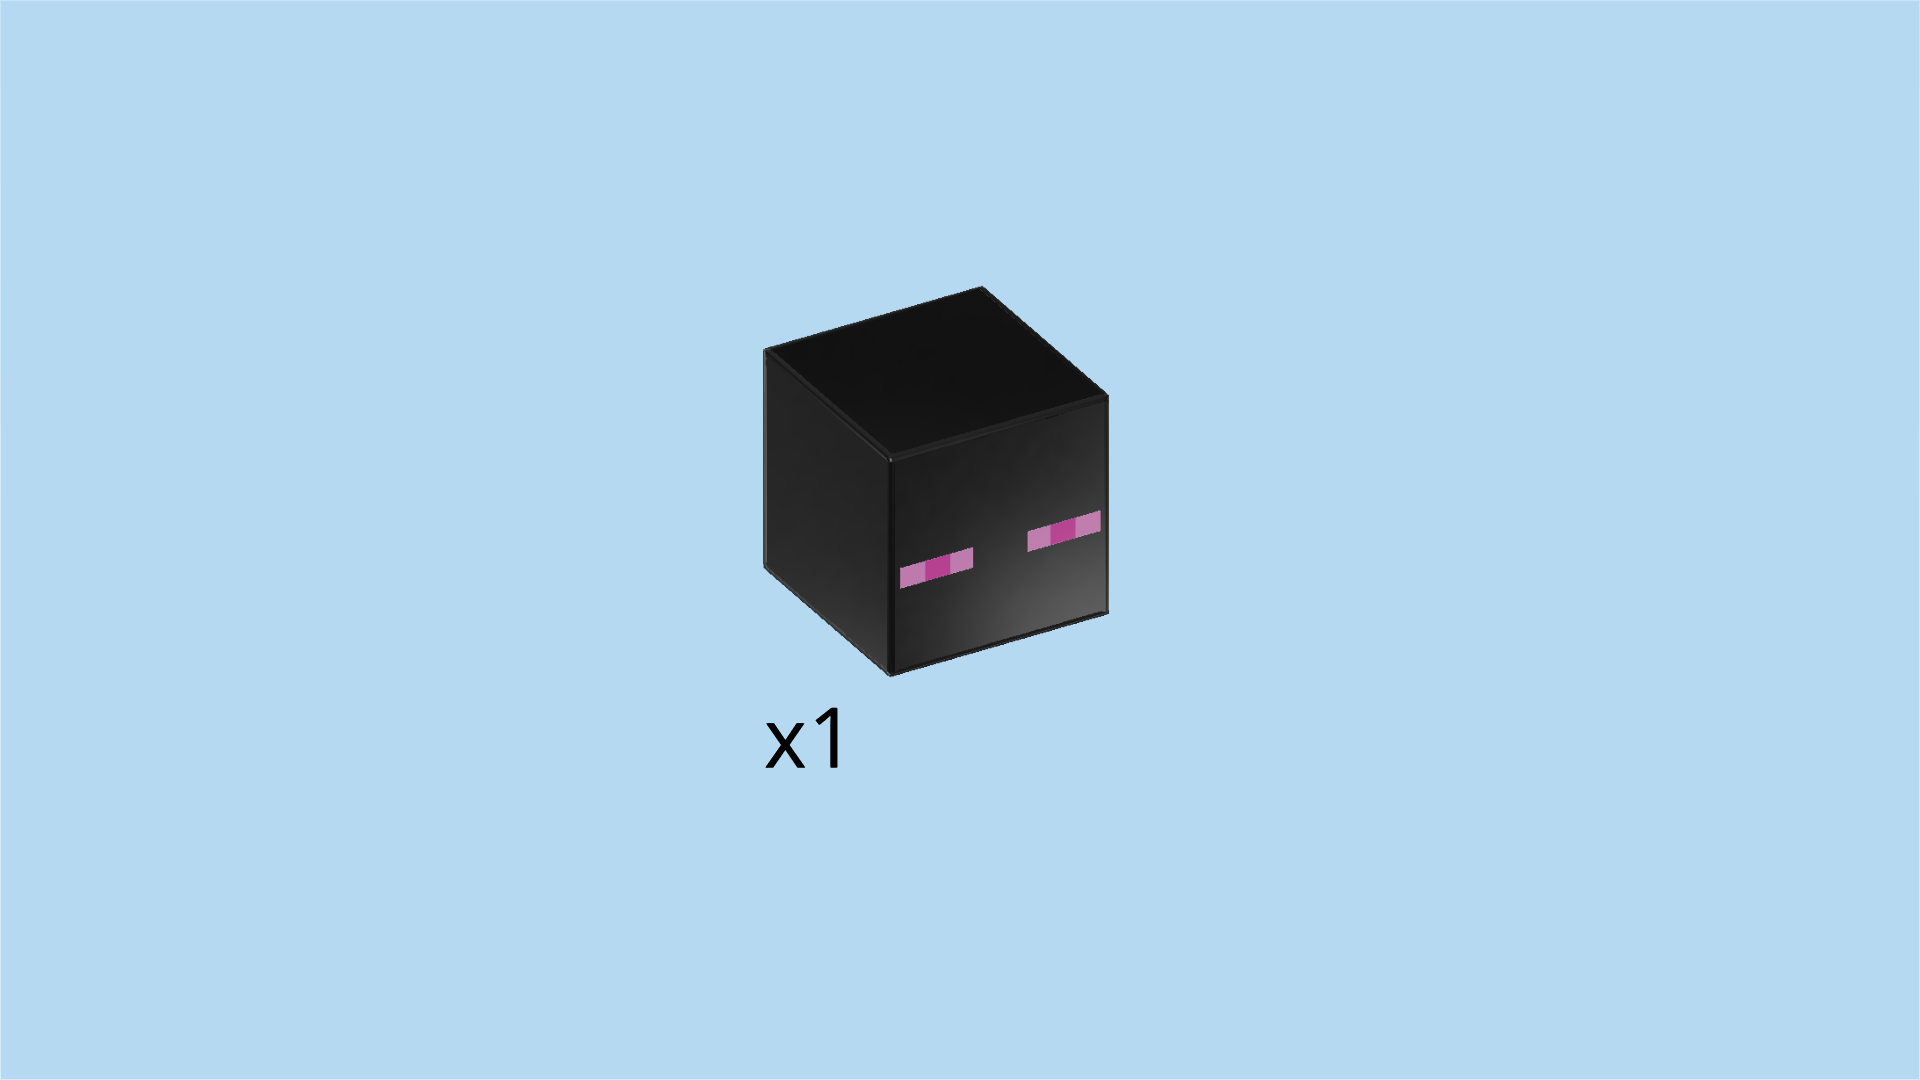
| Find 1 black square Minifigure head. |
| Put it on the body, the small print to the front. The print are 2 narrow pink rectangles that are the enderman's eyes. |
| Collect the following 2 pieces: |
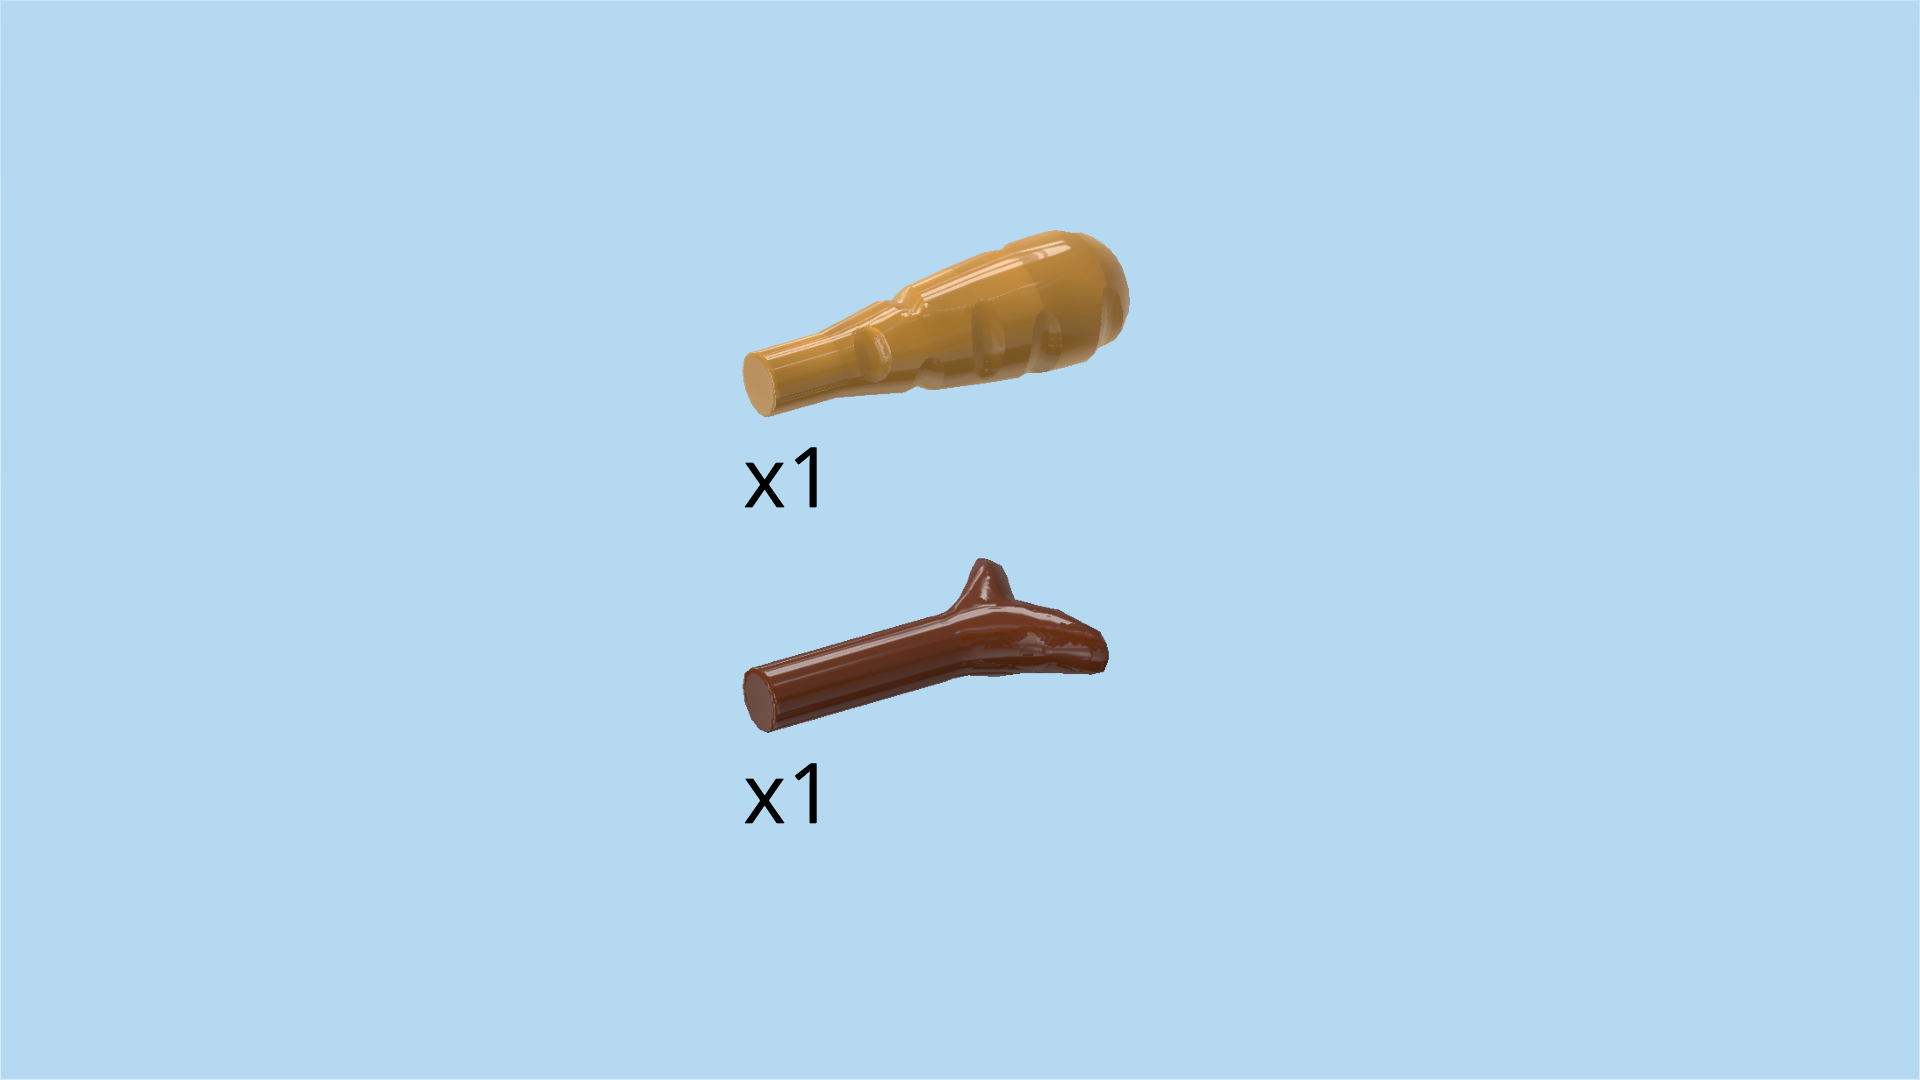
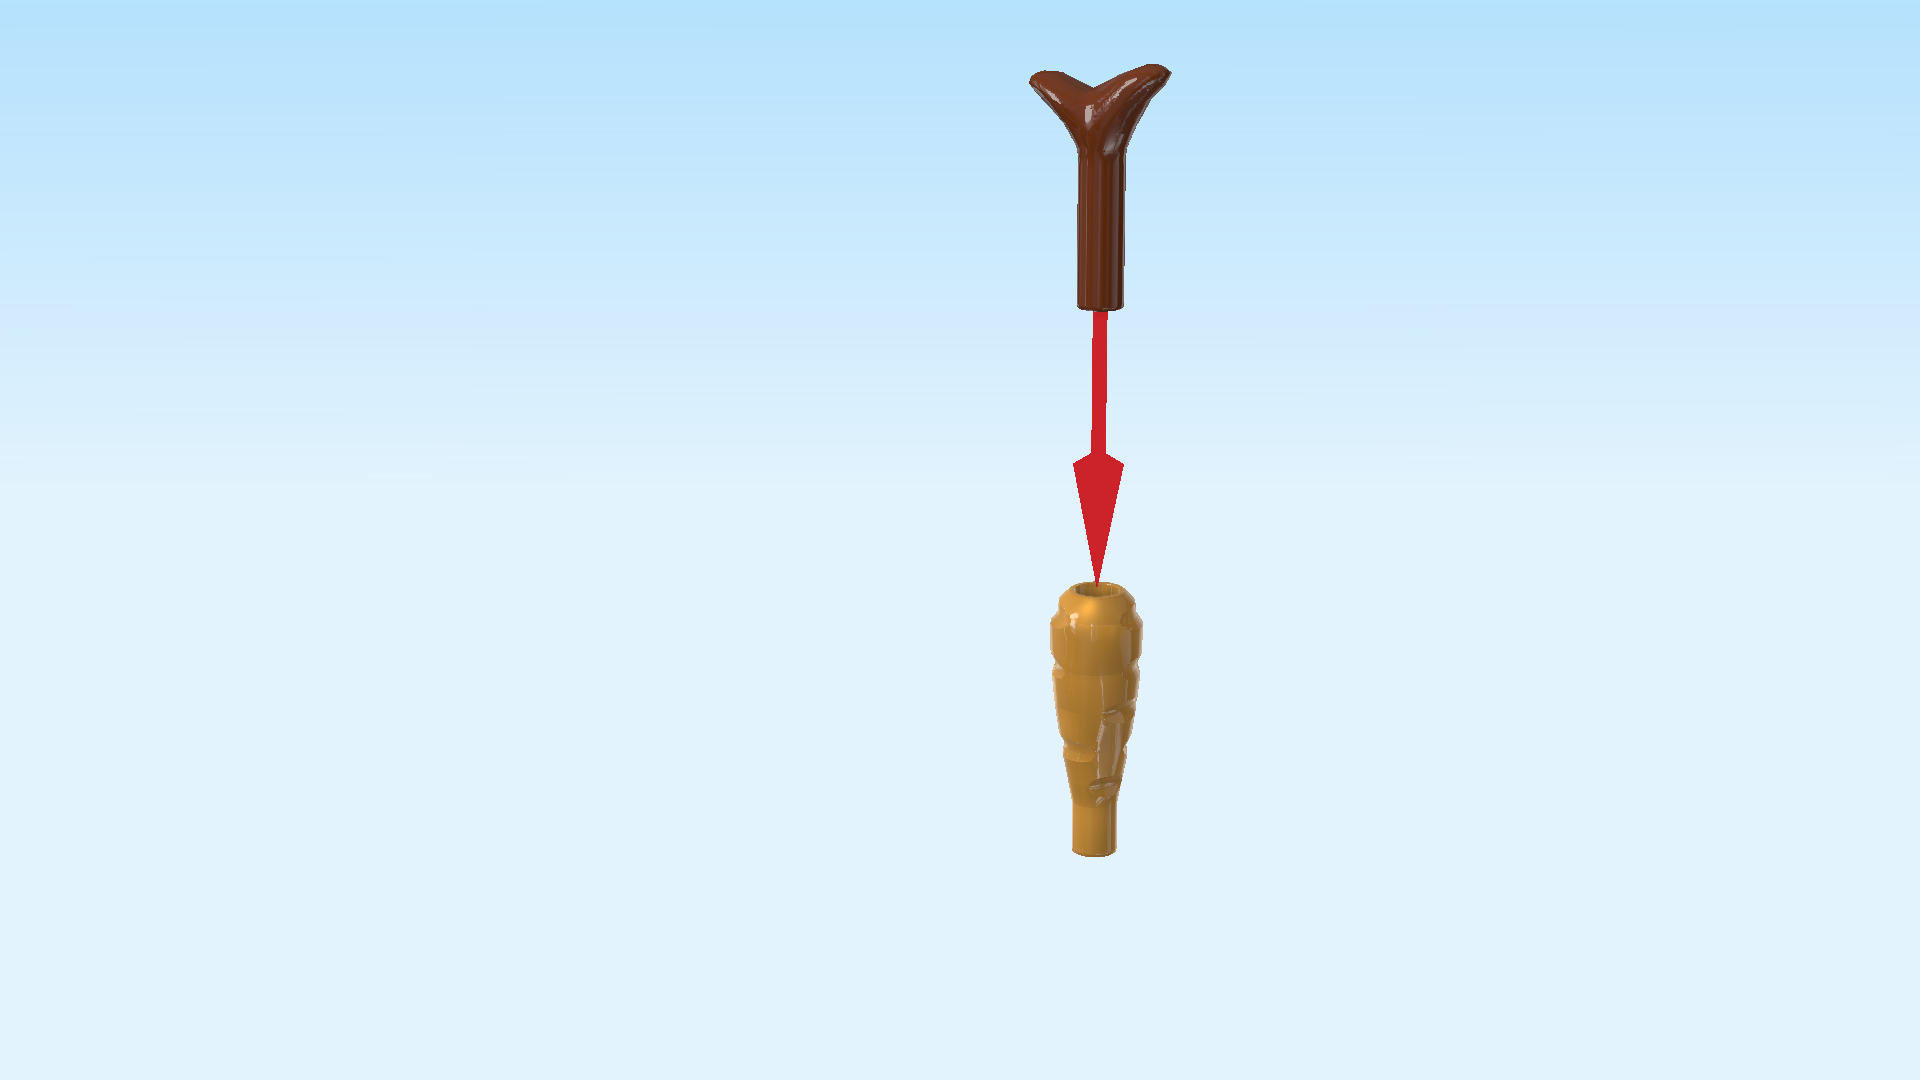
| 1 reddish brown shaft 2m with twig leaves, |
| and 1 warm gold carrot. |
| Insert the shaft with twigs into the hole of the carrot. |
| The carrot is one of the 2 health buffs for this set! Let's continue with the second one: the health potion. |
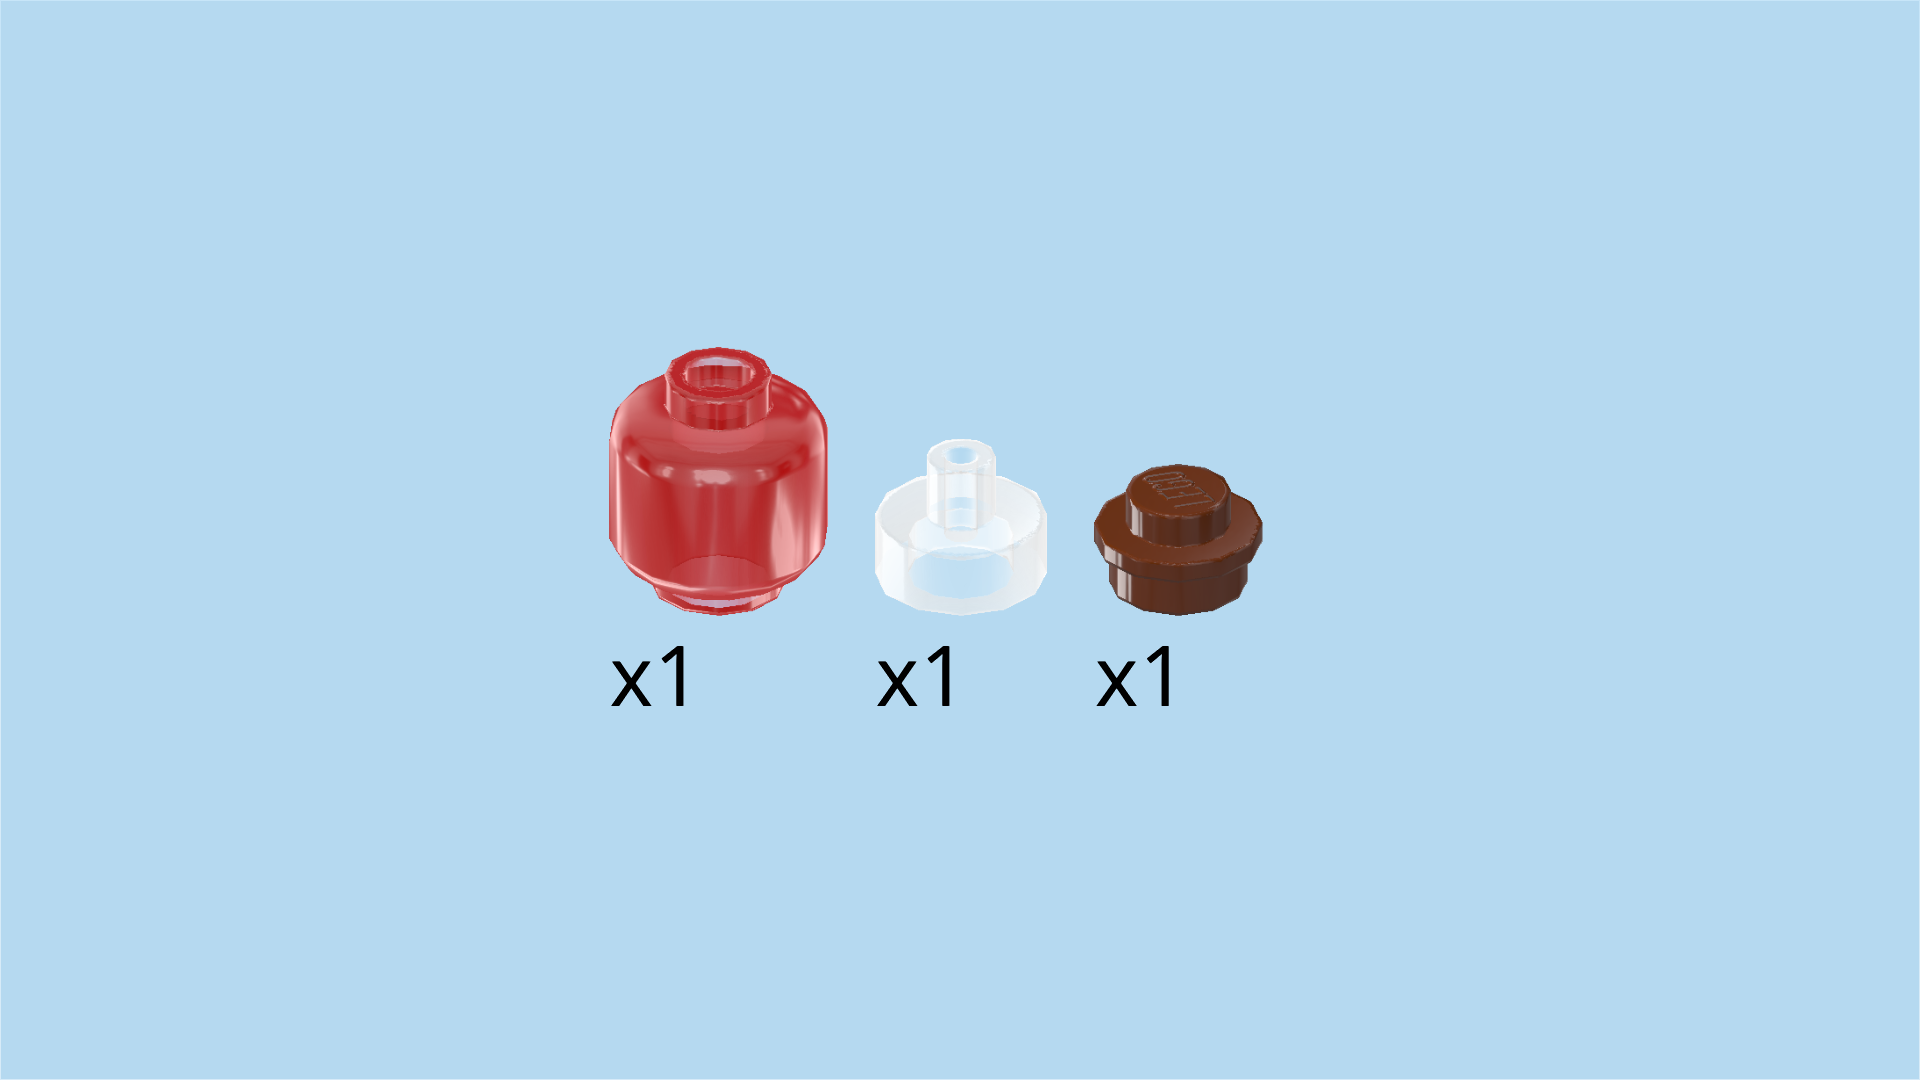
| Collect the following 3 pieces: |
| 1 transparent round plate 1x1 with top shaft, |
| 1 reddish brown round plate 1x1, |
| and 1 transparent red Minifigure head. |
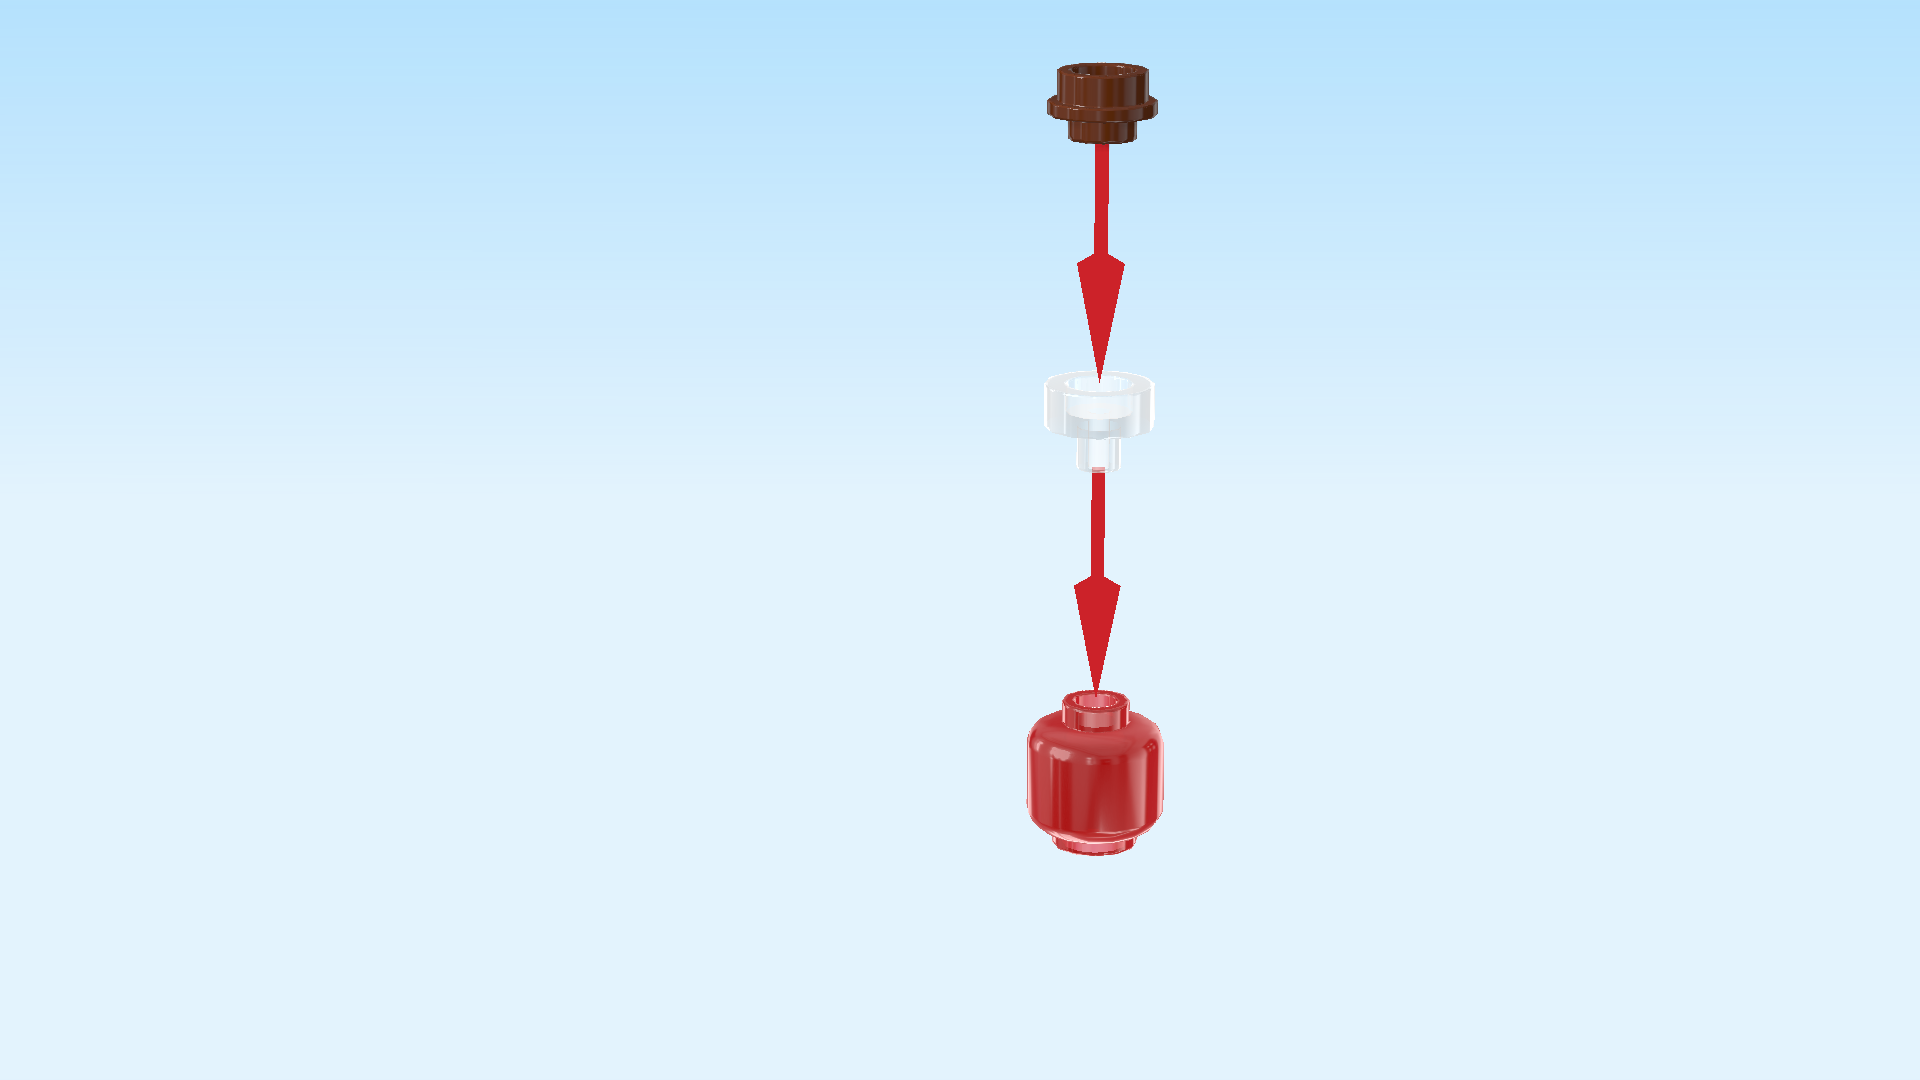
| Put the Minifigure head on the table. |
| Put the round plate with shaft upside down on the previous piece: This means that you will insert the shaft into the knob of the Minifigure head. |
| Put the round plate 1x1 upside down on top. |
| The health potion is finished! |
| Now, we will build the block of lava that the Ender dragon statue can spit out. |
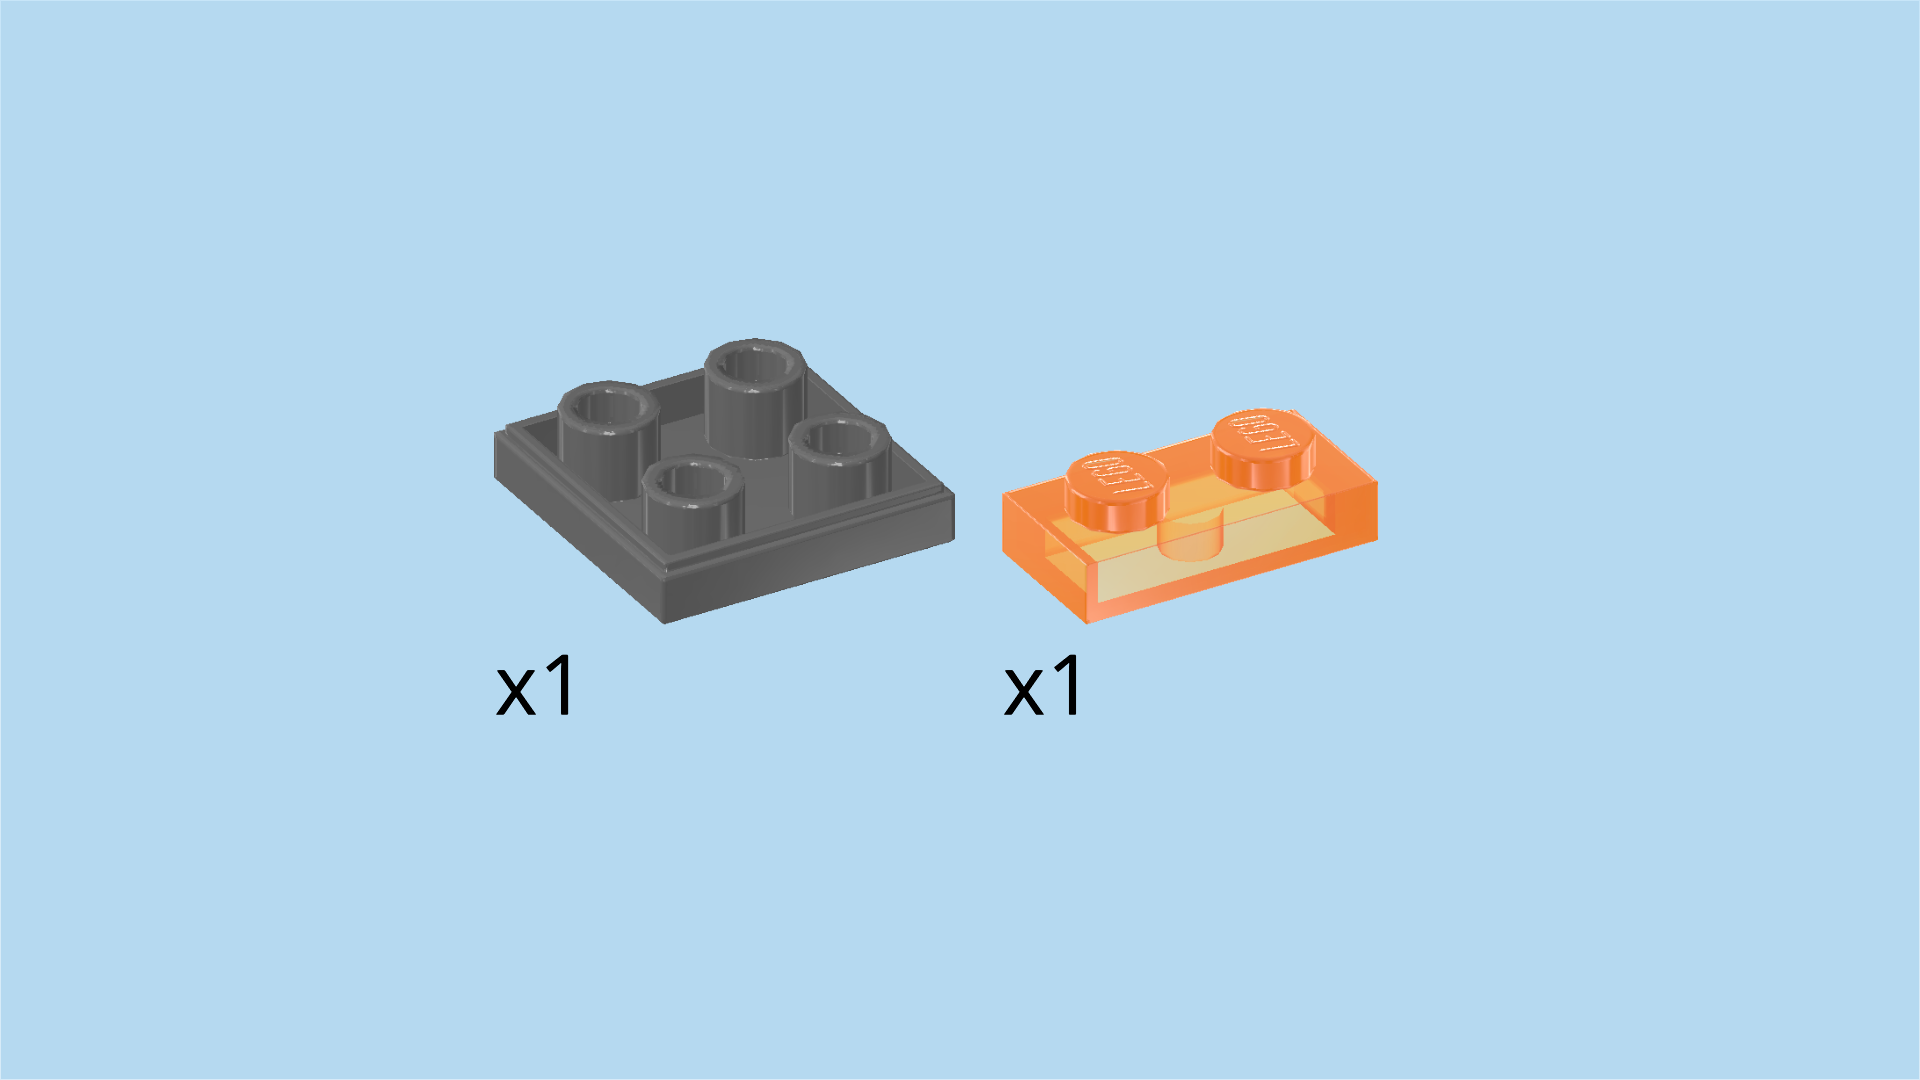
| Collect the following 2 pieces: |
| 1 dark stone grey inverted flat tile 2x2, |
| and 1 transparent bright orange plate 1x2. |
| Put the inverted flat tile 2x2 on the table, 4 knobs to the top. |
| Put the plate 1x2 vertically on the right column. |
| Find 1 bright orange plate 1x2. |
| Put it vertically on the left column. |
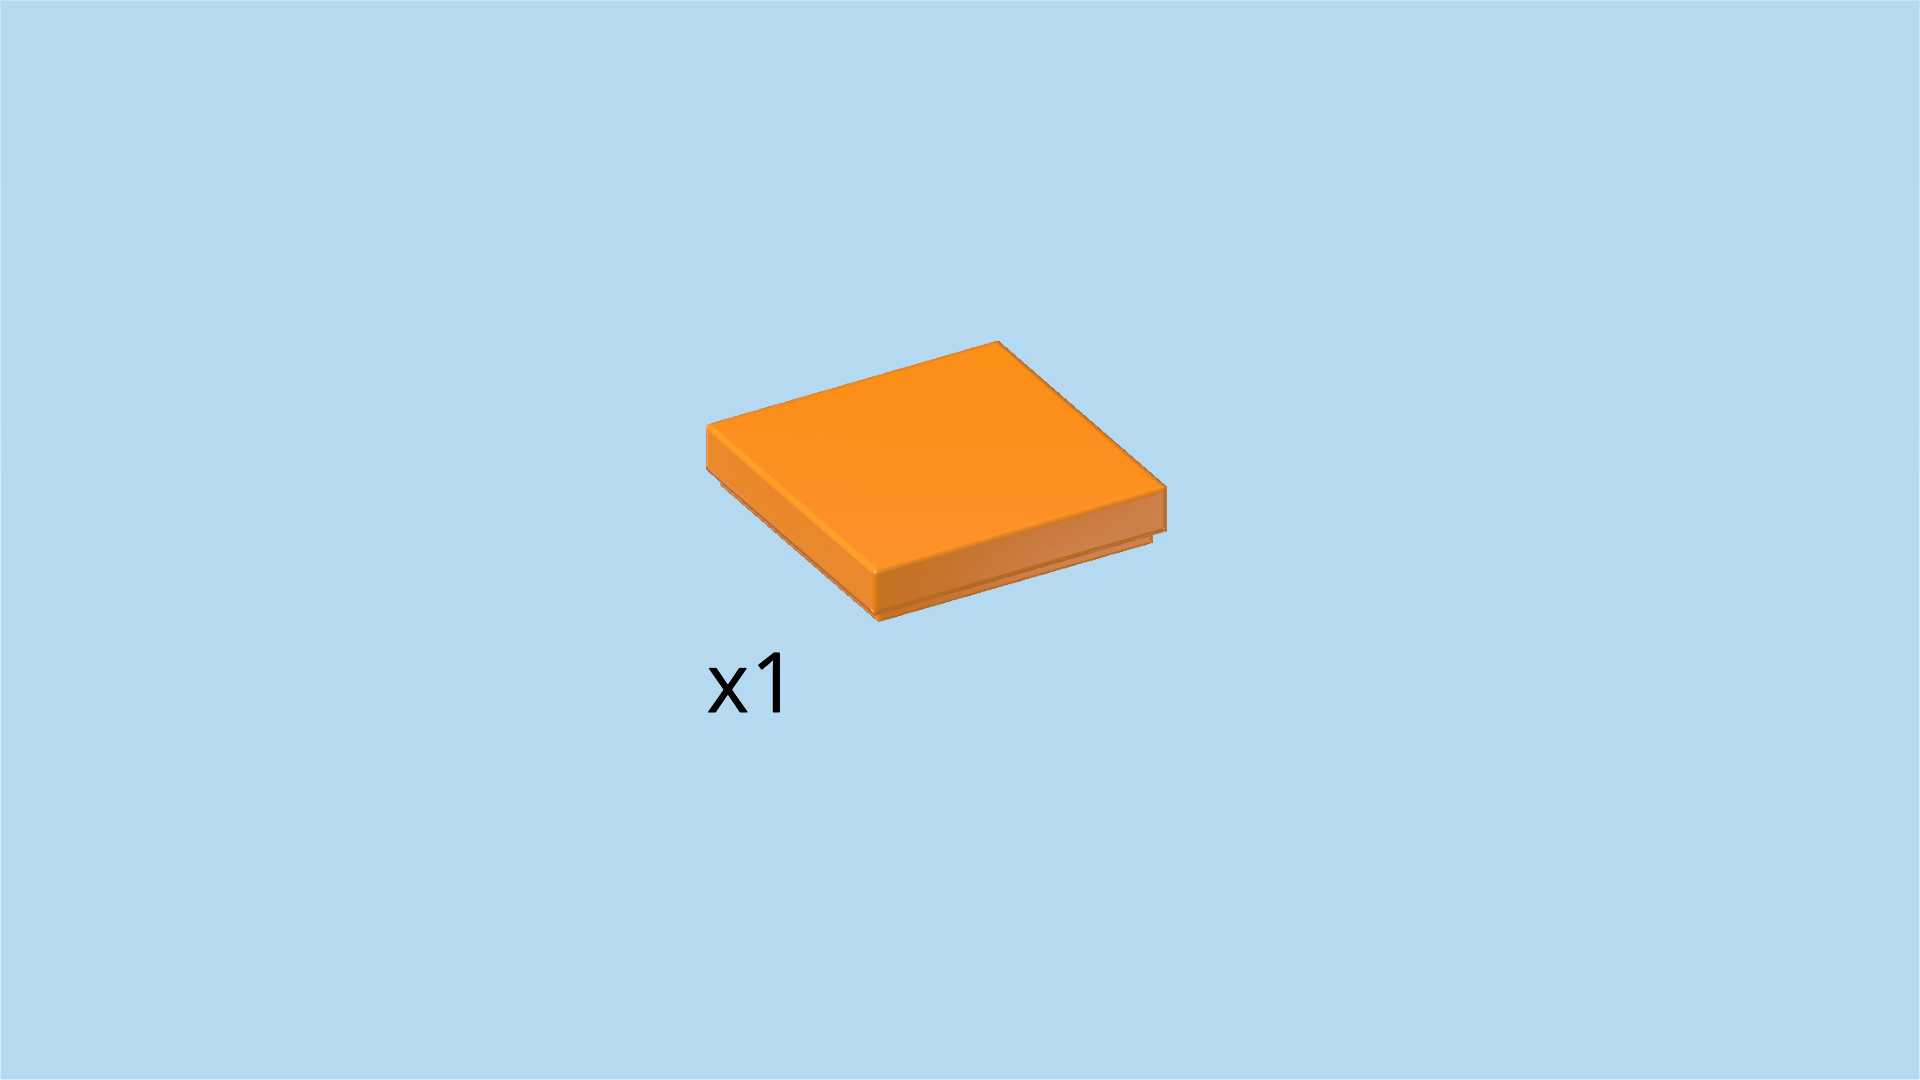
| Find 1 bright orange flat tile 2x2. |
| Put it on top. |
| The lava block is finished, put it aside for now. |
| Next, we will build the 2 end crystals for the obsidian towers. |
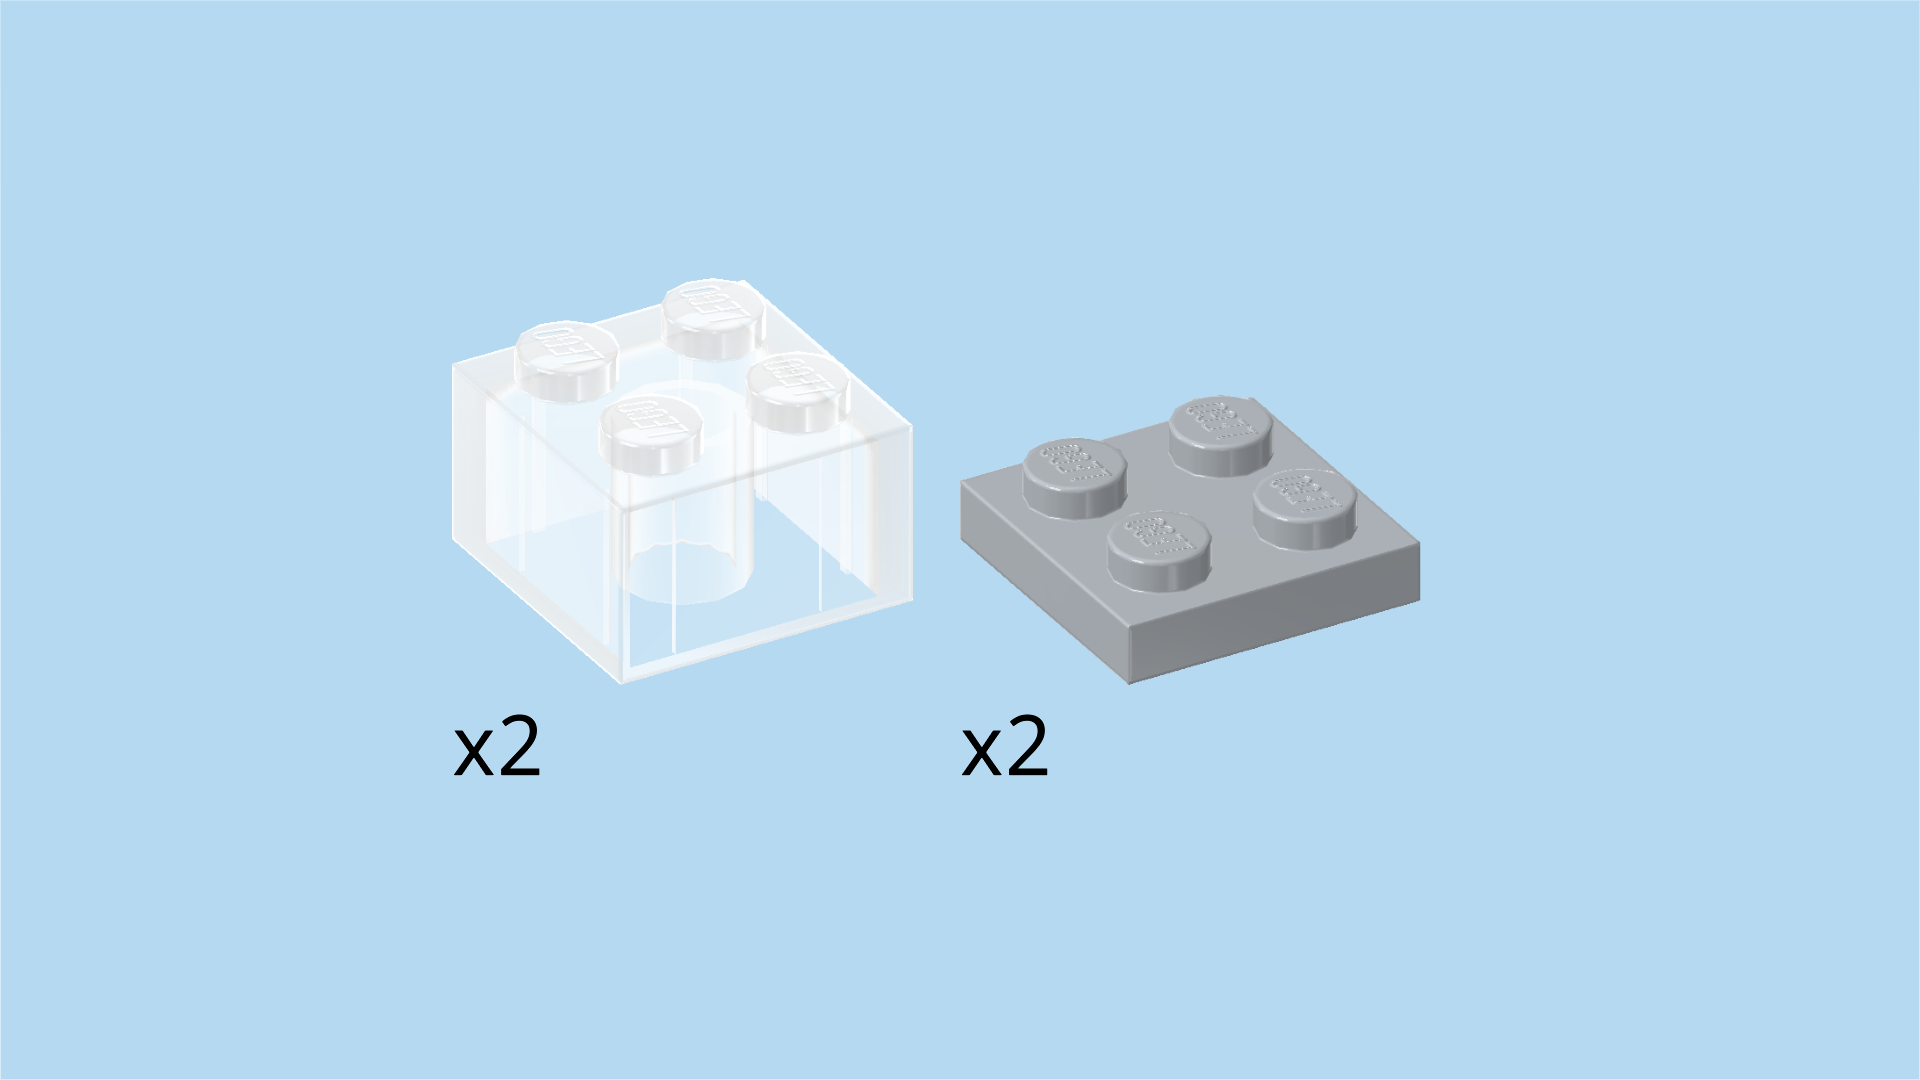
| Collect the following 4 pieces: |
| 2 medium stone grey plates 2x2, |
| and 2 transparent bricks 2x2. |
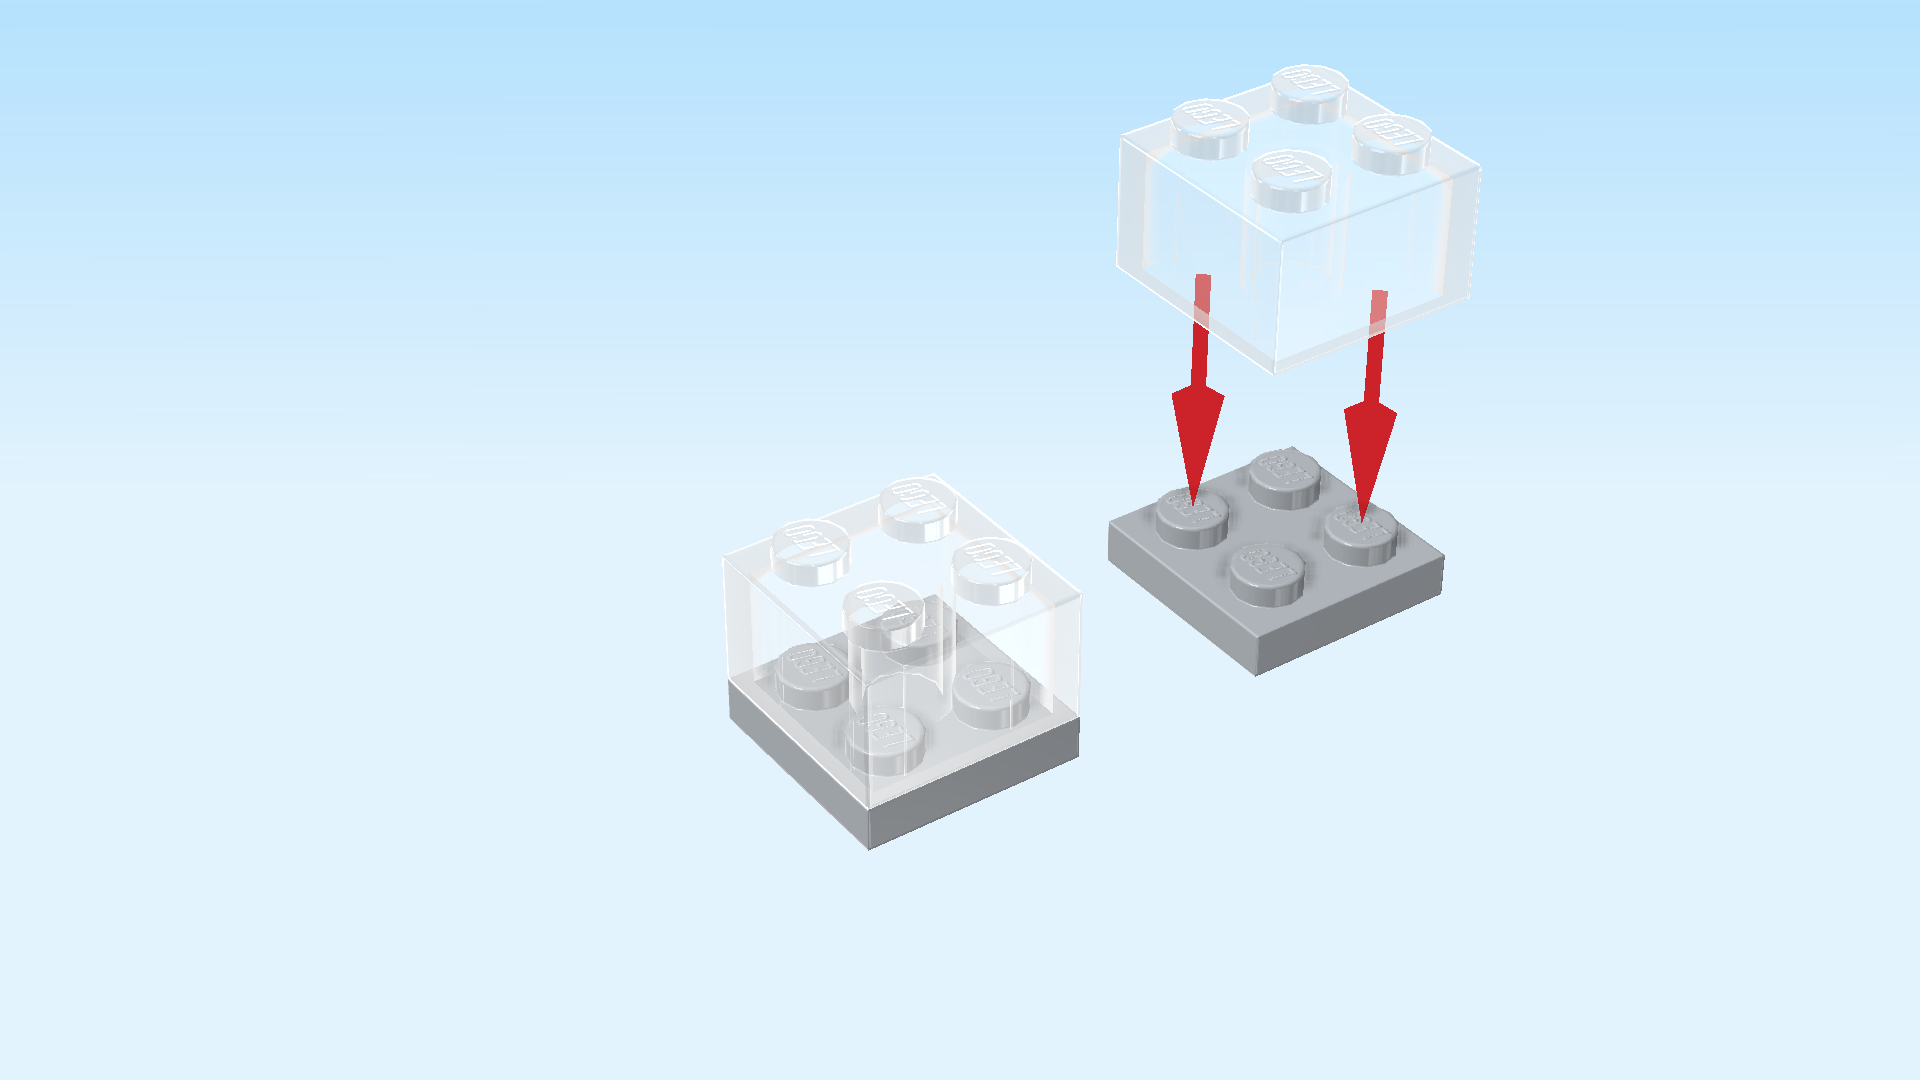
| Put the 2 plates 2x2 next to each other on the table. |
| Put the 2 bricks 2x2 on top of the 2 plates. |
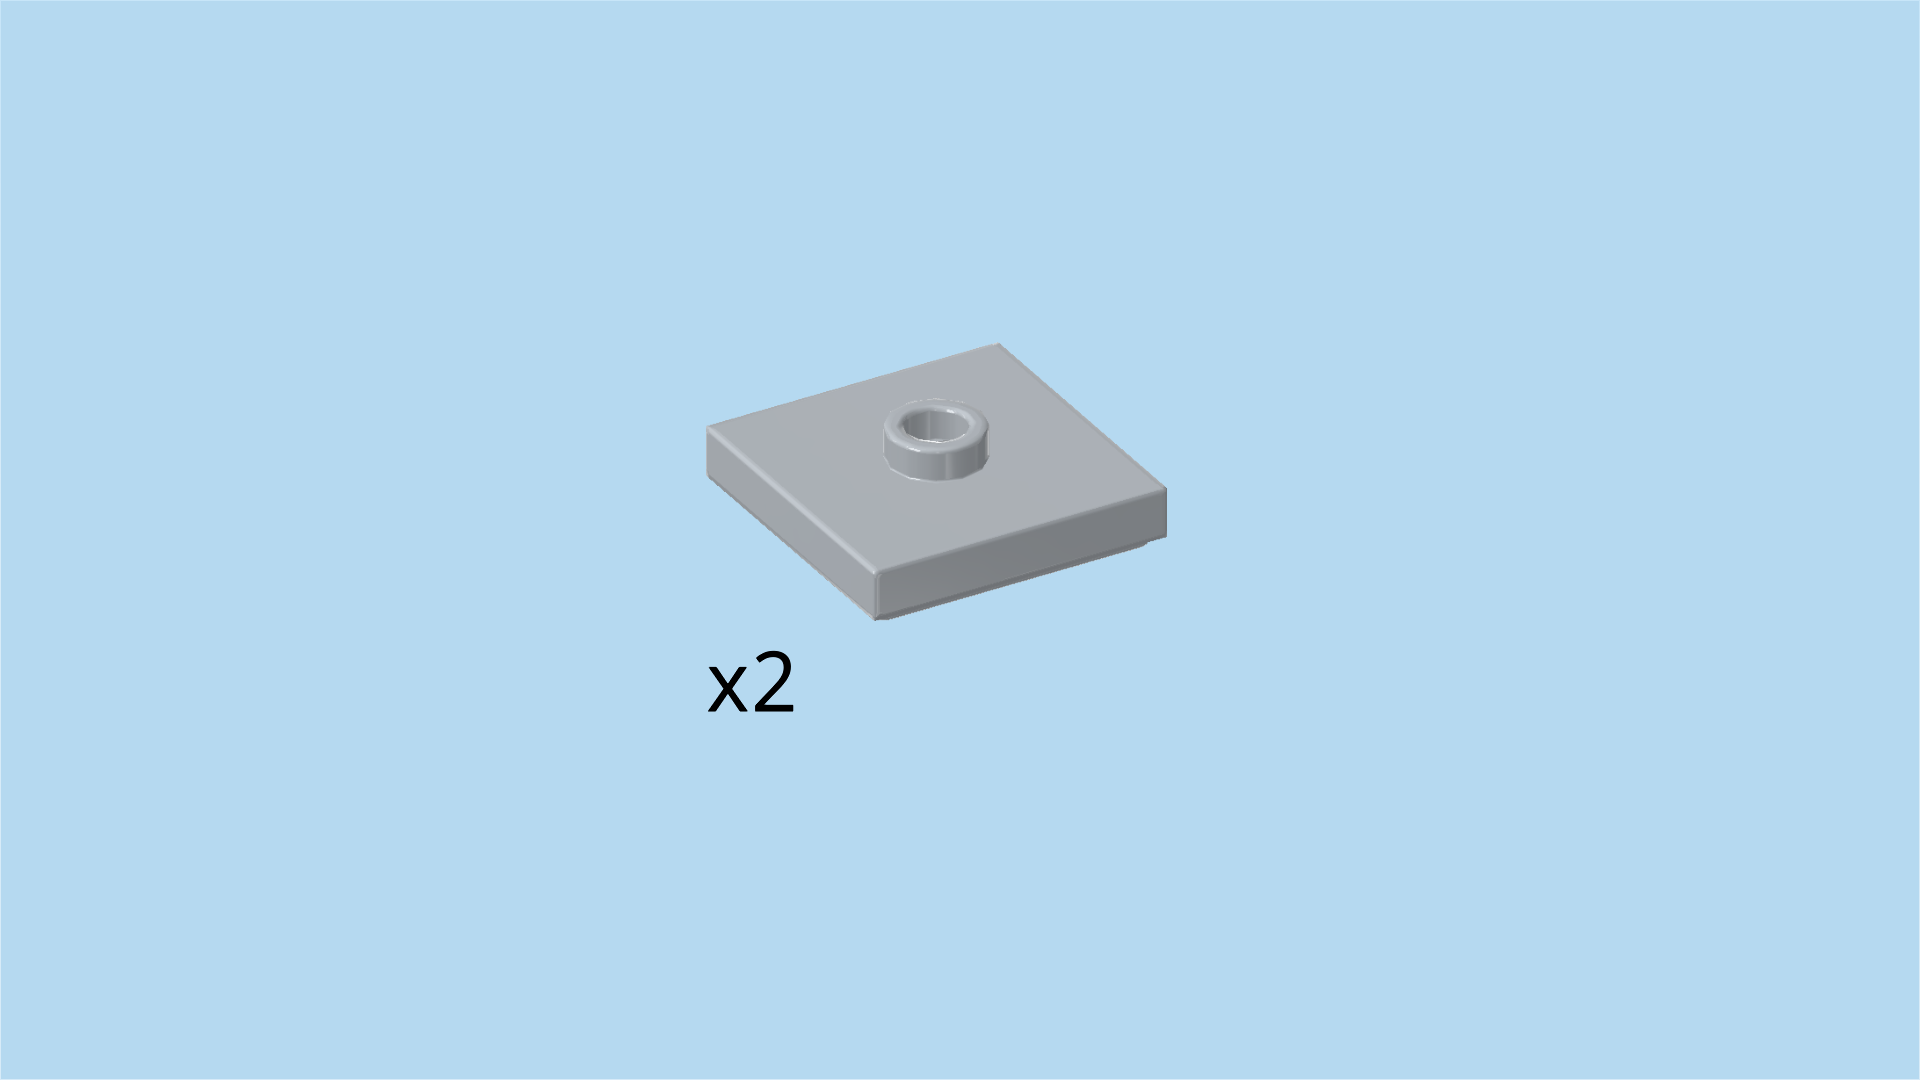
| Find 2 medium stone grey plates 2x2 with 1 knob. |
| Put them on top of the 2 previous pieces. |
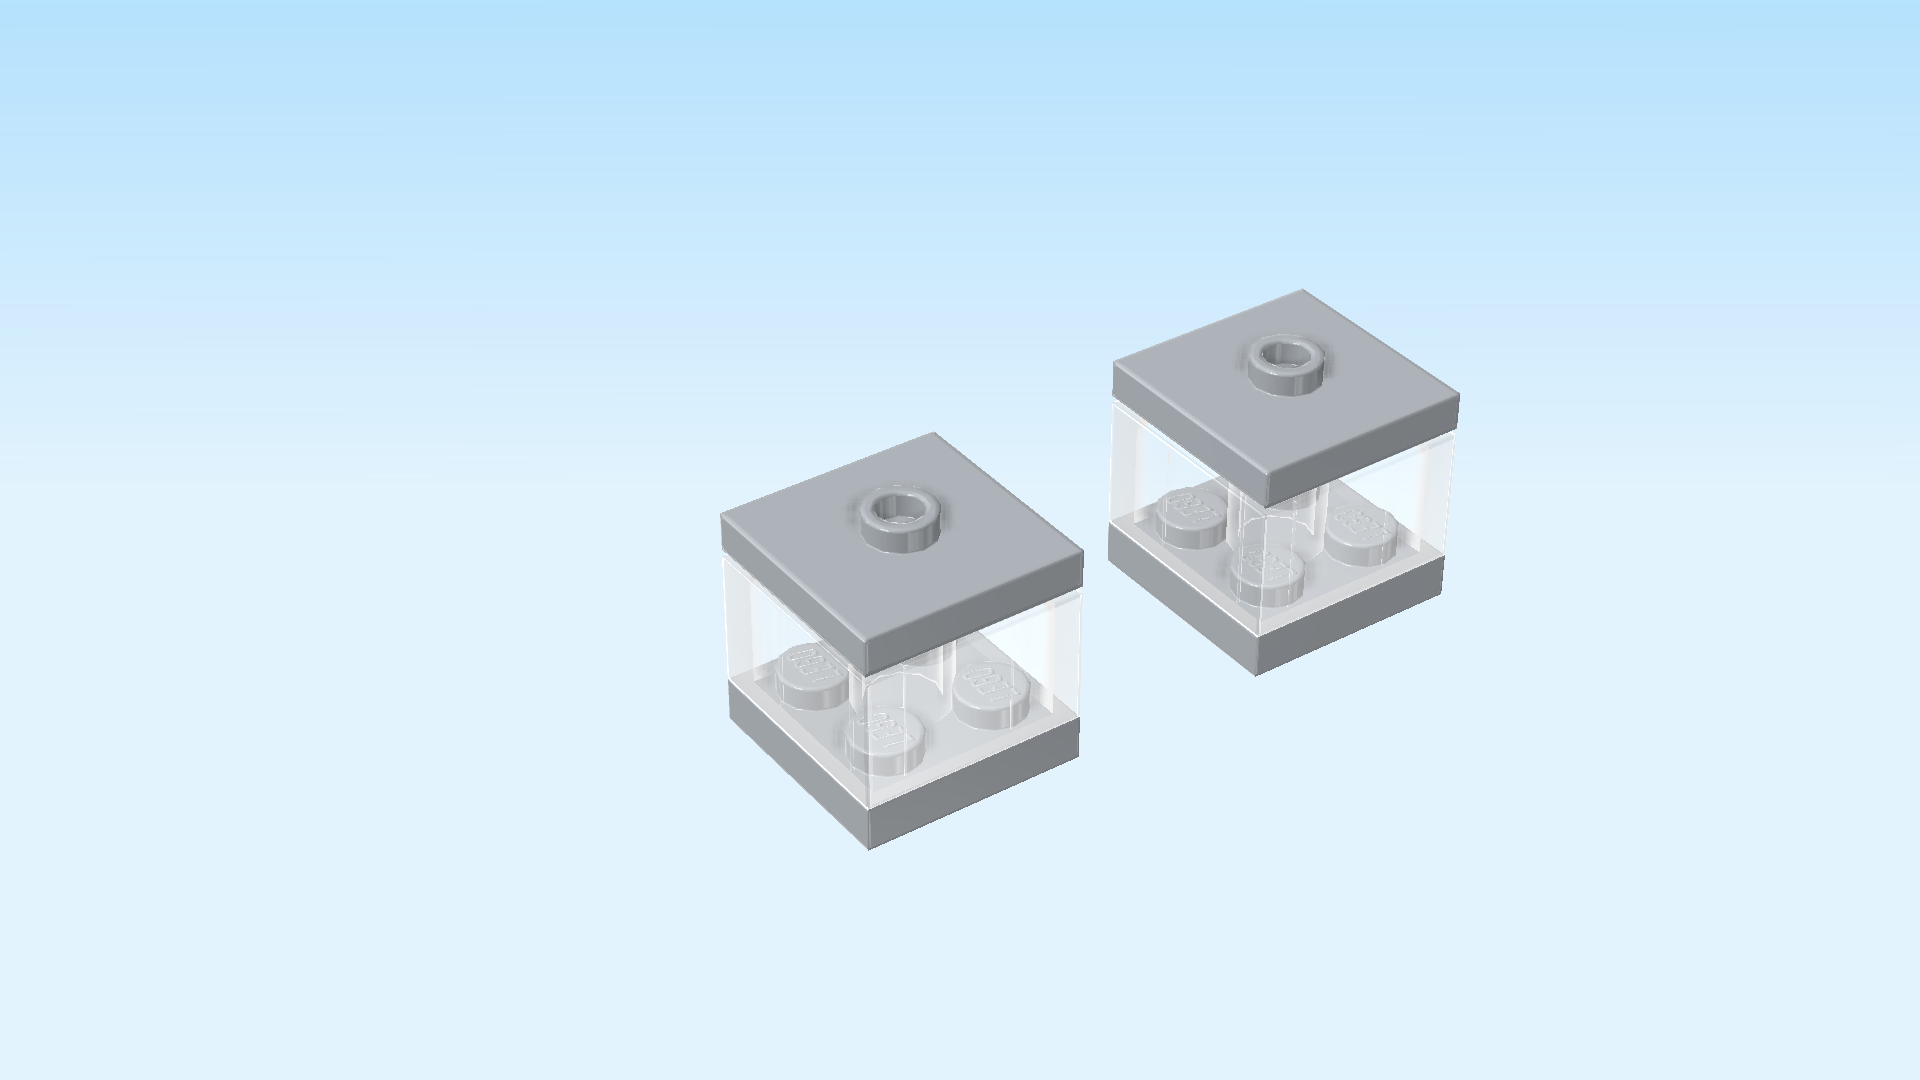
| The 2 end crystals for the obsidian towers are finished! First, turn the structure from left to right again. The 2 obsidian towers will be at the back now. |
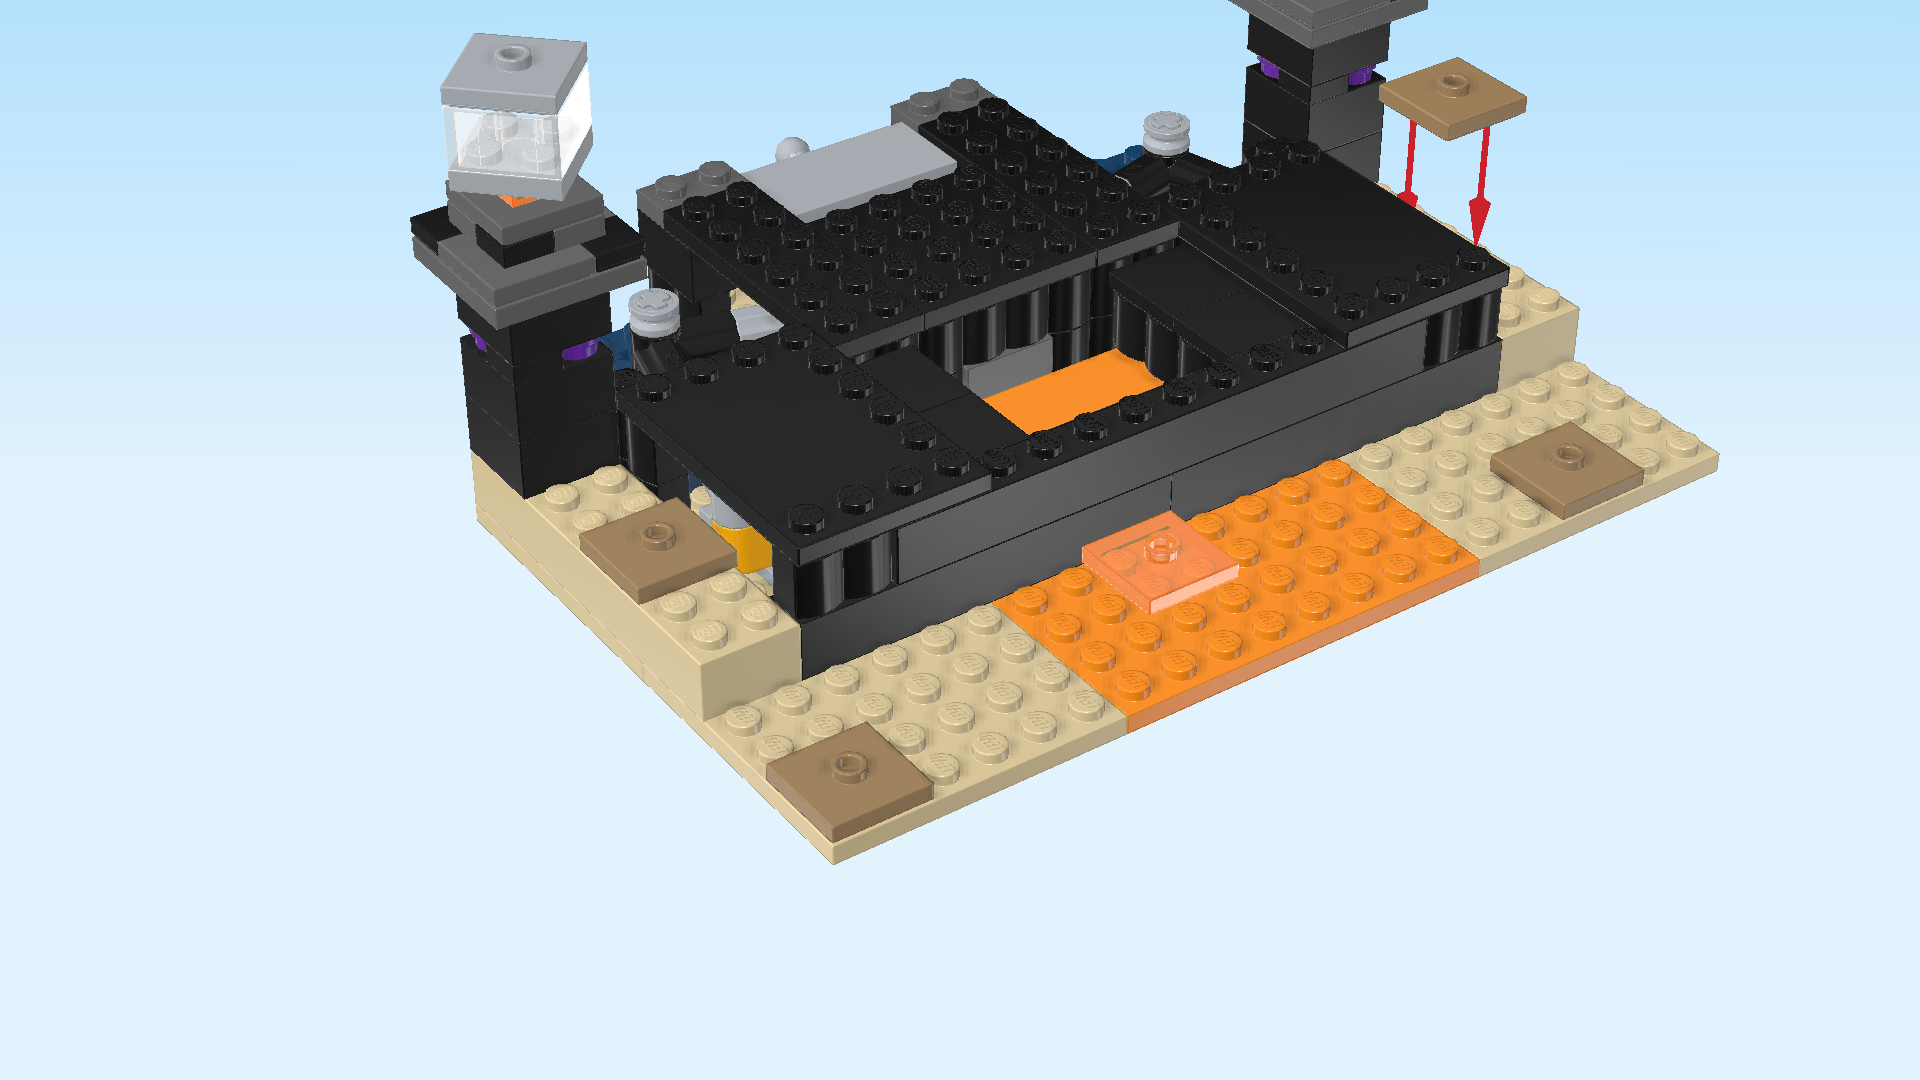
| Put 1 end crystal on one of the towers, but make sure to mount it at an angle so that its sides are not parallel to the intermediate plates, but diagonal. |
| Repeat with the second end crystal on the second obsidian tower. |
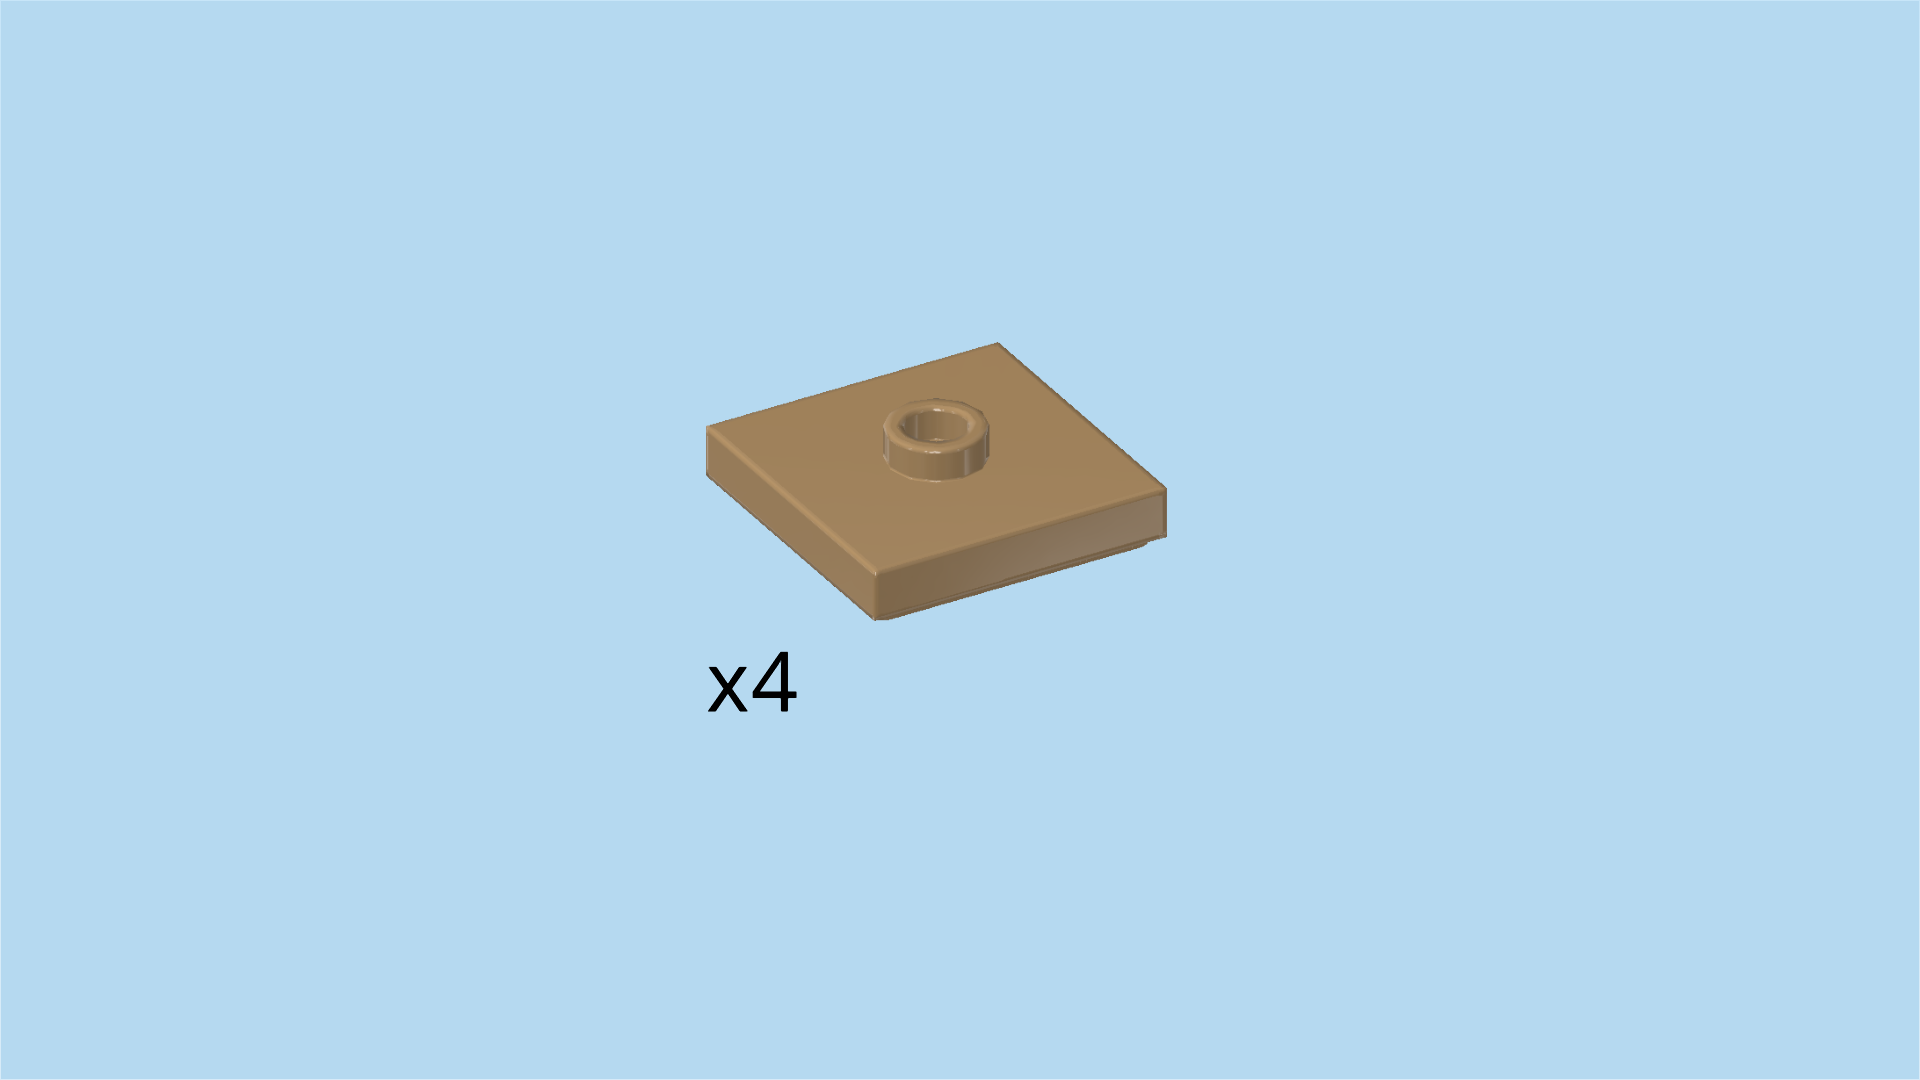
| Find 4 mud grey plates 2x2 with 1 knob. |
| Put 1 on the frontmost leftmost corner of the base plate of the entire structure. |
| Put 1 in front of the obsidian tower on the left, but make sure to leave 2 rows empty between tower and plate. |
| Repeat symmetrically on the right. |
| Put the last one on the 2 frontmost rows of the entire structure, skipping 2 columns from the right. |
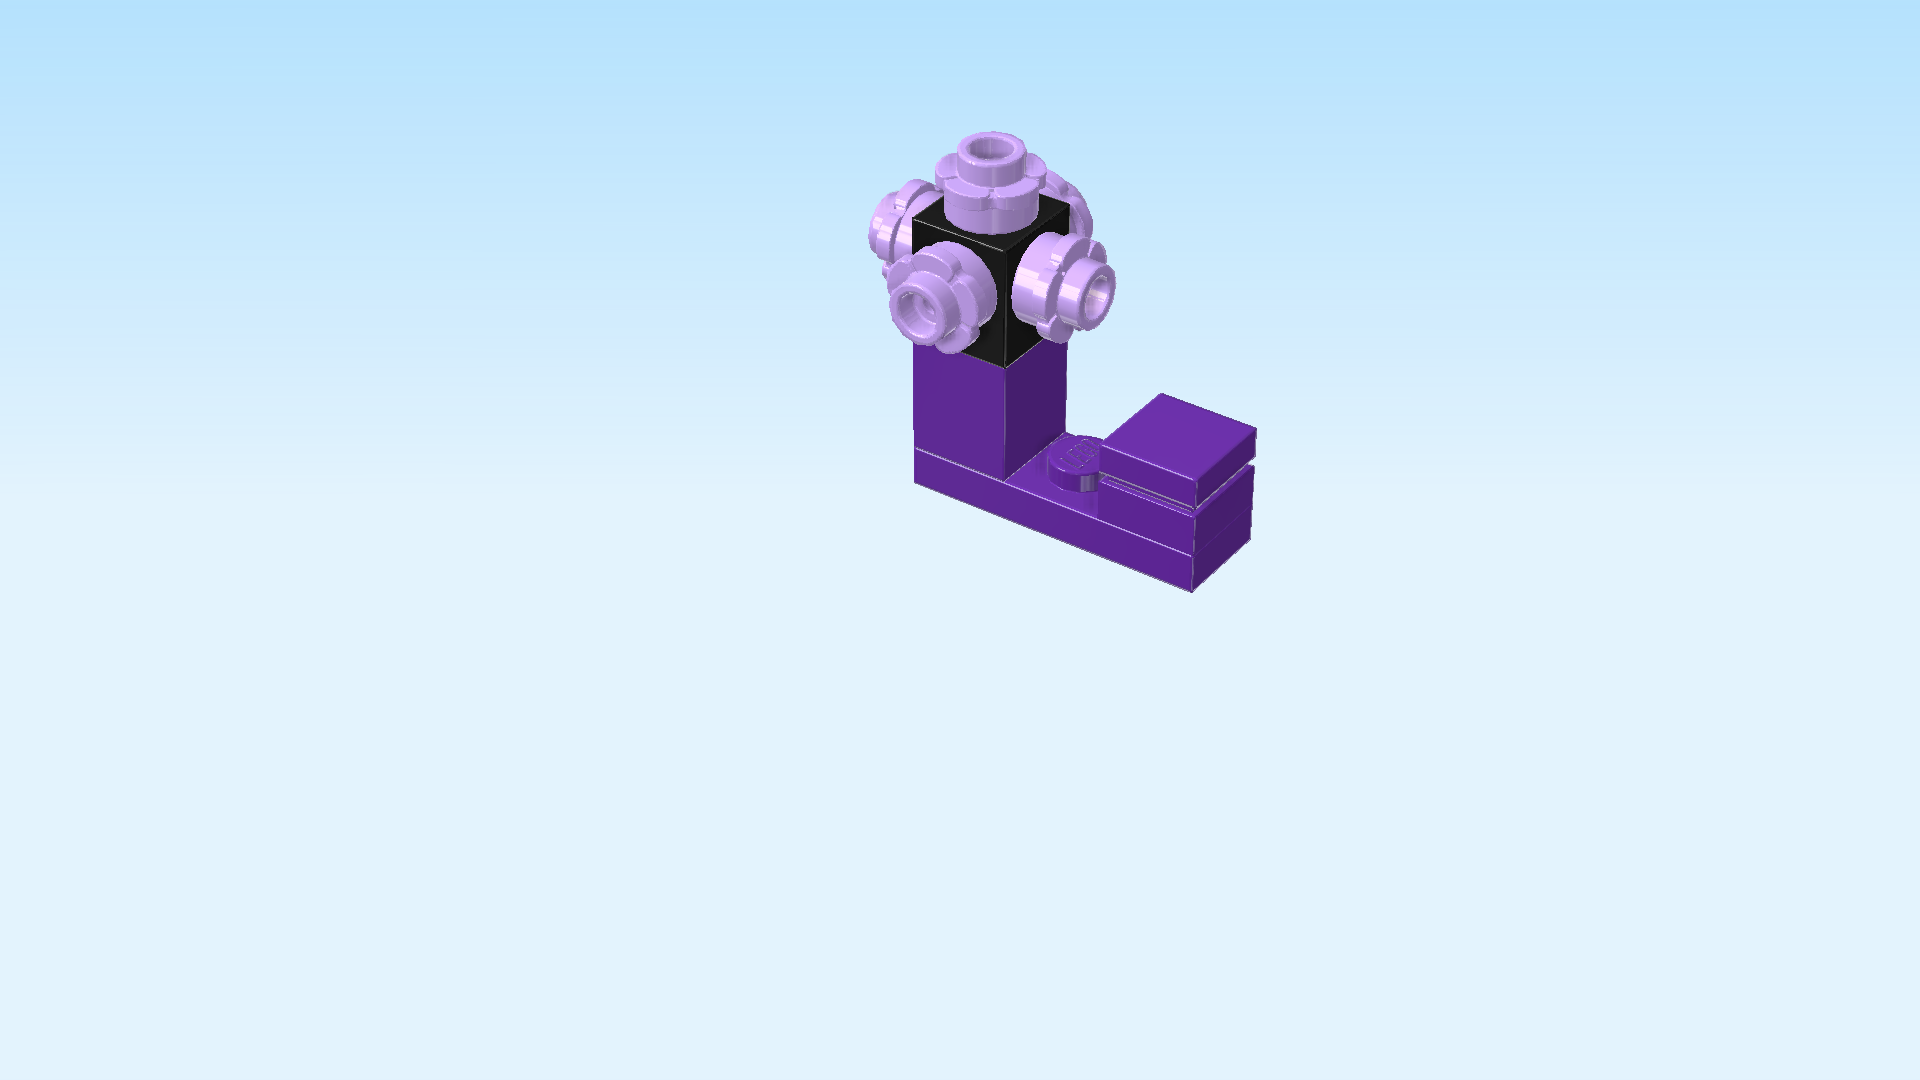
| Now, we will build the choral flower. |
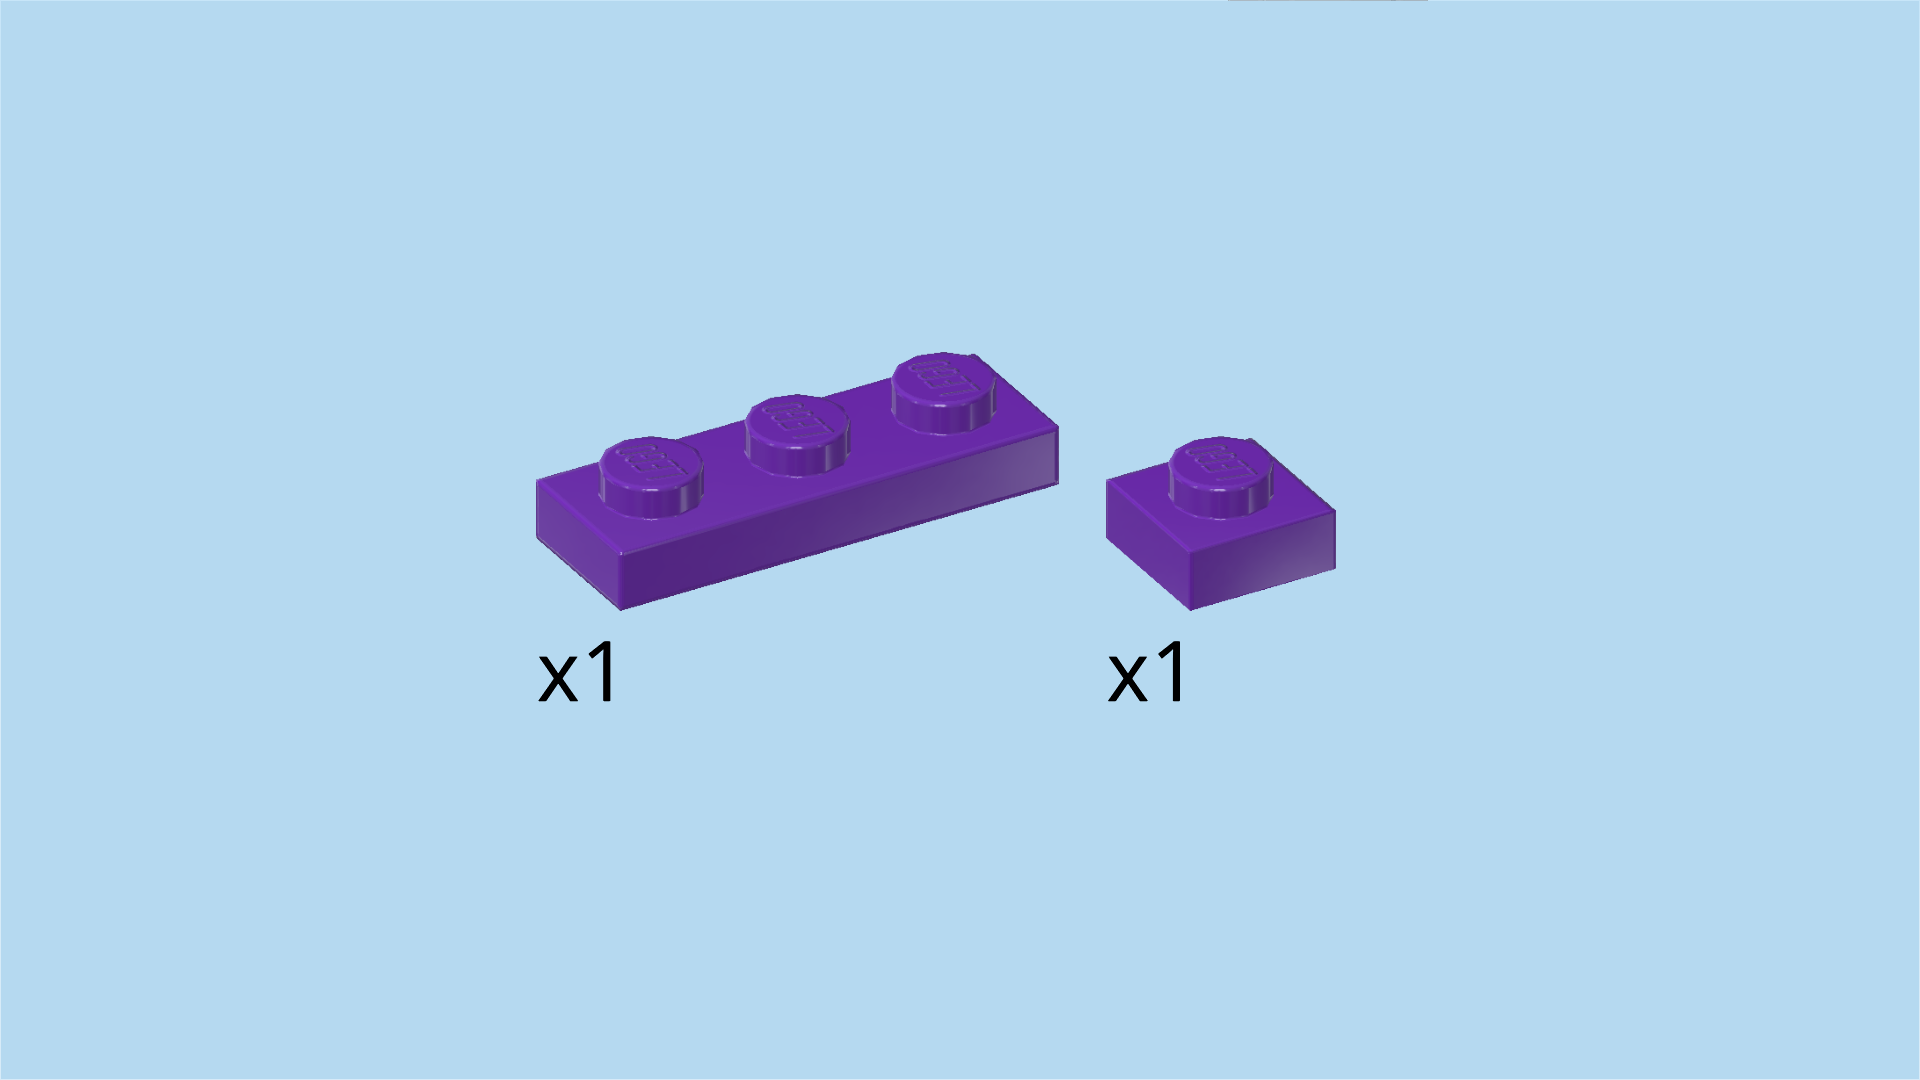
| Collect the following 2 pieces: |
| 1 medium lilac plate 1x1, |
| and 1 medium lilac plate 1x3. |
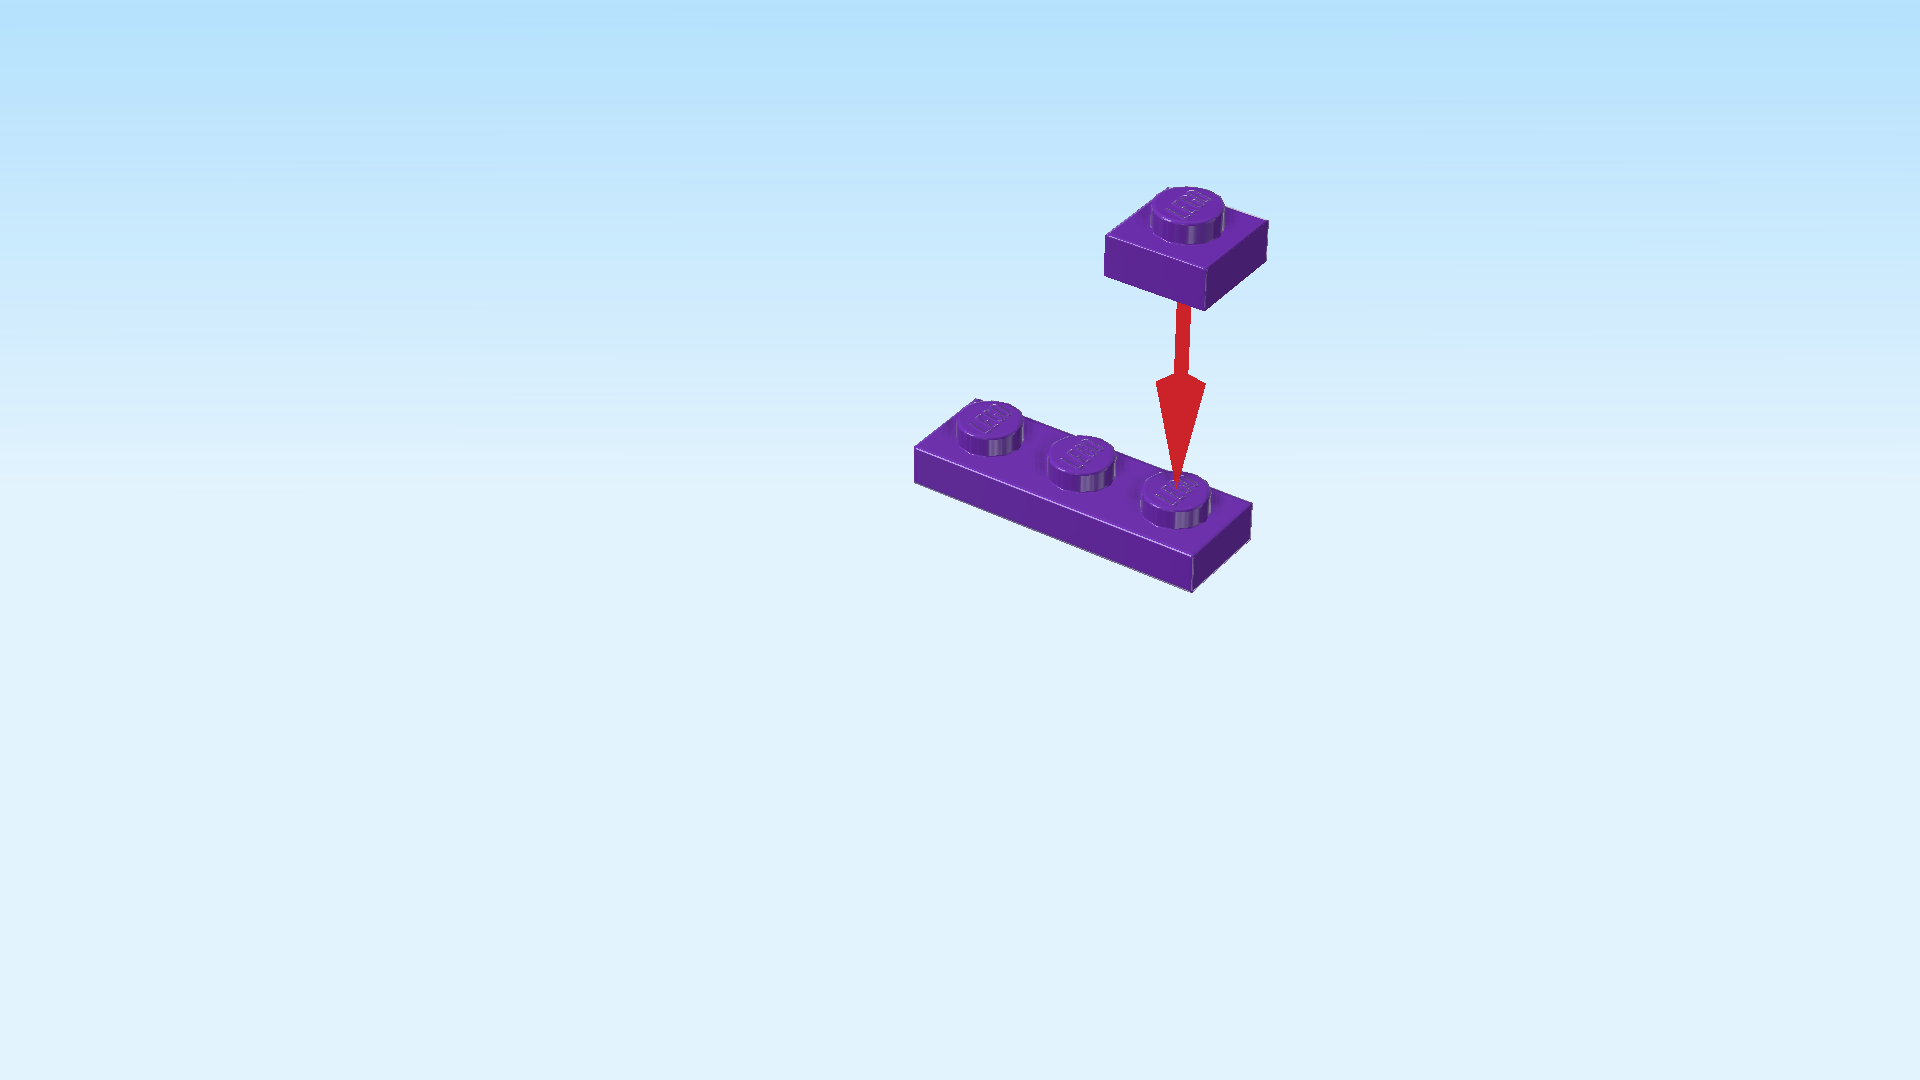
| Put the plate 1x3 horizontally on the table. |
| Put the plate 1x1 on the rightmost knob. |
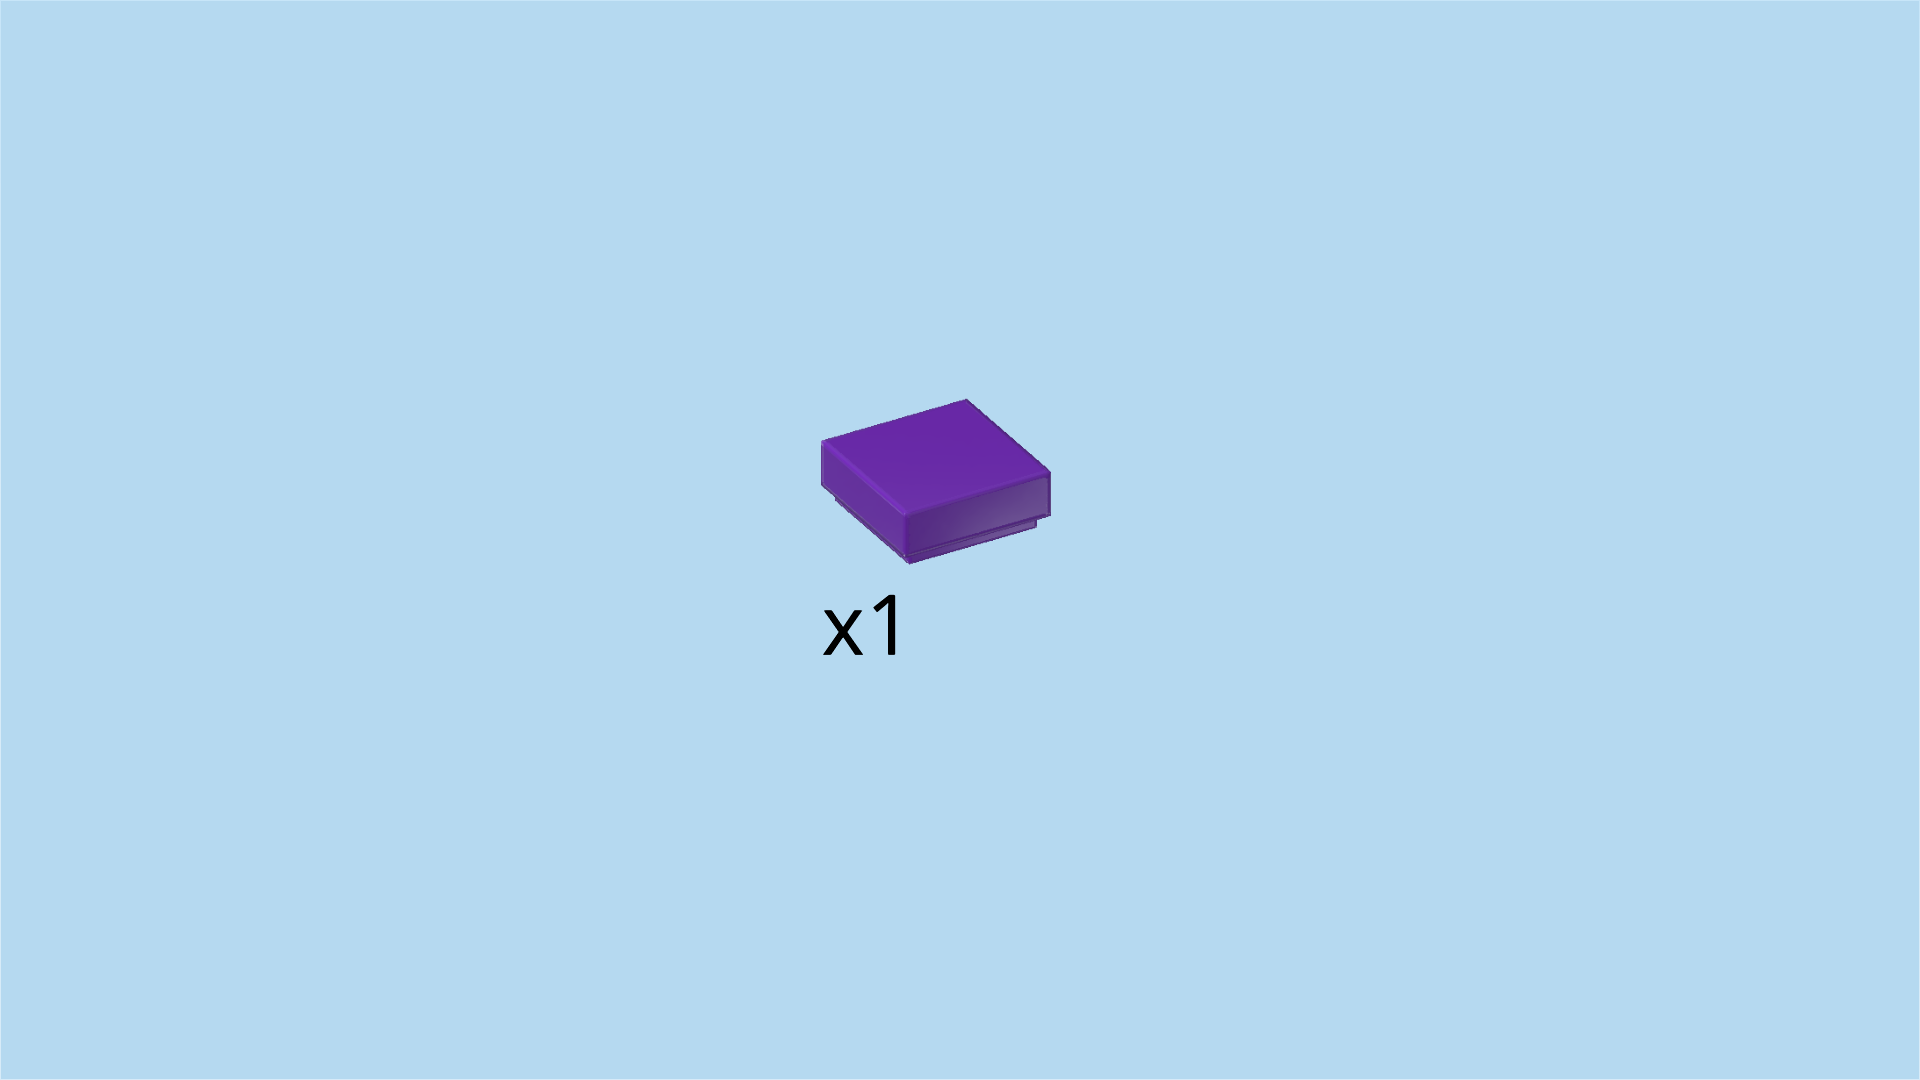
| Find 1 medium lilac flat tile 1x1. |
| Put it on top of the previous piece. |
| Find 1 medium lilac brick 1x1. |
| Put it on the leftmost knob. |
| Find 1 black brick 1x1 with 4 side knobs. |
| Put it on top of the previous piece. |
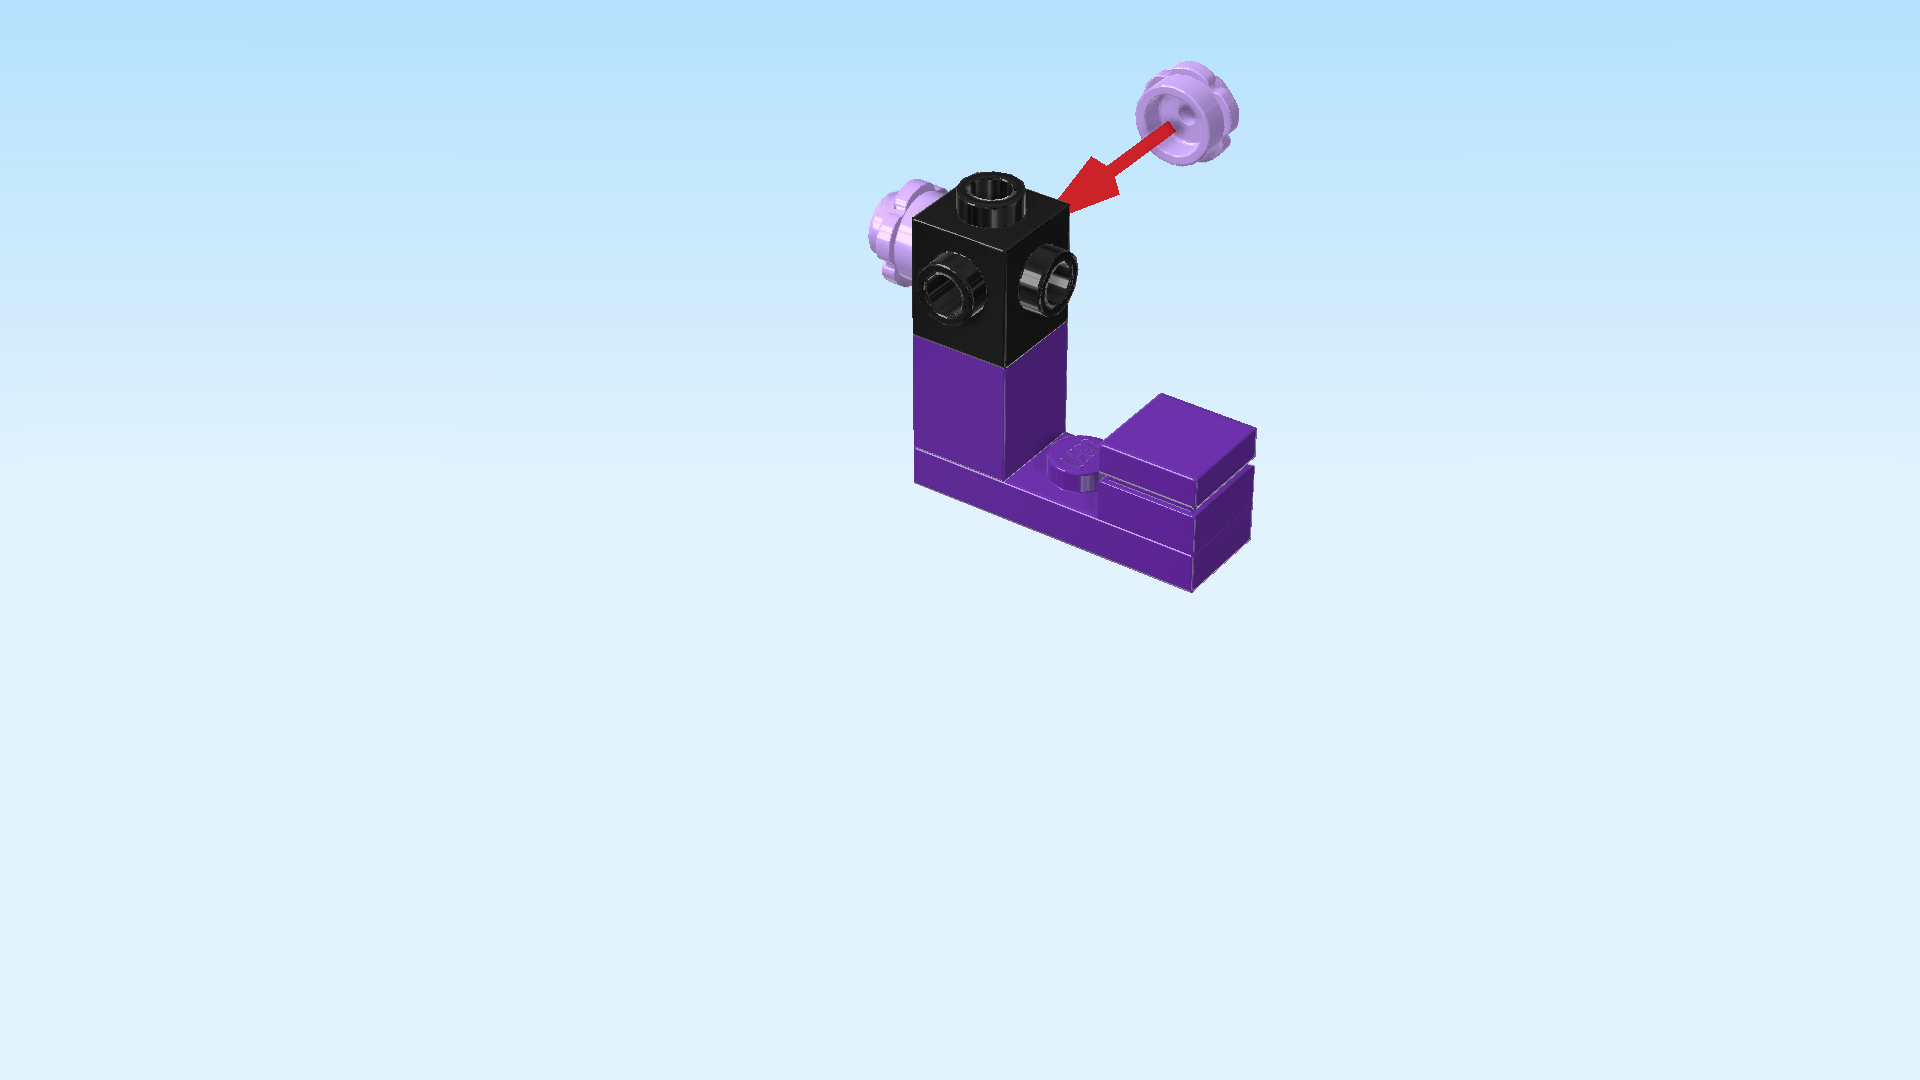
| Find 2 light lavender flower pieces 1x1 with through-hole. |
| Put 1 upright on the previous piece's side knob that is pointing to the left. |
| Put the other one upright on the side knob pointing to the back. |
| Find 3 light lavender flower pieces 1x1 with through-hole. |
| Put 2 on the other 2 side knobs and the last one on the top knob of the same brick. |
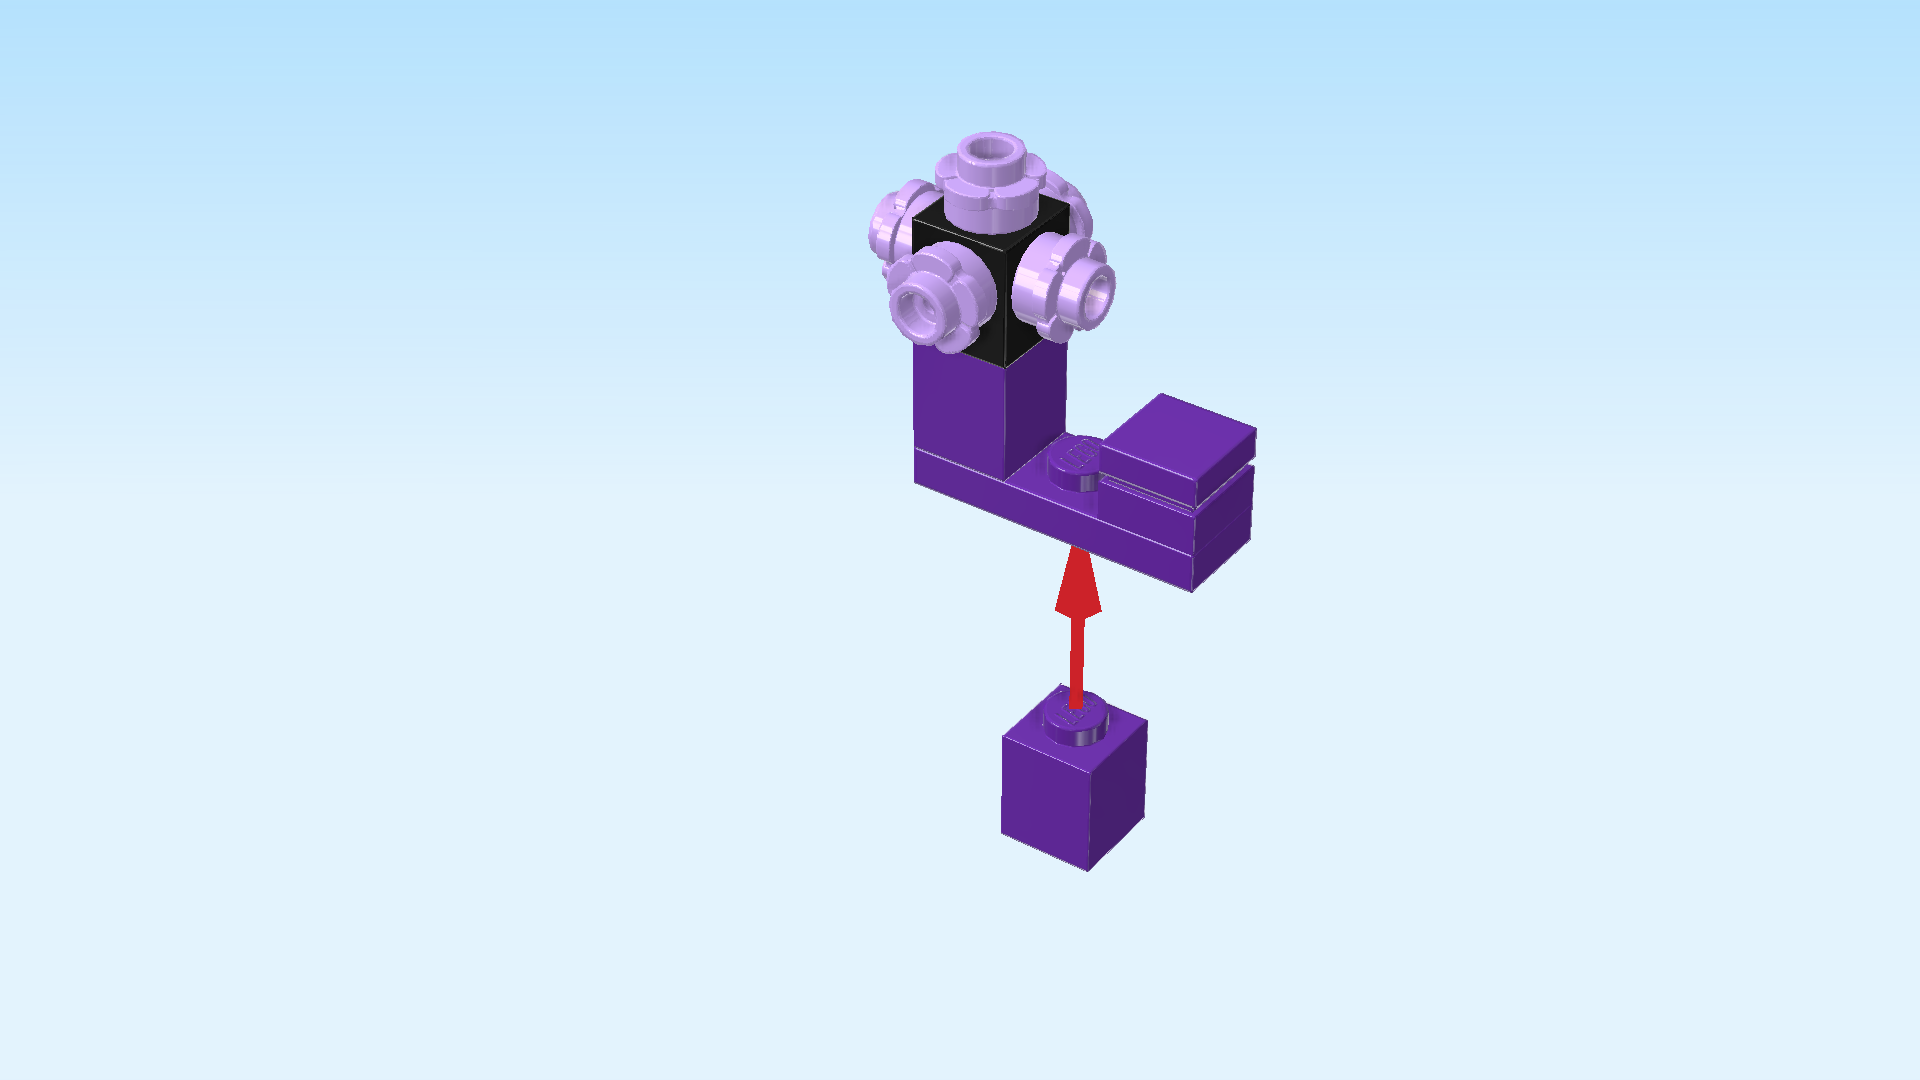
| Find 1 medium lilac brick 1x1. |
| Put it underneath the middle knob of the plate 1x3. |
| The choral flower is finished! Great job! Mount it in its building orientation on the plate 2x2 with 1 knob that is mounted in the frontmost leftmost corner of the structure. |
| Now, we will build the base of the Ender dragon statue. |
| Collect the following 2 pieces: |
| 1 black brick 2x4, |
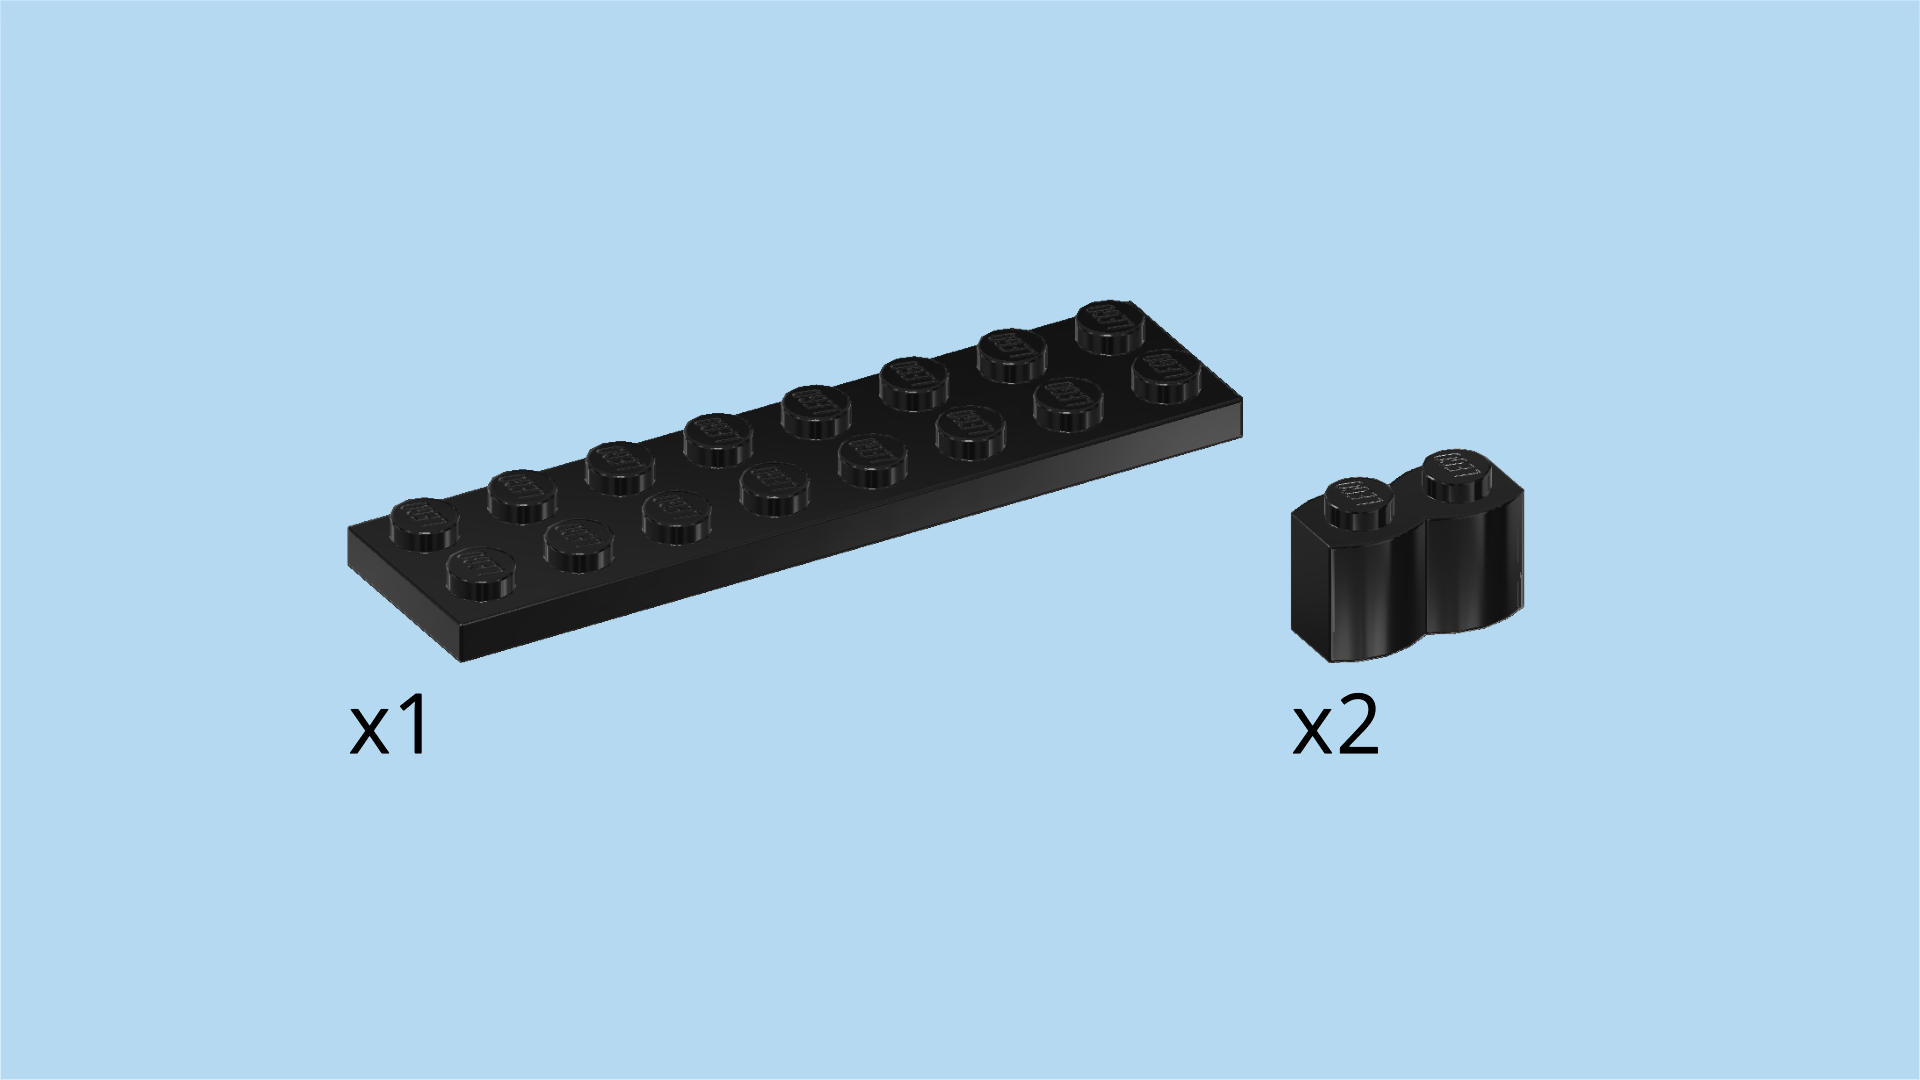
| and 1 black plate 2x8. |
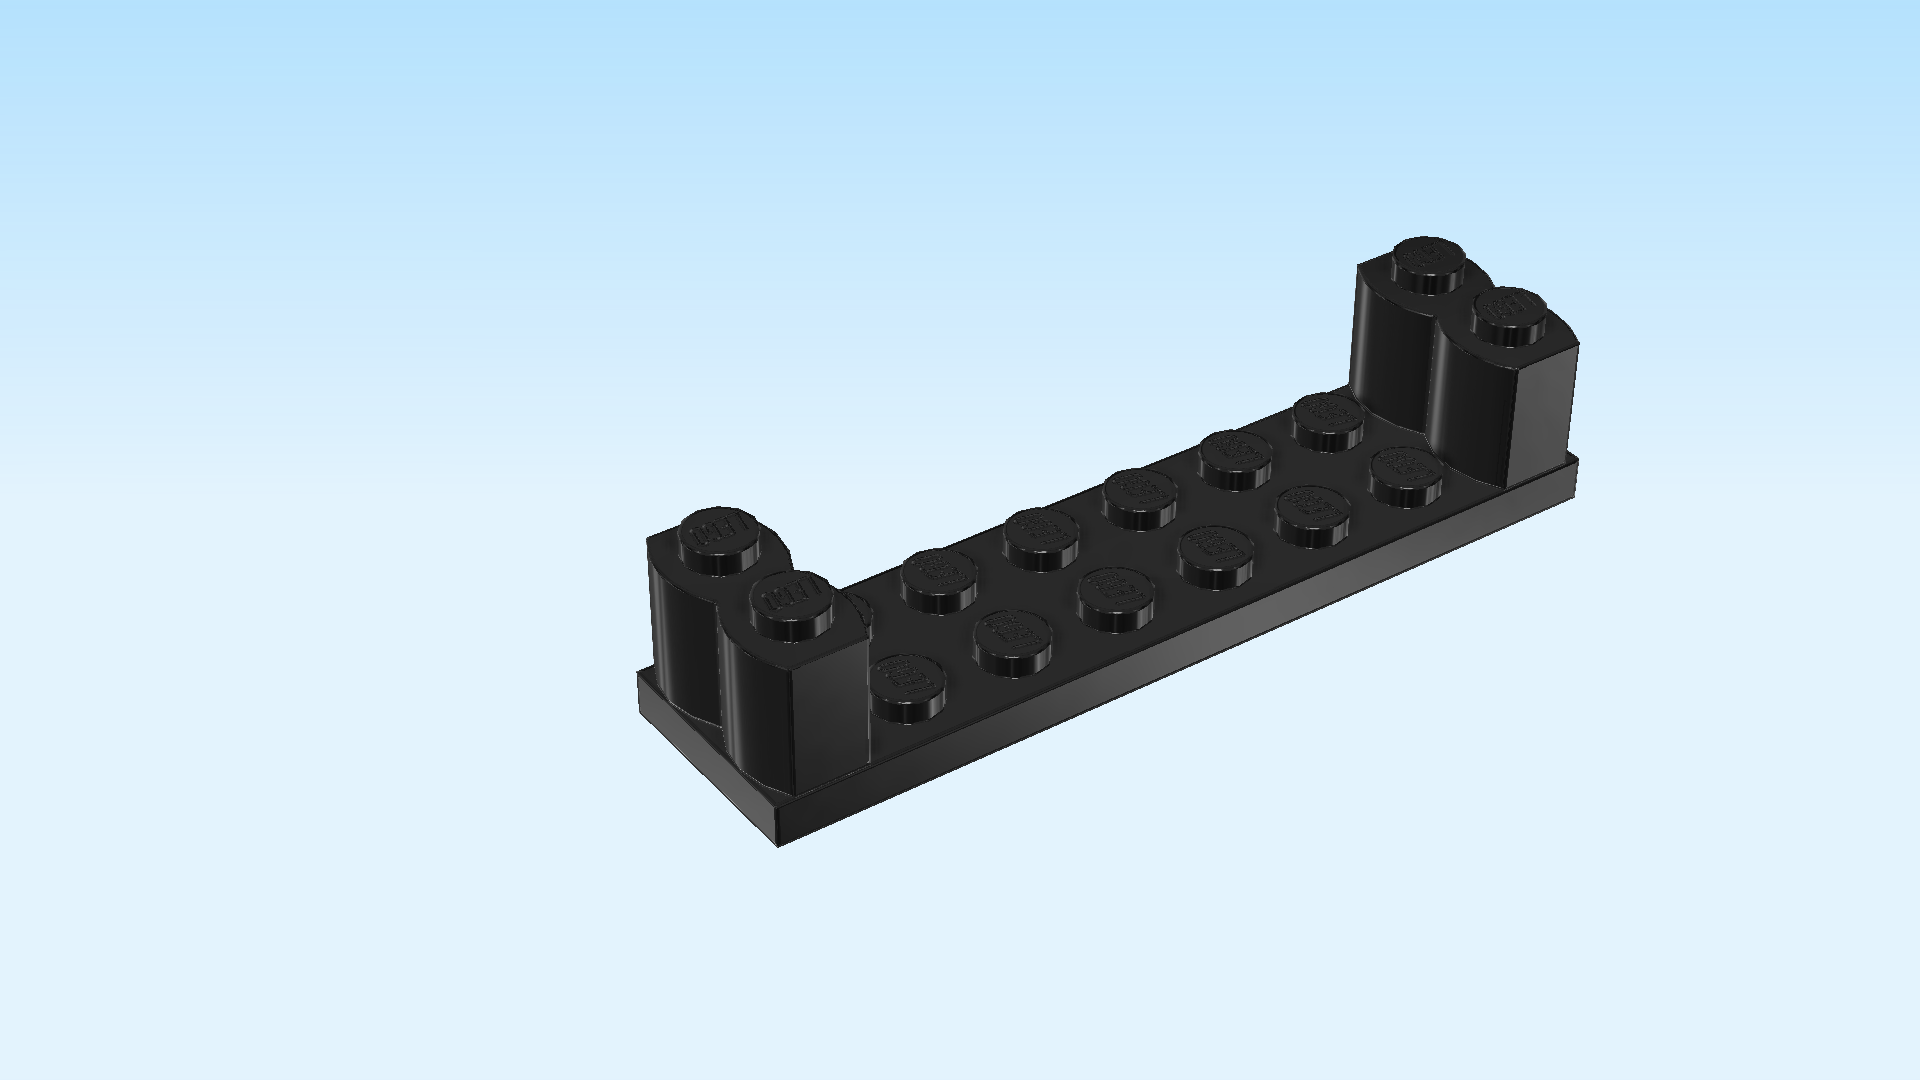
| Put the plate 2x8 vertically on the table. |
| Put the brick 2x4 horizontally on the 4 backmost knobs, 4 knobs overhanging to the right. |
| Find 3 black bricks 2x4. |
| Put 1 horizontally in front of the previous piece, this time 4 knobs overhanging to the left. |
| Put 1 horizontally in front of the previous piece, again 4 knobs overhanging to the left. |
| Put the last one horizontally on the 4 frontmost knobs, 4 knobs overhanging to the right again. |
| Collect the following 3 pieces: |
| 2 dark stone grey plates 1x2, |
| and 1 medium stone grey plate 1x4. |
| First, flip the current structure upside down and turn it horizontally. Make sure the 2 outer protruding bricks are pointing to the back, and the 2 inner protruding bricks are pointing to the front. |
| Put the plate 1x4 horizontally centered on the second row from the front. This means it will sit directly in front of the plate 2x8. |
| Put 1 plate 1x2 horizontally on the left brick pointing to the back on its second row from the back. |
| Repeat symmetrically on the right. |
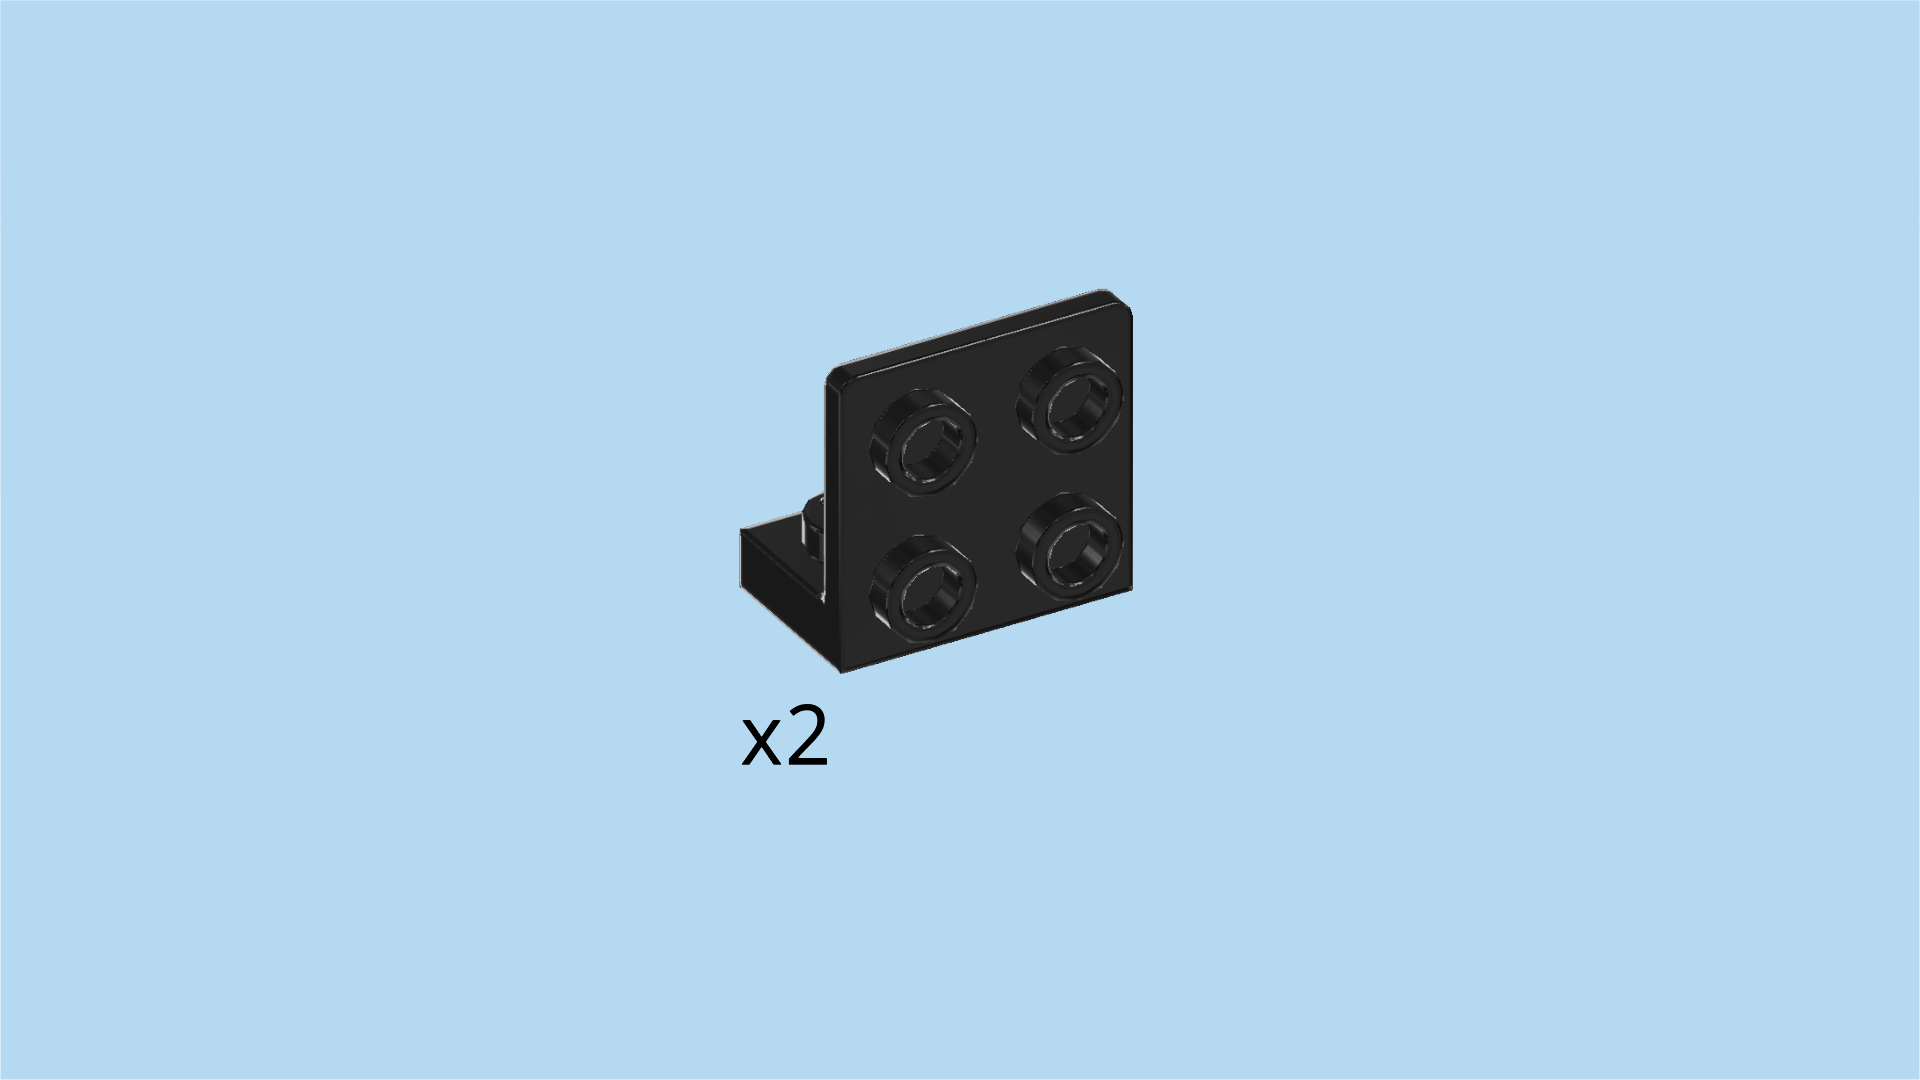
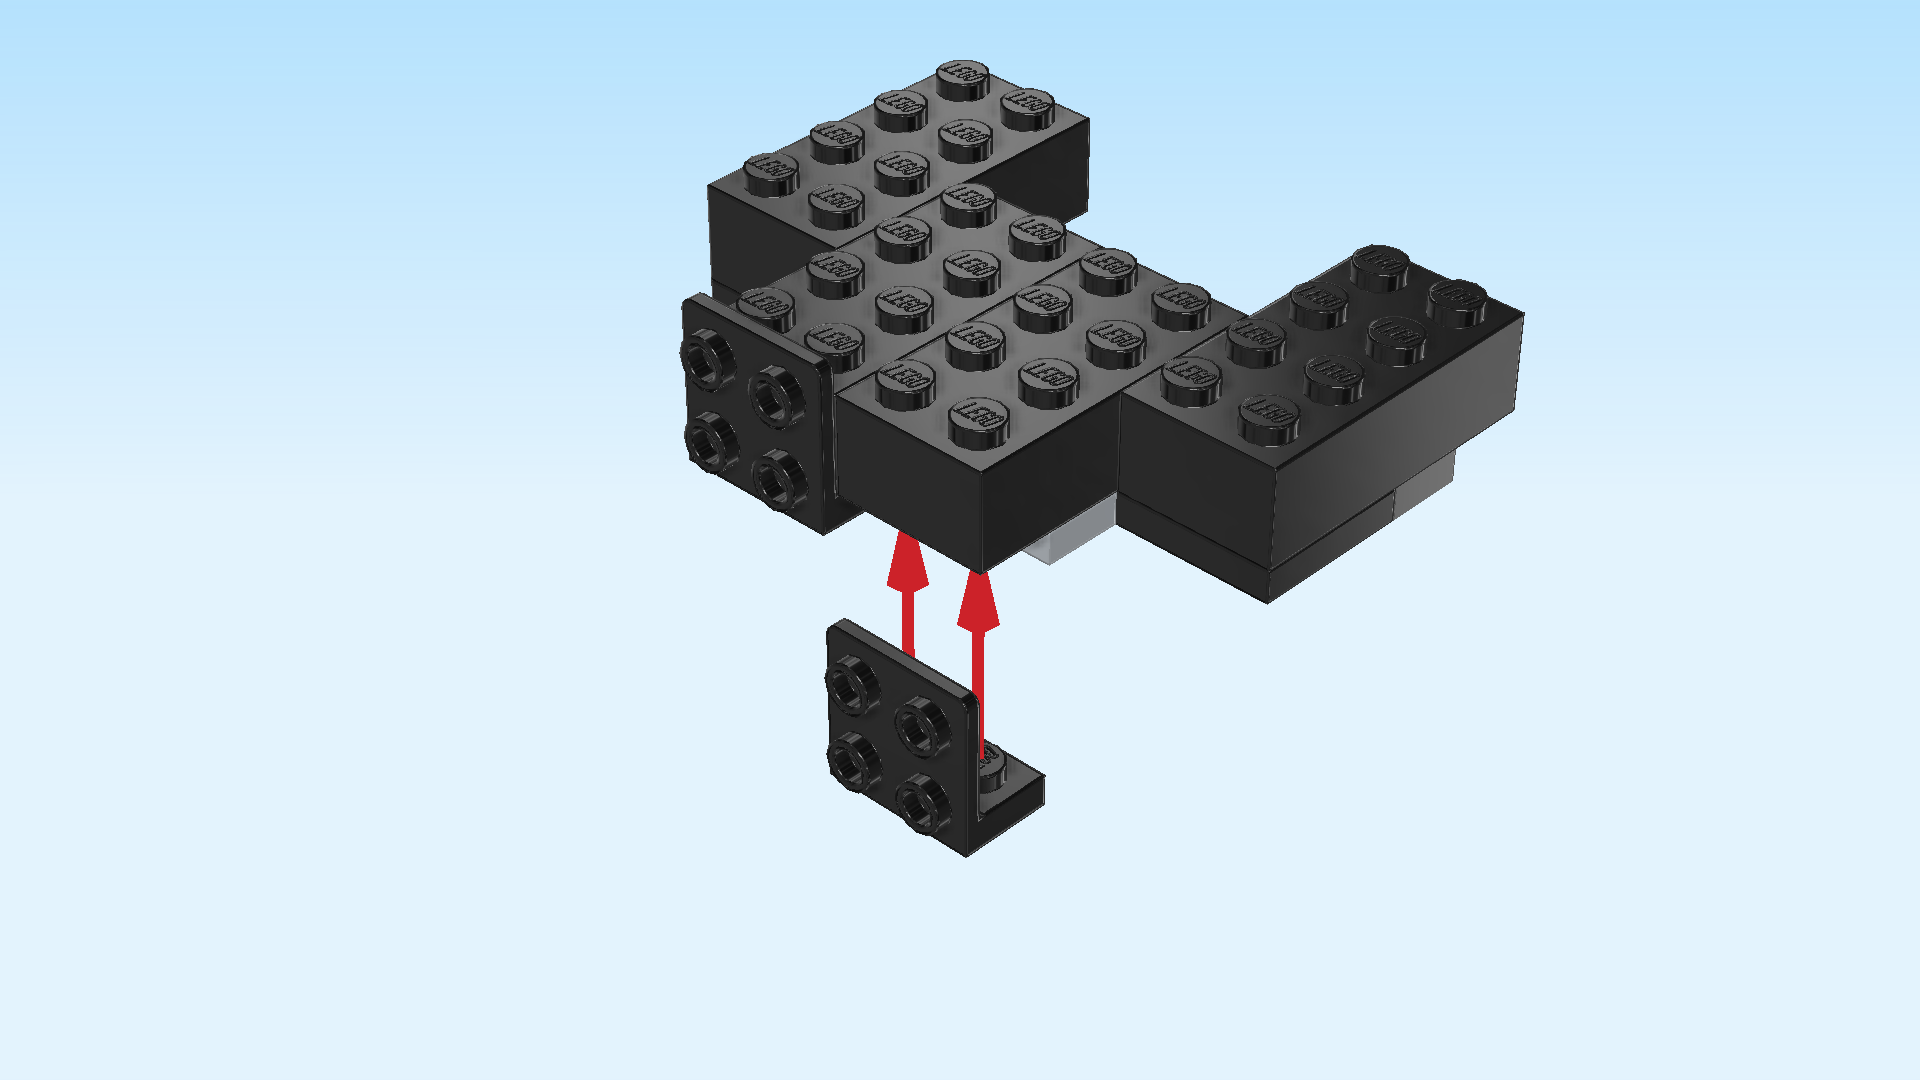
| Find 2 black bottom angle plates 1x2 - 2x2 with 4 side knobs. |
| Flip the current structure right side up again. Make sure the 2 outer protrusions are still pointing to the back. |
| Put 1 angle plate underneath the left half of the frontmost row, 4 side knobs pointing to the front. |
| Put the other one underneath the right half of the frontmost row, 4 side knobs again to the front. |
| Collect the following 3 pieces: |
| 2 black flat tiles 2x4, |
| and 1 black plate 2x4. |
| Put the plate 2x4 horizontally on the 2 frontmost rows. This means it will sit directly behind the top edges of the 2 previous pieces. |
| Put 1 flat tile 2x4 horizontally on the 2 rows behind the previous piece, starting from the left edge. |
| Put the other flat tile 2x4 horizontally to the right of the previous piece. |
| Collect the following 3 pieces: |
| 1 medium stone grey plate 1x4, |
| and 2 black bottom angle plates 1x2 - 1x2 with 2 side knobs. |
| Put 1 angle plate horizontally on the right half of the frontmost row, 2 side knobs pointing to the front. |
| Put the other angle plate horizontally to the left of the previous piece, 2 side knobs to the front. If done correctly, the side knob surface is now a 2x3 rectangle. |
| Put the plate 1x4 horizontally behind the 2 previous pieces. |
| Find 1 black flat tile 2x4. |
| Put it horizontally on the 3 previous pieces, covering the 2 frontmost rows. |
| Now, let's make 2 sub-parts of the statue base. |
| Collect the following 4 pieces: |
| 2 black plates 2x2, |
| and 2 black flat tiles 1x2. |
| Put the 2 plates 2x2 next to each other on the table. |
| Put 1 flat tile 1x2 horizontally on the back row of a plate 2x2. |
| Repeat with the two remaining pieces. |
| The 2 sub-parts of the statue base are finished! Turn 1 so that the flat tile 1x2 is at the front. Mount it on the 4 backmost knobs on the right edge. |
| Repeat symmetrically on the left. |
| Next, we will make another 2 sub-parts of the statue base. |
| Collect the following 4 pieces: |
| 2 black angled flat tiles 2x2 with middle plate 1x2, |
| and 2 dark stone grey plates 1x2. |
| Put the angled flat tile on the table, middle plate upright horizontally, 2 knobs pointing to the front. |
| Put 1 plate 1x2 upright horizontally on the 2 side knobs pointing to the front. |
| Repeat with the 2 remaining pieces. |
| Find 2 black flat tiles 1x2. |
| Put 1 upright horizontally on the 2 side knobs pointing to the front of 1 sub-part. |
| Repeat with the other sub-part. |
| The 2 sub-parts of the statue base are finished! Turn 1 so that the 2x2 base is to the back, and the 1x2 connection surface is to the bottom. |
| Mount the 1x2 connection surface on the backmost row at the right edge. |
| Repeat symmetrically on the left. |
| Find 2 black angled flat tiles 2x2 with middle plate 1x2. |
| First, flip the statue base upright so that the 3x4 surface of side knobs is pointing to the top, and its smooth surfaces are pointing to the back. |
| Put 1 angled flat tile on the table, side knobs 1x2 pointing to the back. |
| Mount the side knobs horizontally on the 2 connection points at the bottom of the statue base on the left edge. |
| Repeat symmetrically on the right. |
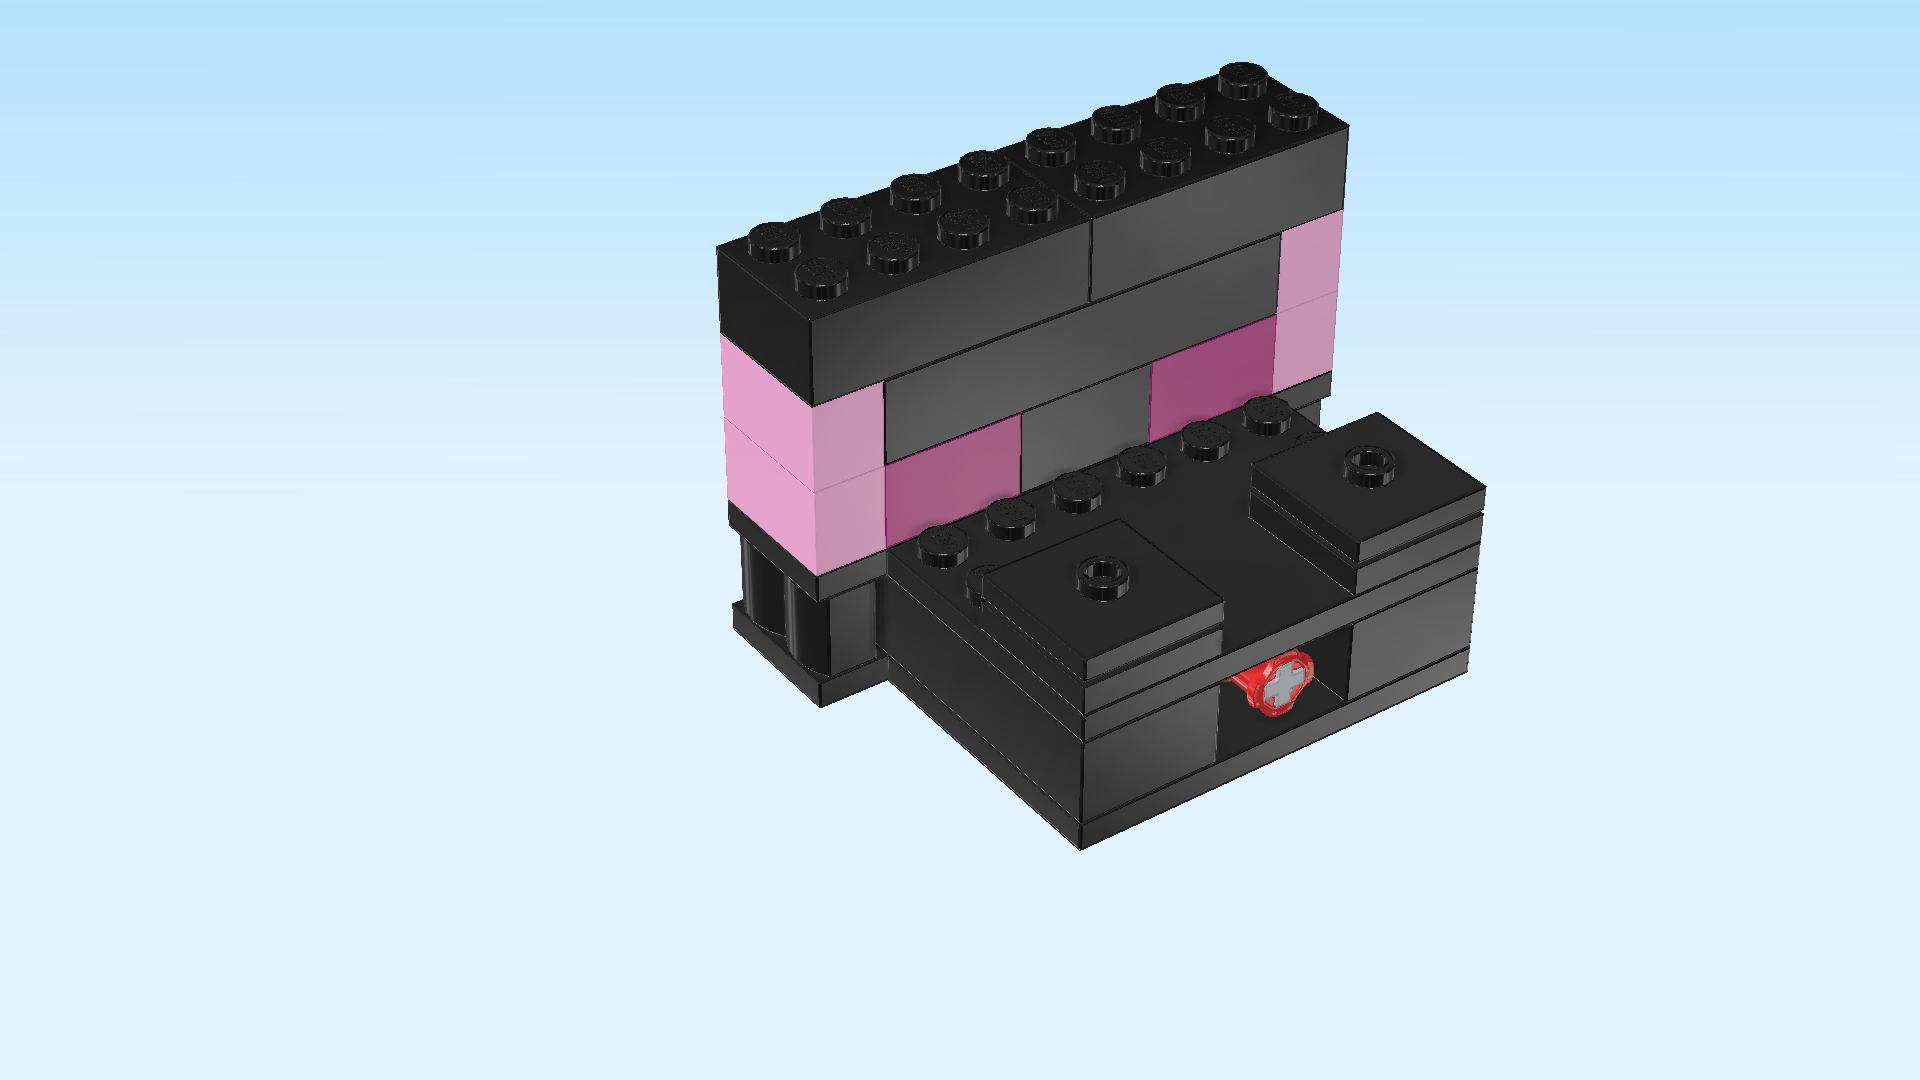
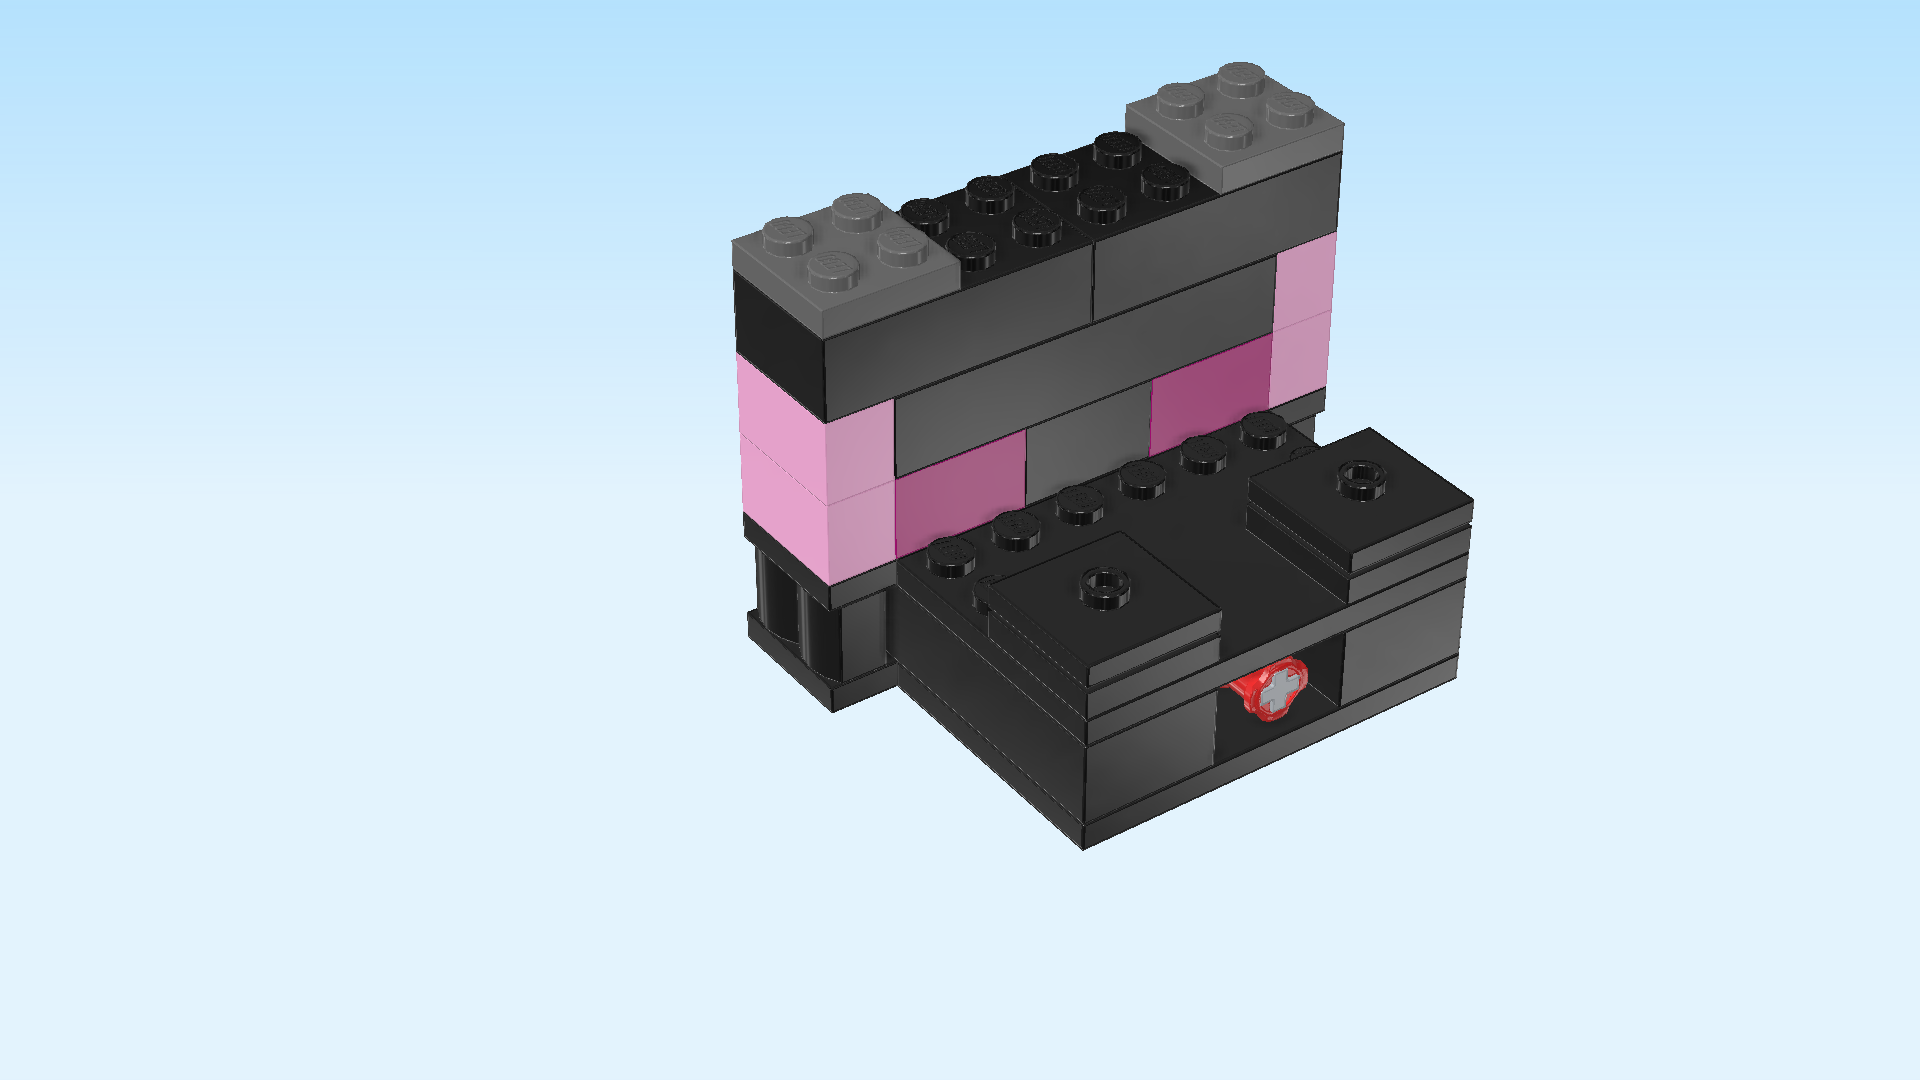
| The base of the Ender dragon statue is finished! Well done! Leave it in its building orientation, and turn the main structure from left to right once again. Now, the choral flower should be in the back right corner. |
| Mount the statue base on the frontmost edge in the middle. The 2 feet at its bottom perfectly match the 2 vertical structures at the center front edge. Make sure that the frontmost edges of the statue base and the structure beneath them are flush. |
| Next up, we will build the head of the Ender dragon statue with spit-out mechanism. |
| Collect the following 3 pieces: |
| 2 black palisade bricks 1x2, |
| and 1 black plate 2x8. |
| Put the plate 2x8 horizontally on the table. |
| Put 1 palisade brick 1x2 vertically on the leftmost column. |
| Repeat symmetrically on the right. |
| Find 2 dark stone grey bricks 1x2 with technic hole. |
| Put 1 horizontally centered on the front row. |
| Put the other one horizontally behind the previous piece. |
| Find 1 black brick 2x6. |
| Put it vertically to the right of the 2 previous pieces, 4 rows overhanging to the front. |
| Find 1 black plate 4x6 with 12 knobs on 3 edges. |
| Turn it so that the edge without knobs is to the front. |
| Mount it underneath the previous piece, making sure their right edges are flush, 2/3 of the plate protruding to the left. |
| Find 1 bright red flat tile 1x2. |
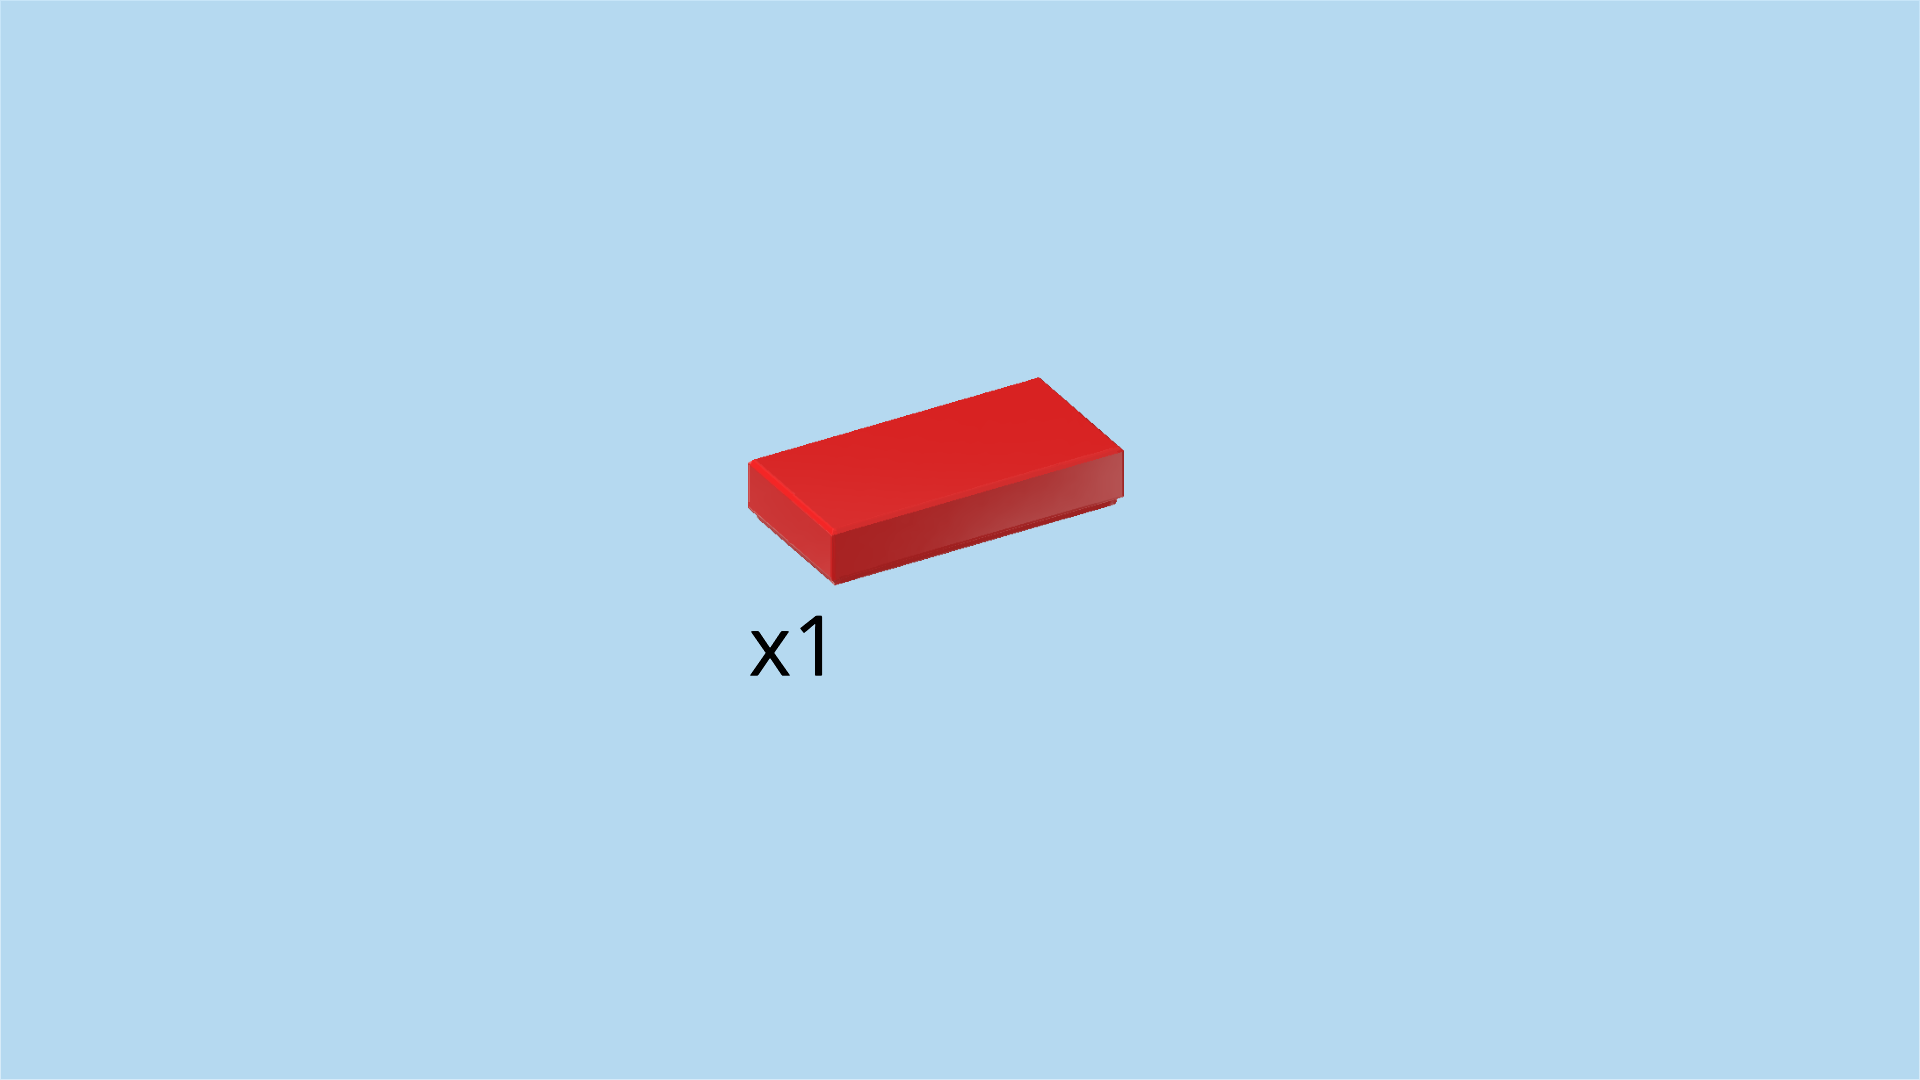
| Put it horizontally in front of the 2 bricks 1x2 with technic hole. |
| Collect the following 2 pieces: |
| 1 bright red cross bushing 1m, |
| and 1 medium stone grey cross axle 7m. |
| Hold the cross axle horizontally, and put the cross bushing on the left end of the cross axle. Only push it so far that their left edges are flush. |
| Insert the empty end of the cross axle into the 2 bricks 1x2 with technic hole coming from the back. |
| Push the cross axle all the way to the front until only the part with the cross bushing is sticking out towards the back. |
| Find 1 bright red cross bushing 1m. |
| Put it on the front end of the cross axle. |
| Find 1 black brick 2x6. |
| Put it vertically to the left of the cross axle. Make sure its back and front edges are flush with the base plates. |
| Collect the following 2 pieces: |
| 1 black plate 2x8, |
| and 1 black plate 4x6 with 12 knobs on 3 edges. |
| Put the plate 2x8 horizontally on the 2 backmost rows. |
| Put the plate 4x6 horizontally centered in front of the previous piece, edge without knobs to the front. |
| Collect the following 4 pieces: |
| 2 black plates 2x2, |
| and 2 black plates 2x2 with 1 knob. |
| Put the plates 2x2 next to each other on the table. |
| Put the plates with 1 knob on top of the 2 previous pieces. |
| Mount 1 stack on the frontmost leftmost corner of the head build, and the other stack on the frontmost rightmost corner. |
| Collect the following 7 pieces: |
| 2 light purple bricks 1x2, |
| 4 purple violet bricks 1x2, |
| and 1 black brick 2x2. |
| Put 1 light purple brick 1x2 vertically on the leftmost edge of the 2 backmost rows. |
| Put 1 purple violet brick 1x2 horizontally to its right on the back row. |
| Put 1 purple violet brick 1x2 horizontally in front of the previous piece. |
| Put the brick 2x2 to the right of the previous piece. |
| Put 1 purple violet brick 1x2 horizontally to the right of the previous piece on the backmost row. |
| Put the purple violet brick 1x2 horizontally in front of the previous piece. |
| Put the remaining light purple brick 1x2 vertically on the rightmost column. |
| Collect the following 3 pieces: |
| 2 light purple bricks 1x2, |
| and 1 black brick 2x6. |
| Put 1 brick 1x2 vertically on the previous piece. |
| Put the brick 2x6 horizontally to the left of the previous piece. |
| Put the other brick 1x2 vertically to the left of the previous piece. |
| Find 2 black bricks 2x4. |
| Put them horizontally next to each other on the 2 backmost rows, covering the 3 pieces from the previous step. |
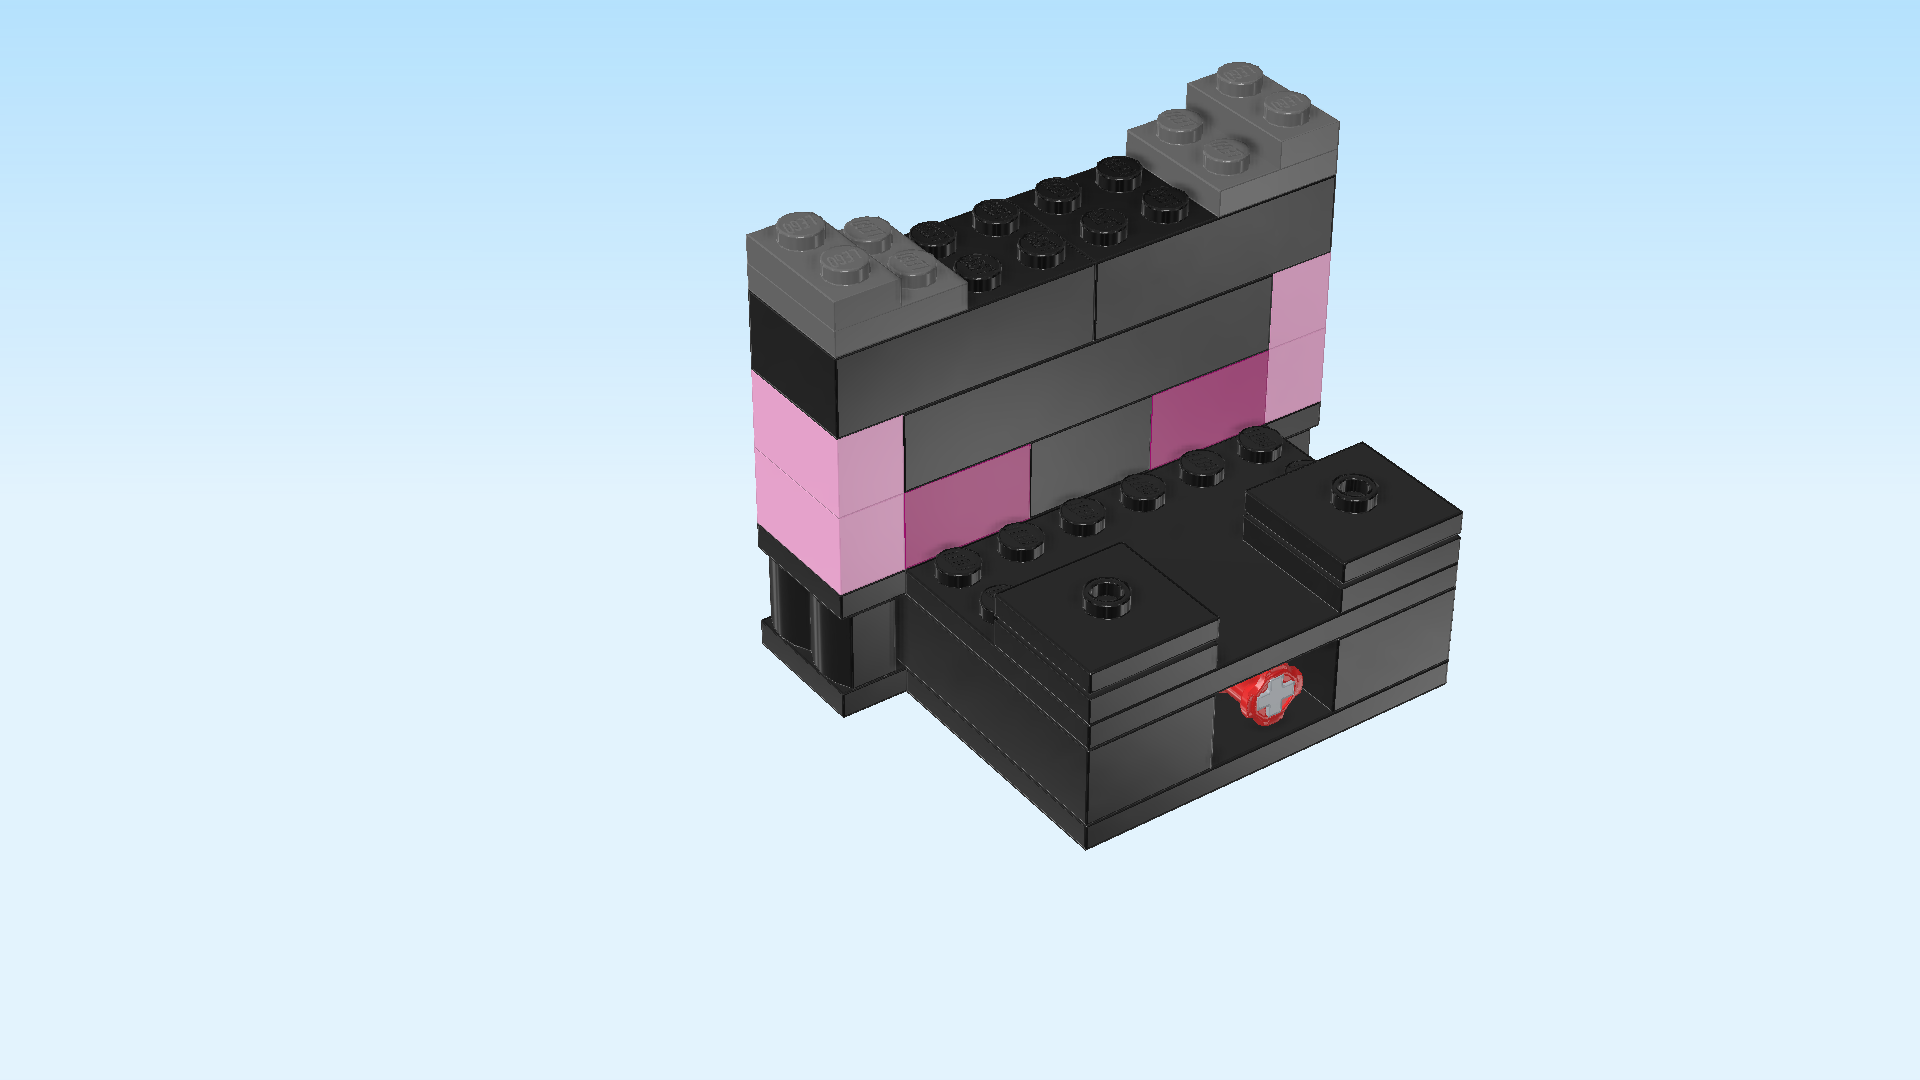
| The violet and purple bricks we have mounted in the previous step represent the eyes of the Ender dragon! |
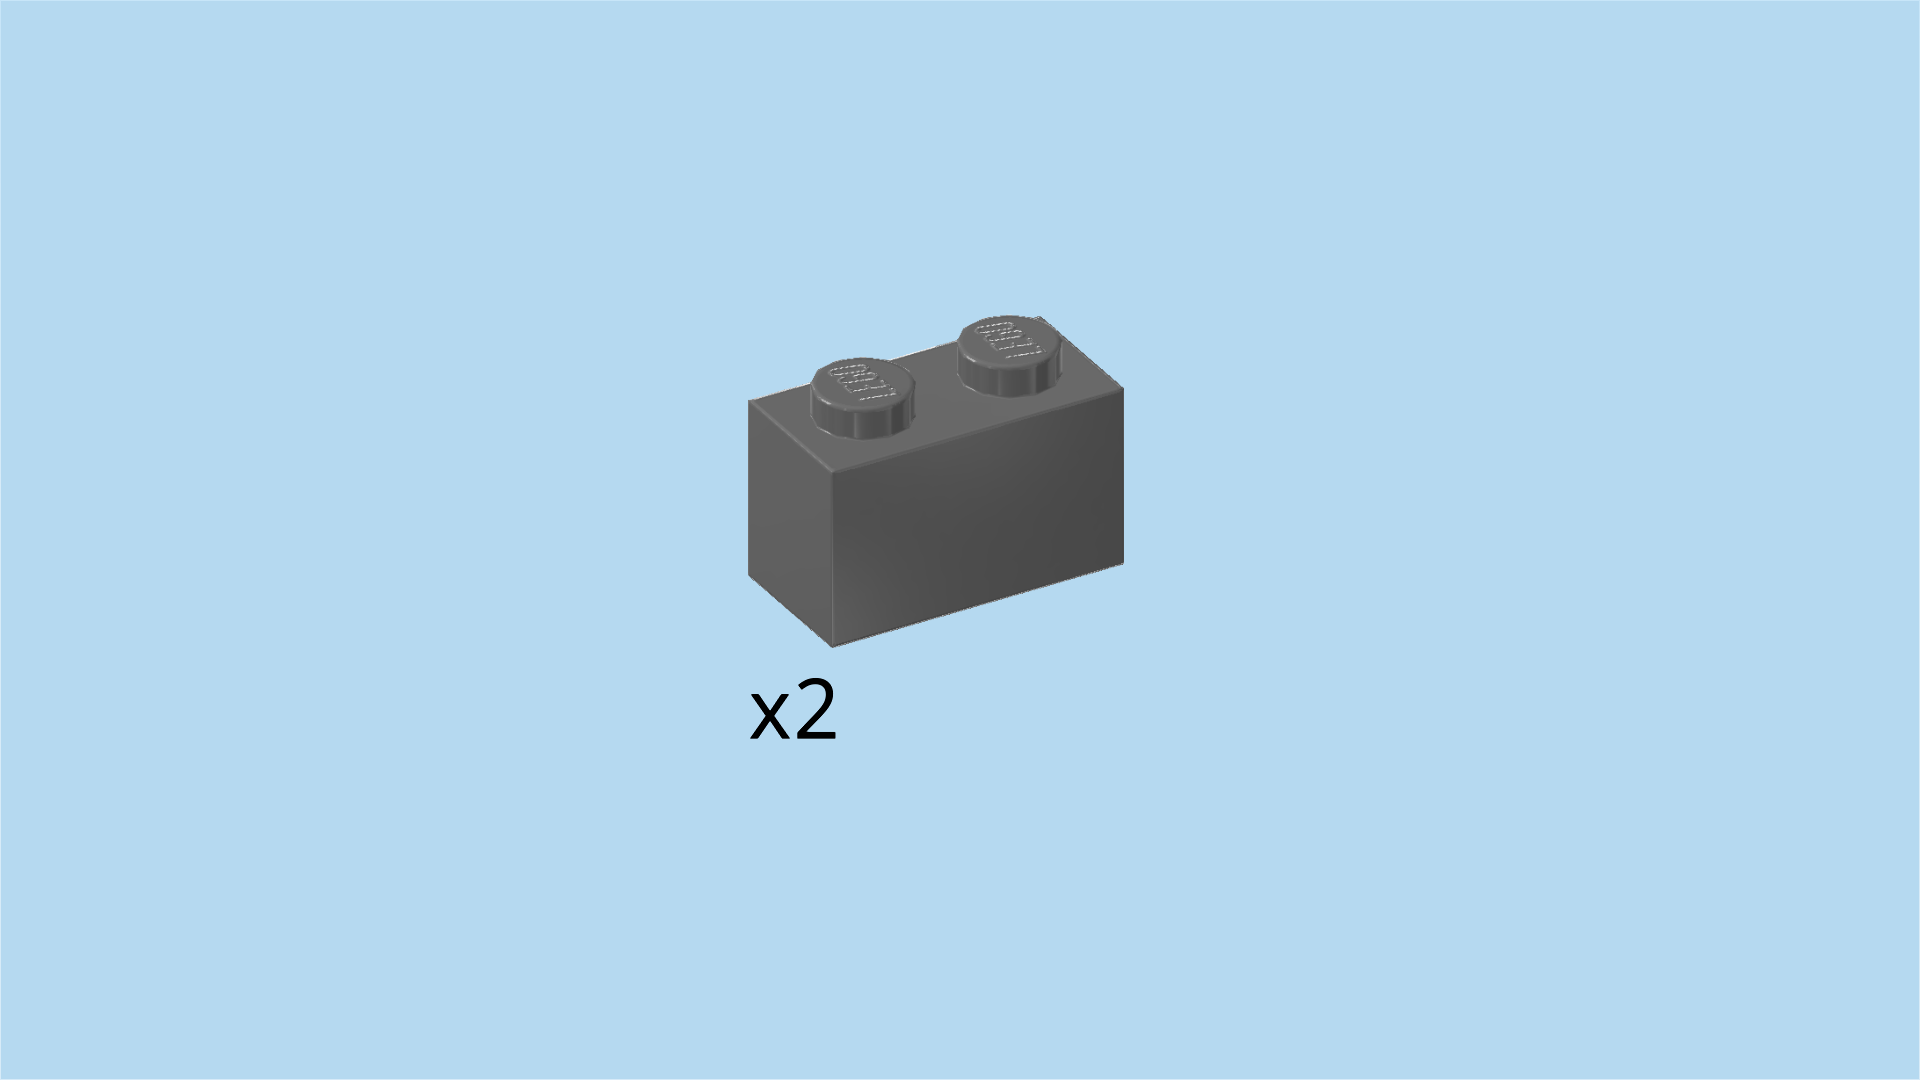
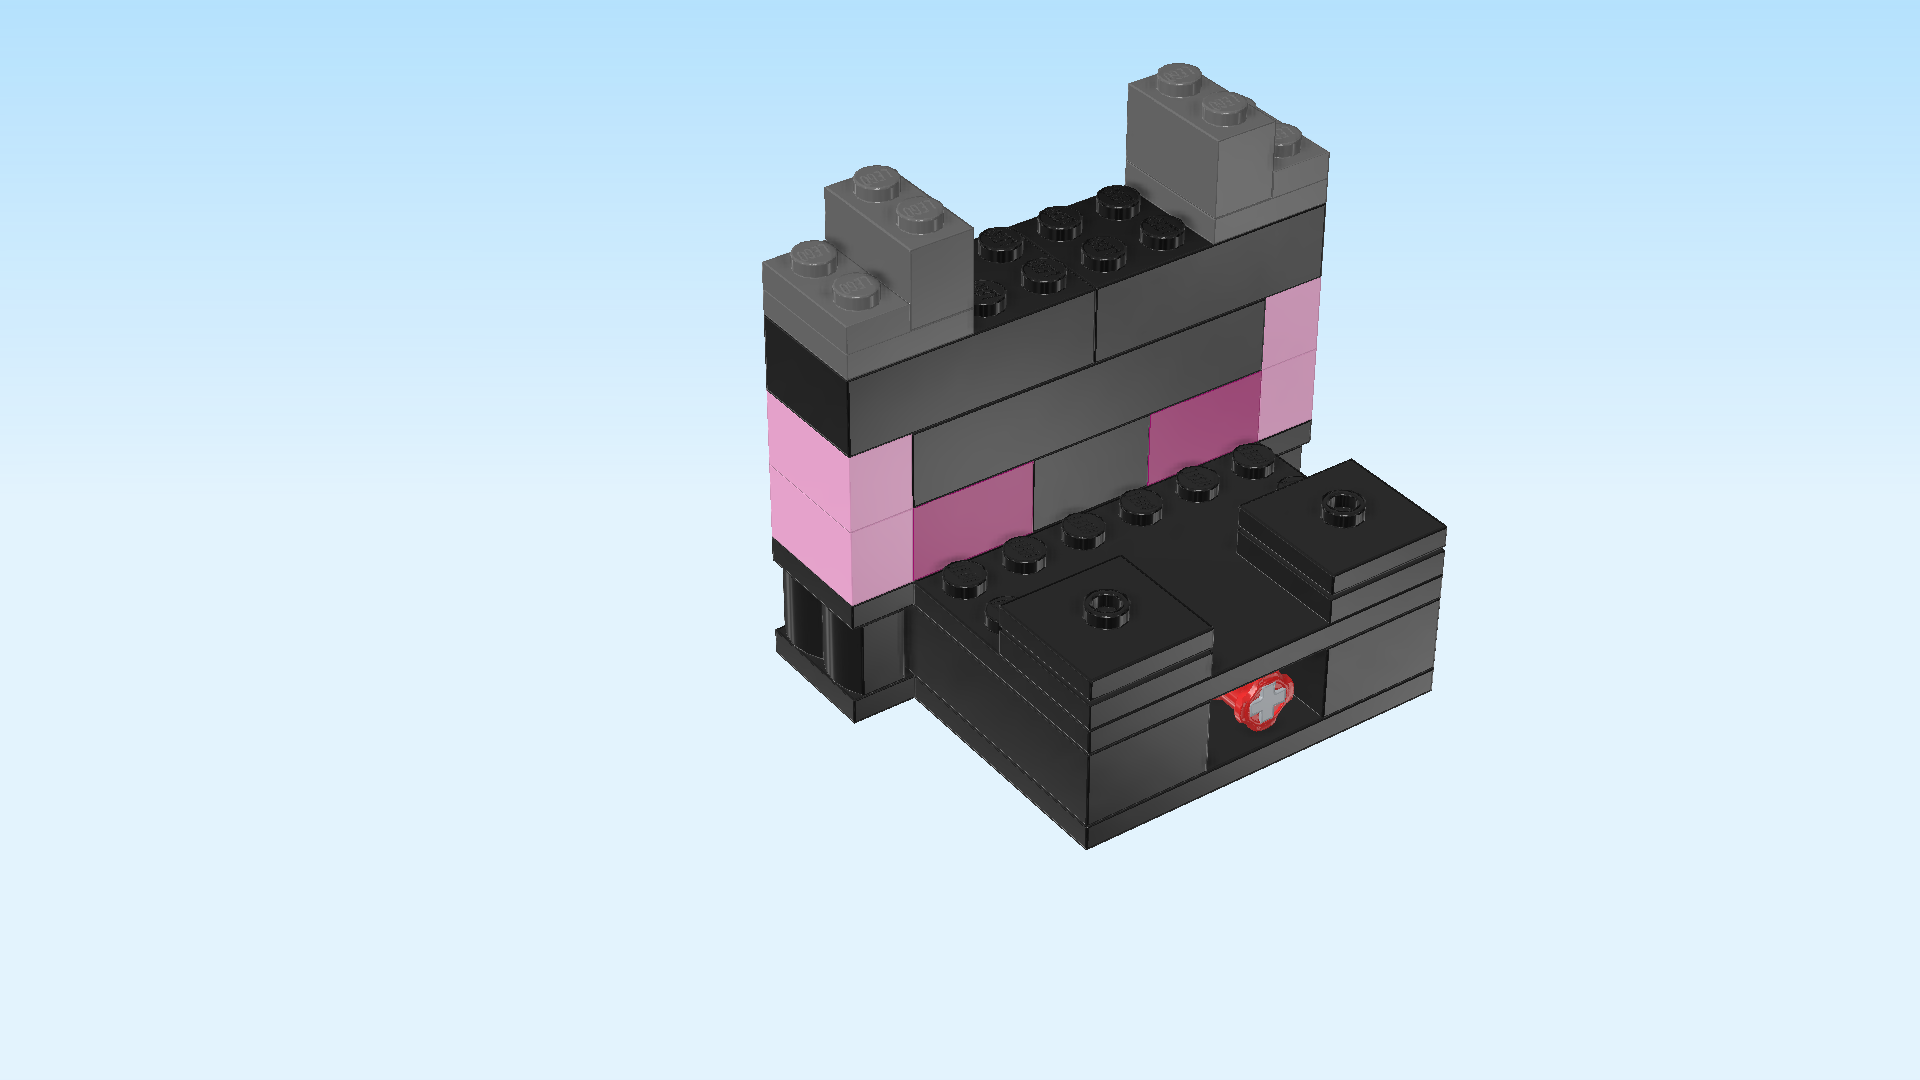
| Find 2 dark stone grey plates 2x2. |
| Put 1 on the 4 leftmost knobs of the 2 backmost rows. |
| Repeat symmetrically on the right. |
| Find 2 dark stone grey plates 1x2. |
| Put 1 vertically on the right column of the previous piece. |
| Repeat symmetrically on the left. |
| Find 2 dark stone grey bricks 1x2. |
| Put 1 vertically to the right of the previous piece. |
| Repeat symmetrically on the right. |
| These are the ears of the Ender dragon! |
| The head of the Ender dragon statue with spit-out mechanism is finished! Well done! Before mounting it, turn the main structure left to right again so that the choral flower is in the front left corner again. |
| Mount the head horizontally centered on the statue base. Make sure its back edge and the back edge of the base are flush. The cross axle with bushing should stick out towards the back. |
| Now, pull the cross axle back and insert the lava block into the slit at the front edge of the head. To spit it out, push the cross axle from the back towards the front. |
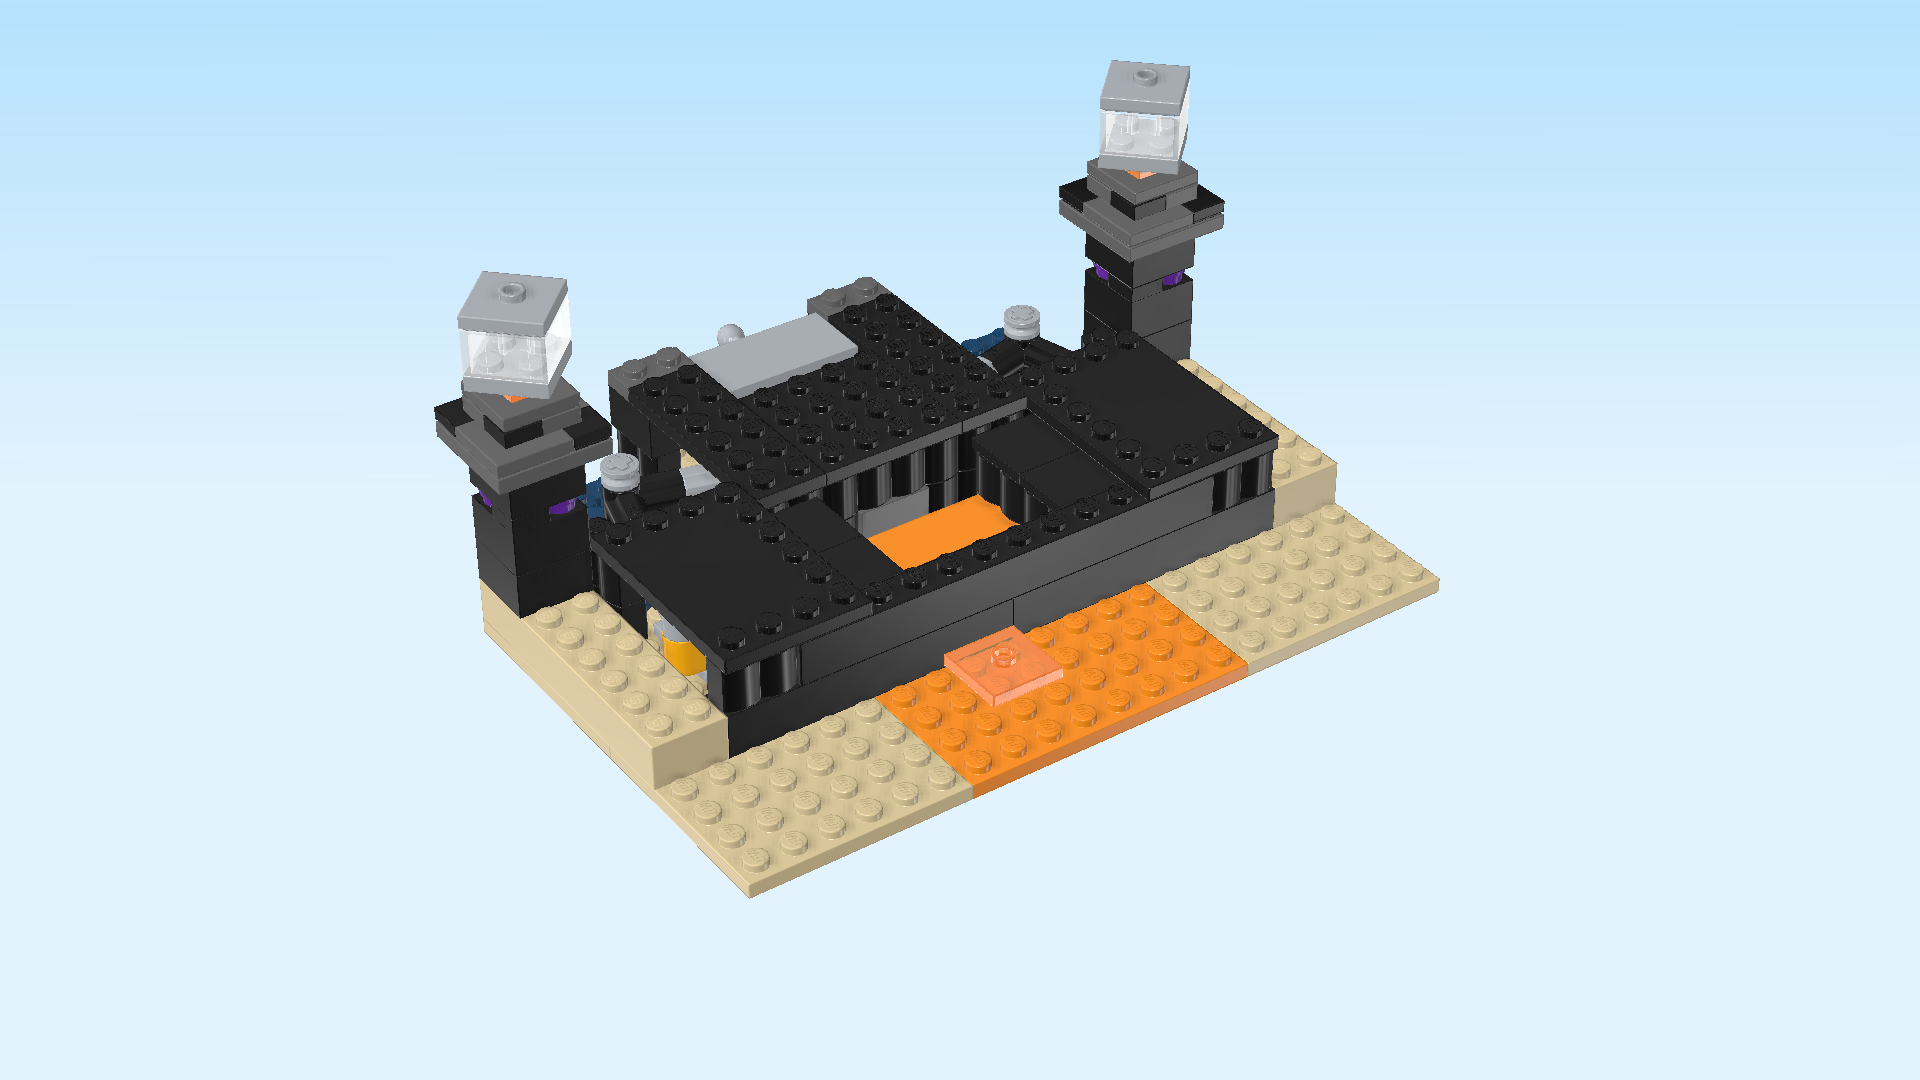
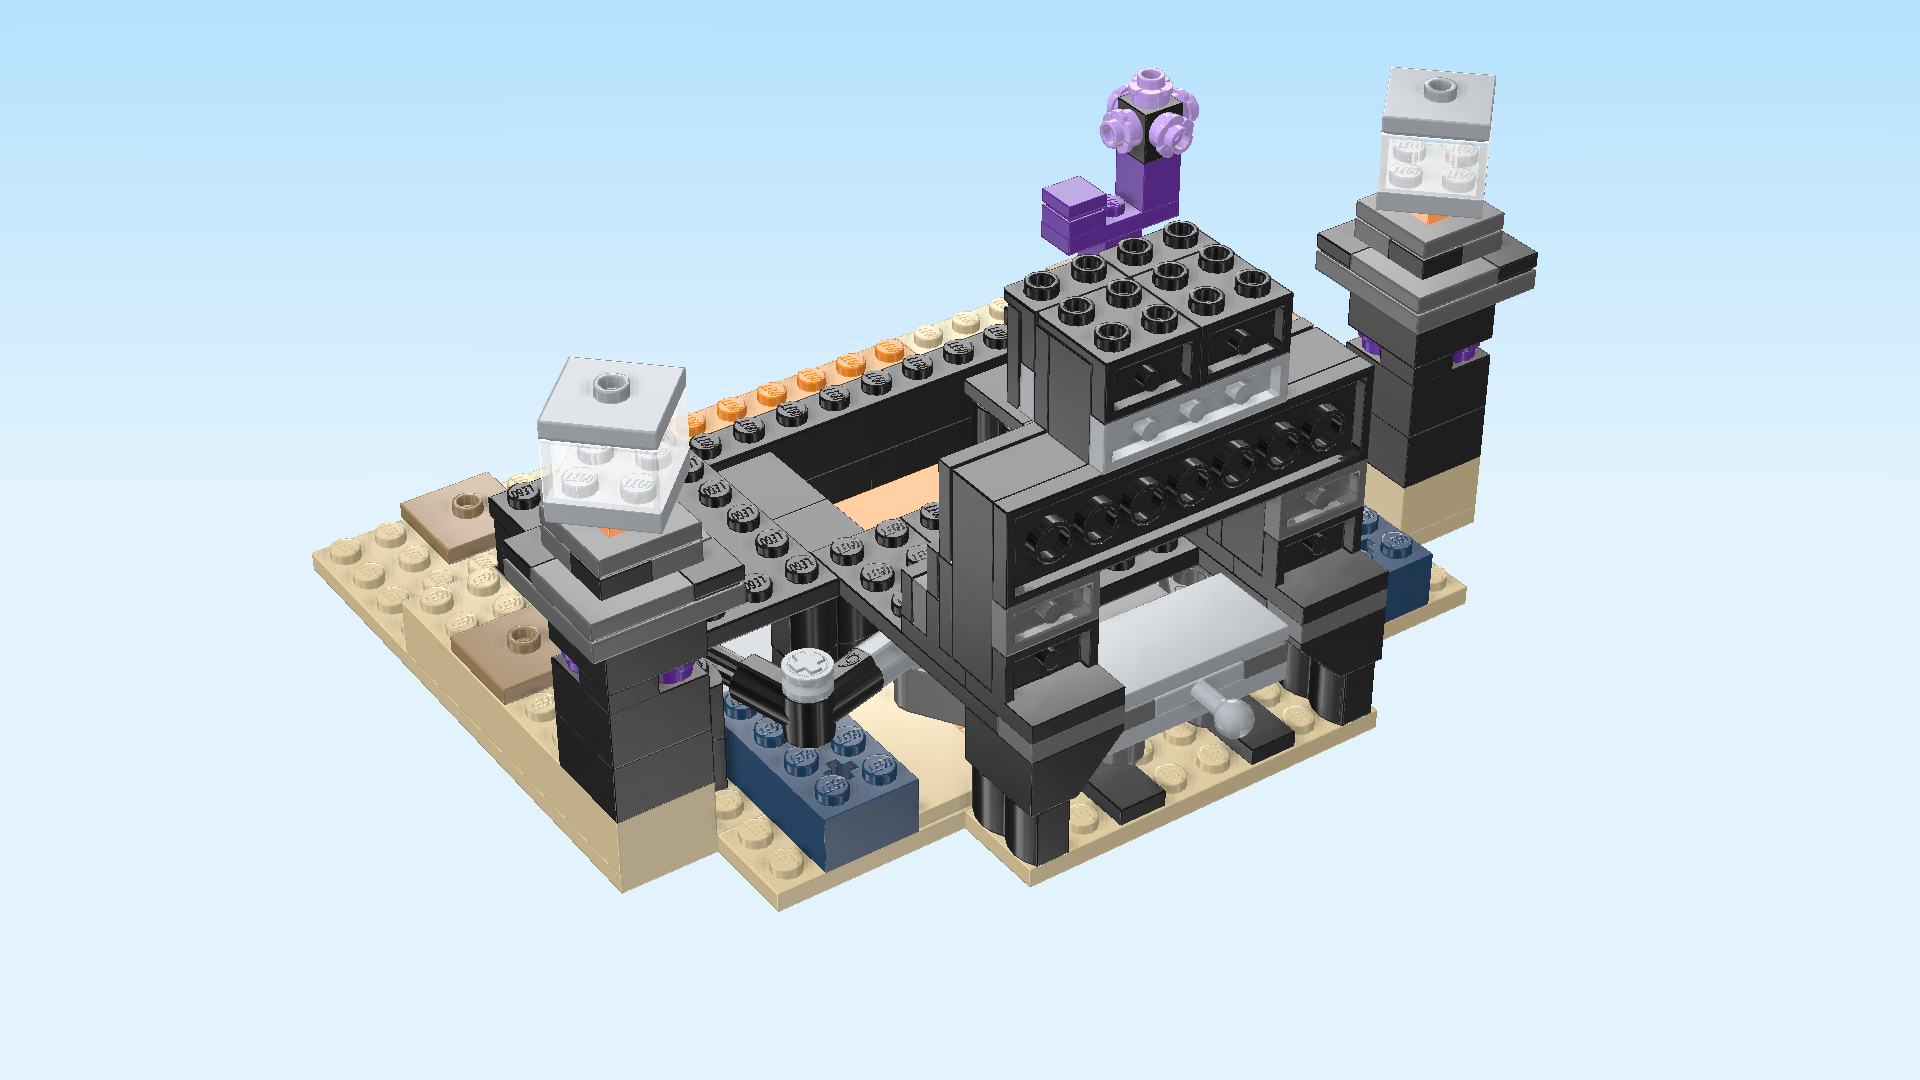
| You have finished building the entire set! Fantastic job! Now the time has come to go into battle: let the End warrior and the Dragon Archer enter the arena and pull their best moves and tricks. Don't forget that there are health buffs available, so it's impossible to predict who will win! And watch out for dropping lava blocks! |
| Enjoy! |
