| LEGO Audio & Braille Building Instructions for the LEGO Marvel set "Spidey and Gobby's Raptor Battle at Tree House HQ". |
| If you would like to access the help menu to find out how to use and navigate these instructions, tap with two fingers or press key "H". |
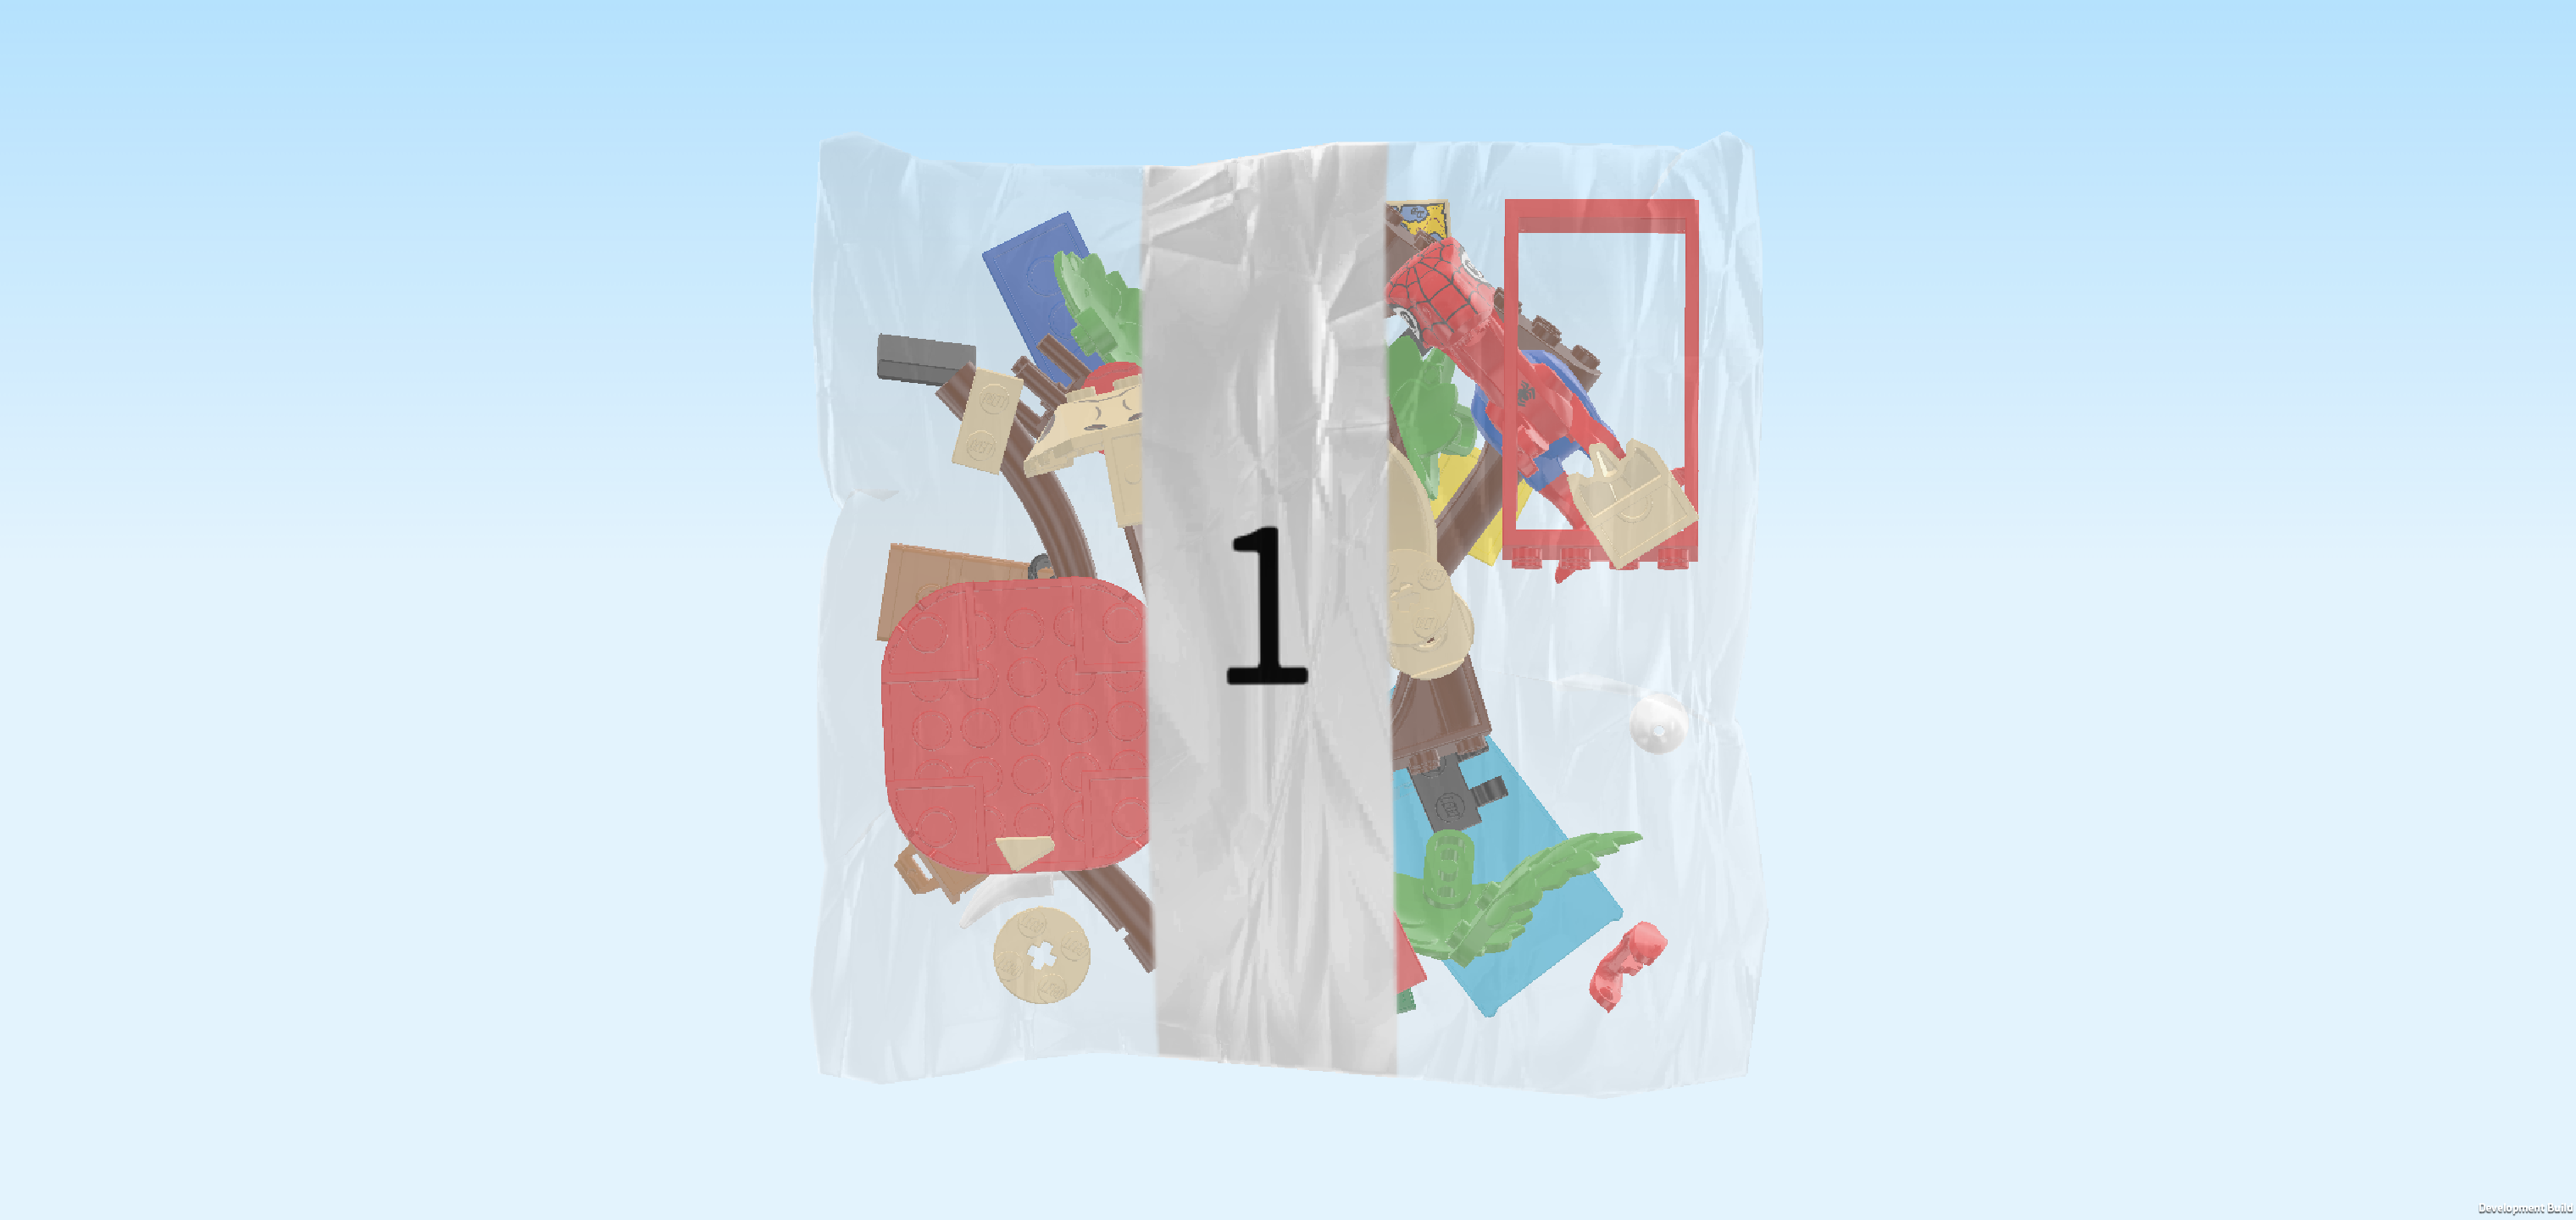
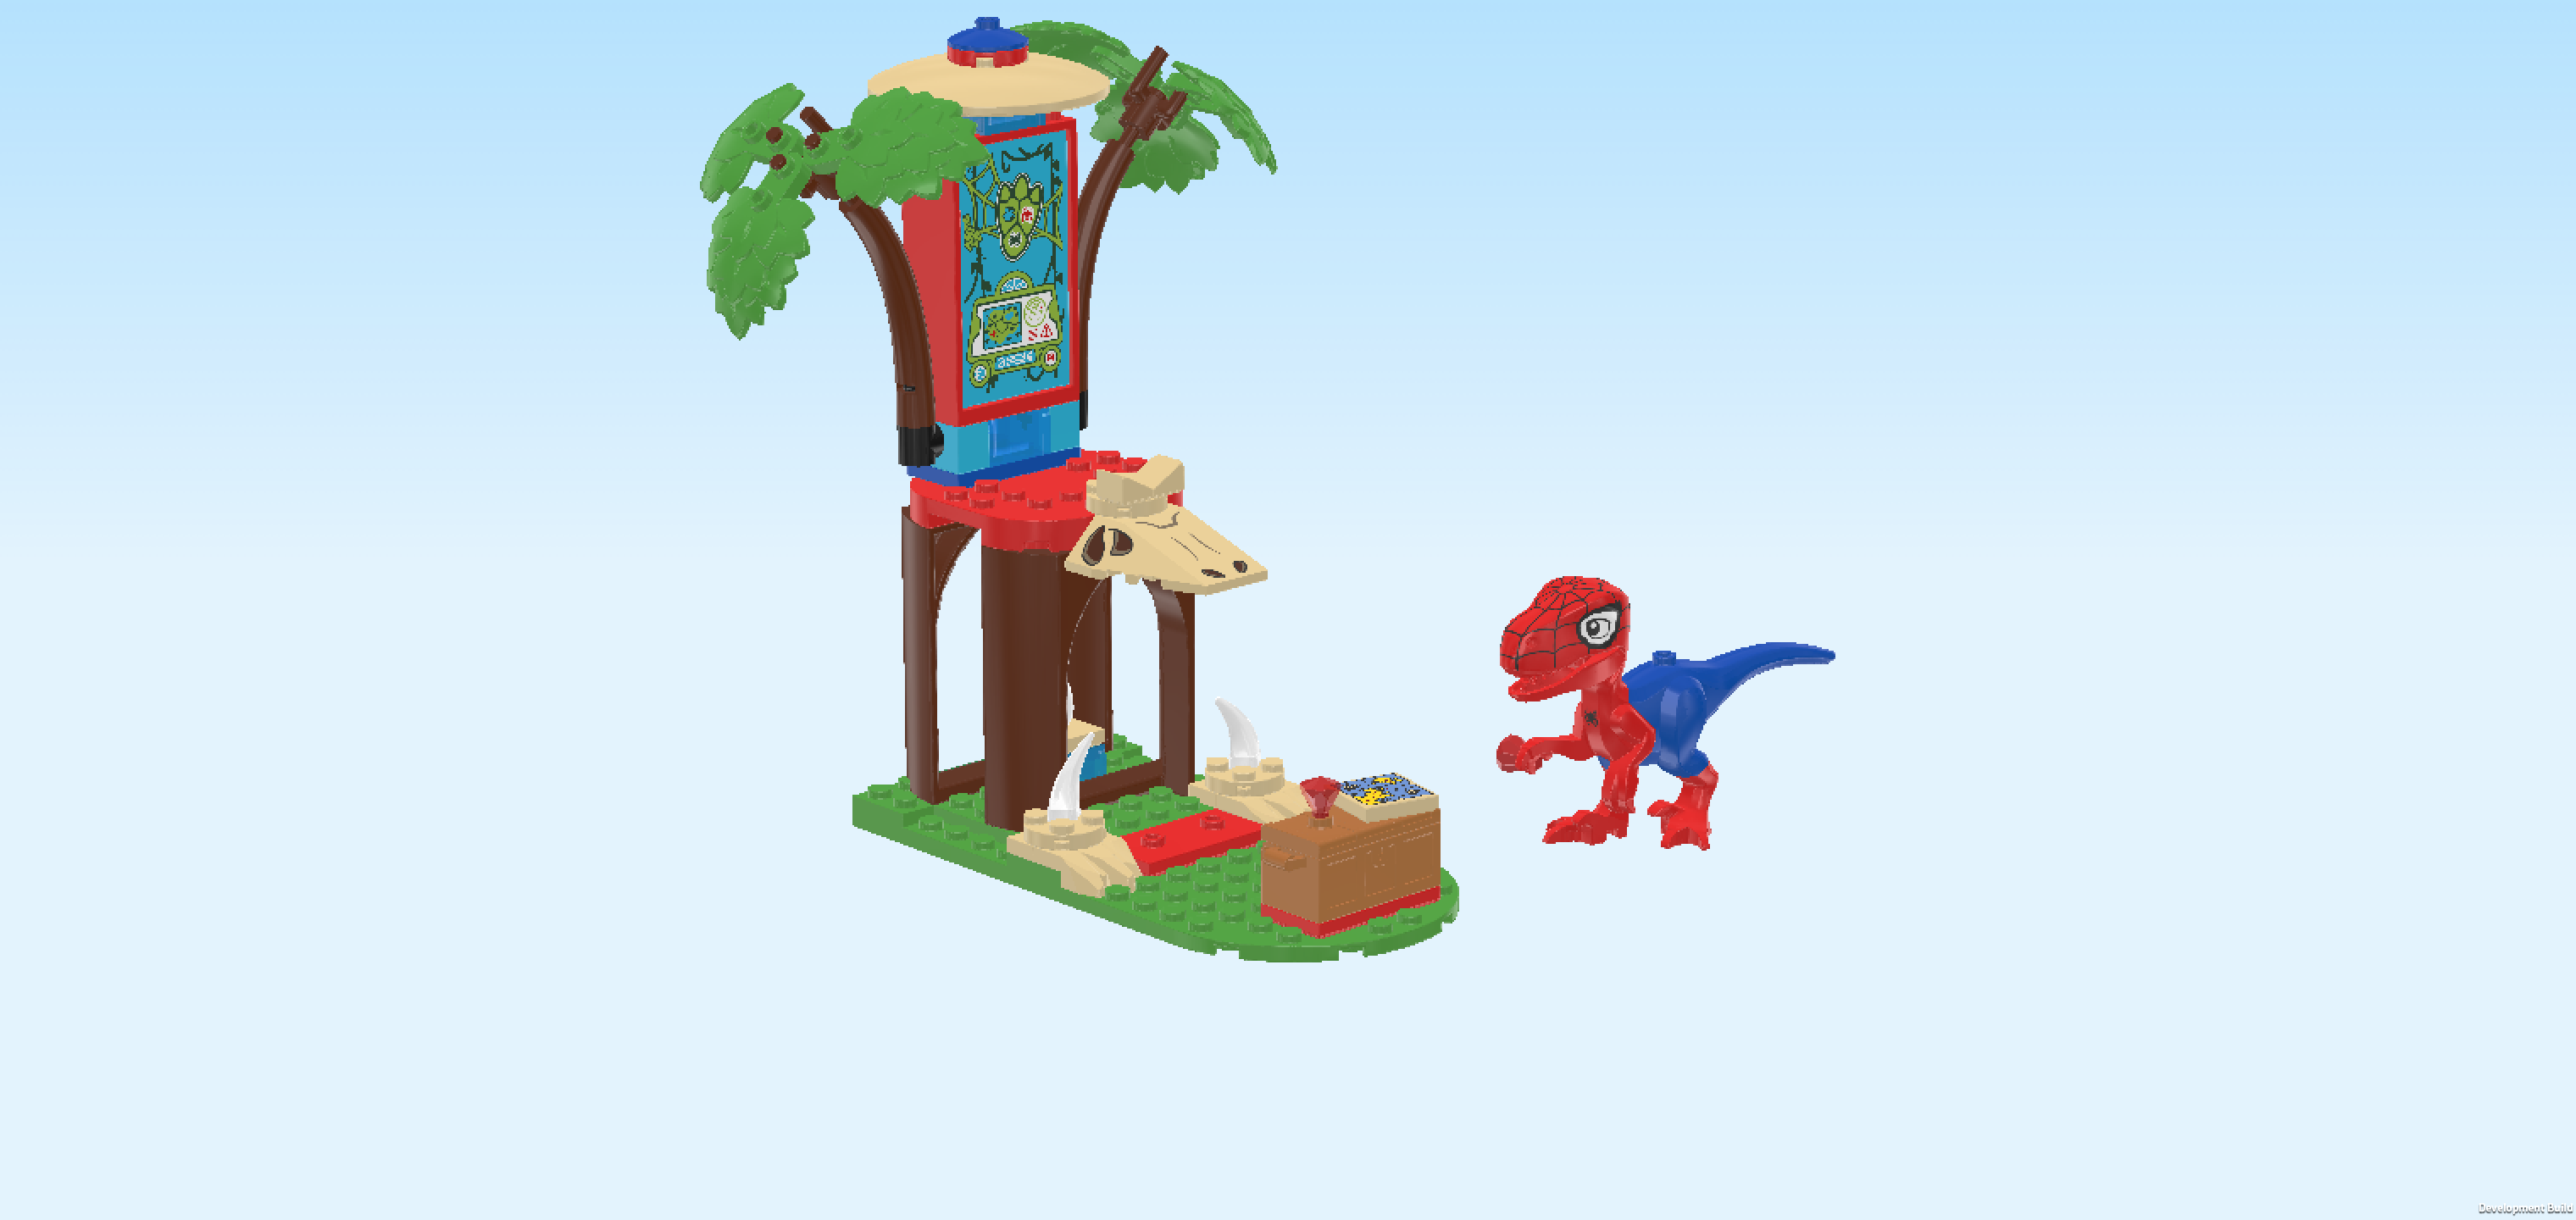
| Team Spidey is in the Dino Tree House HQ exploring the dino skull cave when Gobby-Raptor attacks! Spidey-Rex and Dino-Spin try to fend off Gobby, but Trapster flies in firing her shooters at the heroes. Ghost-Spider swings in on her web to help her friends battle the villains. And when the heroes have won – it’s time to plan their next adventure! |
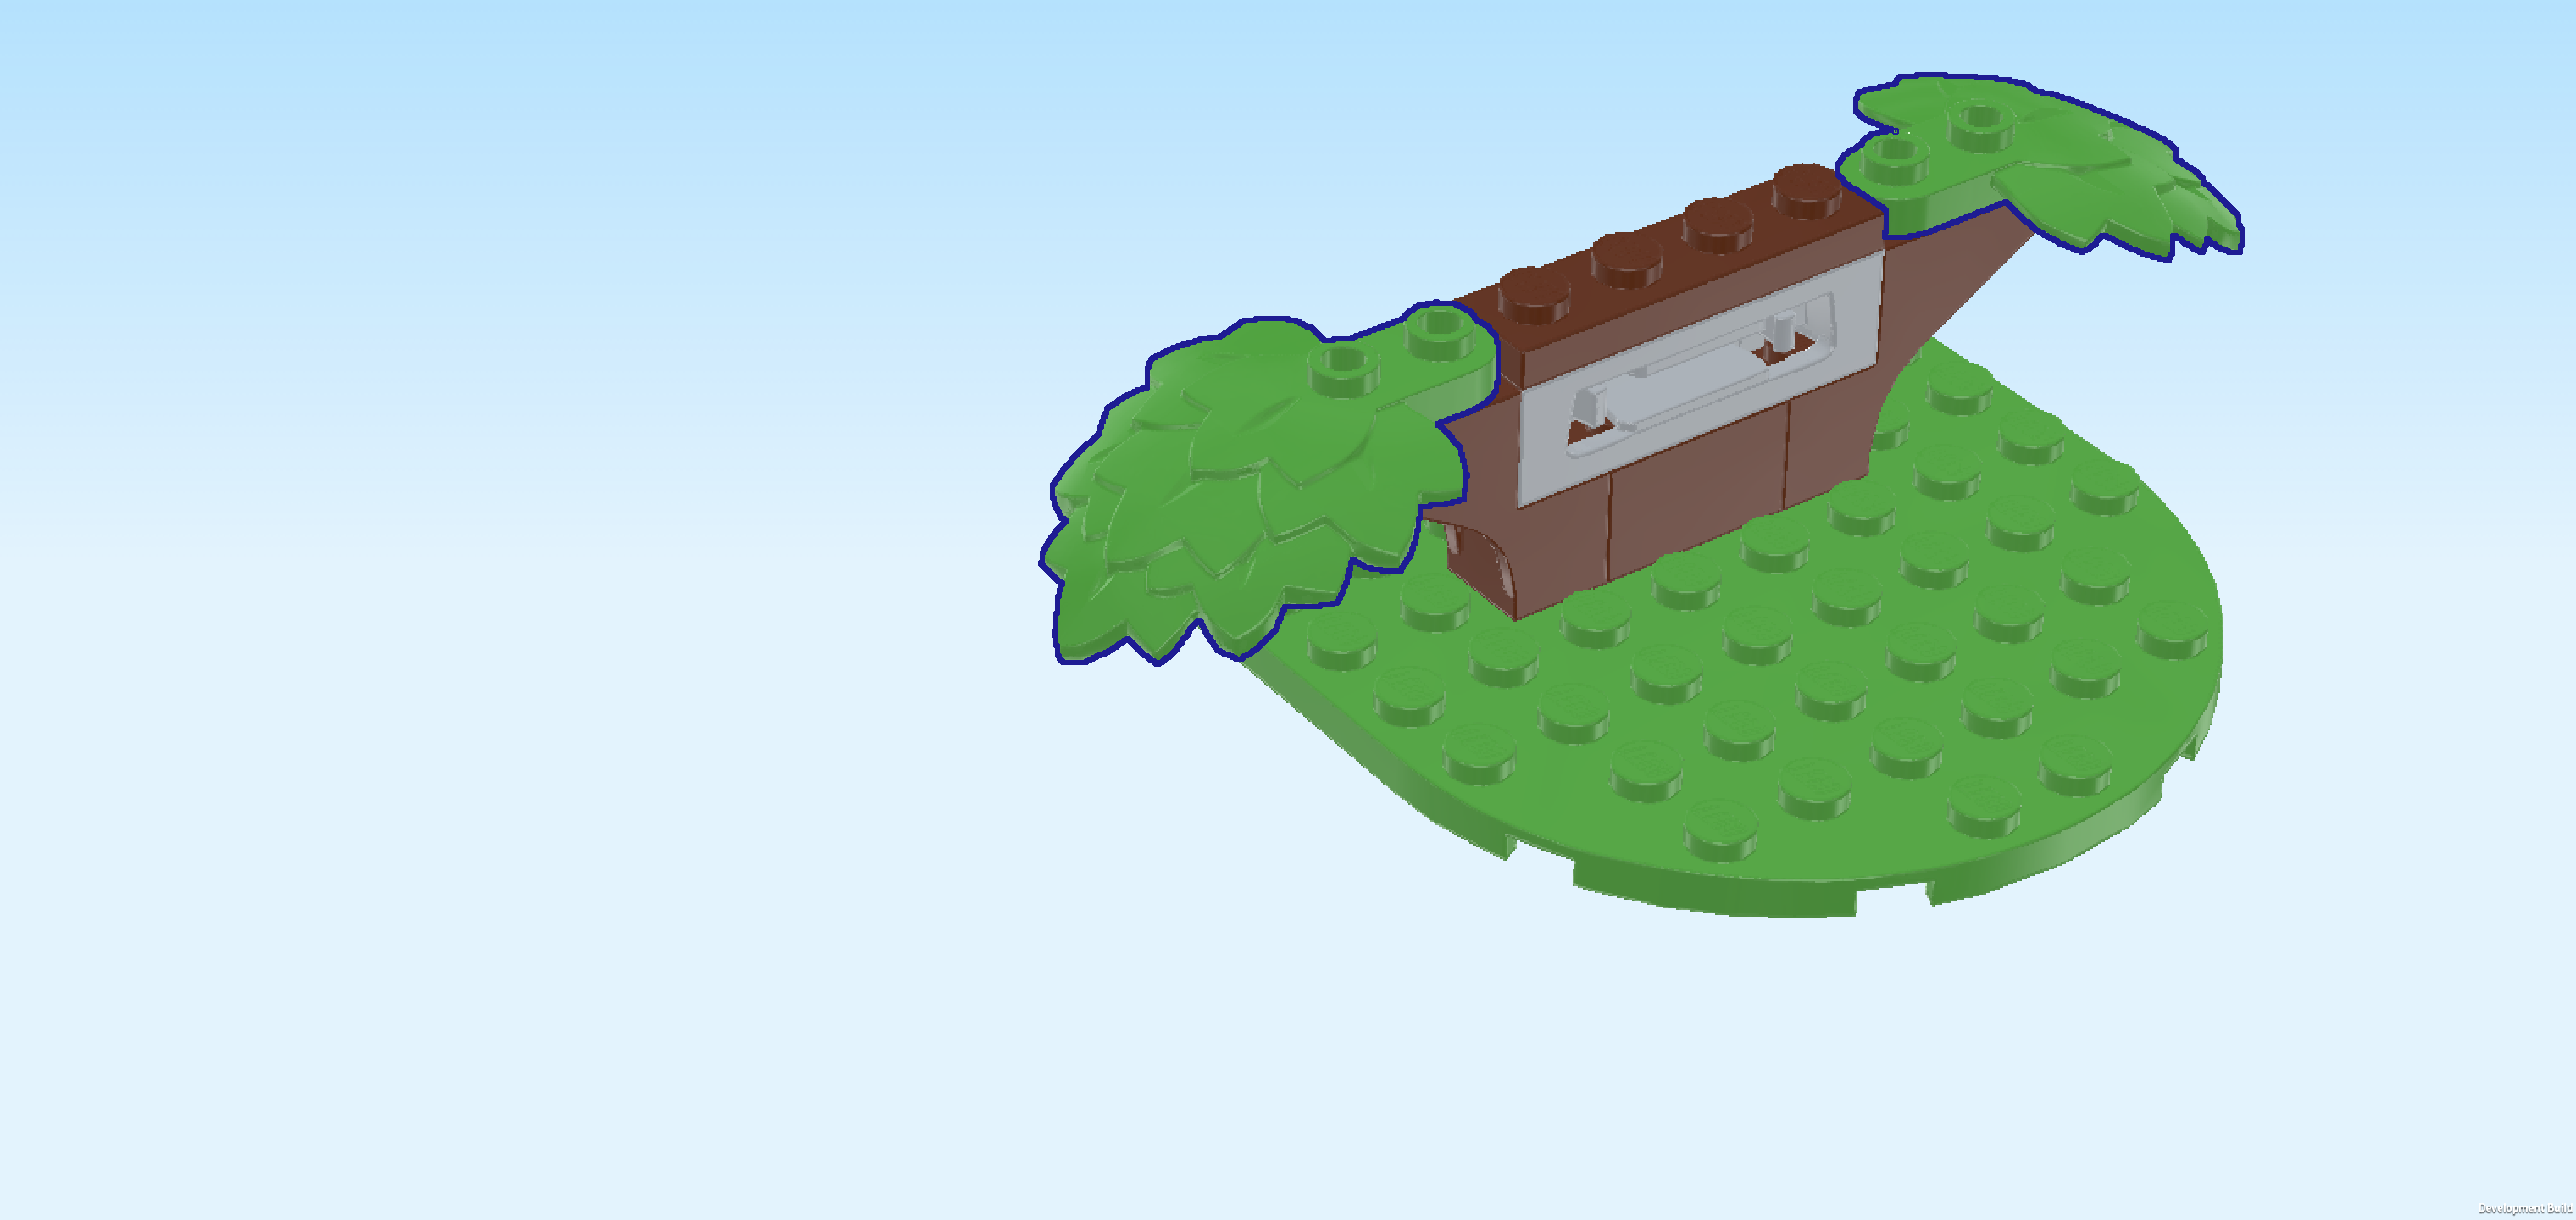
| On the box cover, the action bursts to life in a beautiful prehistoric setting. It is actually difficult to know where to focus on first, because all our heroes are busy fending off villains in several places! The vibrant Tree House HQ is at the heart of the scene: it's a multi-level structure with 2 lower side platforms that are connected to the main tower with mission screen that is towering above the scene with a lush tree crown at the top. It is located at a sandy shoreline with calm blue water nearby and towering pale-colored mountains in the distance. Down below, Spidey-Rex is confronting the fierce green Gobby-Raptor who seems to have arrived to cause trouble, while Trapster swoops in aboard her golden propeller-driven aircraft near the treetop, firing projectiles at the heroes. Luckily, Ghost-Spider swings in on a bright green web to join the fight and fend off Trapster. Dino-Spin is operating the disc shooter from afar to help his Spidey friends in the fight. Meanwhile, Trace-E is hovering behind the tree house, anxious about what's going to happen next. The ground is scattered with details, such as a treasure chest with map, red gems and a dinosaur skull cave. The whole scene feels like a fantastic mix of superhero action and prehistoric adventure, ready for daring battles and heroic rescues. Let's start building! |
| Open the box. It contains visual building instructions, 4 numbered bags and an additional 8 pieces that are either loose in the box or wrapped in a separate unnumbered bag: 4 plates 8x8 with half circle, 1 spider web 5x8x2 with handle, 2 spider webs 7x7 with long shaft and 1 stepped plate 8x8 with 4 recesses. We will refer to the bag numbers to guide you through the building process. Please ask a sighted person to help you identify the correct bags! |
| Carefully open bag number 1 and any small sub-bags in it. This bag contains all bricks and pieces for Spidey-Rex and the Tree House HQ base plate and main tower. |
| If you like, you can ask a sighted person to help you sort the pieces by color before you start building. We recommend using trays or bowls. This can make finding the correct pieces easier! However, if you would like to build without brick colors entirely, you can also ignore them or turn them off. There are different ways to sort and organize the bricks and your building process. It is up to you! |
| First, we will build the Spidey-Rex. |
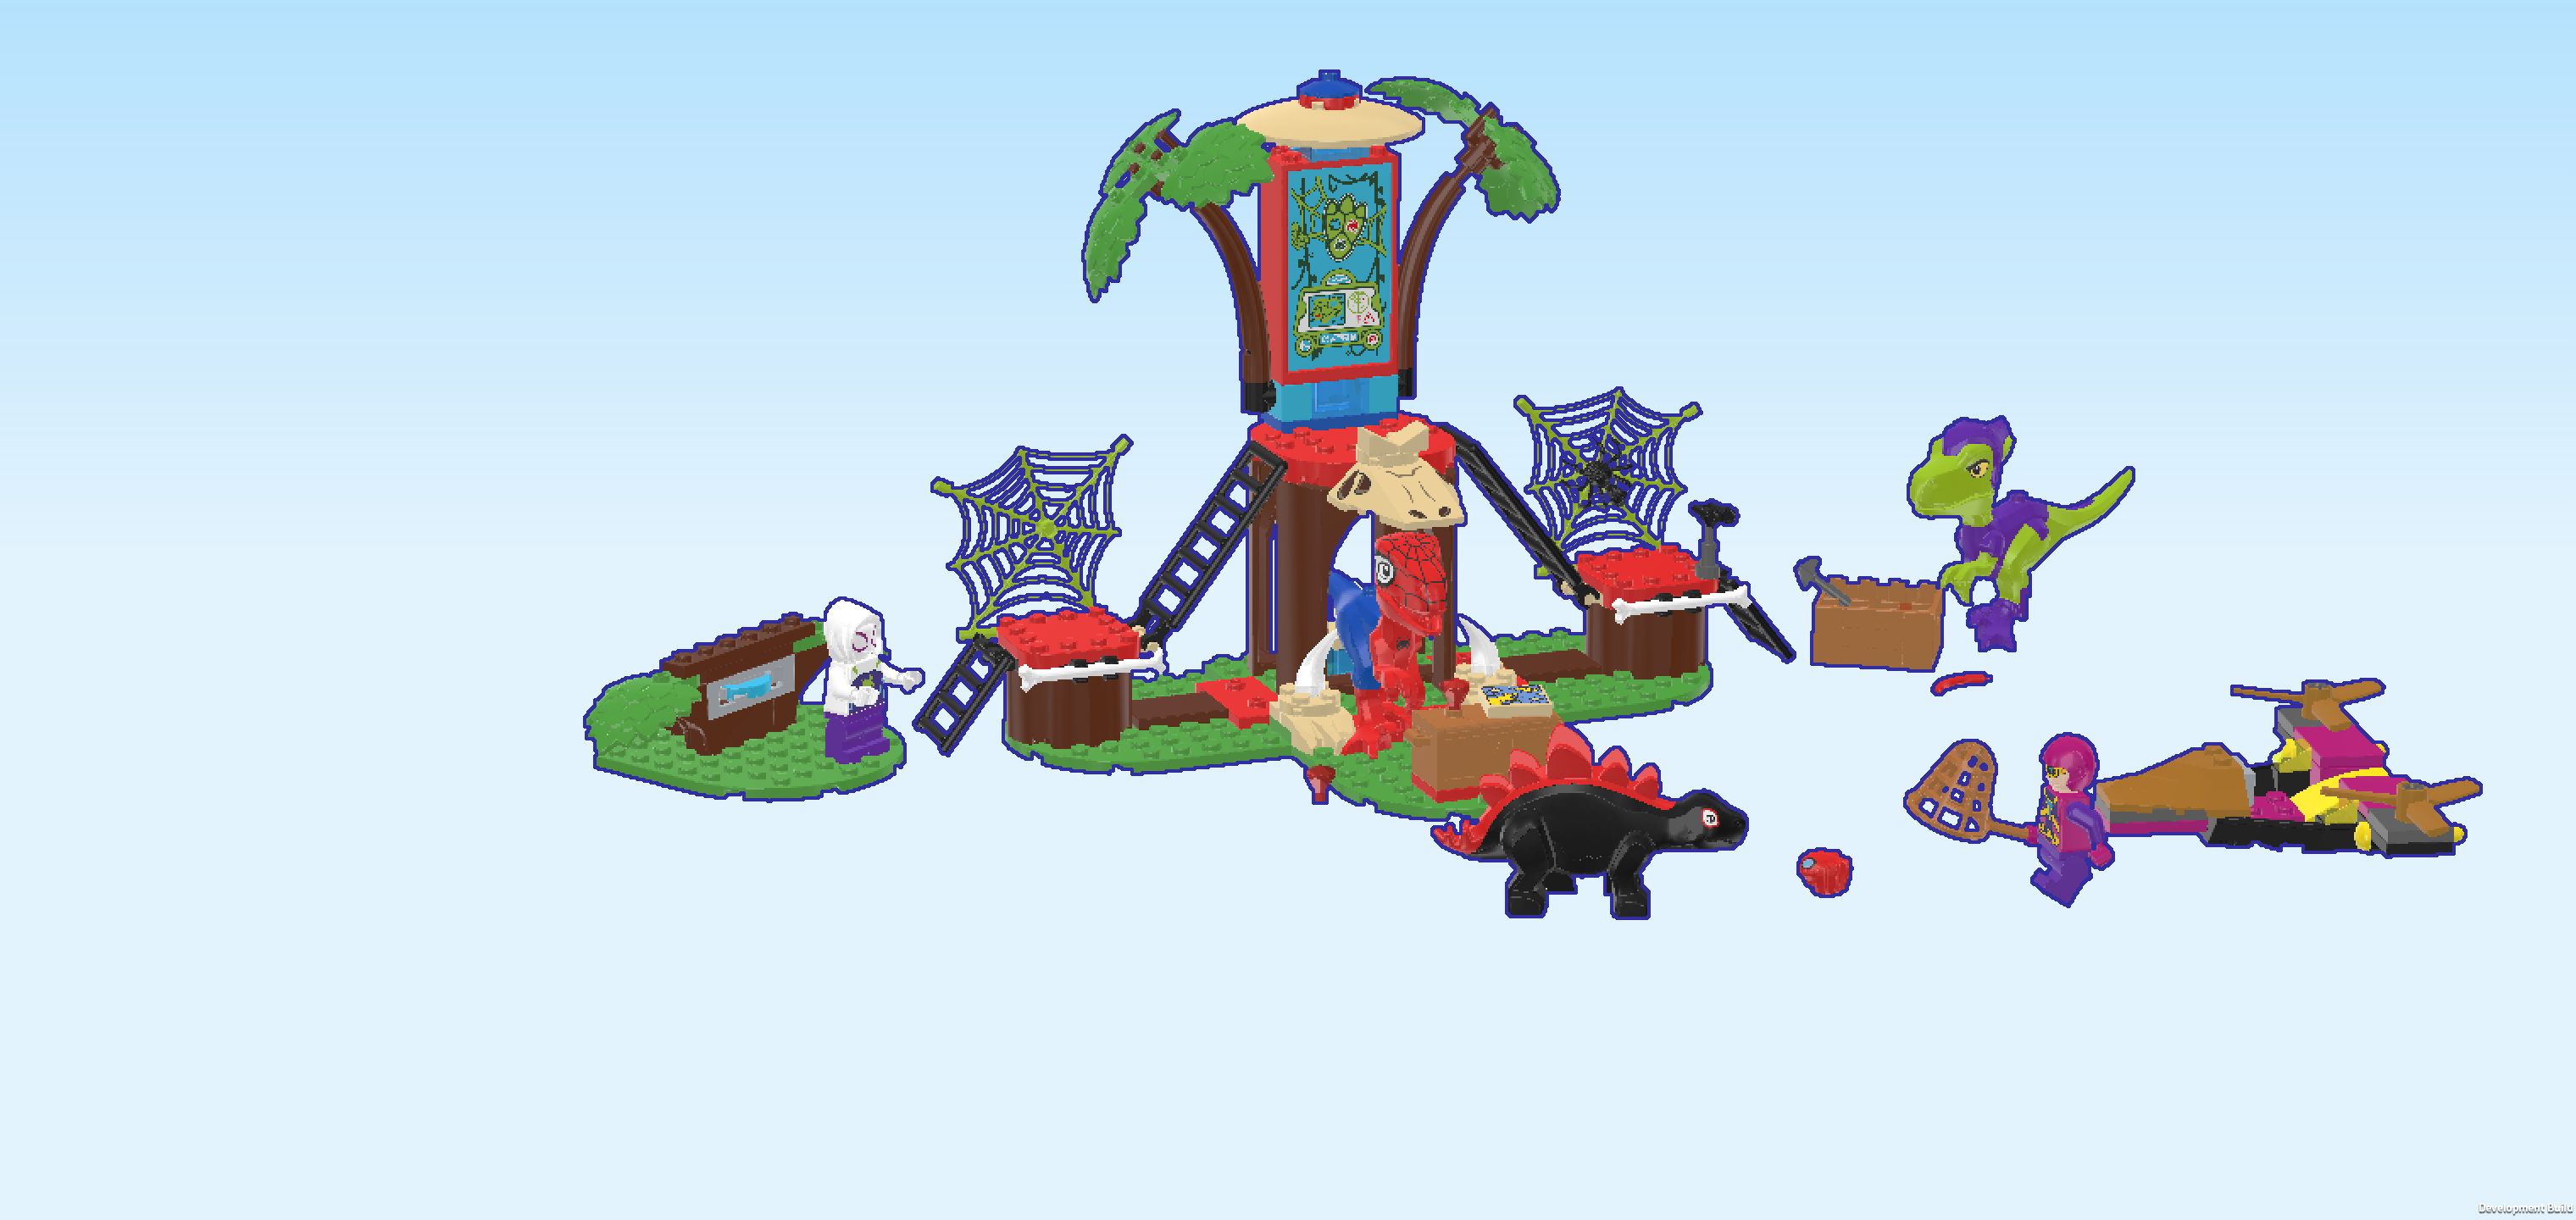
| Collect the following 2 pieces: |
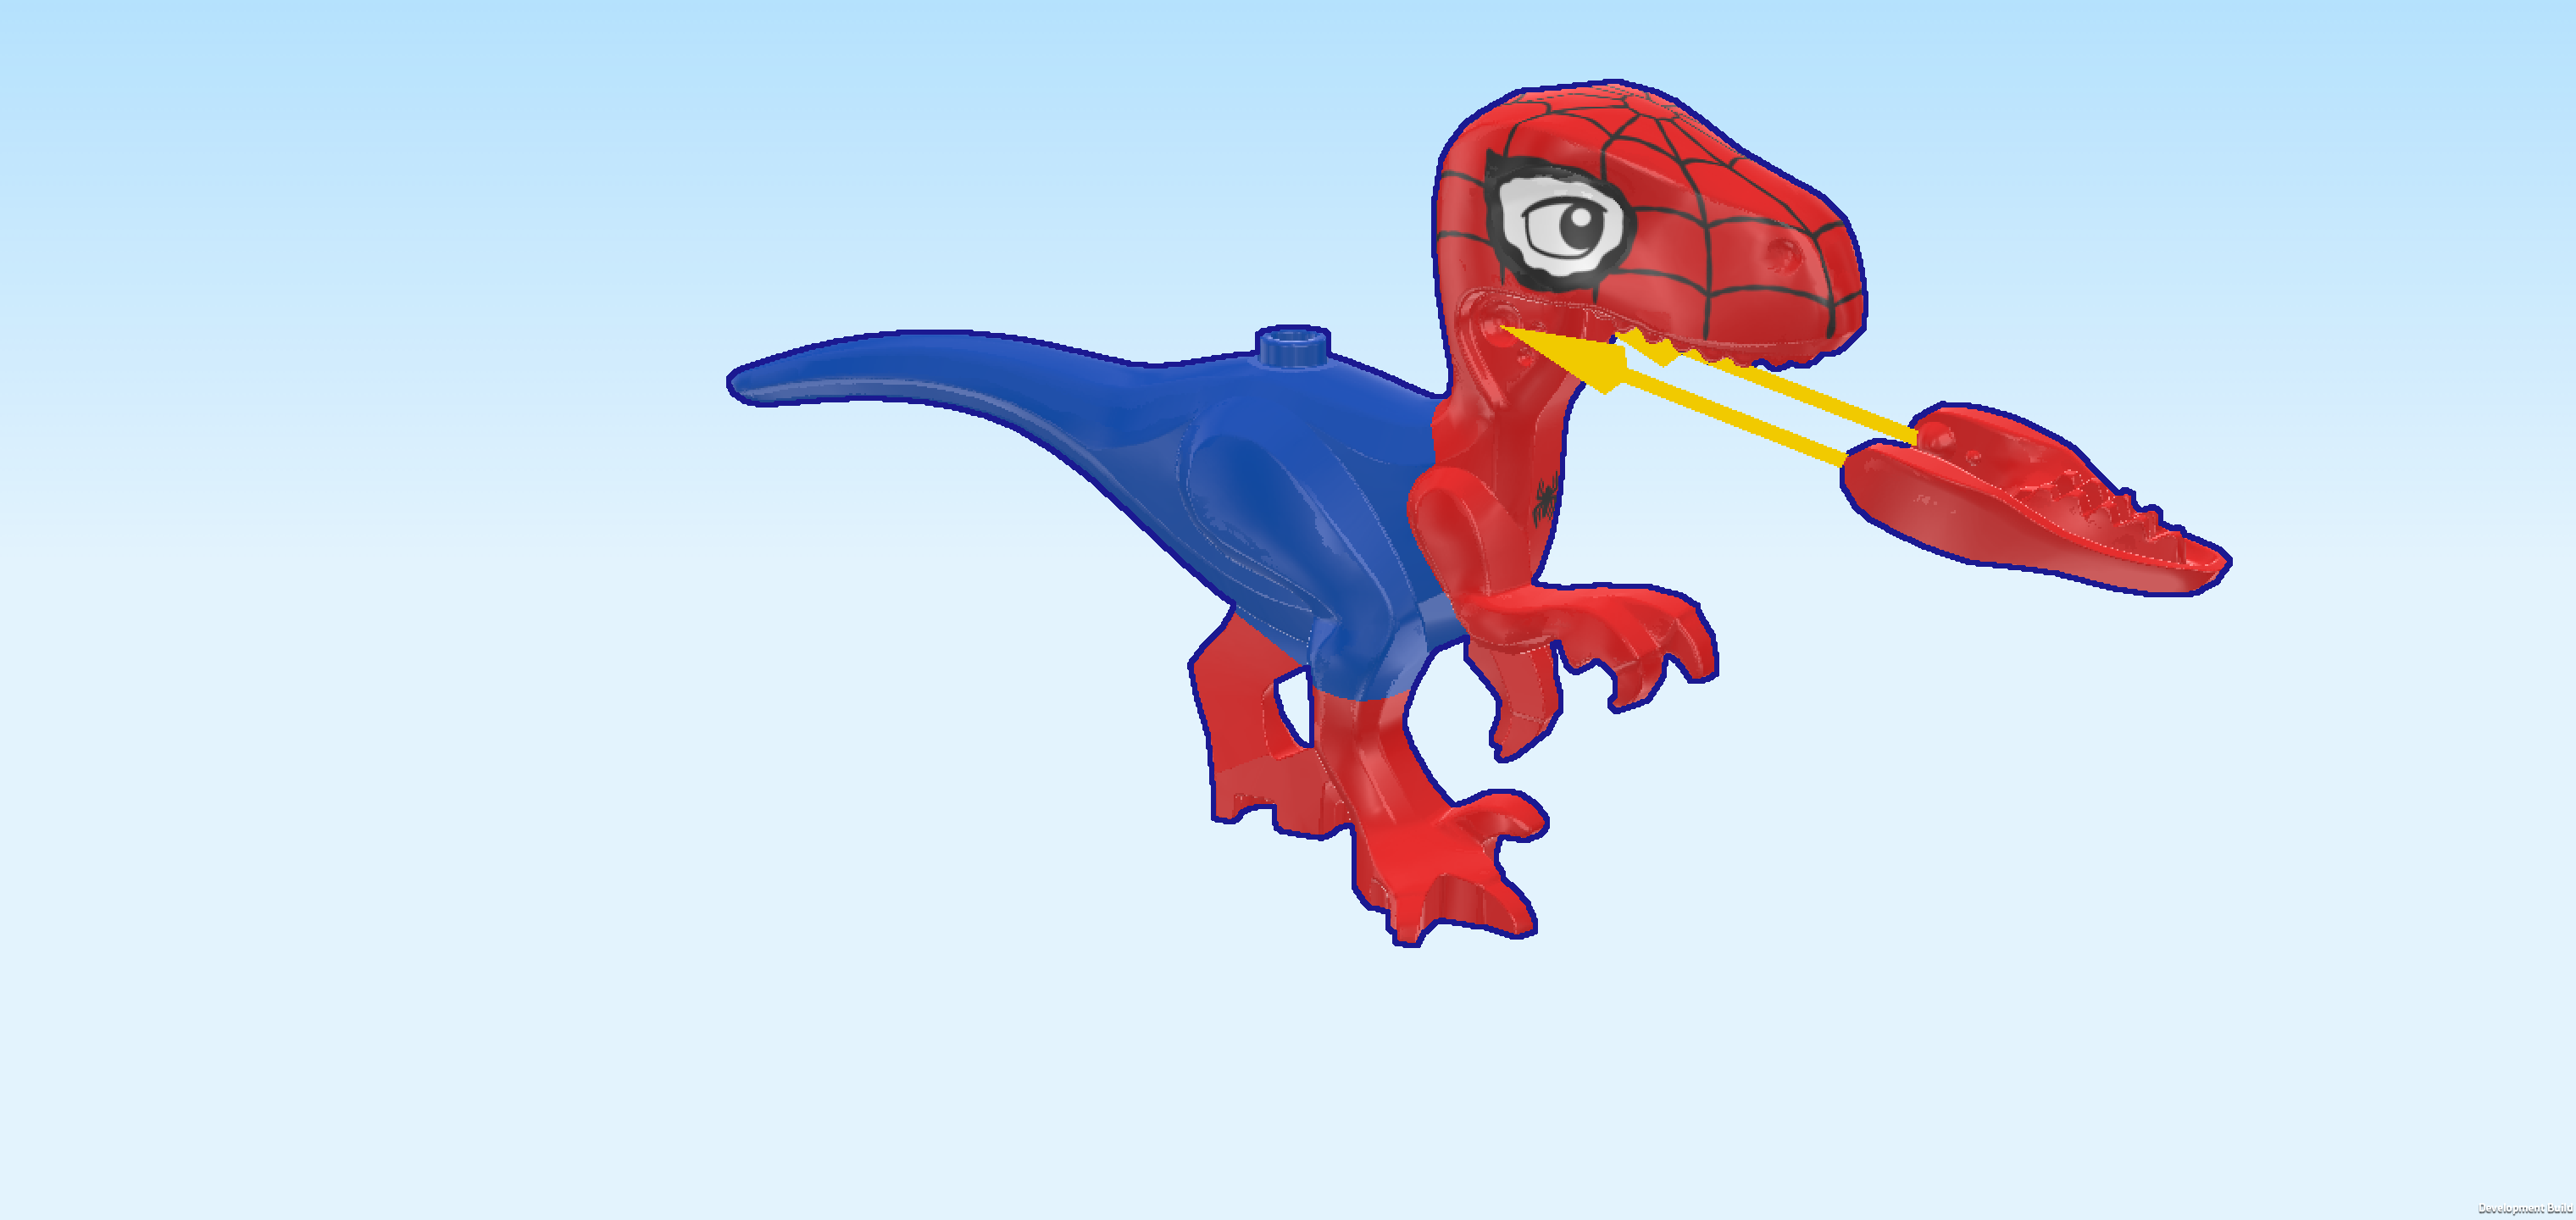
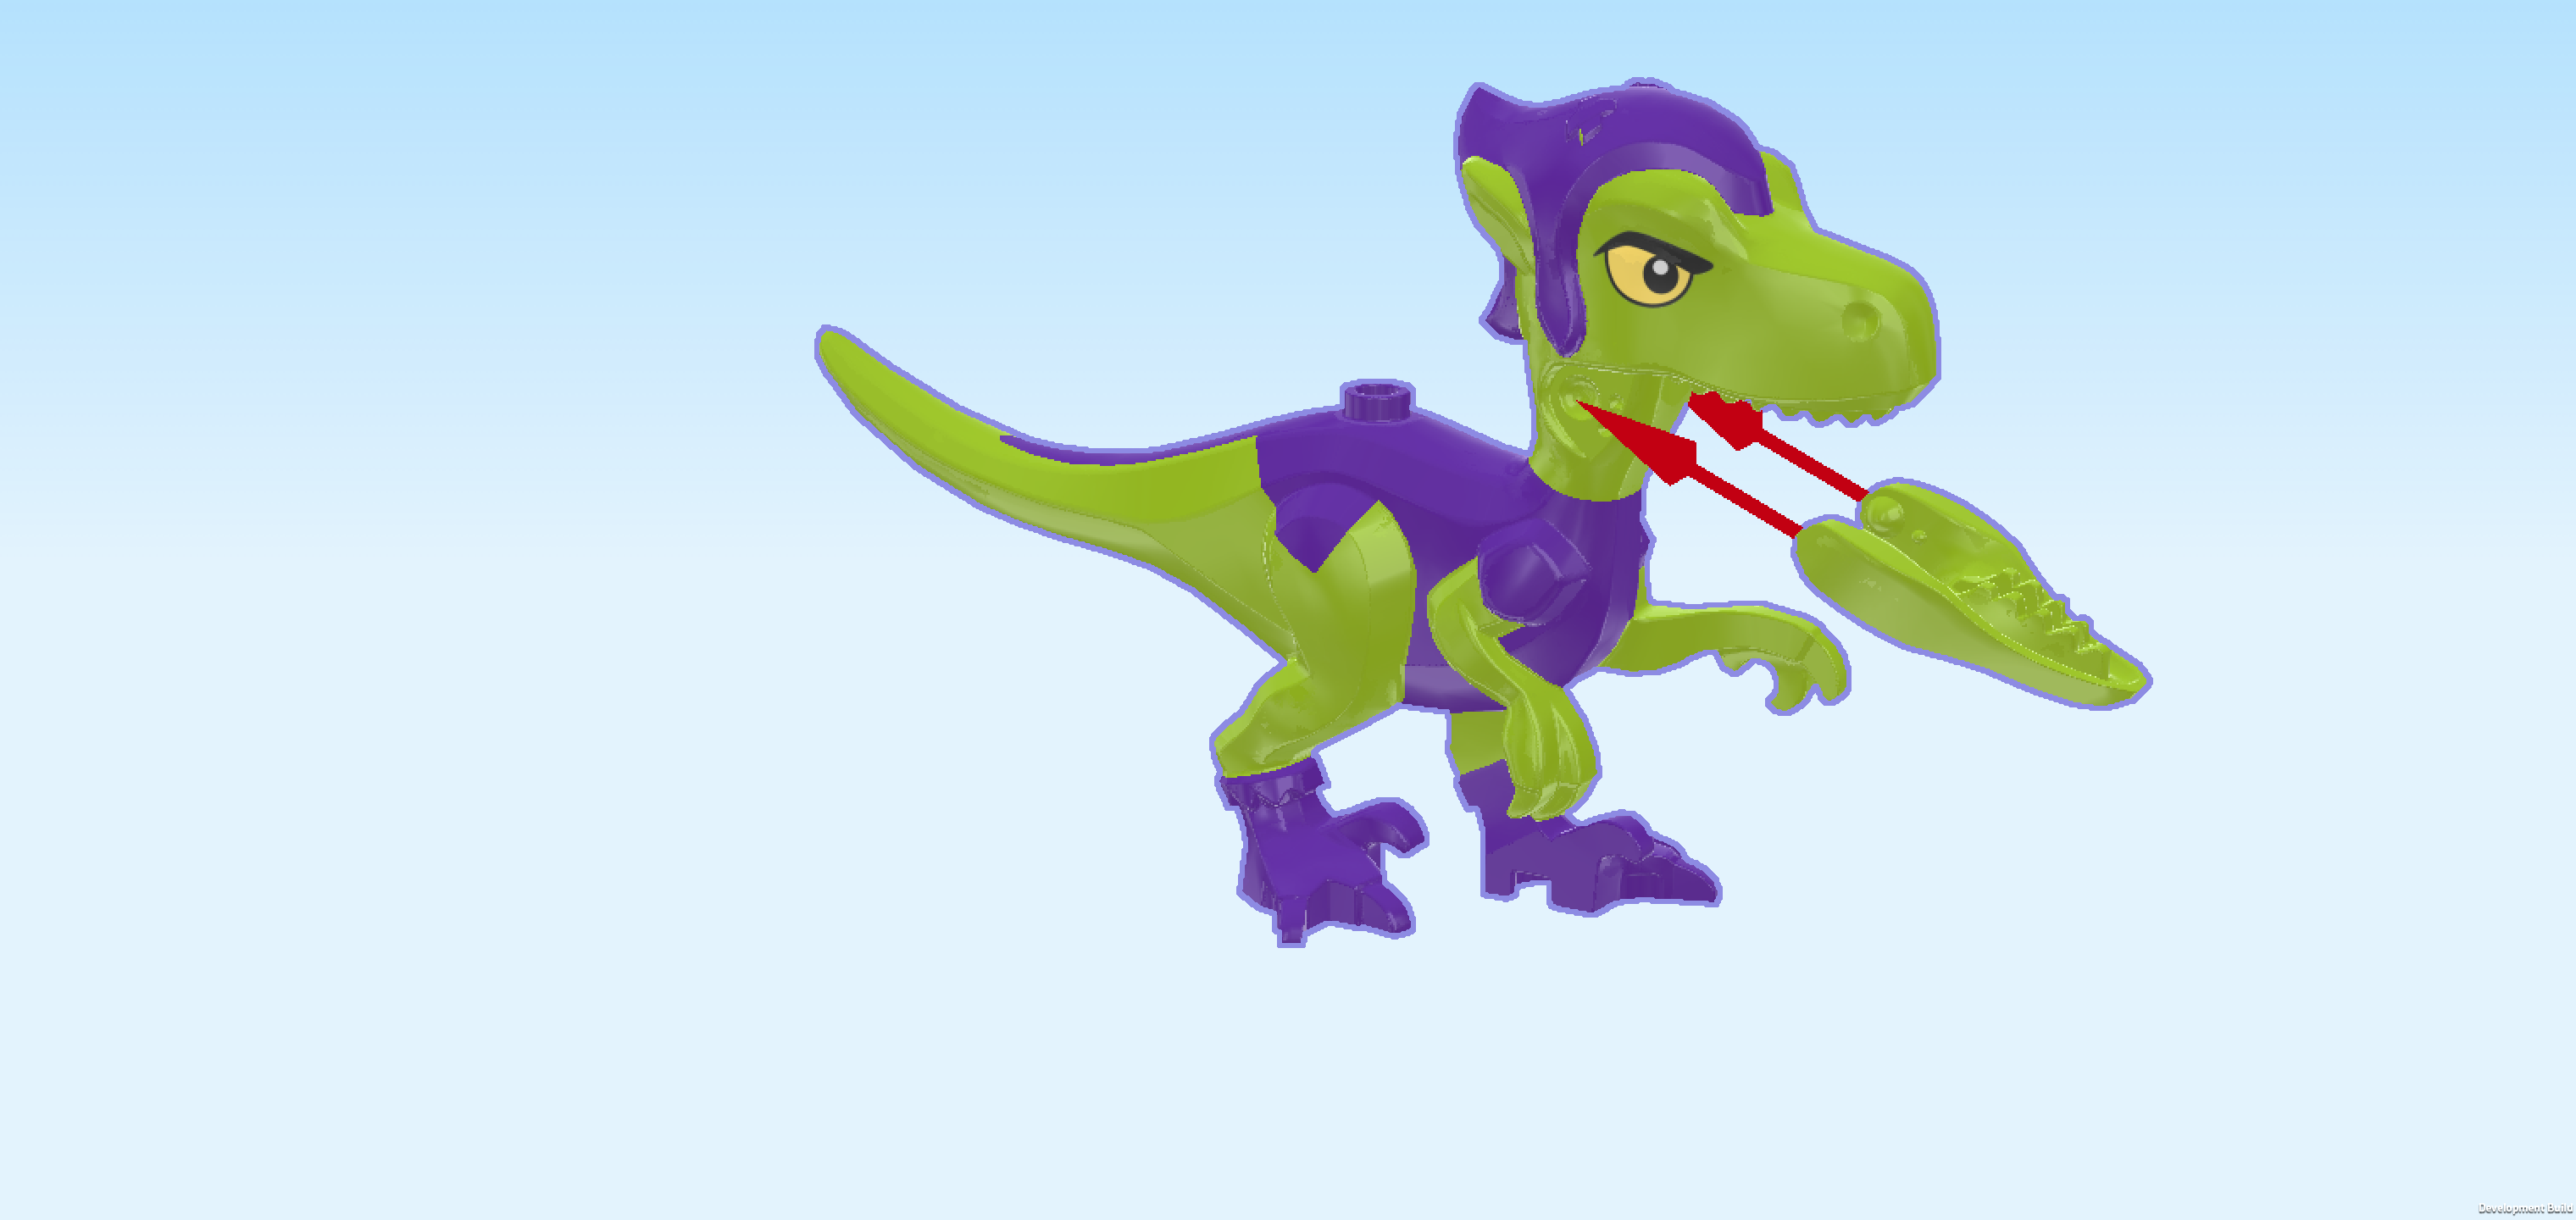
| 1 bright red dinosaur jaw with teeth, |
| and 1 bright blue, bright red and white T-rex figure. |
| Snap the jaw on the head of the T-Rex figure. Make sure the teeth are facing upwards. |
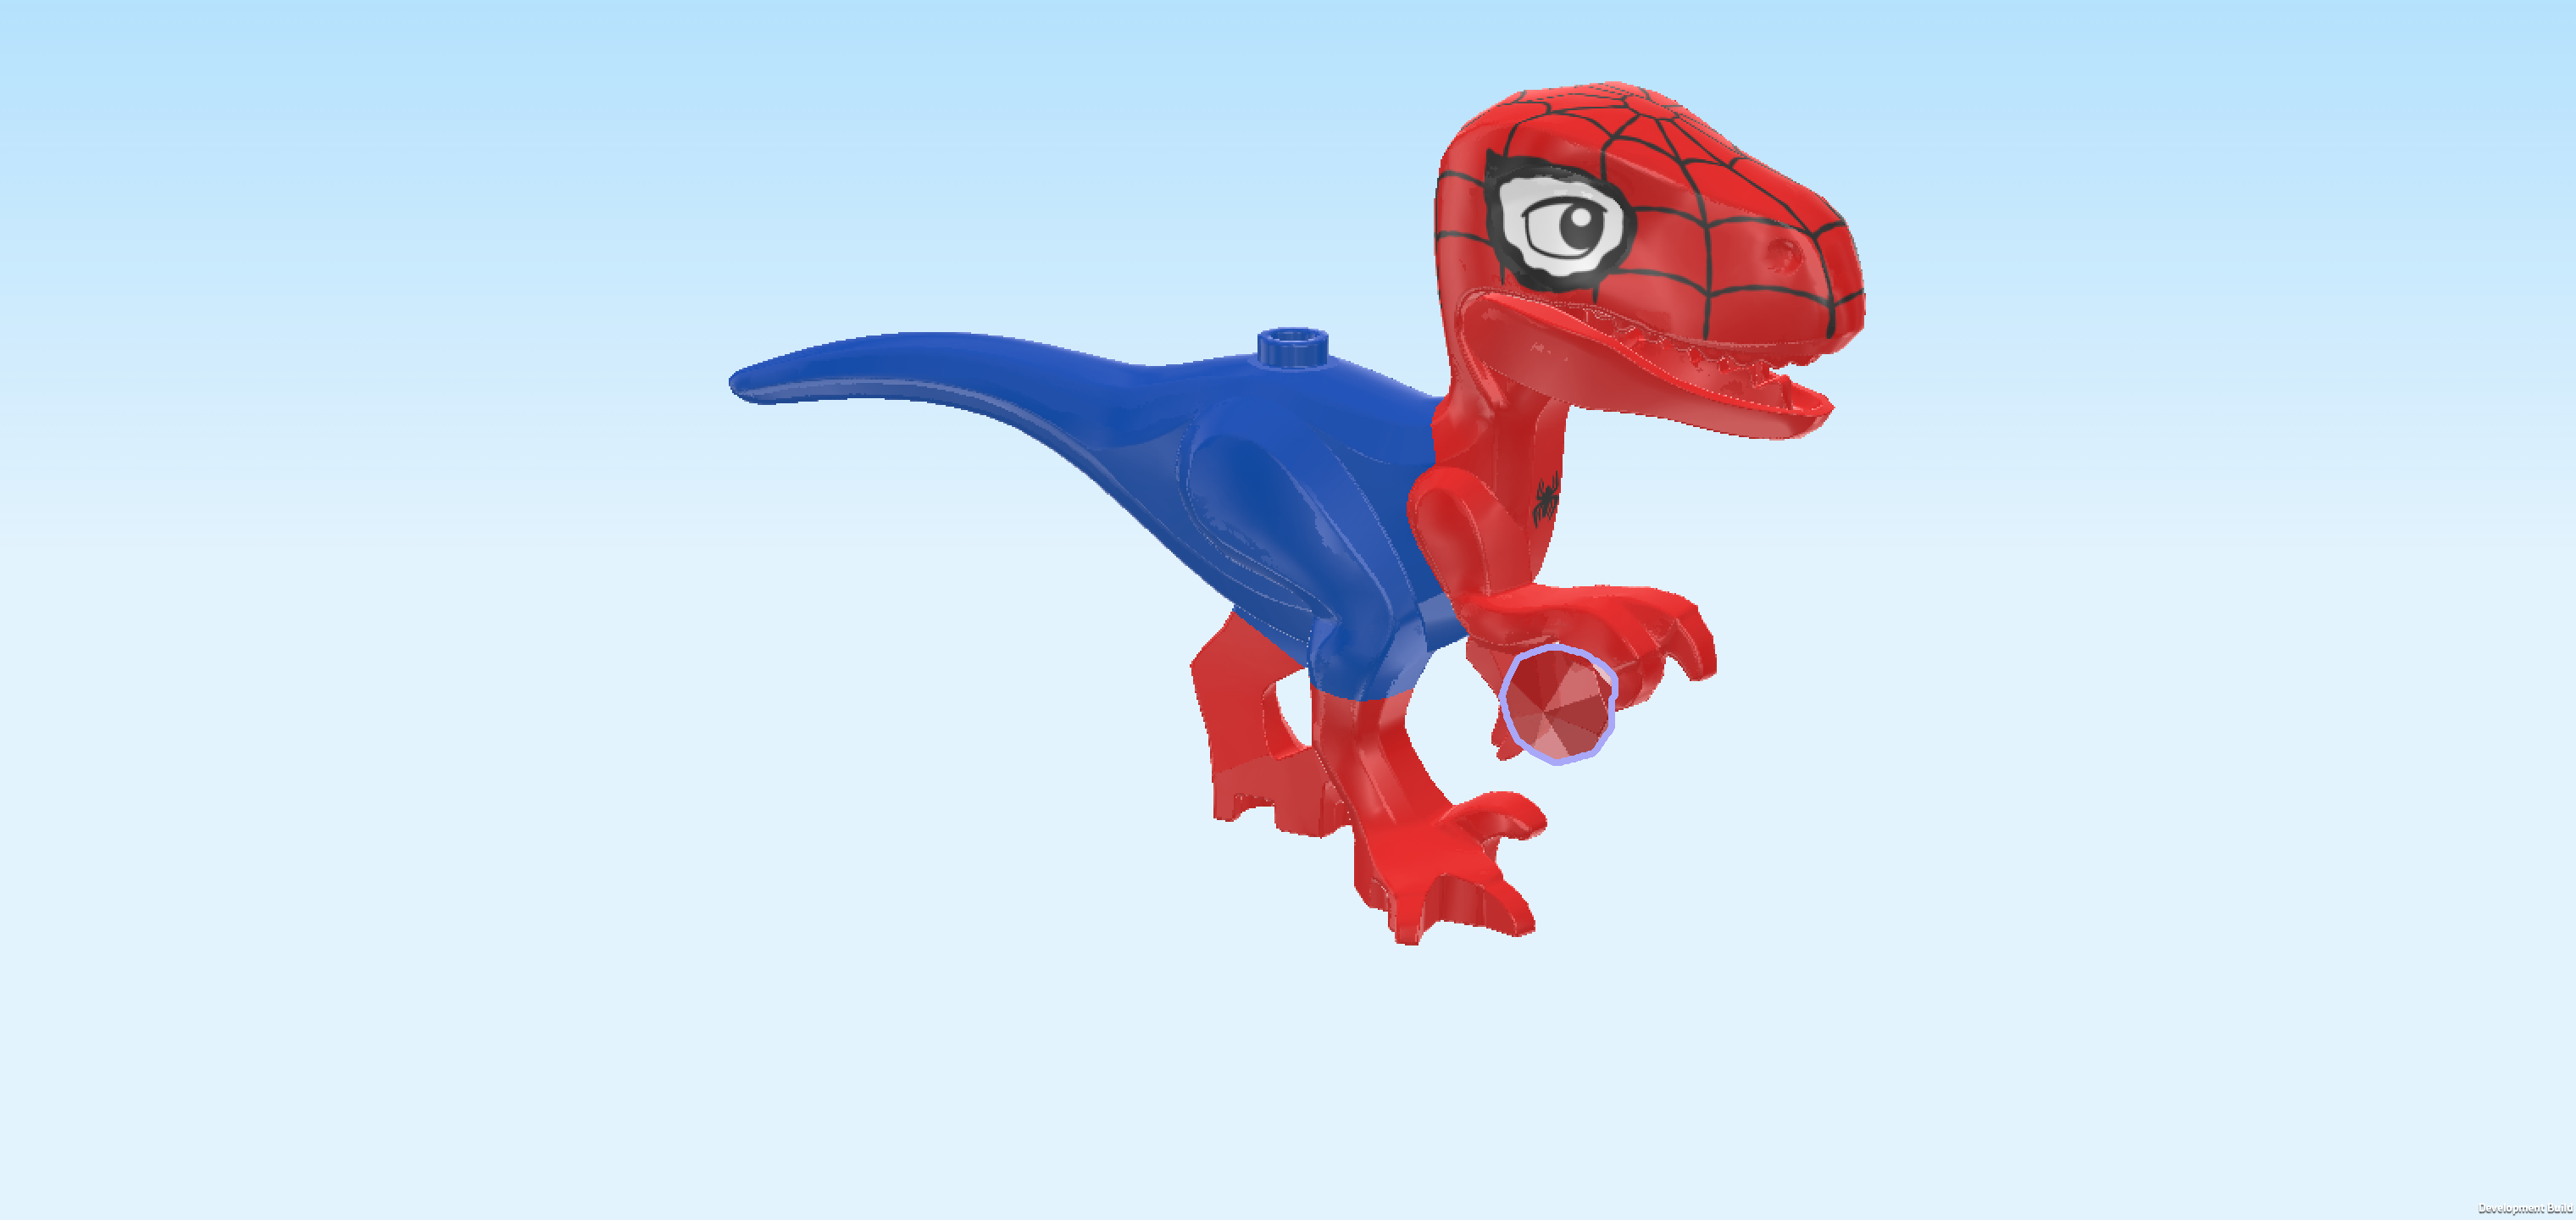
| Find 1 transparent red diamond with small bottom shaft. |
| Snap the shaft of the diamond into one of the claws of the T-Rex. |
| The Spidey-Rex figure is finished! Well done! Spidey-Rex is wearing a suit in the typical Spidey superhero colors: the body and dino tail are blue while its strong legs as well as the head, neck and arms are red. His fierce head has big white eyes outlined in black and a wide, toothy grin. This dino is ready for action! As usual, his head mask is covered in a spiderweb print. With his mix of dinosaur power and Spidey style, he’s always ready to leap into the next prehistoric superhero adventure. |
| Now, we will build the base plate and the main tower of the Tree House HQ. |
| Collect the following 2 pieces: |
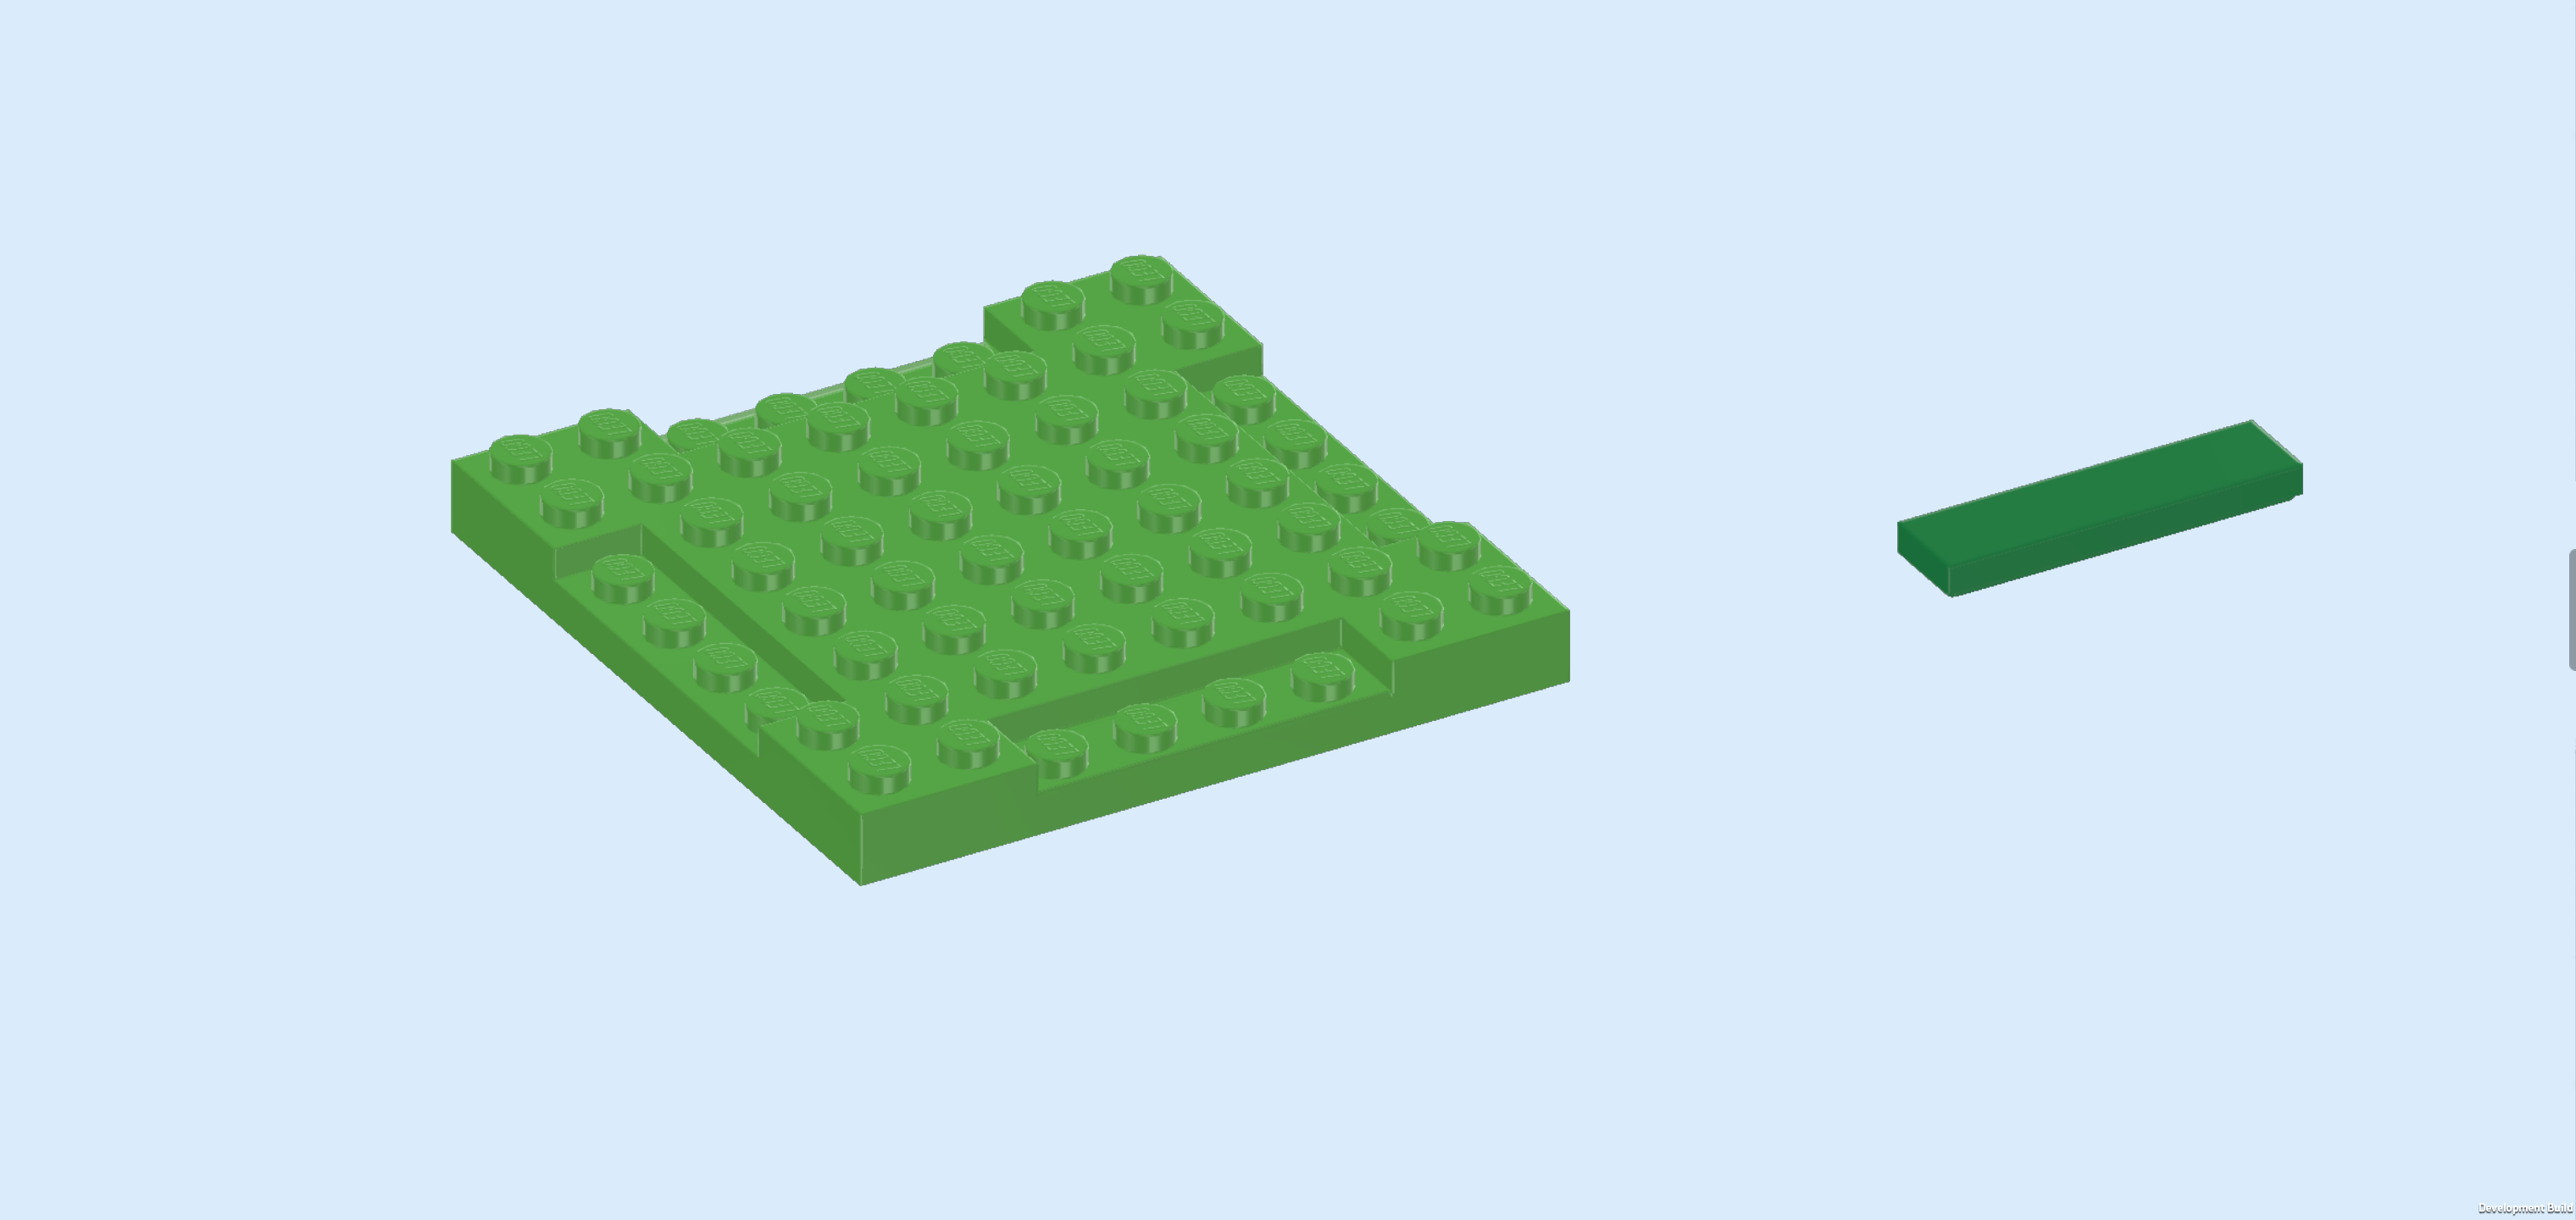
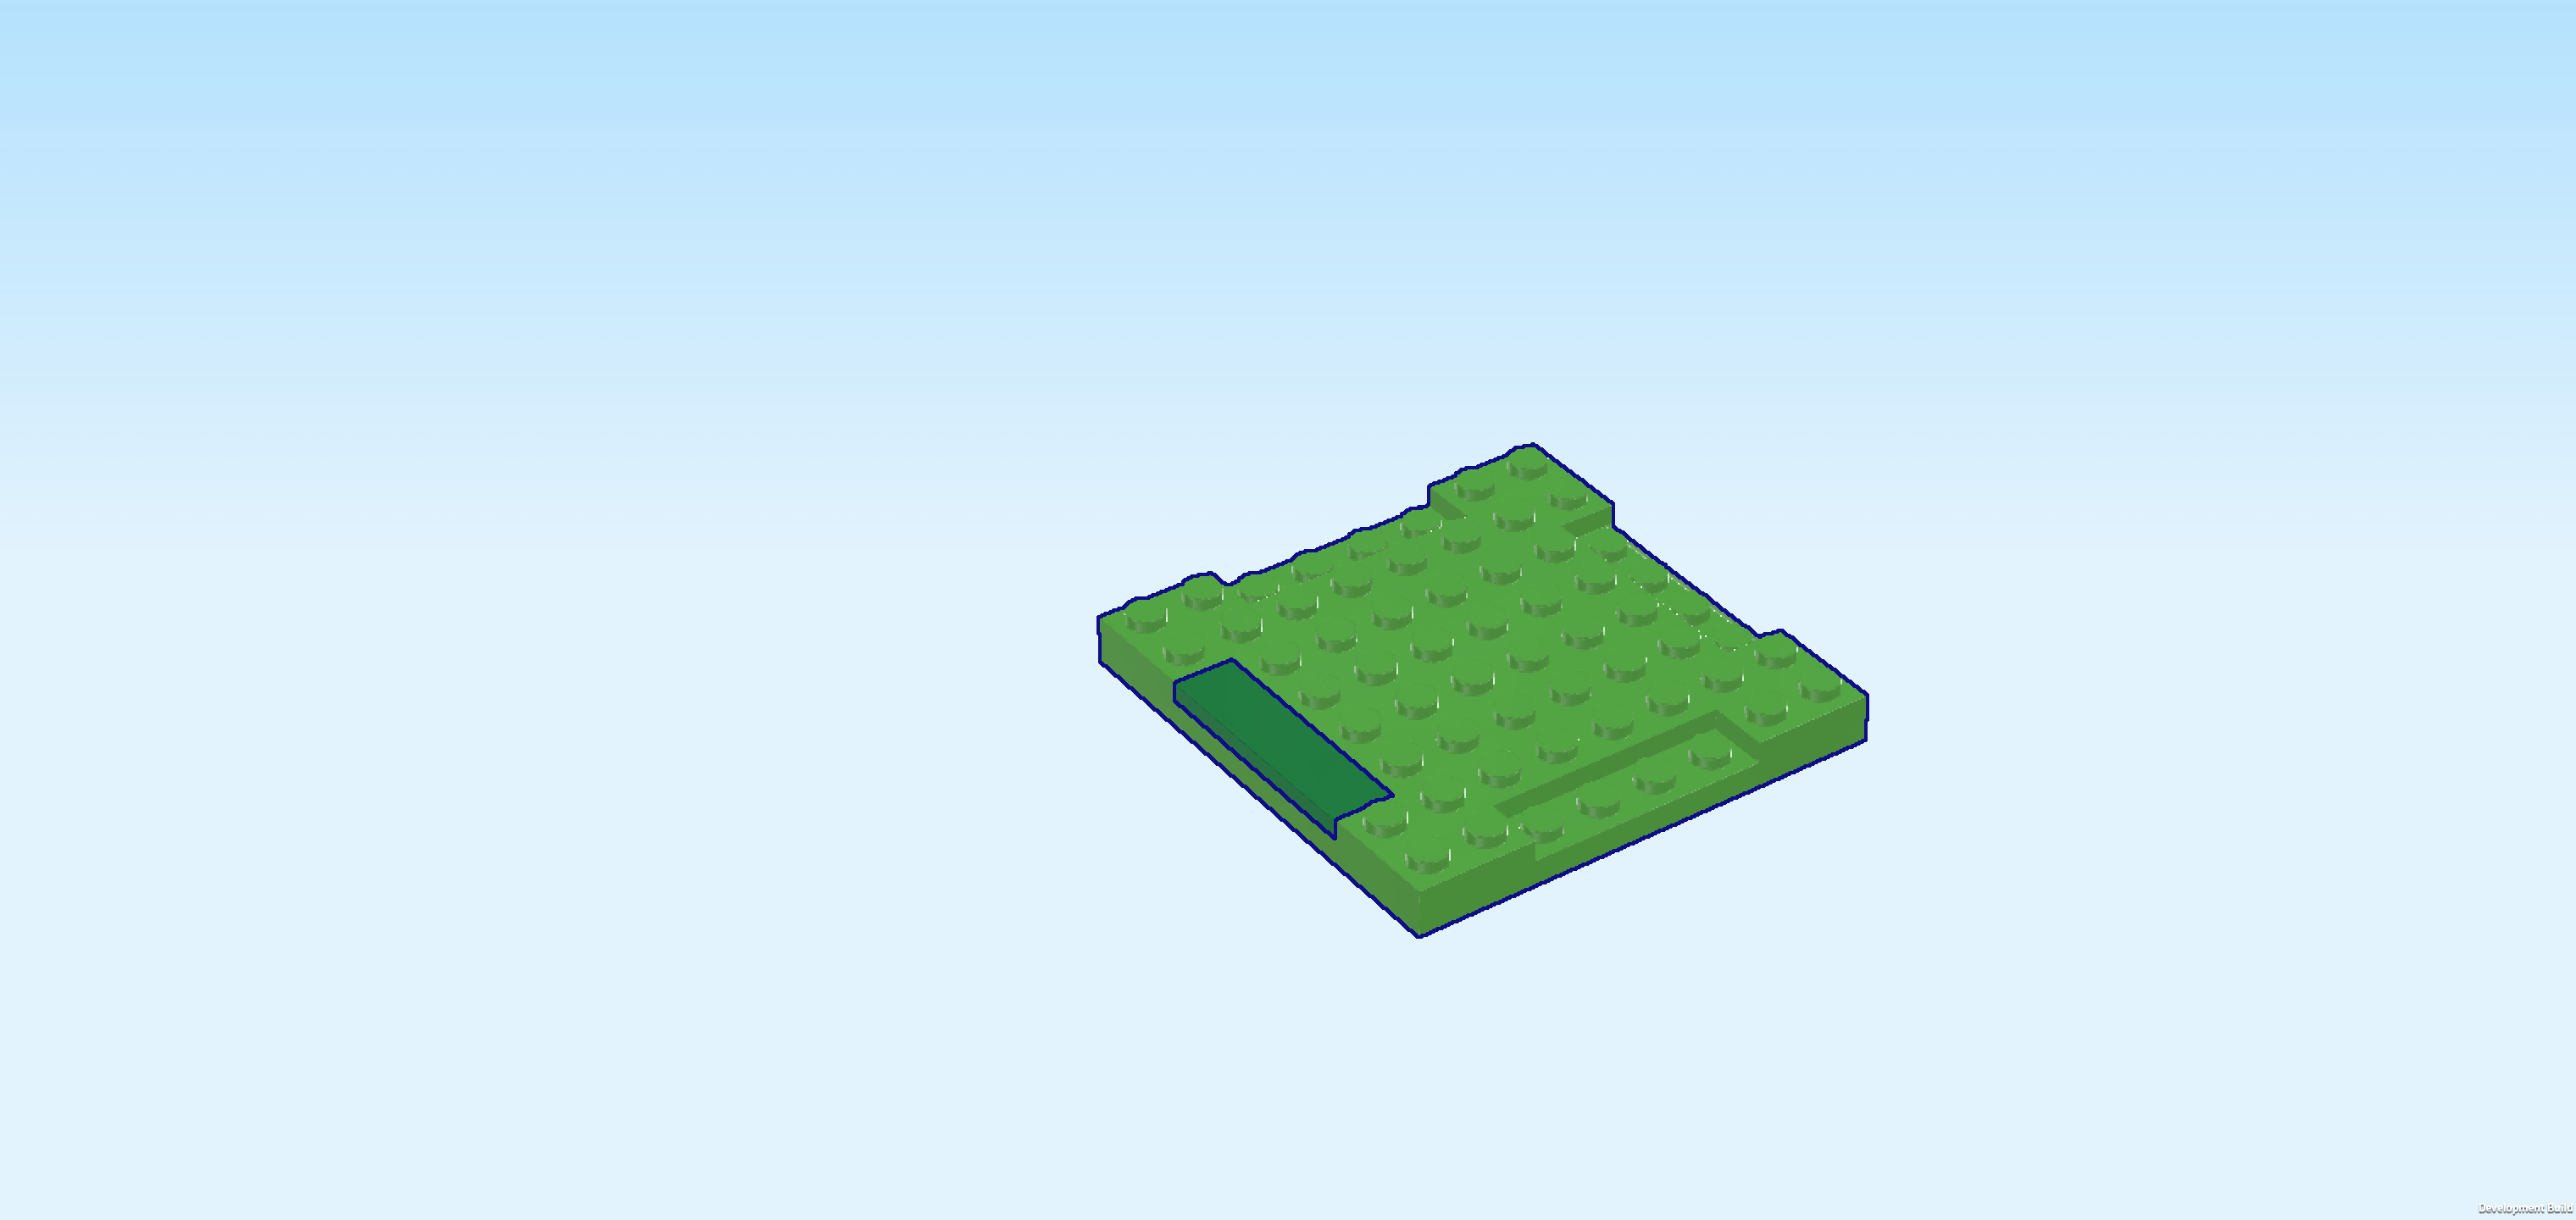
| 1 bright green stepped plate 8x8 with 4 recesses, |
| and 1 dark green flat tile 1x4. |
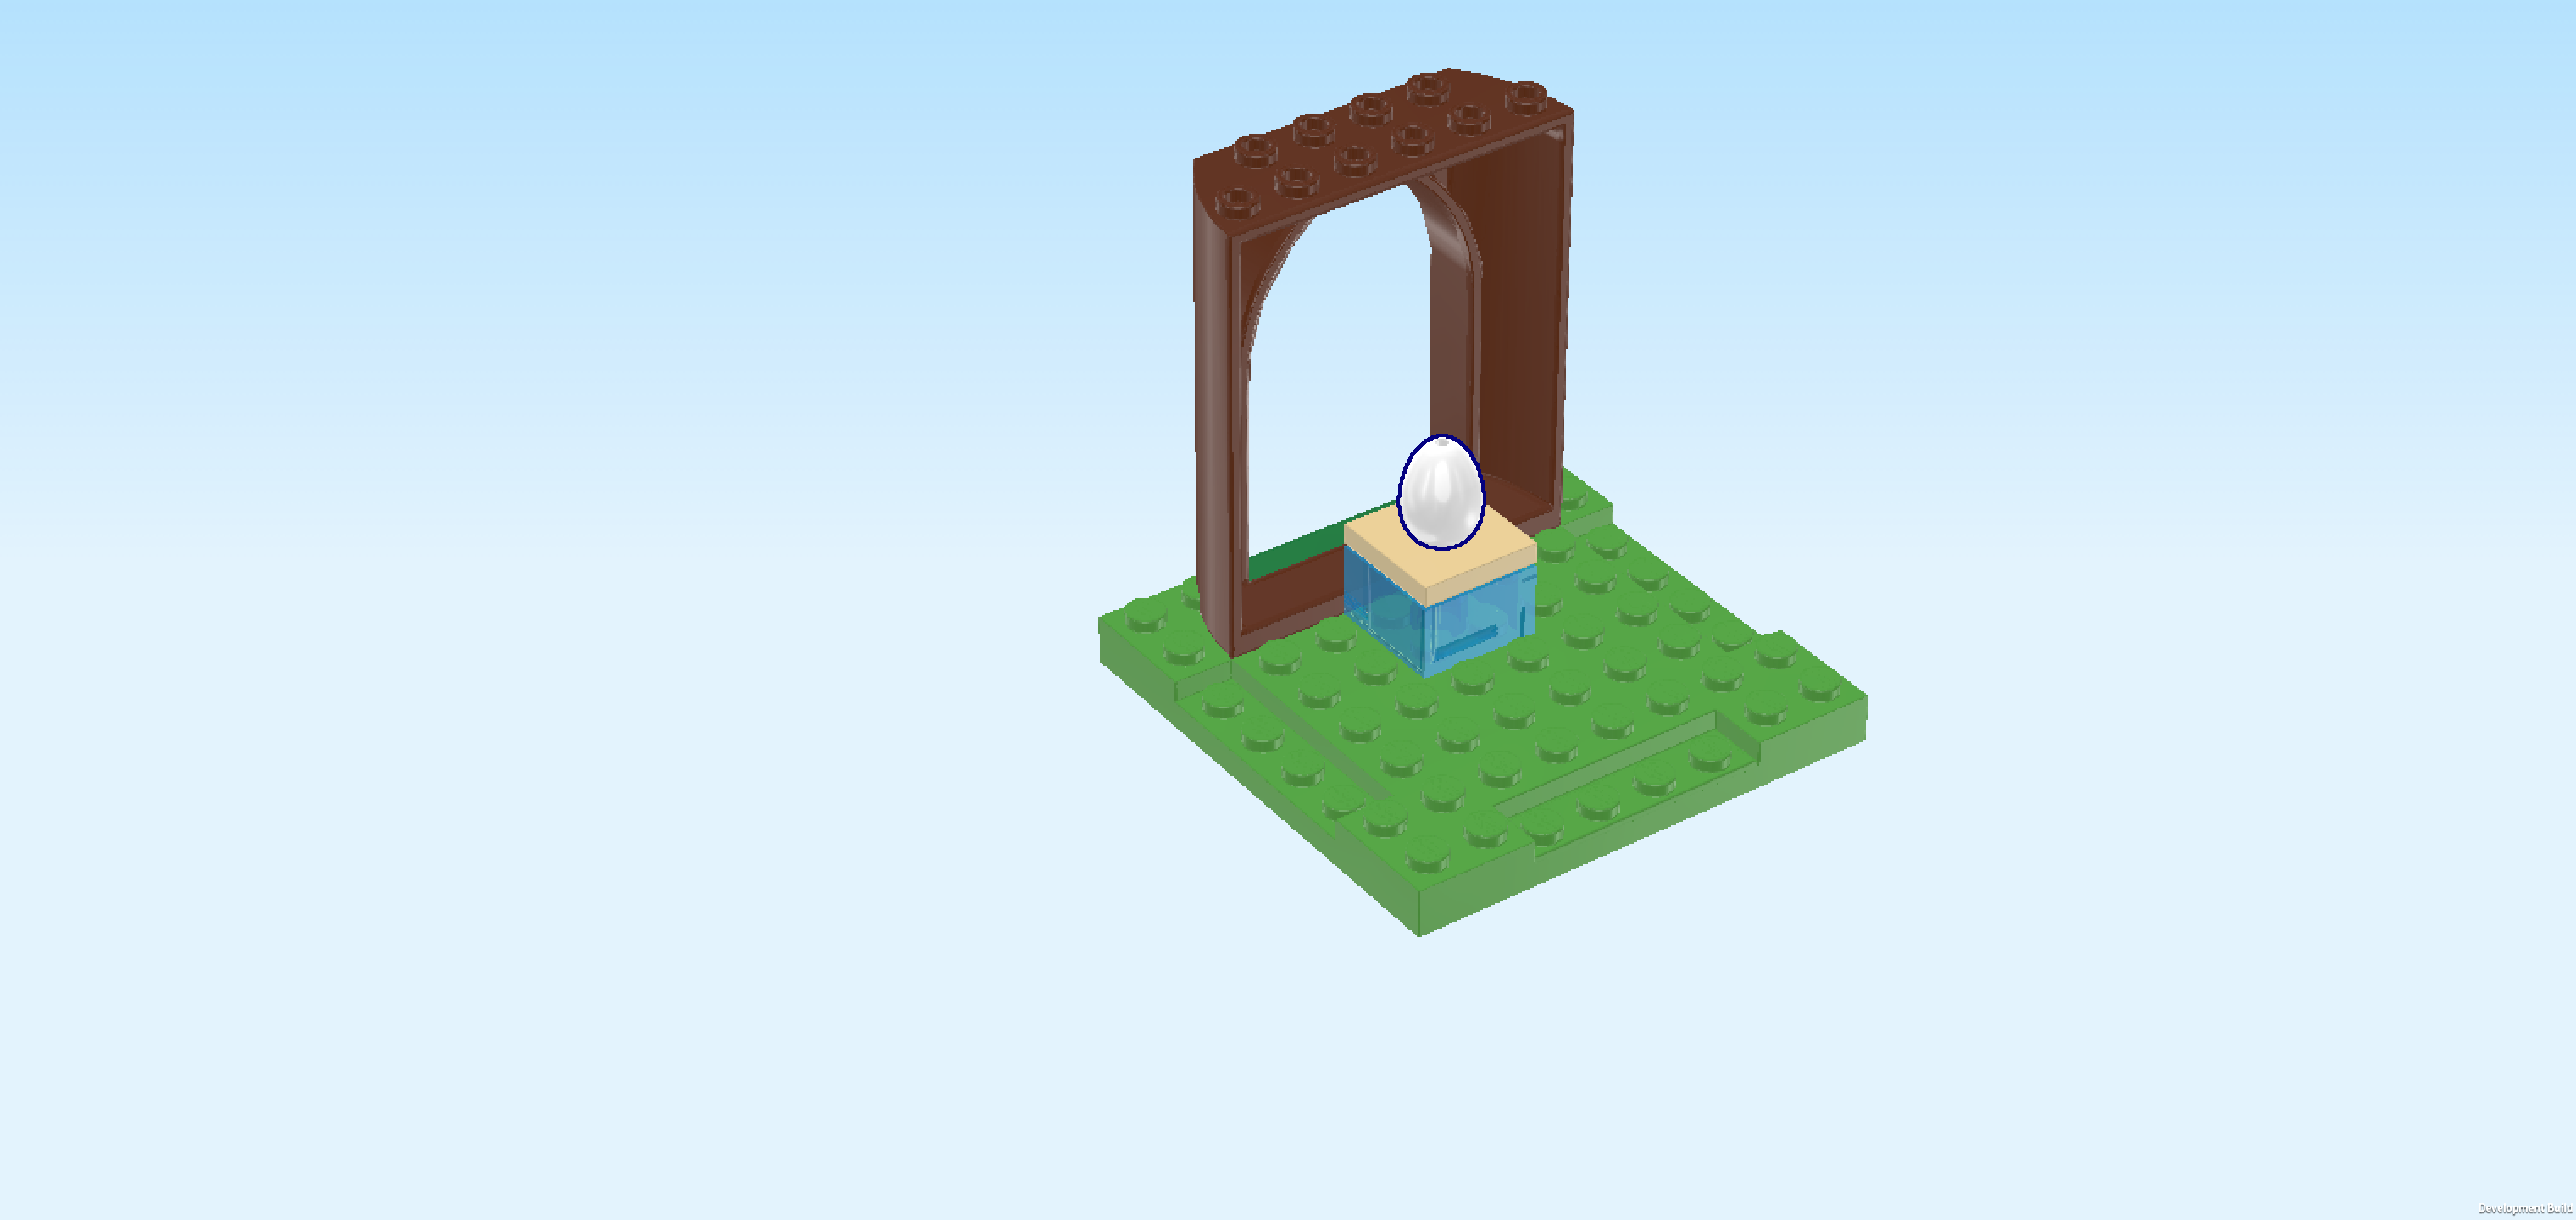
| Put the stepped plate 8x8 on the table. Make sure its knobs form straight rows and columns in front of you. |
| Put the flat tile 1x4 vertically centered on the leftmost column. |
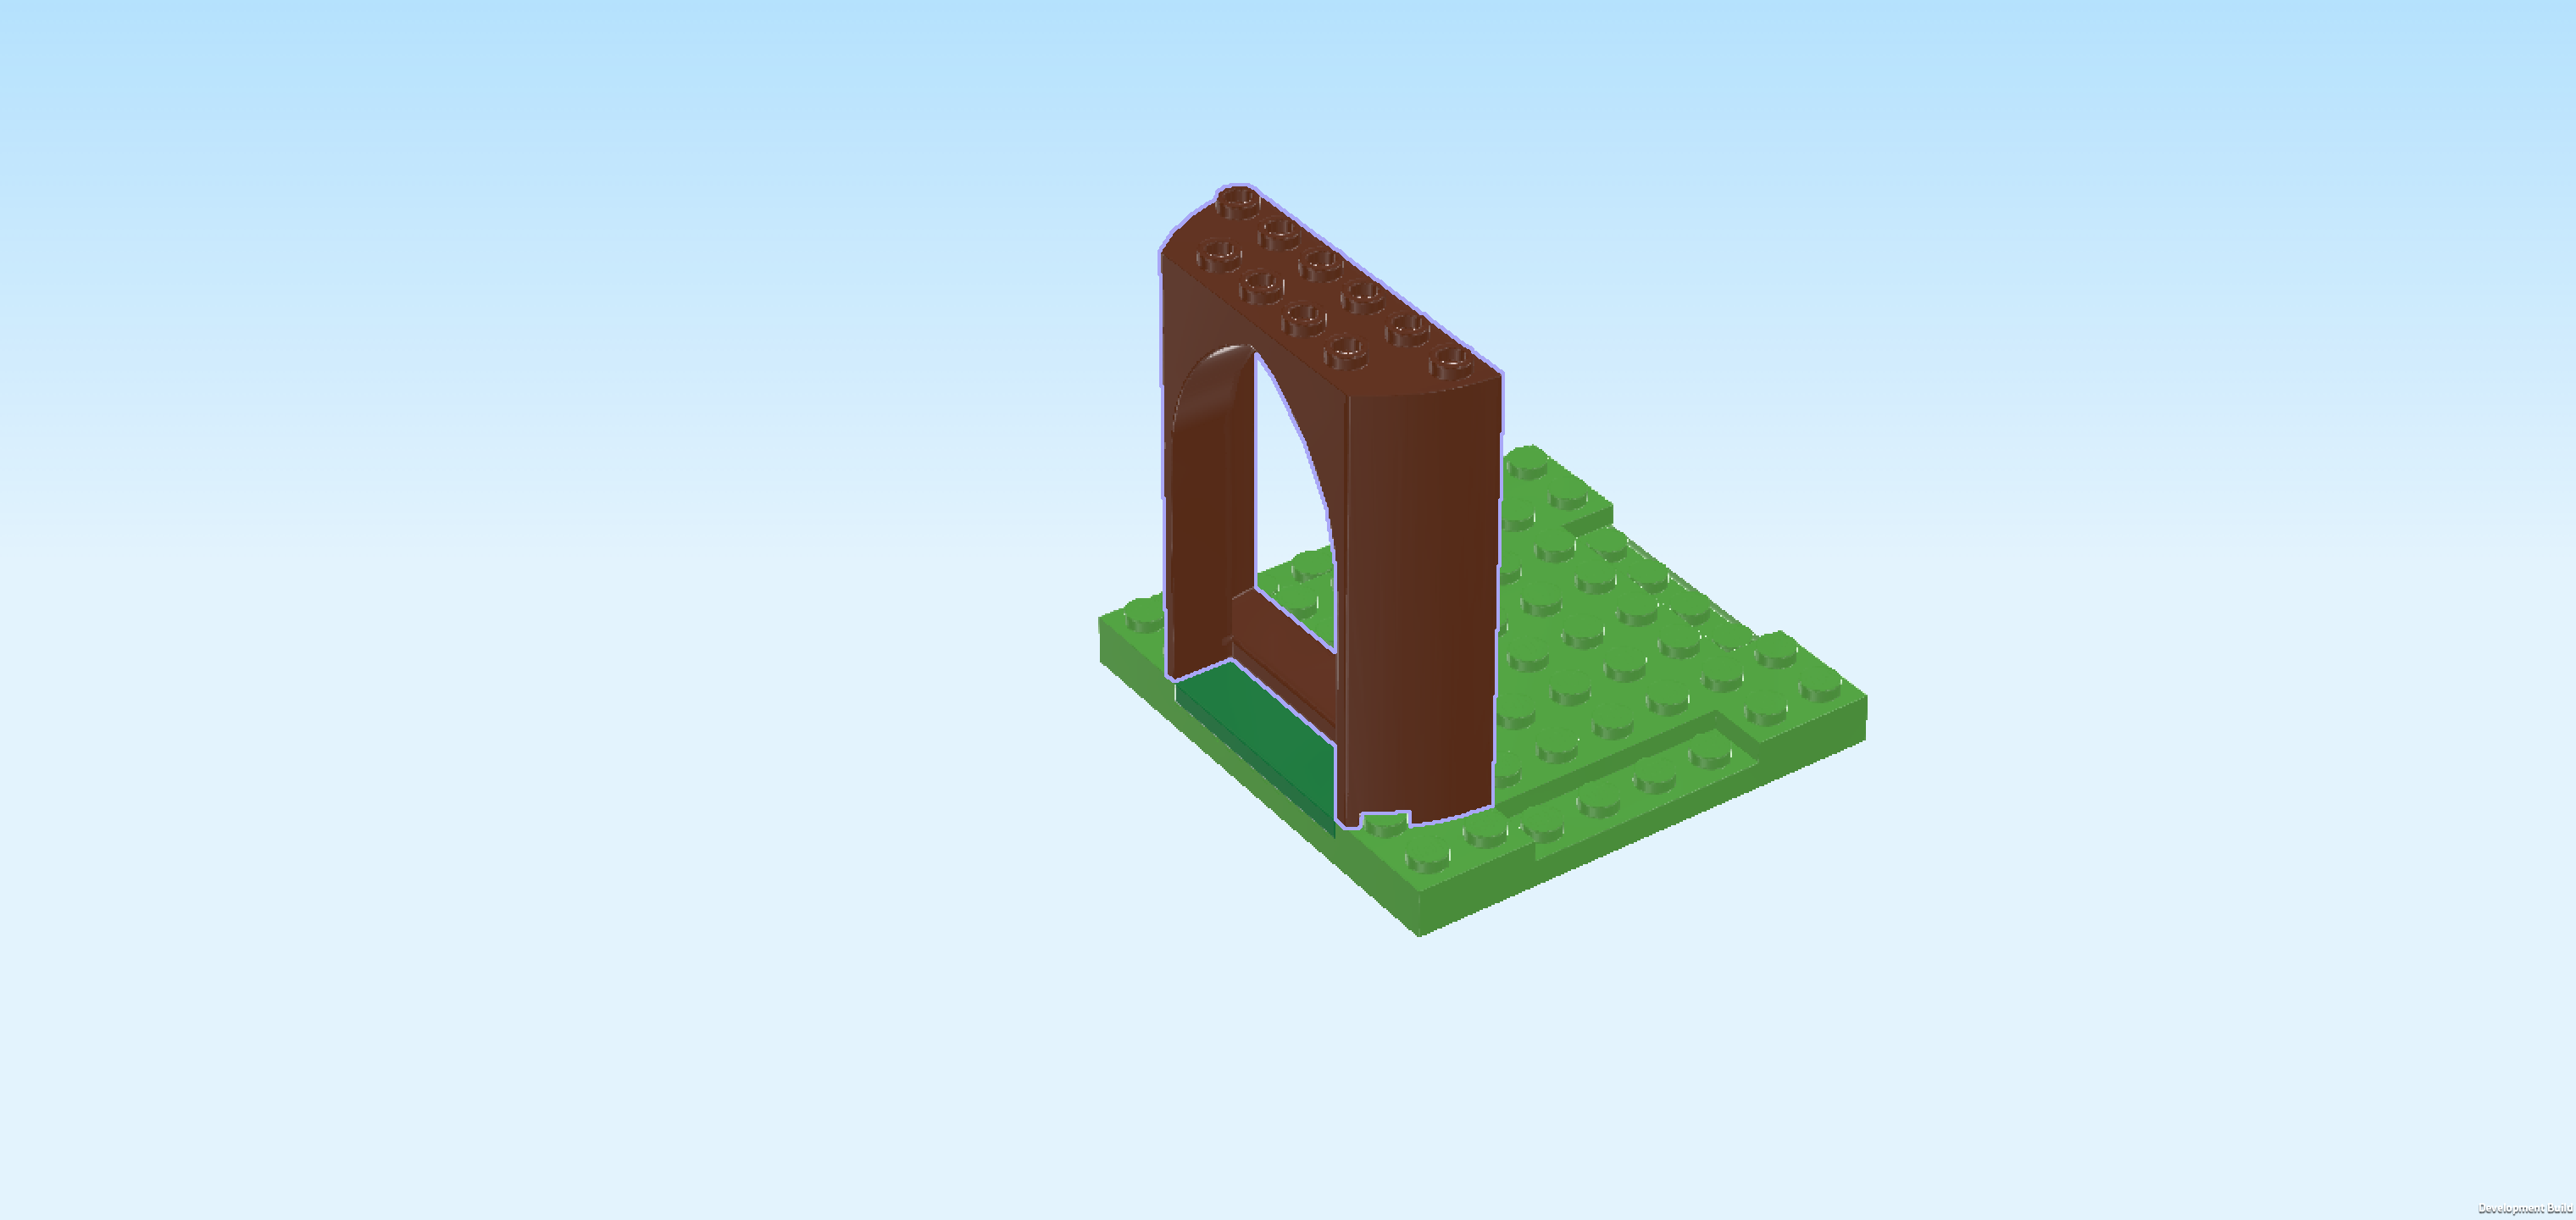
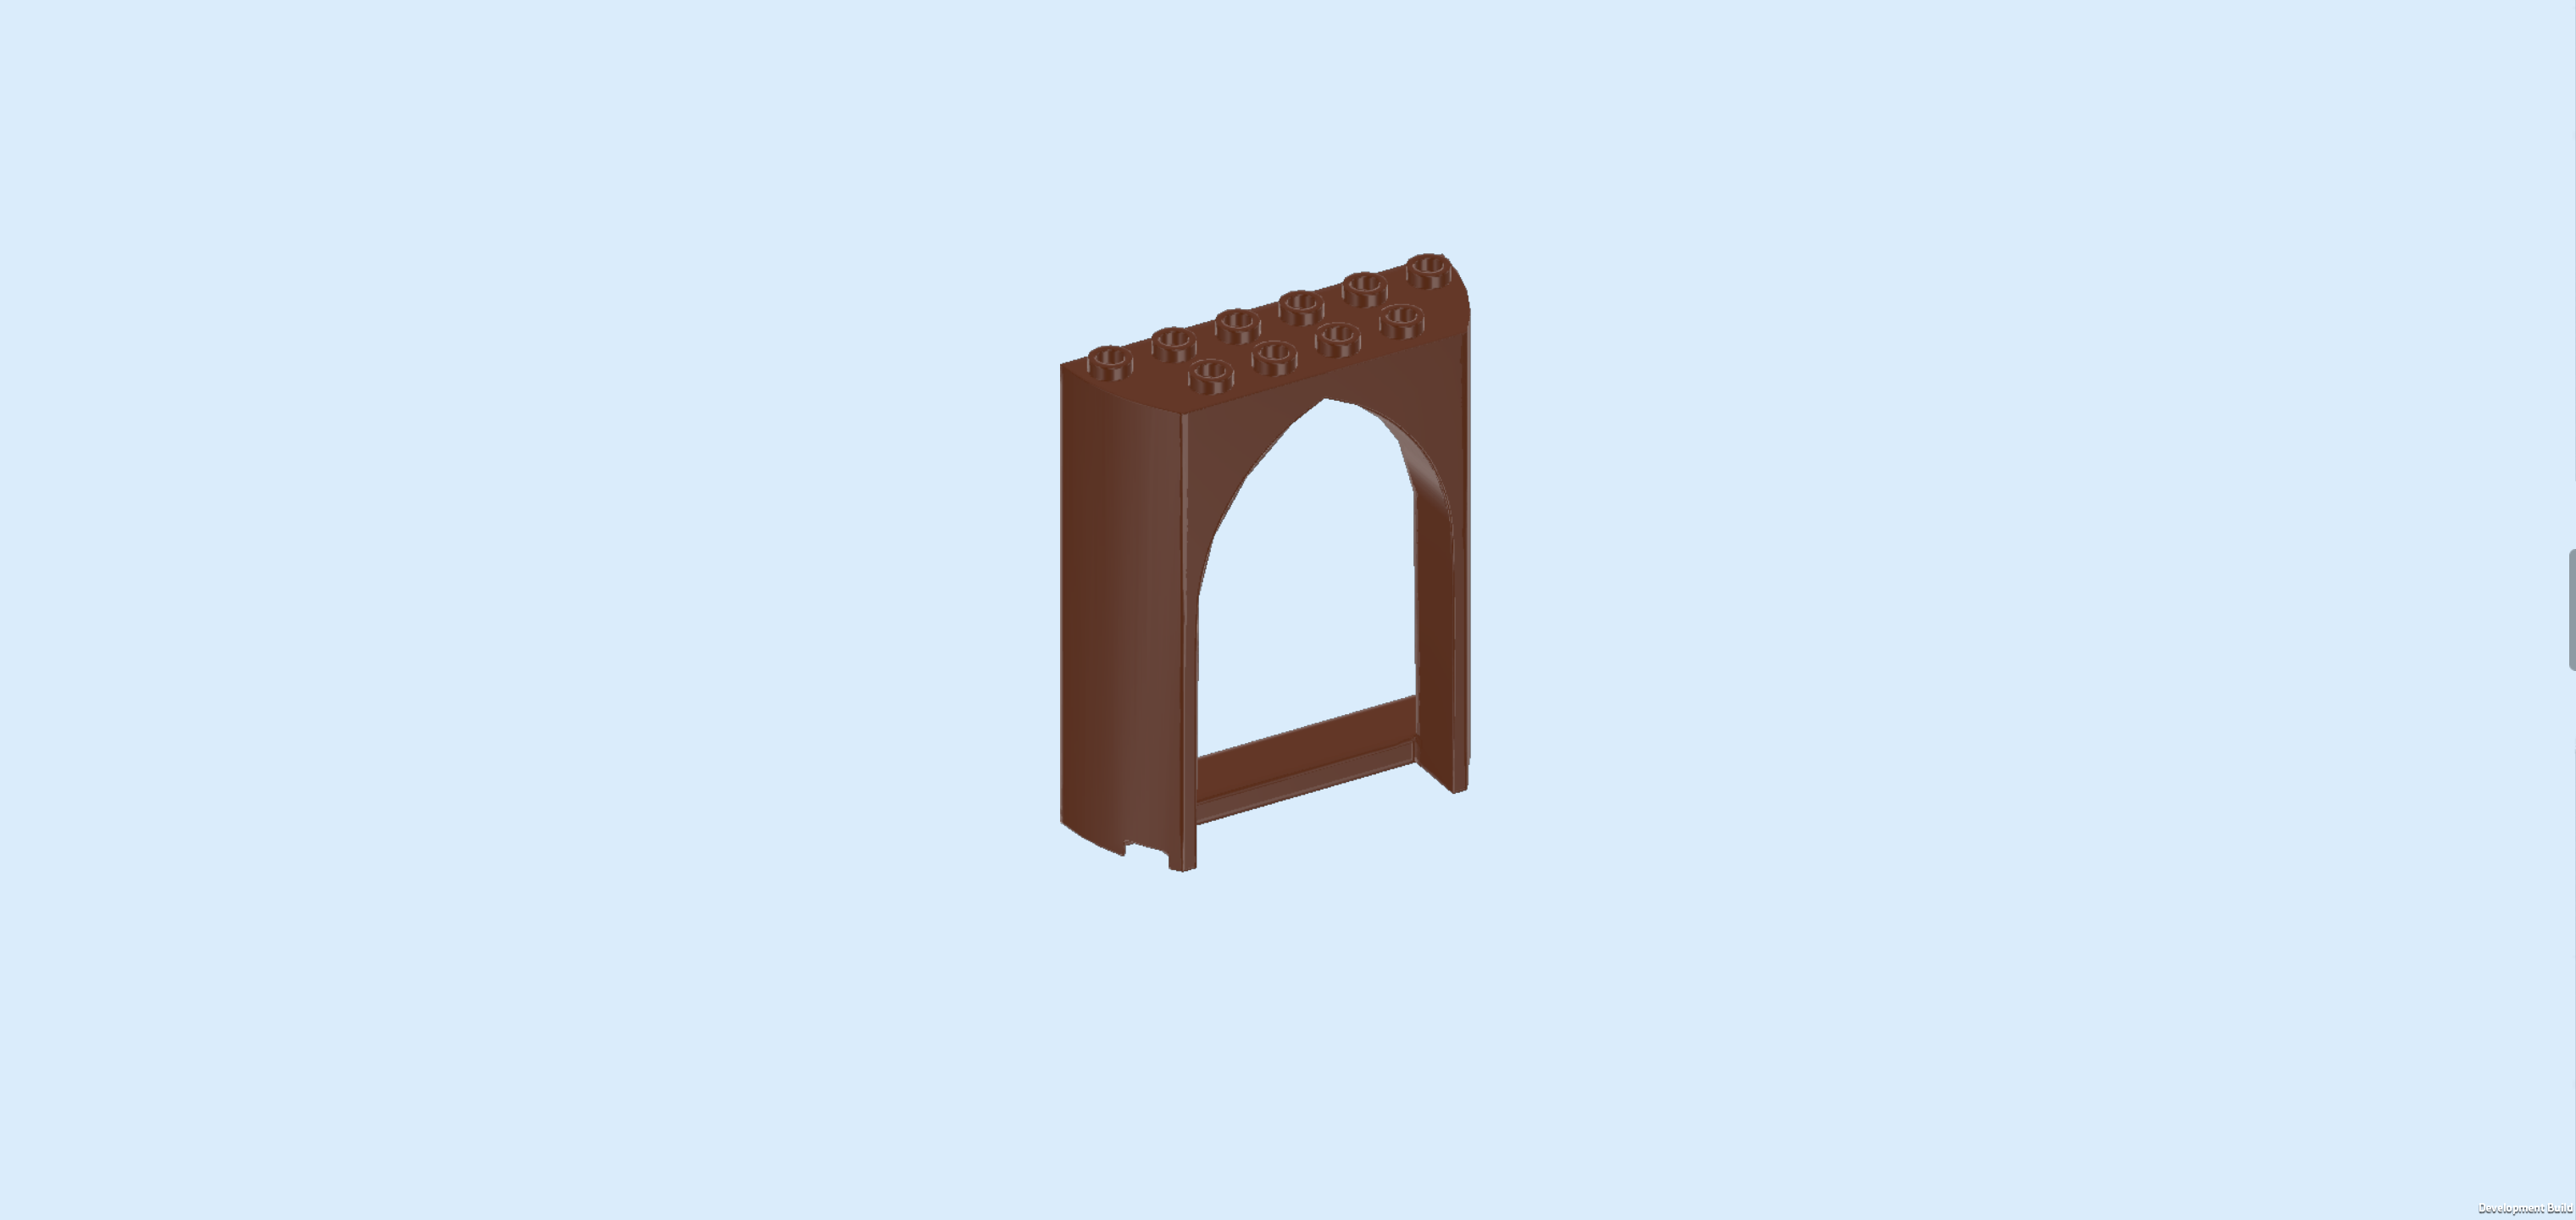
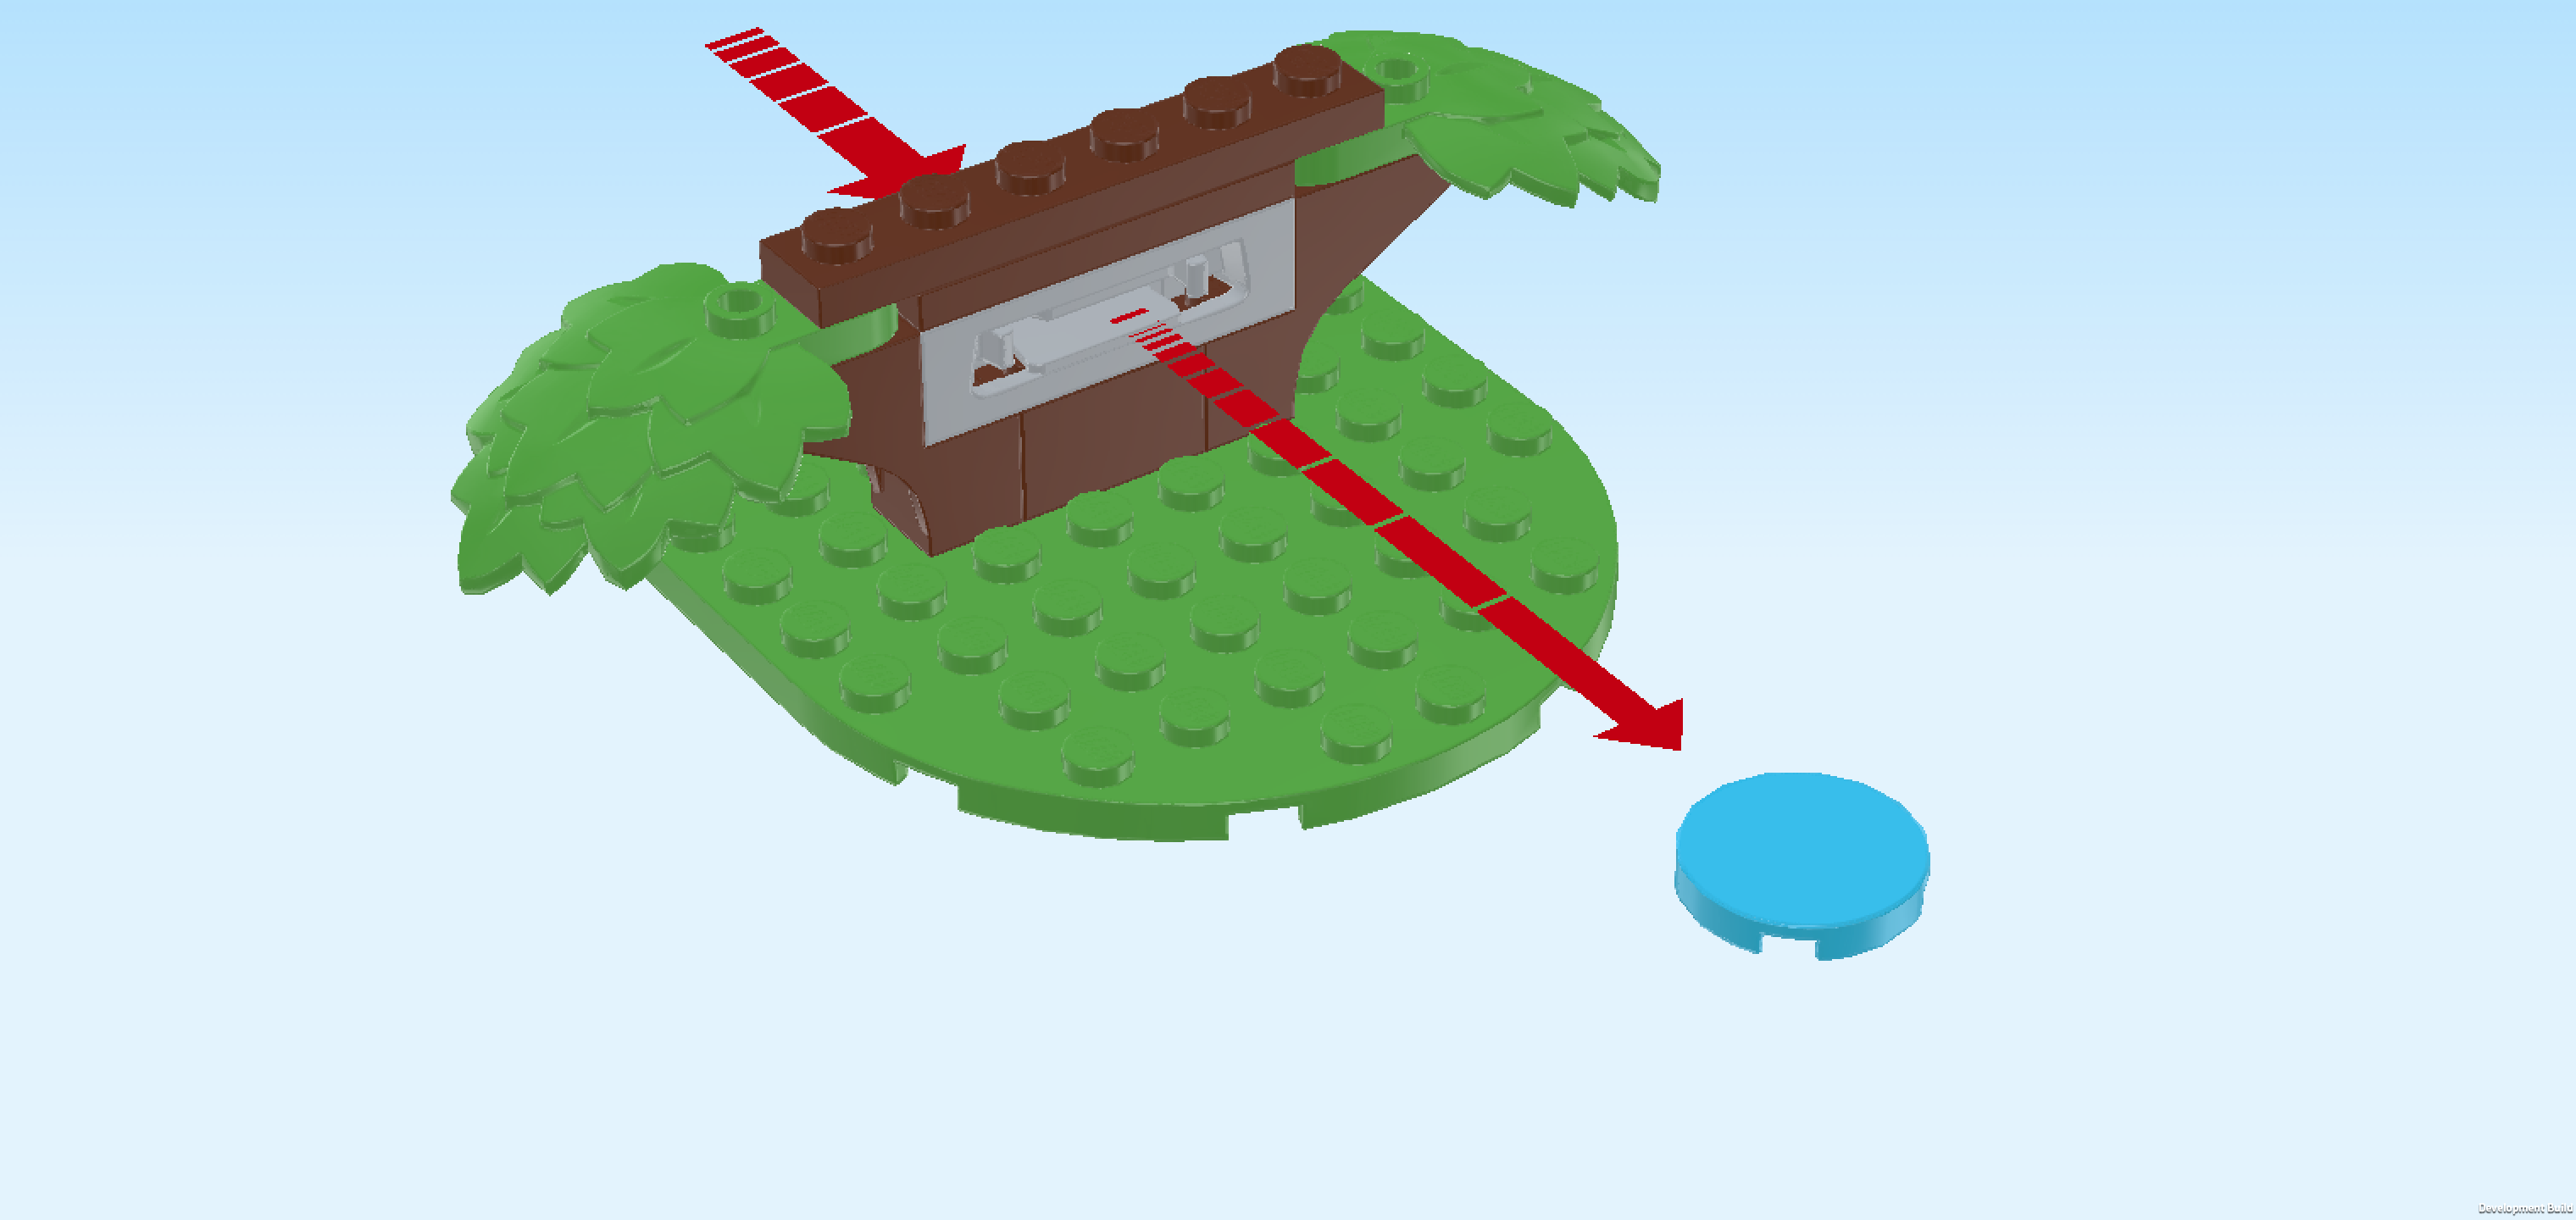
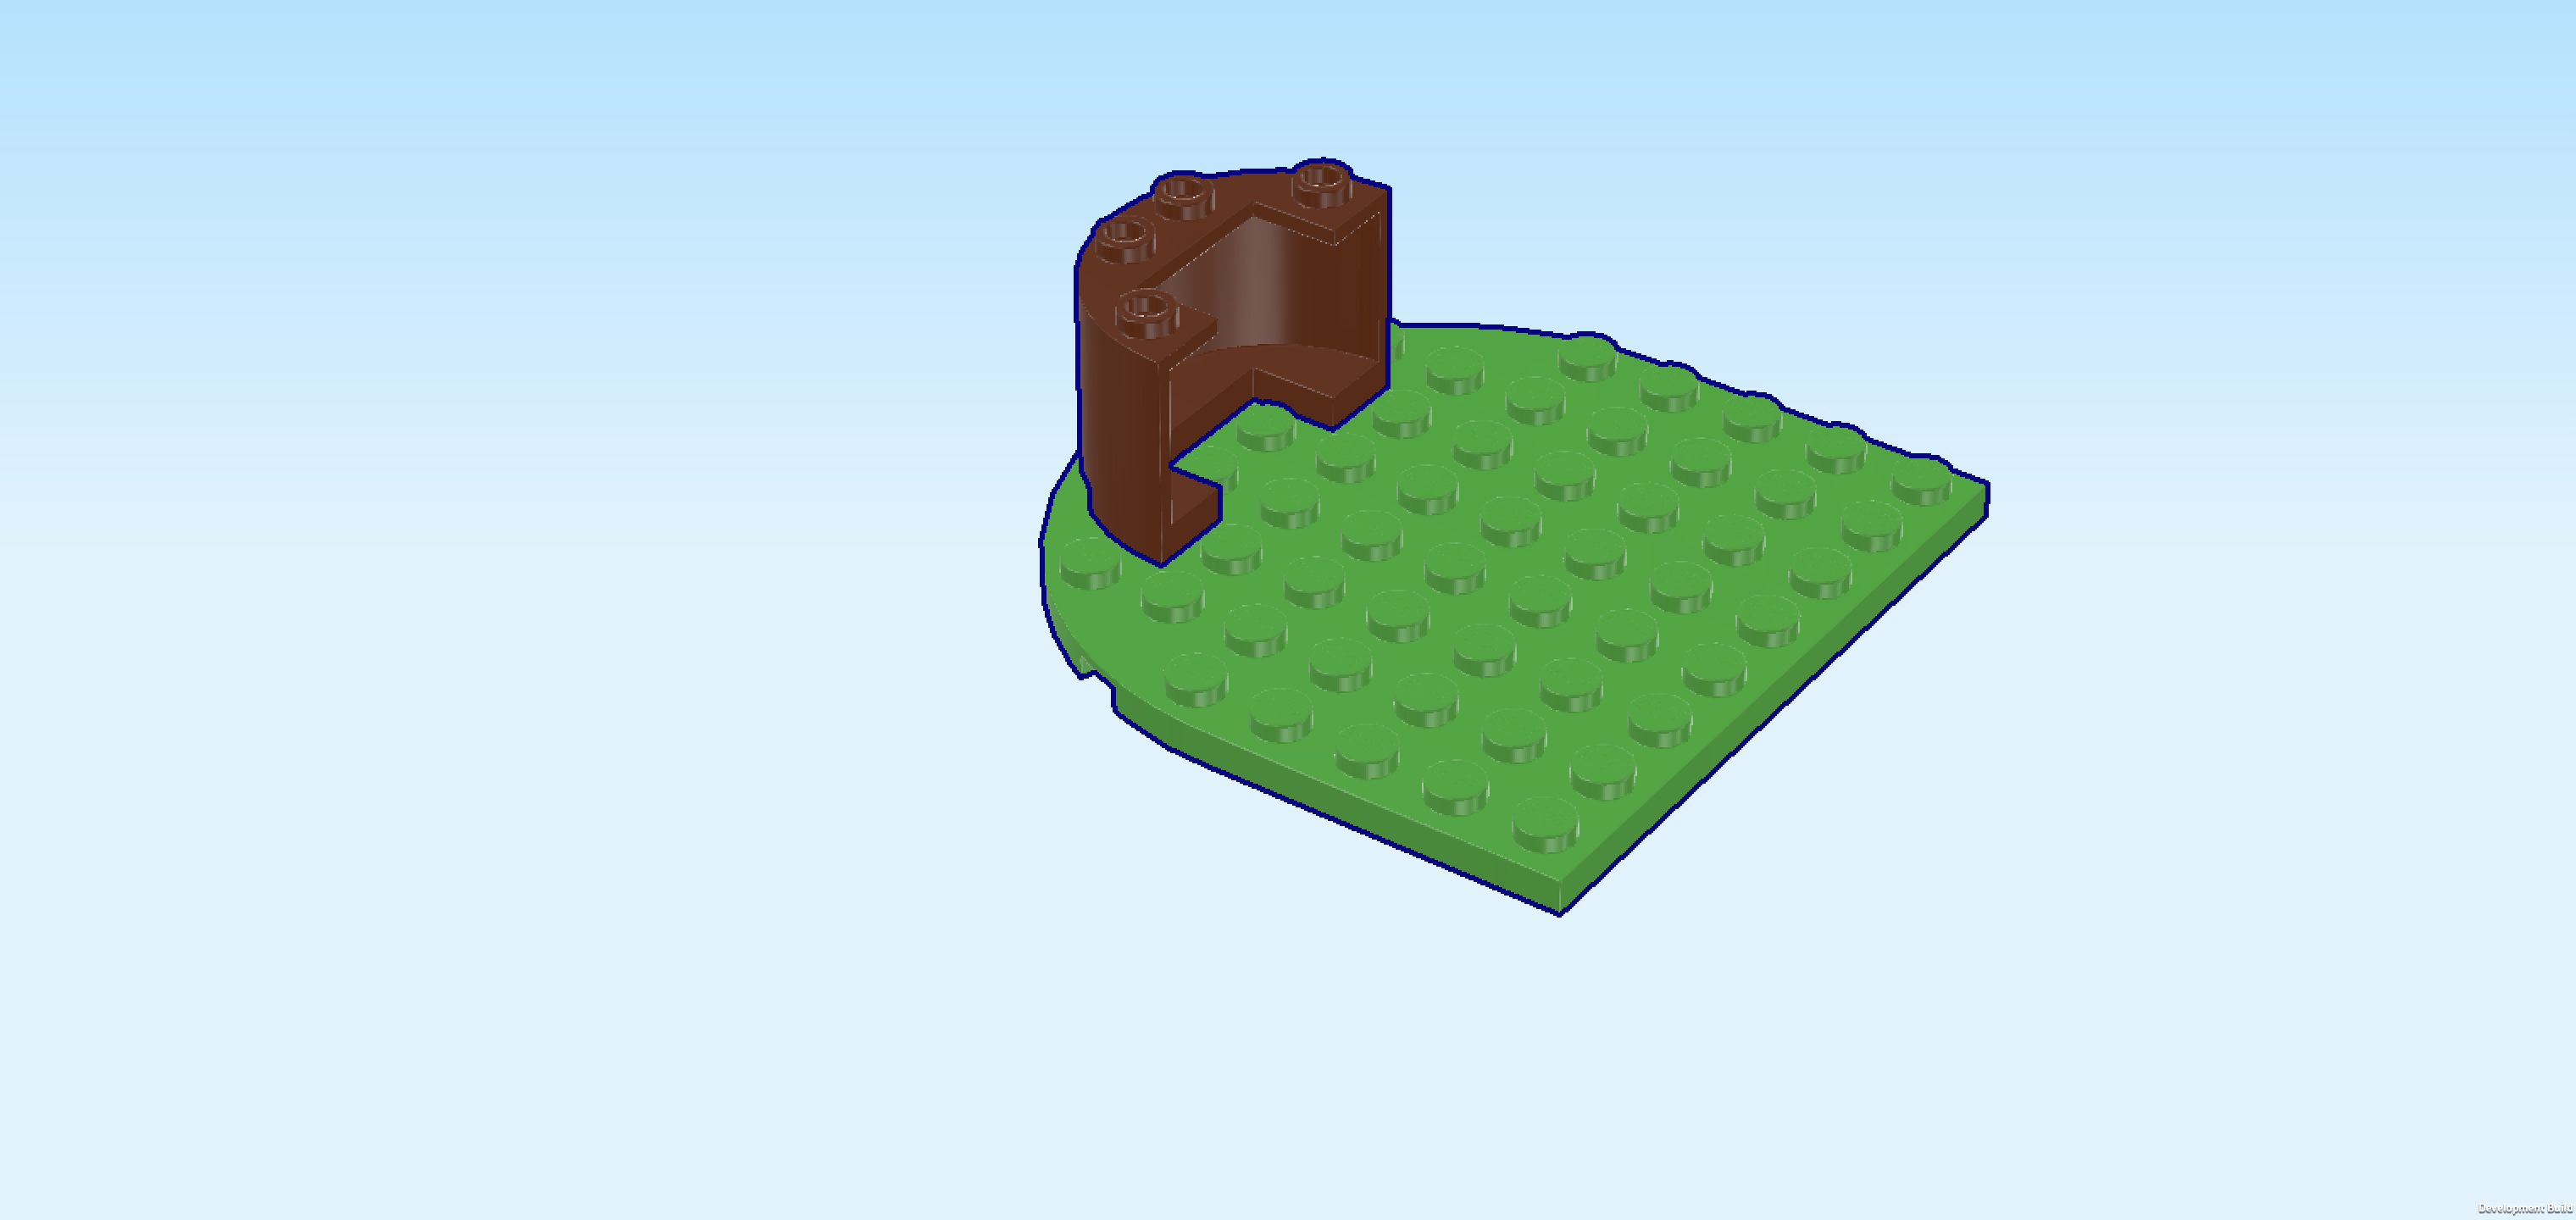
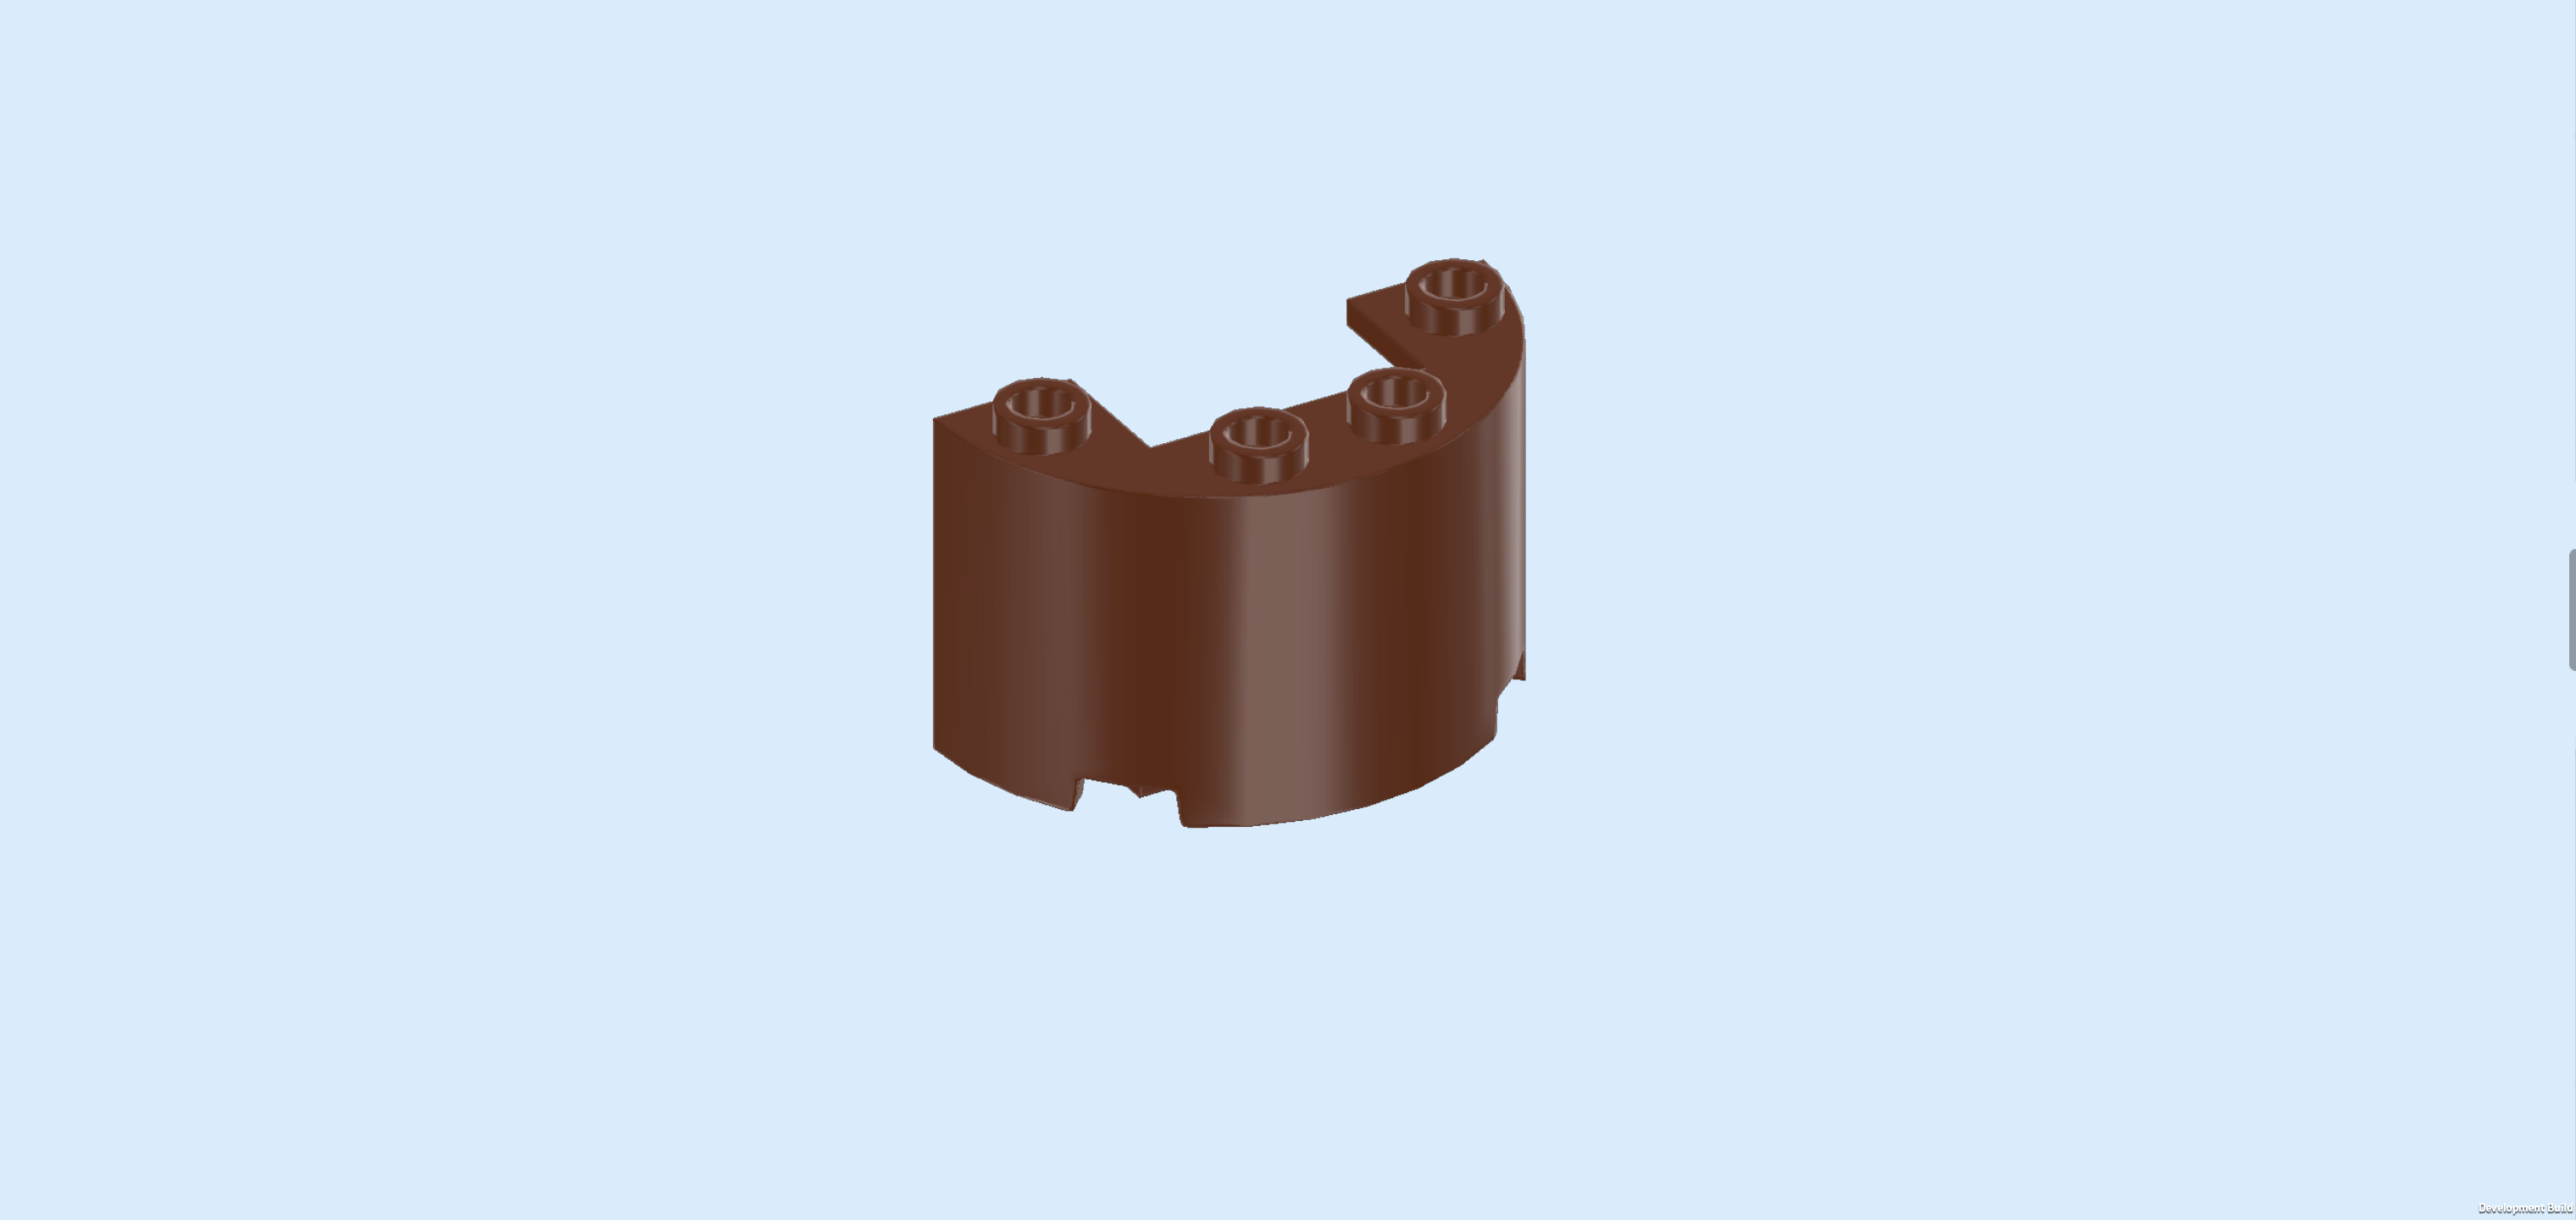
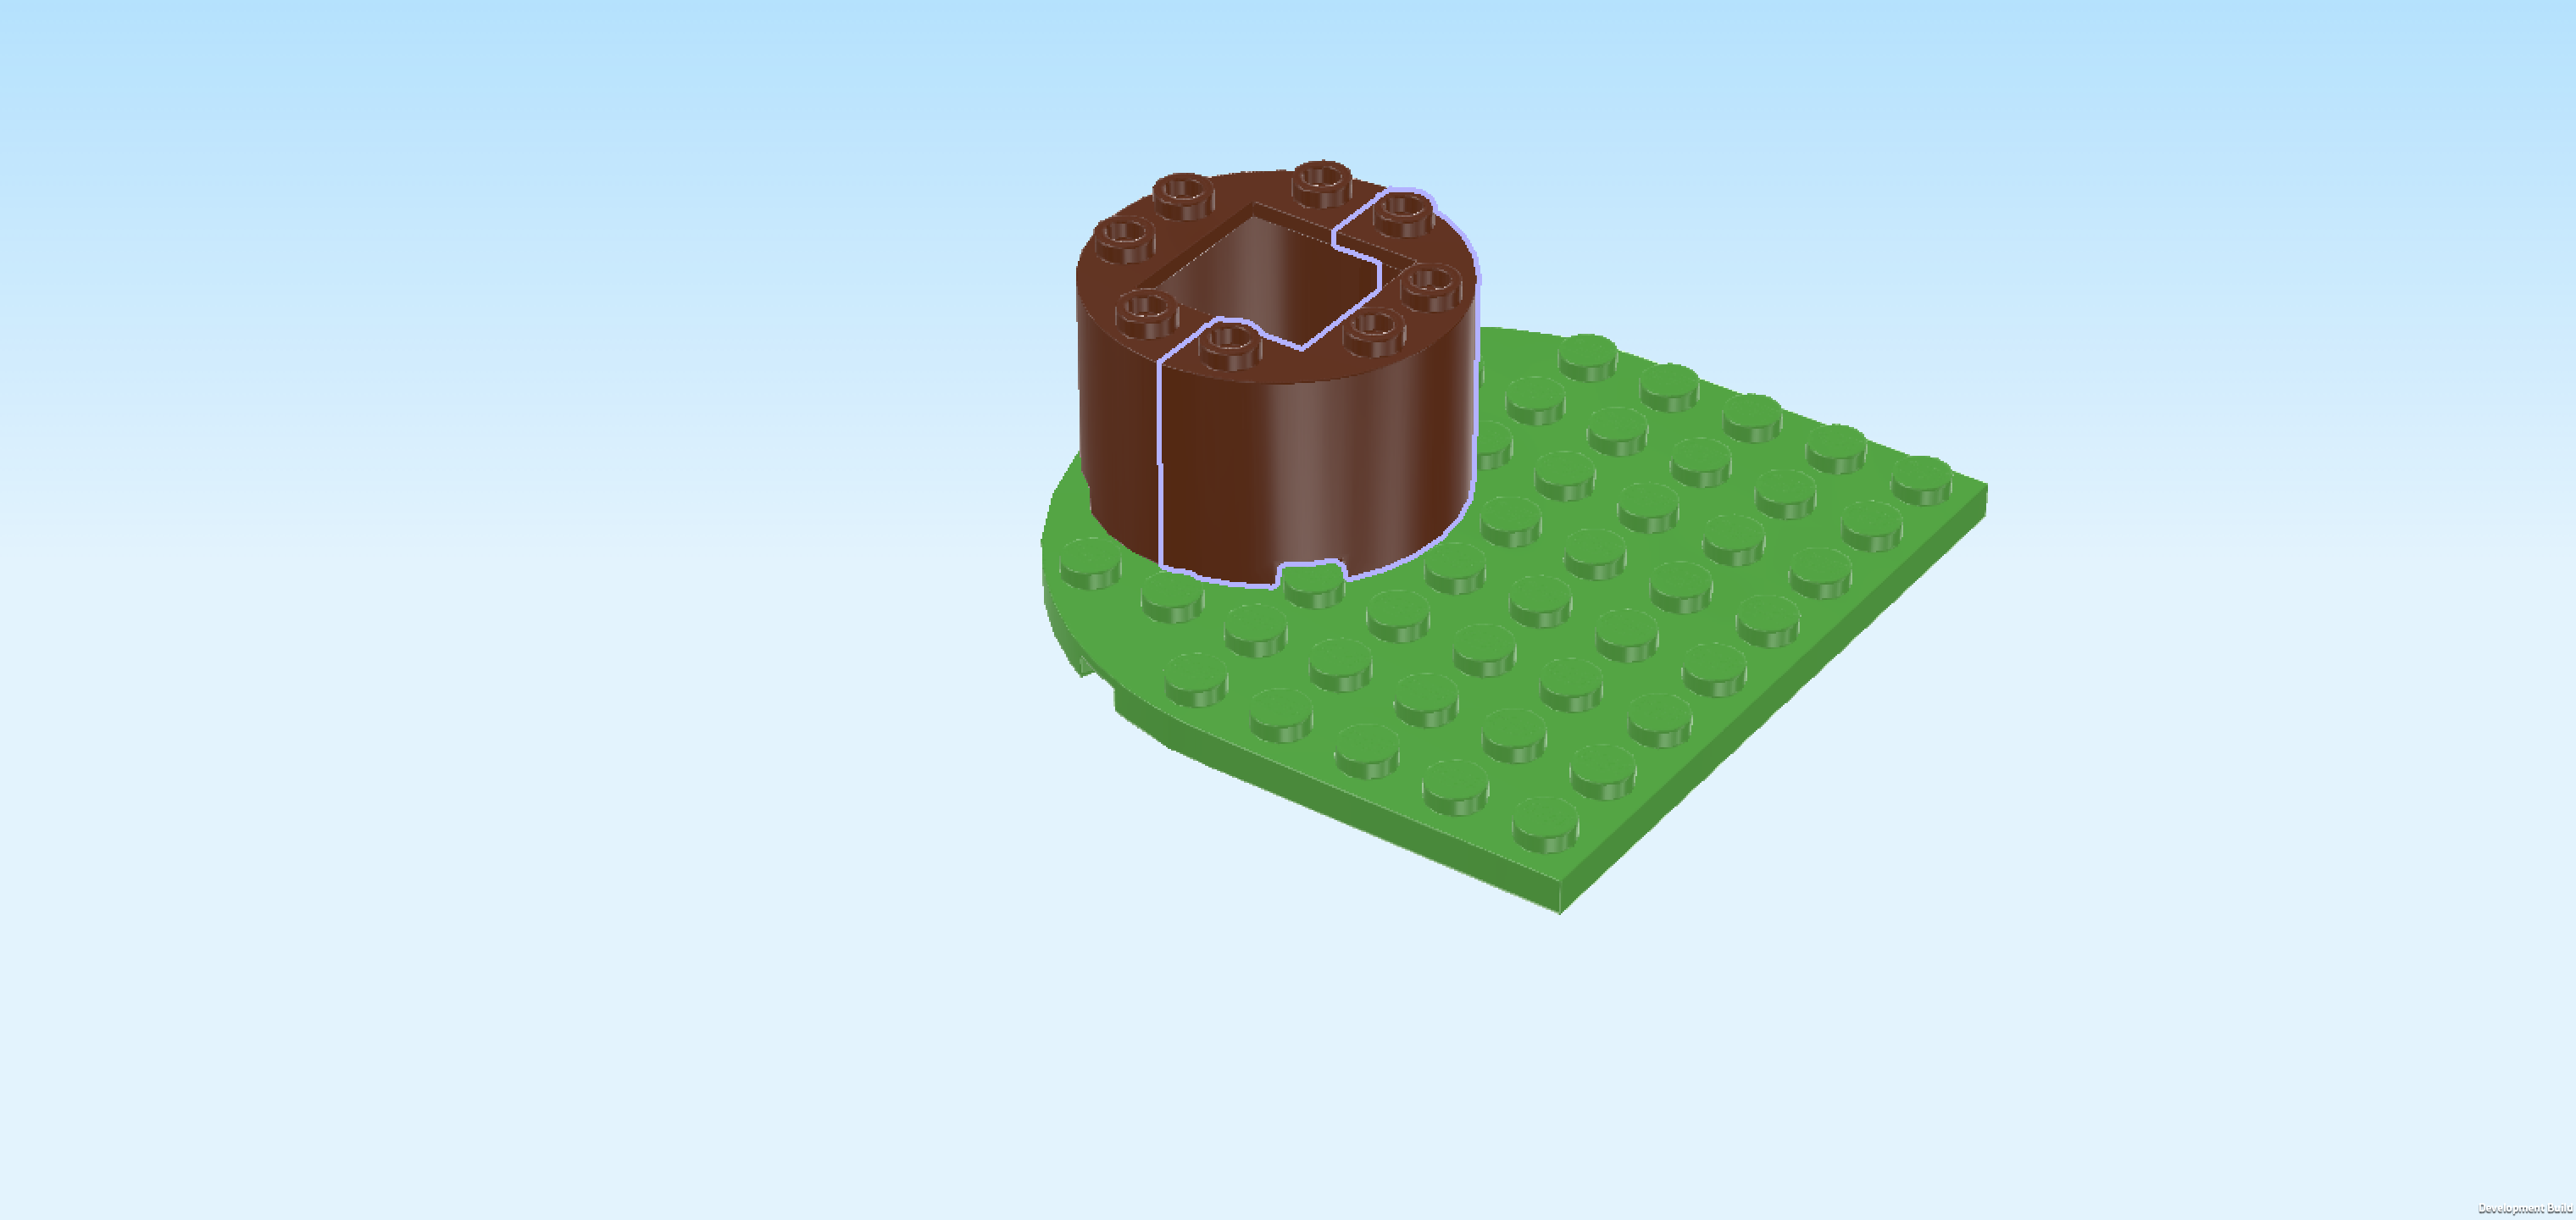
| Find 1 reddish brown arch door 2x6x6. |
| Put it vertically centered to the right of the previous piece, curved side with arch door opening to the left. |
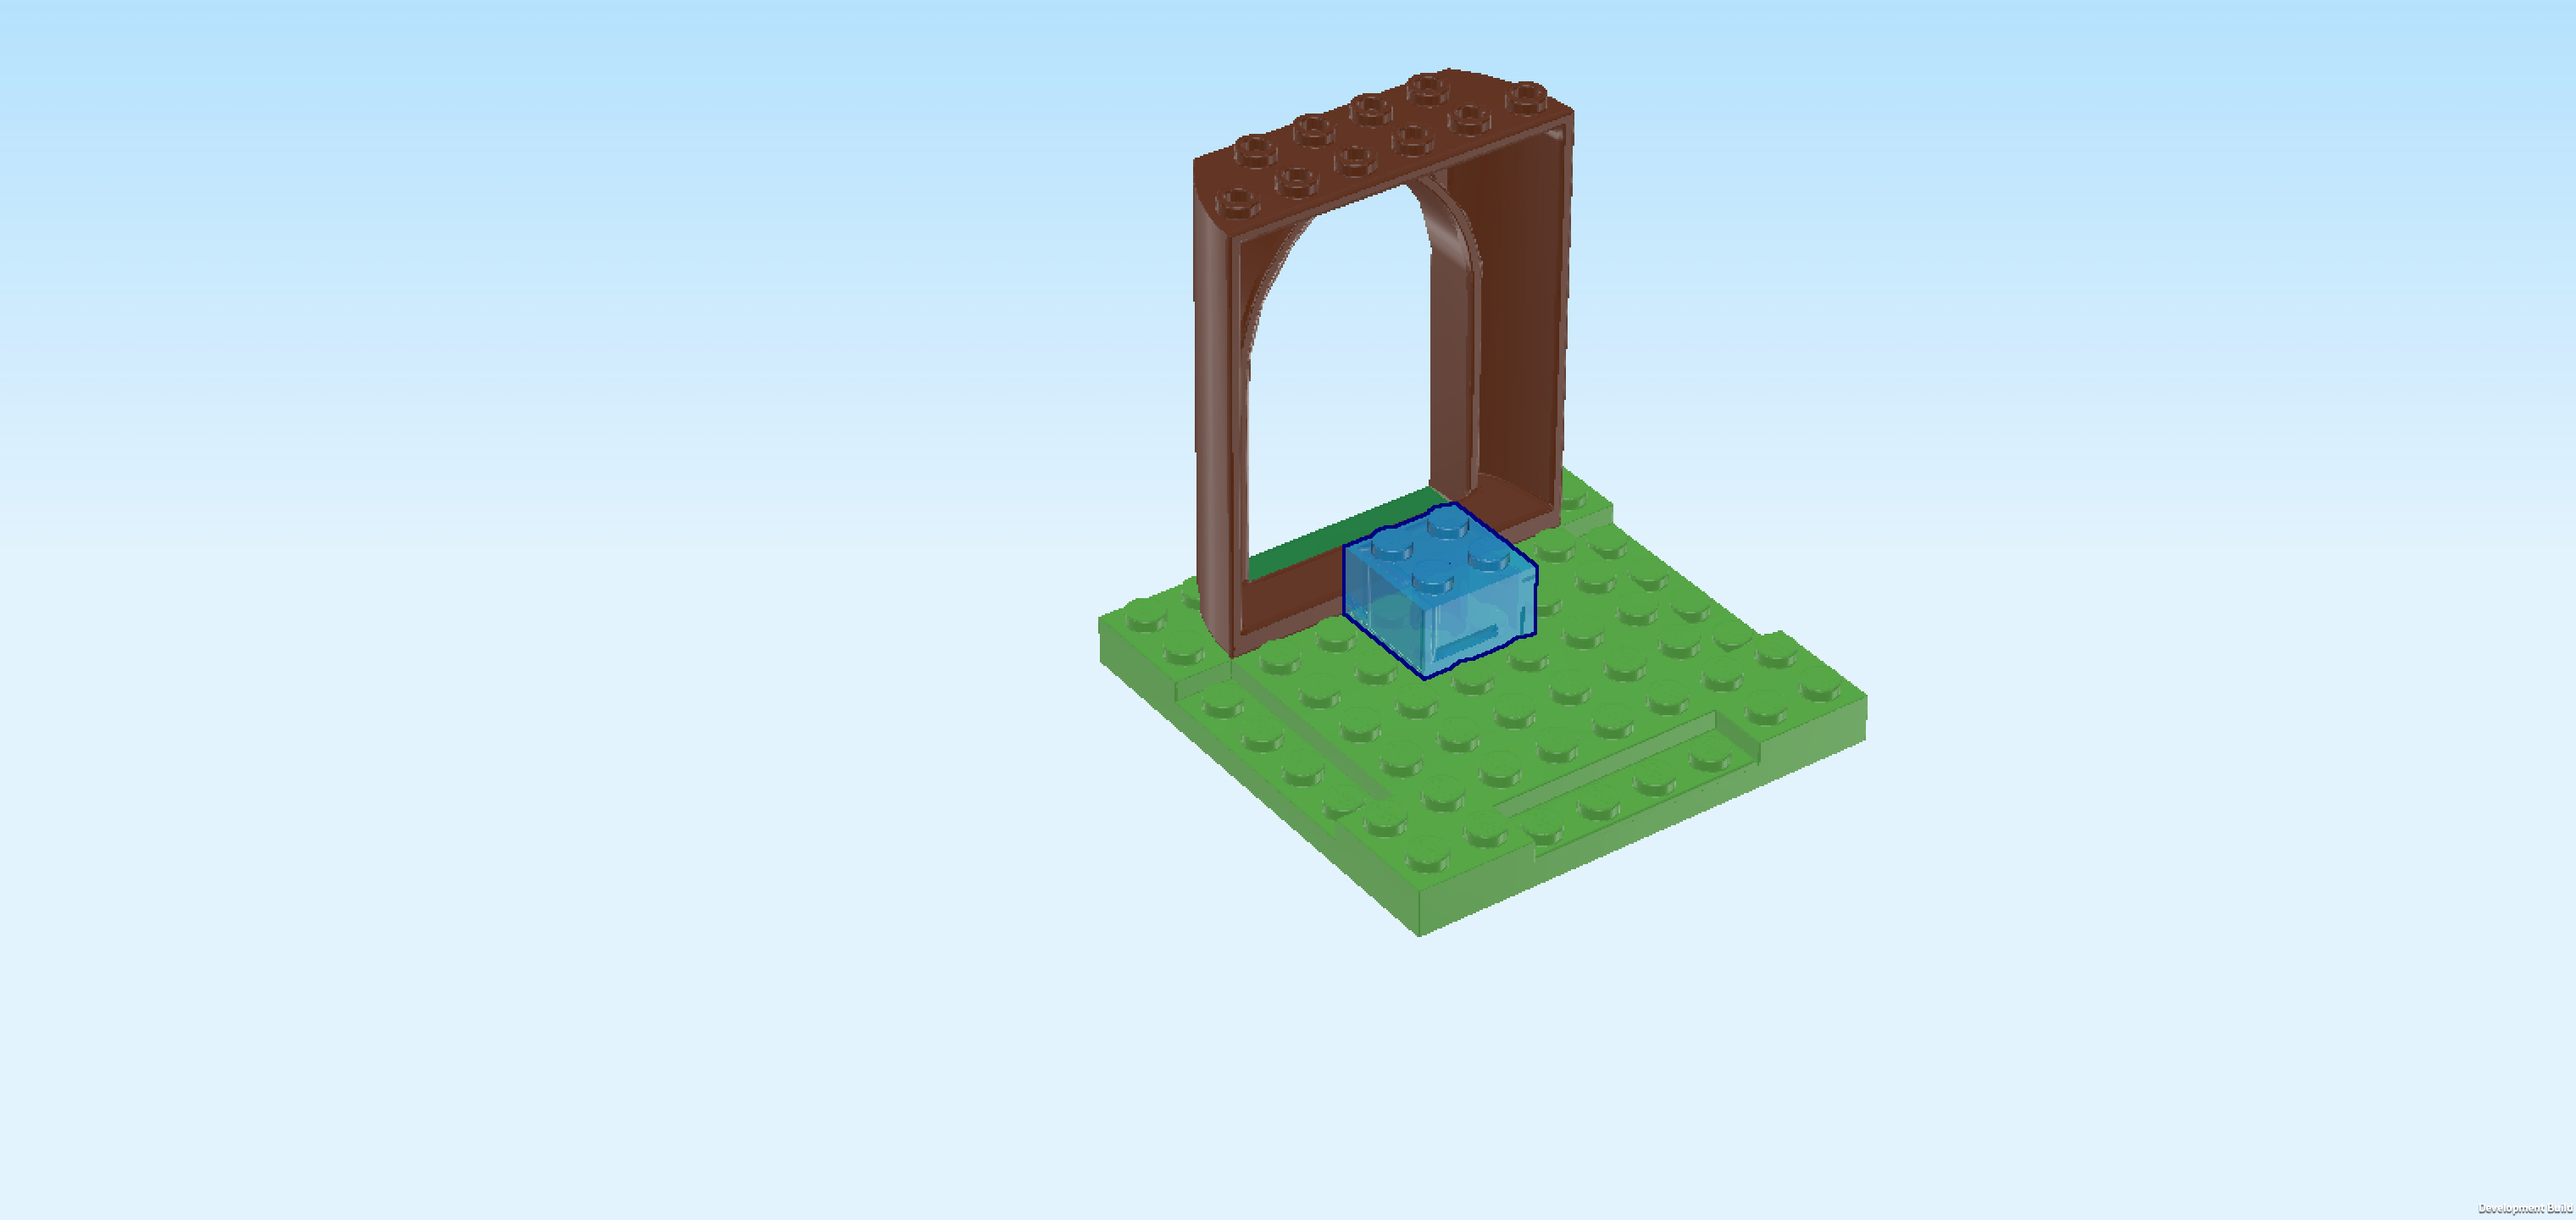
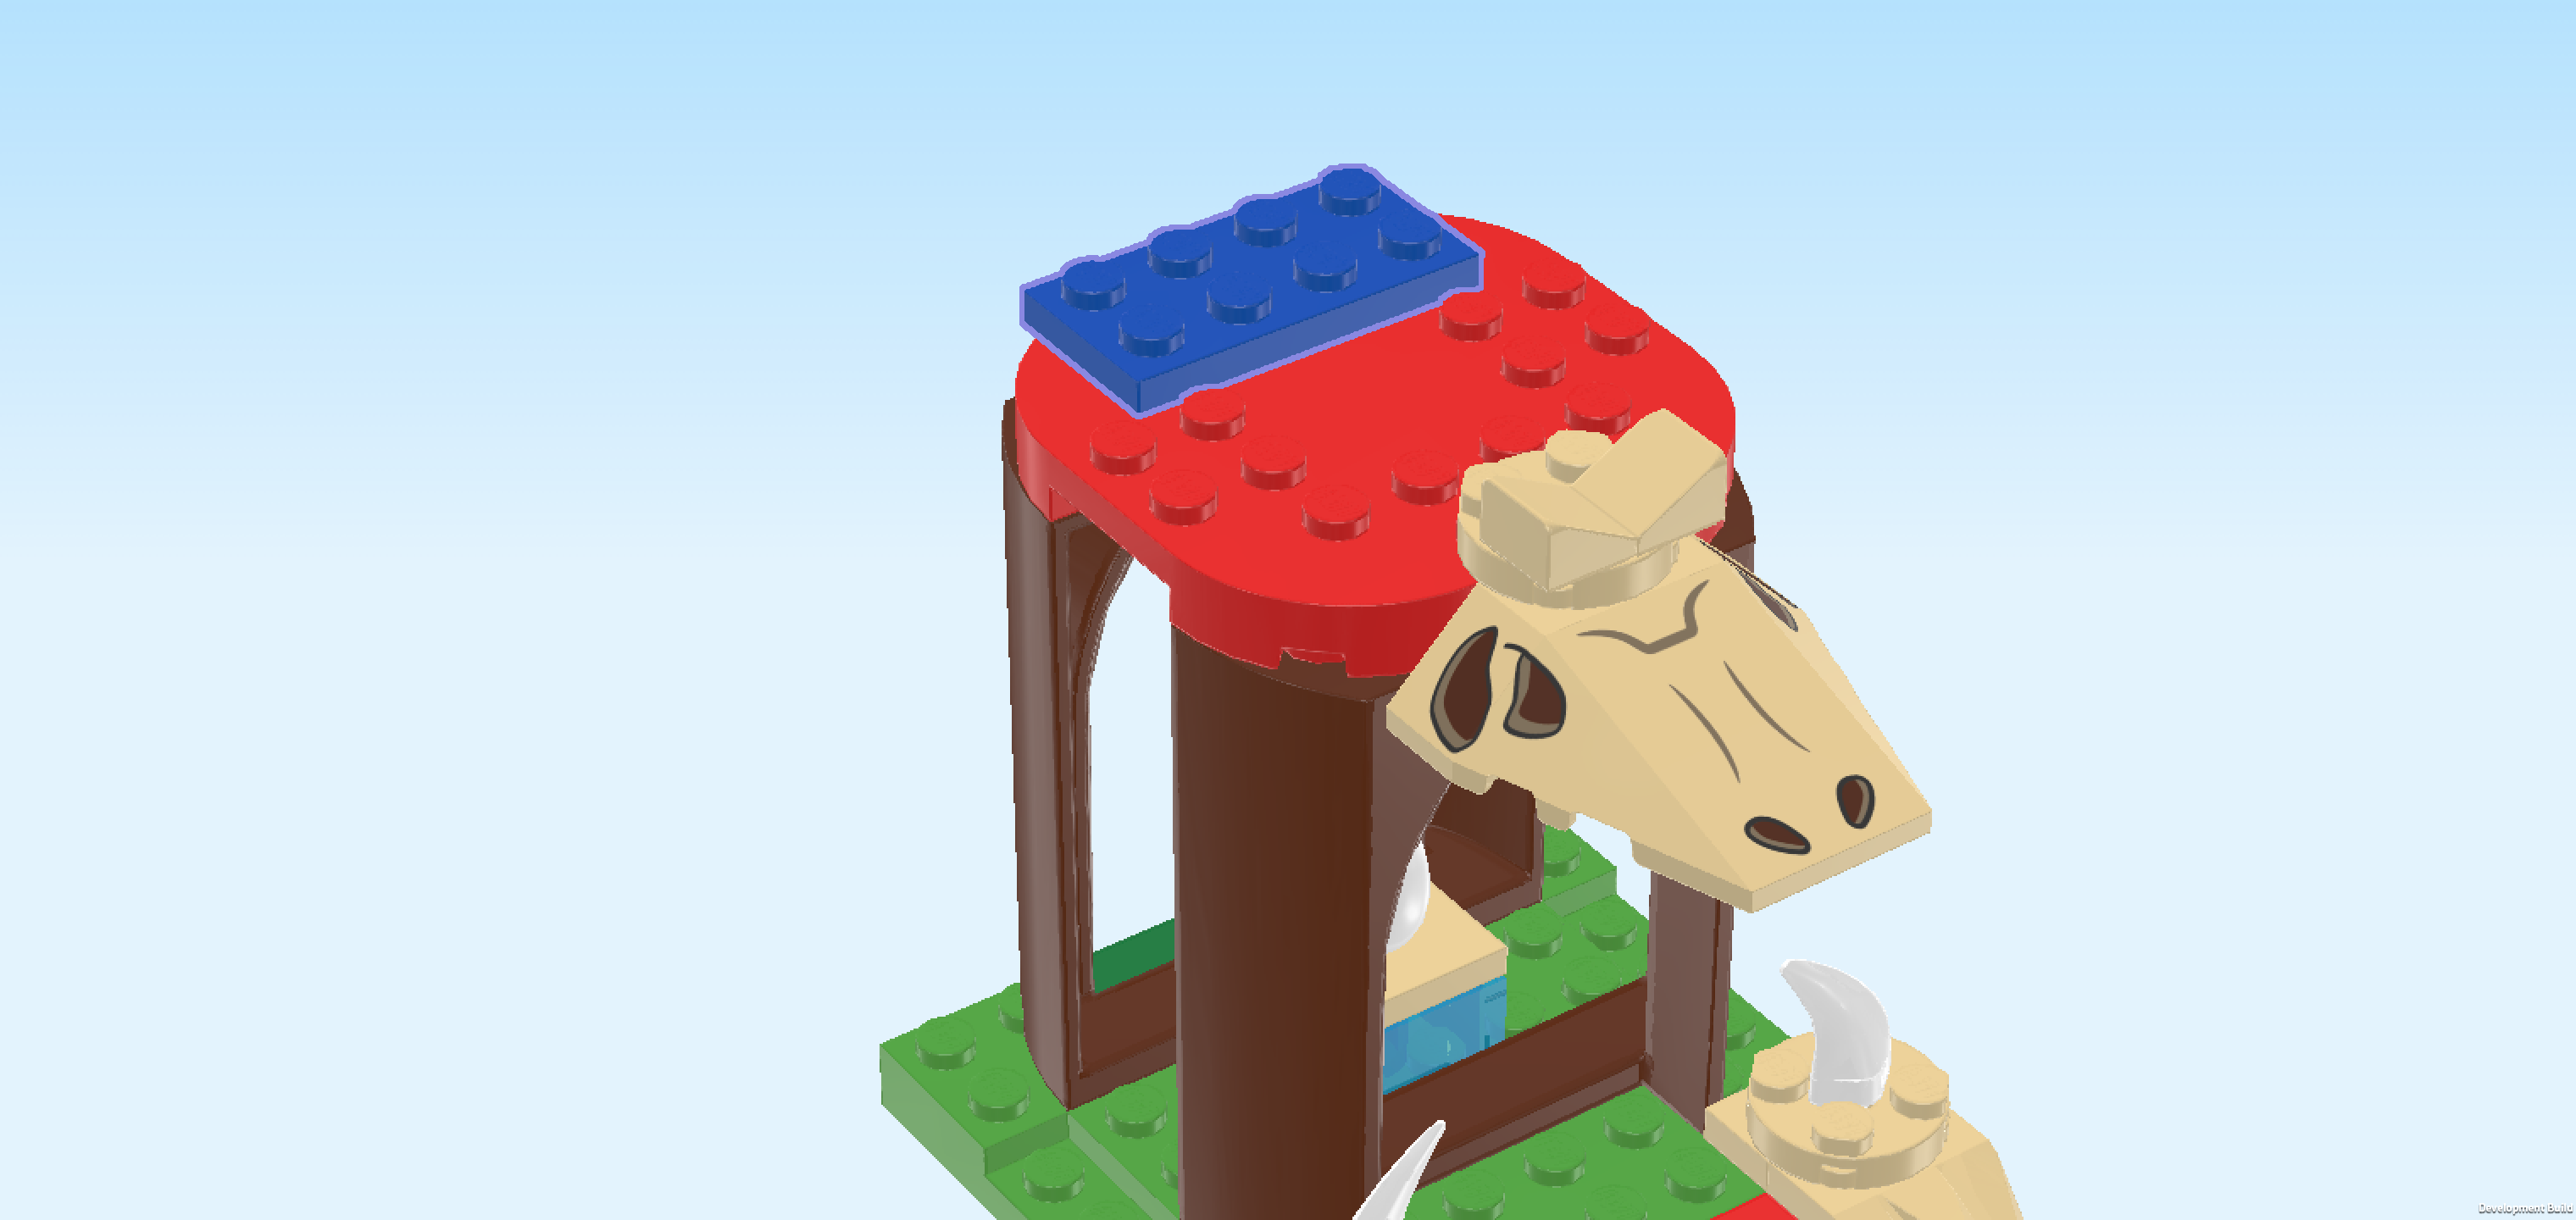
| Find 1 transparent blue brick 2x2. |
| Before you mount it, turn the structure 45° towards the back so that the arch door is now oriented horizontally at the back edge of the structure. |
| Put the brick centered in front of the arch door. |
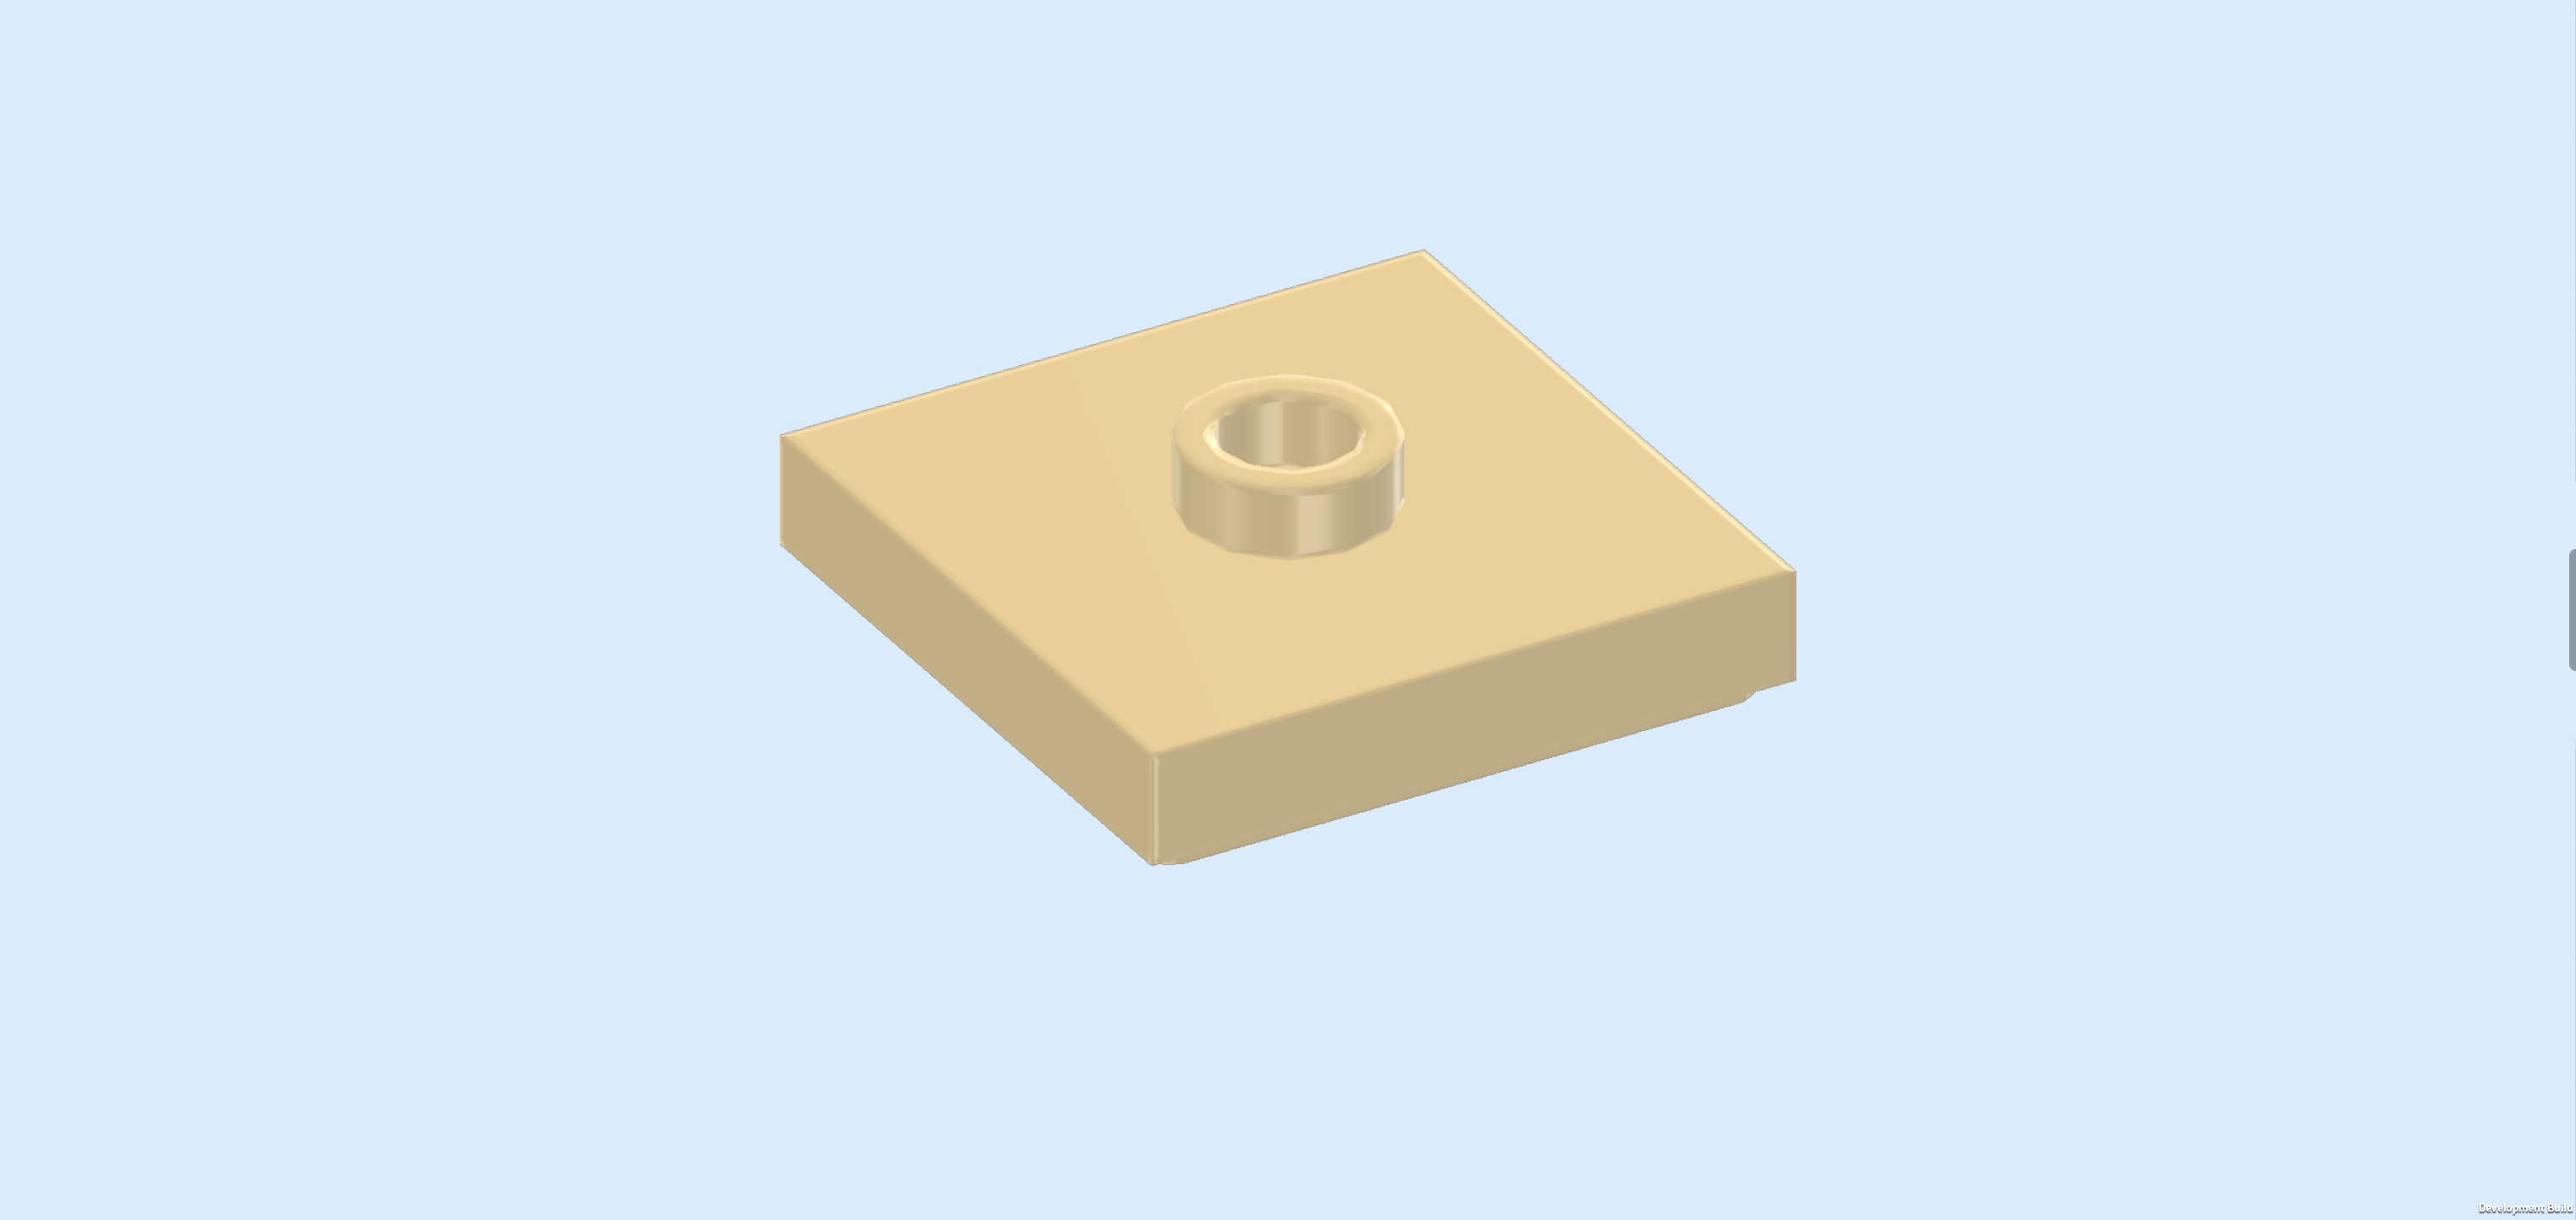
| Find 1 beige plate 2x2 with 1 knob. |
| Put it on top of the previous piece. |
| Find 1 white egg. |
| Put it on the knob of the previous piece. This dino egg must be protected from the villains! |
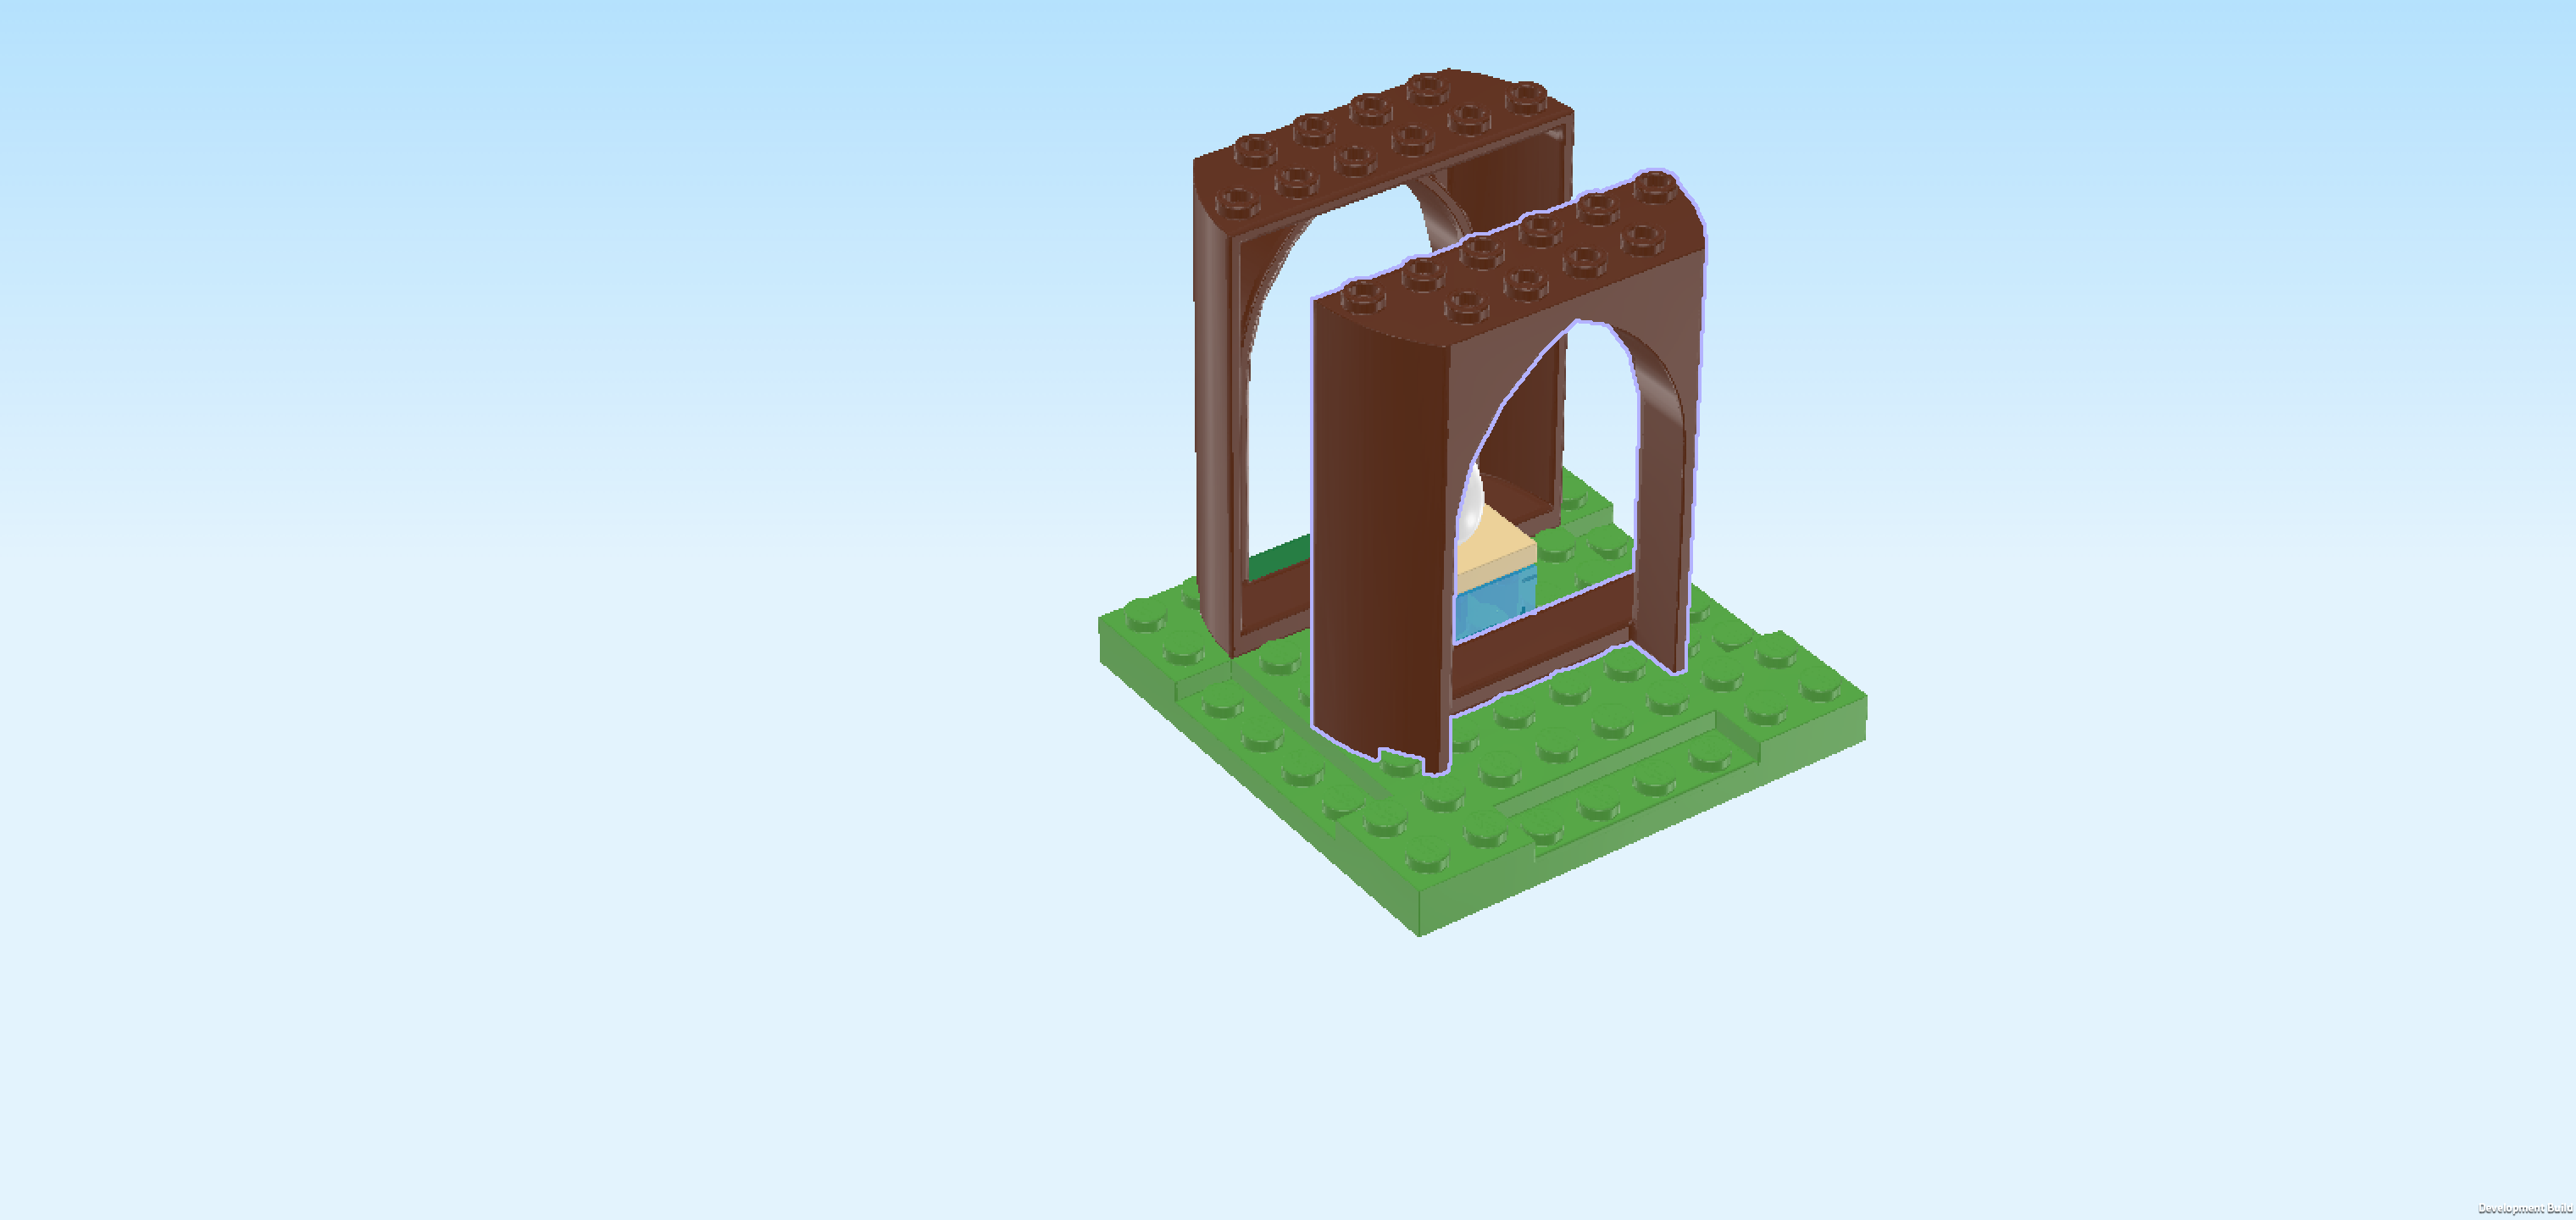
| Find 1 reddish brown arch door 2x6x6. |
| Put it horizontally centered in front of the 3 previous pieces, curved surfaces and door cut-out towards the front. |
| If done correctly, this piece sits centered on the third and fourth rows from the front and the narrow arched entrance is facing you. |
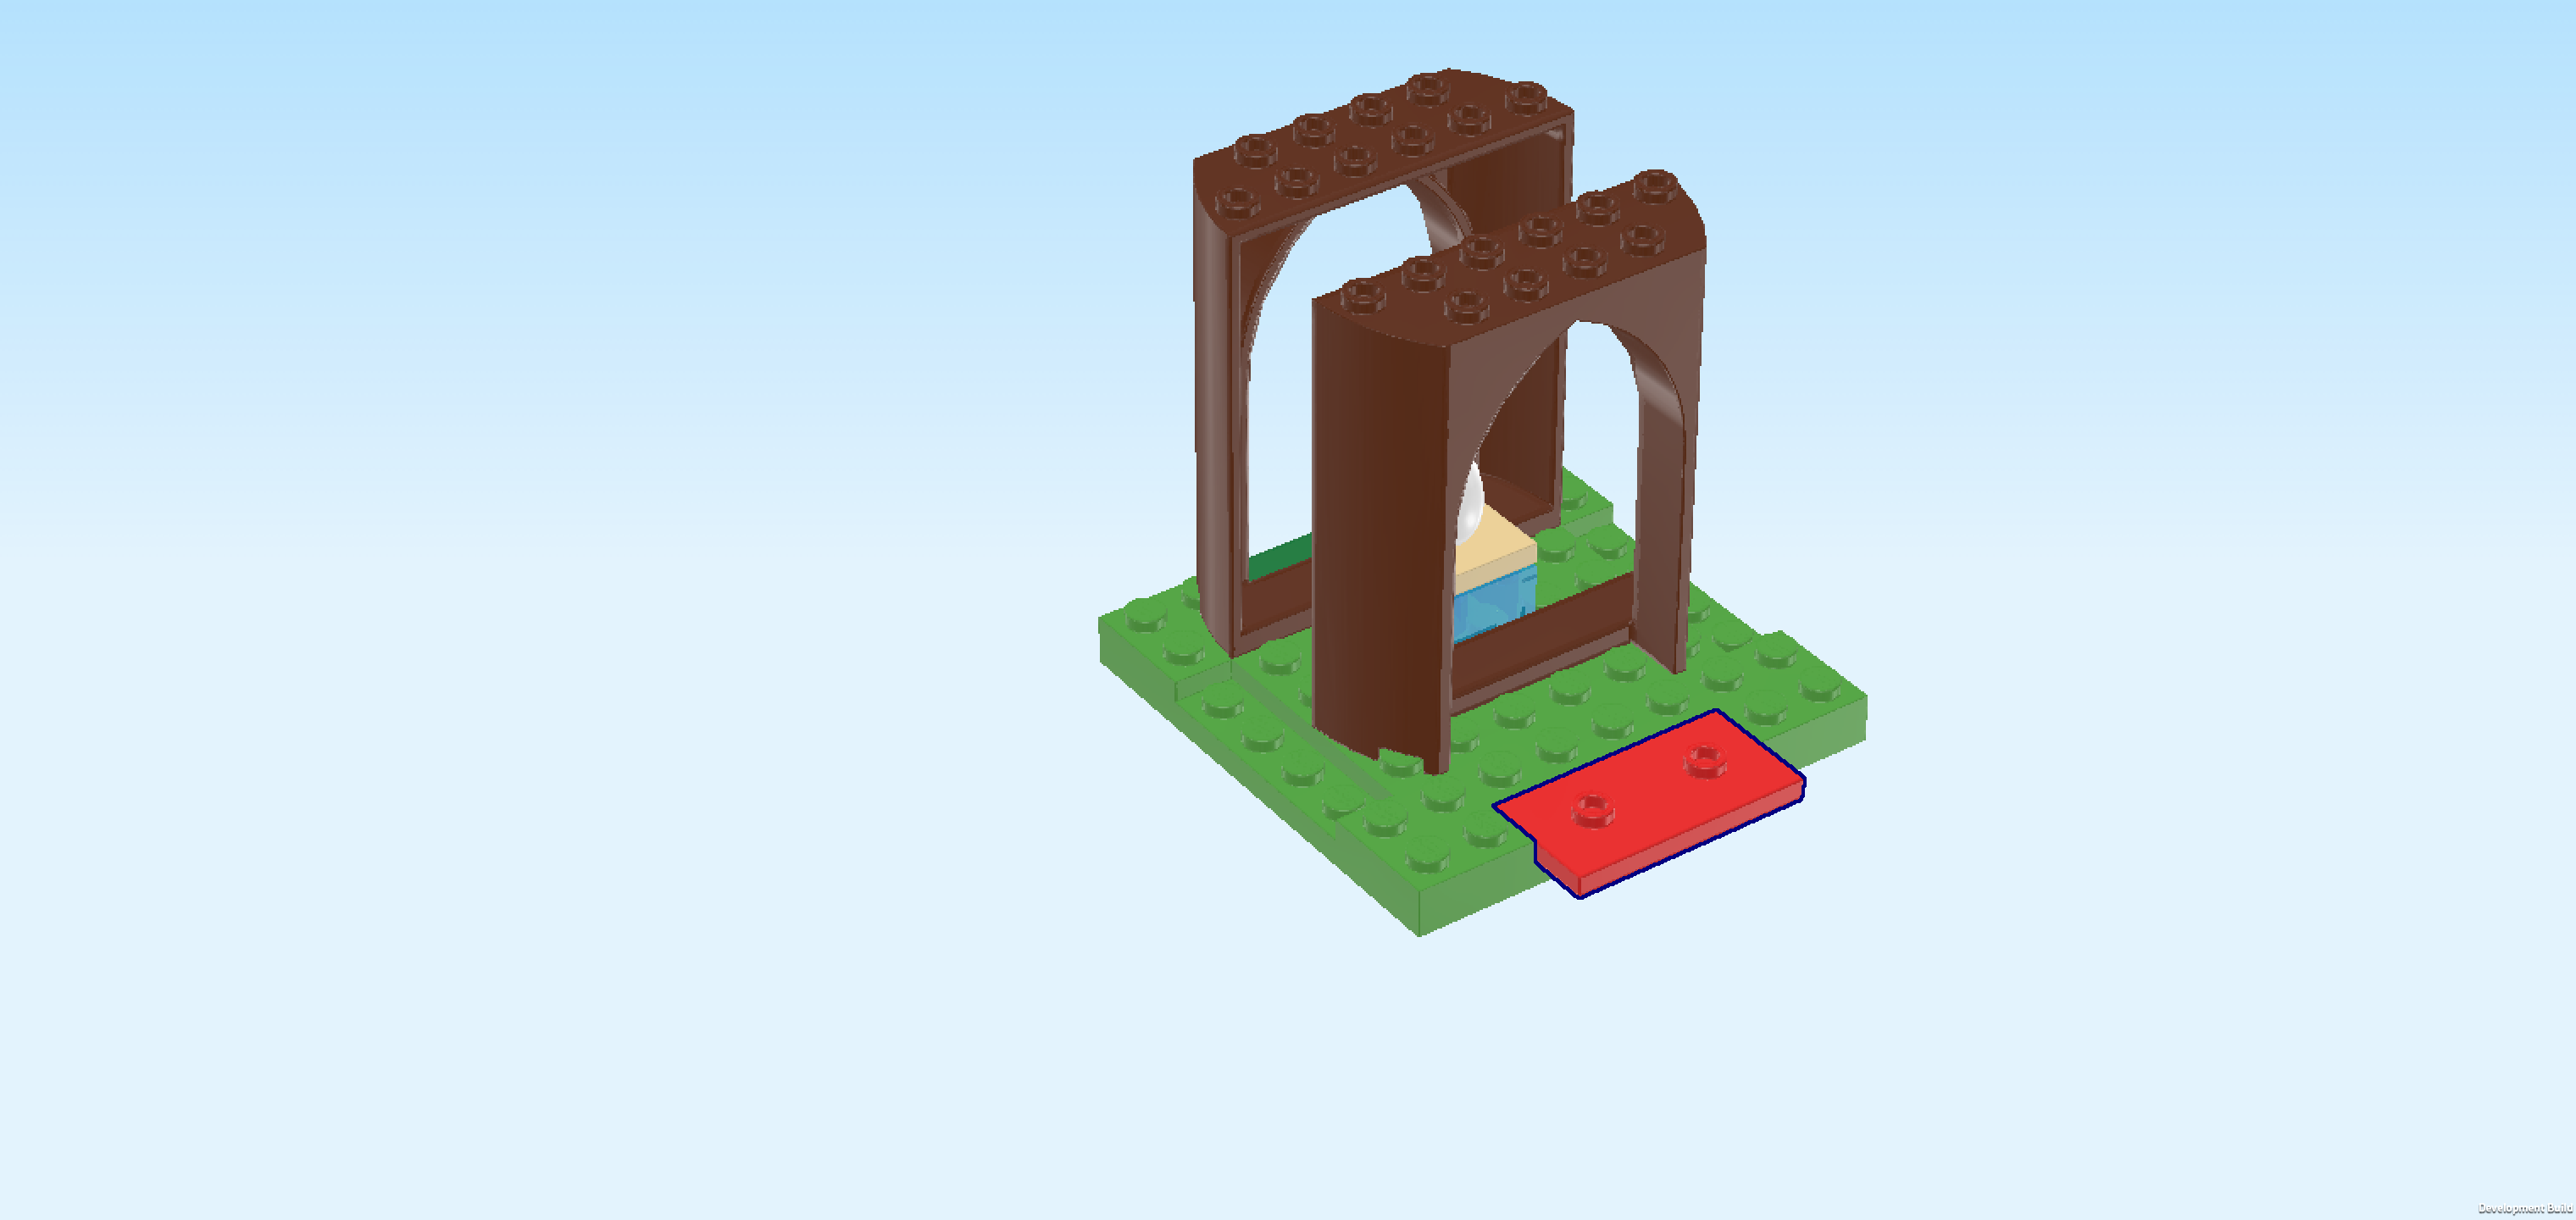
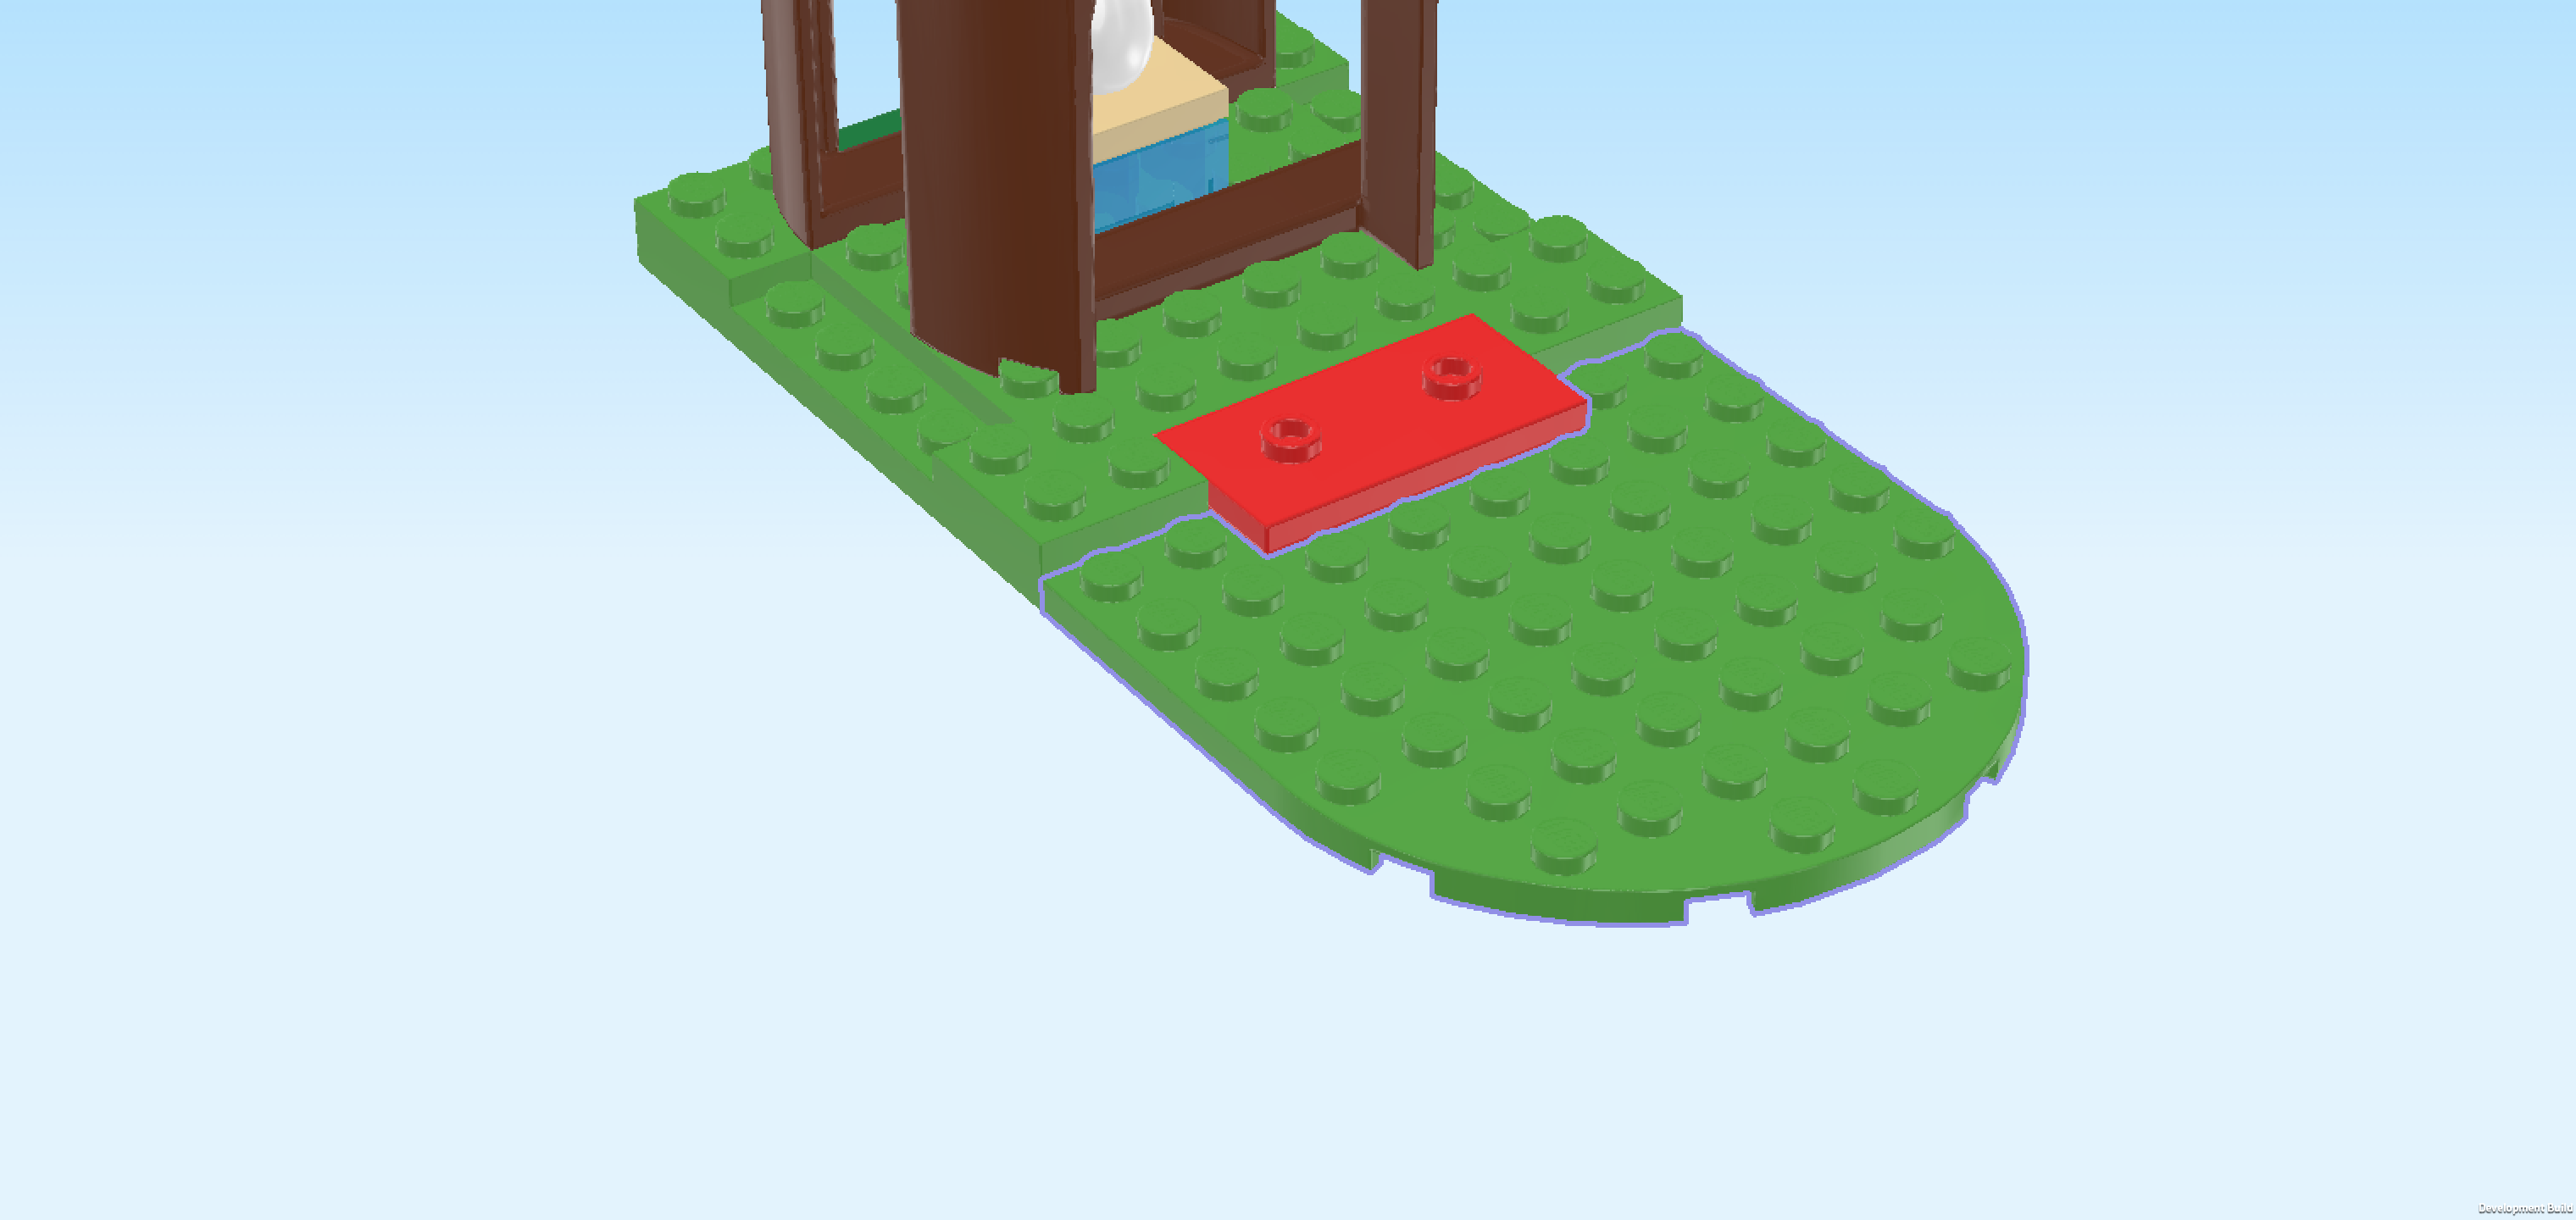
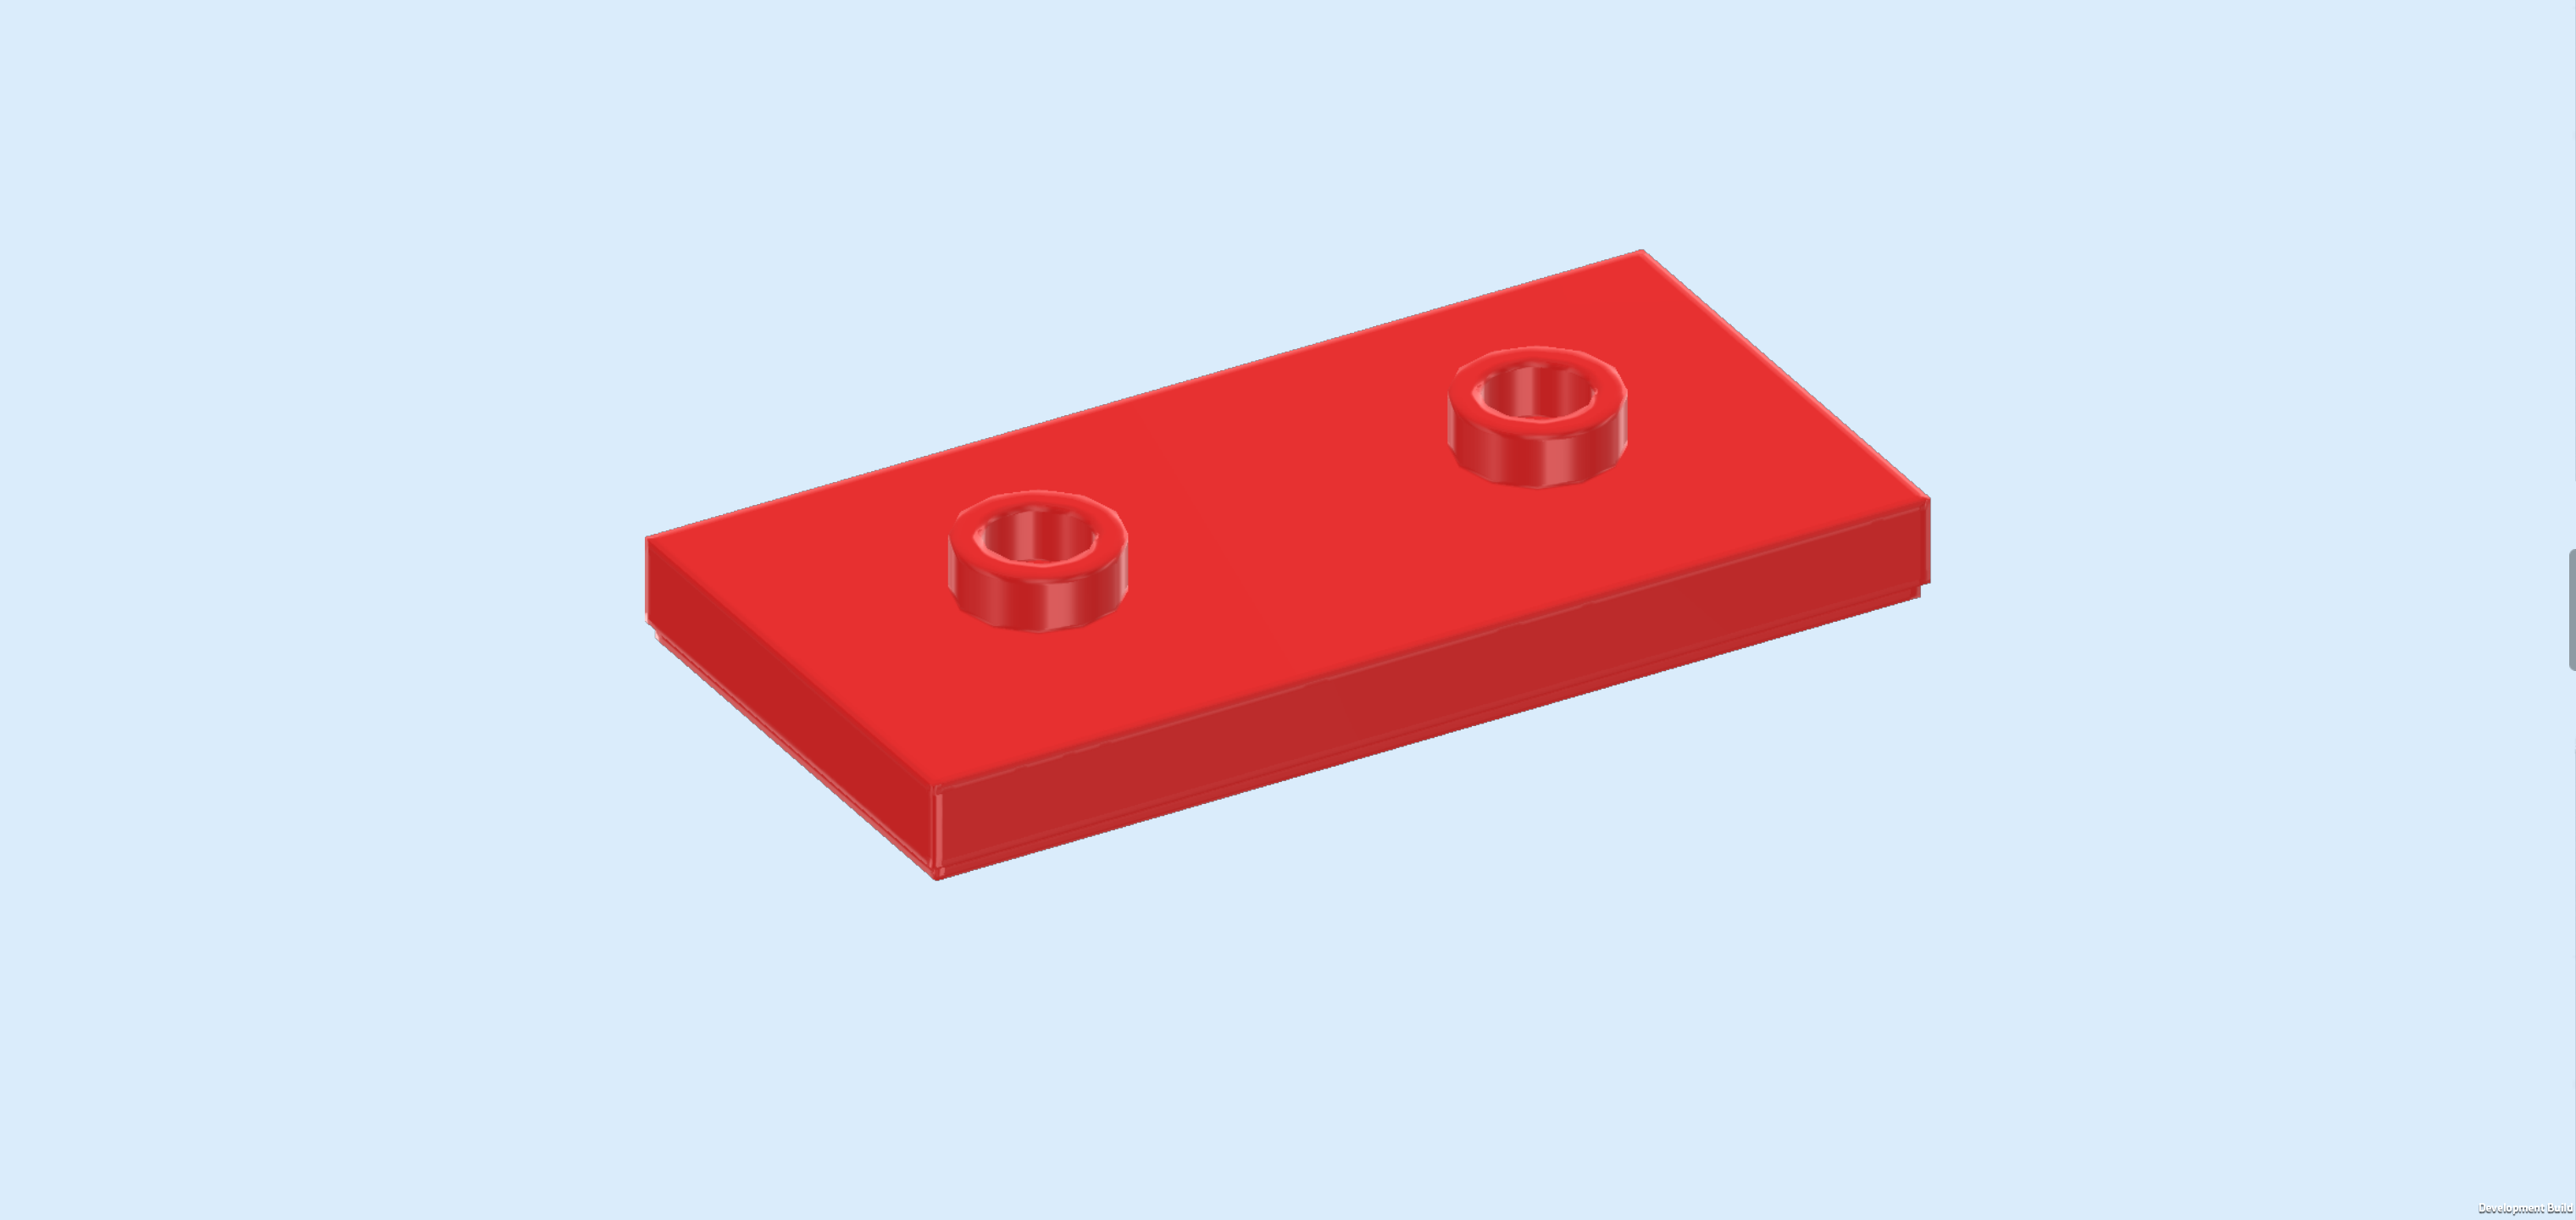
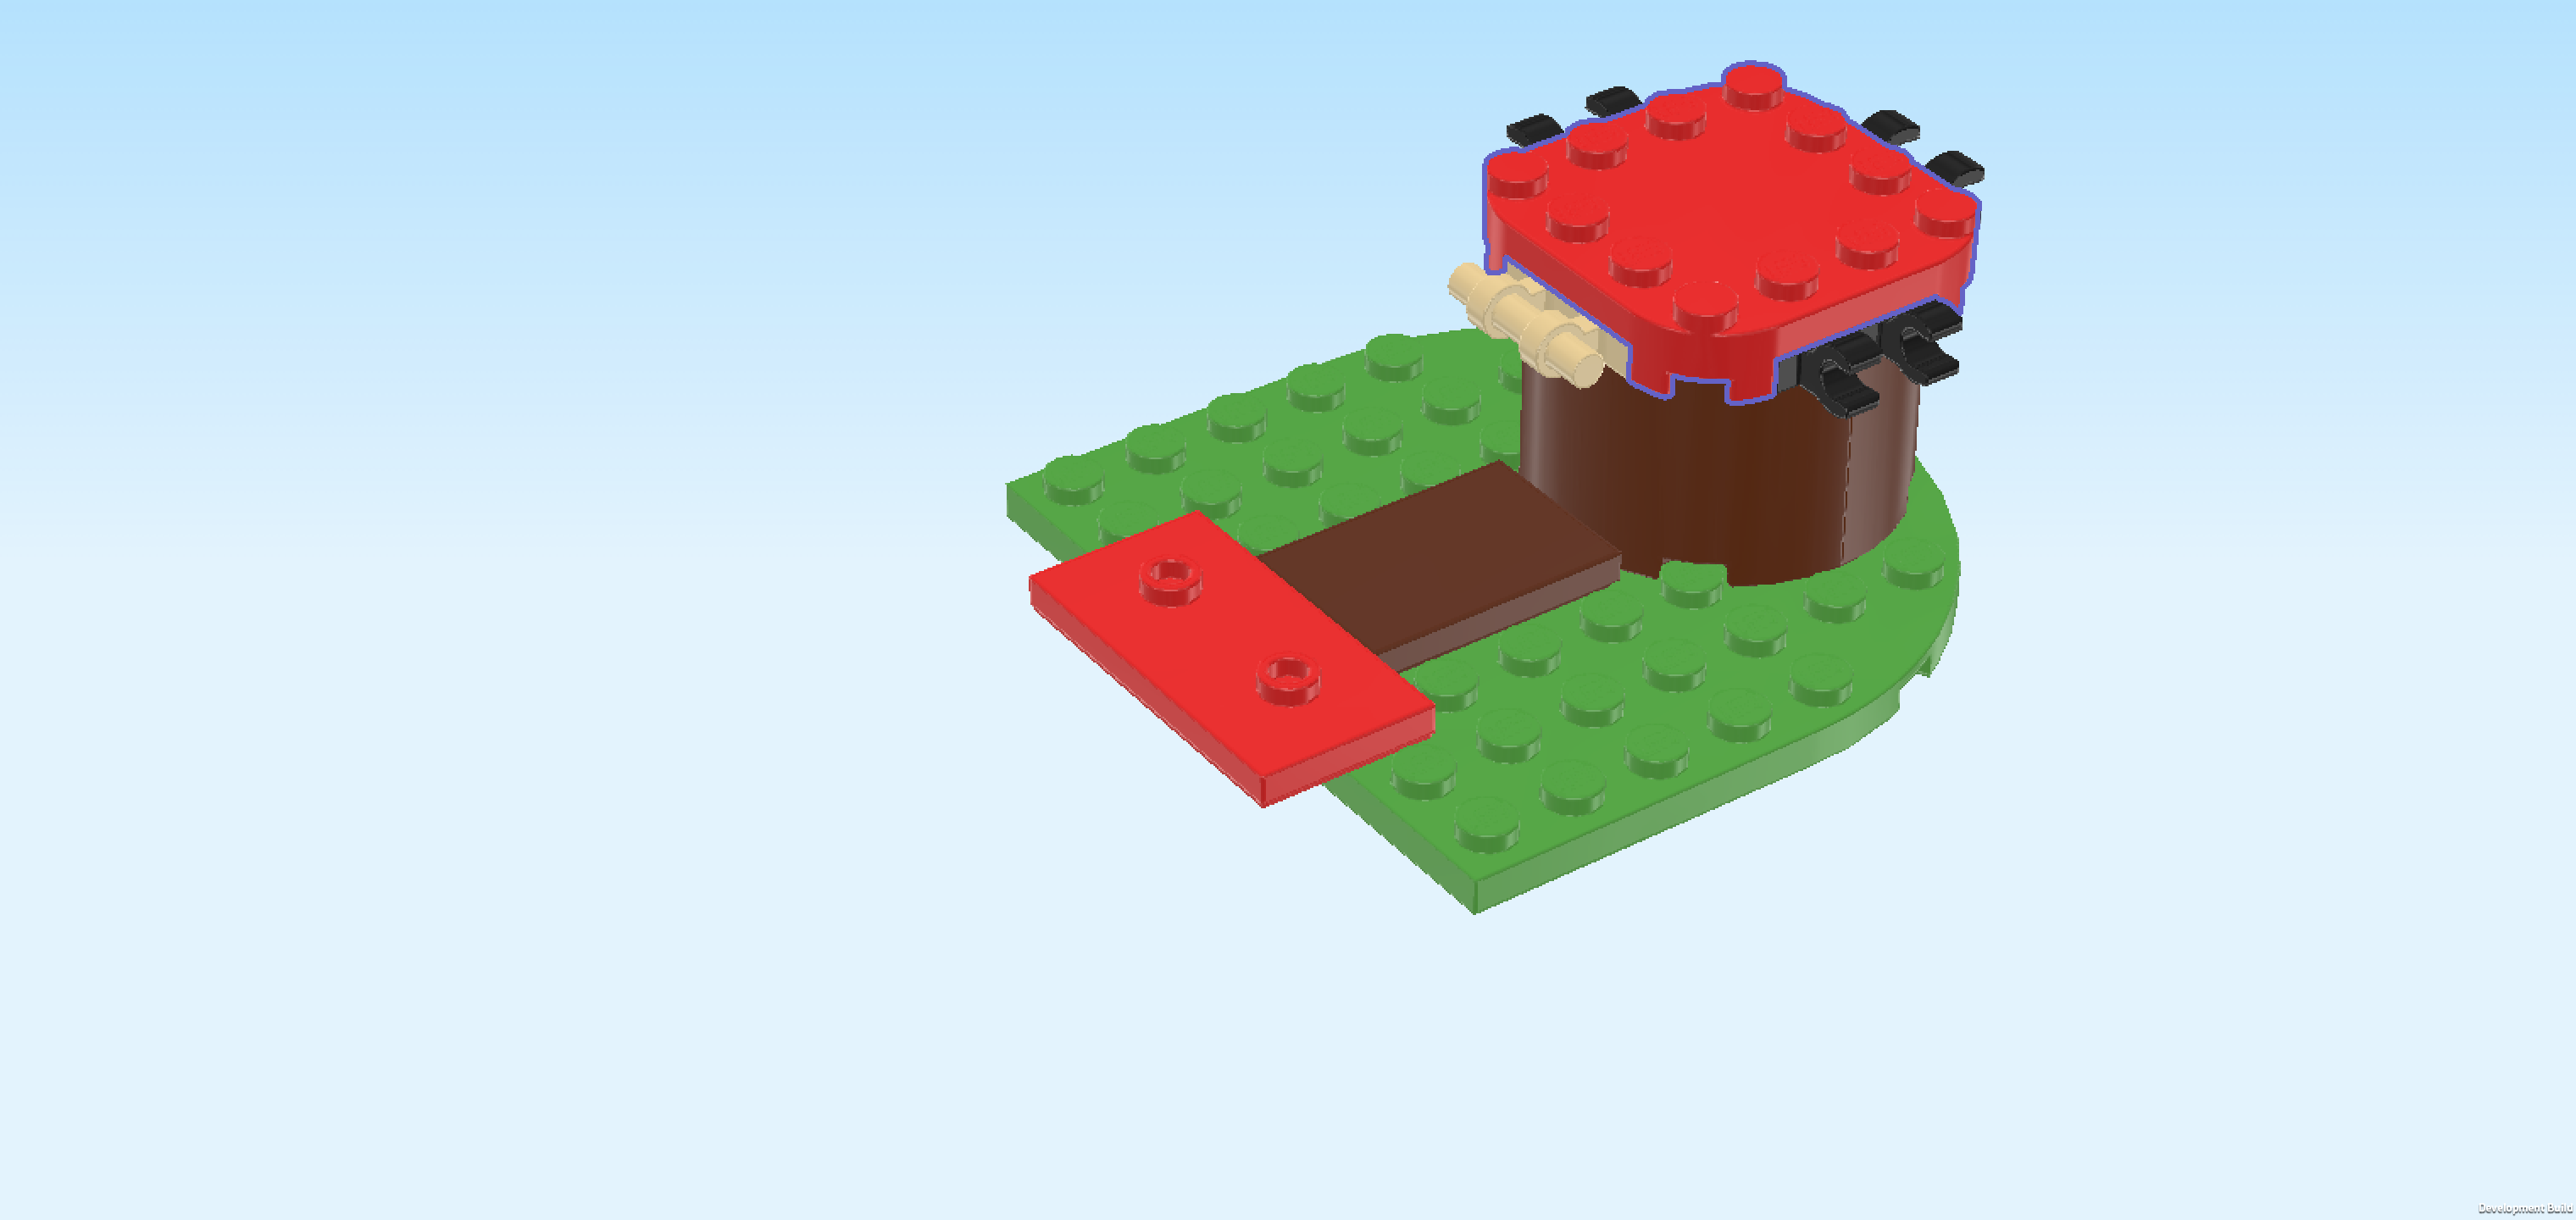
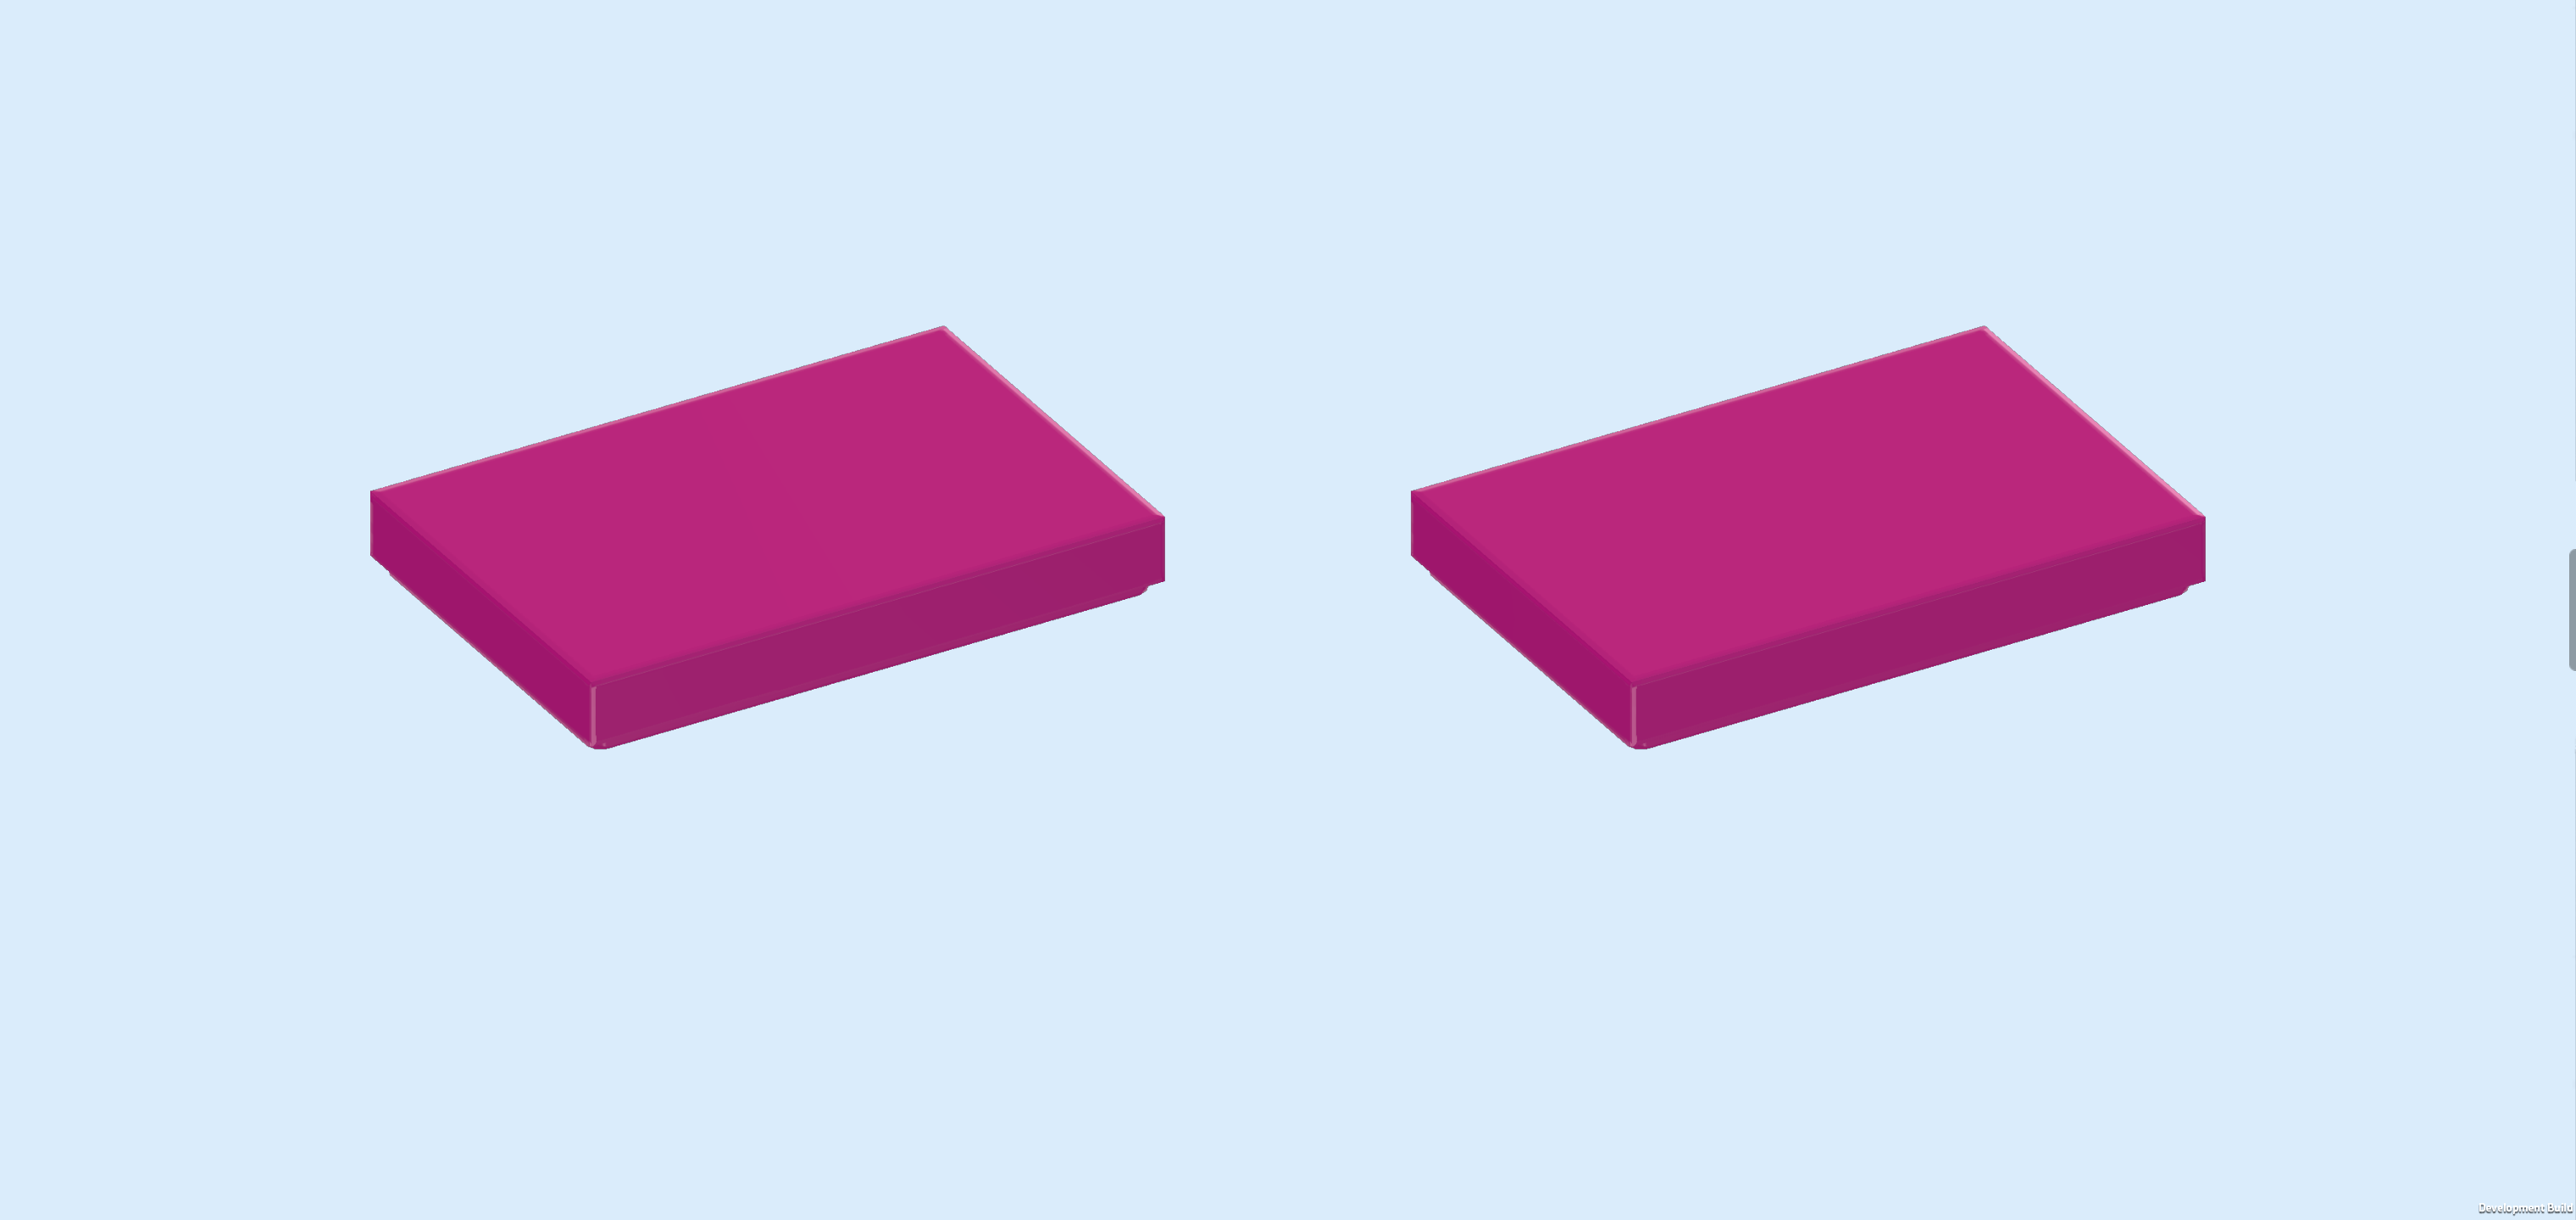
| Find 1 bright red plate 2x4 with 2 knobs. |
| Put it horizontally centered on the frontmost row, 1/2 overhanging to the front. |
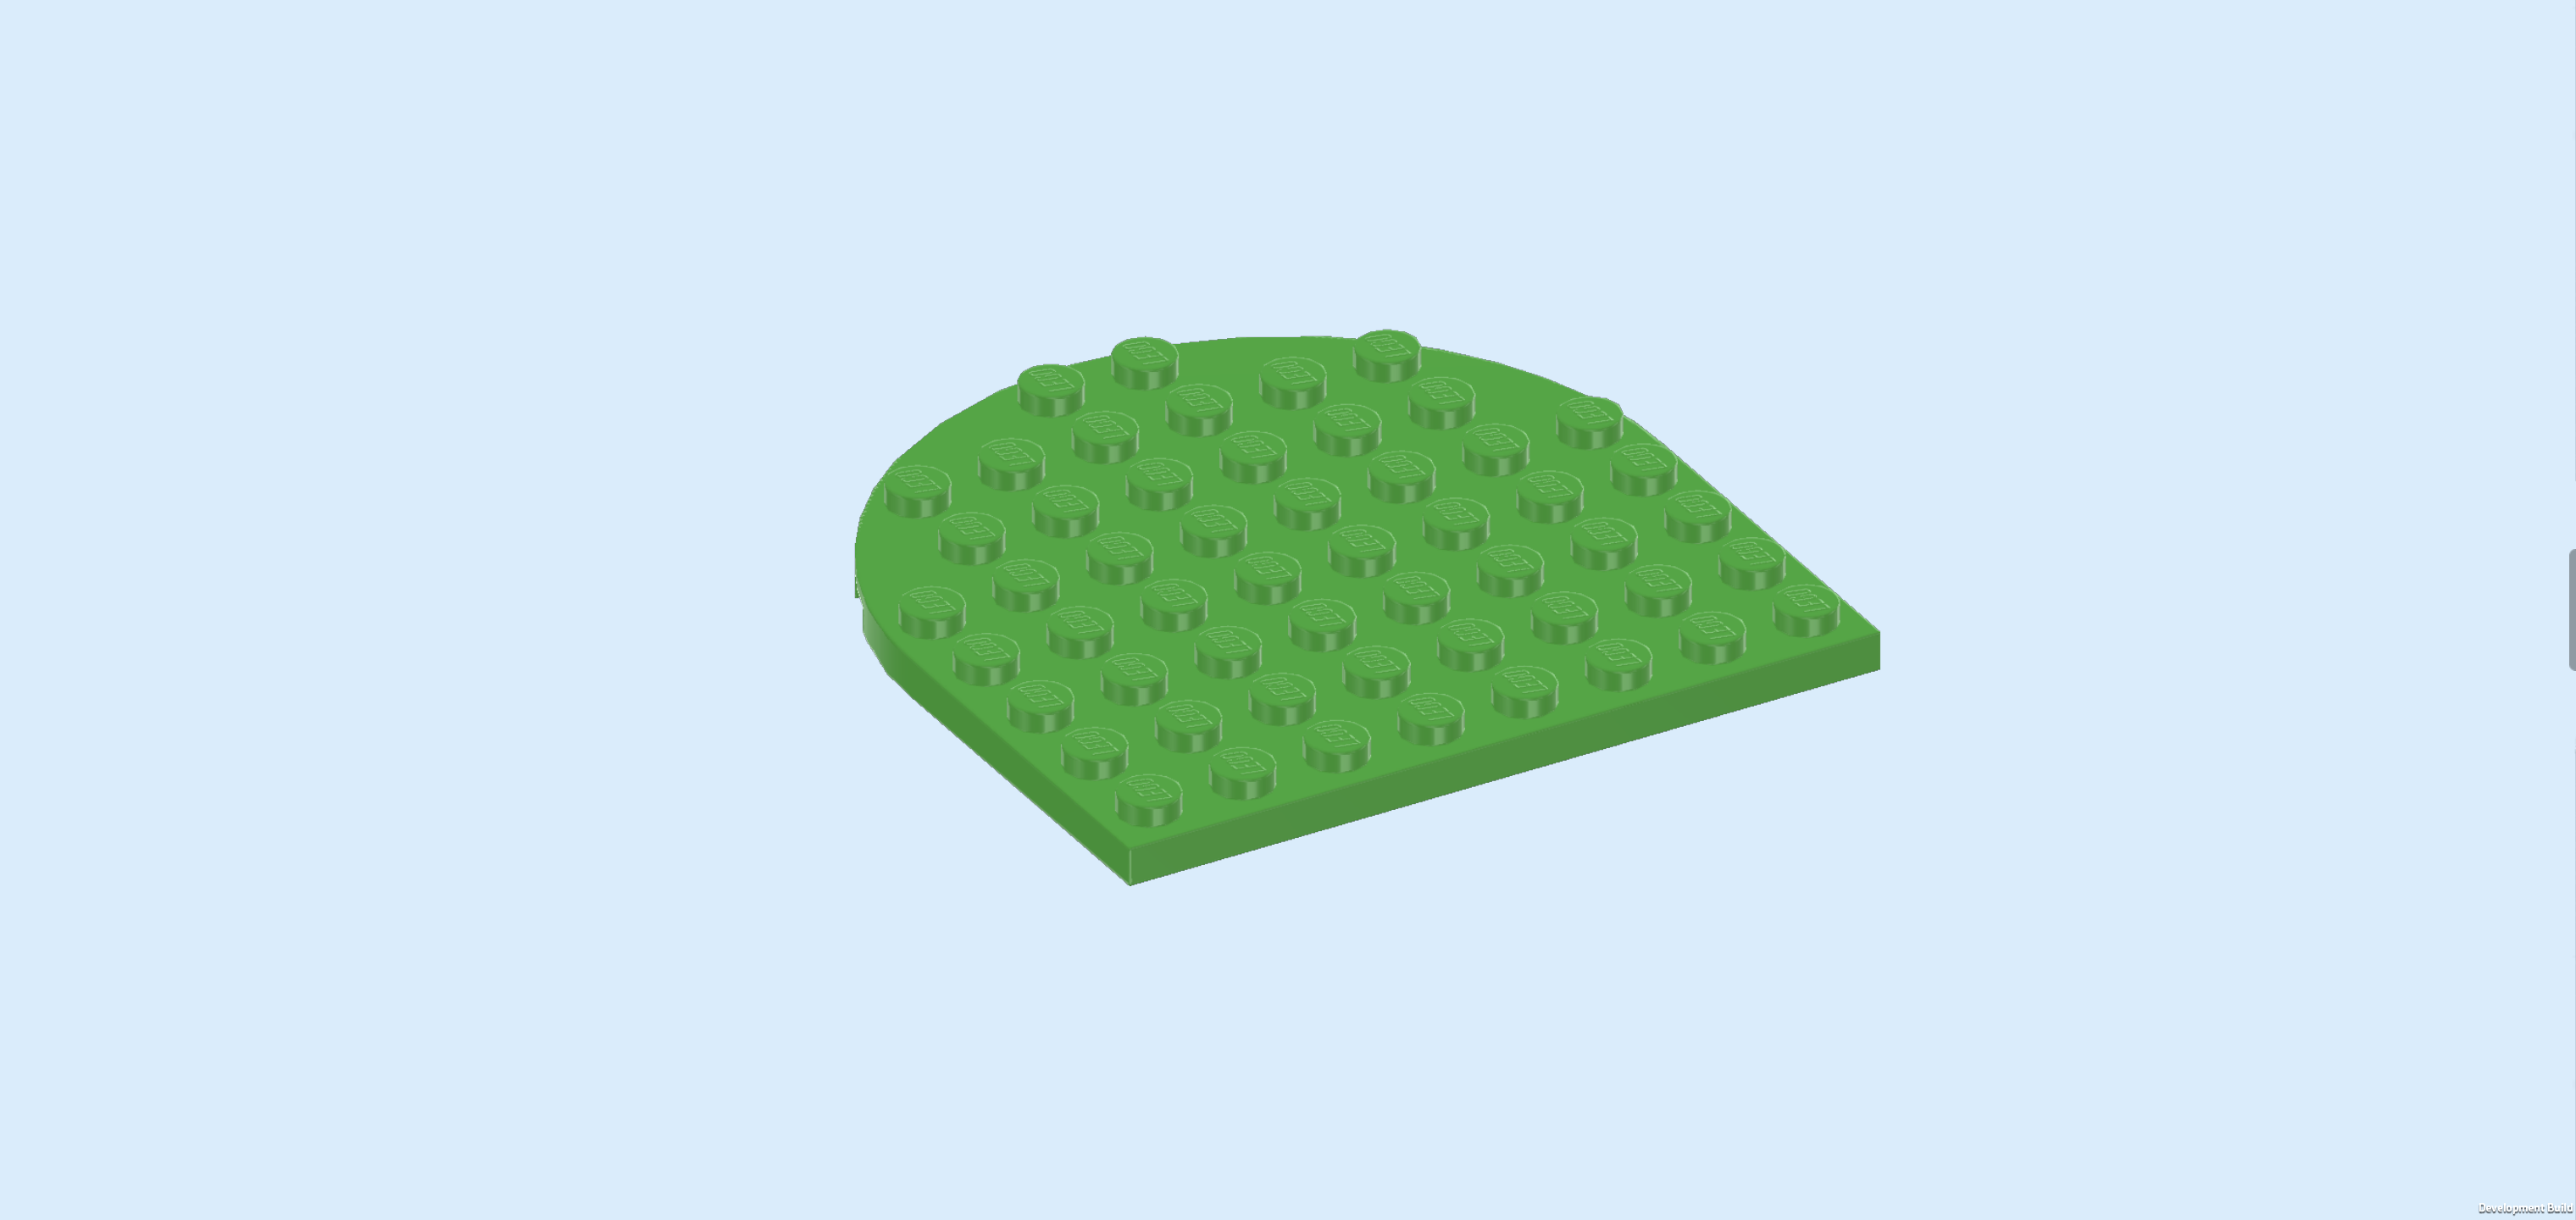
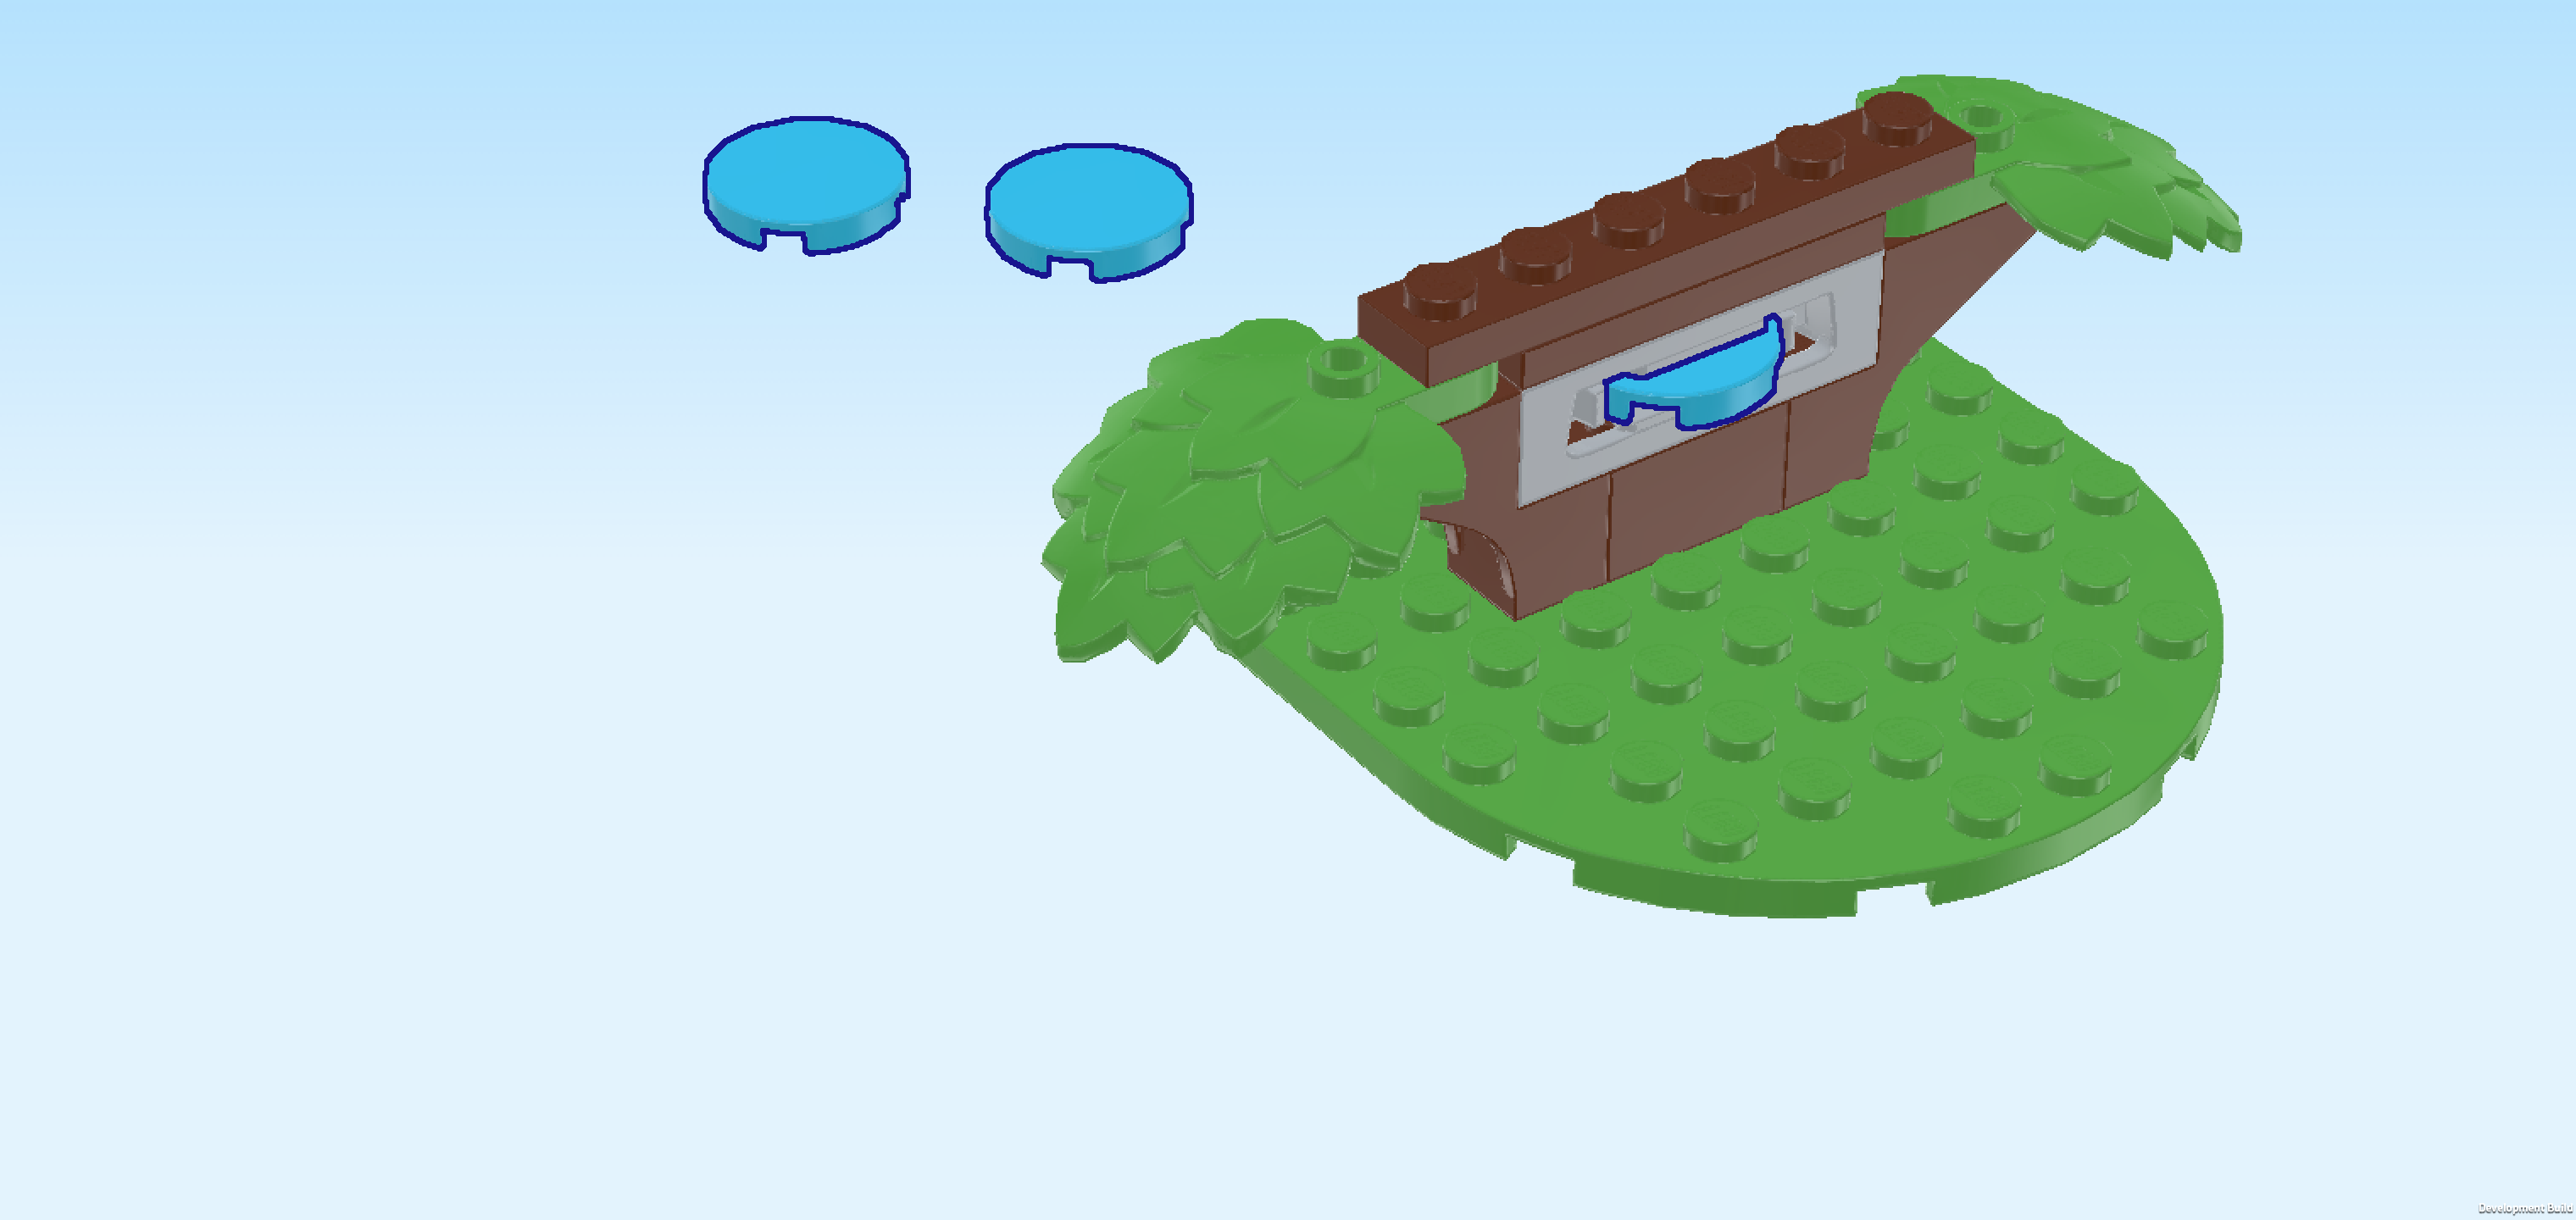
| Find 1 bright green plate 8x8 with half circle. |
| Turn it so that the half circle is towards you, and then mount its backmost row centered underneath the overhanging portion of the previous piece. Make sure its back edge is aligned with the front edge of the plate 8x8. |
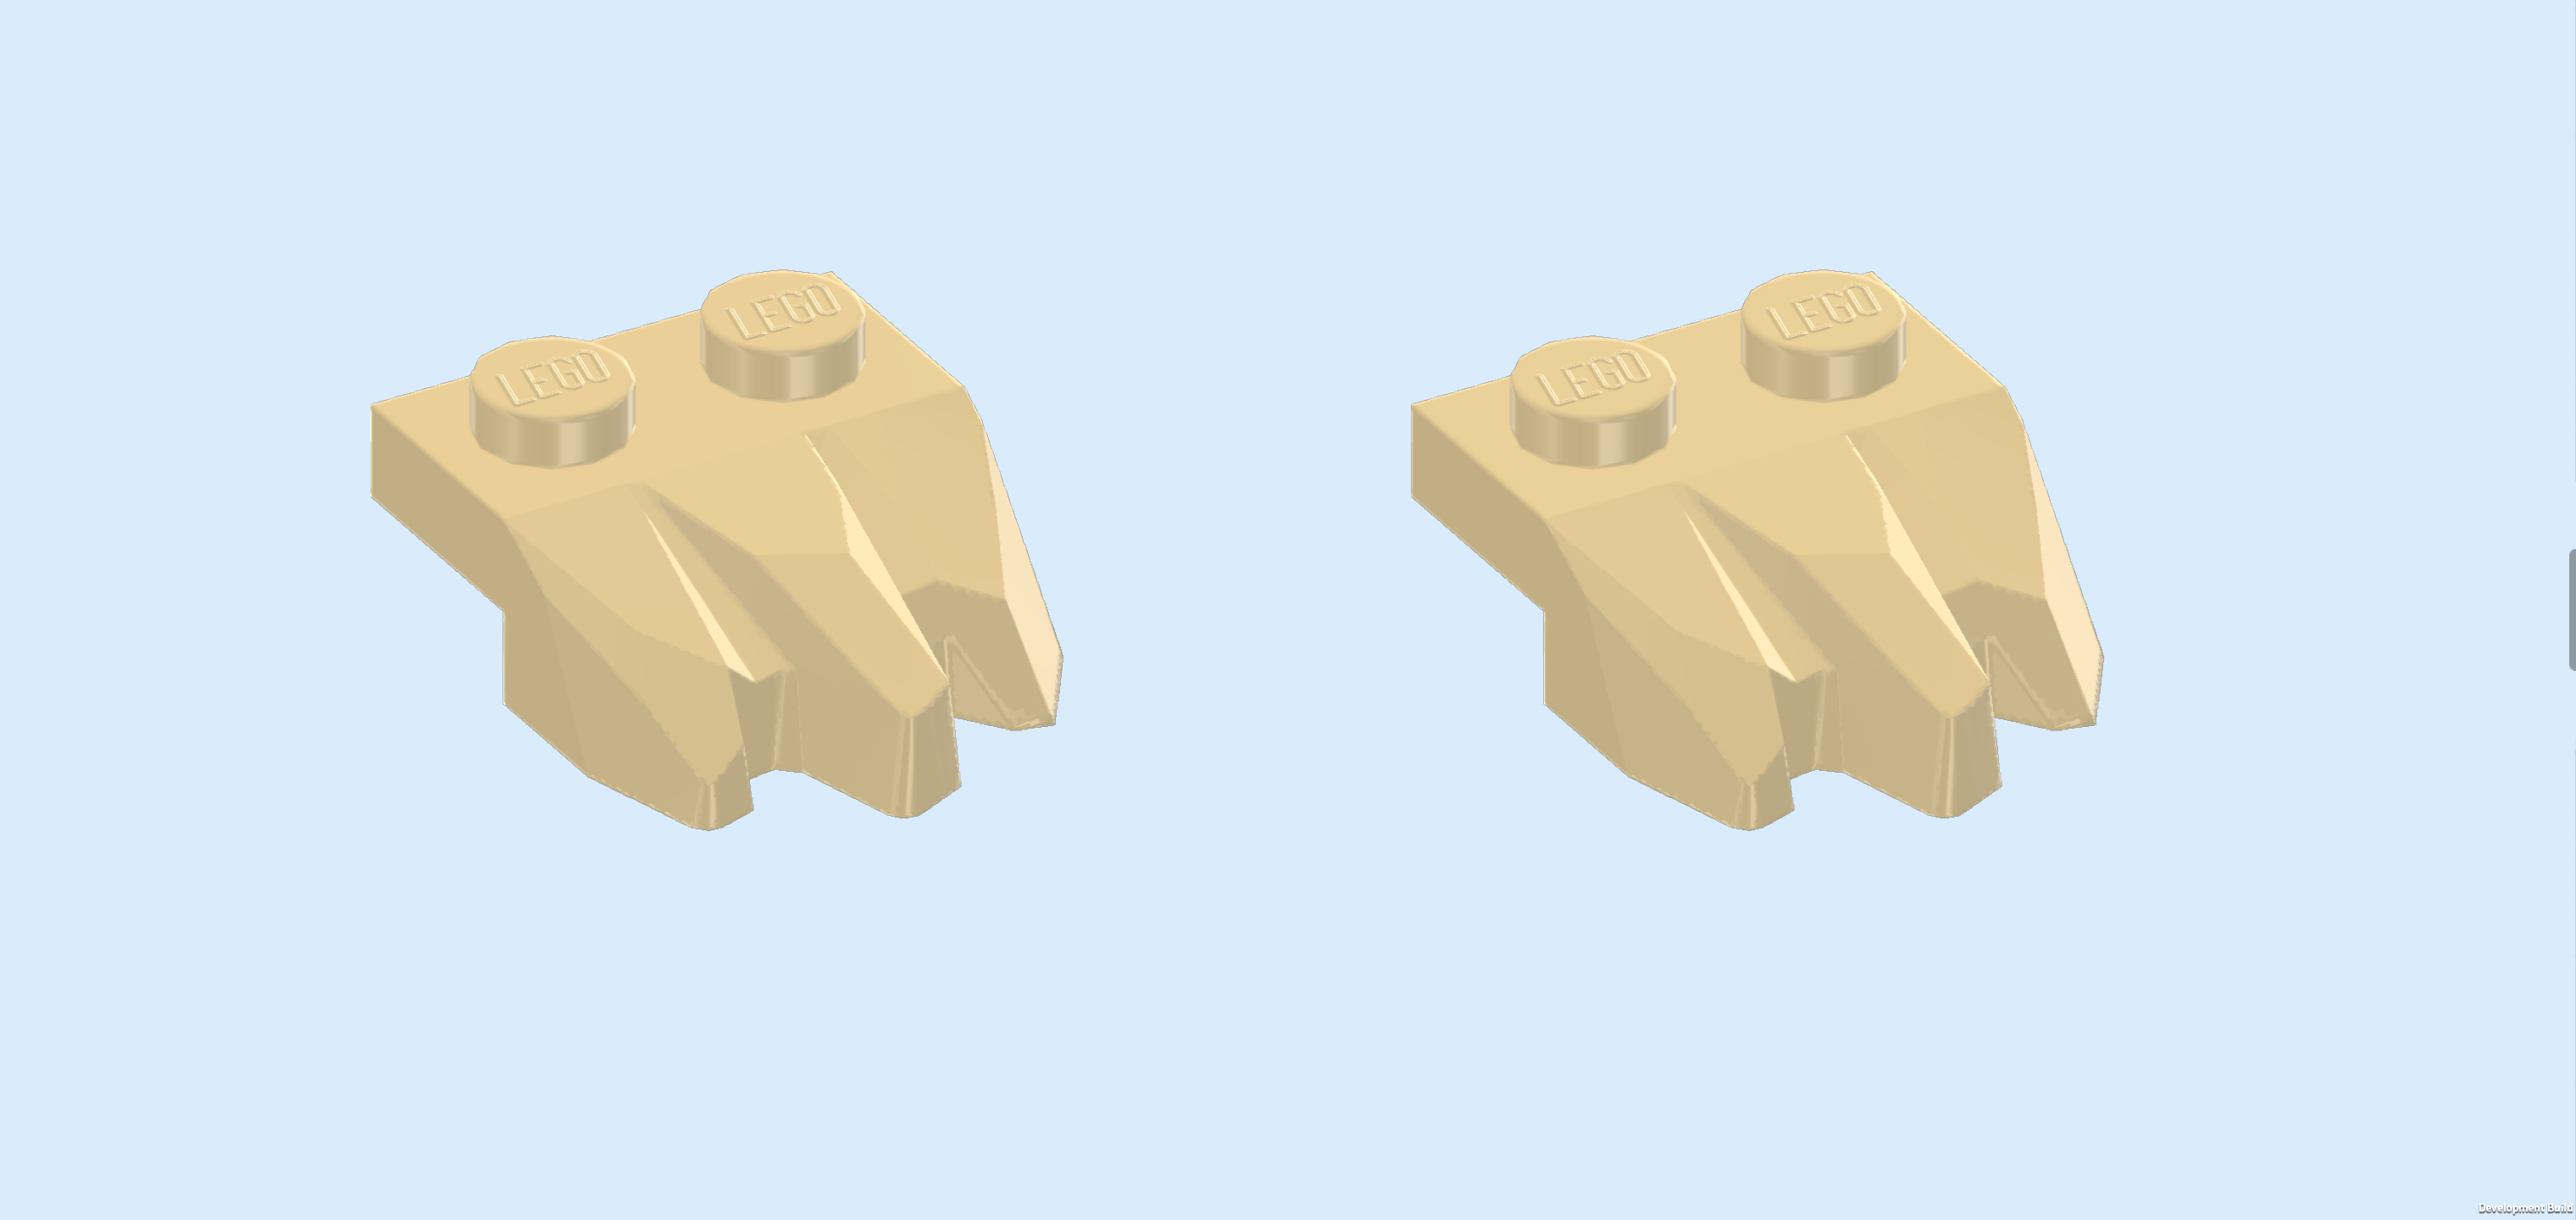
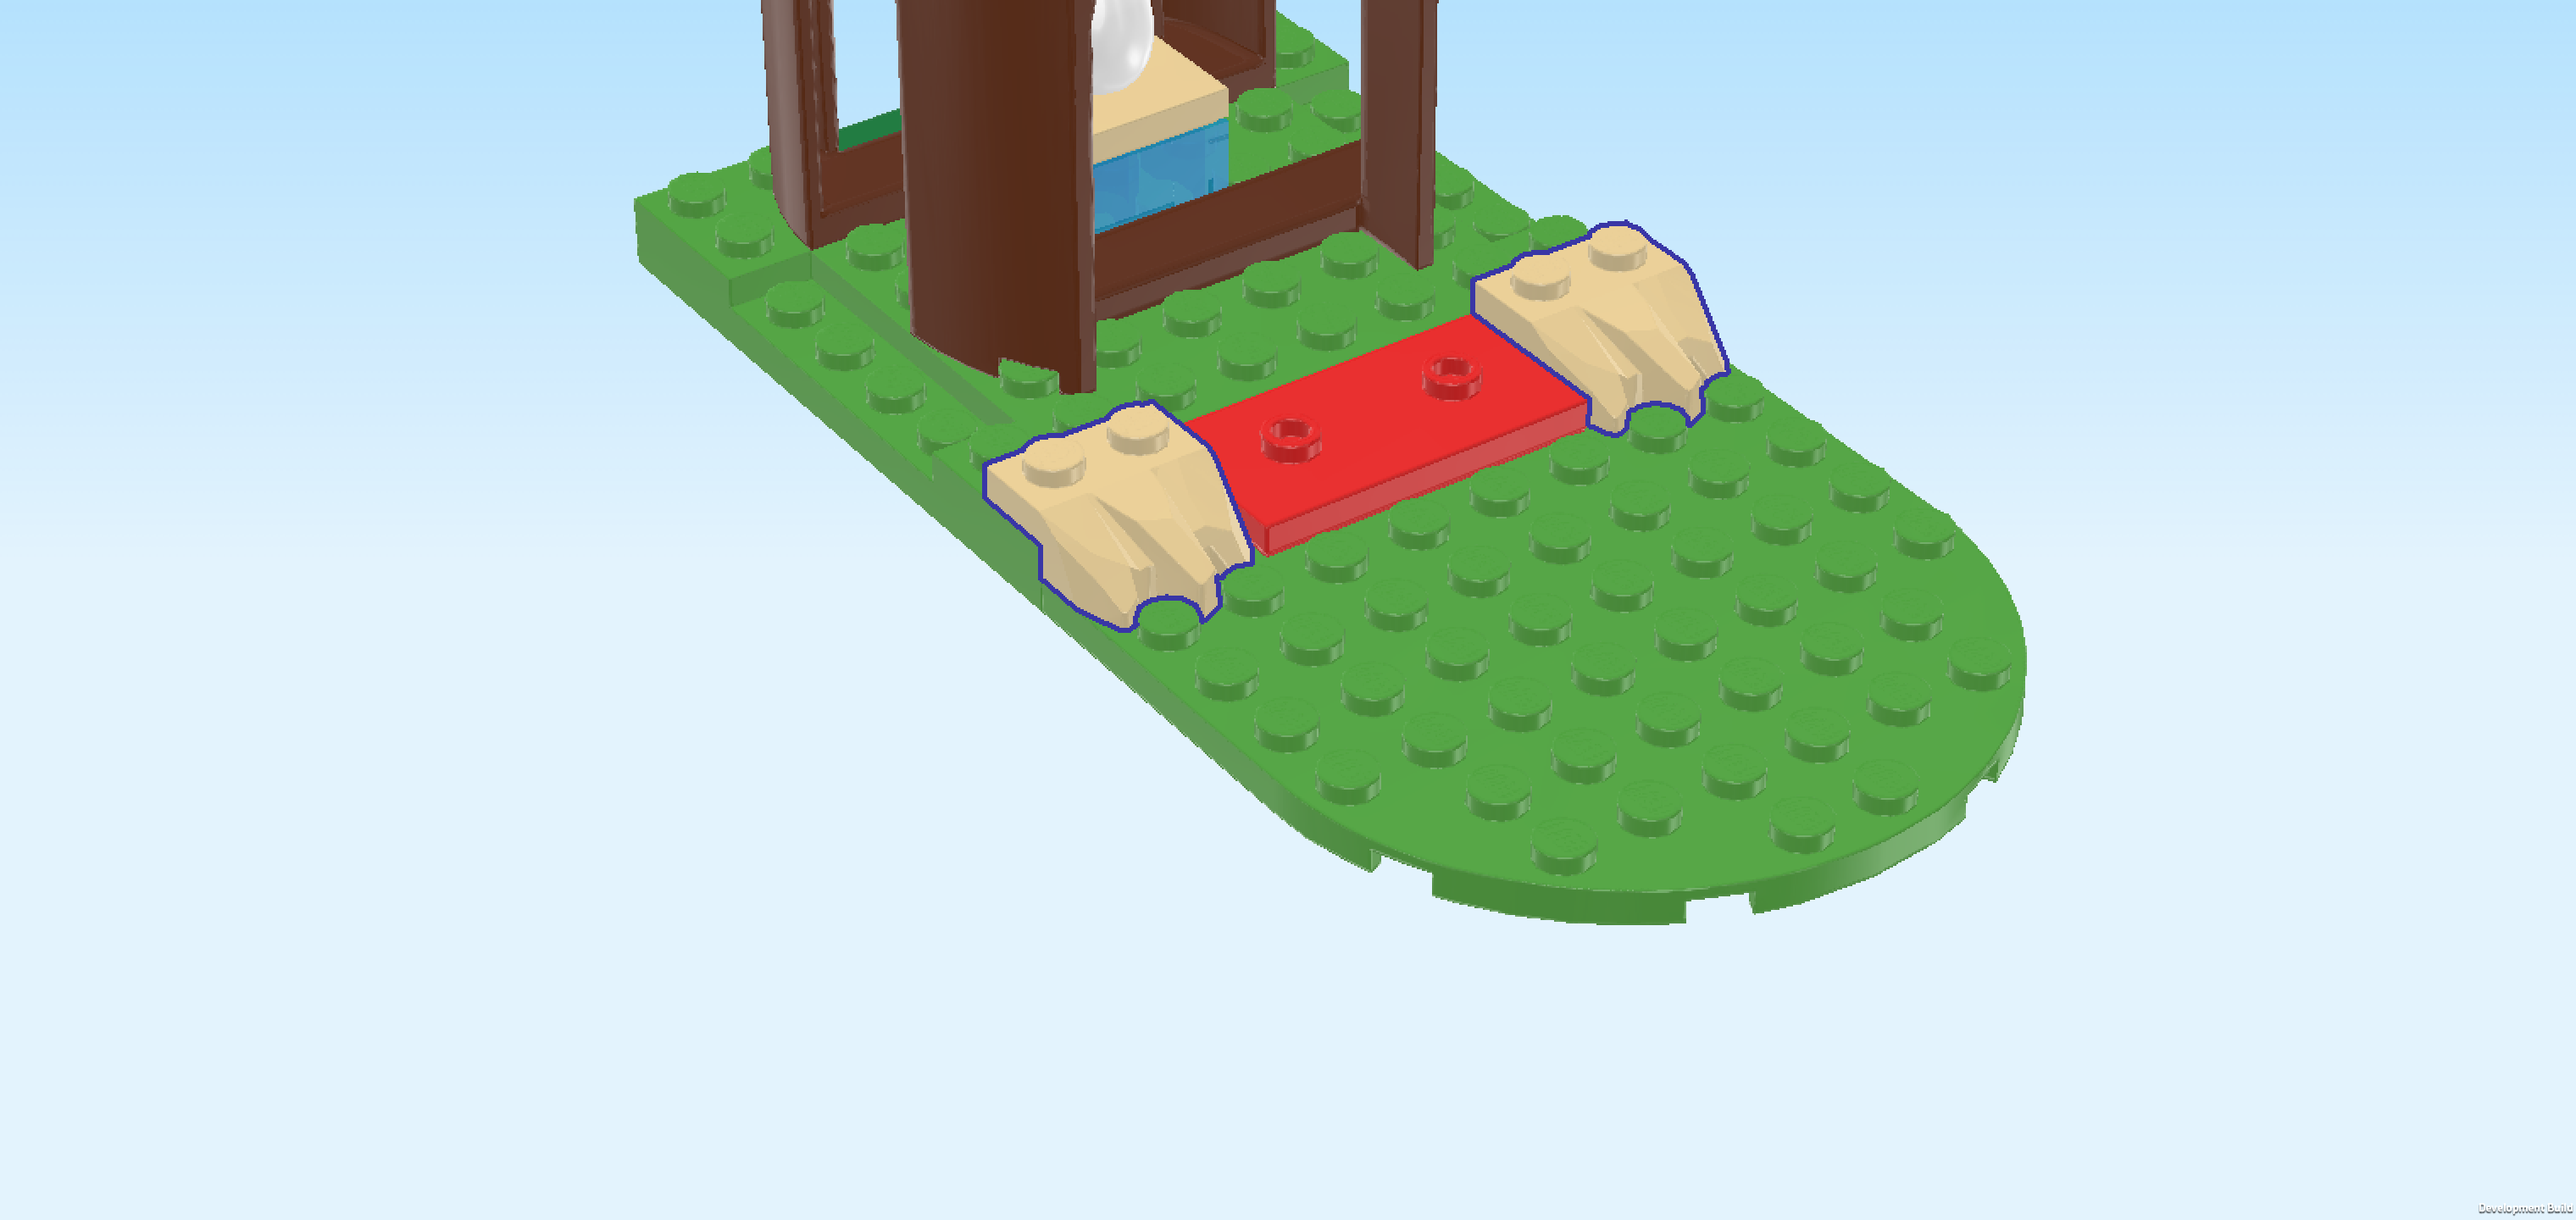
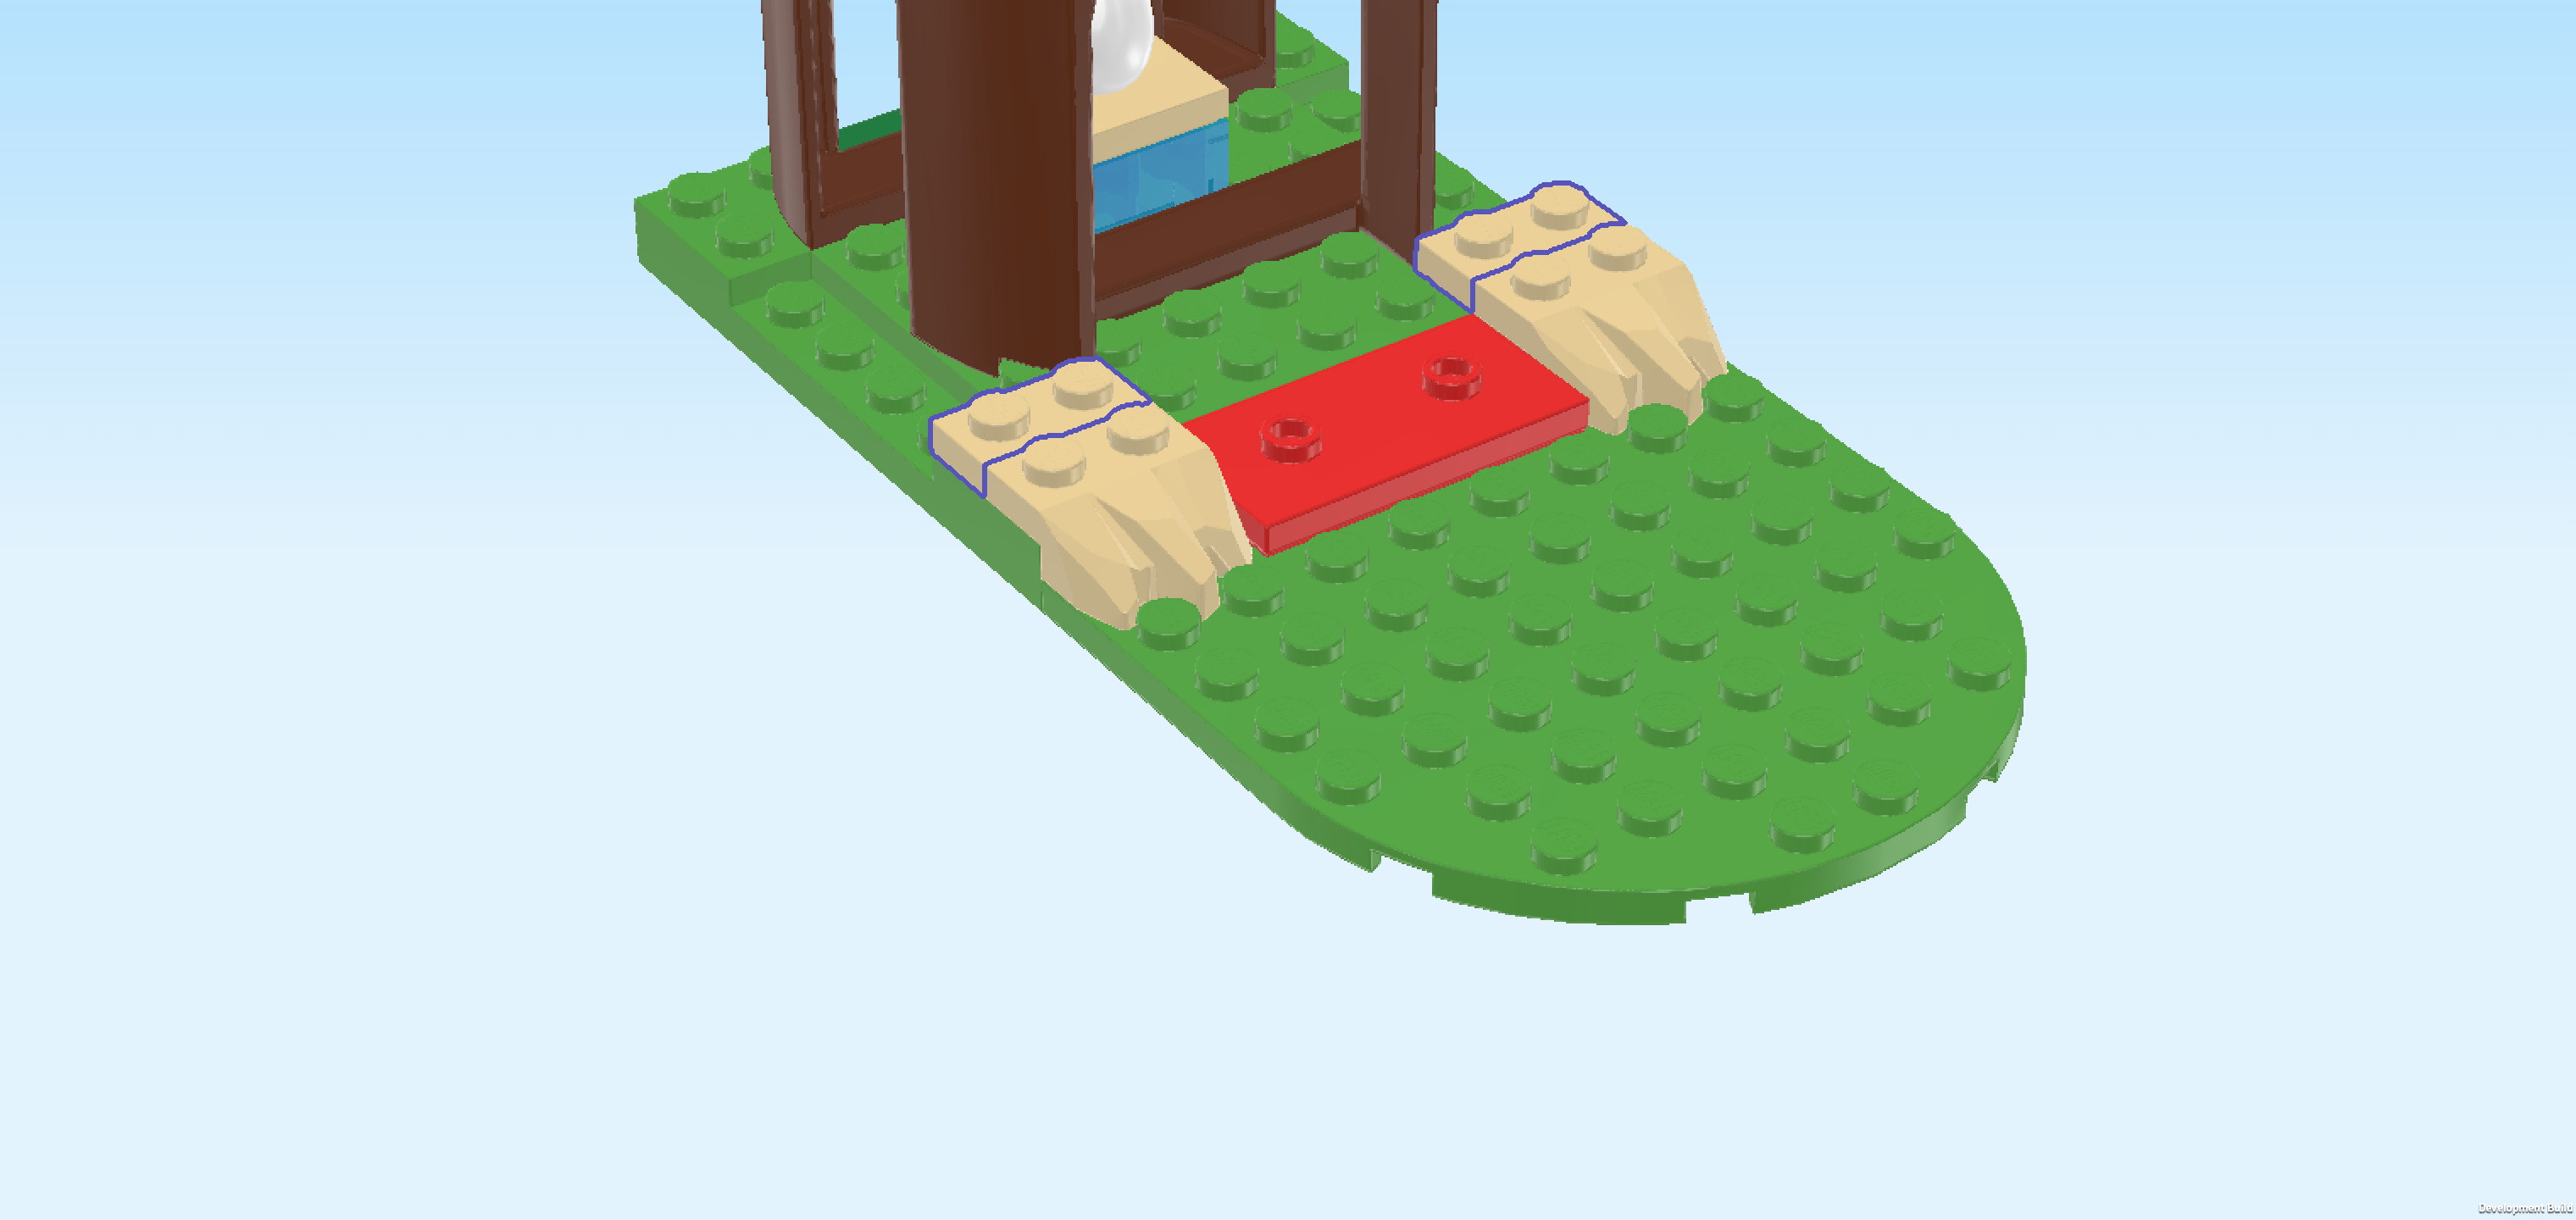
| Find 2 beige plates 1x2 with ragged side rocks. |
| Put 1 to the left of the plate 2x4 that is connecting the 2 base plates, ragged rocks to the front. |
| Repeat symmetrically on the right. |
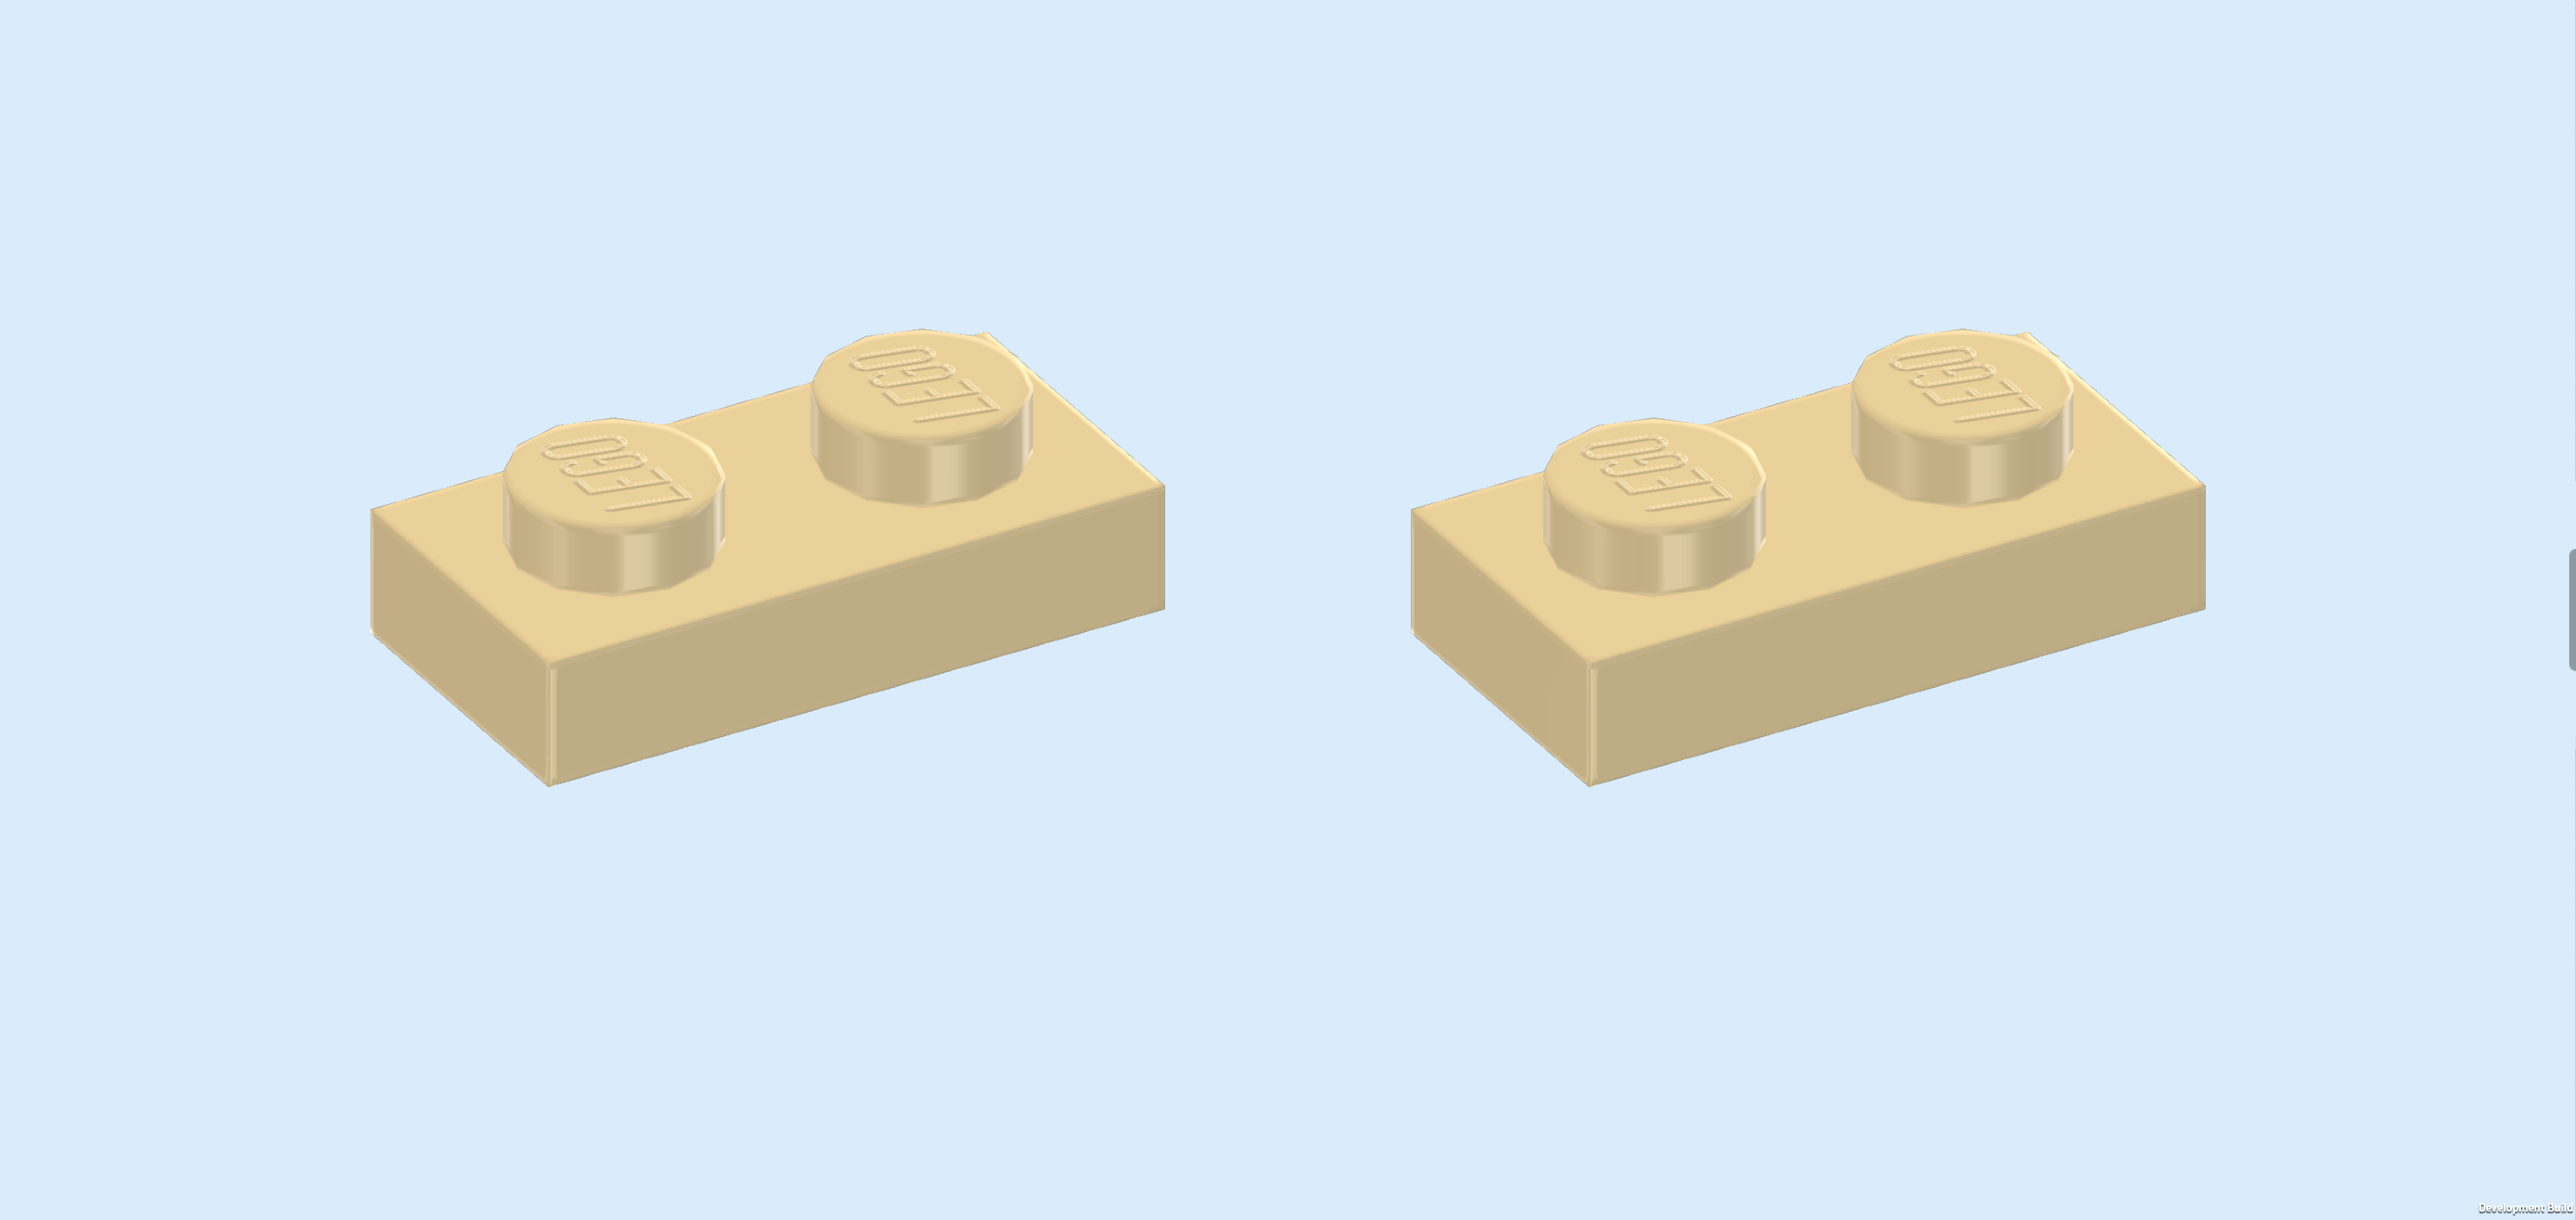
| Find 2 beige plates 1x2. |
| Put 1 horizontally behind the previous piece. |
| Repeat symmetrically on the left. |
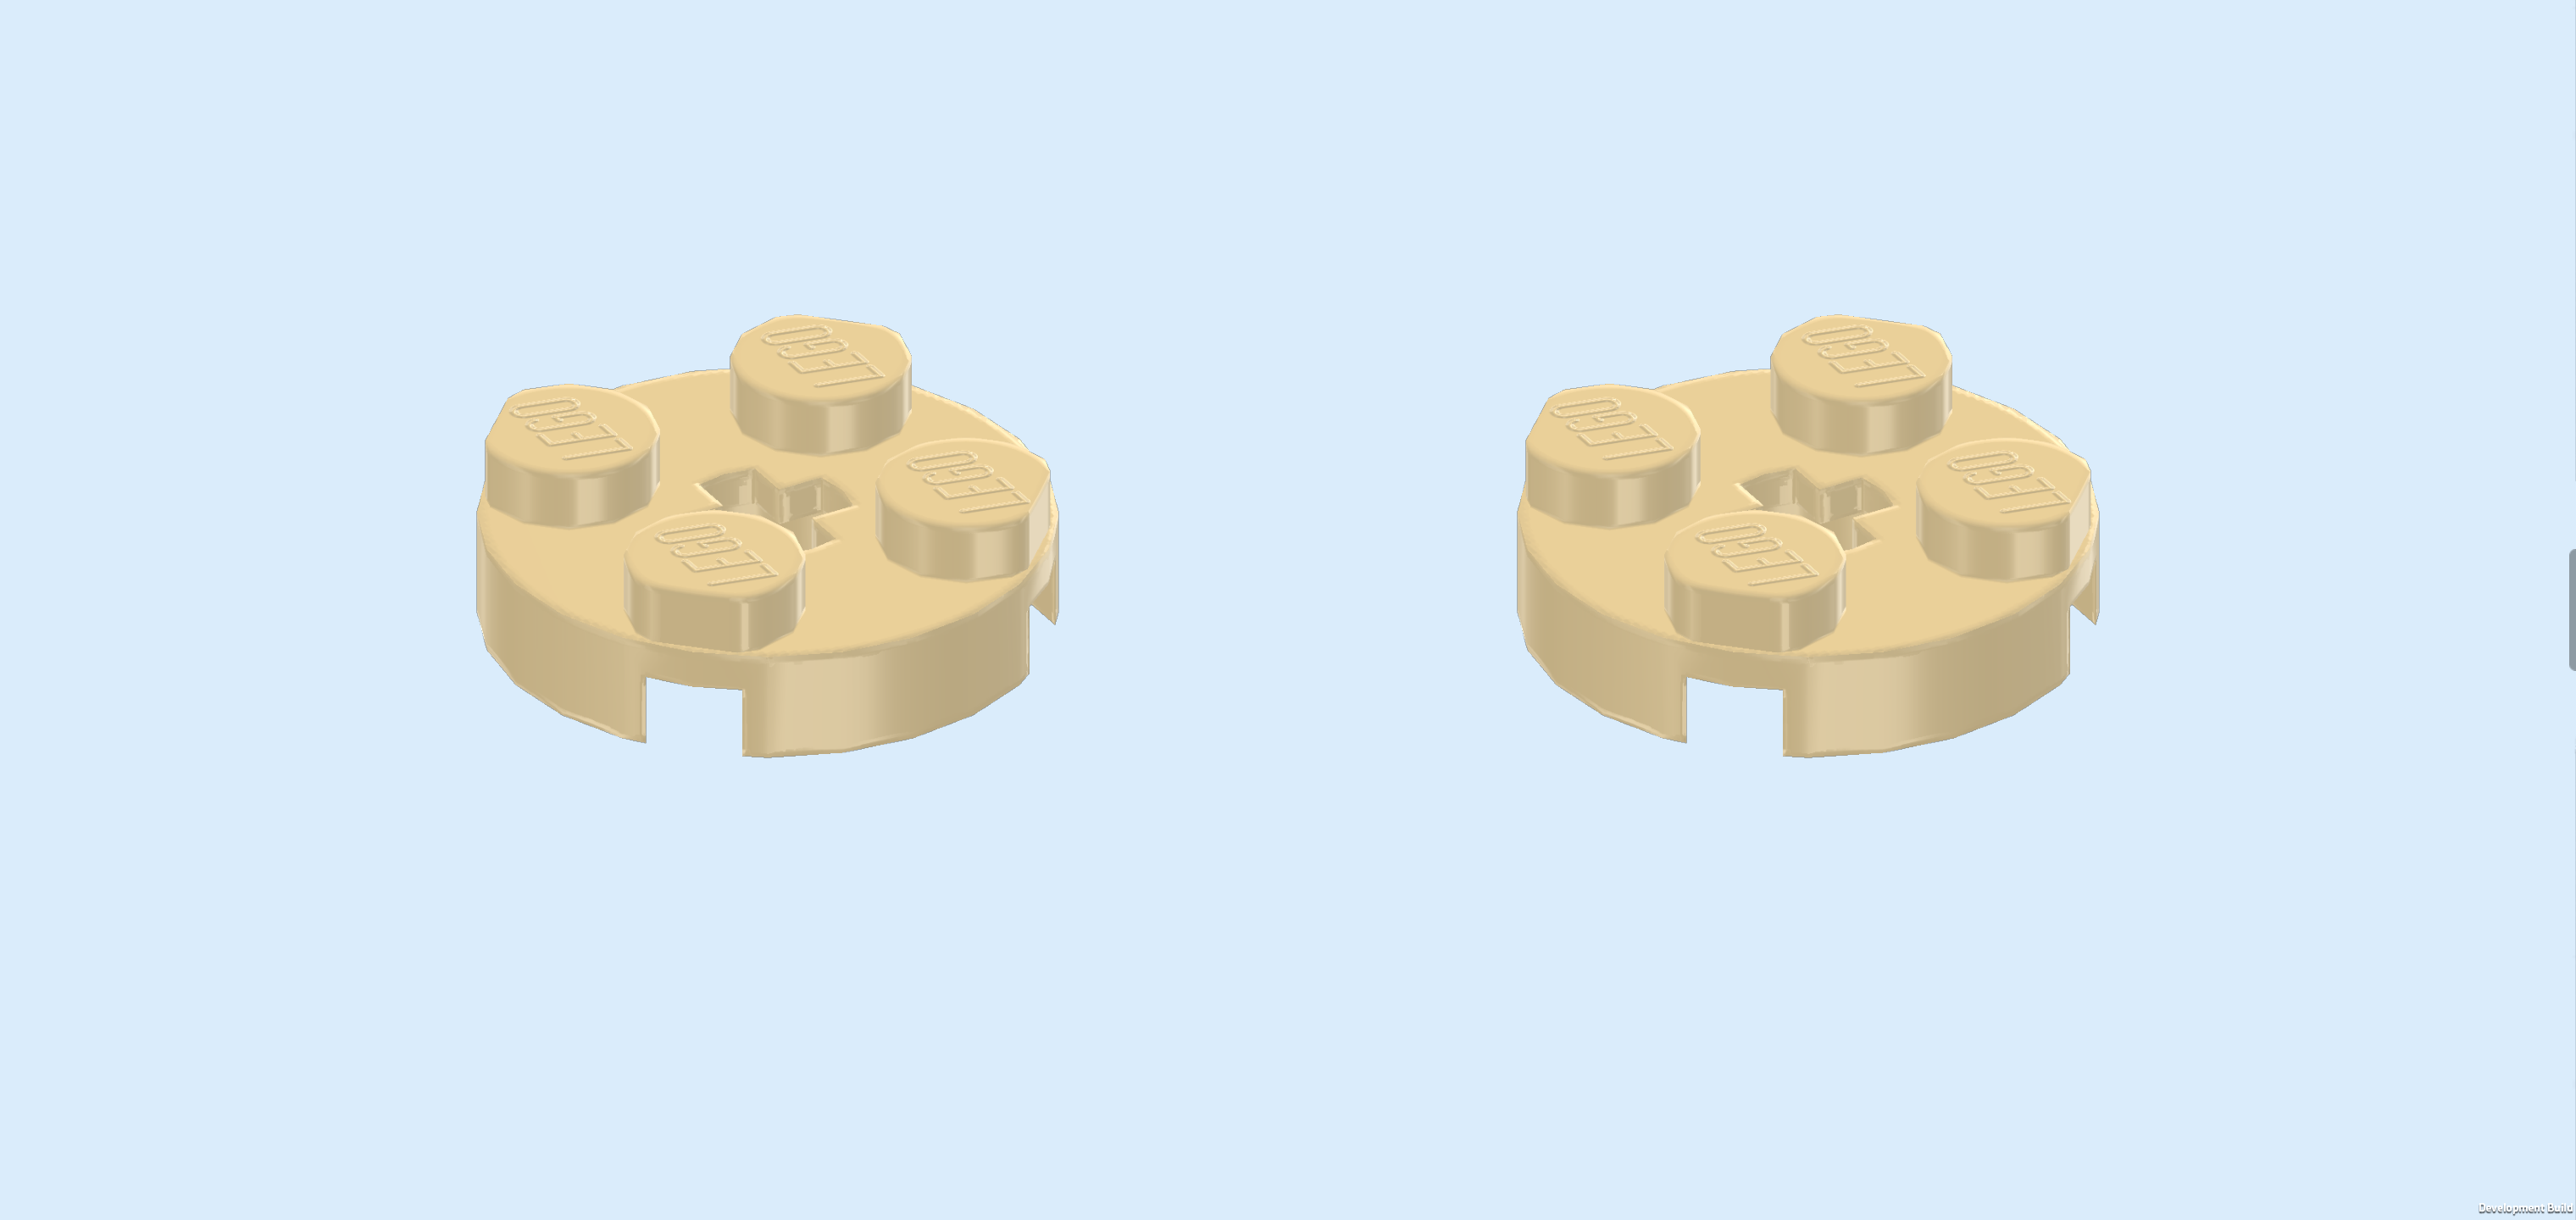
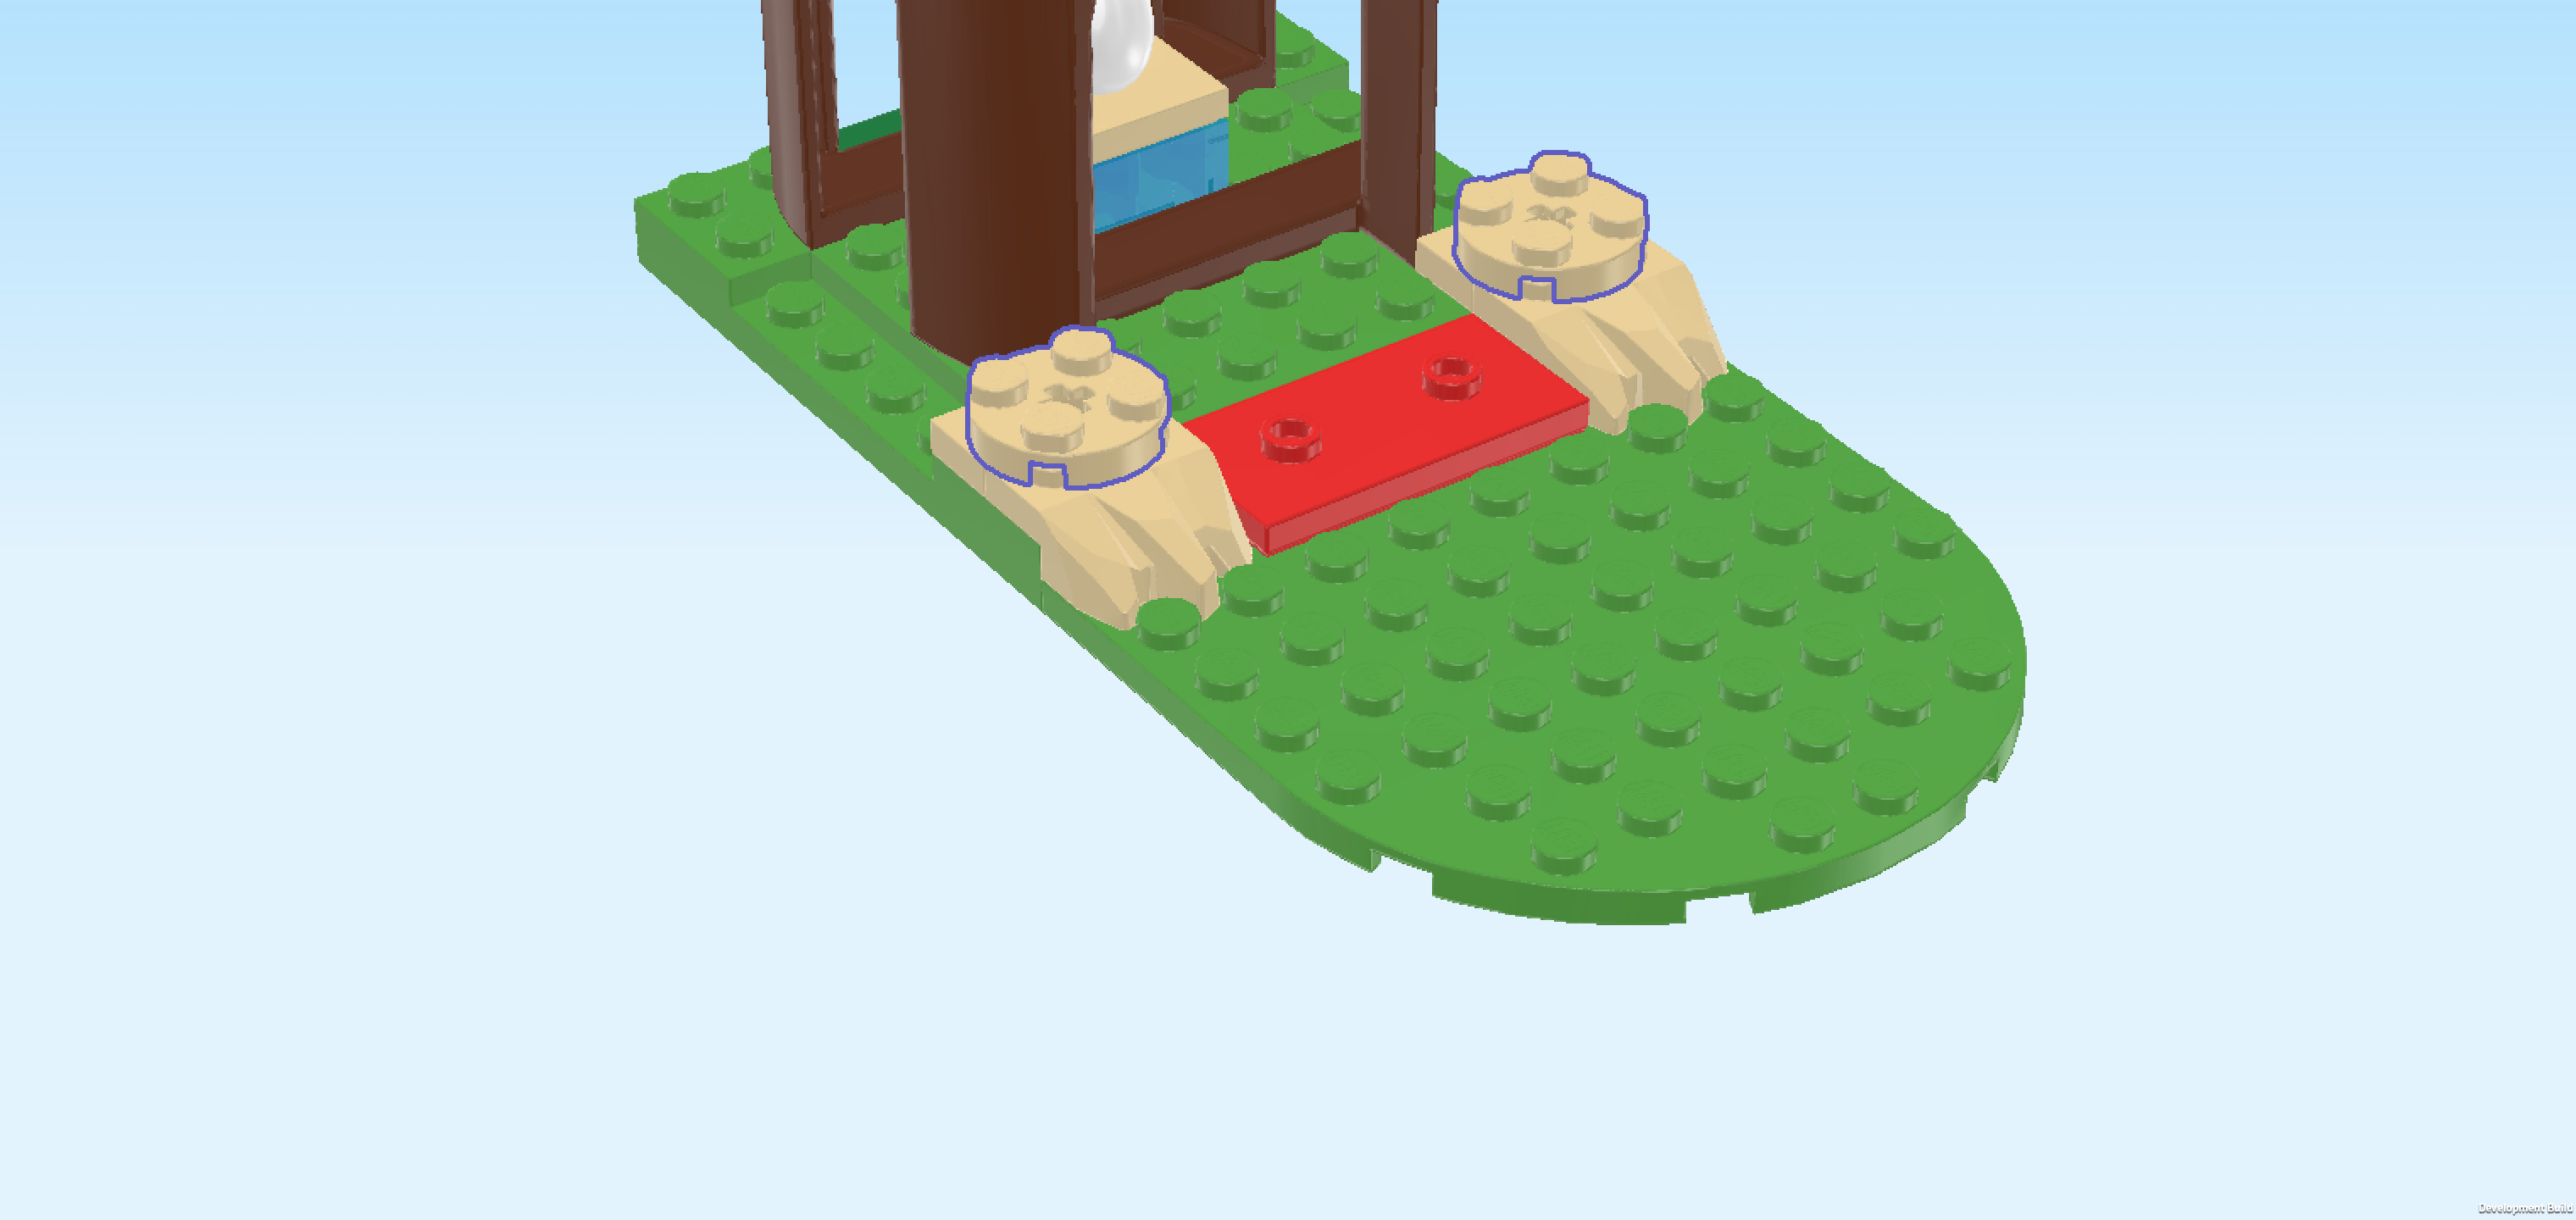
| Find 2 beige round plates 2x2. |
| Put 1 on top of the previous piece and the ragged rock piece in front of it. |
| Repeat symmetrically on the right. |
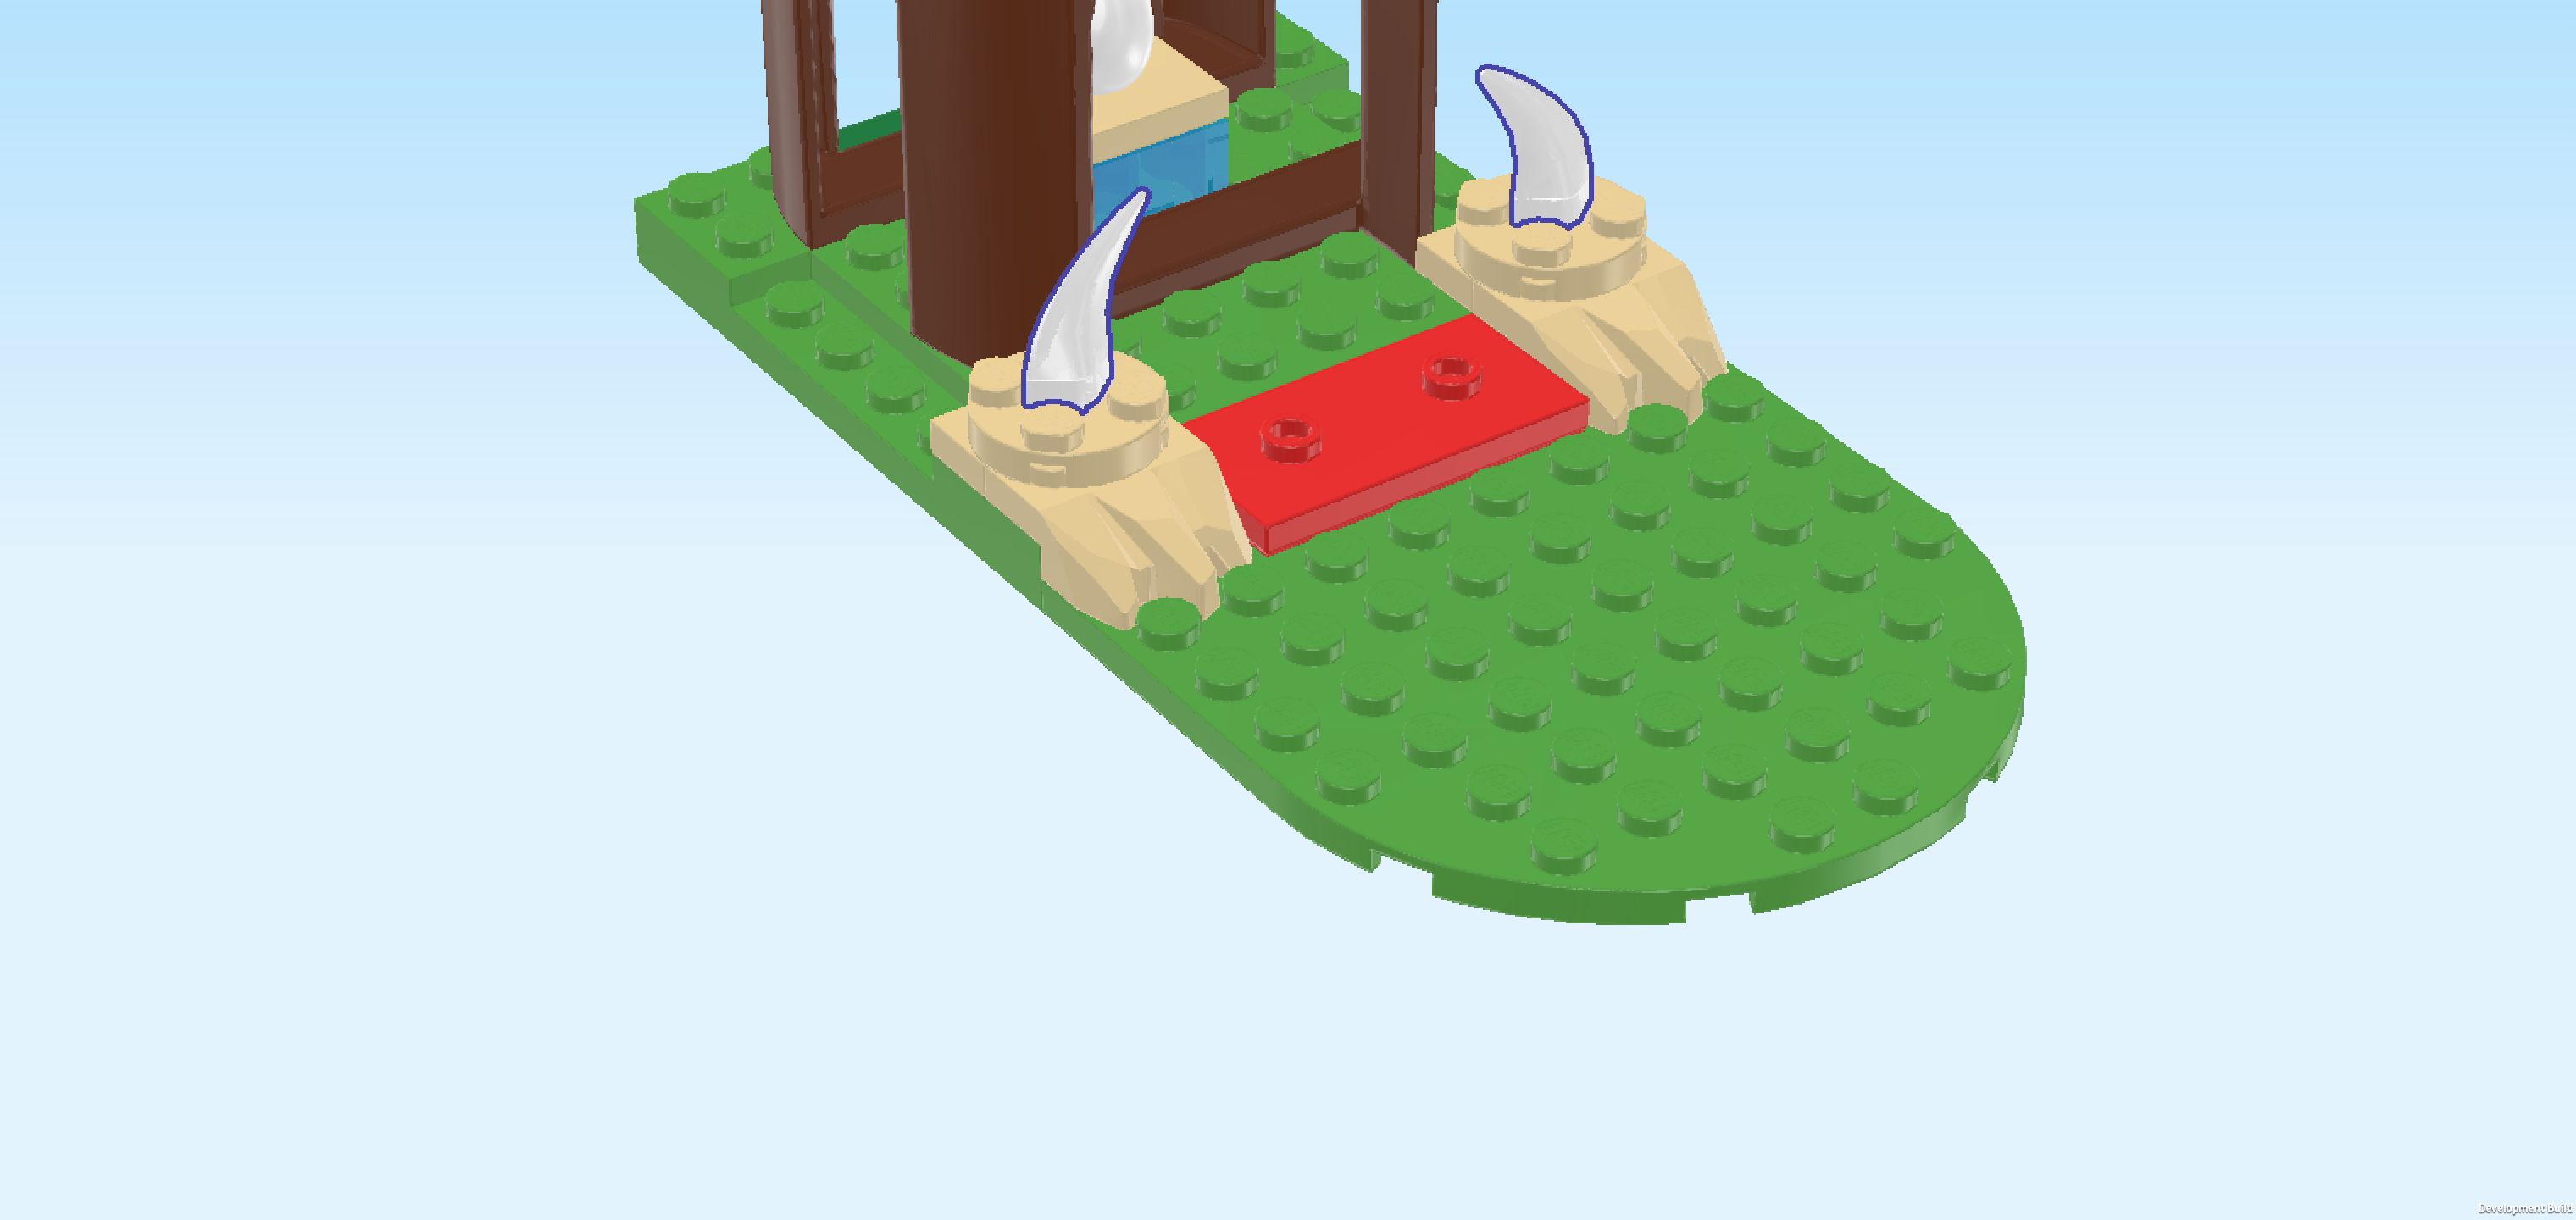
| Find 2 white fangs with shaft. |
| Insert the shaft from the top into the middle hole of the previous piece, pointy tip of the fang pointing to the left. |
| Repeat symmetrically on the left, pointy tip of the fang pointing to the right. |
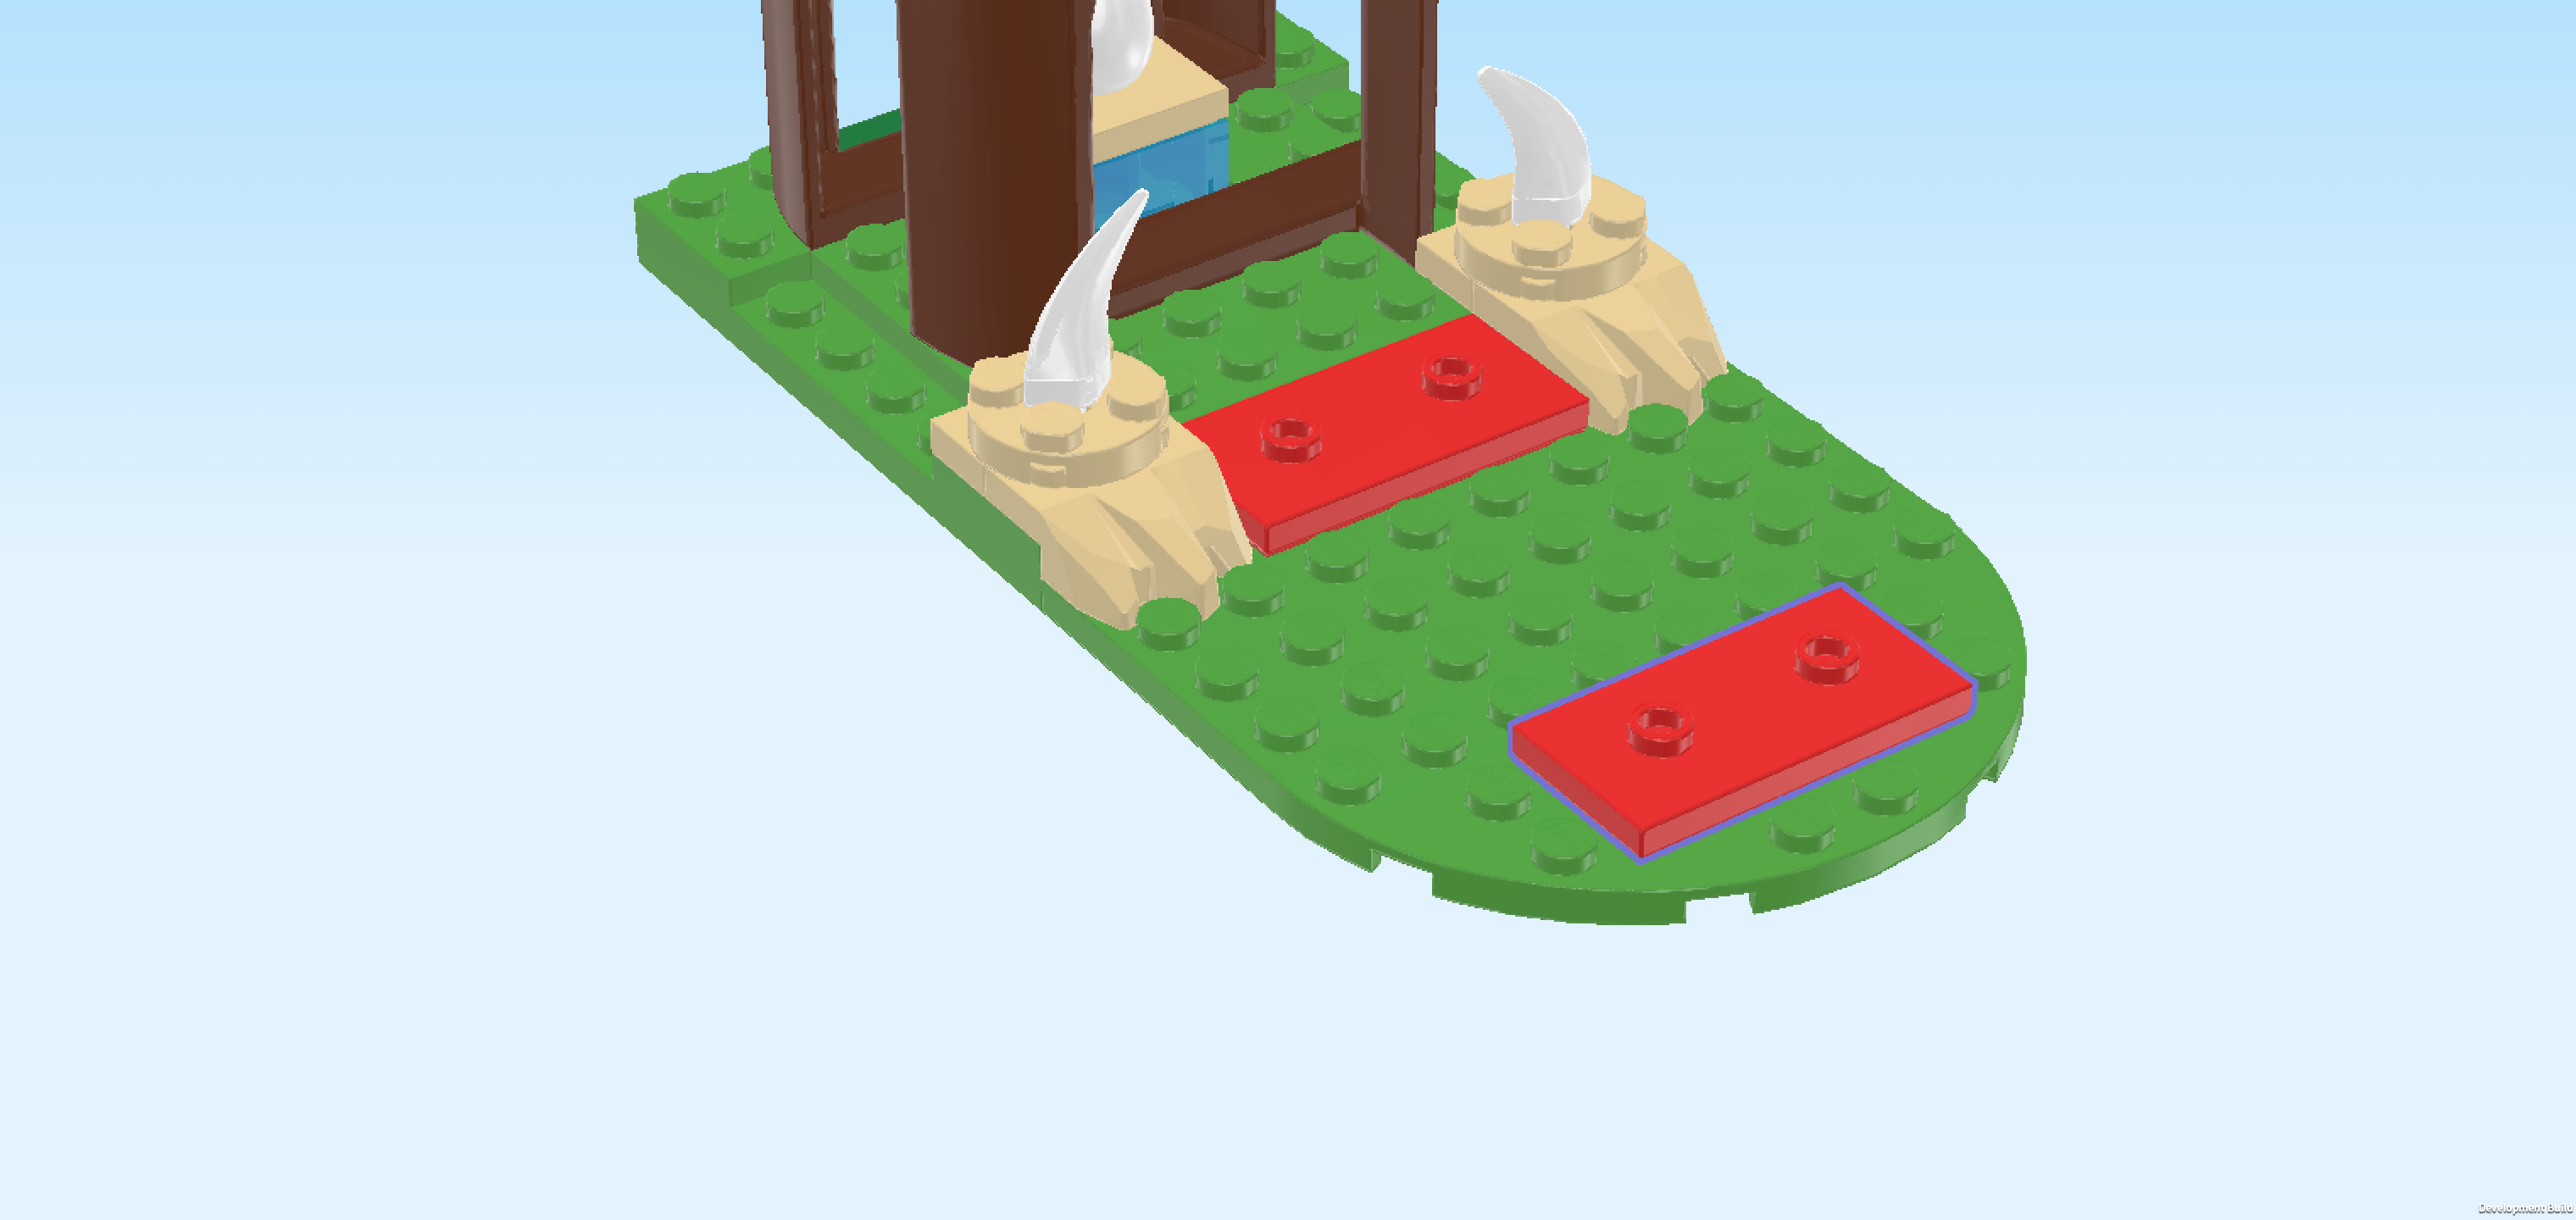
| Find 1 bright red plate 2x4 with 2 knobs. |
| Put it horizontally centered on the second and third row from the front. This means the 2 frontmost knobs of the half circle remain empty. |
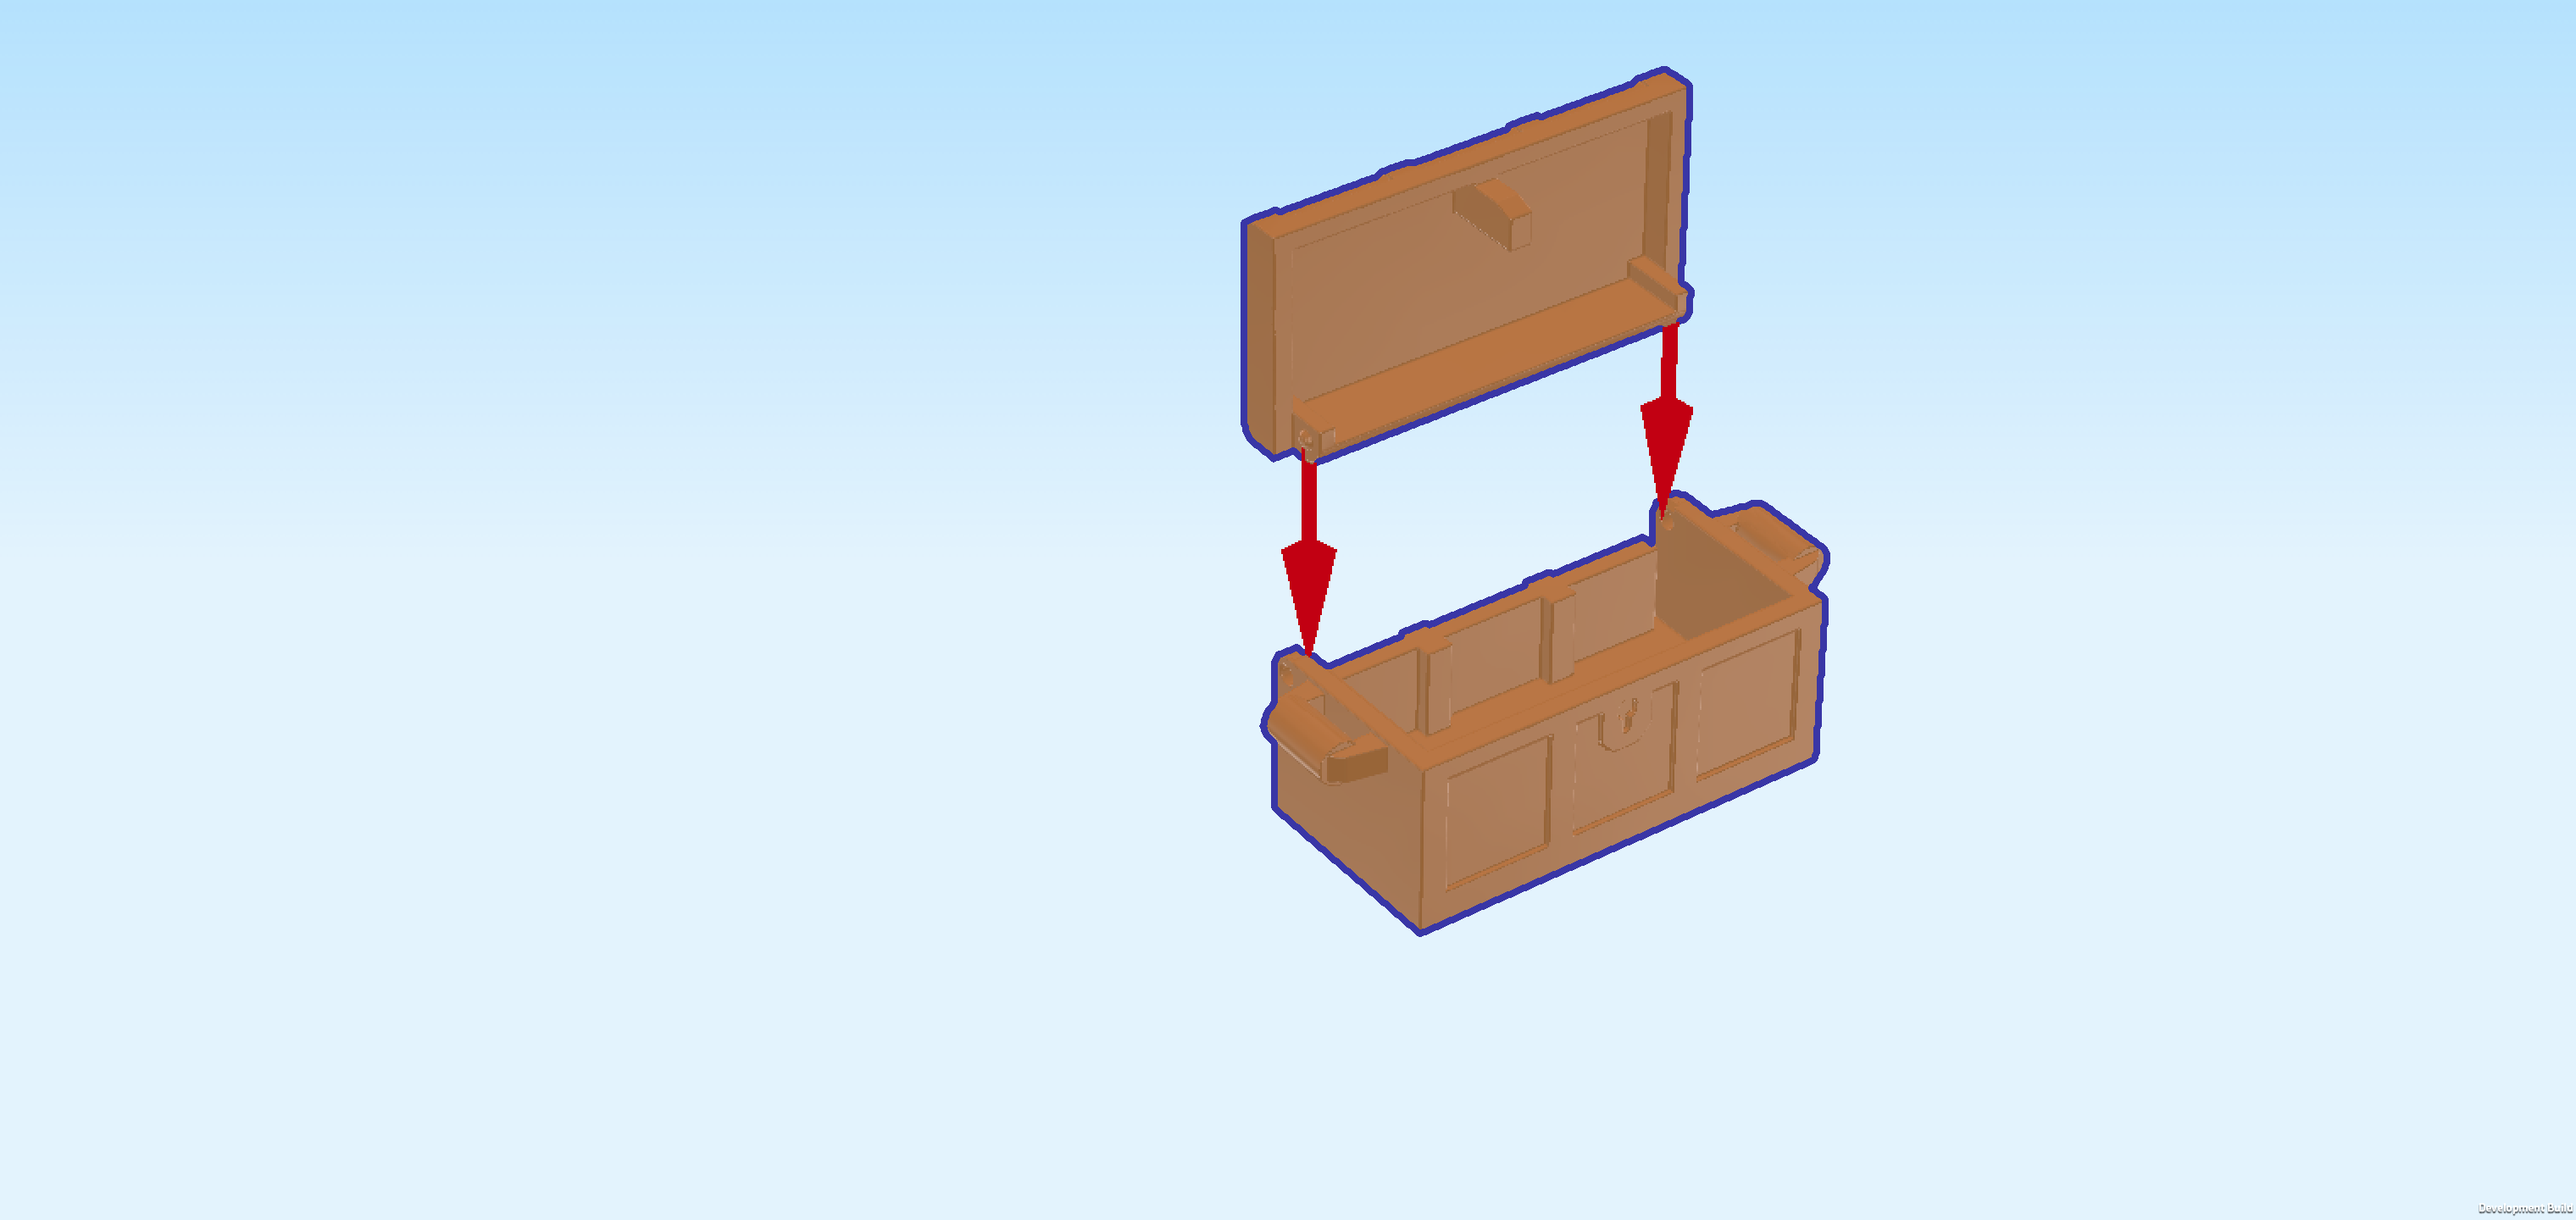
| Now, we will build the treasure chest. |
| Collect the following 2 pieces: |
| 1 medium nougat brown treasure chest lid 2x4, |
| and 1 medium nougat brown treasure chest bottom 2x4. |
| Hold the treasure chest bottom horizontally in your hand, lower side towards the back. |
| Insert the long narrow tab on one of the lid's long sides into the lower side of the treasure chest bottom. |
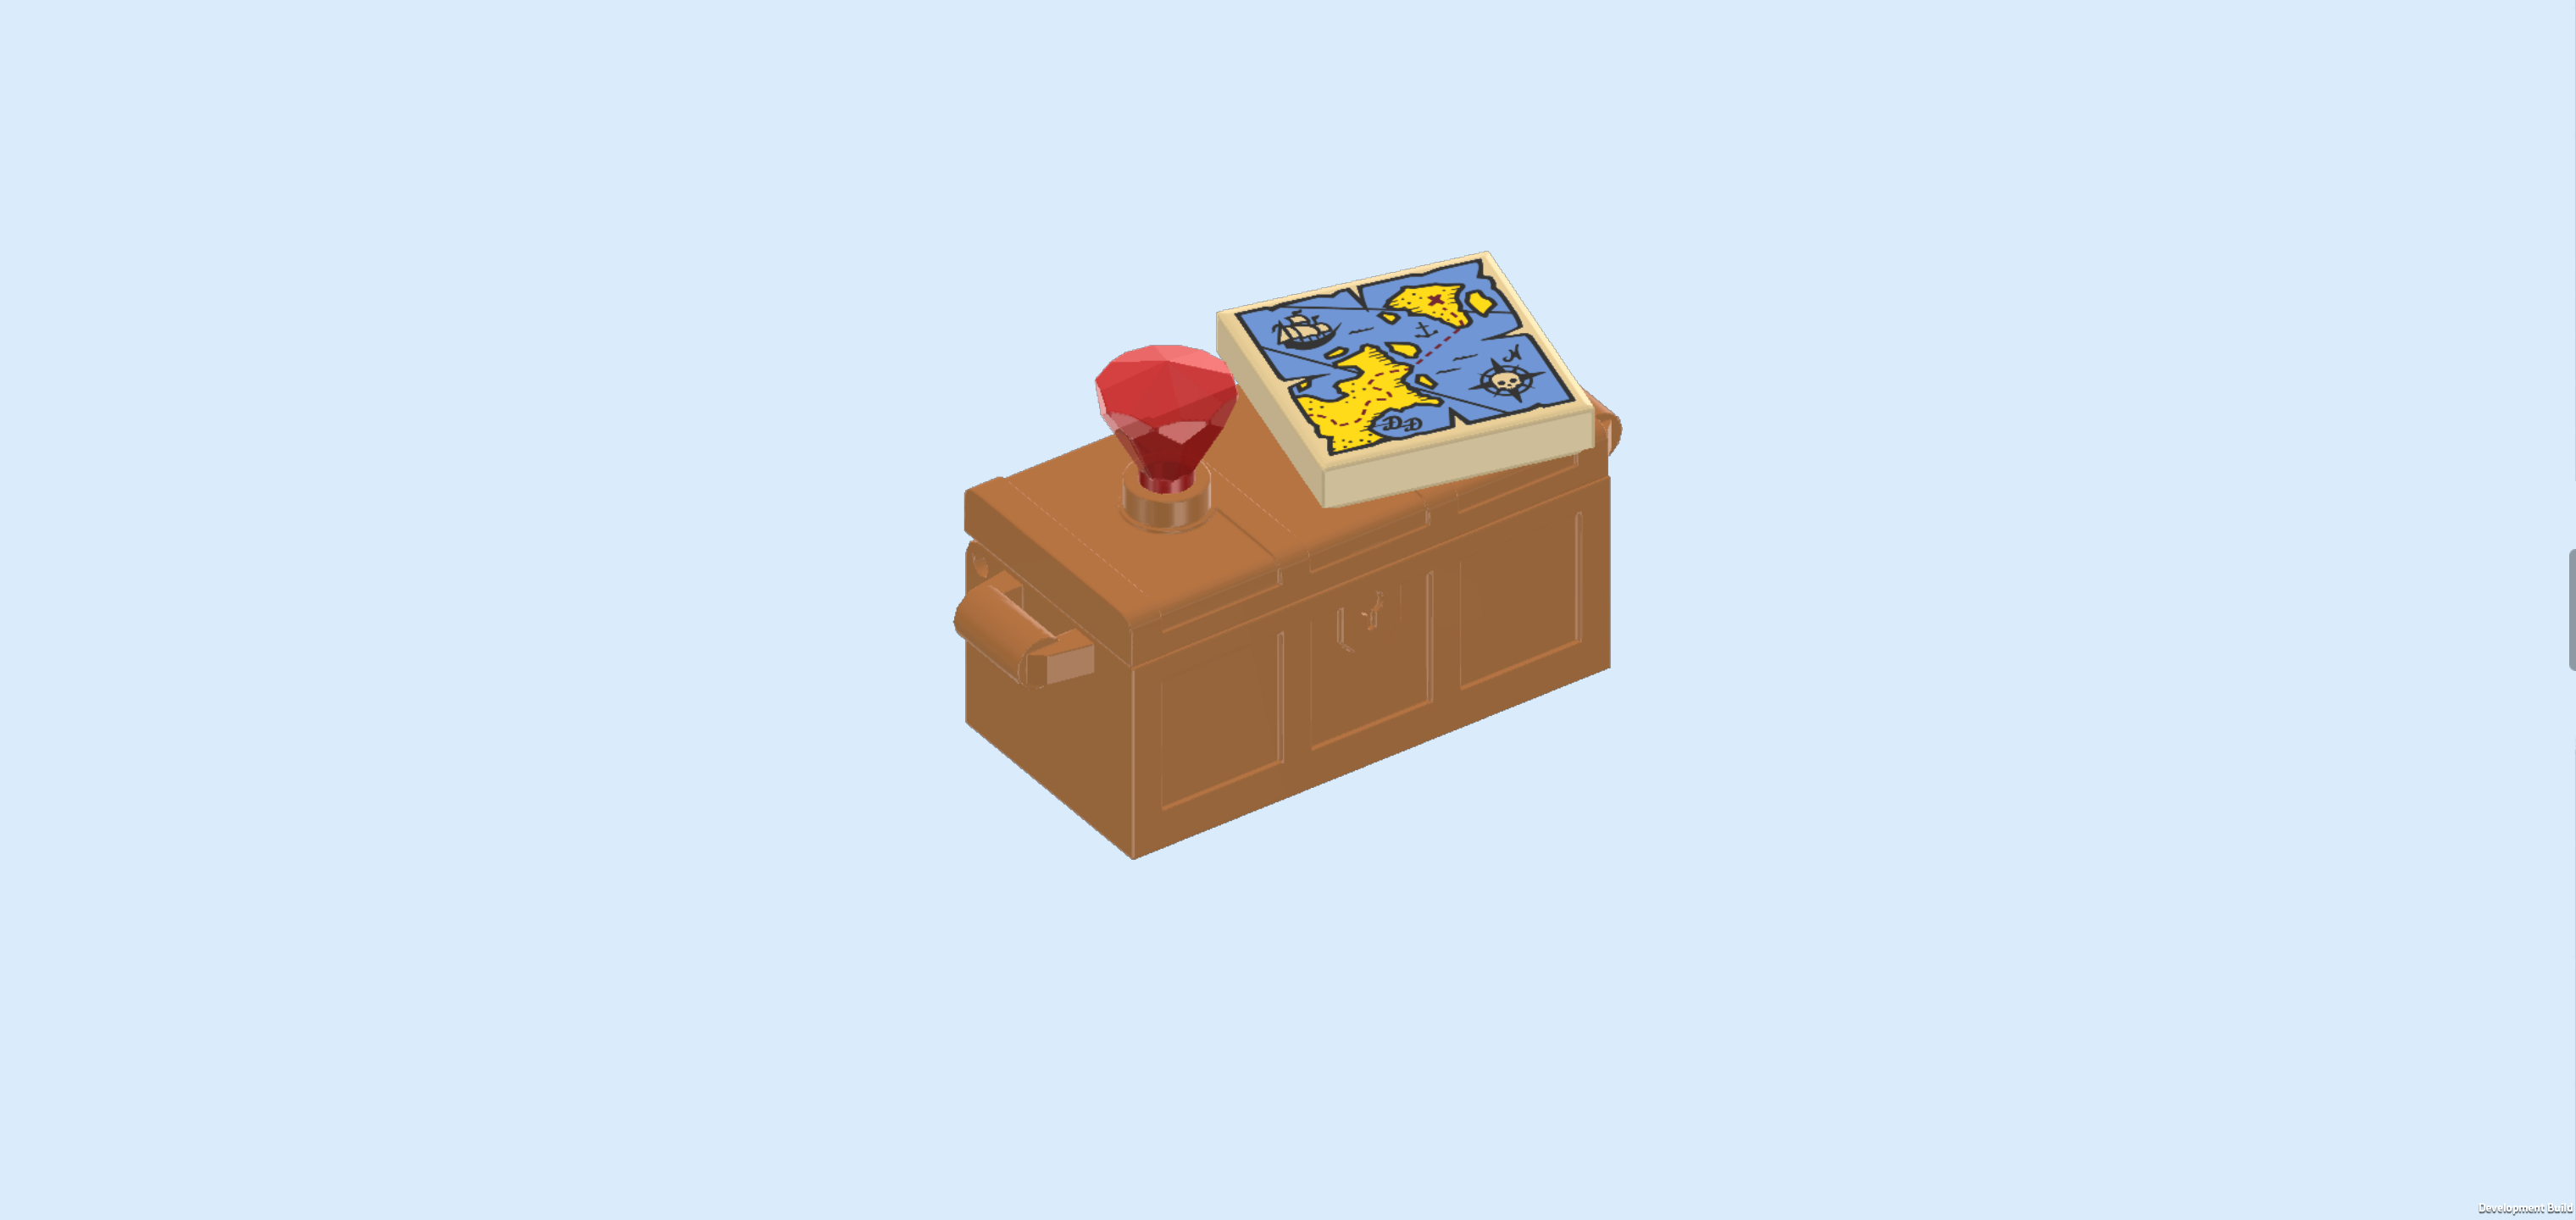
| Collect the following 2 pieces: |
| 1 beige flat tile 2x2, |
| and 1 transparent red diamond with small bottom shaft. |
| Put the flat tile at an angle on the right knob of the treasure chest lid. |
| This piece is printed with a treasure map! It shows the sea in blue and several sandy islands scattered across the sea. There is a ship in the water in the top right corner, and a compass in the bottom right corner. |
| Insert the shaft of the diamond into the left knob. |
| The treasure chest is finished! Well done! Mount it horizontally on the plate 2x4 with 2 knobs that is mounted at the front edge of the Tree House base plate. |
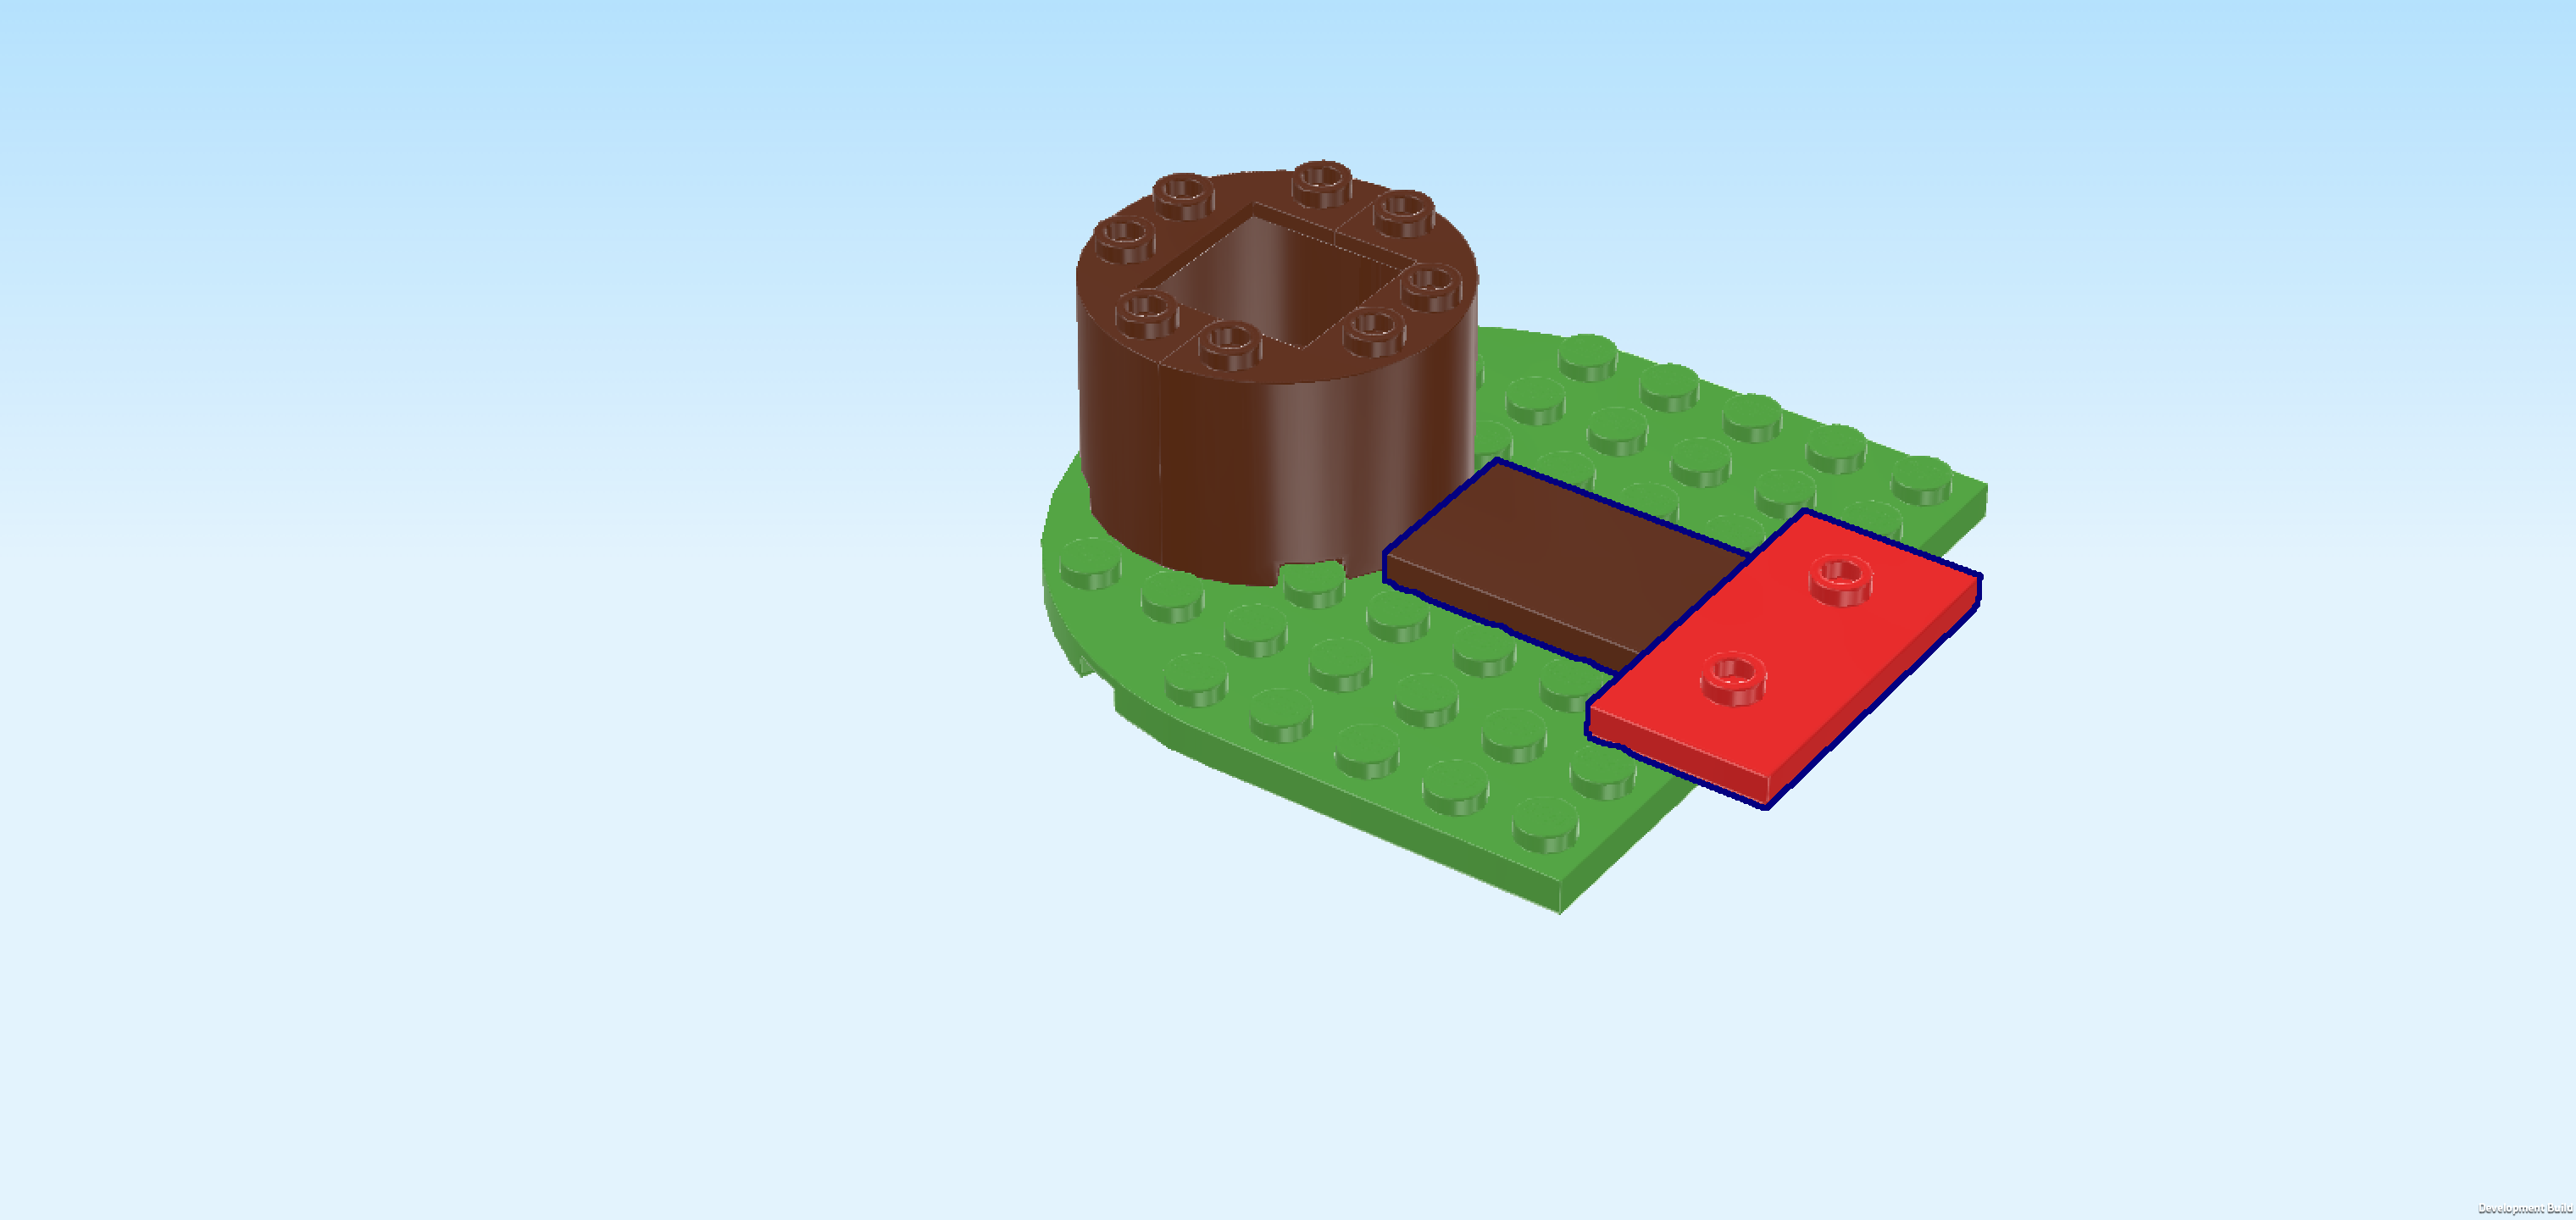
| Collect the following 2 pieces: |
| 1 black plate 1x2 with 2 vertical clasps on long side, |
| and 1 black flat tile 2x4. |
| Put the plate 1x2 horizontally centered on the back row of the back arch door, clasps to the back. |
| Put the flat tile 2x4 vertically in front of the previous piece. This will connect the back arch door with the front arch door. |
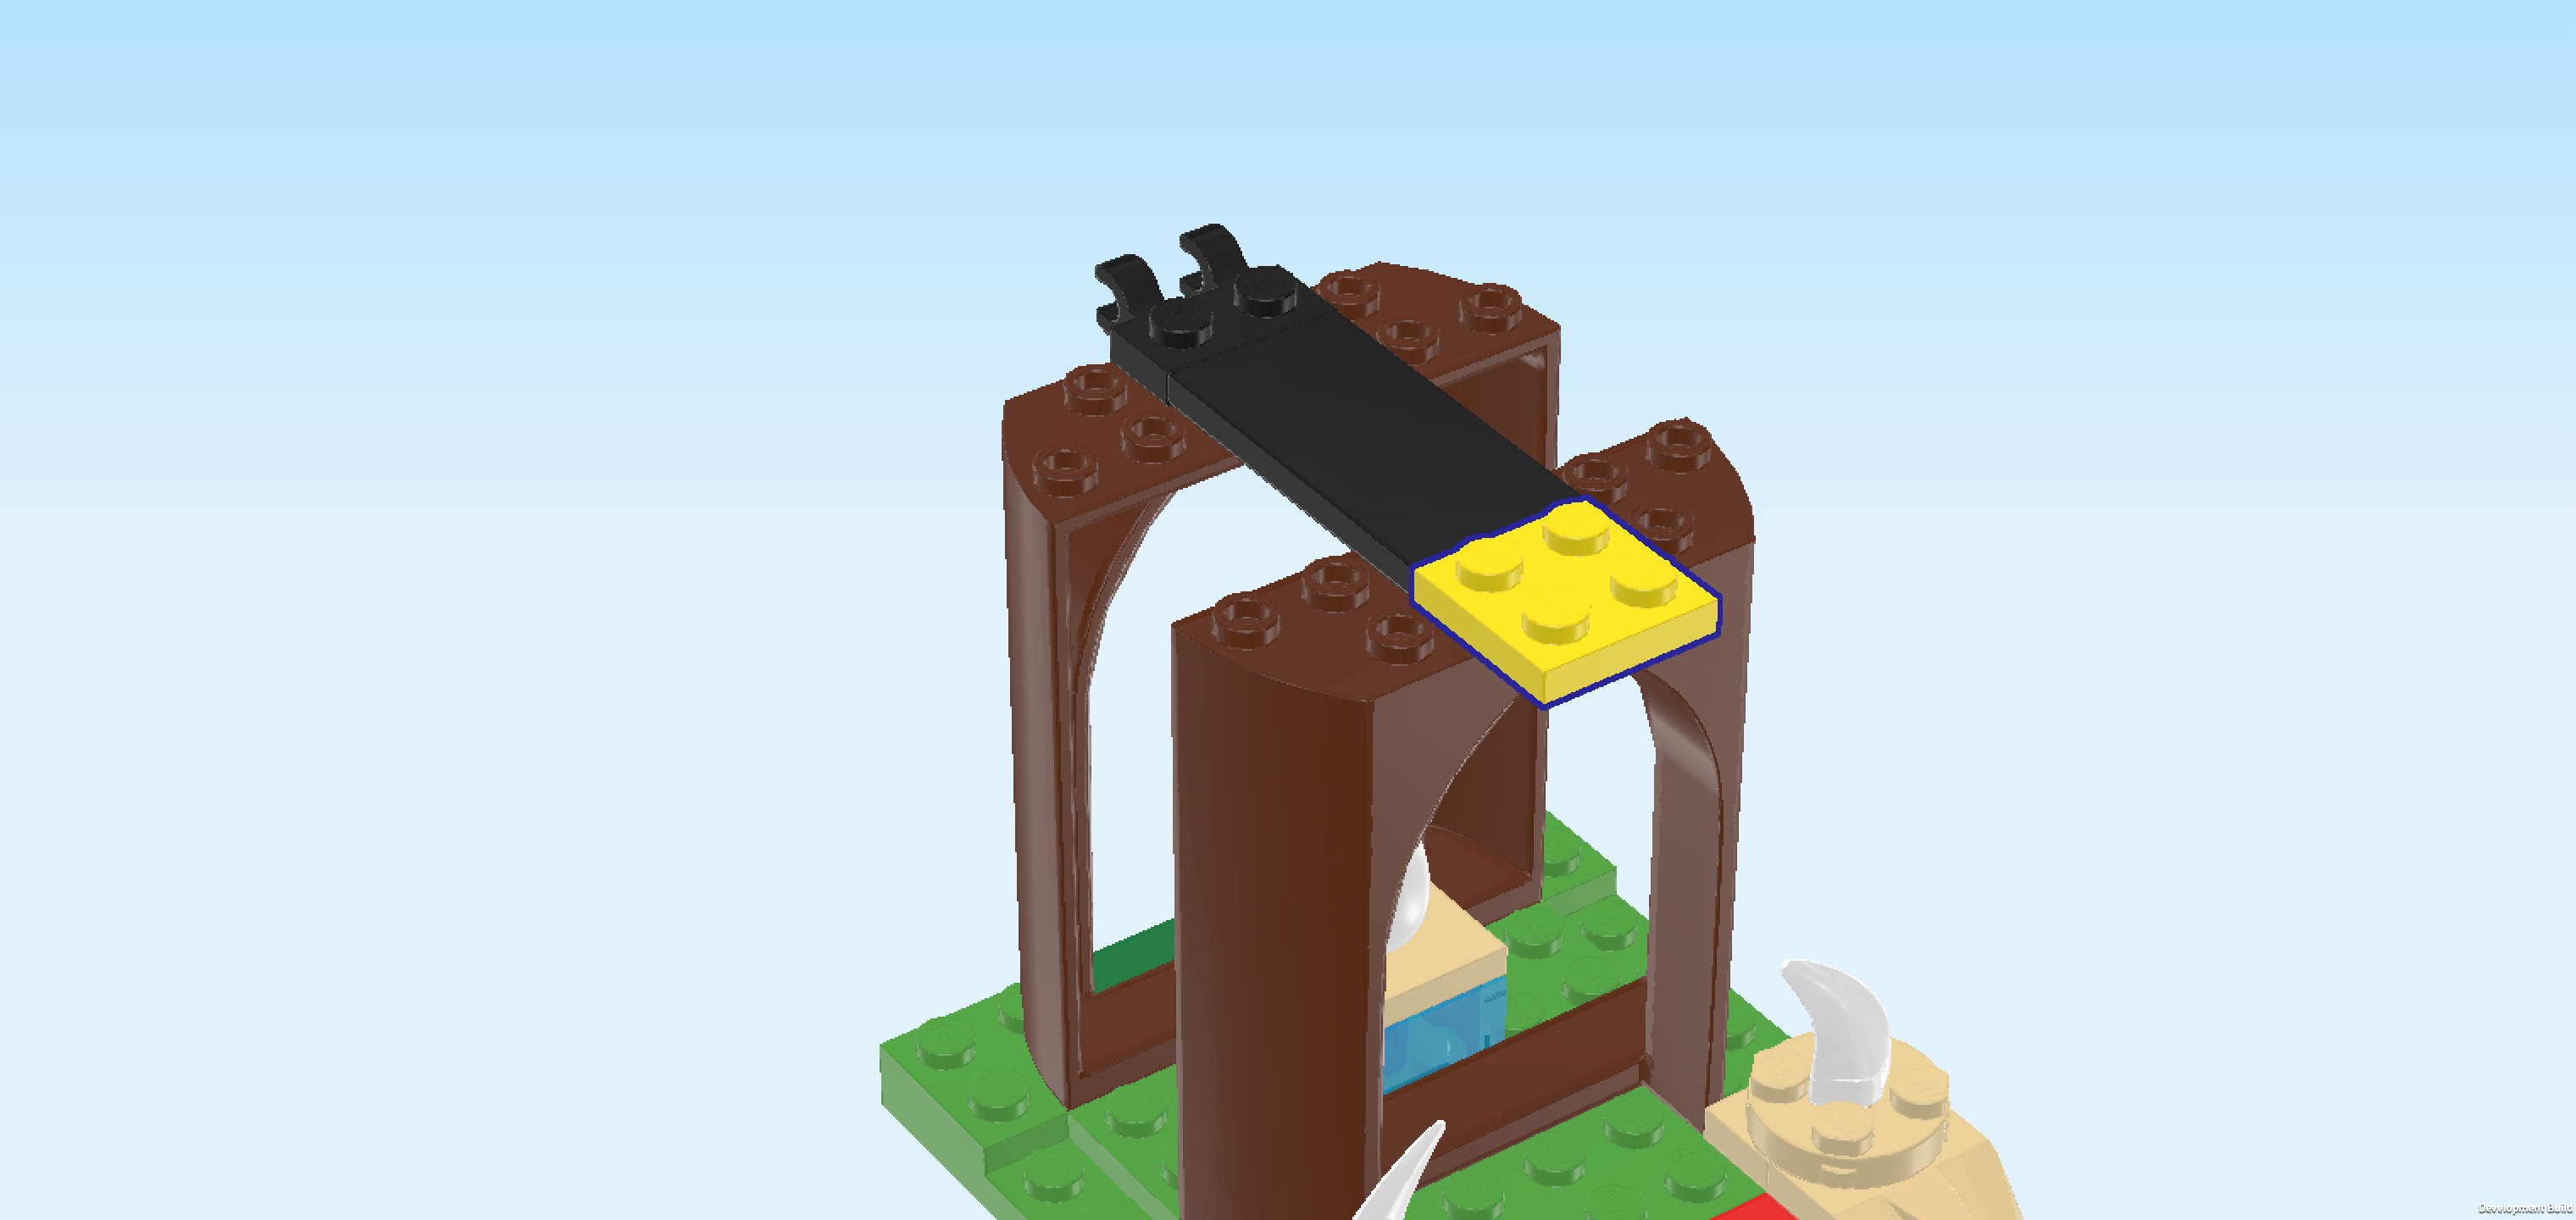
| Find 1 bright yellow plate 2x2. |
| Put it in front of the previous piece, 1/2 overhanging to the front. |
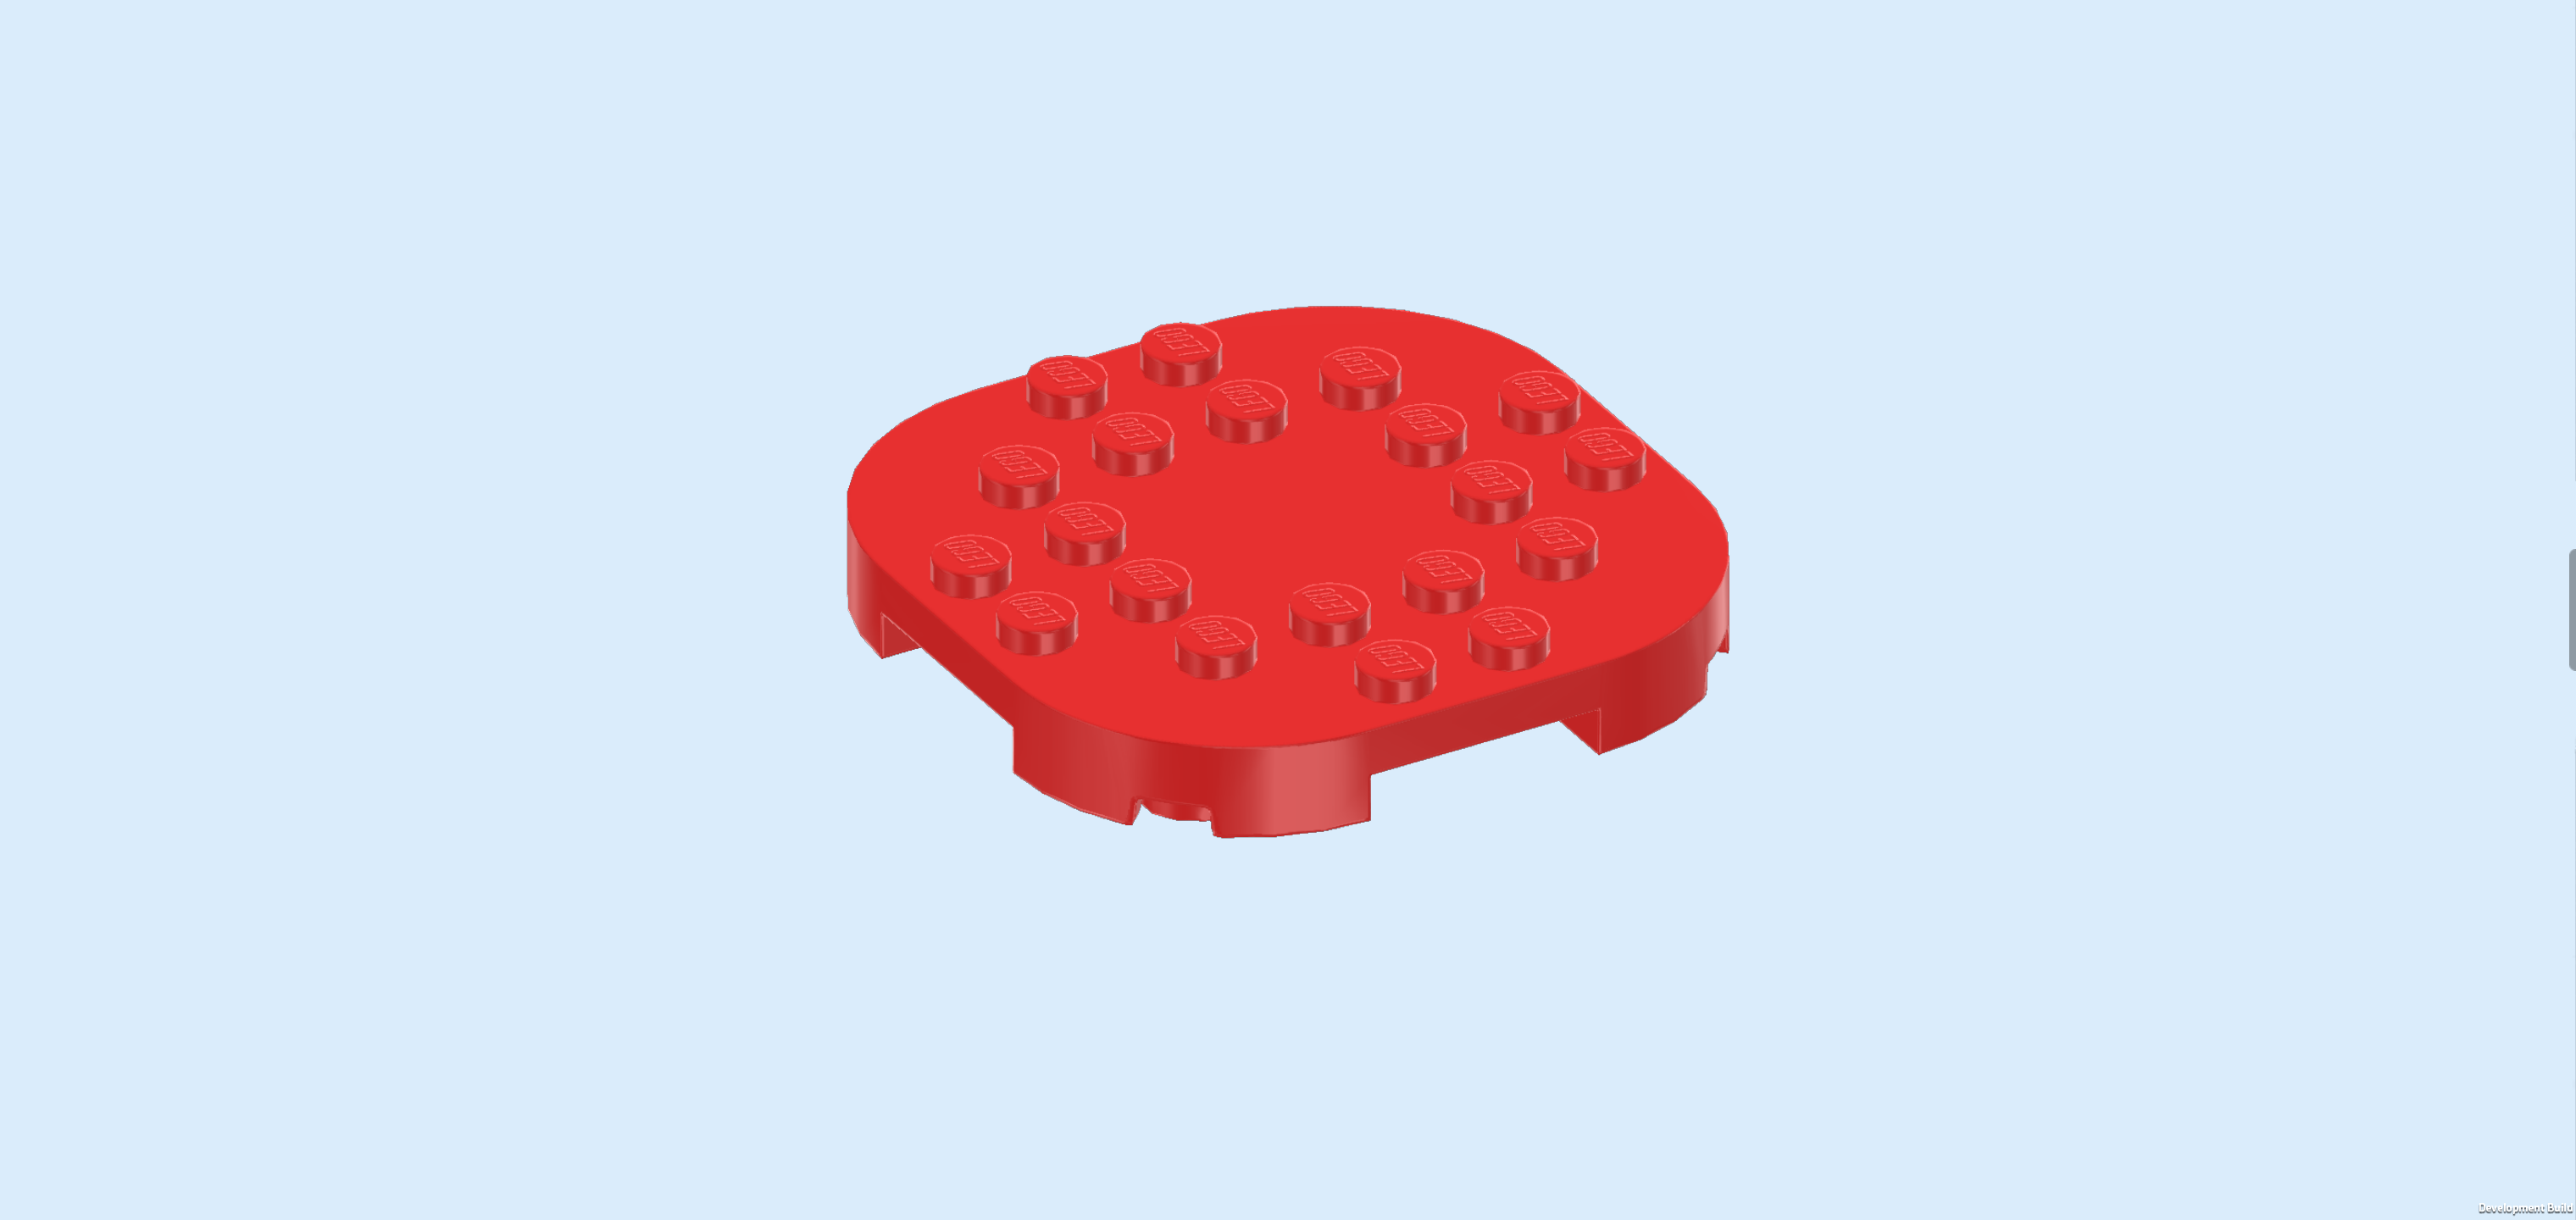
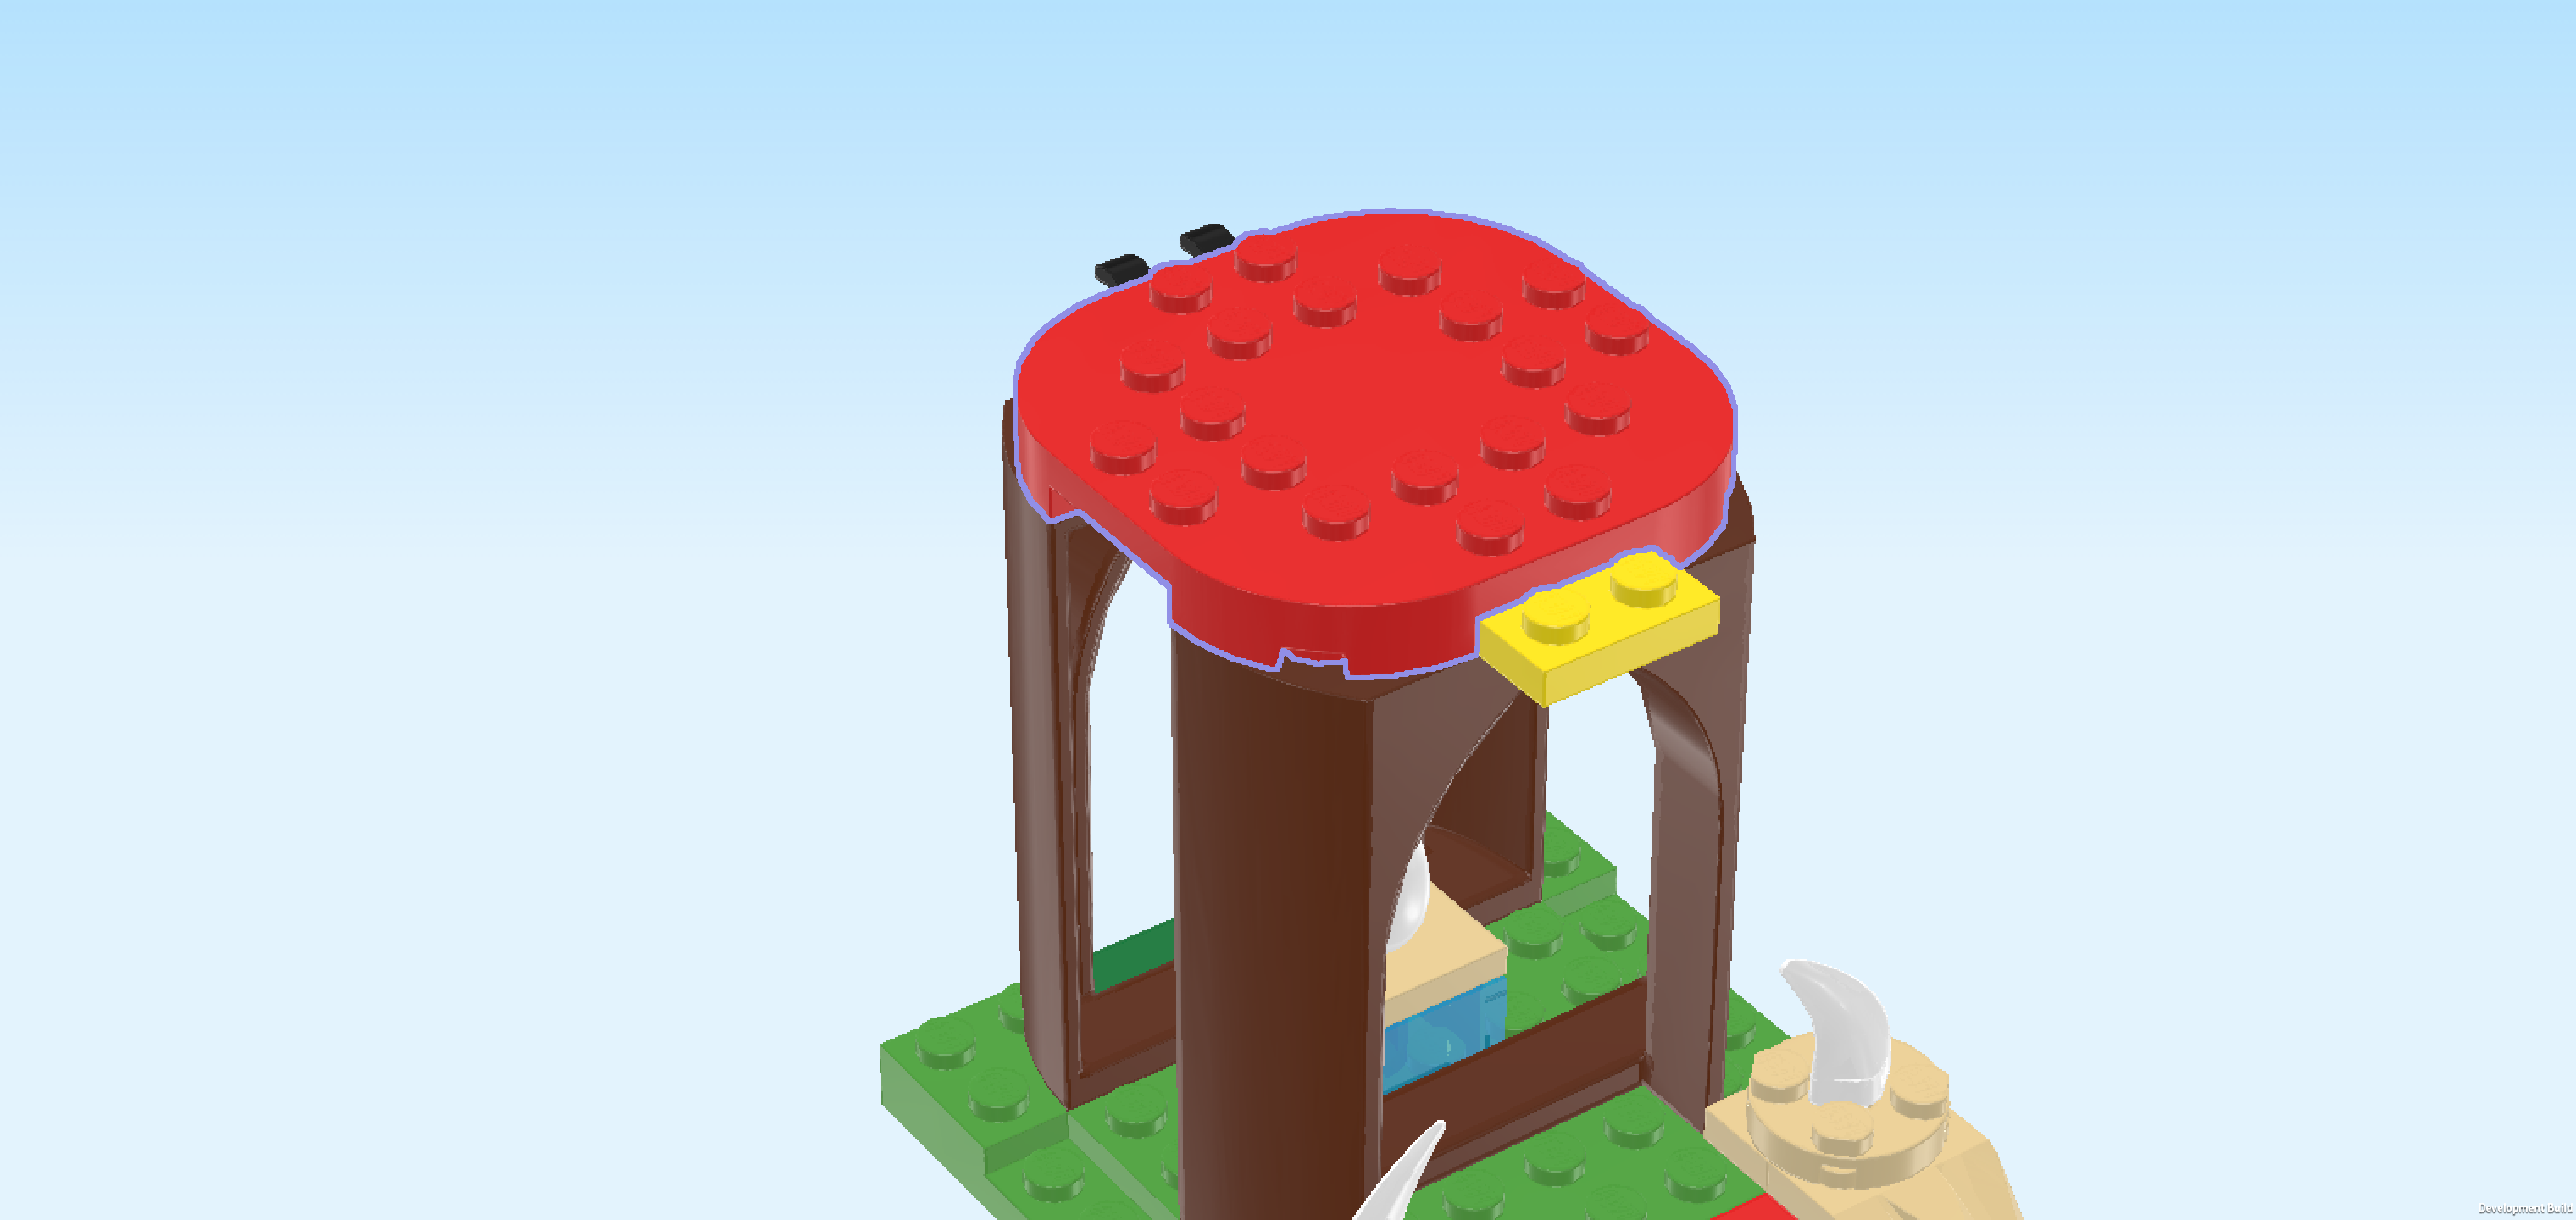
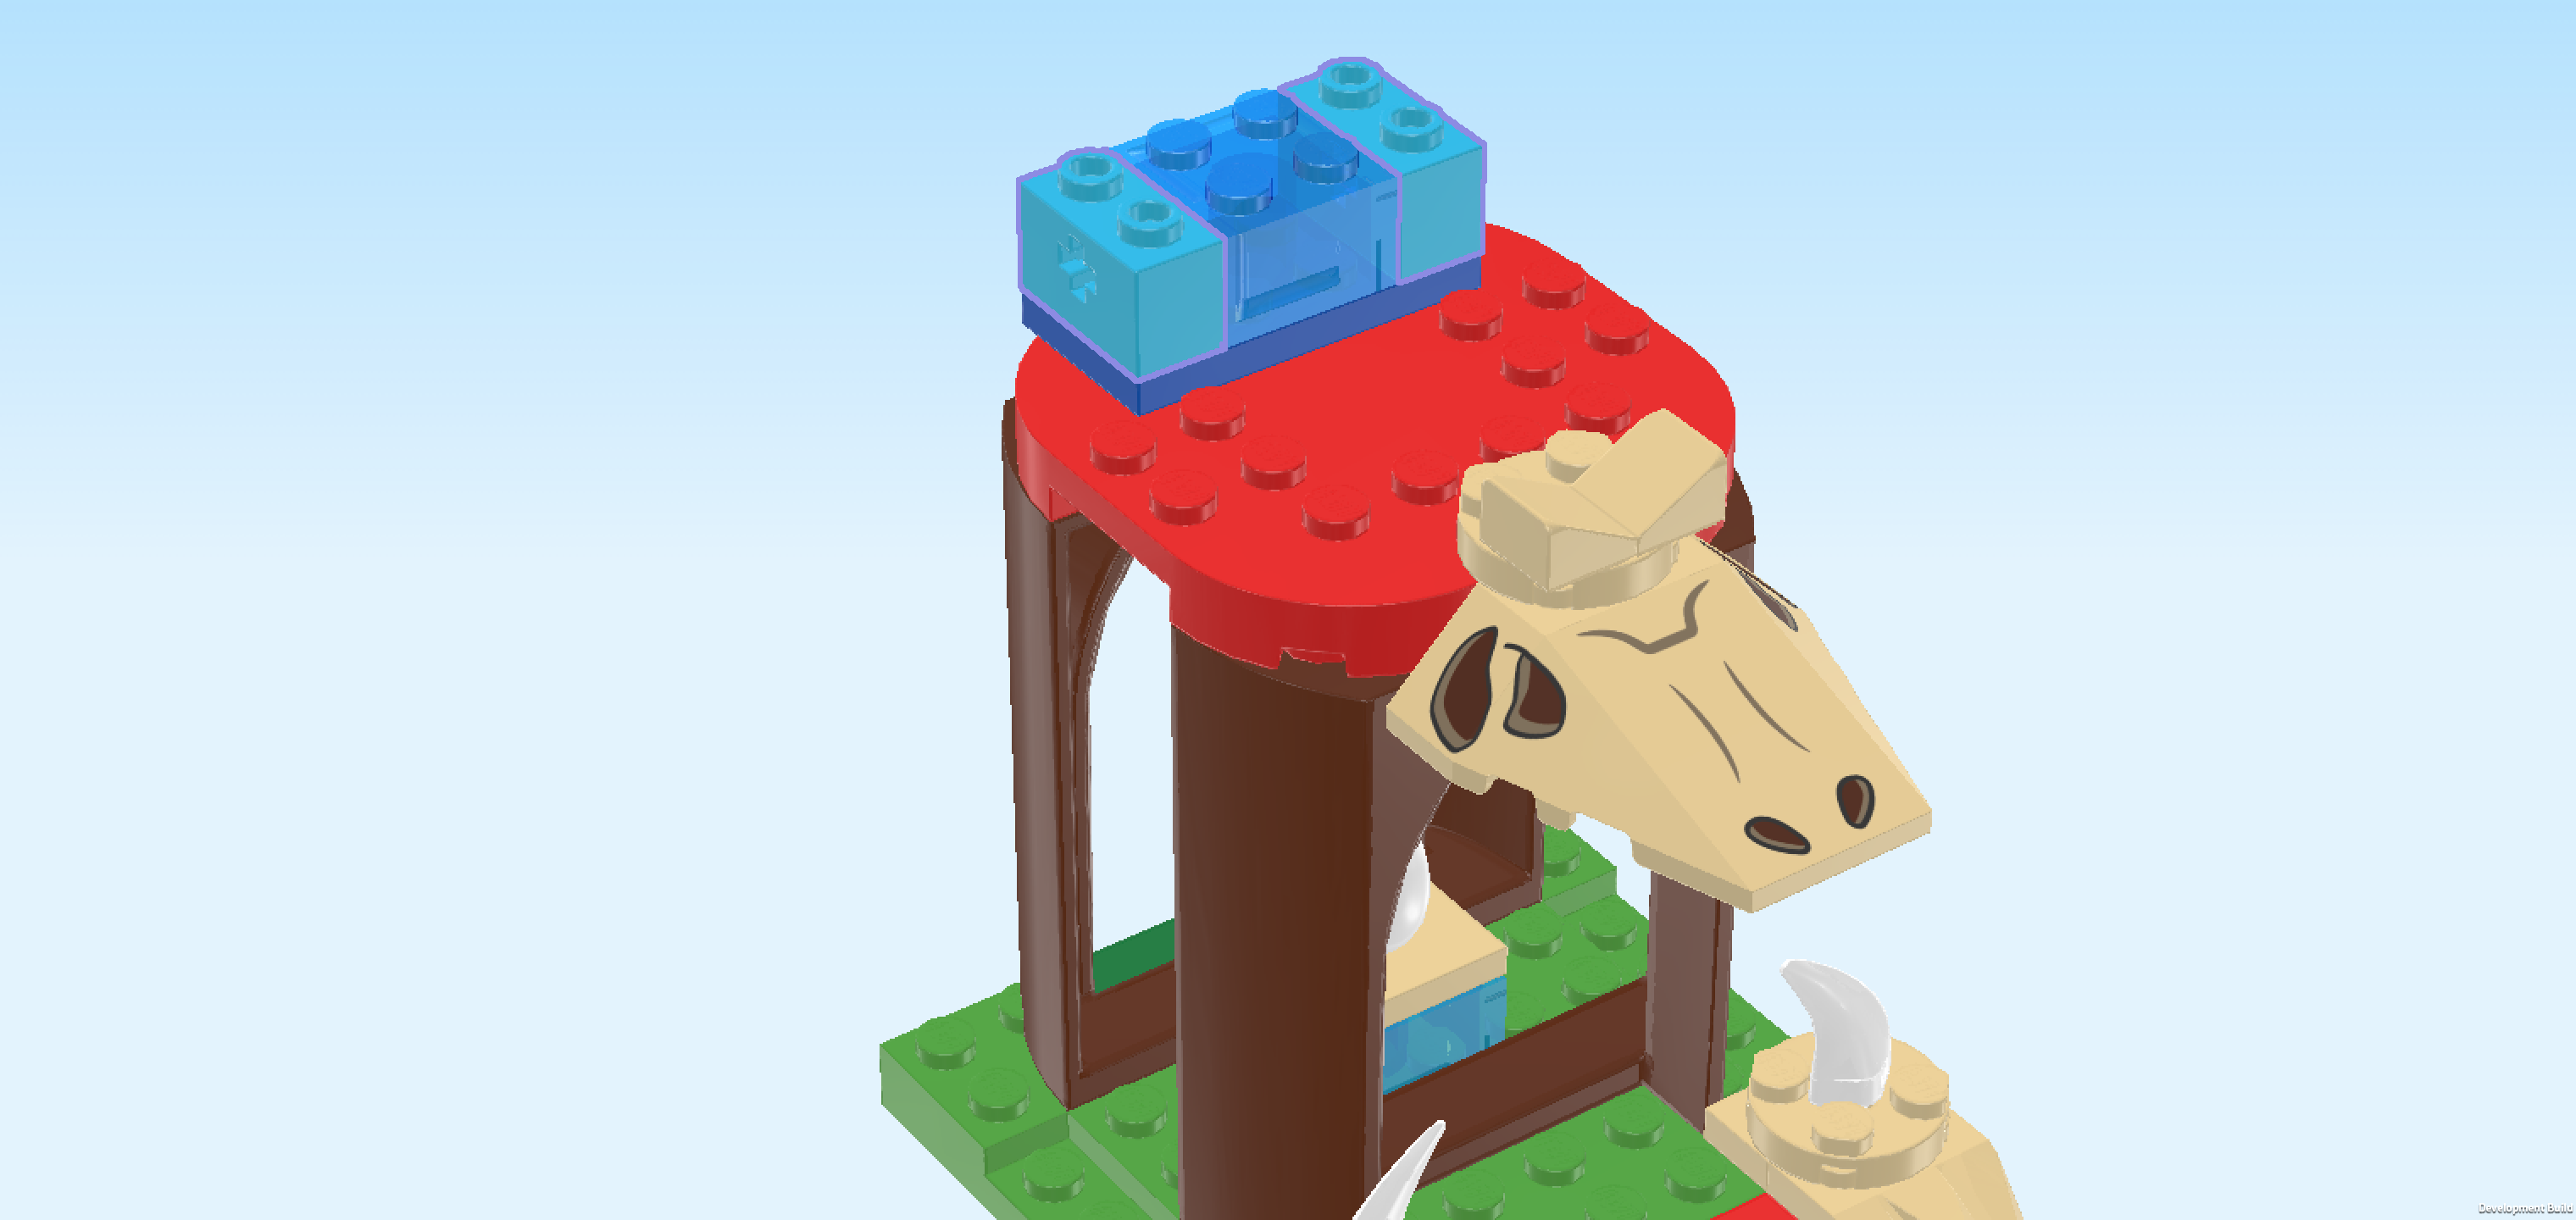
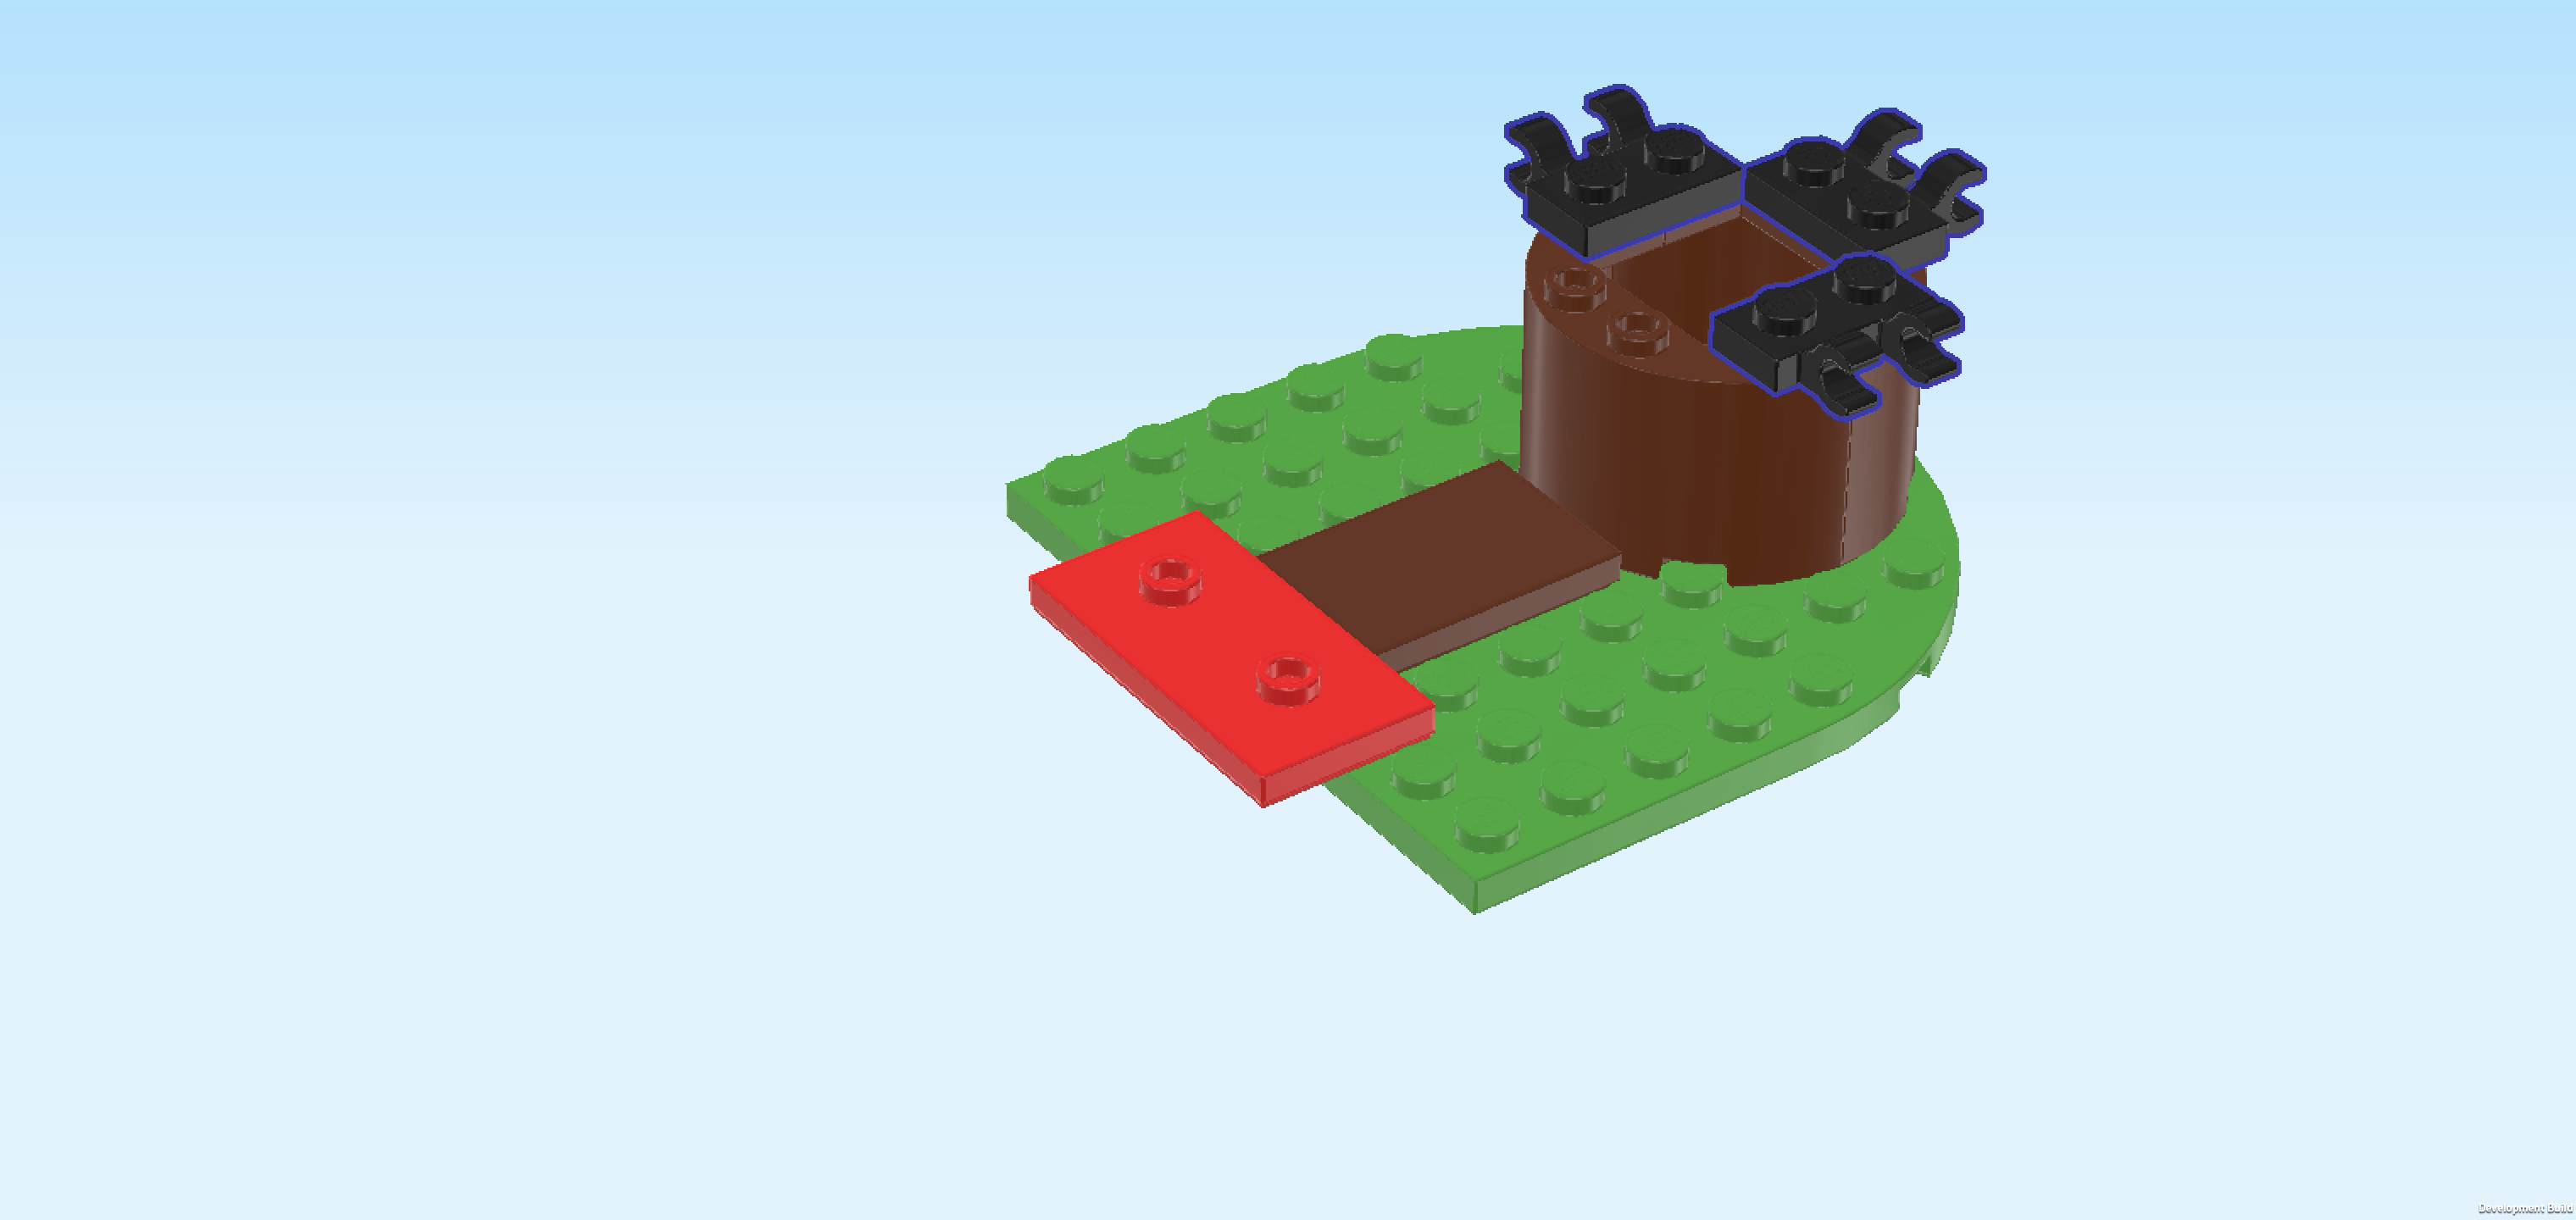
| Find 1 bright red plate 6x6x⅔ with rounded corners and 4 feet. |
| Put it centered on top of the 2 arch doors, its rounded corners matching the curved shapes of the doors. |
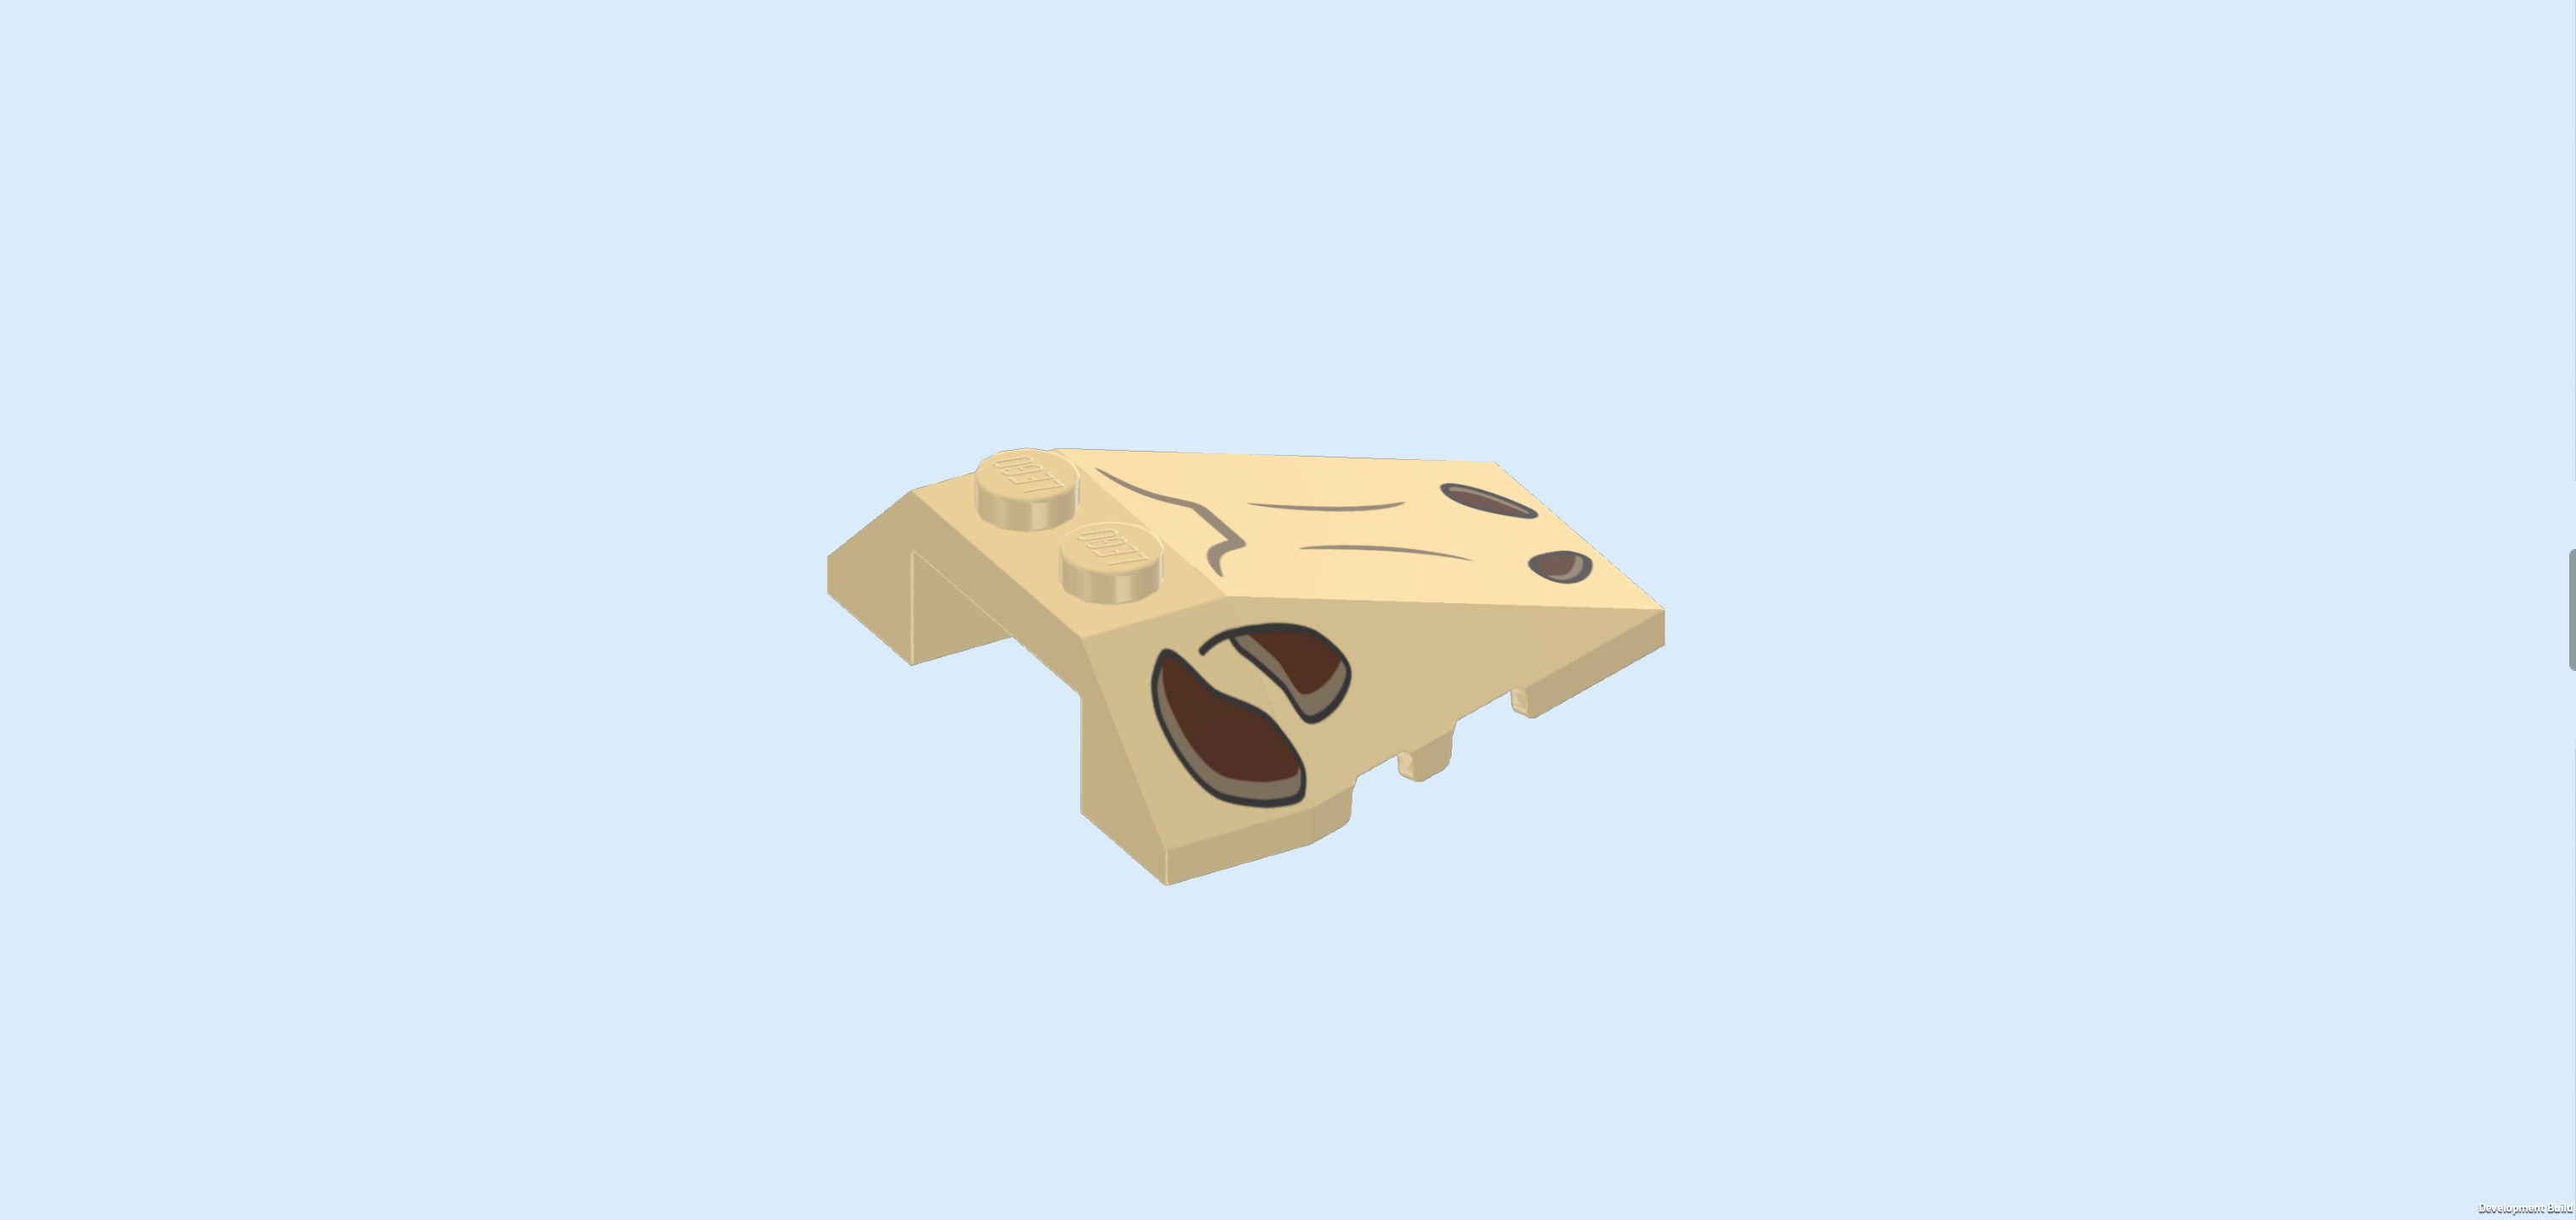
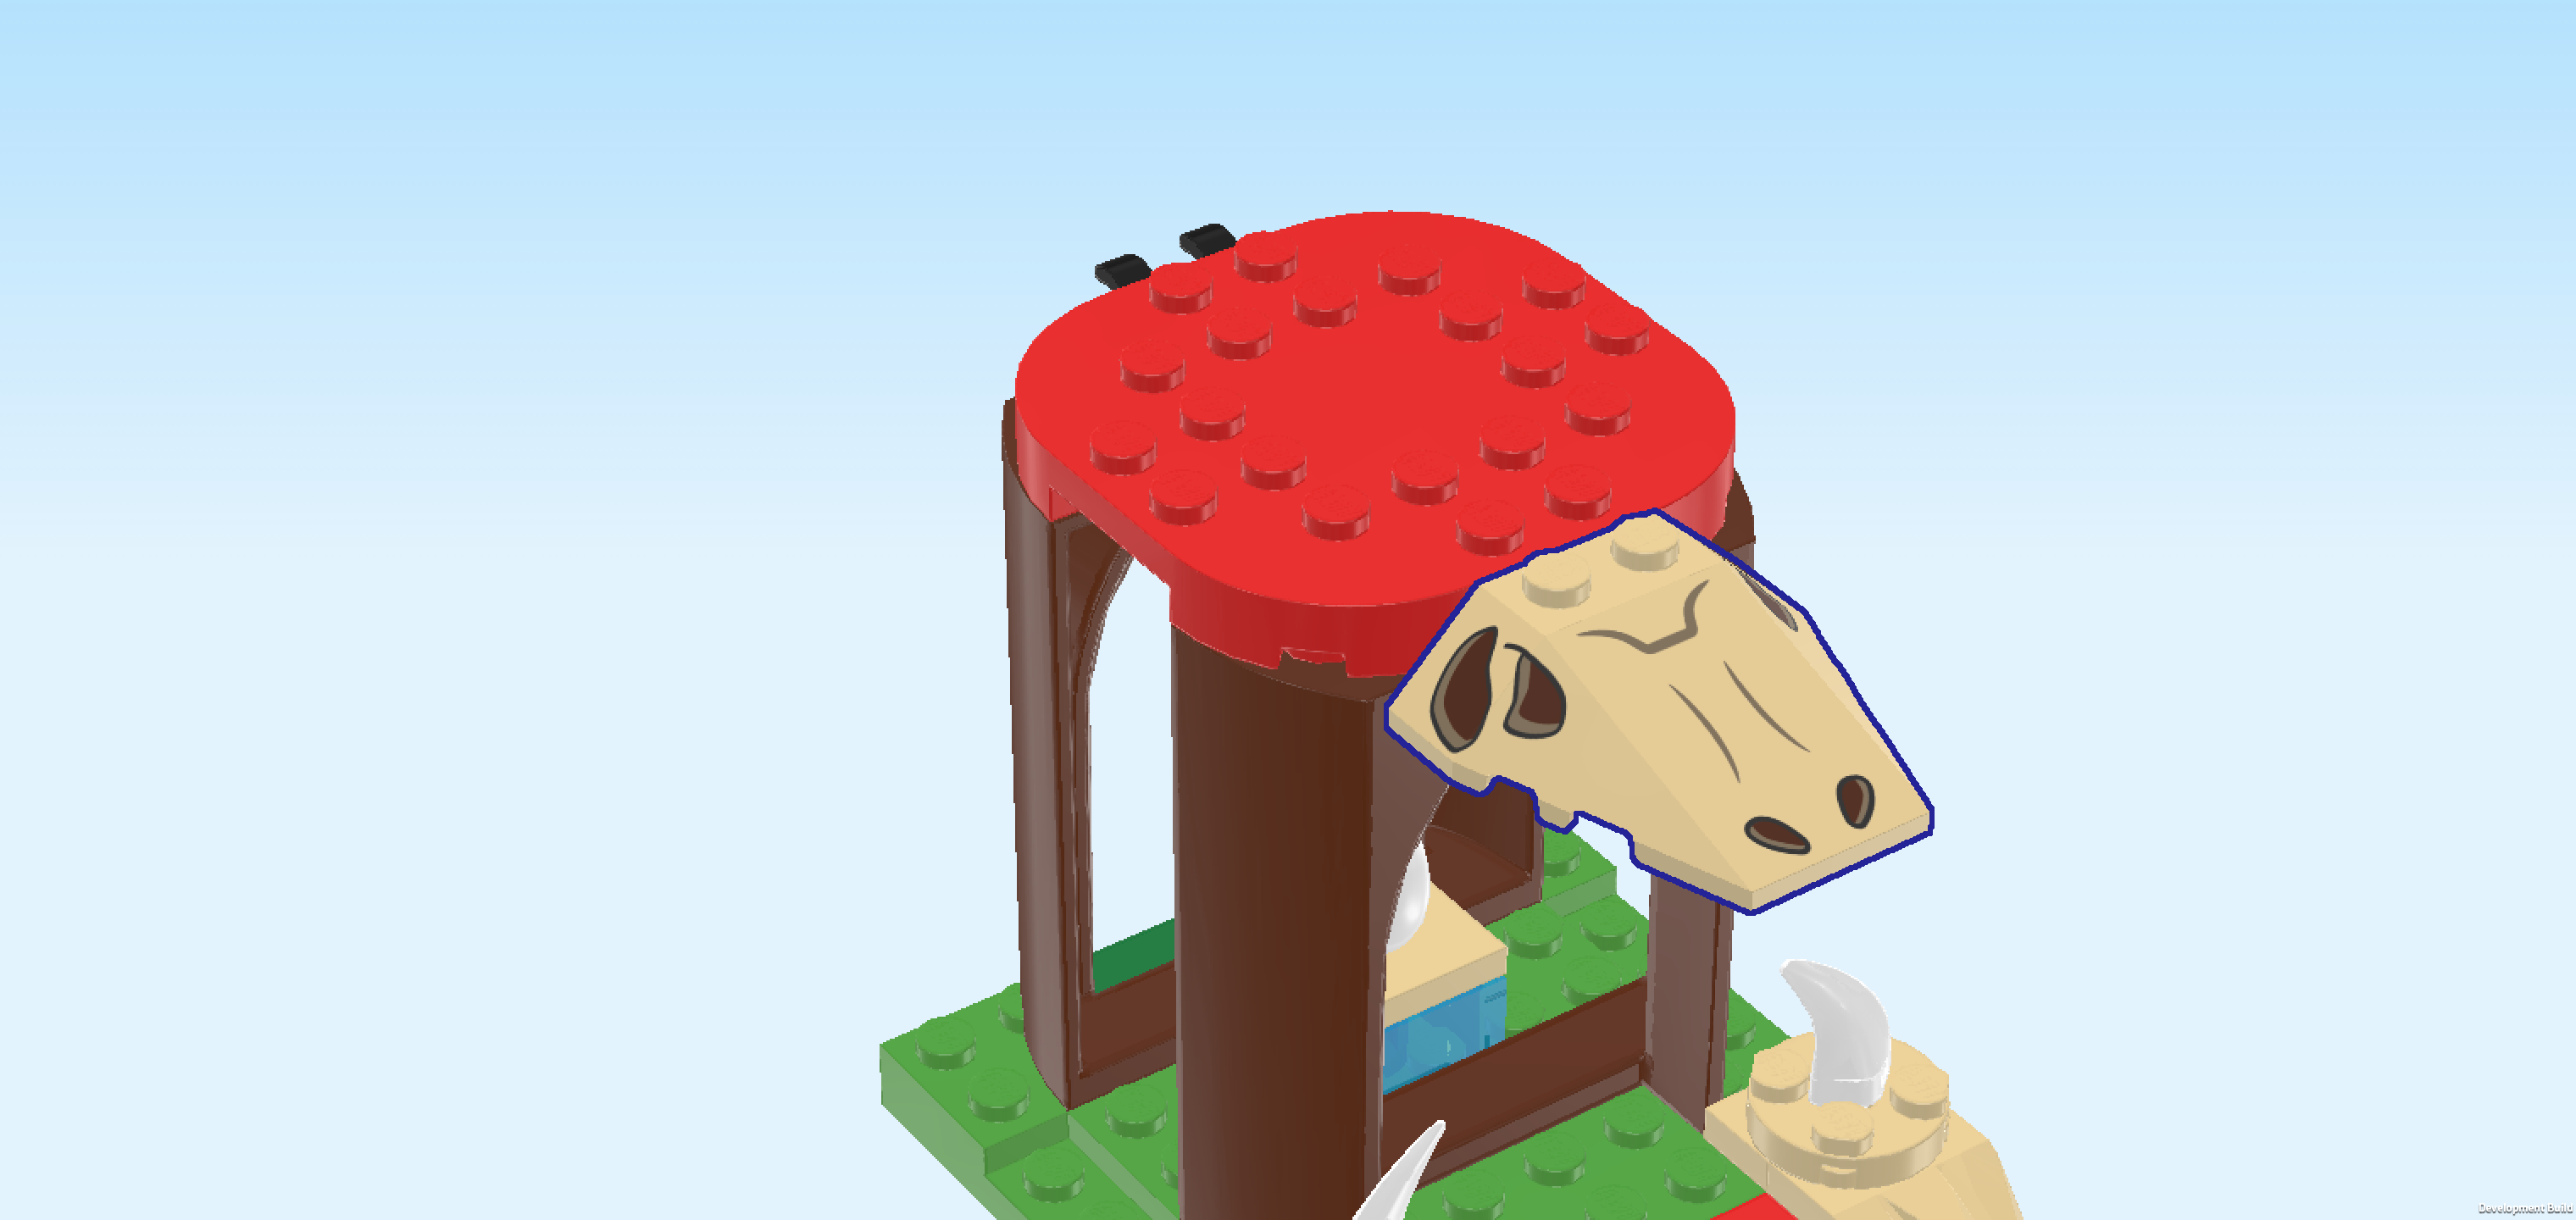
| Find 1 beige three-sloped wedge brick 4x4 with 2 knobs. |
| Turn it vertically so that its highest part with knobs is horizontally at the back and its lowest edge is towards you. |
| Mount its backmost edge on the 2 knobs protruding from the tree house tower. |
| This piece is printed with a dinosaur skull! The dark brown eye sockets and nasal cavities are unmistakable. |
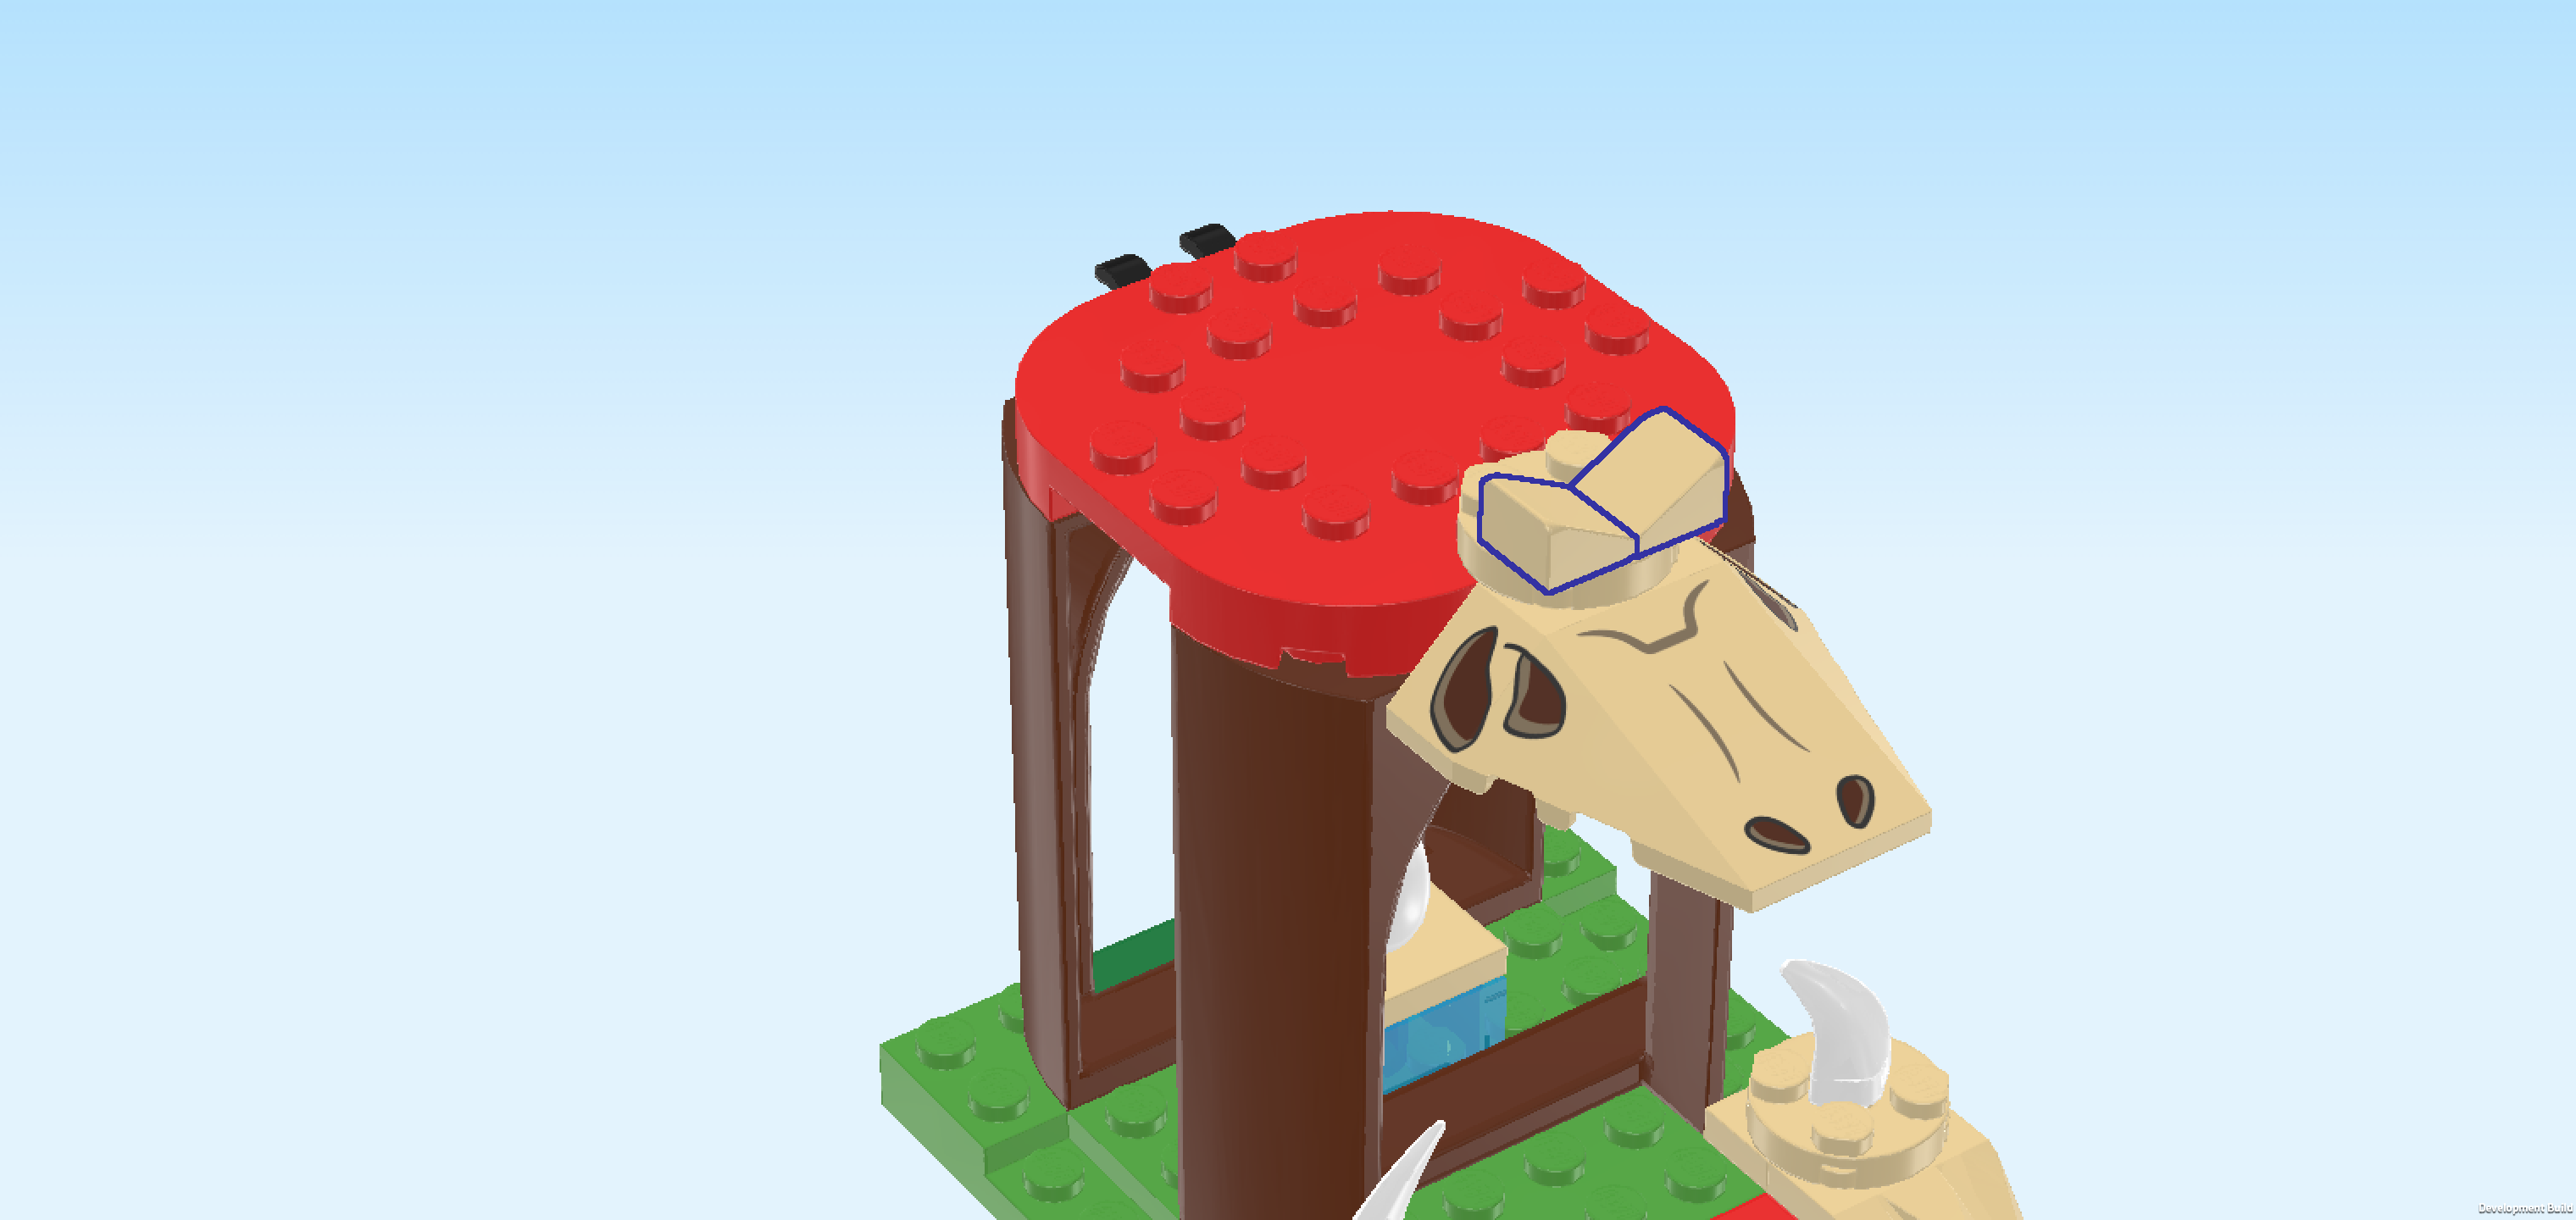
| Find 1 beige round plate 2x2. |
| Put it on the 2 knobs of the previous piece and the 2 knobs behind them. |
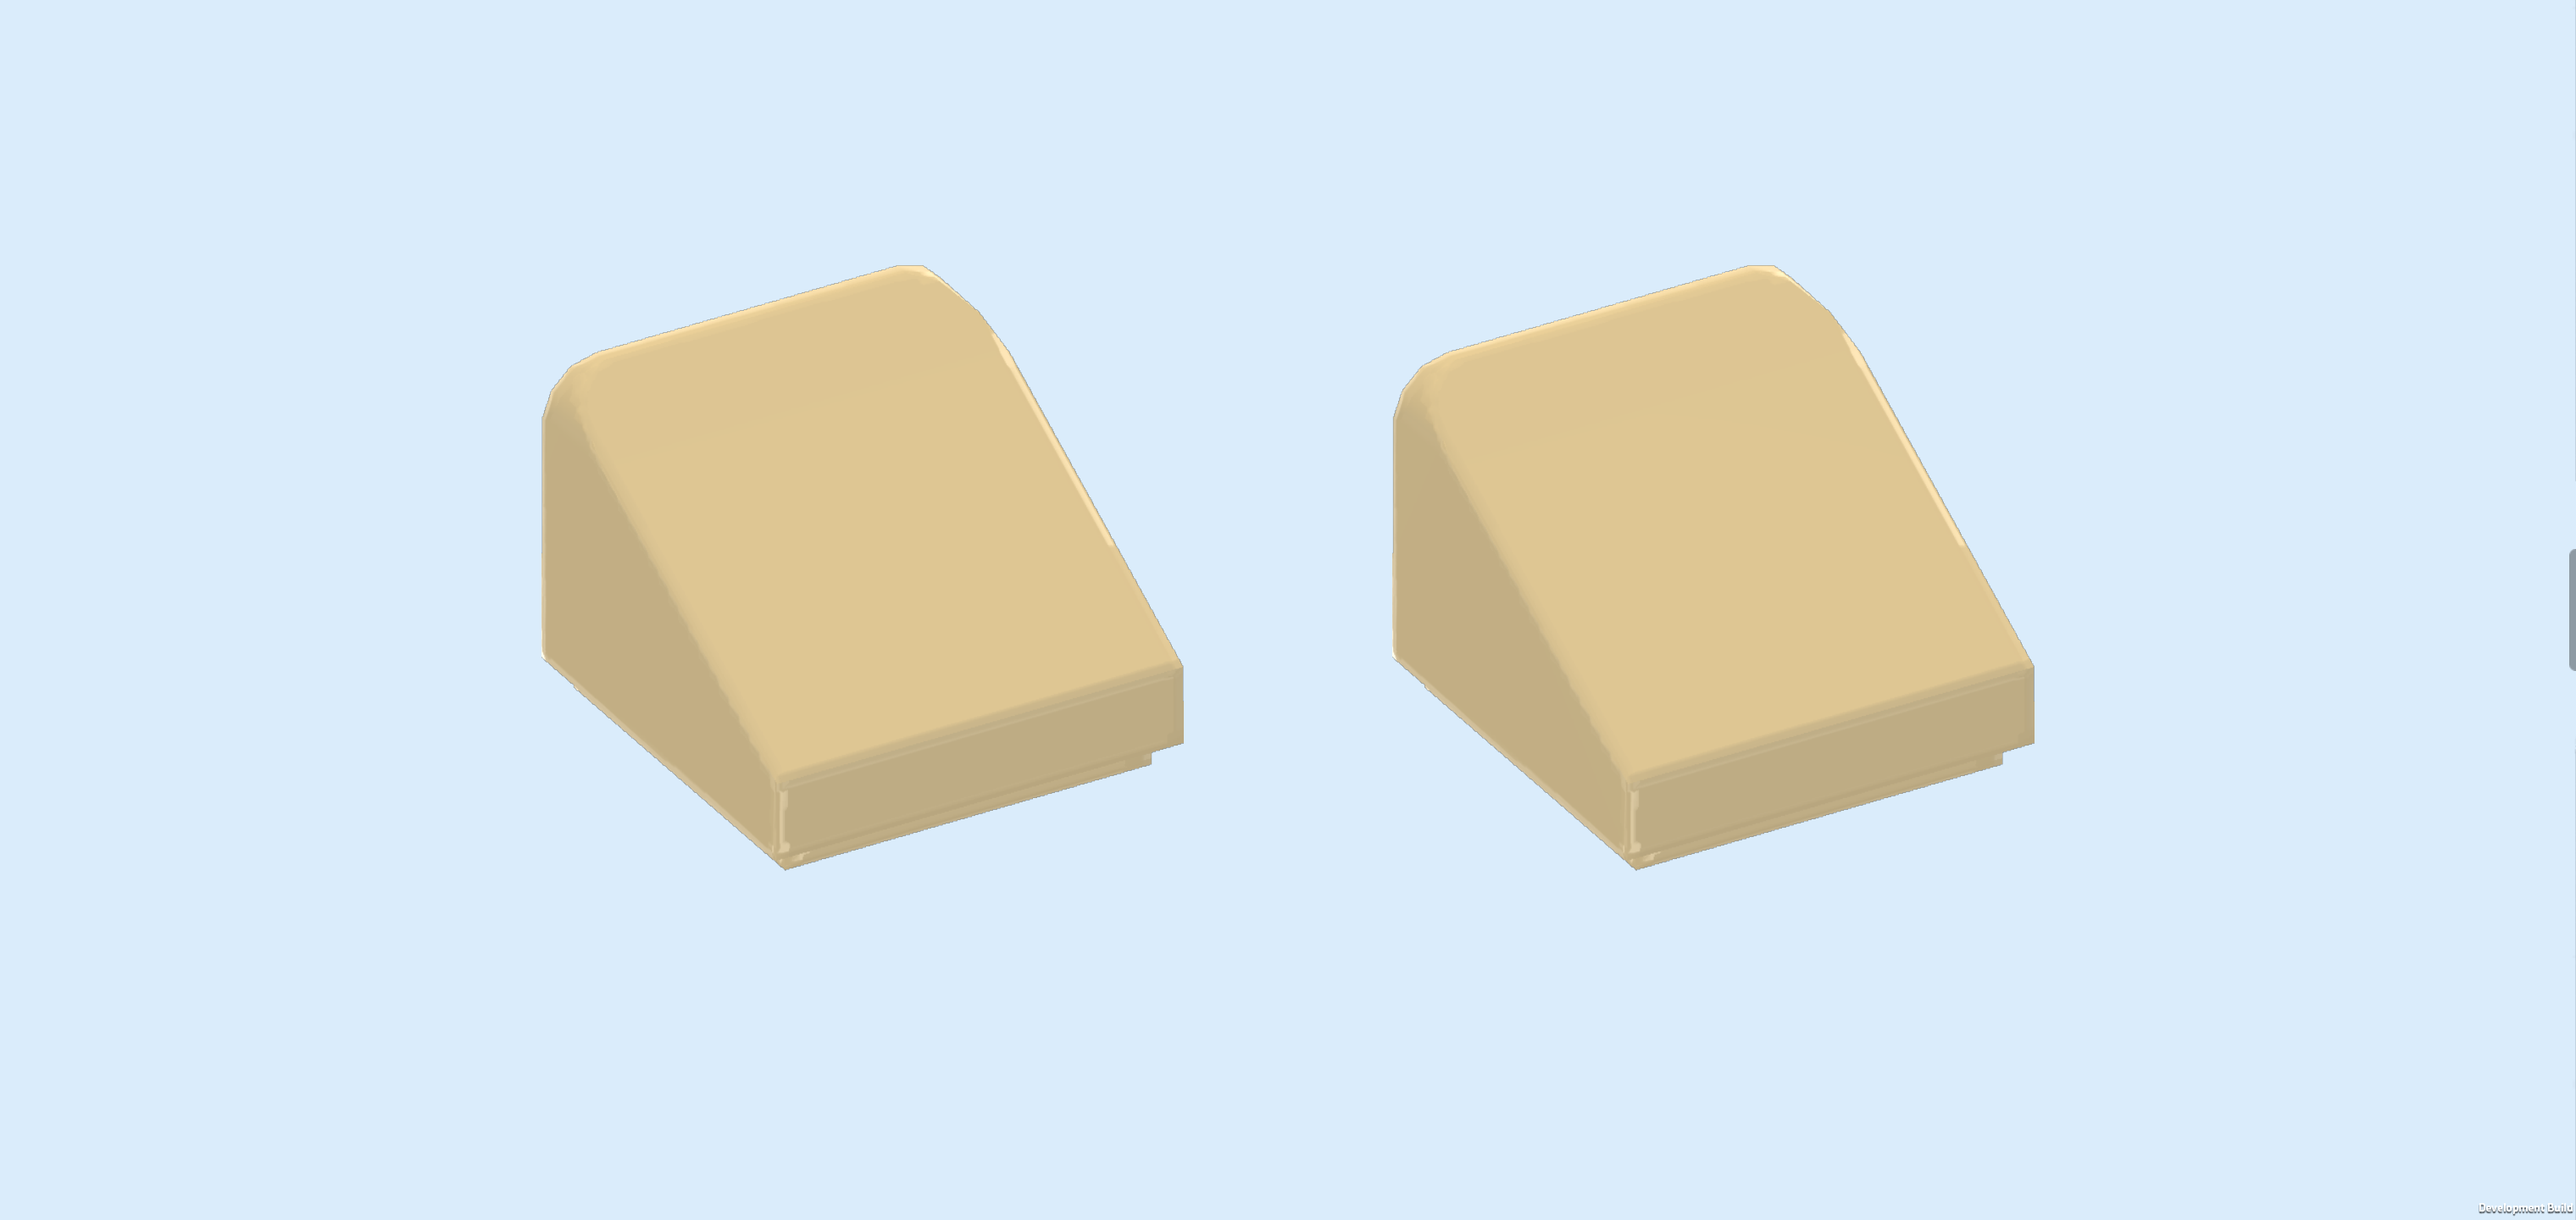
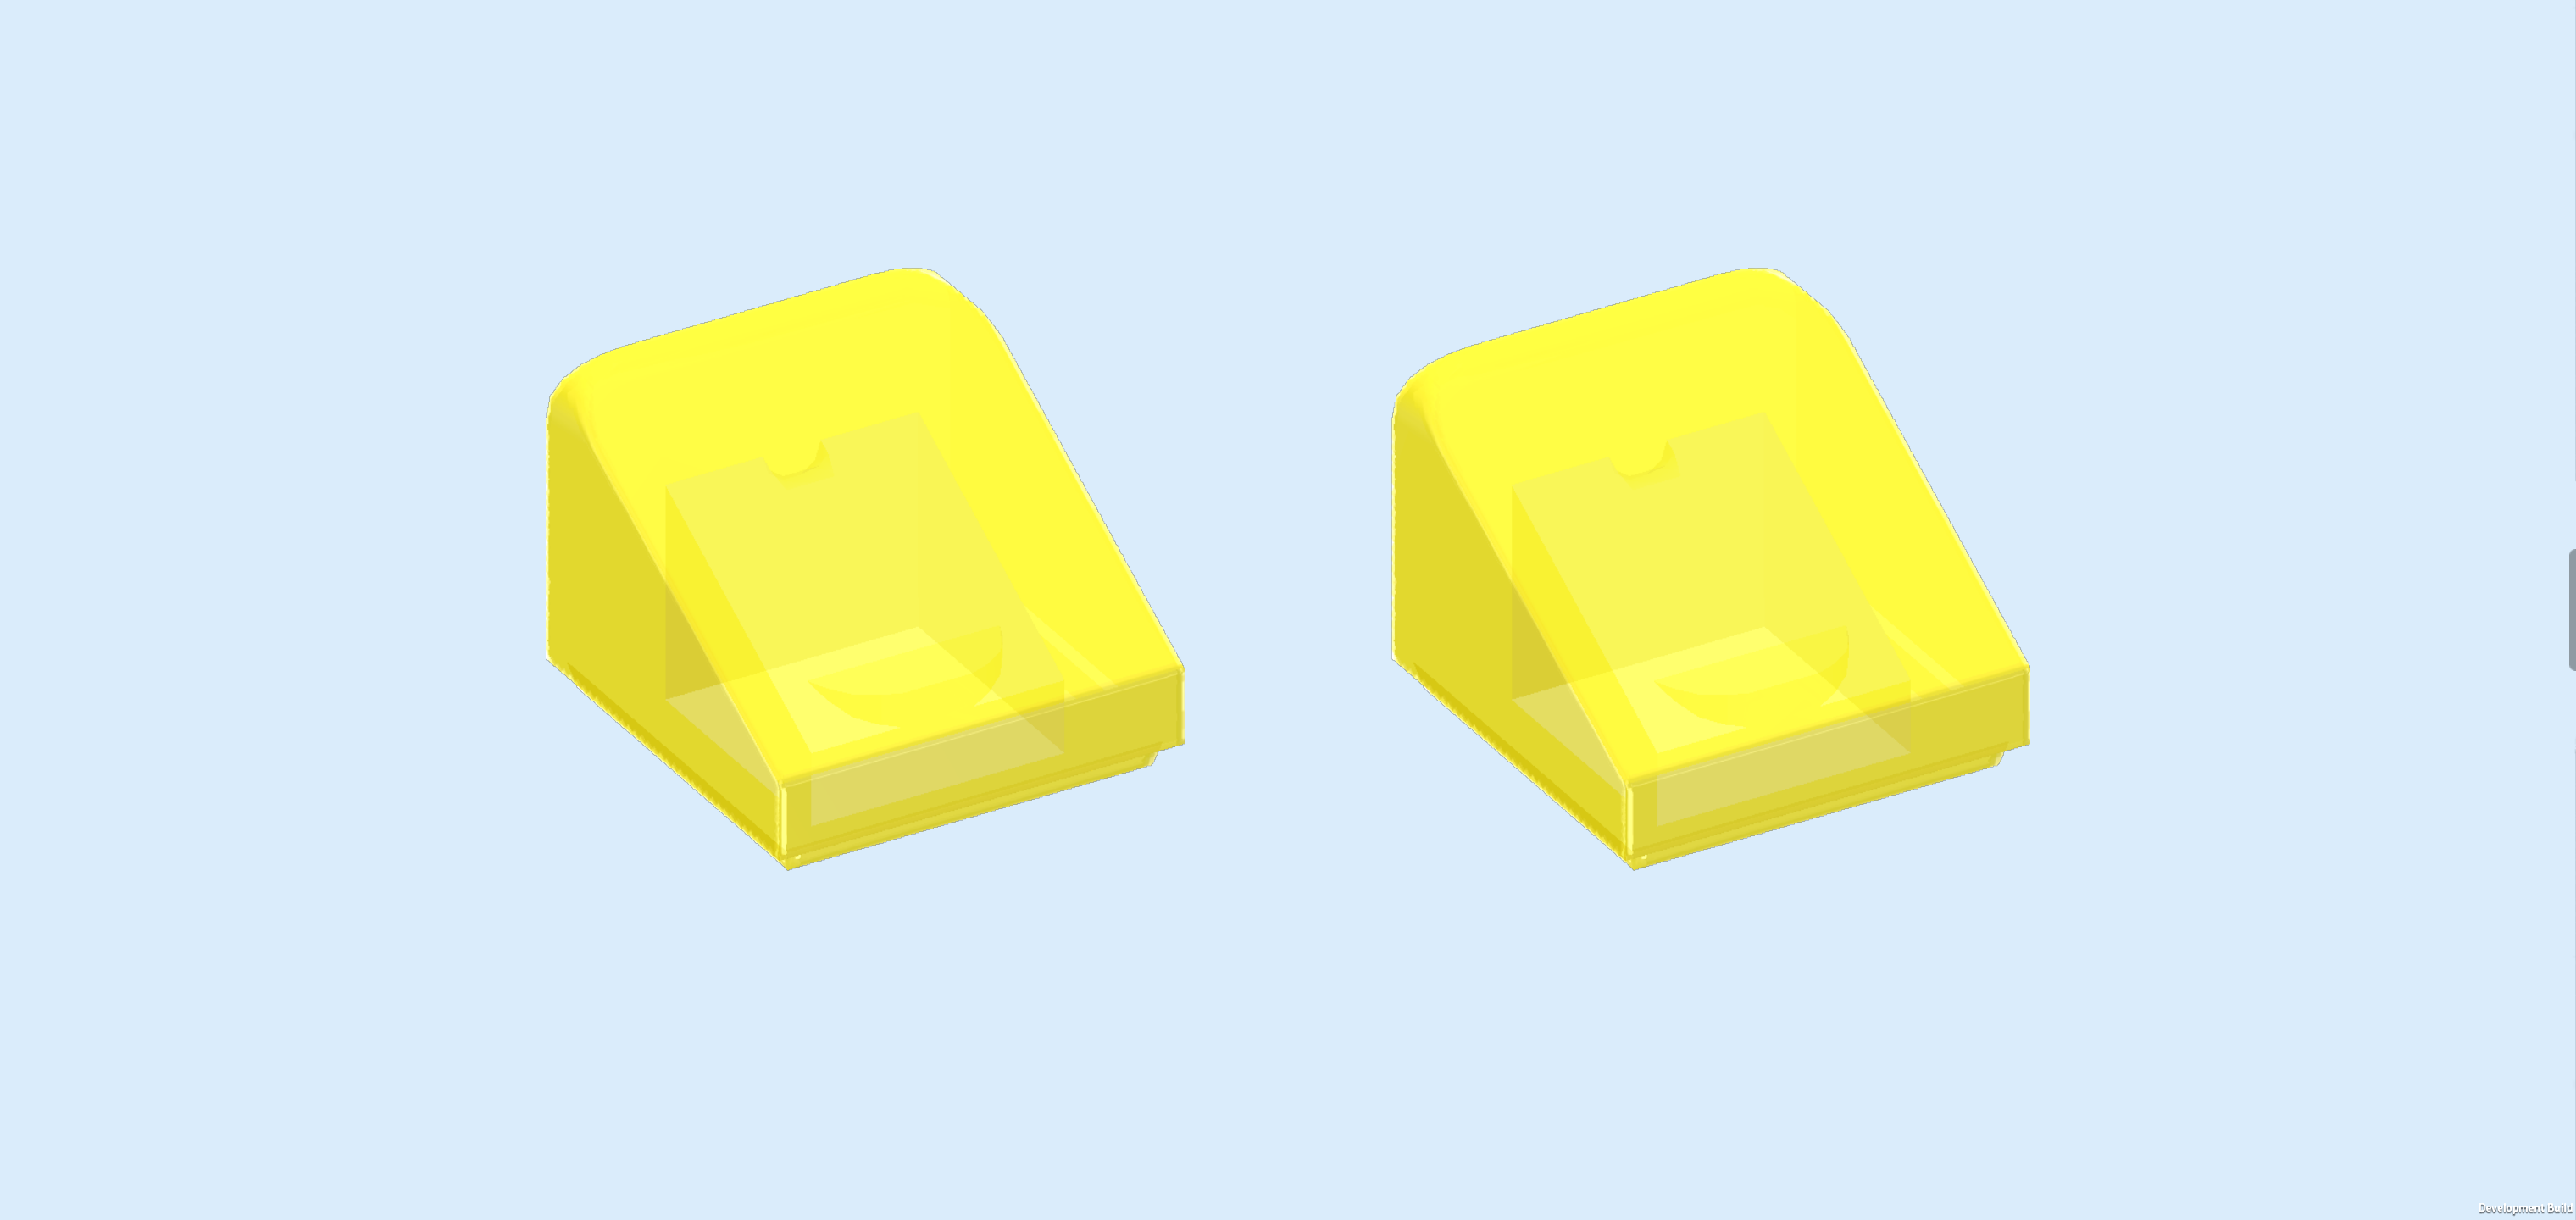
| Find 2 beige smooth roof tiles 1x1x⅔. |
| Put 1 on the front left knob of the previous piece, slope to the right. |
| Put the other one to the right of the previous piece, slope to the left. |
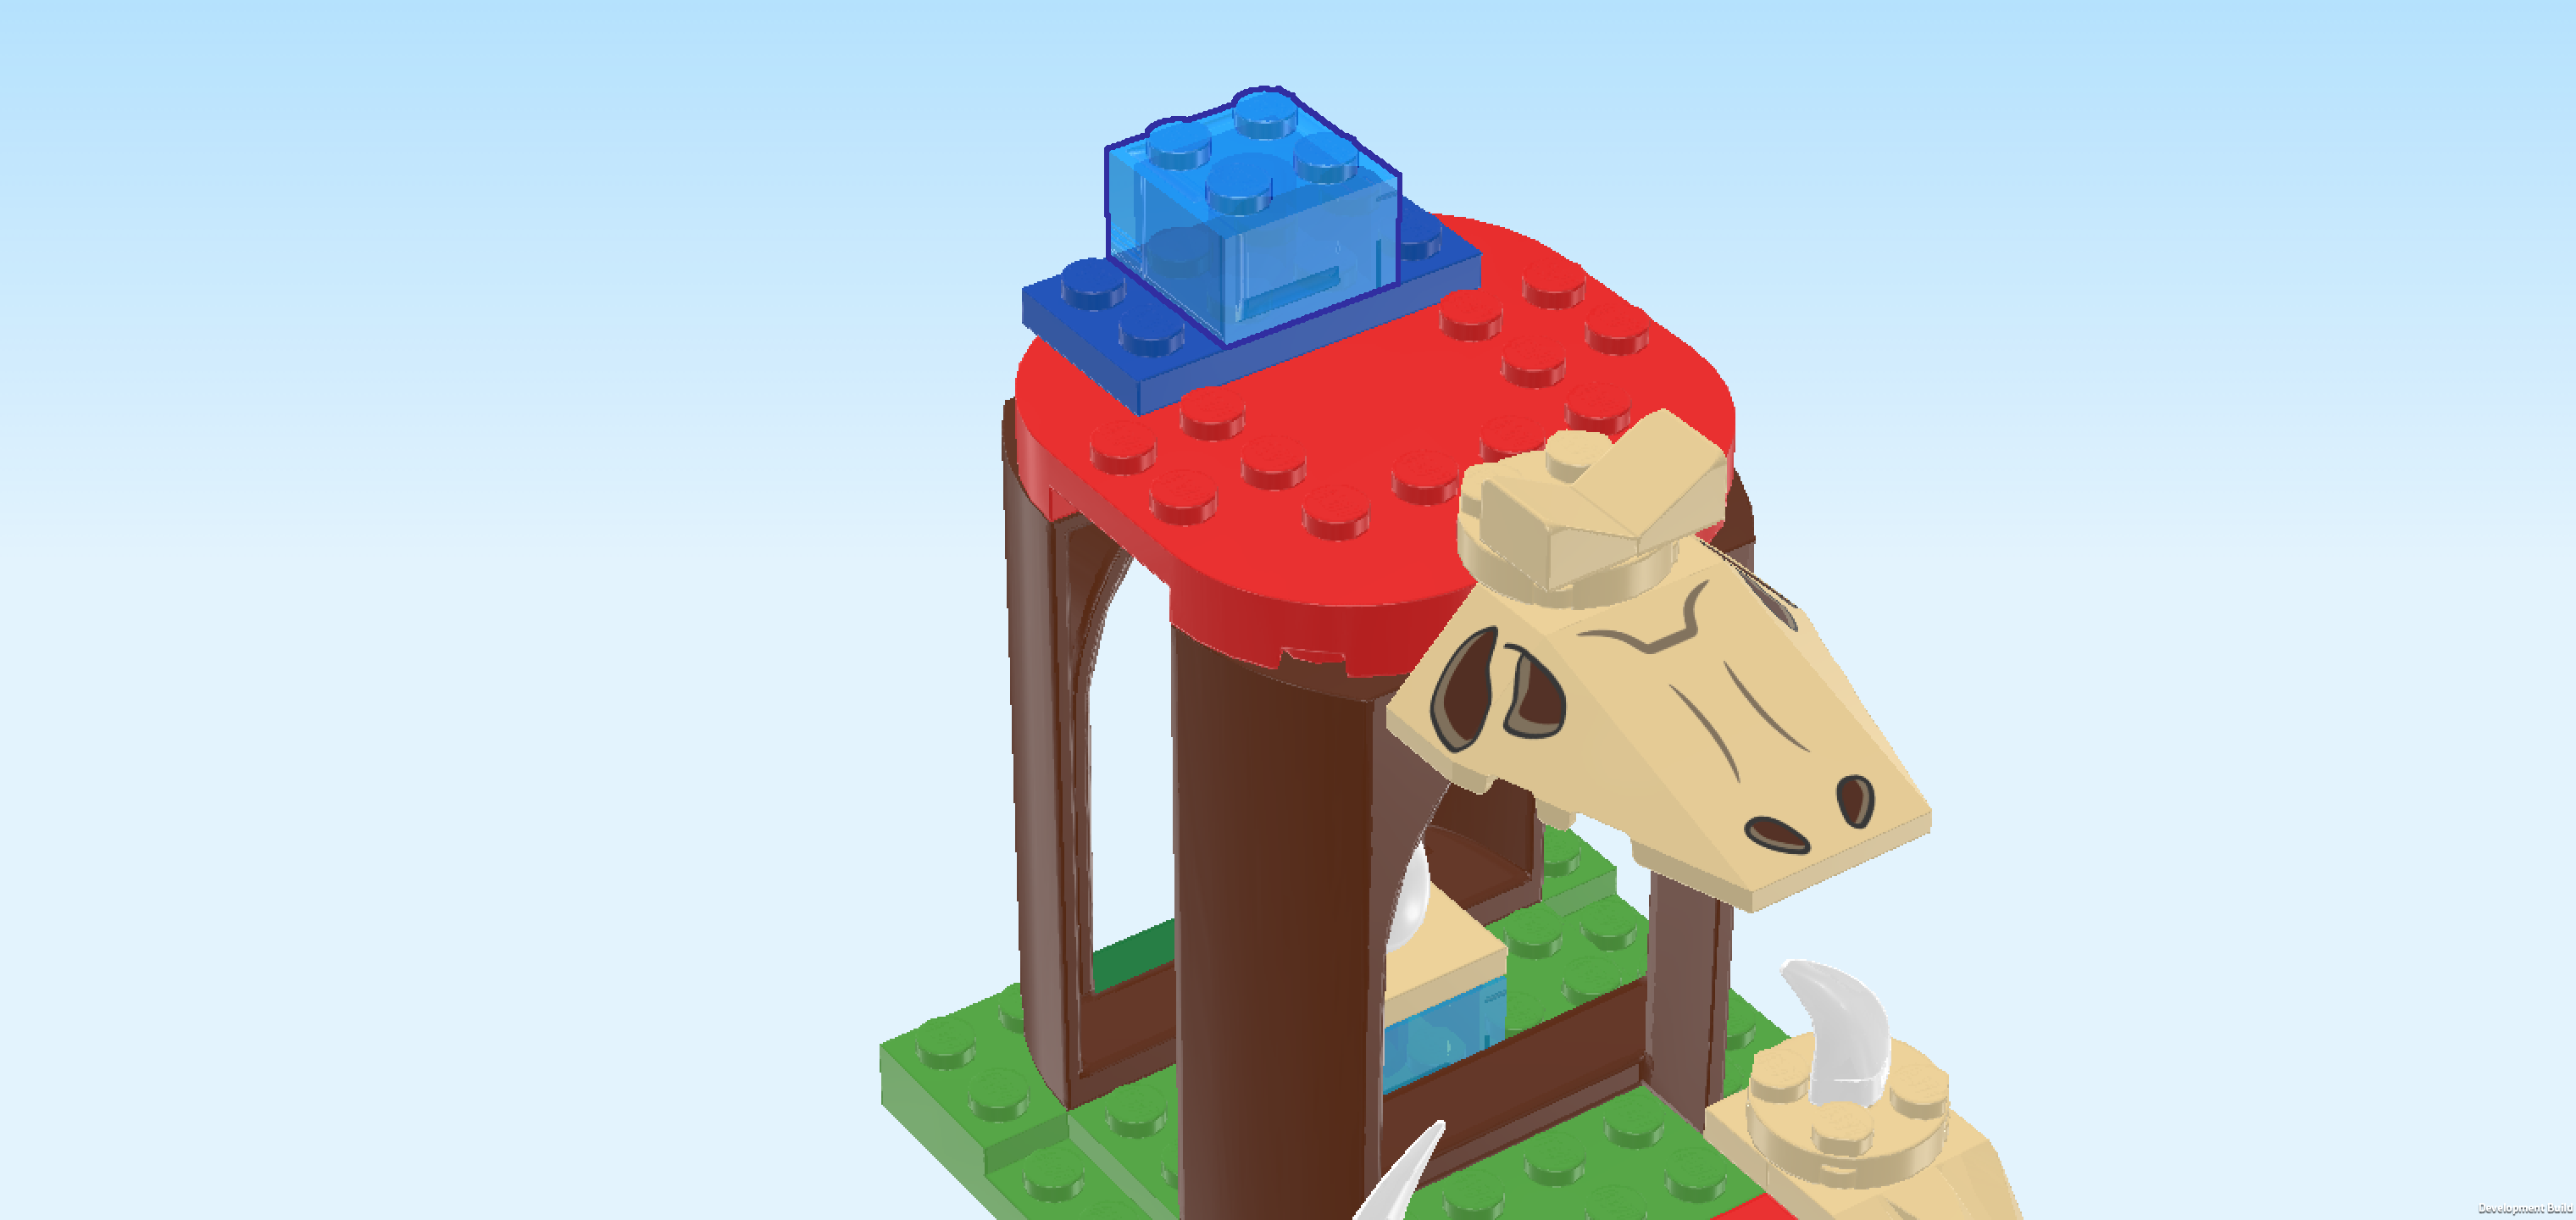
| Find 1 bright blue plate 2x4. |
| Put it horizontally centered on the 2 backmost rows of the plate 6x6 with rounded corners. |
| Find 1 transparent blue brick 2x2. |
| Put it centered on top of the previous piece. |
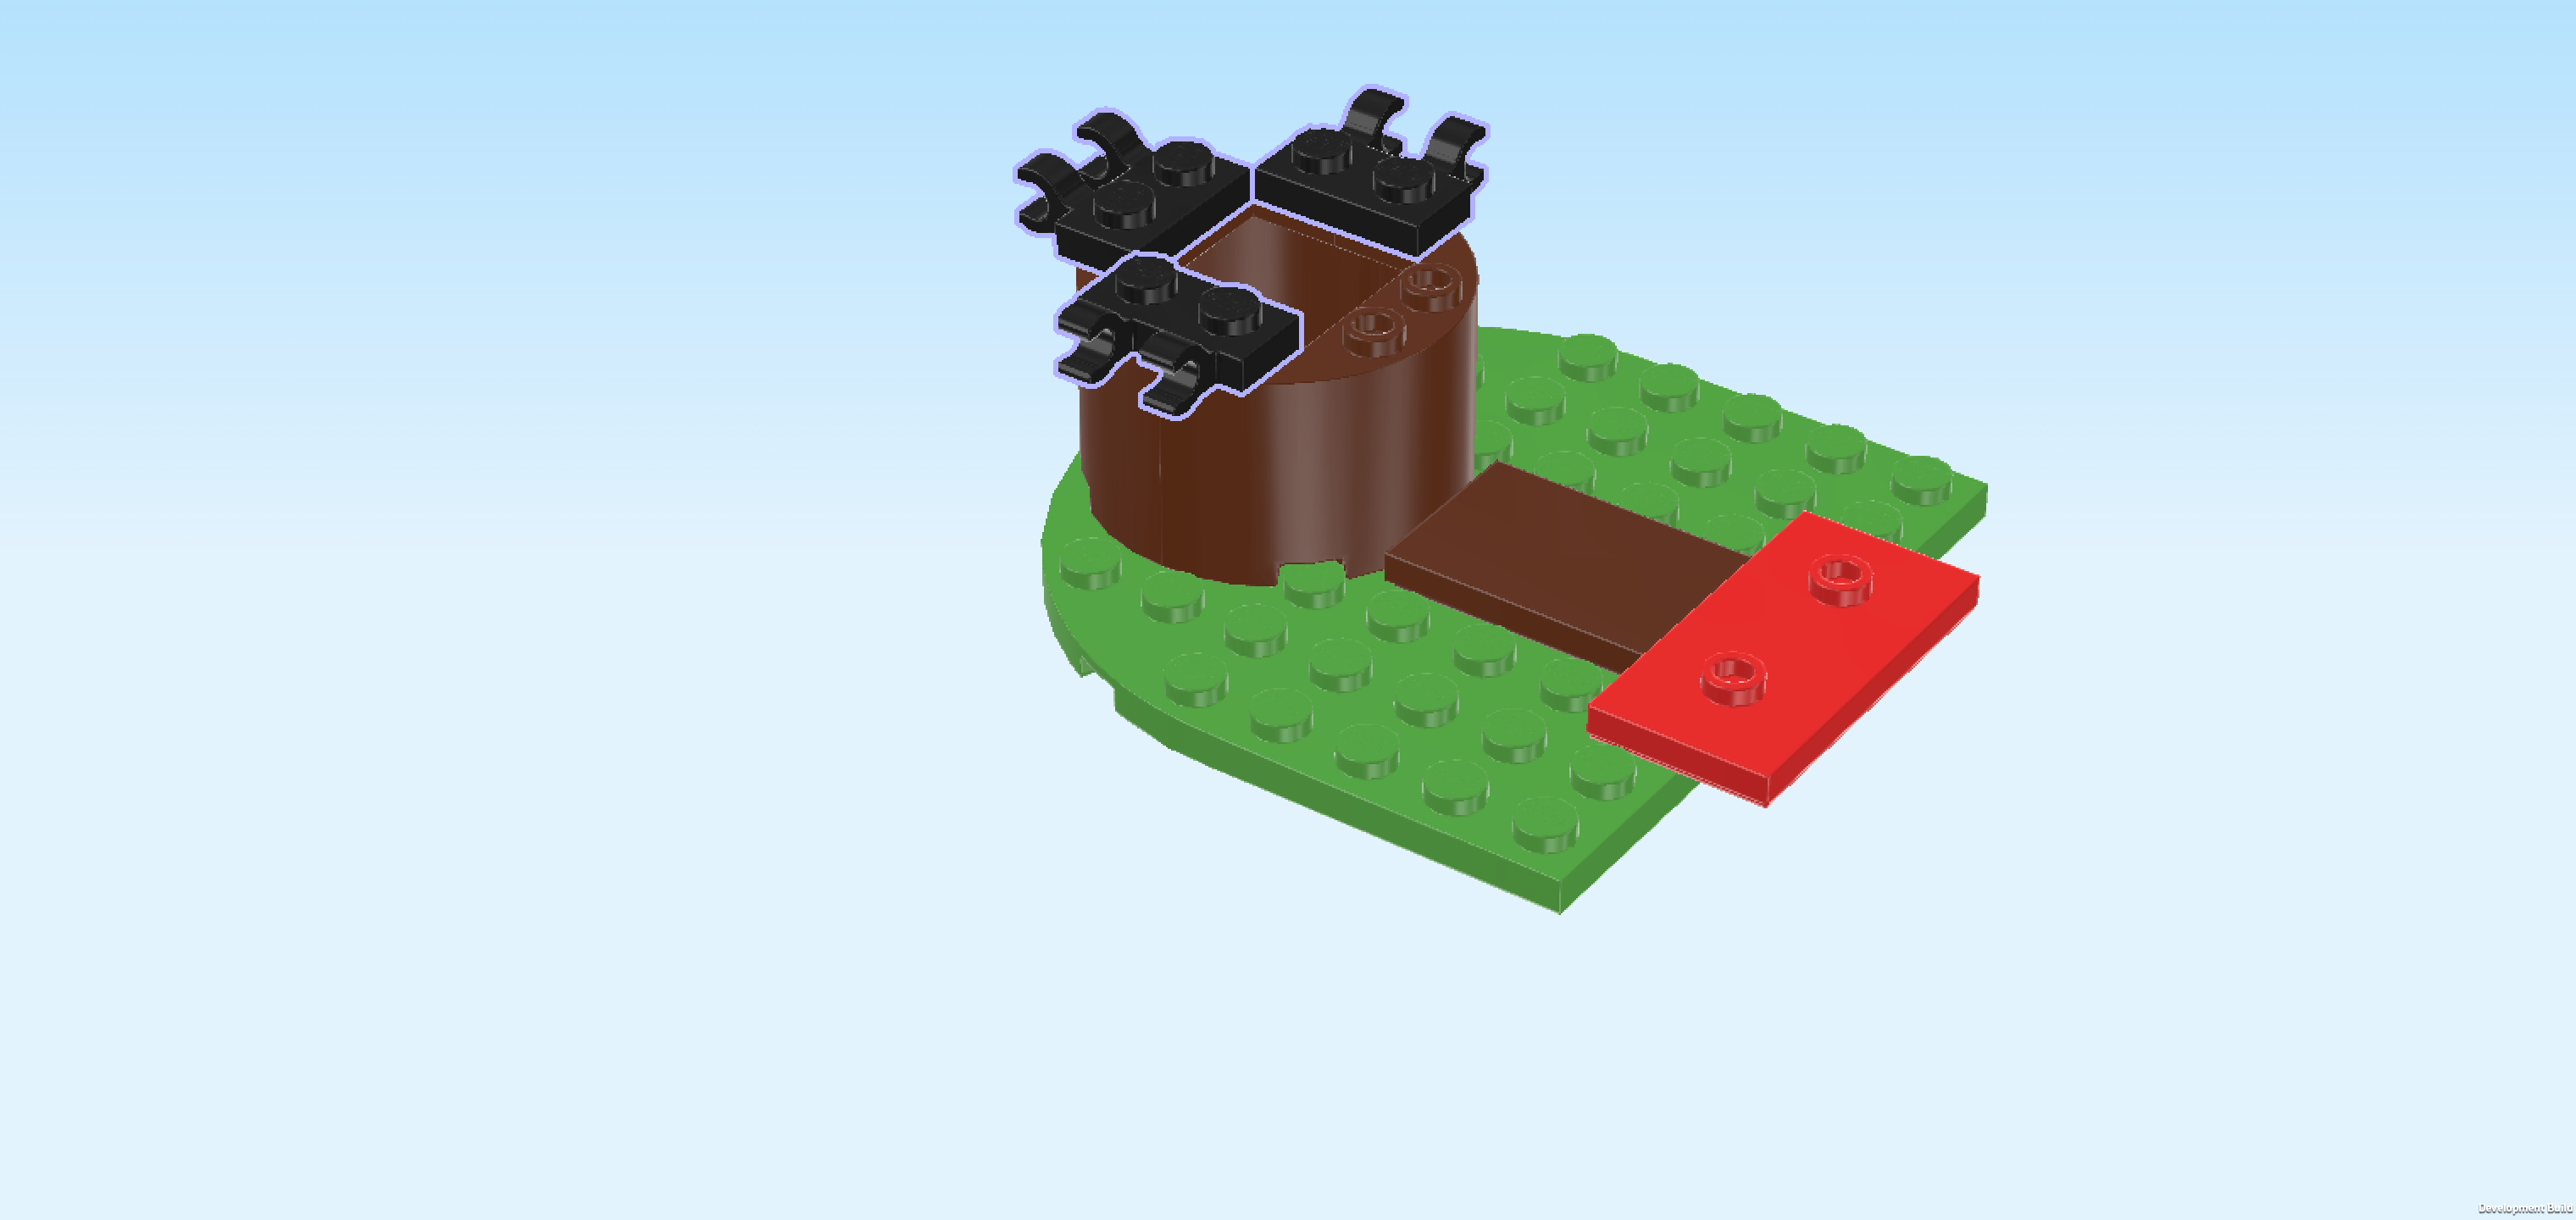
| Find 2 medium azure blue bricks 1x2 with side cross hole. |
| Put 1 vertically to the left of the previous piece and the other one vertically to its right. |
| Remember these cross holes for later, we will need them to mount the treetop! |
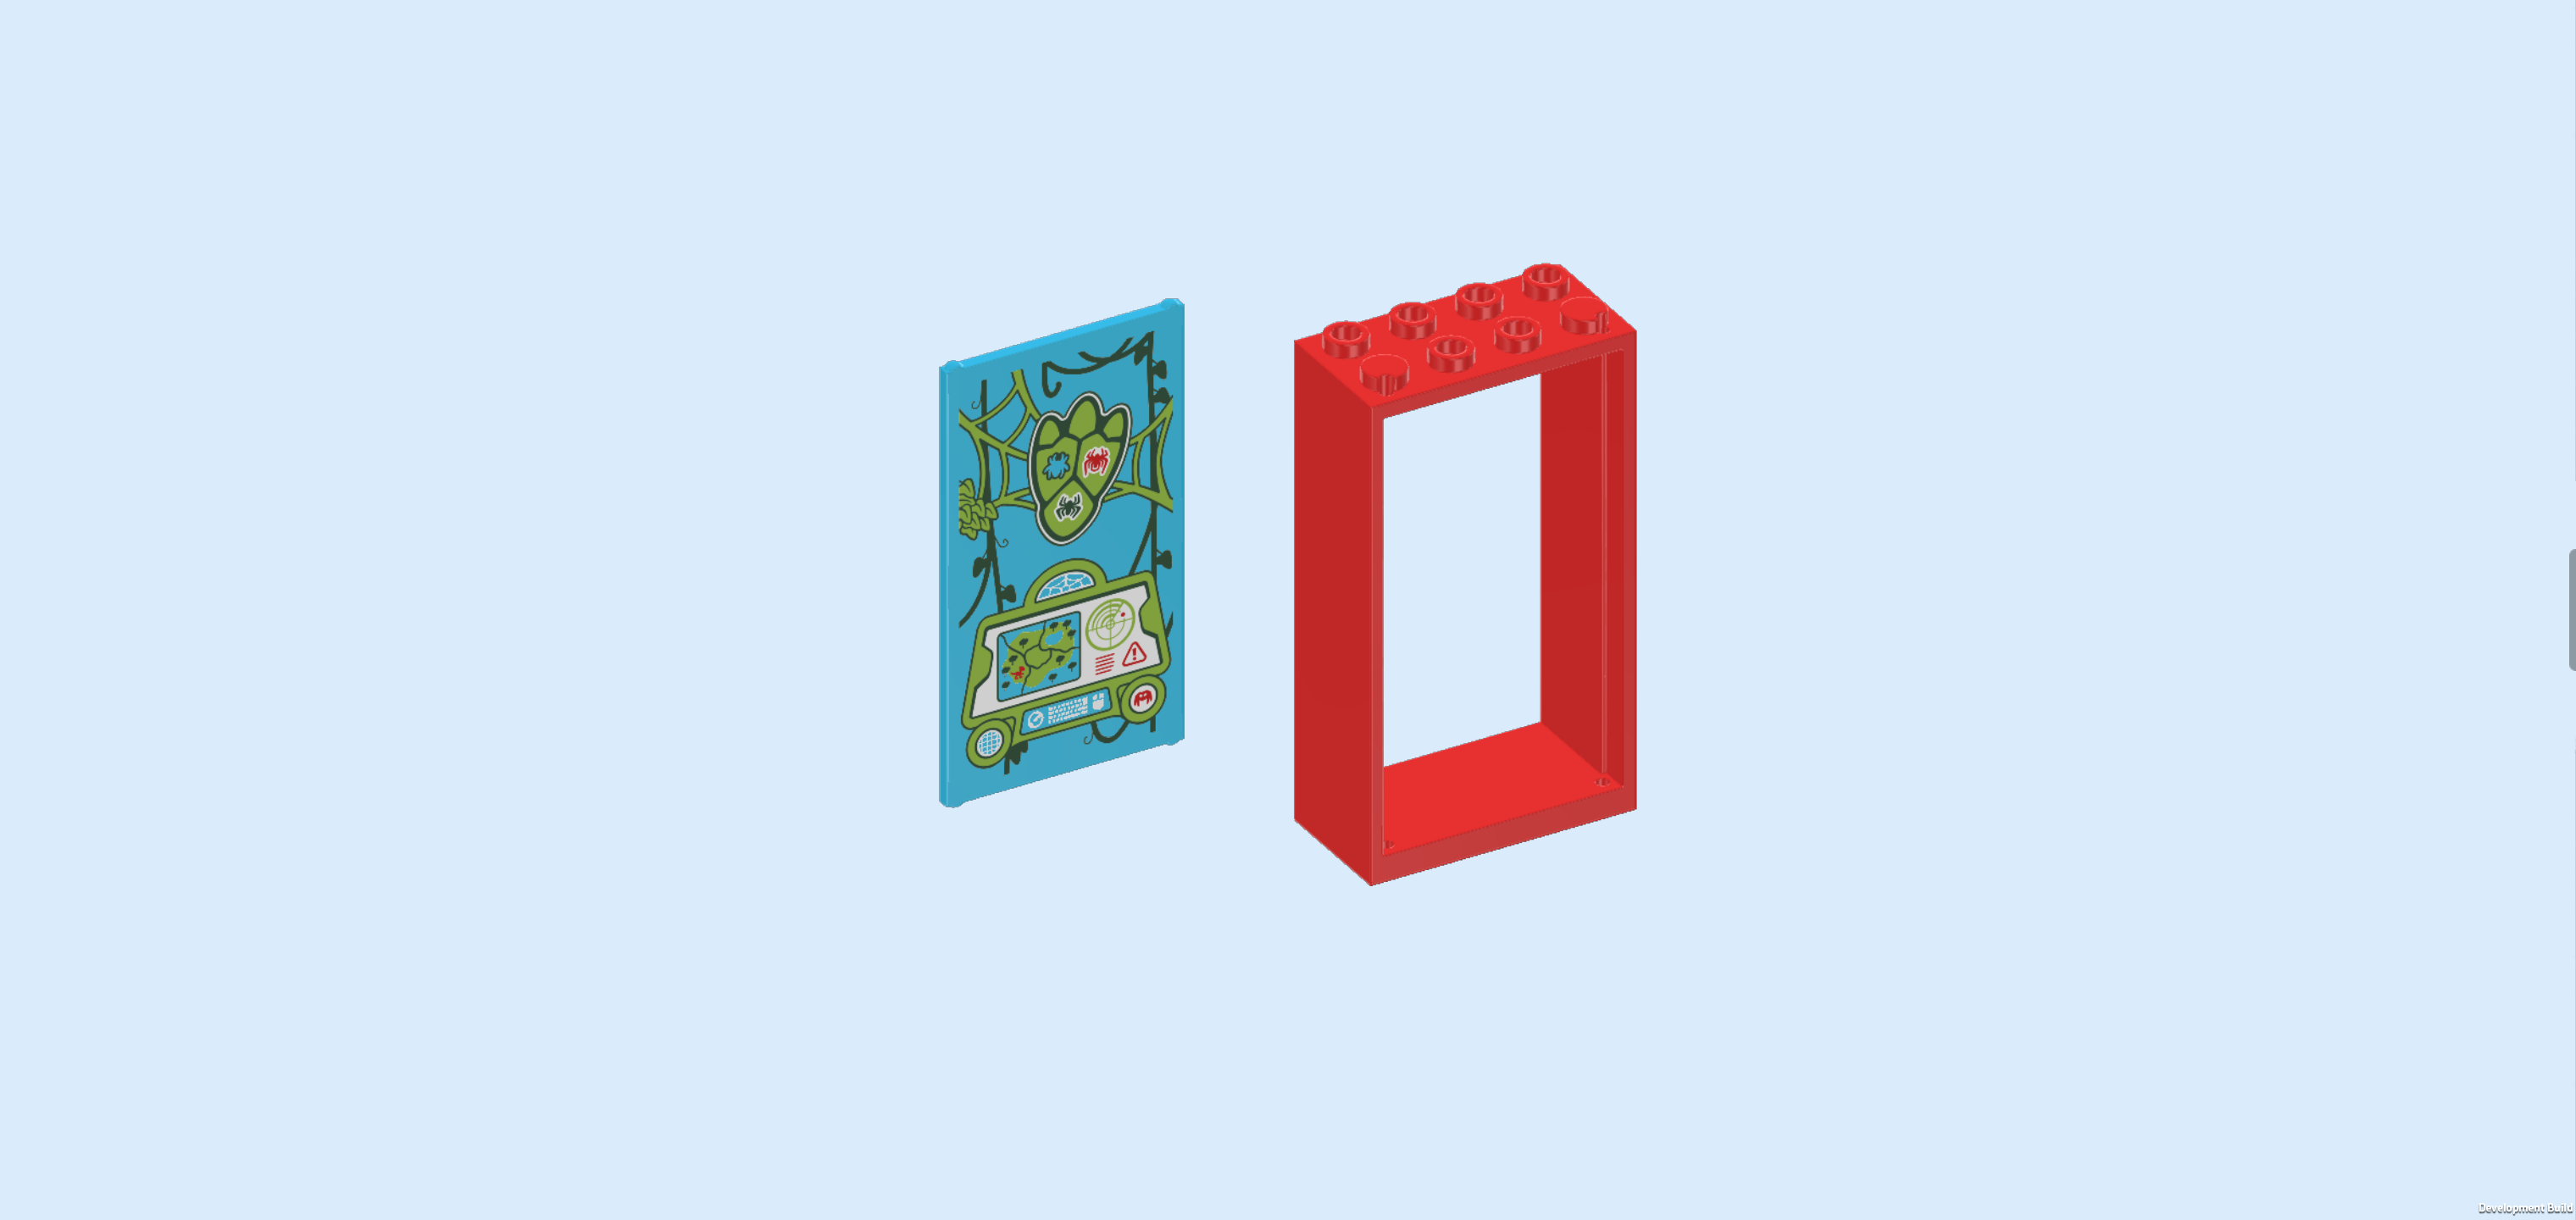
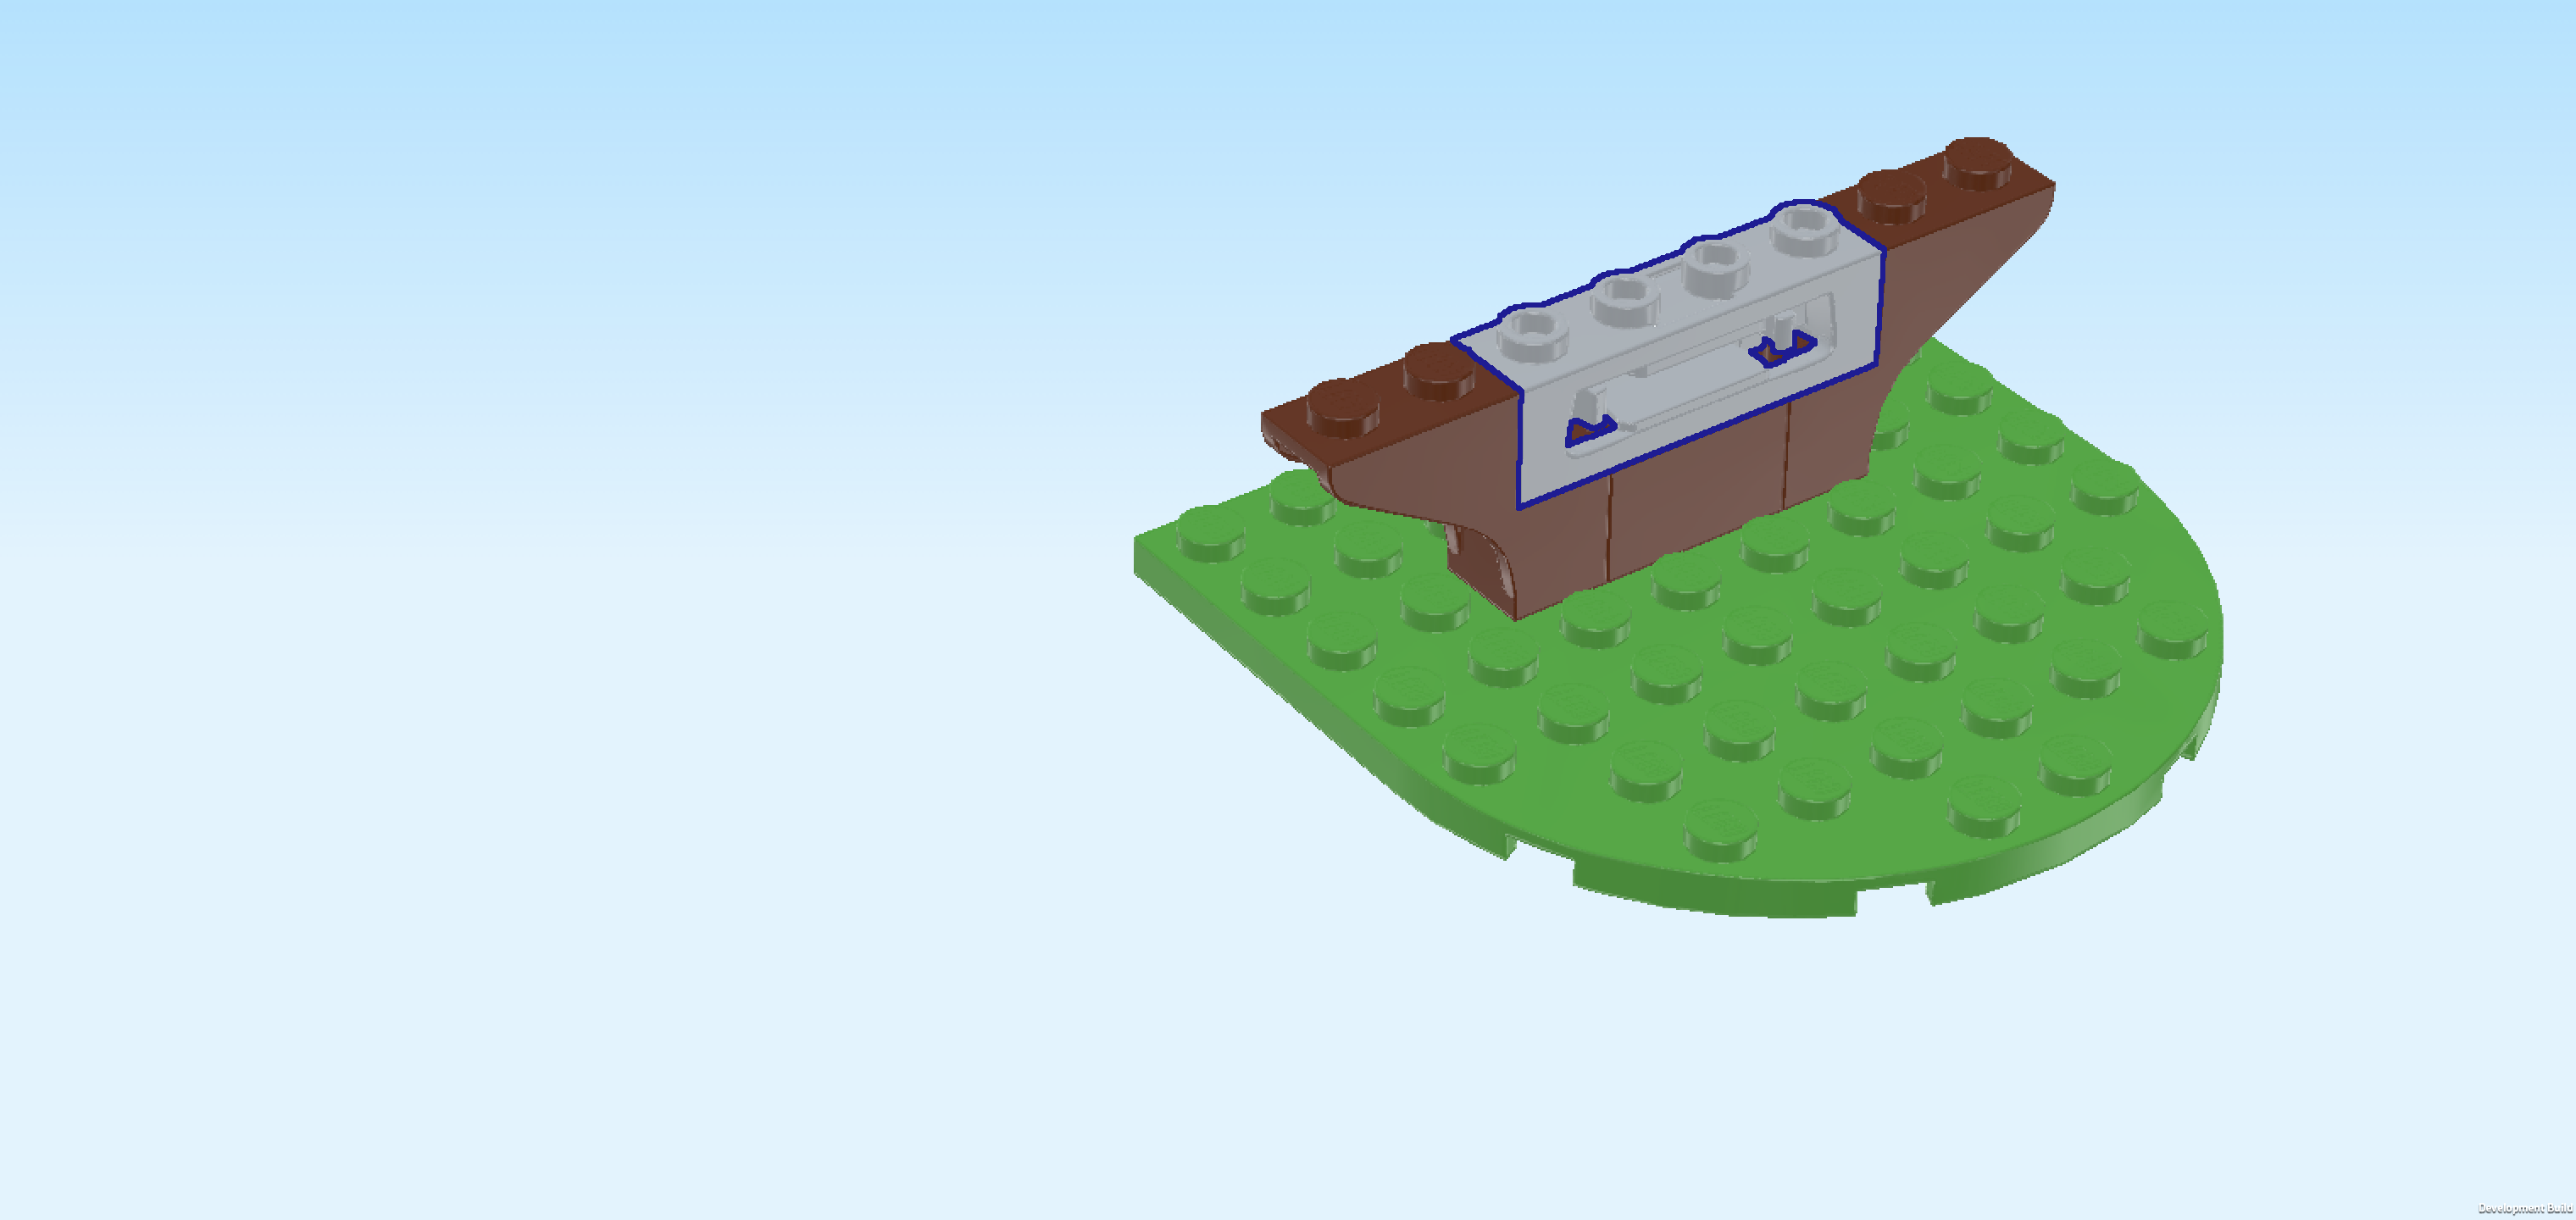
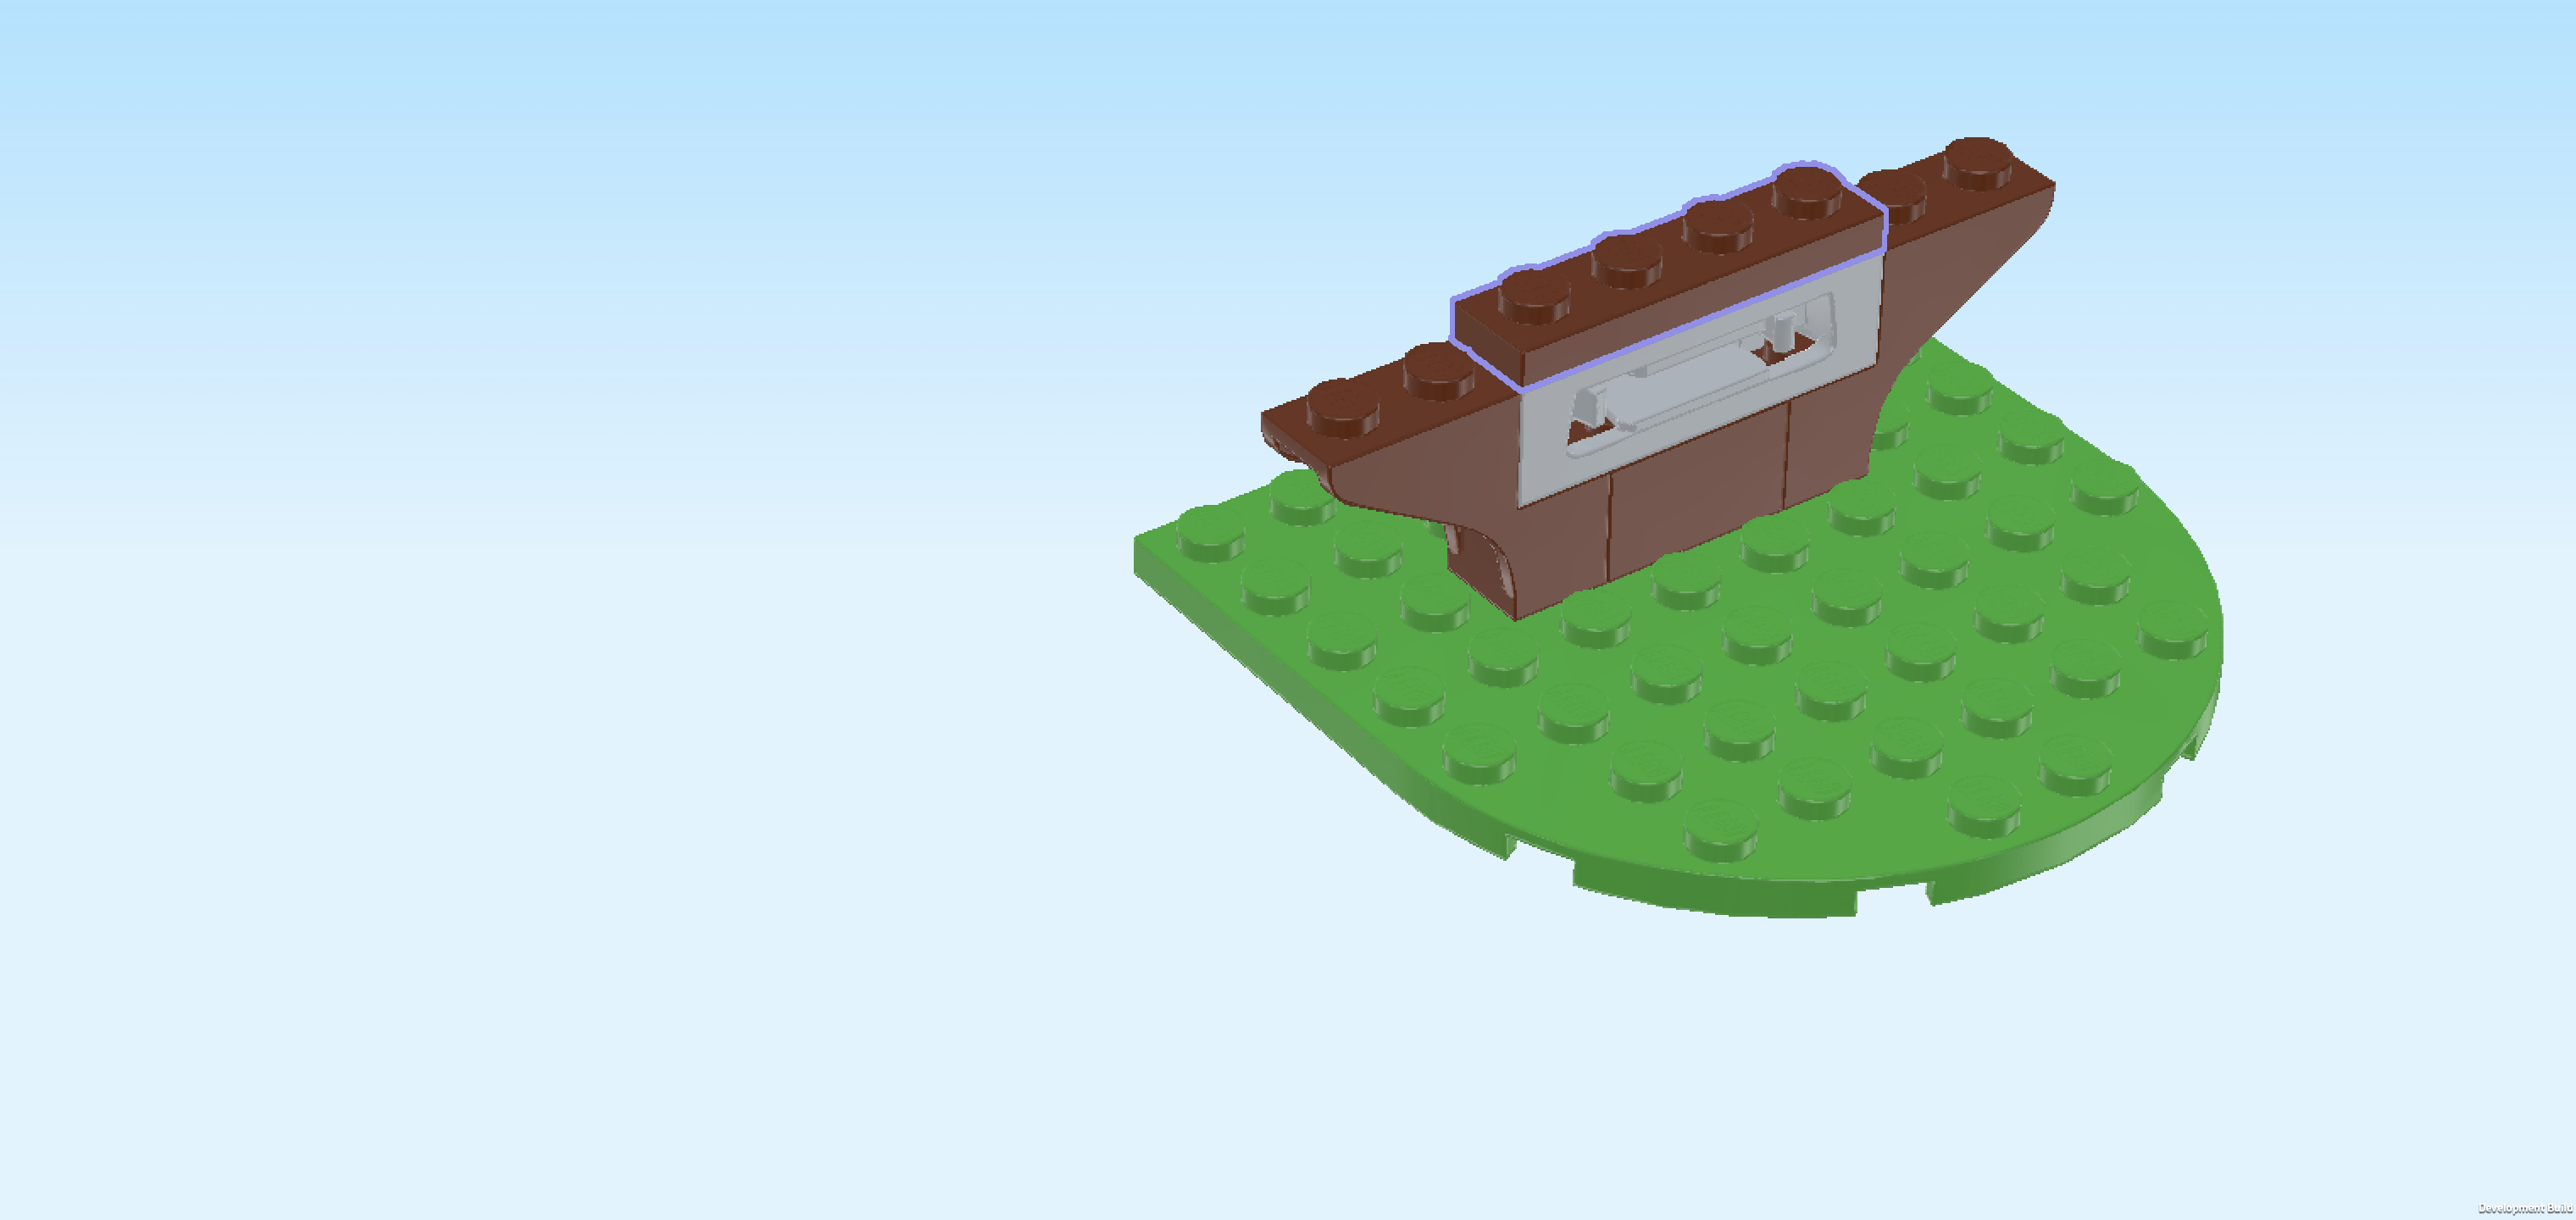
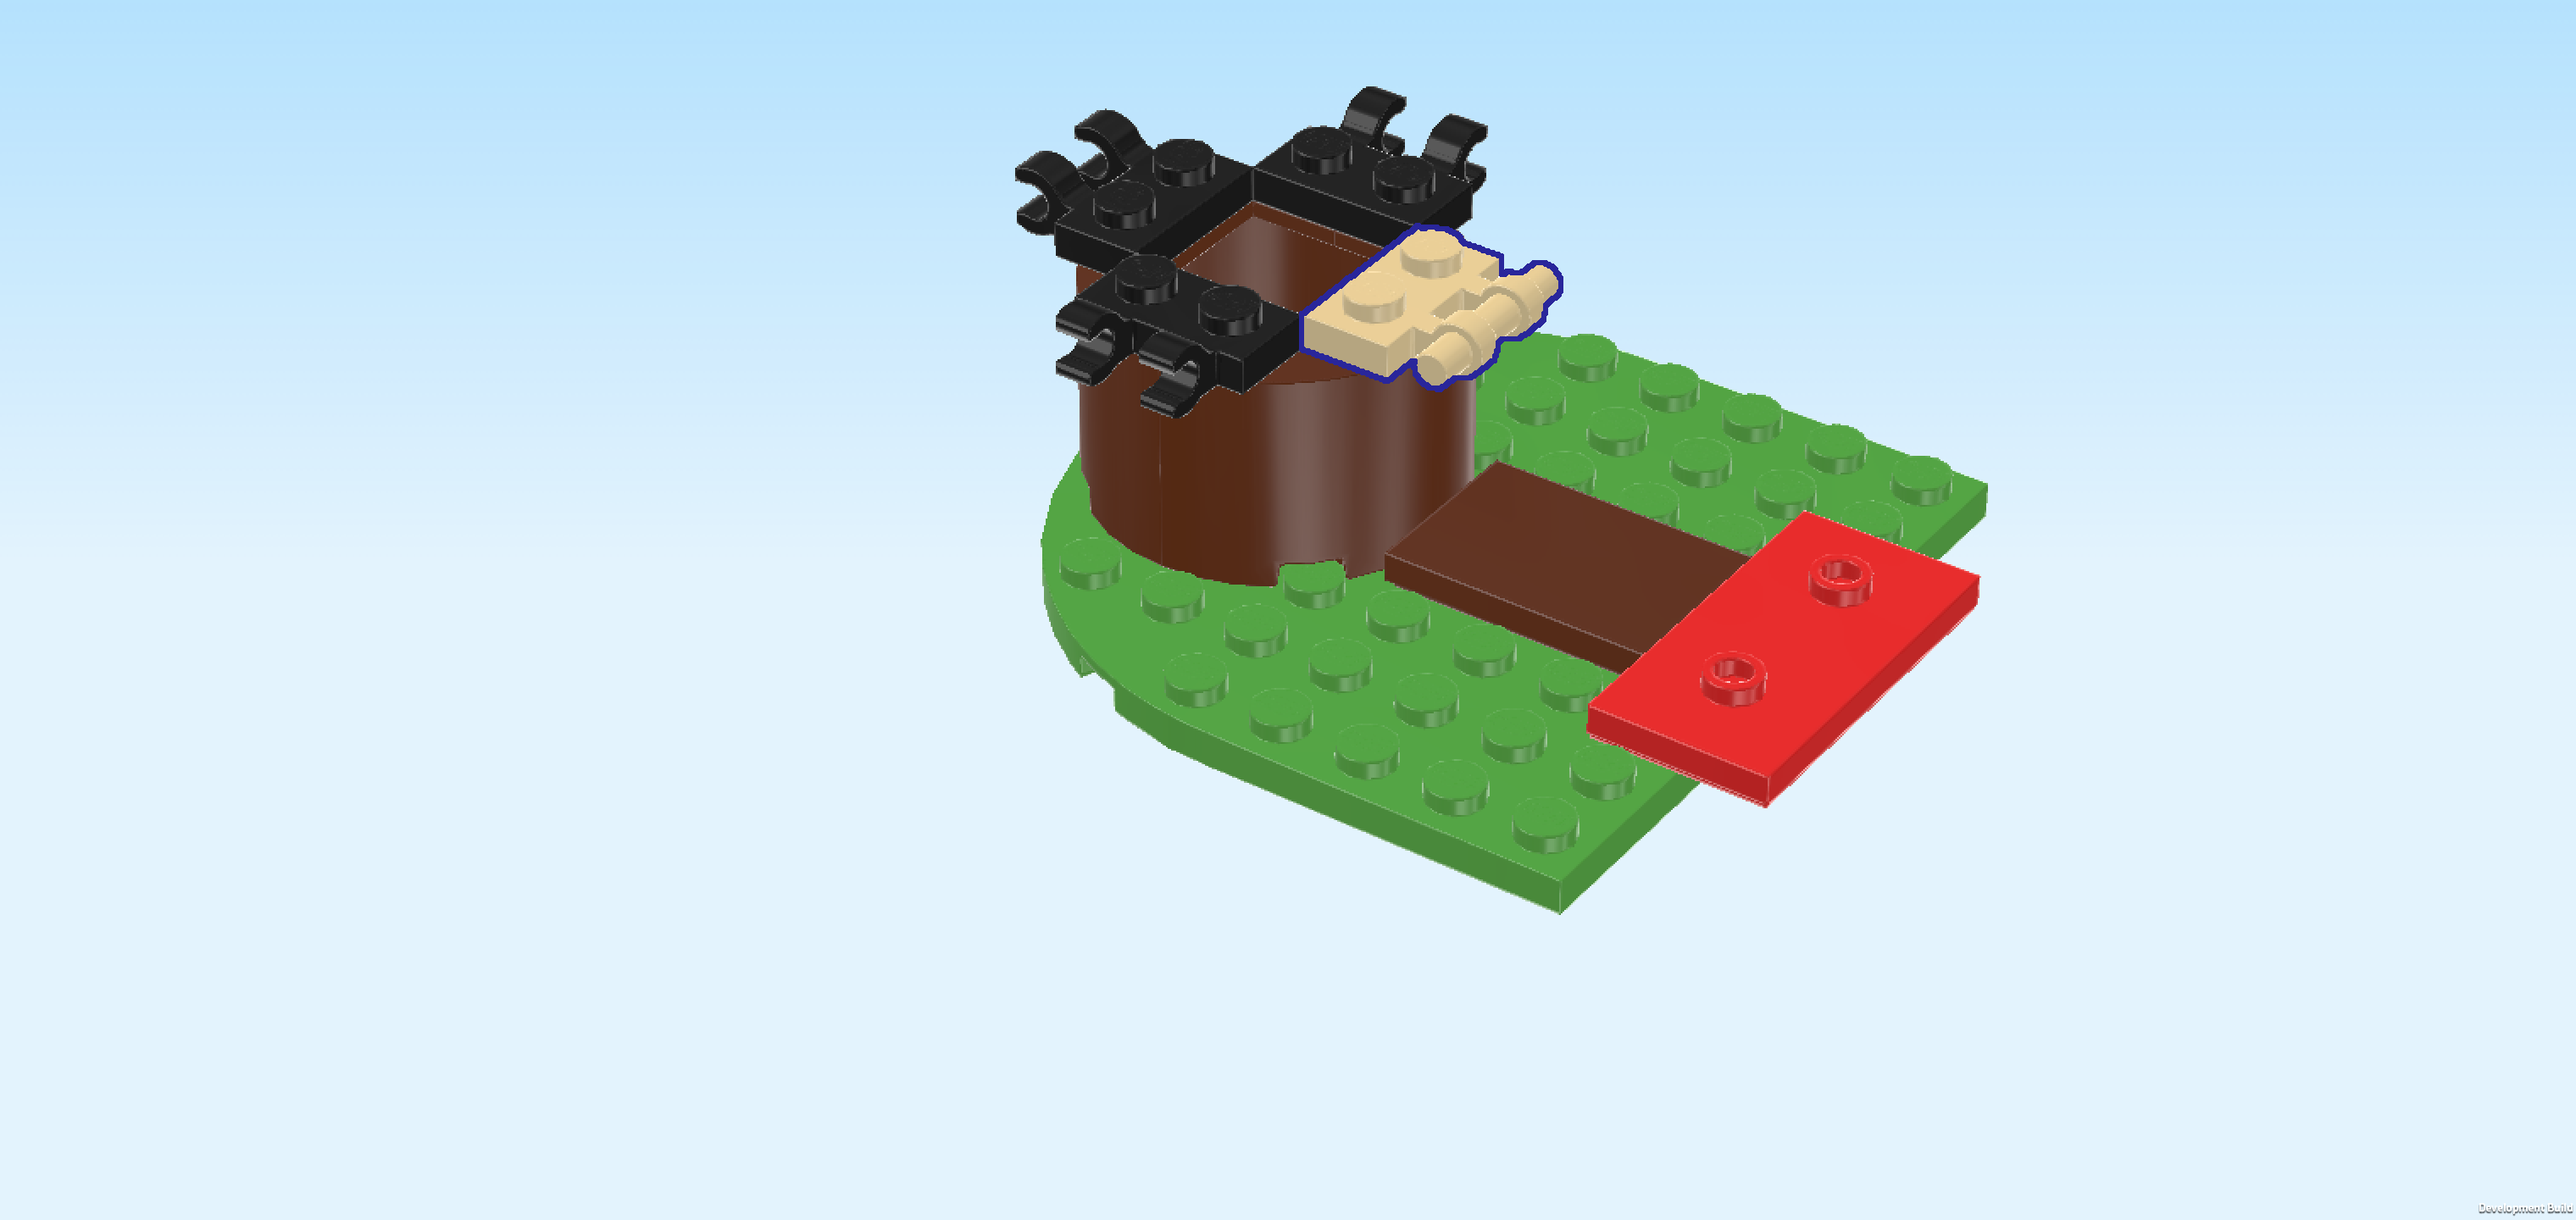
| Collect the following 2 pieces: |
| 1 medium azure blue glass for door frame 1x4x6, |
| and 1 bright red door frame 2x4x6. |
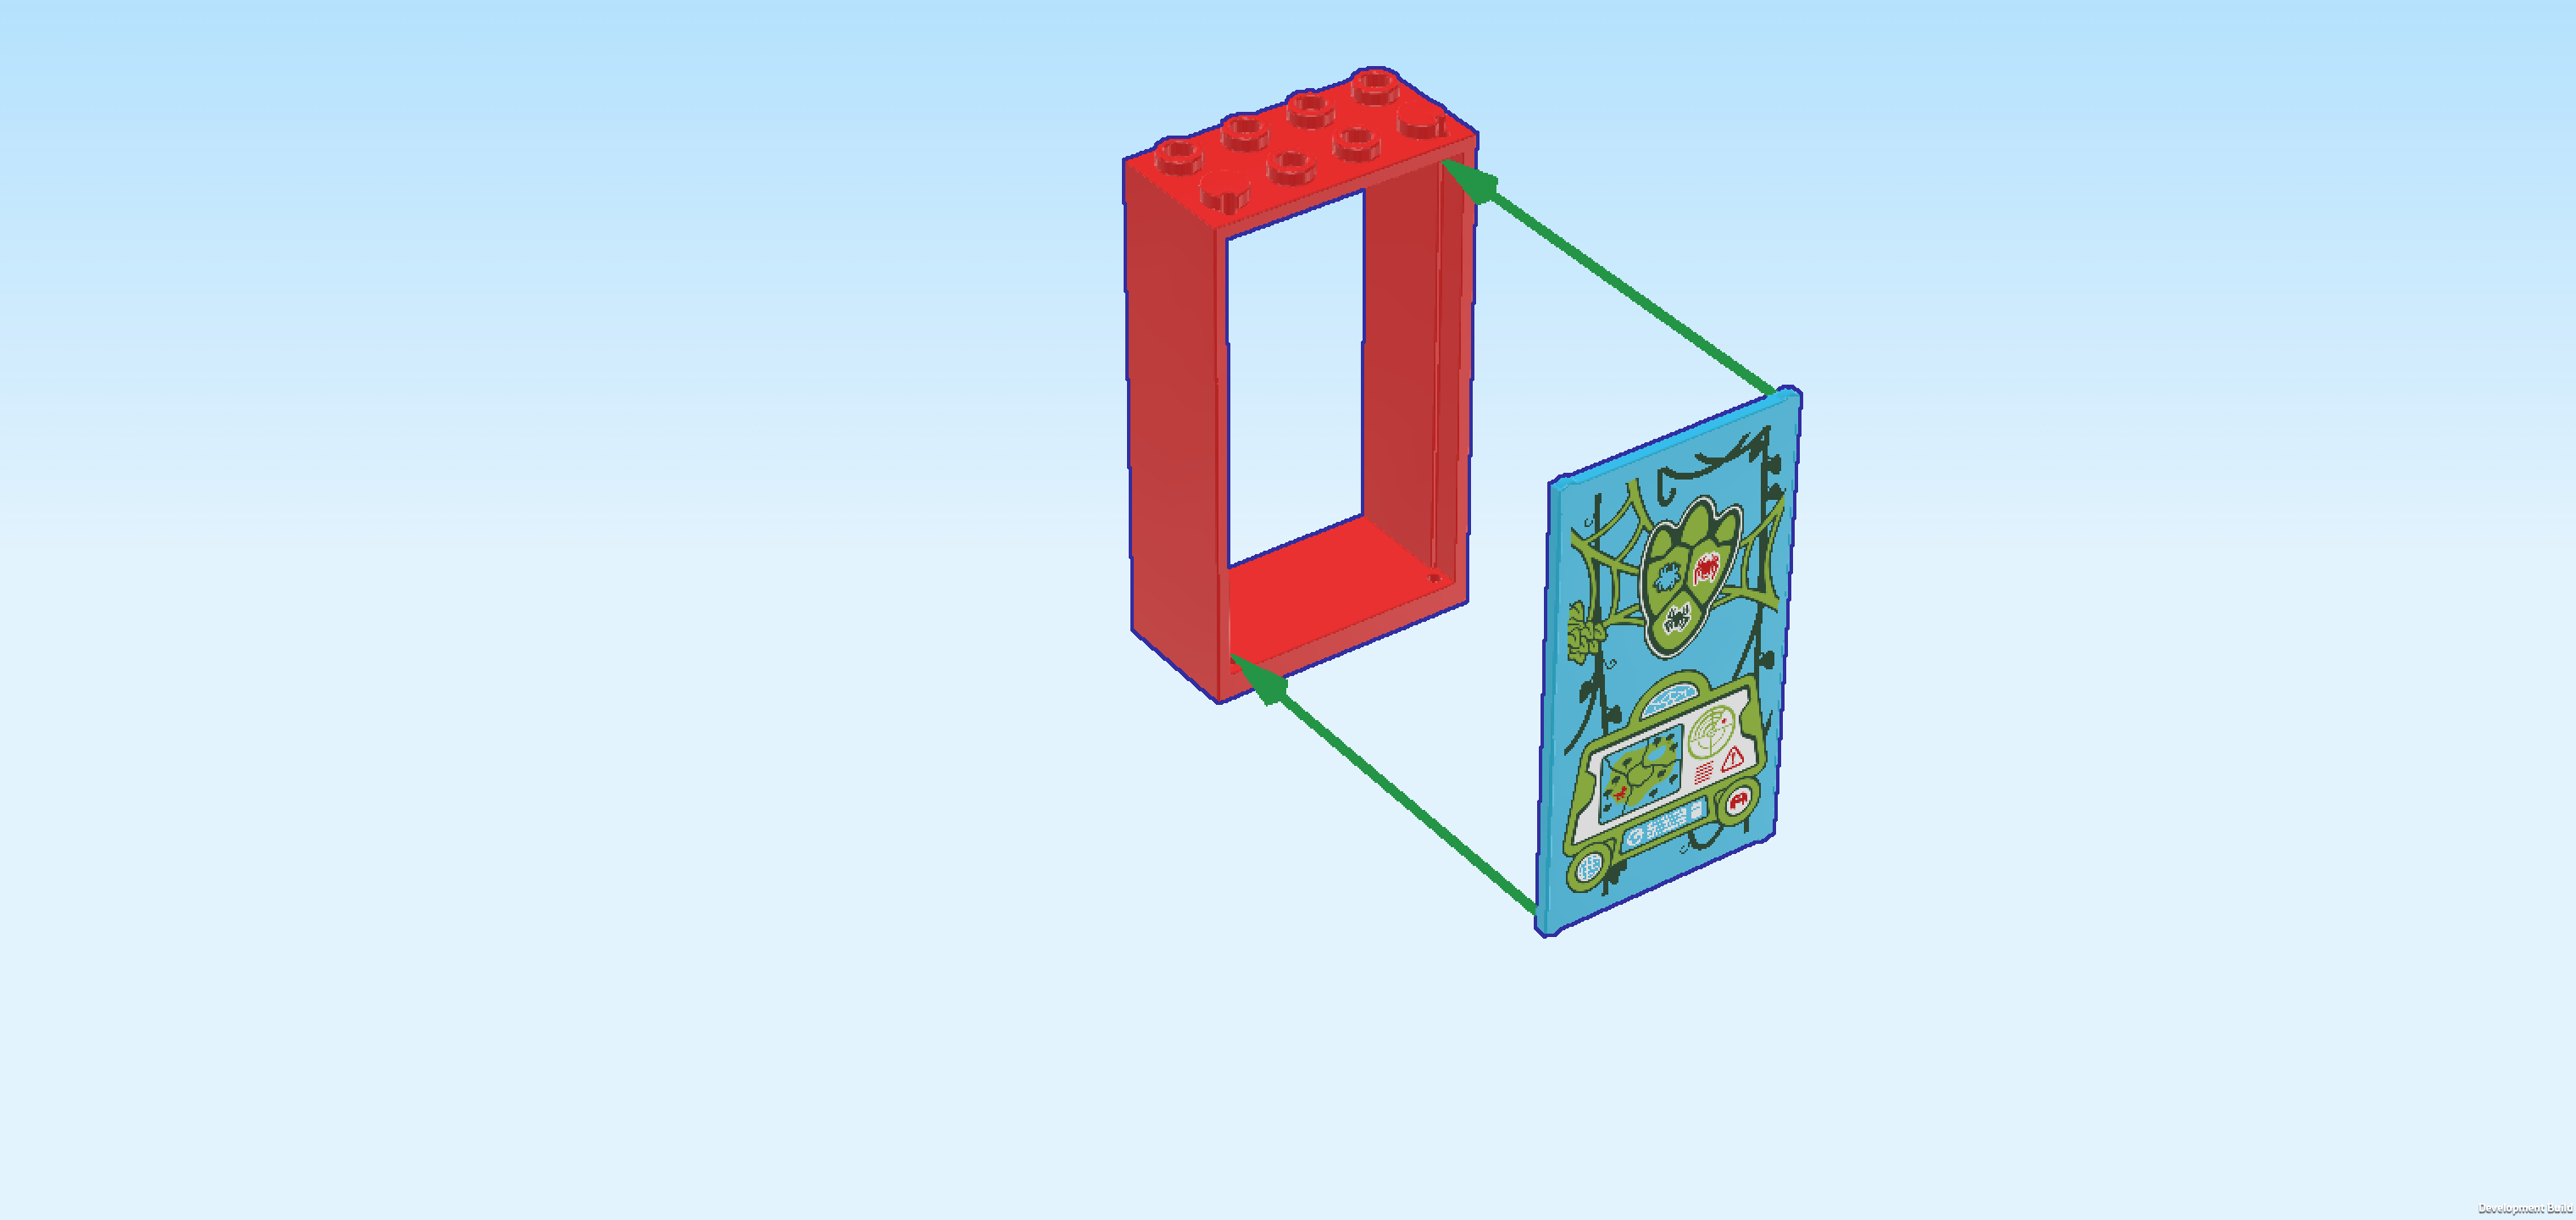
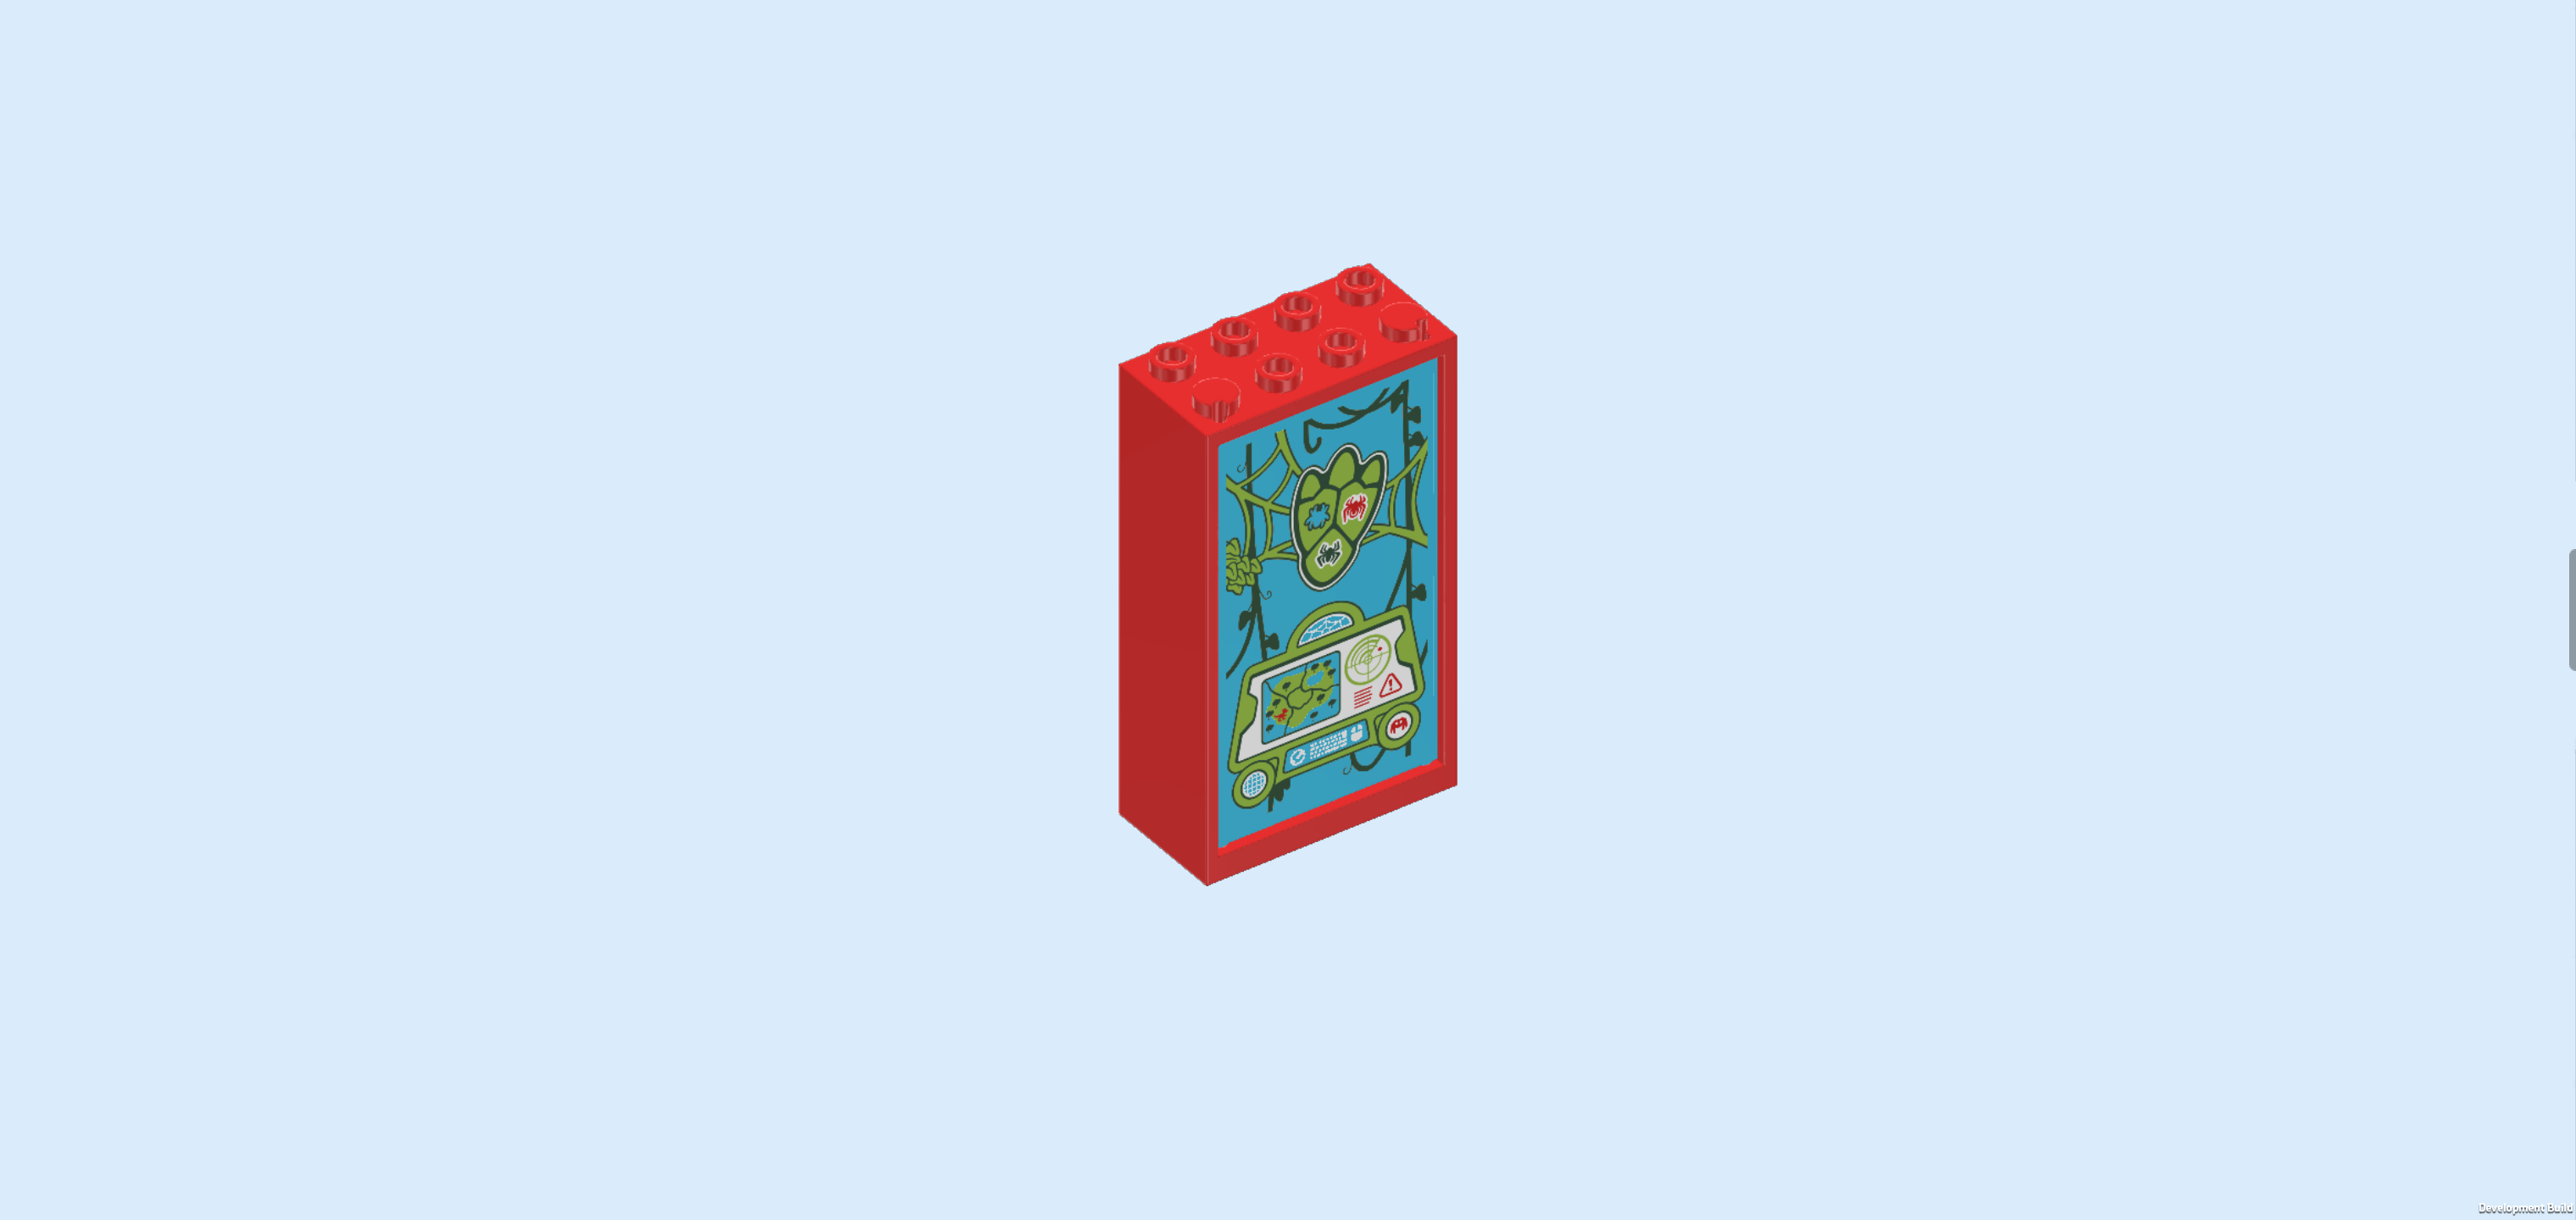
| Put the door frame flat on the table, its knobs pointing to the back. Make sure that the inside groove with tiny holes is facing the top. |
| Snap the glass into the groove and holes of the frame, making sure that the print is facing outwards. |
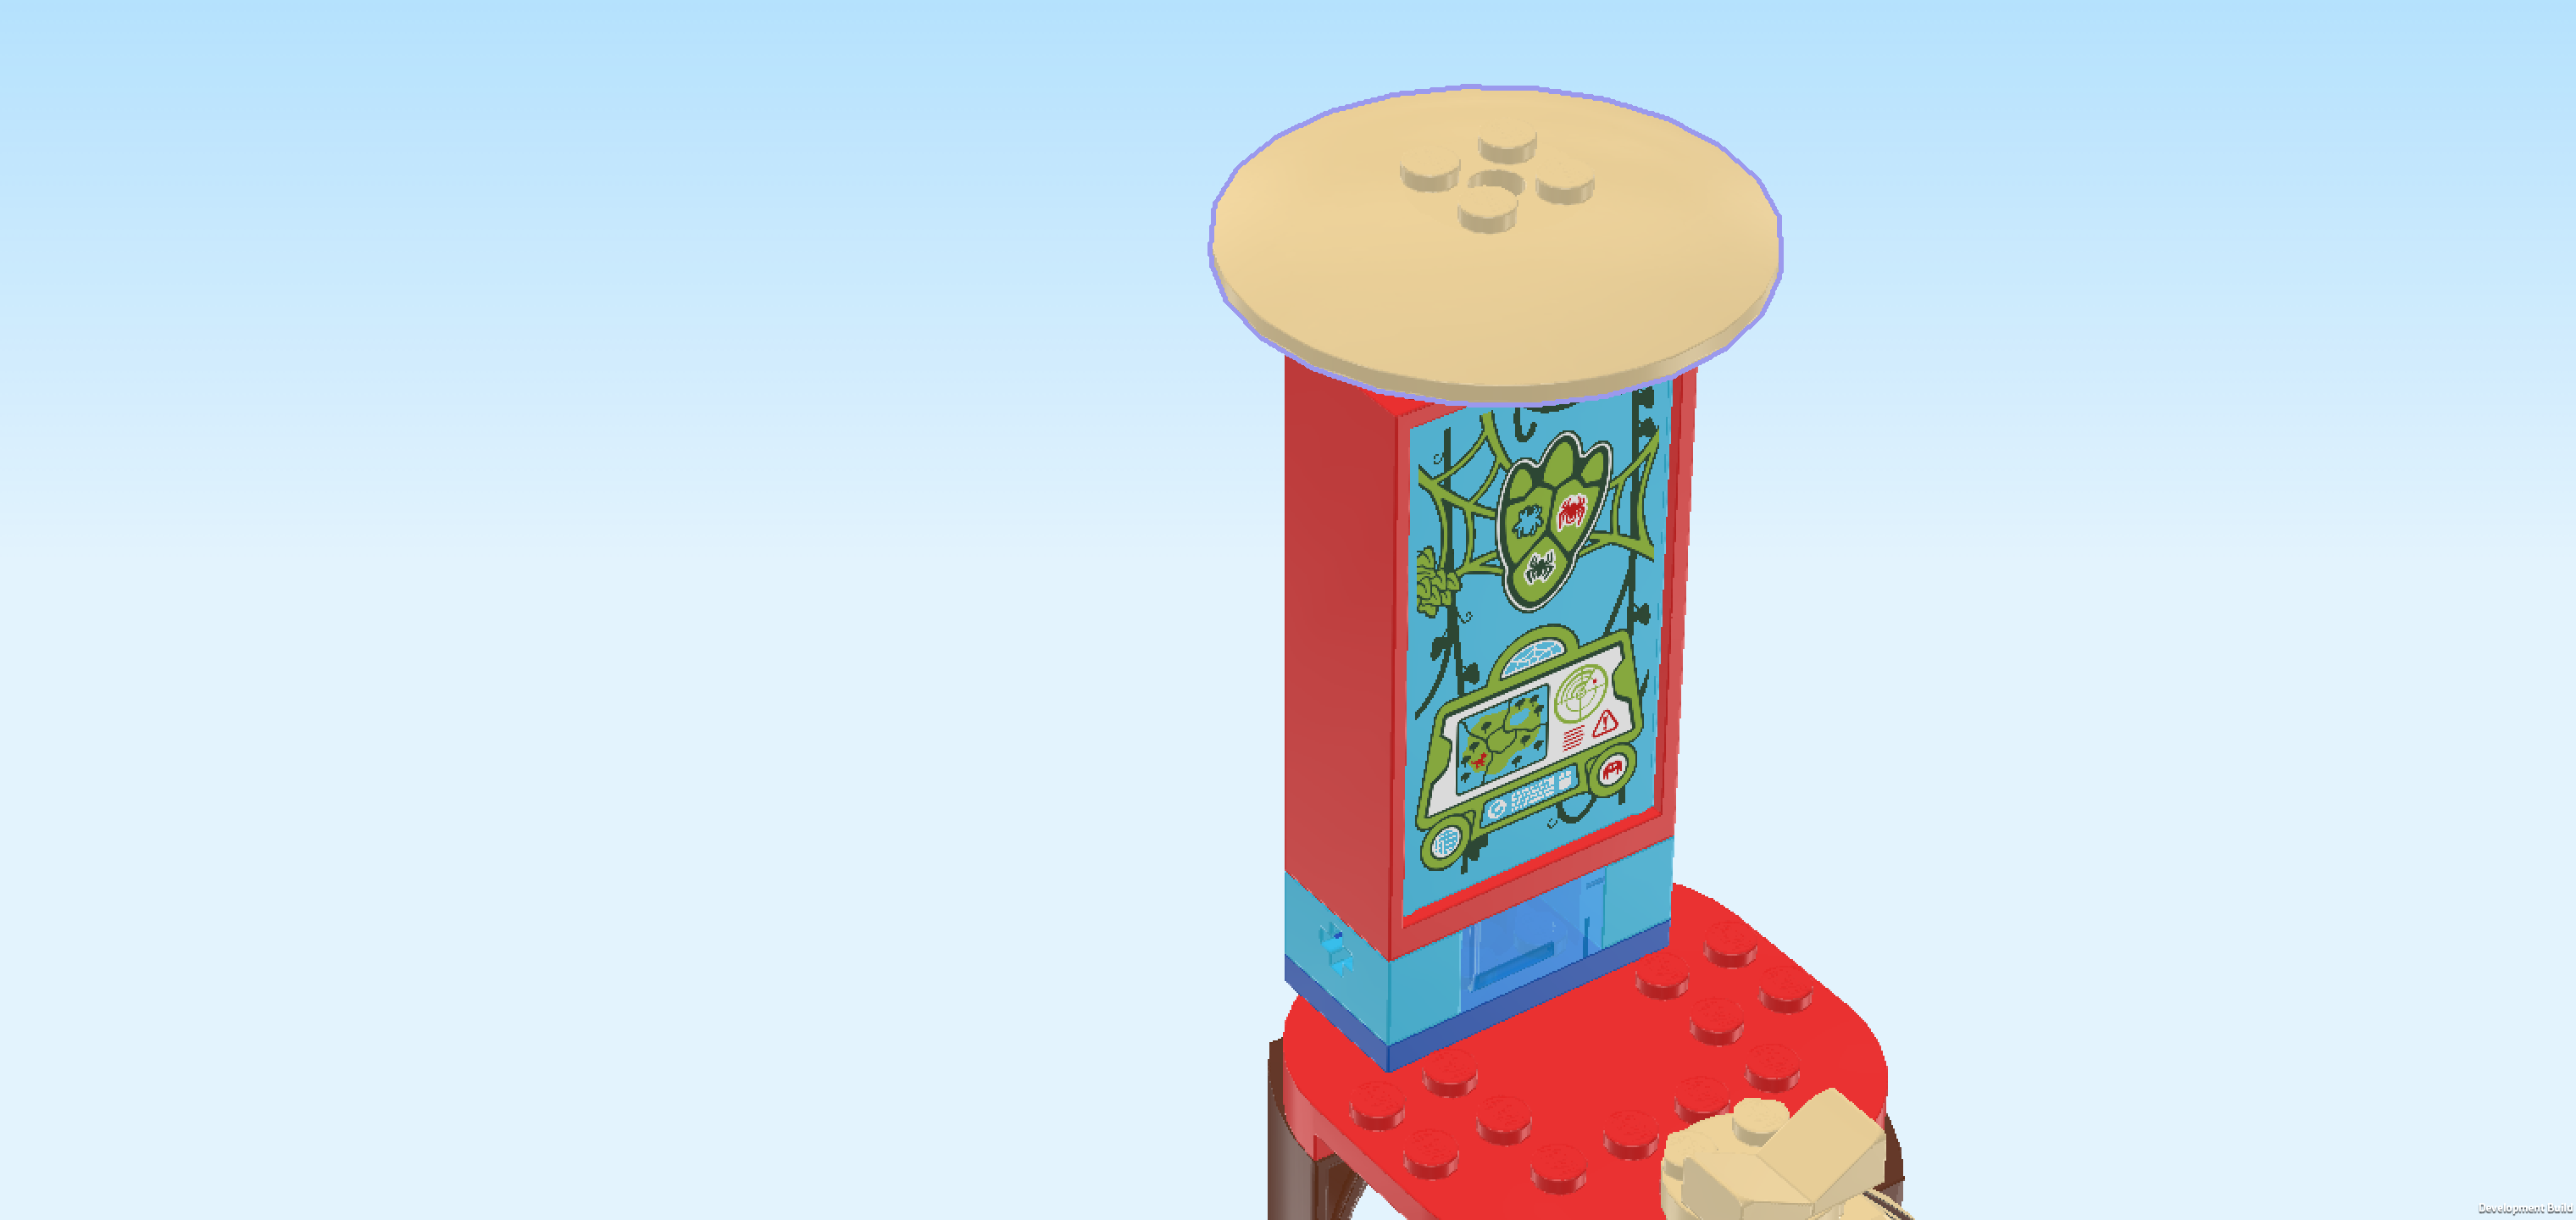
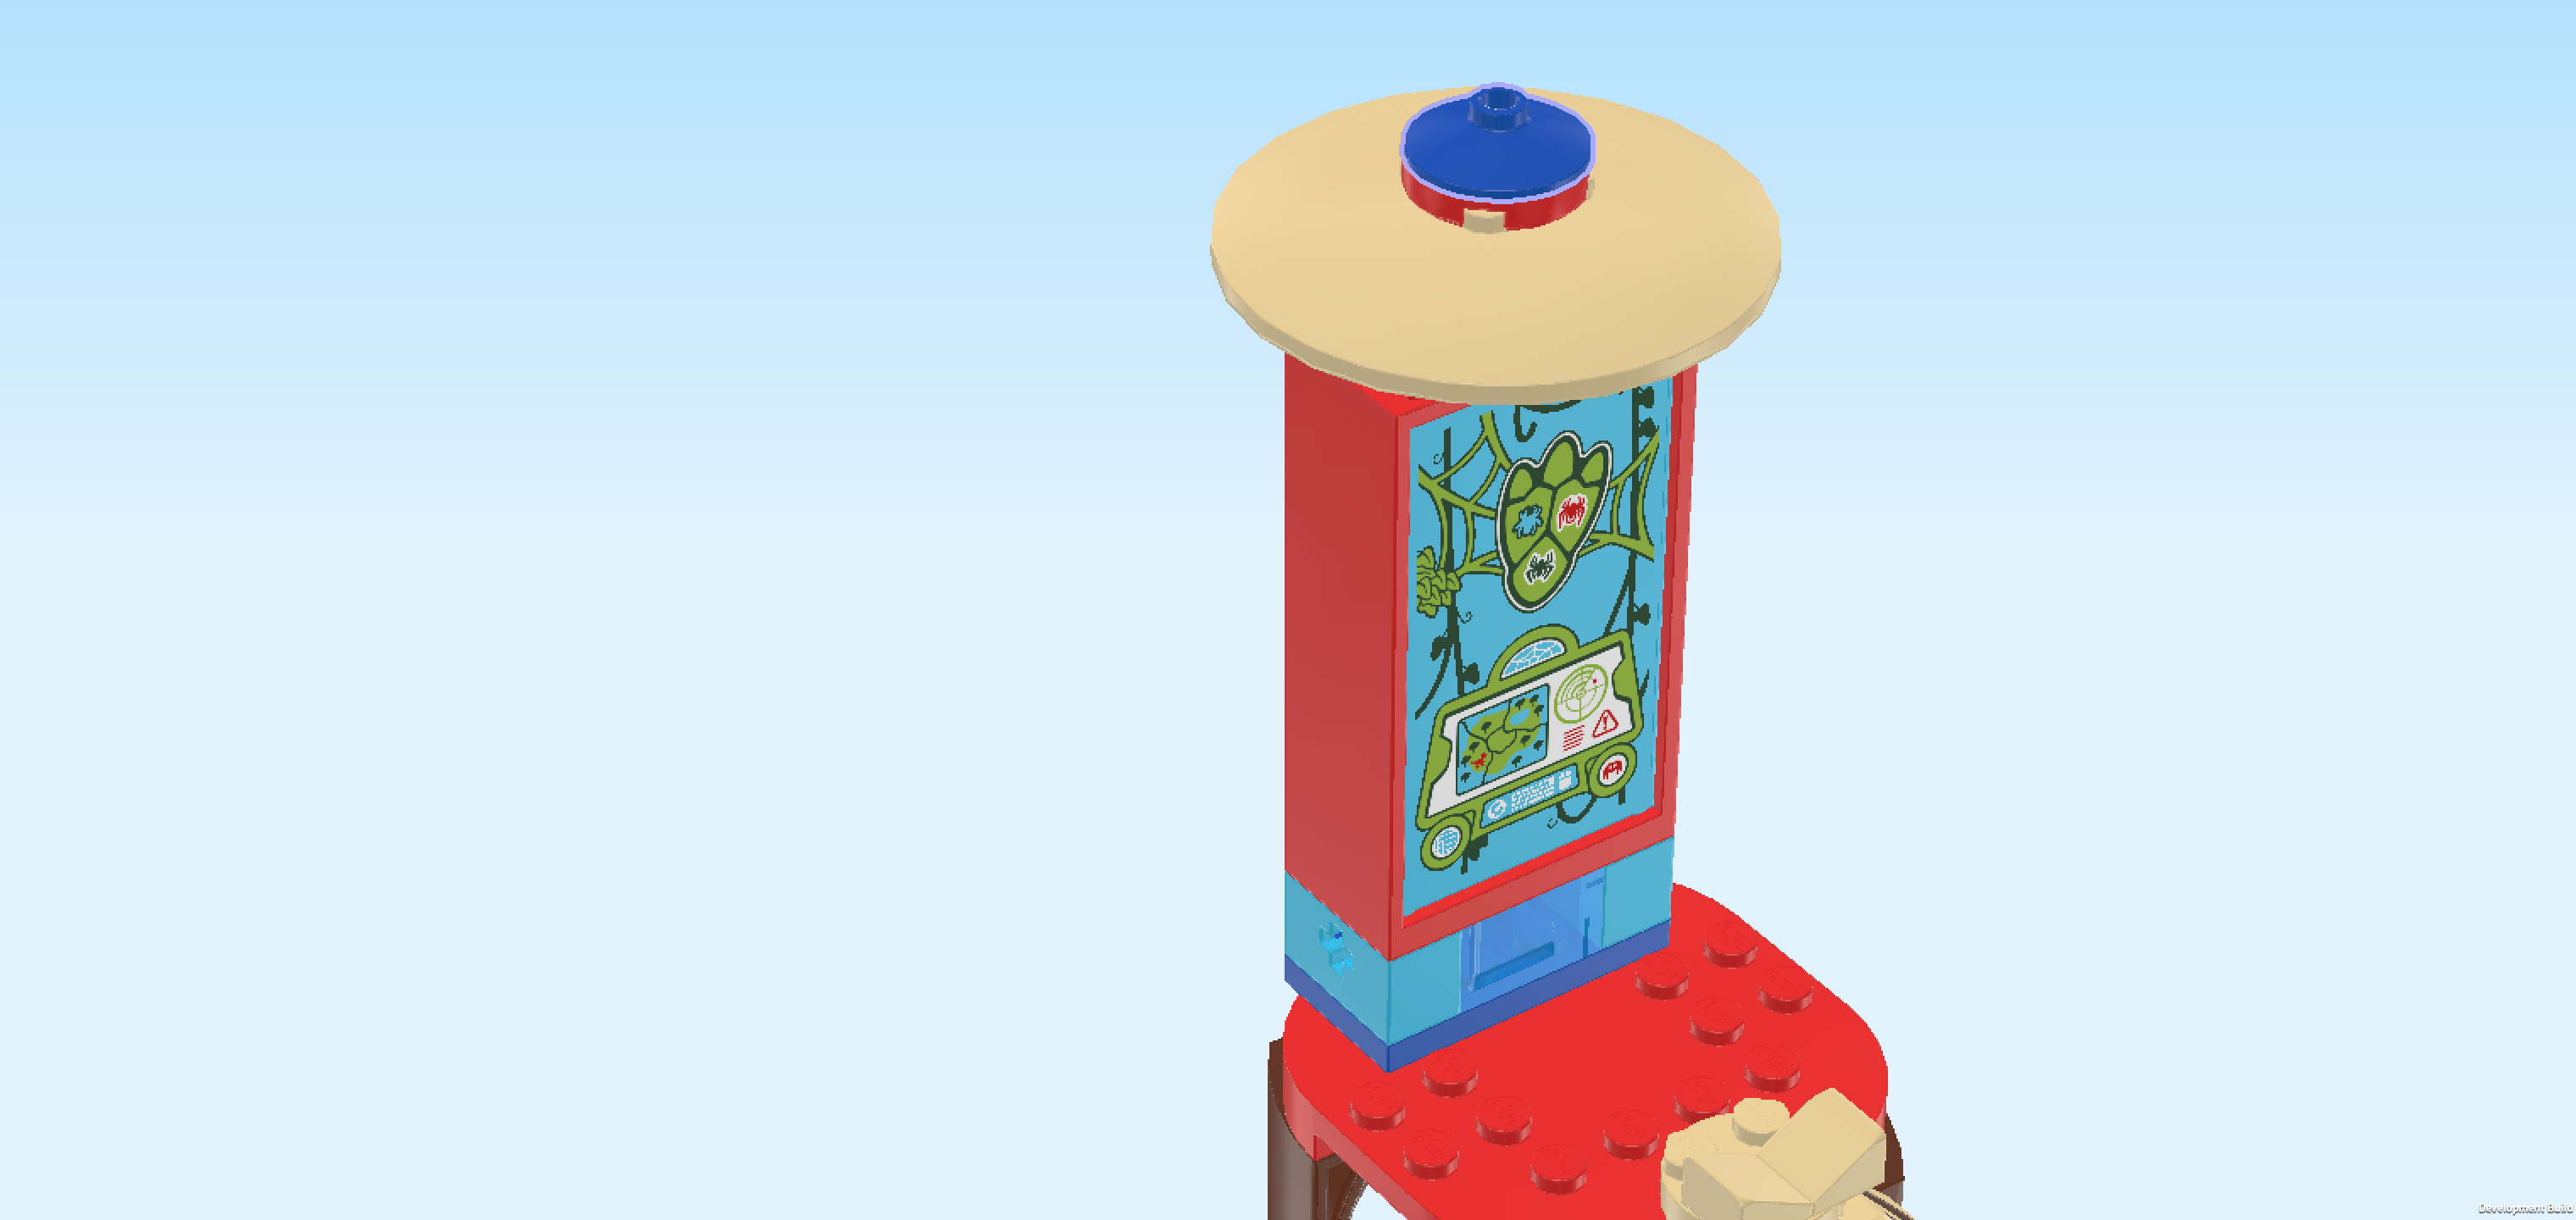
| The glass is printed with the Tree House HQ’s mission screen. At the top, a green dinosaur footprint in a green spider web shows the three different spider icons of our superheroes. Below, a console displays a map of the island with marked locations, a radar, and control panels. Twisting green vines frame the blue background, mixing jungle style with superhero tech. |
| Mount the mission screen horizontally on top of the 3 bricks we have mounted last, printed side towards the front. Those 3 previous bricks are located on the top surface at the back edge. |
| Find 1 transparent blue brick 2x2. |
| Put it centered on top of the mission screen. |
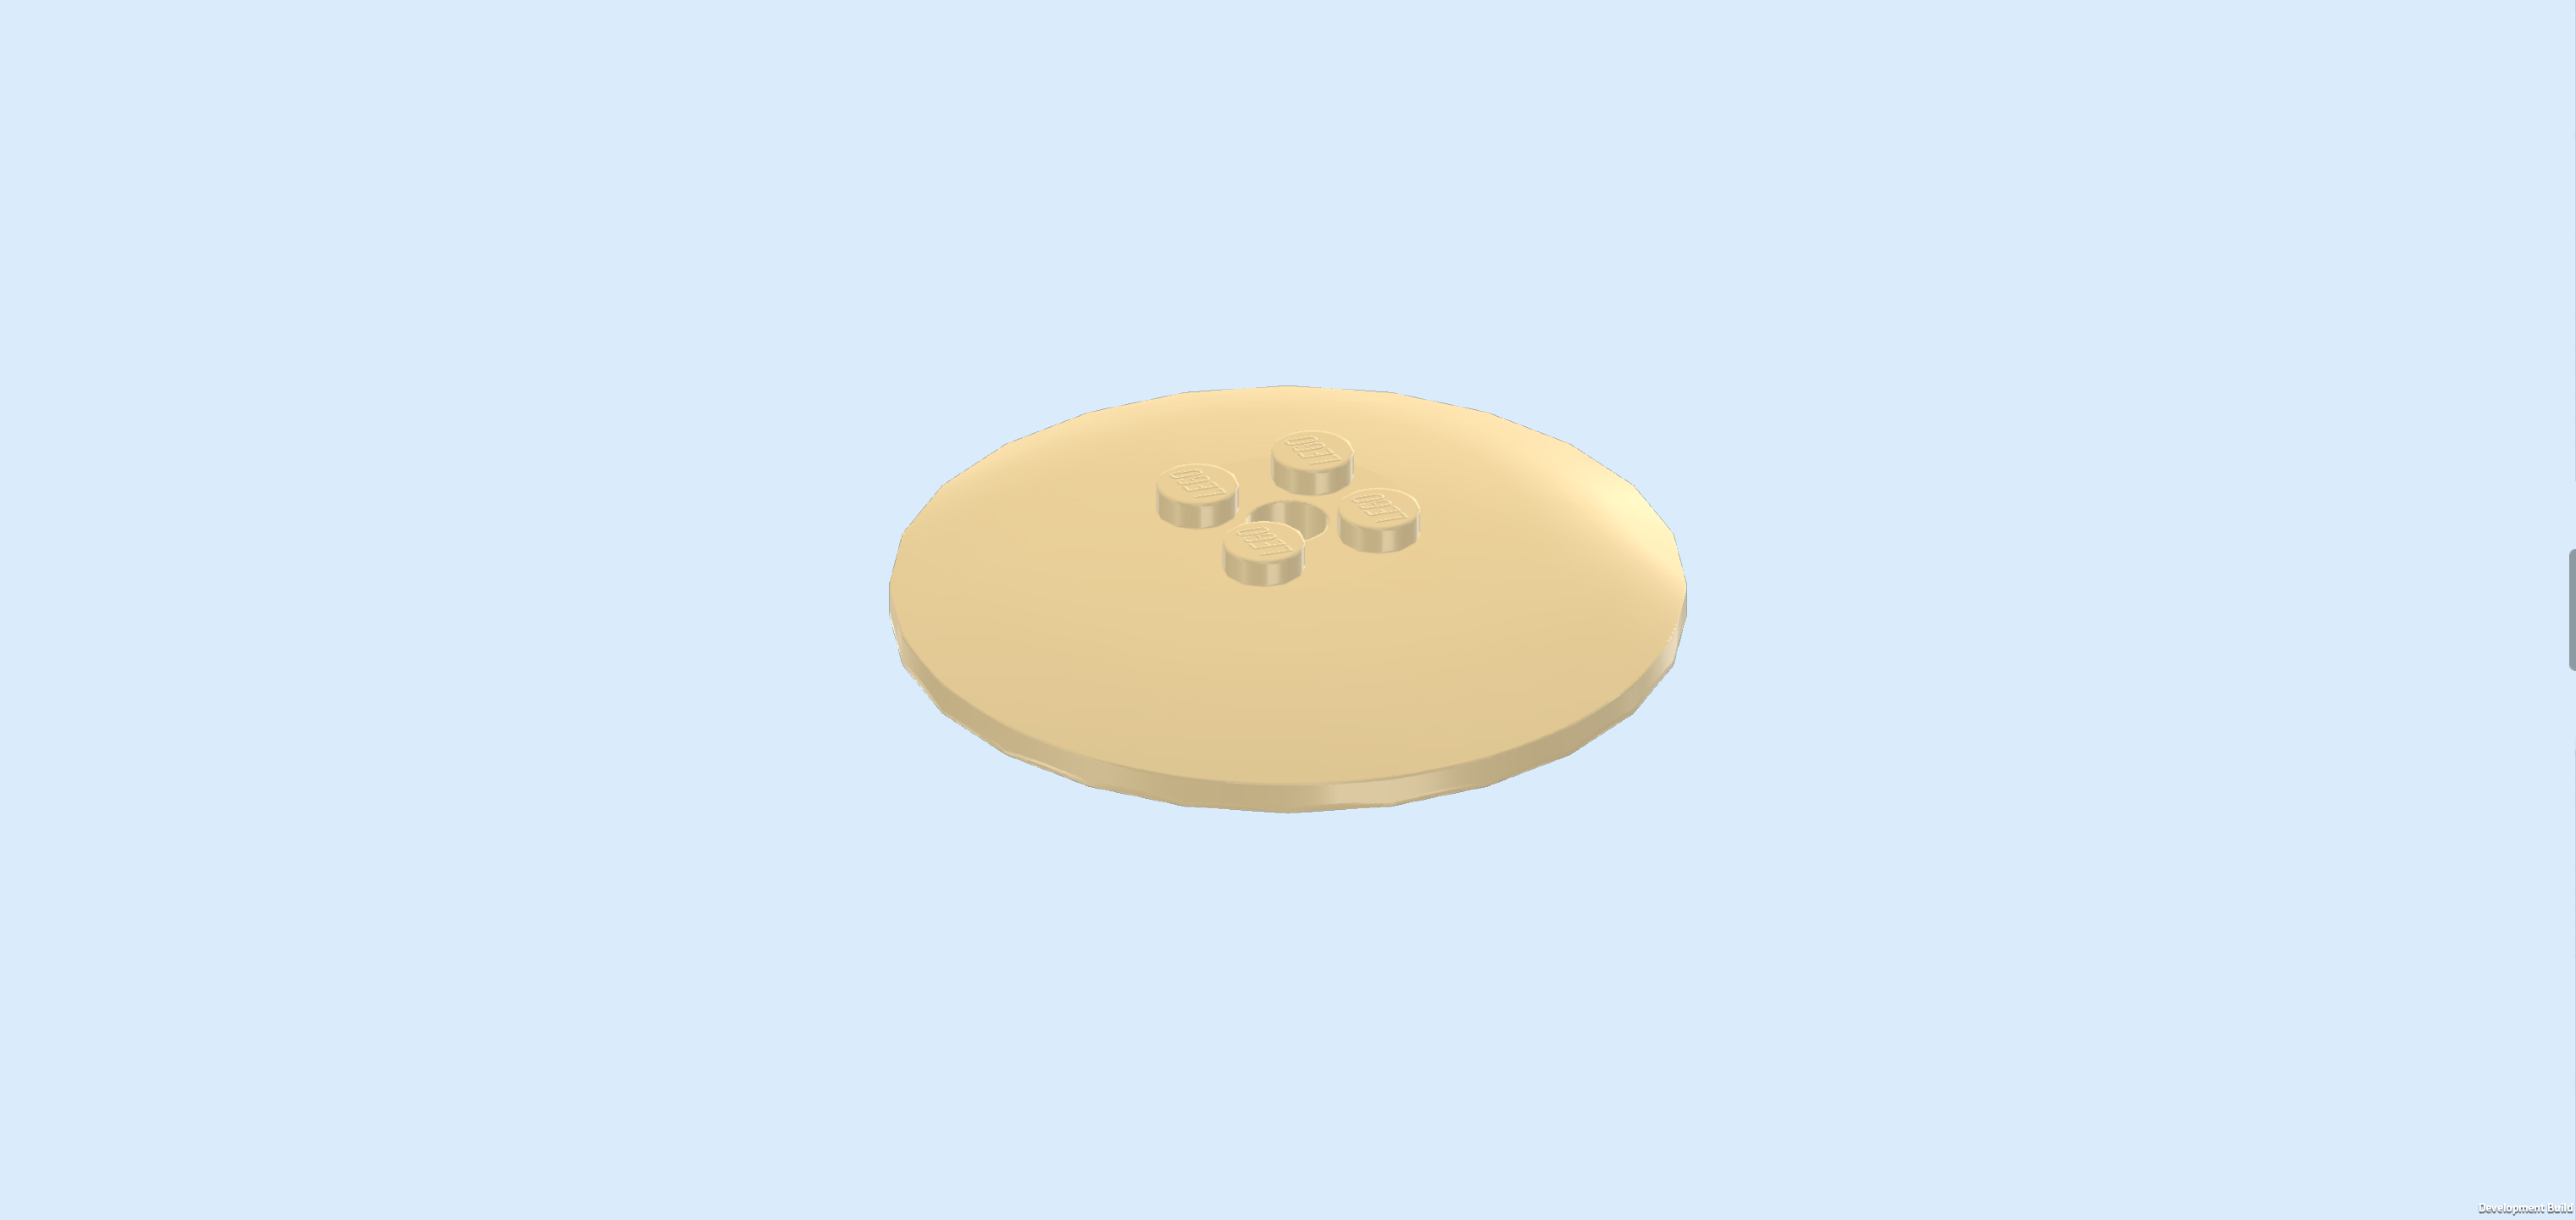
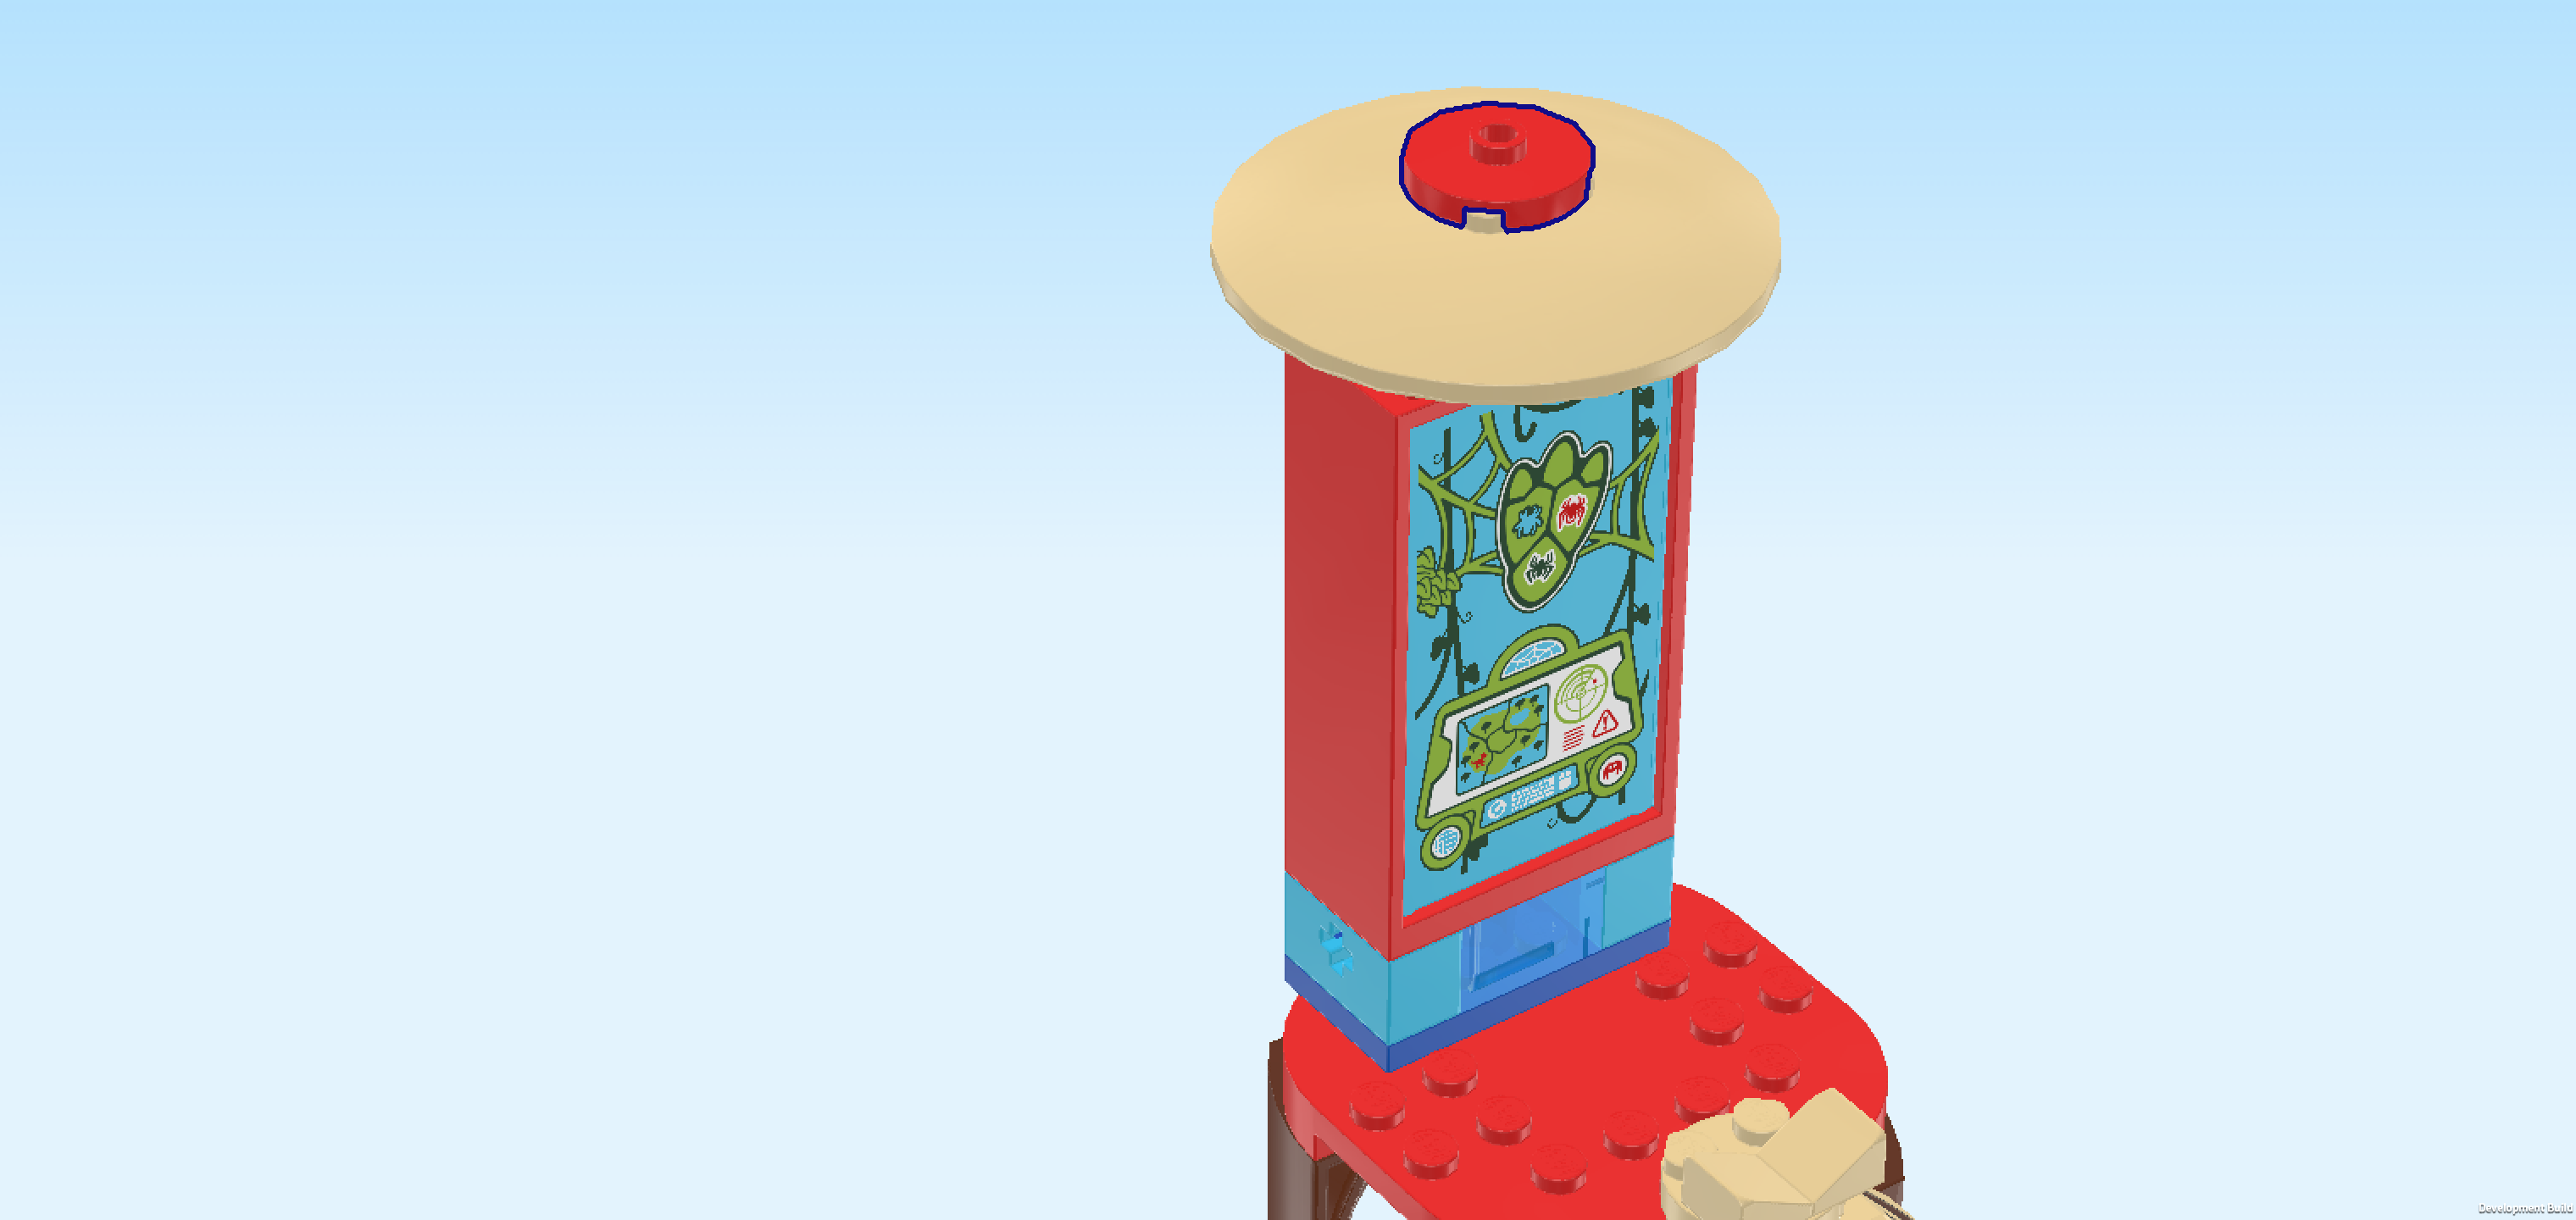
| Find 1 beige satellite screen 6x6. |
| Put it centered on top of the previous piece, symmetrically protruding in all directions. |
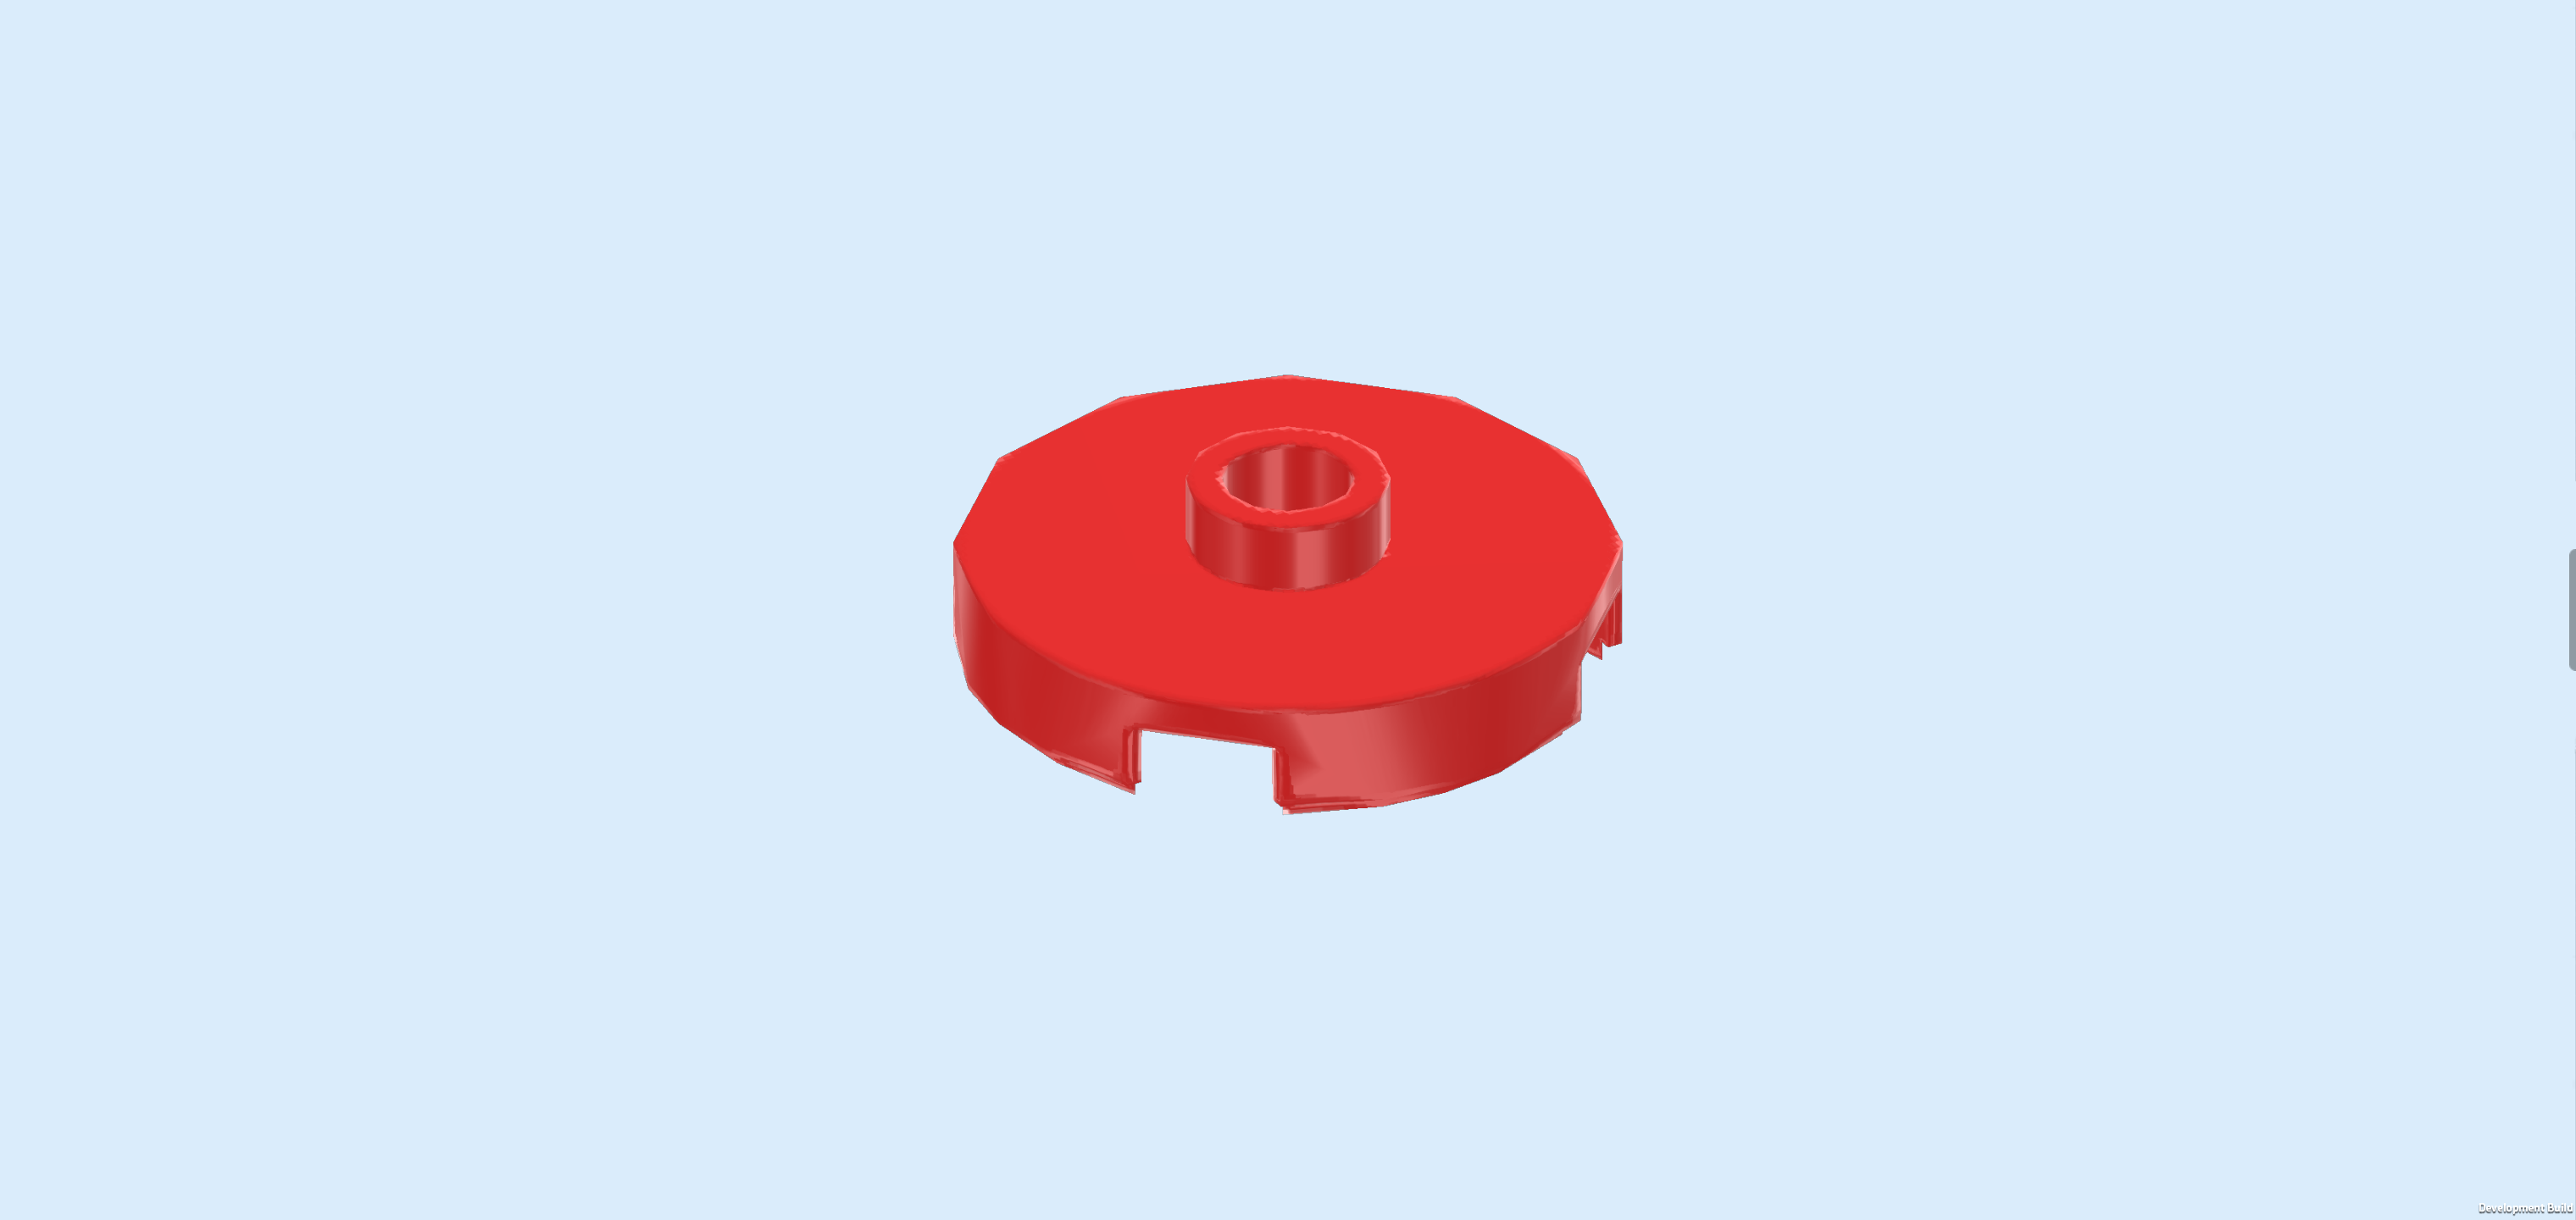
| Find 1 bright red round plate 2x2 with 1 knob. |
| Put it centered on top of the previous piece. |
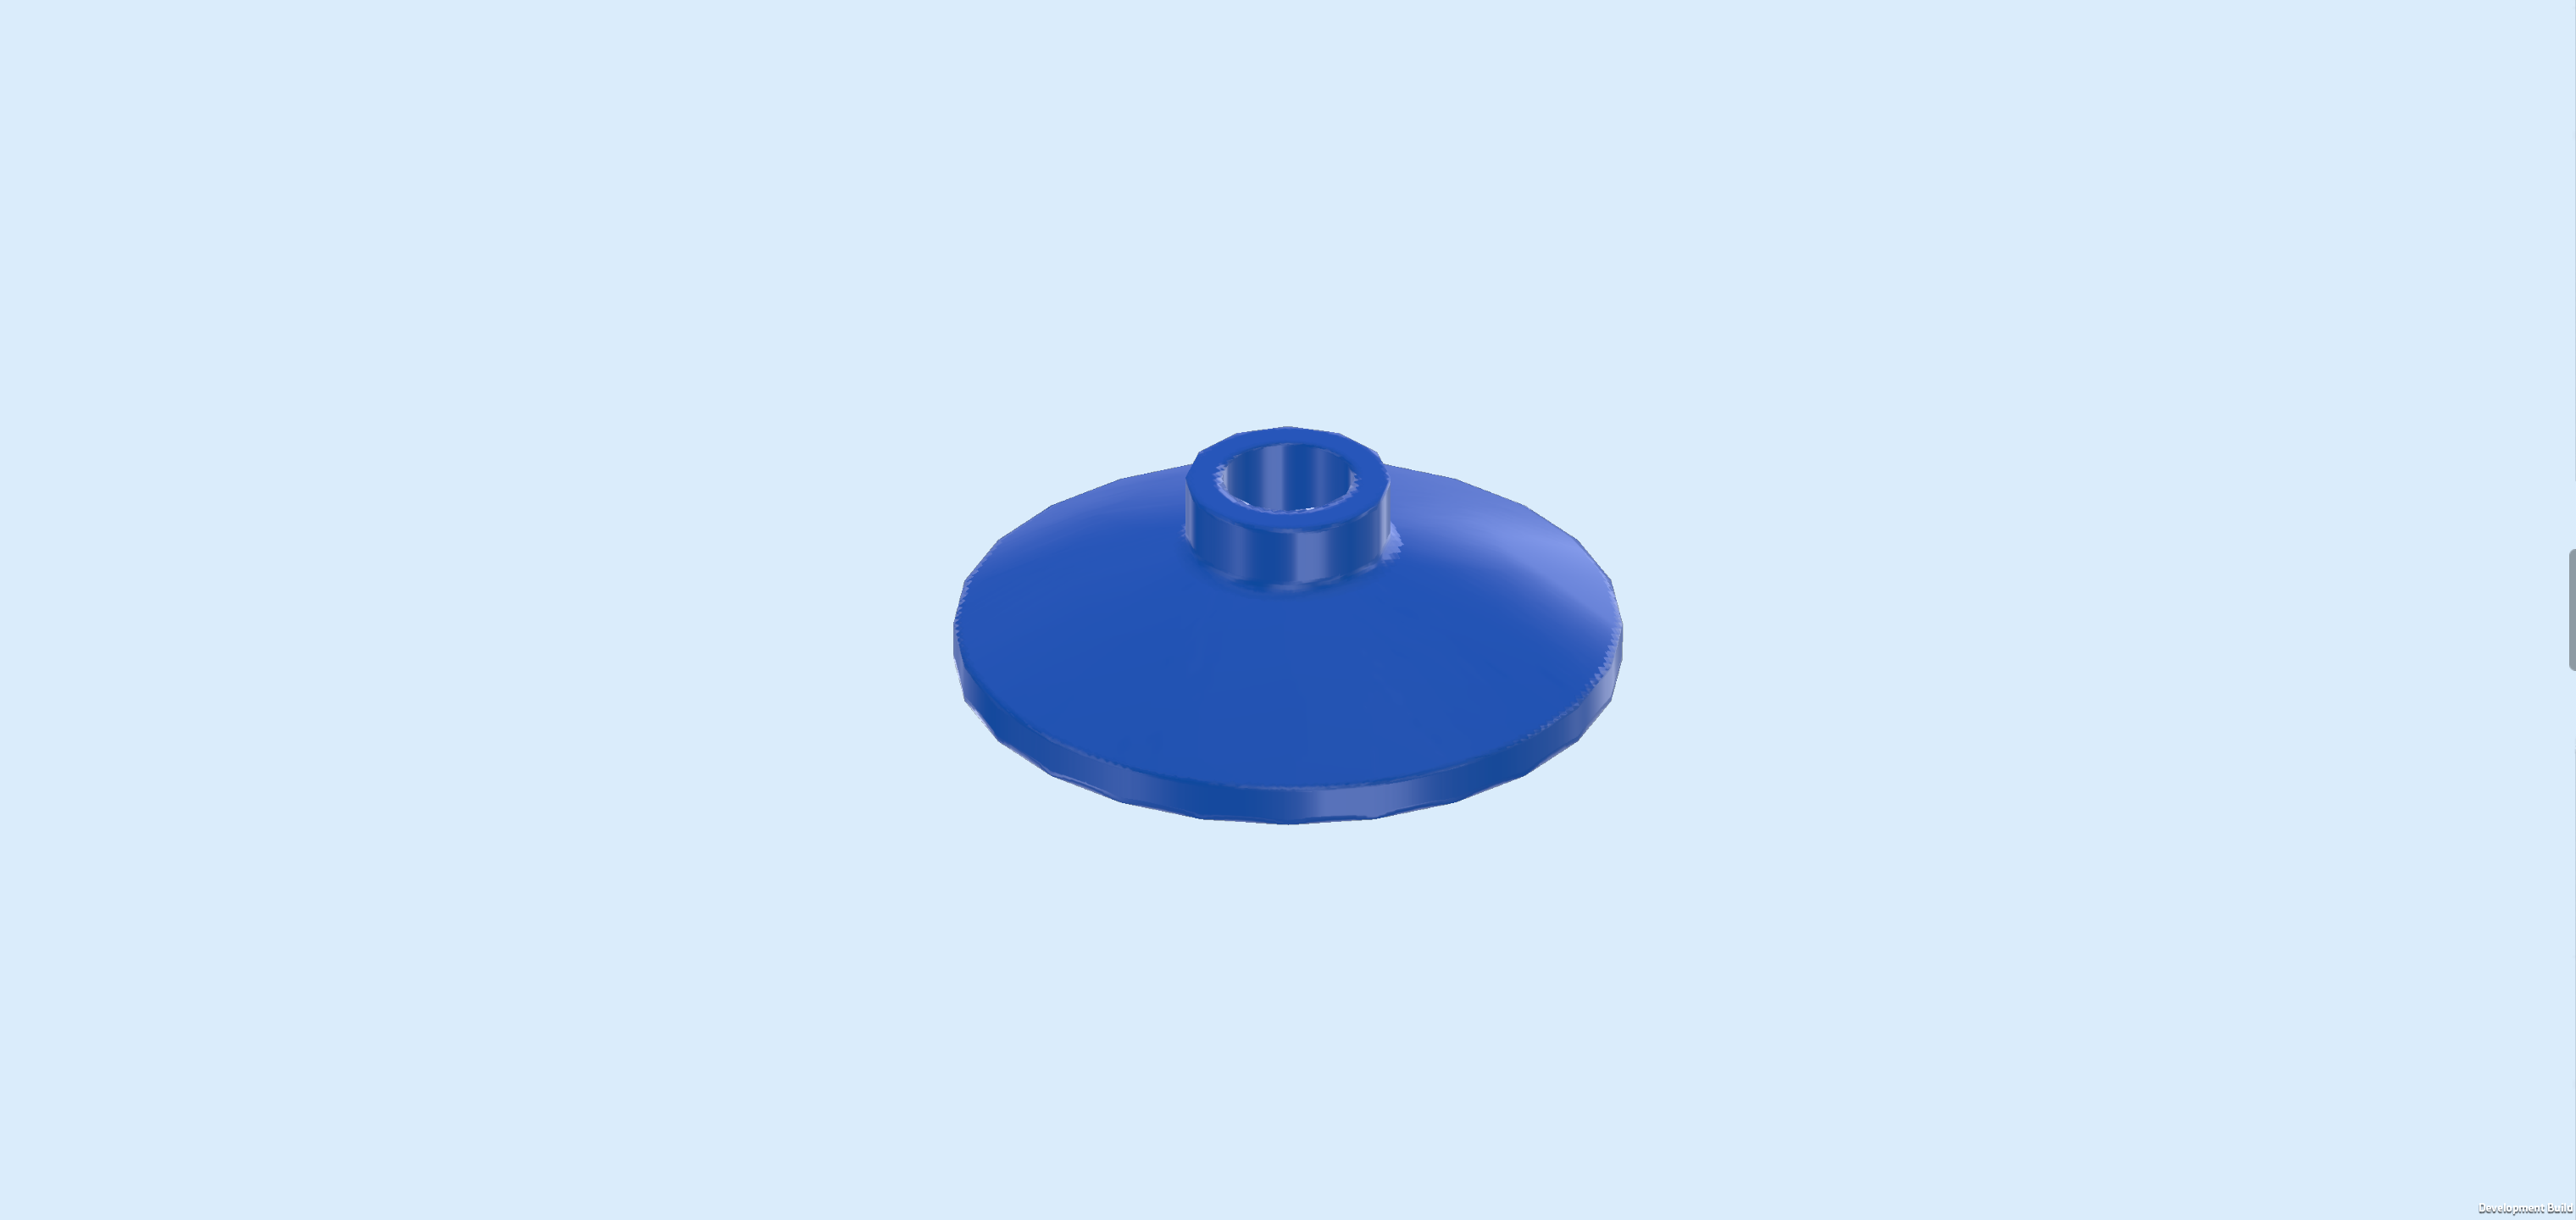
| Find 1 bright blue curved disk 2x2 with 1 knob. |
| Put it centered on top of the previous piece. |
| Next up, we will build the 2 tree trunks of the treetop. |
| Collect the following 4 pieces: |
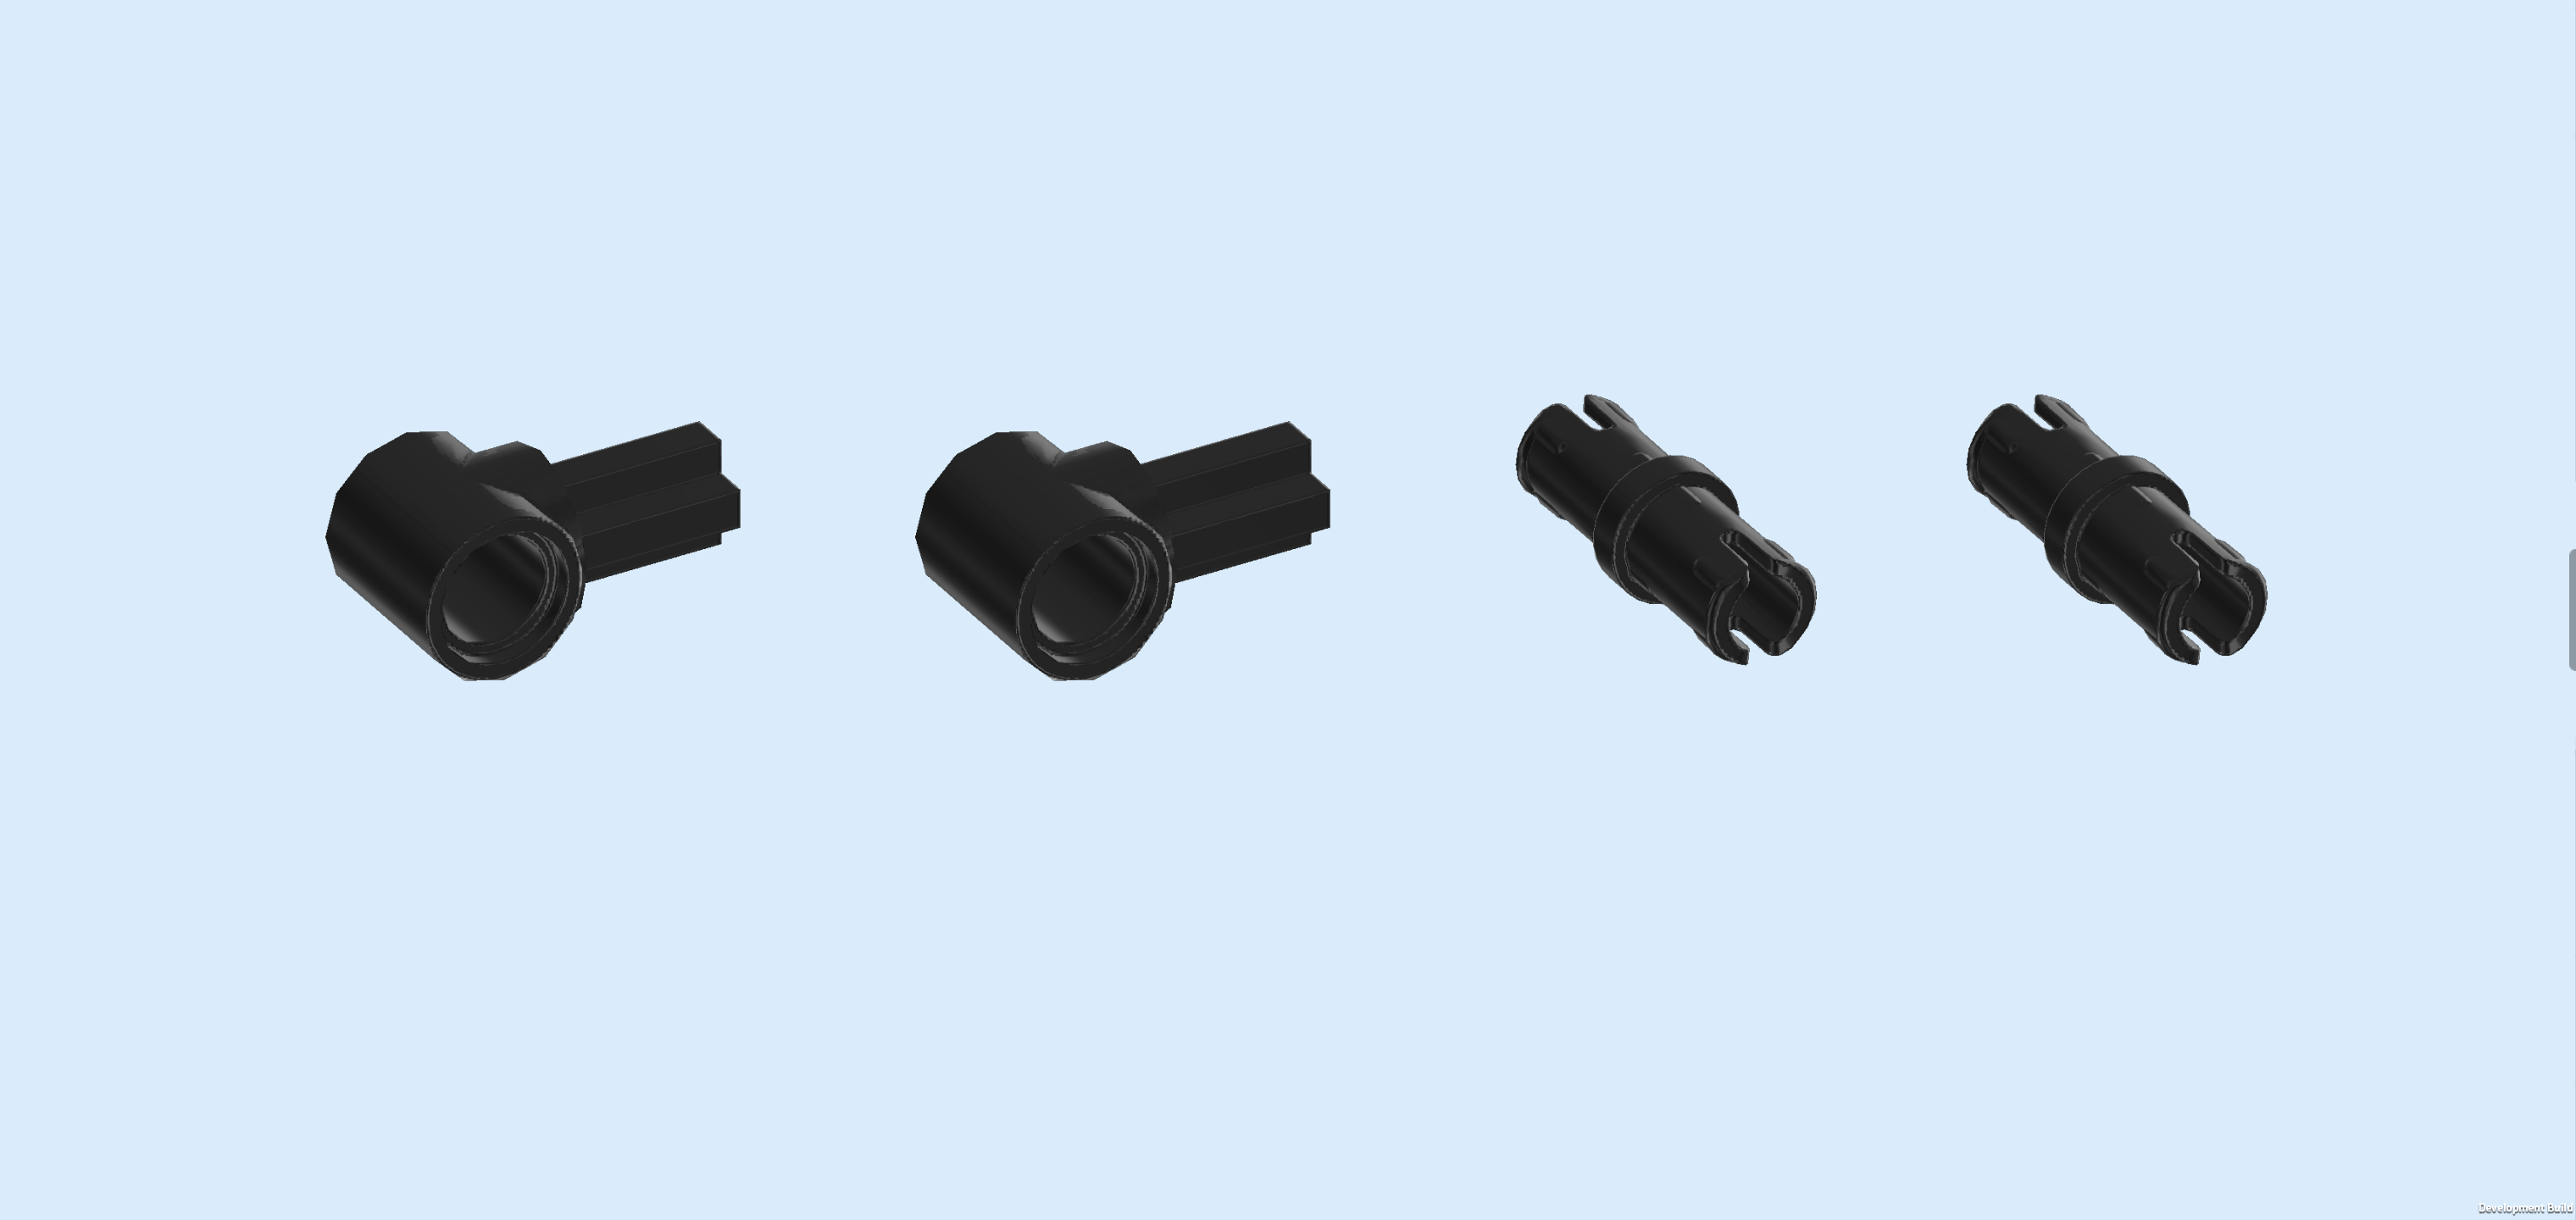
| 2 black T-shaped round bushings with cross axle pin, |
| and 2 black connector pegs 2m with middle ring. |
| Put 1 T-shaped bushing on the table so that its round hole is running from top to bottom and the cross axle pin is pointing to the right. |
| Insert 1 connector peg from the top into the round hole, 1/2 protruding to the top. |
| Repeat with the 2 remaining pieces. |
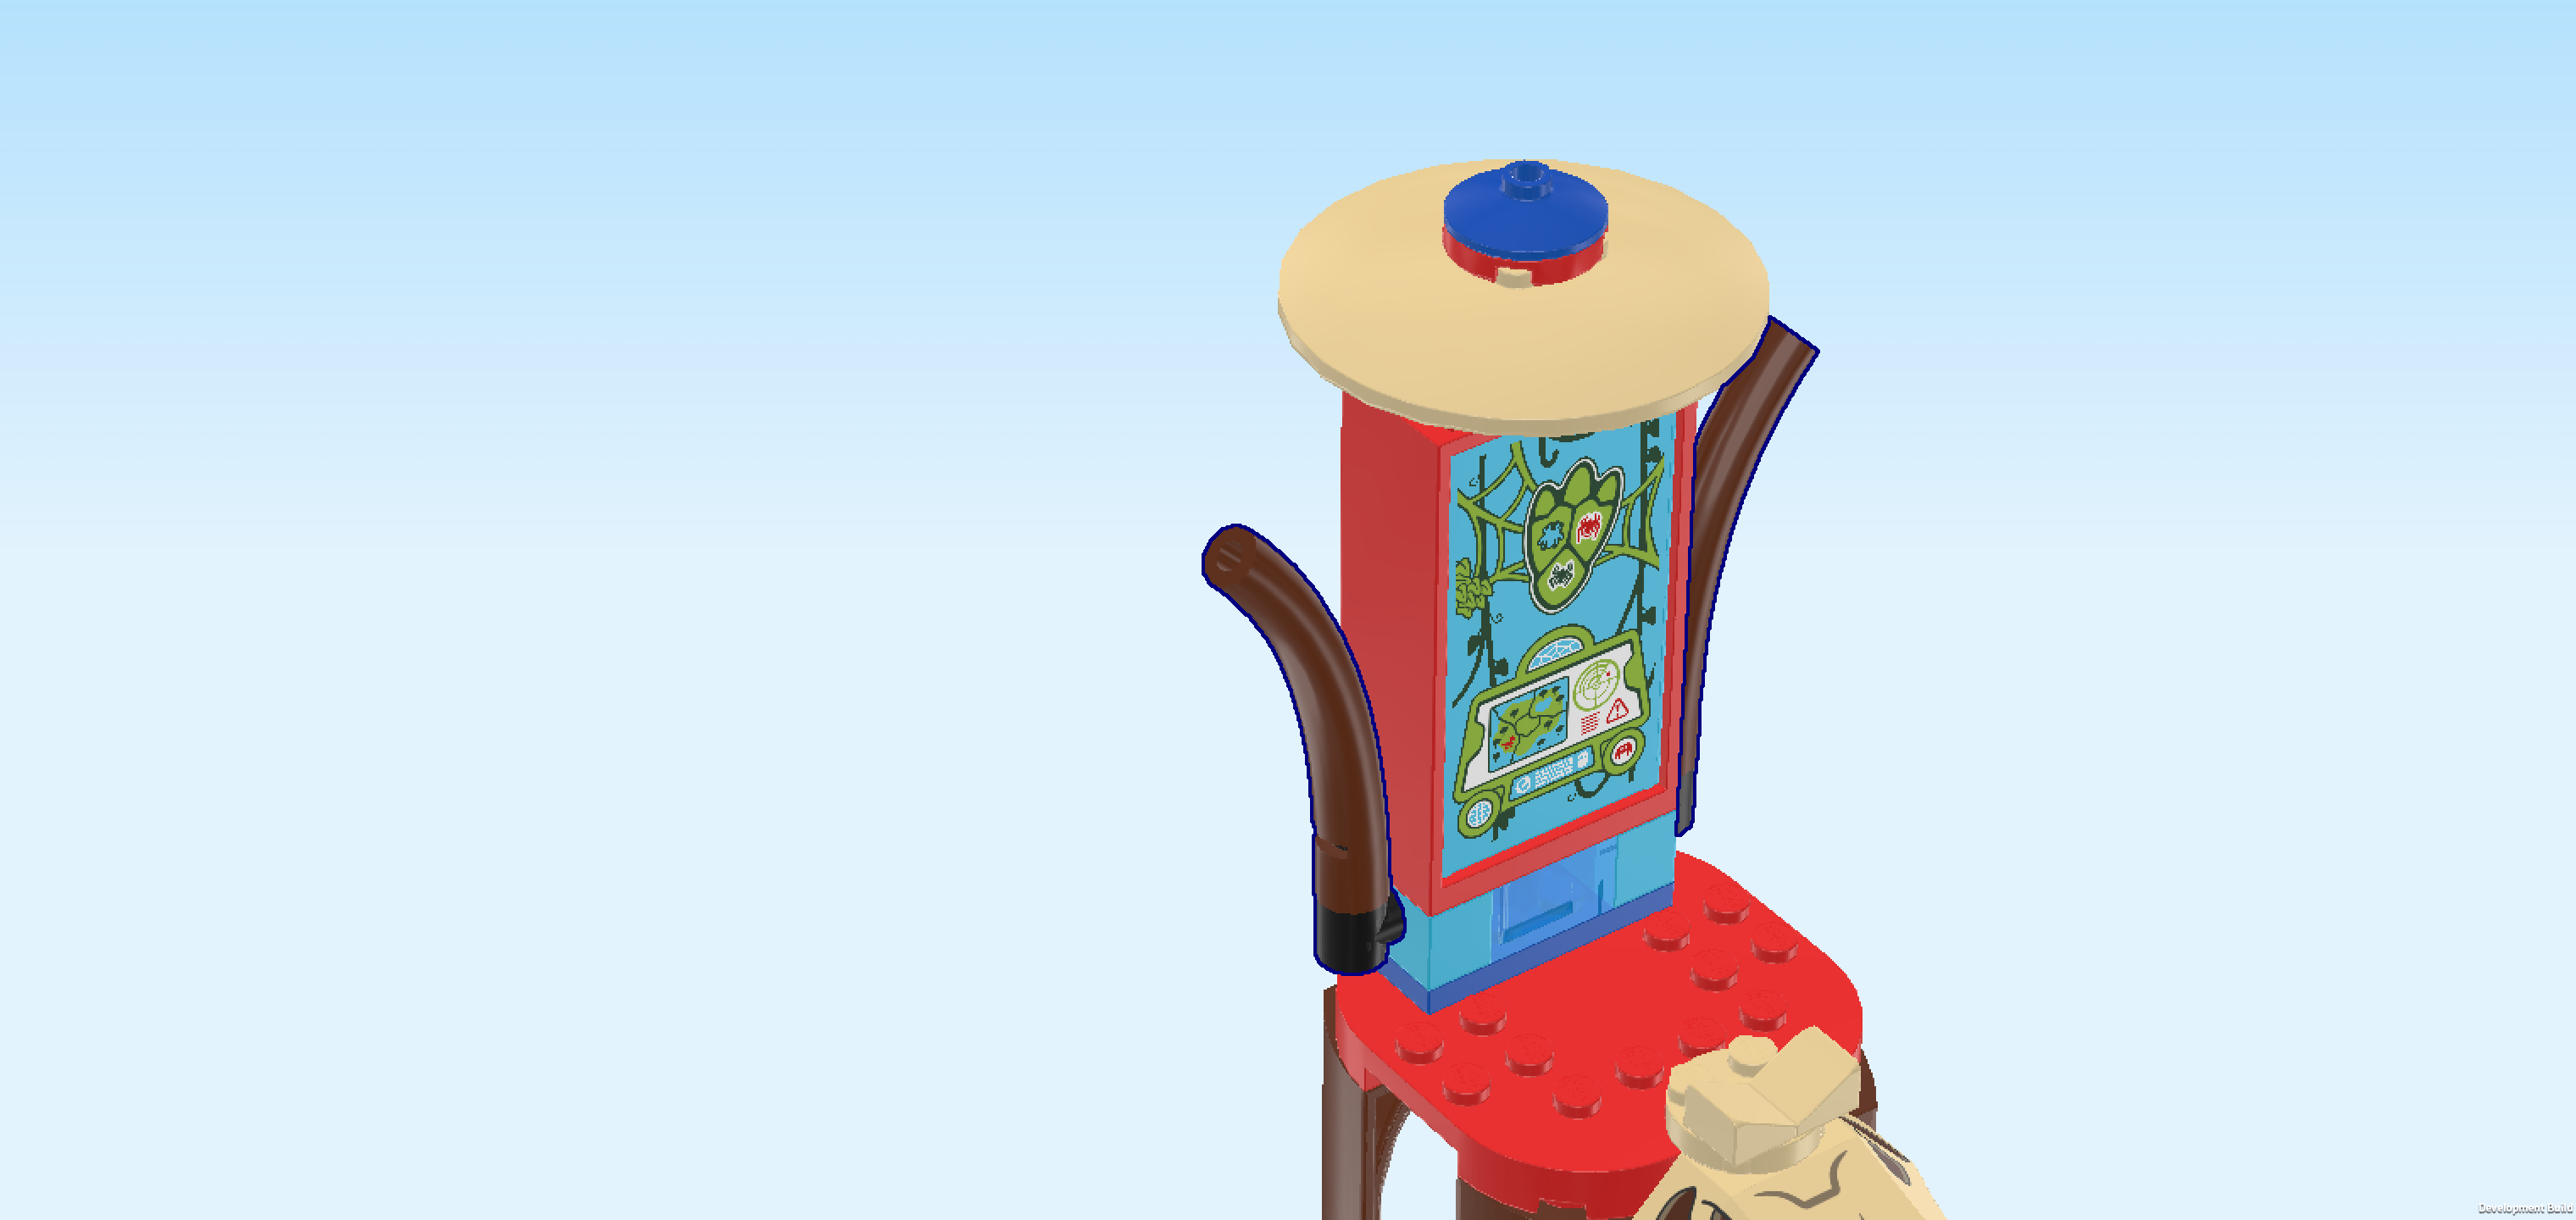
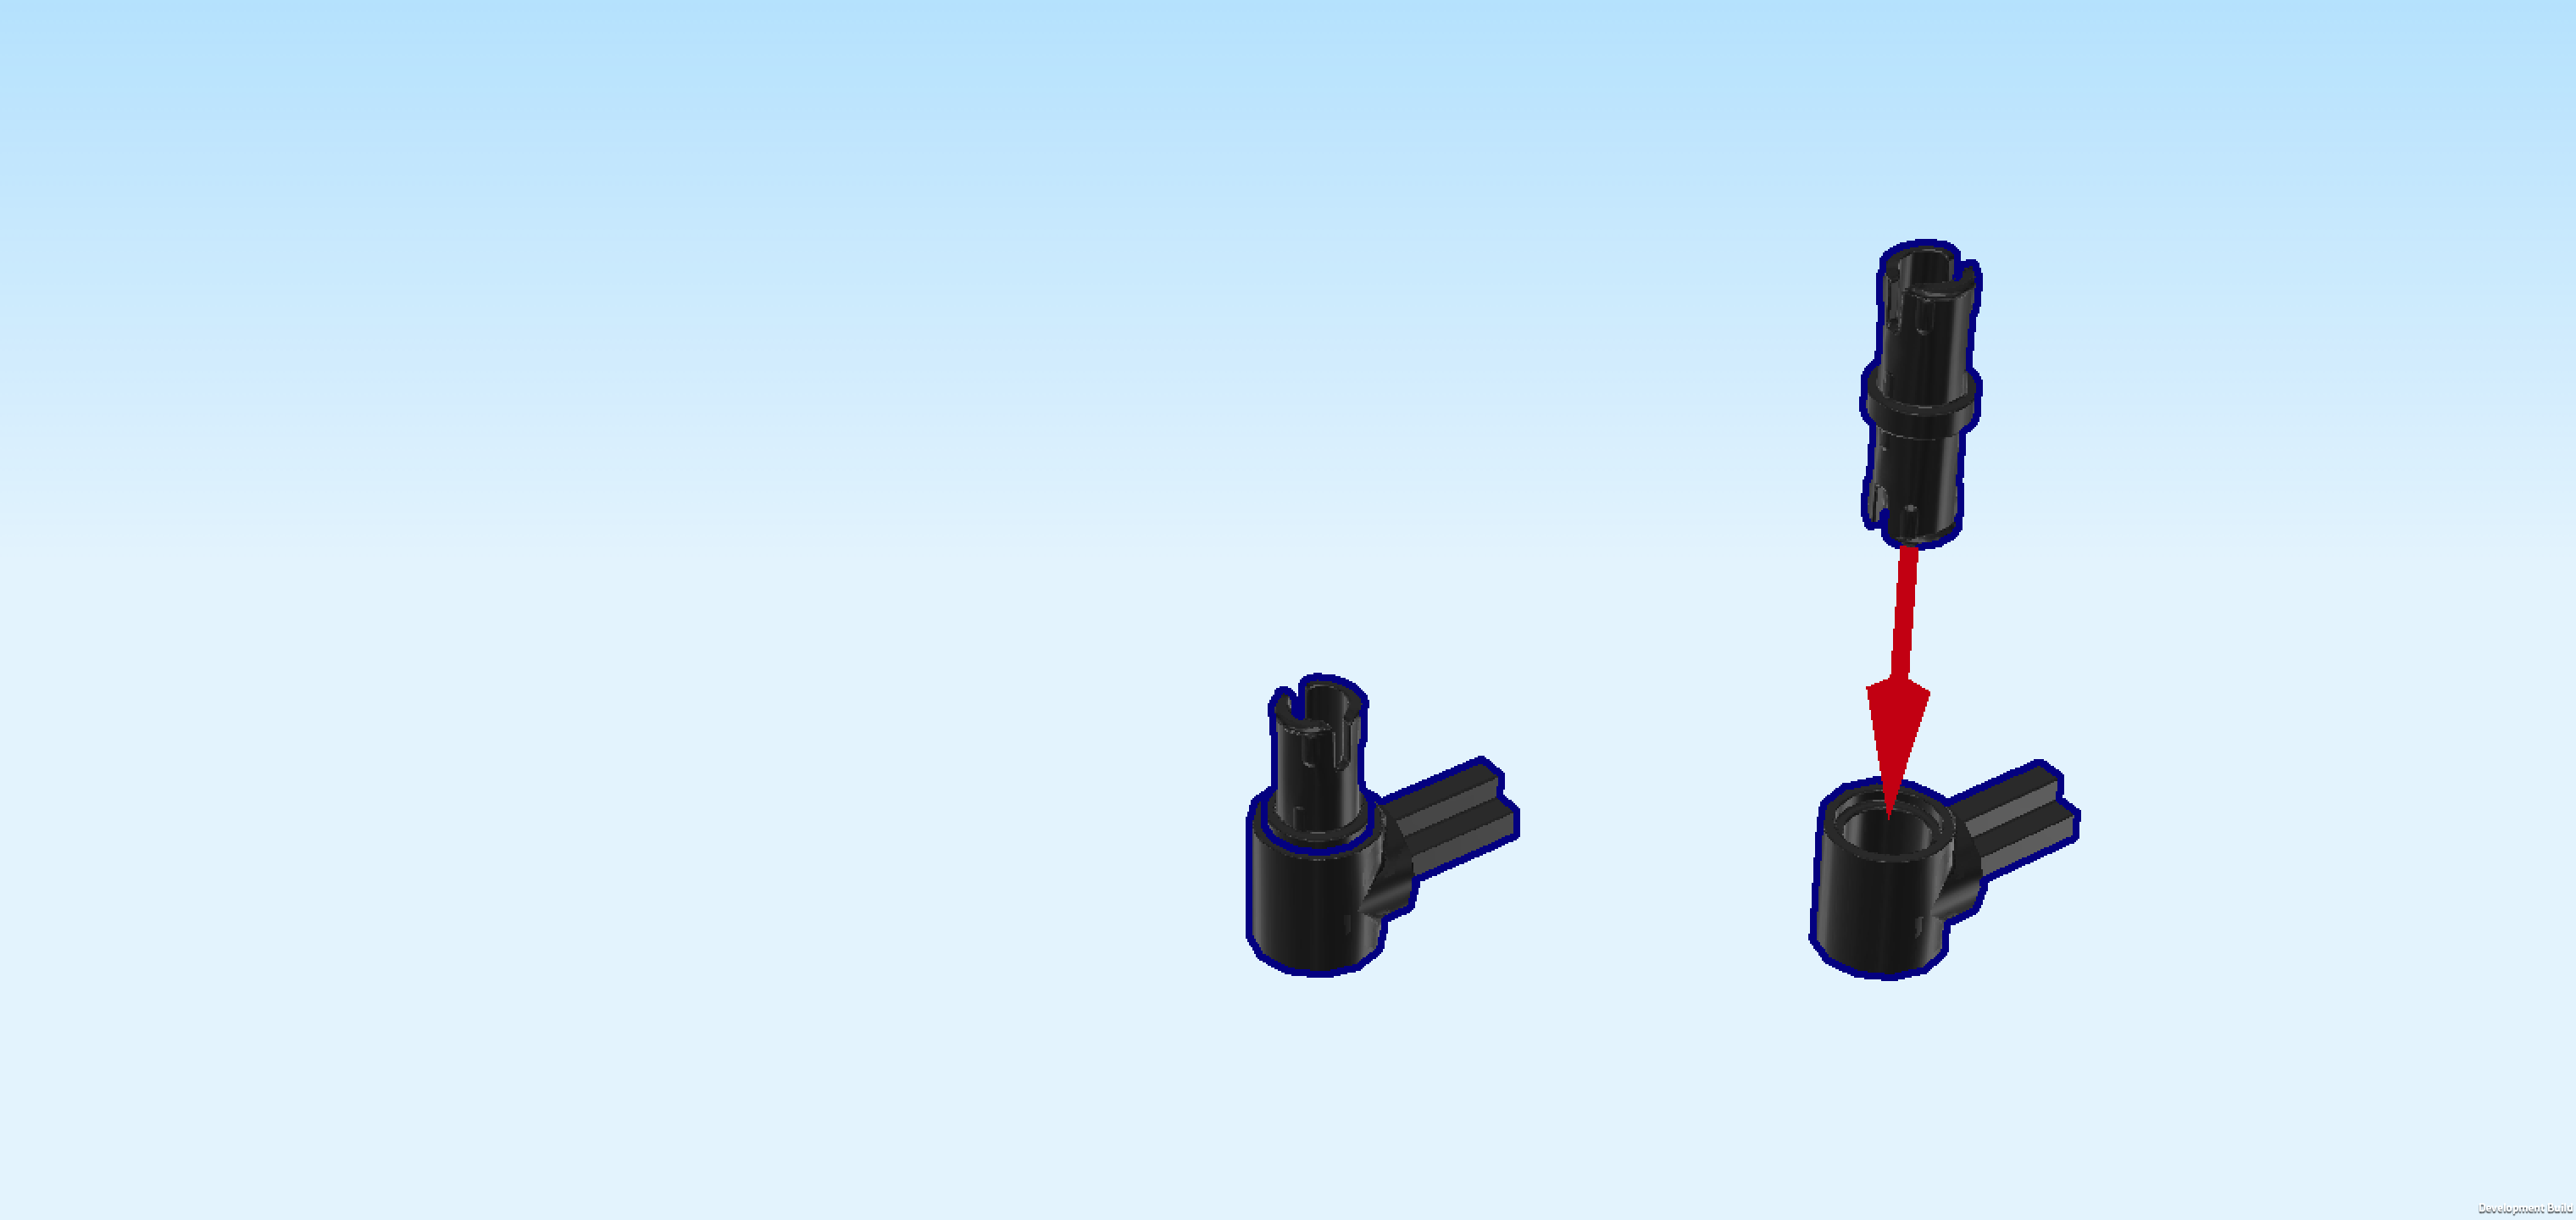
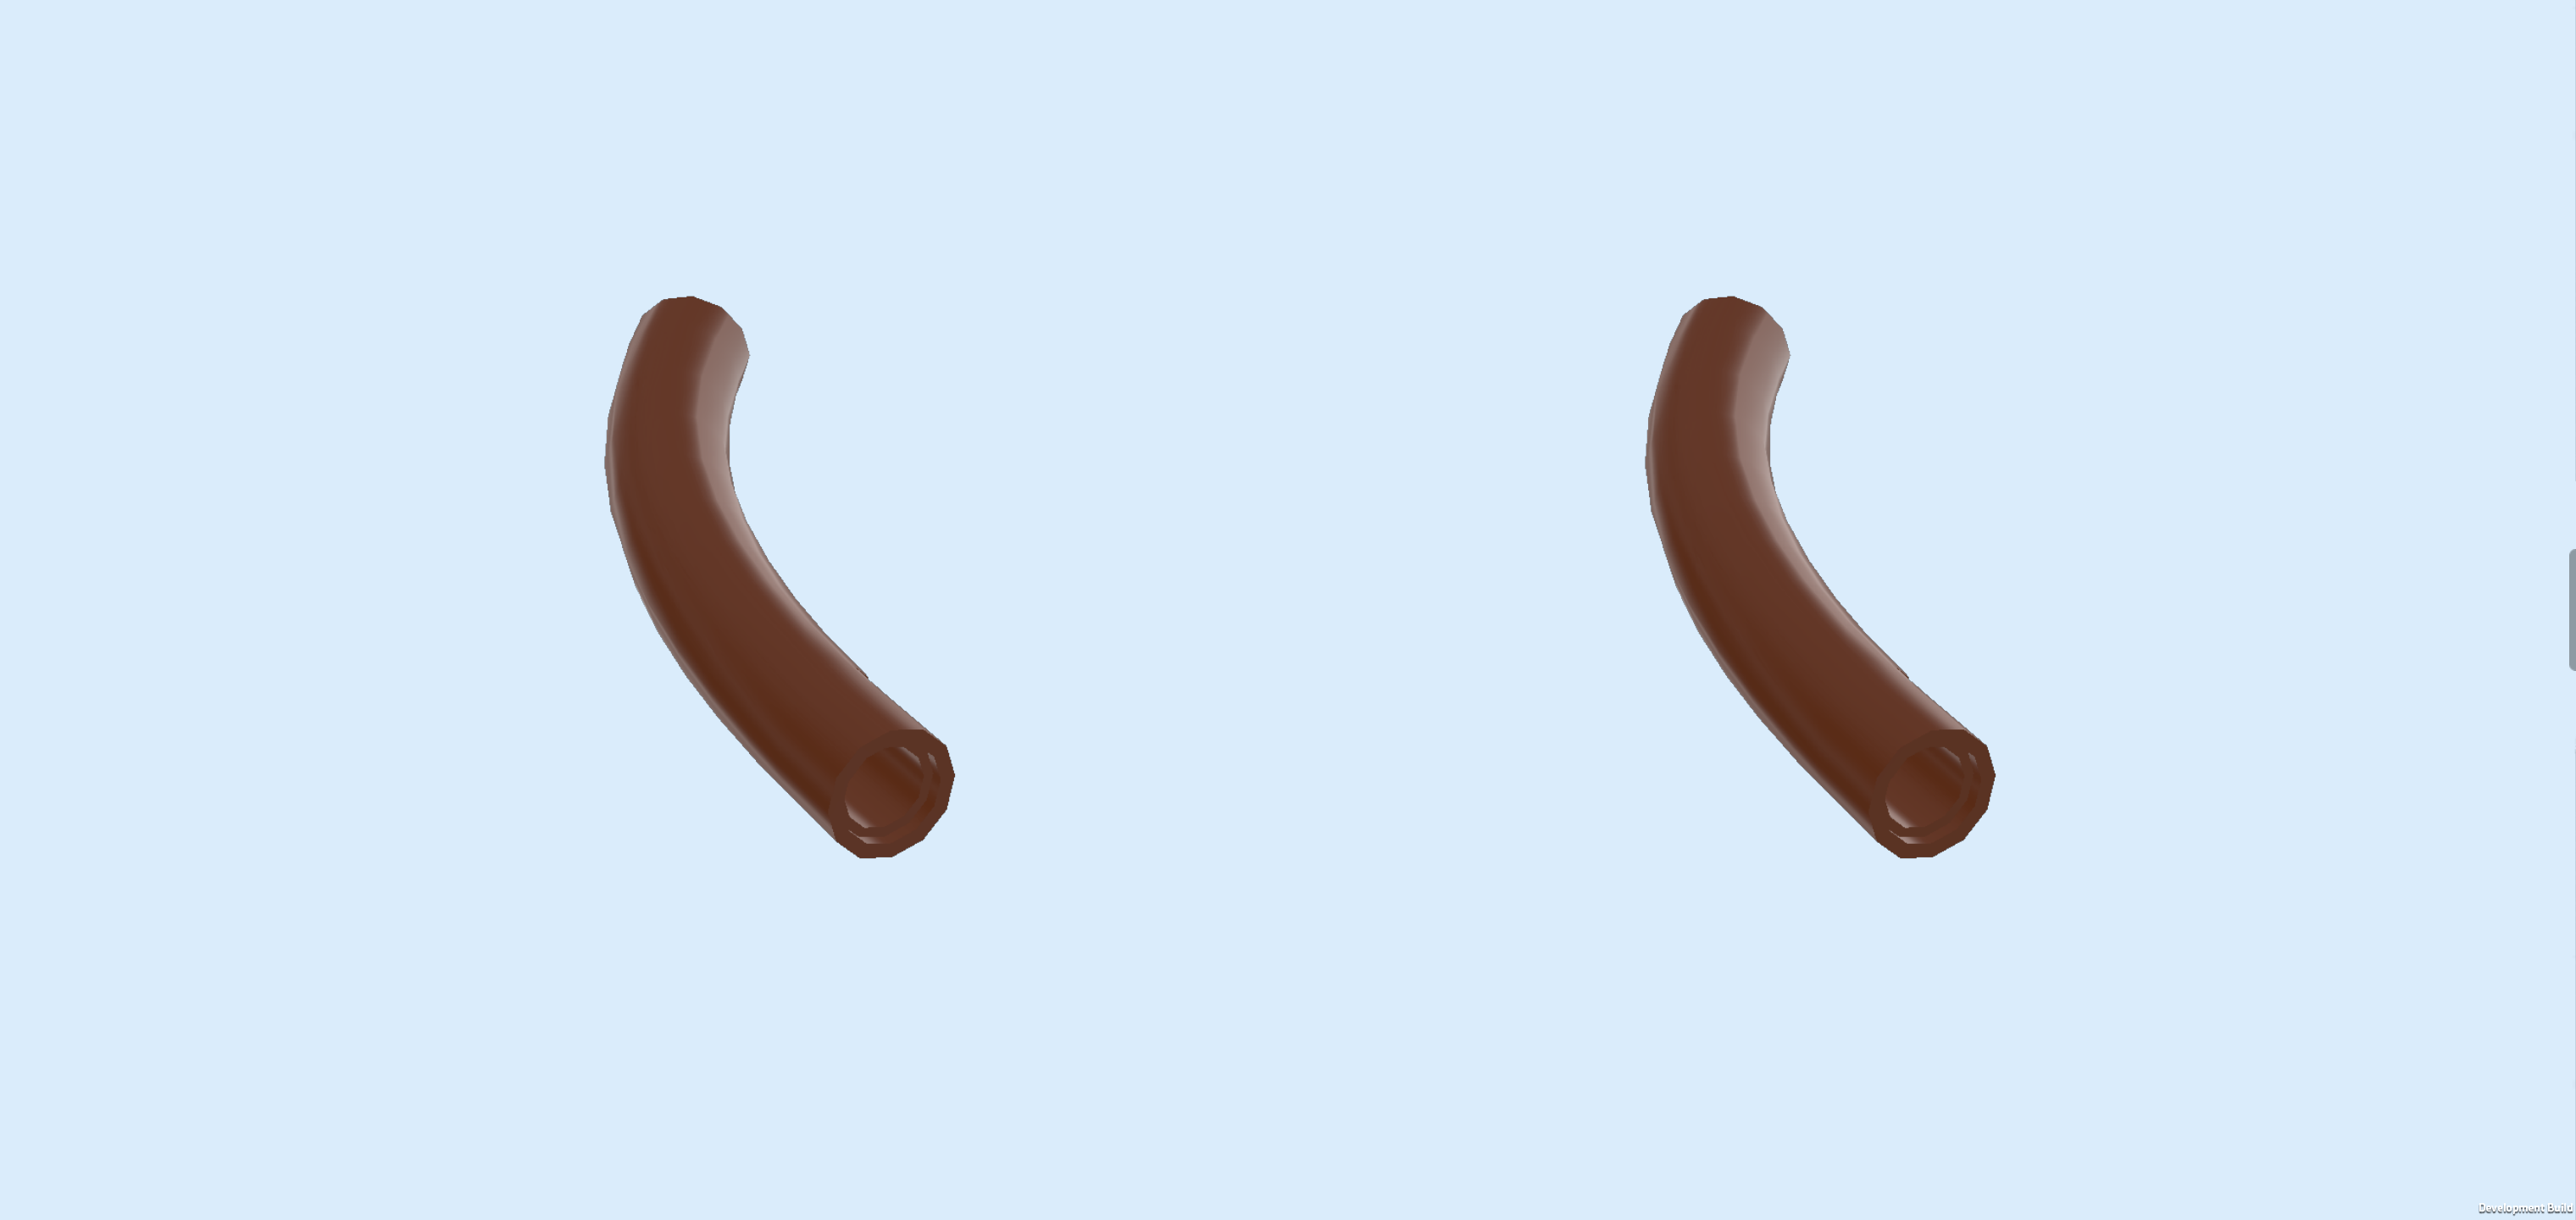
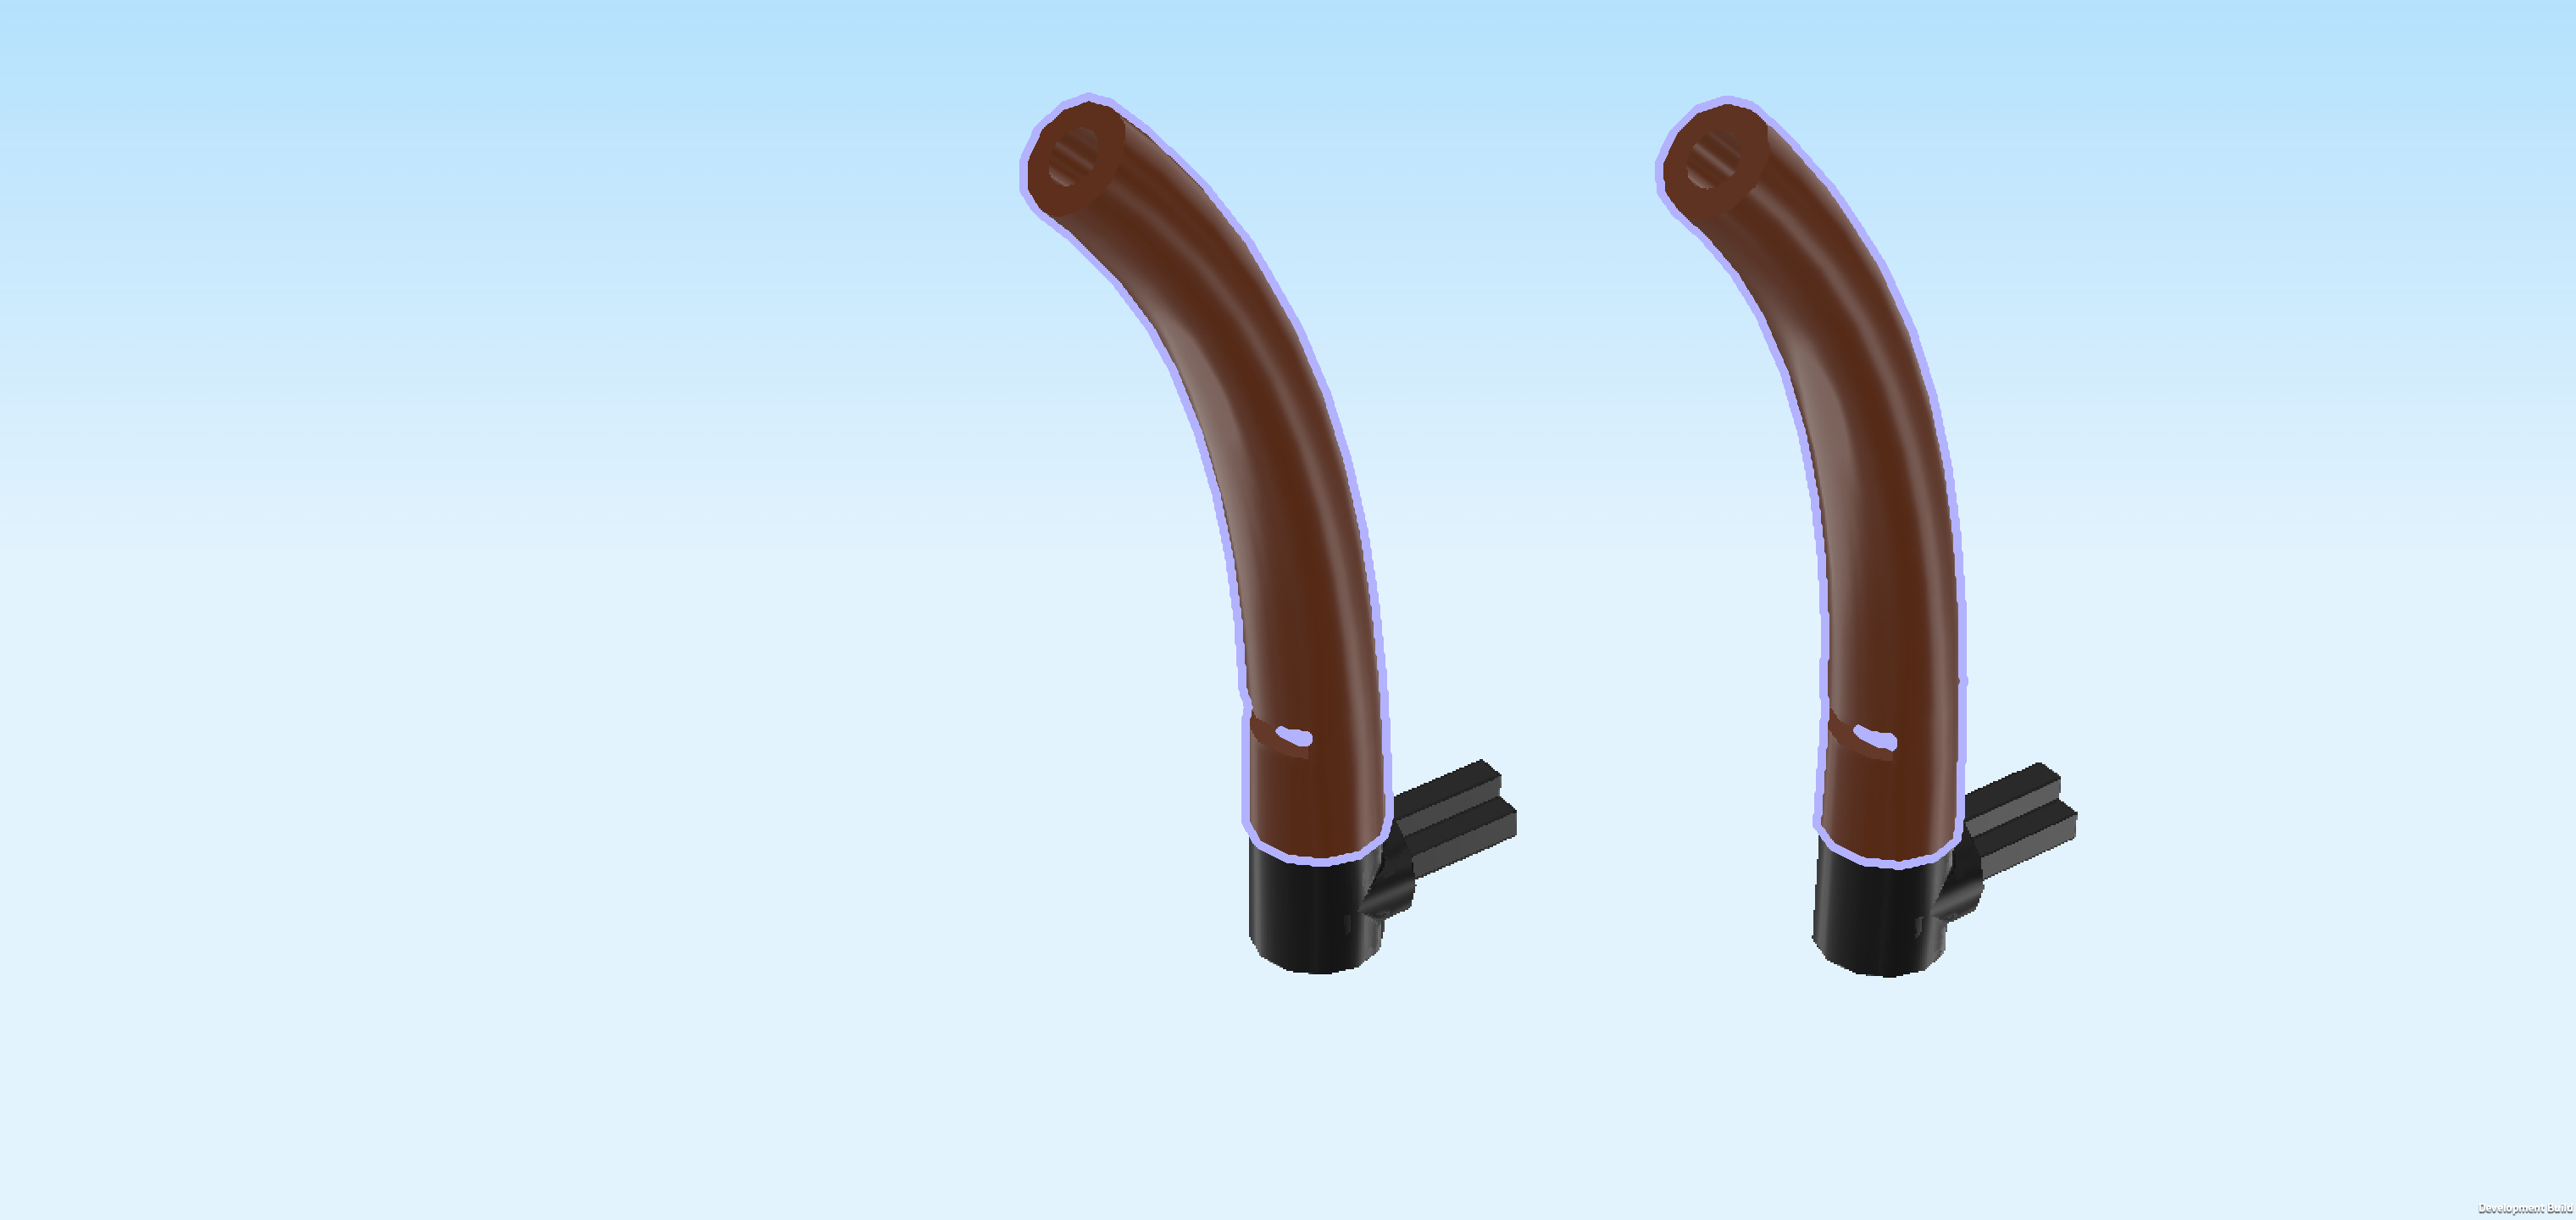
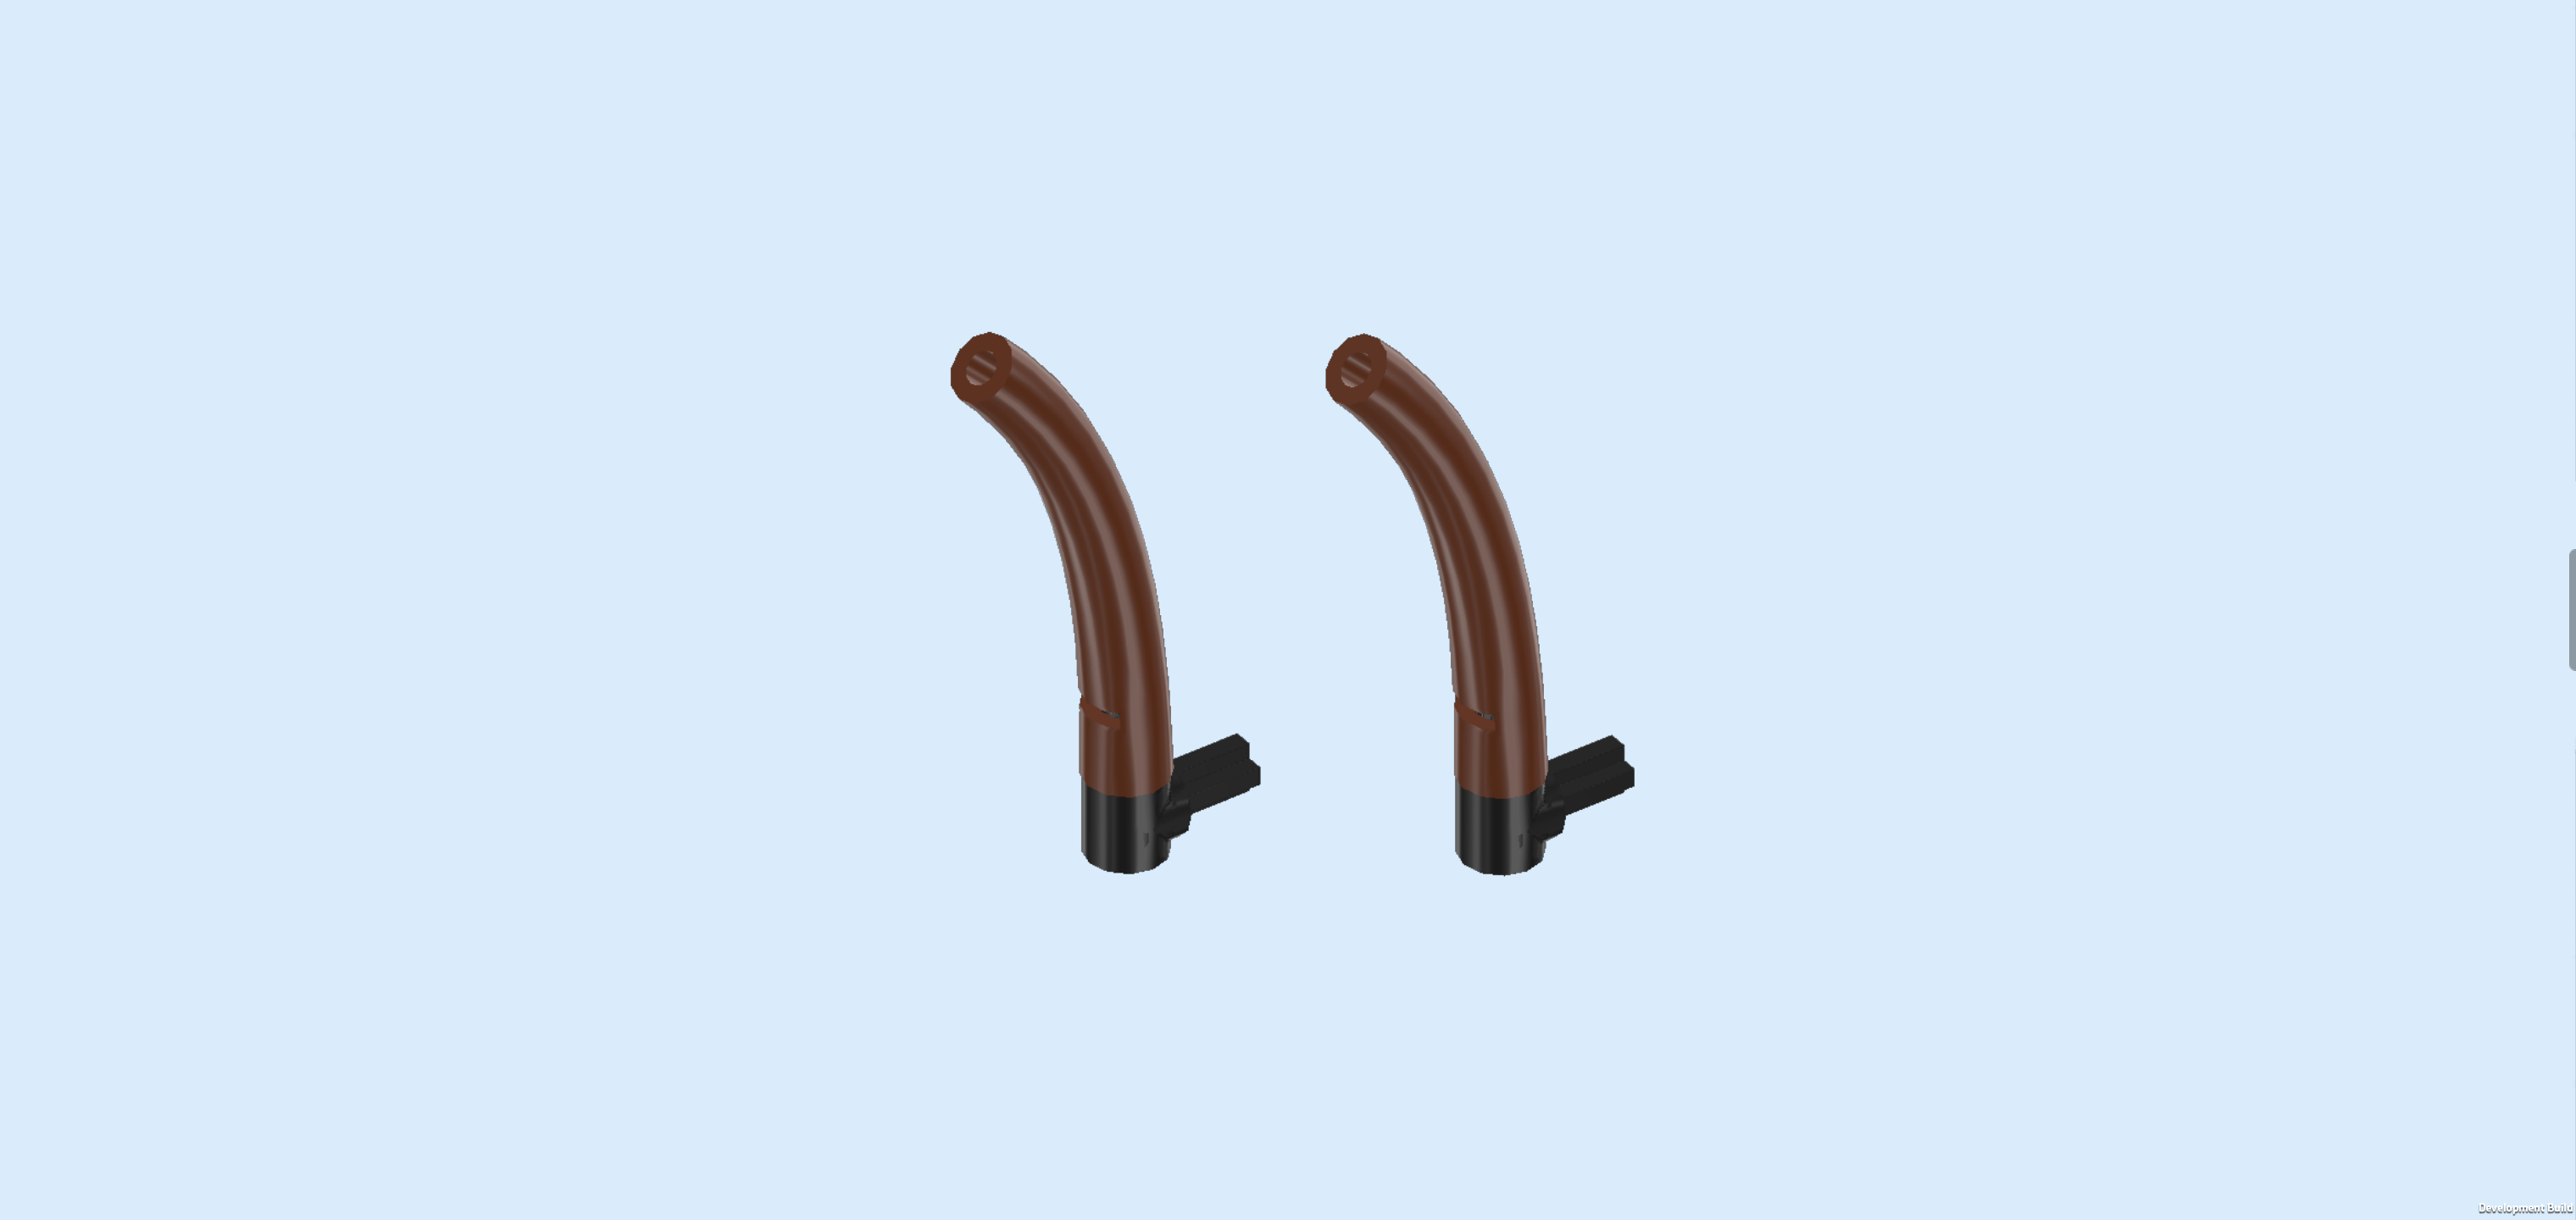
| Find 2 reddish brown long bent tubes. |
| Put 1 on the protruding connector peg from the previous step, tube tip pointing to the left. |
| Repeat with the second tube on the other structure. |
| The 2 tree trunks are finished! Insert the cross axle pin of one tree trunk from the left into the cross hole on the left side surface, trunk tip pointing to the left. |
| Repeat symmetrically on the right, tree trunk pointing to the right. |
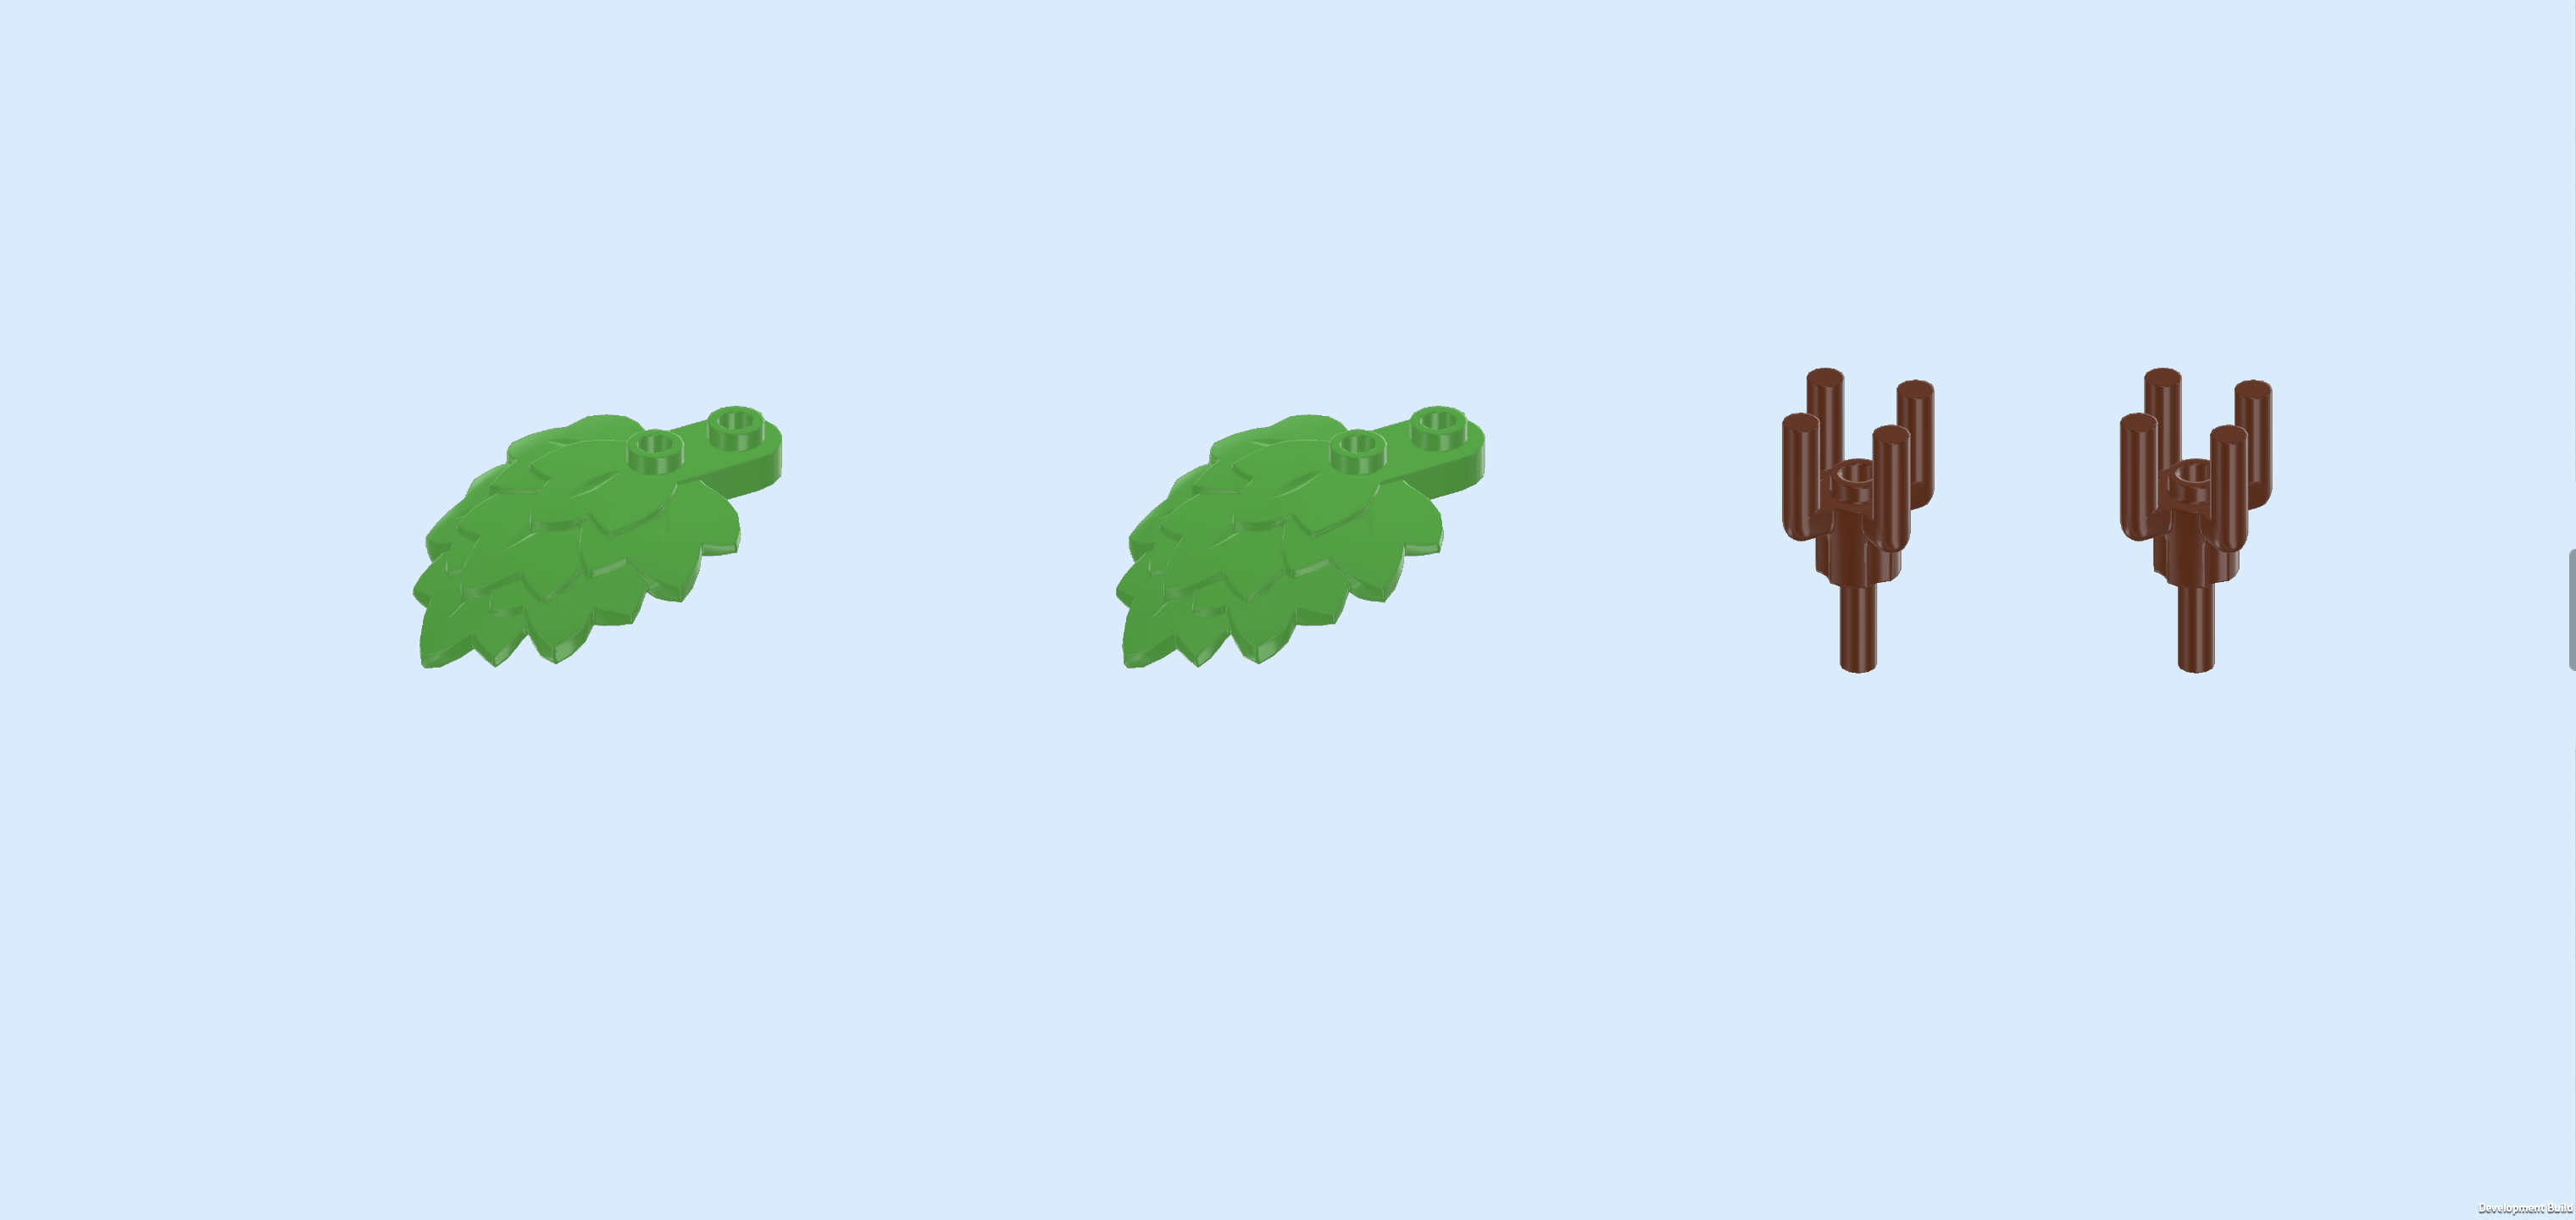
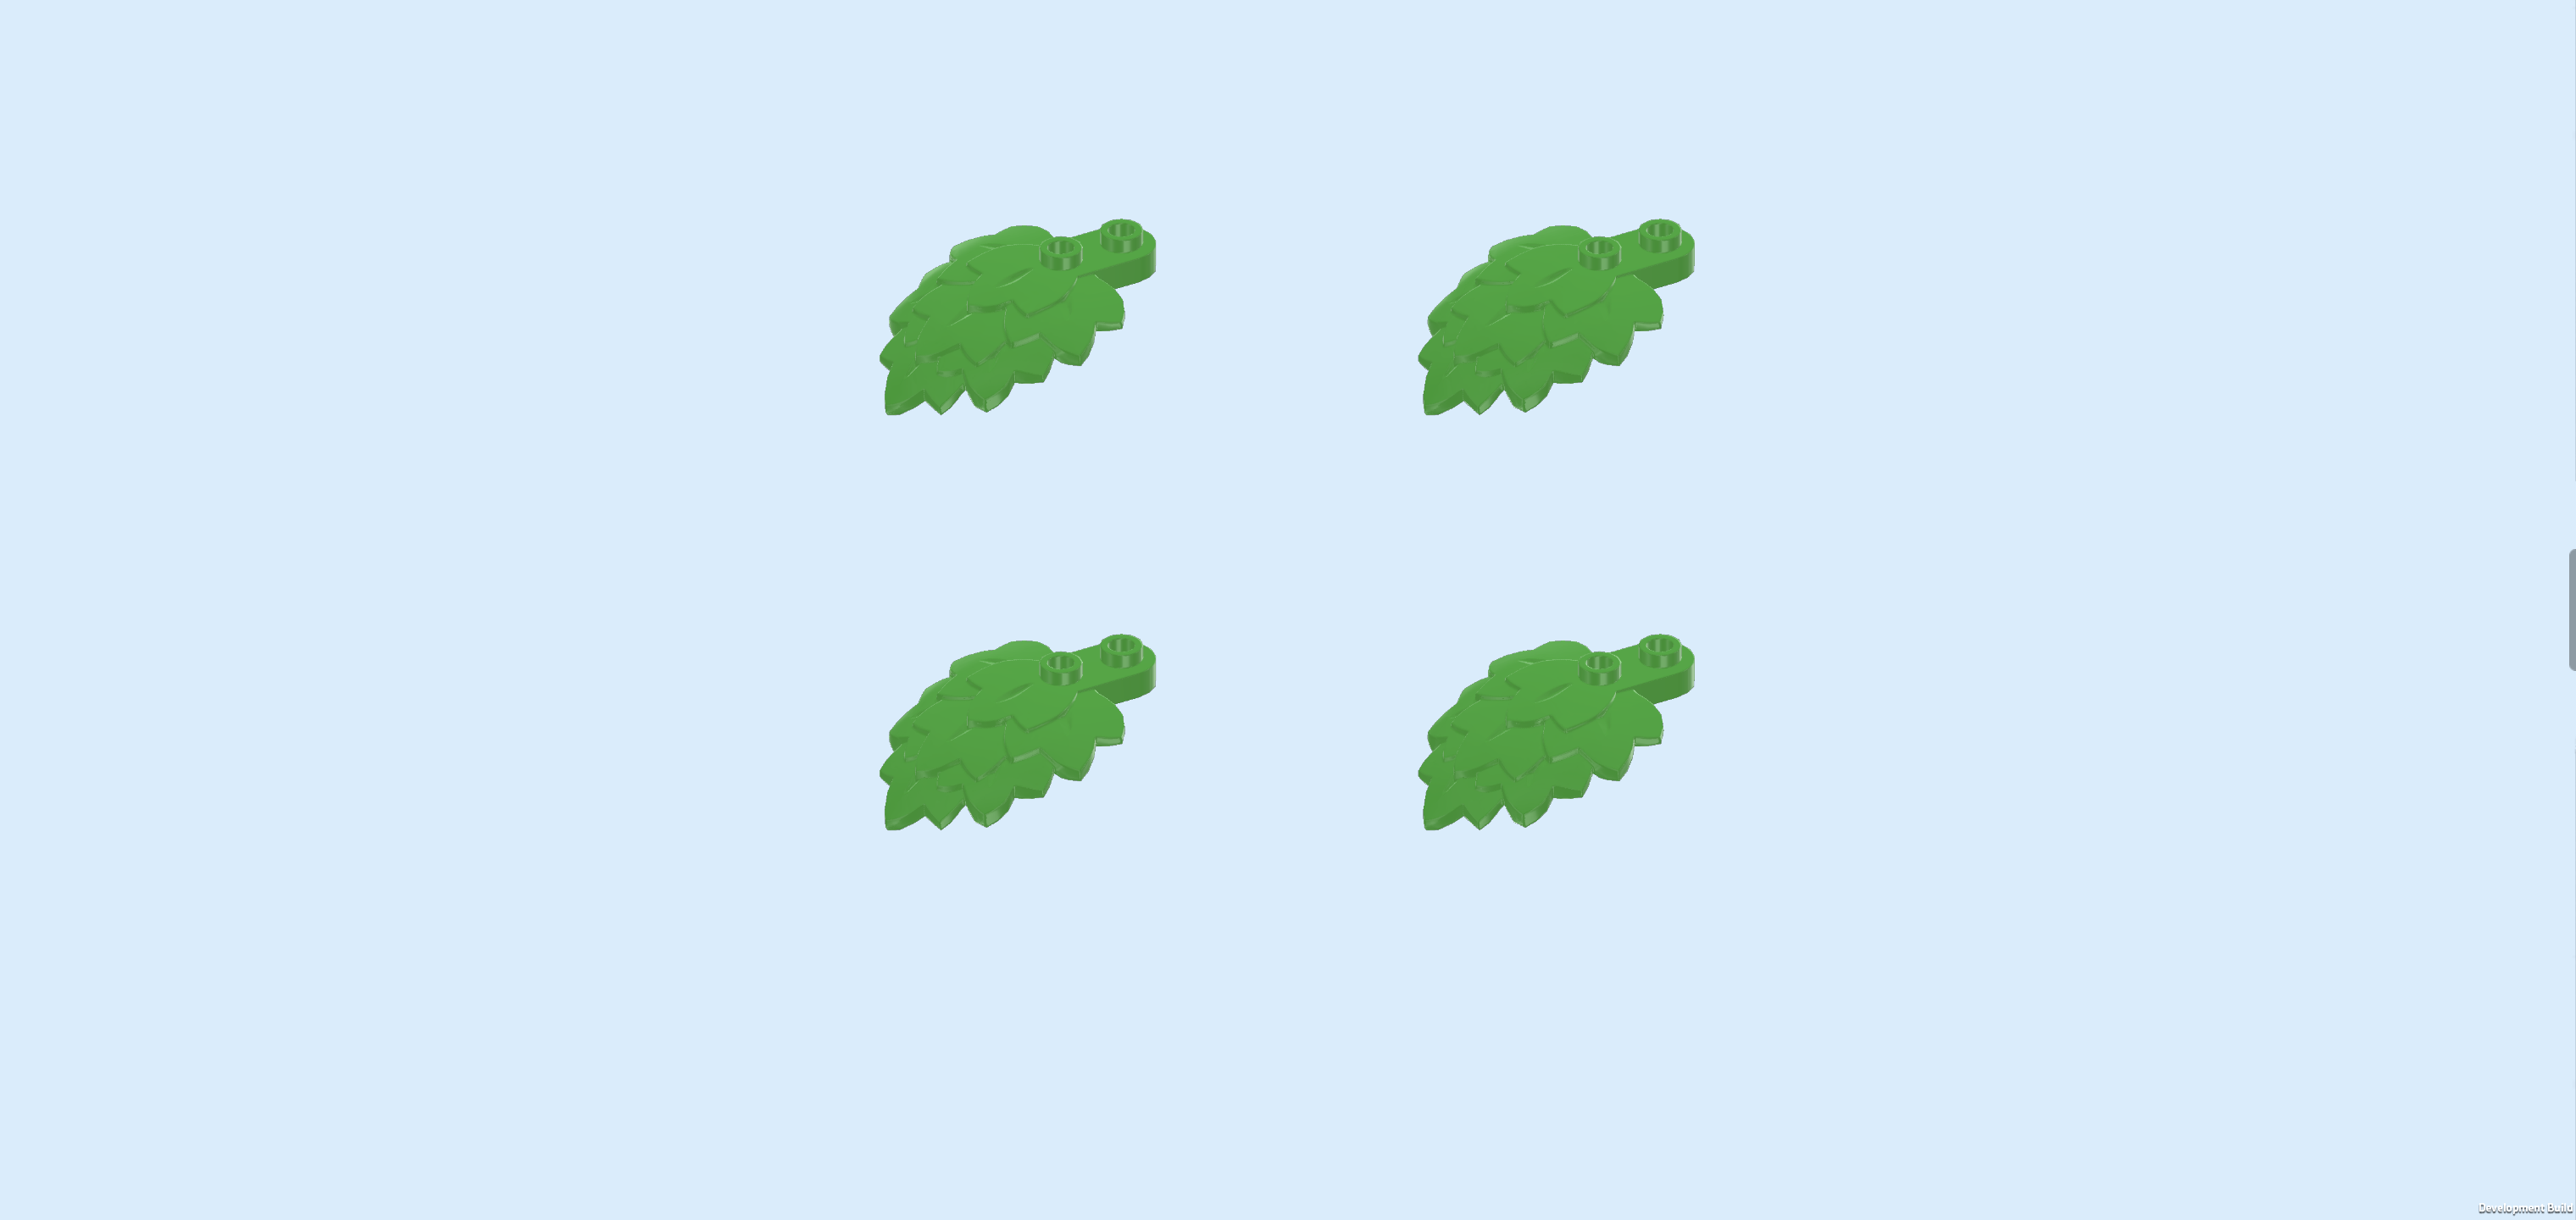
| Now, we will build 2 leaf crowns. |
| Collect the following 4 pieces: |
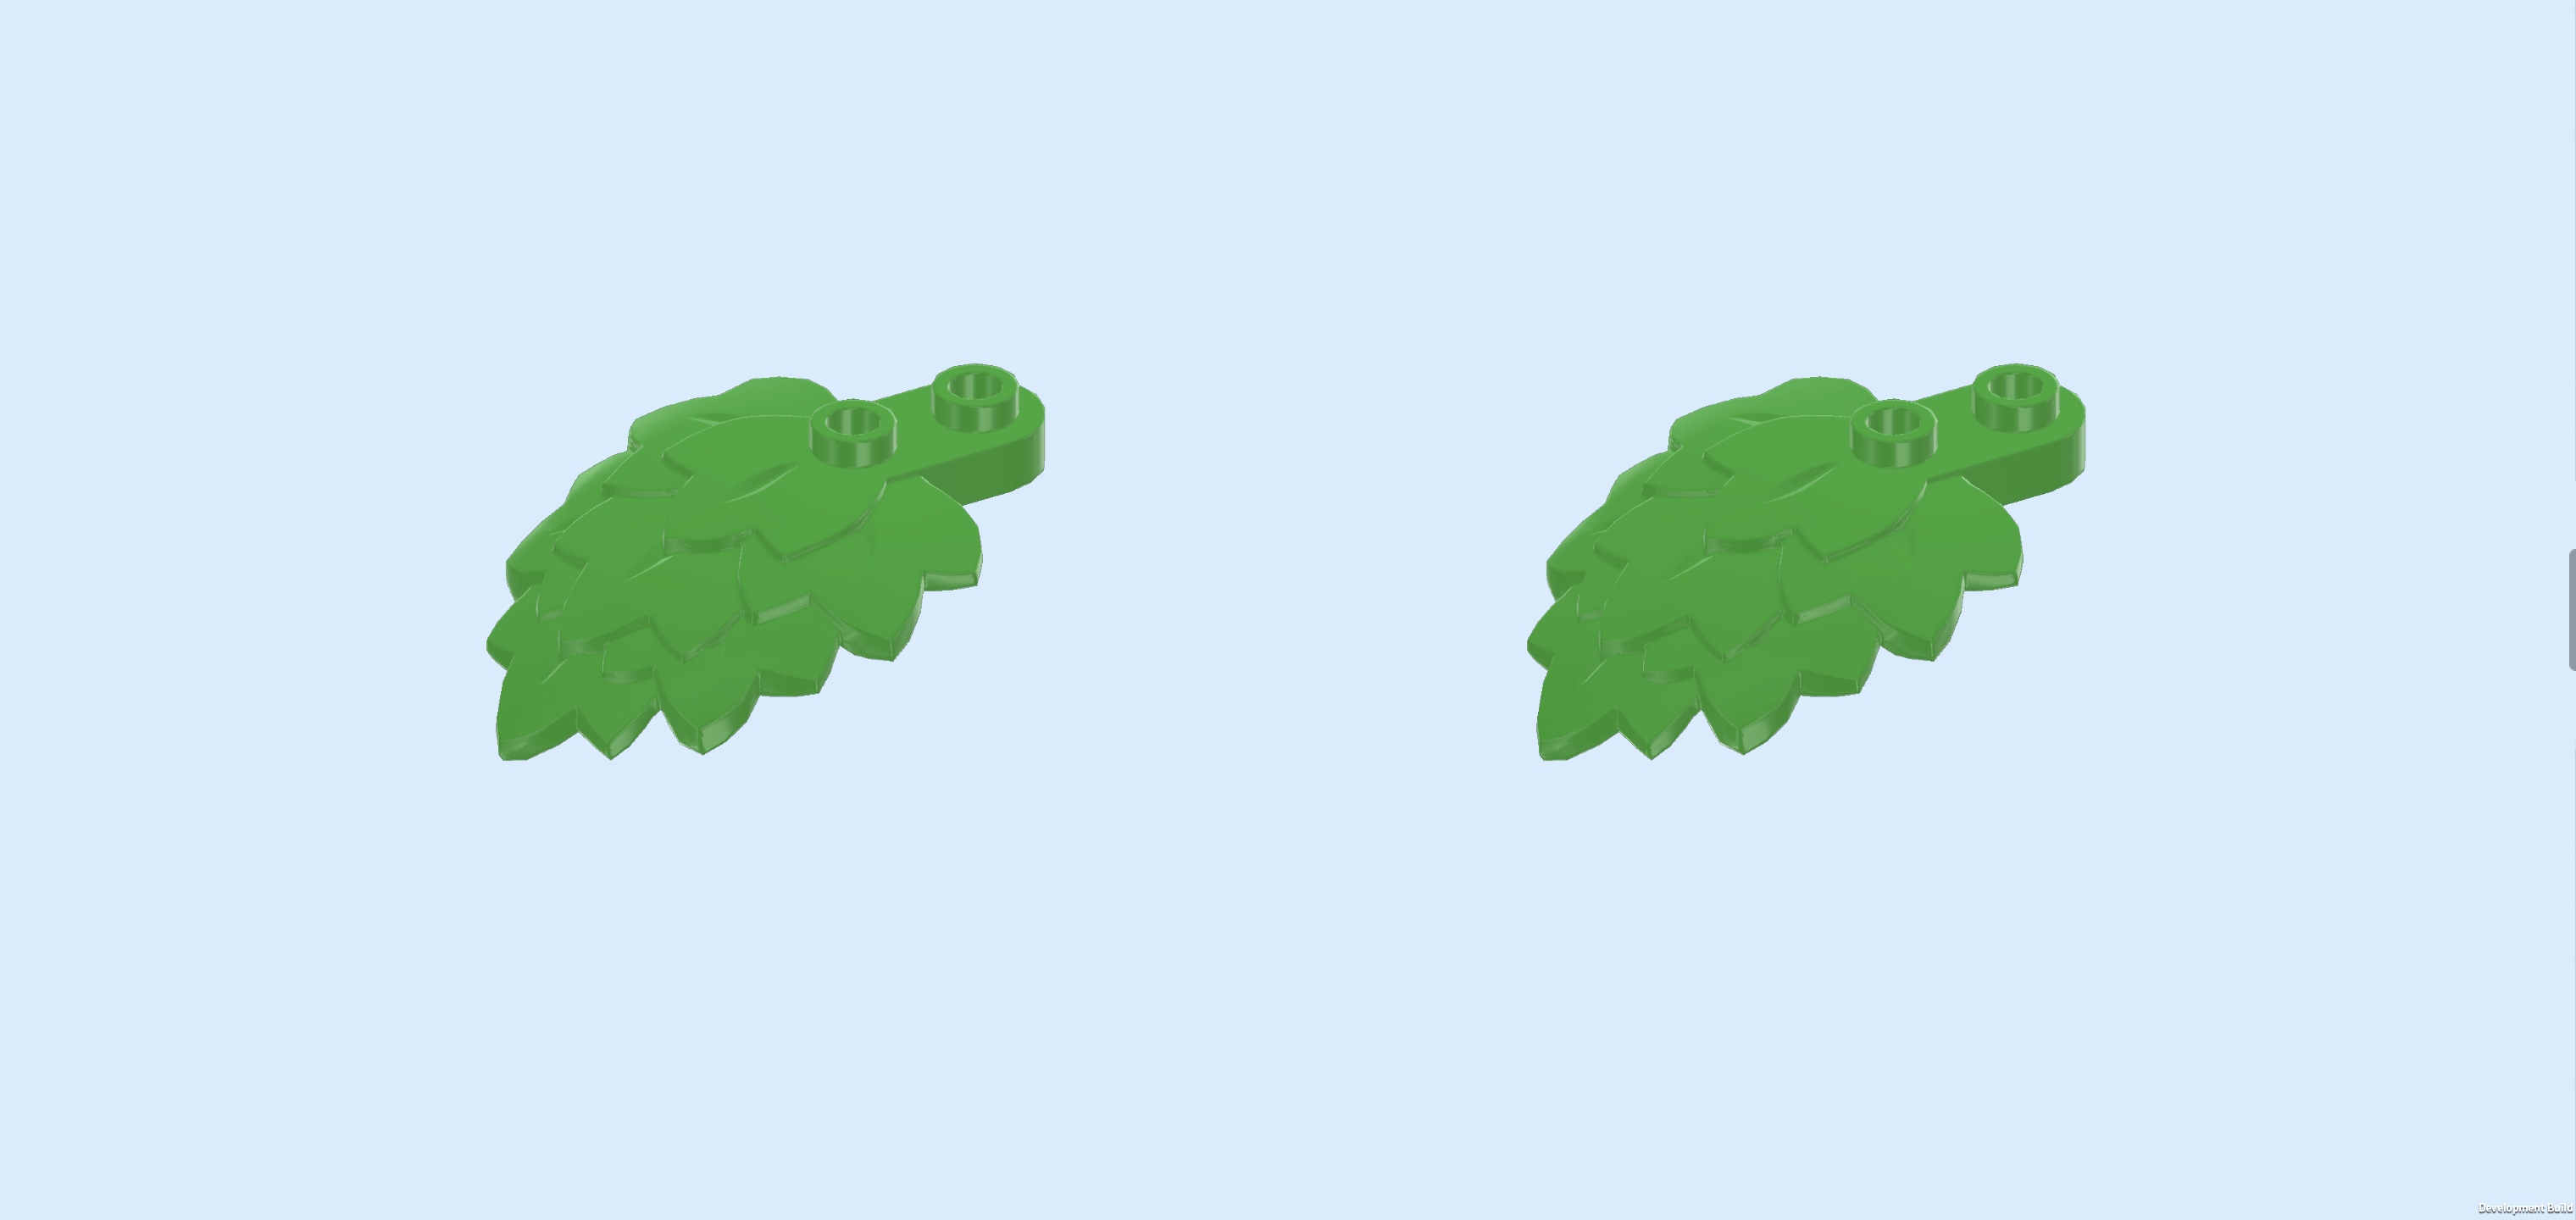
| 2 bright green leaves 4x5x1⅔, |
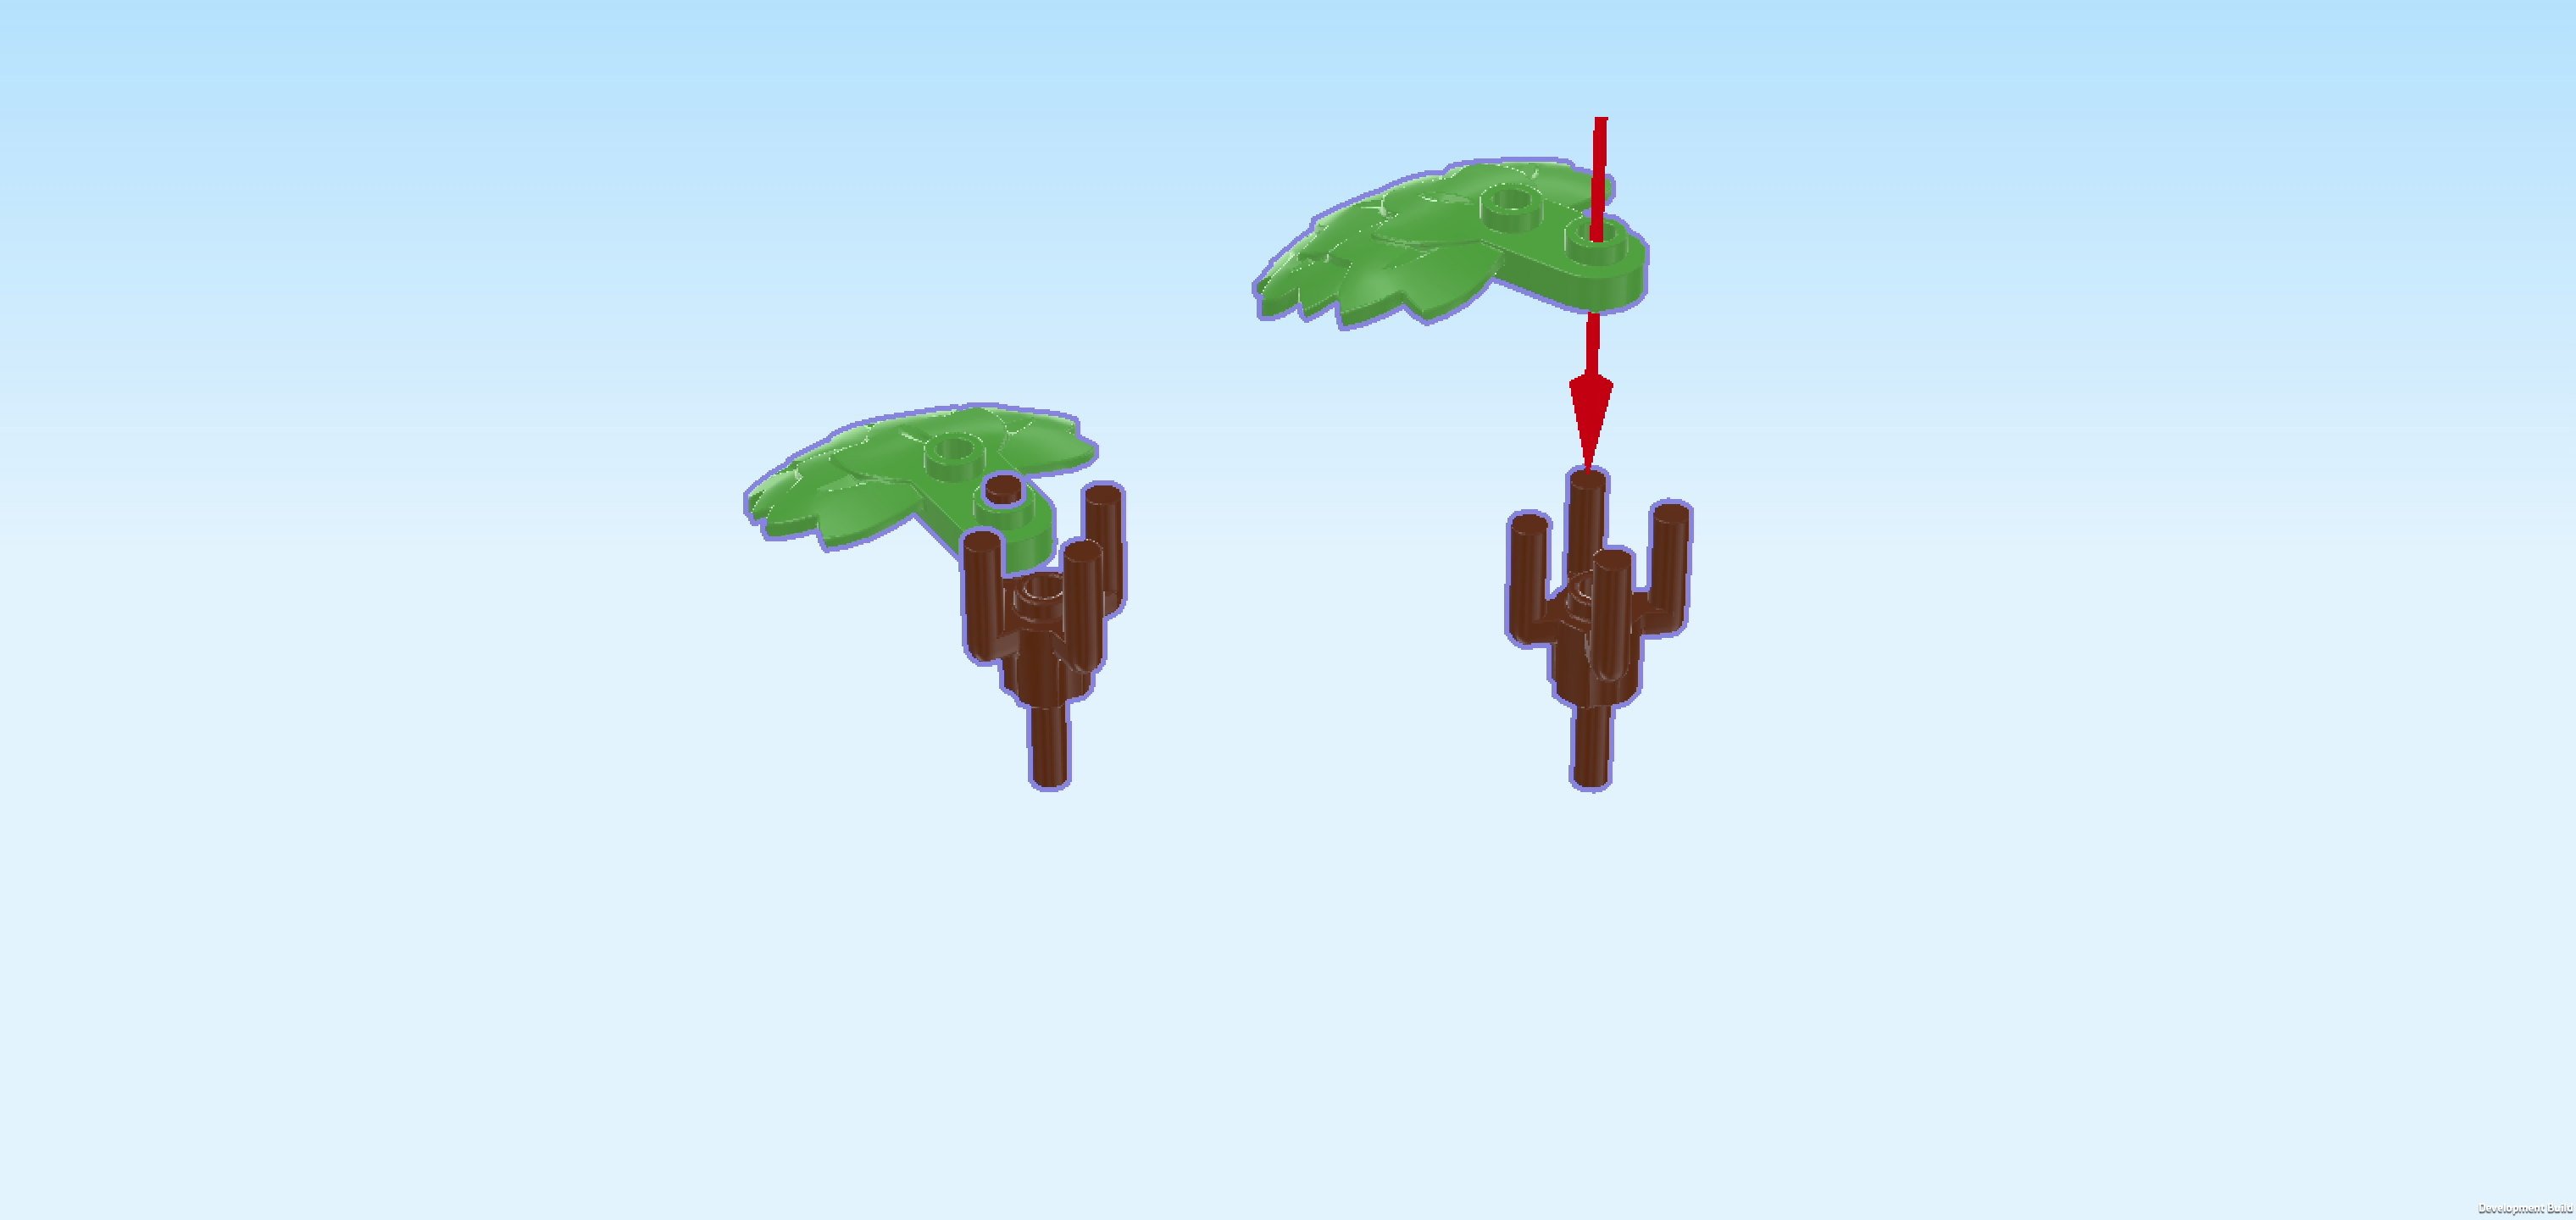
| and 2 reddish brown round bricks 1x1 with 1 bottom shaft and 4 top shafts. |
| Hold 1 round brick with shafts so that the single shaft is pointing to the bottom and the remaining 4 shafts are pointing to the top. |
| Put the outermost knob of 1 leaf on one of the 4 top shafts. Make sure the shaft doesn't protrude beyond the leaf's top surface. |
| Repeat with the other 2 elements. |
| Find another 4 bright green leaves 4x5x1⅔. |
| Mount 2 more leaves on one crown structure just like the first leaf. One of the 4 top shafts will remain empty. Adjust the leaves so that they are evenly distributed. |
| Repeat with the 2 remaining leaves on the other crown structure. |
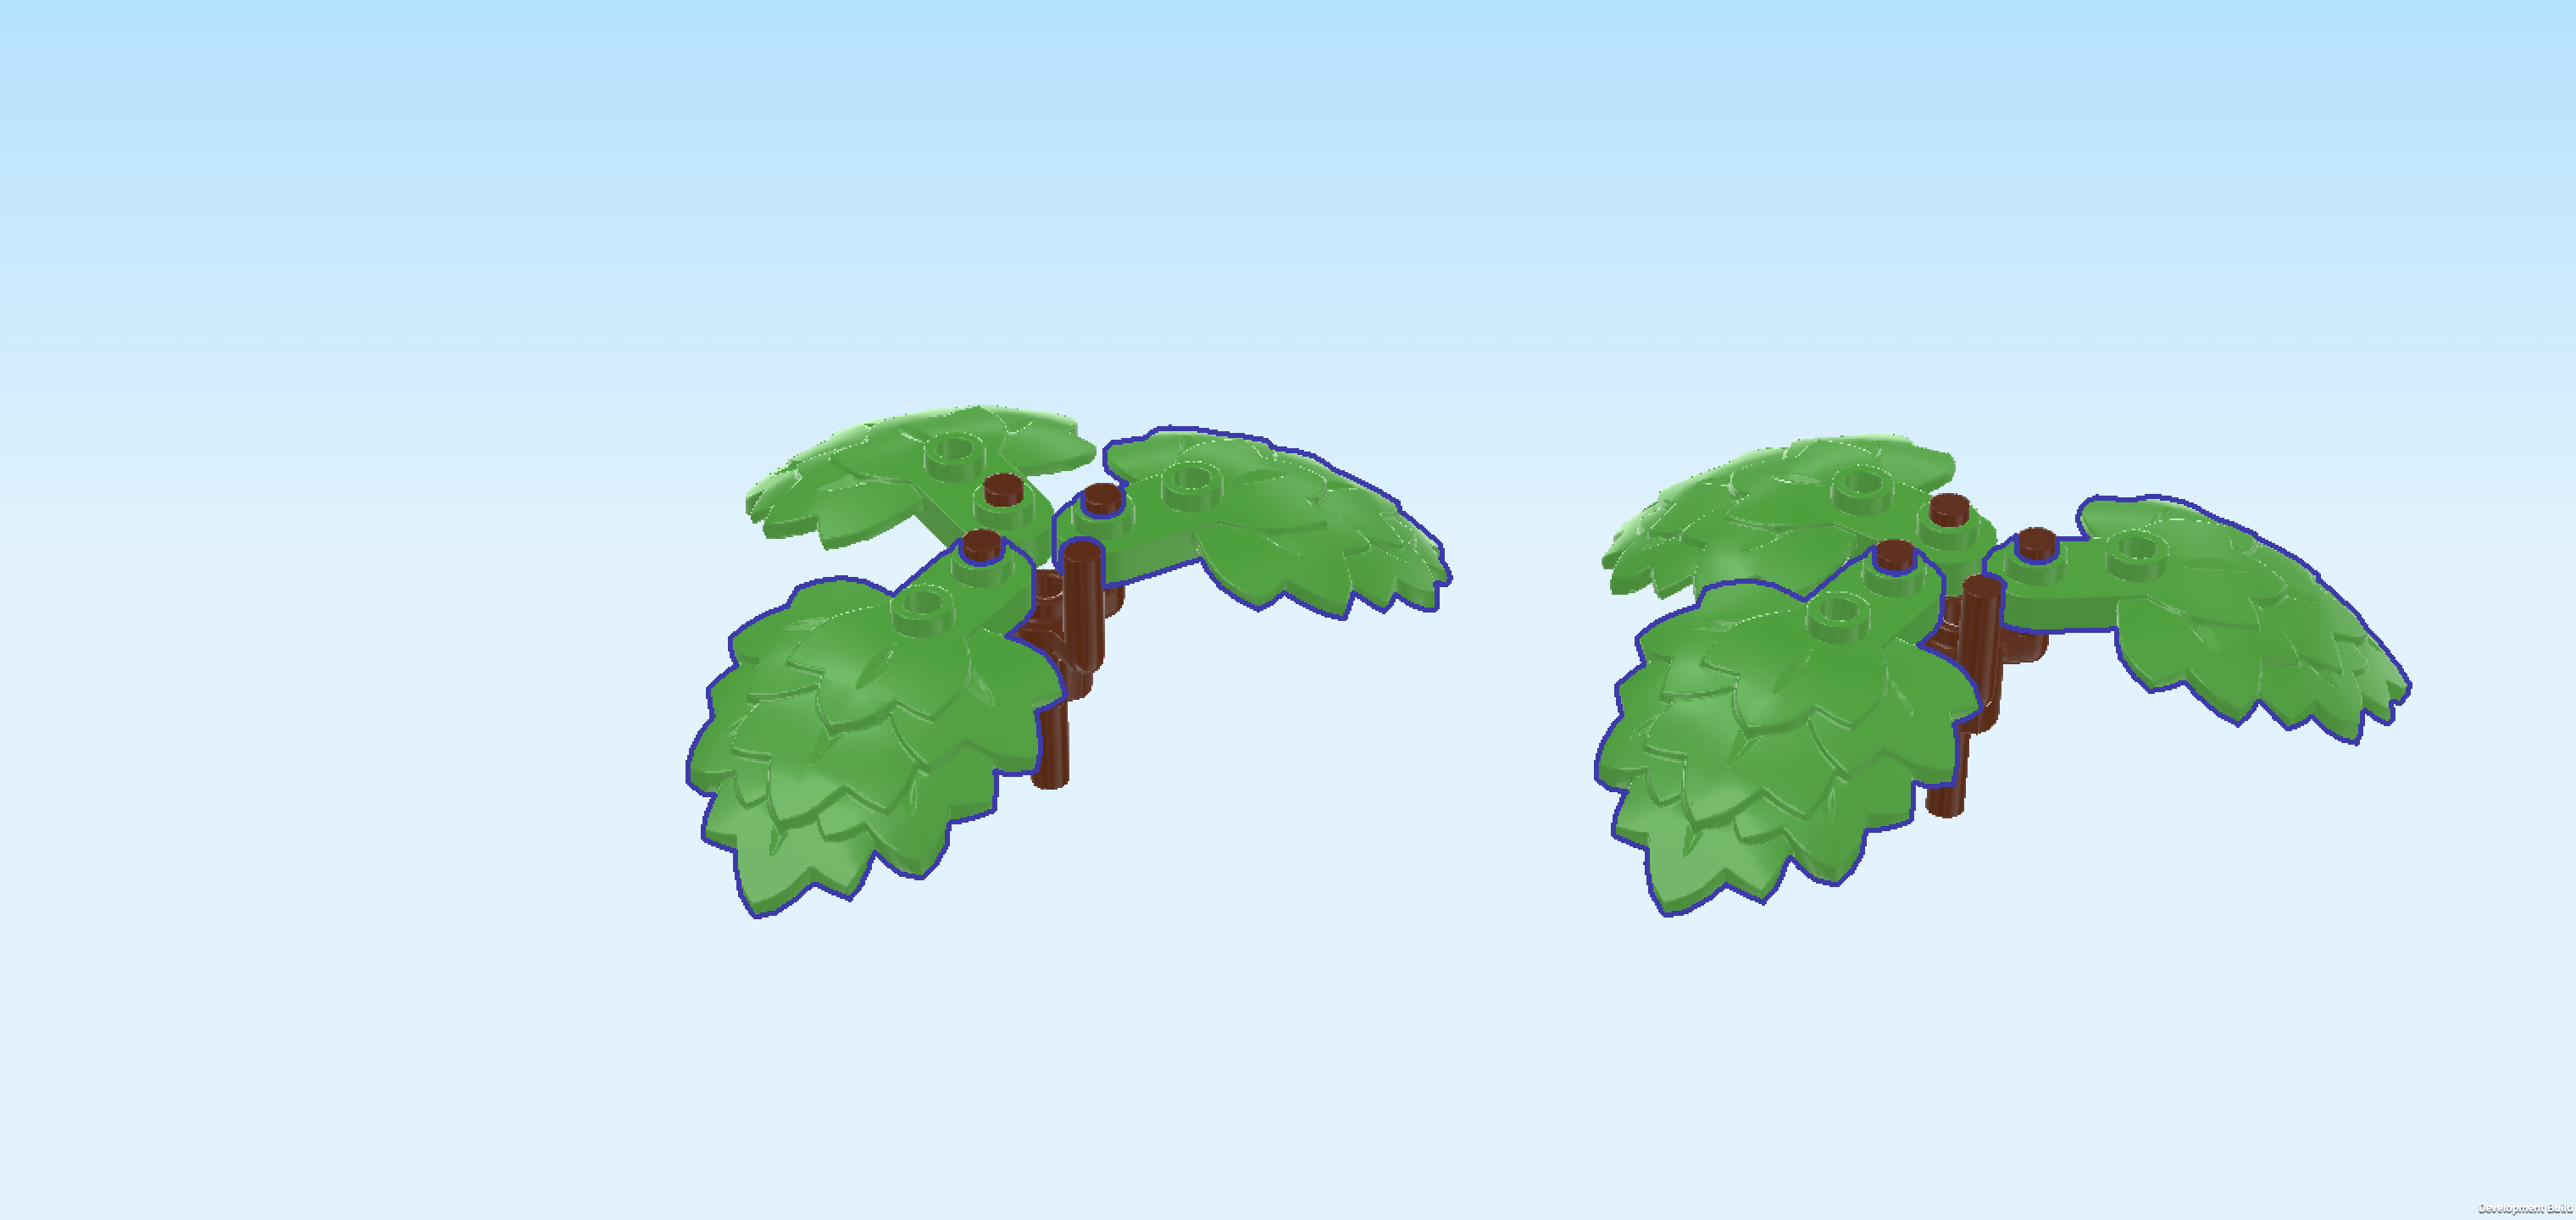
| The 2 leaf crowns are done! Great job! To mount them, insert the bottom shaft of 1 crown into the top hole of one tree trunk. Adjust the crown so that the leaves are distributed evenly. |
| Repeat with the other crown on the second tree trunk. |
| The base plate and the main tower of the Tree House HQ are finished! Great job! With this, we have finished building everything from bag number 1. Well done! We usually pack a few extra pieces in each bag, so if you still have some pieces left there is no need to worry that you missed something. If you like, you can take a break now and return to the instructions later by skipping to the section introducing bag number 2. If you want to continue building right away, simply move on to the next sentence. |
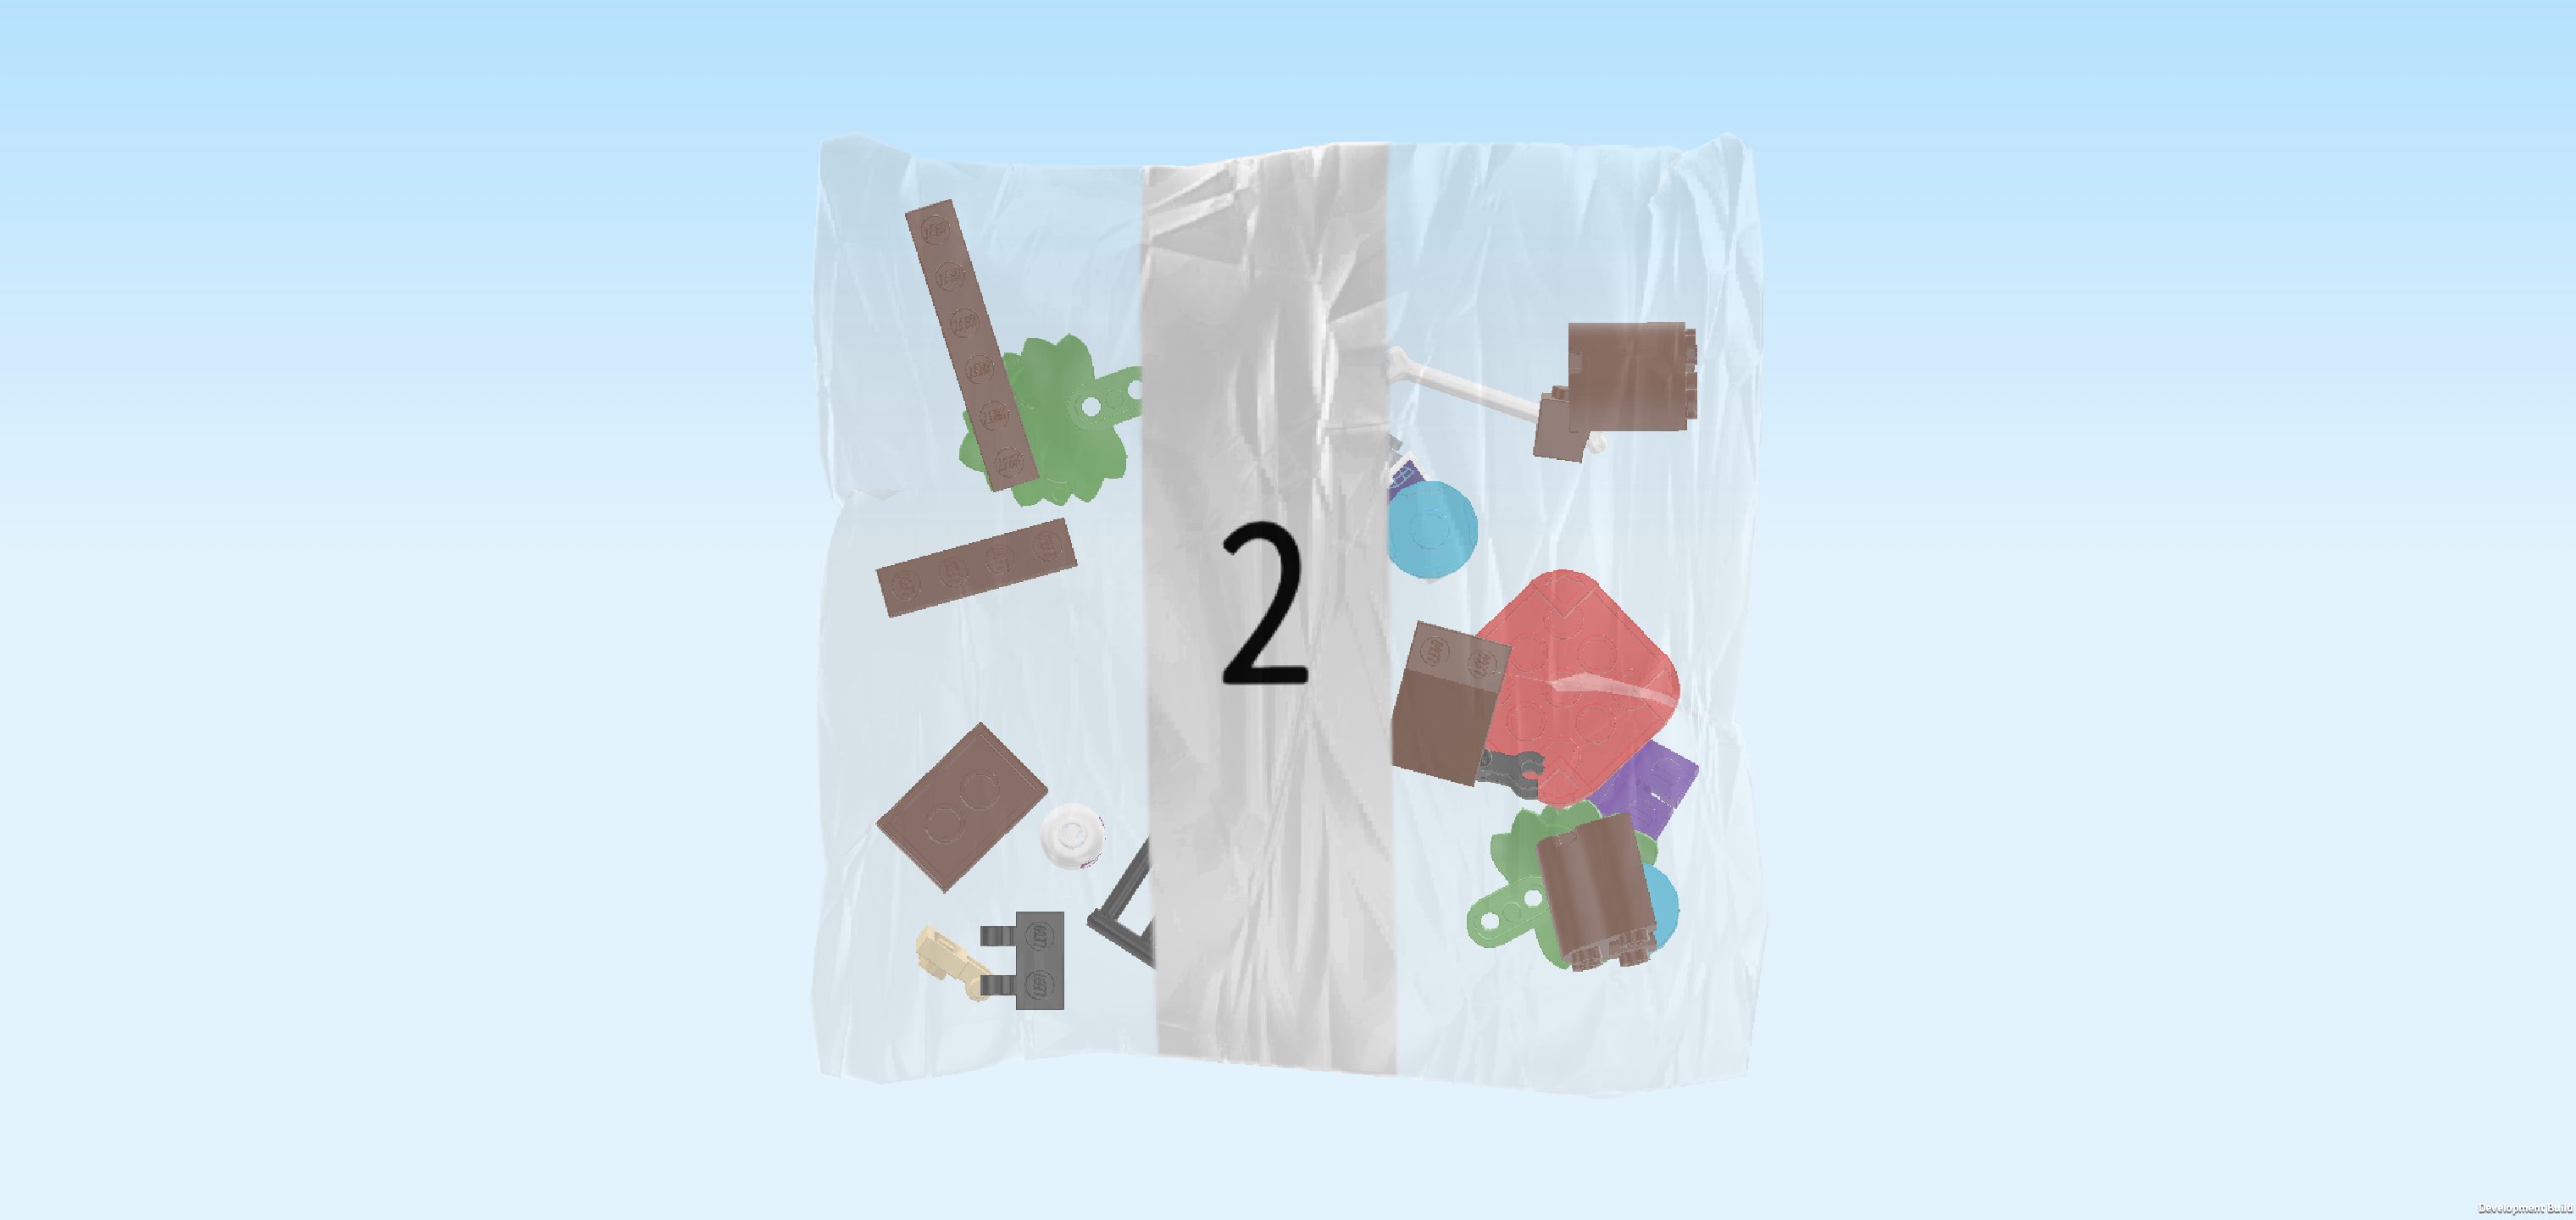
| Open bag number 2. You can choose to have the bricks sorted by color again if you like. This bag contains all bricks and pieces for the Ghost-Spider Minifigure, the disc shooter, and one of the 2 side platforms of the tree house. |
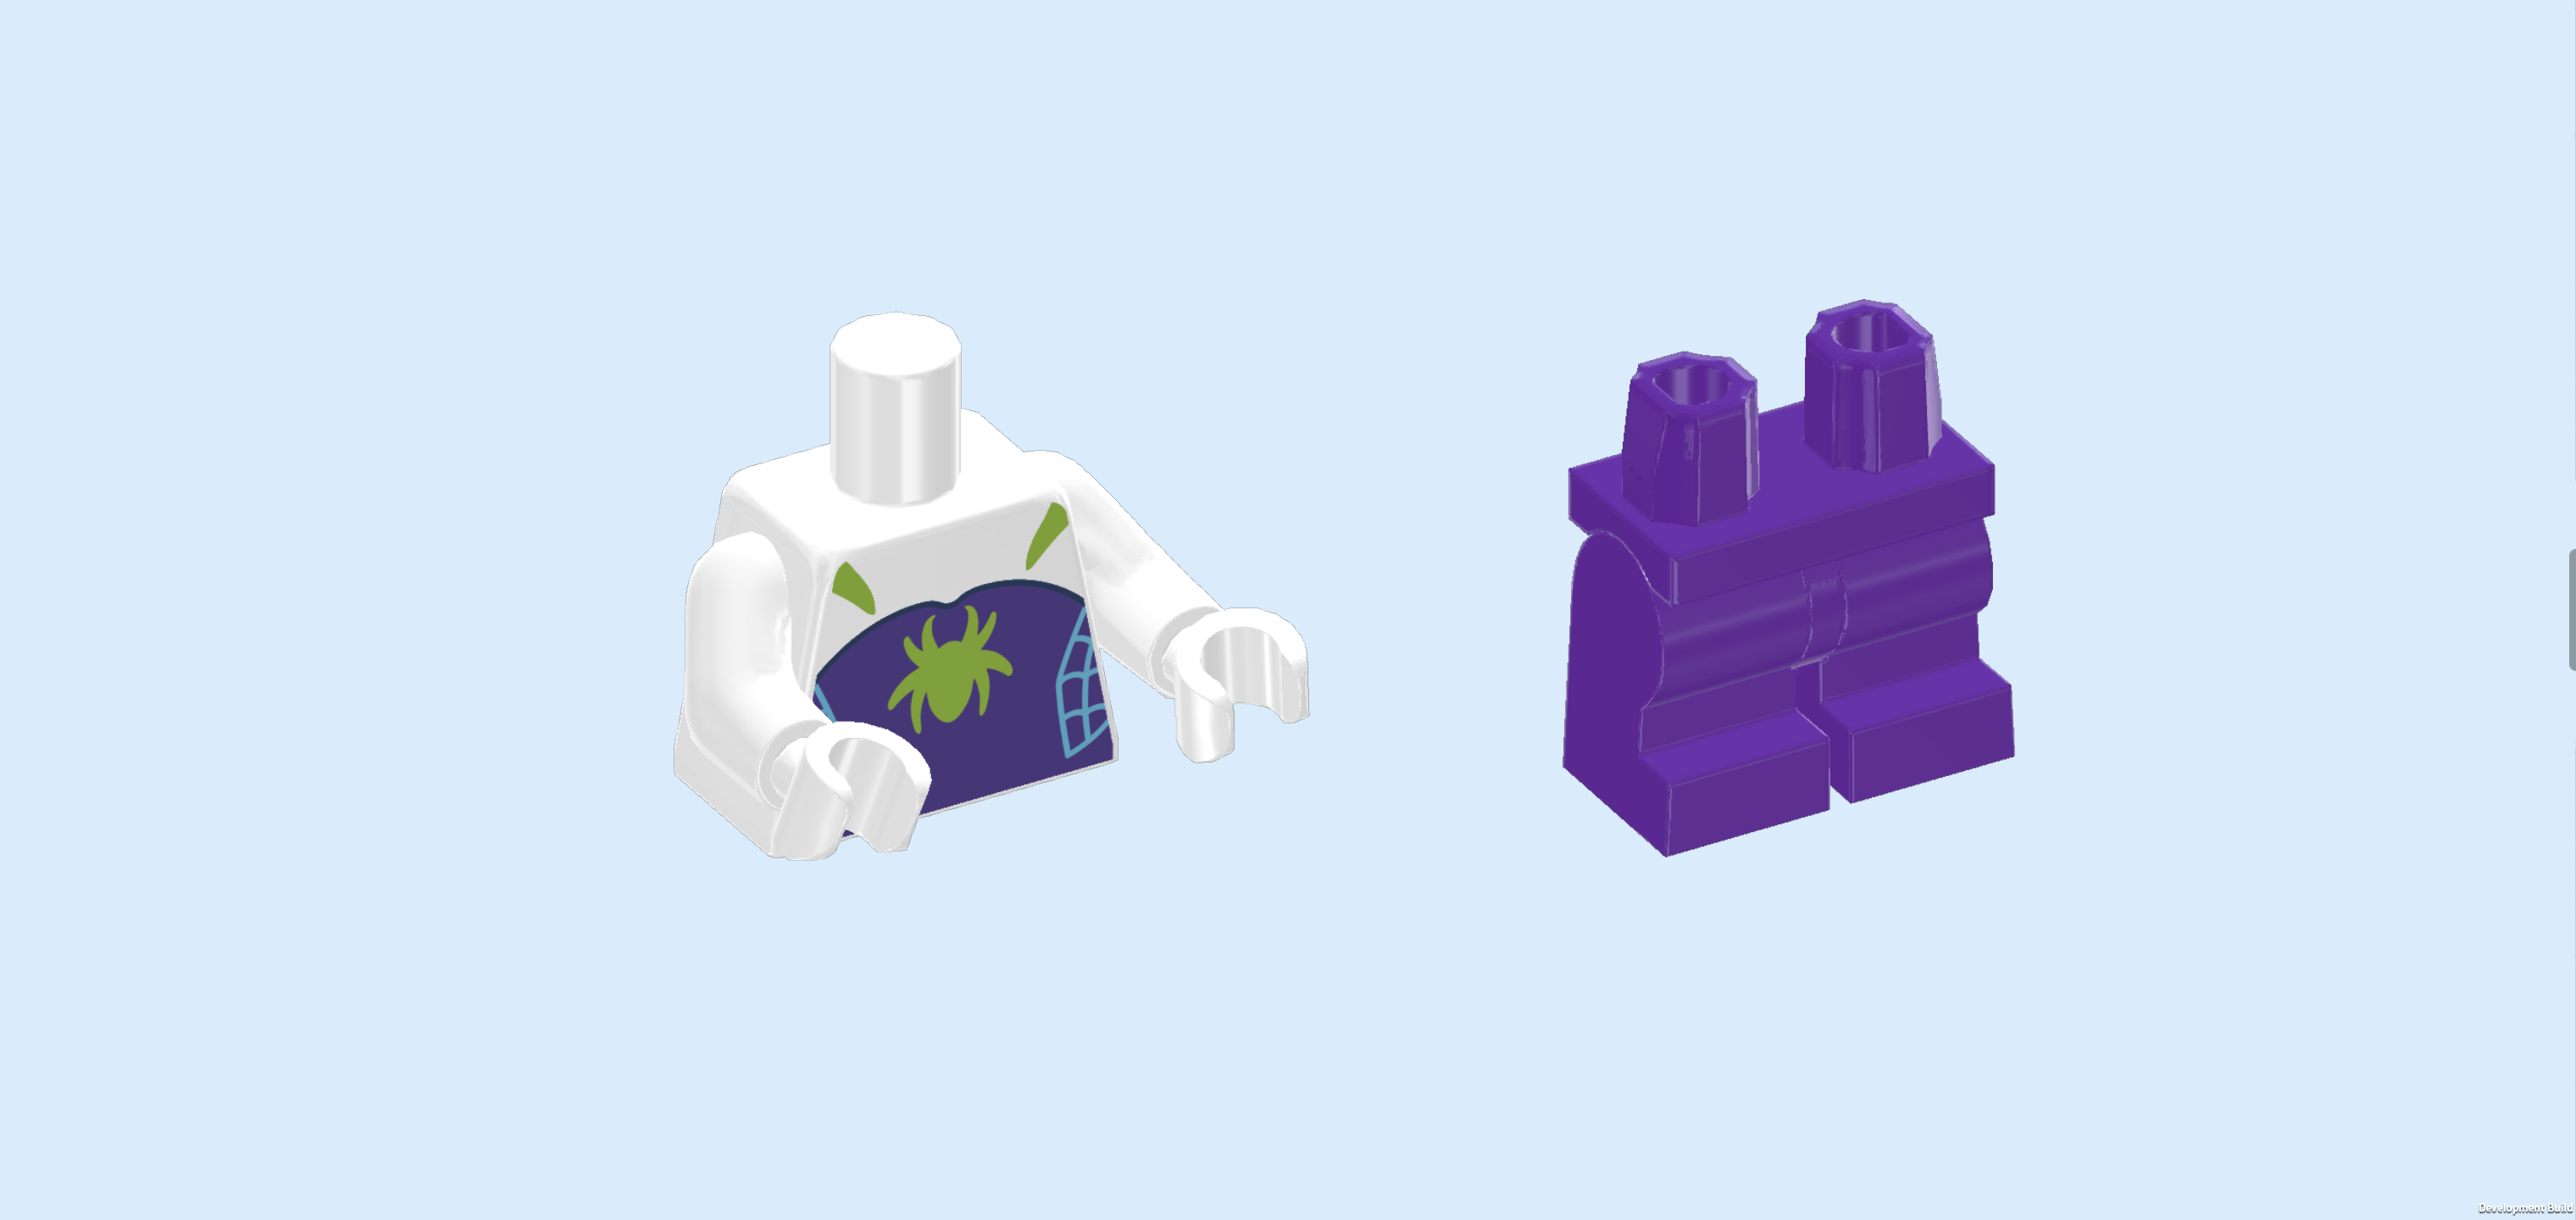
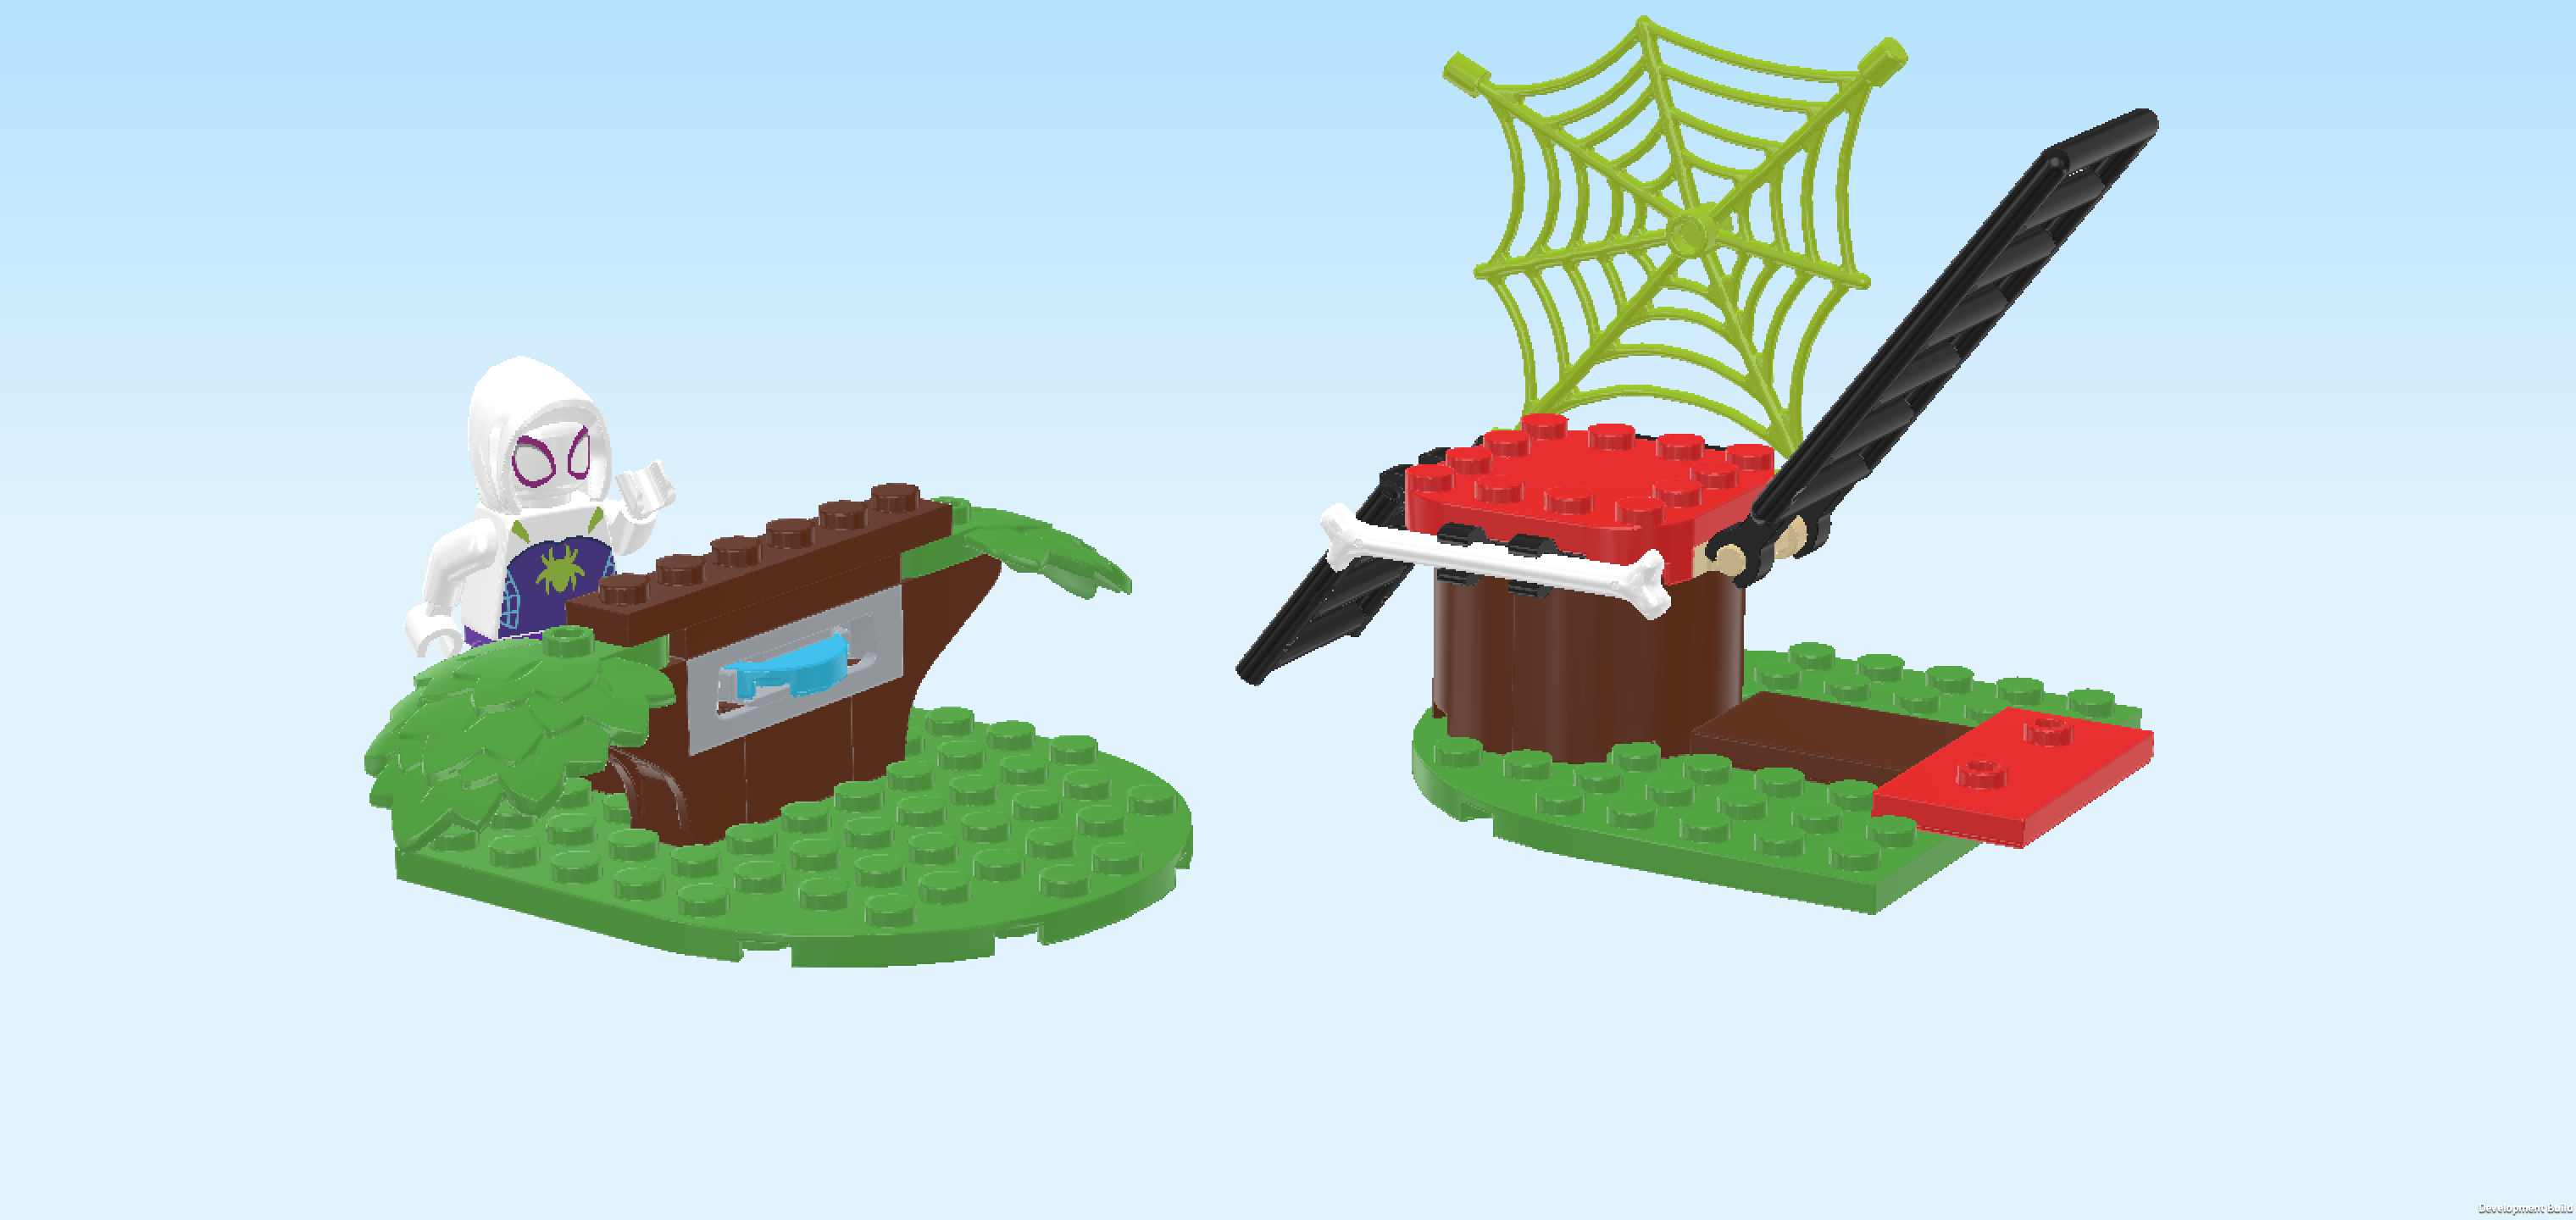
| Next, we will build the Ghost-Spider Minifigure. |
| Collect the following 2 pieces: |
| 1 white upper part of the body, |
| and 1 medium lilac pair of legs. |
| Put the upper body on the legs. Make sure that the hands and toes are pointing in the same direction. |
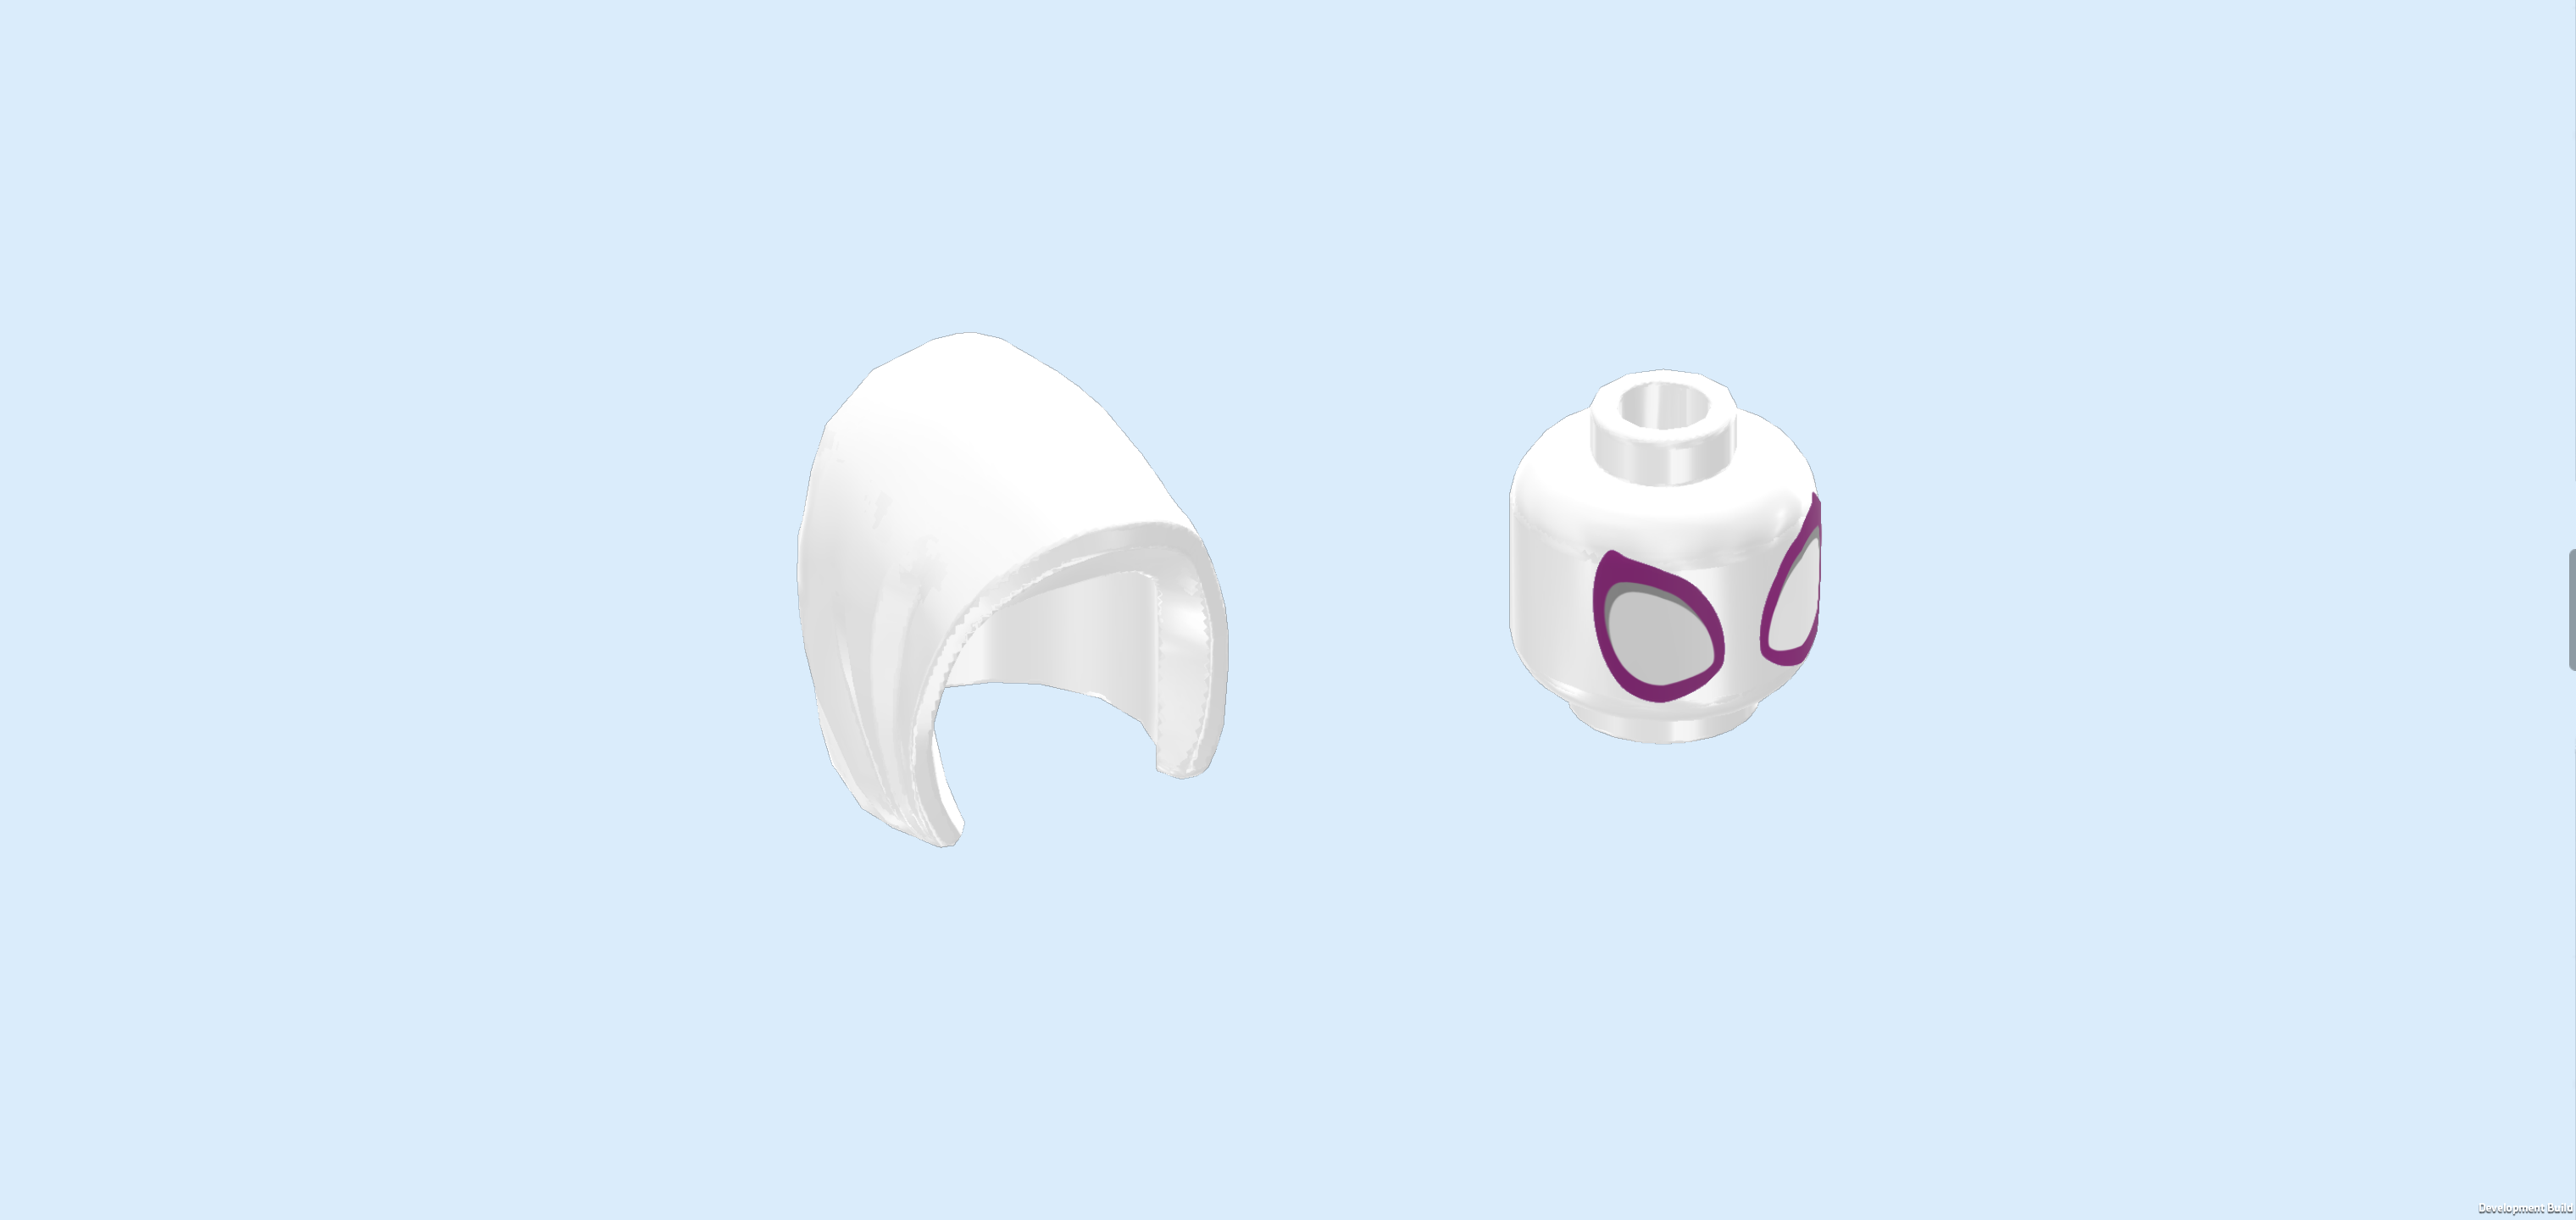
| Collect the following 2 pieces: |
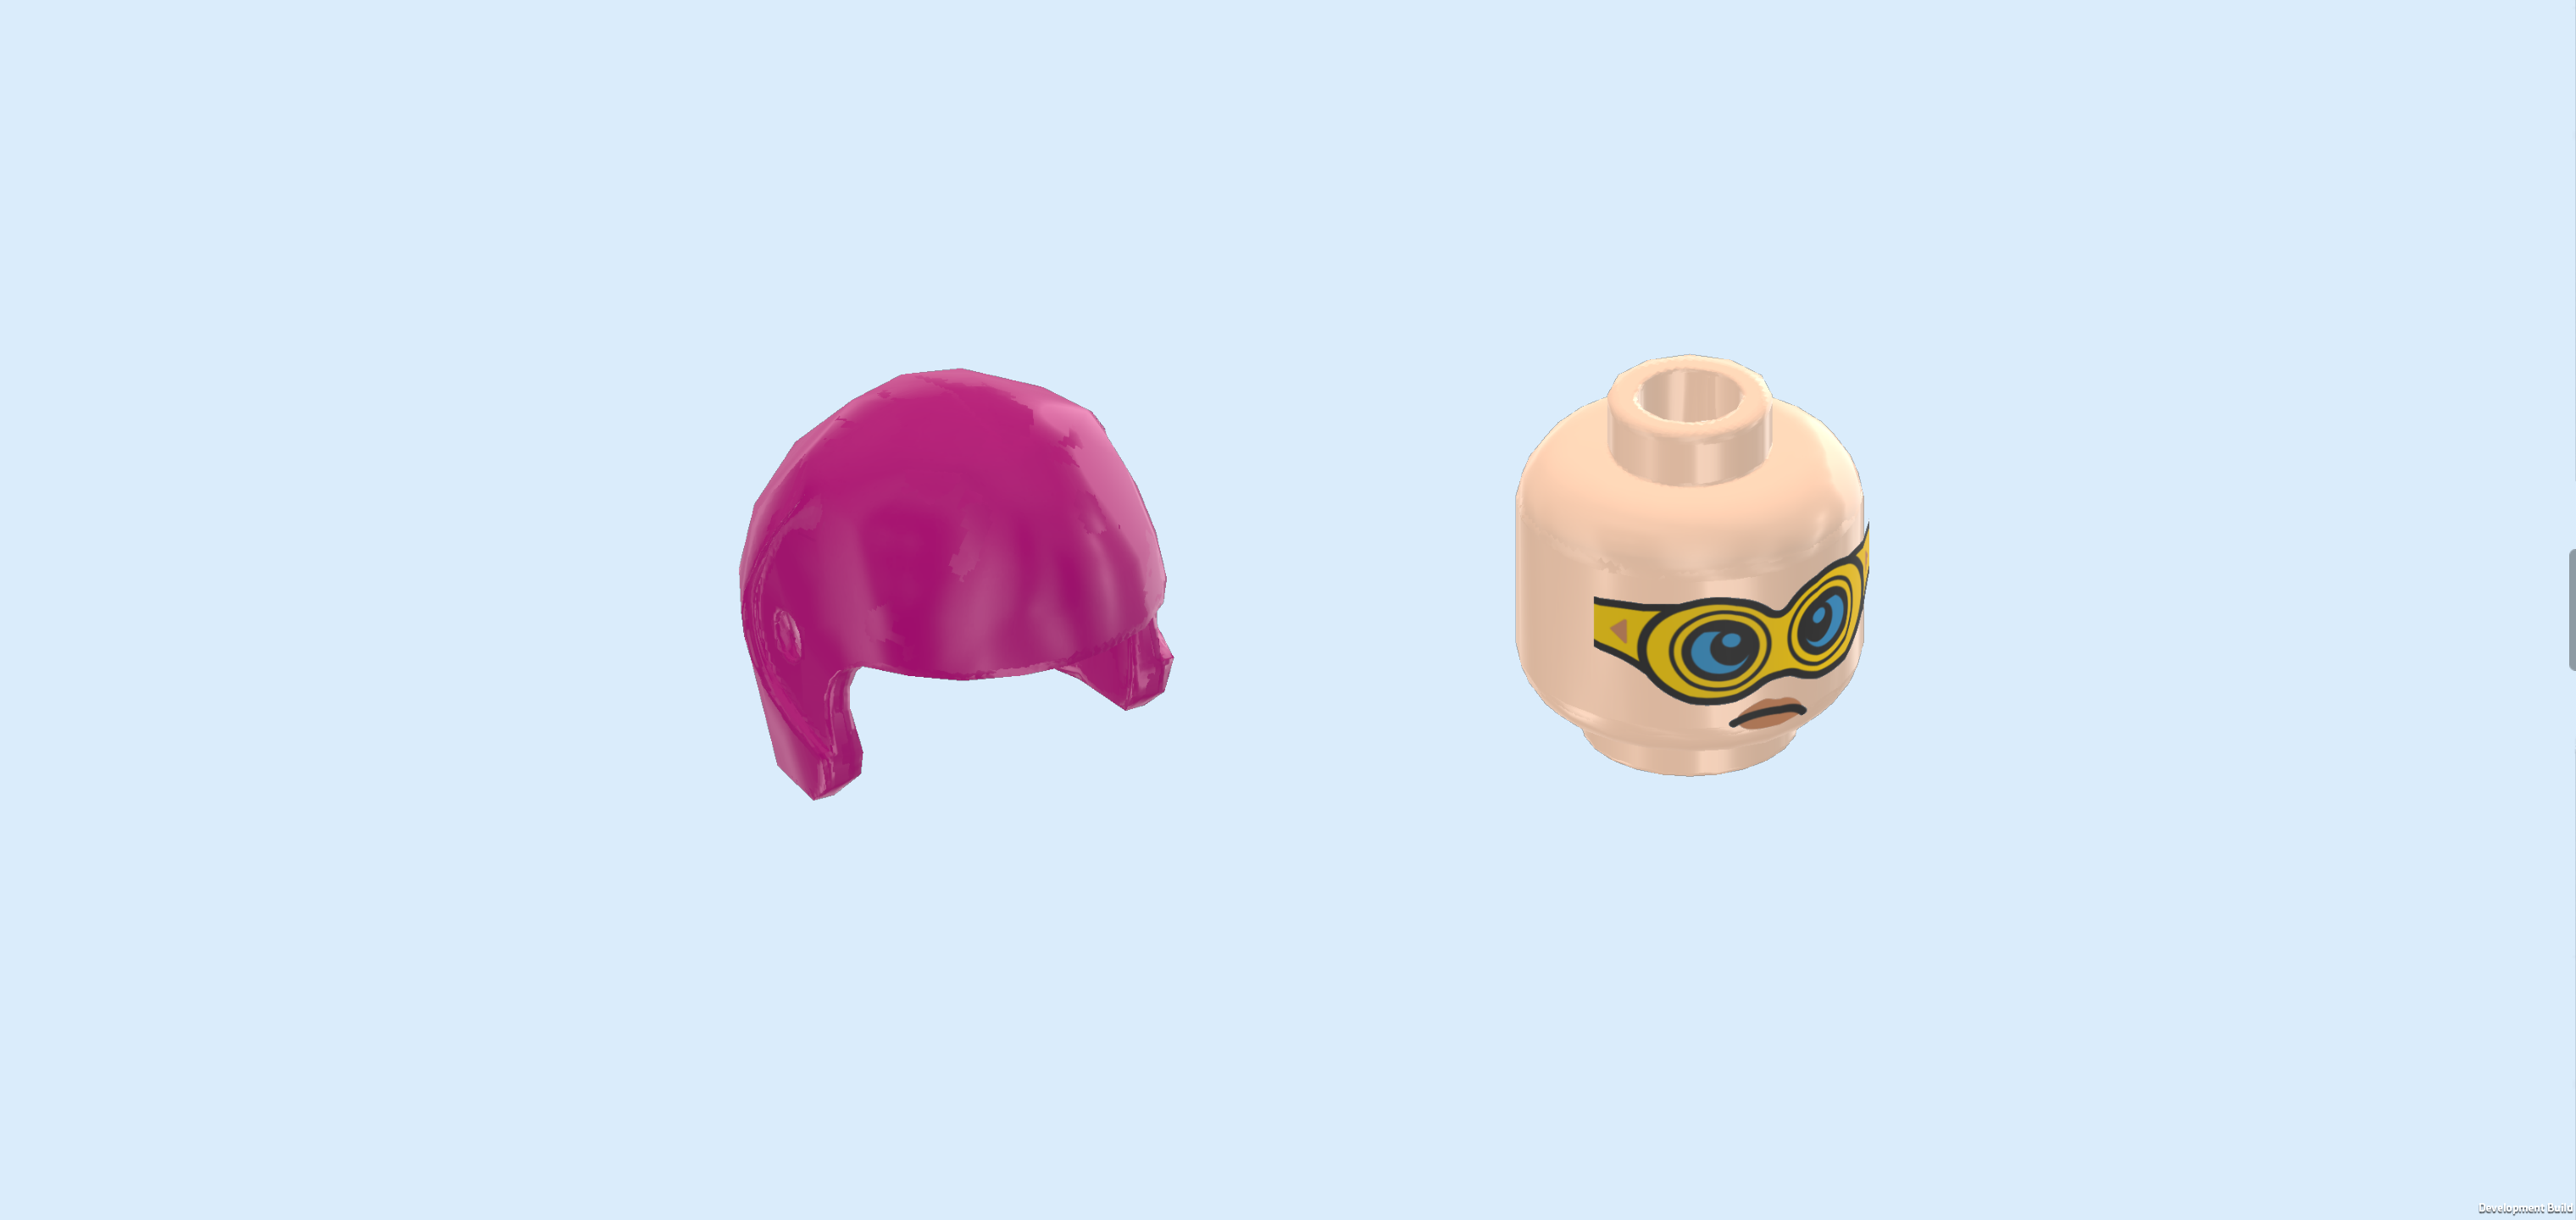
| 1 white Minifigure hood, |
| and 1 white Minifigure head. |
| Put the head on the body. |
| Put the hood on the head. |
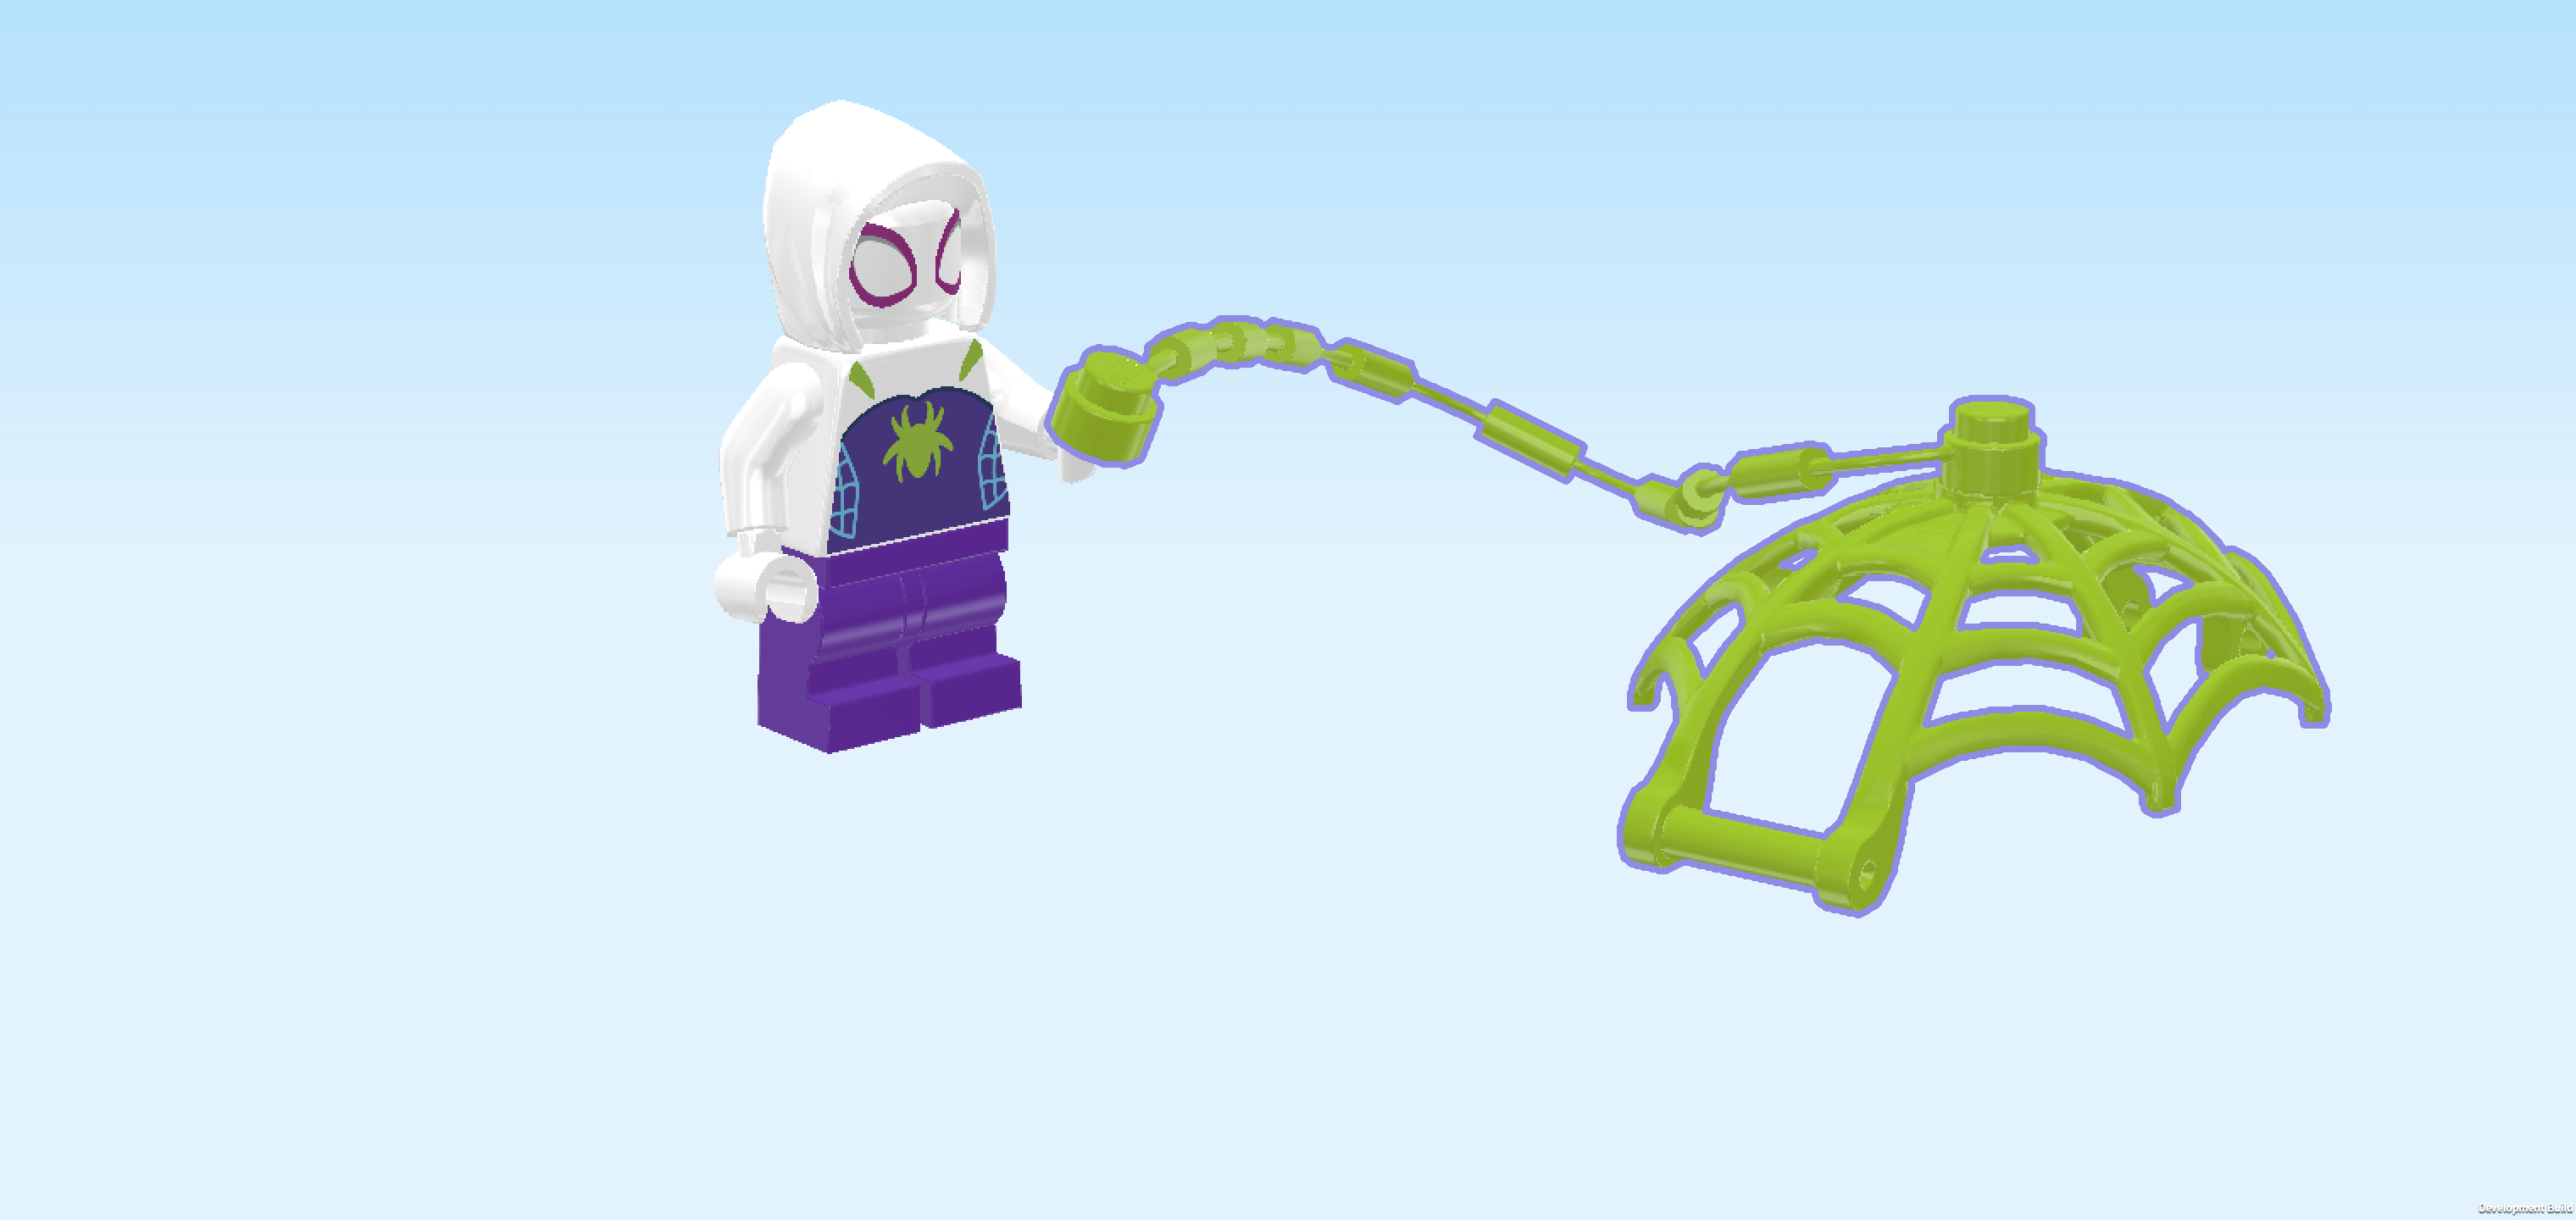
| Next, we will build Ghost-Spider's web trap. |
| Collect the following 2 pieces: |
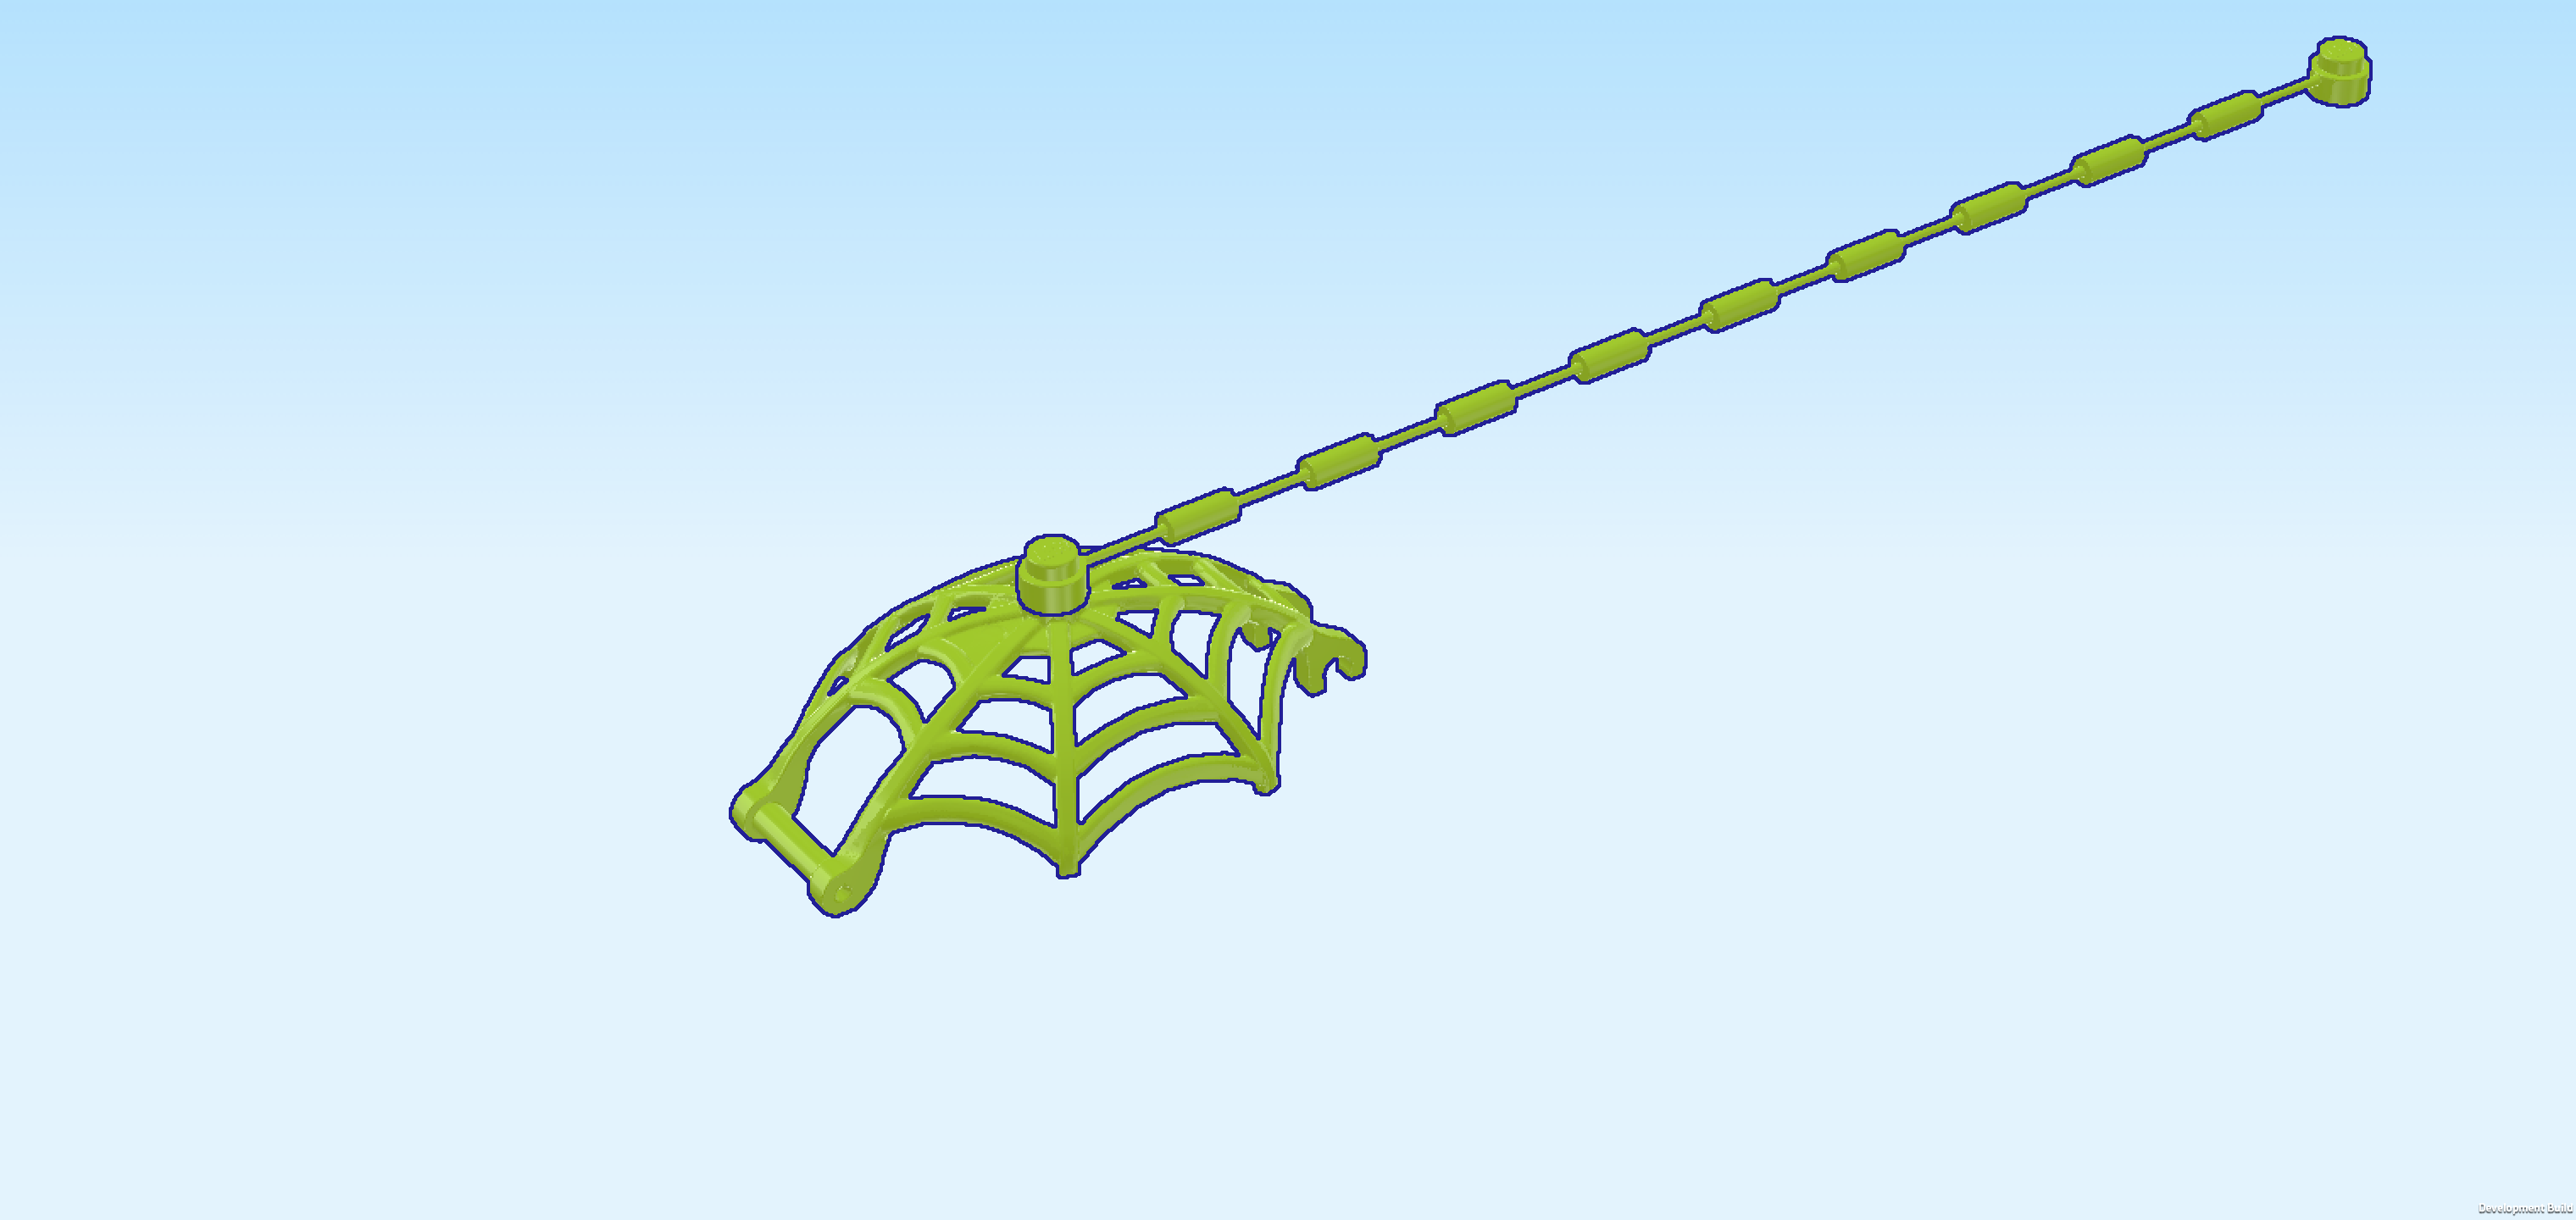
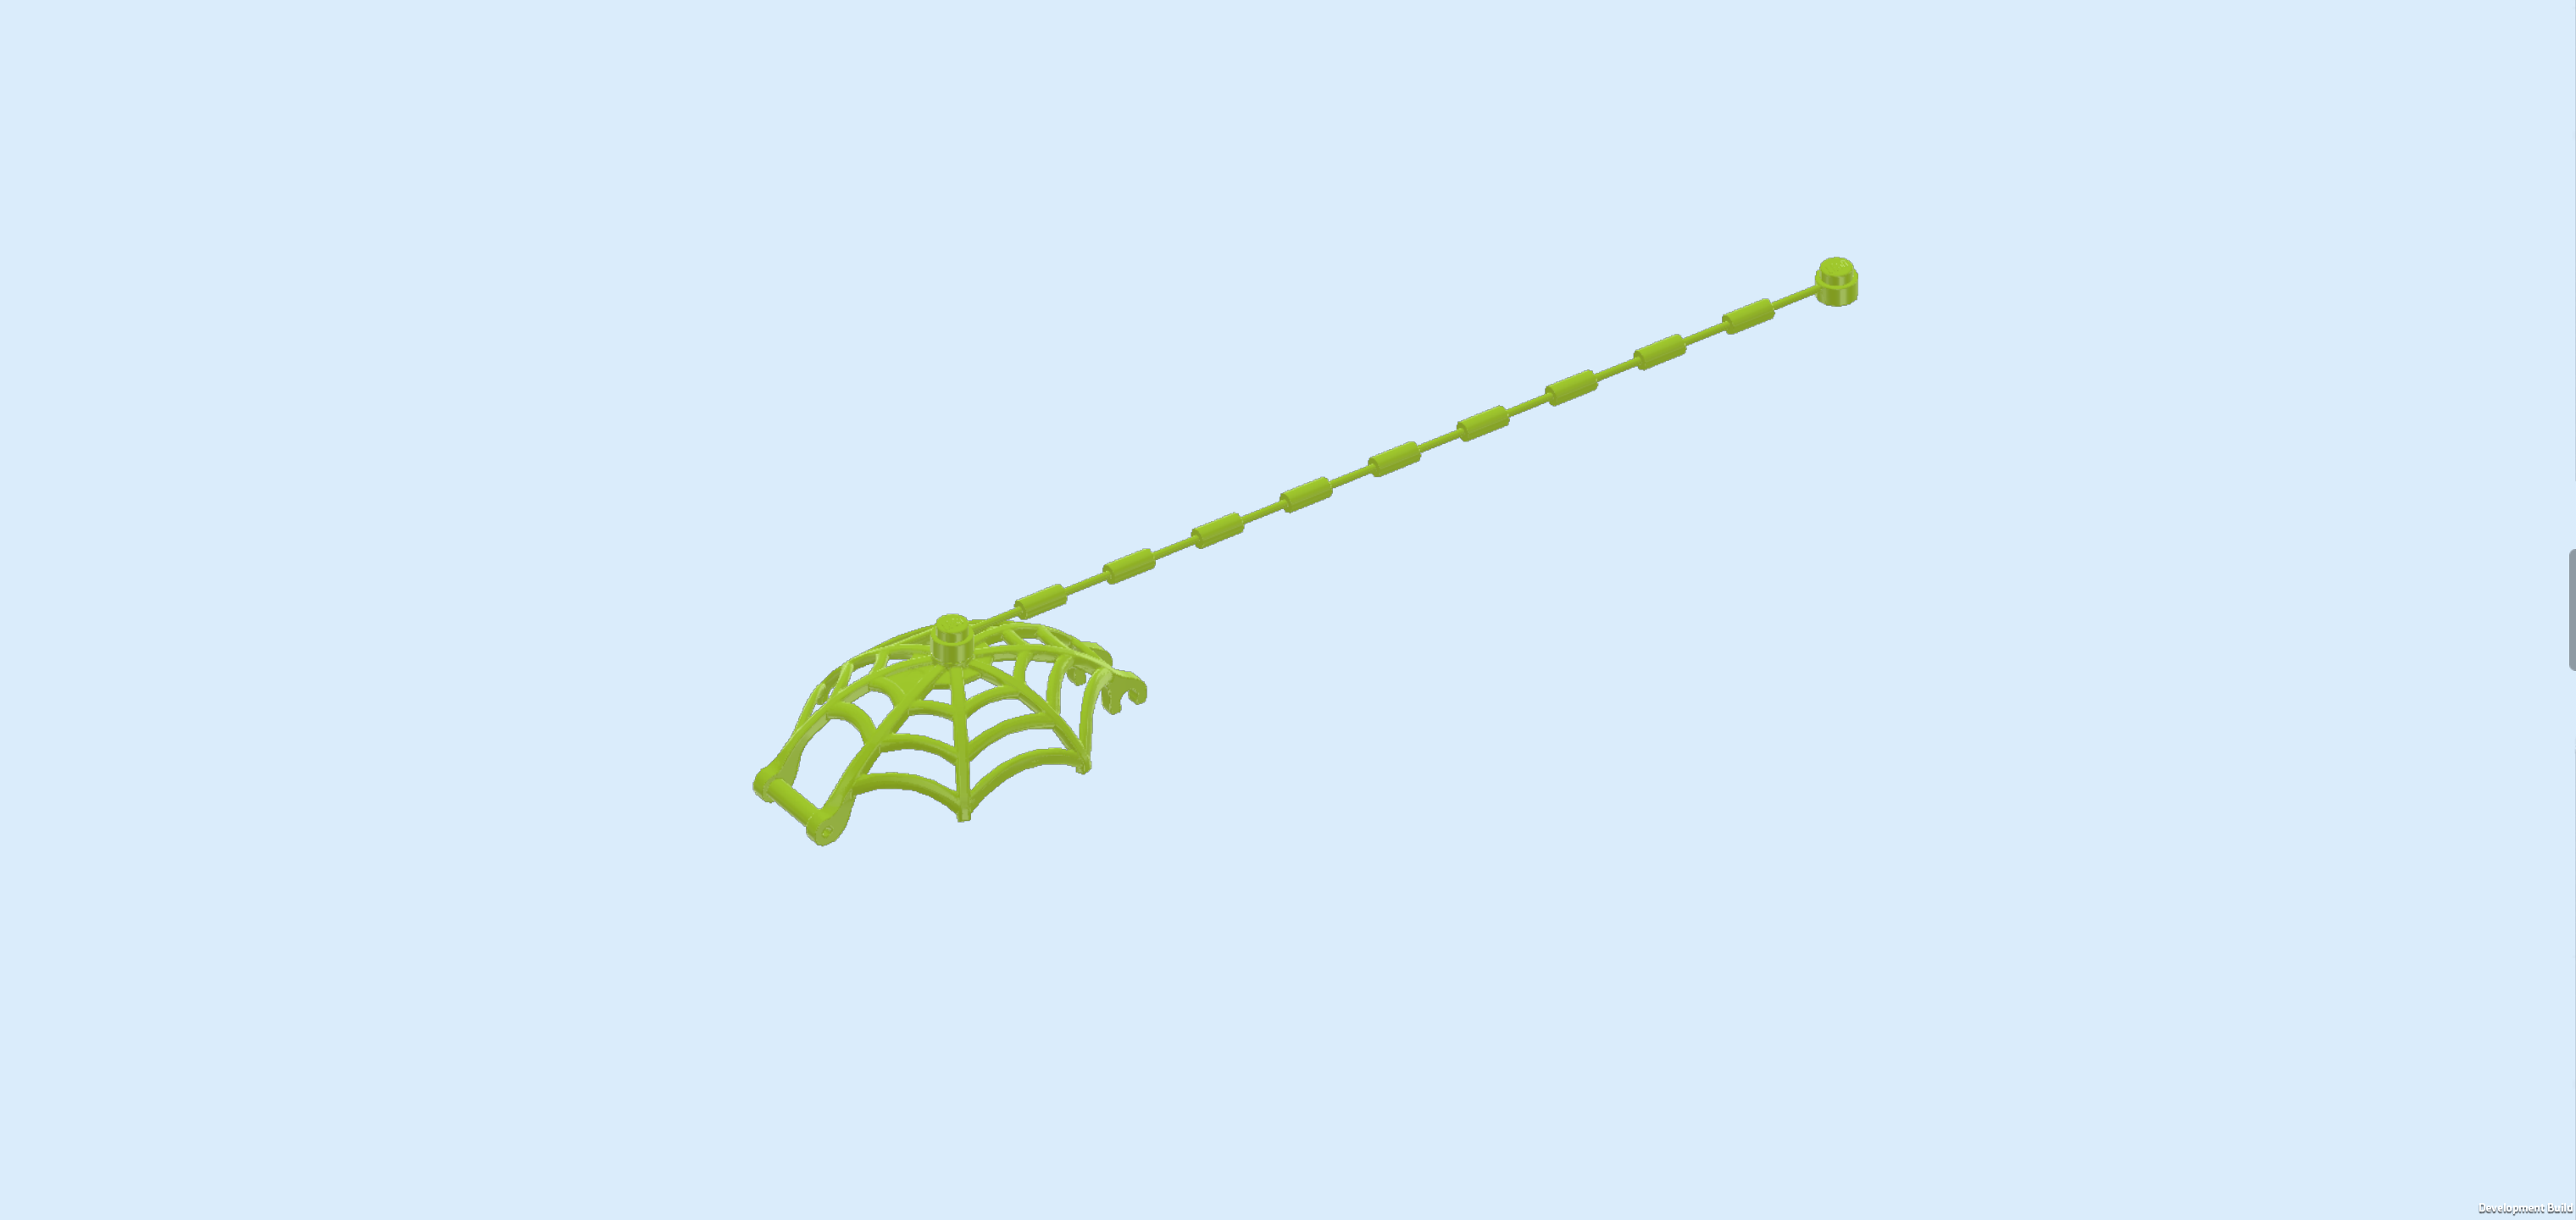
| 1 yellowish green shaft string 21m with 2 end knobs, |
| and 1 yellowish green spider web 5x8x2 with handle. |
| Put one end knob of the string on the top knob of the web. |
| Put the other end knob of the string on top of Ghost-Spider's left hand. |
| The Ghost-Spider Minifigure with web trap is finished! Well done! Ghost-Spider is wearing a dark purple and white suit: her pants are purple and so is the lower part of her torso. The sides, sleeves, head and hood of the Minifigure are white. The purple part of the torso is printed with a light blue spider web and a neon green spider in the middle. Ghost-Spider's eyes are big and white and framed with pink lines. |
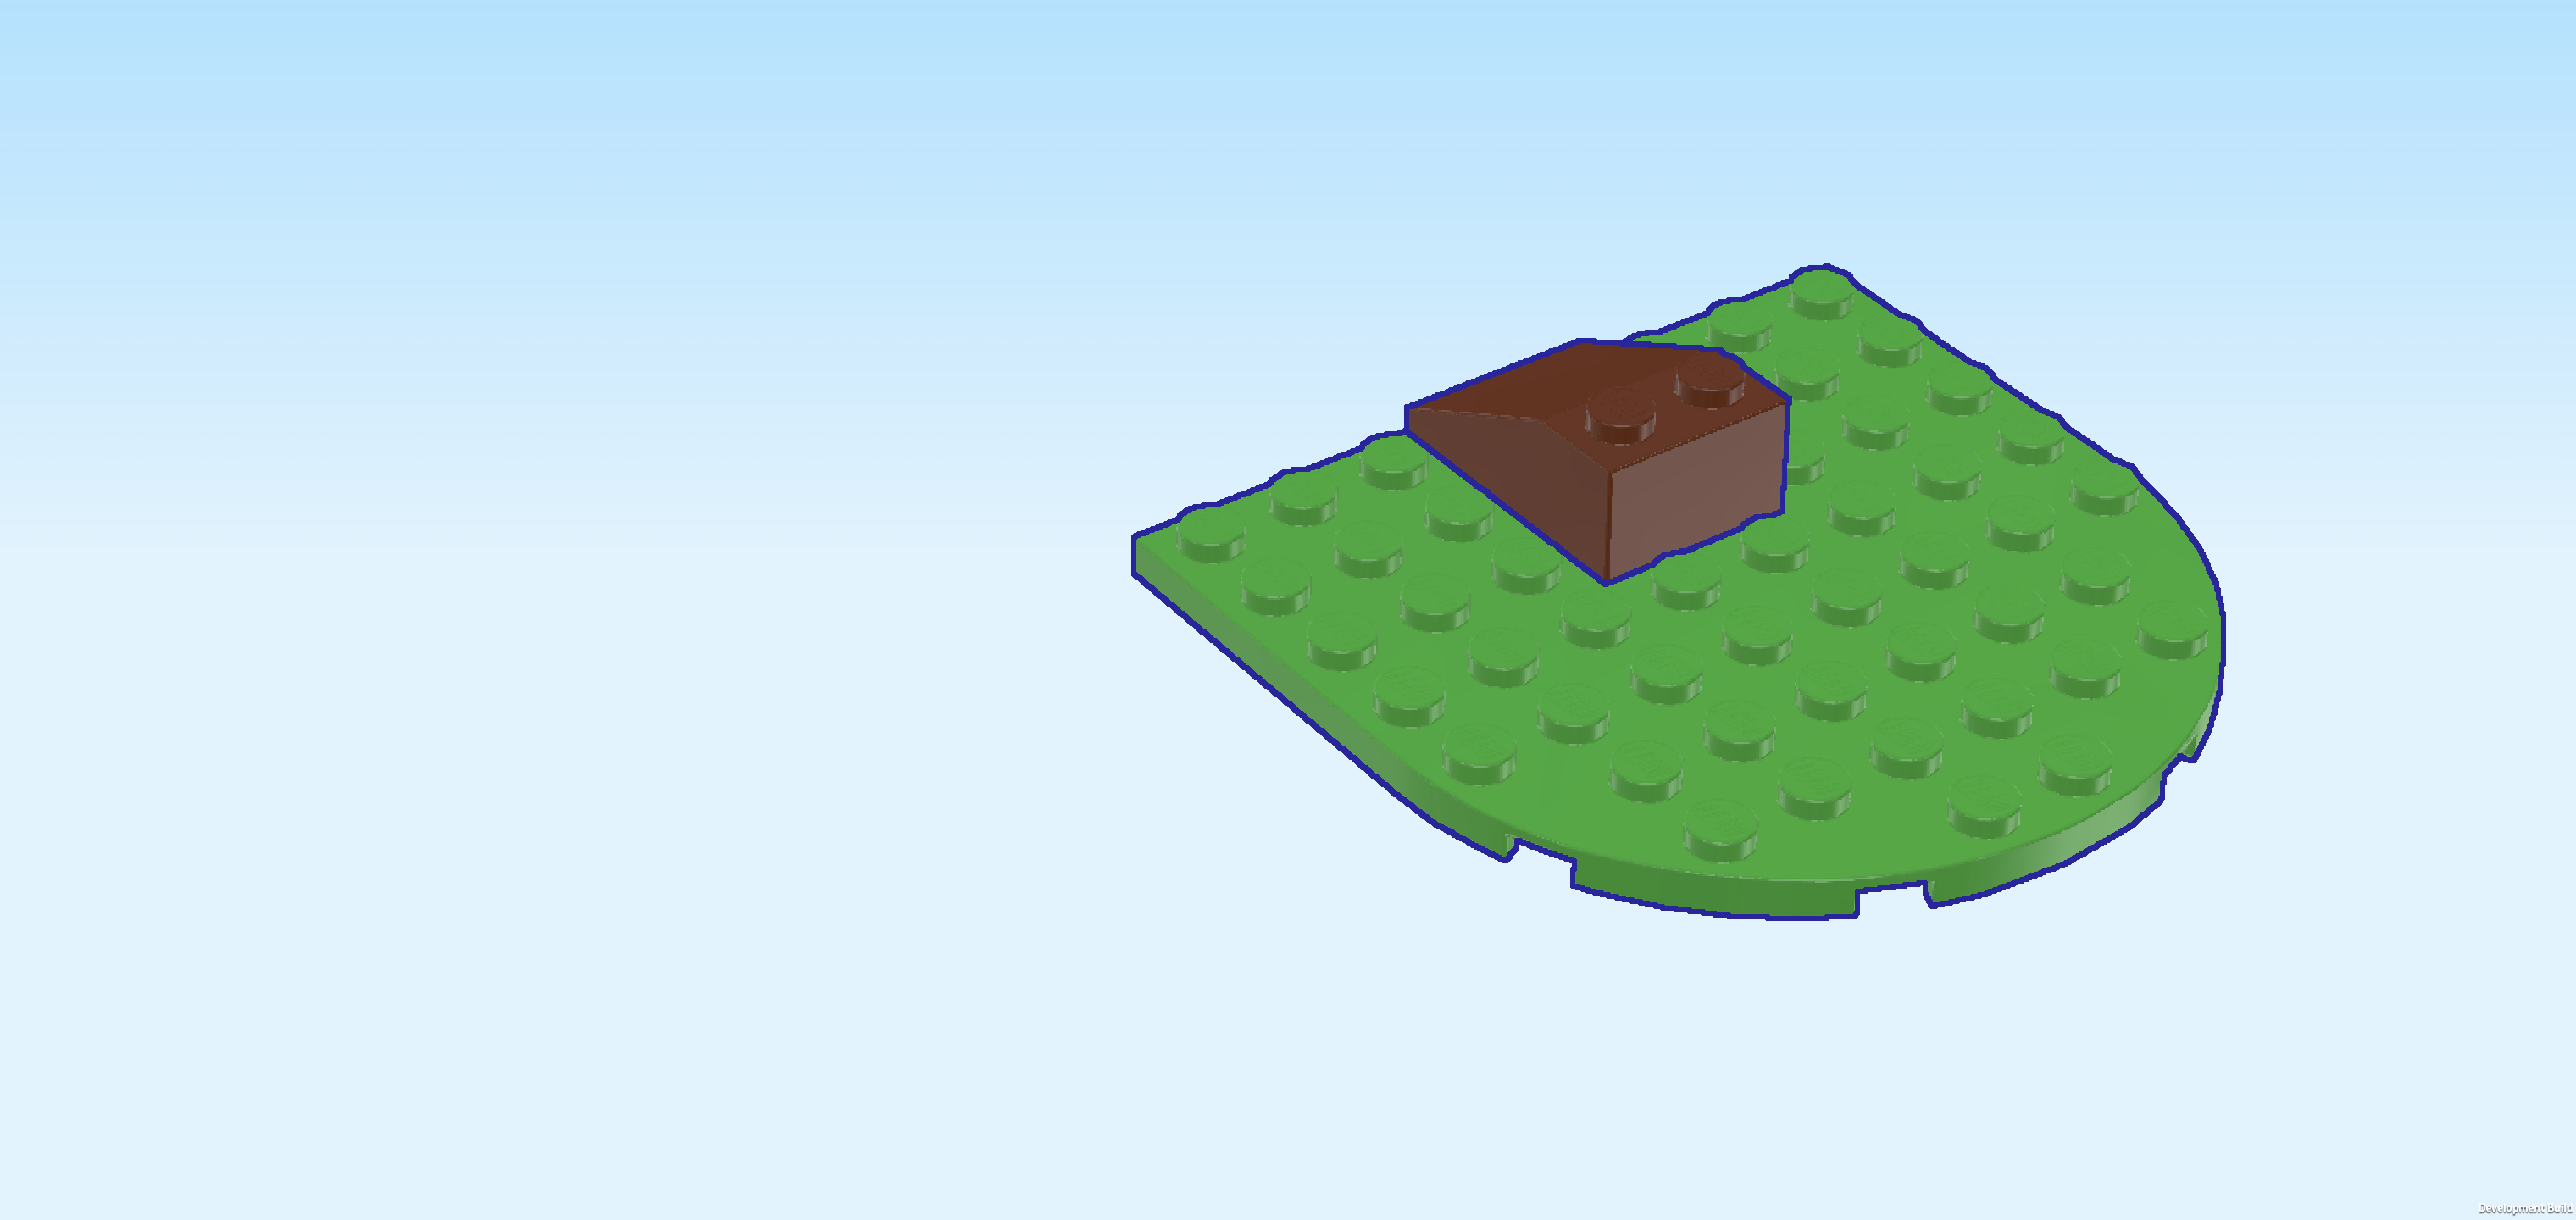
| Next, we will build the disc shooter. |
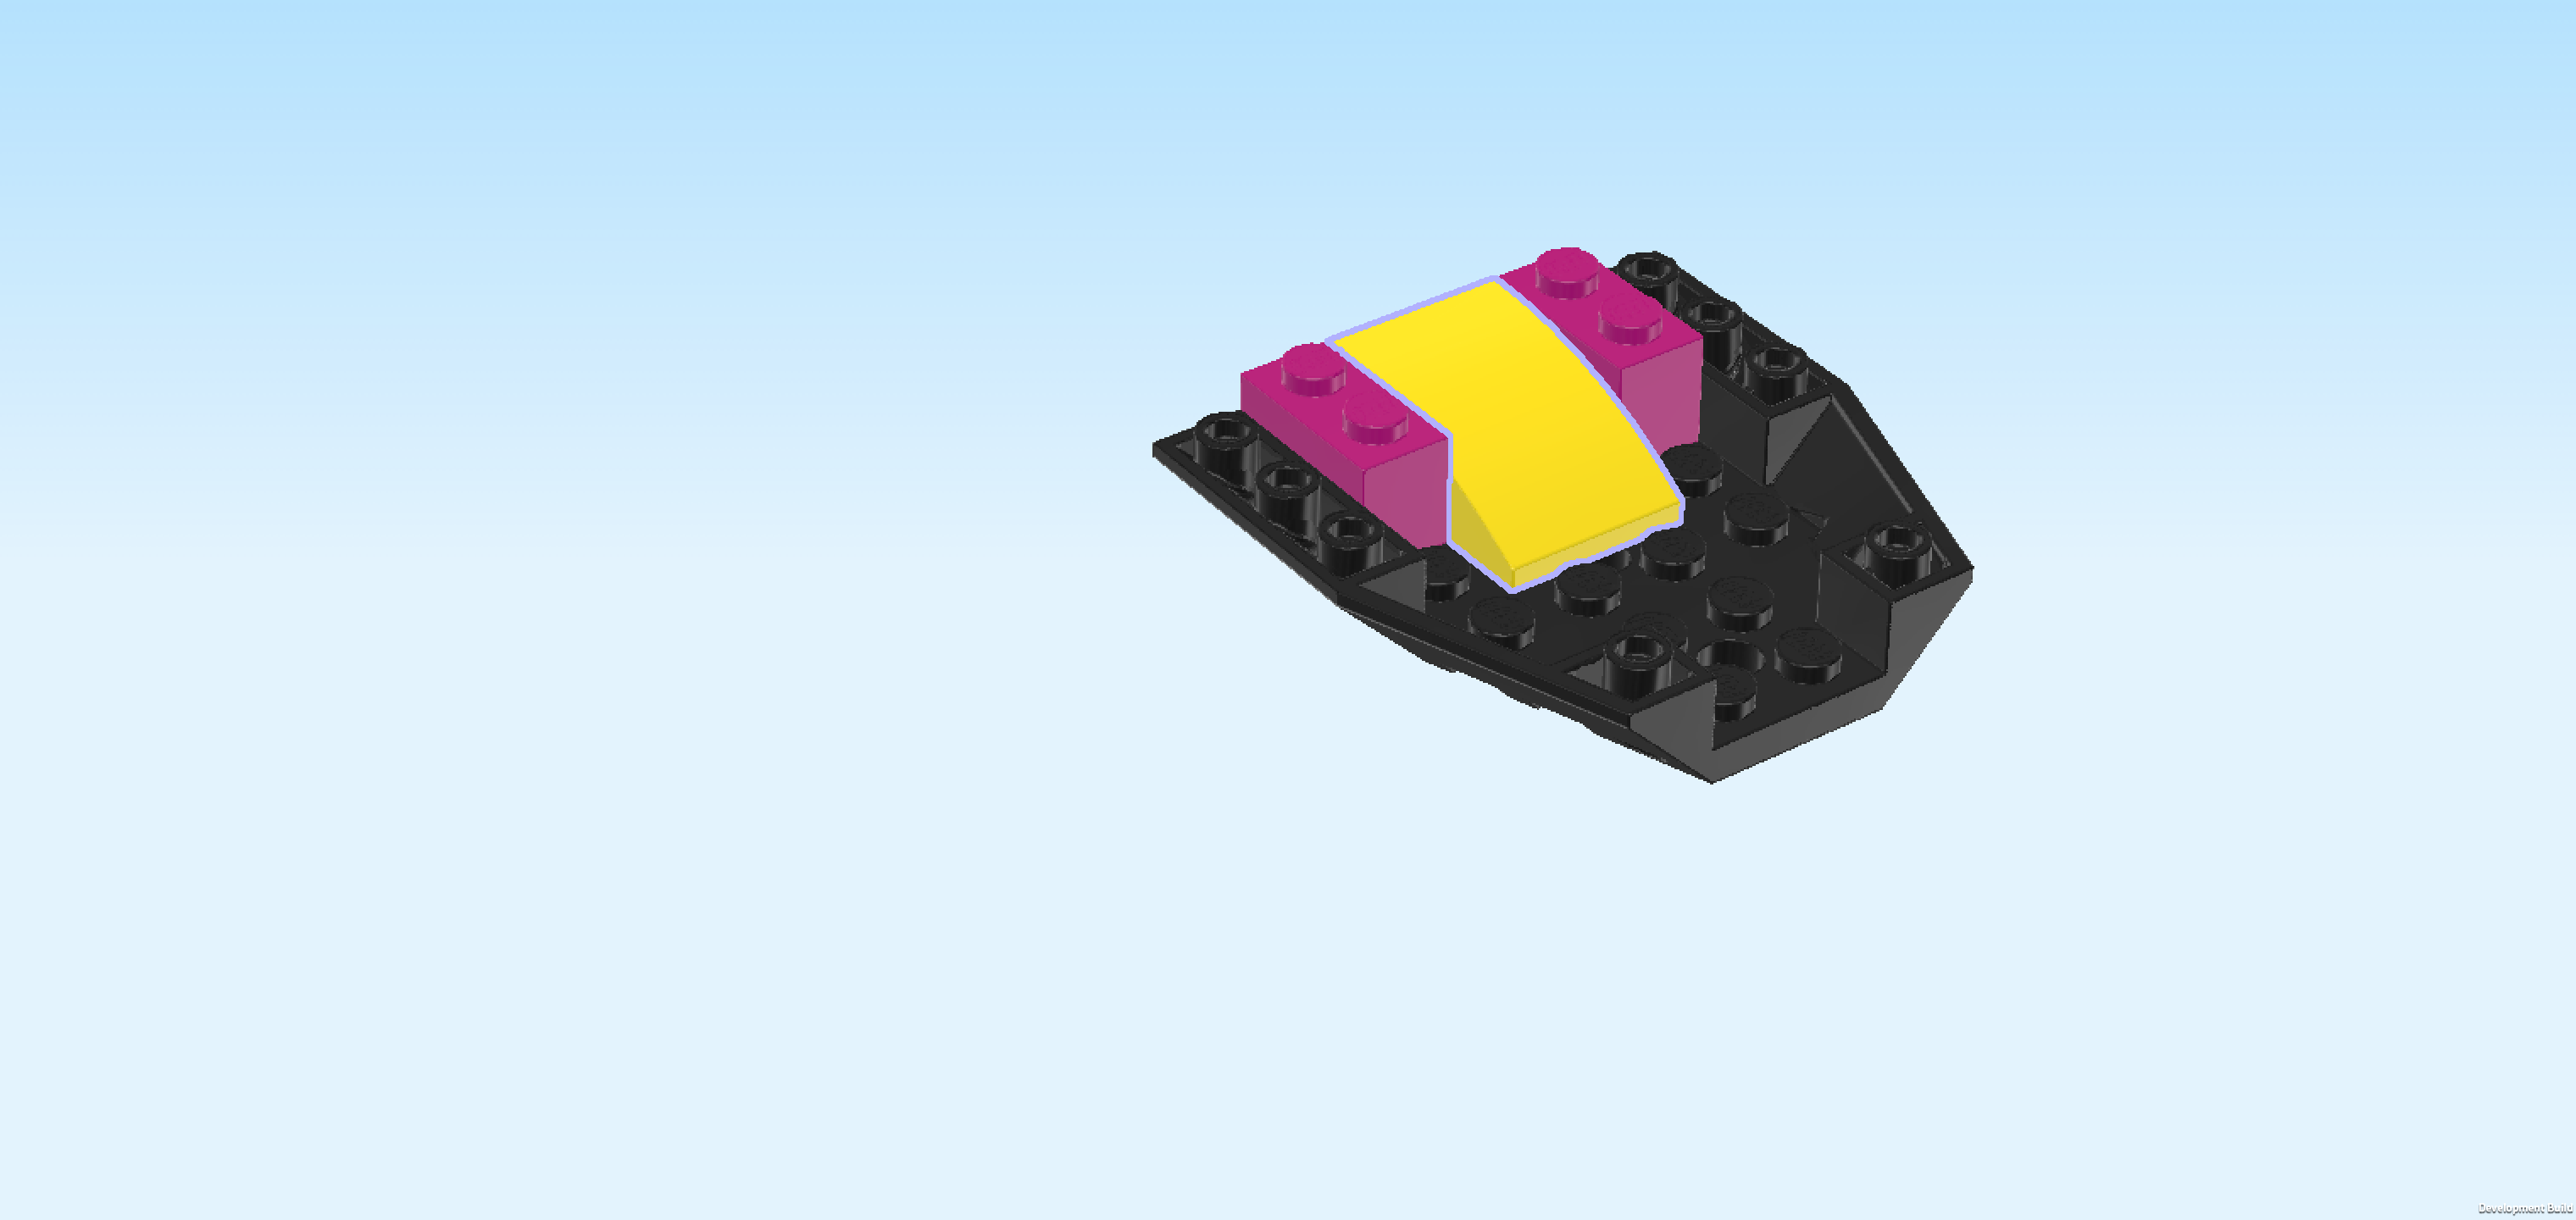
| Collect the following 2 pieces: |
| 1 bright green plate 8x8 with half circle, |
| and 1 reddish brown roof tile 2x3, 25°. |
| Put the plate 8x8 on the table so that the half circle is towards you. Make sure its knobs form straight rows and columns in front of you. |
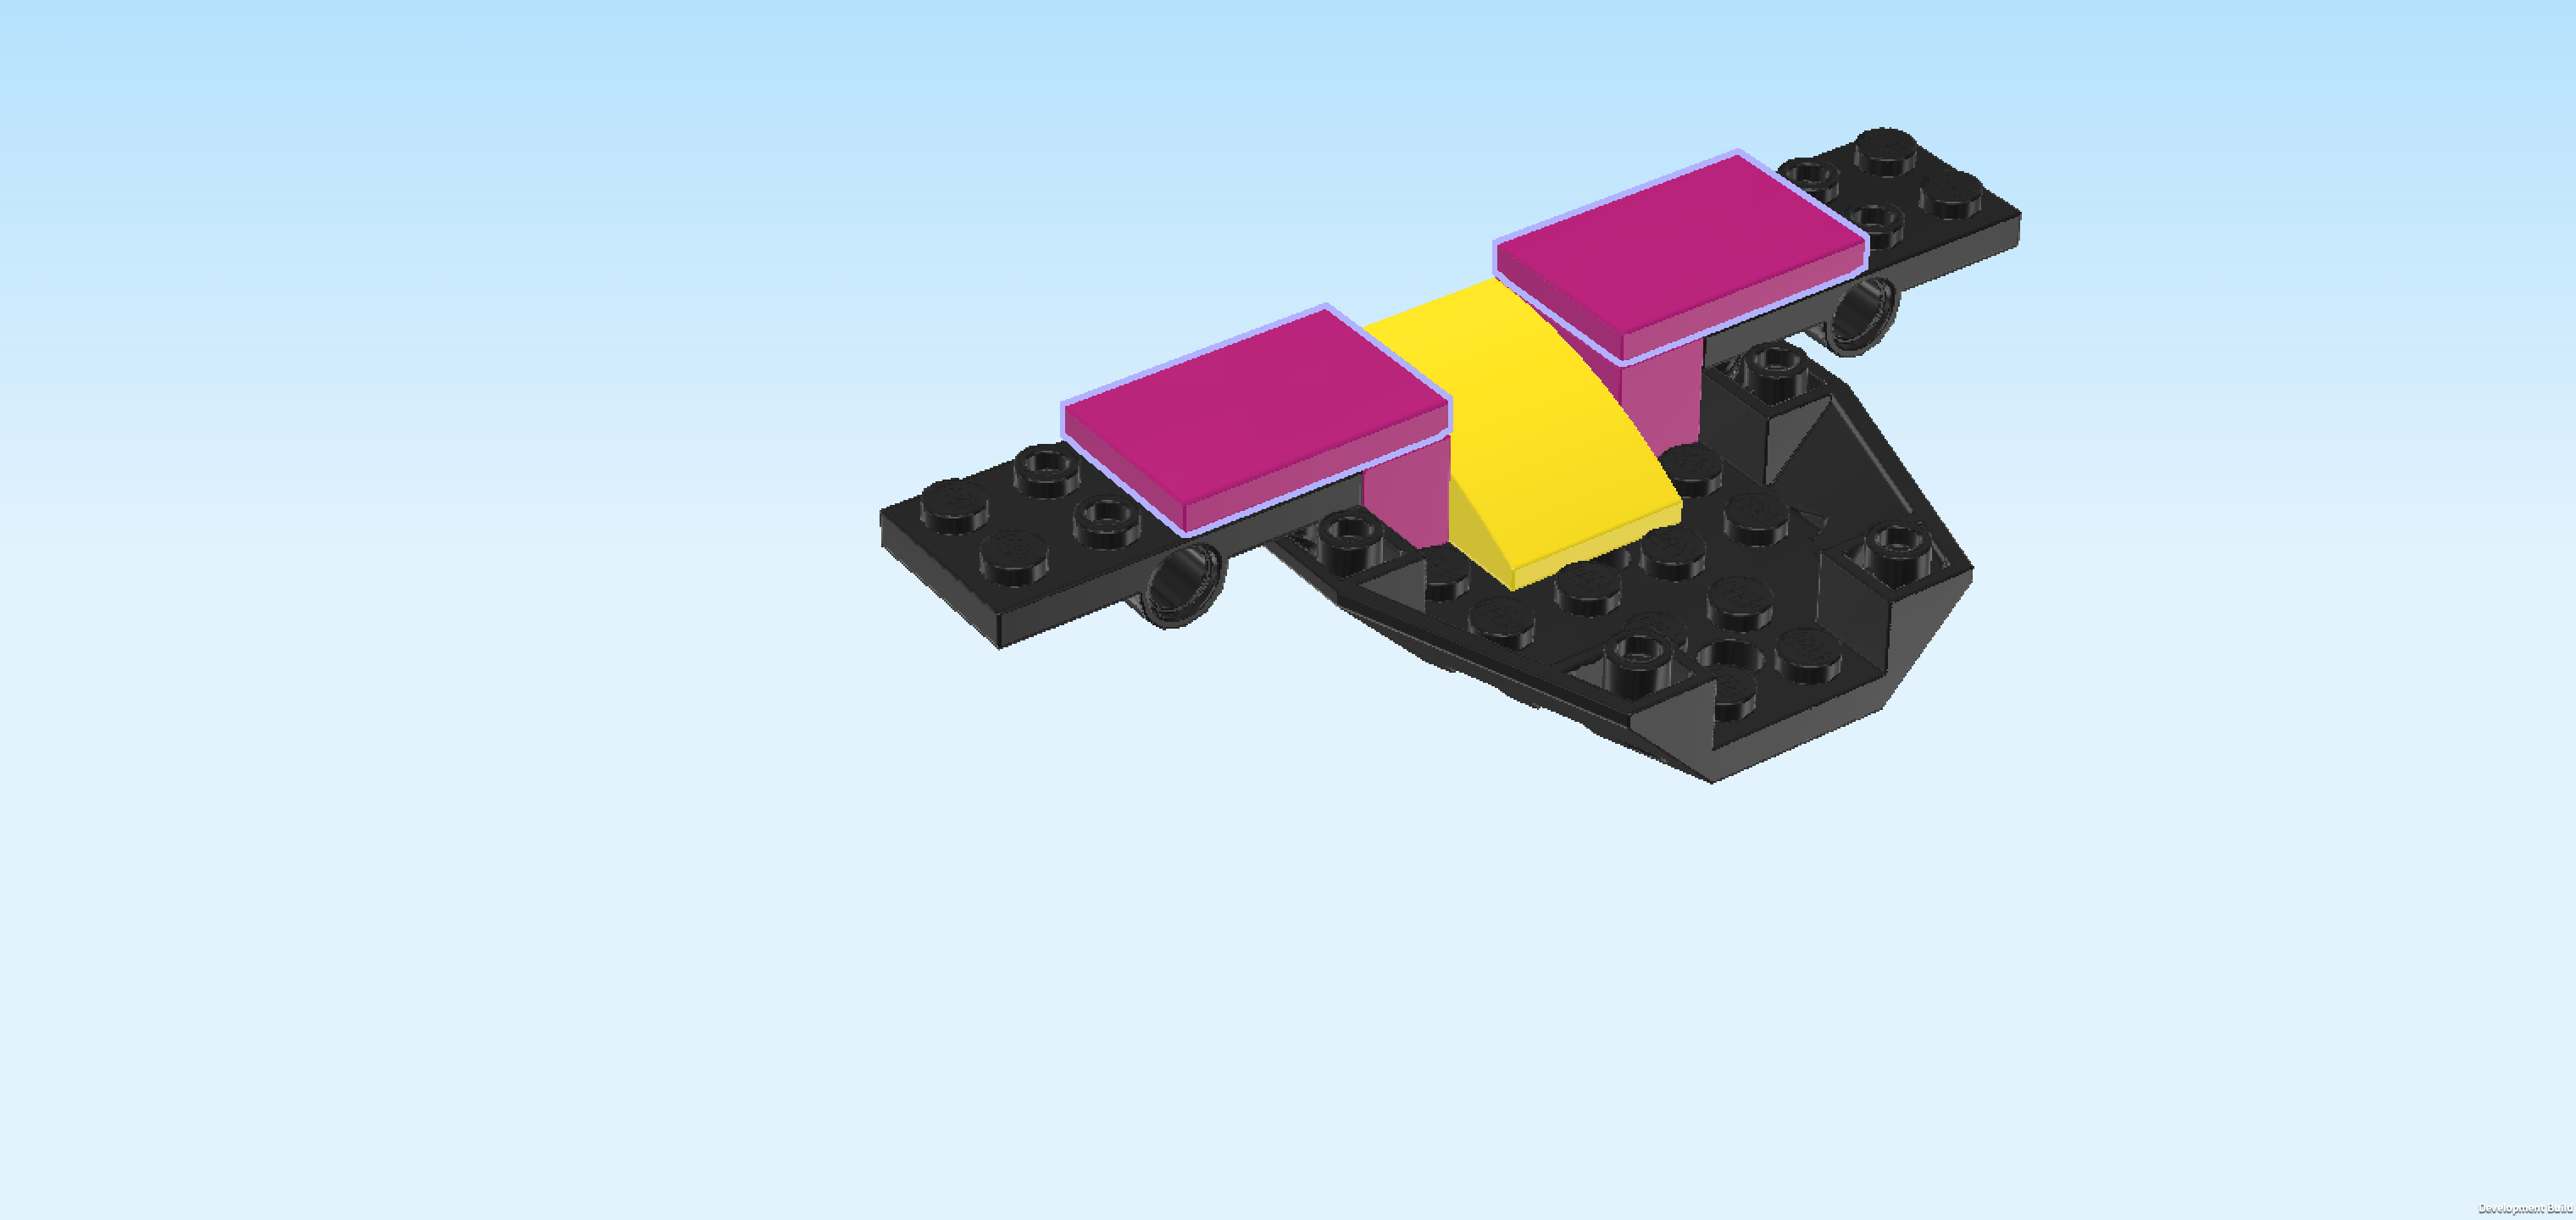
| Put the roof tile 2x3 vertically on the 2 middle columns, starting form the back edge, slope to the back. |
| Find 2 reddish brown stepped bricks 1x3x2 with half arch. |
| Put 1 horizontally to the right of the previous piece's frontmost row, arch to the right. |
| Repeat symmetrically on the left. |
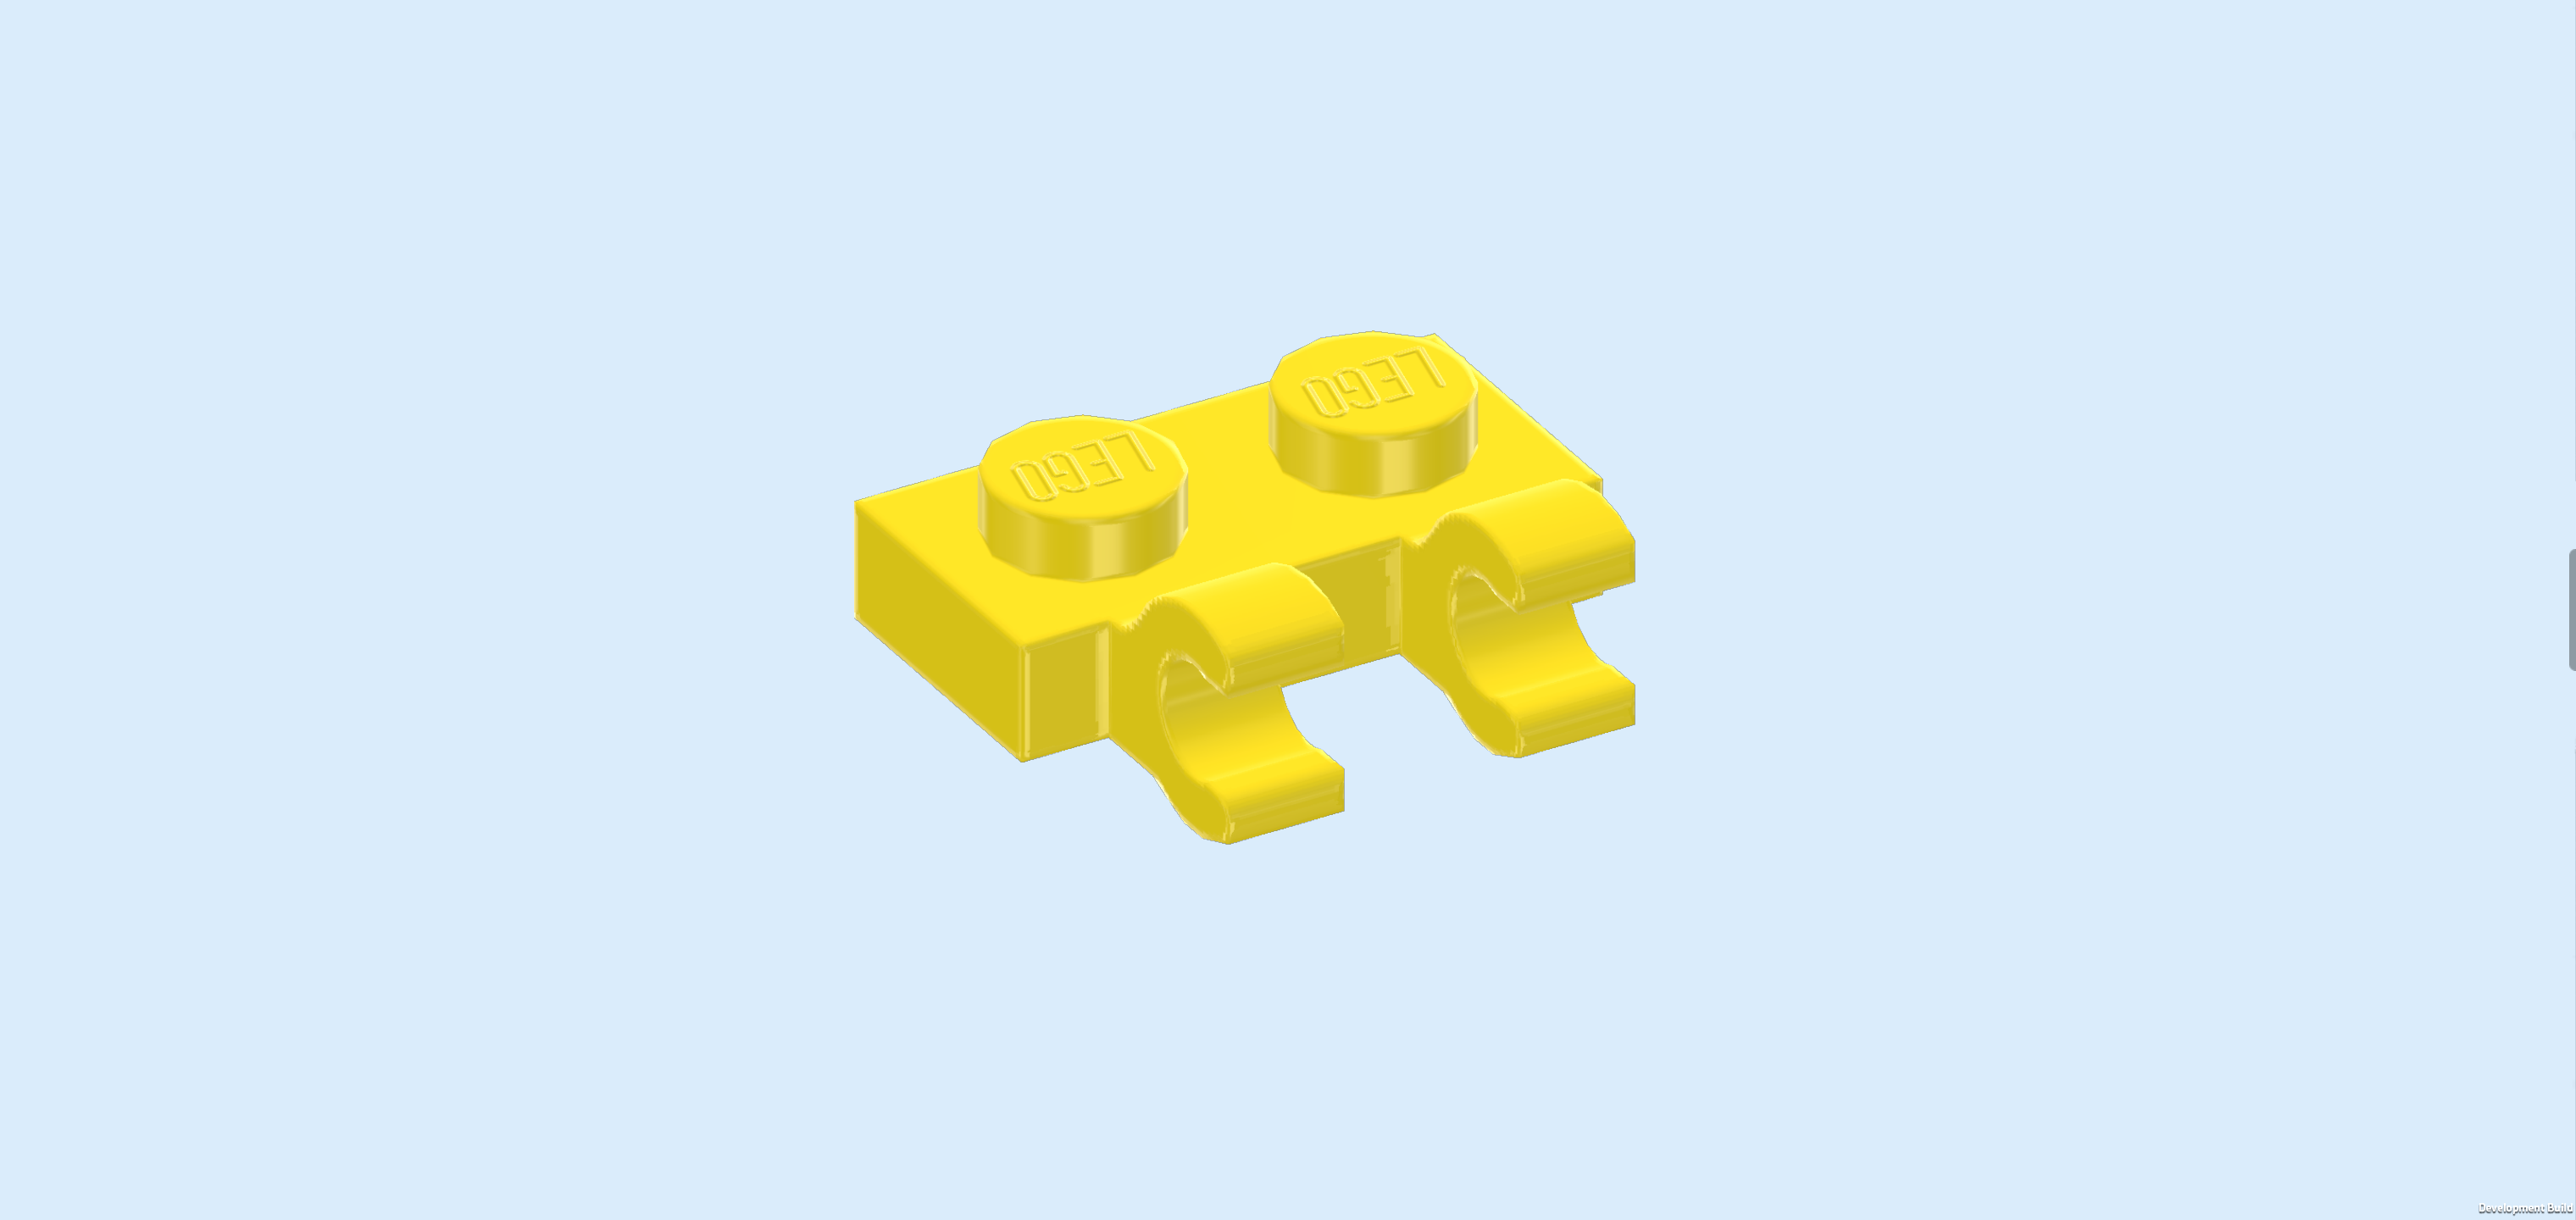
| Find 1 medium stone grey brick 1x4 with shooter slot. |
| Put it horizontally between the 2 previous pieces. |
| Find 1 reddish brown plate 1x4. |
| Put it horizontally on top of the previous piece. |
| Find 2 bright green leaves 4x5x1⅔. |
| Put 1 horizontally to the right of the previous piece, leaf tips pointing to the right. |
| Repeat symmetrically on the left. |
| Find 1 reddish brown plate 1x6. |
| Put it horizontally centered on top of the 3 previous pieces. |
| Find 3 medium azure blue round tiles 2x2. |
| Carefully insert 1 into the shooter slot of the brick so that it protrudes symmetrically to the front and back. |
| Warning! Do not aim at eye or face! |
| To launch the disc shooter, press with your thumb from the back on the tile so it shoots out towards the front. You can use the 2 remaining round tiles as backup ammo. |
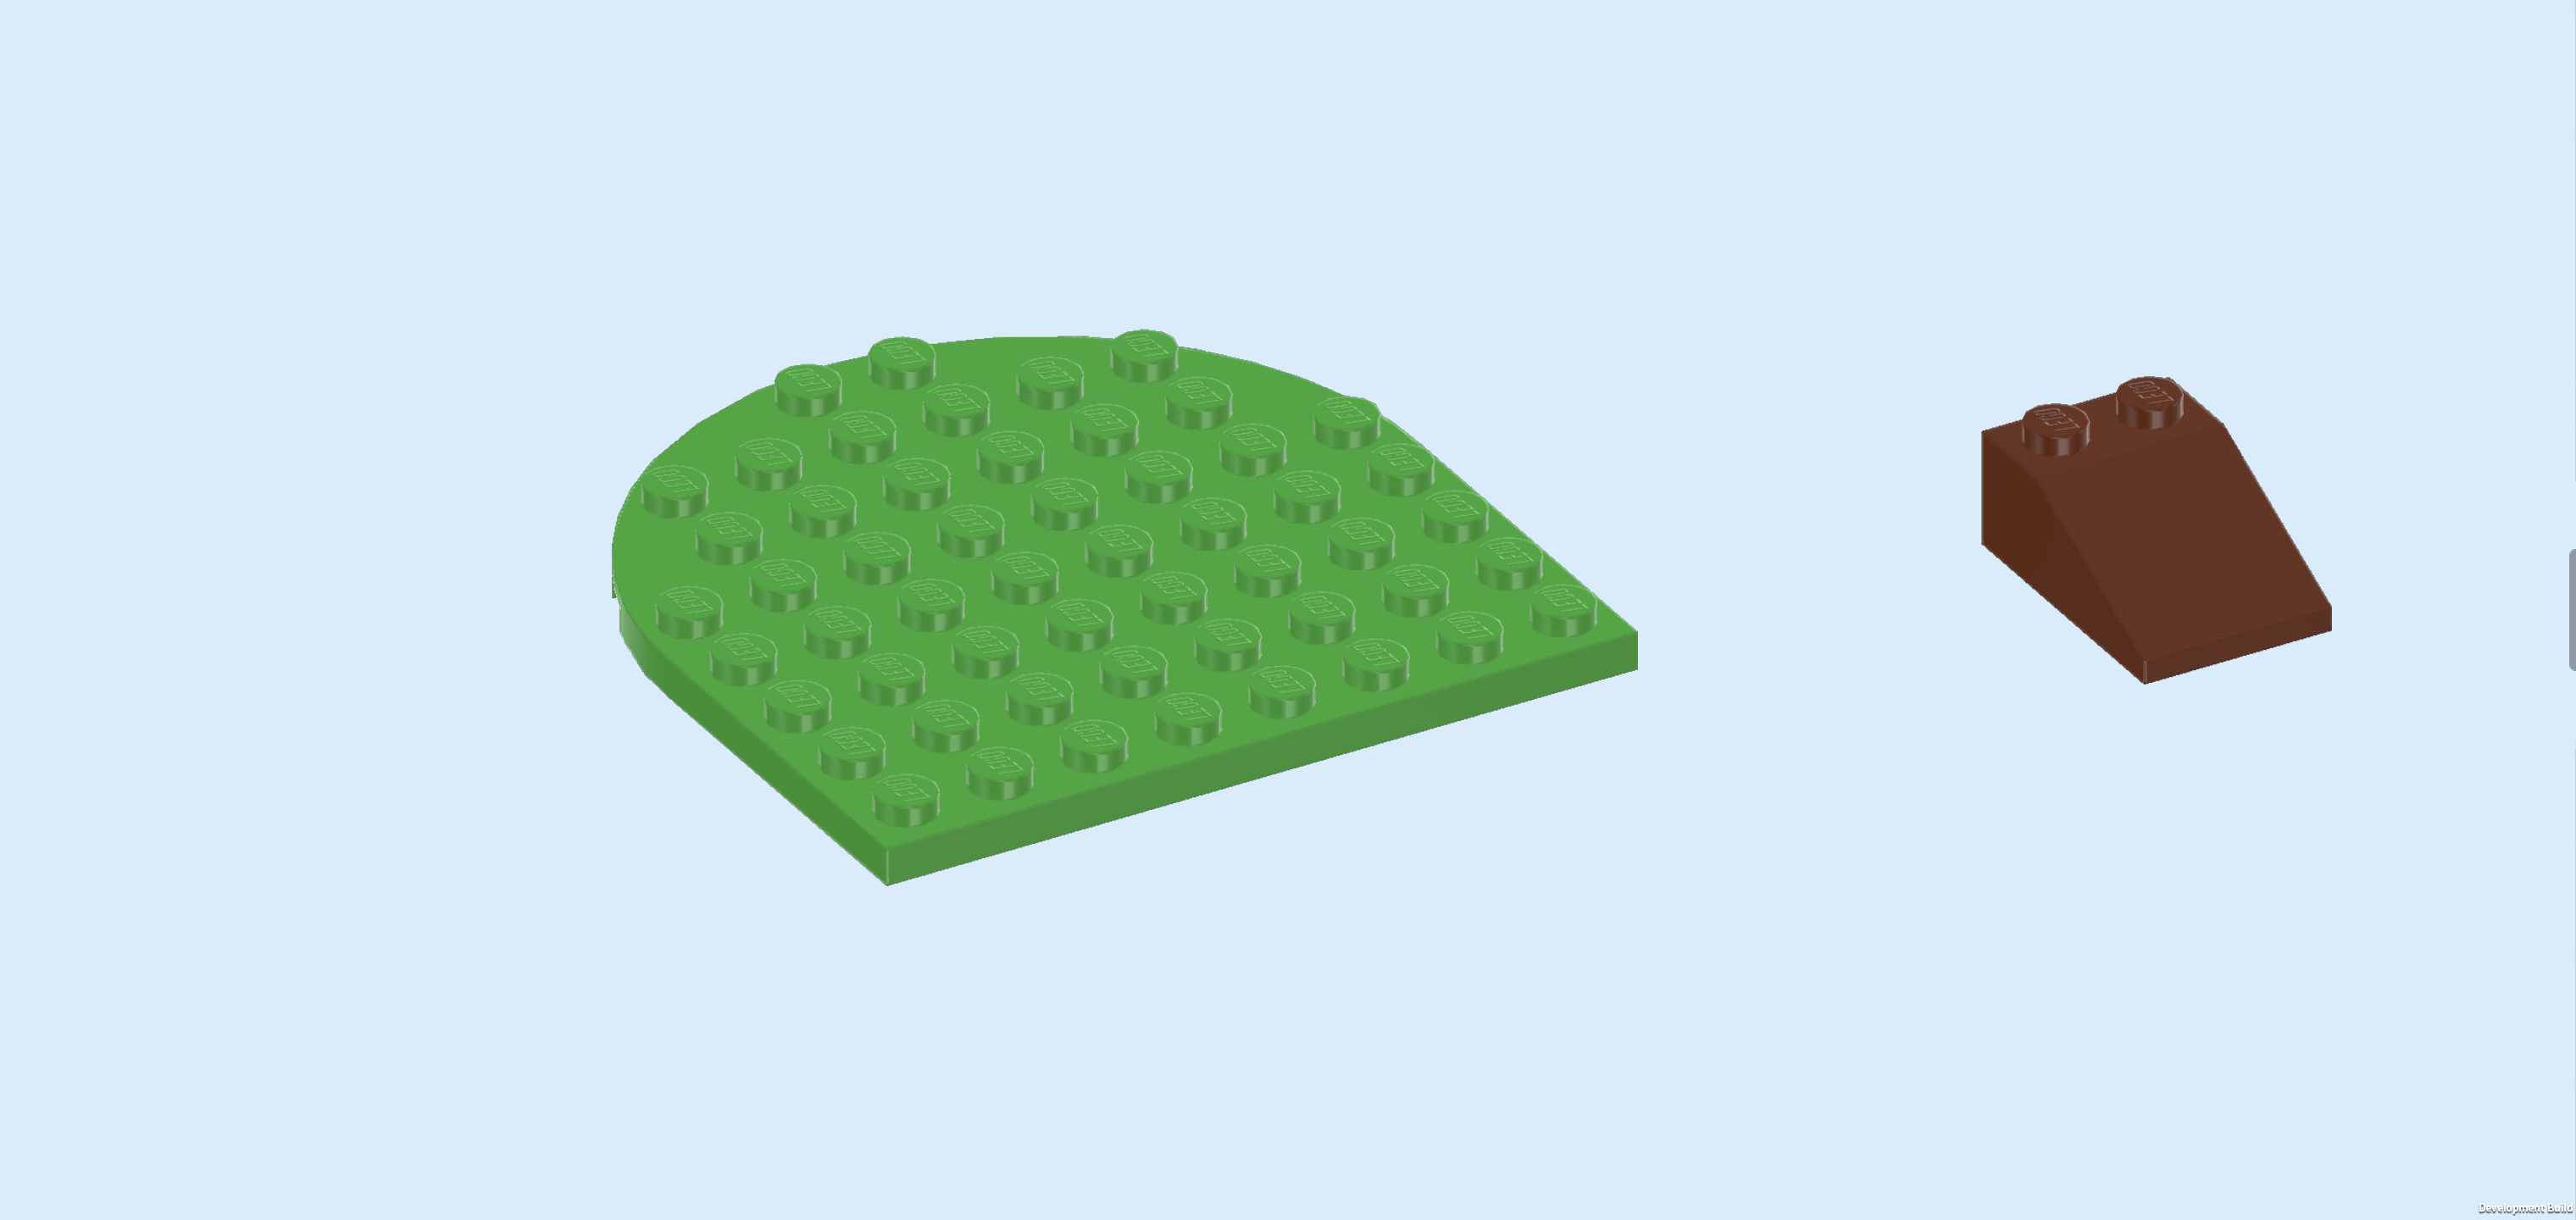
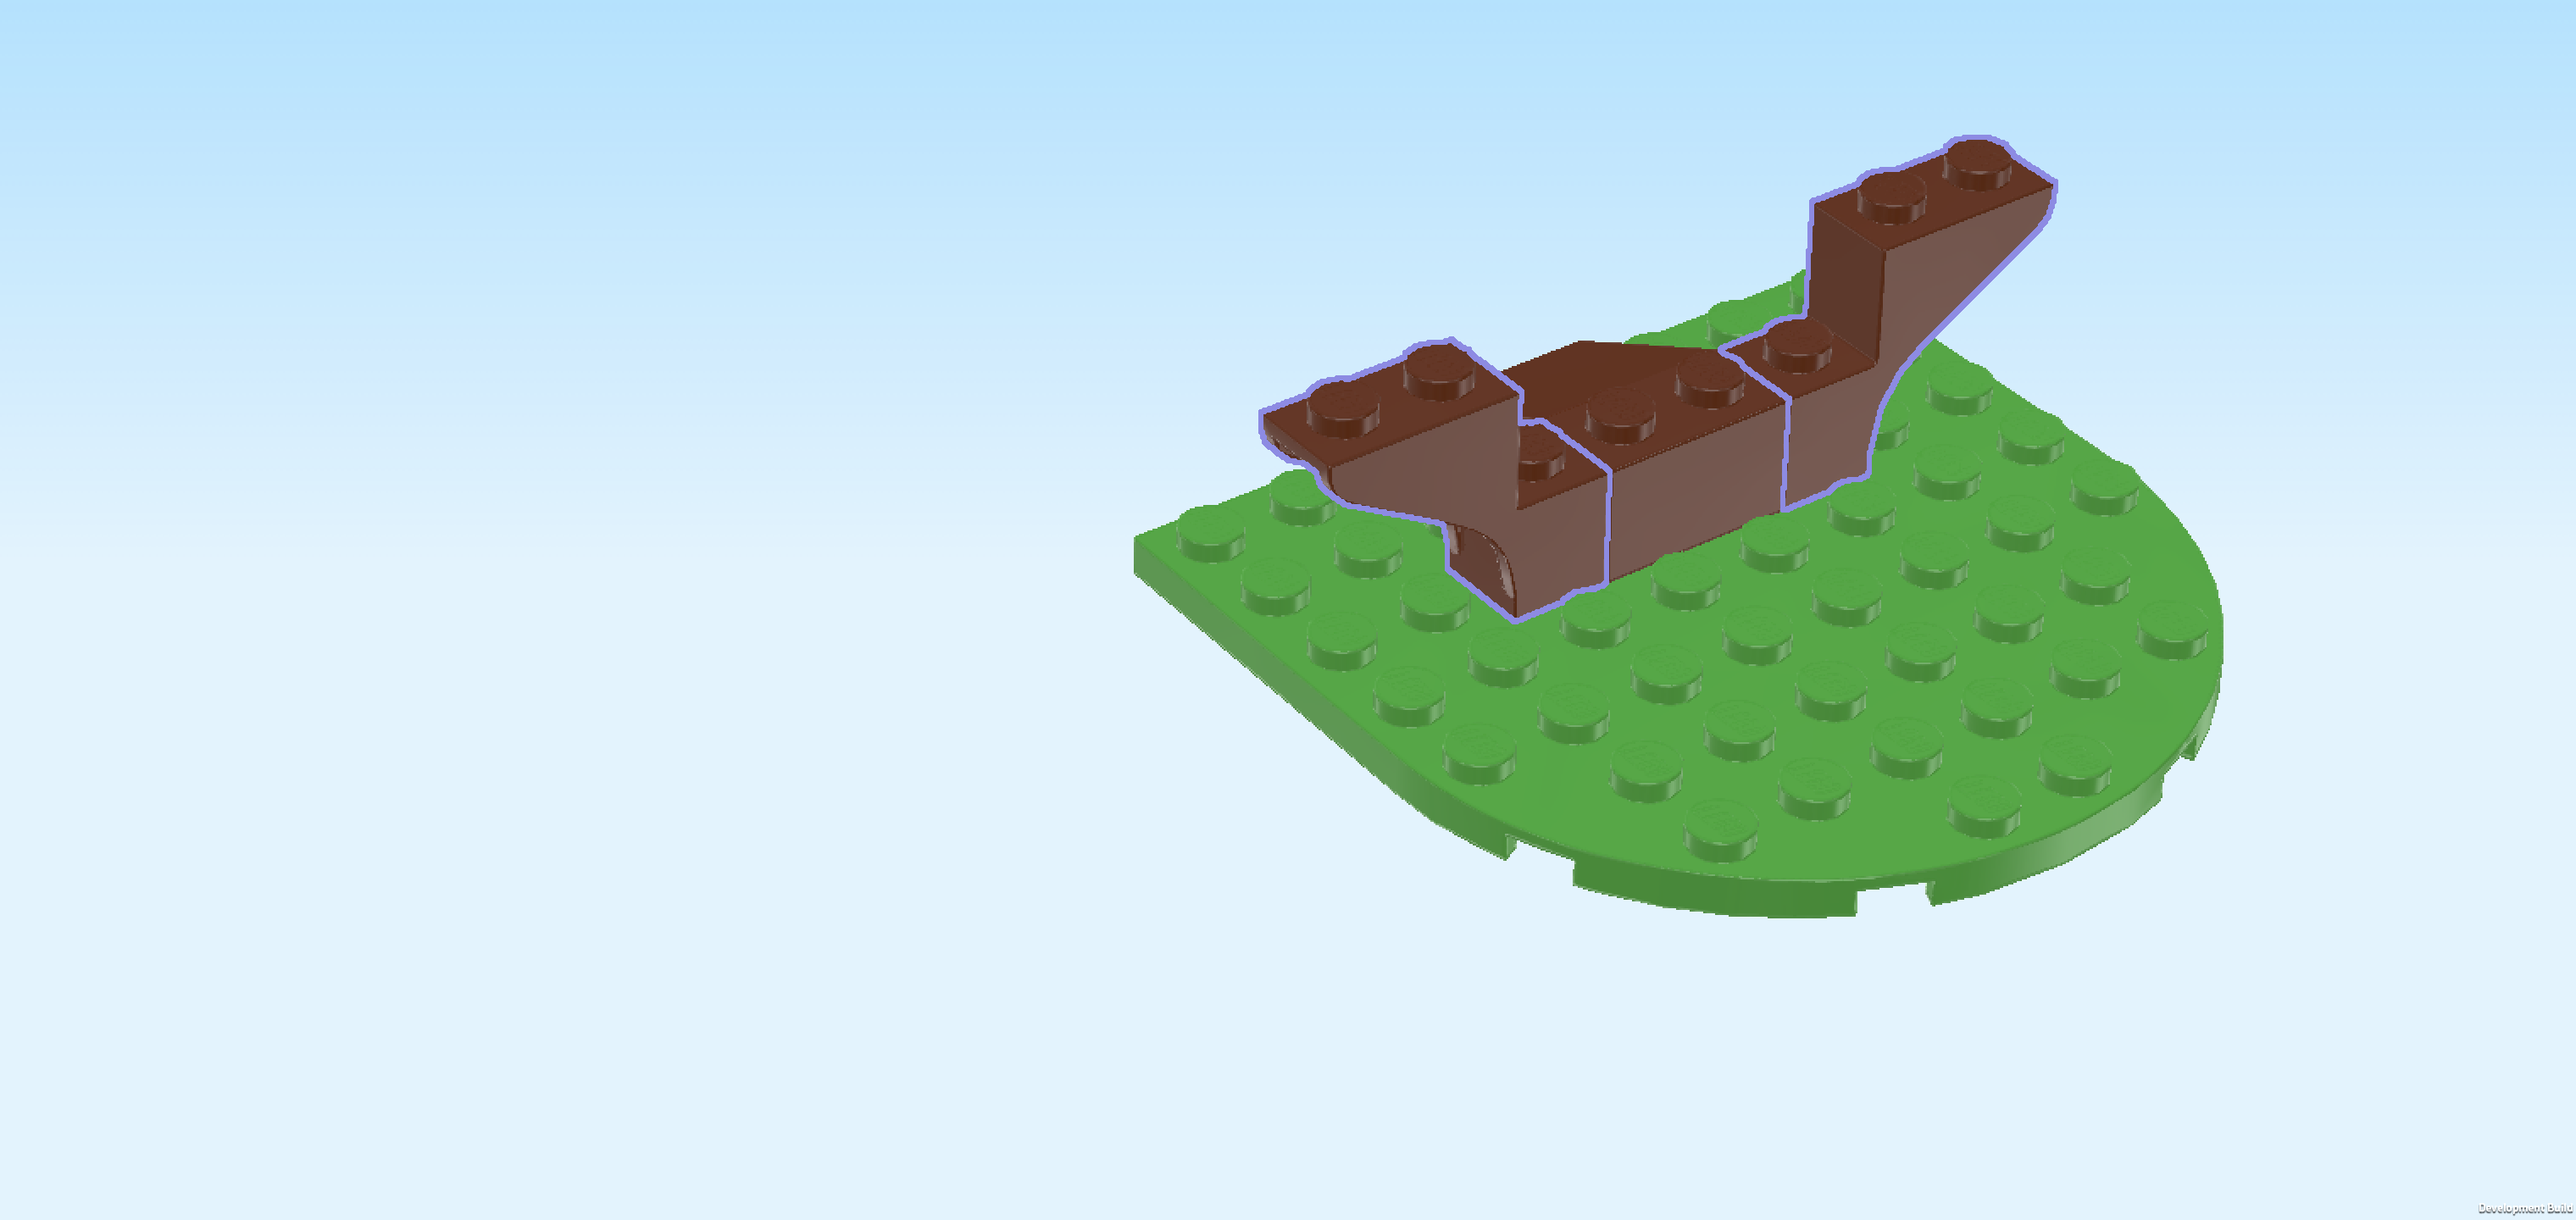
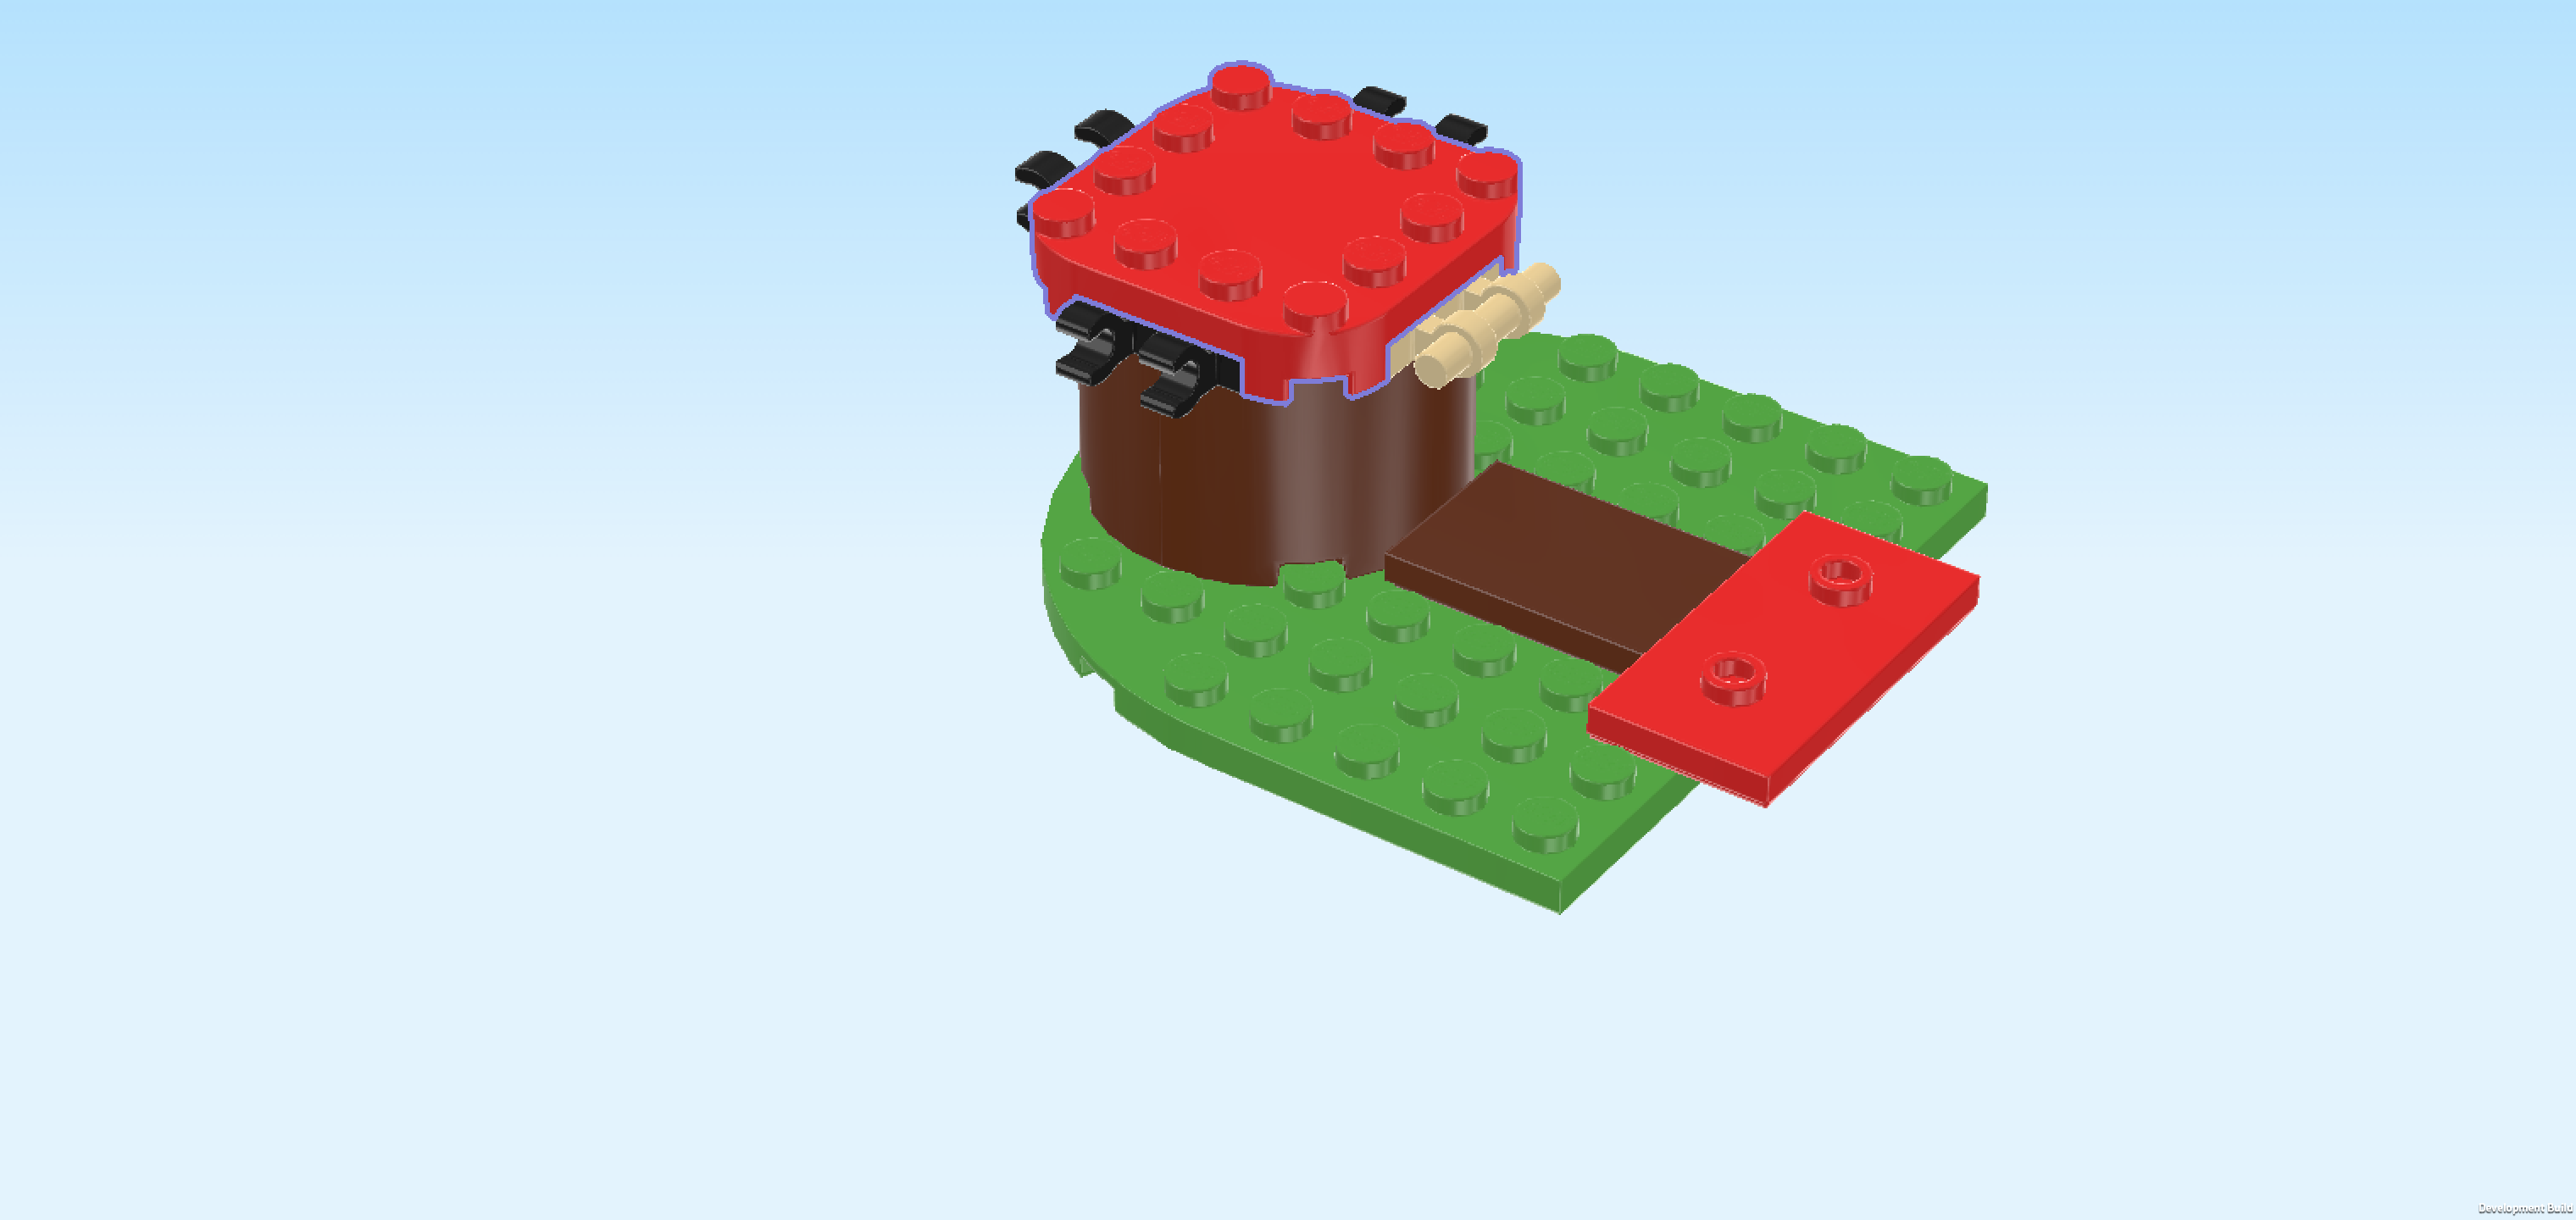
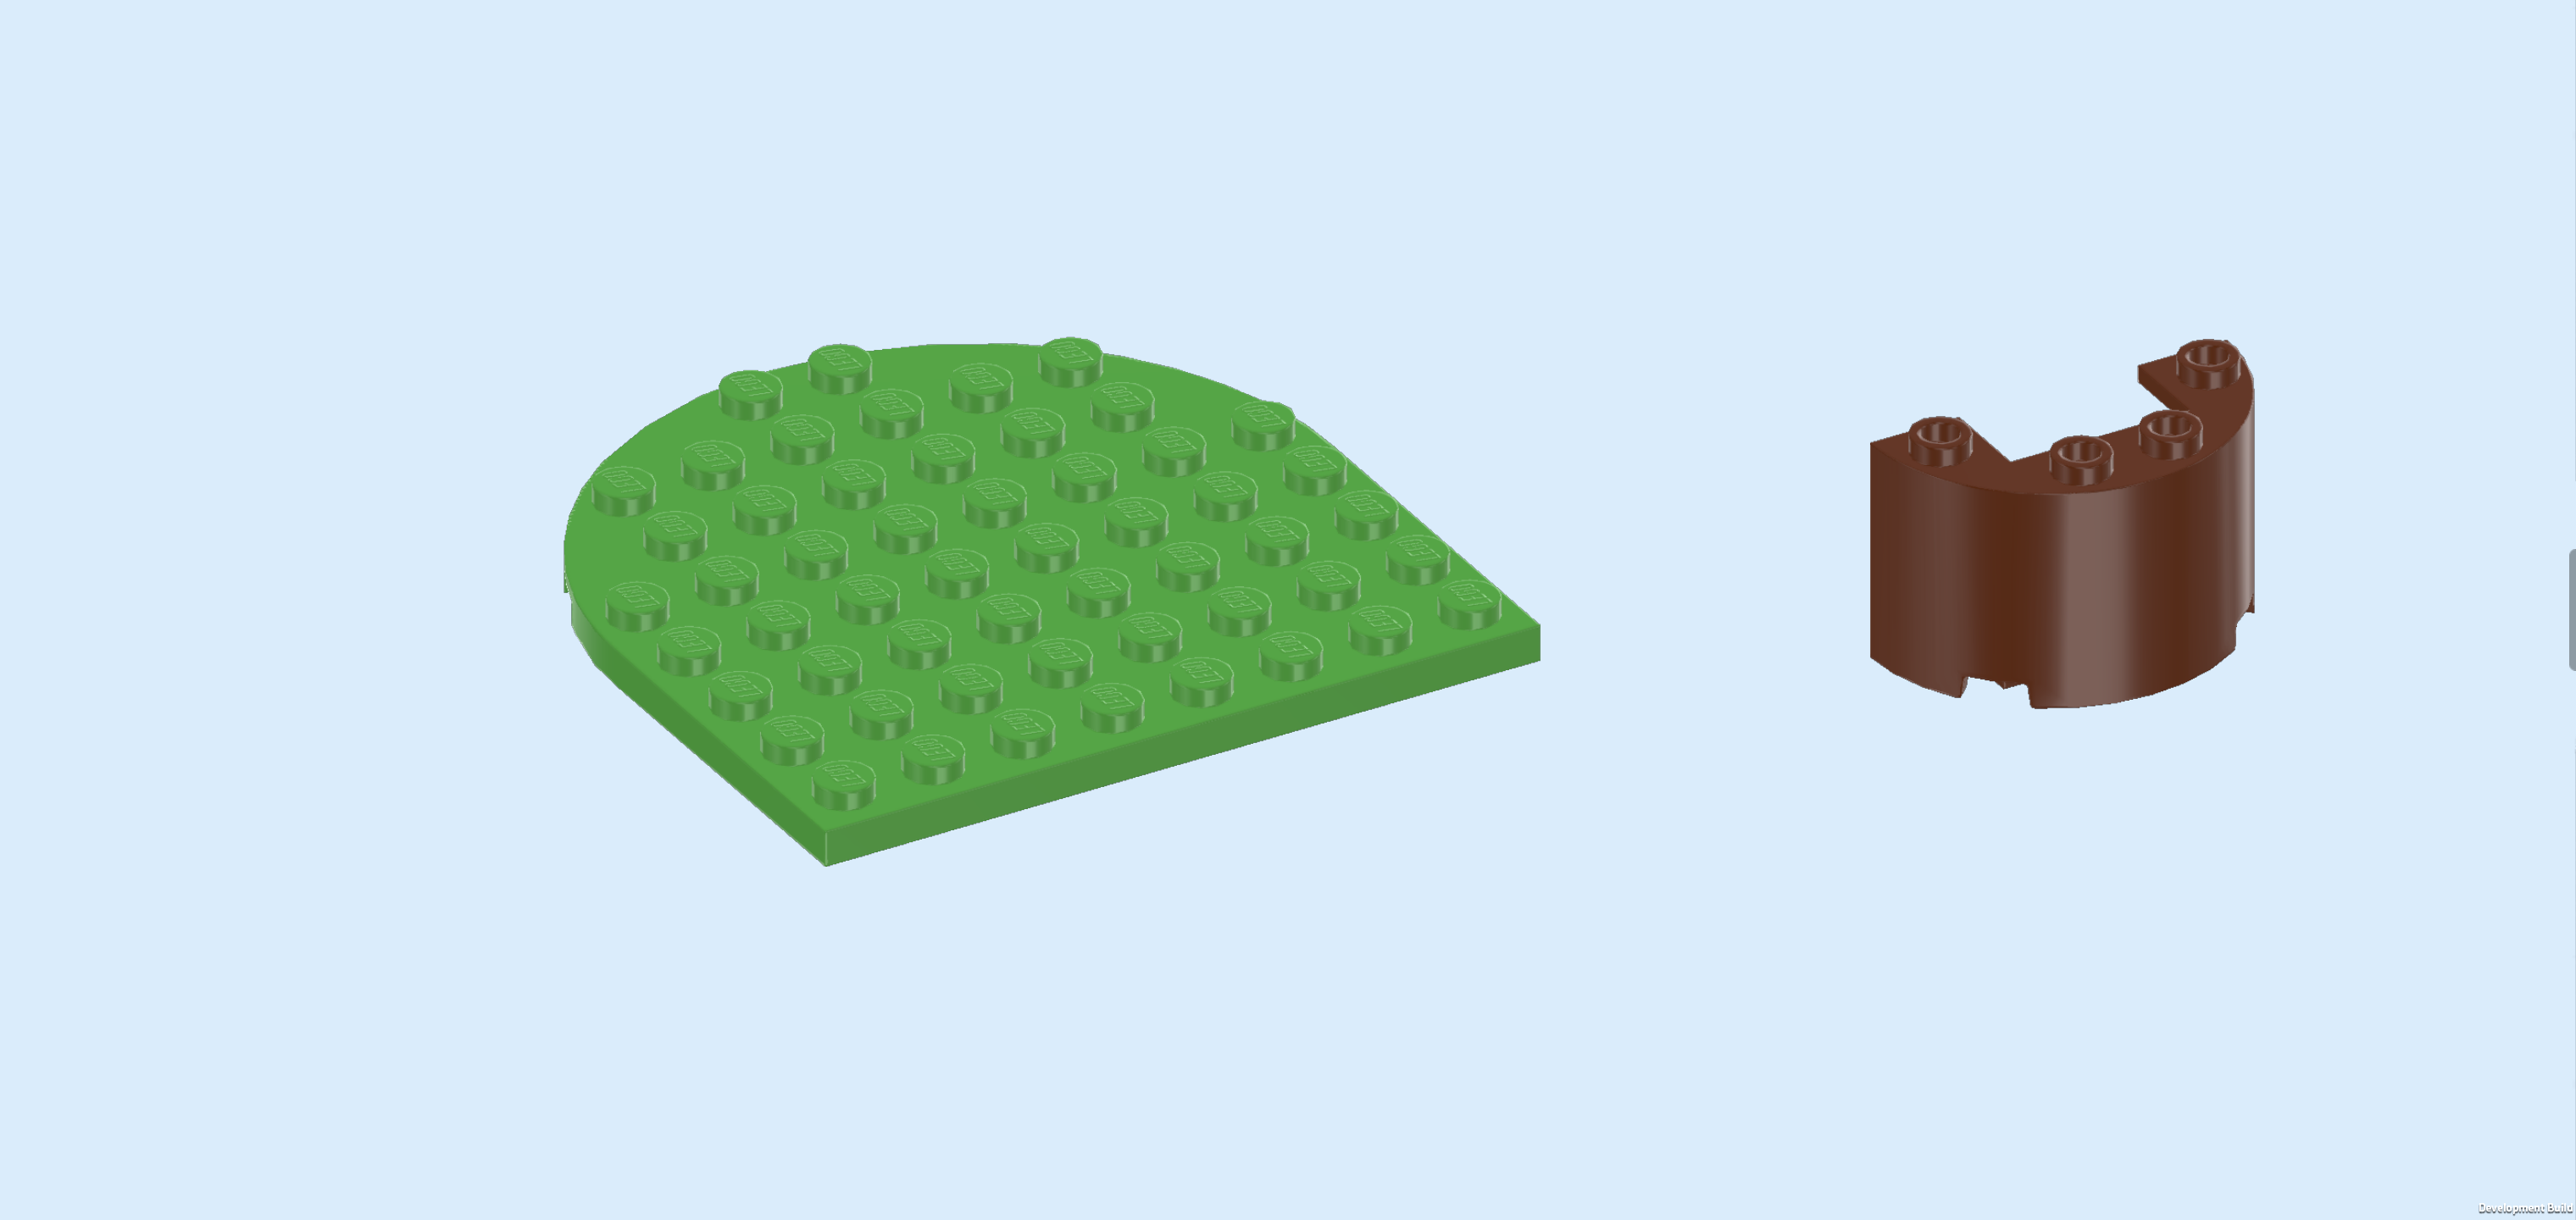
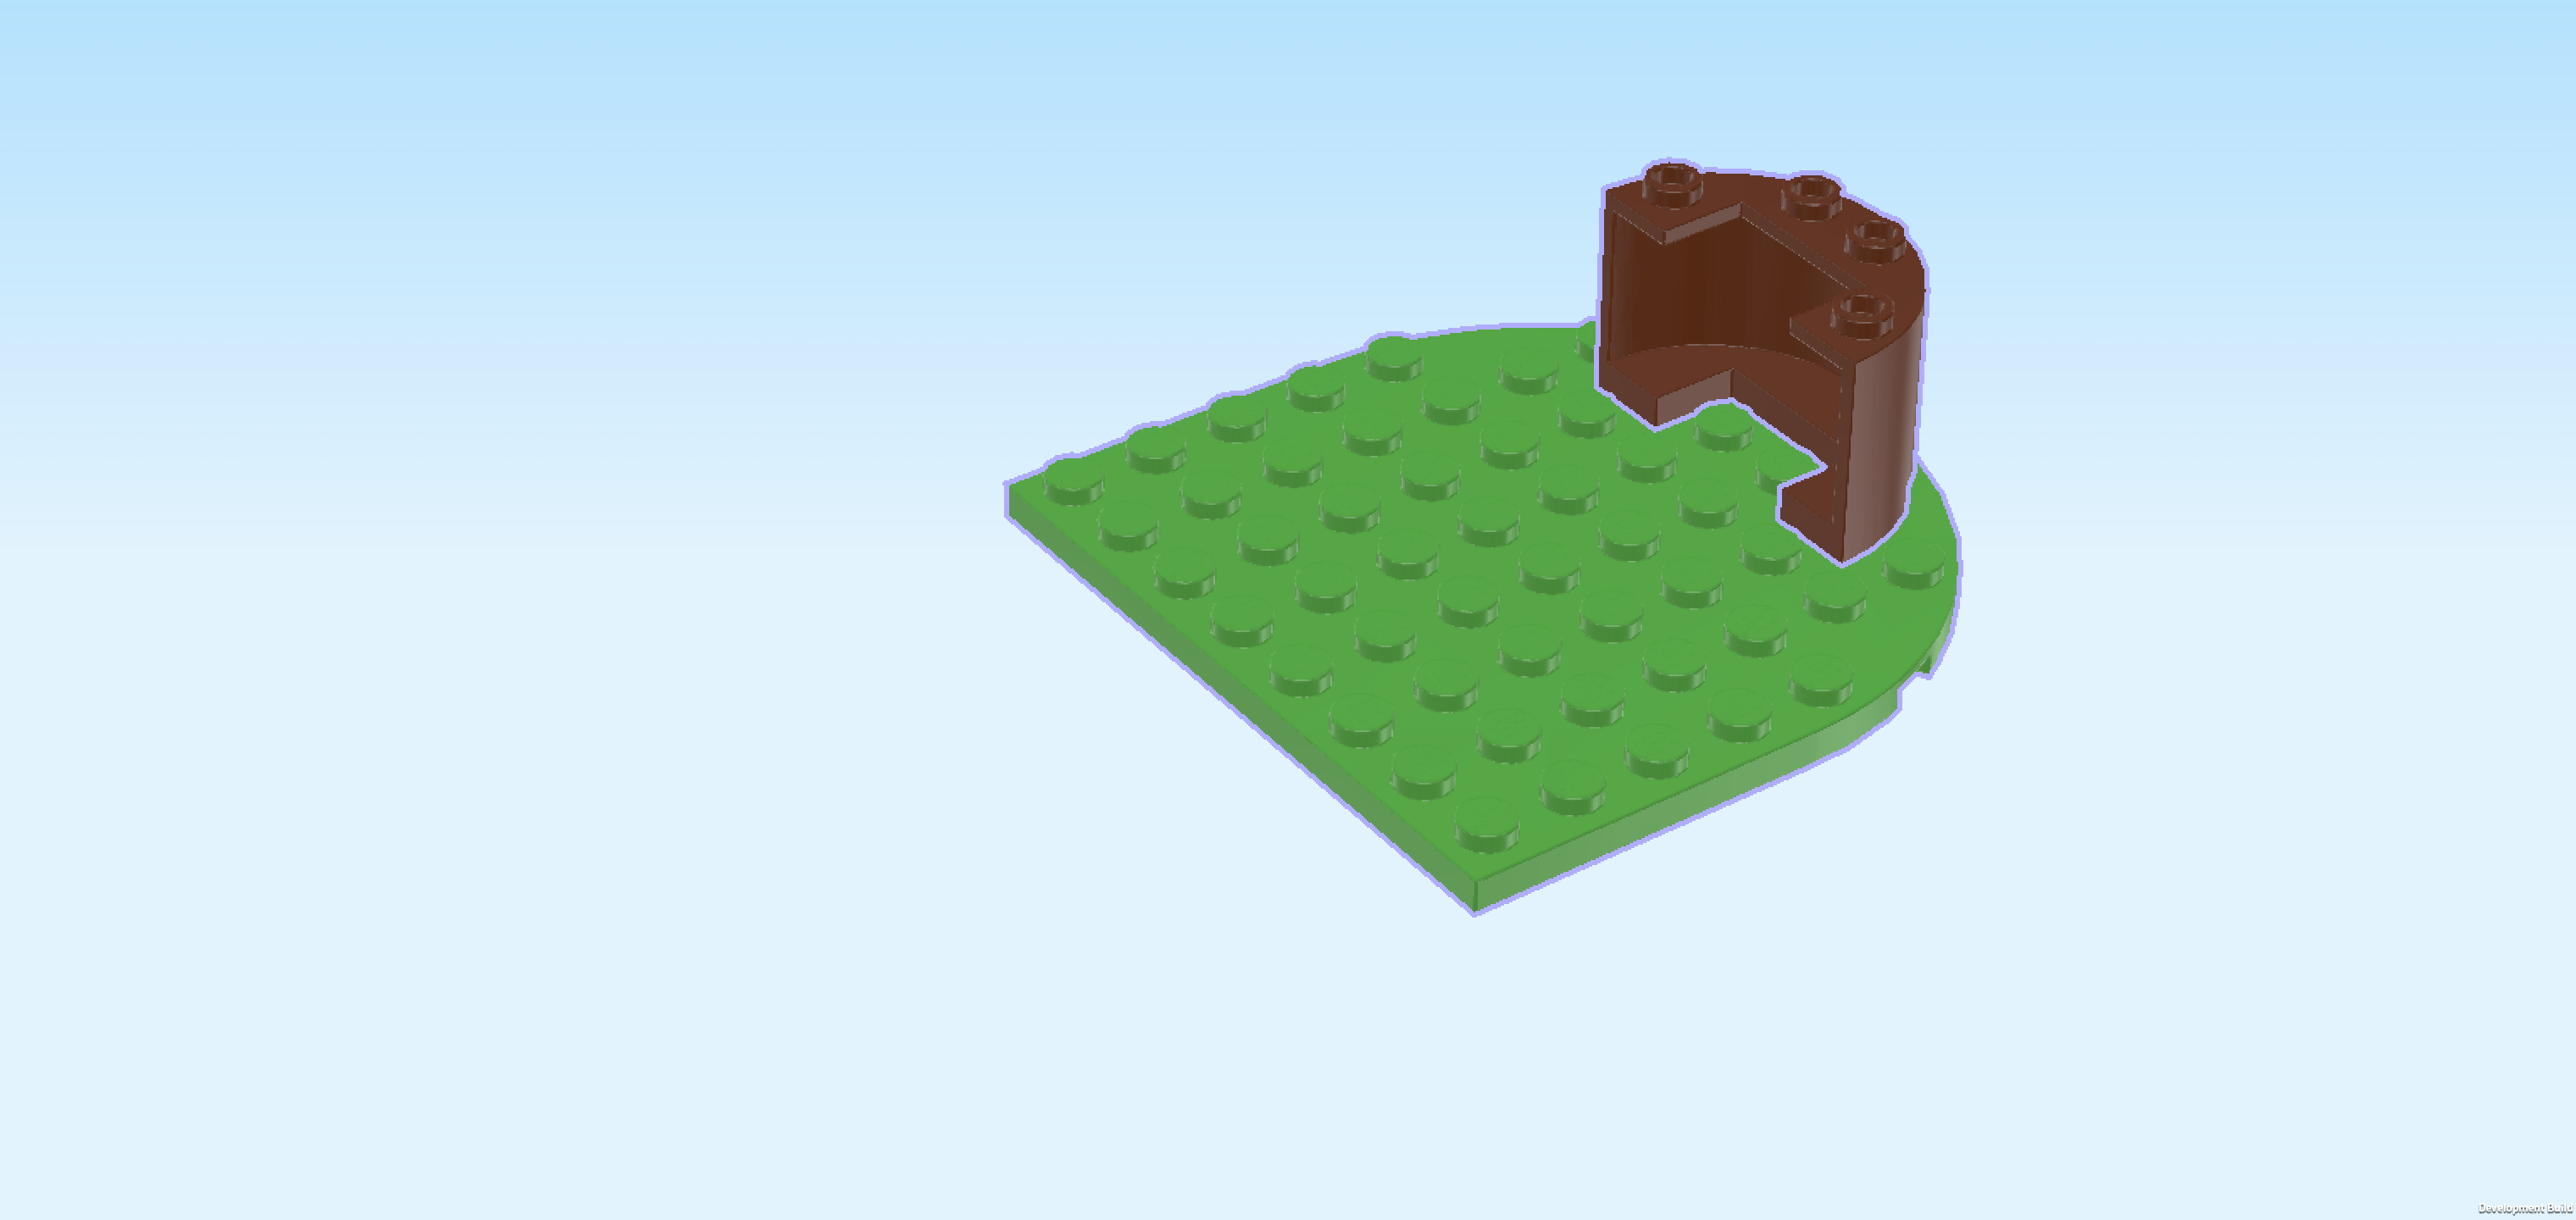
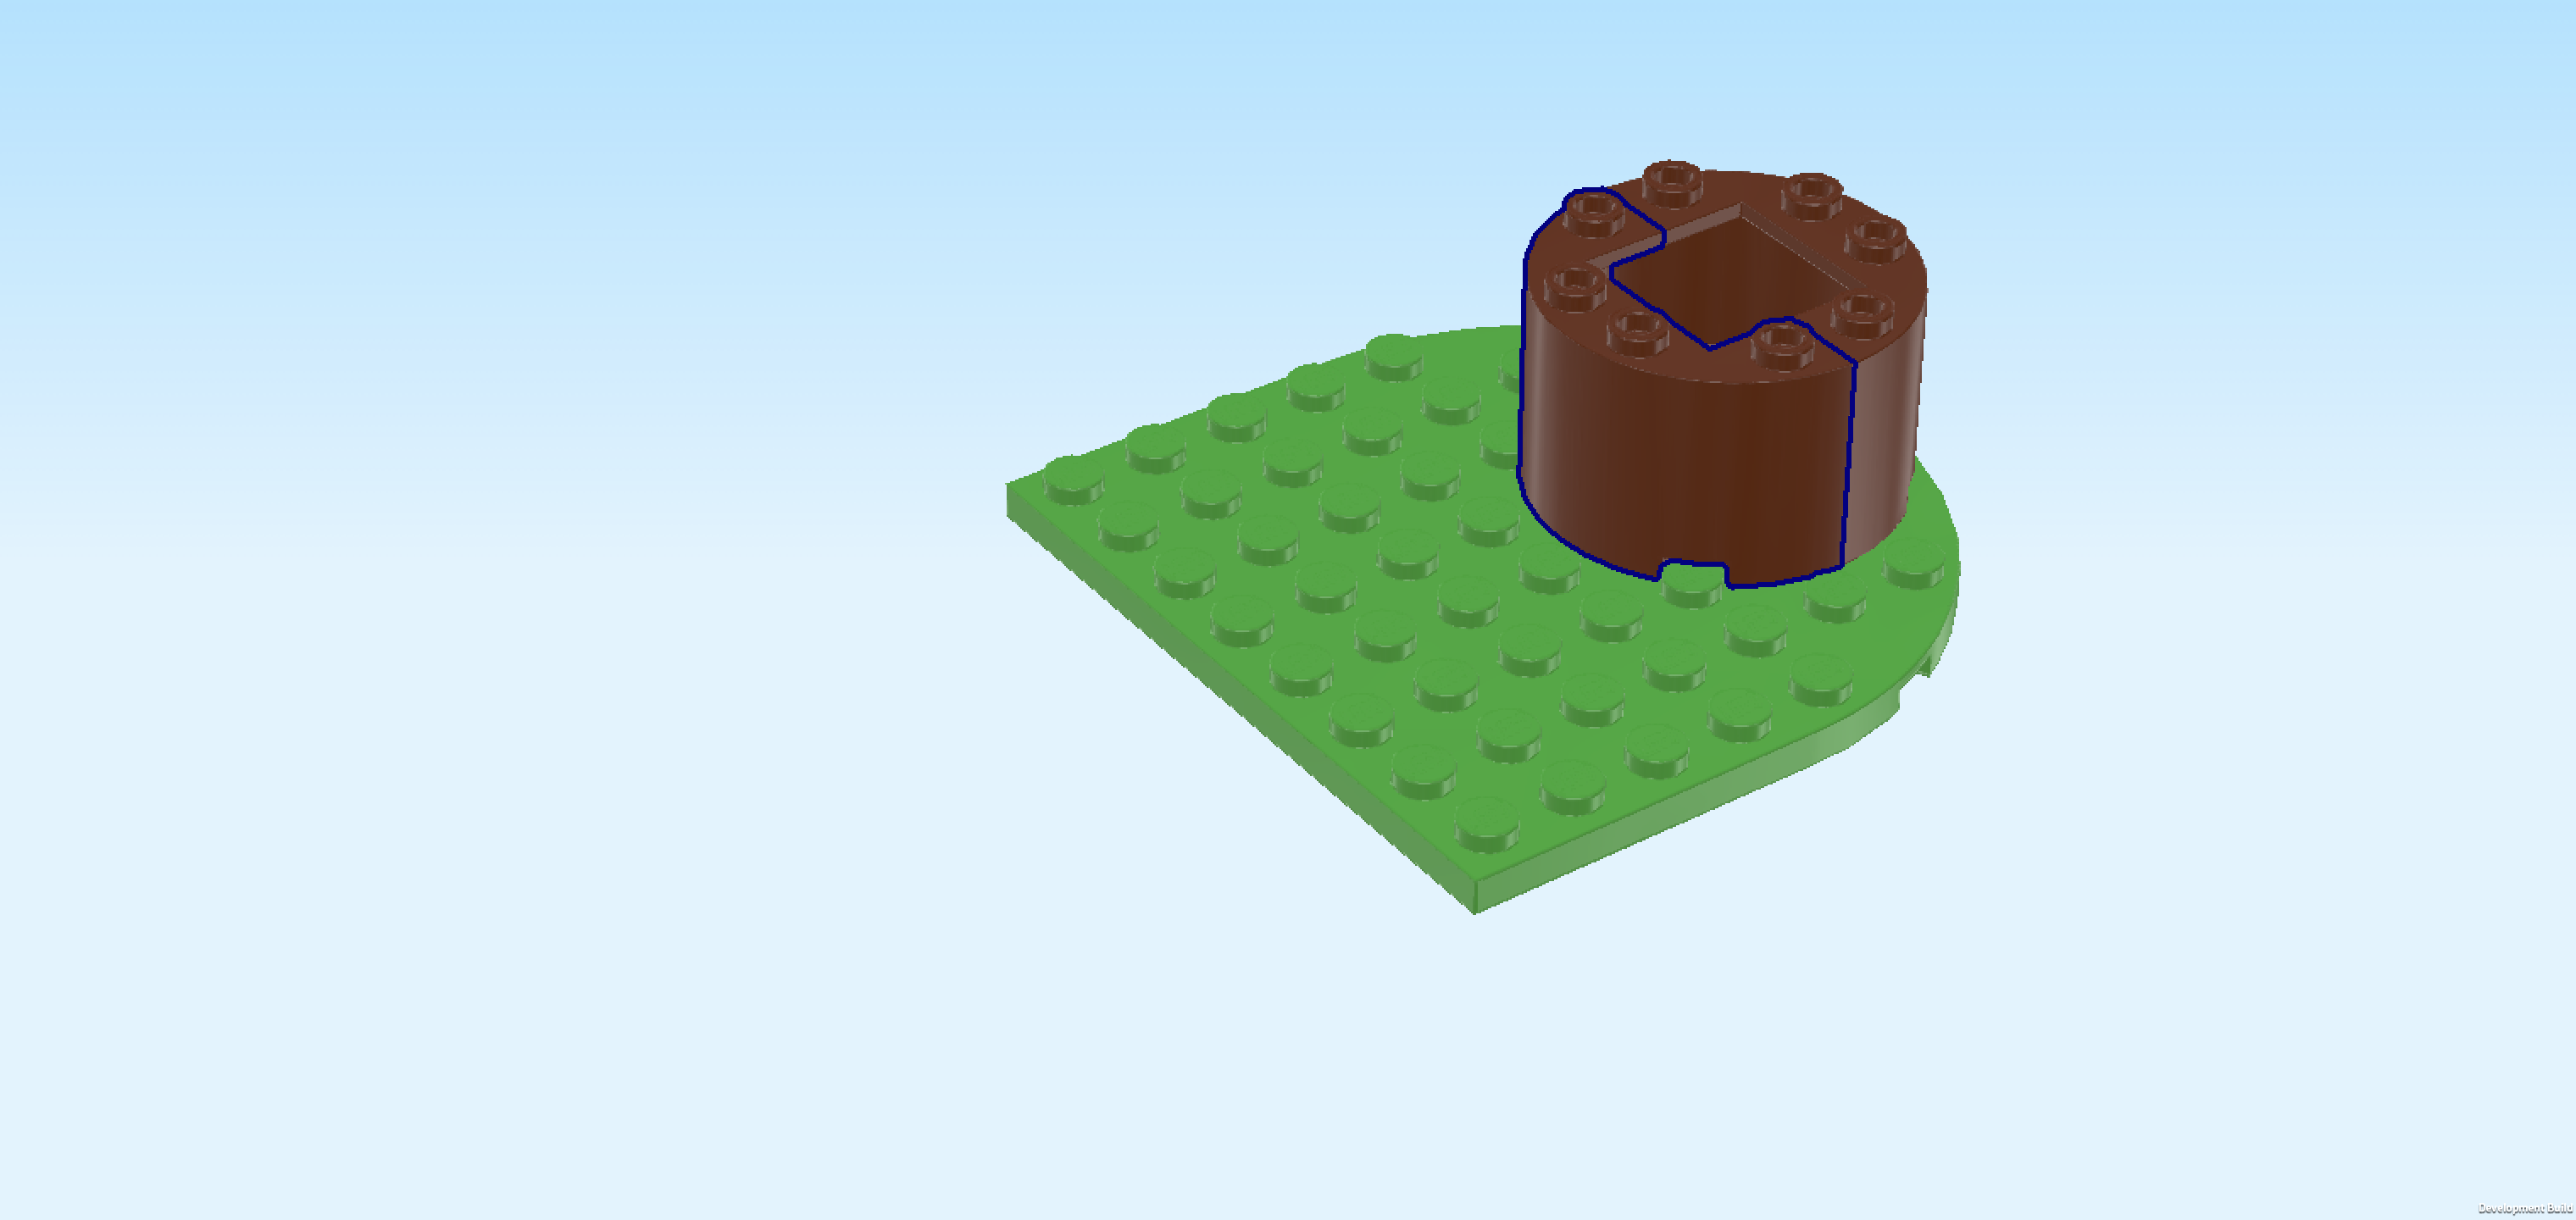
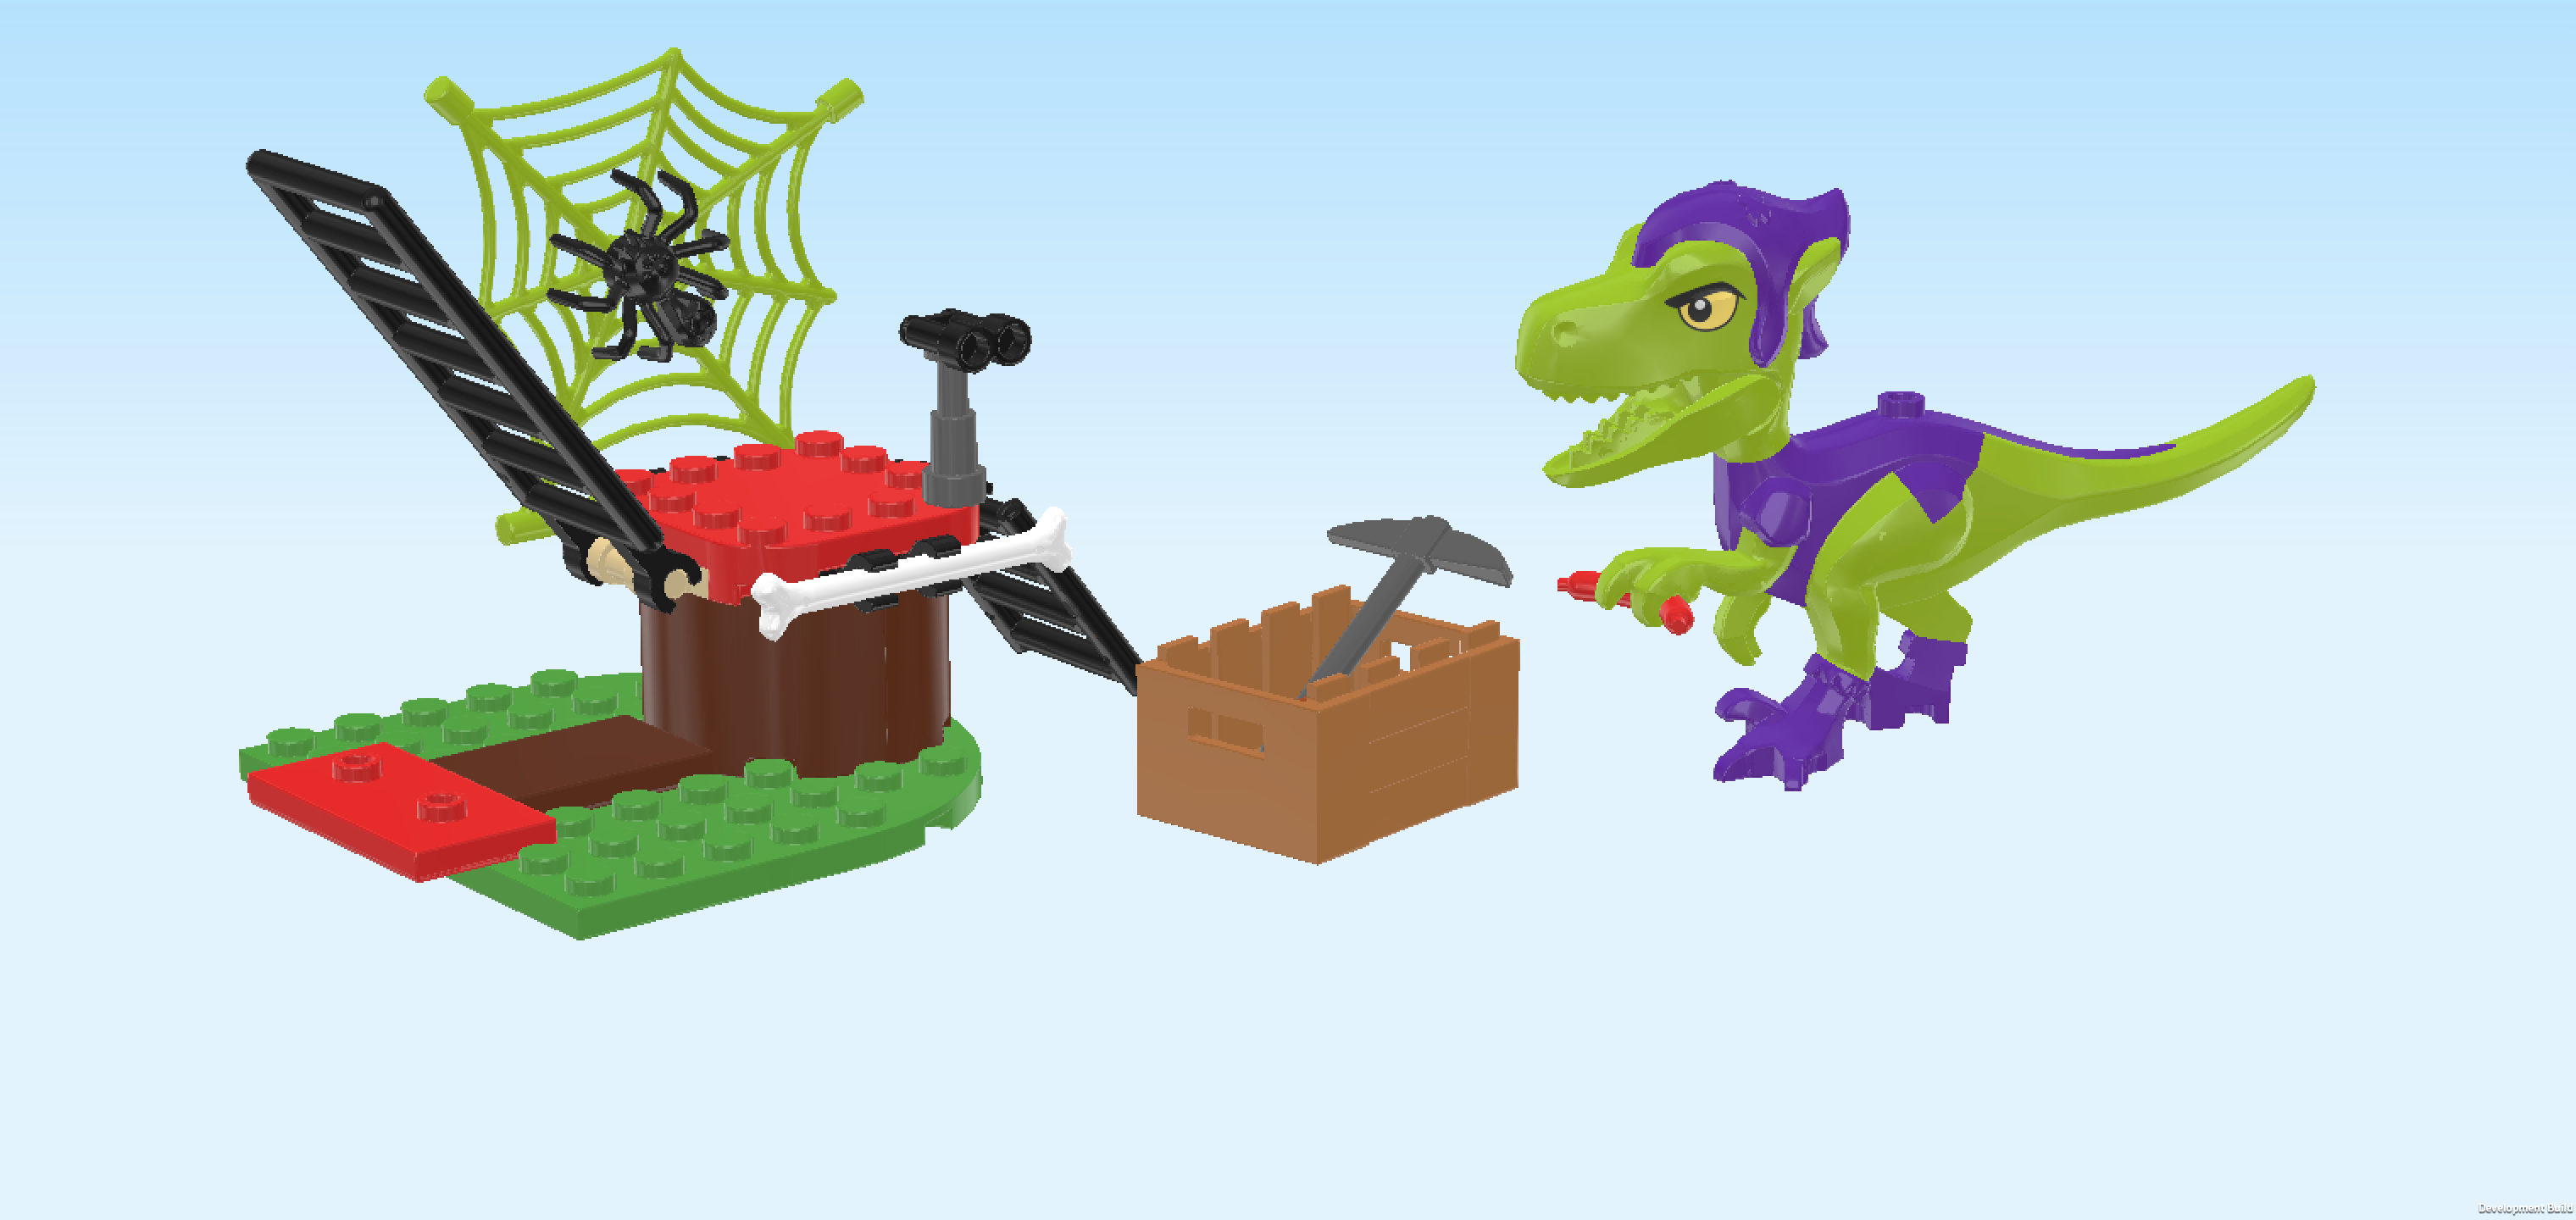
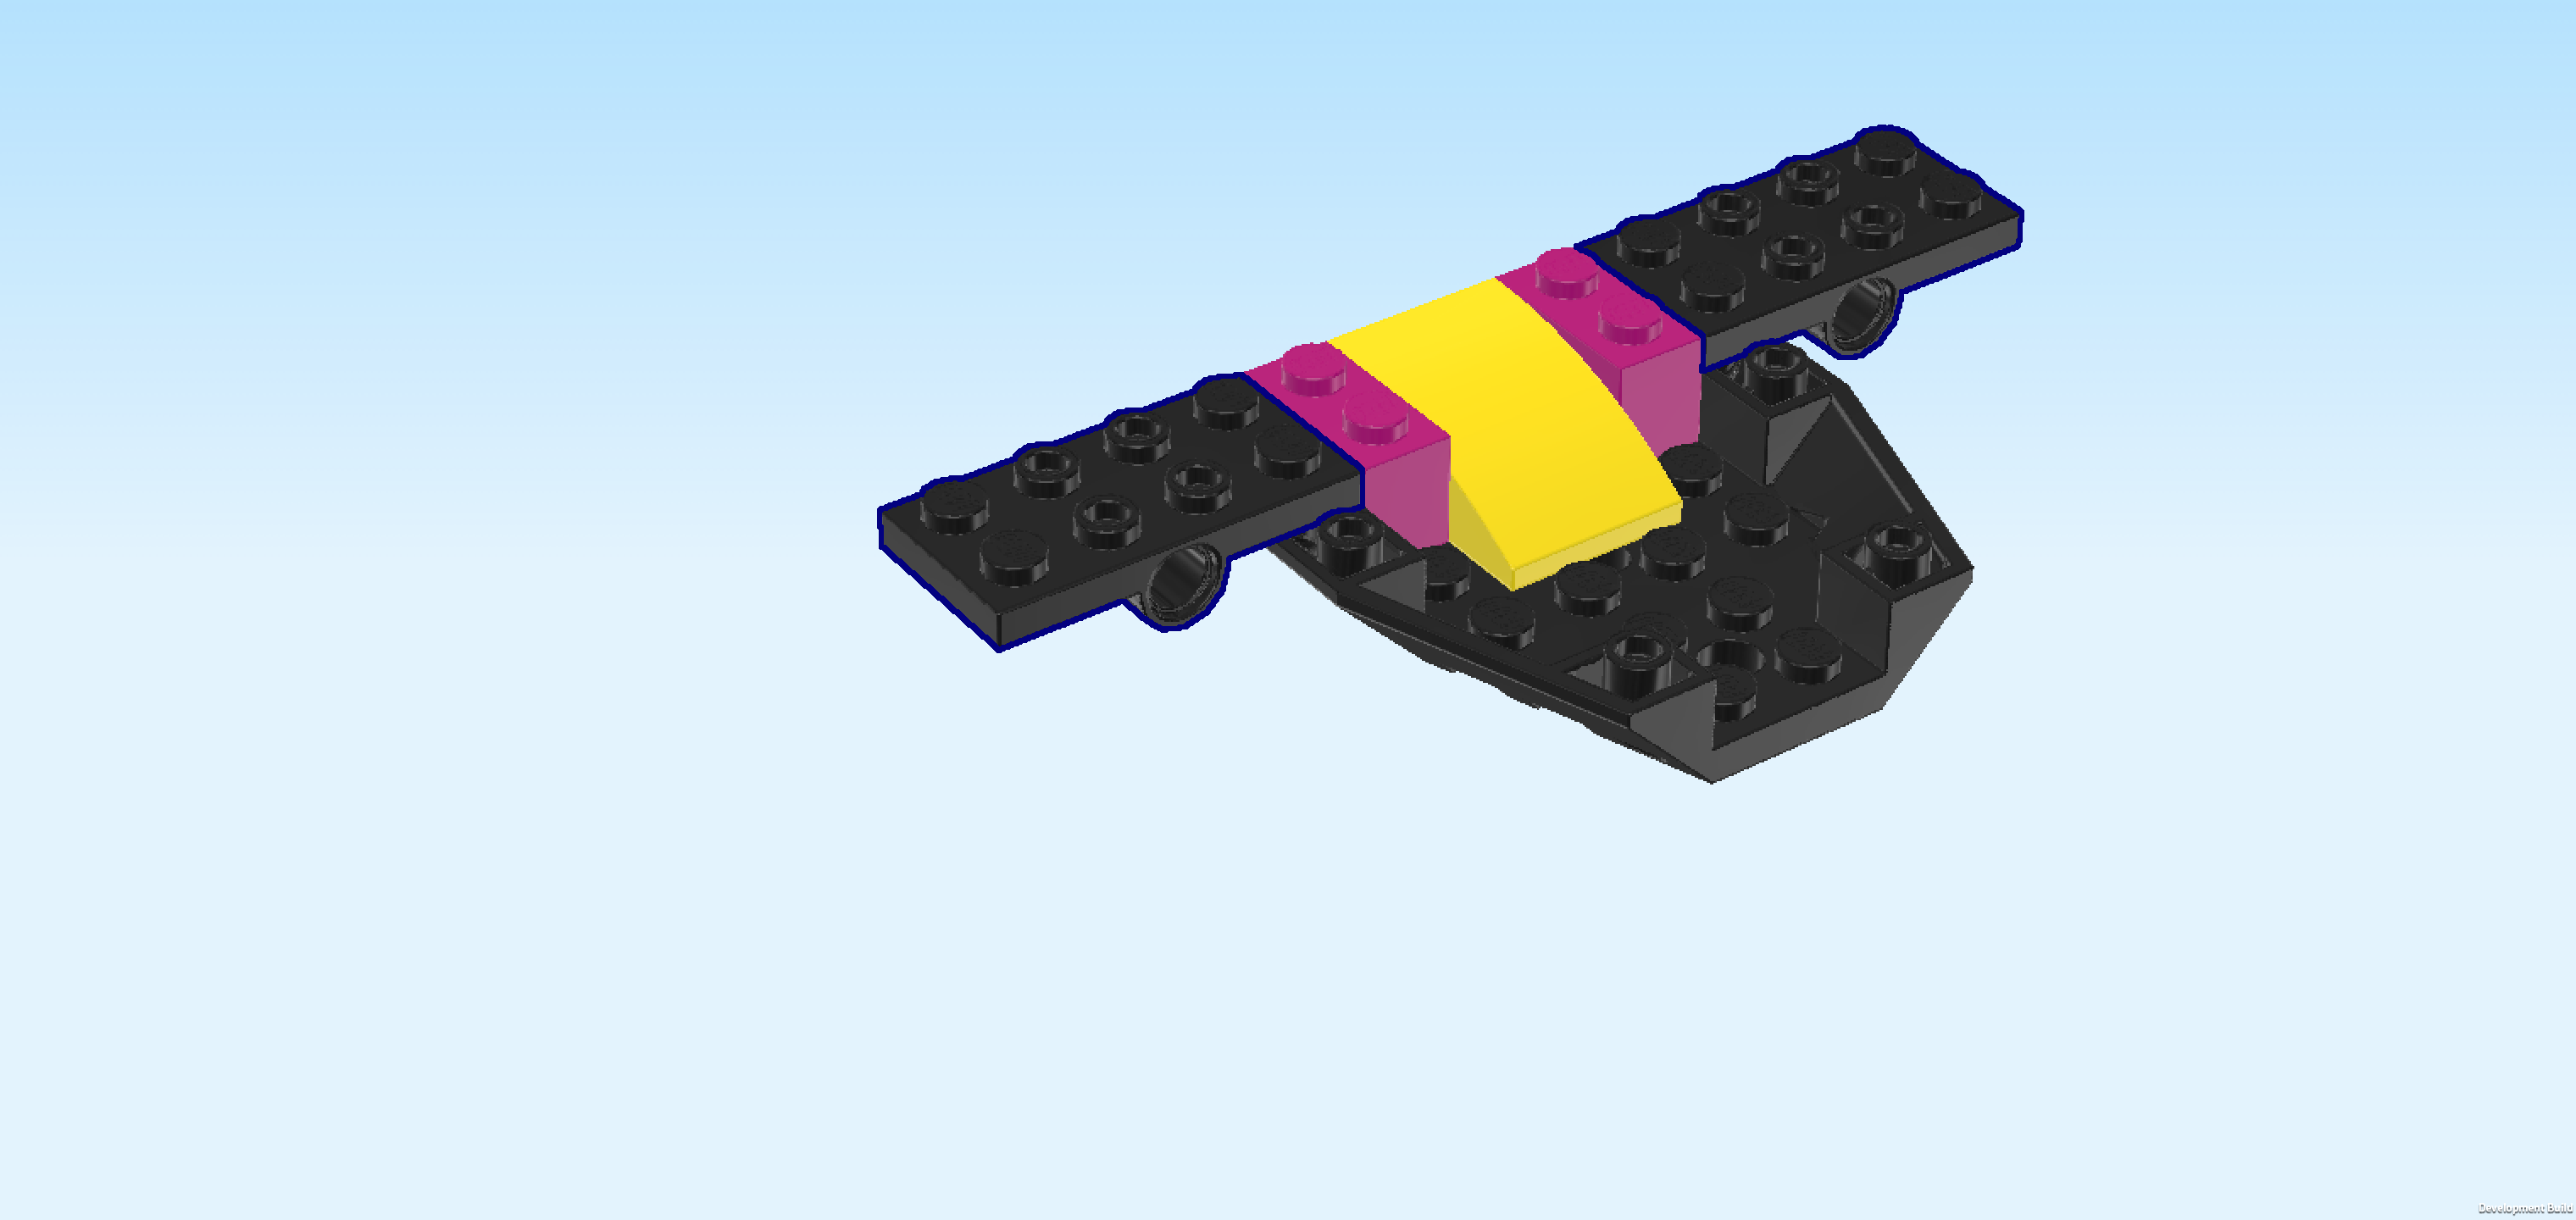
| Now, we will build the first side platform of the tree house. |
| Collect the following 2 pieces: |
| 1 bright green plate 8x8 with half circle, |
| and 1 reddish brown half-circle wall element 2x4x2. |
| Put the plate 8x8 on the table so that the half circle is to the left. Make sure its knobs form straight rows and columns in front of you. |
| Put the half-circle wall element vertically centered on the leftmost edge, aligning the half circles. |
| Find another reddish brown half-circle wall element 2x4x2. |
| Put it vertically to the right of the previous piece, forming a wall circle. |
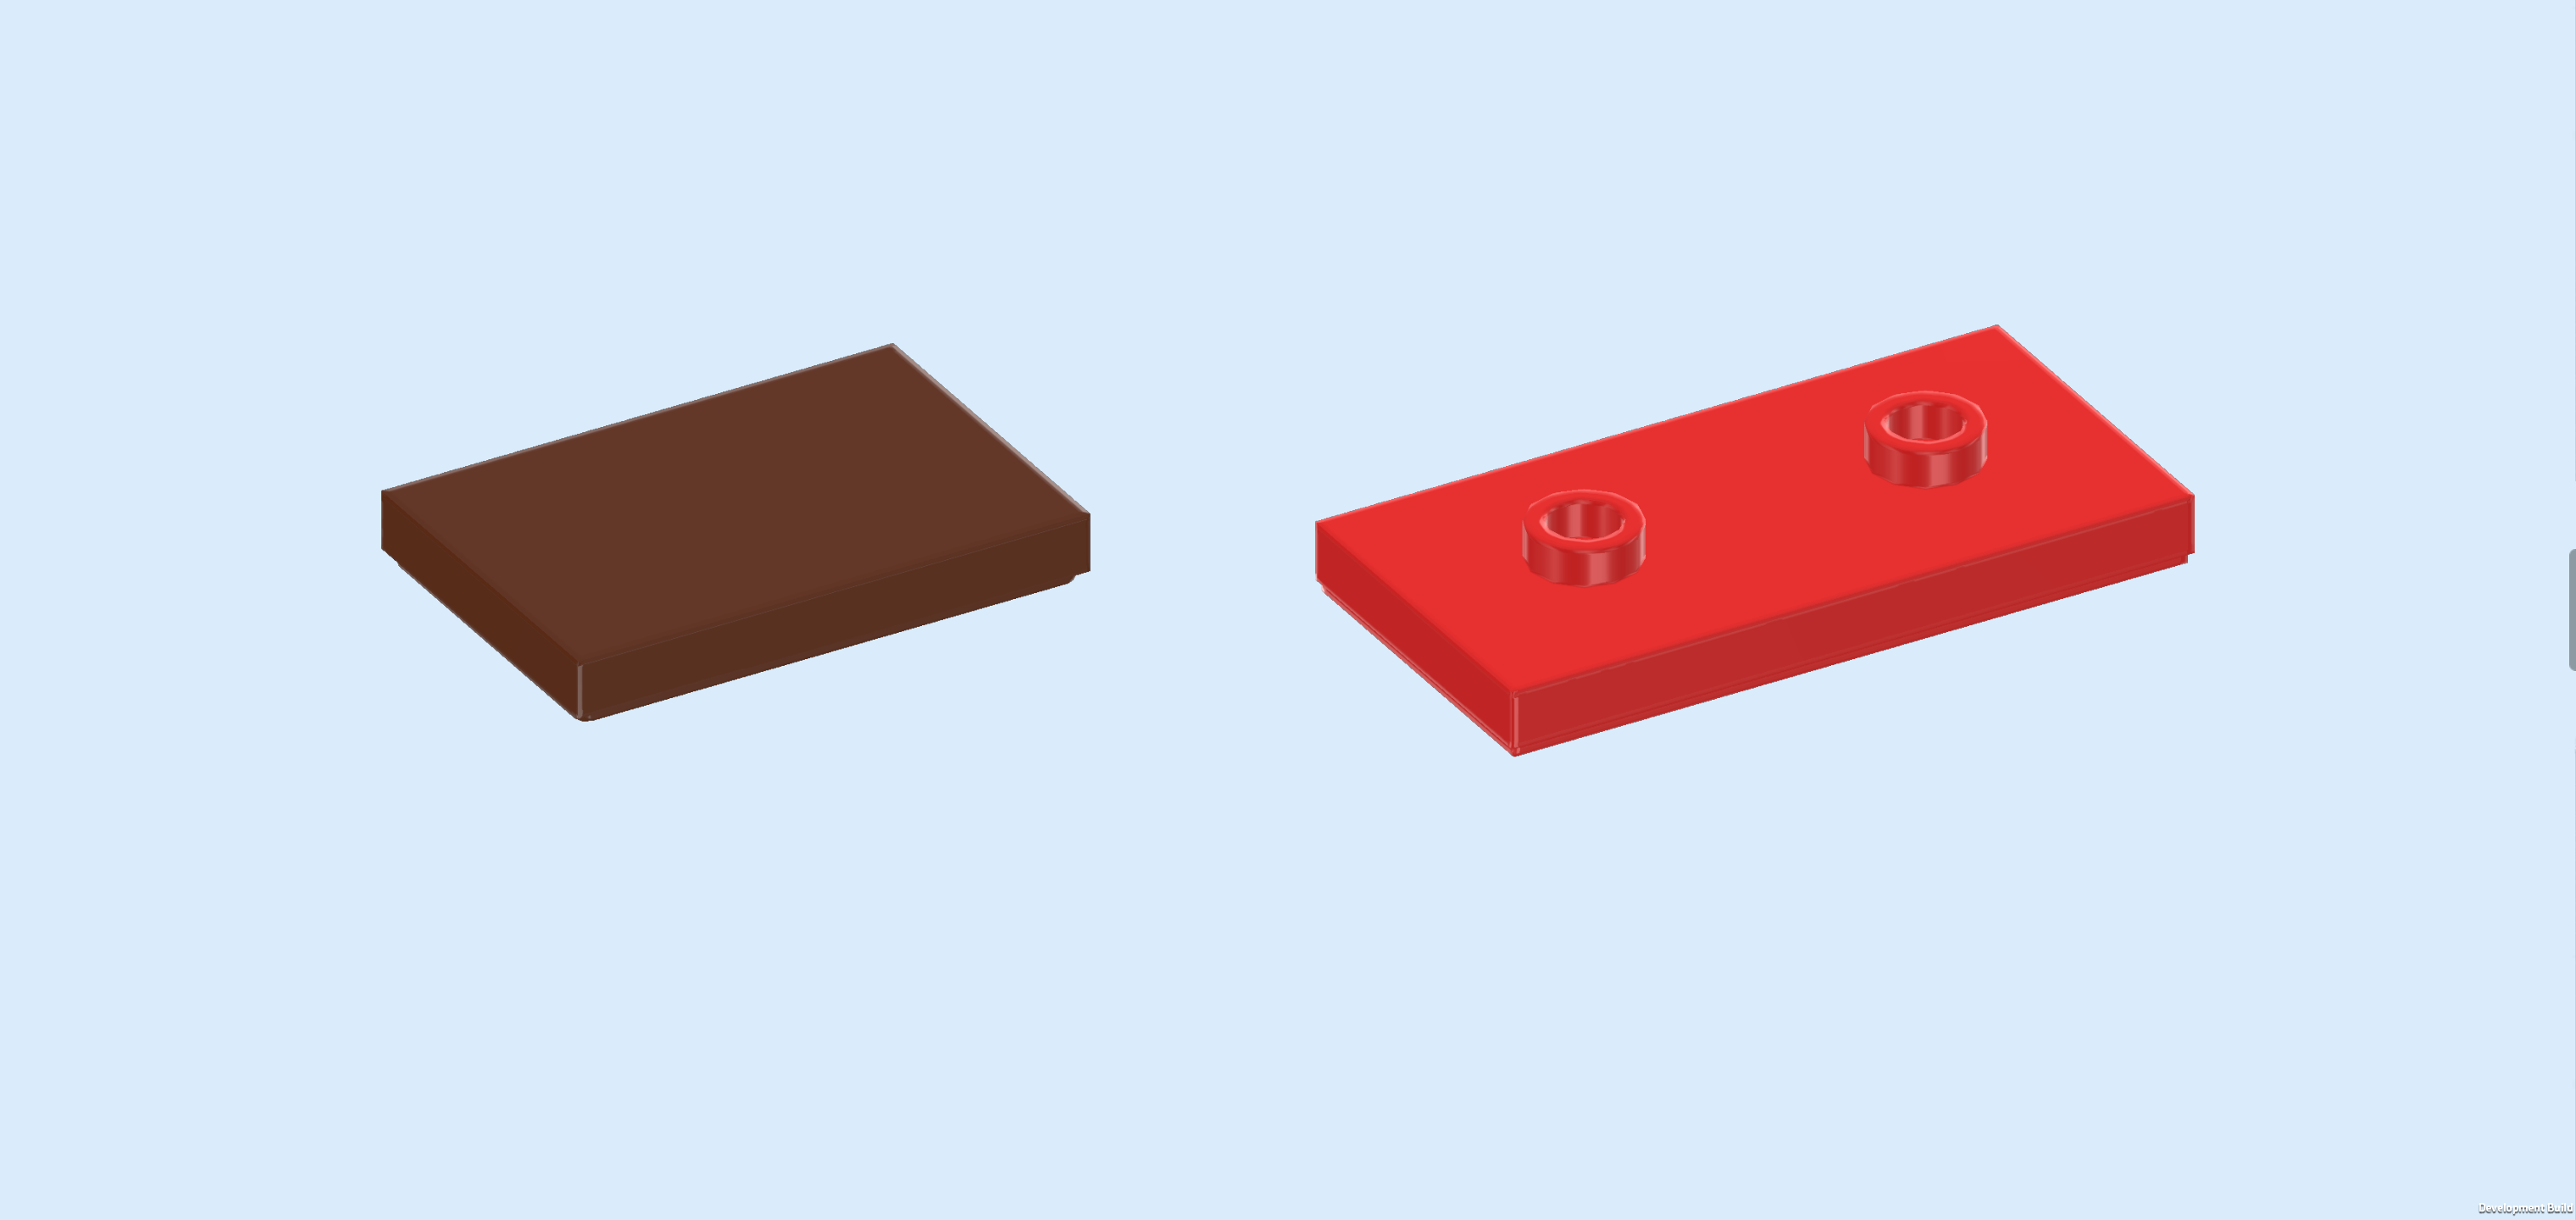
| Collect the following 2 pieces: |
| 1 reddish brown flat tile 2x3, |
| and 1 bright red plate 2x4 with 2 knobs. |
| Put the flat tile 2x3 horizontally to the right of the previous piece. |
| Put the plate 2x4 vertically centered to the right of the previous piece, 1/2 overhanging to the right. |
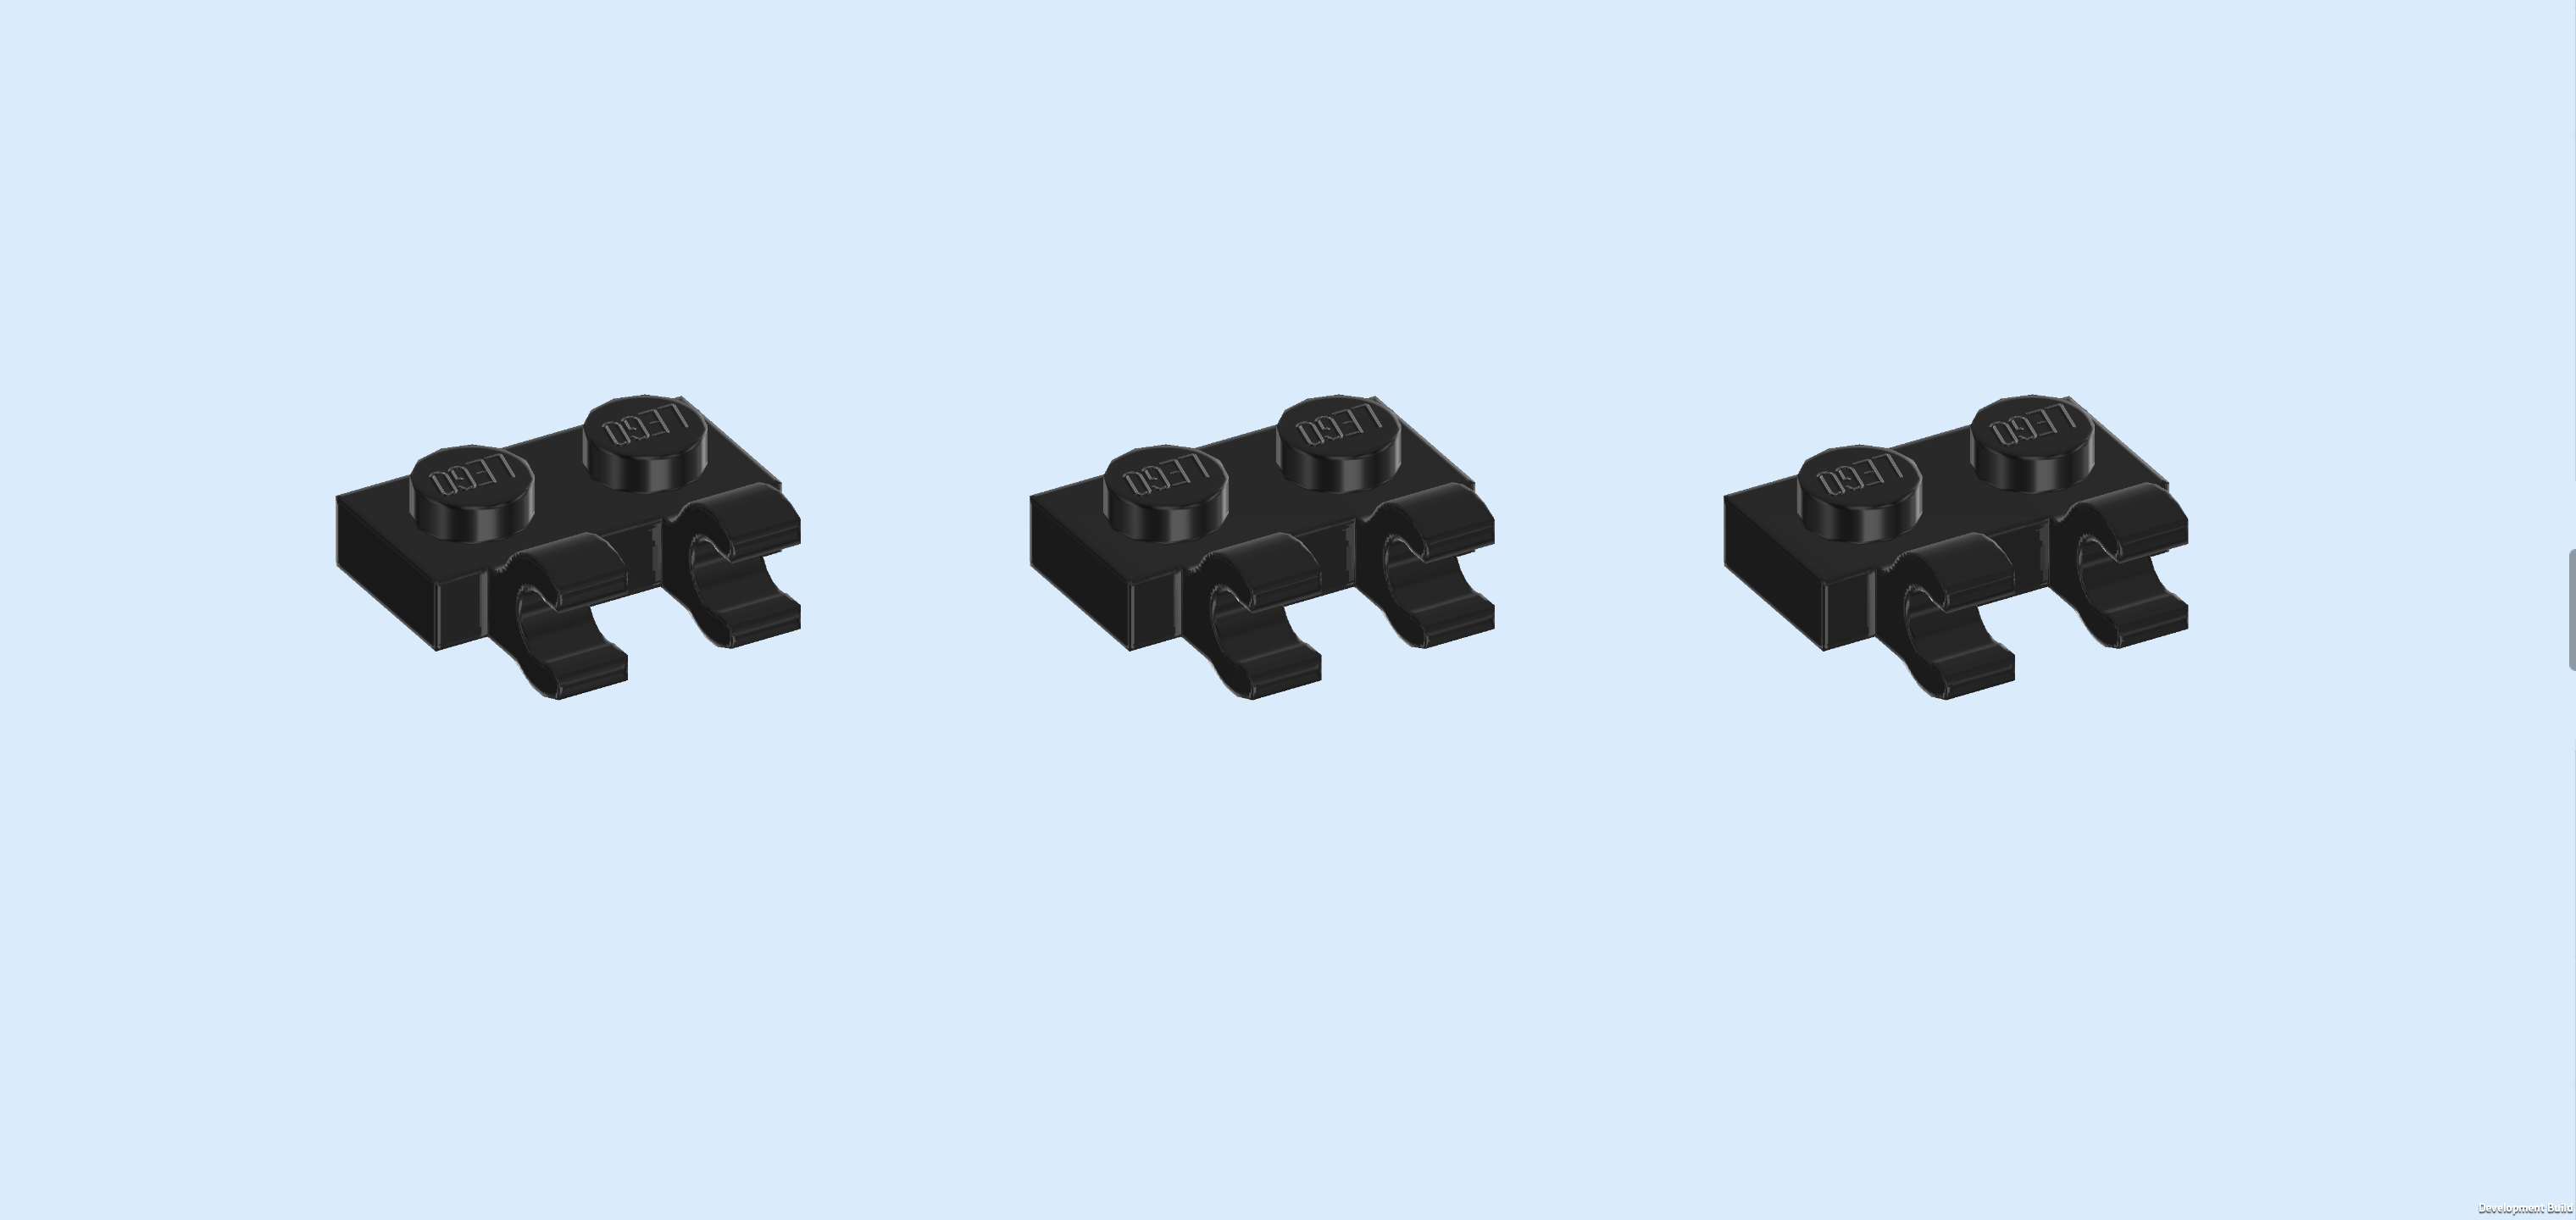
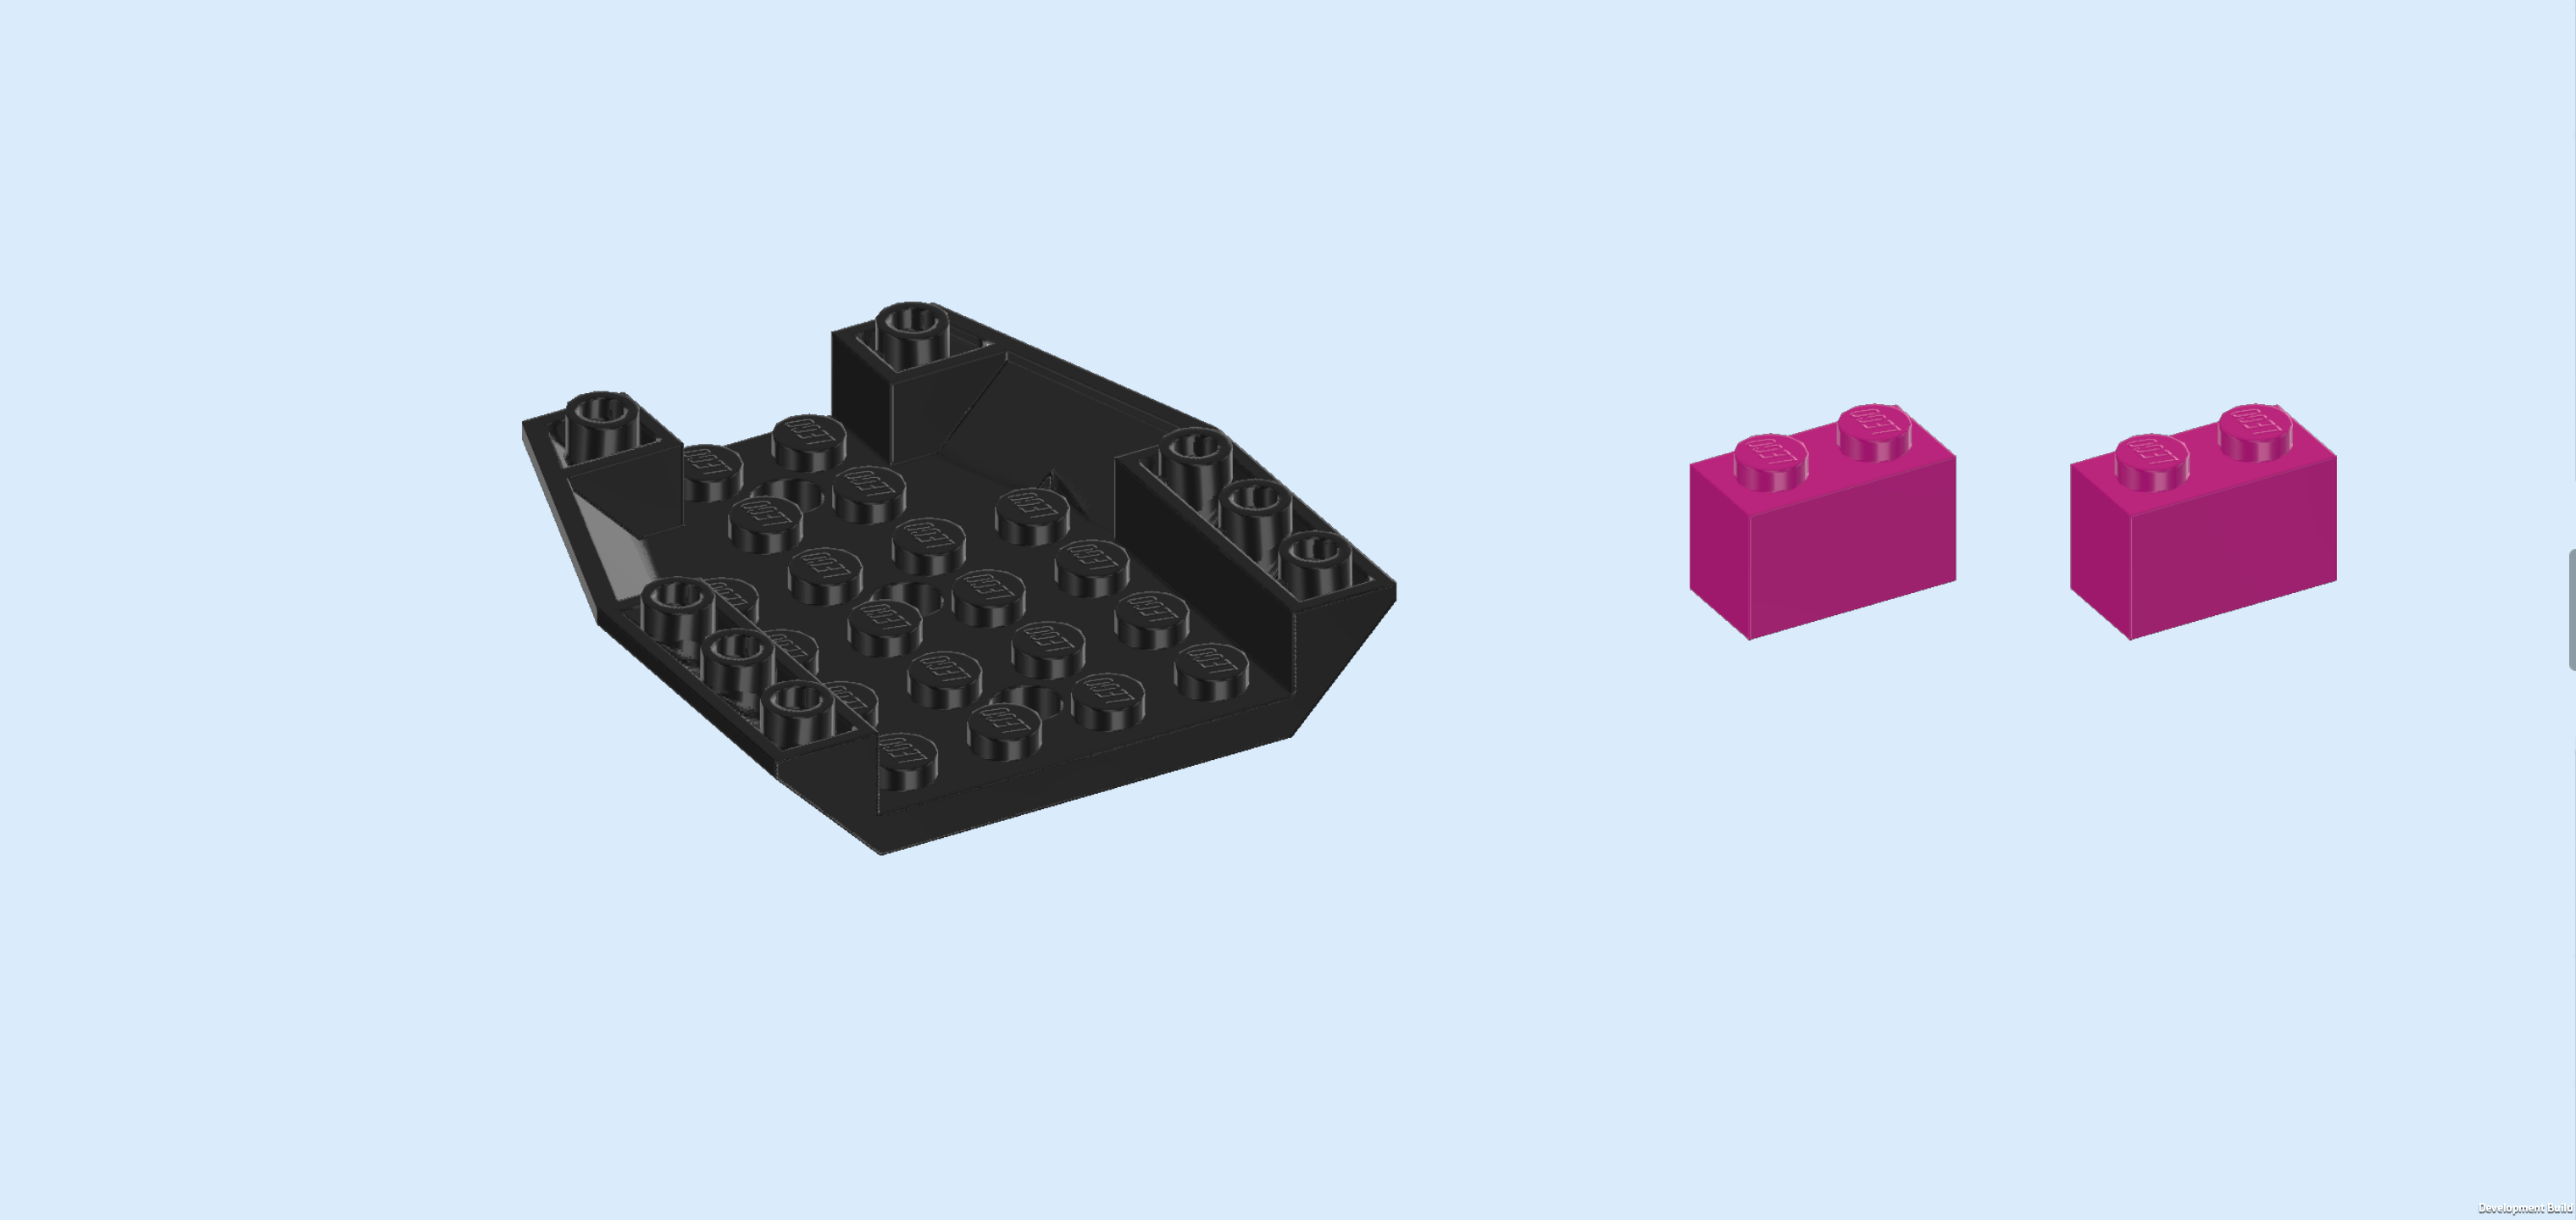
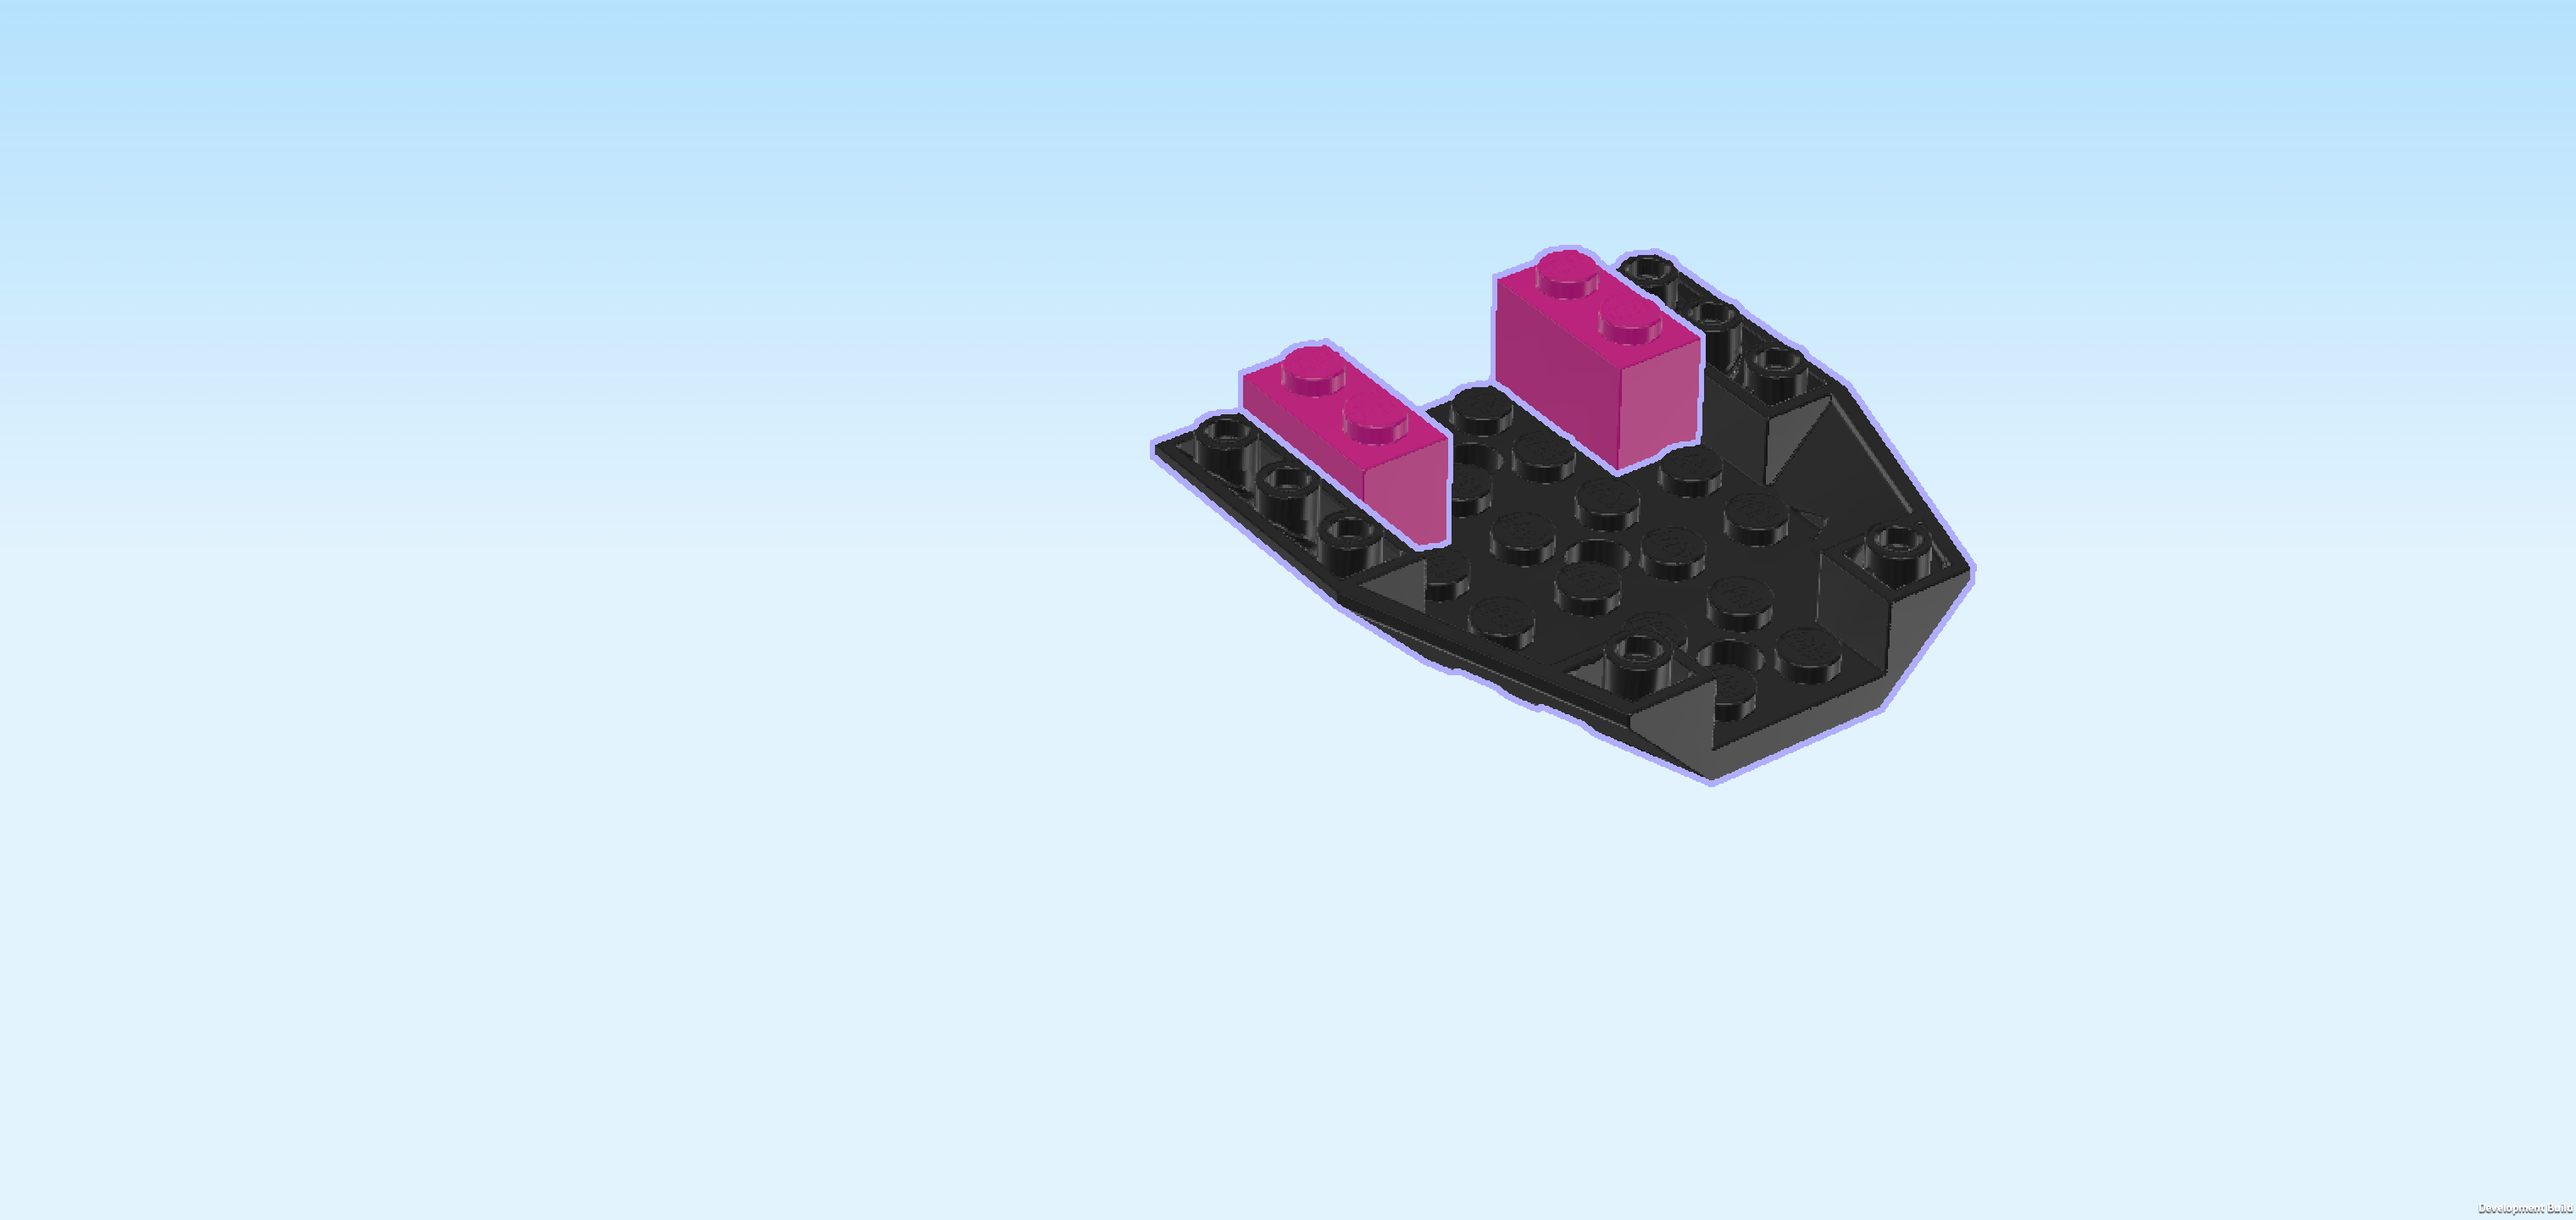
| Find 3 black plates 1x2 with 2 vertical clasps on long side. |
| Put 1 vertically on the leftmost edge of the wall circle, its clasps pointing to the left. |
| Put 1 horizontally on the 2 front knobs of the wall circle, clasps to the front. |
| Put the last one horizontally on the 2 back knobs of the wall circle, clasps to the back. |
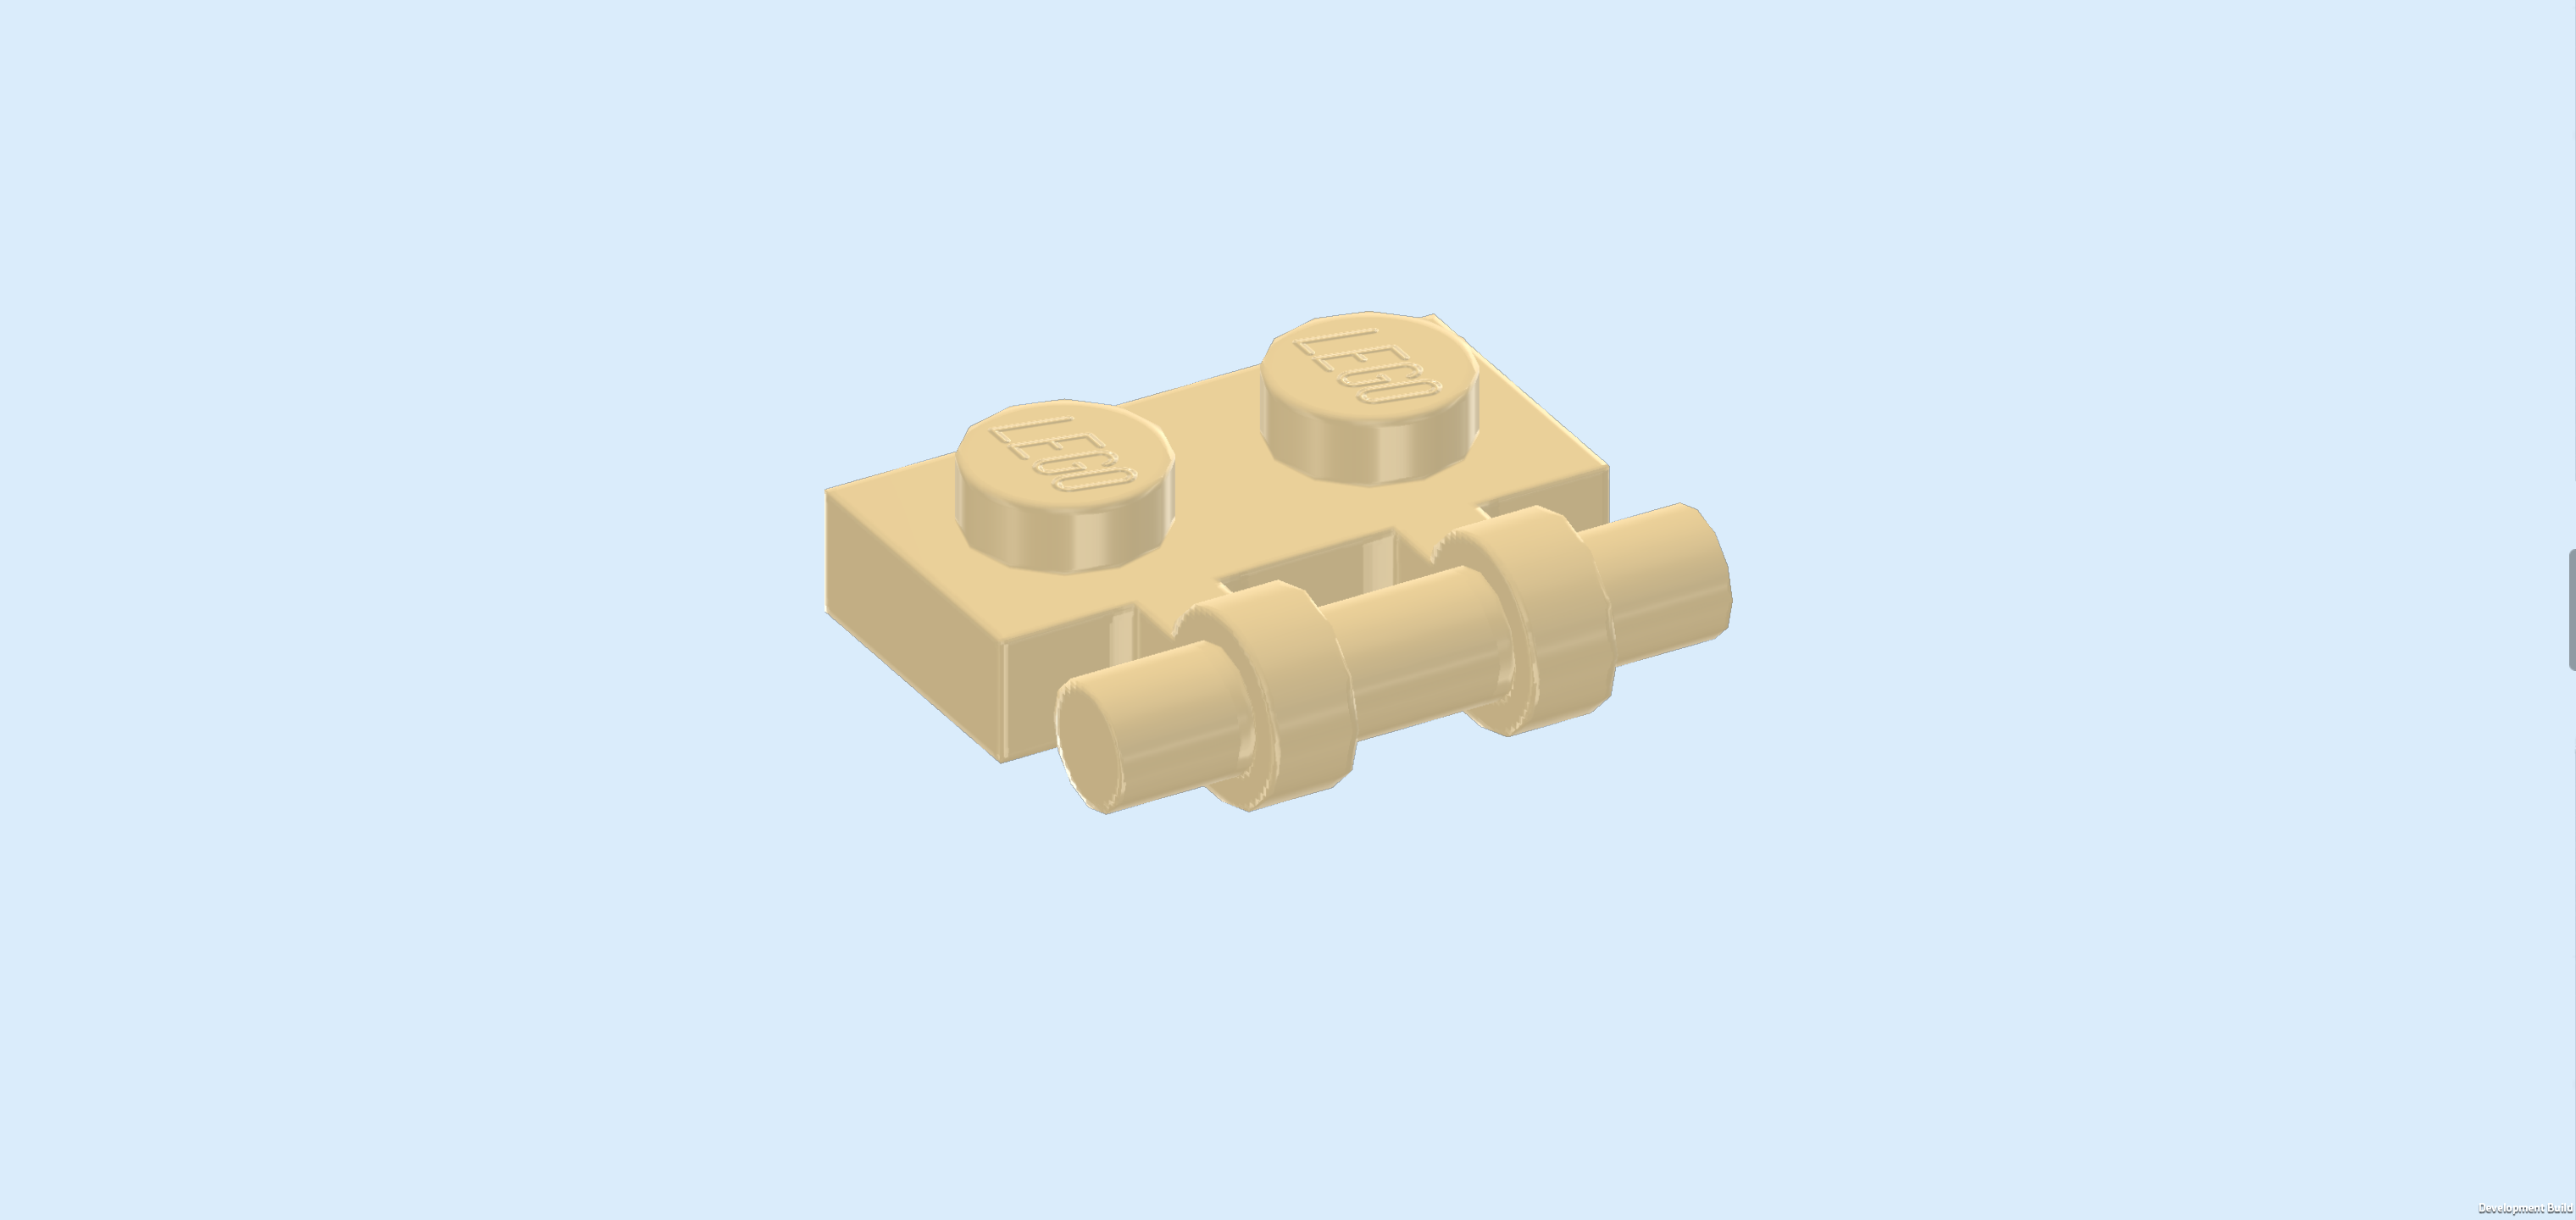
| Find 1 beige plate 1x2 with shaft on long side. |
| Put it vertically on the 2 right knobs of the wall circle, shaft to the right. |
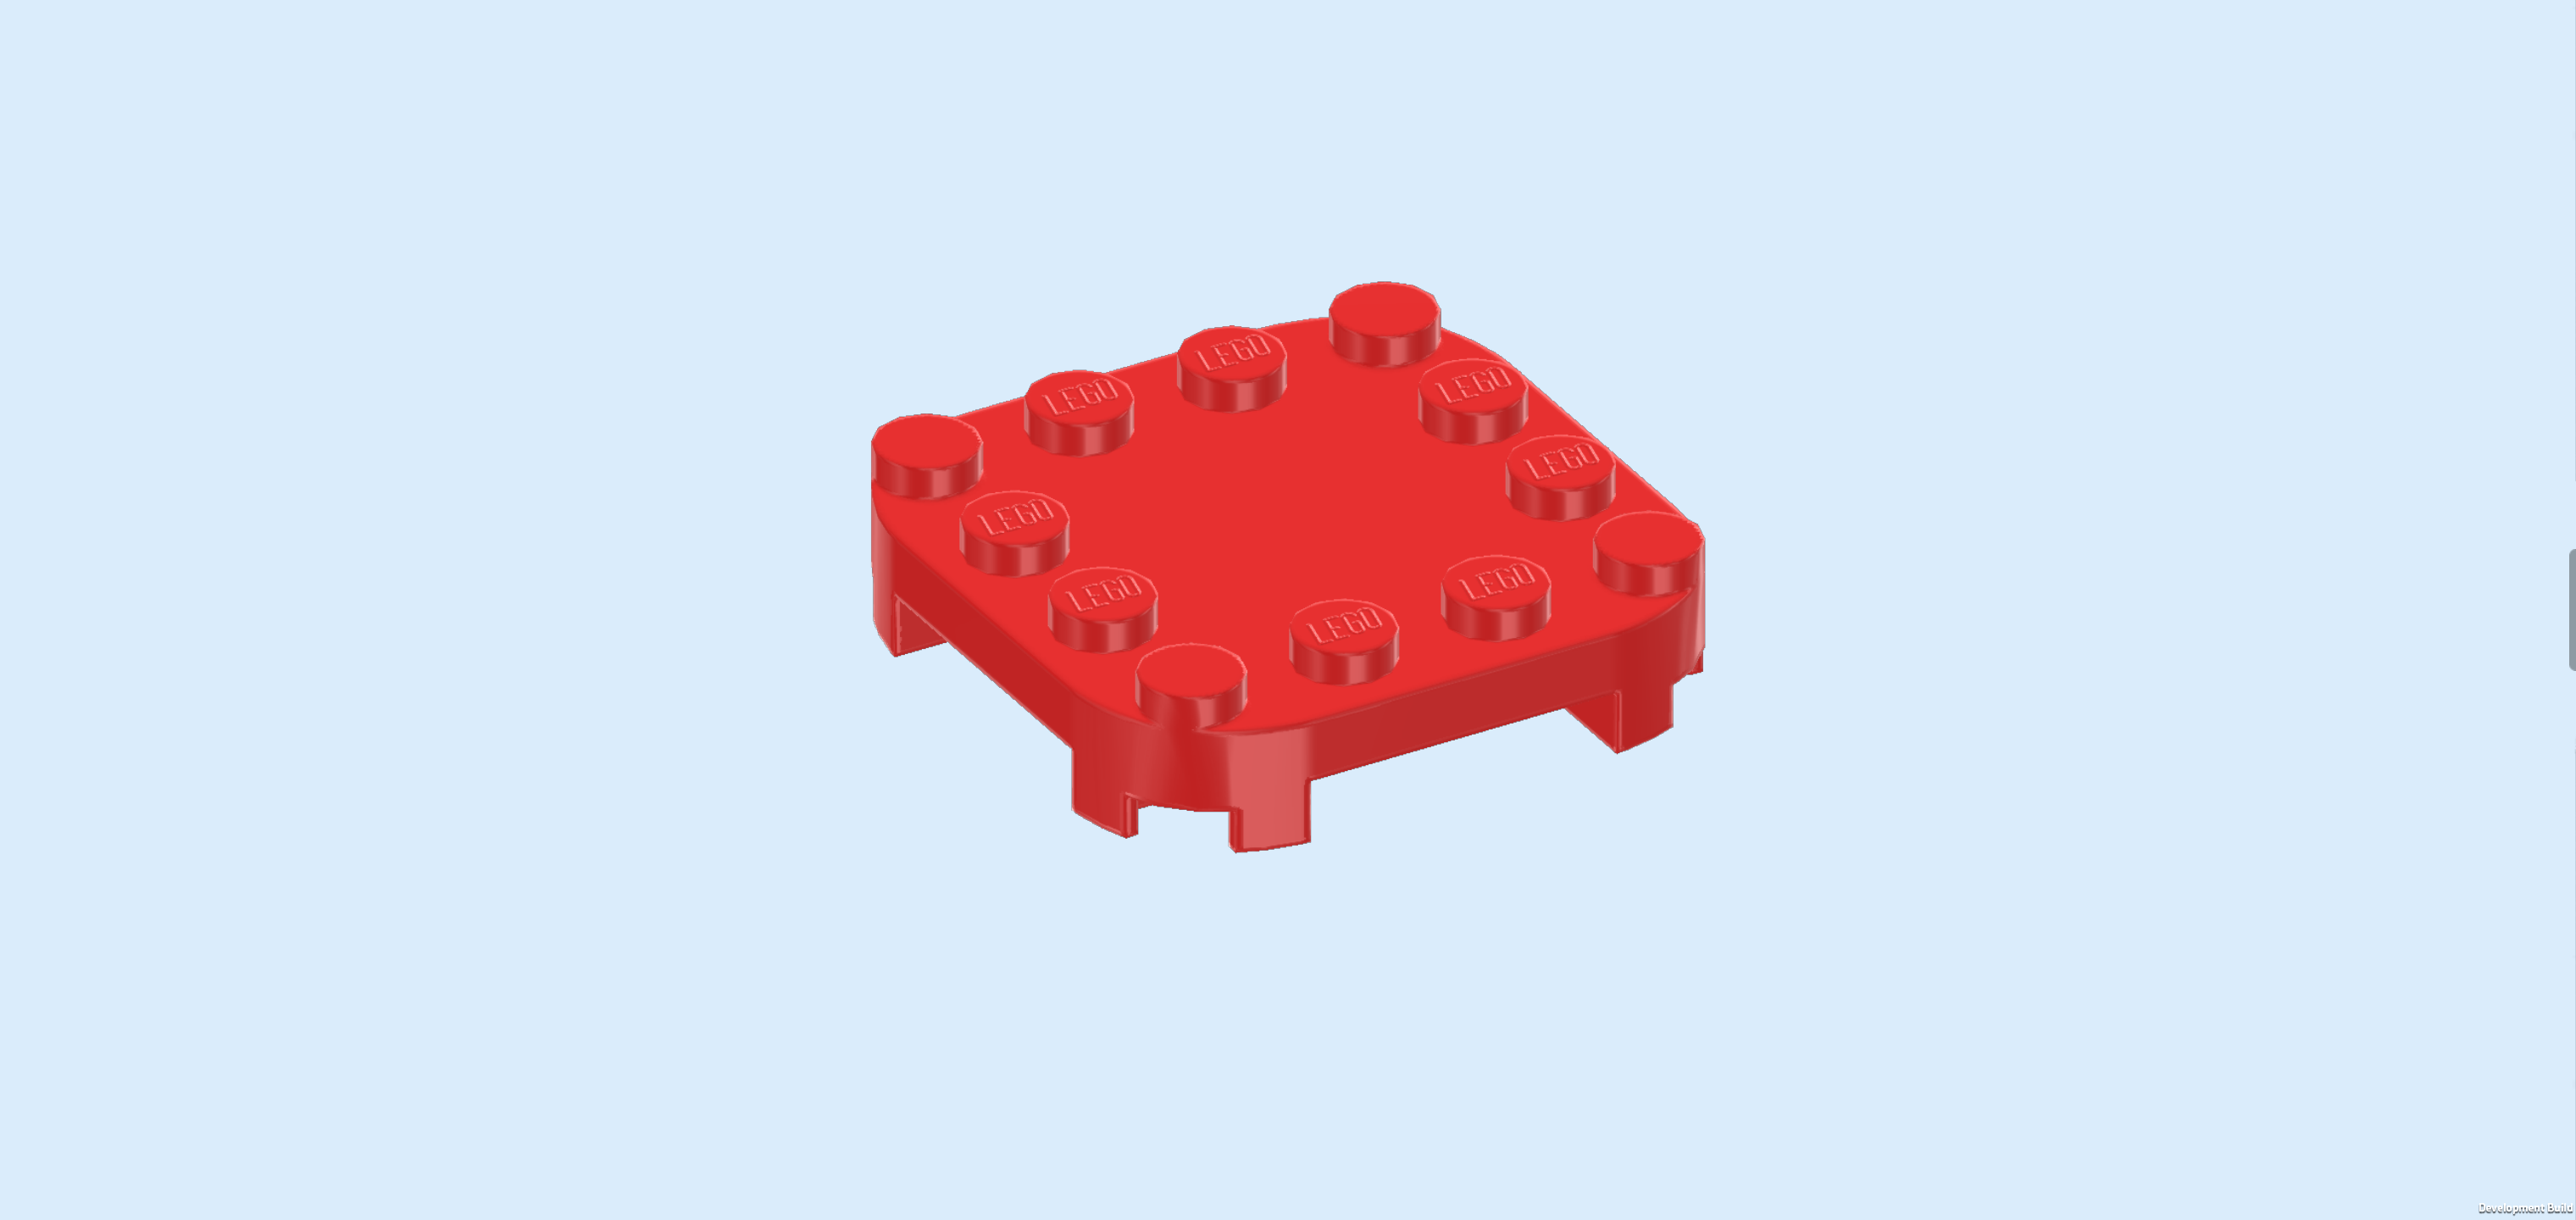
| Find 1 bright red plate 4x4x⅔ with rounded corners and 4 feet. |
| Put it centered on top of the wall circle, the feet of the rounded corners fit neatly between the 4 plates we have just mounted on the wall circle. |
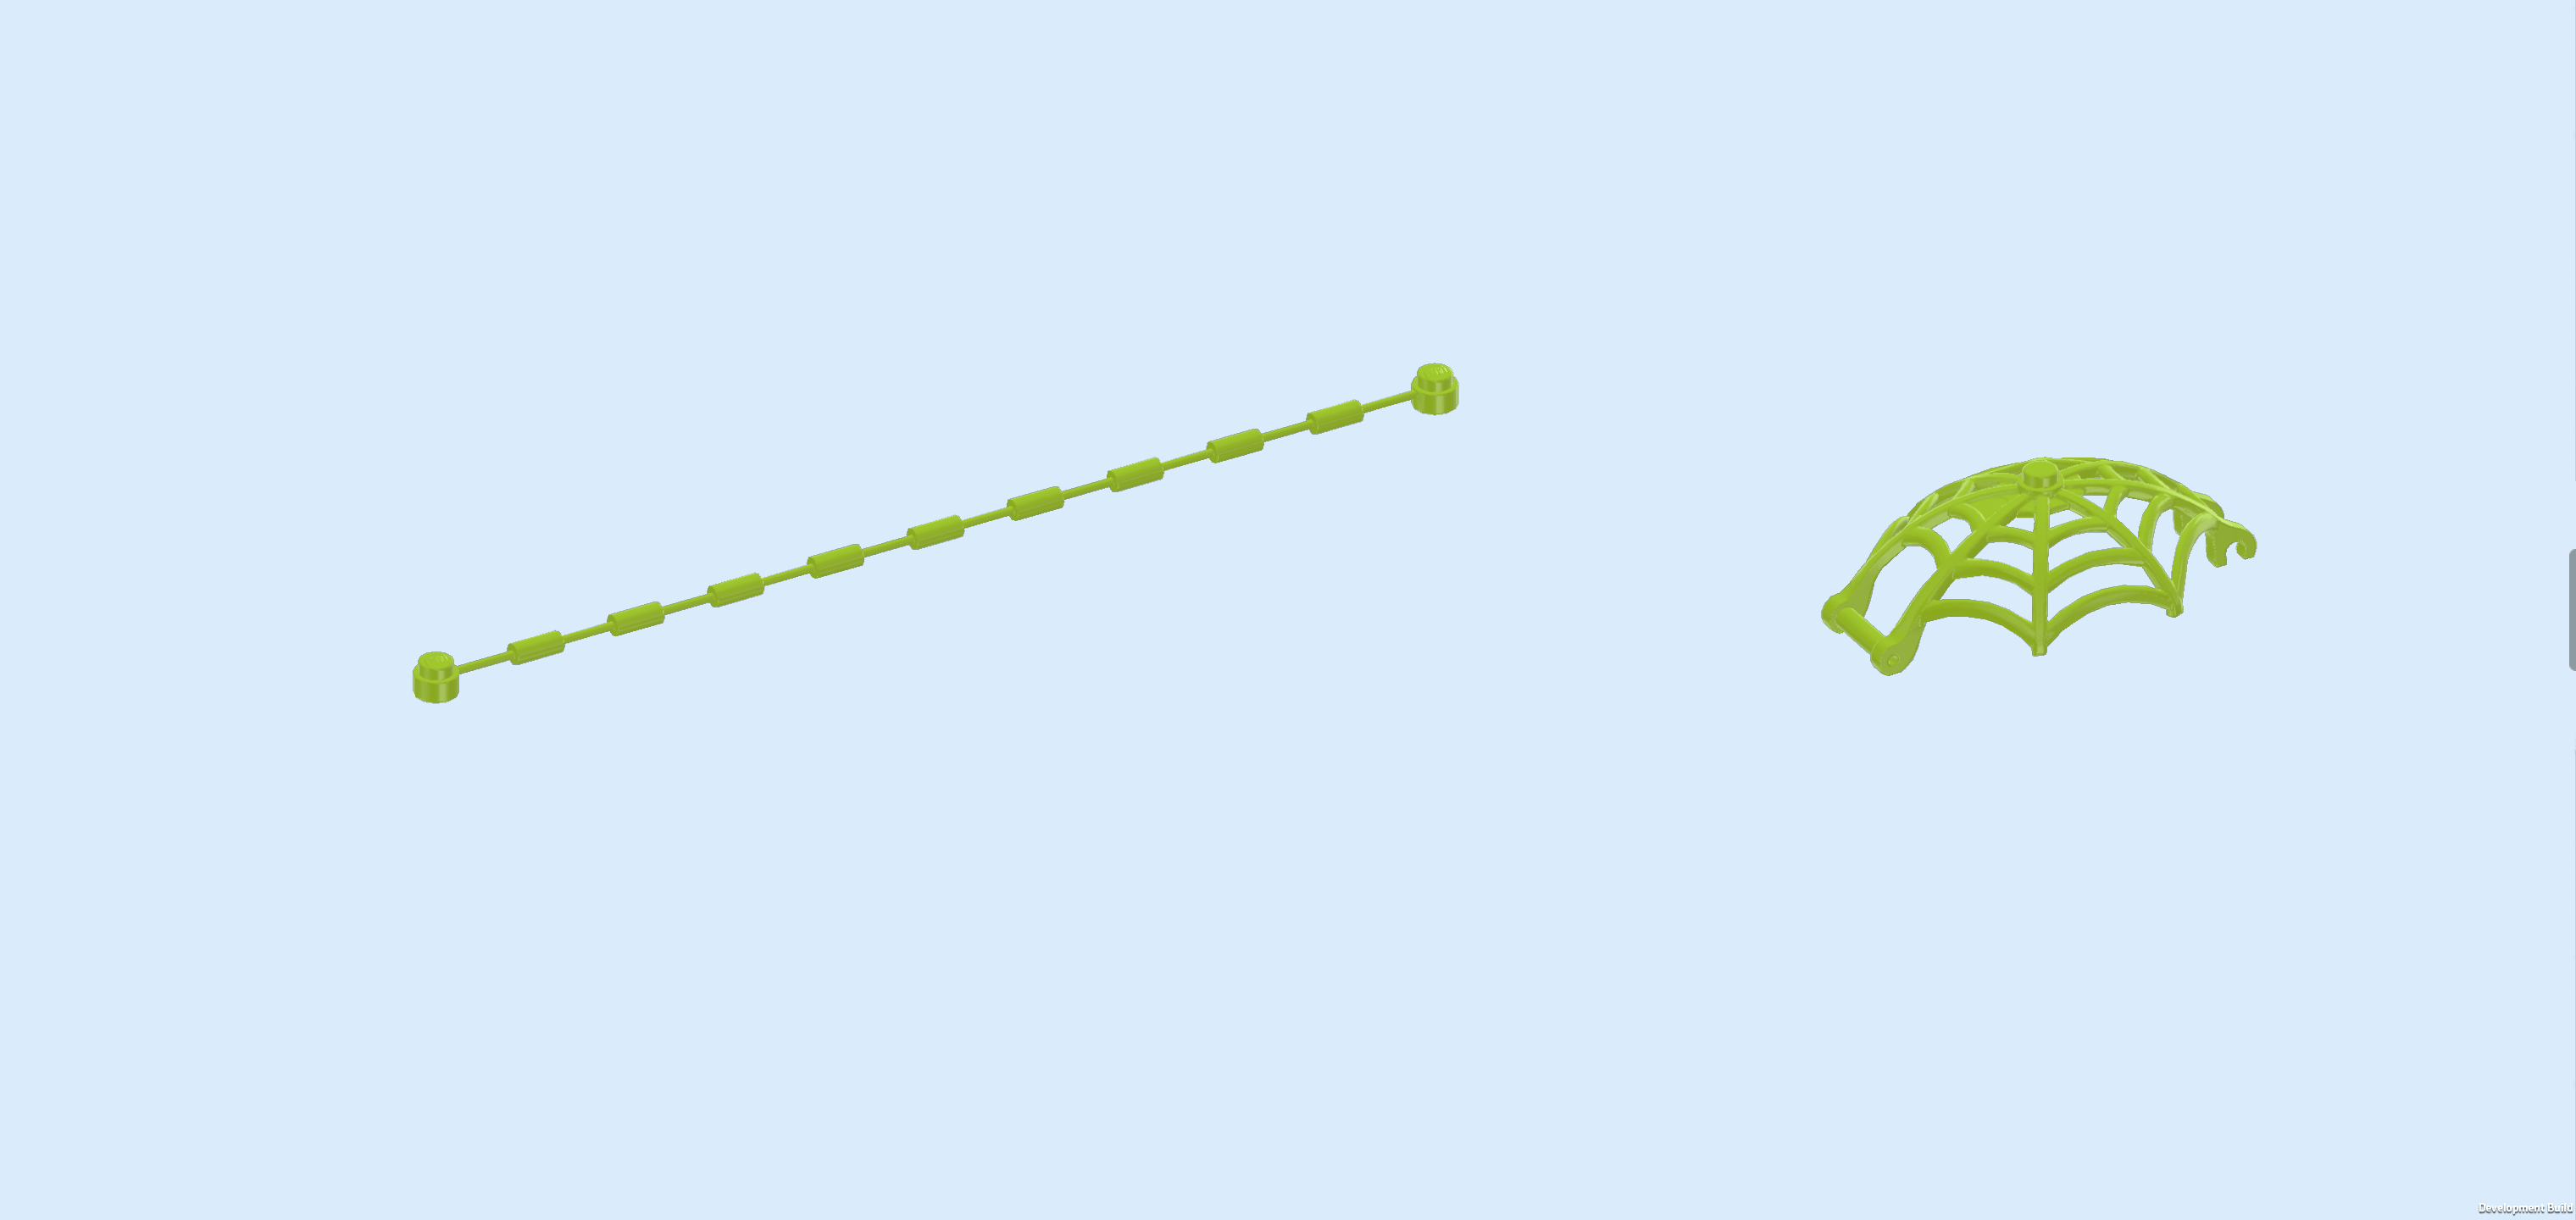
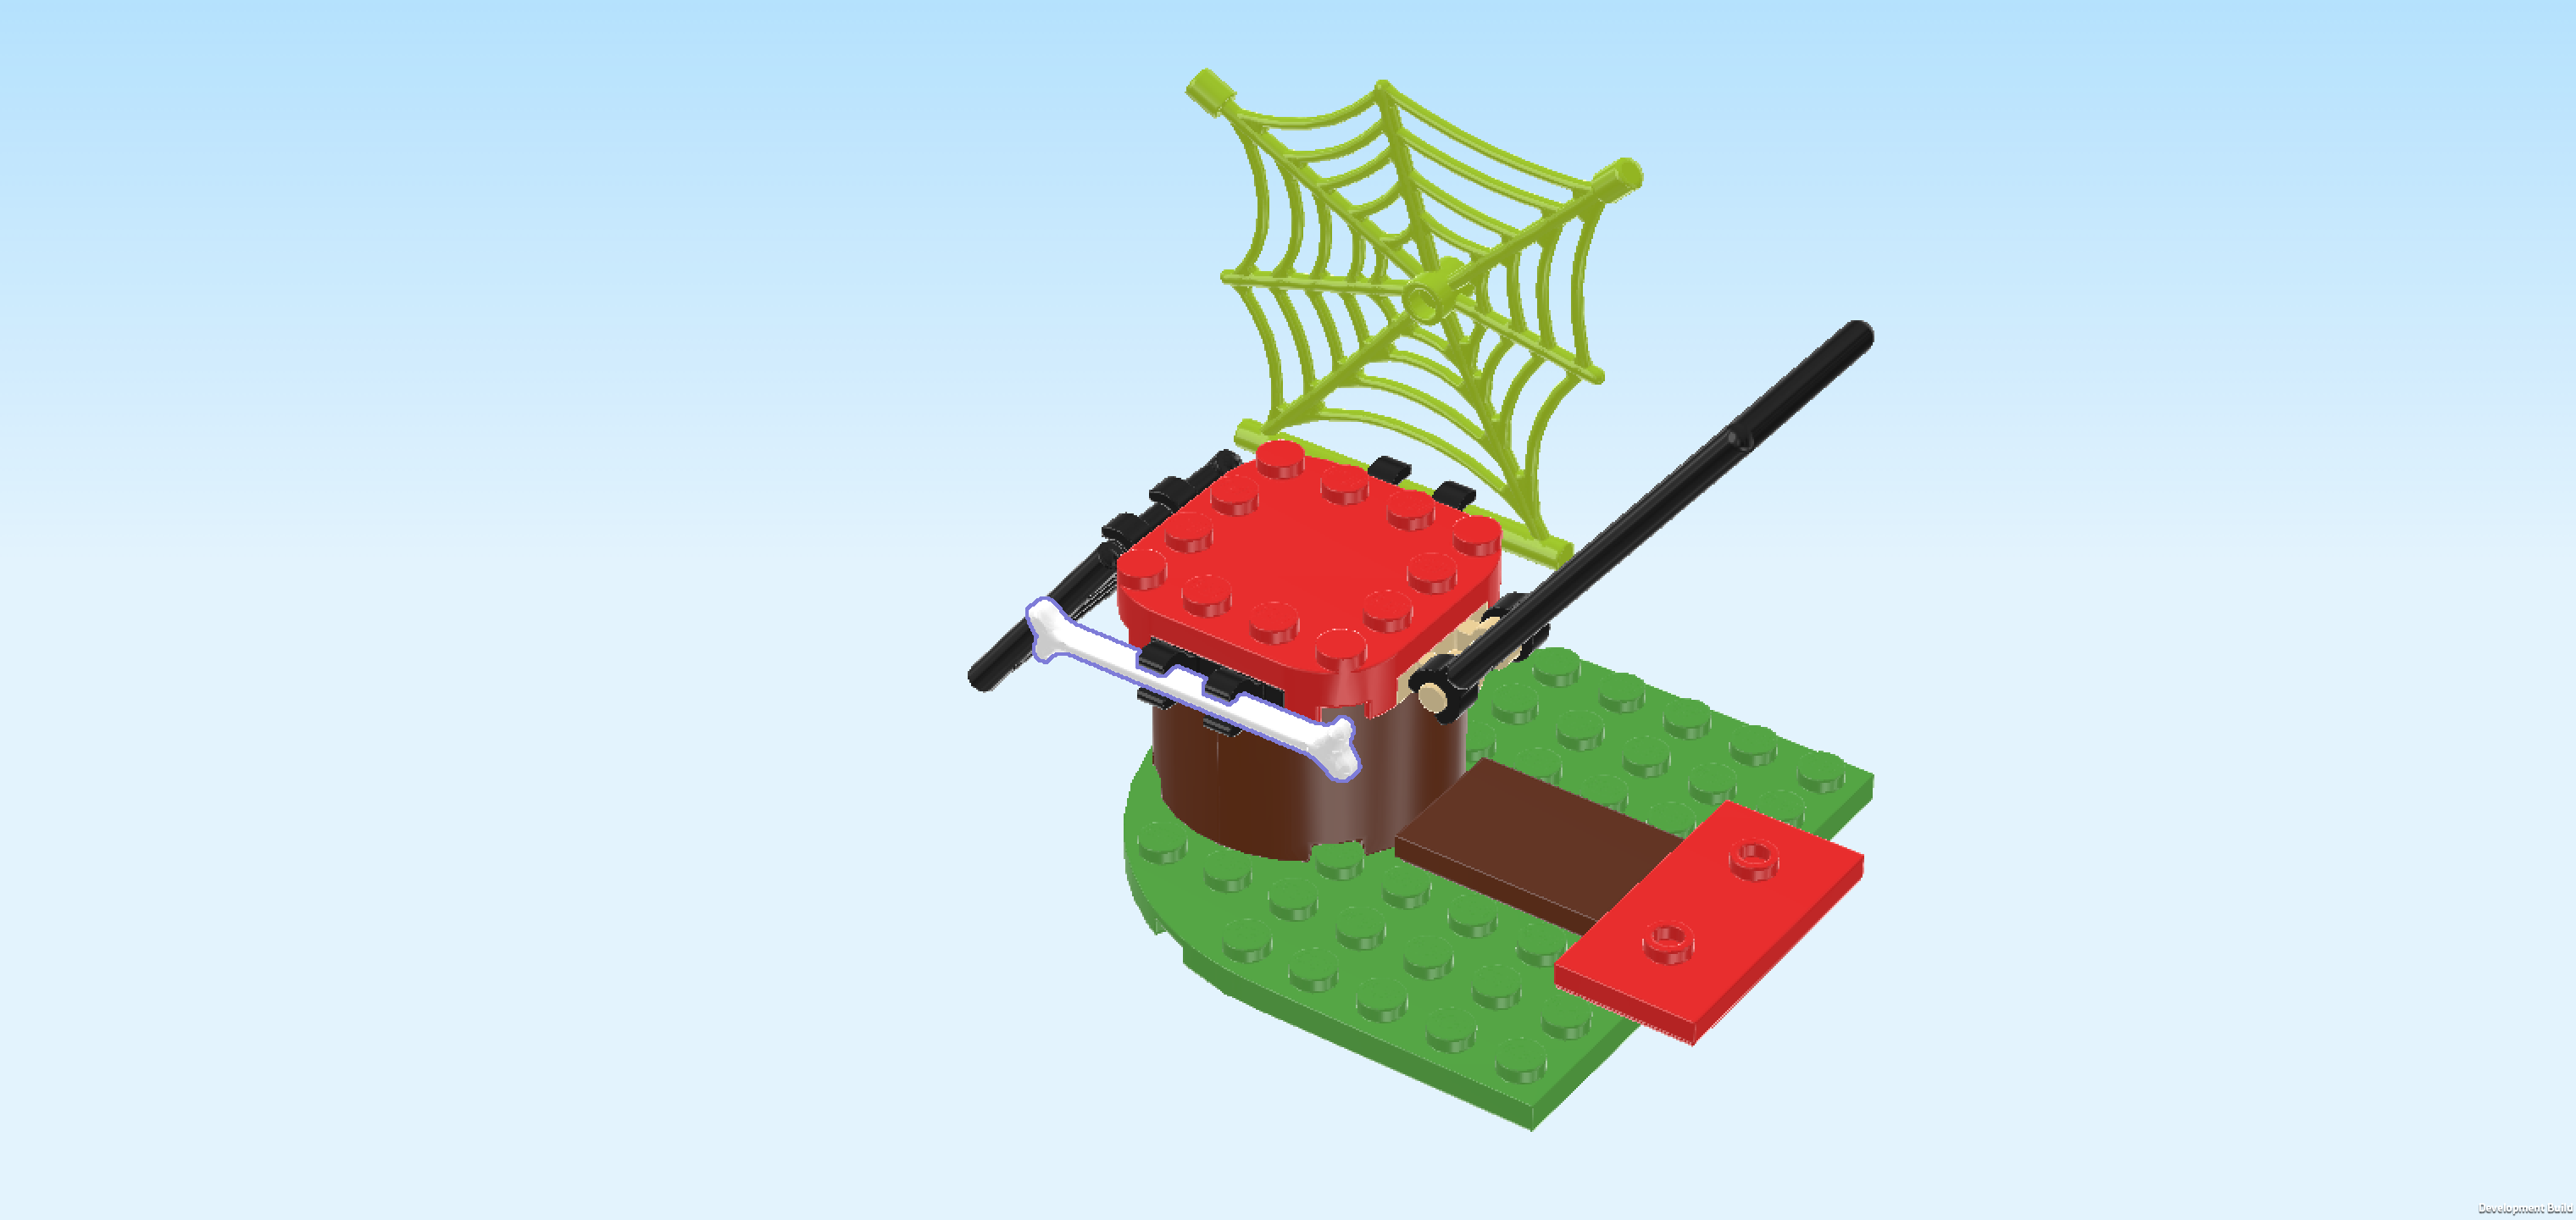
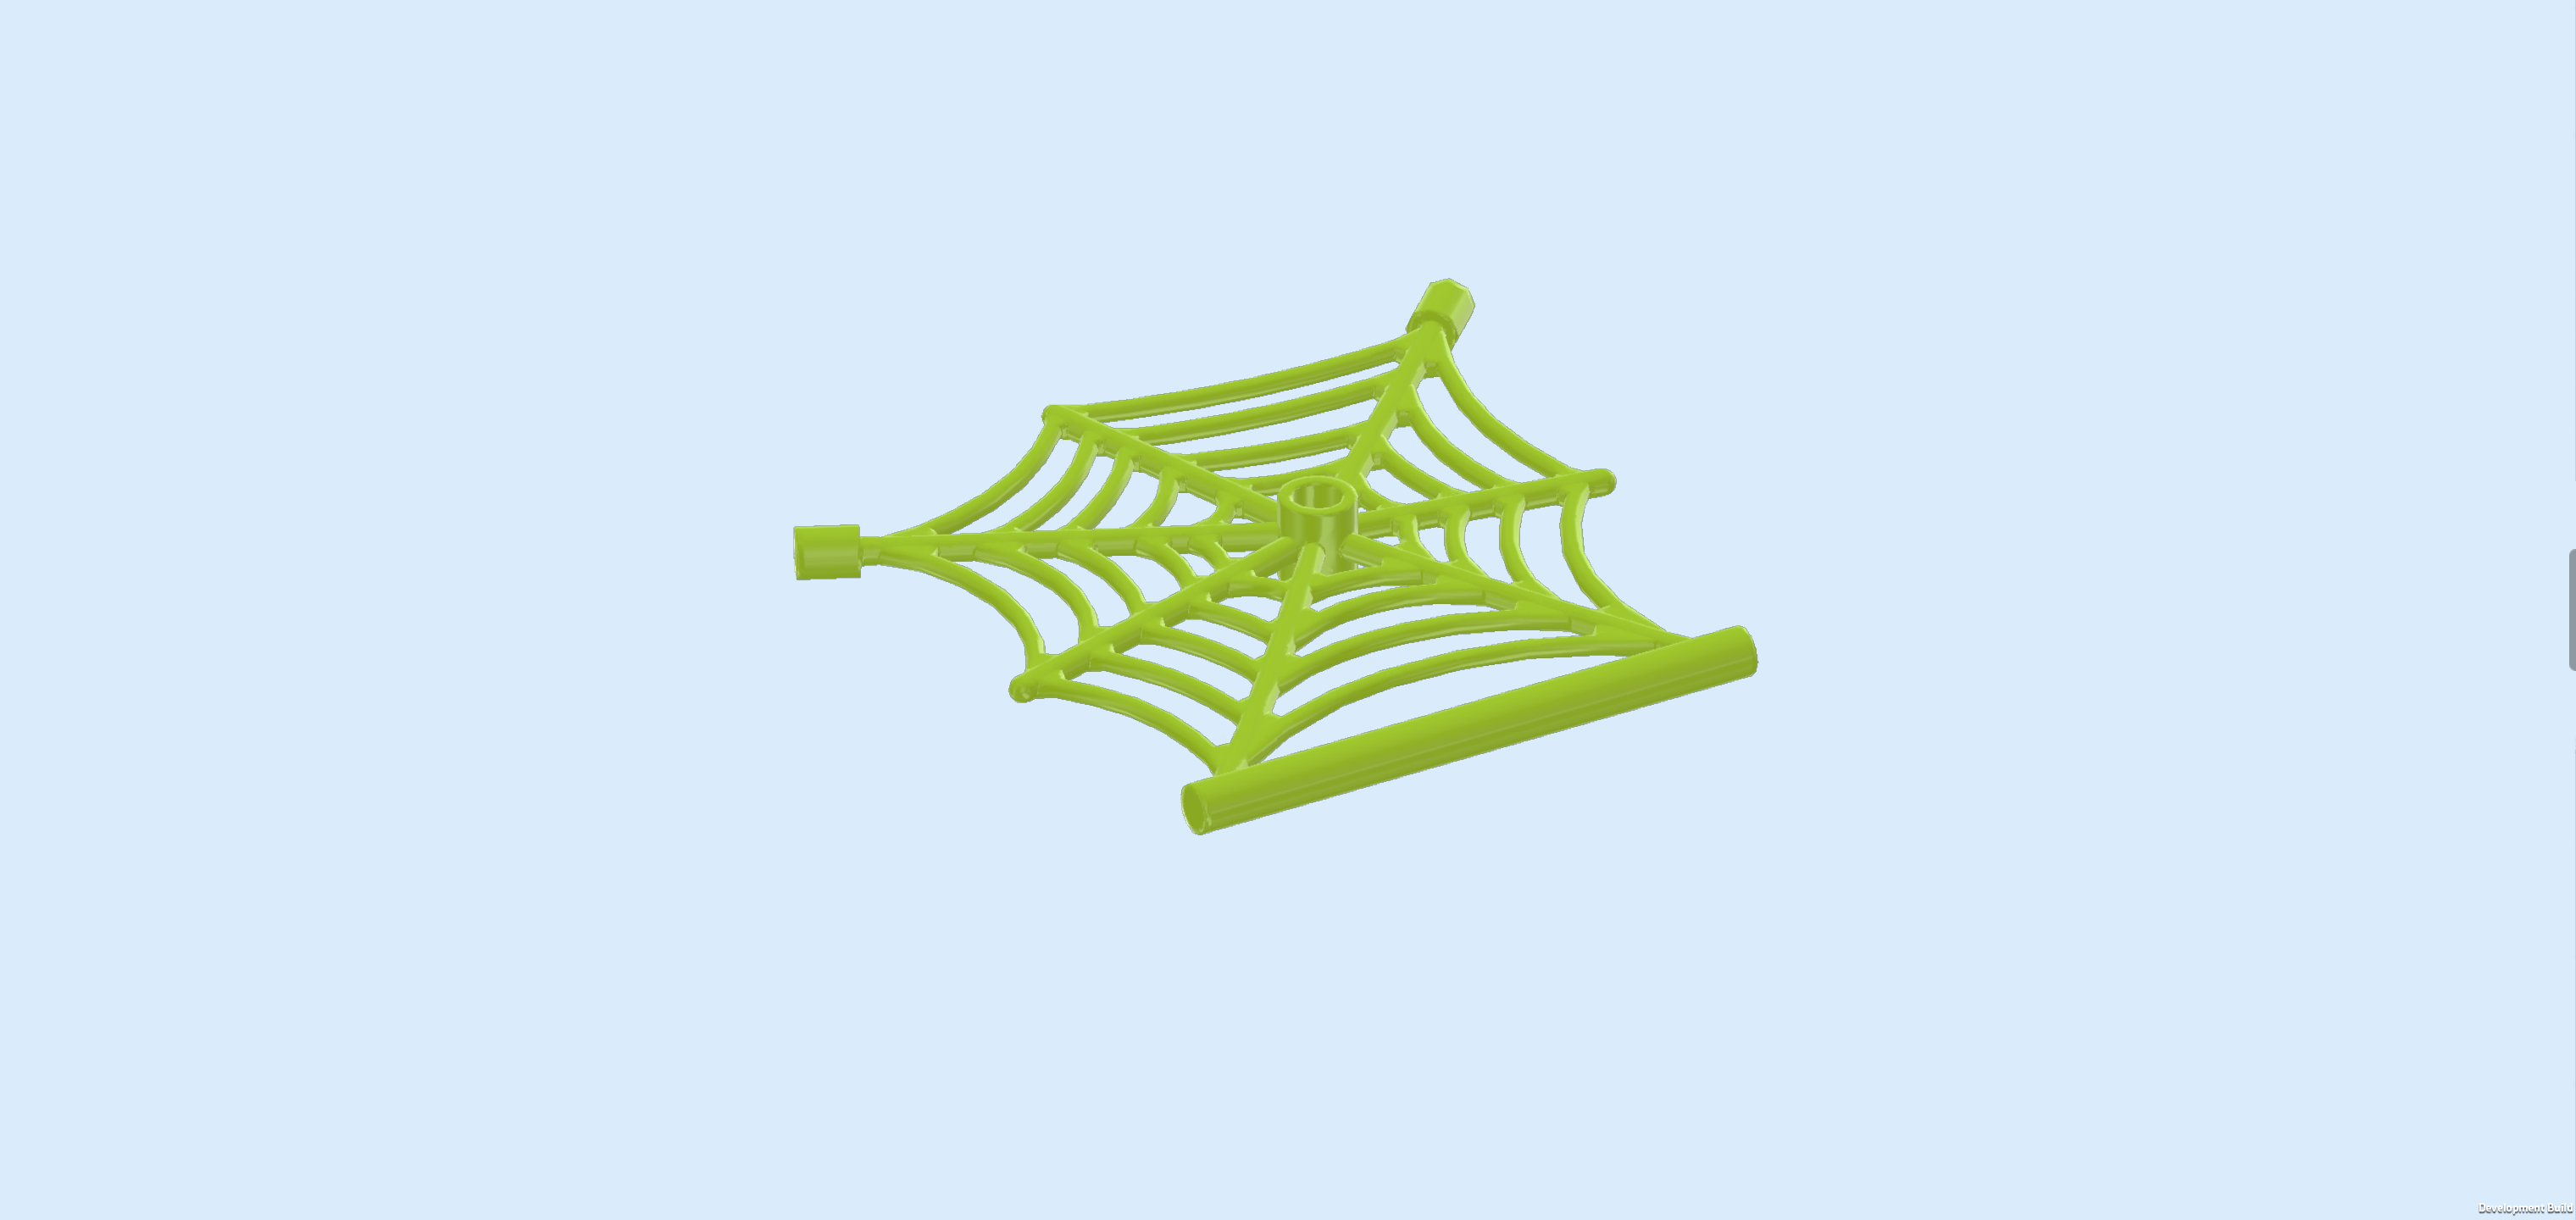
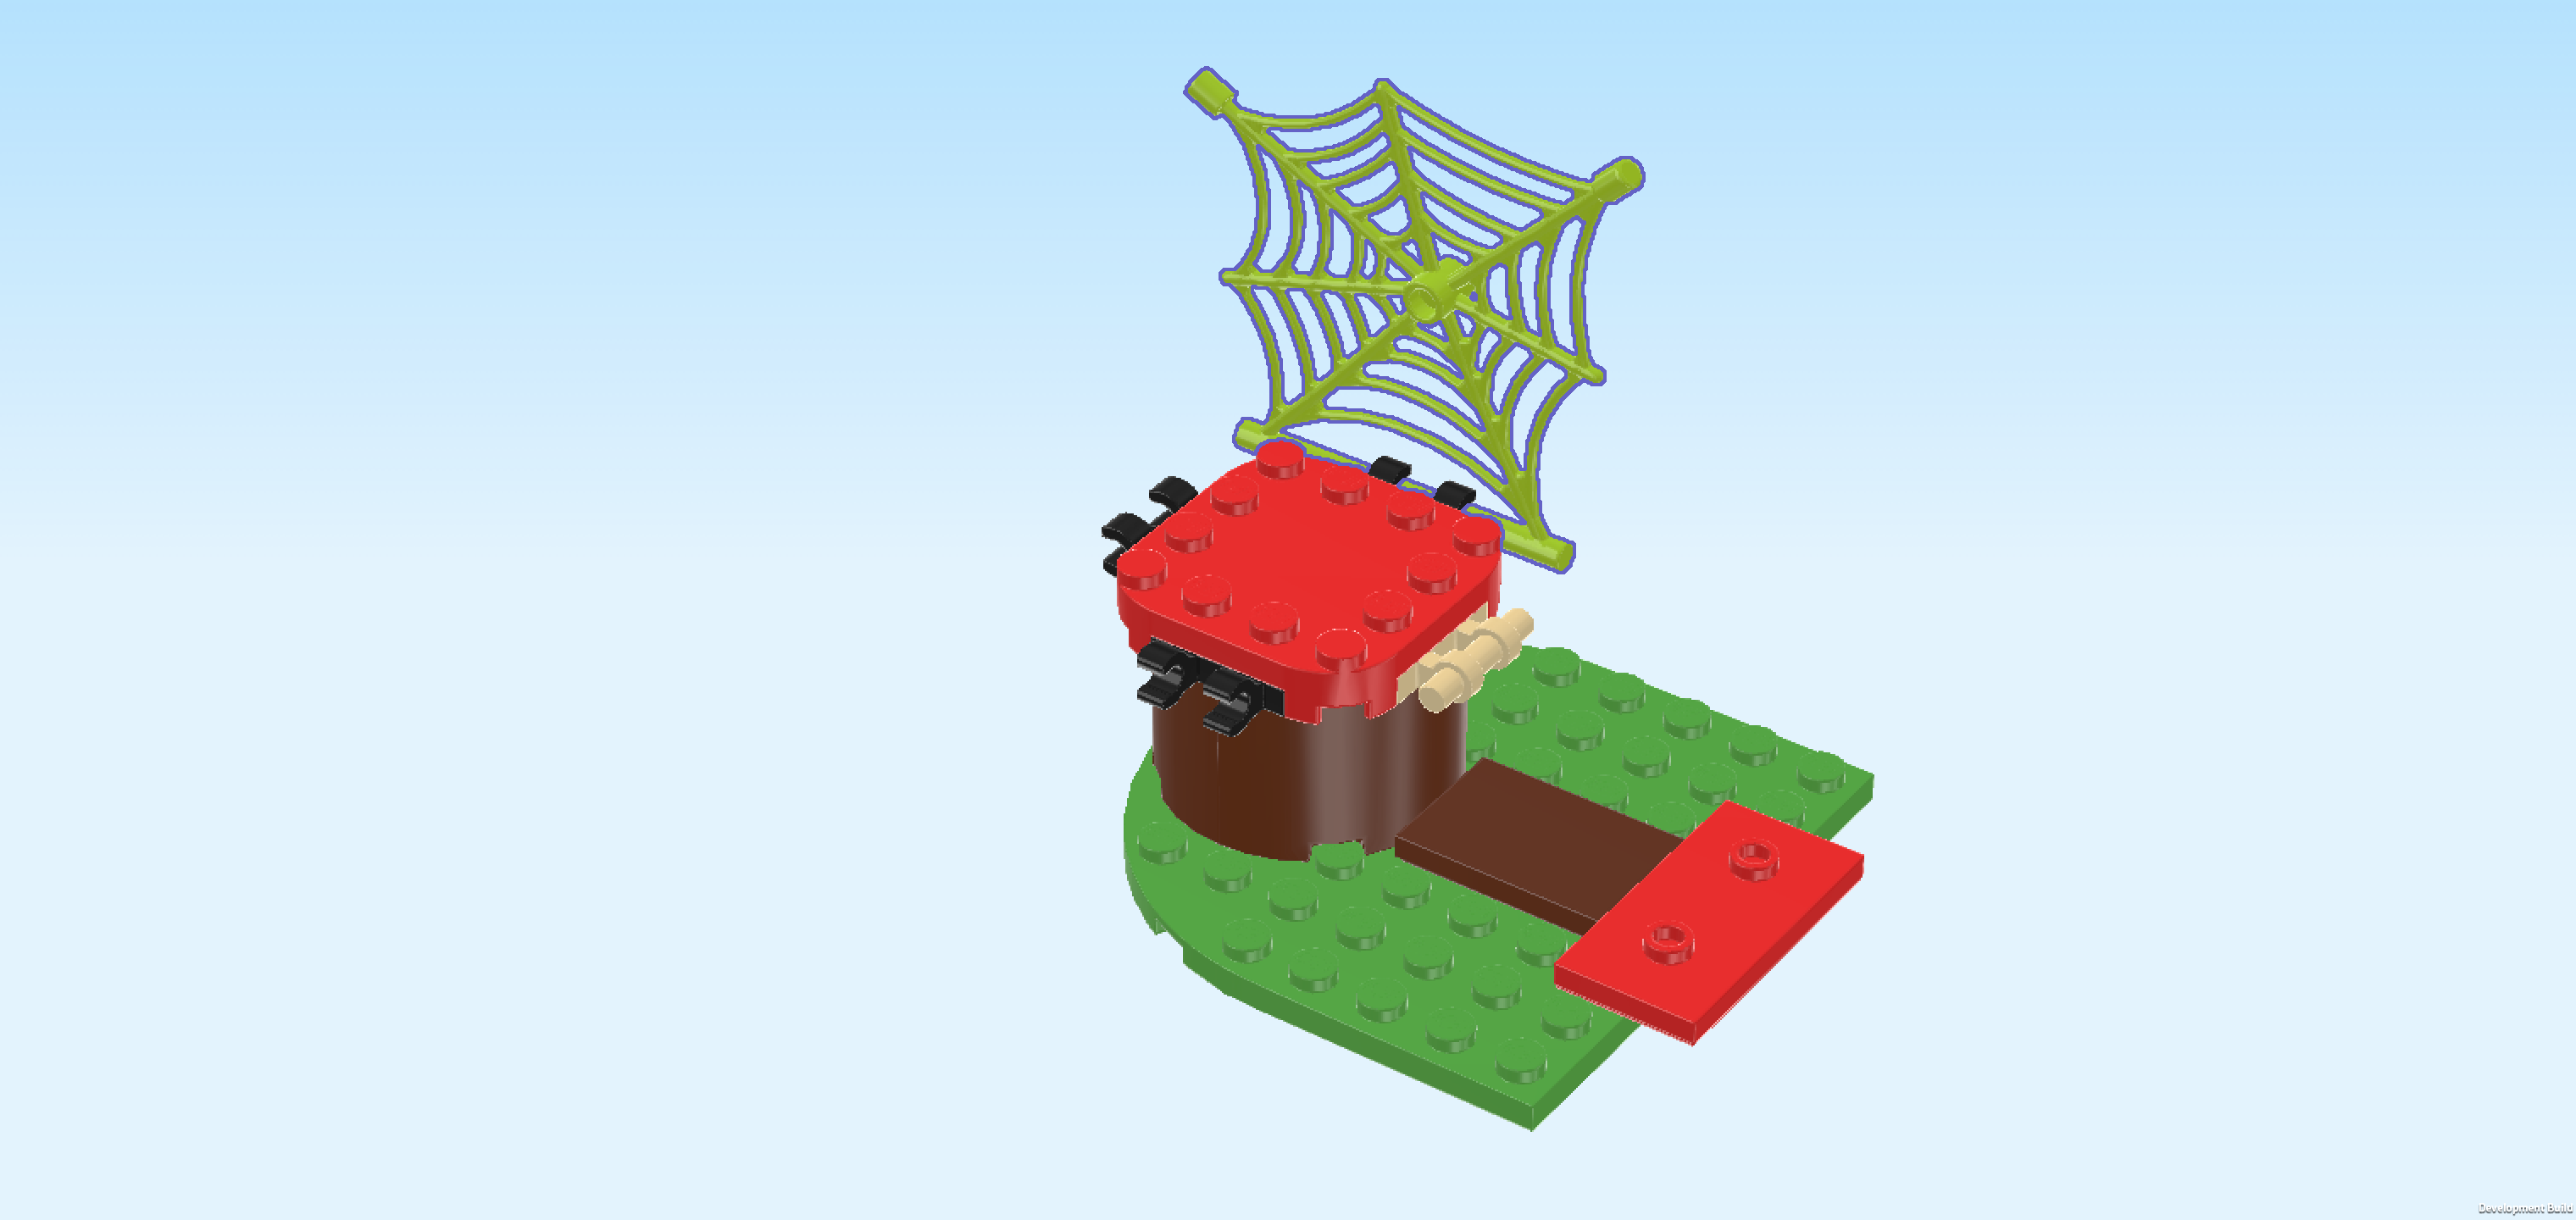
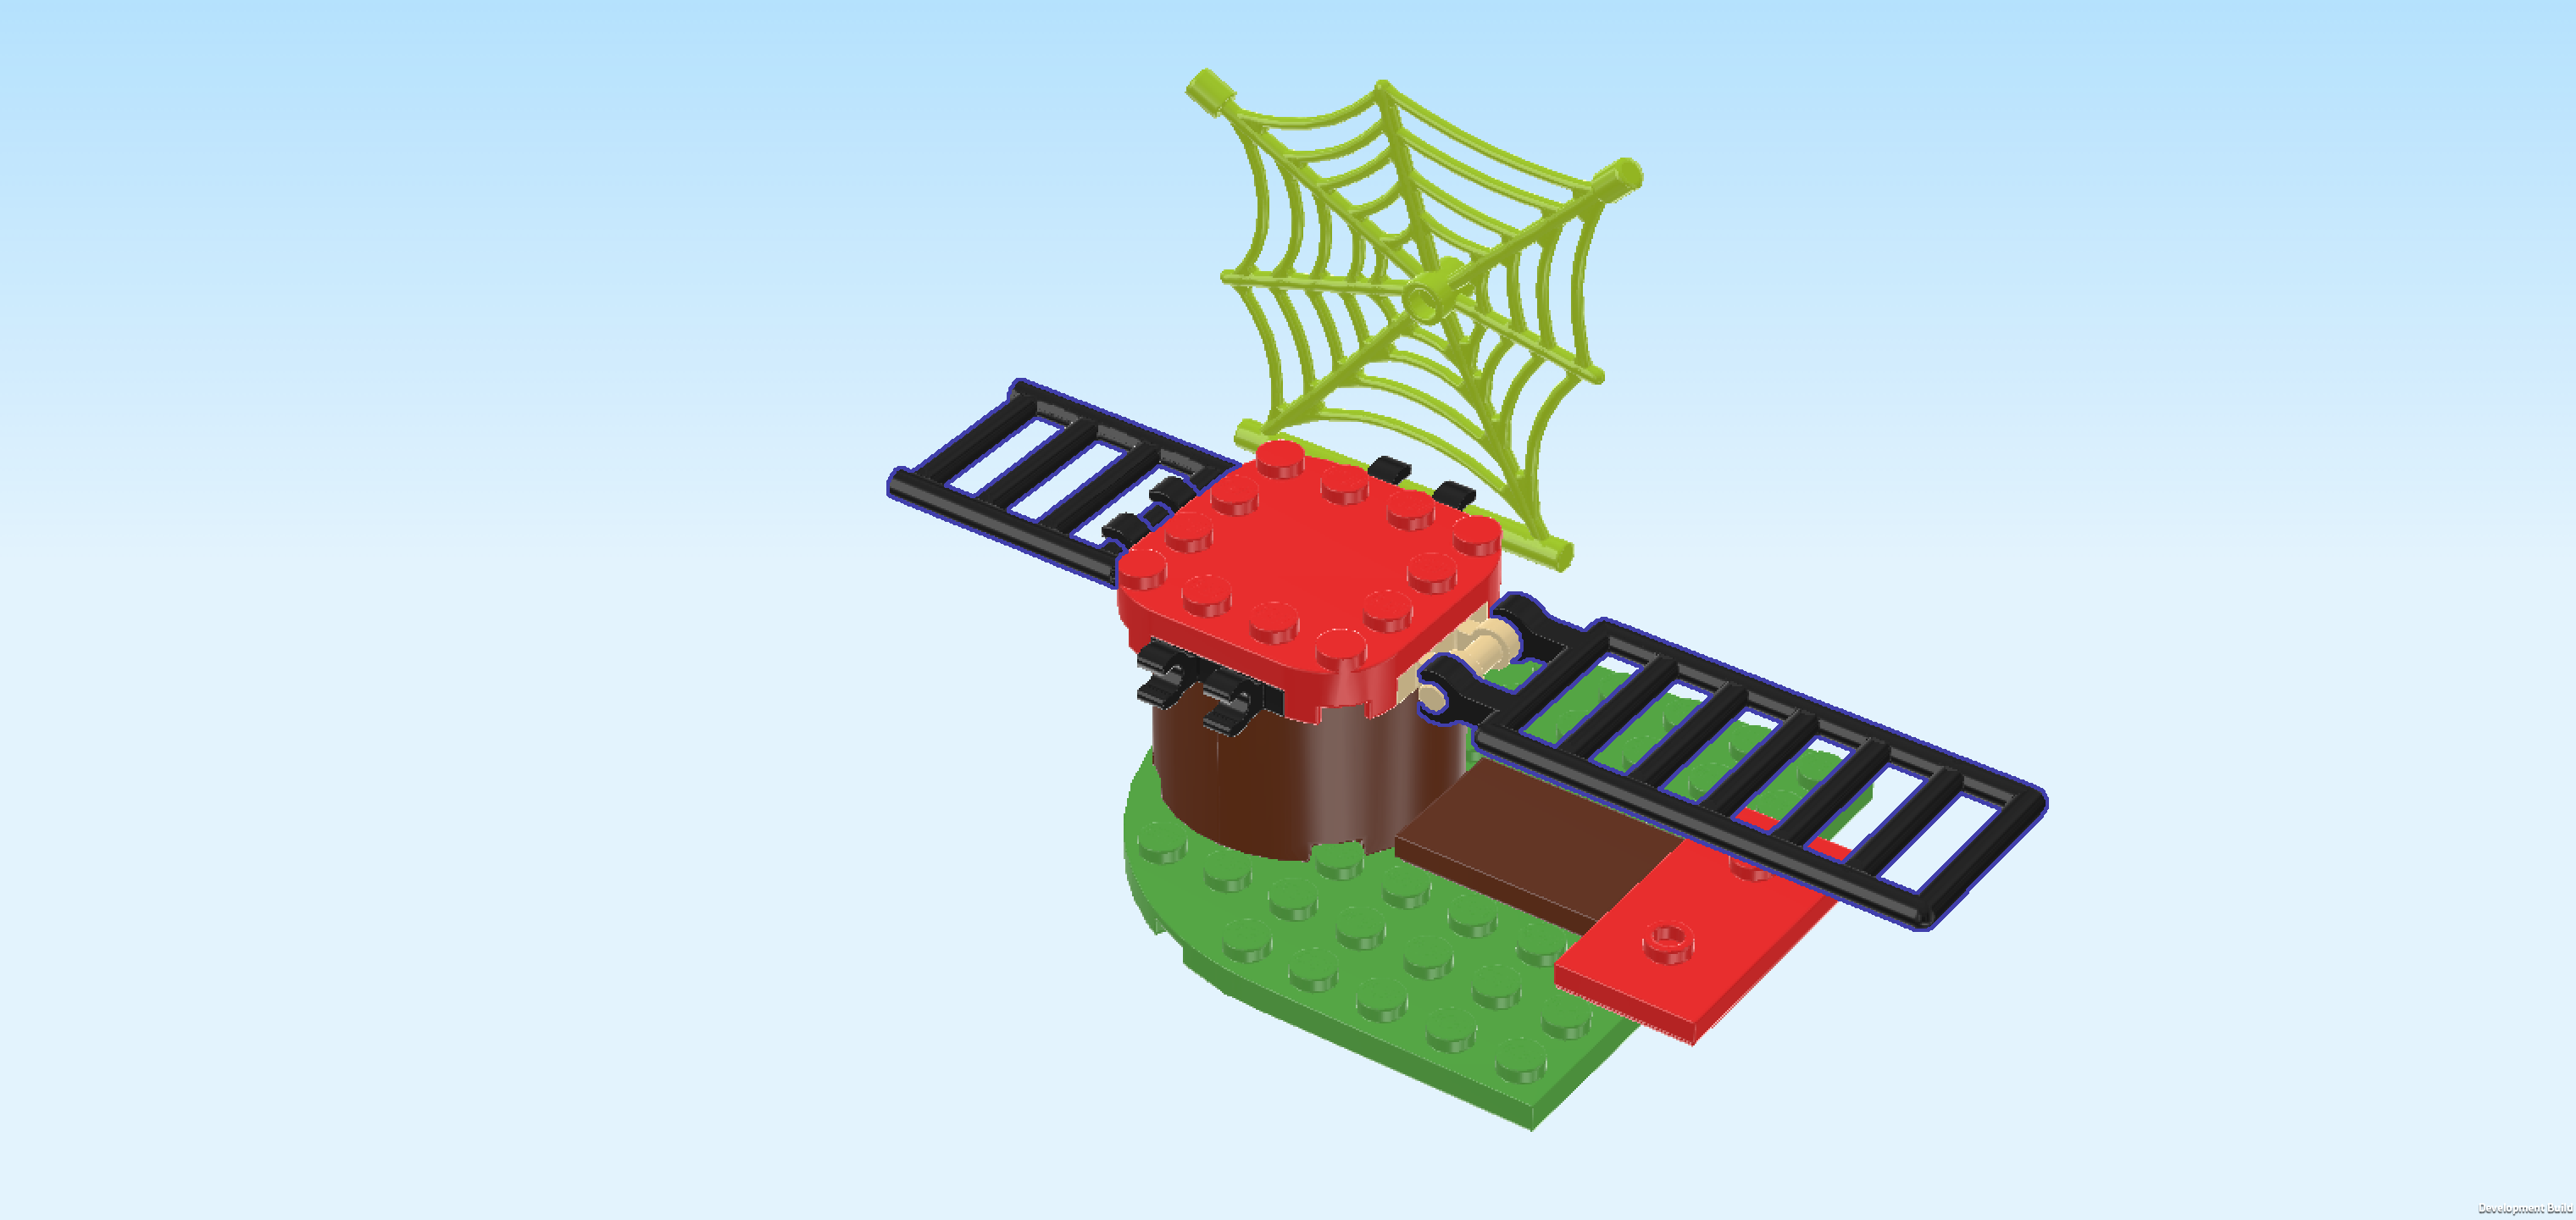
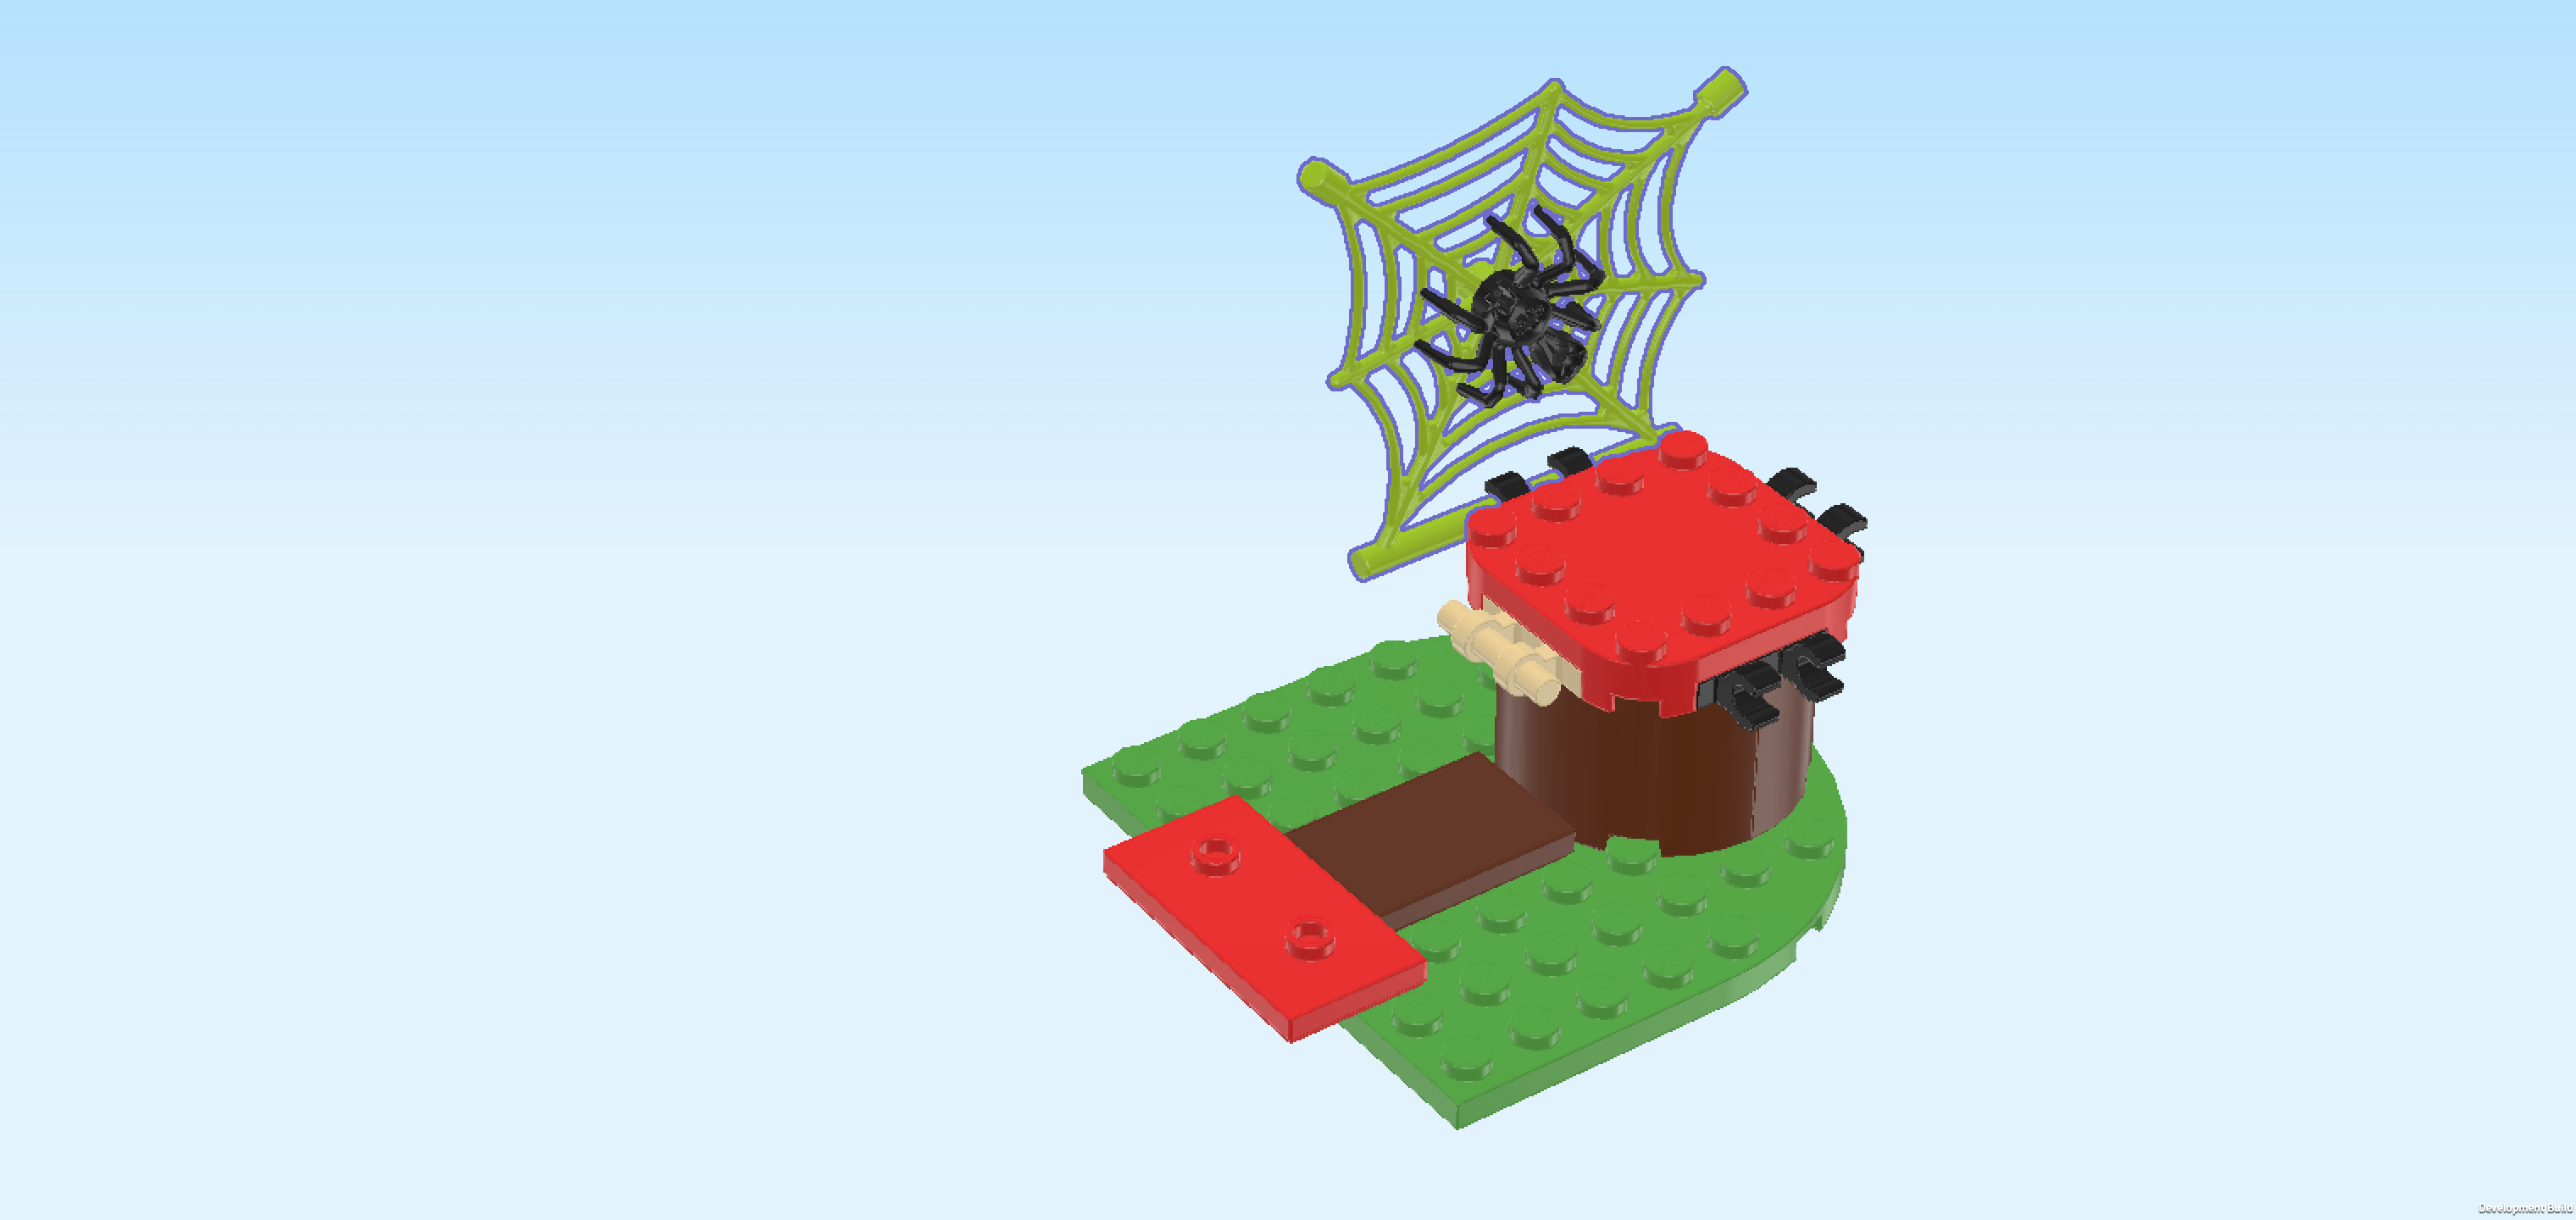
| Find 1 yellowish green spider web 7x7 with long shaft. |
| Hold it upright, long shaft at the bottom, and snap the middle of the long shaft into the 2 clasps pointing to the back, web extending towards the top. |
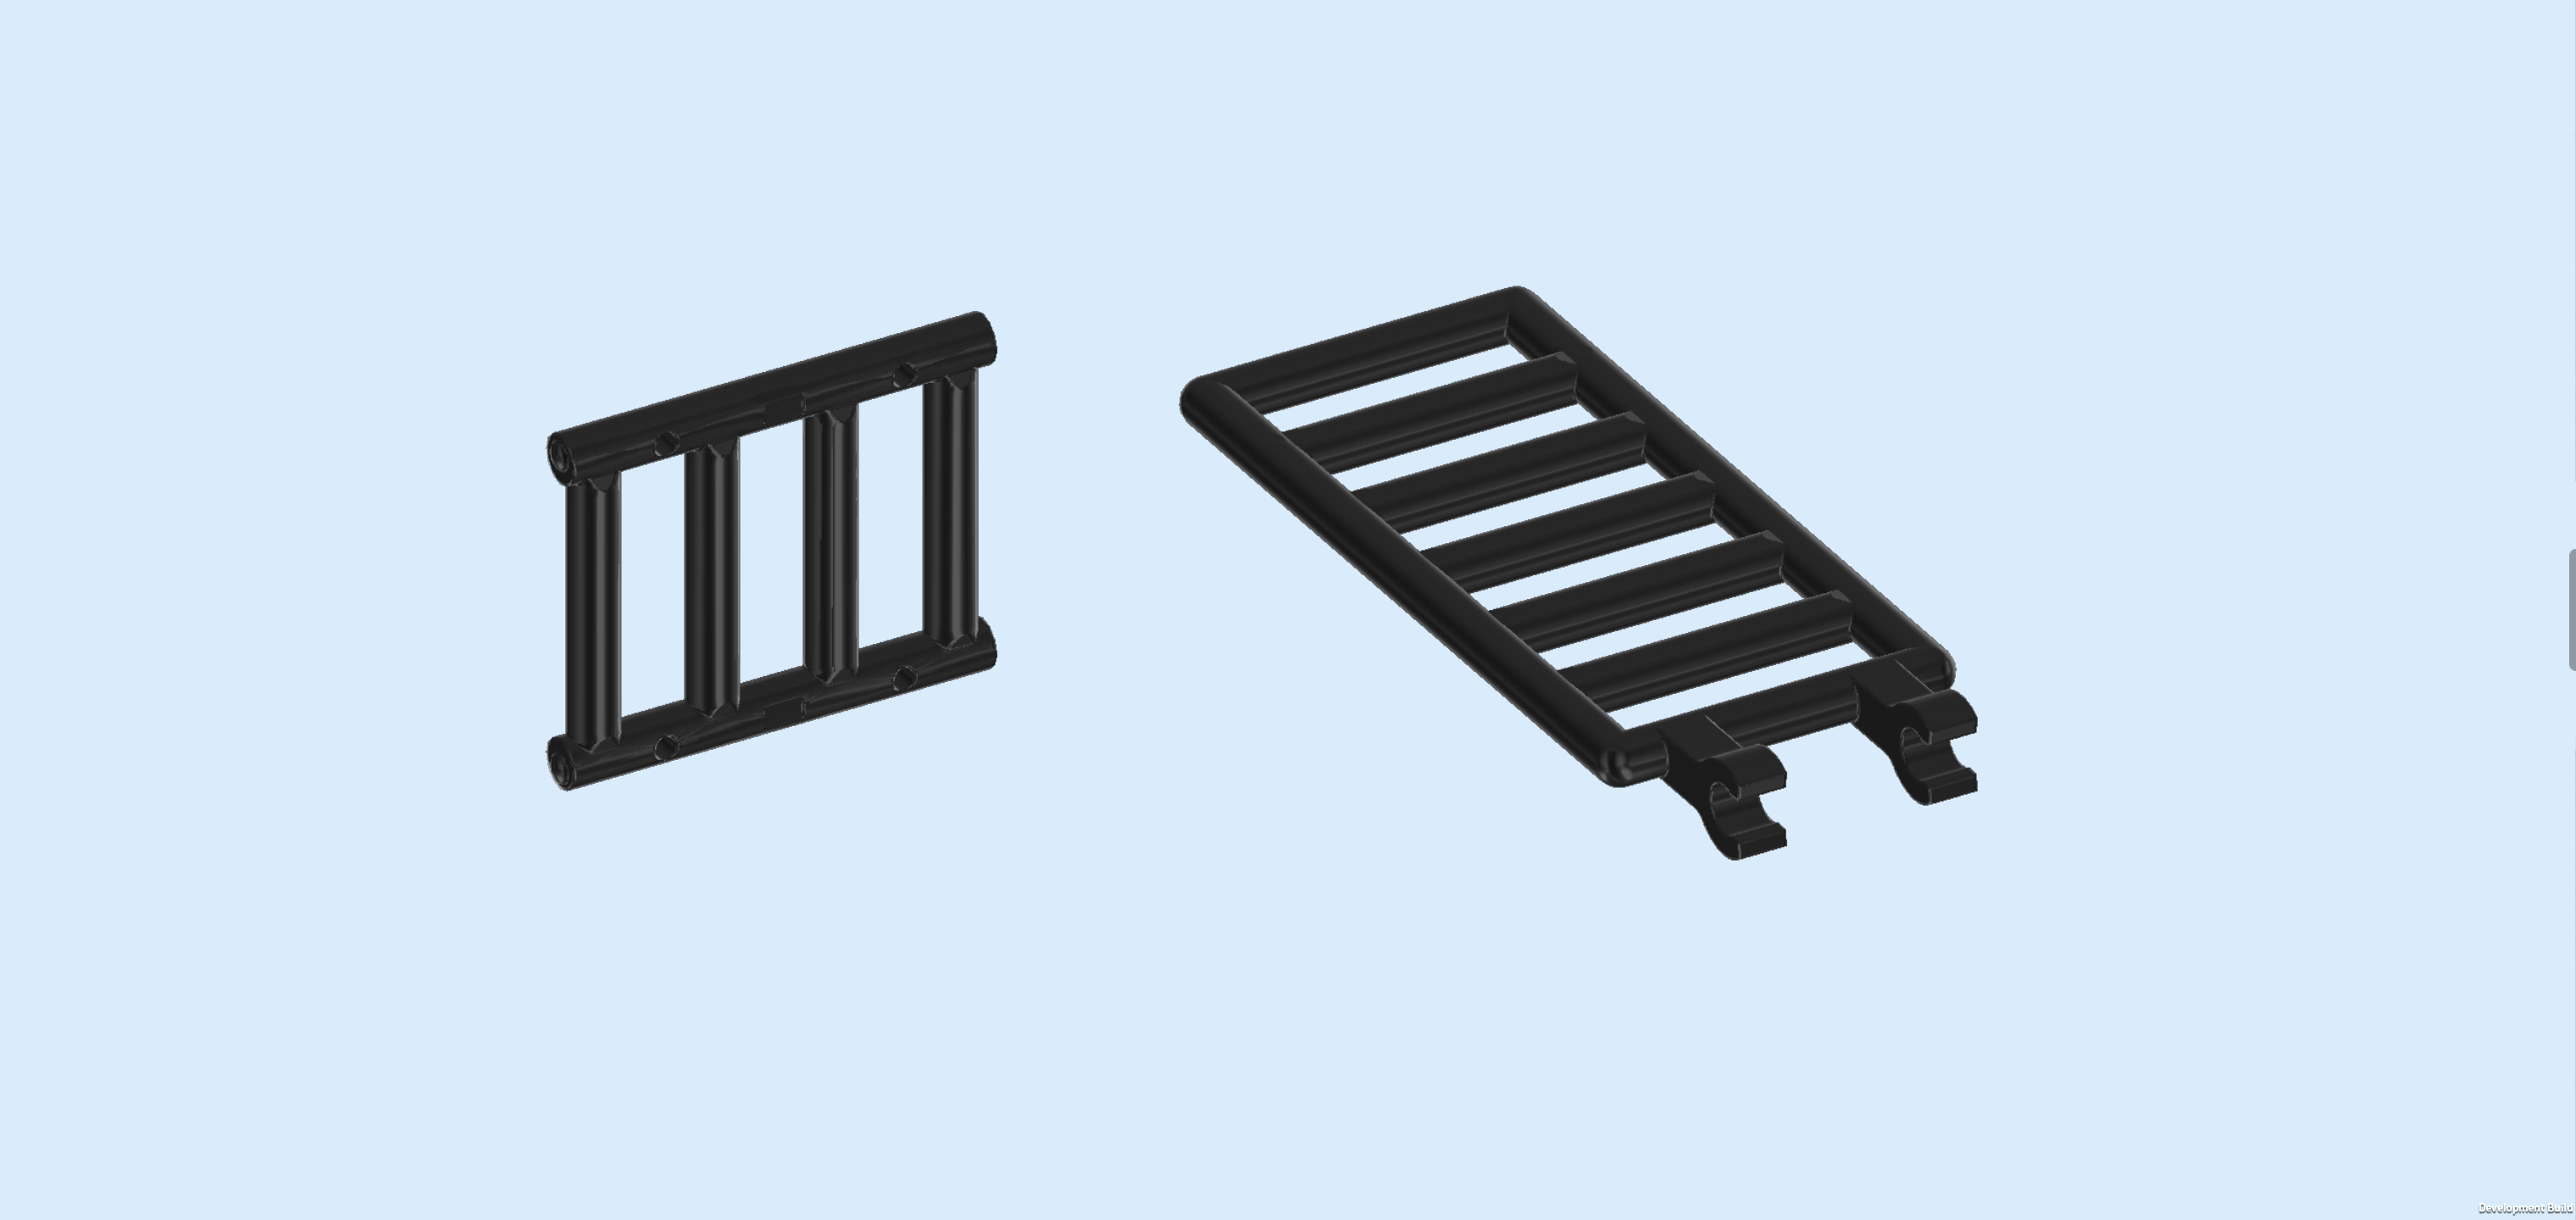
| Collect the following 2 pieces: |
| 1 black lattice element 3x4x1, |
| and 1 black lattice element 6x4x1 with 2 clasps. |
| Snap the smaller lattice element on the 2 clasps pointing to the left. Make sure to use one of its short bars. |
| Snap the 2 clasps of the longer lattice element on the side handle that is pointing to the right. |
| Find 1 white bone 5m. |
| Snap it horizontally centered into the 2 clasps pointing to the front. |
| The first side platform is finished! Well done! We will connect it to the rest of the structure later. |
| We have finished building everything from bag number 2! Great job! Only 2 more bags to go. You are probably left with a few extra bricks and pieces again that you can use or stow away as you please. |
| Open bag number 3. You can choose to have the bricks sorted by color again if you like. This bag contains all bricks and pieces for the Gobby-Raptor with utility box and the second side platform of the tree house. |
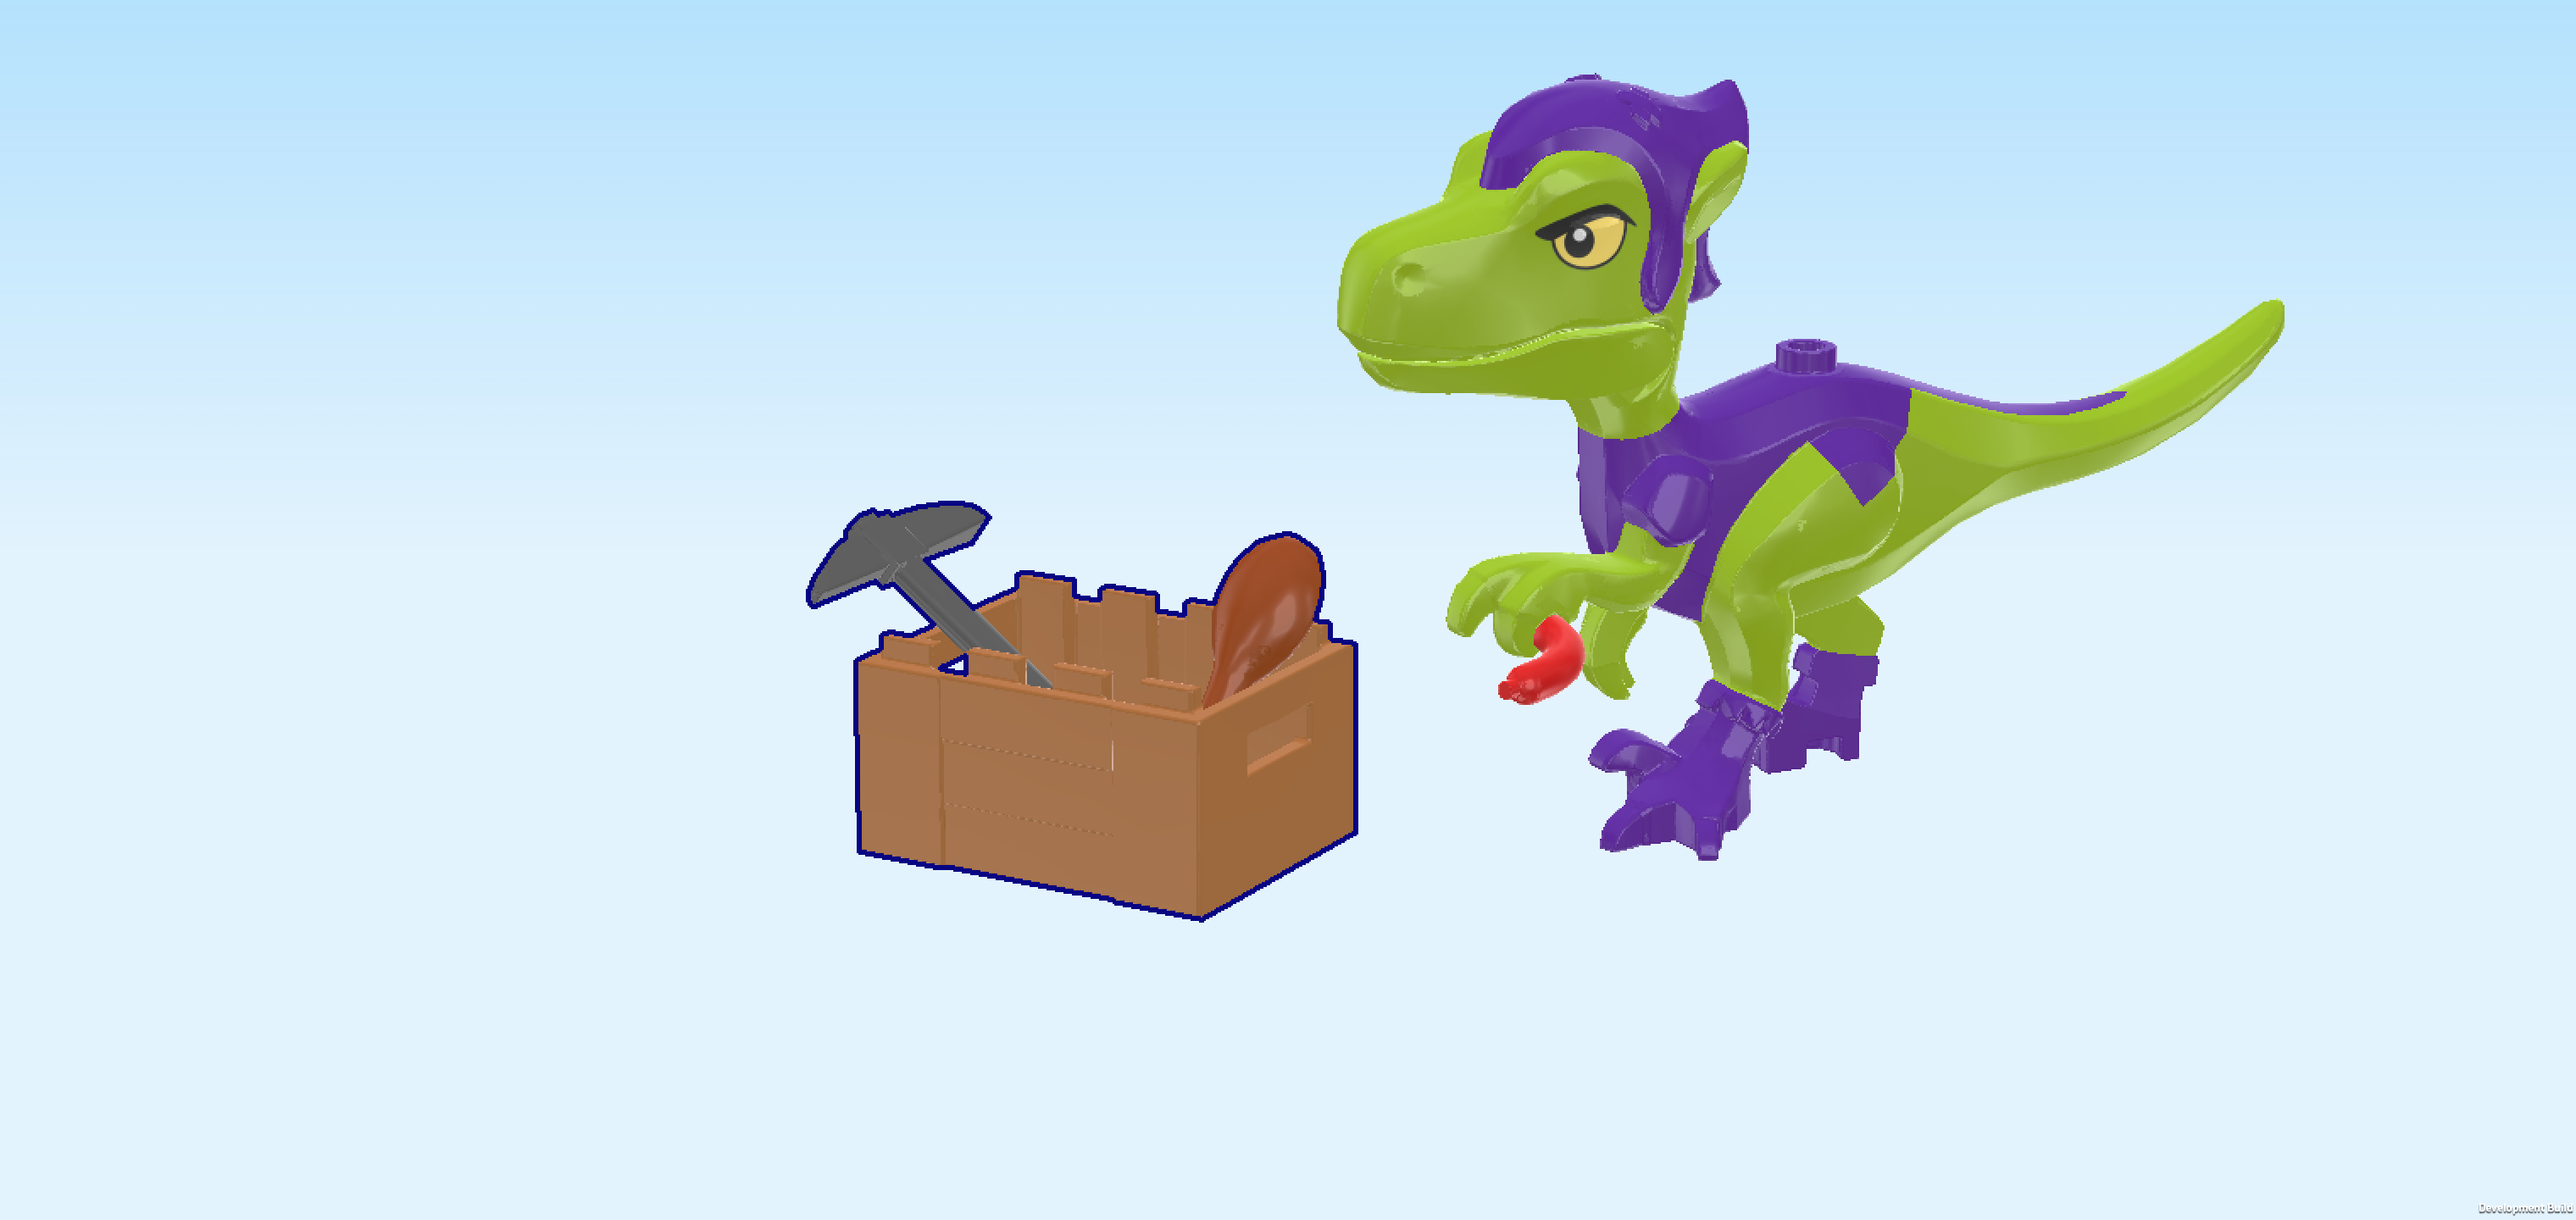
| Next, we will build the Gobby-Raptor with utility box. |
| Collect the following 2 pieces: |
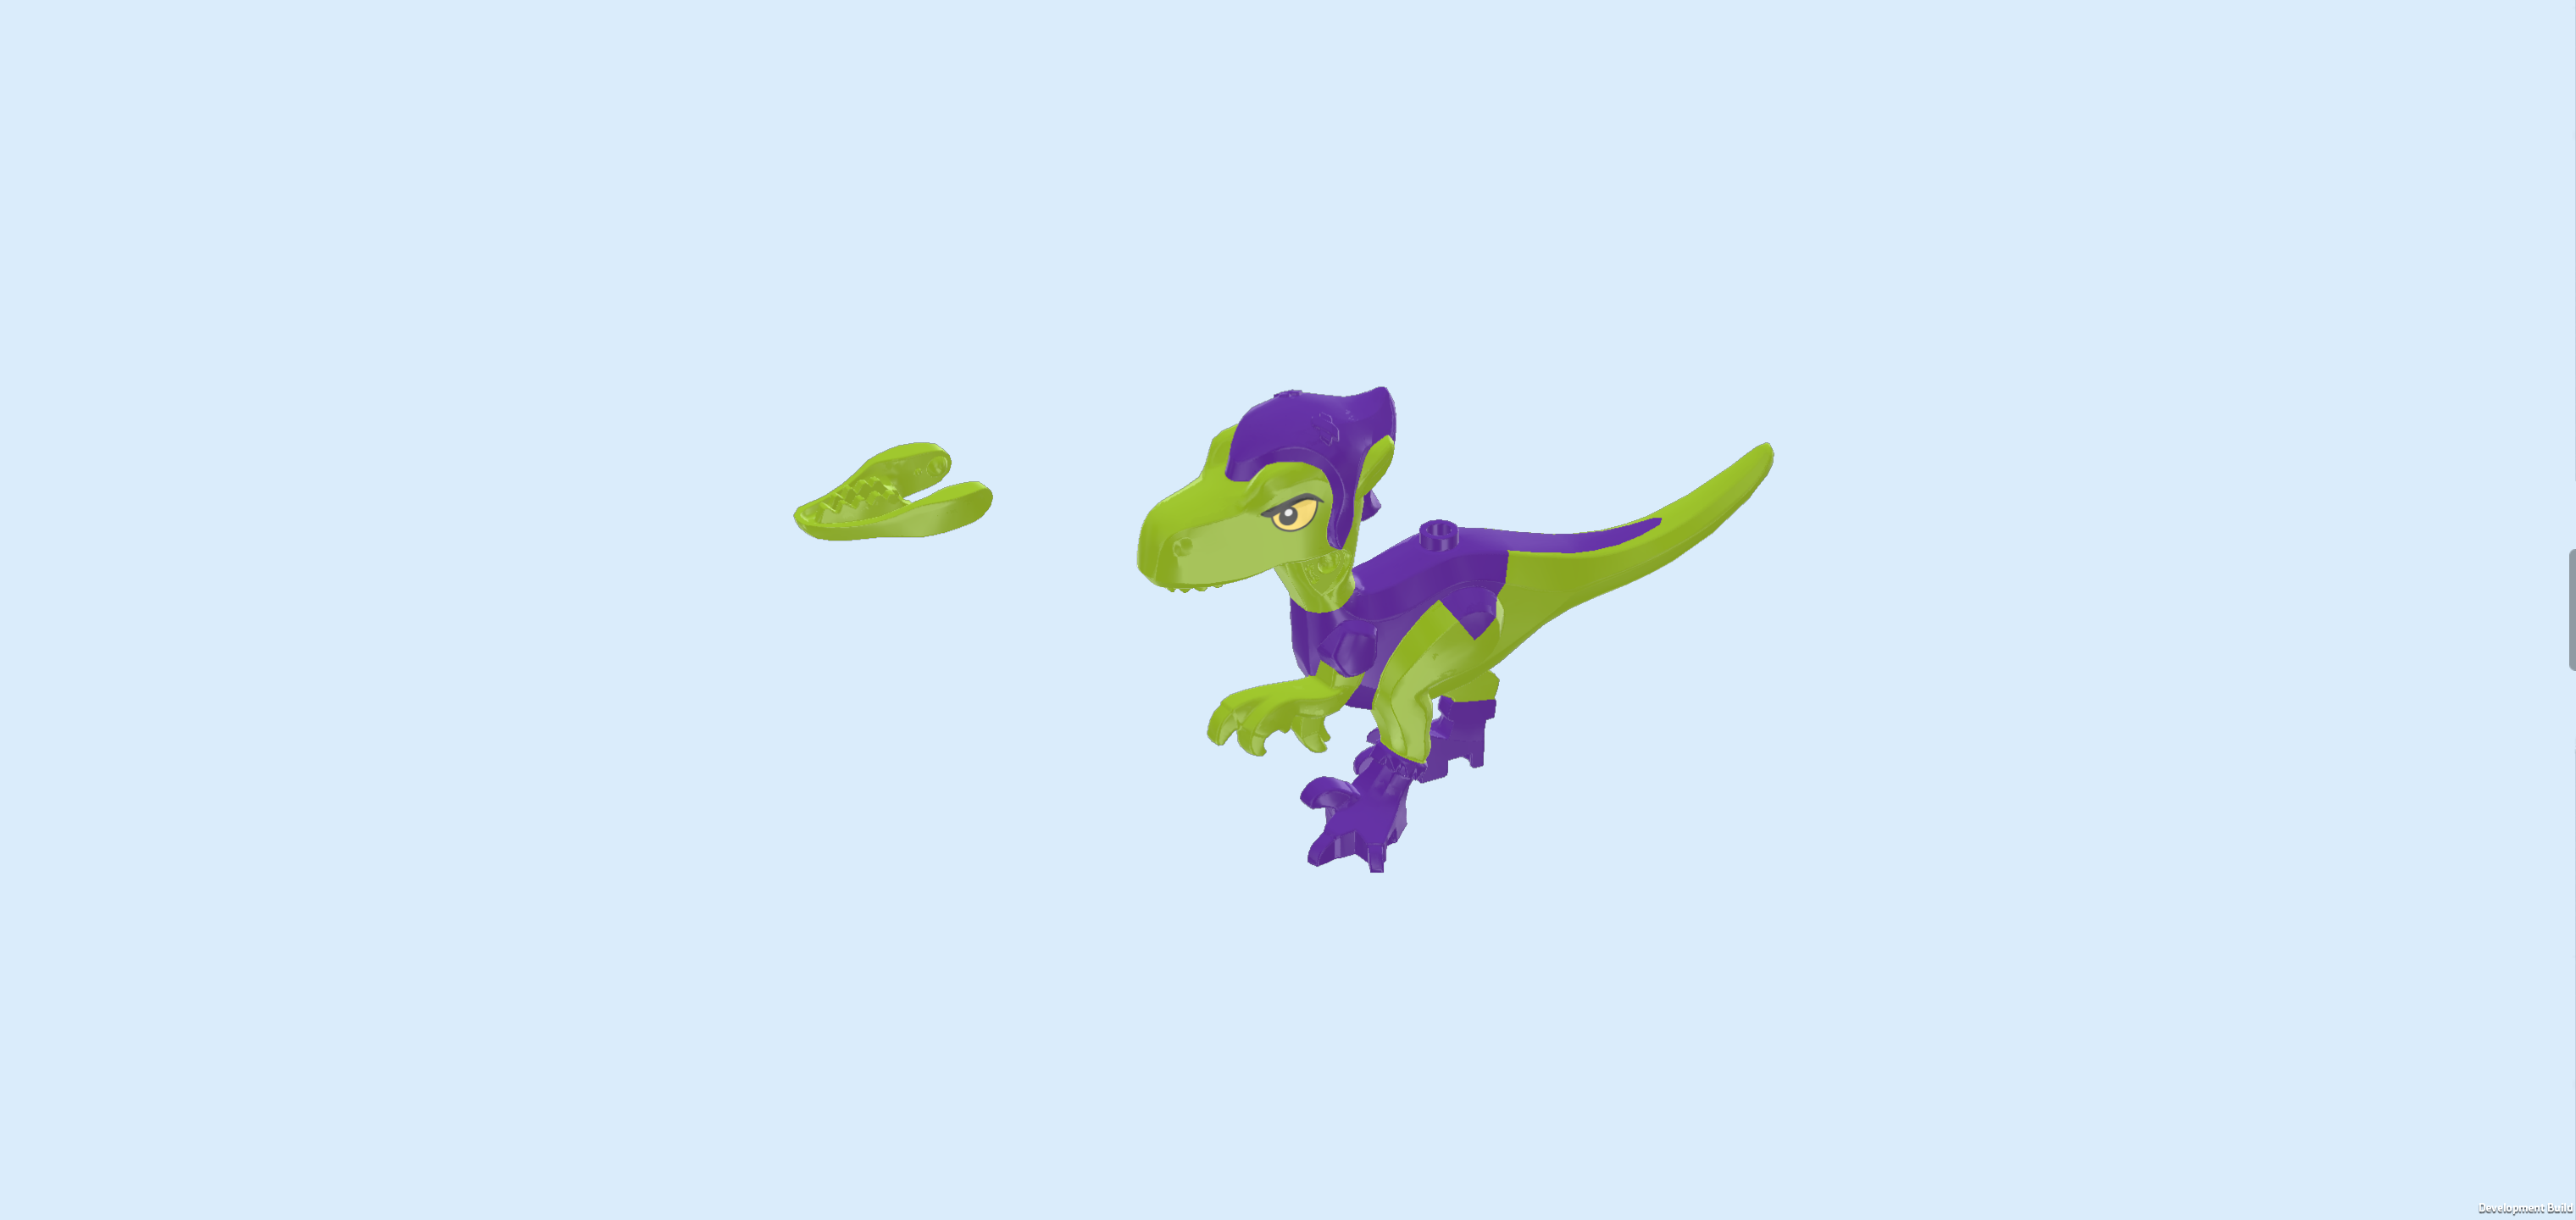
| 1 yellowish green dinosaur jaw with teeth, |
| and 1 yellowish green and medium lilac Velociraptor figure. |
| Snap the dinosaur jaw on the Velociraptor head, teeth pointing up. |
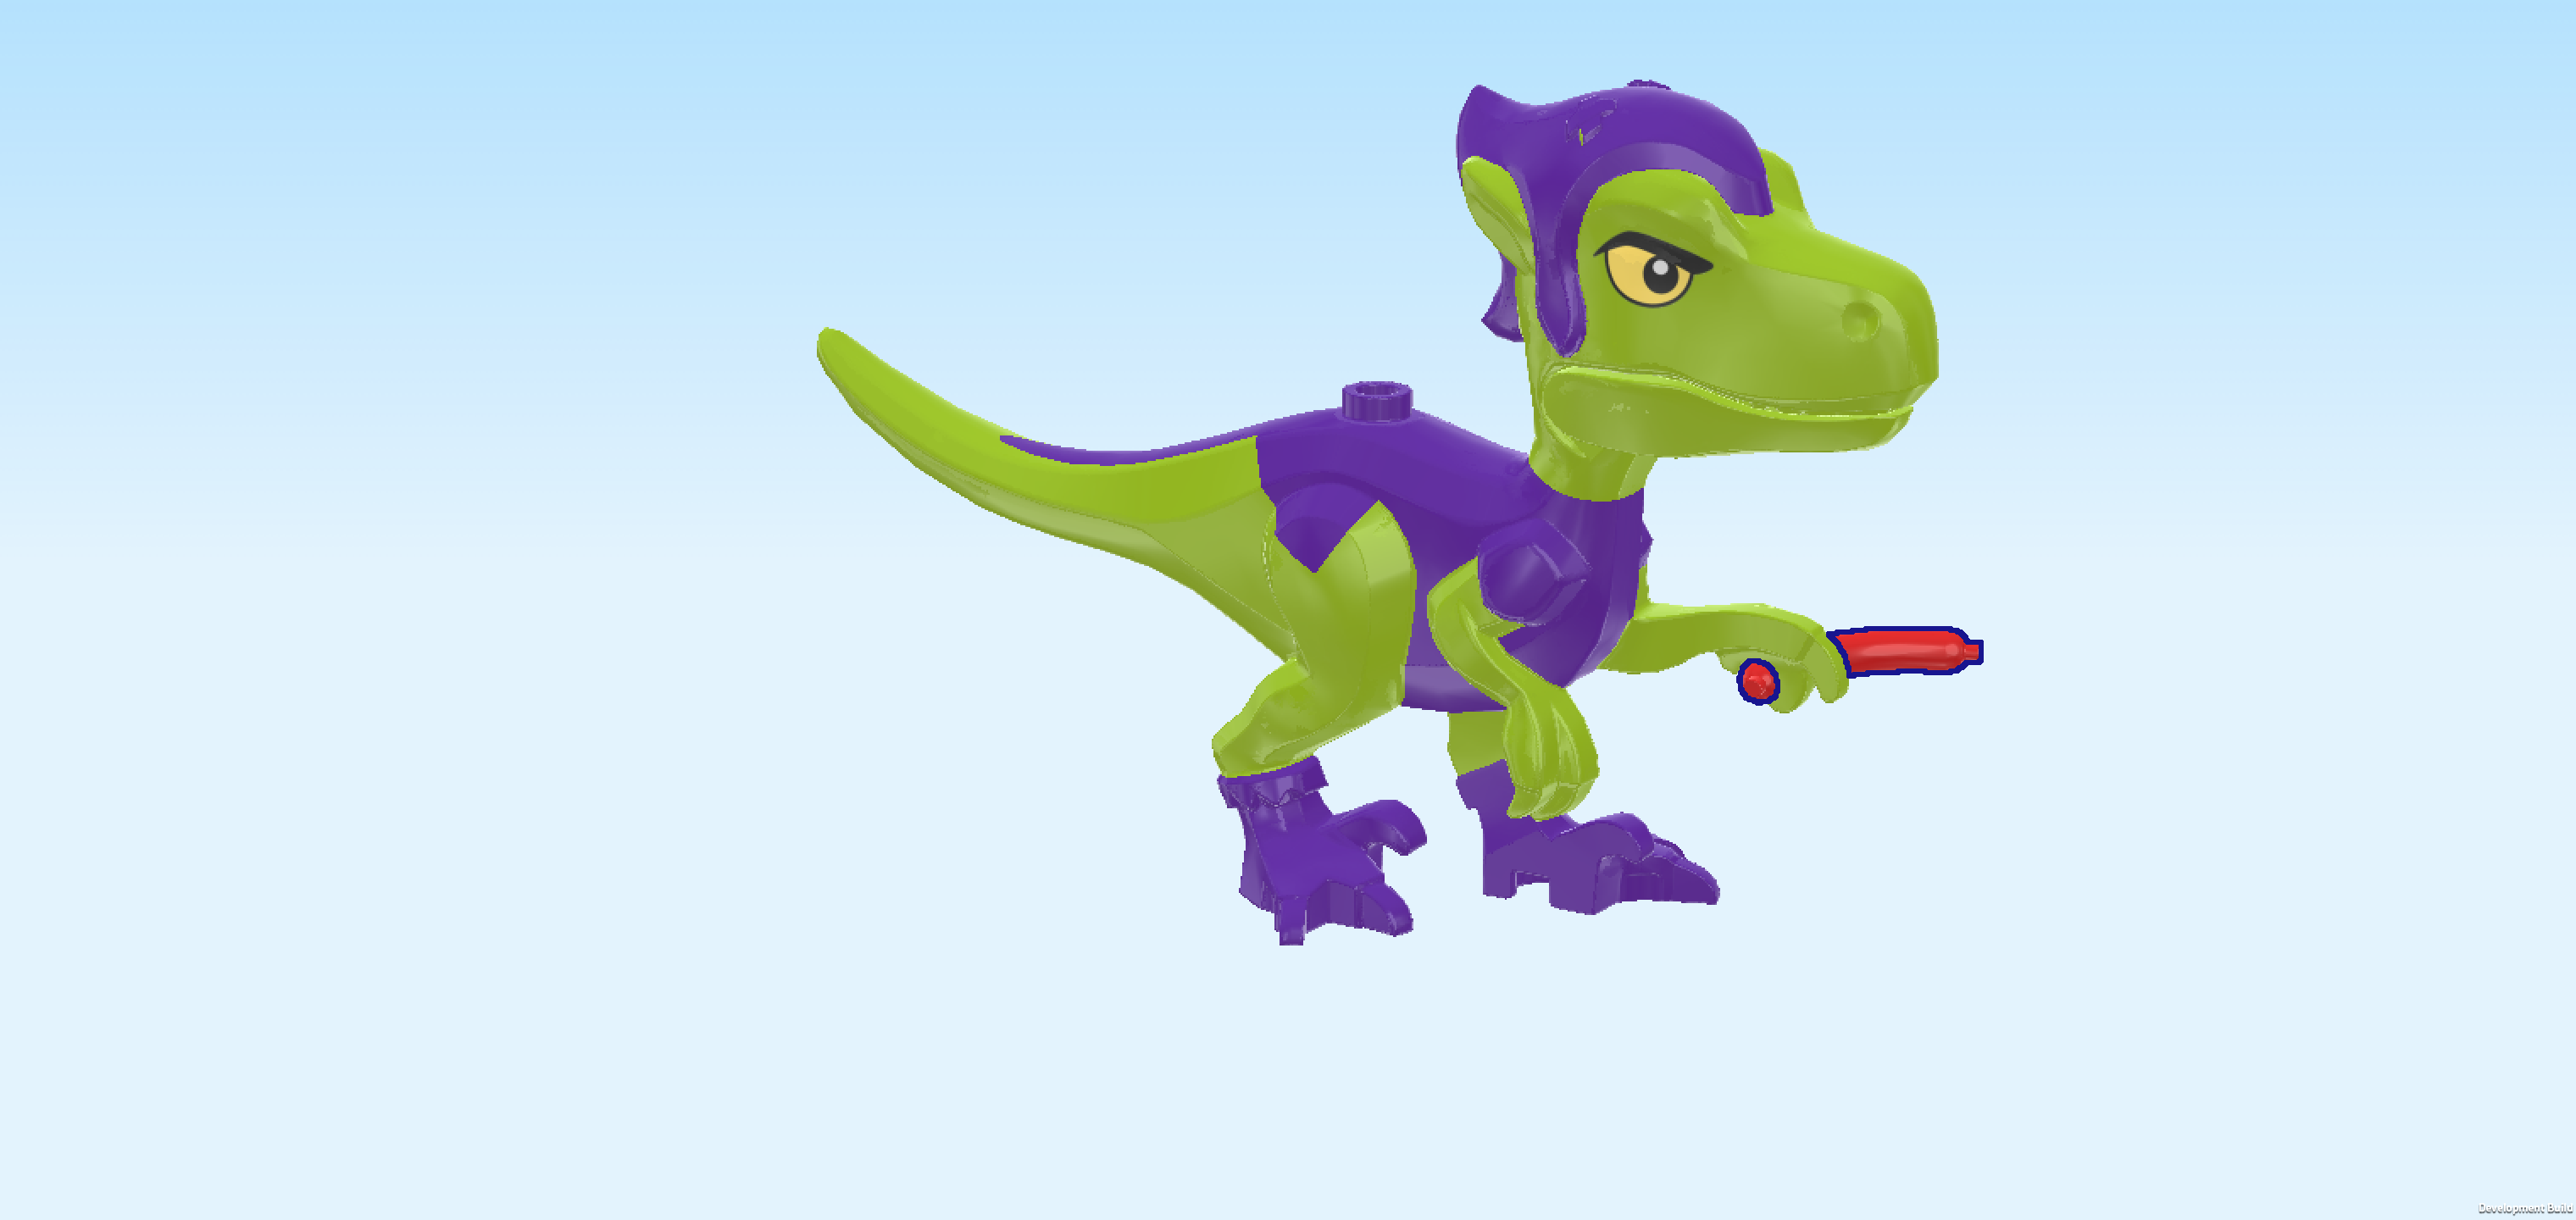
| Find 1 bright red sausage. |
| Snap it into the dinosaur's left claw. |
| Now, we will build the utility box. |
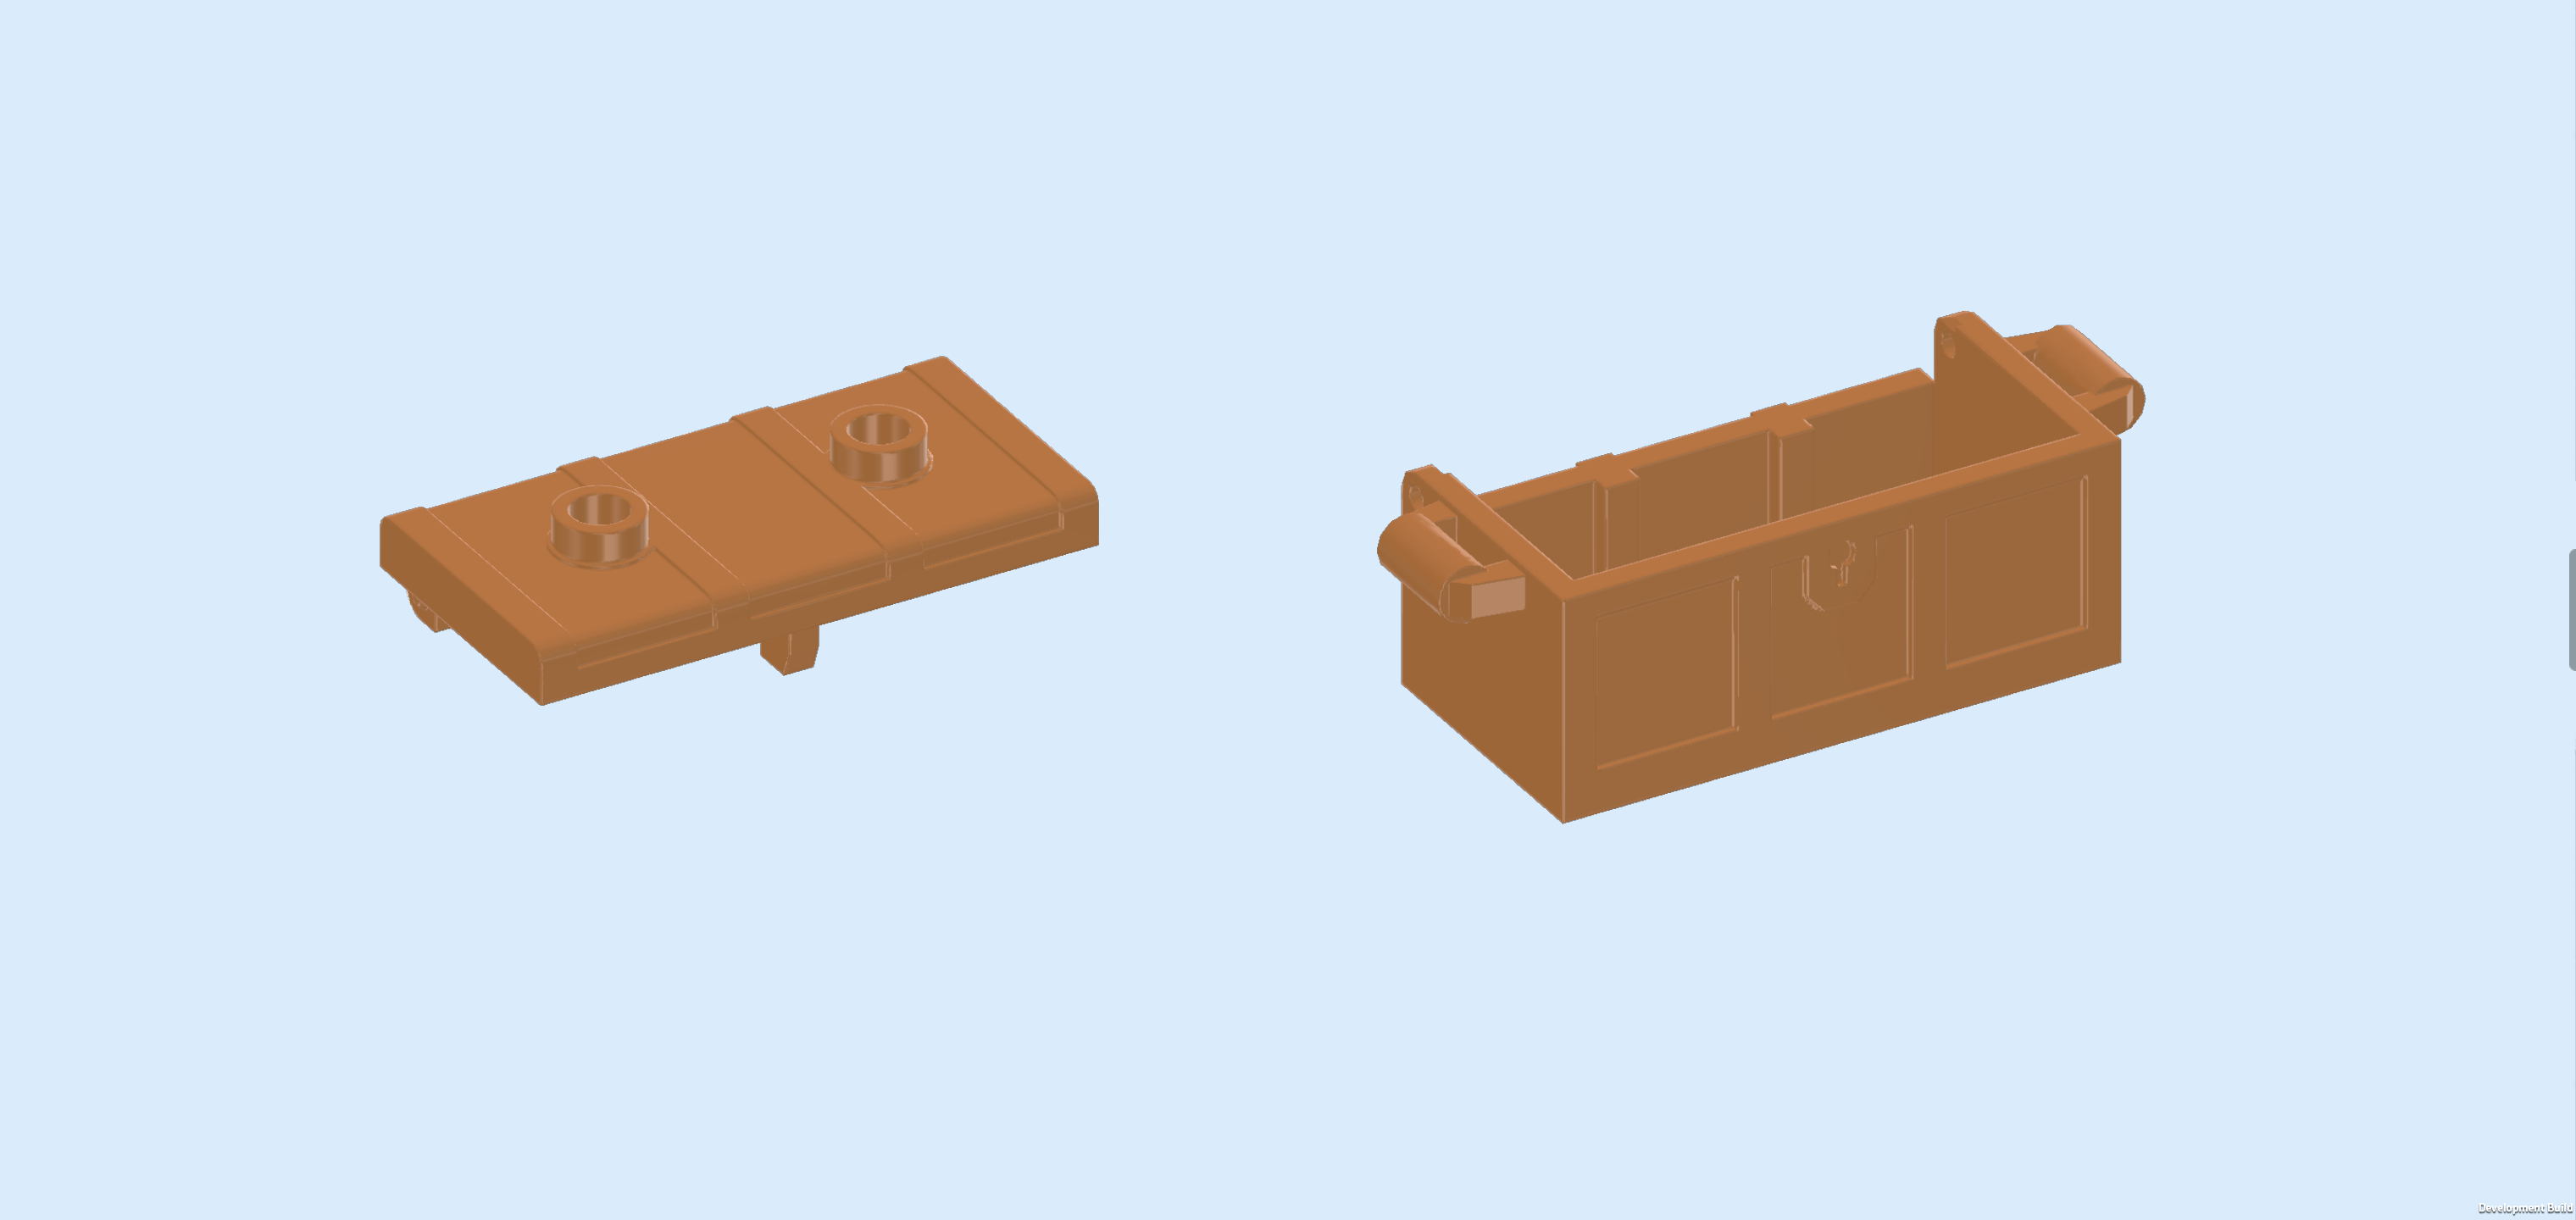
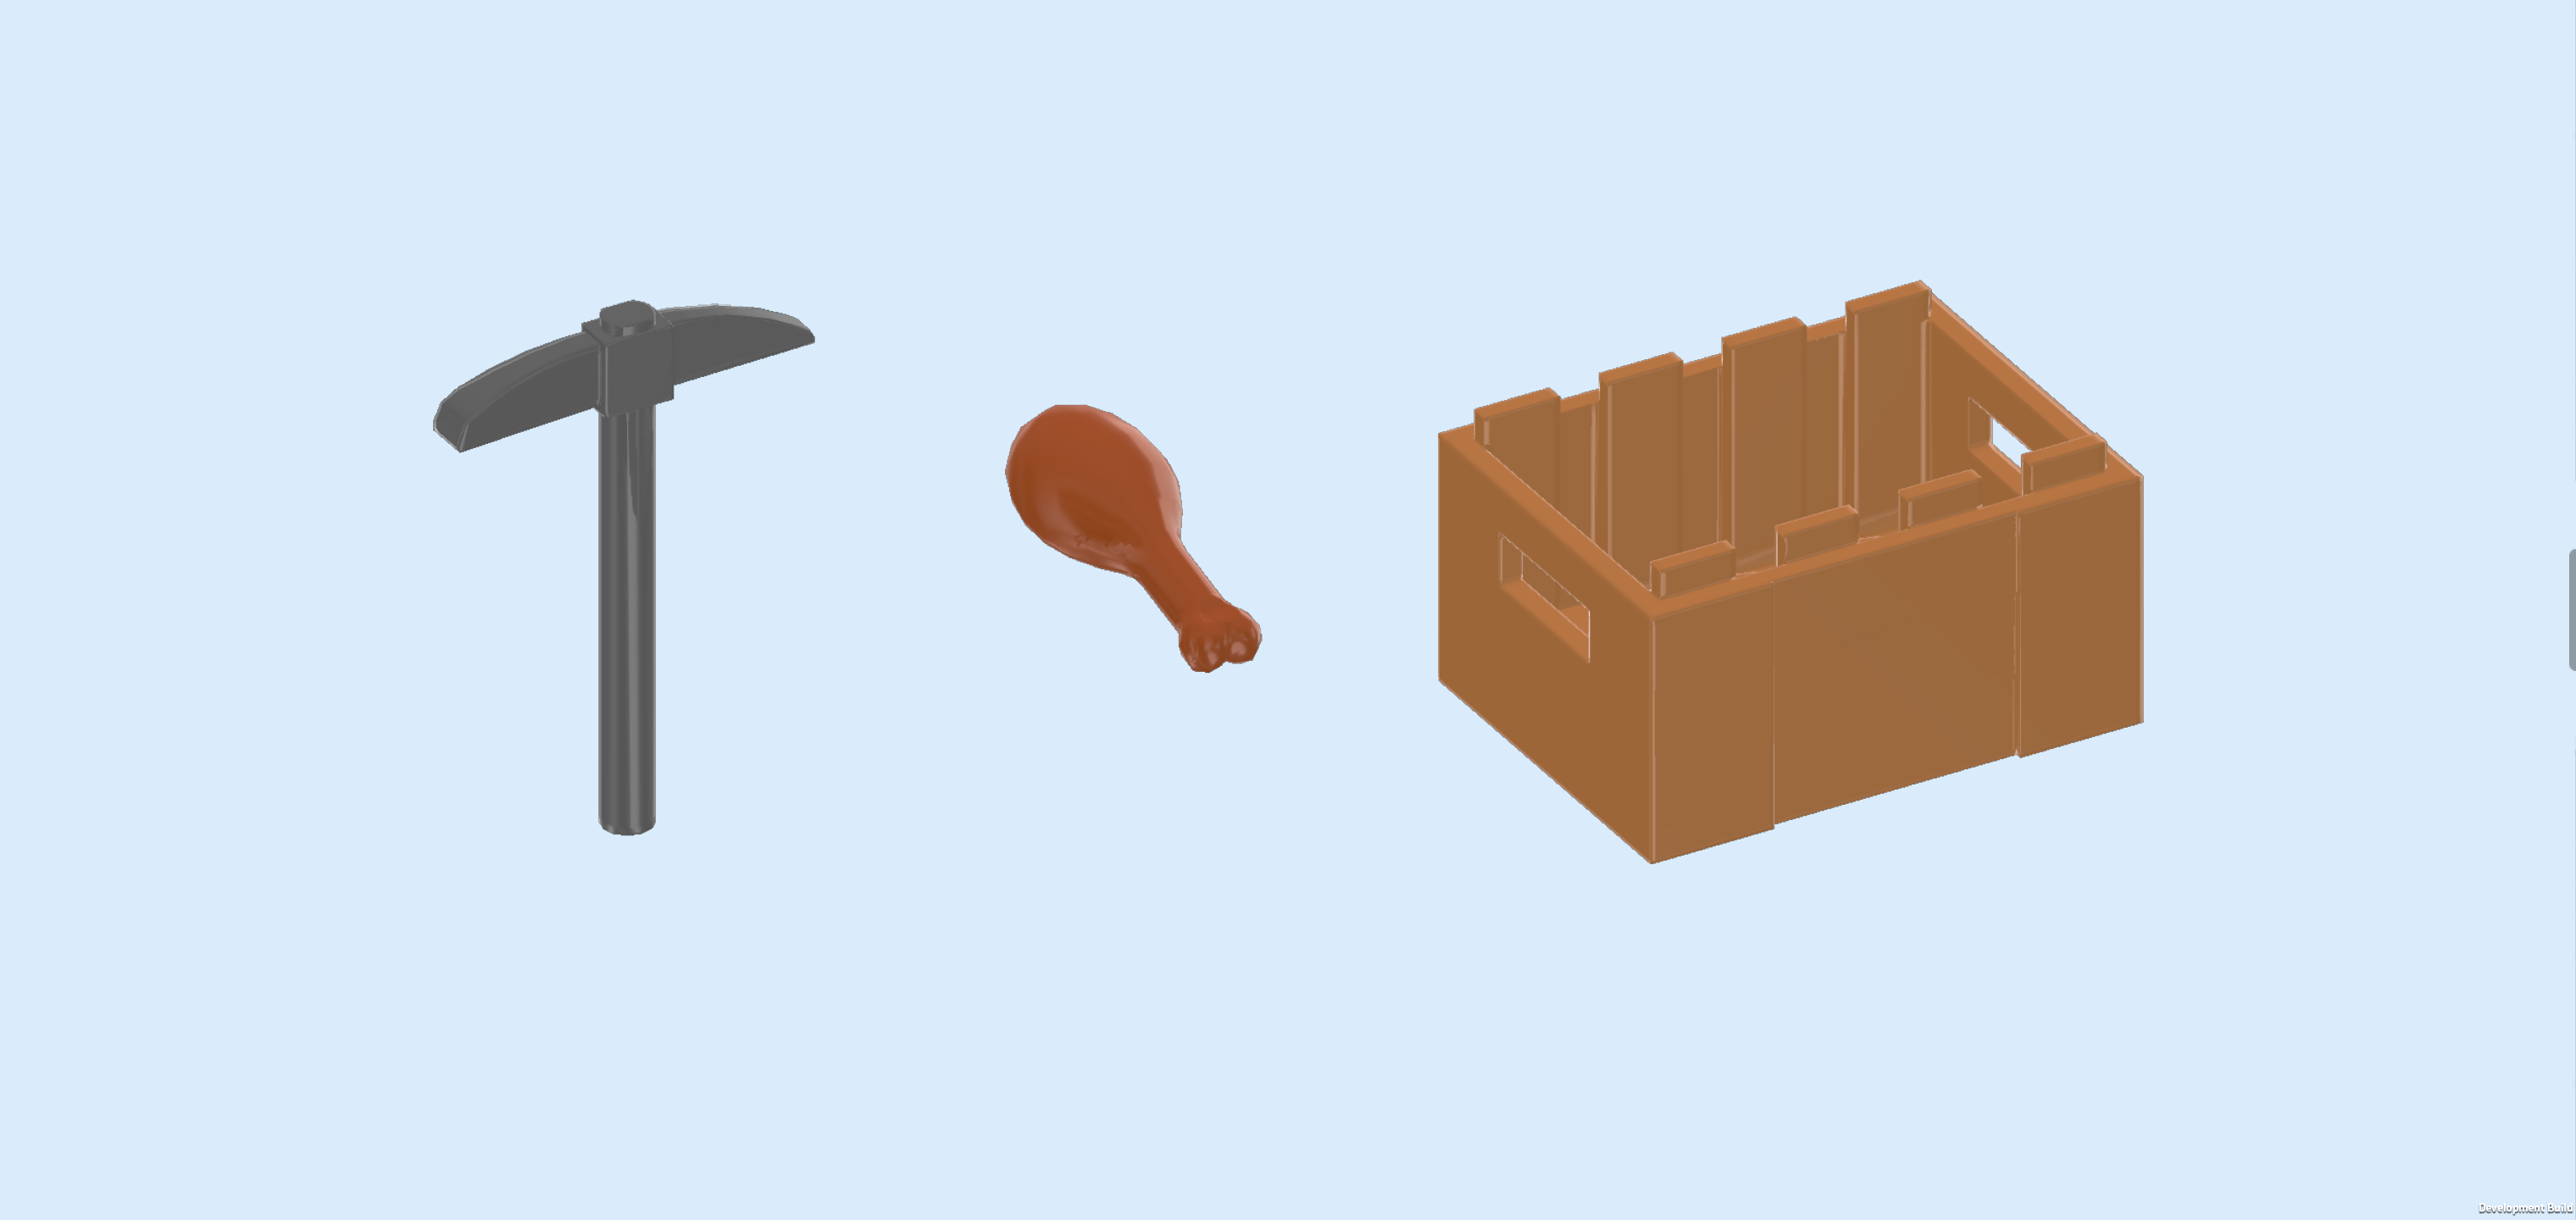
| Collect the following 3 pieces: |
| 1 dark stone grey pickaxe, |
| 1 dark orange chicken drumstick, |
| and 1 medium nougat brown crate 3x4 with handholds. |
| Put the pickaxe and the drumstick into the crate. |
| The Gobby-Raptor with utility box is finished! Well done! Gobby-Raptor is a bilious green dinosaur with purple feet, back and headgear. He has mean yellow eyes and a sly grin on his face. He seems to be a hungry fella who likes to steal food from other people. The spider superheroes better watch out! |
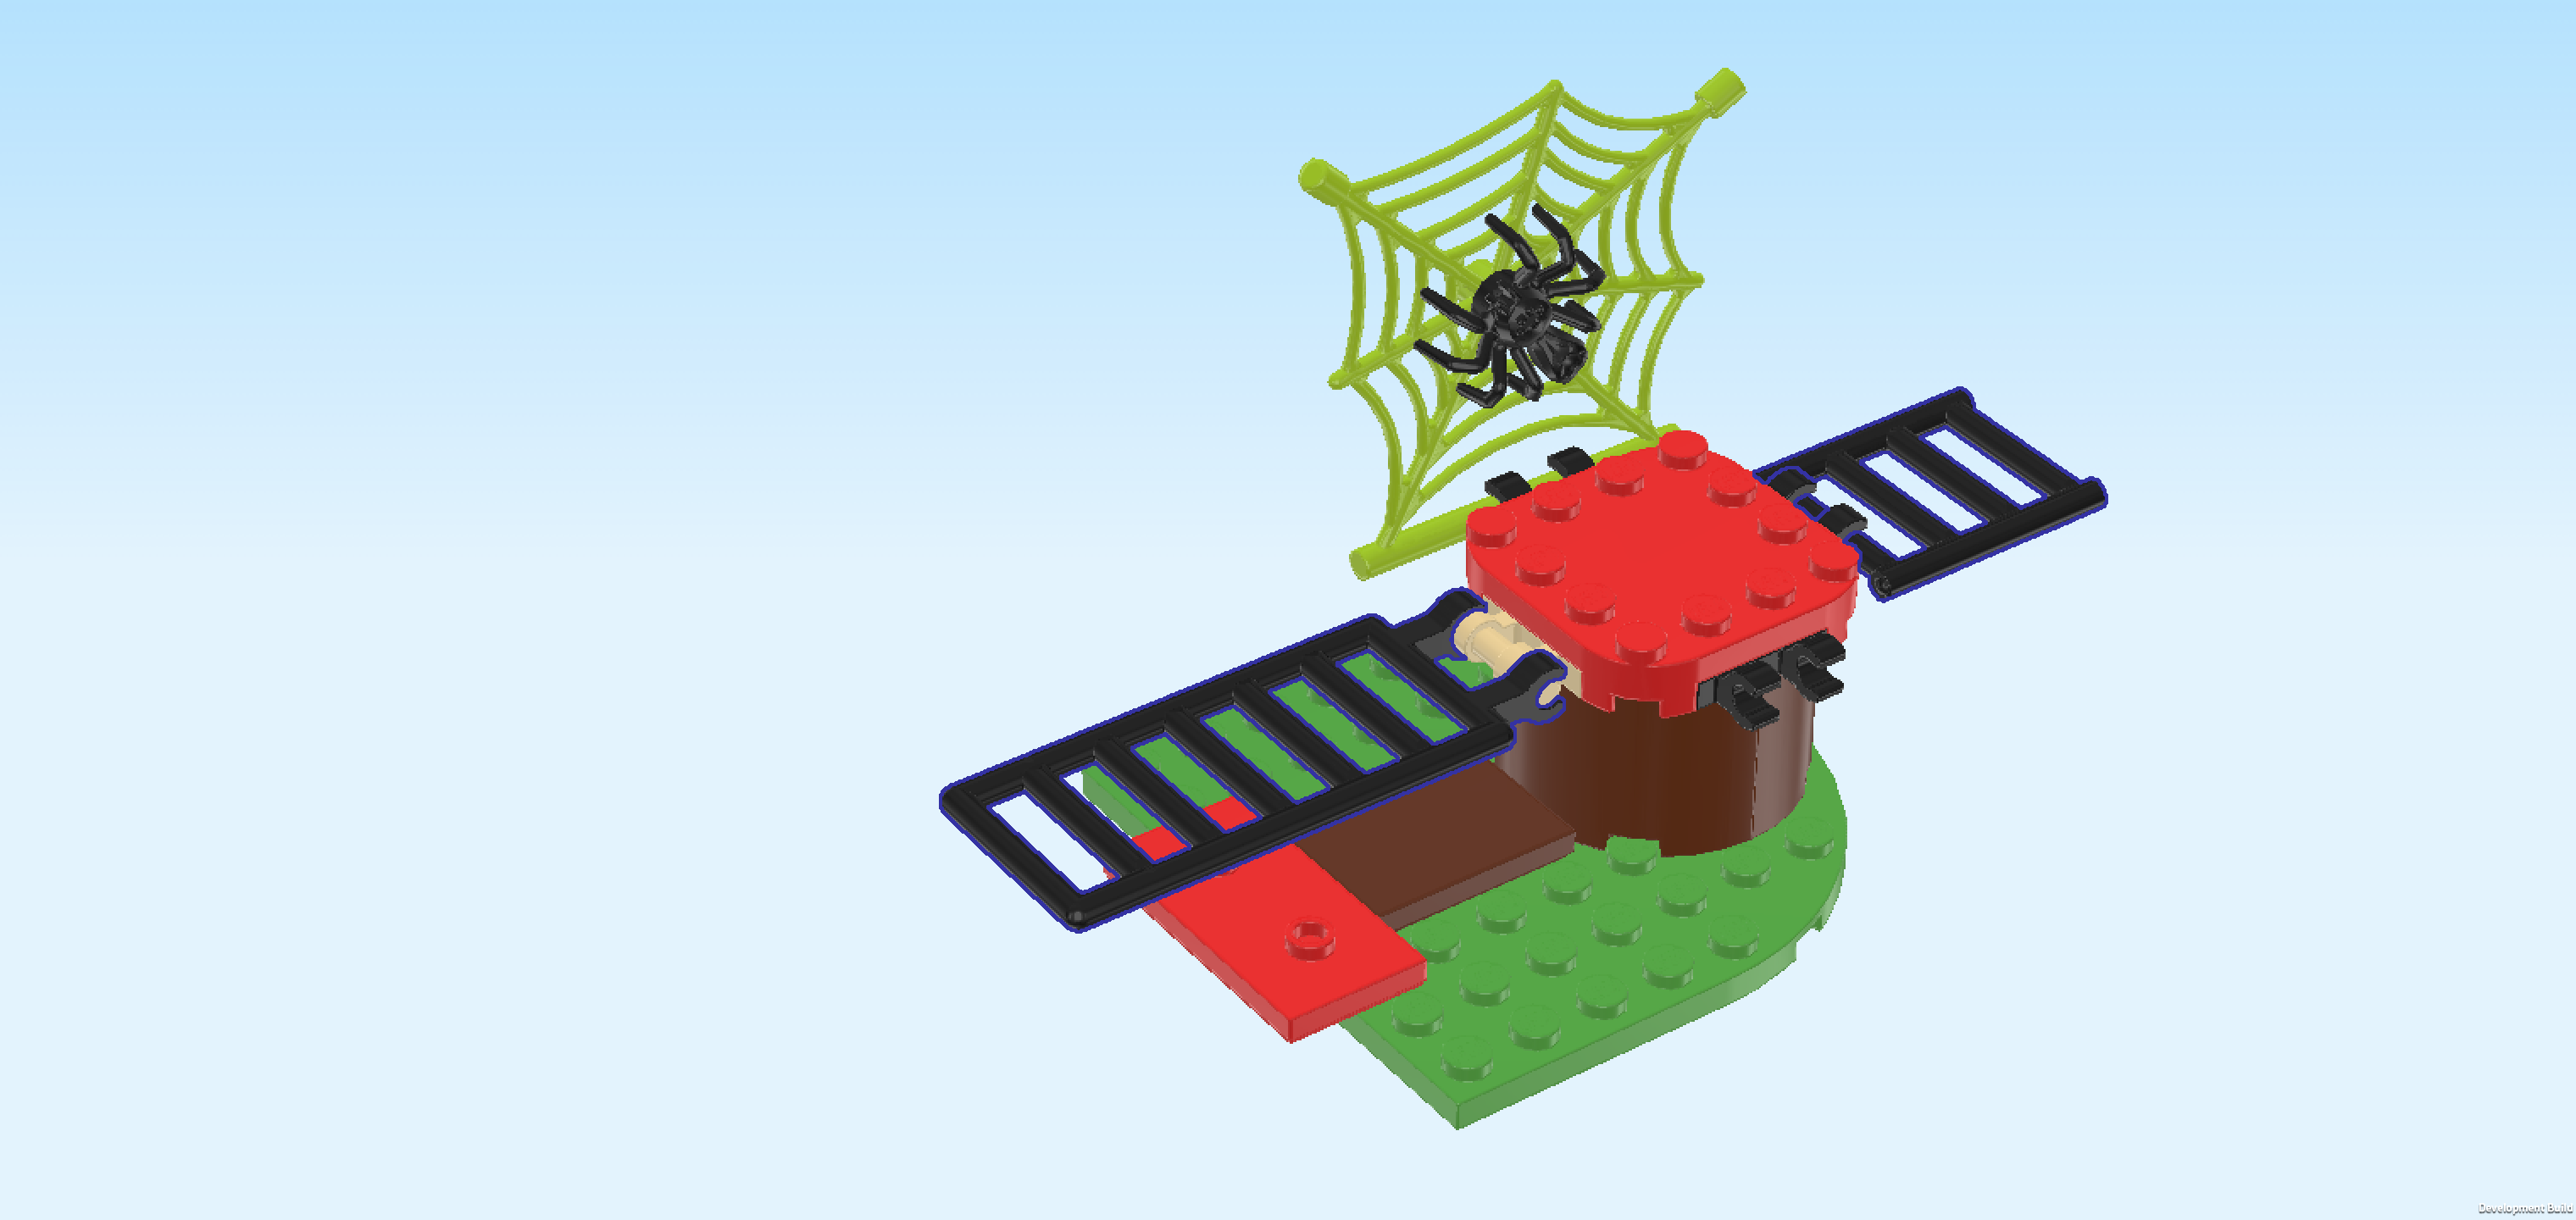
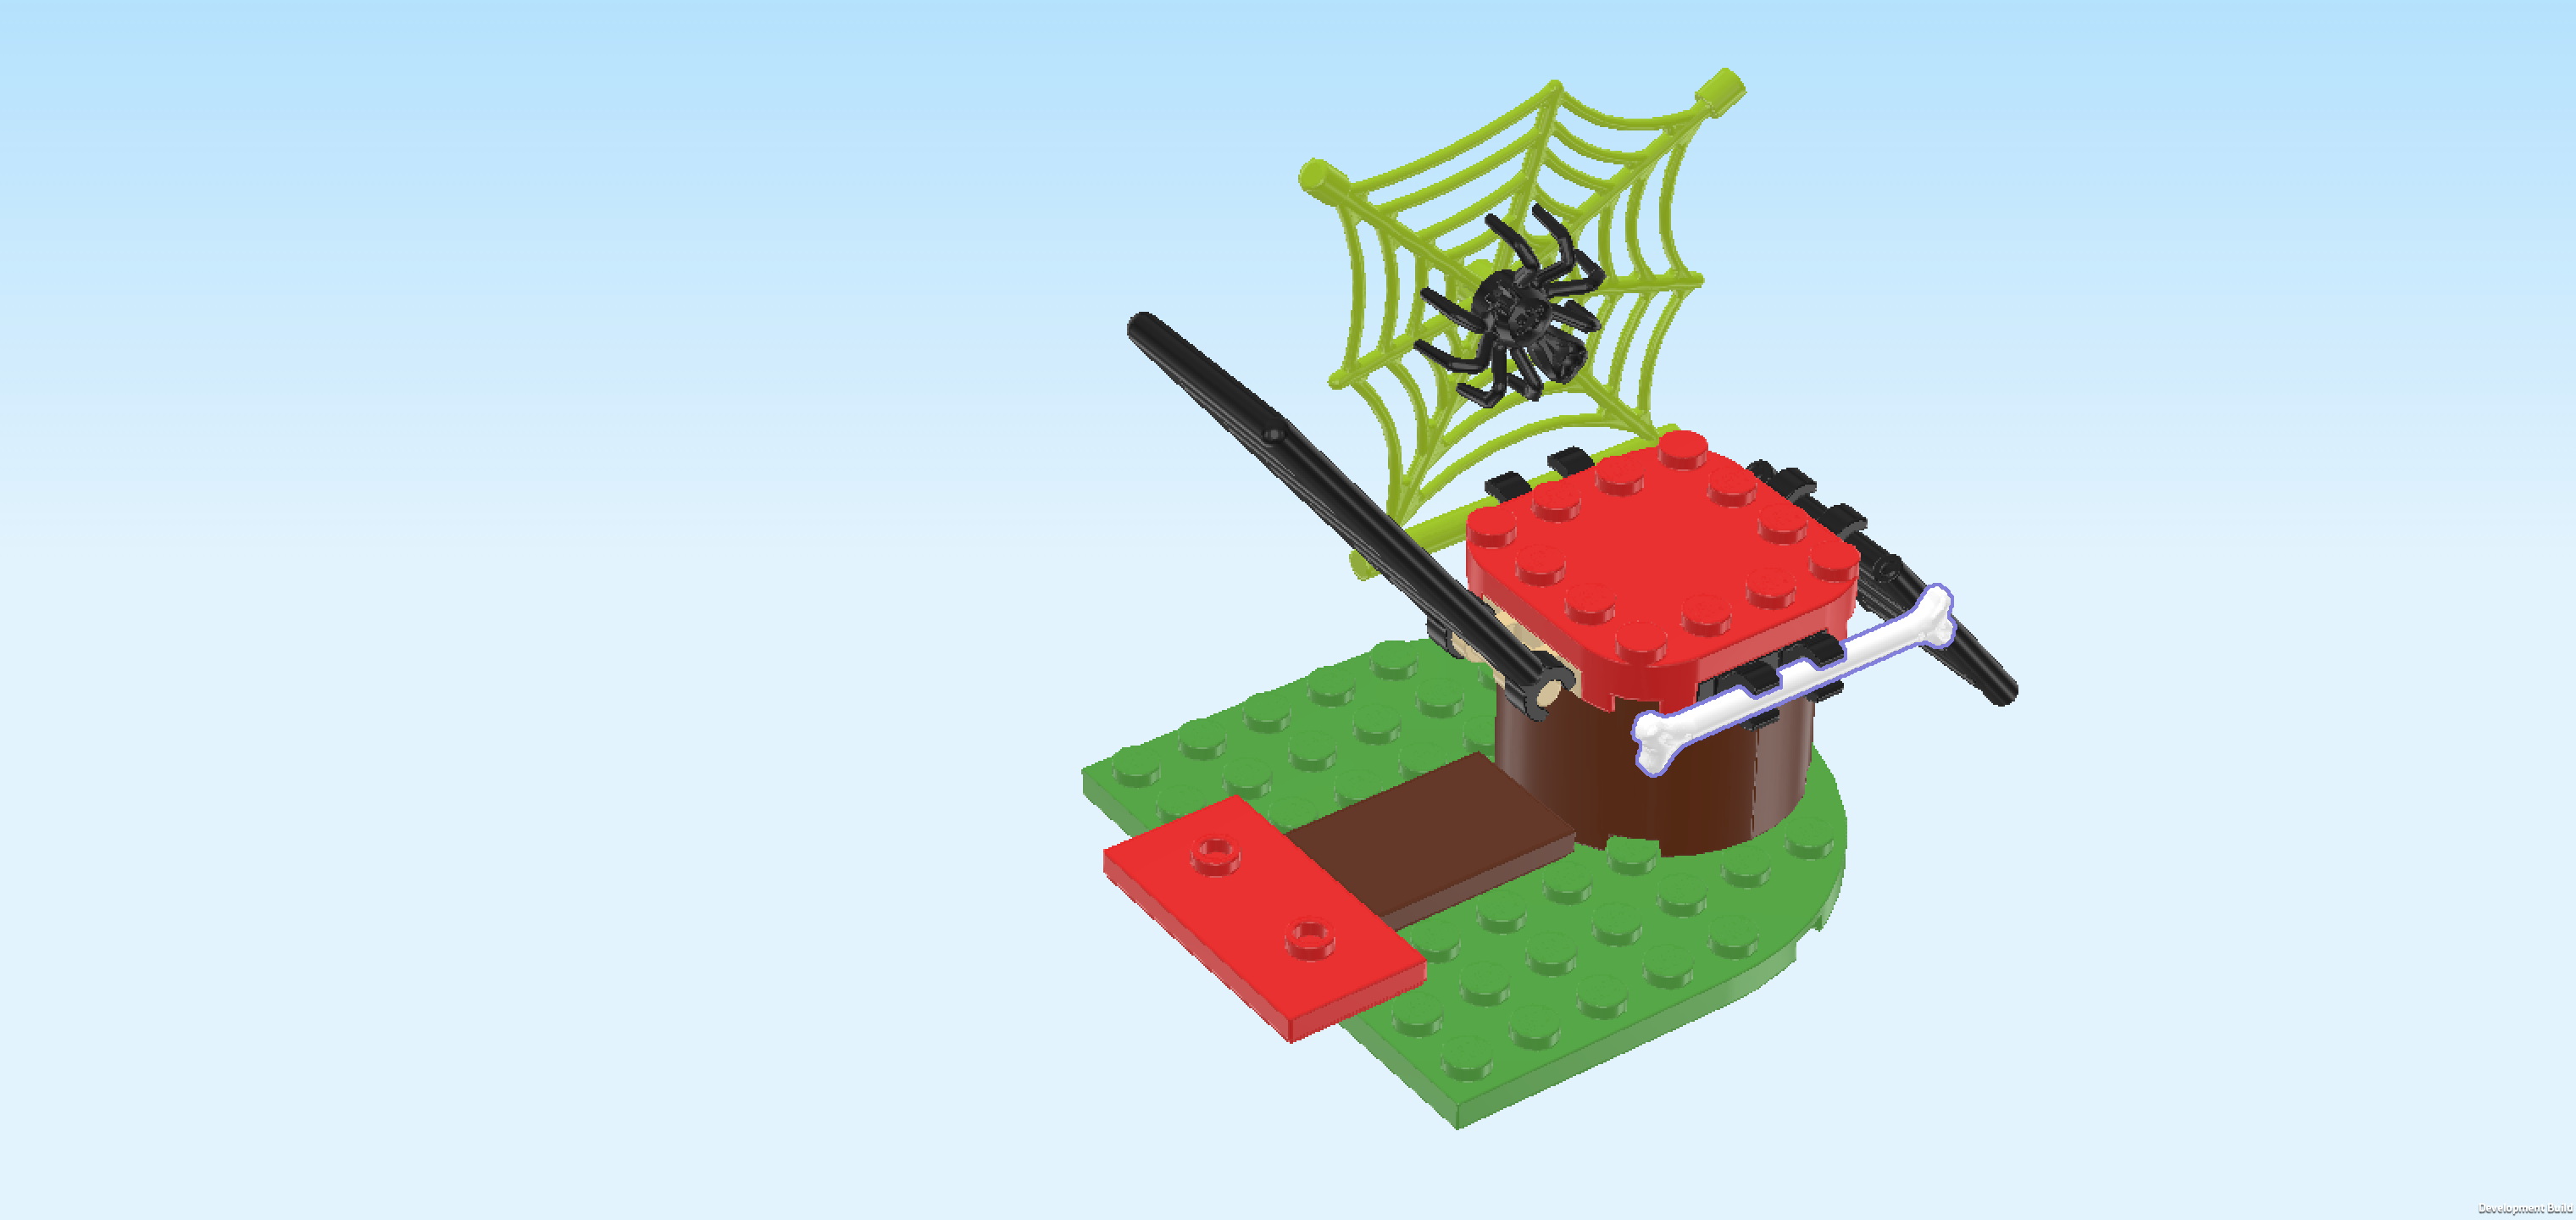
| Now, we will build the second side platform. |
| Collect the following 2 pieces: |
| 1 bright green plate 8x8 with half circle, |
| and 1 reddish brown half-circle wall element 2x4x2. |
| Put the plate 8x8 on the table, half circle to the right. Make sure its knobs form straight rows and columns in front of you. |
| Put the half-circle wall element 2x4x2 vertically centered on the rightmost edge. |
| Find another reddish brown half-circle wall element 2x4x2. |
| Put it vertically to the left of the previous piece to form a circle. |
| Collect the following 2 pieces: |
| 1 reddish brown flat tile 2x3, |
| and 1 bright red plate 2x4 with 2 knobs. |
| Put the flat tile 2x3 horizontally to the left of the previous piece. |
| Put the plate 2x4 vertically centered to the left of the previous piece, 1/2 overhanging to the left. |
| Find 3 black plates 1x2 with 2 vertical clasps on long side. |
| Put 1 vertically on the rightmost knobs of the circle wall, clasps to the right. |
| Put 1 horizontally on the frontmost knobs of the circle wall, clasps to the front. |
| Put the last one on the back knobs of the circle wall, clasps to the back. |
| Find 1 beige plate 1x2 with shaft on long side. |
| Put it vertically on the left knobs of the circle wall, shaft to the left. |
| Find 1 bright red plate 4x4x⅔ with rounded corners and 4 feet. |
| Put it centered on top of the circle wall with plates, fitting the feet of the rounded corners between the 4 plates. |
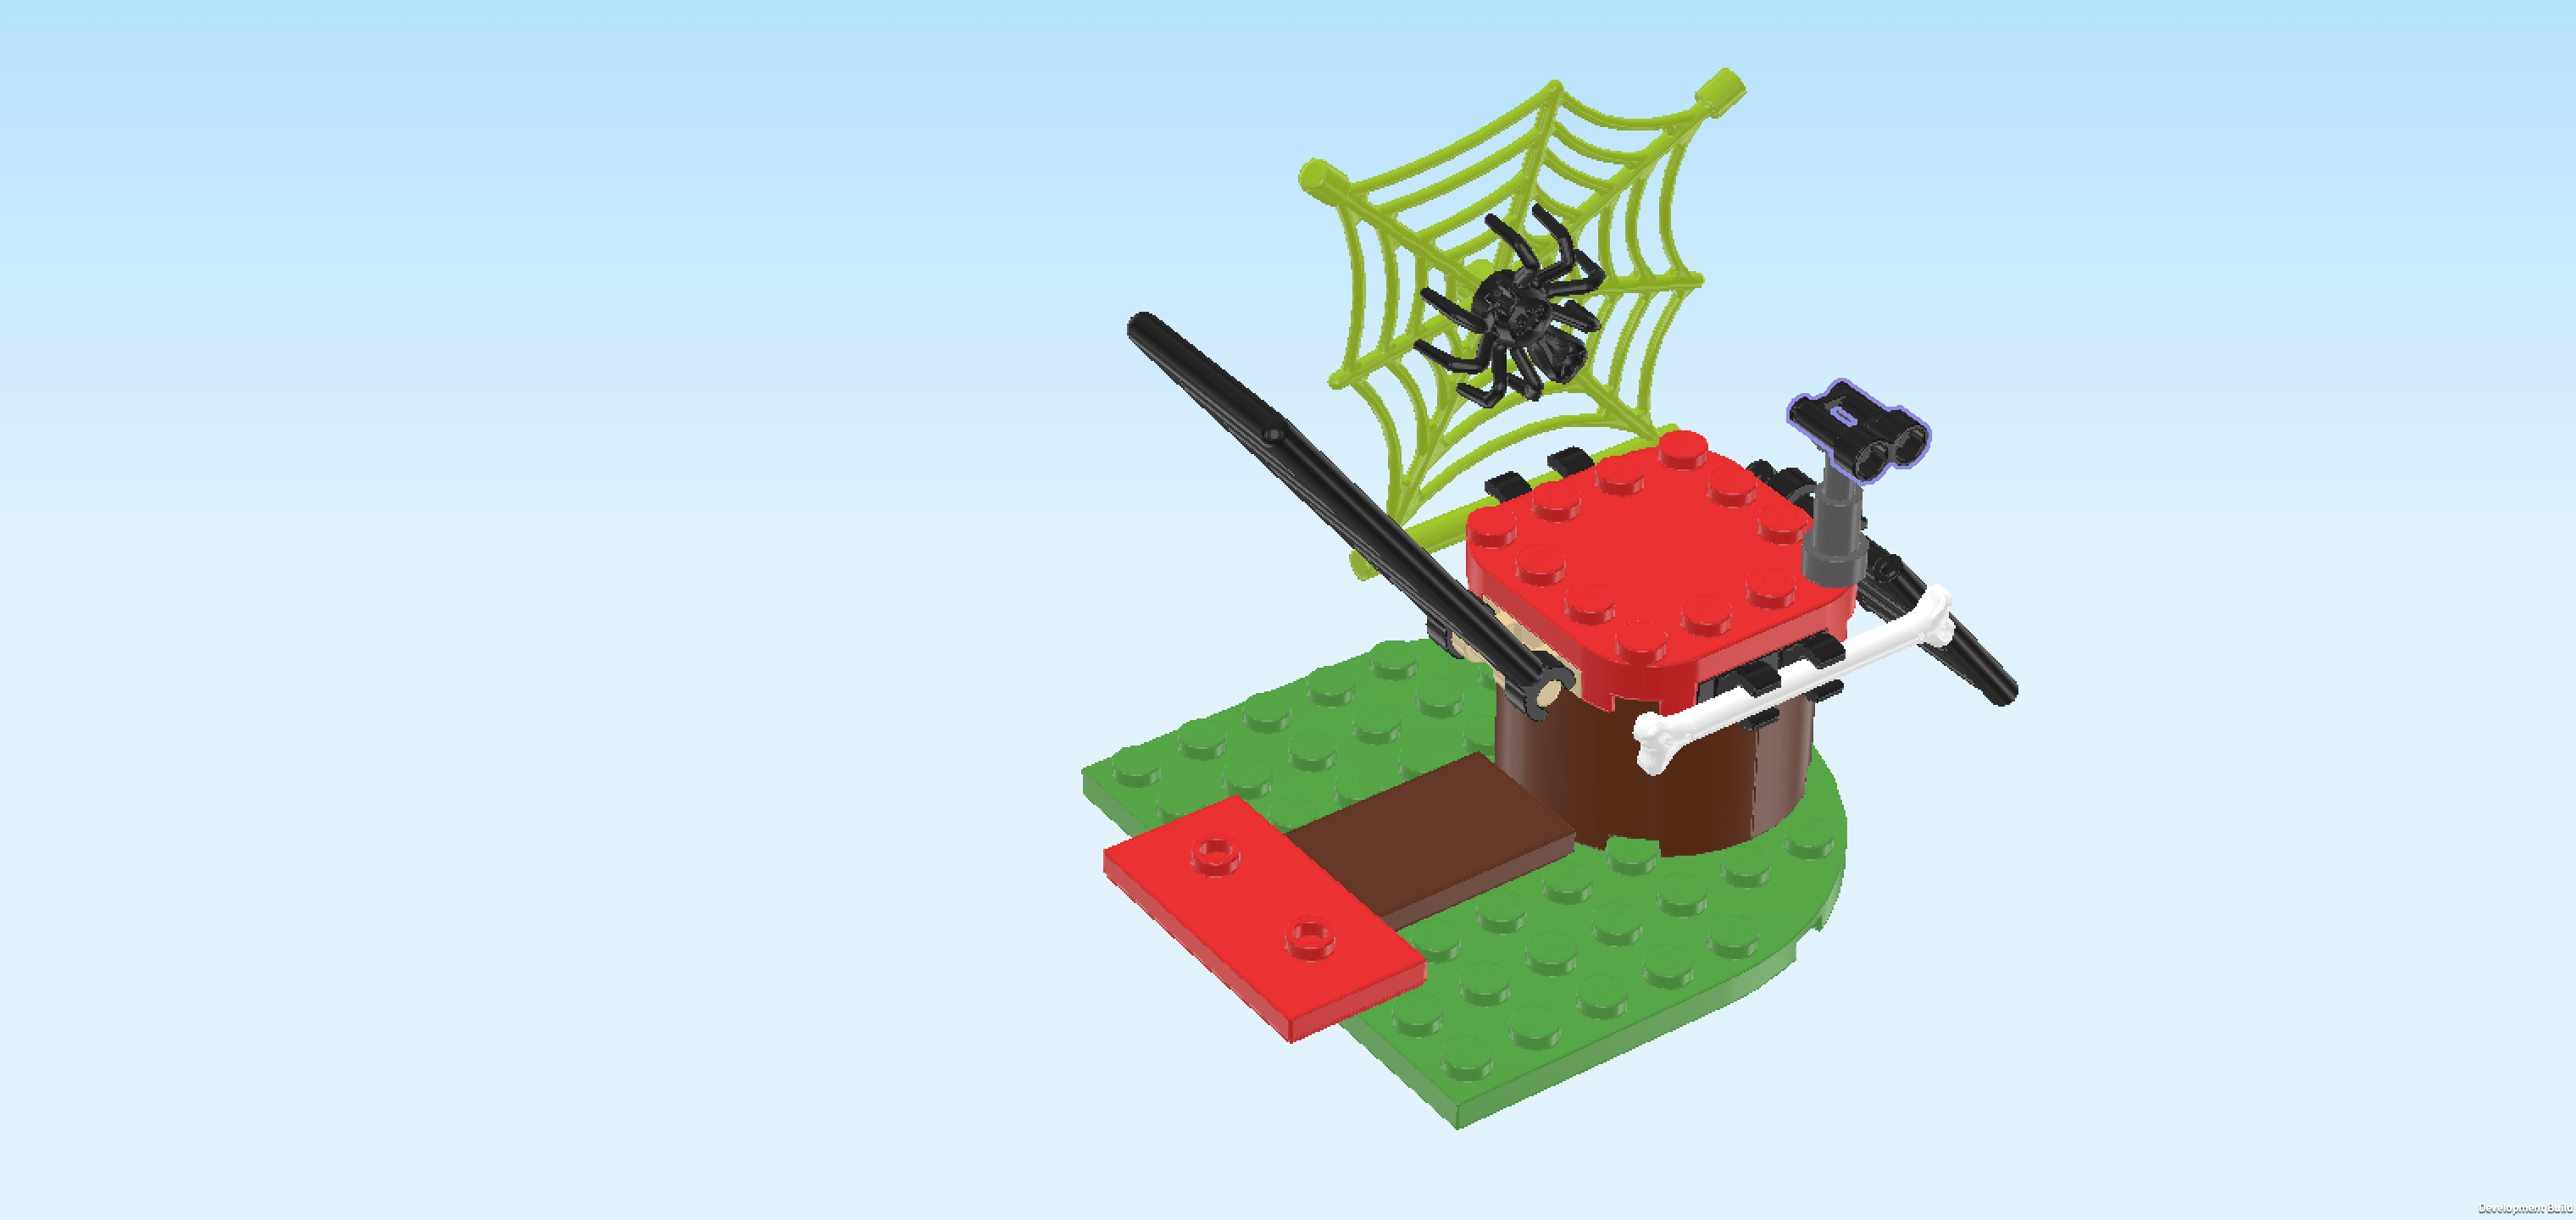
| Collect the following 2 pieces: |
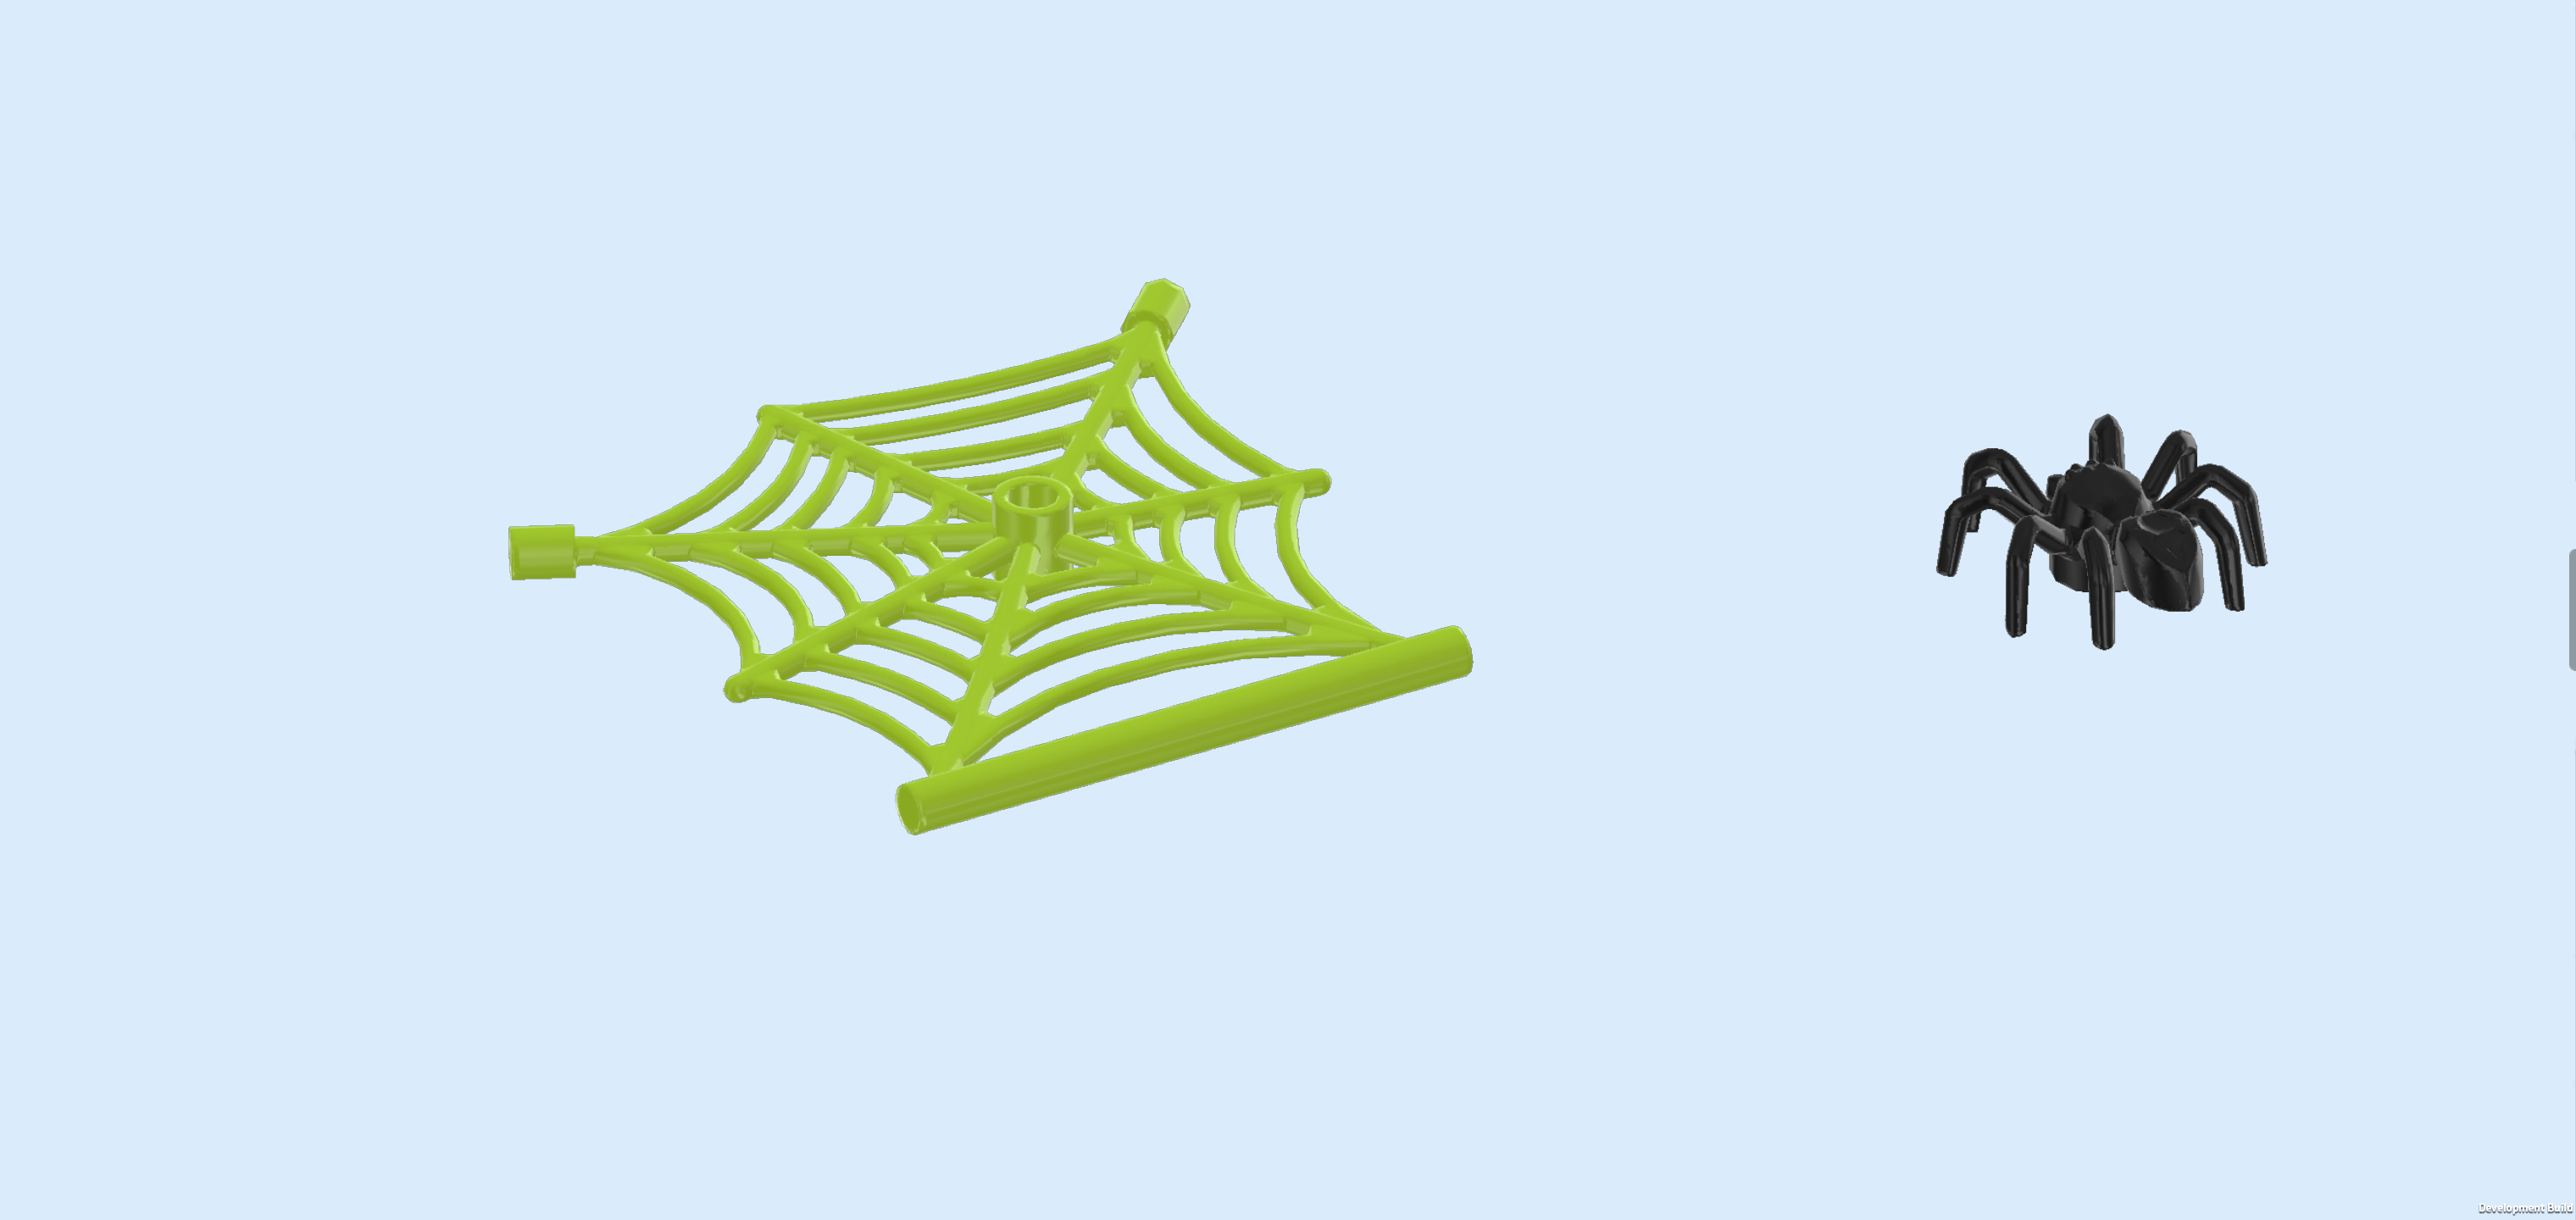
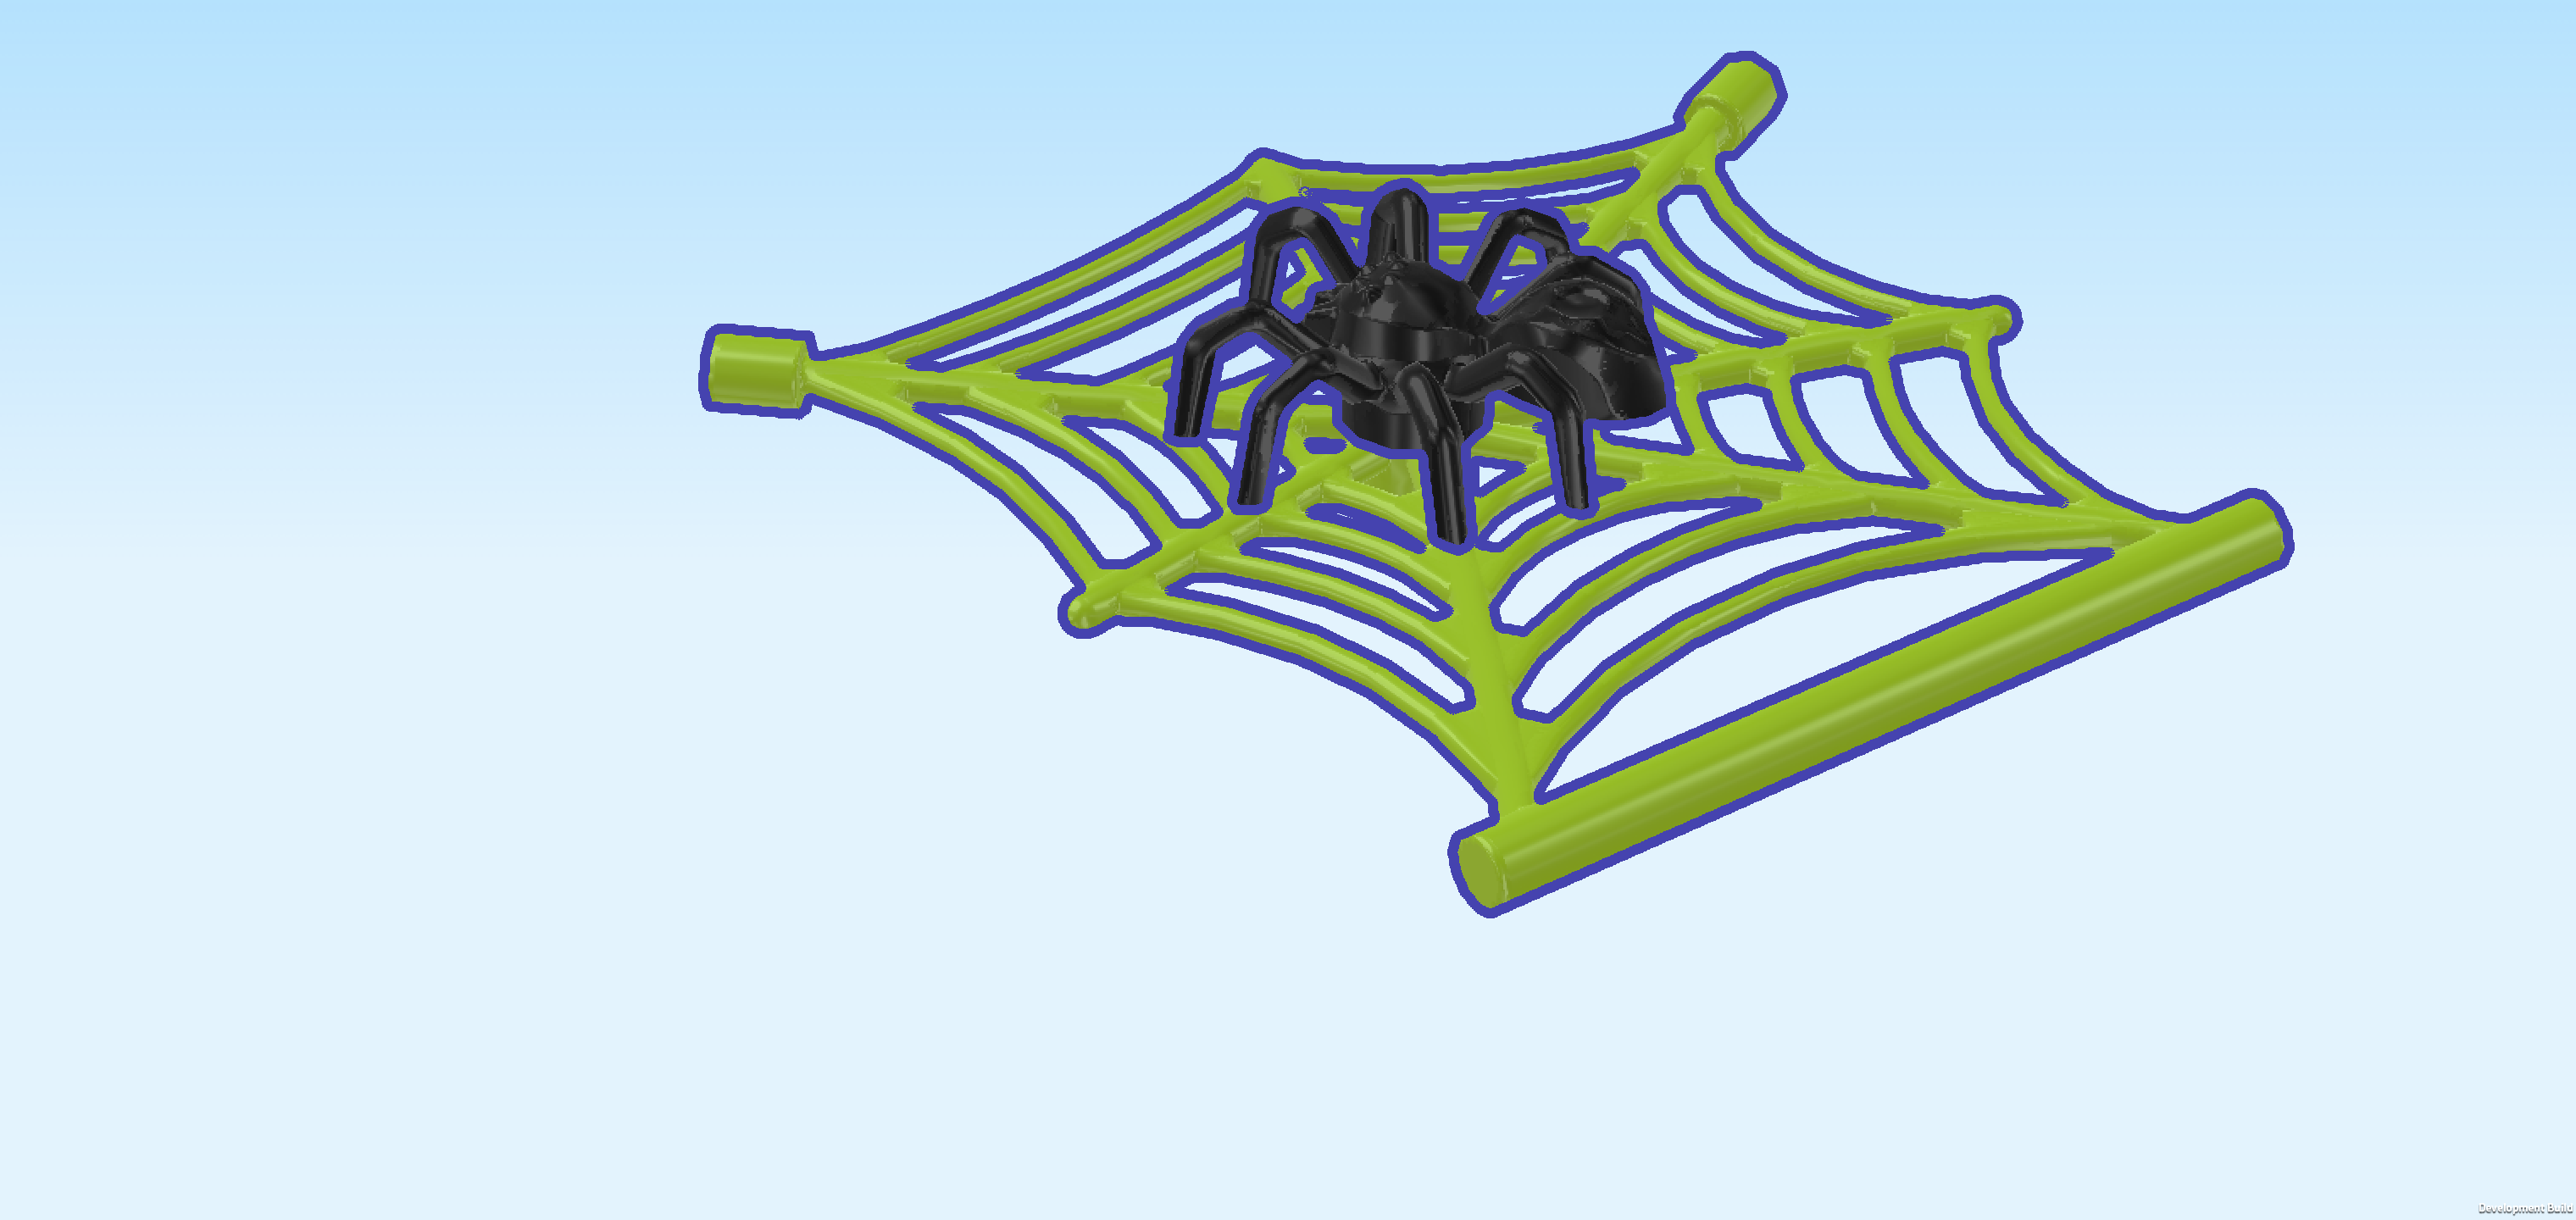
| 1 yellowish green spider web 7x7 with long shaft, |
| and 1 black spider figure. |
| Put the spider figure on the middle knob of the spider web. |
| Flip the spider web upright so that the long shaft is at the bottom and the spider is facing you. Then, snap the long shaft centered on the 2 clasps pointing to the back. |
| Collect the following 2 pieces: |
| 1 black lattice element 3x4x1, |
| and 1 black lattice element 6x4x1 with 2 clasps. |
| Snap one short side of the small lattice element on the 2 clasps pointing to the right. |
| Snap the 2 clasps of the long lattice element on the handle that is pointing to the left. |
| Find 1 white bone 5m. |
| Snap it centered into the 2 clasps pointing to the front. |
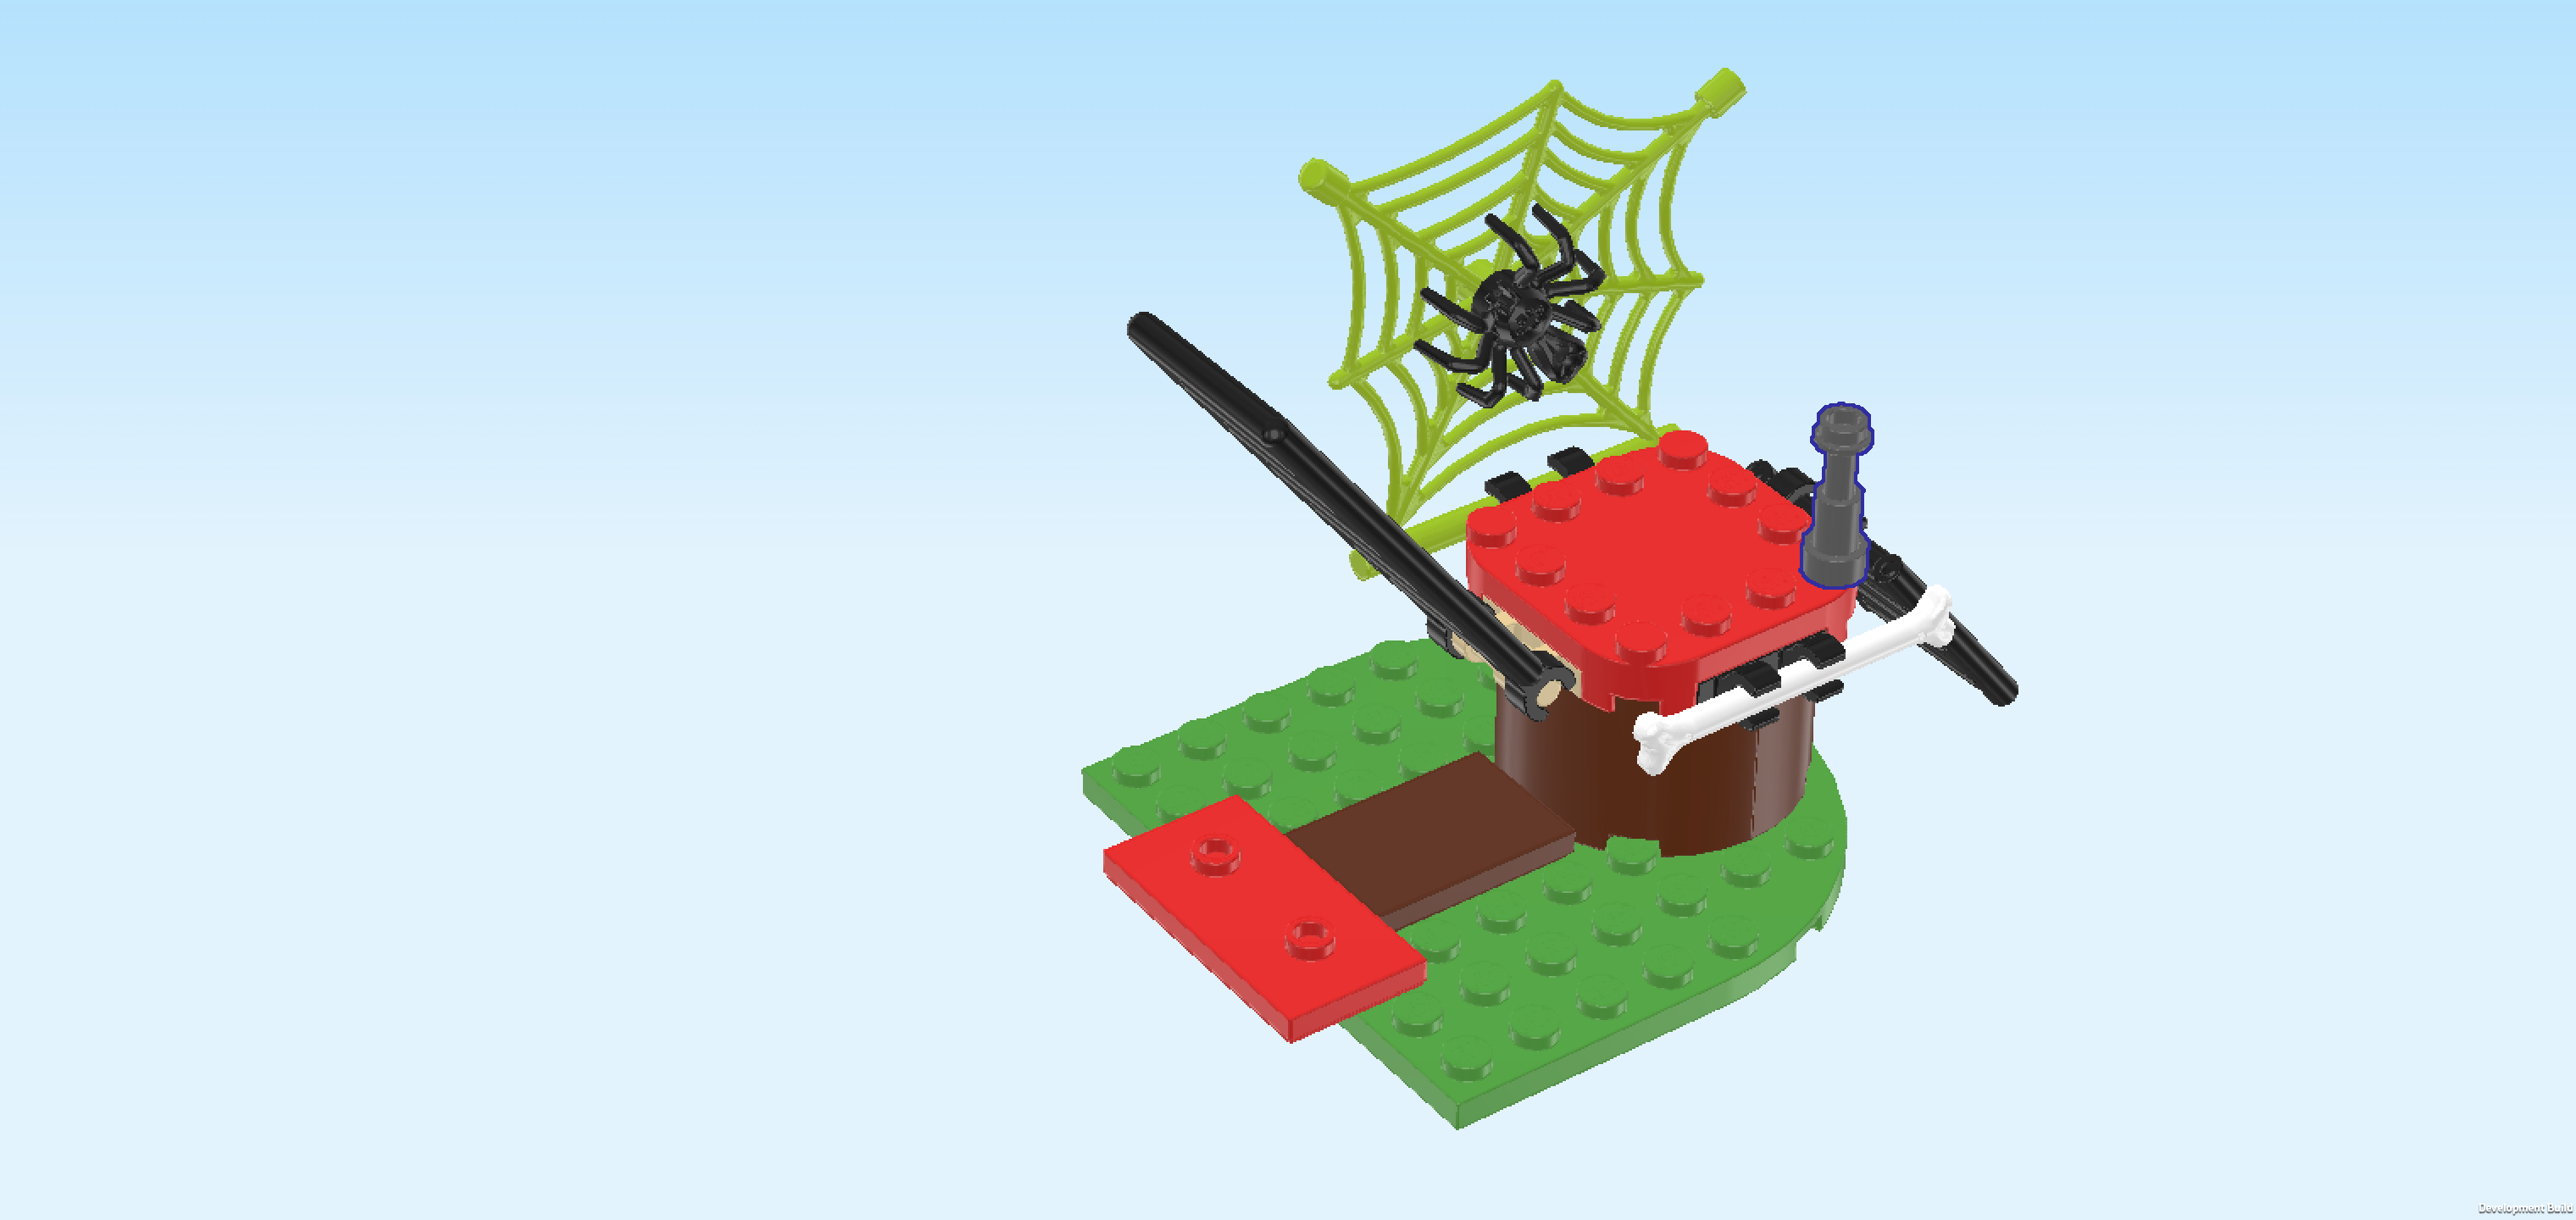
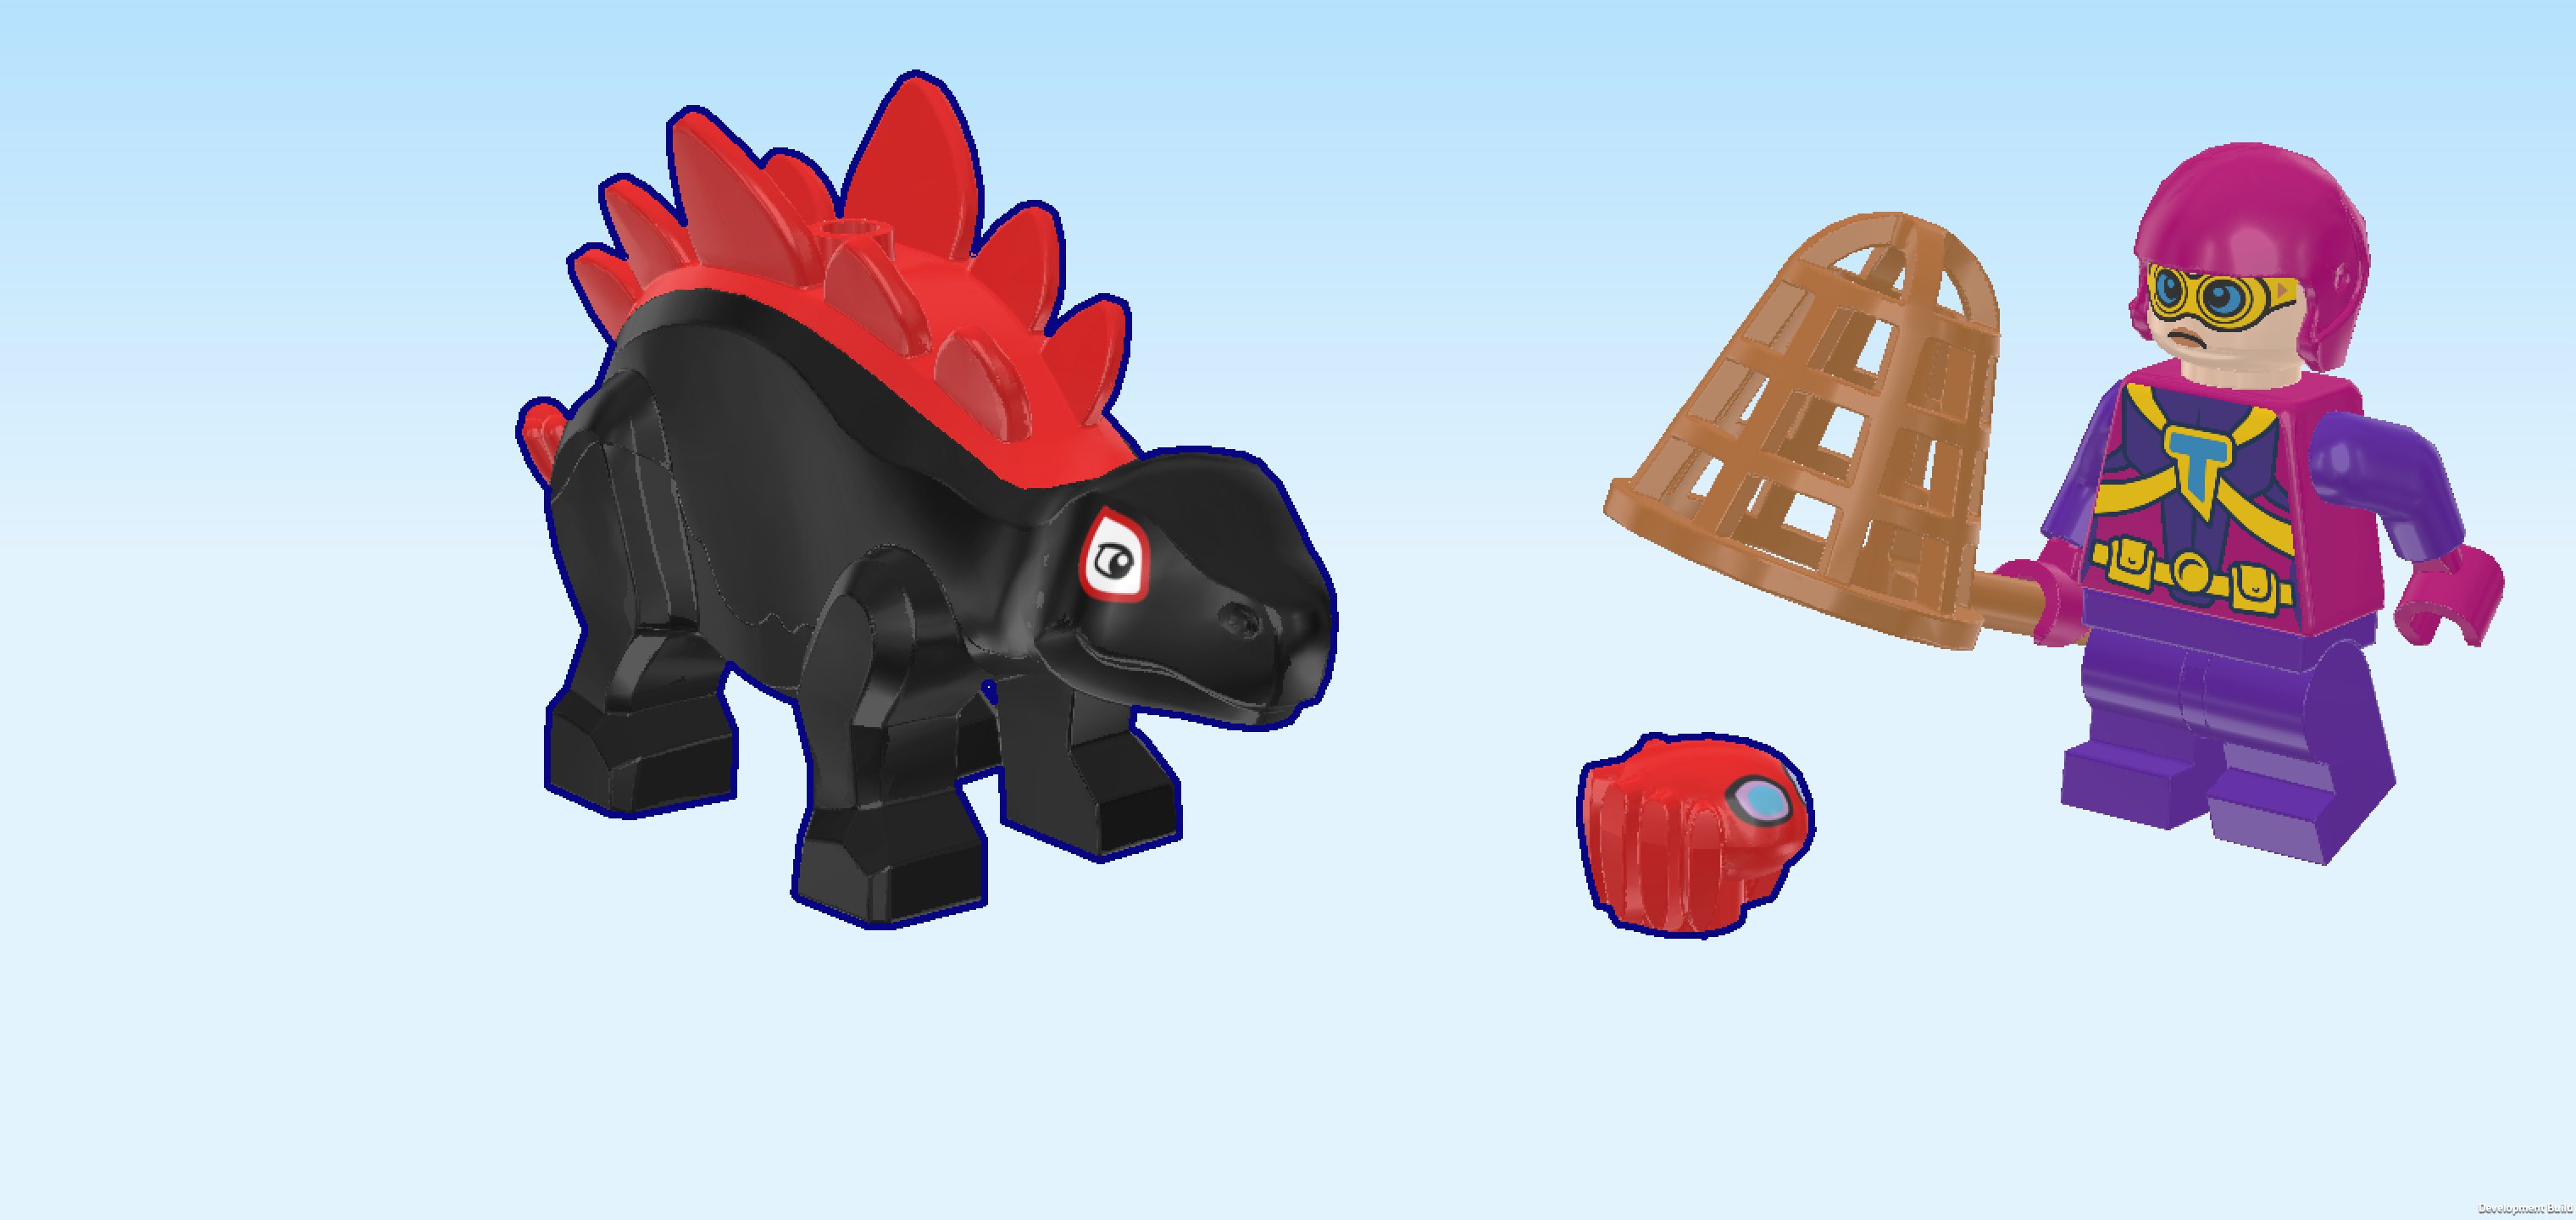
| Find 1 dark stone grey Minifigure telescope 1x1x1½ with knob. |
| Put it on the front right knob of the plate 6x6 with rounded corners. |
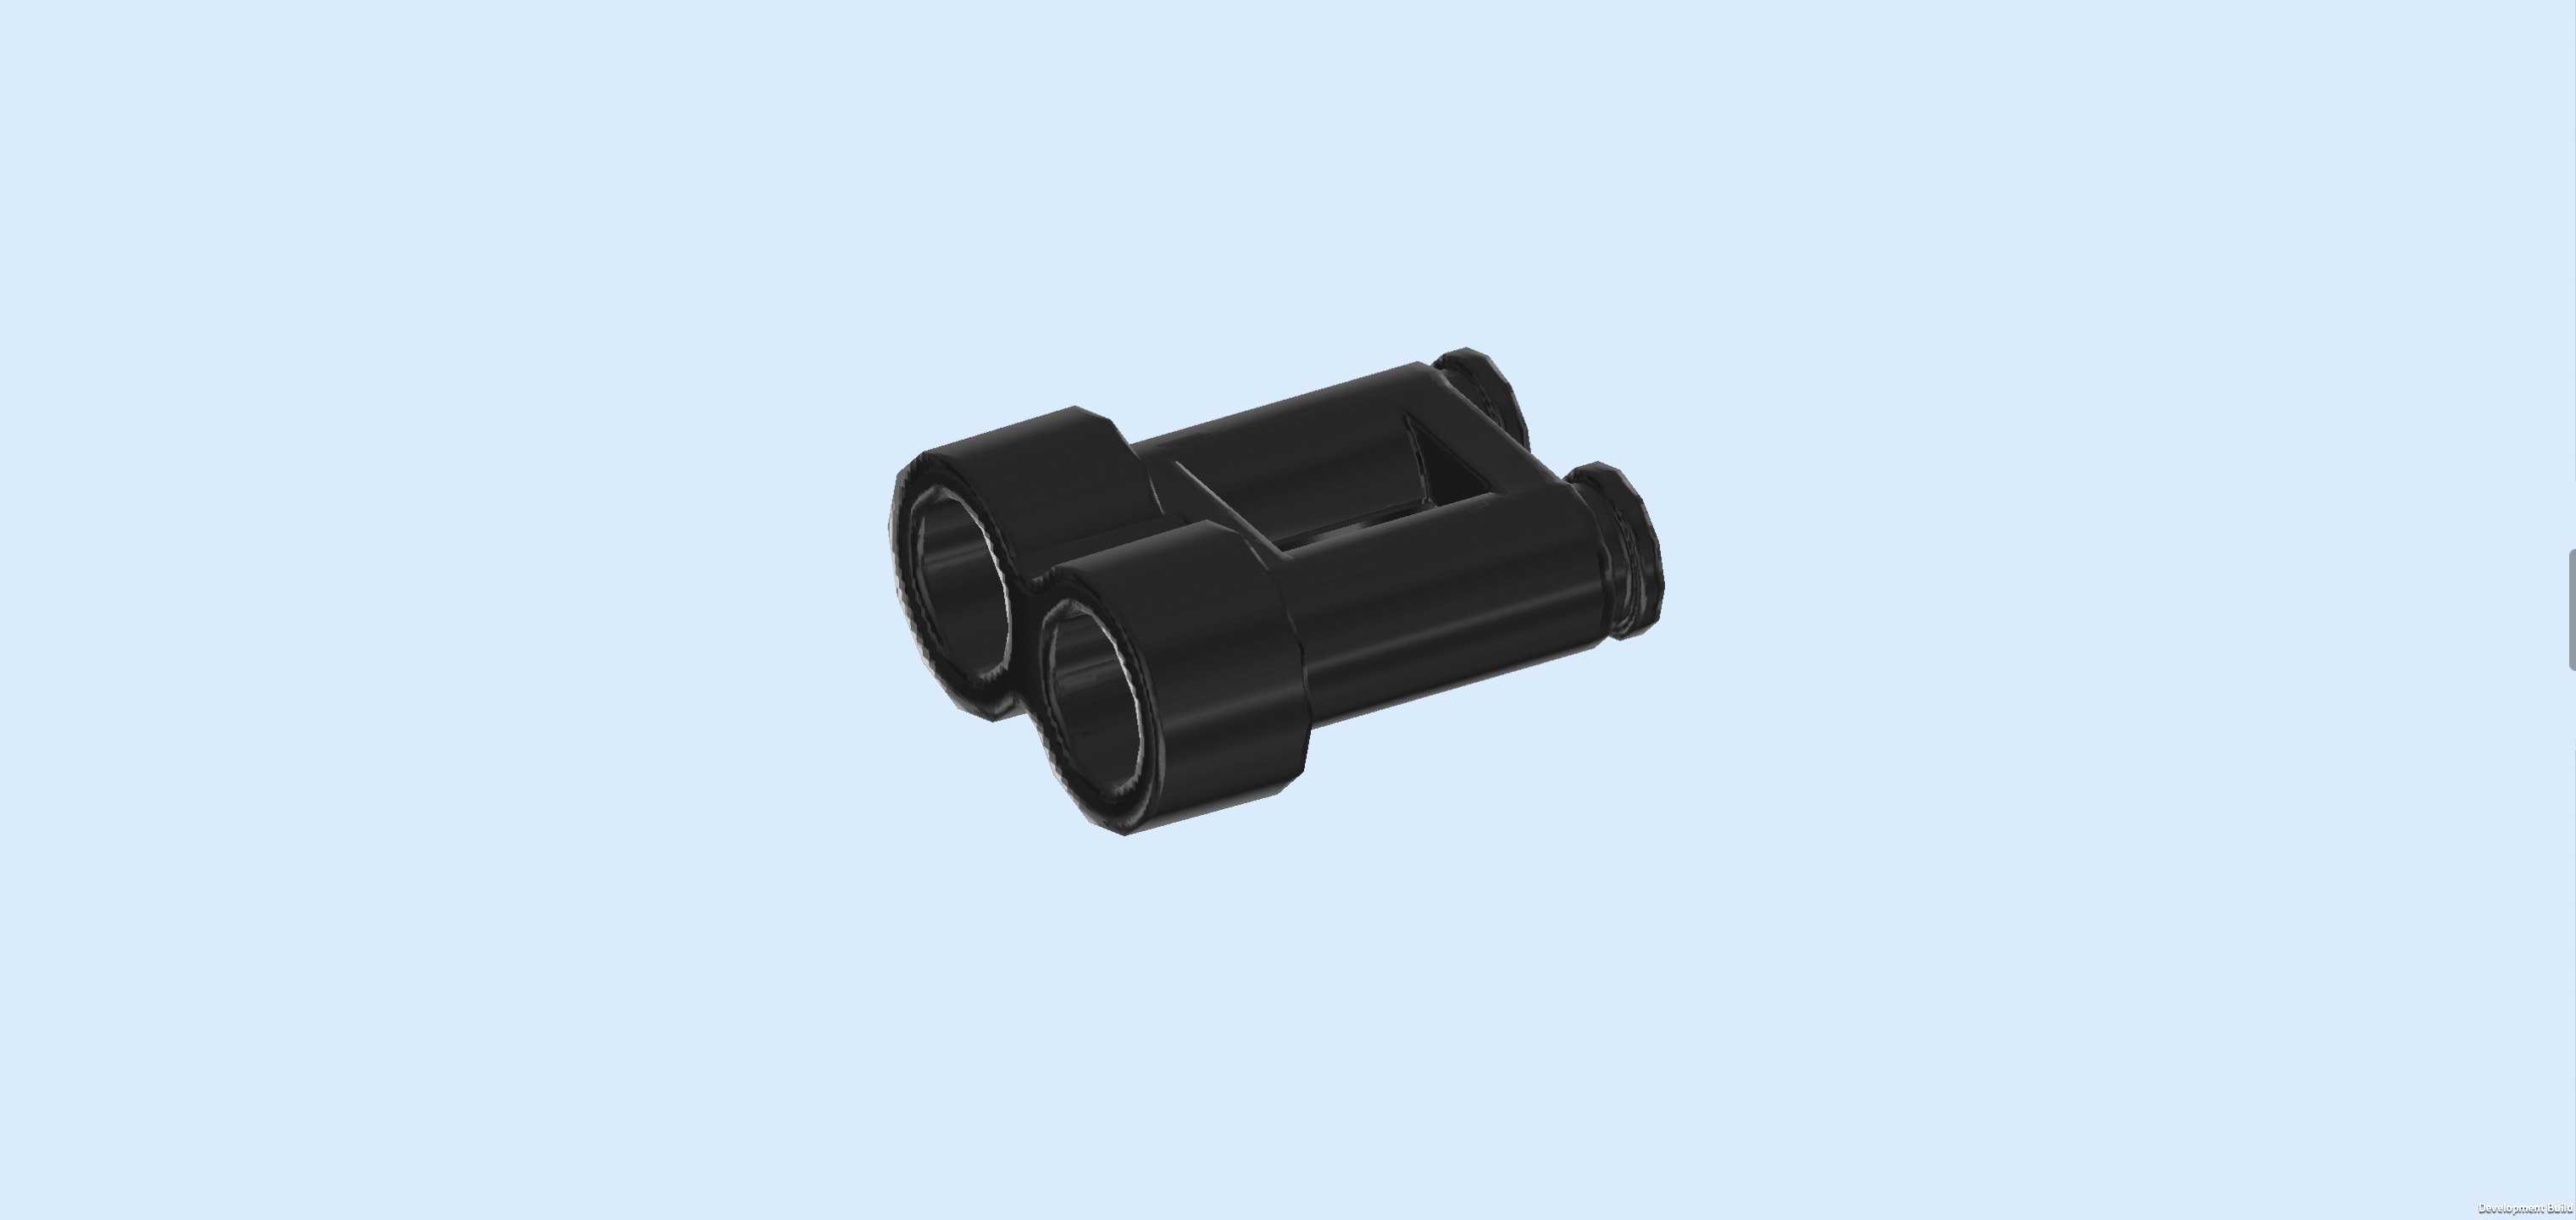
| Find 1 black pair of Minifigure binoculars. |
| Hold them flat in front of you, wider ends facing you, and put the bottom side on top of the previous piece. |
| This is a lookout platform to spot villains from afar! |
| The second side platform is finished! Well done! With this, we have built everything from bag number 3. Great job! Only one more bag to go. |
| Open bag number 4. You can choose to have the bricks sorted by color again if you like. This bag contains all bricks and pieces for the Dino-Spin, Trace-E, the Trapster Minifigure and Trapster's aircraft. |
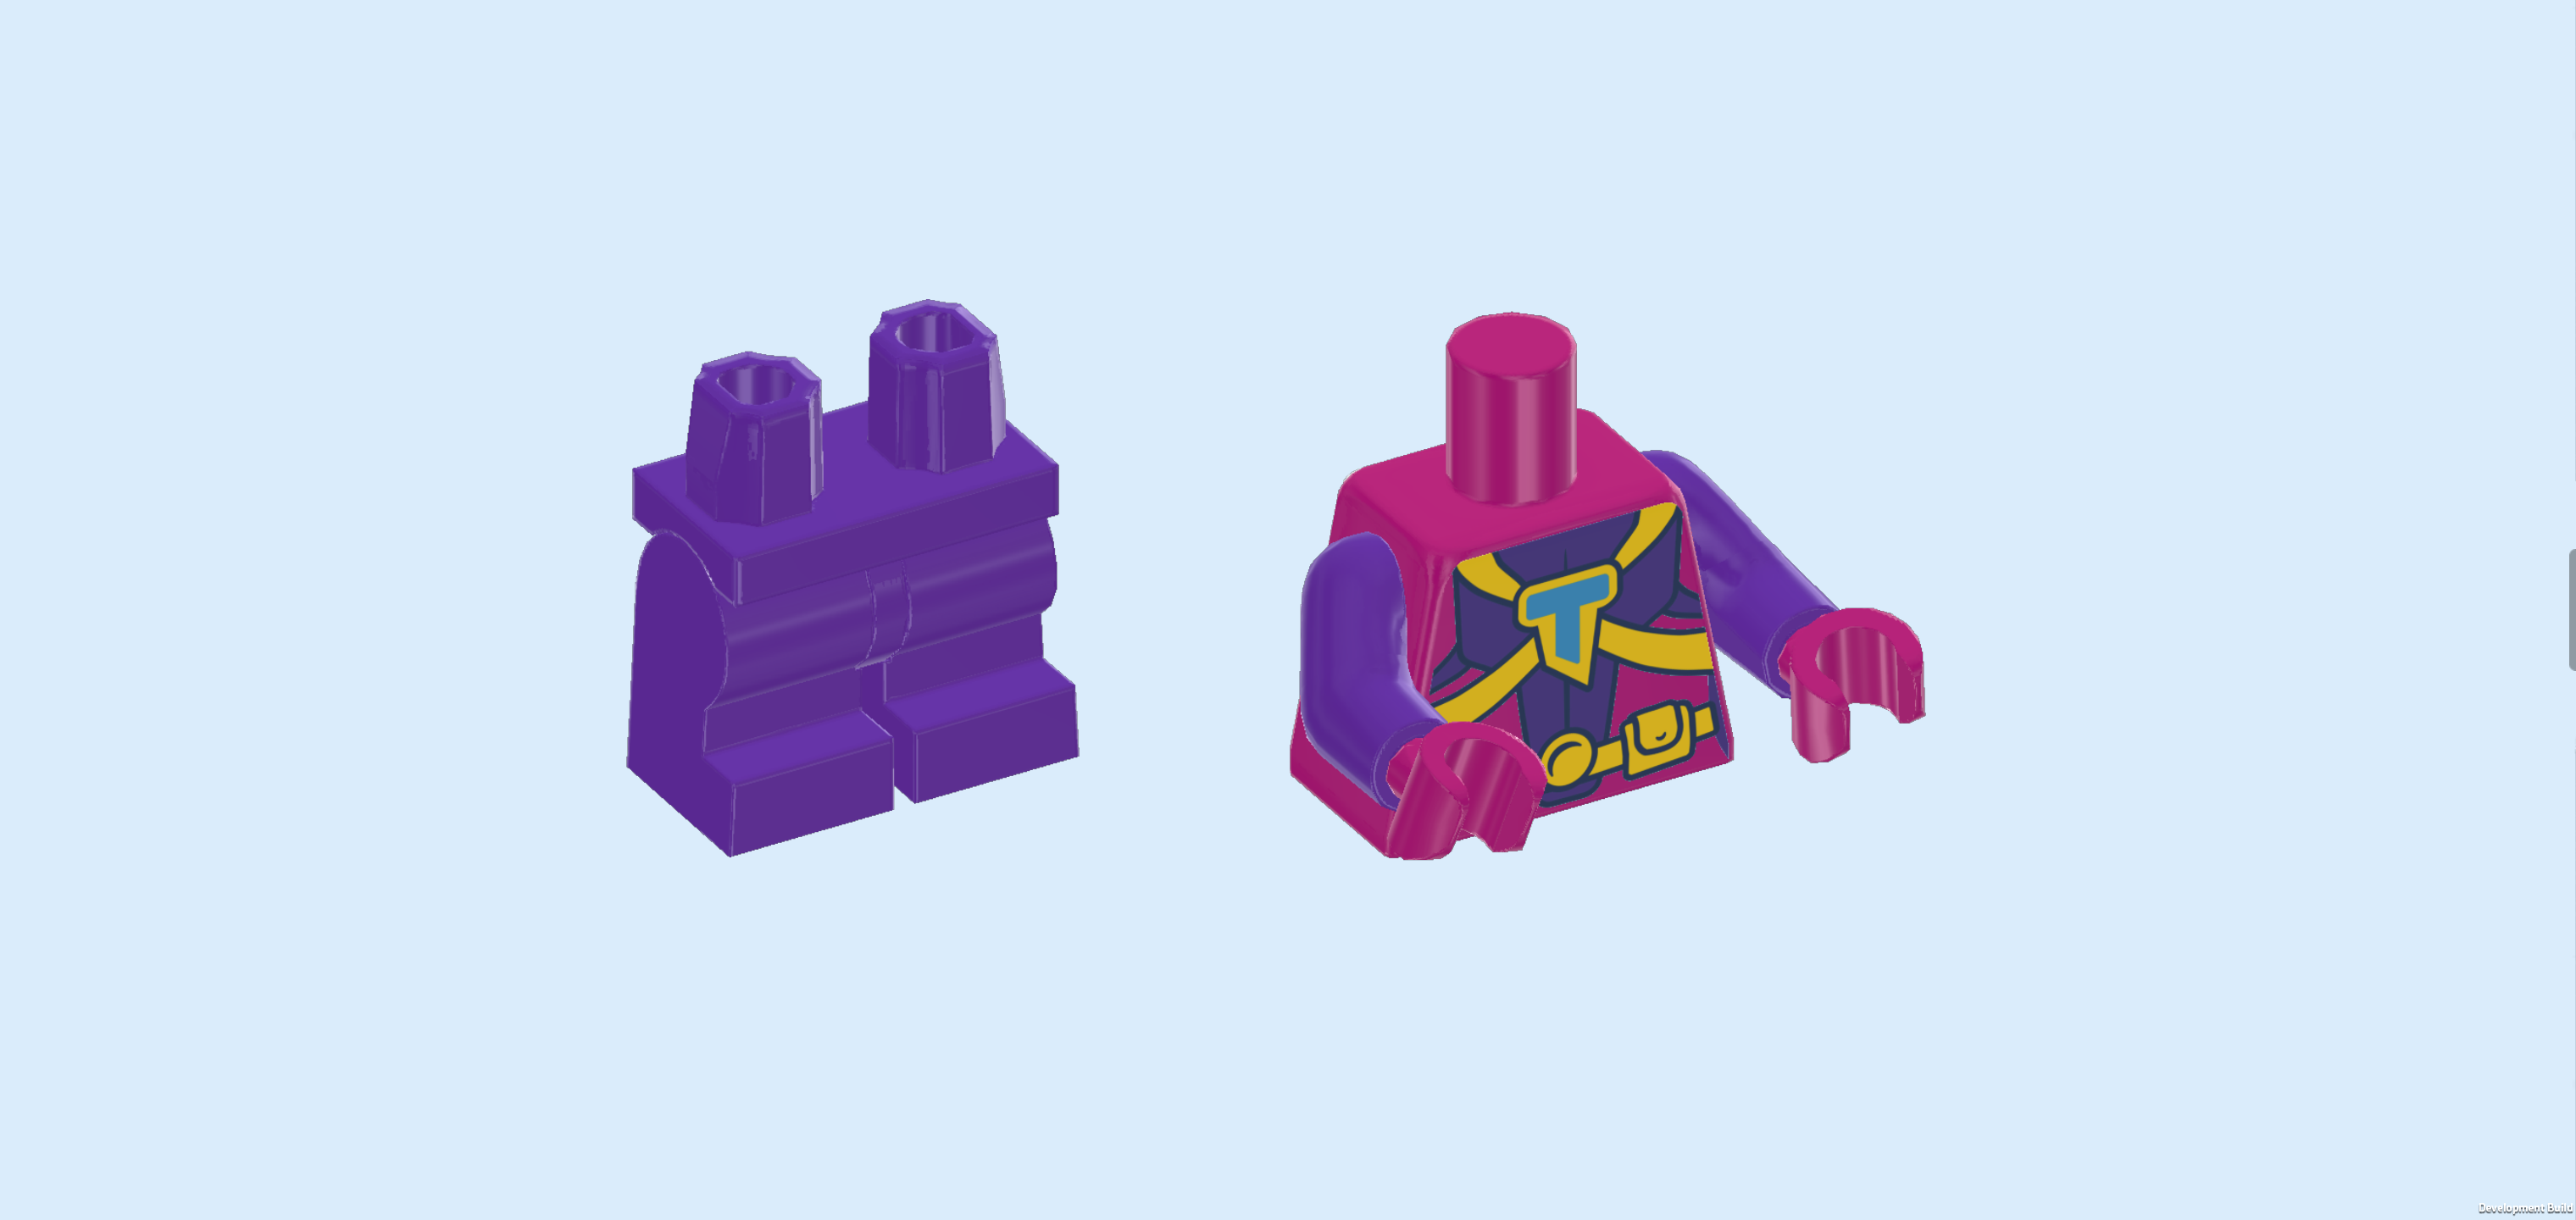
| Now, we will build the Trapster Minifigure with Dino-Spin and Trace-E. |
| Collect the following 2 pieces: |
| 1 medium lilac pair of legs, |
| and 1 purple violet and medium lilac upper part of the body. |
| Put the upper body on the legs. Make sure that the hands and toes are pointing in the same direction. |
| Collect the following 2 pieces: |
| 1 purple violet helmet without chin strap, |
| and 1 light nougat brown Minifigure head. |
| Put the head on the body. |
| The head has 2 face prints: One side shows a confident mischievous smirk with raised eyebrows. The other side shows a worried wide-eyed expression with yellow goggles. |
| Put the helmet on the head. |
| Find 1 medium nougat brown butterfly net with long handle. |
| Snap its handle into the Minifigure's left hand. |
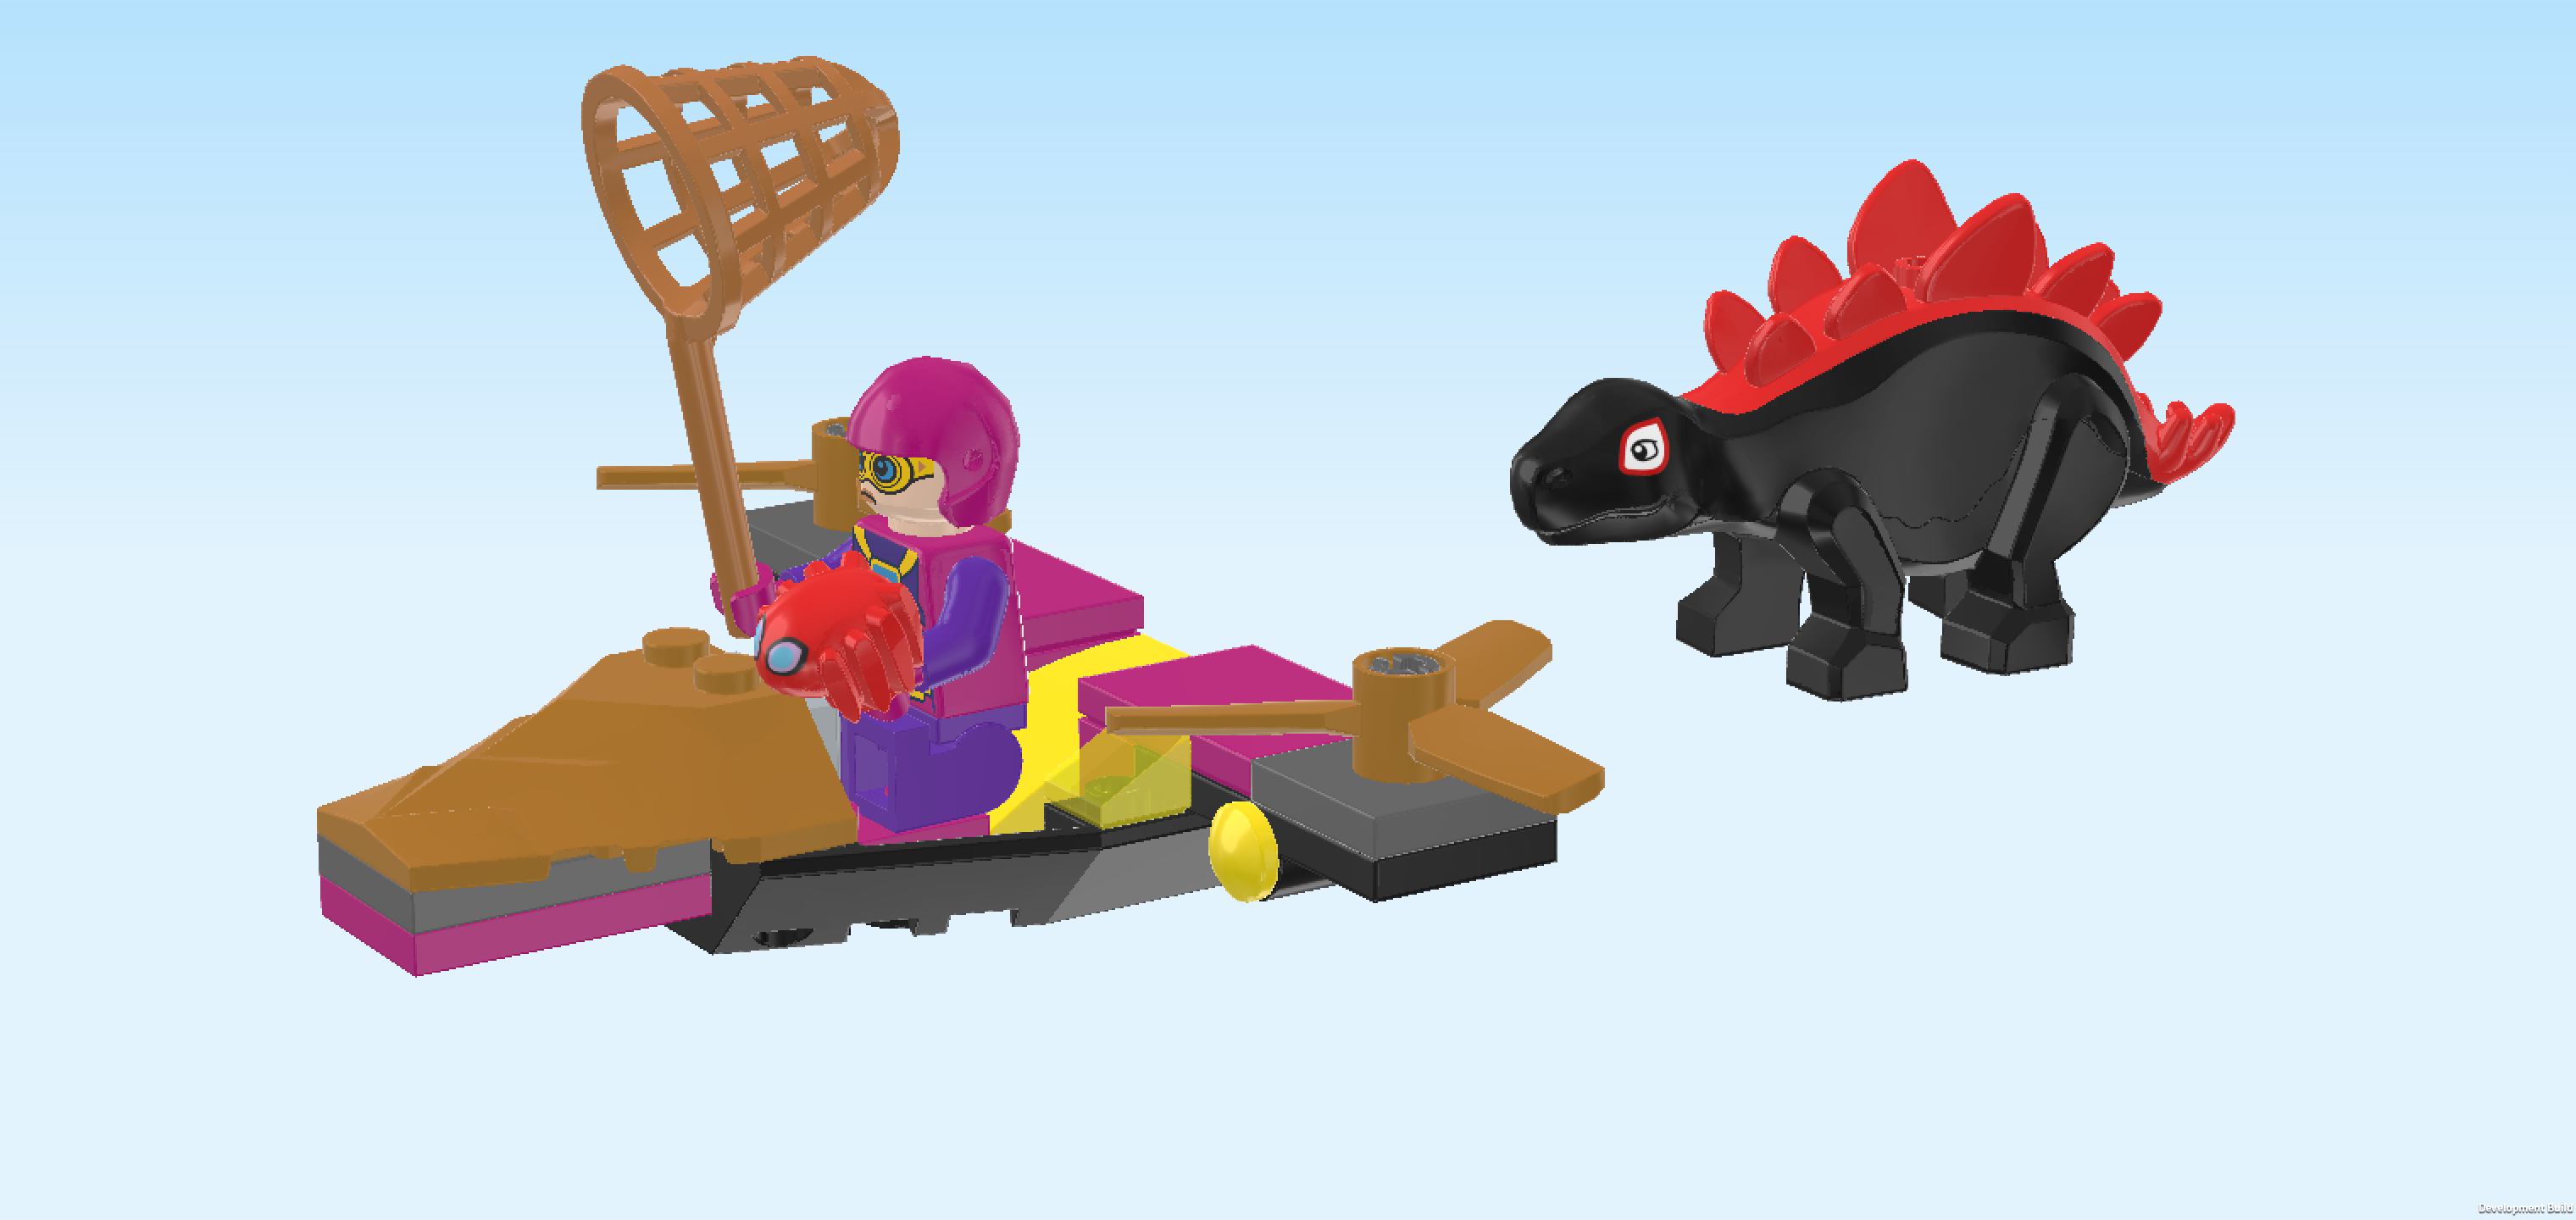
| The Trapster Minifigure is finished! Well done! She wears a vibrant purple and magenta suit with bold yellow details. A light blue “T” emblem sits at the center of her chest, framed by stylized harness straps that connect to a yellow belt with pouches. The design continues on the back, with matching strap patterns and the “T” emblem reappearing between the shoulder blades. Her gloves are magenta, matching her suit’s accents, and she wears a bright pink helmet over the goggle-printed face. If you haven't guessed already from her name, the butterfly net is a dead giveaway: she likes trapping things that she has no business trapping! |
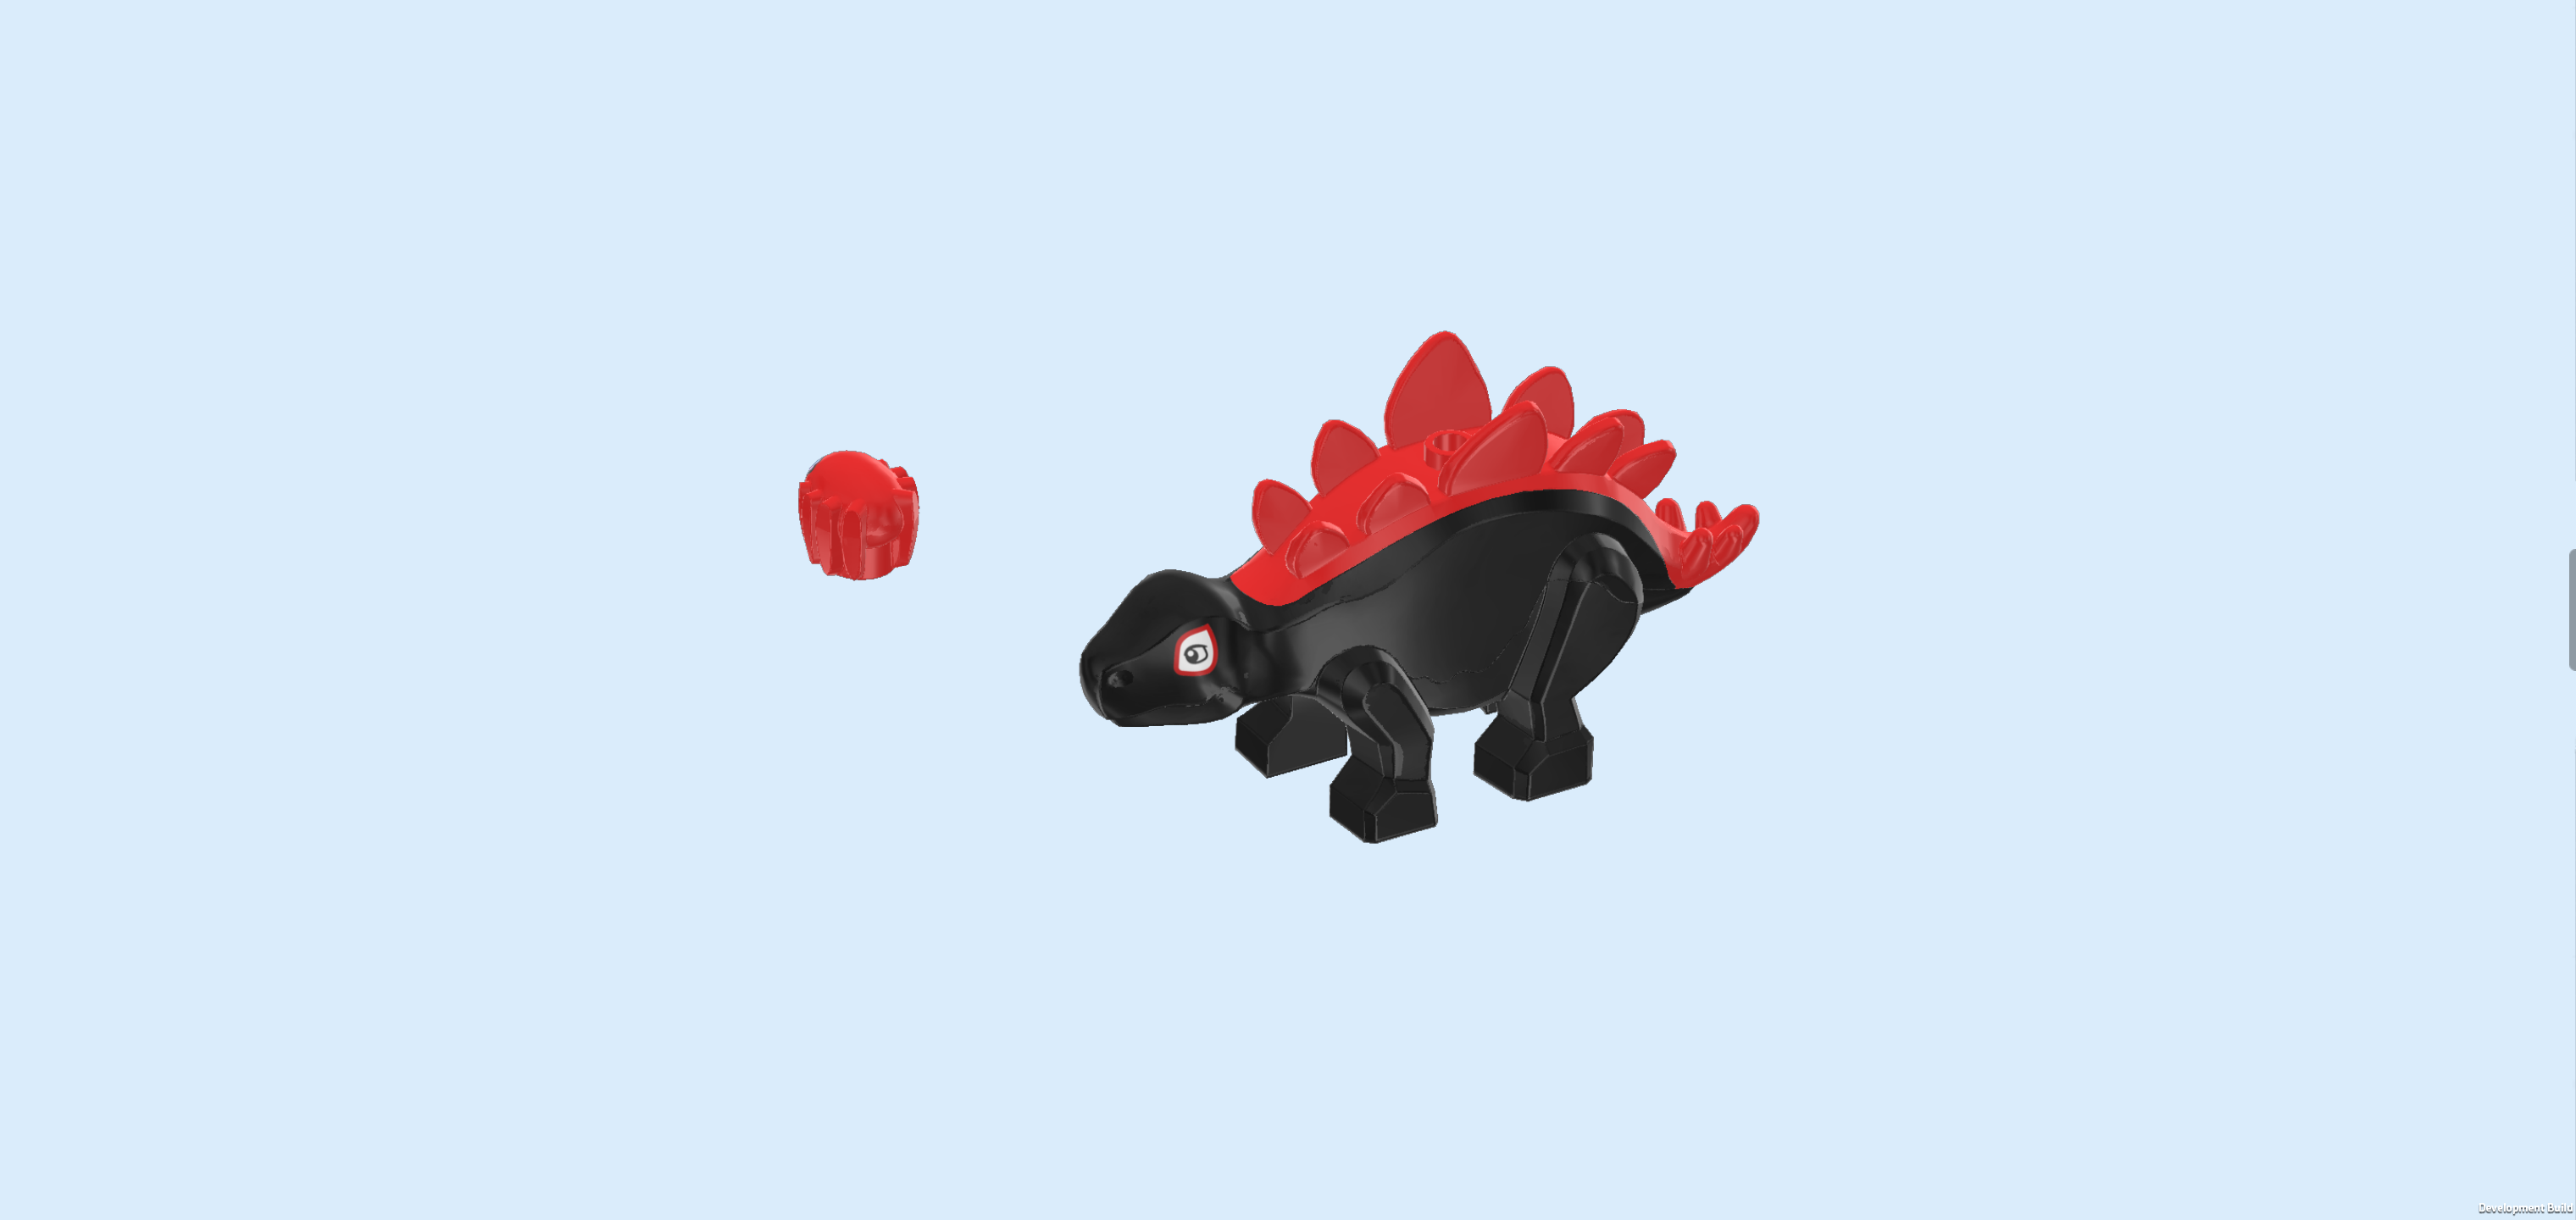
| Collect the following 2 pieces: |
| 1 bright red Trace-E spider mini robot, |
| and 1 bright red and black Stegosaurus figure. |
| The stegosaurus, also known as Dino-Spin, is a black dinosaur with fire red plates on its back and tail and two friendly white eyes with red frames. |
| Trace-E is a red robot with cute bright blue spider eyes. |
| The Trapster Minifigure with Dino-Spin and Trace-E are finished! Well done! They look like a trio now, but actually, Trapster is one of the adversaries of our spider friends! Watch out! |
| Now, we will build Trapster's aircraft. |
| Collect the following 3 pieces: |
| 1 black inverted double roof tile 6x6x1 with tapered end, |
| and 2 purple violet bricks 1x2. |
| Put the inverted double roof tile vertically on the table, narrow end to the front. Make sure its knobs form straight rows and columns in front of you. |
| Put 1 brick 1x2 vertically on the second column from the left, starting from the back edge. This means it will sit on the first column of the lower part. |
| Repeat symmetrically on the right. |
| Find 1 bright yellow plate 1x2 with 2 vertical clasps on long side. |
| Put it horizontally between the 2 previous pieces on the backmost row, clasps to the back. |
| Find 1 bright yellow one-stepped curve tile 2x3. |
| Put it vertically on top of the previous piece and the 2 rows in front of it, curve to the front. |
| Find 2 black plates 2x4 with center bottom tube. |
| Put 1 horizontally on the 2 back knobs of the rightmost column, 3 columns overhanging to the right. |
| Repeat symmetrically on the left. These will be the wings of the aircraft! |
| Find 2 purple violet flat tiles 2x3. |
| Put 1 horizontally on the right half of the previous piece and the column to its right. This connects the left wing with the rest of the structure. |
| Repeat symmetrically on the right. |
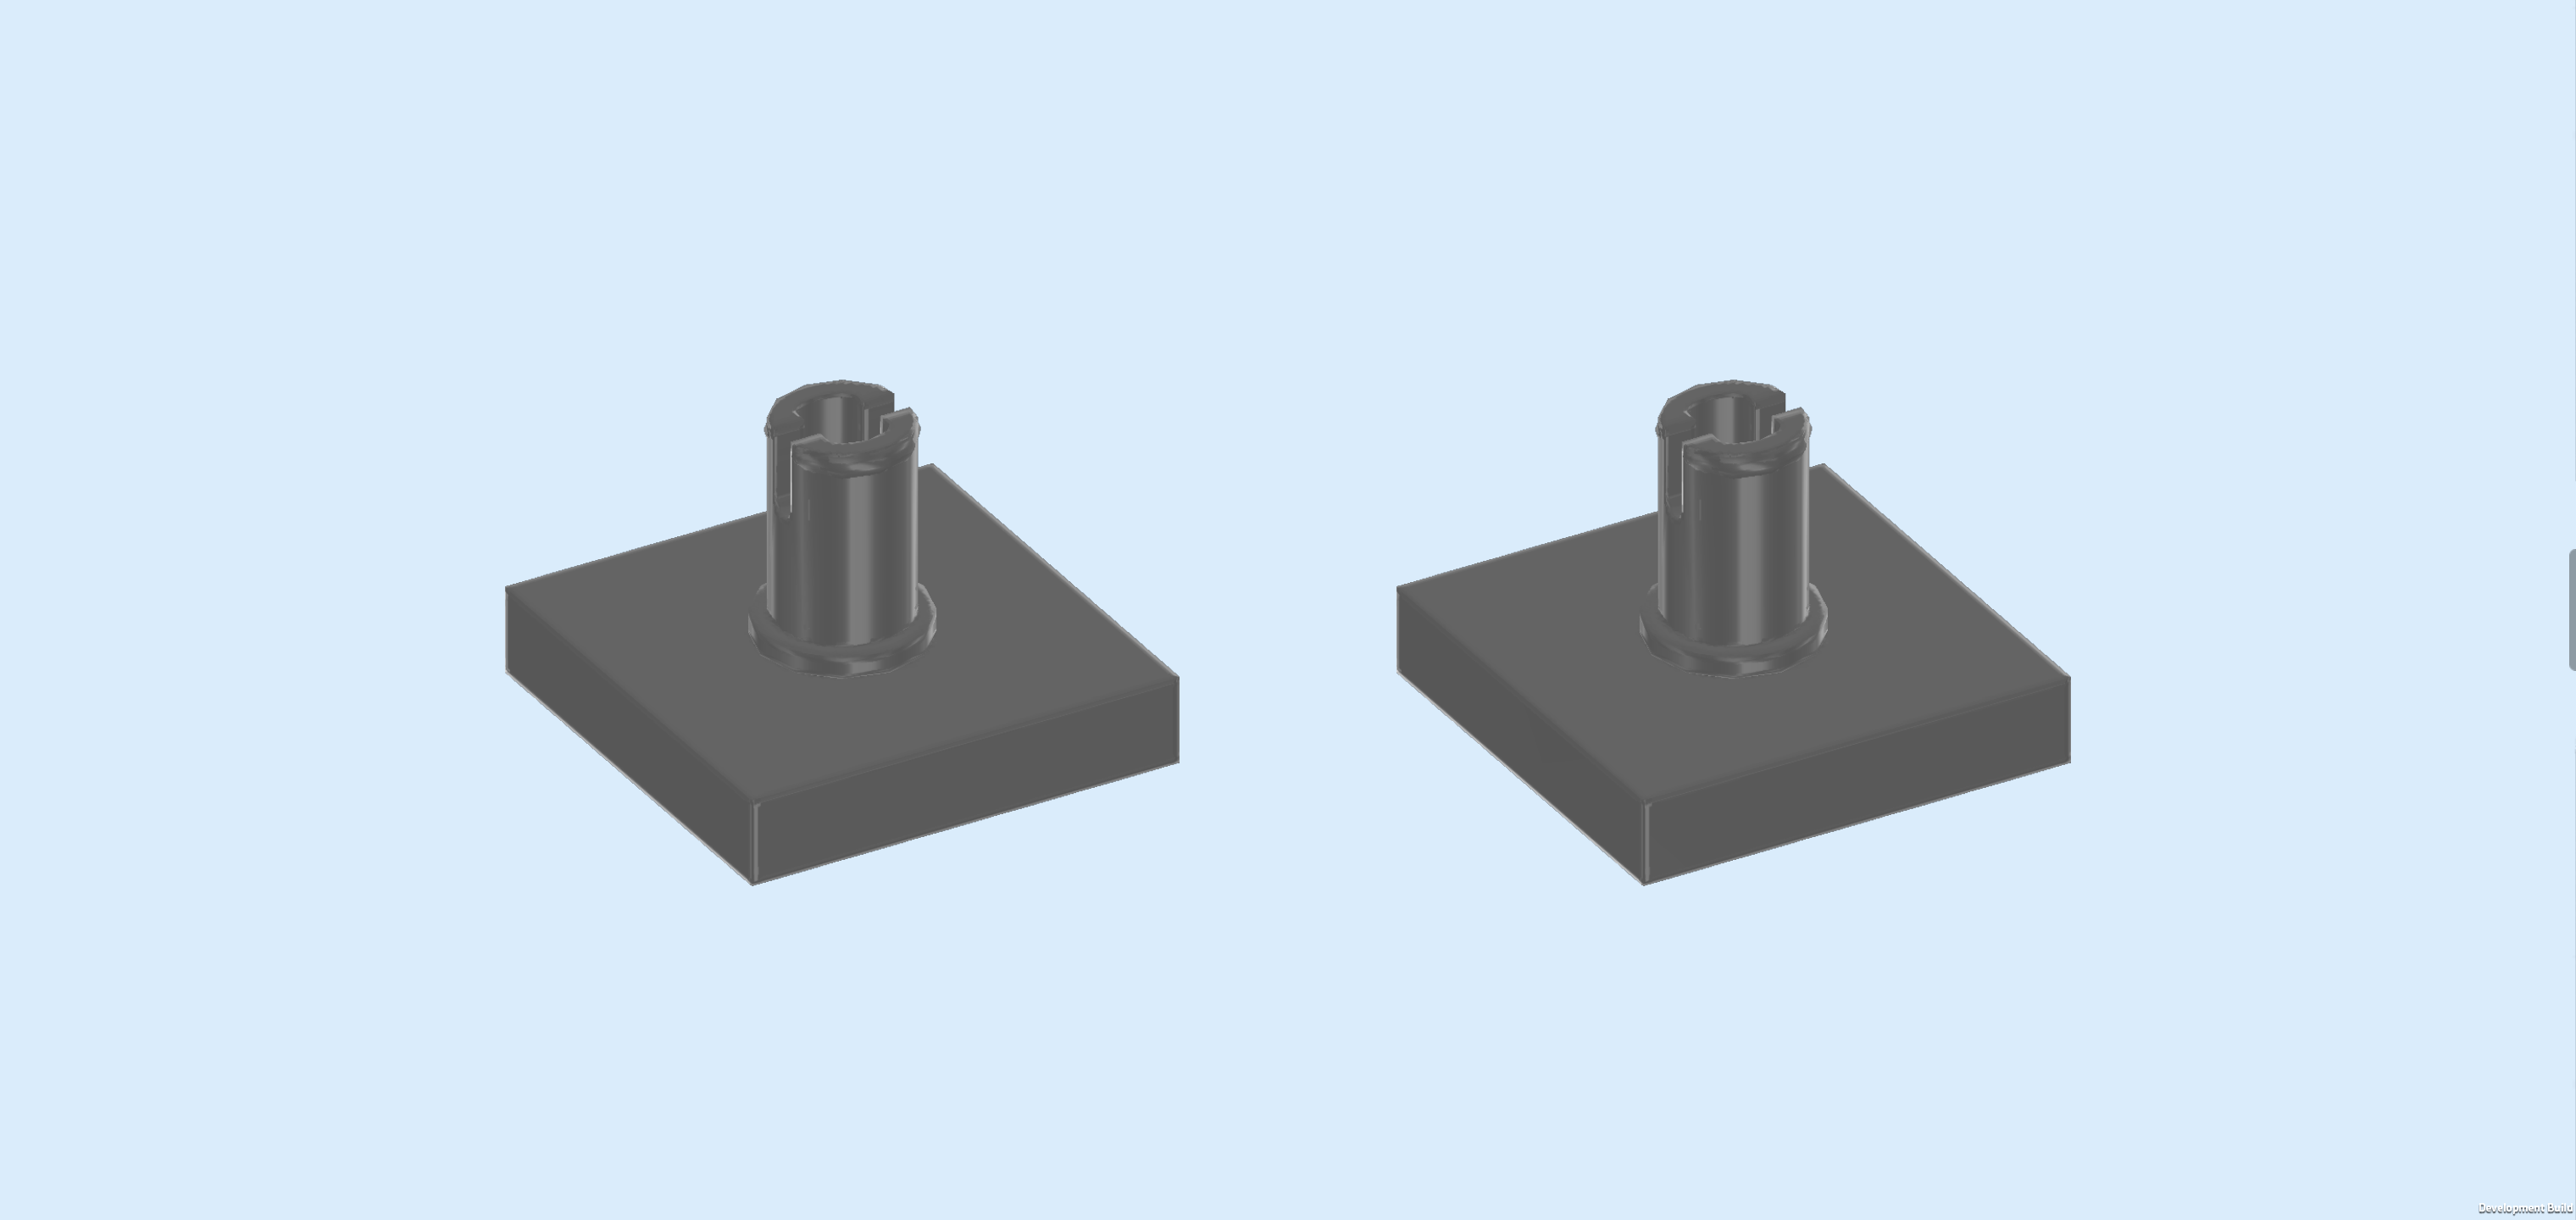
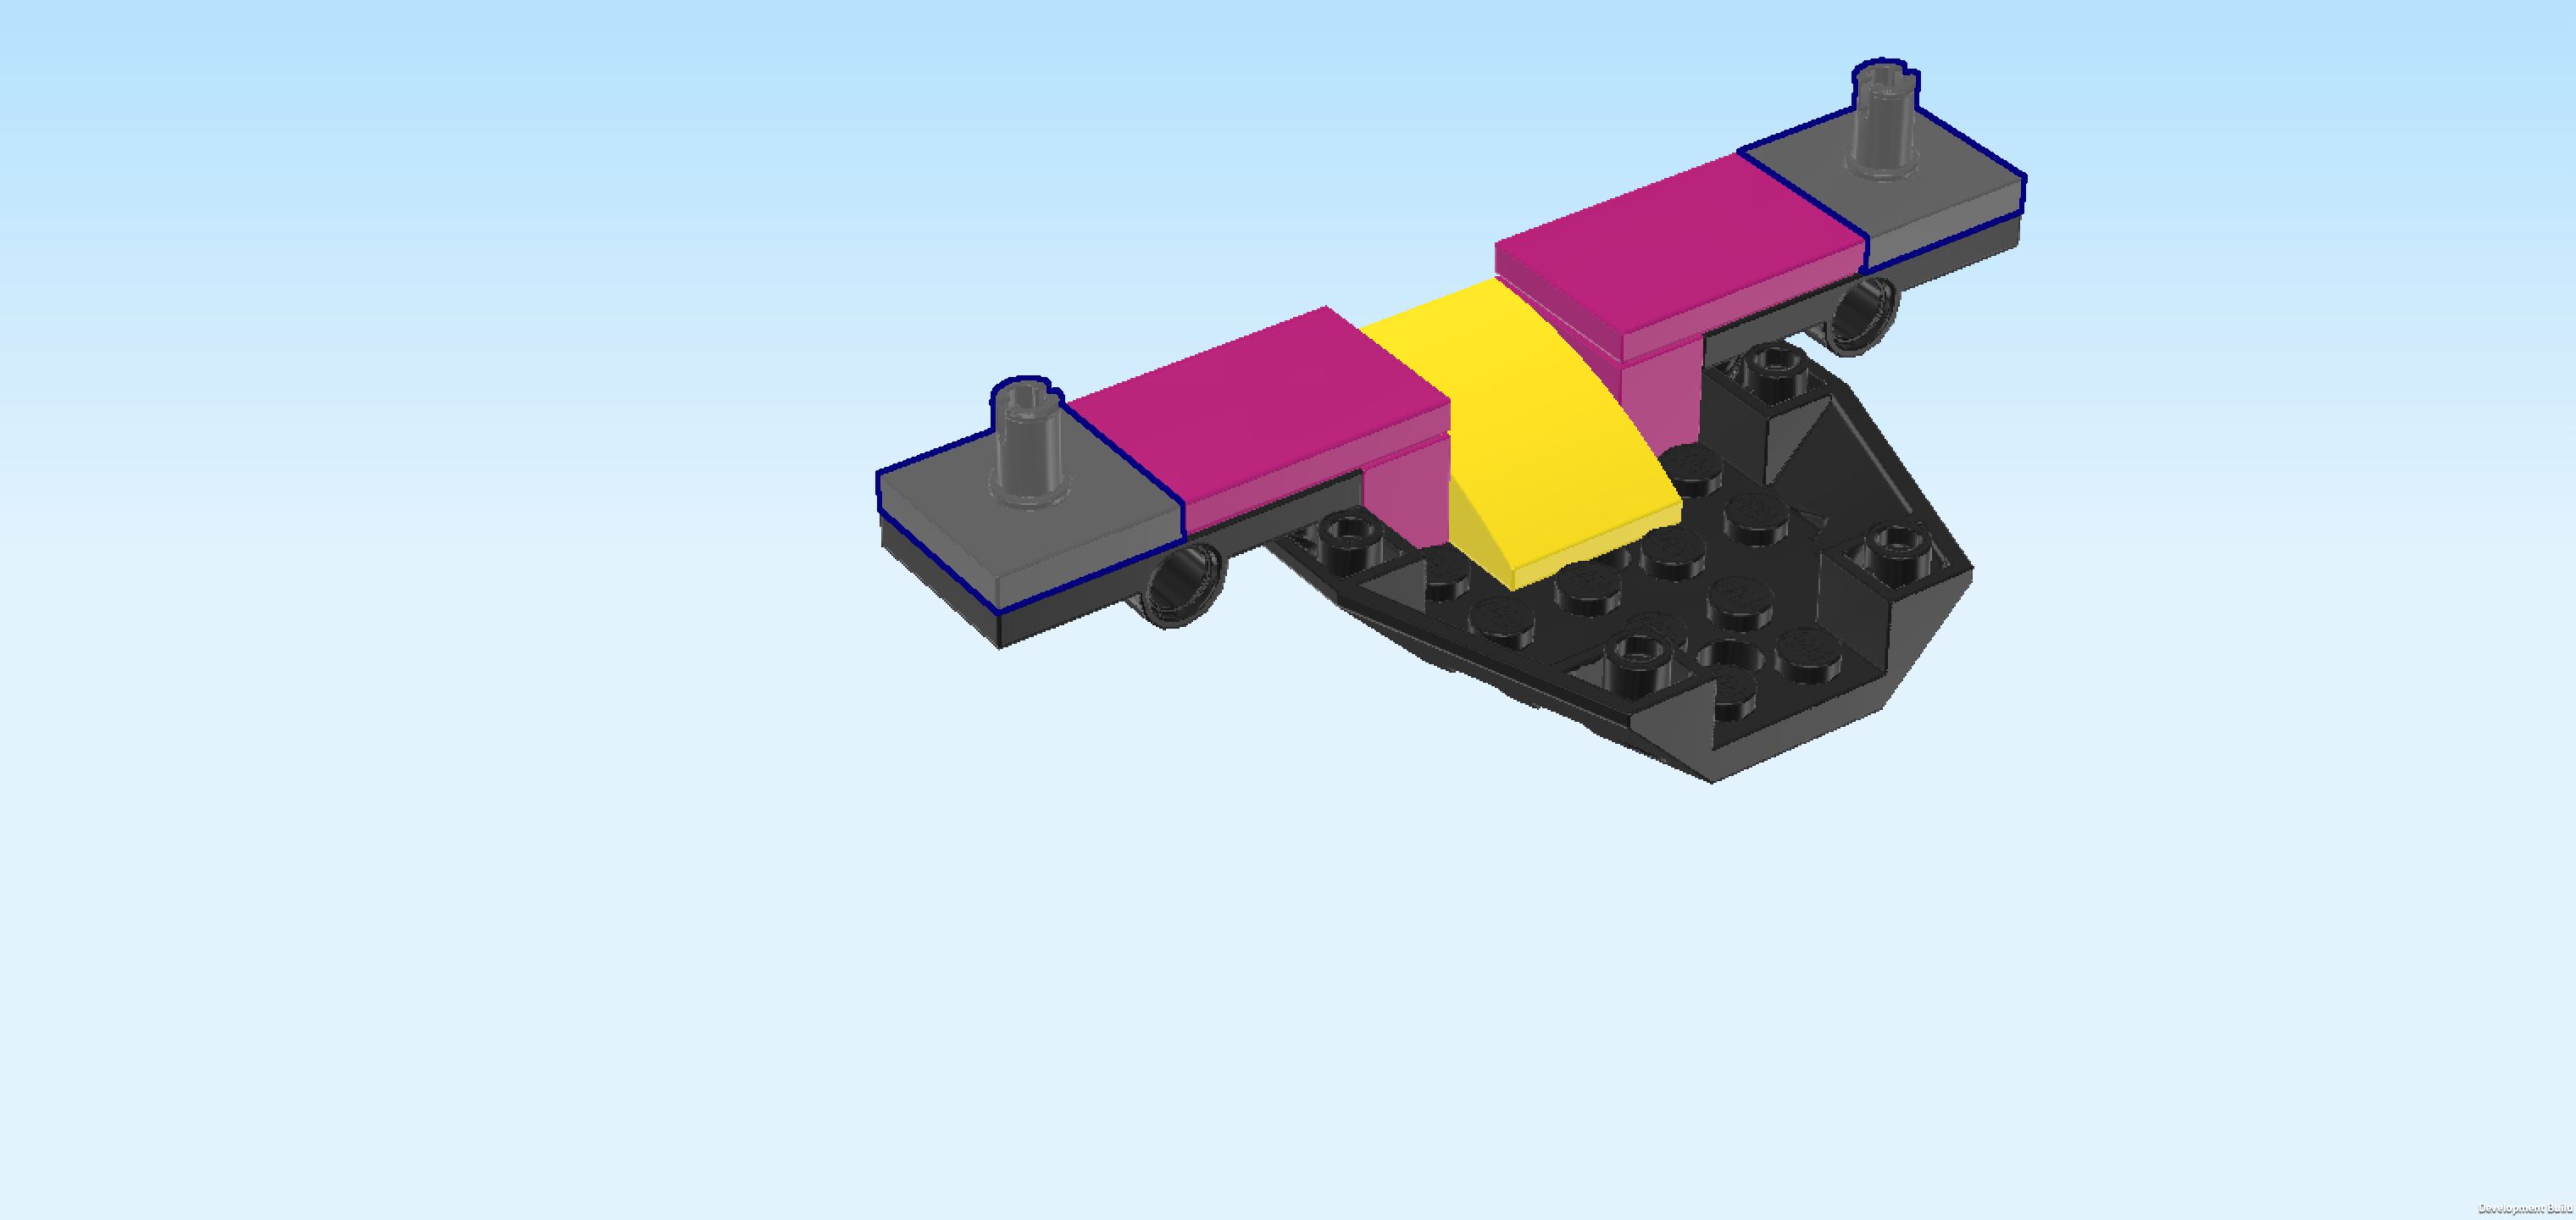
| Find 2 dark stone grey plates 2x2 with vertical top connector. |
| Put 1 to the right of the previous piece, this means it will sit on the 4 outermost knobs of the right wing. |
| Repeat symmetrically on the left. |
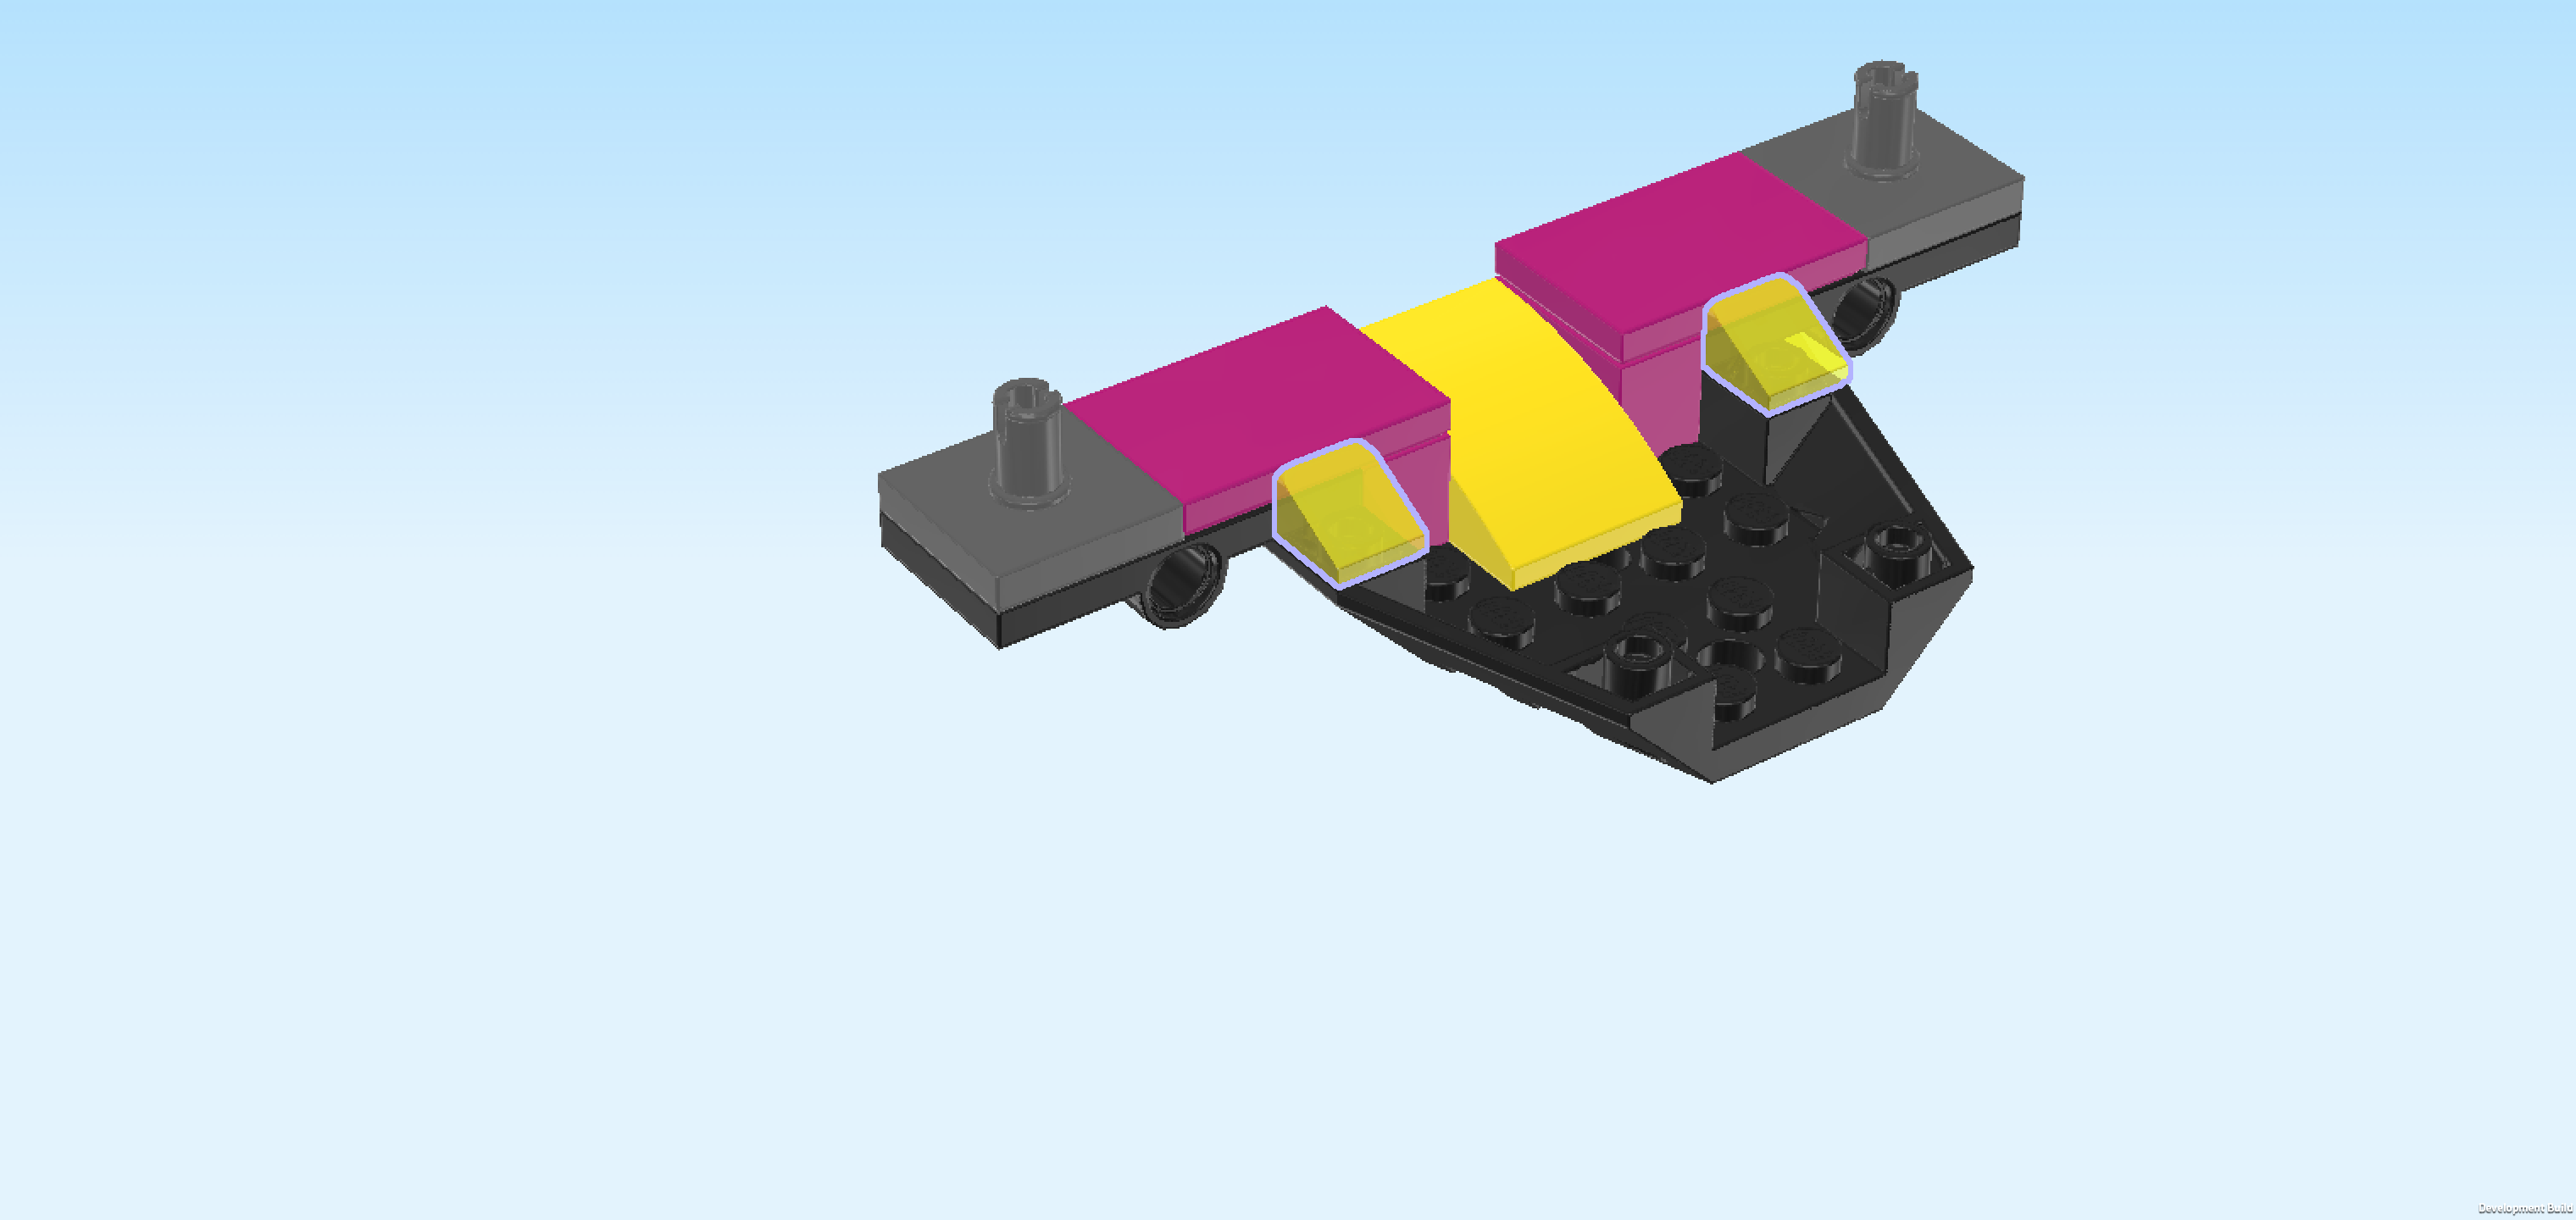
| Find 2 transparent yellow smooth roof tiles 1x1x⅔. |
| Put 1 on the high knob in front of the left wing, slope to the front. |
| Repeat symmetrically on the right, slope to the front. |
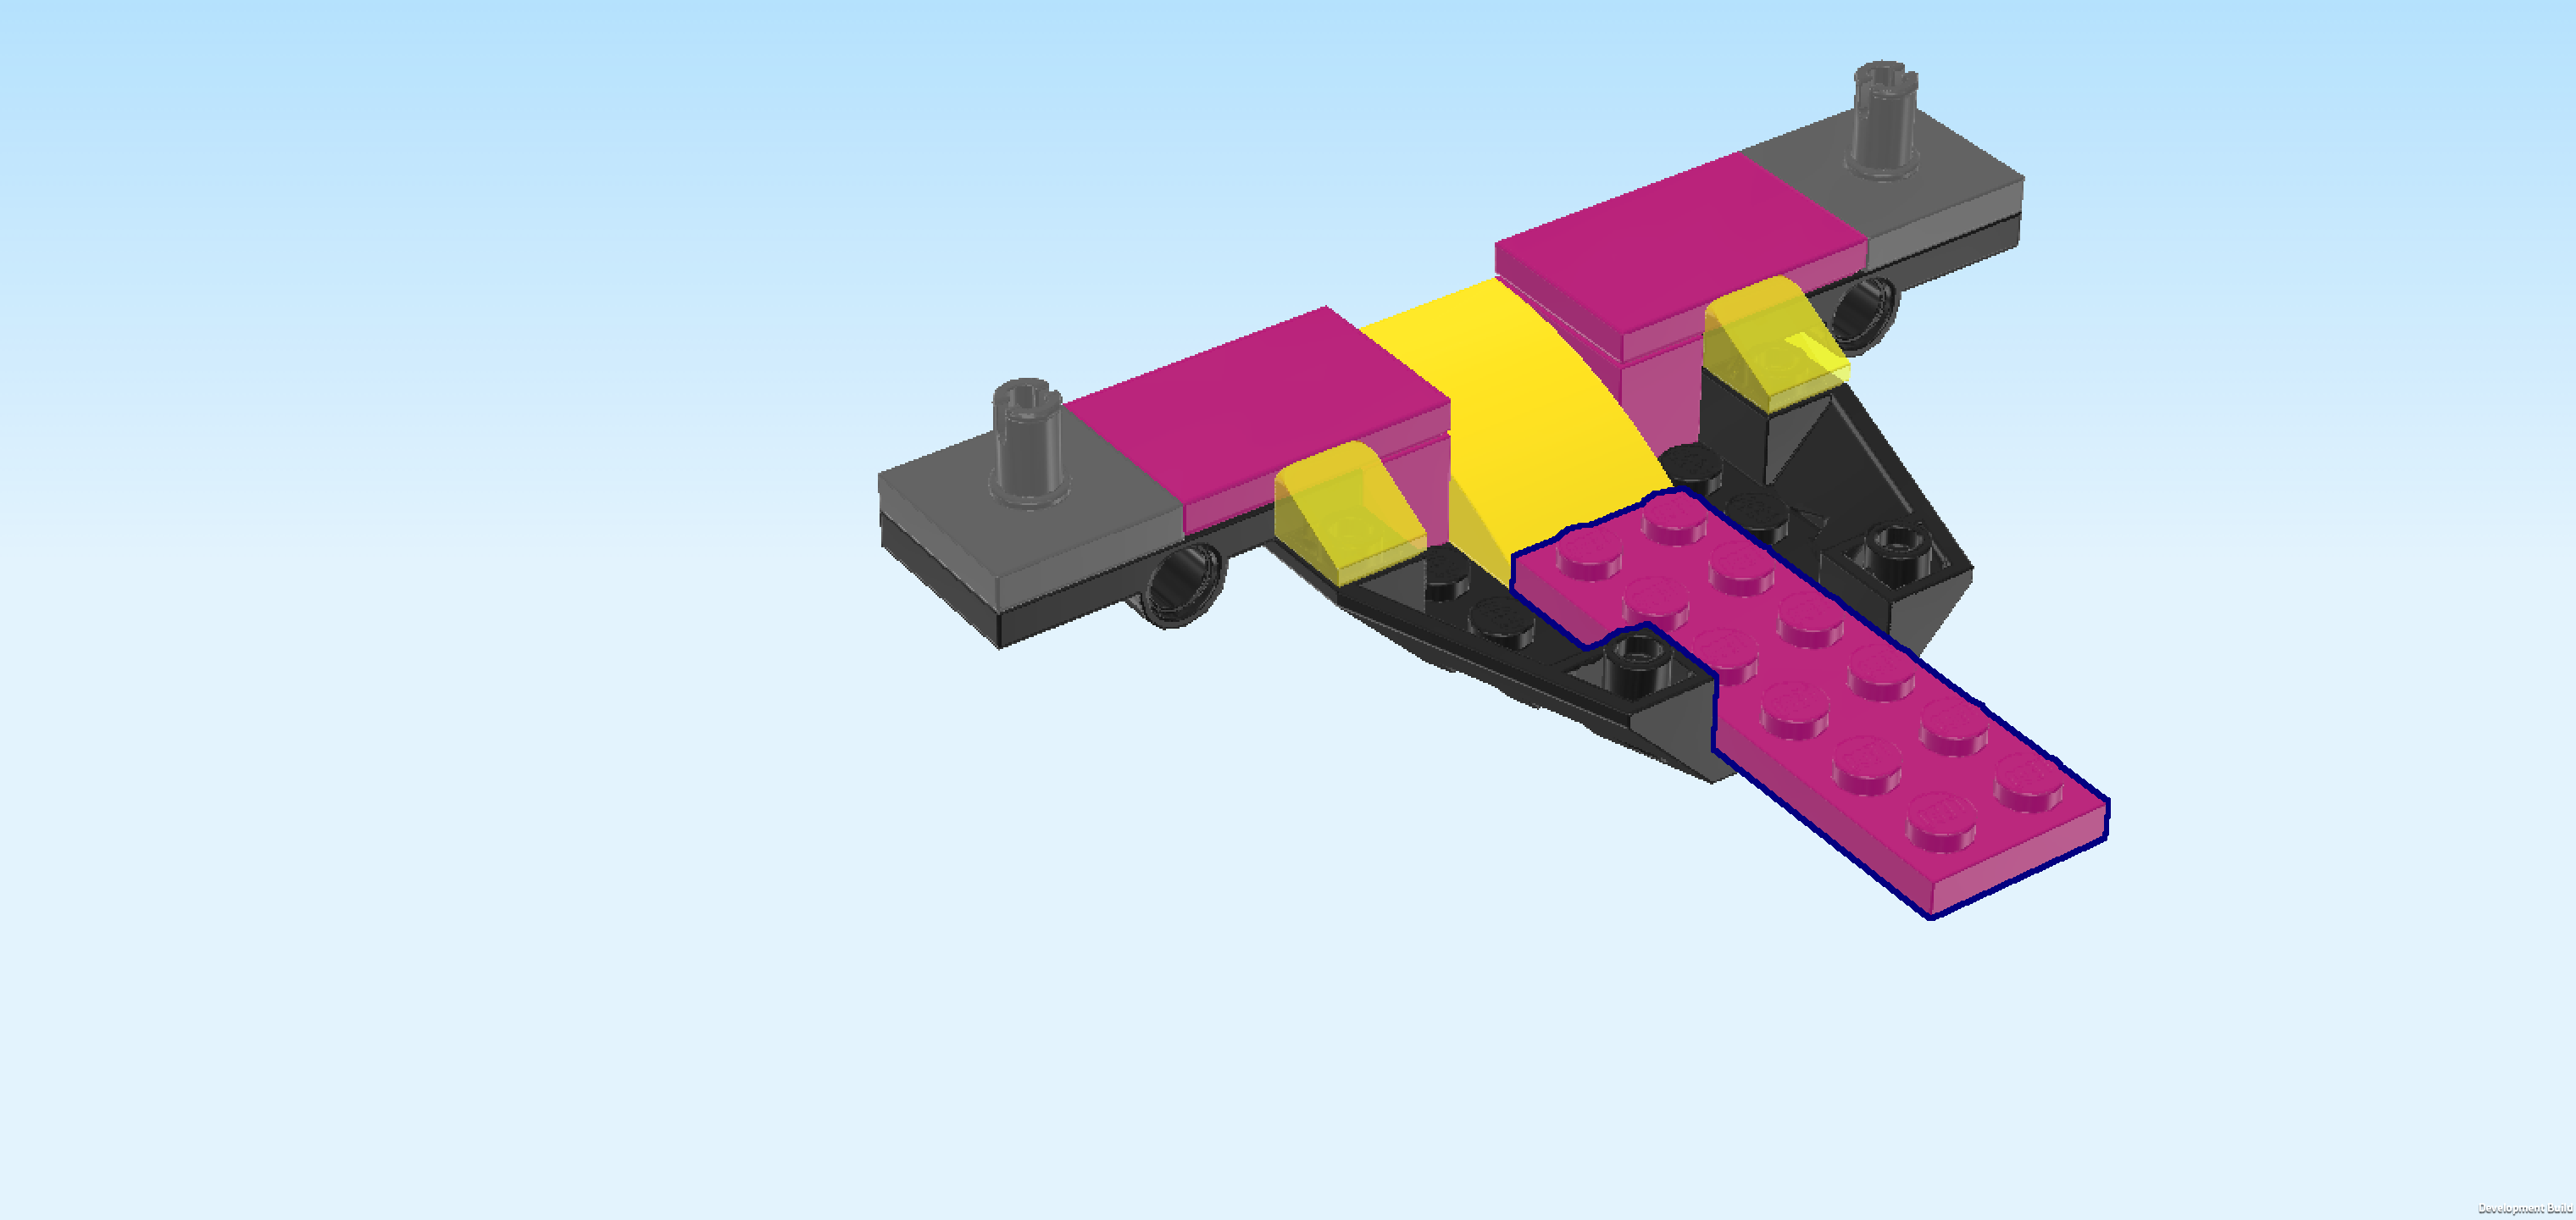
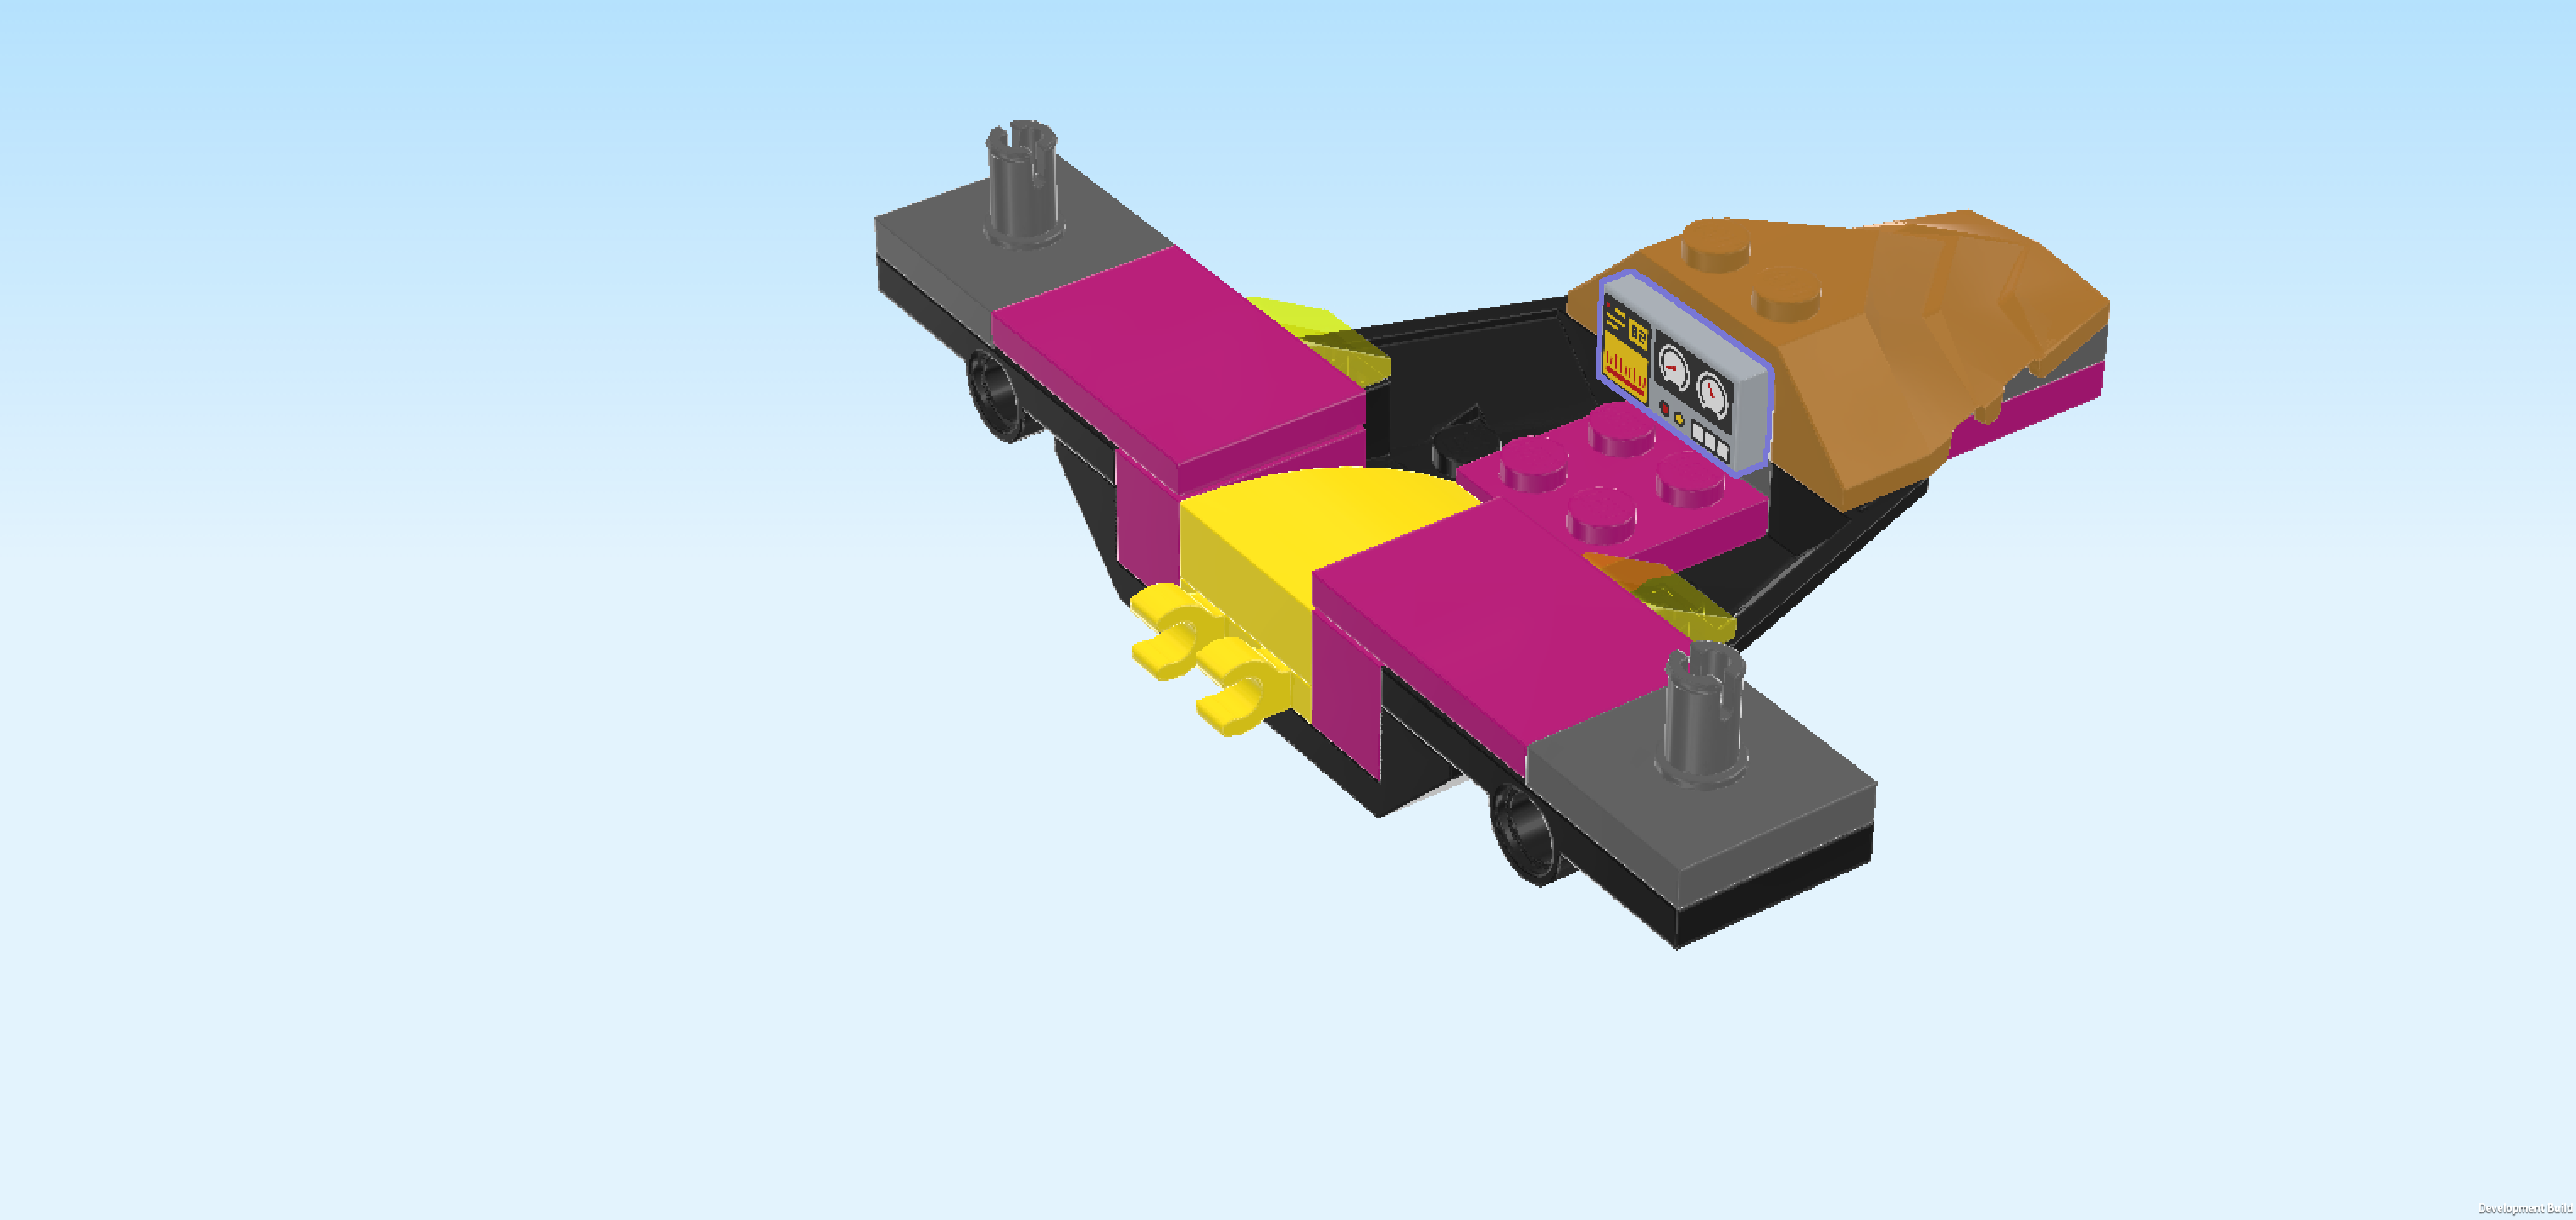
| Find 1 purple violet plate 2x6. |
| Put it vertically on the 2 middle columns, directly in front of the curve tile 2x3, 3 rows overhanging to the front. |
| Find 1 dark stone grey plate 2x4. |
| Put it vertically on top of the previous piece, starting from the front edge. |
| Find 1 white stepped plate 2x2 with 2 side knobs. |
| Put it on the previous piece's back half, side knobs to the back. |
| Keep the side knobs in mind: we will later mount the dash panel here! |
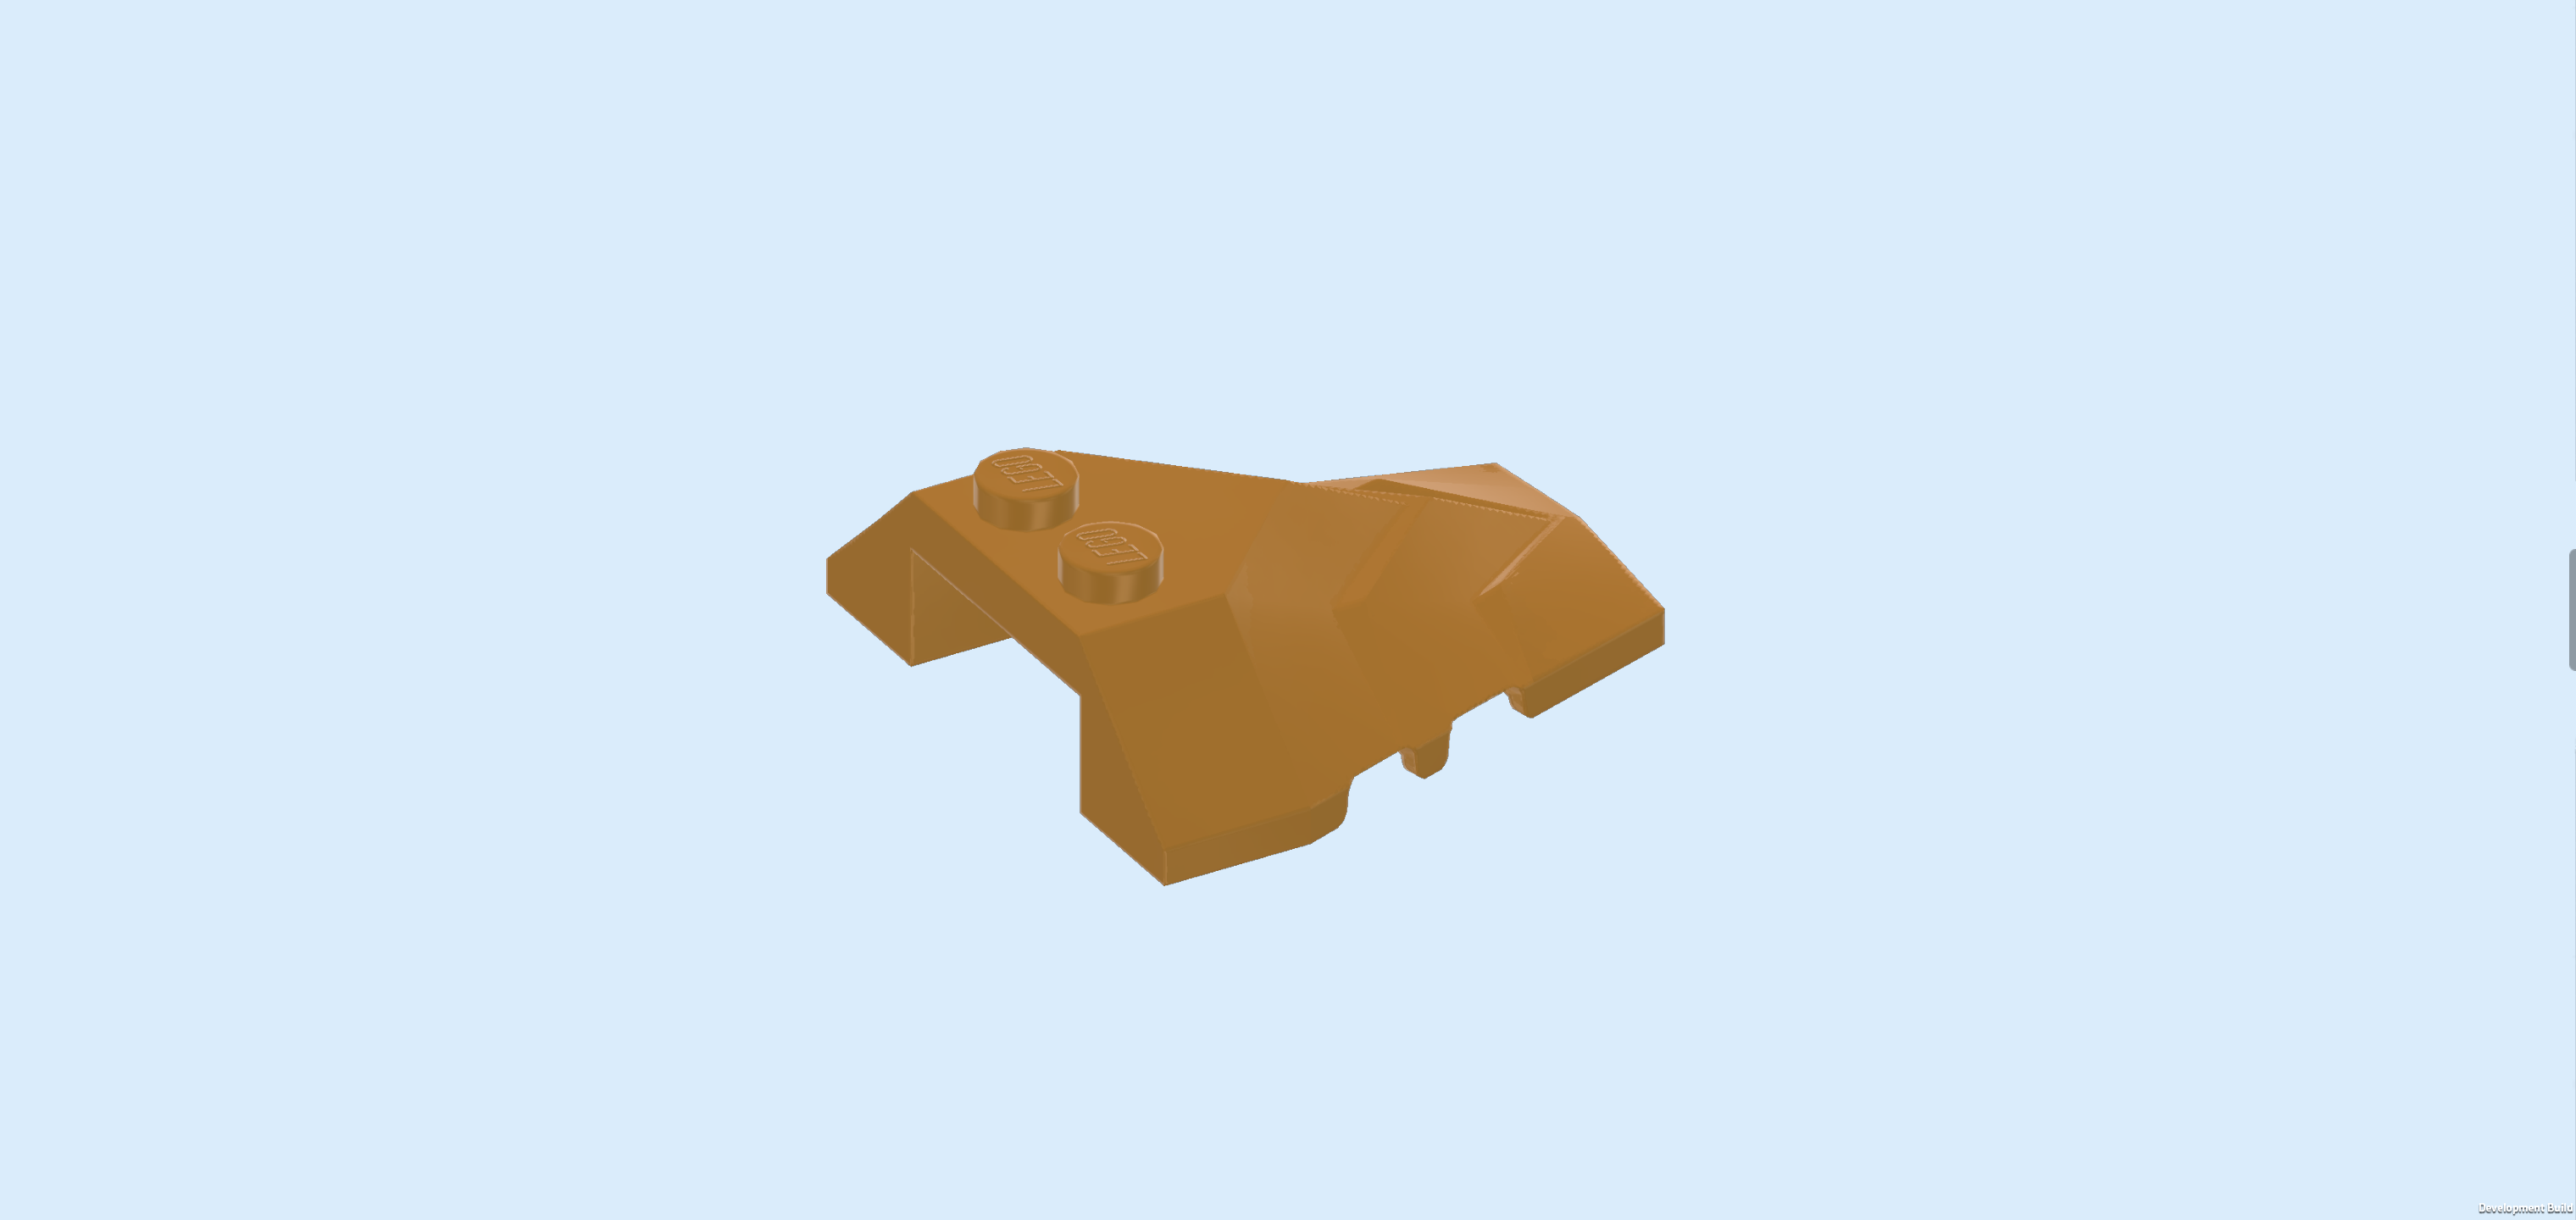
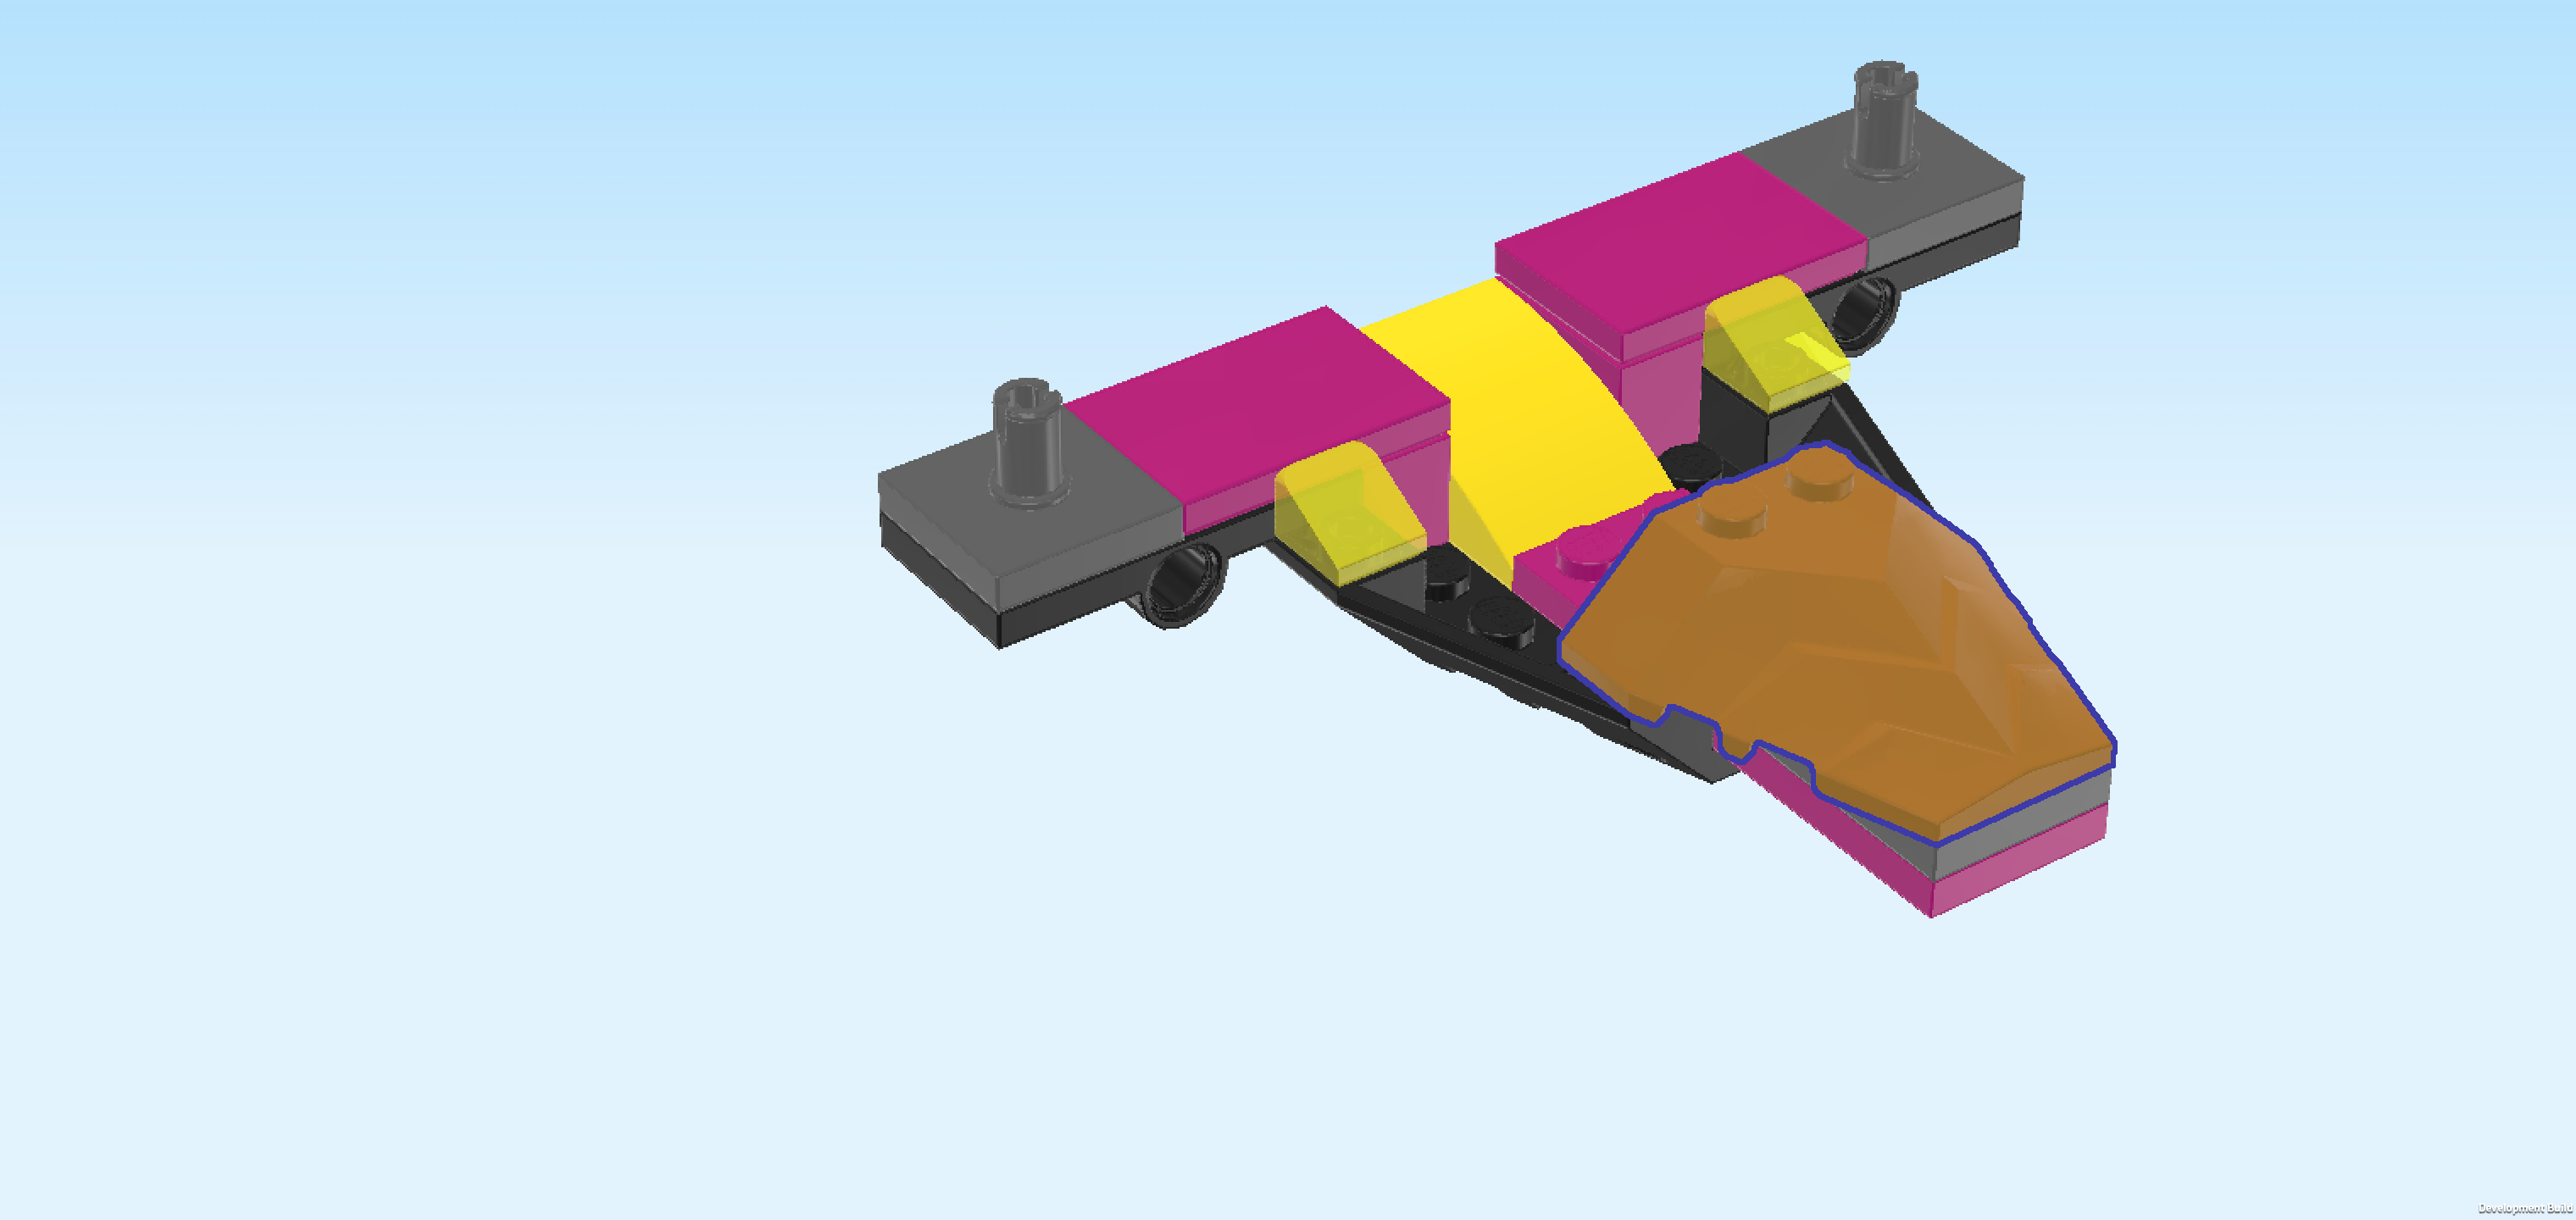
| Find 1 warm gold slope piece 4x4 with staggered scales and 2 knobs. |
| Put it vertically on the front edge of the structure, narrow low end towards the front. |
| Find 1 medium stone grey flat tile 1x2. |
| Turn the aircraft structure so that the previous piece is pointing to the right and the 2 wings are pointing to the front and back. |
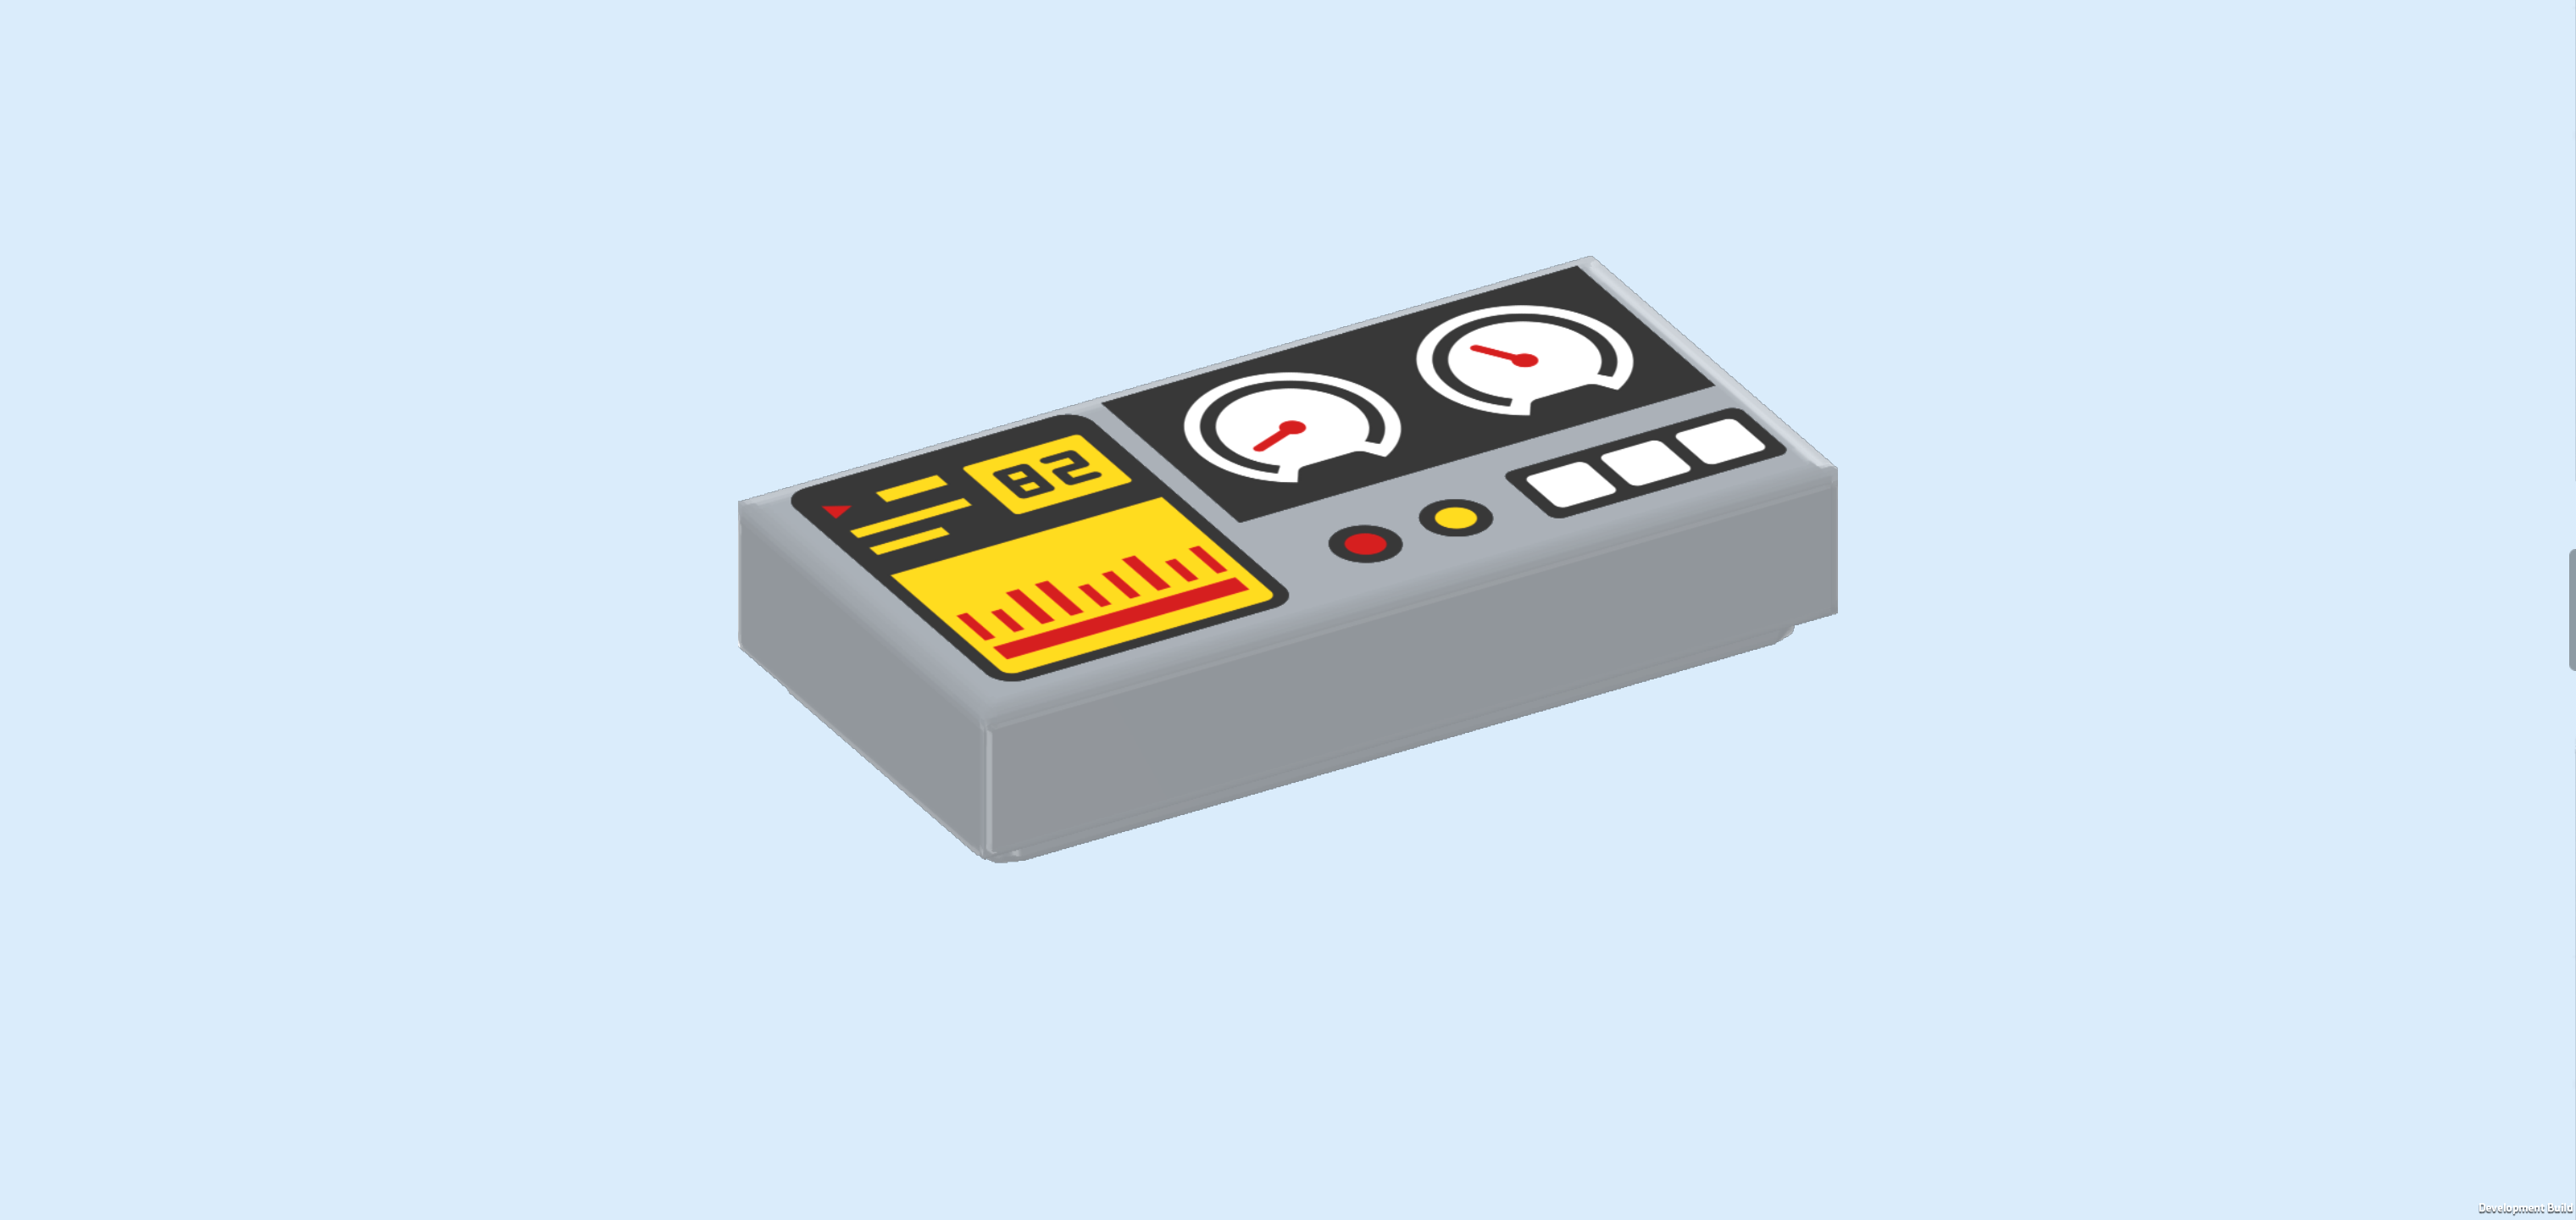
| Mount the flat tile with print upright on the 2 side knobs pointing to the left inside the aircraft's cockpit. |
| The flat tile is printed with the dashboard of the aircraft. It has 2 dial gauges with red needles, several white buttons, 1 red LED and 1 yellow LED and a yellow radar display. |
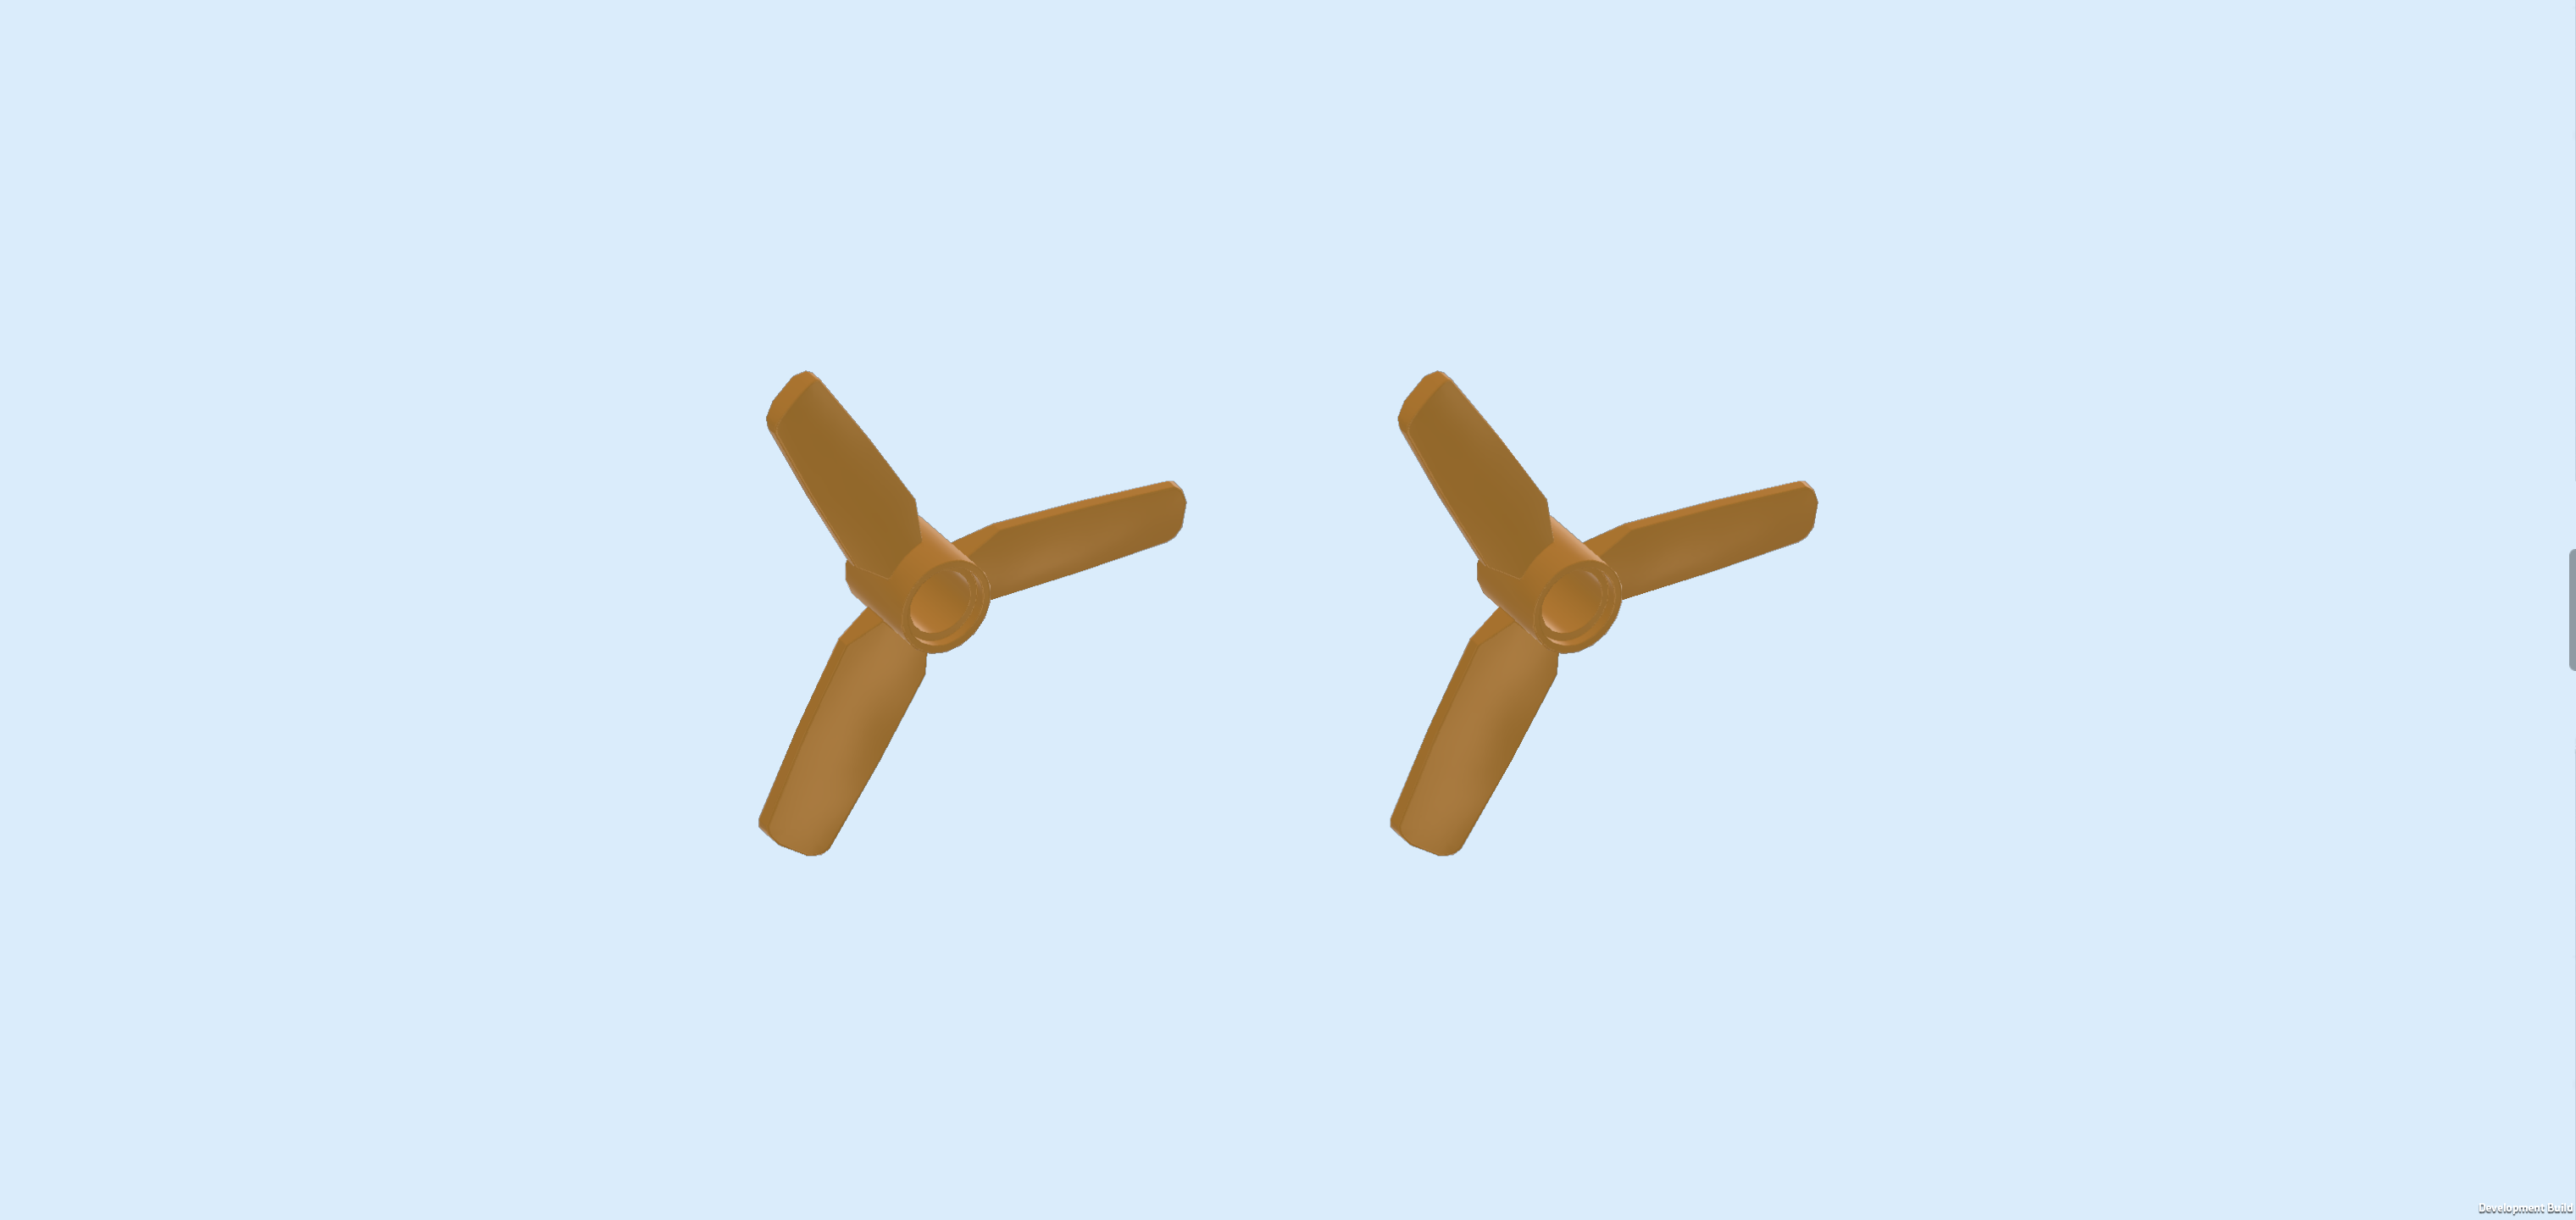
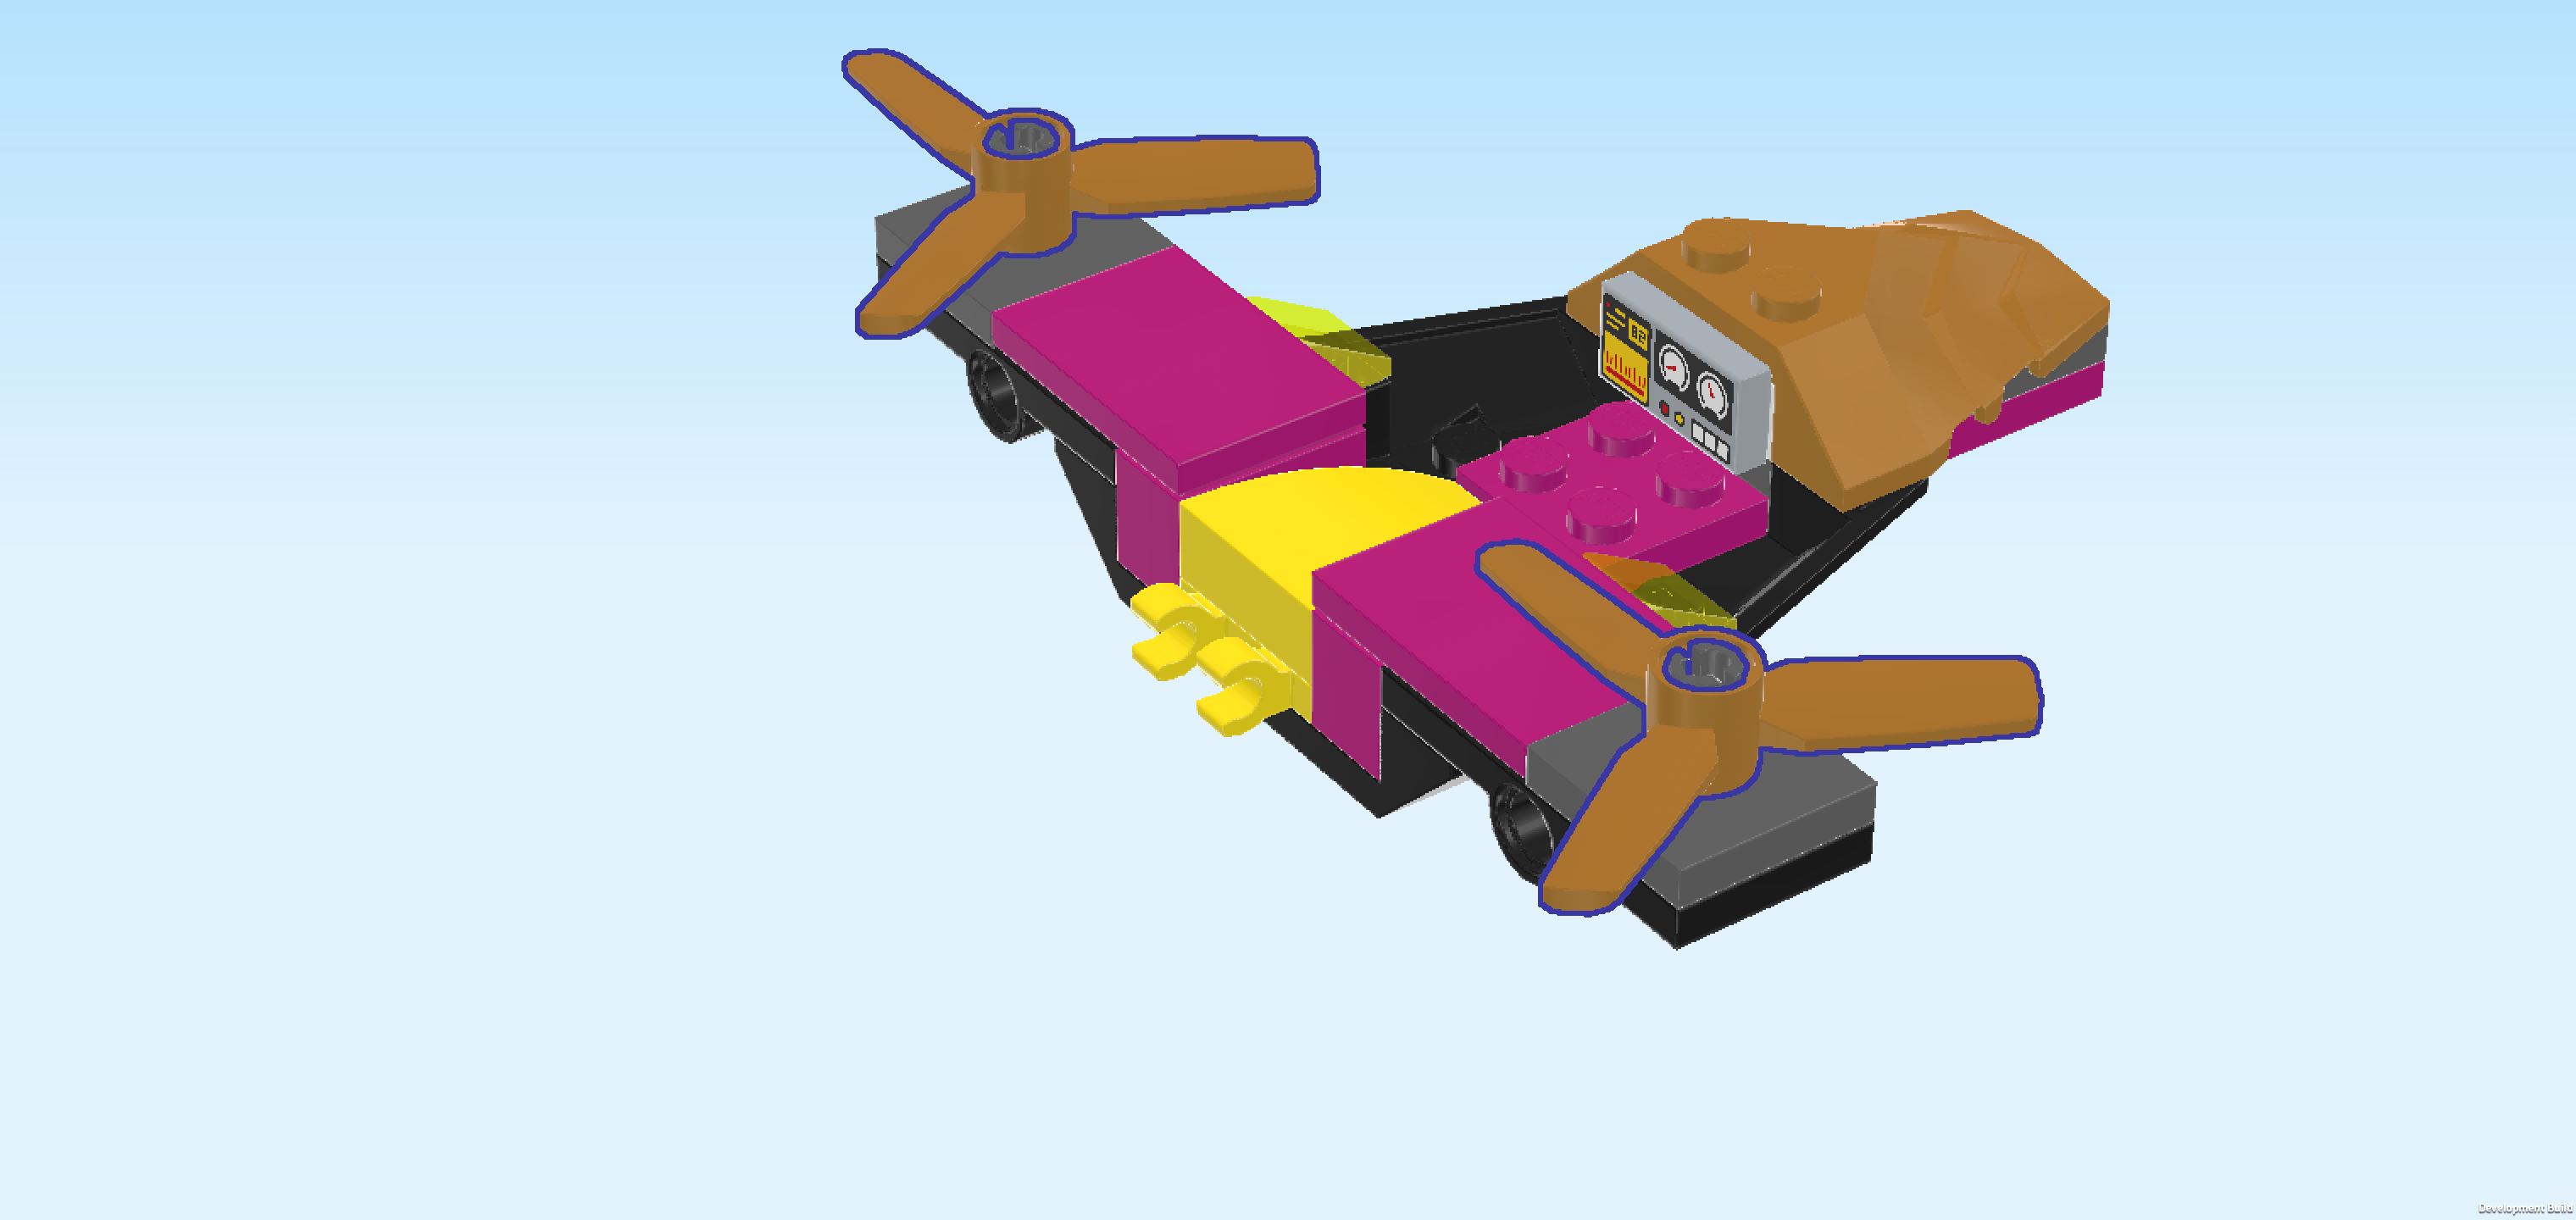
| Find 2 warm gold propellers with 3 blades. |
| Mount them atop the 2 wings by inserting the top connectors into the middle holes of the propellers. |
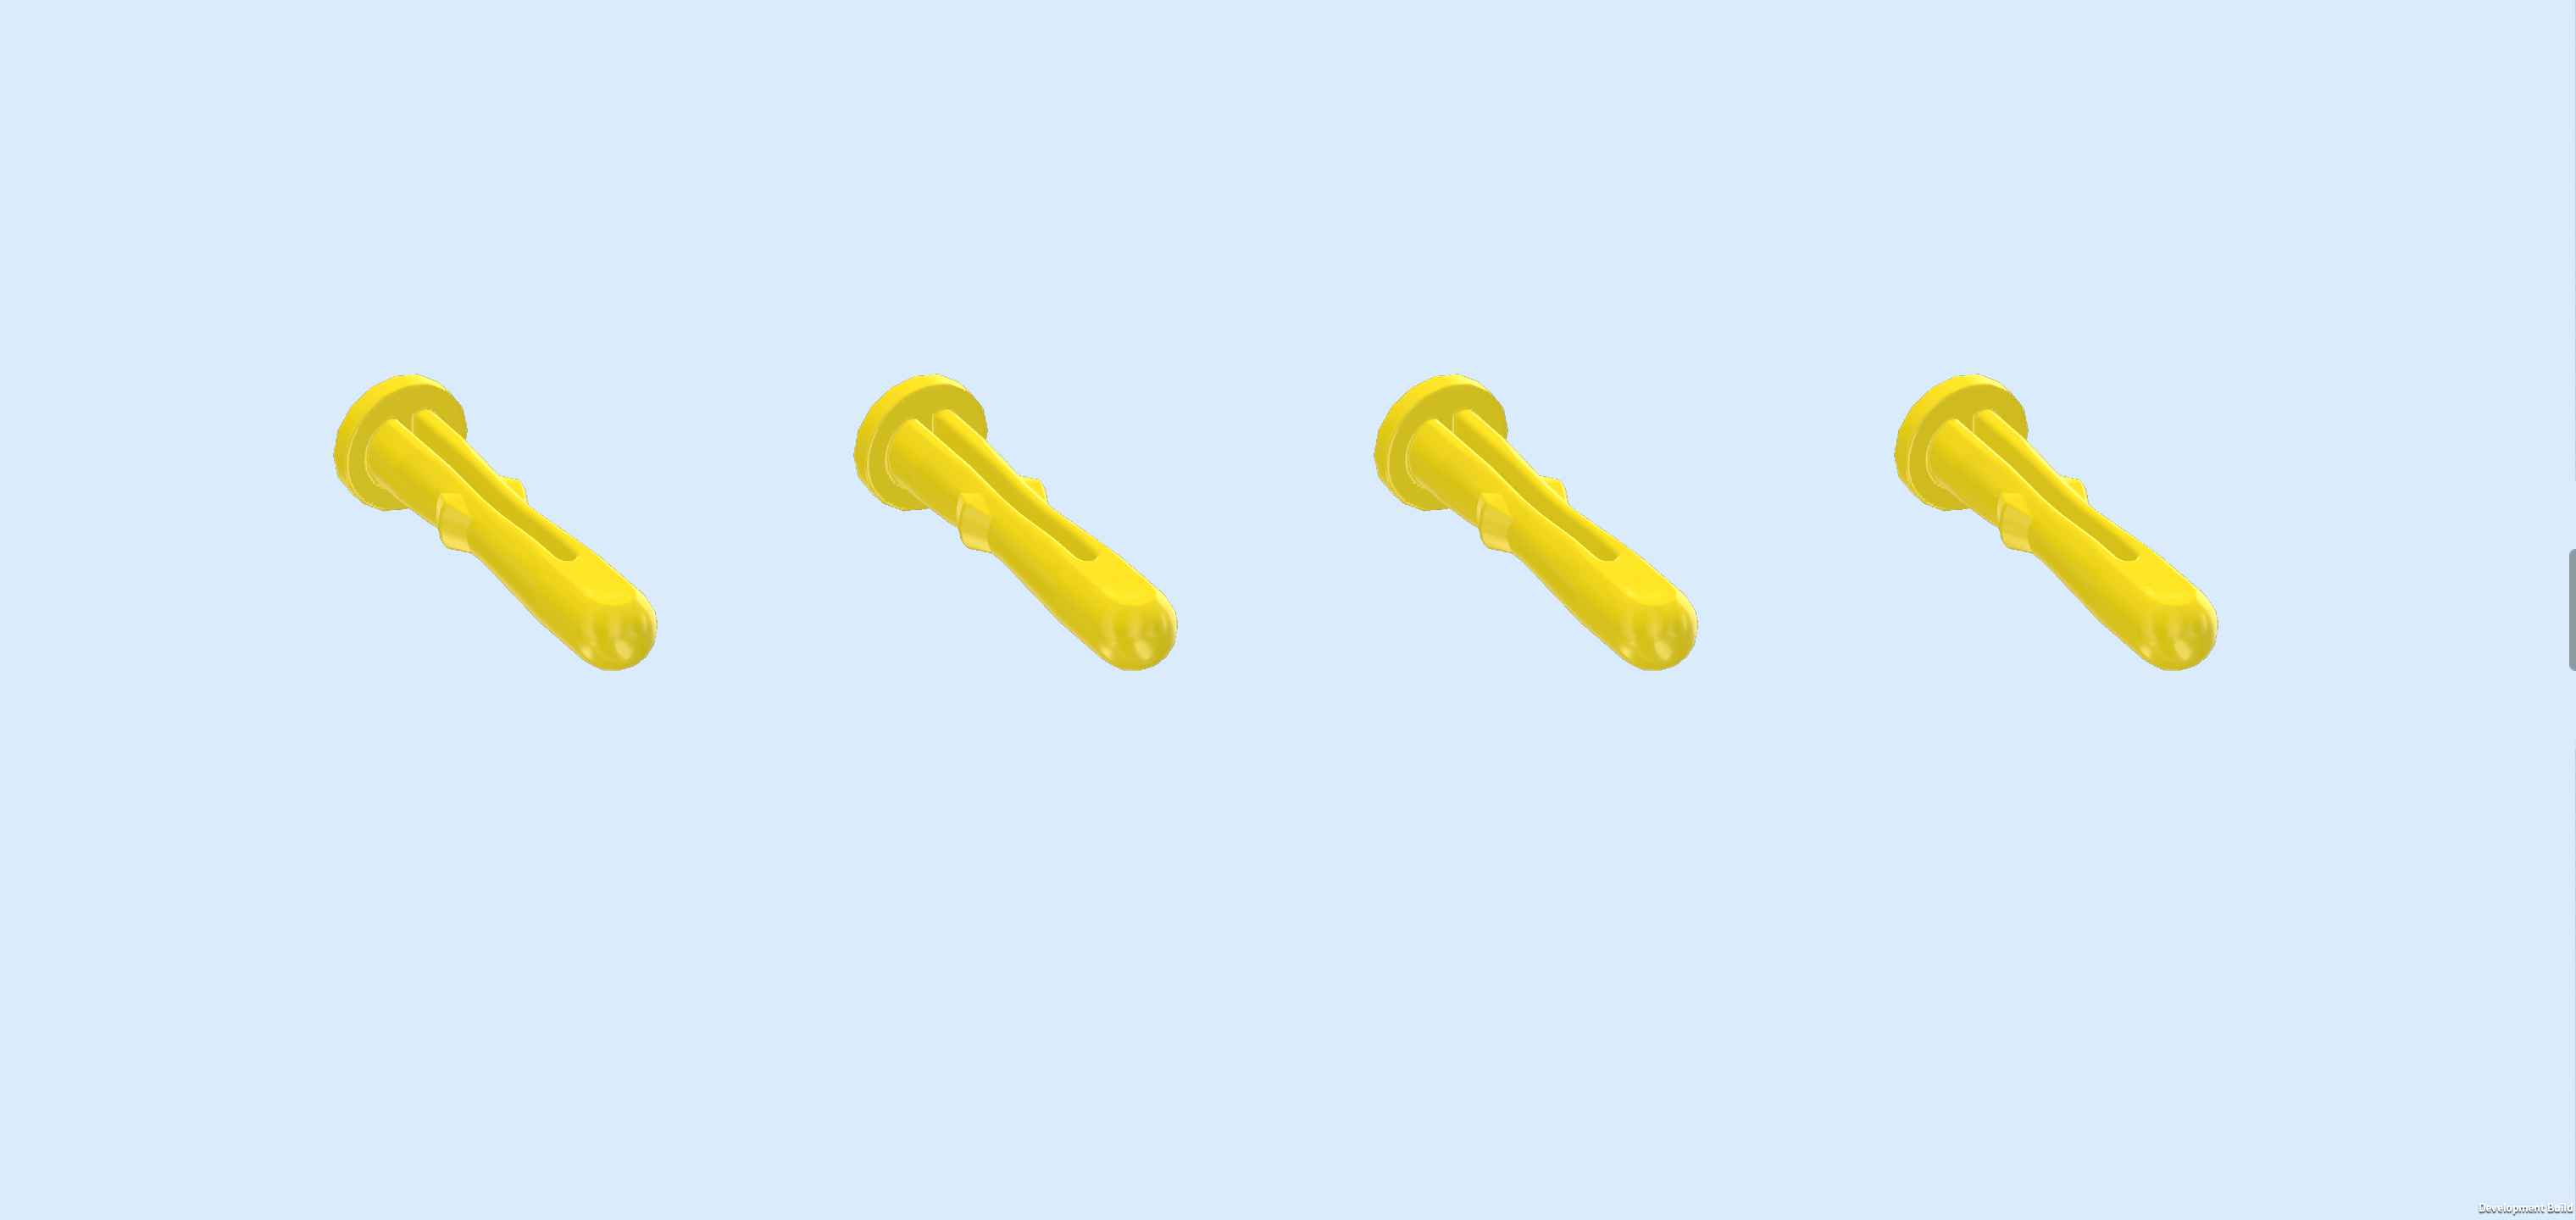
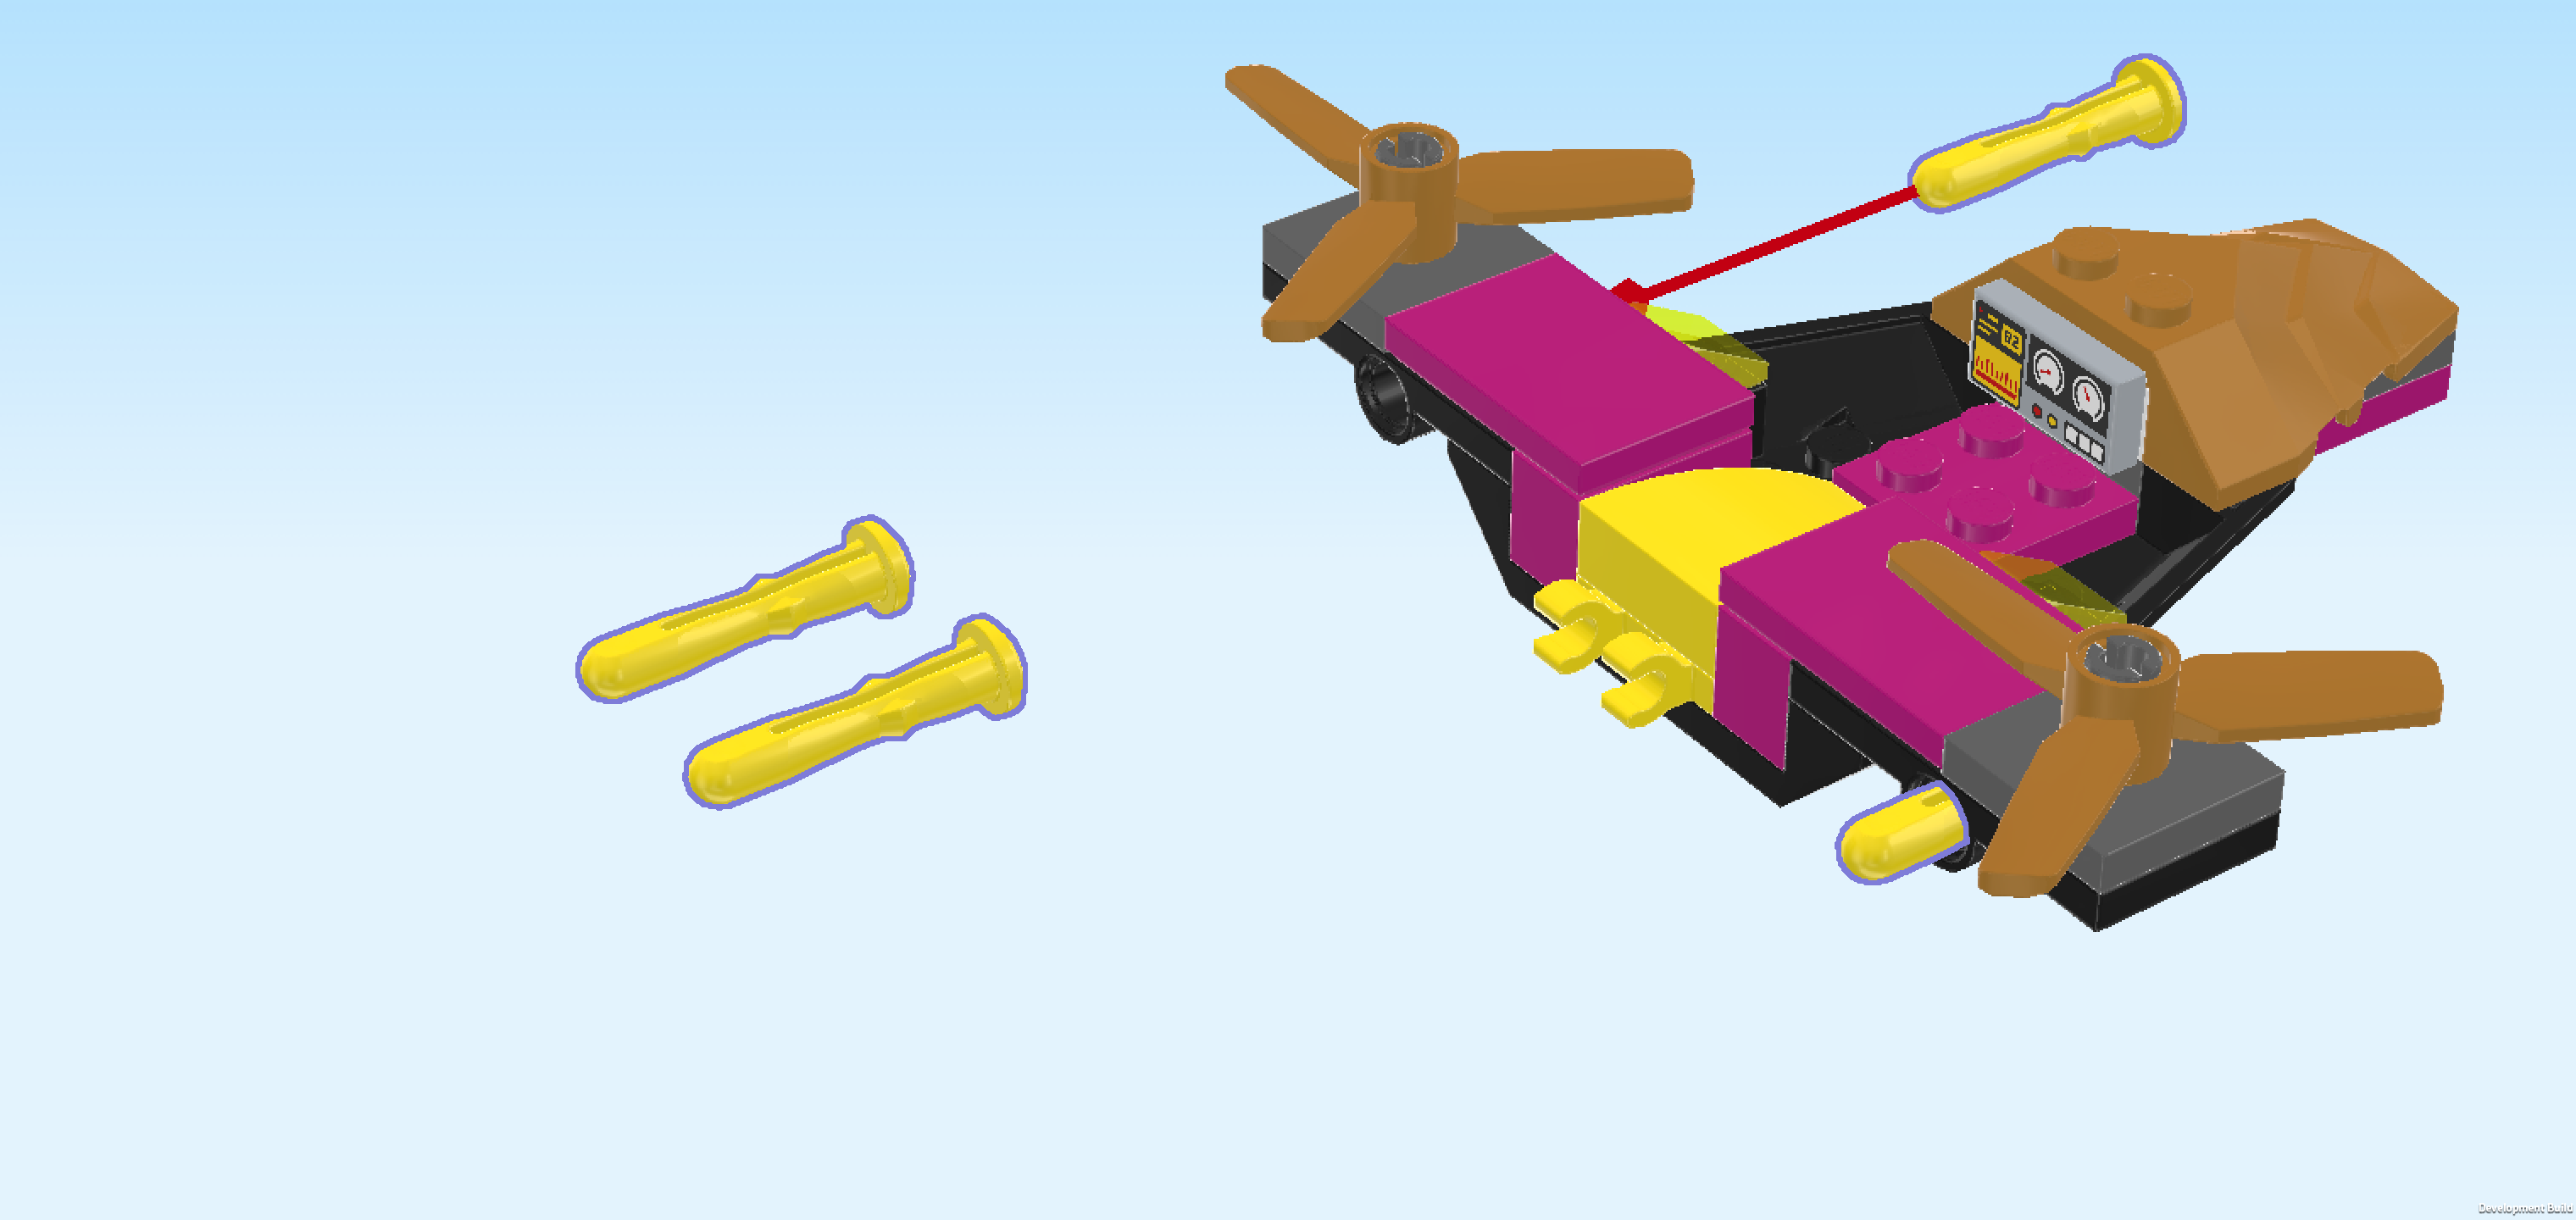
| Find 4 bright yellow projectile arrows 3m with round tip. |
| Insert 1 from the right into the bottom tube of the front wing. Push it all the way in so that it protrudes on the left side of the wing. |
| Repeat symmetrically at the back. |
| Warning! Do not aim at eye or face! |
| To launch the projectiles, press on their round tips from the left. |
| The Trapster's aircraft is finished! Great job! Fold her legs into a seated position and put her into the cockpit. With the shooters of her aircraft, she is particularly difficult to fight! |
| Now it's time to connect the 2 side platforms to the main tower of the Tree House HQ! Turn the first side platform so that its half circle is pointing to the left and its long lattice is pointing to the right. Fold the long lattice all the way up. Then mount the rightmost edge of the side platform underneath the protruding 1x4 column on the left edge of the tree house base plate. |
| You can adjust the lattices to connect the main tower of the tree house with the lower platform and the lower platform with the ground. |
| Mount the second platform on the right side of the main structure, mirroring the first one. Of course, you can also keep the side platforms separate from the main tower. It is up to you! |
| You have finished building the entire set! Fantastic work! Now it's time to dive into the action, adventure and fun that await! Protect the dino egg, fend off Gobby-Raptor and Trapster, explore the prehistoric landscapes and prepare yourself for uncovering hidden gems and interesting fossils! The Spidey dino crew is ready! |
| Enjoy! |