| LEGO Audio & Braille Building Instructions for the LEGO Marvel set "Team Spidey Dino Crawler Rescue". |
| If you would like to access the help menu to find out how to use and navigate these instructions, tap with two fingers or press key "H". |
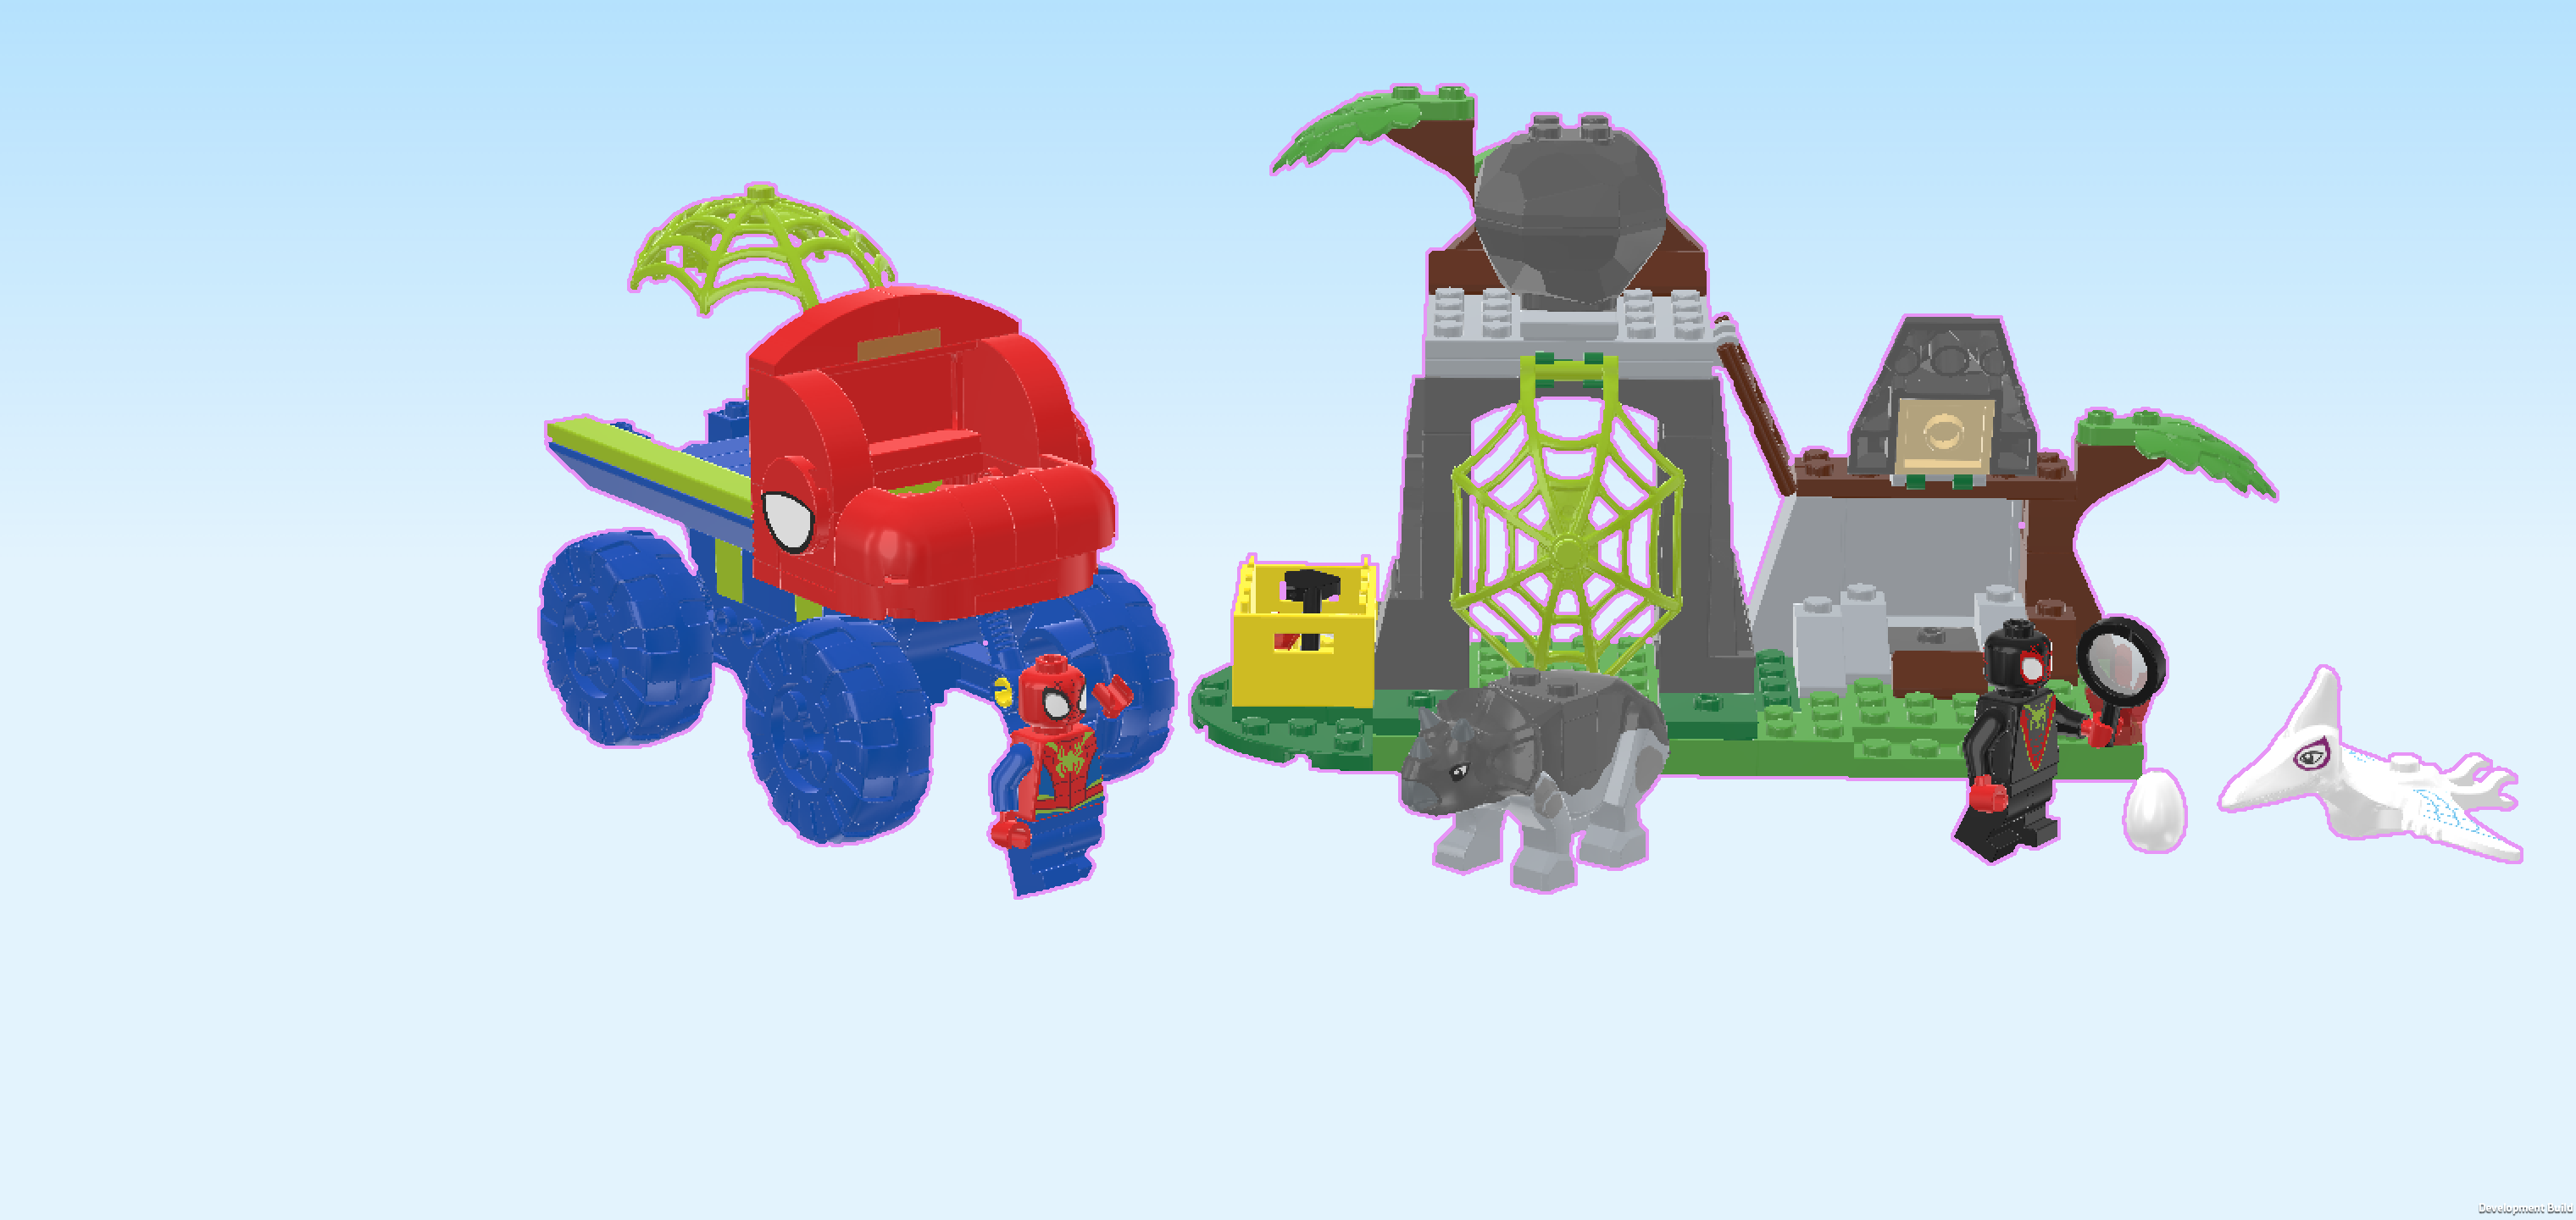
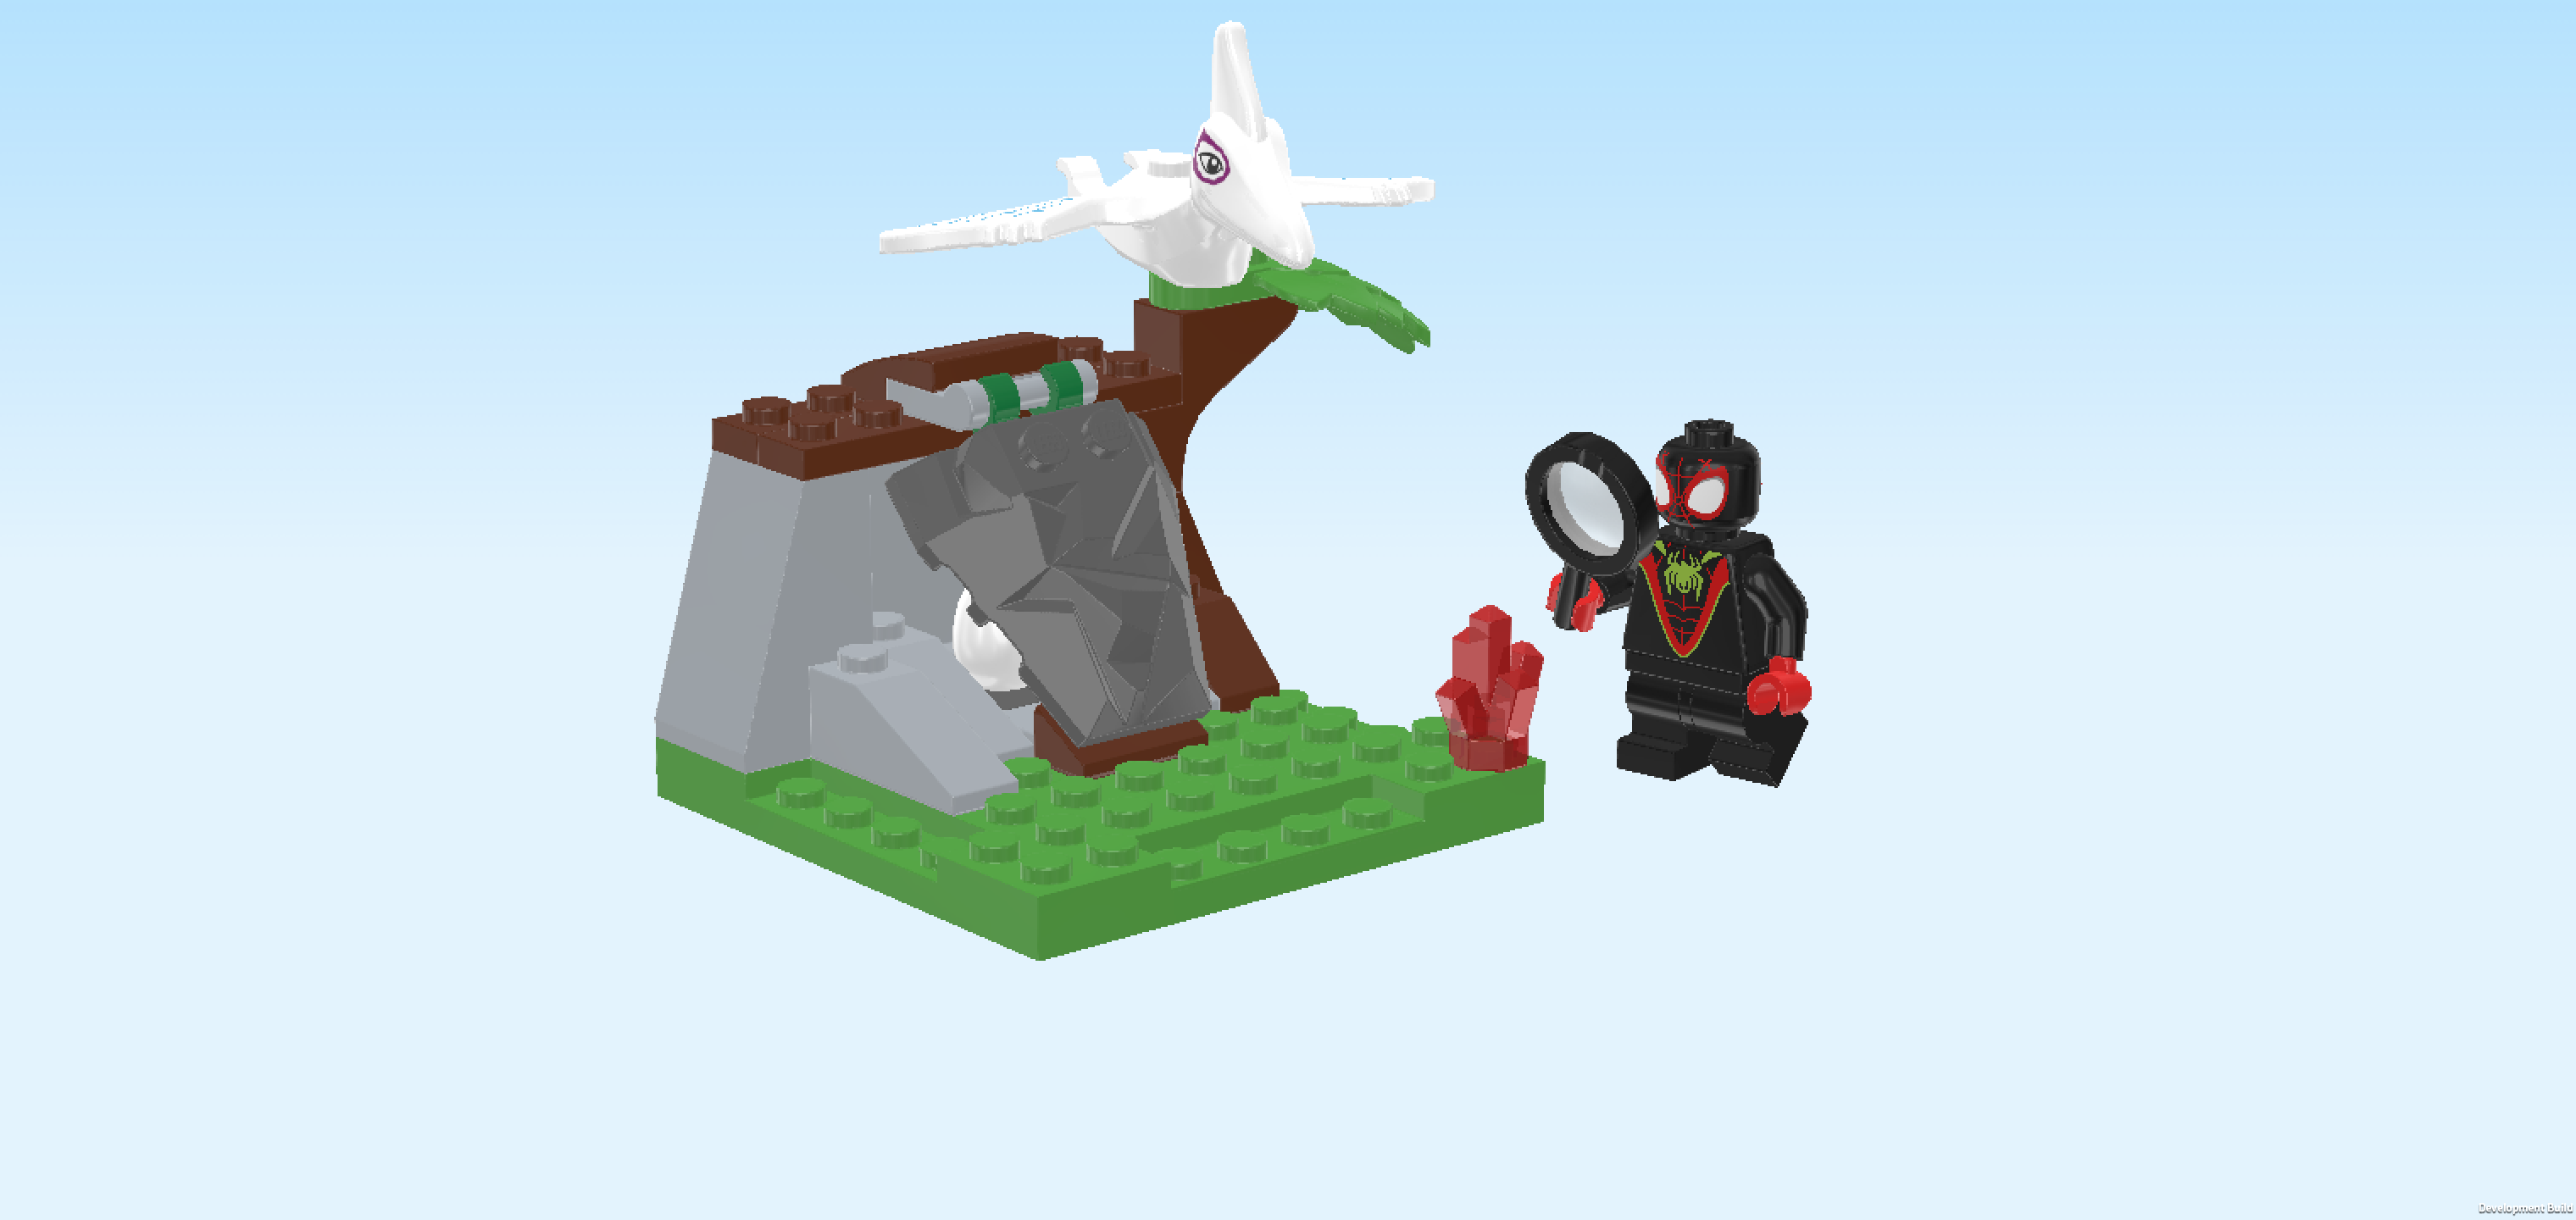
| Miles "Spin" Morales searches for fossils while Ghostosaurus breaks open the cave to find a hidden dino egg. Look out for the big rock that might crash down! Dino-Rhino charges into the cave to spoil the fun, but the heroes block him with a blast of dino-web. Spidey arrives with his dino crawler truck and web launcher to remove Dino-Rhino for good. Or, until your next adventure! |
| On the box cover, an exciting scene unfolds in front of the prehistoric backdrop: Spidey is standing atop the engine hood of his chunky red-and-blue crawler truck with open driver's cabin and spiderweb-covered truck bed. What is he doing up there? Meanwhile, Ghostosaurus flaps her wings above a rocky cave, while Miles “Spin” Morales is inspecting a fossil that he discovered with his magnifying glass. What Spin can't see is that Dino-Rhino has found the heroes' utility box, peeking in curiously. The troublemaker is about to crash the scene! That is why Spidey stands atop the engine hood: he is getting ready to jump down from the crawler truck to stop the dino! In the middle of the scene, a giant boulder teeters above the cave, just about to fall. The dino egg peeks out from the broken rocks below. It’s a dino-sized rescue mission in full swing! |
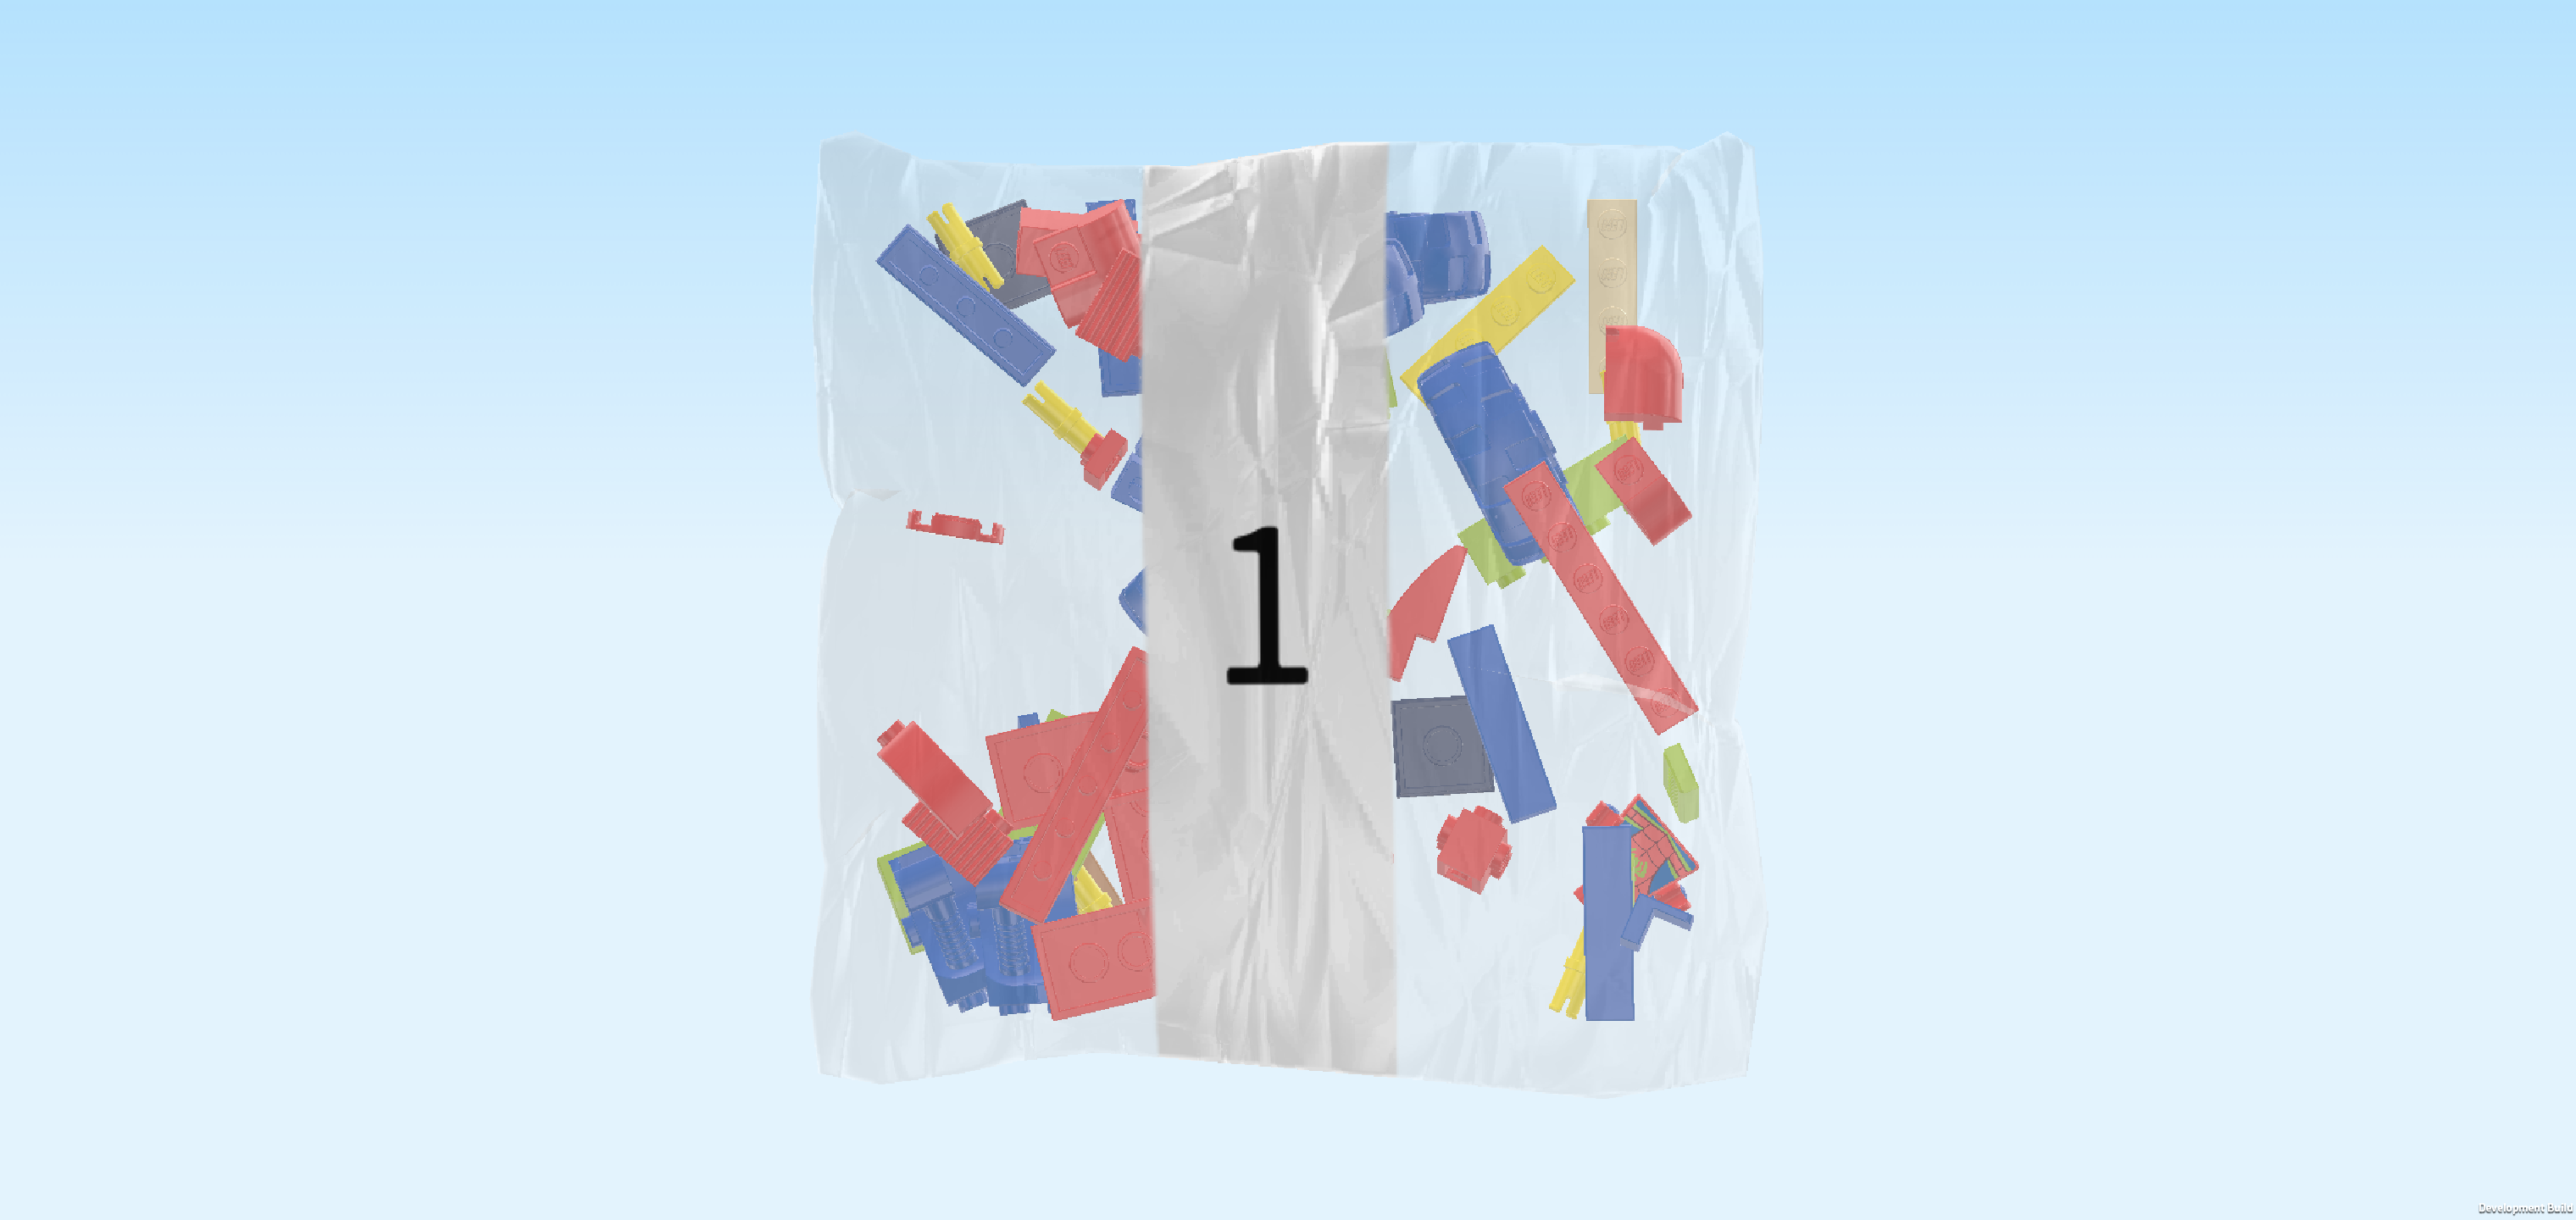
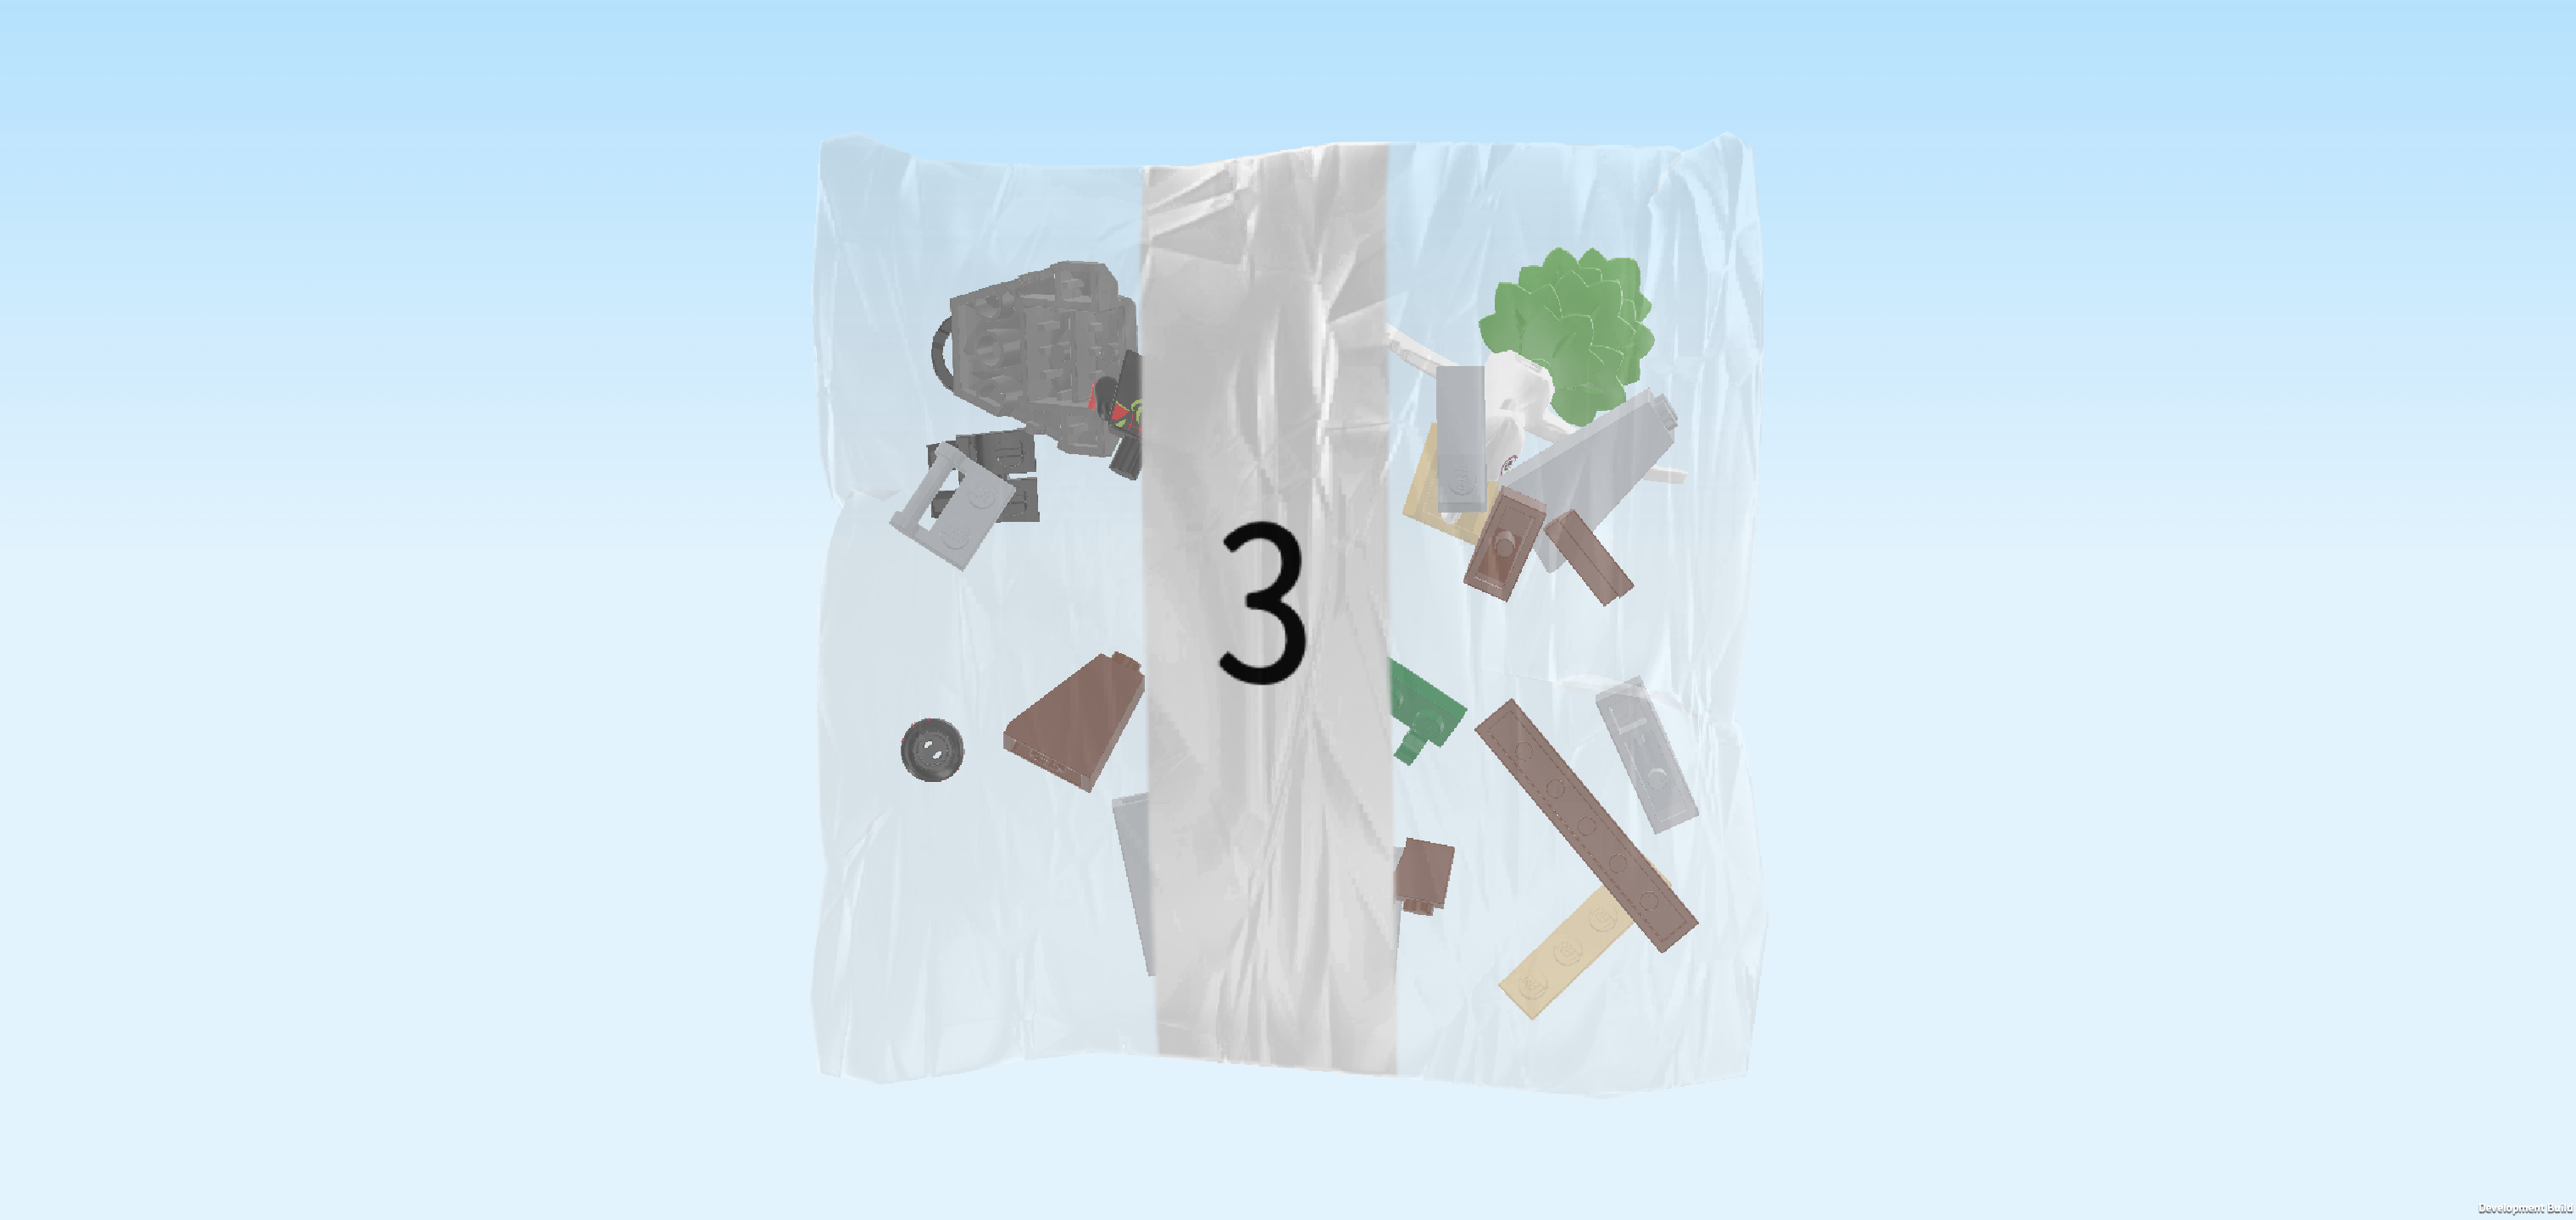
| Open the box. It contains visual building instructions, 3 numbered bags and 3 loose pieces: 1 inverted double roof tile 6x8 and 2 stepped plates 8x8x⅔ with 4 recesses. We will refer to the bag numbers to guide you through the building process. Please ask a sighted person to help you identify the correct bags! |
| Carefully open bag number 1 and any small sub-bags in it. This bag contains all bricks and pieces for the Spidey Minifigure and the Crawler Truck. |
| If you like, you can ask a sighted person to help you sort the pieces by color before you start building. We recommend using trays or bowls. This can make finding the correct pieces easier! However, if you would like to build without brick colors entirely, you can also ignore them or turn them off. There are different ways to sort and organize the bricks and your building process. It is up to you! |
| First, we will build the Spidey Minifigure. |
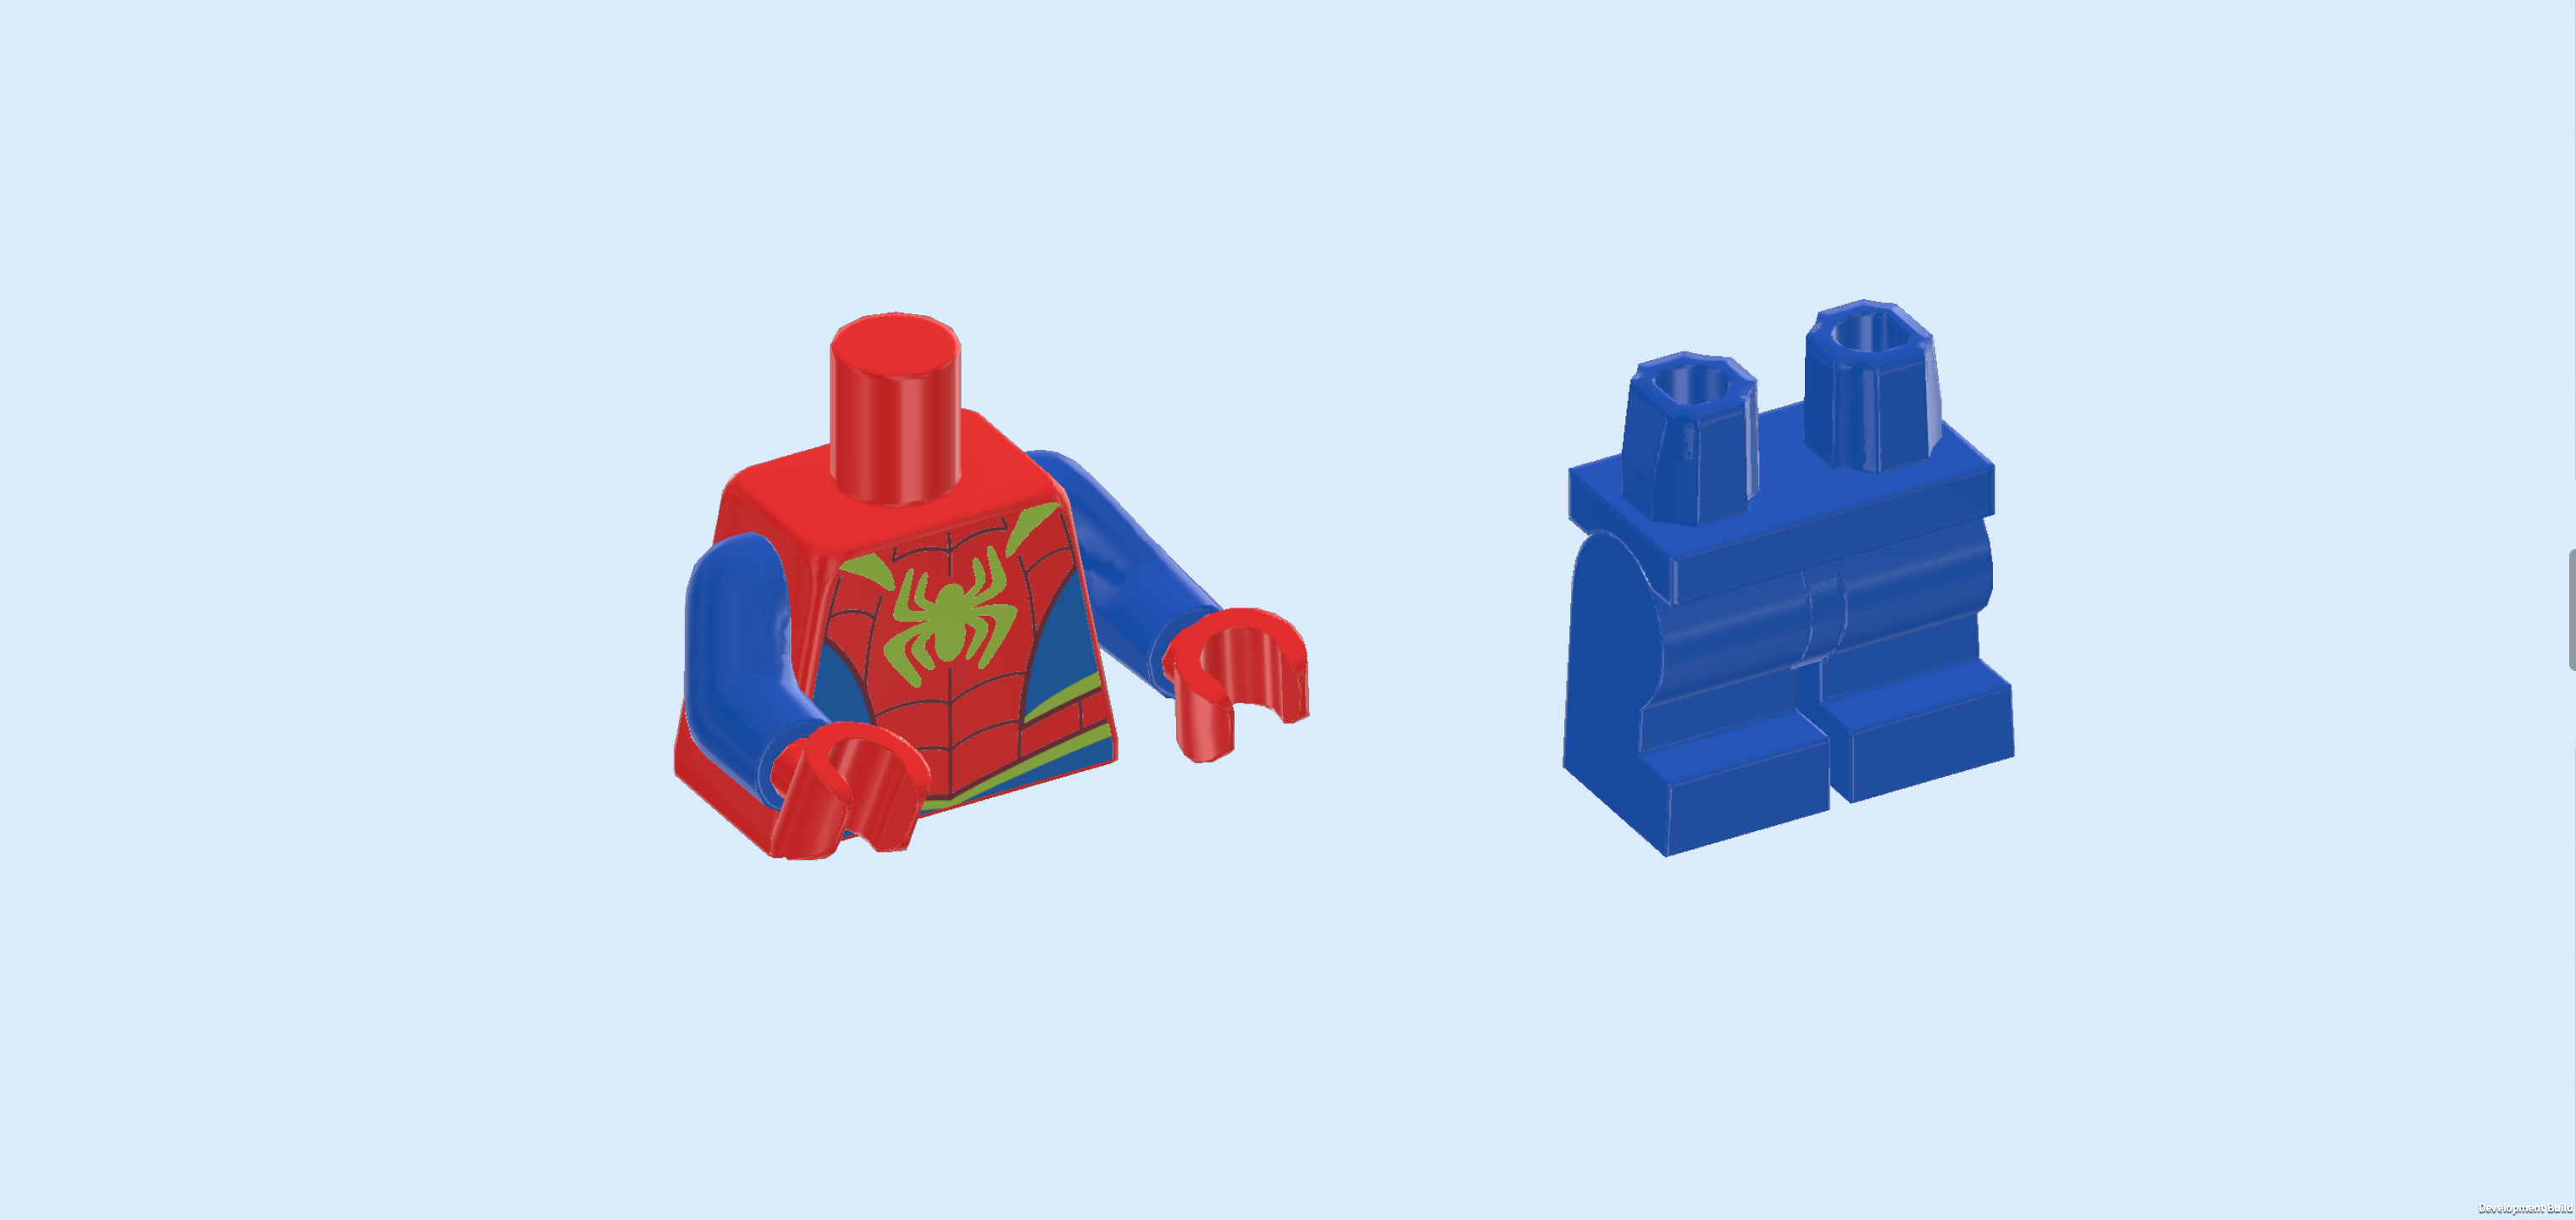
| Collect the following 2 pieces: |
| 1 bright red and bright blue upper part of the body, |
| and 1 bright blue pair of legs. |
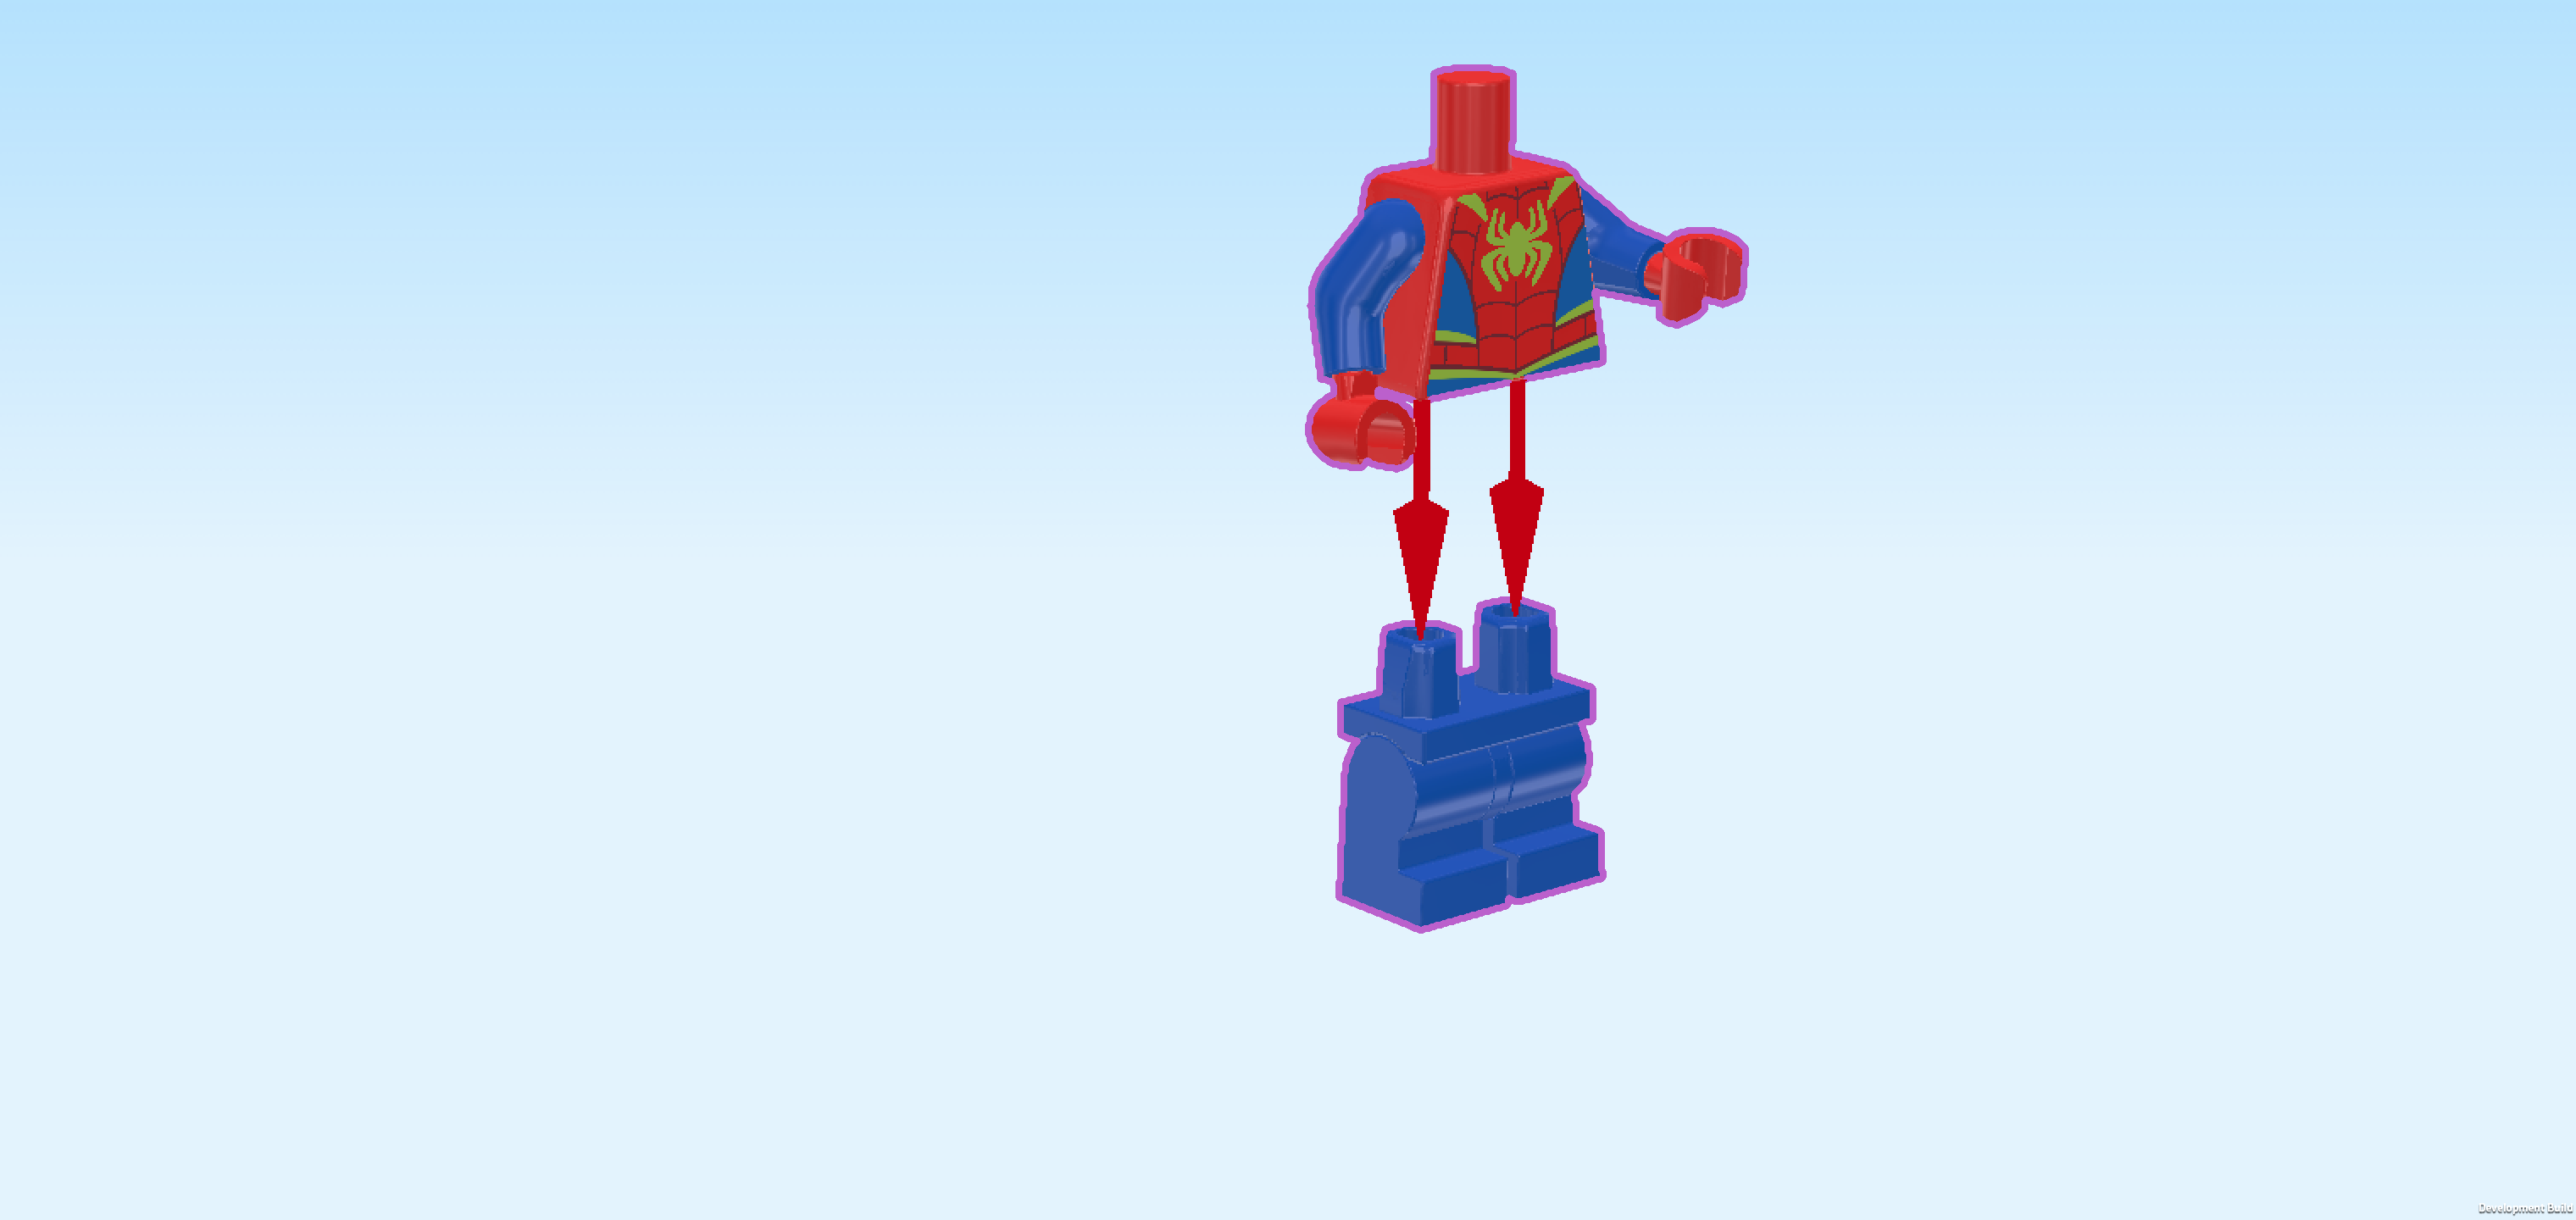
| Put the upper body on the legs. Make sure that the hands and toes are pointing in the same direction. |
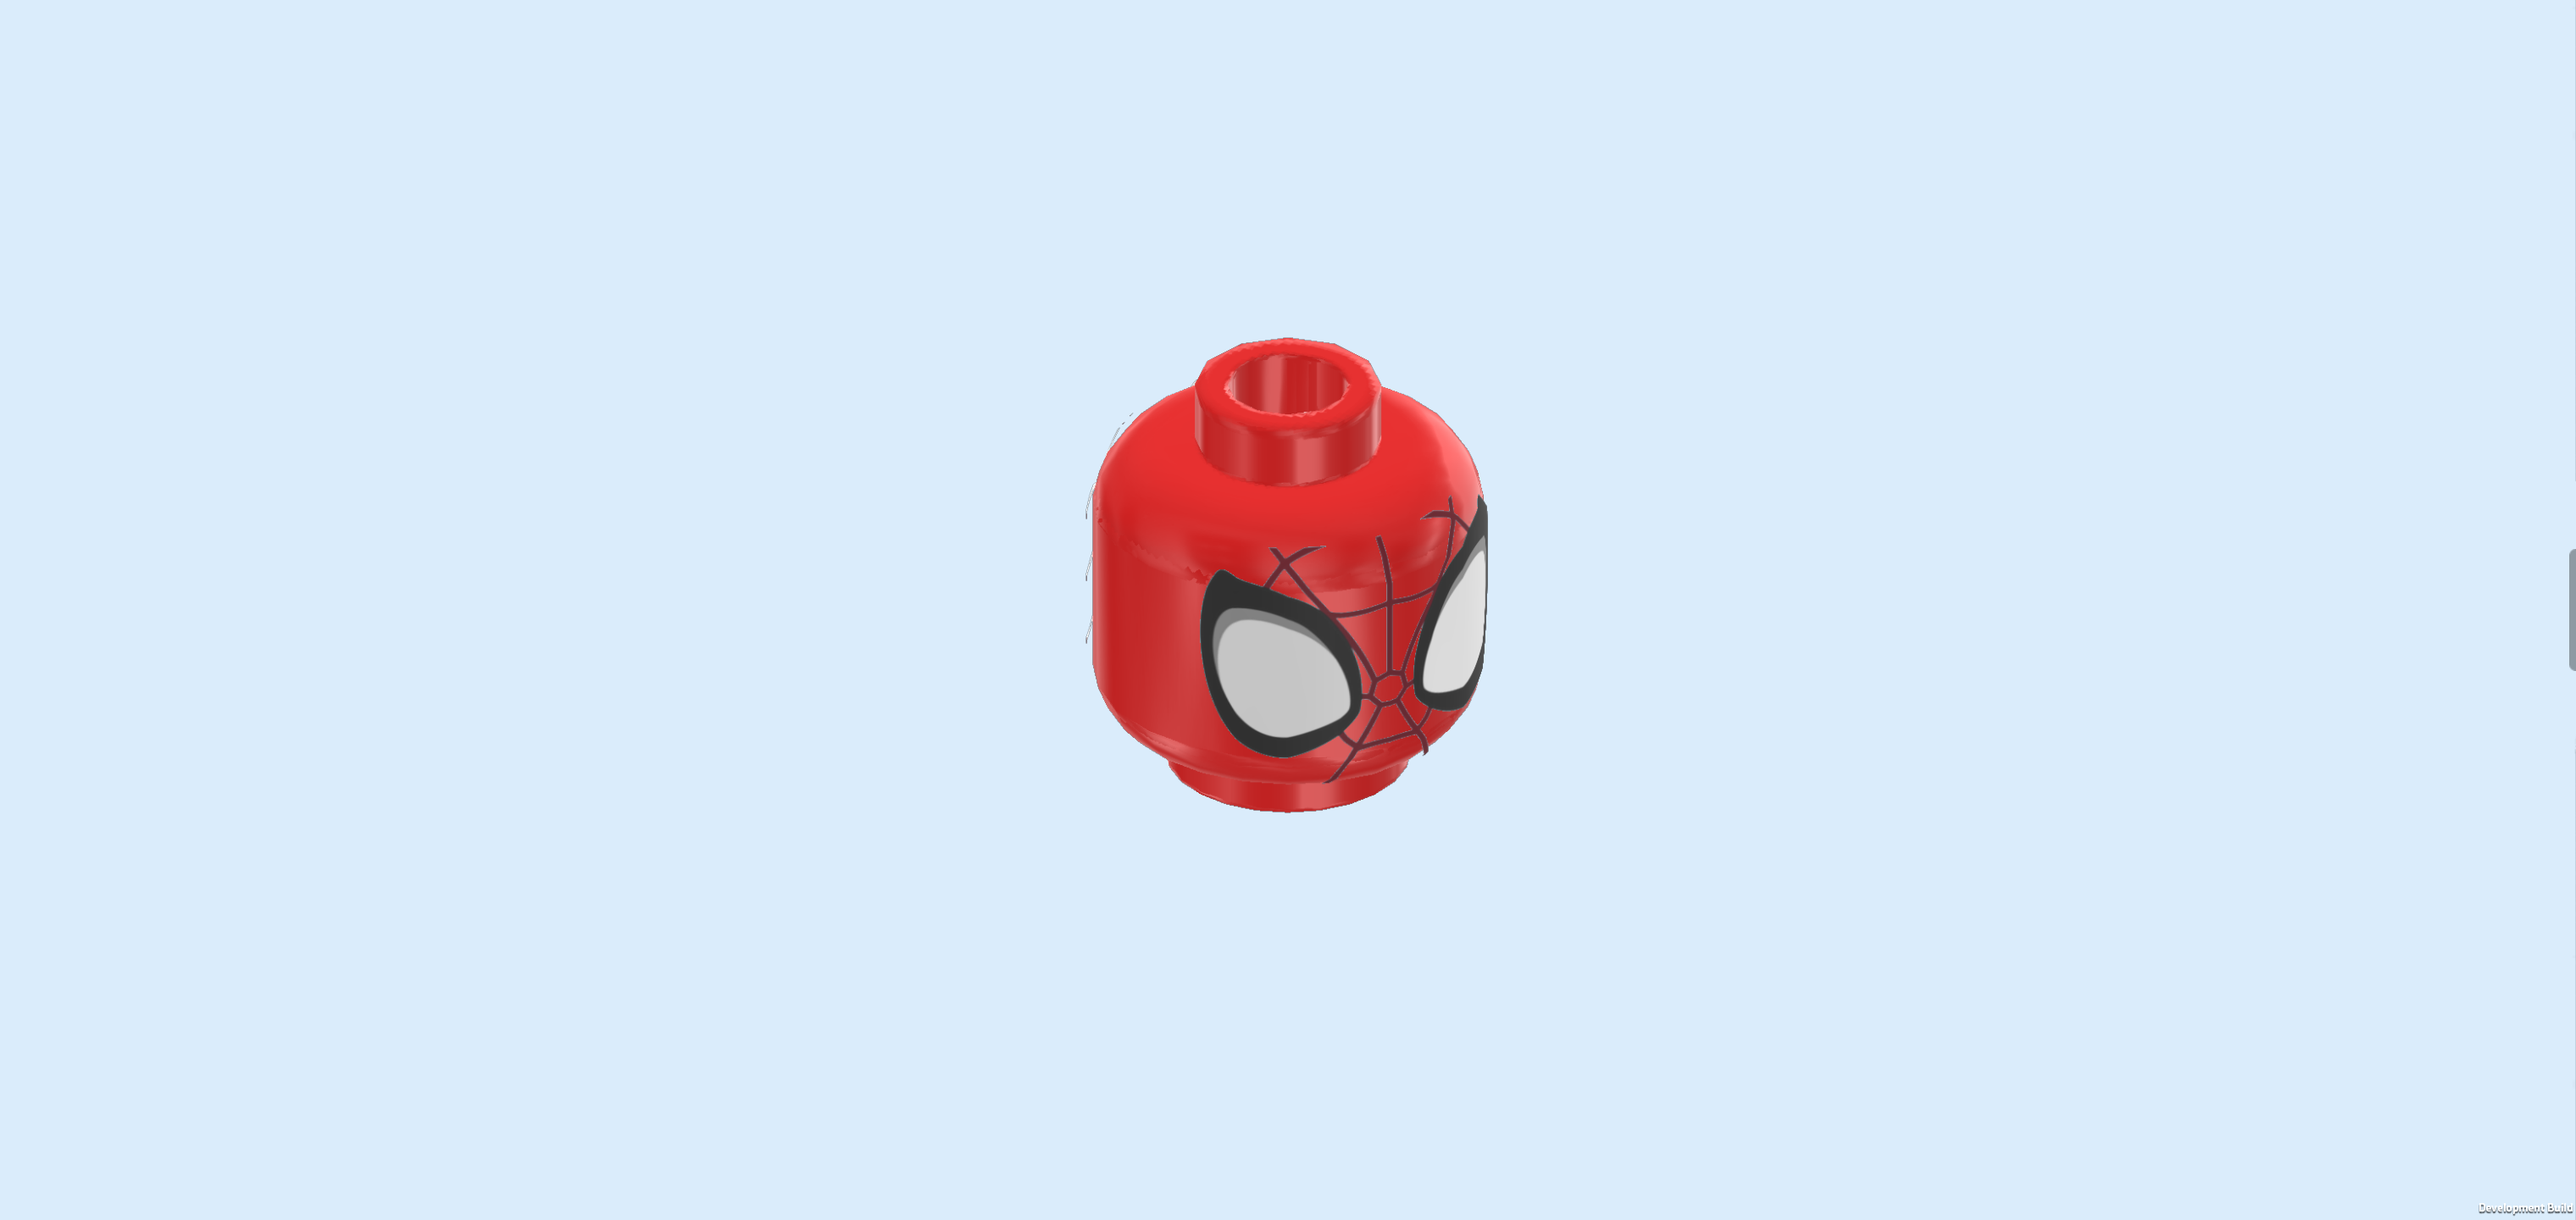
| Find 1 bright red Minifigure head. |
| Put the head on the body. |
| The Spidey Minifigure is finished! Great job! He’s wearing his classic red-and-blue suit with faint dark red webbing lines across the chest and mask. A big neon green spider symbol stretches over the front of his shirt, and his big white eyes look sharp and focused. He’s ready to swing into action whenever trouble starts—especially when dino-sized villains show up! |
| Next, we will build the Crawler Truck. |
| Collect the following 3 pieces: |
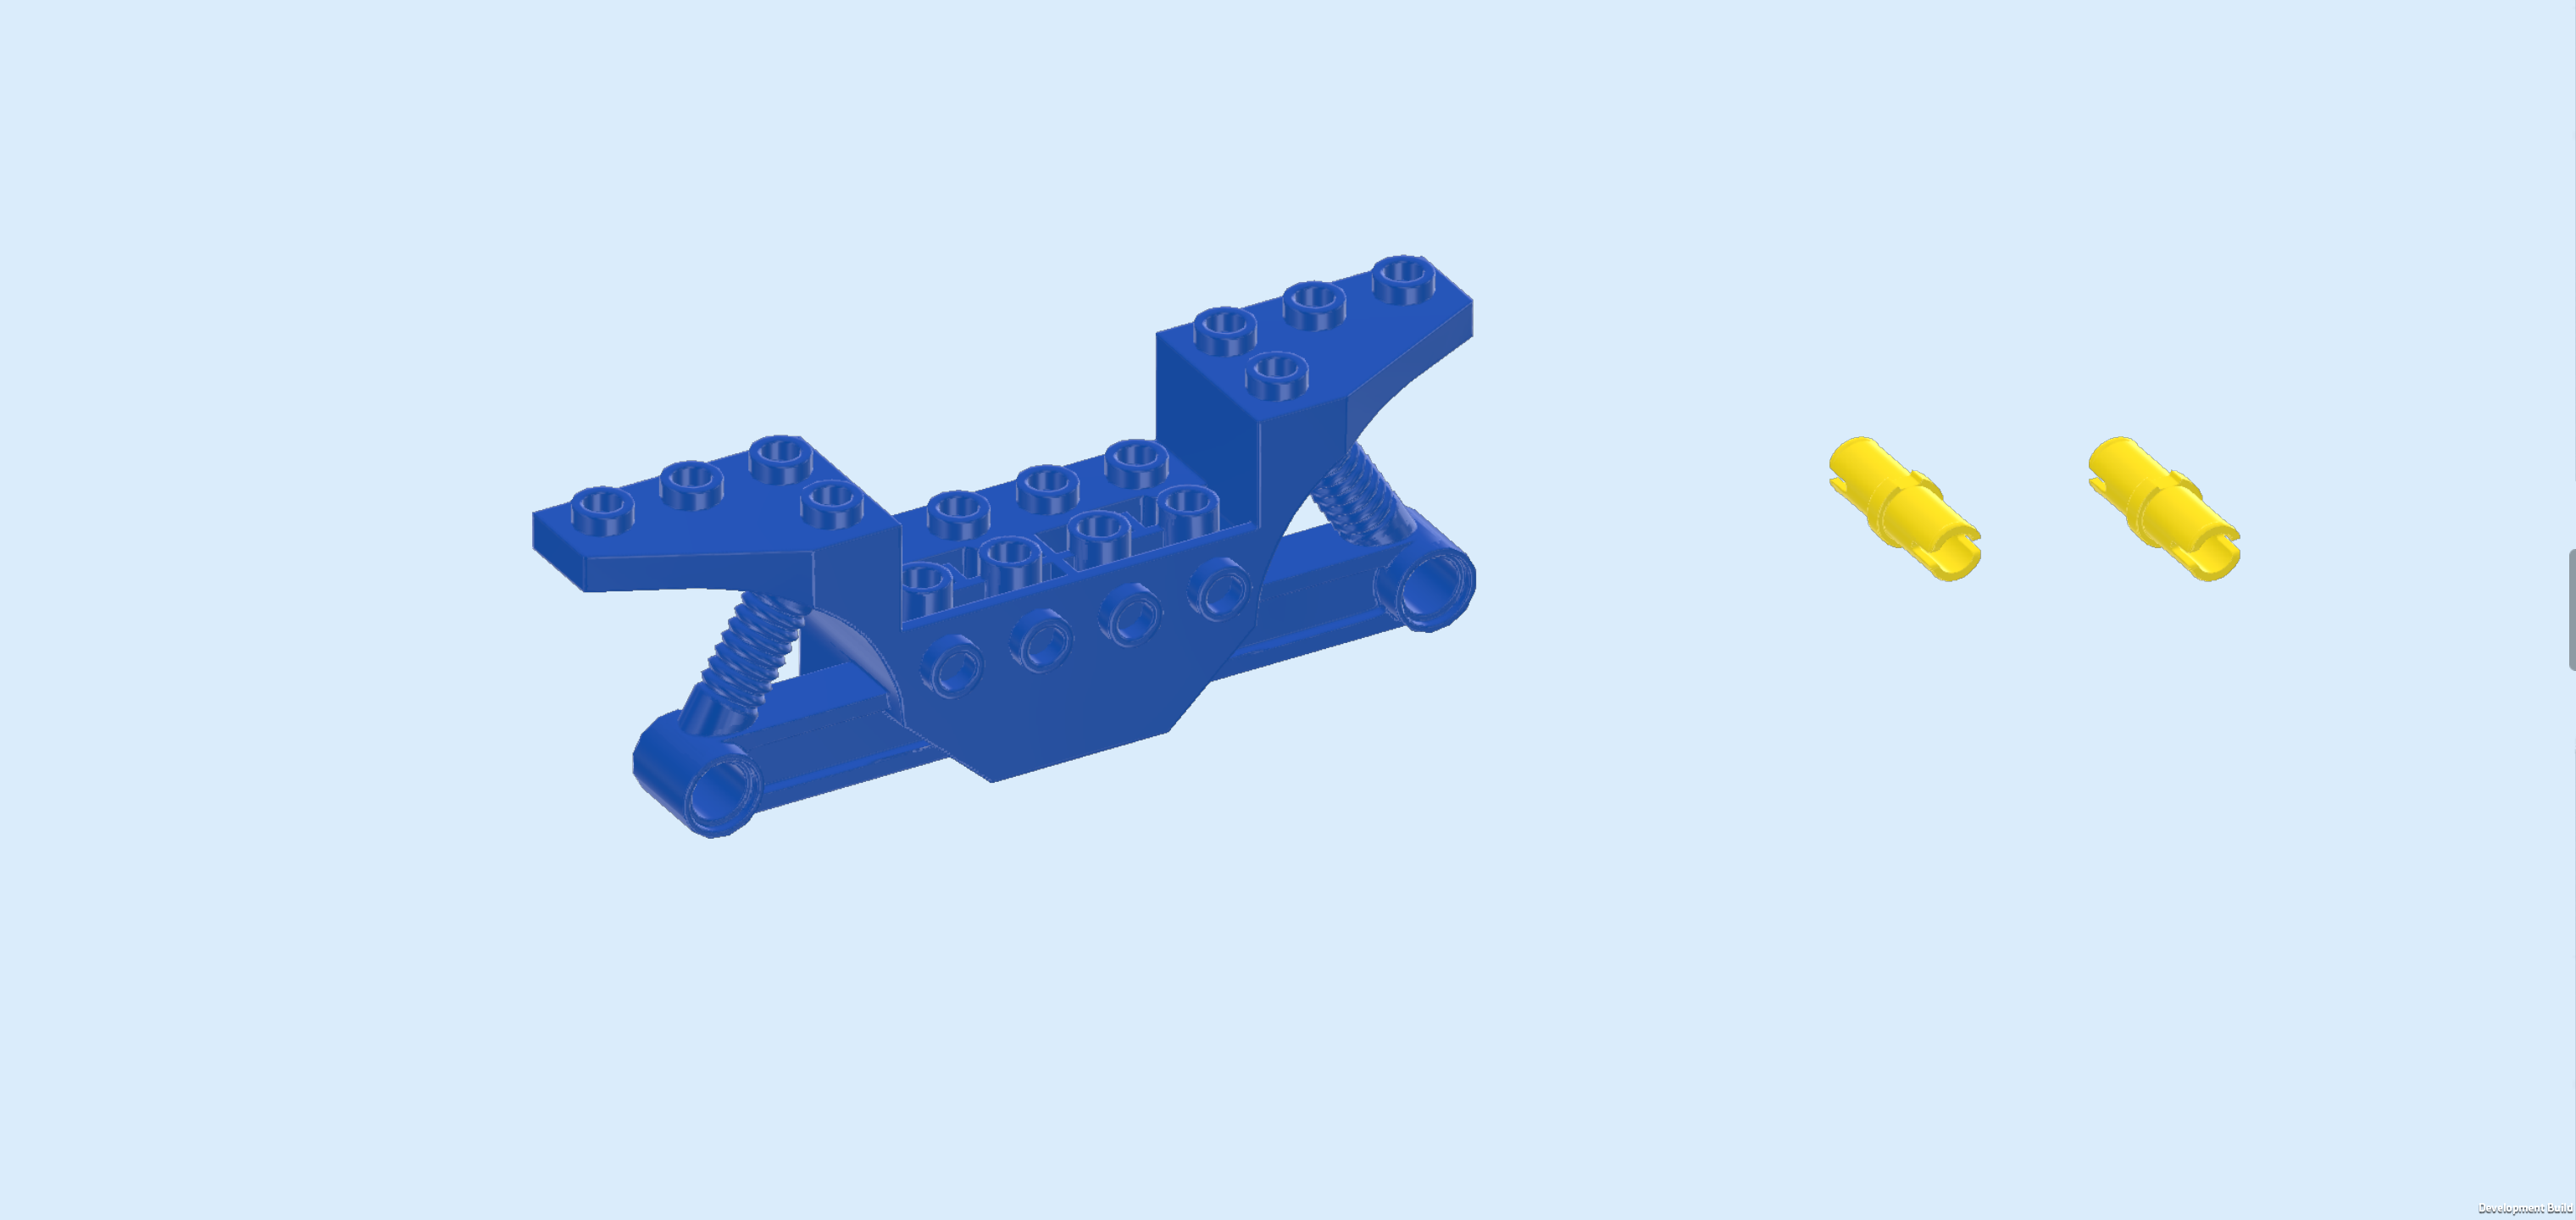
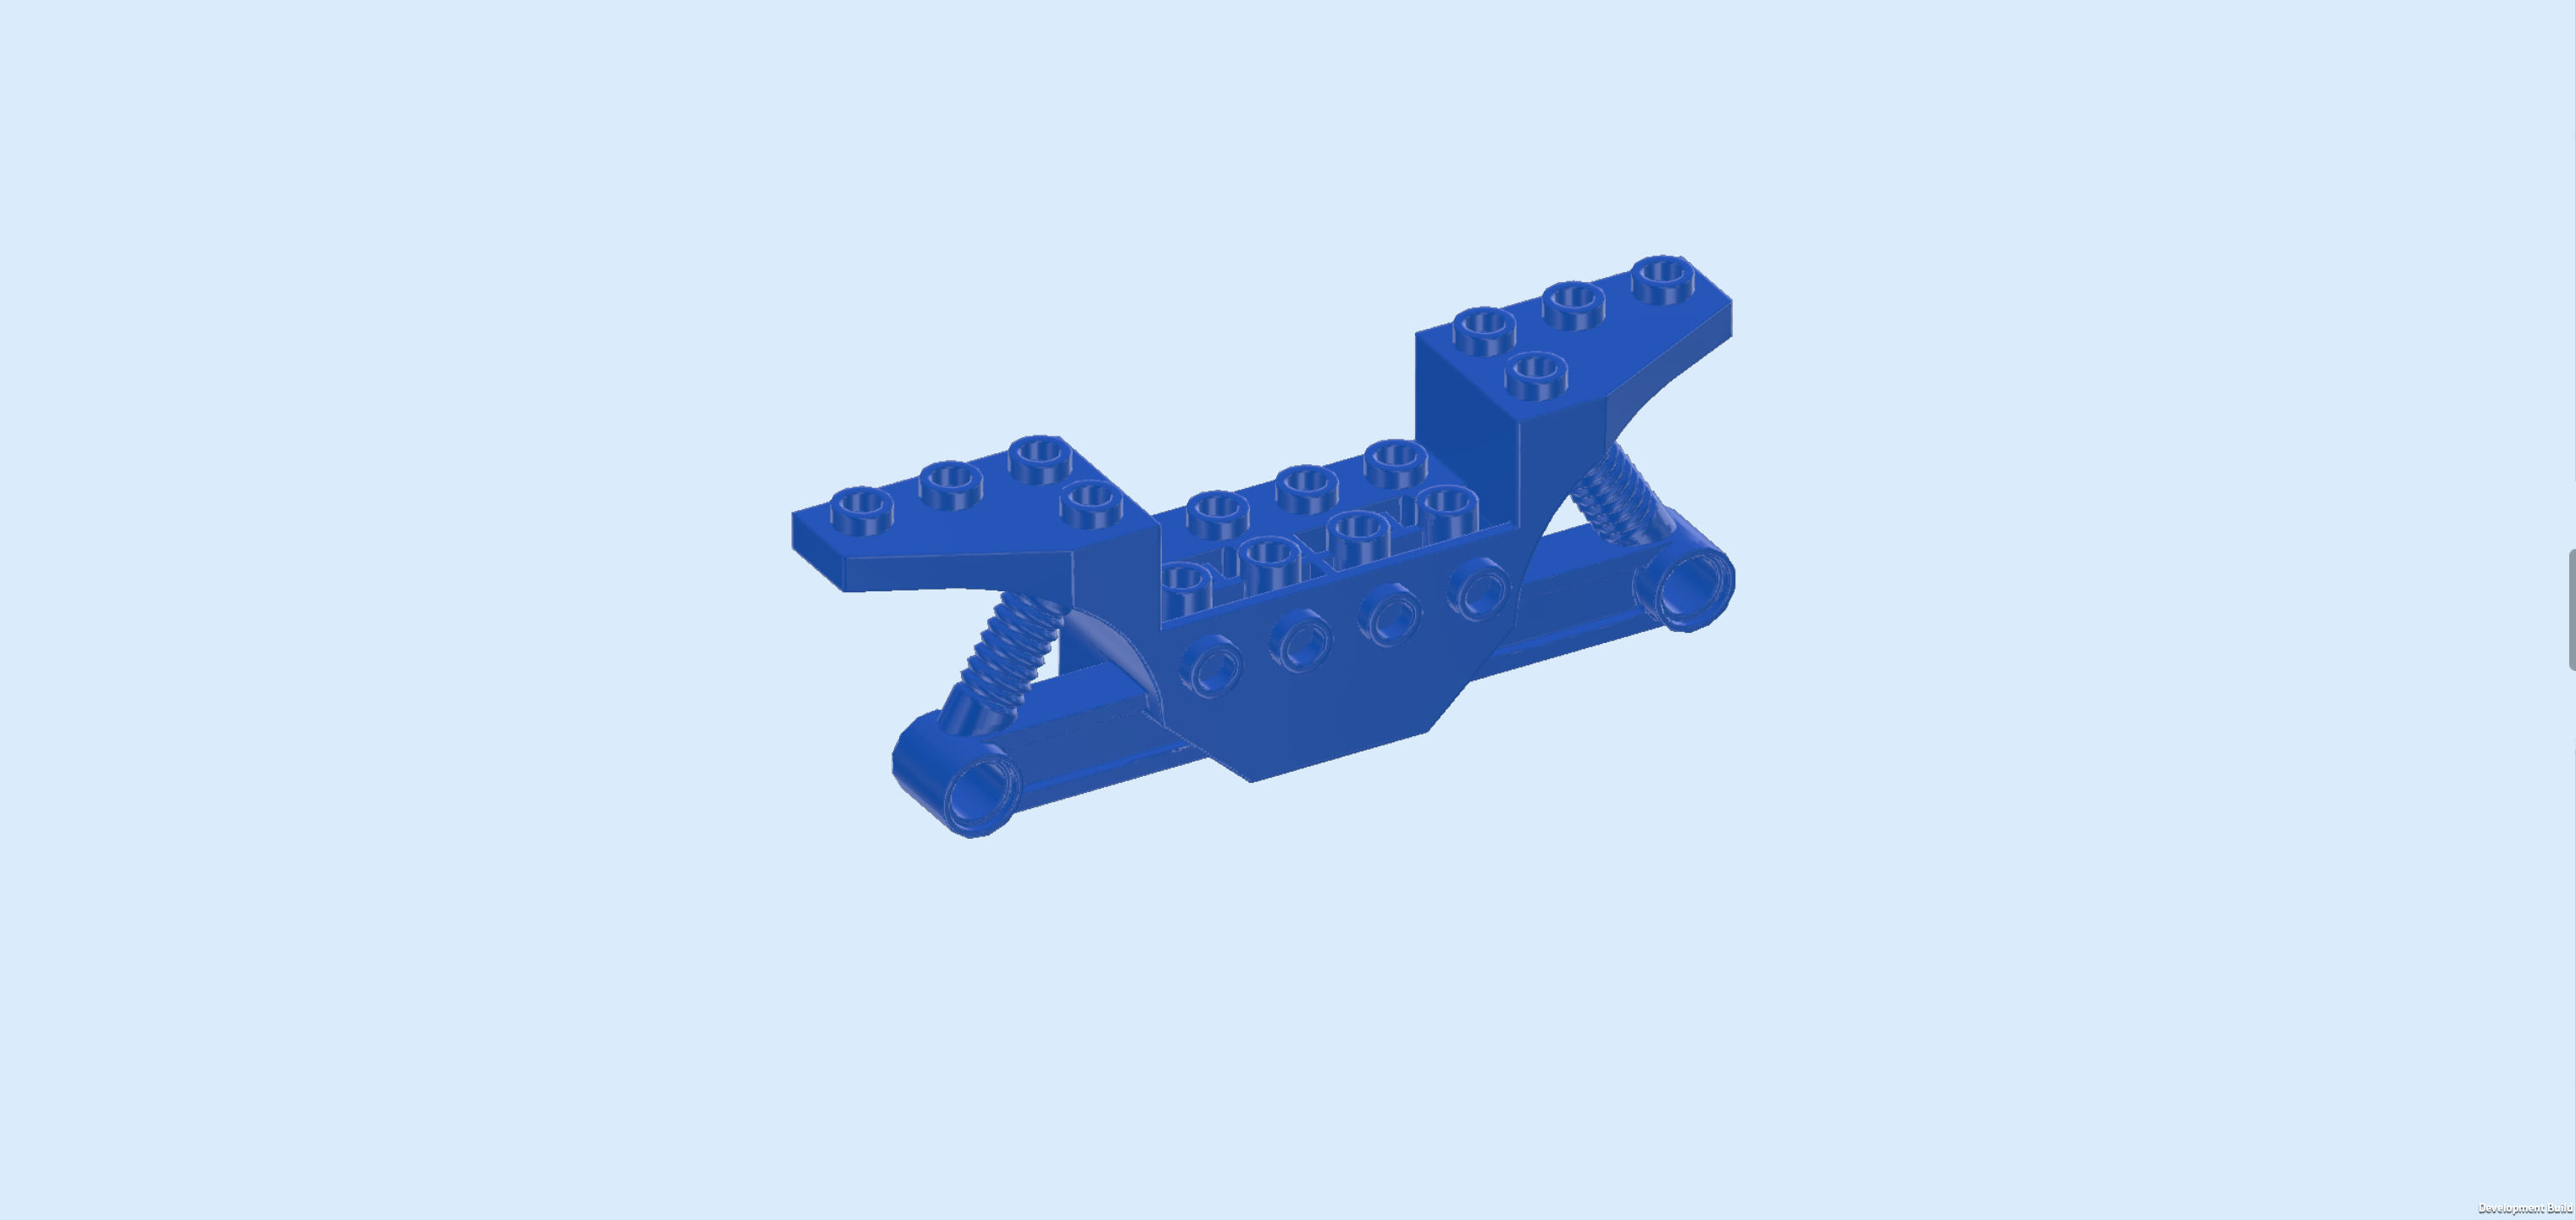
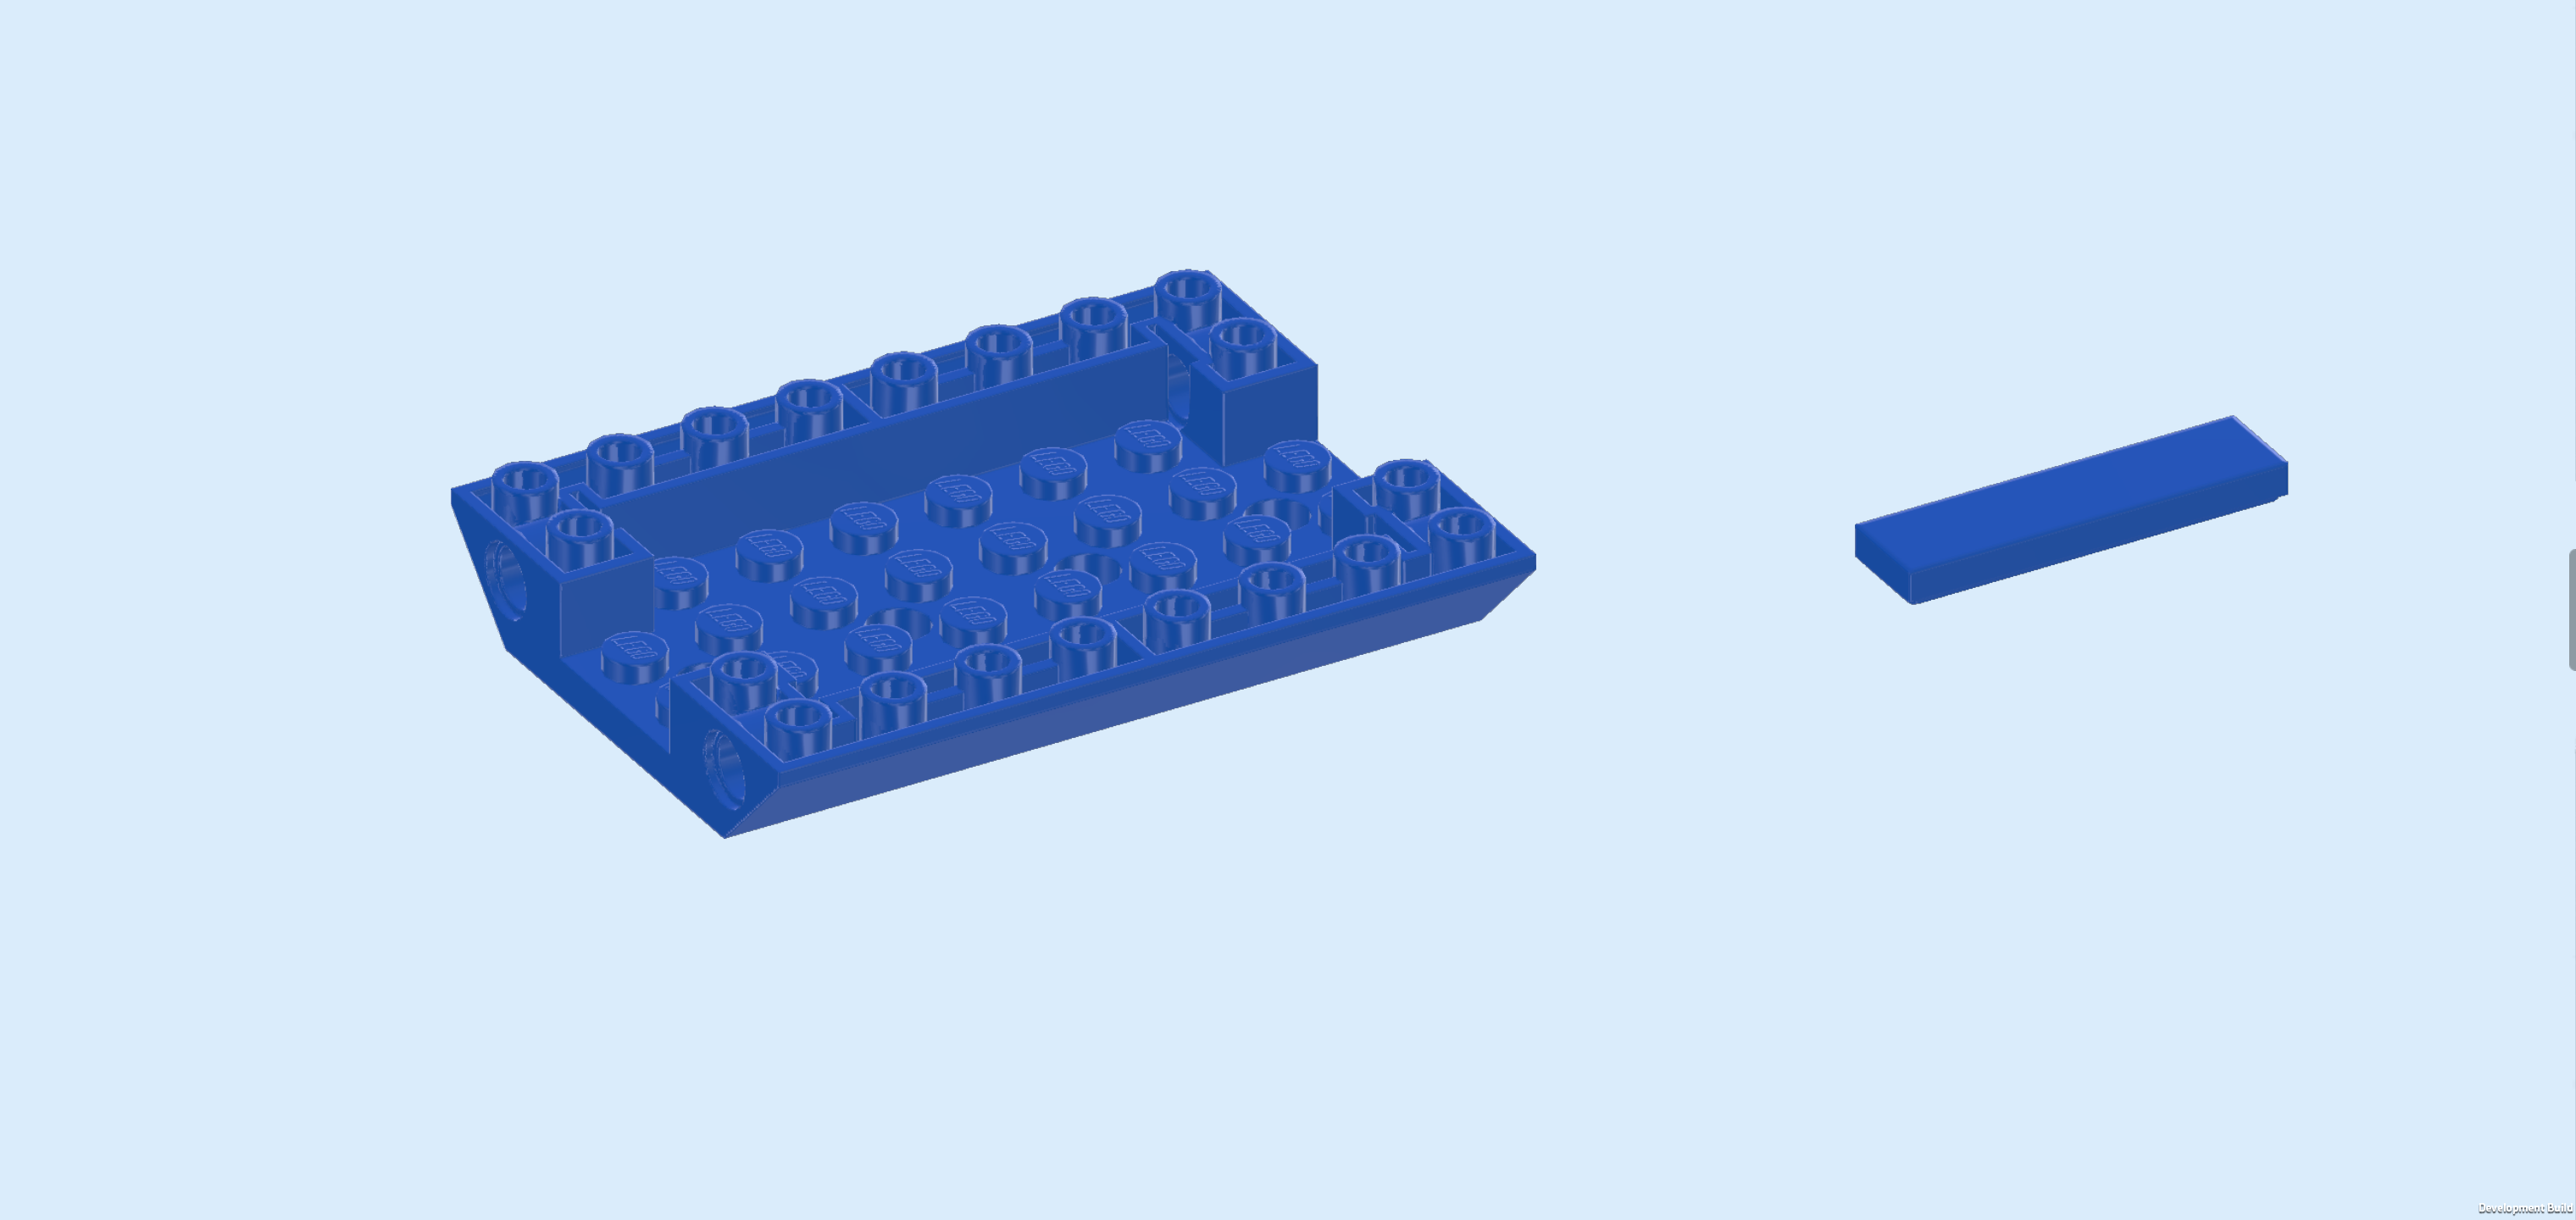
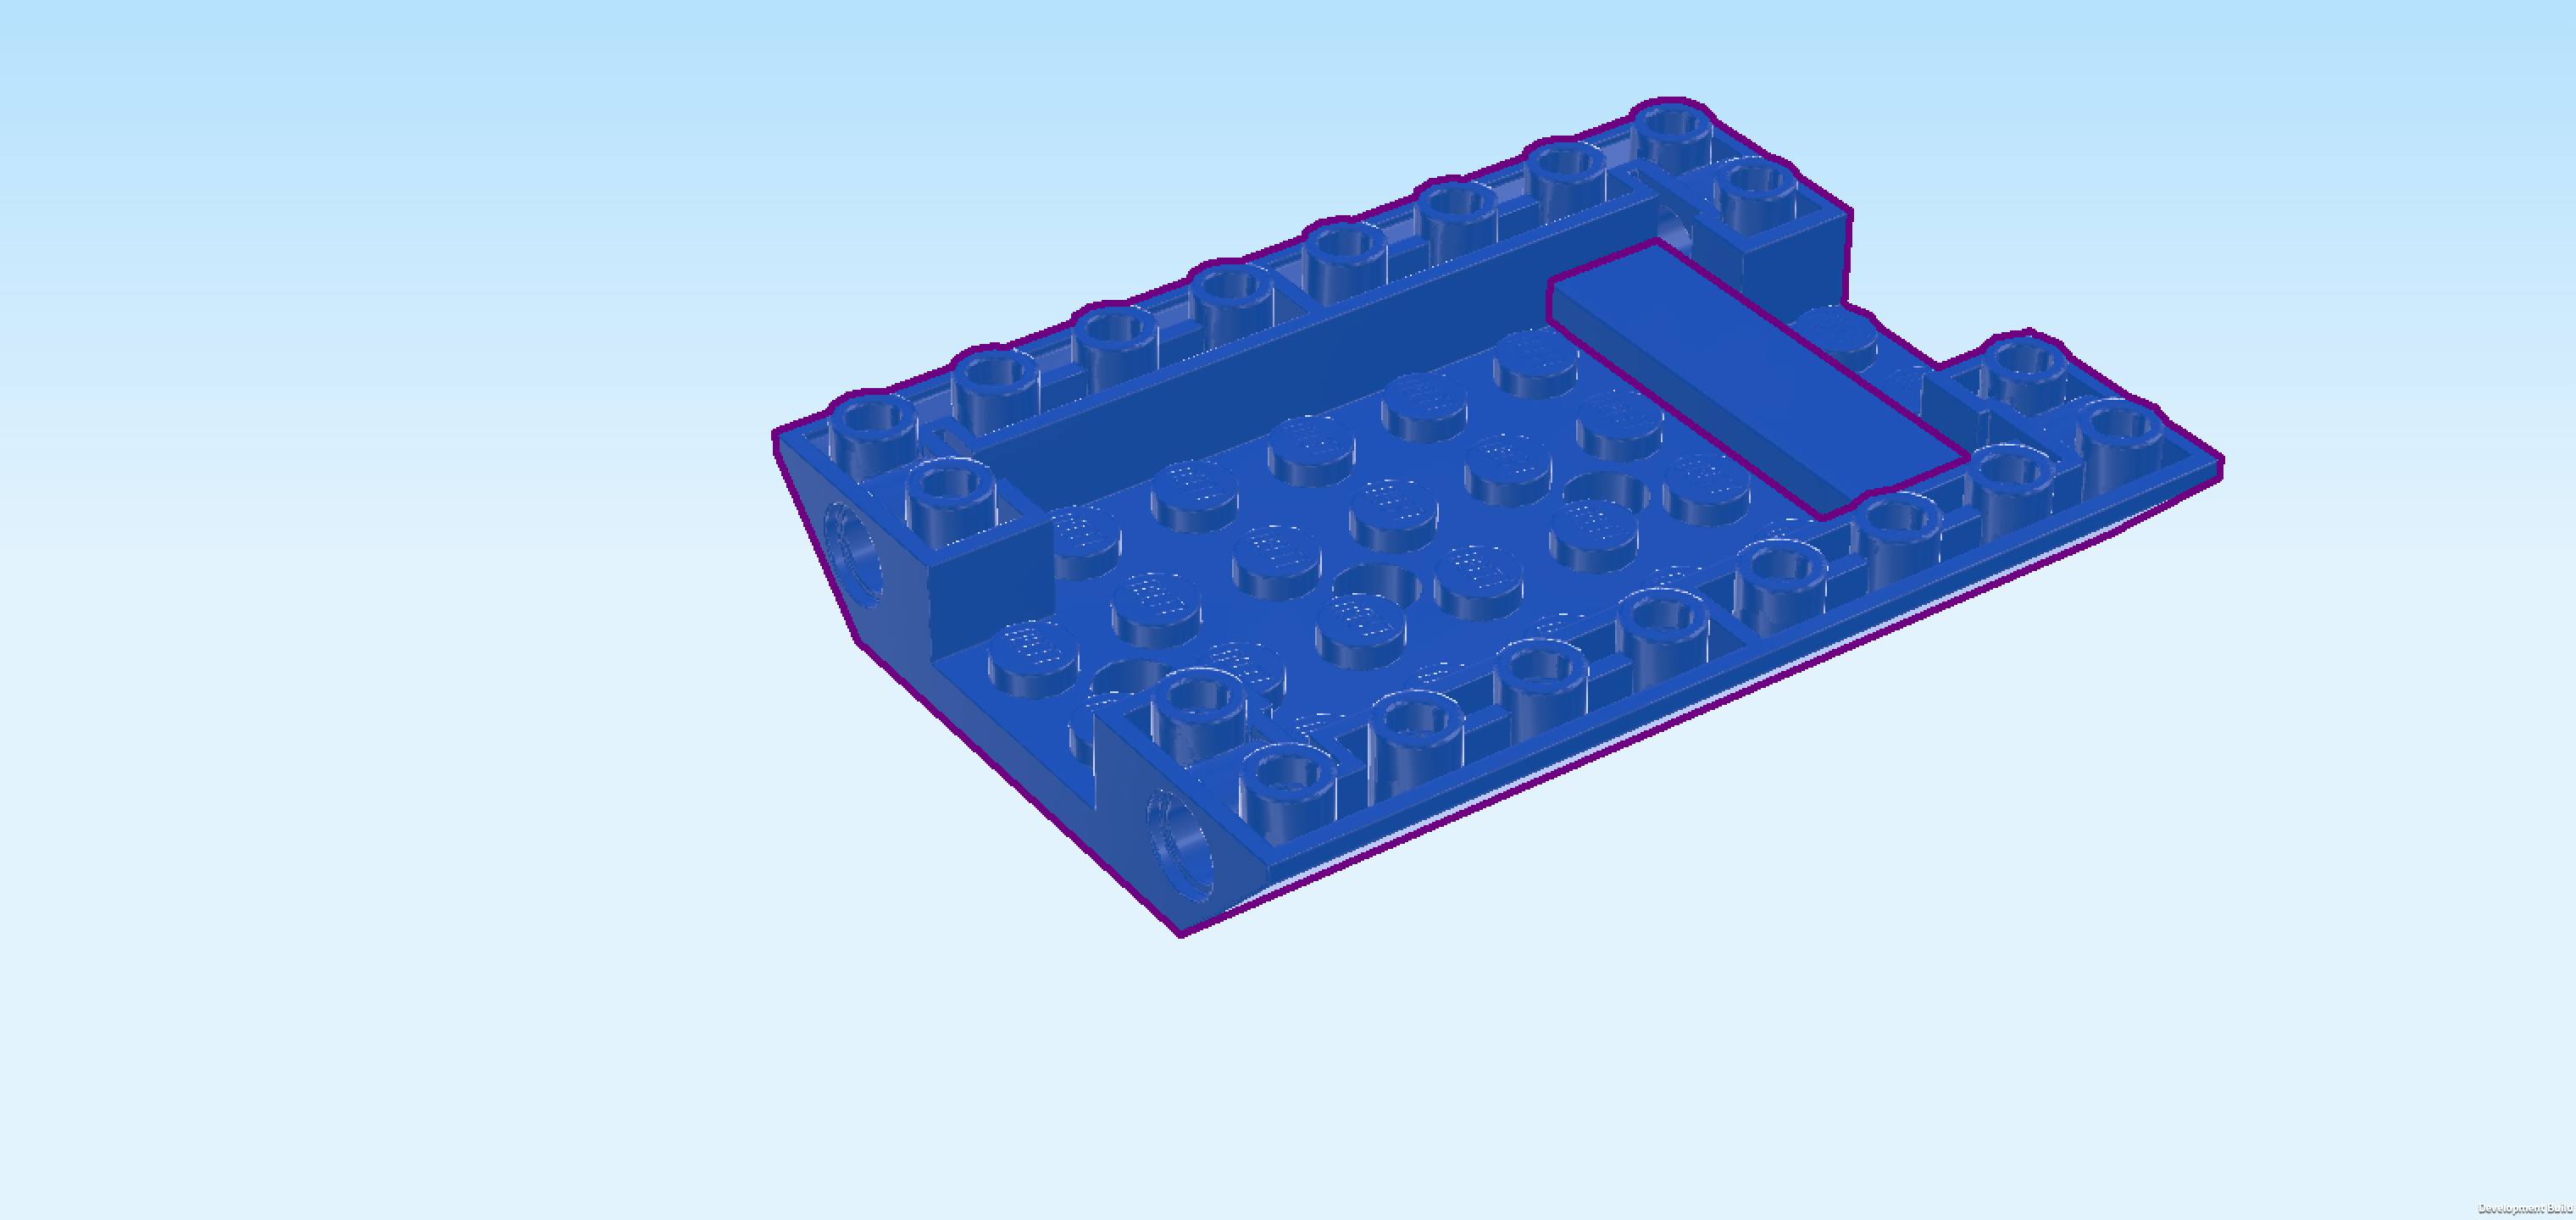
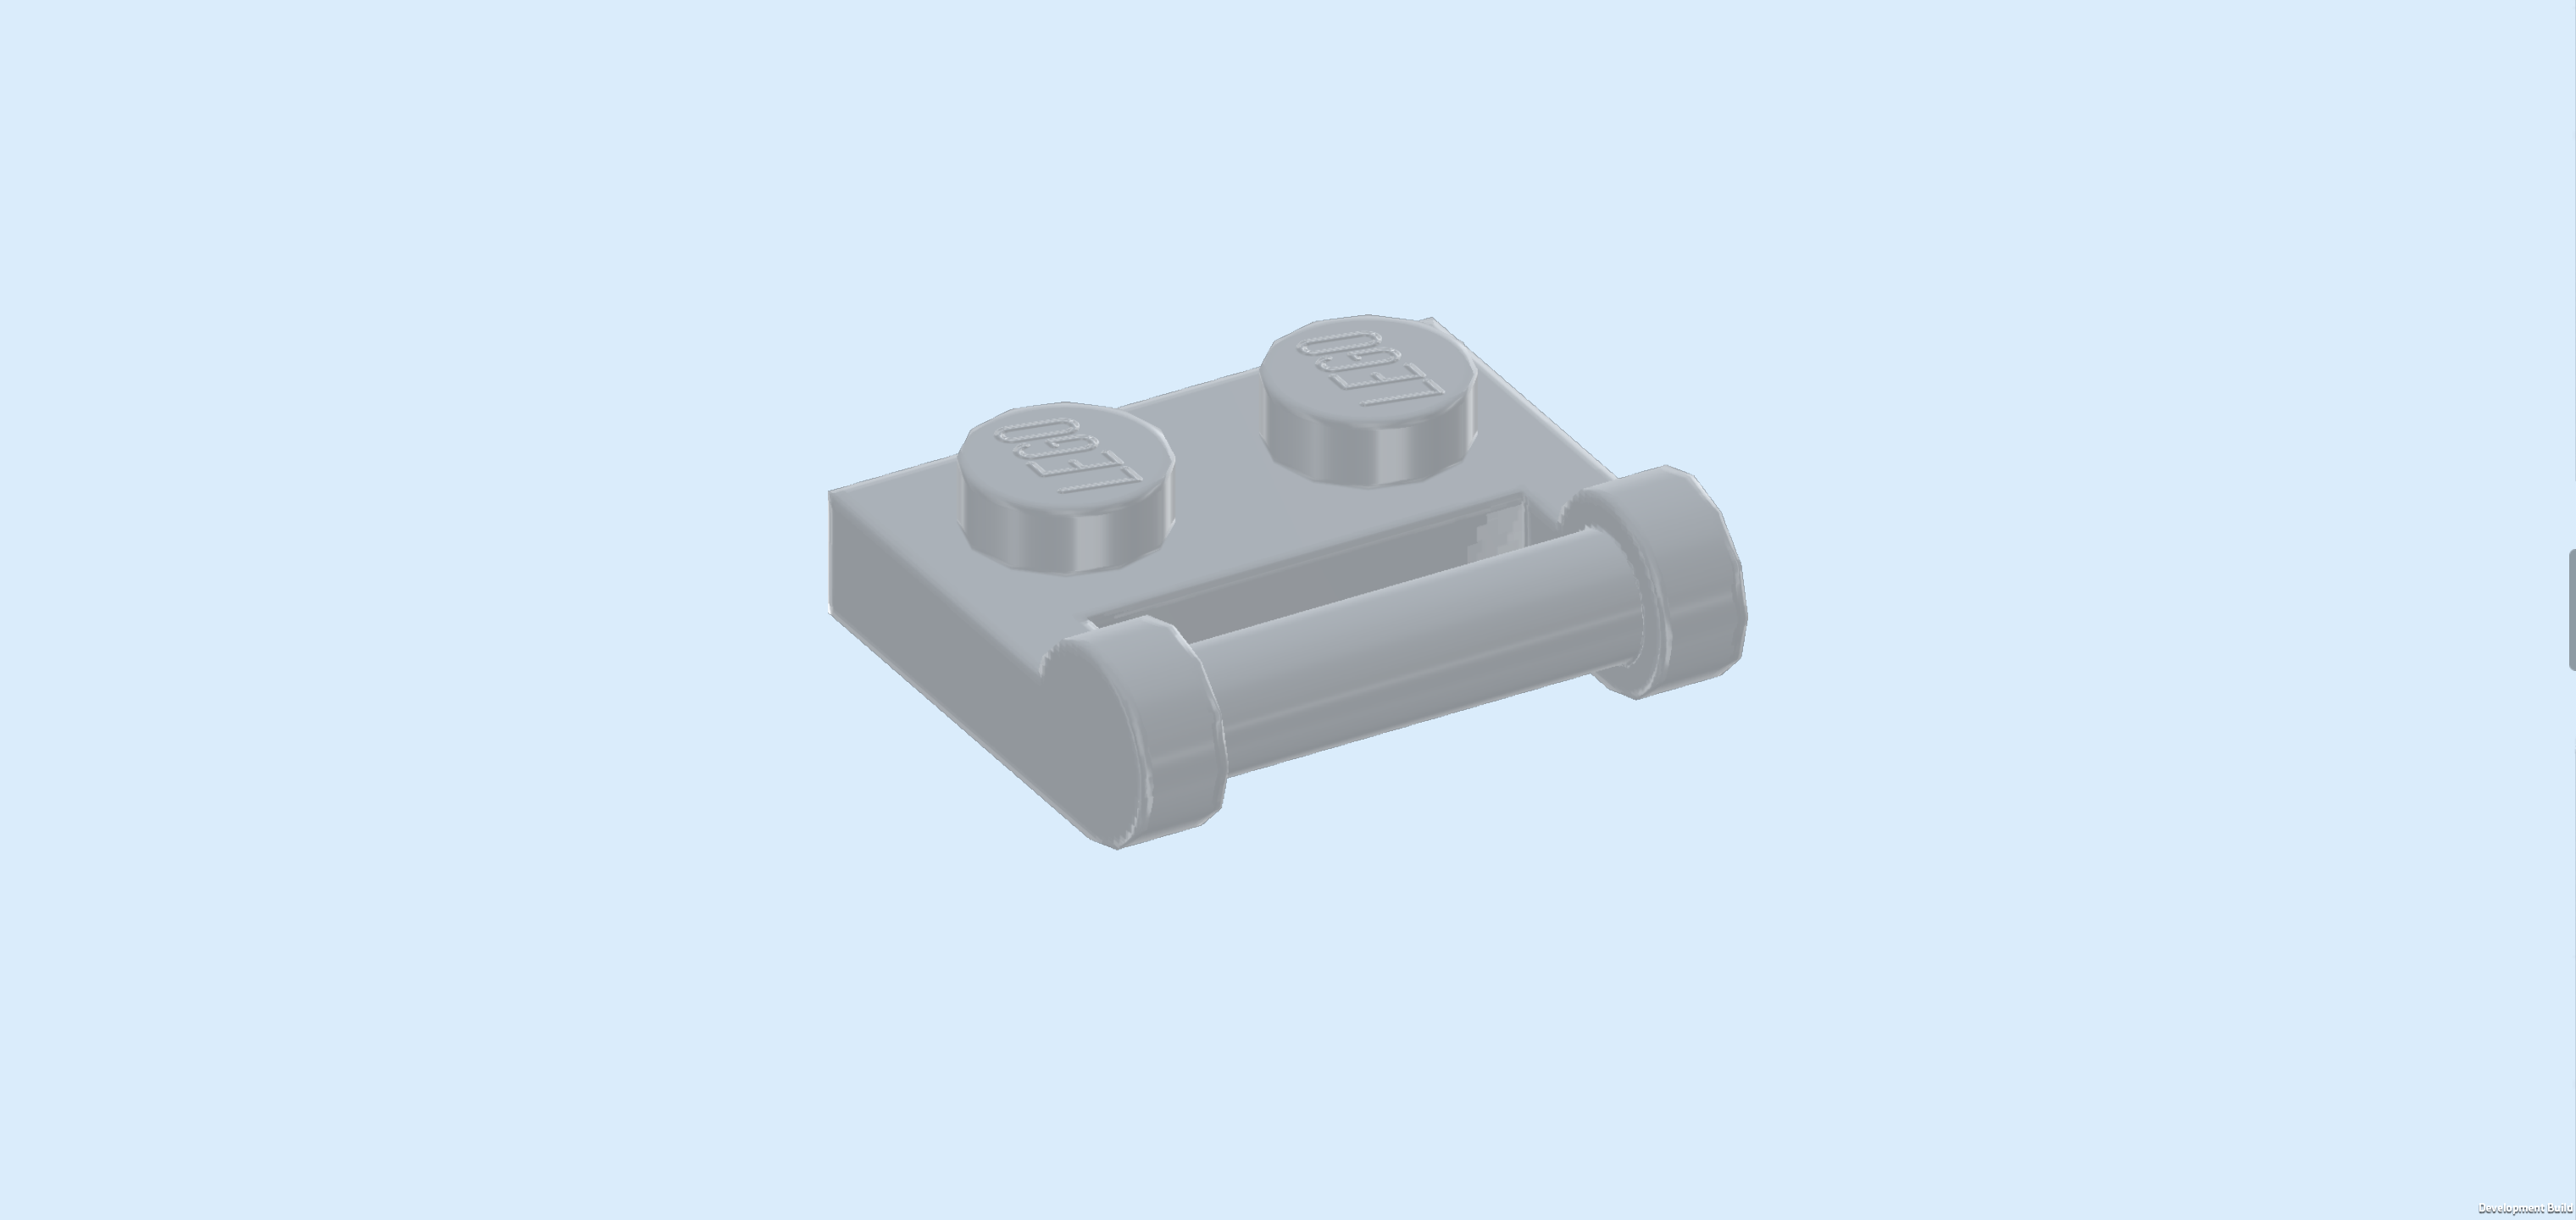
| 1 bright blue vehicle frame 2x10 with 2 suspension springs, |
| and 2 bright yellow connector pegs 2m with middle ring. |
| Hold the vehicle frame 2x10 horizontally. Make sure that the 4 side knobs are pointing to the back and the side surface with 2 holes is facing you. The 2 suspension springs should be at the bottom. |
| Insert the 2 connector pegs into the 2 side holes at the front, 1/2 protruding to the front. Do not use the holes of the suspension springs but make sure to use the holes in the center of the vehicle frame on the smooth side surface. |
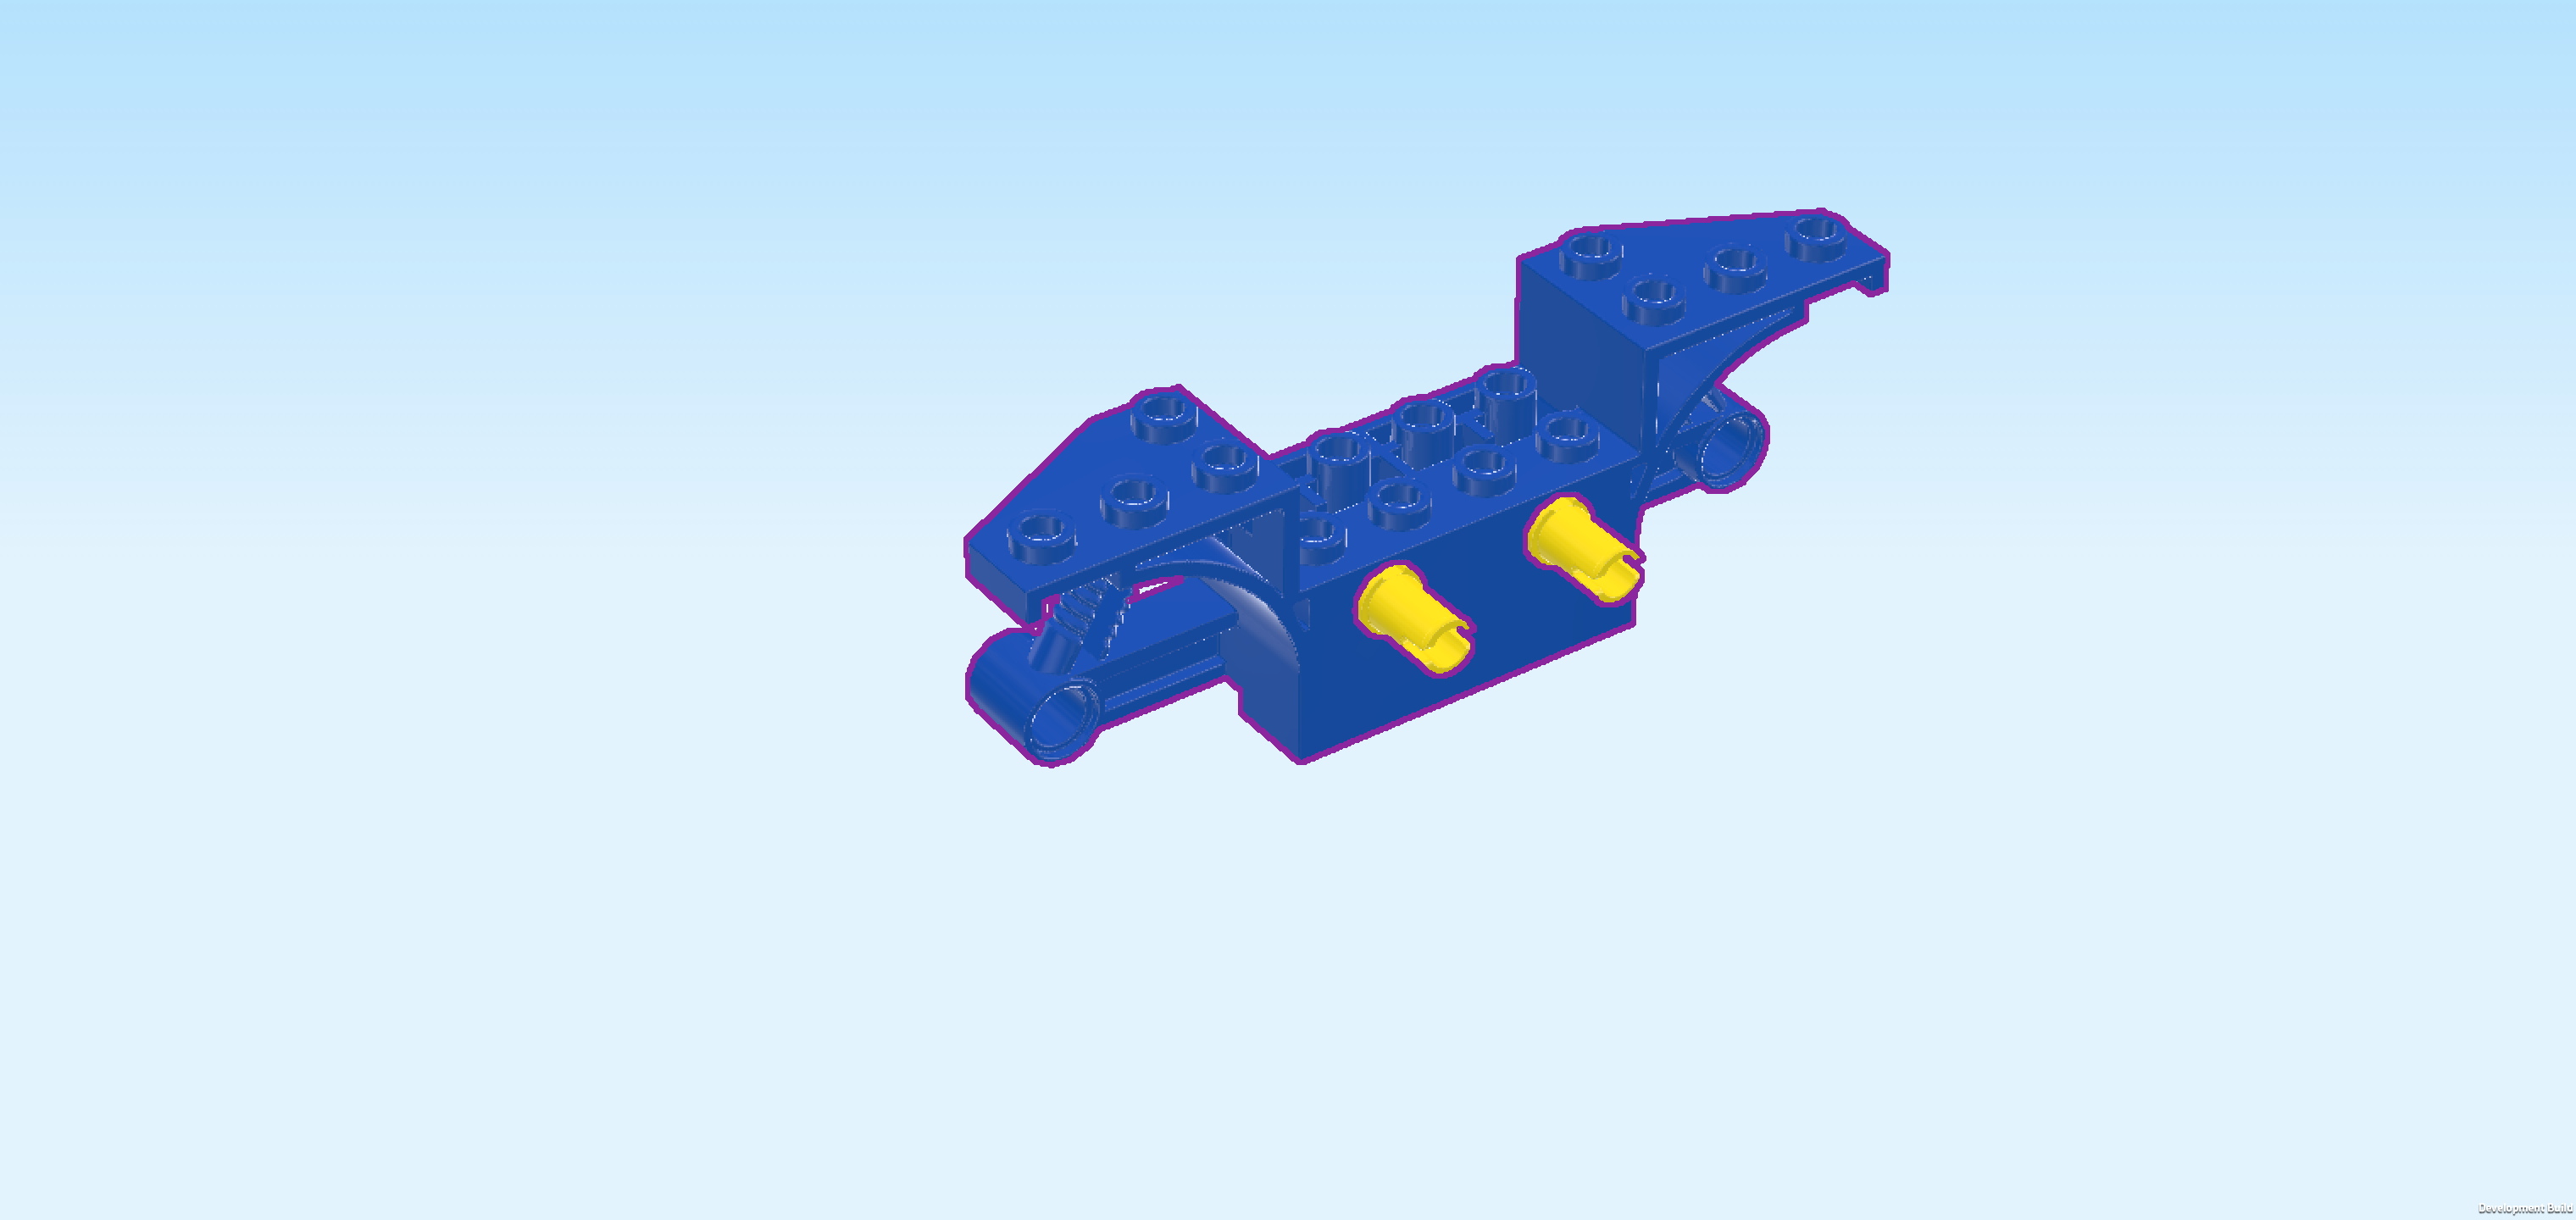
| Find another bright blue vehicle frame 2x10 with 2 suspension springs. |
| Hold it horizontally so that its 2 side holes are towards the back. Put the 2 holes on the 2 connectors from the previous step to connect the vehicle frames. |
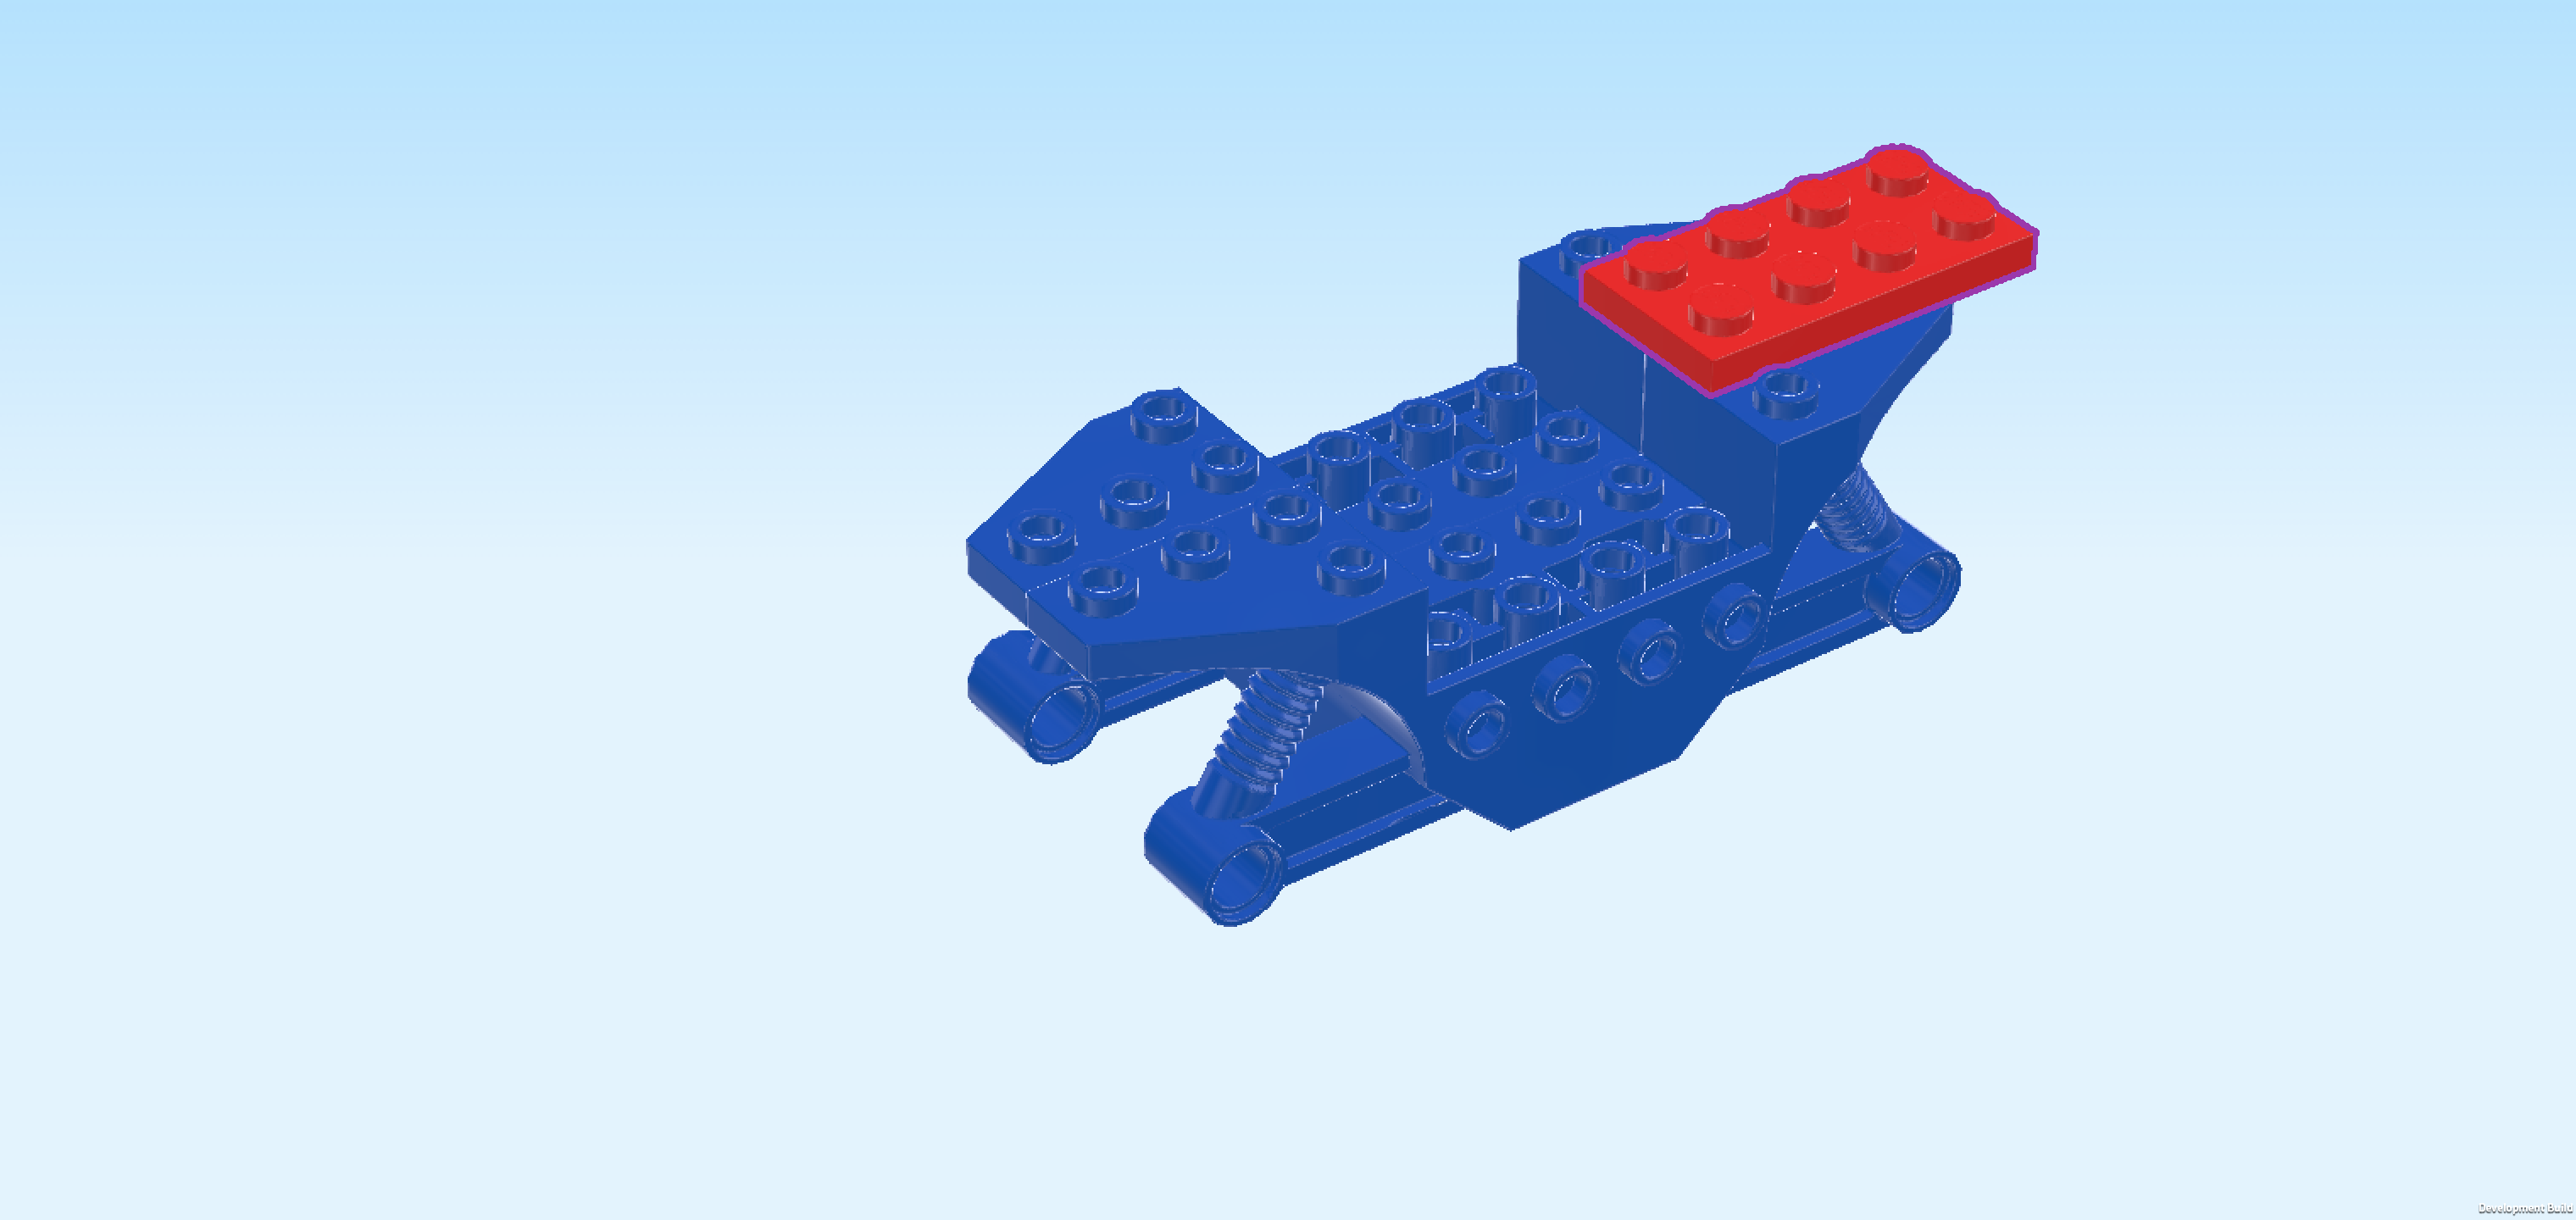
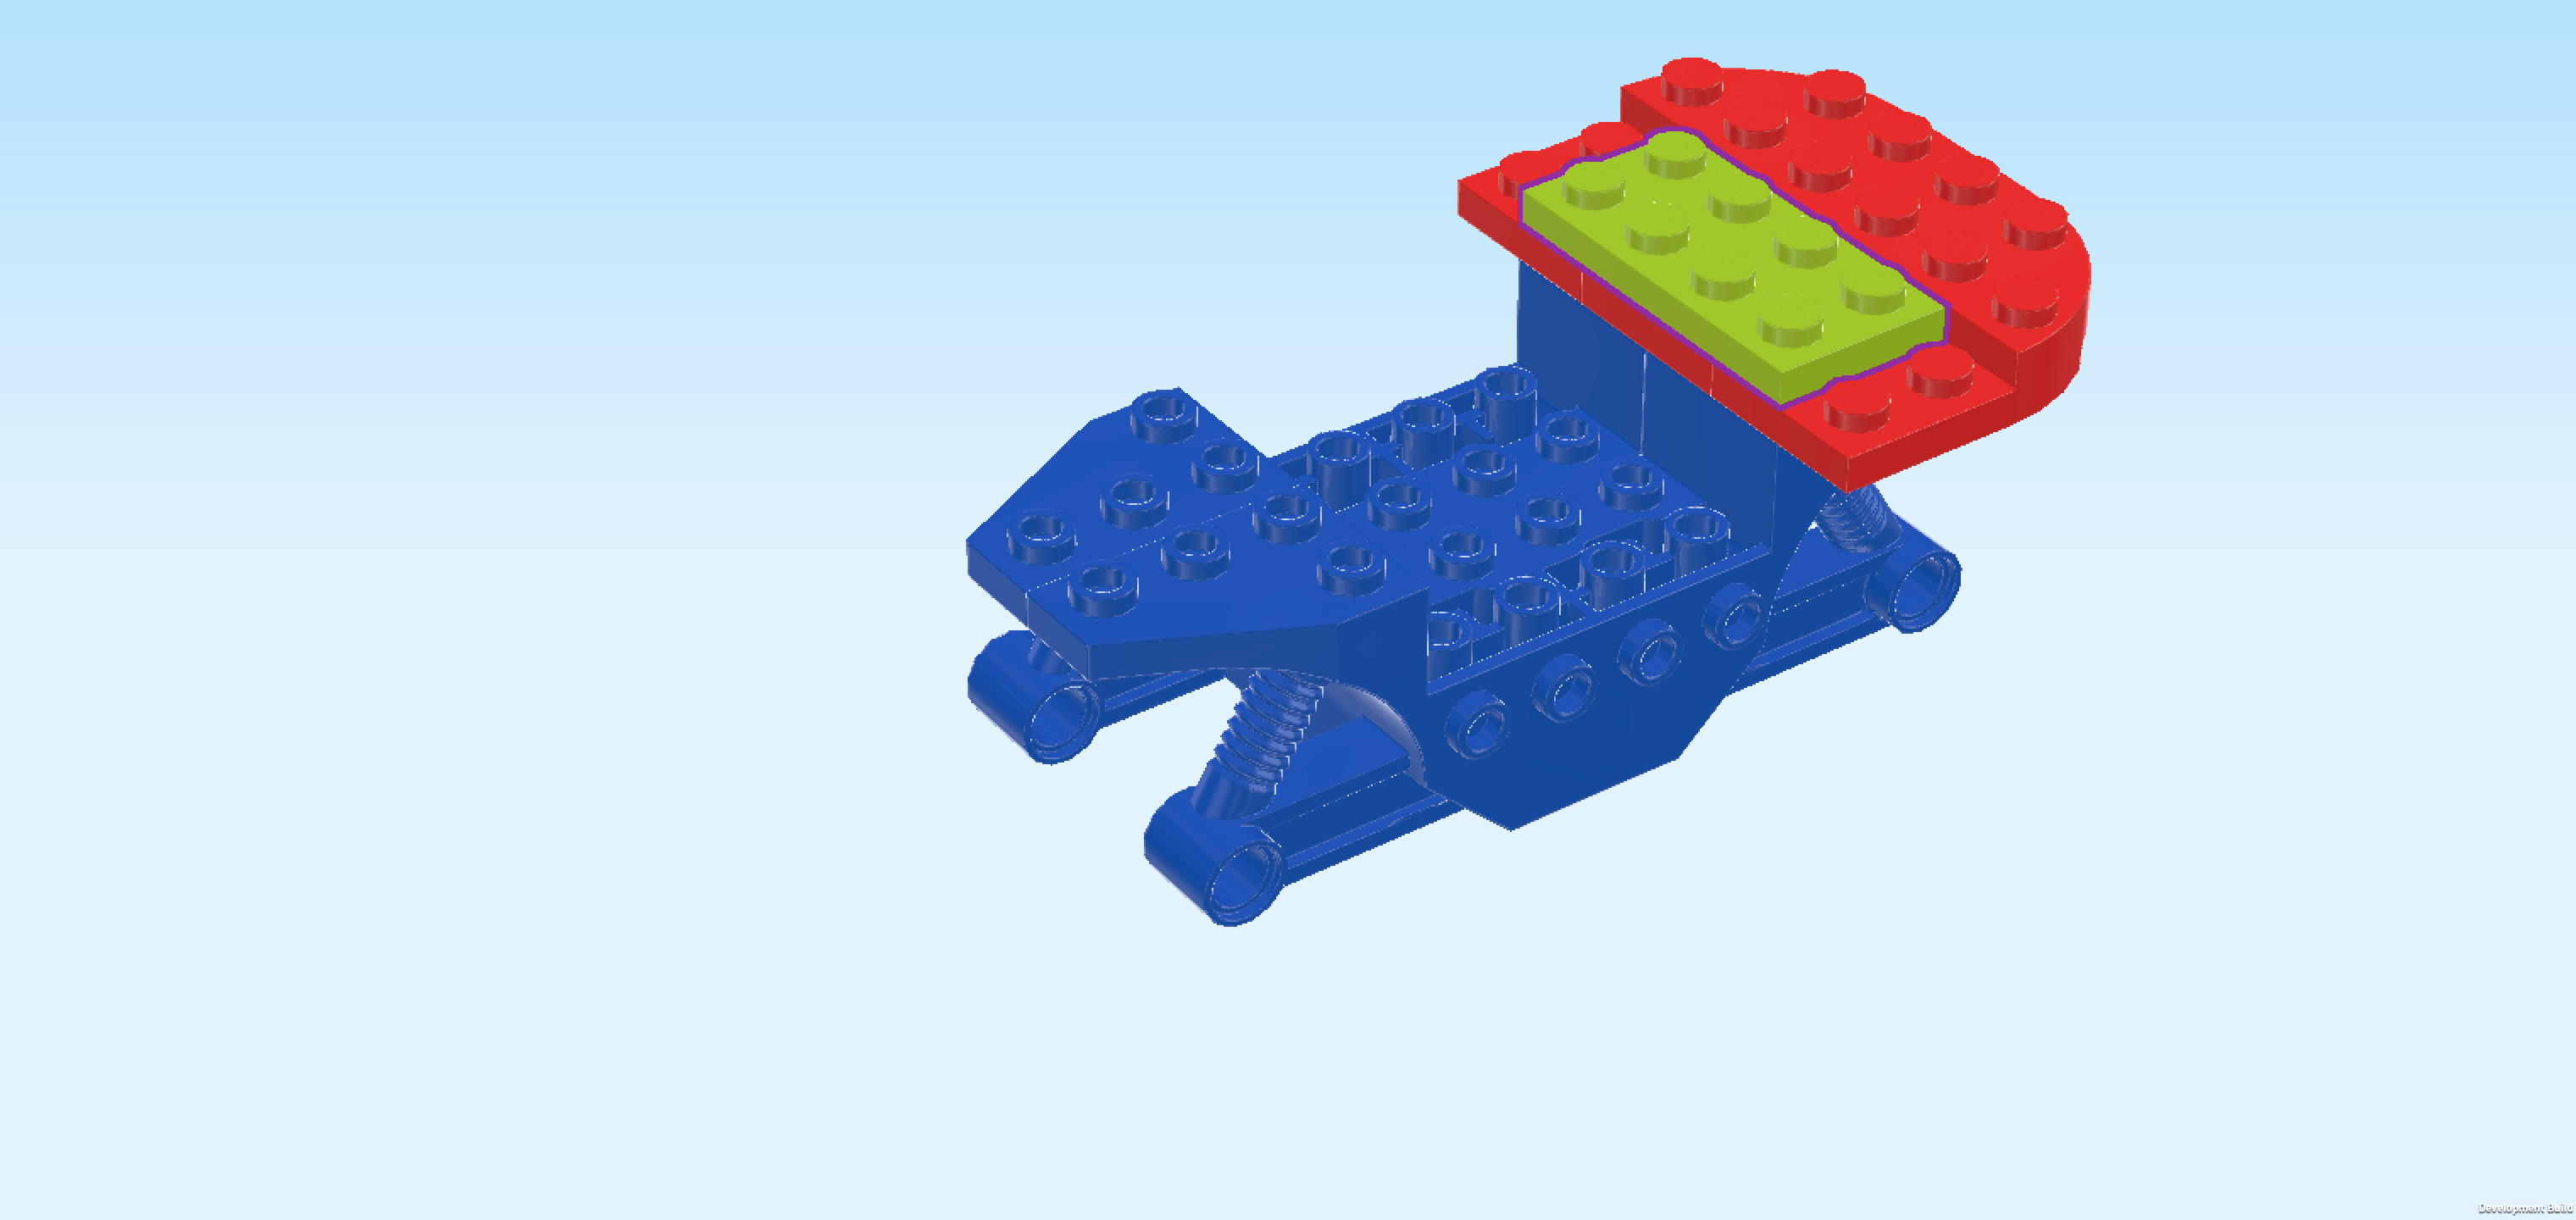
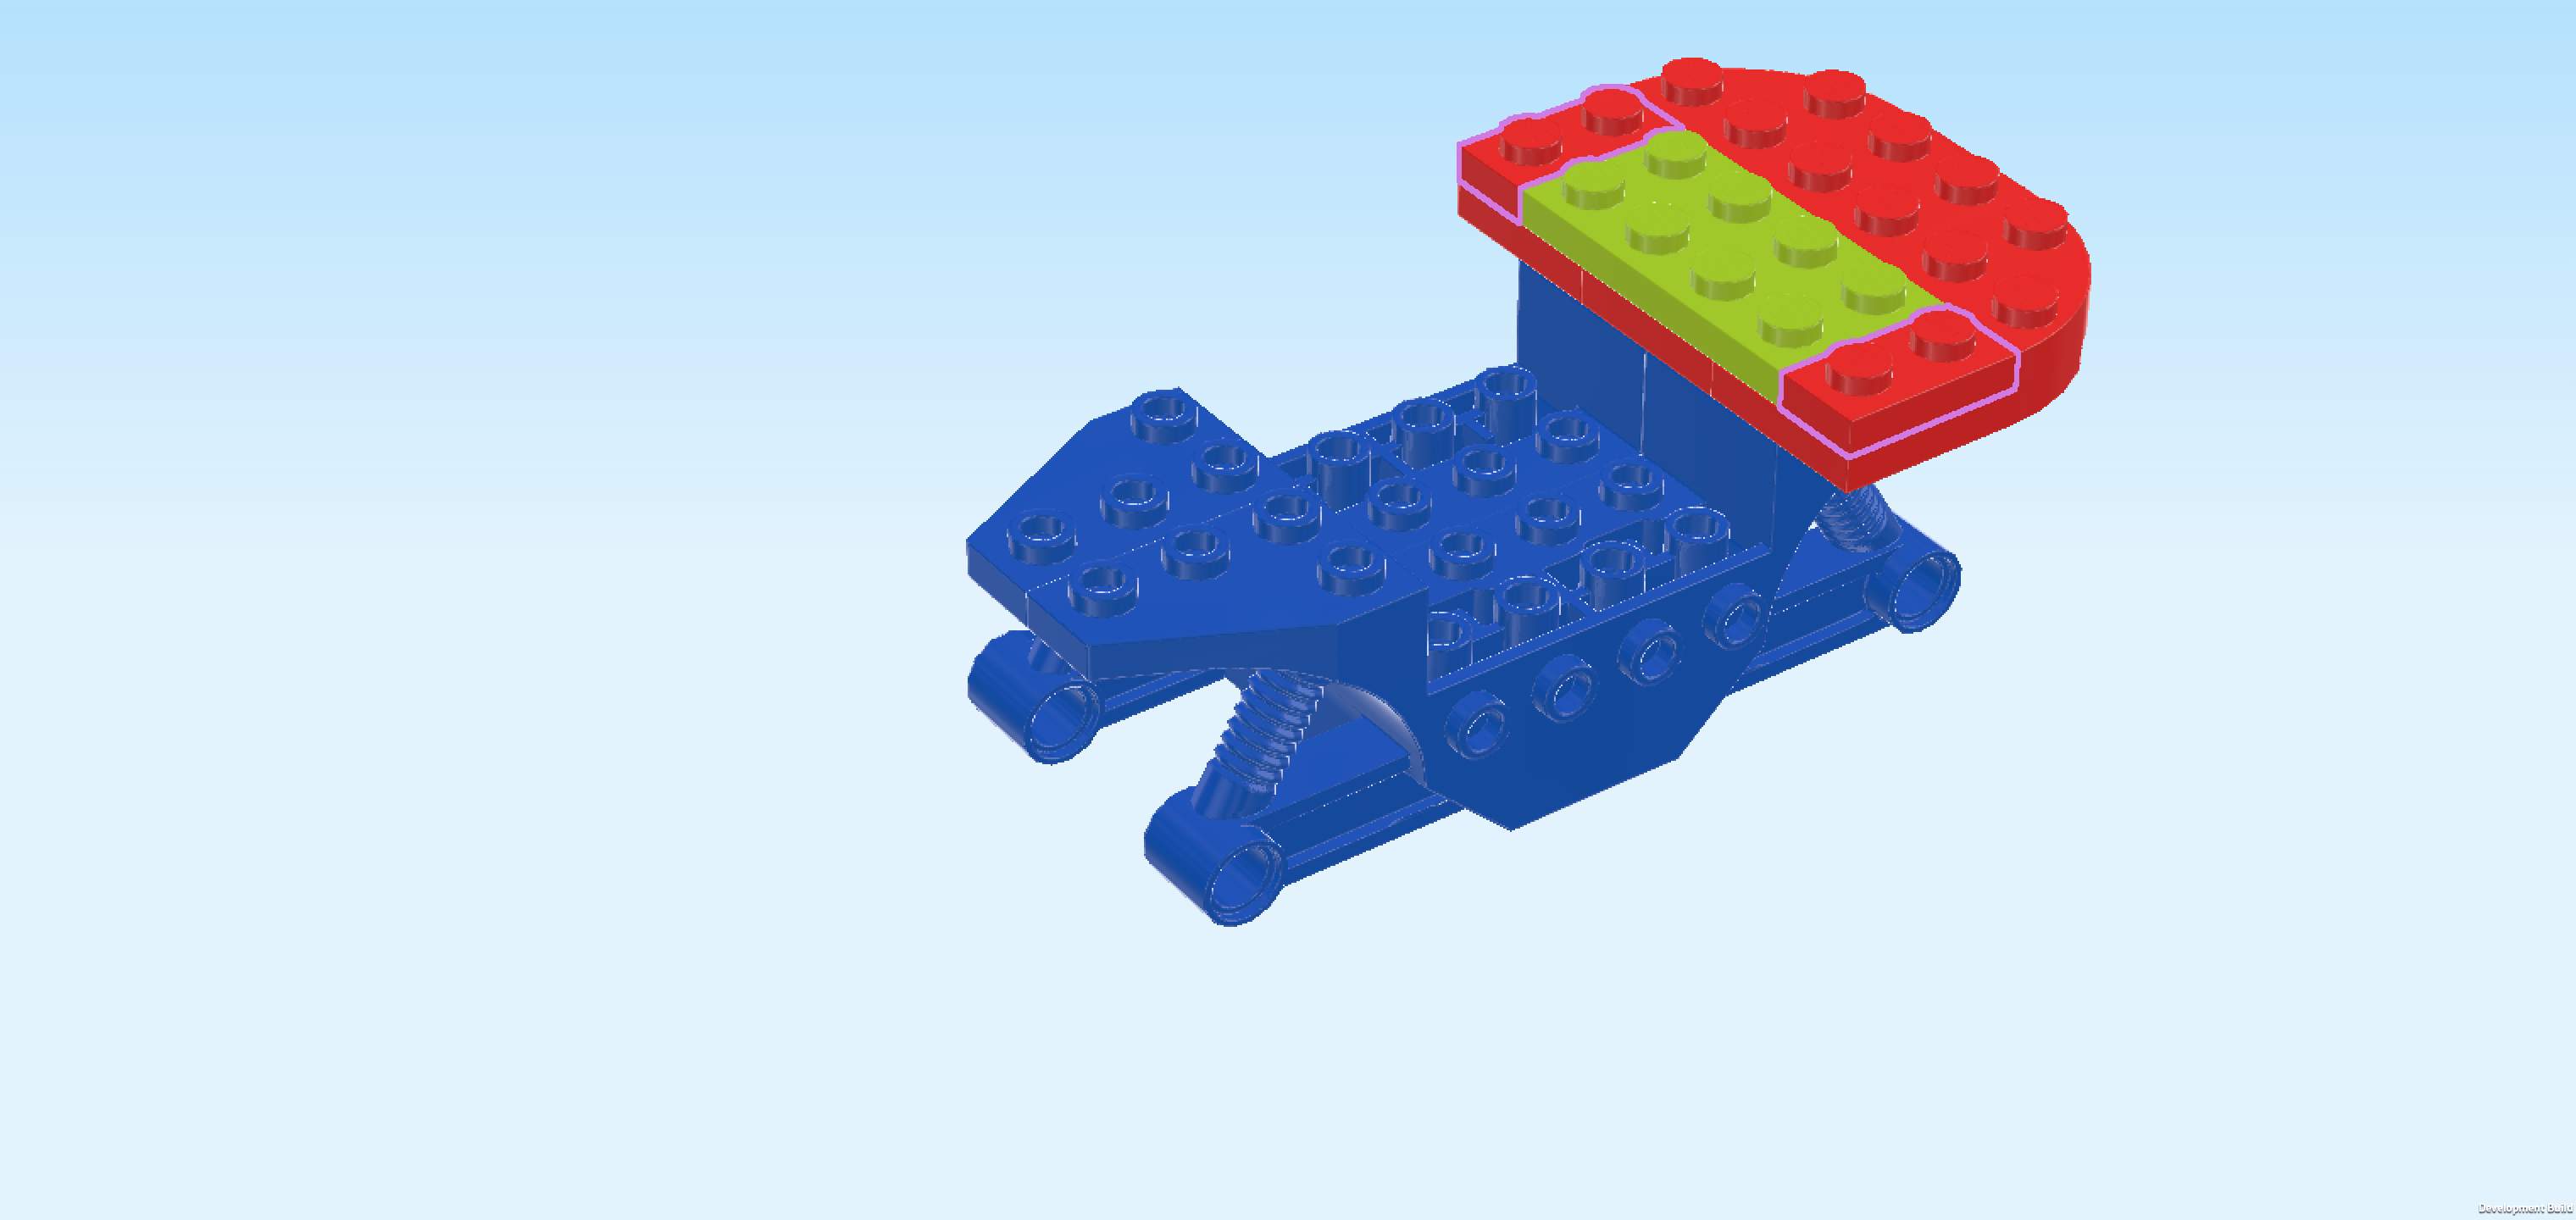
| Find 1 bright red plate 2x4. |
| Put it horizontally on the 2 middle rows of the structure on the right edge, 1 row of knobs overhanging to the right. |
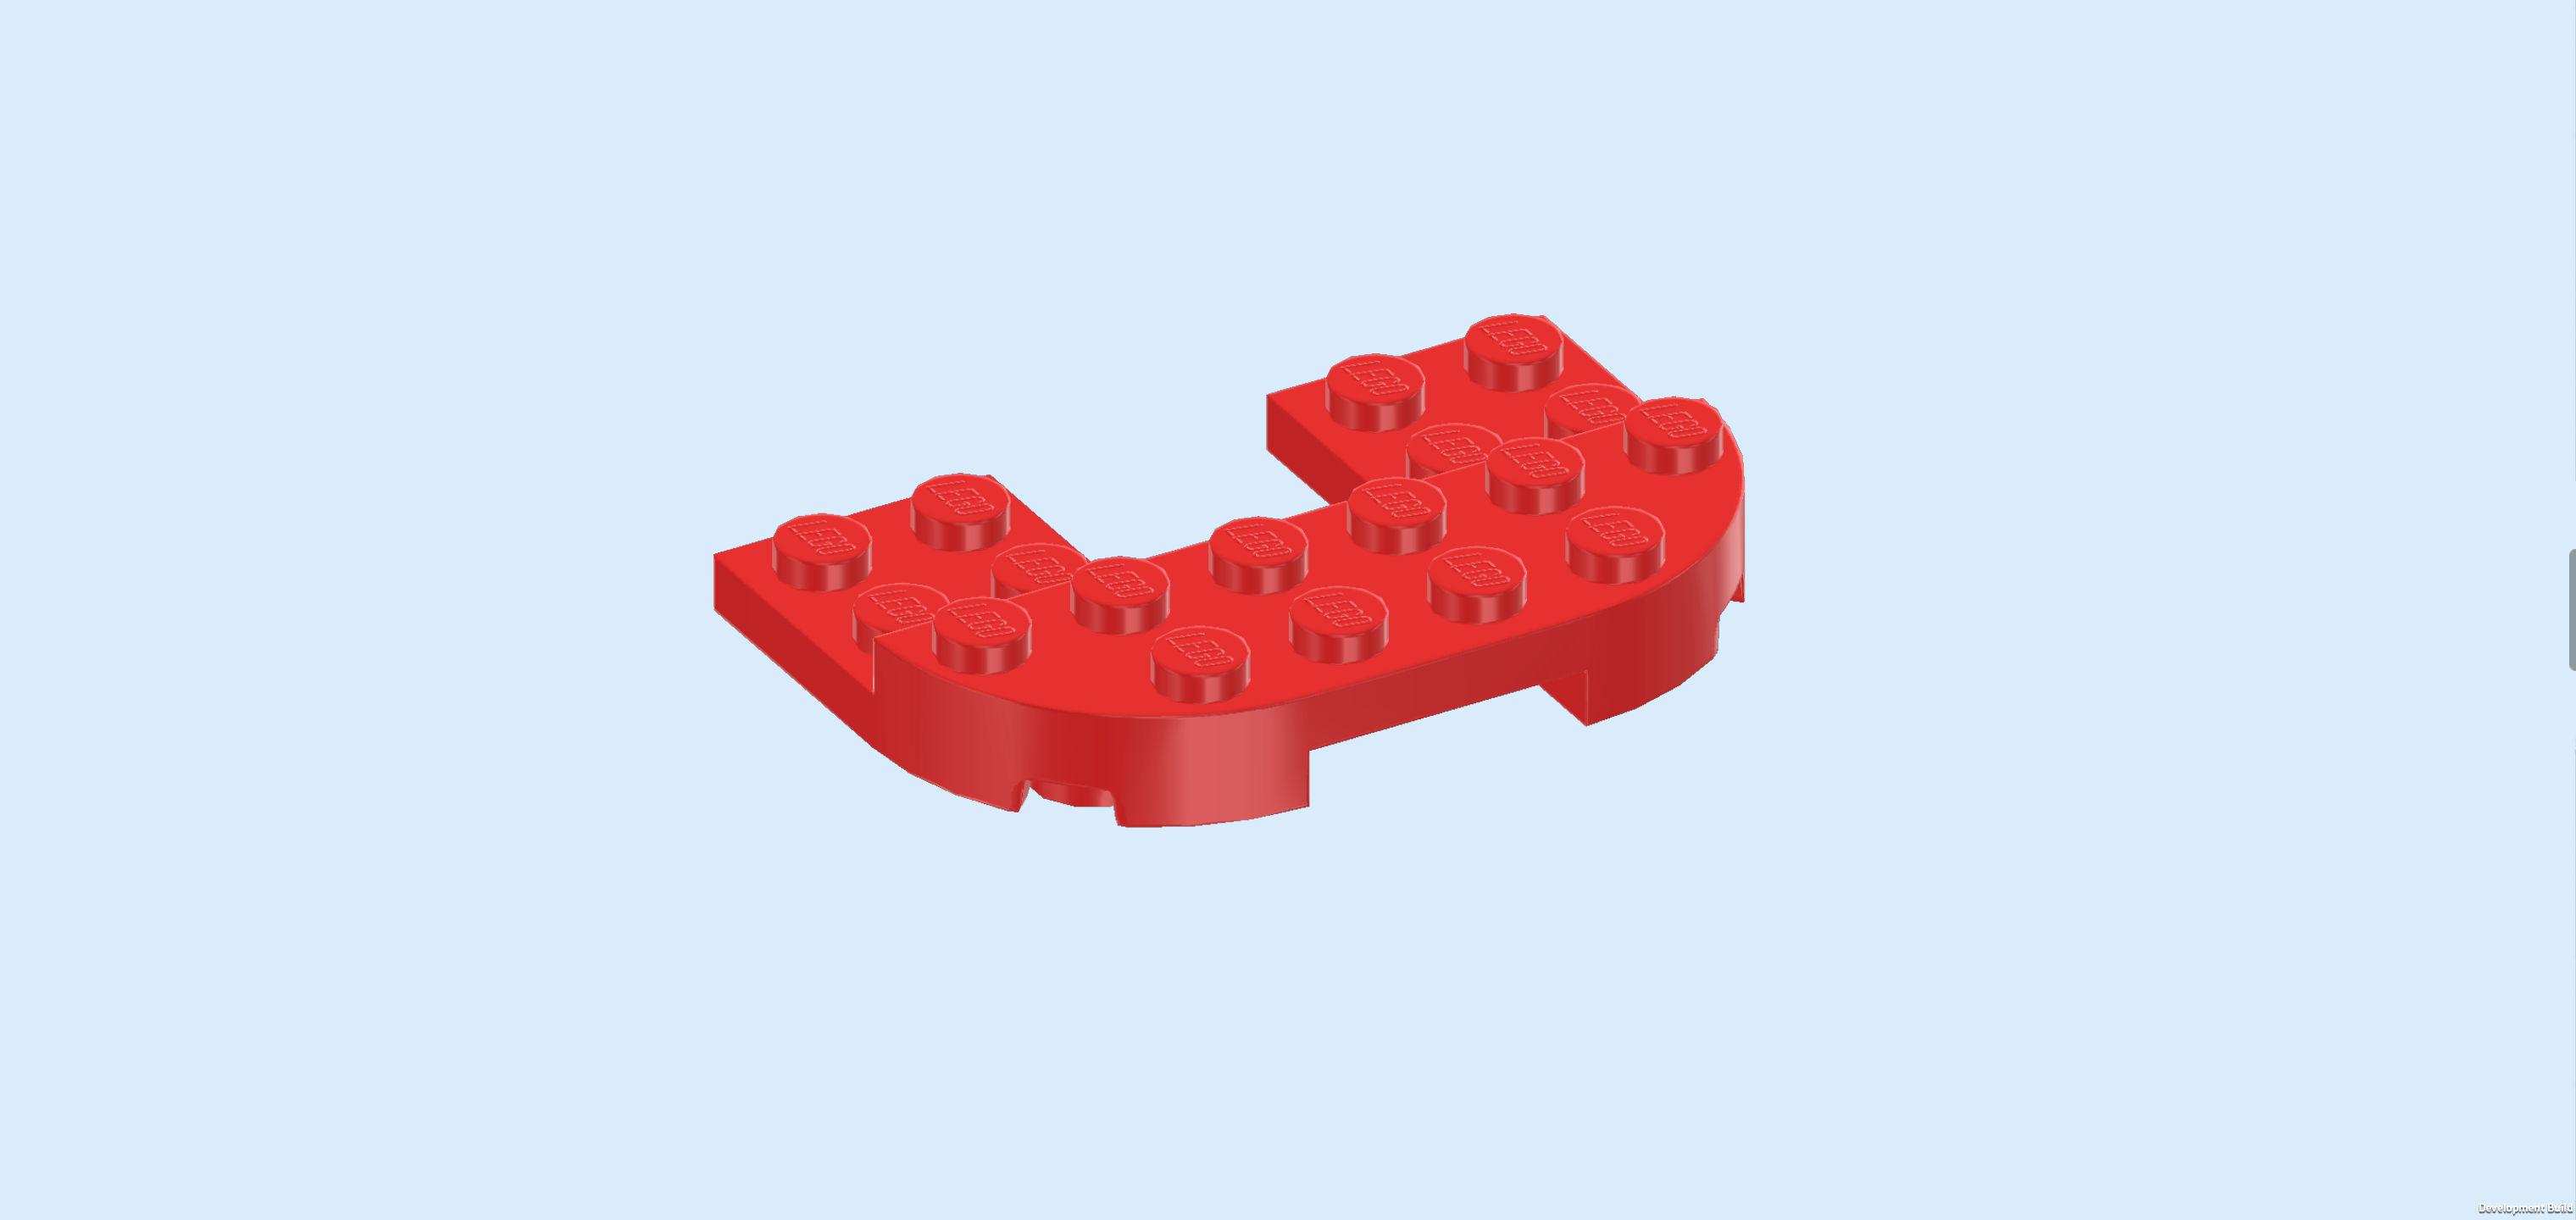
| Find 1 bright red stepped plate 6x4 with 2 rounded corners and 2x2 cut-out. |
| Put it vertically on the right edge of the structure, rounded corners to the right. This piece encloses the plate 2x4 from the previous step. |
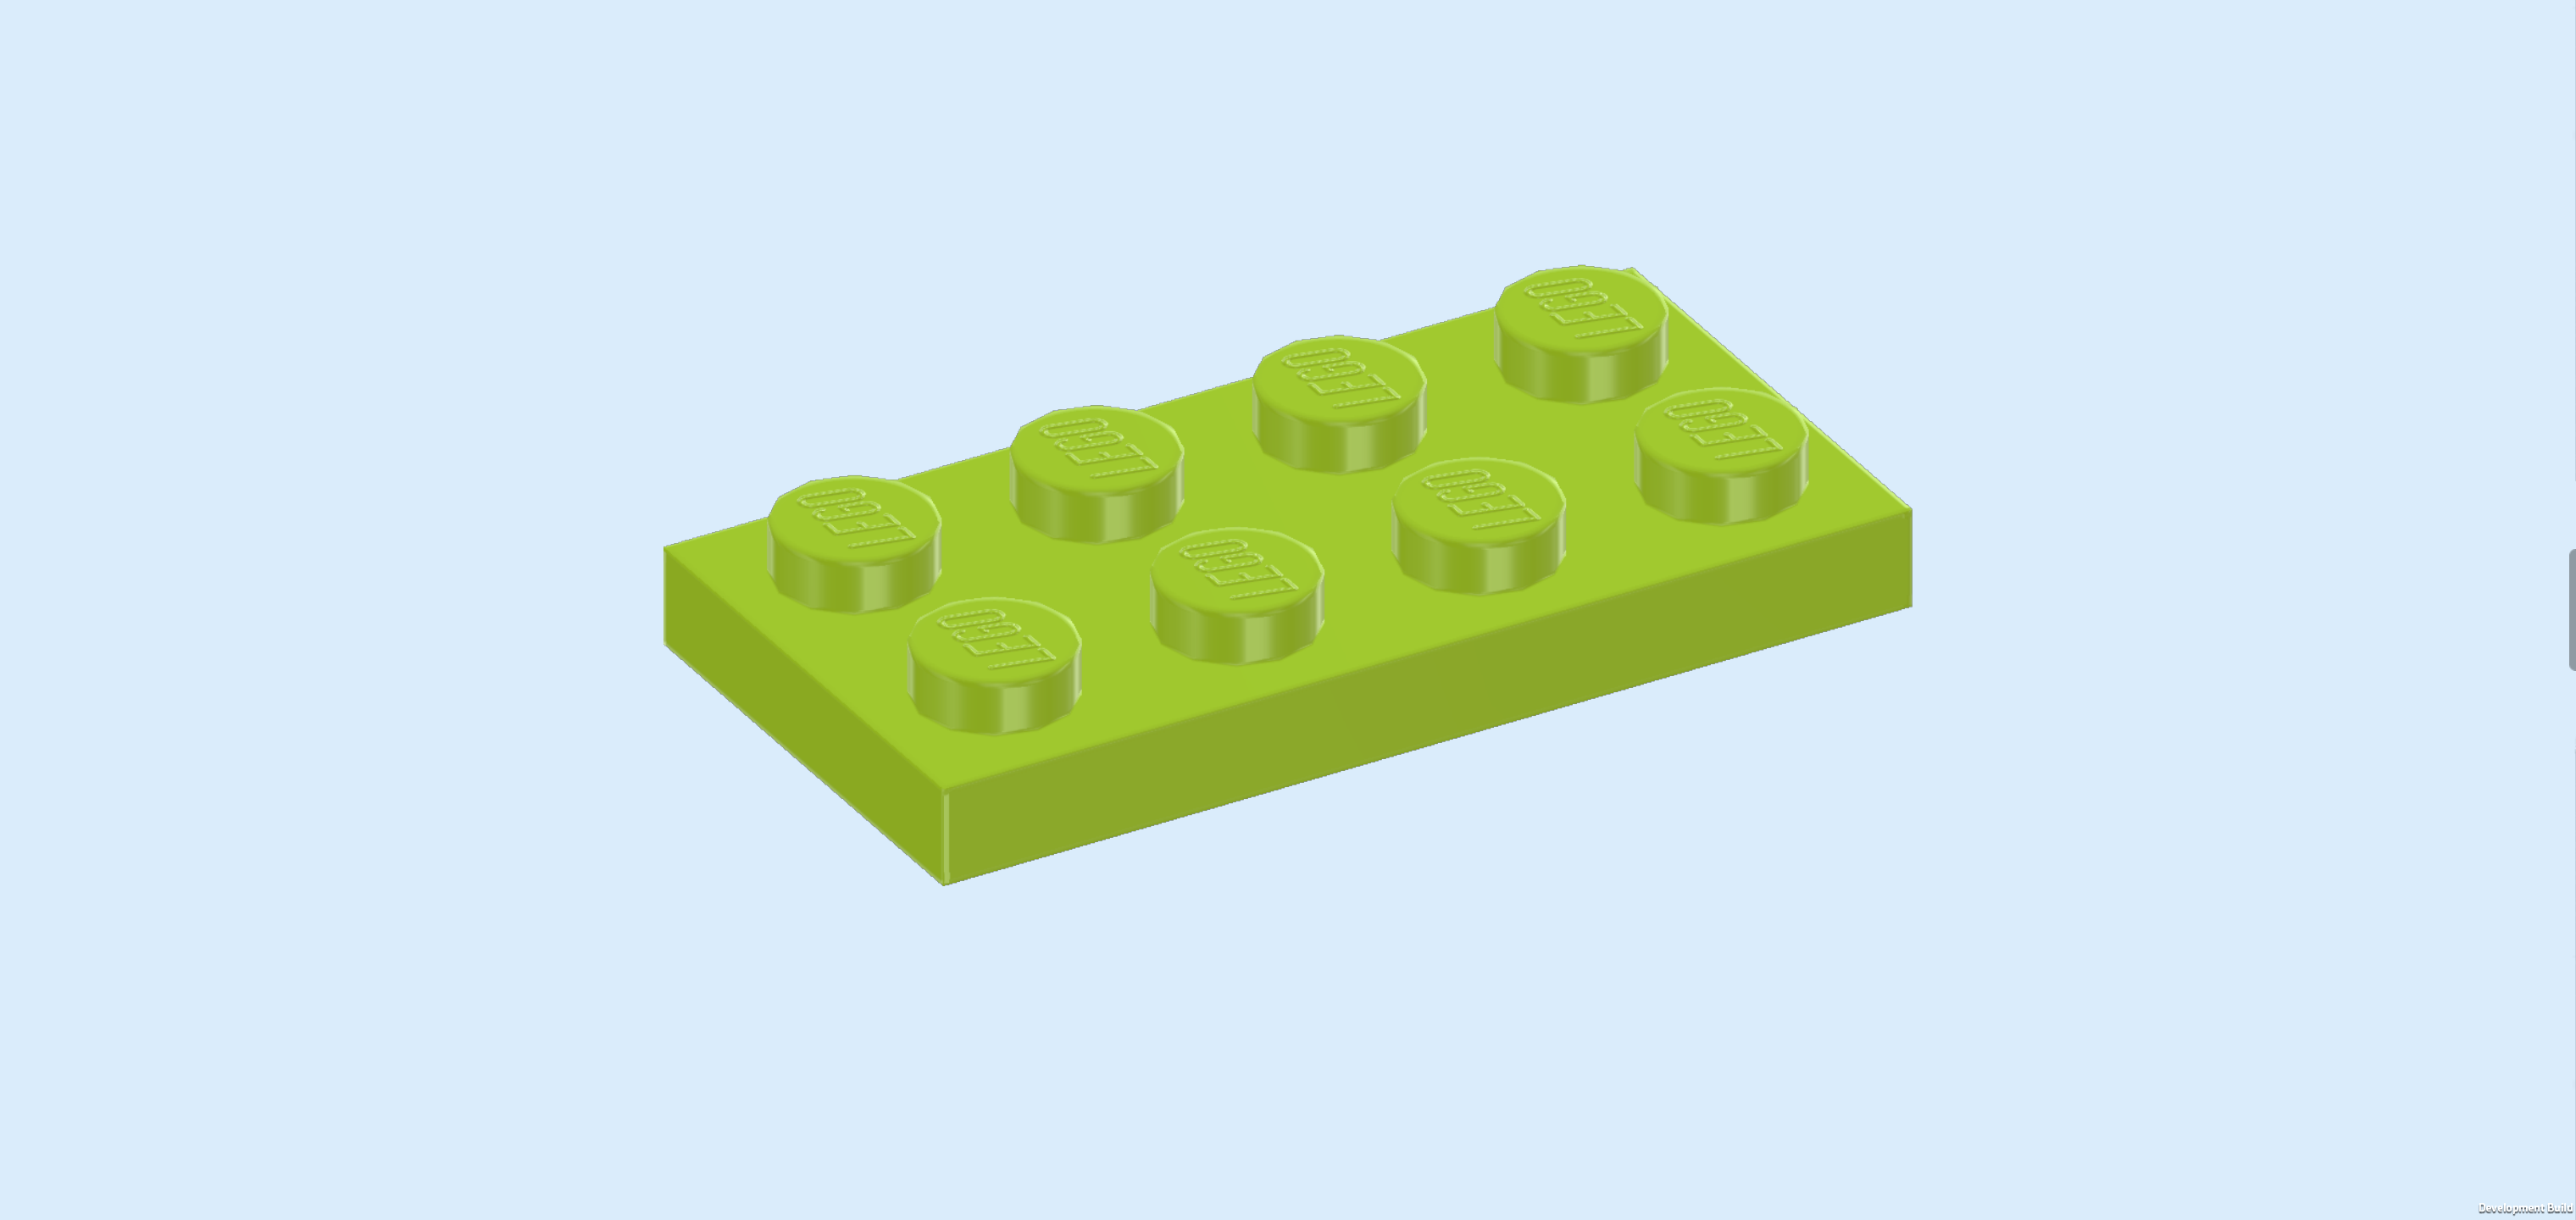
| Find 1 yellowish green plate 2x4. |
| Put it vertically centered on the 2 left columns of the previous piece. If done correctly, there is 1 empty row in front of it and 1 empty row behind it. |
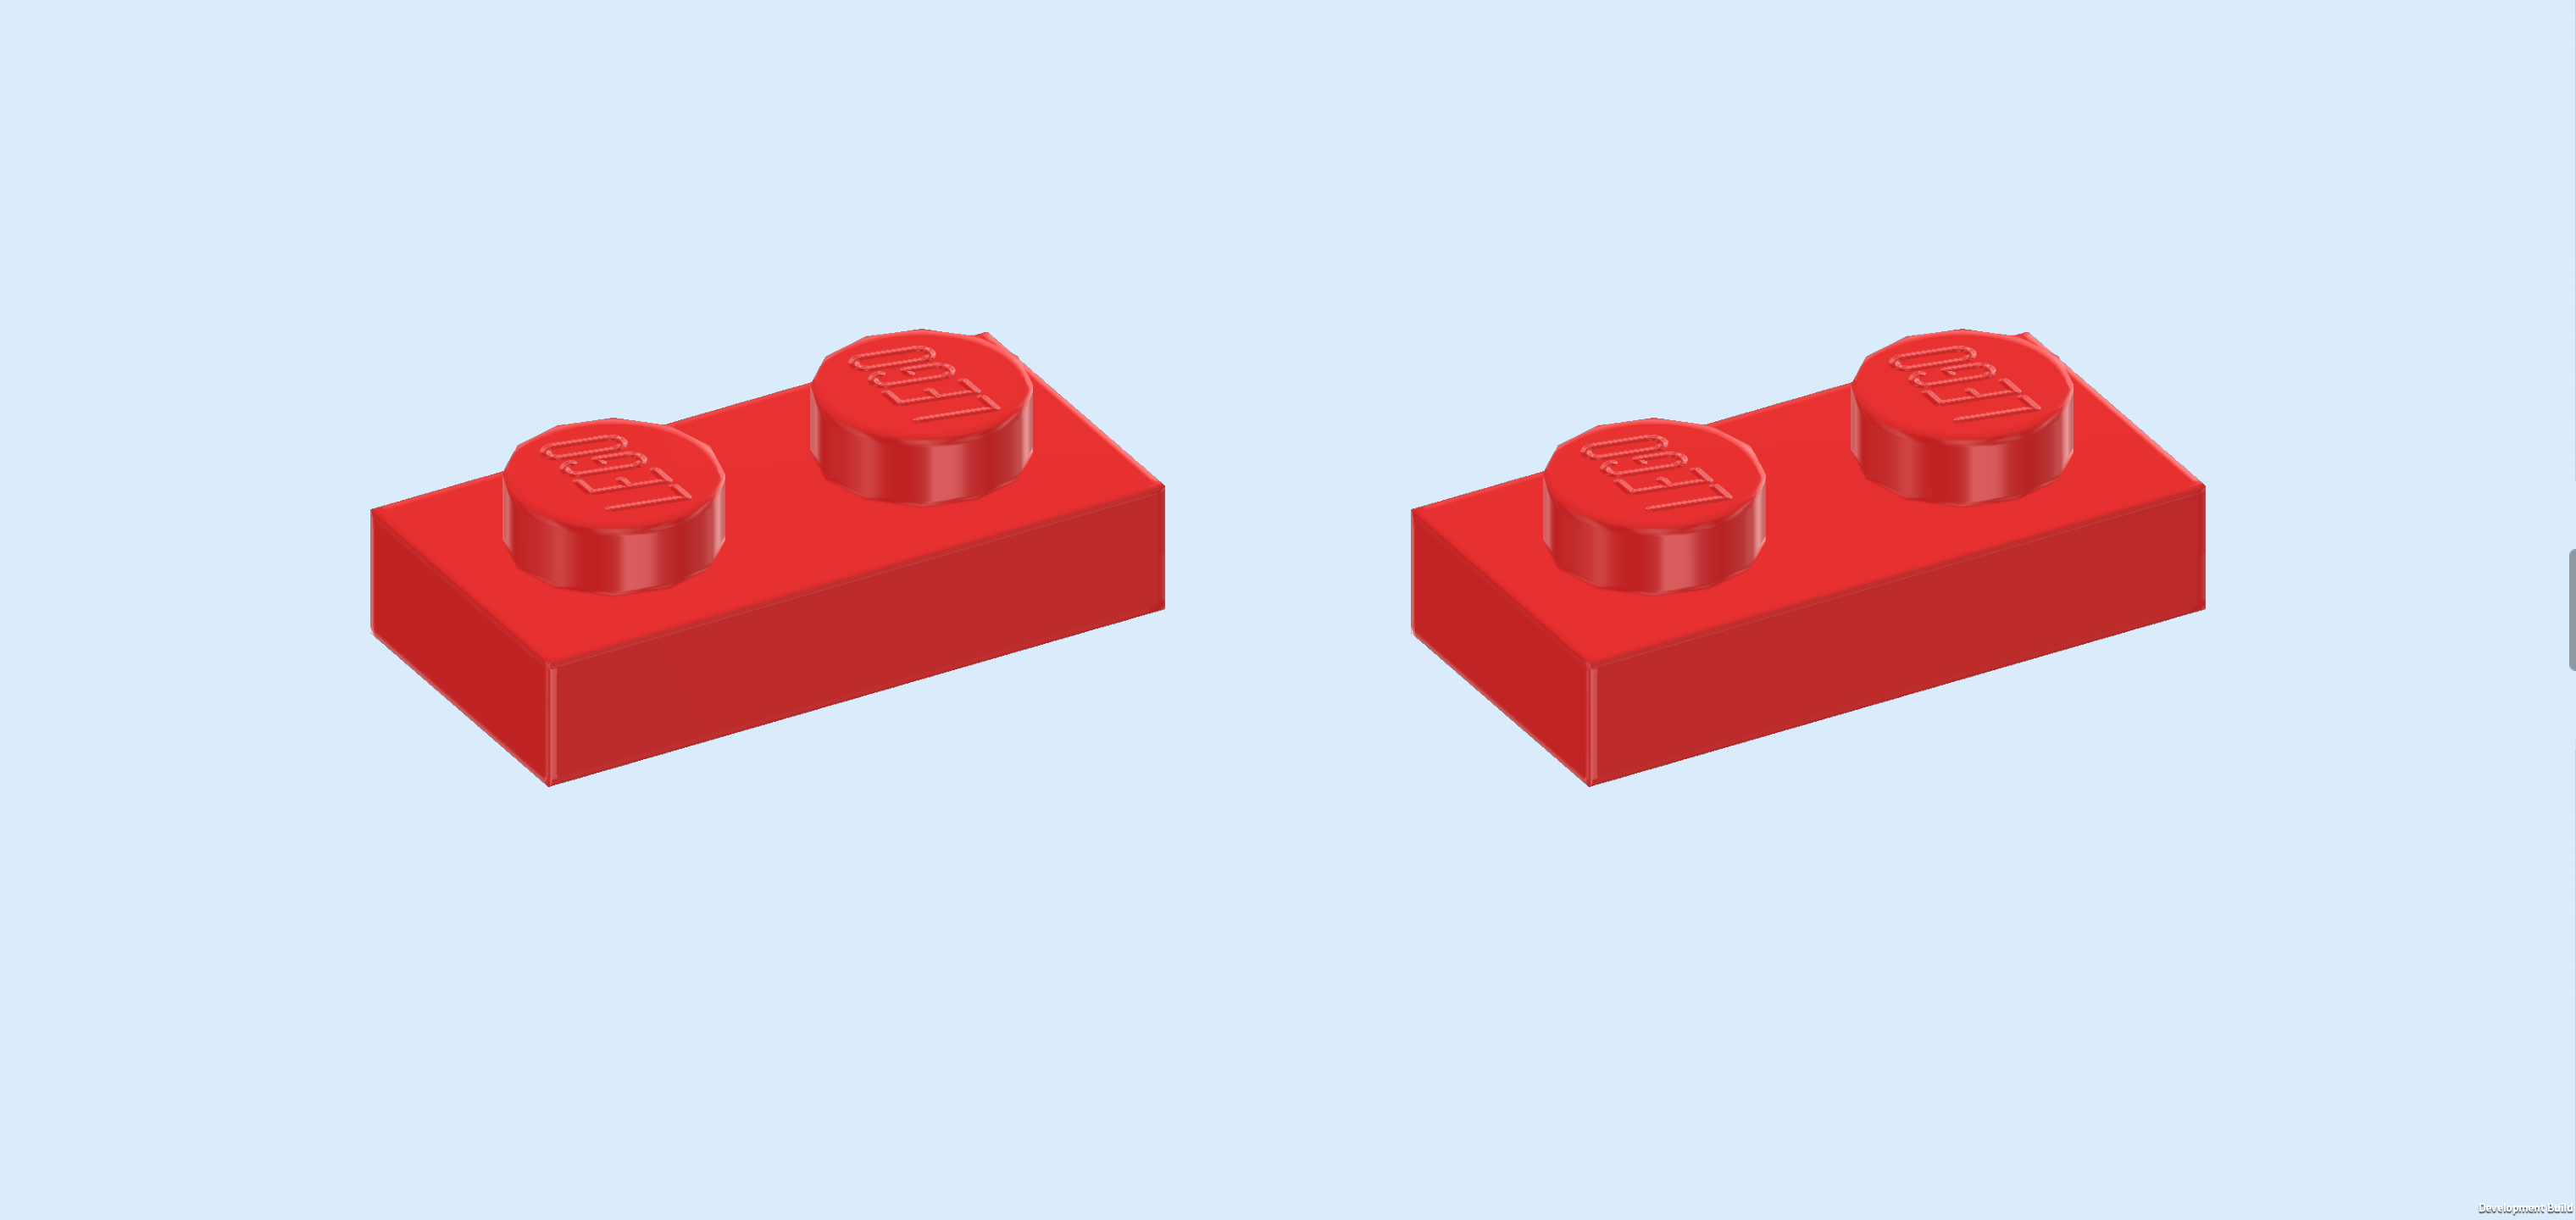
| Find 2 bright red plates 1x2. |
| Put 1 horizontally in front of the previous piece and the other one horizontally behind it. |
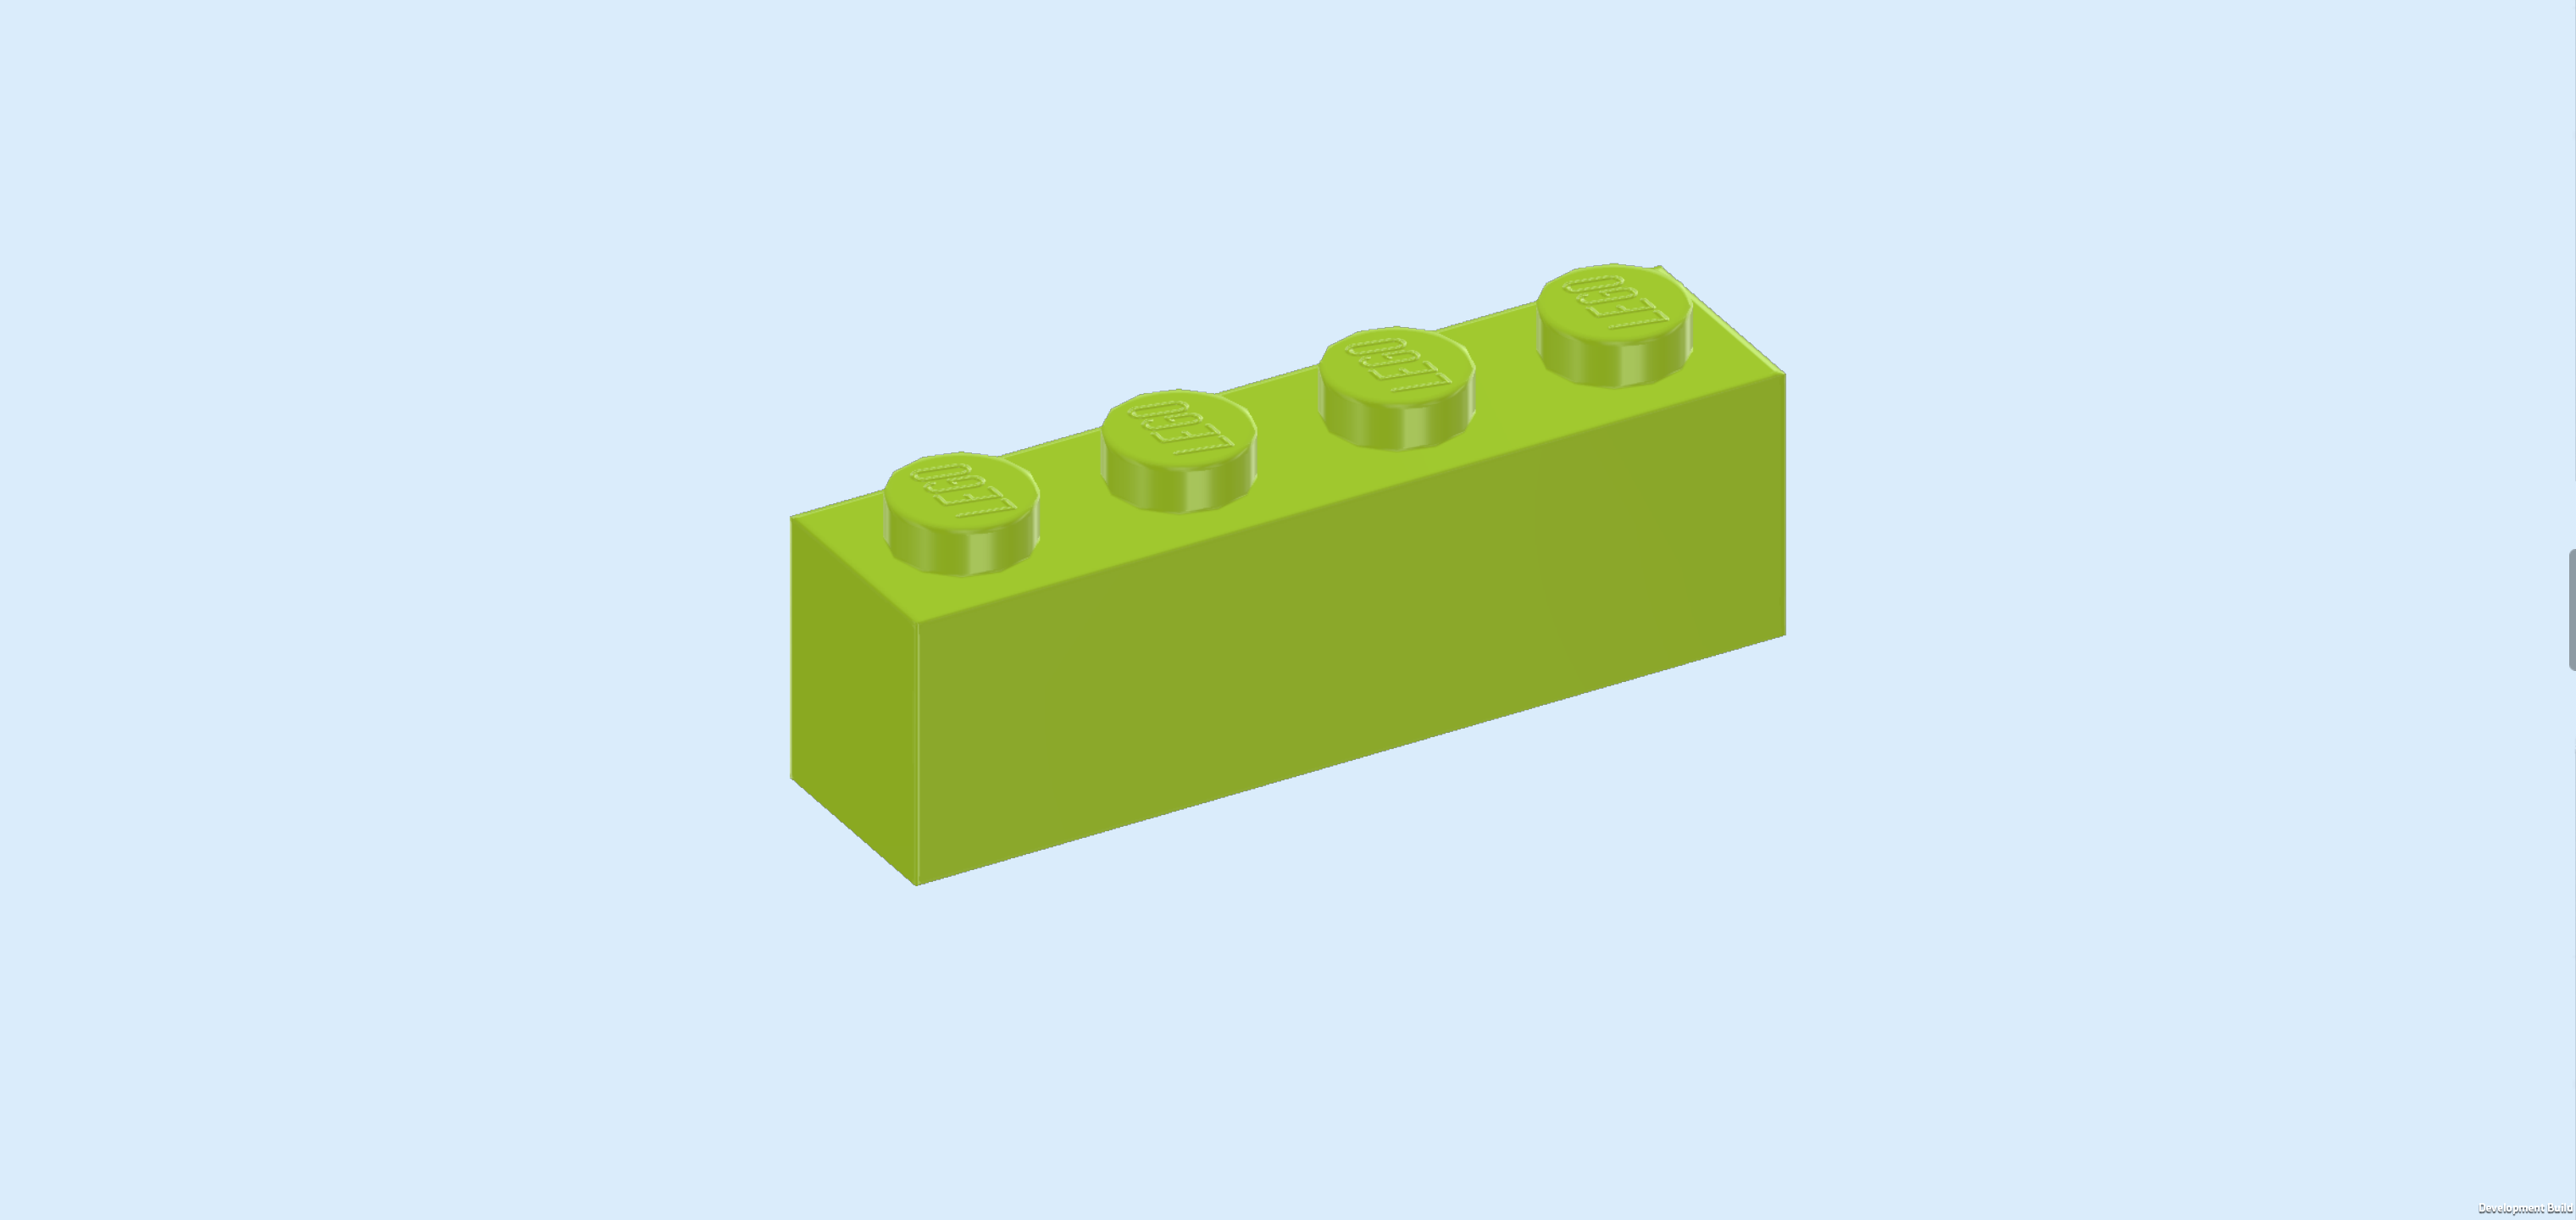
| Find 1 yellowish green brick 1x4. |
| Put it vertically to the left of the previous pieces. This means it will sit on the rightmost column of the lower part of the structure. |
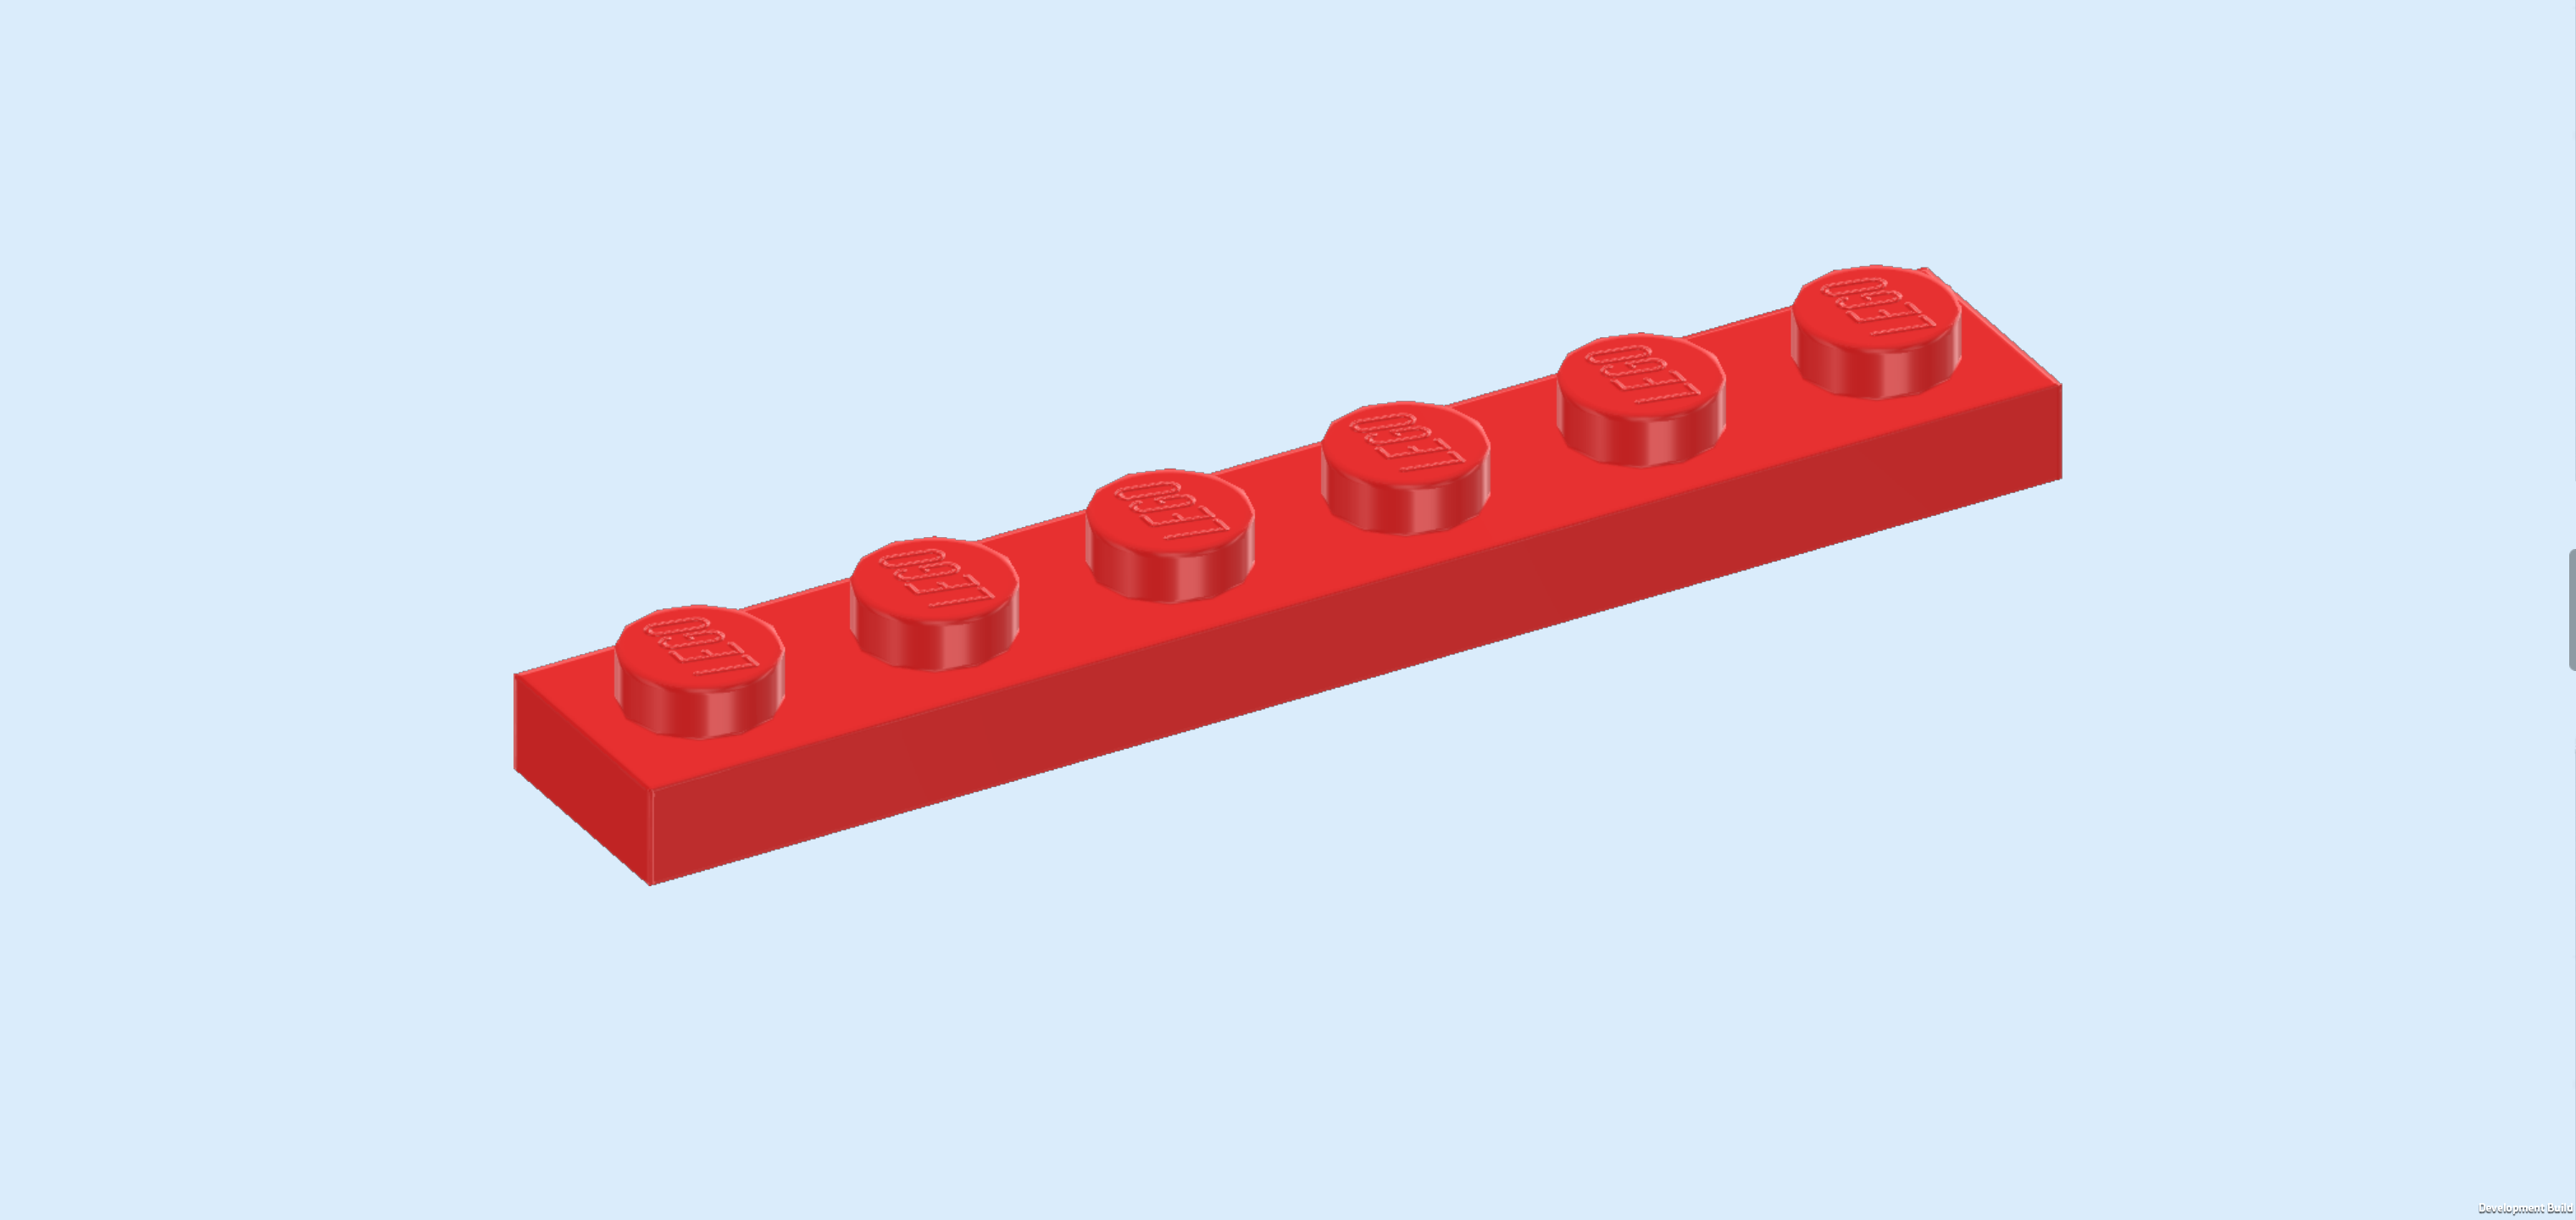
| Find 1 bright red plate 1x6. |
| Put it vertically centered on top of the previous piece, symmetrically overhanging to the front and back. |
| Collect the following 3 pieces: |
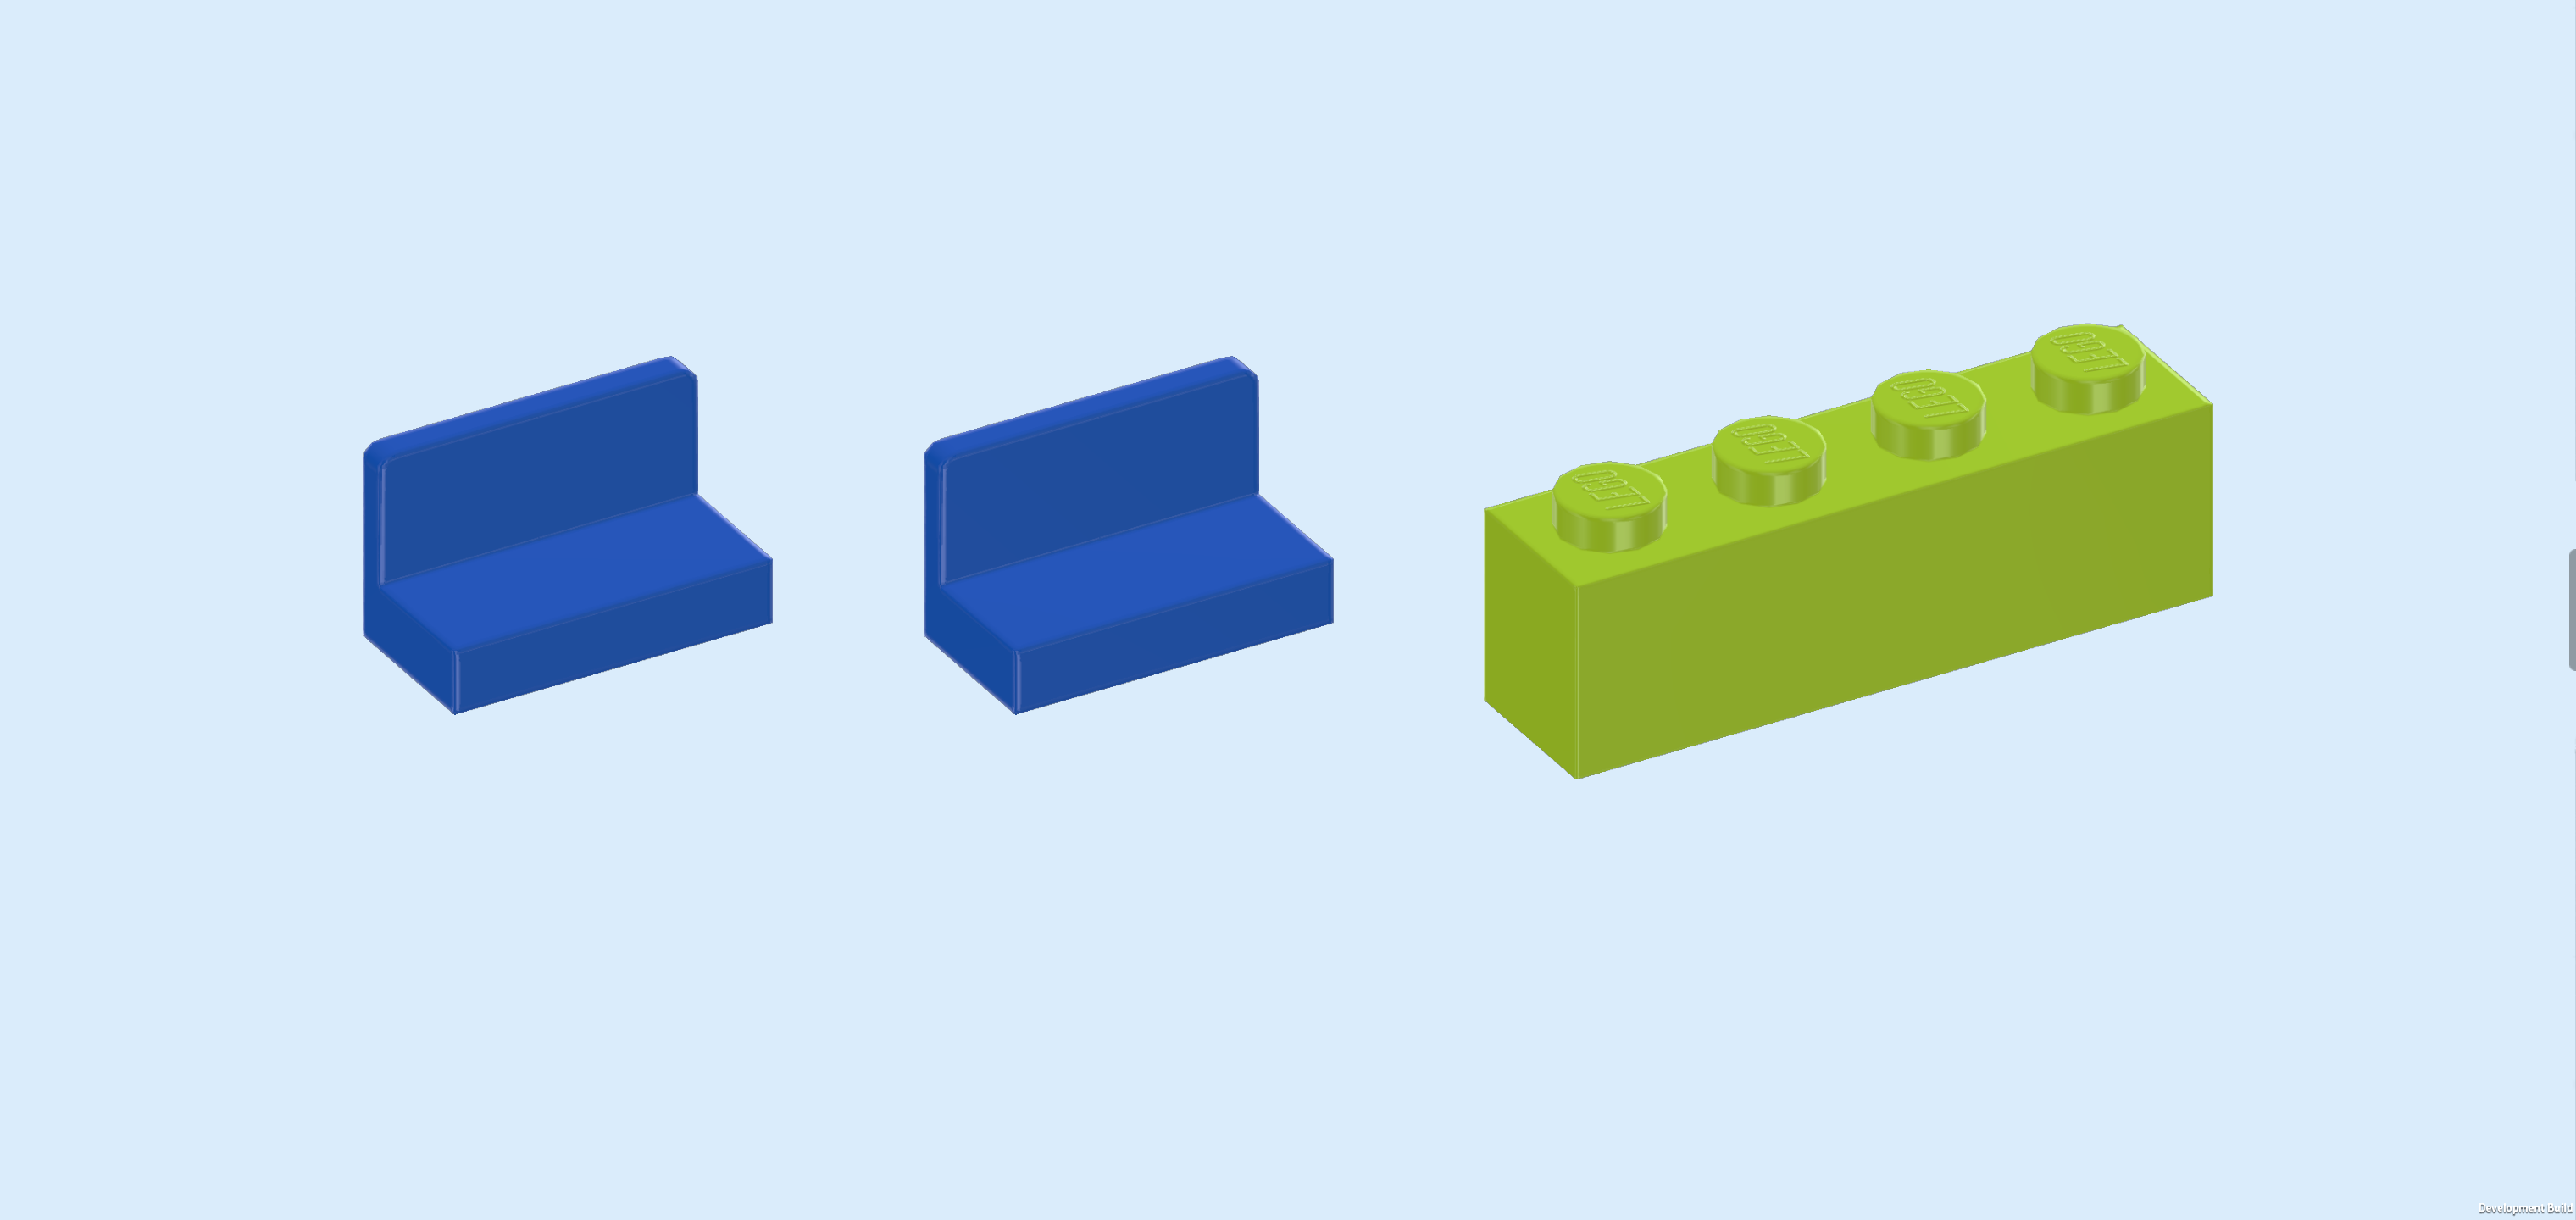
| 2 bright blue panel elements 1x2x1, |
| and 1 yellowish green brick 1x4. |
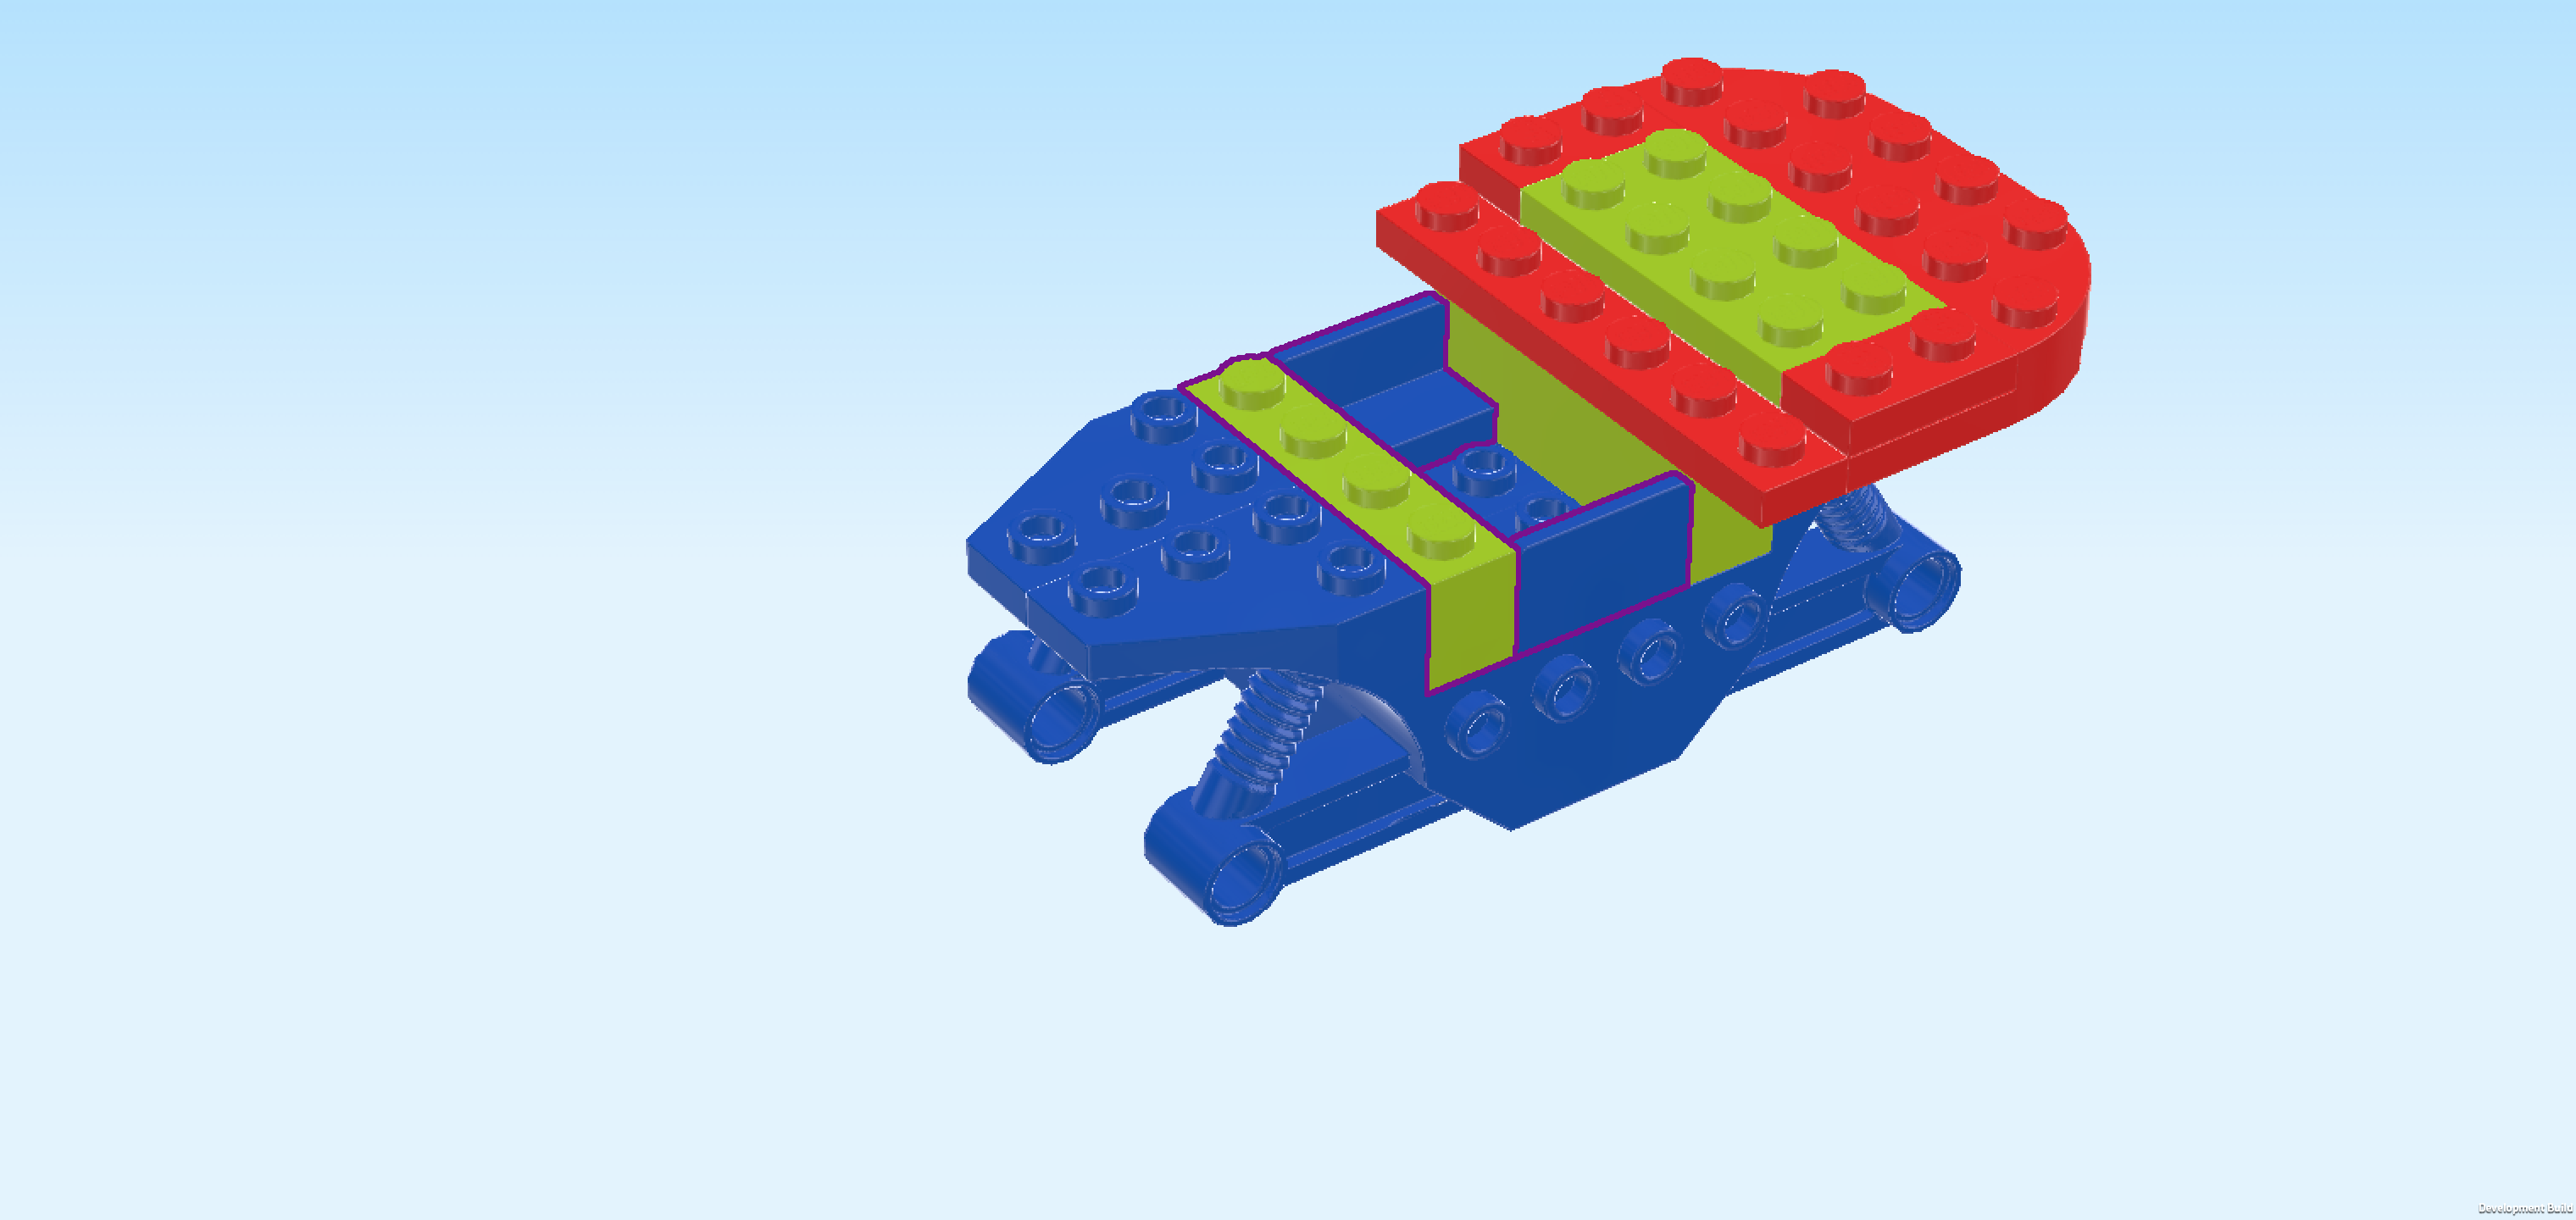
| Put 1 panel element 1x2x1 horizontally to the left of the previous piece on the backmost row, panel to the back. |
| Repeat symmetrically at the front, panel to the front. |
| Put the brick 1x4 vertically to the left of the 2 previous pieces. |
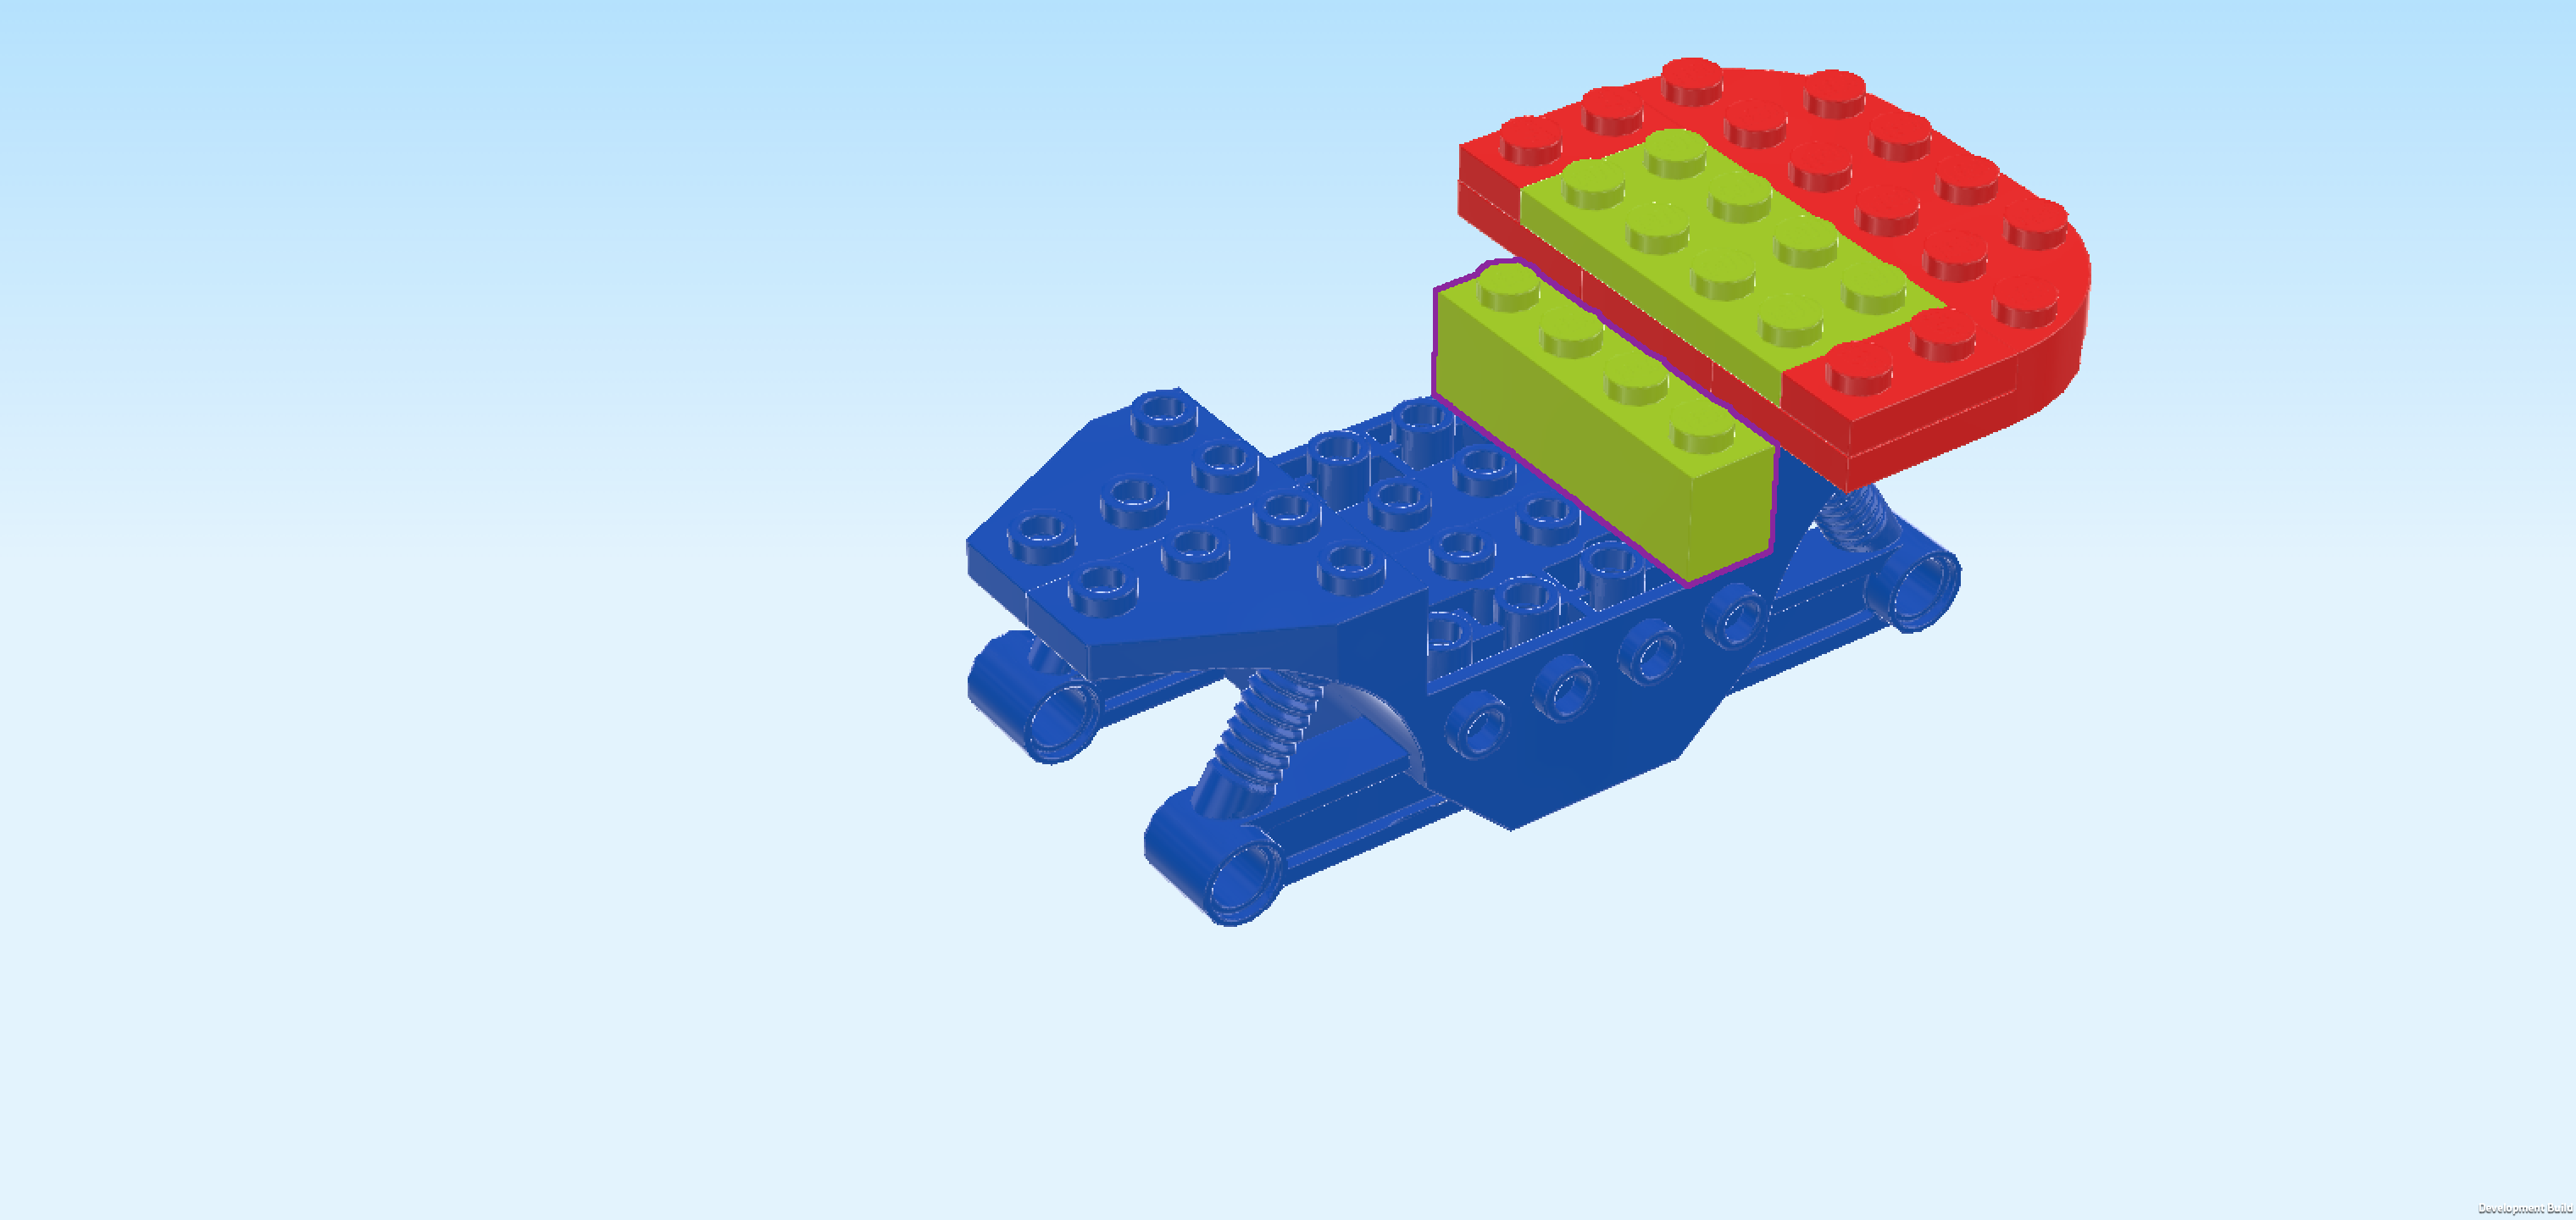
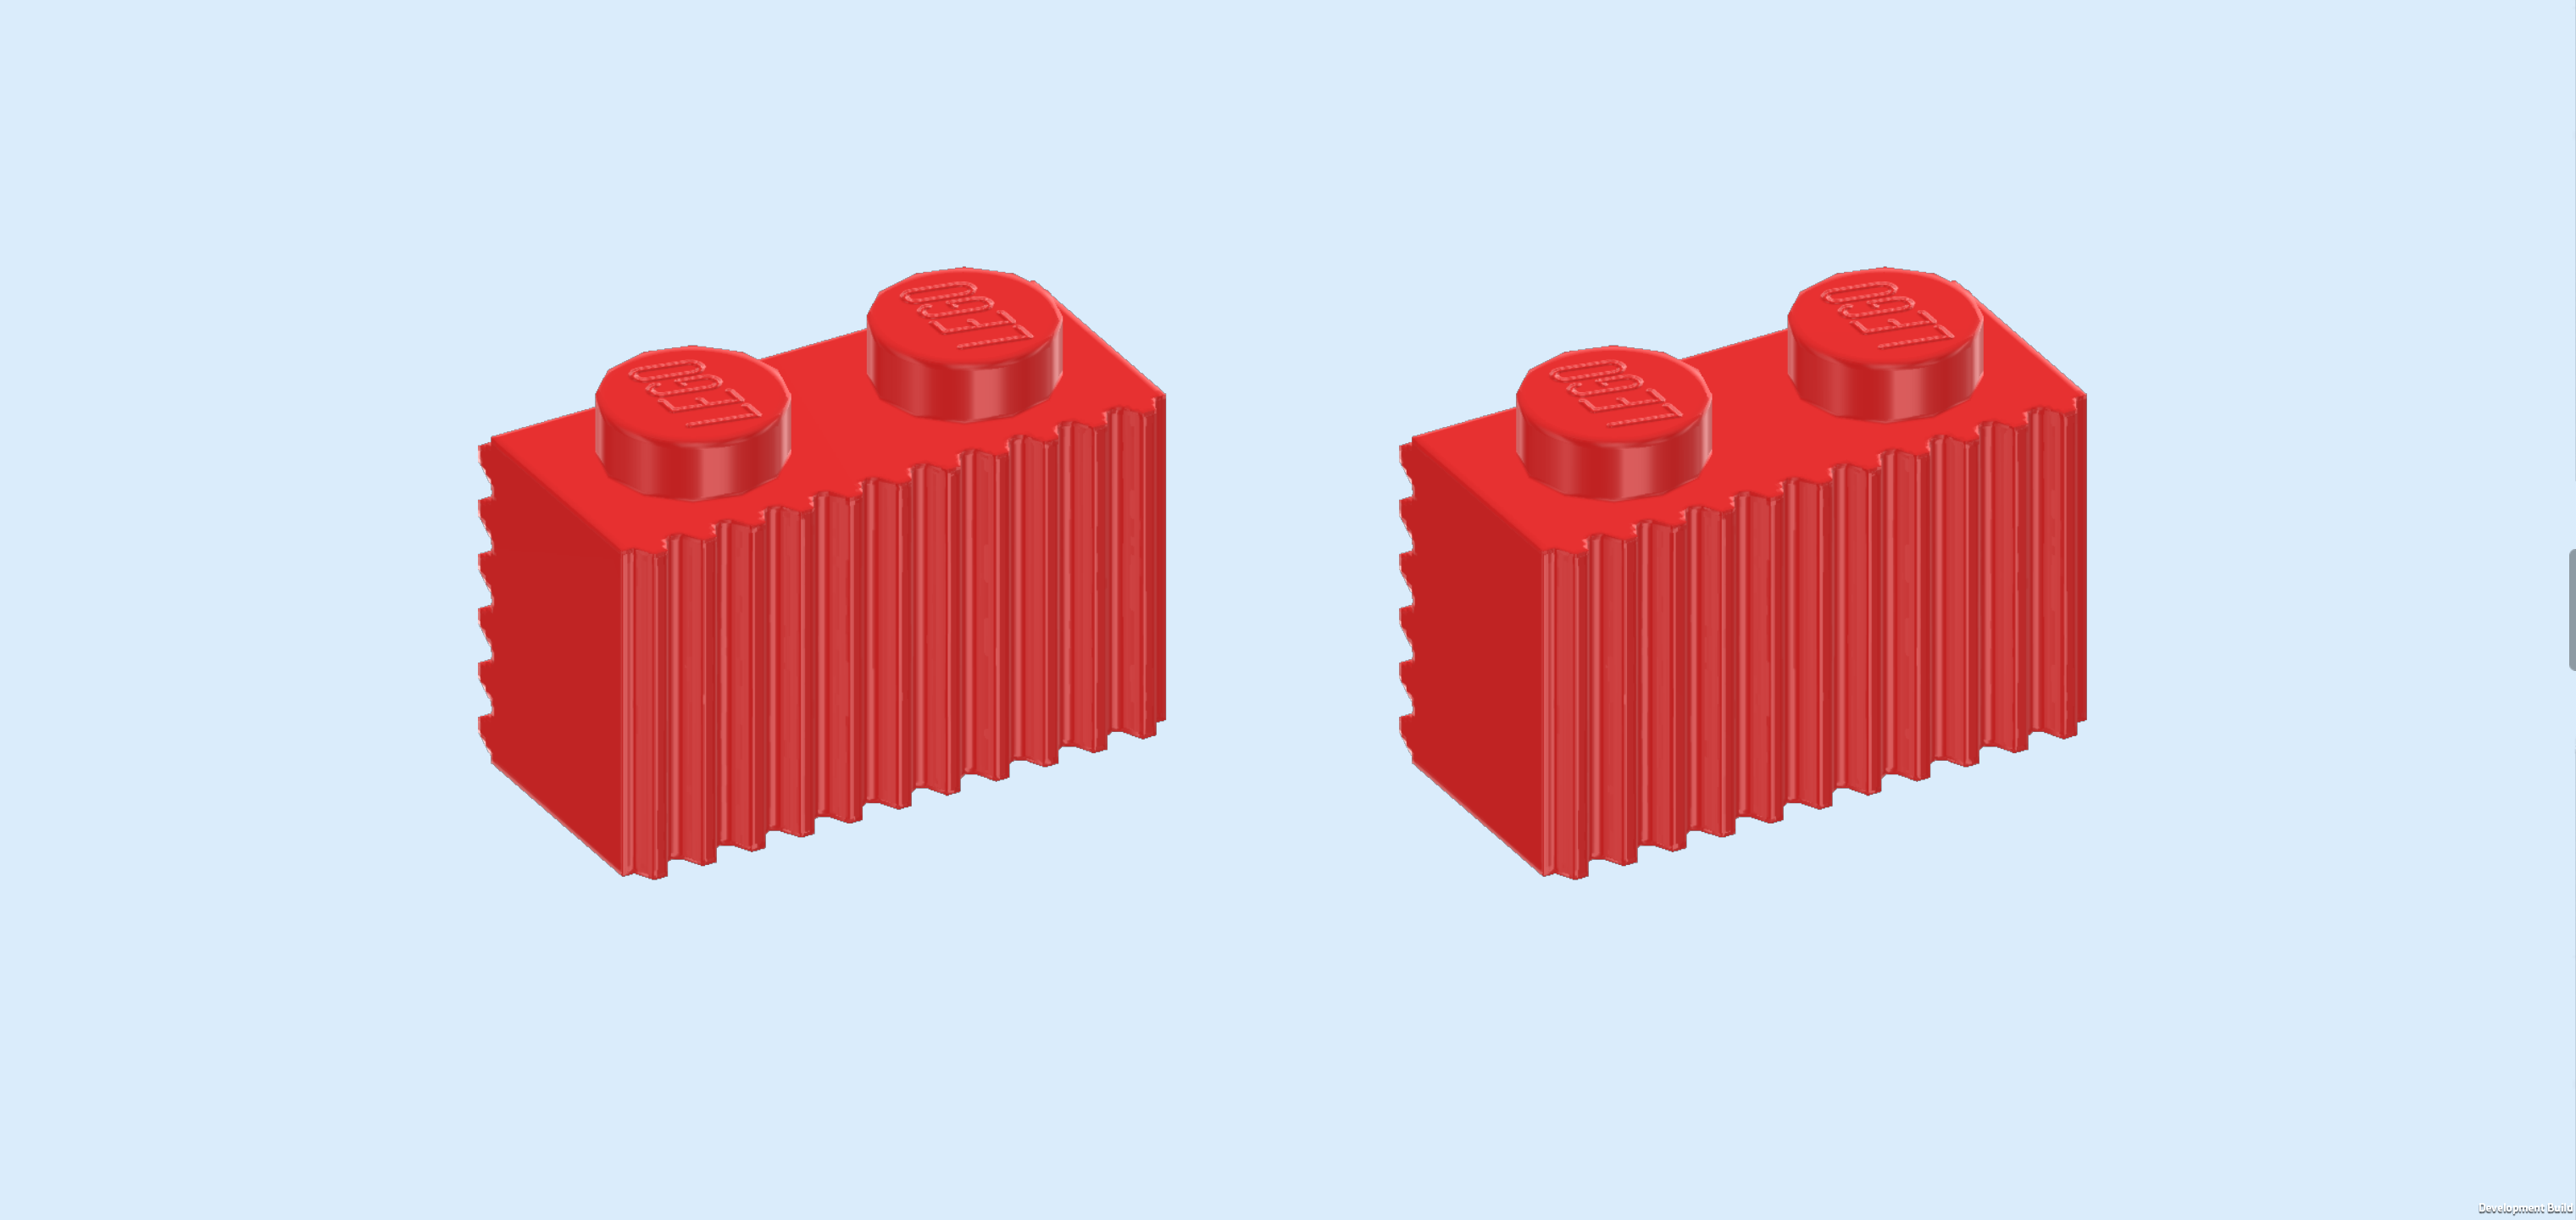
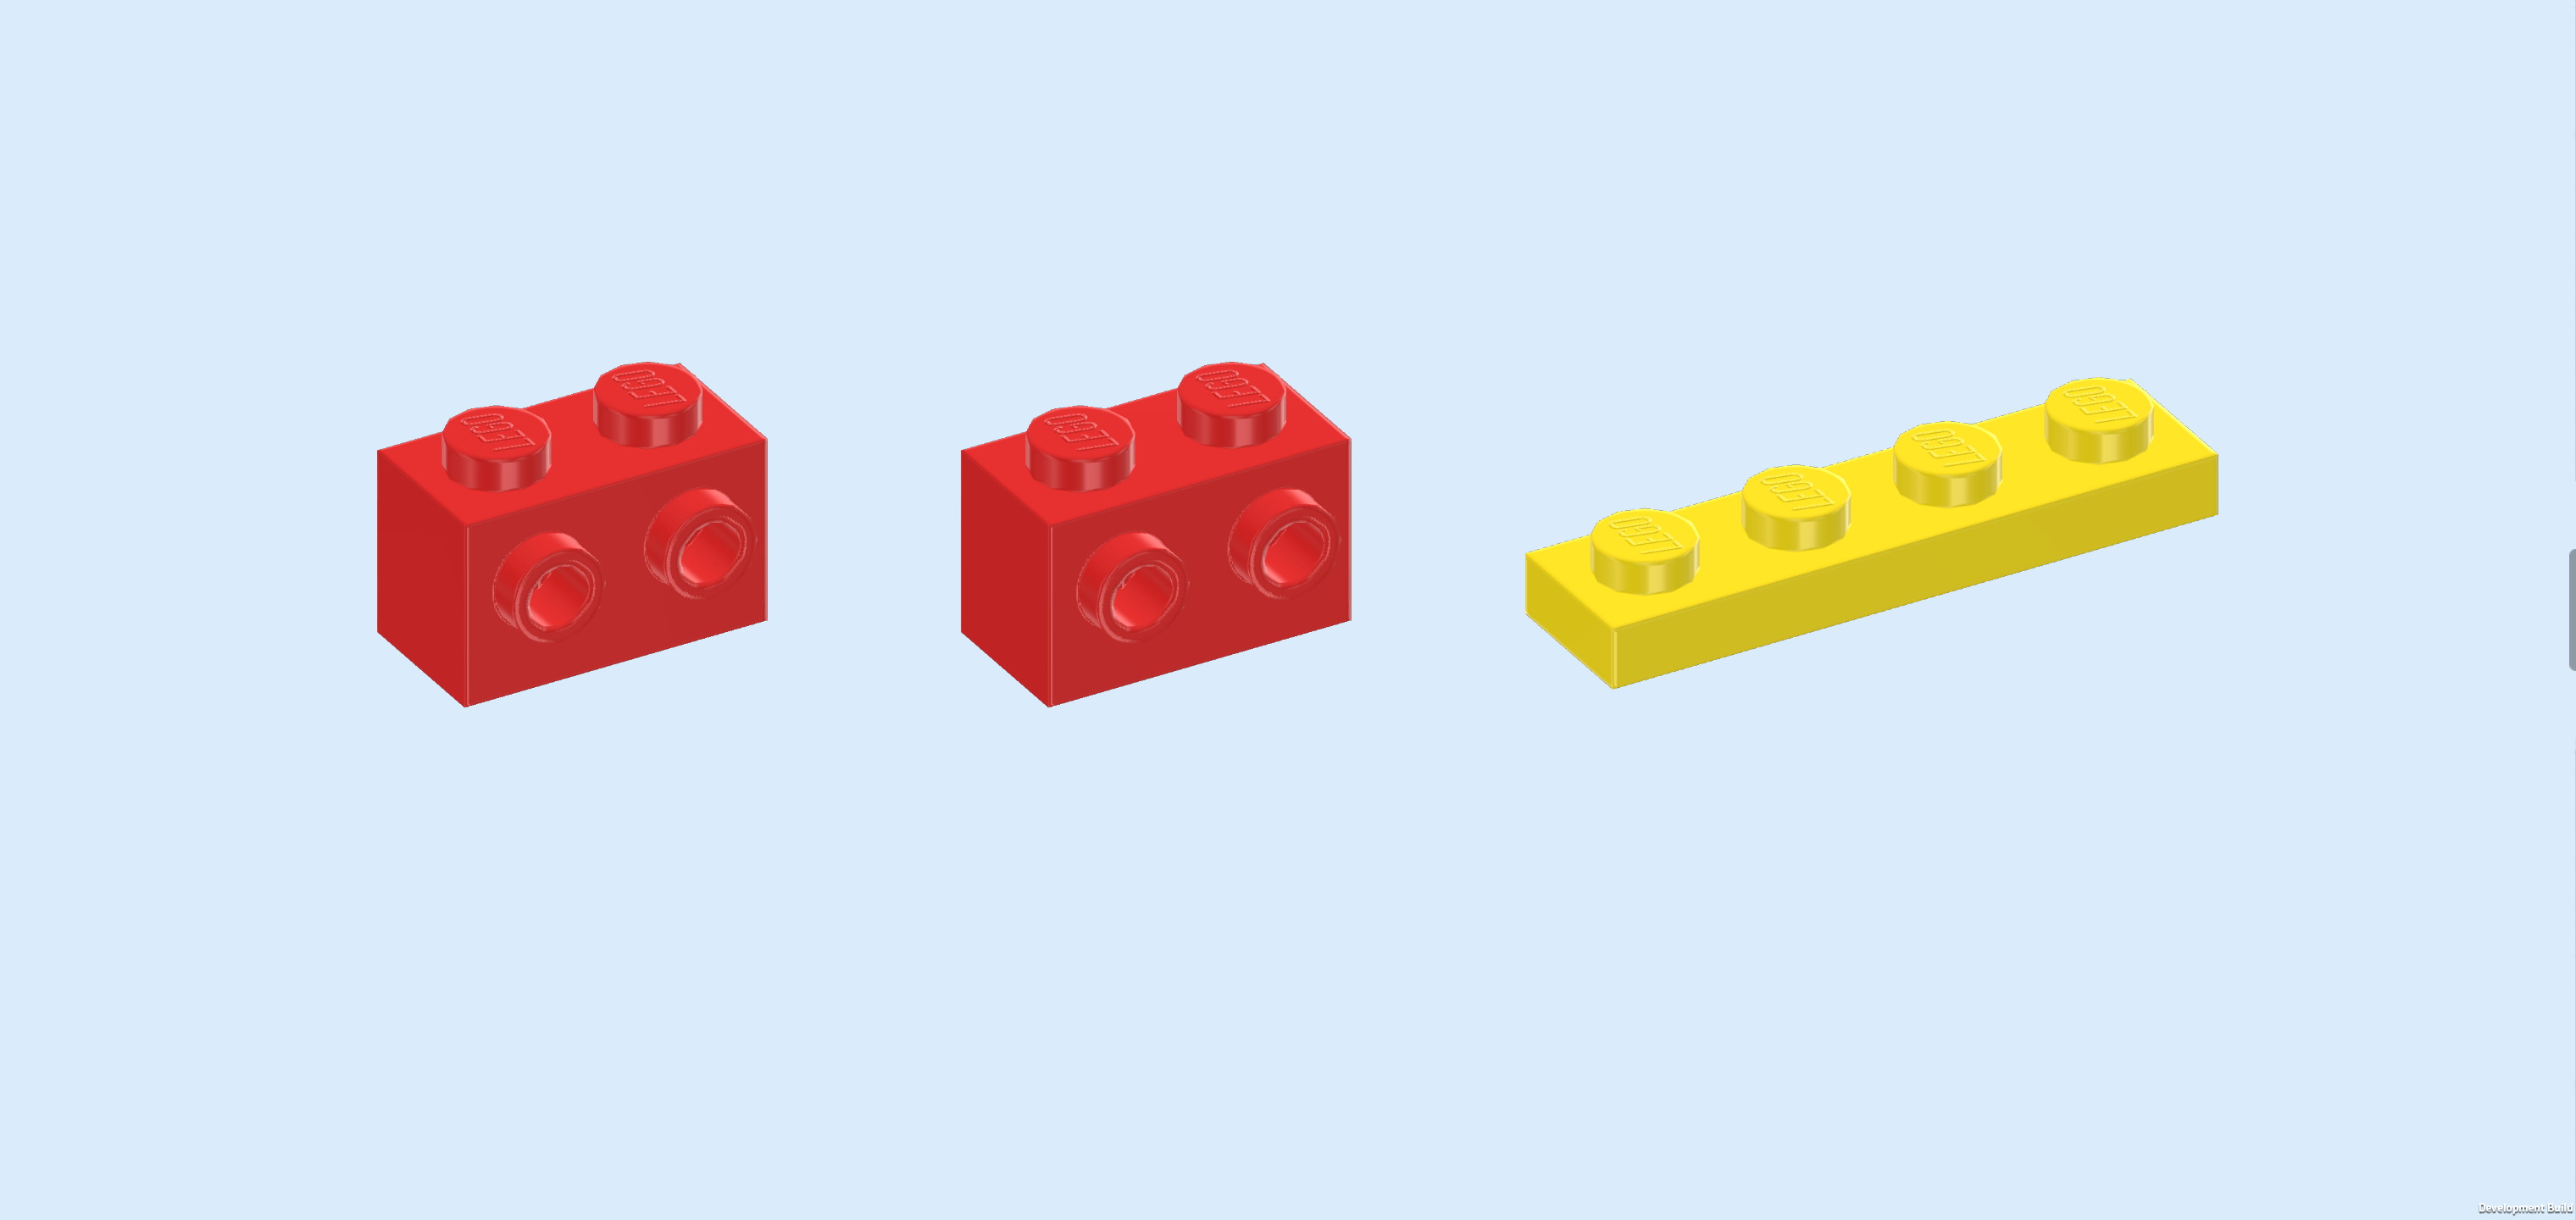
| Find 2 bright red bricks 1x2 with vertical and horizontal side grooves. |
| Put 1 vertically on the 2 backmost knobs of the plate 1x6 we have mounted 2 steps ago, horizontal grooves to the left. |
| Repeat symmetrically at the front, horizontal grooves to the left. |
| Next, we will build the truck bed. |
| Collect the following 2 pieces: |
| 1 bright blue inverted double roof tile 6x8, |
| and 1 bright blue flat tile 1x4. |
| Put the inverted double roof tile horizontally on the table. This means its sloped sides will be at the front and back edge. |
| Put the flat tile 1x4 vertically centered on the second column from the right. |
| Find 2 earth blue plates 2x2 with 1 knob. |
| Put them next to each other to the left of the previous piece. This means they will both sit on the third and fourth column from the right. |
| Find 3 bright blue flat tiles 1x4. |
| Put 1 vertically to the left of the previous piece. |
| Put another 1 vertically to the left of the previous piece. |
| Put the last one vertically to the left of the previous piece. |
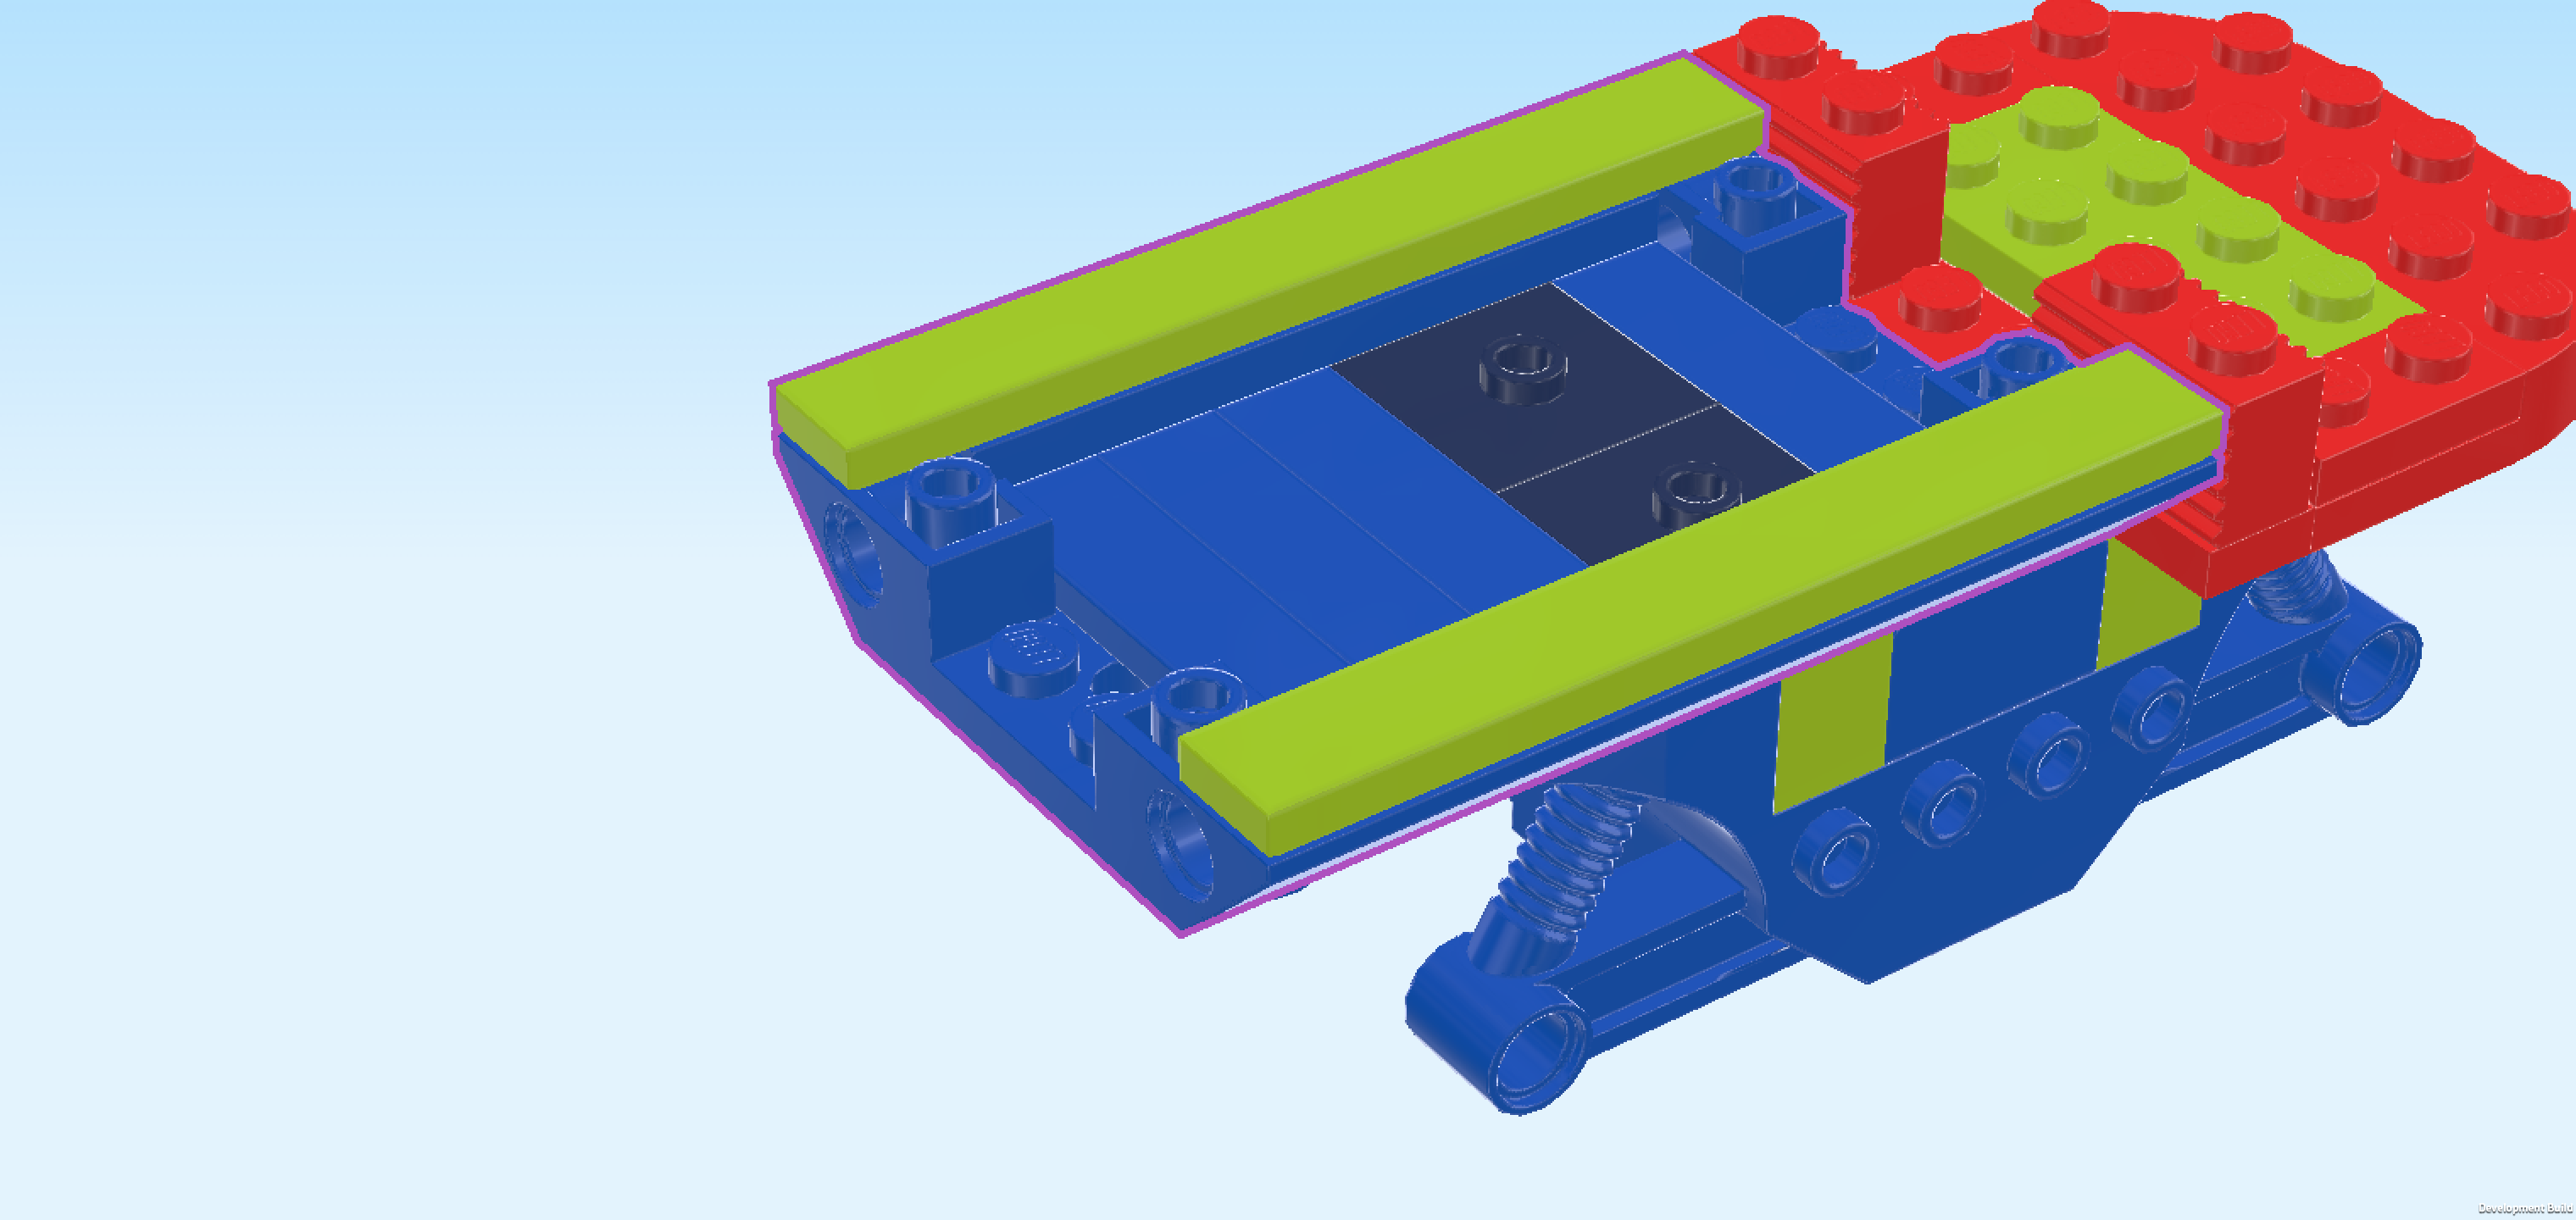
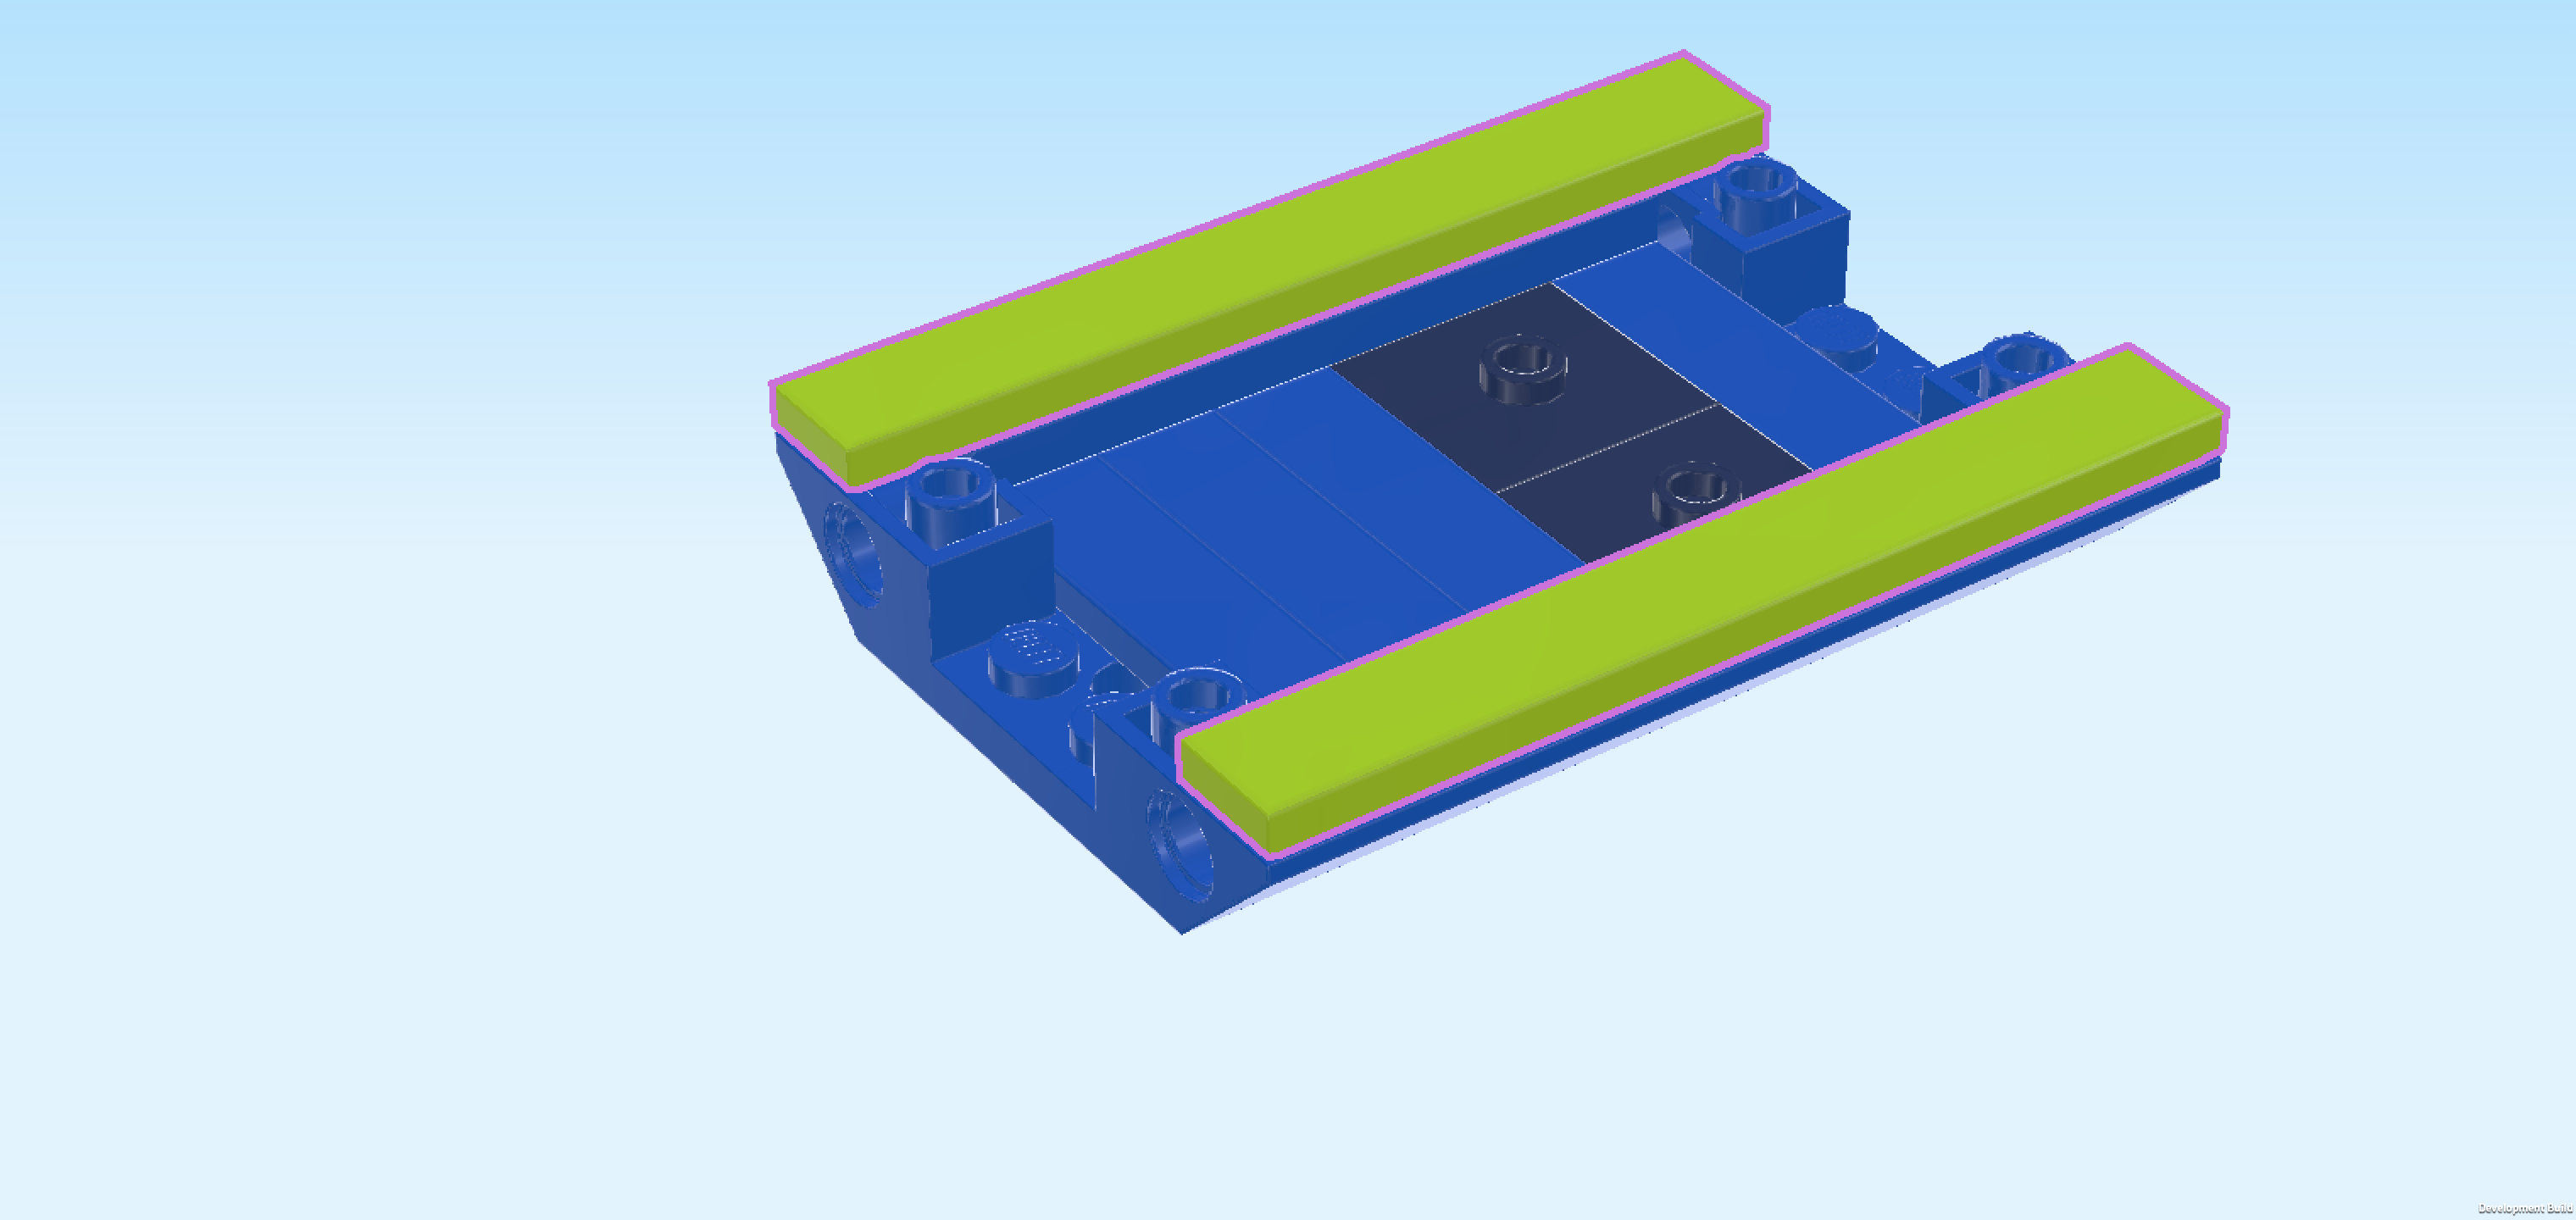
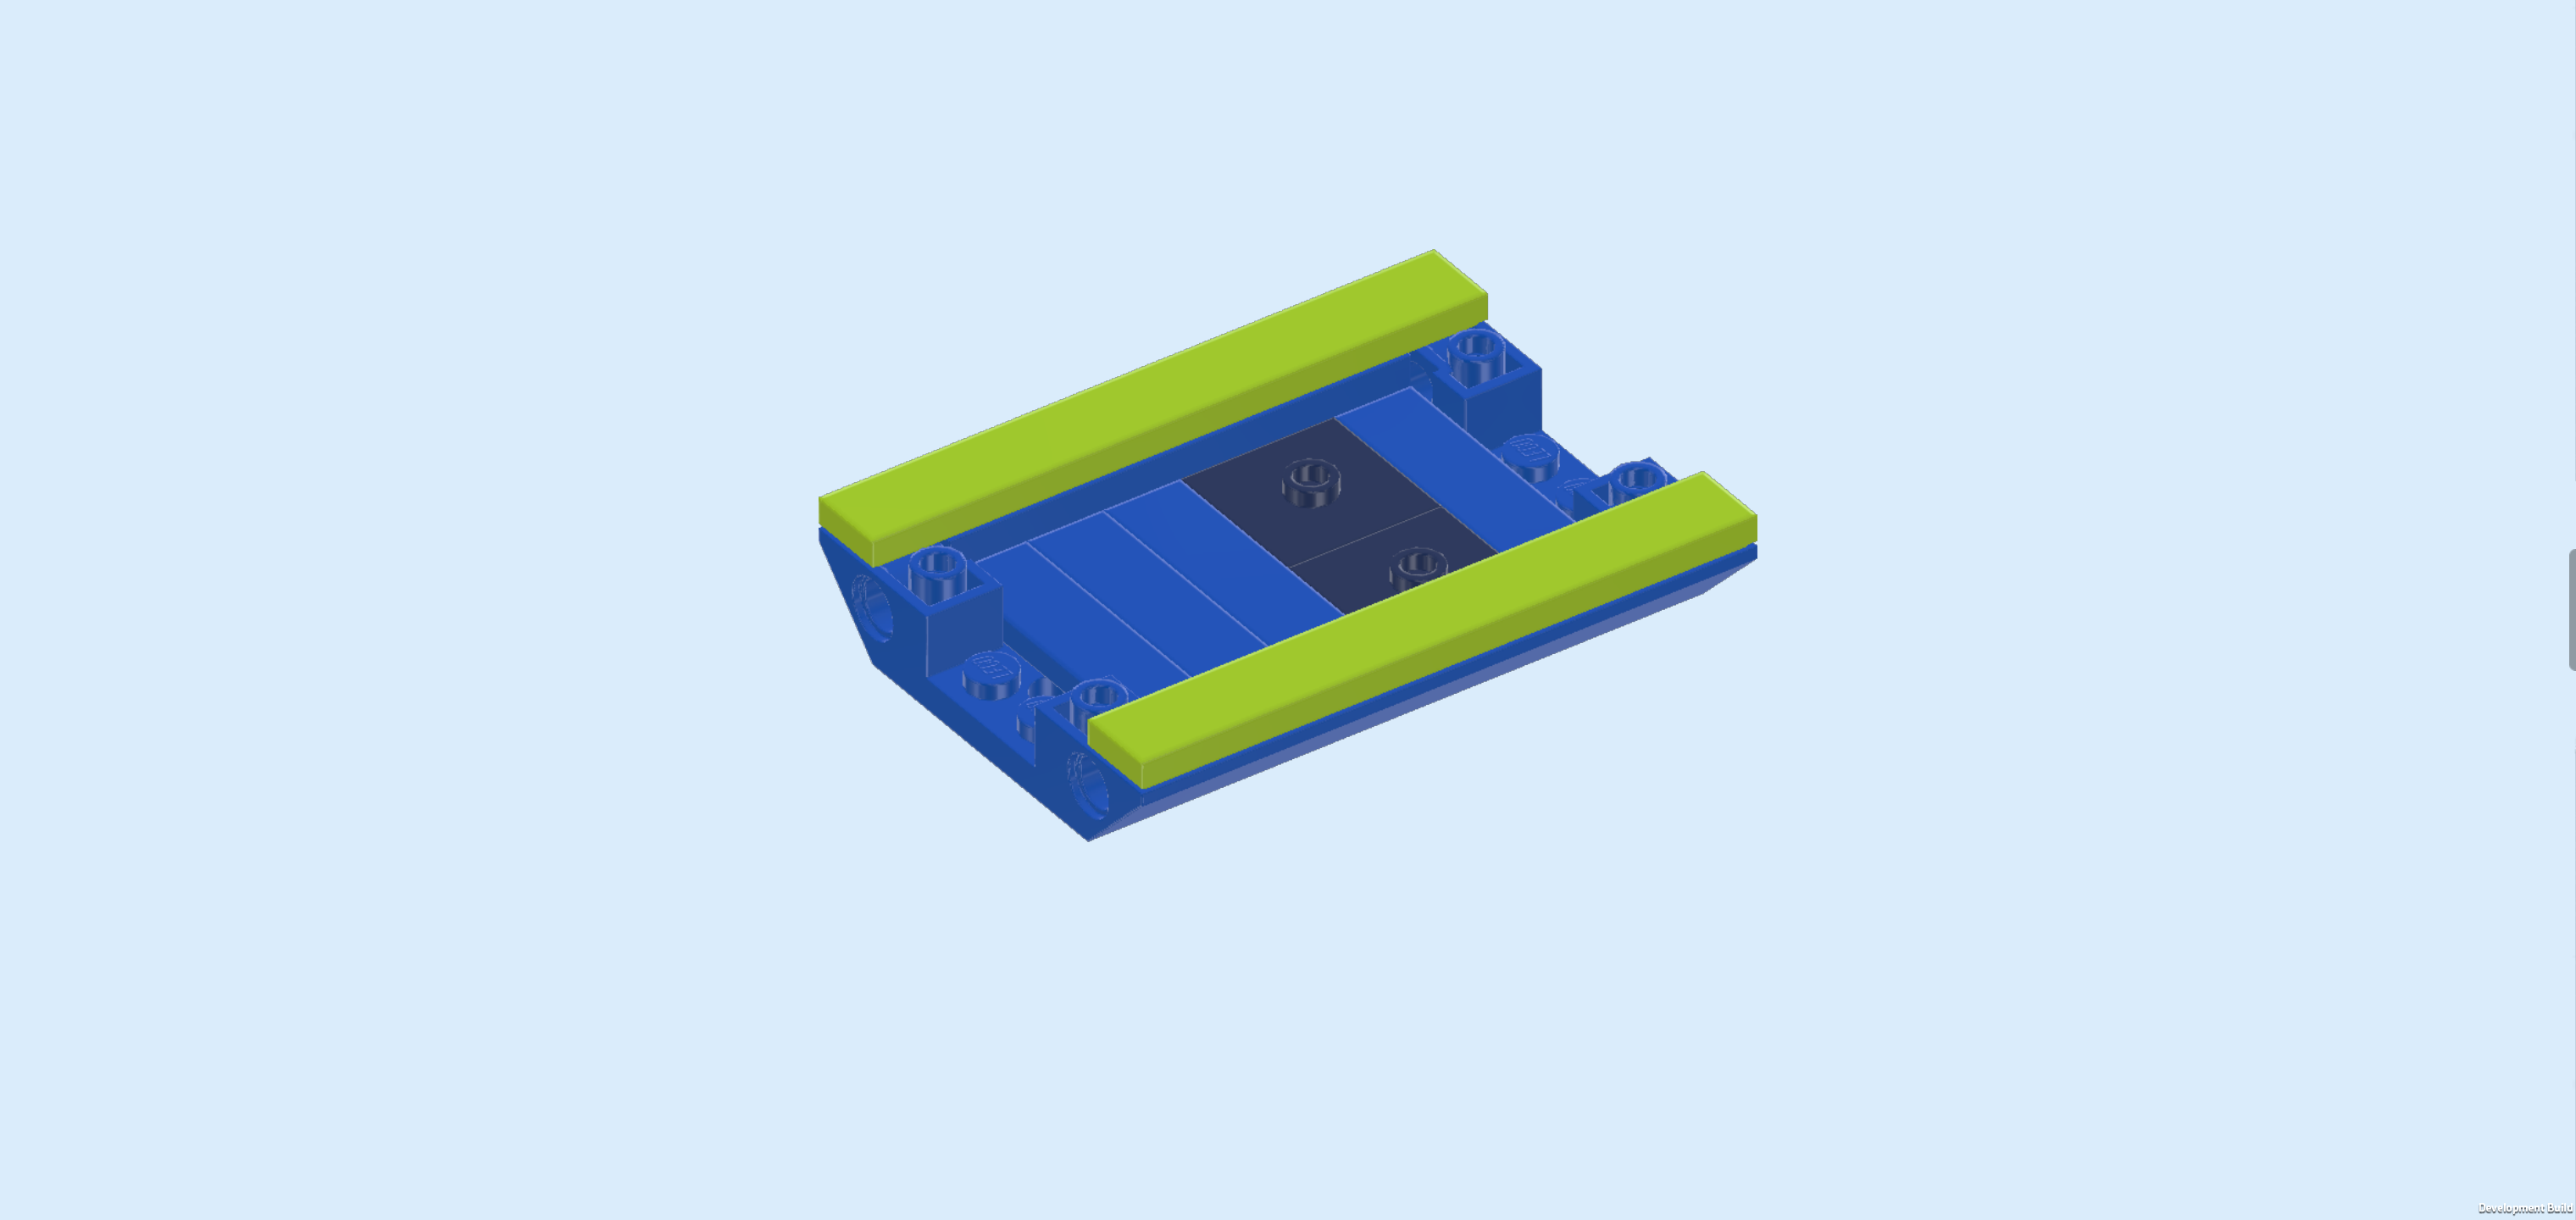
| Find 2 yellowish green flat tiles 1x8. |
| Put 1 horizontally on the frontmost row of the structure. |
| Repeat symmetrically at the back. |
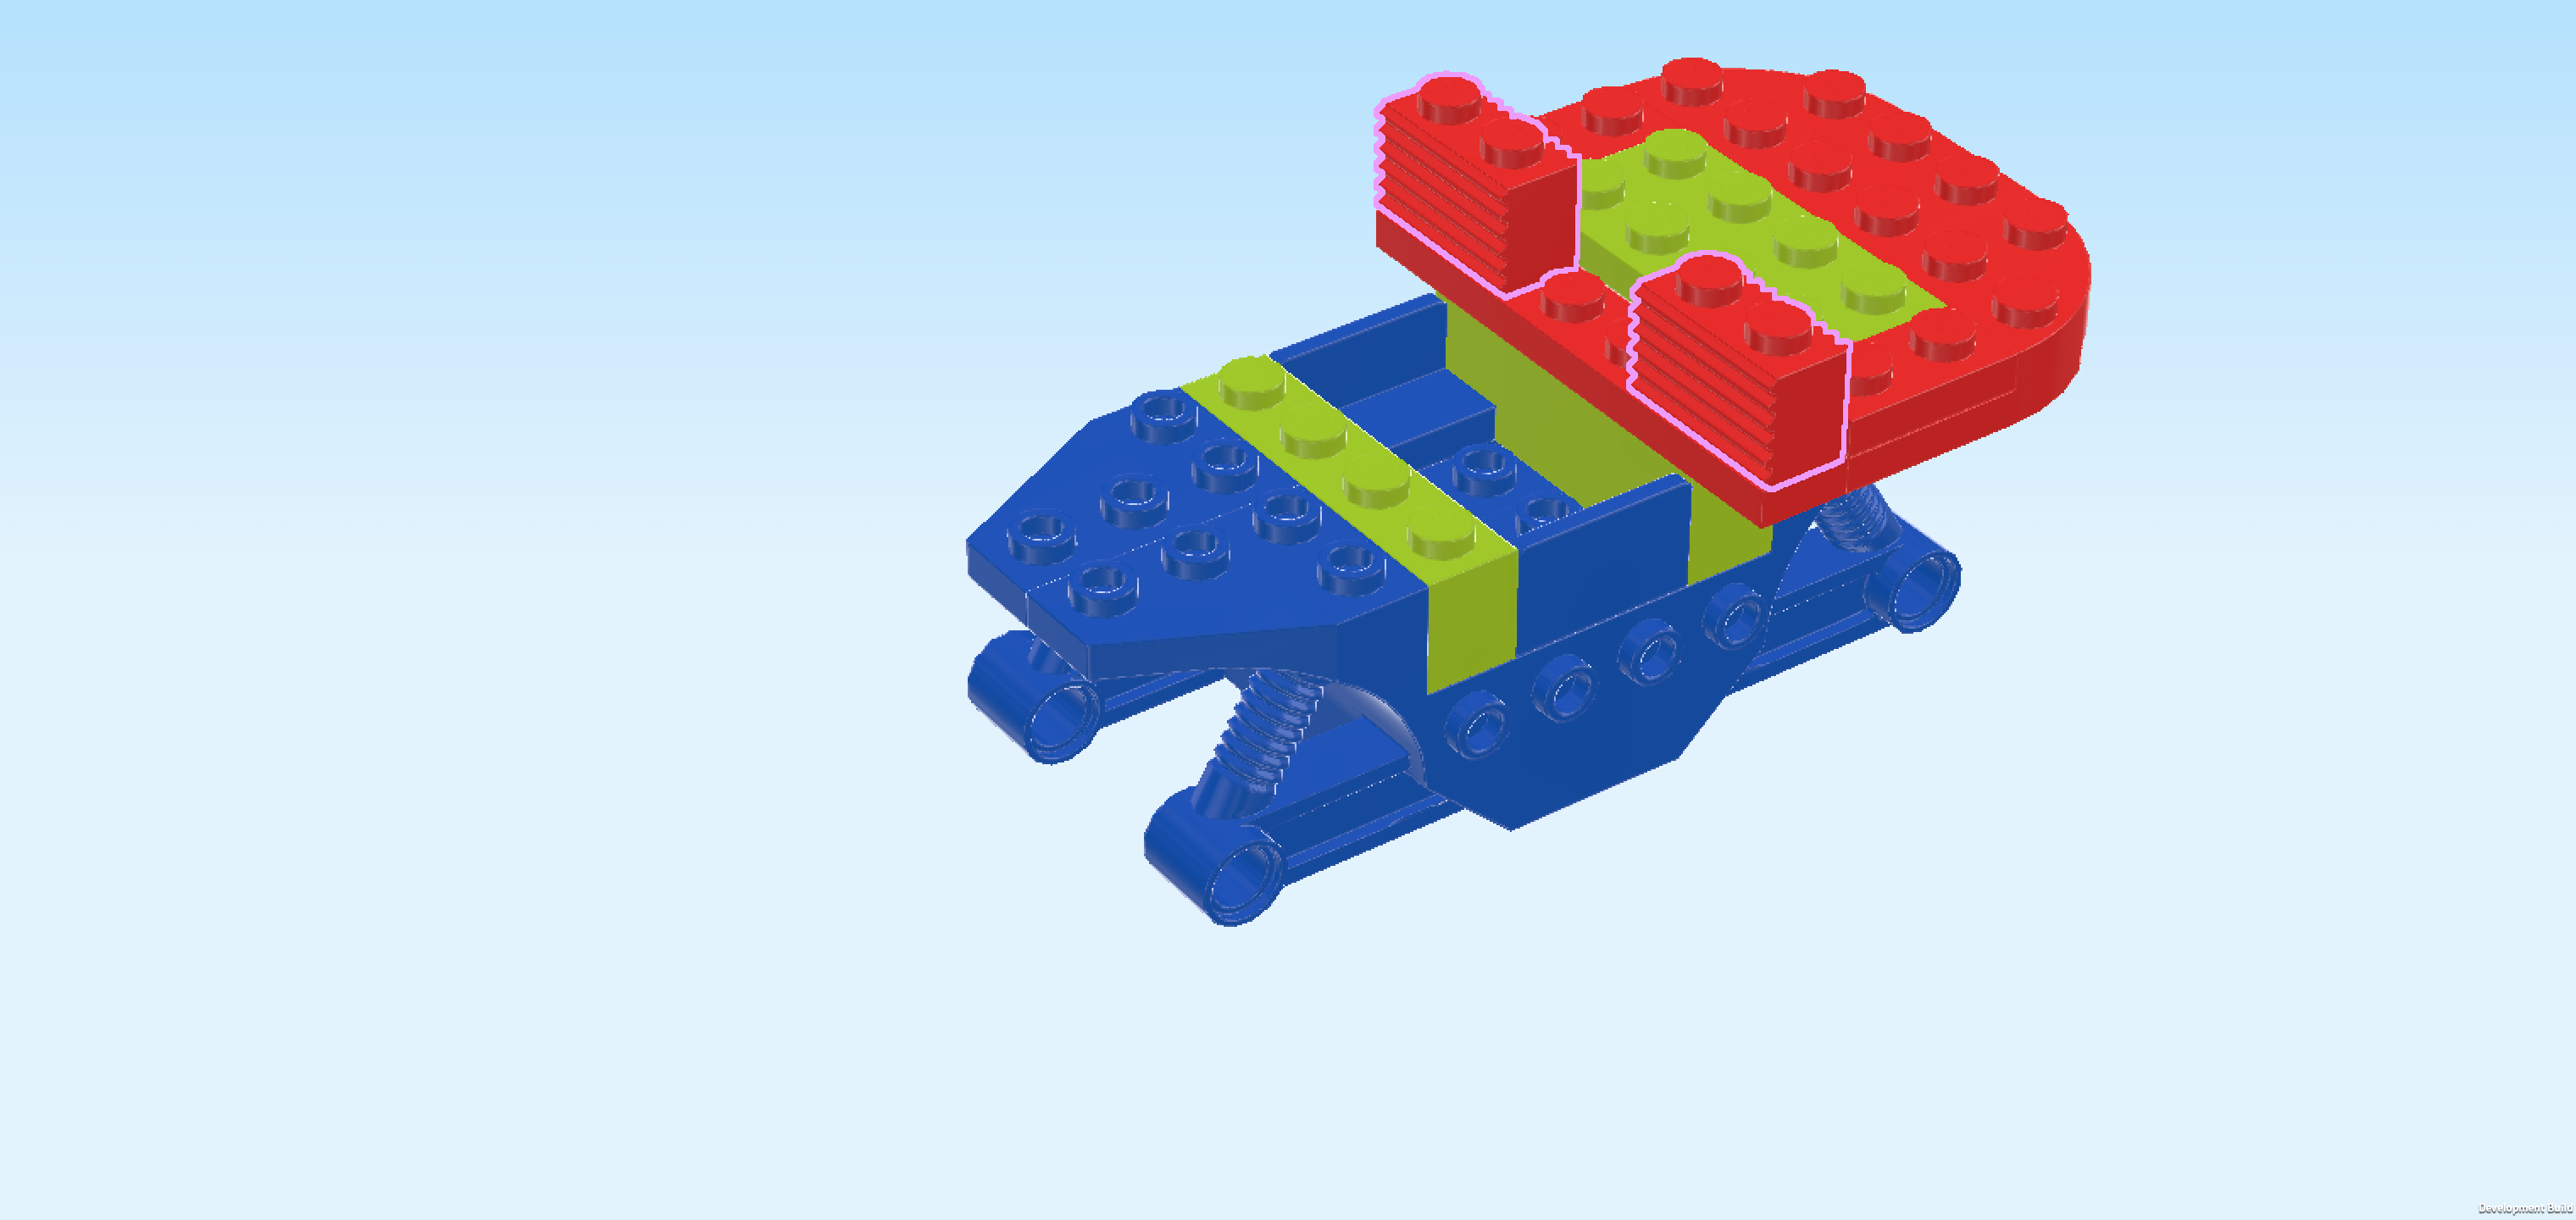
| The truck bed is finished! Well done! Before you mount it, fetch the main structure we have built earlier and make sure it is oriented horizontally, higher half on the right. |
| Mount the truck bed in its building orientation on the left half of the main structure, 2 columns overhanging to the left. Make sure its right edge touches the 2 bricks with side grooves. |
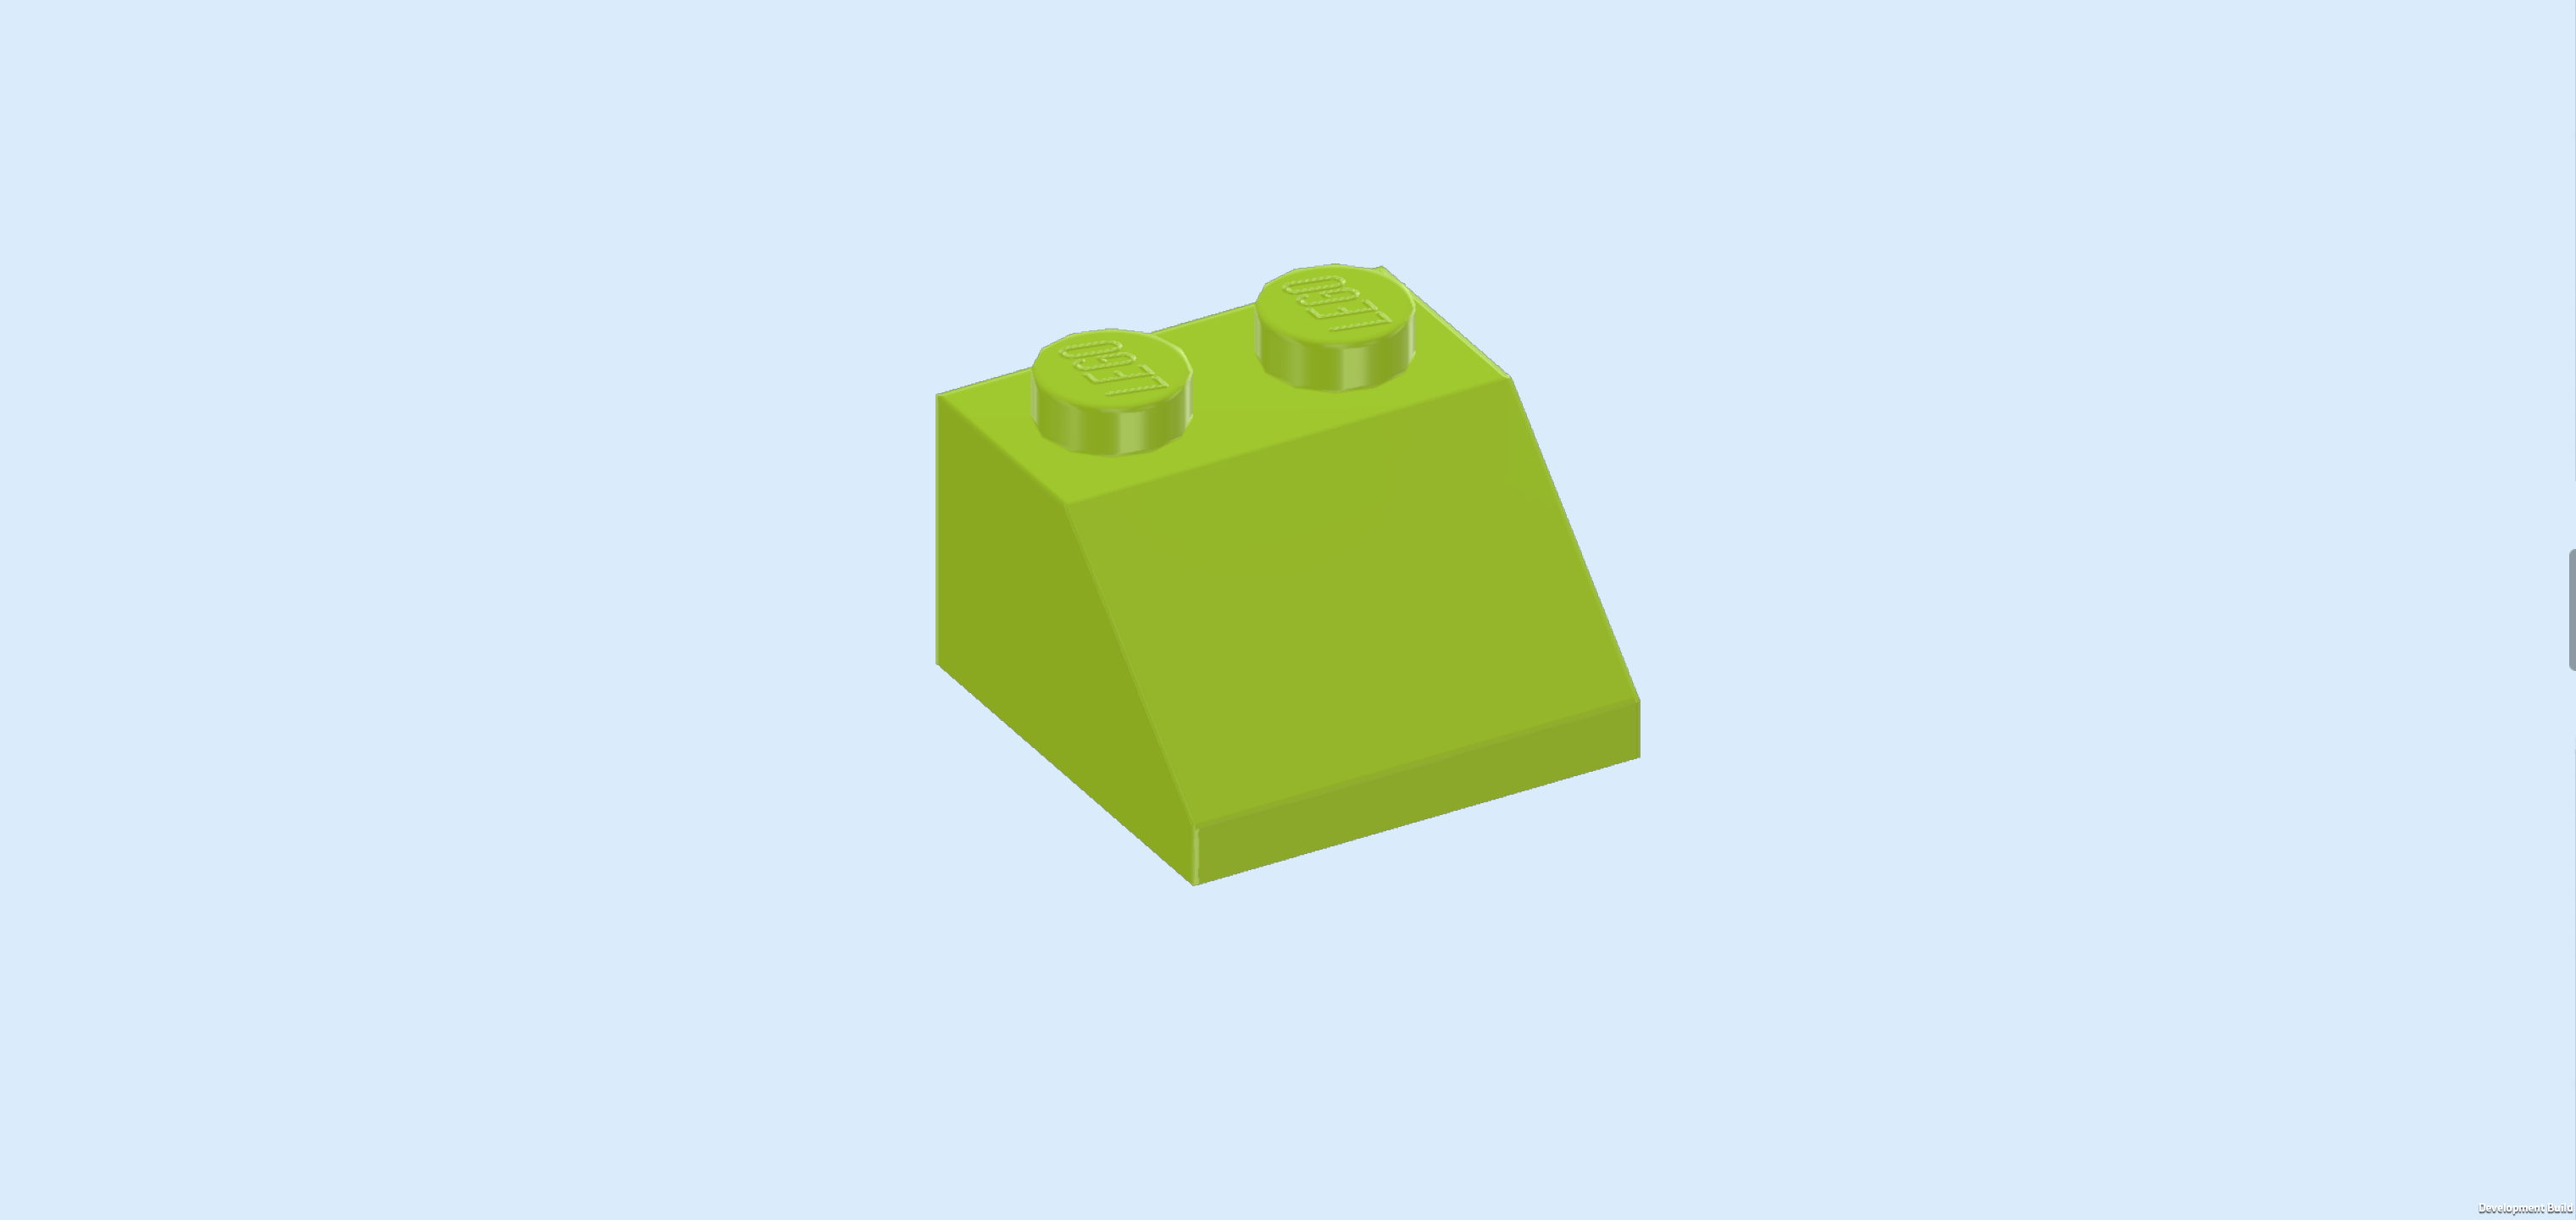
| Find 1 yellowish green roof tile 2x2, 45°. |
| Put it centered on the 2x2 recess formed between right vehicle half and truck bed, slope to the left. This brick further connects the truck bed with the main structure. |
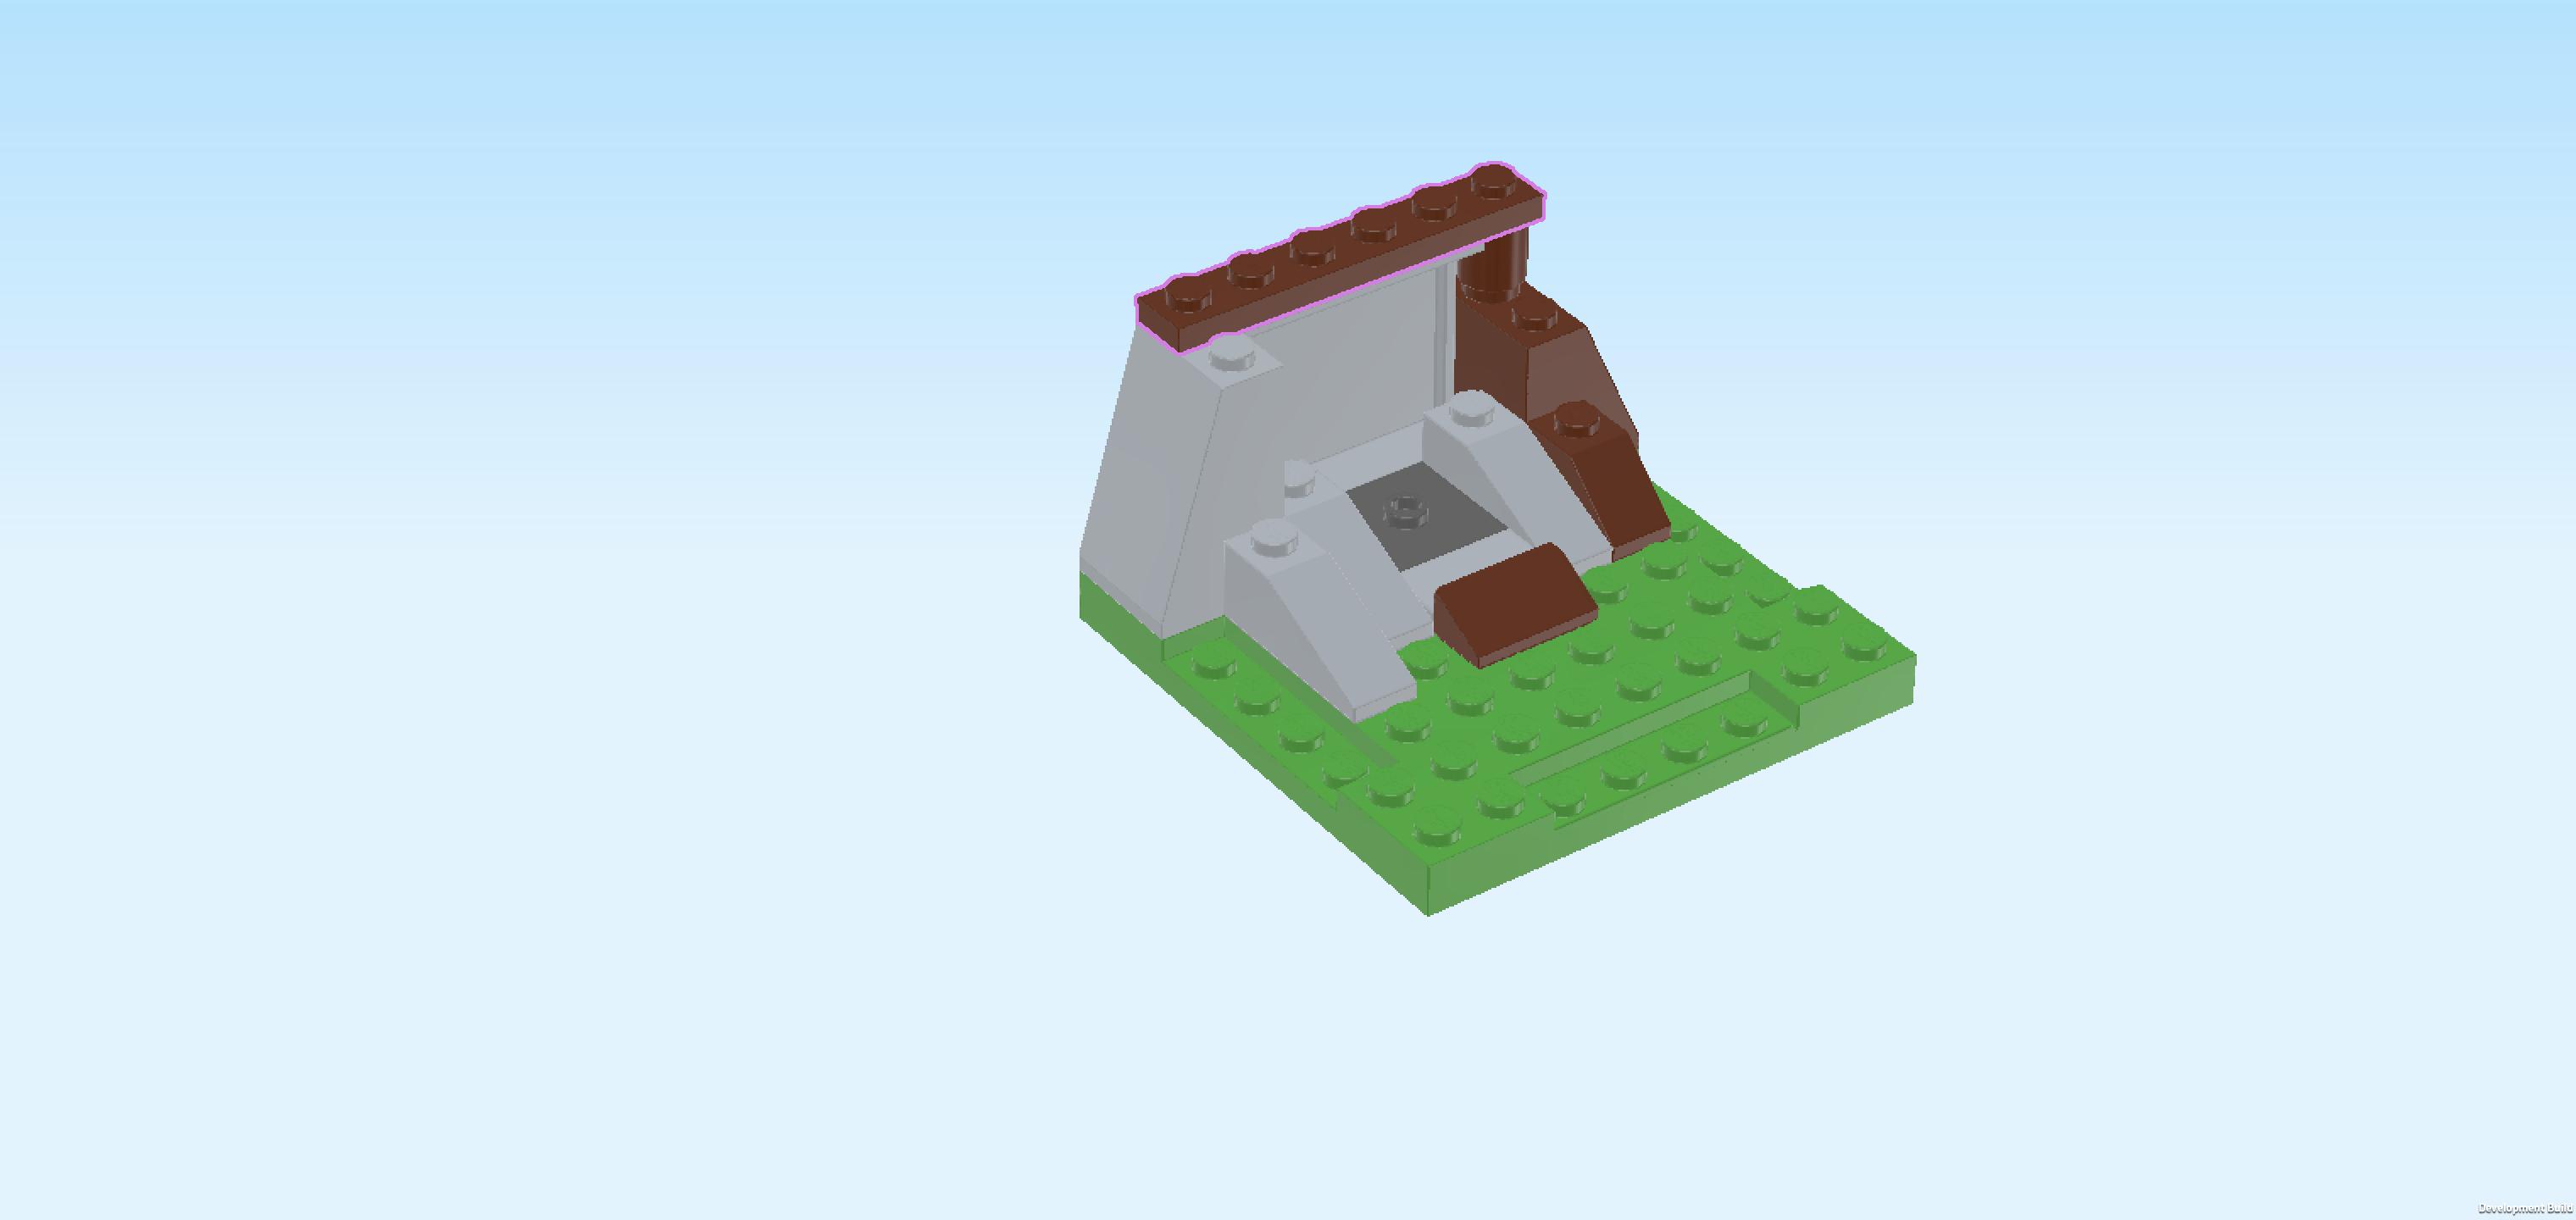
| Find 1 bright red plate 1x6. |
| Put it vertically on top of the previous piece and the 2 grooved bricks in front of it and behind it. |
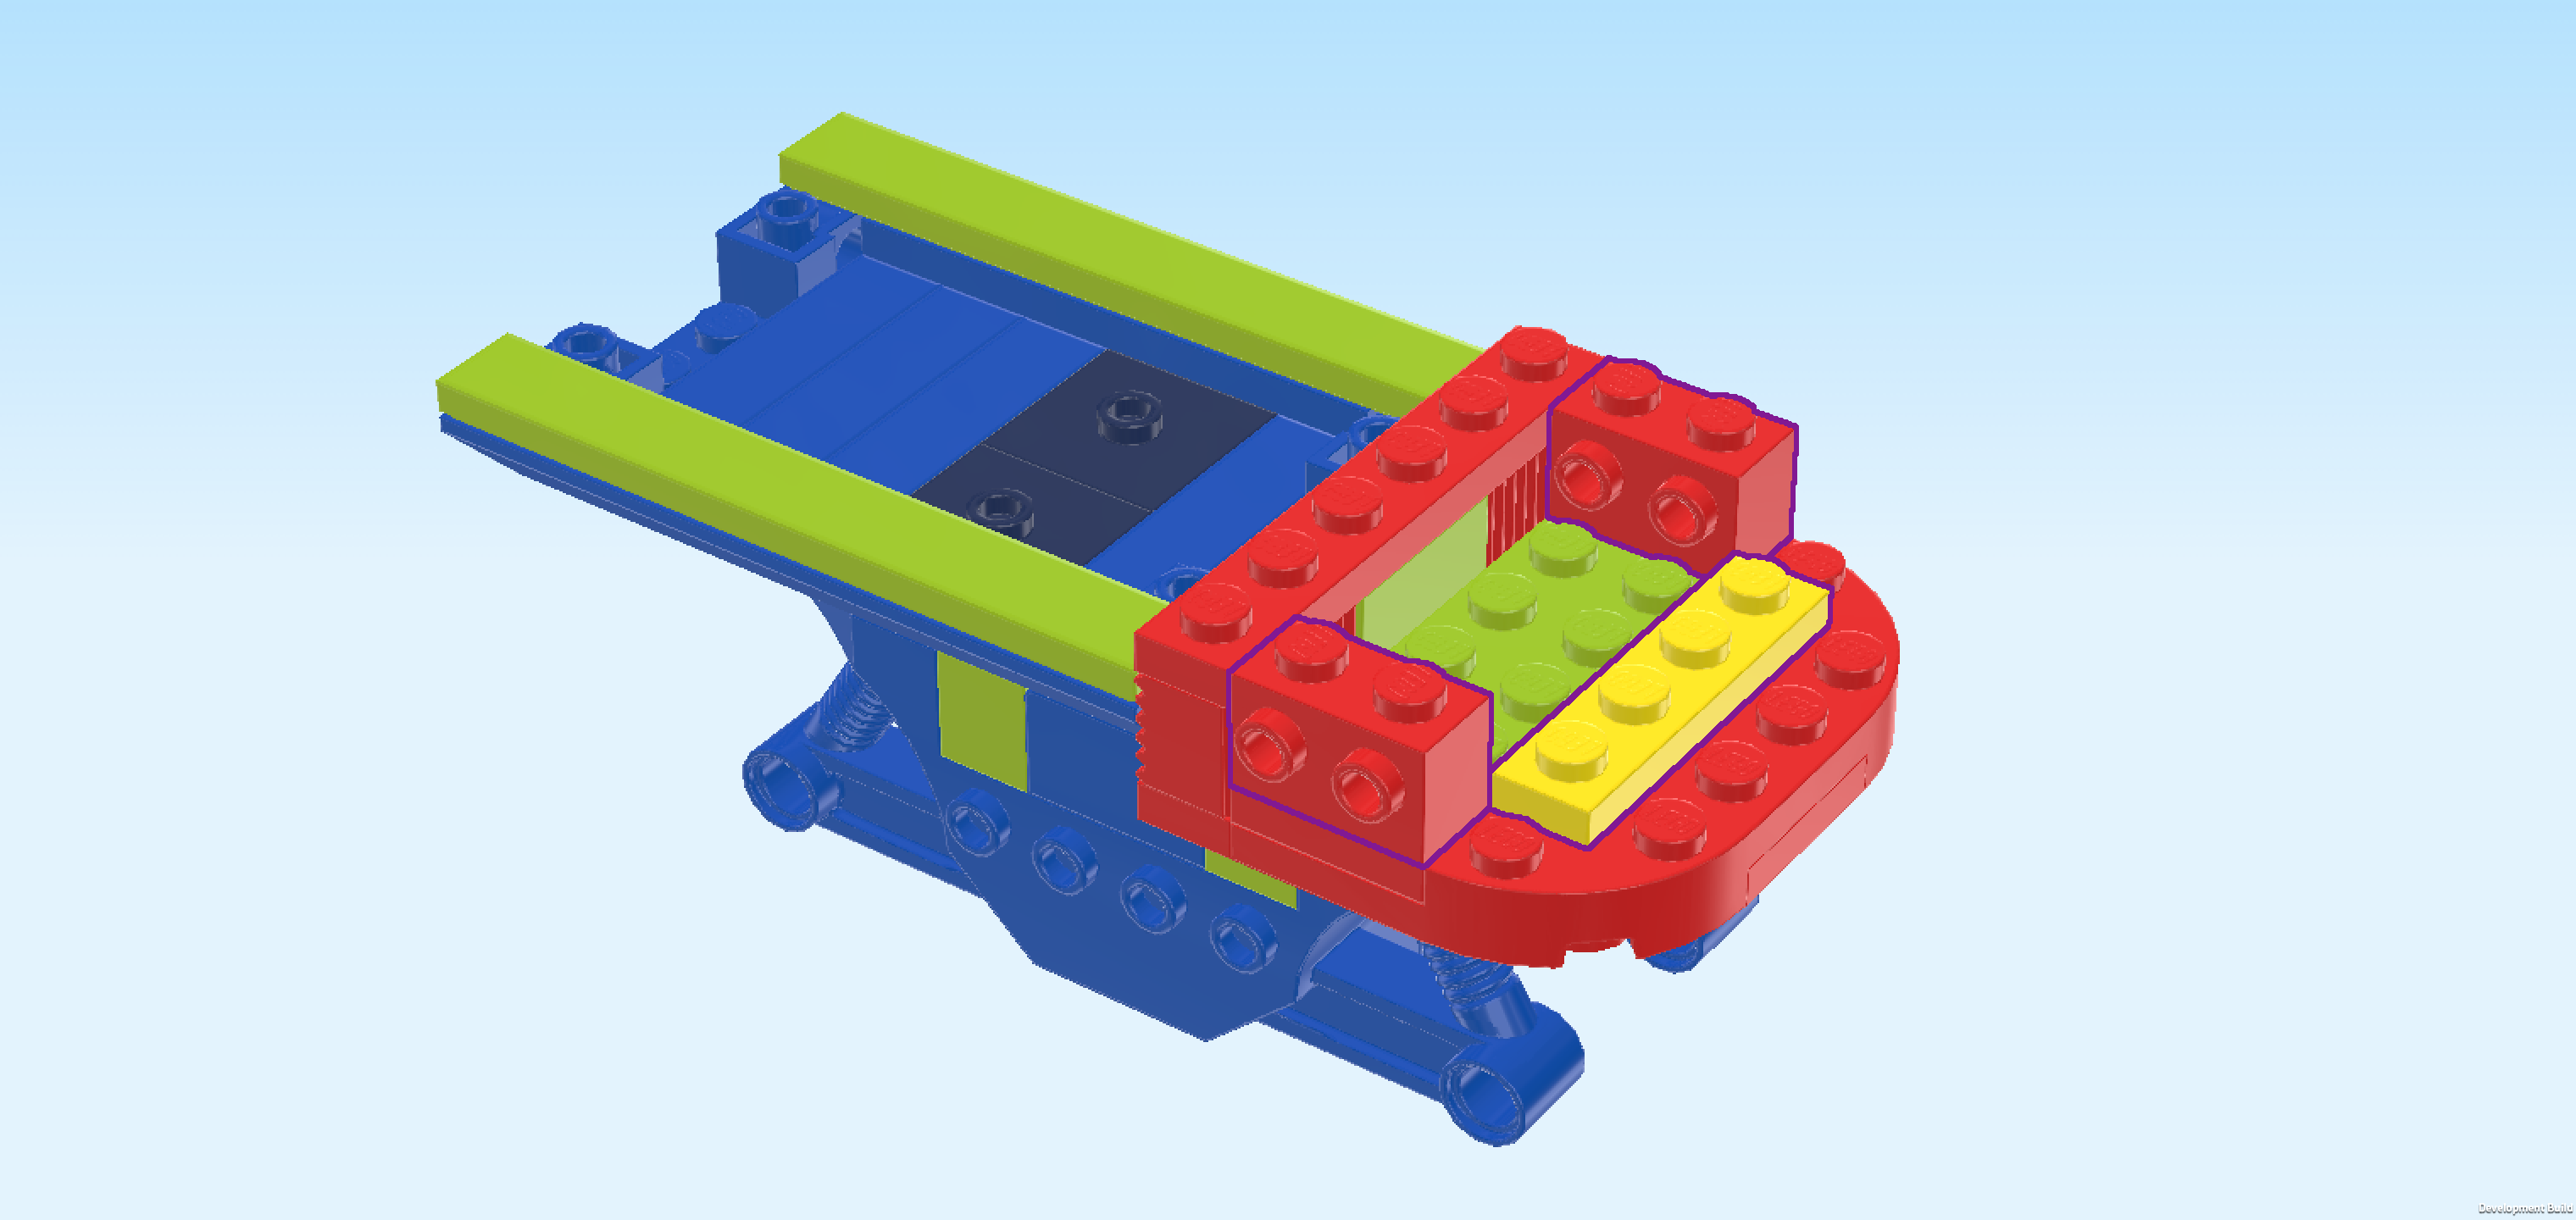
| Collect the following 3 pieces: |
| 2 bright red bricks 1x2 with 2 side knobs on each long side, |
| and 1 bright yellow plate 1x4. |
| Put 1 brick 1x2 horizontally to the right of the previous piece on the backmost row. |
| Repeat symmetrically at the front. |
| Put the plate 1x4 vertically centered to the right of the 2 previous pieces. This means it will sit on the second column from the right. |
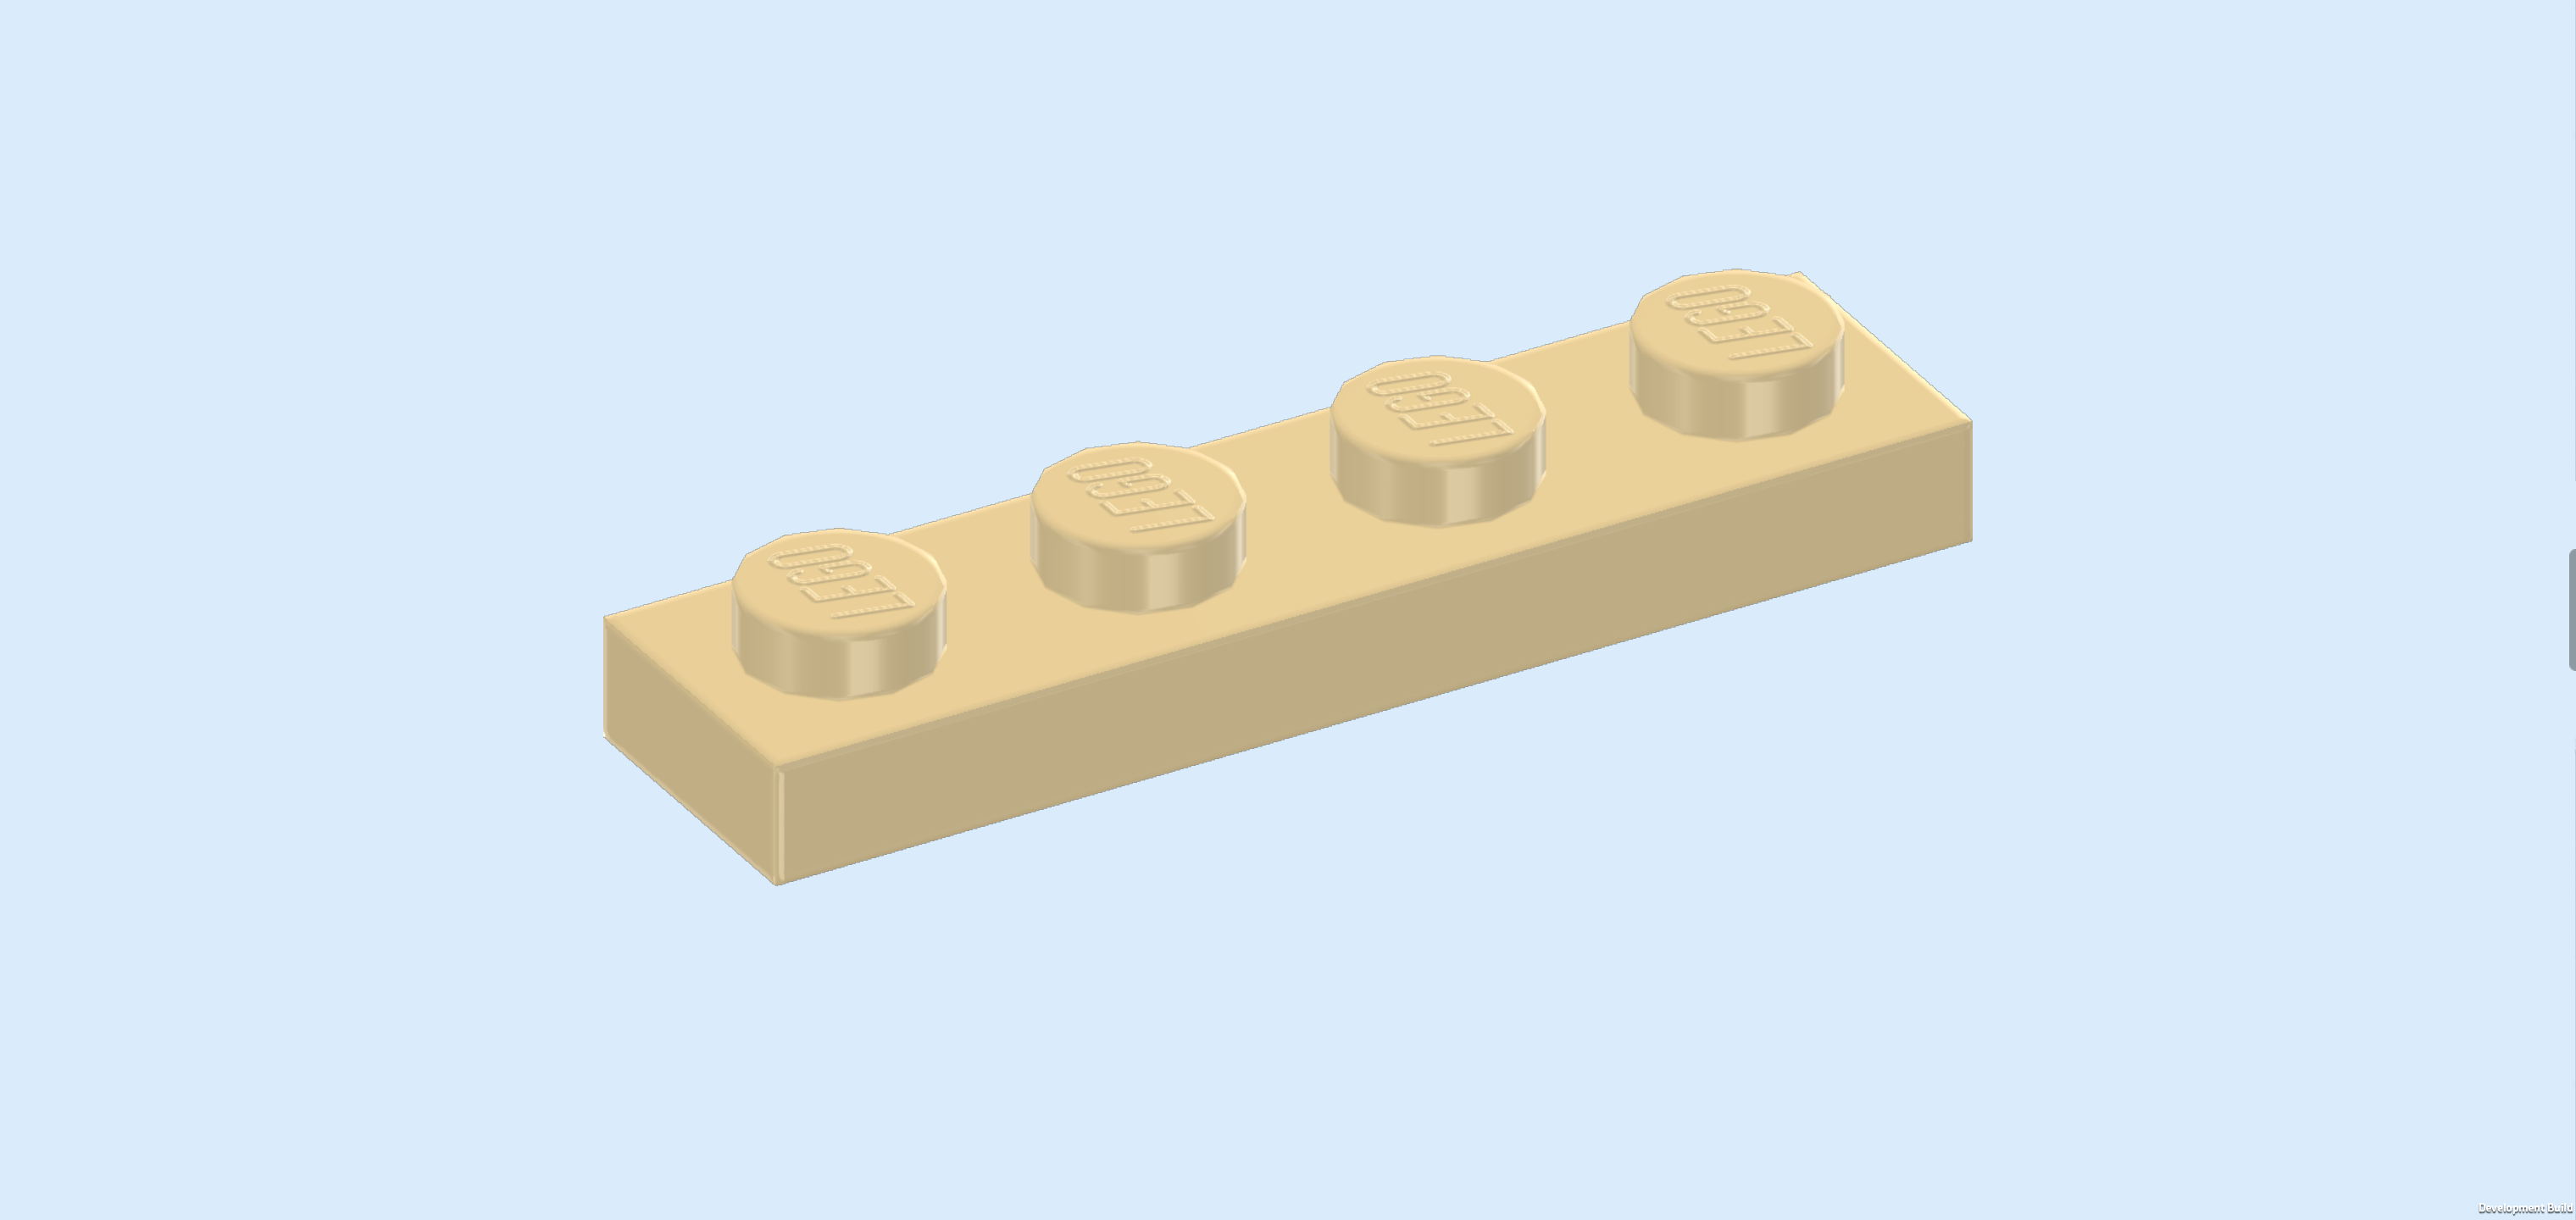
| Find 1 beige plate 1x4. |
| Put it vertically centered on top of the previous piece. |
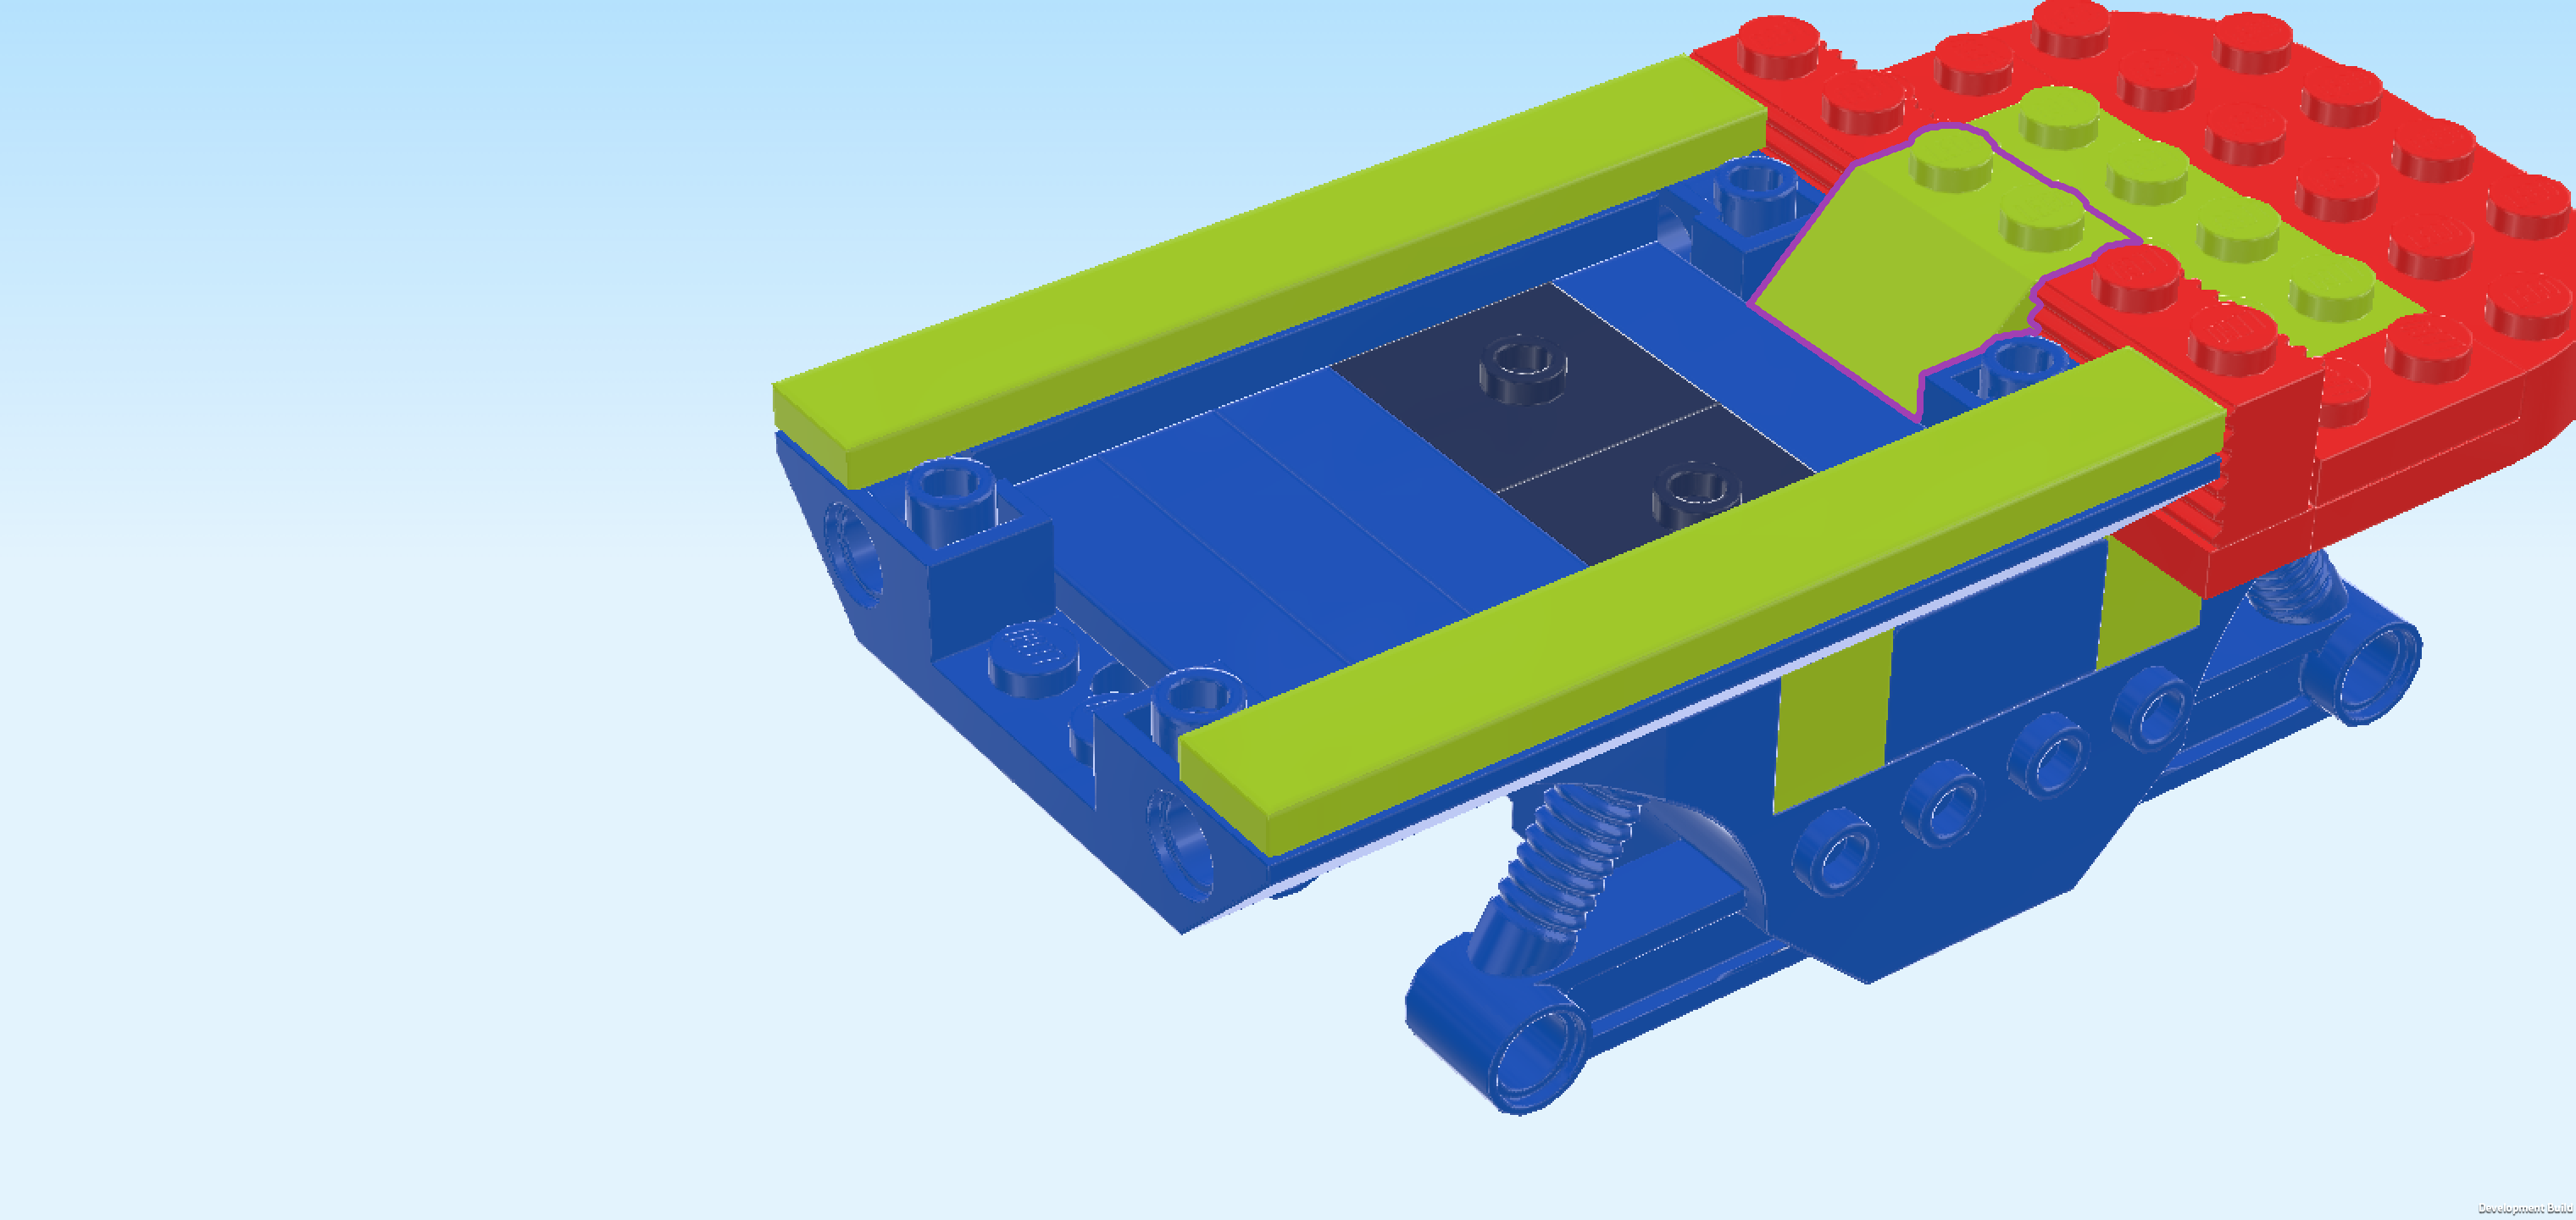
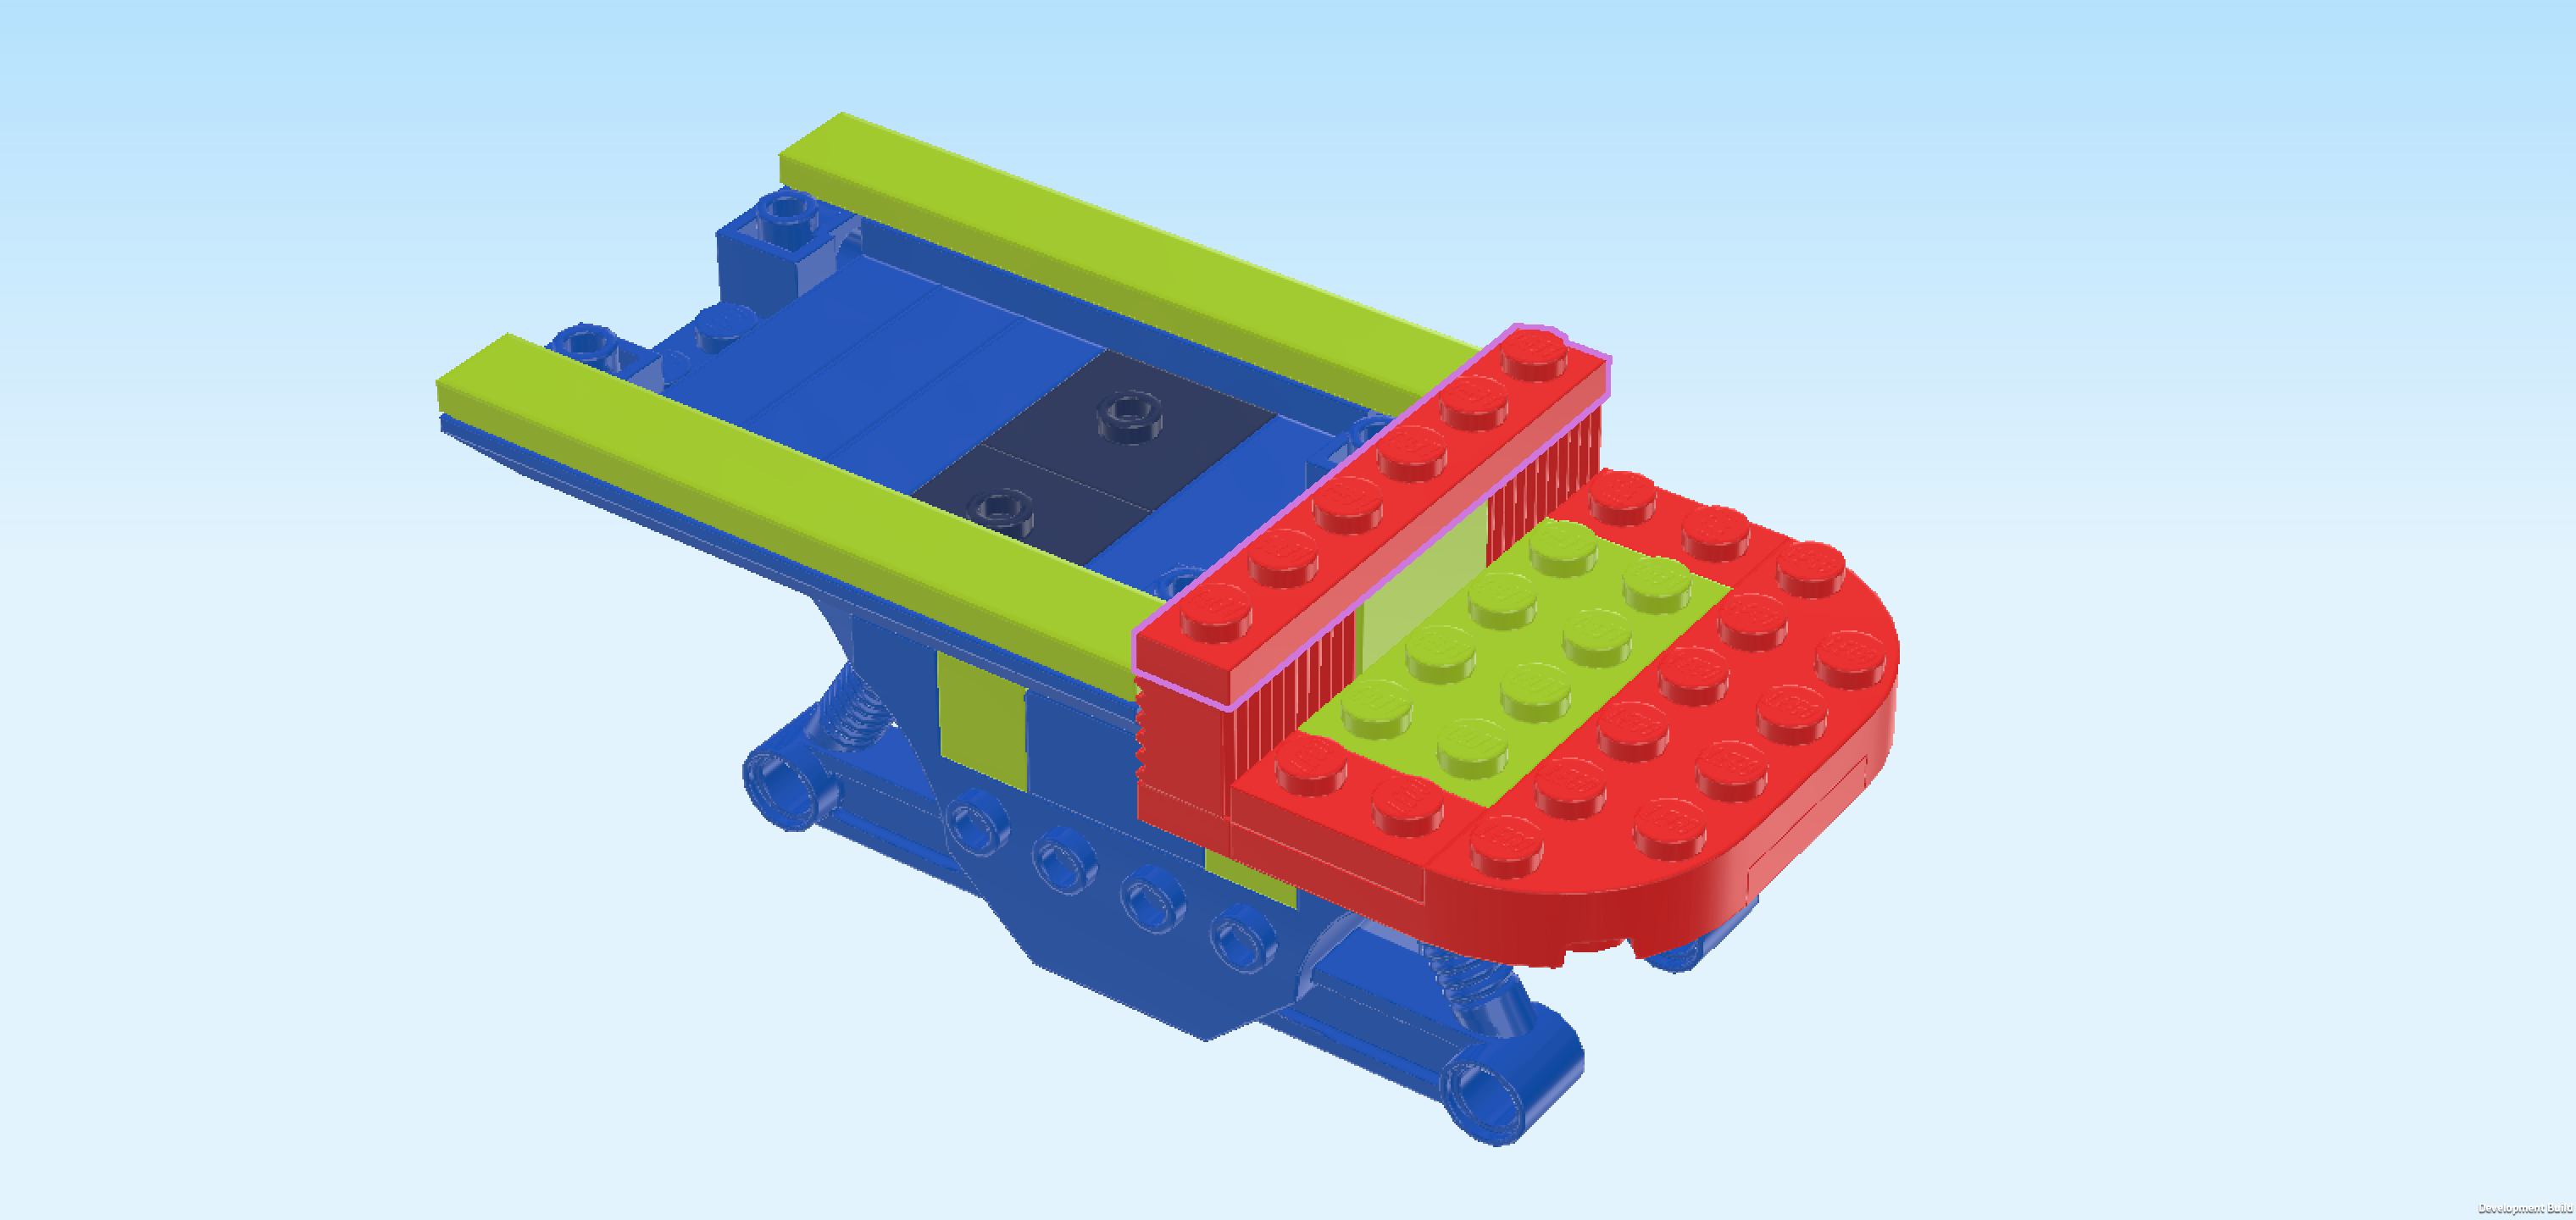
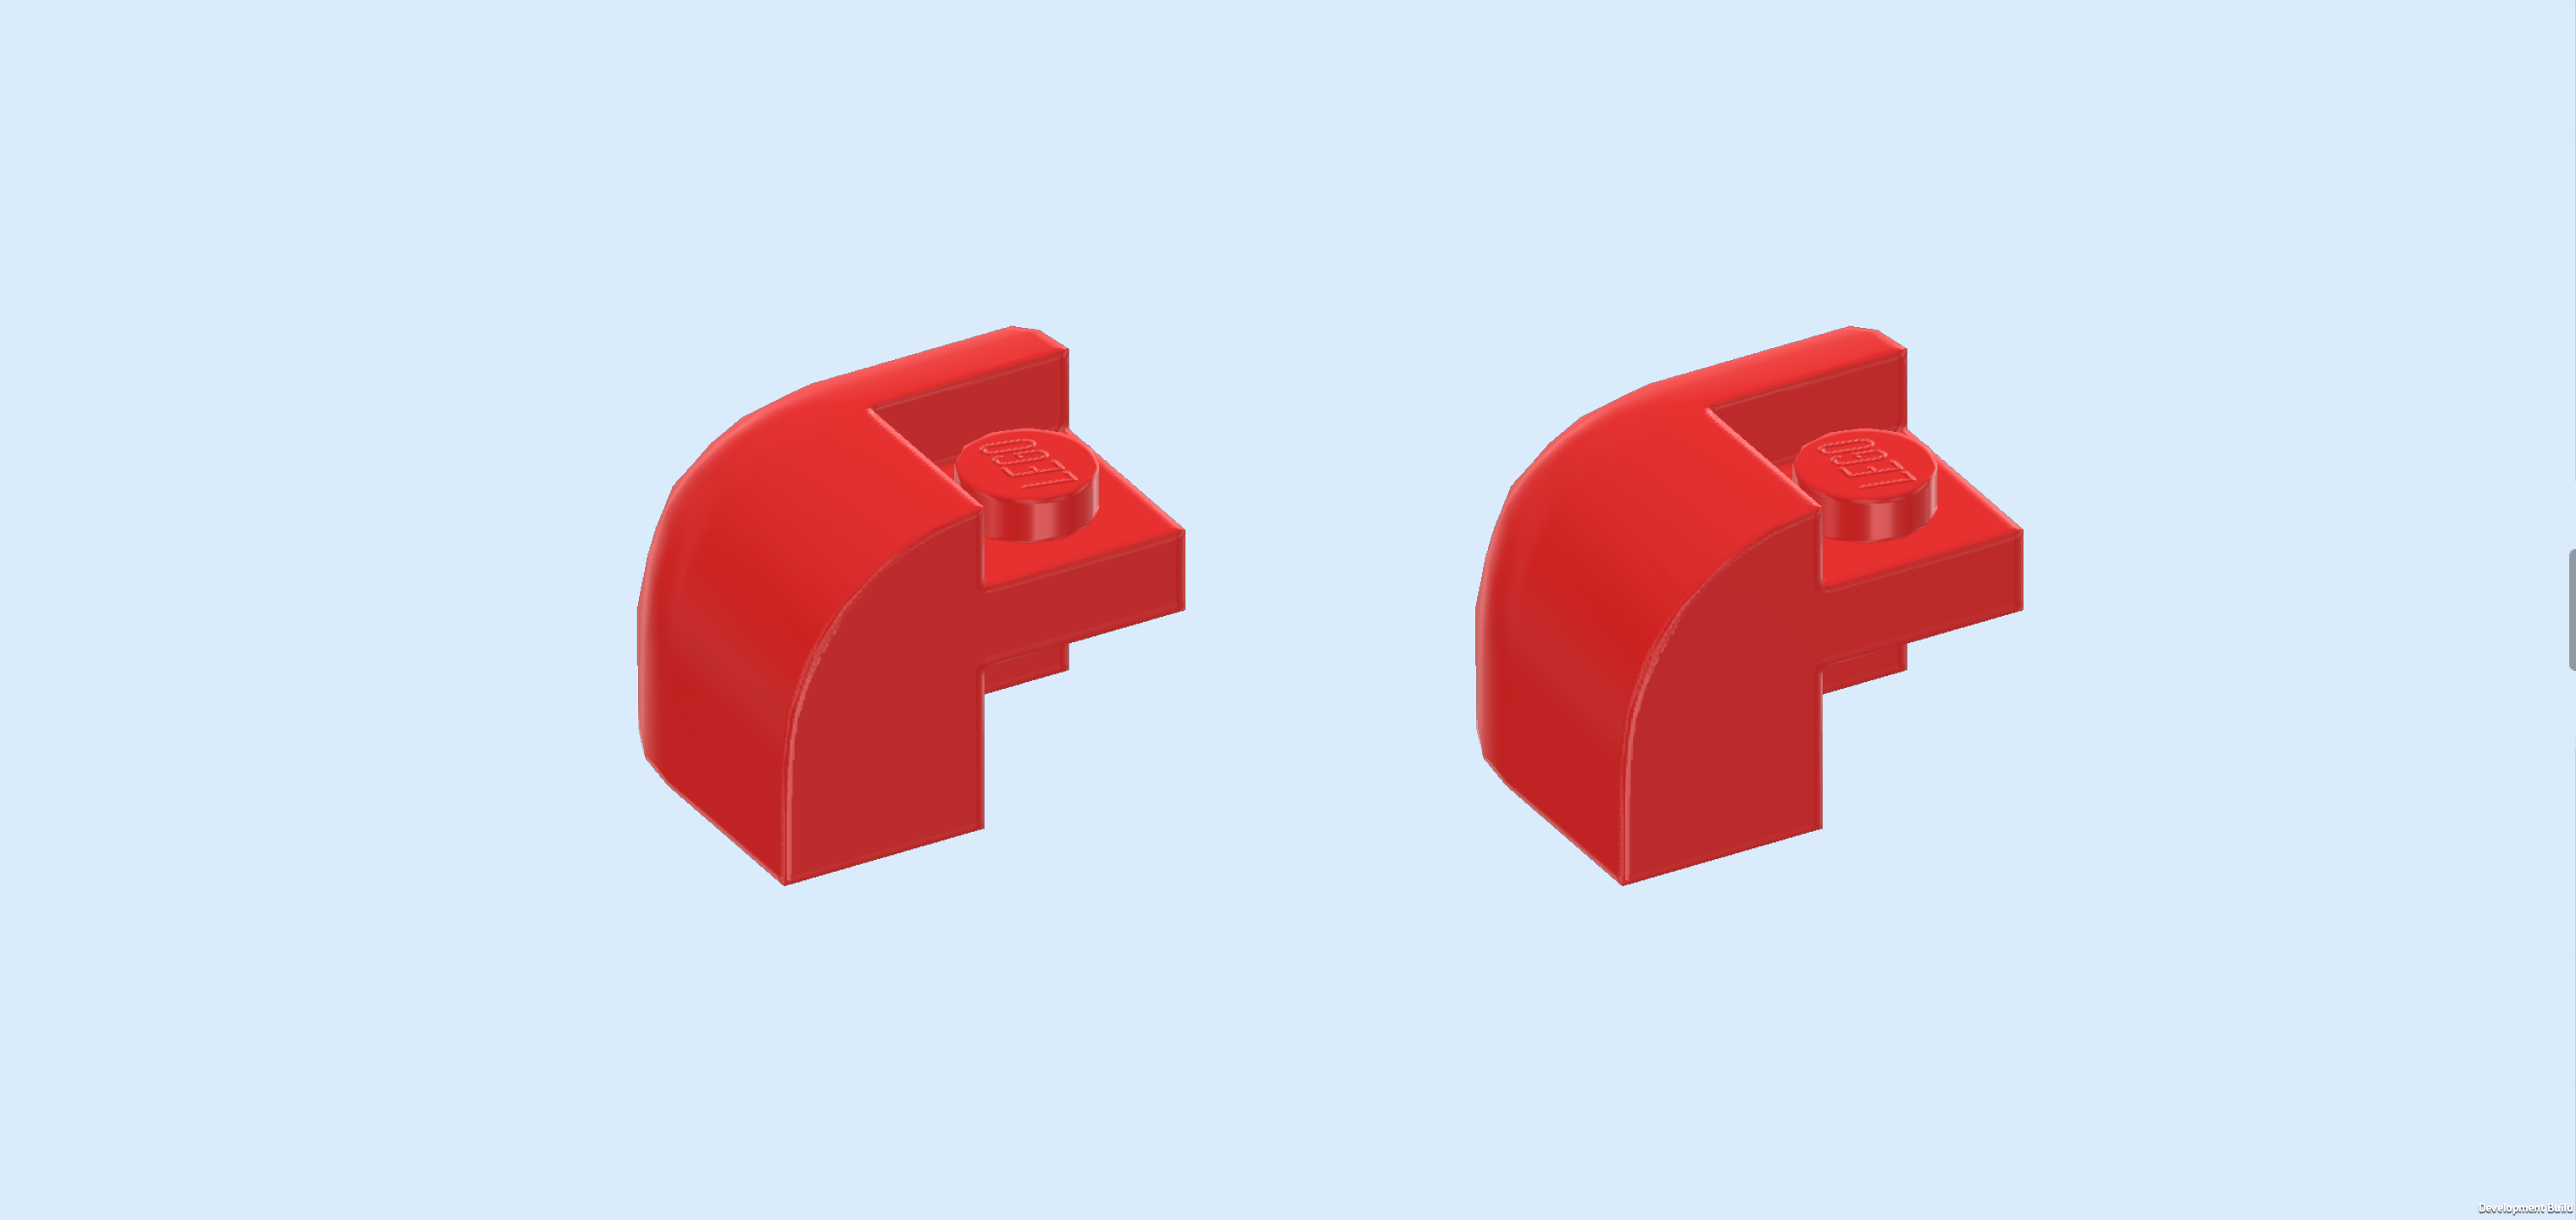
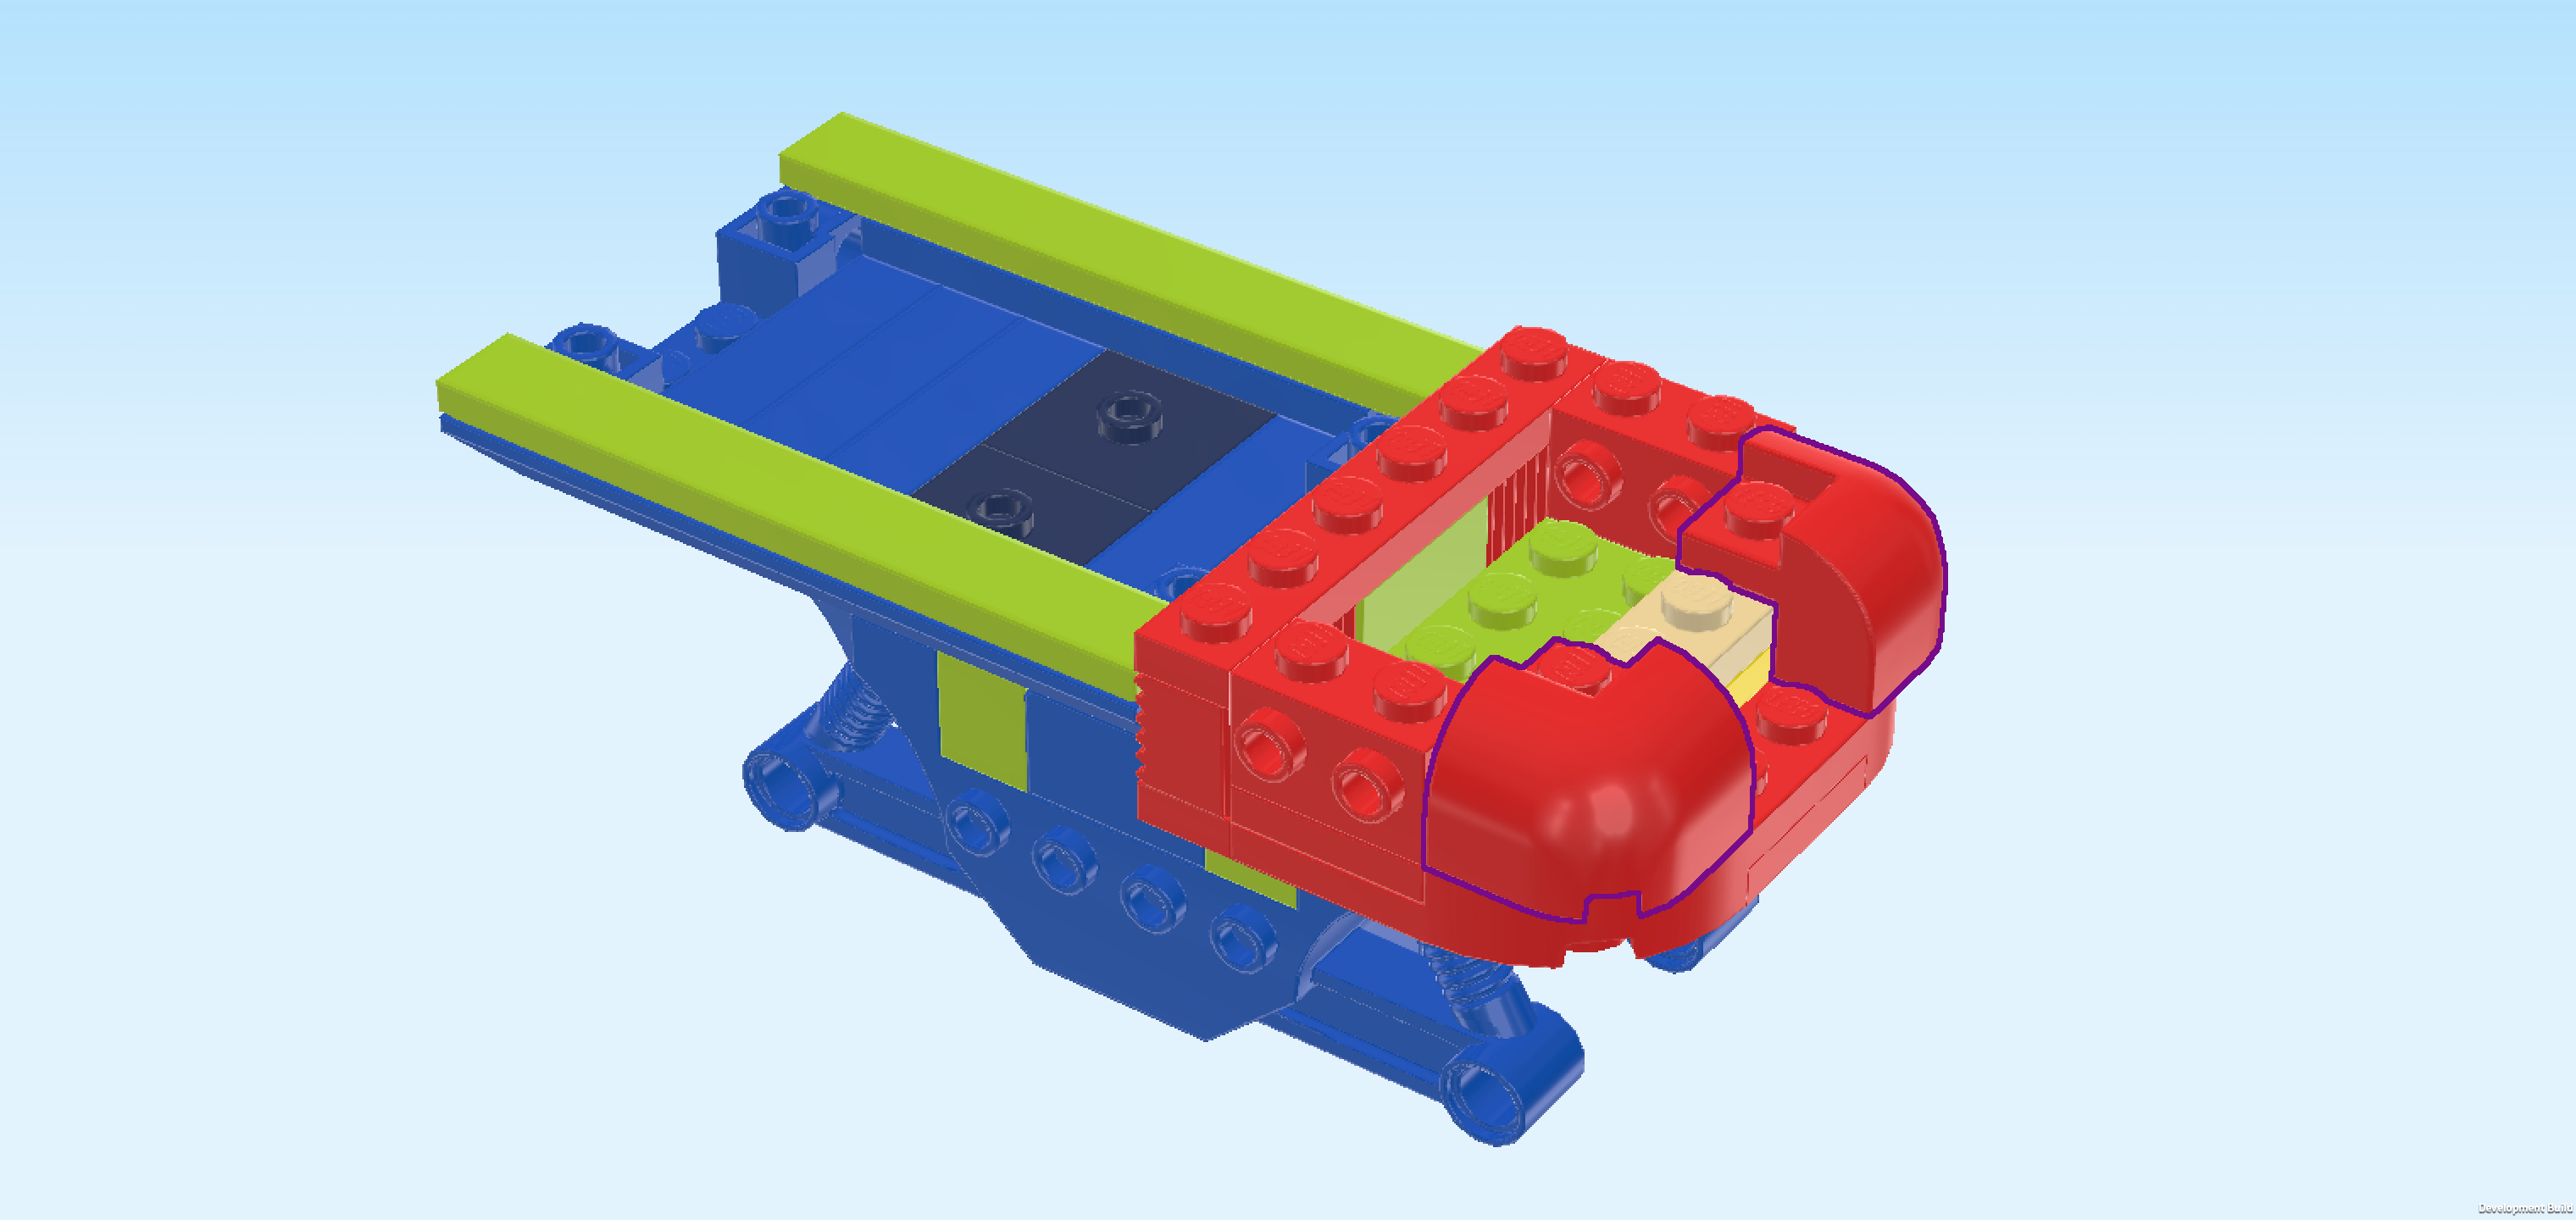
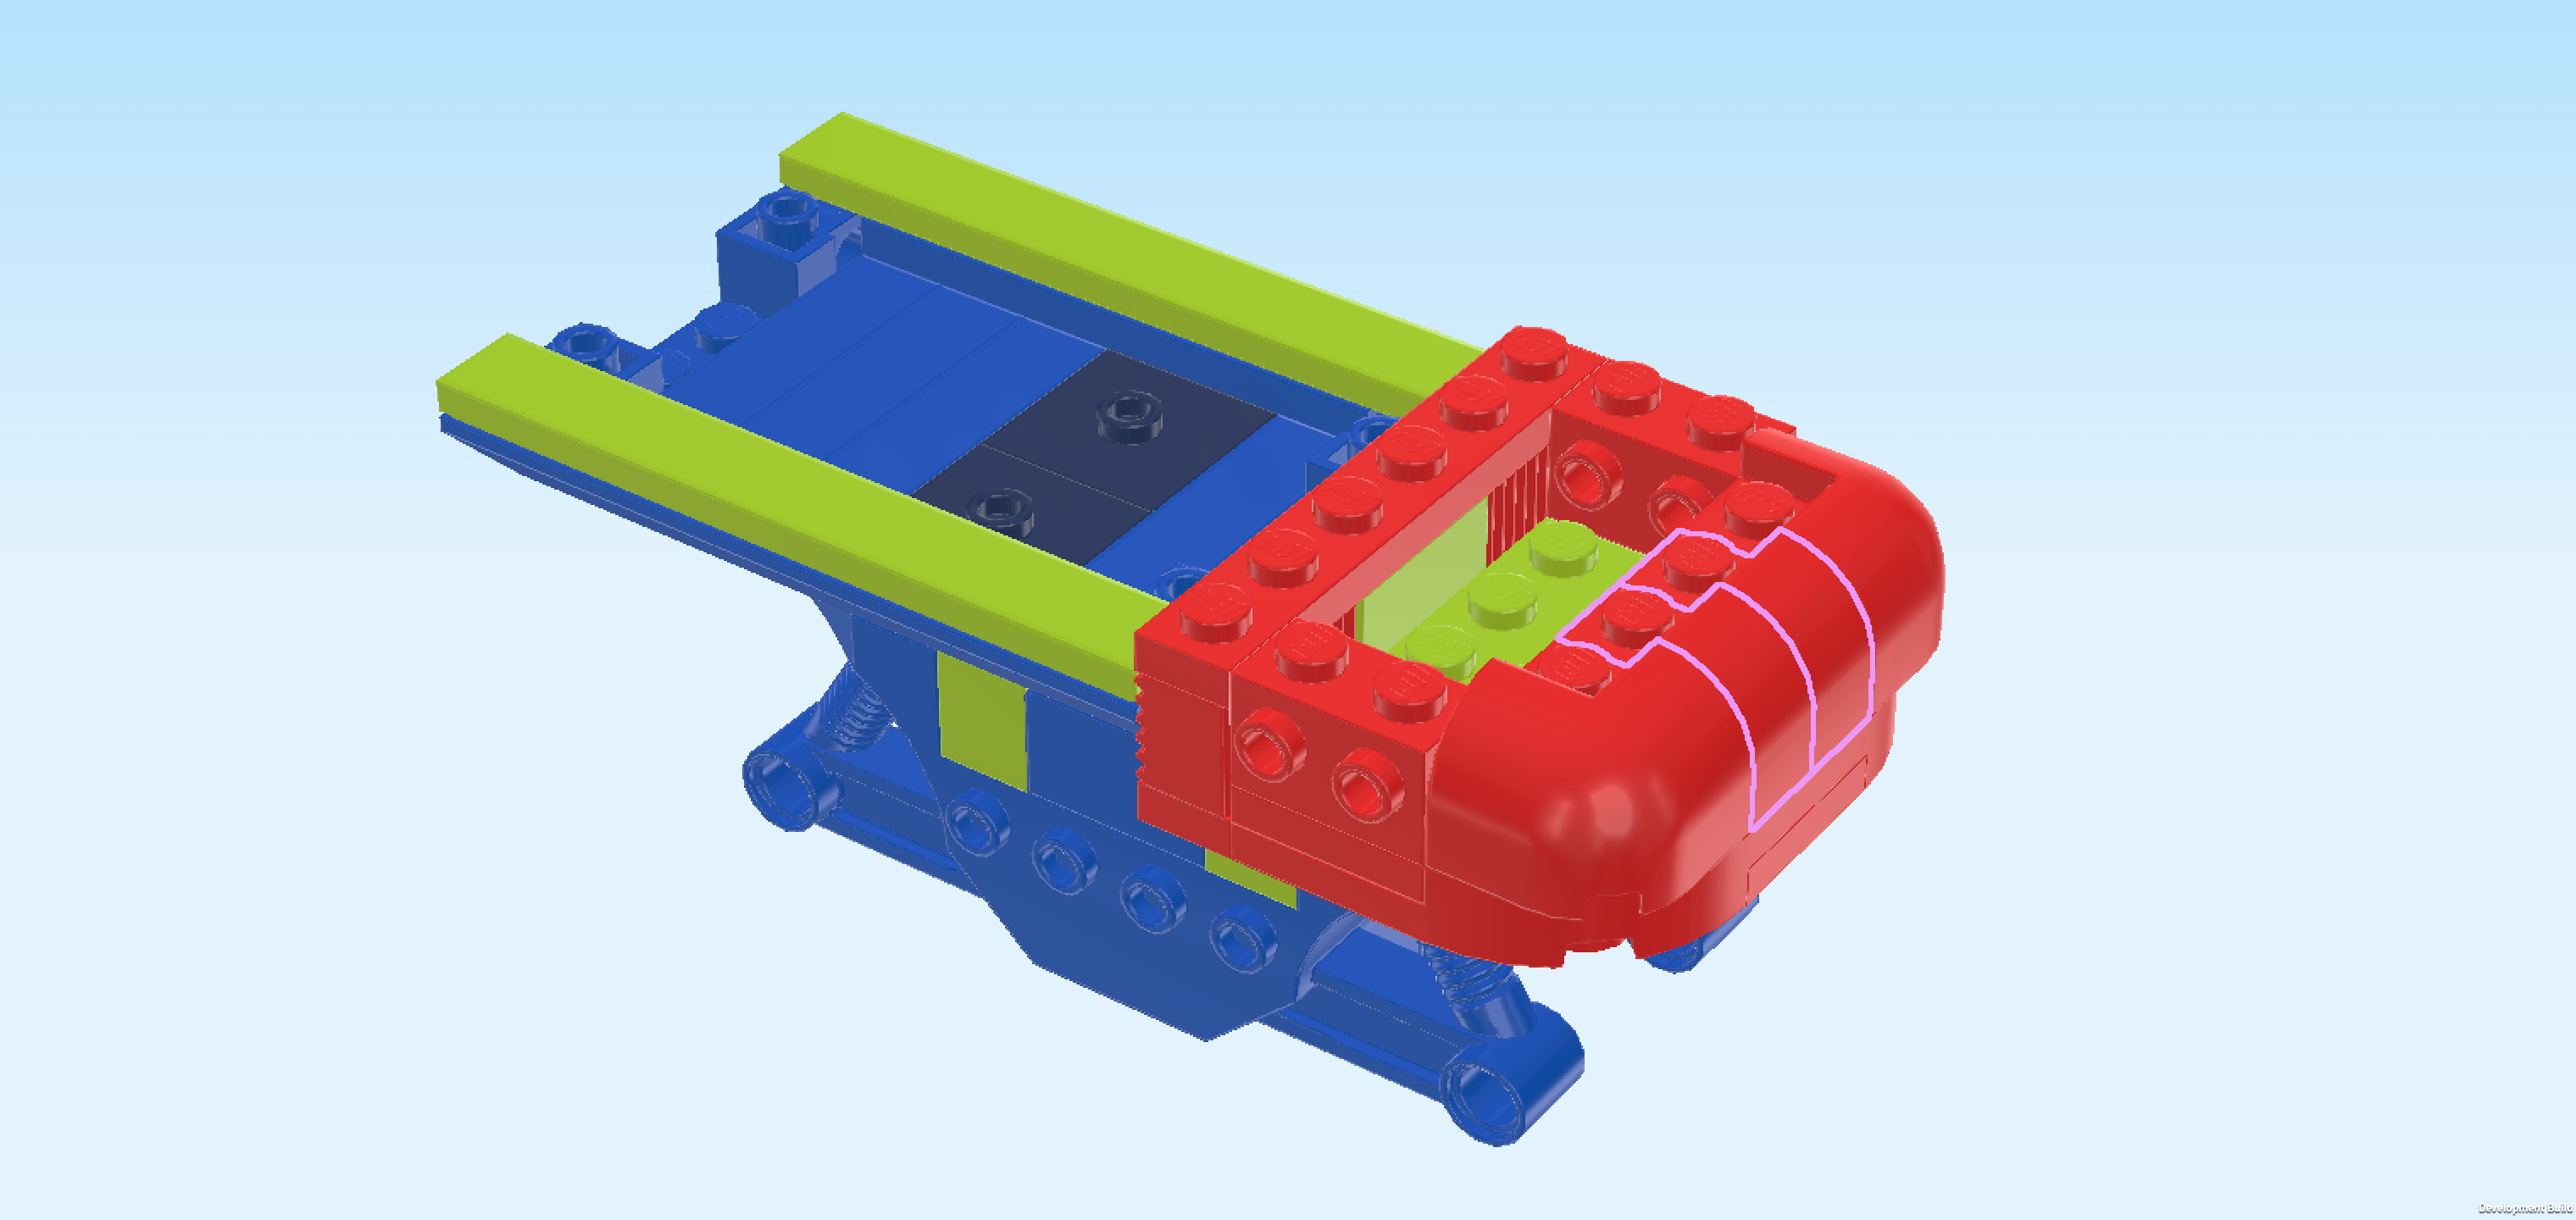
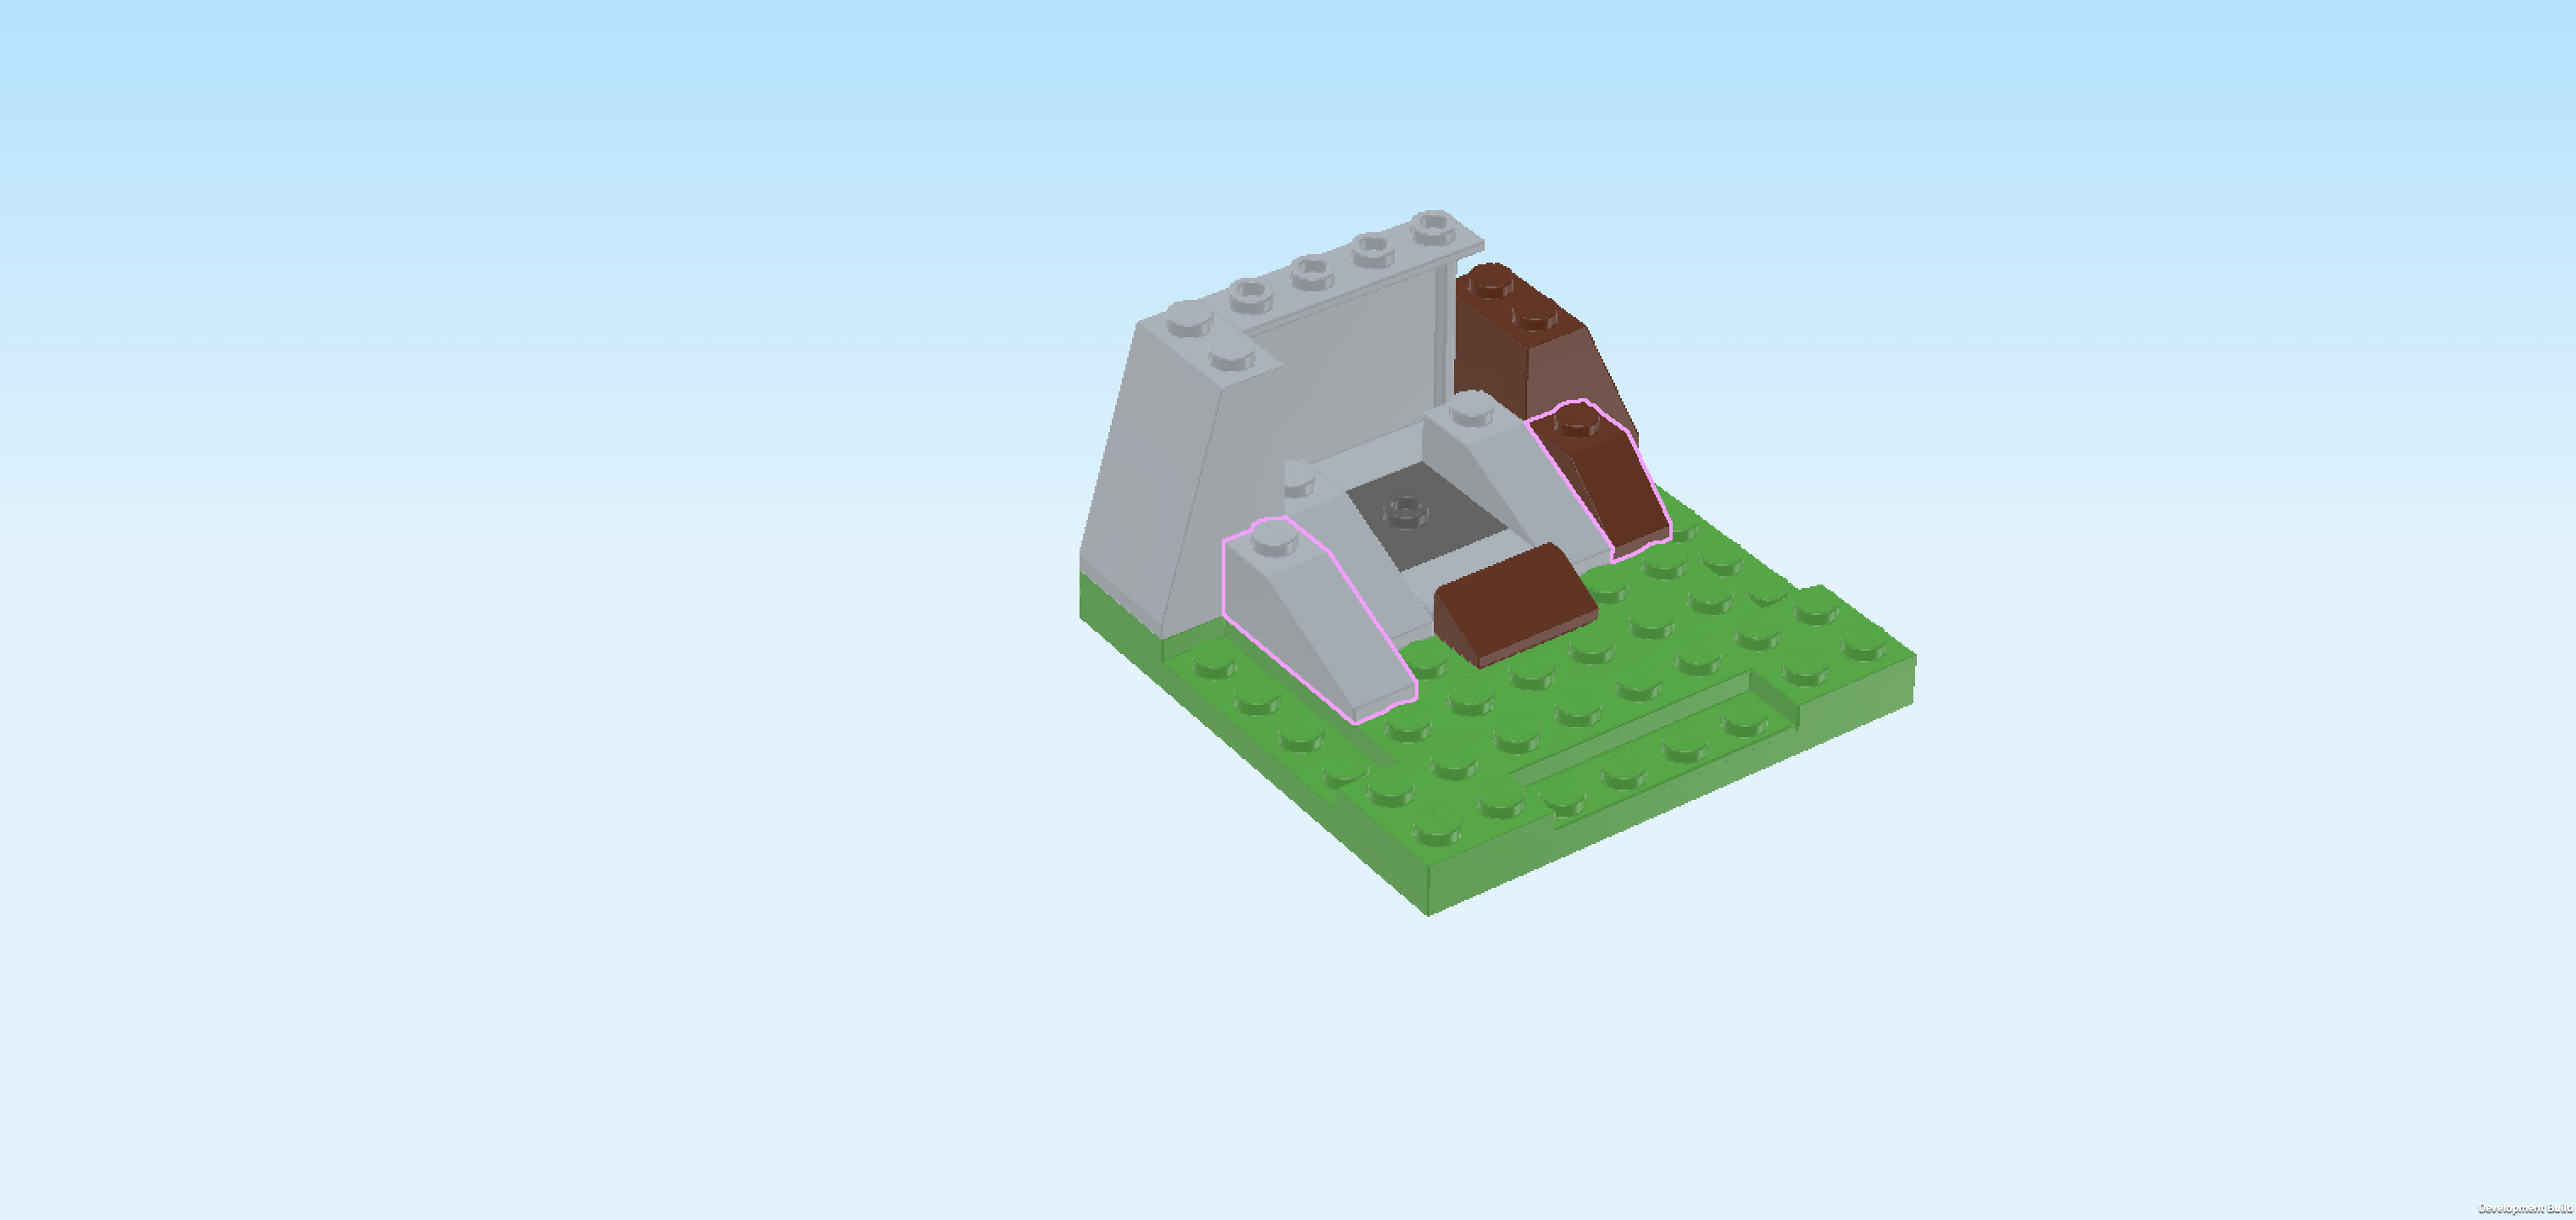
| Find 2 bright red curved corner pieces 2x2x1⅓ with lowered knob. |
| Put 1 on the front right rounded corner of the vehicle, matching its shape. This means that the knob portion of the curved brick is on the back left, connecting to the frontmost knob of the previous piece, and the curved portion is towards the front right. |
| Repeat symmetrically at the back. |
| Find 2 bright red curve bricks 1x1 with protruding plate 1x1. |
| Put 1 horizontally in front of the previous piece, curved portion sitting on the rightmost column, protruding plate to the left. |
| Put the other one horizontally in front of the previous piece in the same orientation. |
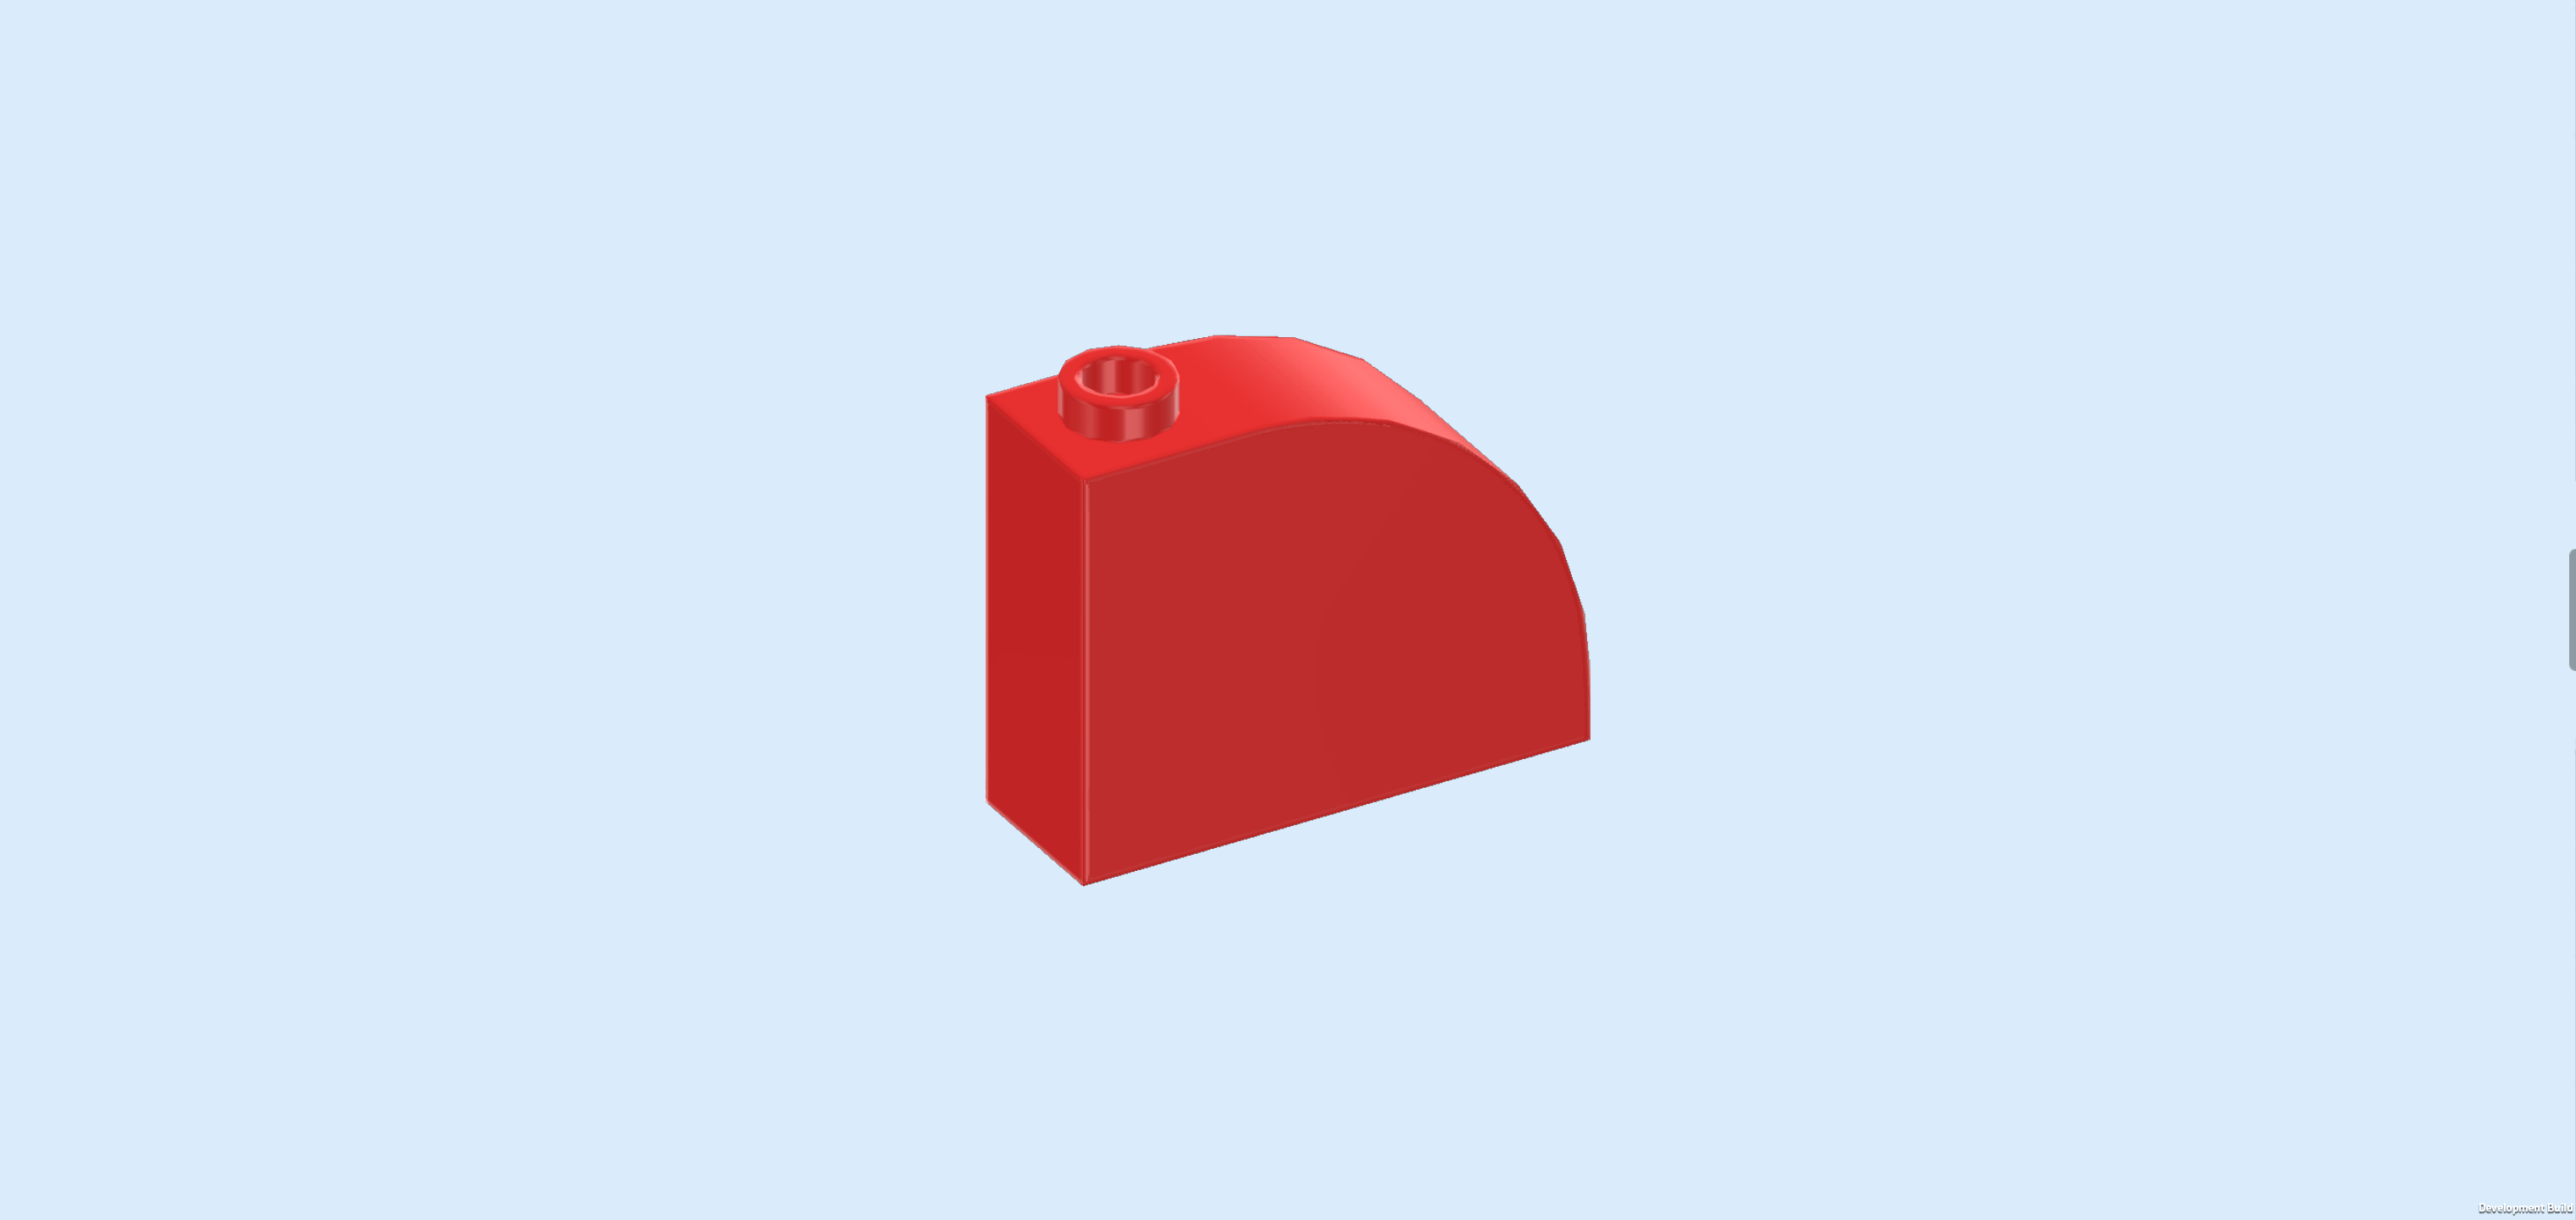
| Find 1 bright red curve brick 1x3x2 with 1 knob. |
| Put it horizontally on the backmost row directly to the left of the back curved corner piece, curve to the right. |
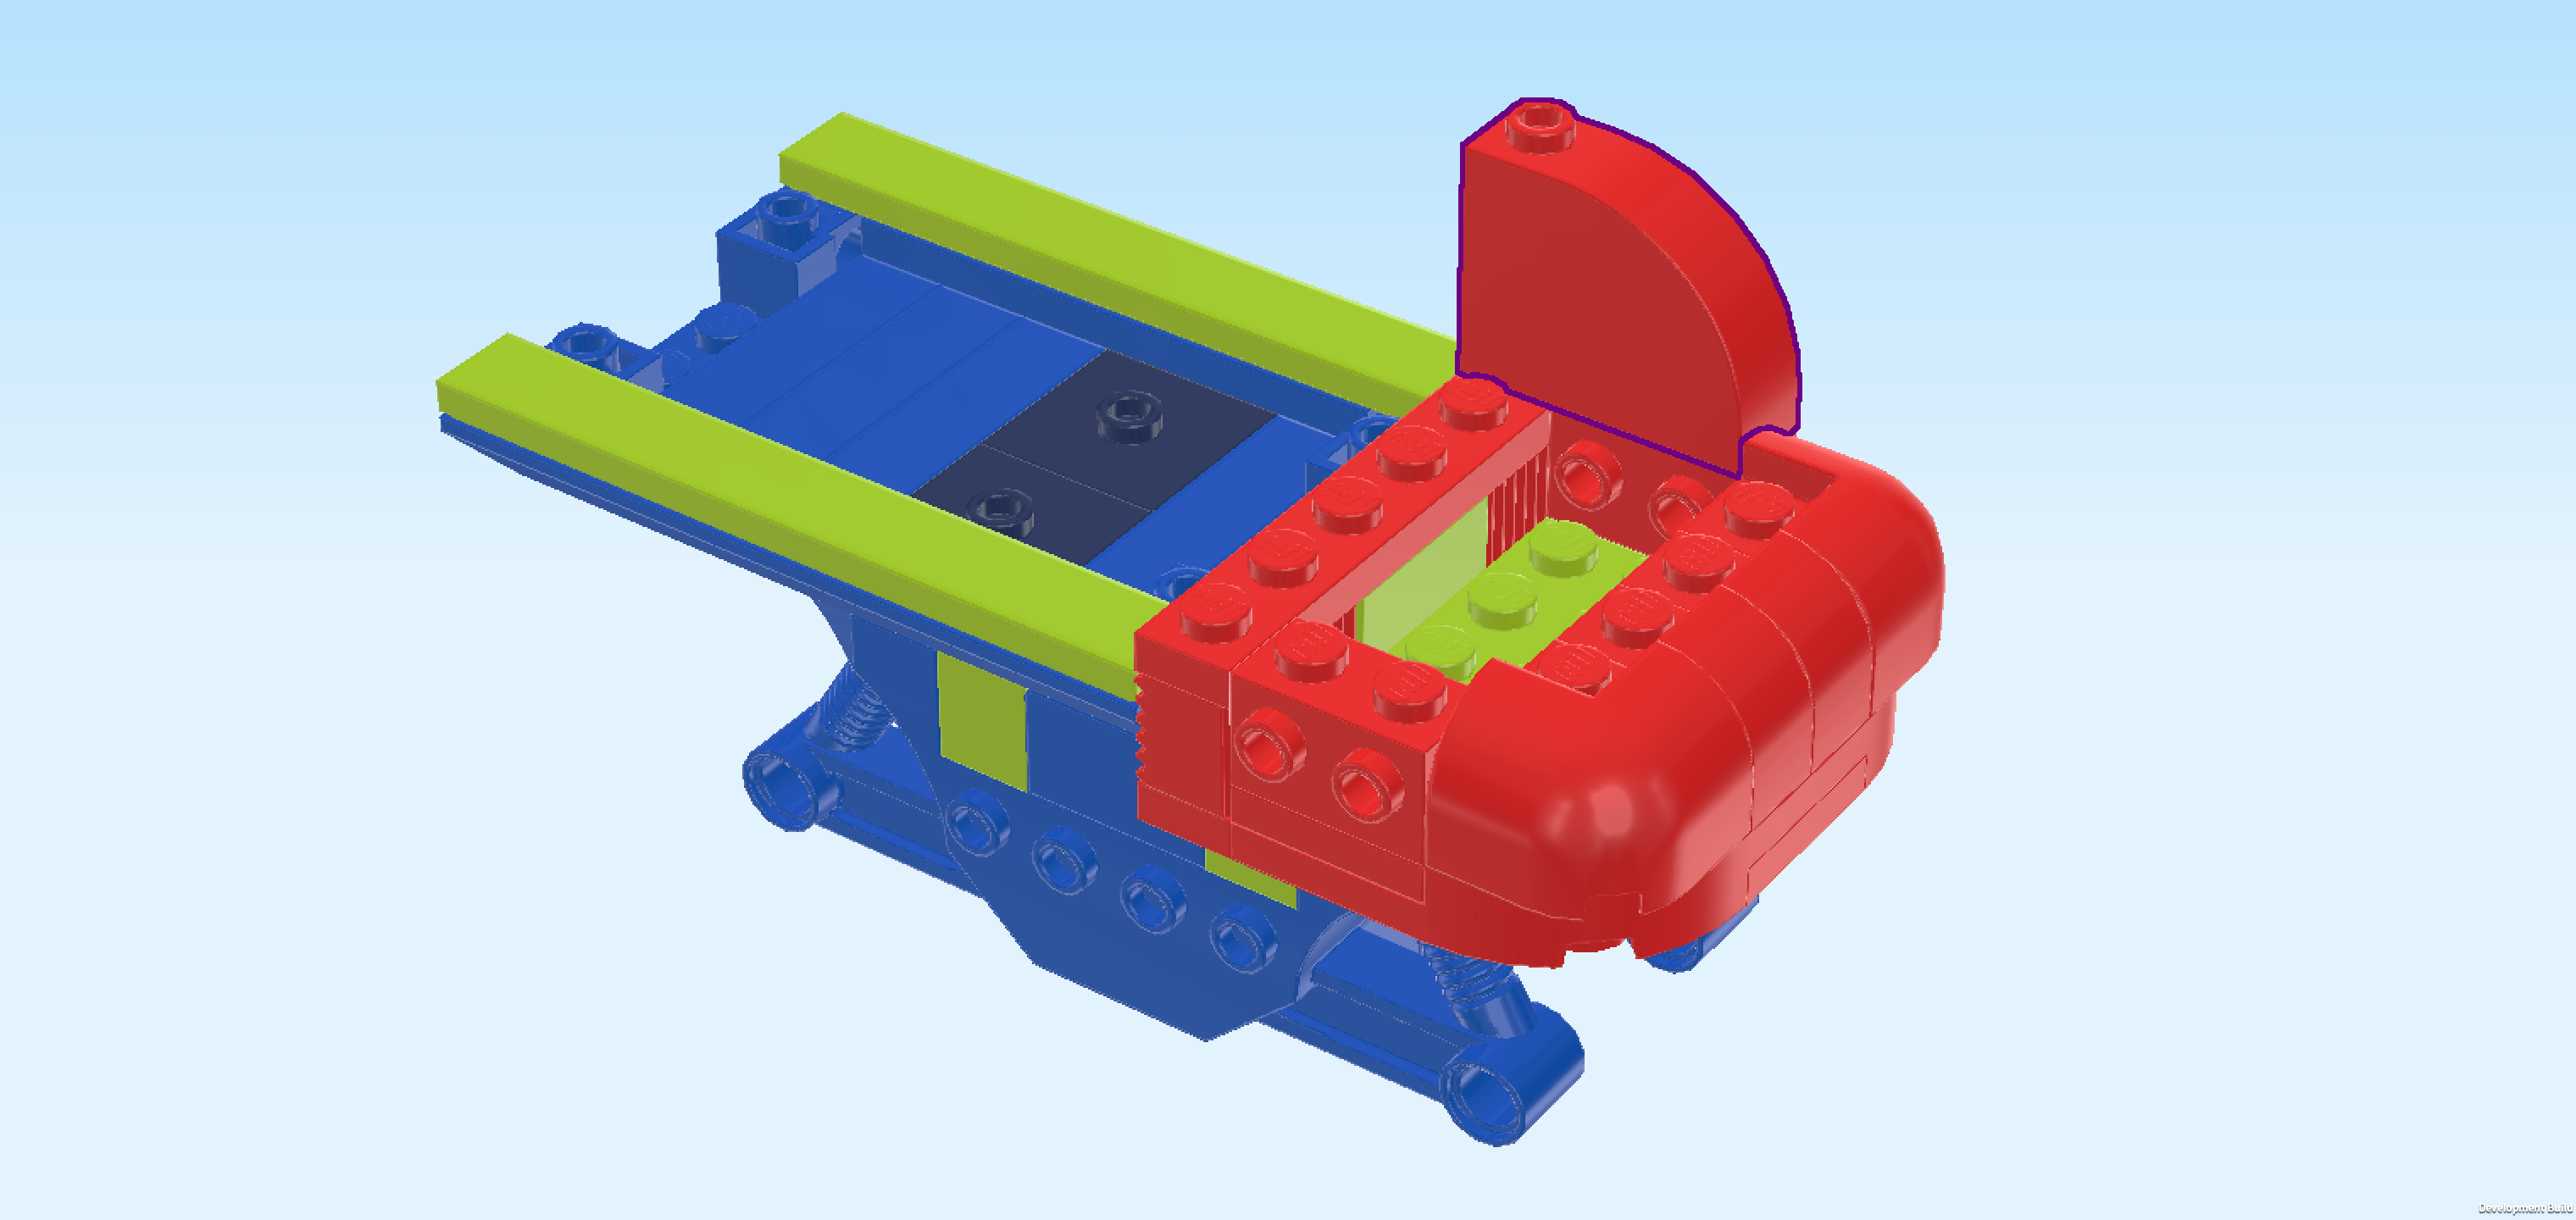
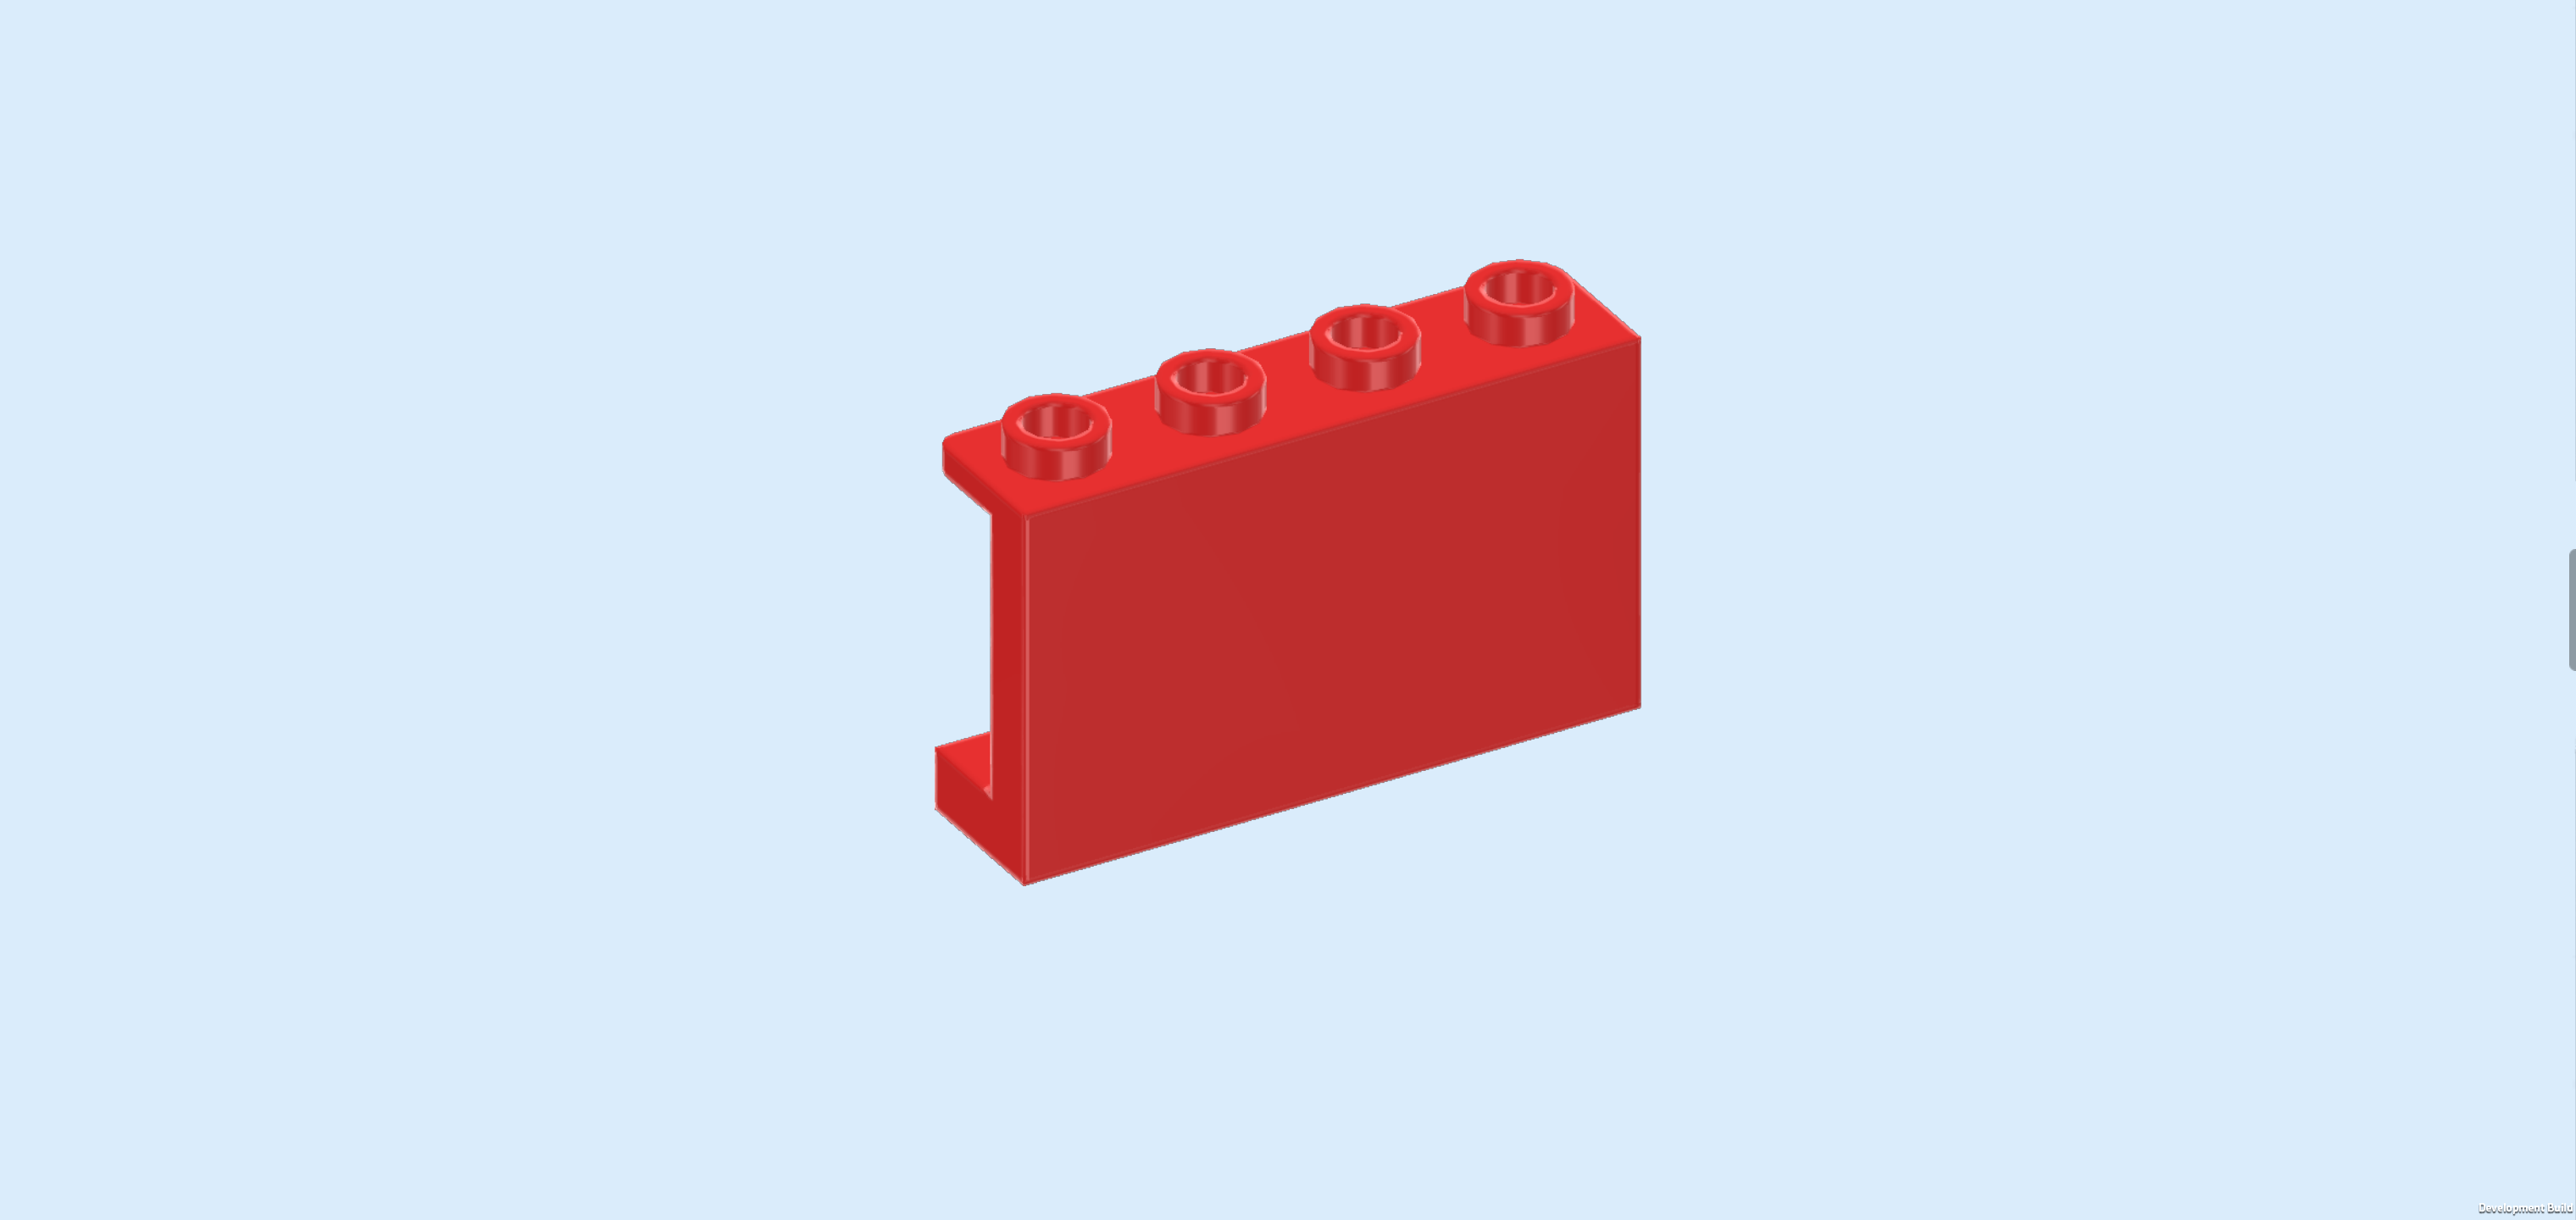
| Find 1 bright red wall element 1x4x2 with 4 top knobs. |
| Put it vertically in front of the previous piece's knob, wall panel to the left. |
| Find 1 bright red curve brick 1x3x2 with 1 knob. |
| Put it horizontally on the frontmost row, mirroring the identical piece on the backmost row, curve to the right. |
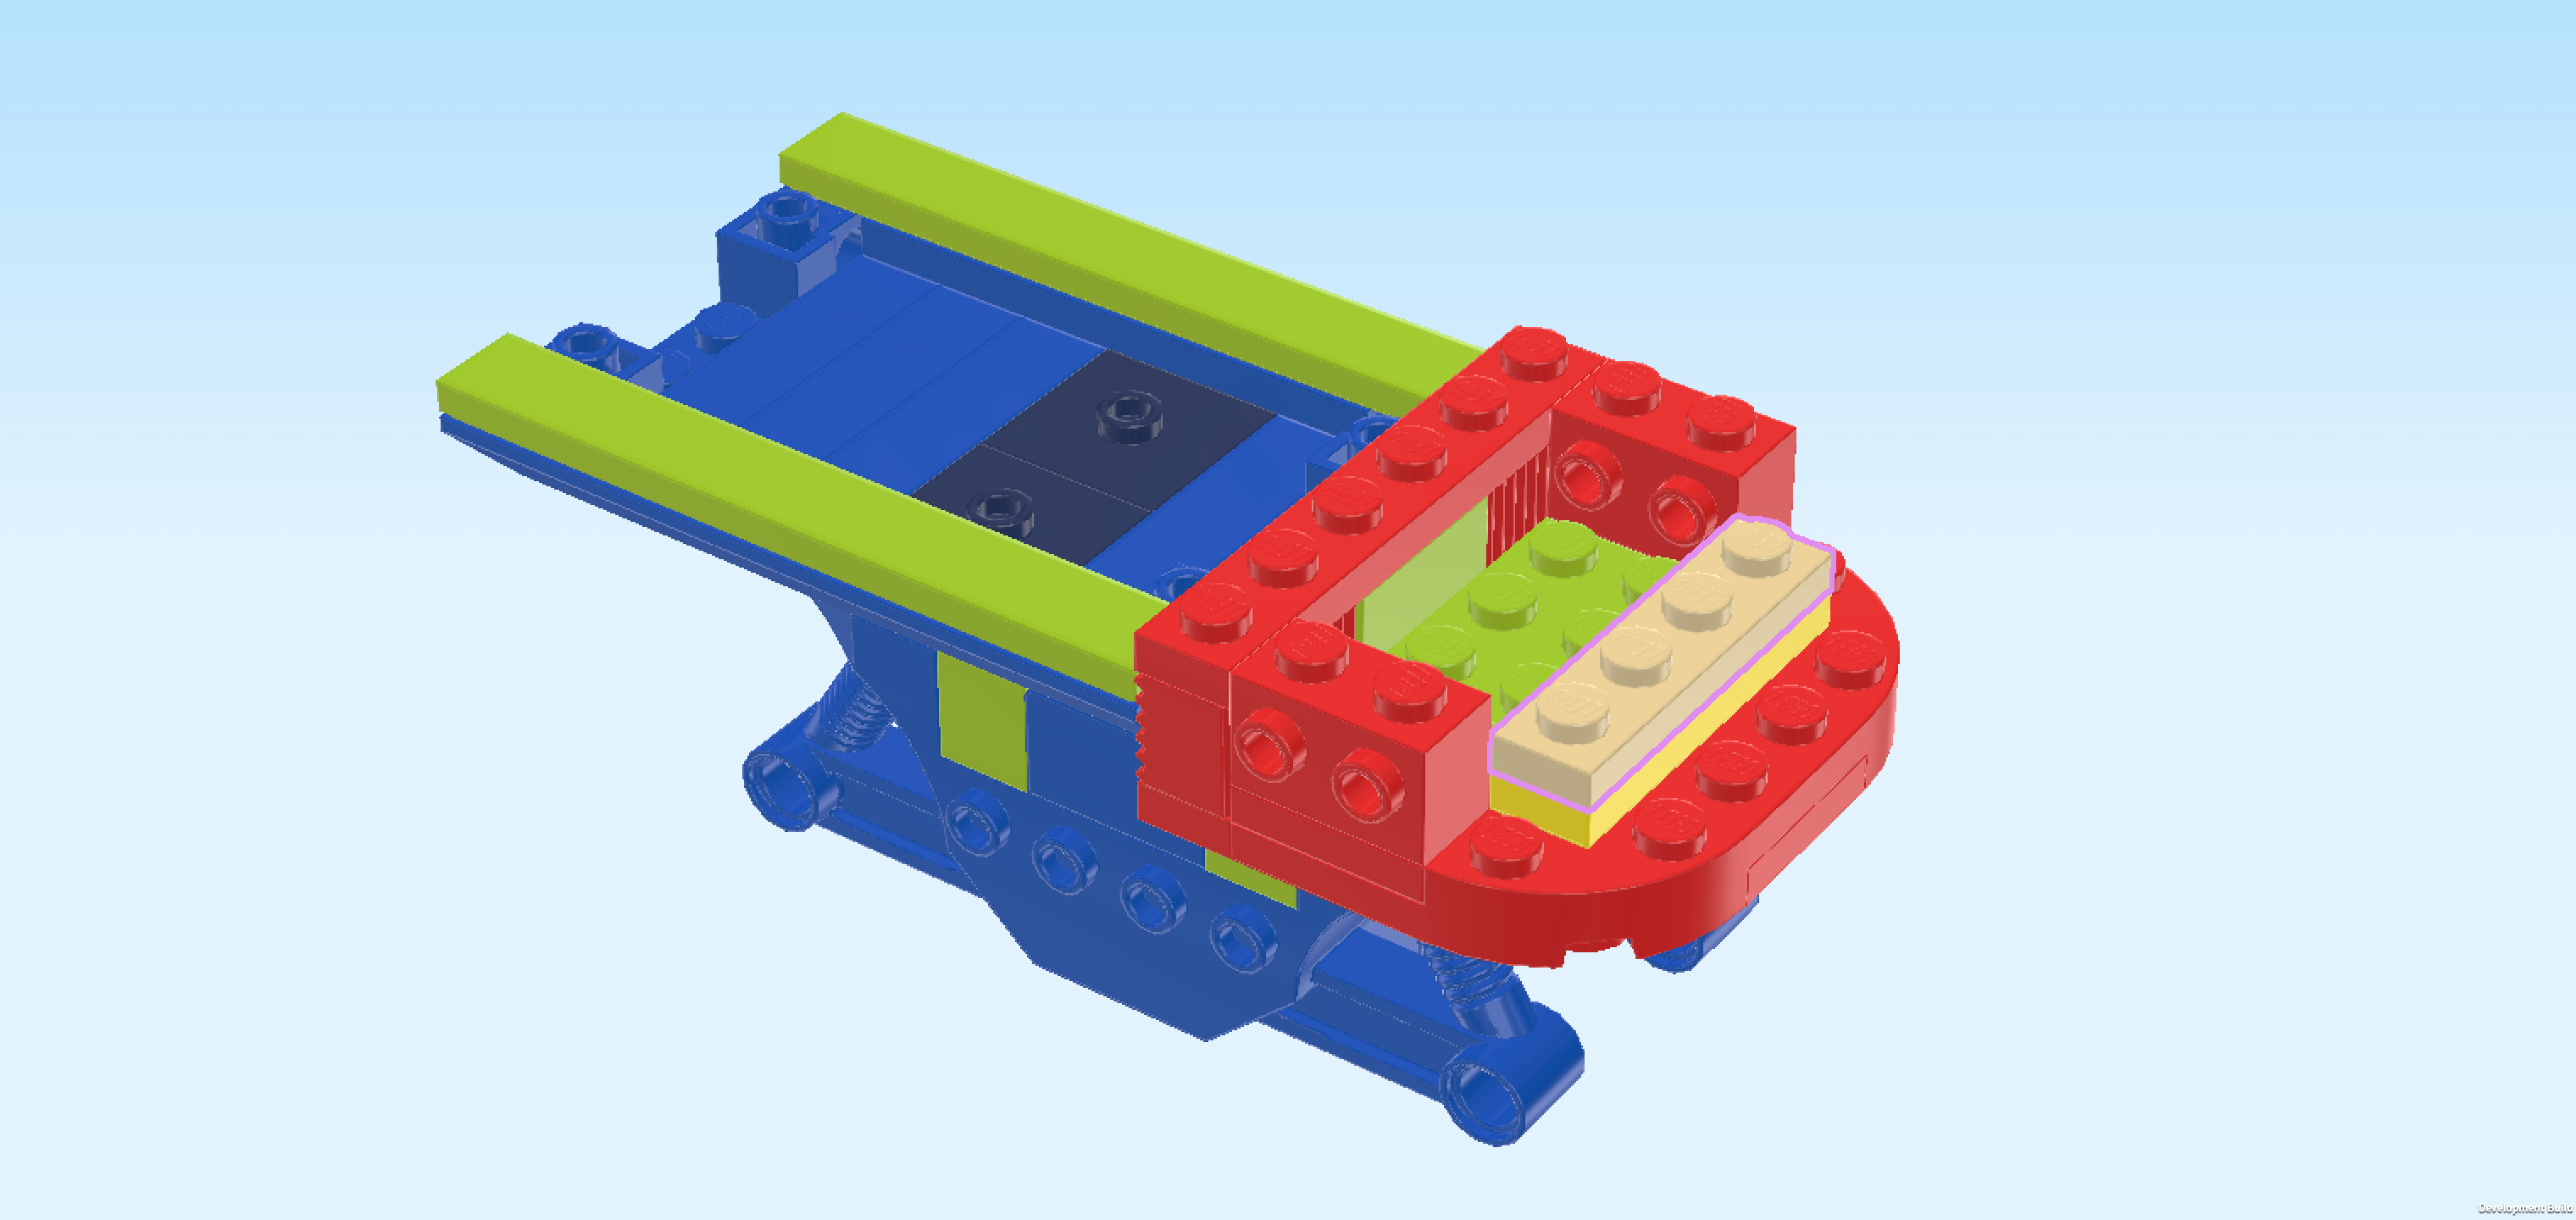
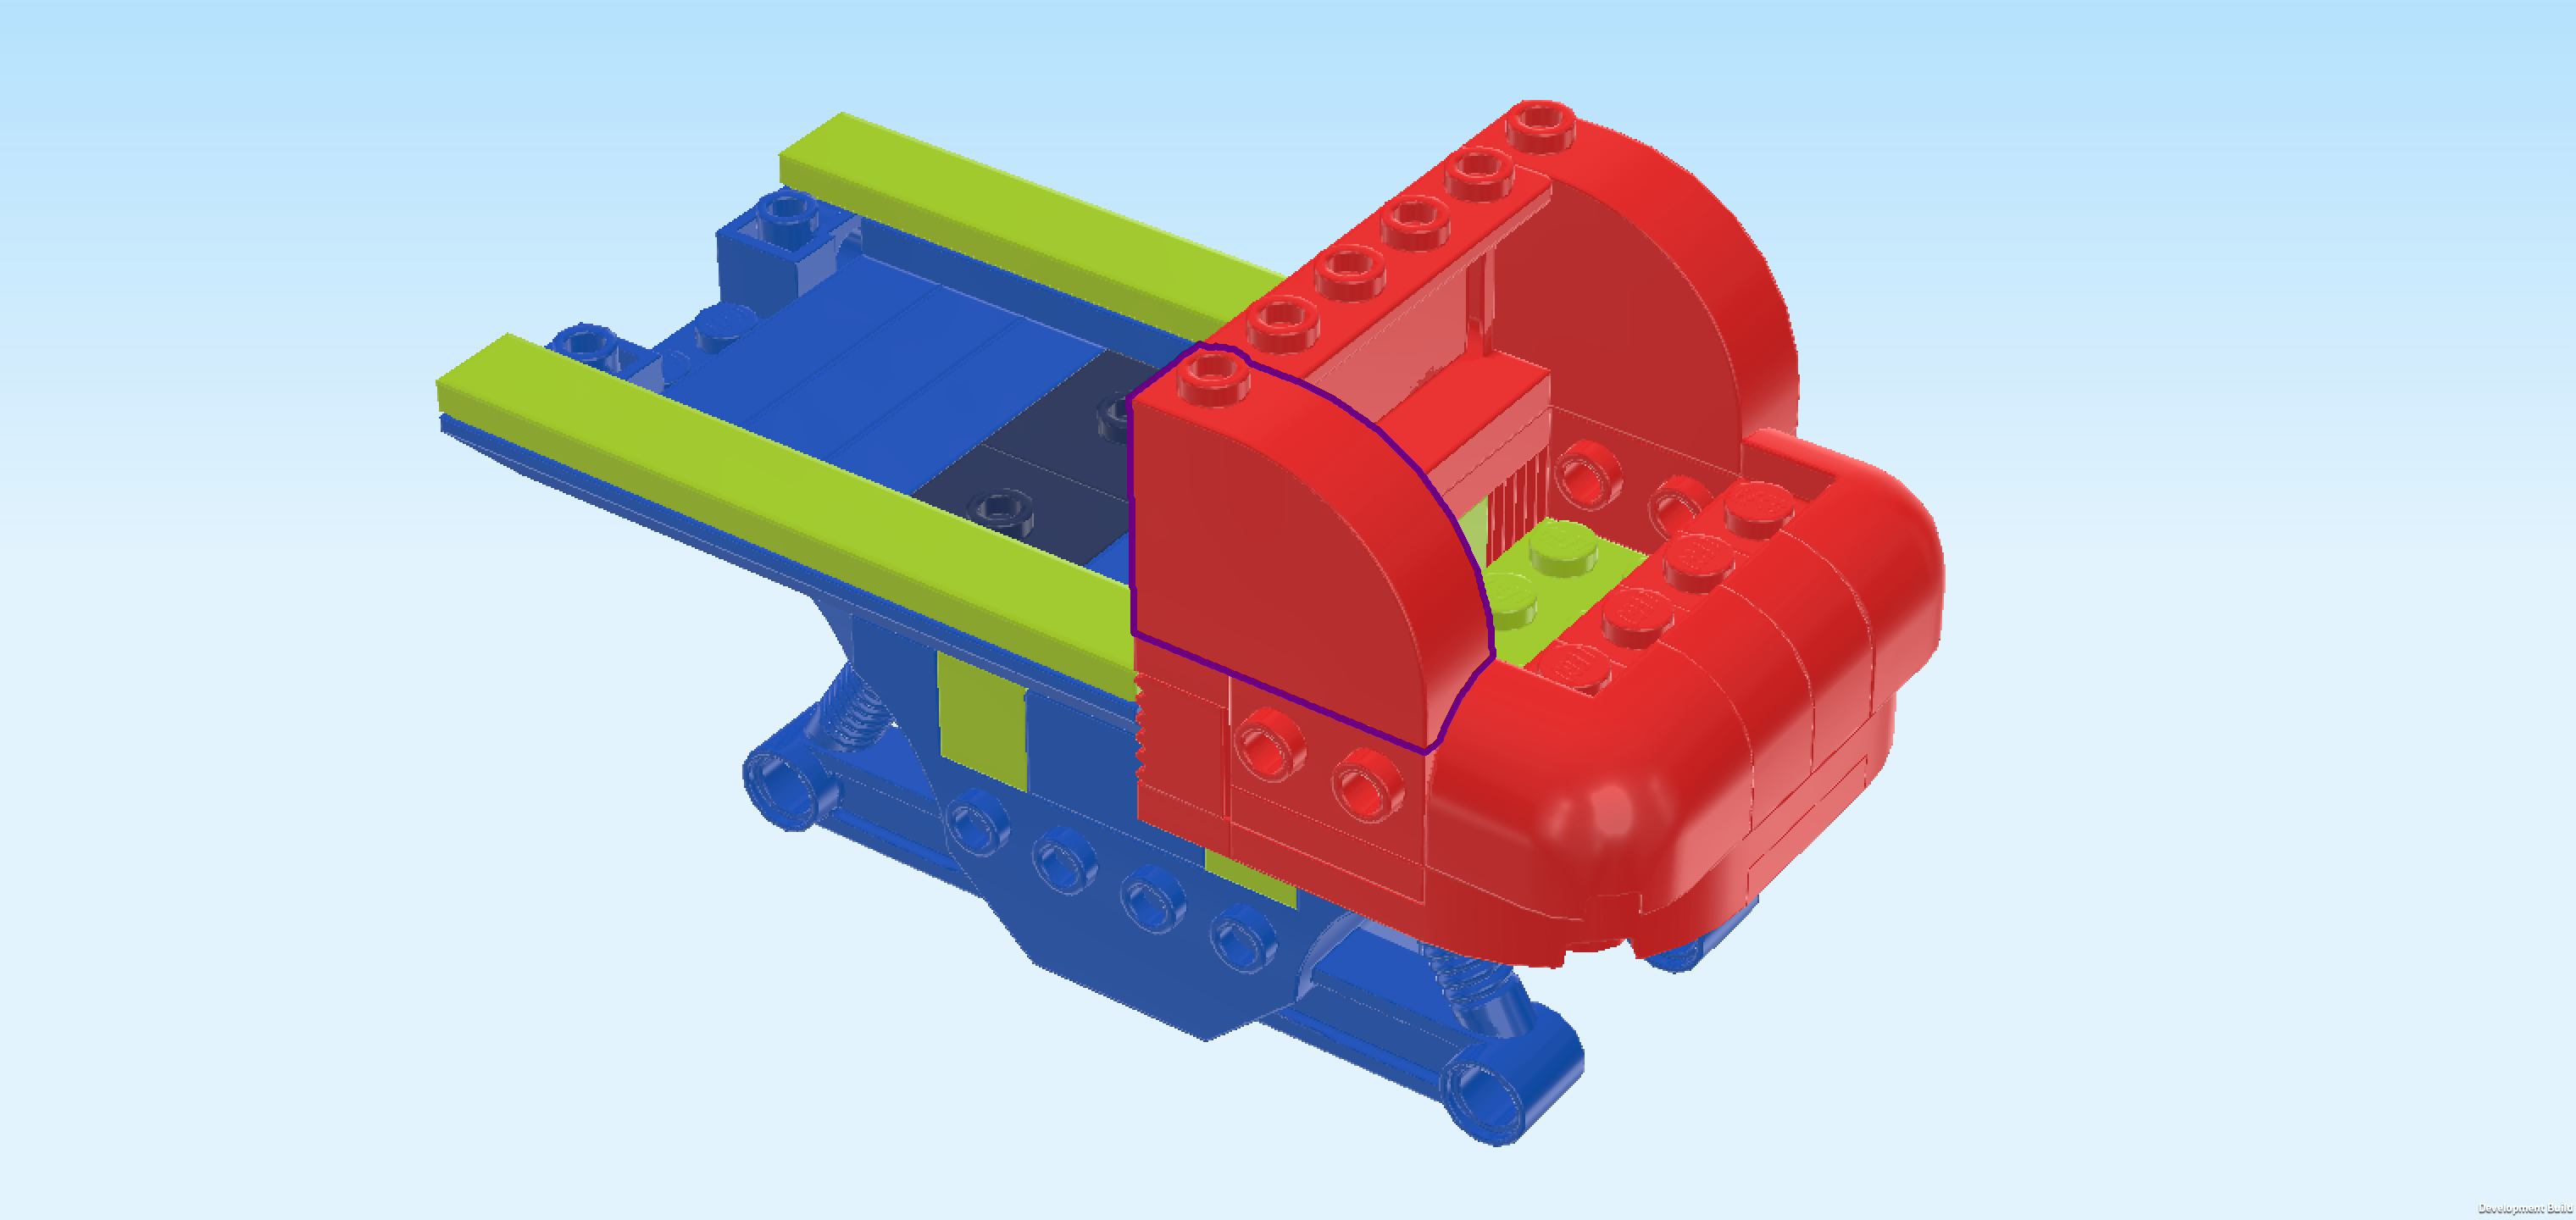
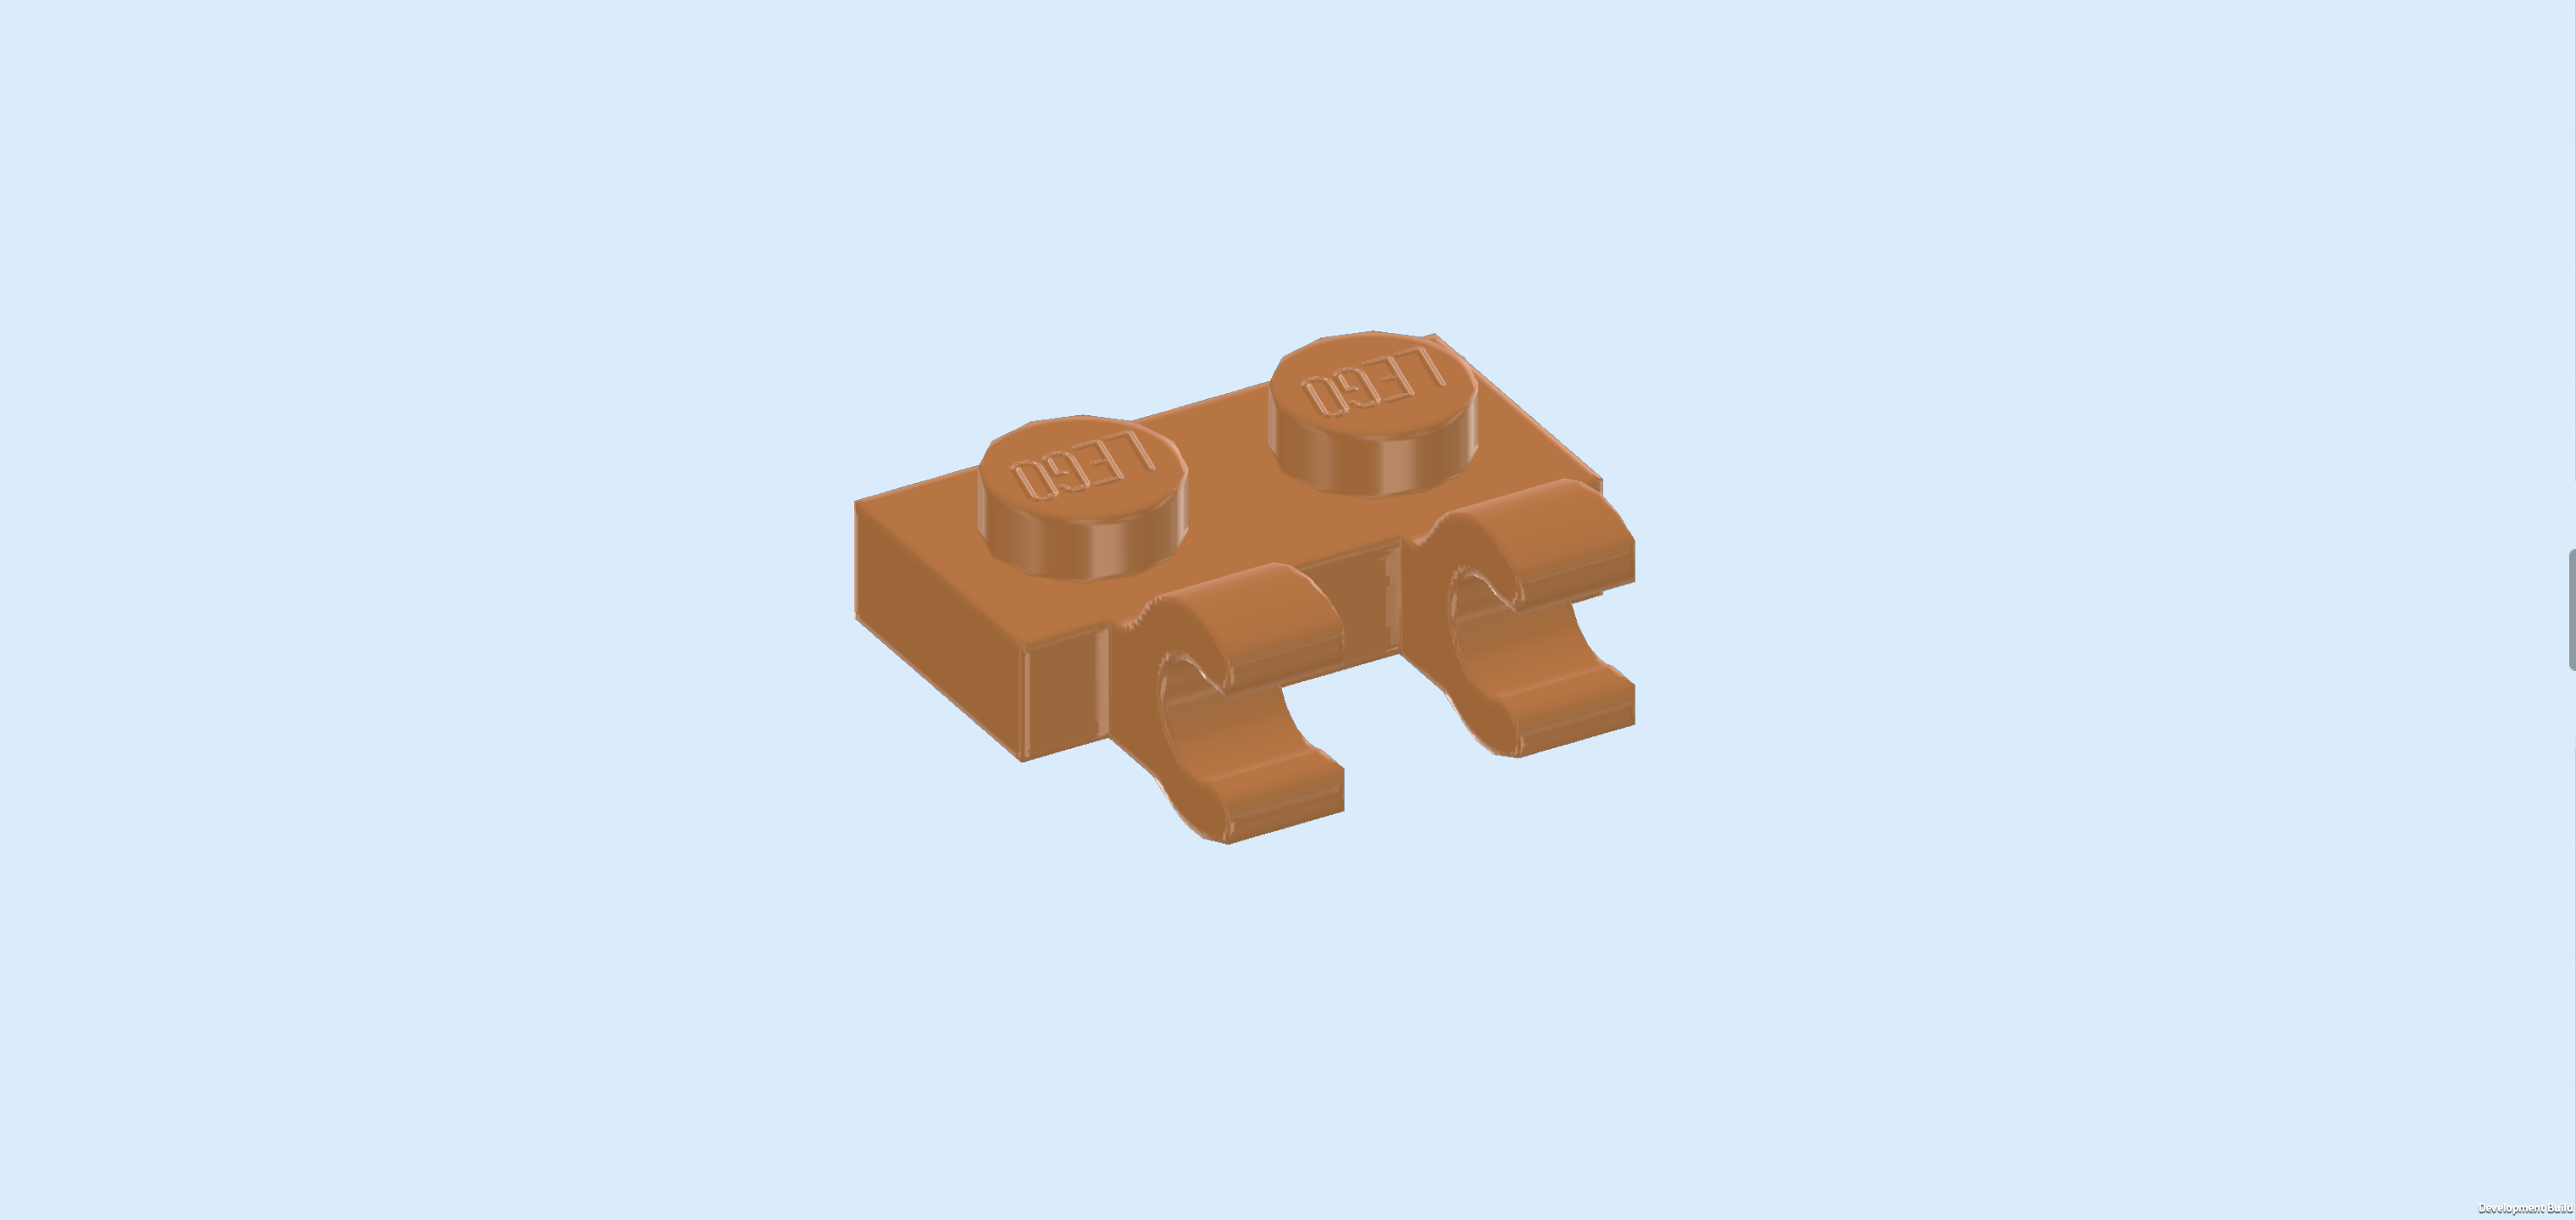
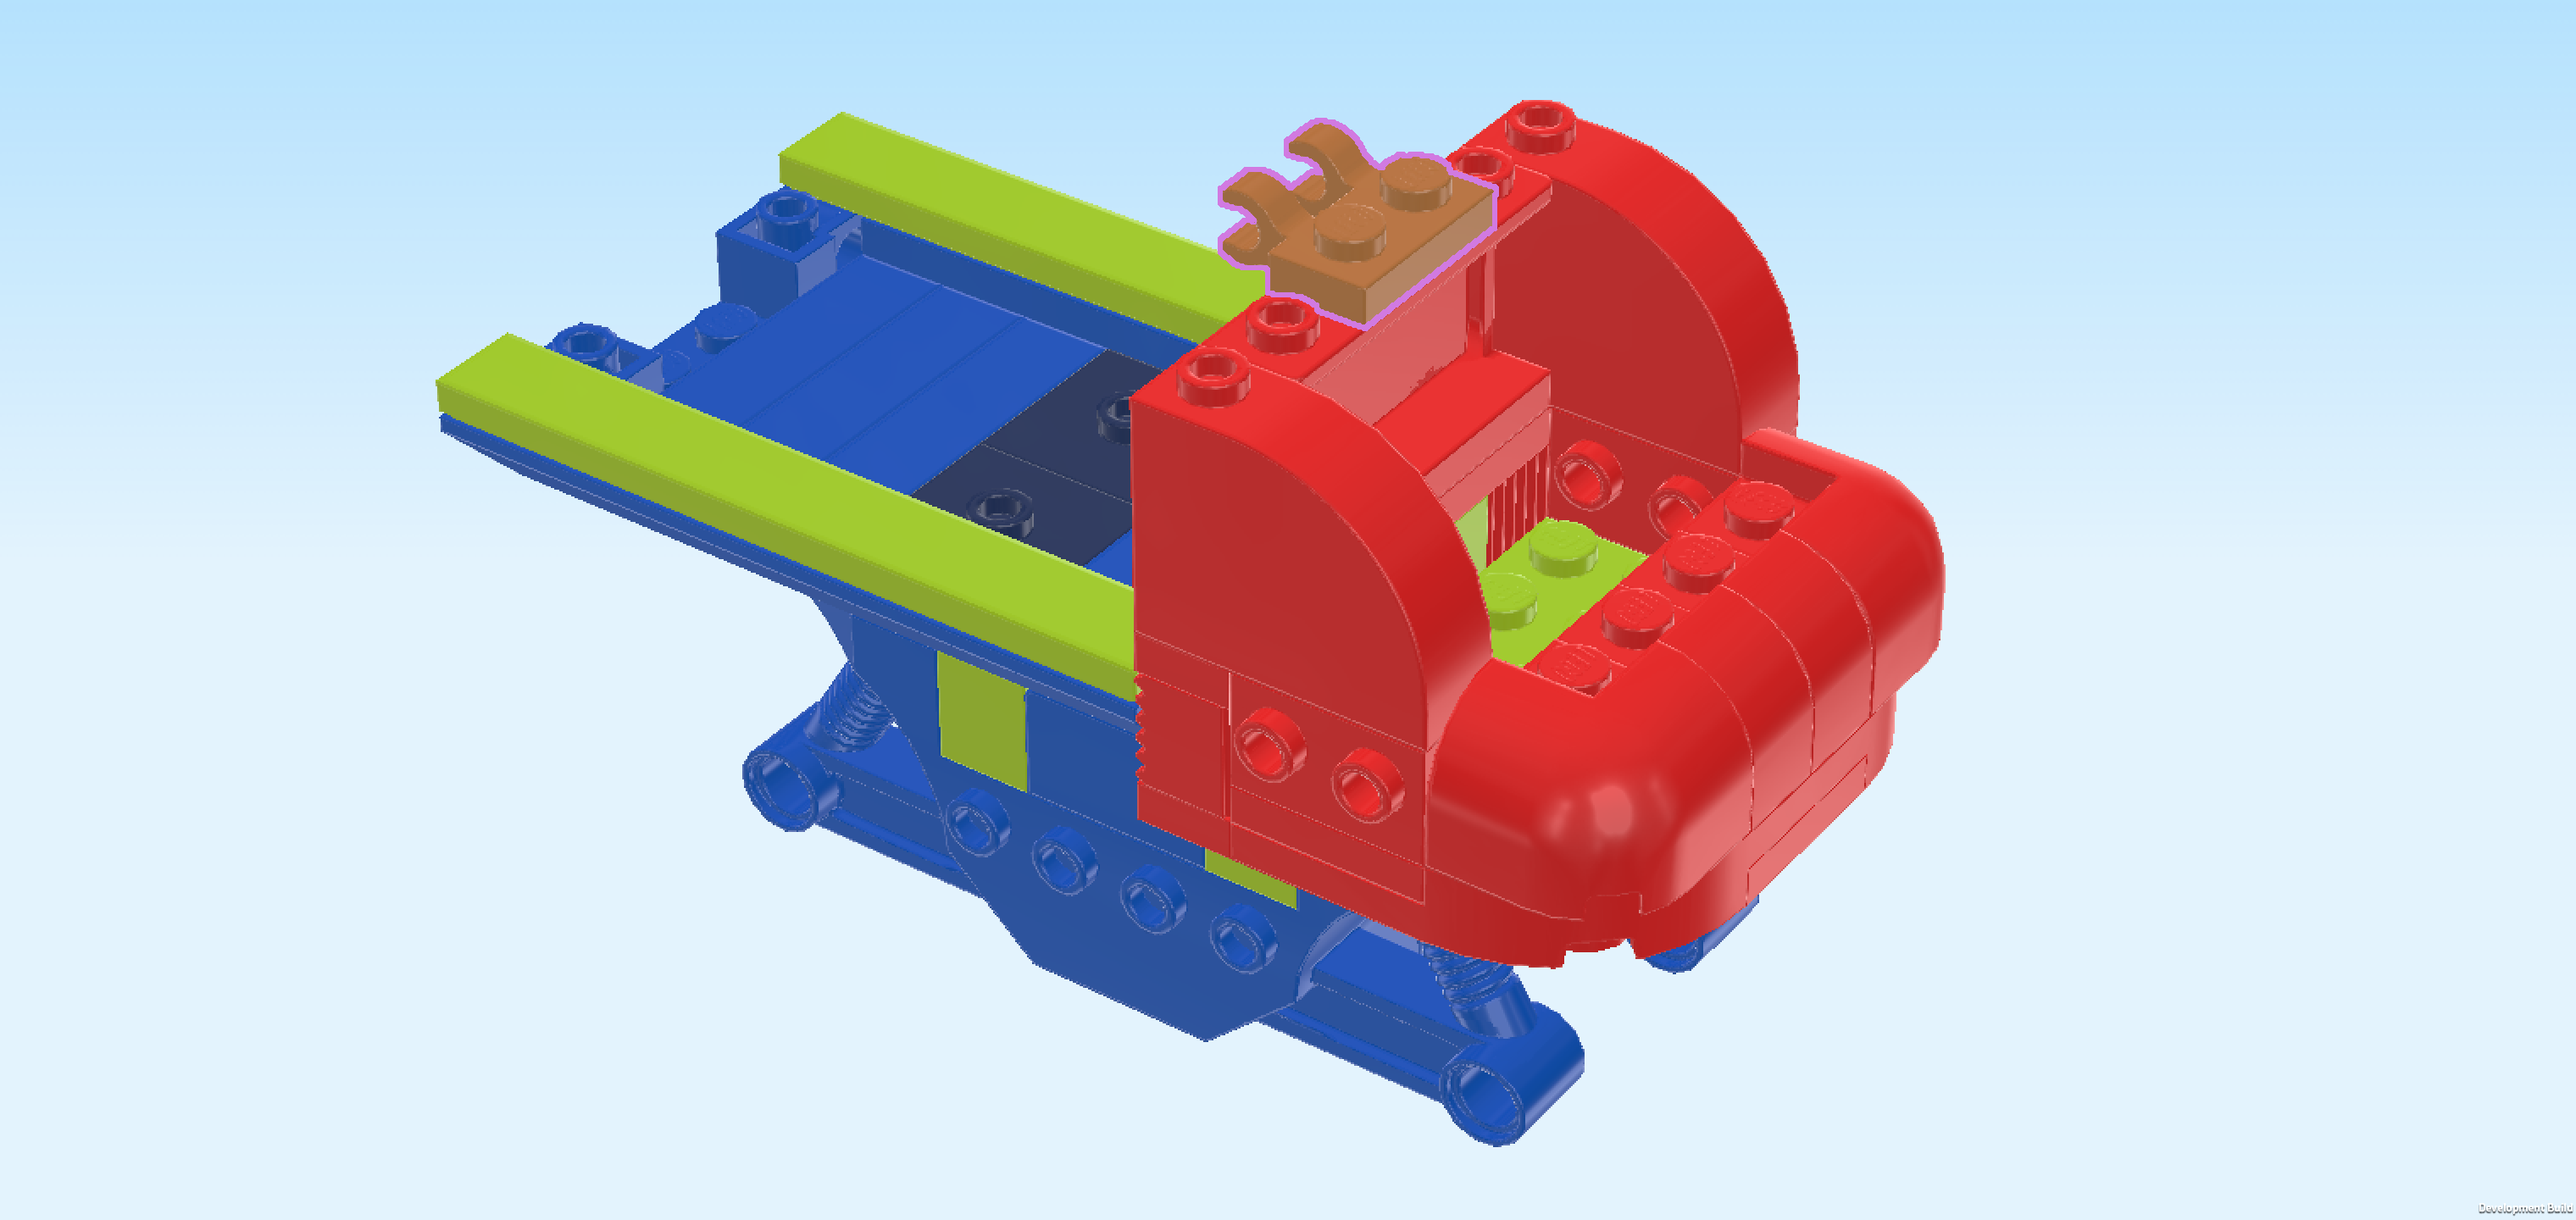
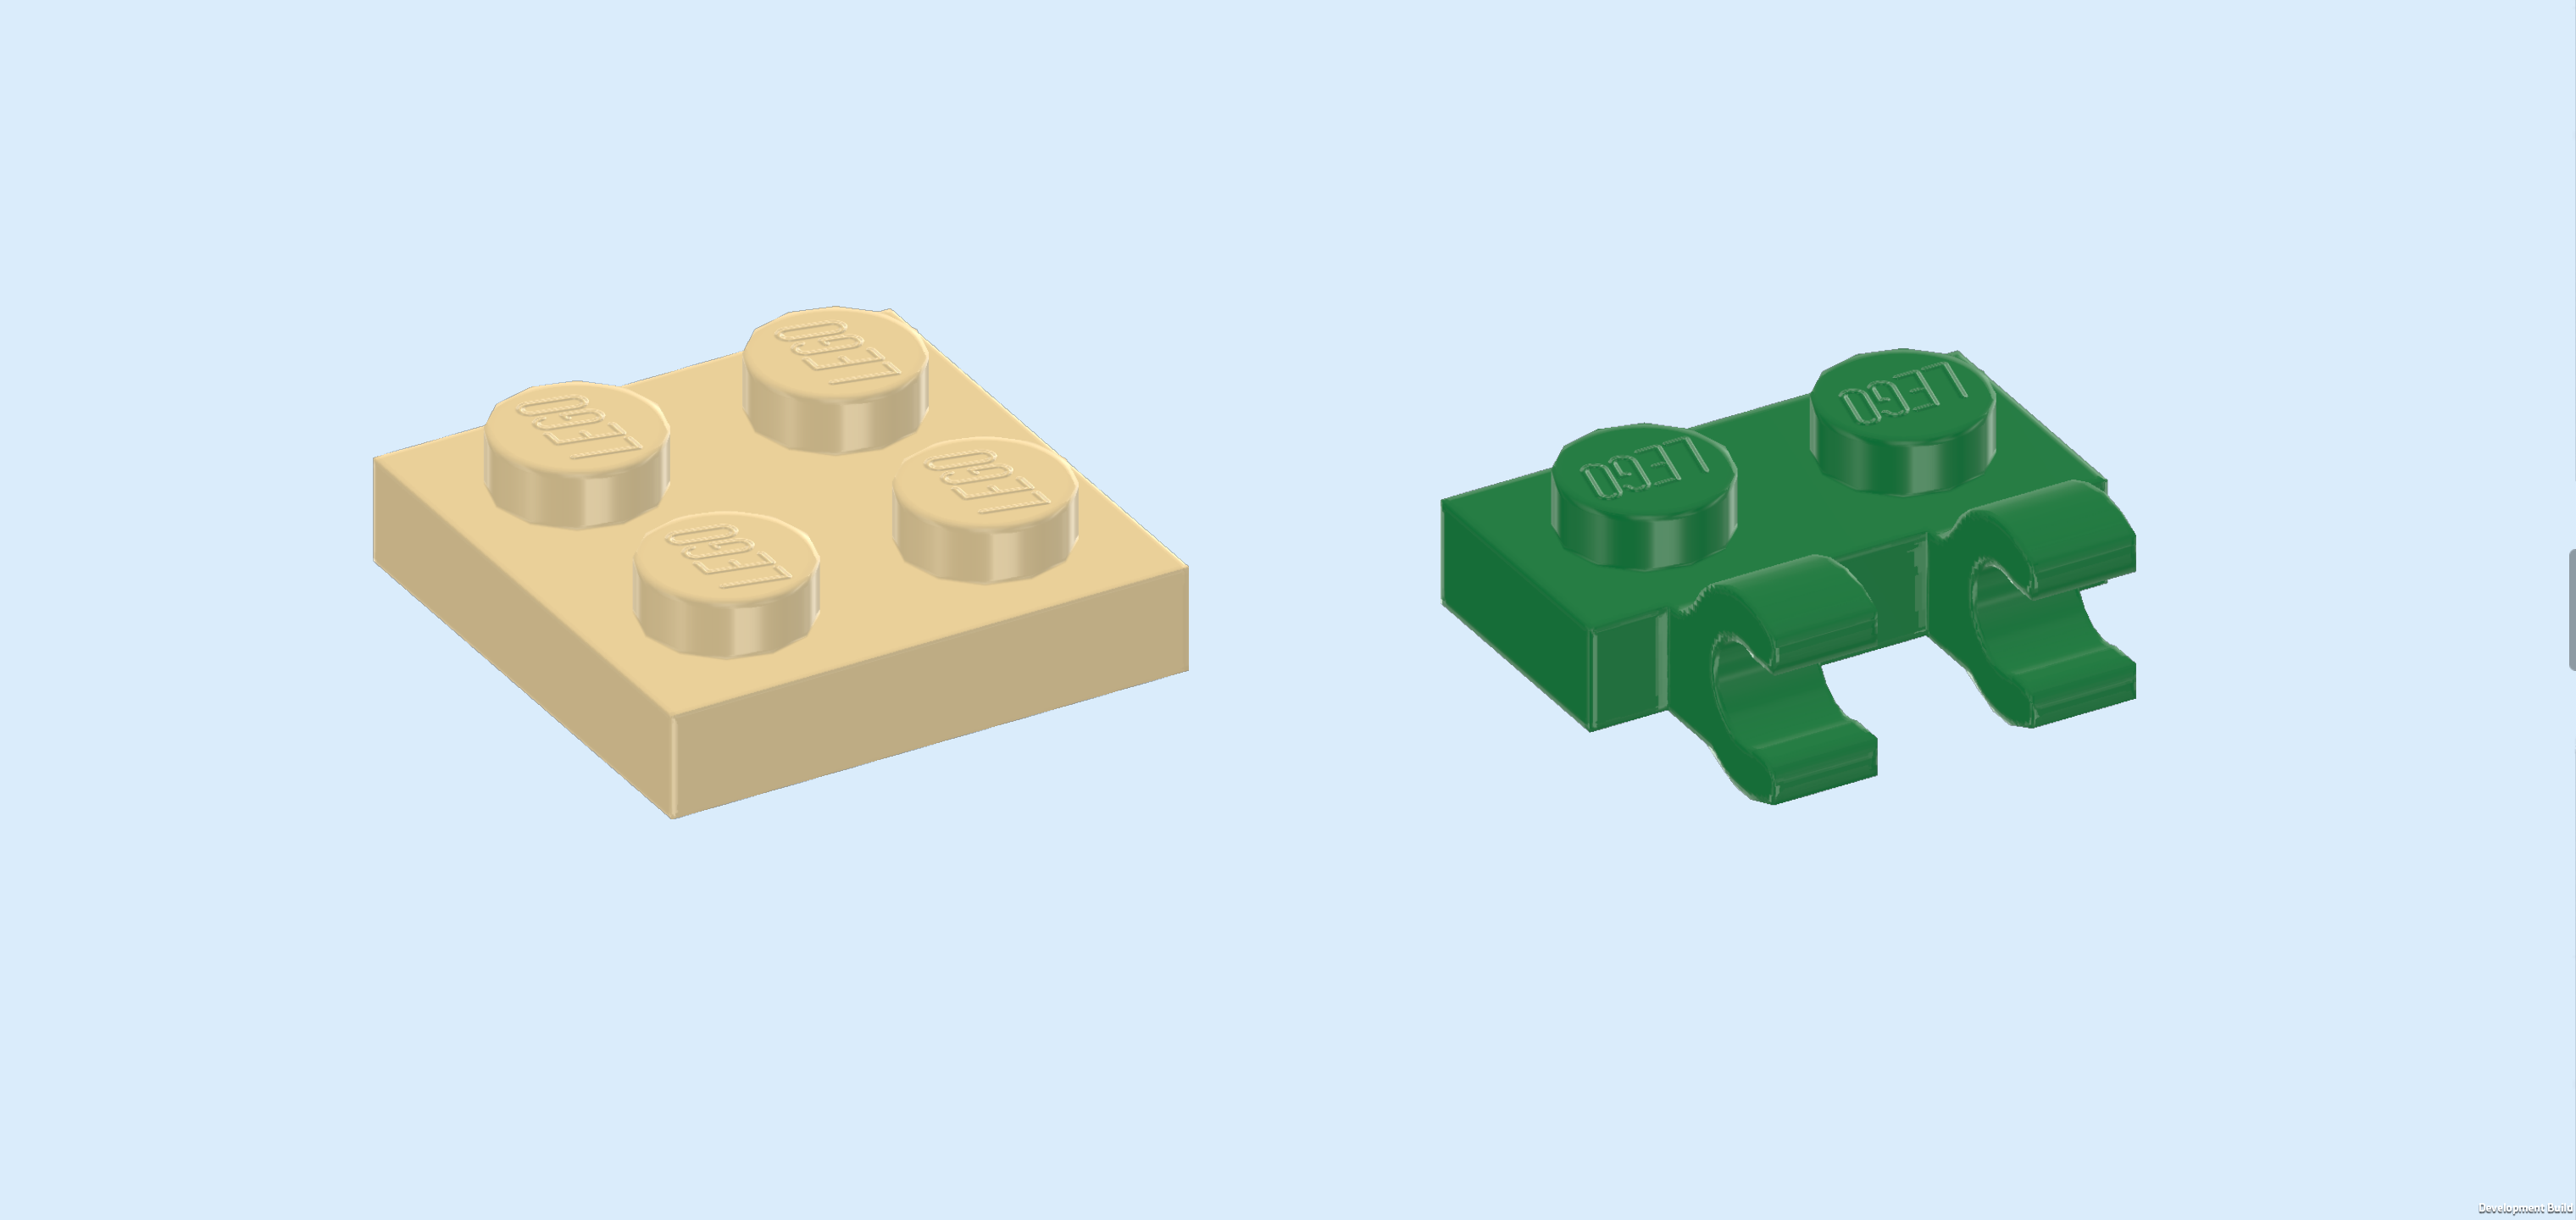
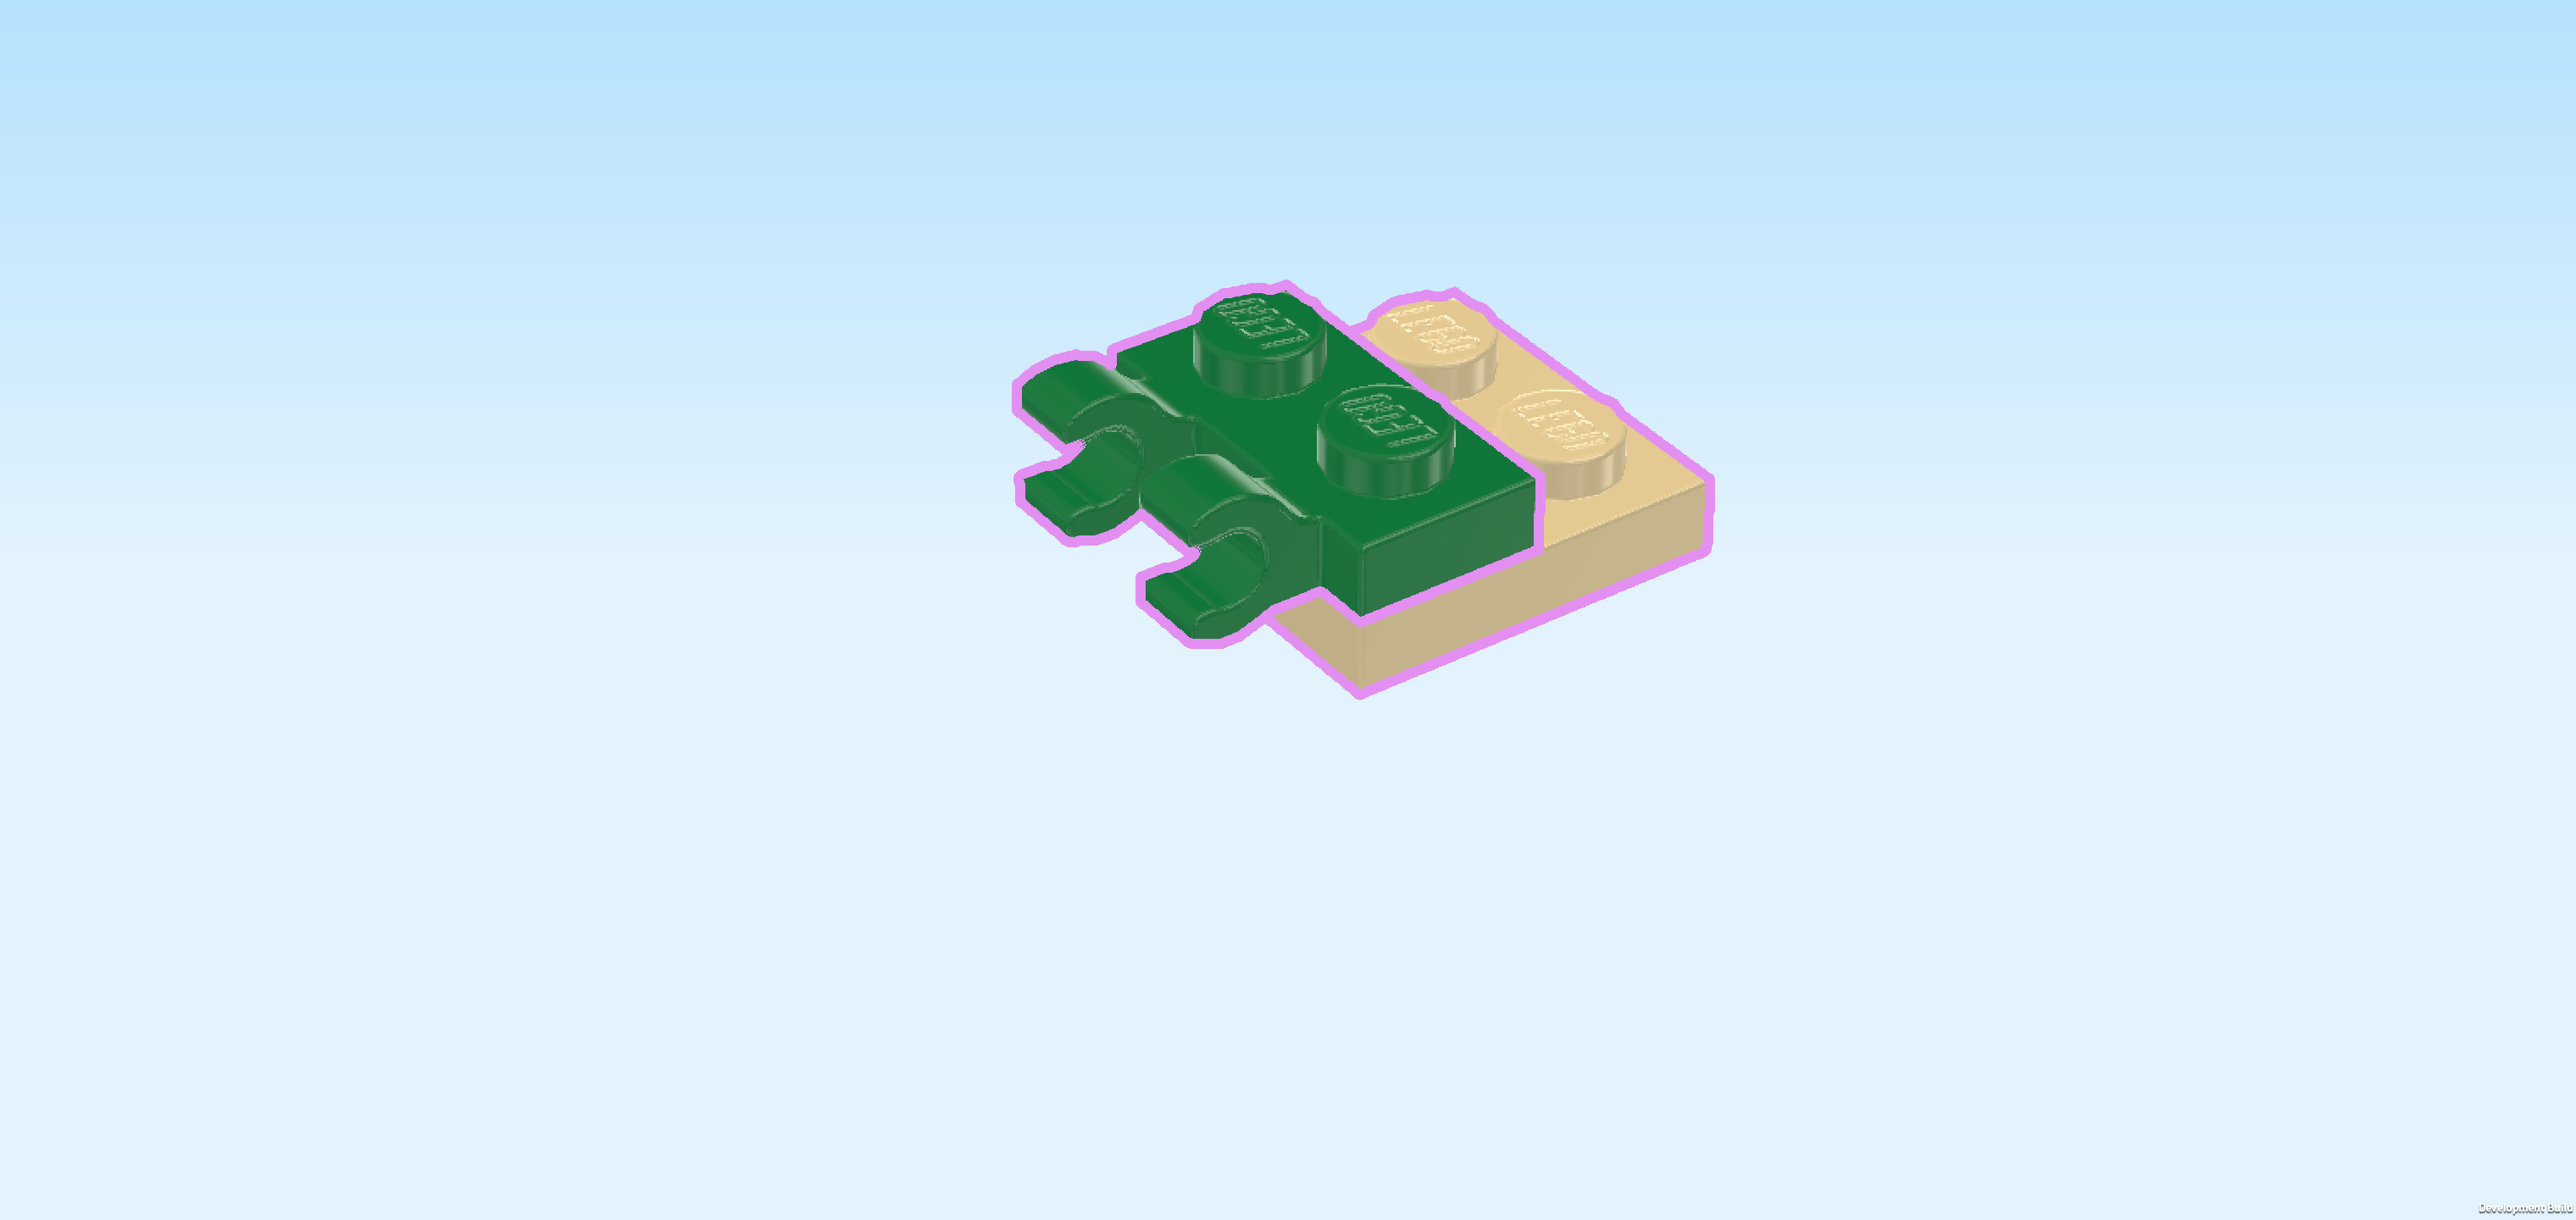
| Find 1 medium nougat brown plate 1x2 with 2 vertical clasps on long side. |
| Put it vertically centered on the wall element between truck bed and driver's cabin, clasps to the left. |
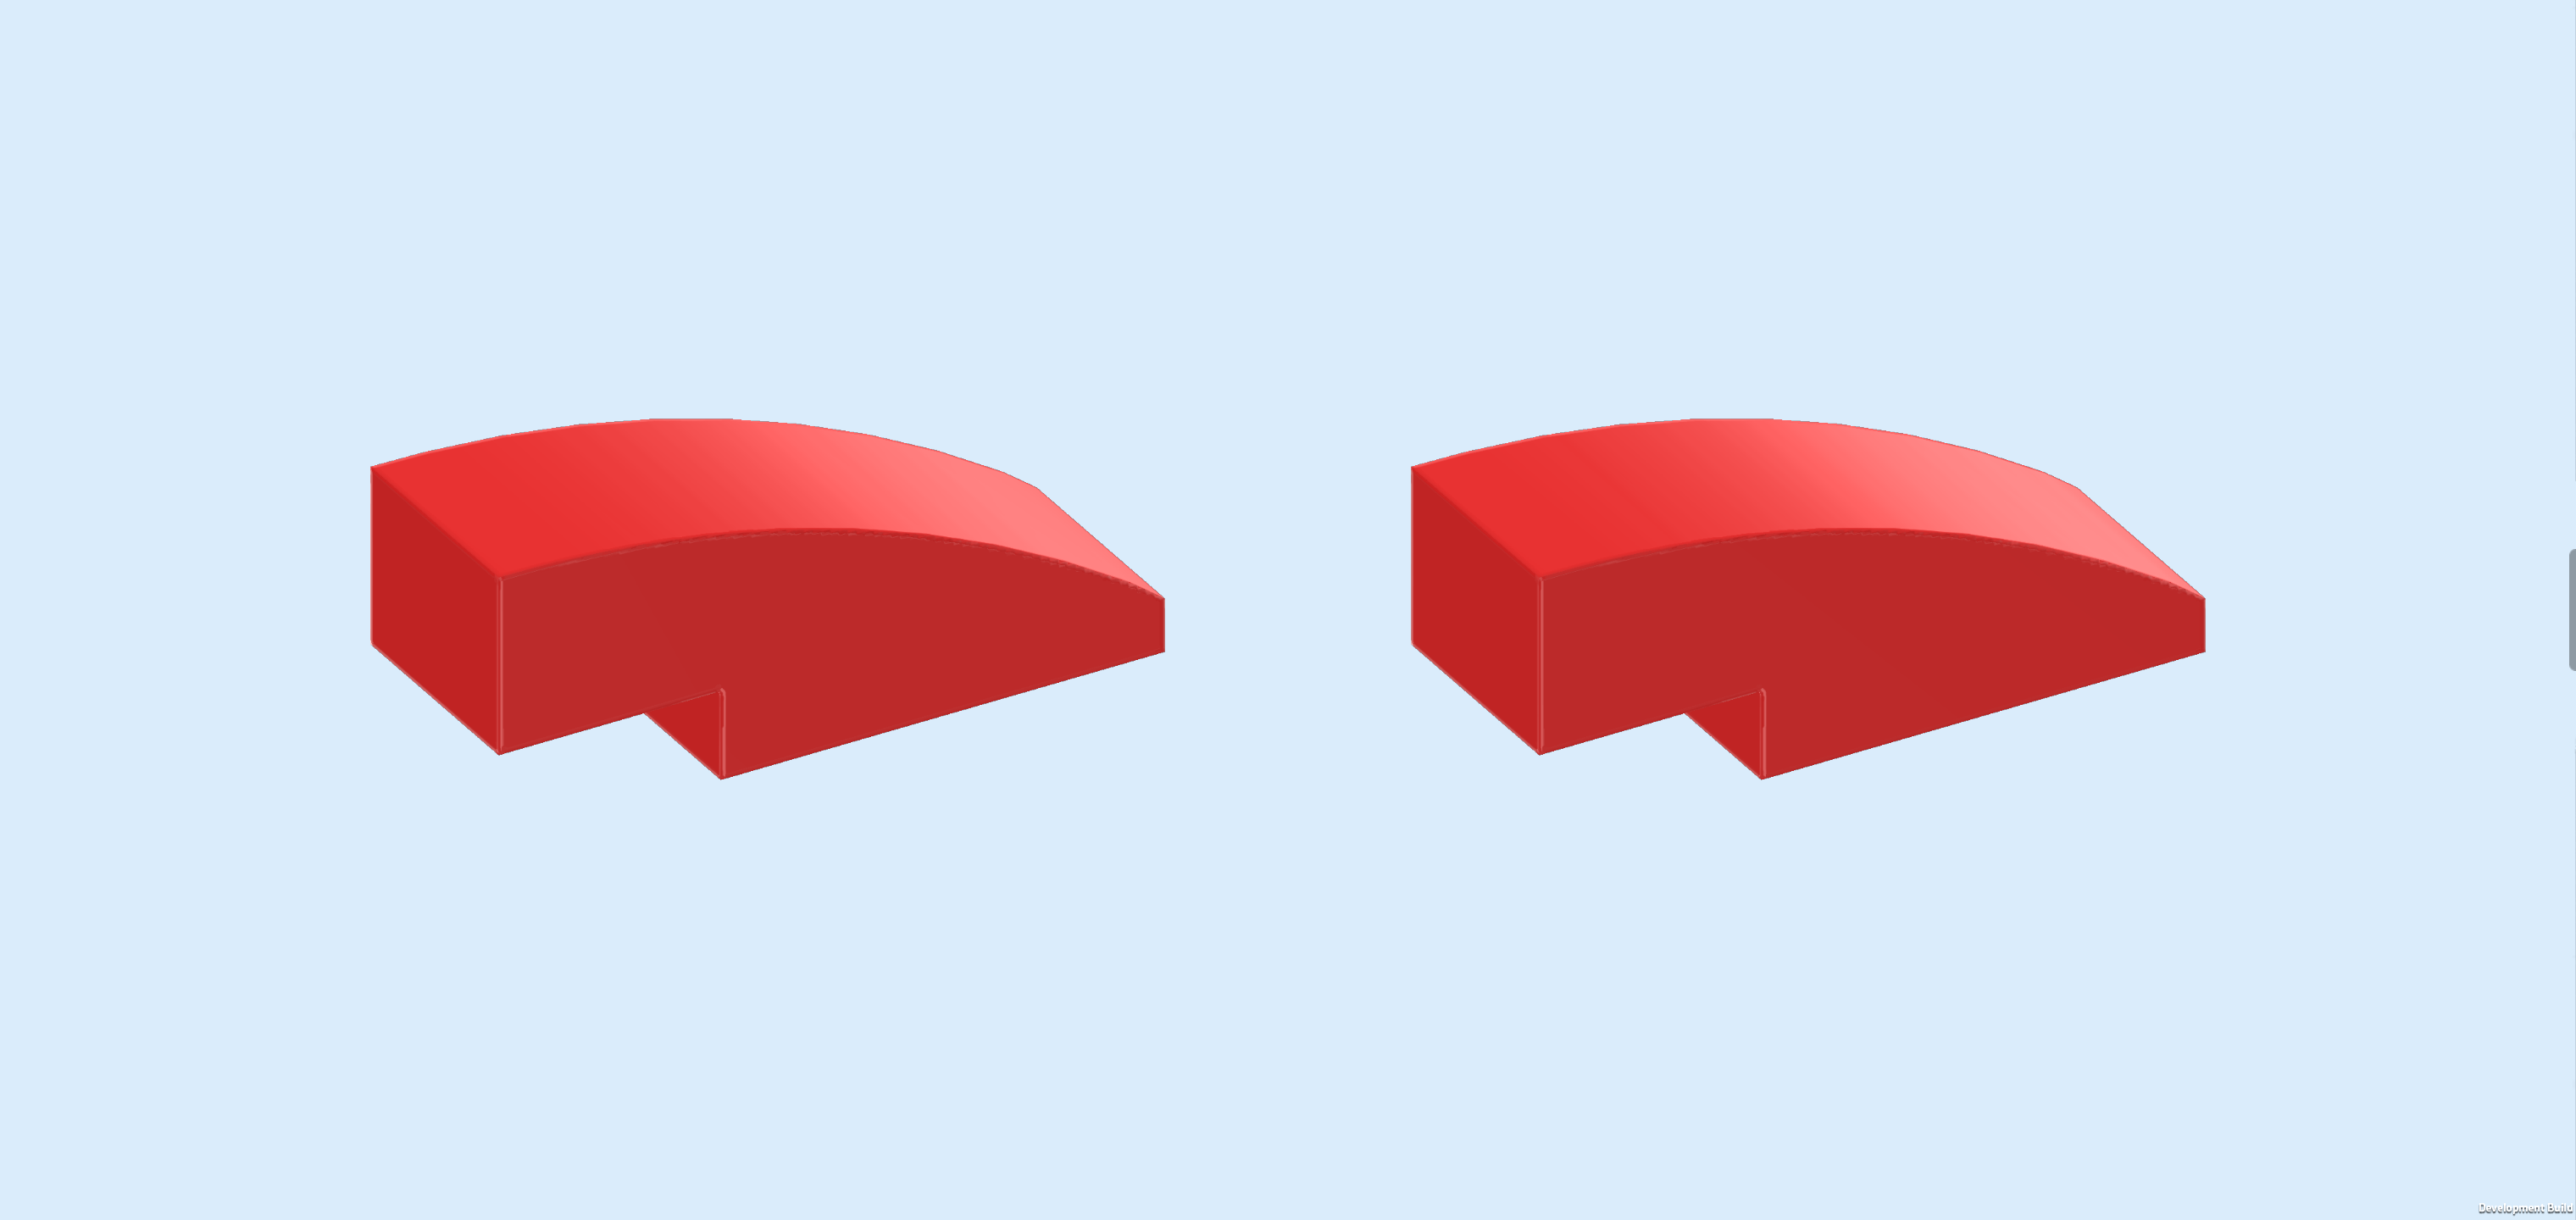
| Find 2 bright red one-stepped curve tiles 1x3. |
| Put 1 vertically on the back halves of the wall element and previous piece, curve to the back. |
| Put the other one vertically in front of the previous piece, curve to the front. |
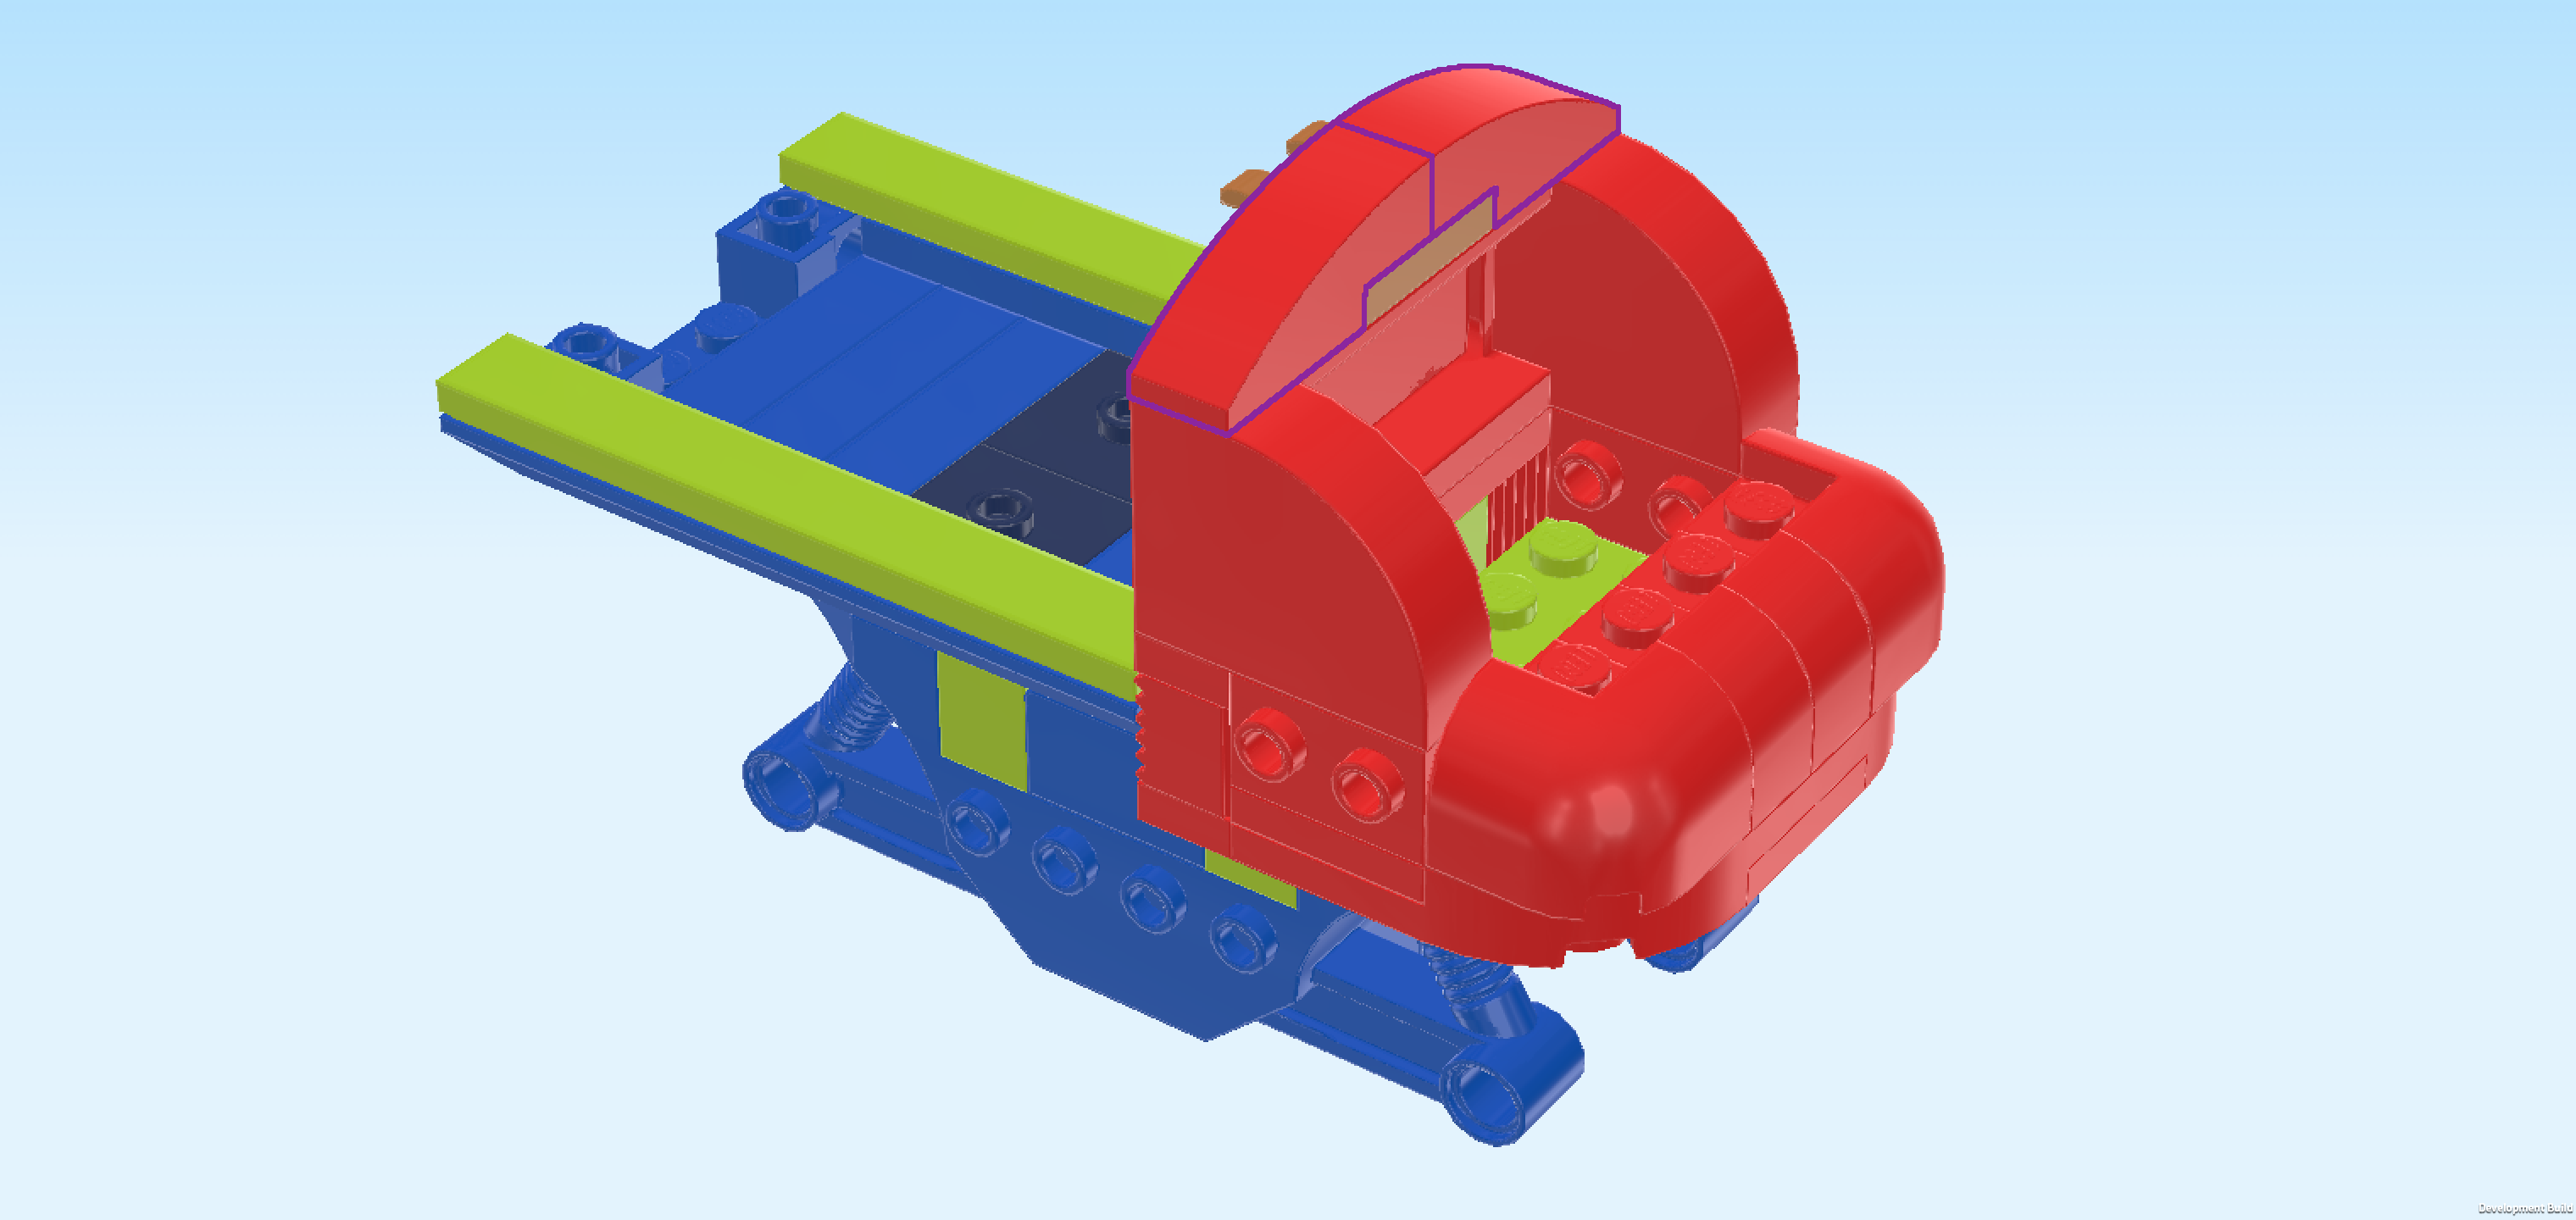
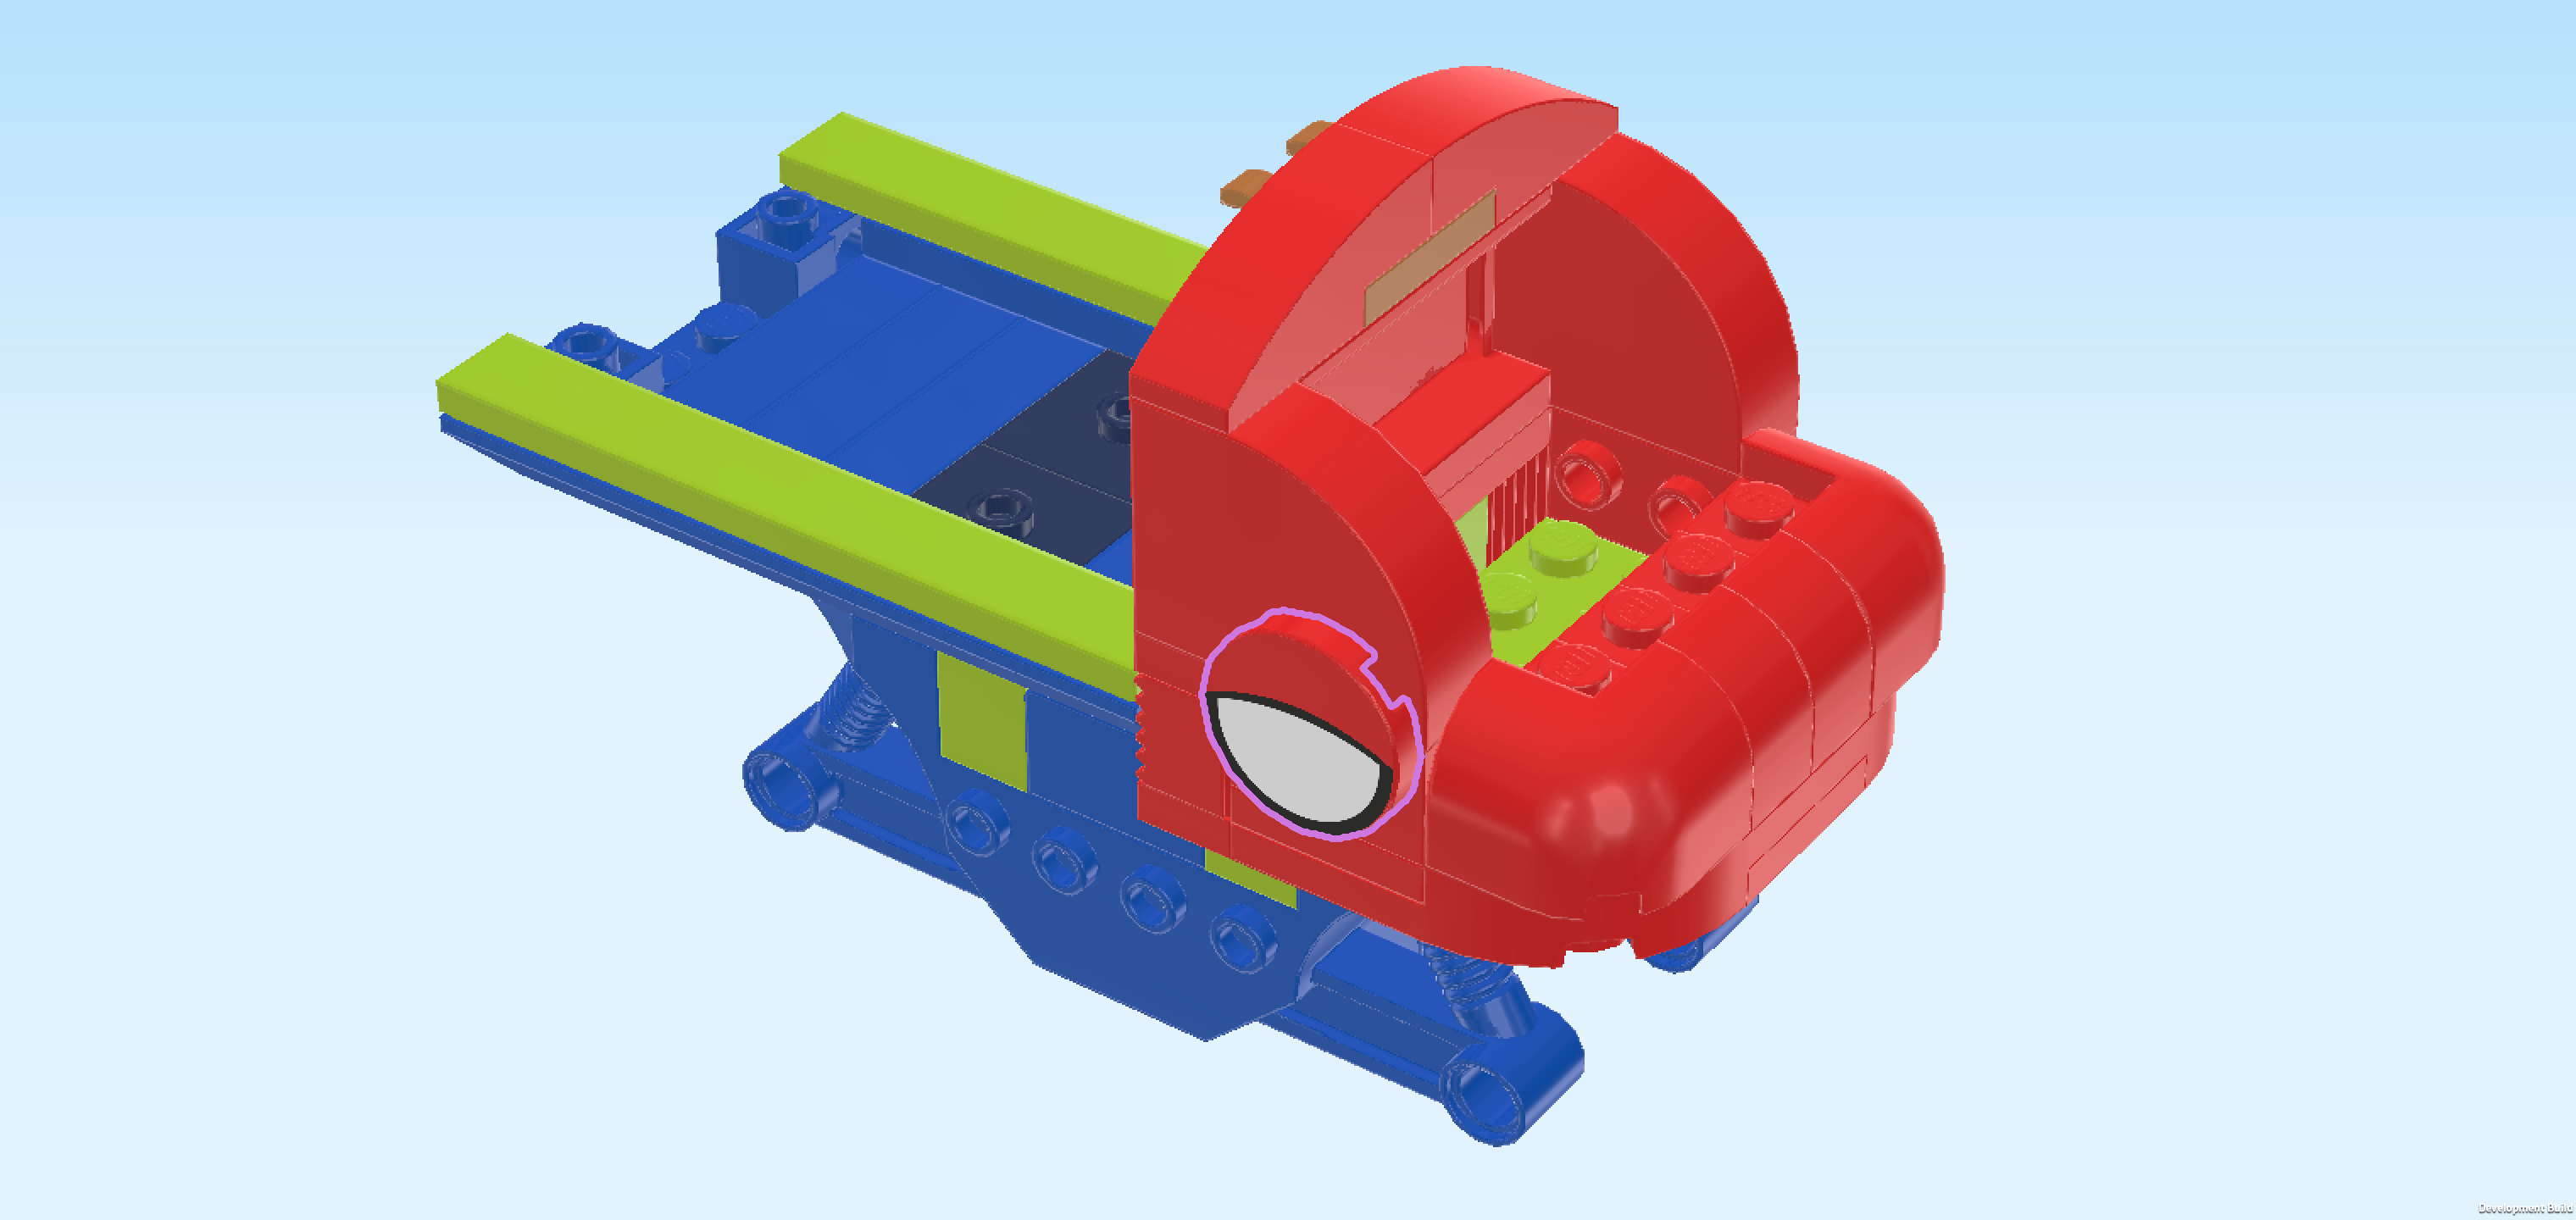
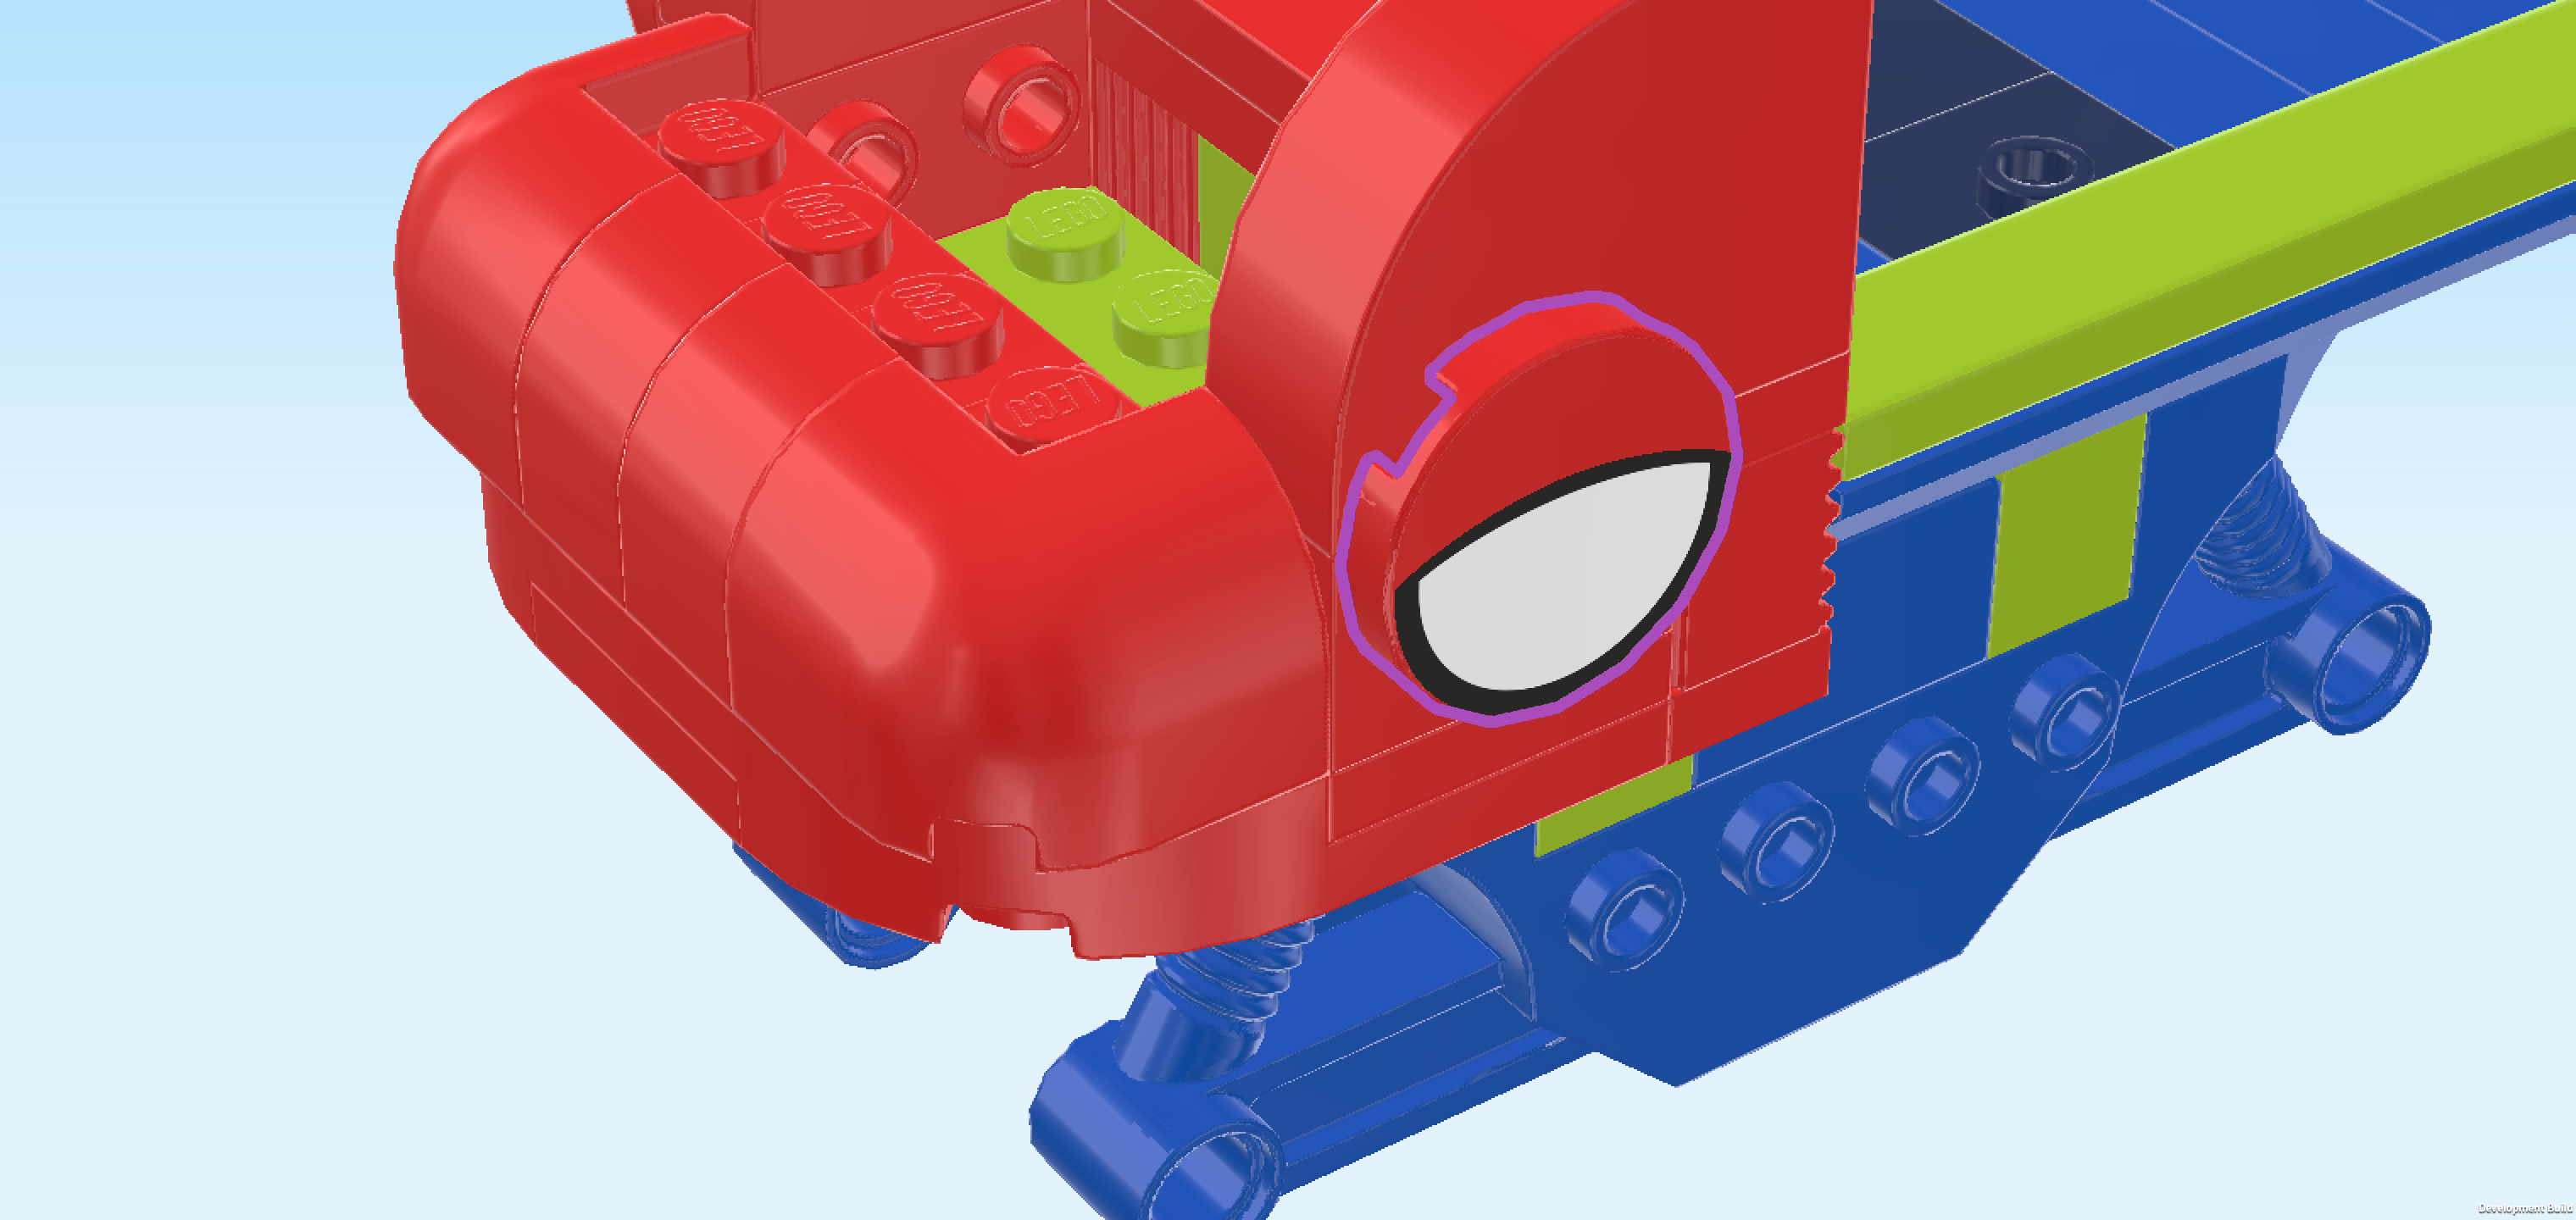
| Find 1 bright red round tile 2x2. |
| Put it upright on the 2 side knobs pointing to the front, its printed half towards the bottom. |
| This piece is printed with a white eye with black frame. The eyelid is half closed. These are the typical Spidey eyes! |
| Find another bright red round tile 2x2. |
| Before you mount it, turn the structure around so that the truck bed is protruding to the right and the driver's cabin is towards the left. |
| Mount the round tile upright on the 2 side knobs pointing towards you, printed half to the bottom. |
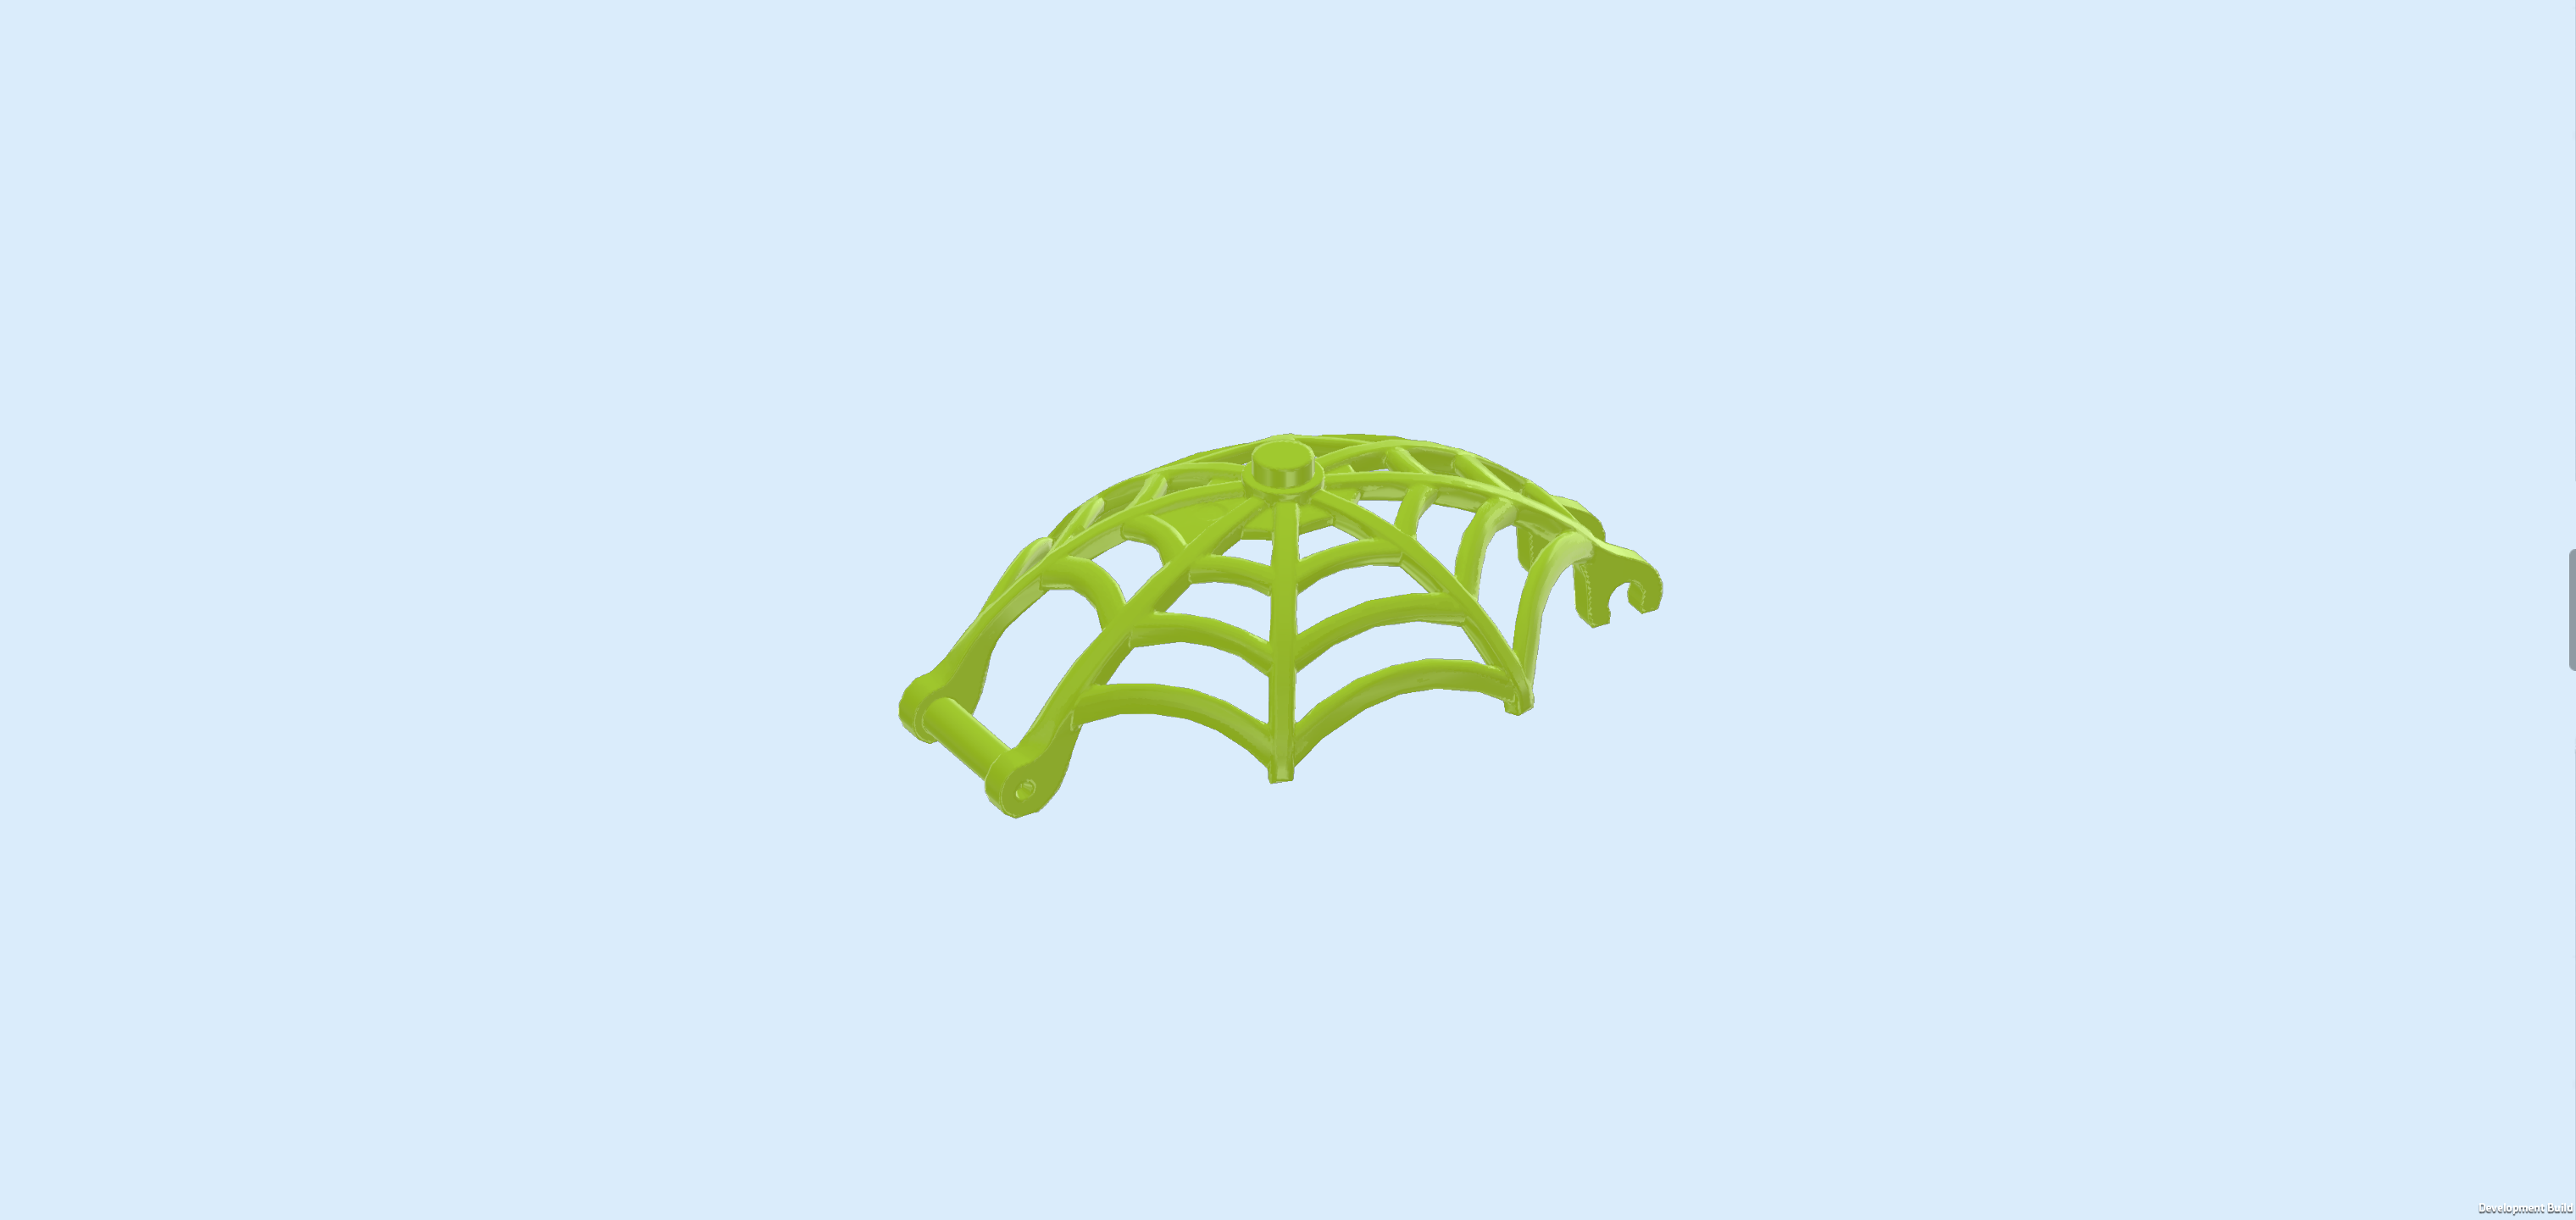
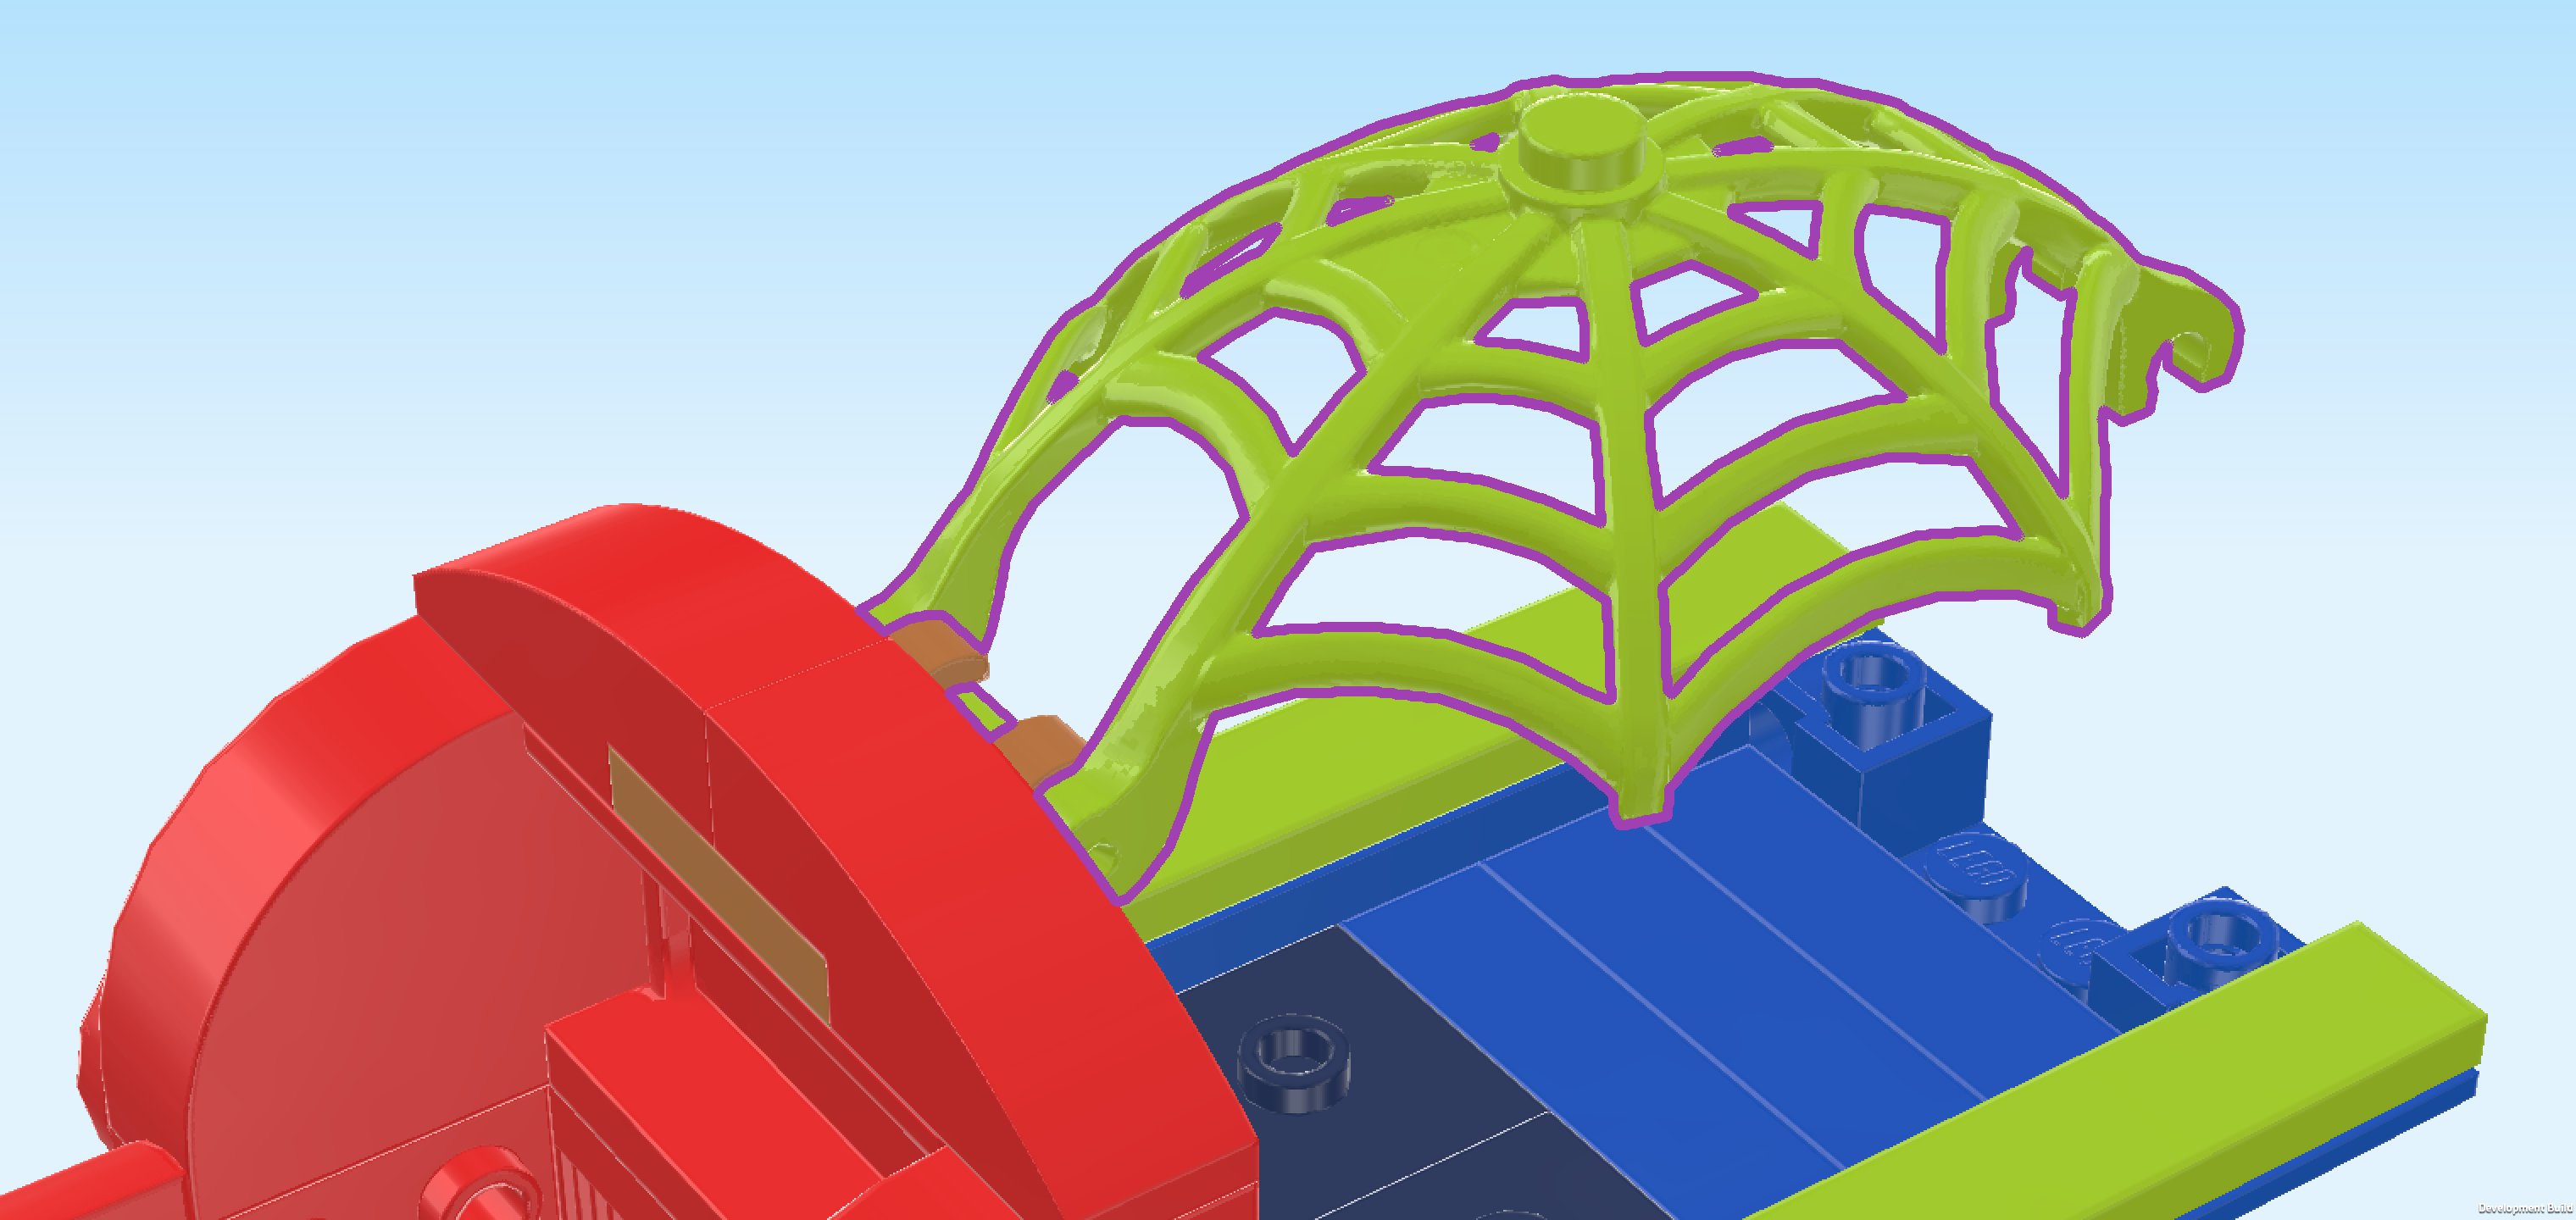
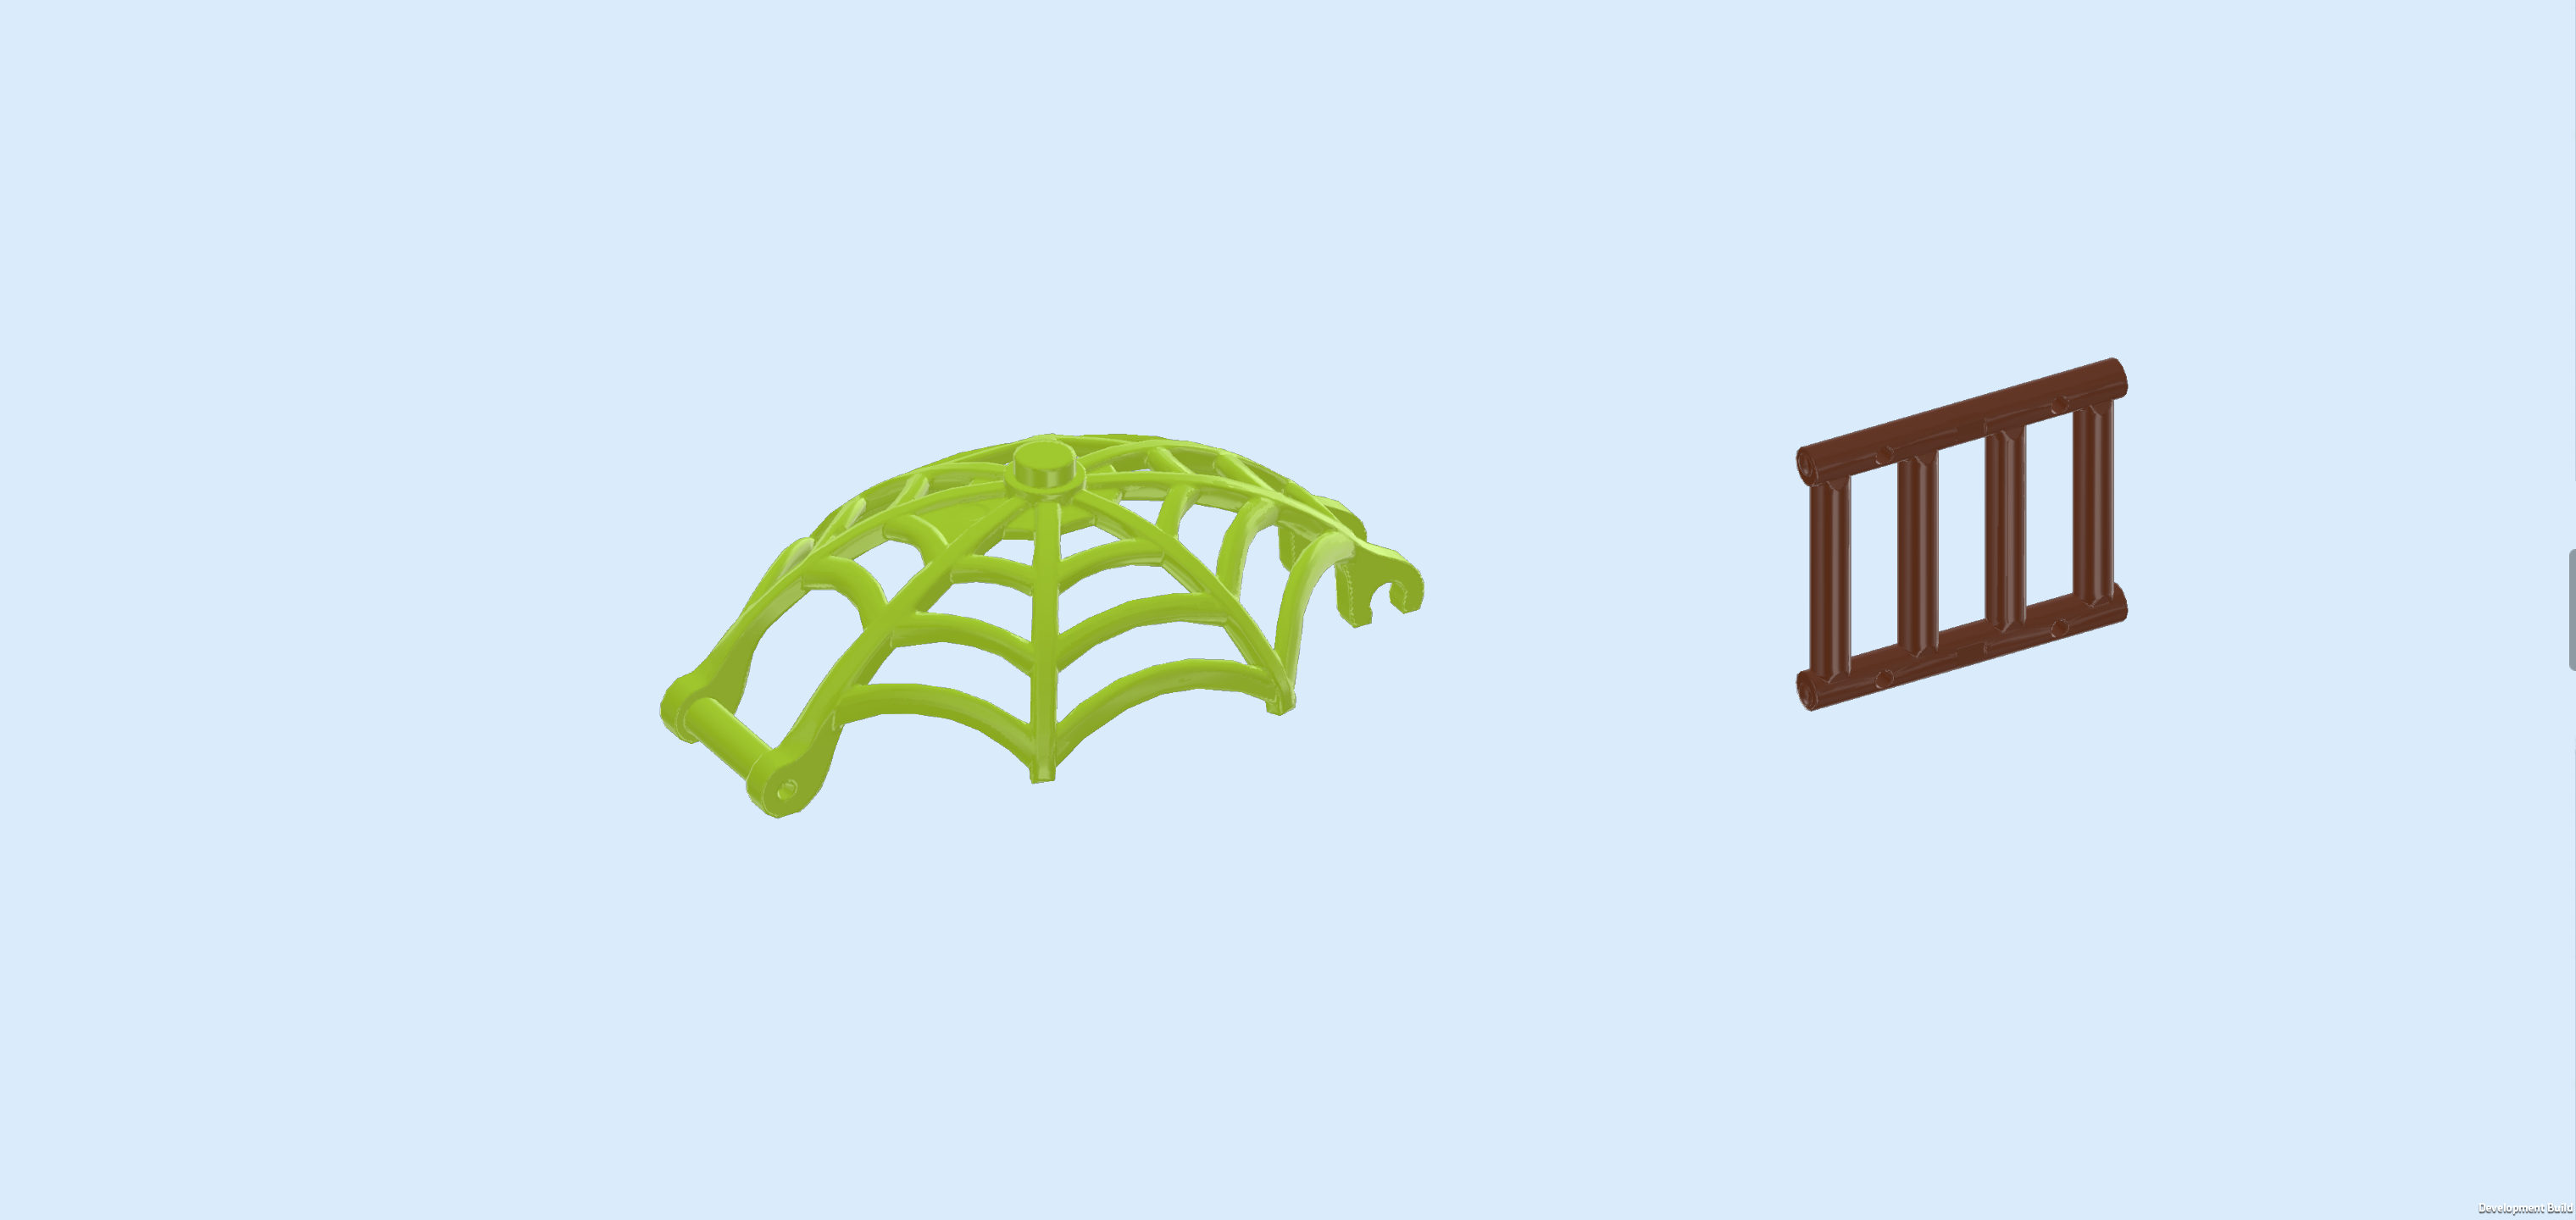
| Find 1 yellowish green spider web 5x8x2 with handle. |
| Hold it so that the web is bulging upwards and its handle is on the left, which means that its 2 clasps are on the right. Snap the handle on the main structure using the 2 clasps that are pointing to the right. |
| You can fold the web up and down as needed. This can work as protection for your equipment or found treasures, but also as a cage for captured villains and ne'er-do-wells! |
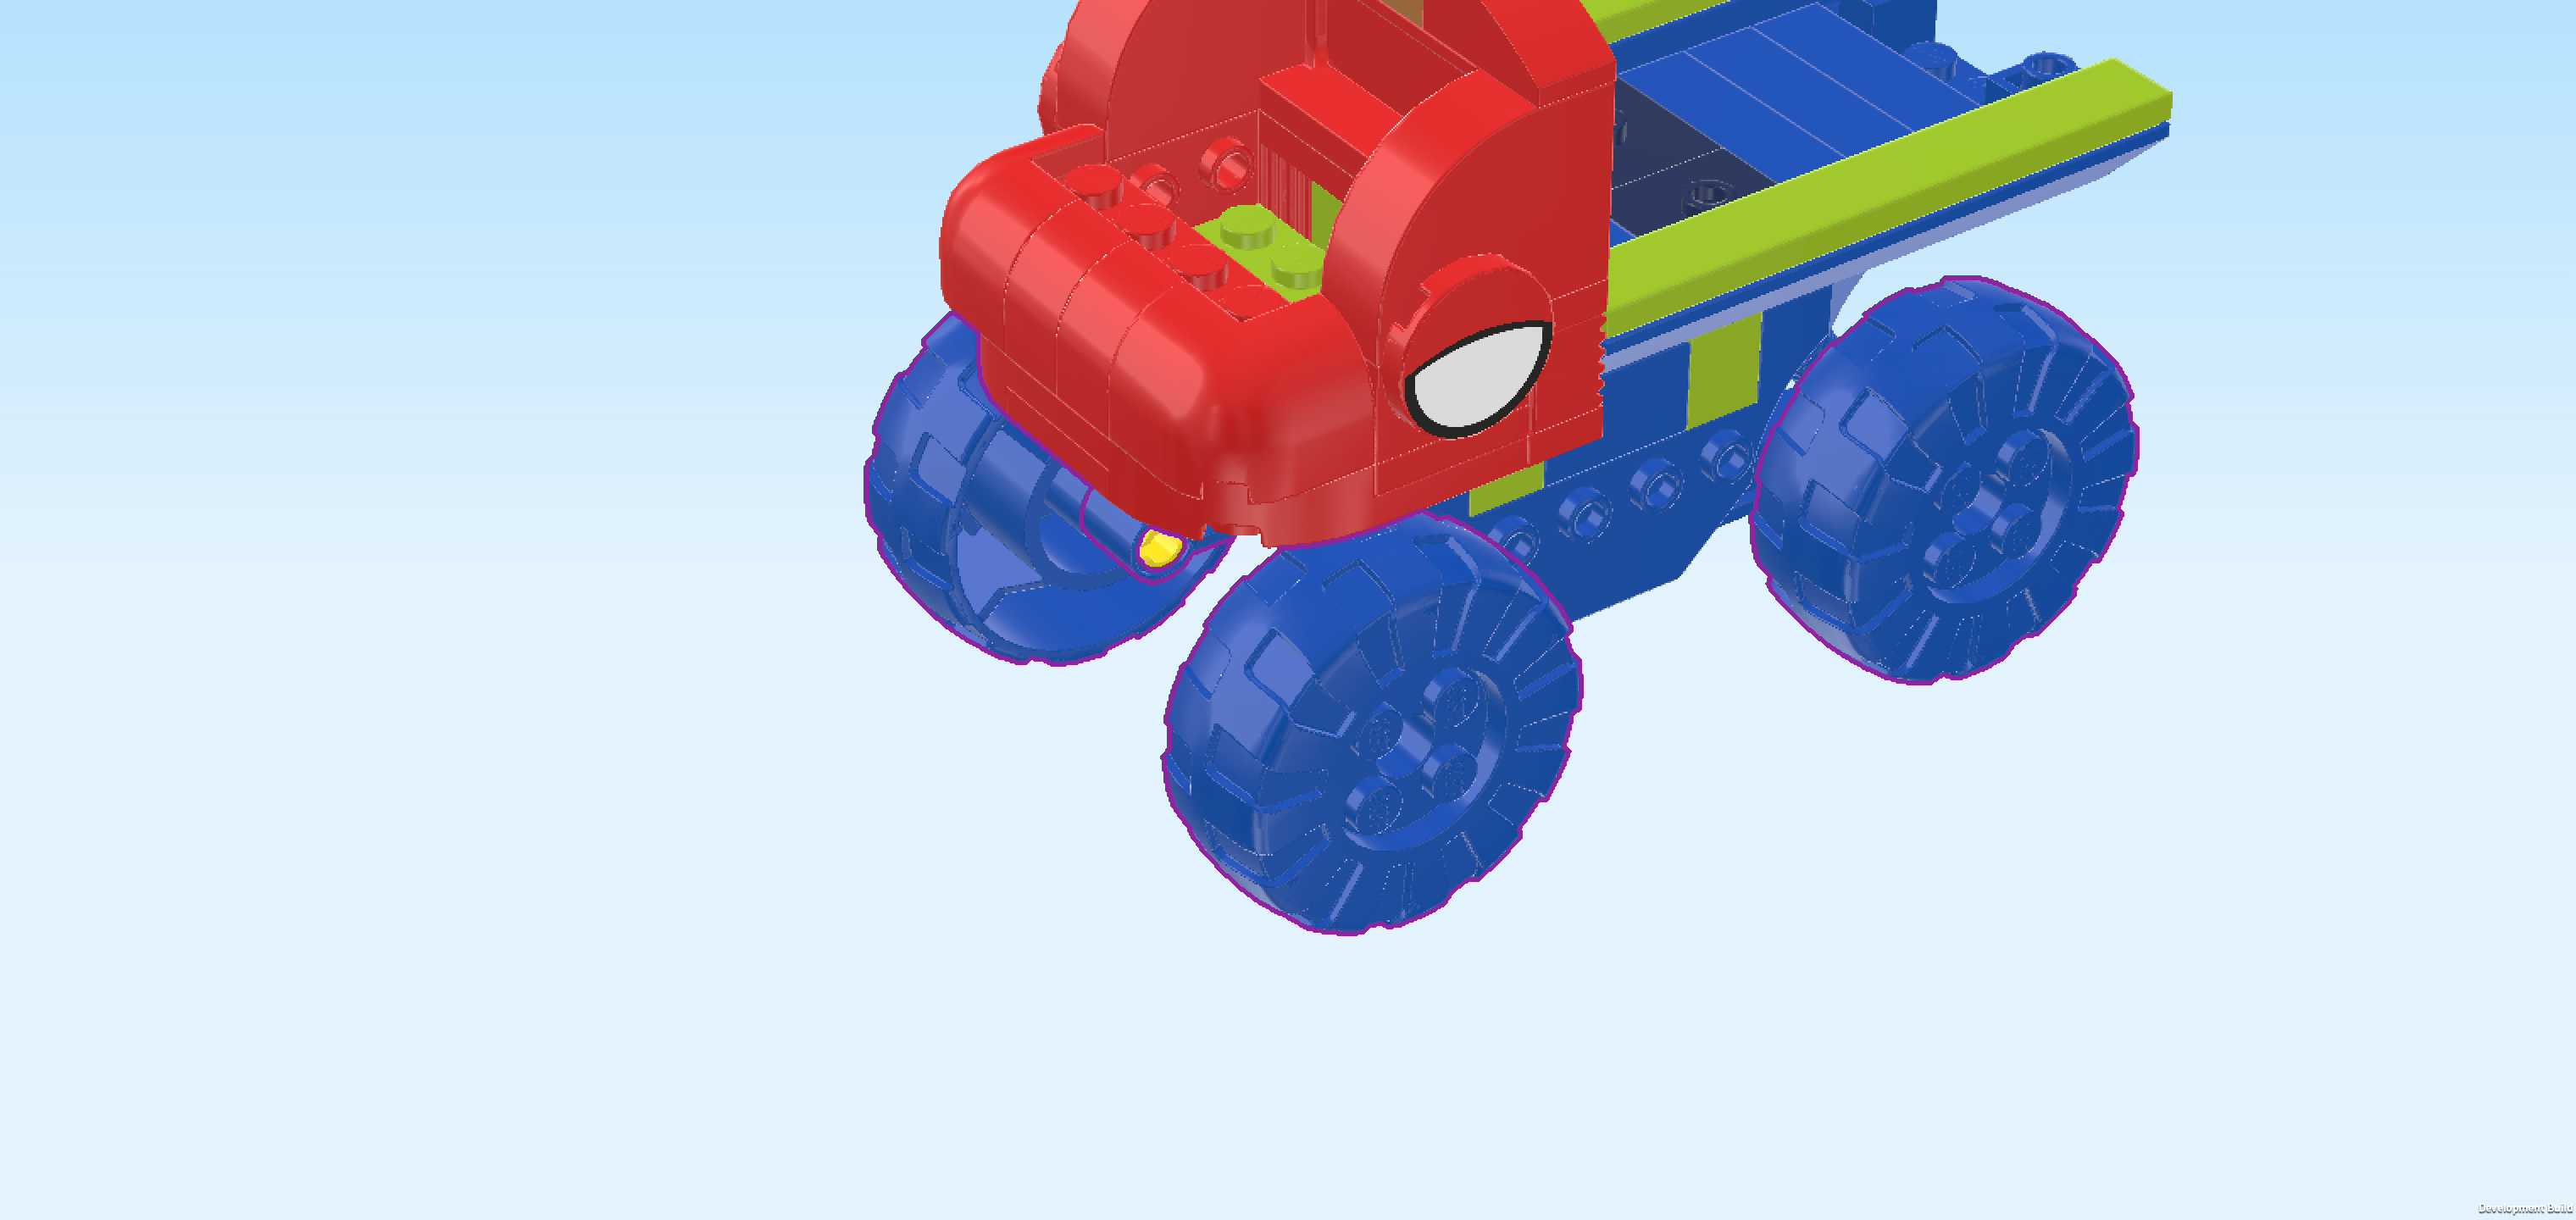
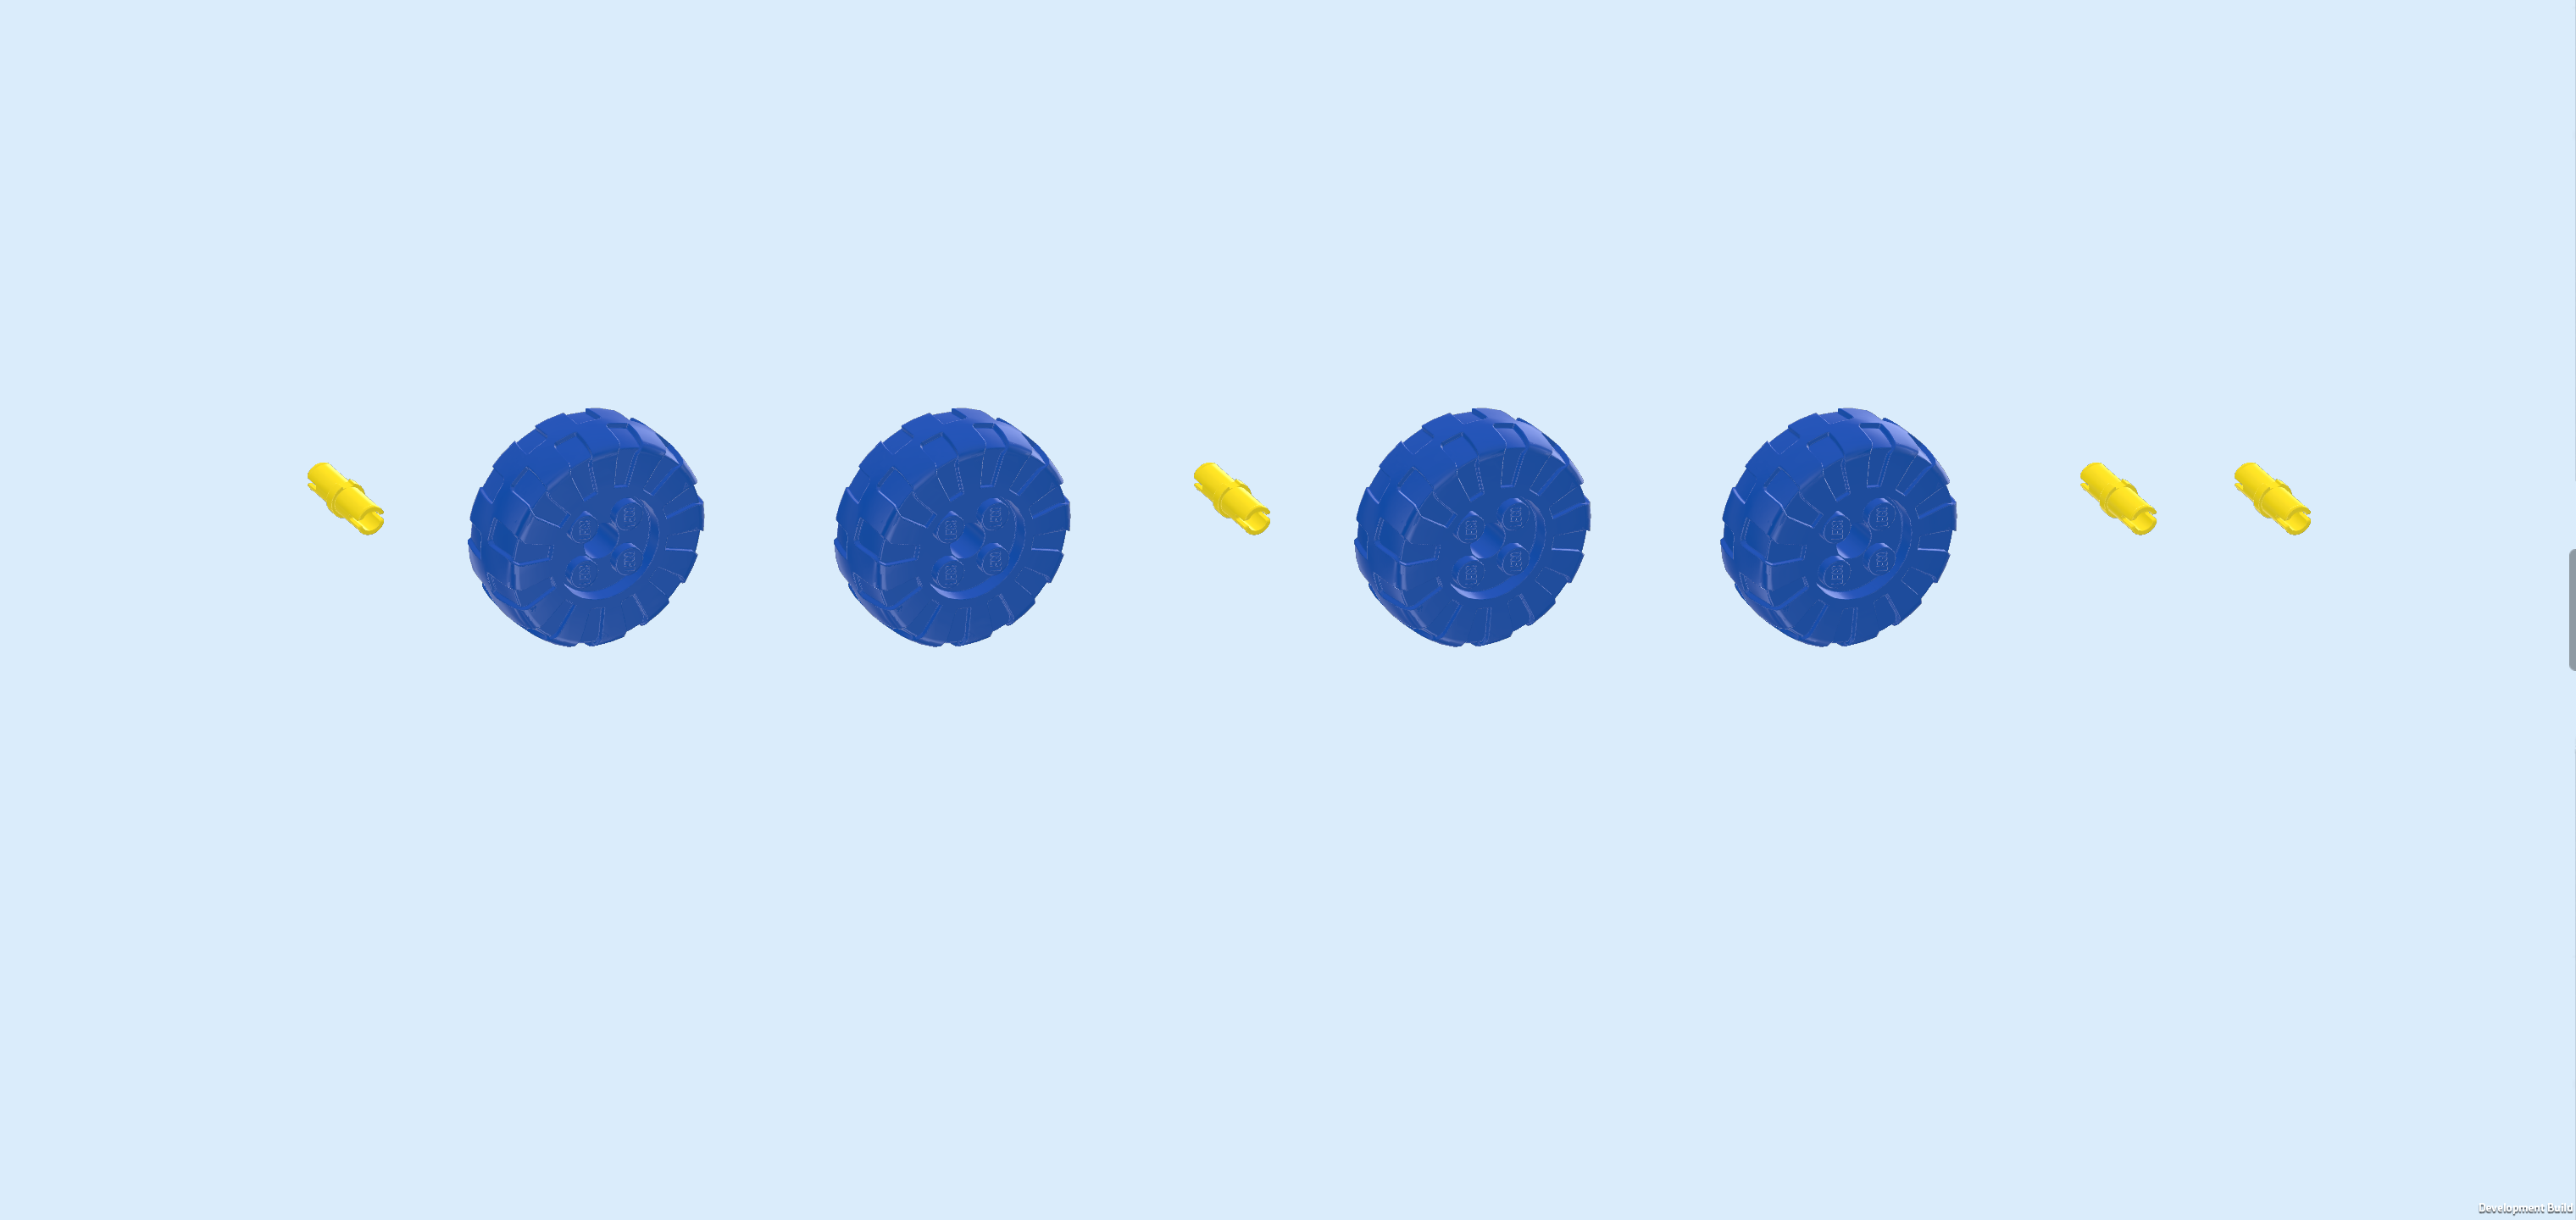
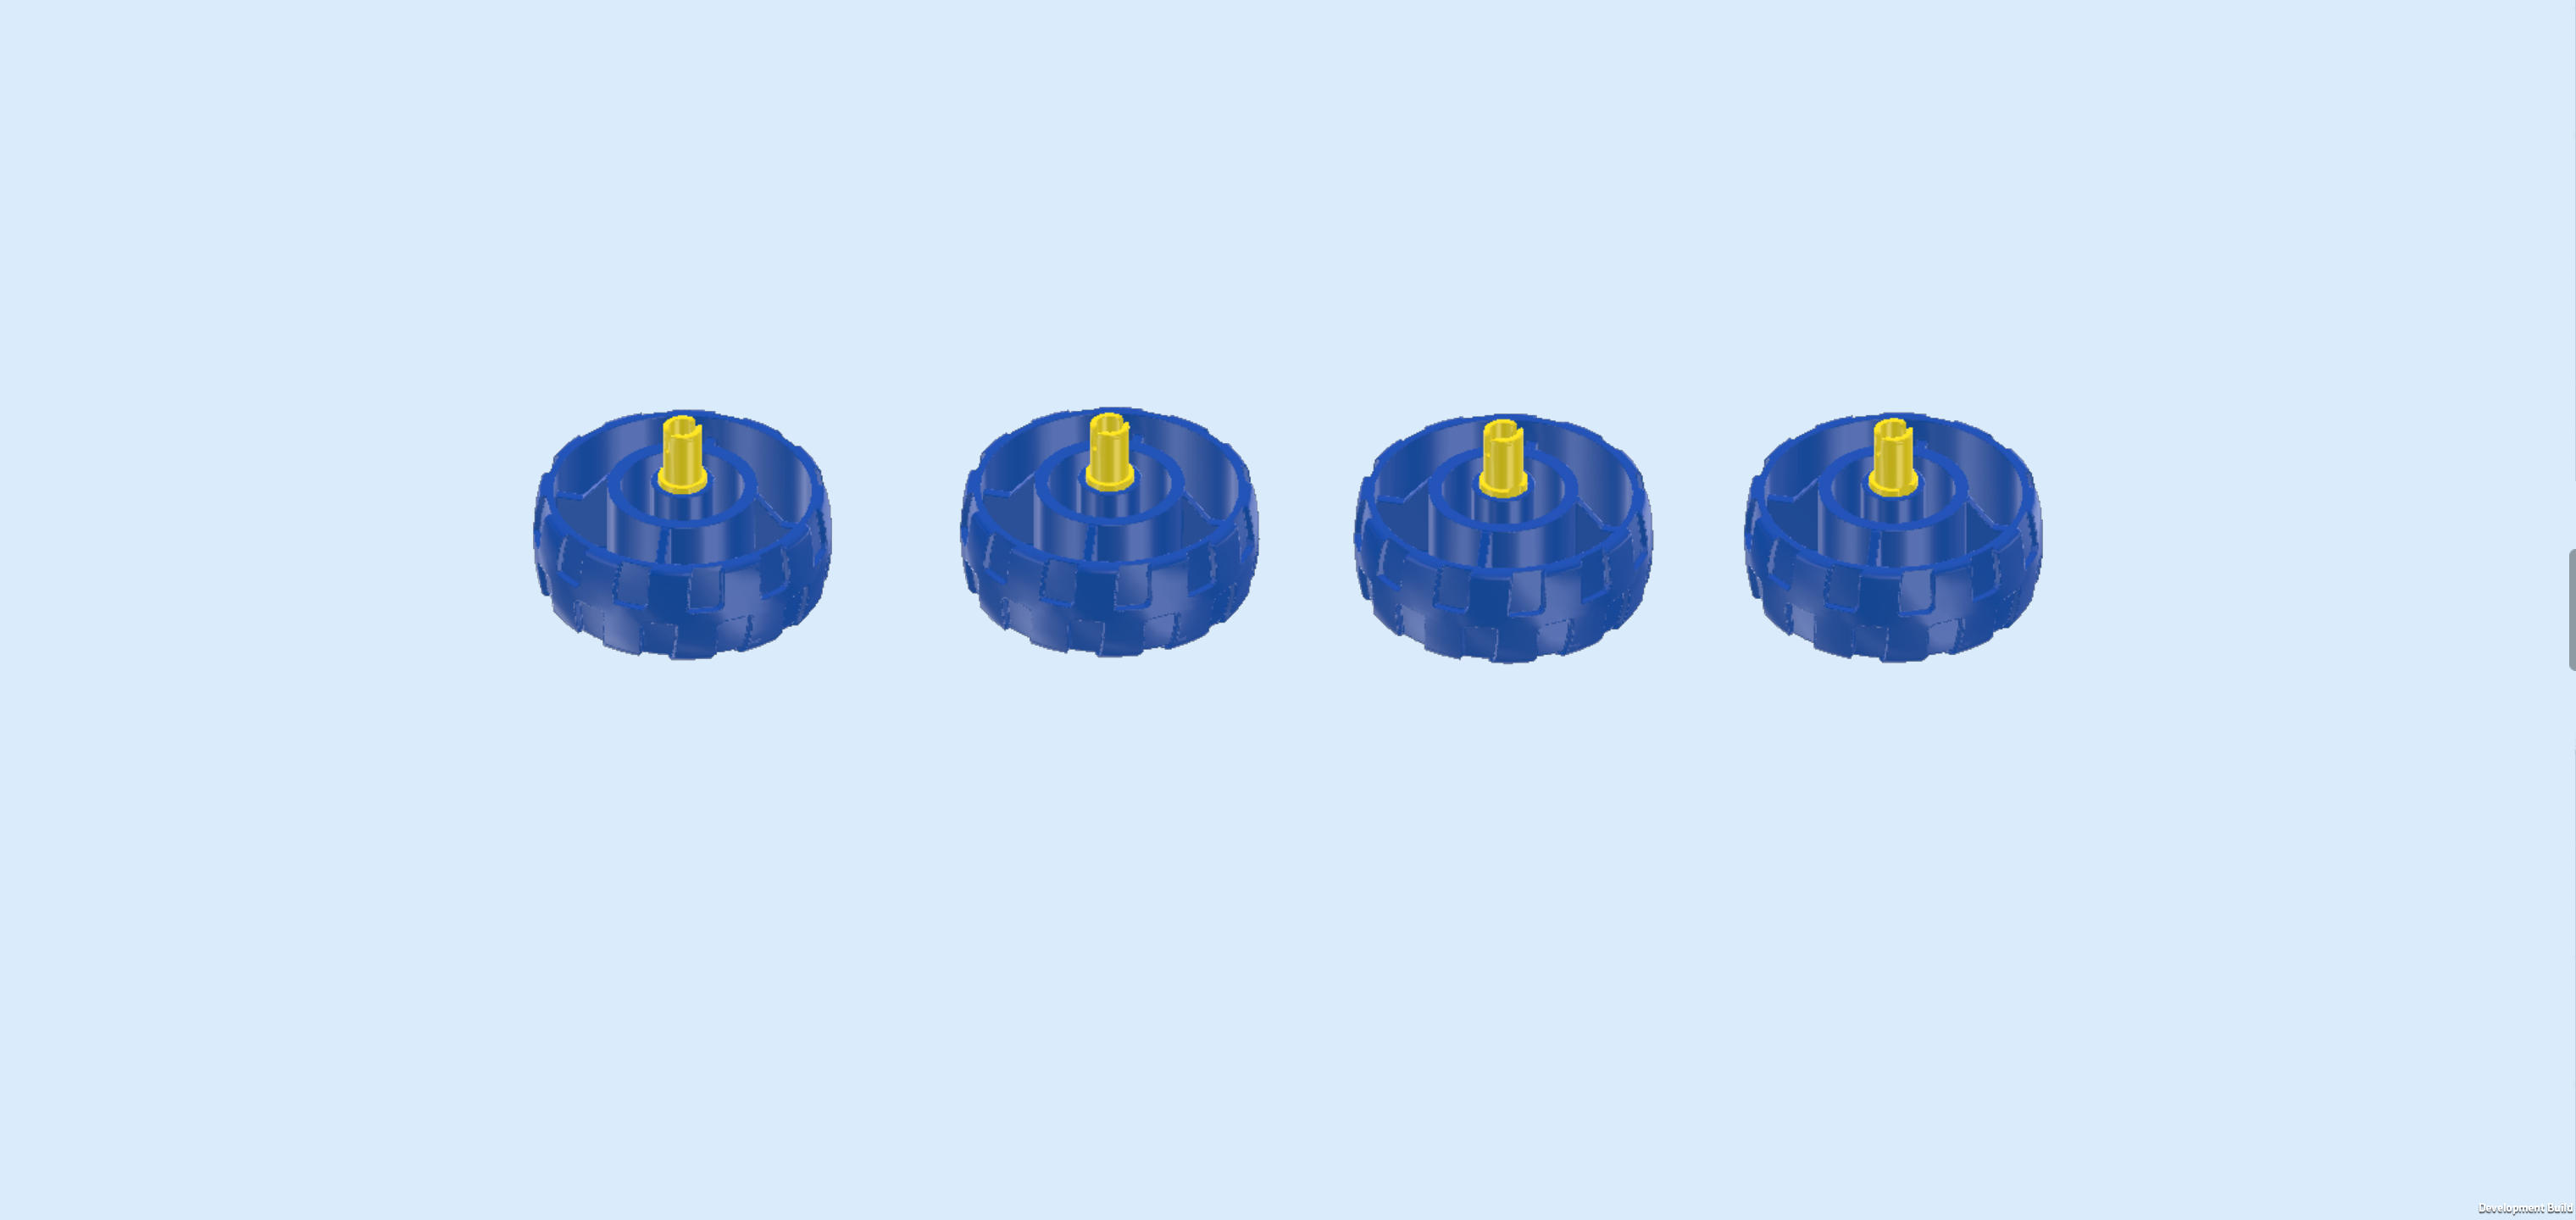
| Next, we will build 4 wheels. |
| Collect the following 8 pieces: |
| 4 bright yellow connector pegs 2m with middle ring, |
| and 4 bright blue hard plastic wheels with 4 knobs. |
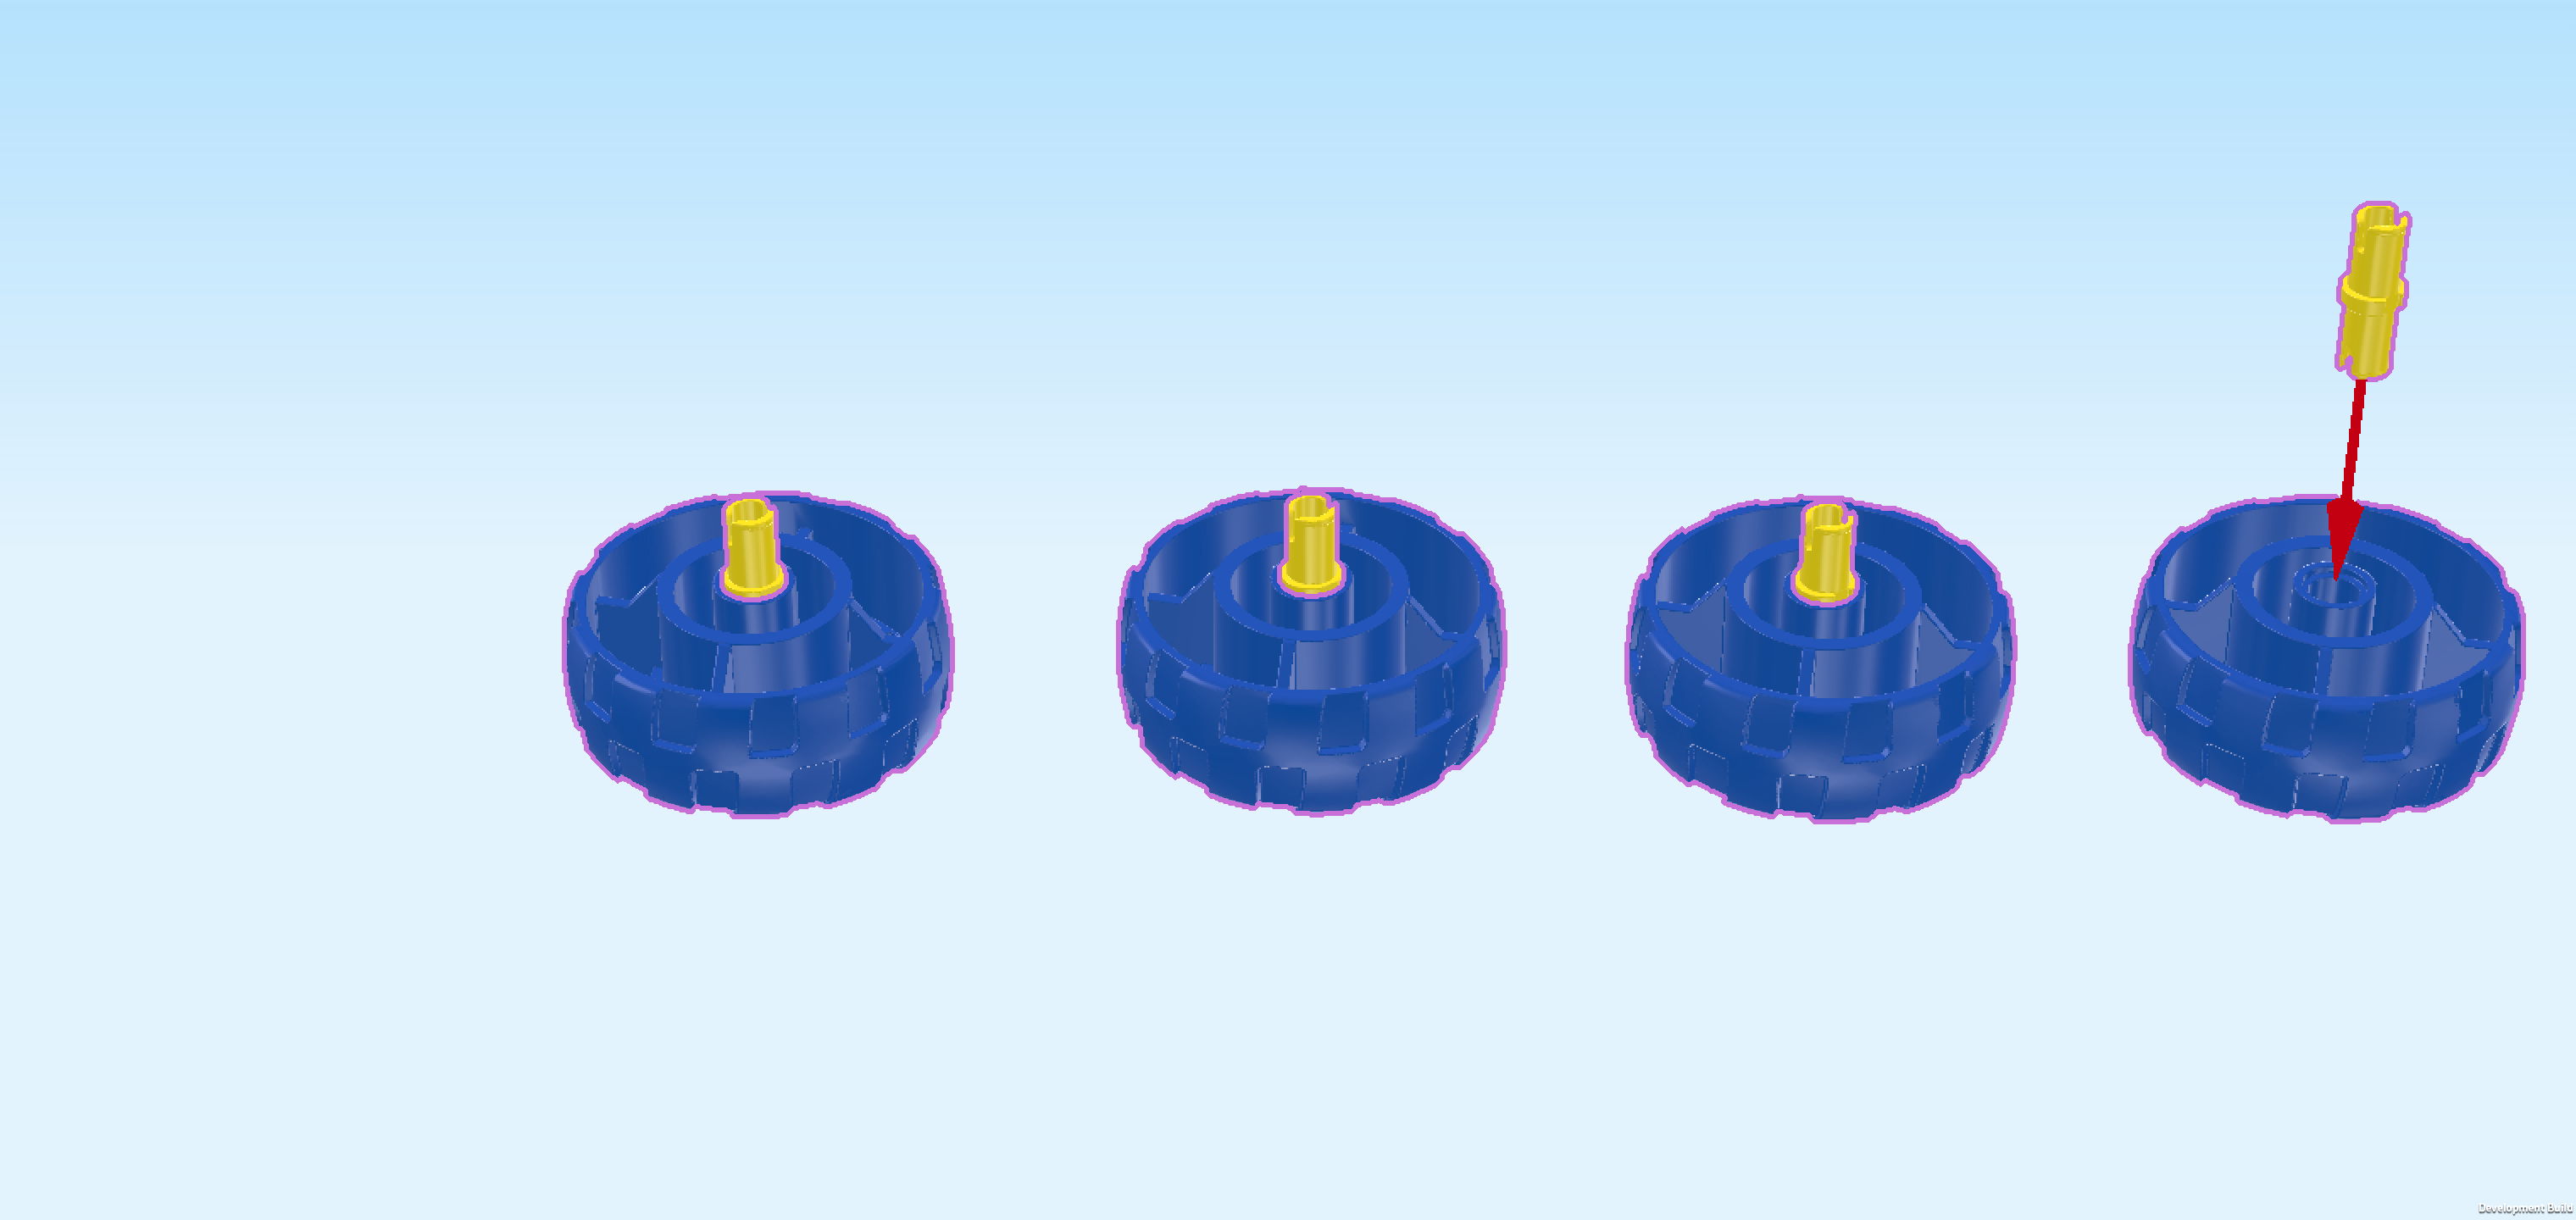
| Put the 4 wheels flat on the table so that their hollow sides are facing upwards. |
| Insert 1 connector peg into the middle hole of each wheel, 1/2 protruding to the top. |
| The 4 wheels are finished! Mount them on the truck by inserting the connector pegs into the round holes of the suspension springs. |
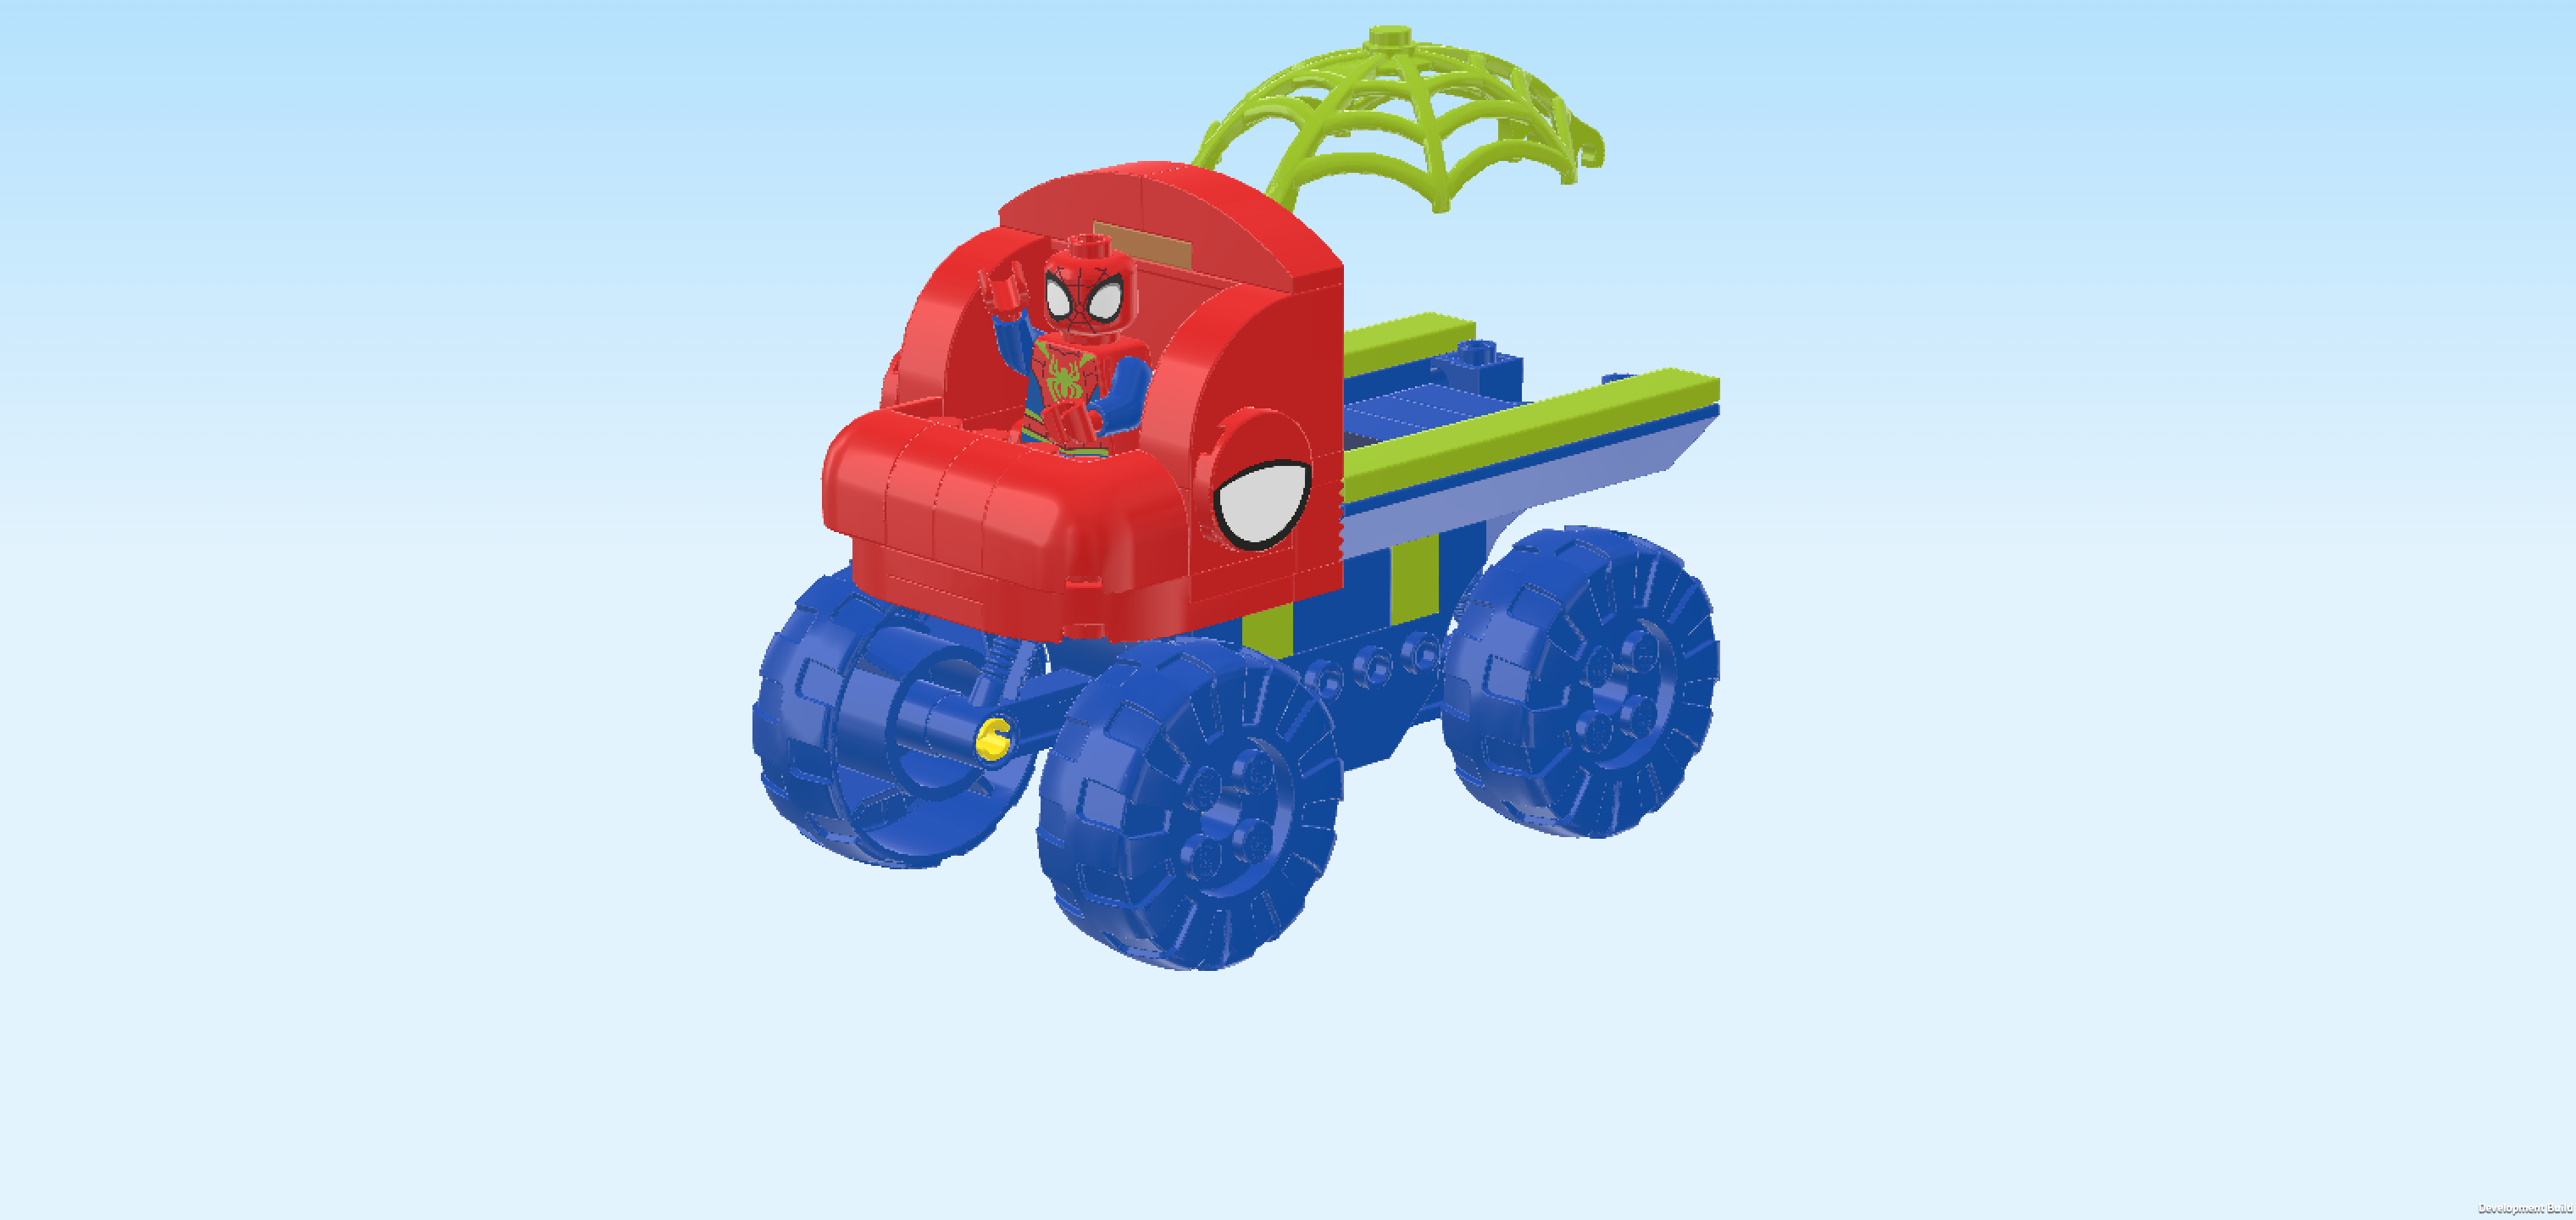
| The Crawler Truck is finished! Great job! Your sturdy vehicle is ready for jungle adventures, rescue missions and dino capture action. If you want, you can take your truck for a test drive! To put Spidey in the driver's seat, fold his legs into a seated position and put him centered into the driver's cabin. Off you go! |
| With this, we have finished building everything from bag number 1. Well done! We usually pack a few extra pieces in each bag, so if you still have some pieces left there is no need to worry that you missed something. If you like, you can take a break now and return to the instructions later by skipping to the section introducing bag number 2. If you want to continue building right away, simply move on to the next sentence. |
| Open bag number 2. You can choose to have the bricks sorted by color again if you like. This bag contains all bricks and pieces for Dino-Rhino and the rock cave with falling boulder mechanism. |
| Next, we will assemble the Dino-Rhino. |
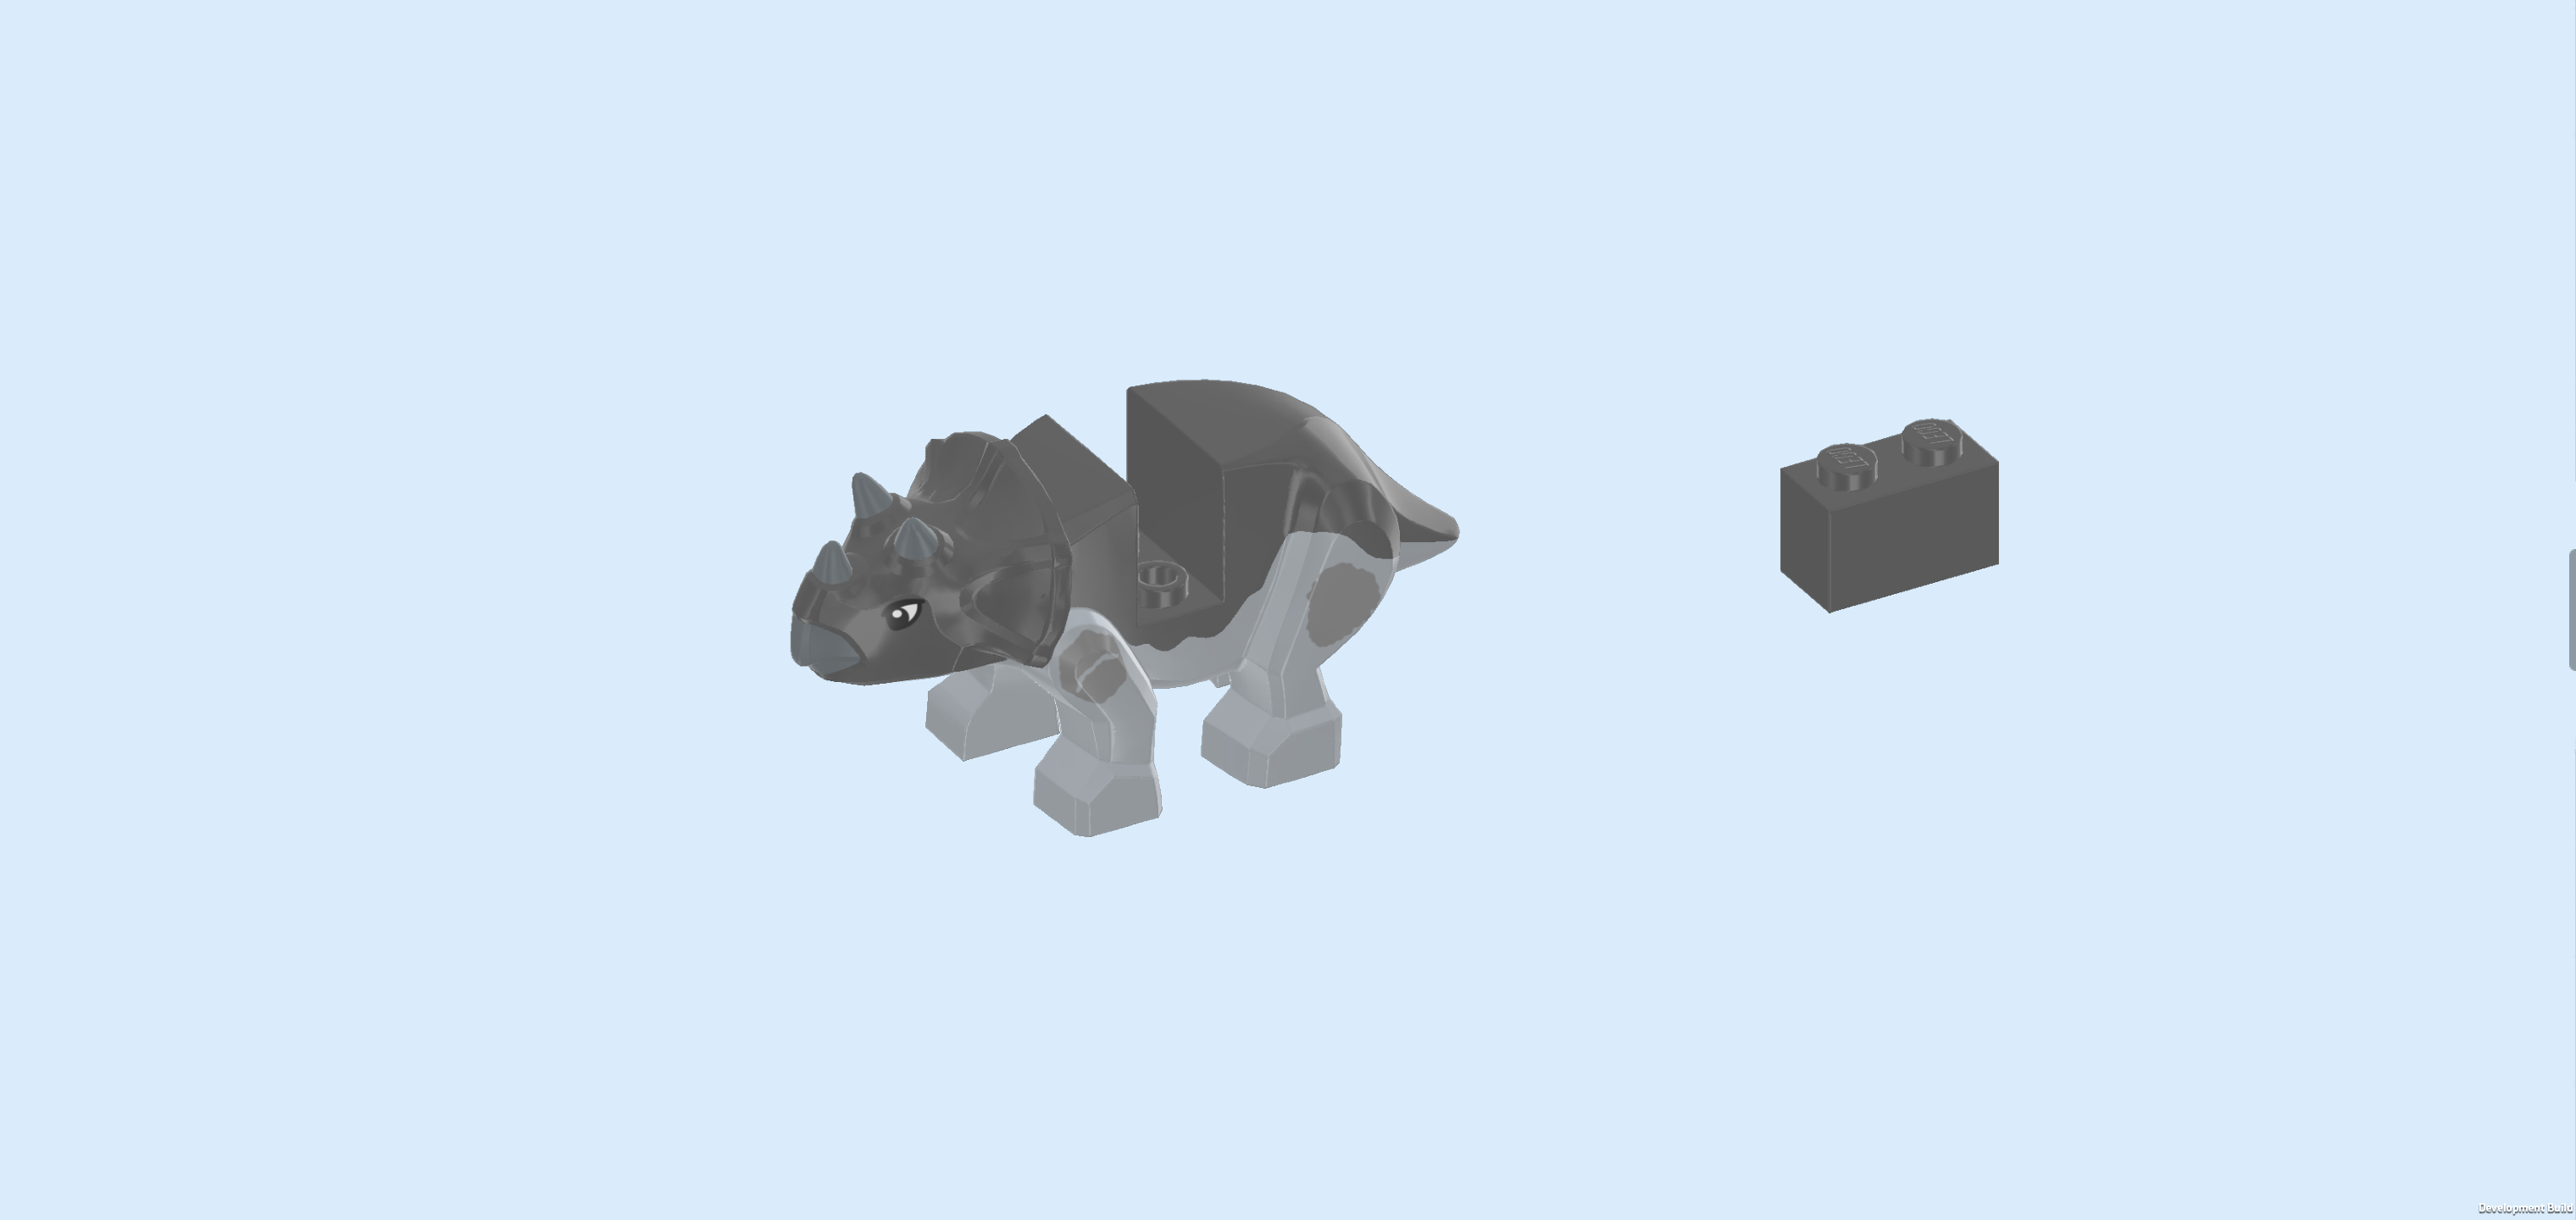
| Collect the following 2 pieces: |
| 1 dark stone grey, silver metallic and medium stone grey rhinoceros figure, |
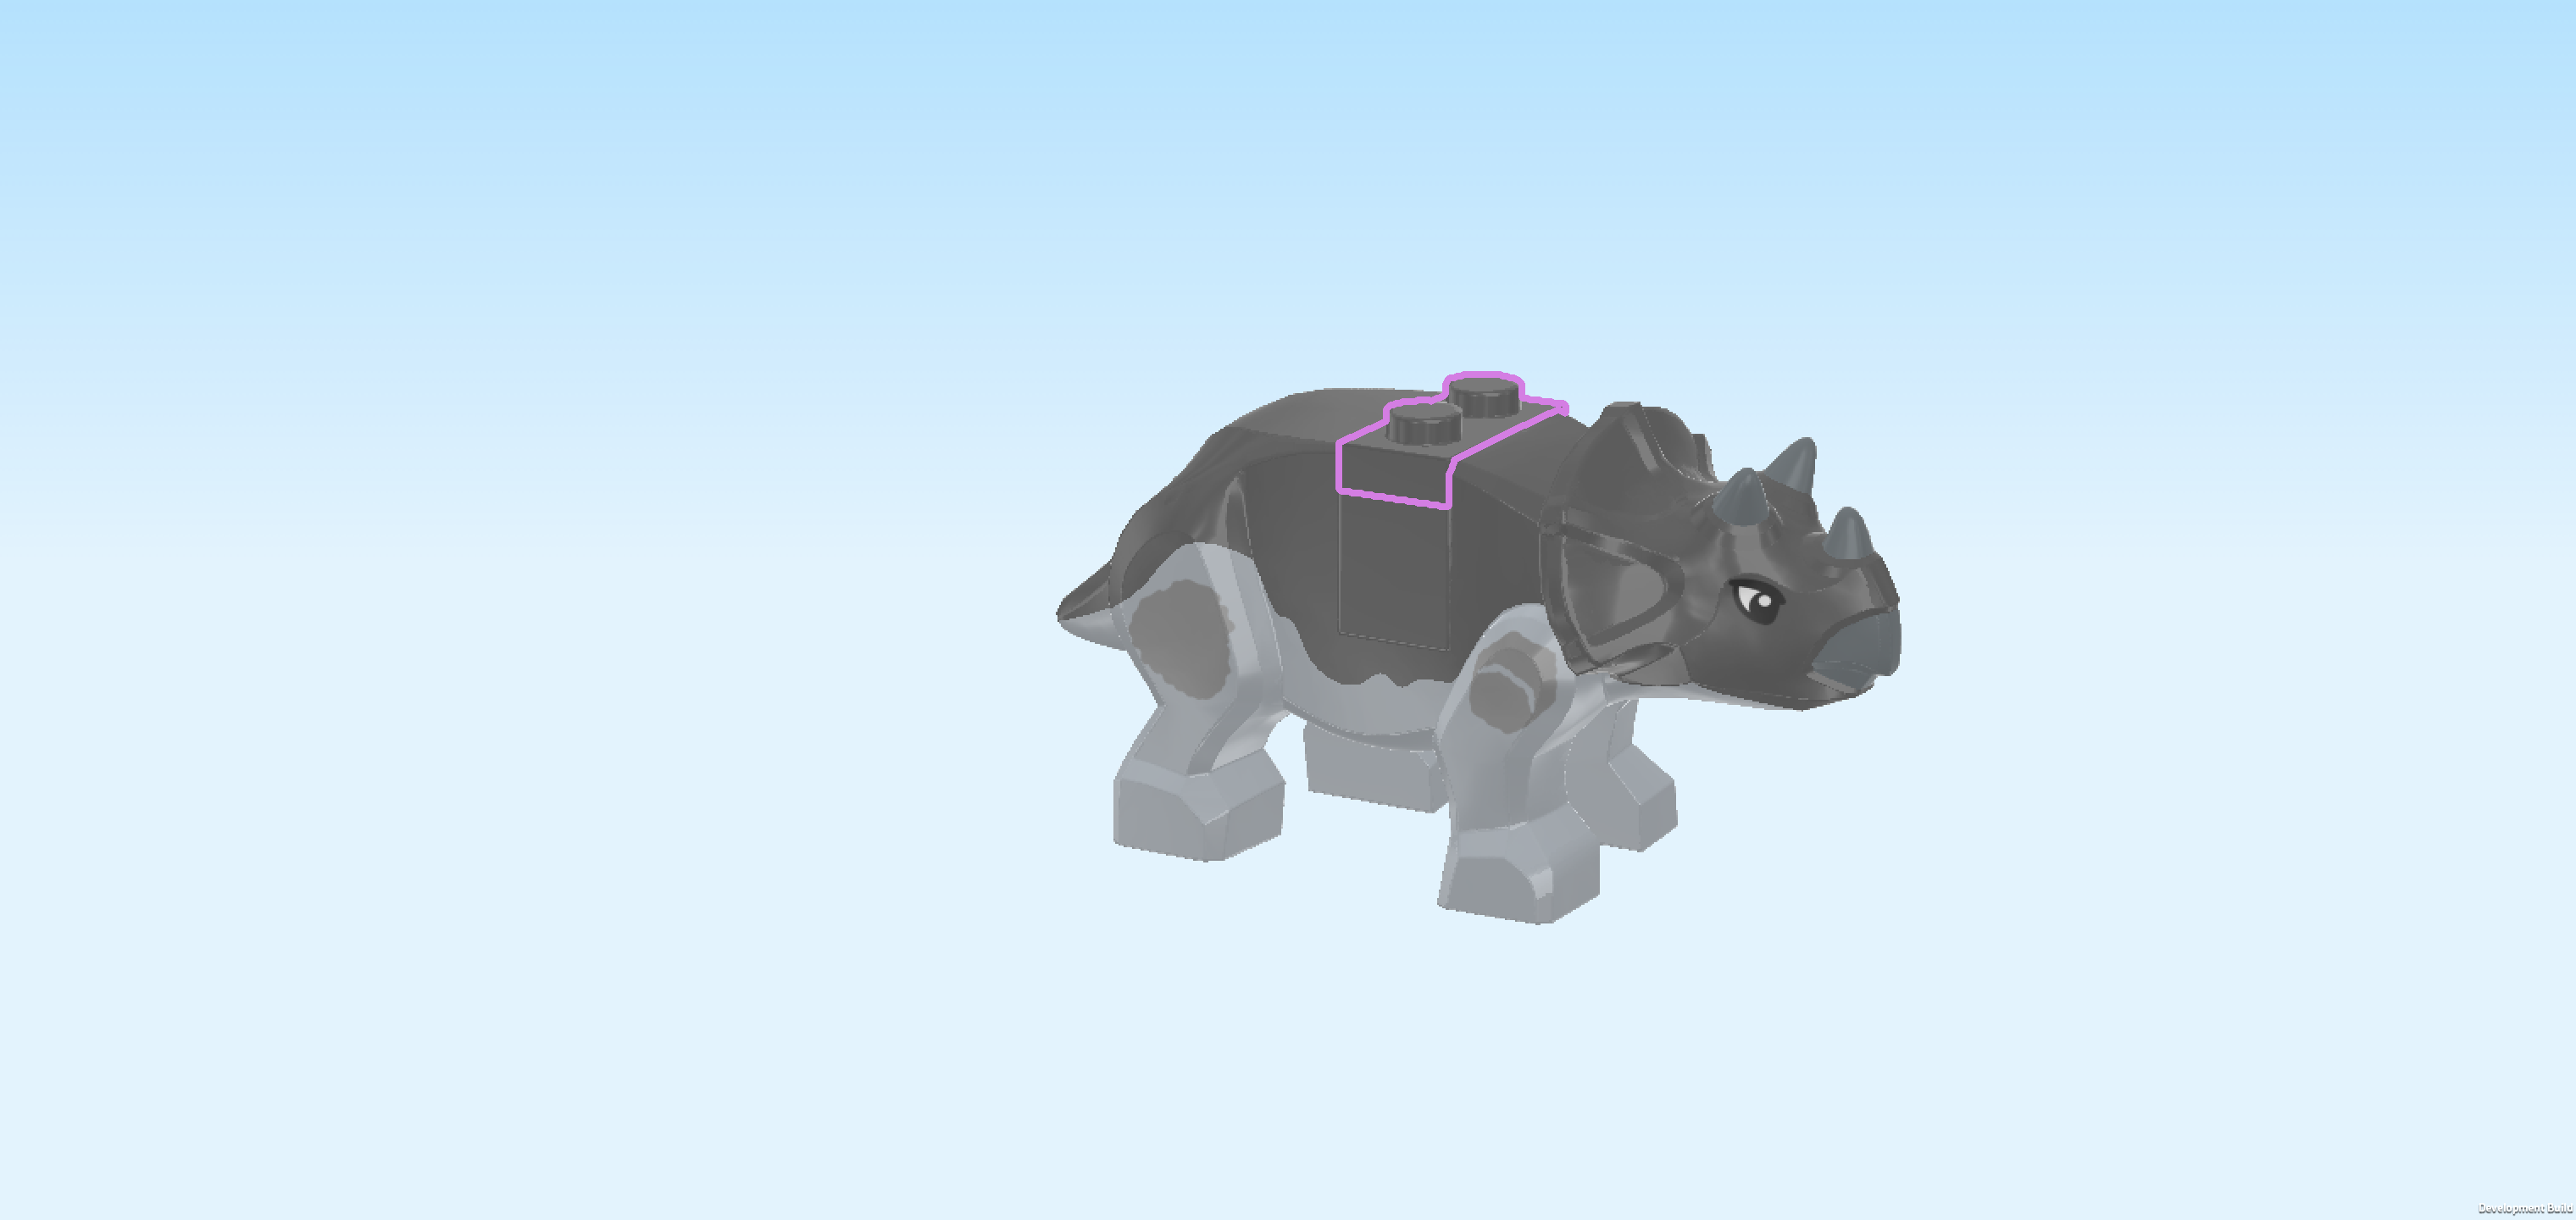
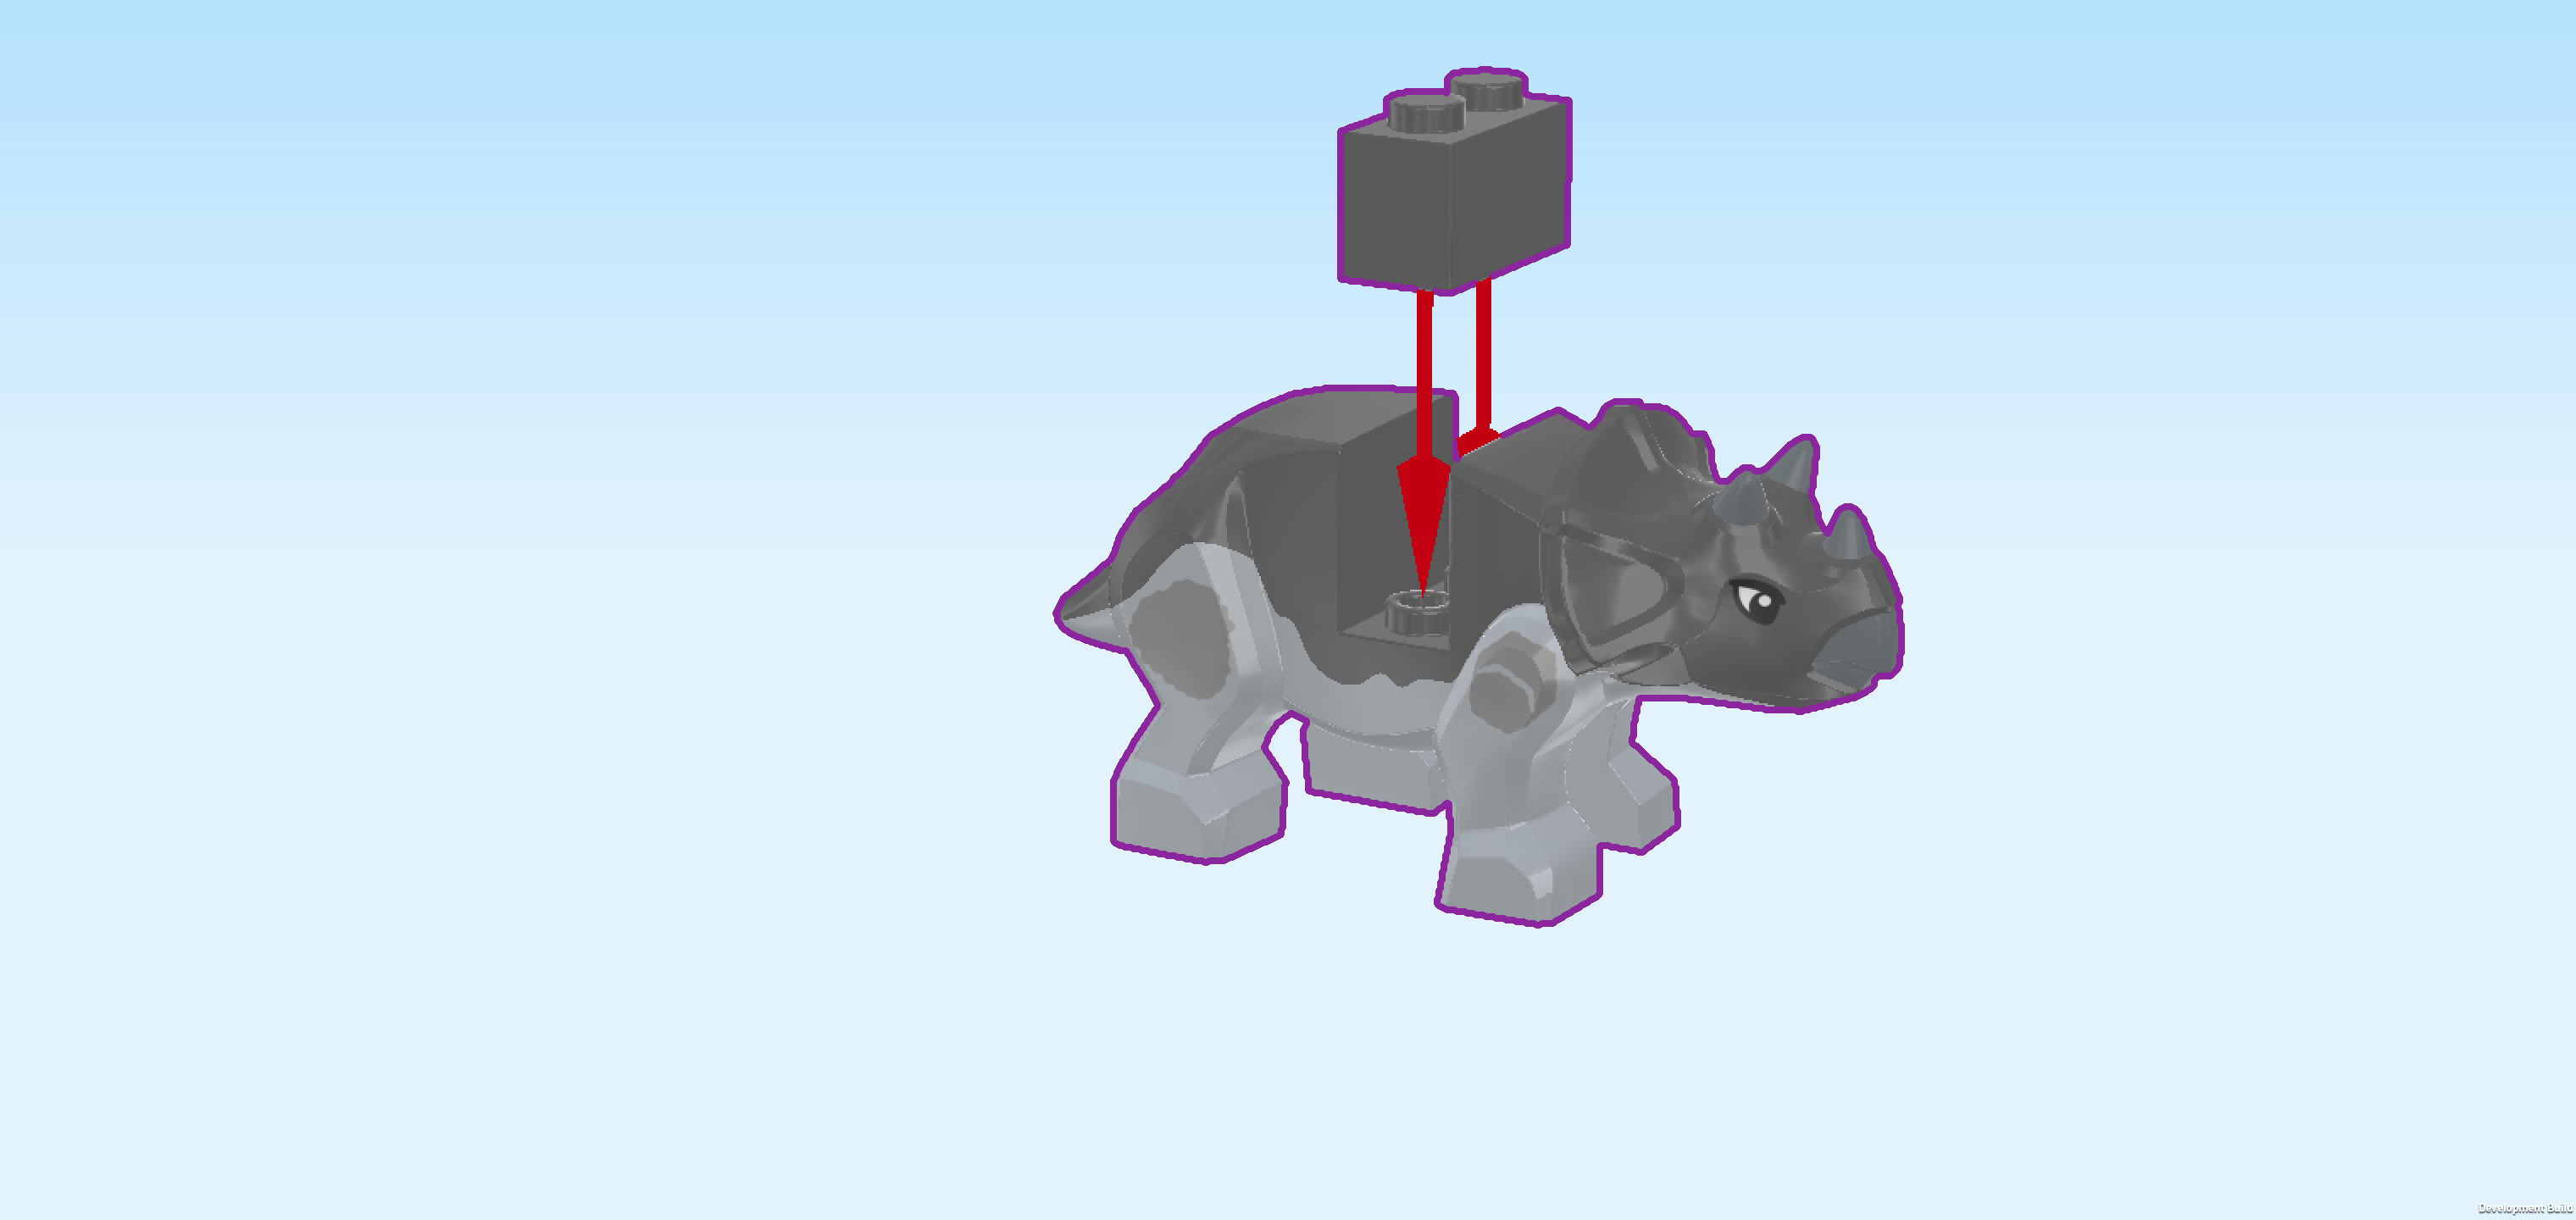
| and 1 dark stone grey brick 1x2. |
| Put the brick 1x2 into the recess on Dino-Rhino's back. |
| Find 1 dark stone grey plate 1x2. |
| Put it on top of the previous piece, matching its shape. |
| The Dino-Rhino is finished! Well done! It has 2 eyes printed on the side of its head. The Dino-Rhino is a grim-looking creature. It has a light grey underbelly and legs, its top half is dark grey, and there are metallic silver spots on its legs. It is a magnificent creature, but you better watch out! This one looks like it's up to no good. |
| Next up, we will build the Rock Cave with Falling Boulder Mechanism. |
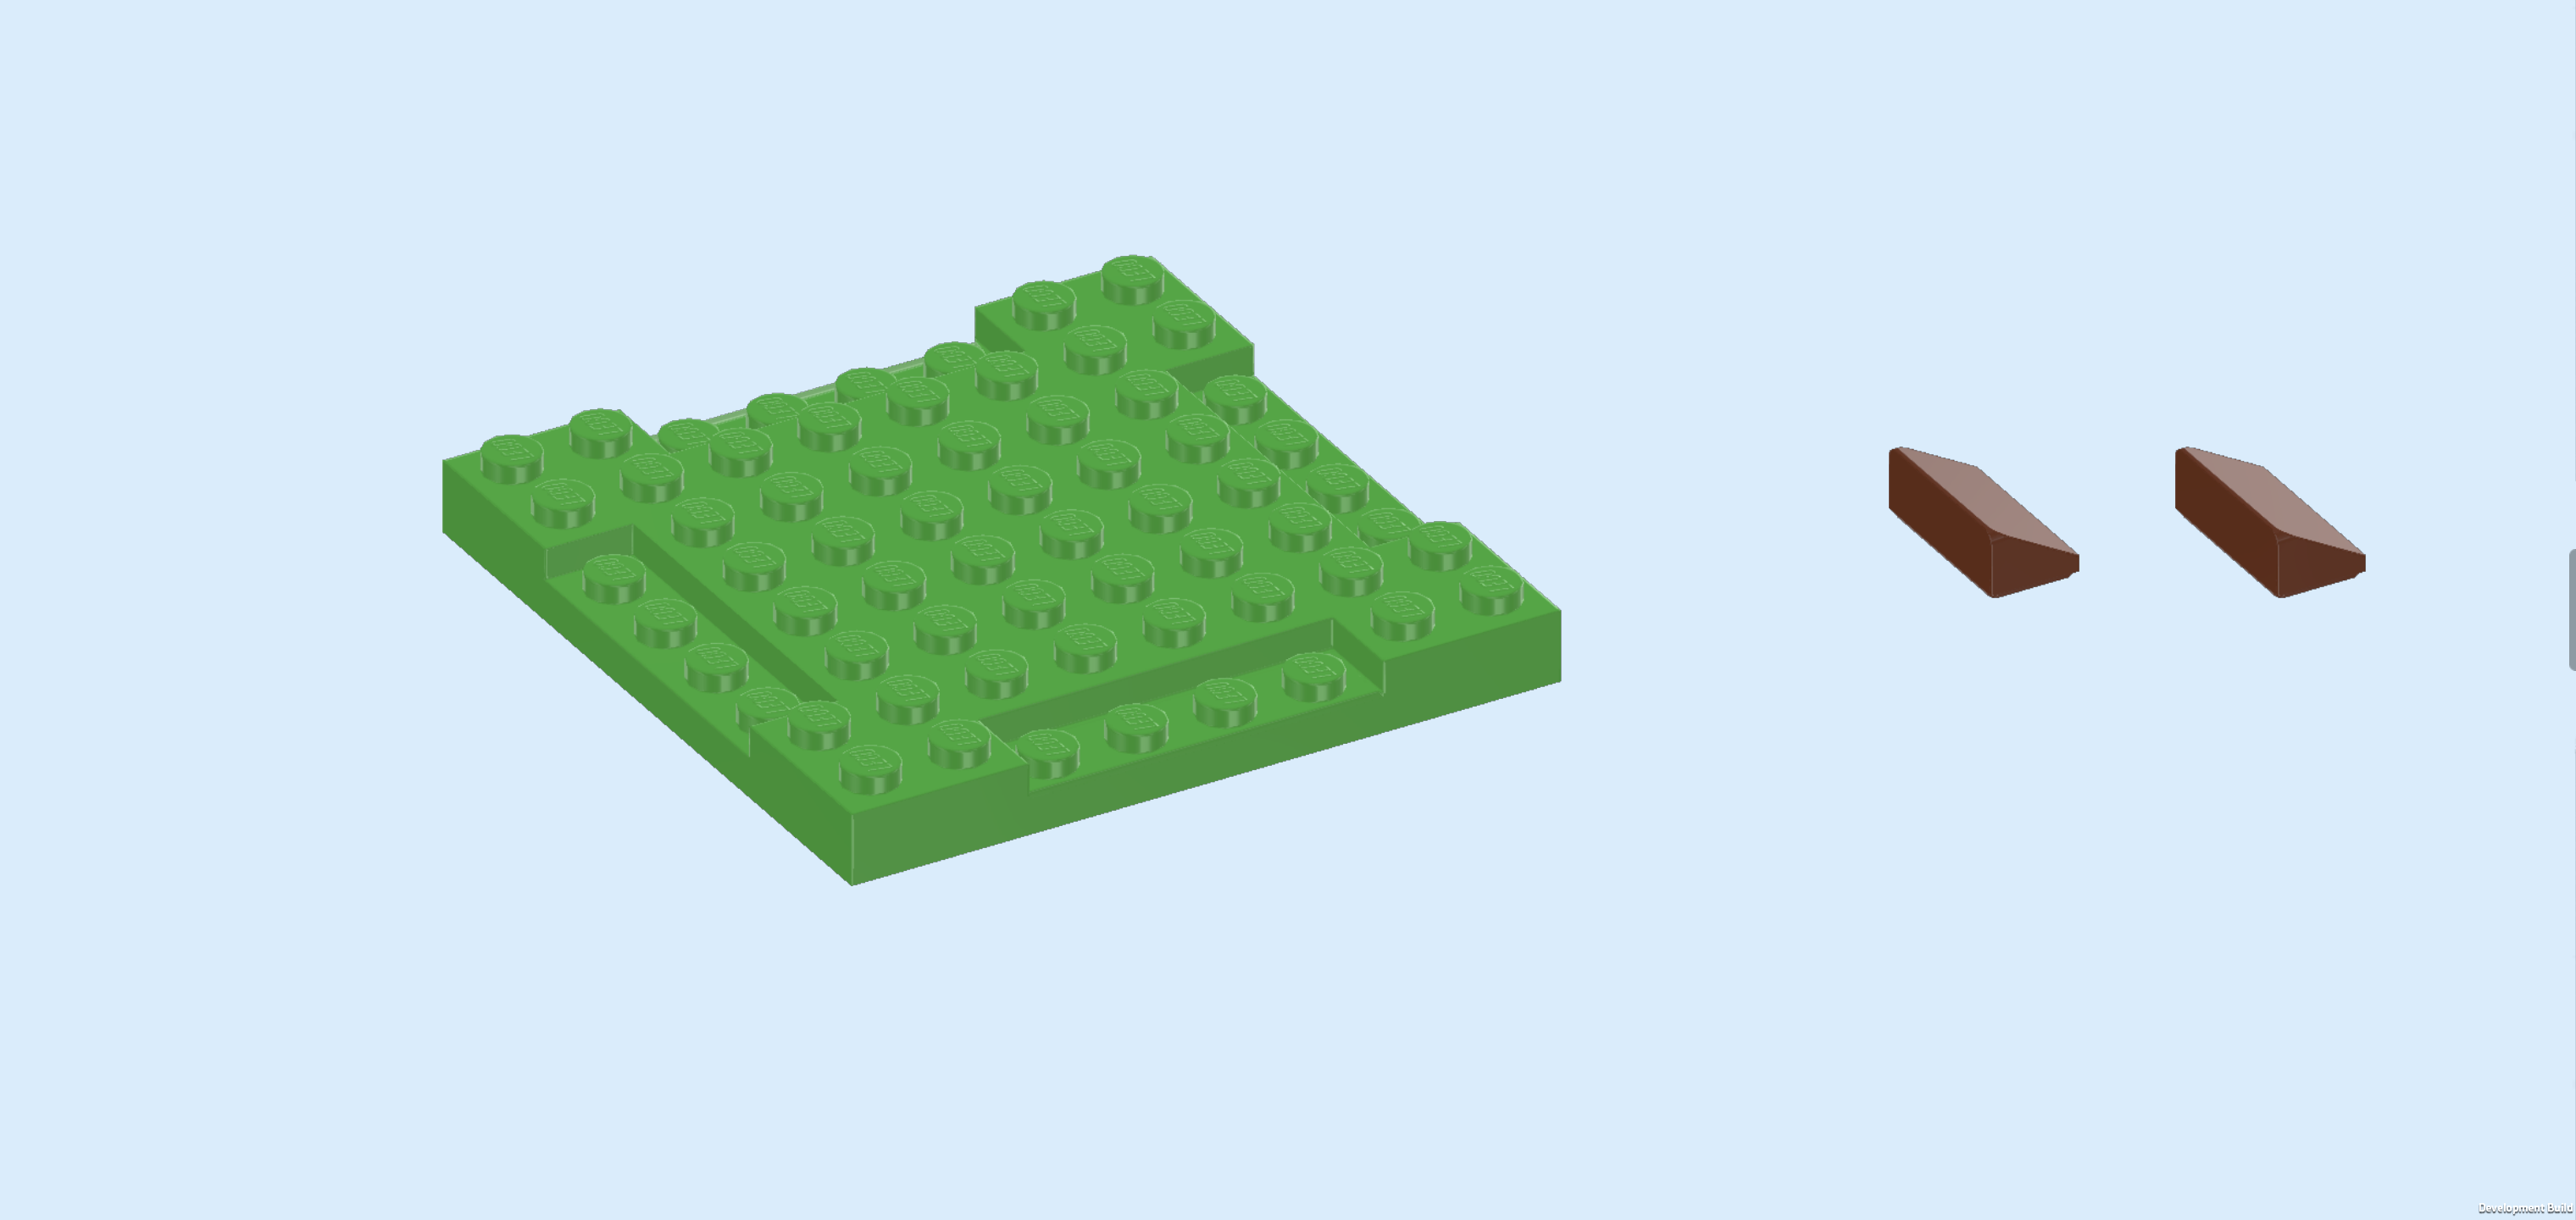
| Collect the following 3 pieces: |
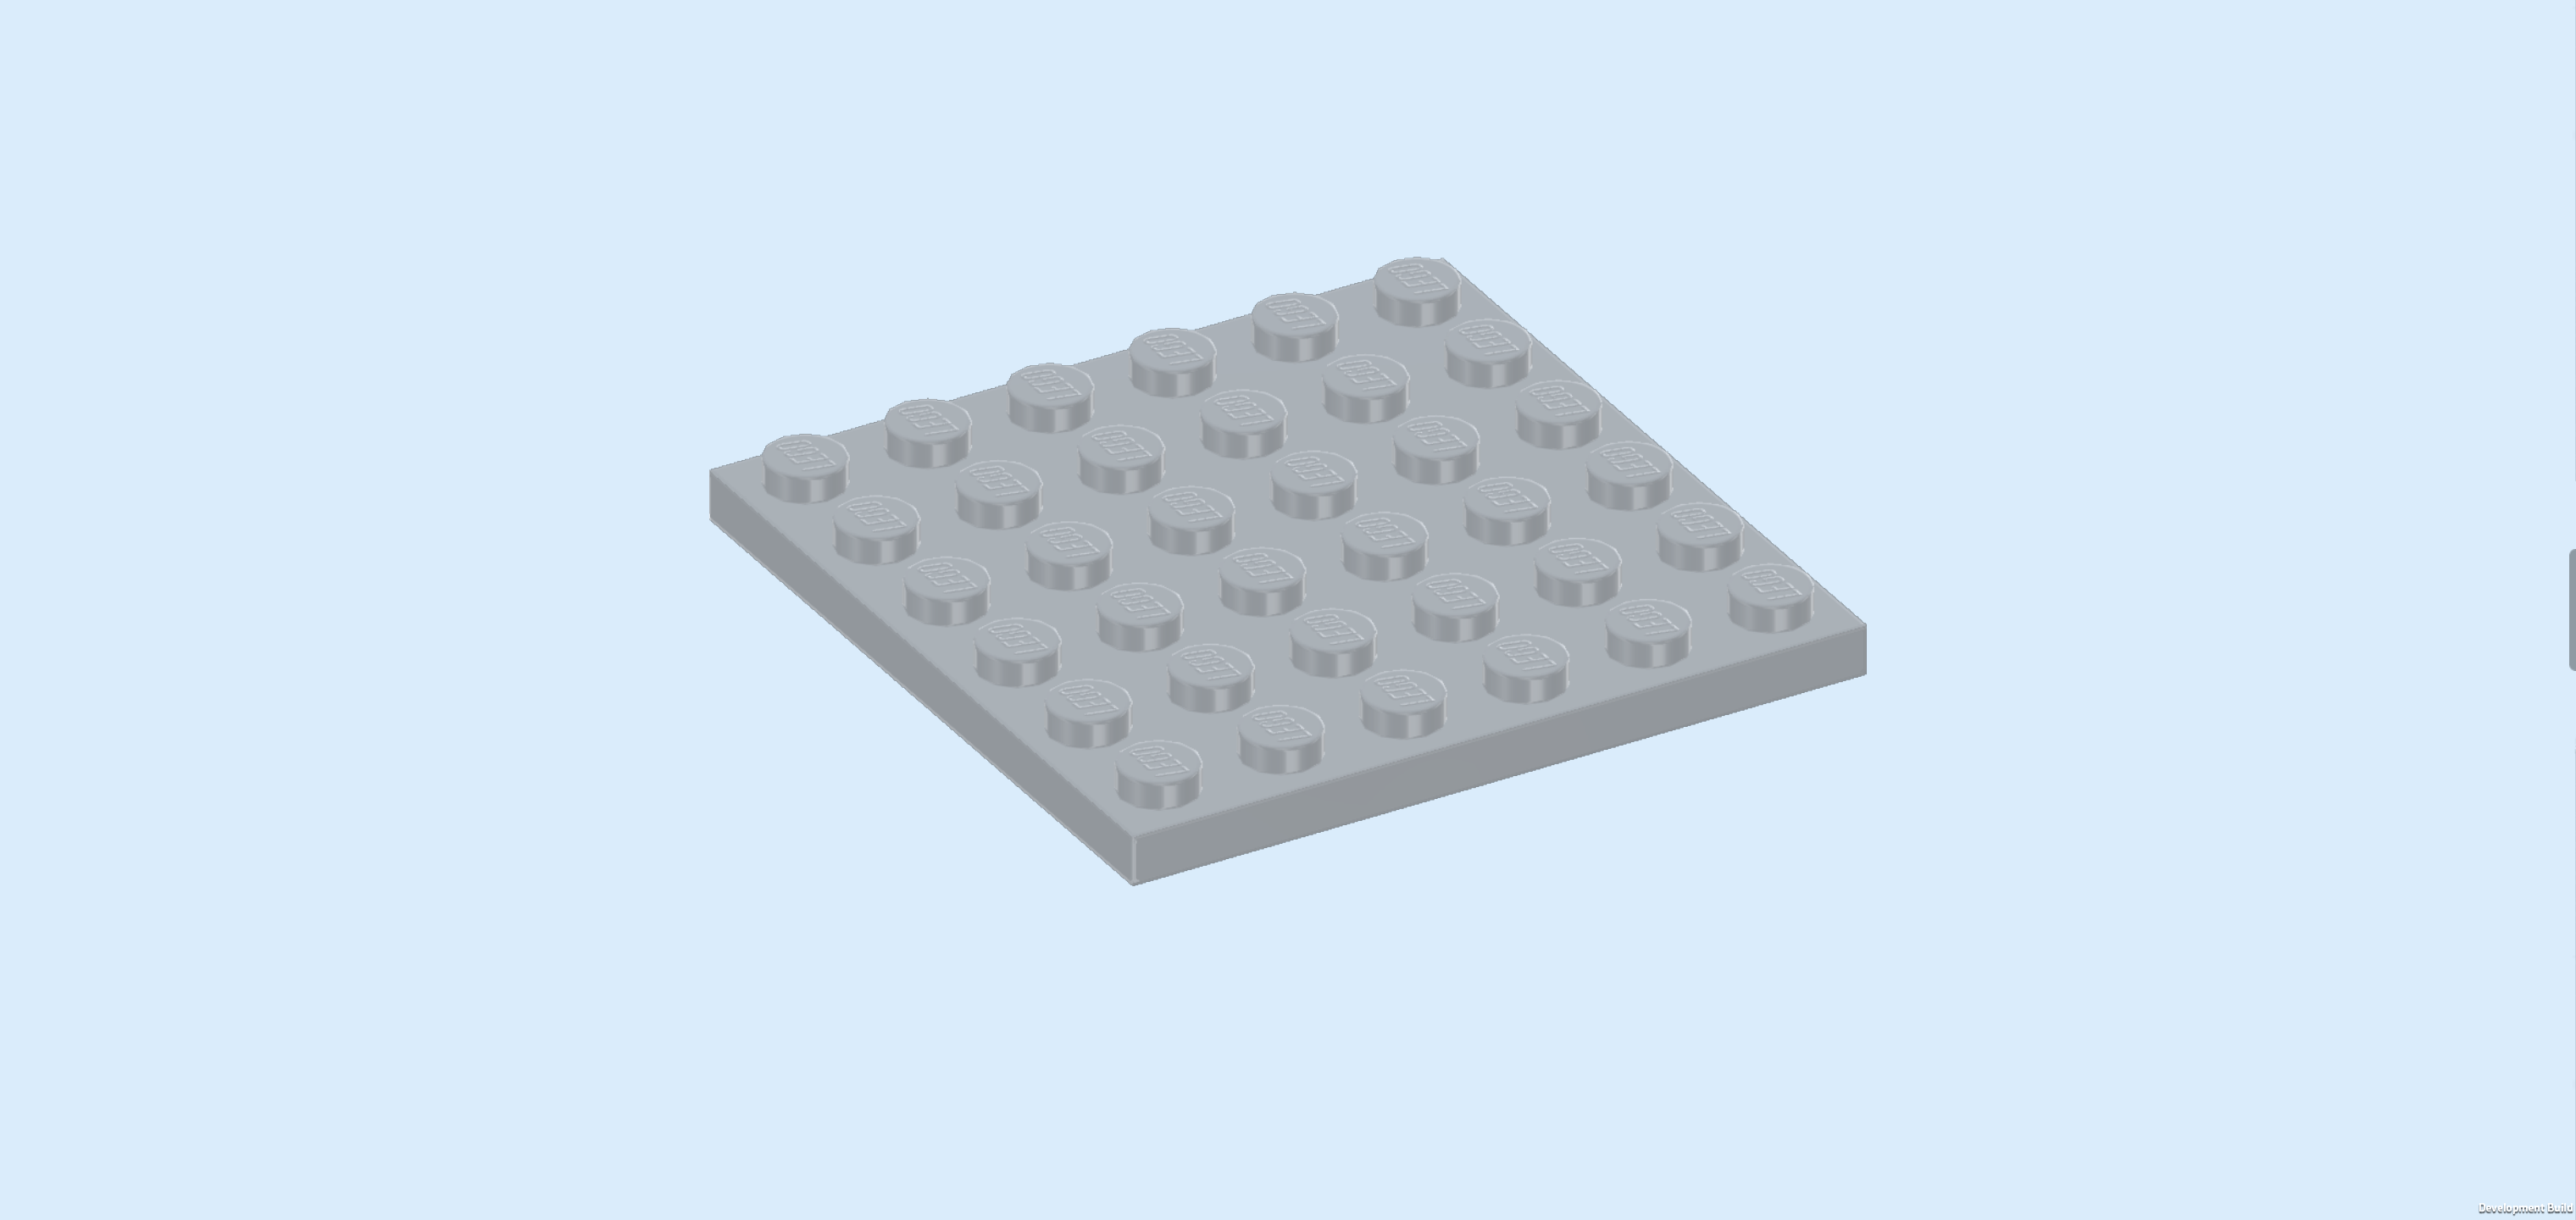
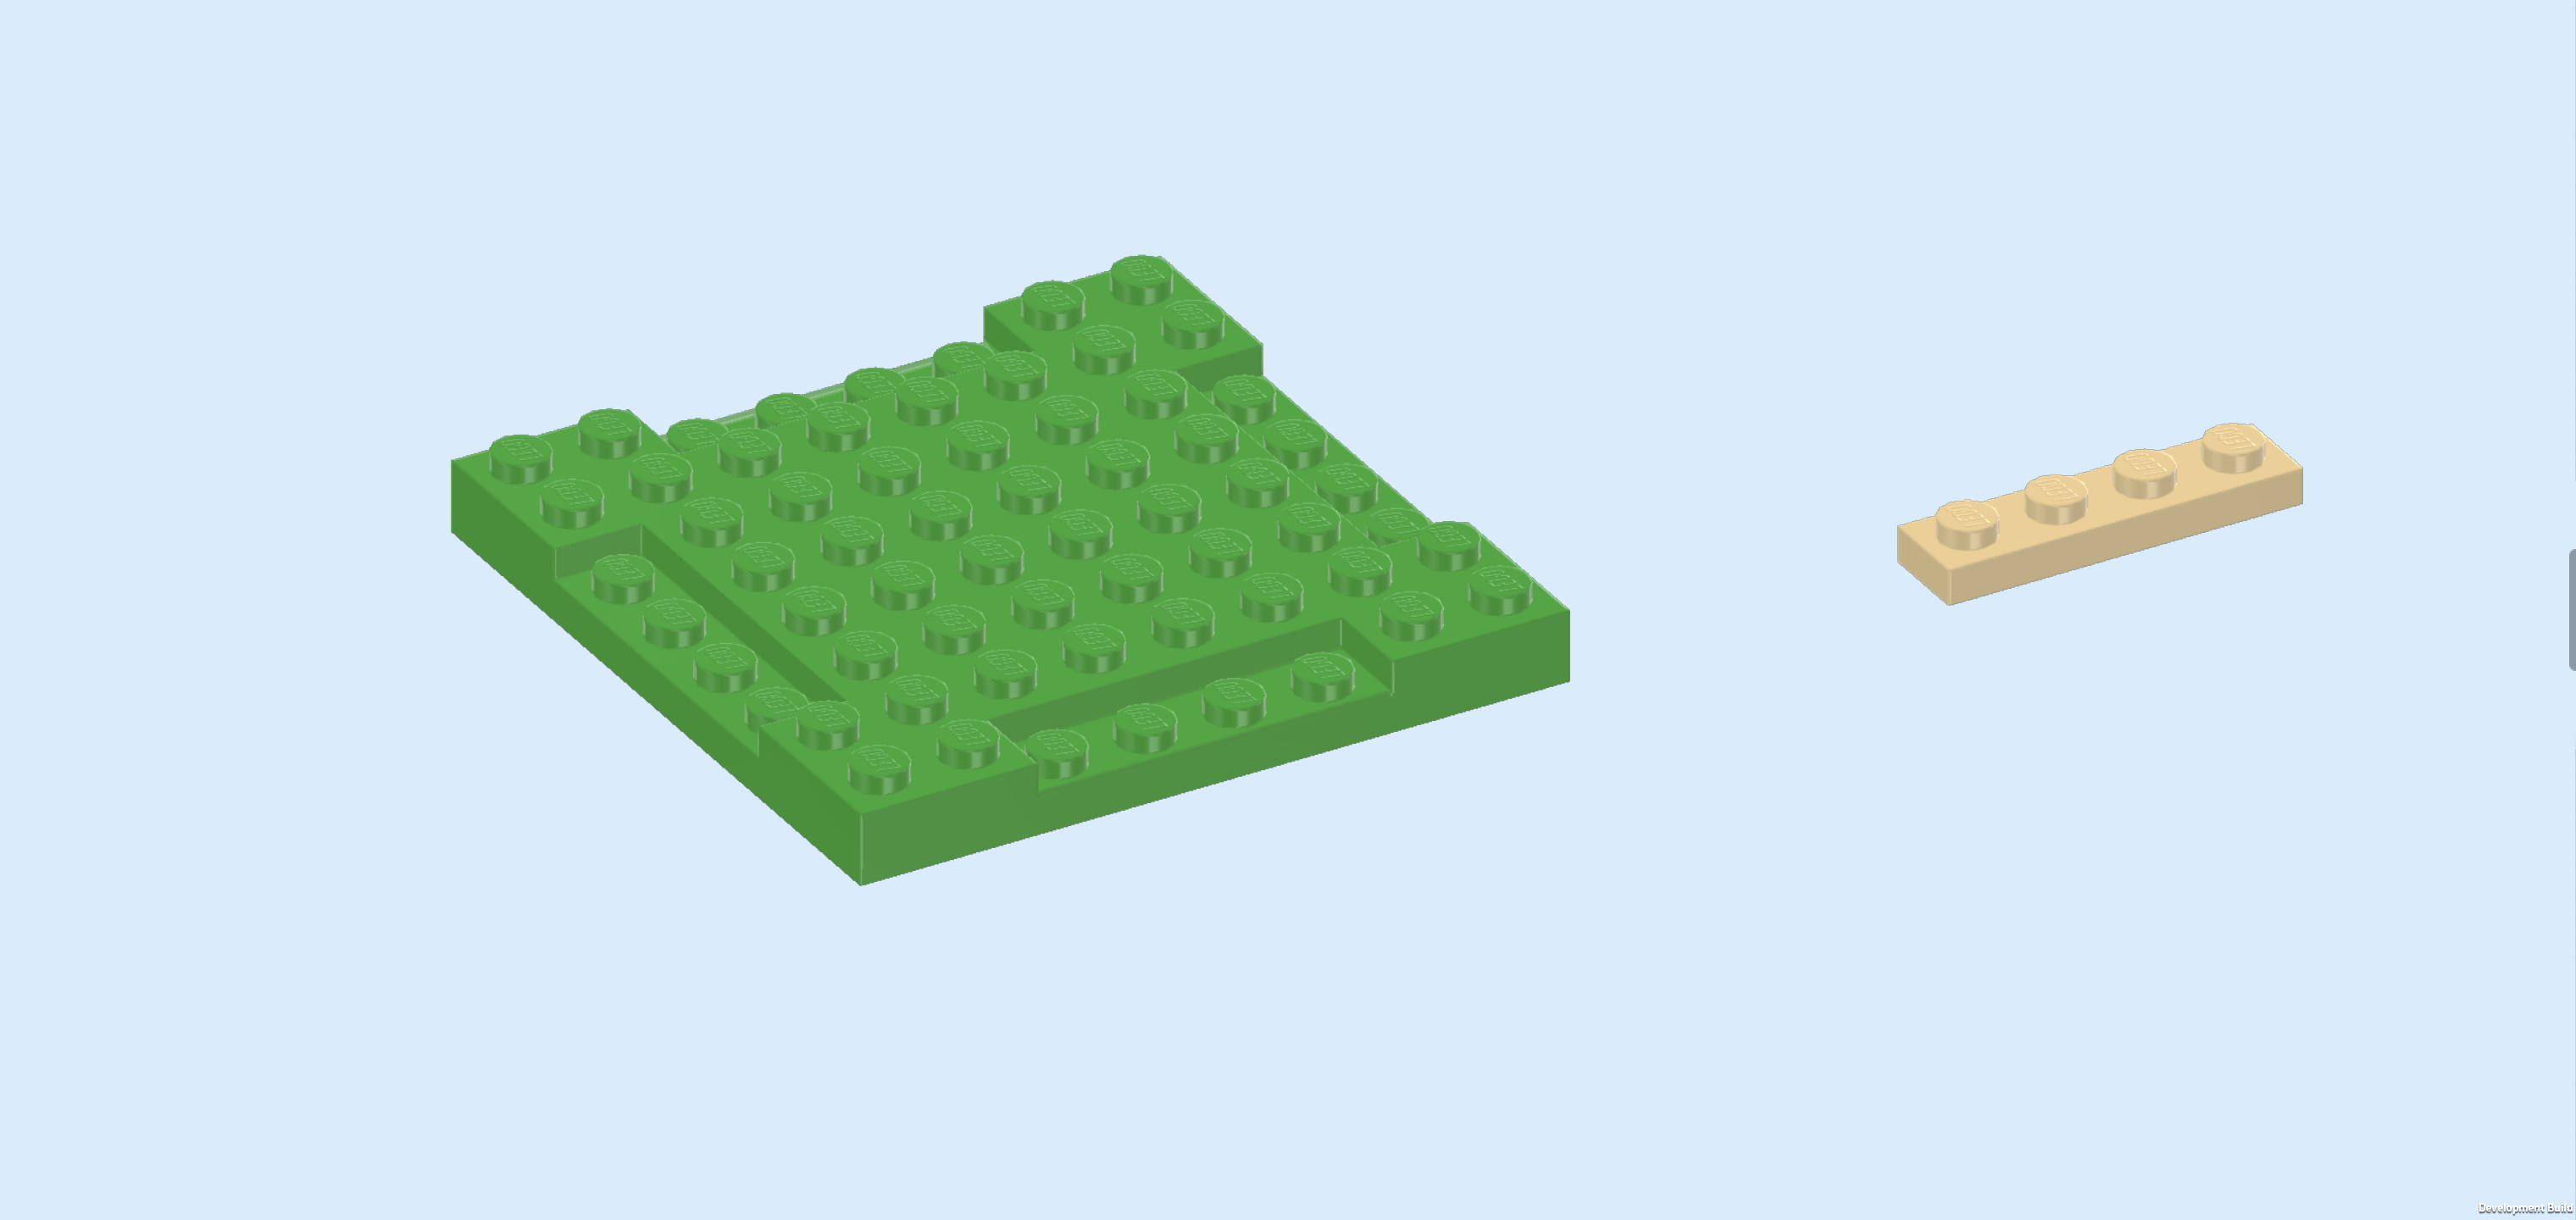
| 1 bright green stepped plate 8x8 with 4 recesses, |
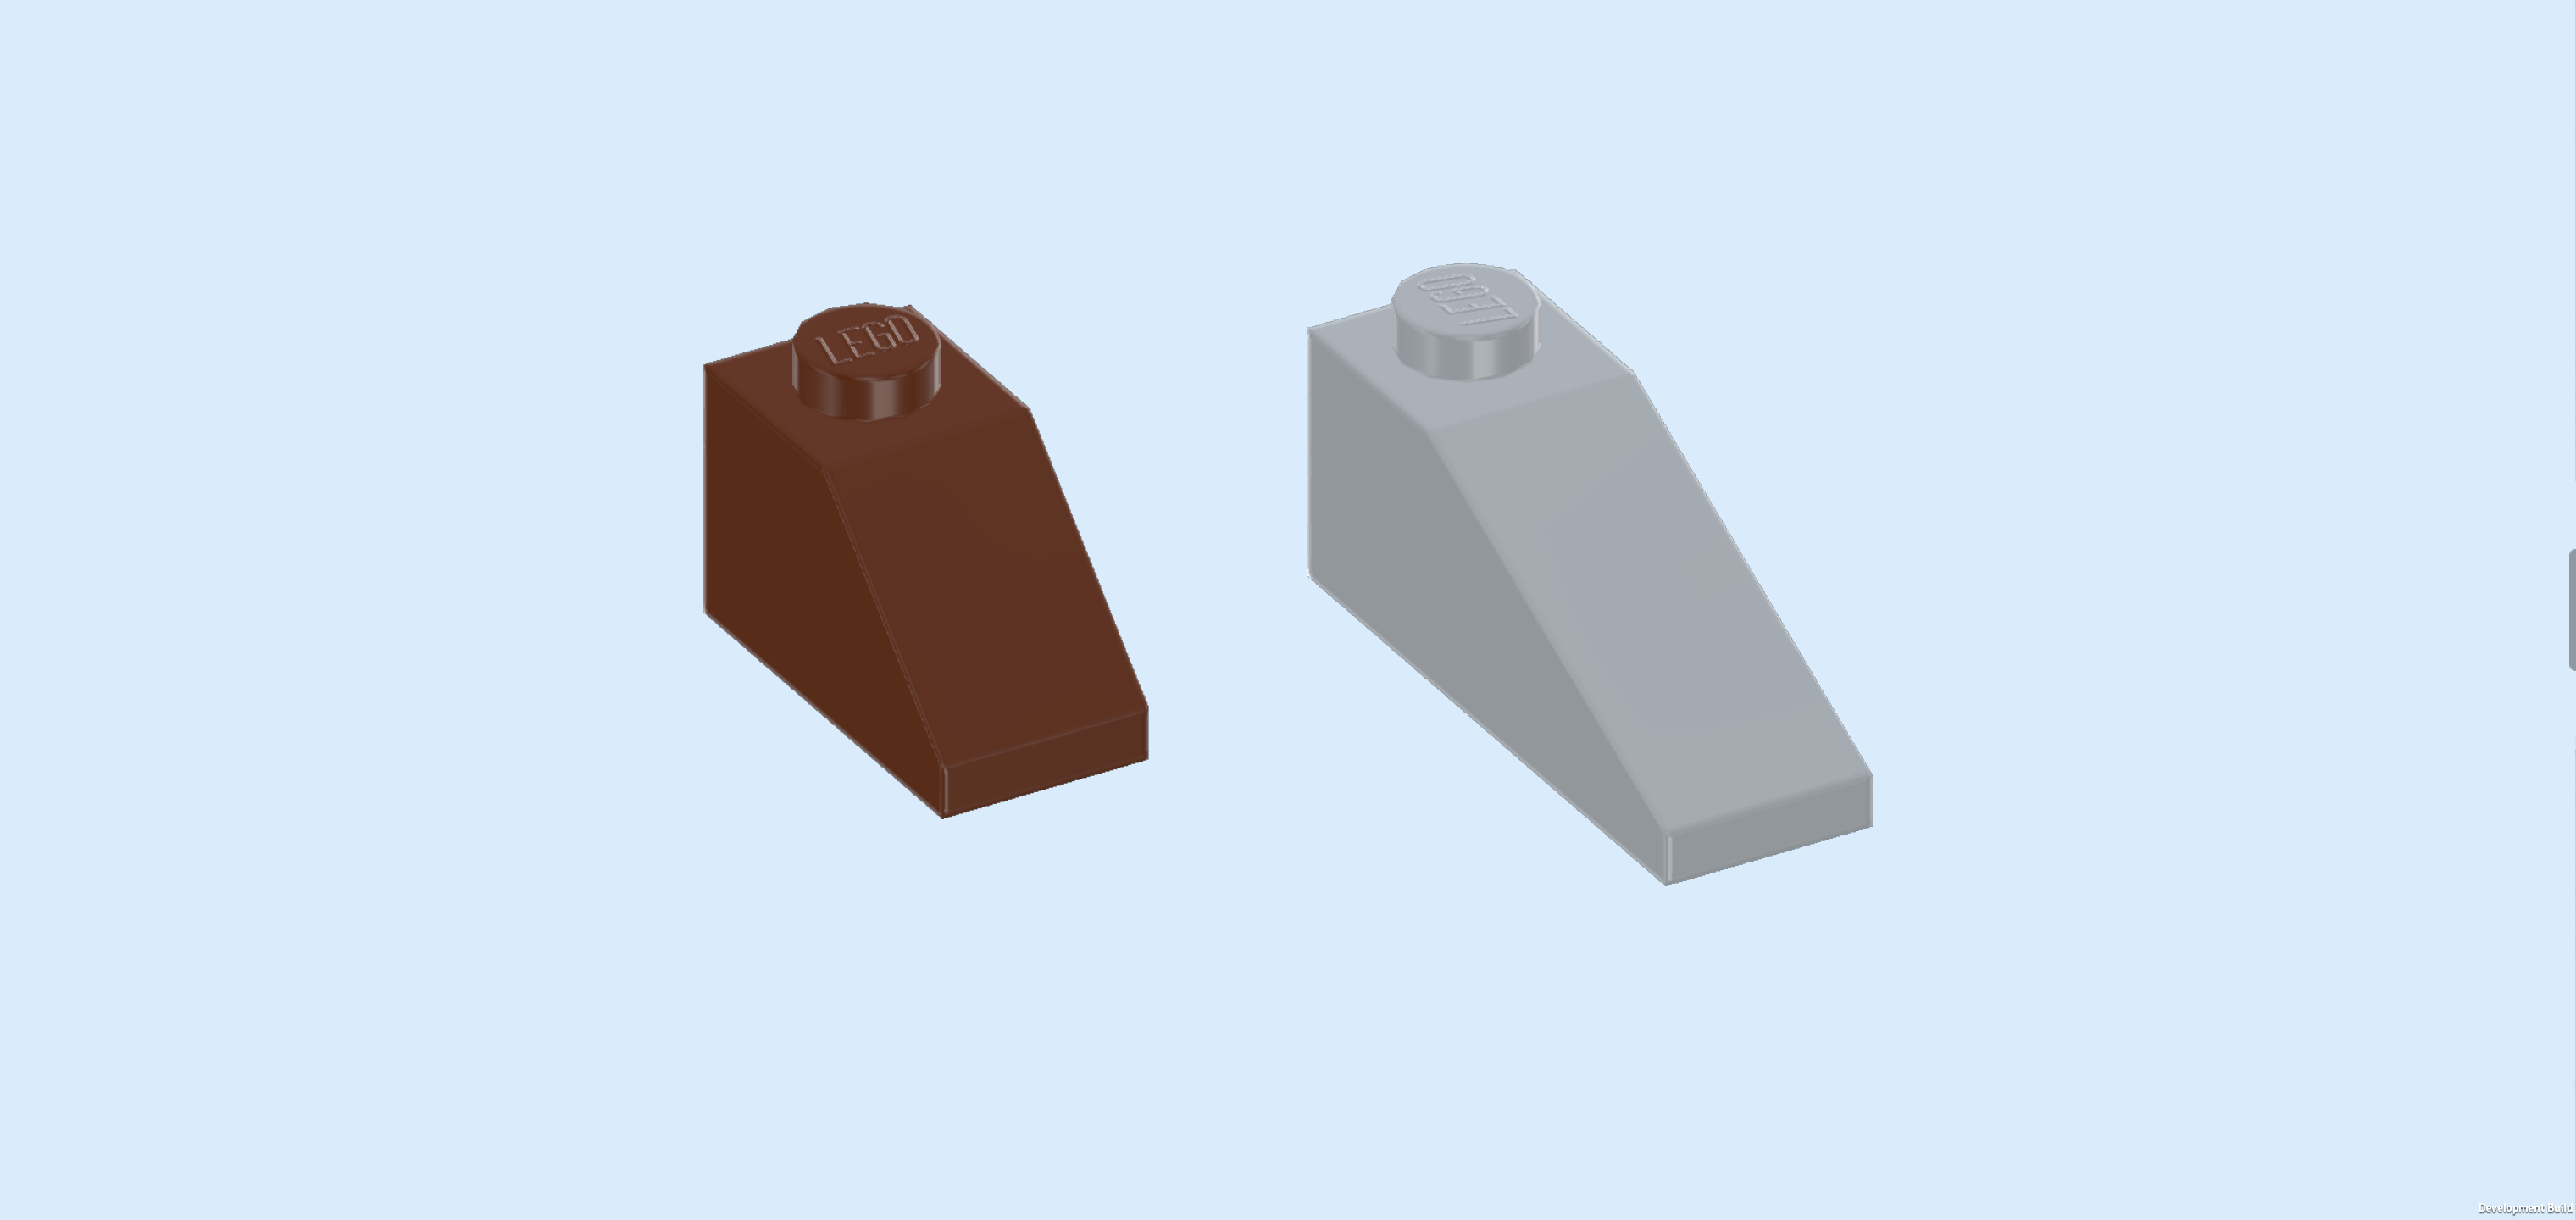
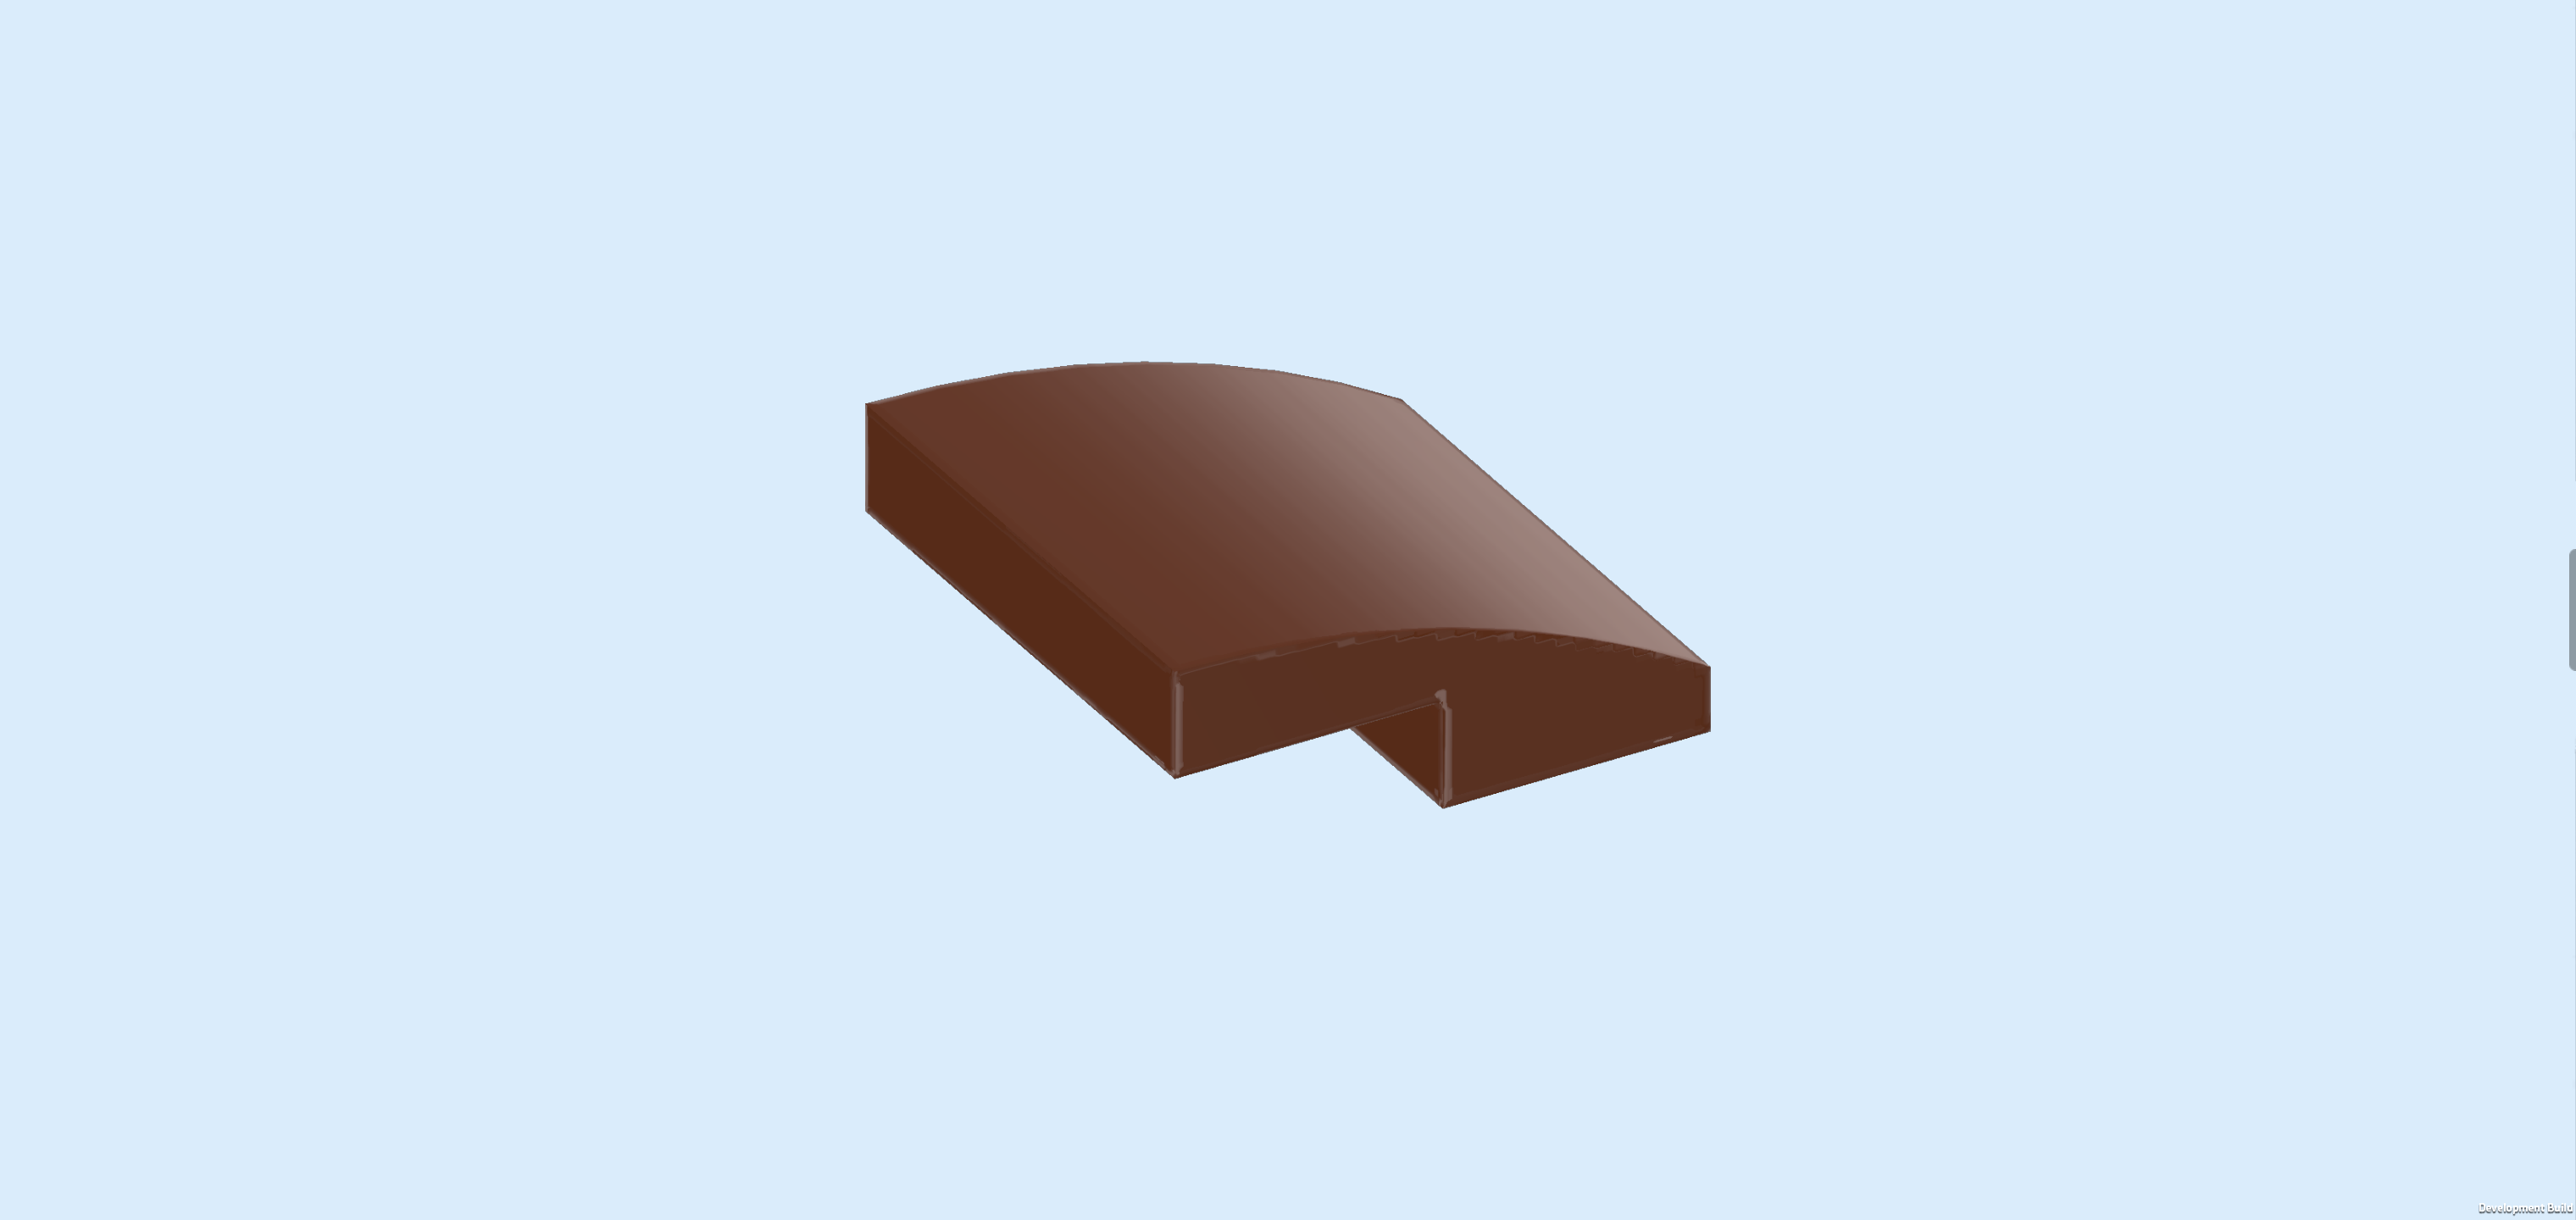
| and 2 reddish brown smooth roof tiles 1x2x⅔. |
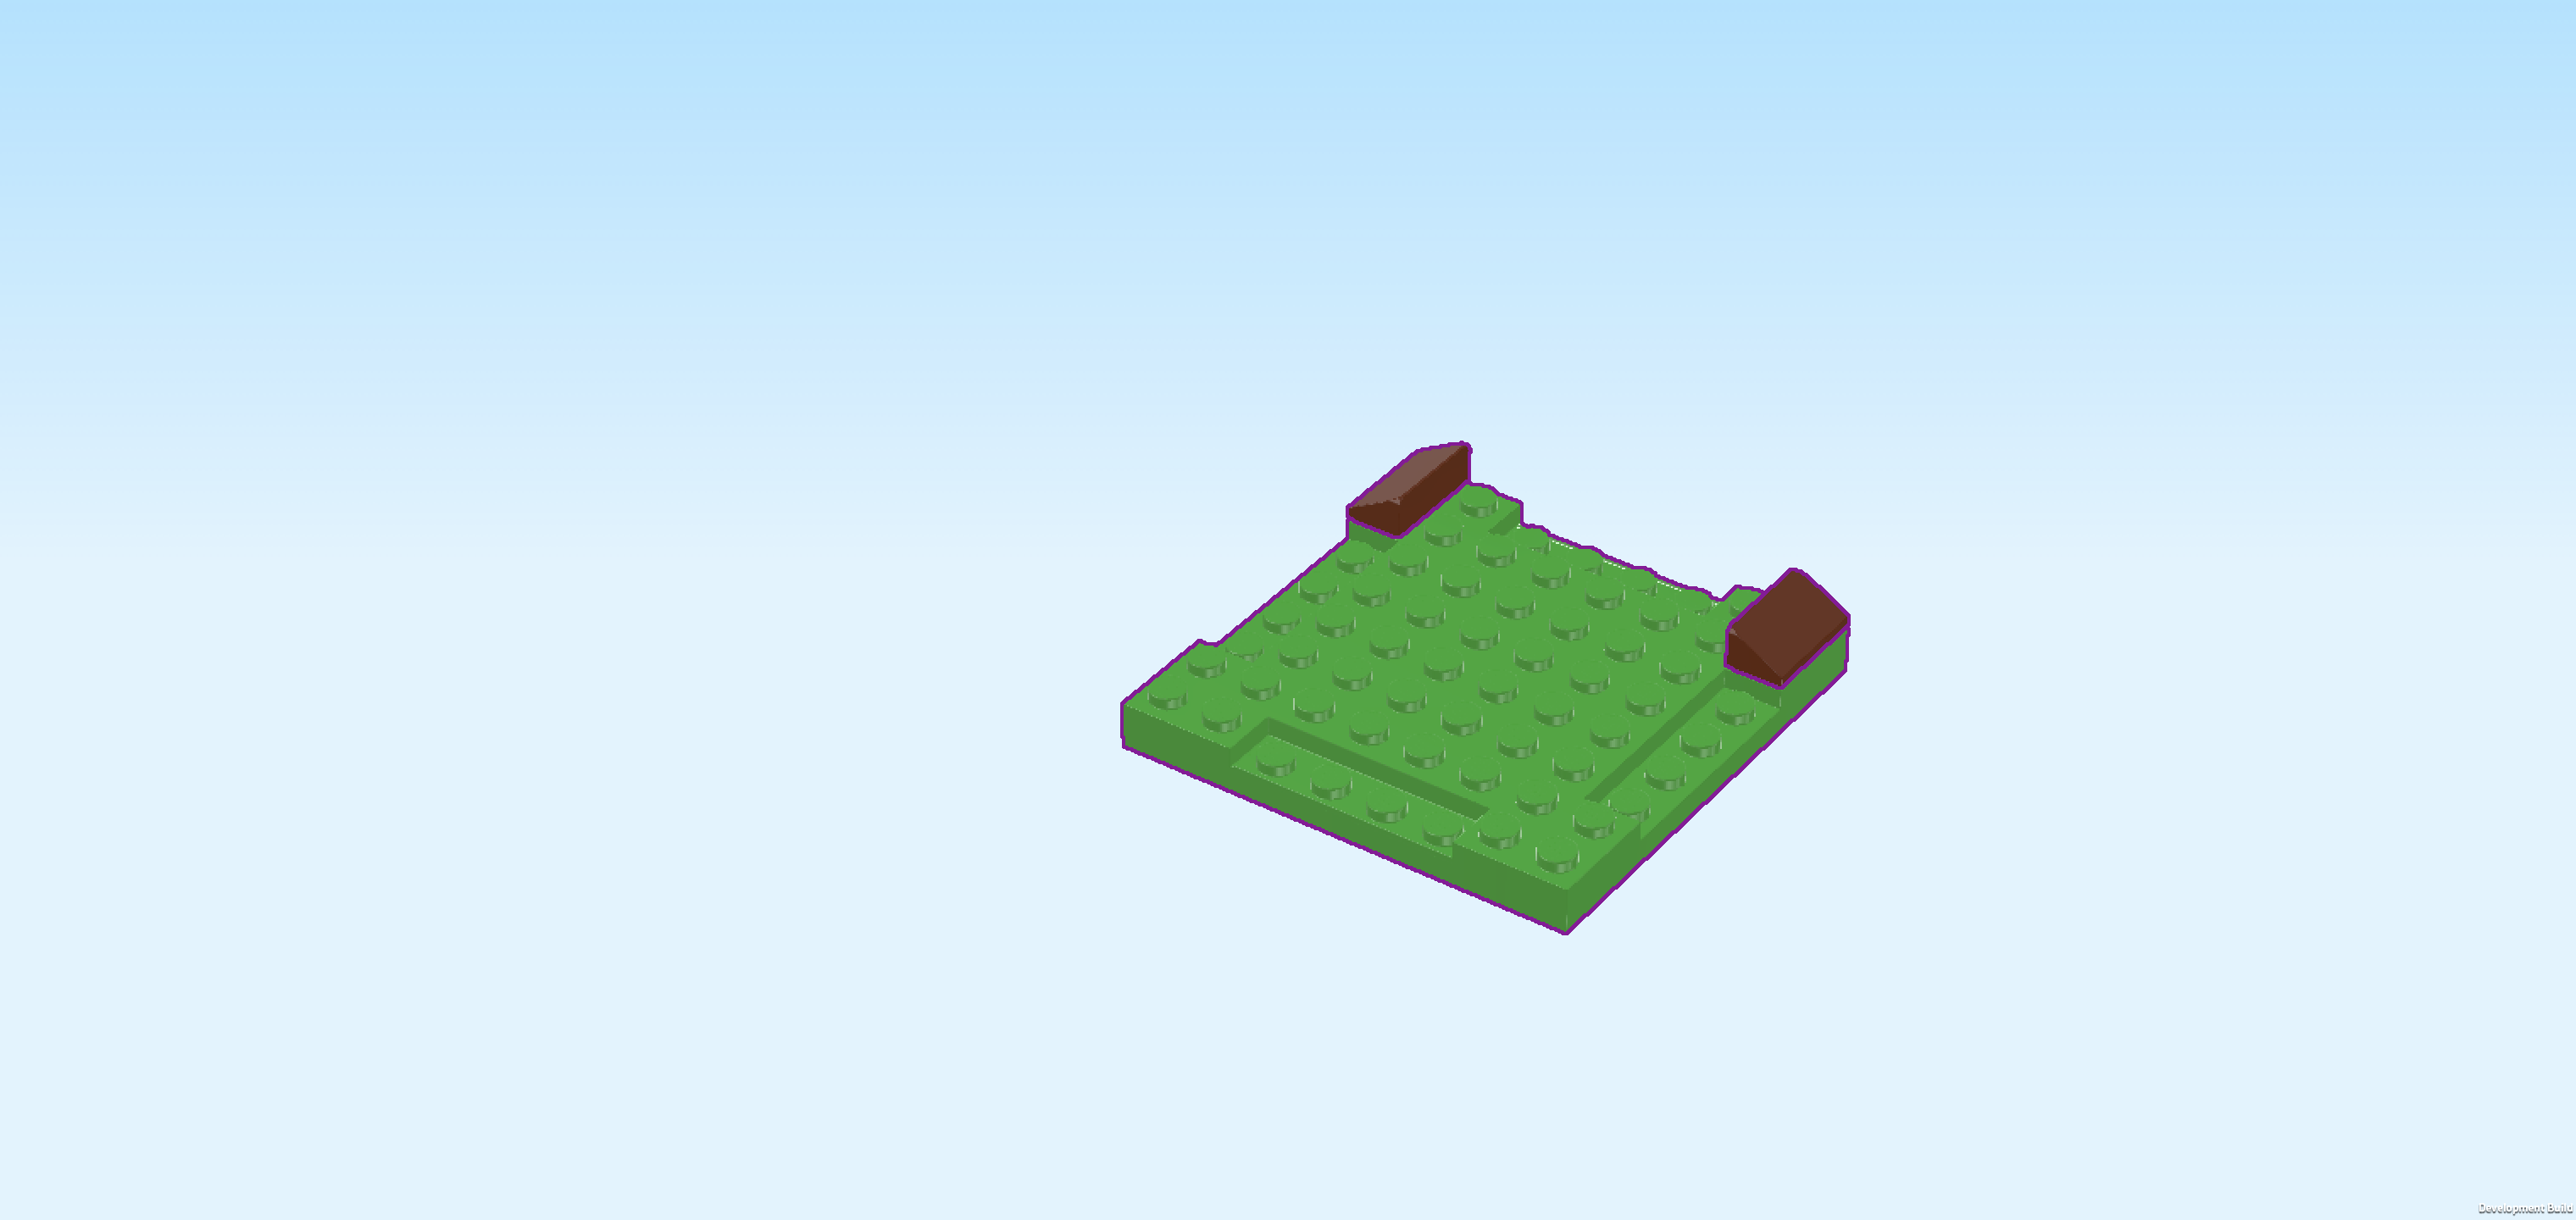
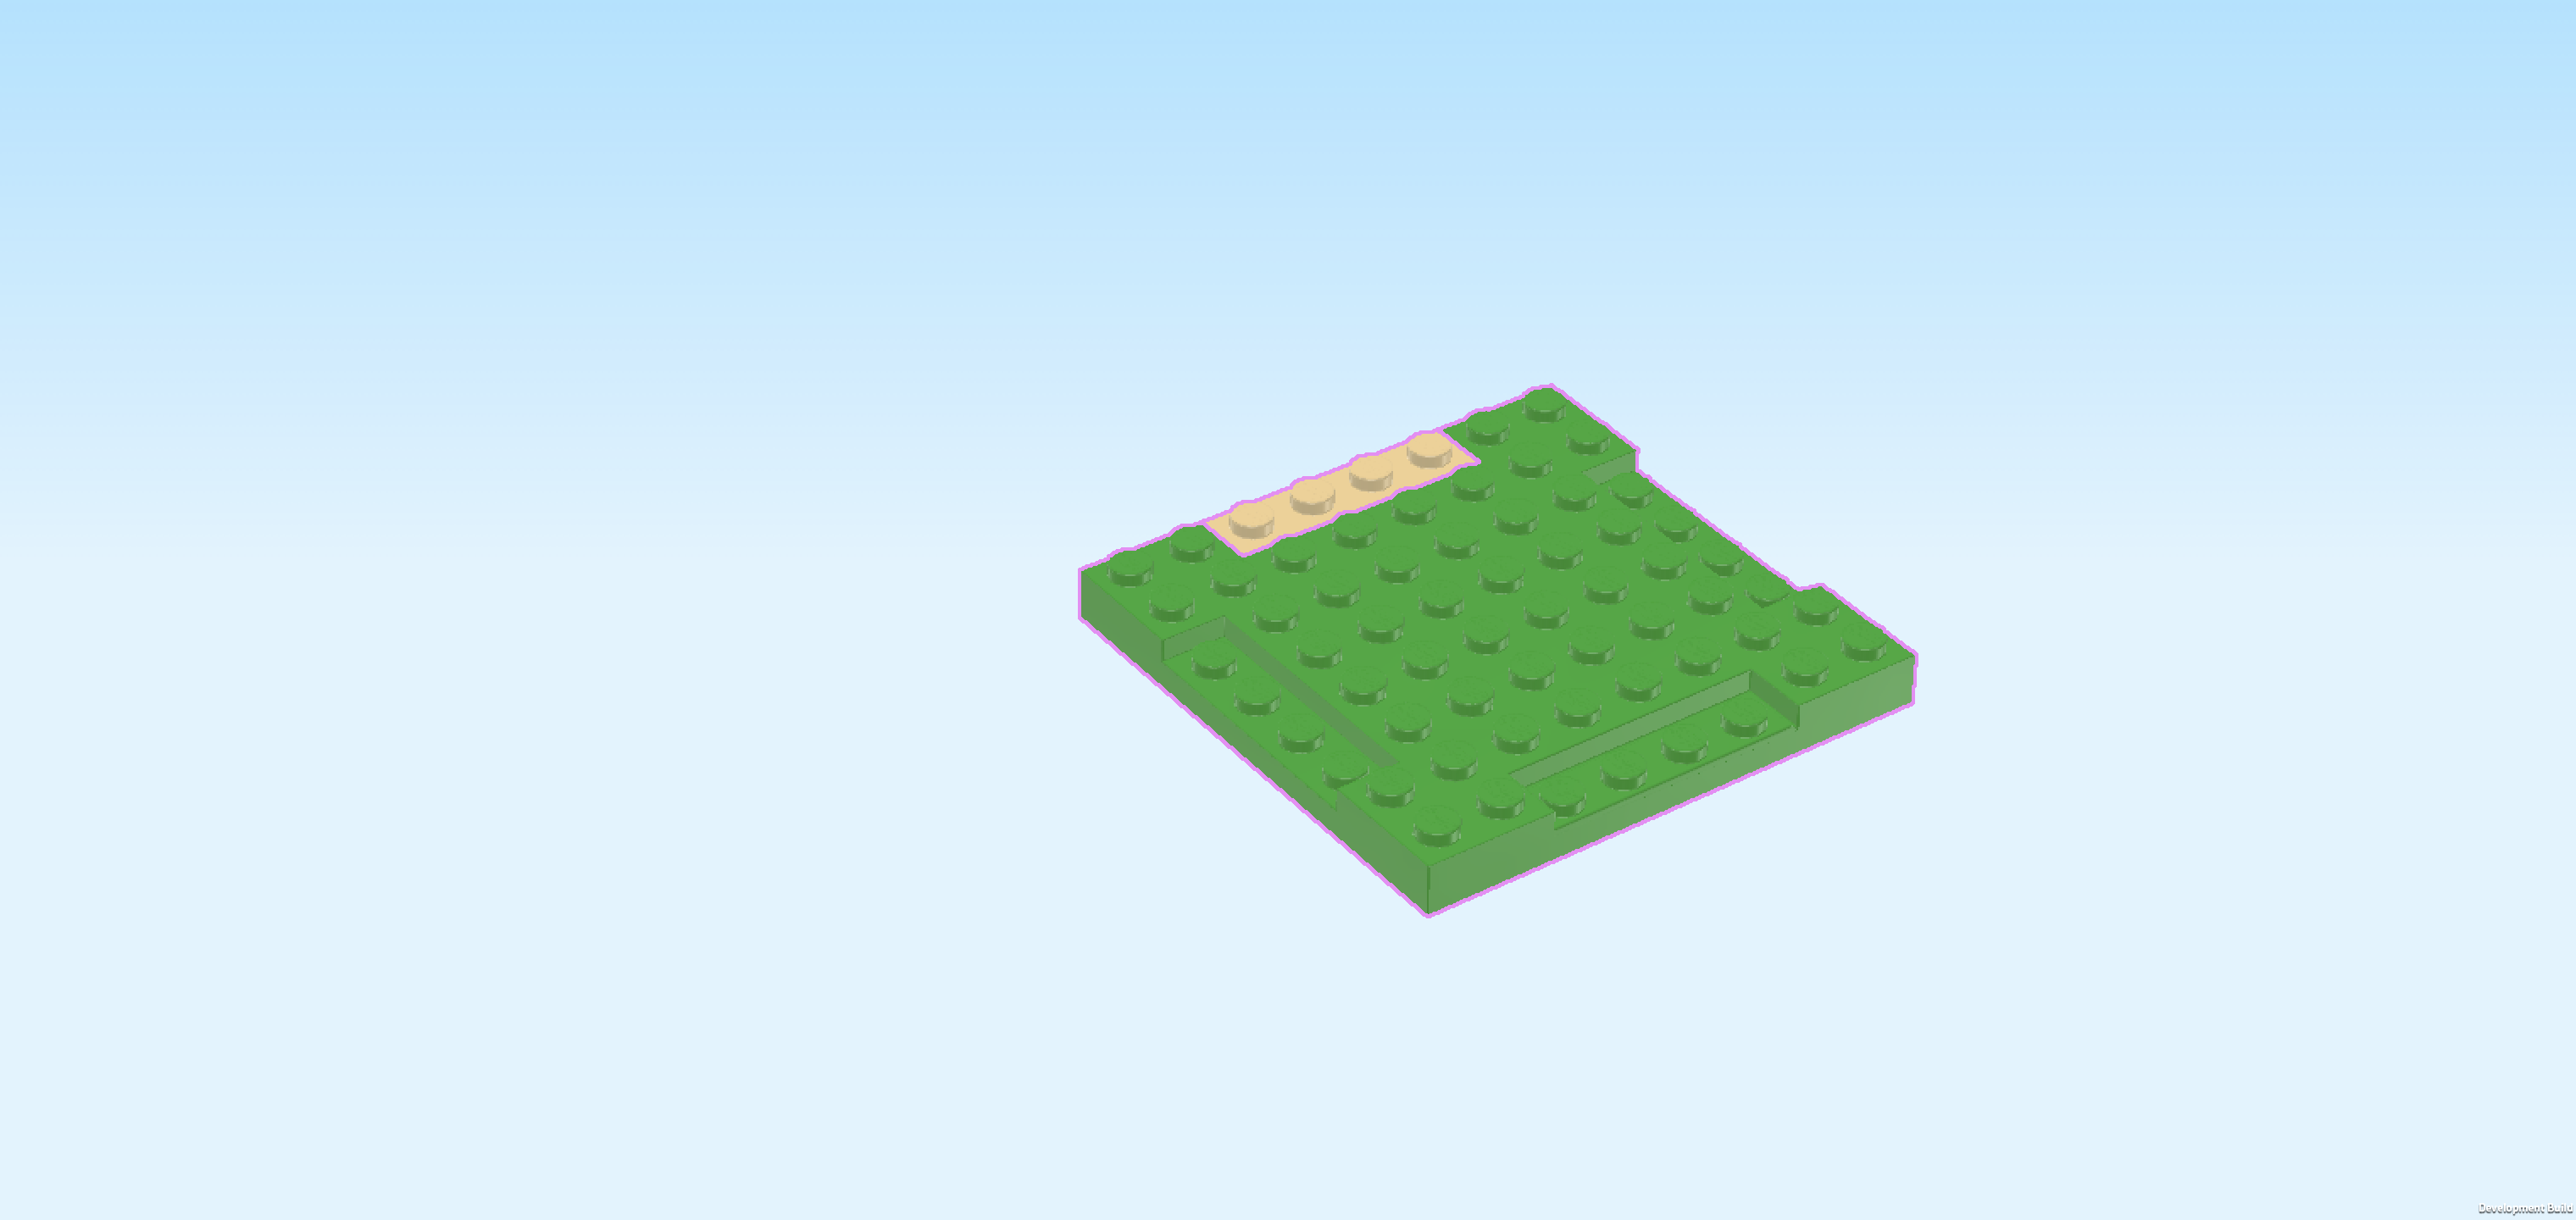
| Put the stepped plate 8x8 on the table. Make sure its knobs form straight rows and columns in front of you. |
| Put 1 smooth roof tile vertically on the leftmost column, starting from the back, slope to the left. |
| Repeat symmetrically on the right, slope to the right. |
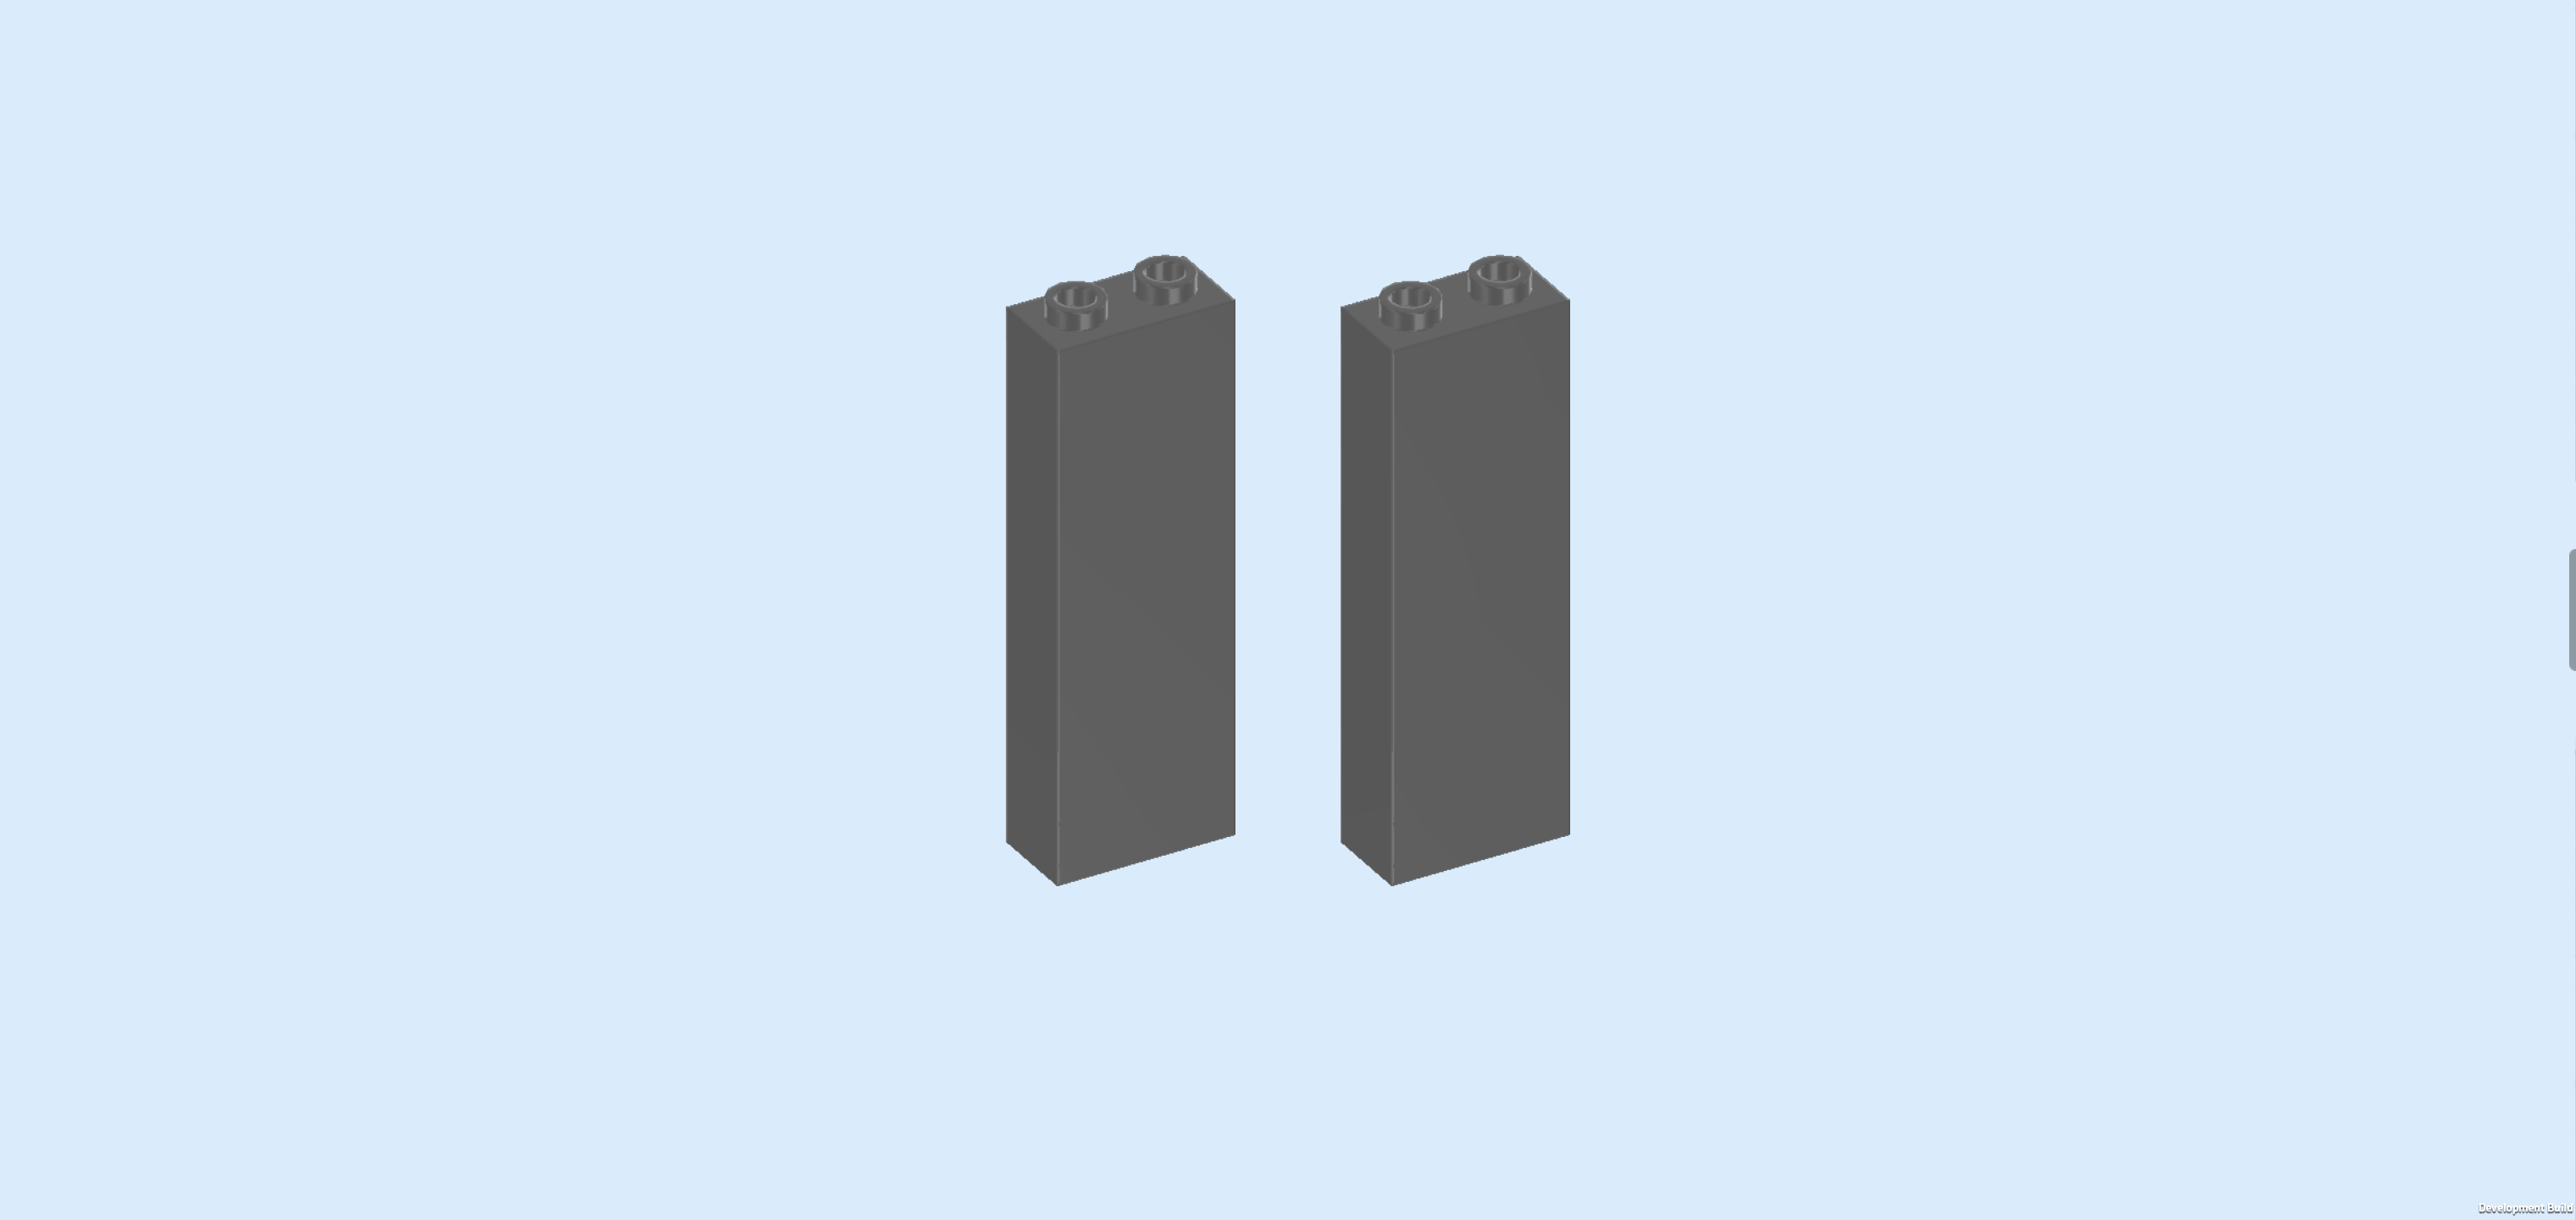
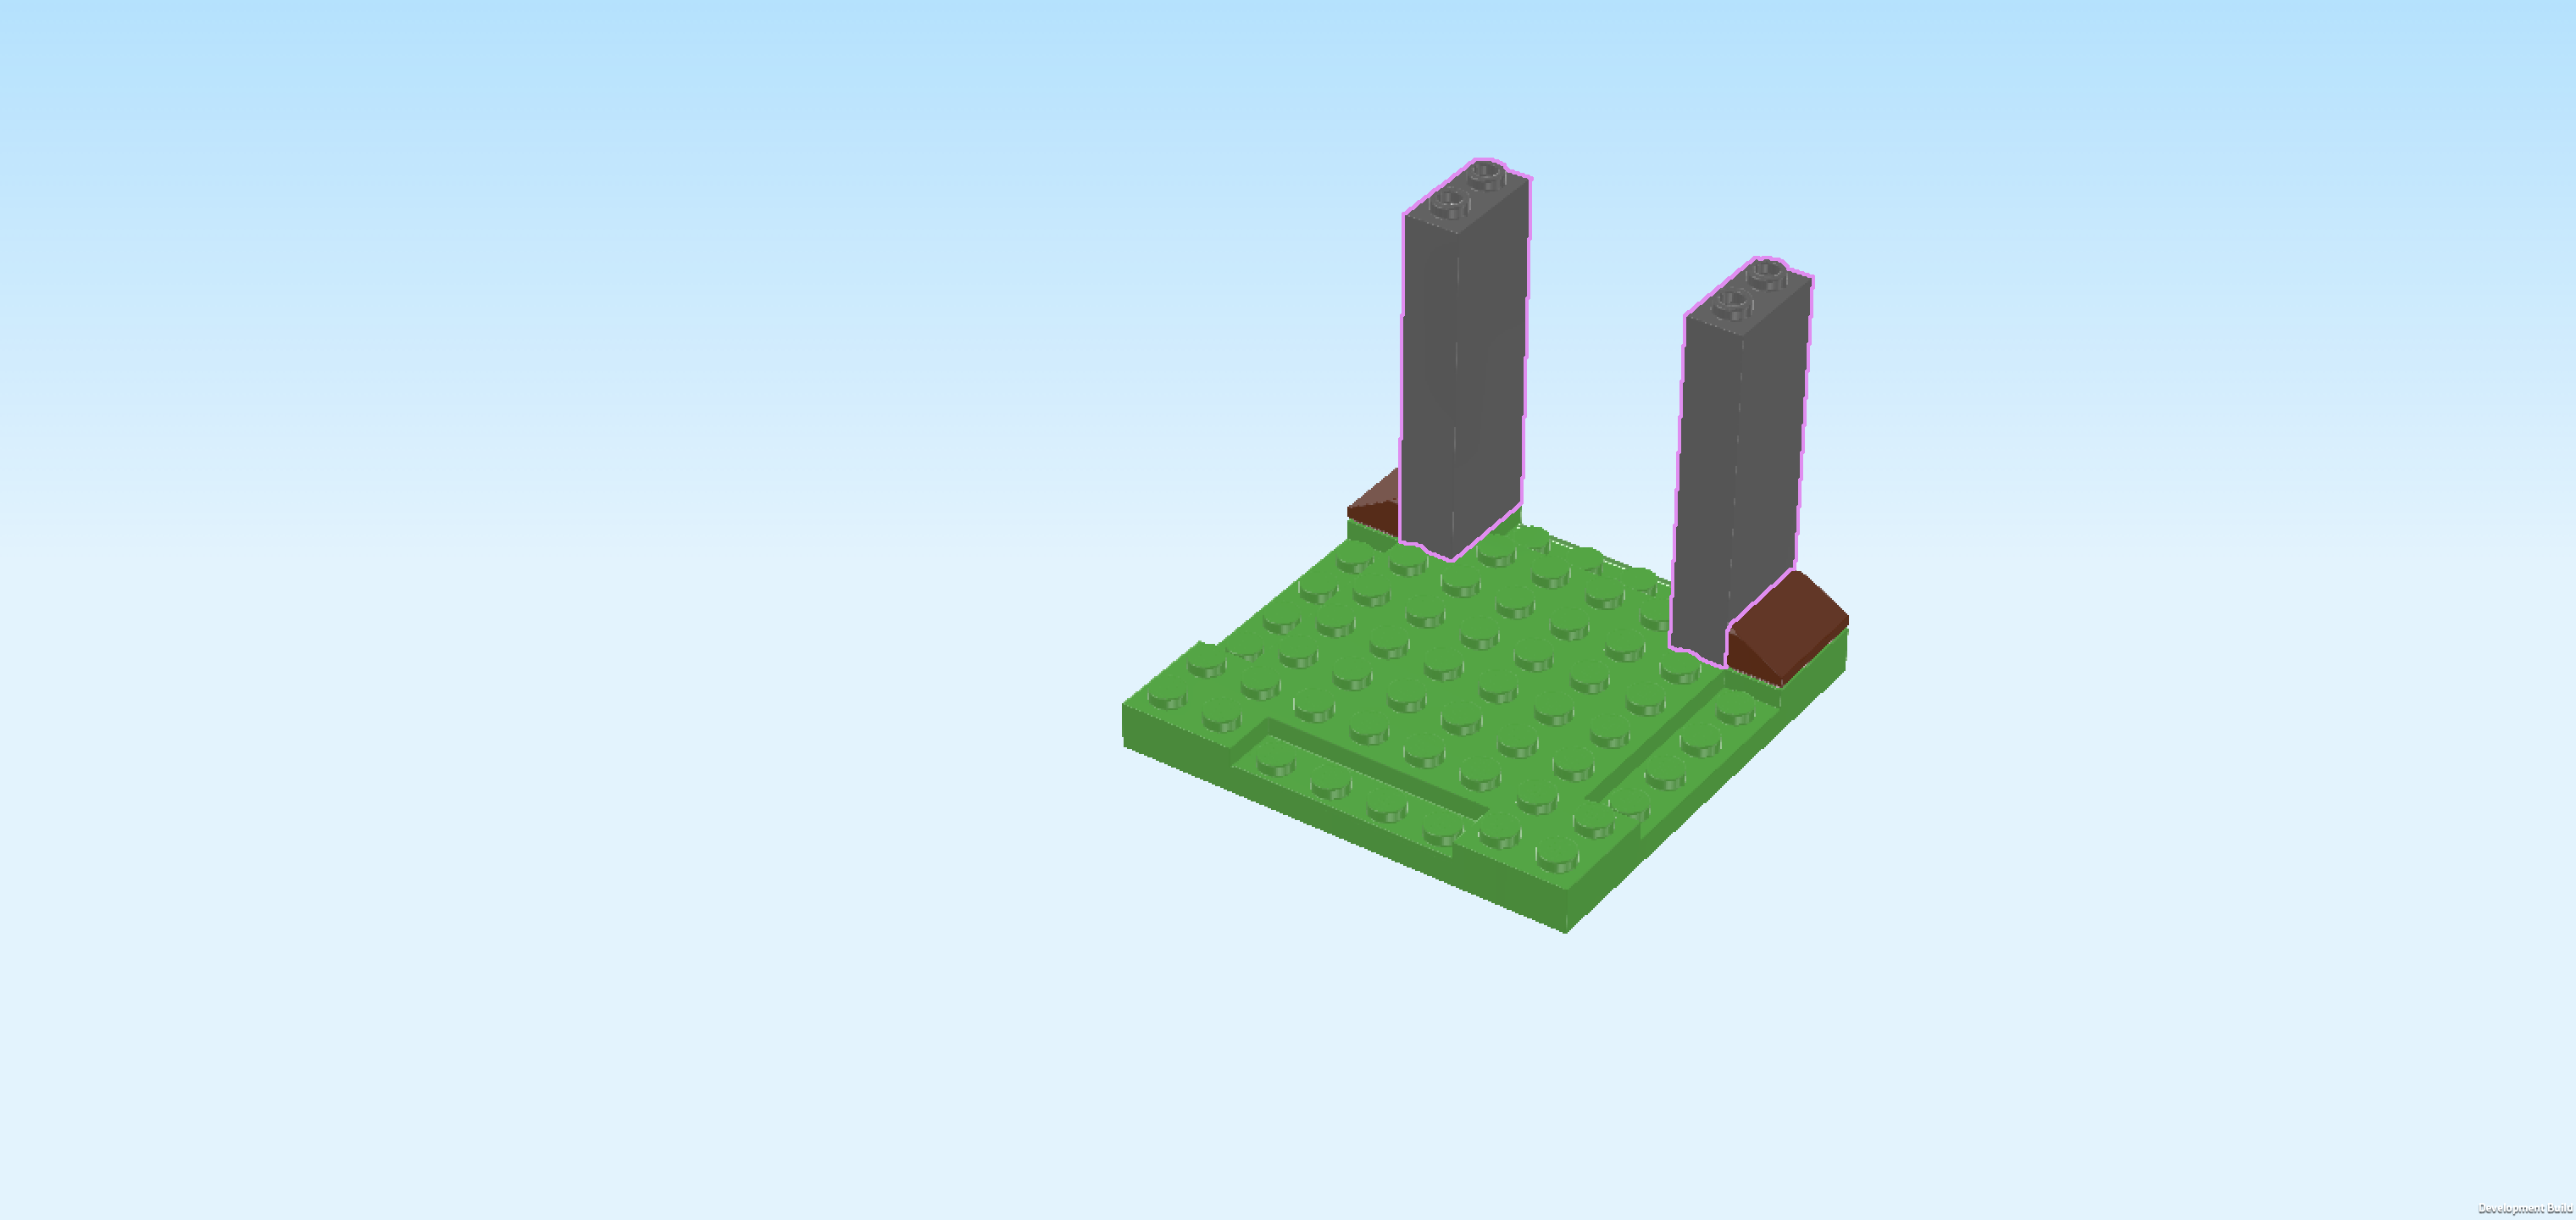
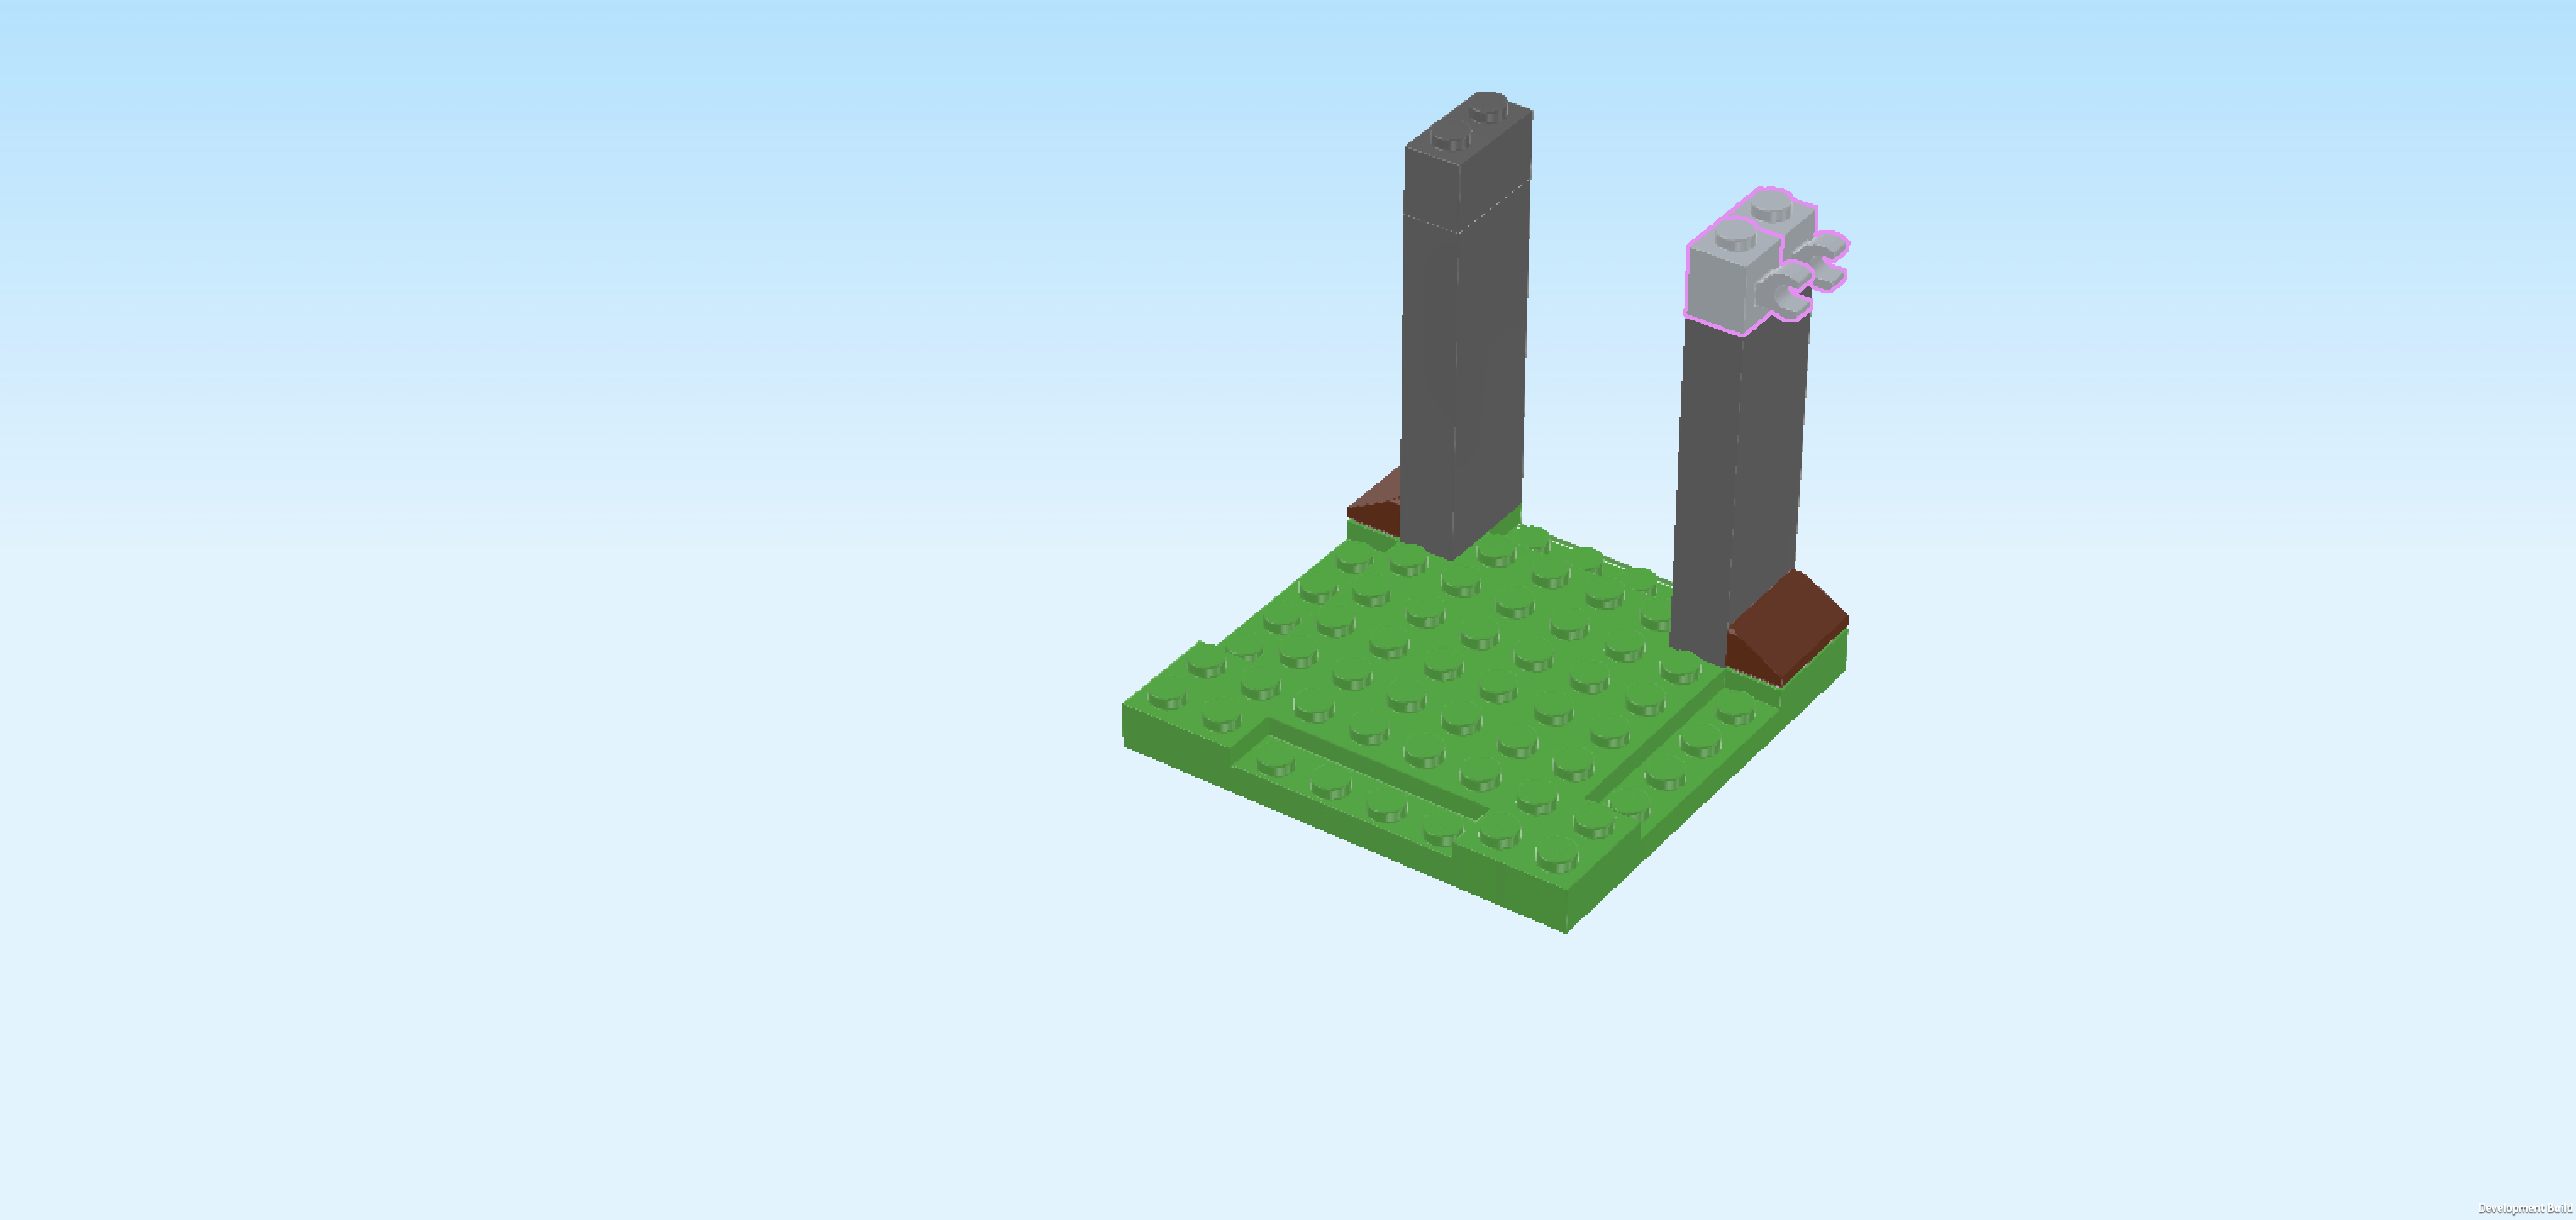
| Find 2 dark stone grey bricks 1x2x5. |
| Put 1 vertically to the left of the previous piece. |
| Repeat symmetrically on the left. |
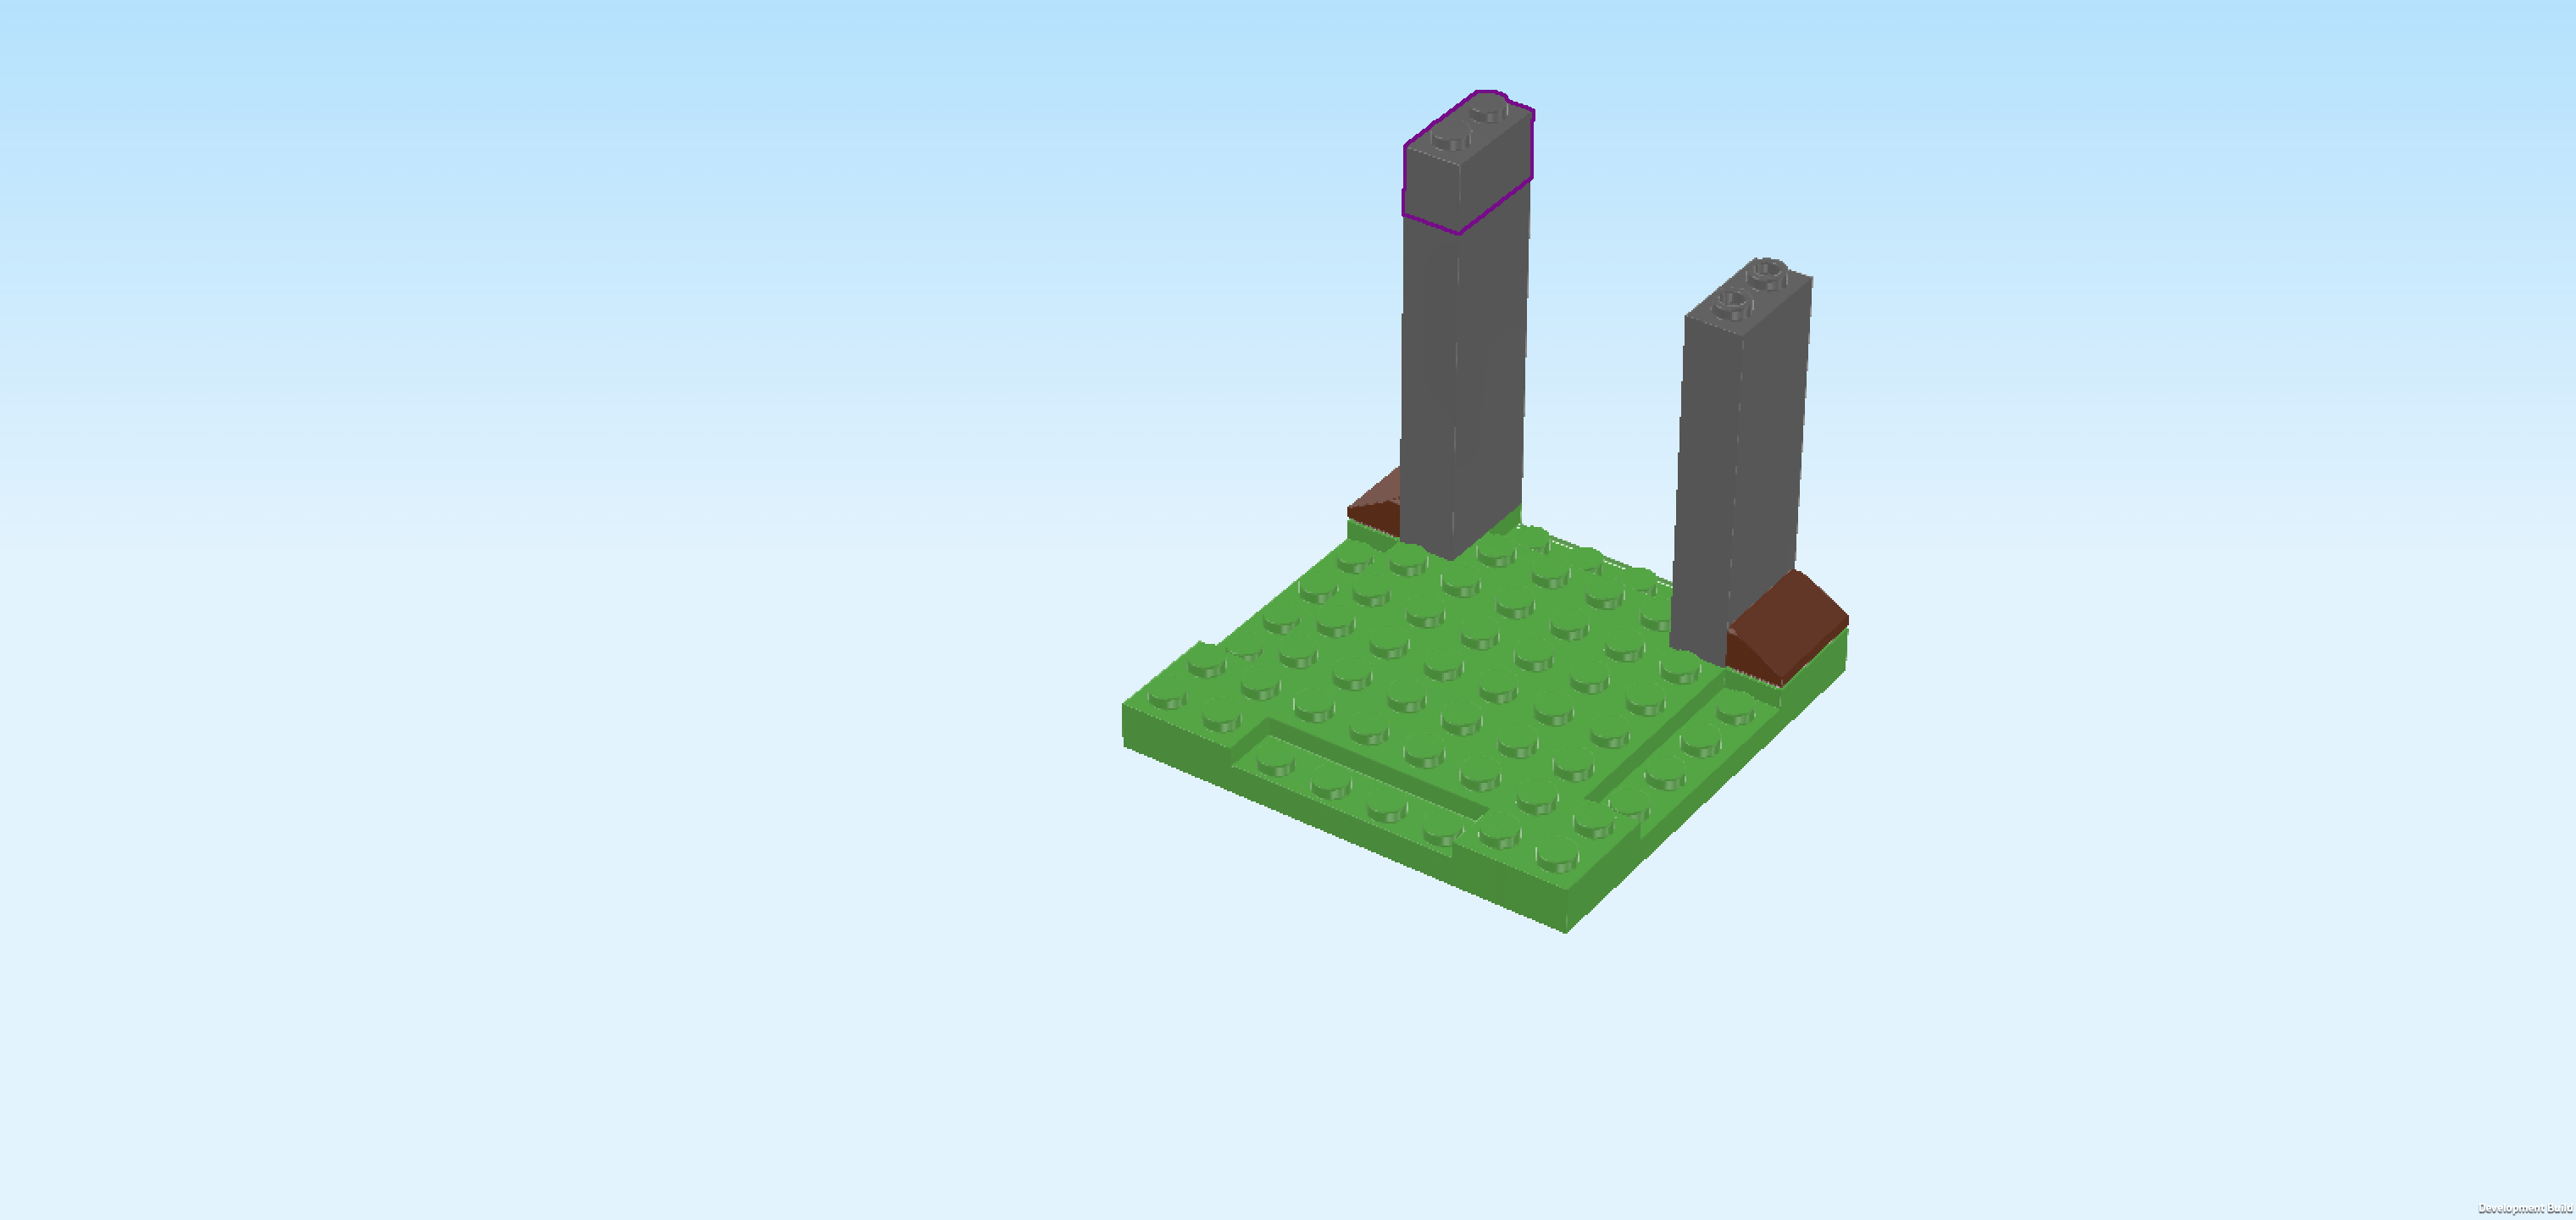
| Find 1 dark stone grey brick 1x2. |
| Put it vertically on top of the previous piece. |
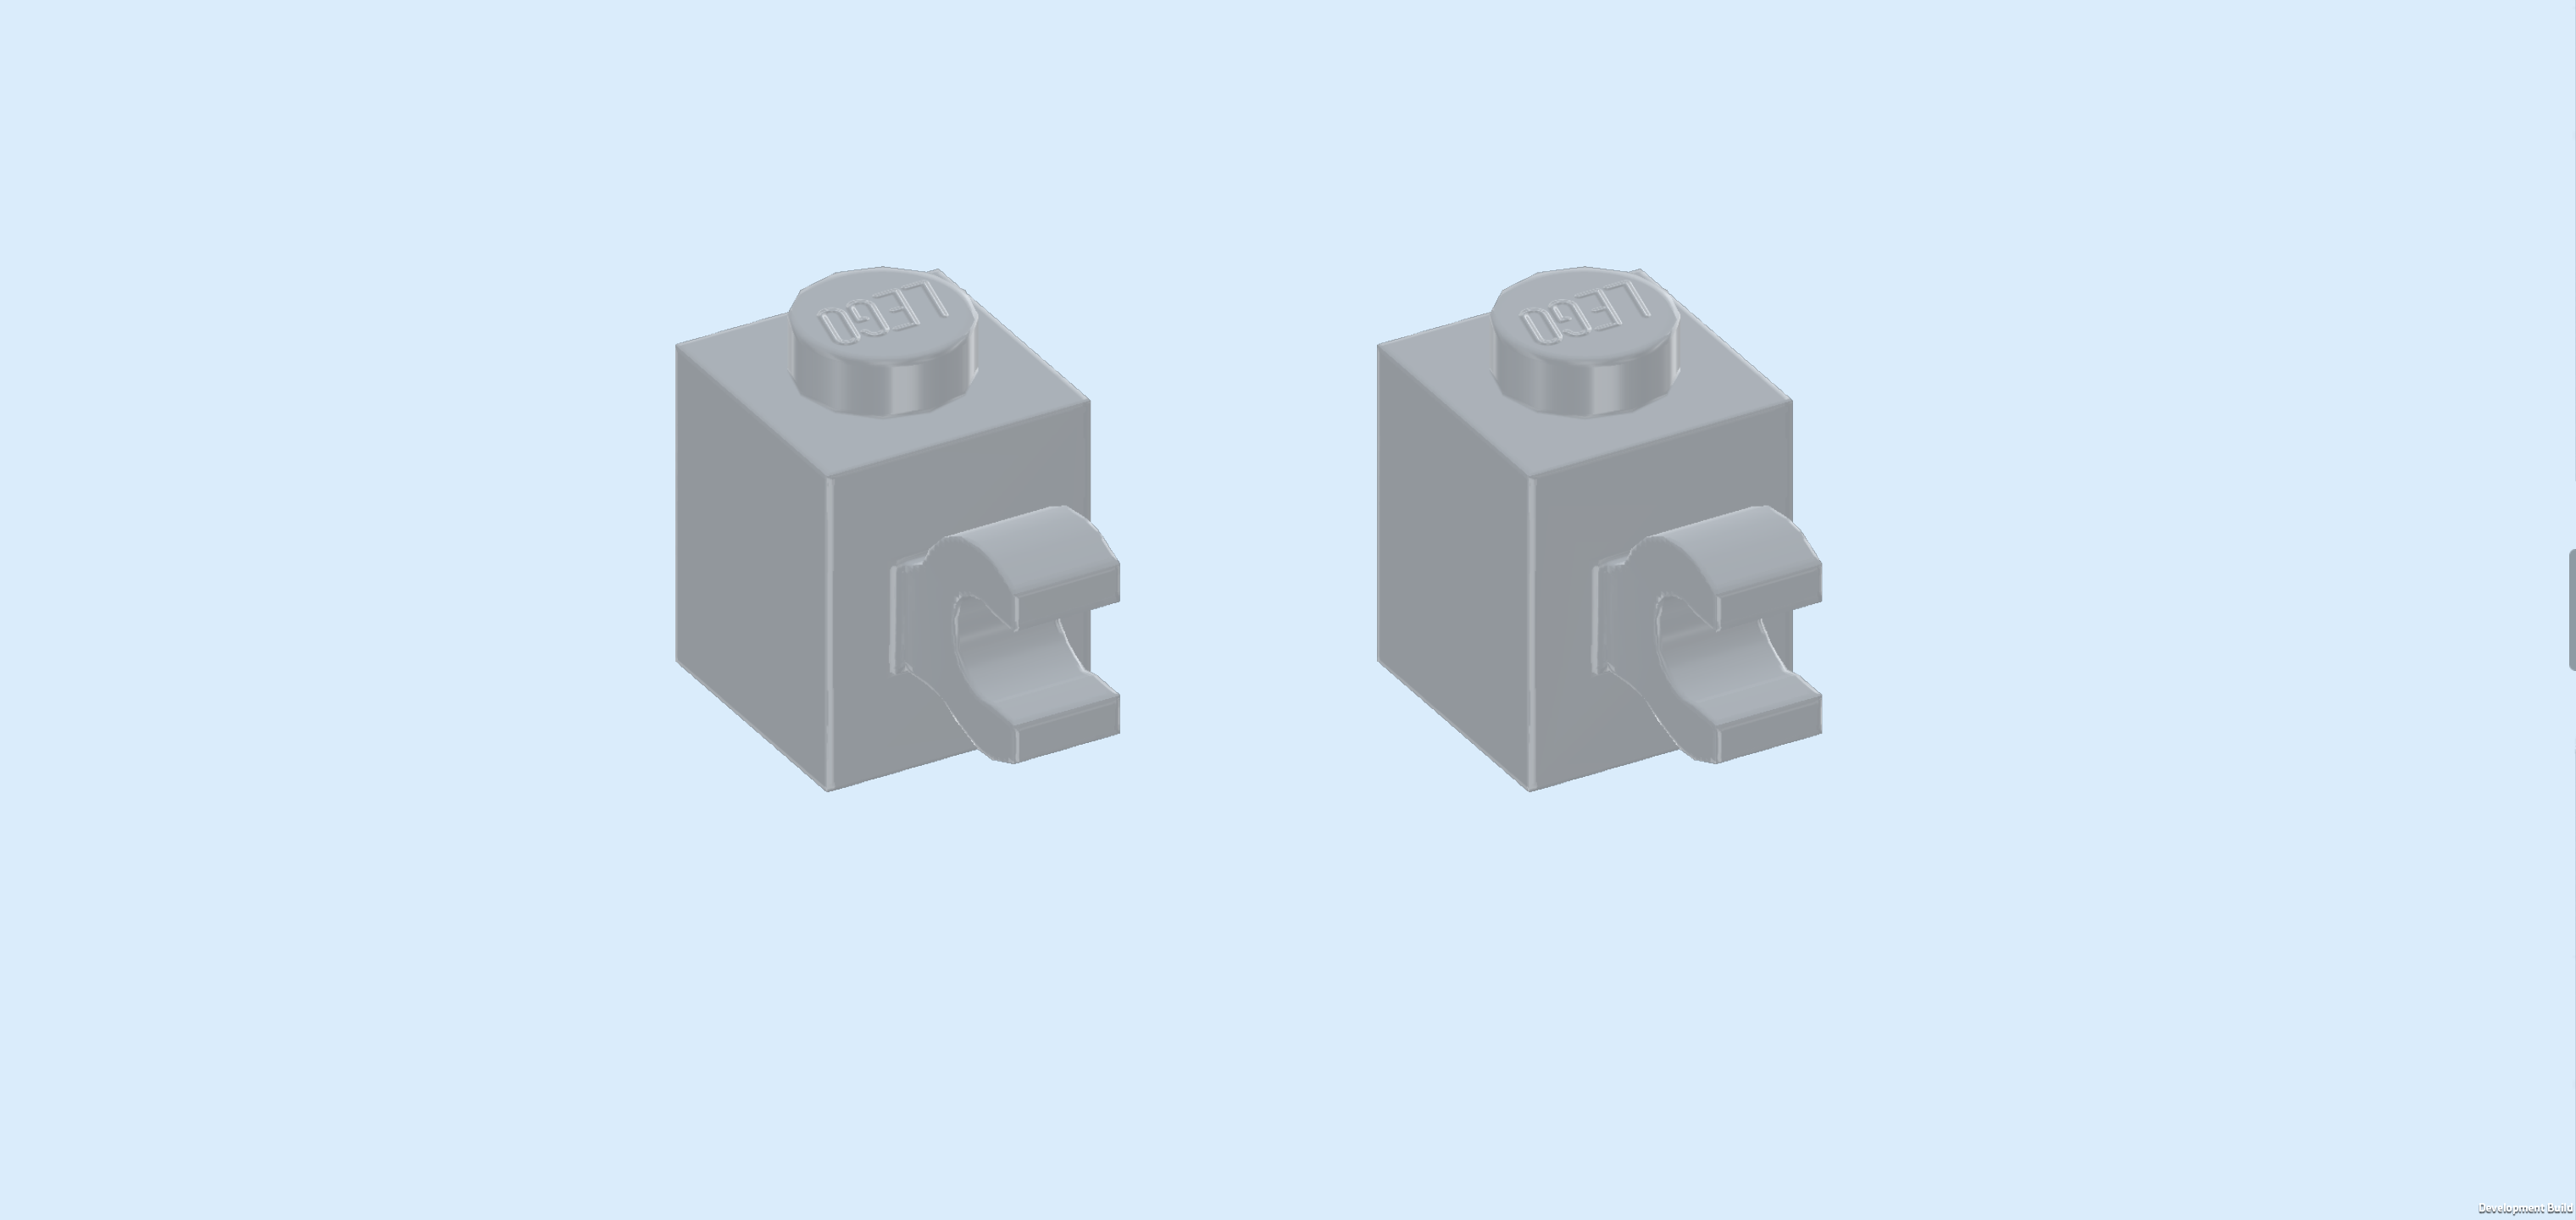
| Find 2 medium stone grey bricks 1x1 with vertical side clasp. |
| Put them on the brick 1x2x5 on the right, side clasps pointing to the right. |
| Find 2 dark green plates 2x4. |
| Put 1 vertically centered on the rightmost column of the plate 8x8, 1/2 overhanging to the right. Its left half will fit neatly into the recess on the right edge. |
| Repeat symmetrically on the left. |
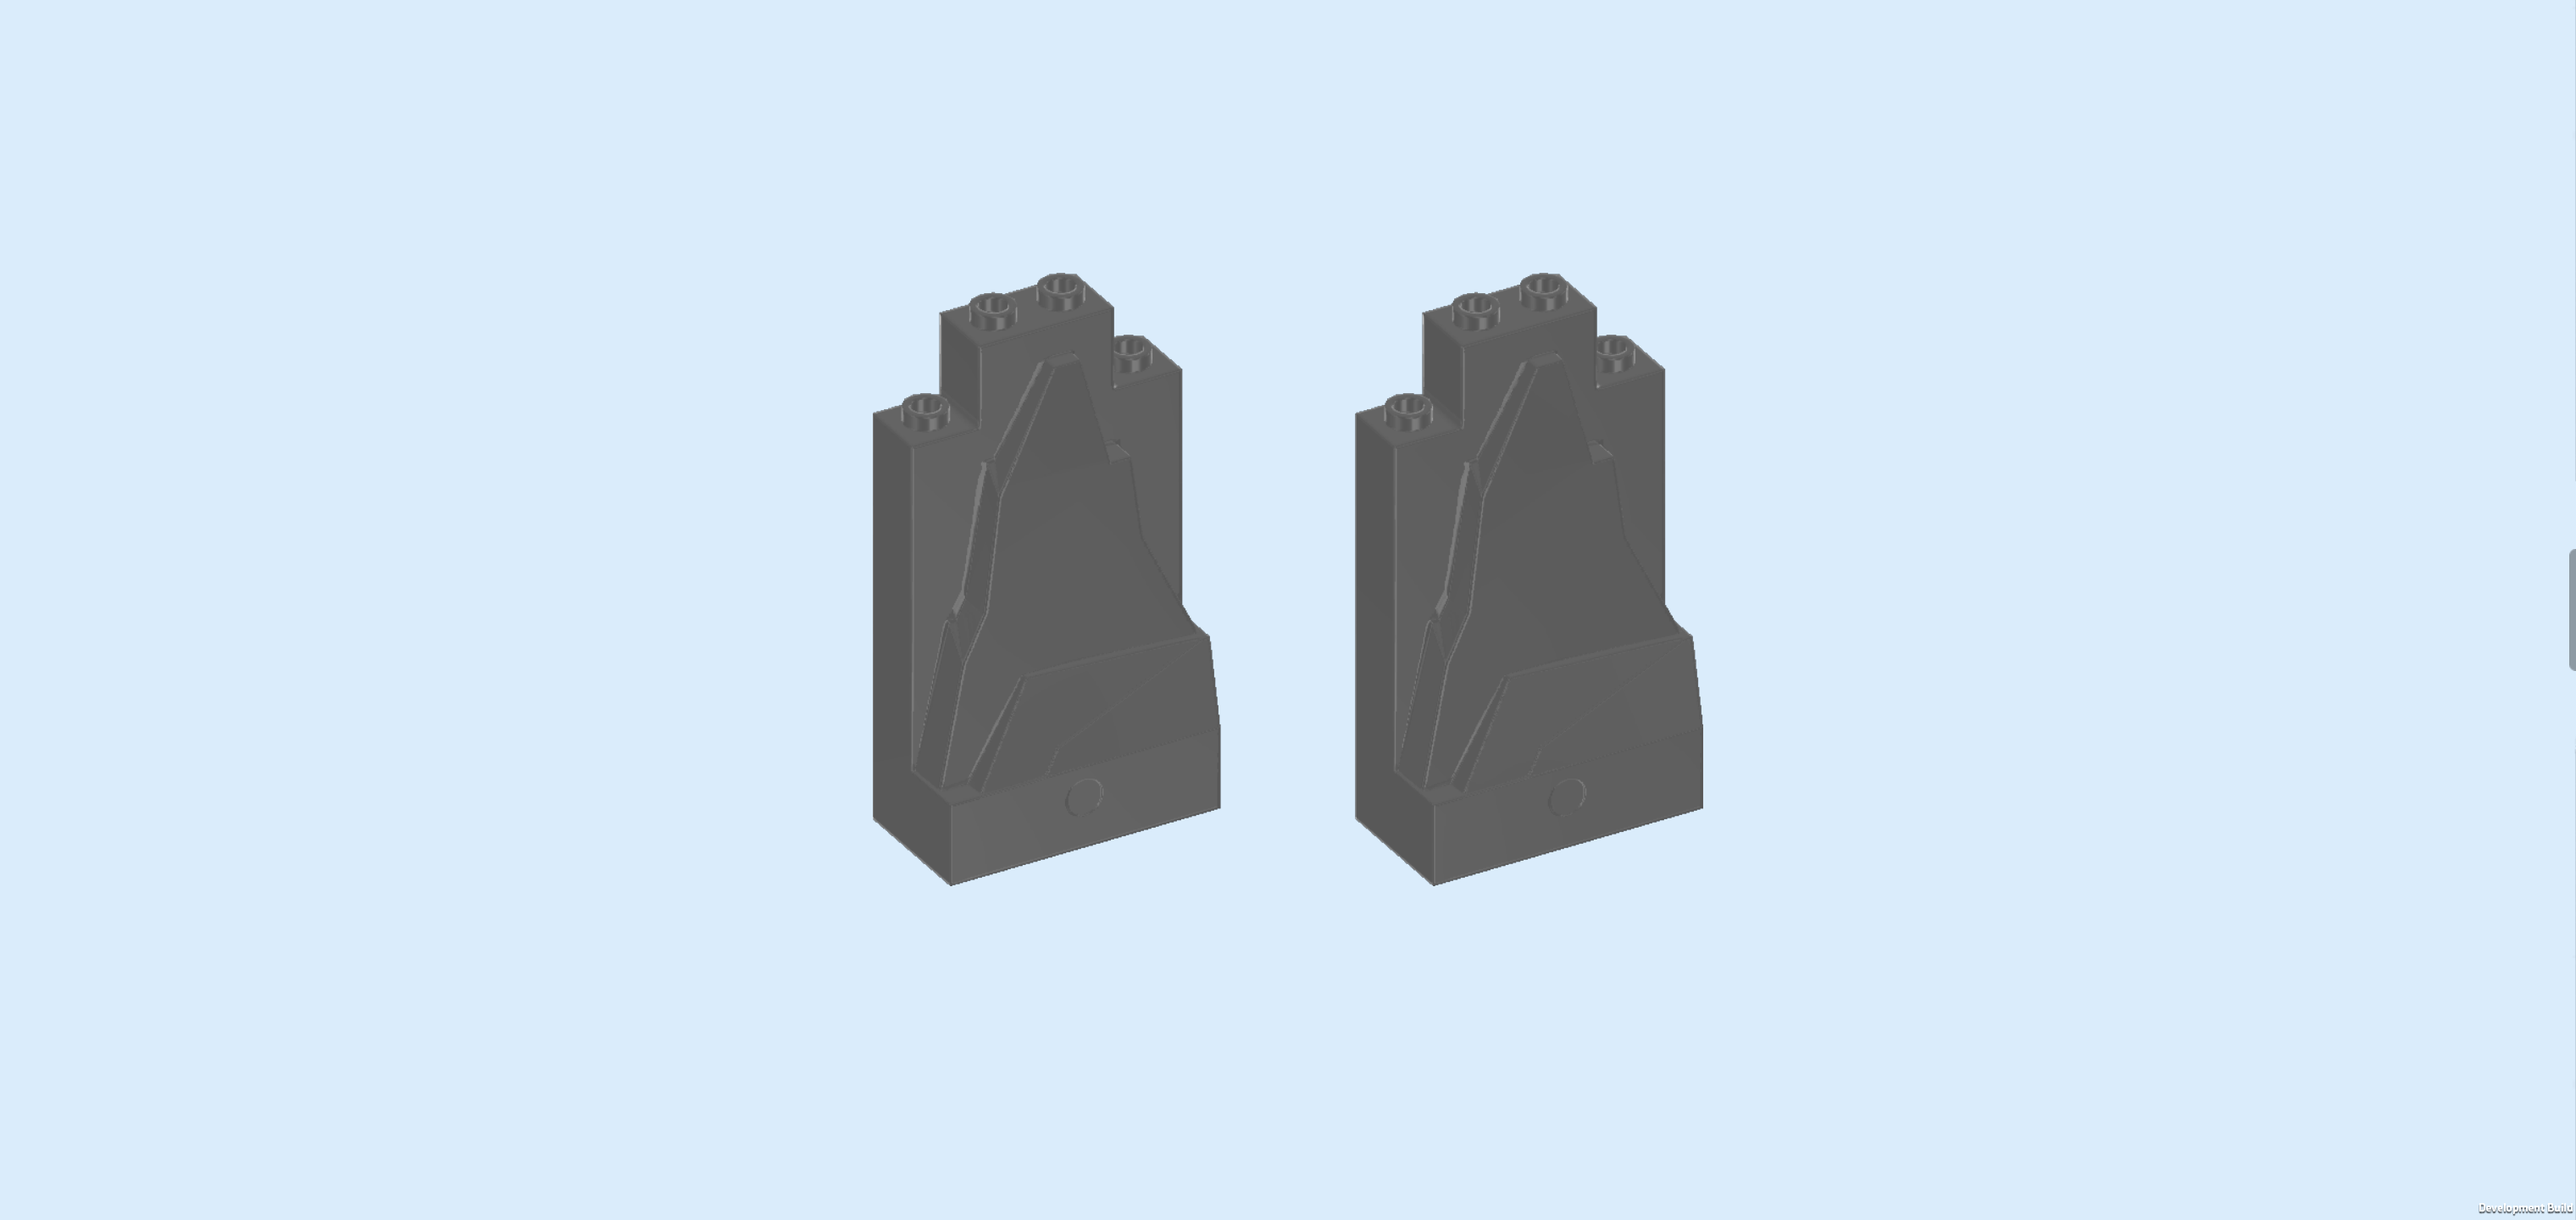
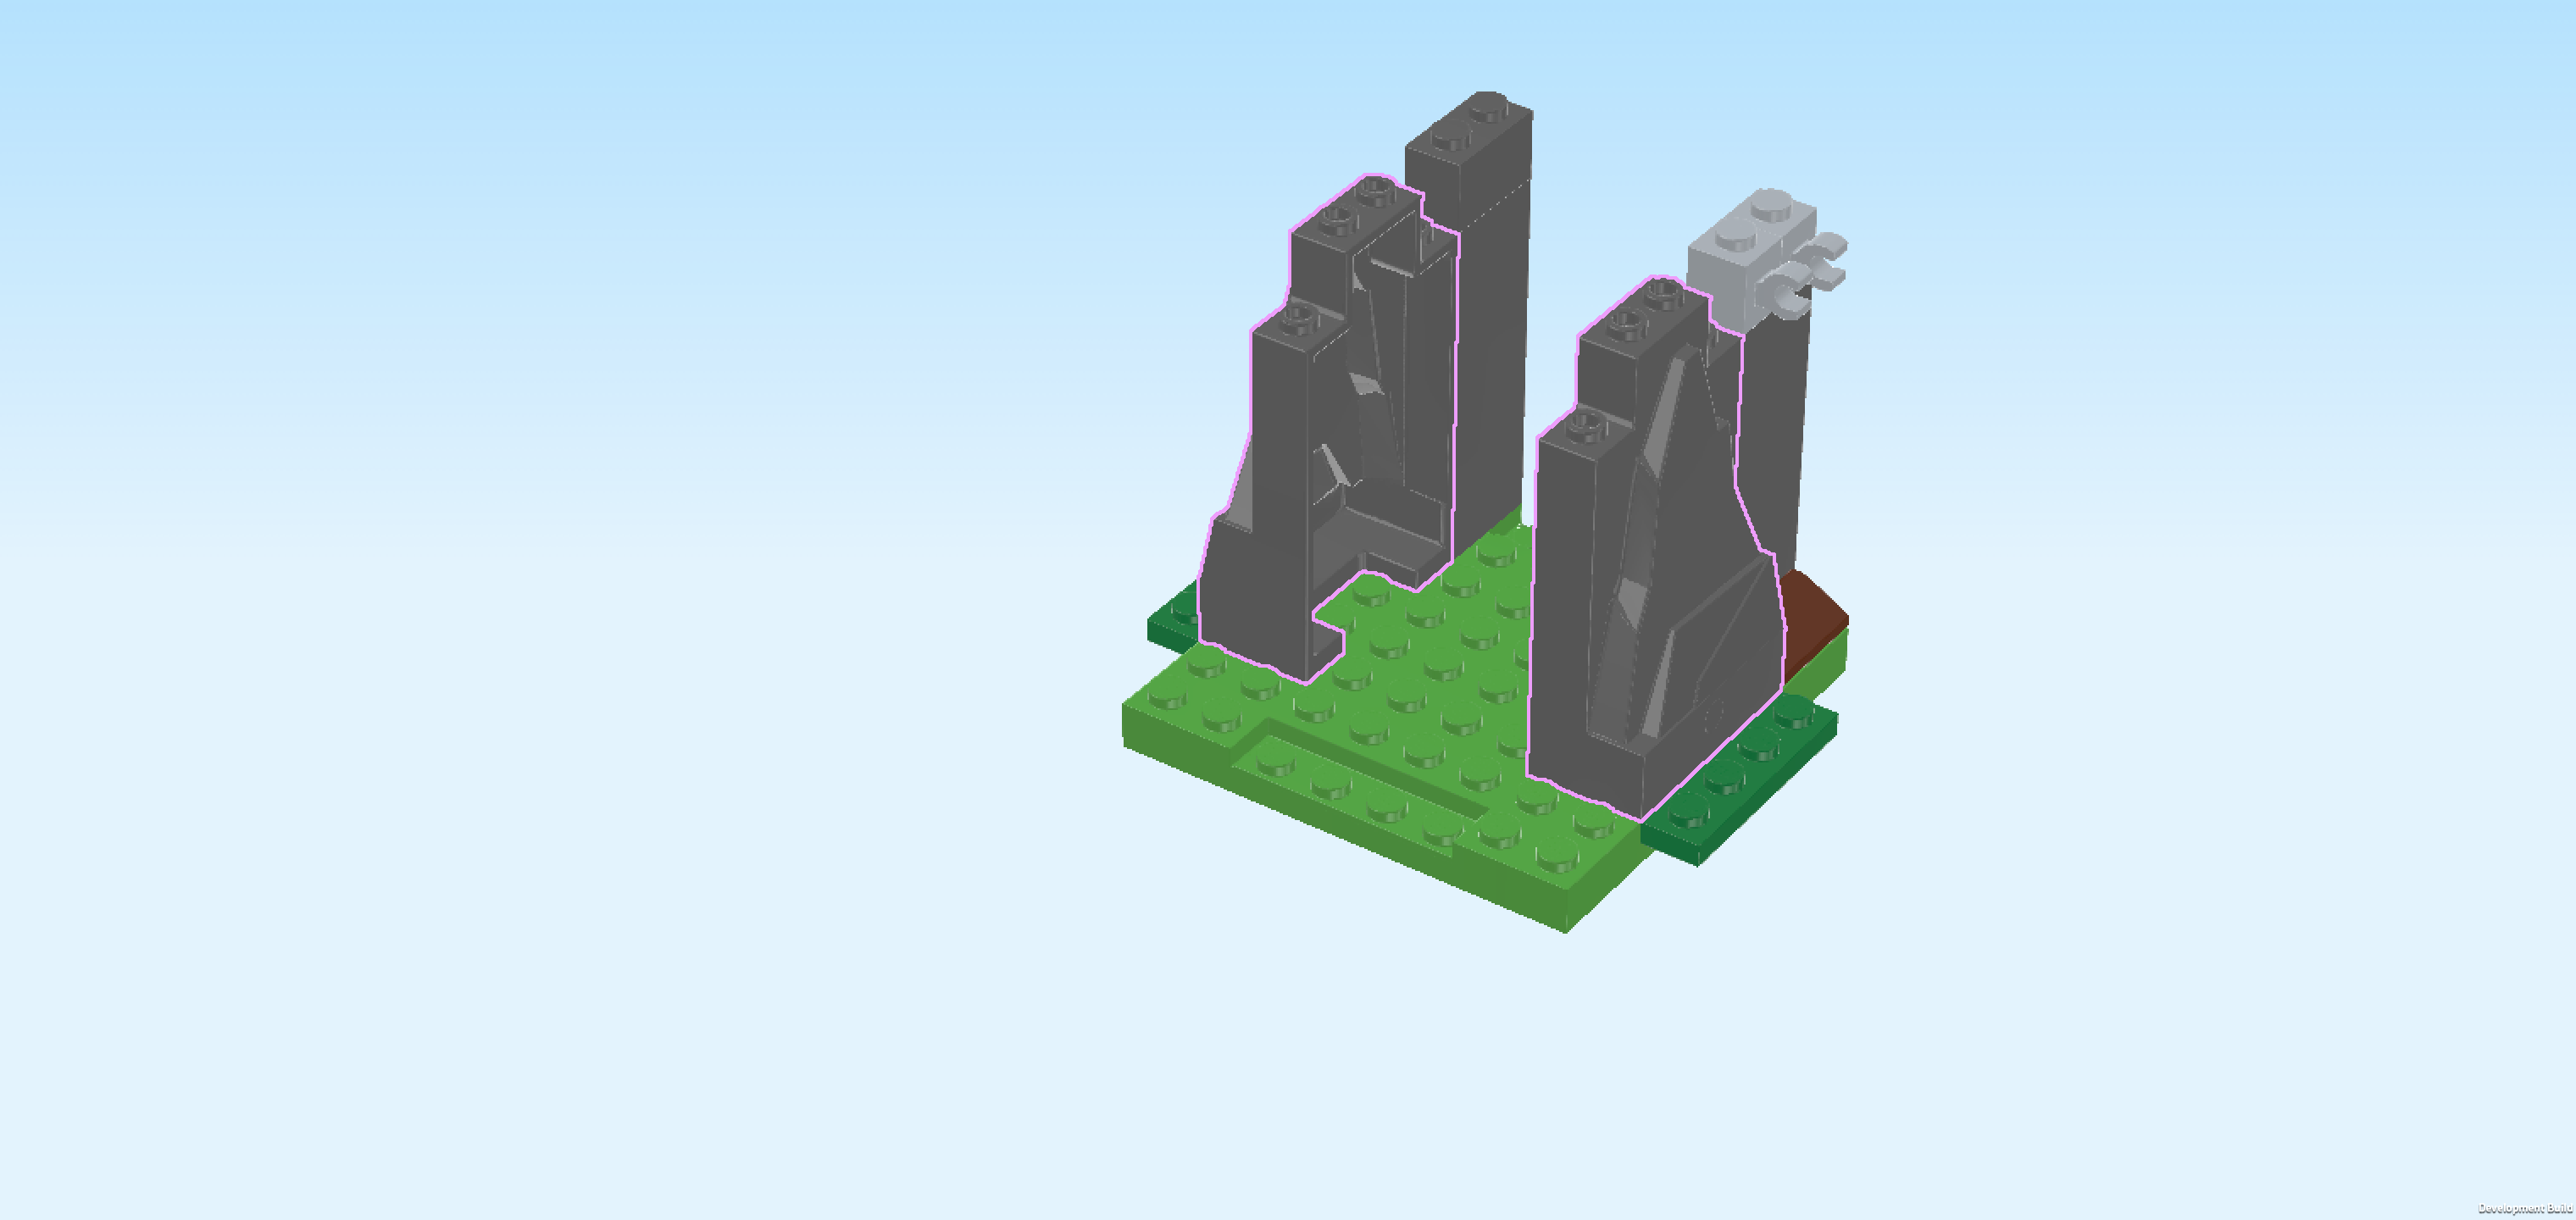
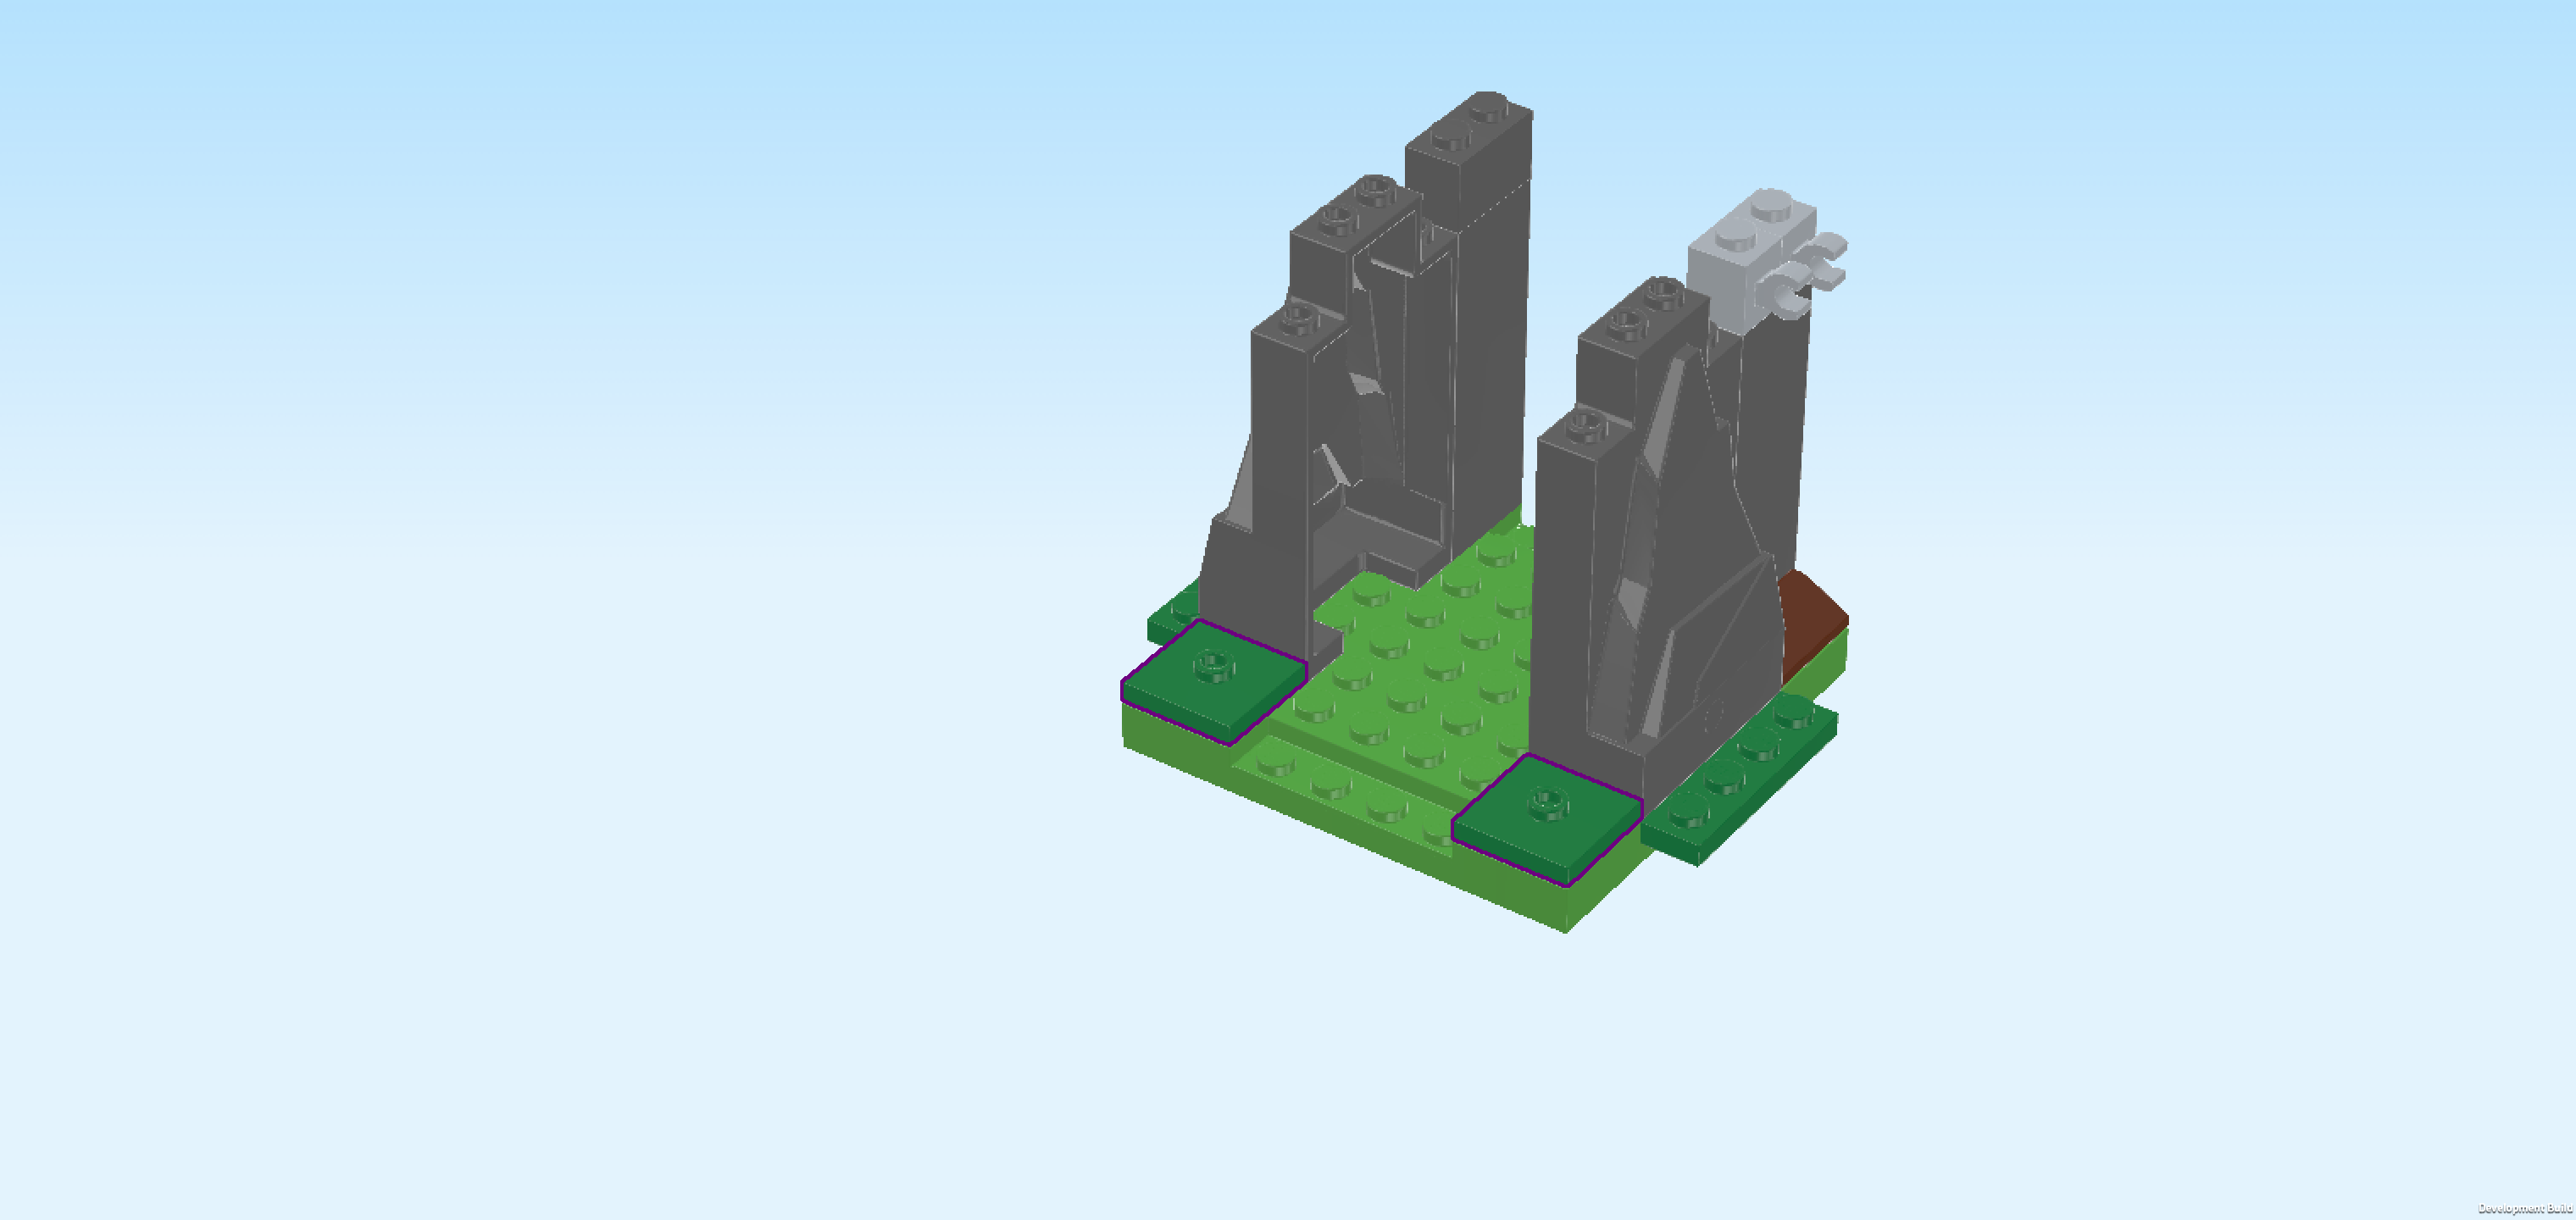
| Find 2 dark stone grey rock formation bricks 2x4x6. |
| Put 1 vertically centered on the 2 rightmost columns of the plate 8x8, hollow side to the left, rock surface to the right. This means that the protruding column on the rightmost edge remains empty for now. |
| Repeat symmetrically on the left. |
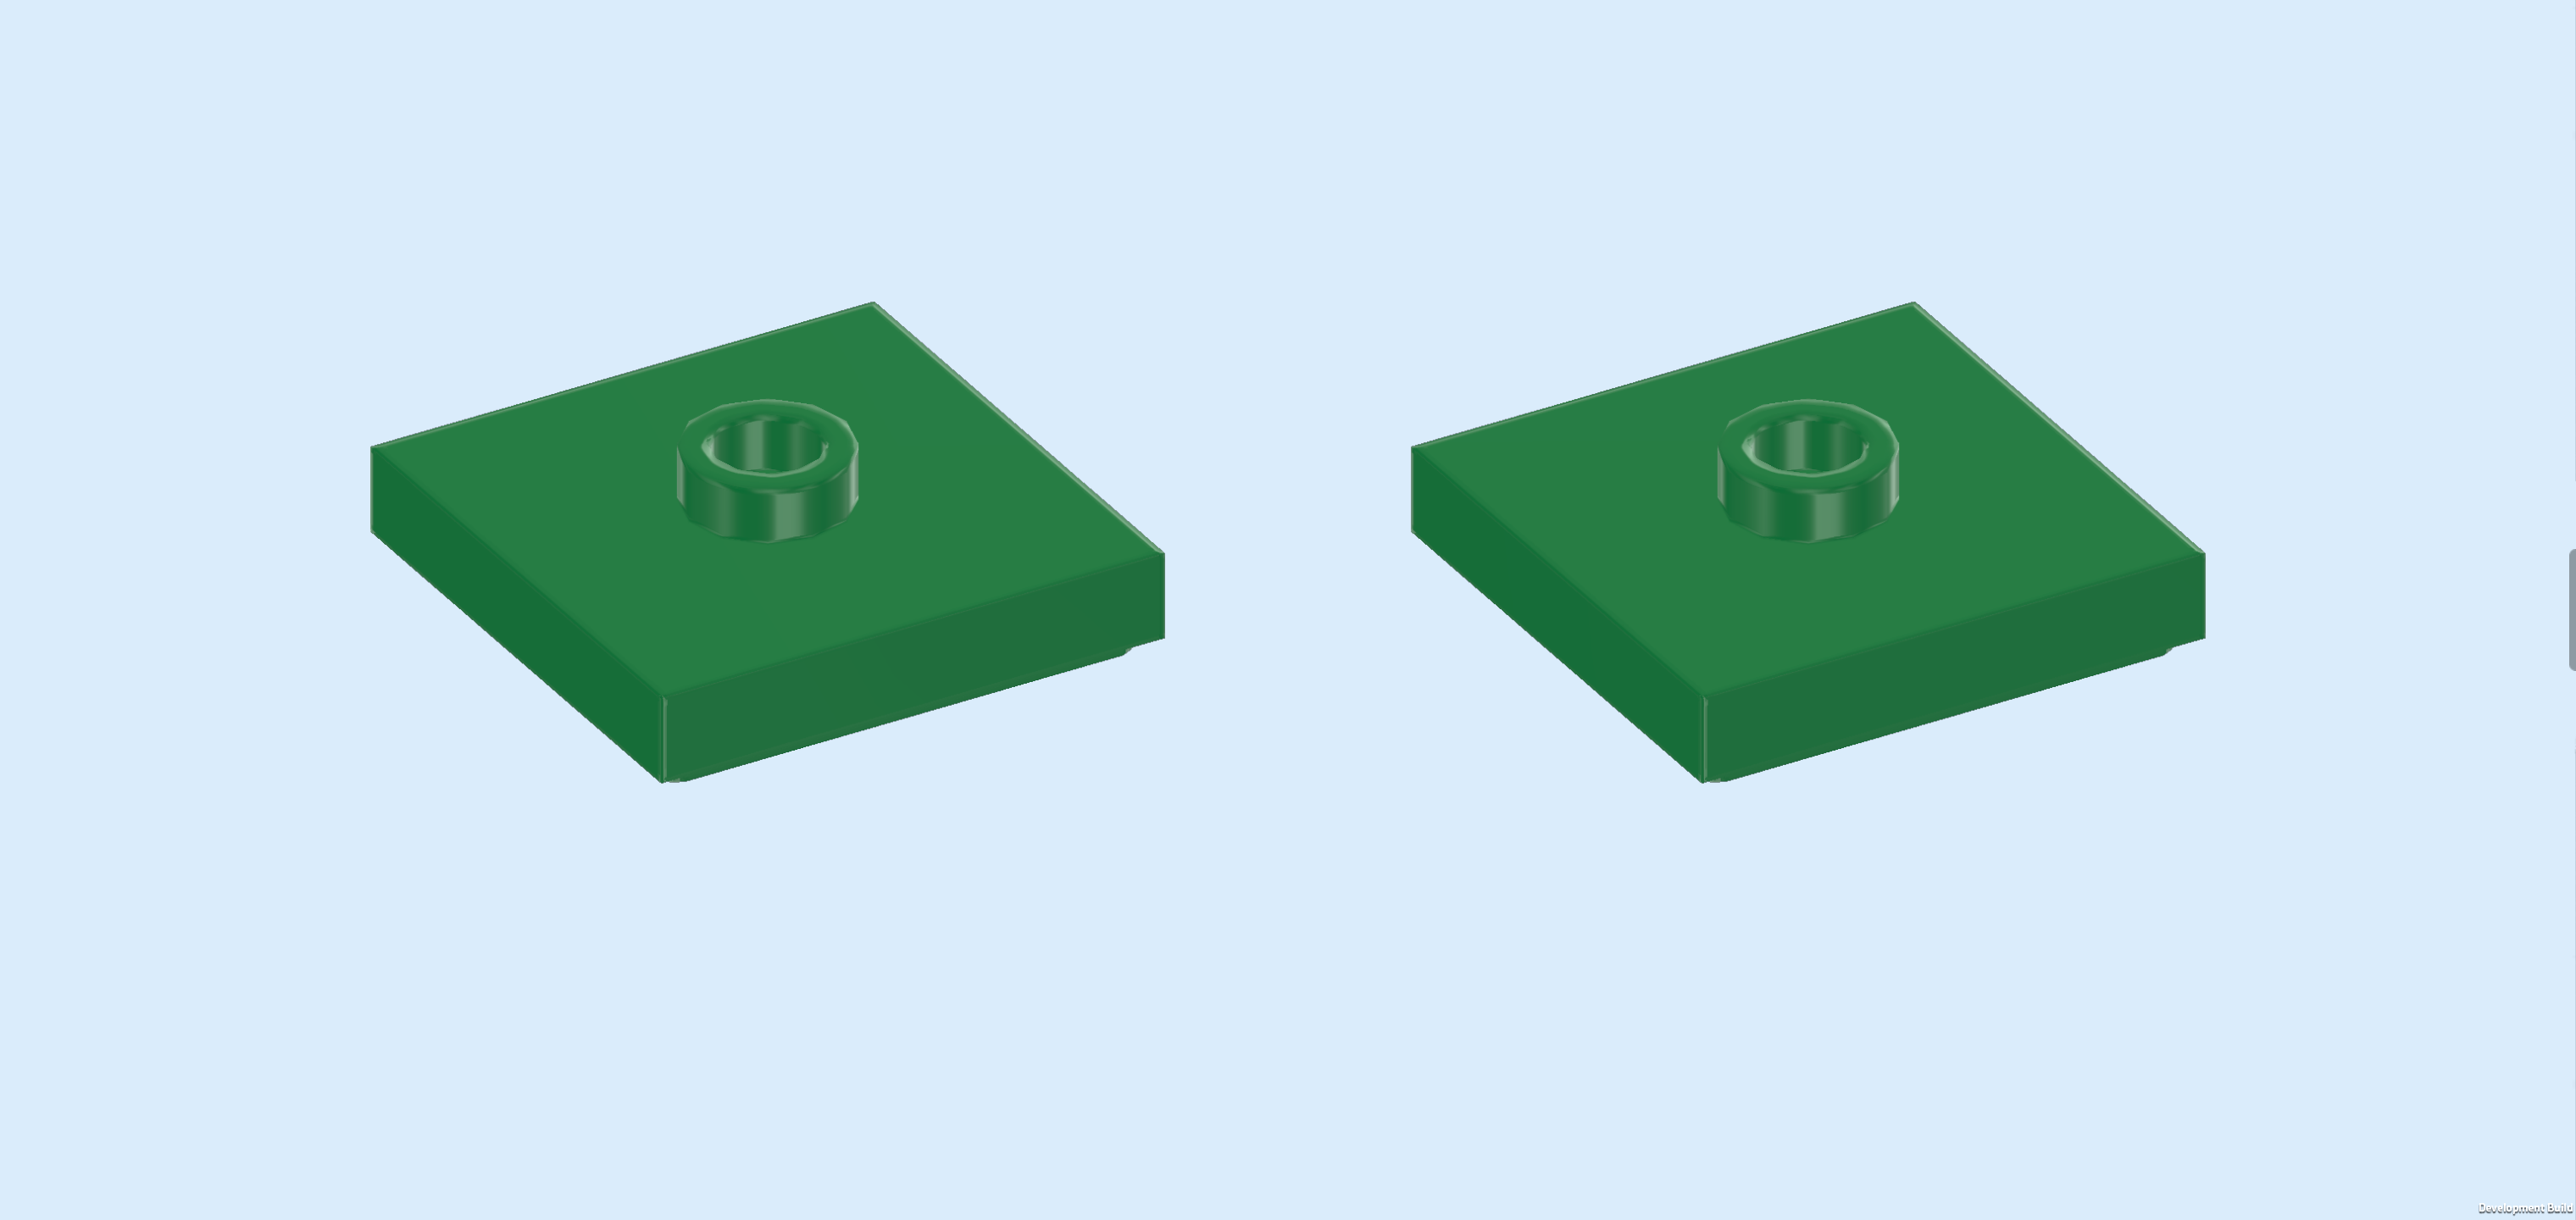
| Find 2 dark green plates 2x2 with 1 knob. |
| Put 1 in front of the previous piece. This means it will sit in the front left corner of the plate 8x8. |
| Repeat symmetrically on the right. |
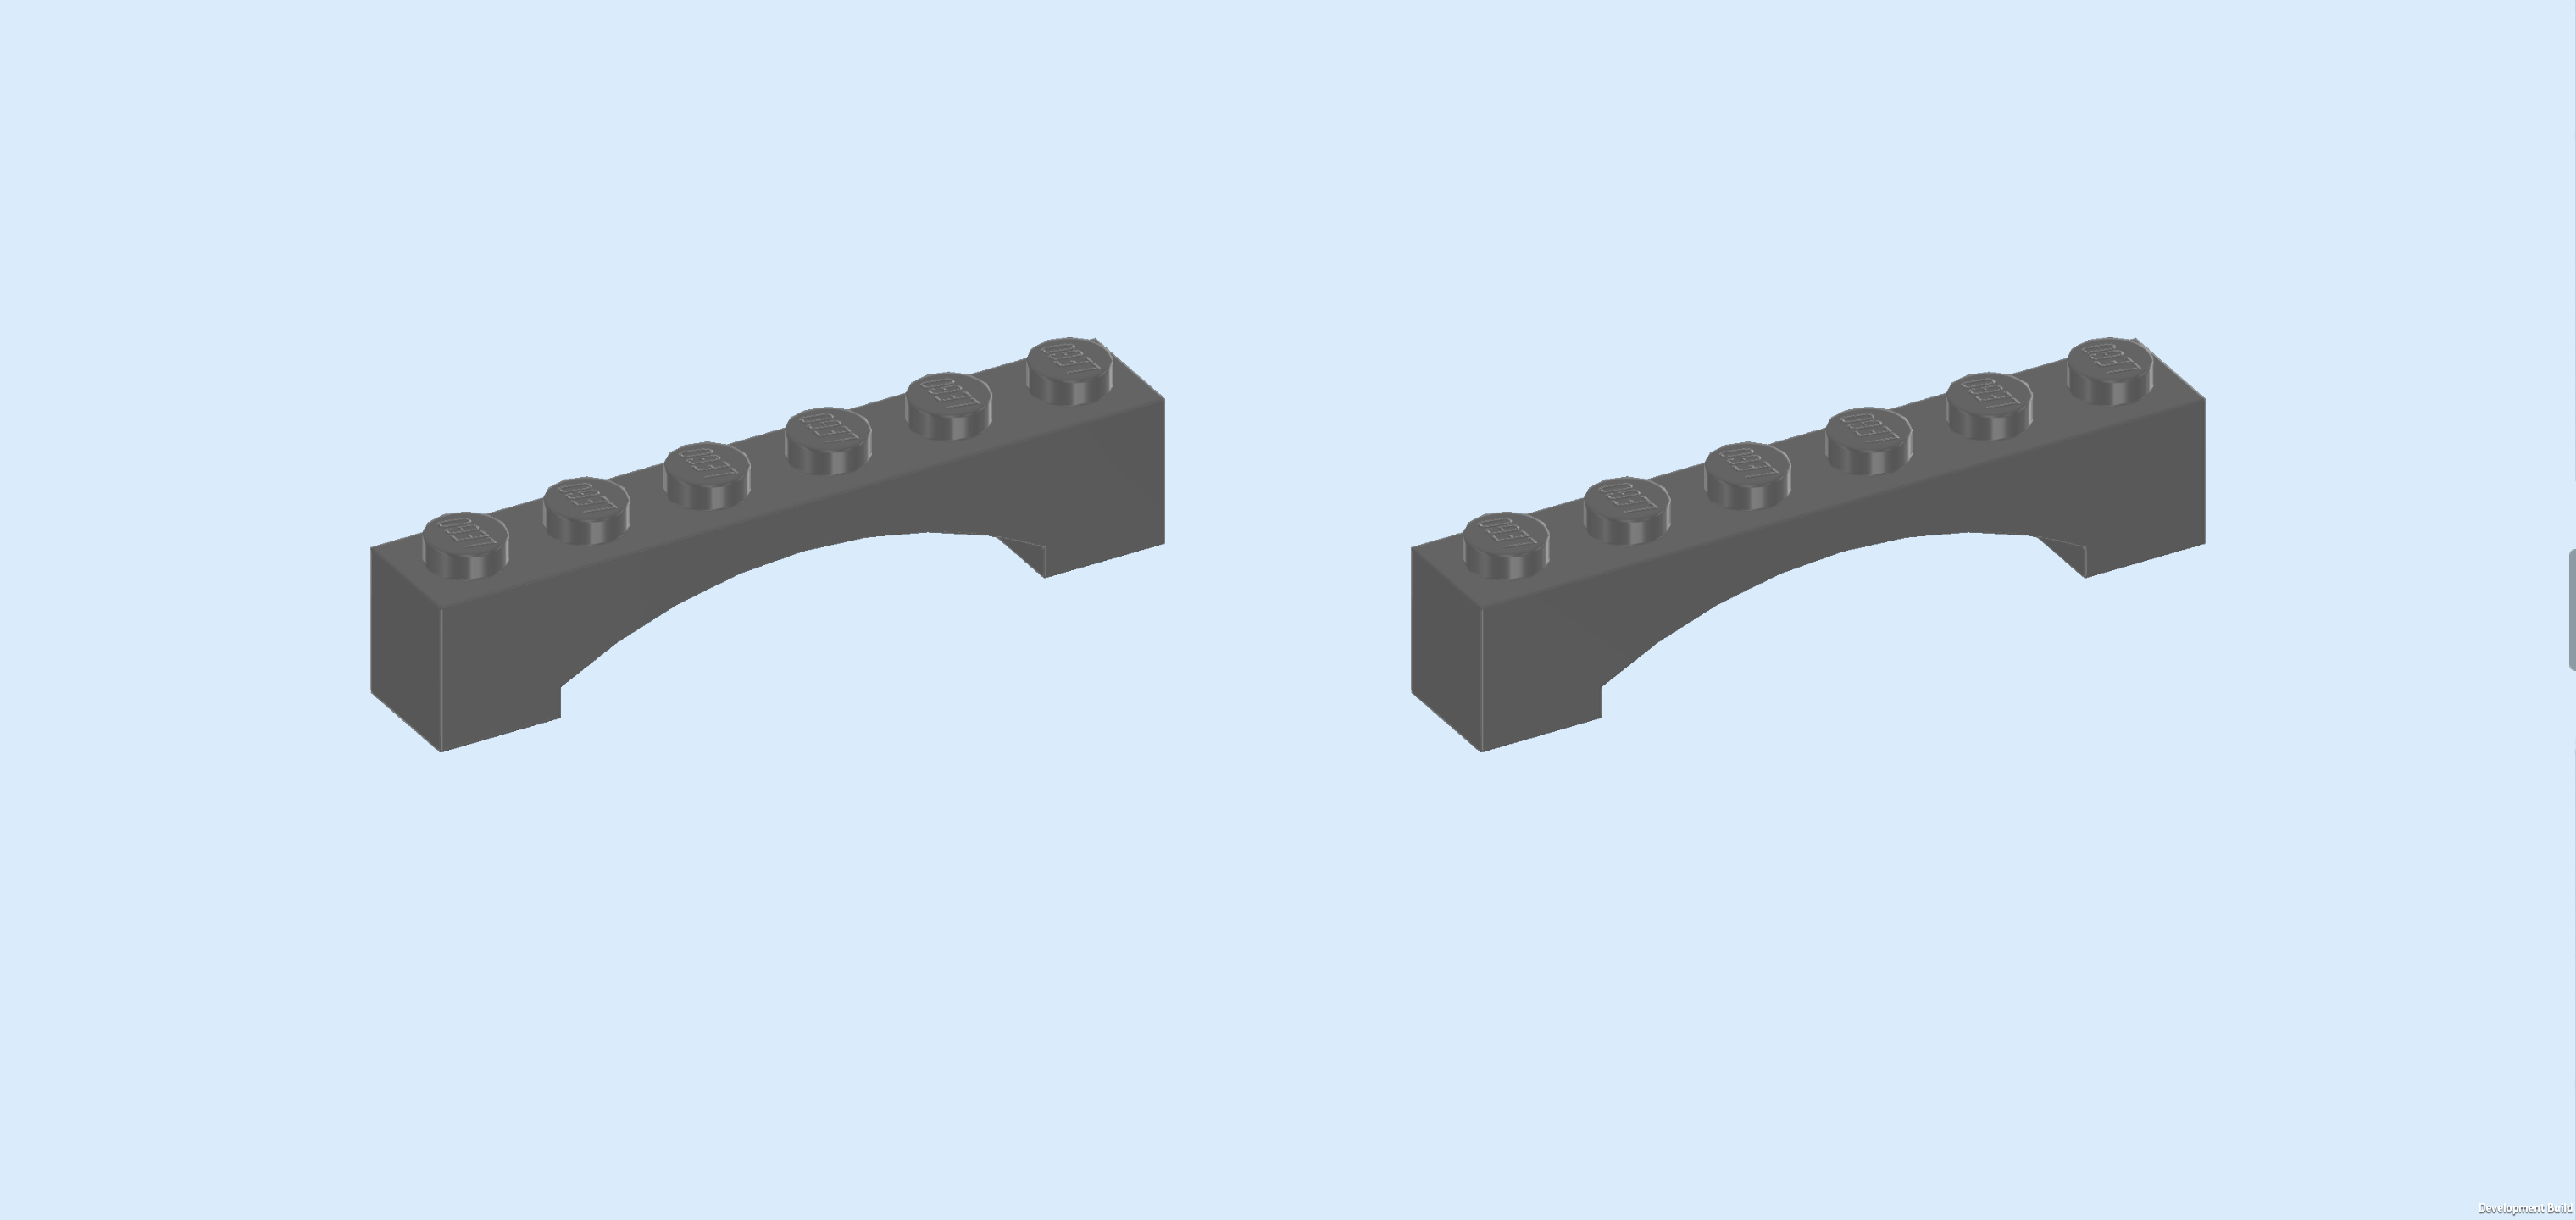
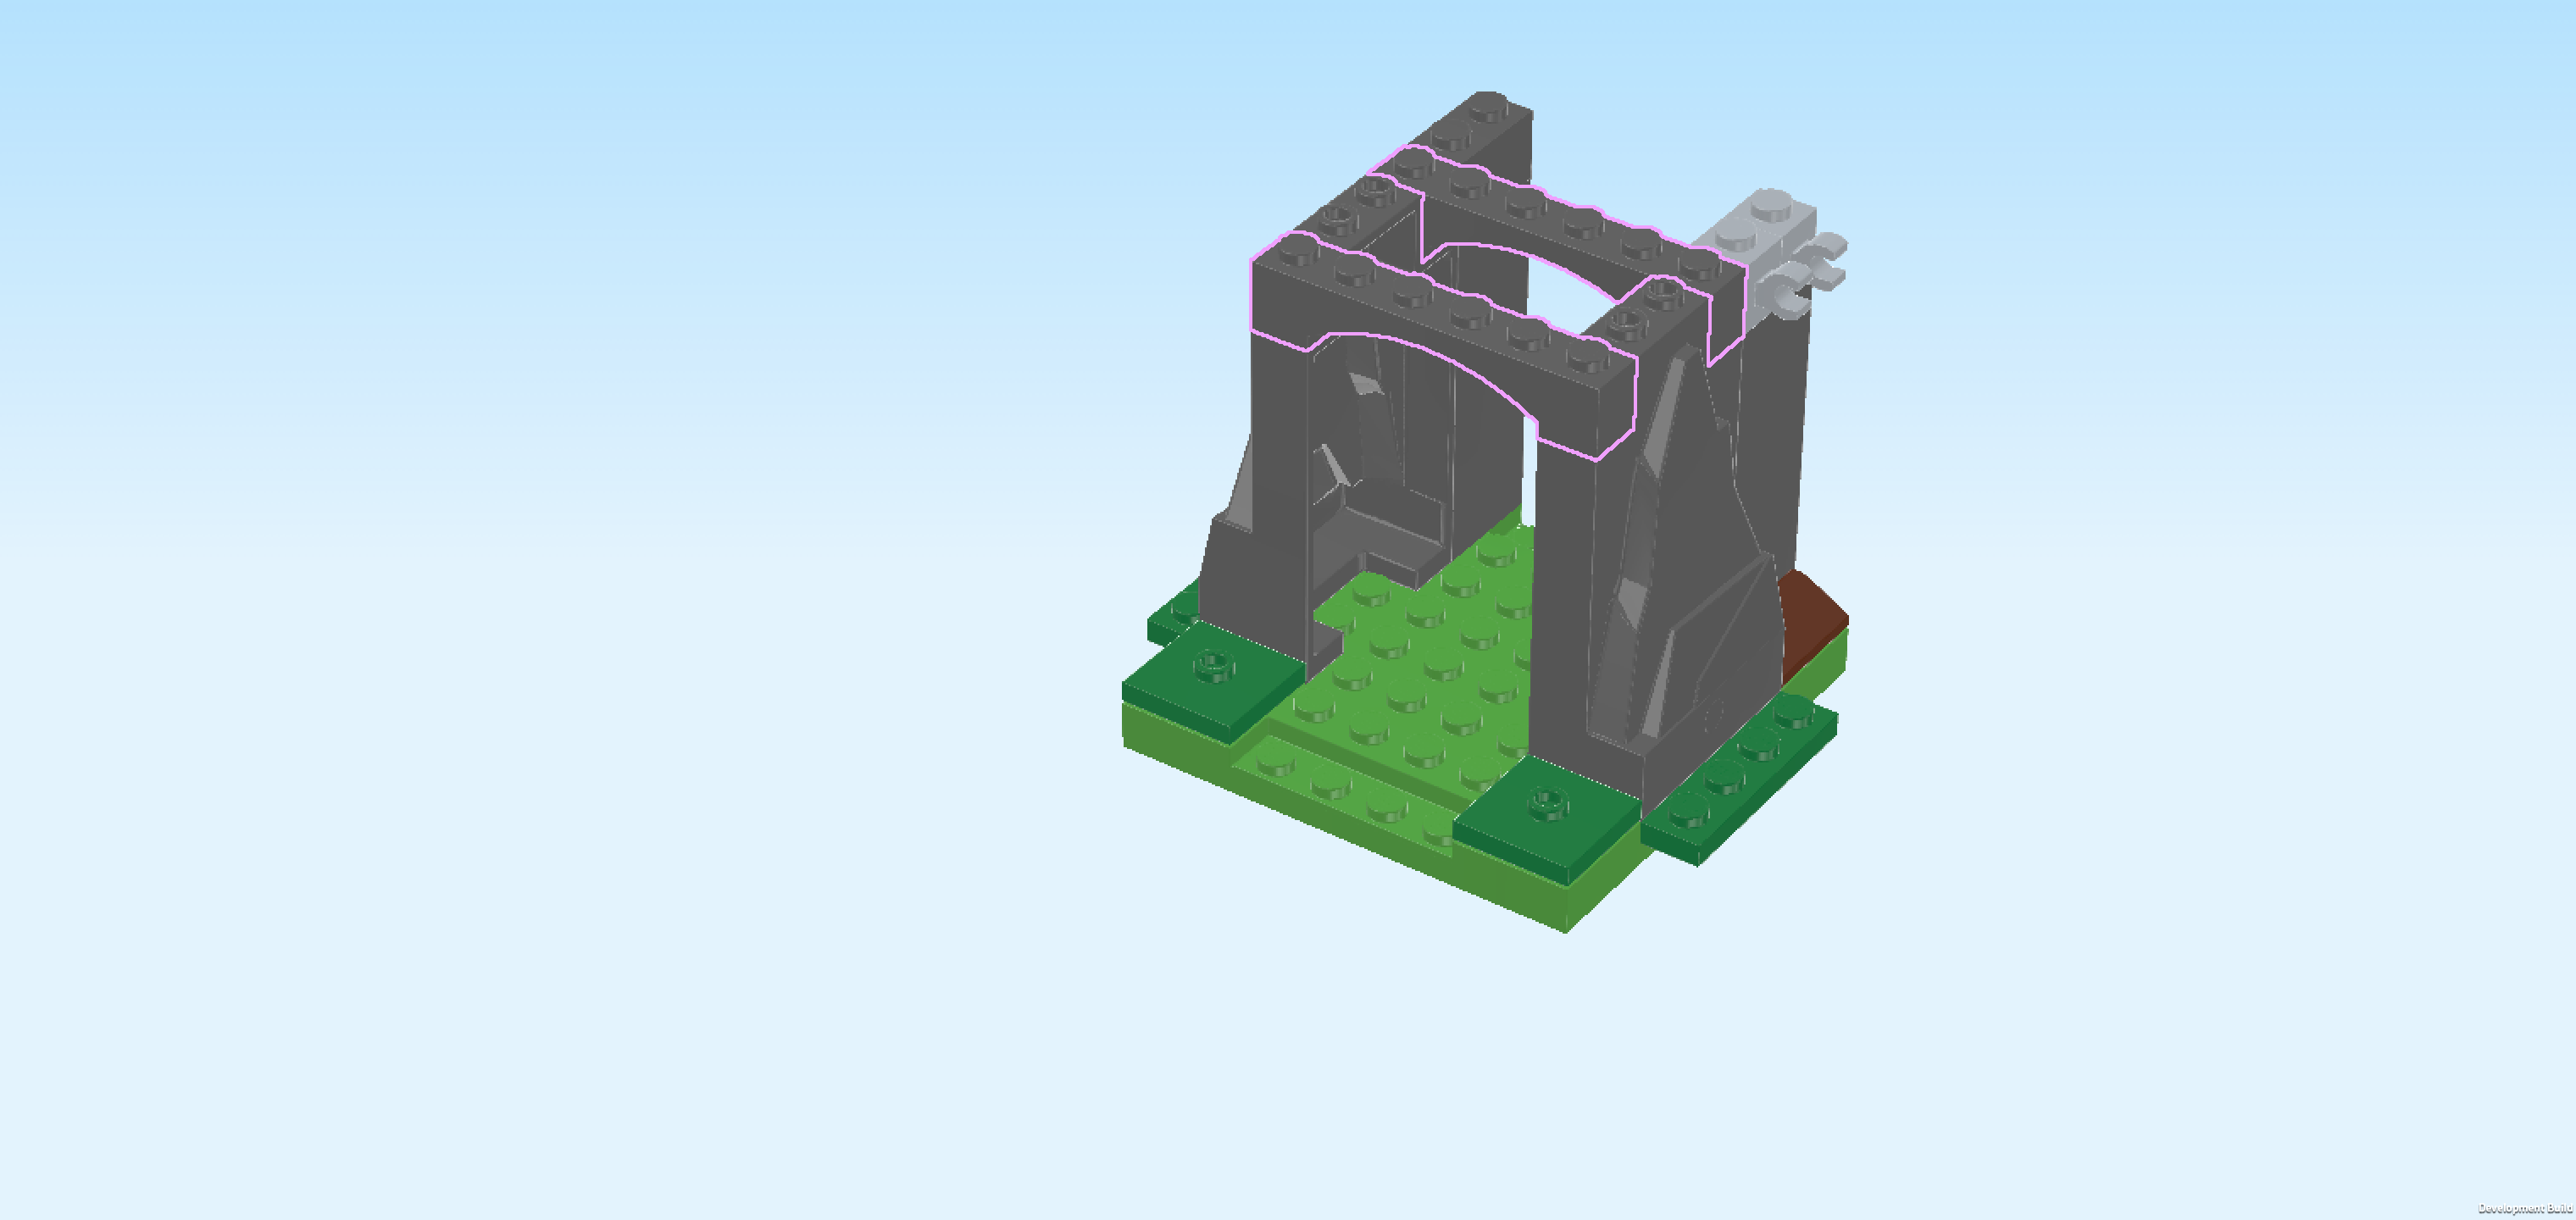
| Find 2 dark stone grey bricks 1x6 with inside arch. |
| Put 1 horizontally on the backmost knobs of the rock formation bricks to connect them. |
| Repeat symmetrically on the frontmost knobs of the rock formation bricks. |
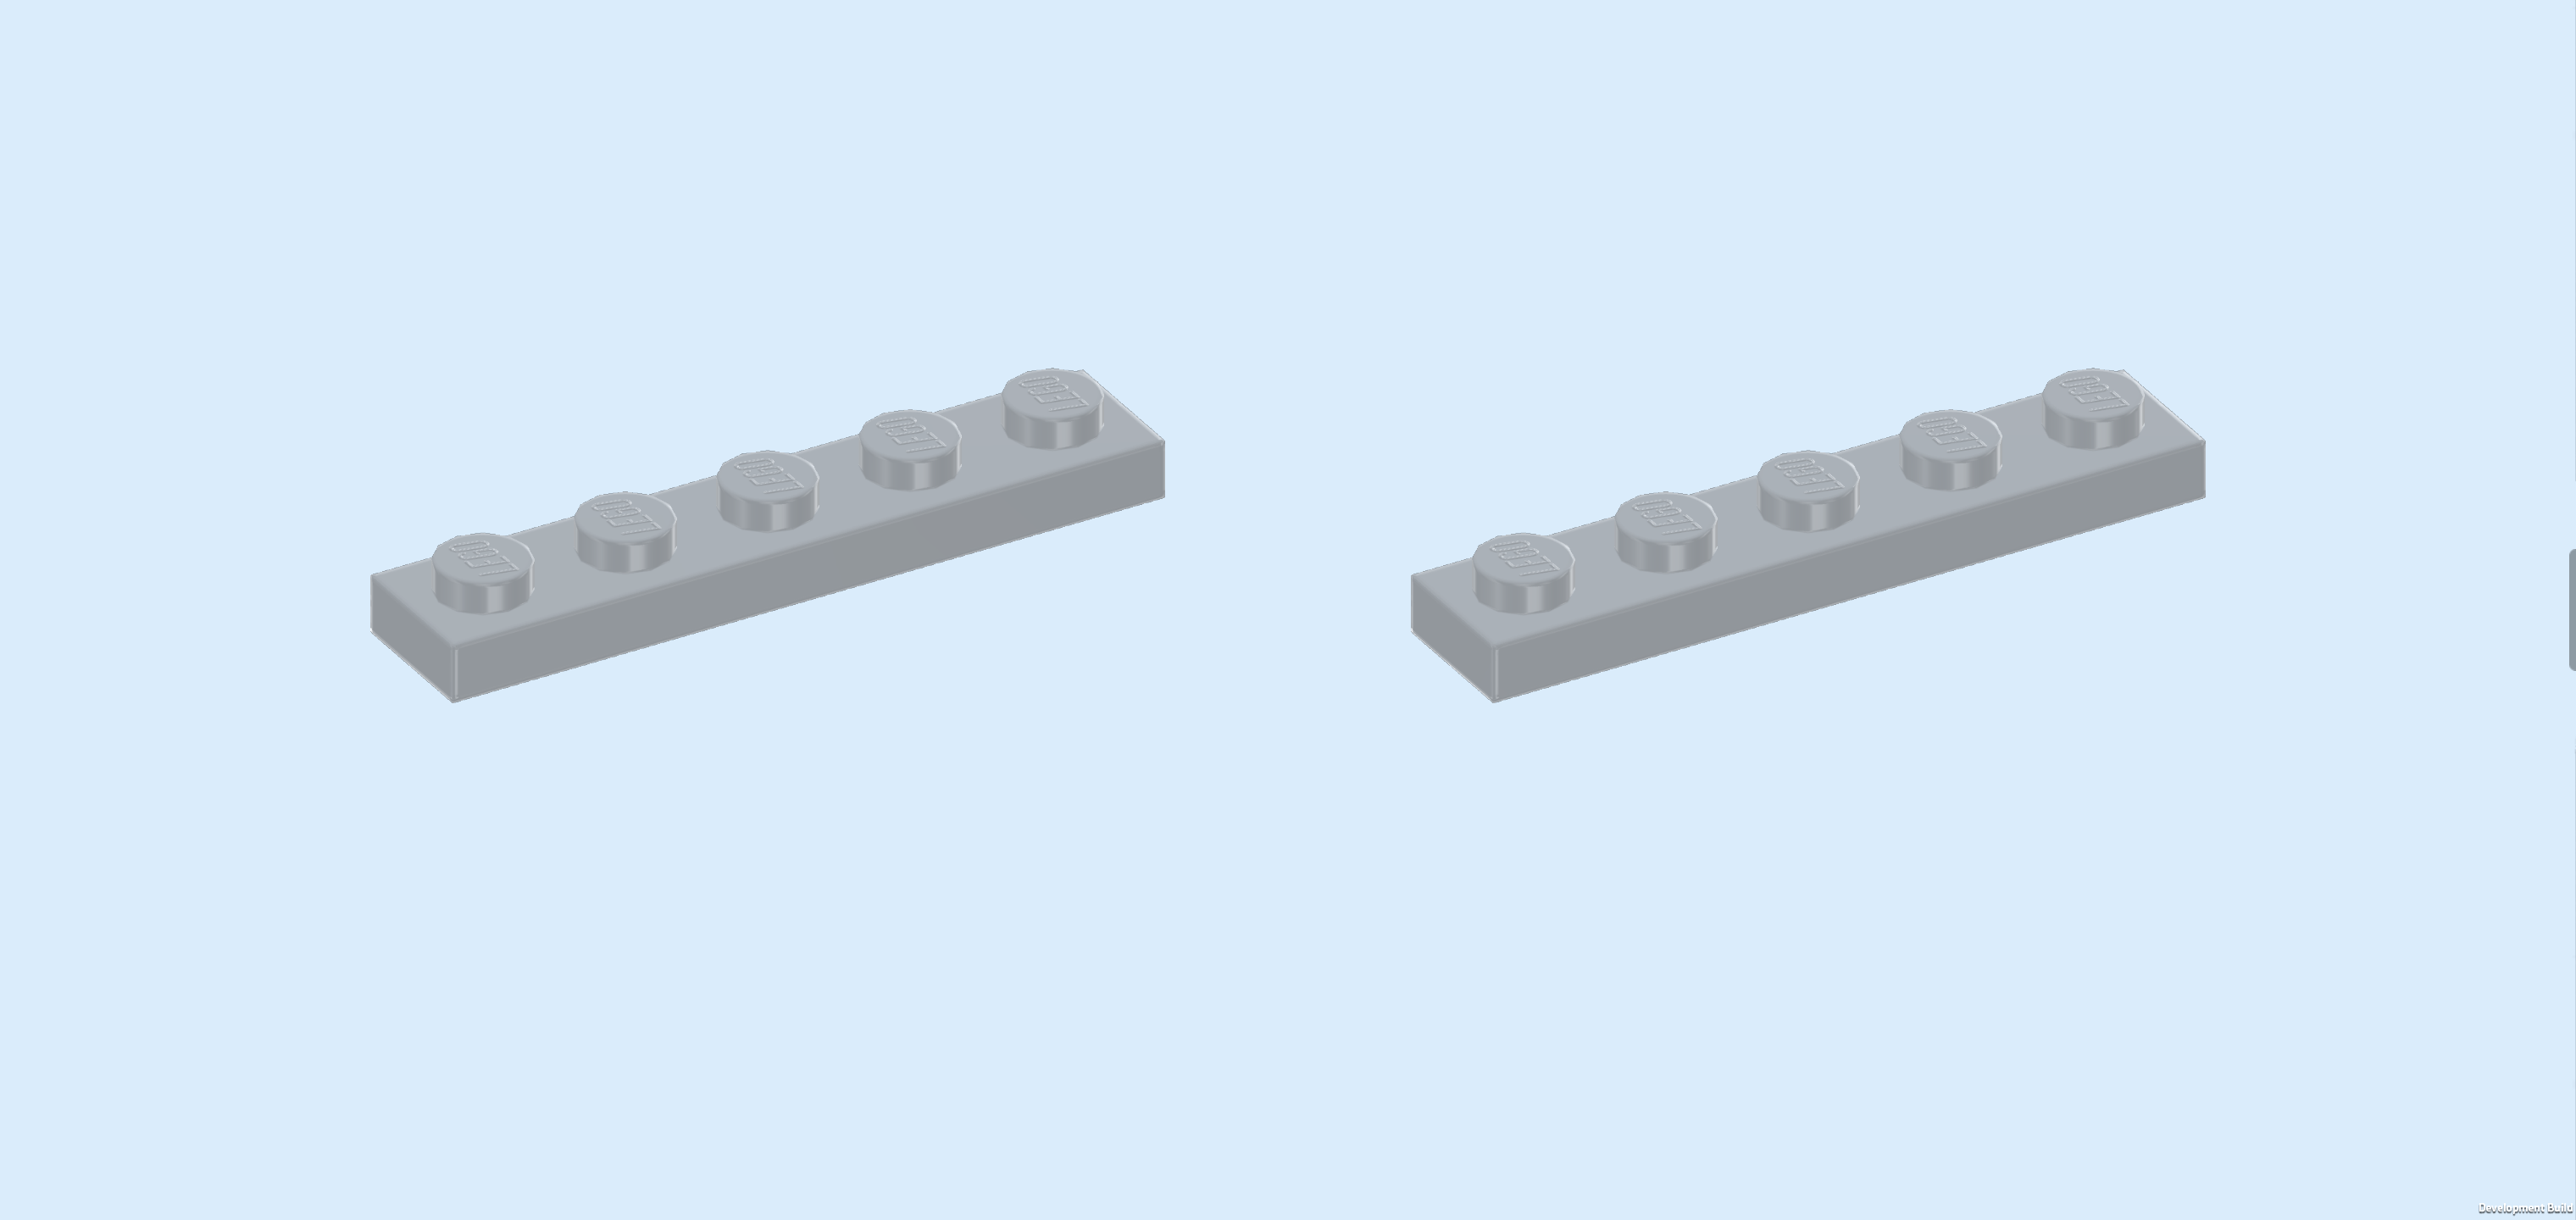
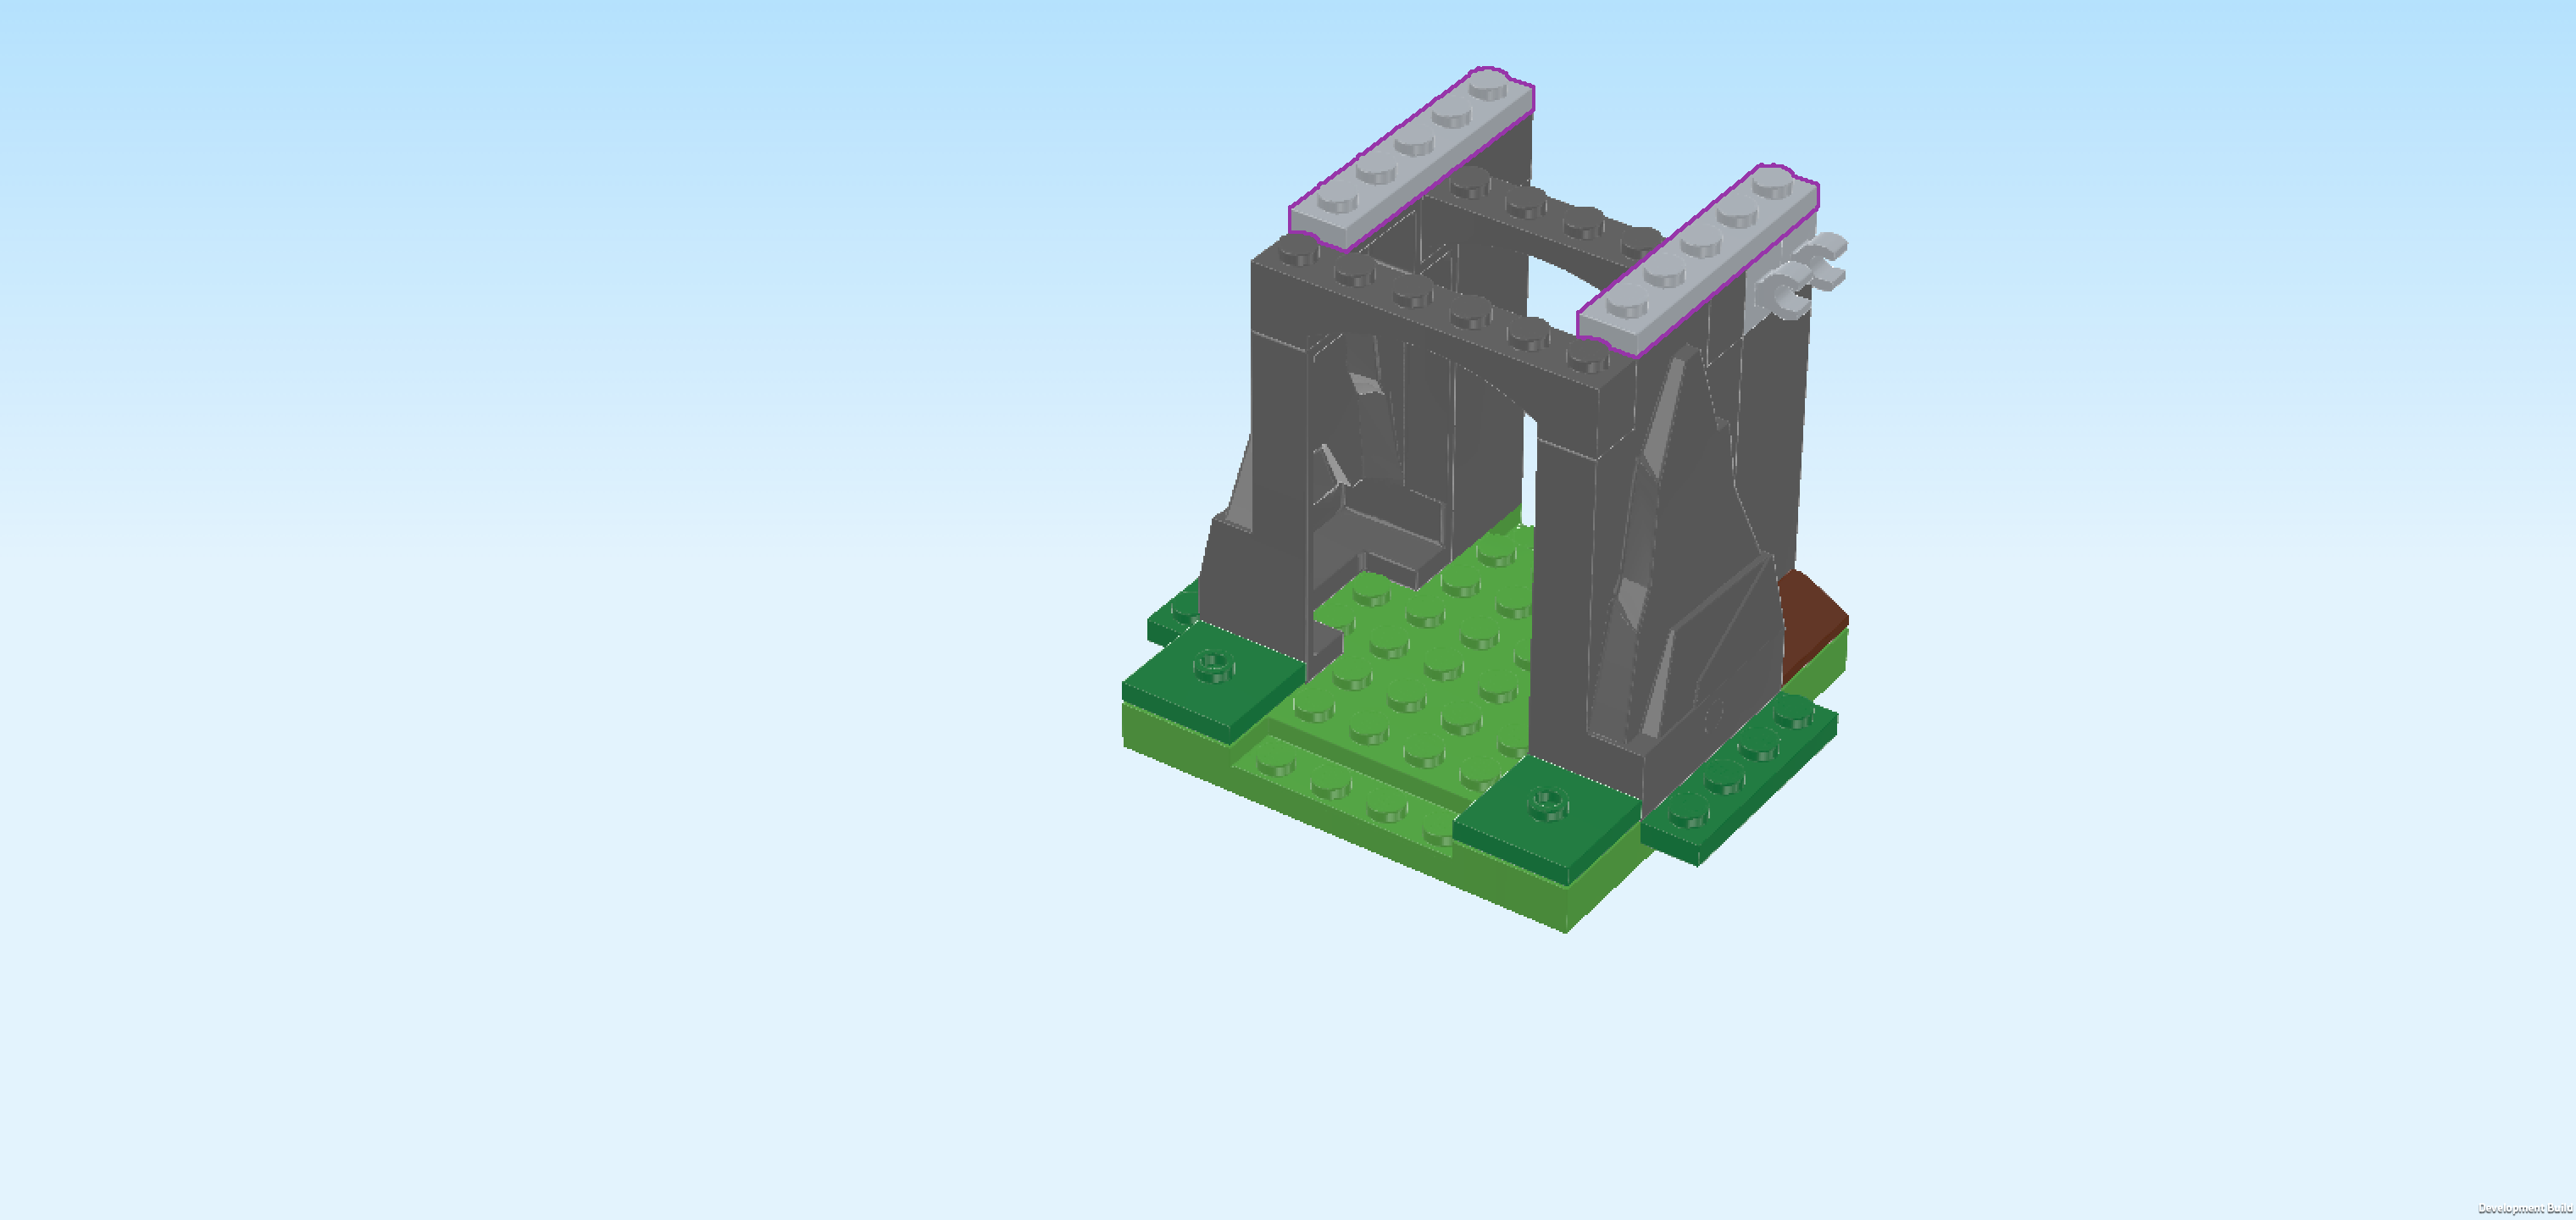
| Find 2 medium stone grey plates 1x5. |
| Put 1 vertically on the leftmost column of the structure, starting from the back edge. |
| Repeat symmetrically on the right. |
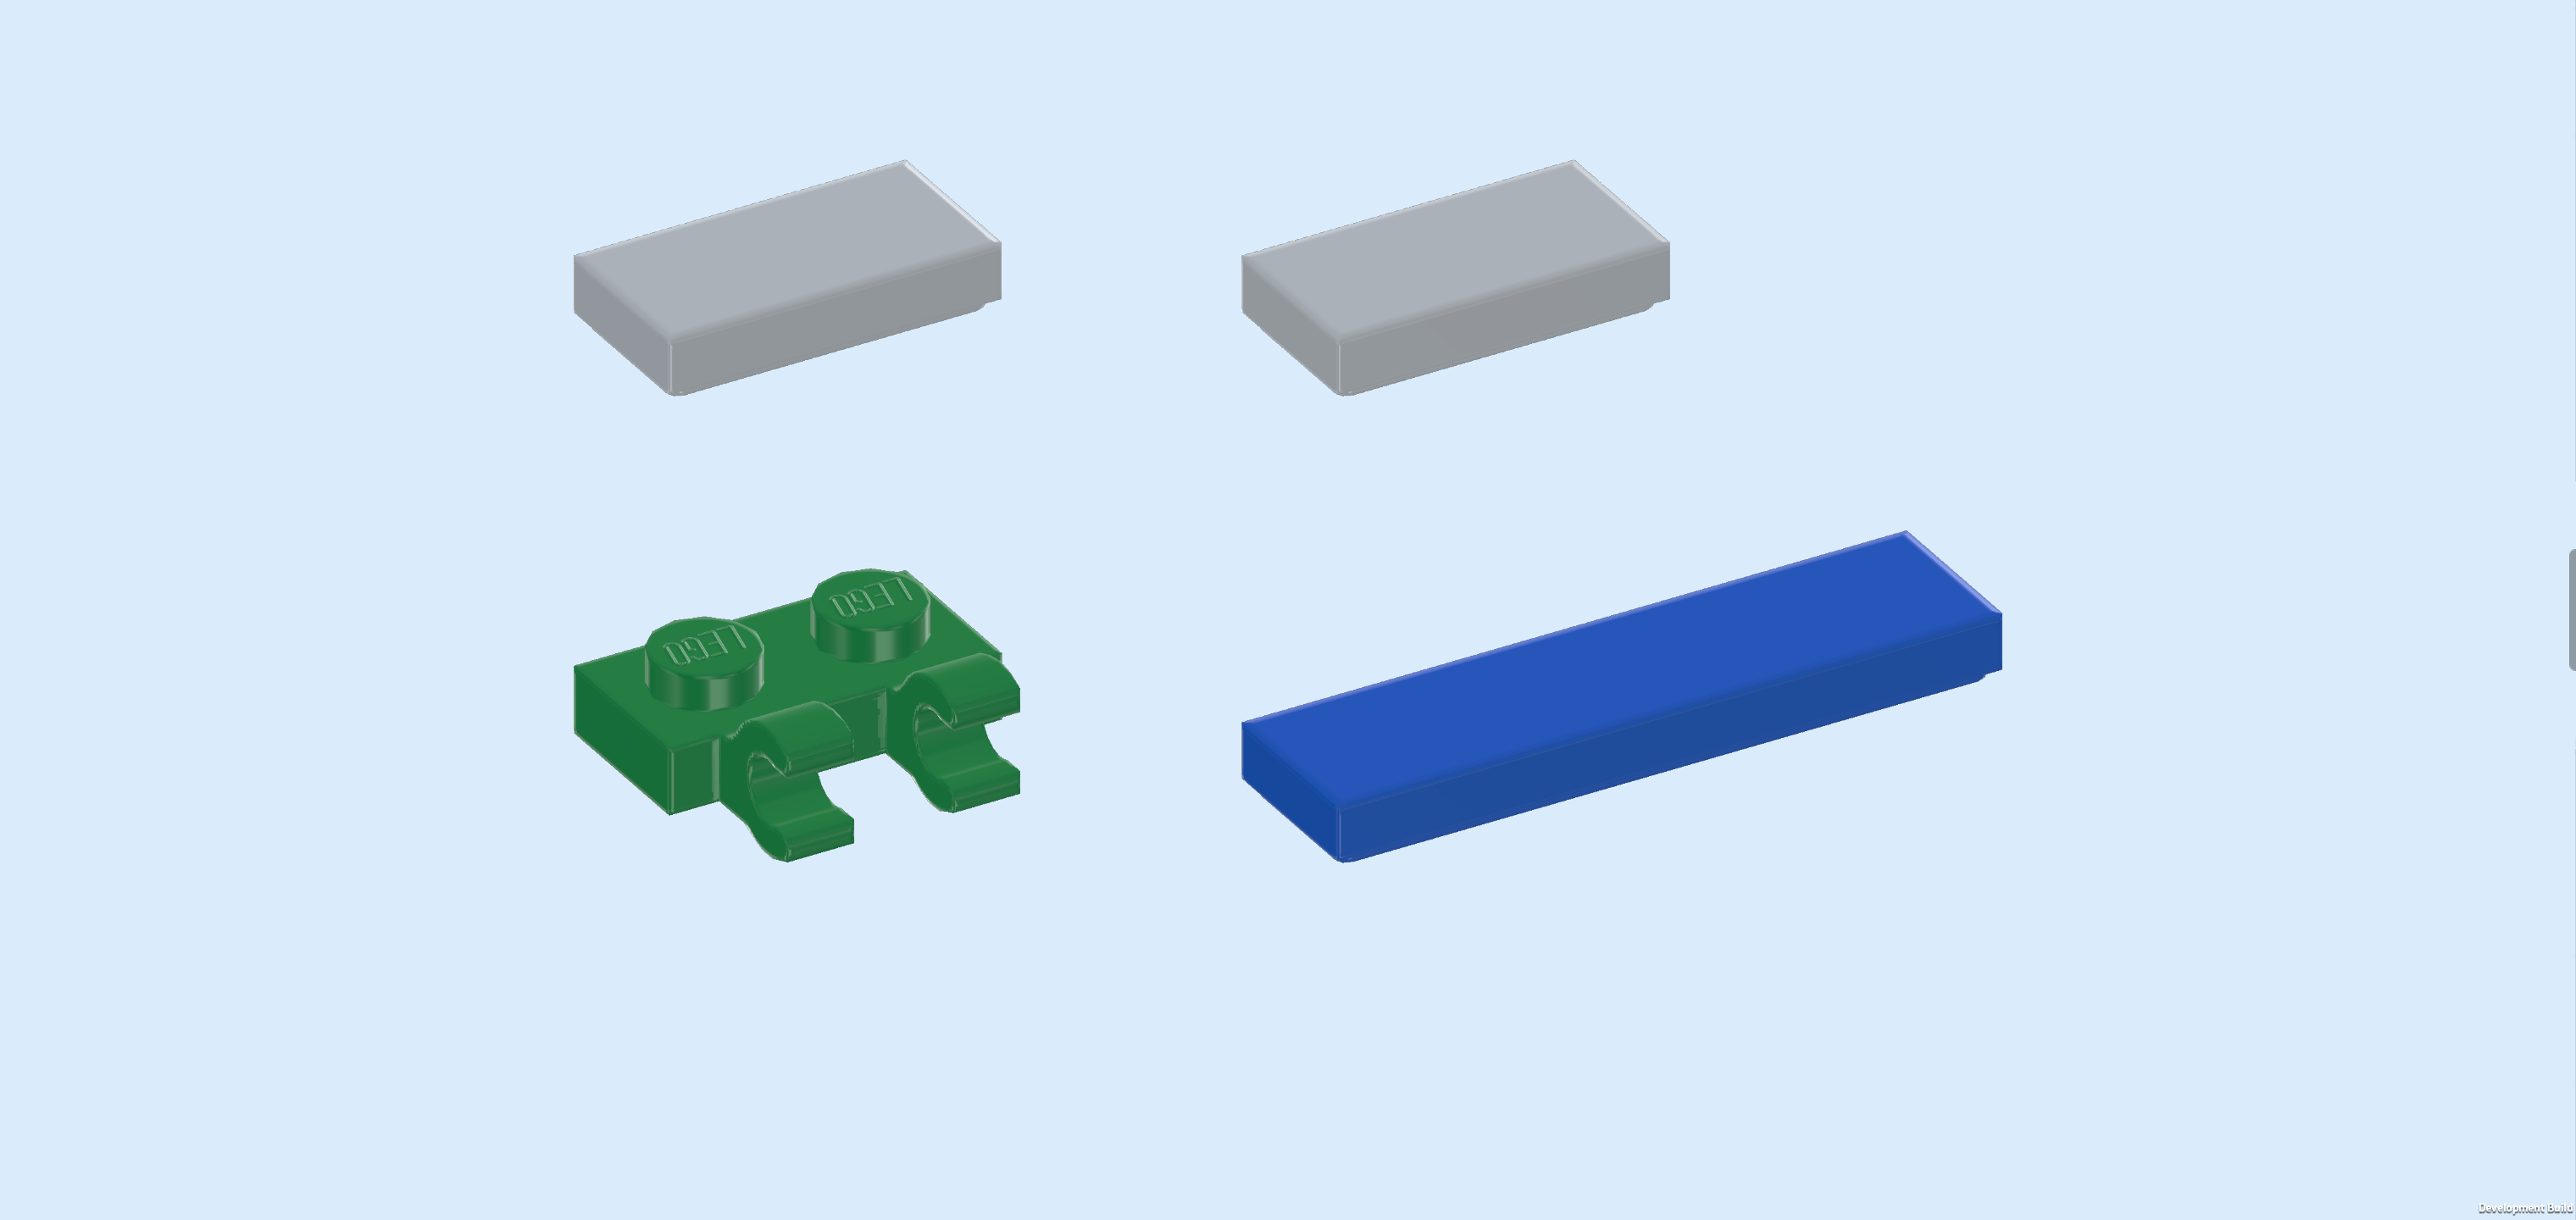
| Collect the following 4 pieces: |
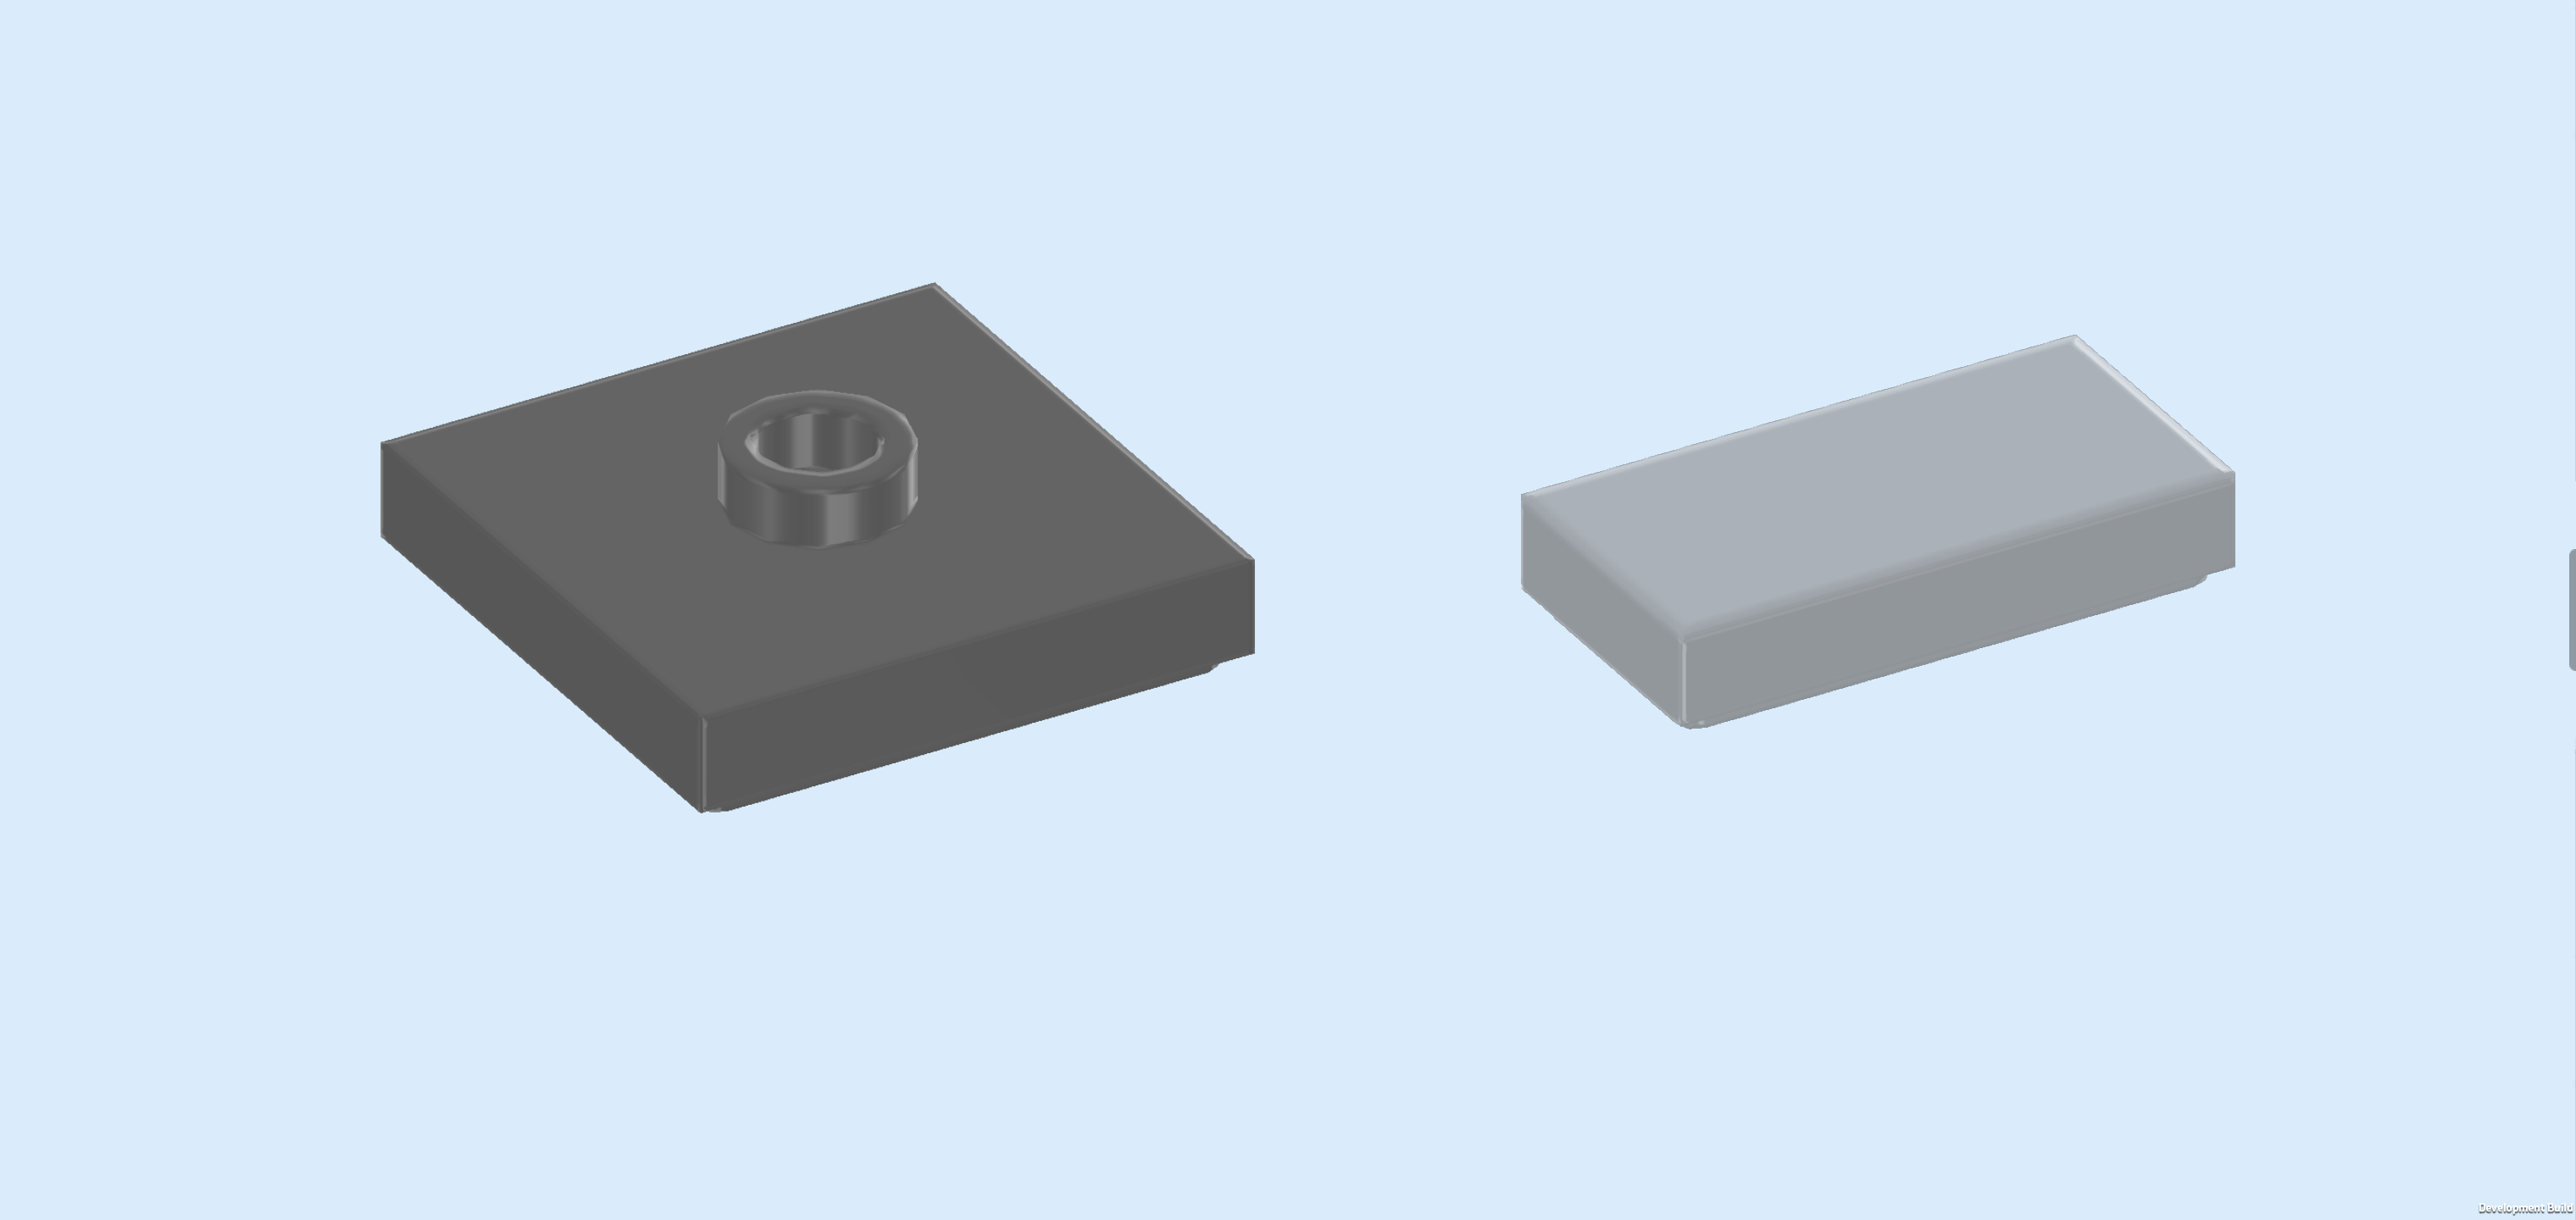
| 1 bright blue flat tile 1x4, |
| 2 medium stone grey flat tiles 1x2, |
| and 1 dark green plate 1x2 with 2 vertical clasps on long side. |
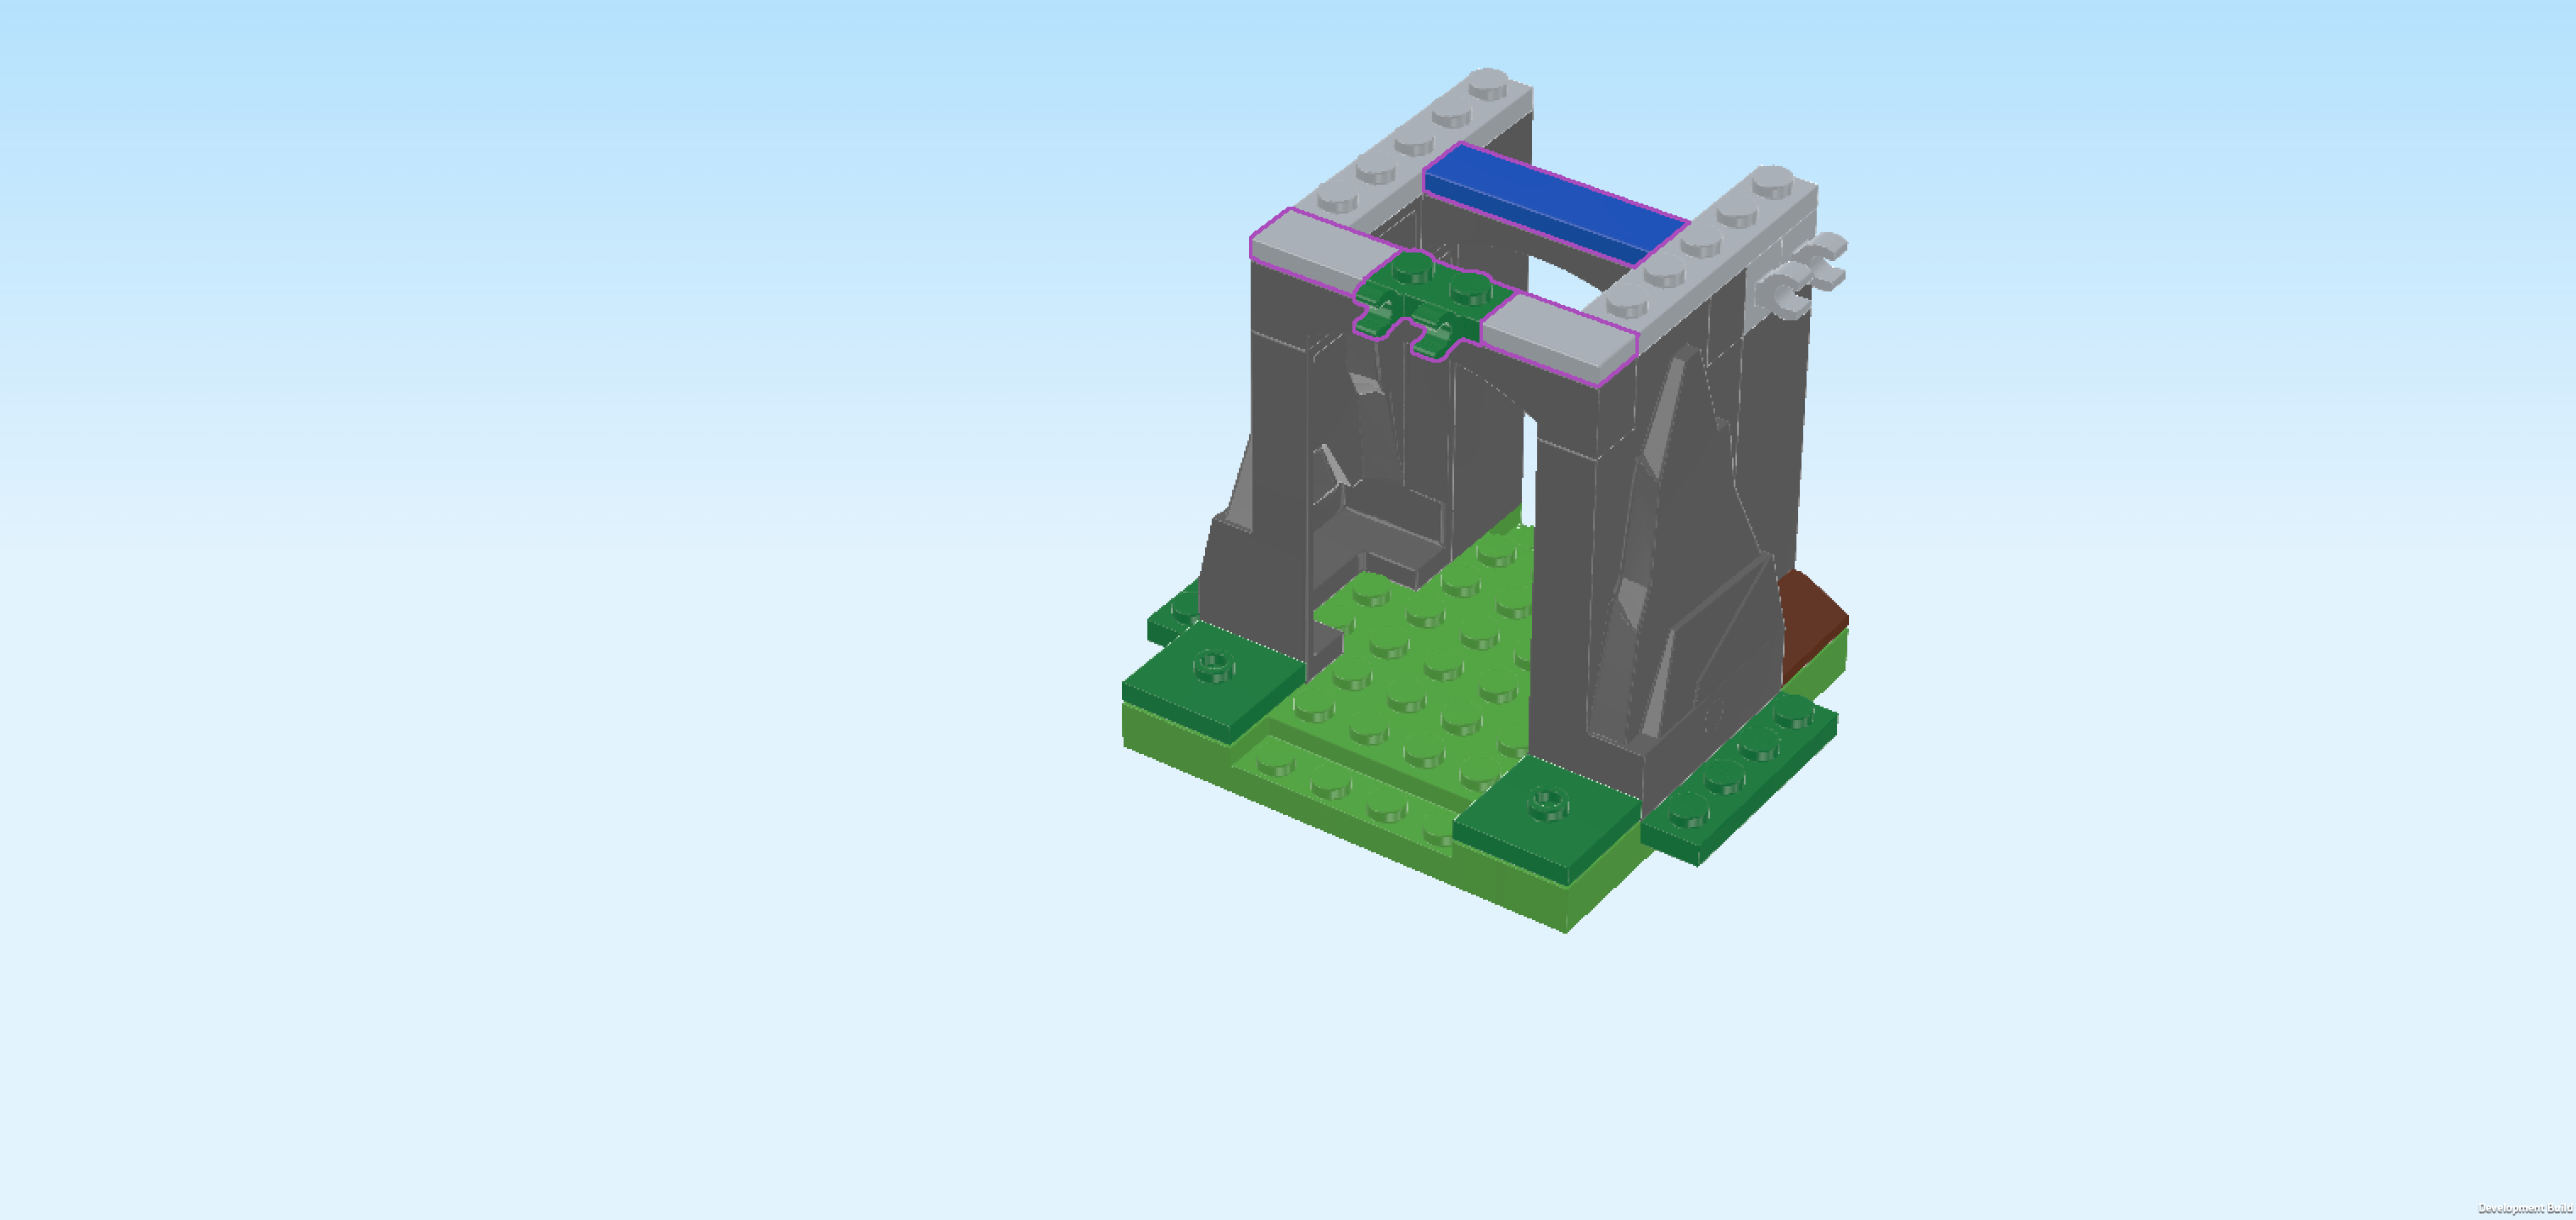
| Put 1 flat tile 1x2 horizontally on the front crossbeam of the high part of the structure, starting from the right edge. |
| Put the plate with 2 clasps horizontally to the left of the previous piece, clasps protruding to the front. |
| Put the other flat tile 1x2 horizontally to the left of the previous piece. |
| Put the flat tile 1x4 horizontally centered on the crossbeam at the back. |
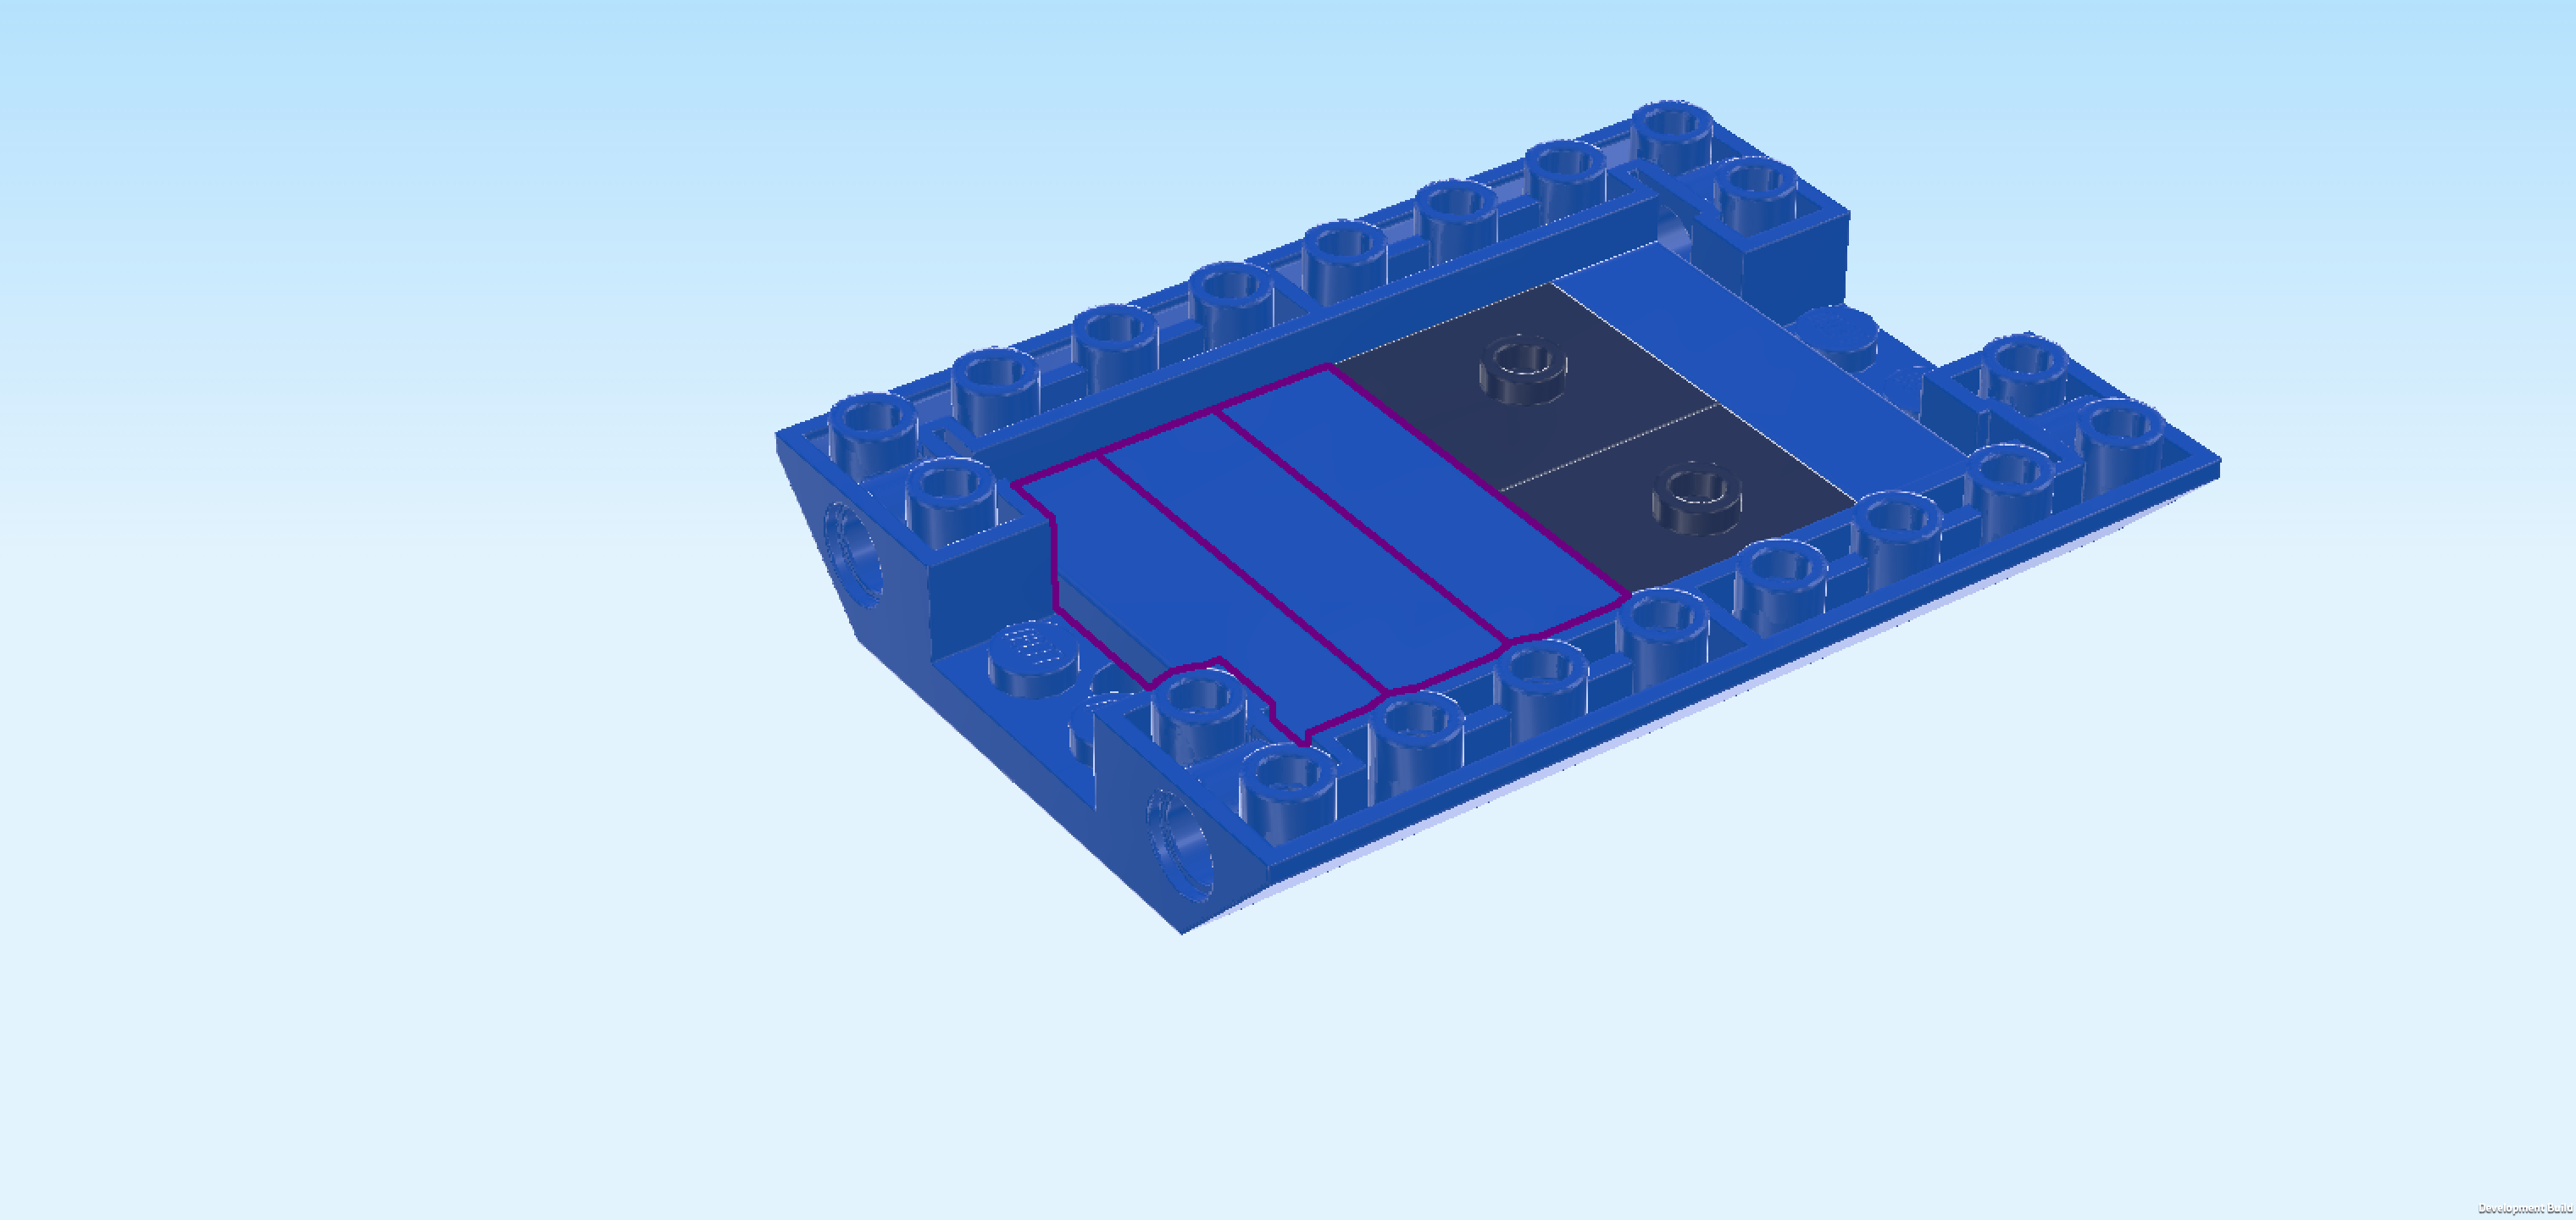
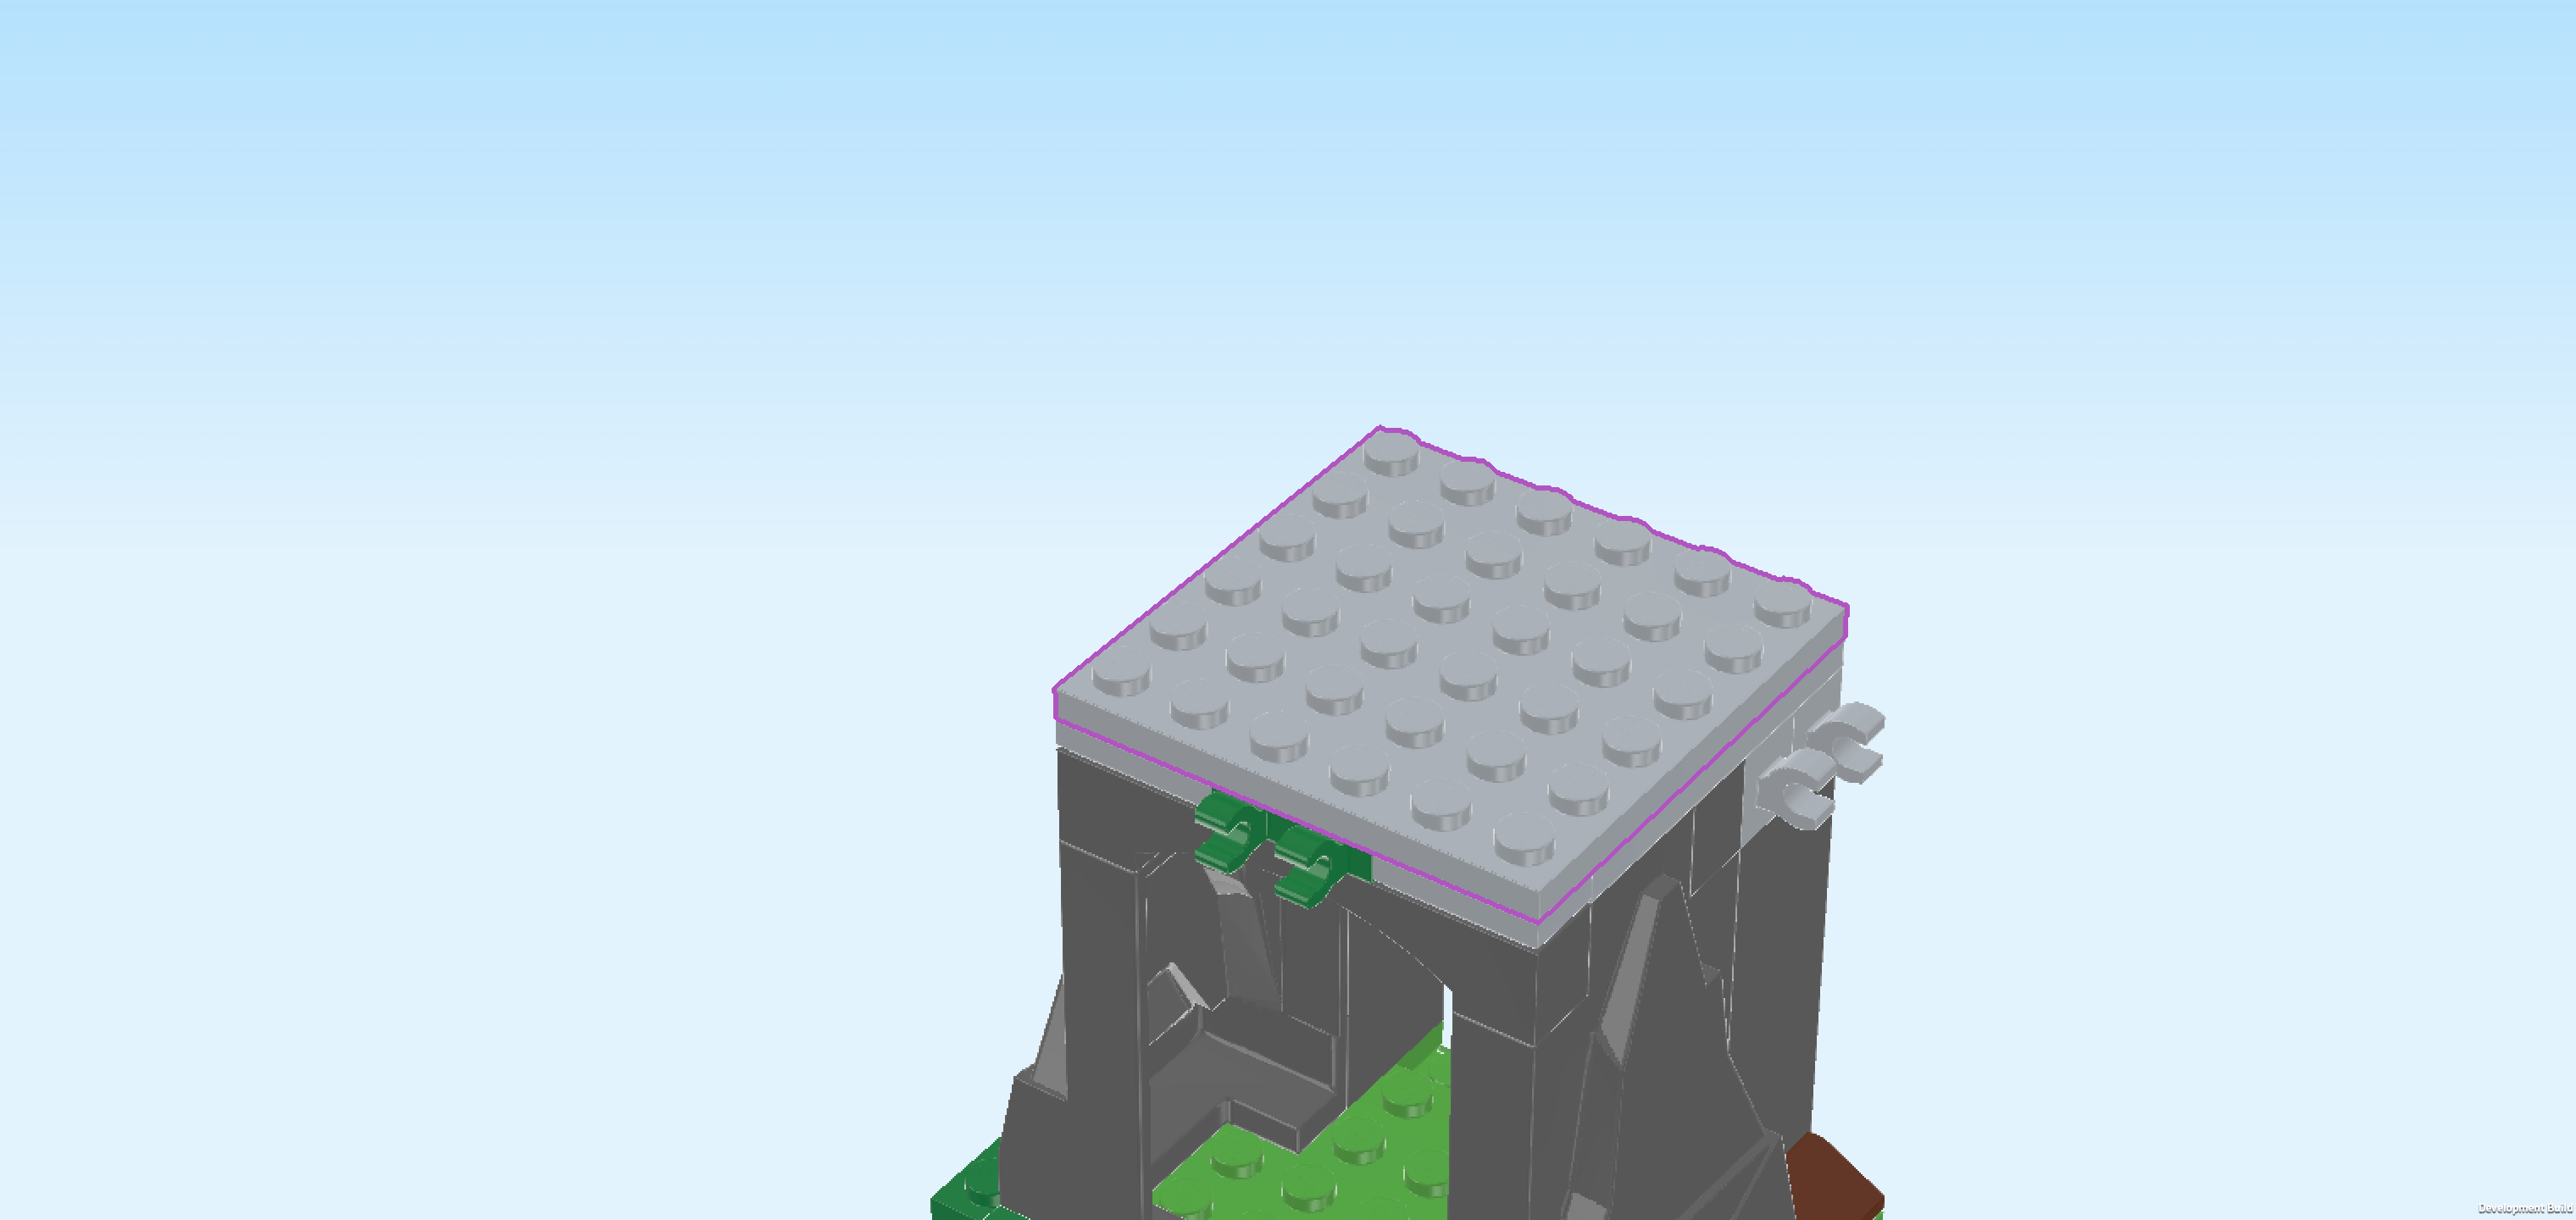
| Find 1 medium stone grey plate 6x6. |
| Put it centered on top of the high structure. Make sure that its front edge is aligned with the front edge of the structure so that only the 2 clasps are protruding from underneath. |
| Collect the following 2 pieces: |
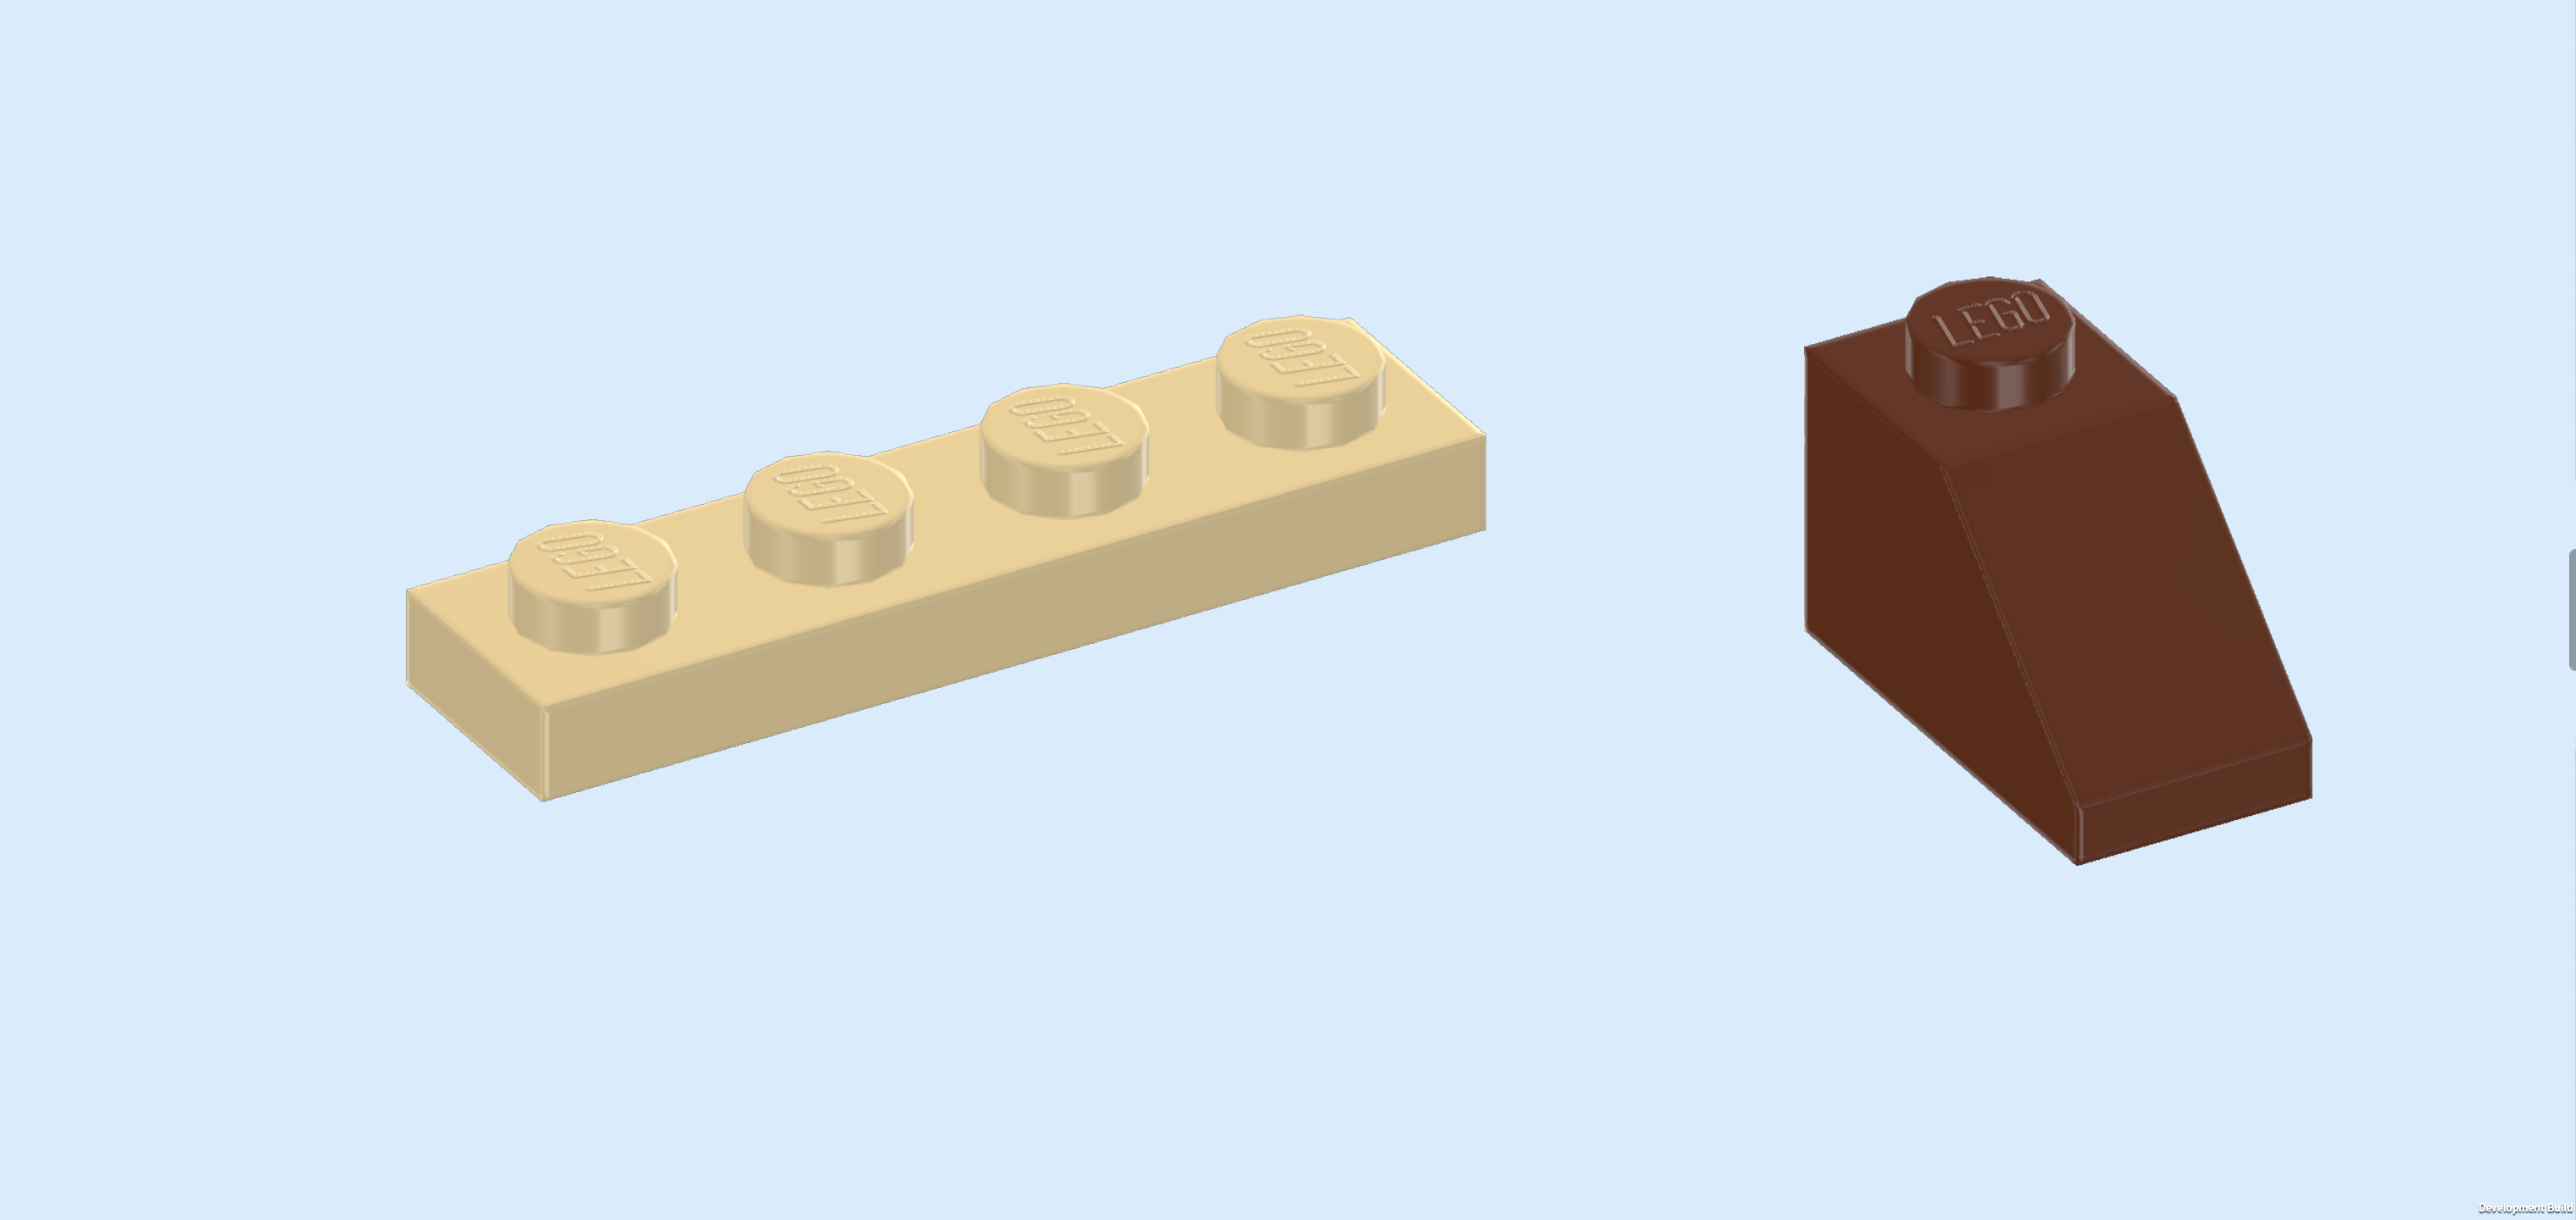
| 1 beige plate 1x4, |
| and 1 reddish brown roof tile 1x2, 45°. |
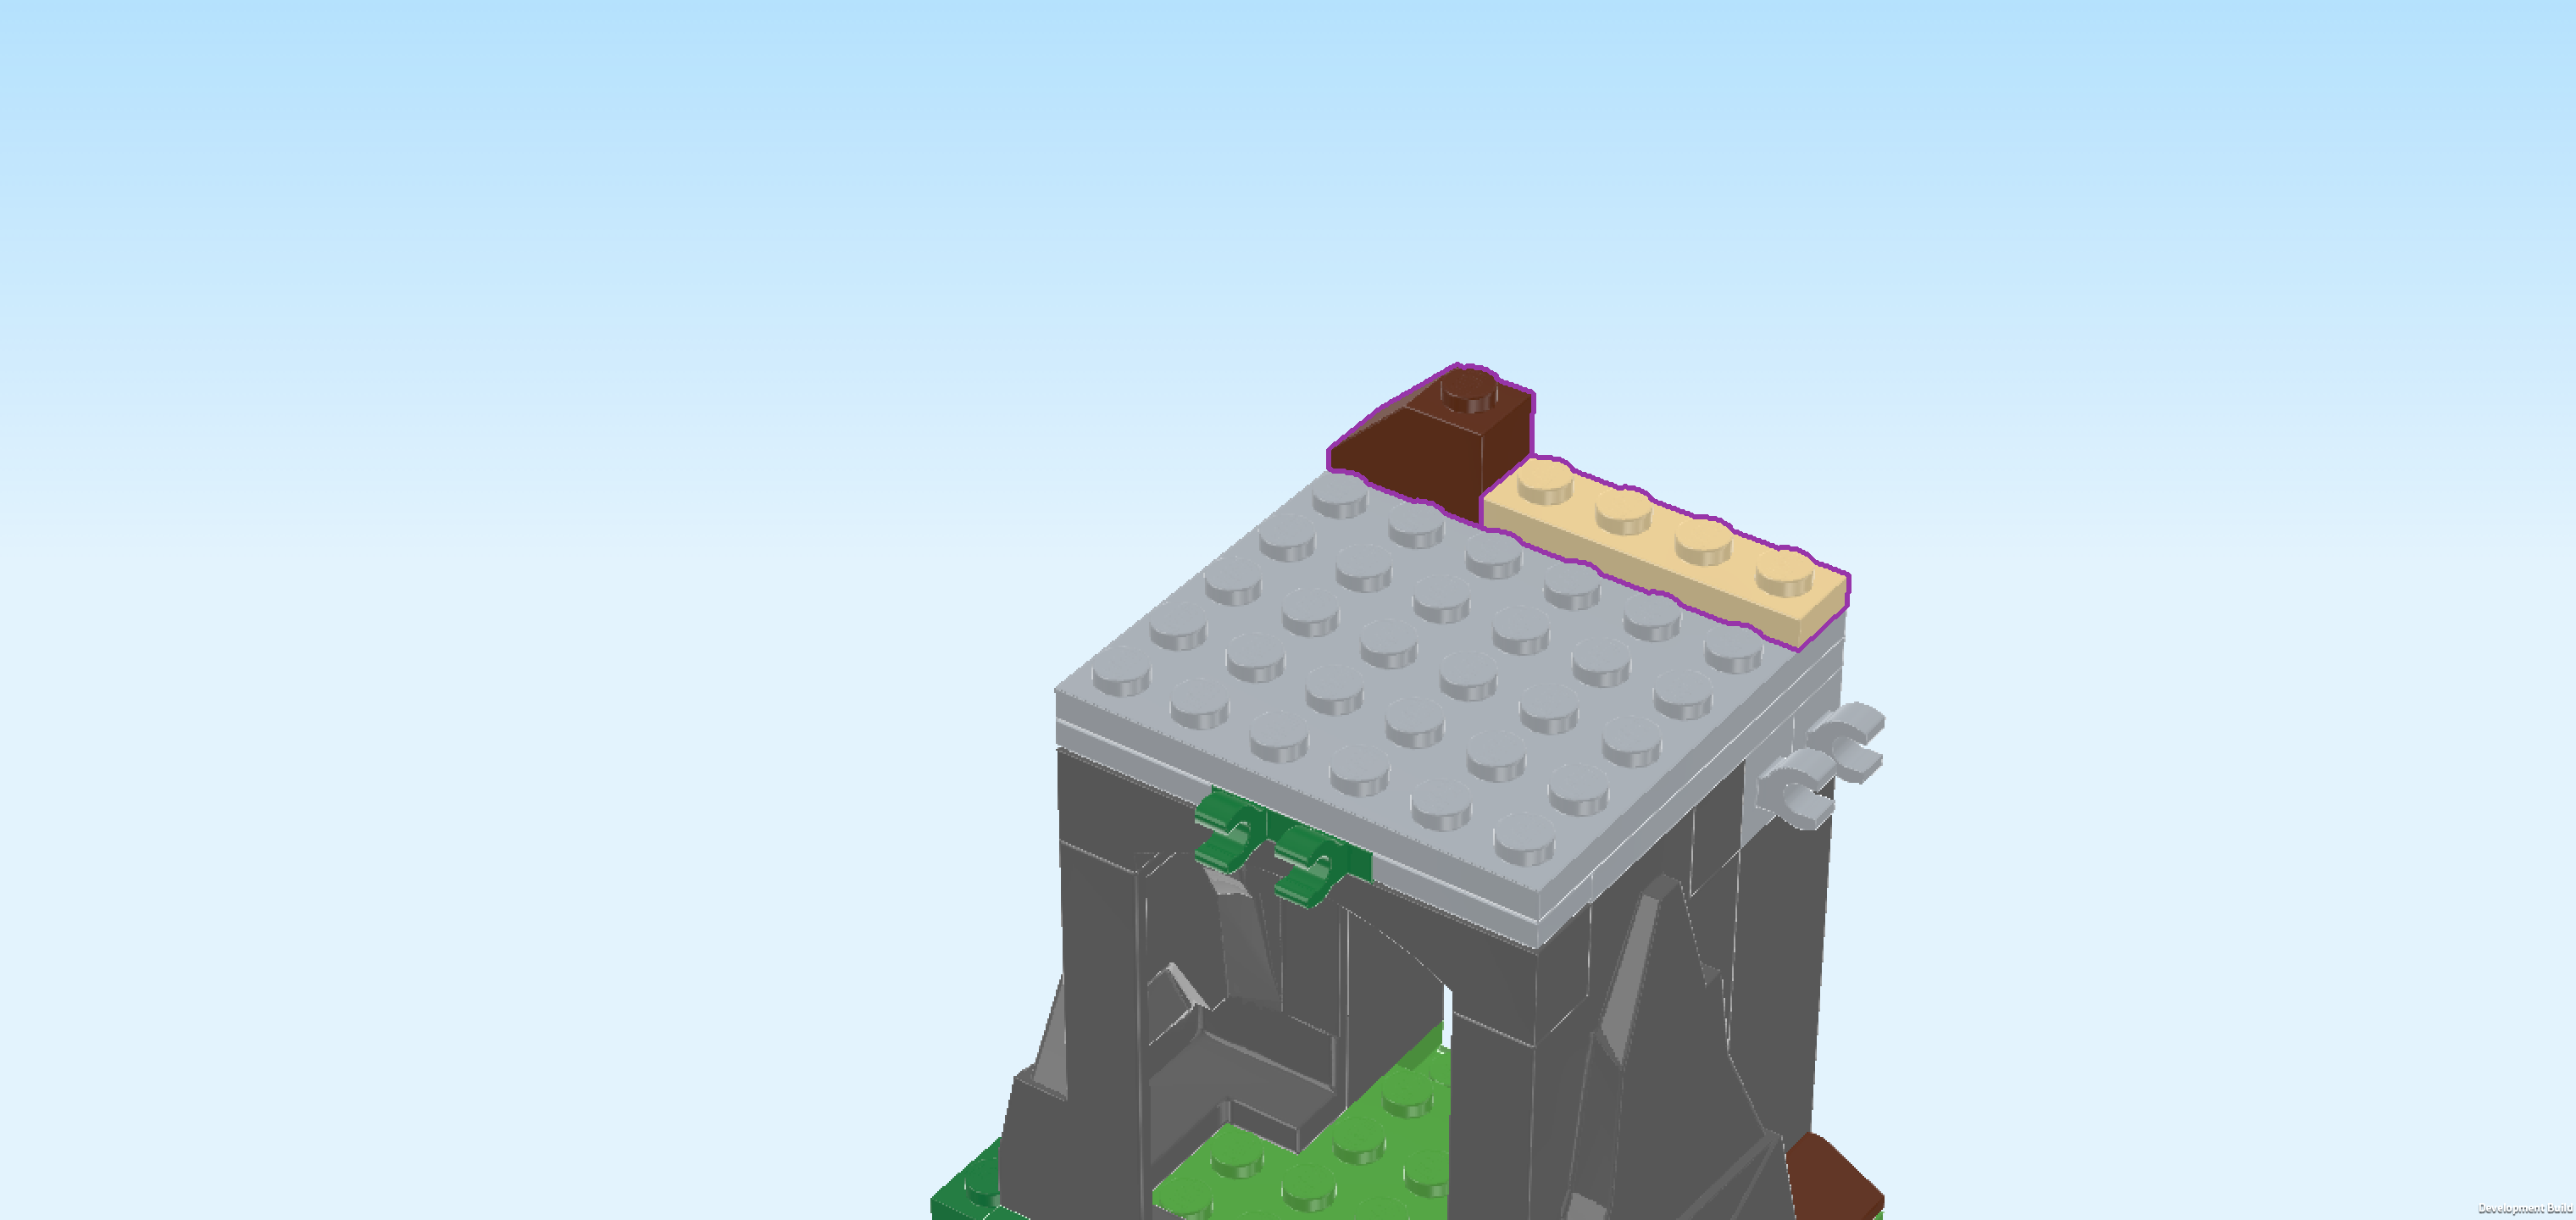
| Put the plate 1x4 horizontally on the previous piece's backmost row, starting from the right edge. |
| Put the roof tile 1x2 horizontally to the left of the previous piece, slope to the left. |
| Collect the following 2 pieces: |
| 1 dark stone grey plate 2x2 with 1 knob, |
| and 1 medium stone grey flat tile 1x2. |
| Put the flat tile 1x2 horizontally centered on the frontmost row of the top plate 6x6. |
| Put the plate 2x2 behind the previous piece. |
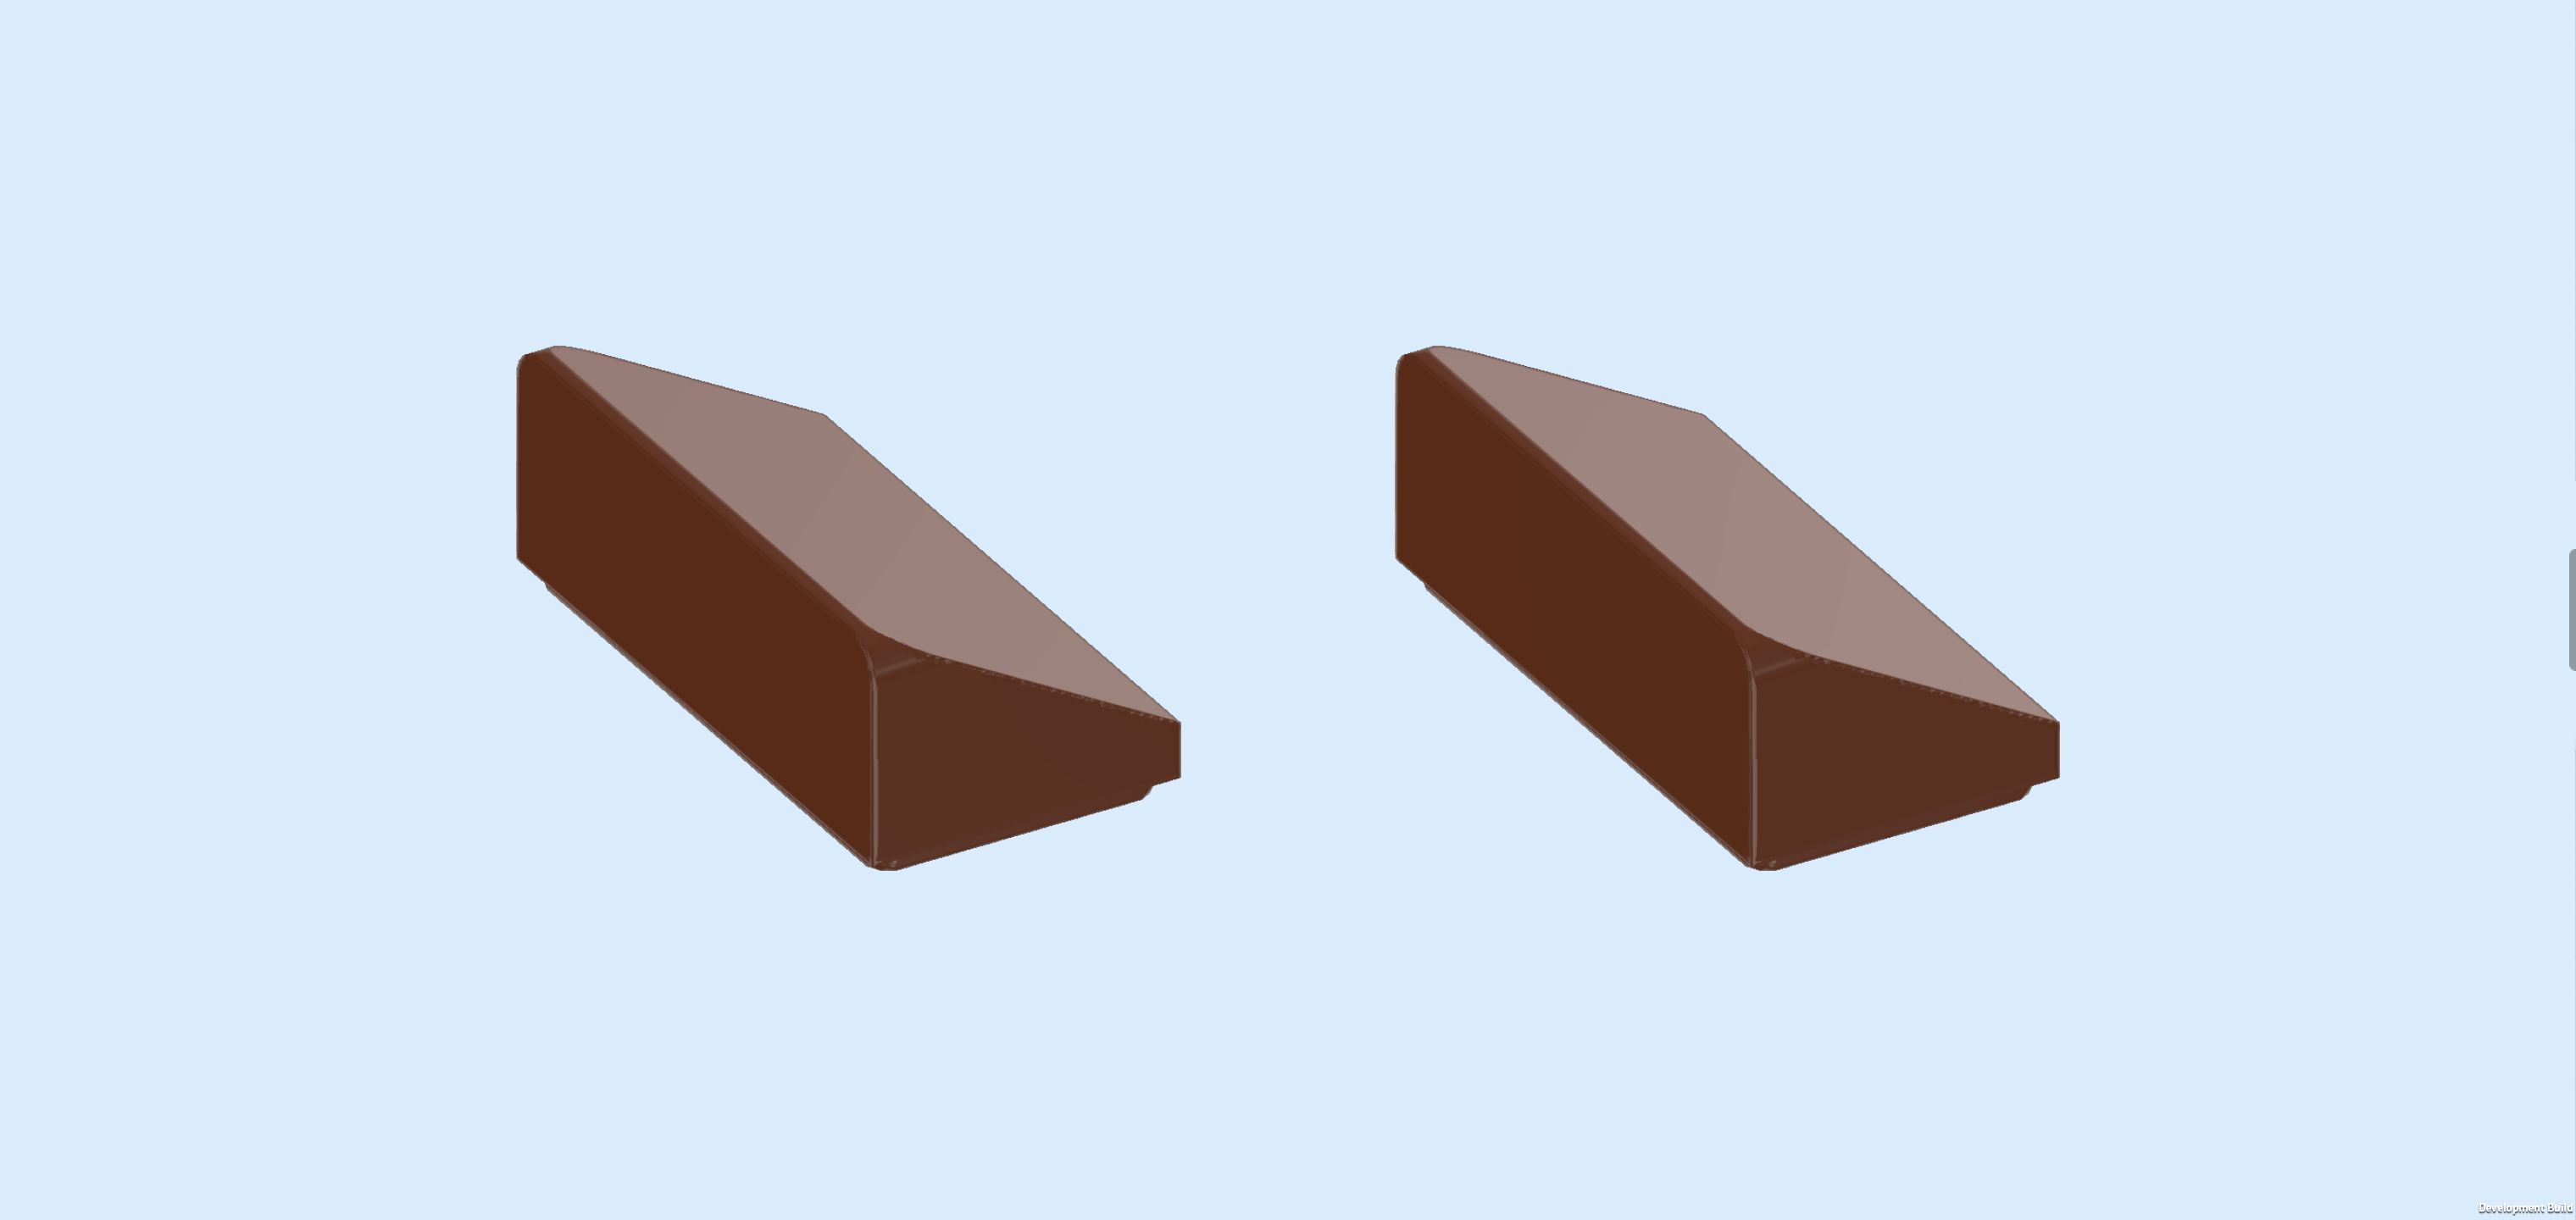
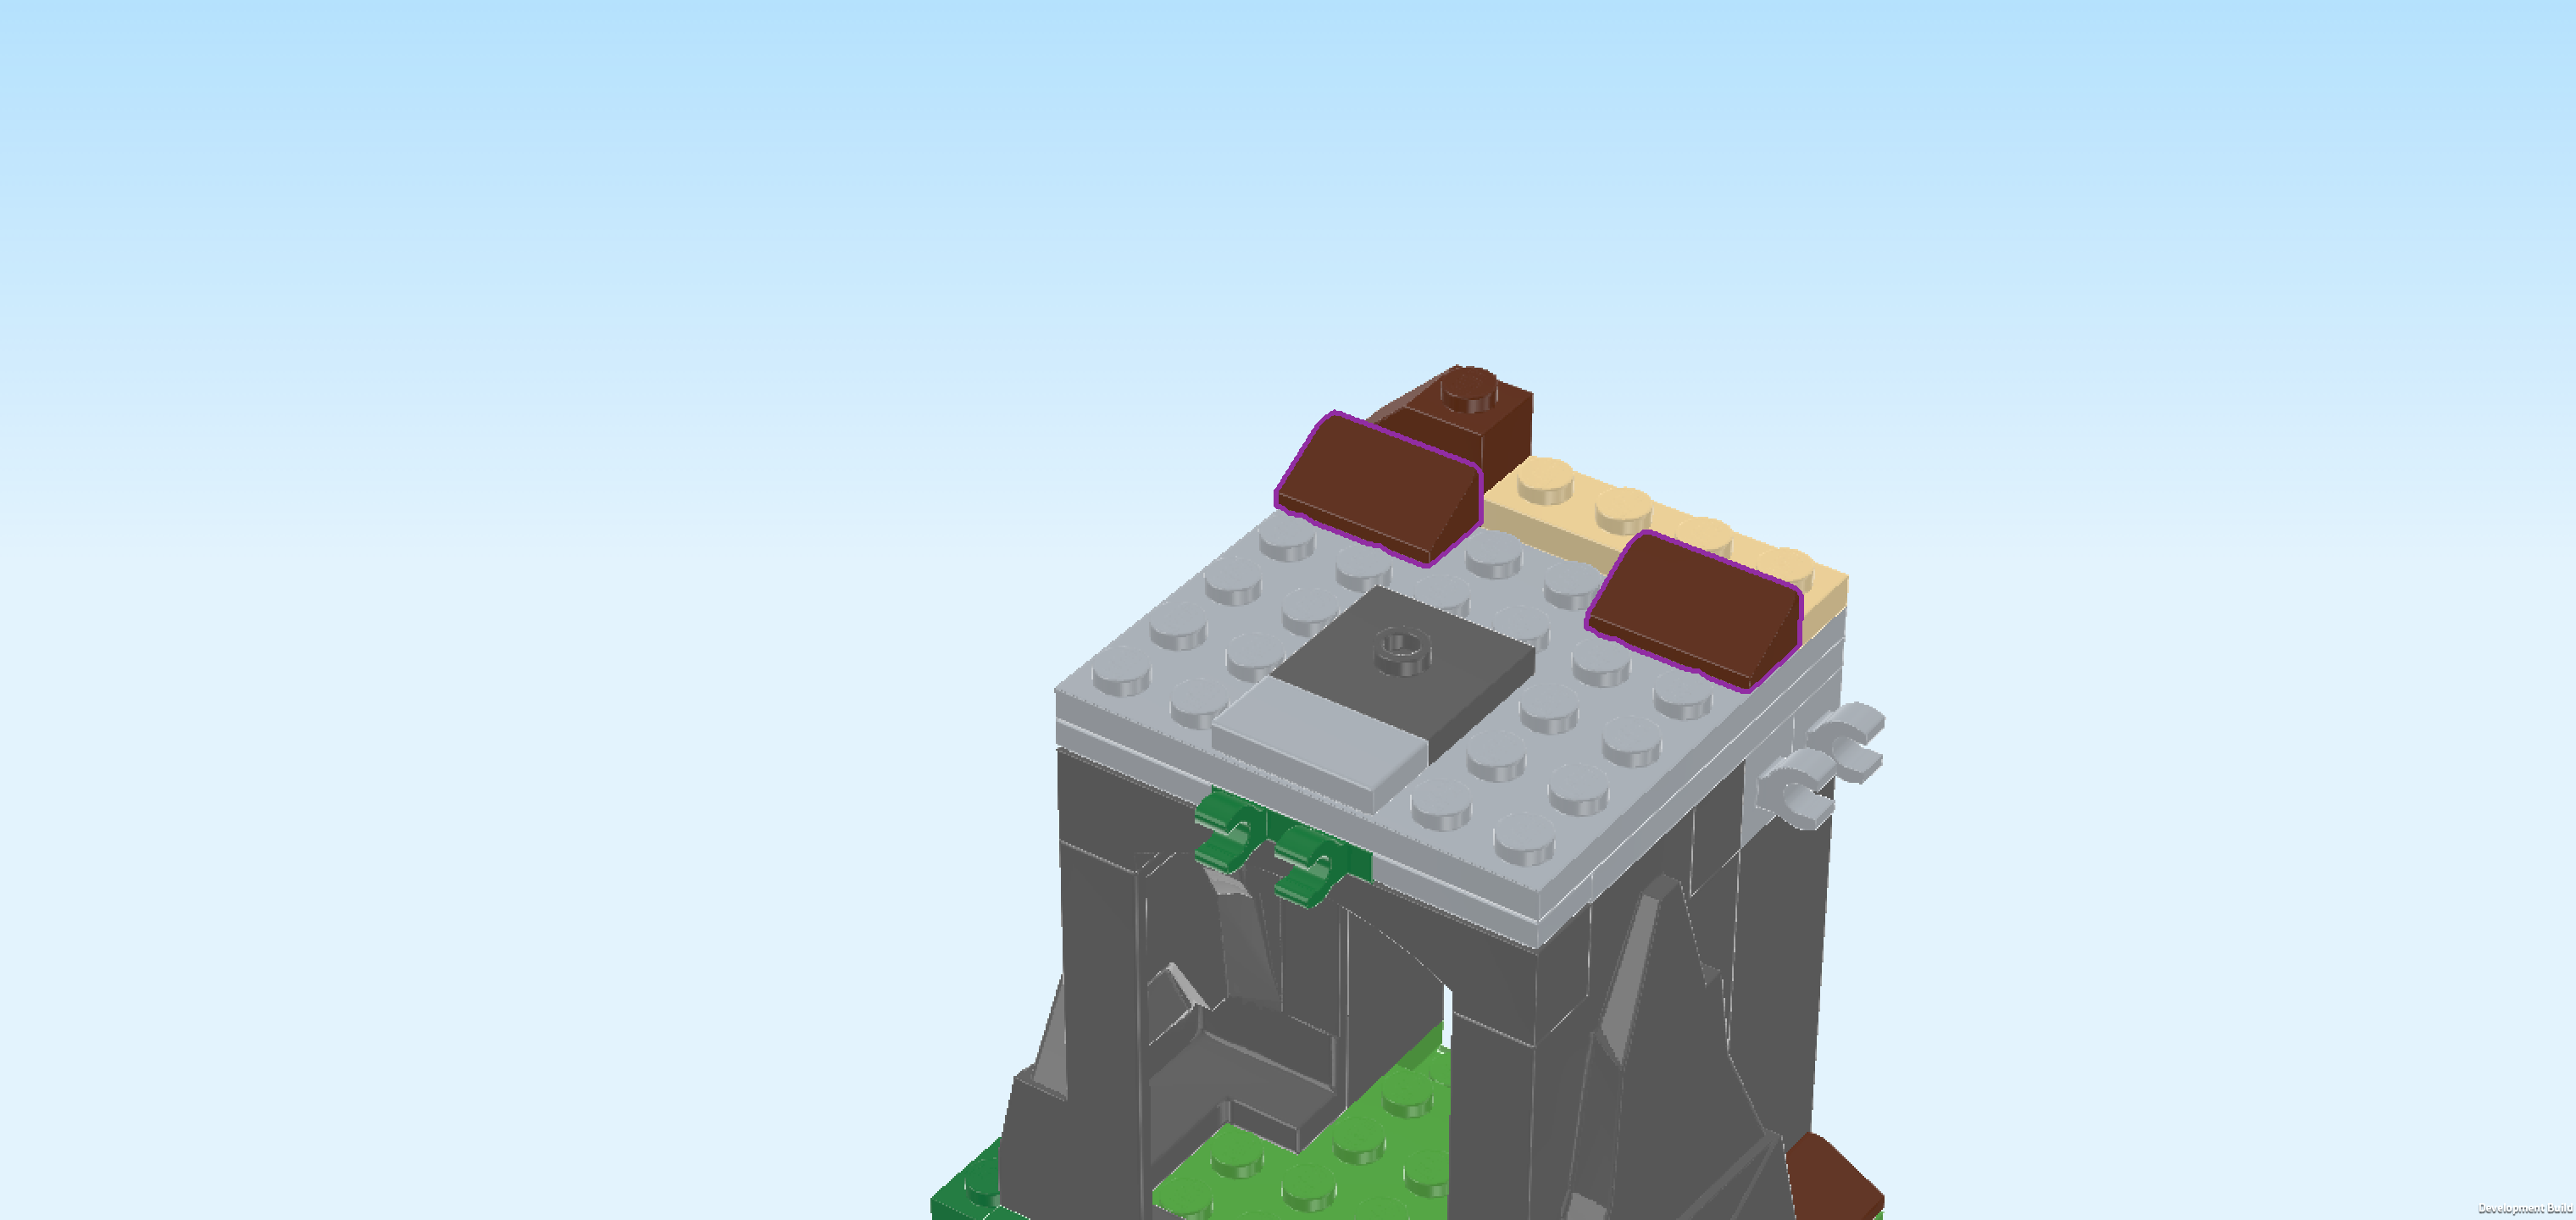
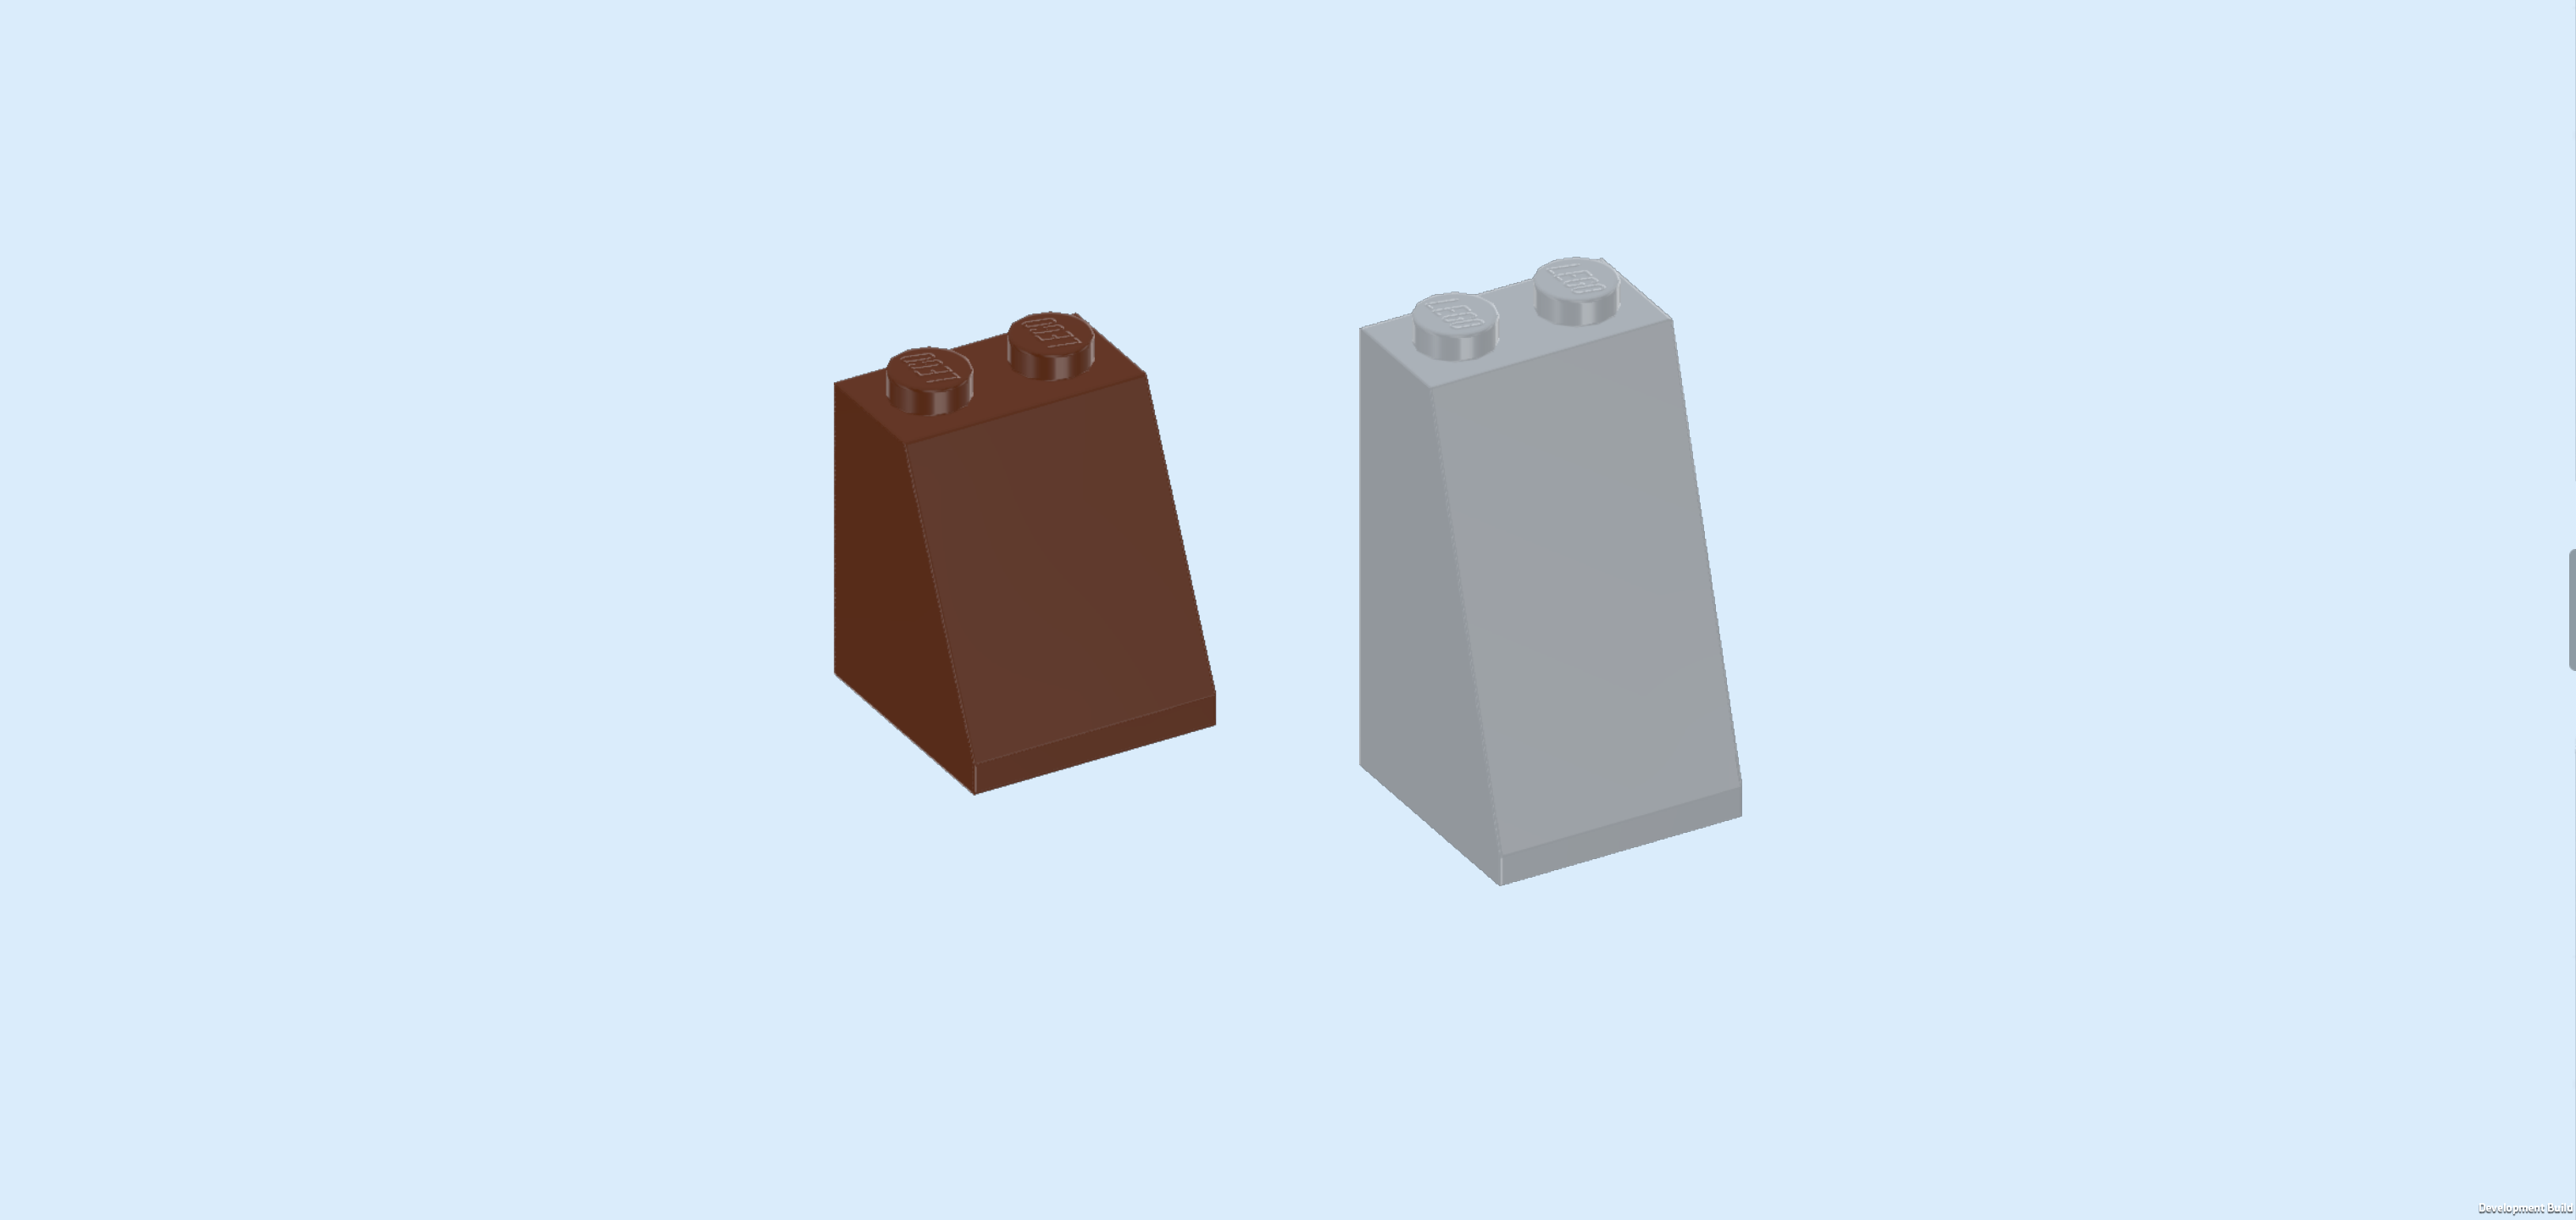
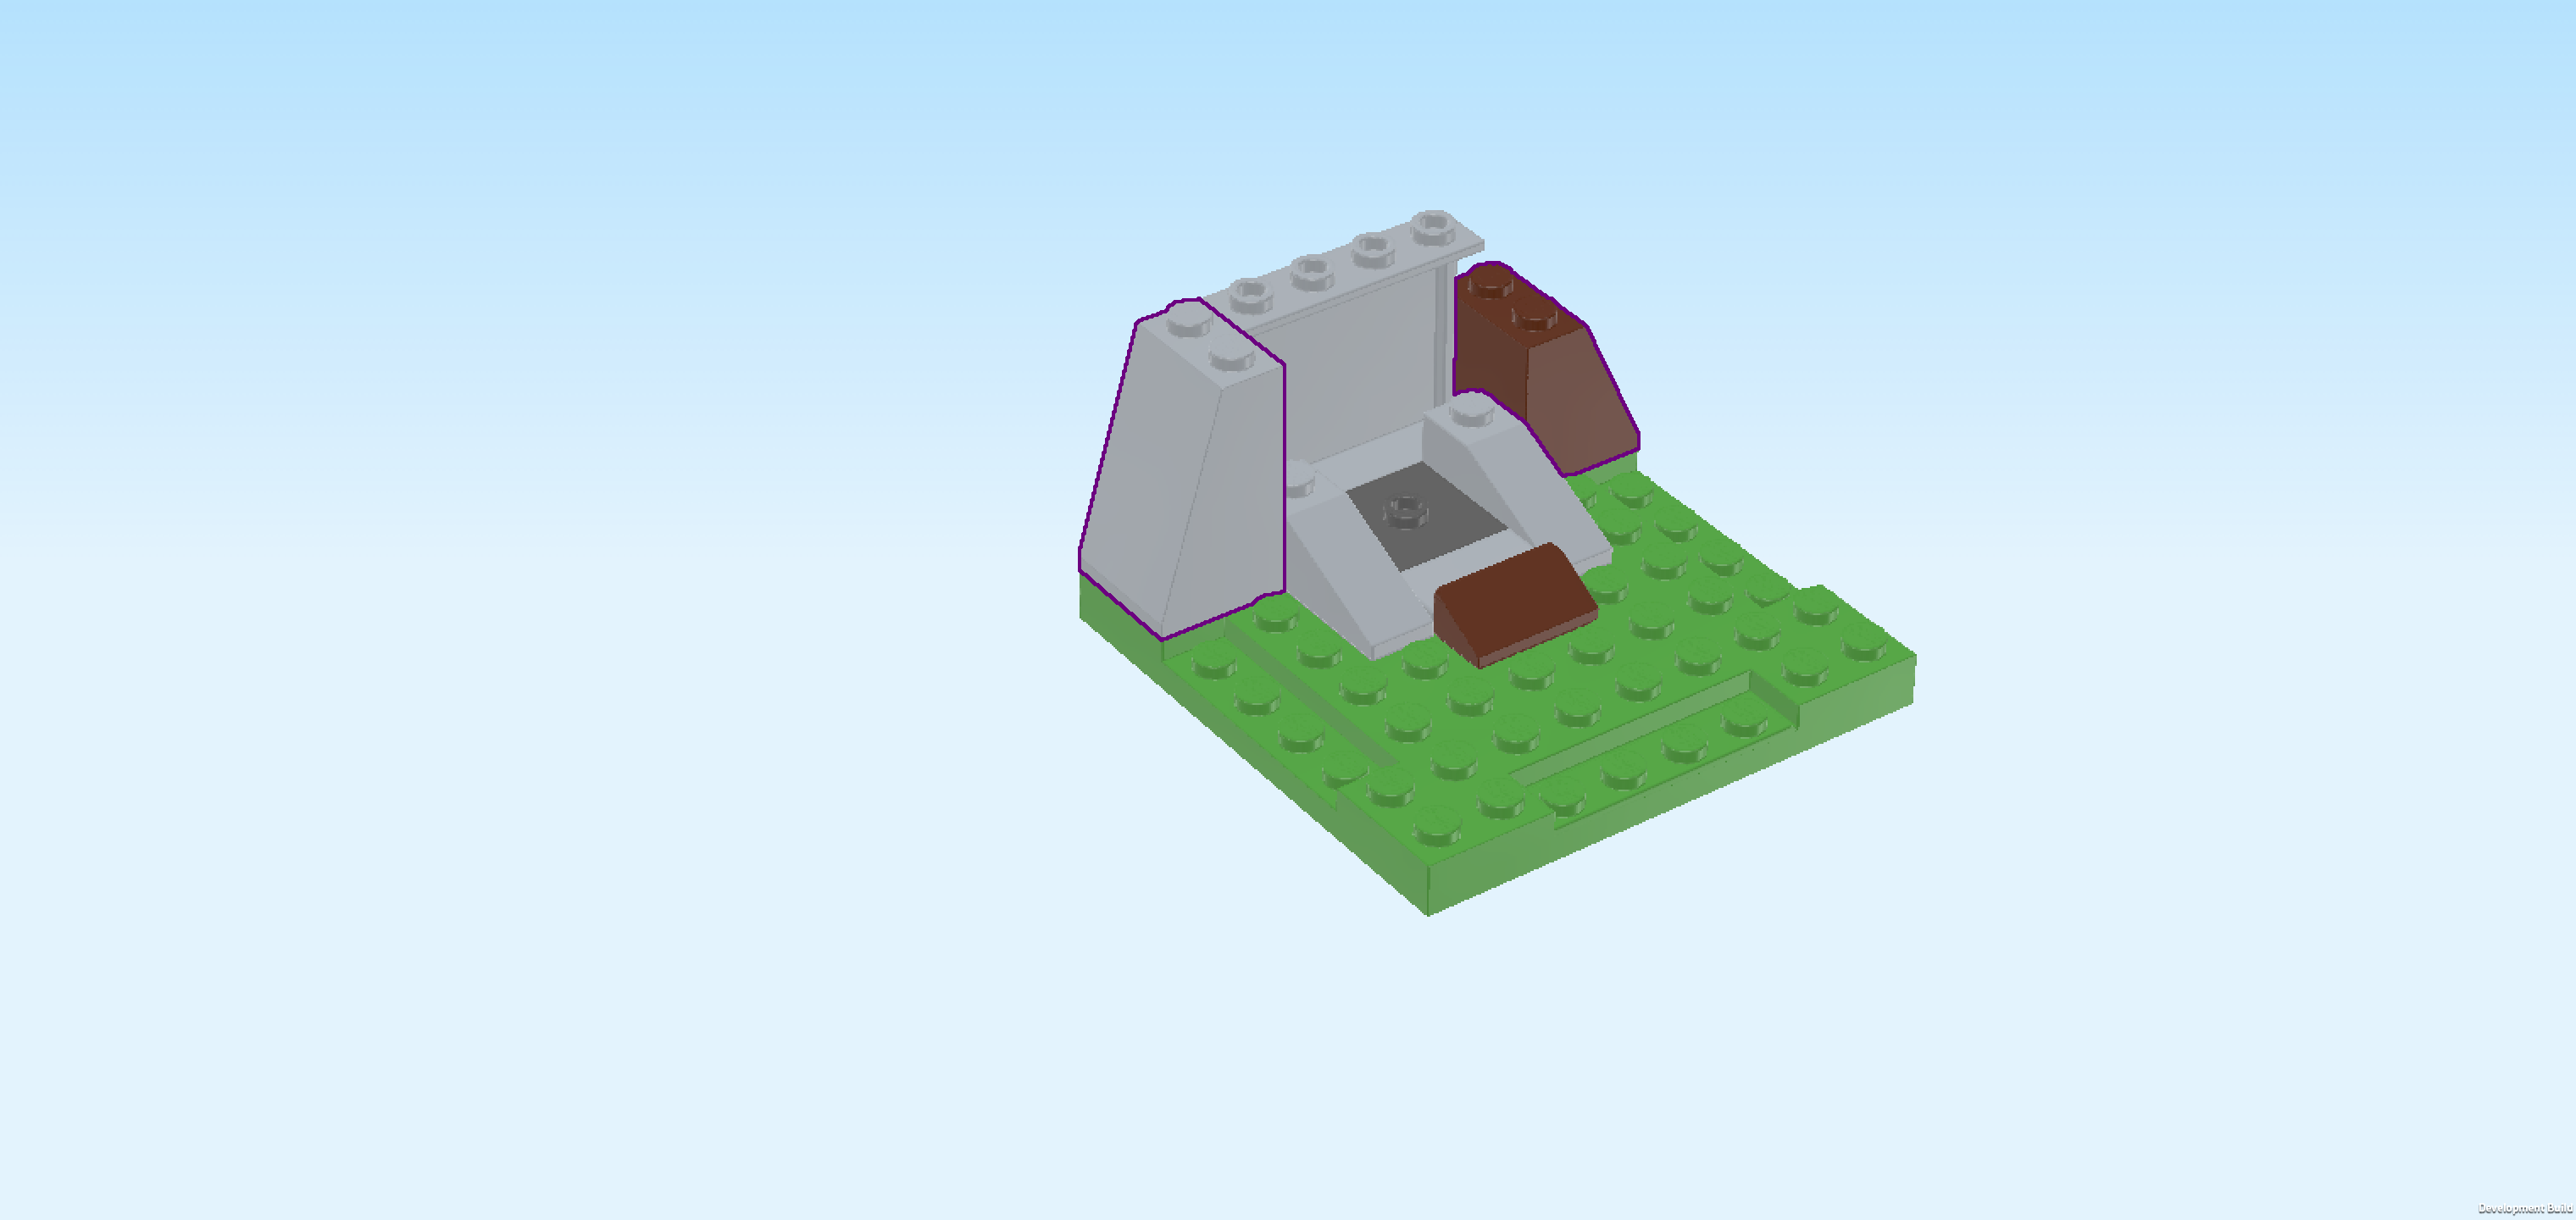
| Find 2 reddish brown smooth roof tiles 1x2x⅔. |
| Put 1 horizontally in front of the roof tile 1x2 that we have mounted at the back, slope to the front. |
| Repeat symmetrically on the right. |
| Collect the following 2 pieces: |
| 1 reddish brown brick 1x2 with technic hole, |
| and 1 reddish brown roof tile 1x2, 45°. |
| Put the brick 1x2 horizontally centered on the backmost row of the high structure. |
| We will later insert a cross axle into the hole of this brick, so make sure to remember it! |
| Put the roof tile 1x2 horizontally to the right of the previous piece, slope to the right. |
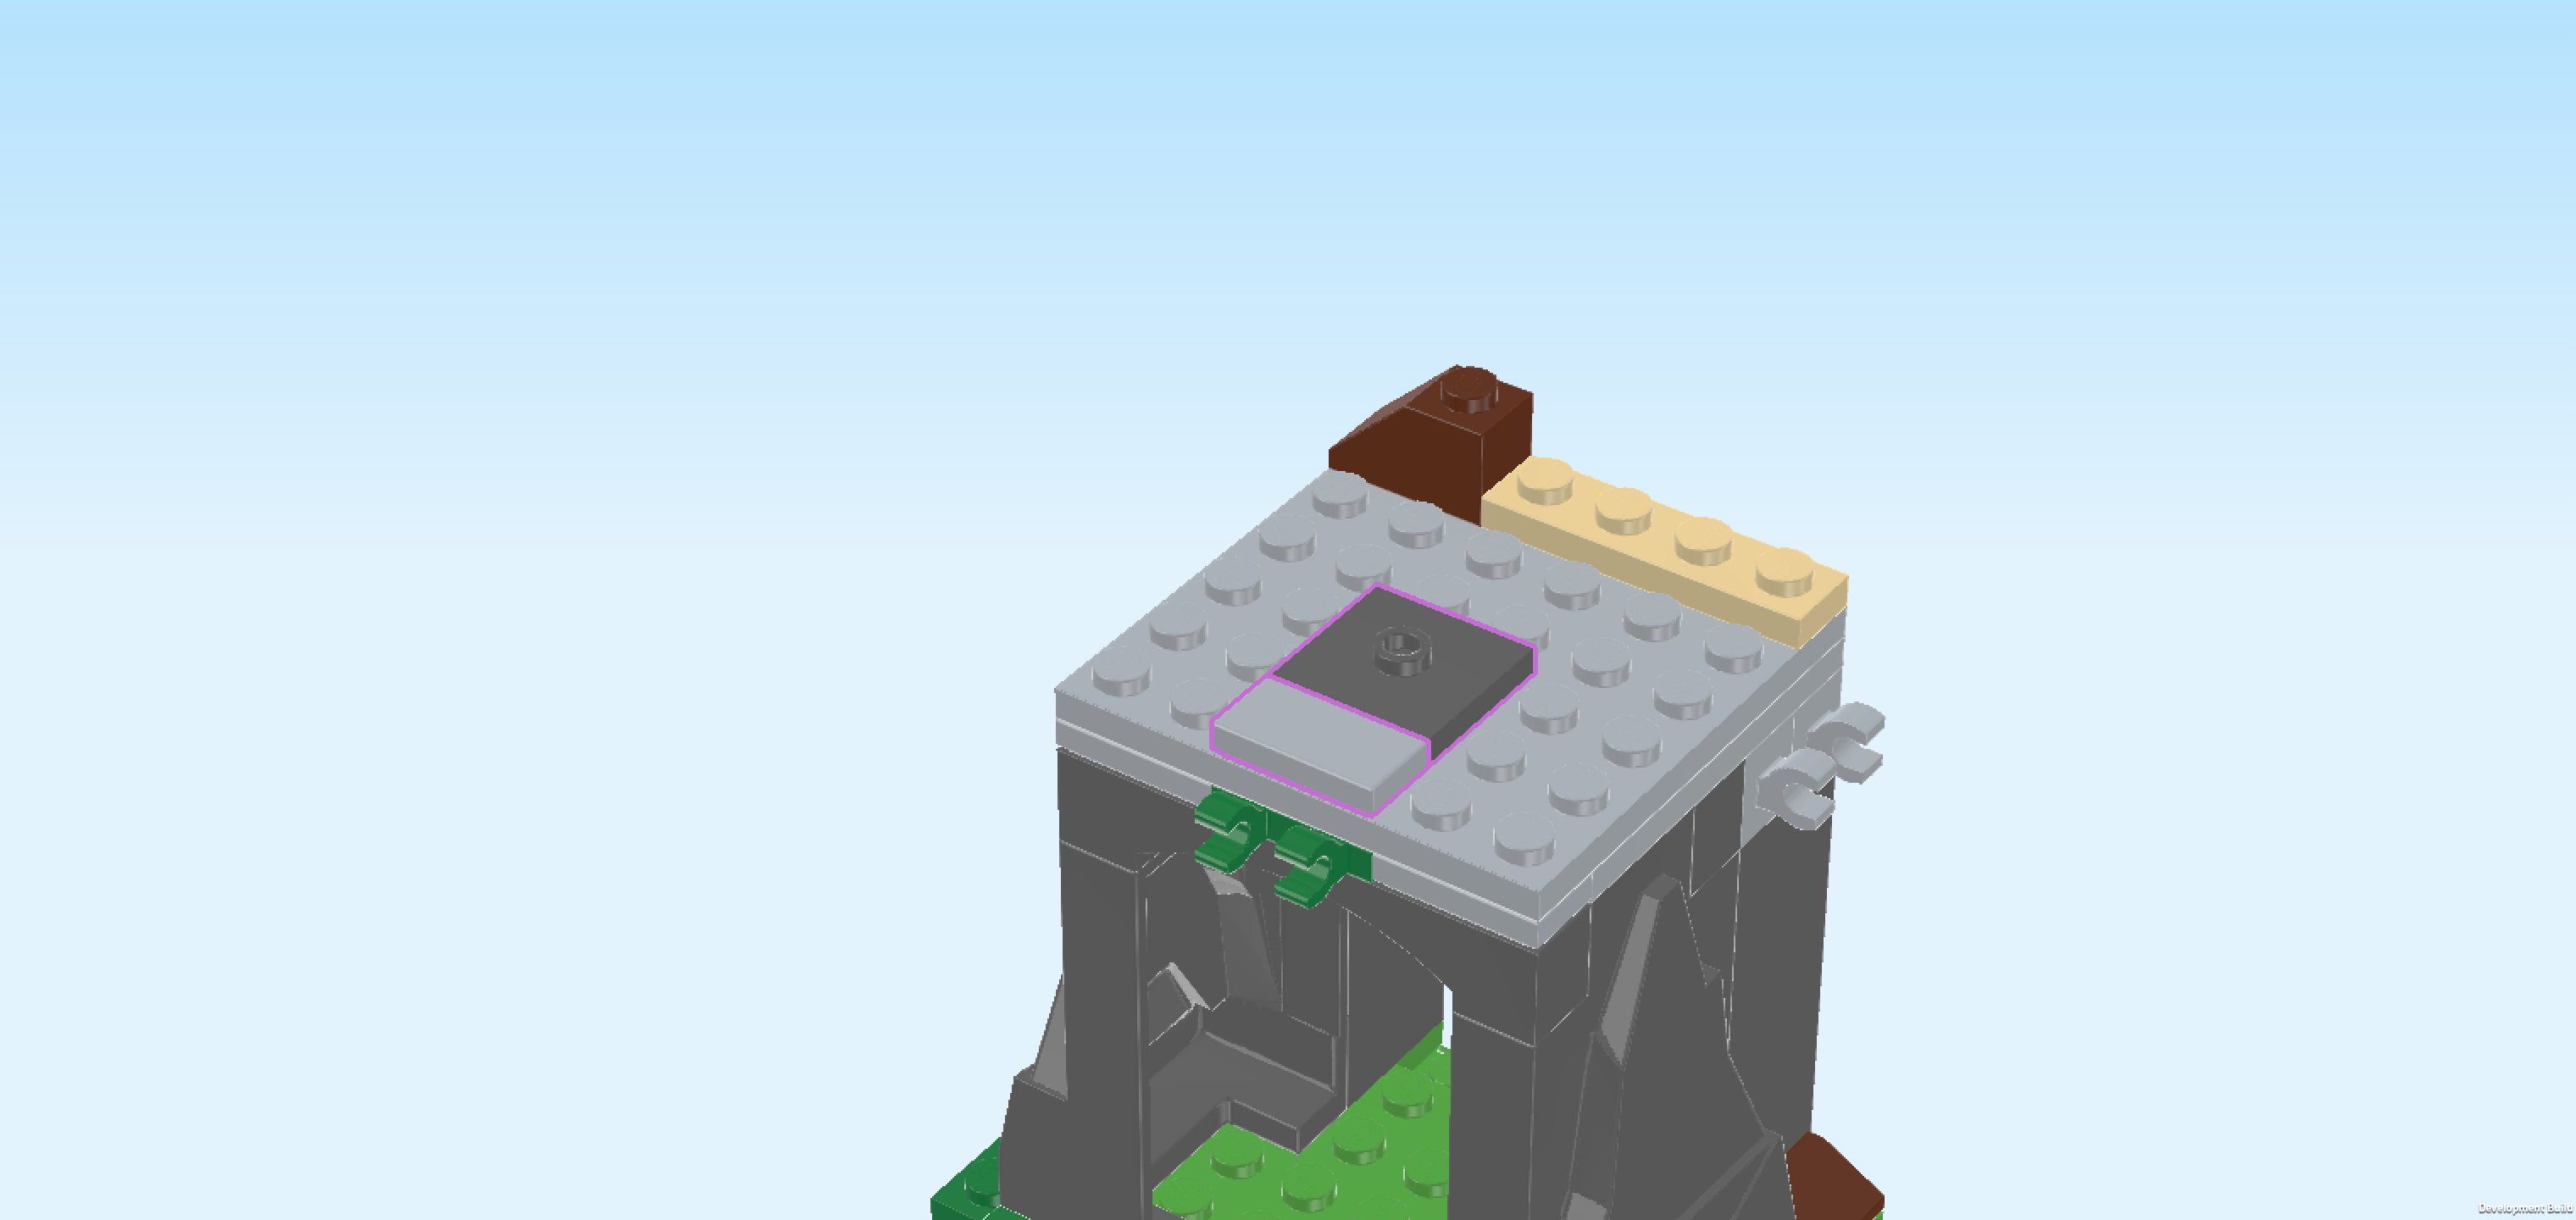
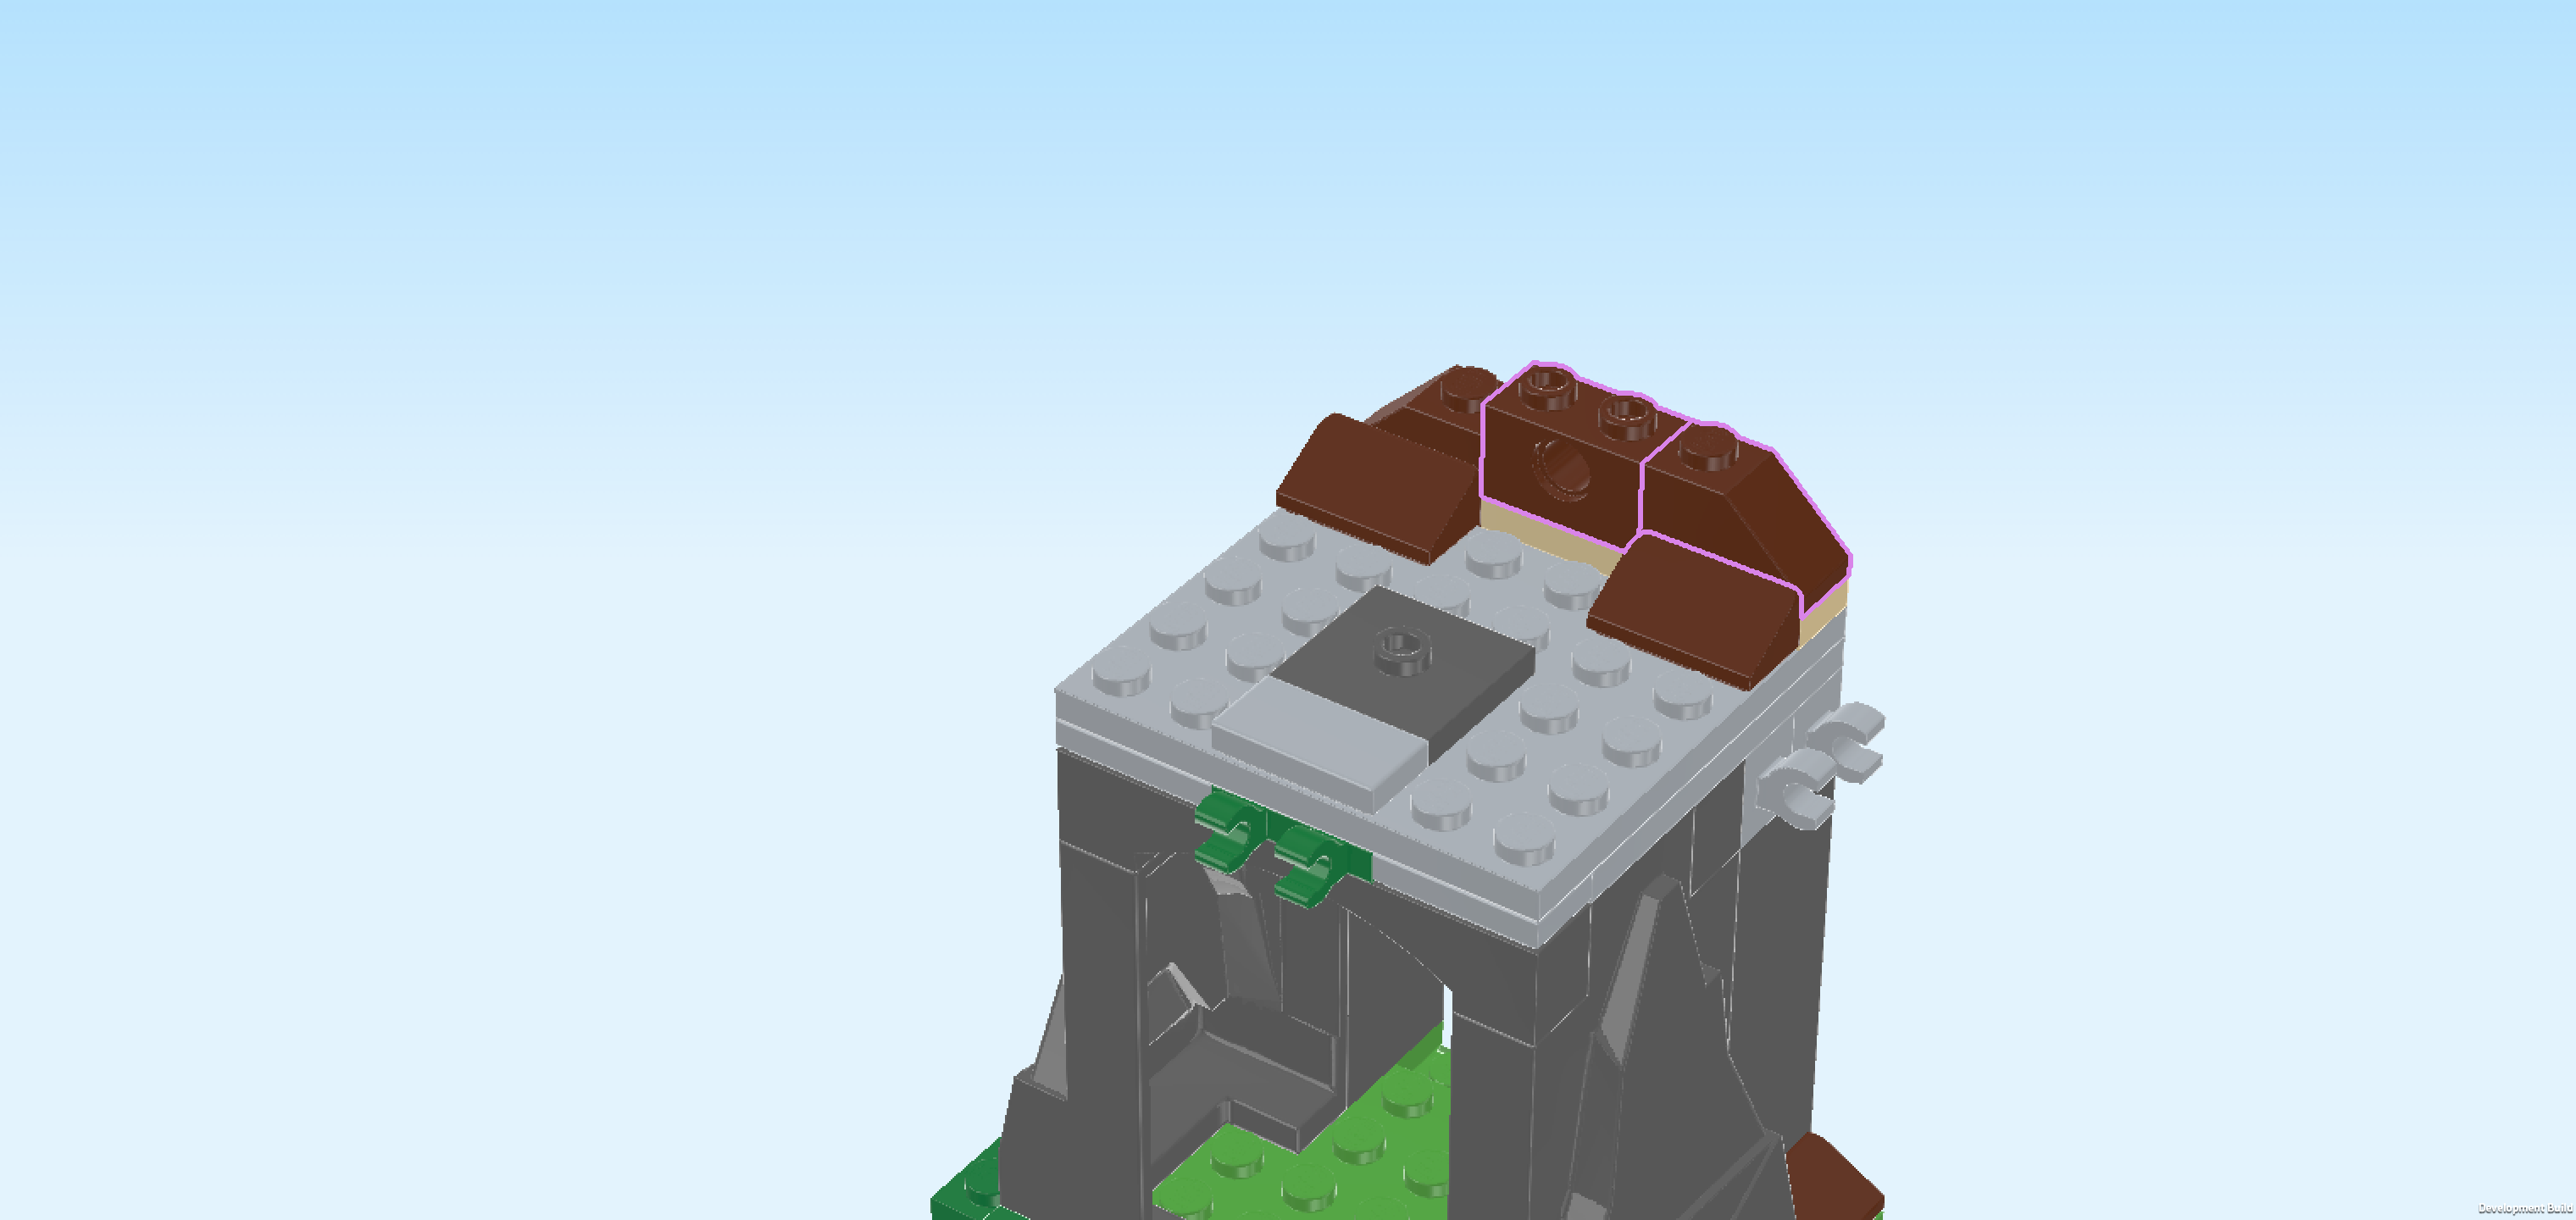
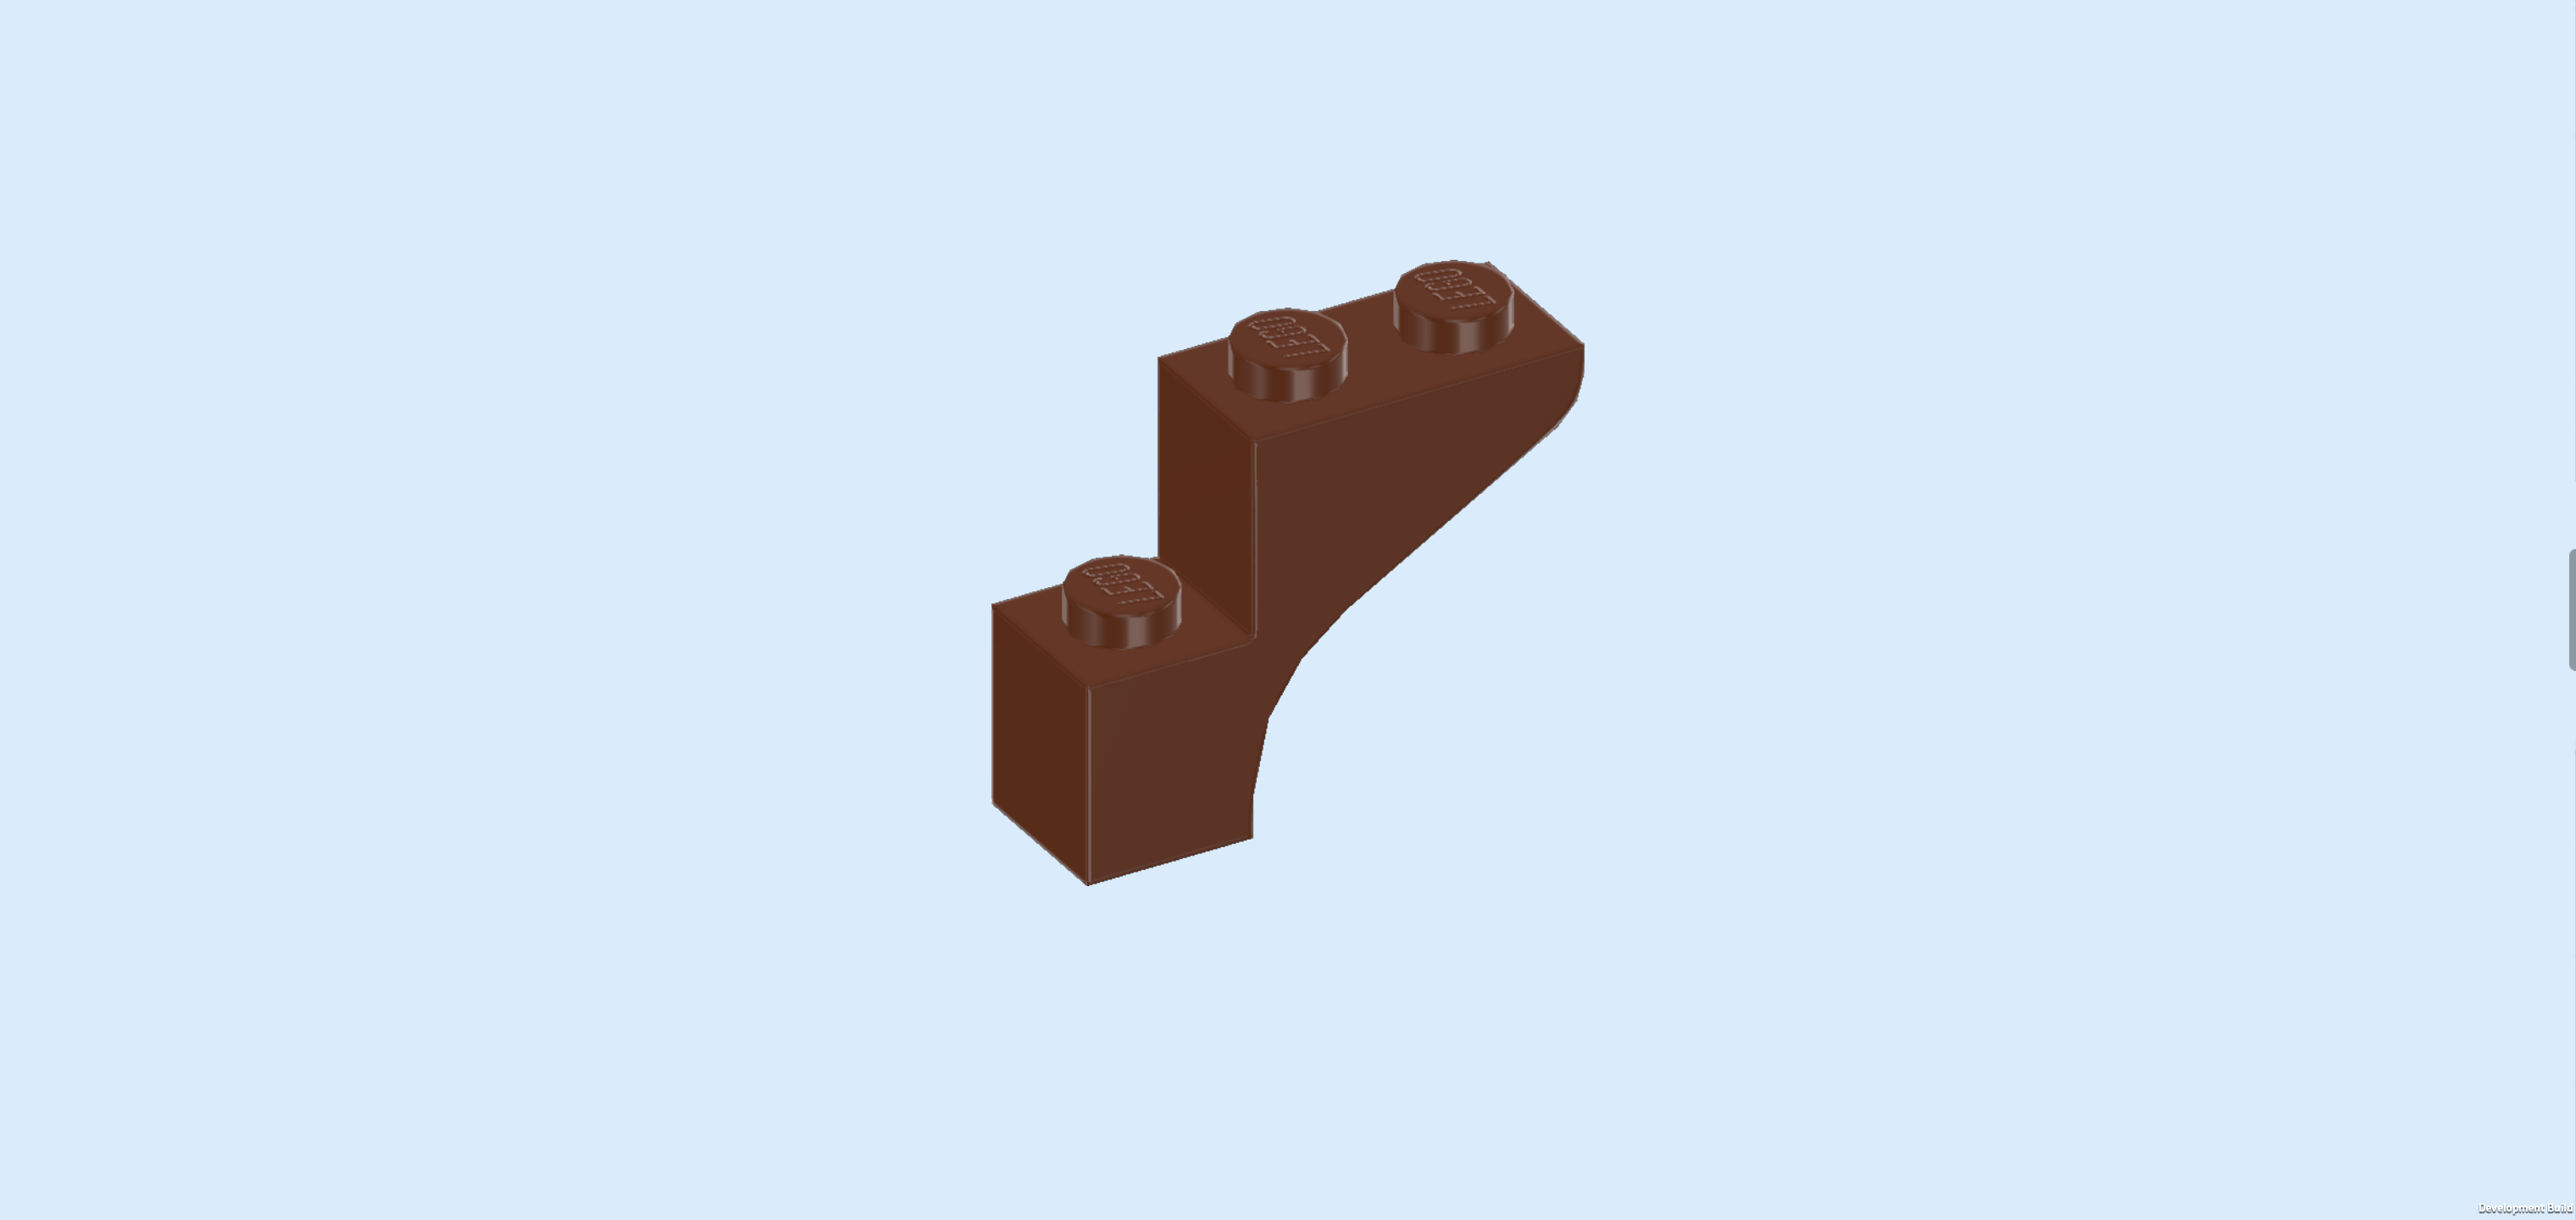
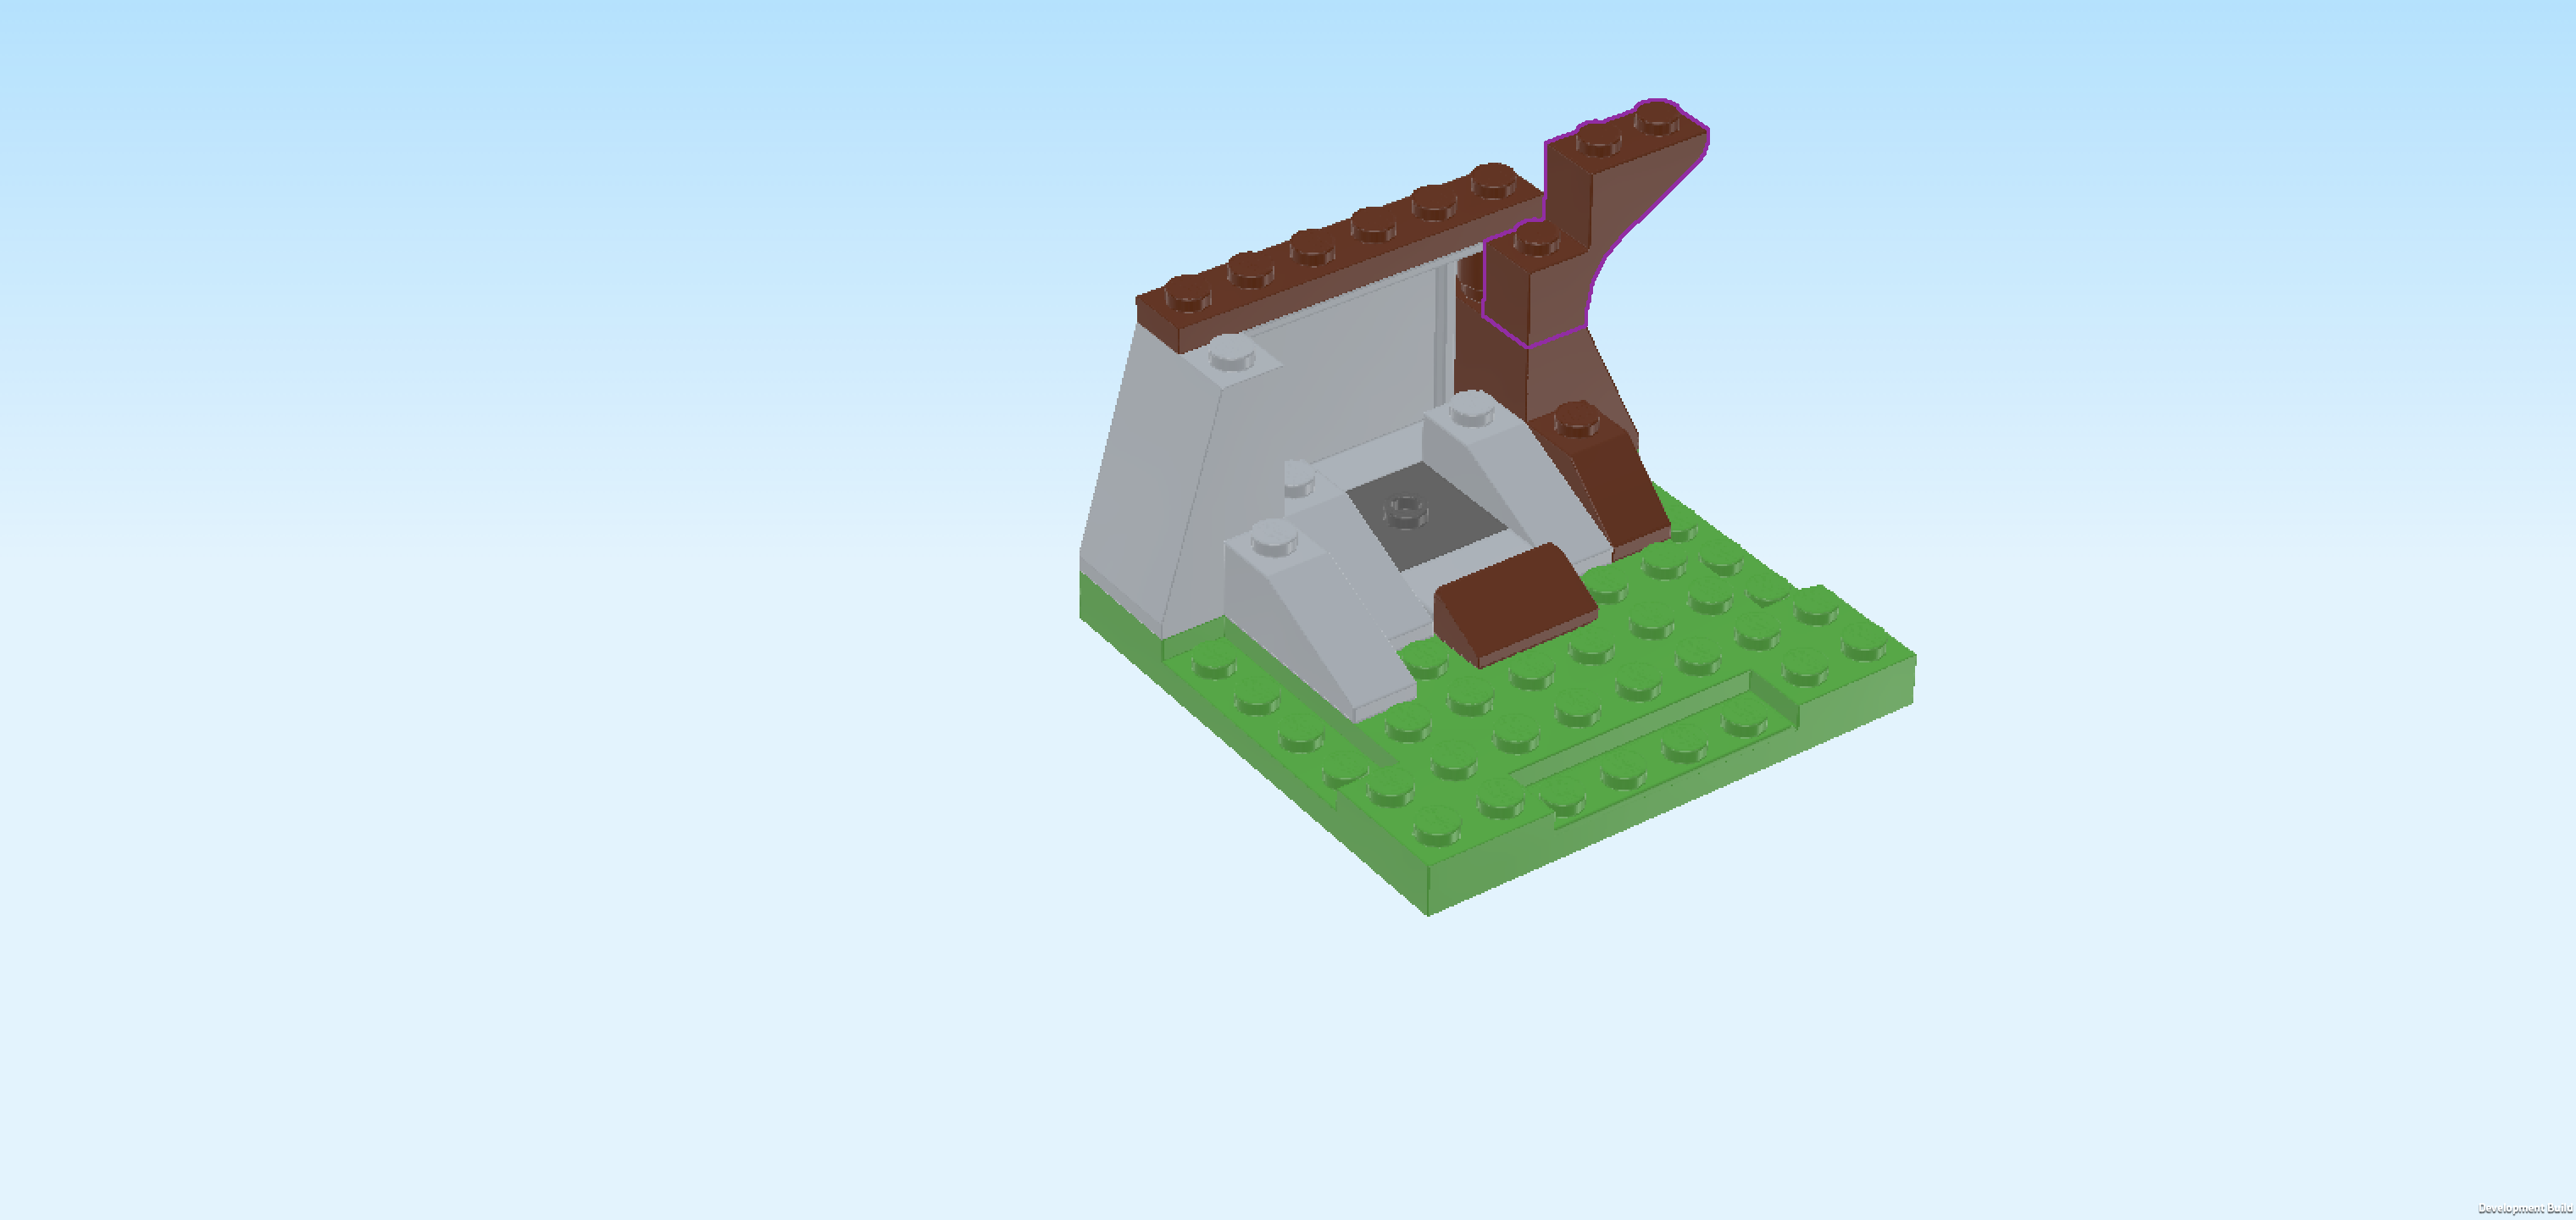
| Find 1 reddish brown stepped brick 1x3x2 with half arch. |
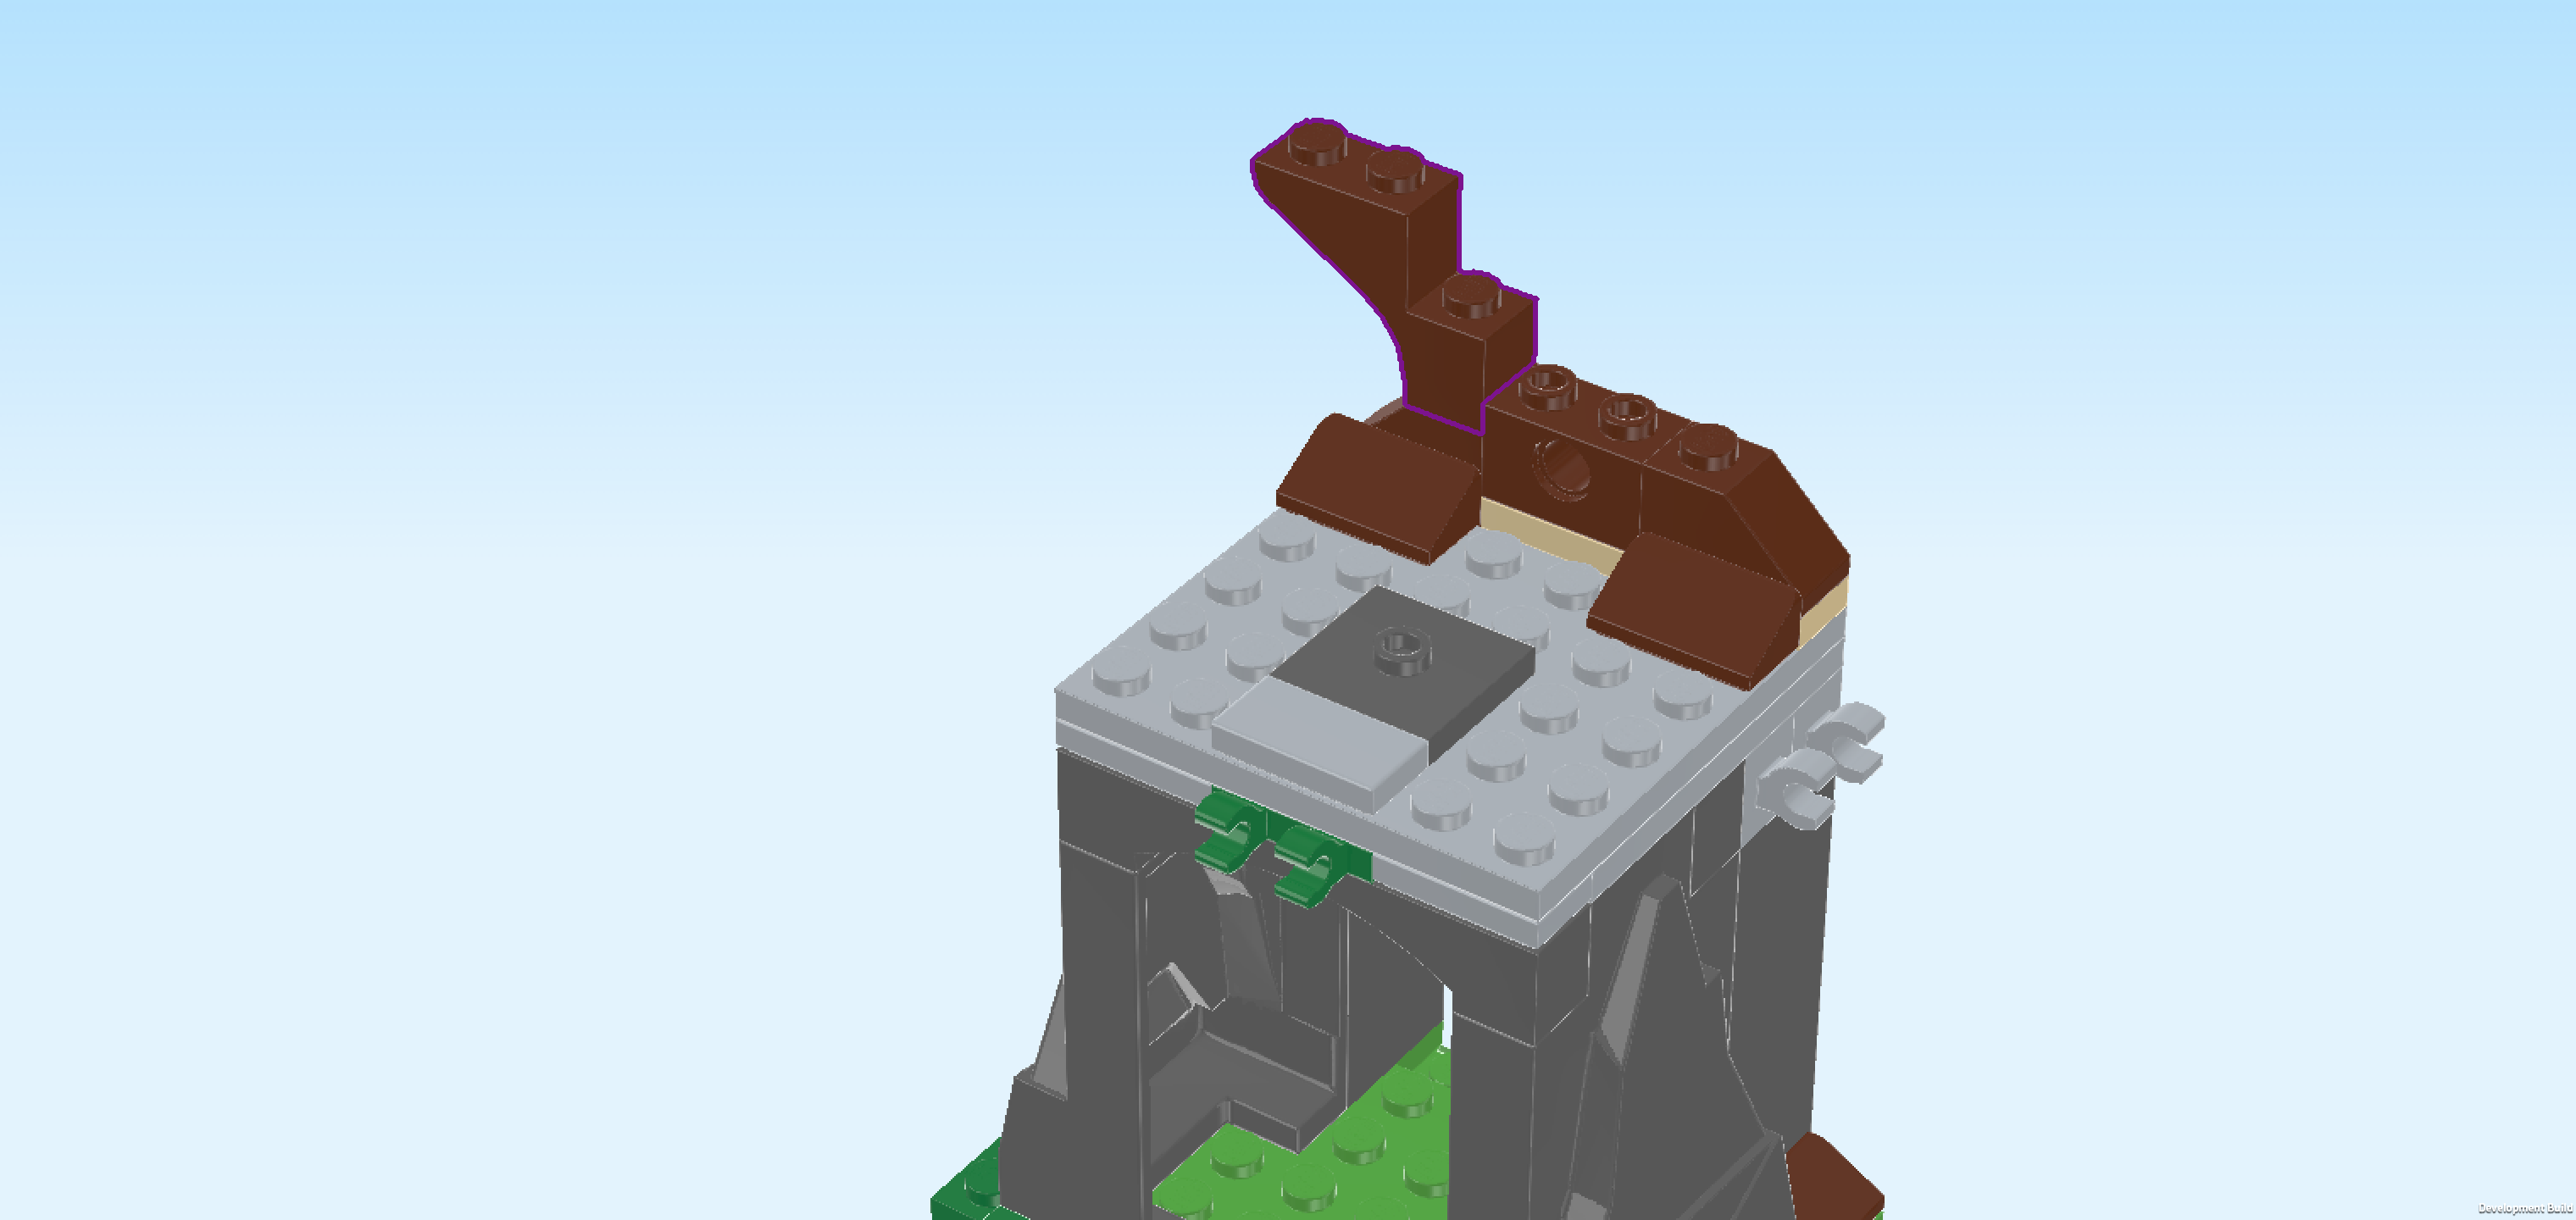
| Put it horizontally on the leftmost knob of the back row of the high structure, half arch to the left. |
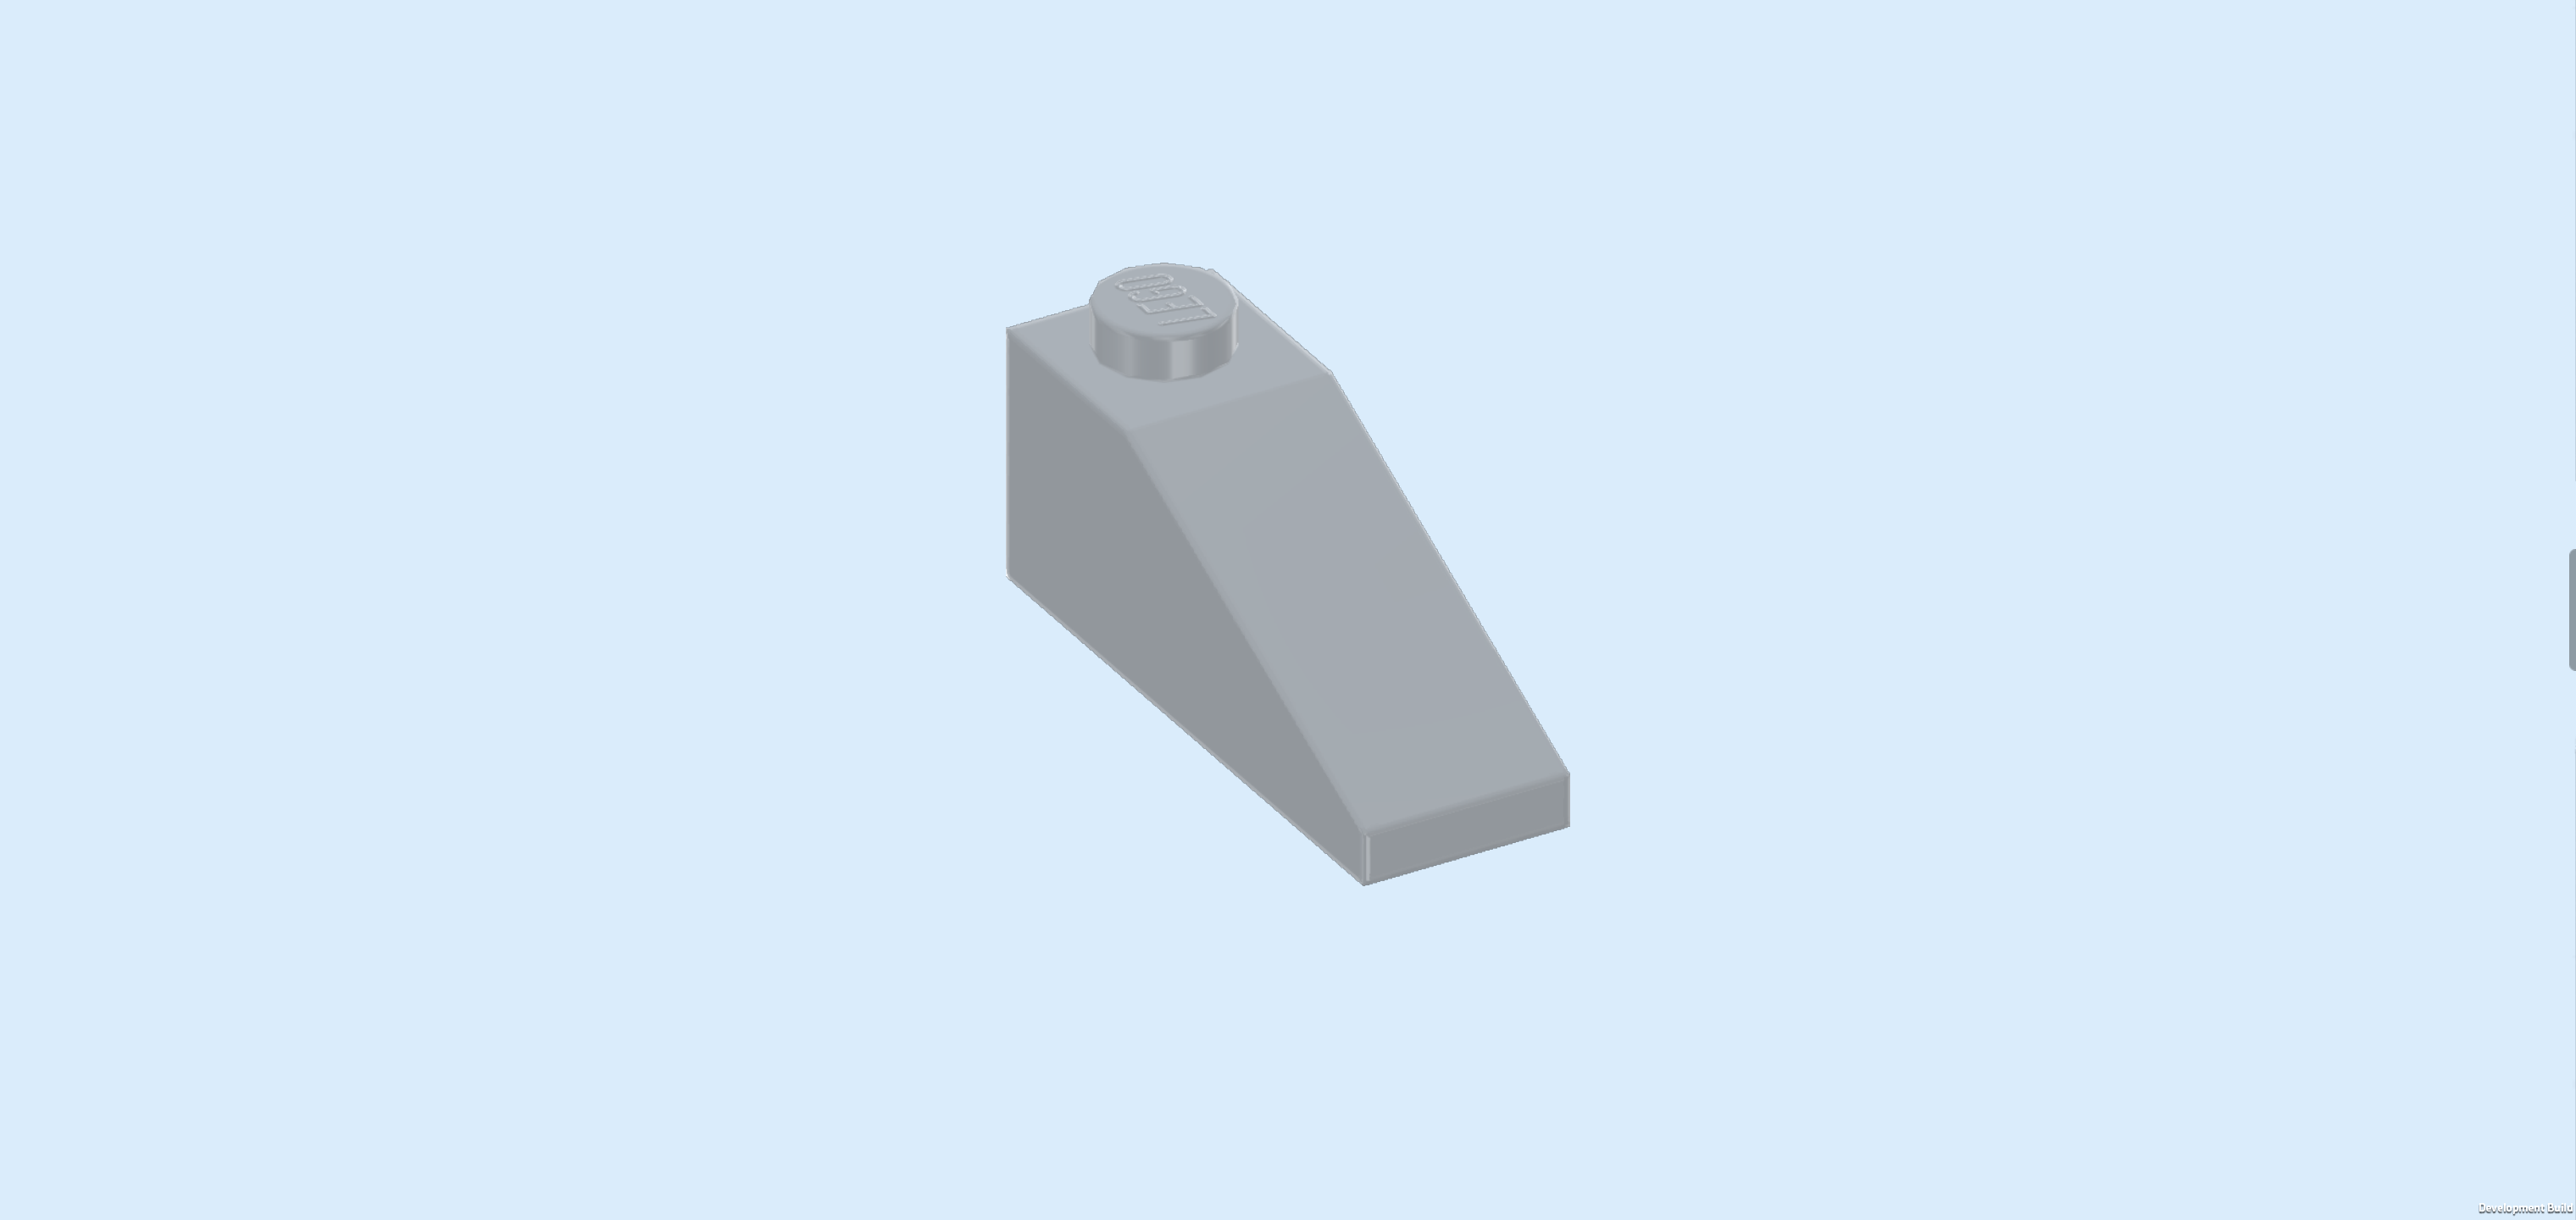
| Find 1 medium stone grey roof tile 1x3, 25°. |
| Put it horizontally to the right of the previous piece, slope to the right. |
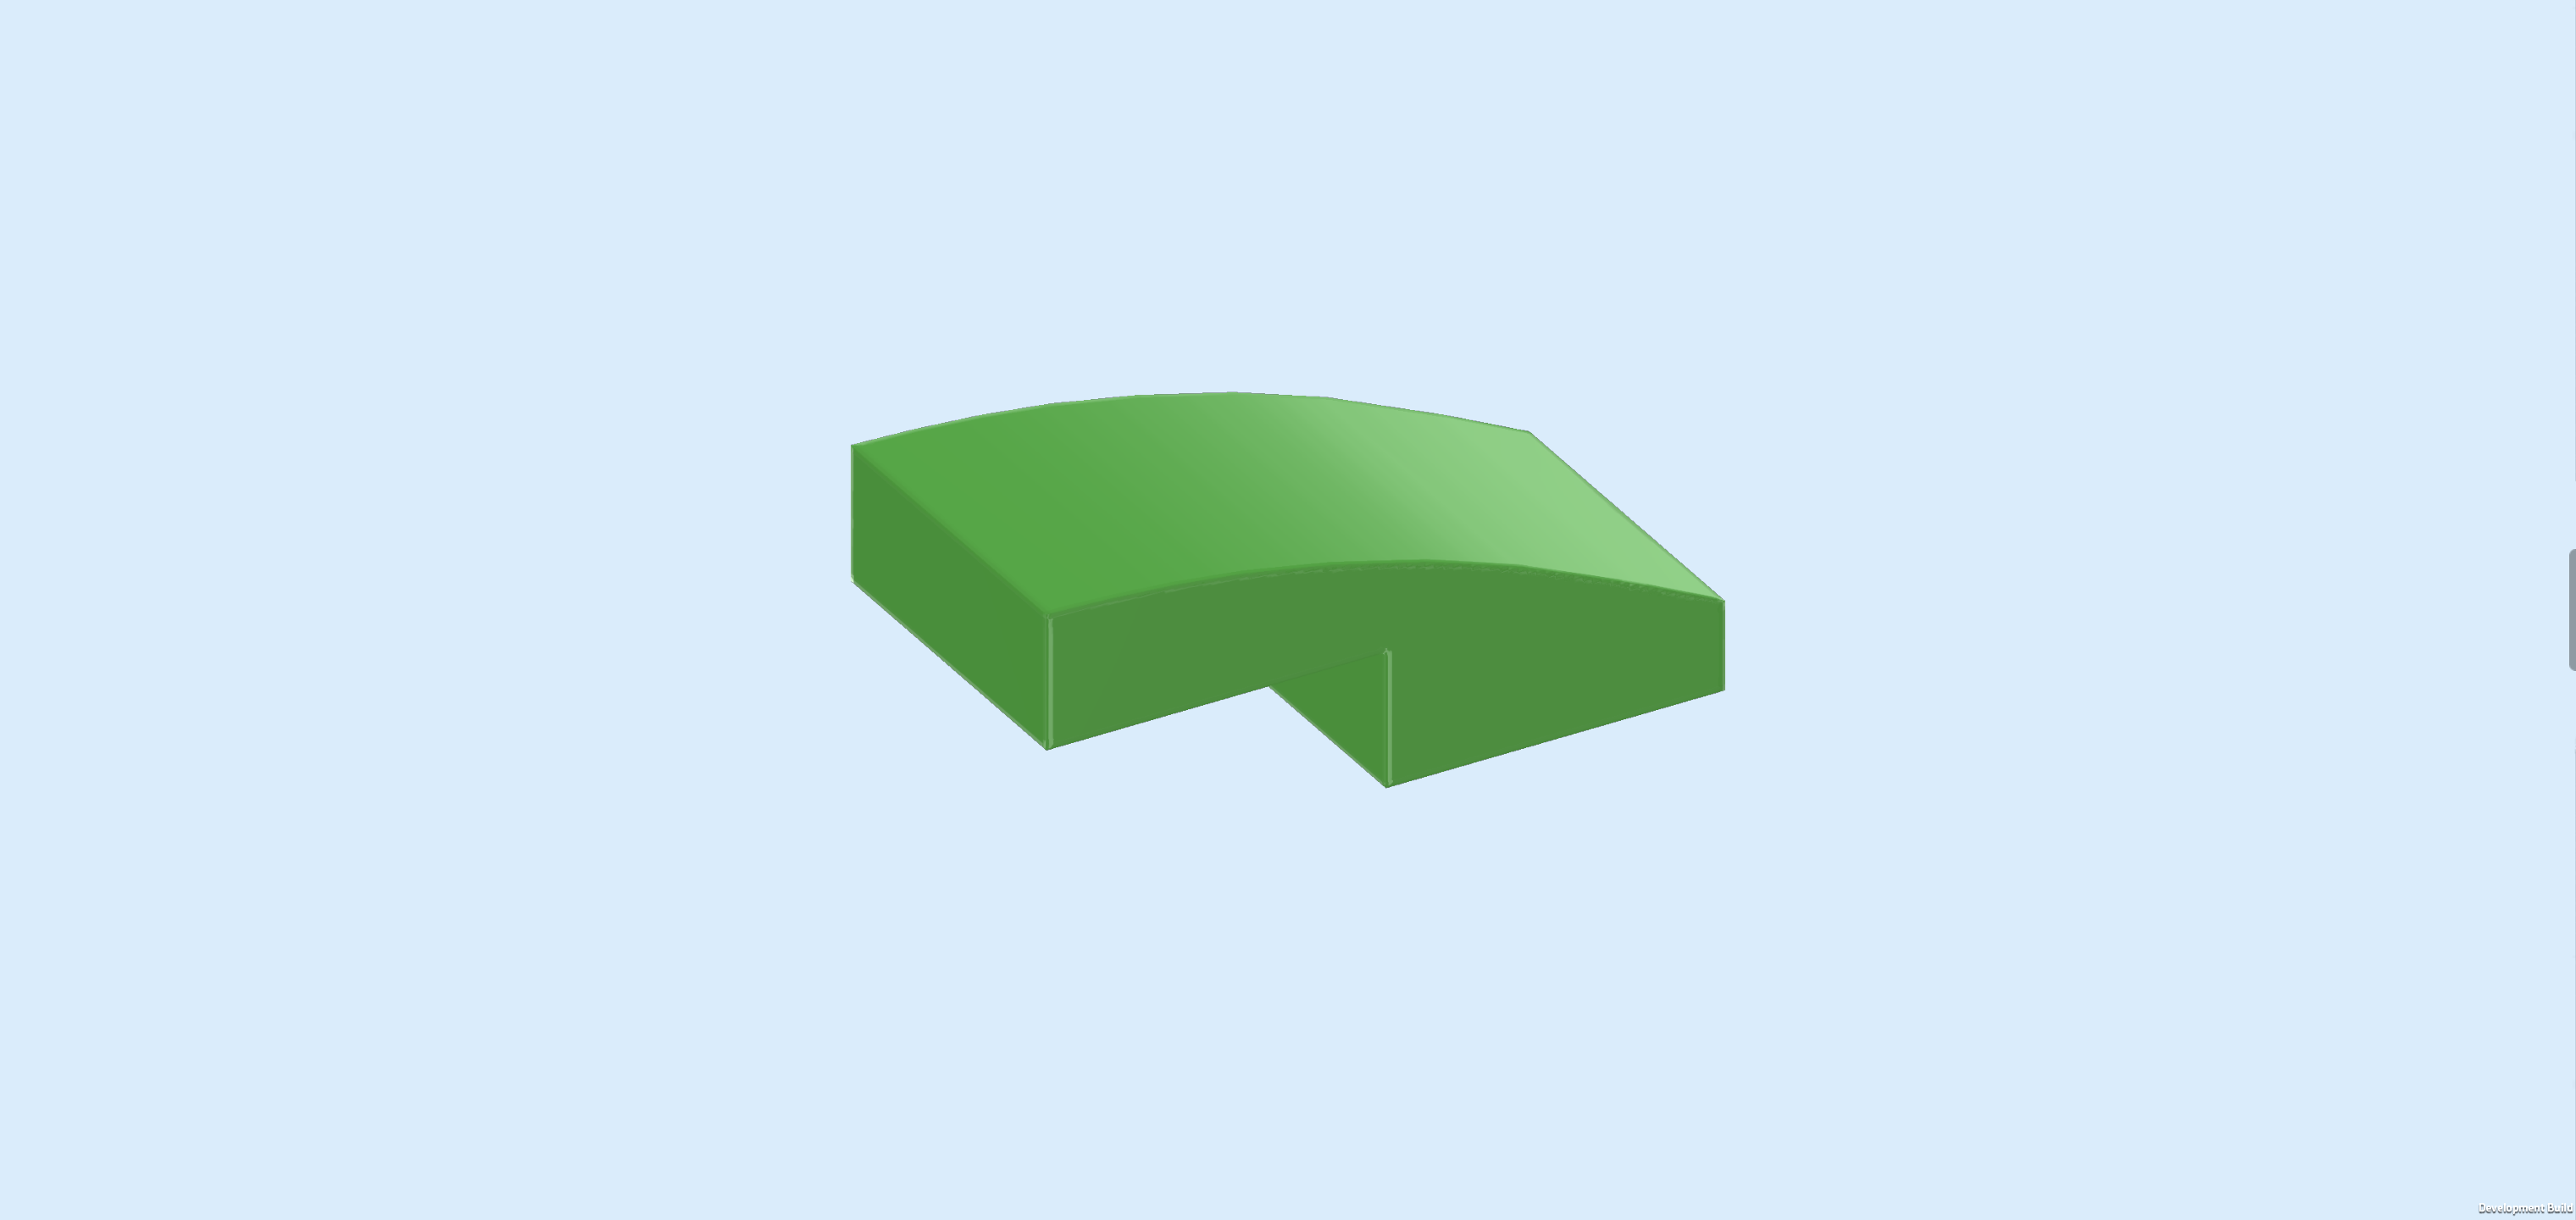
| Find 1 bright green one-stepped curve tile 1x2. |
| Put it horizontally on top of the previous piece and the knob to its left, curve to the left. This piece should connect the arch brick with the roof tile 1x3. |
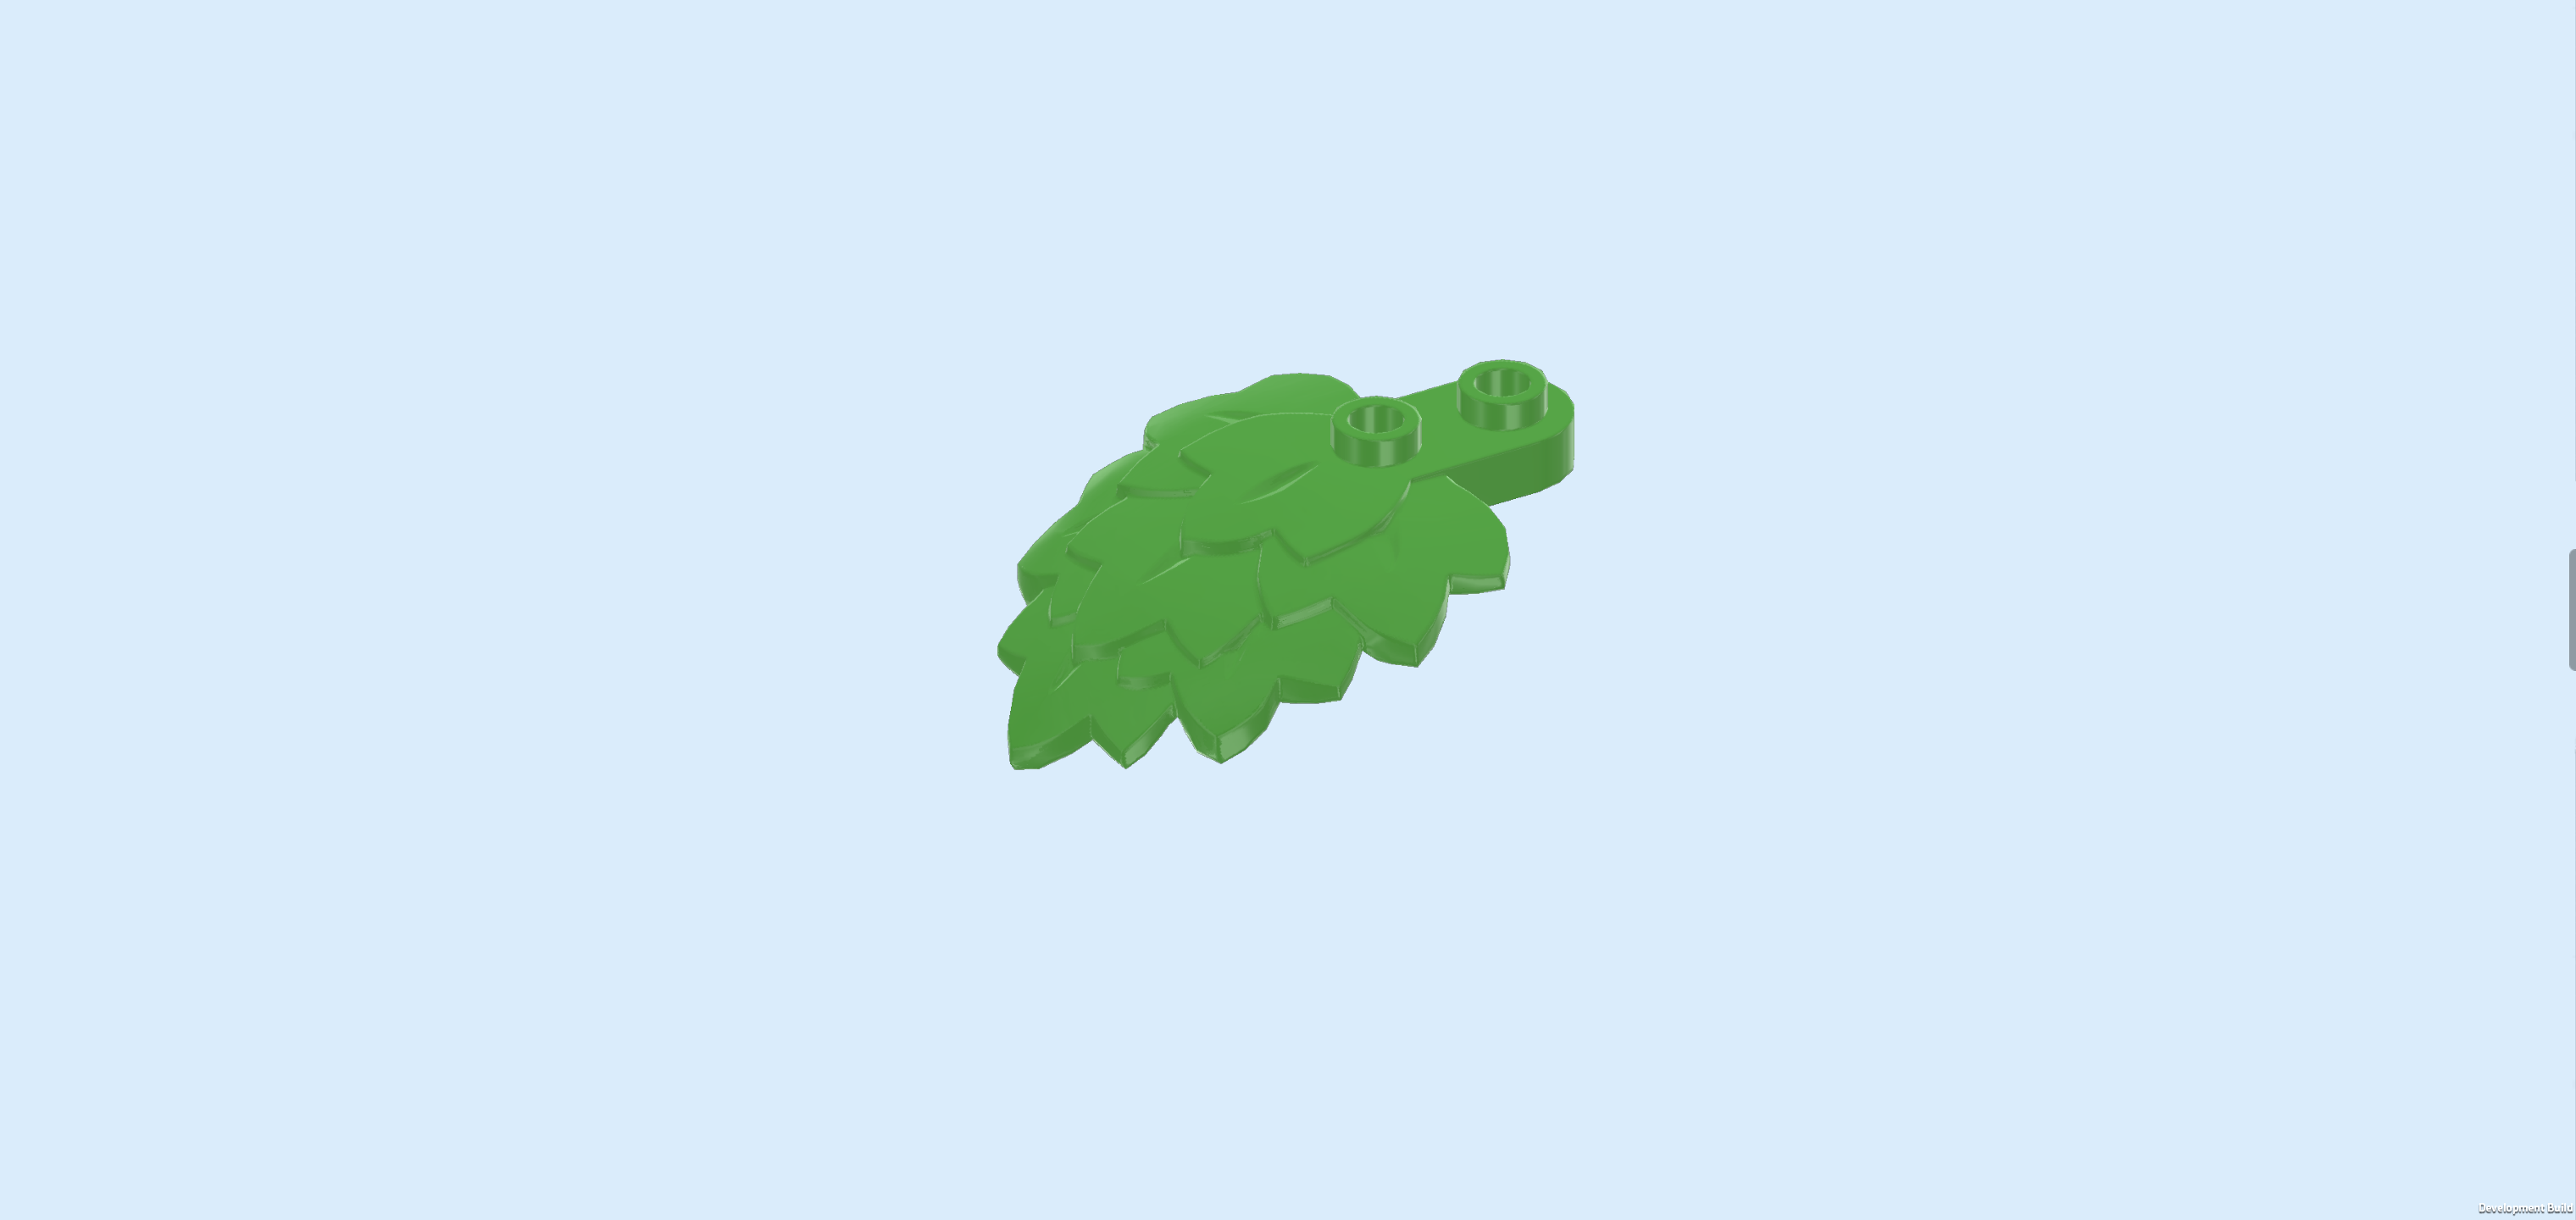
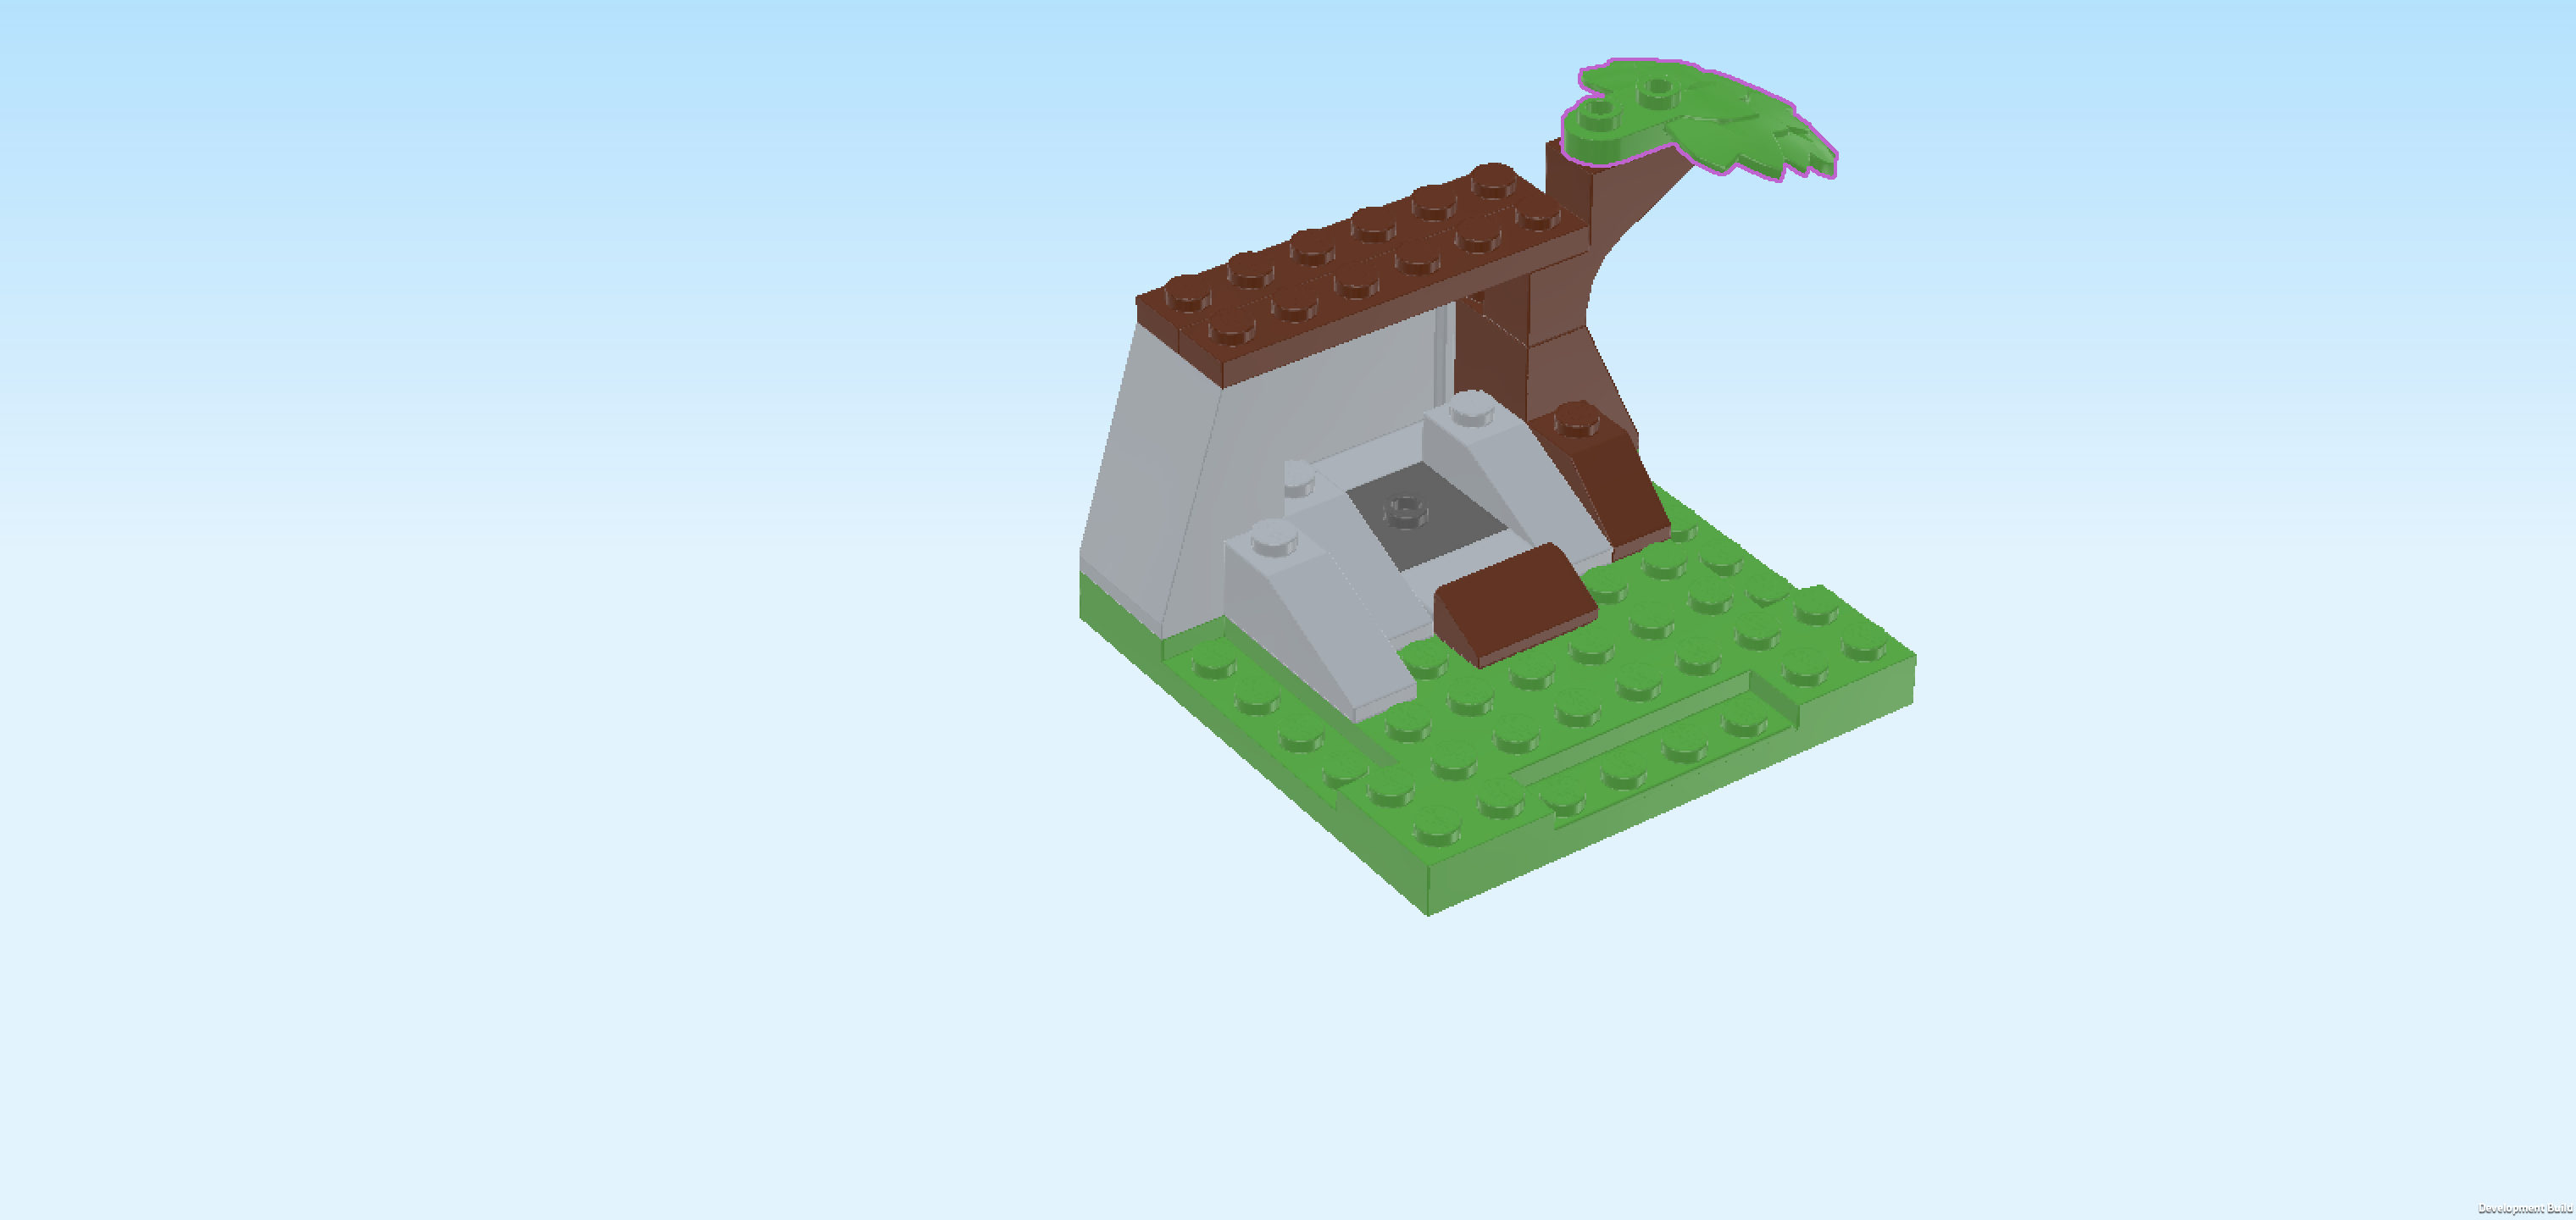
| Find 1 bright green leaf 4x5x1⅔. |
| Put it horizontally on the top surface of the brick with half arch, leaf tips pointing to the left. |
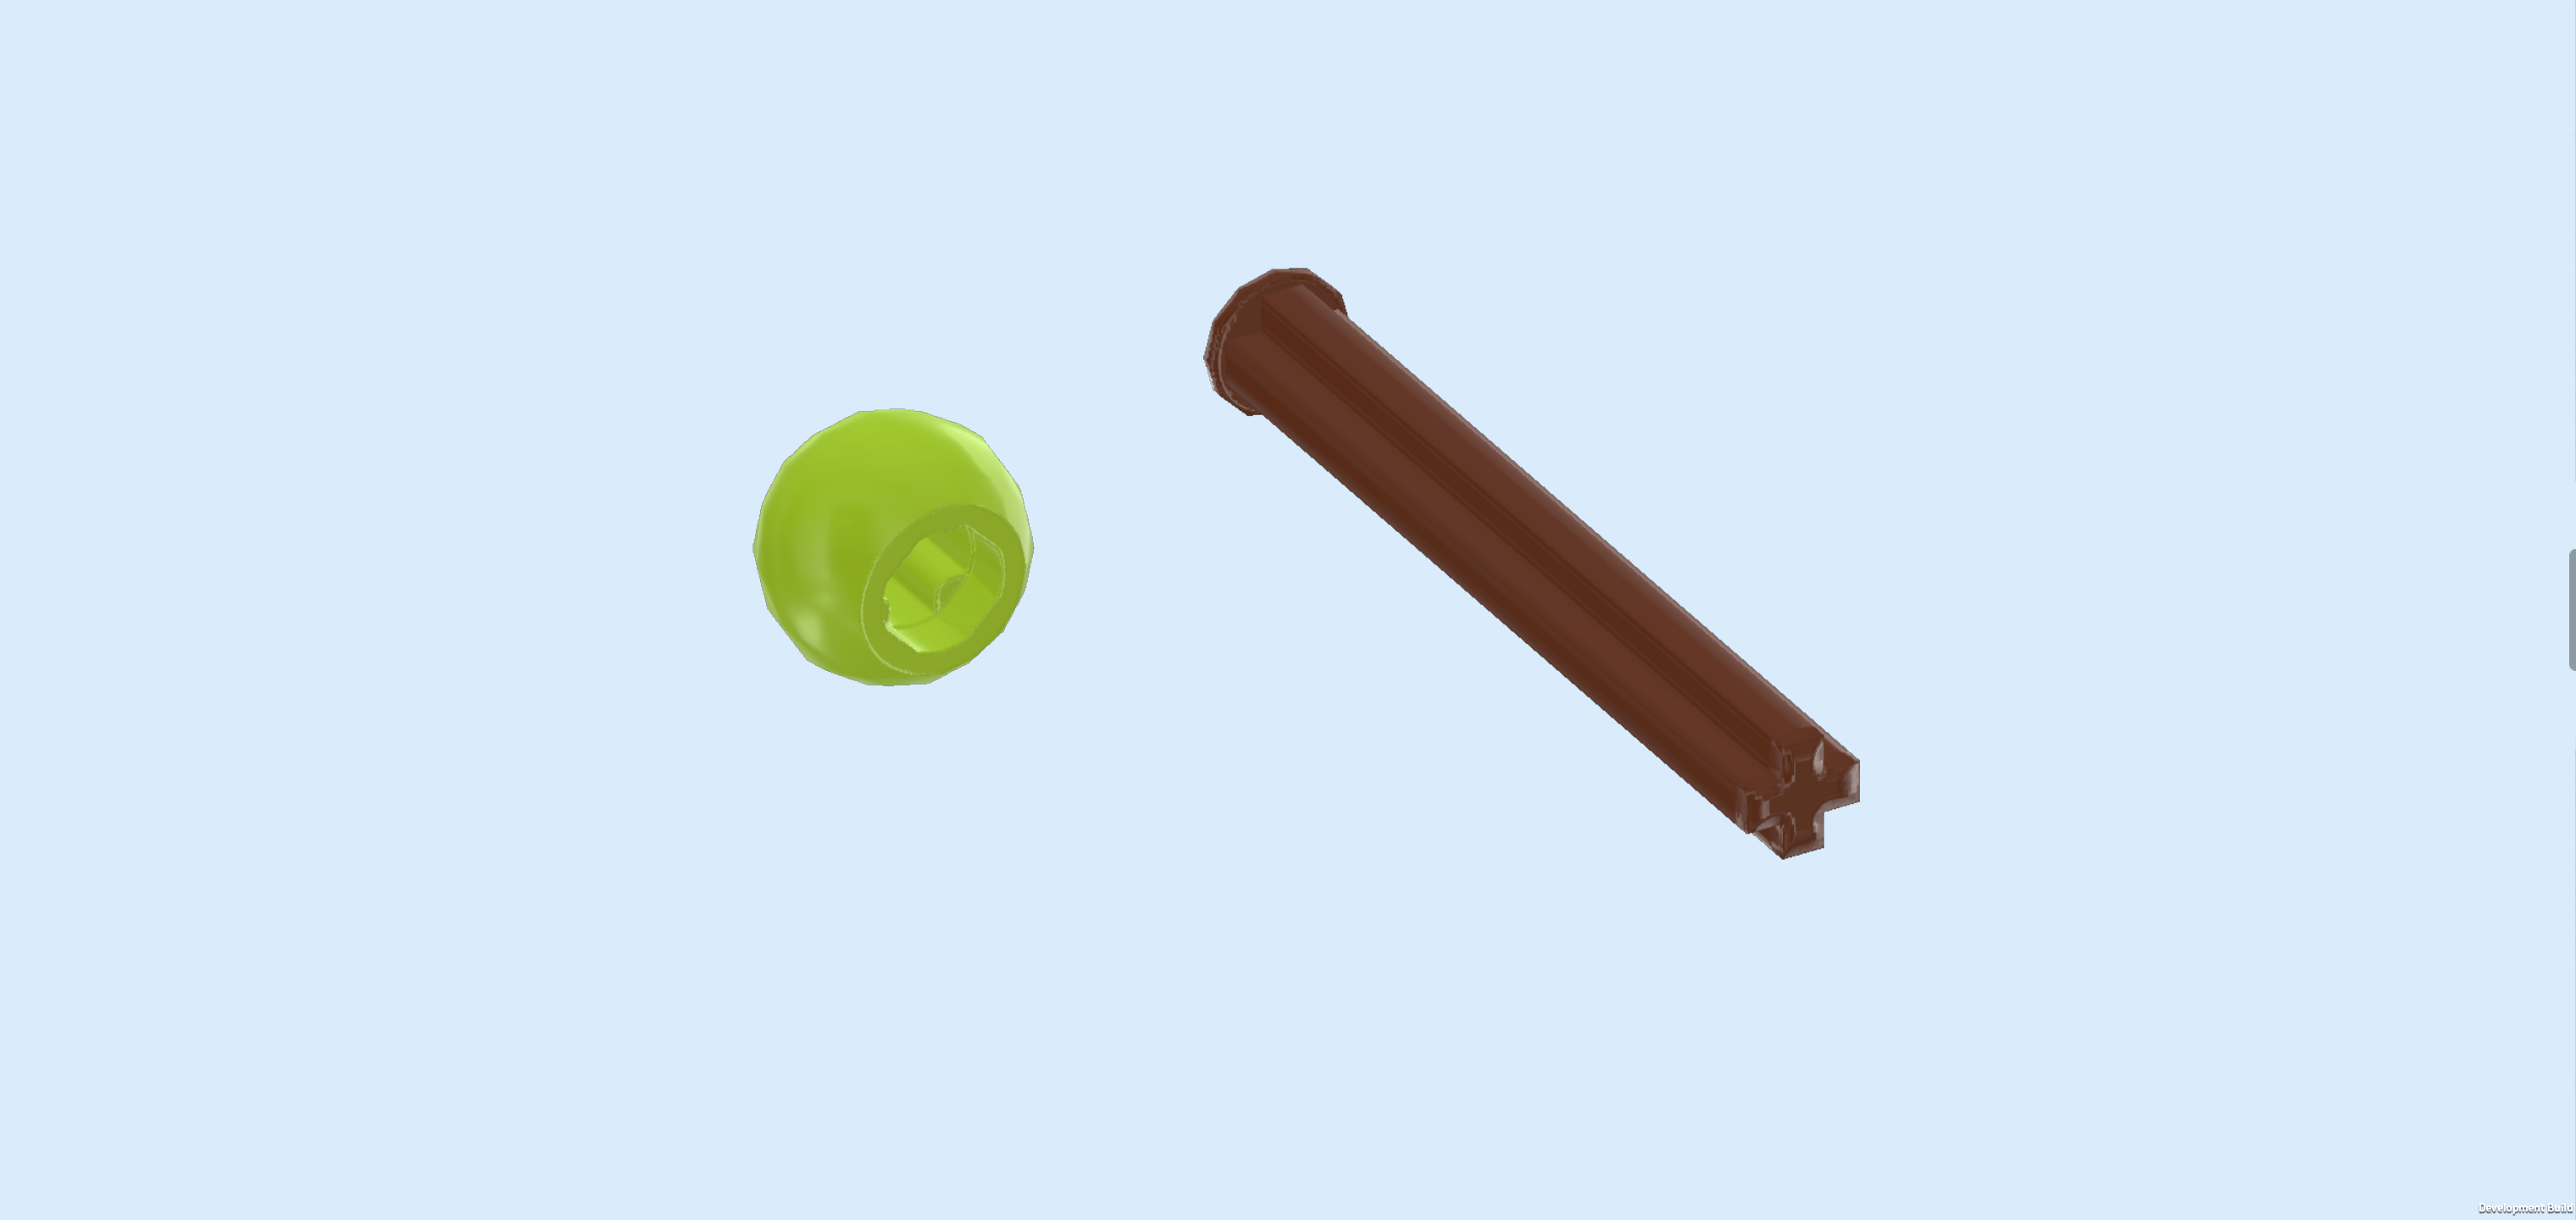
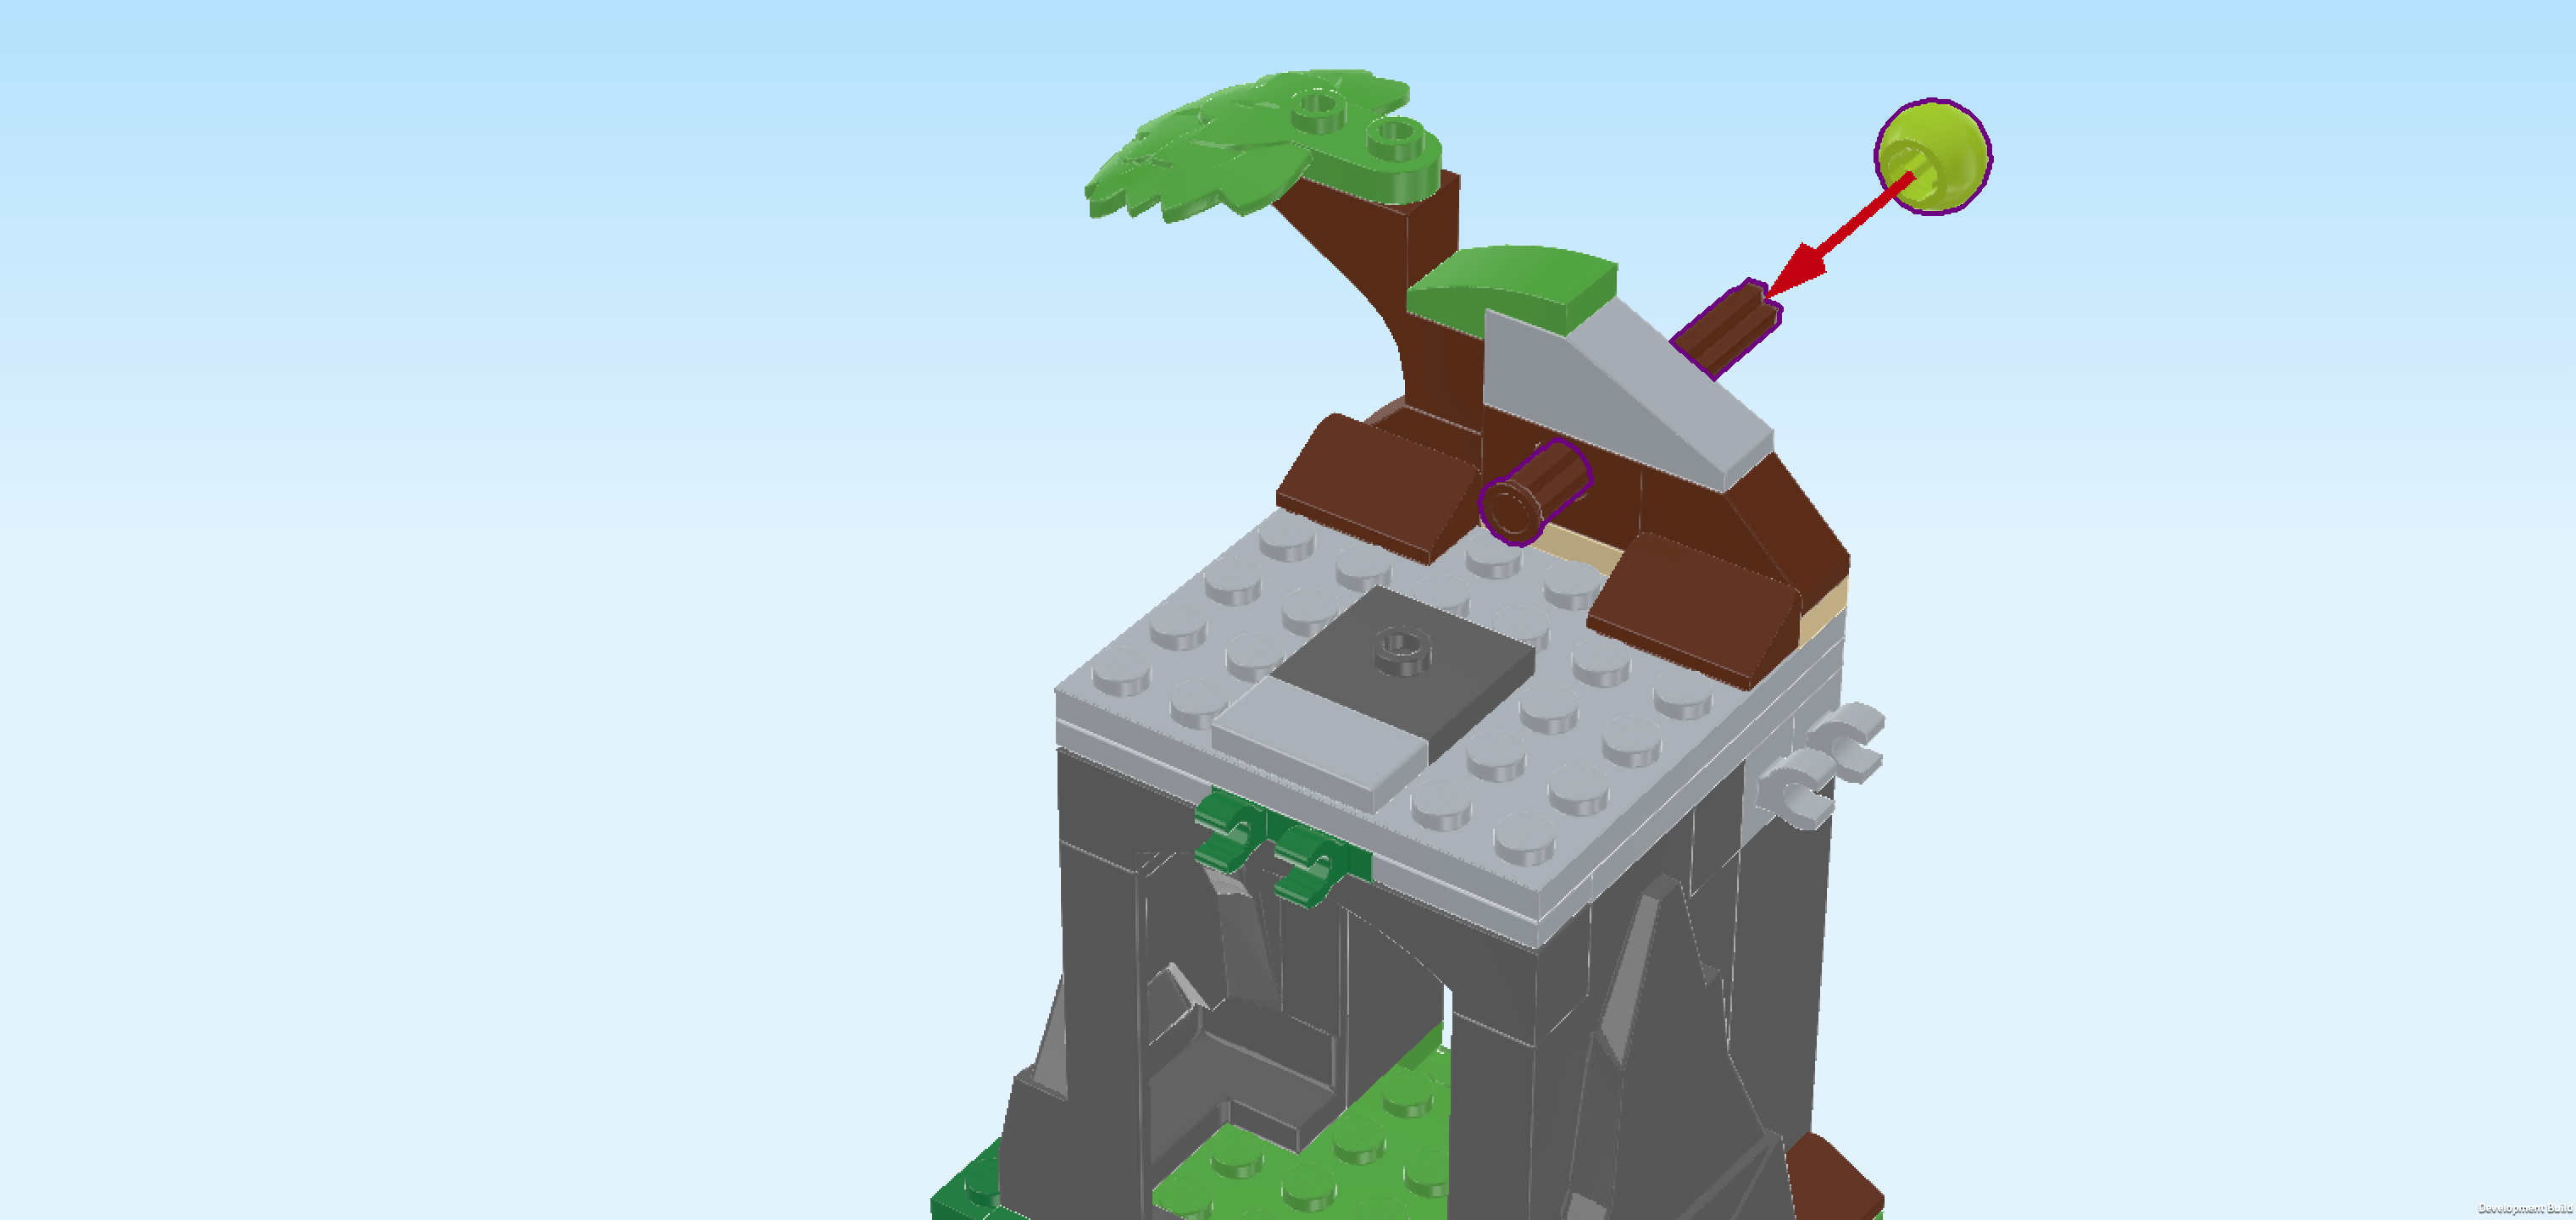
| Collect the following 2 pieces: |
| 1 yellowish green technic ball 1m with hole, |
| and 1 reddish brown cross axle 5m with end stop. |
| Insert the cross axle from the front into the hole at the back of the high structure, end stop at the front, cross axle protruding to the back. |
| Put the technic ball on the back end of the protruding cross axle. Make sure that it is mounted safely but the cross axle doesn't stick out of the ball at the back. |
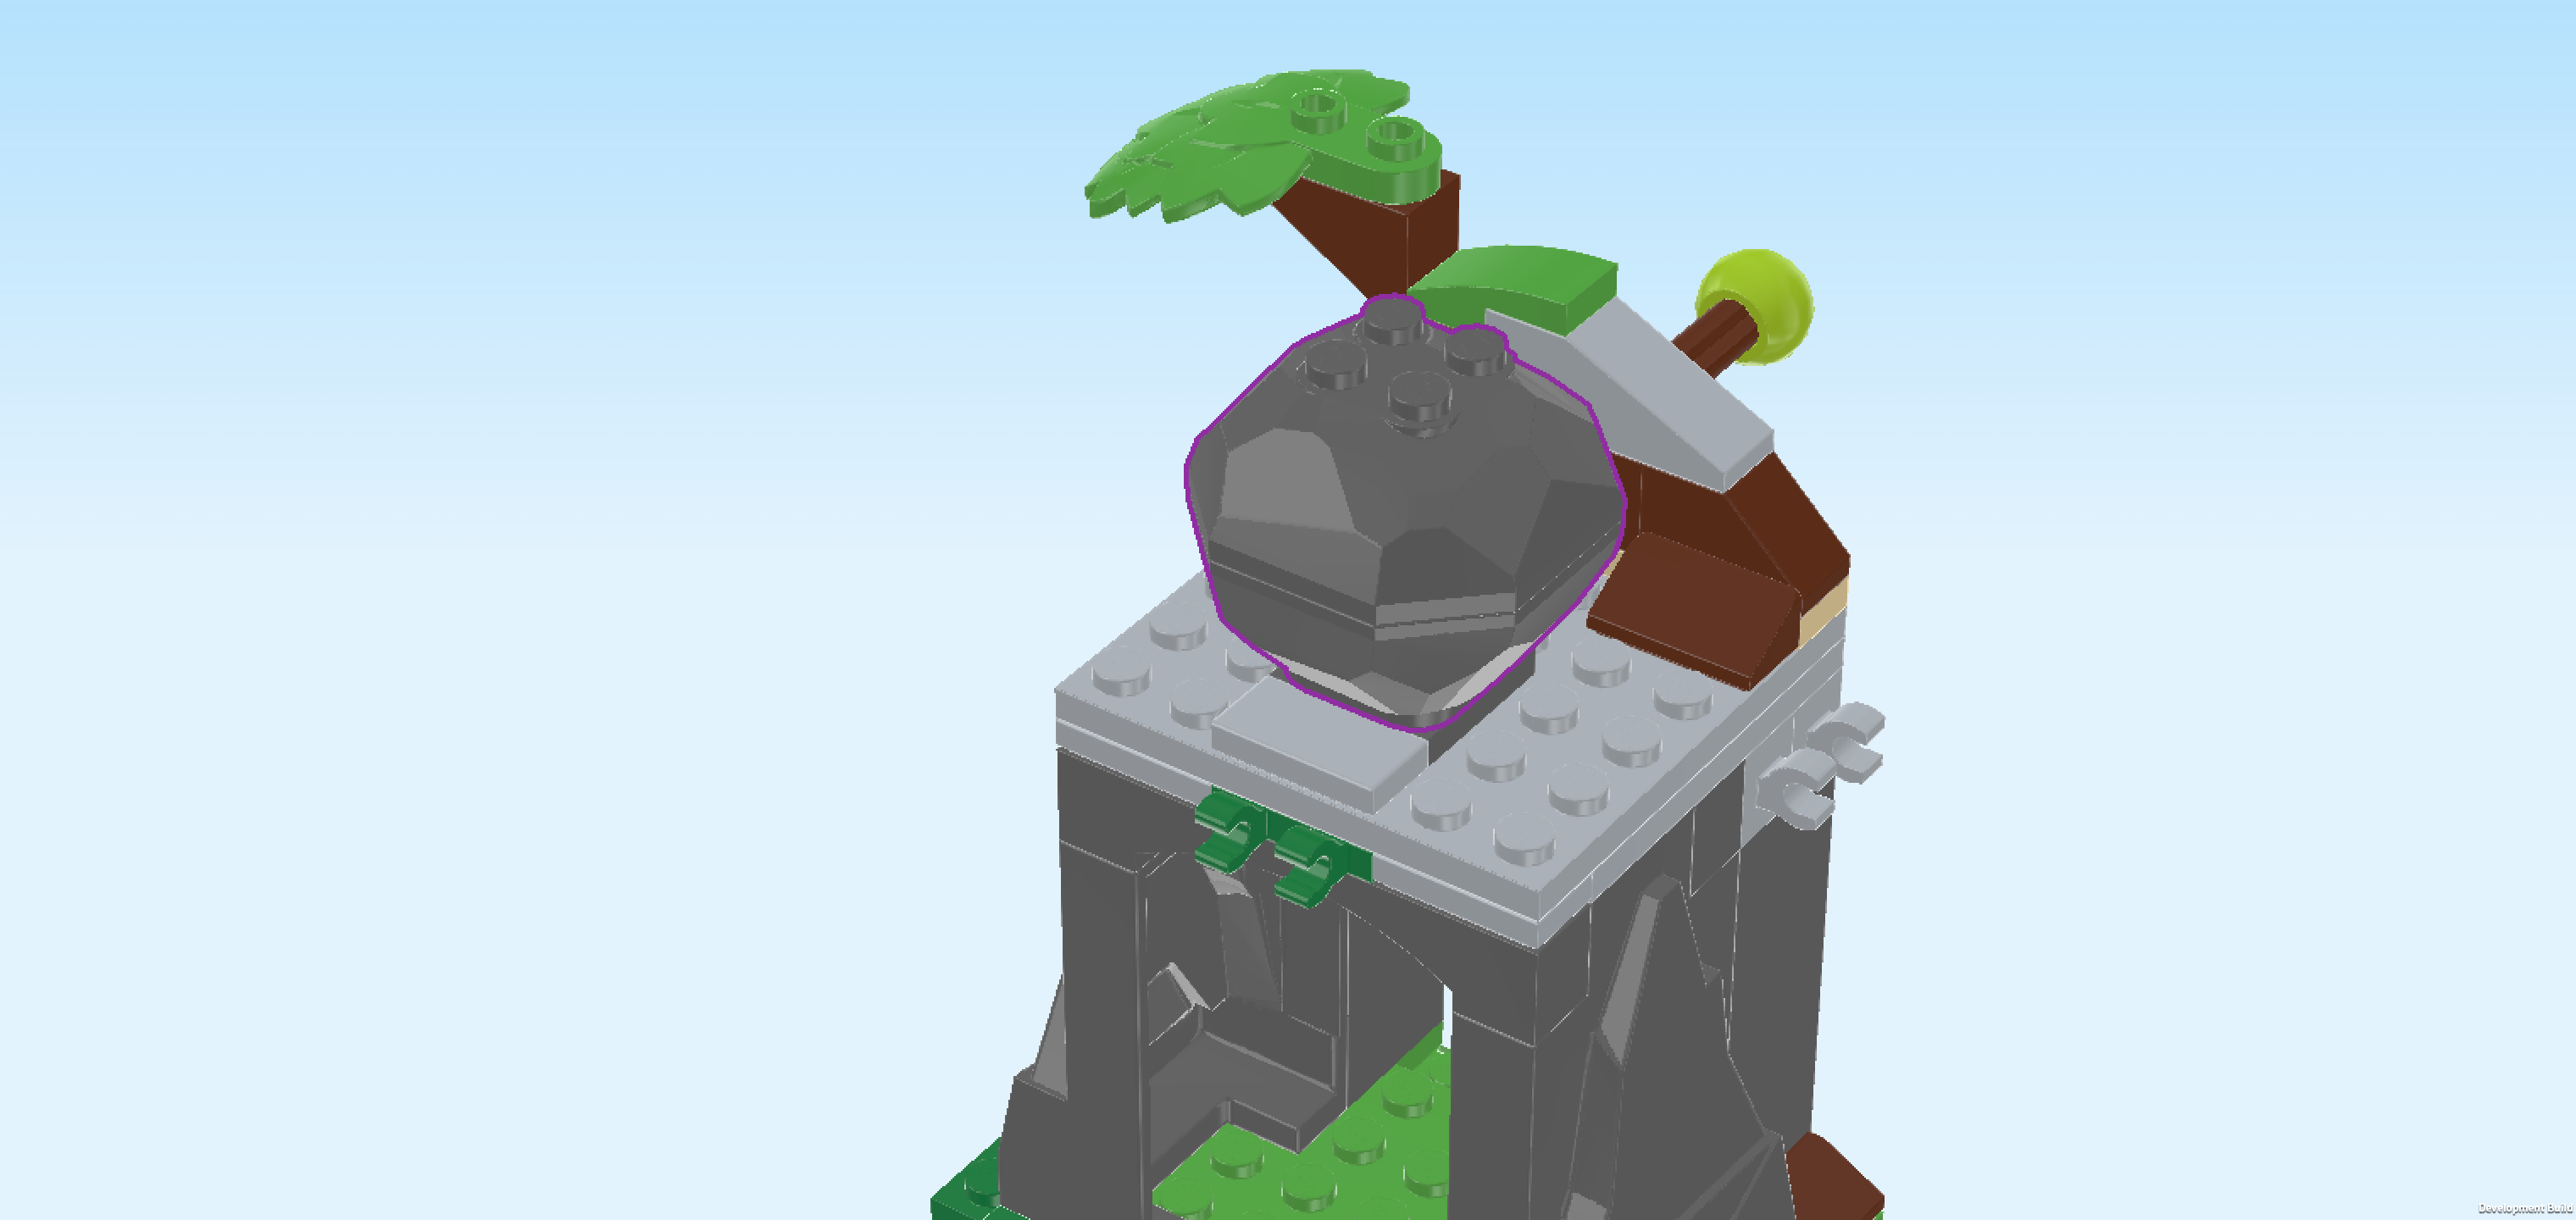
| Next, we will assemble the falling boulder. |
| Collect the following 2 pieces: |
| 1 dark stone grey bottom rock half 4x4x1⅔, |
| and 1 dark stone grey top rock half 4x4x1⅓. |
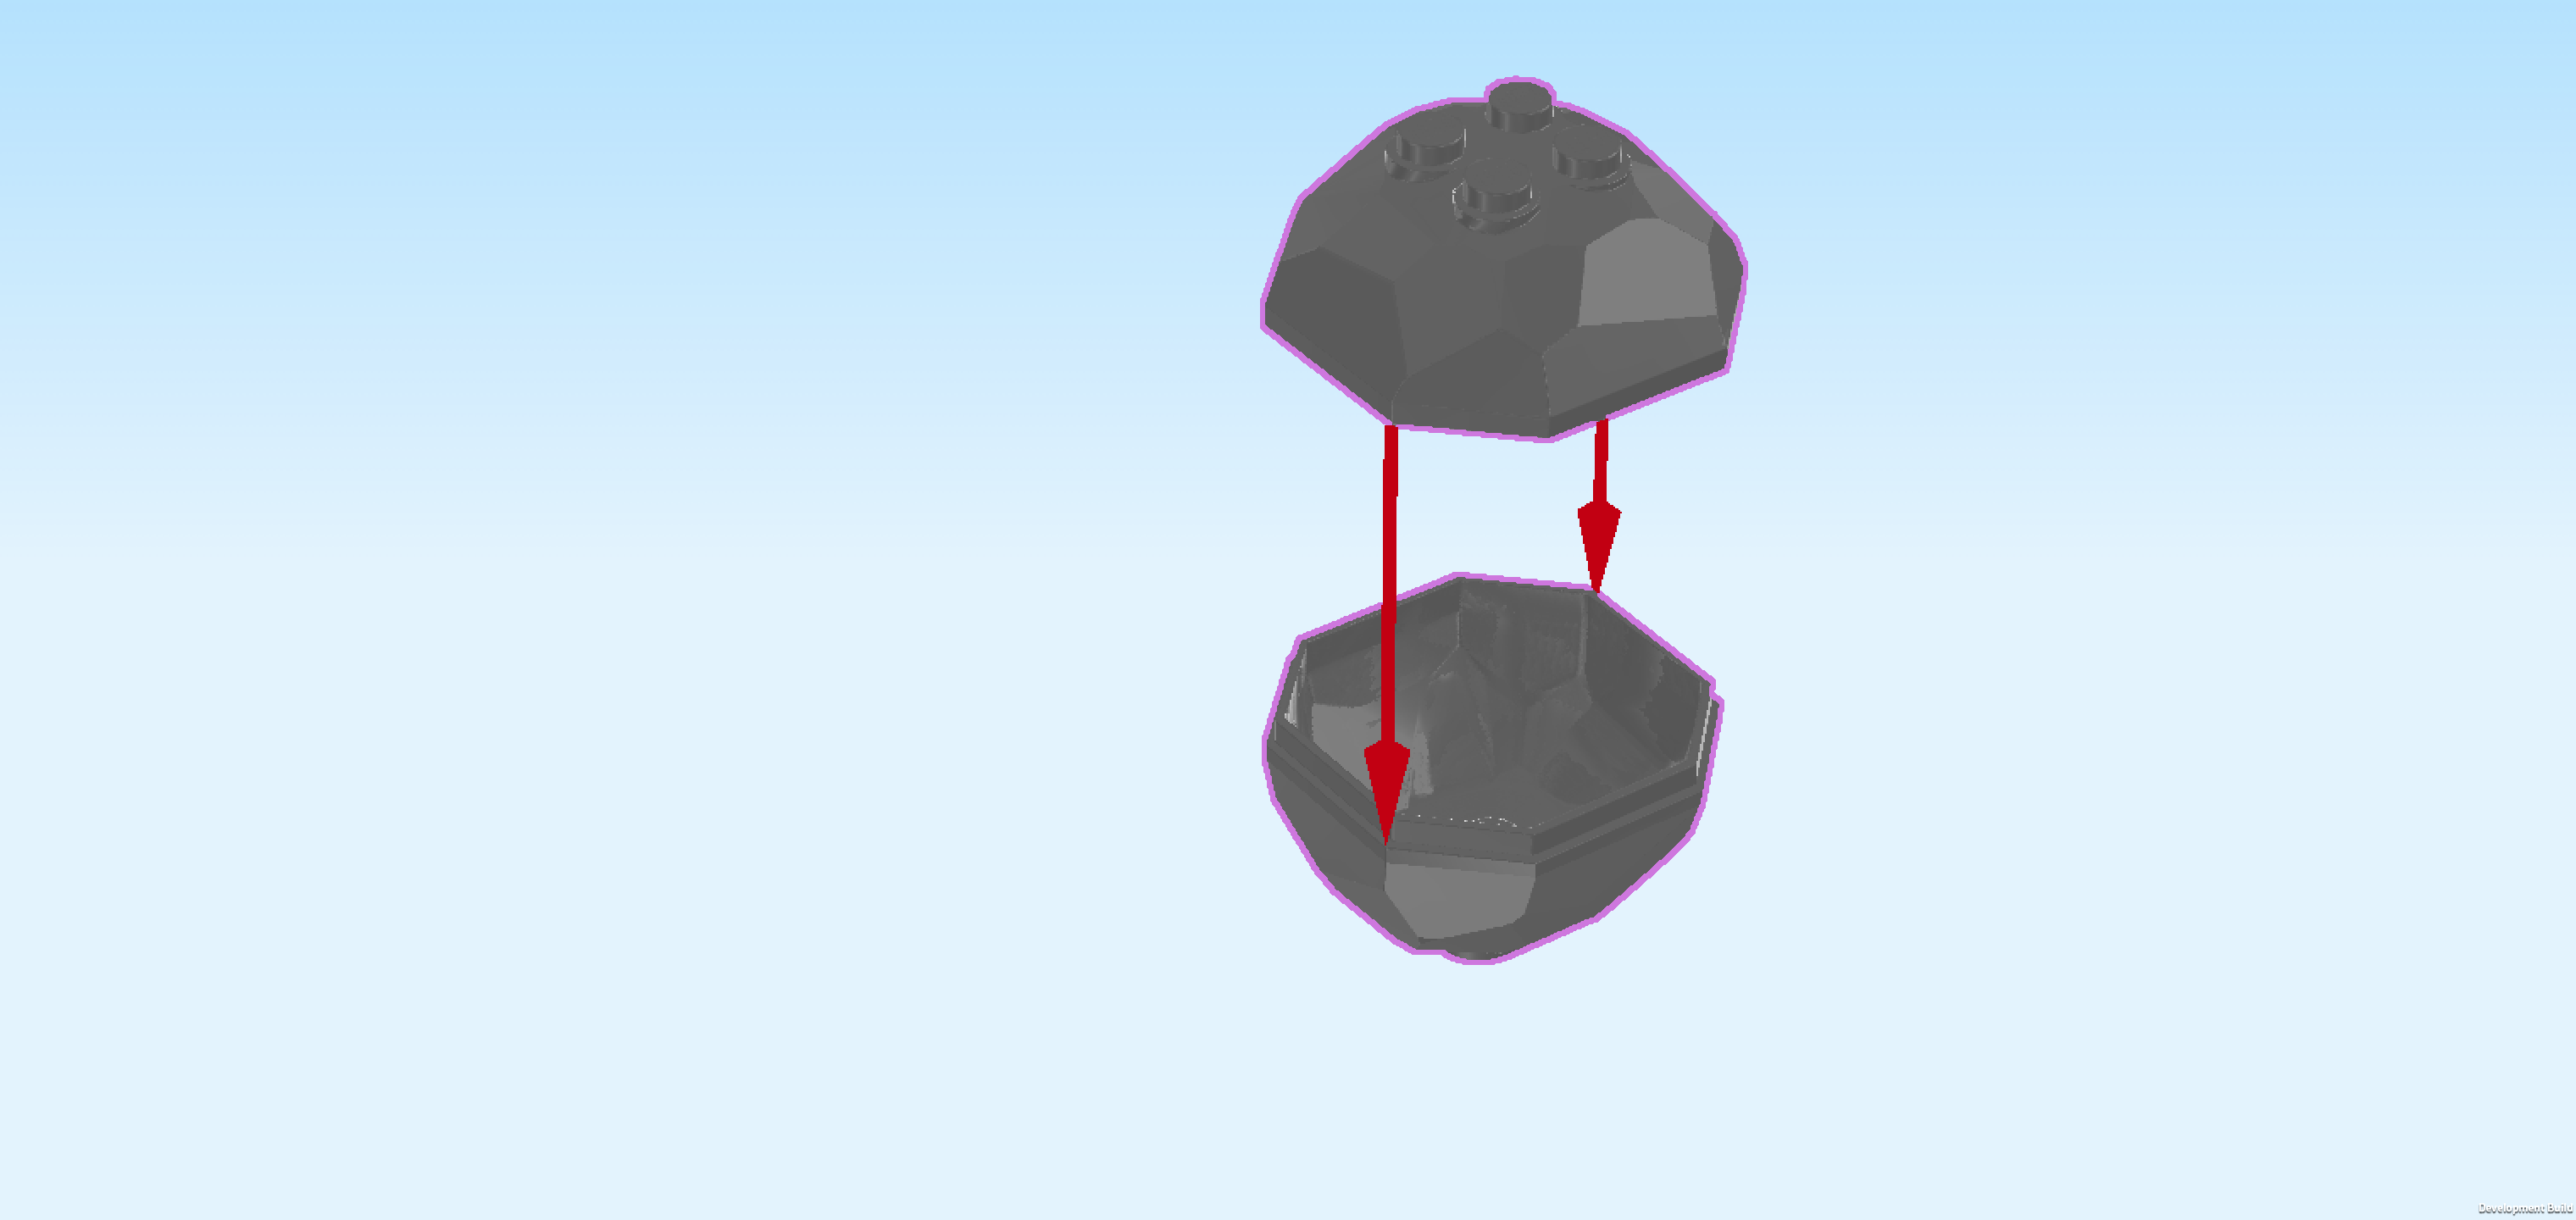
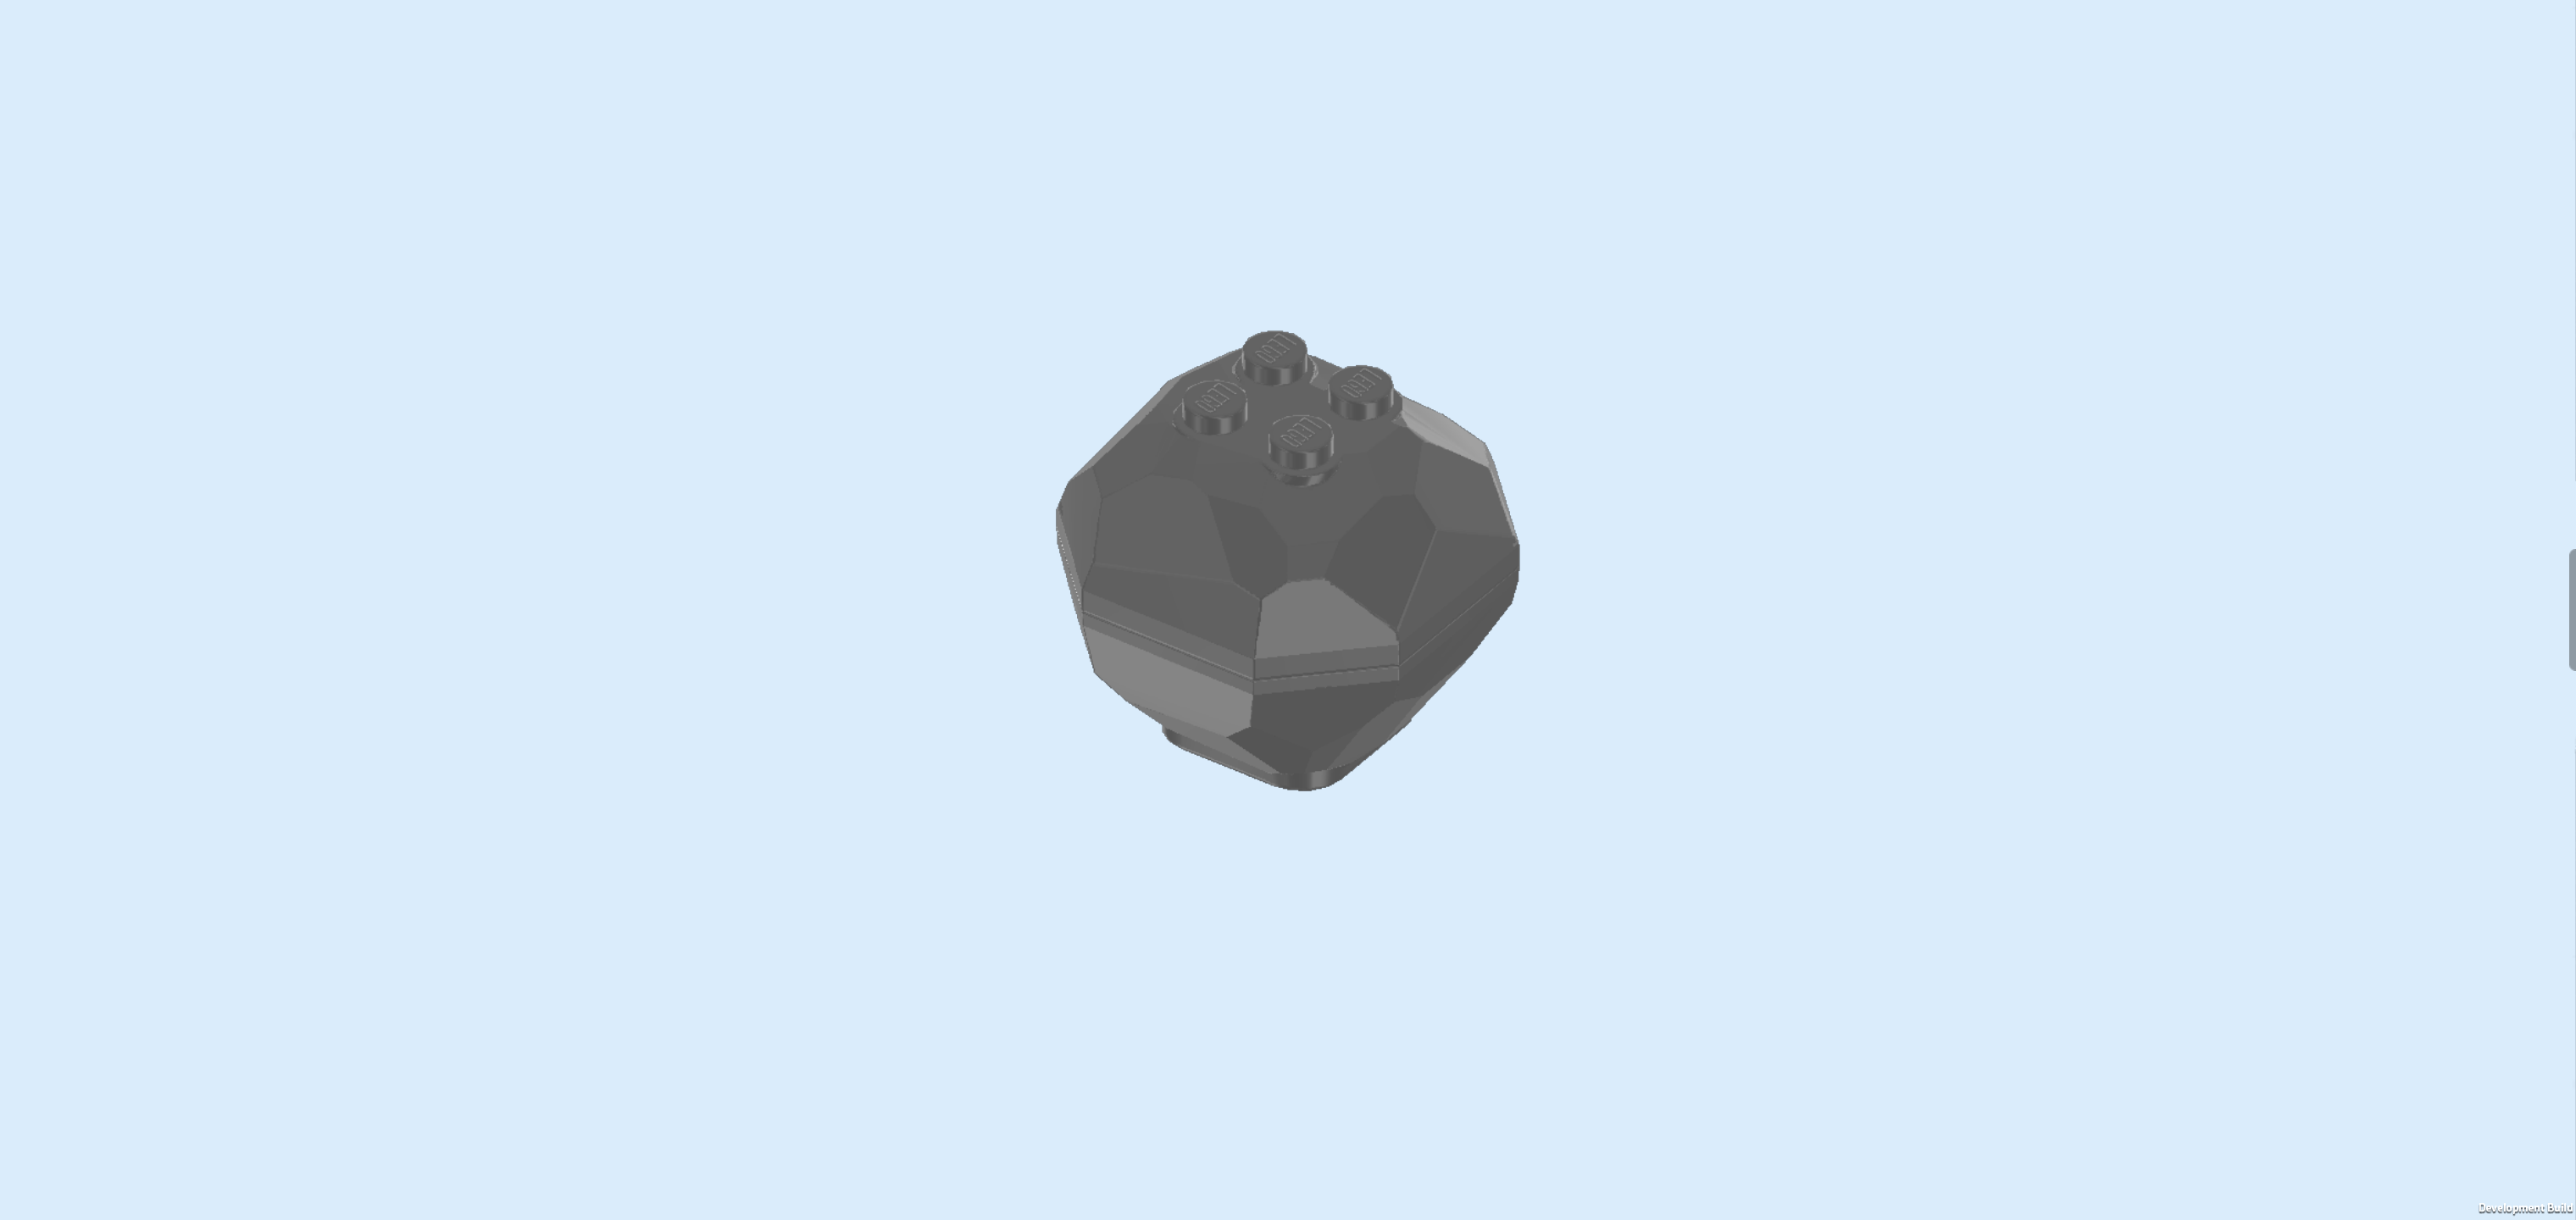
| Put the 2 rock halves together to create a boulder. |
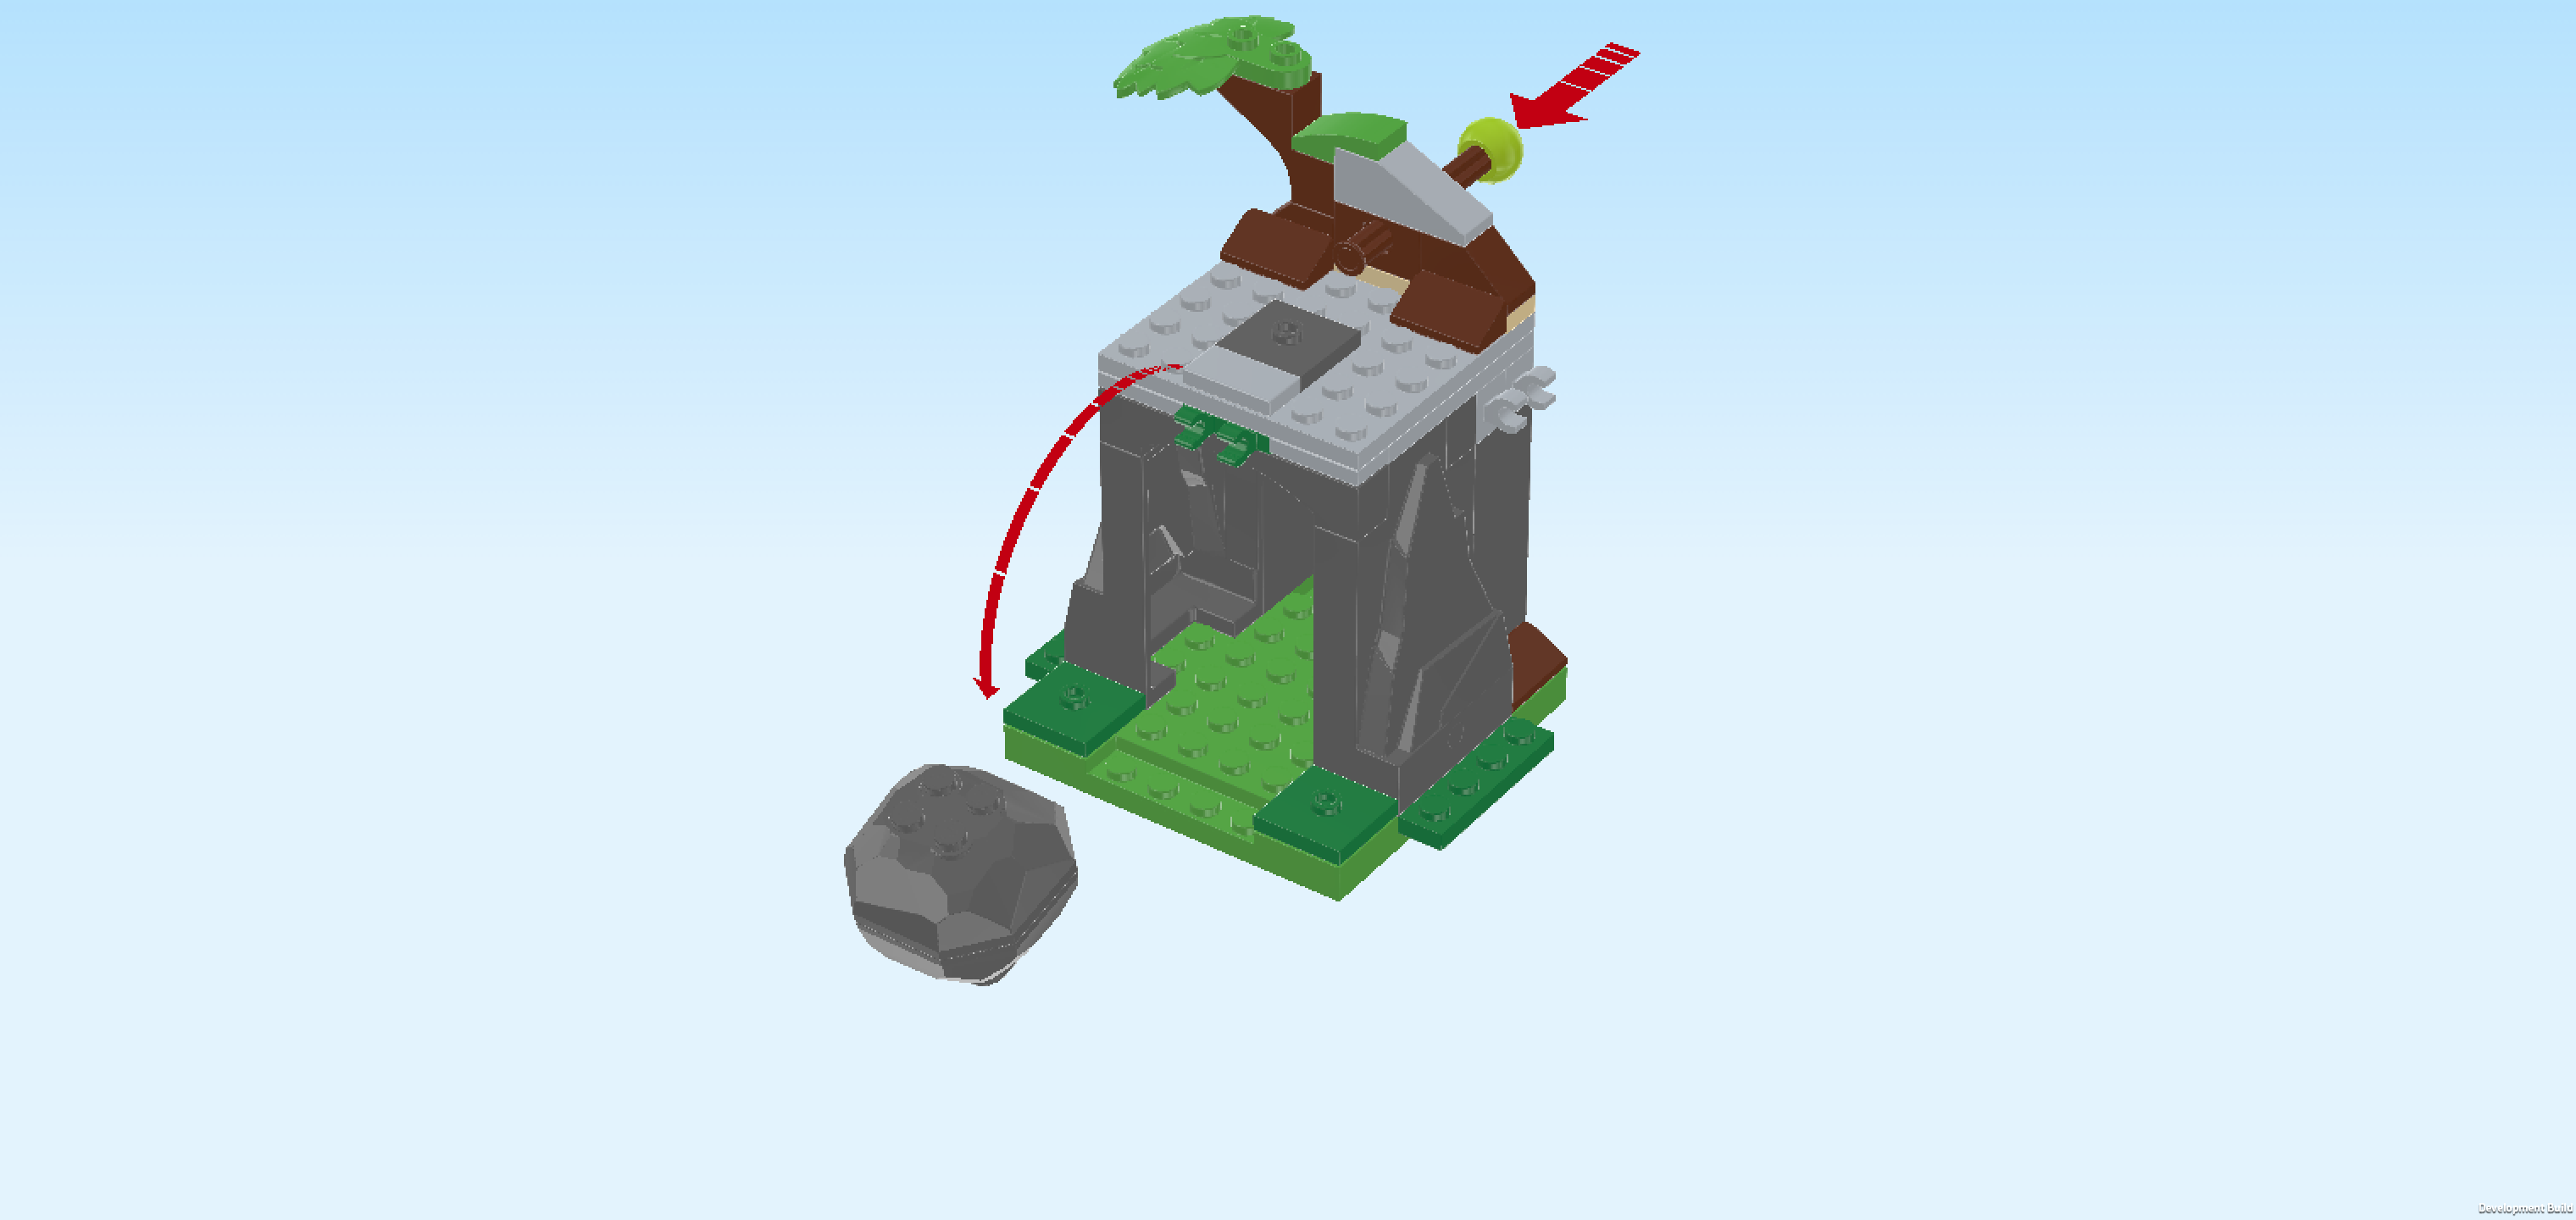
| The falling boulder is finished! Well done! Mount it on the plate 2x2 with 1 knob at the top platform of the rock cave. Make sure the cross axle is pulled back. |
| To trigger the boulder fall mechanism, give the cross axle a quick push towards the front. This will loosen the boulder from the plate and it will come tumbling down! This is a great mechanism to block Dino-Rhino's way! |
| Collect the following 2 pieces: |
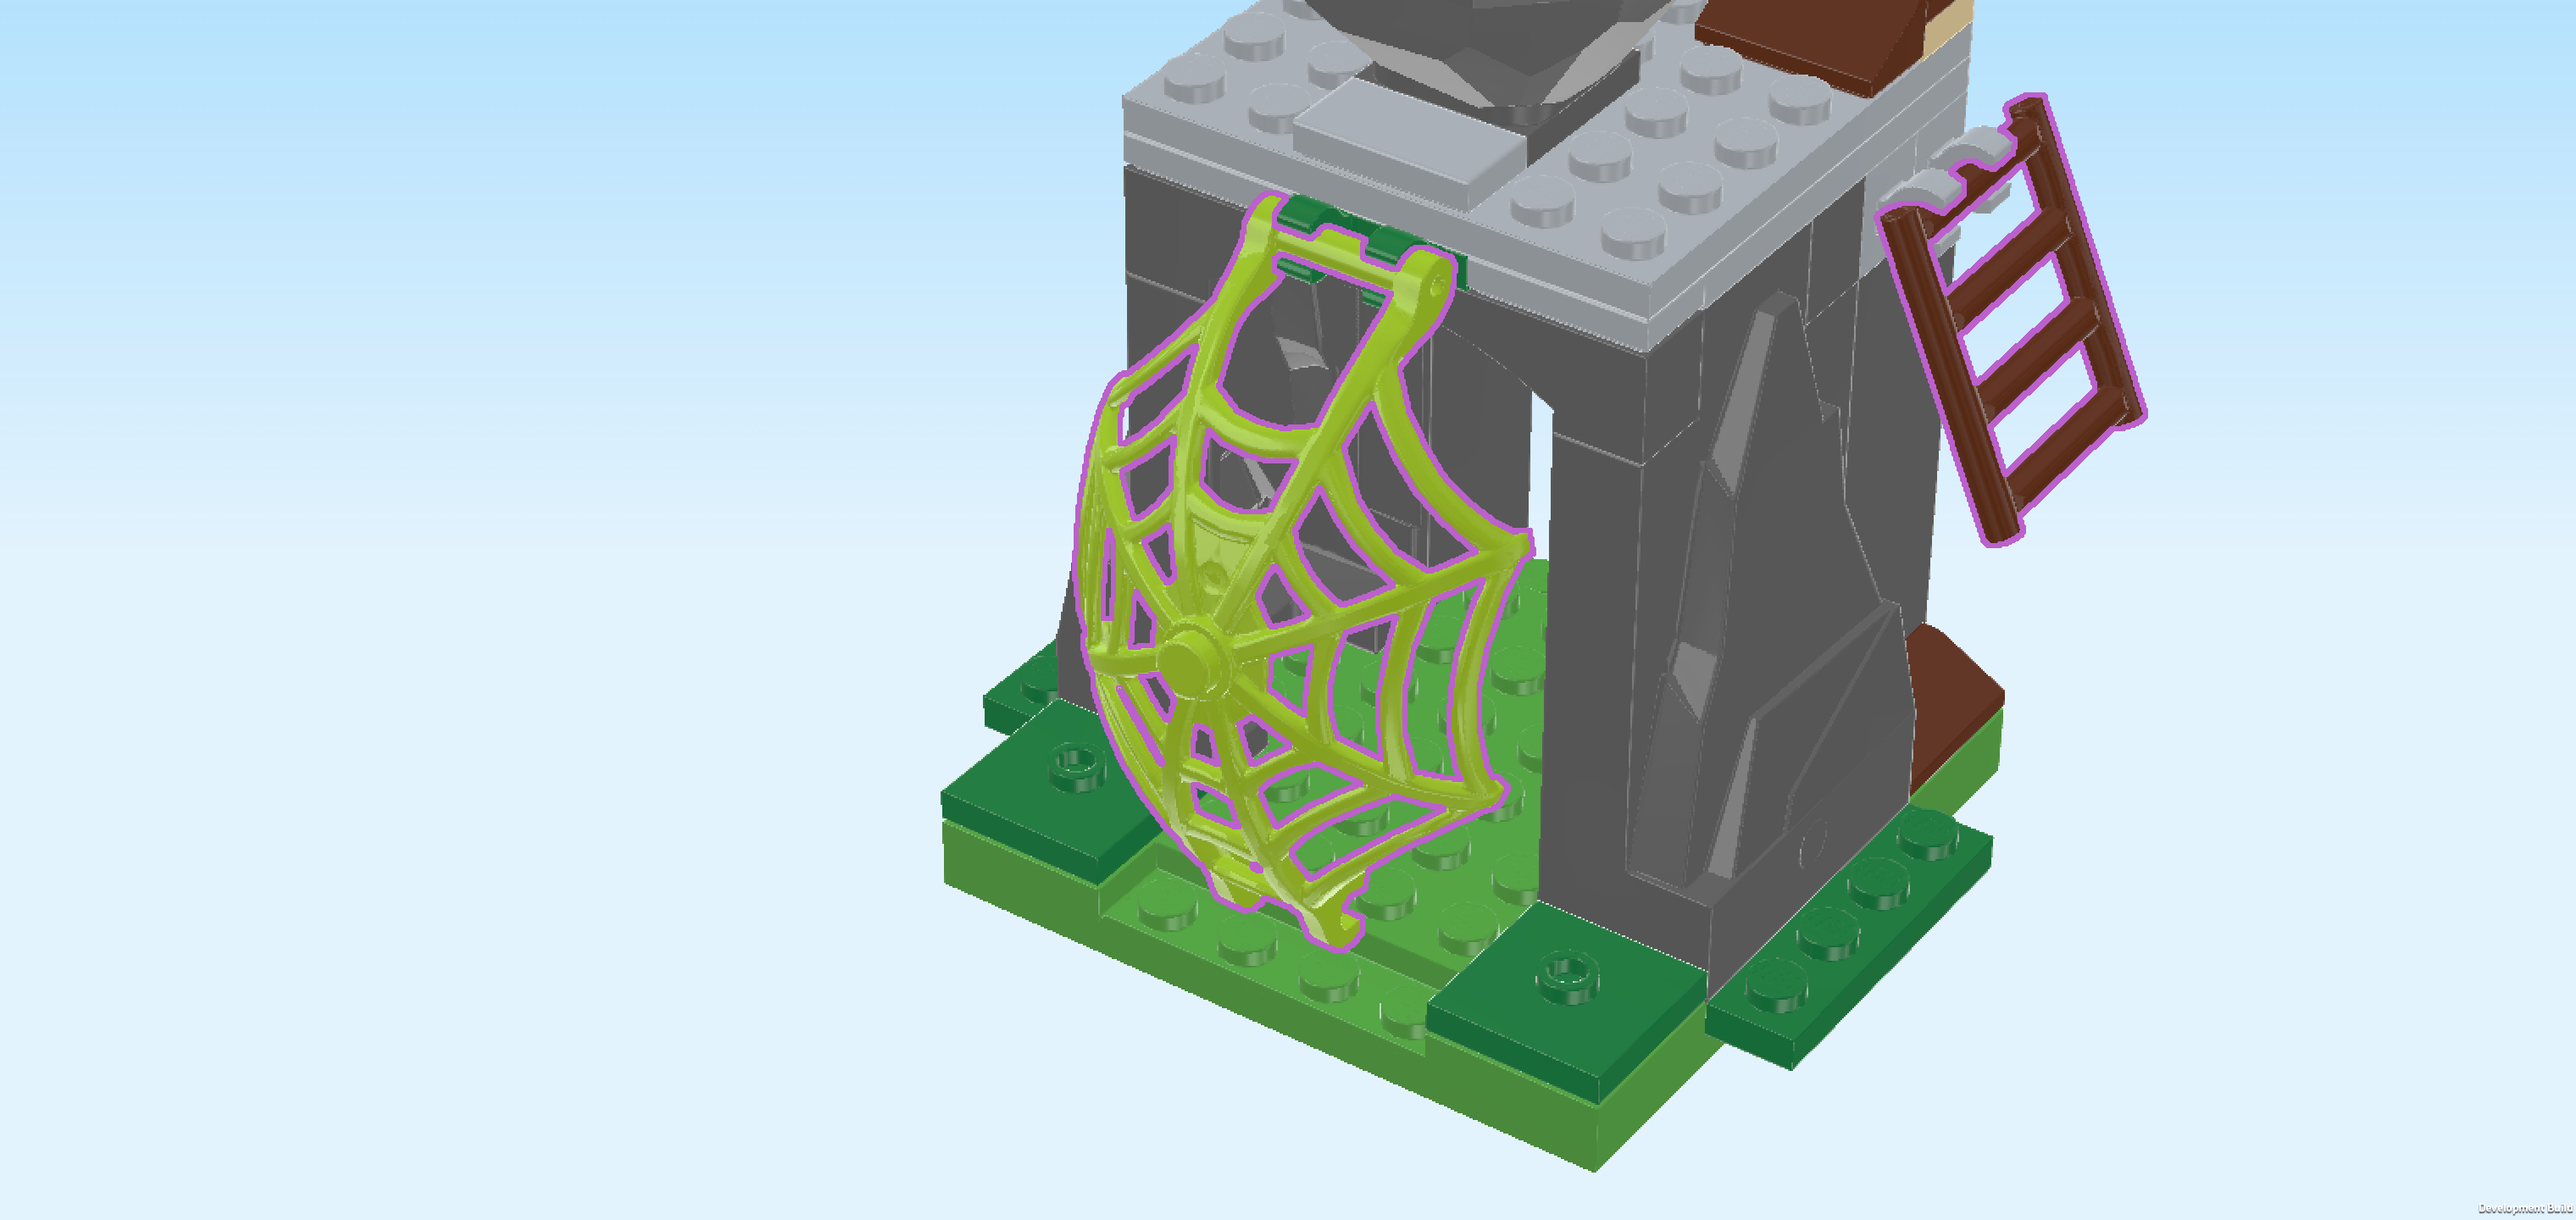
| 1 yellowish green spider web 5x8x2 with handle, |
| and 1 reddish brown lattice element 3x4x1. |
| Hold the spider web upright so that the handle is at the top, the web is bulging towards you and its 2 clasps are pointing to the bottom. |
| Snap the handle on the rock cave using the 2 clasps that are pointing to the front. You should be able to fold the web up and down as needed. |
| Snap one of the 2 short sides of the lattice element on the 2 clasps pointing to the right and fold the lattice down. The lattice will later function as a connection to a lower rock formation. |
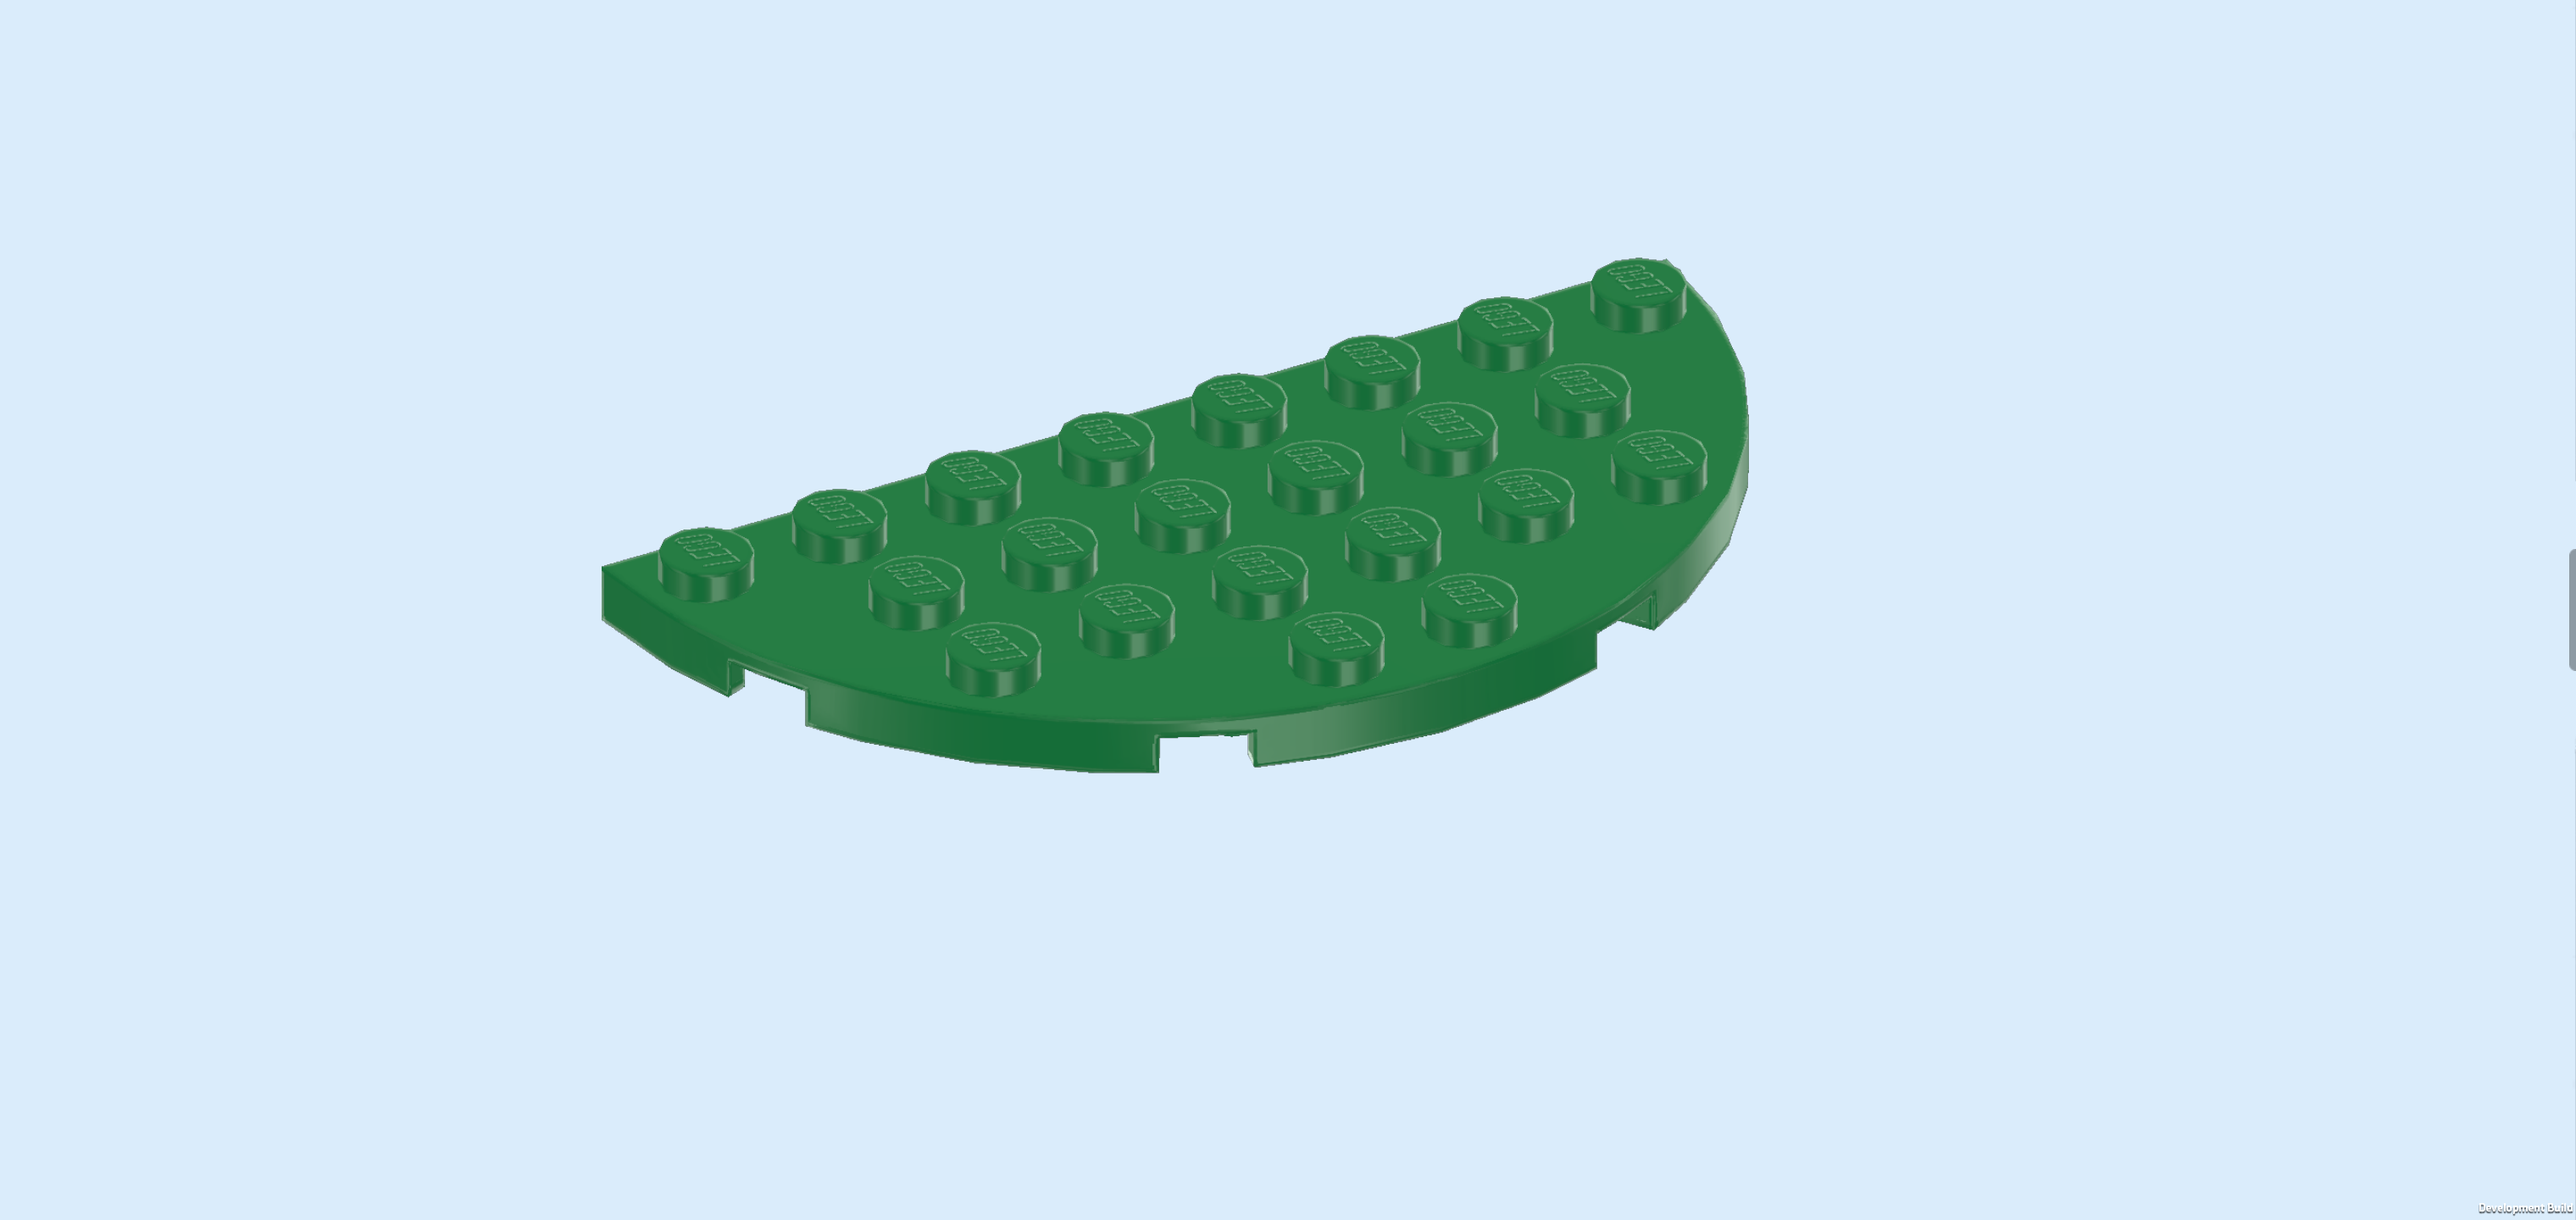
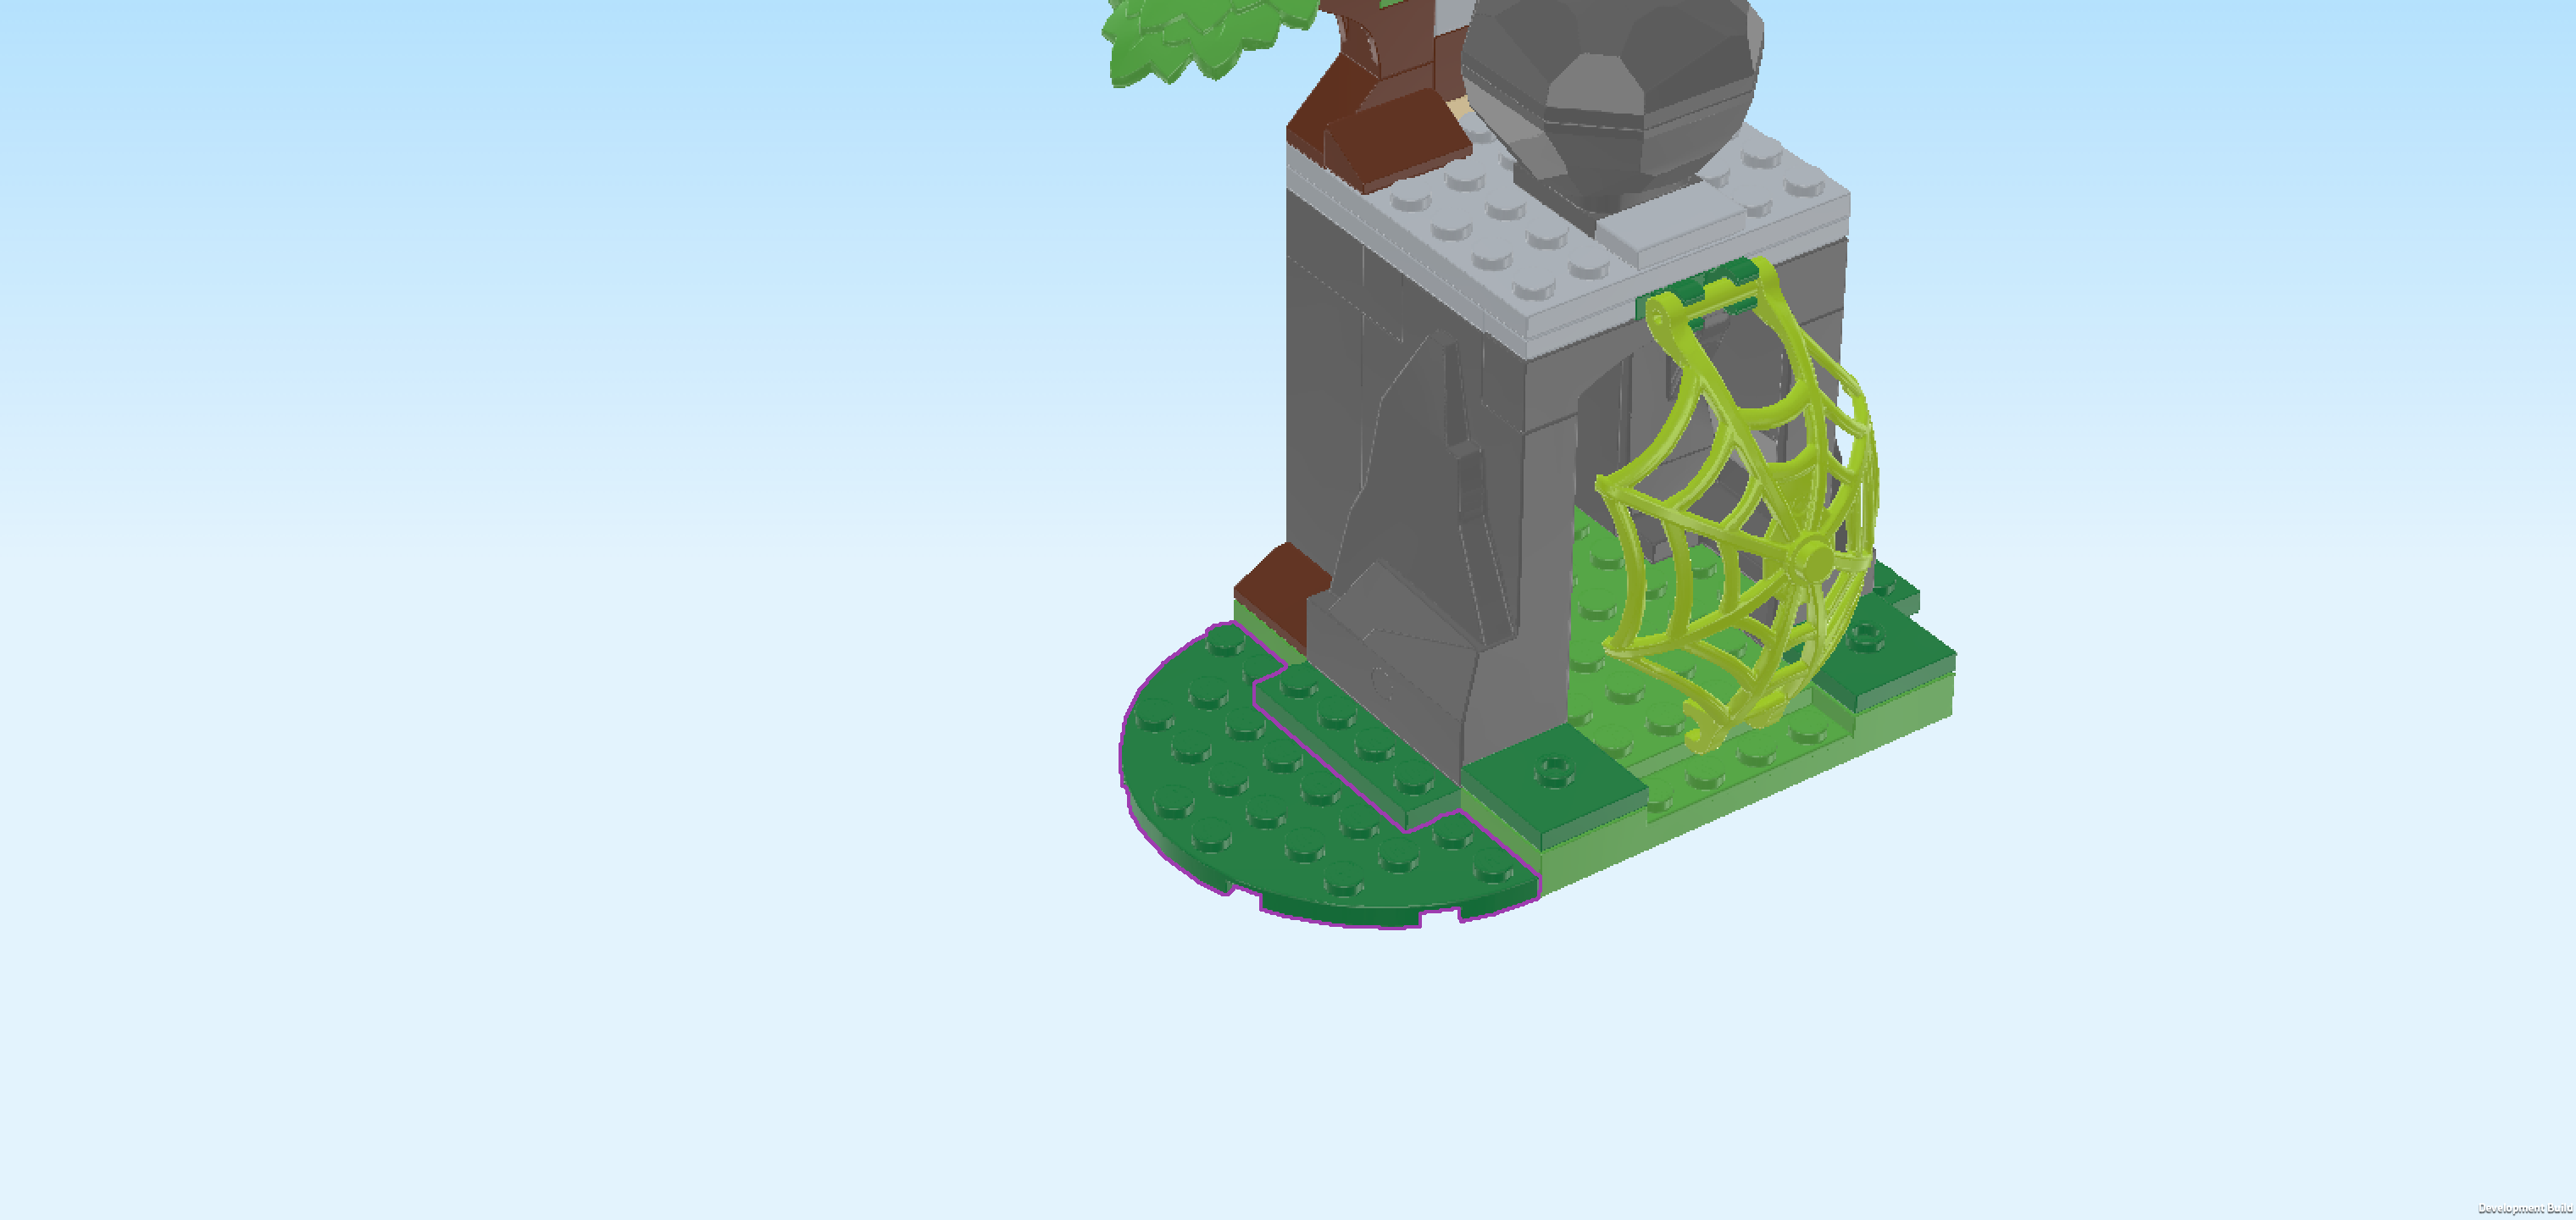
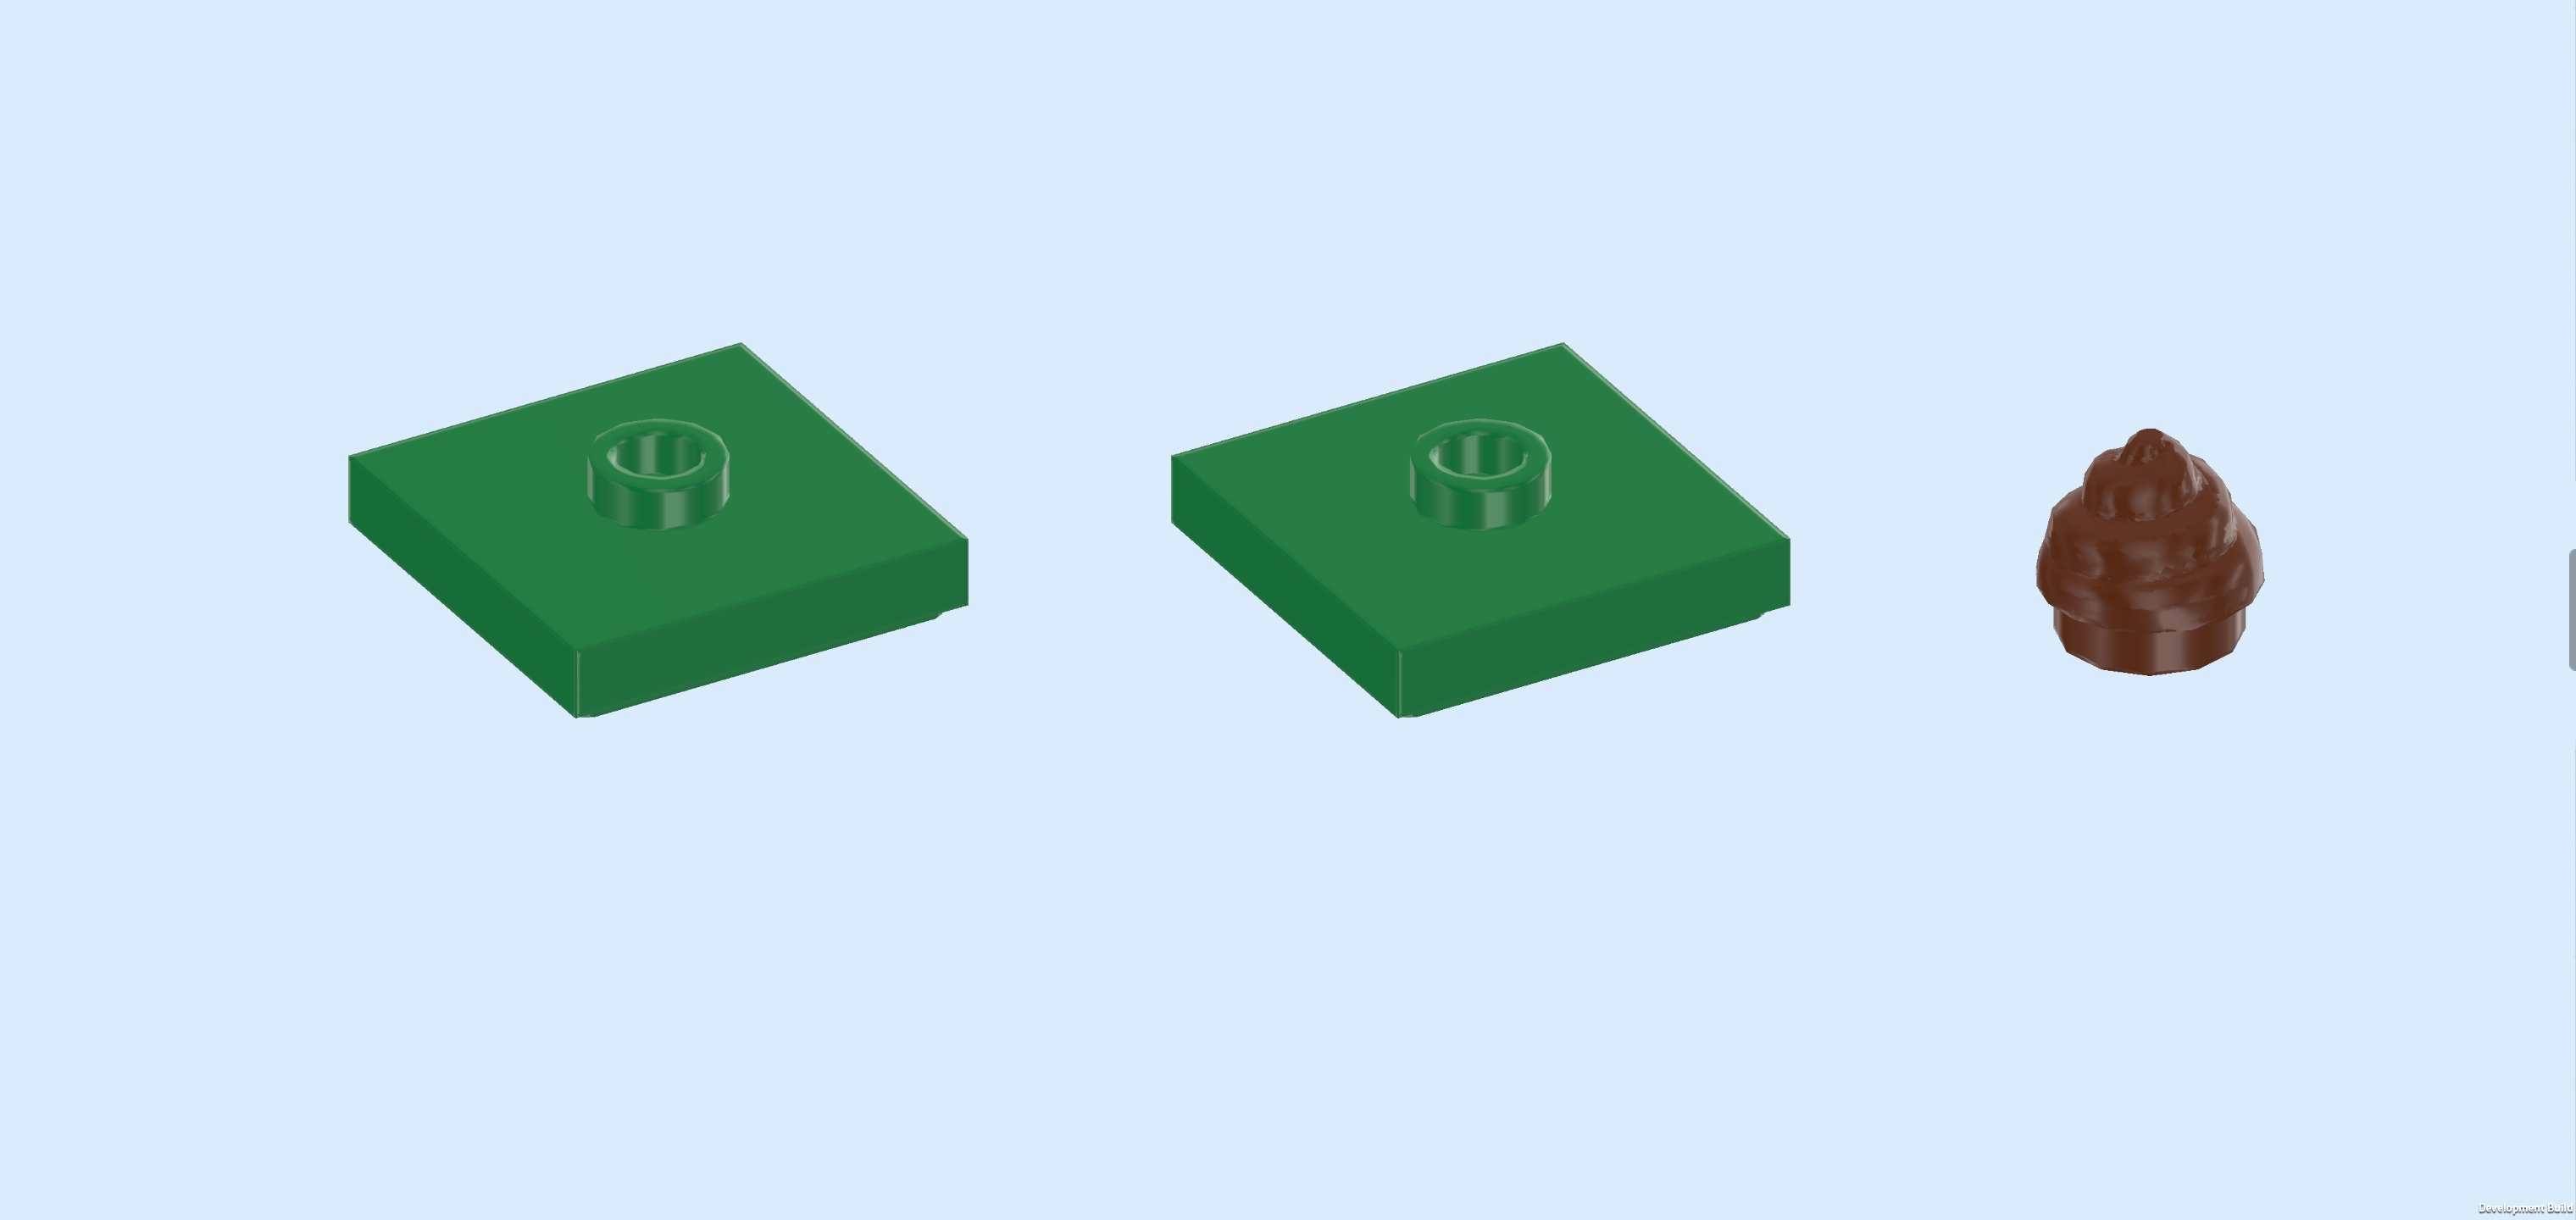
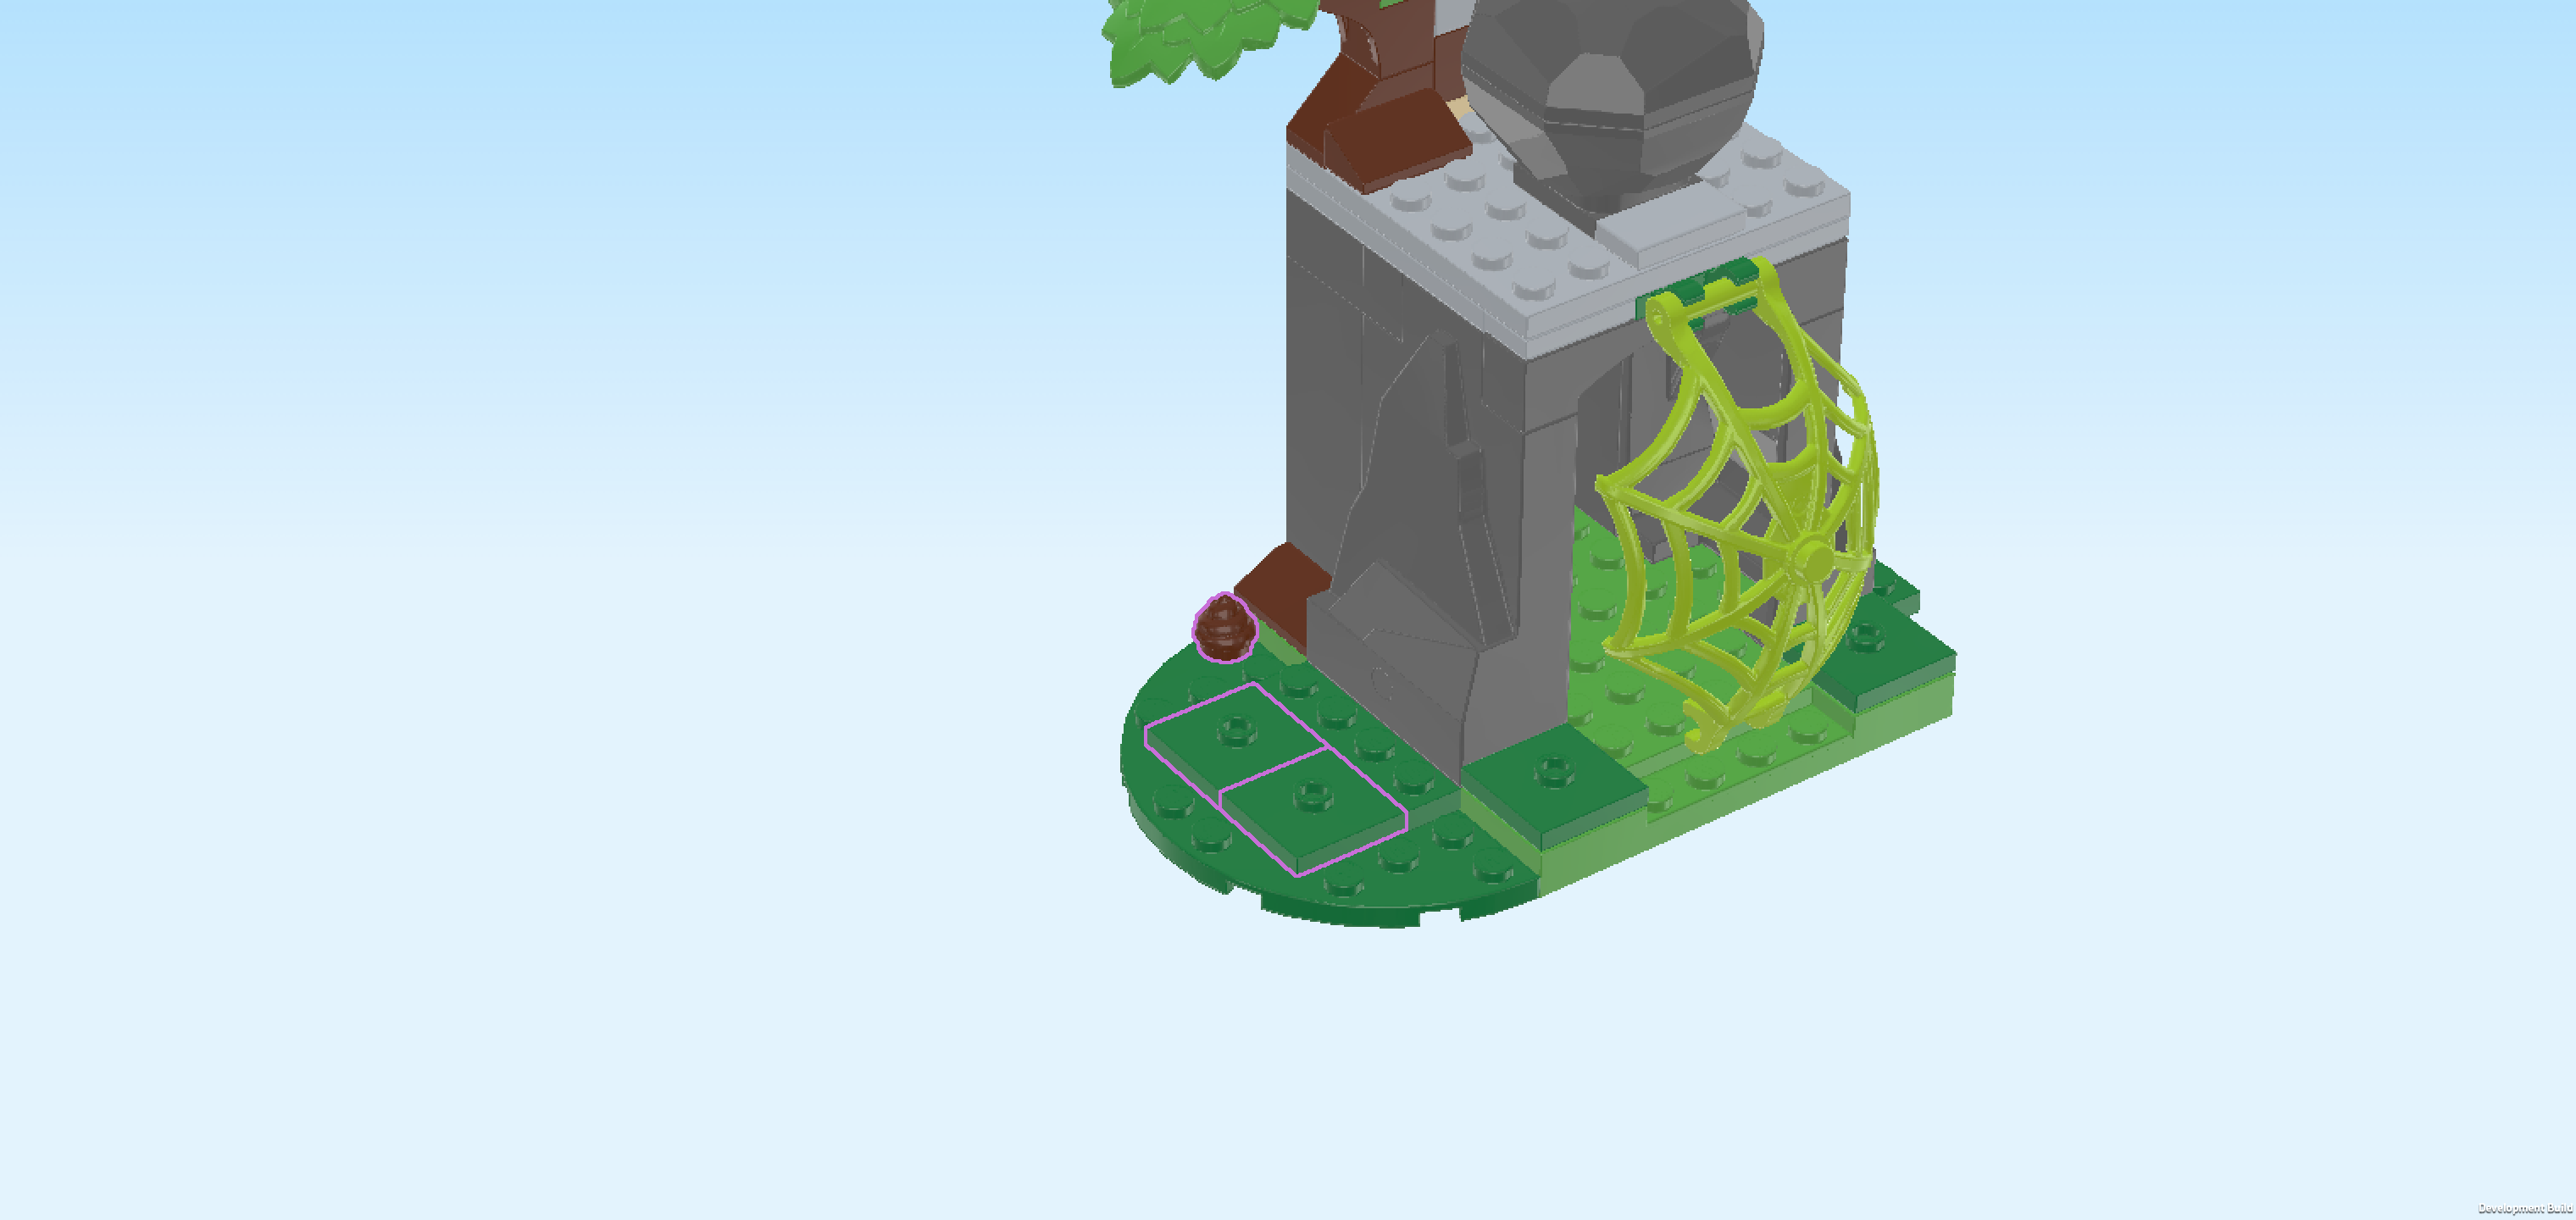
| Find 1 dark green half-circle plate 4x8. |
| Put it vertically centered underneath the 1x4 column protruding to the left at the bottom of the structure. Make sure its straight edge is aligned with the 8x8 base plate's left edge. |
| Collect the following 3 pieces: |
| 2 dark green plates 2x2 with 1 knob, |
| and 1 reddish brown swirly whipped cream topping 1x1. |
| Mount the 2 plates one behind the other in the middle of the previous piece. This means they will be directly to the left of the 1x4 column on top of the half-circle plate. |
| Put the swirly whipped cream topping 1x1 on the backmost knob of the half-circle plate. |
| But wait a second. Why is there a whipped cream topping in the middle of the prehistoric jungle? And why is it brown? Oooh, this isn't whipped cream at all! It is actually dino poop! Yikes! Watch out and don't step in it! |
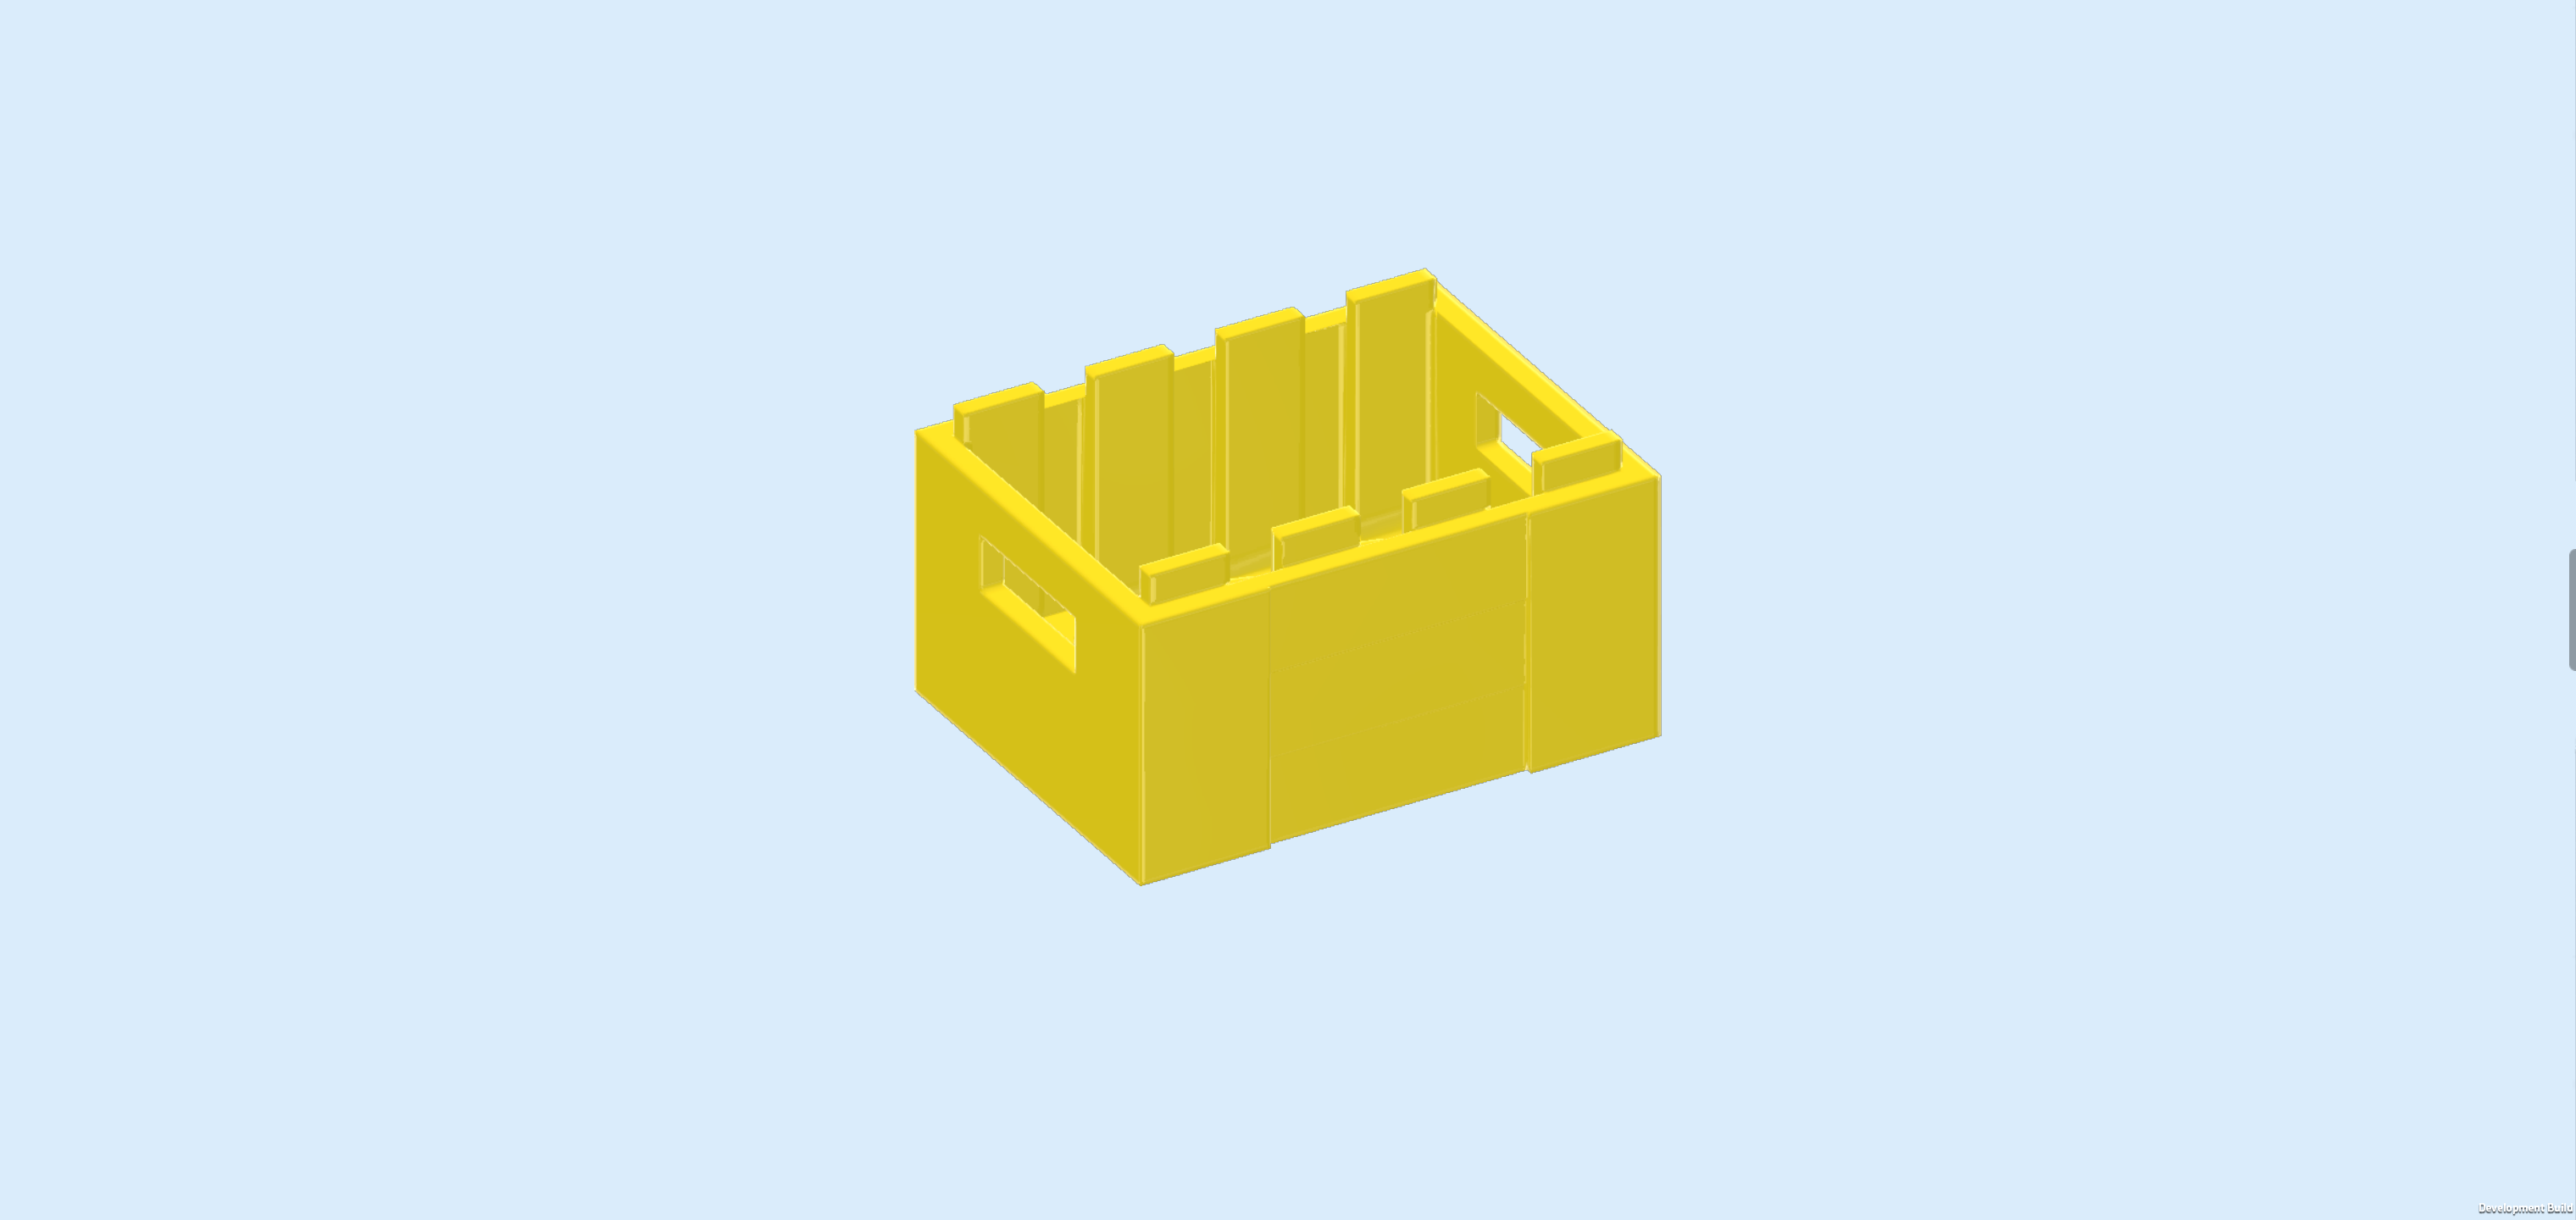
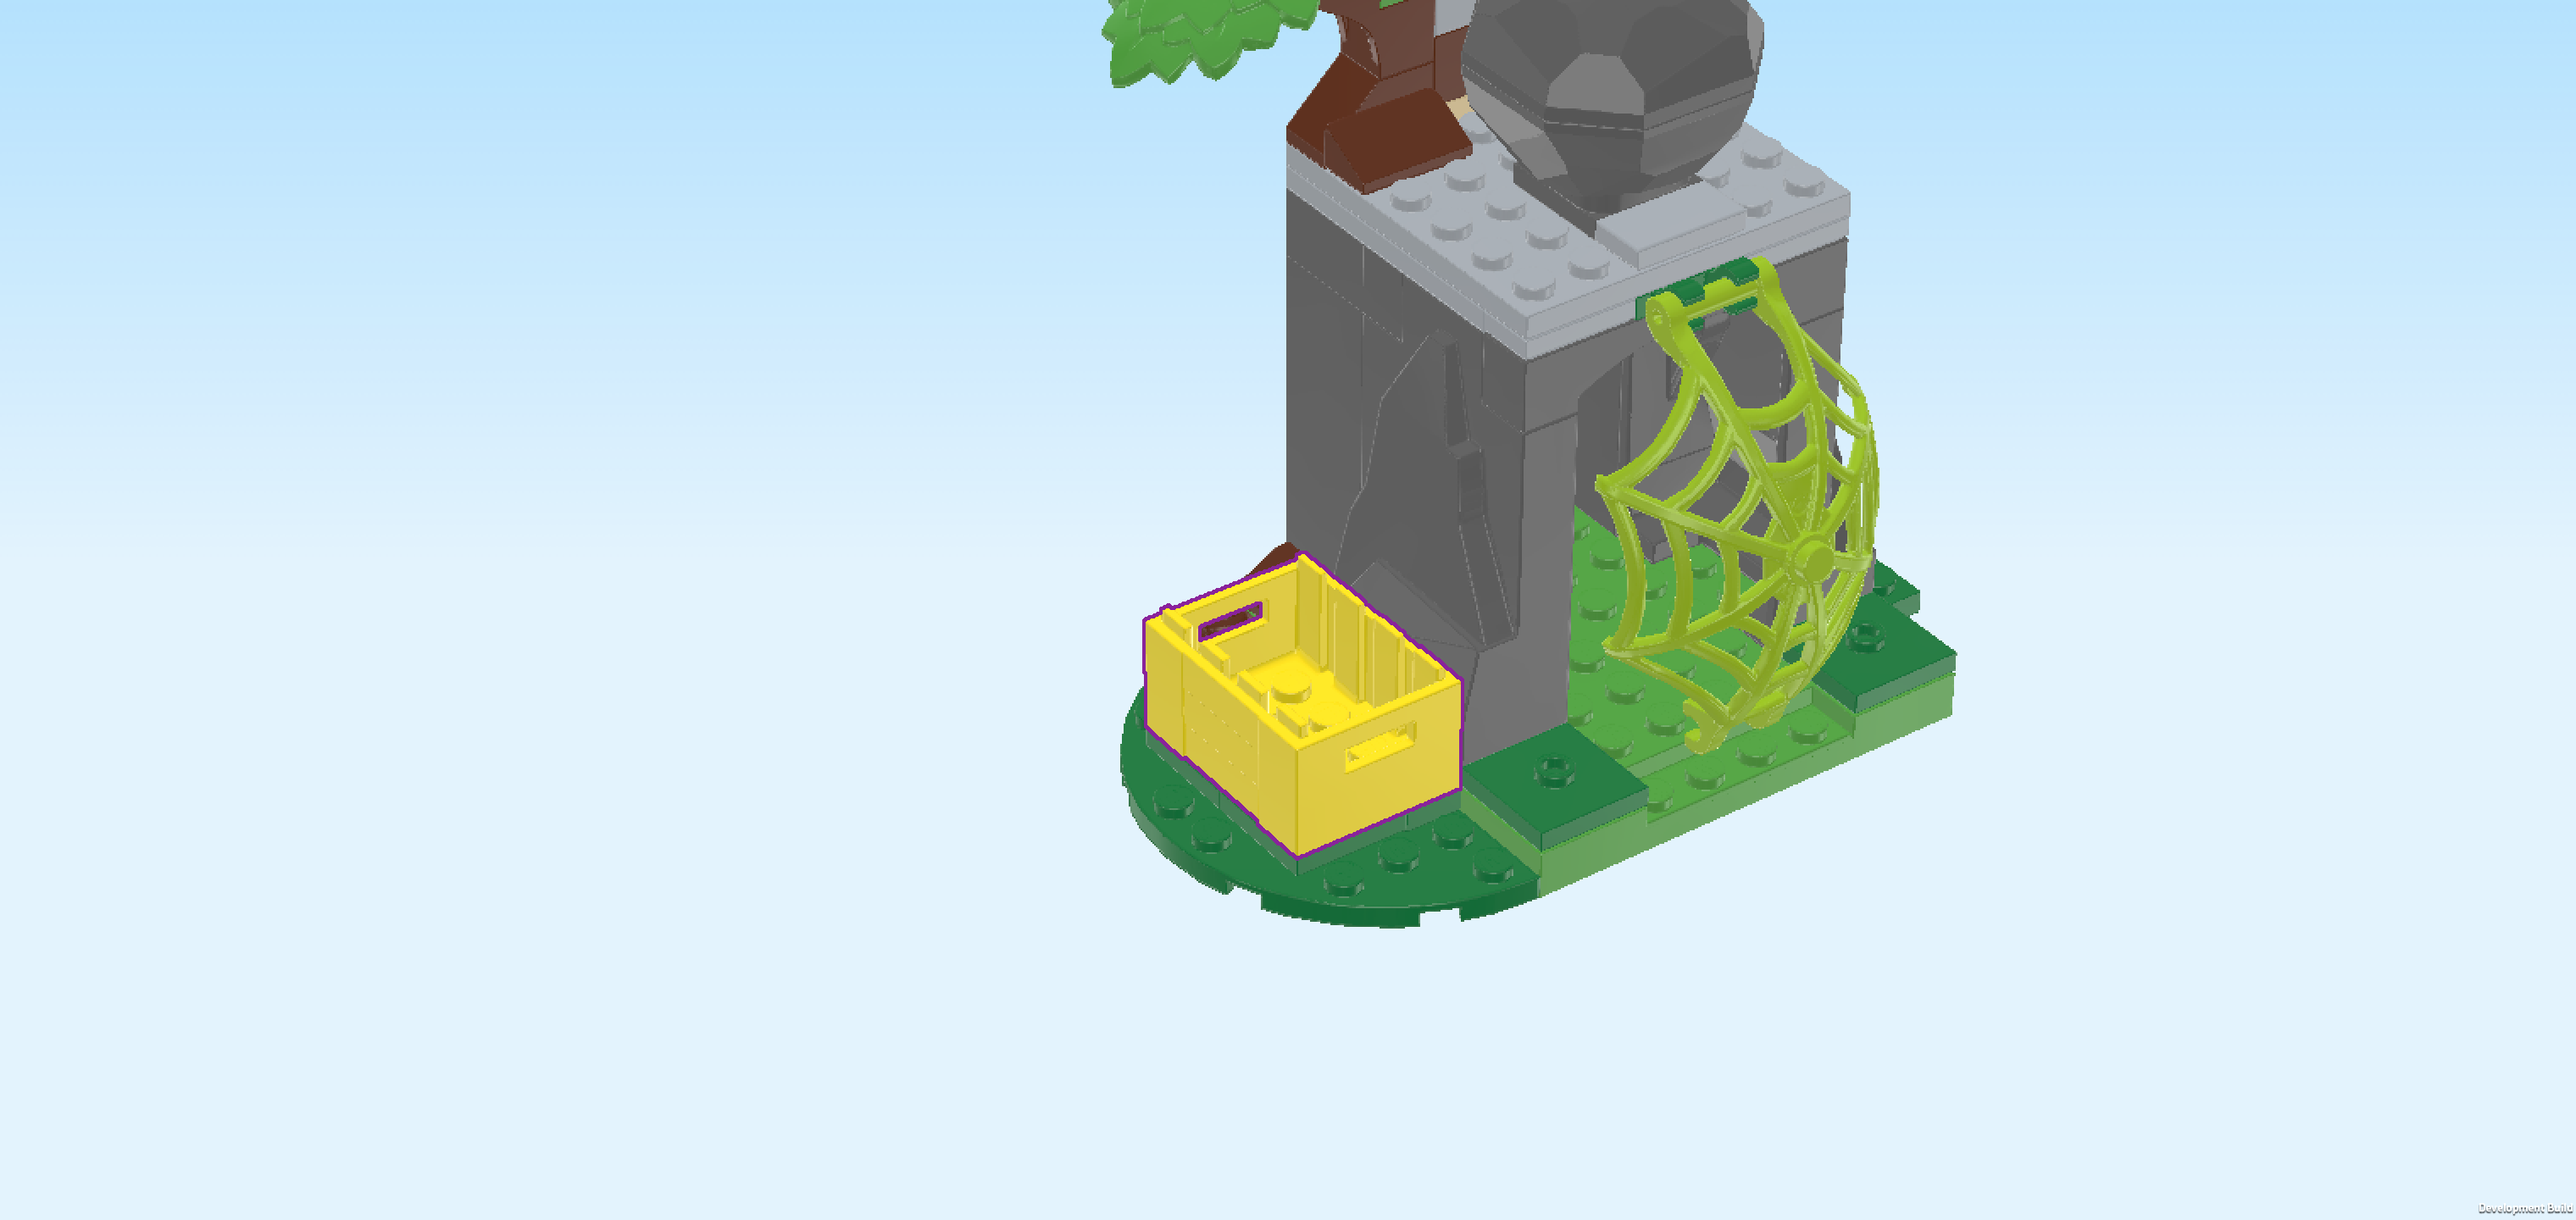
| Find 1 bright yellow crate 3x4 with handholds. |
| Put it vertically on the 2 plates 2x2 with 1 knob from the previous step. |
| Collect the following 3 pieces: |
| 1 white bone, |
| 1 transparent red diamond with small bottom shaft, |
| and 1 black hammer. |
| Put all 3 pieces into the crate. |
| The bone is a fossil that Spidey and Spin have found, and the red diamond is a special treasure they have uncovered in one of the rock caves! It seems that our superheroes are great treasure hunters and archeologists! |
| The Rock Cave with Falling Boulder Mechanism is finished! Well done! The cave is a great hideout but can also work as a place to trap the Dino-Rhino. Make use of the falling boulder mechanism to distract the prehistoric villain or block its way. |
| With this, we have built everything from bag number 2. Great job! Only one more bag to go. |
| Open bag number 3. You can choose to have the bricks sorted by color again if you like. This bag contains all bricks and pieces for the Miles "Spin" Morales Minifigure with rare crystal and Ghostosaurus and the Rock with Dinosaur Egg hiding spot. |
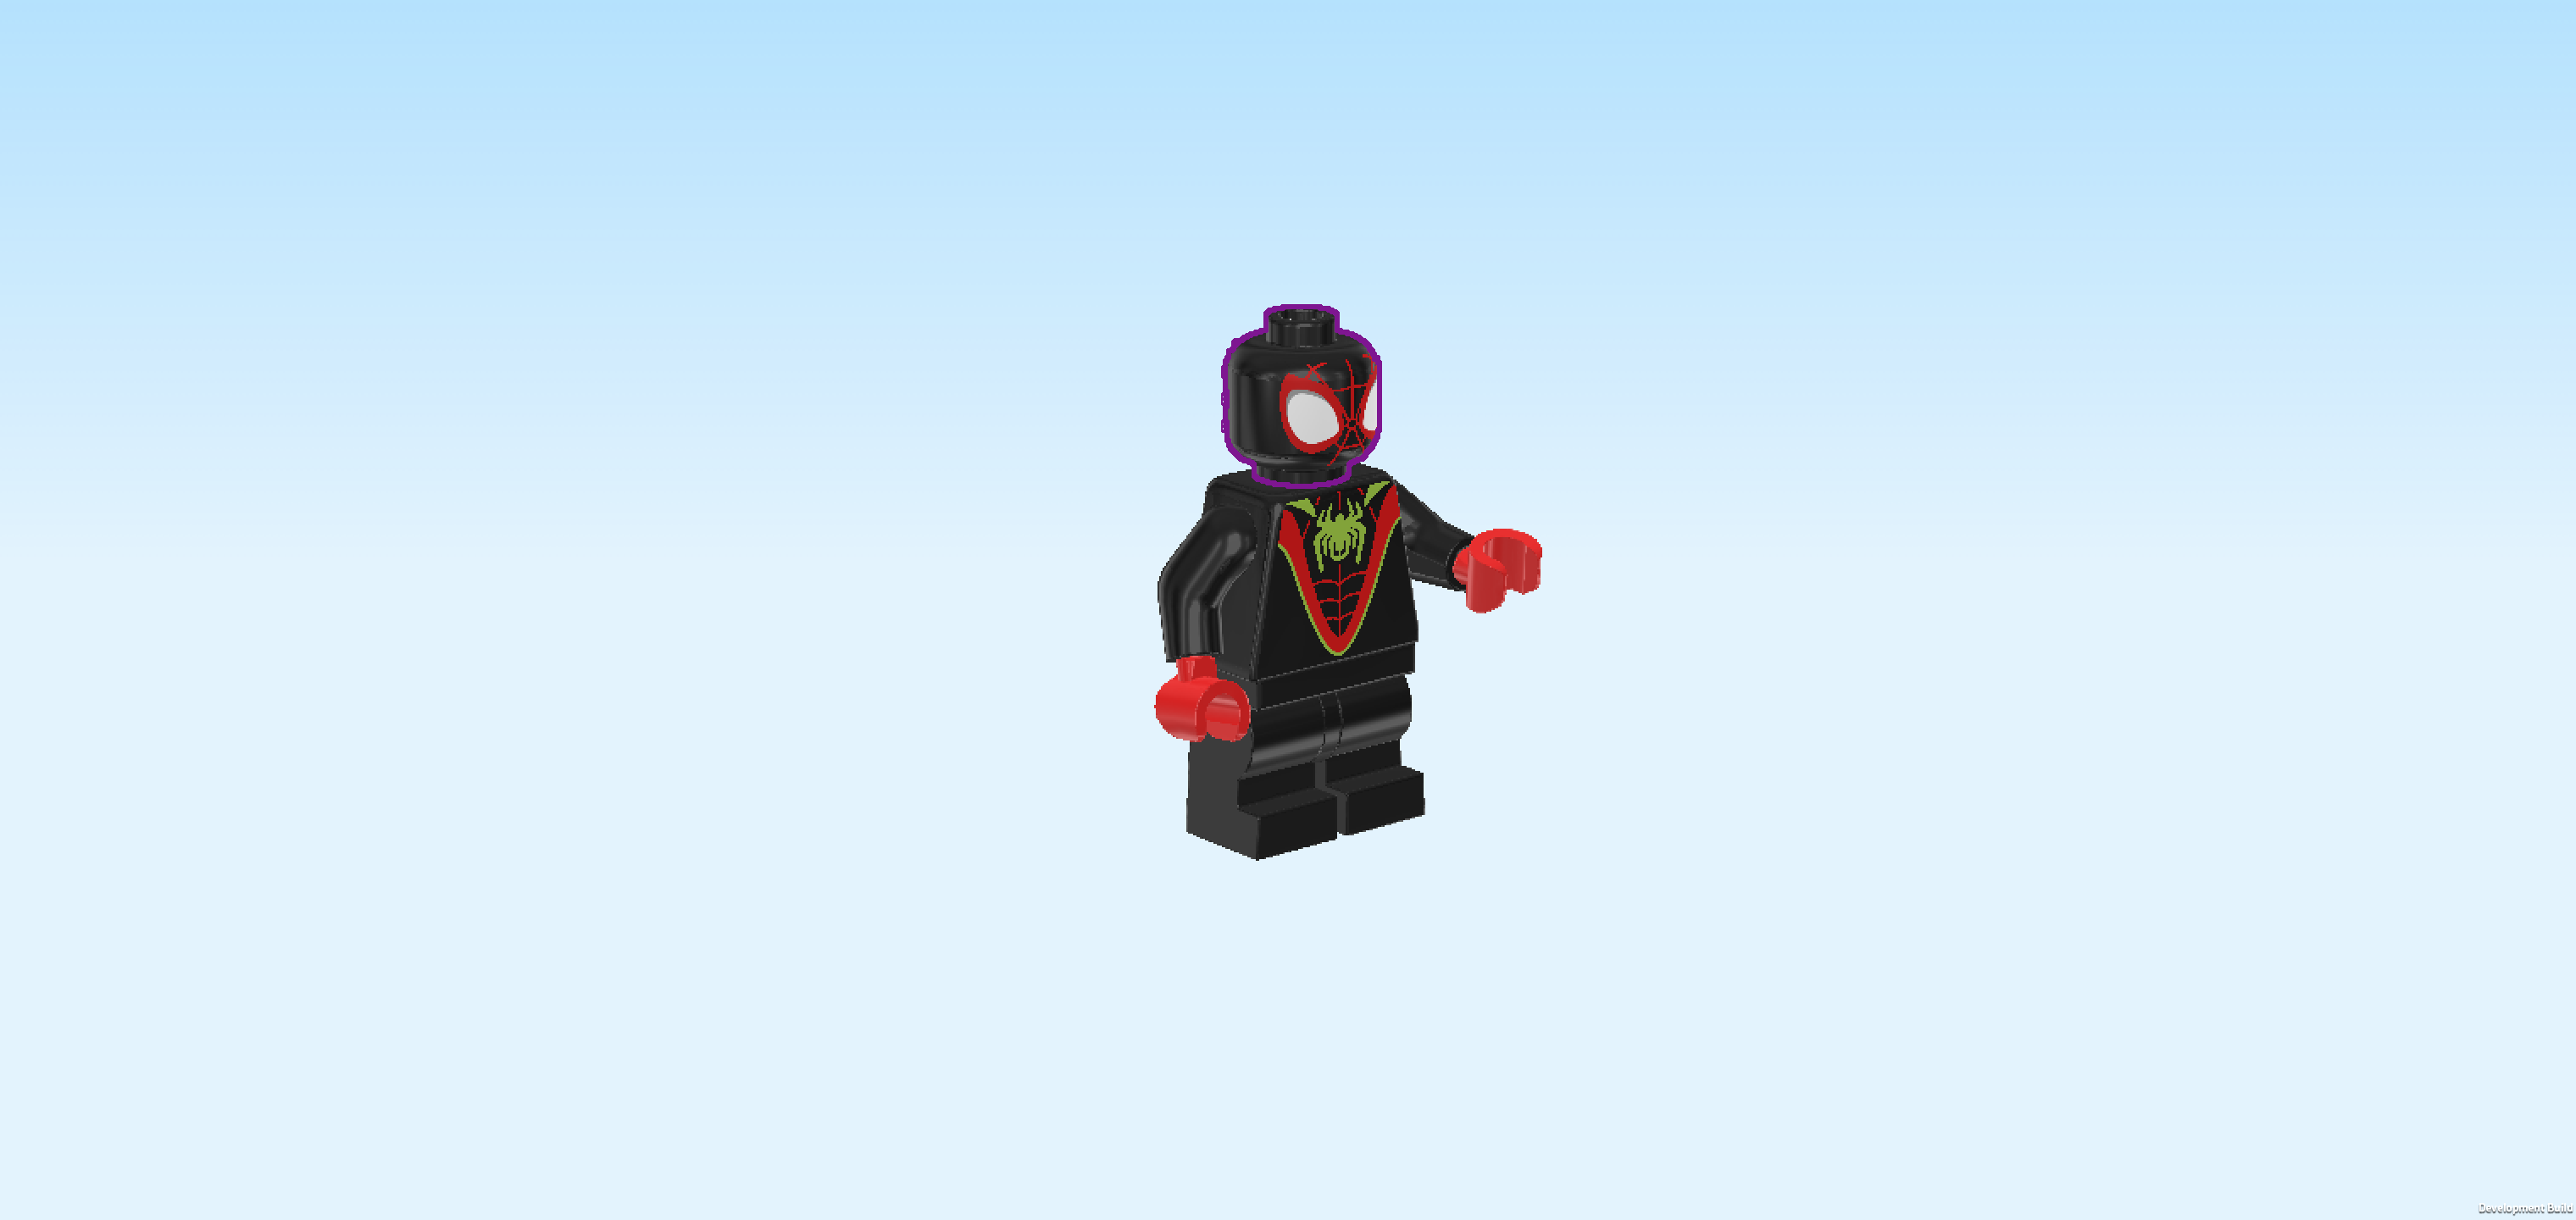
| Next, we will build the Miles "Spin" Morales Minifigure. |
| Collect the following 2 pieces: |
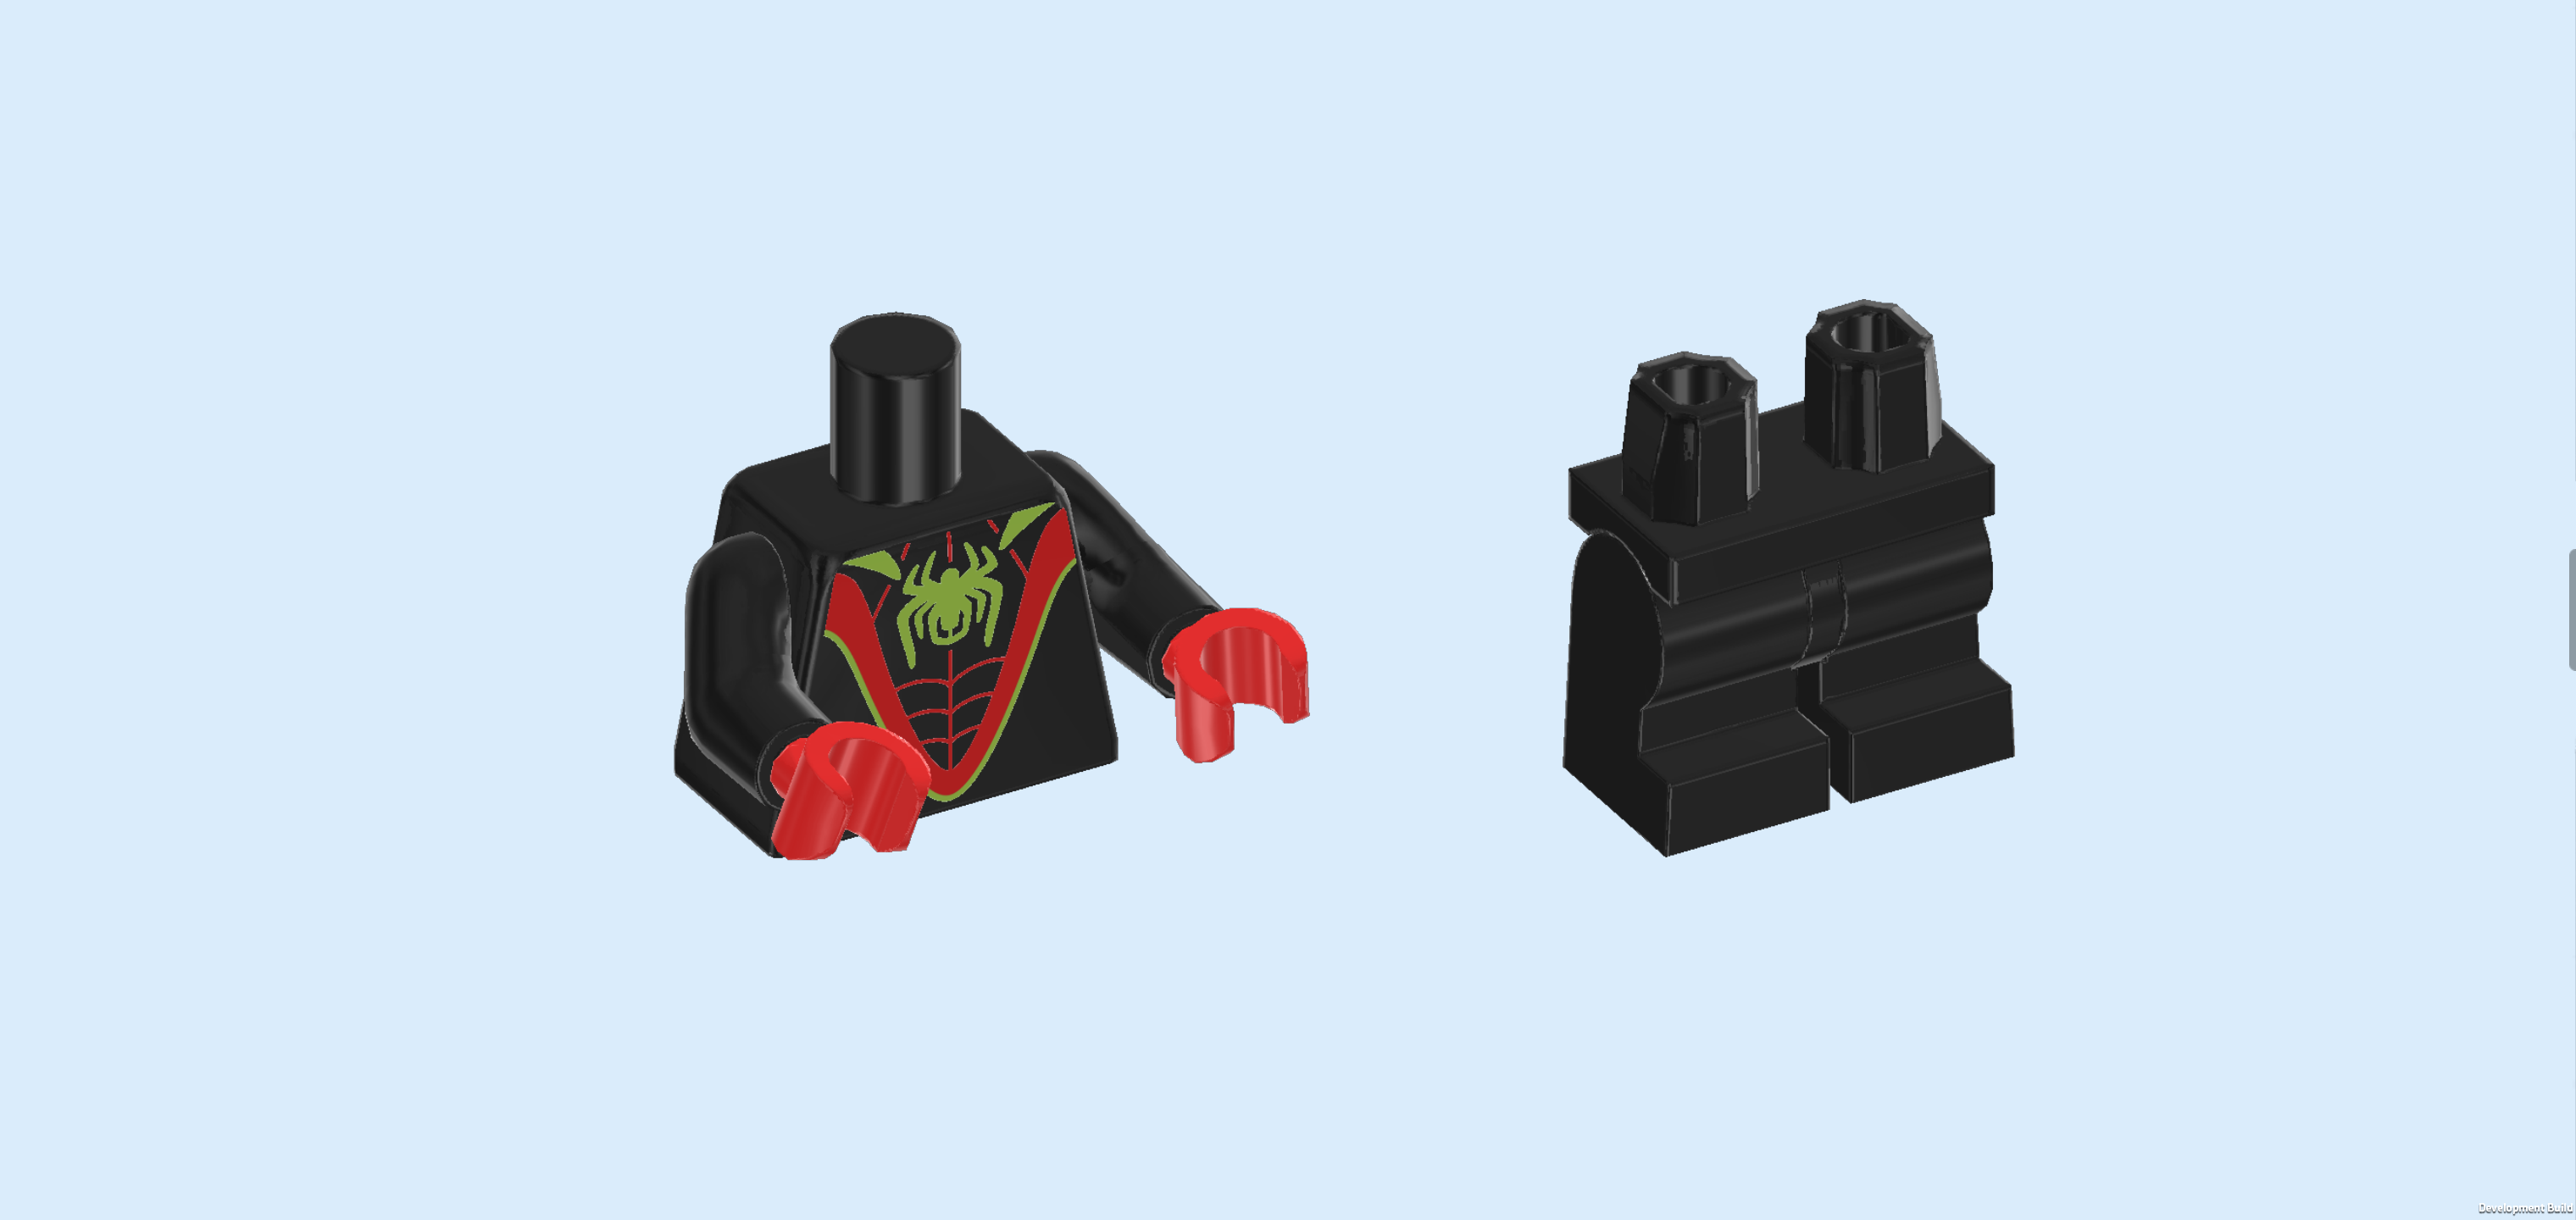
| 1 black and bright red upper part of the body, |
| and 1 black pair of legs. |
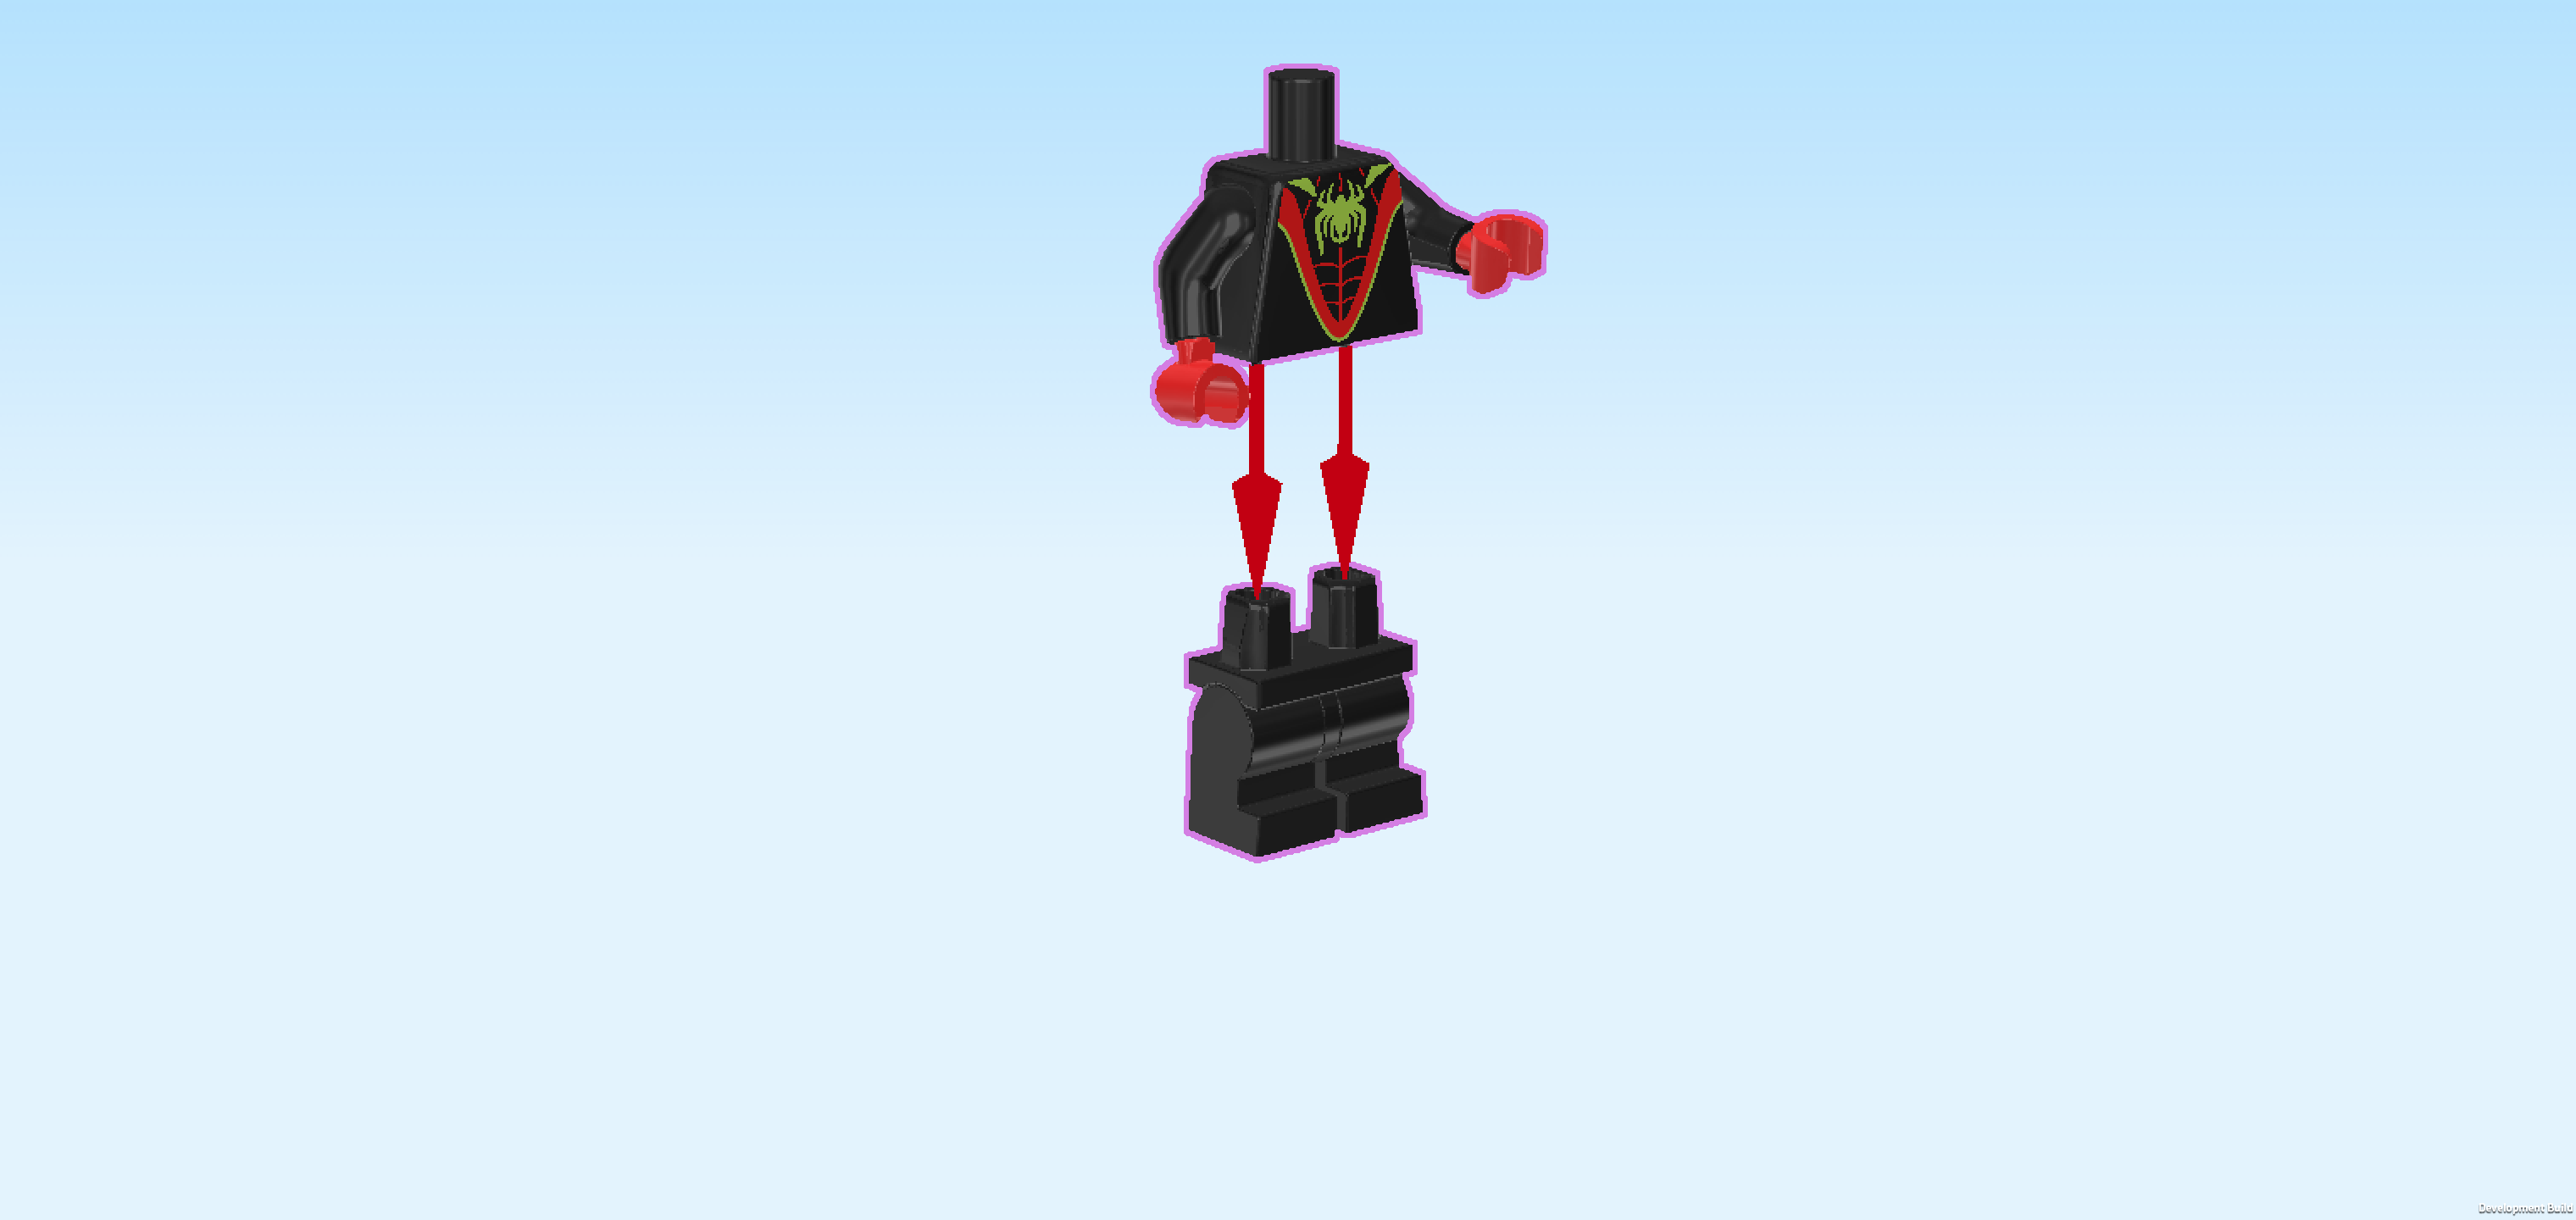
| Put the upper body on the legs. Make sure that the hands and toes are pointing in the same direction. |
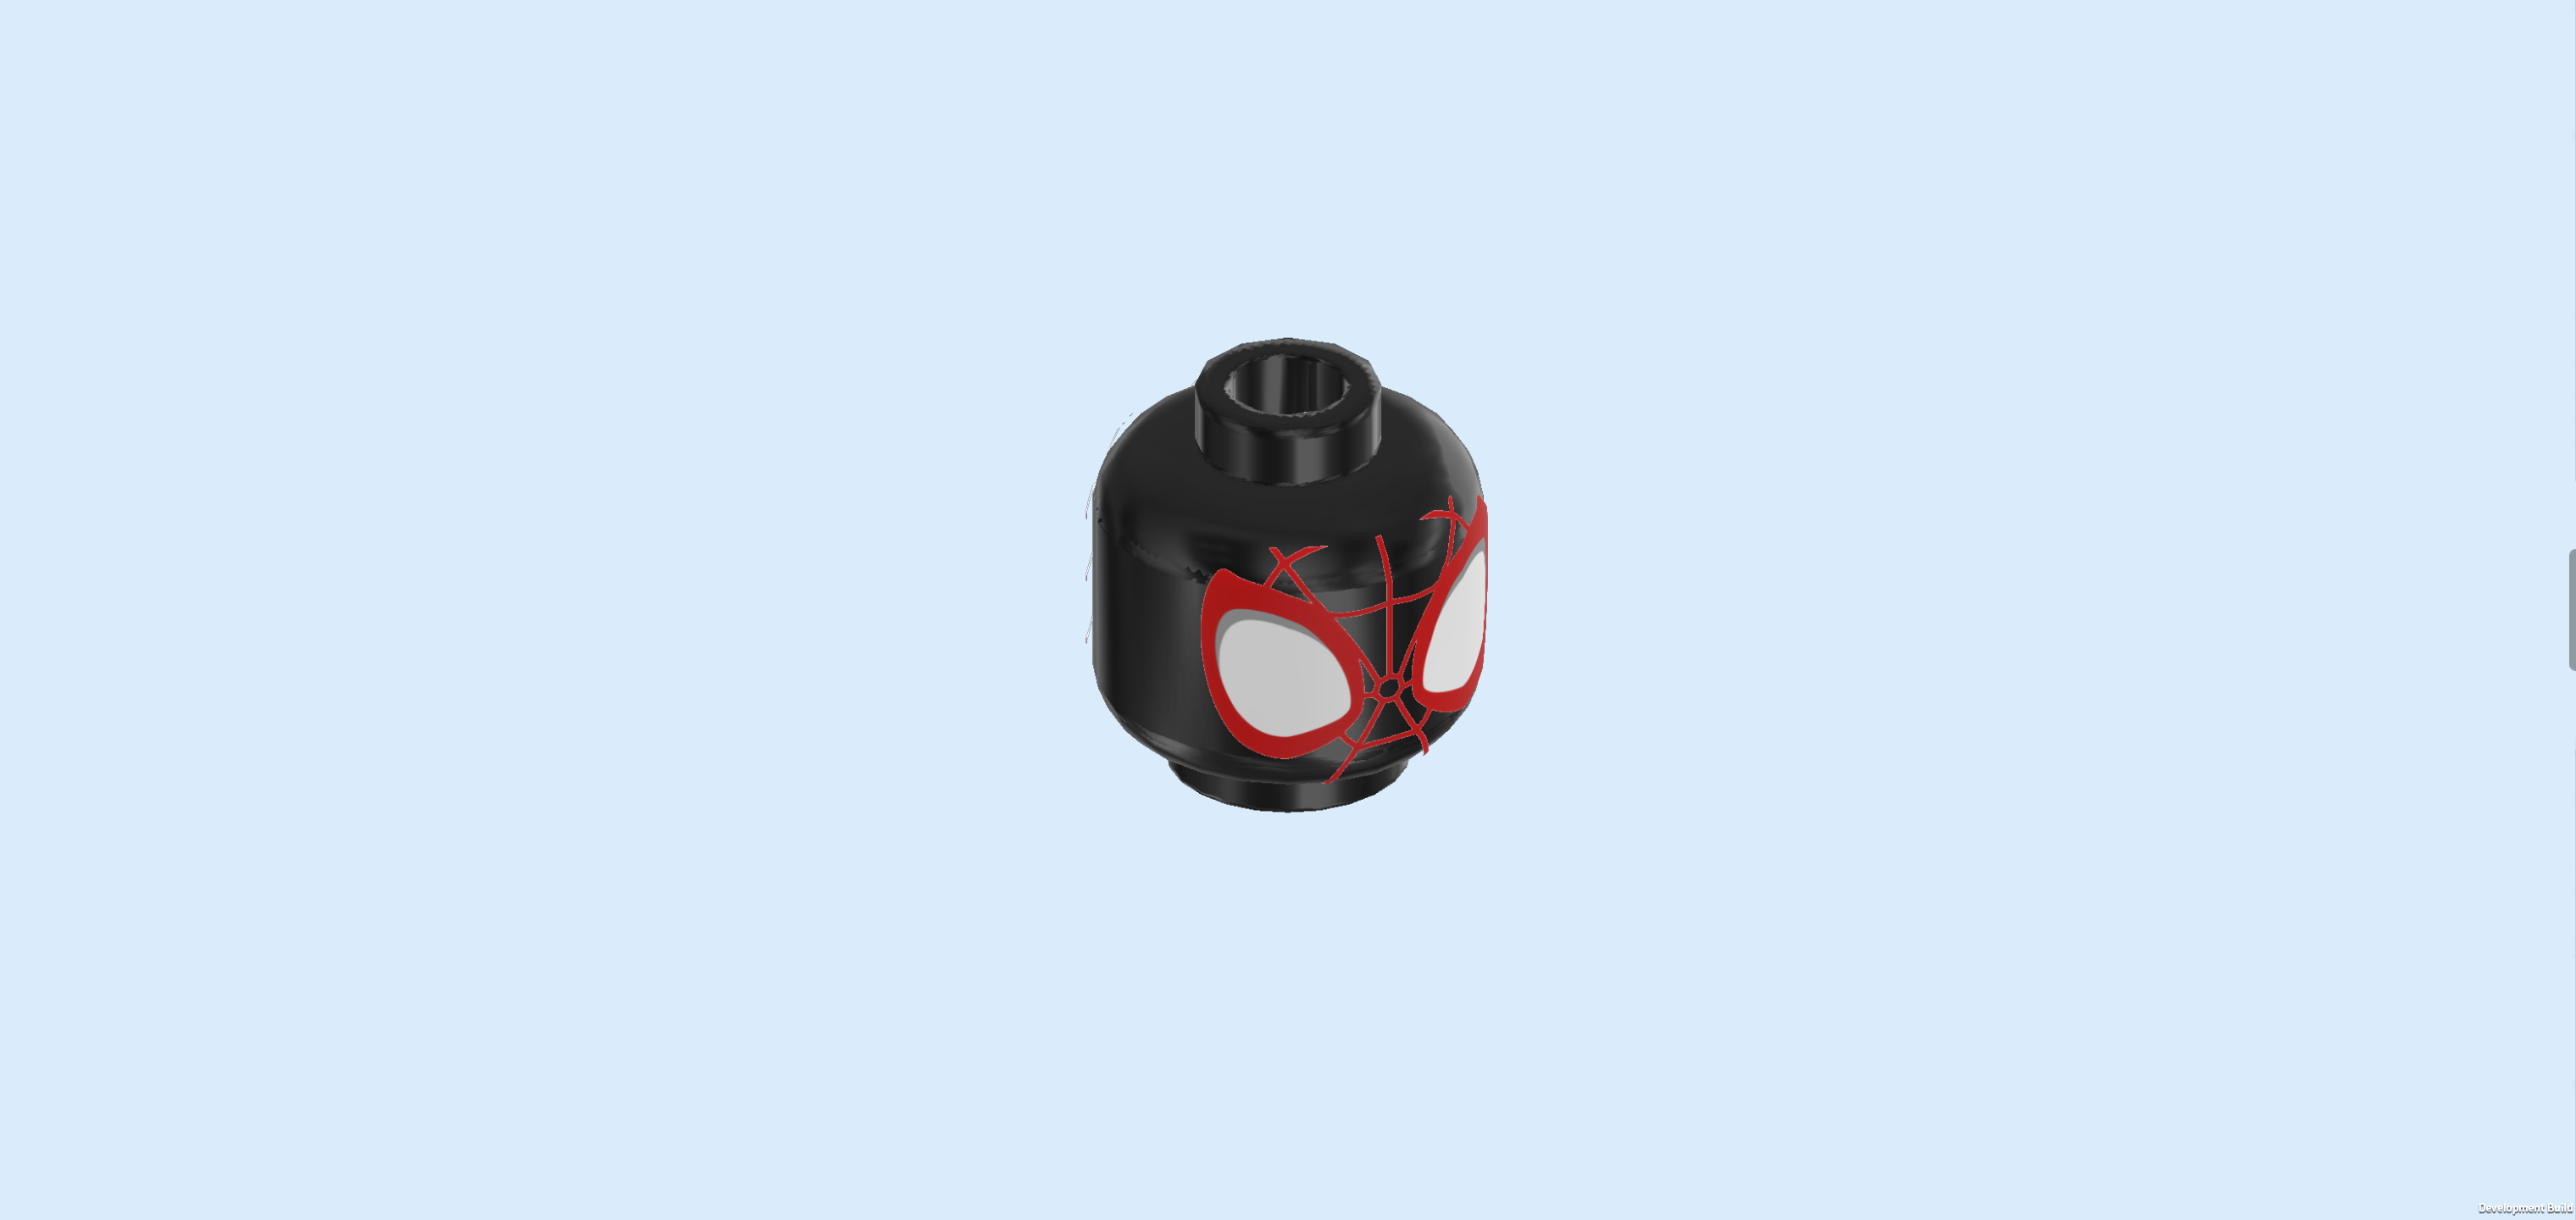
| Find 1 black Minifigure head. |
| Put it on the body. |
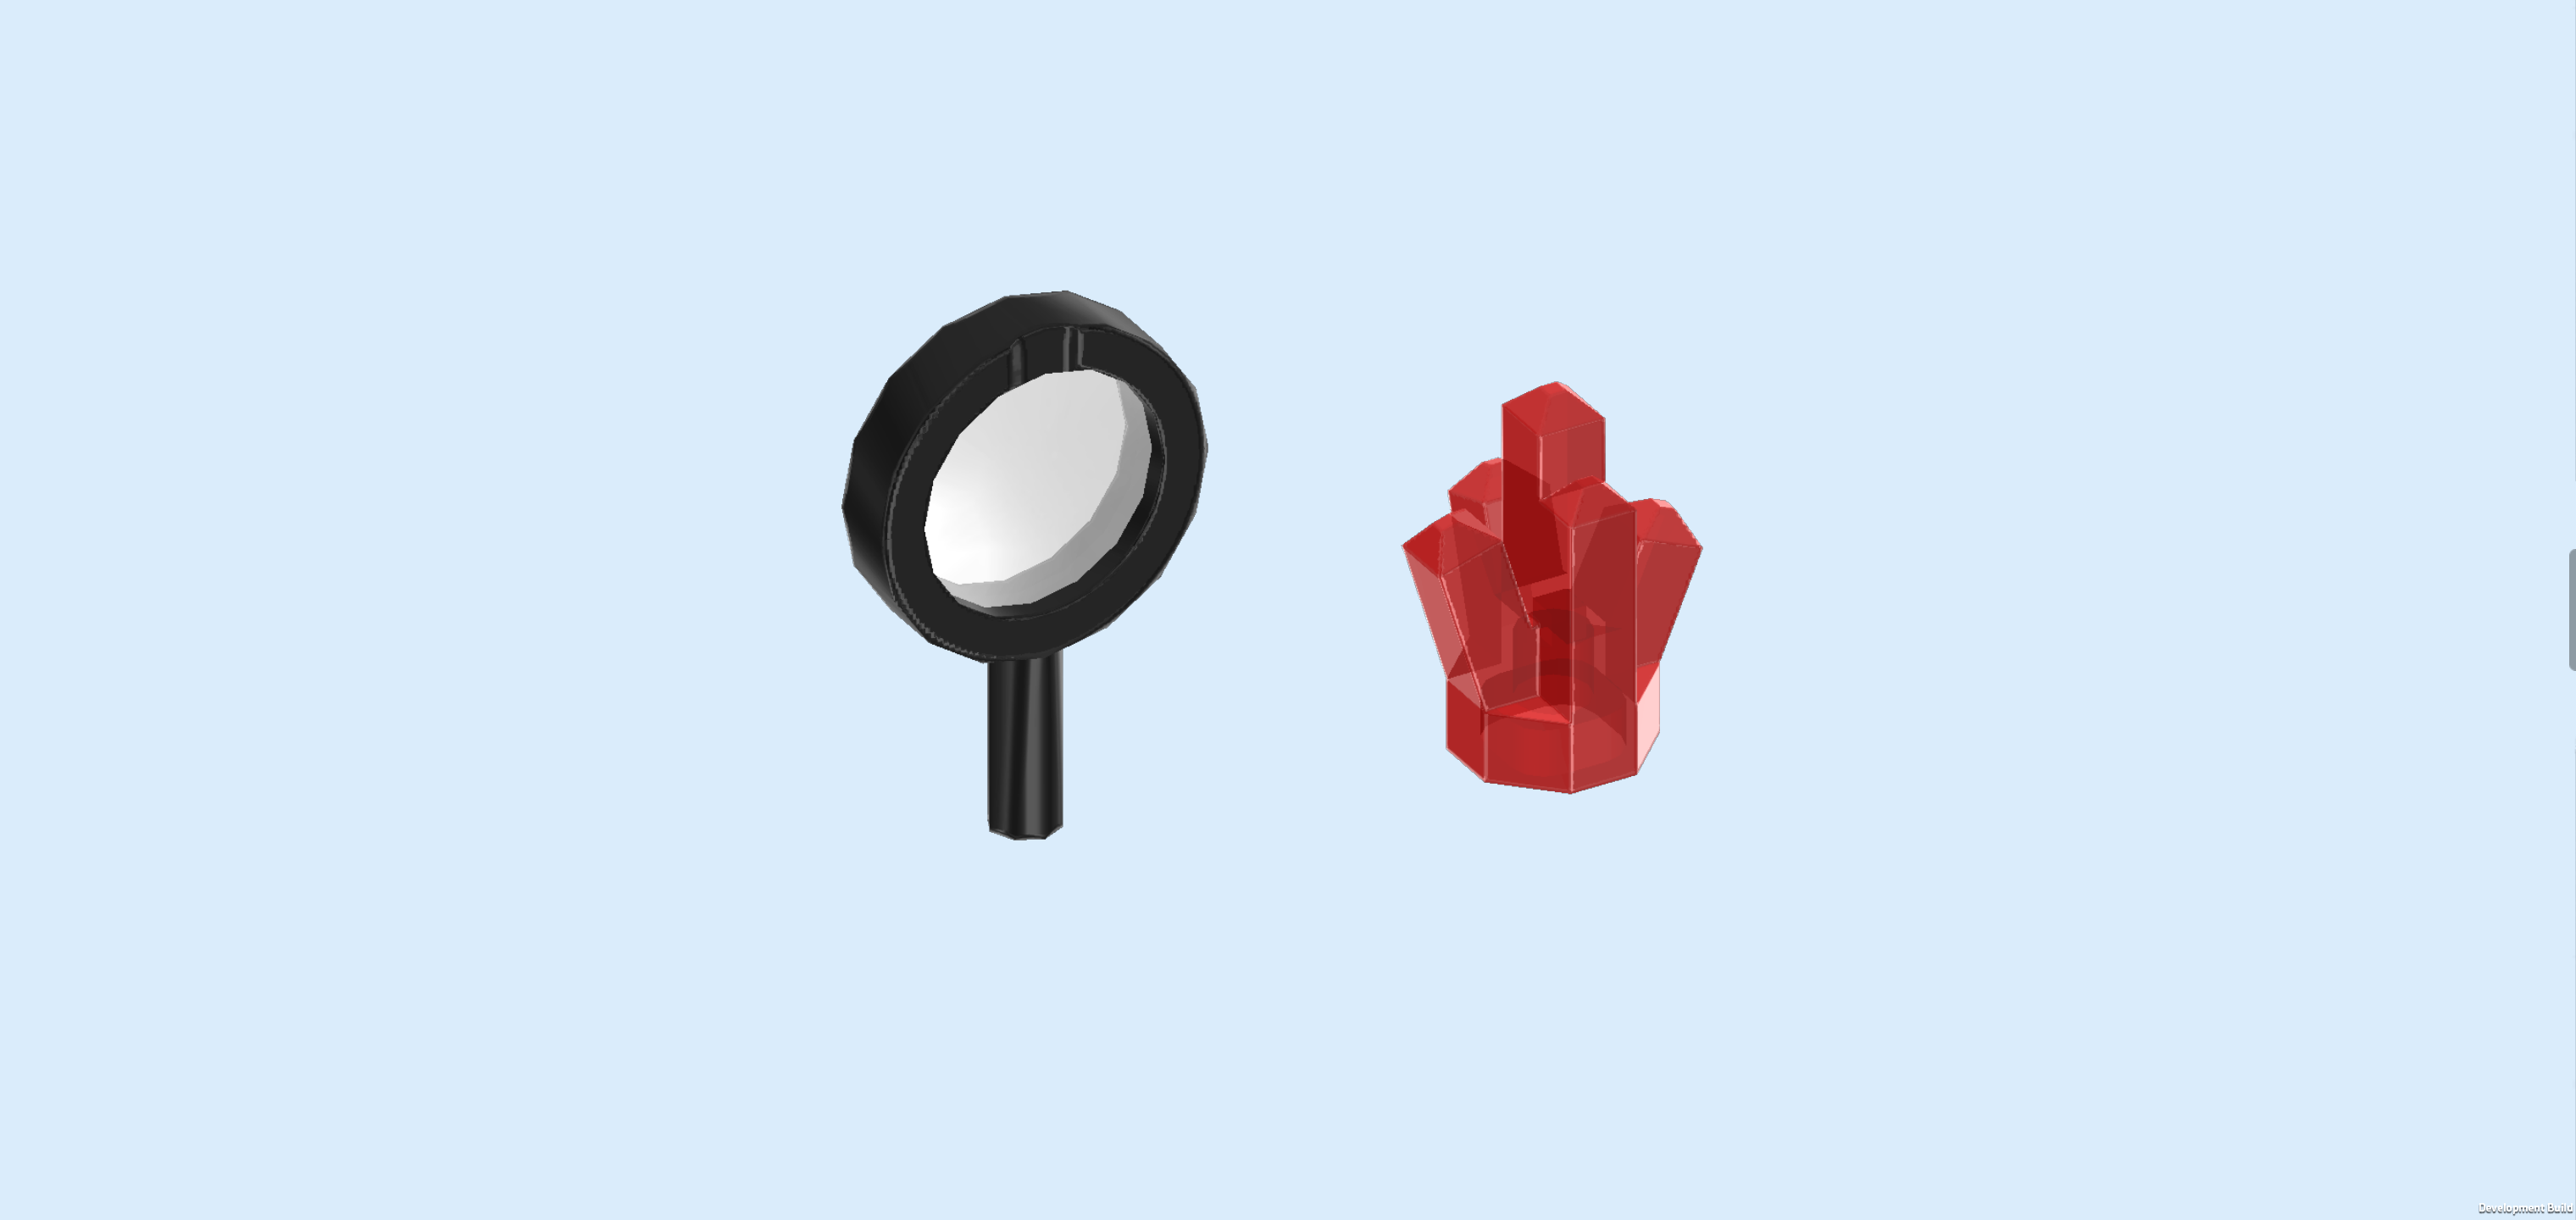
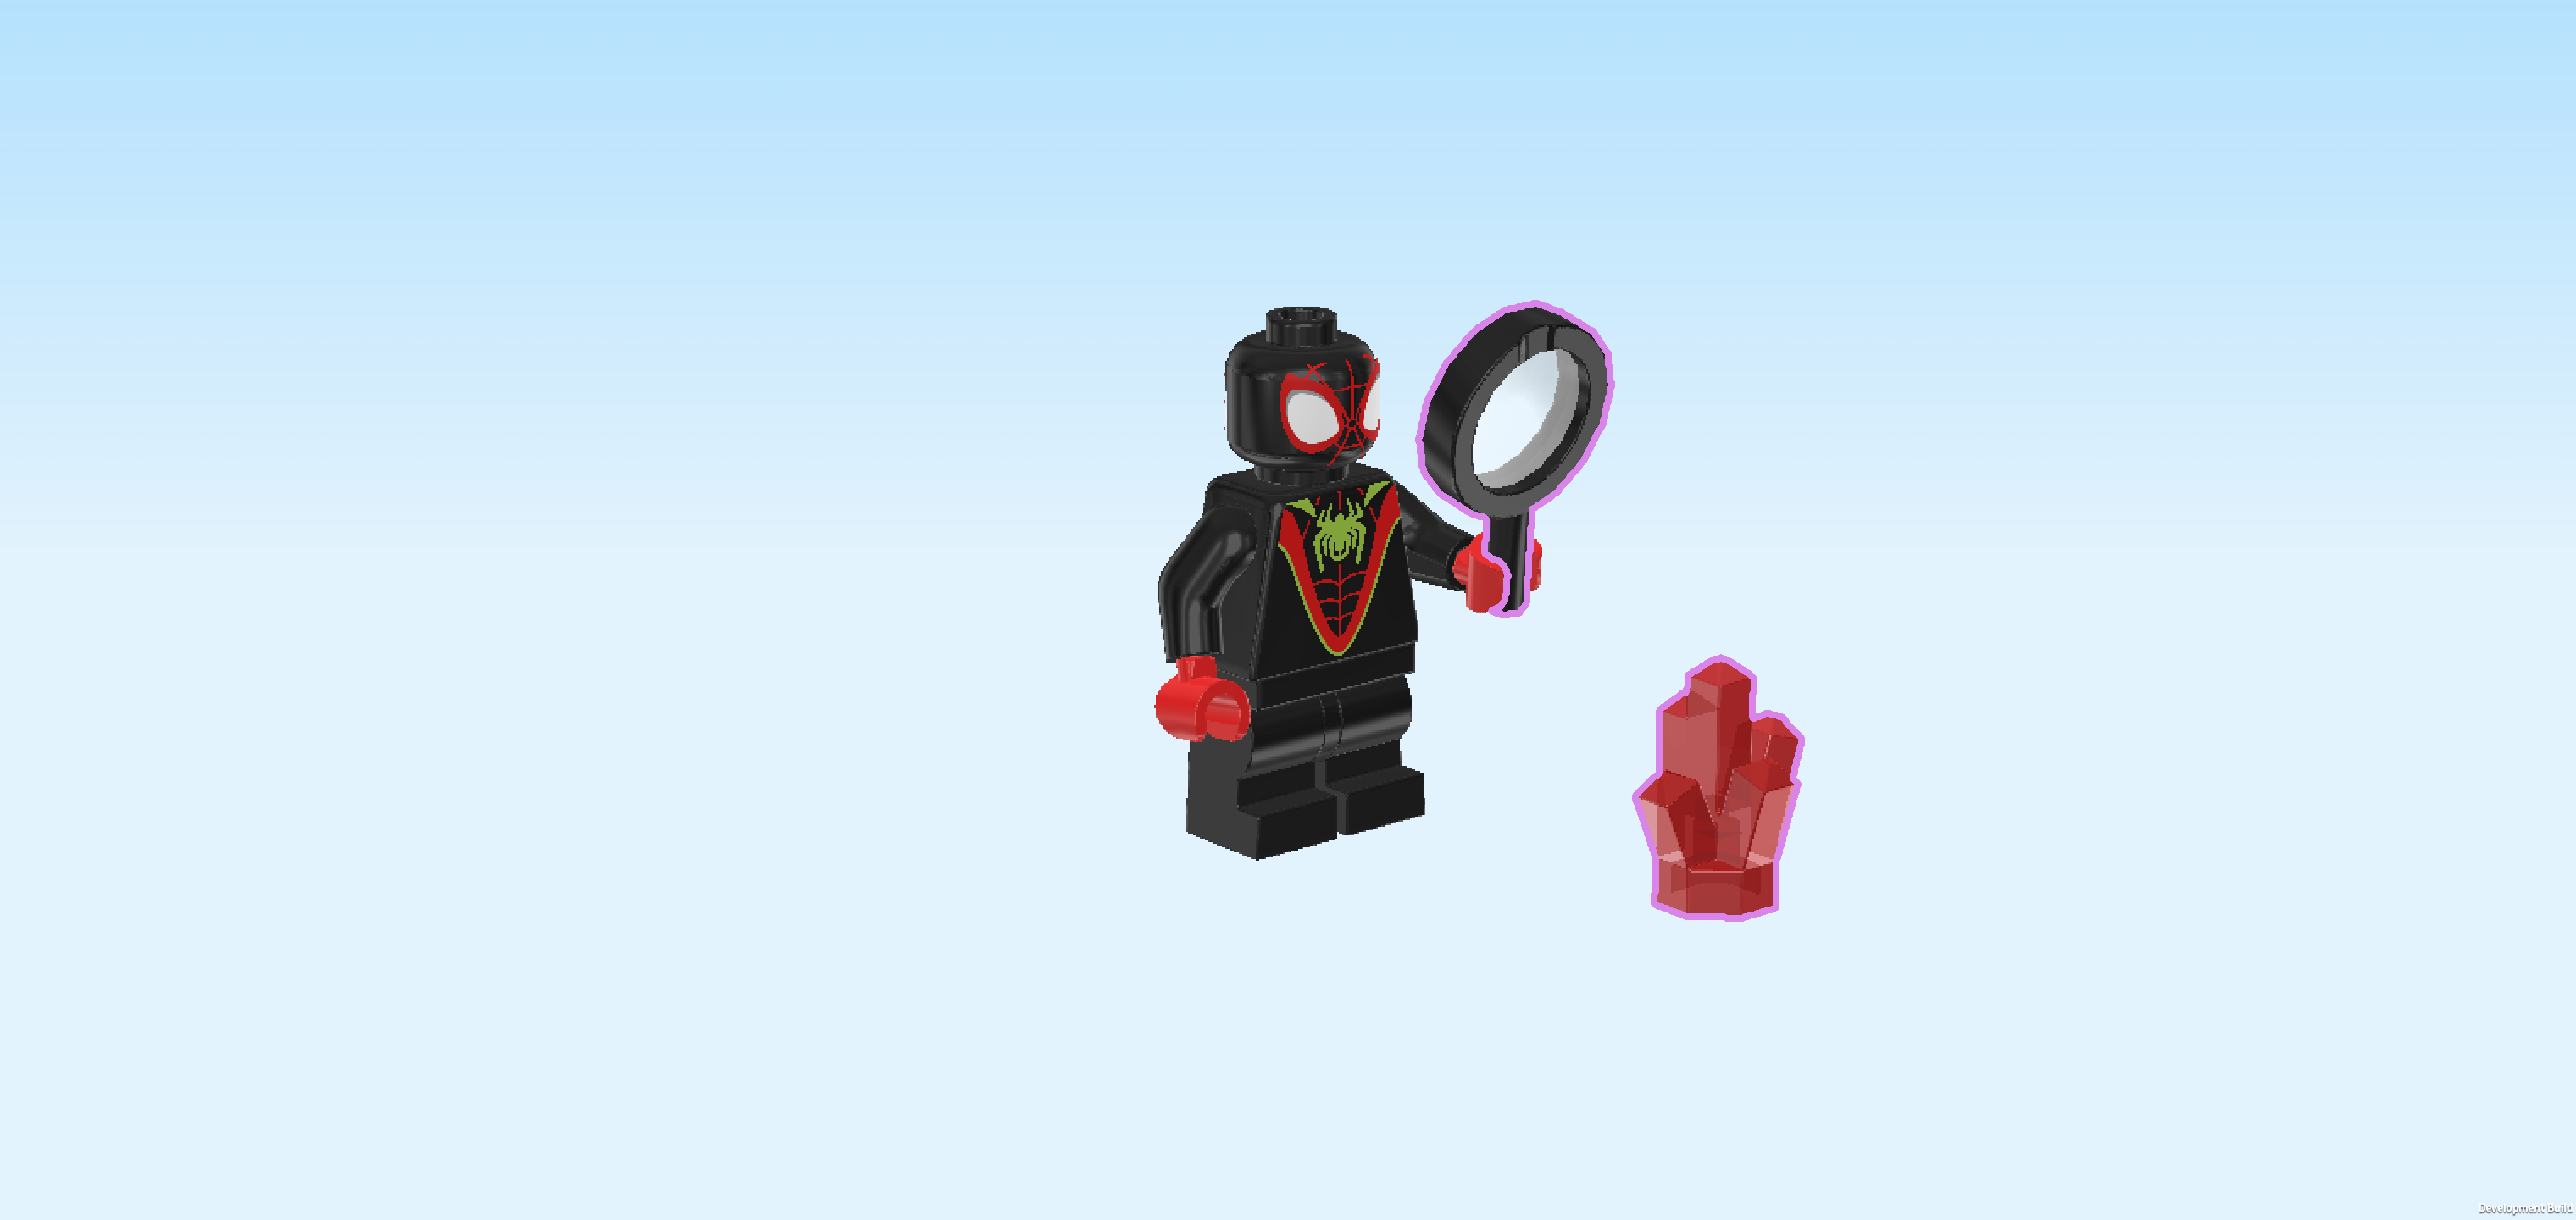
| Collect the following 2 pieces: |
| 1 black and transparent magnifying glass, |
| and 1 transparent red energy crystal. |
| Snap the magnifying glass into the Minifigure's left hand. |
| The energy crystal is a rare gem that Spin found on one of his treasure hunts! |
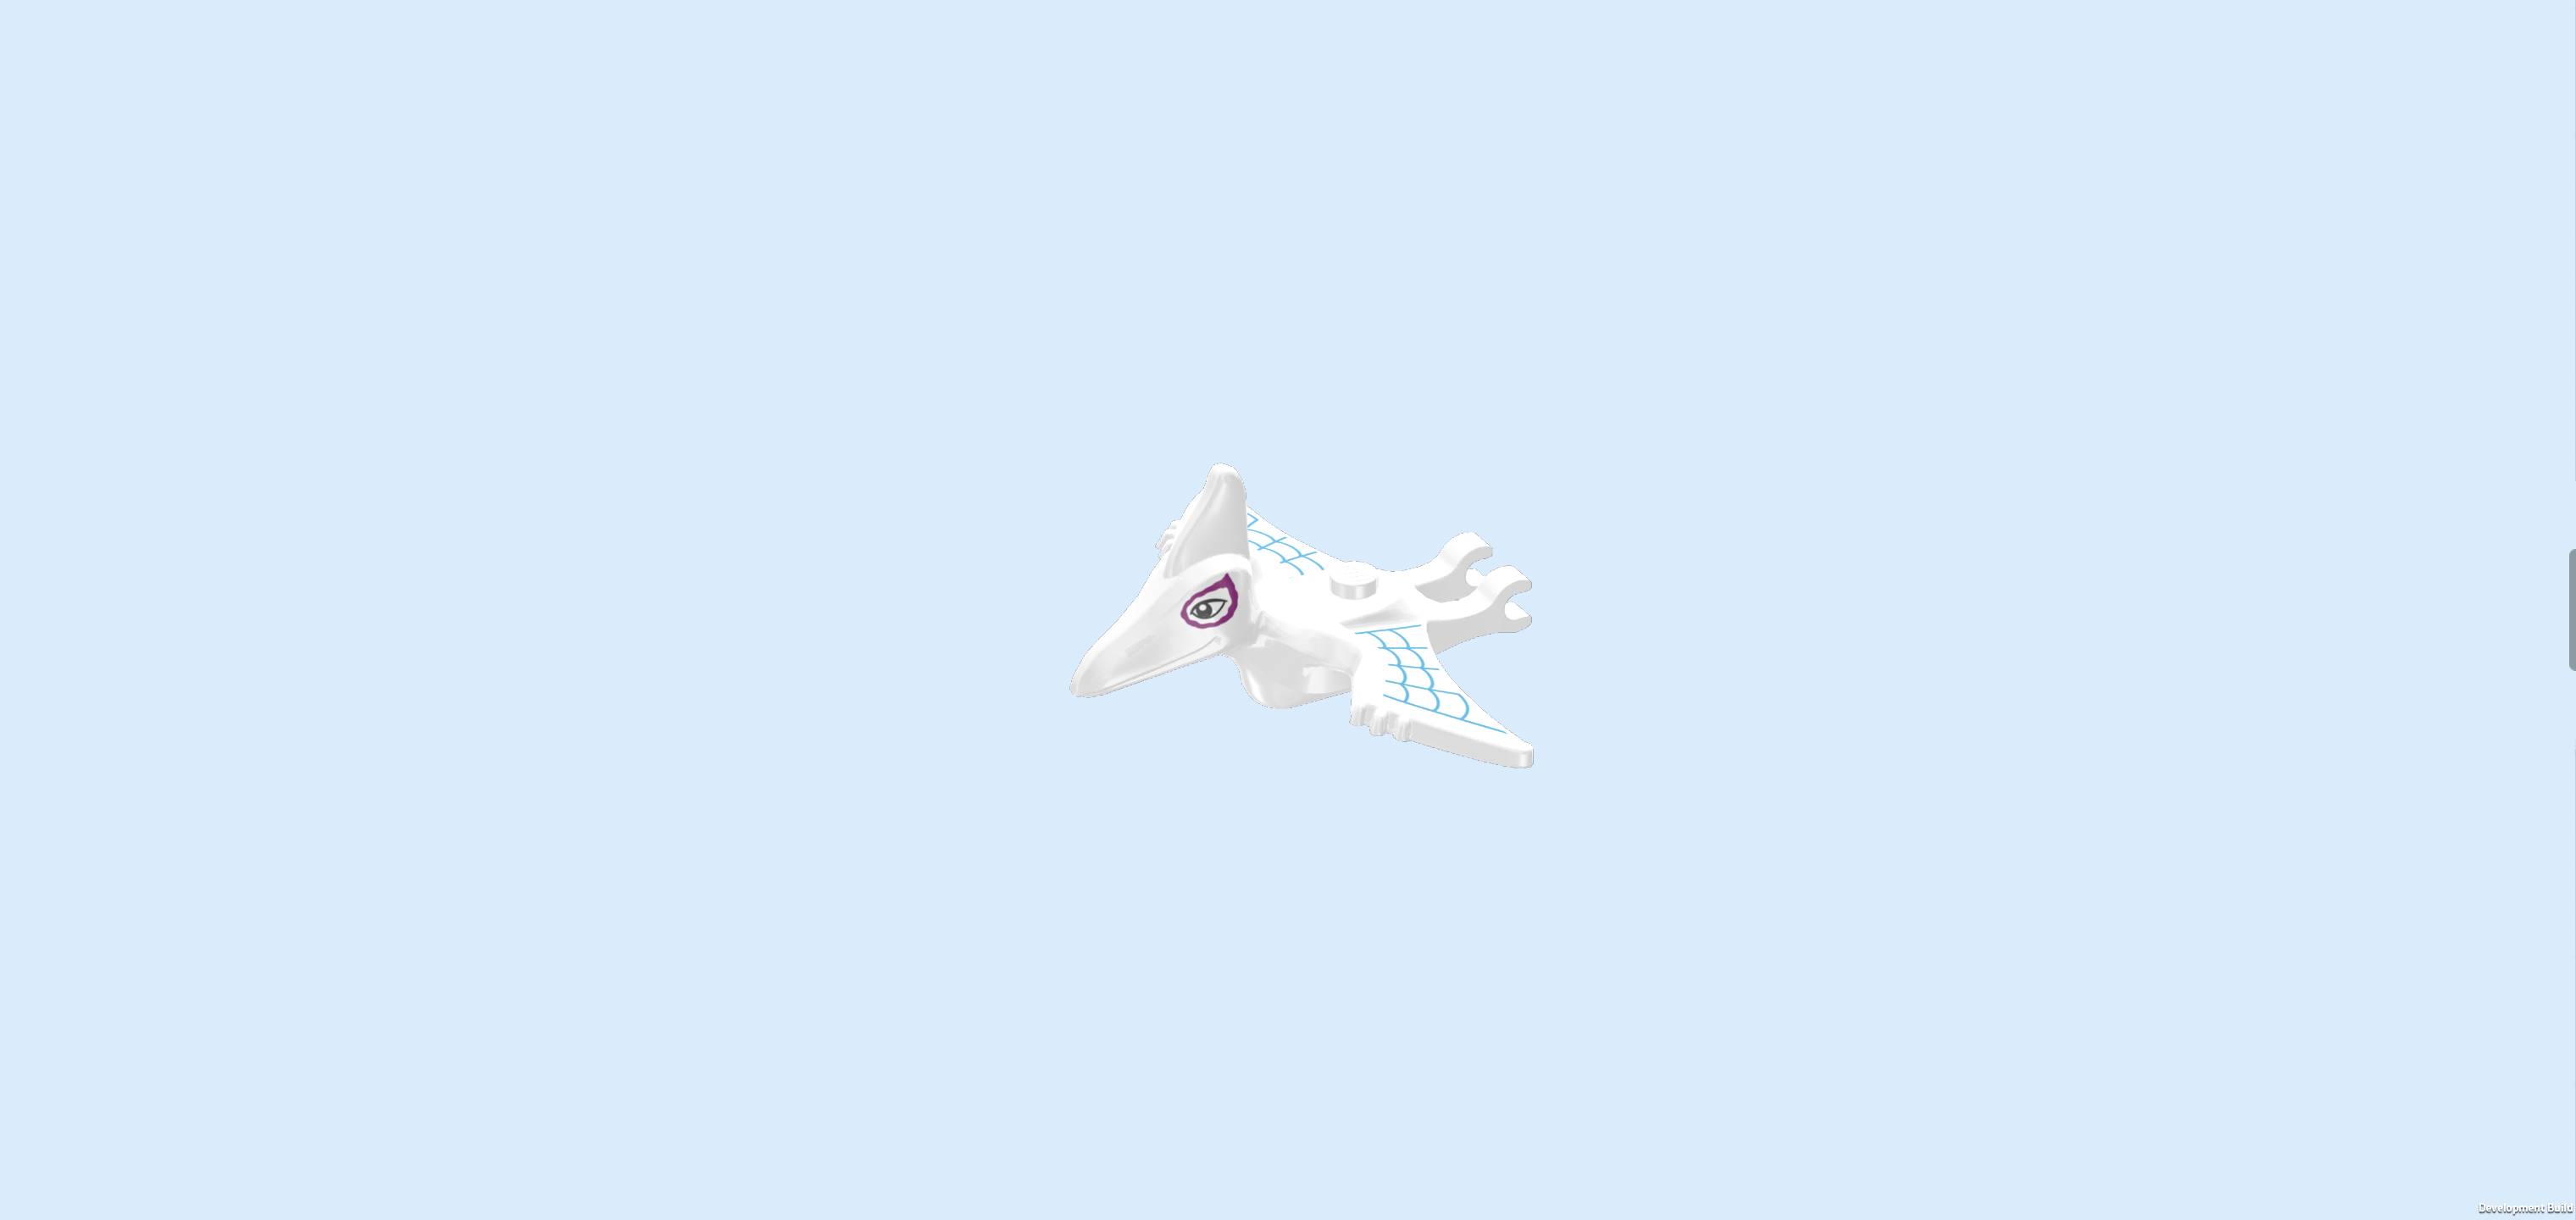
| Find 1 white pterodactyl dino figure. |
| This pterodactyl is Spidey's friend Ghost-Spider in dinosaur form! The flying dinosaur has a faint spider-web print on its wing spans in metallic blue and a pair of friendly eyes that are framed with pink lines. |
| The Miles "Spin" Morales Minifigure with rare crystal and Ghostosaurus is finished! Spin is wearing a sleek black suit with a bright red V-neck line filled with red webbing on the chest. A glowing green spider symbol is placed in the middle of his chest. Red webbing wraps around his mask and back, and his big white eyes give him a sharp, focused look. His gloves are also red. What a cool suit! He’s ready to swing, search, and save the day—Spidey style! |
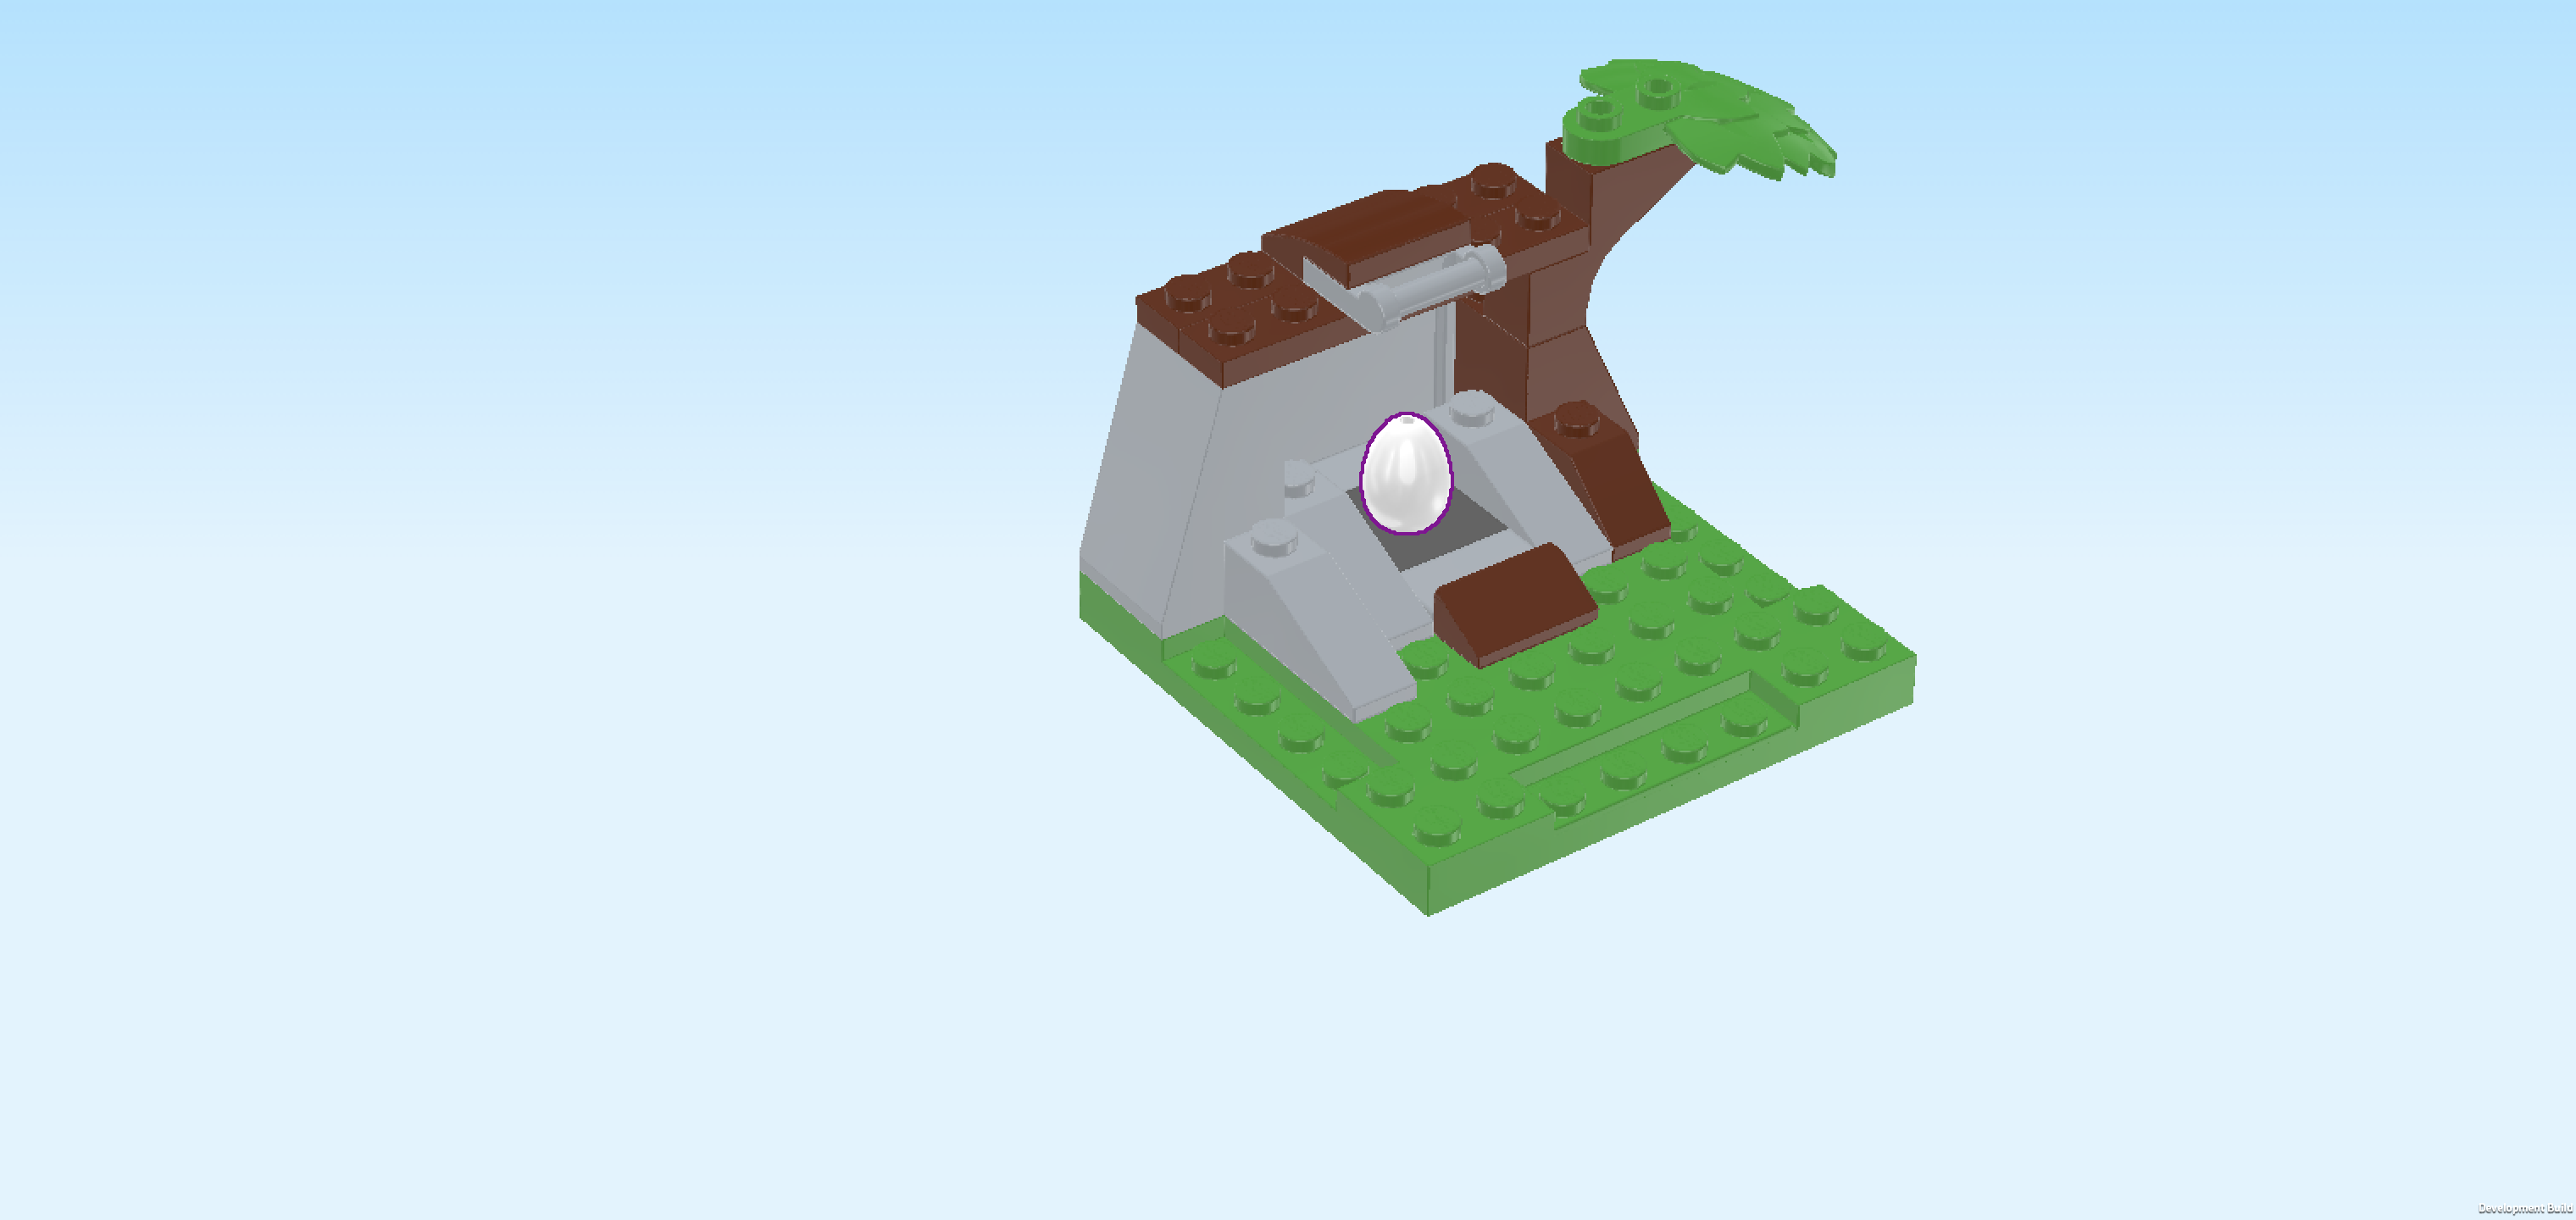
| Next, we will build the Rock with Dinosaur Egg hiding spot. |
| Collect the following 2 pieces: |
| 1 bright green stepped plate 8x8 with 4 recesses, |
| and 1 beige plate 1x4. |
| Put the stepped plate 8x8 on the table. Make sure its knobs form straight rows and columns in front of you. |
| Put the plate 1x4 horizontally centered on the backmost column. |
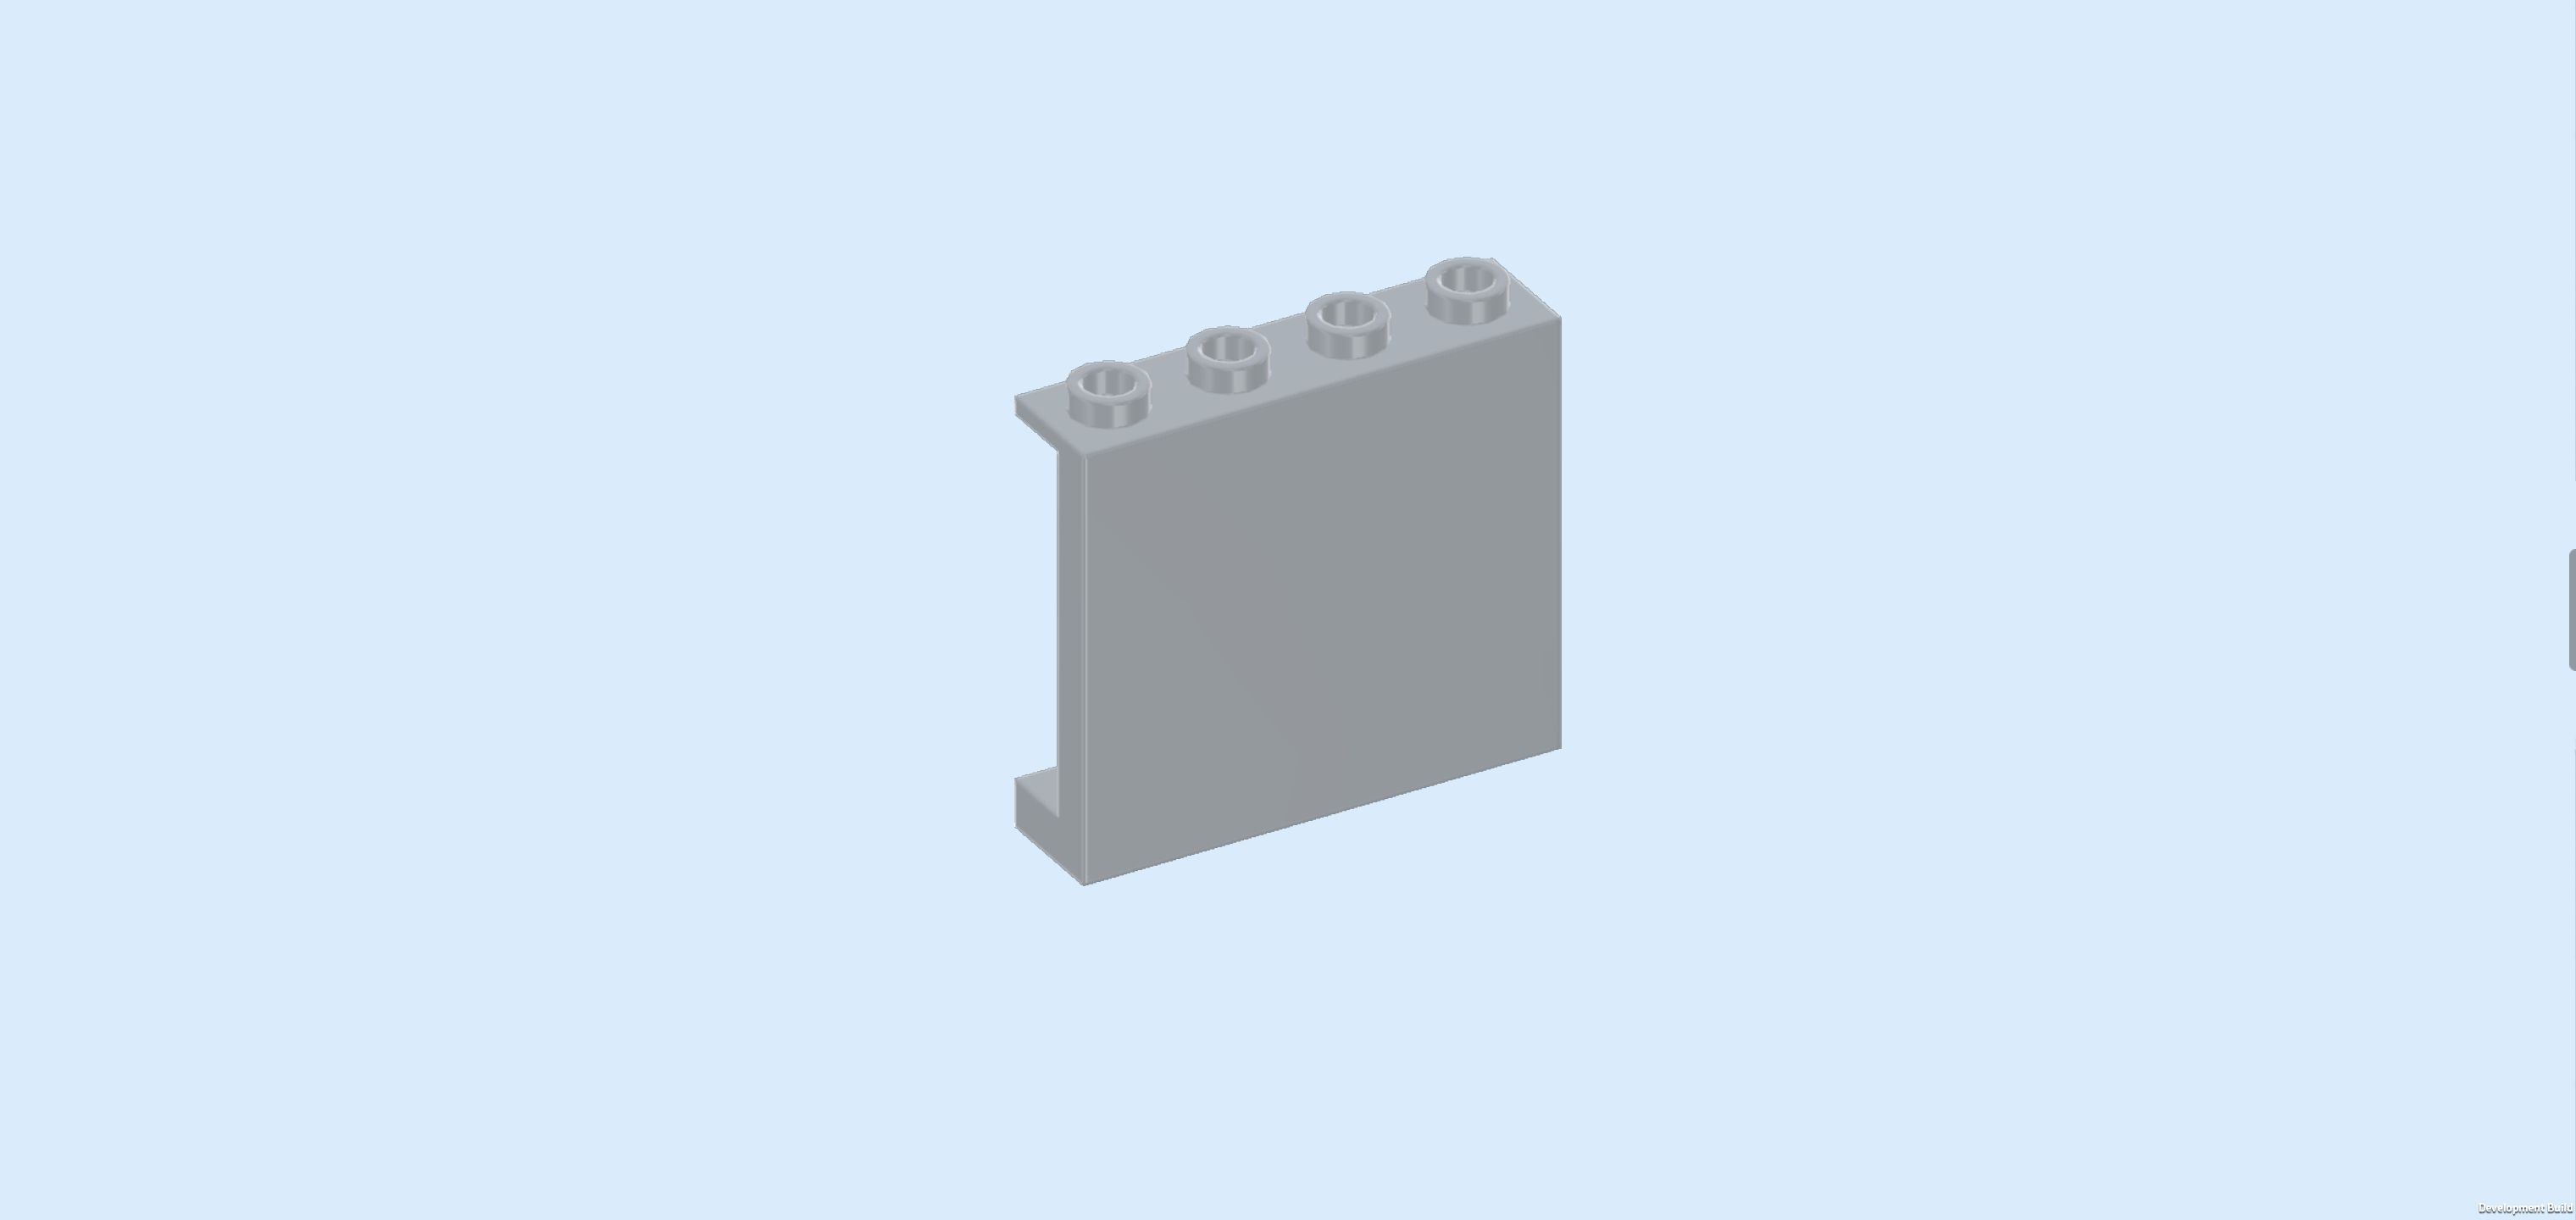
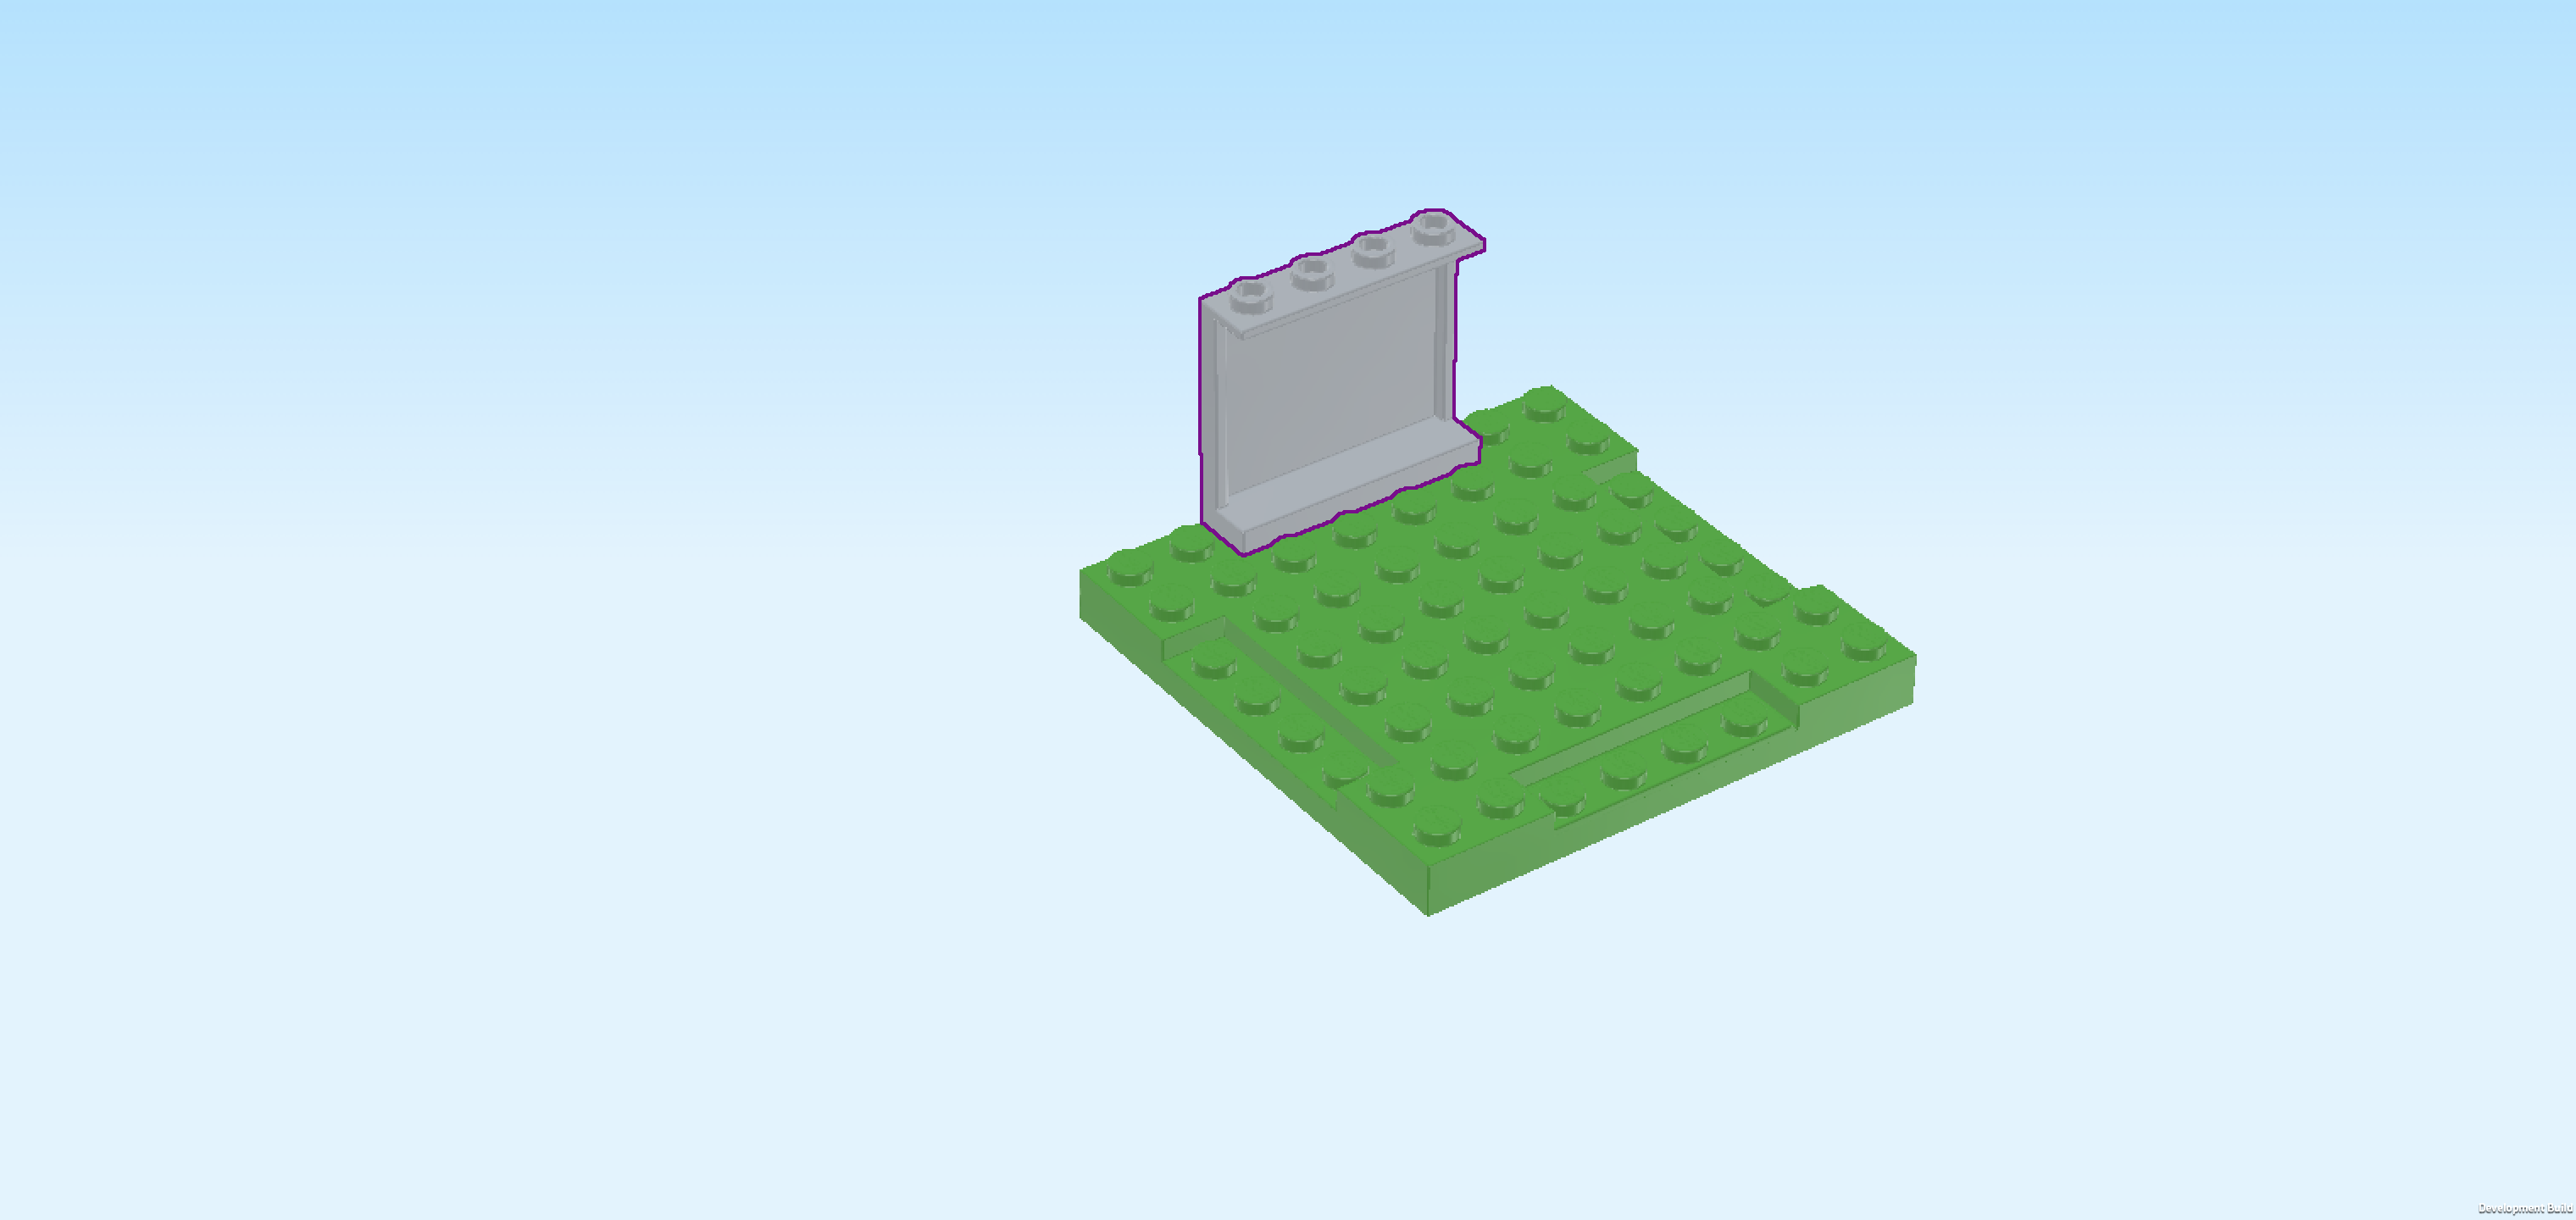
| Find 1 medium stone grey wall element 1x4x3 with 4 top knobs. |
| Put it horizontally on top of the previous piece, wall panel to the back. |
| Collect the following 2 pieces: |
| 1 dark stone grey plate 2x2 with 1 knob, |
| and 1 medium stone grey flat tile 1x2. |
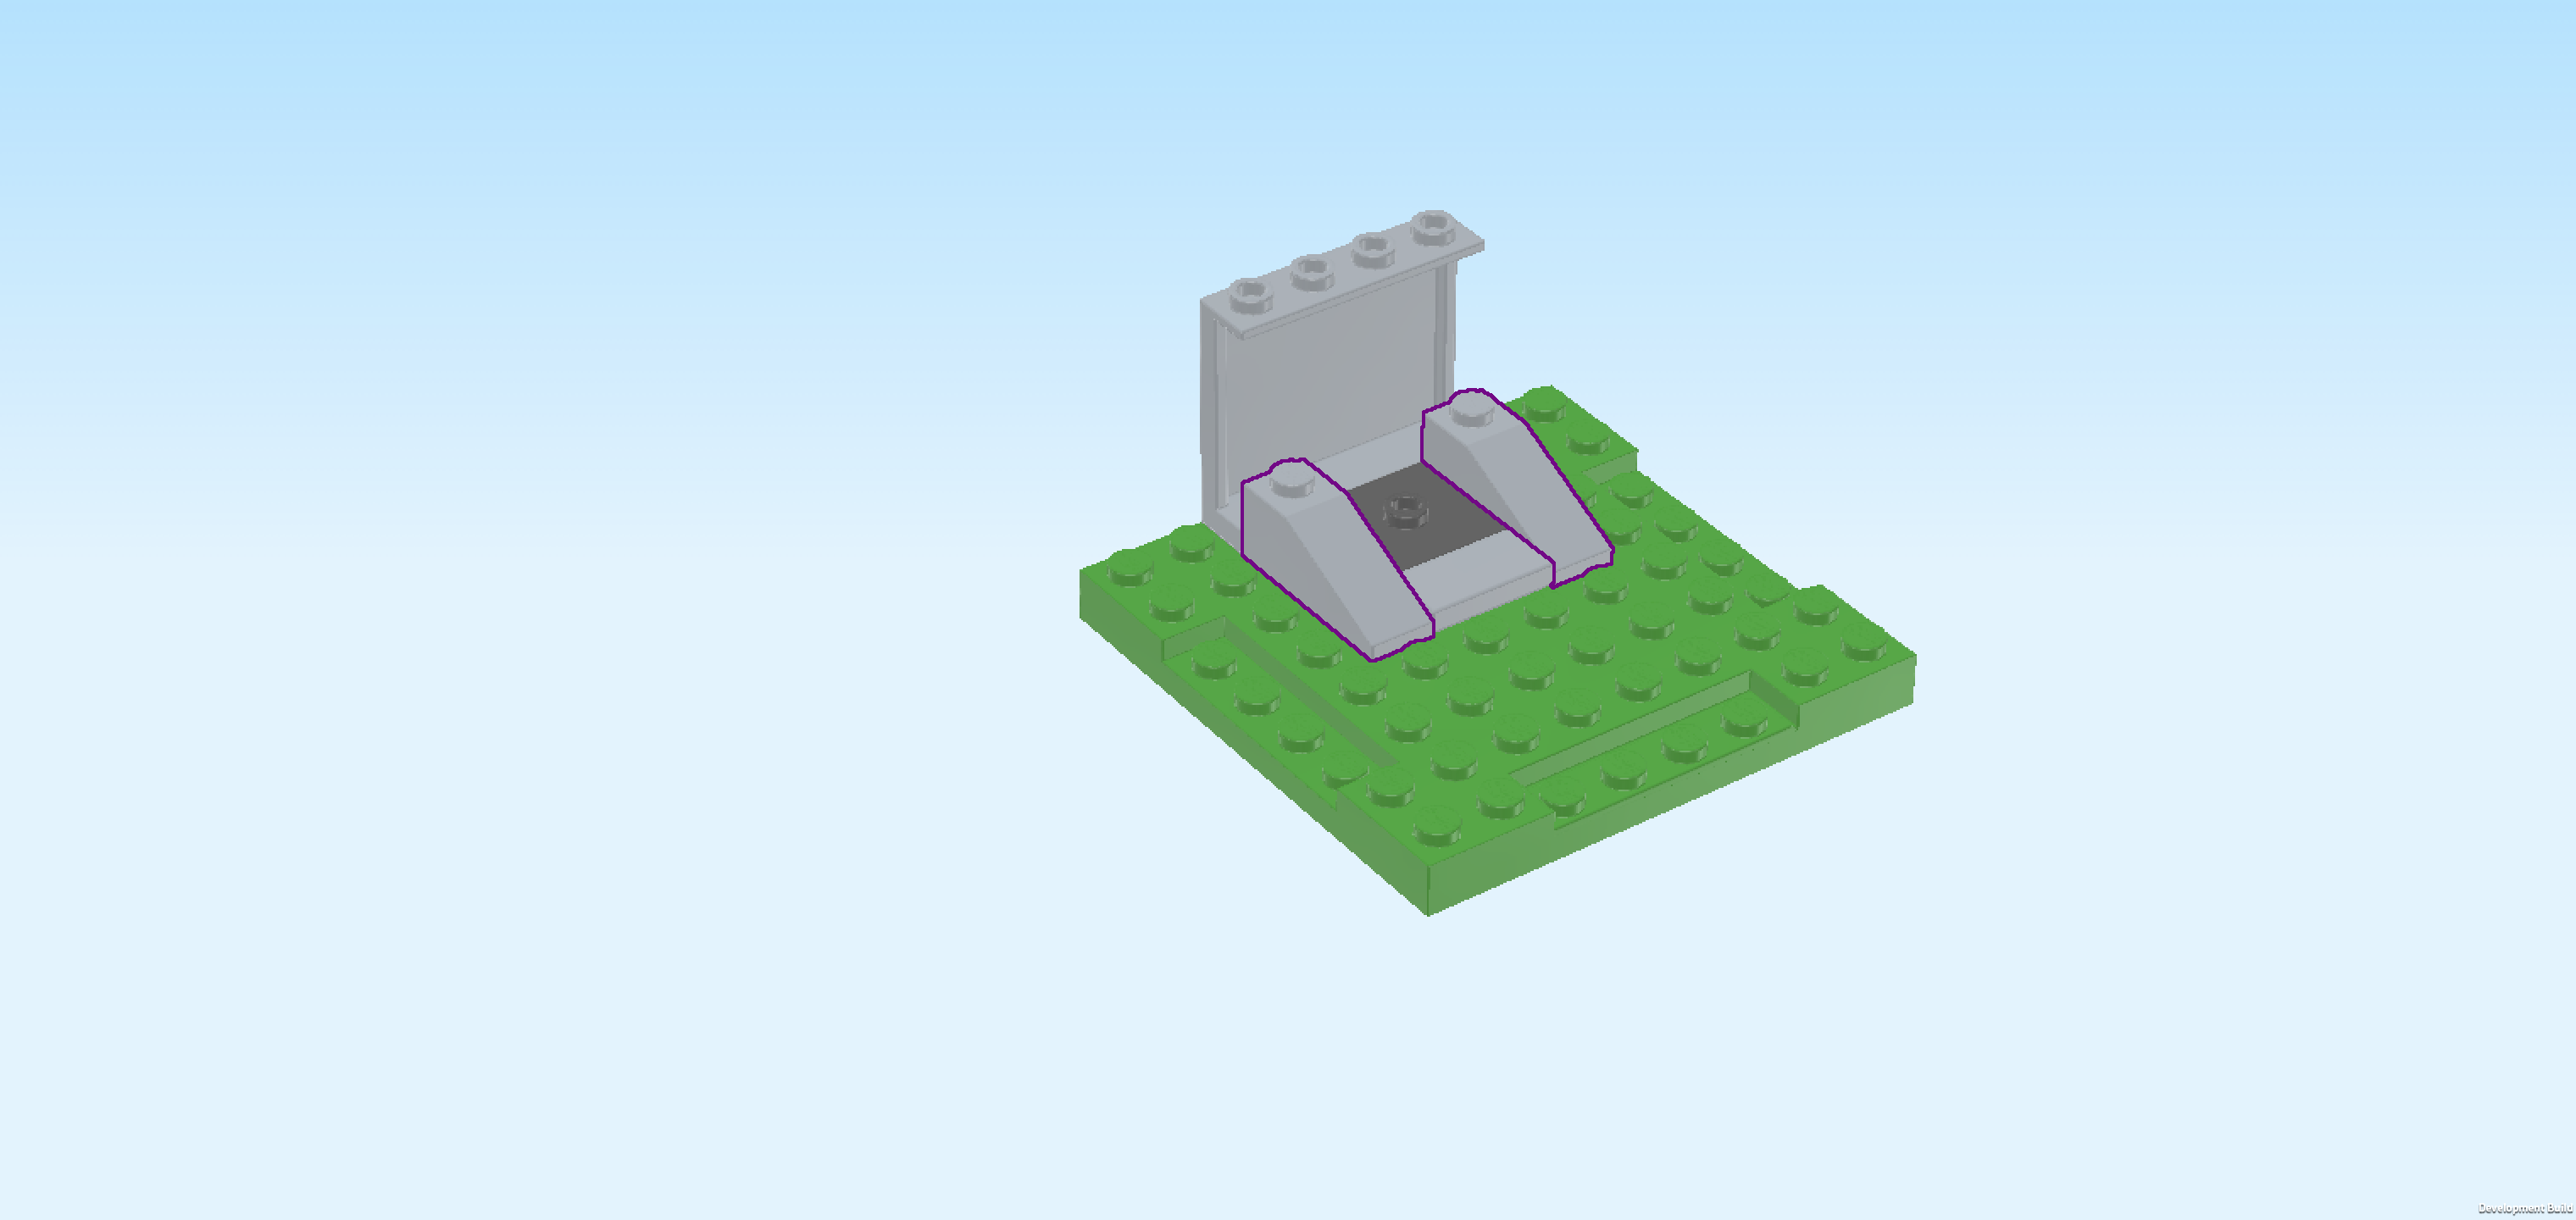
| Put the plate 2x2 centered in front of the previous piece. |
| Put the flat tile 1x2 horizontally in front of the previous piece. |
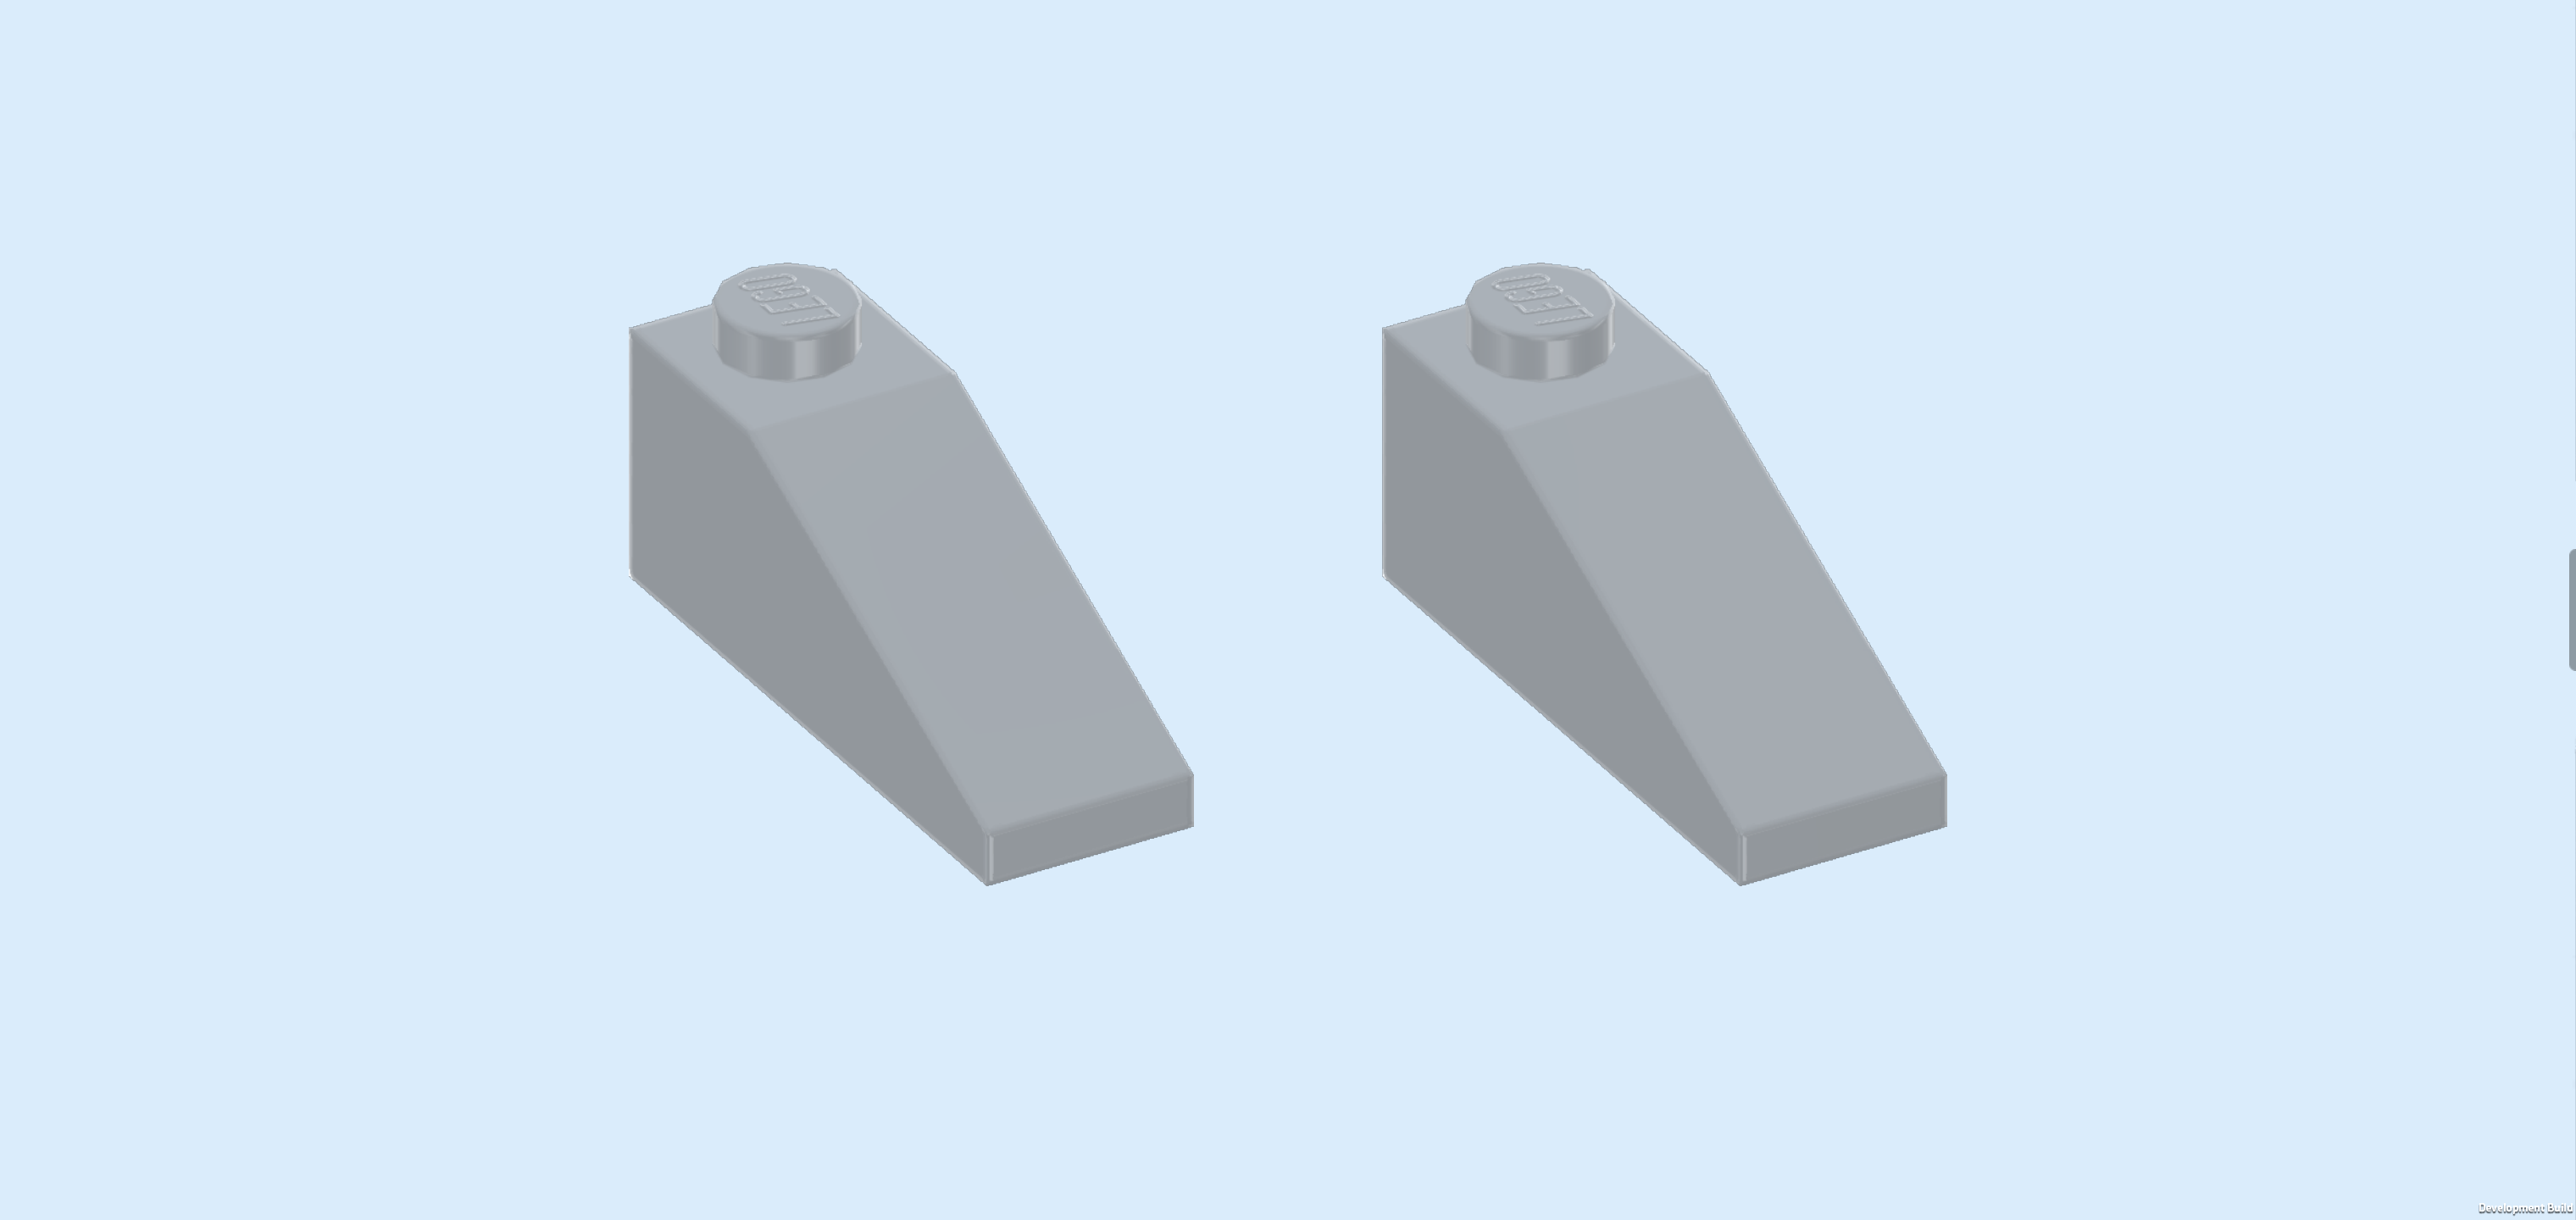
| Find 2 medium stone grey roof tiles 1x3, 25°. |
| Put 1 vertically to the right of the 2 previous pieces, slope to the front. |
| Repeat symmetrically on the left. |
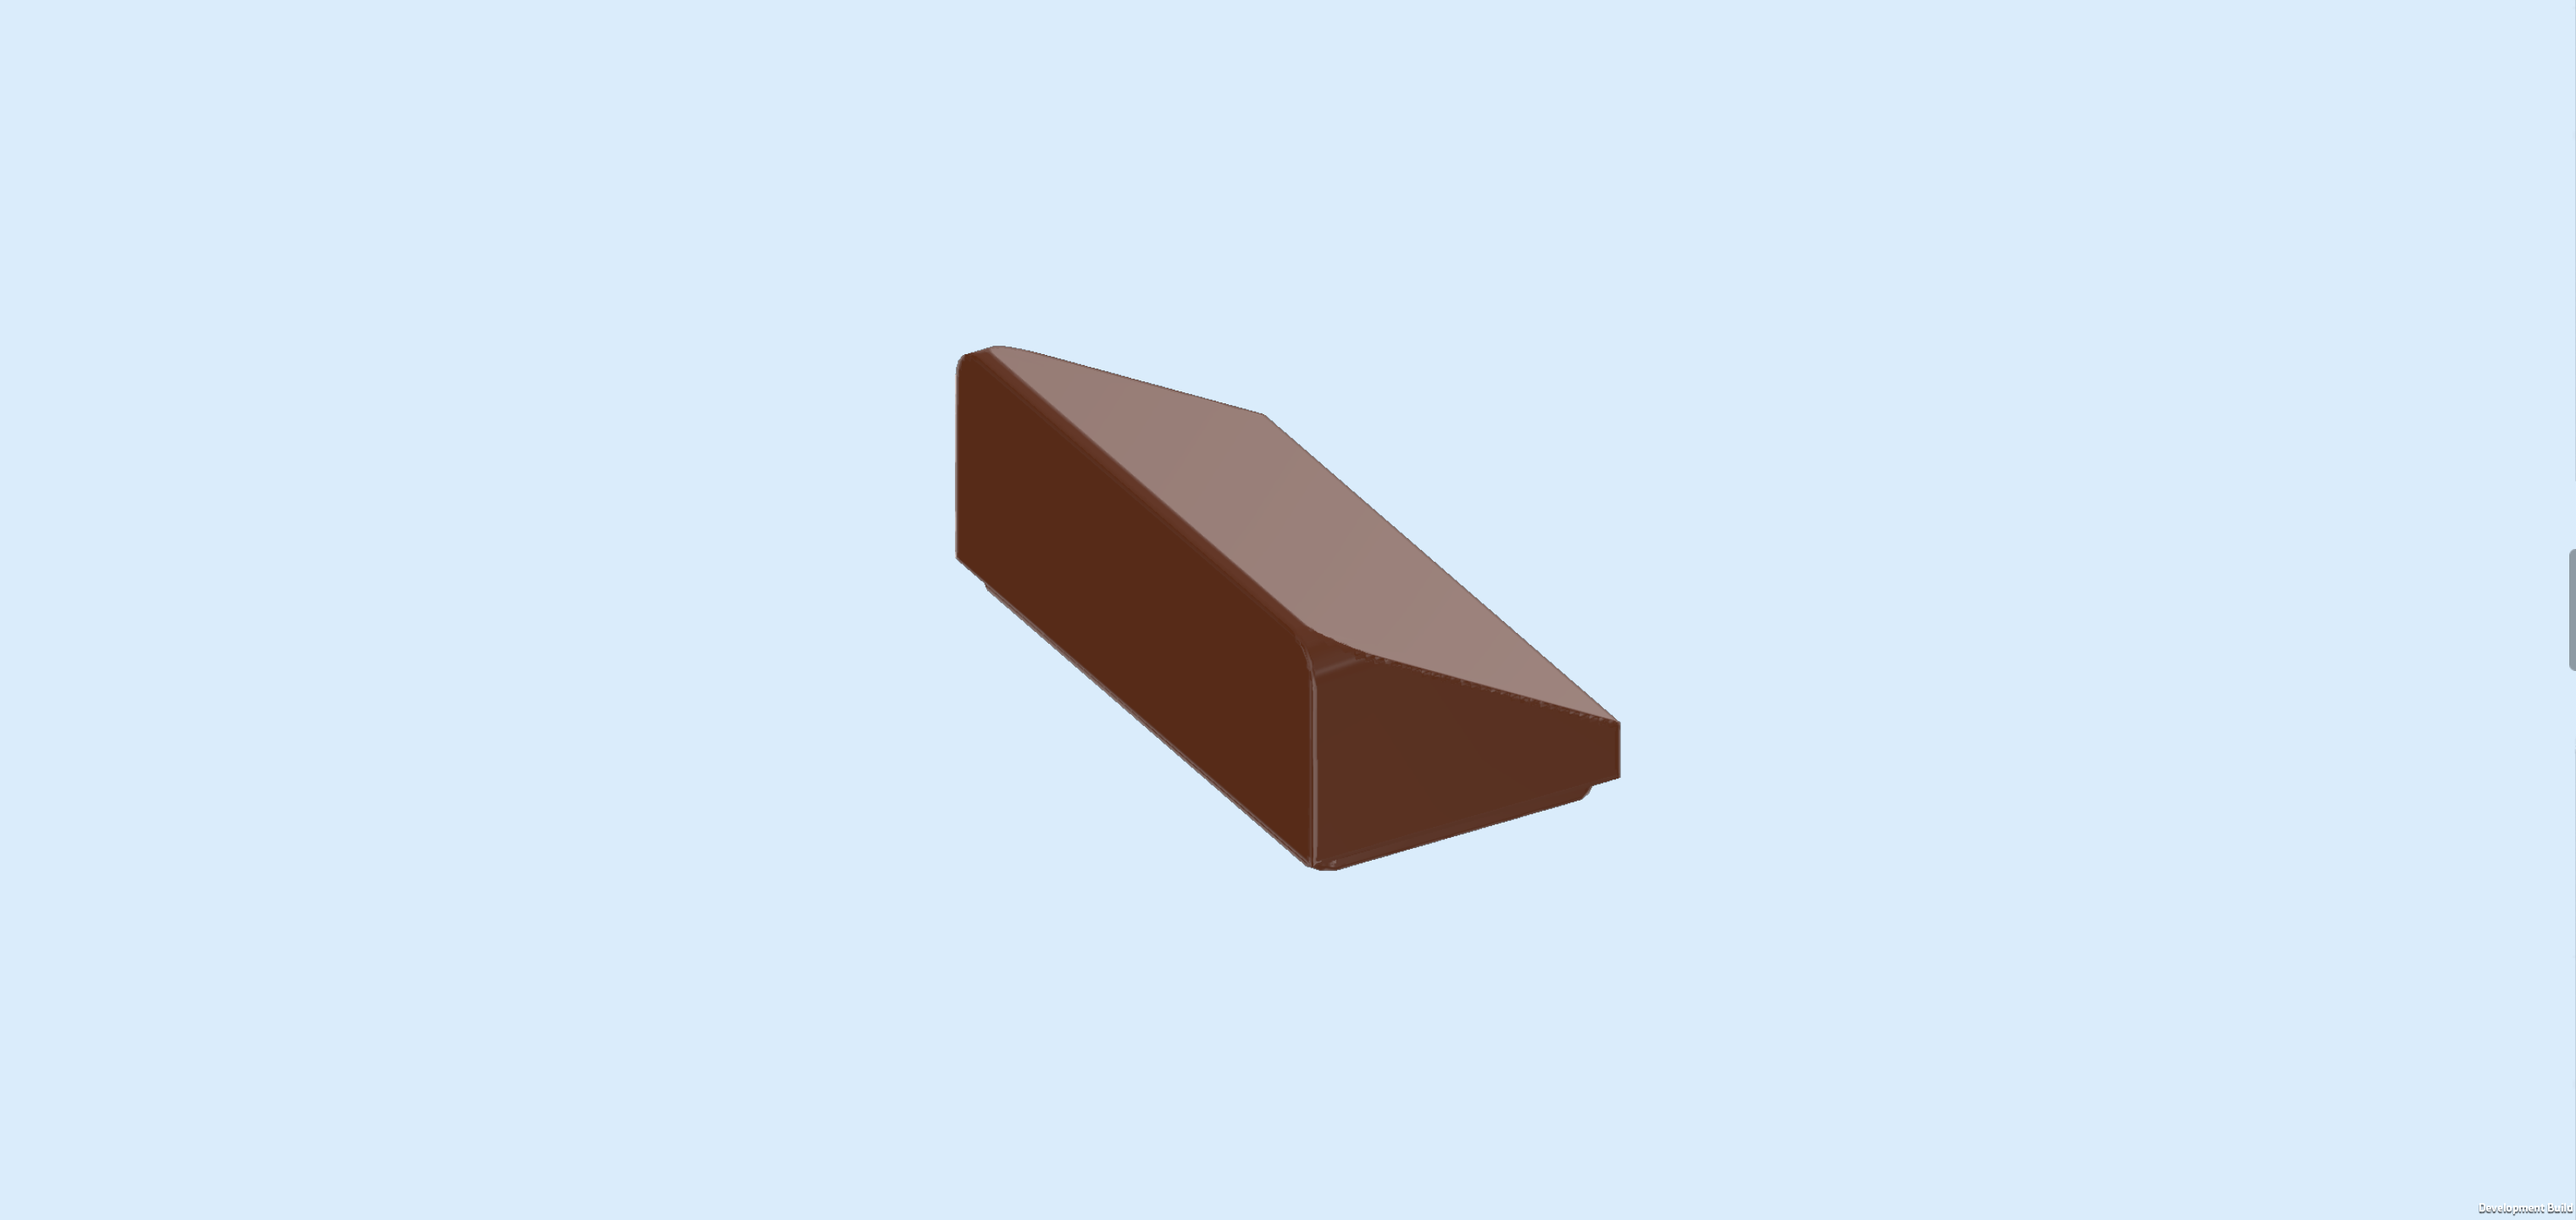
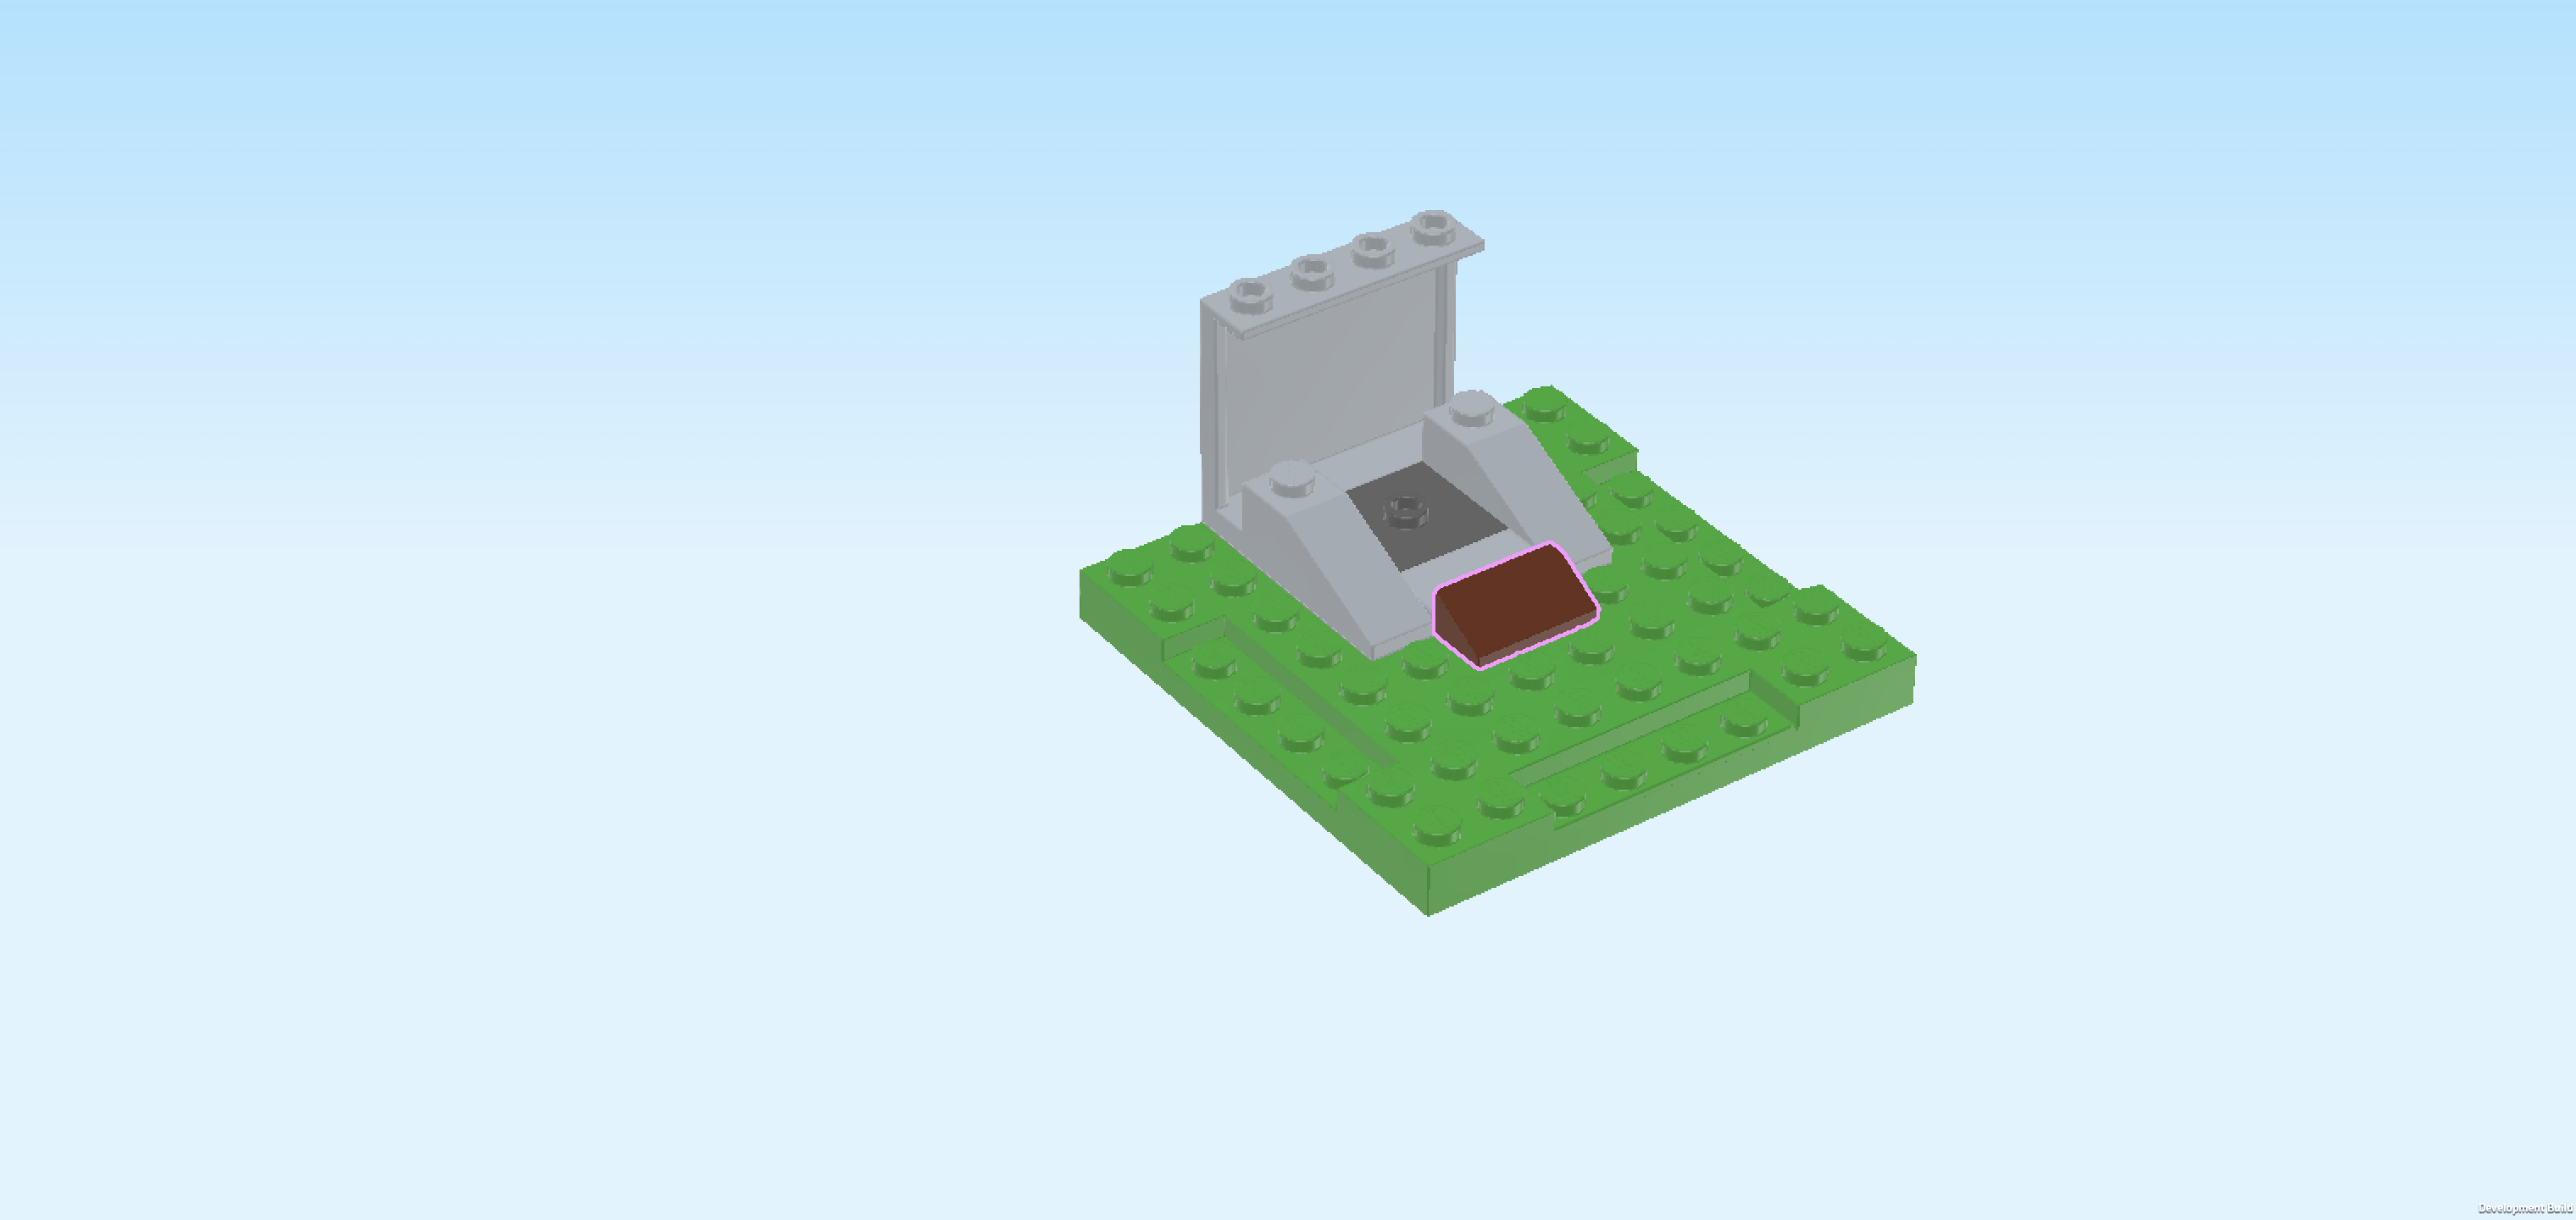
| Find 1 reddish brown smooth roof tile 1x2x⅔. |
| Put it horizontally centered in front of the flat tile 1x2, slope to the front. |
| Collect the following 2 pieces: |
| 1 reddish brown roof tile 2x2x2, 65°, |
| and 1 medium stone grey roof tile 2x2x3, 75°. |
| Put the roof tile 2x2x3 in the back left corner of the base plate, slope to the left. |
| Put the roof tile 2x2x2 on the back right corner, slope to the right. |
| Collect the following 2 pieces: |
| 1 reddish brown roof tile 1x2, 45°, |
| and 1 medium stone grey roof tile 1x3, 25°. |
| Put the roof tile 1x2 vertically in front of the previous piece's left half, slope to the front. |
| Put the roof tile 1x3 vertically on the second column from the left, directly in front of the roof tile 2x2x3, slope to the front. |
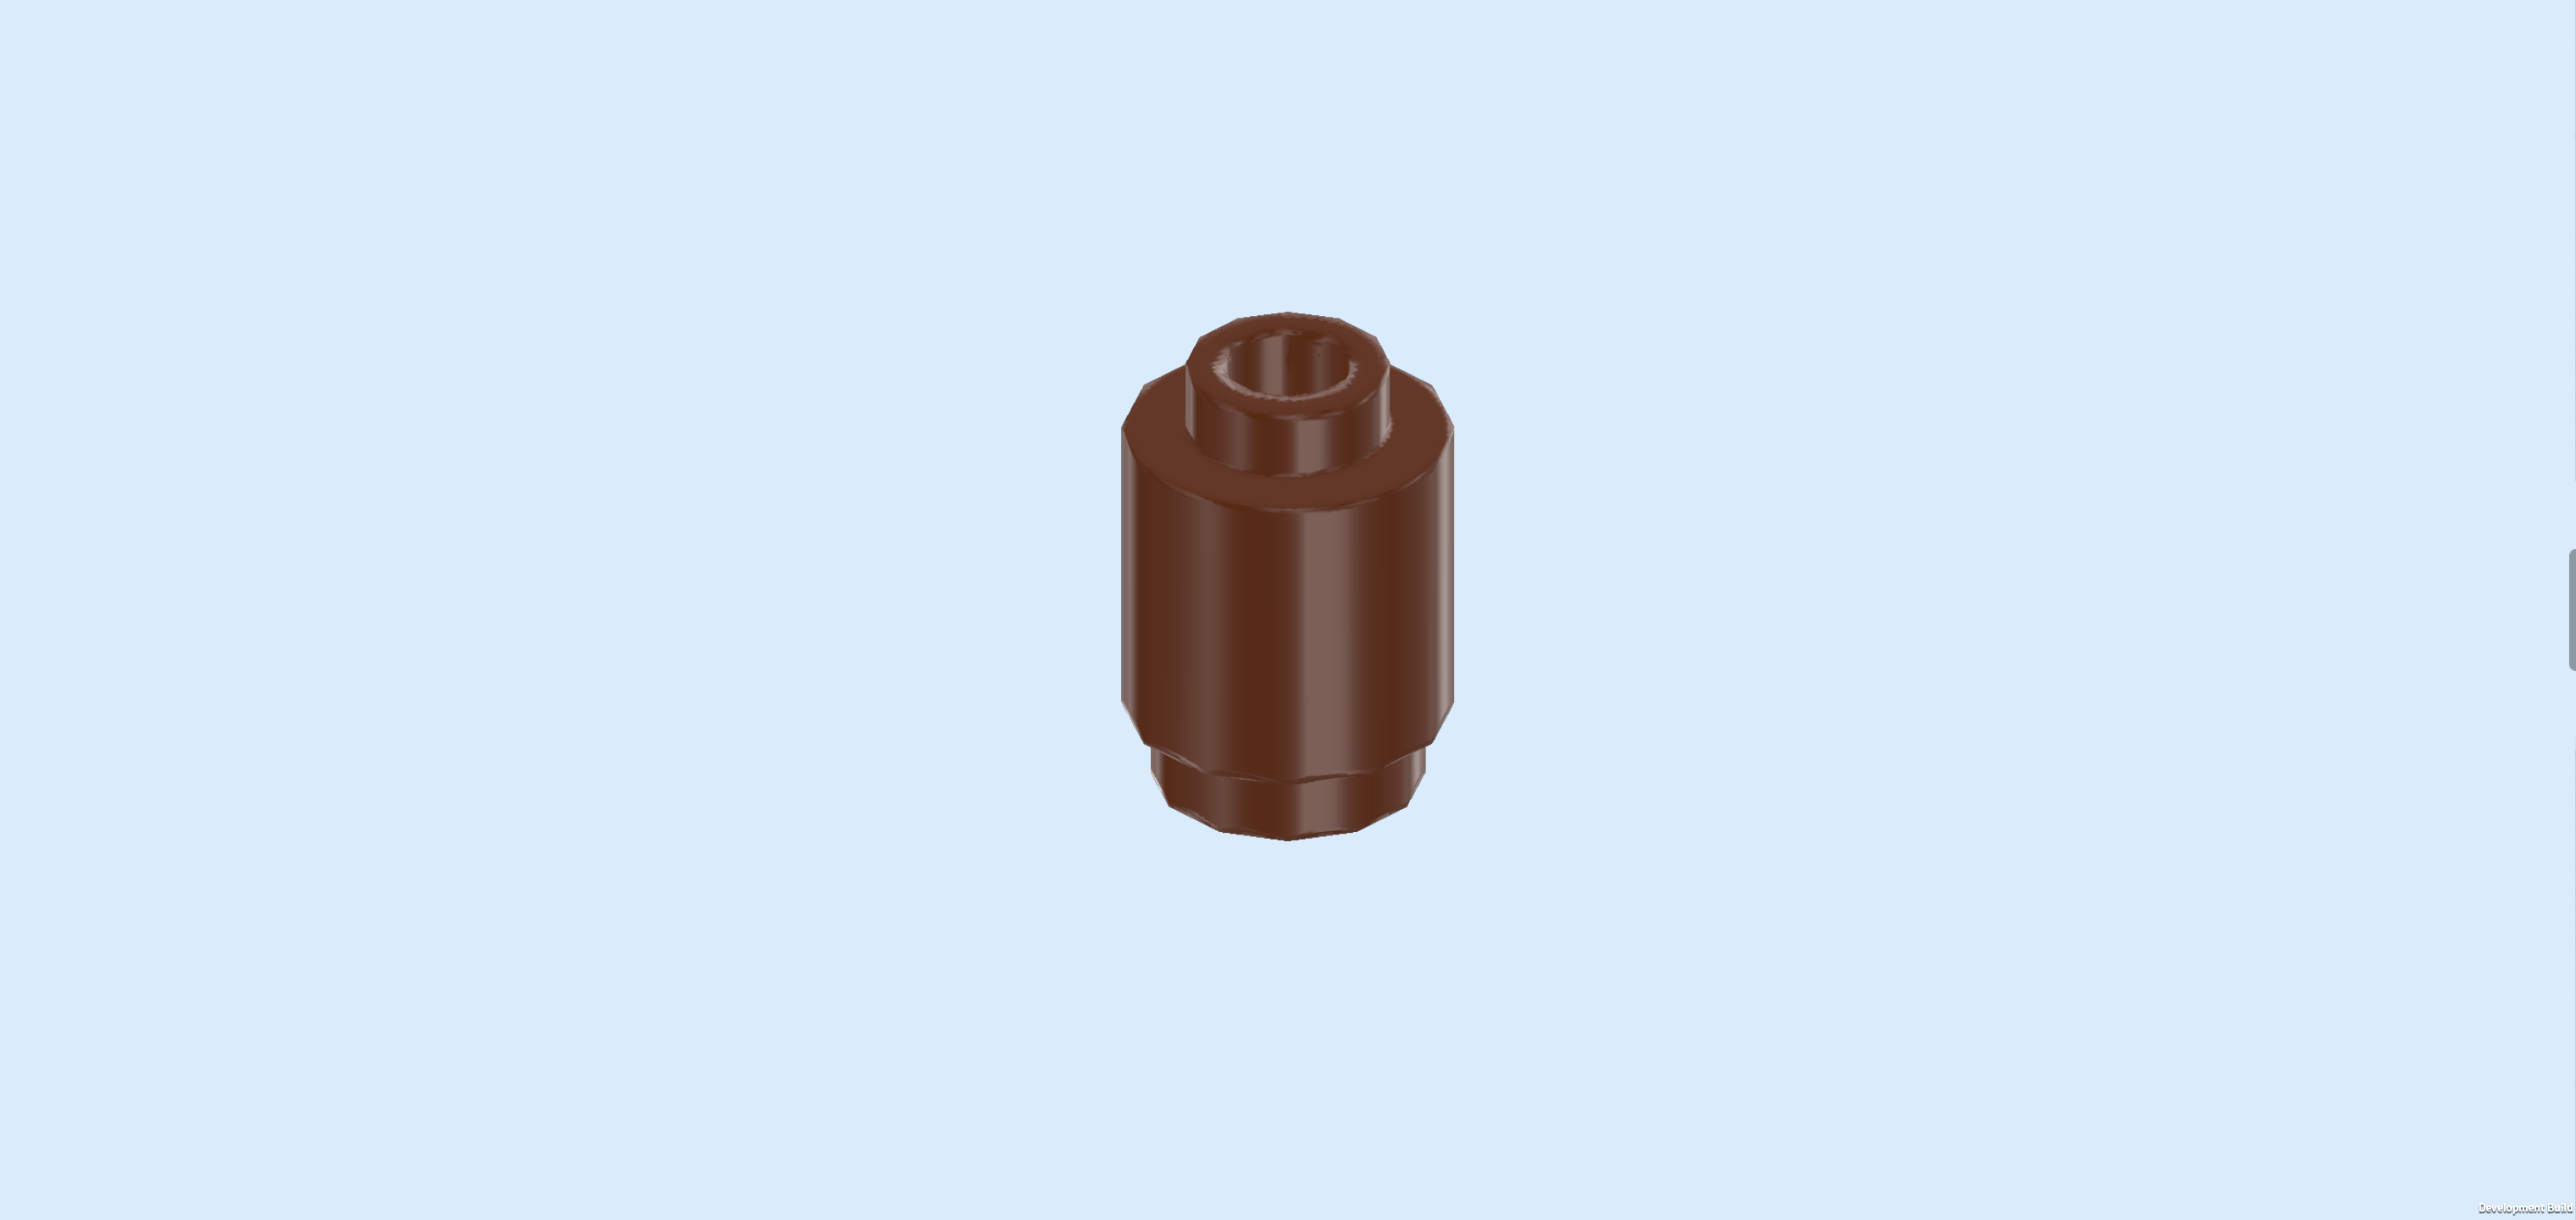
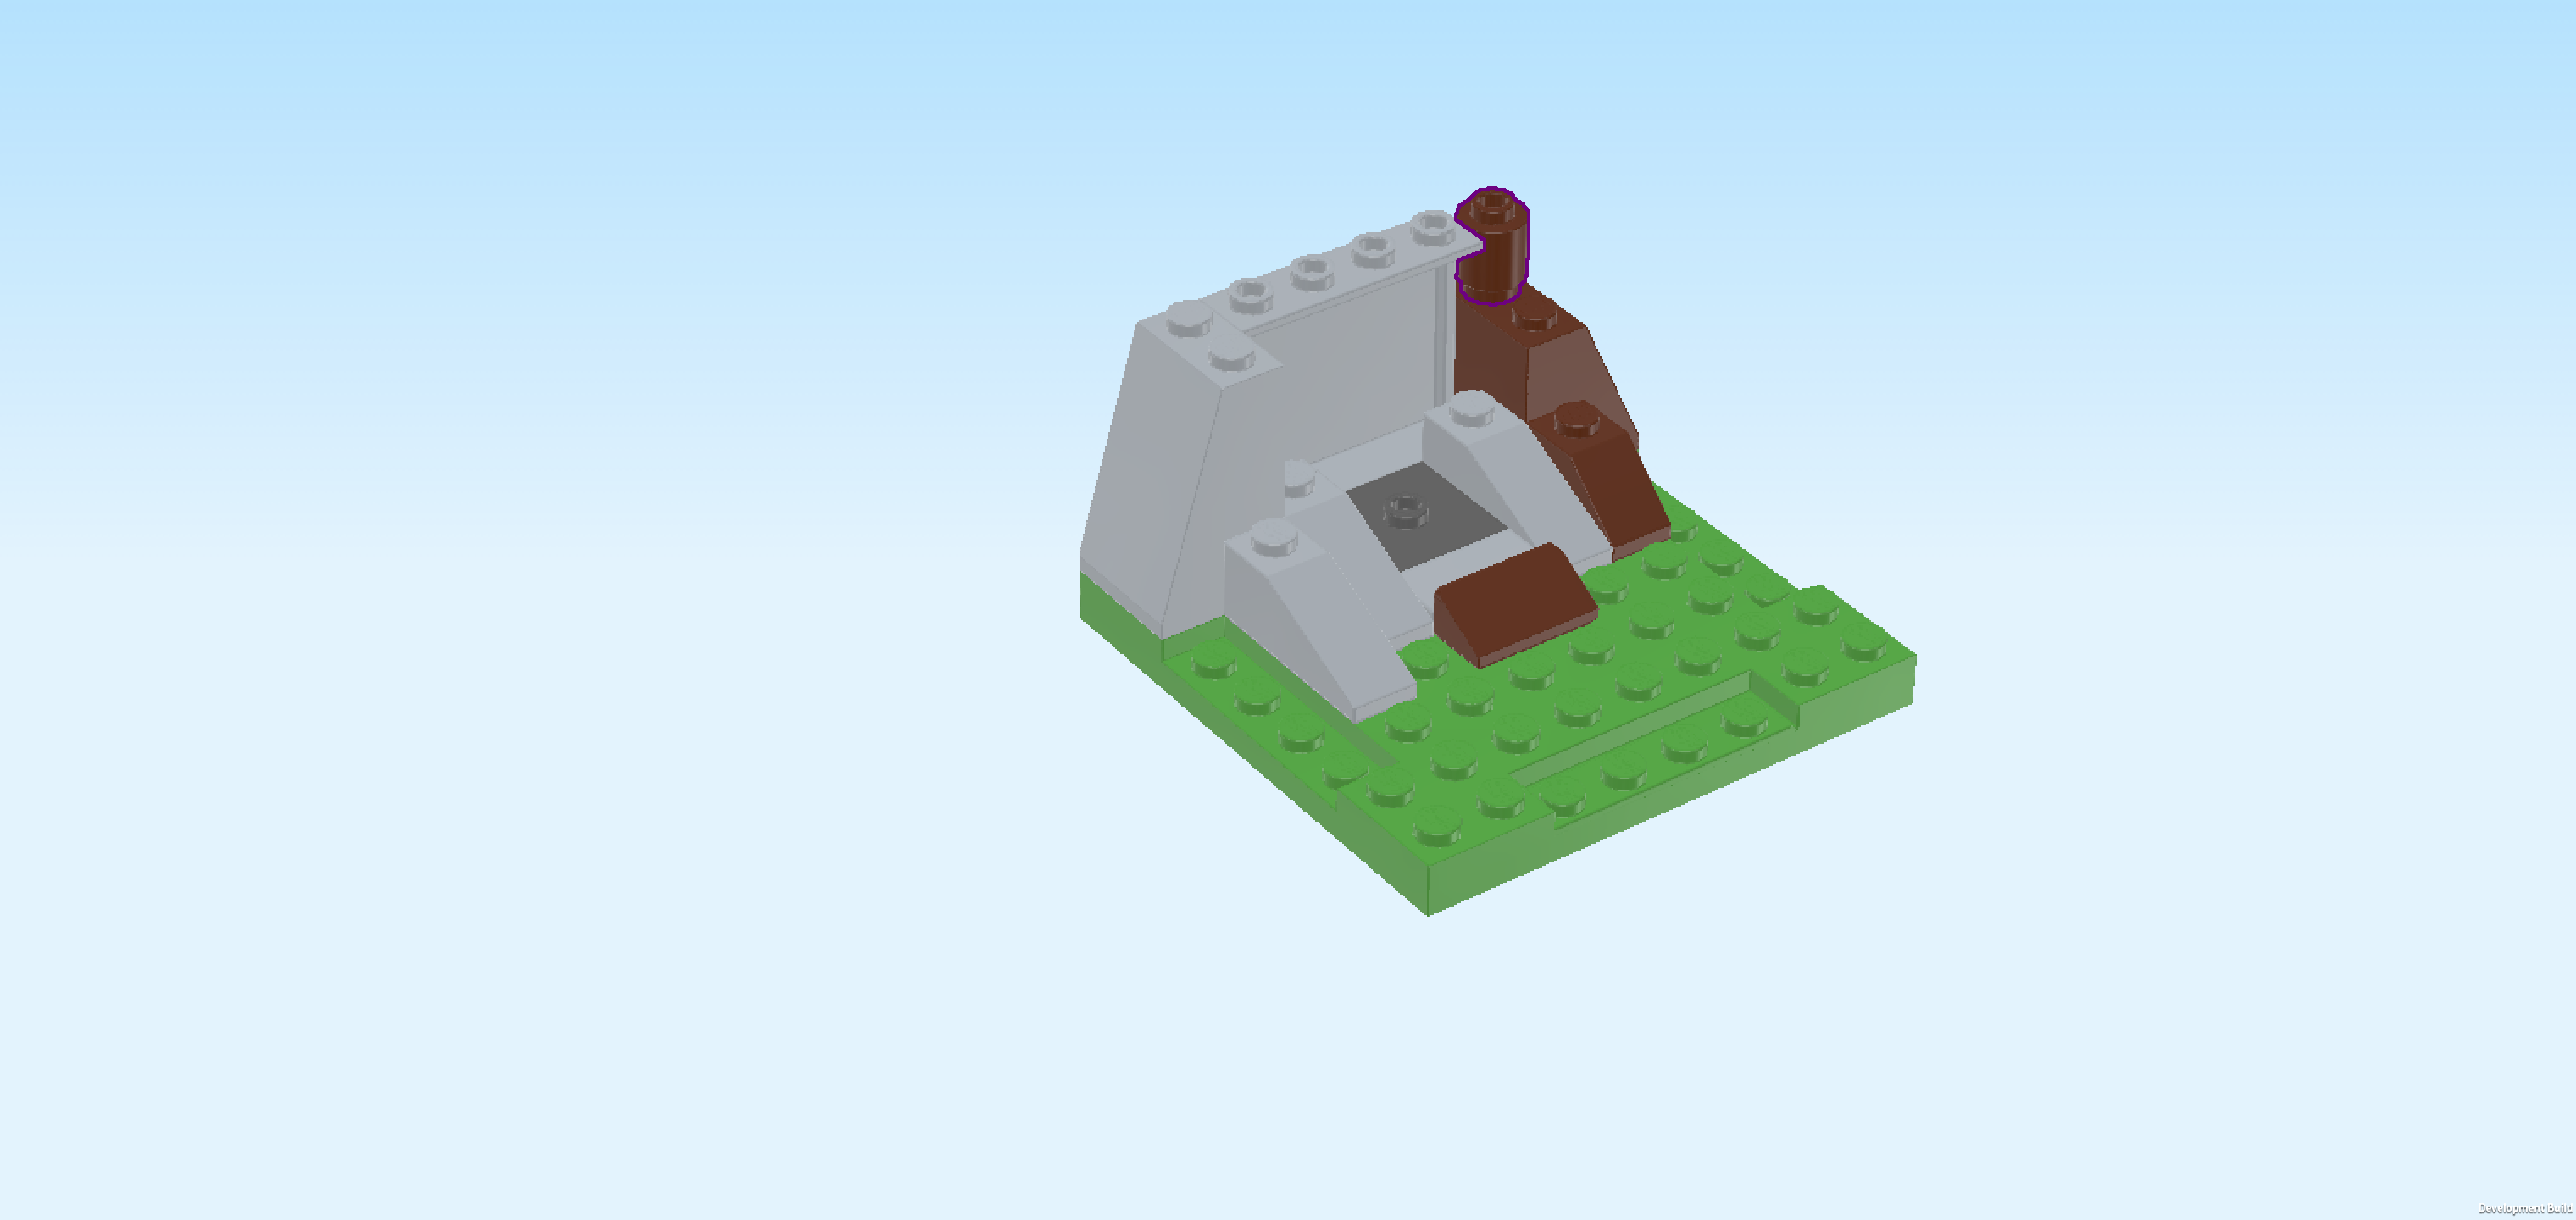
| Find 1 reddish brown round brick 1x1. |
| Put it on the back right corner knob of the structure, which is the back knob of the roof tile 2x2x2. |
| Find 1 reddish brown plate 1x6. |
| Put it horizontally on the backmost row, which is also the highest row of the current build. |
| Find 1 reddish brown stepped brick 1x3x2 with half arch. |
| Put it horizontally in front of the previous piece on the rightmost knob, arch protruding to the right. |
| Find 1 reddish brown plate 1x6. |
| Put it horizontally in front of the identical piece that we have mounted on the backmost row. |
| Find 1 bright green leaf 4x5x1⅔. |
| Put it horizontally on the 2 top knobs of the arched brick, leaf tips pointing to the right. |
| Find 1 medium stone grey plate 1x2 with handle on long side. |
| Put it horizontally centered on the second row from the back, this means on the second plate 1x6 that we have mounted 2 steps ago, handle to the front. |
| Find 1 reddish brown one-stepped curve tile 2x2. |
| Put it on the previous piece and the row behind it, curve to the back. |
| Find 1 white egg. |
| Put it on the plate 2x2 with 1 knob that is located below the 2 previous pieces. |
| Next, we will build the cover for the hiding spot. |
| Collect the following 2 pieces: |
| 1 beige plate 2x2, |
| and 1 dark green plate 1x2 with 2 vertical clasps on long side. |
| Put the plate 2x2 on the table. Make sure its knobs form straight rows and columns in front of you. |
| Put the plate 1x2 vertically on the left column, clasps to the left. |
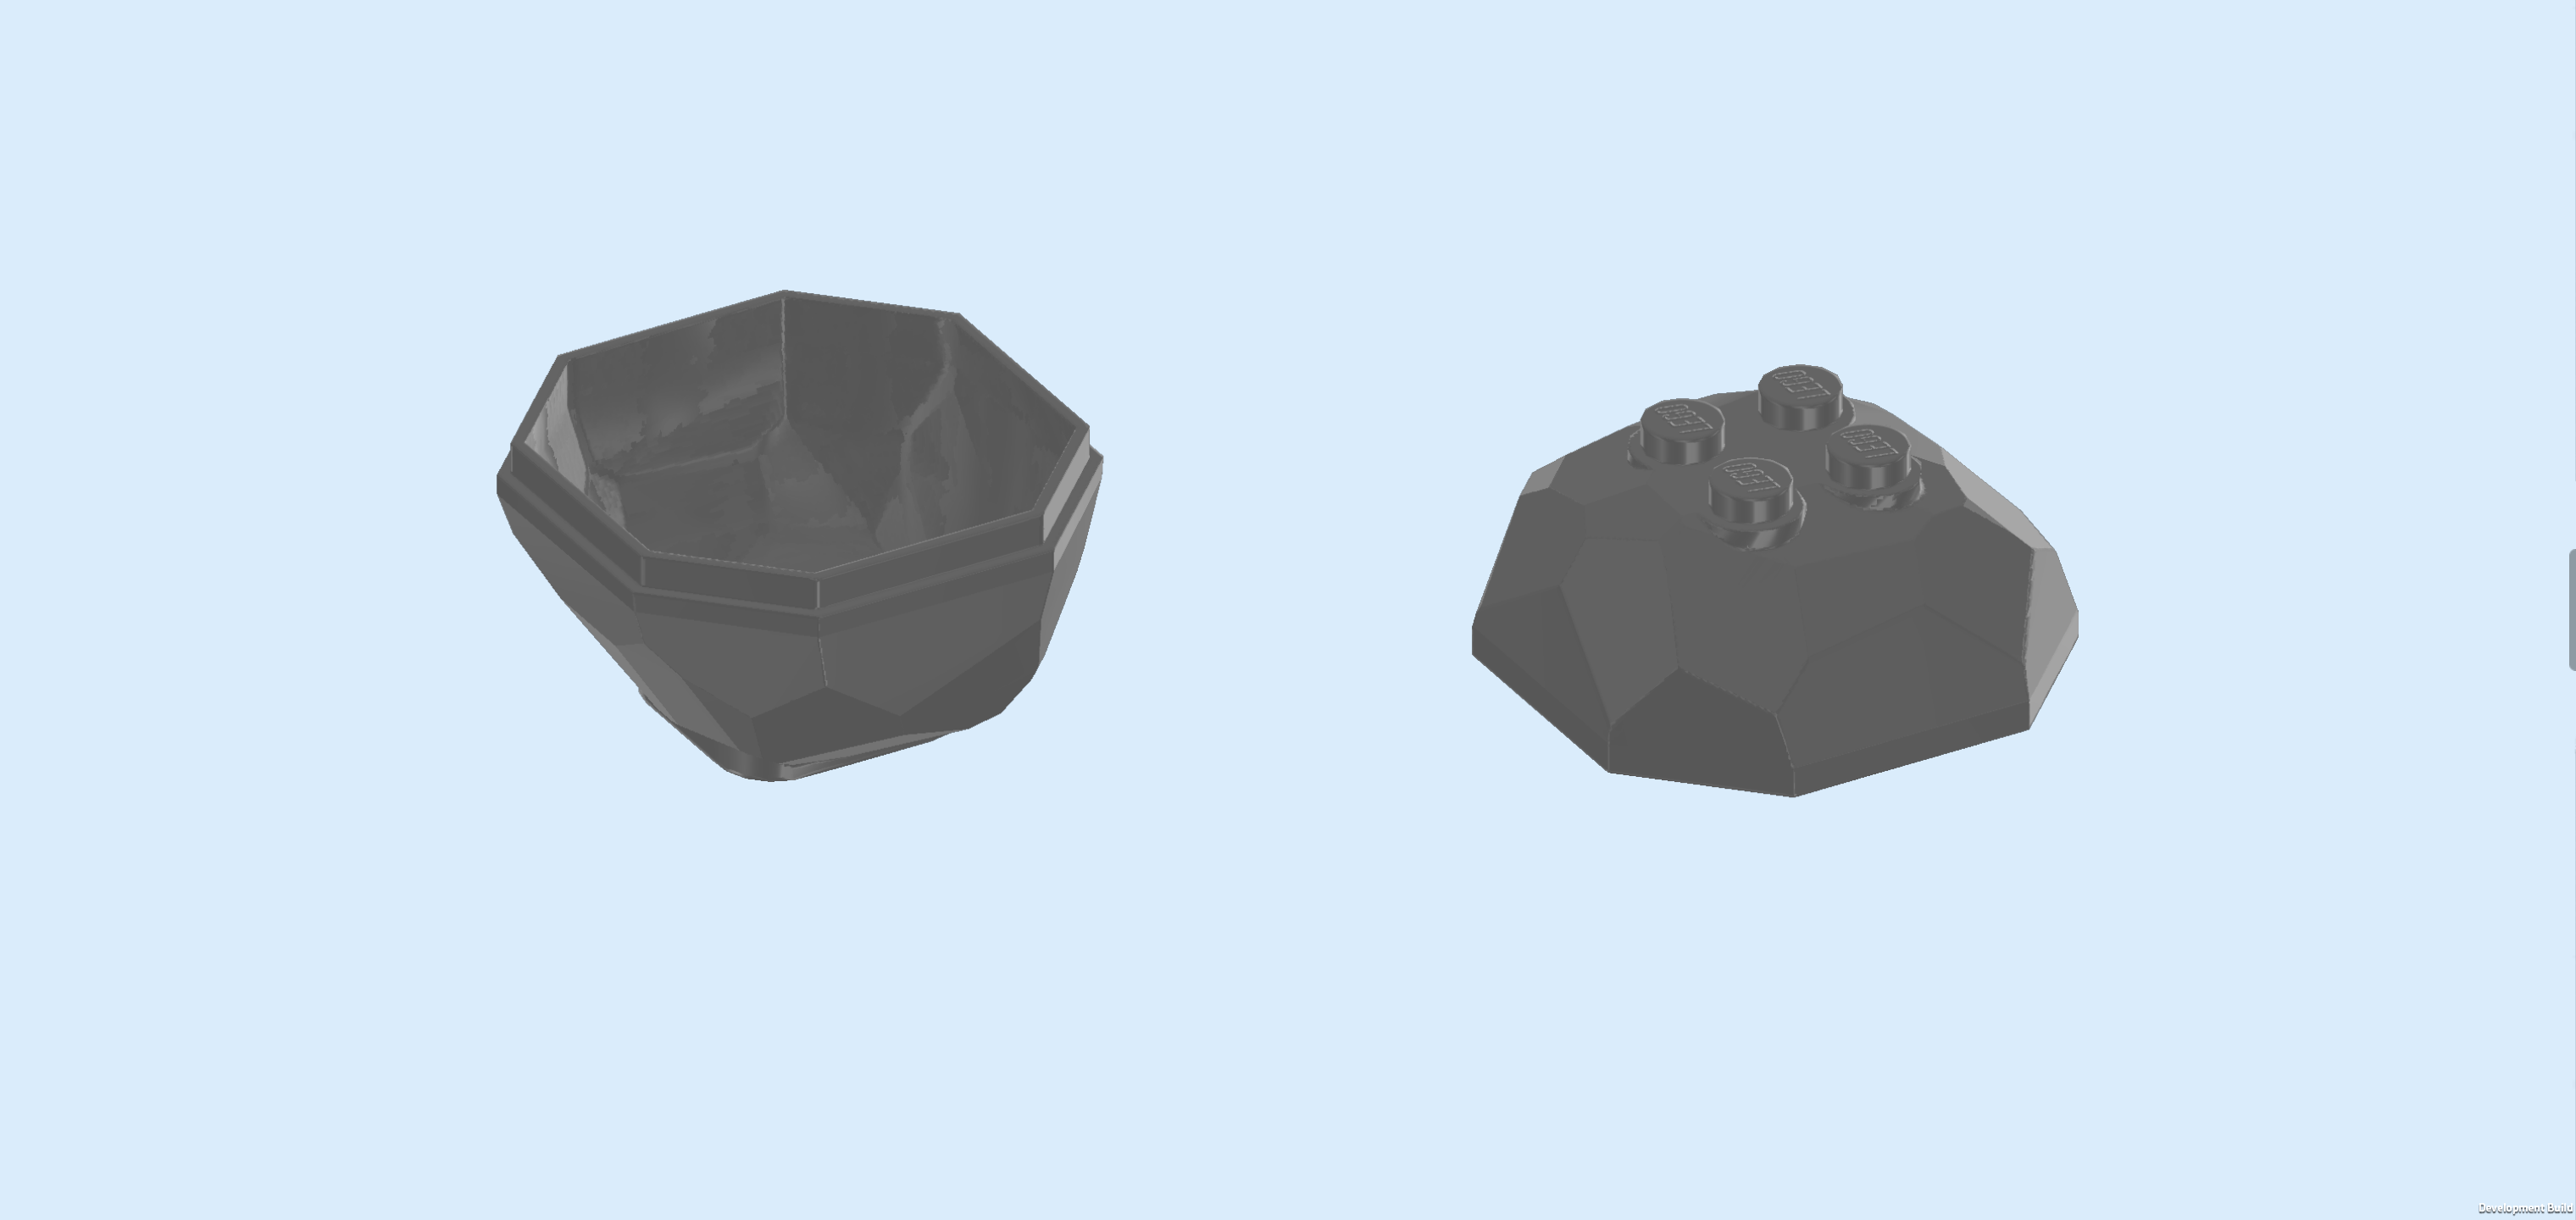
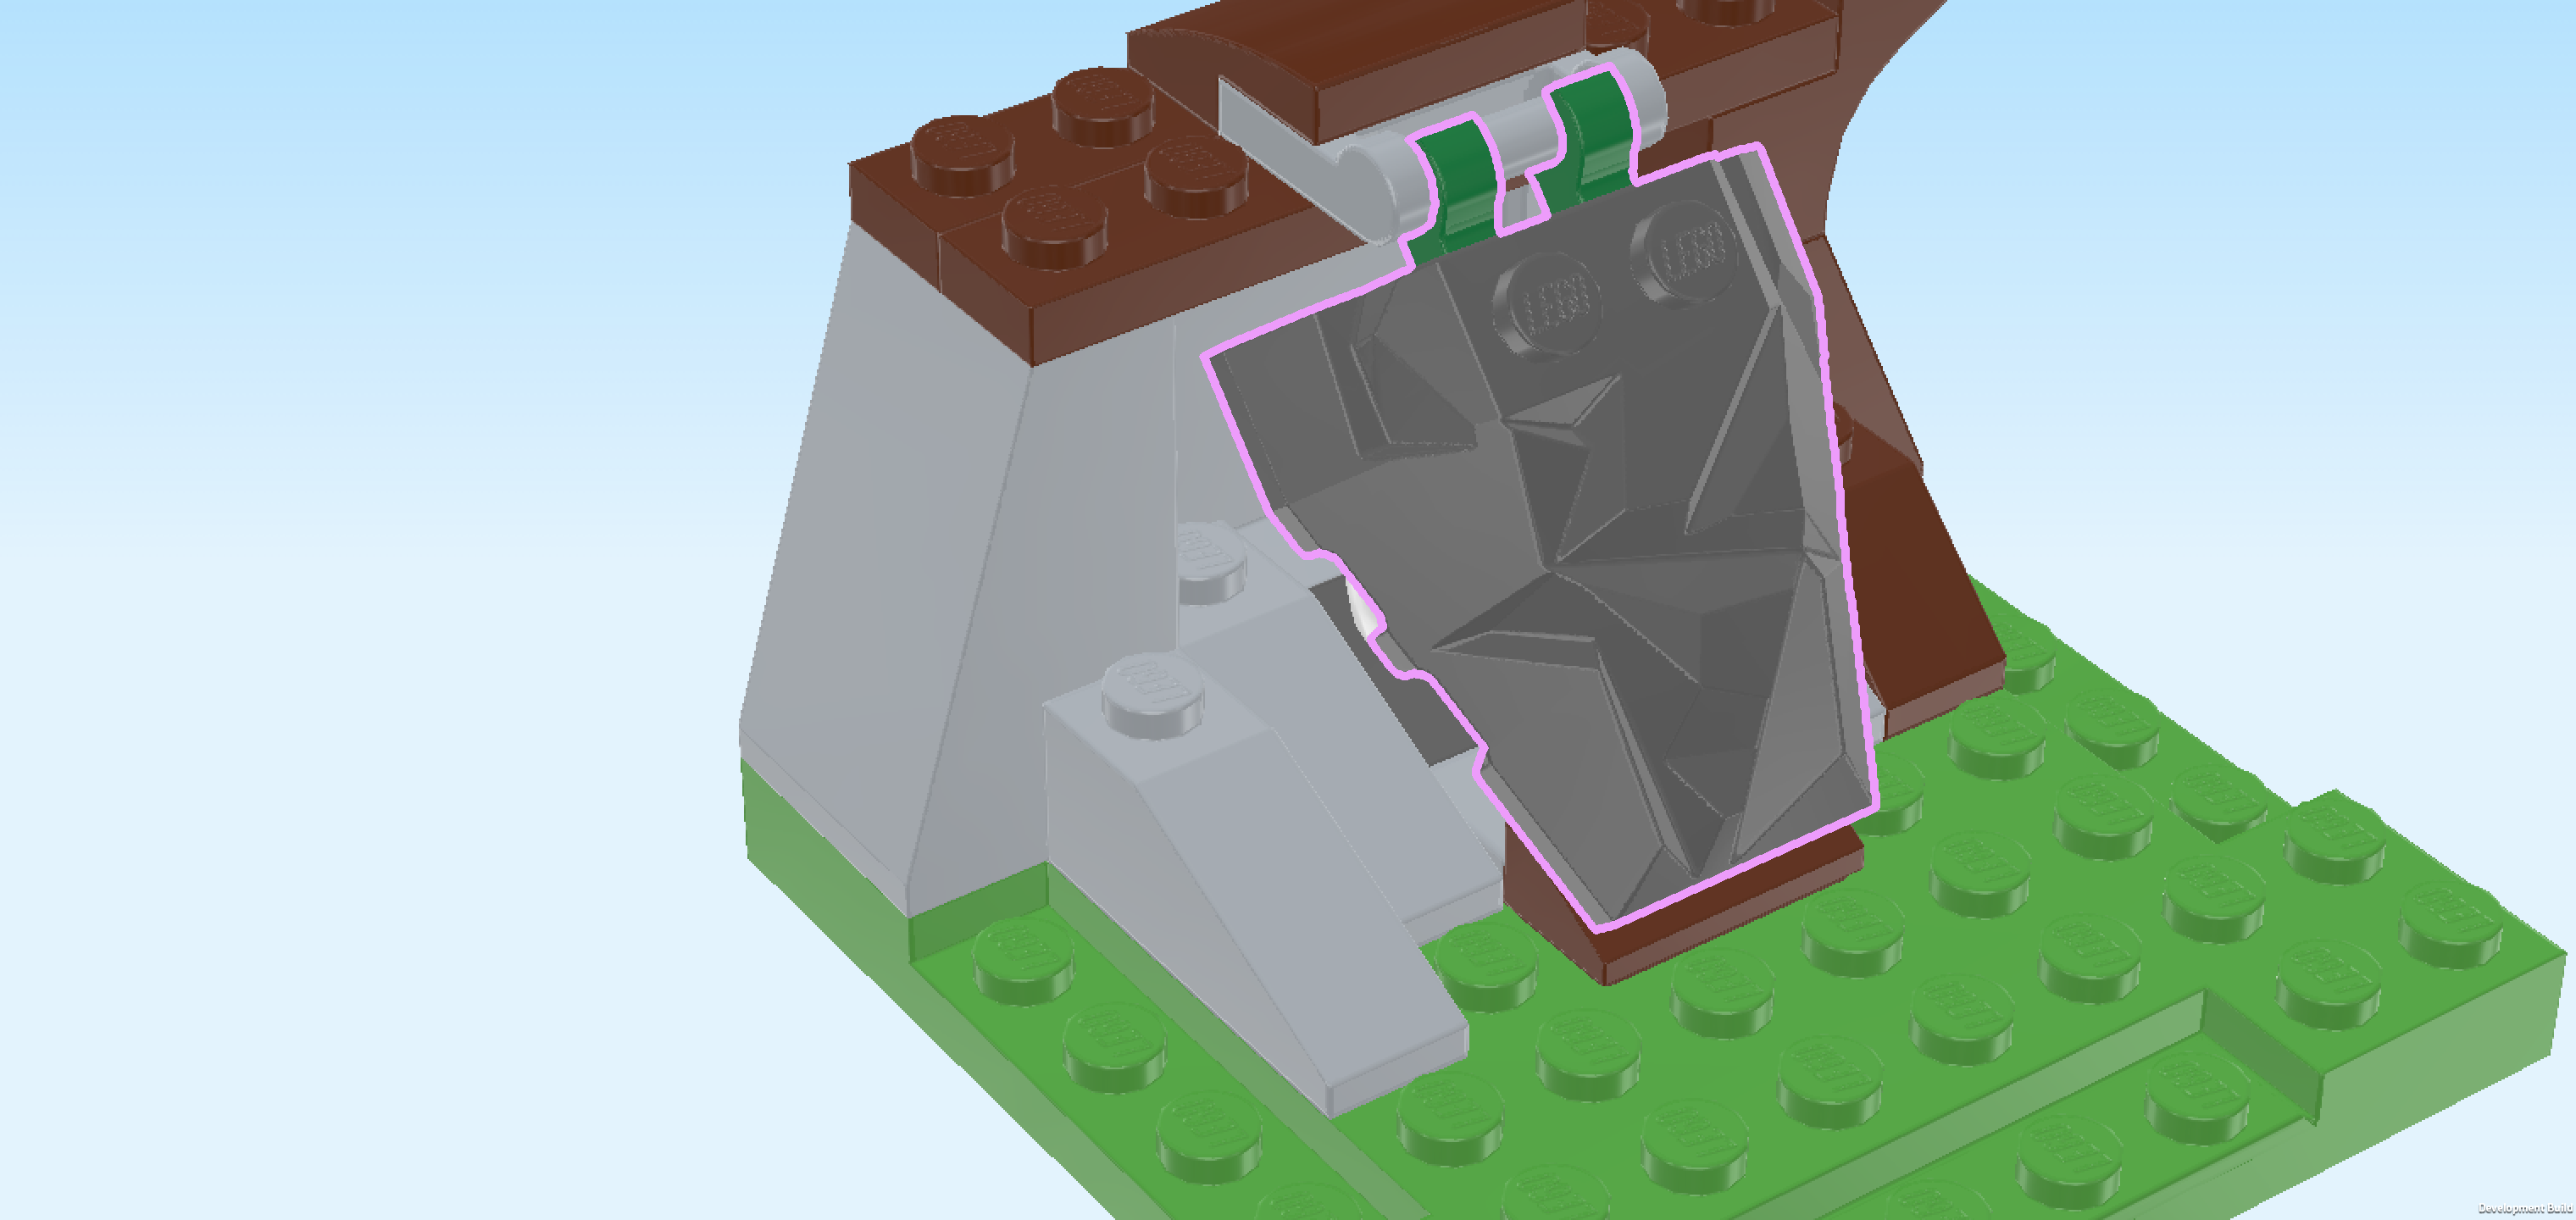
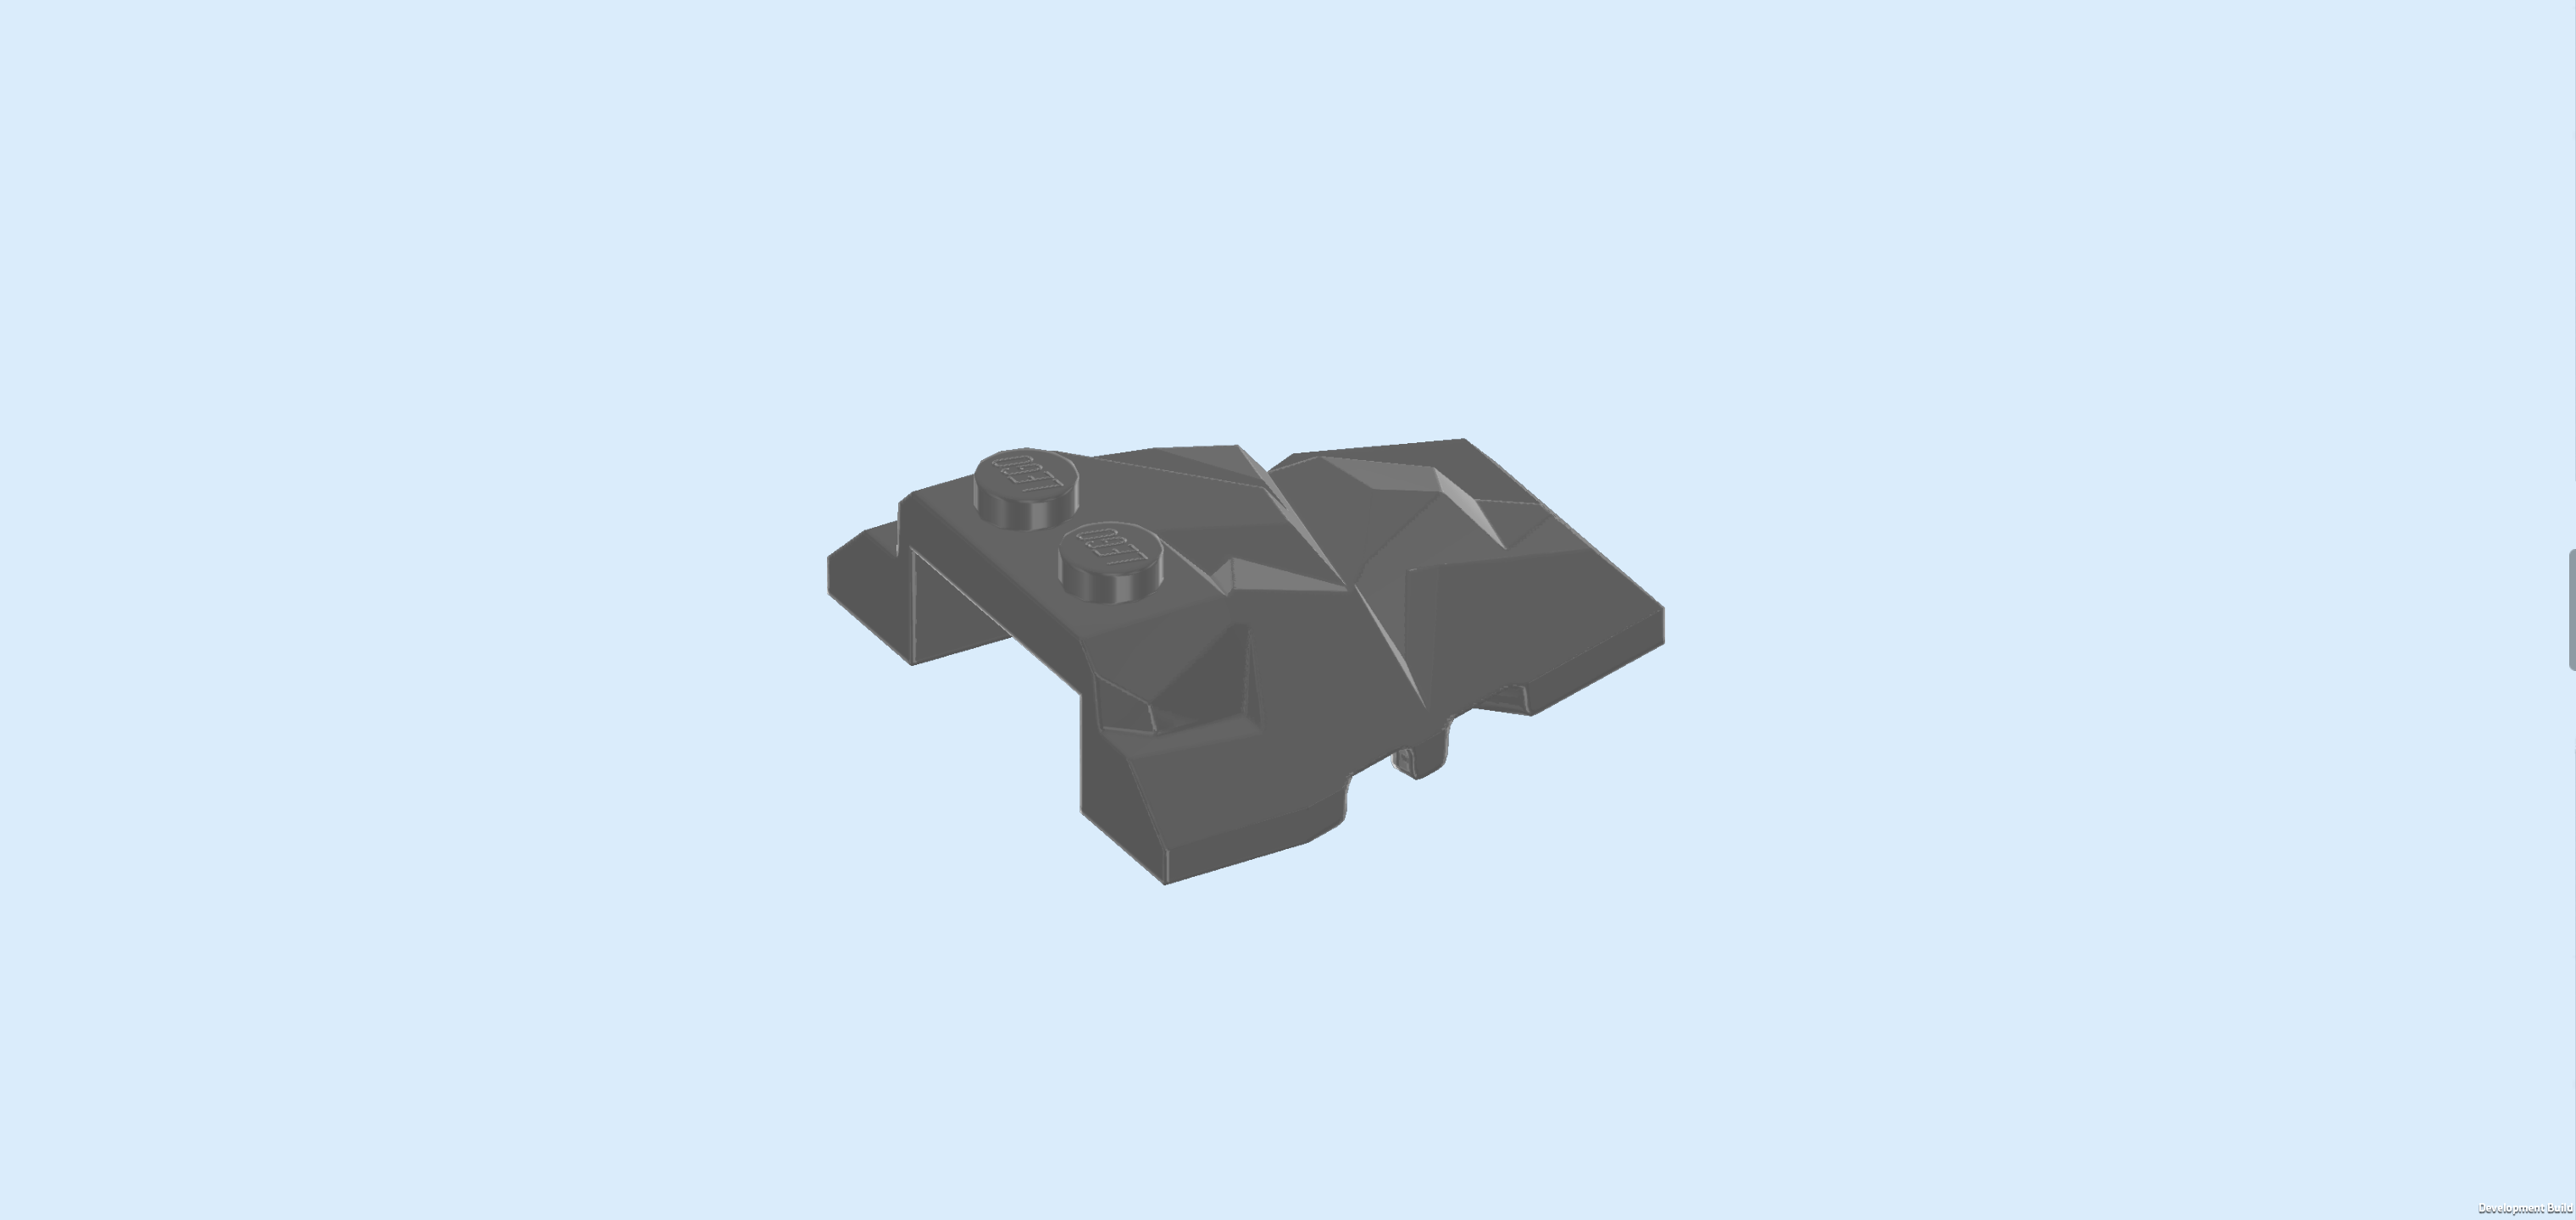
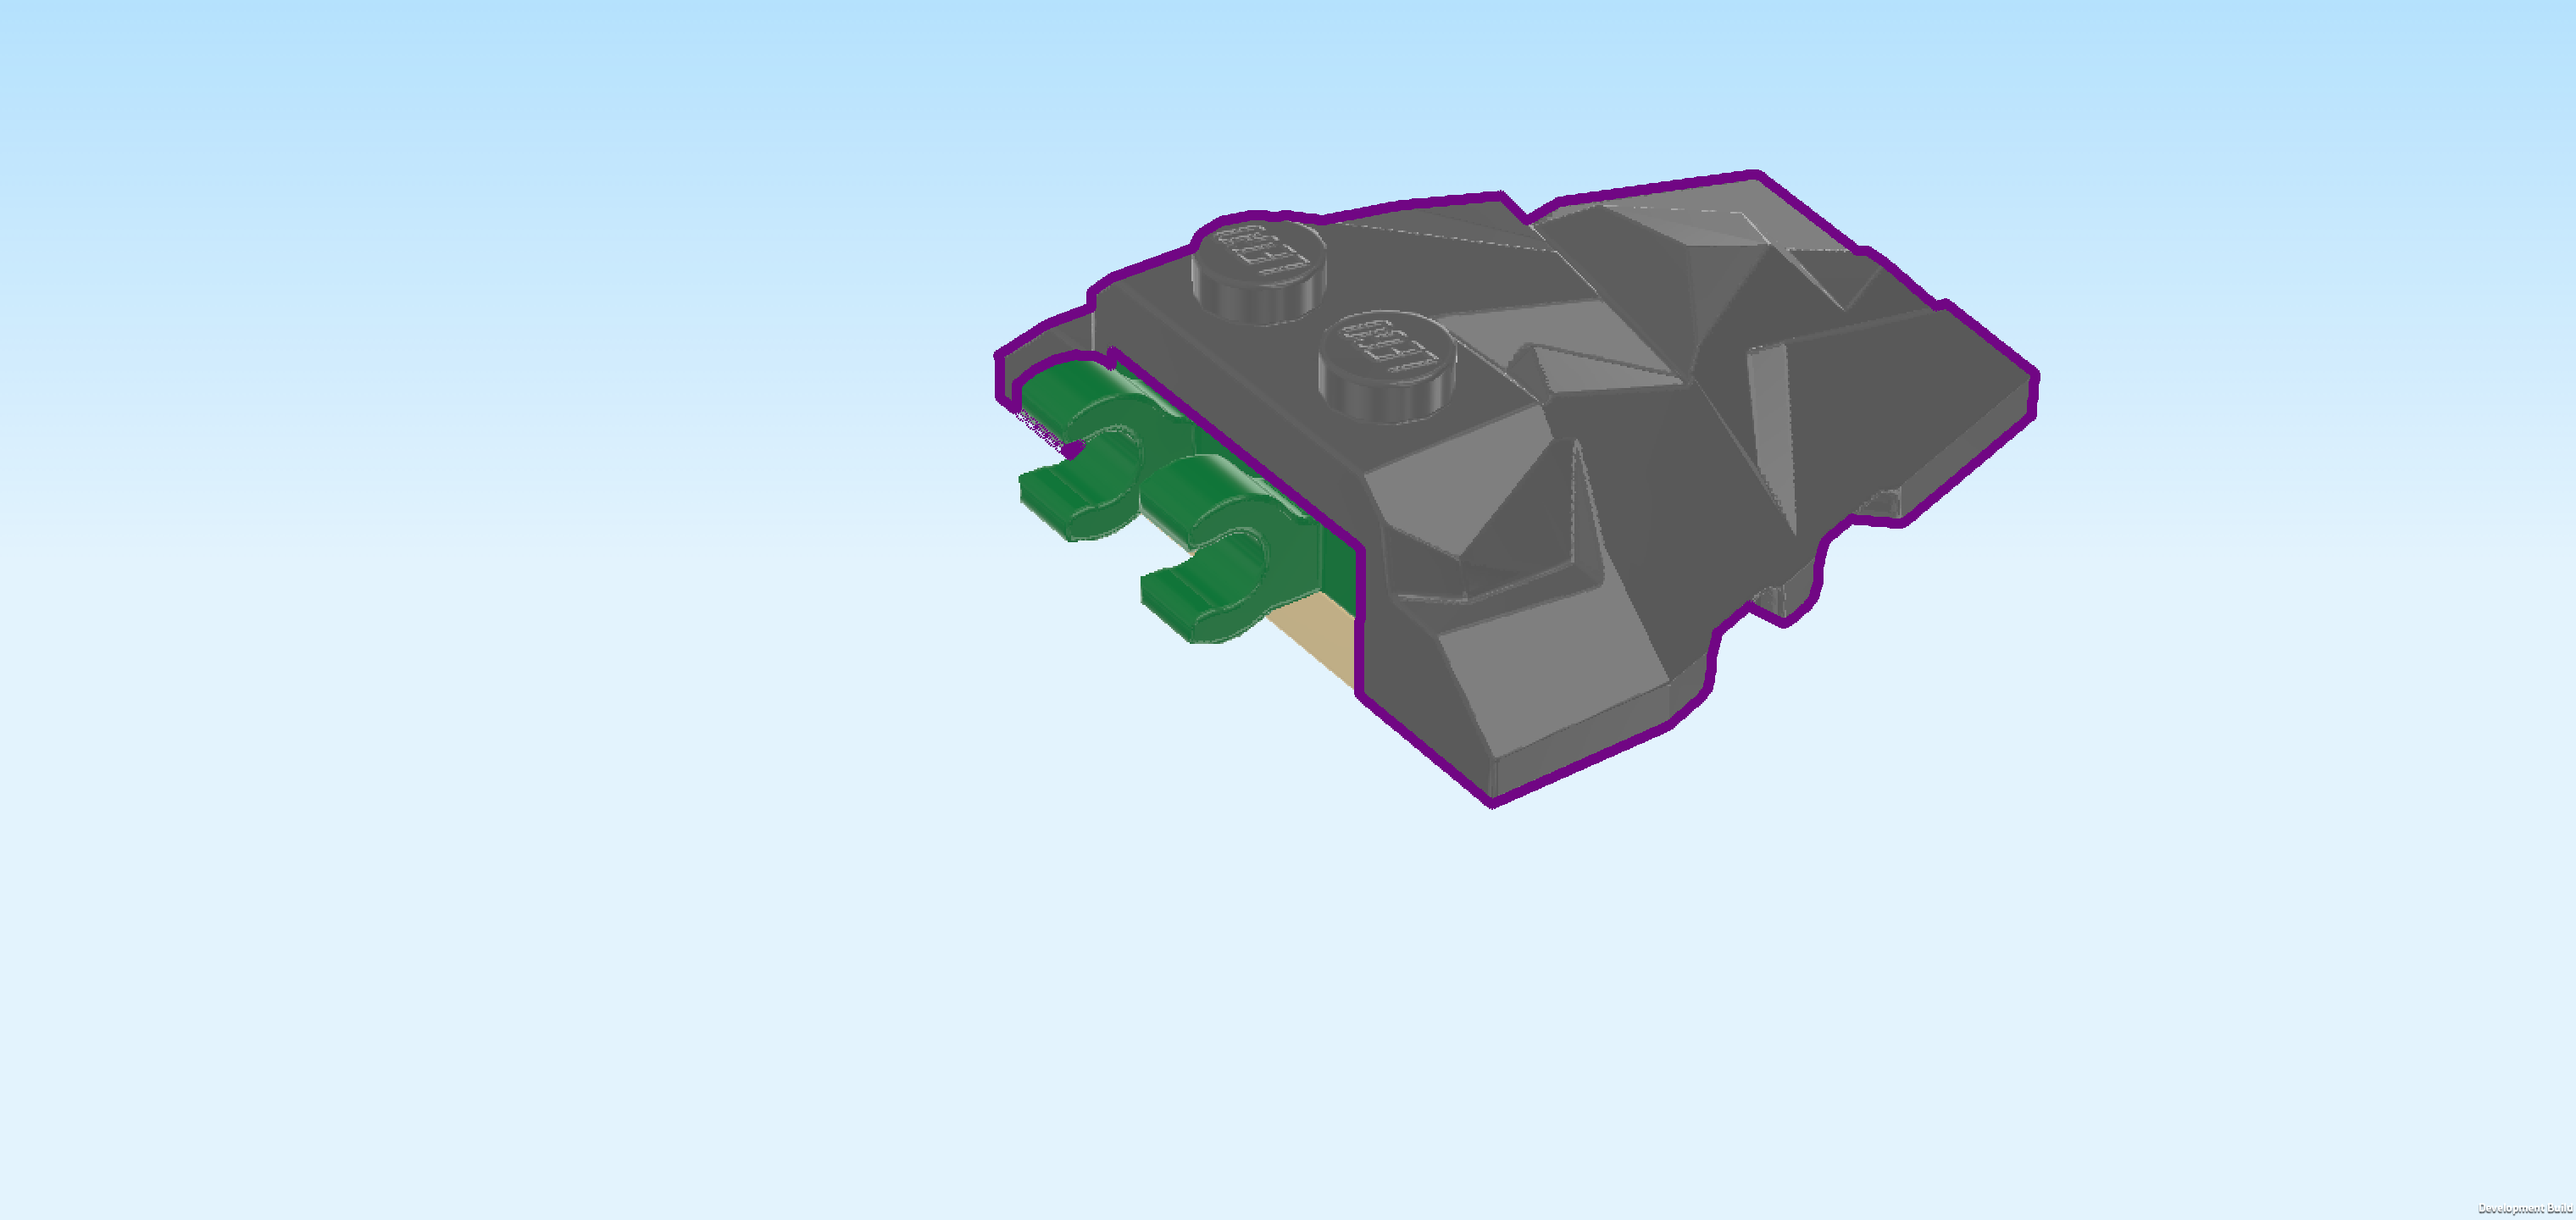
| Find 1 dark stone grey tapered rock formation piece 4x4 with 2 knobs. |
| Turn it so that its 2 knobs are on the left edge and mount it on top of the 2 plates from the previous step, aligning their left edges. If done correctly, only the 2 clasps are protruding to the left. |
| Flip the cover upright so that the clasps are pointing to the top and the hollow side is towards the back. Snap the 2 clasps on the handle protruding to the front and fold the rock formation piece down. |
| The Rock with Dinosaur Egg hiding spot is finished! Well done! To keep the dinosaur egg safe, make sure to have the cover down when no one is around to watch the egg. Dino-Rhino is not to be trusted! |
| If you want, you can connect the rock with dinosaur egg with the rock cave formation. To do that, use the protruding plate on the right edge of the larger rock cave and put it centered on the leftmost edge of the rock with dinosaur egg. The ladder will connect the top surfaces of the 2 rock formations! But you can also use them individually of course. It's up to you! |
| You have finished building the entire set! Fantastic job! Now it's time to go on fossil hunting adventures and discover rare gems and treasures. Ghostosaurus can help you look from the sky, and Spidey's crawler truck is a great all-terrain vehicle with a big truck bed for transporting equipment, found treasures, but also trapped villains! Spin is spearheading the archeological efforts, but everyone from the team must be on the lookout: when Dino-Rhino finds you, it will definitely try to crash your party! |
| Enjoy! |