| LEGO Audio & Braille Building Instructions for the LEGO Classic set "Creative Neon Fun". |
| Dive into the Neon magic with the five mini builds of this fun set: create a marker pen with a happy smile, build a silly pineapple, a friendly alien snail, a lightning-fast car with rubber wheels or a pair of groovy roller skates. But that's not all! Besides those fun mini builds, you have enough additional bricks for endless free-building fun to explore! And as a little extra, you can bring your wonderful creations to life using the set’s many different bricks with eye and mouth prints. |
| The bottom half of the box cover is printed with all of the bricks and pieces of this set; they are sorted by color: The palette starts with the black and grey bricks on the left, followed by orange, pink, yellow, blue, and green in joyful piles. At the top half of the box cover, four of the five mini builds are shown: from the orange pile of bricks, an orange-colored path leads up to the funky pineapple, a pink path leads to the racy car, a yellow path to the alien snail with antlers, and a blue path leads to the yellow marker pen. |
| Open the box. This can be tricky; ask someone to help you! |
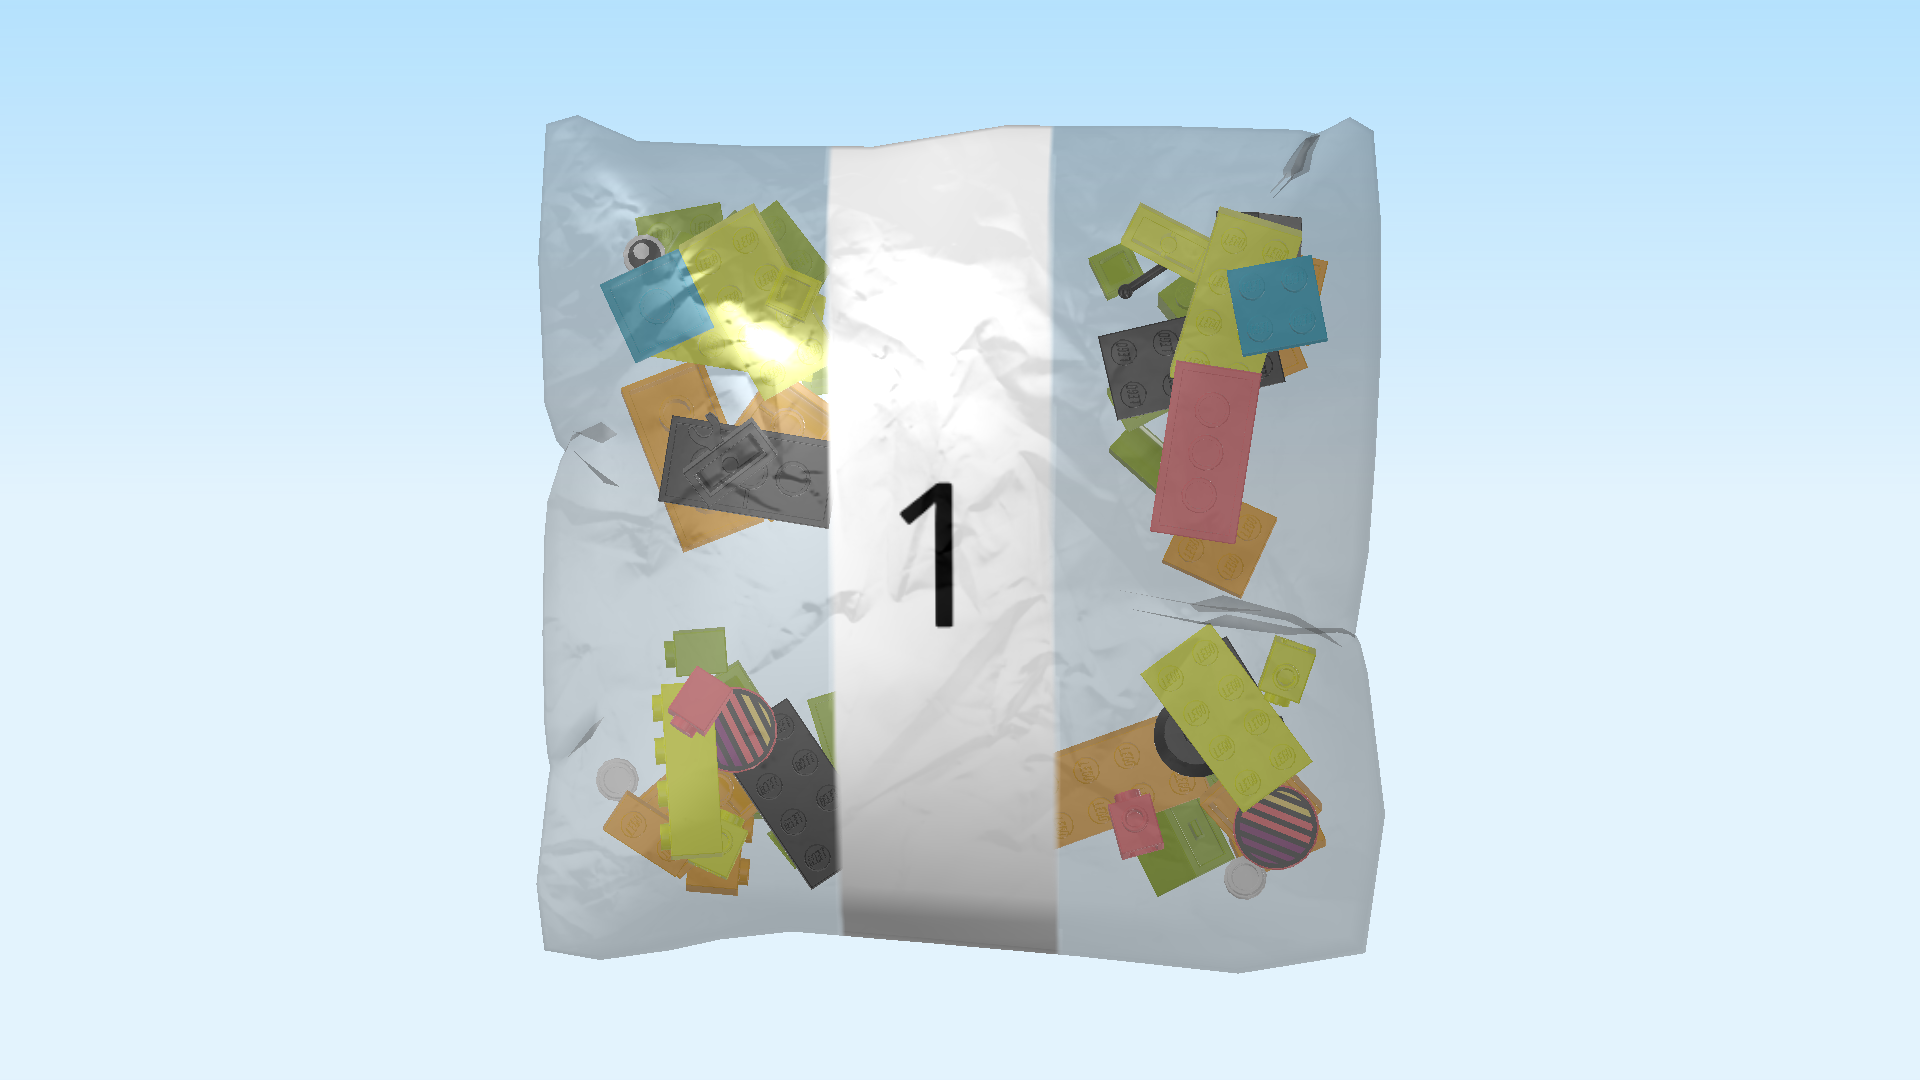
| The box contains 1 booklet with visual building instructions and a total of 4 bags. 2 of those bags have numbers printed on them. The numbered bags are for the mini builds, the unnumbered bags are additional bricks for your own creative building fun. Ask a sighted person to help you find the correct bag! |
| Carefully open bag number 1 and any small sub-bags in it. This bag contains all bricks and pieces for the Marker Pen, the Pineapple, and the Alien Snail. |
| Before you start building, ask a sighted person to help you sort the pieces by color. This makes finding the correct pieces even easier! |
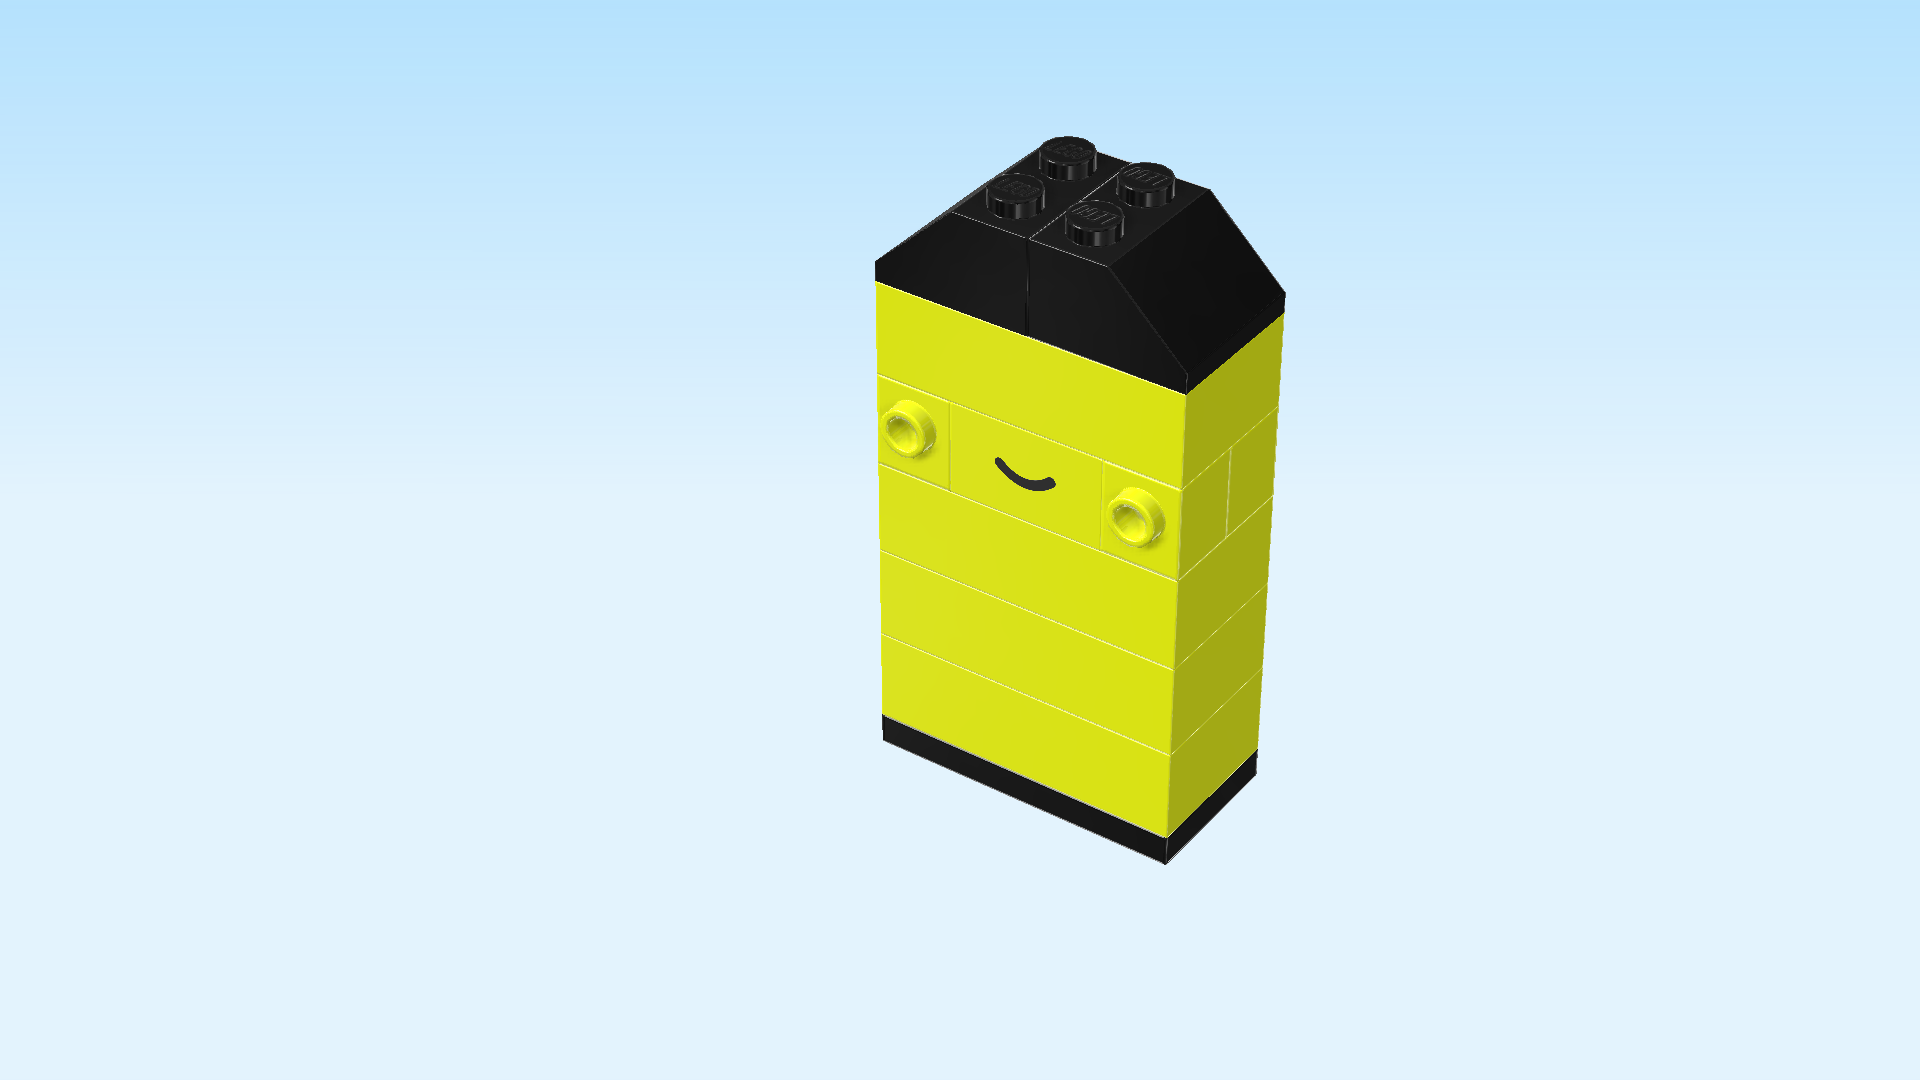
| First, we will build the Marker Pen. |
| This build is a typical neon yellow marker pen: it has a black base and a black tip holder. Its body is yellow, and the tip, of course, is yellow too. What's not so typical about our marker pen: it has a cute little face on one of its sides with a happy smile. Let's get going! |
| Collect the following 2 pieces: |
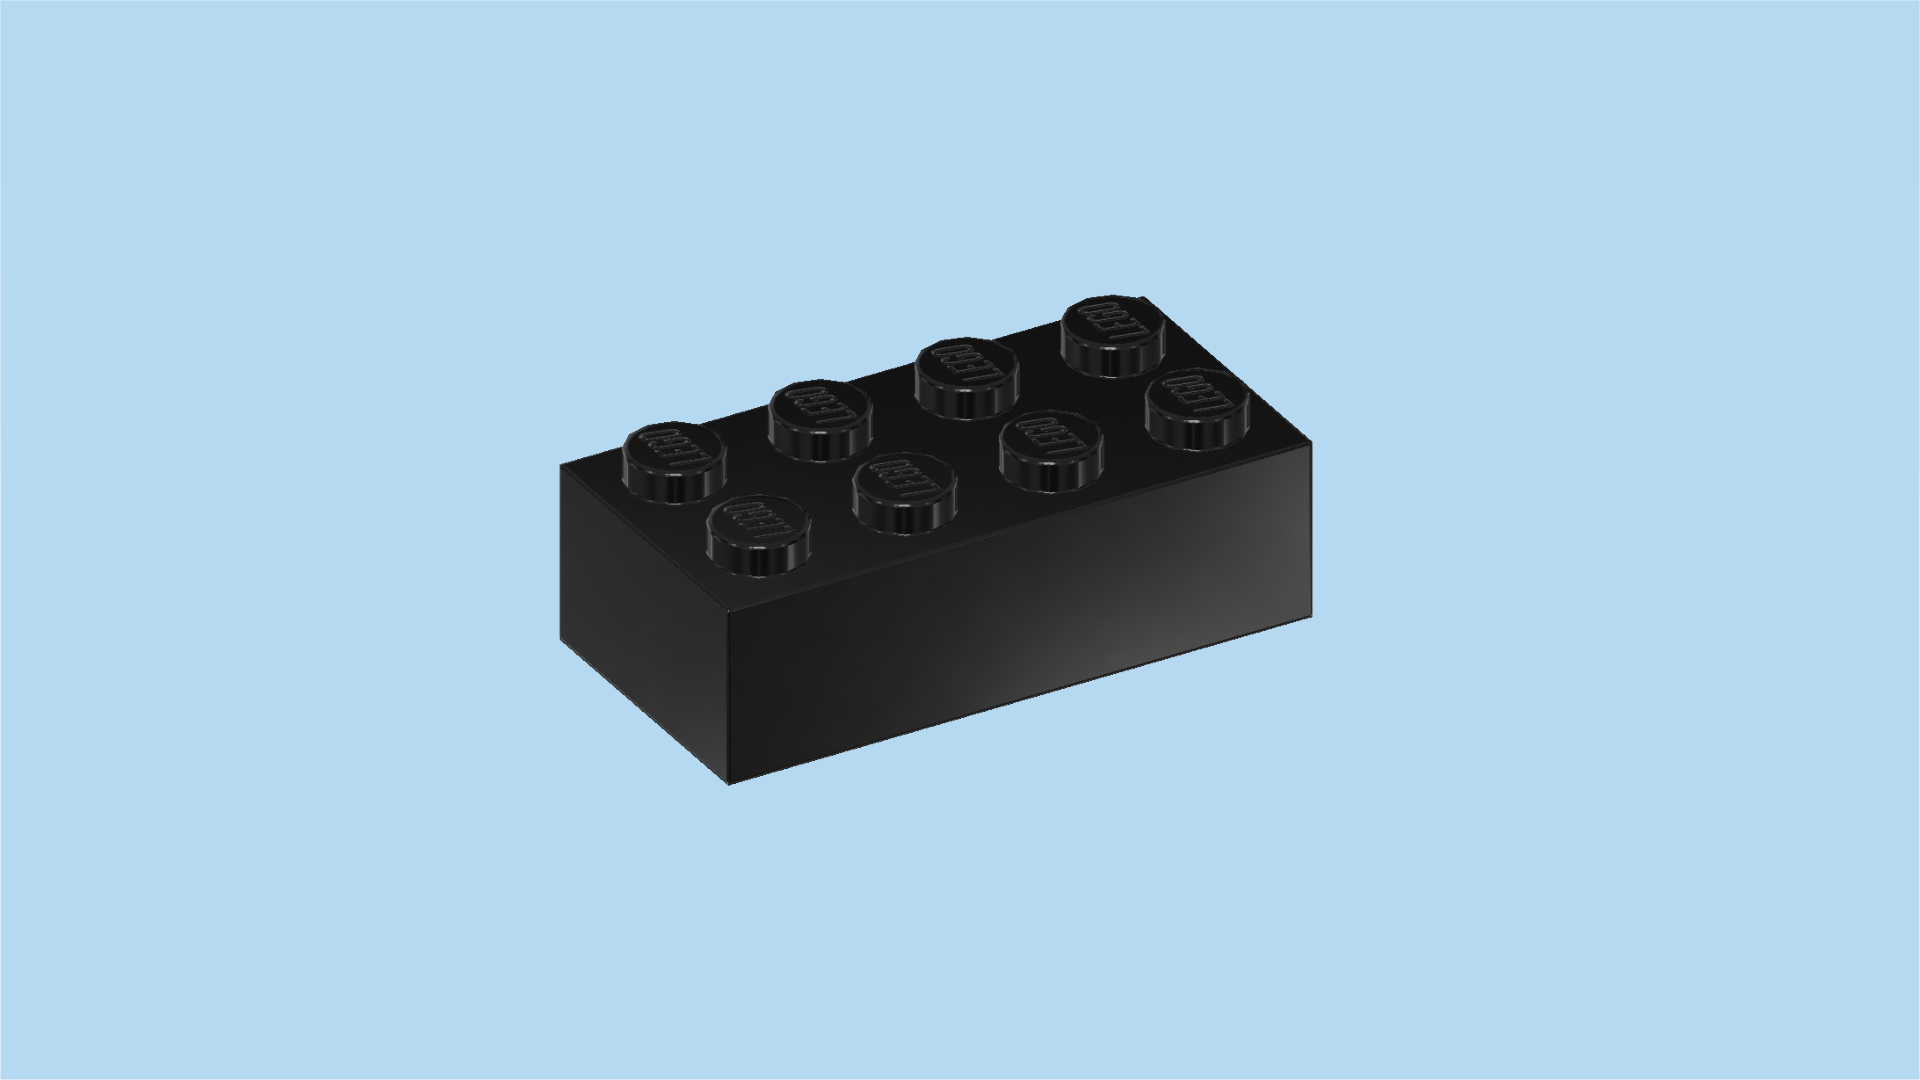
| 1 black plate 2x4, |
| and 1 bright neon yellow brick 2x4. |
| Put the plate 2x4 horizontally on the table. Horizontally means that its short sides are on the left and right, and one of the long sides is facing you. |
| Put the brick 2x4 horizontally on top. |
| Find another bright neon yellow brick 2x4. |
| Put it horizontally on top of the previous piece. |
| Find yet another bright neon yellow brick 2x4. |
| Again, put it horizontally on top. |
| Find 1 bright neon yellow brick 1x4. |
| Put it horizontally on the back row of the previous piece. |
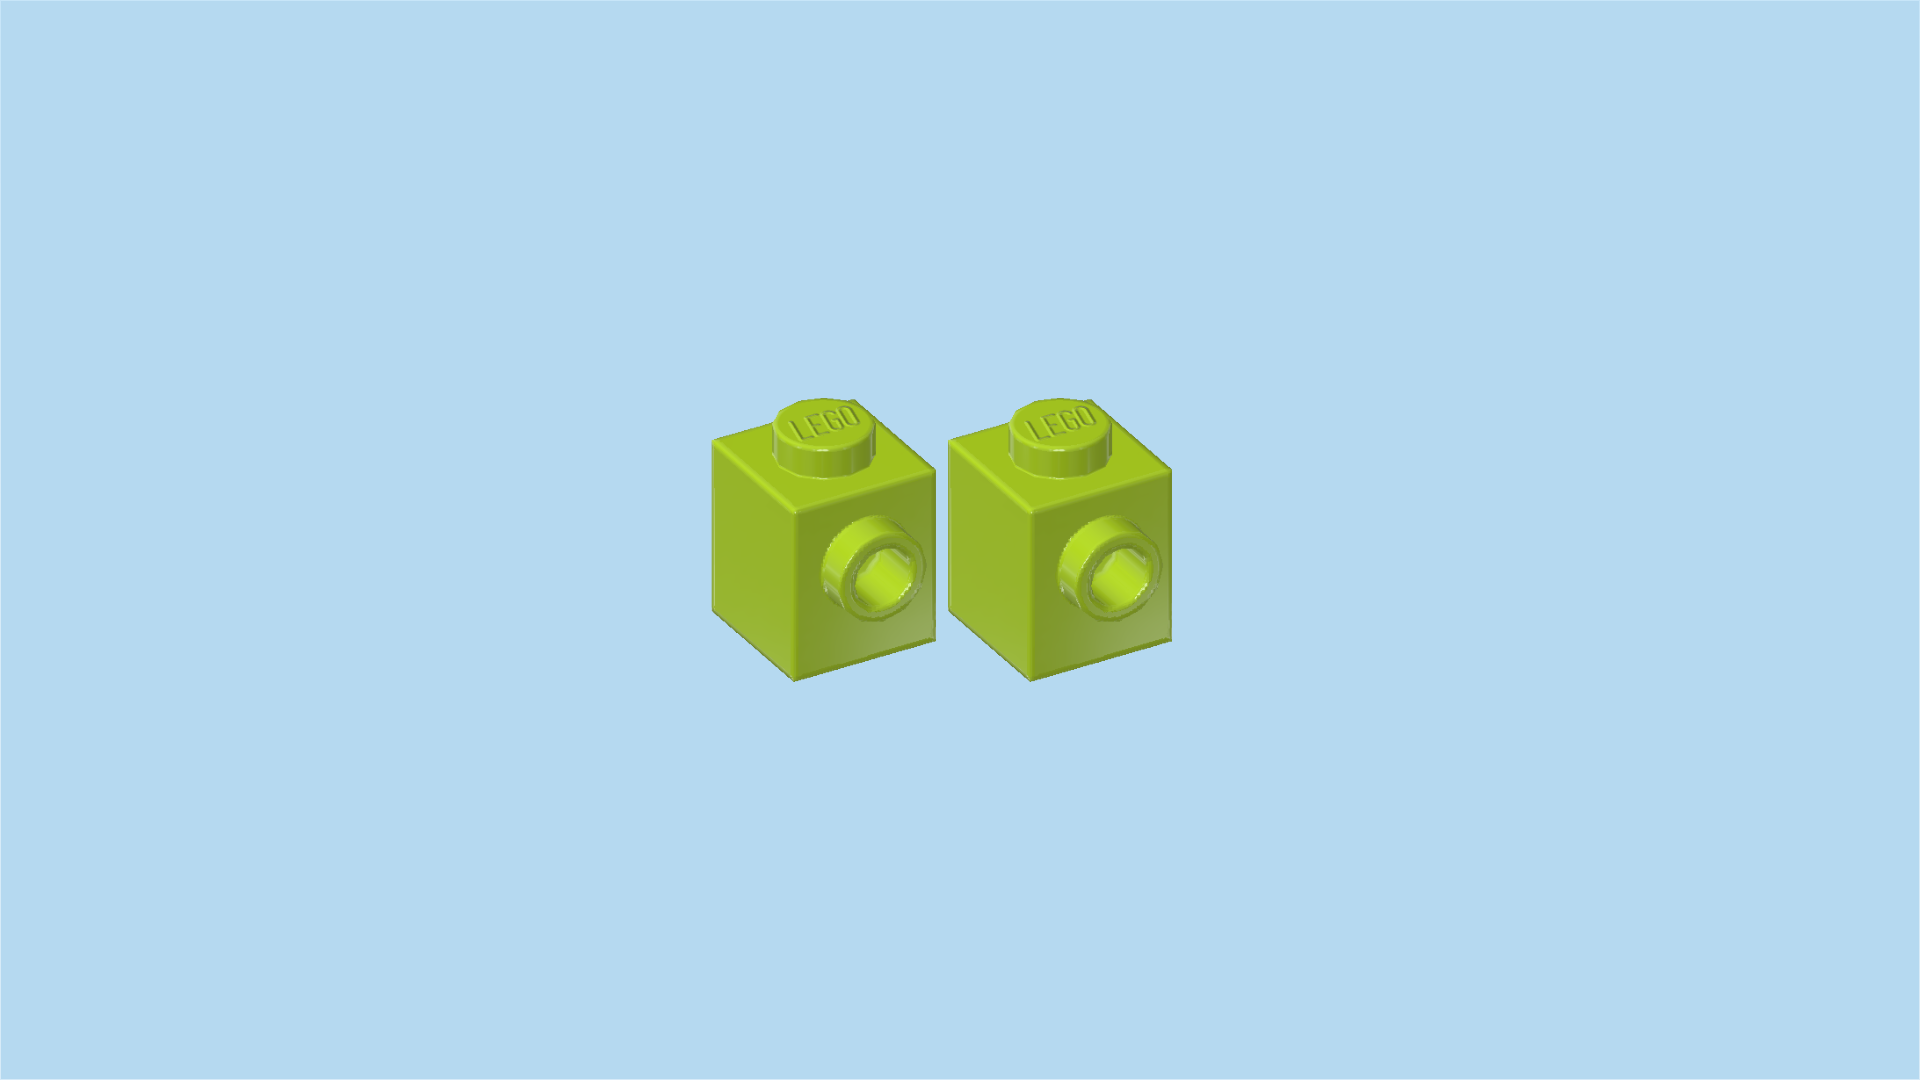
| Find 2 bright neon yellow bricks 1x1 with side knob. |
| Put 1 on the leftmost knob of the front row, side knob to the front. |
| Put the other one on the rightmost knob of the front row, side knob to the front. |
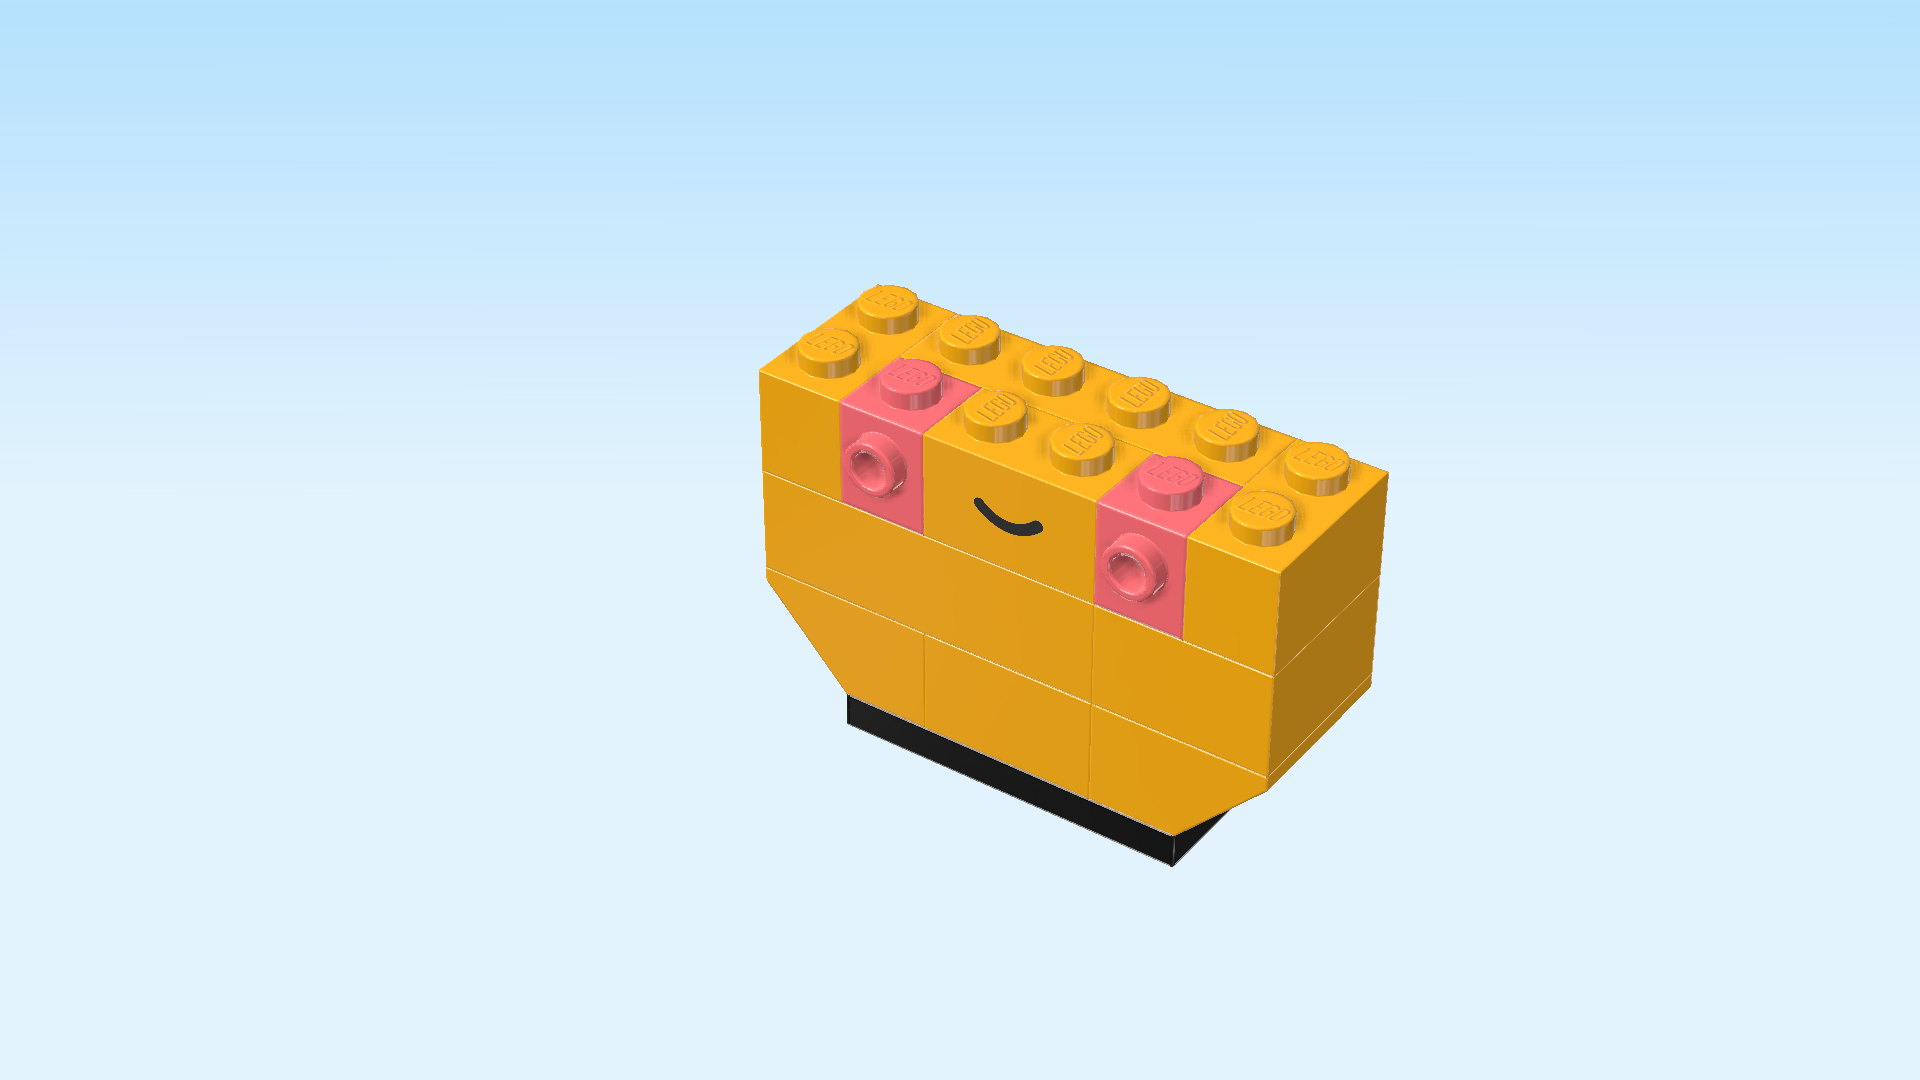
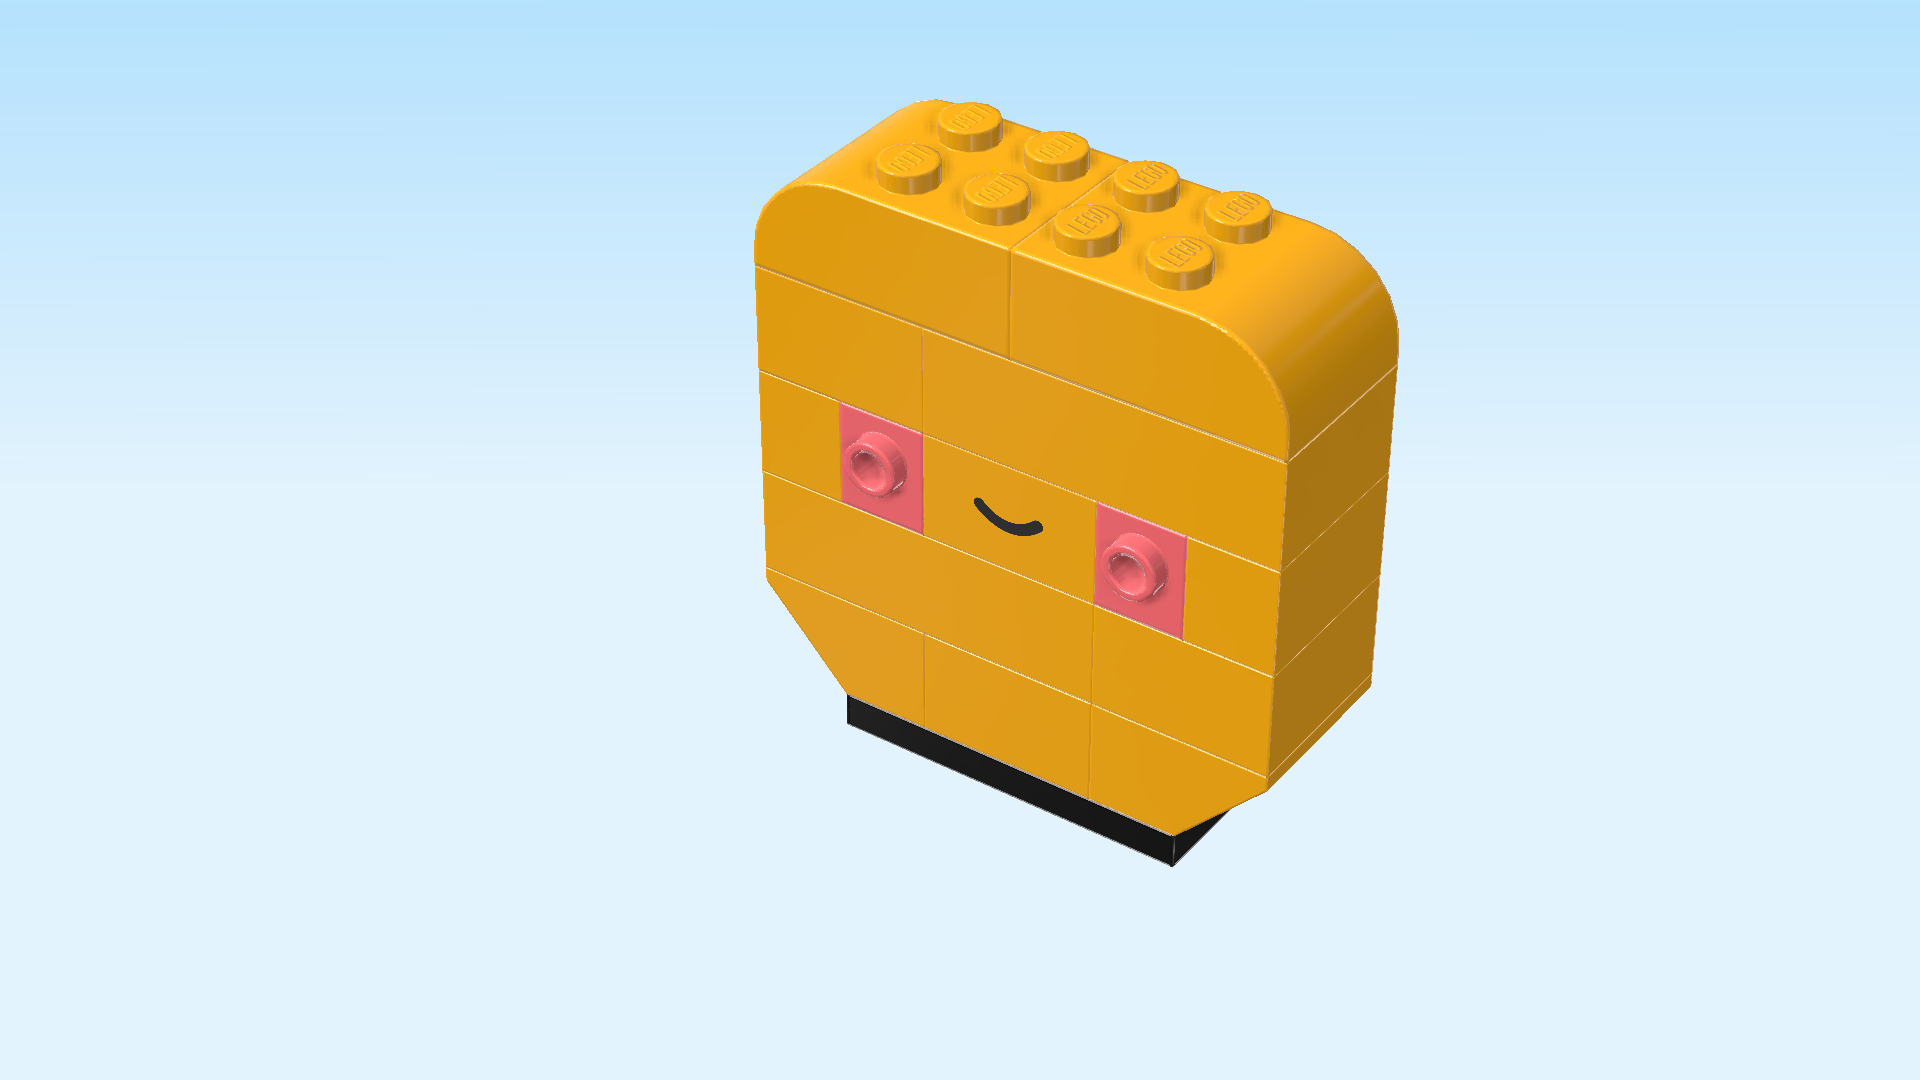
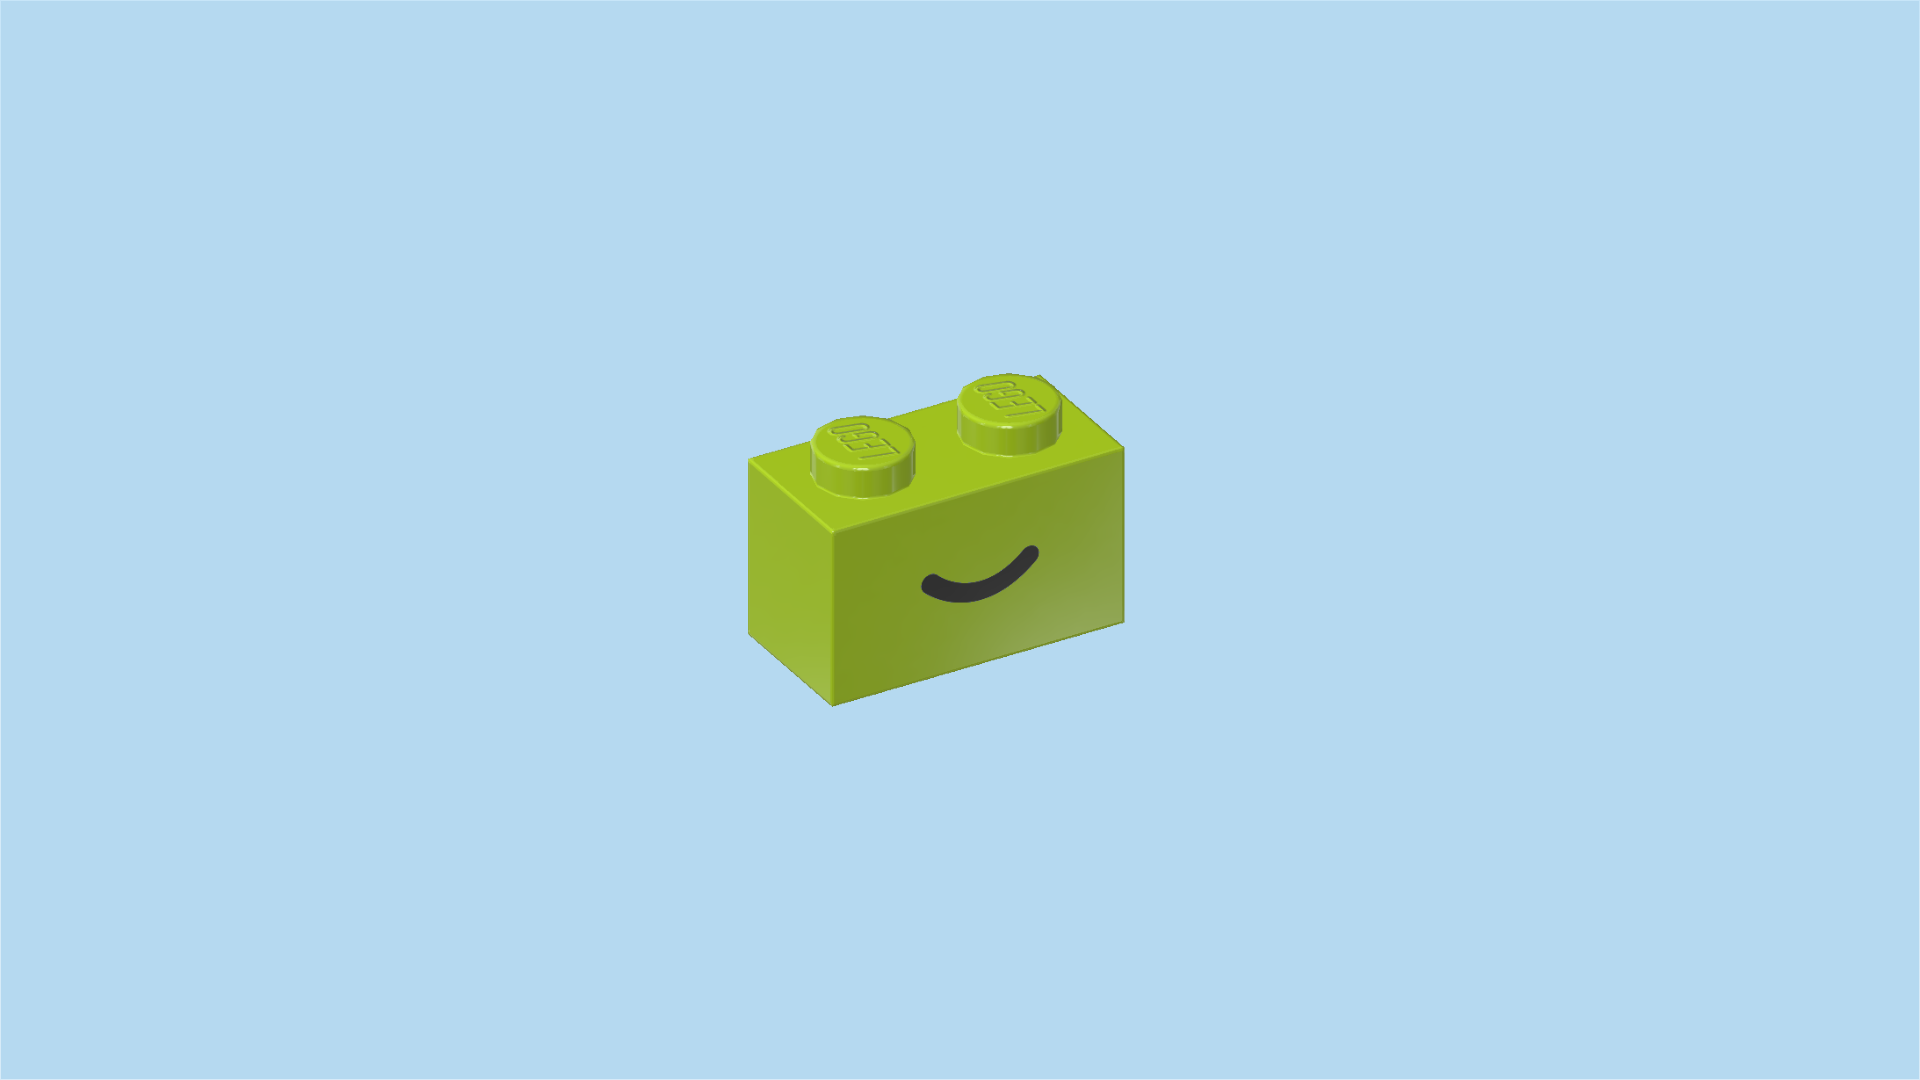
| Find 1 bright neon yellow brick 1x2. |
| Put it horizontally between the two previous pieces, print to the front. |
| The print is actually a small arched line in black, or in other words: a smiling mouth! |
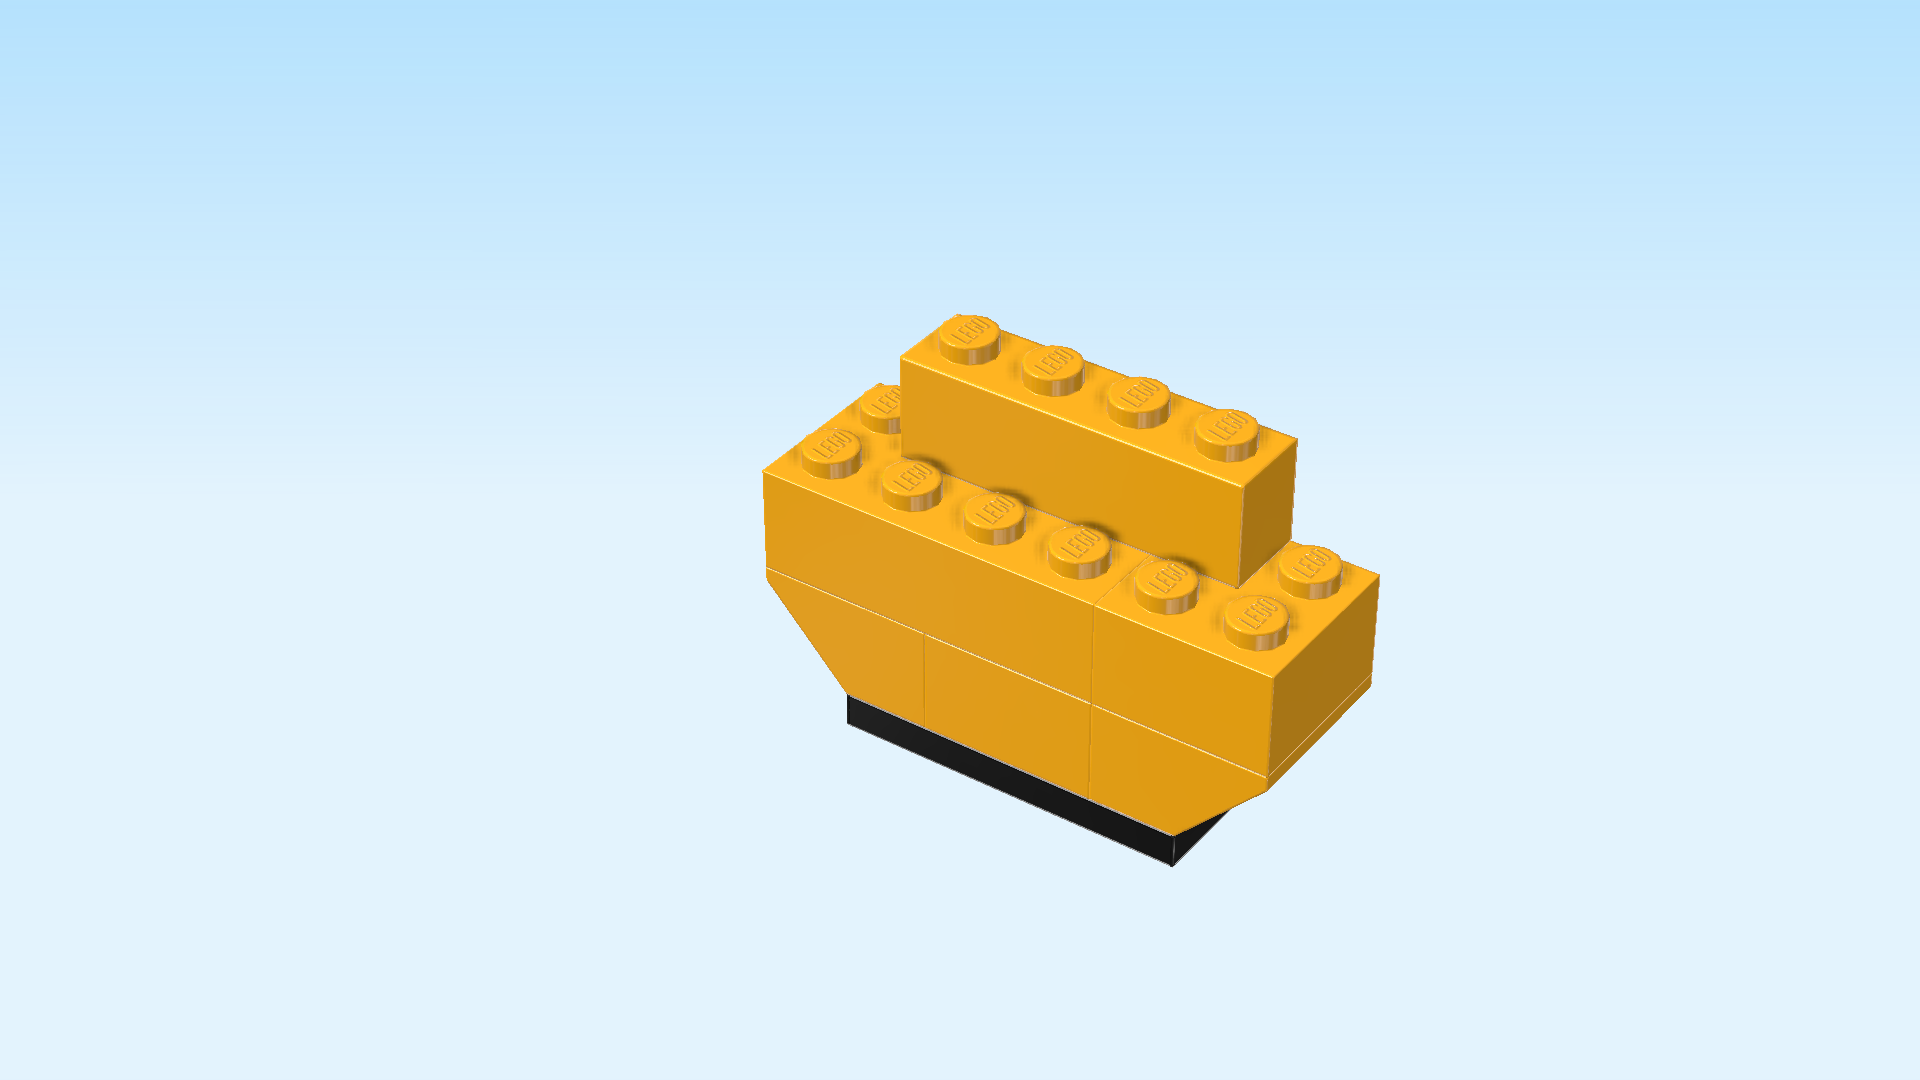
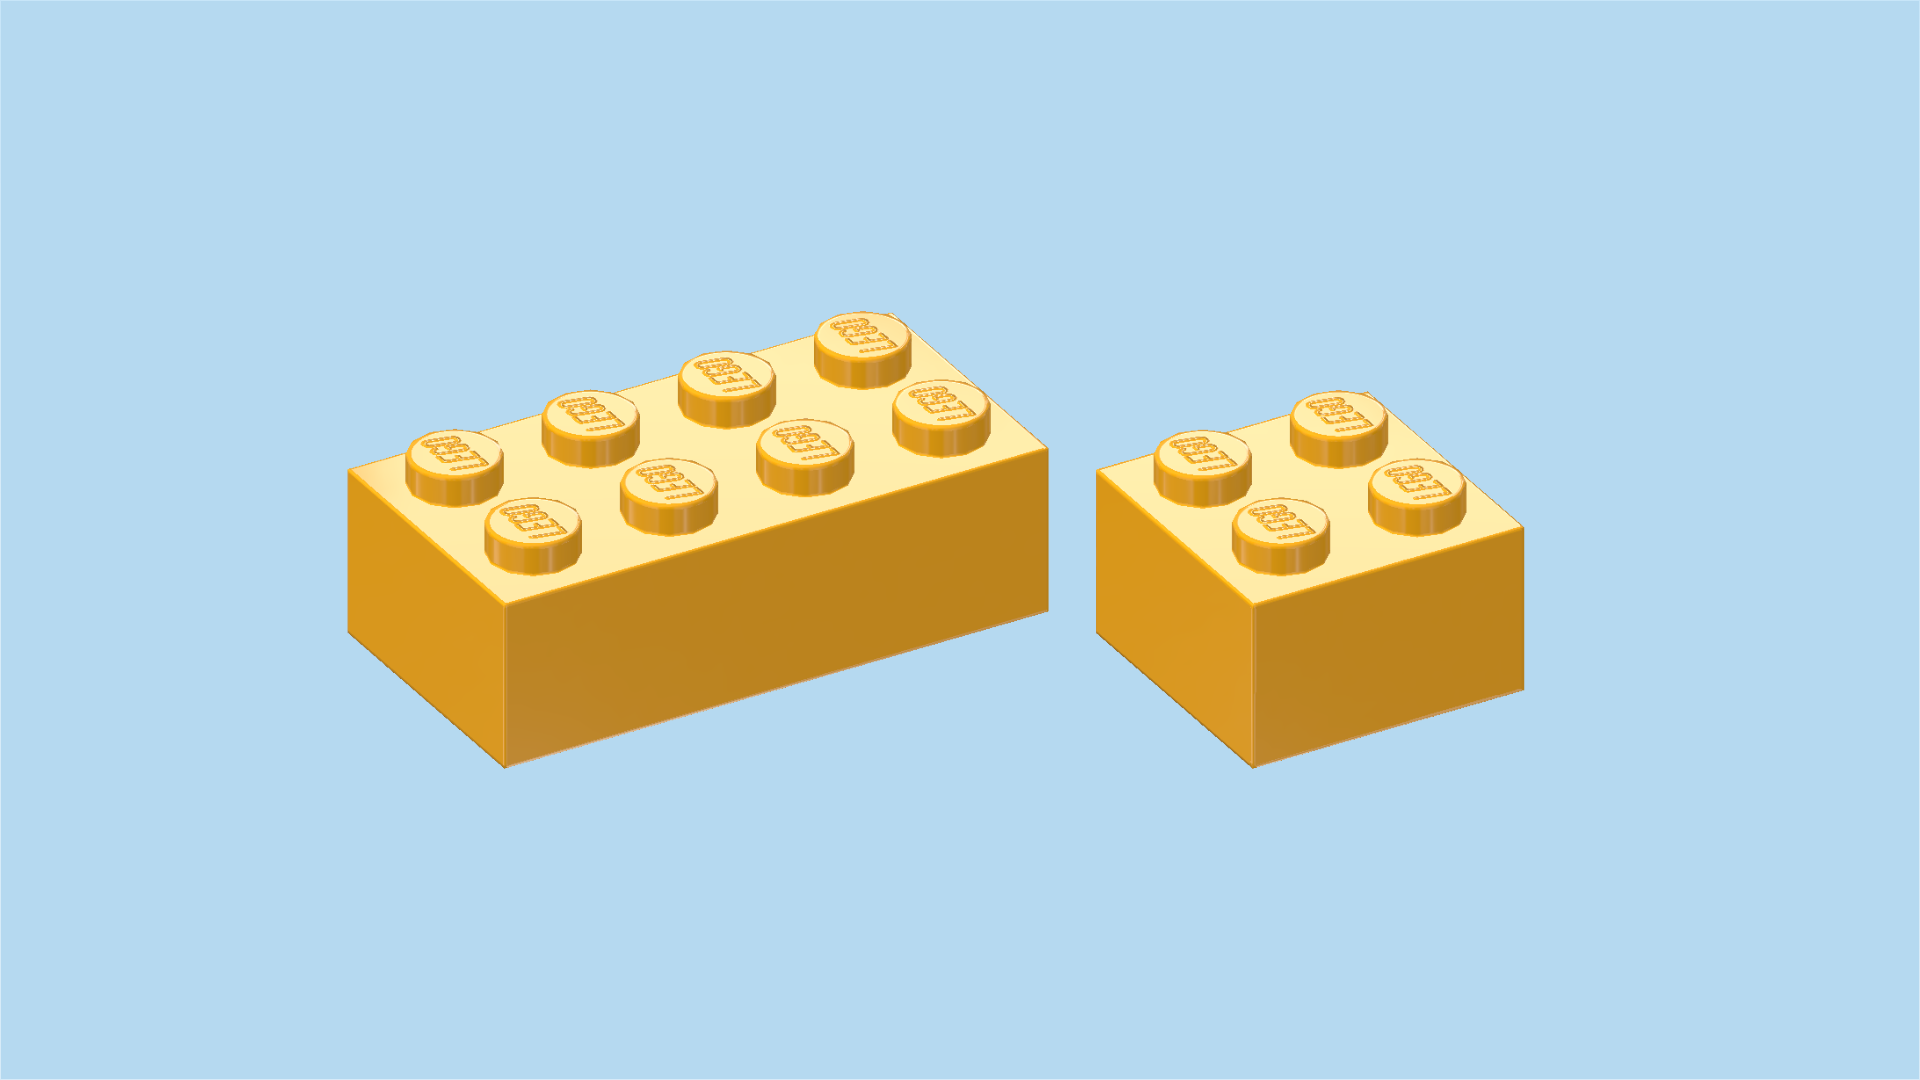
| Find 1 bright neon yellow brick 2x4. |
| Put it horizontally on top of the 4 previous pieces. |
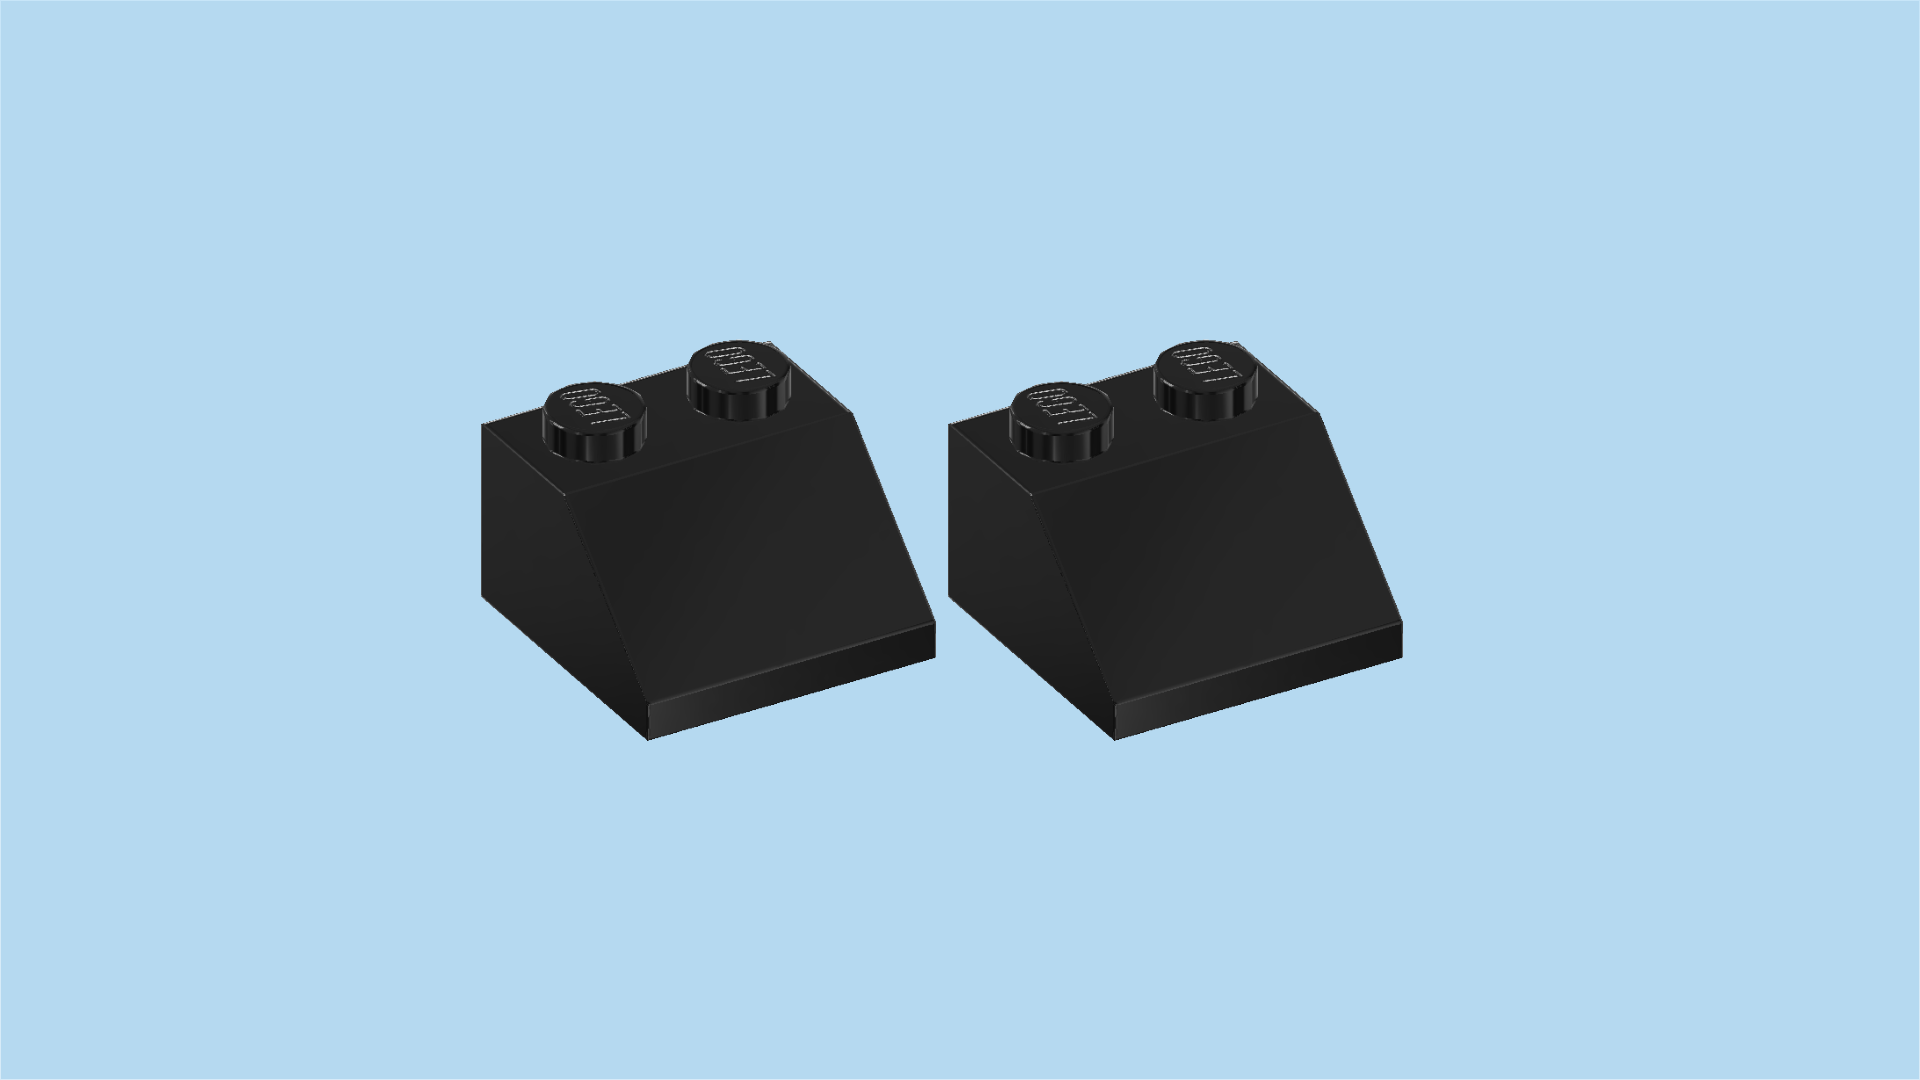
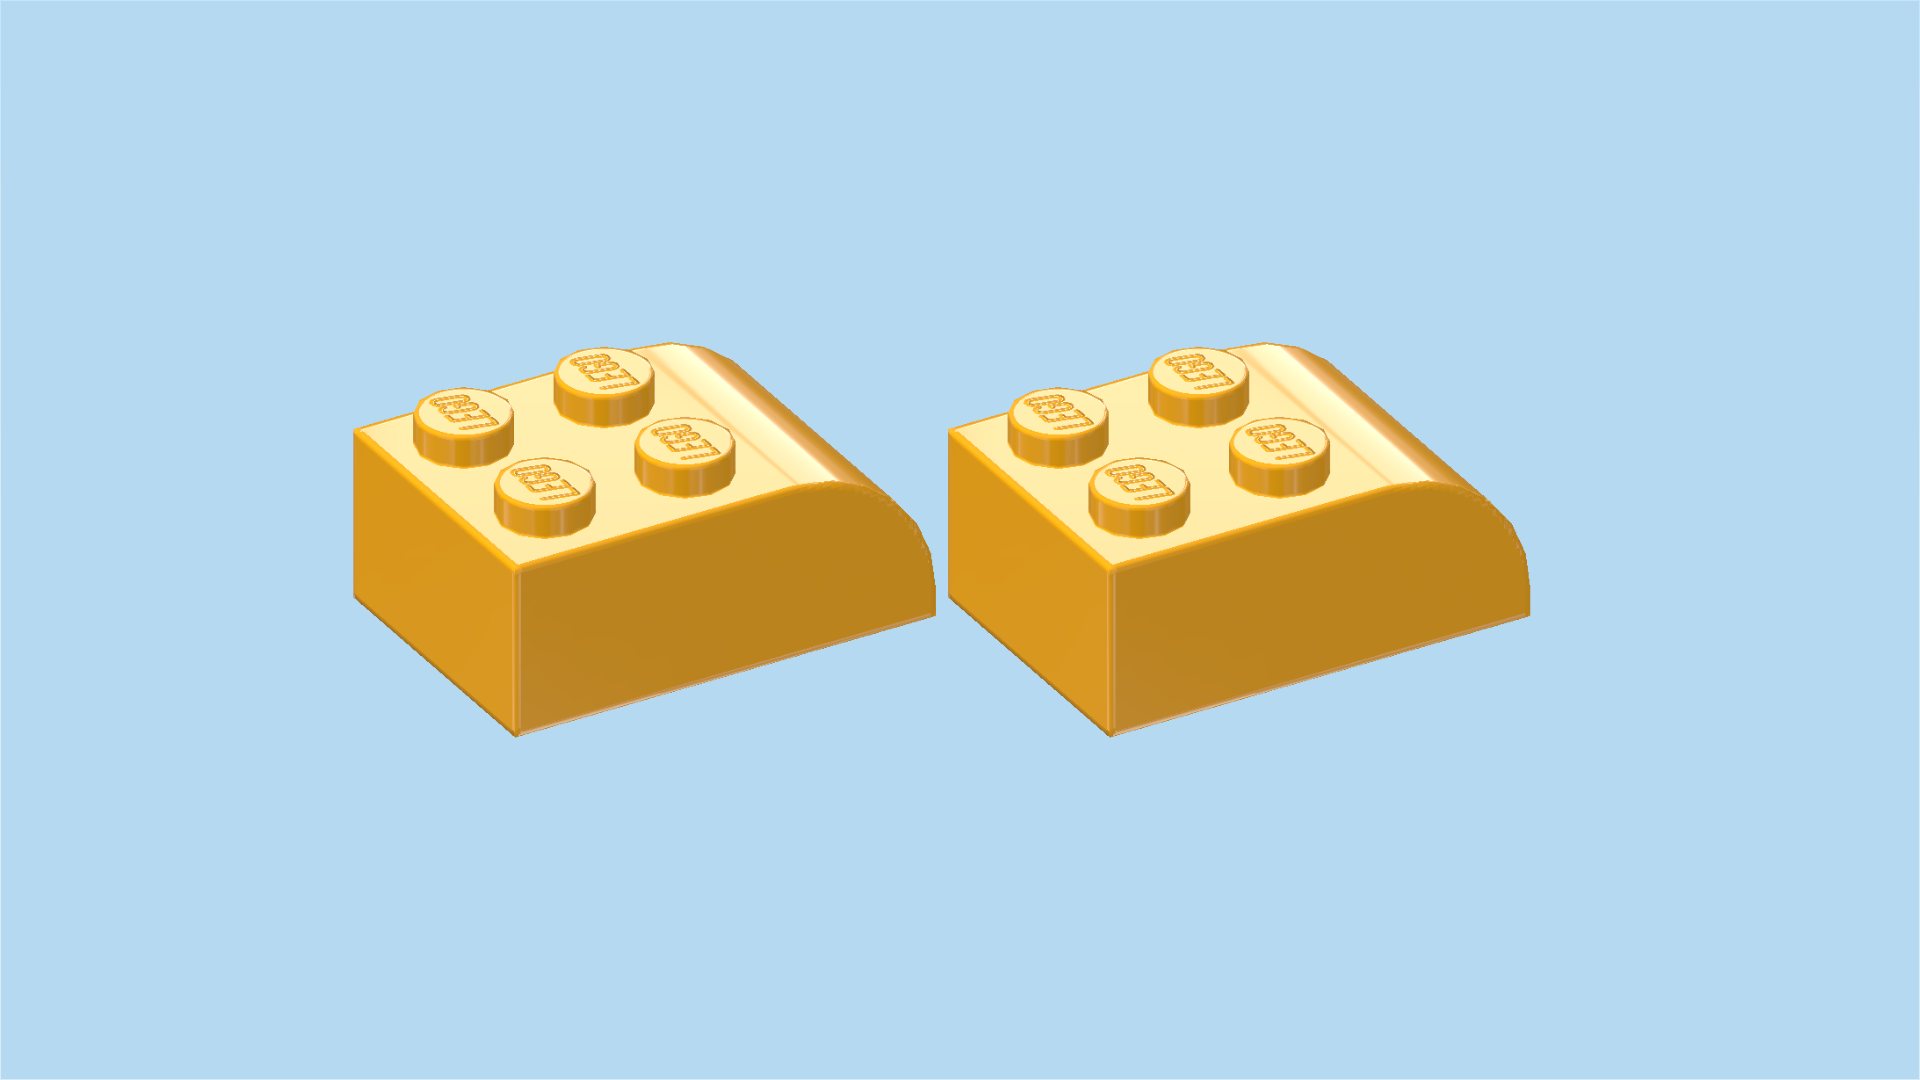
| Find 2 black roof tiles 2x2, 45°. |
| Put 1 on the left half of the previous piece, slope to the left. |
| Put the other one to the right of the previous piece, slope to the right. |
| Find 1 black round brick 2x2 with sloped sides and 1 knob. |
| Put it on top of the two previous pieces. |
| Collect the following 2 pieces: |
| 1 bright neon yellow smooth roof tile 1x1x⅔, |
| and 1 bright neon yellow brick 1x1. |
| Put the brick 1x1 on top of the previous piece. |
| Put the smooth roof tile 1x1 on top, slope to the right. |
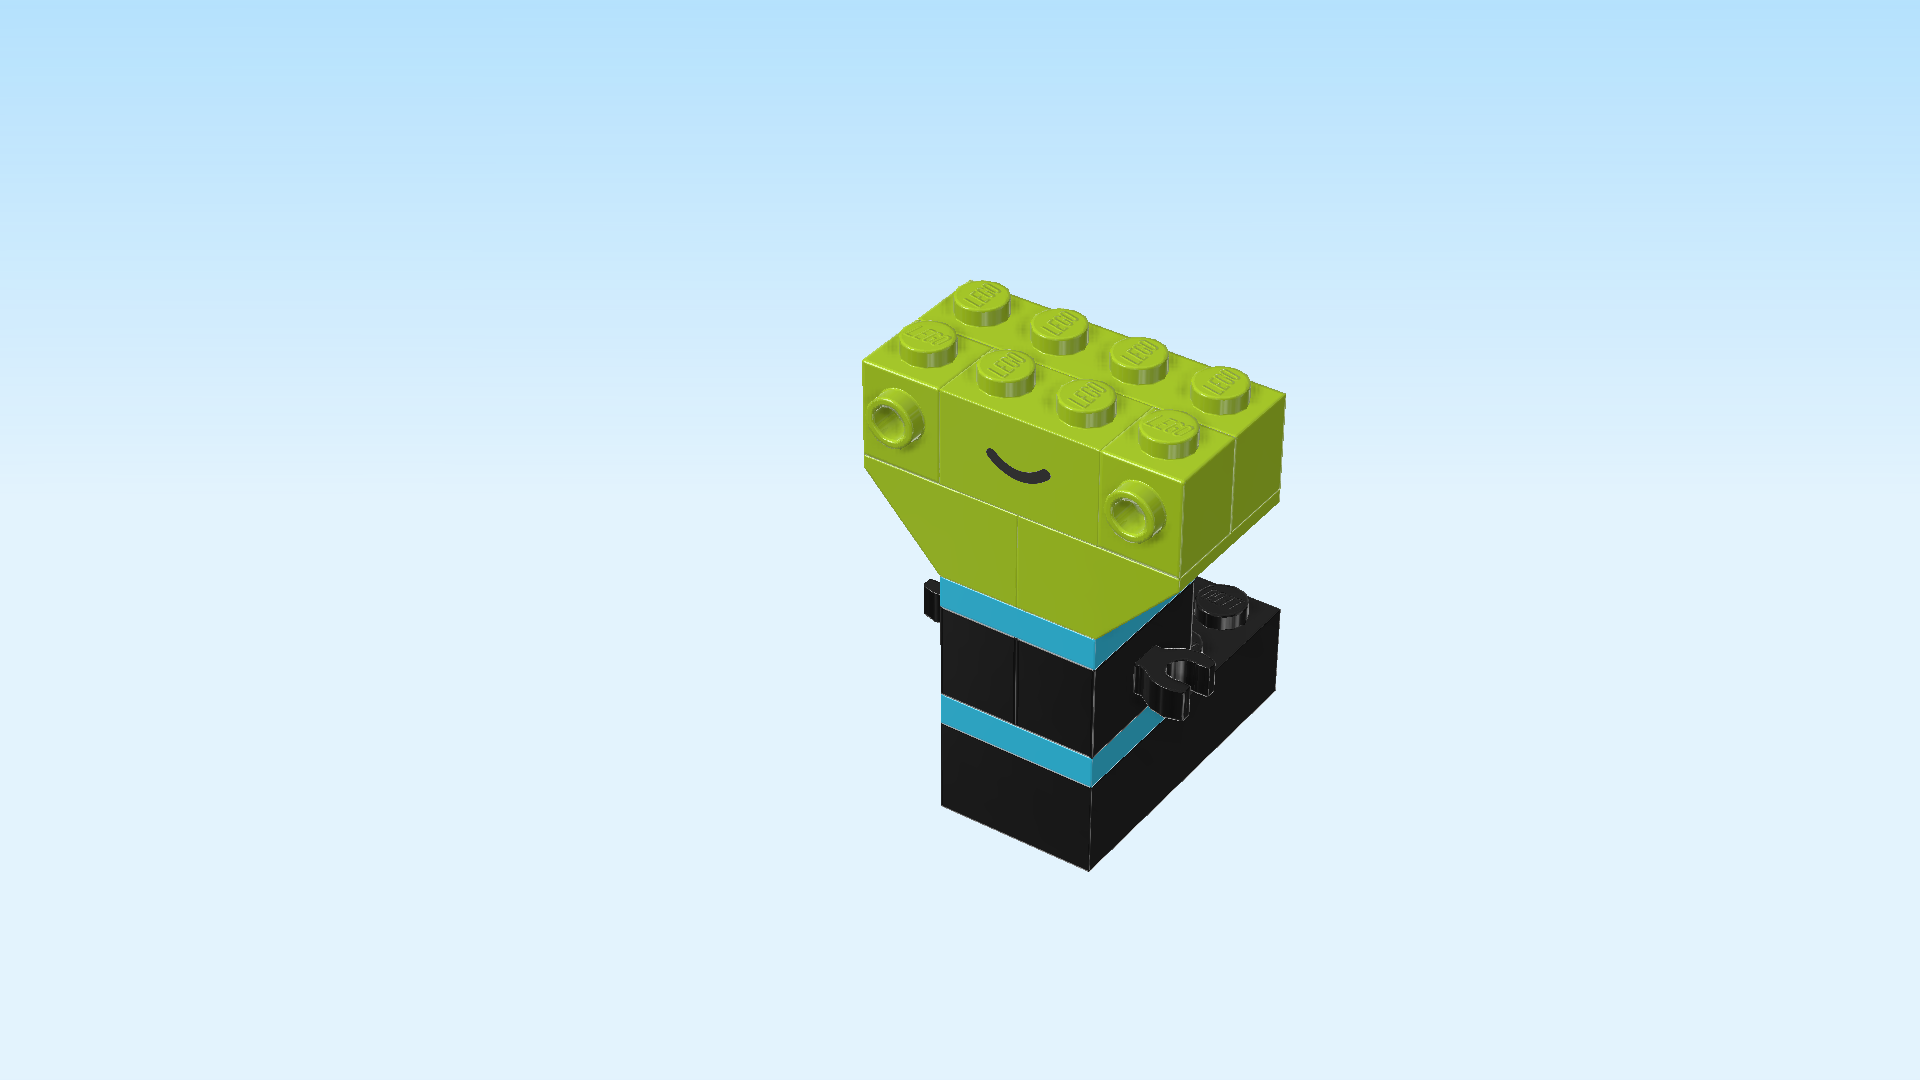
| Find 2 white round tiles 1x1. |
| Put 1 upright on the left side knob pointing to the front. |
| Put the other one upright on the right side knob pointing to the front. |
| The printed round tiles are the eyes of the marker pen! Maybe yours has two stars like ours does! But there are many more eye styles you can choose from. |
| The Marker Pen is finished! Well done! Let's go highlight some text, draw a bright yellow sun or whatever you can think of! |
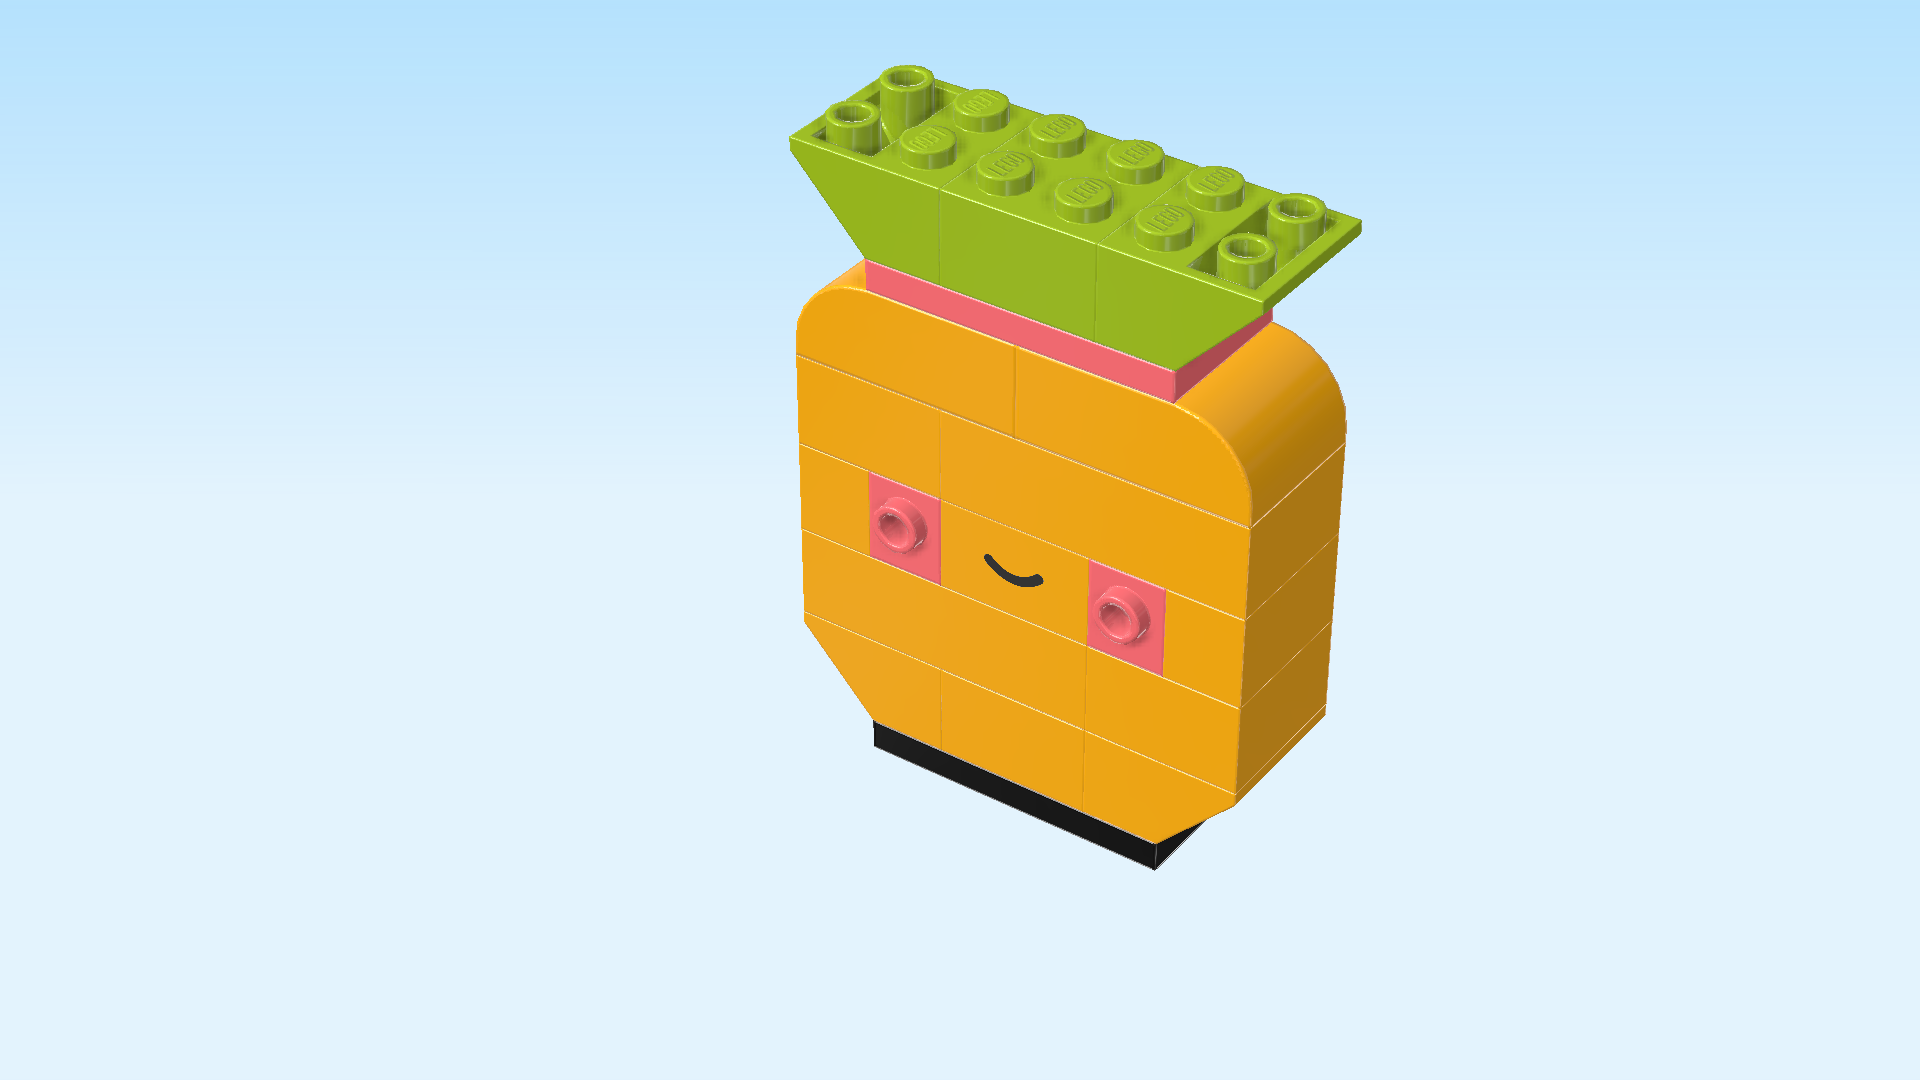
| Next, we will build the Pineapple. |
| The bright orange pineapple has a black base, a green bushy top and is wearing funky sunglasses: the glass has yellow, pink and purple stripes. Just like the Marker Pen, the pineapple has a friendly smile on its face! |
| Collect the following 2 pieces: |
| 1 black plate 2x4, |
| and 1 flame yellowish orange inverted roof tile 2x2, 45°. |
| Put the plate 2x4 horizontally on the table. |
| Put the inverted roof tile 2x2 on the 2 leftmost knobs, slope overhanging to the left. |
| Collect the following 2 pieces: |
| 1 flame yellowish orange brick 2x2, |
| and 1 flame yellowish orange inverted roof tile 2x2, 45°. |
| Put the brick 2x2 to the right of the previous piece. |
| Put the inverted roof tile 2x2 to the right of the previous piece, slope overhanging to the right. |
| Collect the following 2 pieces: |
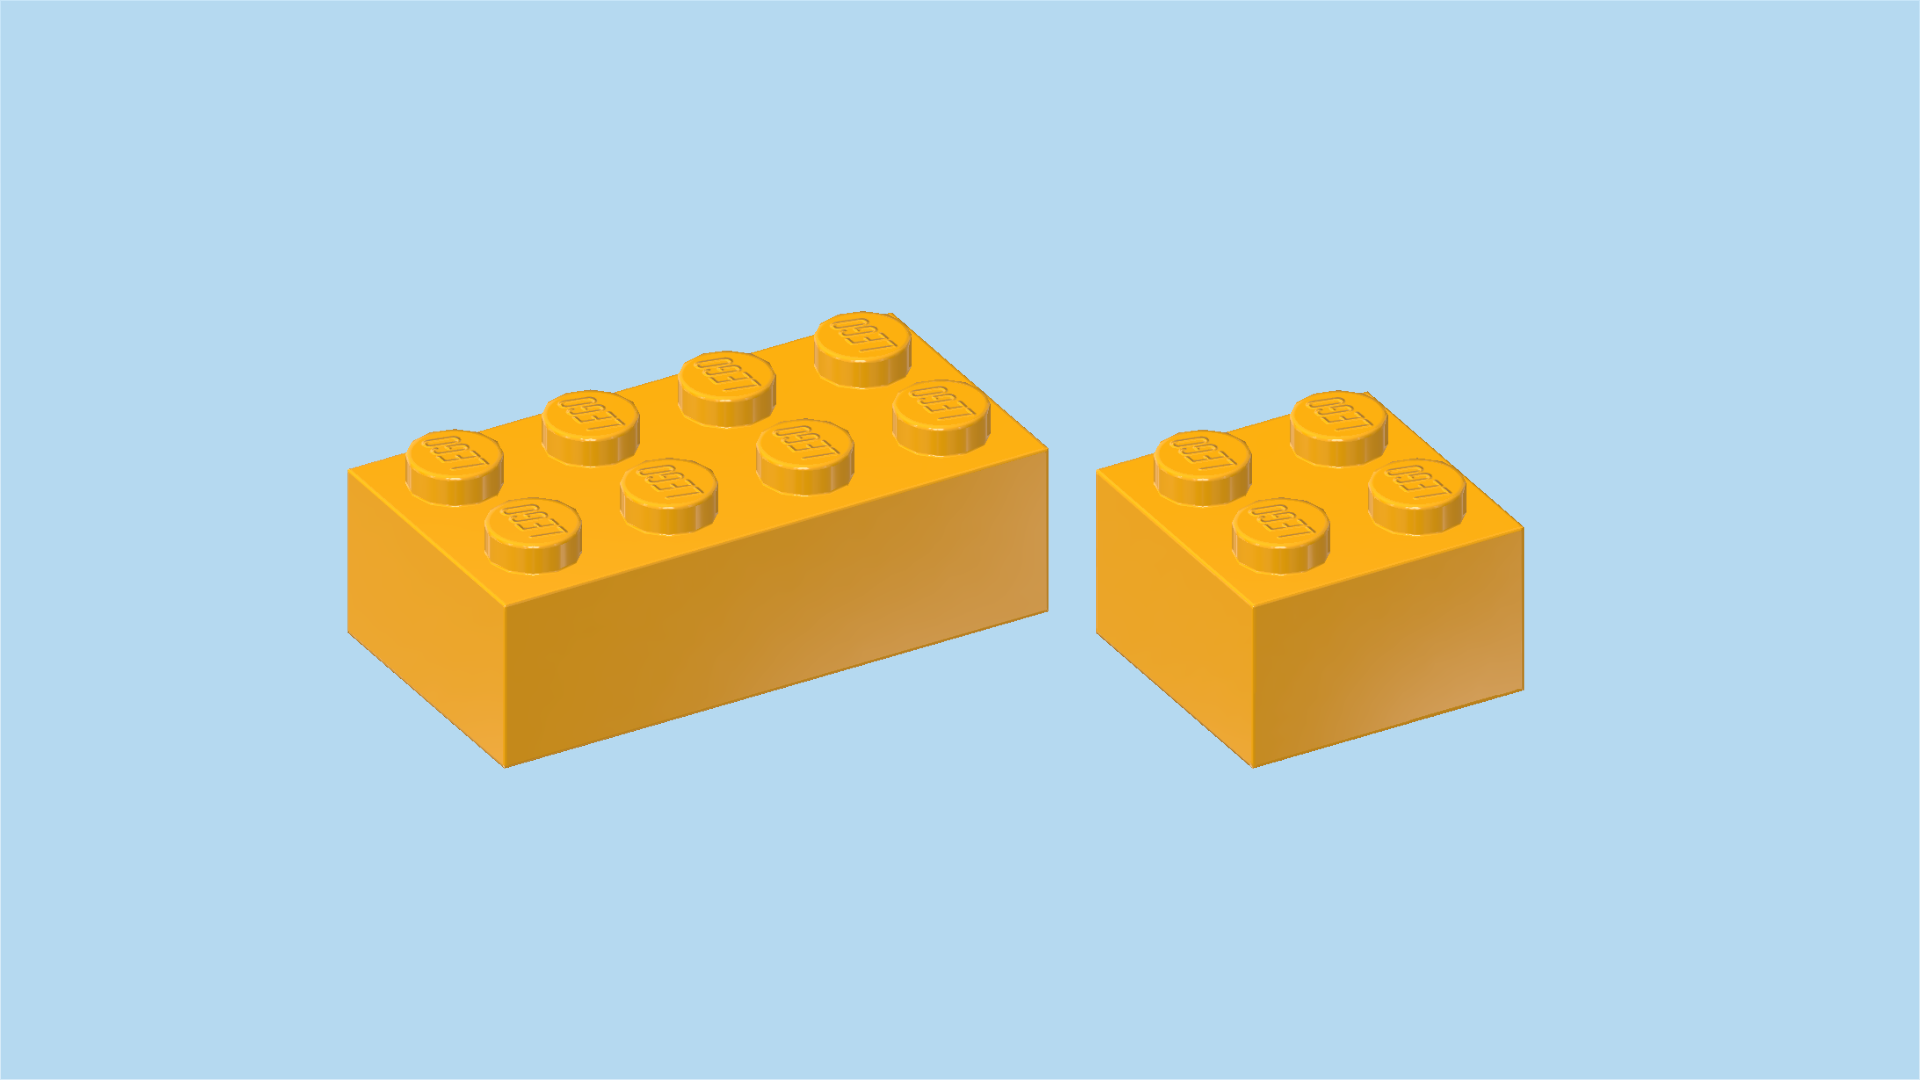
| 1 flame yellowish orange brick 2x4, |
| and 1 flame yellowish orange brick 2x2. |
| Put the brick 2x4 horizontally on top, starting from the left edge of the structure. |
| Put the brick 2x2 to the right of the previous piece. |
| Find 1 flame yellowish orange brick 1x4. |
| Put it horizontally centered on the back row. |
| If done correctly, there is one empty knob to its left and one empty knob to its right. The front row remains empty for now. |
| Find 2 flame yellowish orange bricks 1x2. |
| Put 1 vertically to the left of the previous piece on the leftmost column. |
| Put the other one vertically on the rightmost column. |
| Collect the following 3 pieces: |
| 2 salmon pink bricks 1x1 with side knob, |
| and 1 flame yellowish orange brick 1x2. |
| Put 1 brick with side knob to the left of the previous piece on the front row, side knob to the front. |
| Put the brick 1x2 horizontally to the left of the previous piece, print to the front. |
| Put the other brick 1x1 to the left of the previous piece, side knob to the front. |
| The print on the brick 1x2 is again a black arched line in the form of a happy smile. |
| Collect the following 2 pieces: |
| 1 flame yellowish orange brick 2x2, |
| and 1 flame yellowish orange brick 2x4. |
| Put the brick 2x2 on the 4 leftmost knobs. |
| Put the brick 2x4 horizontally to the right of the previous piece. |
| Find 2 flame yellowish orange curve bricks 2x3 with 4 knobs. |
| Put 1 horizontally on the left half of the pineapple, curve to the left. |
| Put the other one horizontally on the right half, curve to the right. |
| Find 1 salmon pink plate 2x4. |
| Put it horizontally on top of the 2 previous pieces. |
| Collect the following 3 pieces: |
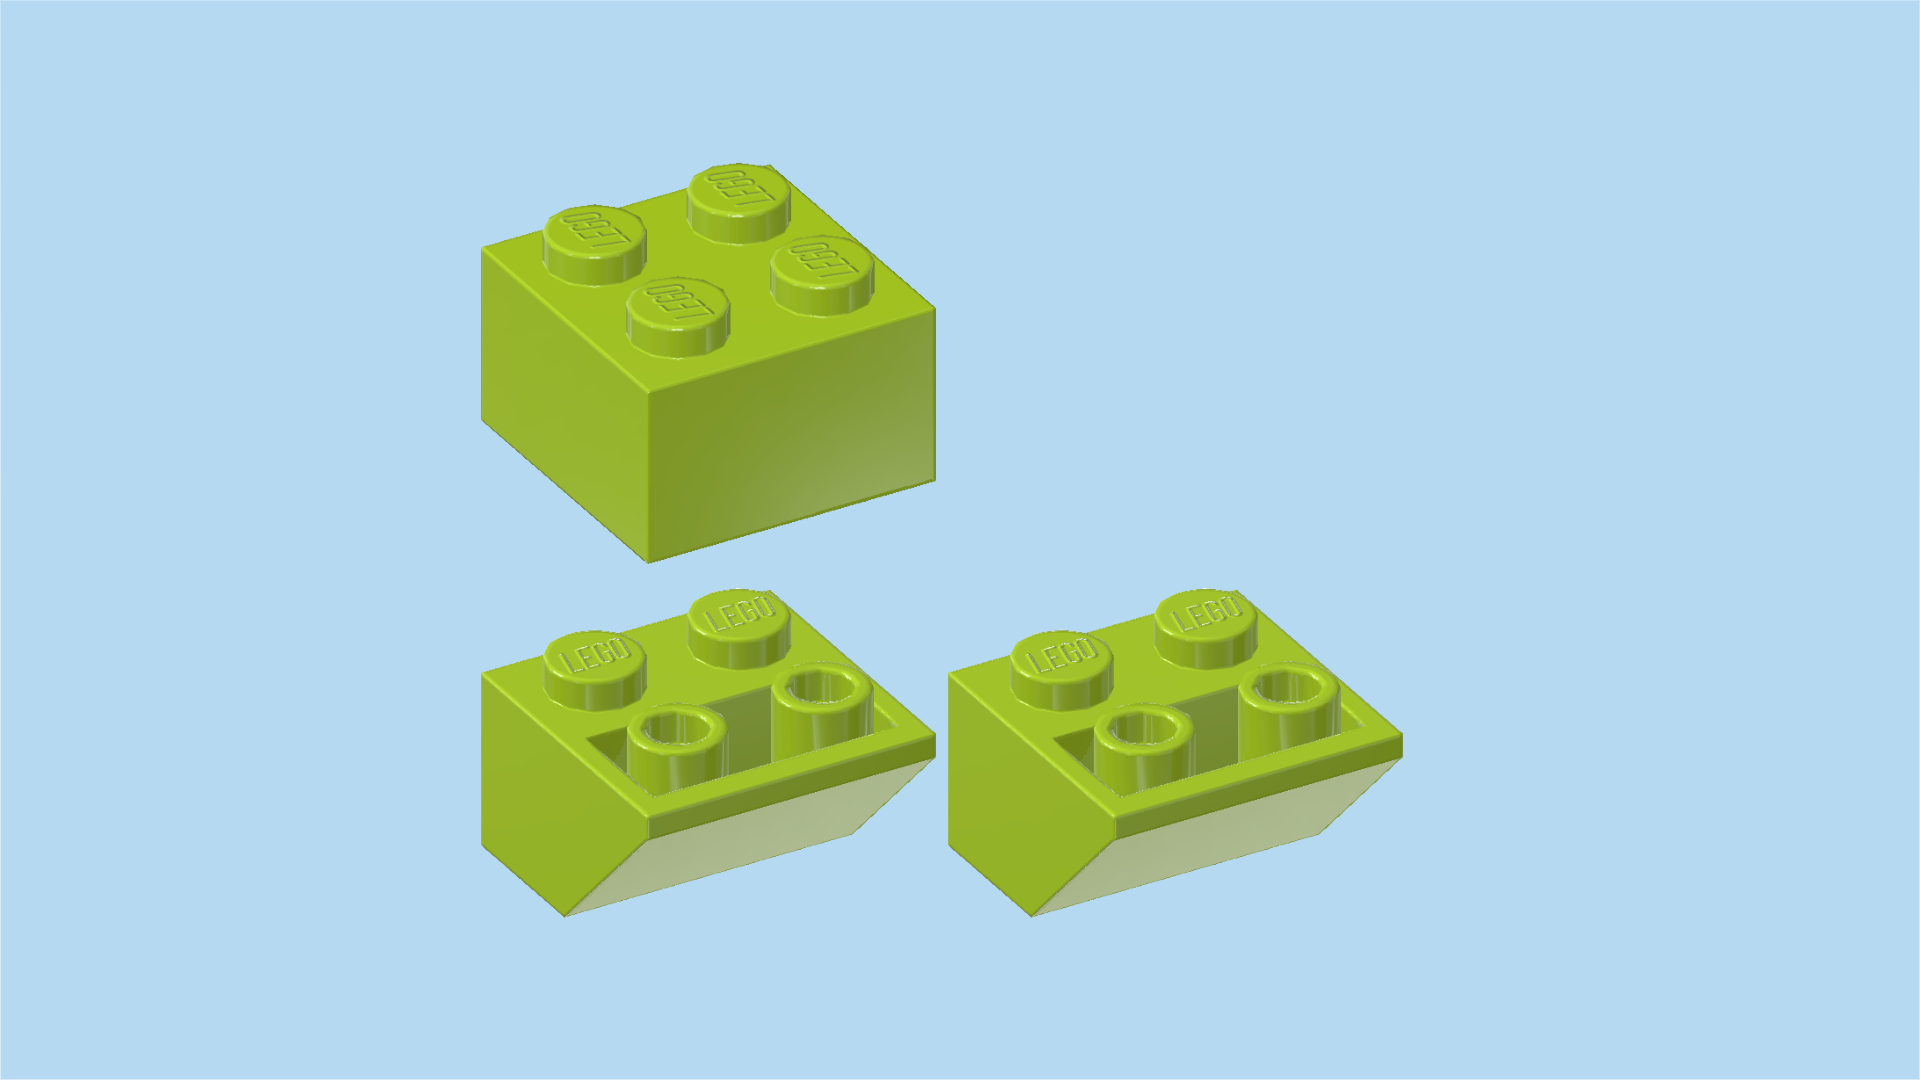
| 1 bright yellowish green brick 2x2, |
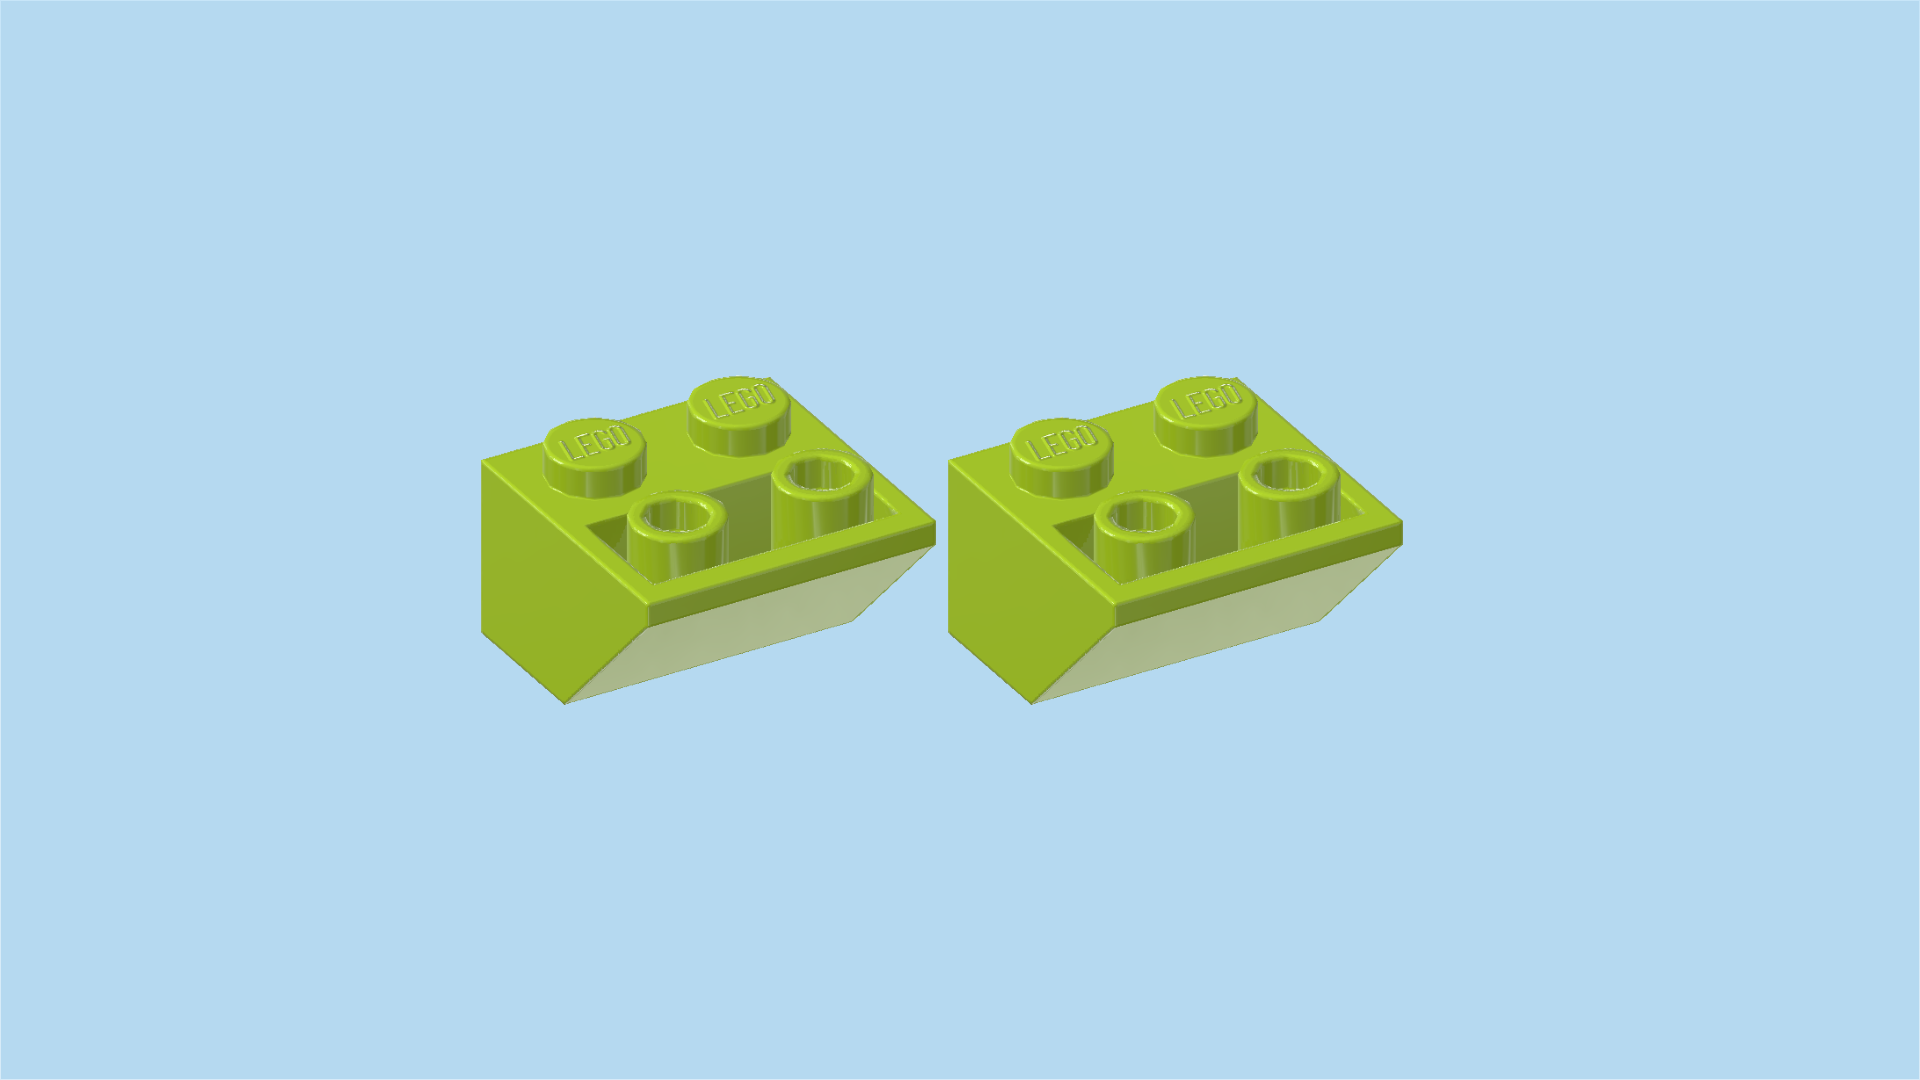
| and 2 bright yellowish green inverted roof tiles 2x2, 45°. |
| Put the brick 2x2 in the middle of the previous piece, leaving 1 column to the left and 1 column to the right empty. |
| Put 1 inverted roof tile 2x2 to the left of the previous piece, slope to the left. |
| Put the other inverted roof tile 2x2 on the rightmost column, slope to the right. |
| Find 1 bright yellowish green brick 2x4. |
| Put it horizontally centered on the 3 previous pieces, leaving 1 column to the left and 1 column to the right empty. |
| Find 4 bright yellowish green smooth roof tiles 1x1x⅔. |
| Put 1 on the leftmost knob of the back row, slope to the right. |
| Put 1 to the right of the previous piece, slope to the right. This means that it will sit on a higher level than the previous piece. |
| Put 1 on the rightmost knob of the back row, slope to the left. |
| Put the last one to the left of the previous piece, slope to the left. Again, this piece will sit on a higher level. |
| Find 2 bright yellowish green smooth curve bricks 1x2. |
| Put them vertically on the 2 middle rows, with the curved sides facing each other. |
| Find 2 salmon pink round tiles 2x2. |
| Put 1 upright centered on the left side knob pointing to the front. |
| Put the other one upright centered on the right side knob pointing to the front. |
| These two tiles are printed with horizontal stripes in yellow, salmon pink and purple. They sure make funky sunglasses! |
| The Pineapple is finished! Well done! |
| Next, we will build the Alien Snail. |
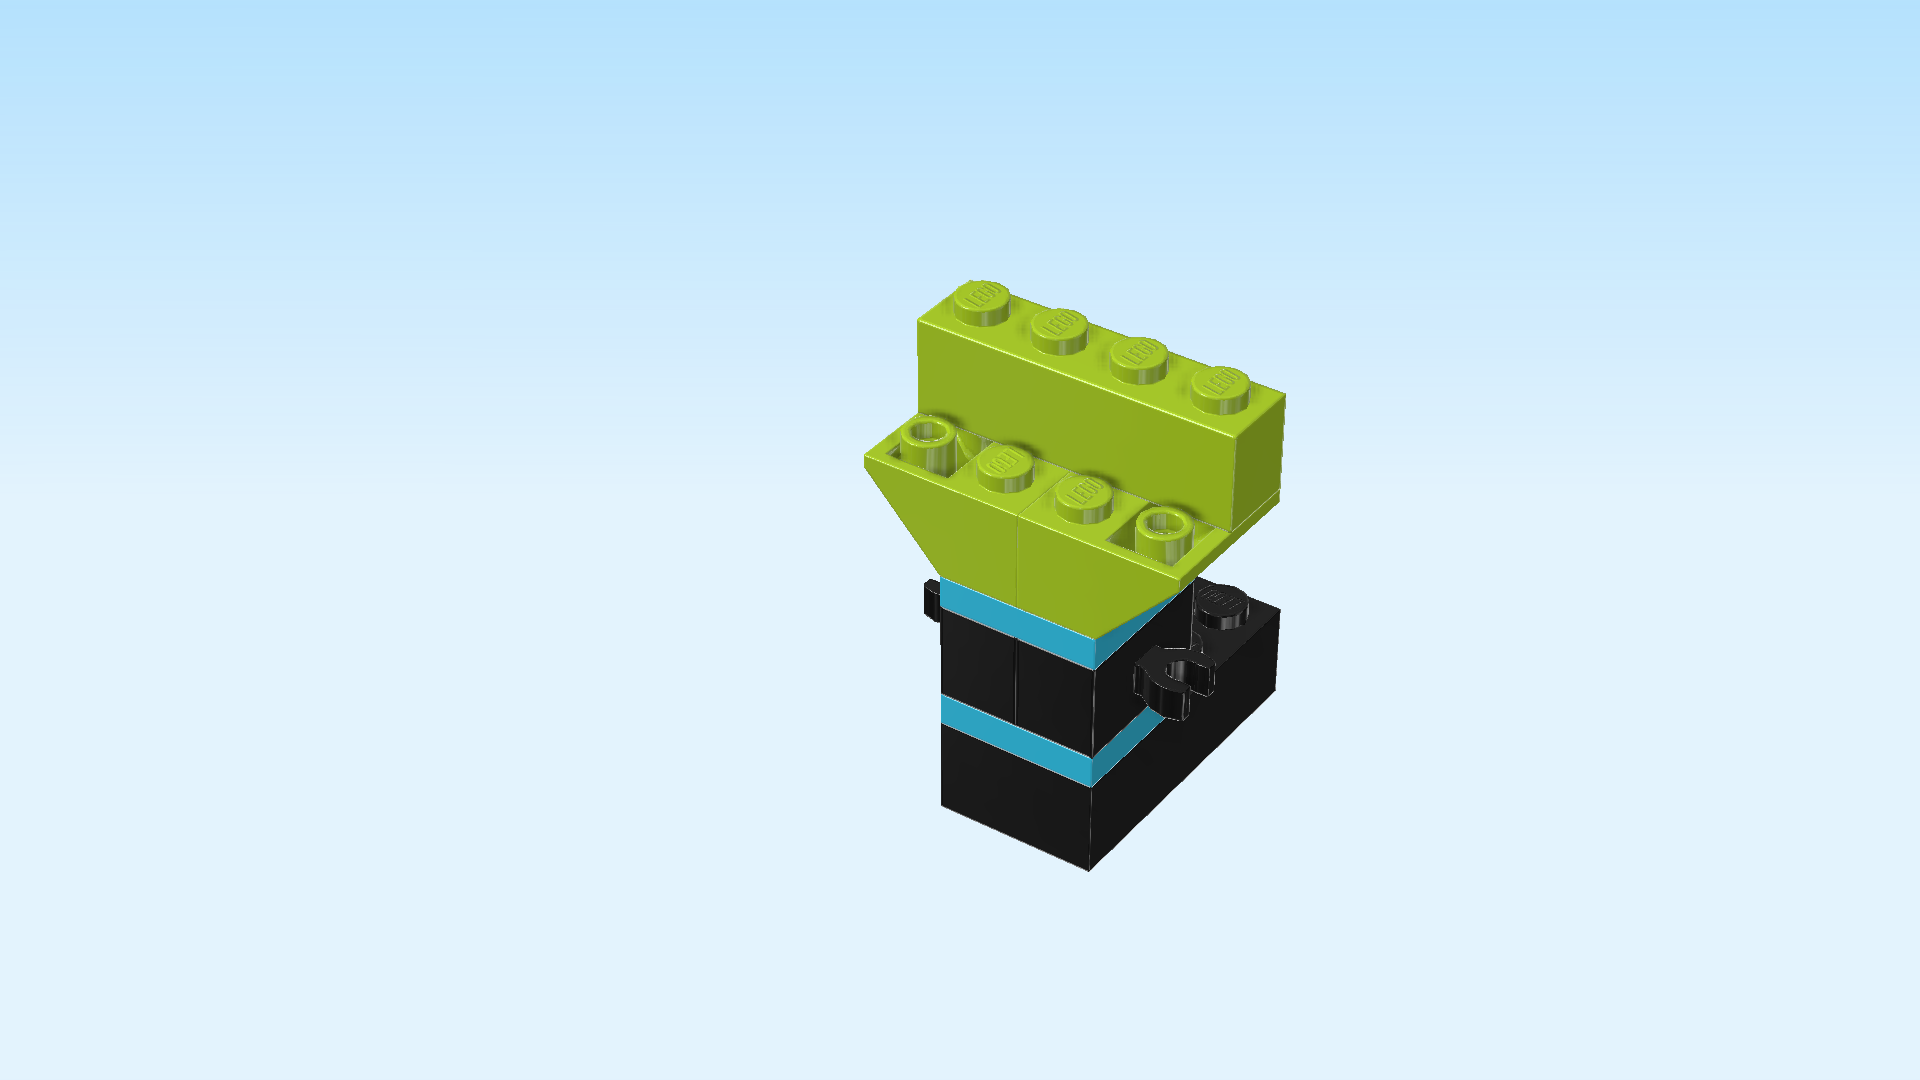
| This fun little space explorer has a black body with bright blue stripes and a green head with an oval shape. Its two antlers can move curiously in different directions! But don't worry: our alien has a friendly smile on its face. It comes in peace! |
| Collect the following 2 pieces: |
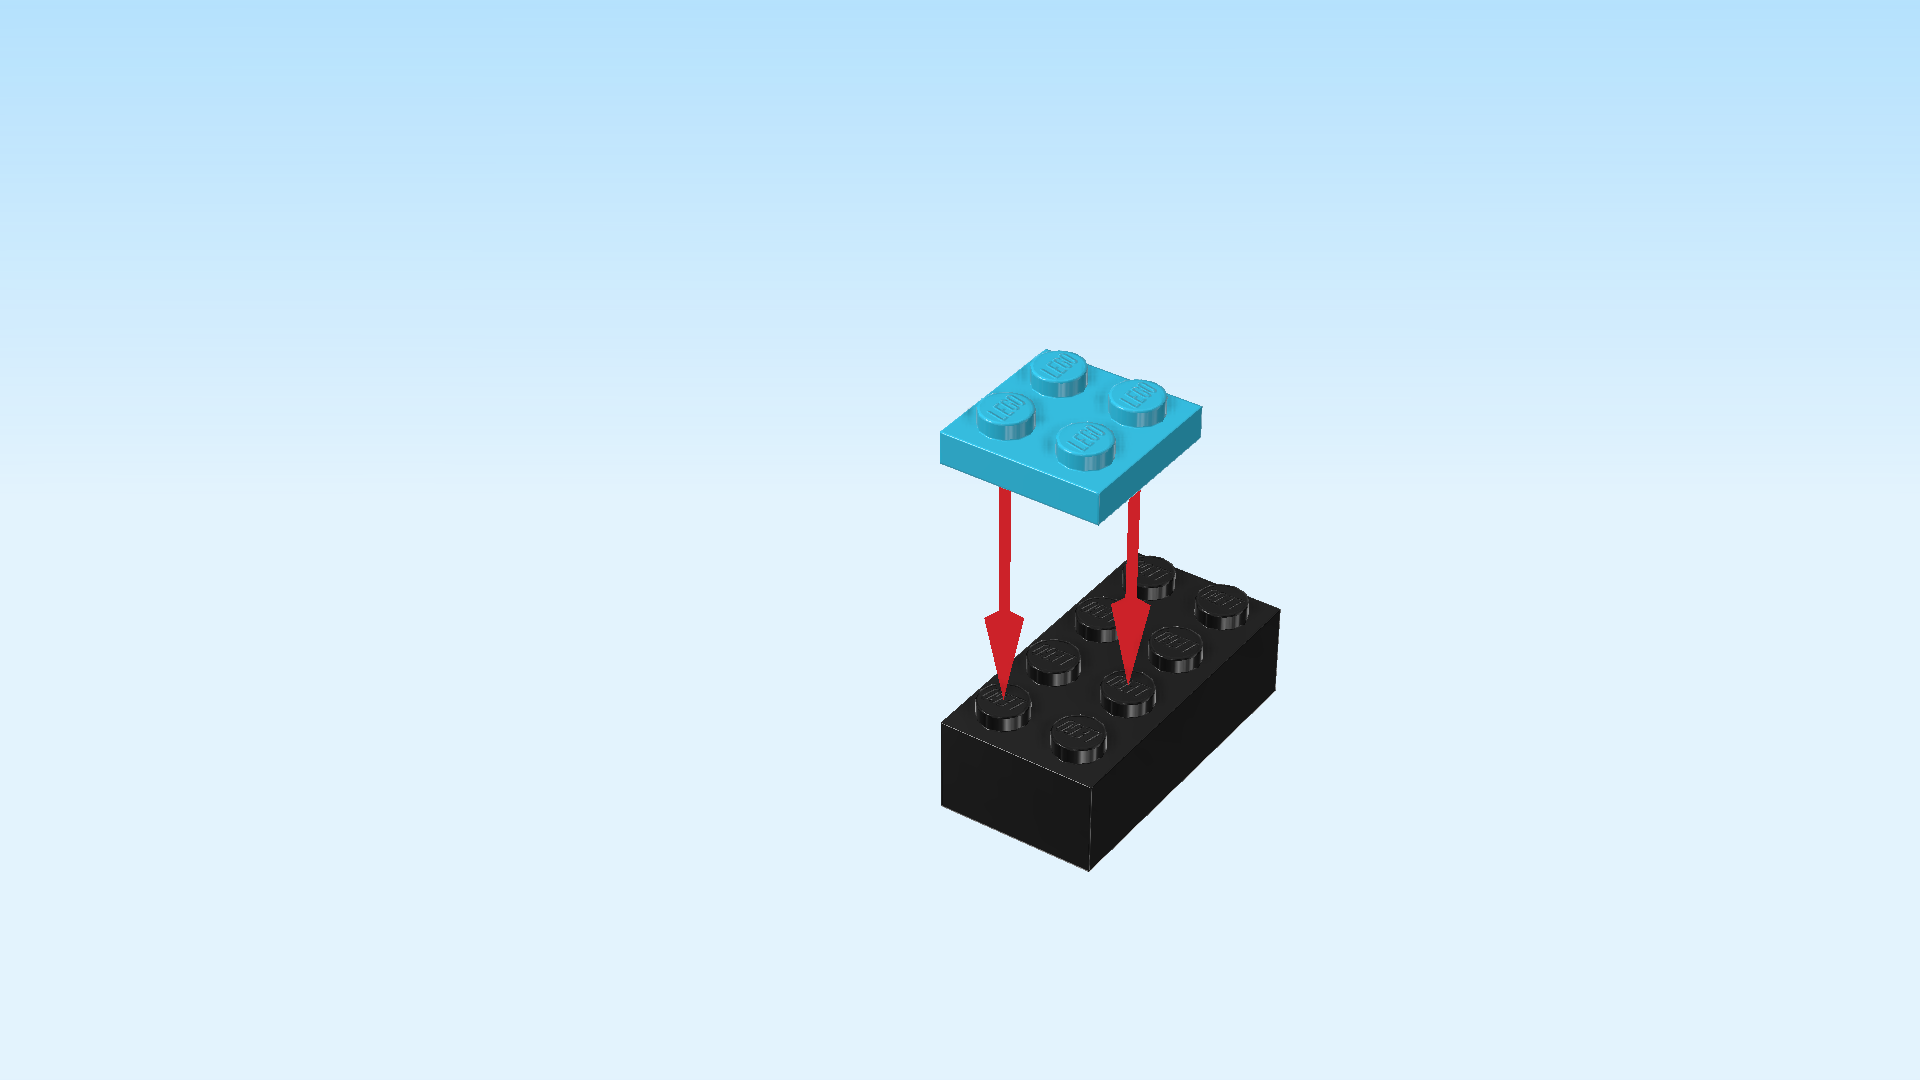
| 1 black brick 2x4, |
| and 1 medium azure blue plate 2x2. |
| Put the brick 2x4 vertically on the table. |
| Put the plate 2x2 on the 4 frontmost knobs. |
| Find 2 black bricks 1x2 with horizontal clasp on long side. |
| Put 1 vertically on the left column of the previous piece, clasp to the left. |
| Put the other one vertically to the right of the previous piece, clasp to the right. |
| The two clasps will be the tiny hands of the Alien Snail. |
| Find 1 medium azure blue plate 2x2. |
| Put it on top of the two previous pieces. |
| Find 2 bright yellowish green inverted roof tiles 2x2, 45°. |
| Put 1 on the left column of the previous piece, slope to the left. |
| Put the other one to the right of the previous piece, slope to the right. |
| Find 1 bright yellowish green brick 1x4. |
| Put it horizontally on the back row of the 2 previous pieces. |
| Find 1 bright yellowish green brick 1x2. |
| Put it horizontally centered in front of the previous piece, print to the front. Make sure there is one empty knob to its right and one empty knob to its left. |
| The small print is a black line that's arching upwards, or in other words: a friendly smile! |
| Find 2 bright yellowish green bricks 1x1 with side knob. |
| Put 1 to the left of the previous piece, side knob to the front. |
| Repeat symmetrically on the right, side knob to the front. |
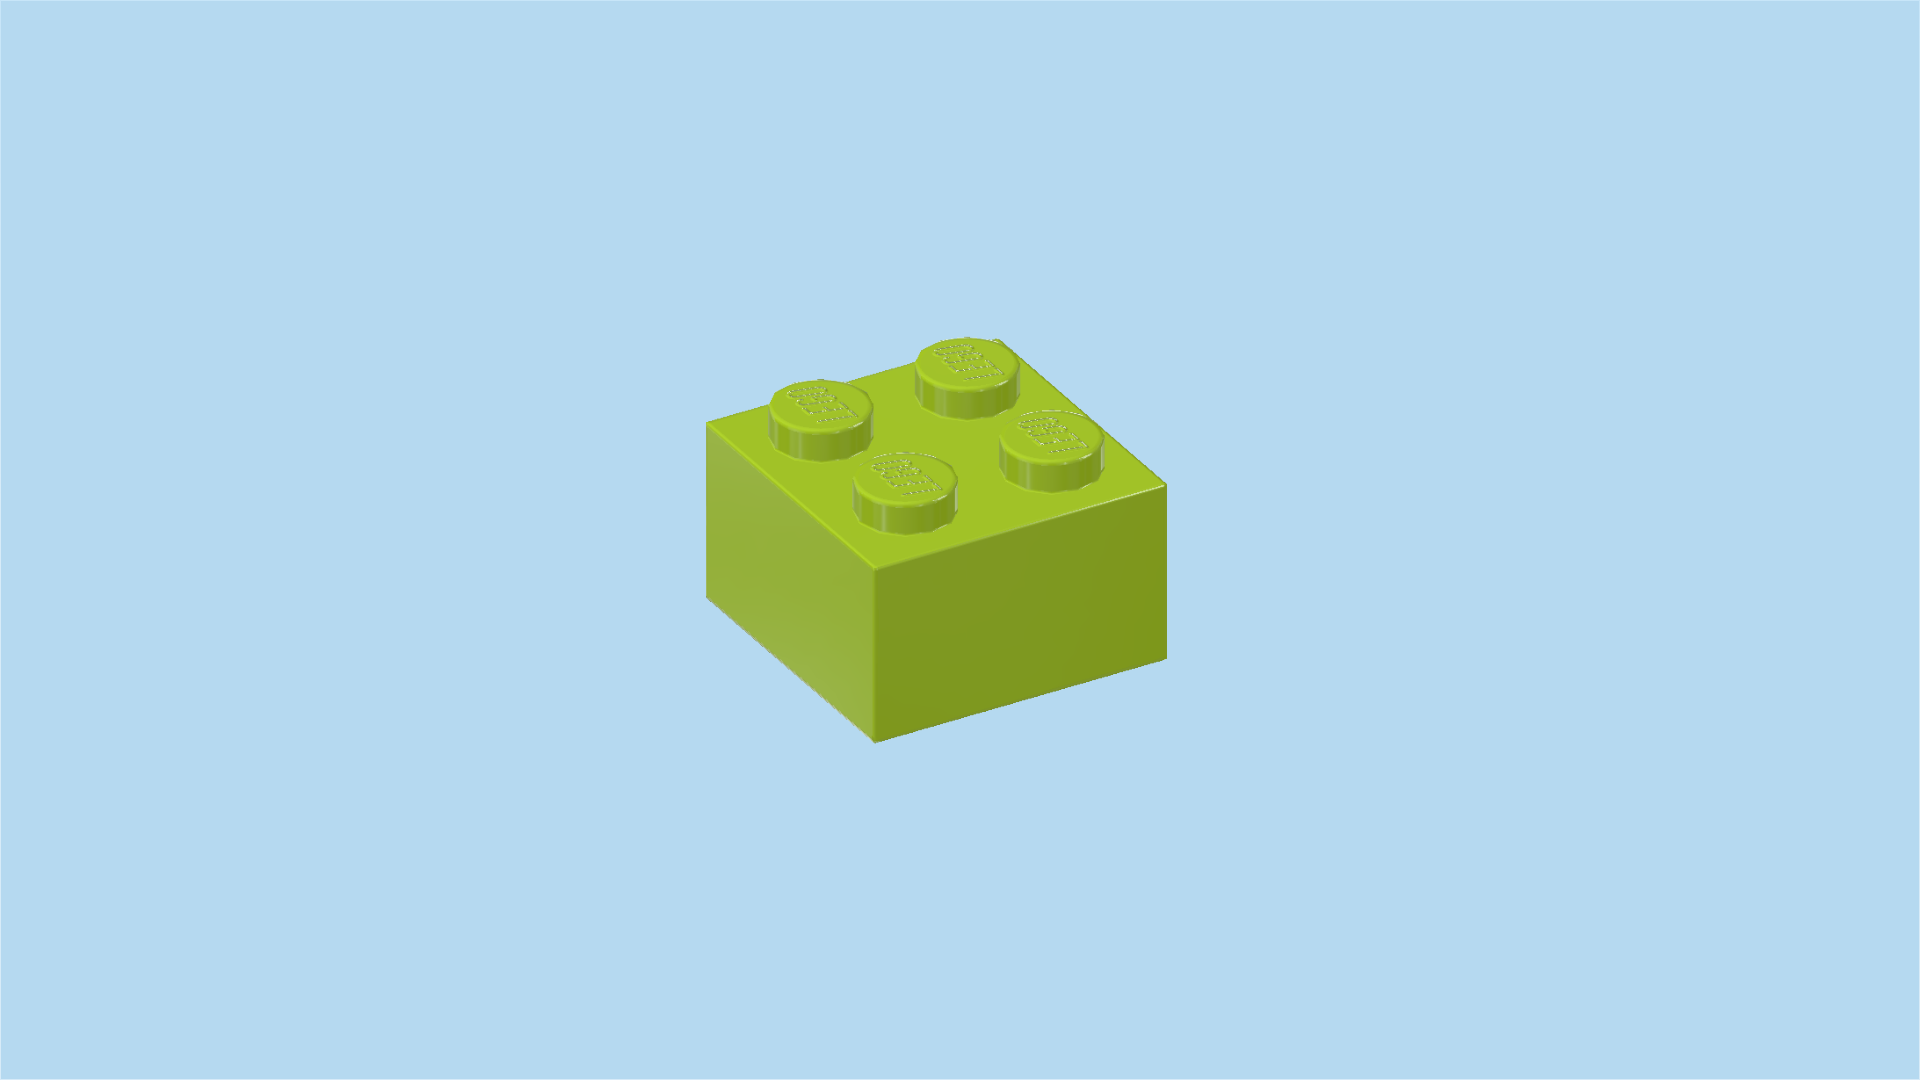
| Find 1 bright yellowish green brick 2x2. |
| Put it in the middle of the topmost surface. Make sure that there is 1 empty column to its left and 1 empty column to its right. |
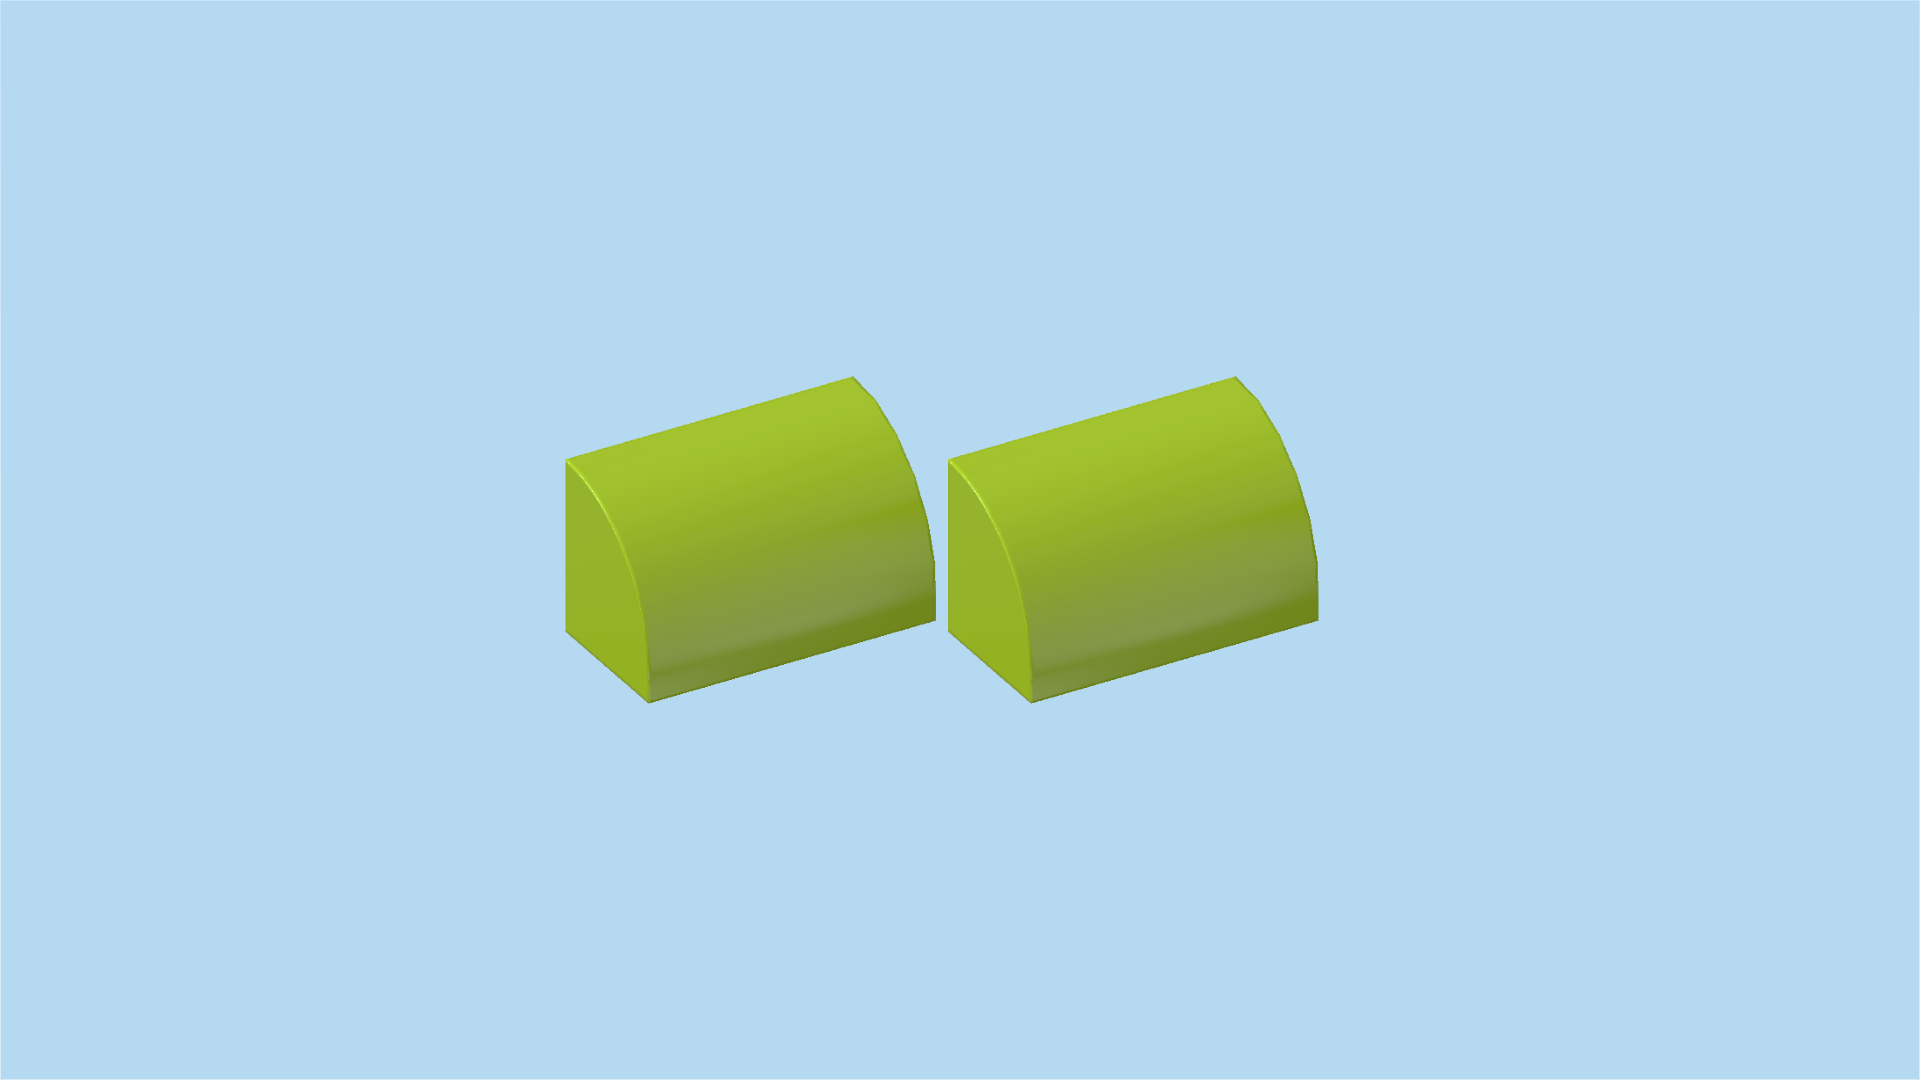
| Find 2 bright yellowish green smooth curve bricks 1x2. |
| Put 1 vertically to the left of the previous piece, curve to the left. |
| Repeat symmetrically on the right, curve to the right. |
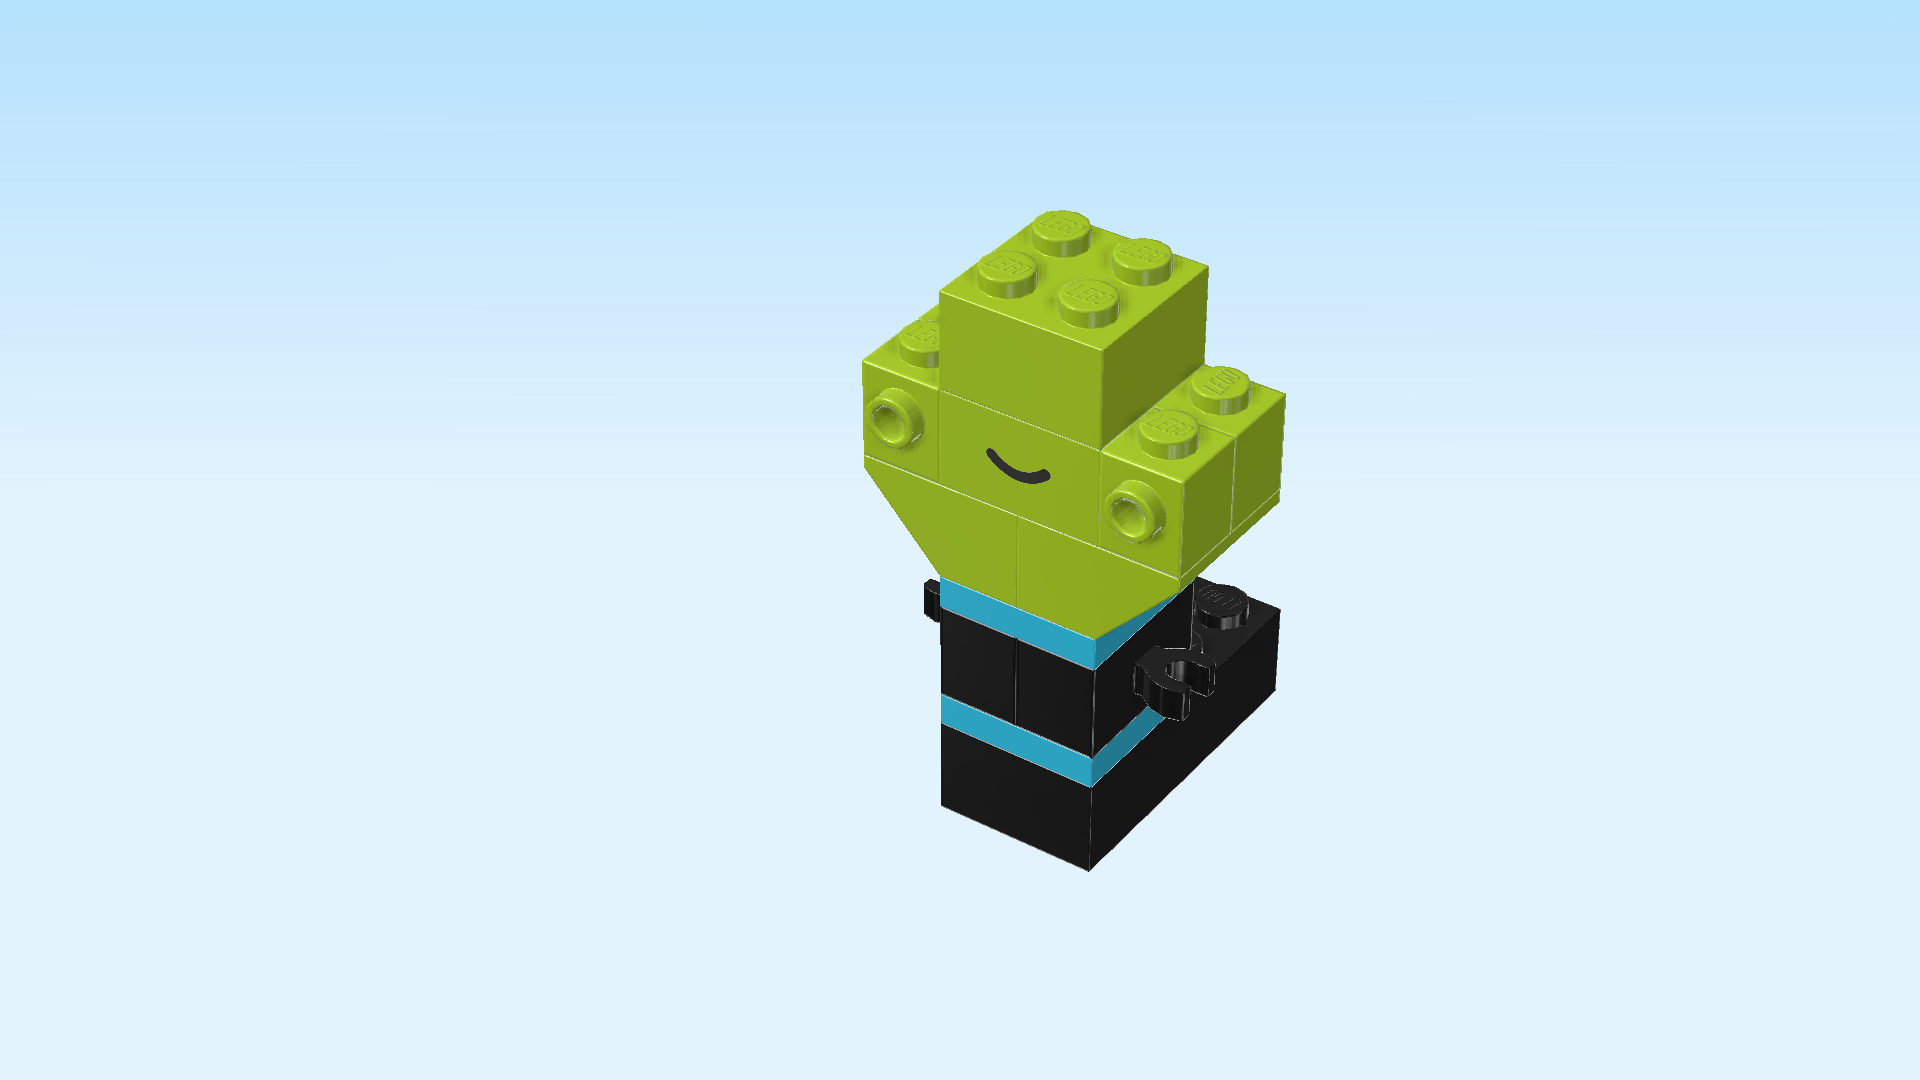
| Find 2 white round tiles 1x1. |
| Put 1 upright on the left side knob pointing to the front. |
| Put the other one upright on the right side knob pointing to the front. |
| The tiles are printed with eyes. For our alien snail, we have chosen 2 googly eyes in black and white. What did you pick? |
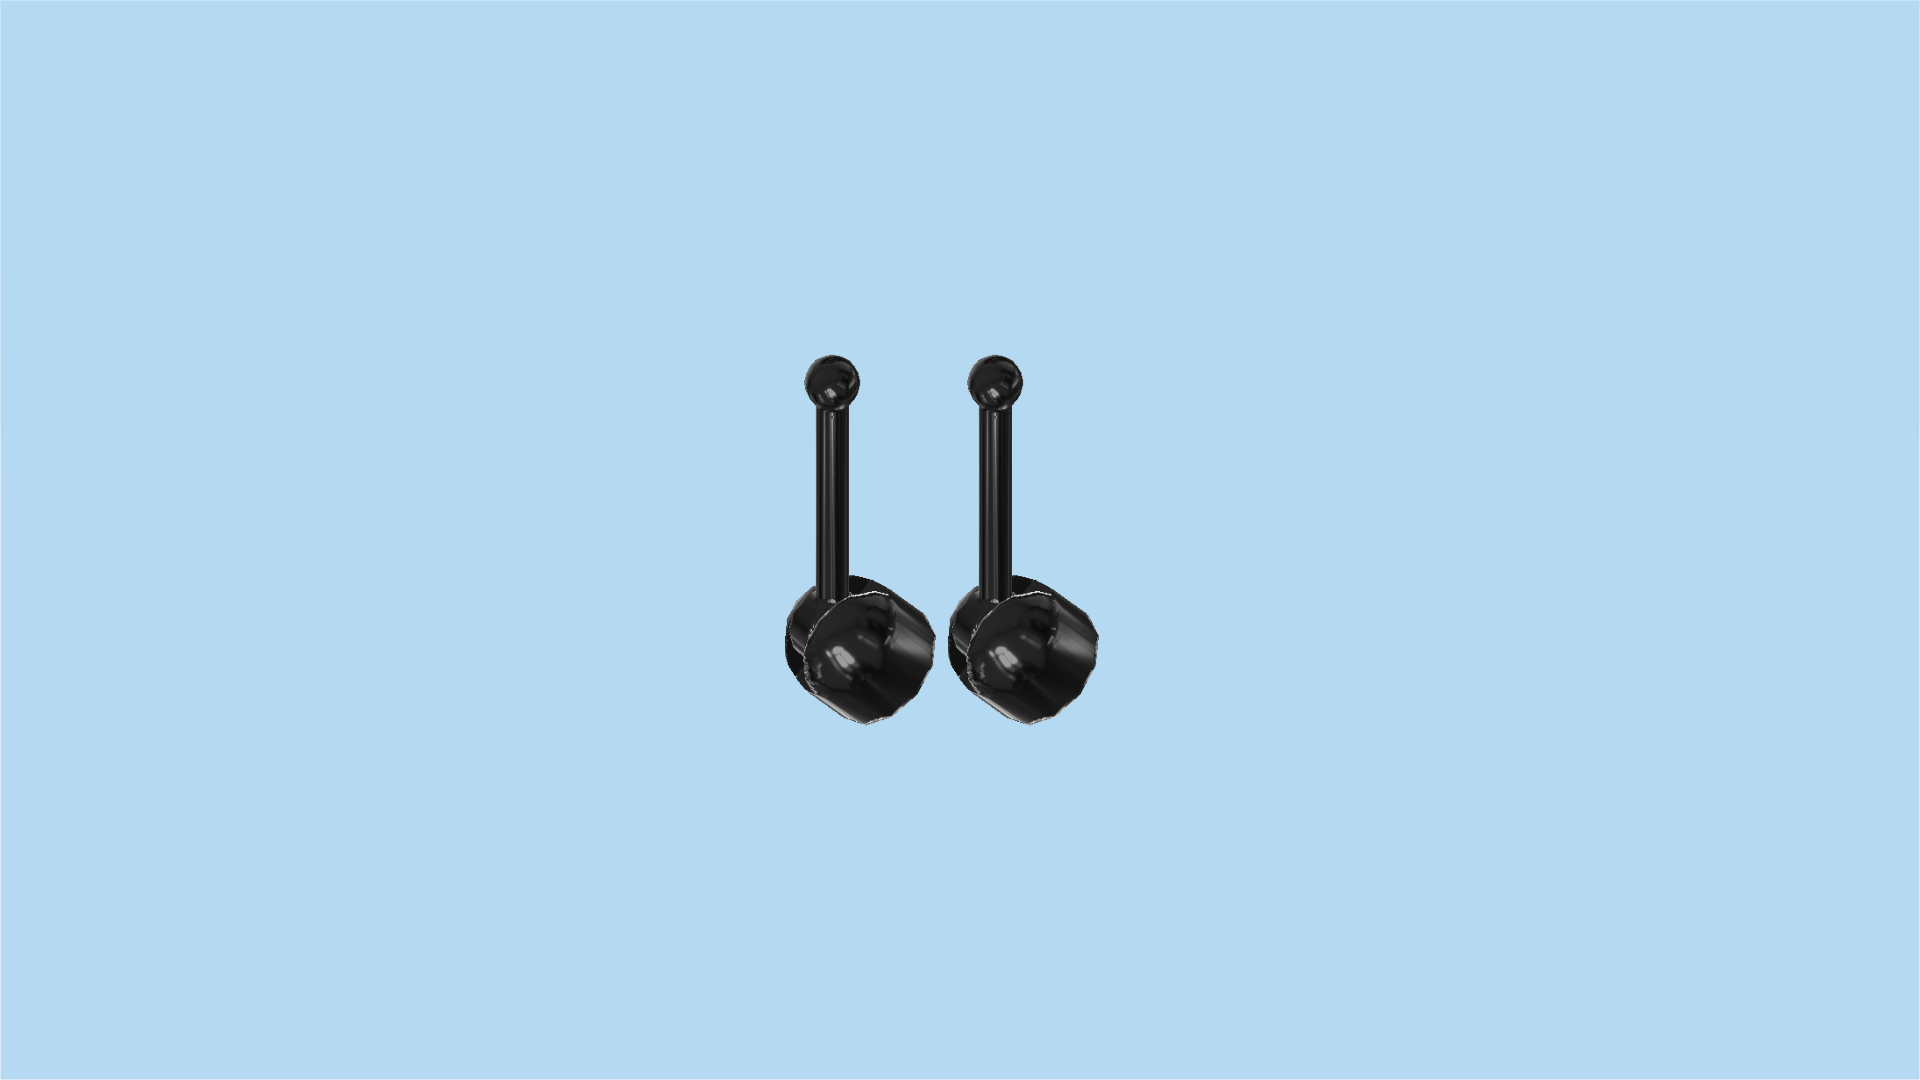
| Find 2 black joysticks. |
| Put 1 on the left knob of the frontmost row. Bend the lever of the joystick to the left. |
| Put the other one on the right knob of the frontmost row. Bend the lever to the right. |
| These are the antennae of the Alien Snail! |
| The Alien Snail is finished! Great job! Let's find out which planet or galaxy it's from, shall we? What do you think? |
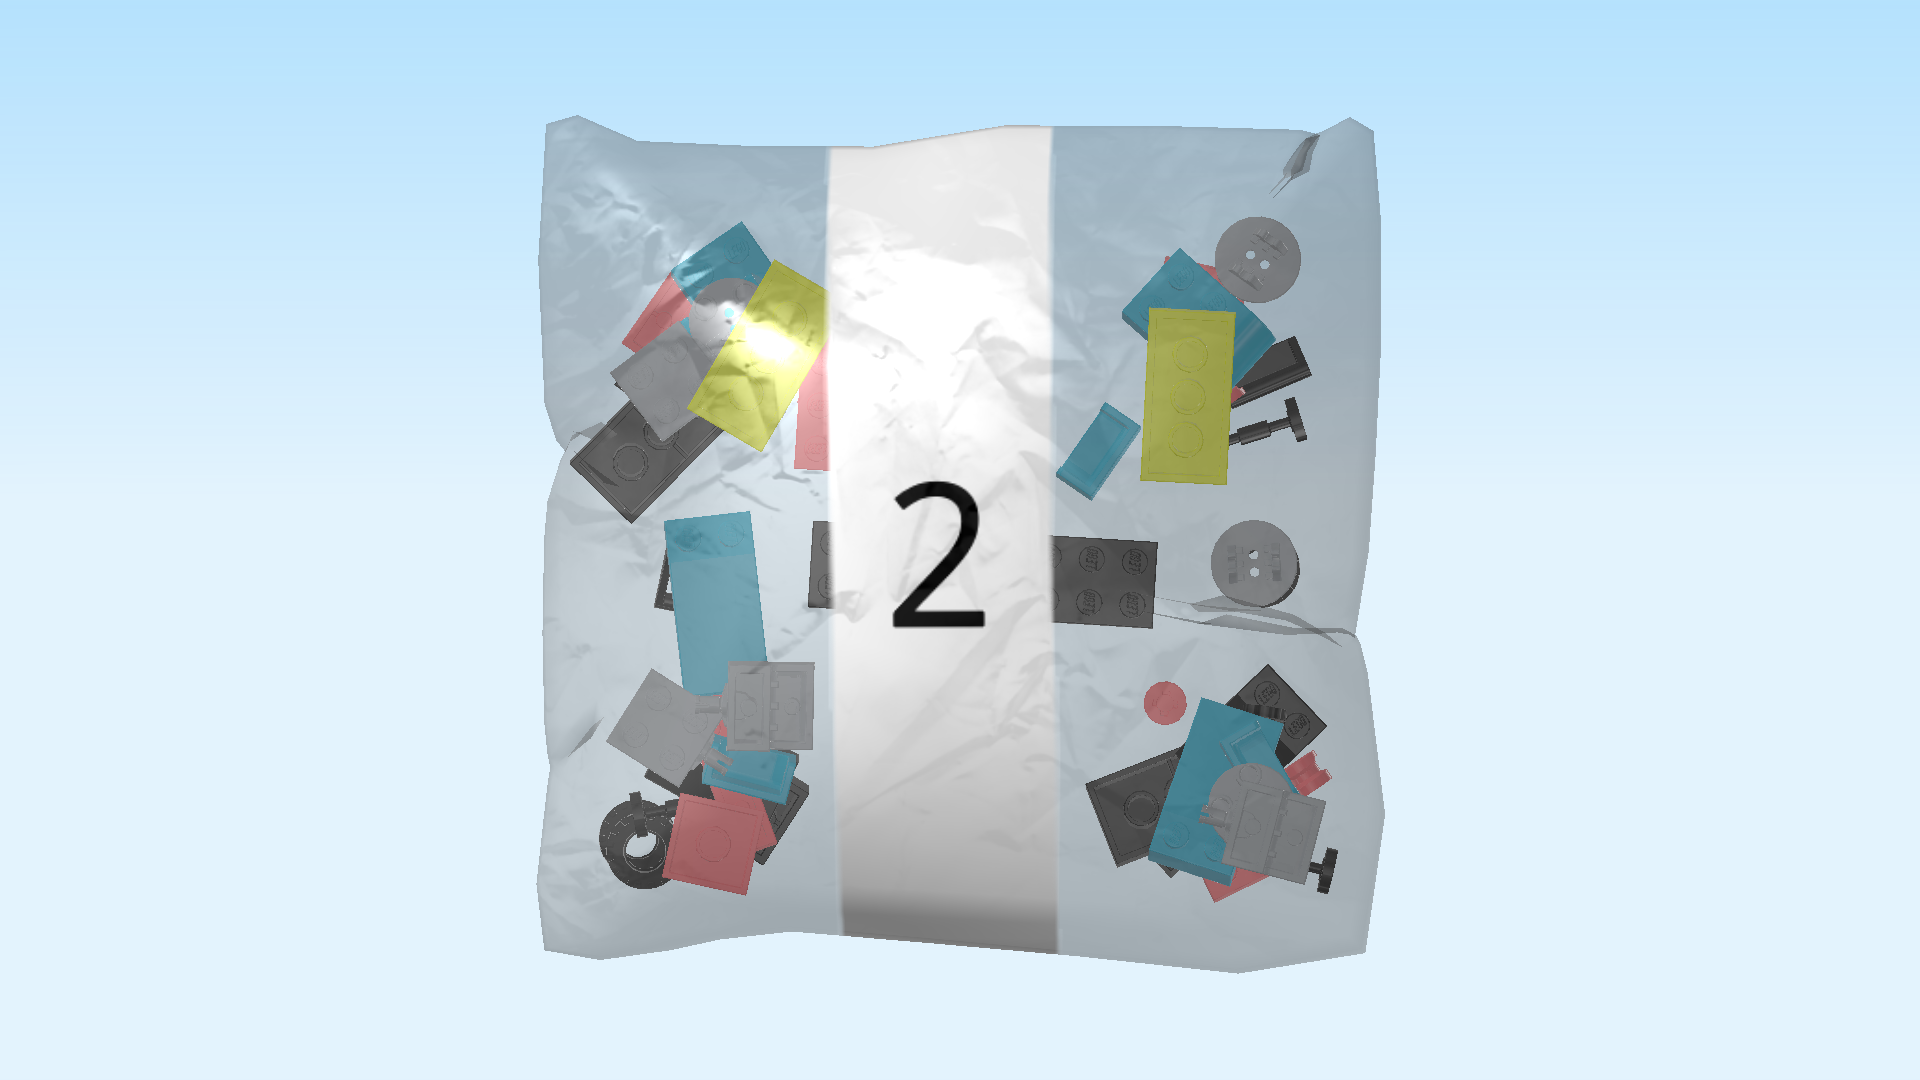
| Open bag number 2. You can choose to have the bricks sorted by color again. This bag contains all bricks and pieces for the Car and the Rollerblades. |
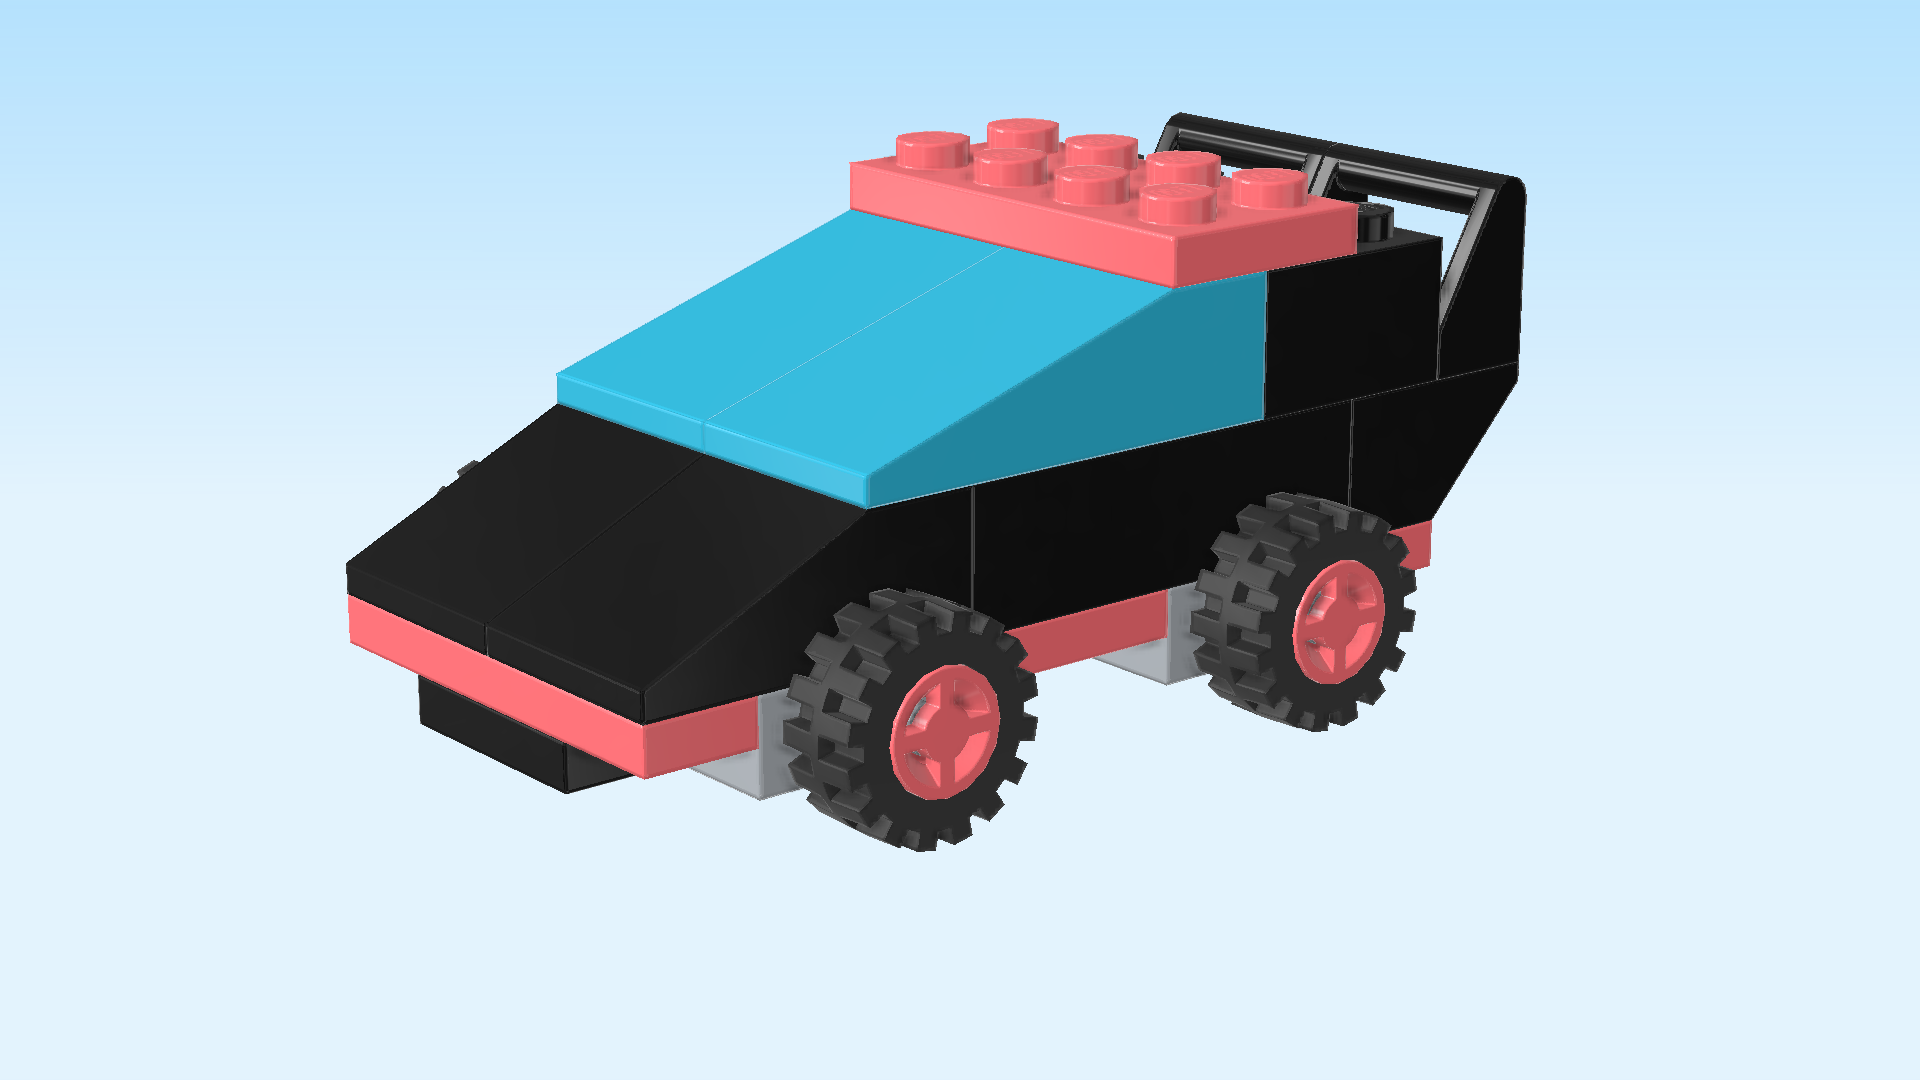
| Next up, we will build the Car. |
| The body of the car is black with salmon pink accents (like the wheels). It has a blue windscreen and two black spoilers to make it extra fast. |
| Collect the following 2 pieces: |
| 1 black plate 2x8, |
| and 1 salmon pink plate 1x4. |
| Put the plate 2x8 vertically on the table. |
| Put the plate 1x4 horizontally centered on the backmost row, symmetrically overhanging to the left and right. |
| Find 2 medium stone grey one-stepped plates 2x2 with side pin connector. |
| Put 1 in front of the previous piece on the left column, 1 column and connector overhanging to the left. |
| Put the other one to the right of the previous piece, 1 column and connector overhanging to the right. |
| Find 1 salmon pink plate 2x4. |
| Put it horizontally centered in front of the 2 previous pieces, symmetrically overhanging to the left and right. |
| Find another 2 medium stone grey one-stepped plates 2x2 with side pin connector. |
| Put 1 in front of the previous piece on the left column, 1 column and connector overhanging to the left. |
| Repeat symmetrically on the right. |
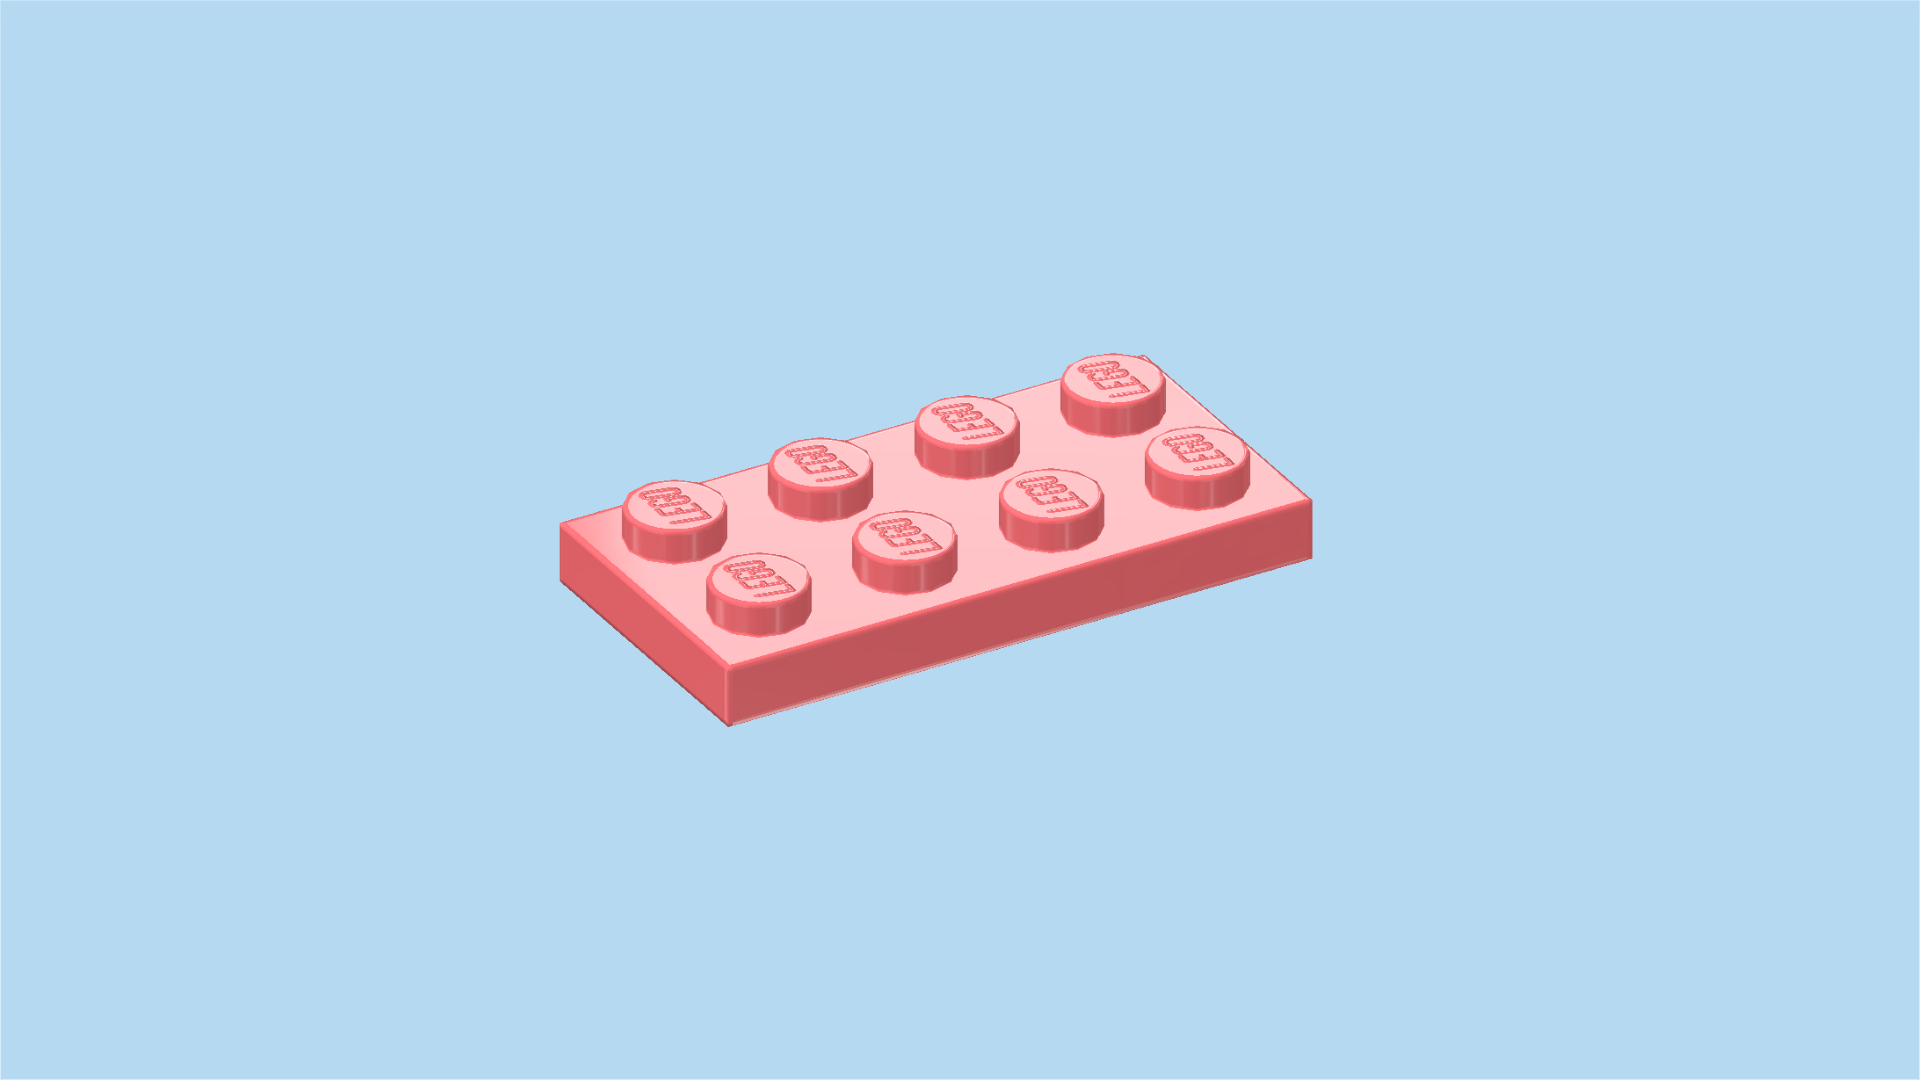
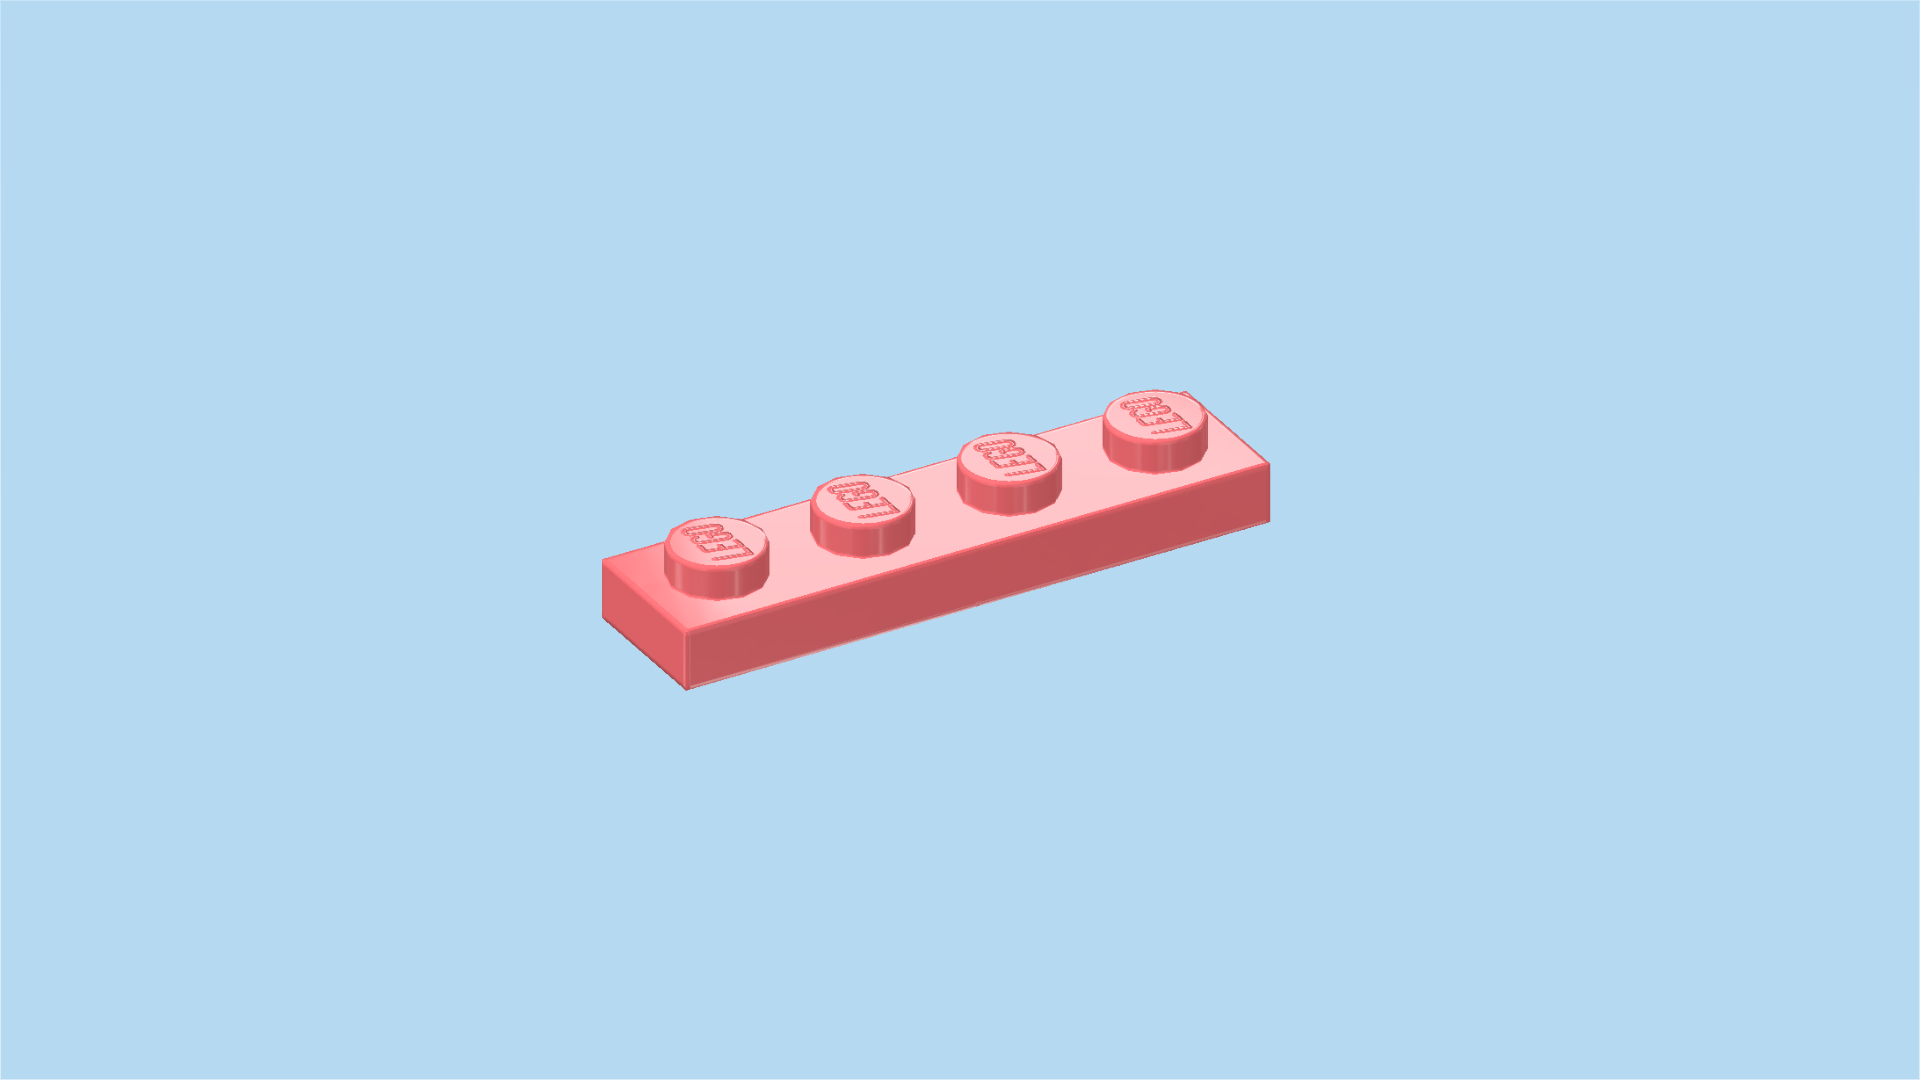
| Find 1 salmon pink plate 1x4. |
| Put it horizontally centered in front of the 2 previous pieces. |
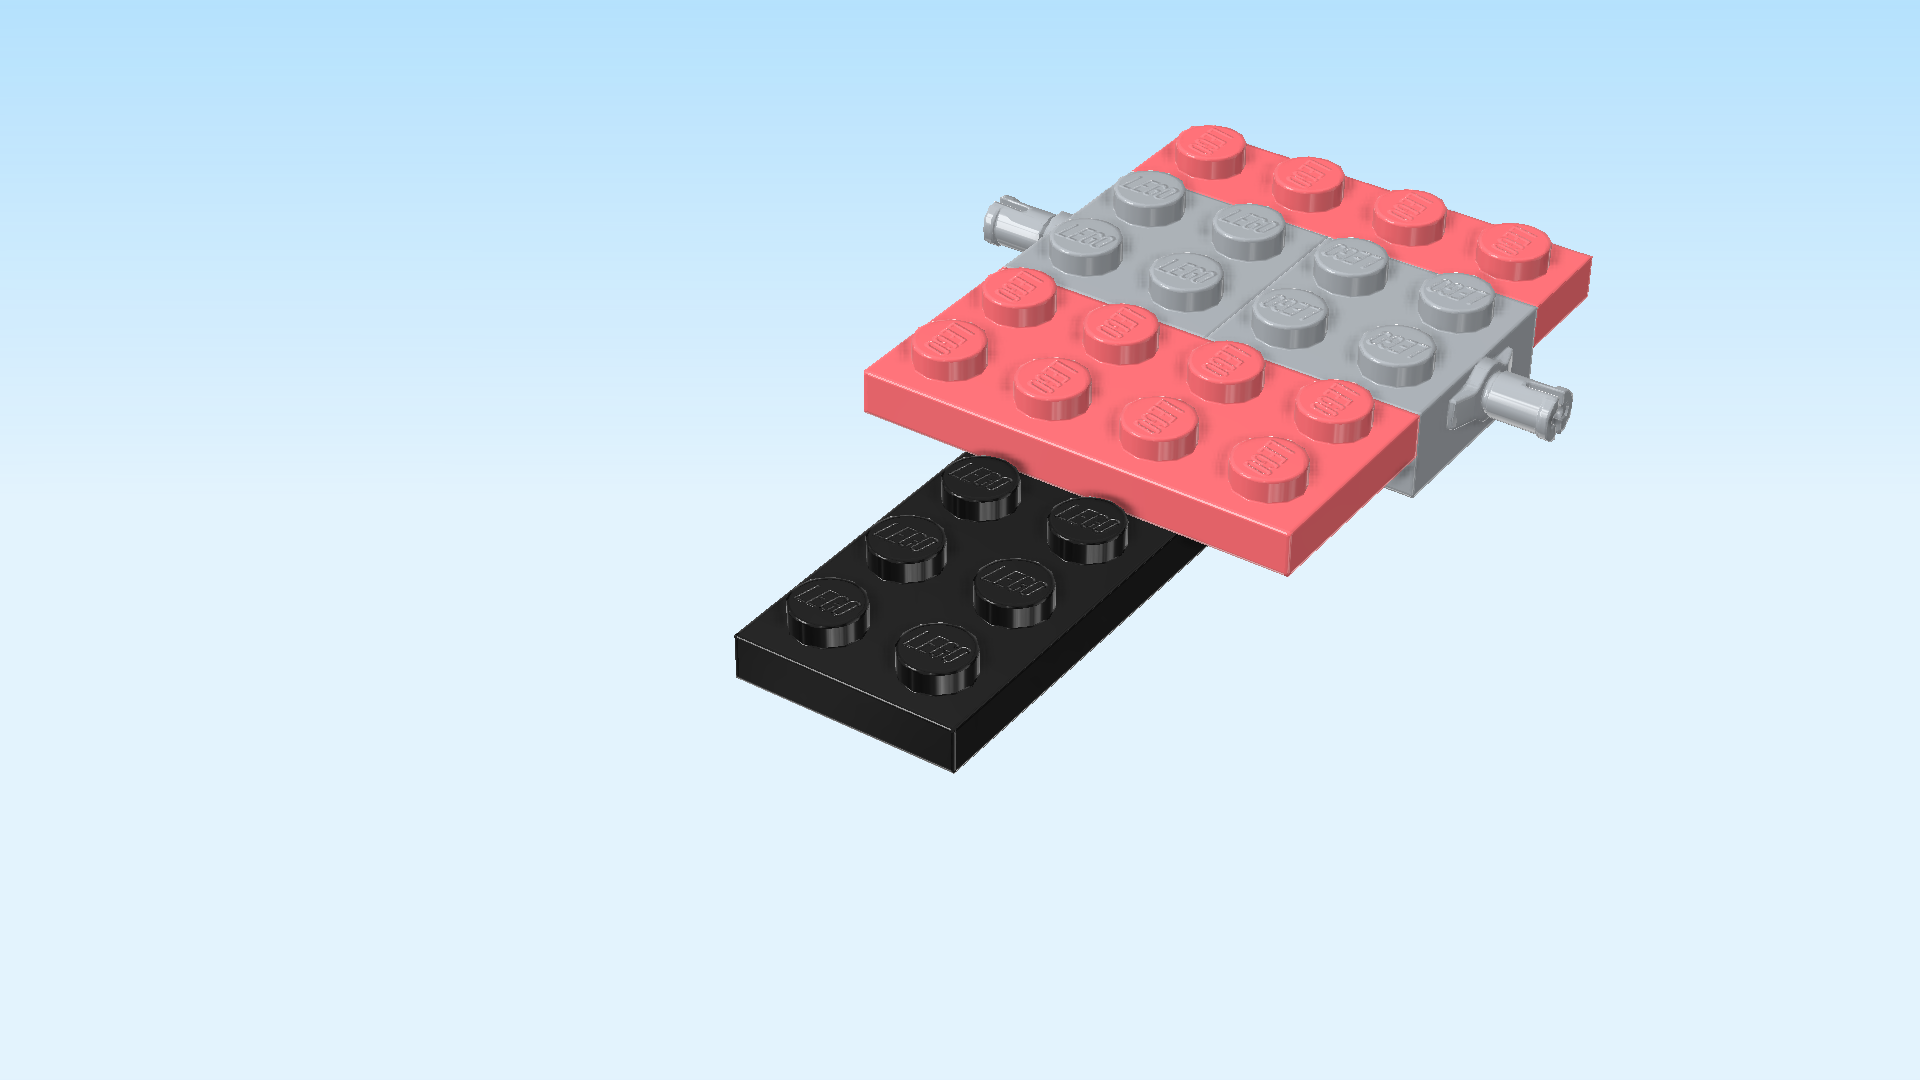
| Find 2 black roof tiles 2x3, 25°. |
| Turn the structure 90 degrees so that the connectors are pointing to the front and back and the longer side of the structure is facing you. |
| Put 1 roof tile horizontally on the 2 backmost rows starting from the left edge, slope to the left. |
| Put the other one horizontally in front of the previous piece, slope to the left. |
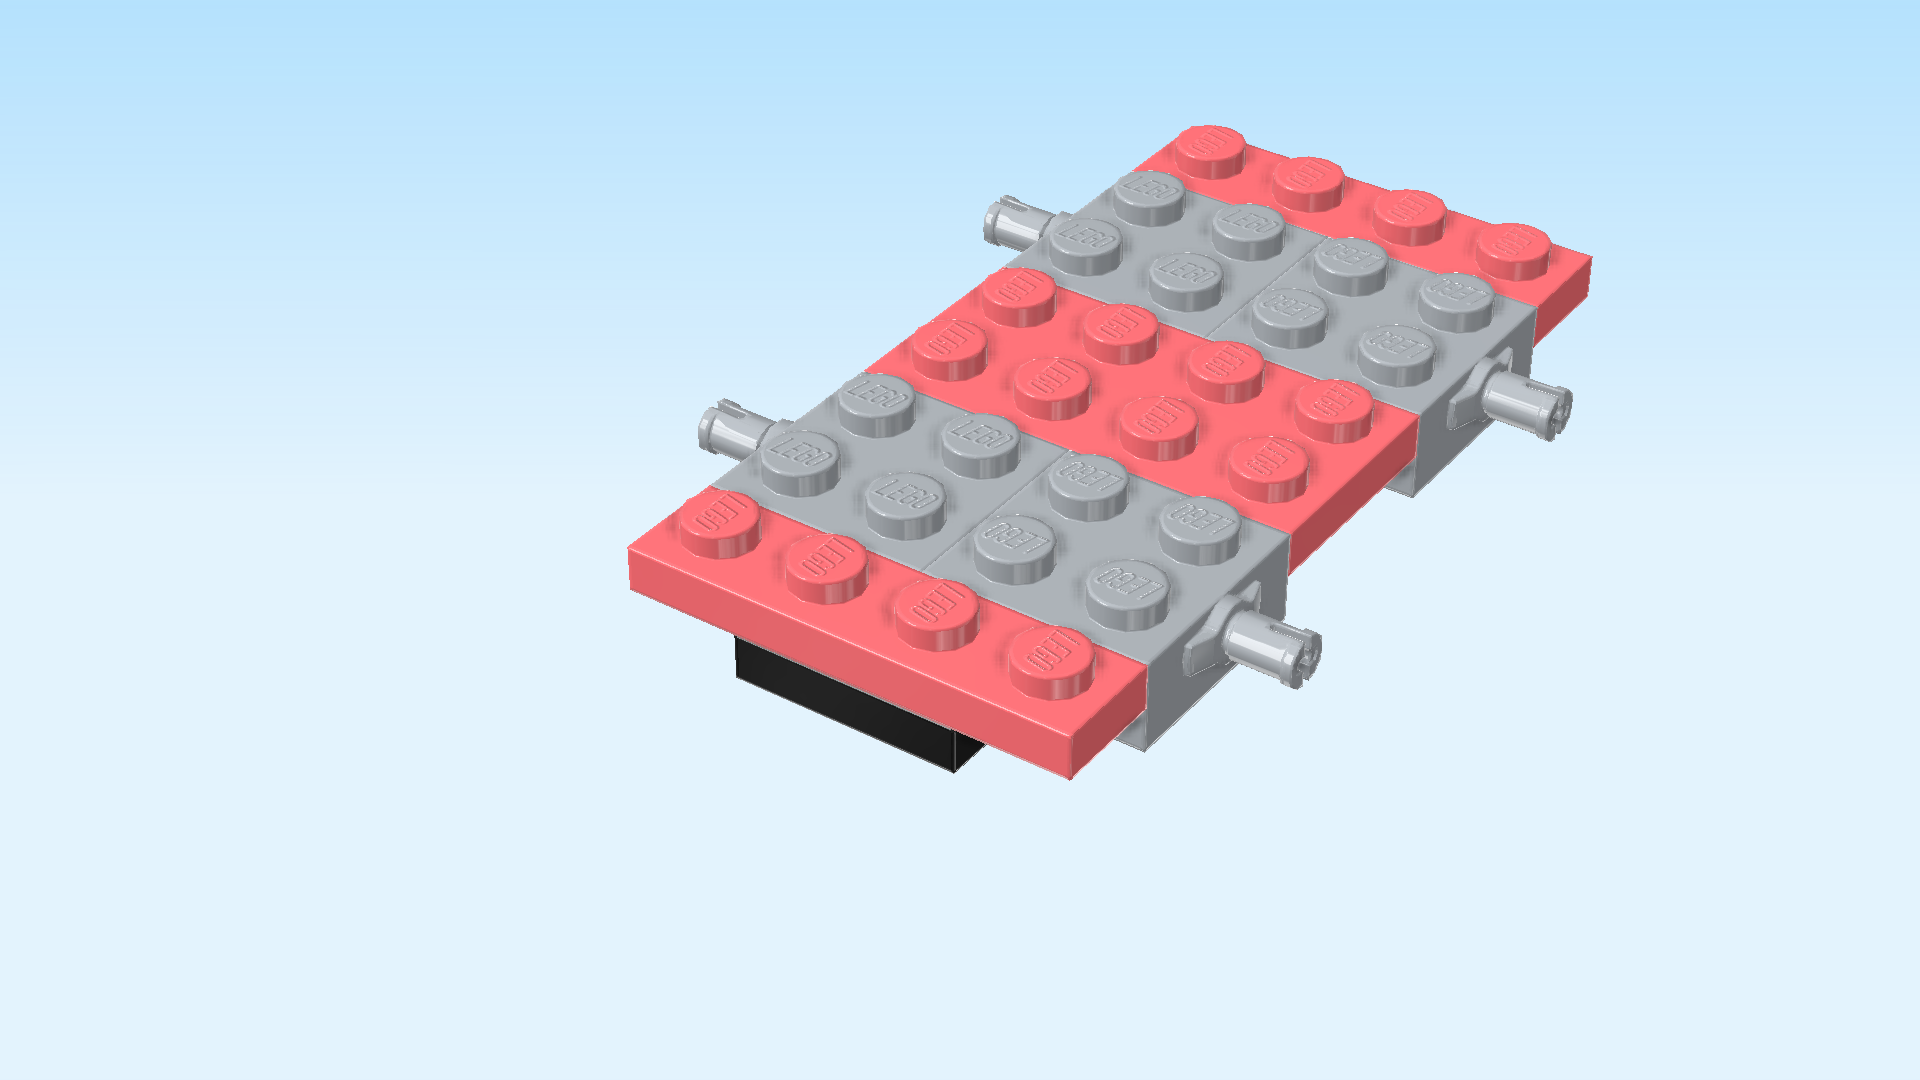
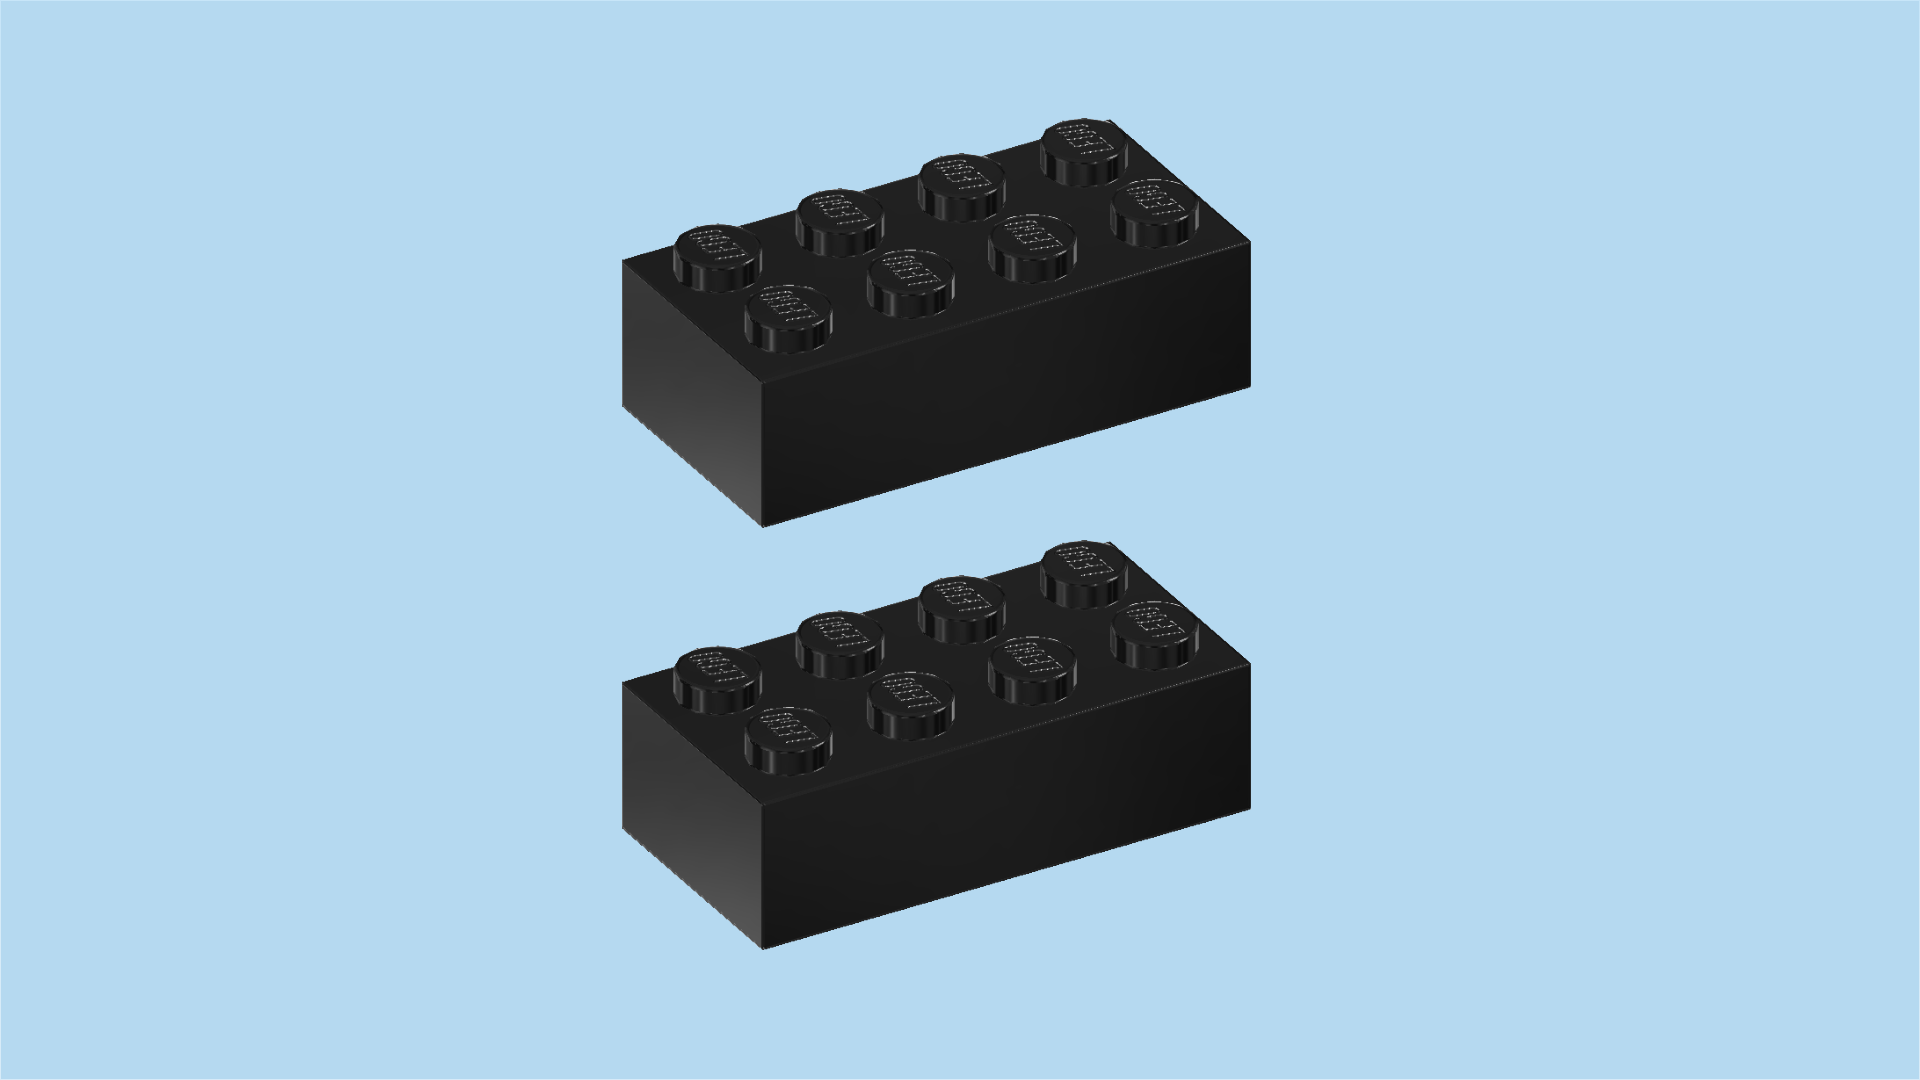
| Find 2 black bricks 2x4. |
| Put 1 horizontally to the right of the previous piece. |
| Put the other one horizontally behind the previous piece. |
| Find 2 black inverted roof tiles 2x2, 45°. |
| Put 1 to the right of the previous piece, slope overhanging to the right. |
| Put the other one in front of the previous piece, slope overhanging to the right. |
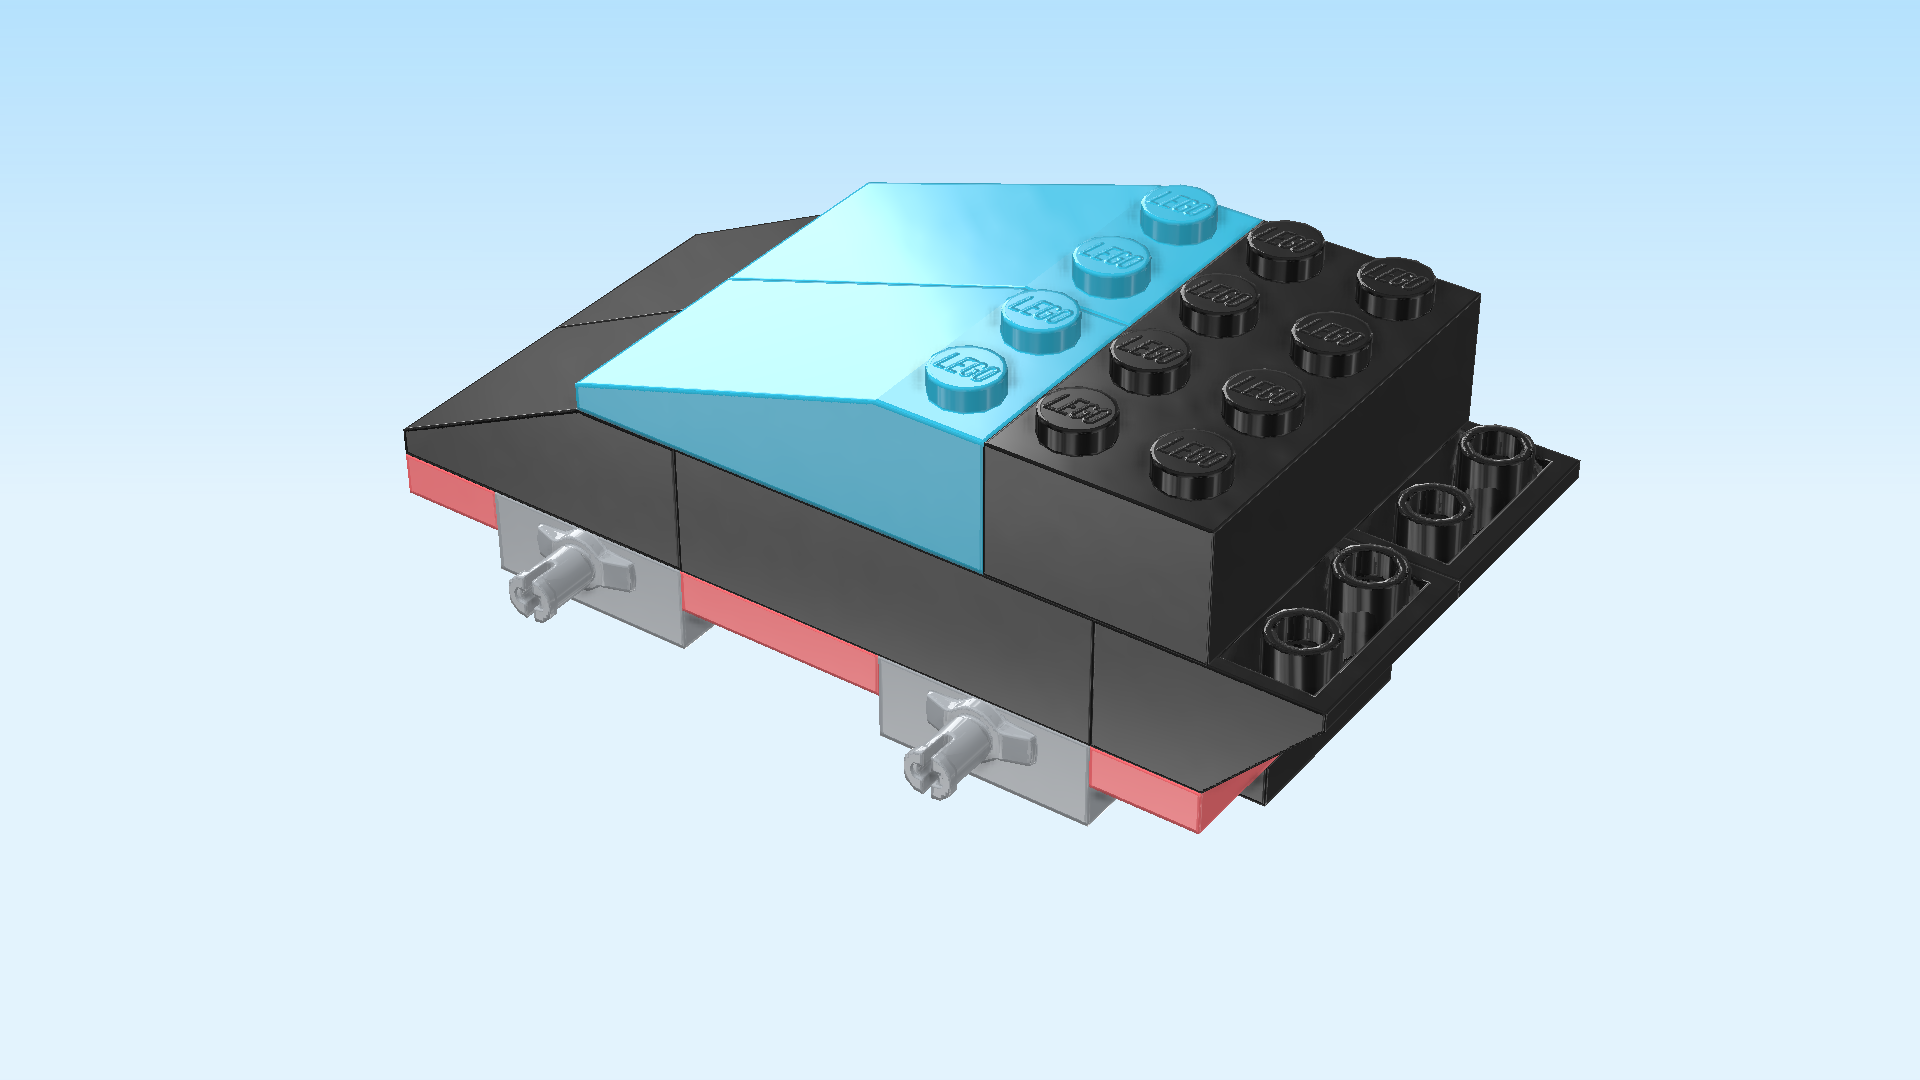
| Find 2 medium azure blue roof tiles 2x4, 18°. |
| Put 1 horizontally on the 2 back rows starting from the left, slope to the left. |
| Put the other one horizontally in front of the previous piece, slope to the left. |
| These two roof tiles will be the windshield of the car. |
| Find 1 black brick 2x4. |
| Put it vertically to the right of the two previous pieces. |
| Find 2 black tiles 1x2 with angled top handle. |
| Put 1 vertically on the 2 back knobs of the rightmost column, slope of the handle to the left. |
| Put the other one vertically in front of the previous piece, slope of the handle again to the left. |
| Find 1 salmon pink plate 2x4. |
| Put it vertically on the 2 leftmost columns. |
| Next, we will assemble the 4 wheels. |
| Collect the following 8 pieces: |
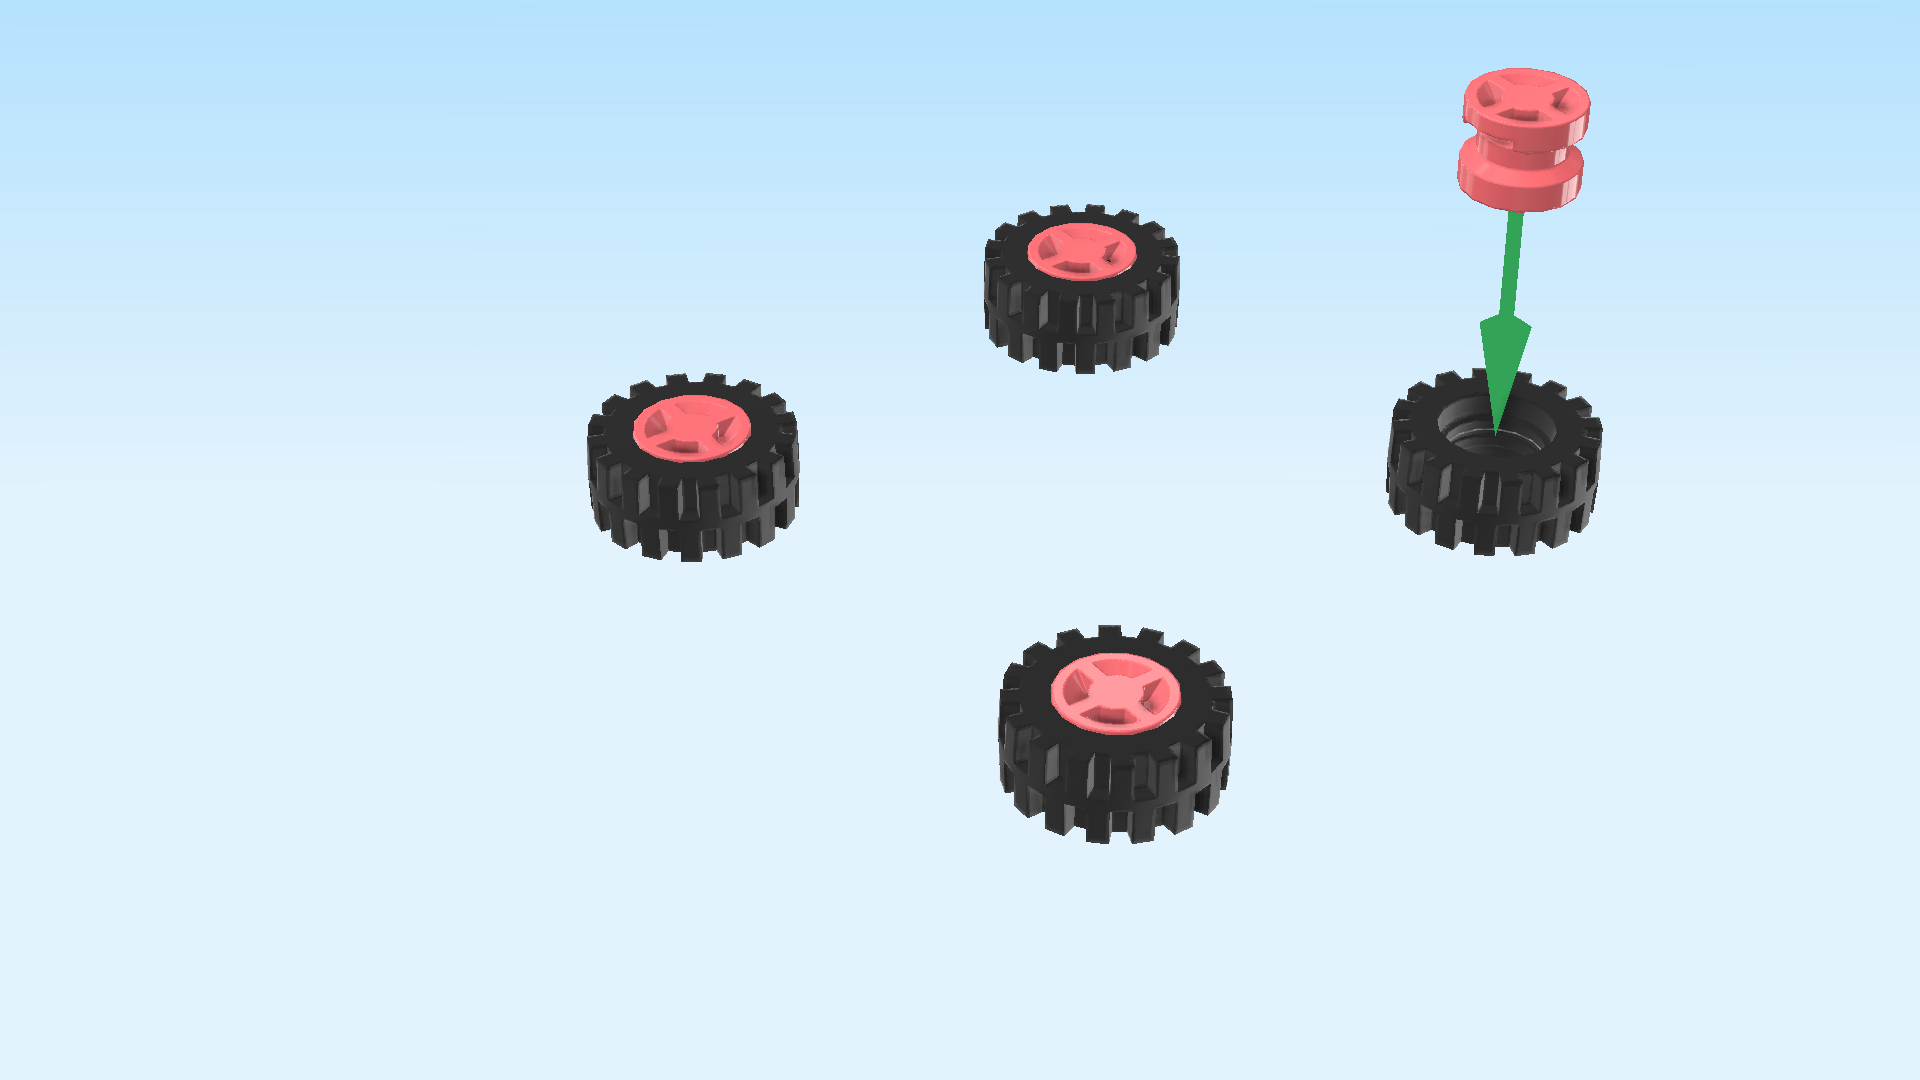
| 4 black narrow rubber tires with high profile, |
| and 4 salmon pink narrow rims with one-sided cross hole. |
| Put the rims in the tires. |
| Snap the cross holes of the wheels on the 4 connectors at the bottom of the structure. |
| The Car is finished! Well done! High time to take it for a spin! |
| Now, we build the Rollerblades. |
| The colorful rollerblades have a yellow base, blue toecaps and the bootlegs are salmon pink and blue. They have actual wheels, so you will be able to use your fingers to dash around with them! Let's start. |
| Collect the following 4 pieces: |
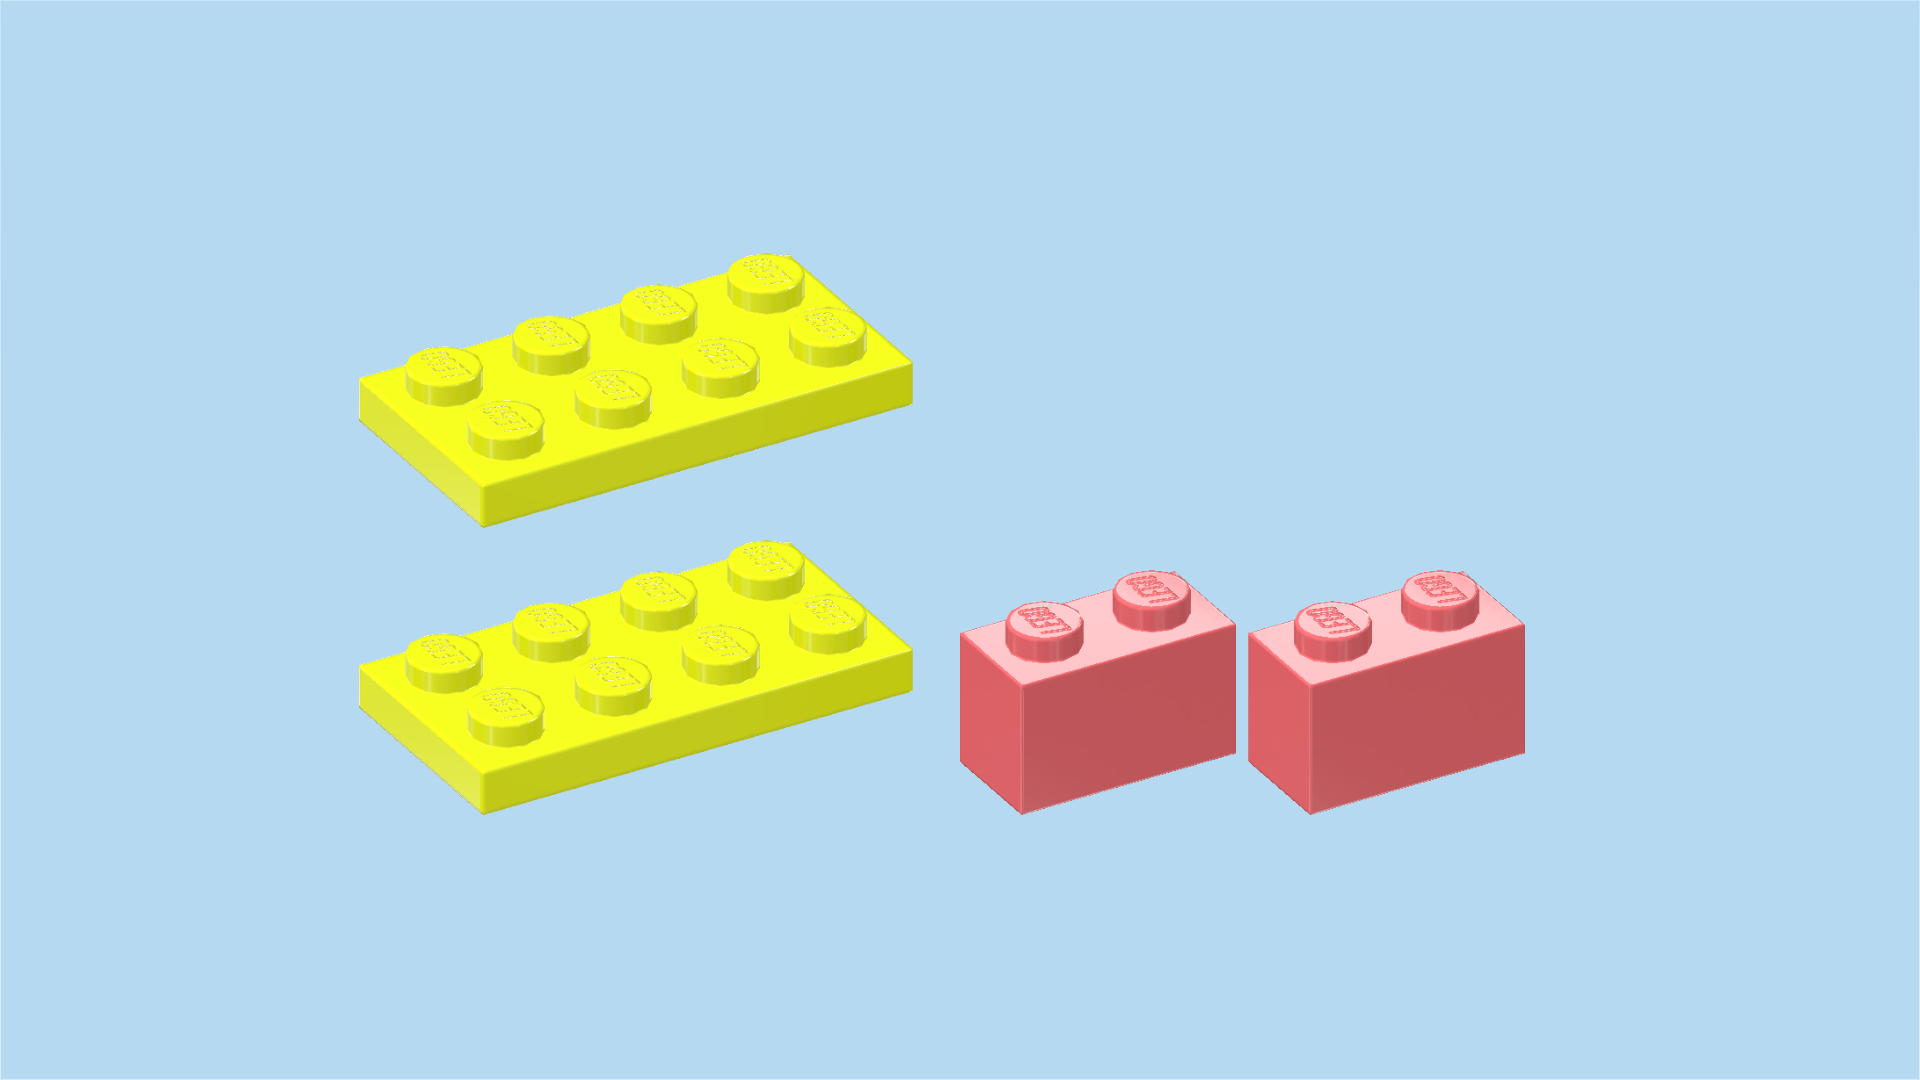
| 2 plates 2x4, |
| and 2 salmon pink bricks 1x2. |
| Put 1 plate 2x4 vertically on the table. |
| Put 1 brick 1x2 horizontally on the backmost row. |
| Repeat with the other two pieces: put the plate 2x4 vertically on the table, and put the brick 1x2 horizontally on the backmost row. |
| Find 2 medium azure blue curved bricks 2x3 with 4 knobs. |
| Put 1 vertically in front of the previous piece, curve to the front. |
| Repeat with the other rollerblade: put the other curve brick vertically in front of the brick 1x2, curve to the front. |
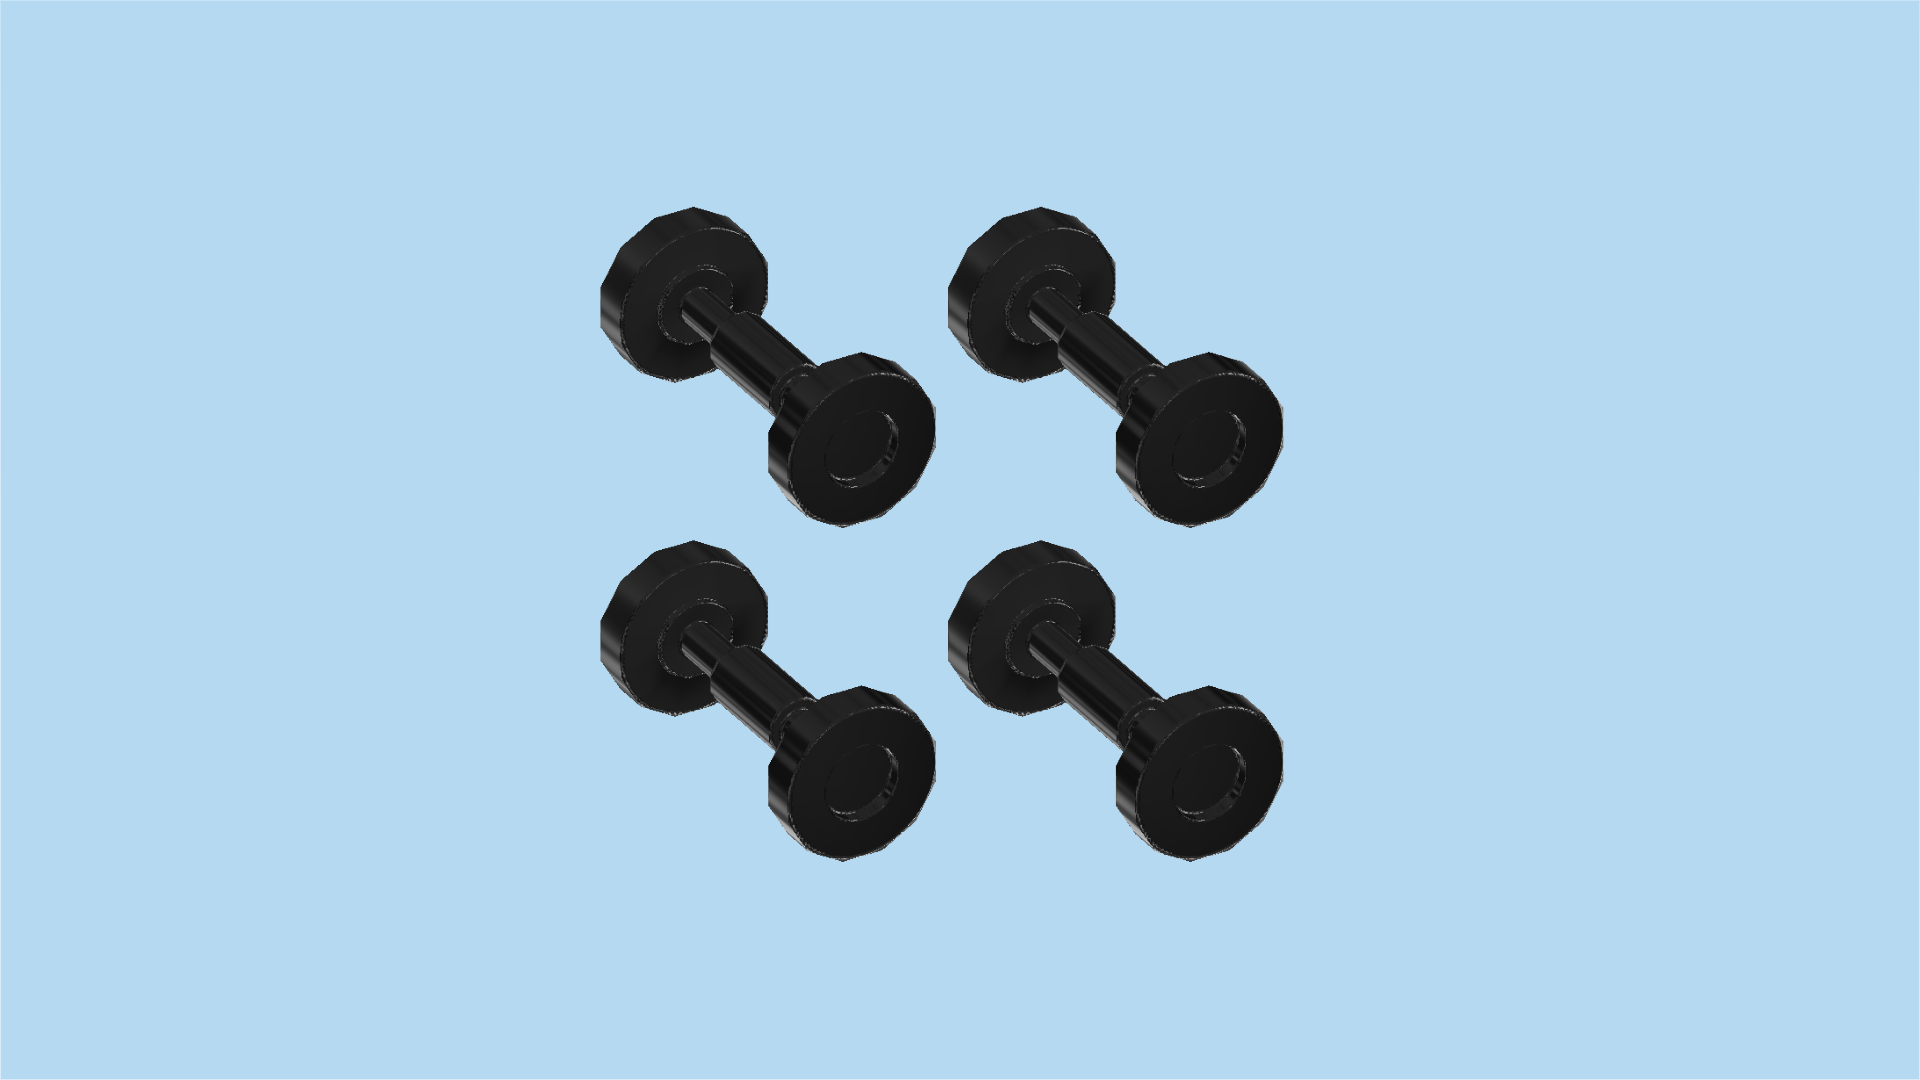
| Find 4 medium stone grey disks 2x2 with 2 bottom clasps. |
| First, flip the 2 rollerblade structures upside down so that the knobs are touching the table. Keep them in their vertical orientation, this means that their shorter side with the curves should be facing you. |
| Put 1 disk on the back half of one rollerblade, clasps to the left and right. |
| Put 1 disk in front of the previous piece, clasps again to the left and right. |
| Repeat with the second rollerblade. |
| Find 4 black small plastic wheel axles. |
| Snap 1 horizontally into the 2 clasps of the previous piece. |
| Repeat with the remaining 3 wheel axles and the remaining 3 disks with clasps. |
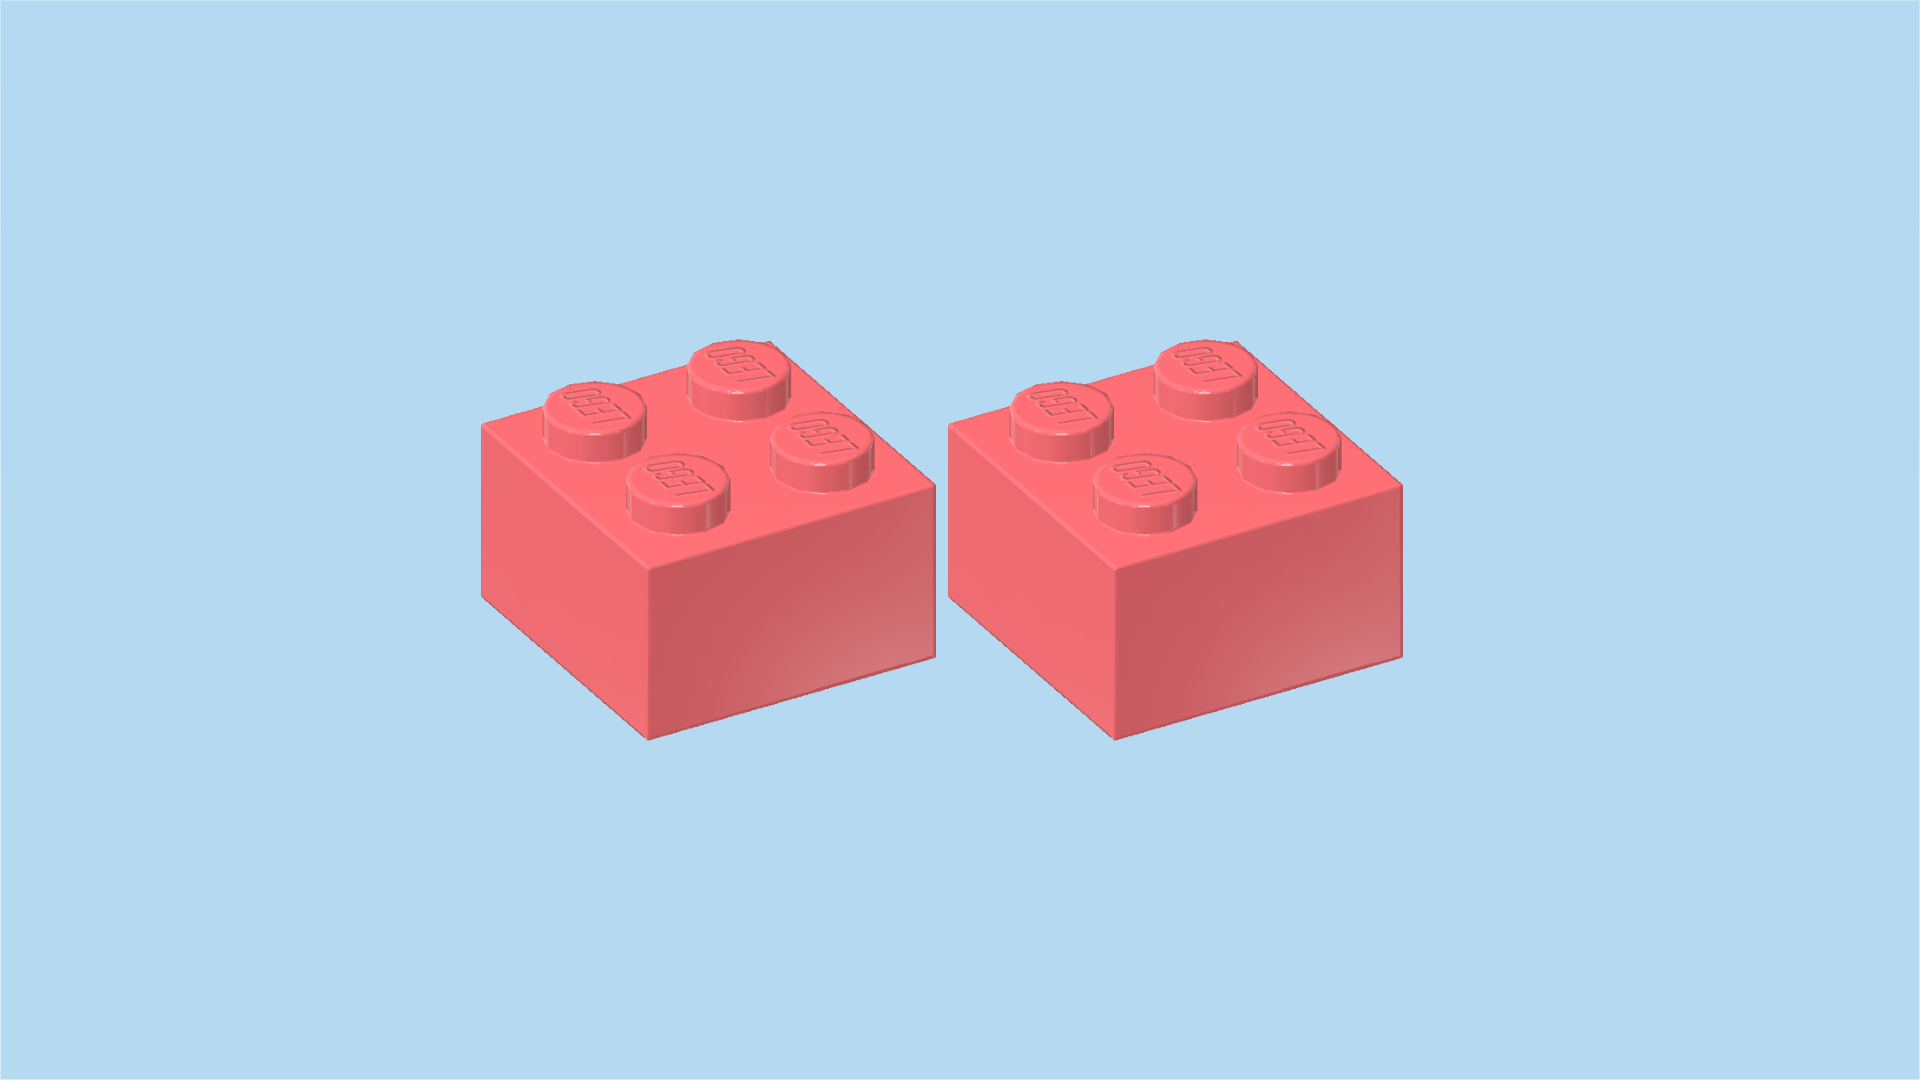
| Find 2 salmon pink bricks 2x2. |
| Flip the rollerblades right side up again. Make sure that their front curves are still facing you. |
| Put 1 brick 2x2 on the 2 backmost rows. |
| Repeat symmetrically with the other rollerblade. |
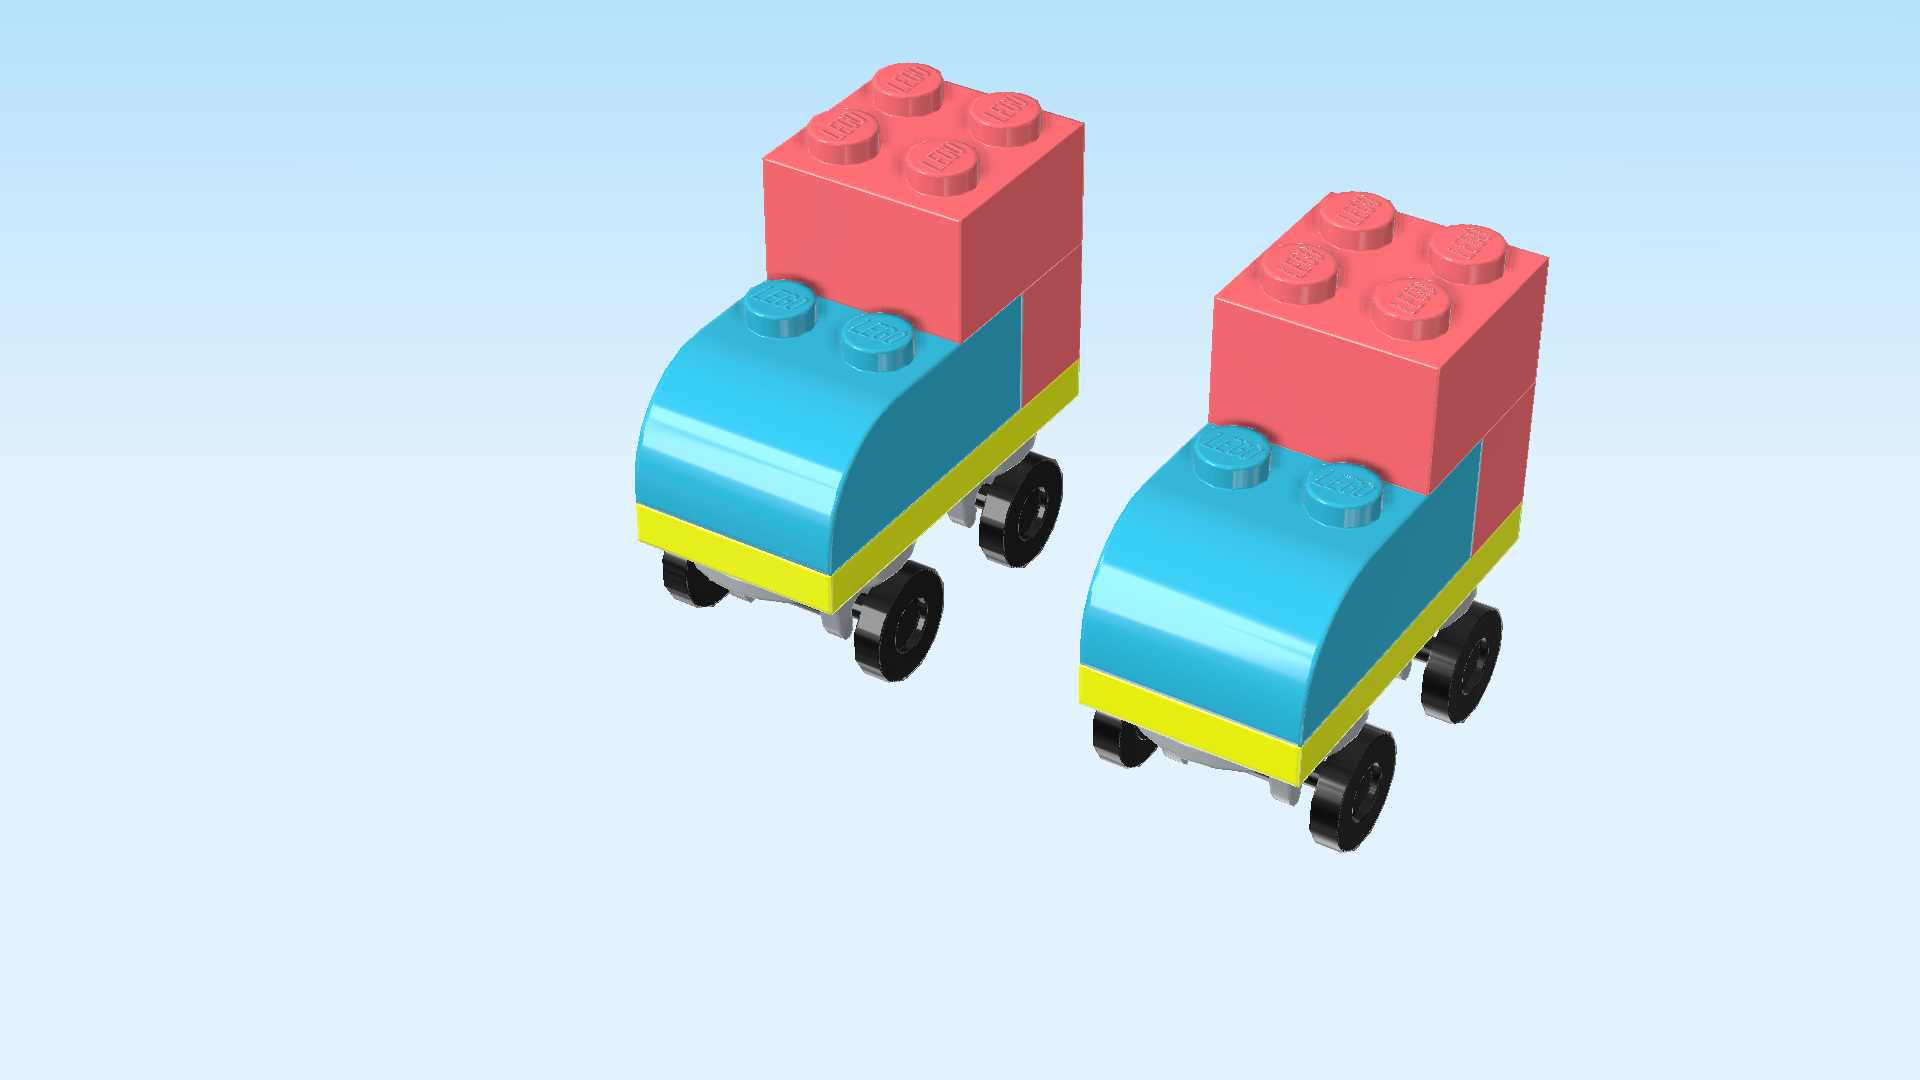
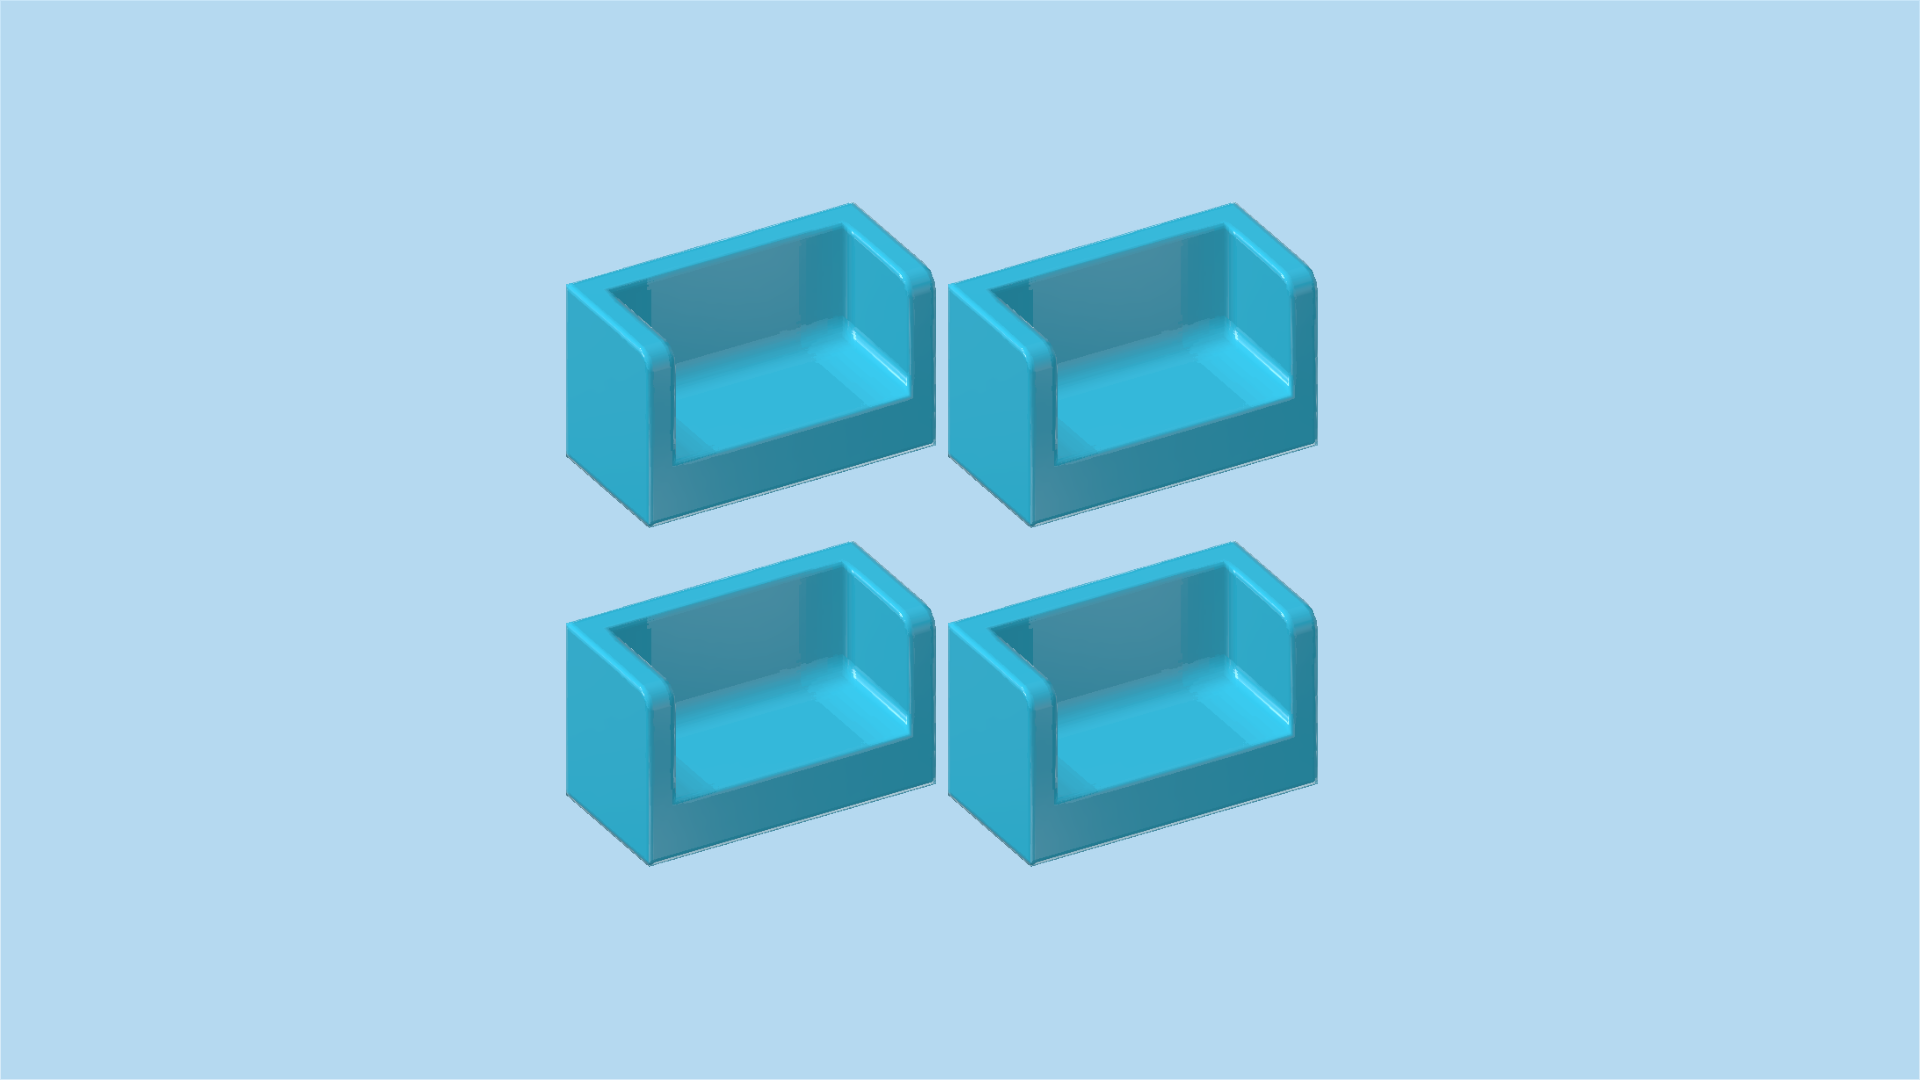
| Find 4 medium azure blue panel elements 1x2x1 with back and side panels. |
| Put 1 vertically on the left half of the previous piece, long side panel to the left. |
| Put 1 vertically to the right of the previous piece, long side panel to the right. Together, they should form a box without a lid. |
| Repeat symmetrically on the other rollerblade. |
| The Rollerblades are finished! Great job! Can you use your fingers to dash around in them? It's not that easy, so give it a try! |
| The rollerblades are the last of our five instructed builds for this set. Now it's time to play with your mini builds and rebuild, join and modify them as you please. But that's not all! Open the unnumbered bags to get plenty of additional bricks to build anything you can think of! Whole teams of marker pens, a fleet of cars, an entire family of pineapples - or whatever your creativity comes up with! |
| Enjoy! |