| LEGO Audio & Braille Building Instructions for the LEGO set "Classic Bricks and Ideas". |
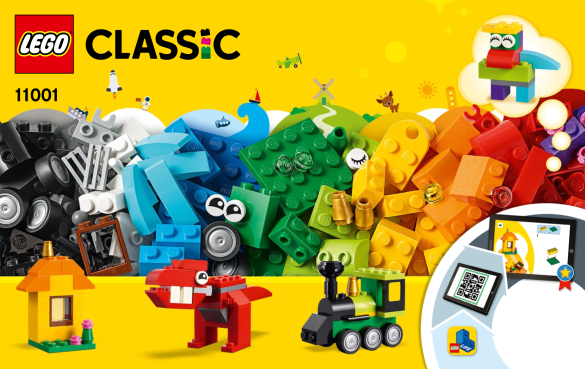
| Take your first steps into the world of building with LEGO bricks with a simple but fun selection of small builds: you can build a house, a T-Rex, a steam locomotive and a keyboard. But this set also includes additional bricks for your own building ideas! |
| Open the box. This is tricky for everyone; ask someone to help you! |
| The box contains a booklet with visual building instructions, a loose base plate, and one small as well as one large plastic bag. |
| Carefully open the two plastic bags. |
| Before you start building, ask a sighted person to help you sort the pieces by color. |
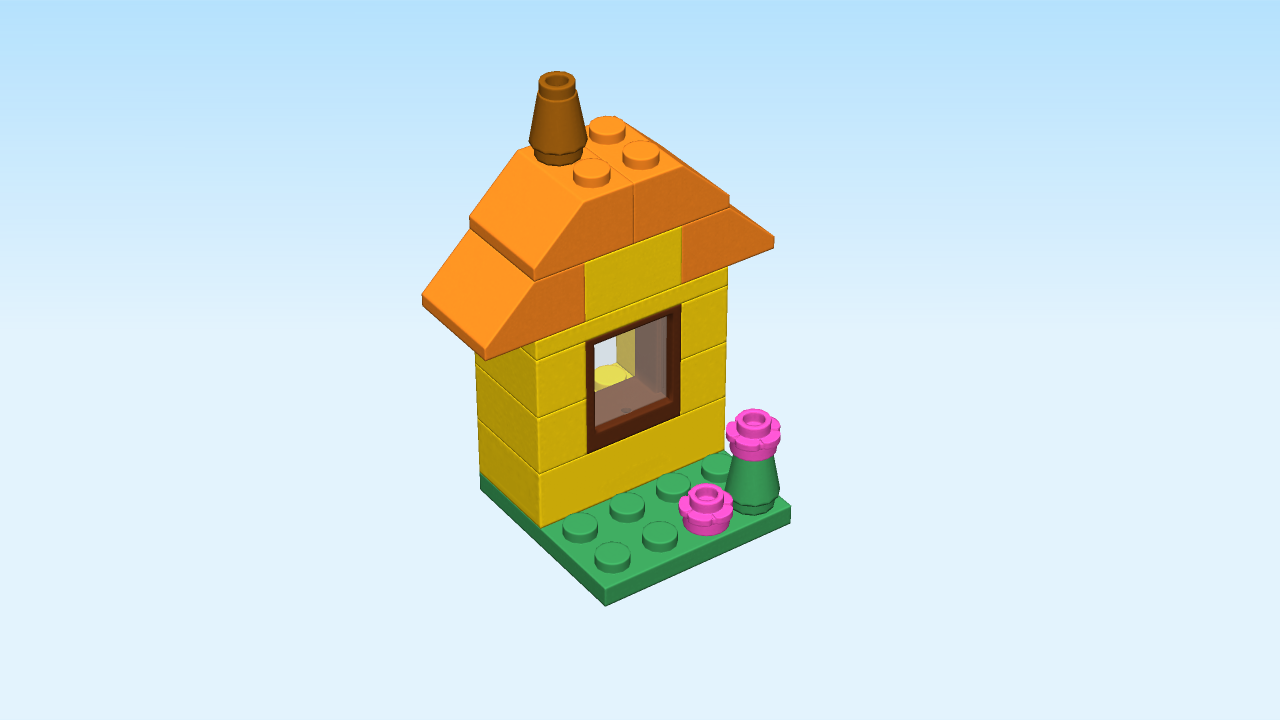
| First, we will build the house. |
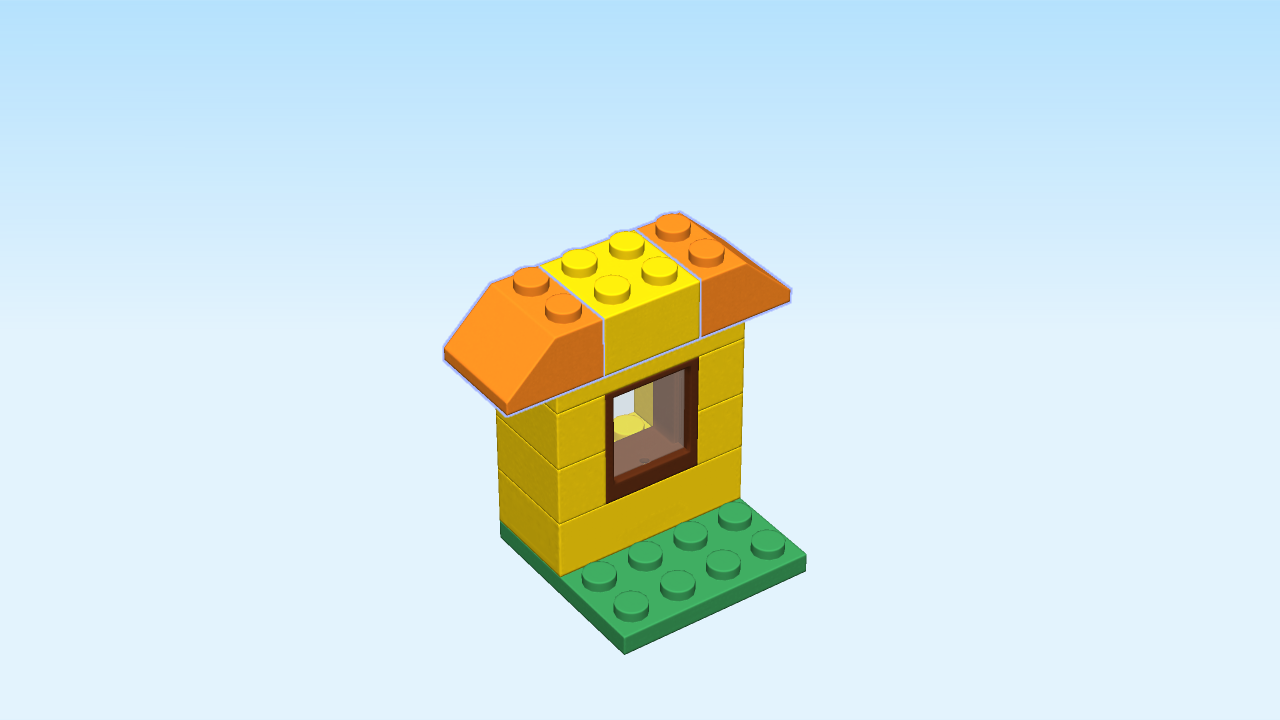
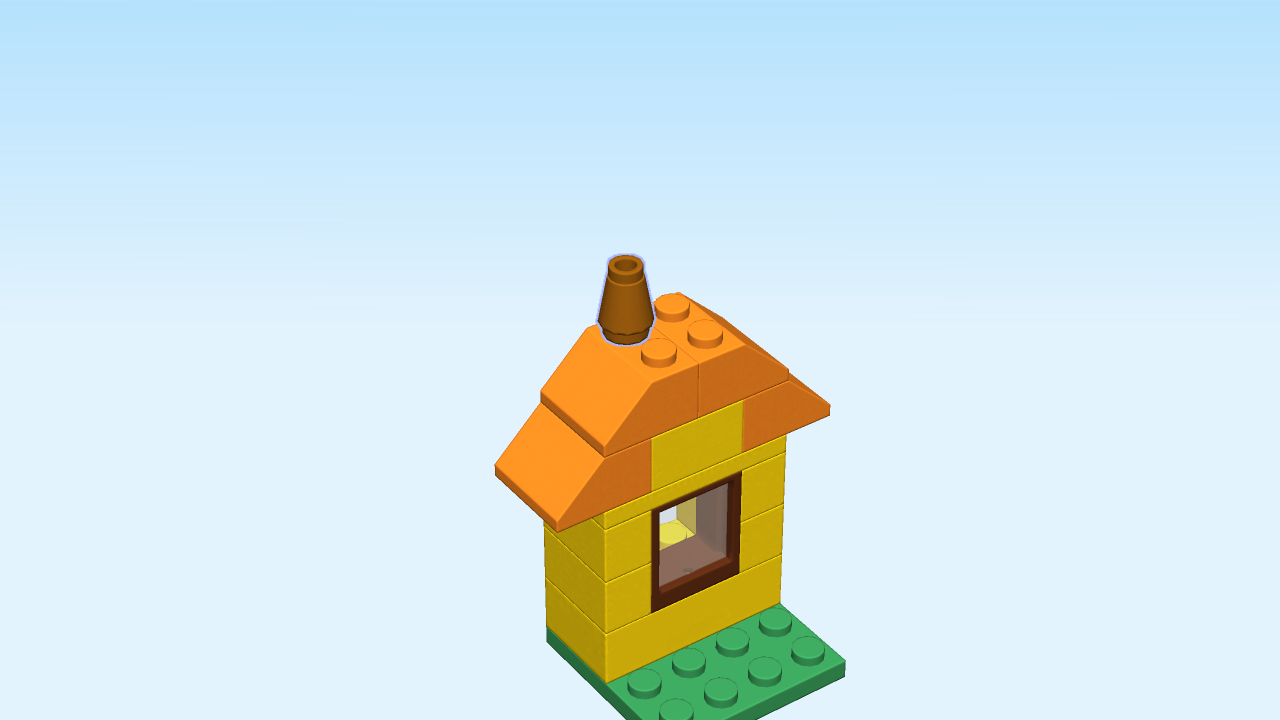
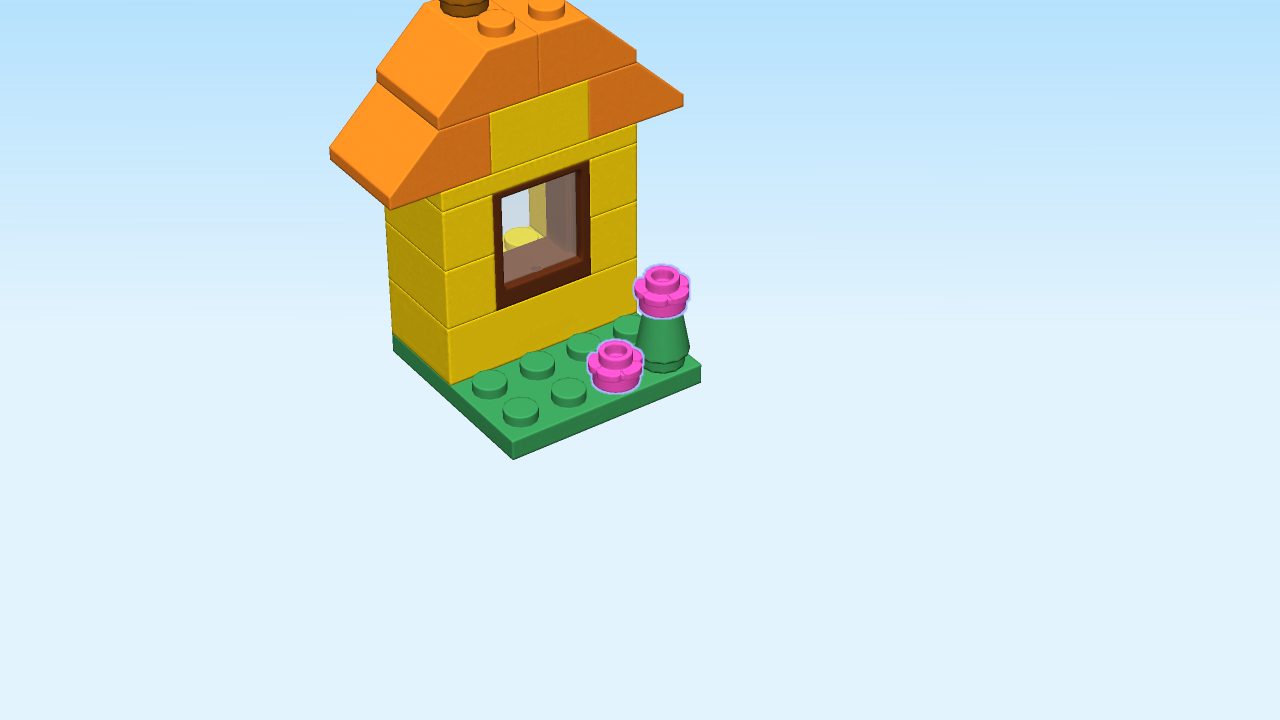
| (It stands on green grass, the walls are yellow and the roof is orange. On top, there is a golden chimney; some flowers grow in the front yard. And there even is a small transparent window!). |
| The house consists of 18 pieces. The level is easy; however, you might need some help assembling the window. |
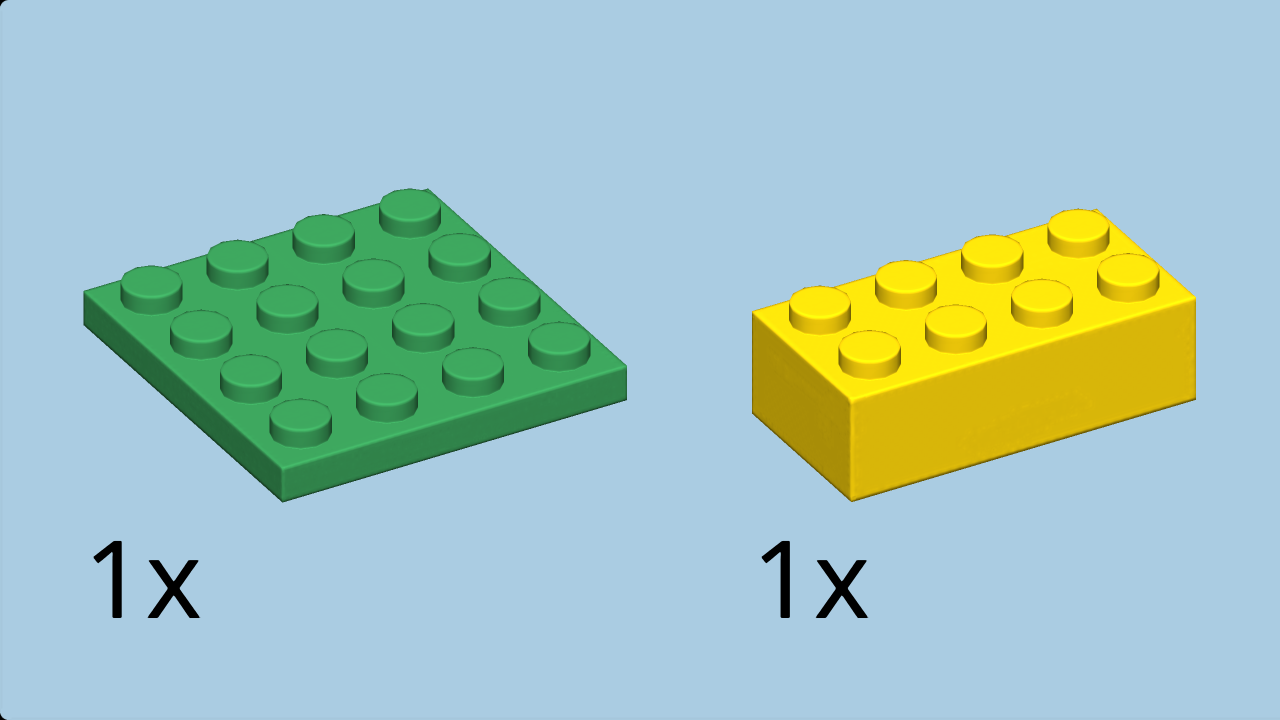
| Collect the following 2 pieces: |
| 1 dark green plate 4x4, |
| and 1 bright yellow brick 2x4. |
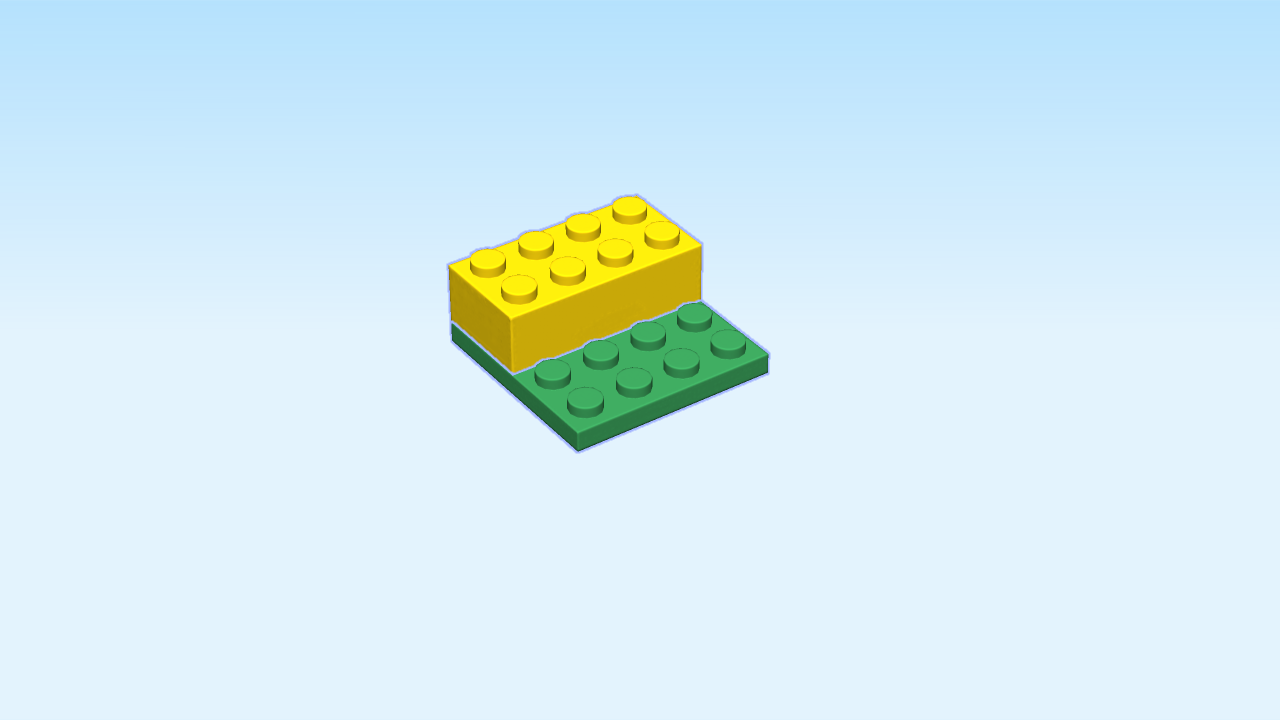
| Put the plate 4x4 on the table. |
| Put the brick 2x4 horizontally on the back two rows. |
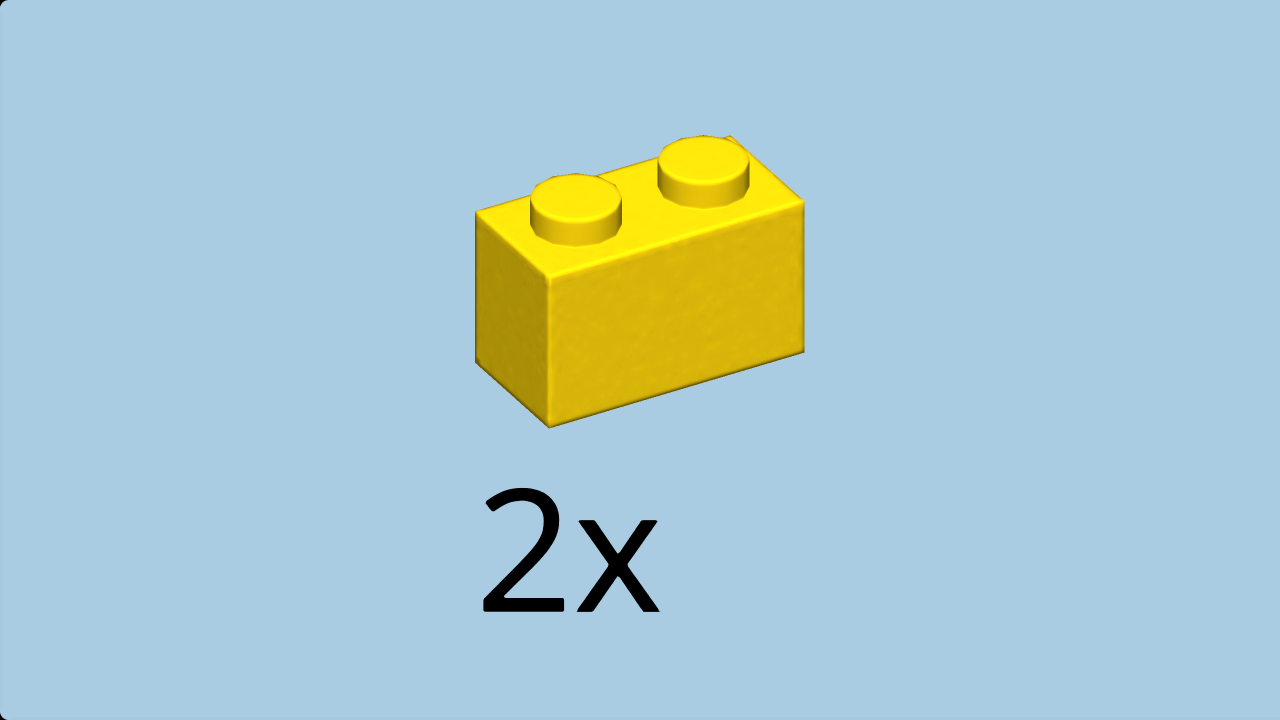
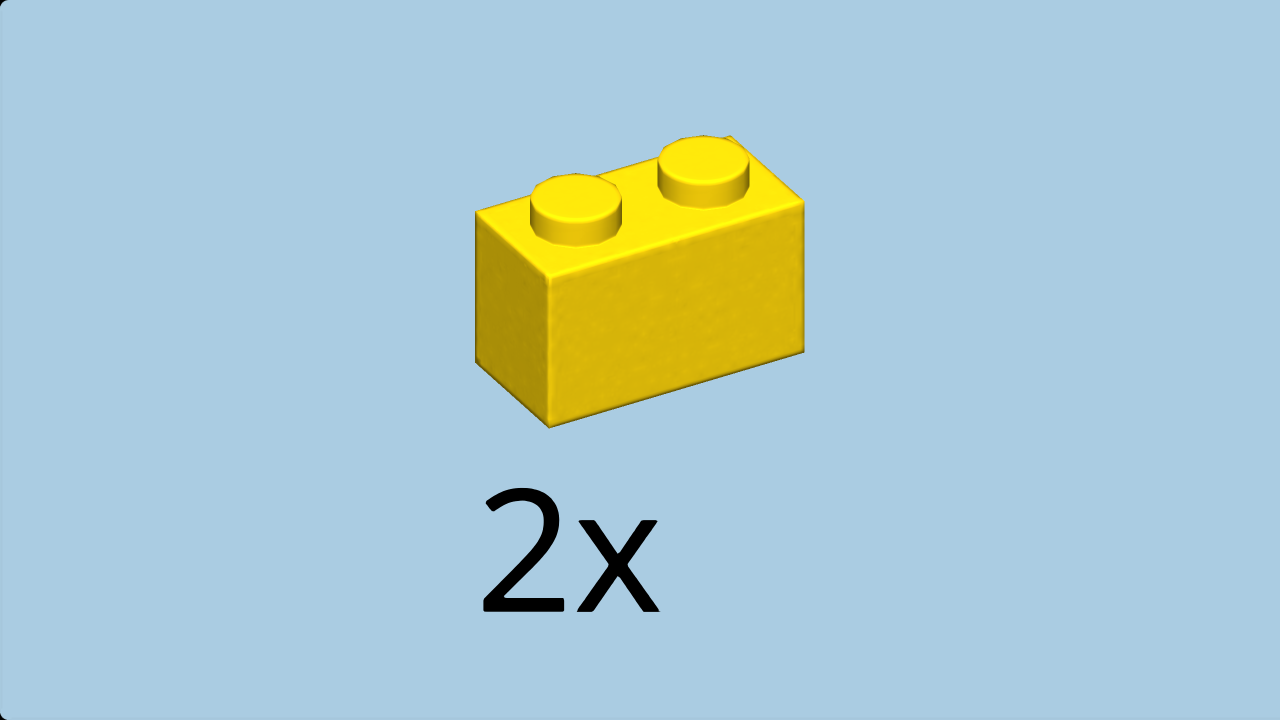
| Find 2 bright yellow bricks 1x2. |
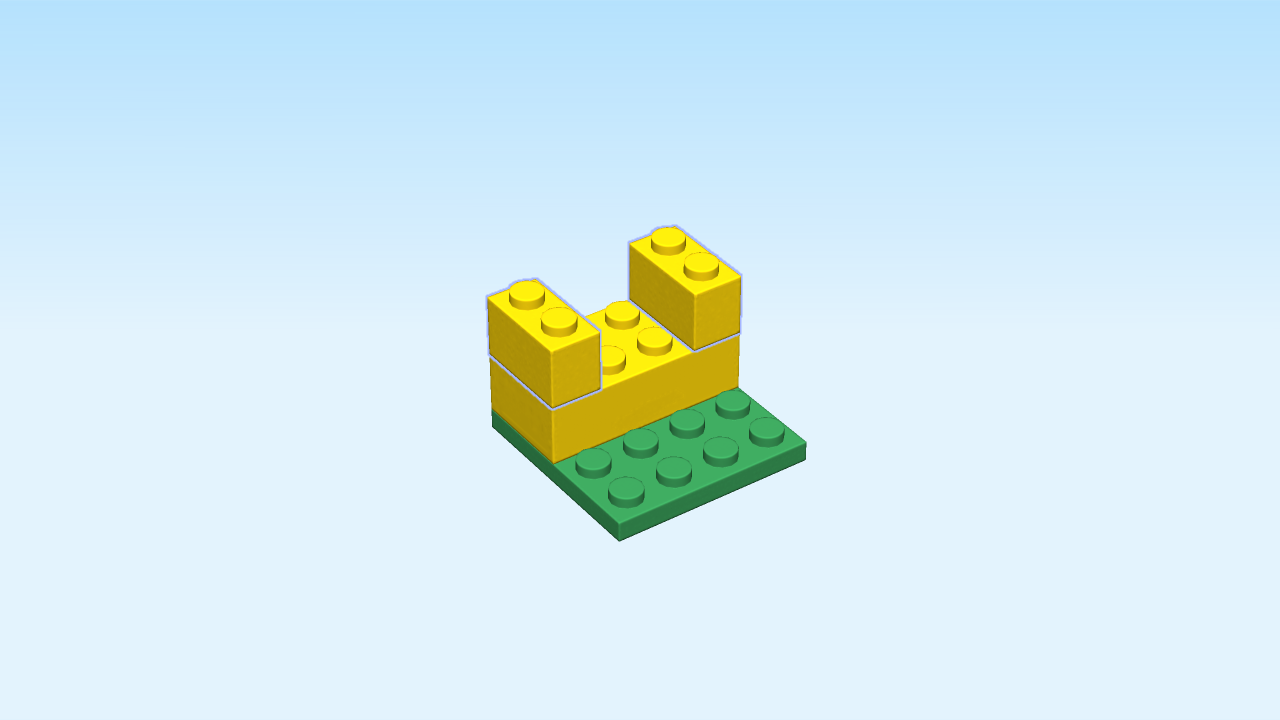
| Put one brick 1x2 vertically on the rightmost column at the back. |
| Repeat symmetrically on the left. |
| Next, we will assemble the window. |
| This can be tricky; ask someone to help you if it is too difficult. |
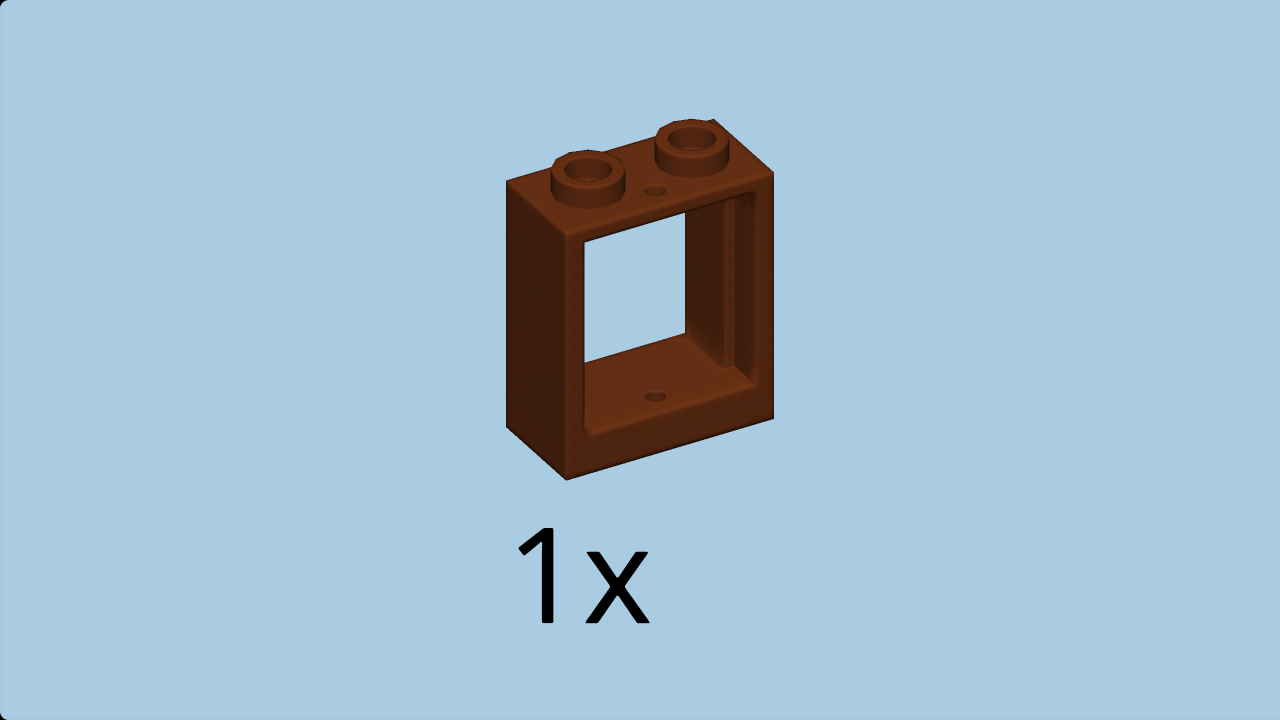
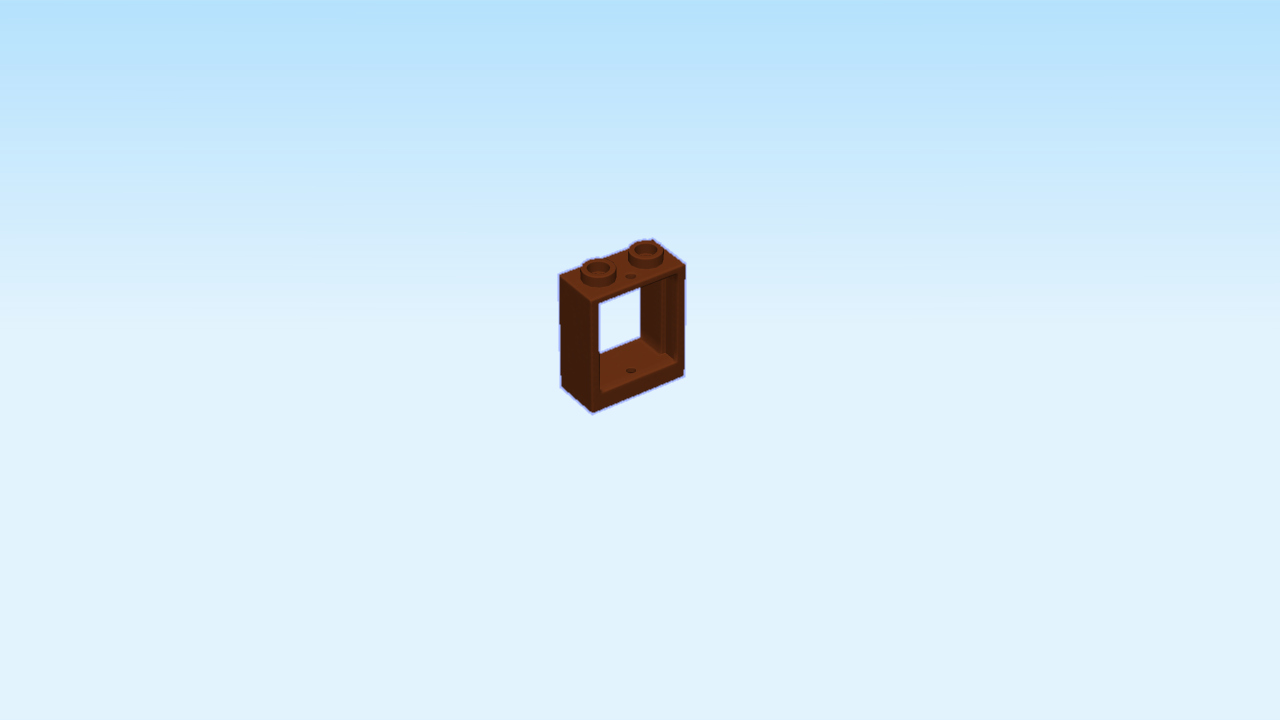
| Find 1 reddish brown window frame 1x2x2. |
| Put it flat on the table, inner notch to the top, knobs to the back. |
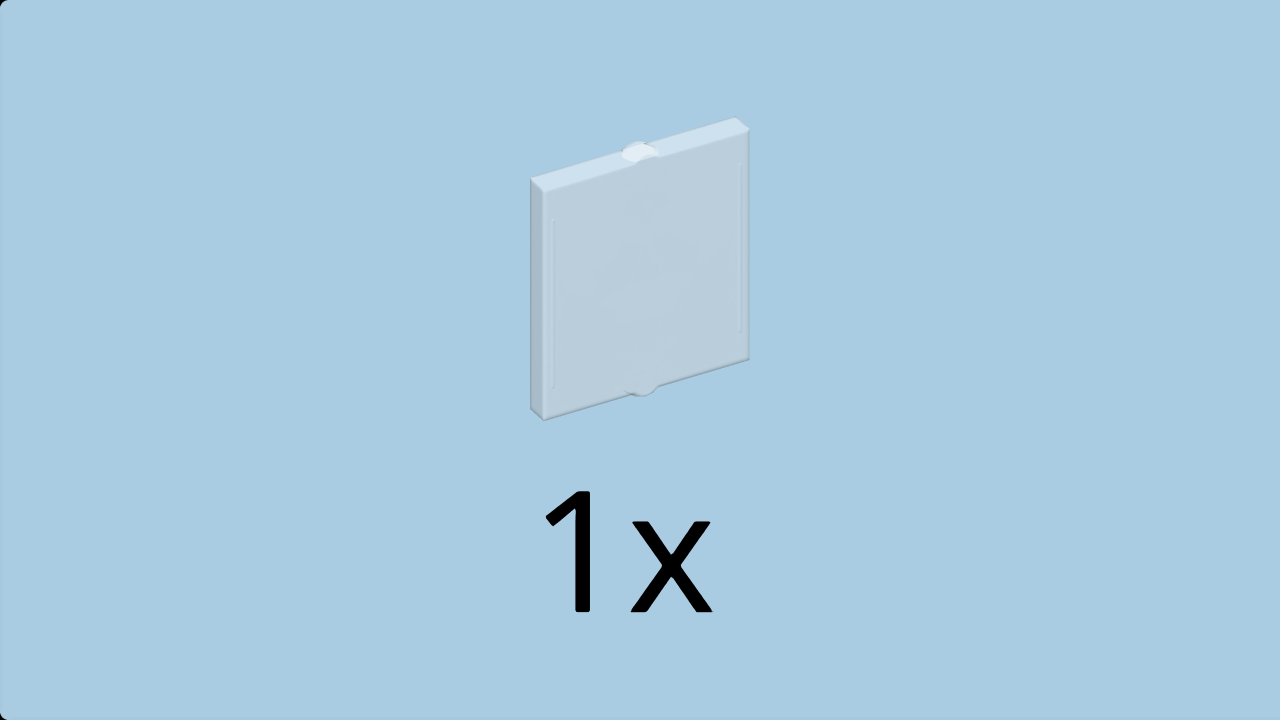
| Find 1 transparent glass for window frame 1x2x2. |
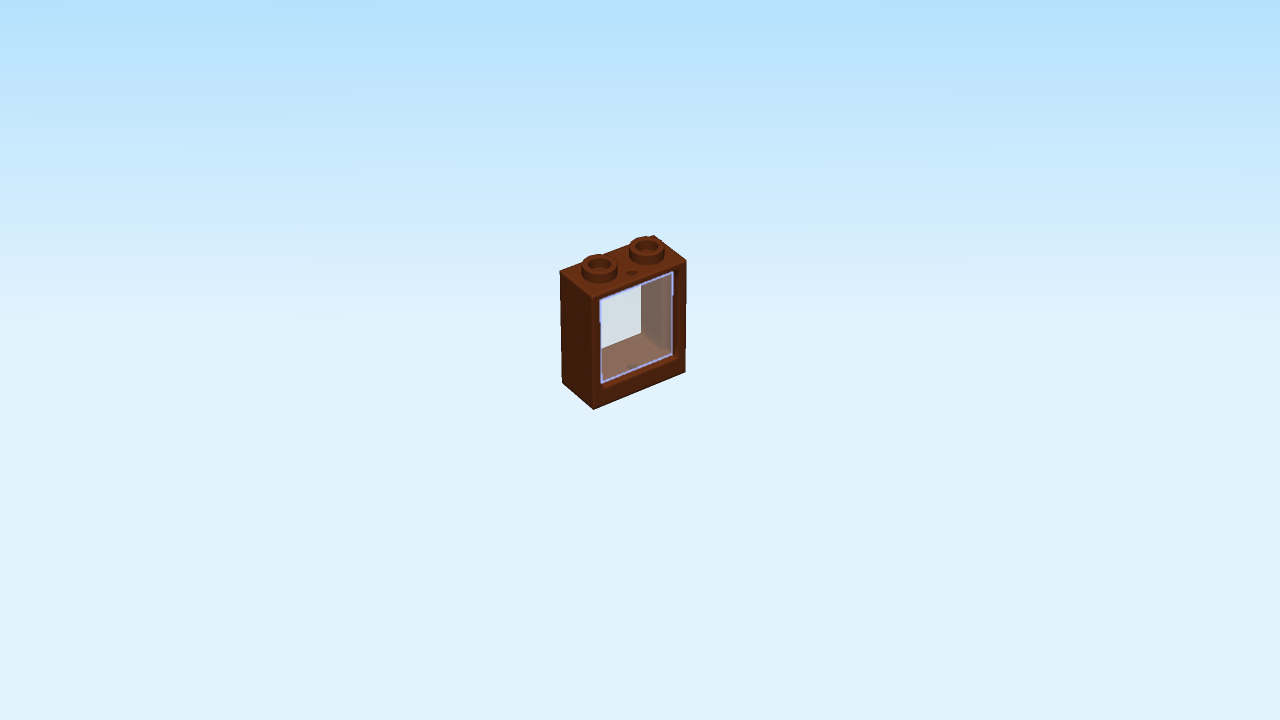
| Snap the window glass into the inner notch of the window frame. |
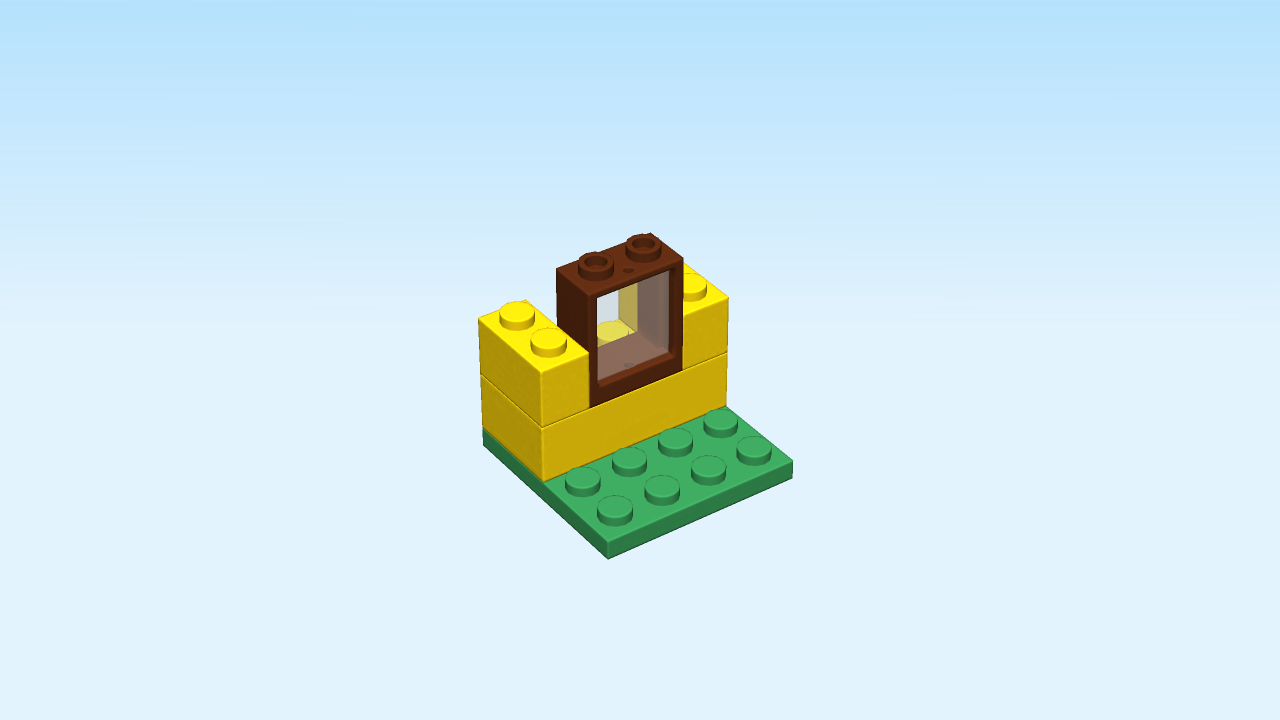
| The window is finished! Mount it horizontally in the middle of the second row from the back. |
| Find 2 bright yellow bricks 1x2. |
| Put one vertically to the right of the window. |
| Repeat symmetrically on the left. |
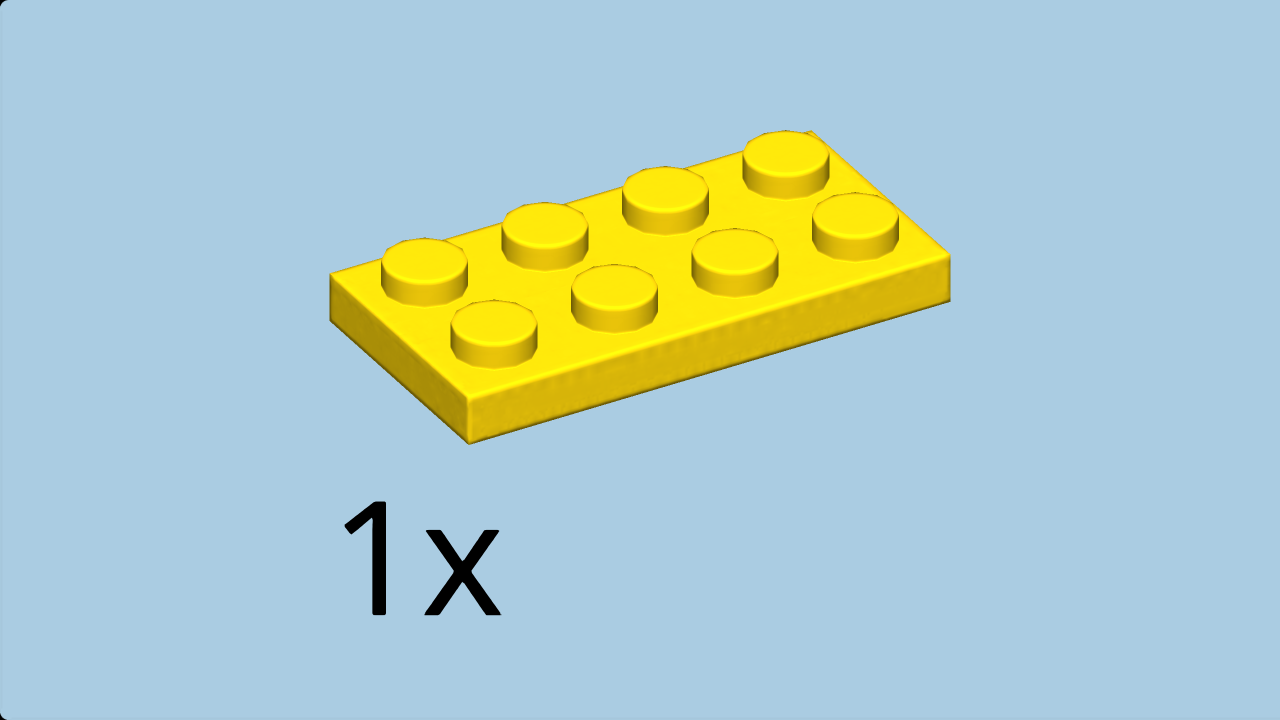
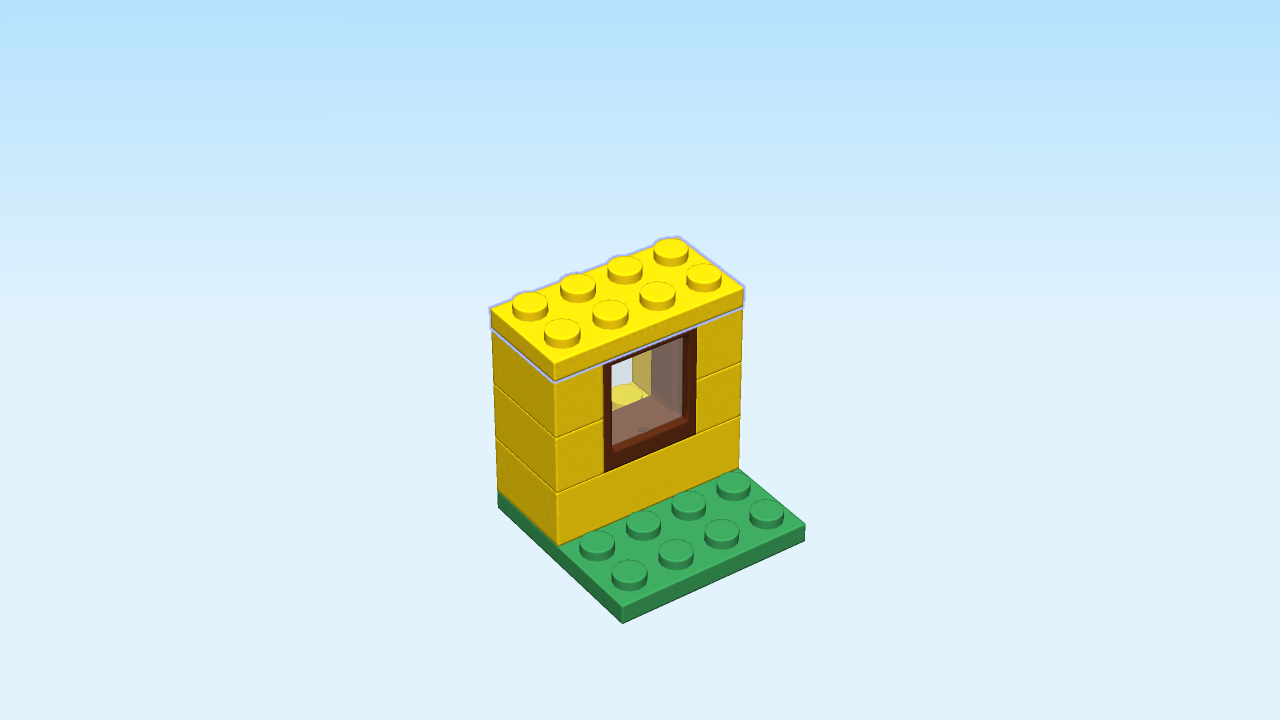
| Find 1 bright yellow plate 2x4. |
| Put it horizontally on the two back rows. |
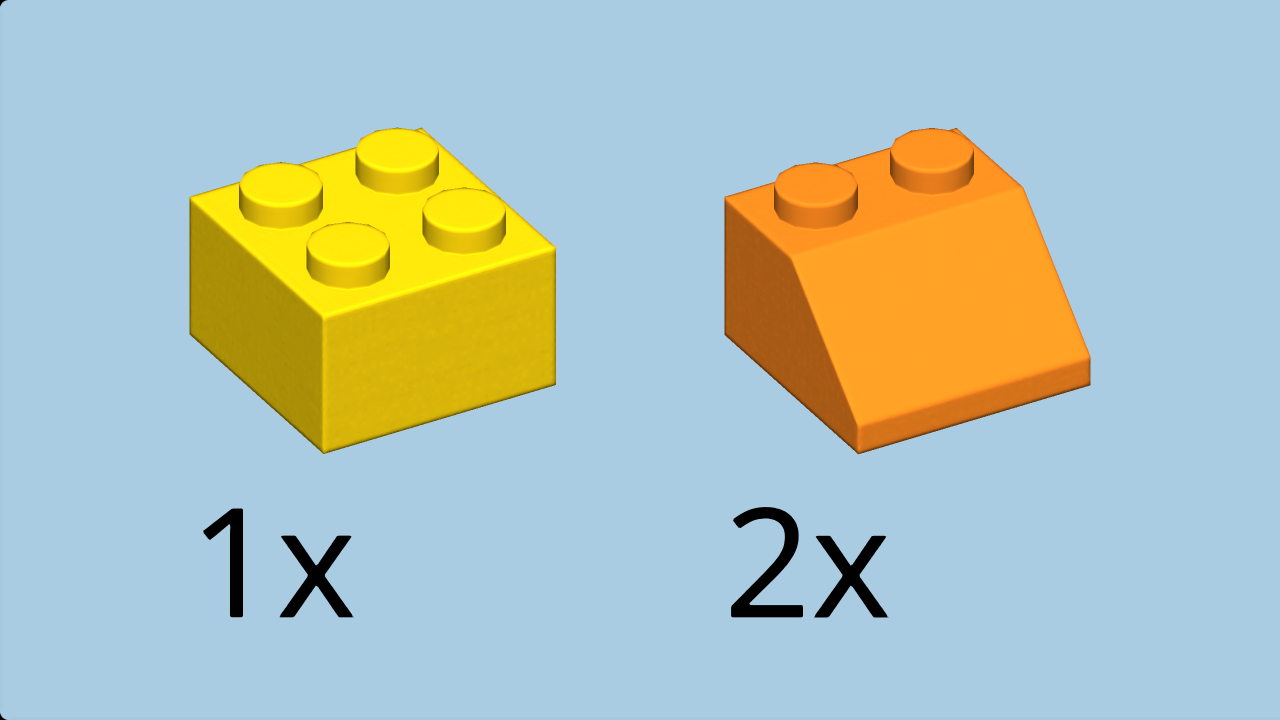
| Collect the following 3 pieces: |
| 1 bright yellow brick 2x2, |
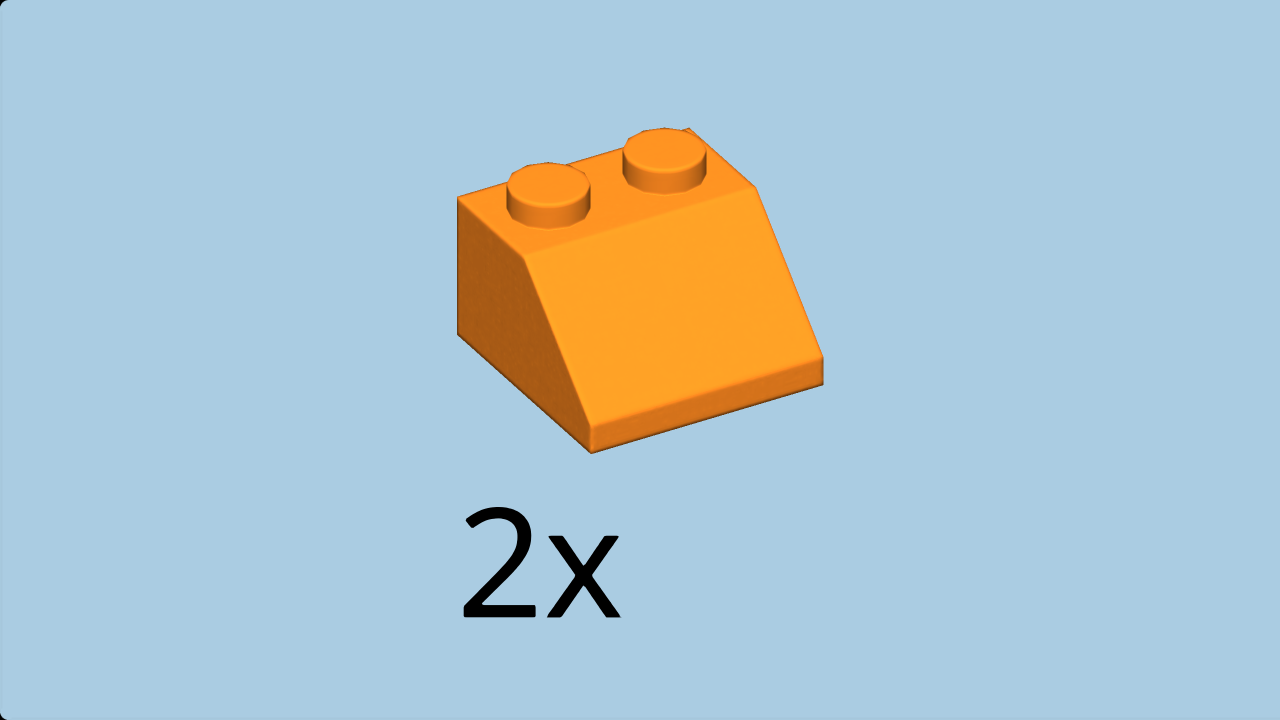
| and 2 bright orange roof tiles 2x2. |
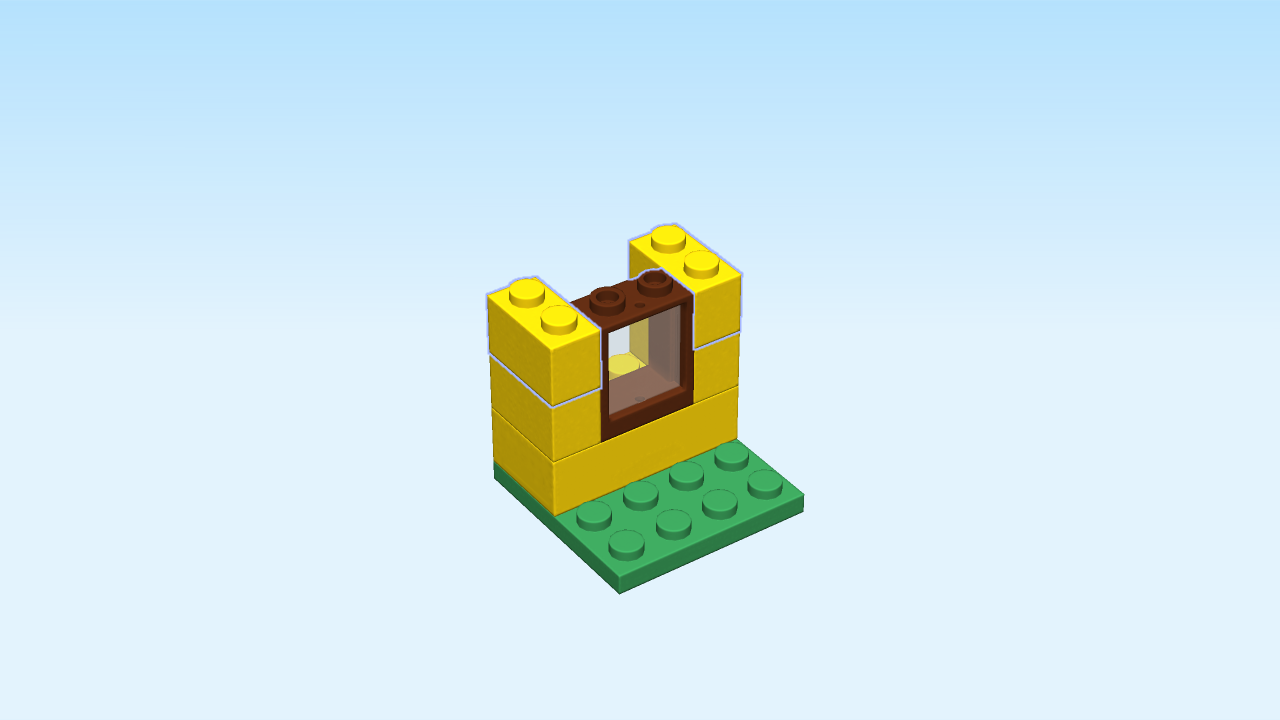
| Put the brick 2x2 on top in the middle of the back two rows. |
| Put one roof tile 2x2 to the right, overhanging to the right, slide to the right. |
| Repeat symmetrically on the left. |
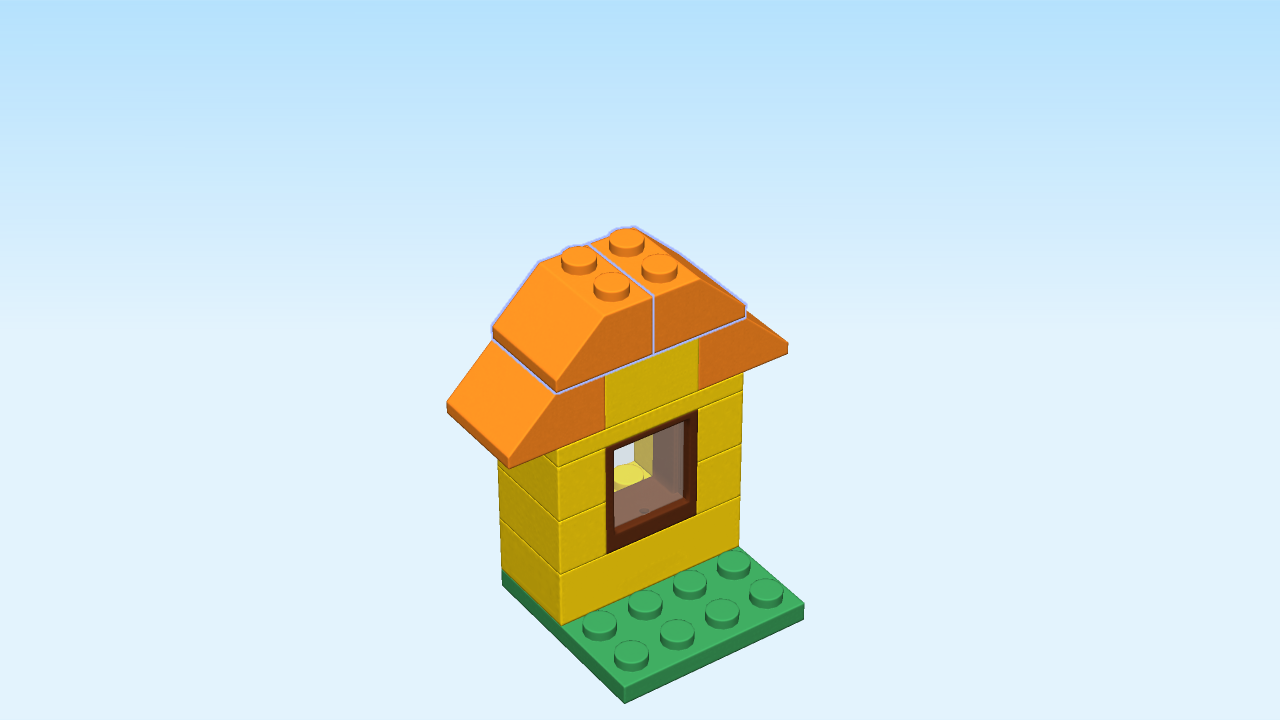
| Find 2 bright orange roof tiles 2x2. |
| Put one on the right four knobs at the back, slide to the right. |
| Repeat symmetrically on the left. |
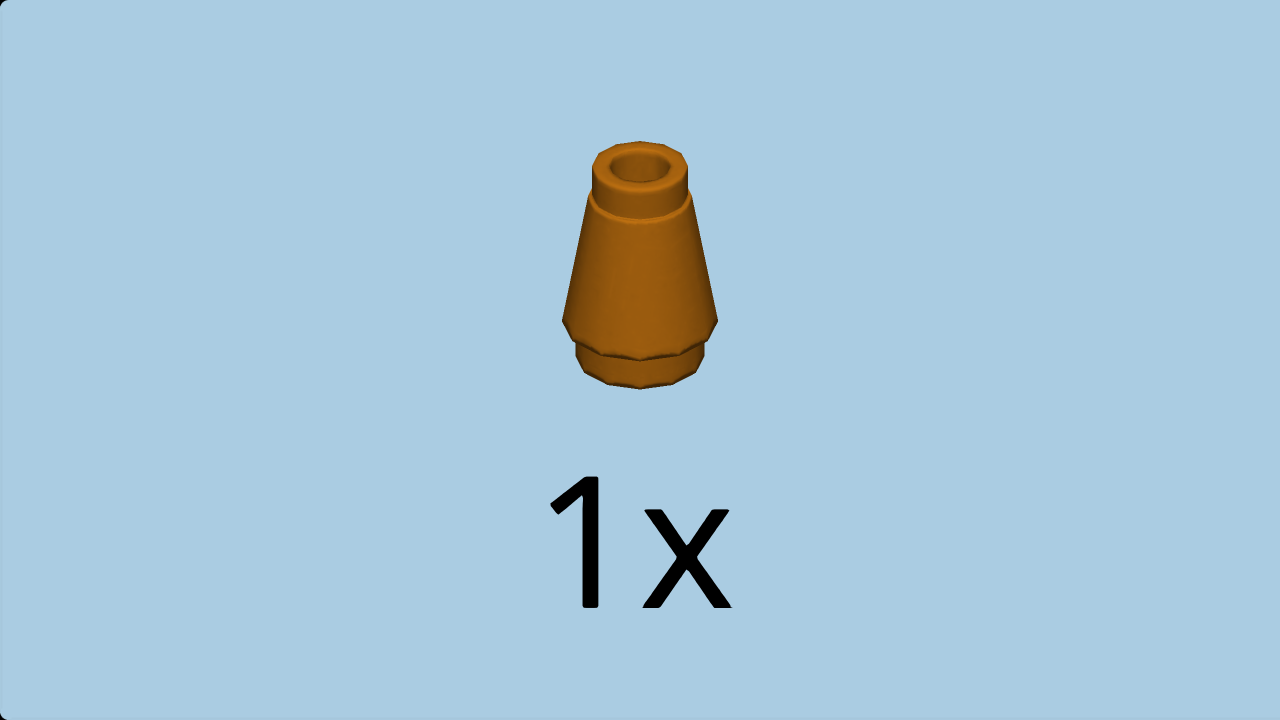
| Find 1 warm gold small nose cone 1x1. |
| Put it on the back knob on the left. |
| (This is the chimney of the house!). |
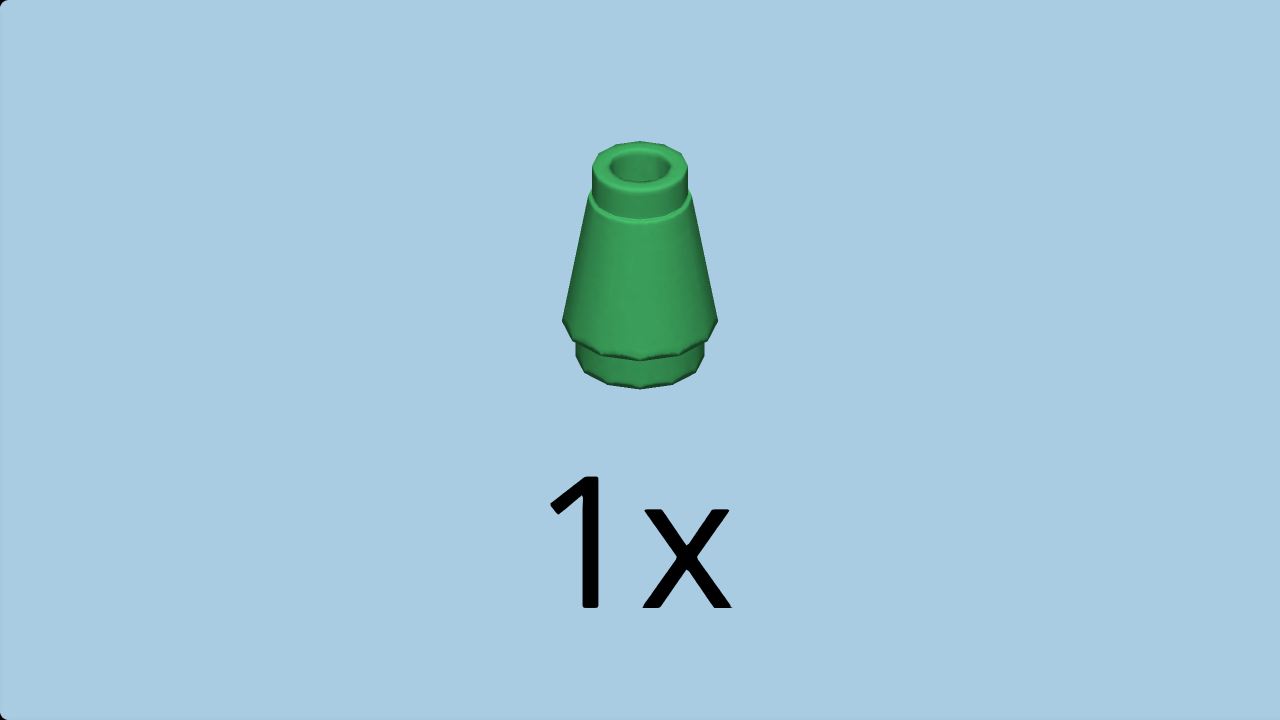
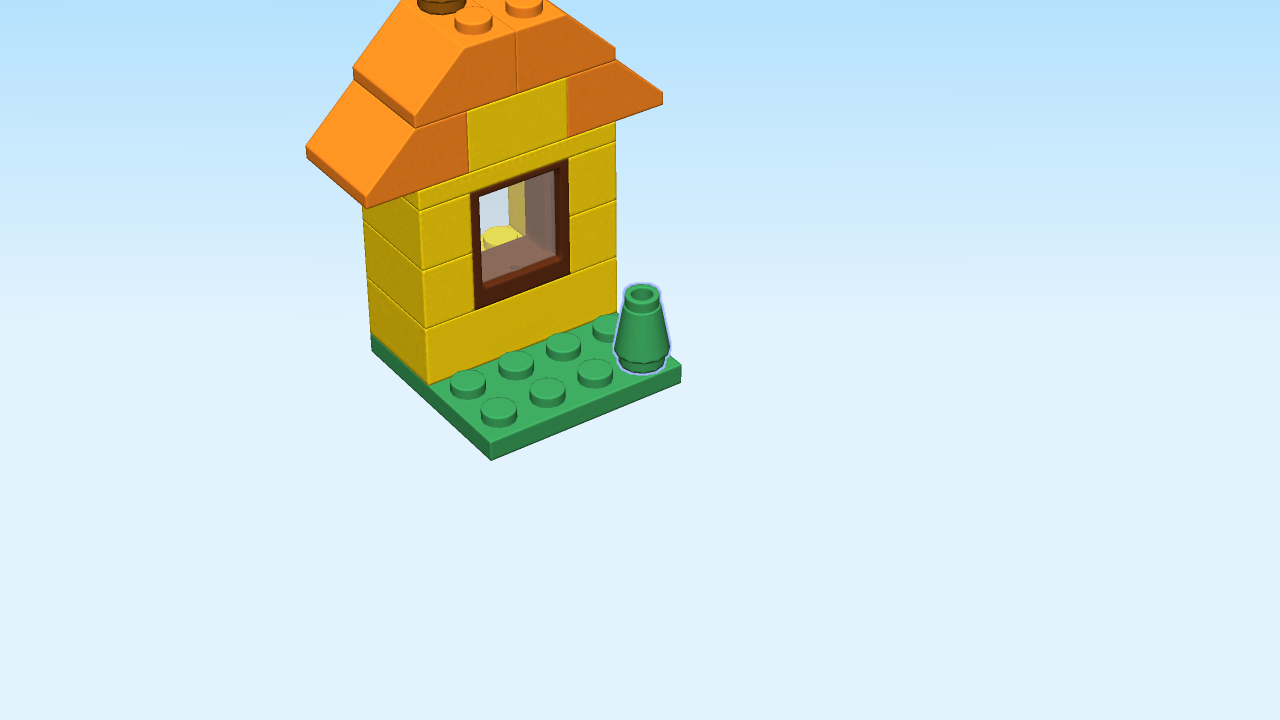
| Find 1 dark green small nose cone 1x1. |
| Put it on the rightmost knob on the front row of the plate 4x4. |
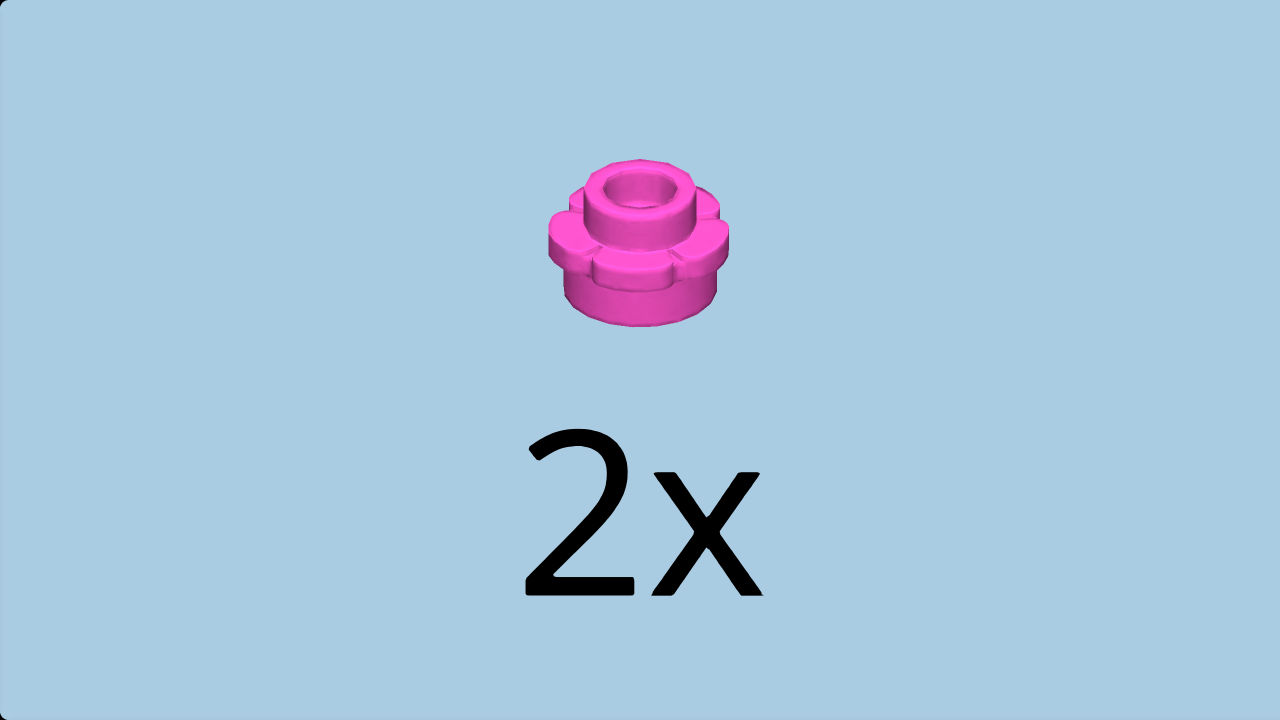
| Find 2 bright purple flowers 1x1. |
| Put one on top. |
| Put the other one to the left on the plate 4x4. |
| The house is finished! Well done! Look outside the window and wave to your neighbors! And don't forget to water your flowers in the front yard. |
| Next, we will build the keyboard. |
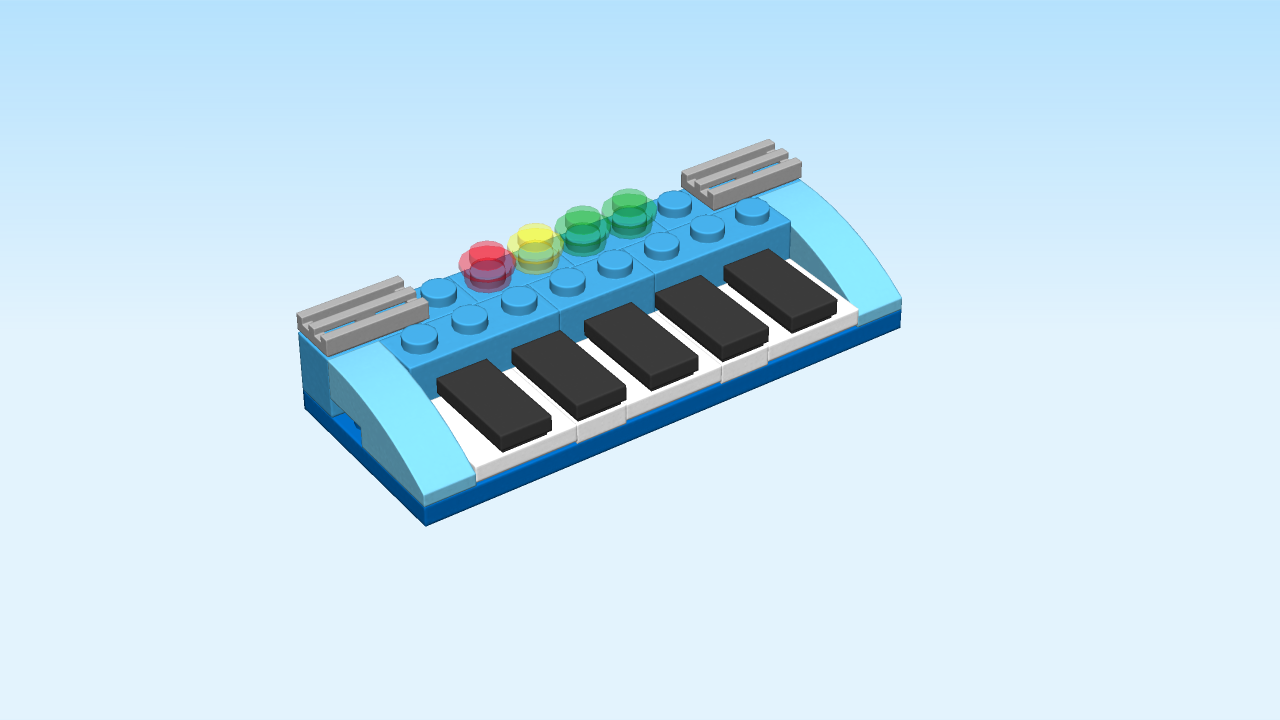
| Get ready to play some tunes on a small blue table keyboard with black and white keys and 4 control buttons! |
| The keyboard consists of 26 pieces. The level is easy. Some instructions are a bit longer; remember to tap with one finger to relisten to an instruction. |
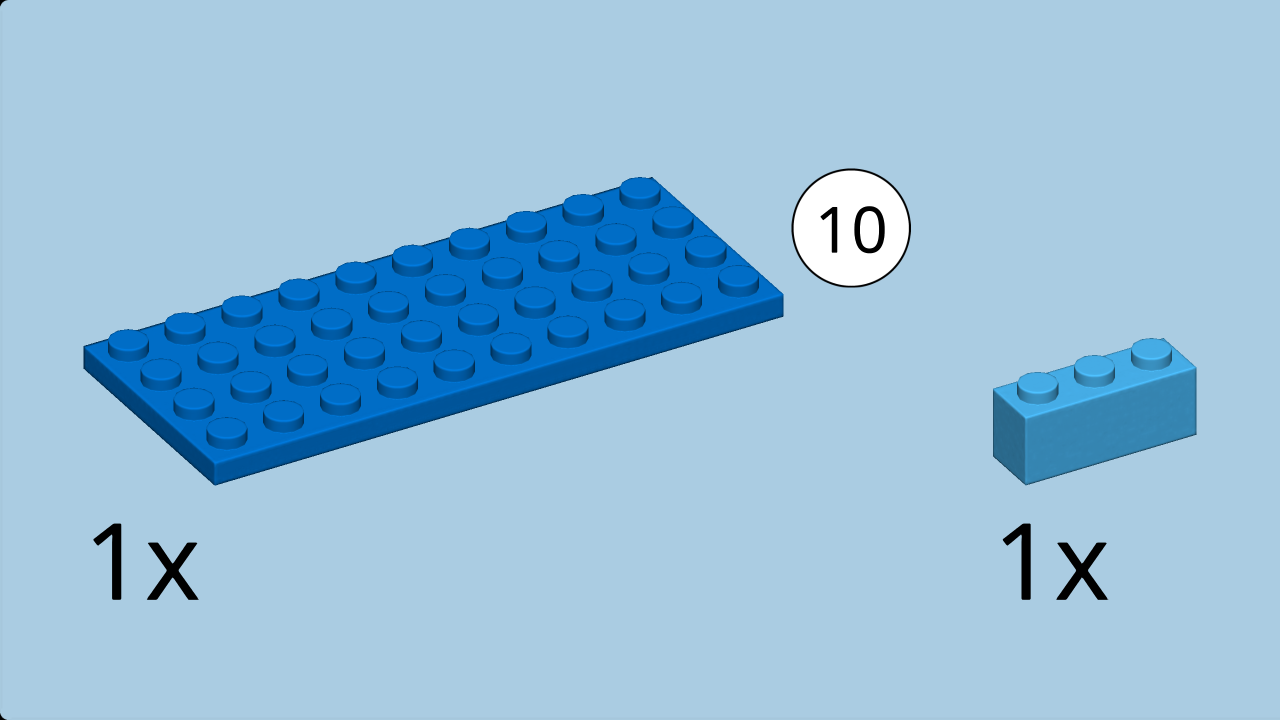
| Collect the following 2 pieces: |
| 1 bright blue plate 4x10, |
| and 1 dark azur brick 1x3. |
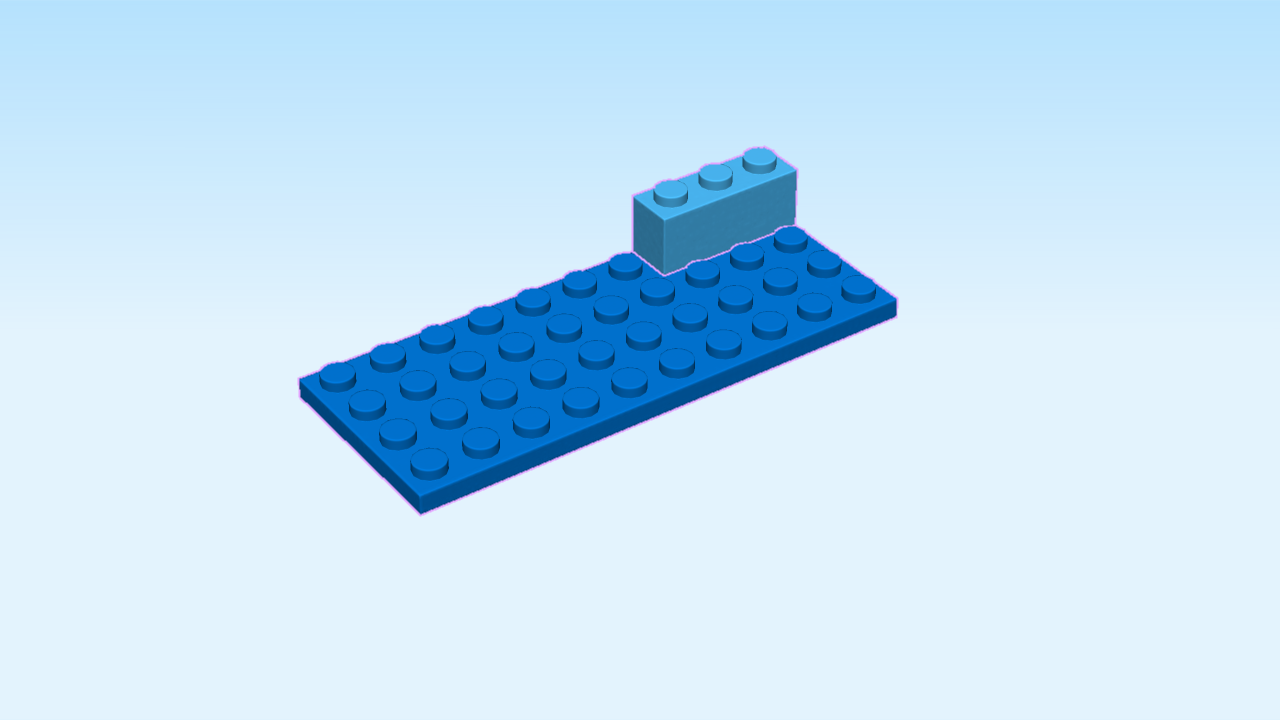
| Put the plate 4x10 horizontally on the table. |
| Put the brick 1x3 horizontally on the back row starting from the right edge. |
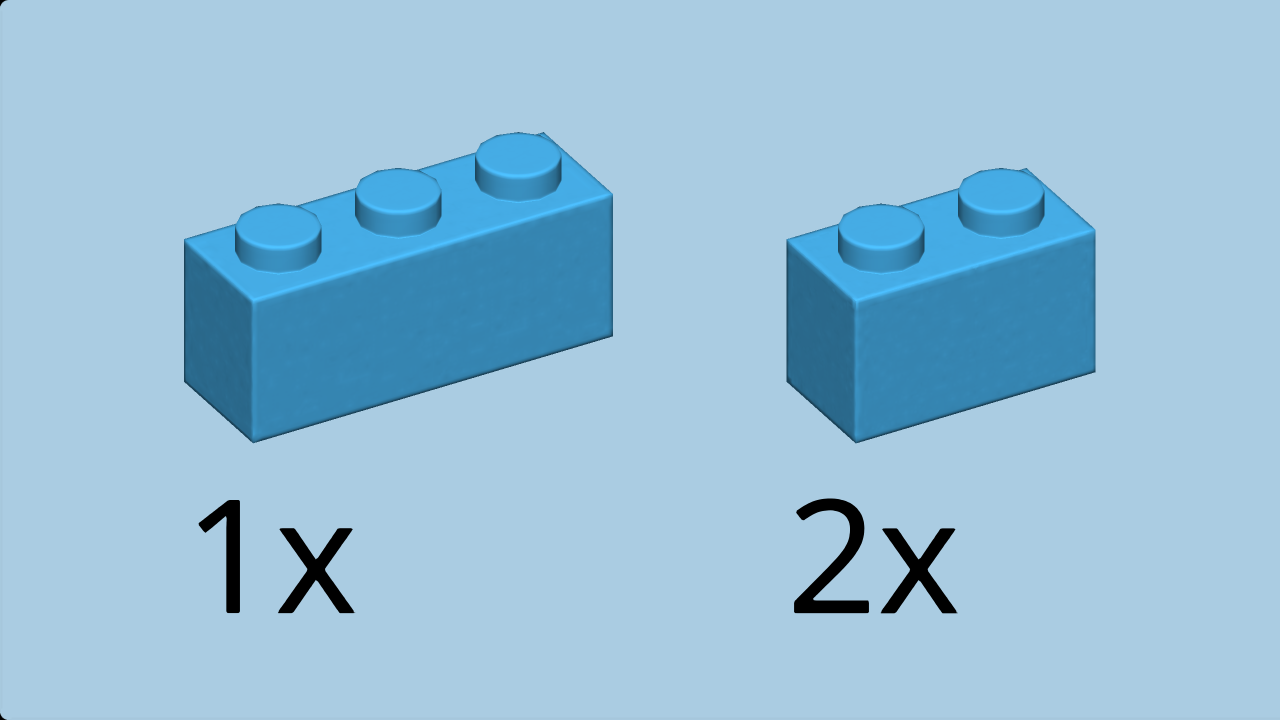
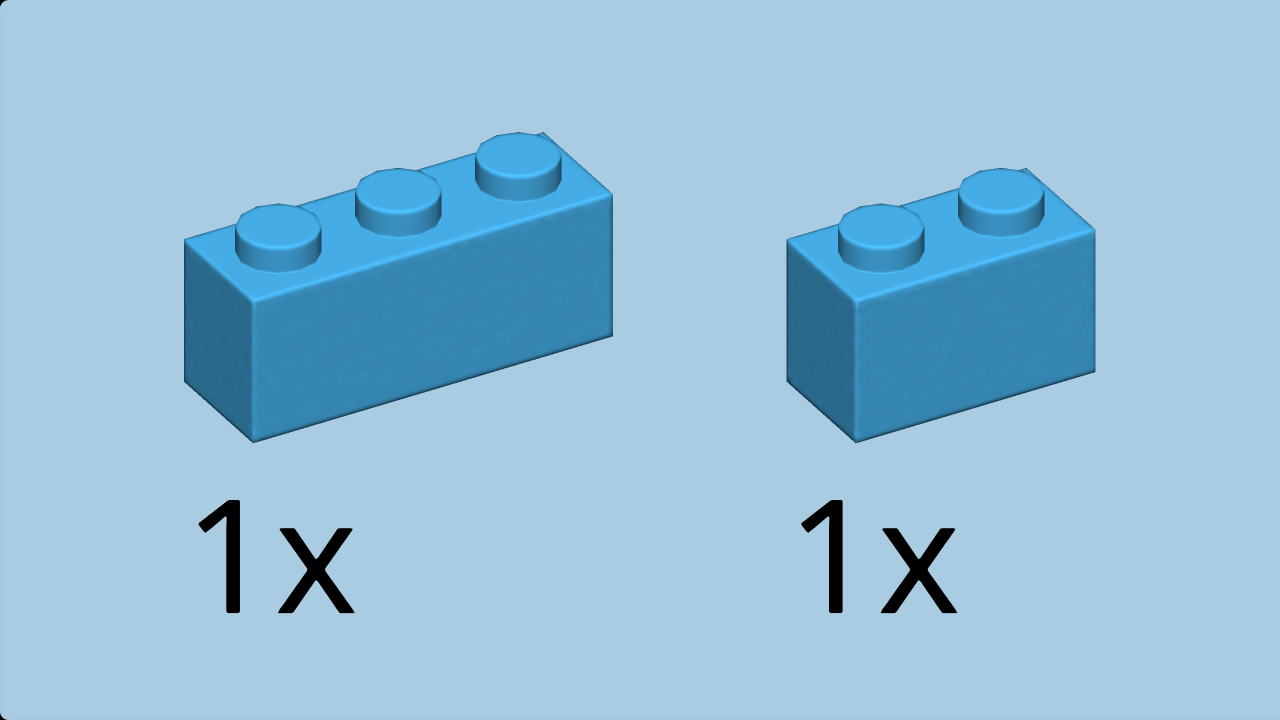
| Collect the following 3 pieces: |
| 2 dark azur bricks 1x2, |
| and 1 dark azur brick 1x3. |
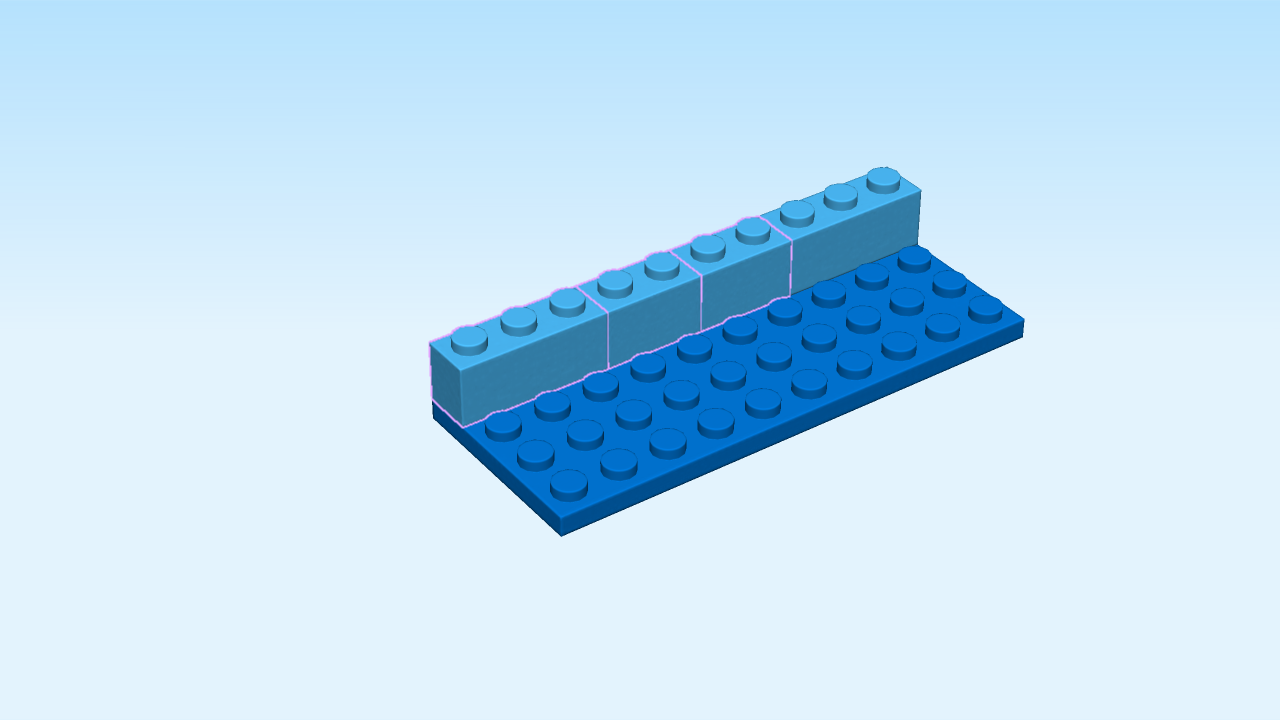
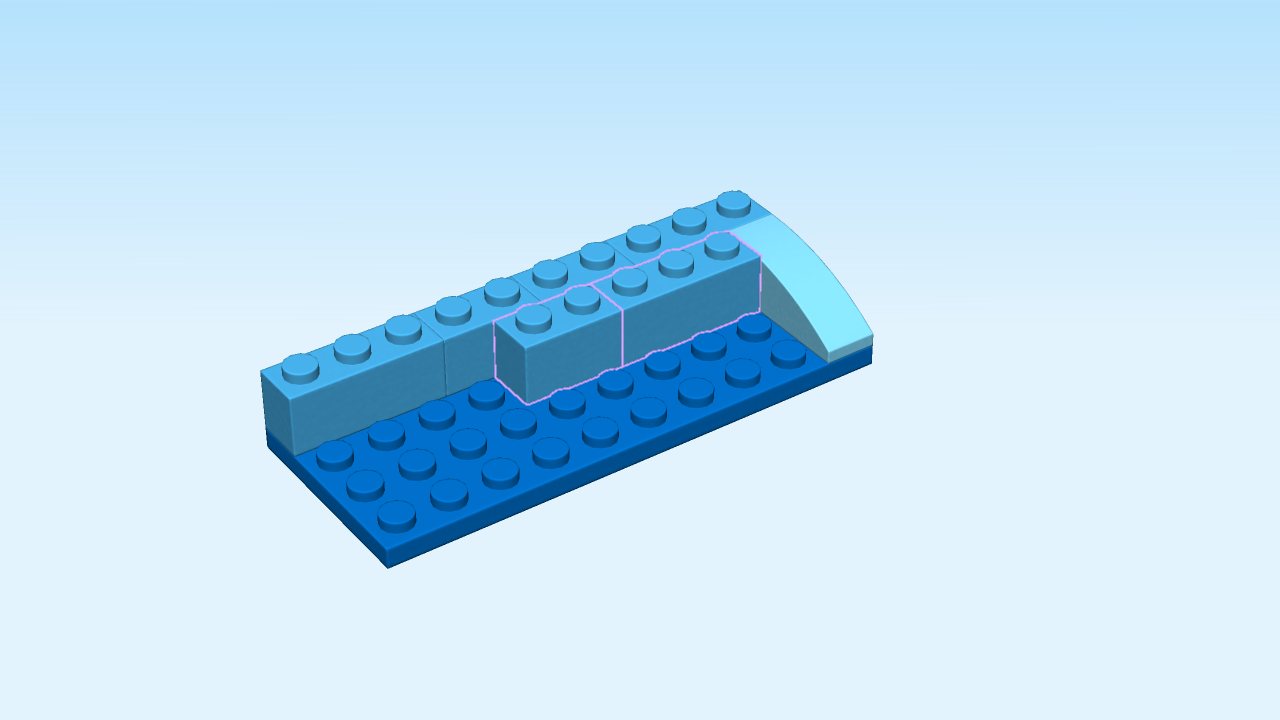
| Put one brick 1x2 horizontally to the left of the previous piece. |
| Put the other brick 1x2 horizontally to the left. |
| Put the brick 1x3 horizontally to the left. |
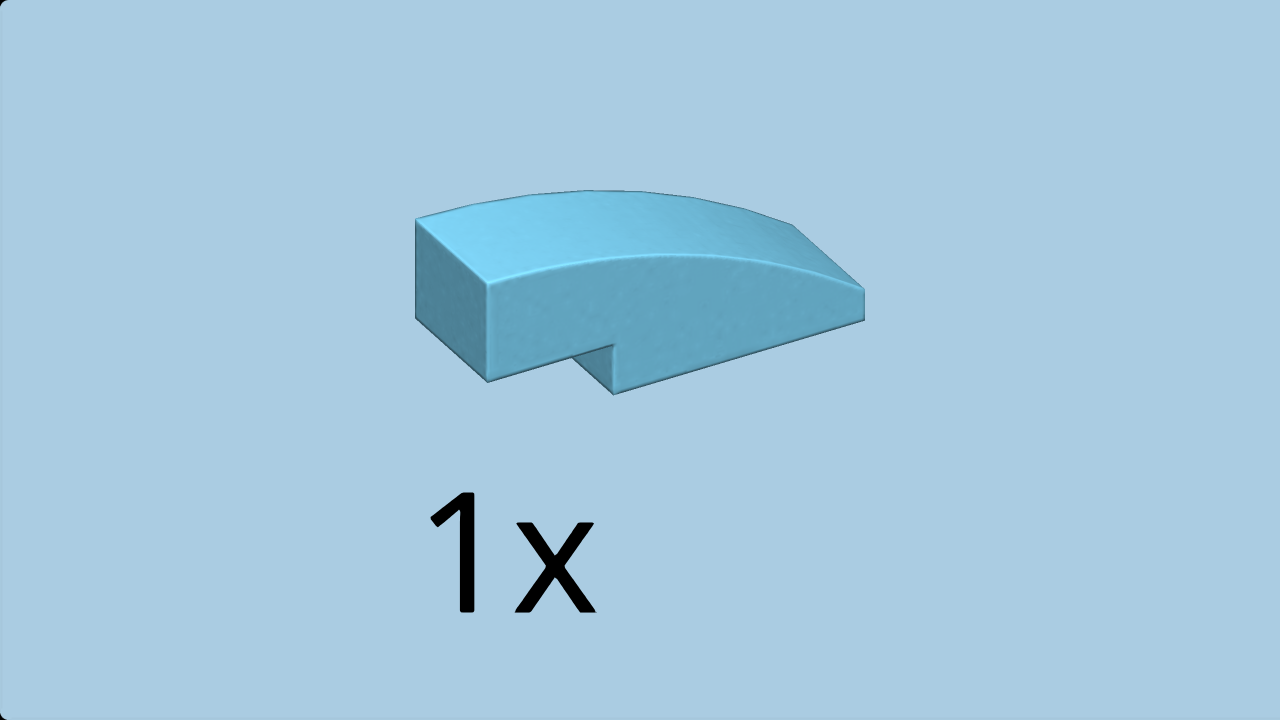
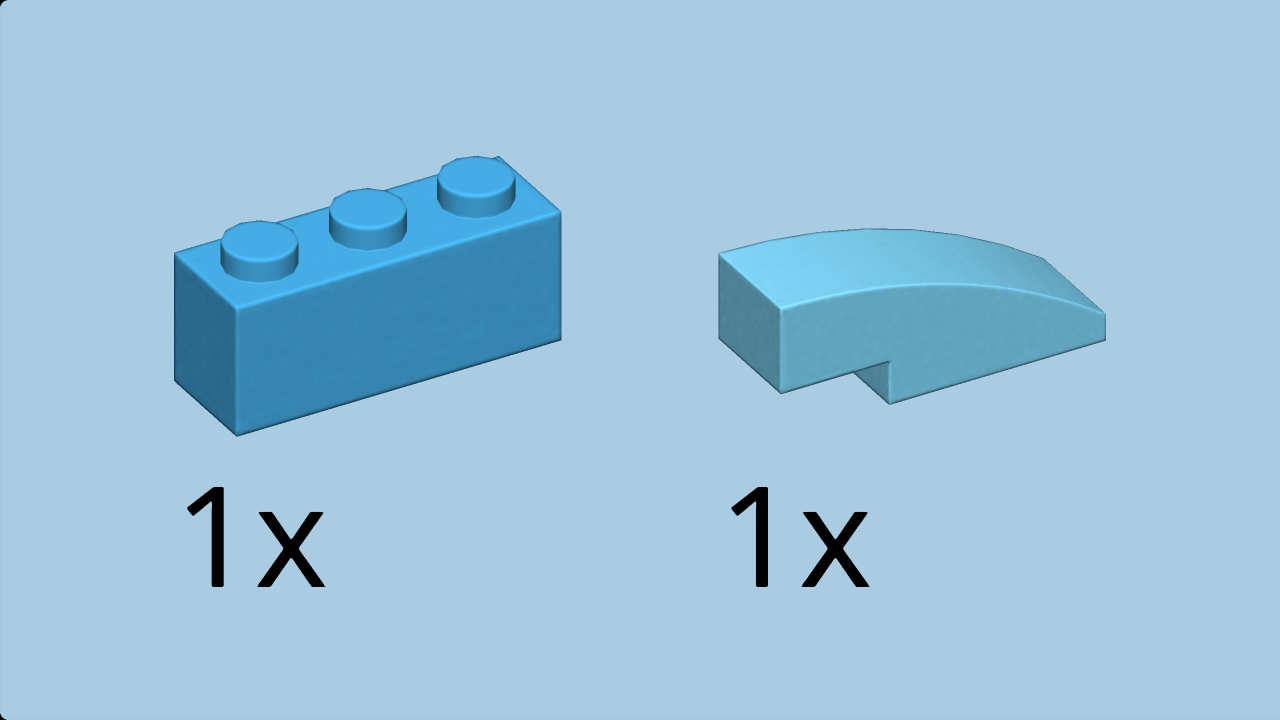
| Find 1 medium azur curve piece 1x3. |
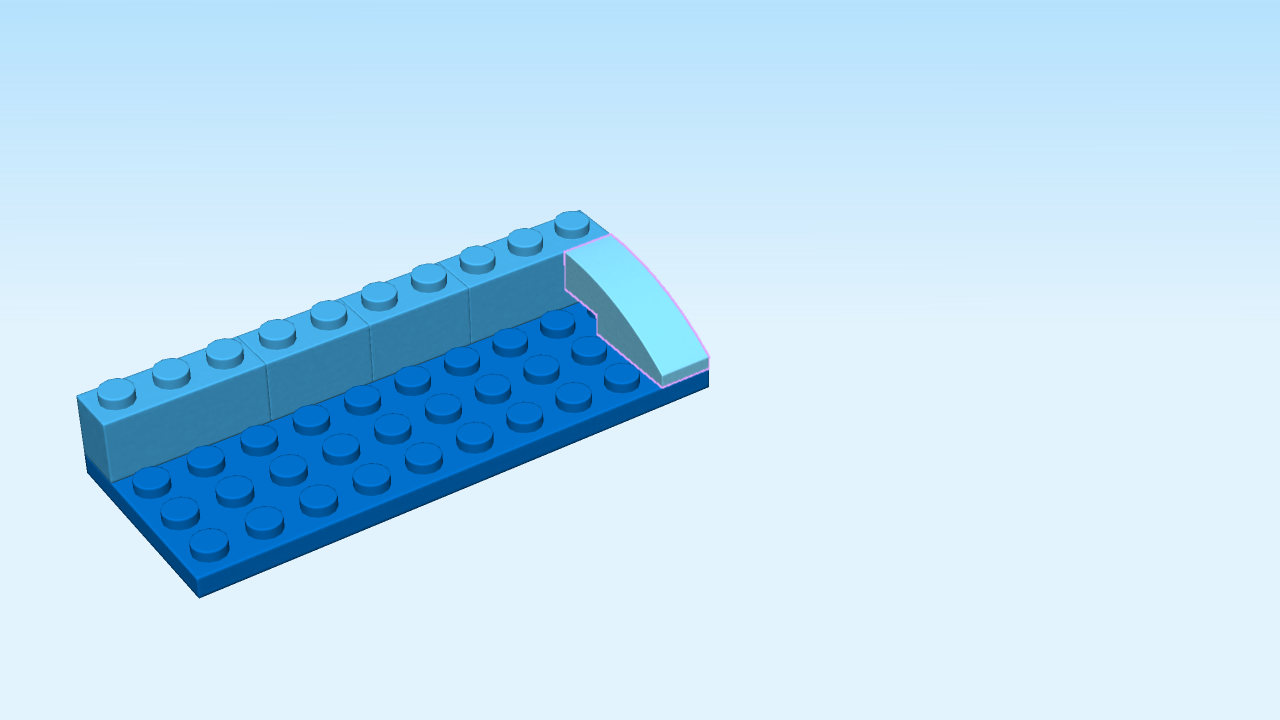
| Put it vertically on the rightmost column, starting from the front, slide to the front. |
| (You can feel a small rectangular hole on the right side surface of the structure now. This is correct!). |
| Collect the following 2 pieces: |
| 1 dark azur brick 1x3, |
| and 1 dark azur brick 1x2. |
| Put the brick 1x3 horizontally to the left of the previous piece on the third row from the front. |
| Put the brick 1x2 horizontally to the left. |
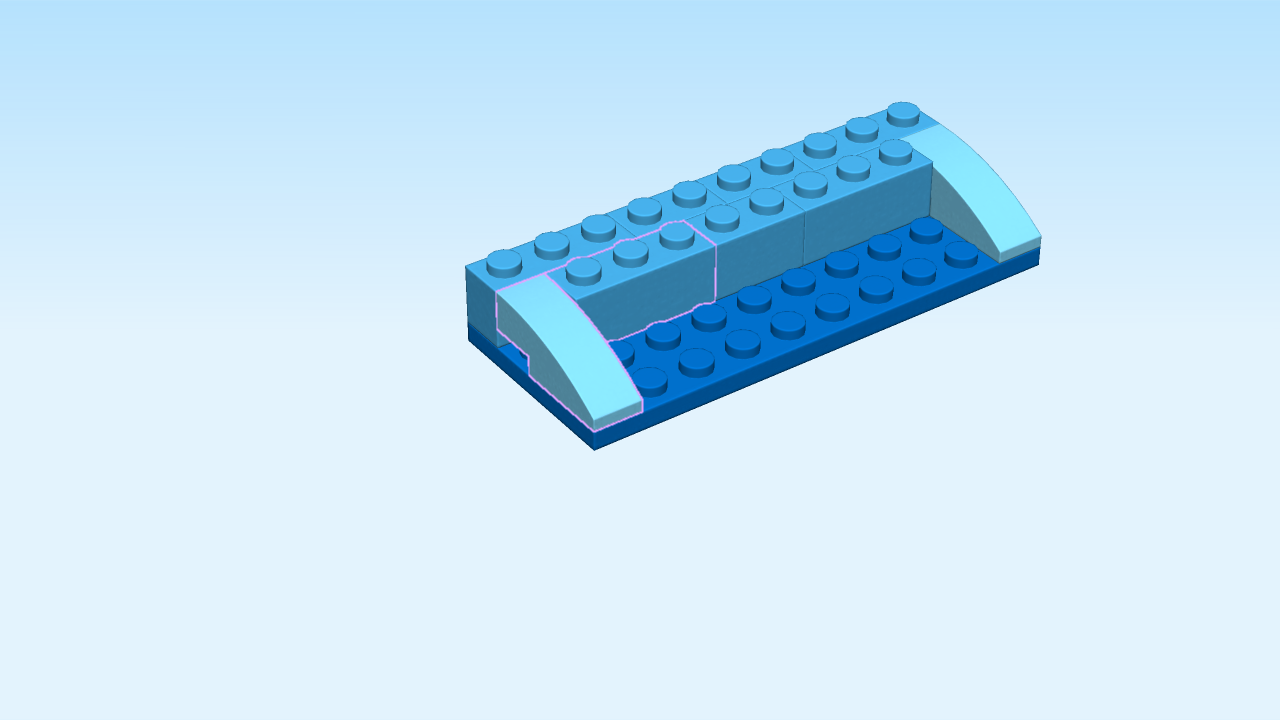
| Collect the following 2 pieces: |
| 1 medium azur curve piece 1x3, |
| and 1 dark azur brick 1x3. |
| Put the curve piece 1x3 vertically on the leftmost column, starting from the front, slide to the front. |
| (You can feel a small rectangular hole on the left side surface of the structure now. This is correct!). |
| Put the brick 1x3 horizontally to the right of the previous piece on the third row from the front. |
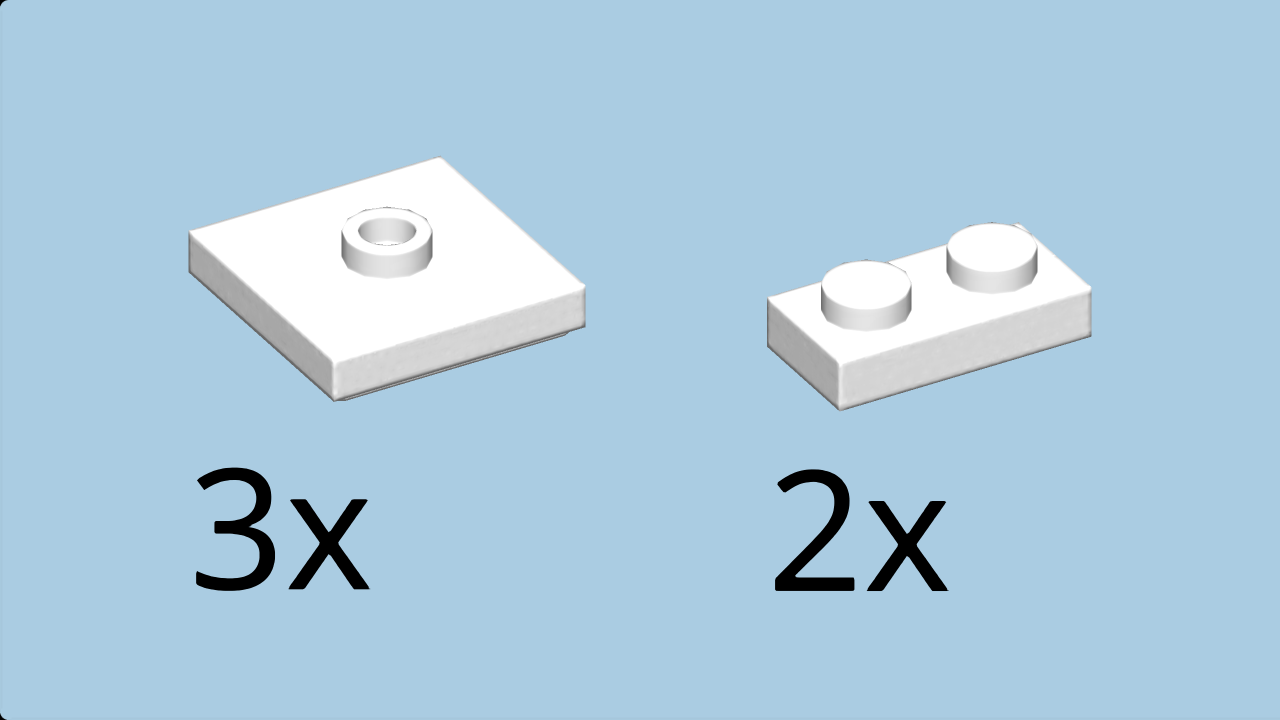
| Collect the following 5 pieces: |
| 3 white plates 2x2 with 1 knob, |
| and 2 white plates 1x2. |
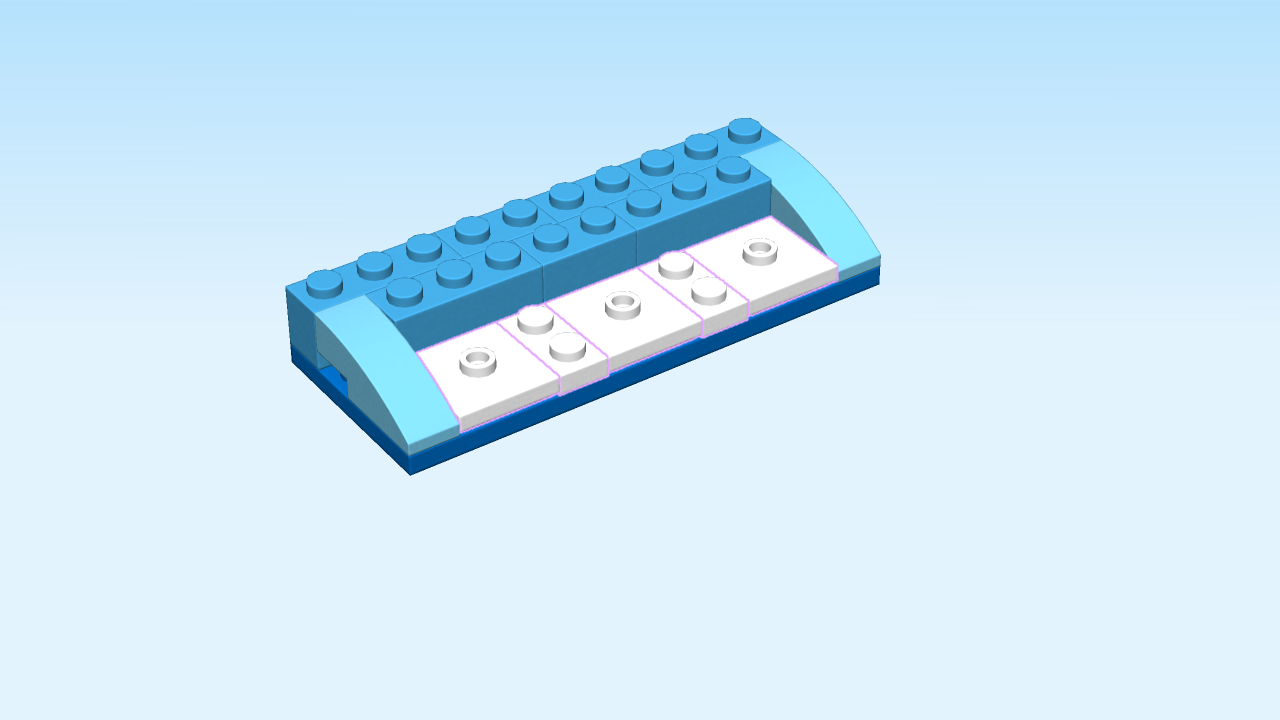
| Put one plate 2x2 with 1 knob in the middle of the front two rows. |
| Skip one column to the right, and put one plate 2x2 with 1 knob there. |
| Put one plate 1x2 vertically between the two plates 2x2 with 1 knob. |
| Put one plate 2x2 with 1 knob to the right of the left curve piece 1x3. |
| Put one plate 1x2 vertically to the right of the previous piece. |
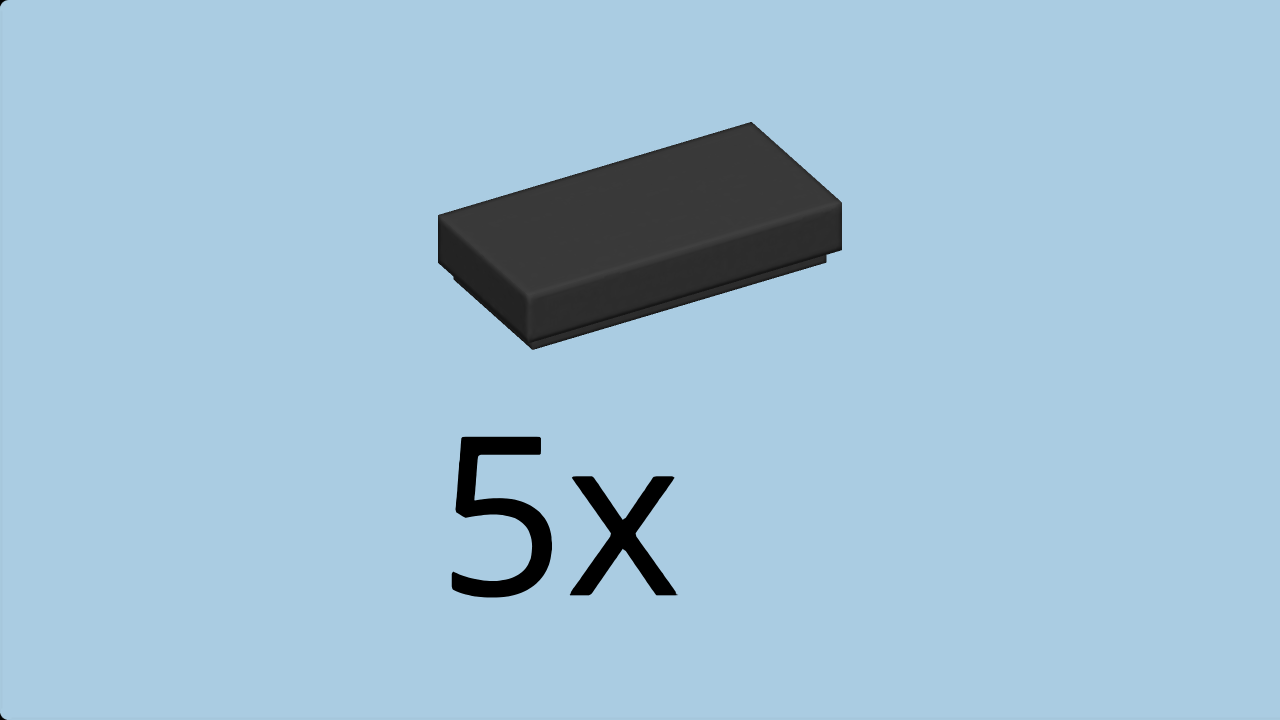
| Find 5 black flat tiles 1x2. |
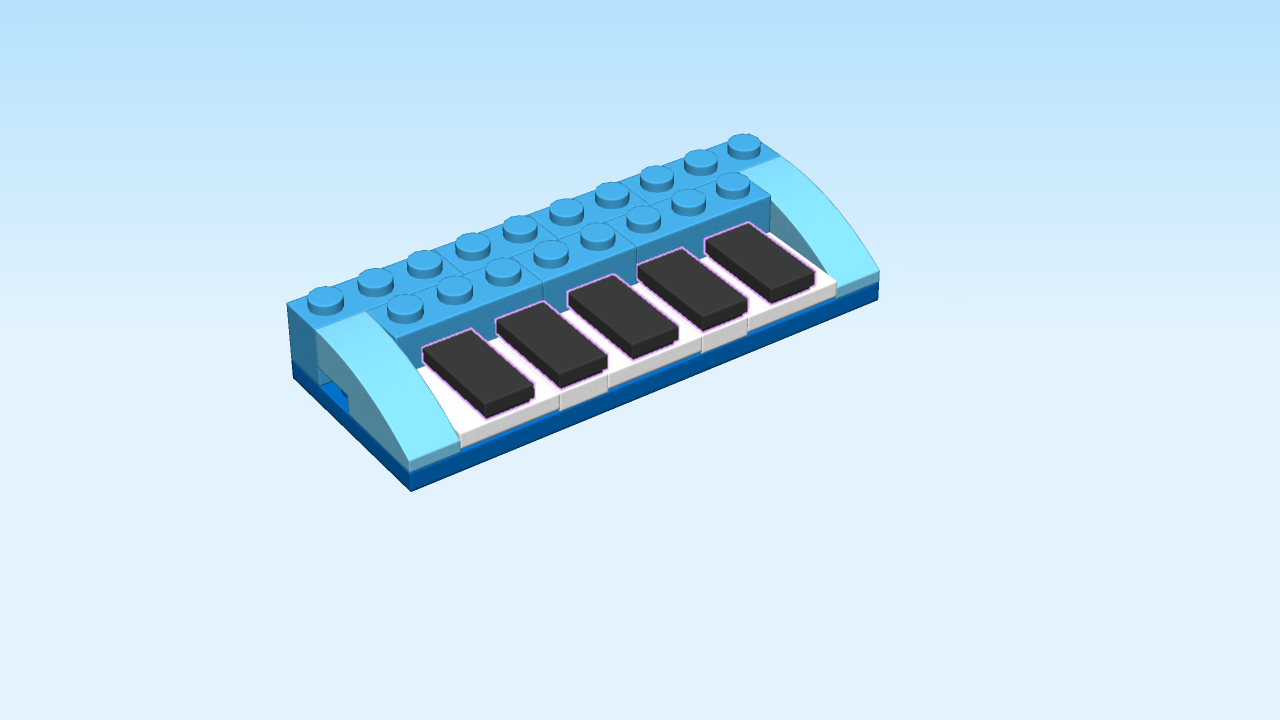
| Put two vertically on top of the white plates 1x2. |
| Put the other three vertically on top of the white plates 2x2 with 1 knob. |
| (The black and white keys of your keyboard are finished!). |
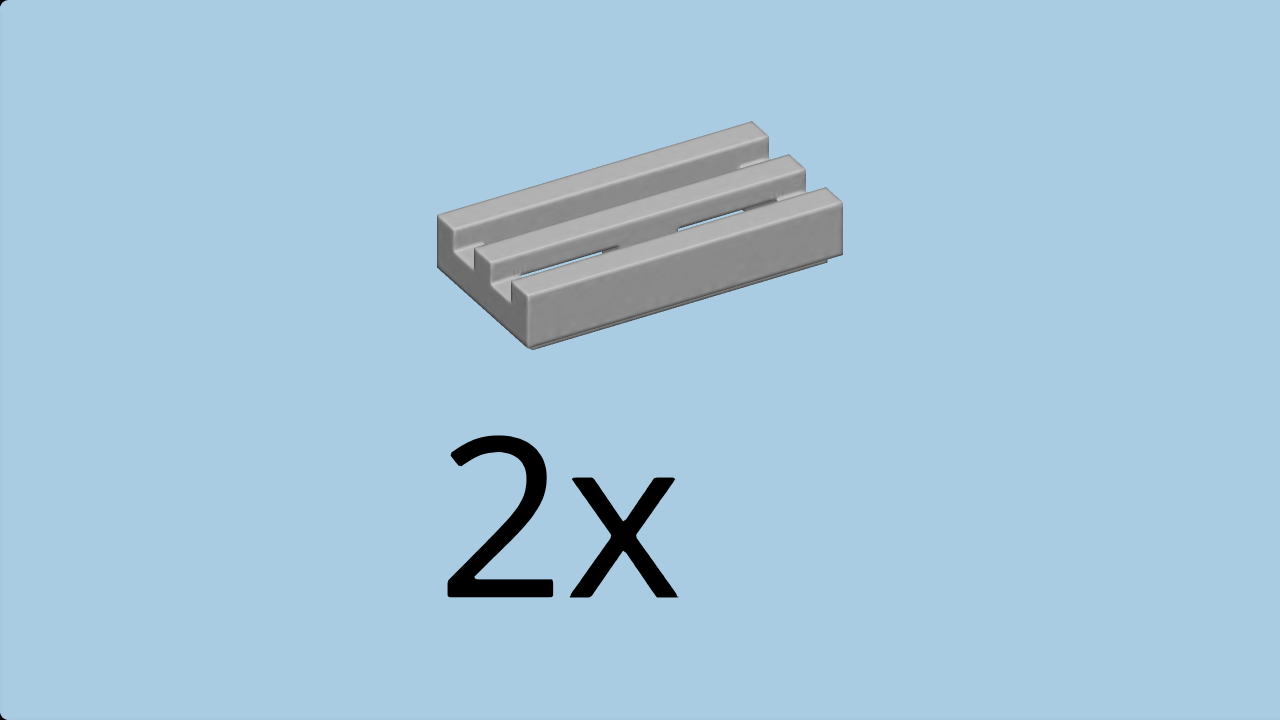
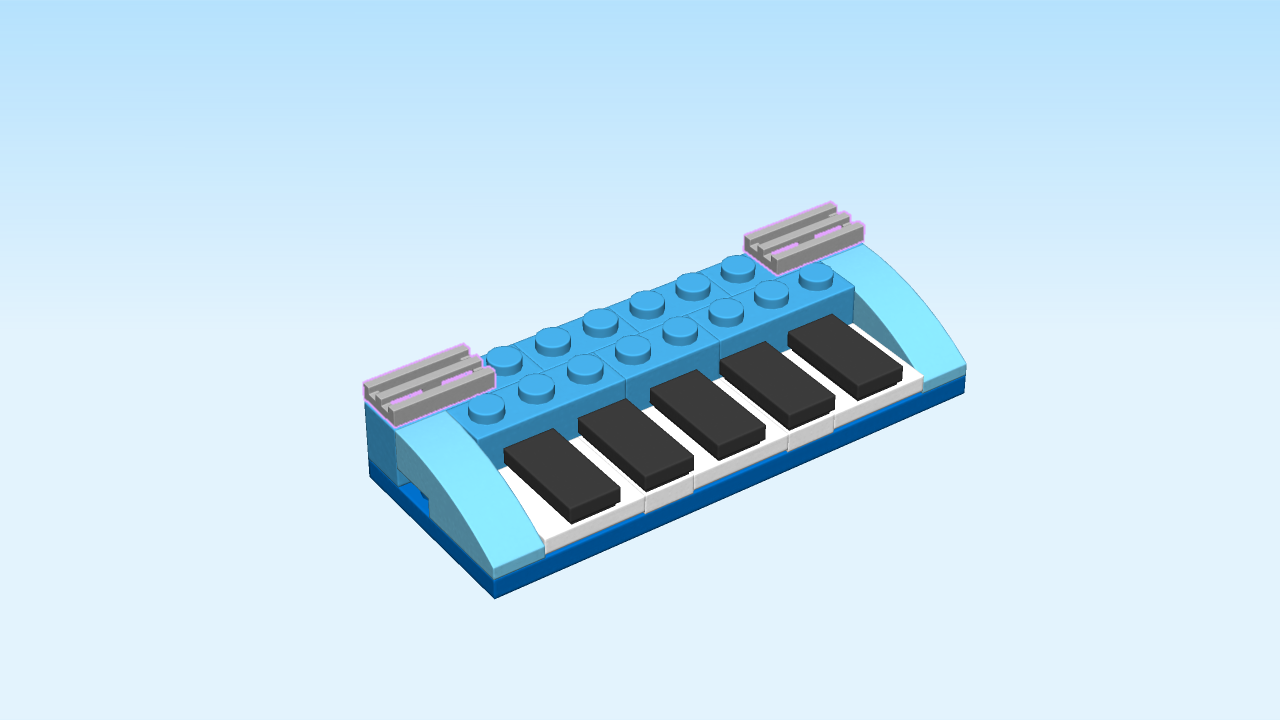
| Find 2 medium stone grey grill plates 1x2. |
| Put one horizontally on the back row starting from the right edge. |
| Repeat symmetrically on the left. |
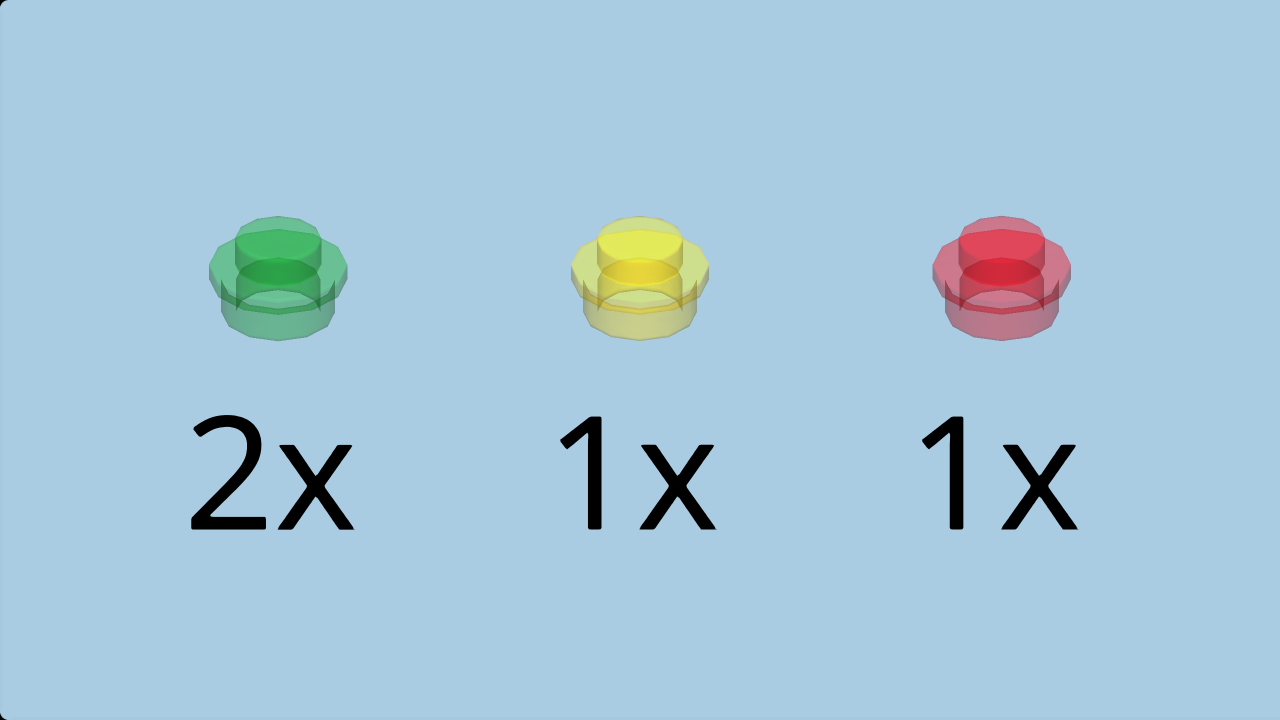
| Collect the following 4 pieces: |
| 2 transparent green round plates 1x1, |
| 1 transparent yellow round plate 1x1, |
| and 1 transparent red round plate 1x1. |
| (You can follow our color suggestions if you like, but you can also pick your own.). |
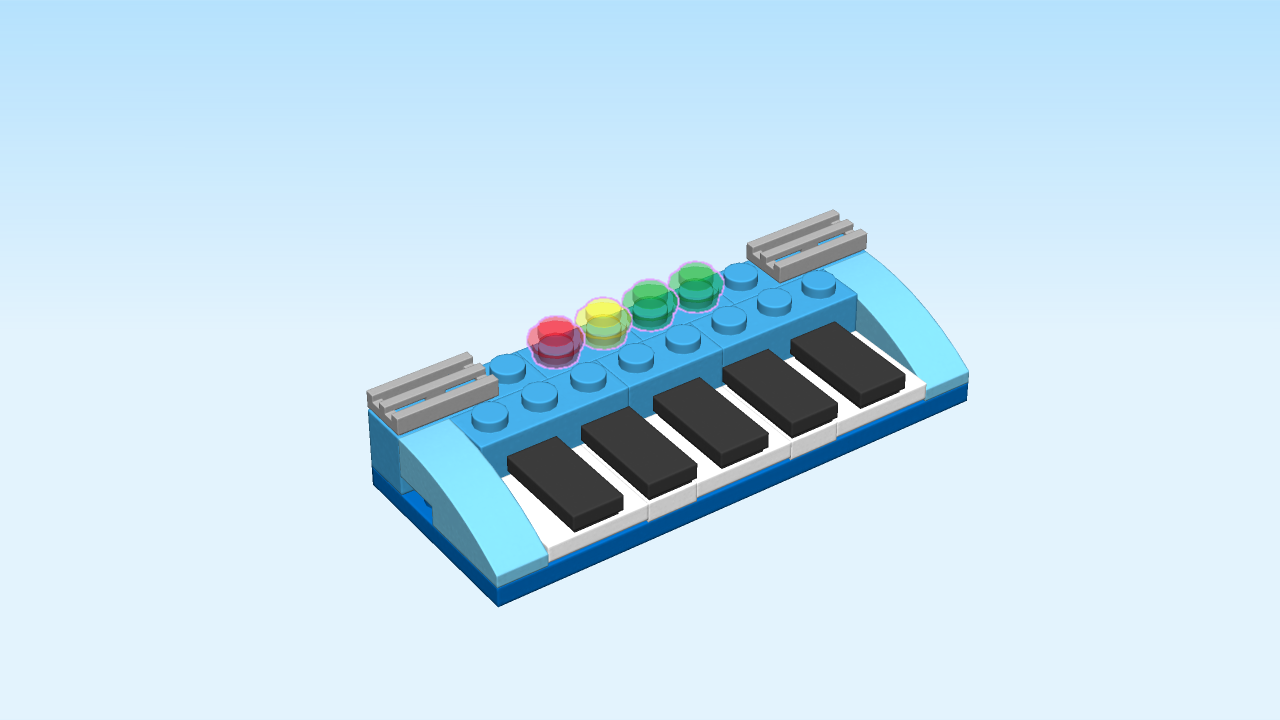
| Skip three columns from the right, and put one transparent green round plate 1x1 on the back row. (This means it is put on the fourth knob from the right). |
| Put the other transparent green round plate 1x1 to the left. |
| Put the transparent yellow round plate 1x1 to the left. |
| Put the transparent red round plate 1x1 to the left. |
| The keyboard is finished! Well done! Play some tunes on the black and white keys and press the control buttons on the back row. |
| Next, we will build the steam locomotive. |
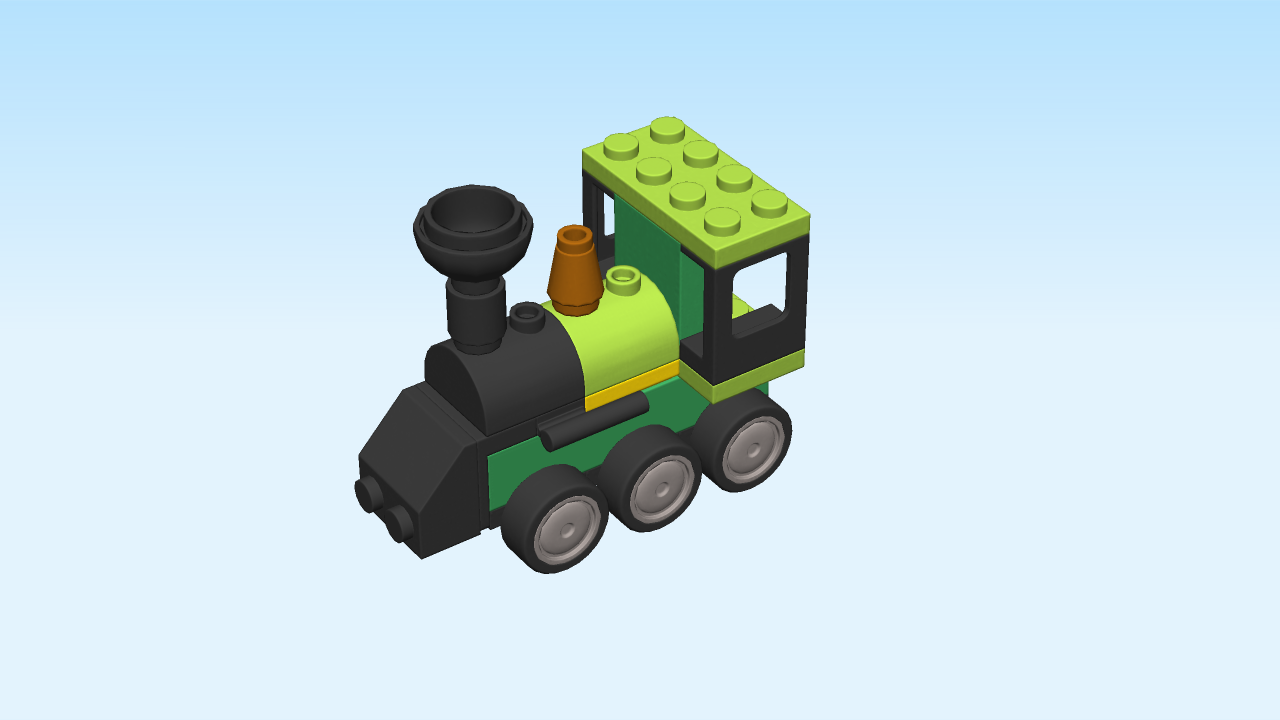
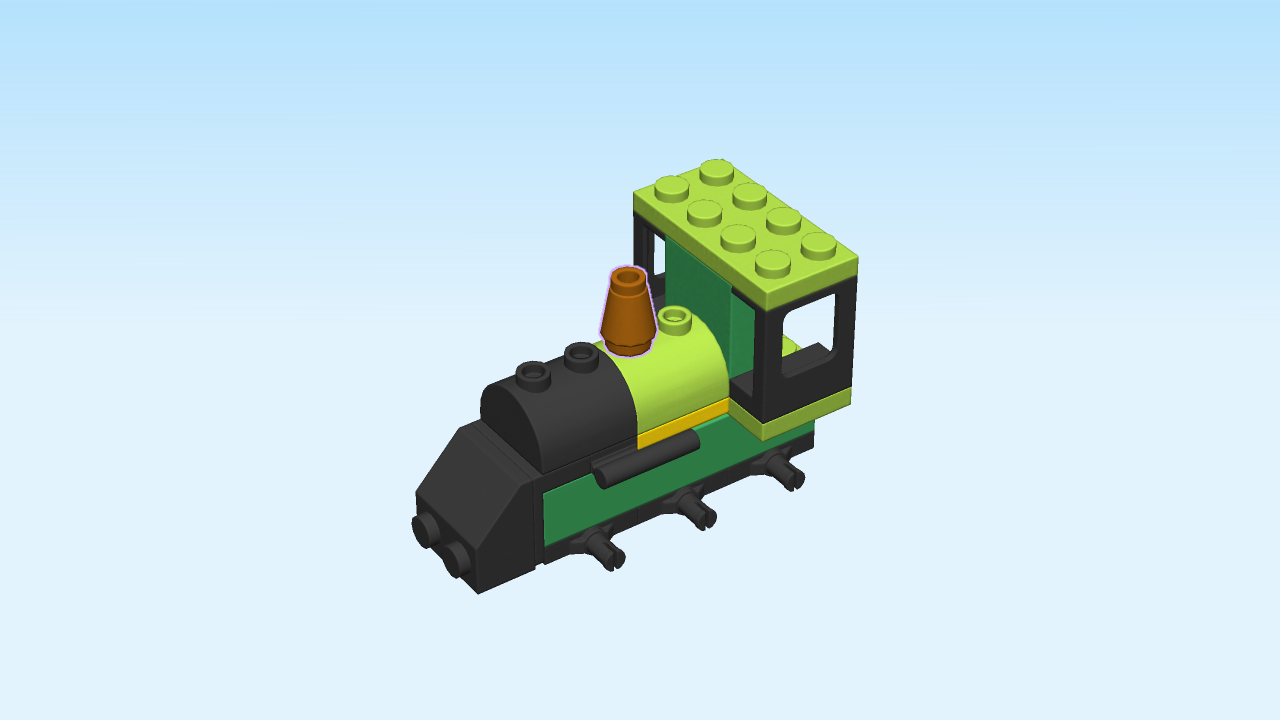
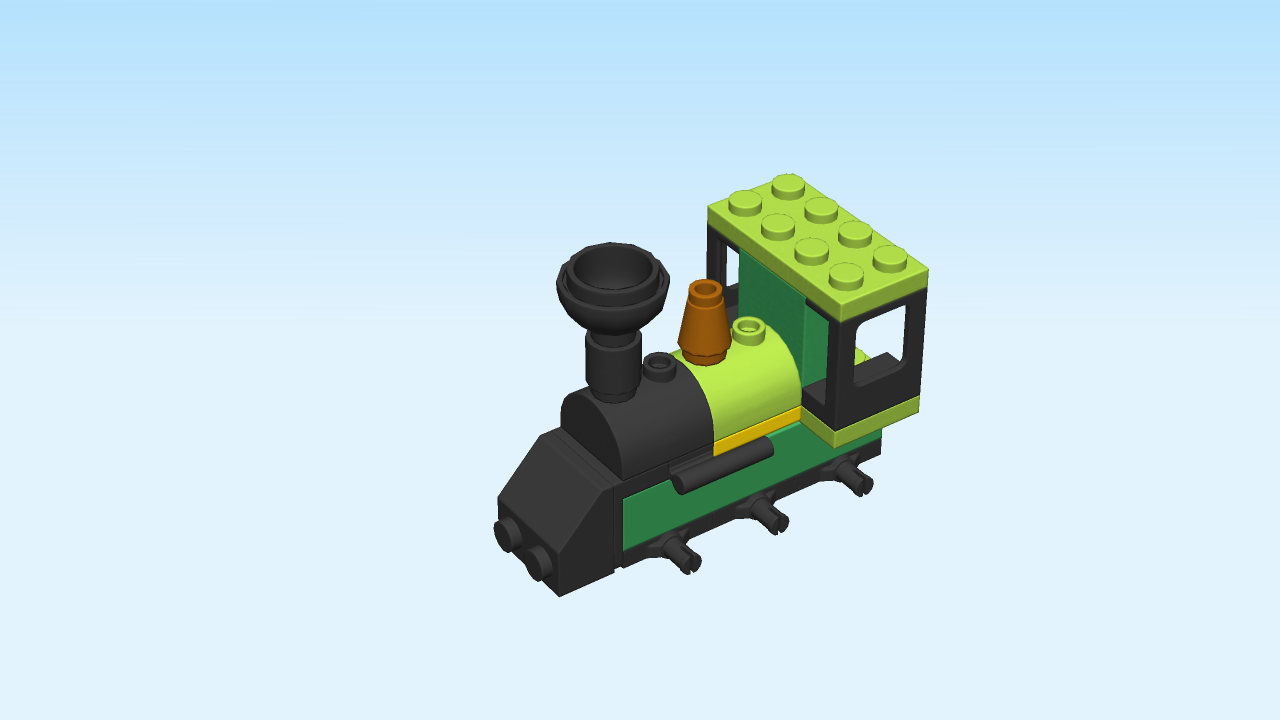
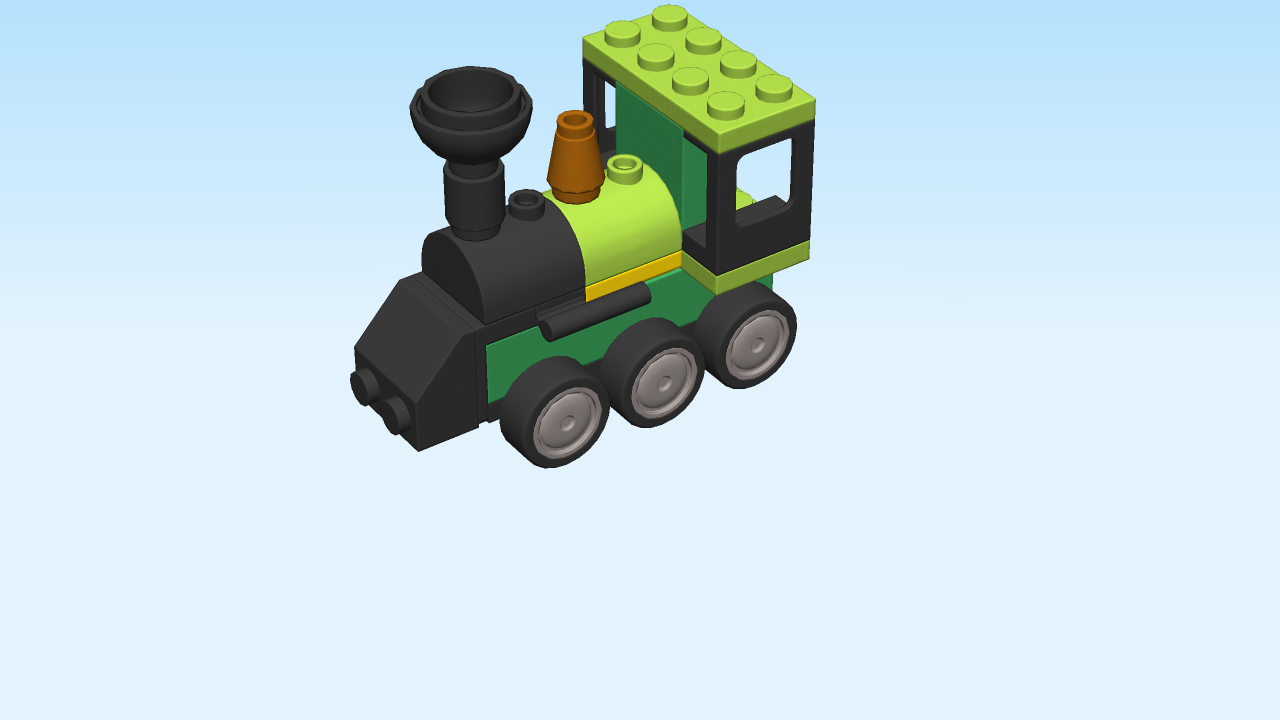
| The steam locomotive is black and different shades of green. Its six wheels and the large chimney promise to take you on exciting journeys at full speed! |
| The steam locomotive consists of 30 pieces. The level is intermediate because some pieces have a special orientation. This means, for example, that you will have to flip the structure over, or that some pieces are mounted on the side! |
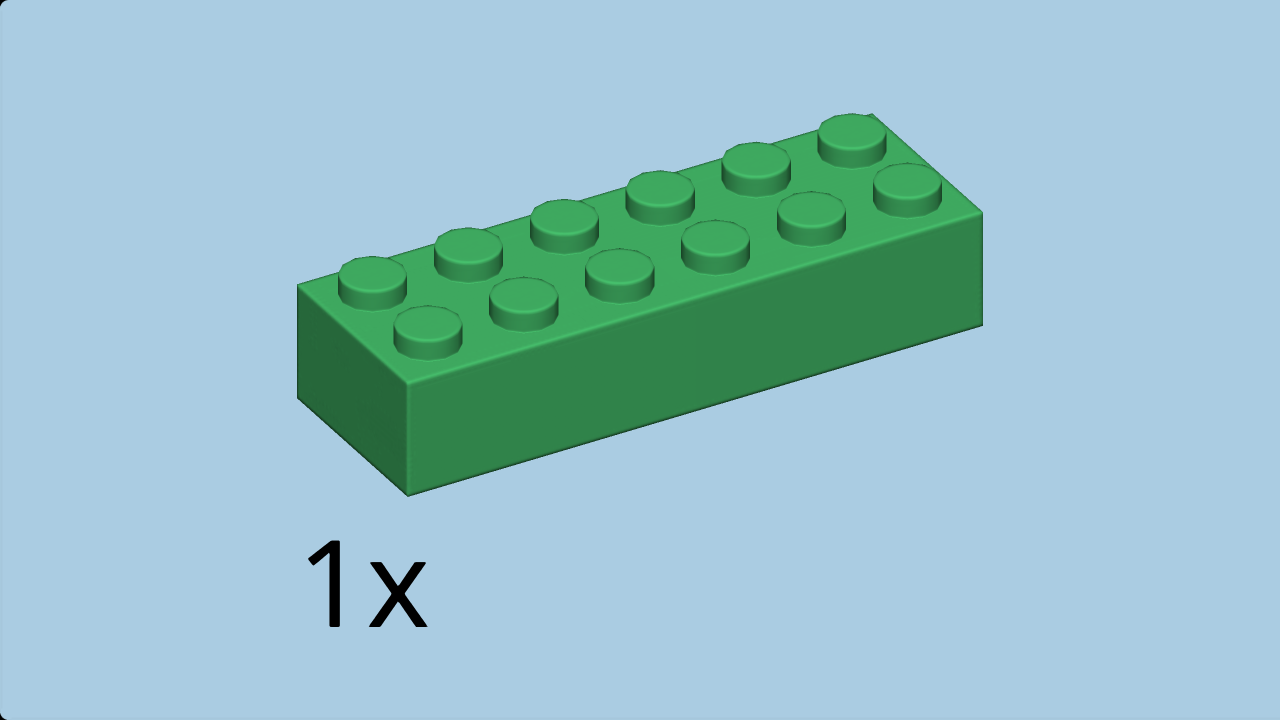
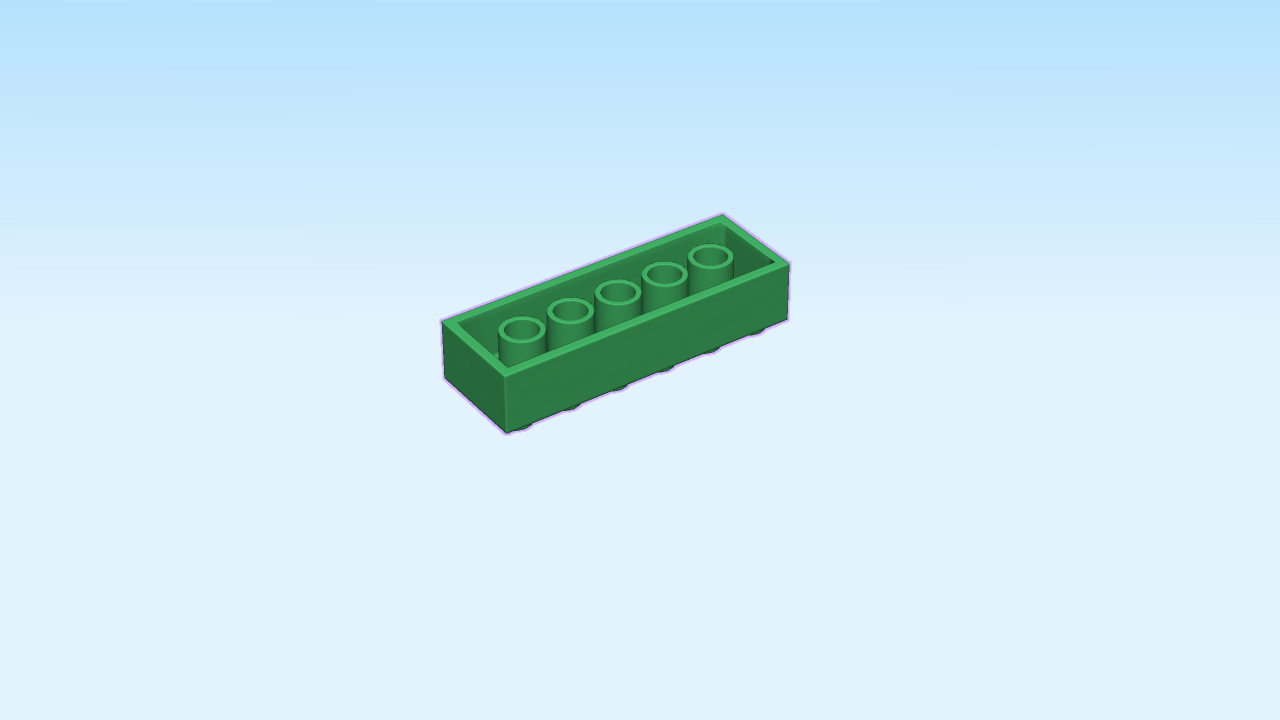
| Find 1 dark green brick 2x6. |
| Careful: this piece has a special orientation! |
| Put it knob-side down vertically on the table. |
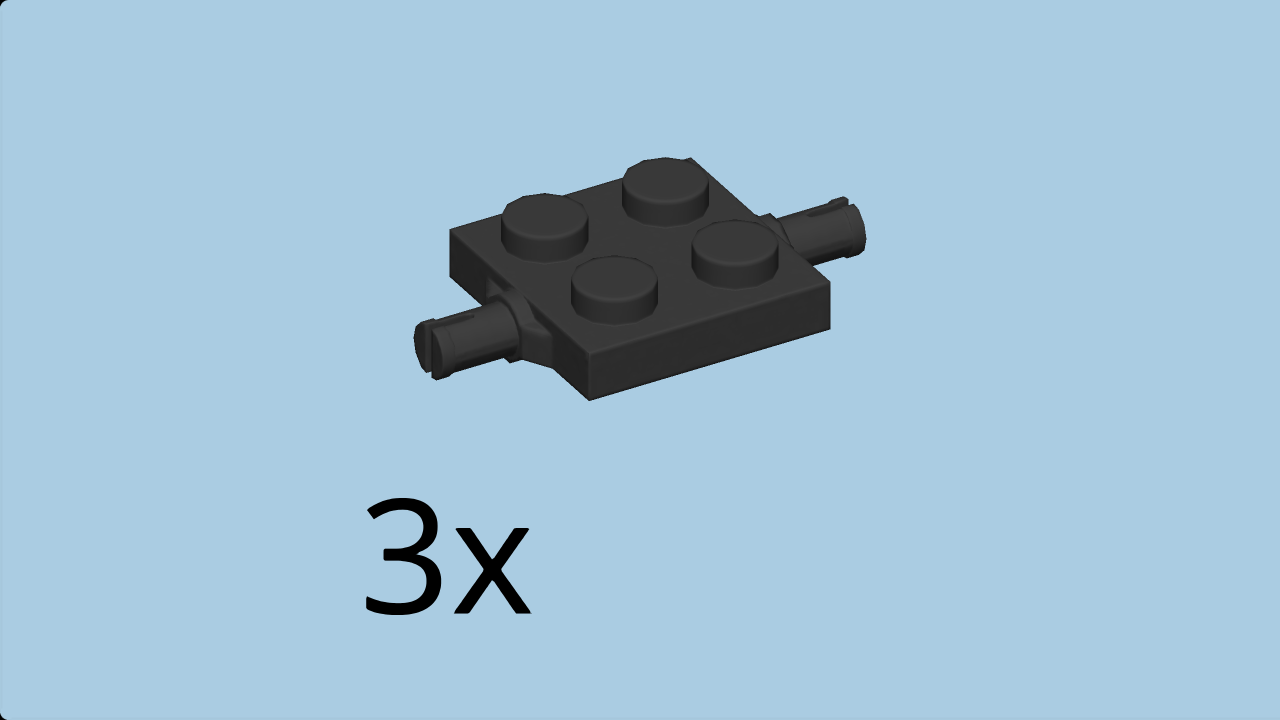
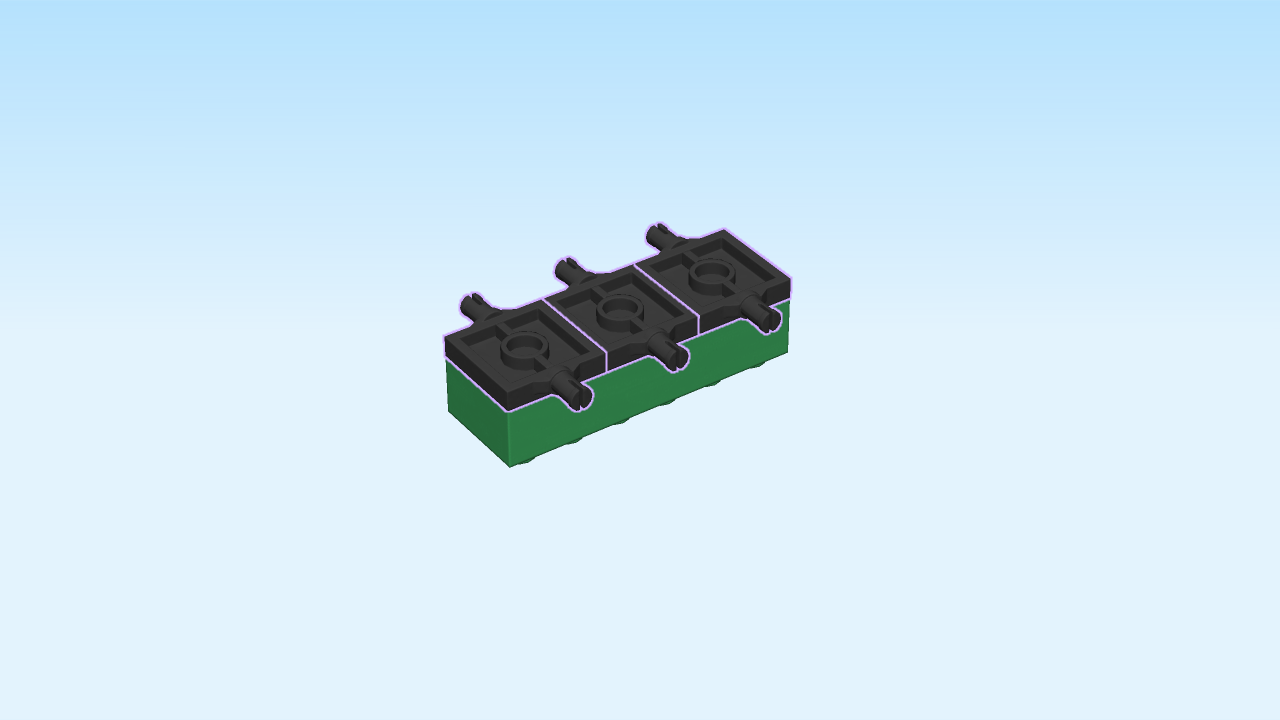
| Find 3 black plates 2x2 with 2 side connectors. |
| Careful: these pieces have a special orientation! |
| Flip the pieces knob-side down, and put them on top starting from the back, side connectors to the left and right. |
| Flip the structure right side up. |
| Collect the following 2 pieces: |
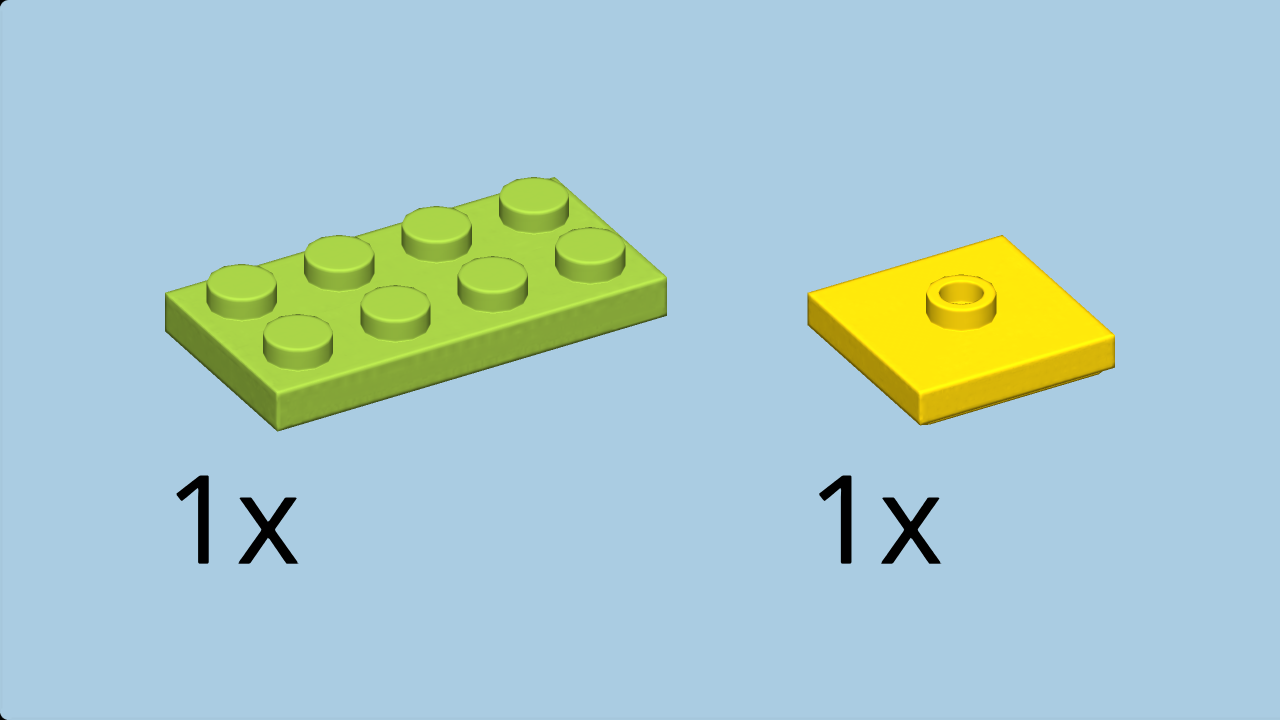
| 1 bright yellowish green plate 2x4, |
| and 1 bright yellow plate 2x2 with 1 knob. |
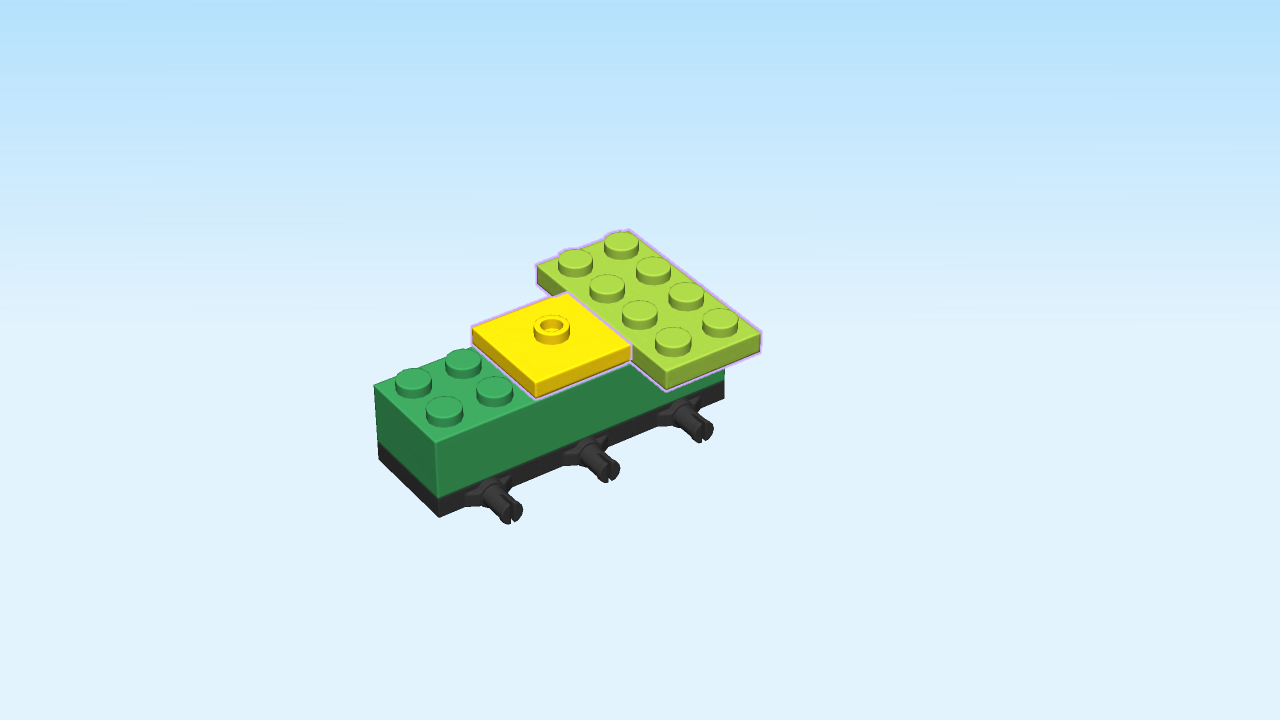
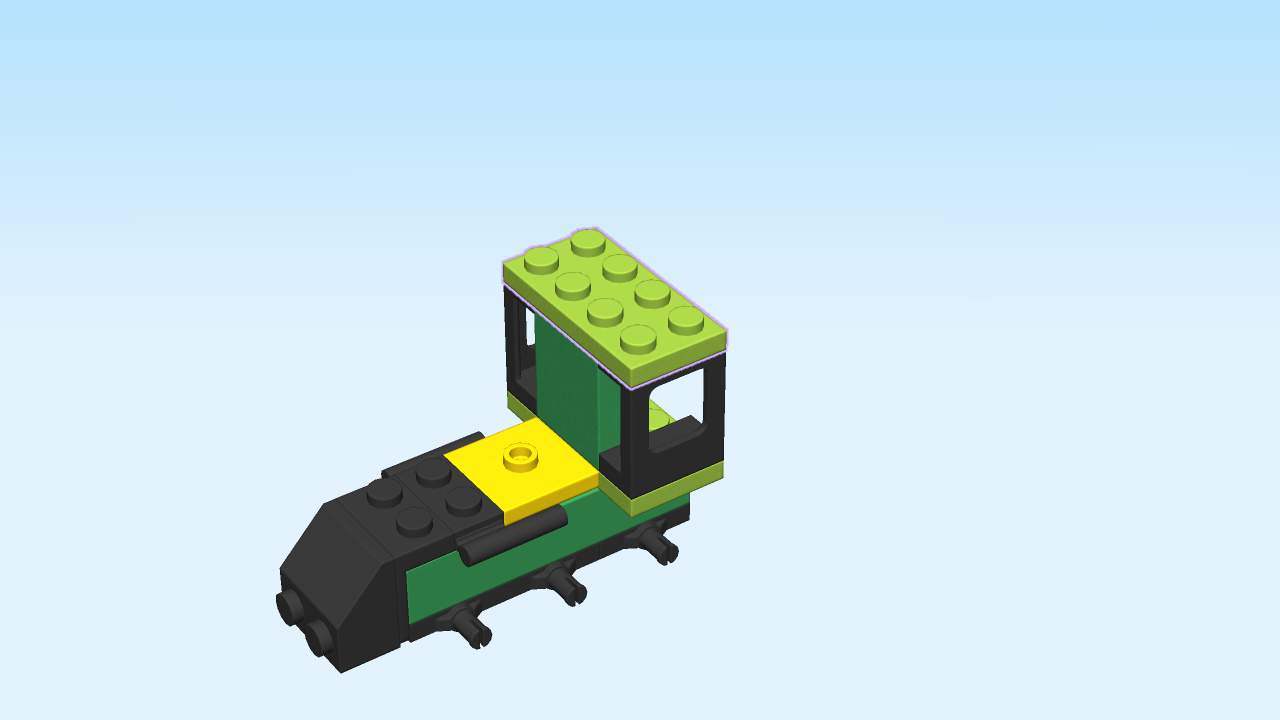
| Put the plate 2x4 horizontally on the back four knobs, symmetrically overhanging to the left and right. |
| Put the plate 2x2 with 1 knob in front. |
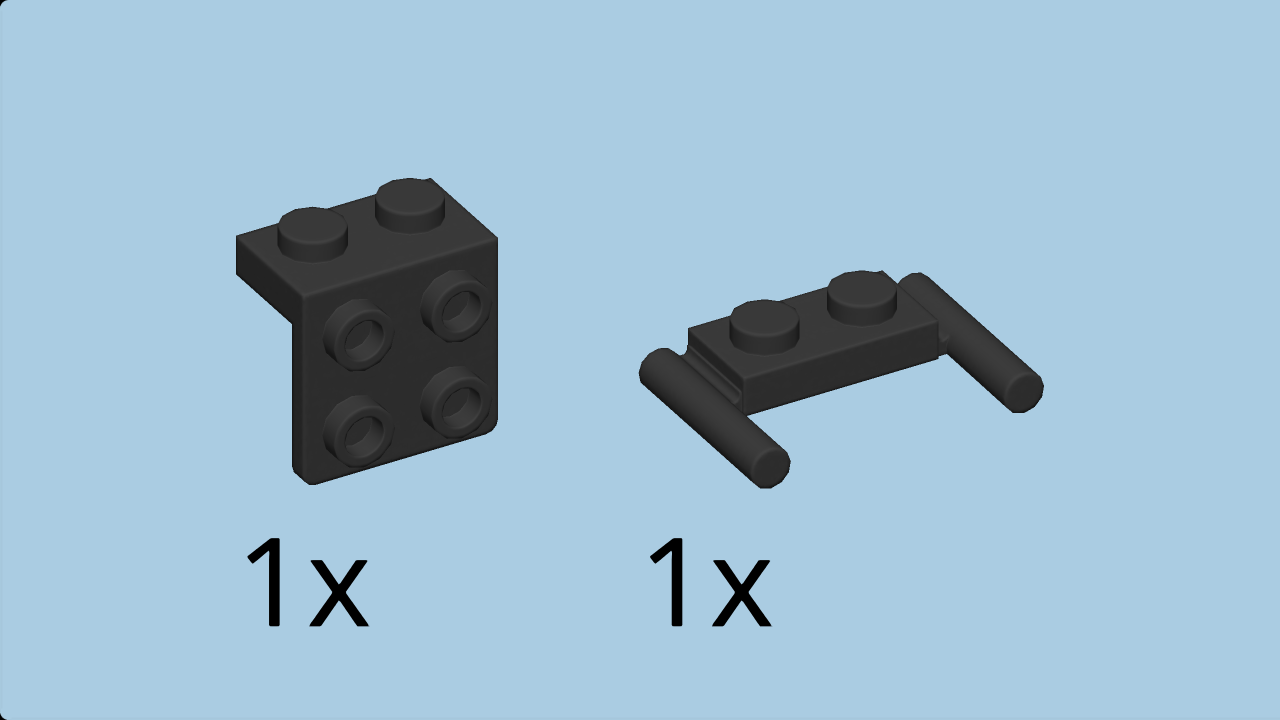
| Collect the following 2 pieces: |
| 1 black plate 1x2 with 2 side handles, |
| and 1 black top angle plate 1x2 - 2x2. |
| Put the plate 1x2 with 2 side handles horizontally in front of the previous piece, side handles to the back. |
| Put the top angle plate 1x2 - 2x2 horizontally in front, 2x2 part overhanging to the front side. |
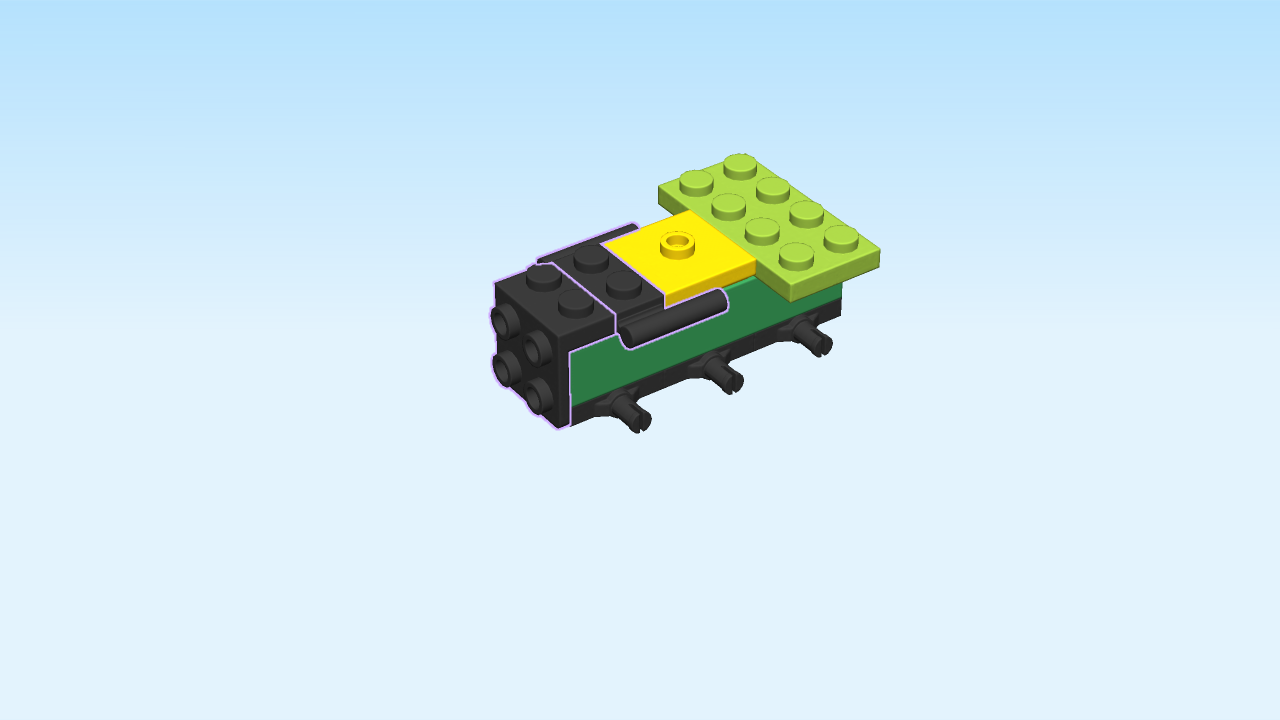
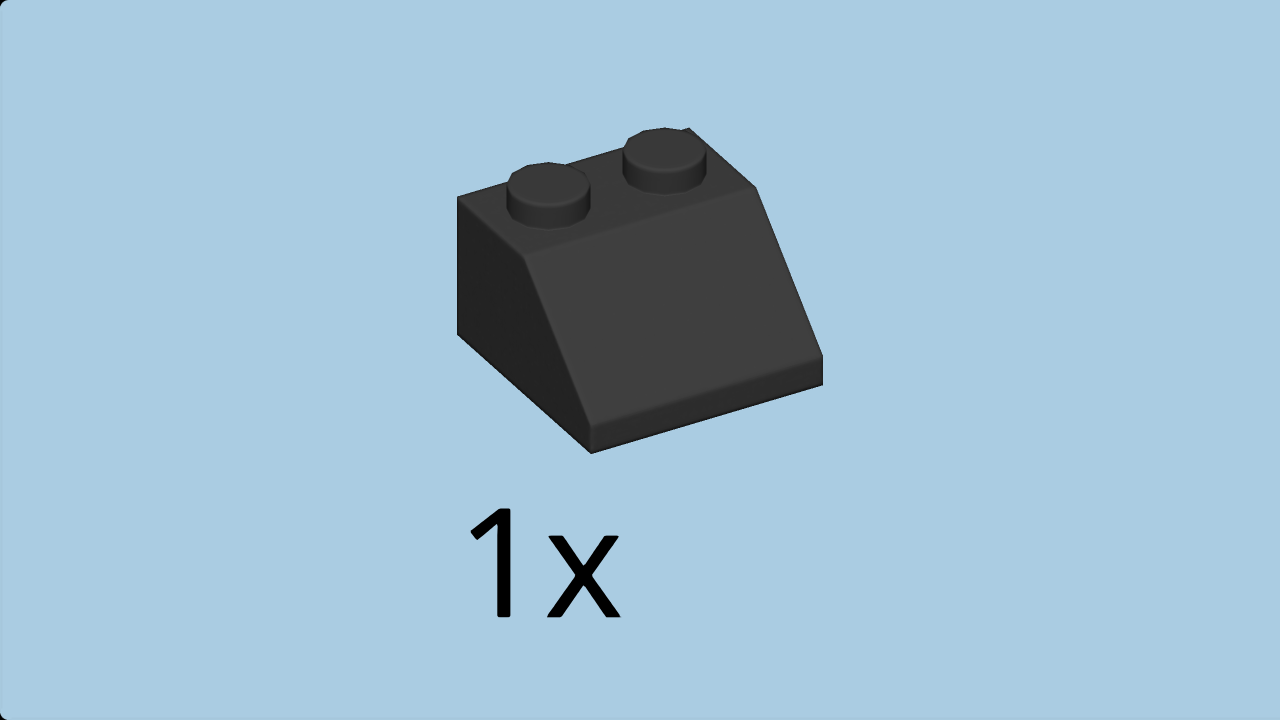
| Find 1 black roof tile 2x2. |
| Careful! This piece has a special orientation. |
| Put it upright on the four side knobs at the front side, slide to the top. |
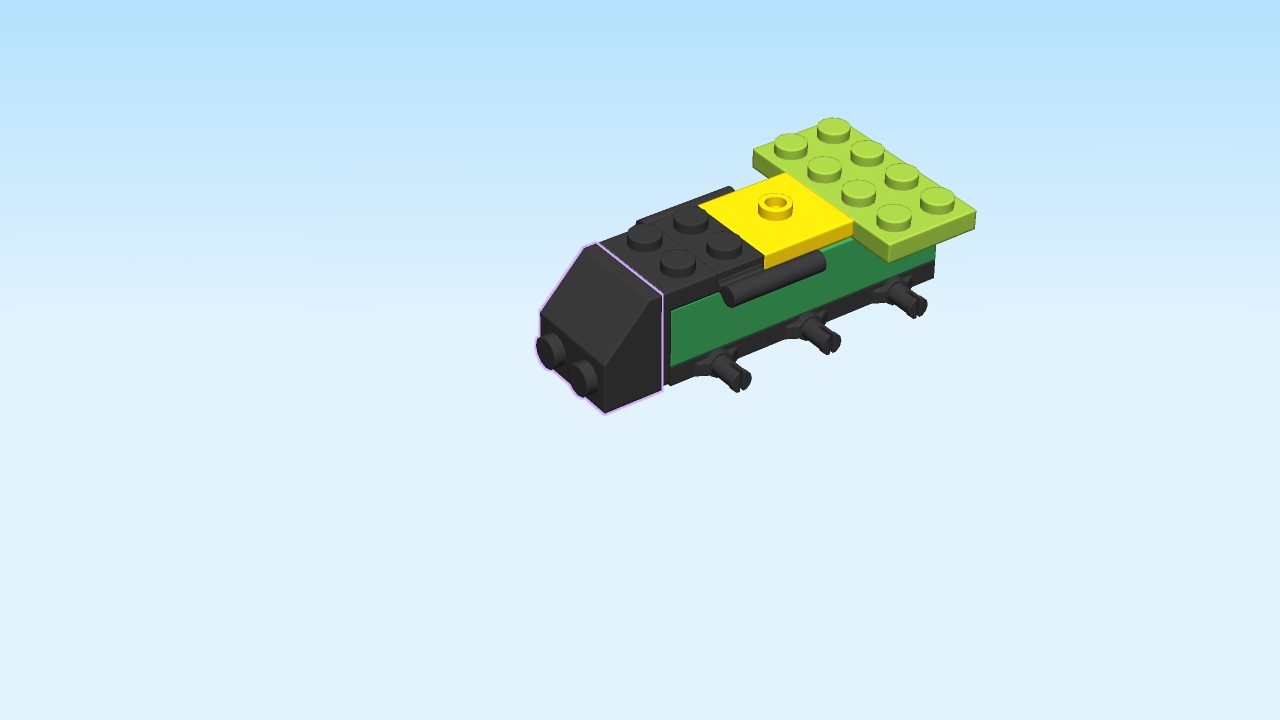
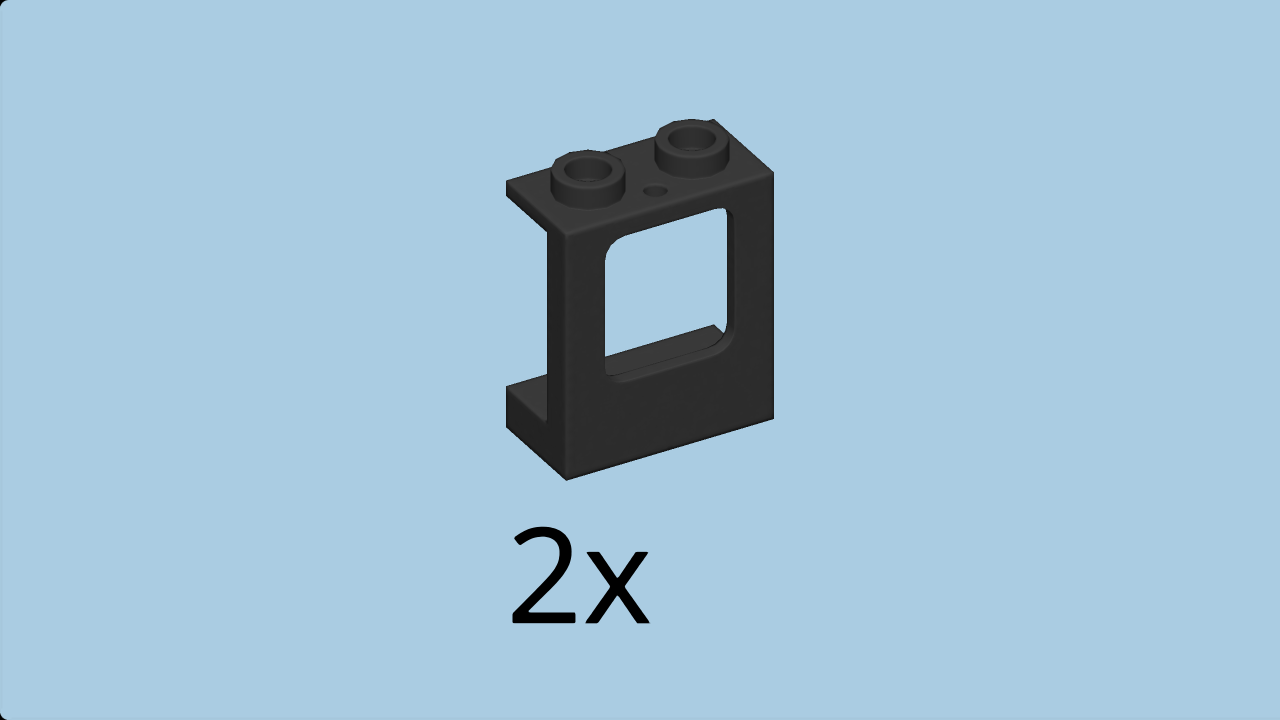
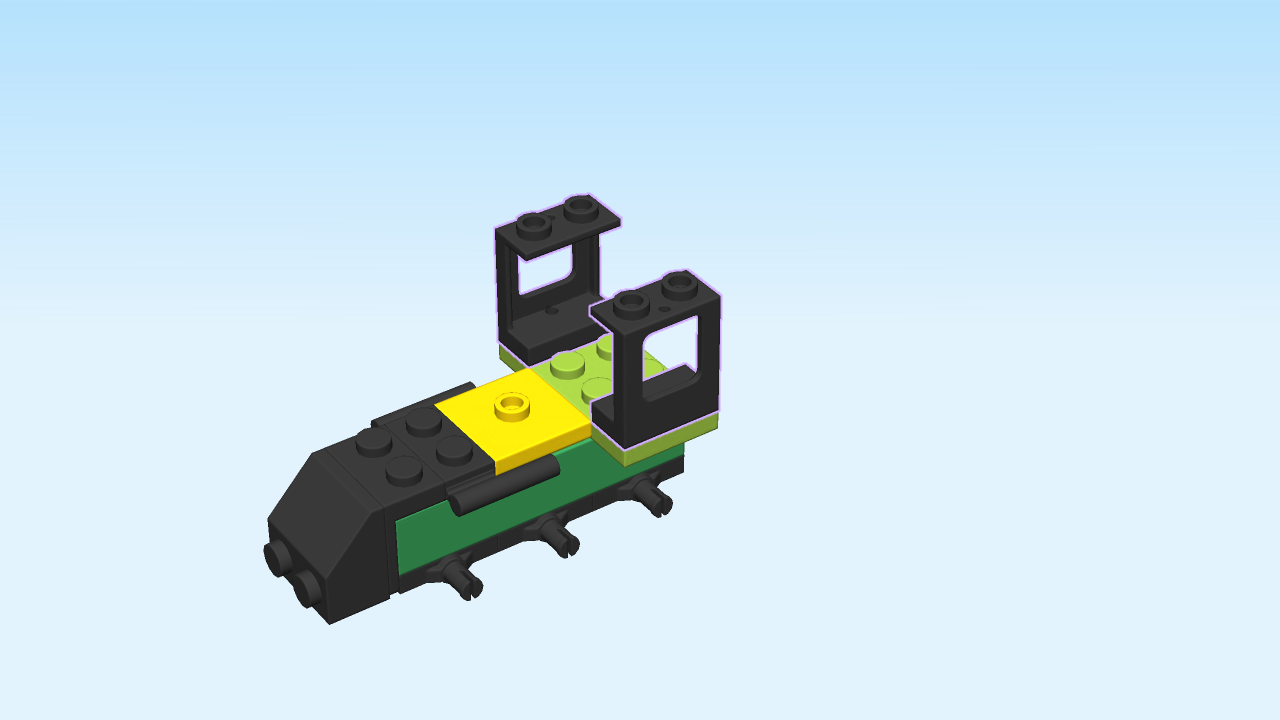
| Find 2 black wall elements with window 1x2x2. |
| Put one vertically on the rightmost column at the back, window opening to the right. |
| Repeat symmetrically on the left. |
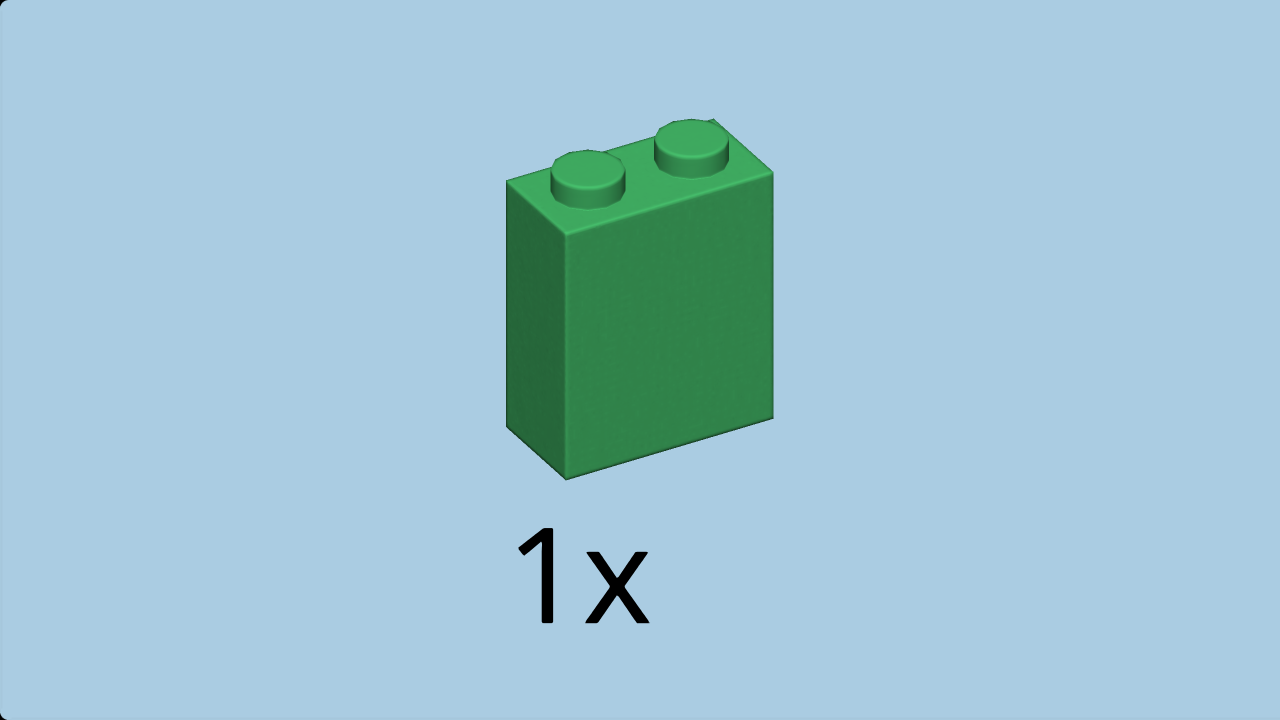
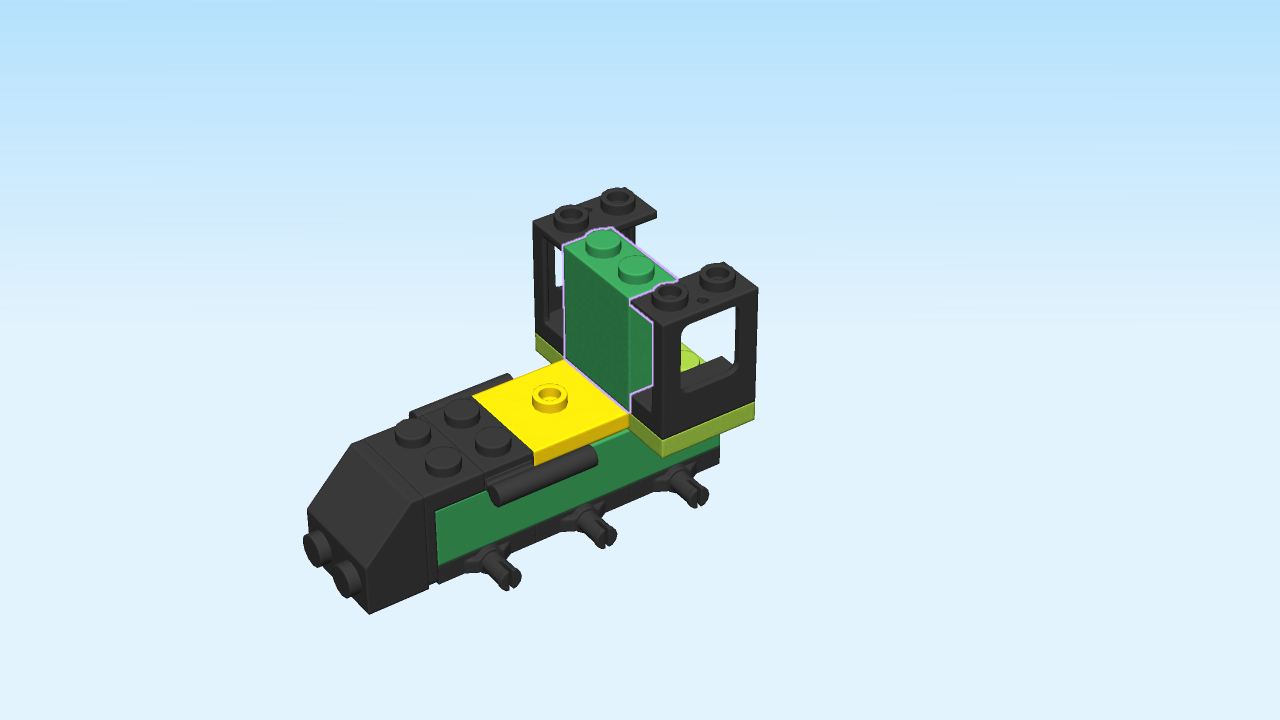
| Find 1 dark green brick 1x2x2. |
| Put it horizontally in the middle of the second row from the back. |
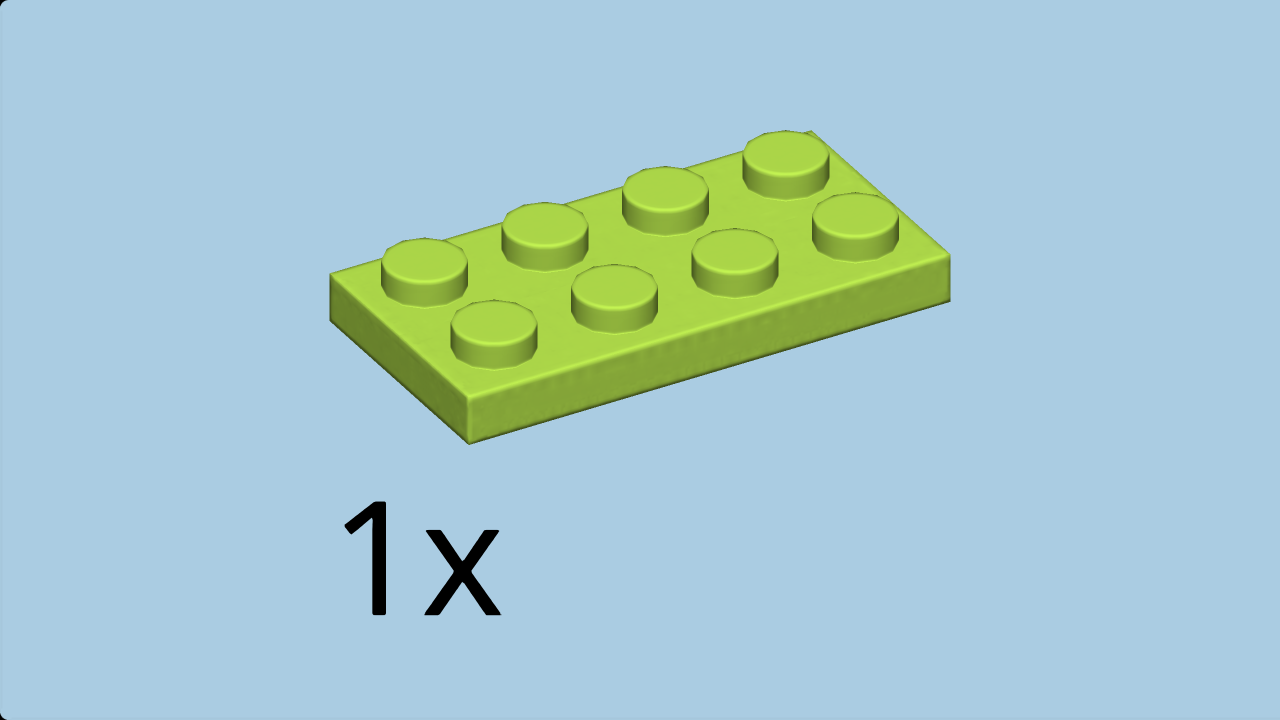
| Find 1 bright yellowish green plate 2x4. |
| Put it horizontally on top at the back. |
| Collect the following 2 pieces: |
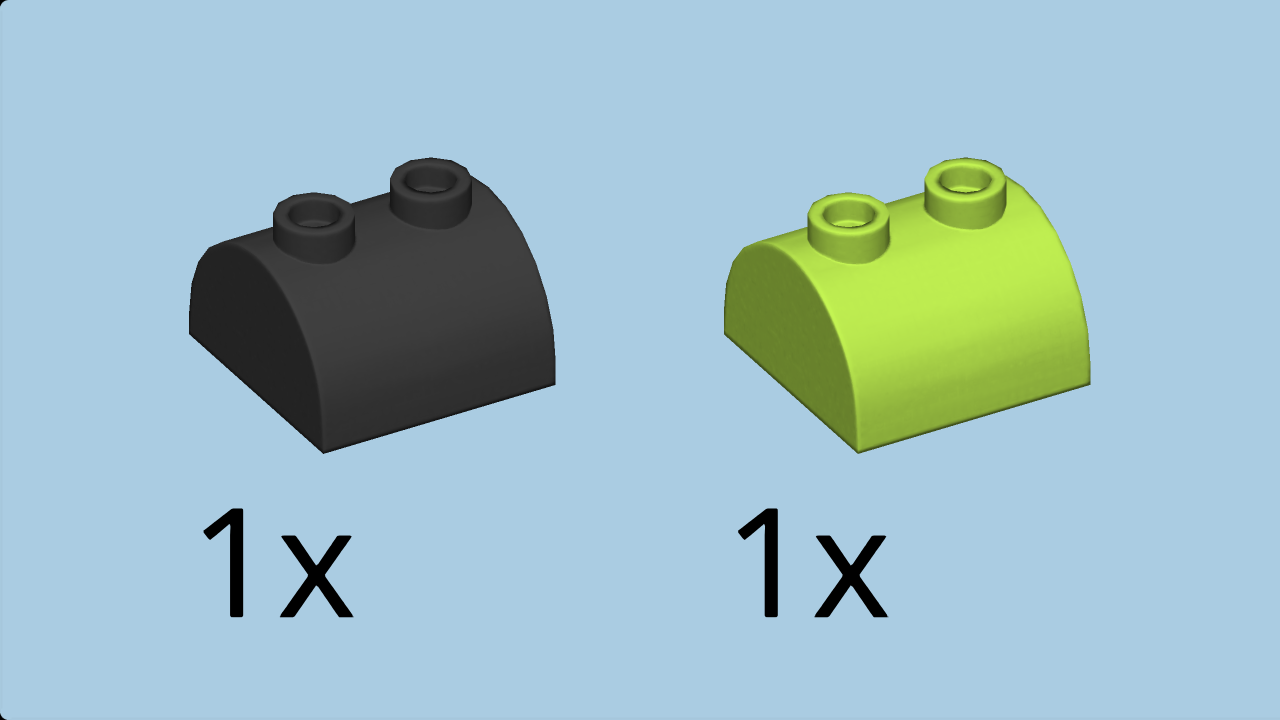
| 1 black half-cylinder brick 2x2 with 2 knobs, |
| and 1 yellowish green half-cylinder brick 2x2 with 2 knobs. |
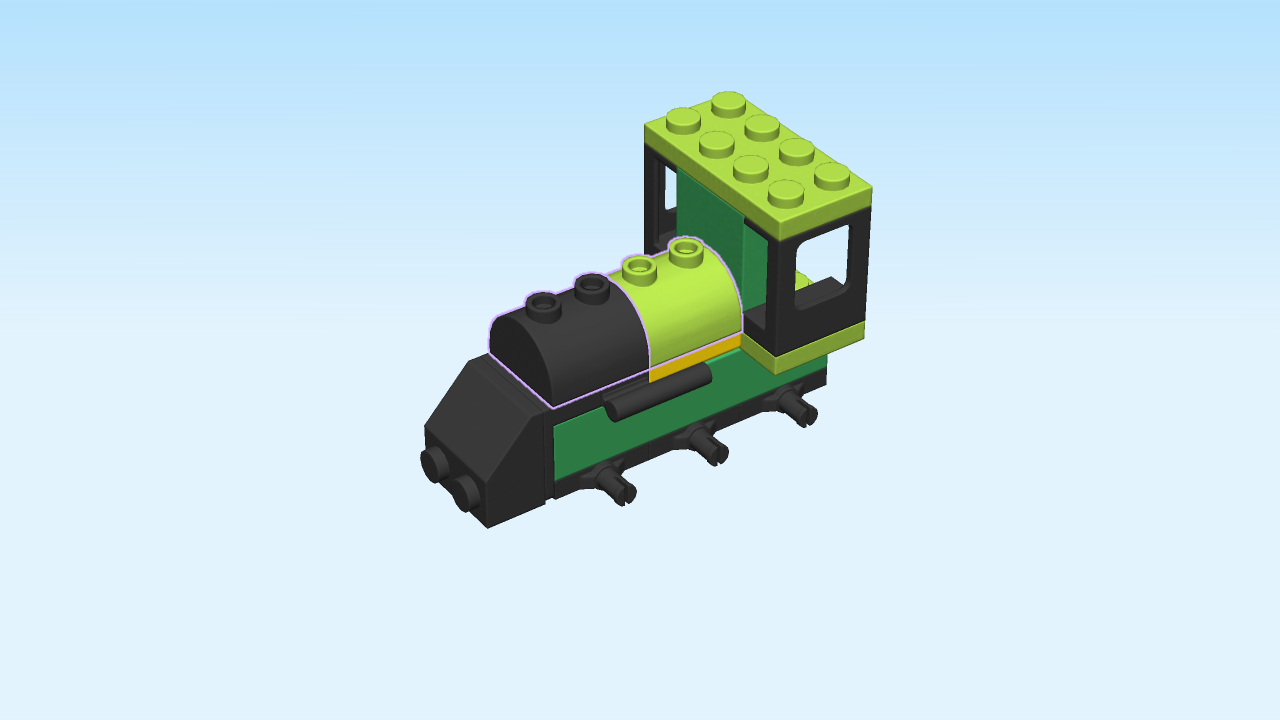
| Put the black half-cylinder brick 2x2 with 2 knobs vertically on the front four knobs. |
| Put the yellowish green half-cylinder brick 2x2 with 2 knobs vertically to the back of the previous piece. |
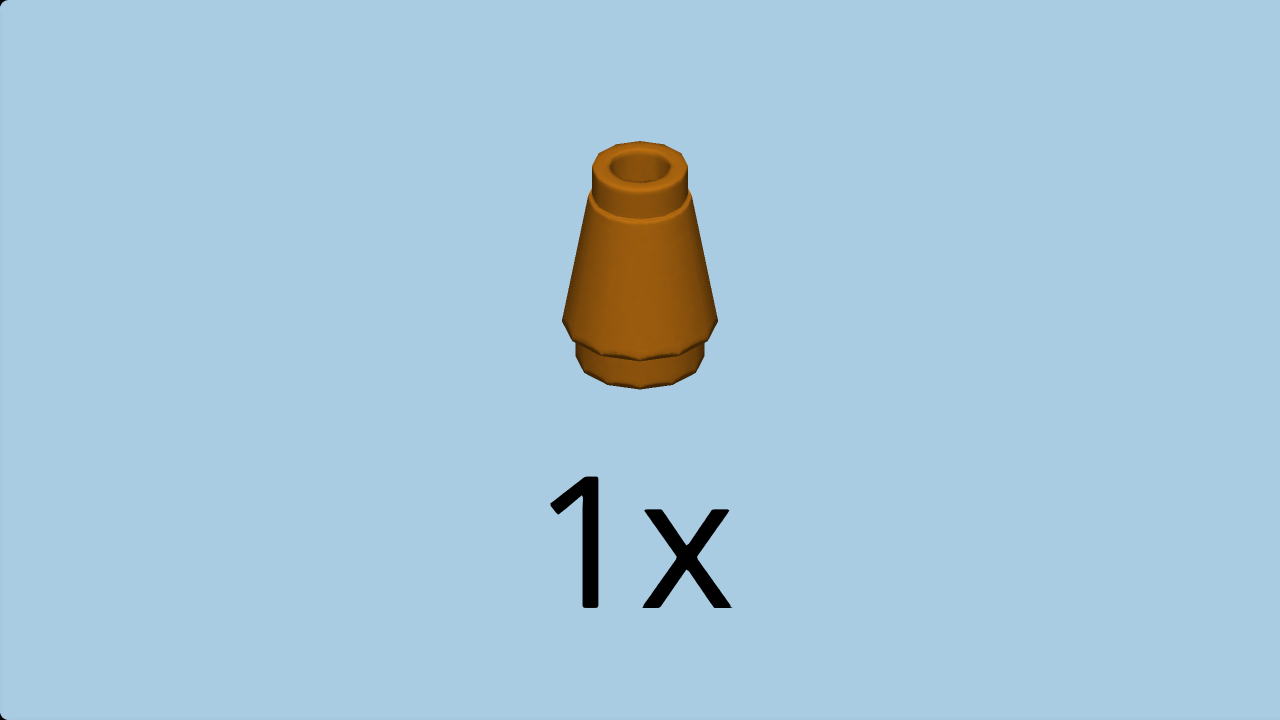
| Find 1 warm gold small nose cone 1x1. |
| Put it on the third knob starting from the front. |
| Next, we will build the chimney of the locomotive. |
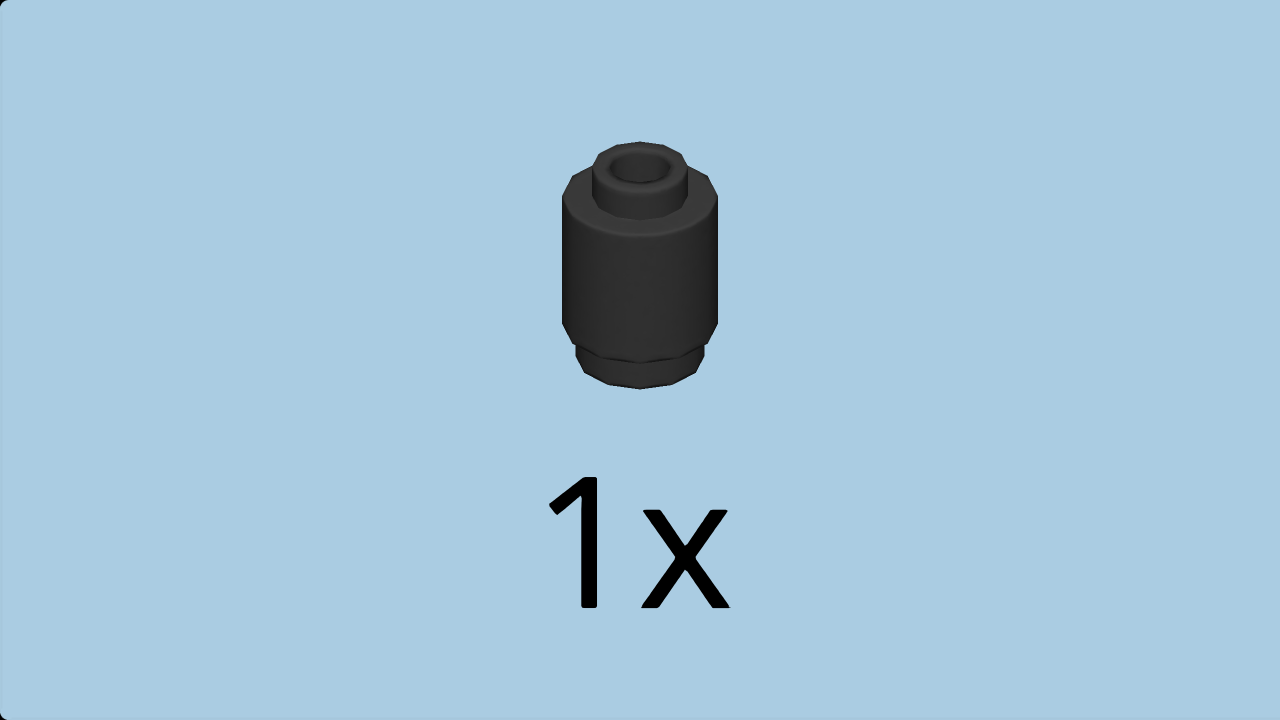
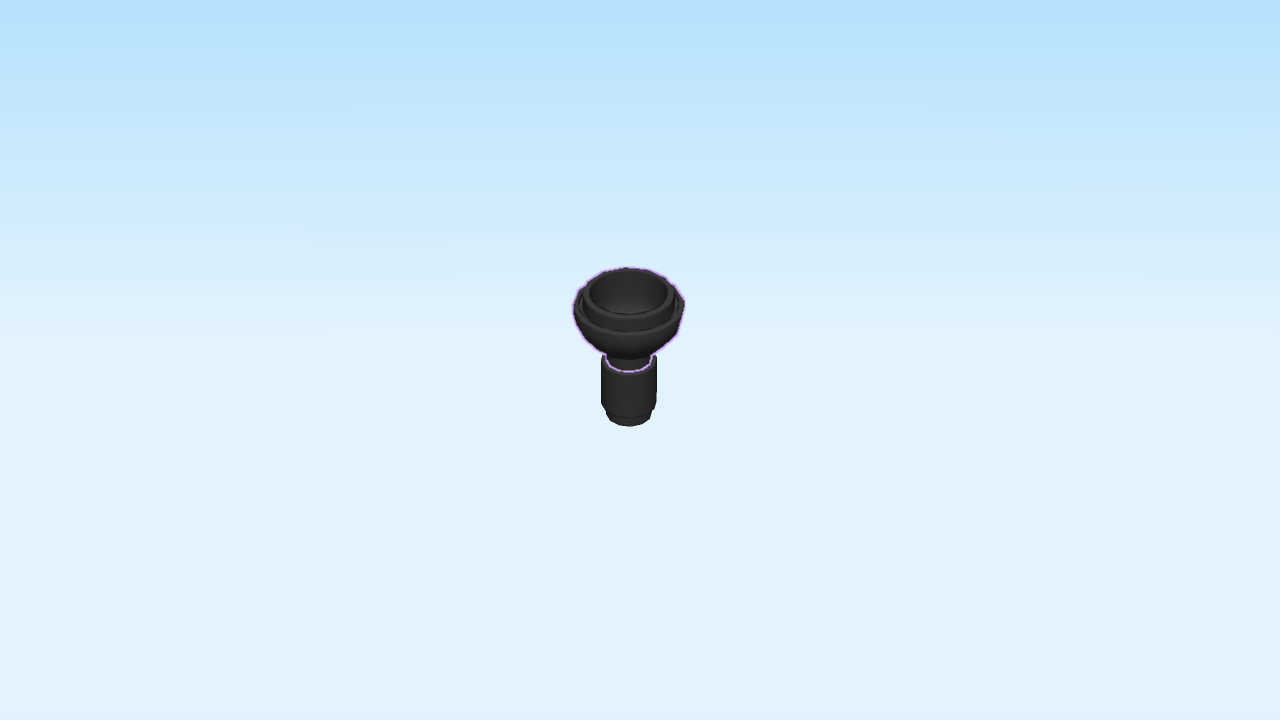
| Find 1 black cylinder 1x1. |
| Put it on the table. |
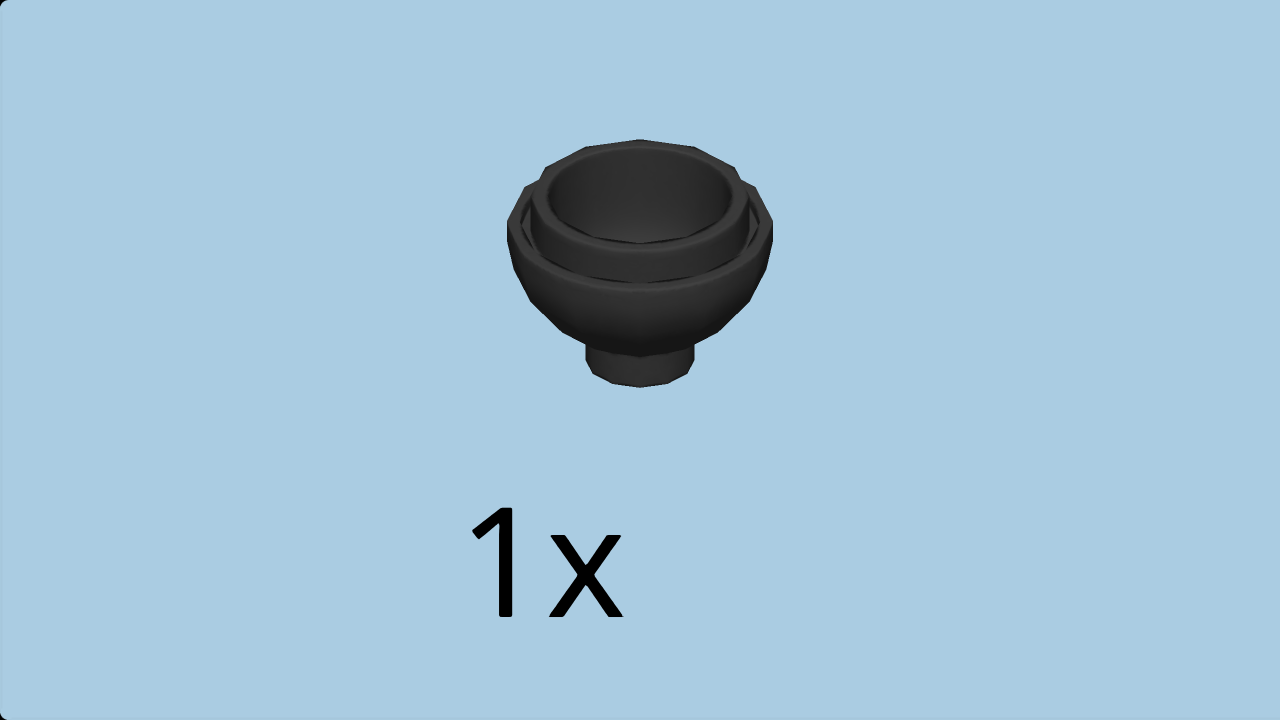
| Find 1 black inverted dome 2x2 with 1 knob. |
| Put it on top, narrow end to the bottom. |
| The chimney is finished! Mount it on the frontmost knob of the locomotive. |
| Next, we will build 6 wheels. |
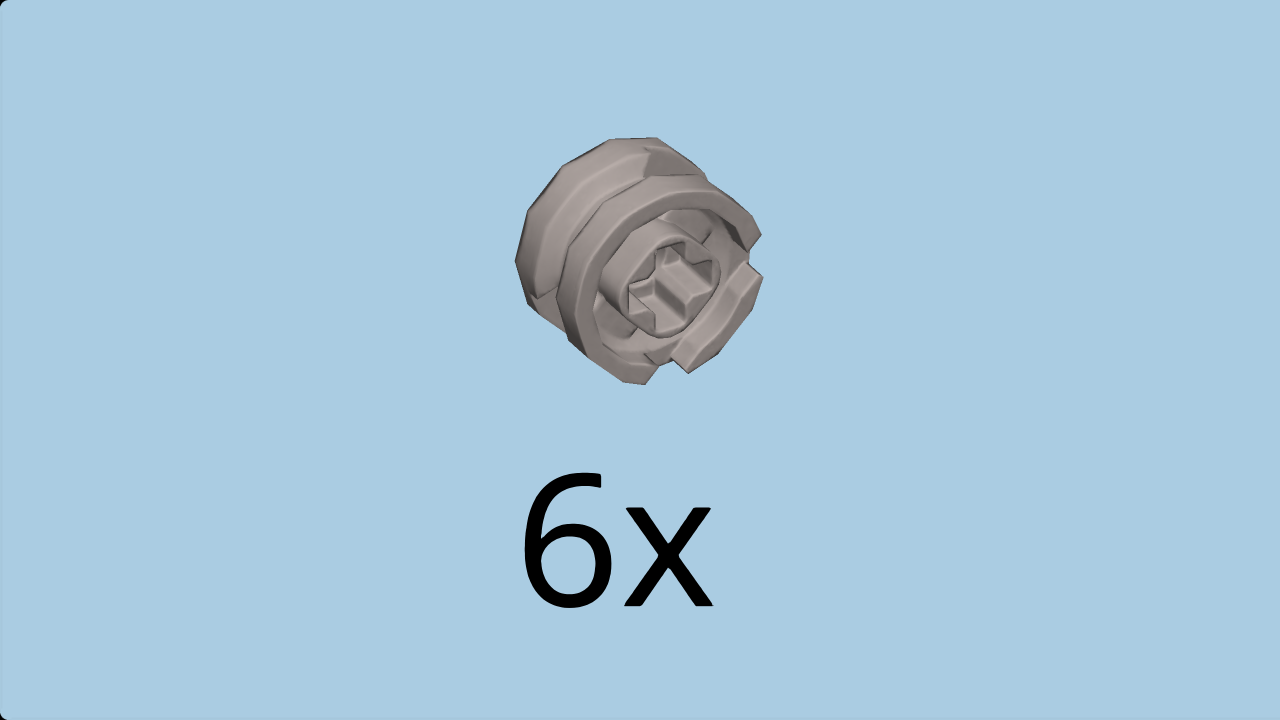
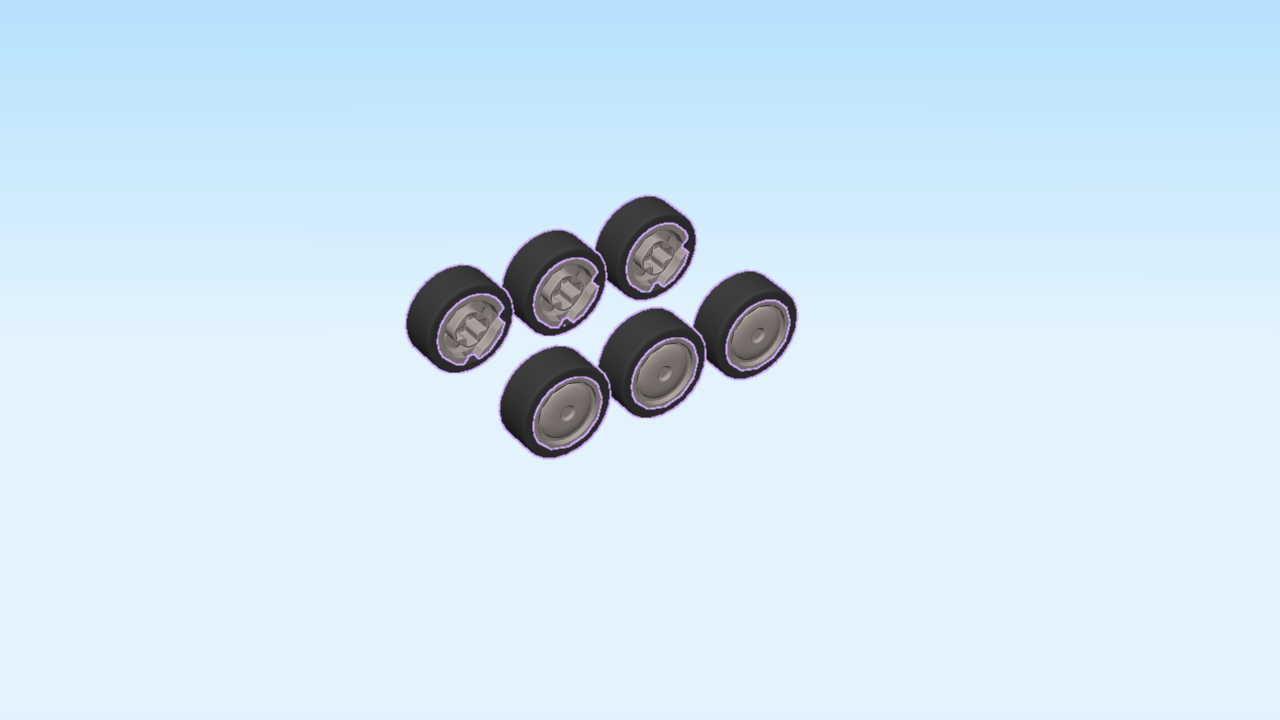
| Find 6 silver metallic rims and 6 black slick rubber tires. |
| Put the 6 slick rubber tires on the 6 rims. |
| The wheels are finished! Mount them on the side connectors of the locomotive. |
| The steam locomotive is finished! Well done! Let it choo choo and see how fast your train can go! |
| Next, we will build the T-Rex. |
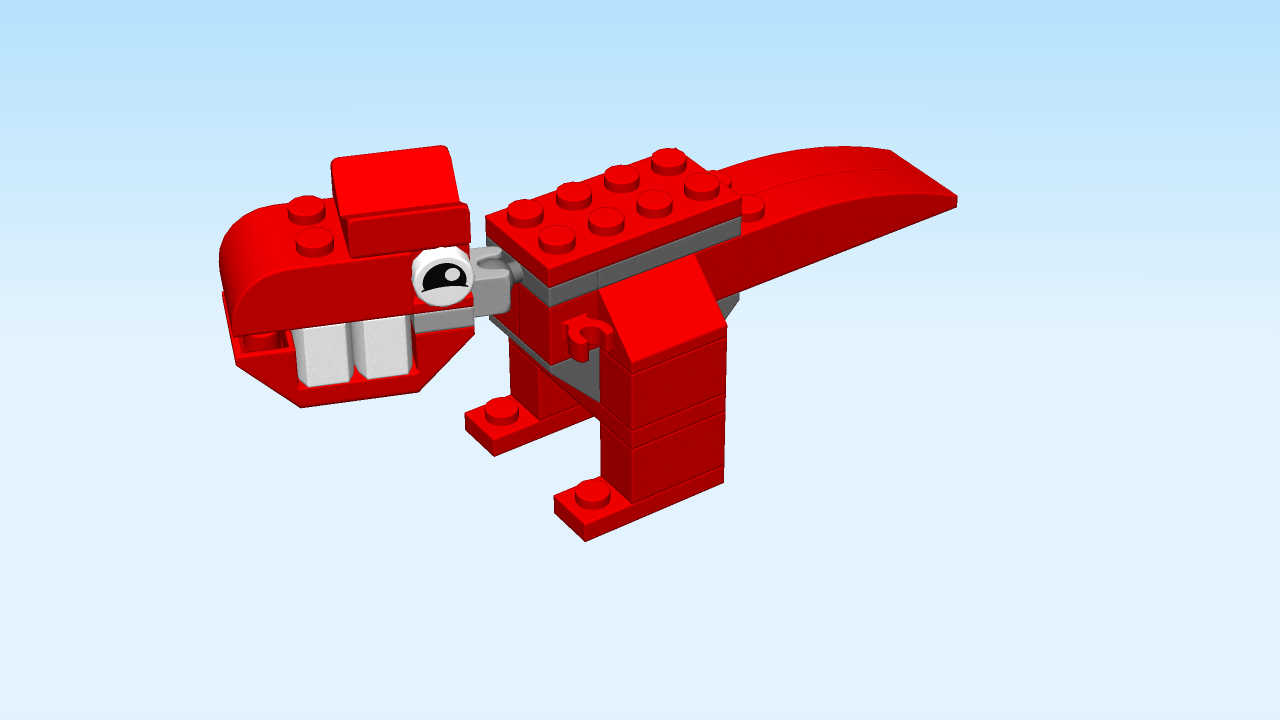
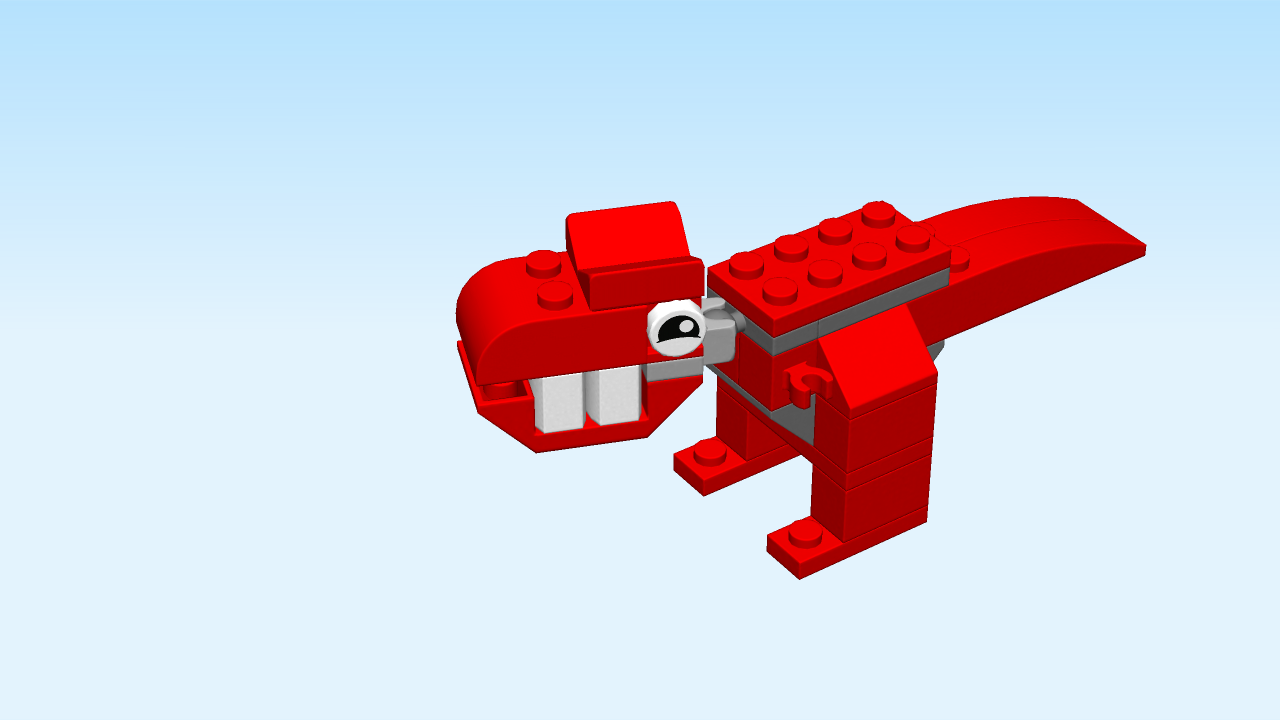
| The T-Rex is one of the most powerful dinosaurs! This one is red with huge white teeth and a head that swivels. As a special feature, you can use different eye pieces to make it look asleep, happy, or grim! |
| The T-Rex consists of 29 pieces, and its difficulty is intermediate because some instructions are a bit longer. Ask someone to help you if it gets too difficult! |
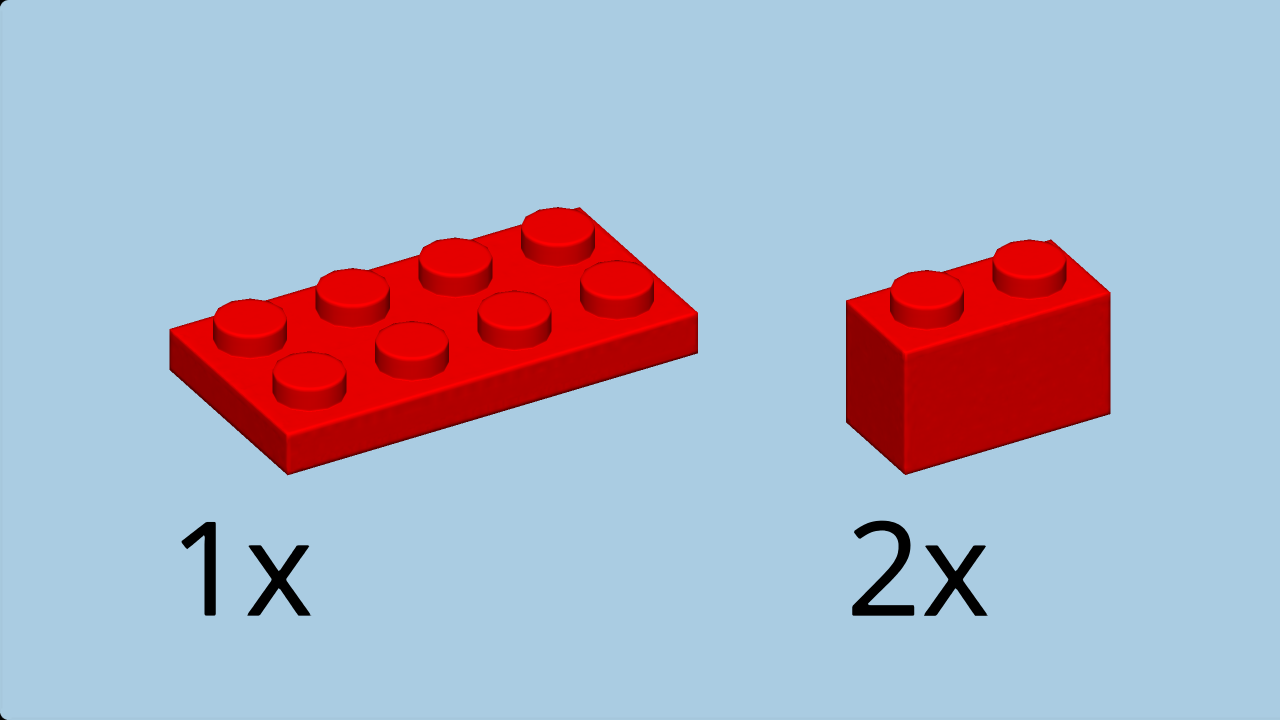
| Collect the following 3 pieces: |
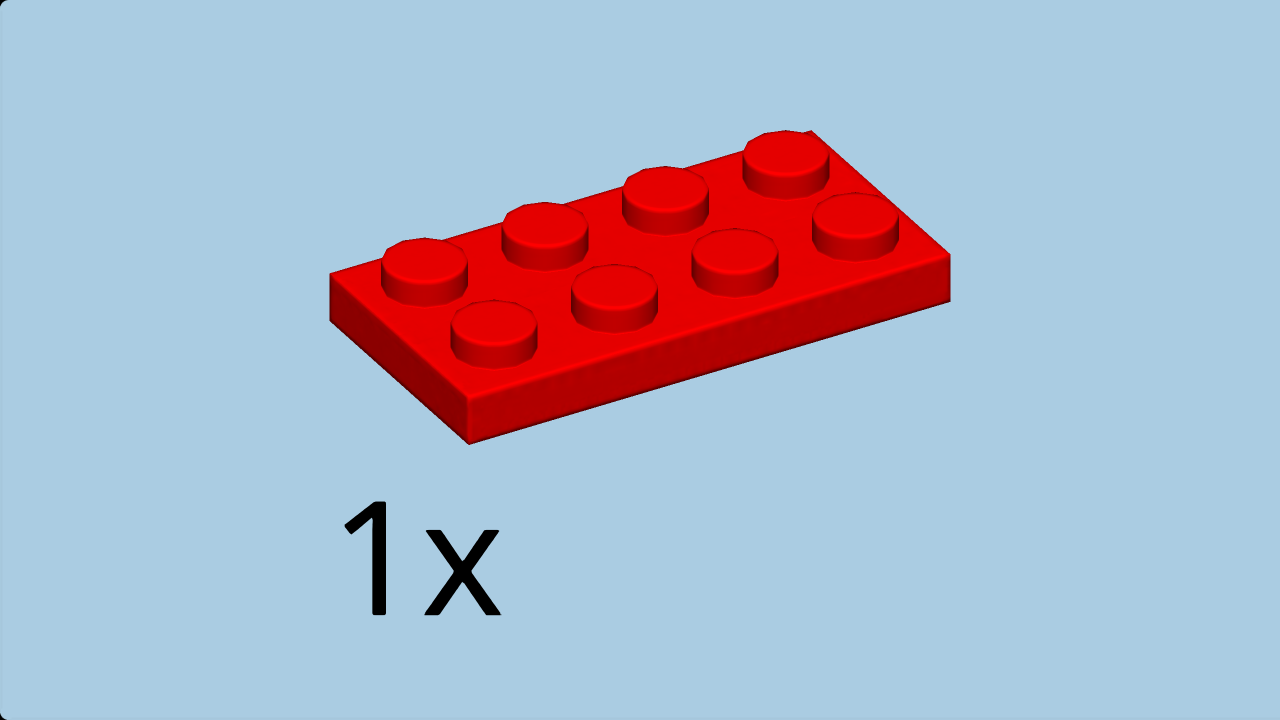
| 1 bright red plate 2x4, |
| and 2 bright red bricks 1x2. |
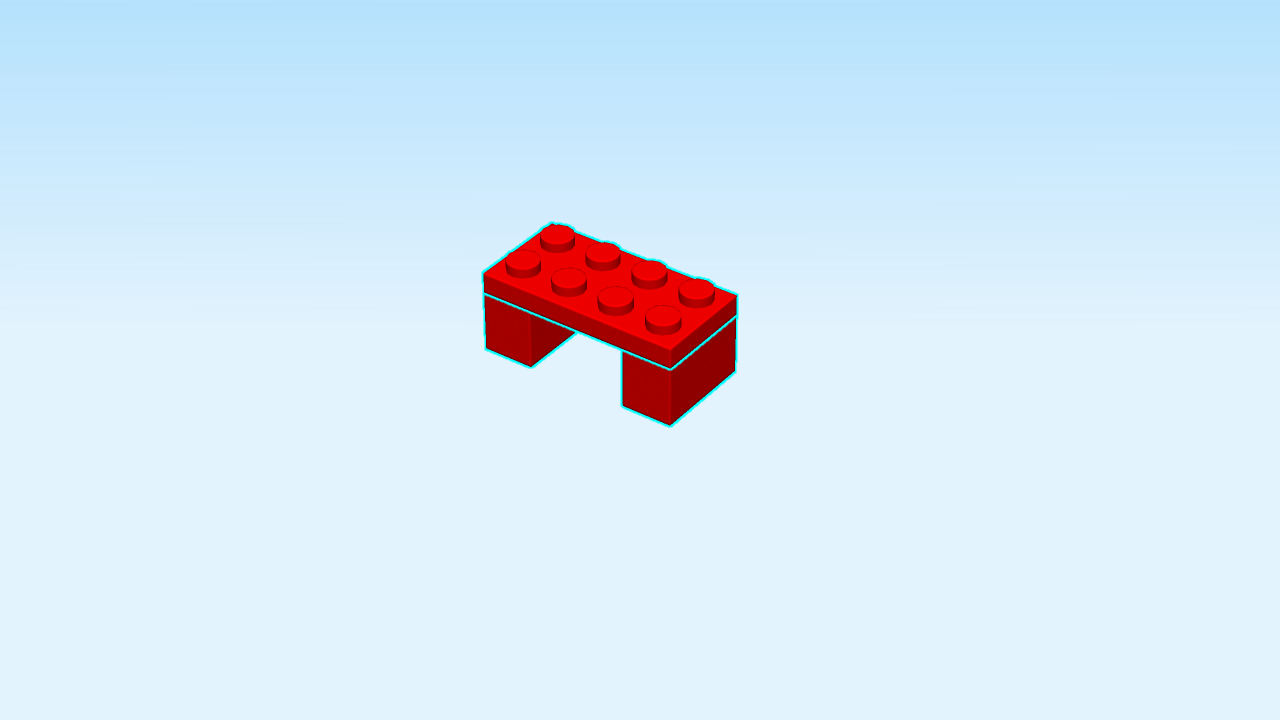
| Put the plate 2x4 horizontally on the table. |
| Careful: the next two pieces have a special orientation! |
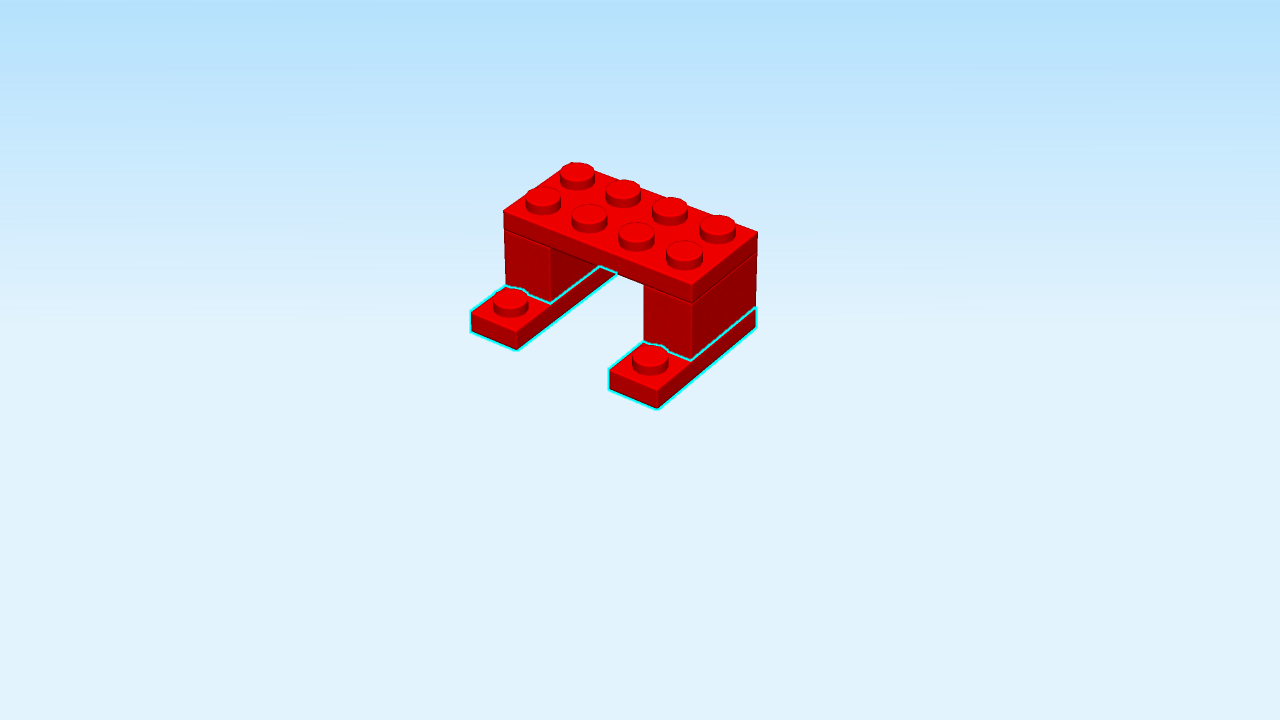
| Put one brick 1x2 vertically underneath the rightmost column. |
| Repeat symmetrically on the left. |
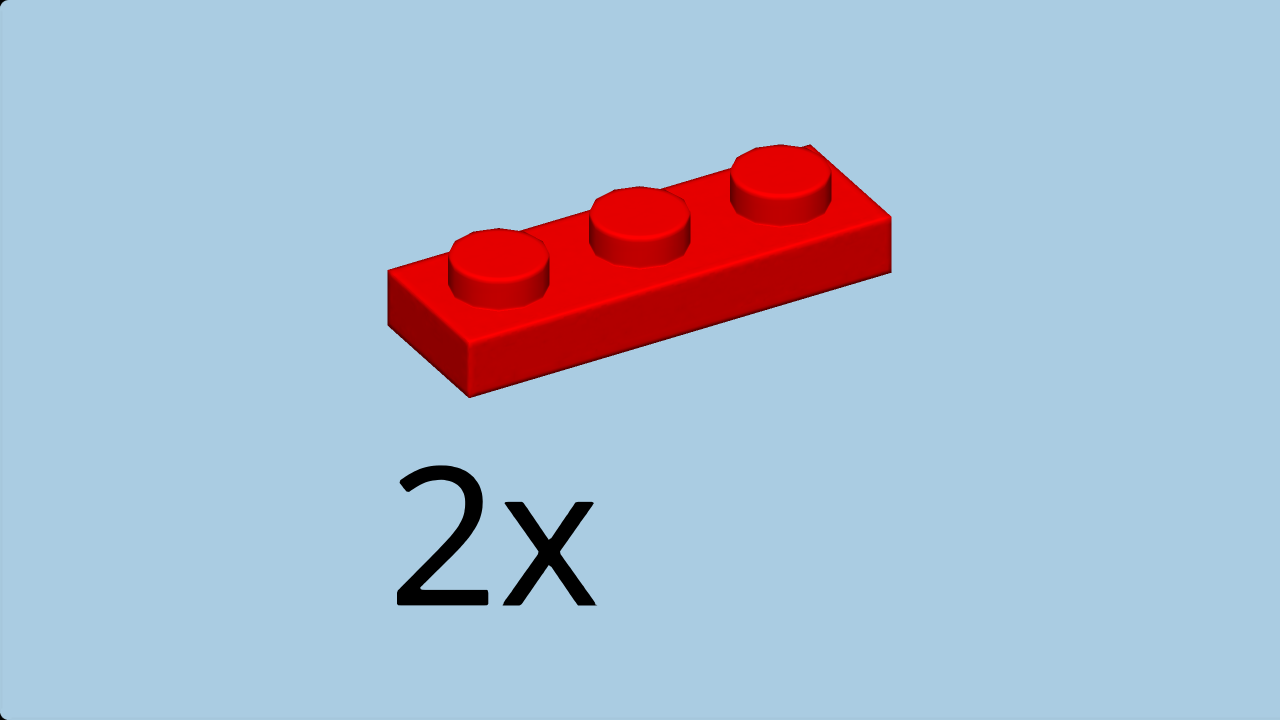
| Find 2 bright red plates 1x3. |
| Careful: these two bricks have a special orientation! |
| Put one vertically underneath the previous piece, one knob protruding to the front. |
| Repeat symmetrically on the right. |
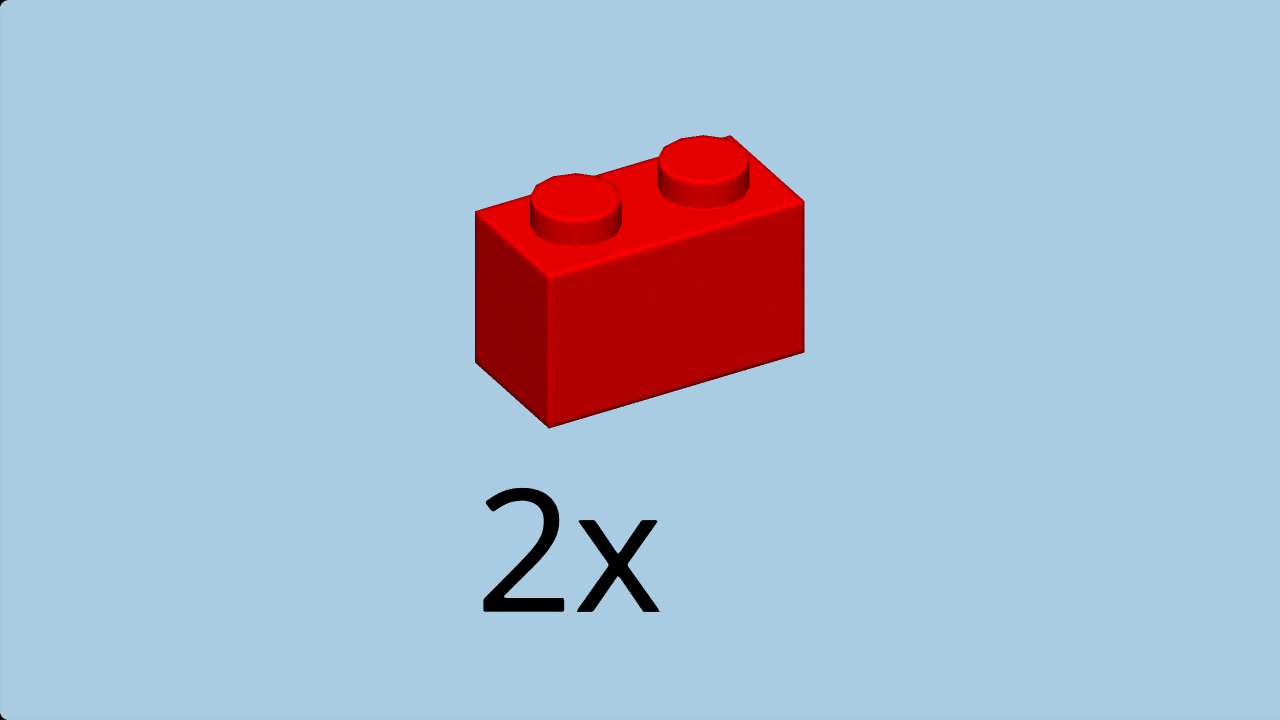
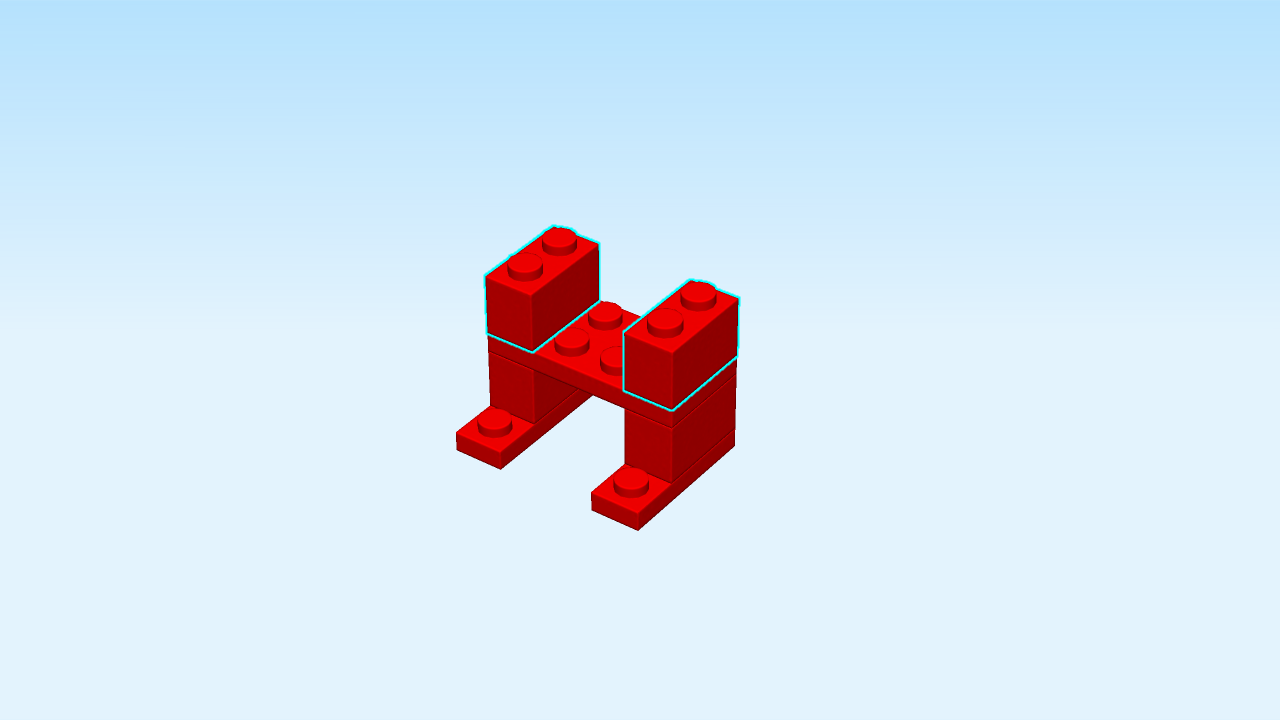
| Find 2 bright red bricks 1x2. |
| Put one vertically on the rightmost column. |
| Repeat symmetrically on the left. |
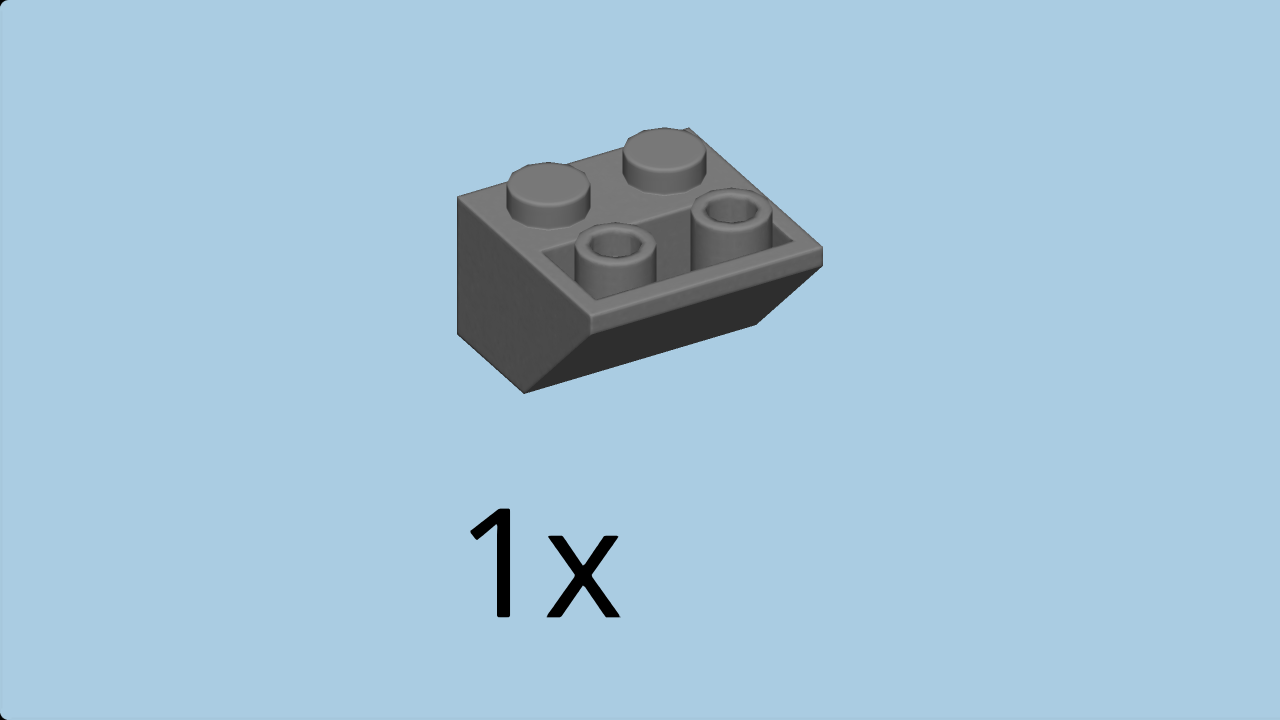
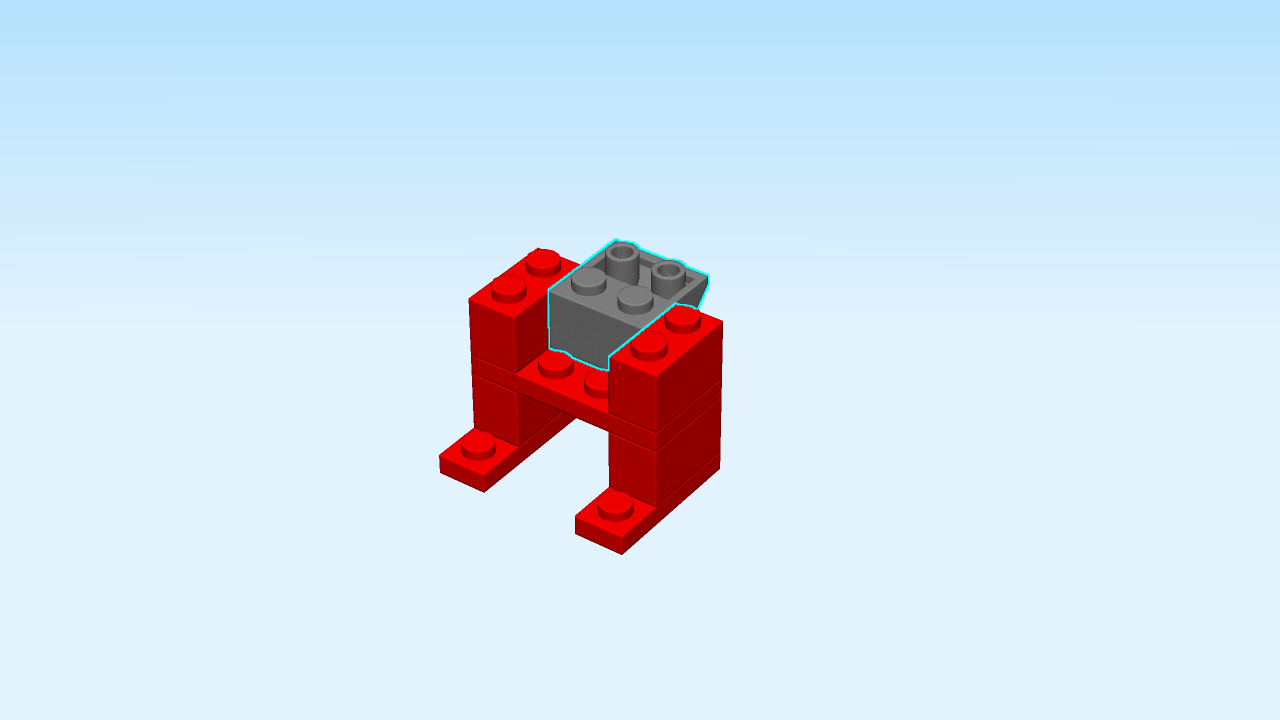
| Find 1 dark stone grey inverted roof tile 2x2. |
| Put it horizontally in the middle of the back row, slide to the back. |
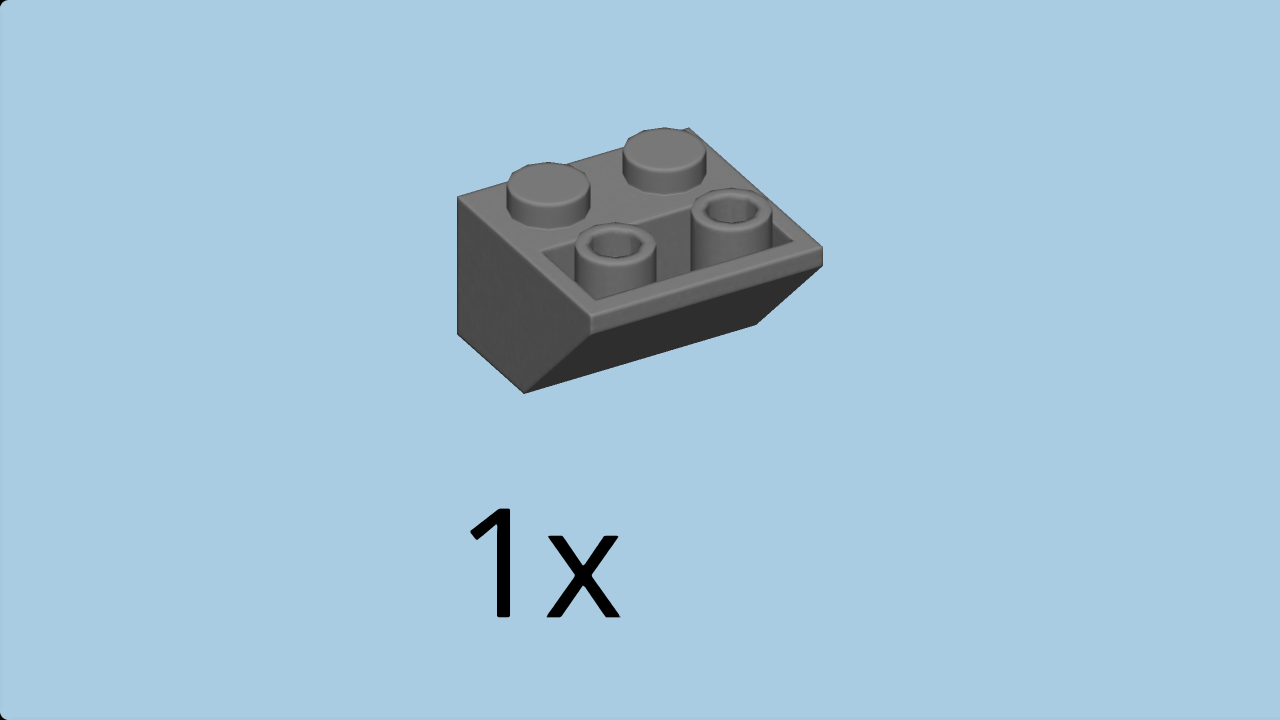
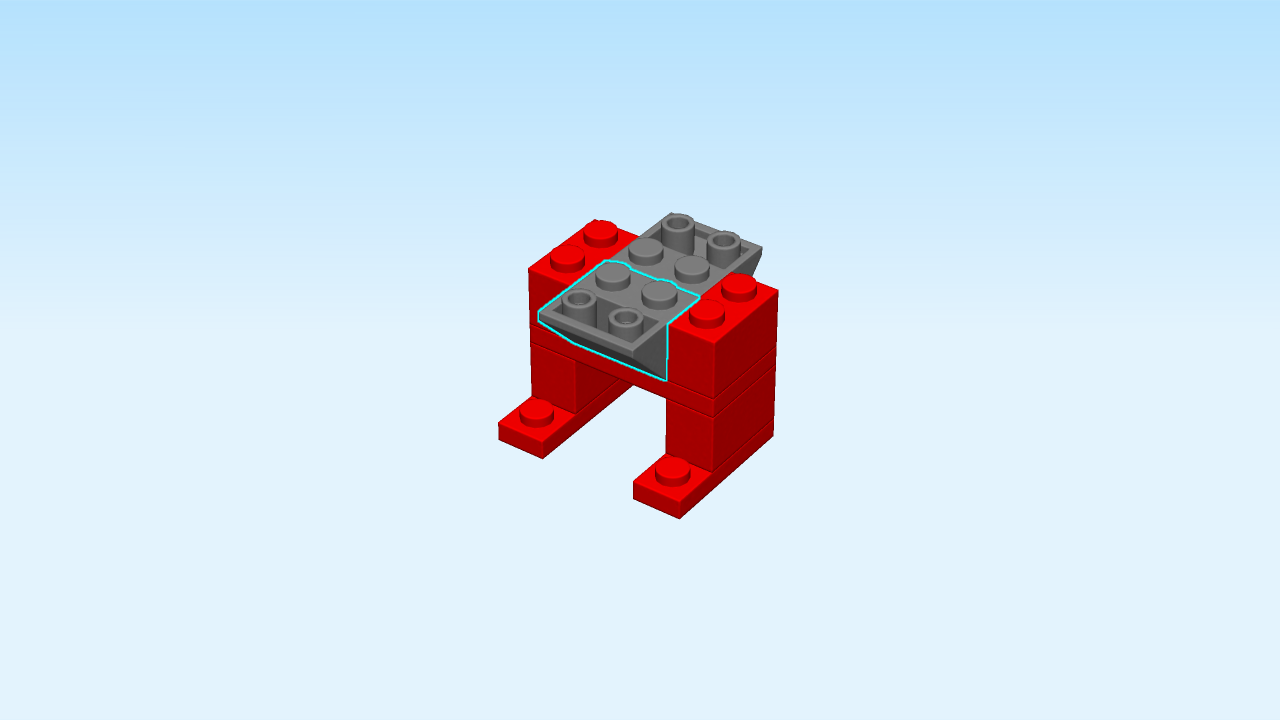
| Find 1 dark stone grey inverted roof tile 2x2. |
| Put it horizontally in the middle of the front row, slide to the front. |
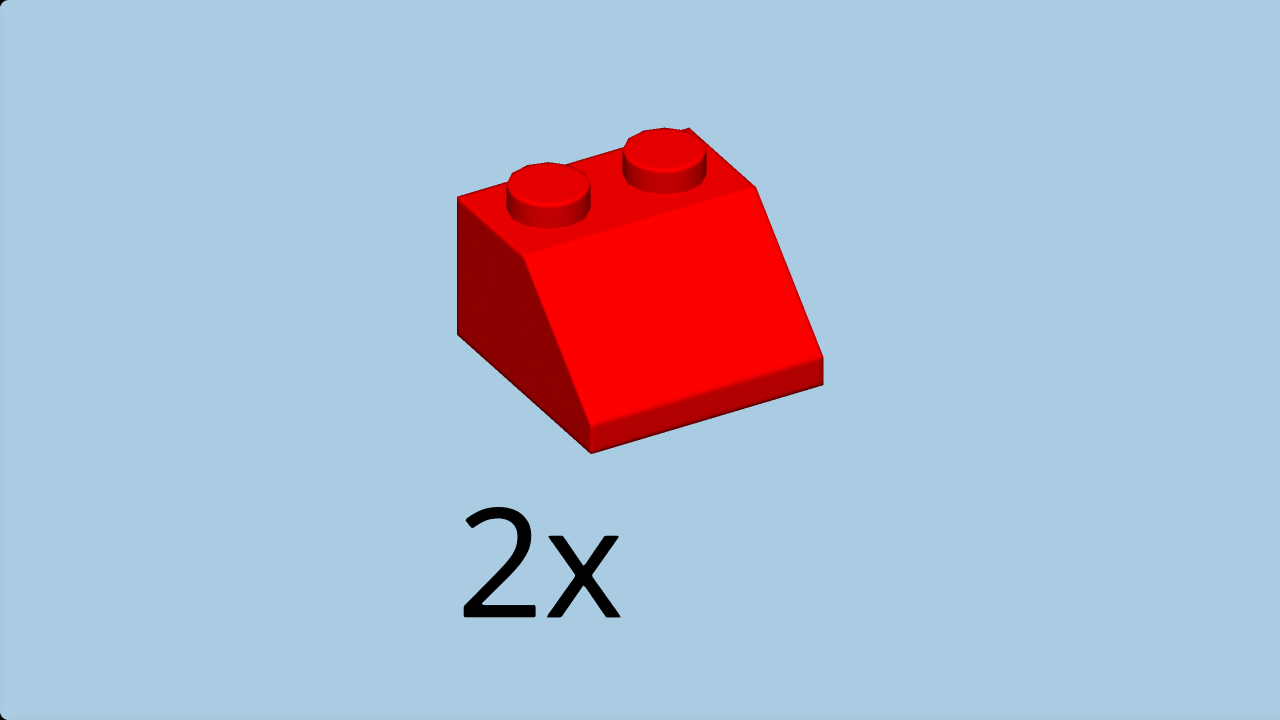
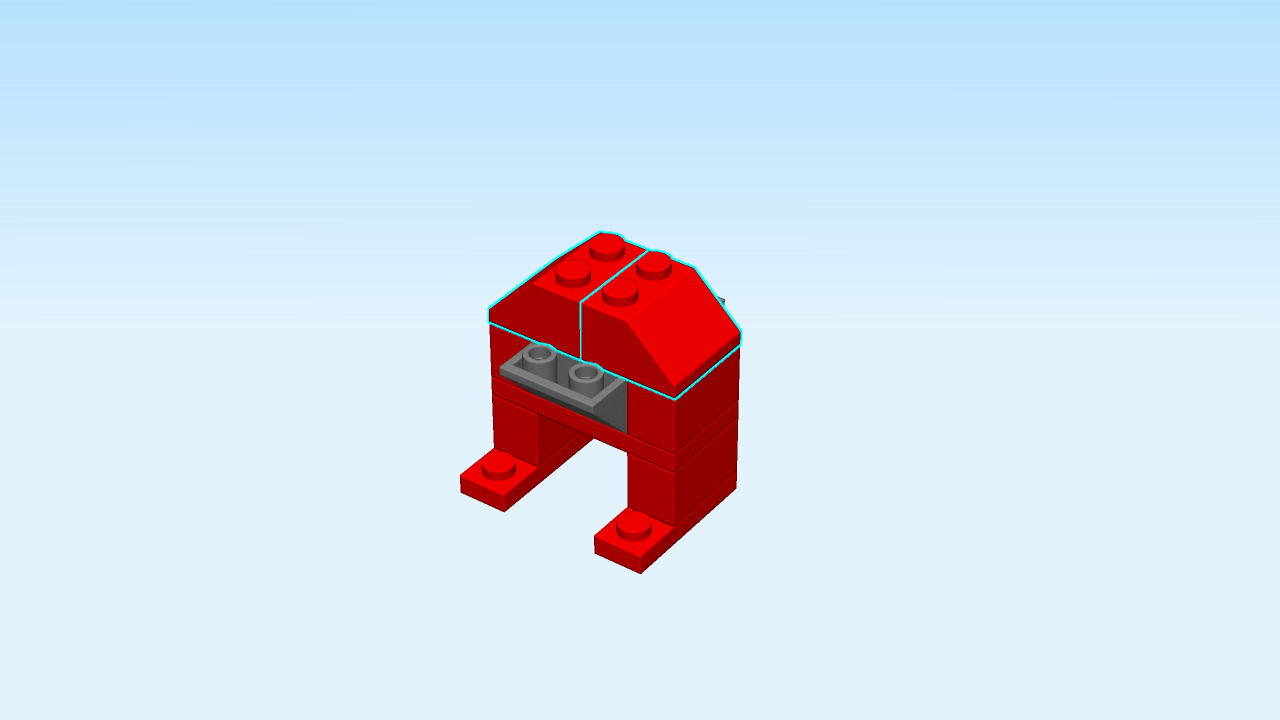
| Find 2 bright red roof tiles 2x2. |
| Put one on the four knobs on the right, slide to the right. |
| Repeat symmetrically on the left. |
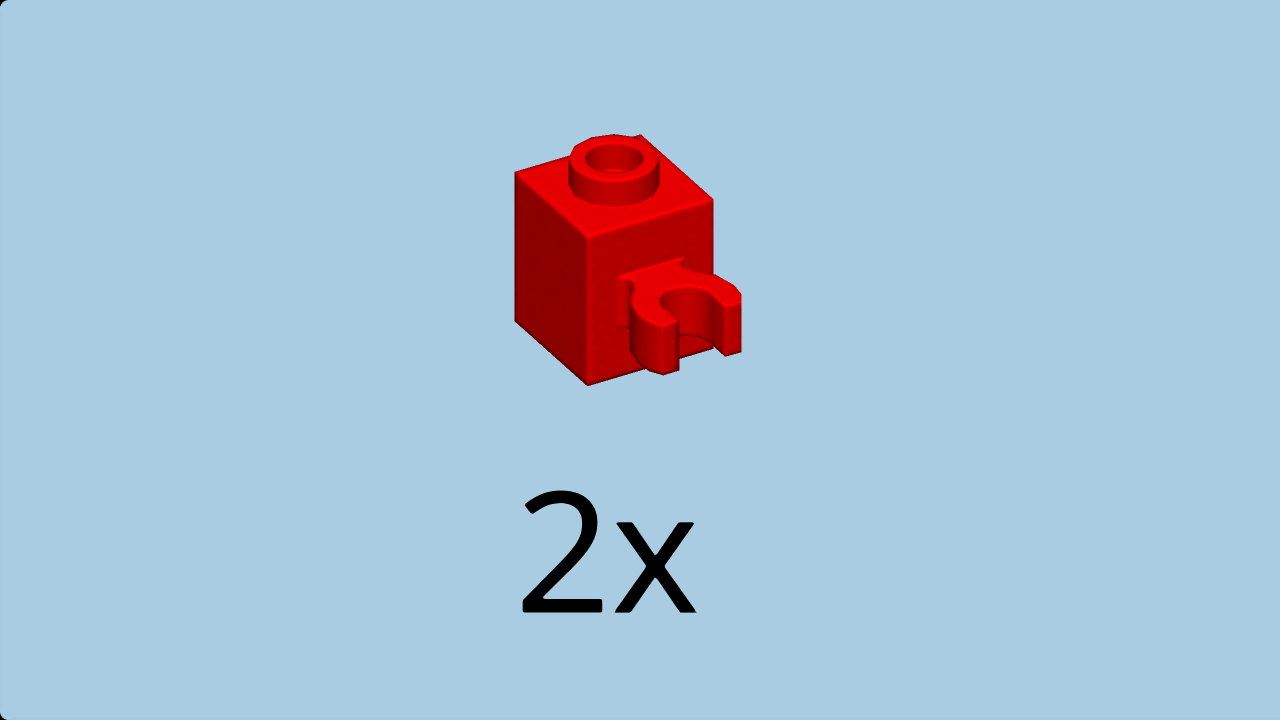
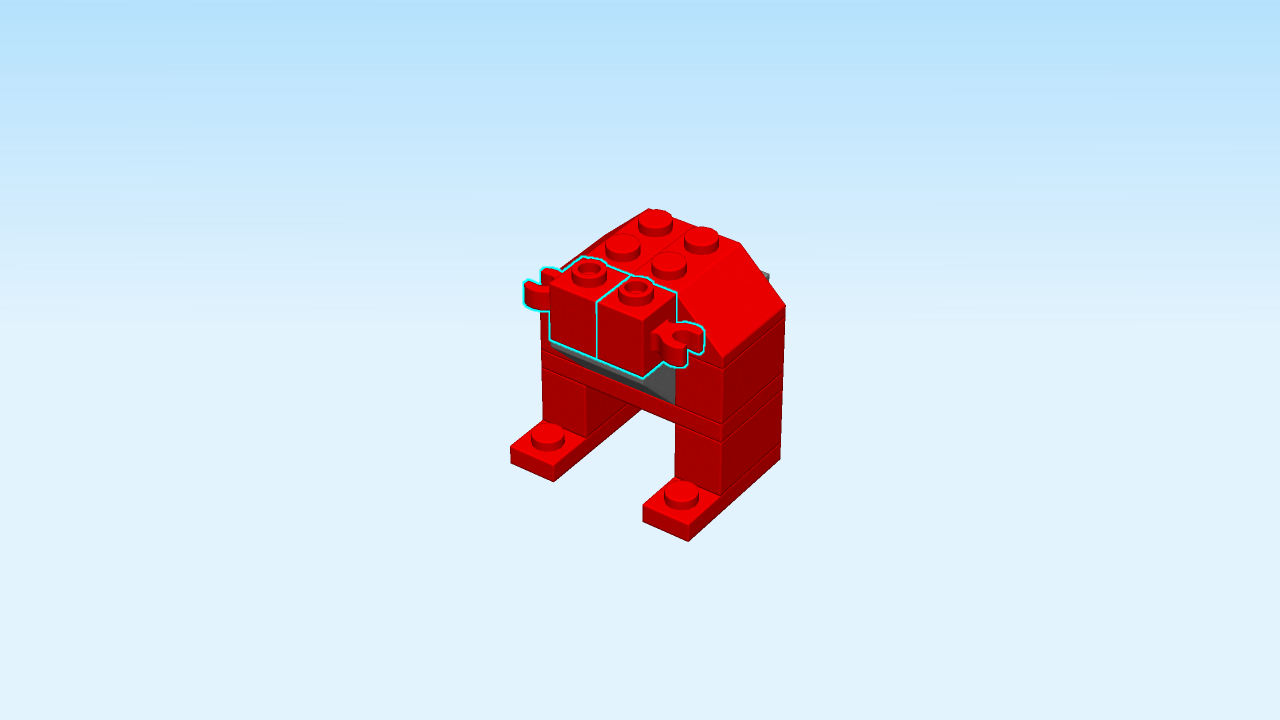
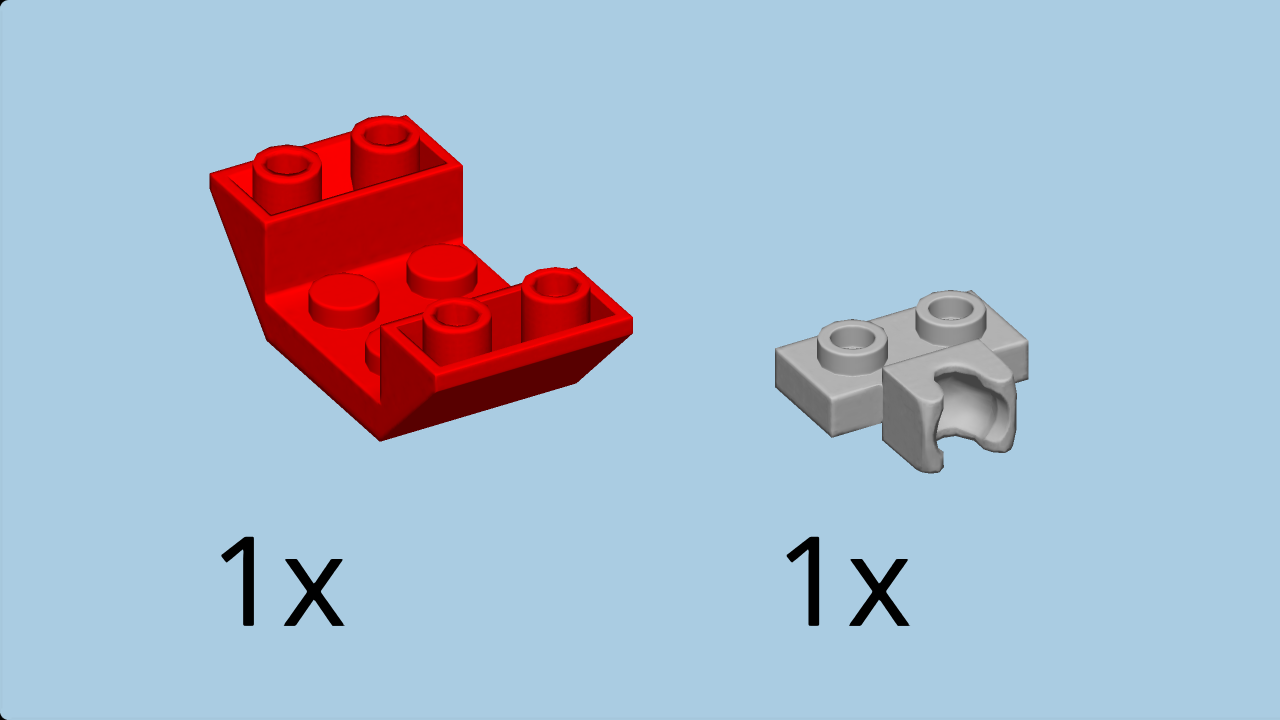
| Find 2 bright red bricks 1x1 with clasp. |
| Put one on the right knob of the inverted roof tile at the front of the structure, clasp to the right. |
| Repeat symmetrically on the left. |
| (The clasps are the tiny arms of your T-Rex!). |
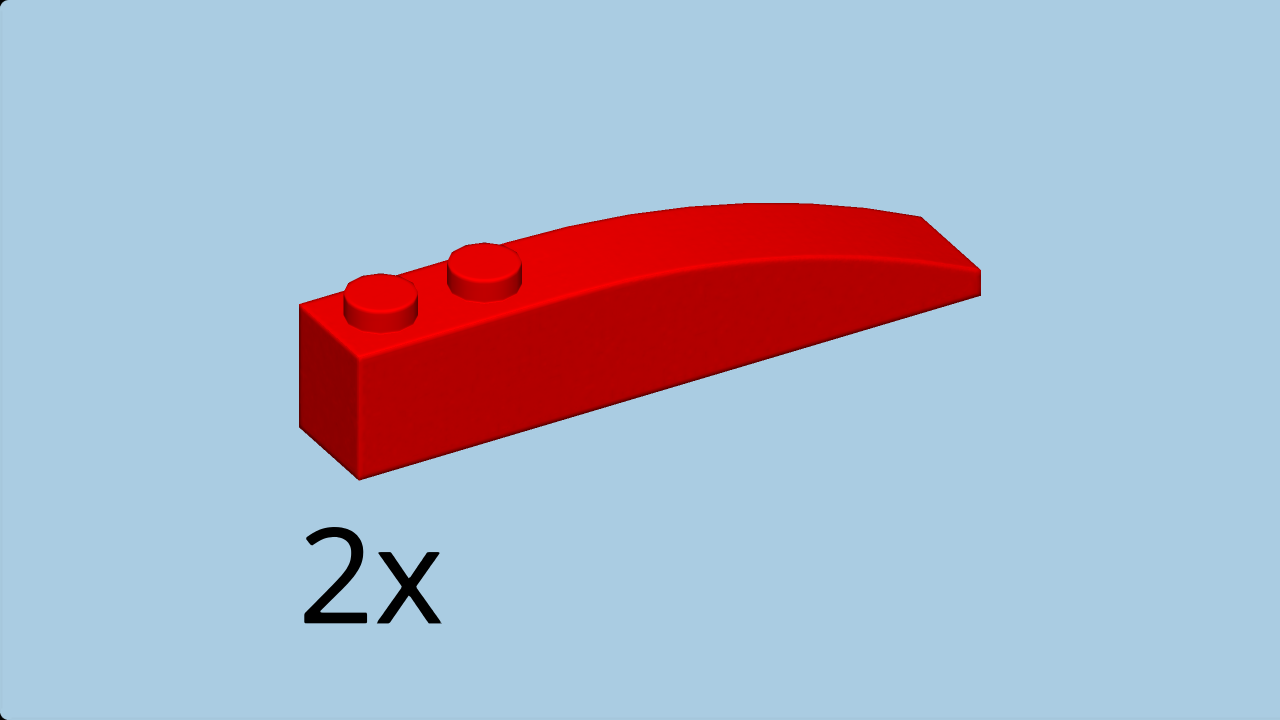
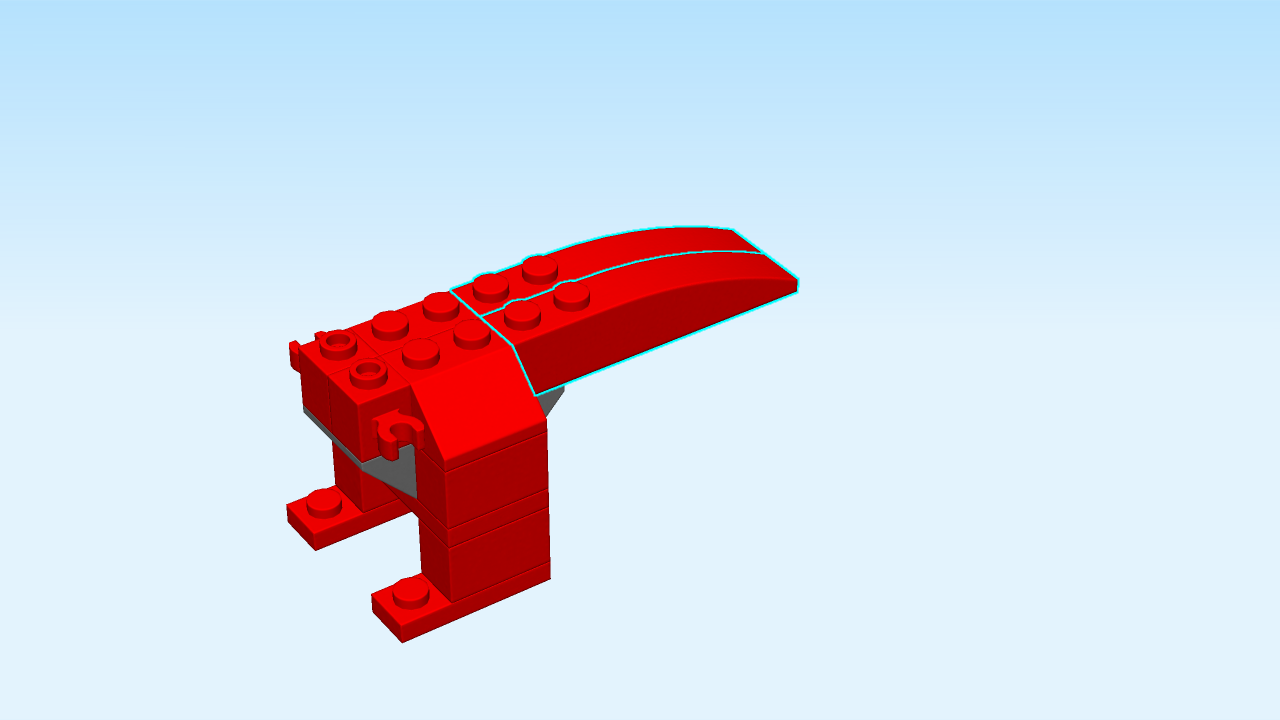
| Find 2 bright red curve pieces 1x6 with 2 top knobs. |
| Put one on the right knob of the inverted roof tile at the back of the structure, slide to the back. |
| Repeat symmetrically on the left. |
| (These pieces form the tail of your T-Rex!). |
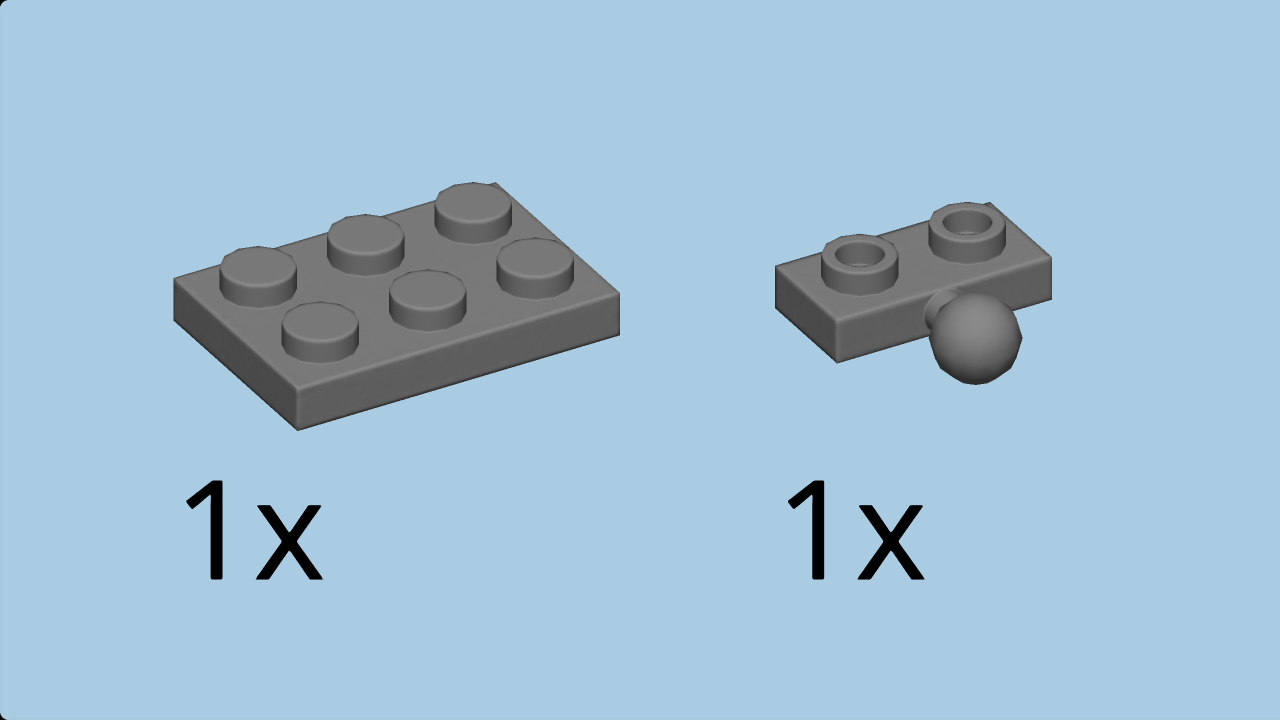
| Collect the following 2 pieces: |
| 1 dark stone grey plate 2x3, |
| and 1 dark stone grey plate 1x2 with ball. |
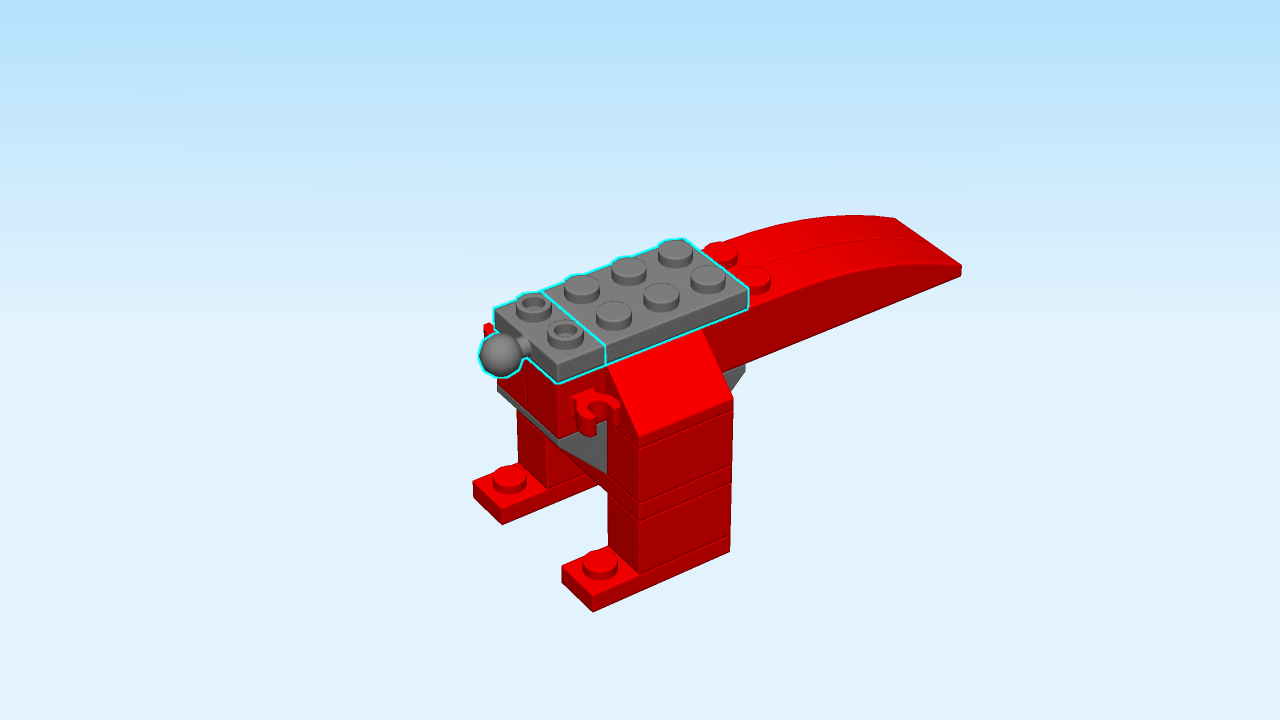
| Skip the first row, and put the plate 2x3 vertically on top. |
| Put the plate 1x2 with ball horizontally in front, ball to the front. |
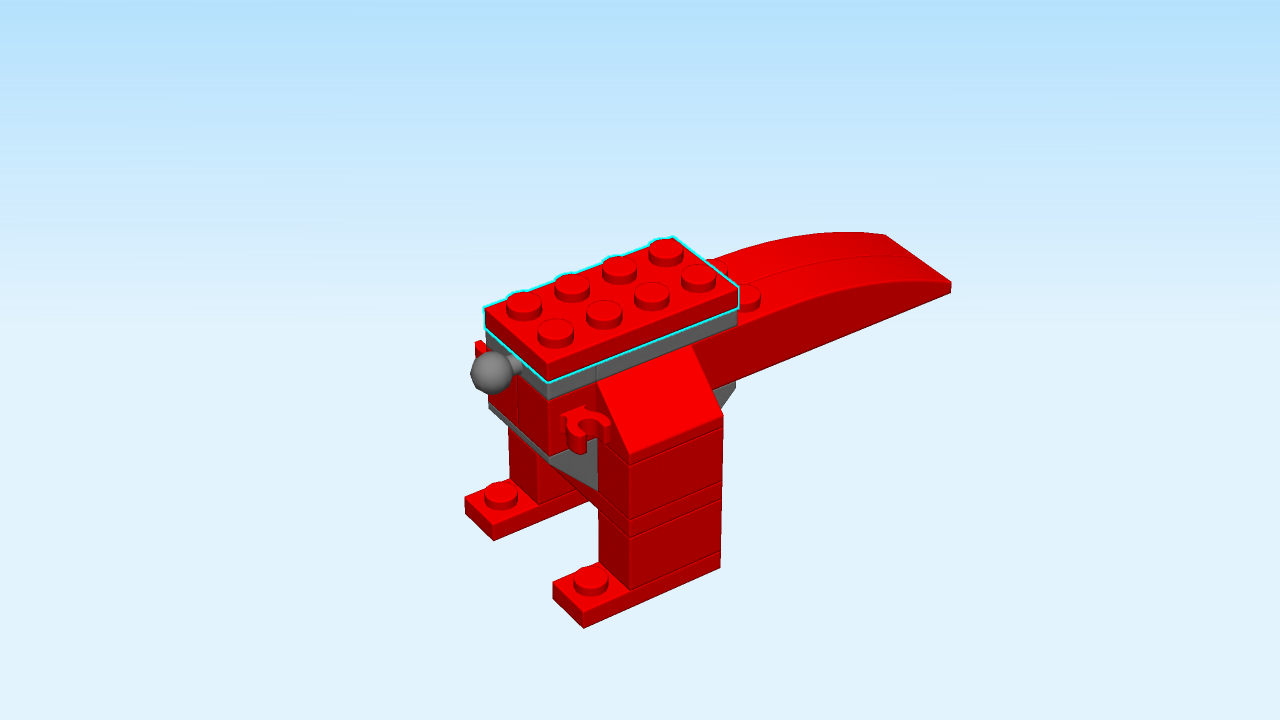
| Find 1 bright red plate 2x4. |
| Put it vertically on top of the two previous pieces. |
| Next, we will build the head of the T-Rex. |
| Collect the following 2 pieces: |
| 1 medium stone grey plate 1x2 with ball socket, |
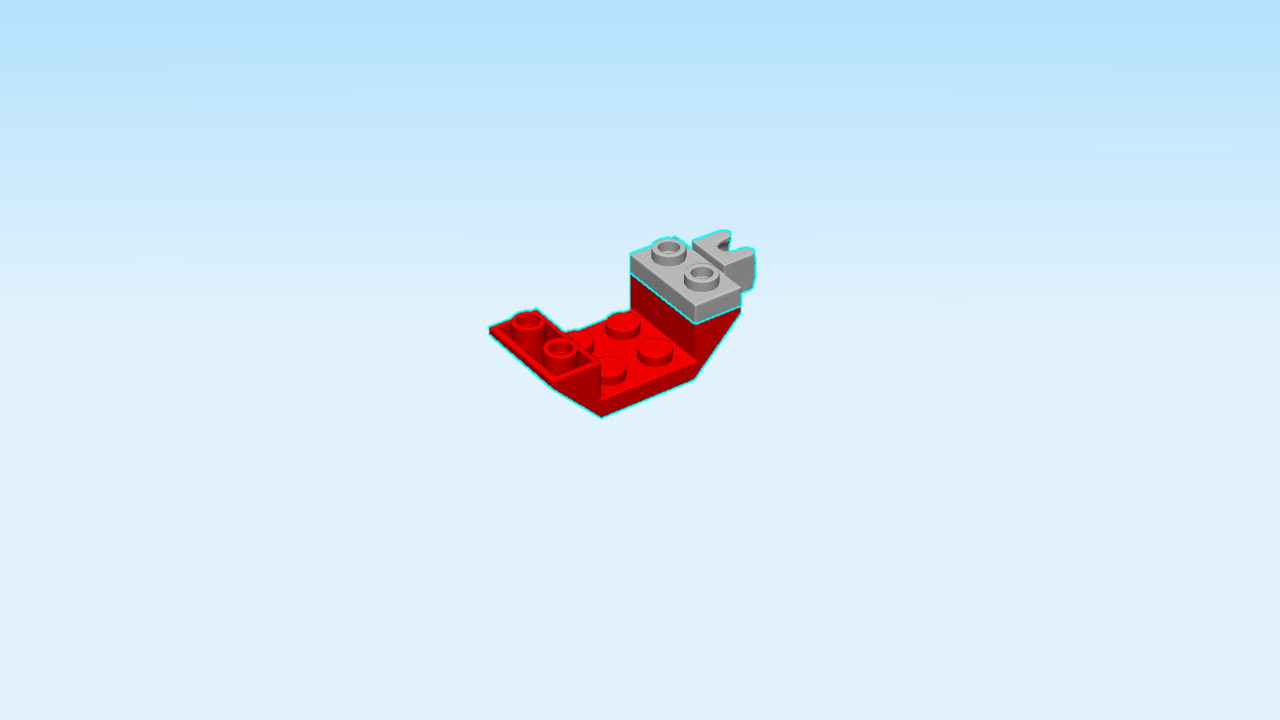
| and 1 bright red inverted double roof tile 2x4. |
| Put the inverted double roof tile 2x4 horizontally on the table. |
| Put the plate 1x2 with ball socket vertically on the rightmost column, ball socket to the right. |
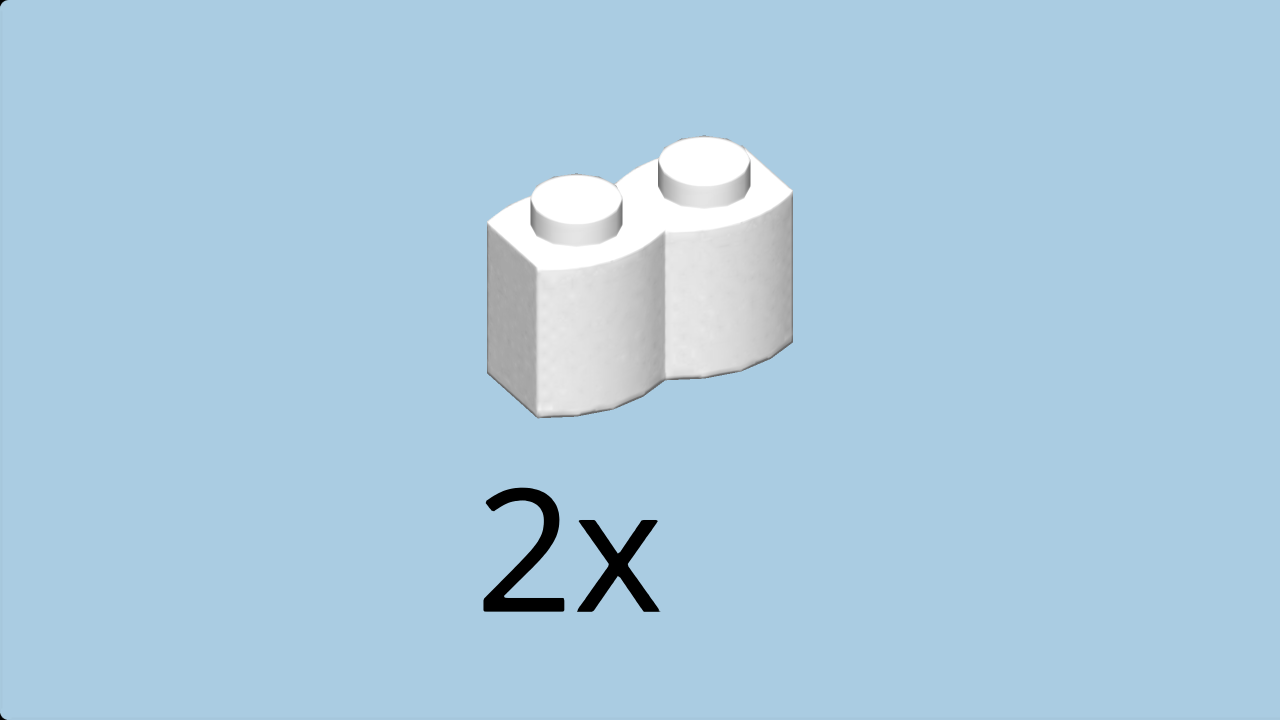
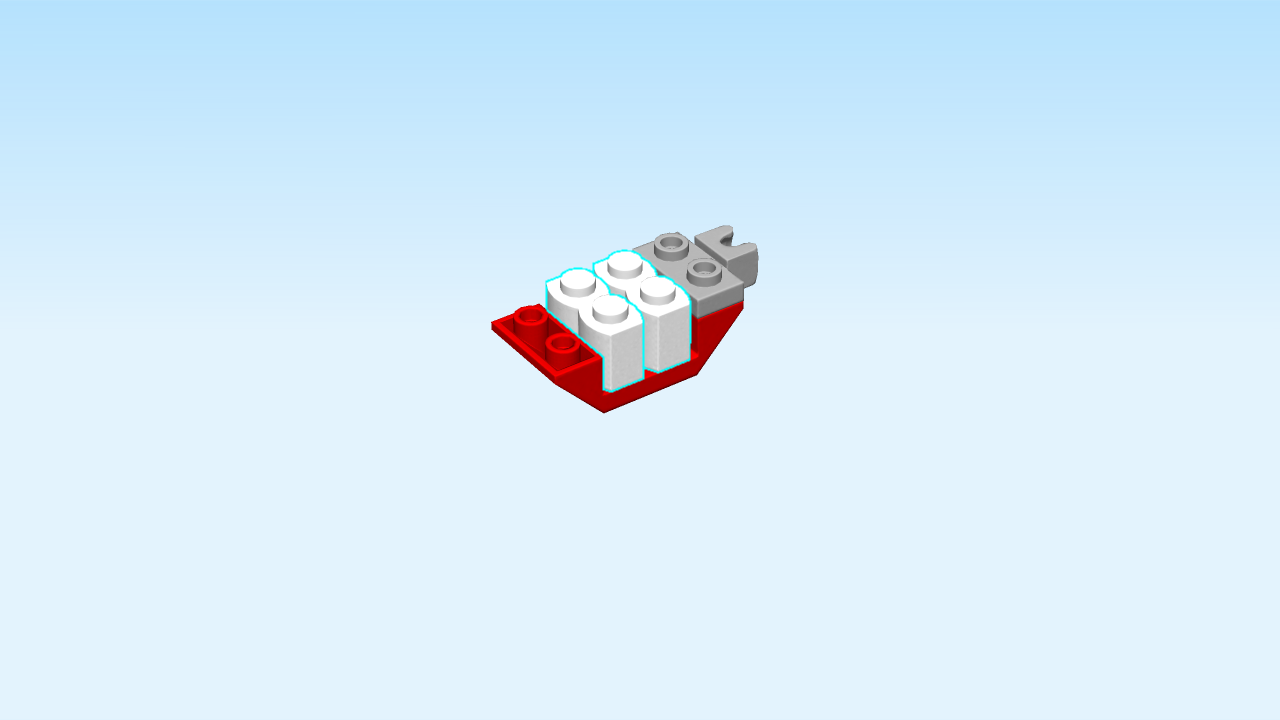
| Find 2 white palisade bricks 1x2. |
| Put them vertically on the middle columns on the lower part of the inverted double roof tile 2x4. |
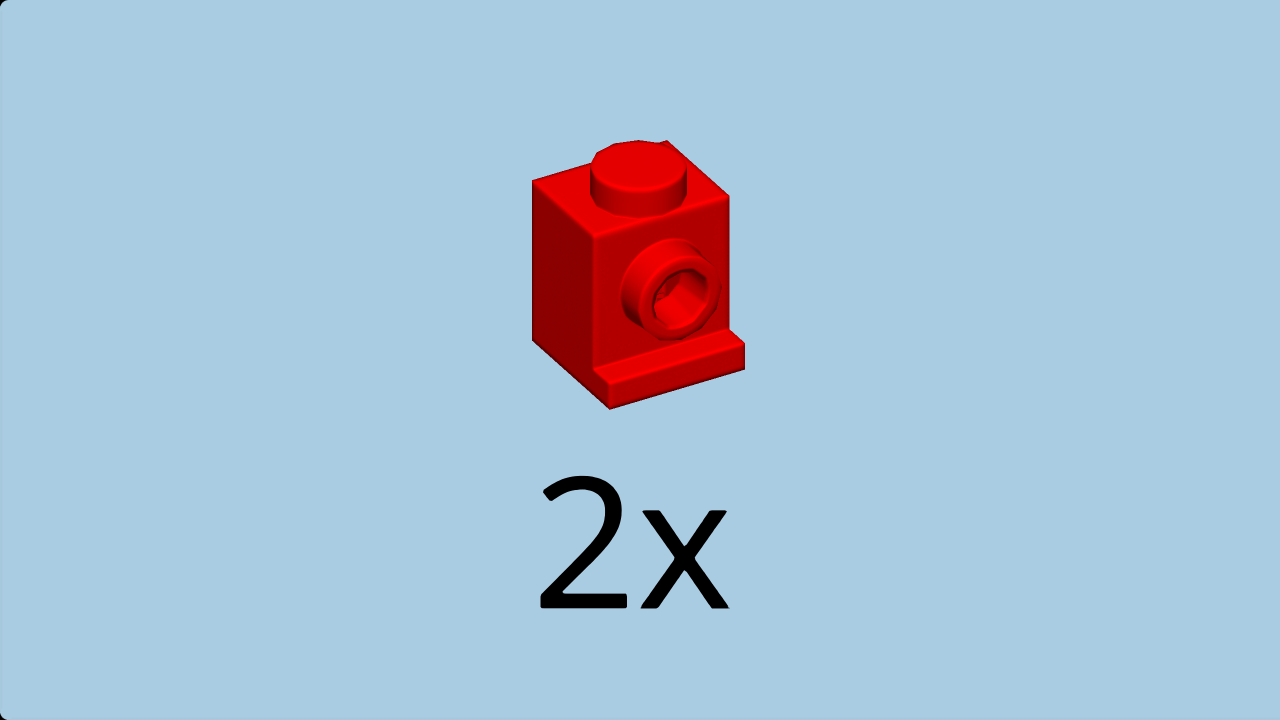
| Find 2 bright red bricks 1x1 with side knob and bottom foot. |
| Put them on the plate 1x2 with ball socket on the right, side knobs to the front and back. |
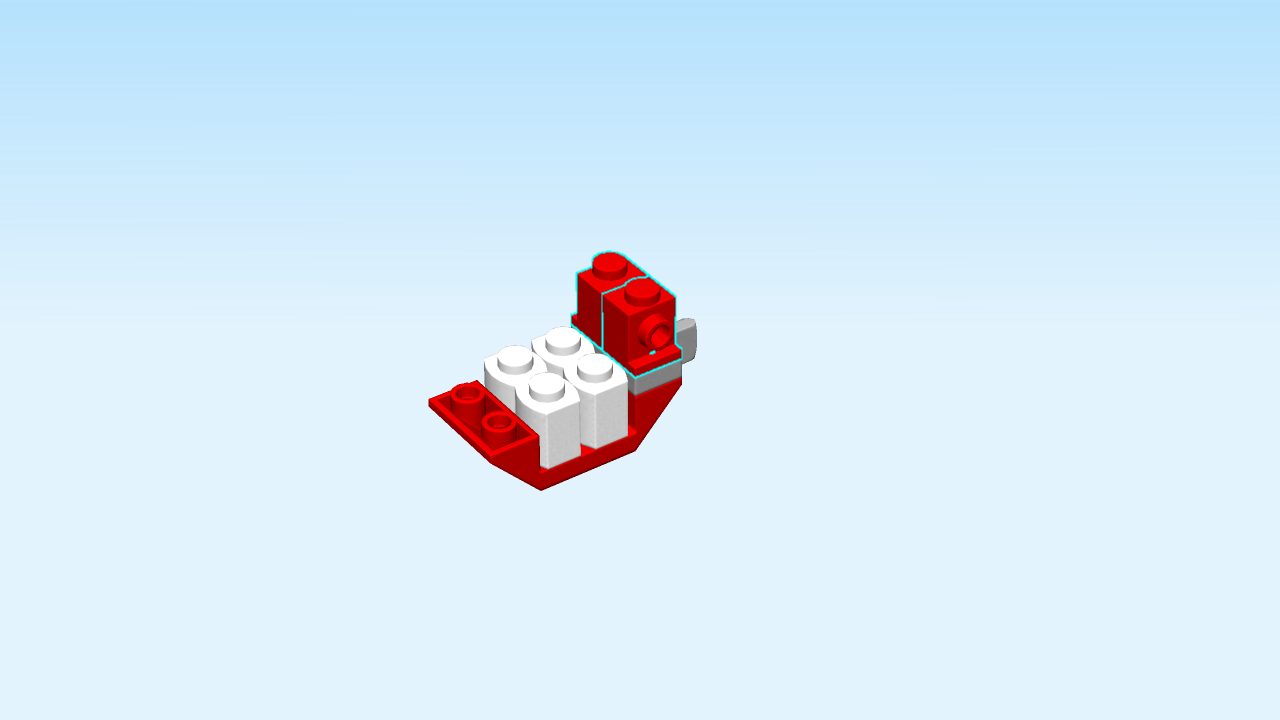
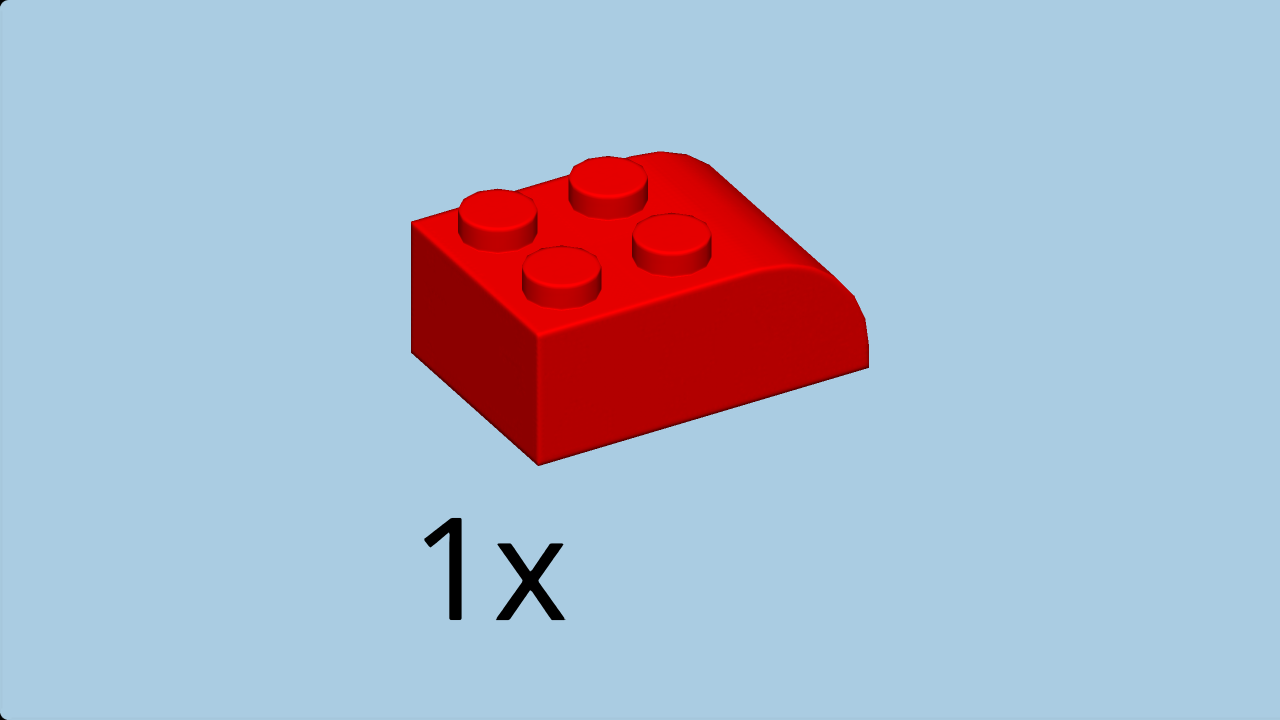
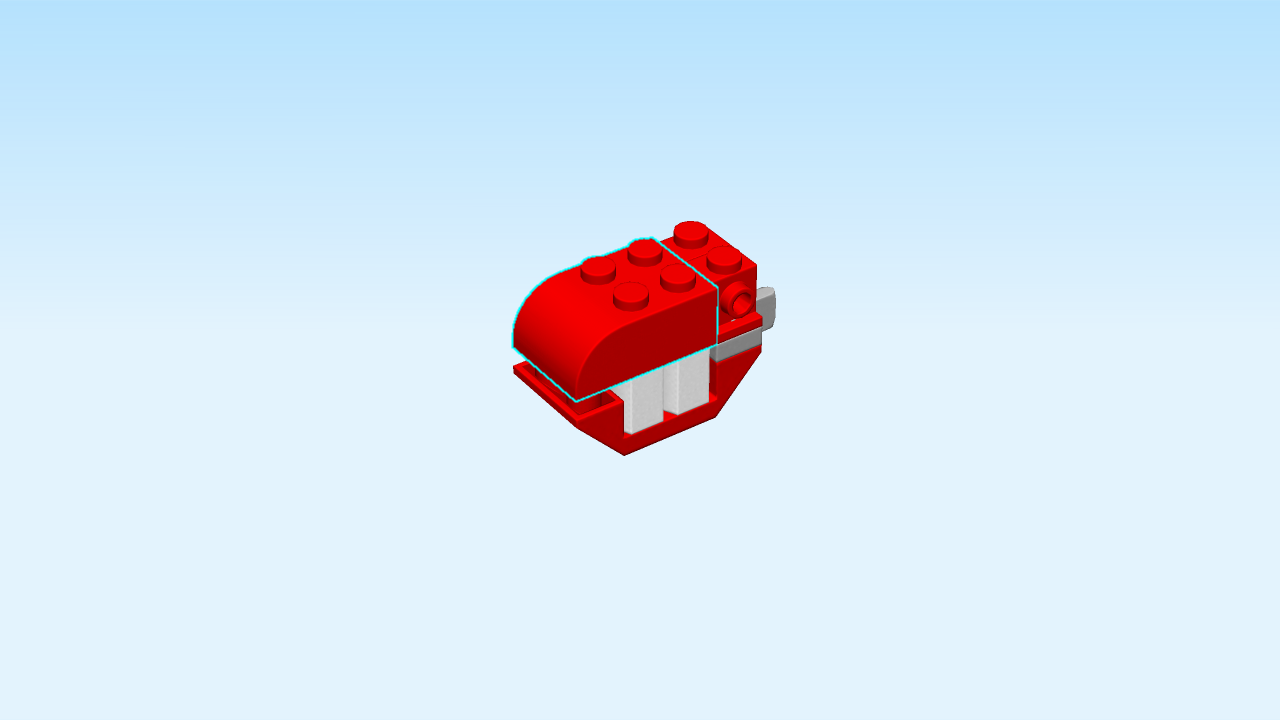
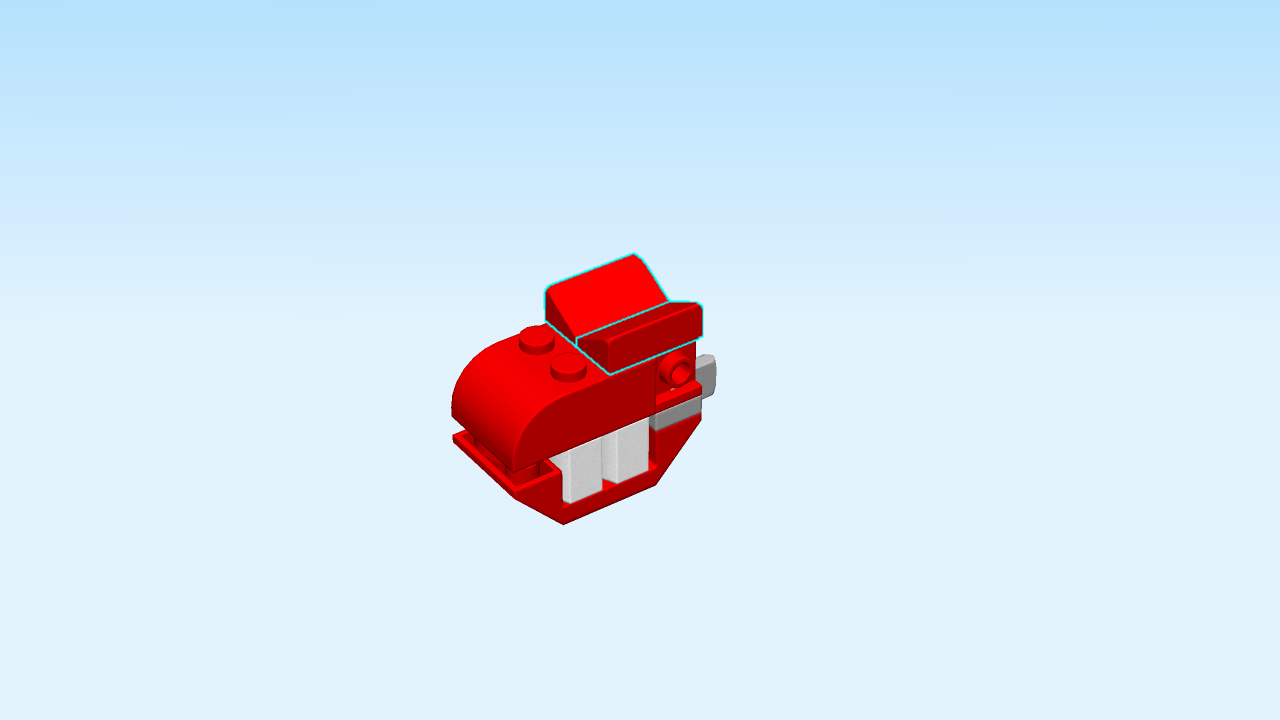
| Find 1 bright red brick 2x3 with arch. |
| Put it horizontally to the left, arch to the left. |
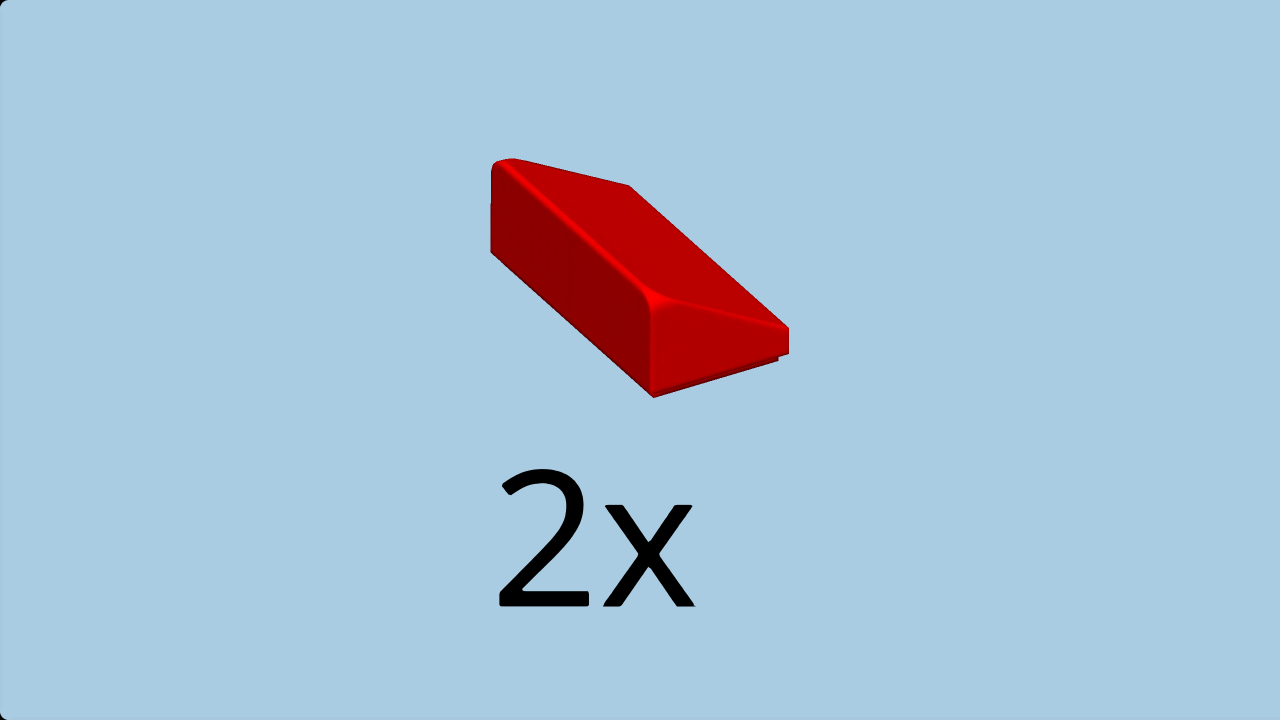
| Find 2 bright red smooth roof tiles 1x2. |
| Put one horizontally on the front row on the right edge, slide to the back. |
| Repeat symmetrically at the back. |
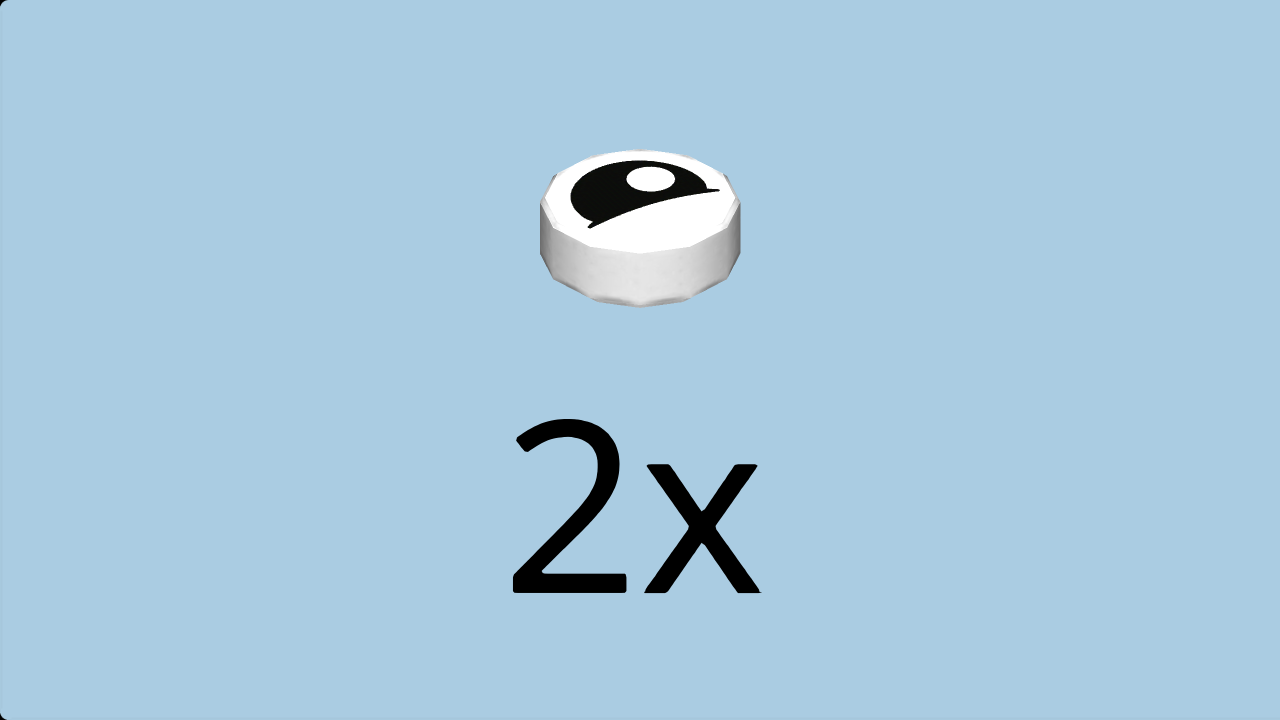
| Find 2 white round flat tiles 1x1 with eye print. |
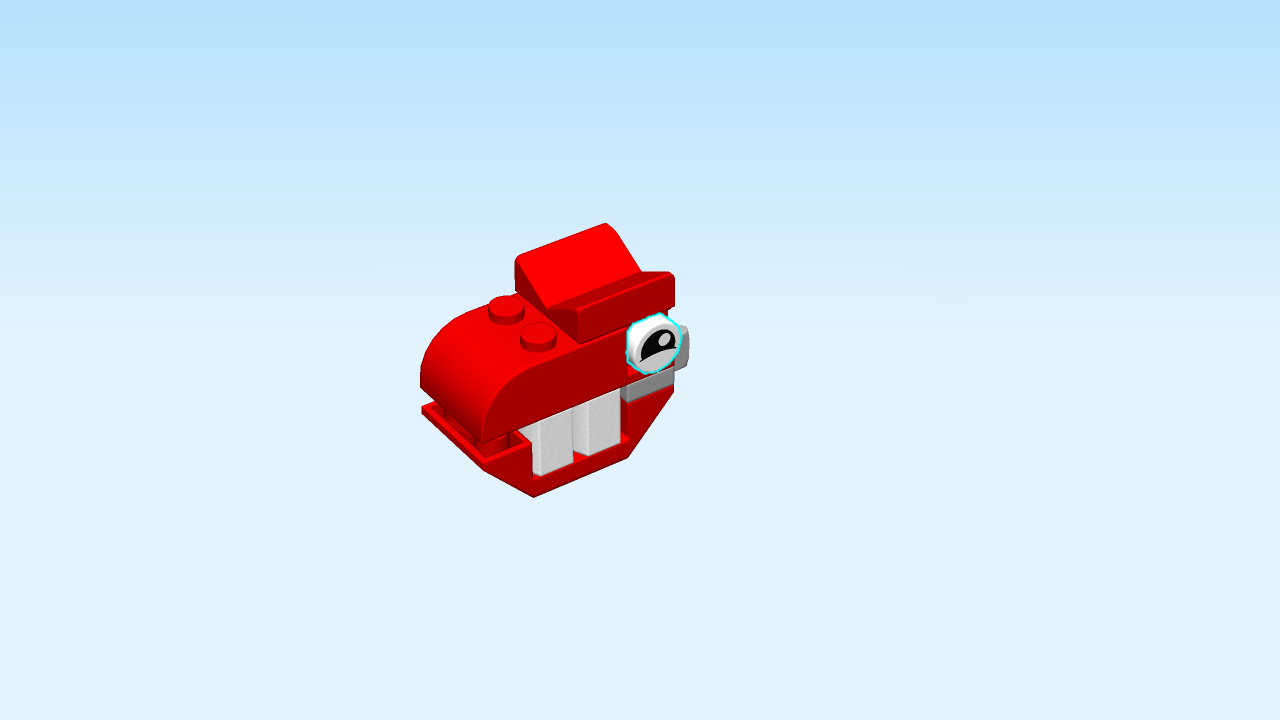
| (If you want, ask a sighted person to help you pick out the kind of eyes you'd like for your T-Rex: sleepy or happy! Insider's tip: if you want your T-Rex to look grim, just rotate the happy eyes upside down!). |
| Careful: these two pieces have a special orientation! |
| Put them upright on the side knobs at the front and back side of the structure. |
| The head of the T-rex is finished! Mount it on the body of the T-Rex: firmly snap the ball on the front side of the body into the ball socket on the head. Ask someone to help you if this is too difficult. |
| The T-rex is finished! Well done! Swivel its head to let it look for food or friends to play with, and let it roam the forests! |
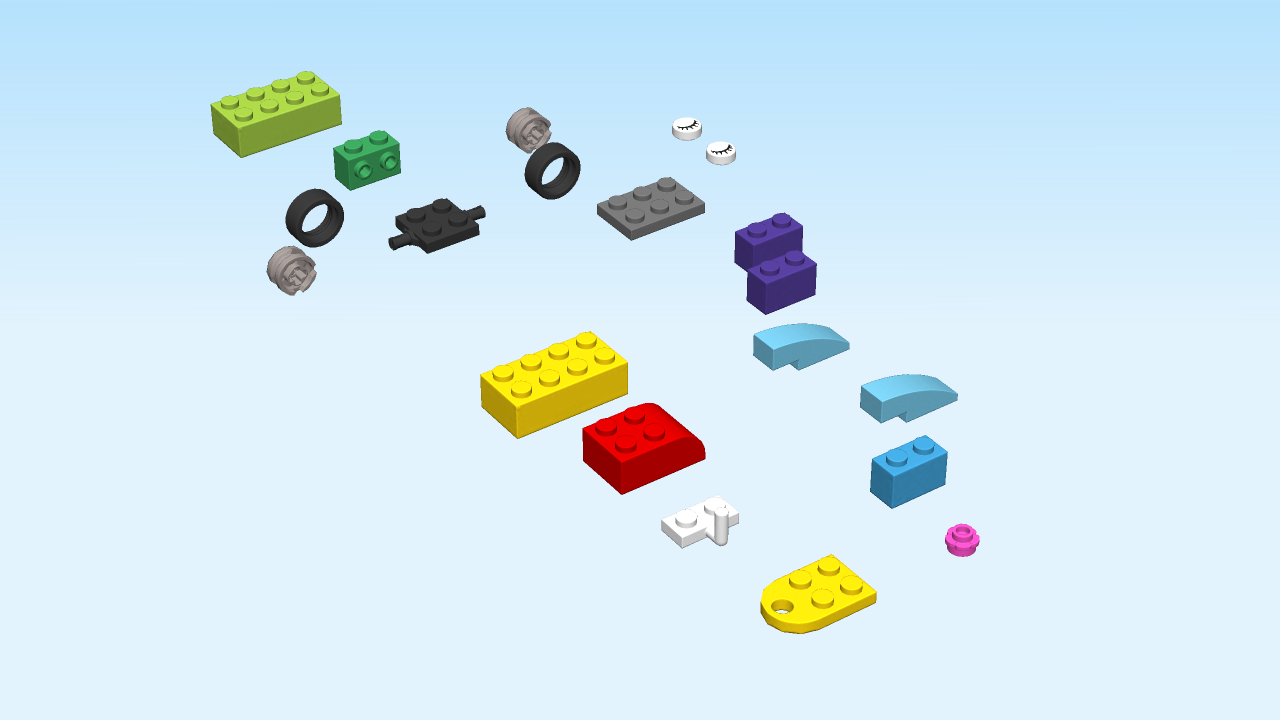
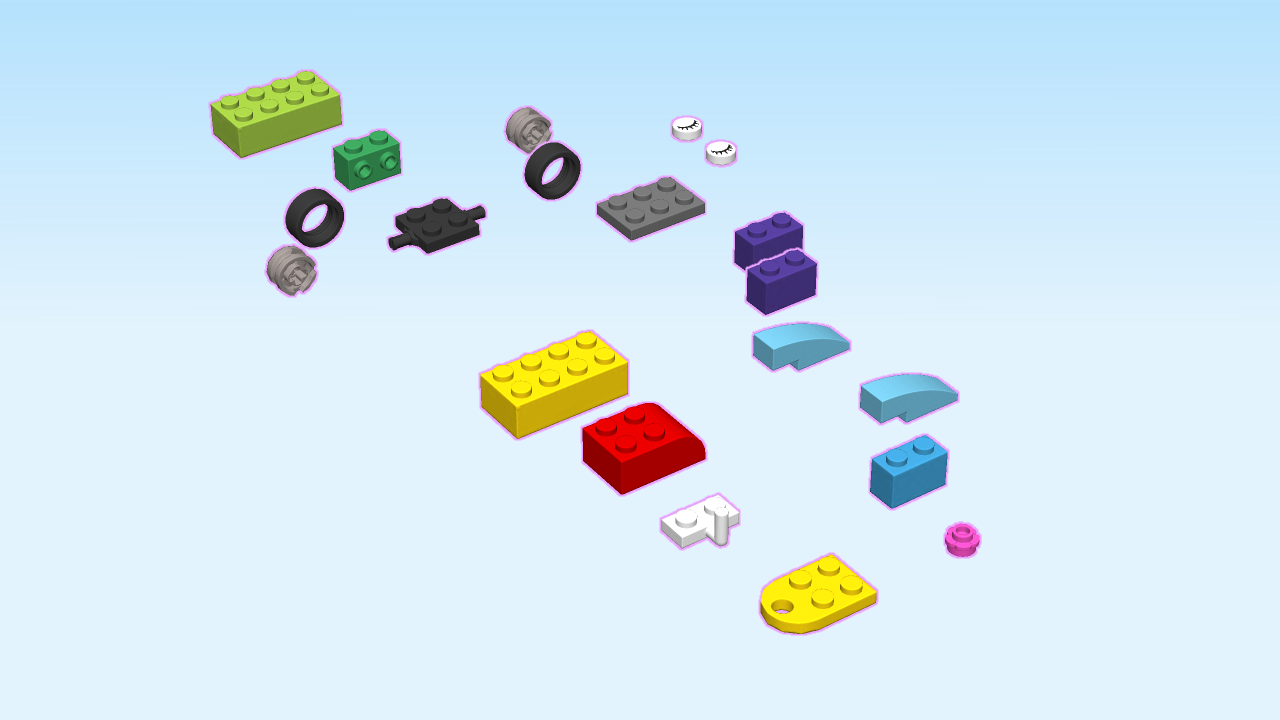
| Once you have finished all four builds, you will still have plenty of bricks left. In case you want to get to know their names and colors, we will give you a list of those bricks below. |
| 1 bright yellowish green brick 2x4. |
| 2 medium lilac bricks 1x2. |
| 1 white plate 1x2 with elbow handle. |
| 1 bright red brick 2x3 with arch. |
| 1 bright yellow brick 2x4. |
| 1 bright yellow coupling plate 2x2. |
| 1 black plate 2x2 with 2 side connectors. |
| 1 dark green brick 1x2 with 2 side knobs. |
| 2 black slick rubber tires. |
| 1 bright purple flower 1x1. |
| 2 silver metallic rims. |
| 1 dark azur brick 1x2. |
| 2 medium azur curve pieces 1x3. |
| 1 dark stone grey plate 2x3. |
| 2 white round flat tiles 1x1 with eye print. |
| We usually pack some extra pieces in case some get lost or you want to create your own design. |
| Enjoy! |
