| LEGO Audio & Braille Building Instructions for the LEGO Icons set "Bouquet of Roses". |
| Indulge yourself or gift a loved one with the LEGO Icons Bouquet of Roses. Perfect for Valentine's Day or any special occasion, this radiant buildable bouquet includes a dozen red roses and 4 sprigs of baby’s breath. Enjoy a mindful building experience as you craft each bloom before placing them in your favorite vase to create a timeless display for the home or office. |
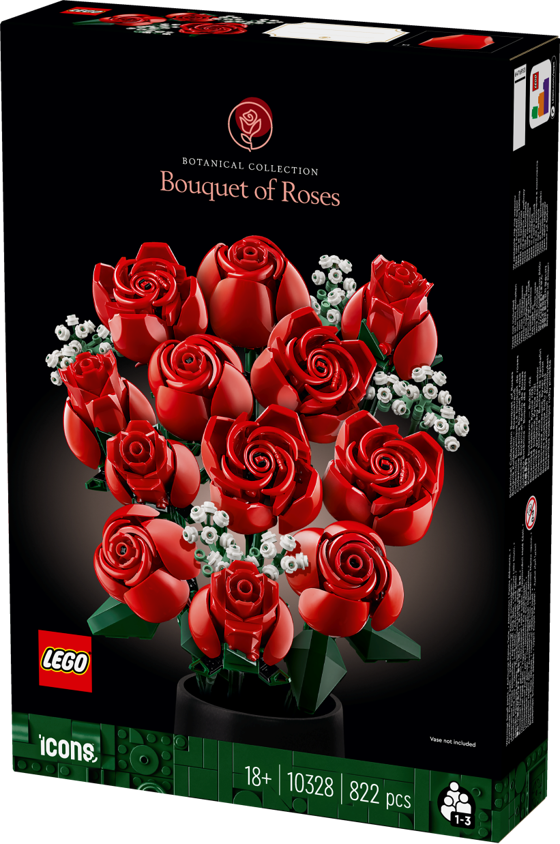
| The elegant box cover shows the bouquet of roses in all its glory, front and center, against a velvety black background that becomes a glowy greyish hue around the bouquet. The twelve beautiful flowers that have a radiant shade of red are shown from the top. A few dark green leaves and the top of a simple black vase are depicted at the bottom. Mixed into the blossoms are four sprigs of baby's breath with tiny white blossoms. There are three different types of roses in the bouquet that represent three different bloom stages of a rose. The first type still has a rather closed bud, the rose has not yet blossomed. In the second type, the outermost petals of the rose have already opened somewhat. The third type is a rose in full bloom. Let's get started! |
| Open the box. This can be tricky; ask someone to help you! |
| The box contains 3 booklets with visual building instructions and 6 numbered bags. Do not open all bags at once, we will tell you which bags to open for each individual flower type. Ask a sighted person to help you identify the correct bags! |
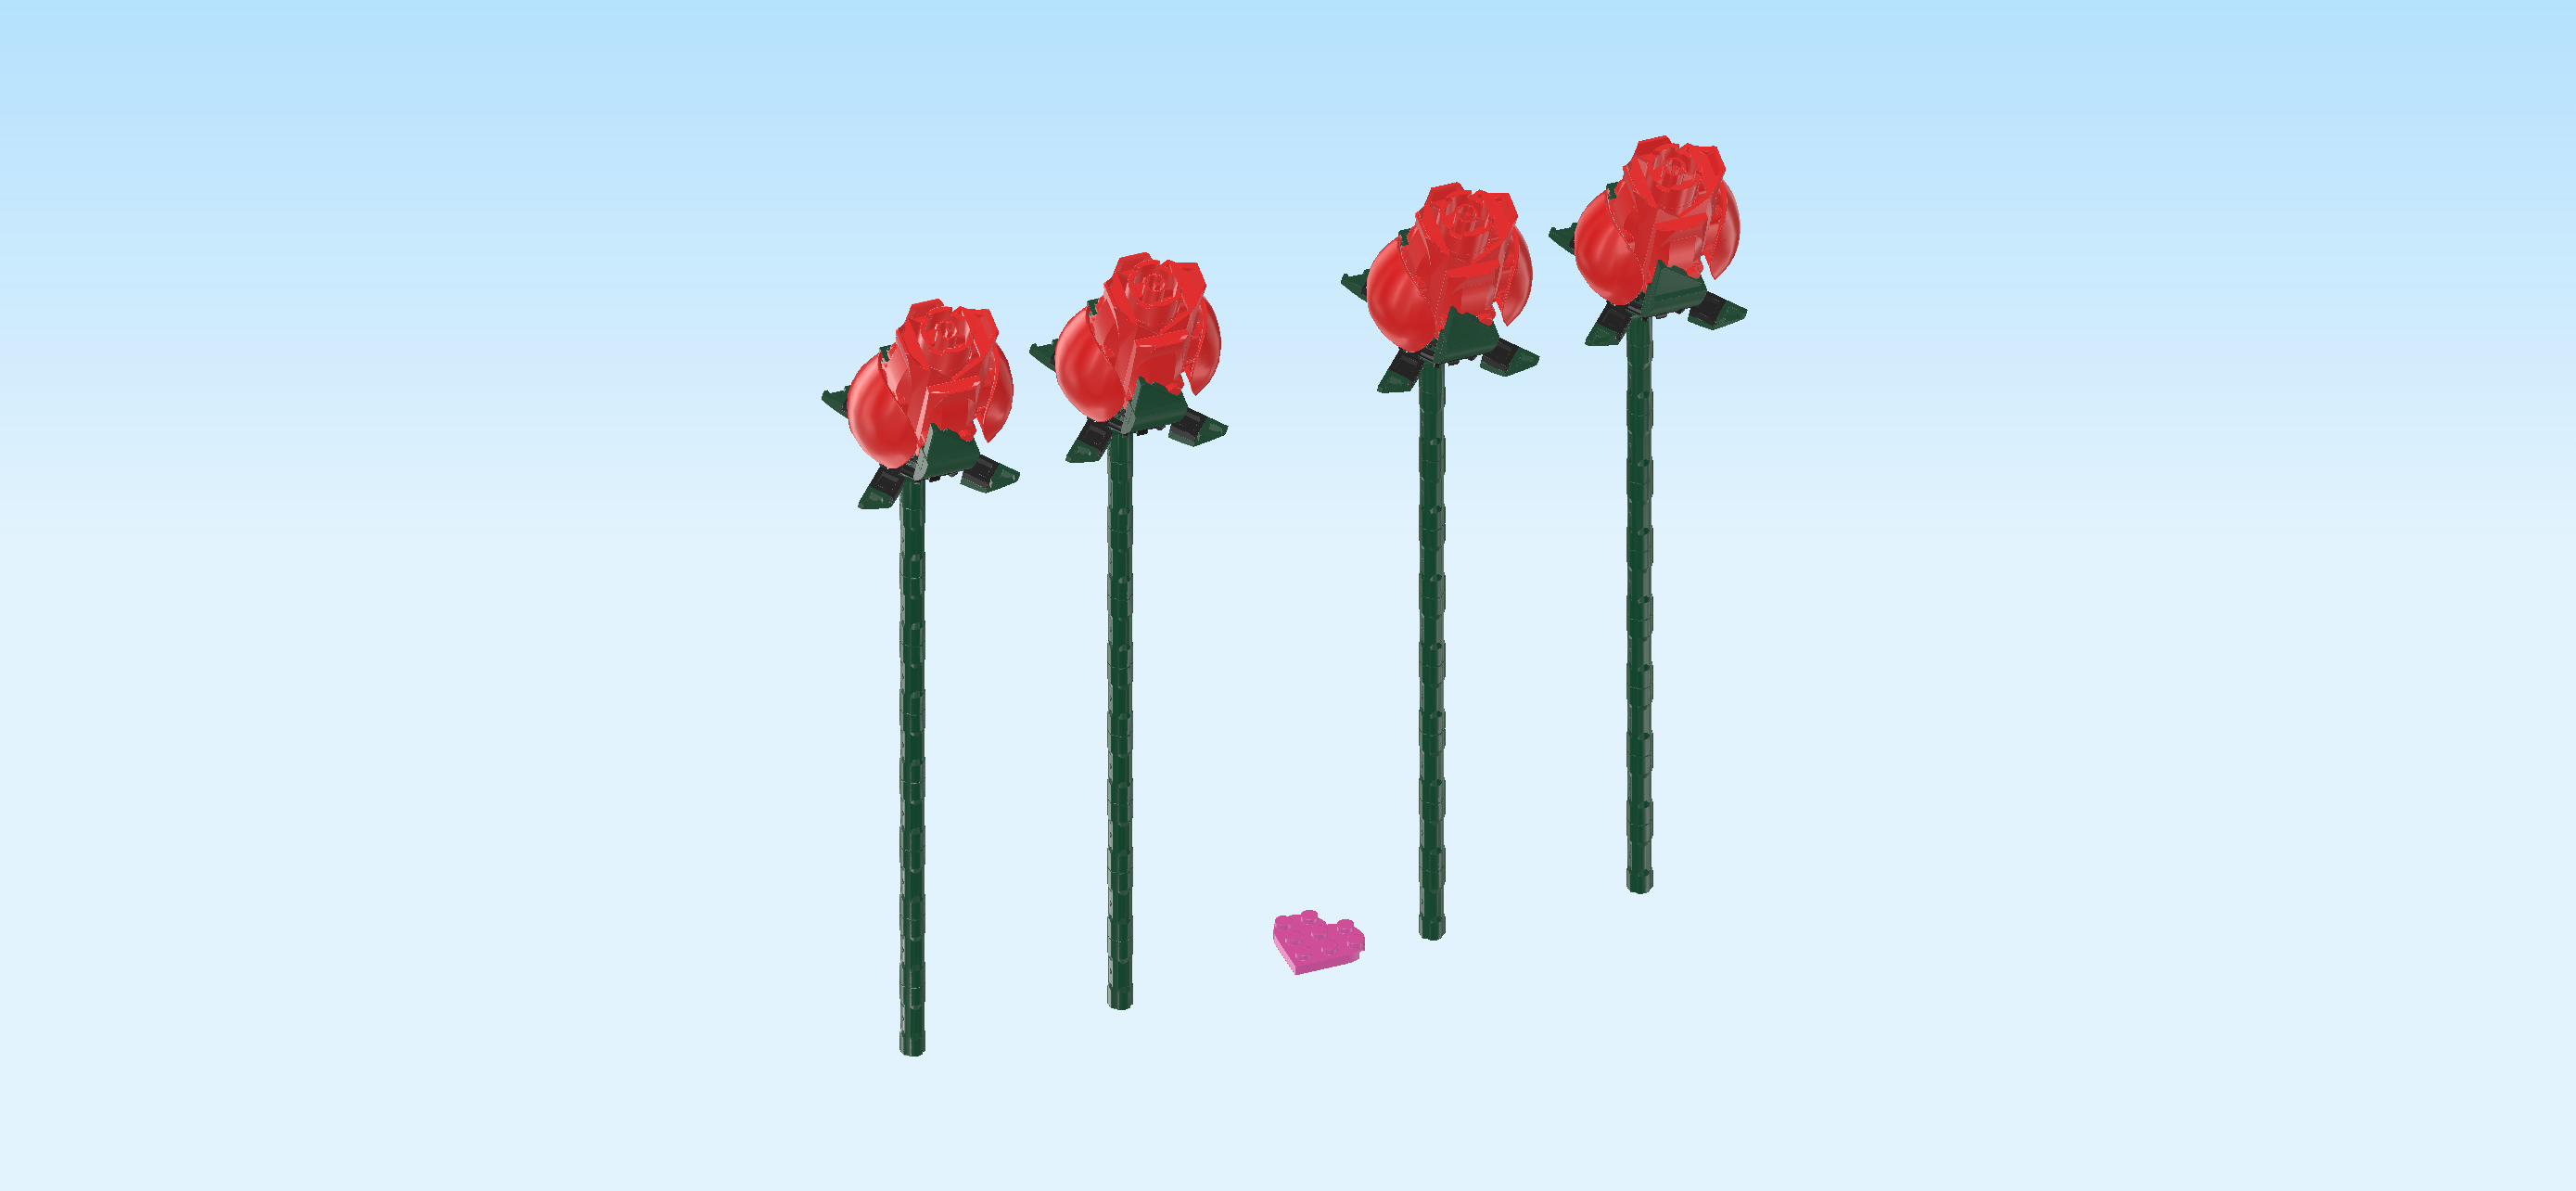
| The instructions for this set are structured as follows: The first section is dedicated to the 4 roses with closed buds, the second section to the 4 roses in half-bloom, and the third section to the 4 baby's breaths and the 4 roses in full bloom. For each flower type, we will always give you detailed instructions for building one single flower of that type. You can decide how you would like to build the full bouquet: The first option is to listen to the instructions of one flower but build all four flowers of that type in parallel. The second option is to build one flower as instructed and then navigate back to the beginning of that section and build the same flower again, repeating this until you have all four flowers. The third option is to go through all instructions from top to bottom four times in total. However, please note that the third option means that you will have to deal with a very large number of bricks and pieces at once. For this reason, we do not recommend using the third option. But it is entirely up to you of course. Now, let's get started! |
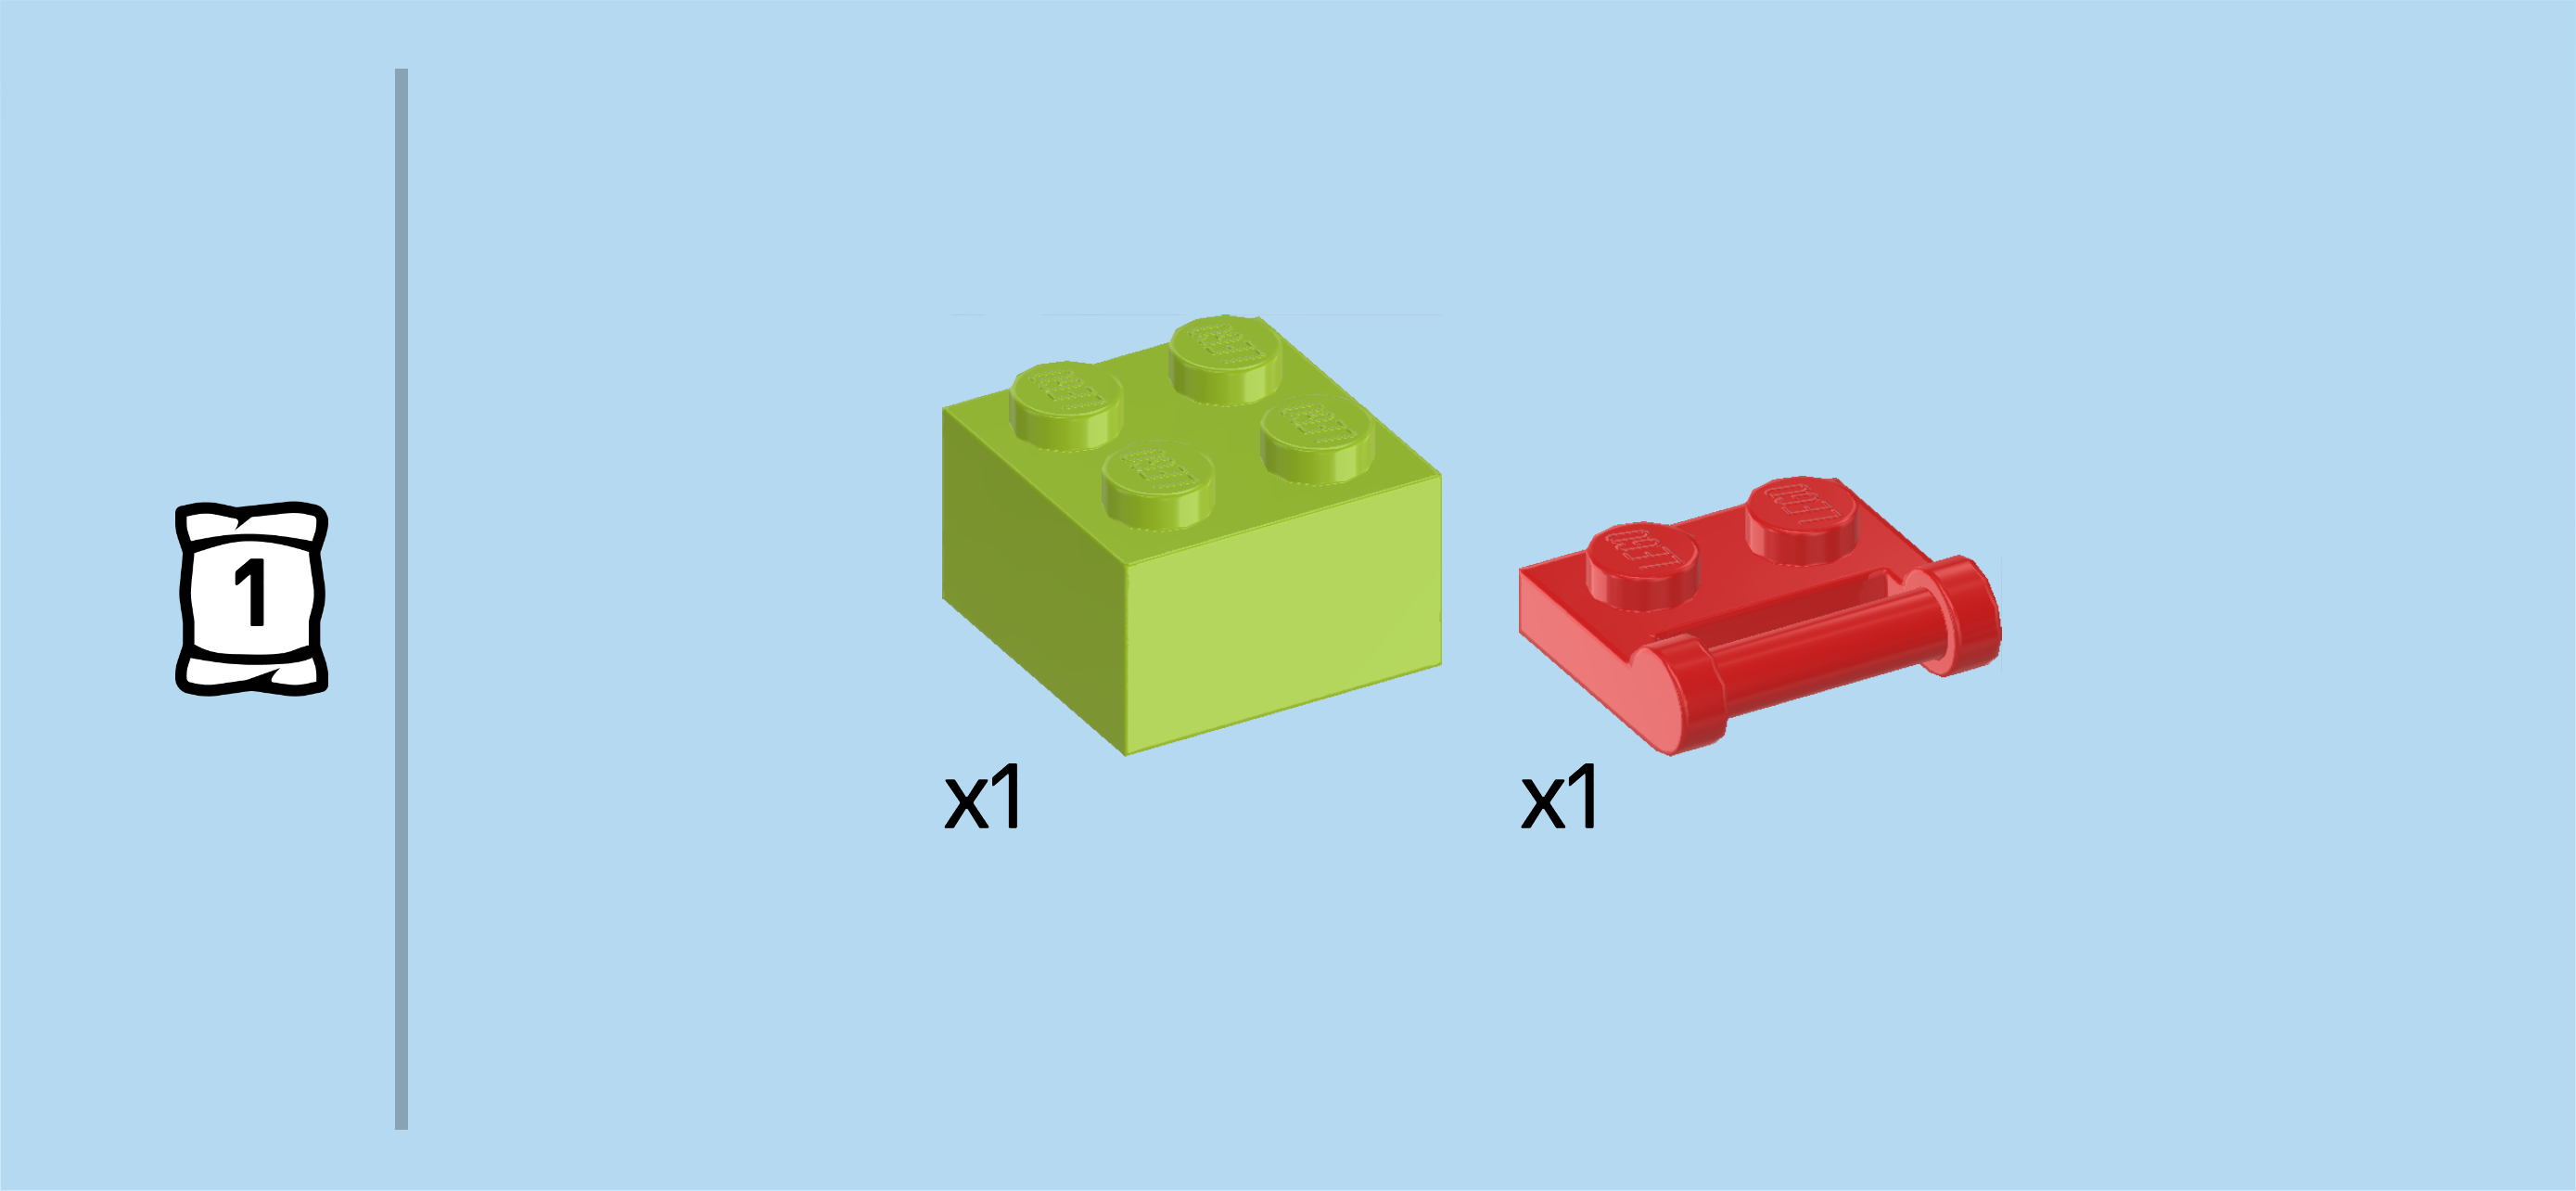
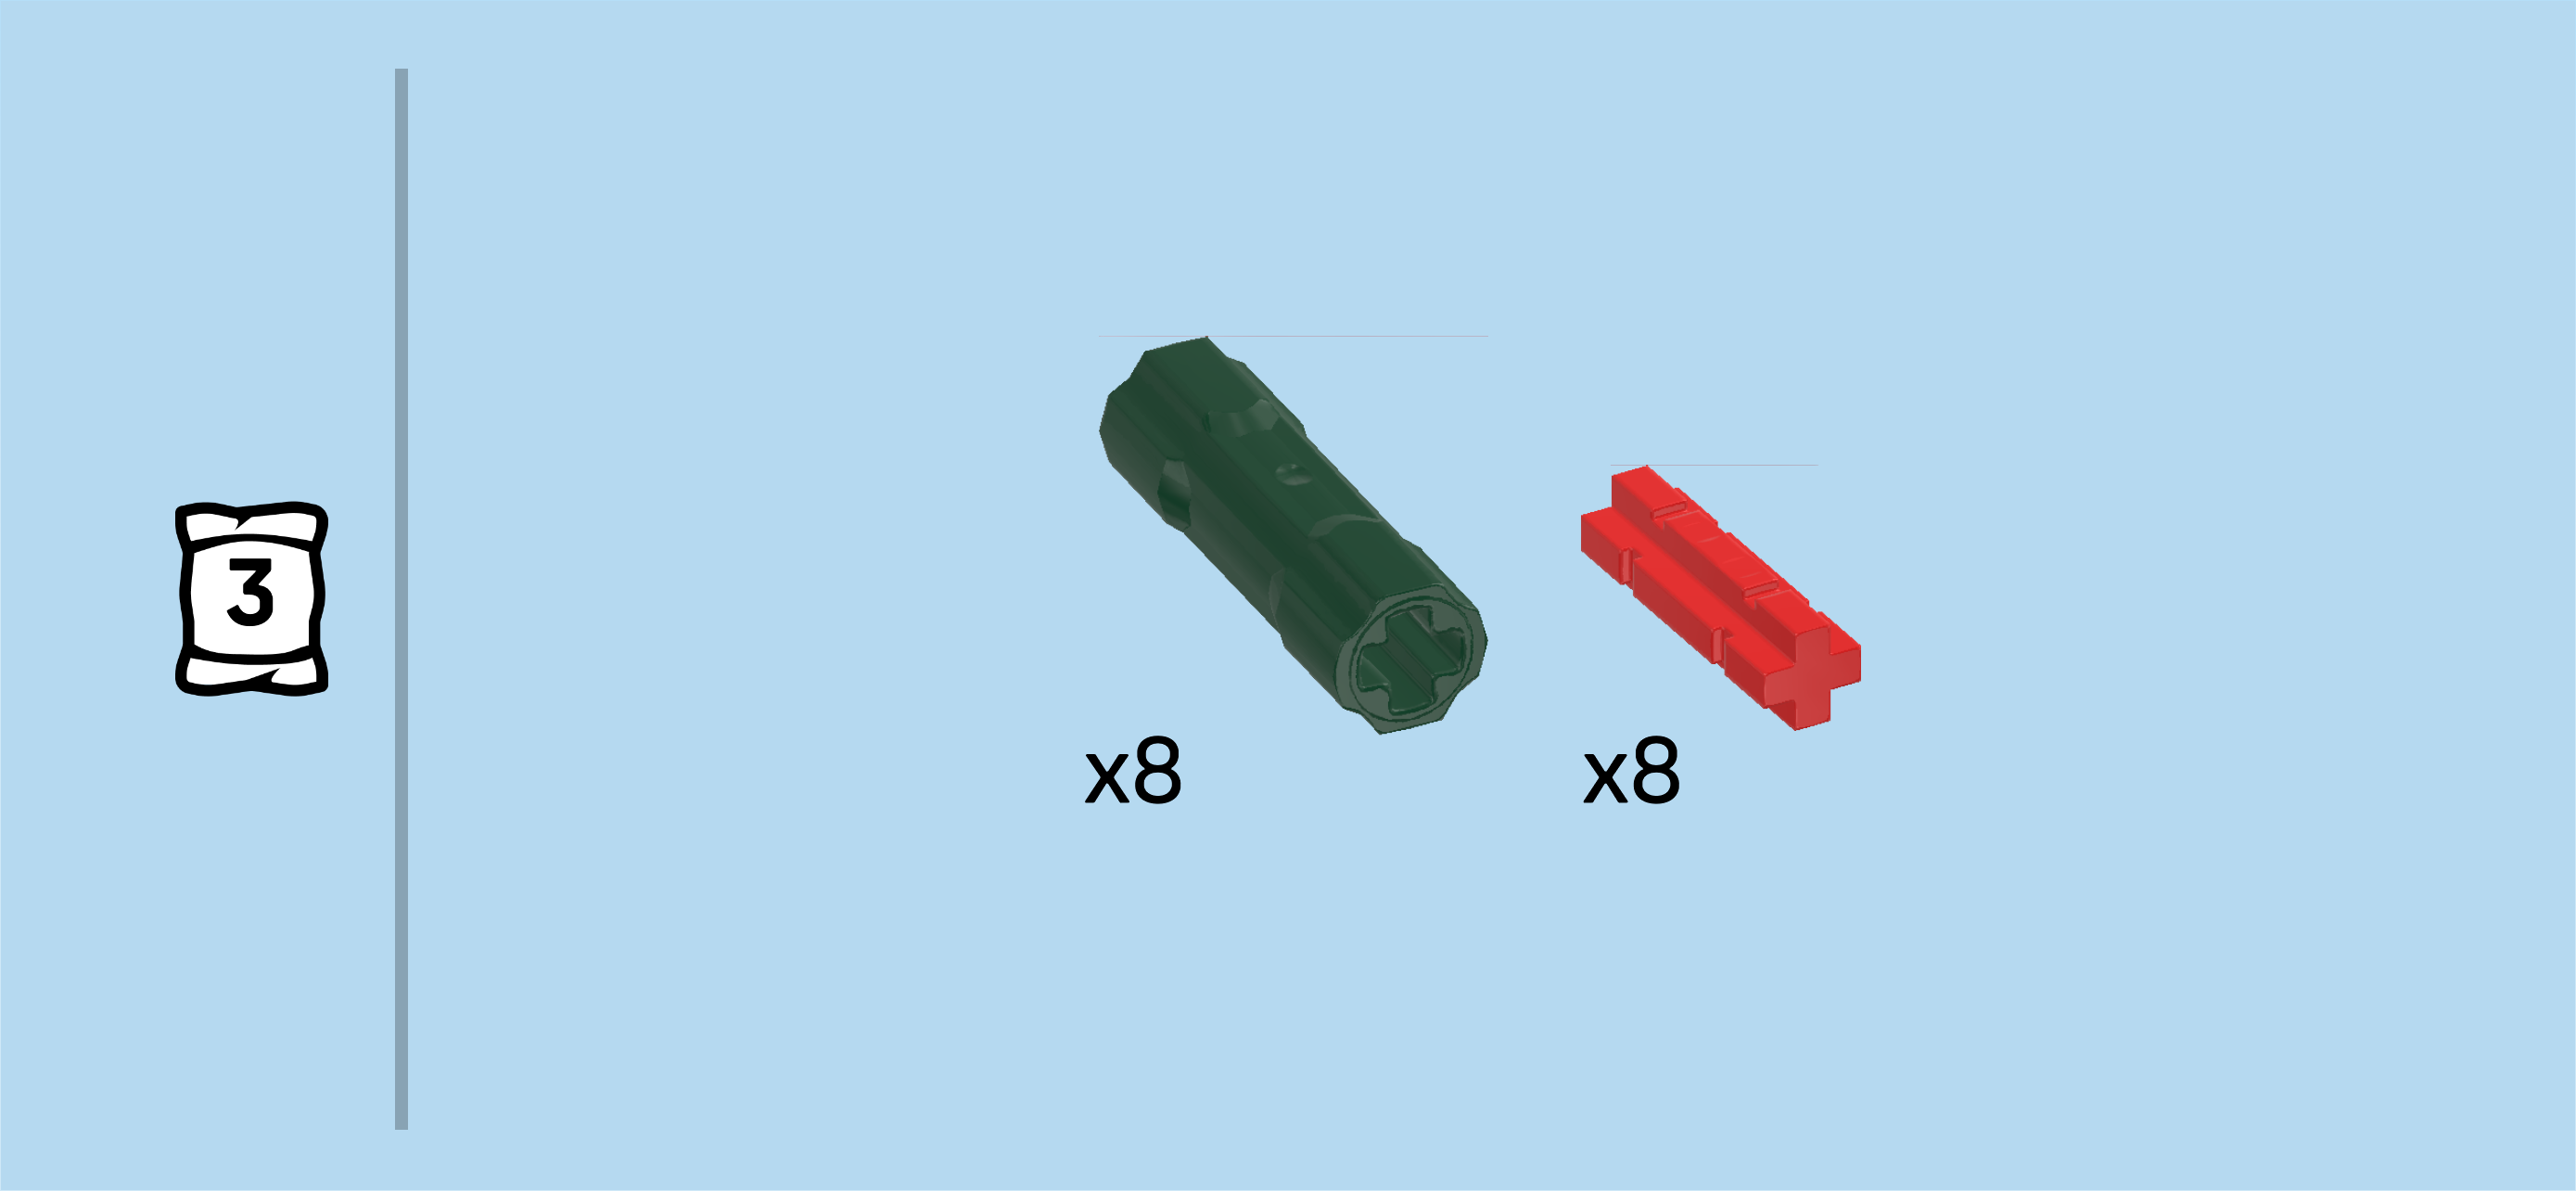
| Carefully open bag number 1 and any small sub-bags in it. This bag contains all bricks and pieces for 2 of the 4 roses with closed buds. If you would like to build all 4 roses with closed buds at once, open both bag 1 and bag 2 now. |
| Before you start building, ask a sighted person to help you sort the pieces by color. This makes finding the correct pieces even easier! |
| First, we will build the 4 roses with the closed buds. |
| Let's start with the instructions for one rose with closed bud. You can either build the other three roses of that type in parallel or build them one after the other. |
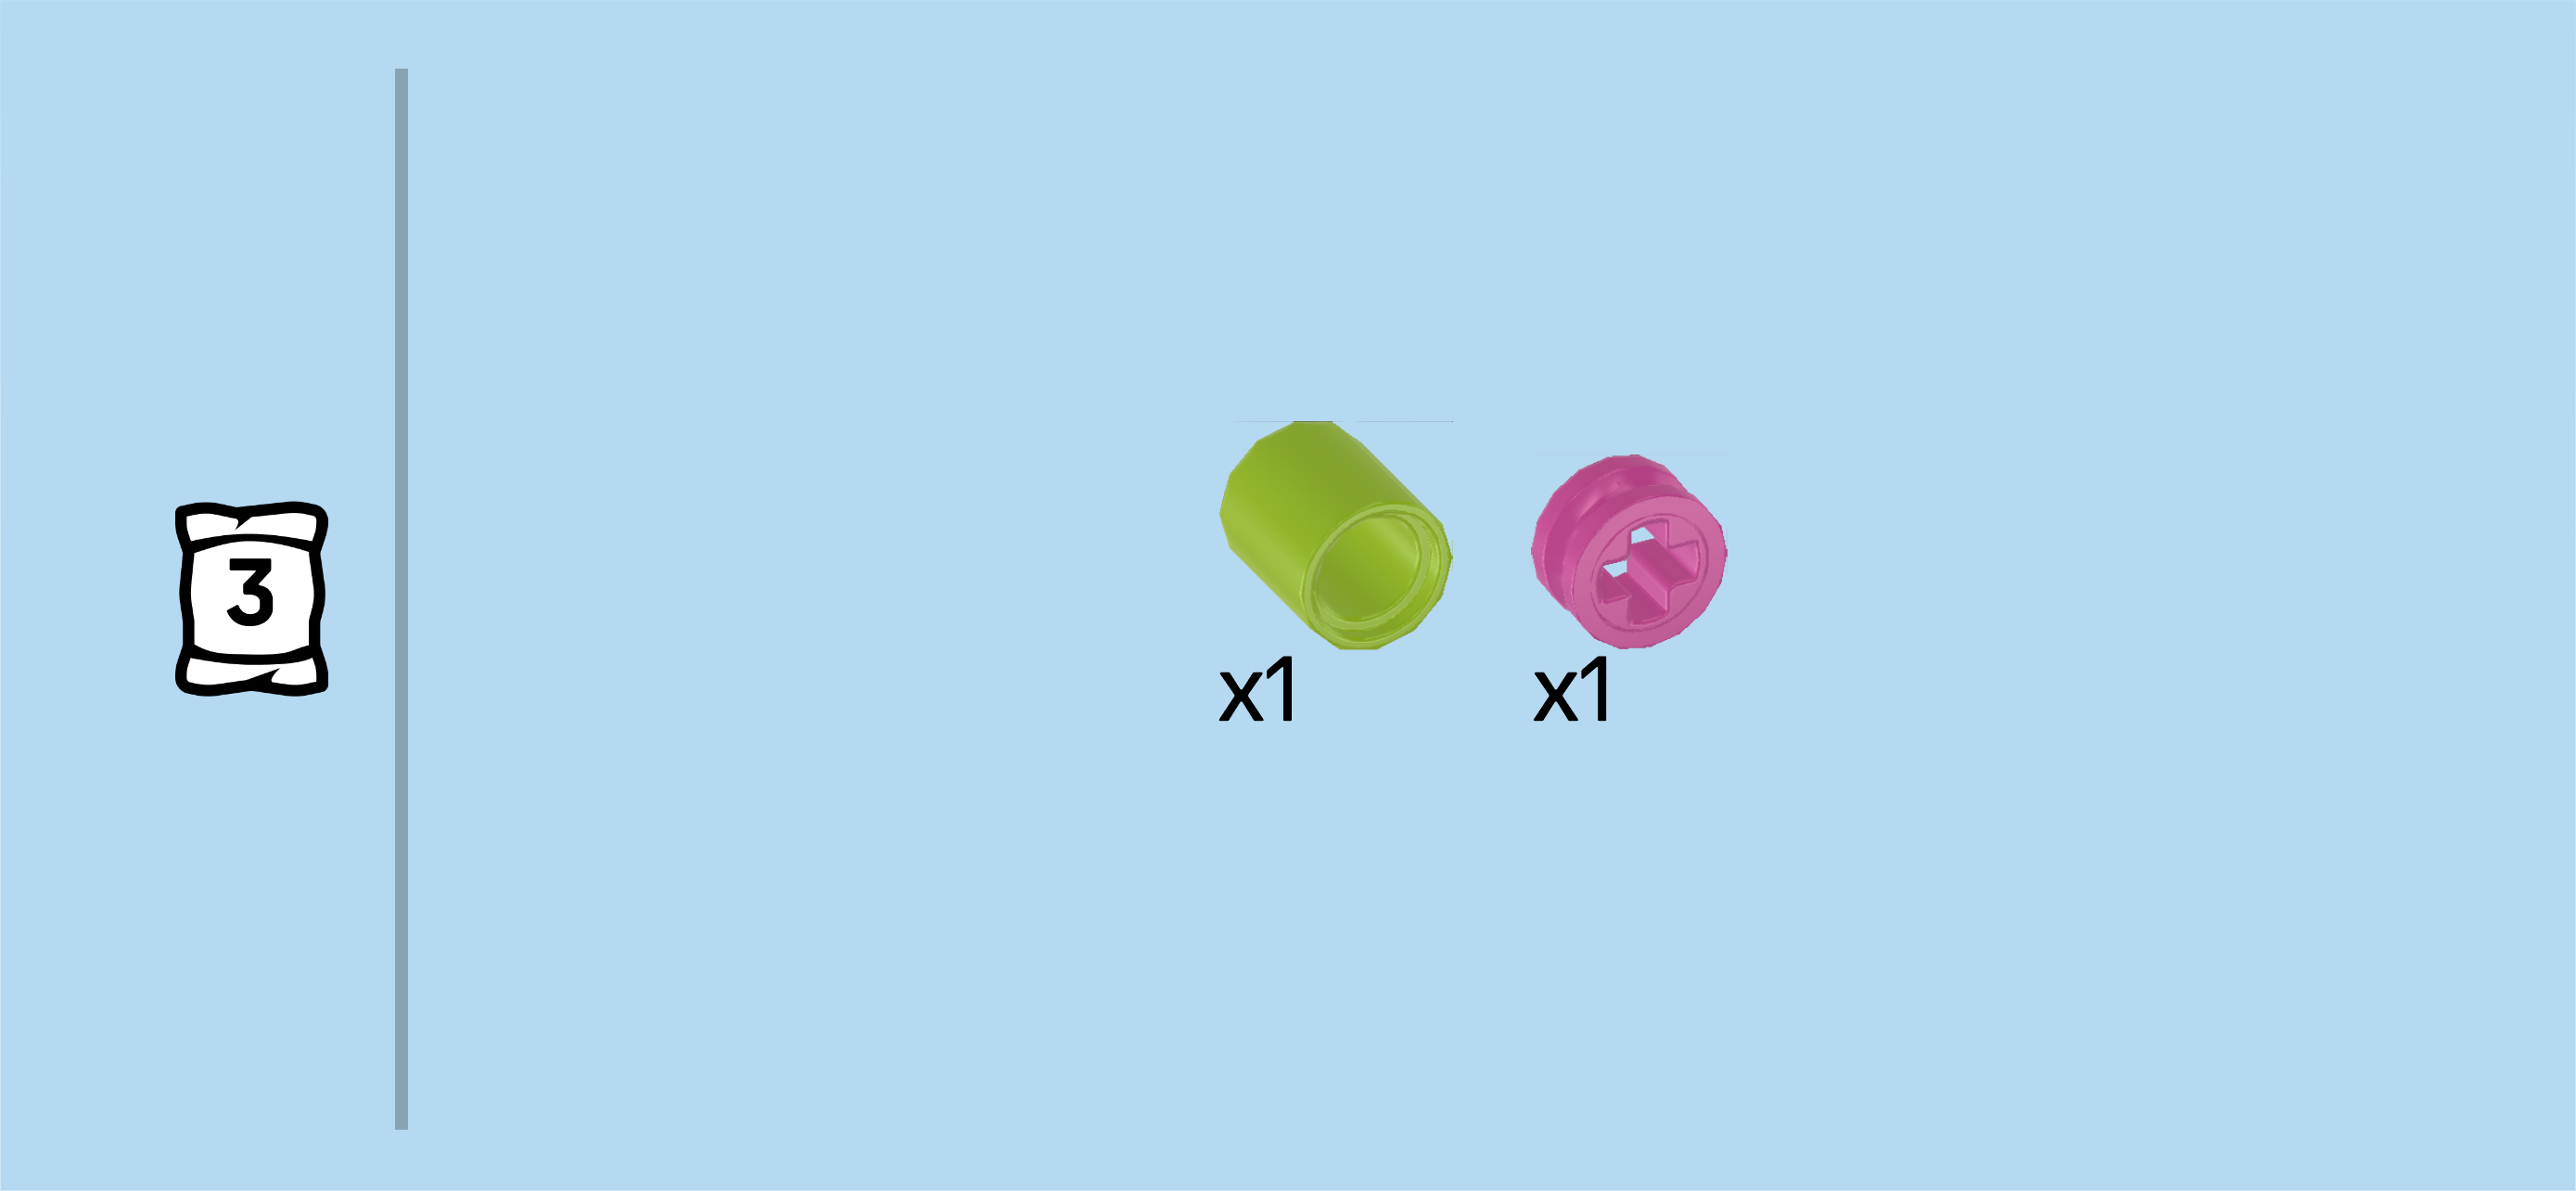
| Collect the following 2 pieces: |
| 1 bright yellowish green brick 2x2, |
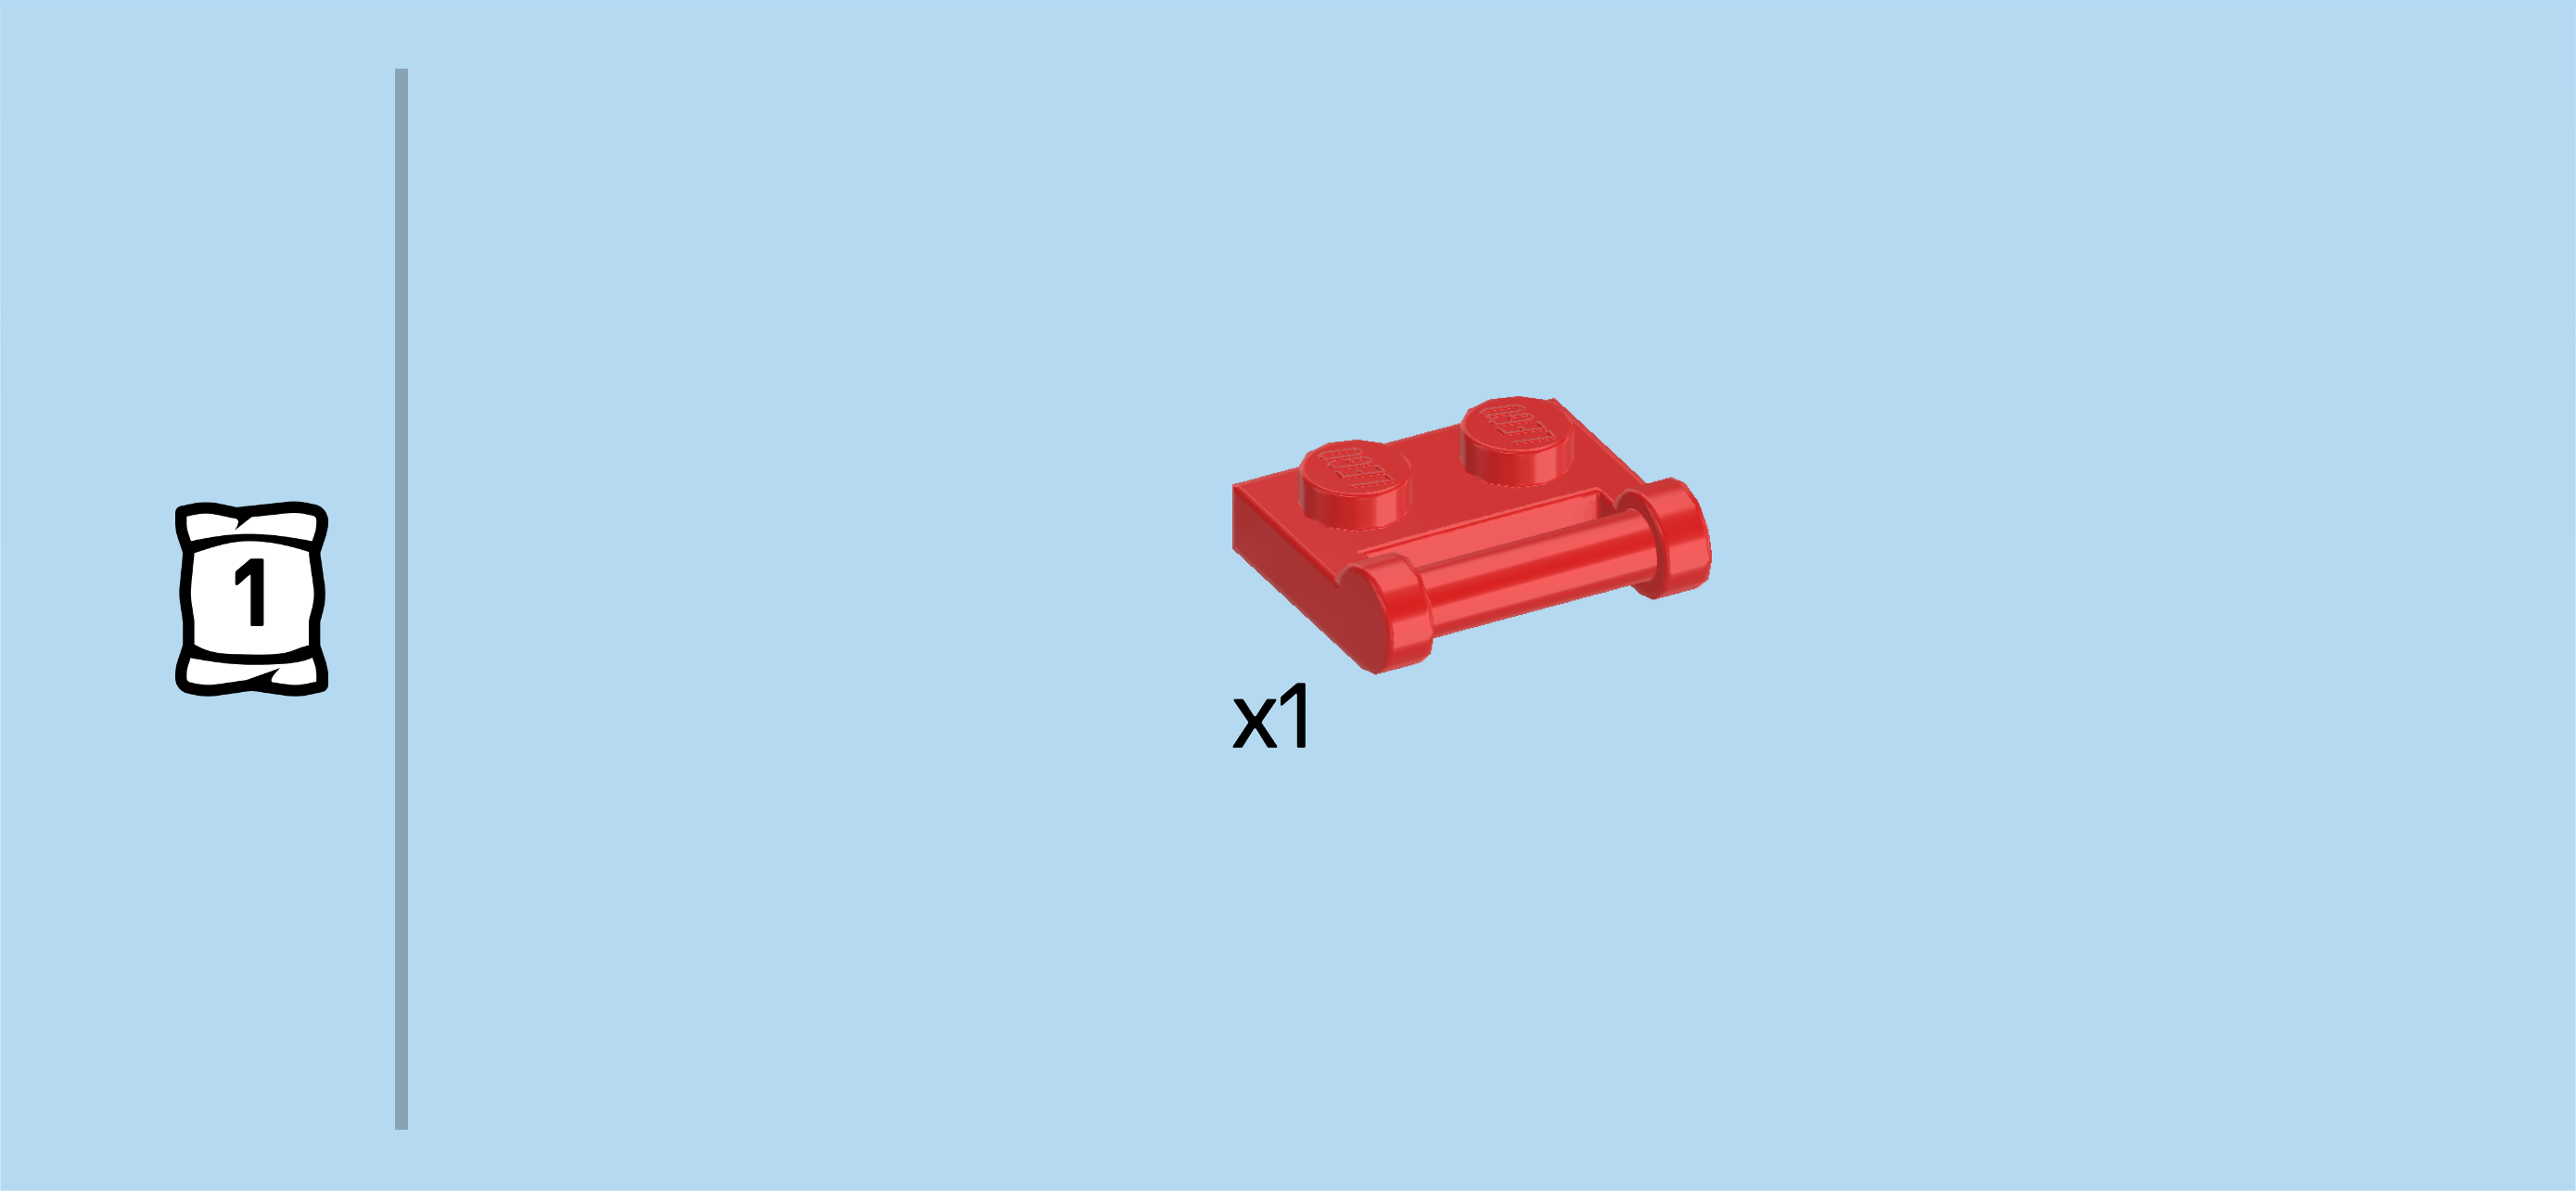
| and 1 bright red plate 1x2 with handle on long side. |
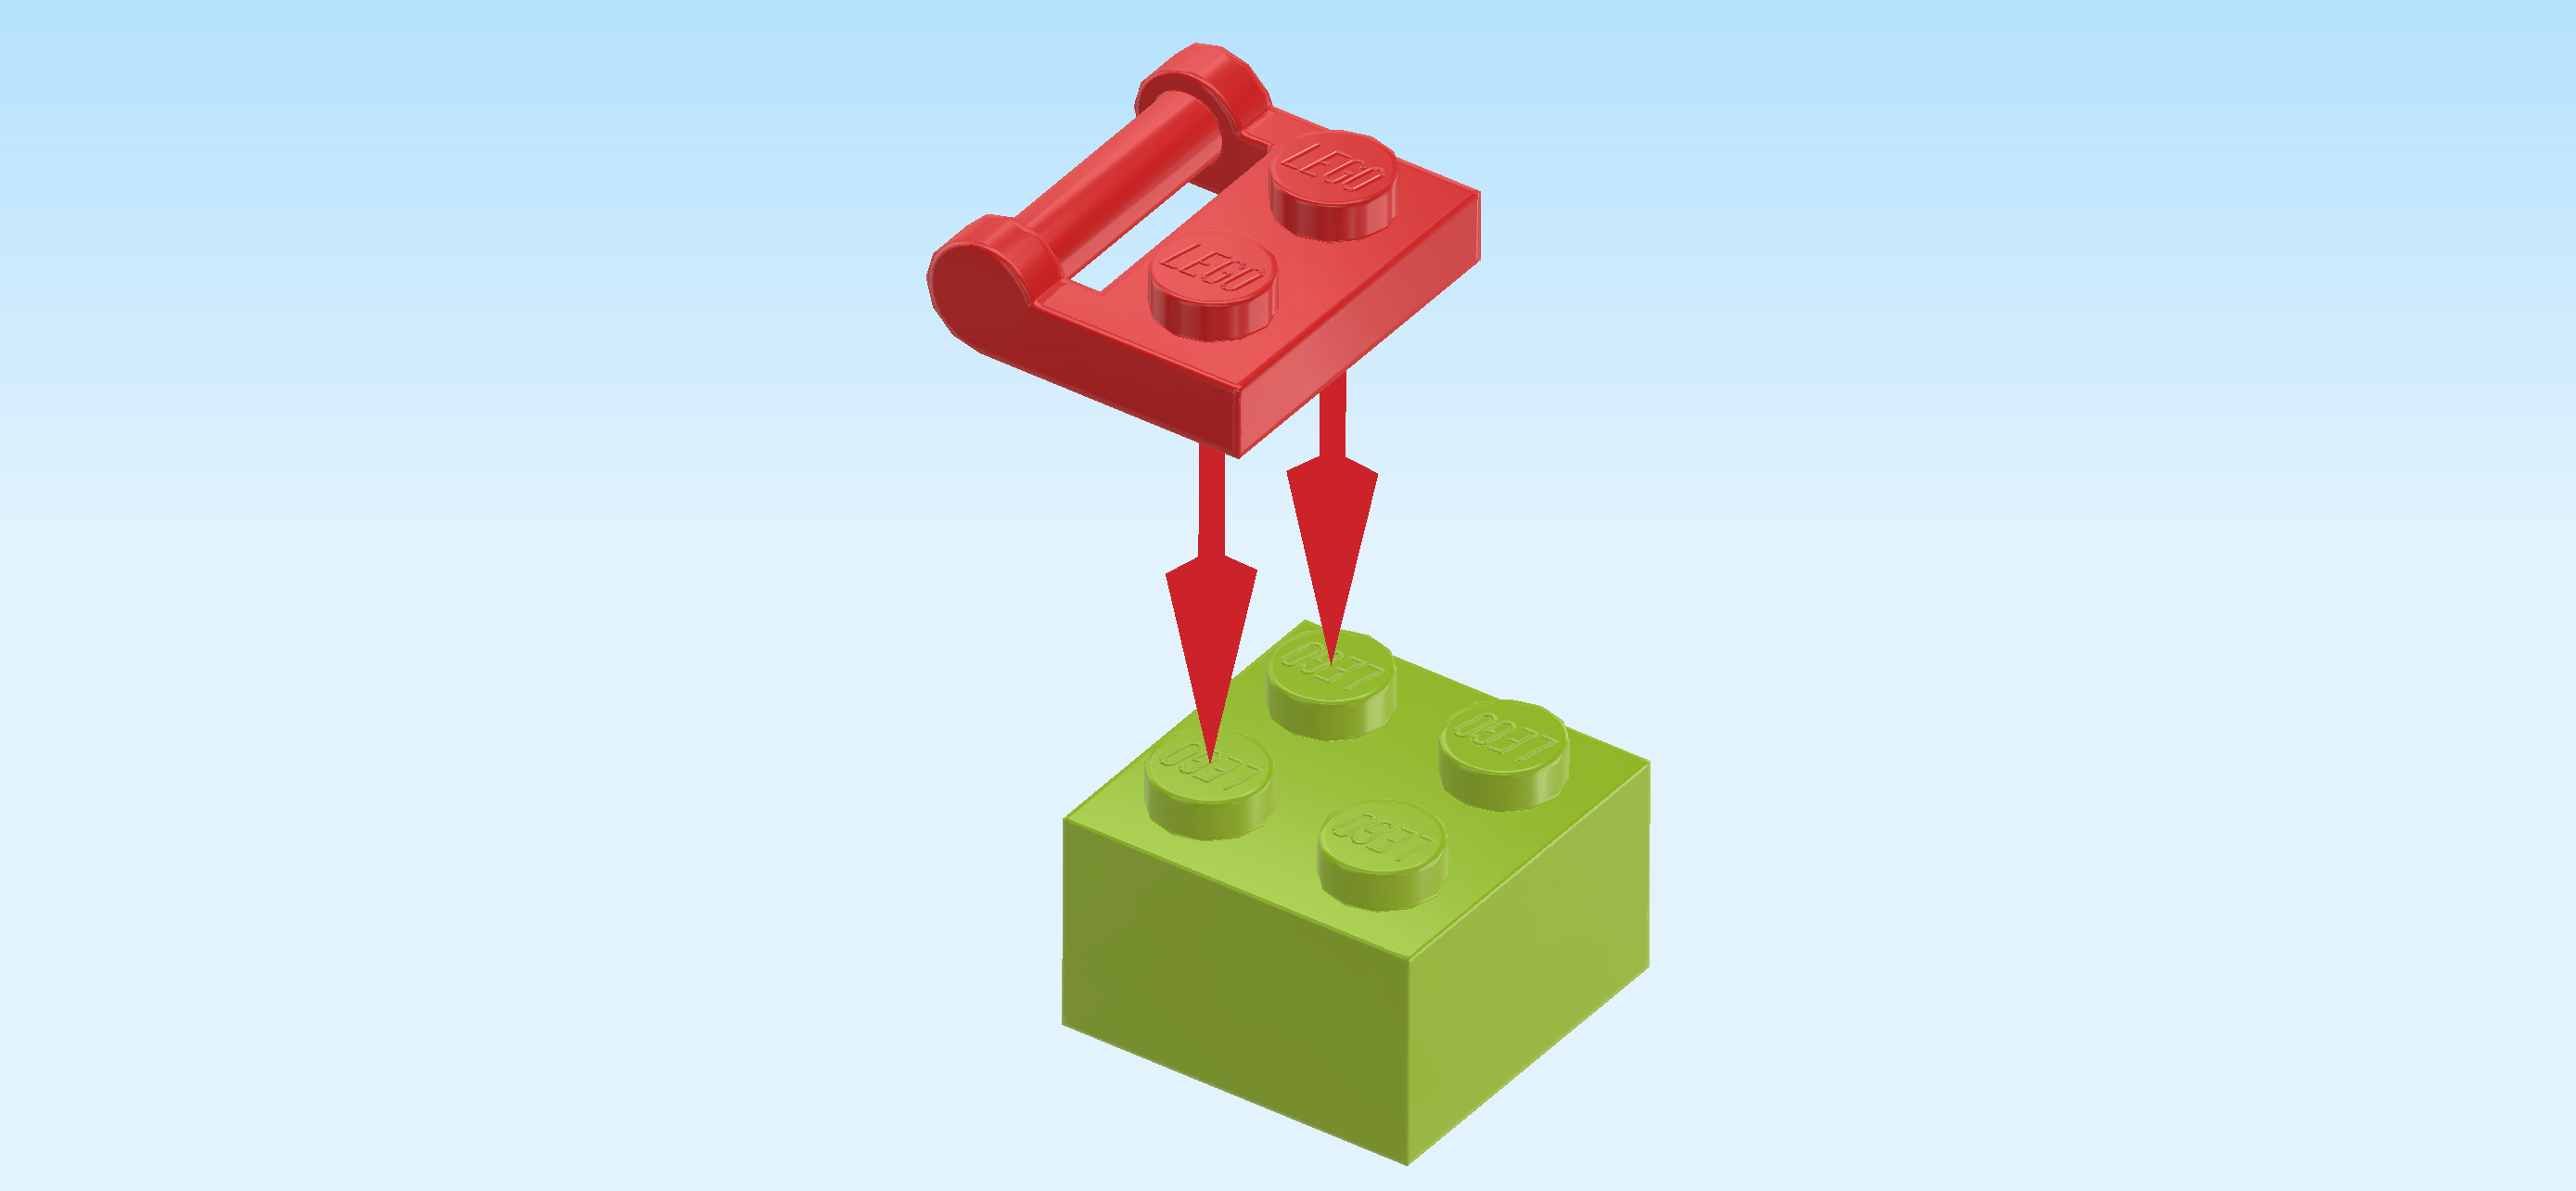
| Put the brick 2x2 on the table. Make sure its knobs form straight rows and columns in front of you. |
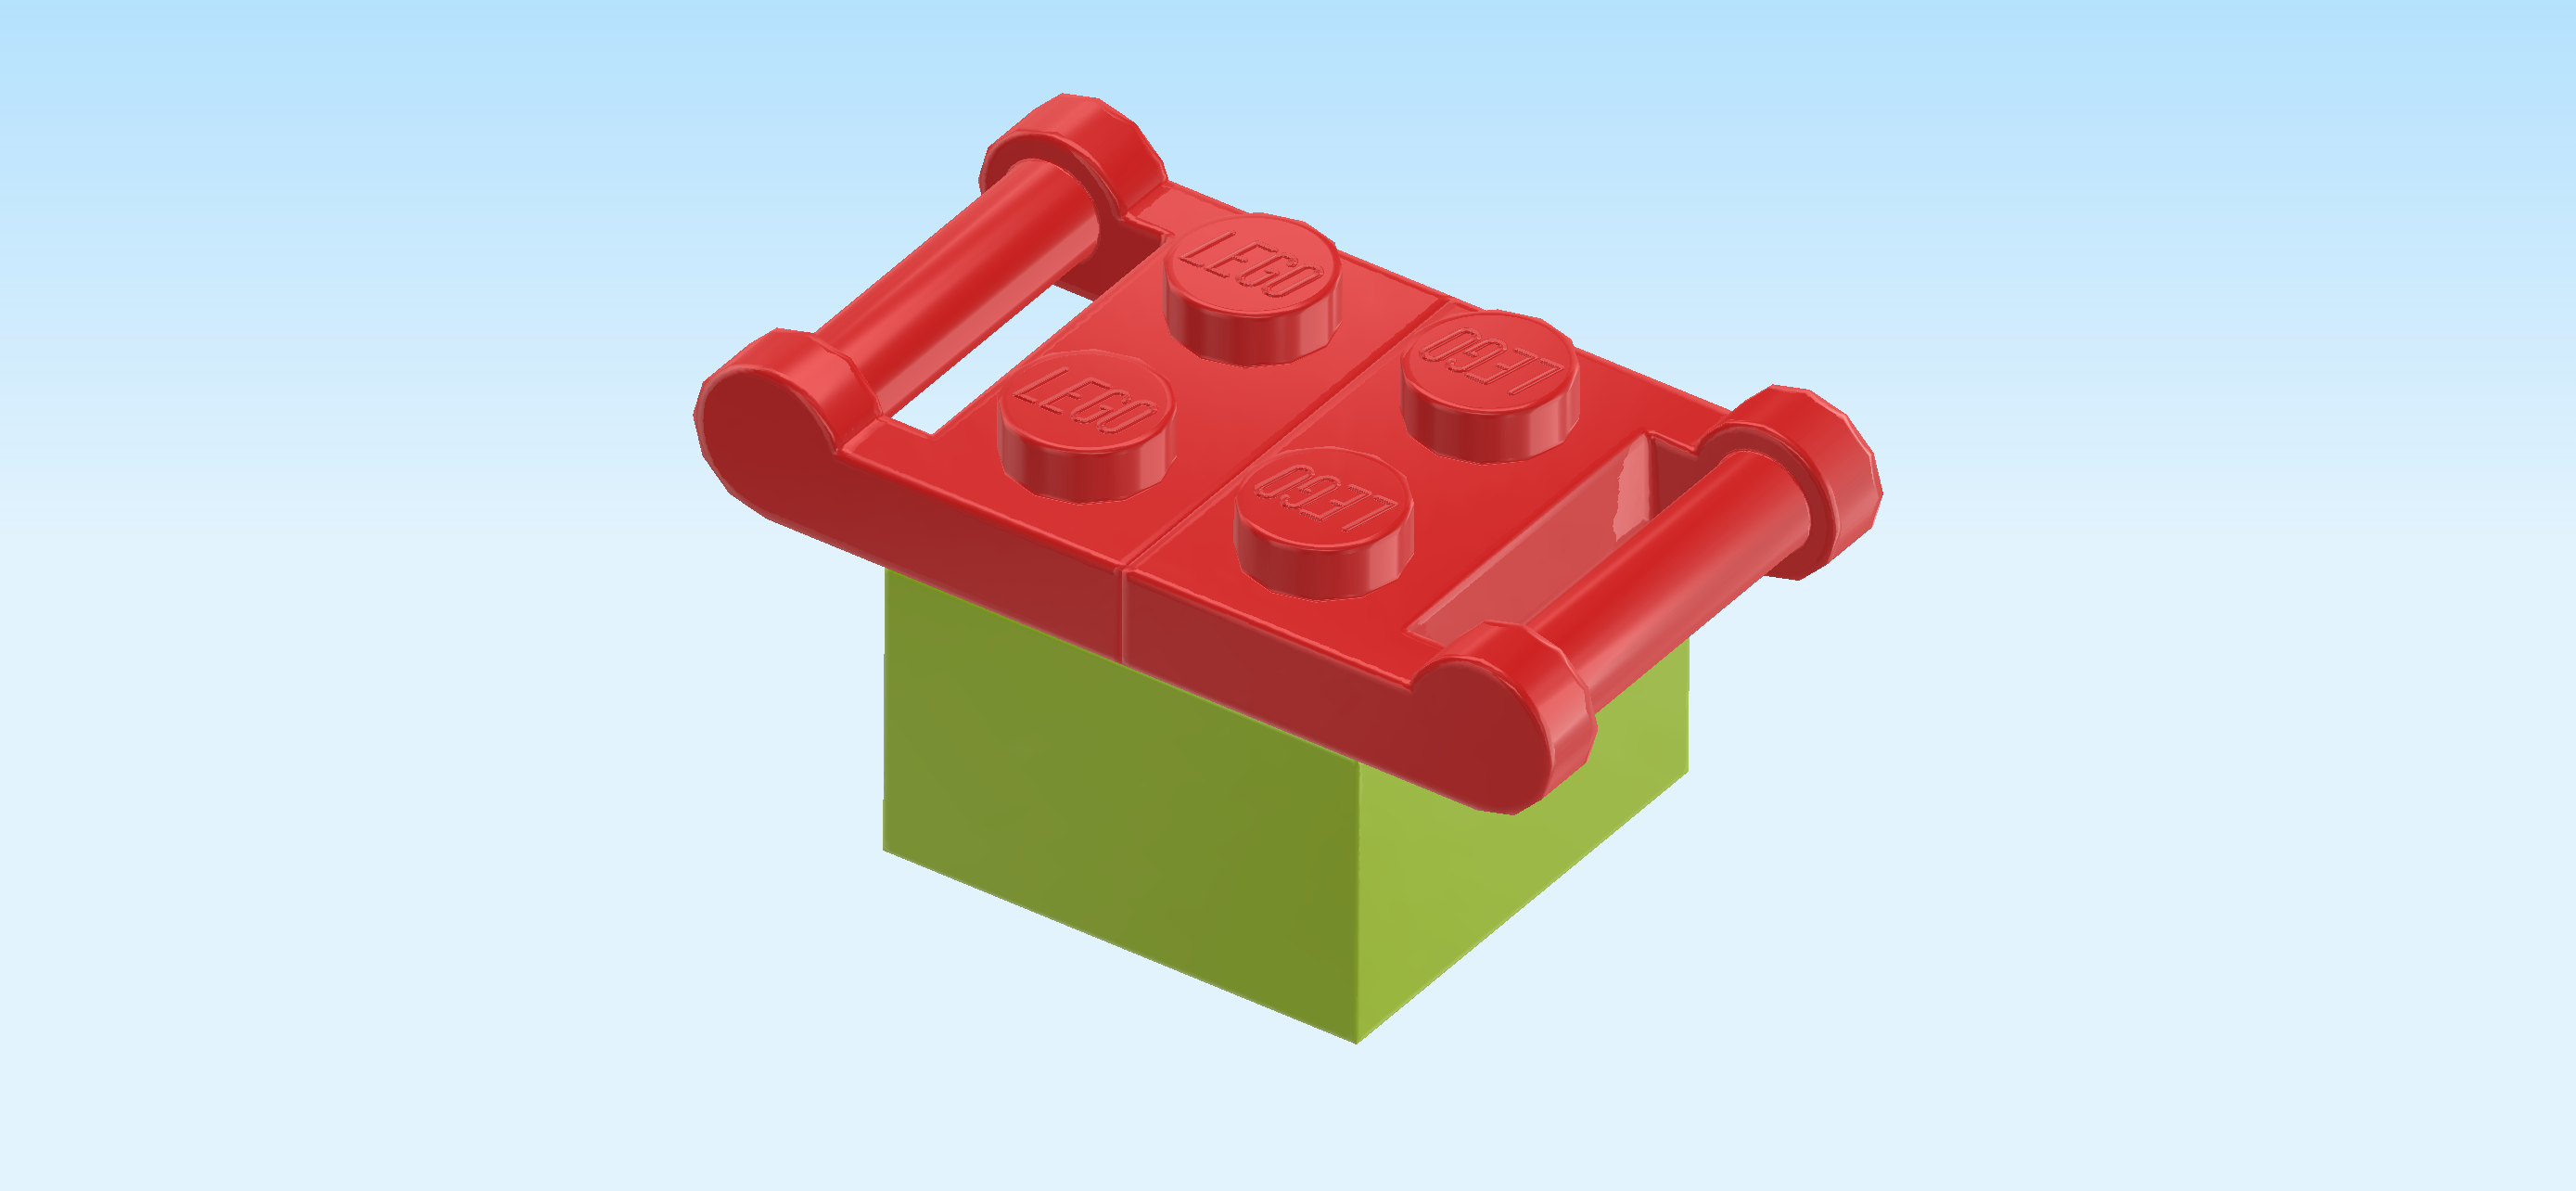
| Put the plate 1x2 vertically on the 2 left knobs, handle to the left. |
| Find another bright red plate 1x2 with handle on long side. |
| Put it vertically to the right of the previous piece, handle to the right. |
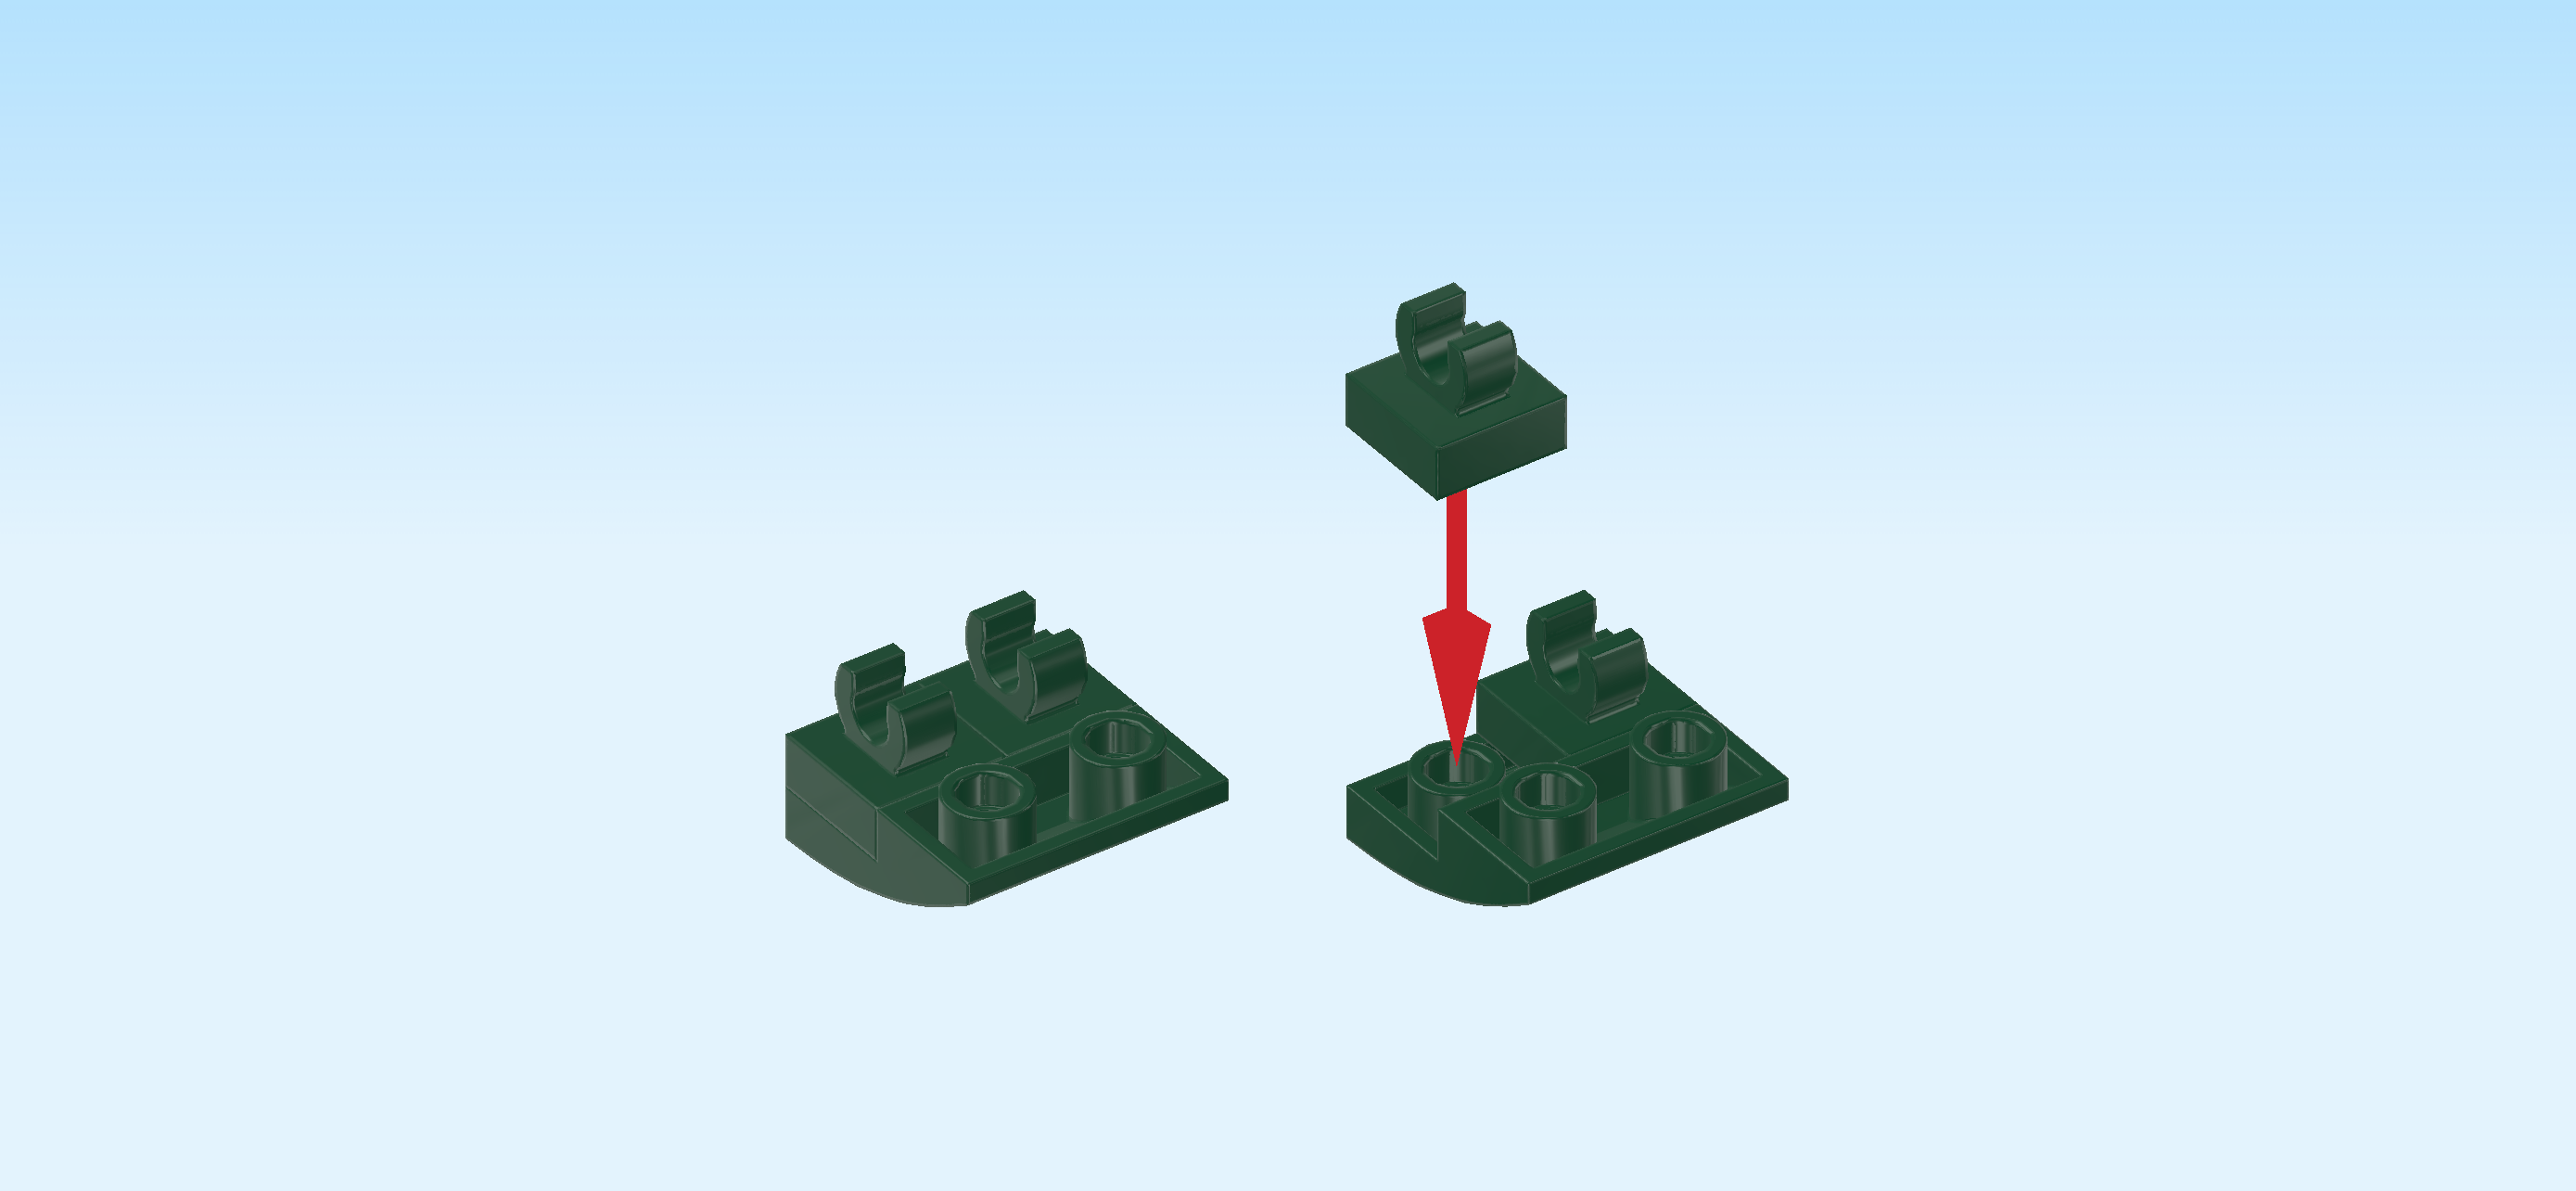
| Now, let's make 2 sub-parts of the closed bud. |
| Collect the following 4 pieces: |
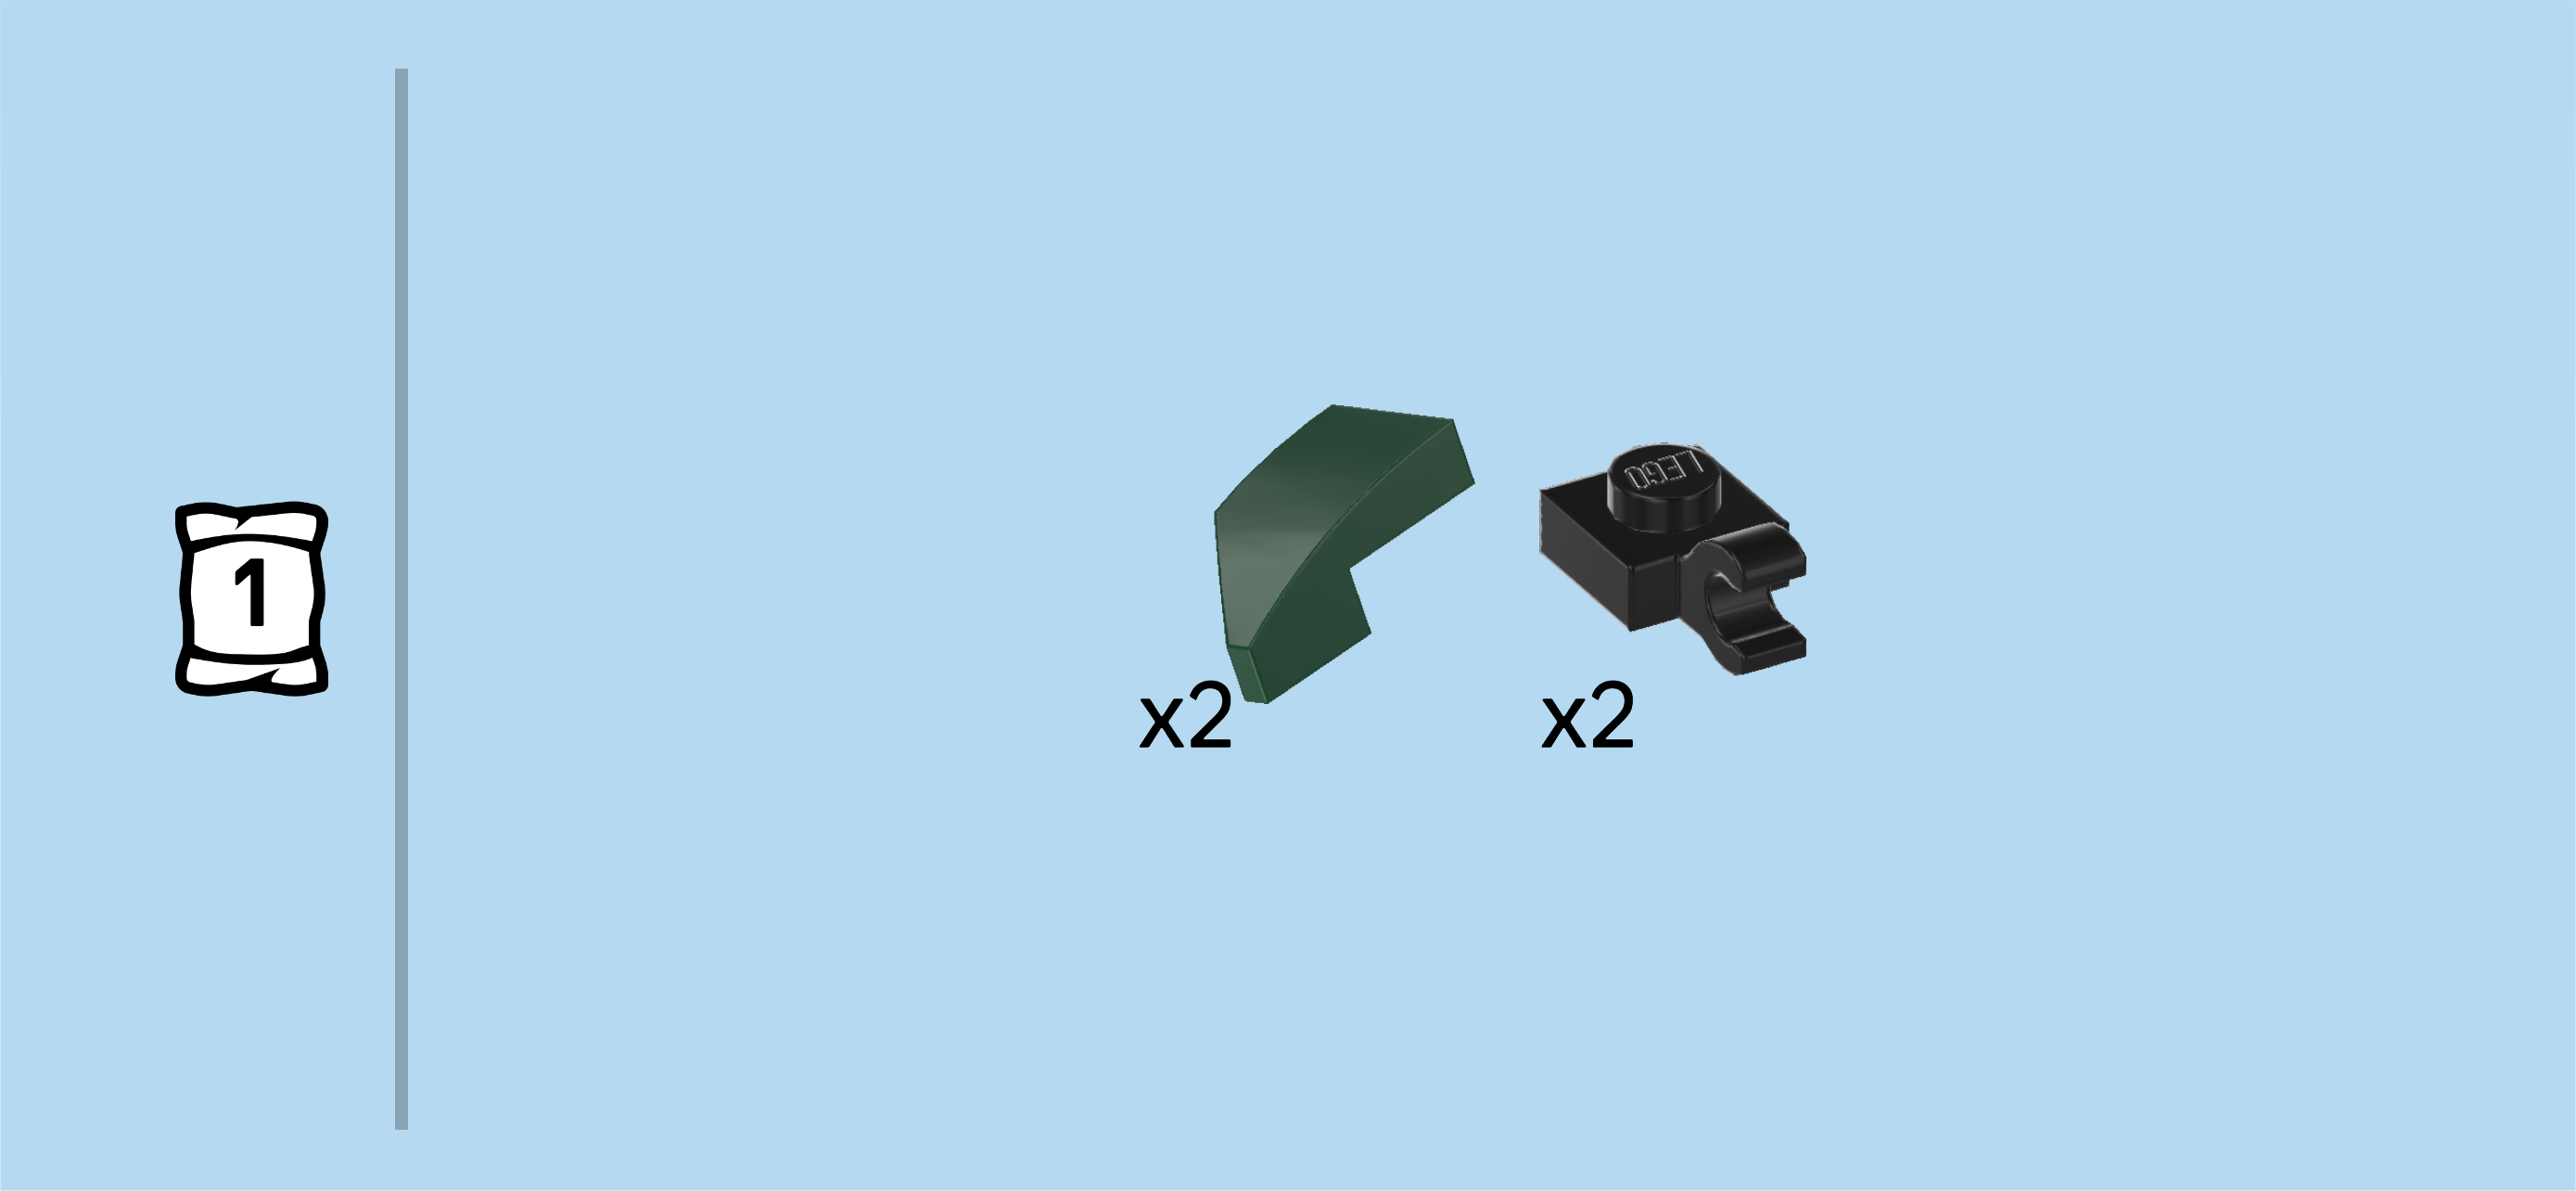
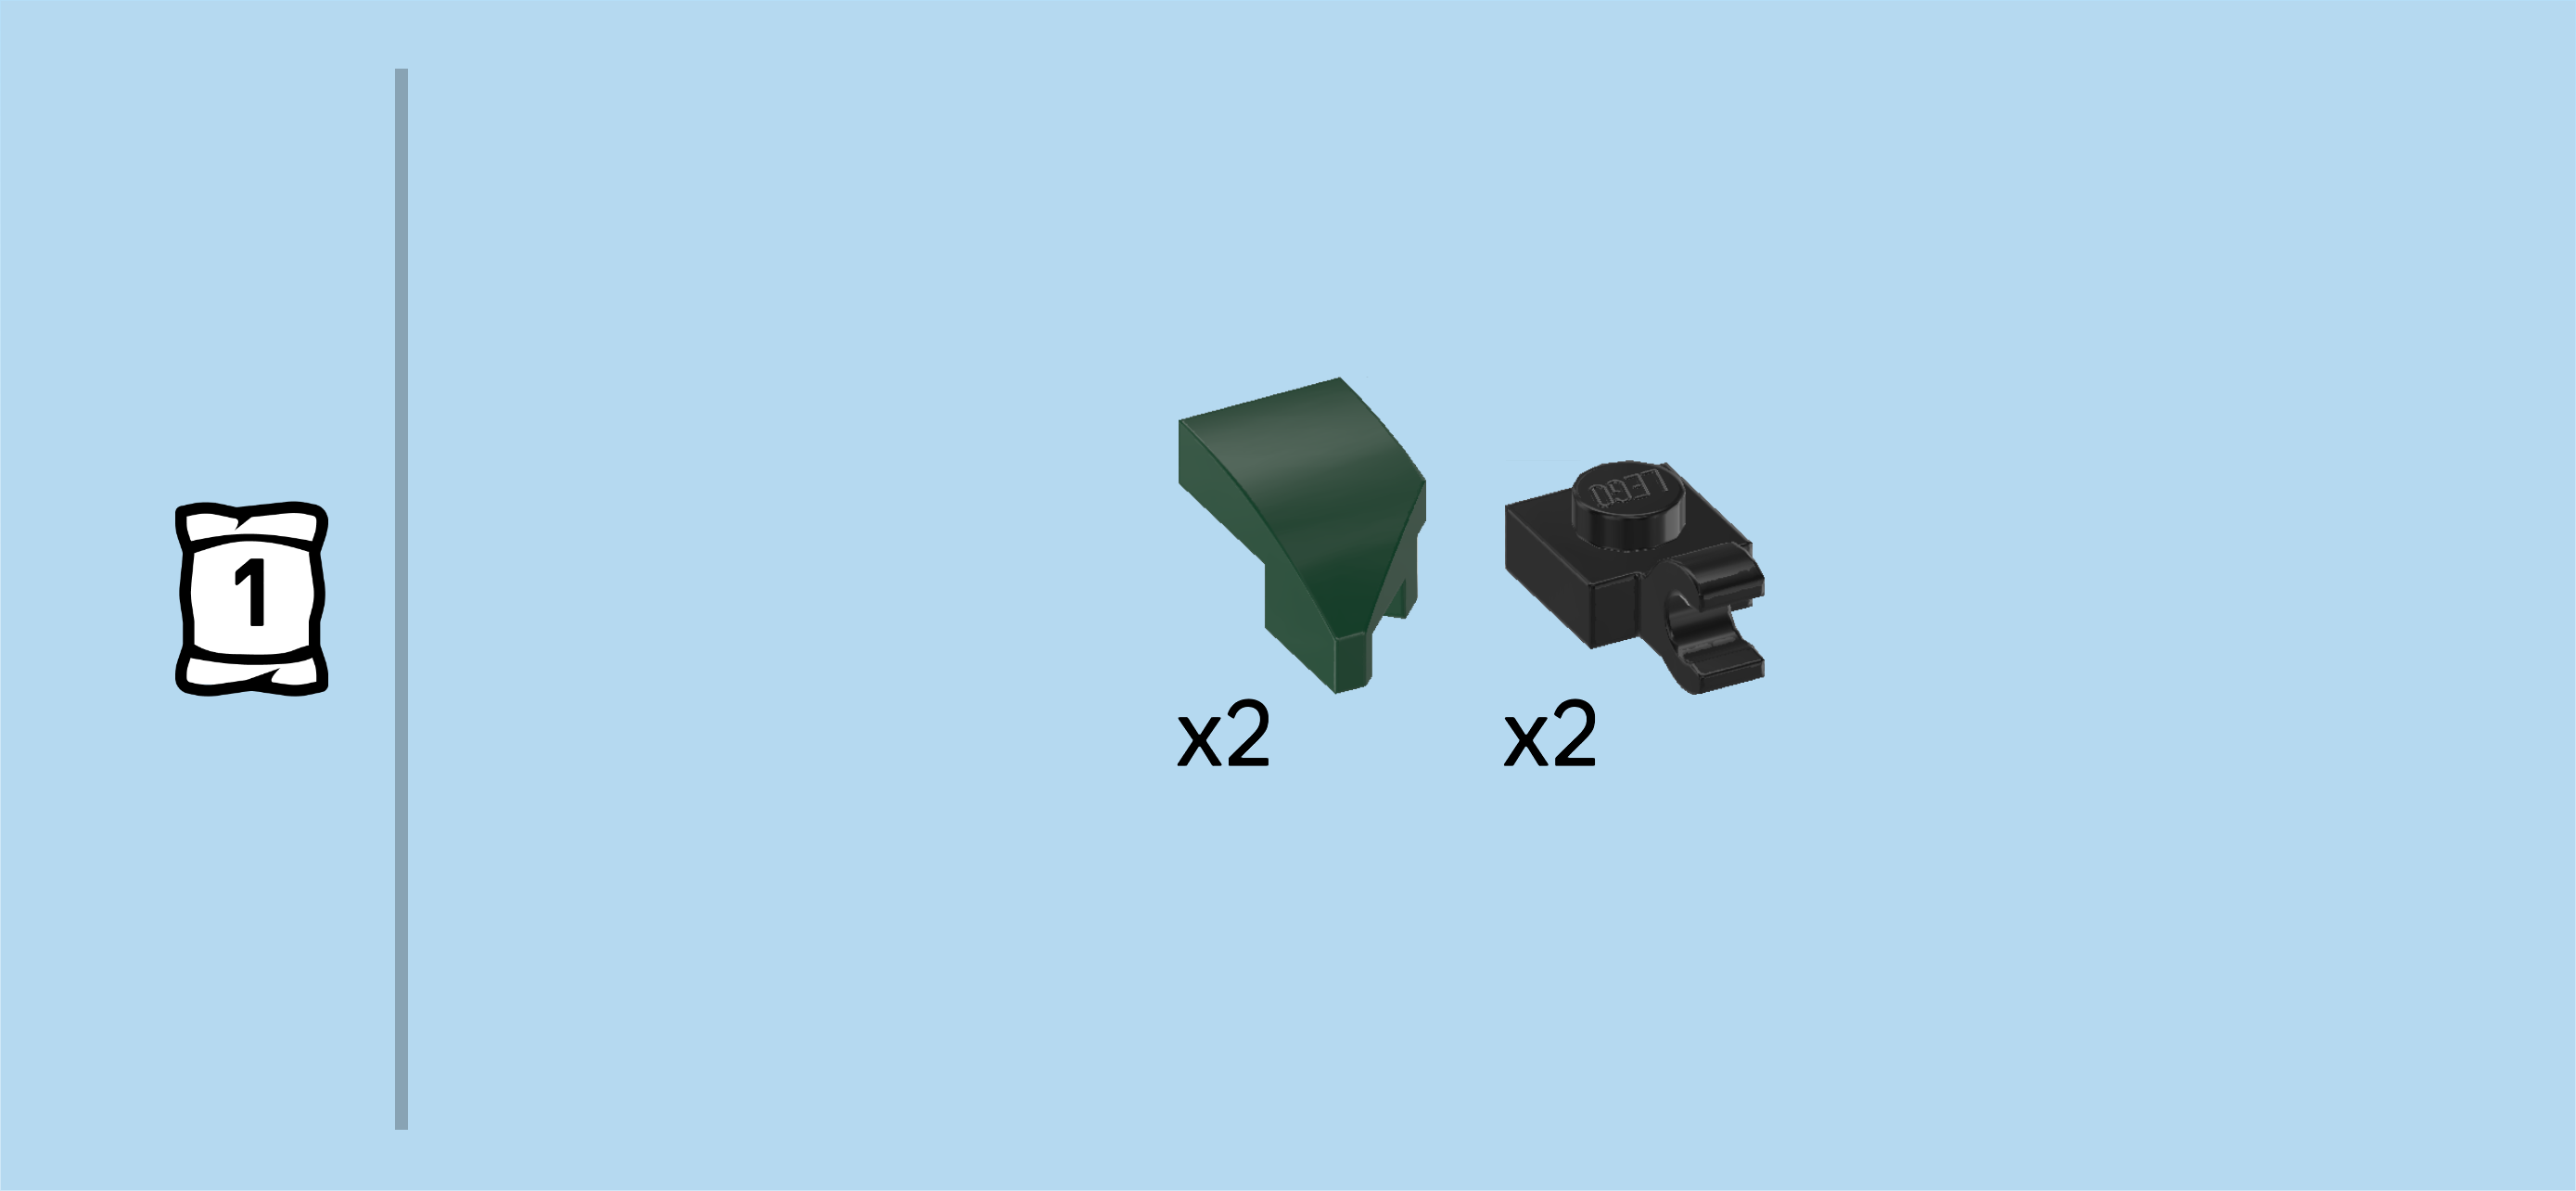
| 2 mossy green inverted one-stepped curve tiles 2x2x⅔, |
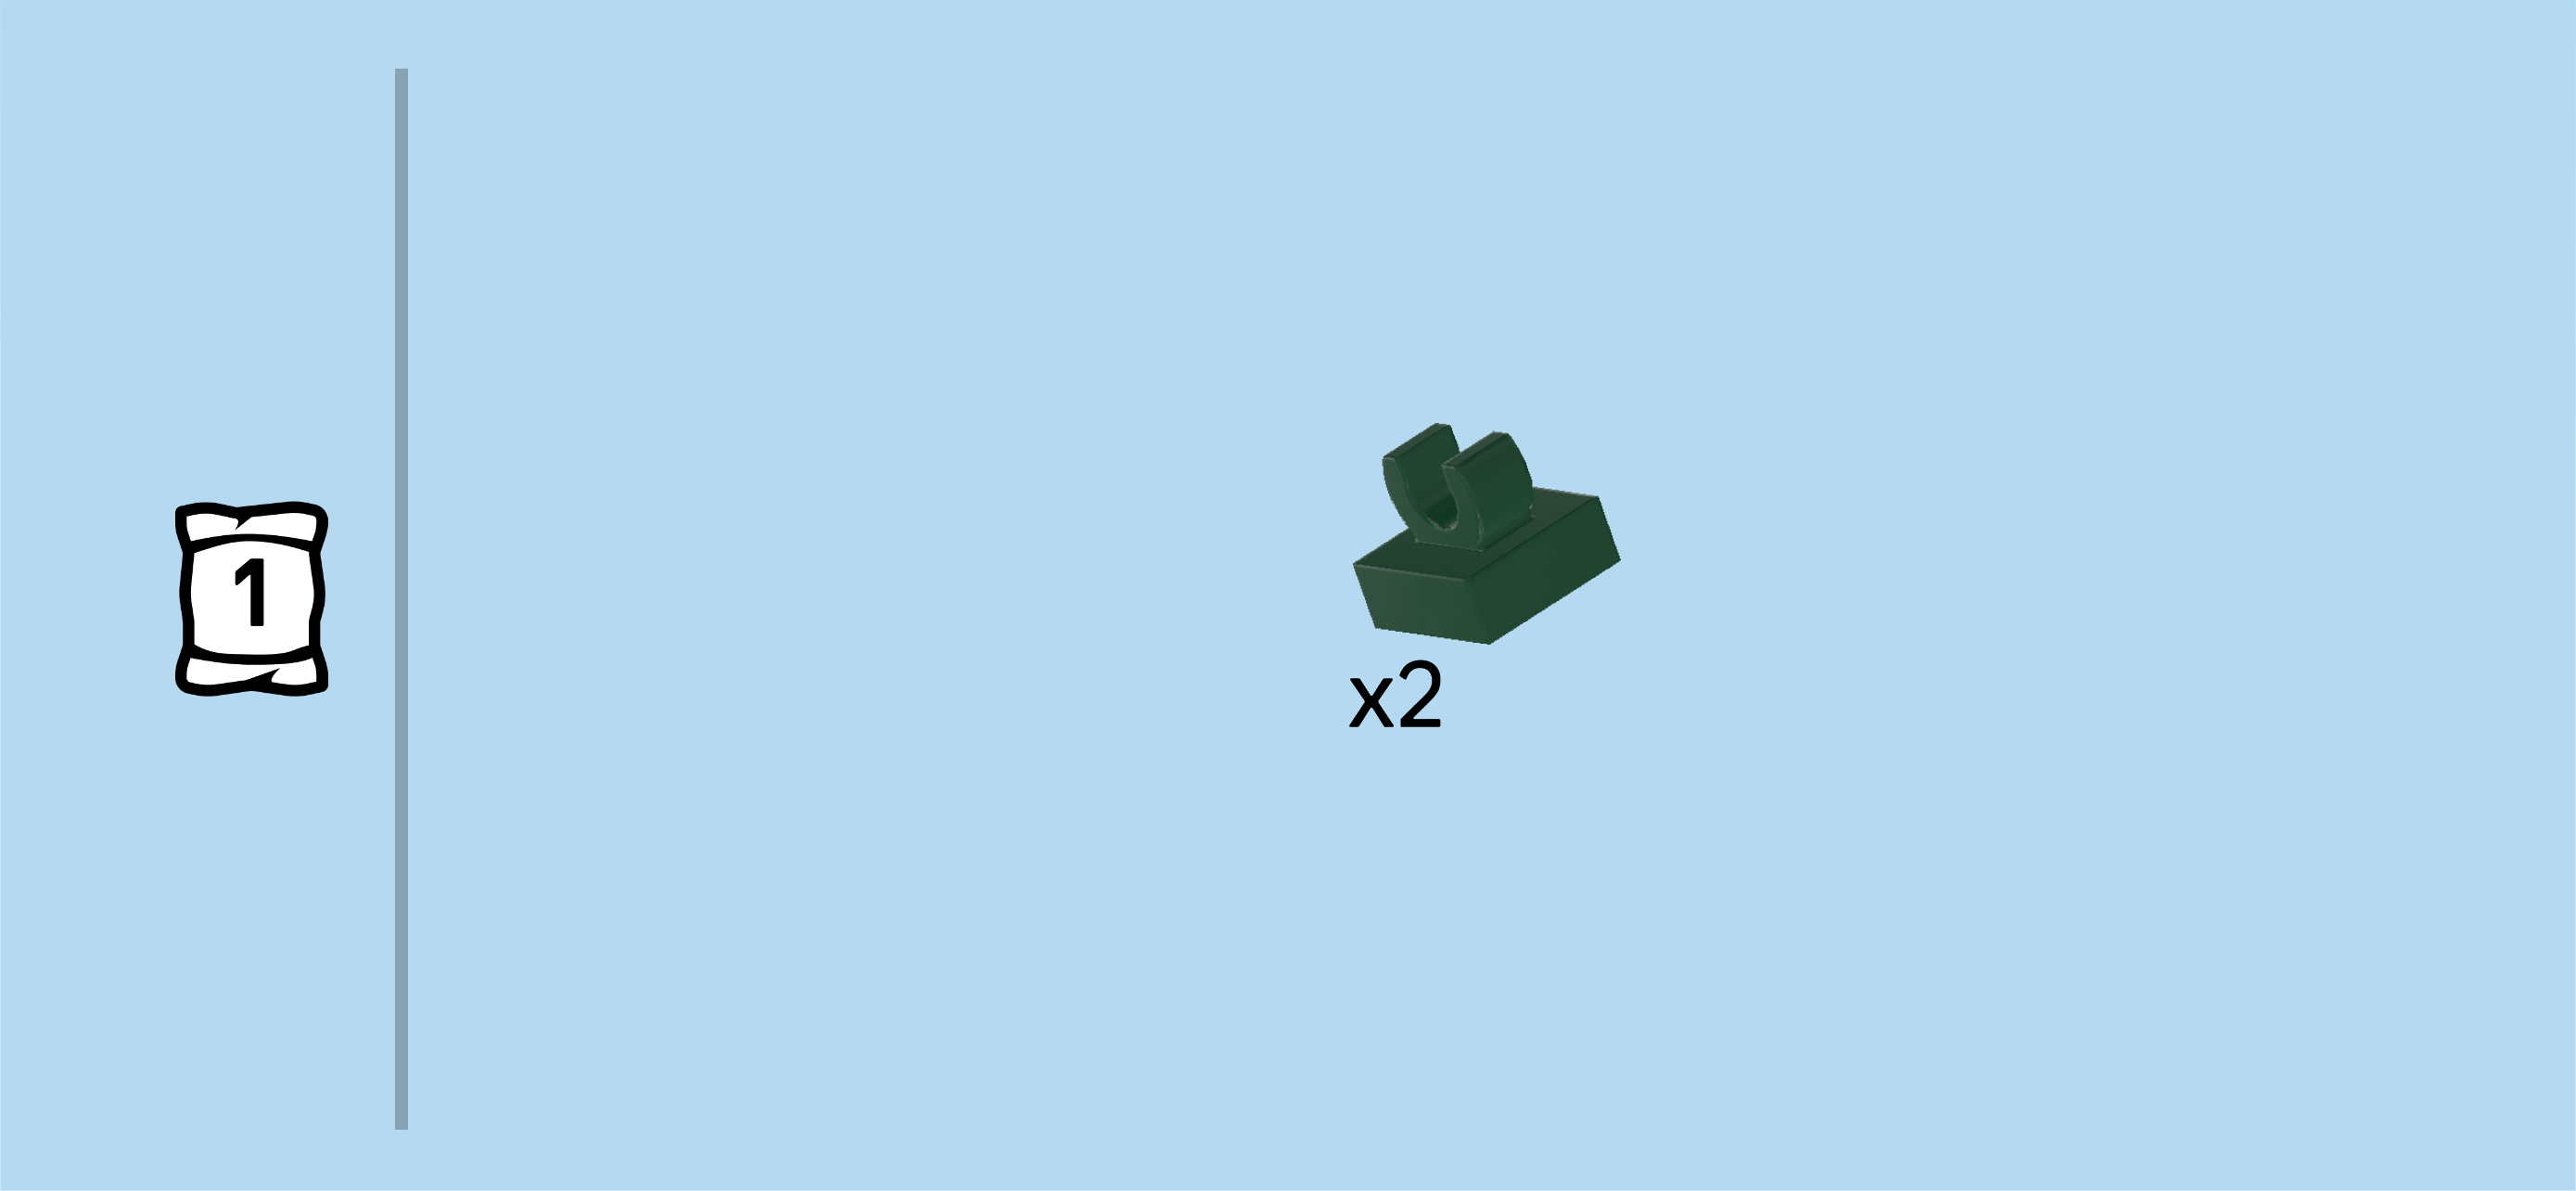
| and 2 mossy green plates 1x1 with top clasp. |
| Put 1 inverted curve tile on the table, higher part on the right edge. |
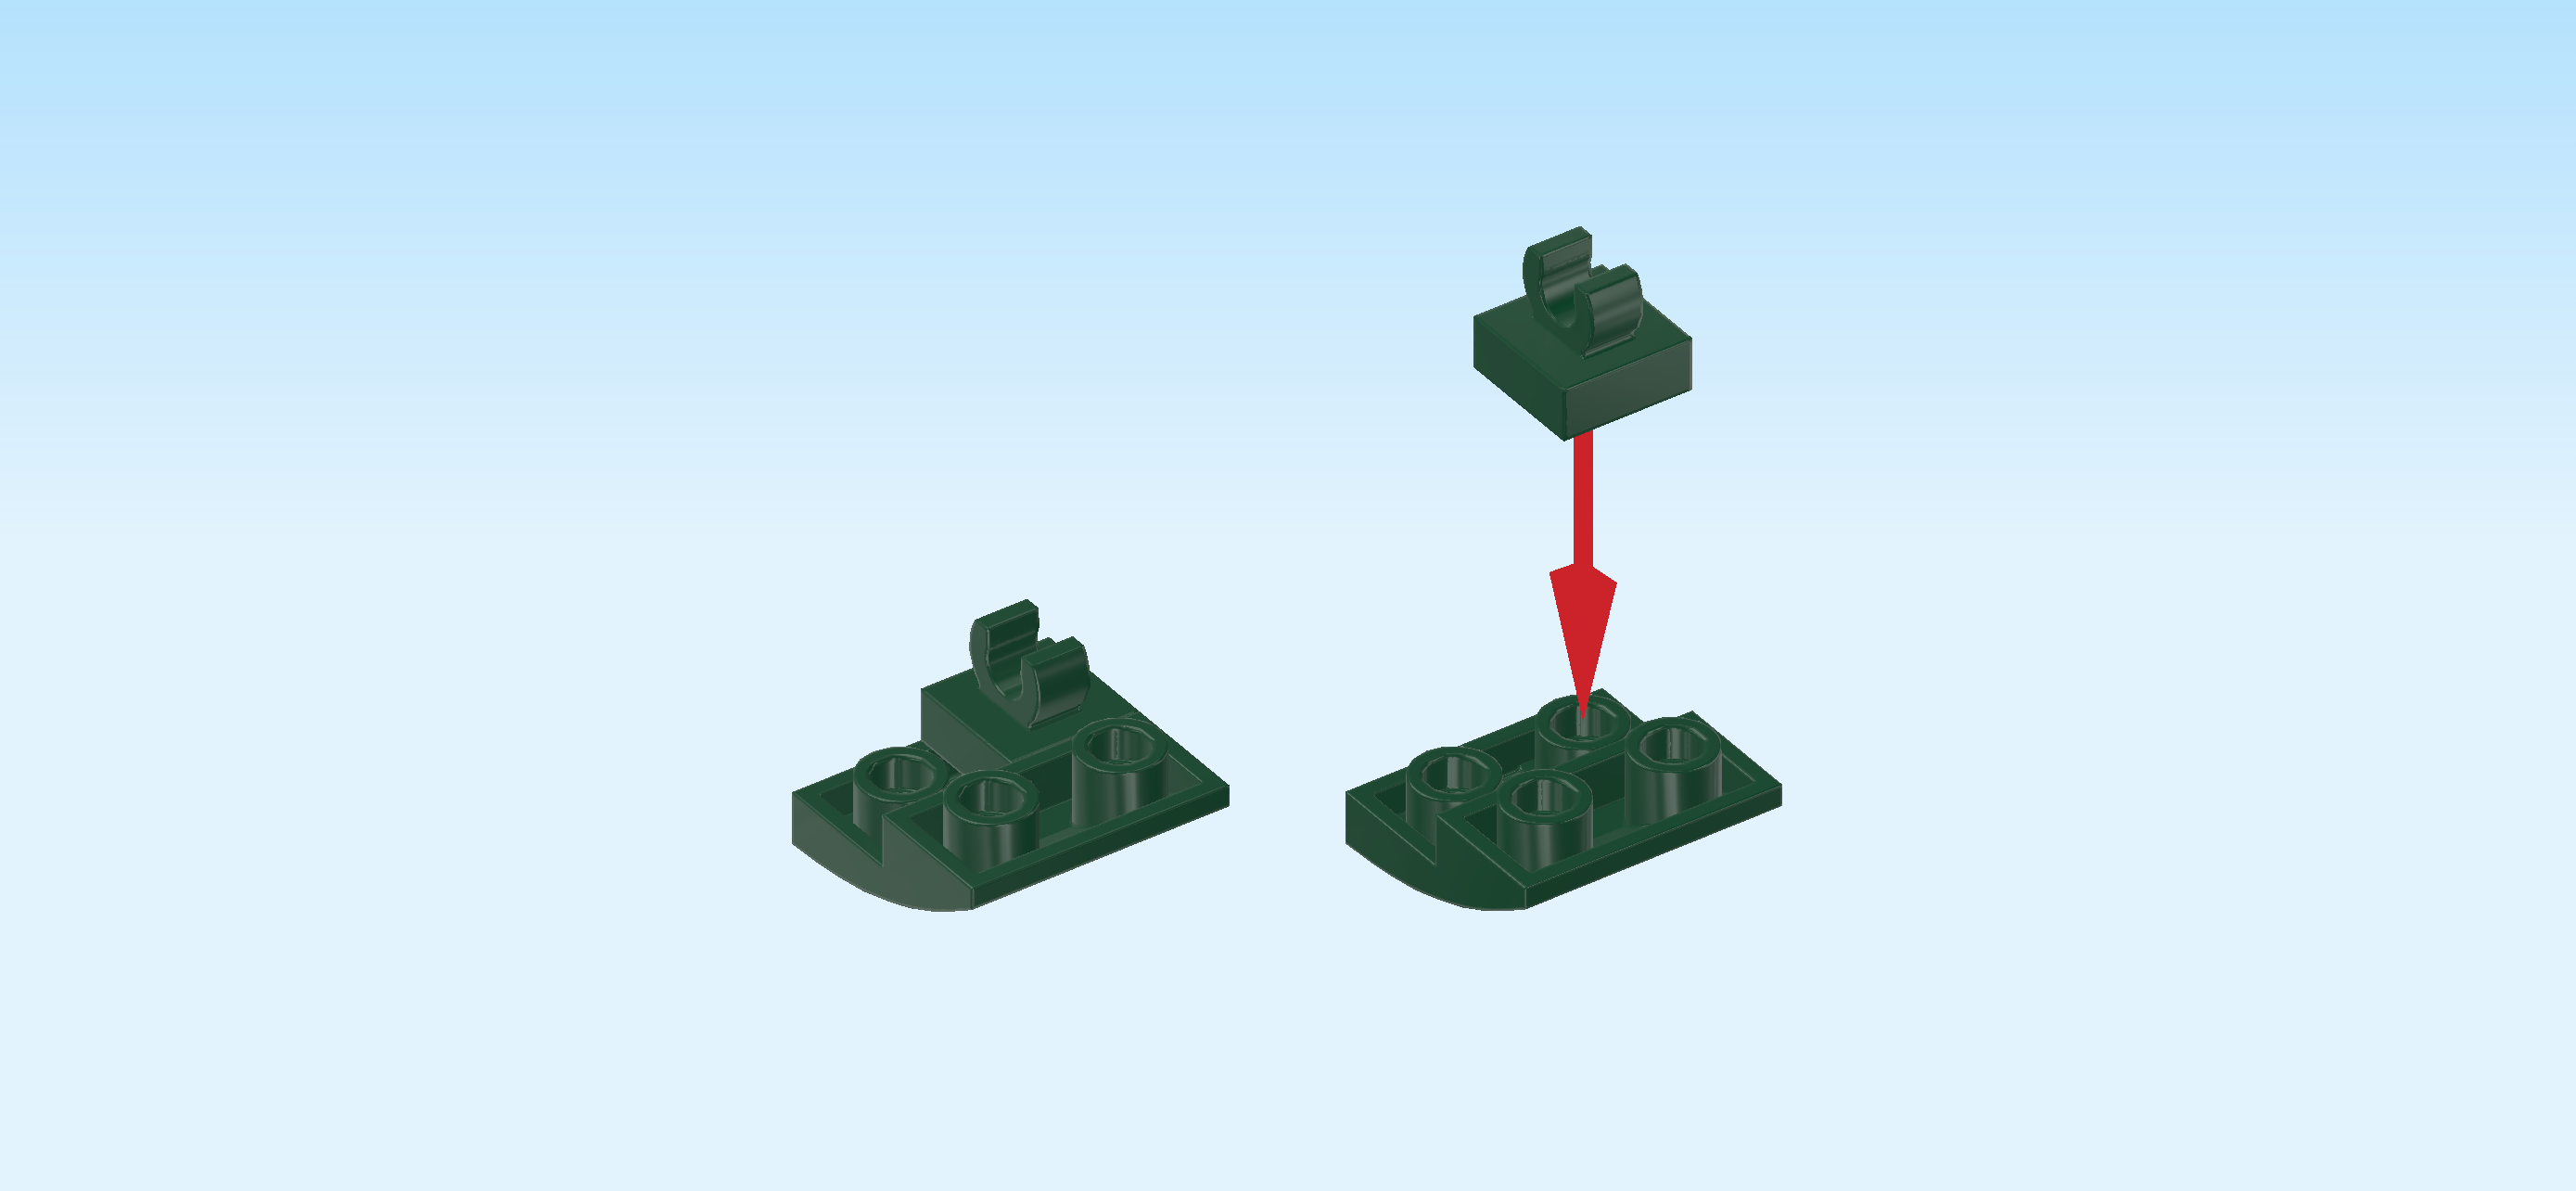
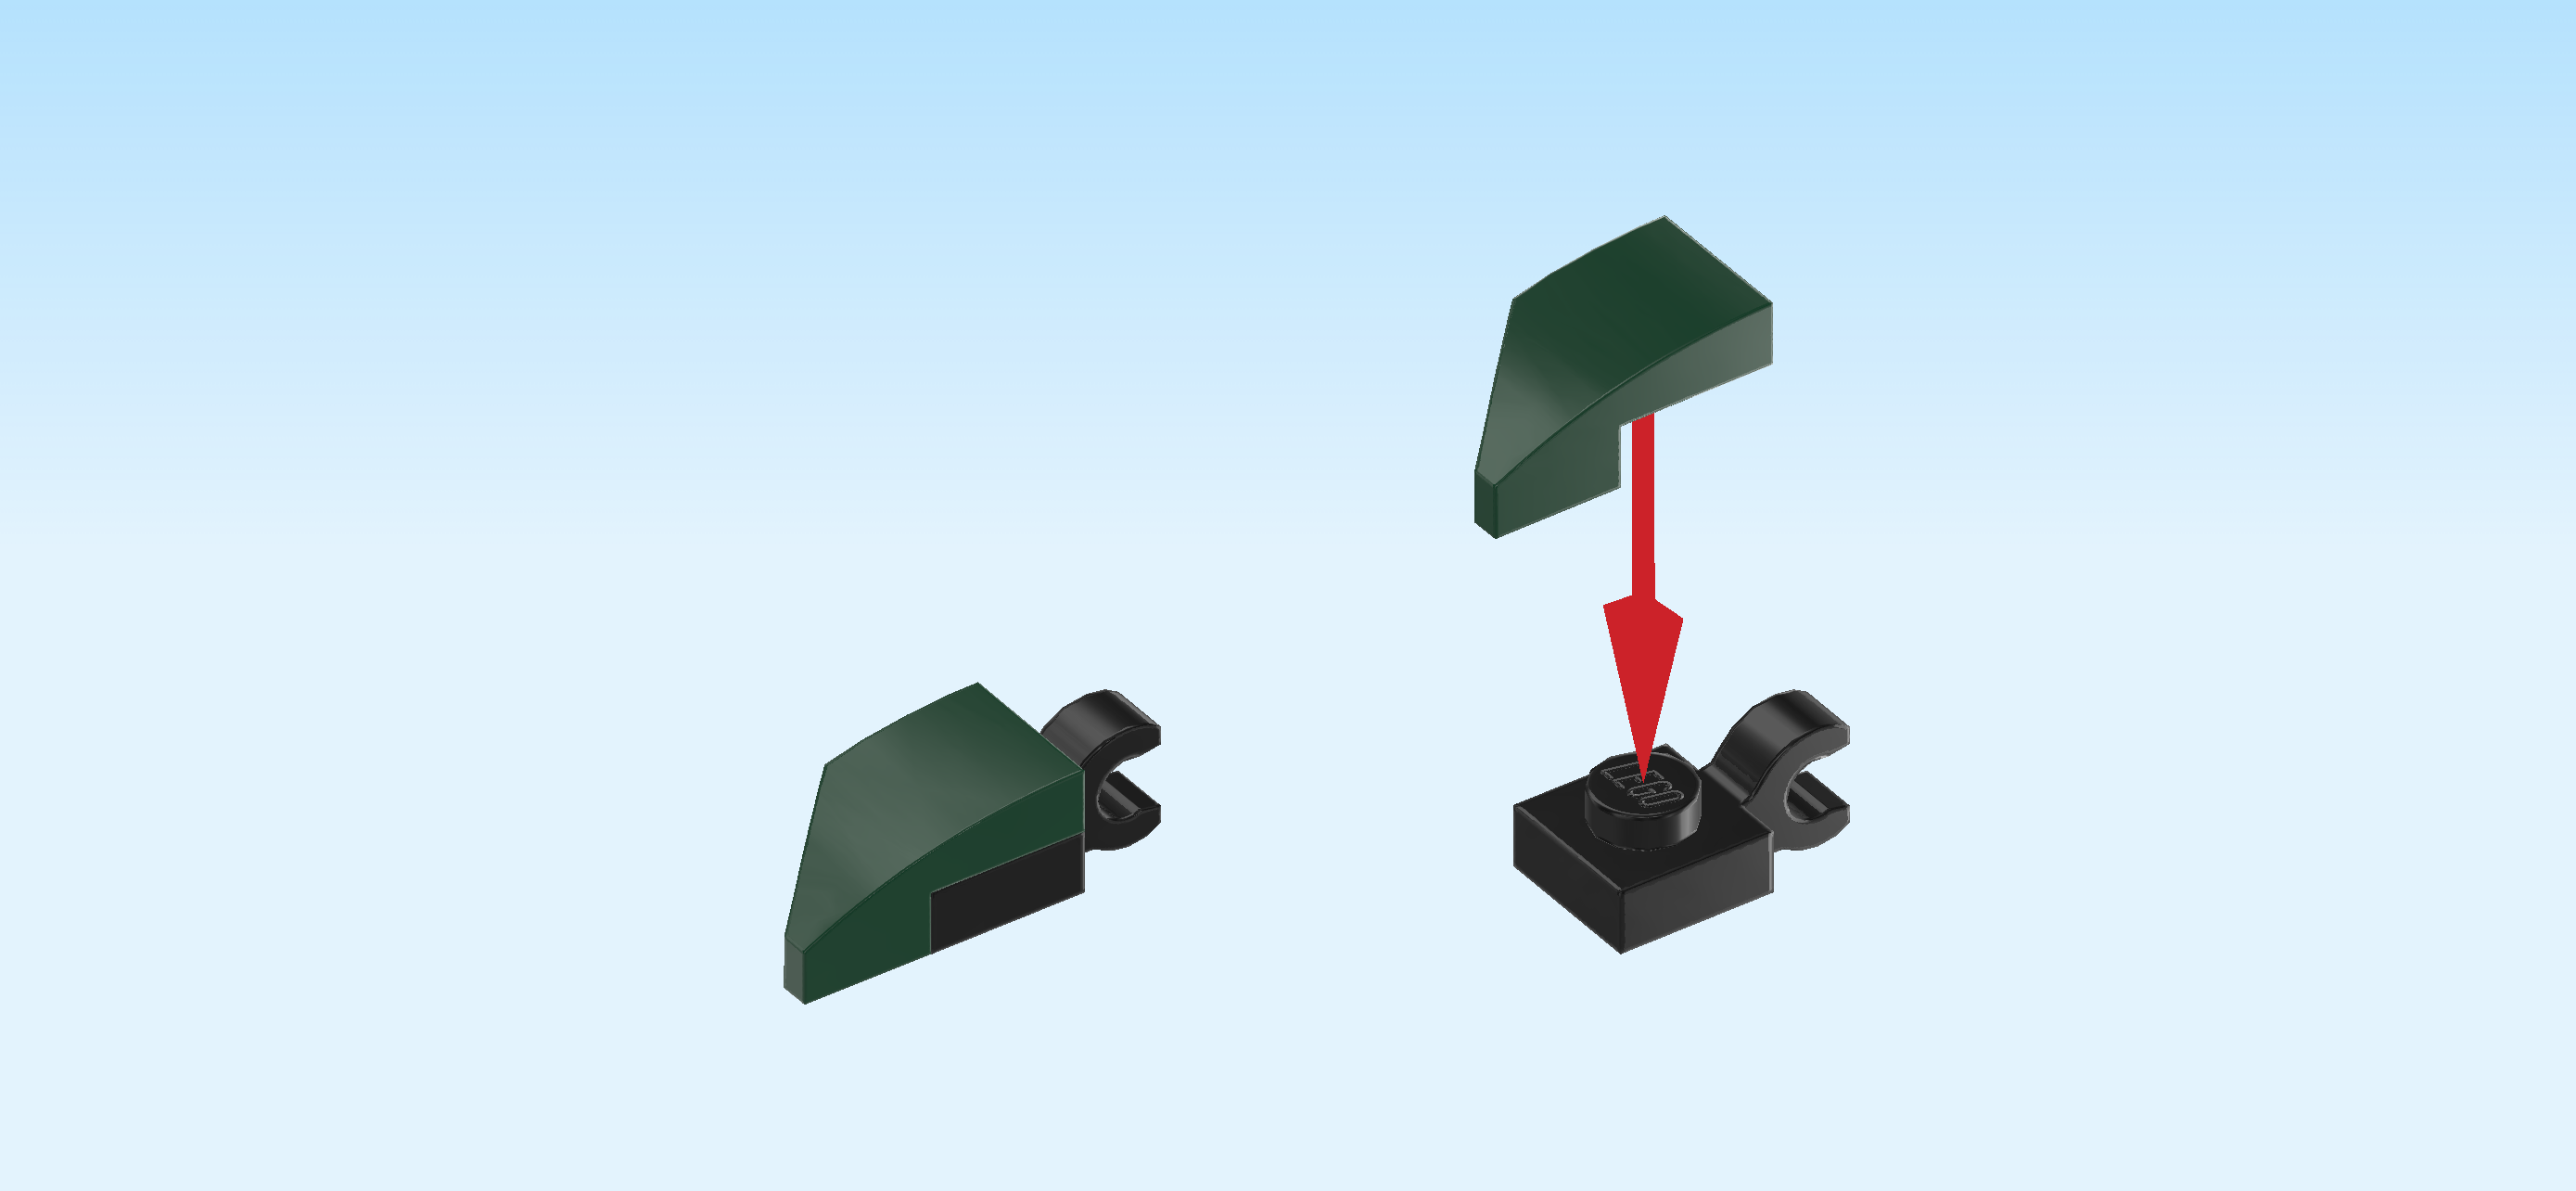
| Put 1 plate with clasp on the back knob of the left column, making sure that the clasp is oriented horizontally. This means that the tips of the clasp should be on the left and right, not at the front and back. |
| Repeat with the 2 remaining pieces. |
| Find 2 mossy green plates 1x1 with top clasp. |
| Put 1 in front of the previous piece, clasp again oriented horizontally. |
| Repeat with the other sub-part. |
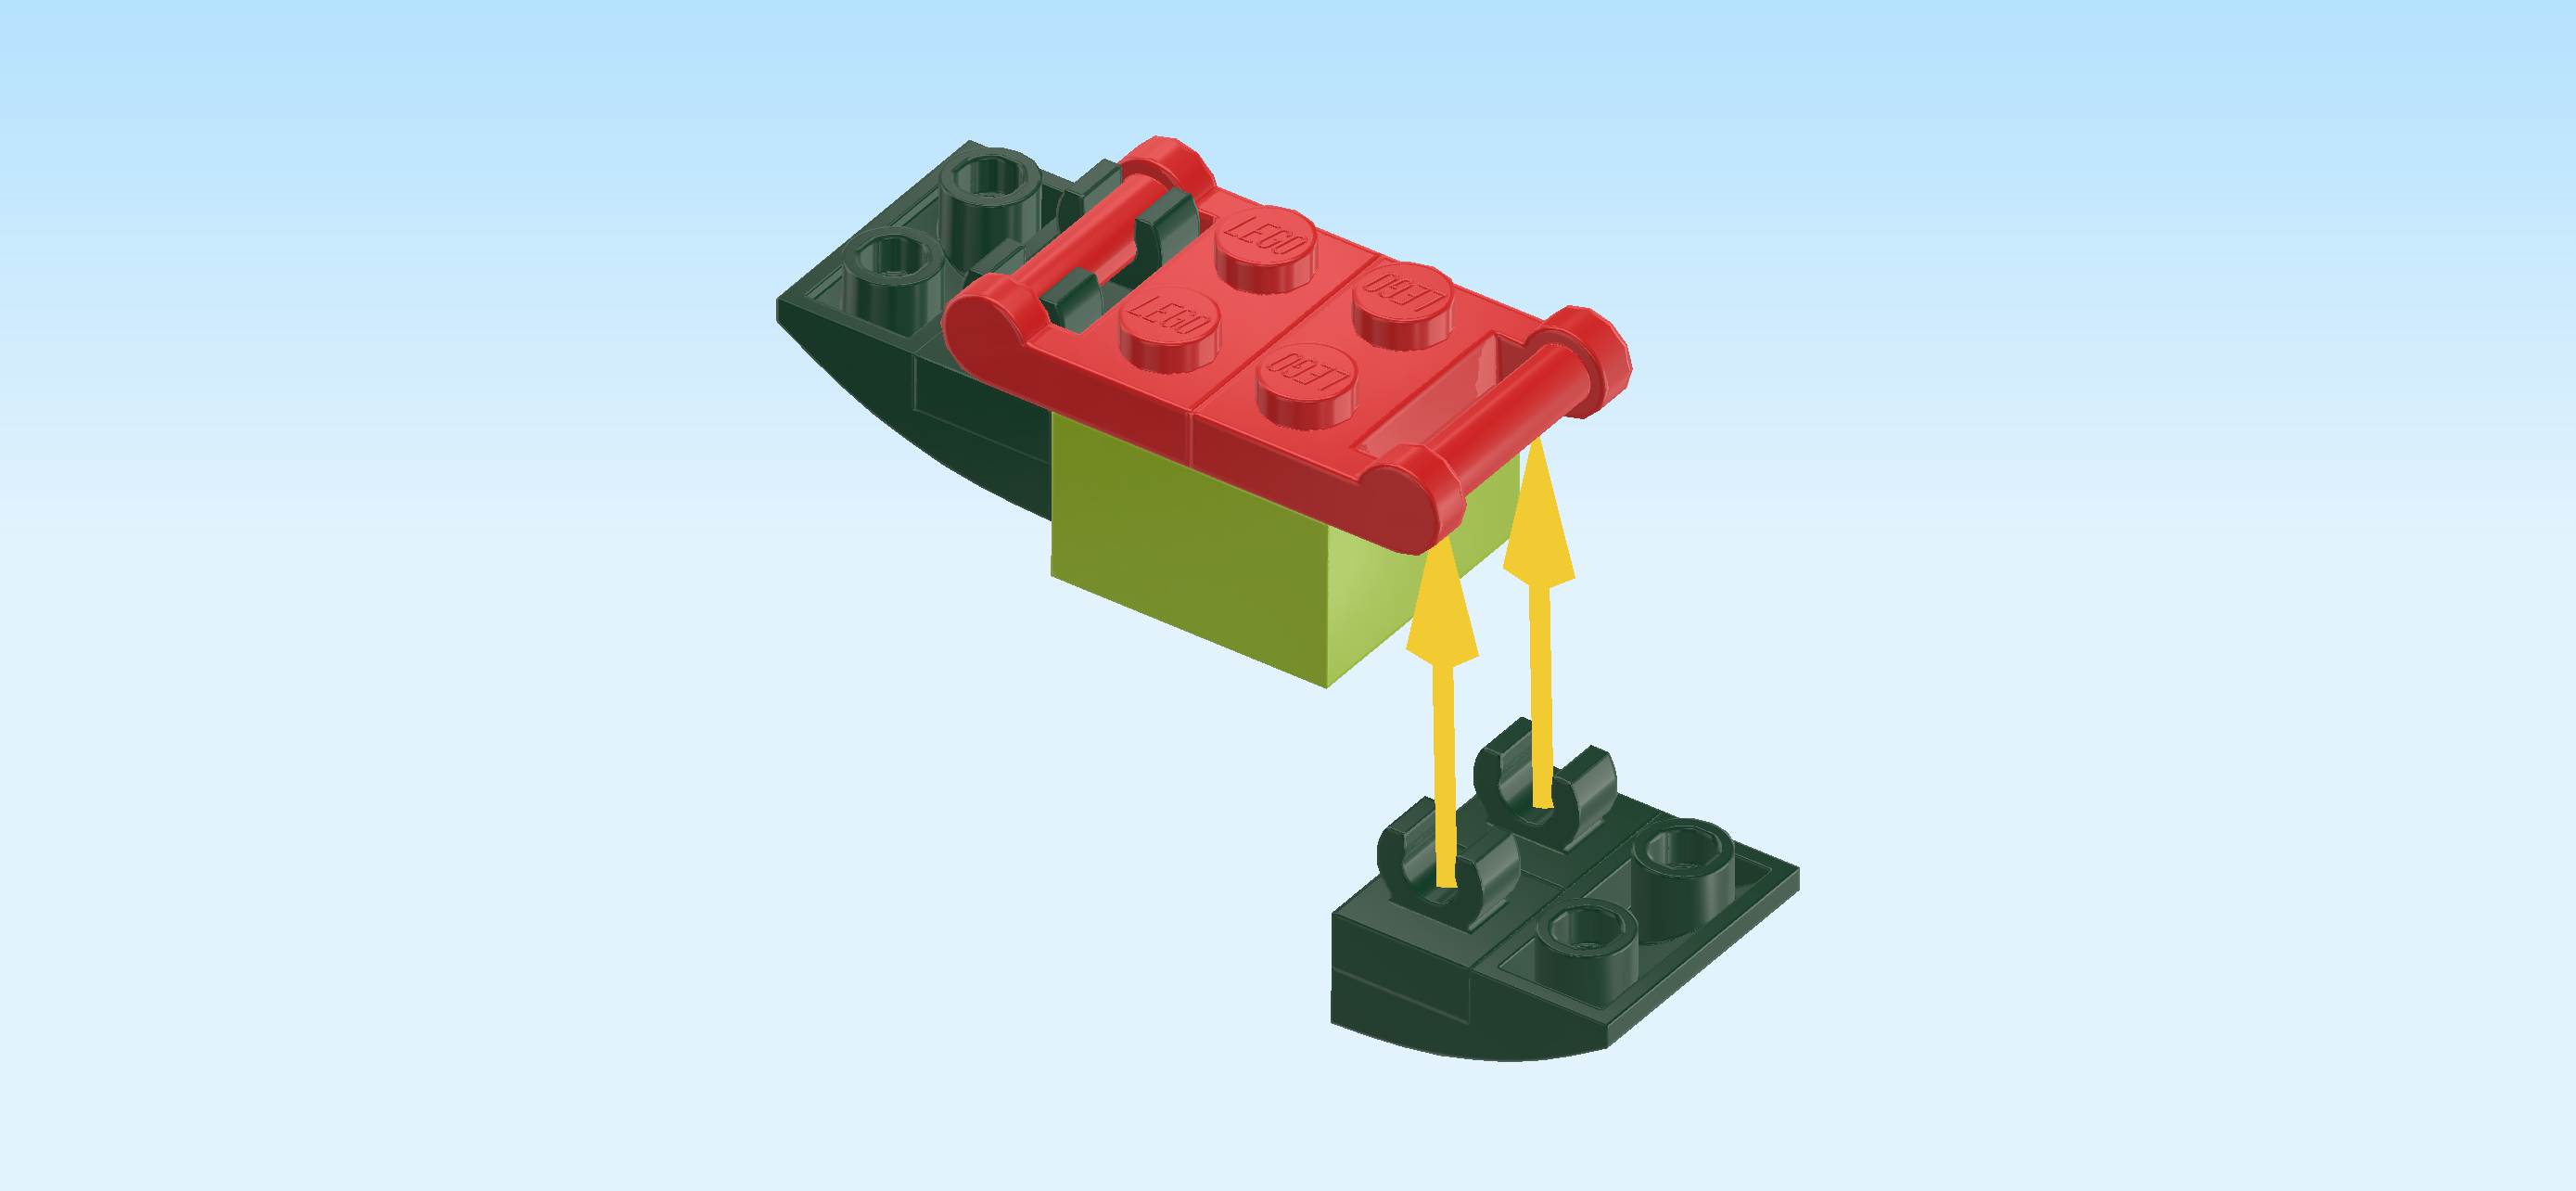
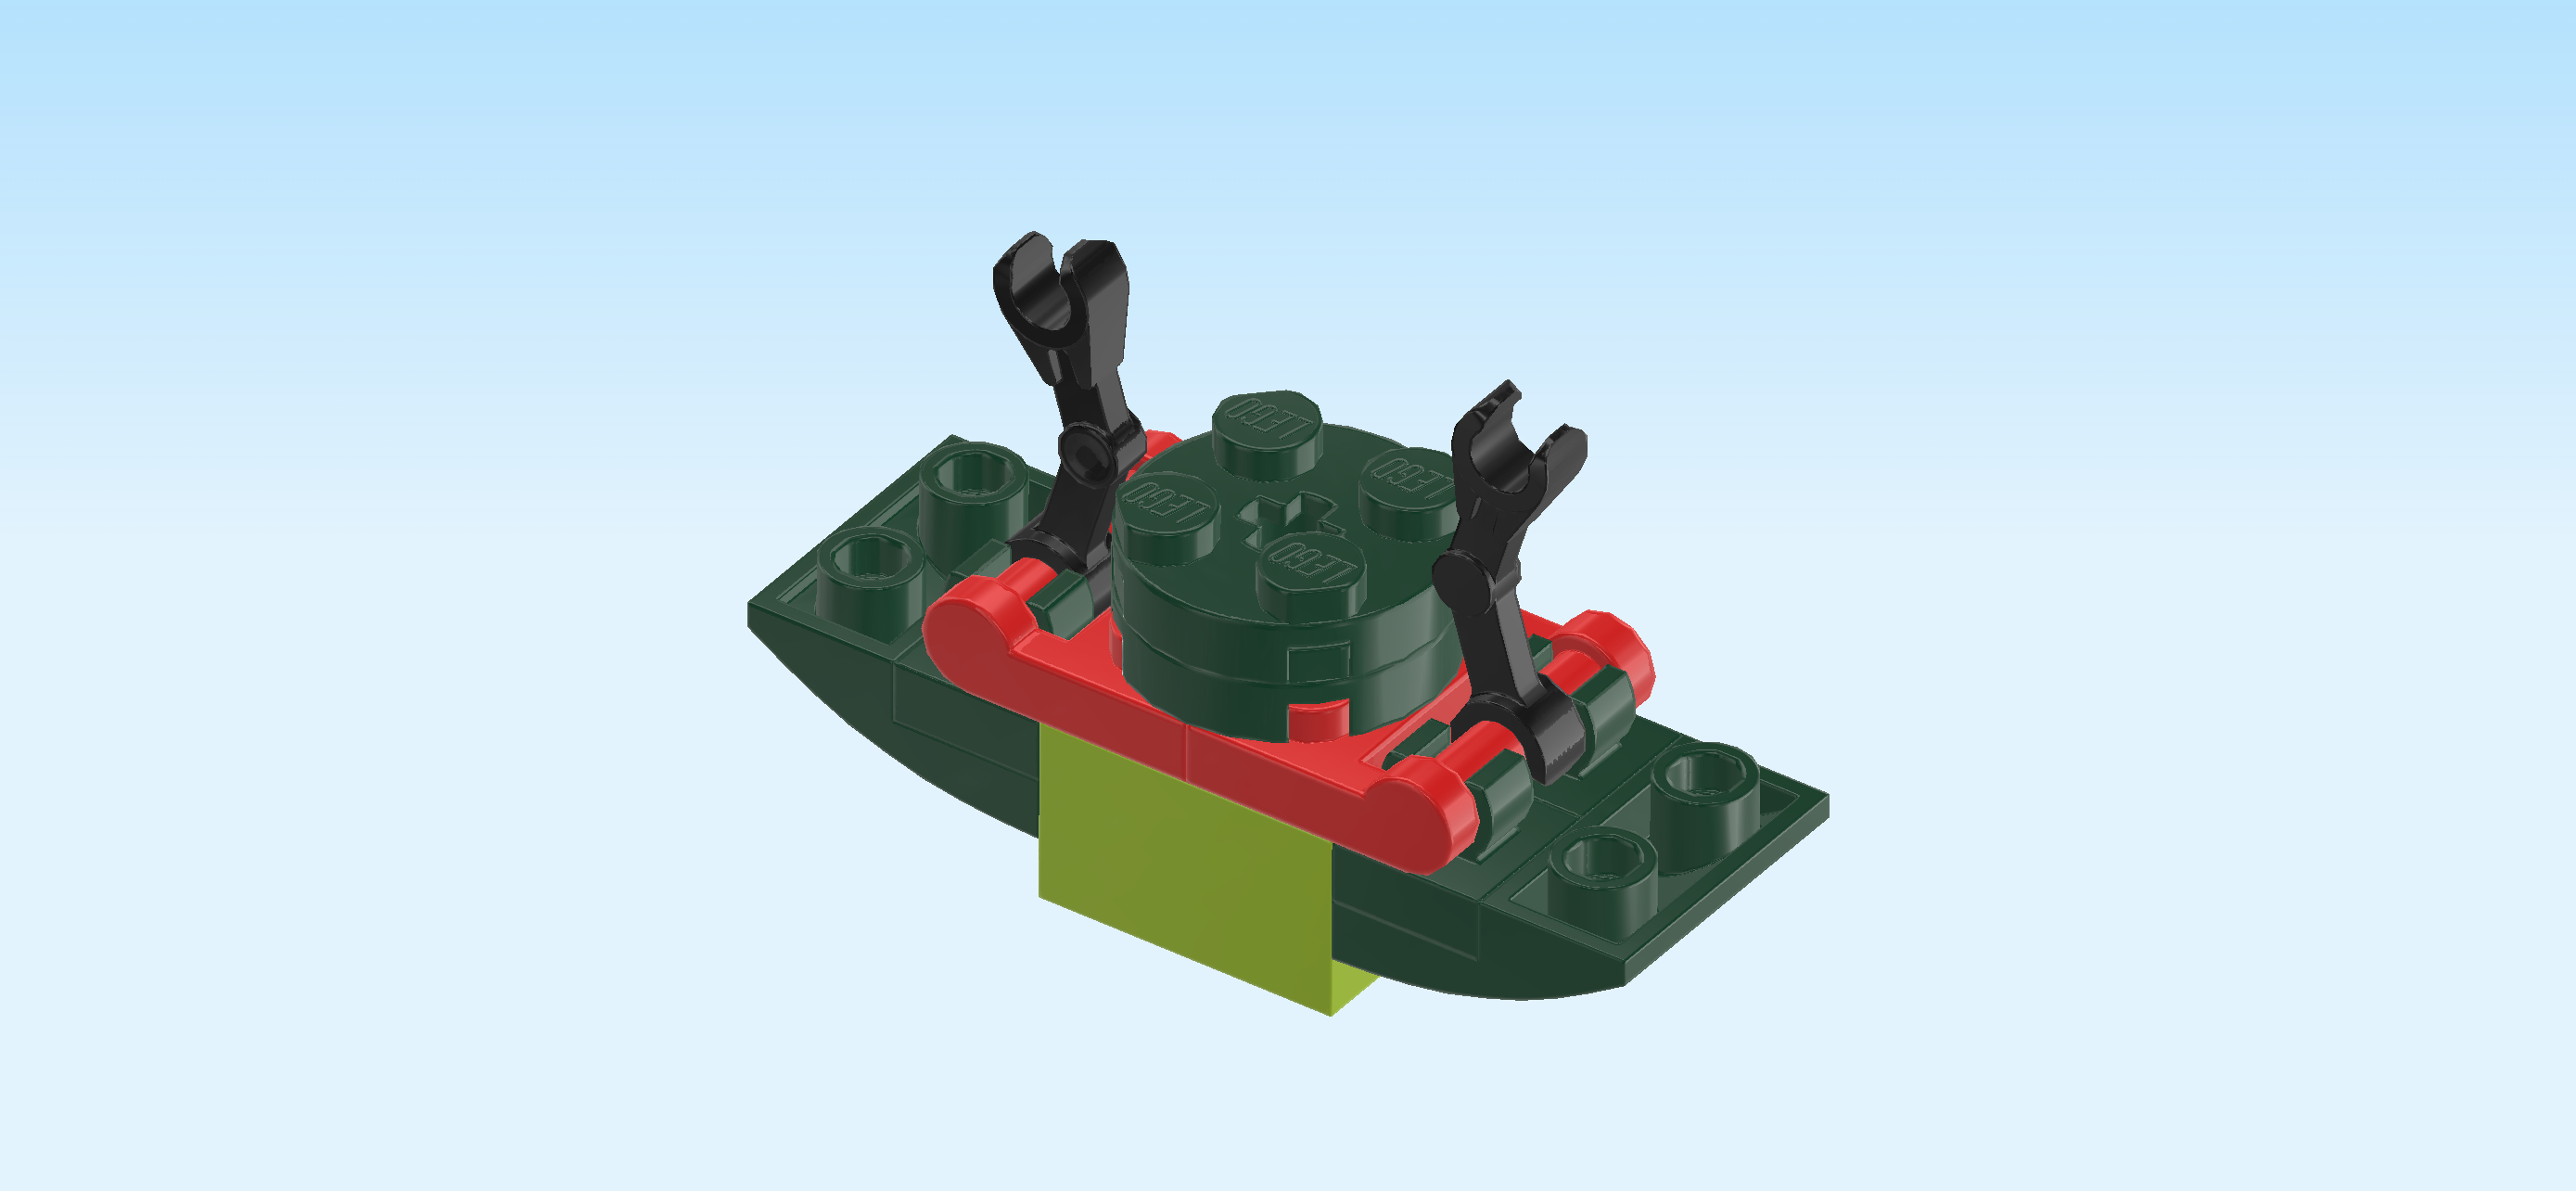
| The 2 sub-parts of the closed bud are finished! Snap the clasps of one sub-part from the bottom onto the right side handle of the rose bud structure. The smooth curved surface is at the bottom, curve arching towards the top right. |
| Repeat symmetrically on the left with the second sub-part, curve at the bottom and arching toward the top left. |
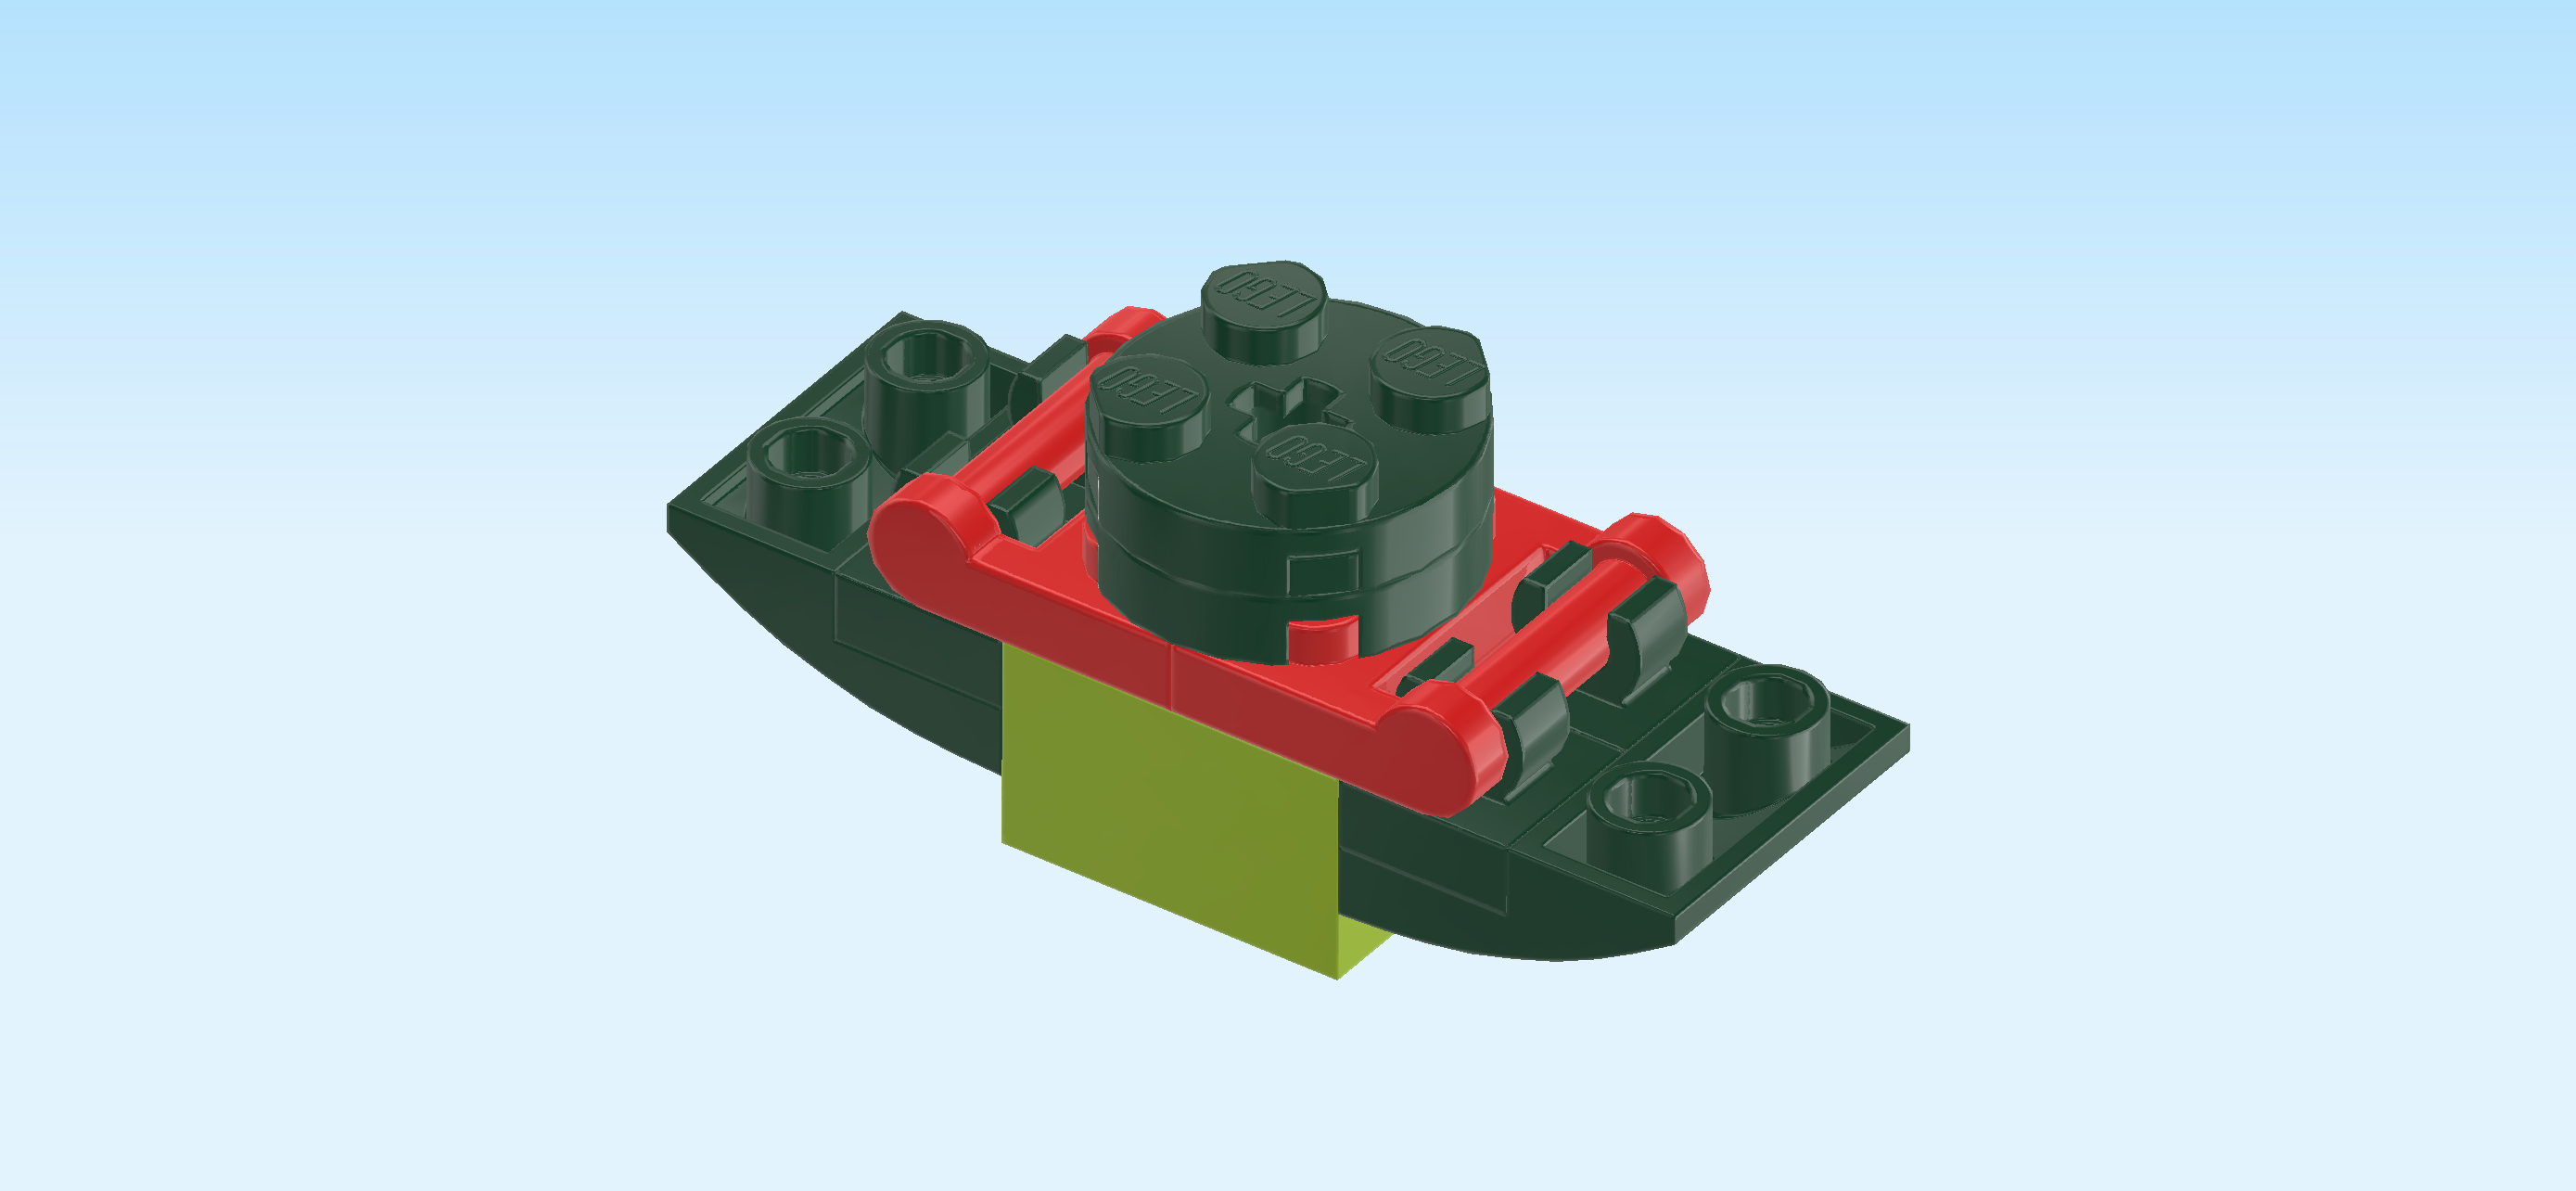
| Find 2 mossy green round plates 2x2. |
| Stack them on top of each other. |
| Put them on the 4 middle knobs of the rose bud structure. |
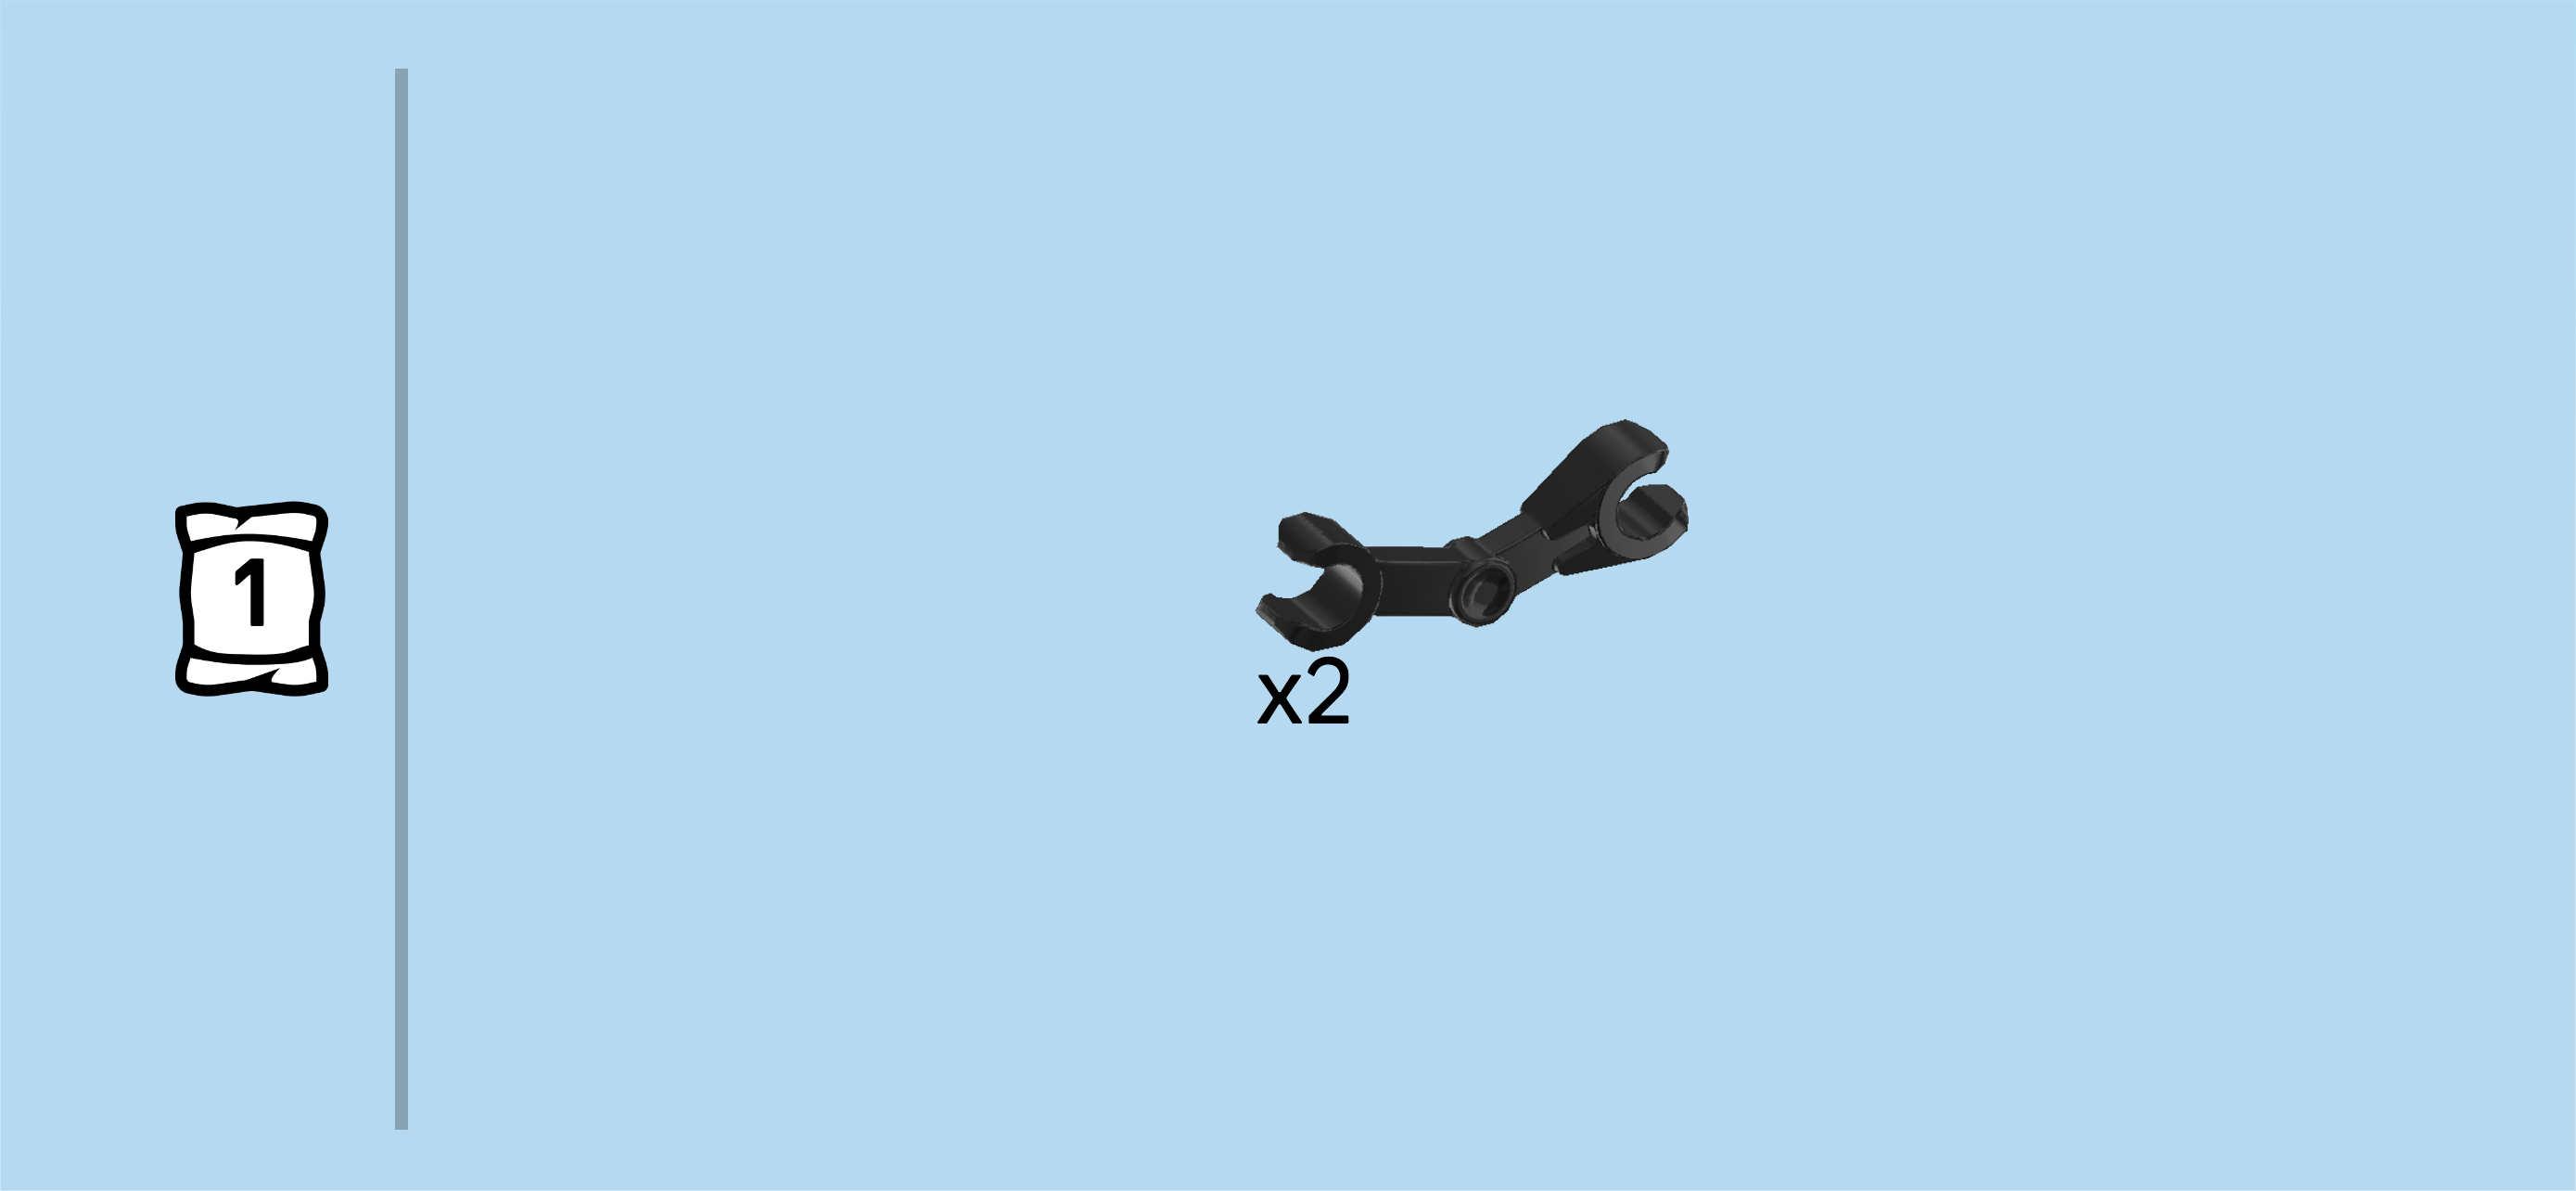
| Find 2 black skeleton arms with 1 thick clasp and 1 standard clasp. |
| Hold one upright vertically so that the slightly thicker clasp is pointing to the top and the middle hinge is pointing to the left. |
| Snap the bottom clasp on the handle to the right of the round plate stack. It should fit neatly between the 2 clasps of the sub-parts we have mounted earlier. |
| Repeat symmetrically on the left, middle hinge pointing to the right this time. |
| Now, fold the 2 sub-parts up so that the smooth surfaces are to the left and right, curves running towards the top. |
| Find 2 dark green plates 1x2 with 2 vertical clasps on long side. |
| Put 1 horizontally on the front row, clasps to the front. |
| Repeat symmetrically on the back row, clasps to the back. |
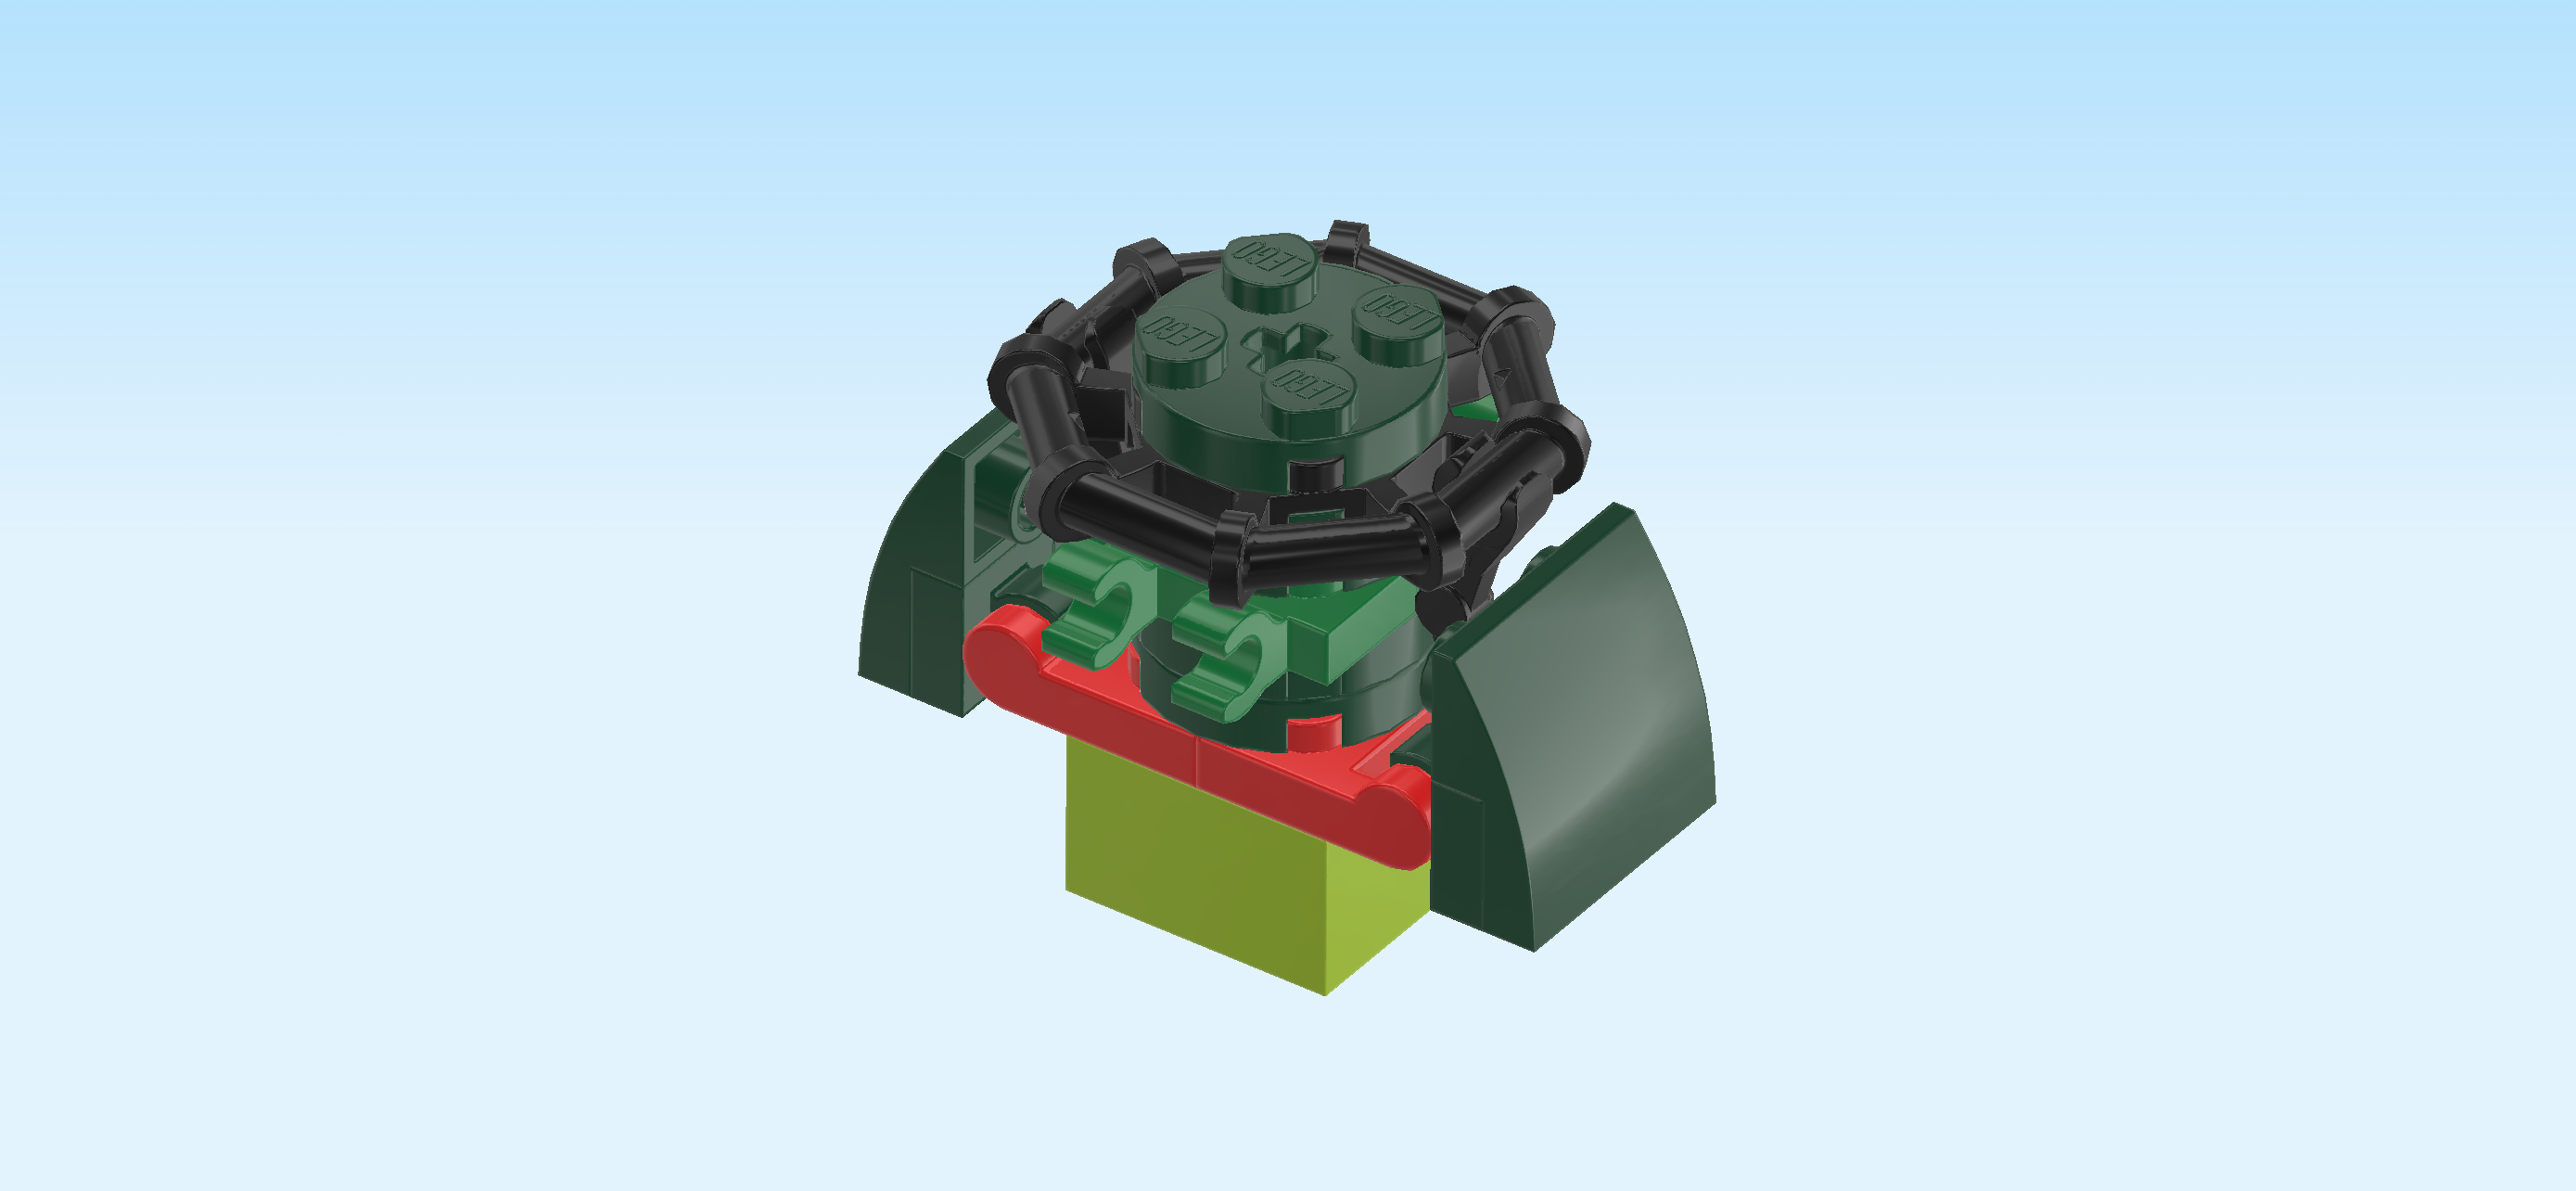
| Next, we will build the base of the rose bud. |
| Collect the following 3 pieces: |
| 2 mossy green round plates 2x2, |
| and 1 black octagonal ring with 4 knobs. |
| Put 1 round plate 2x2 on the table. |
| Put the octagonal ring centered on top, symmetrically overhanging on all sides. |
| Put the other round plate 2x2 on top. |
| Mount the base of the rose bud centered on top of the rose bud structure. |
| Now, we will build the center petals of the rose bud. |
| Find 2 bright red round bricks 2x2 with top cross hole. |
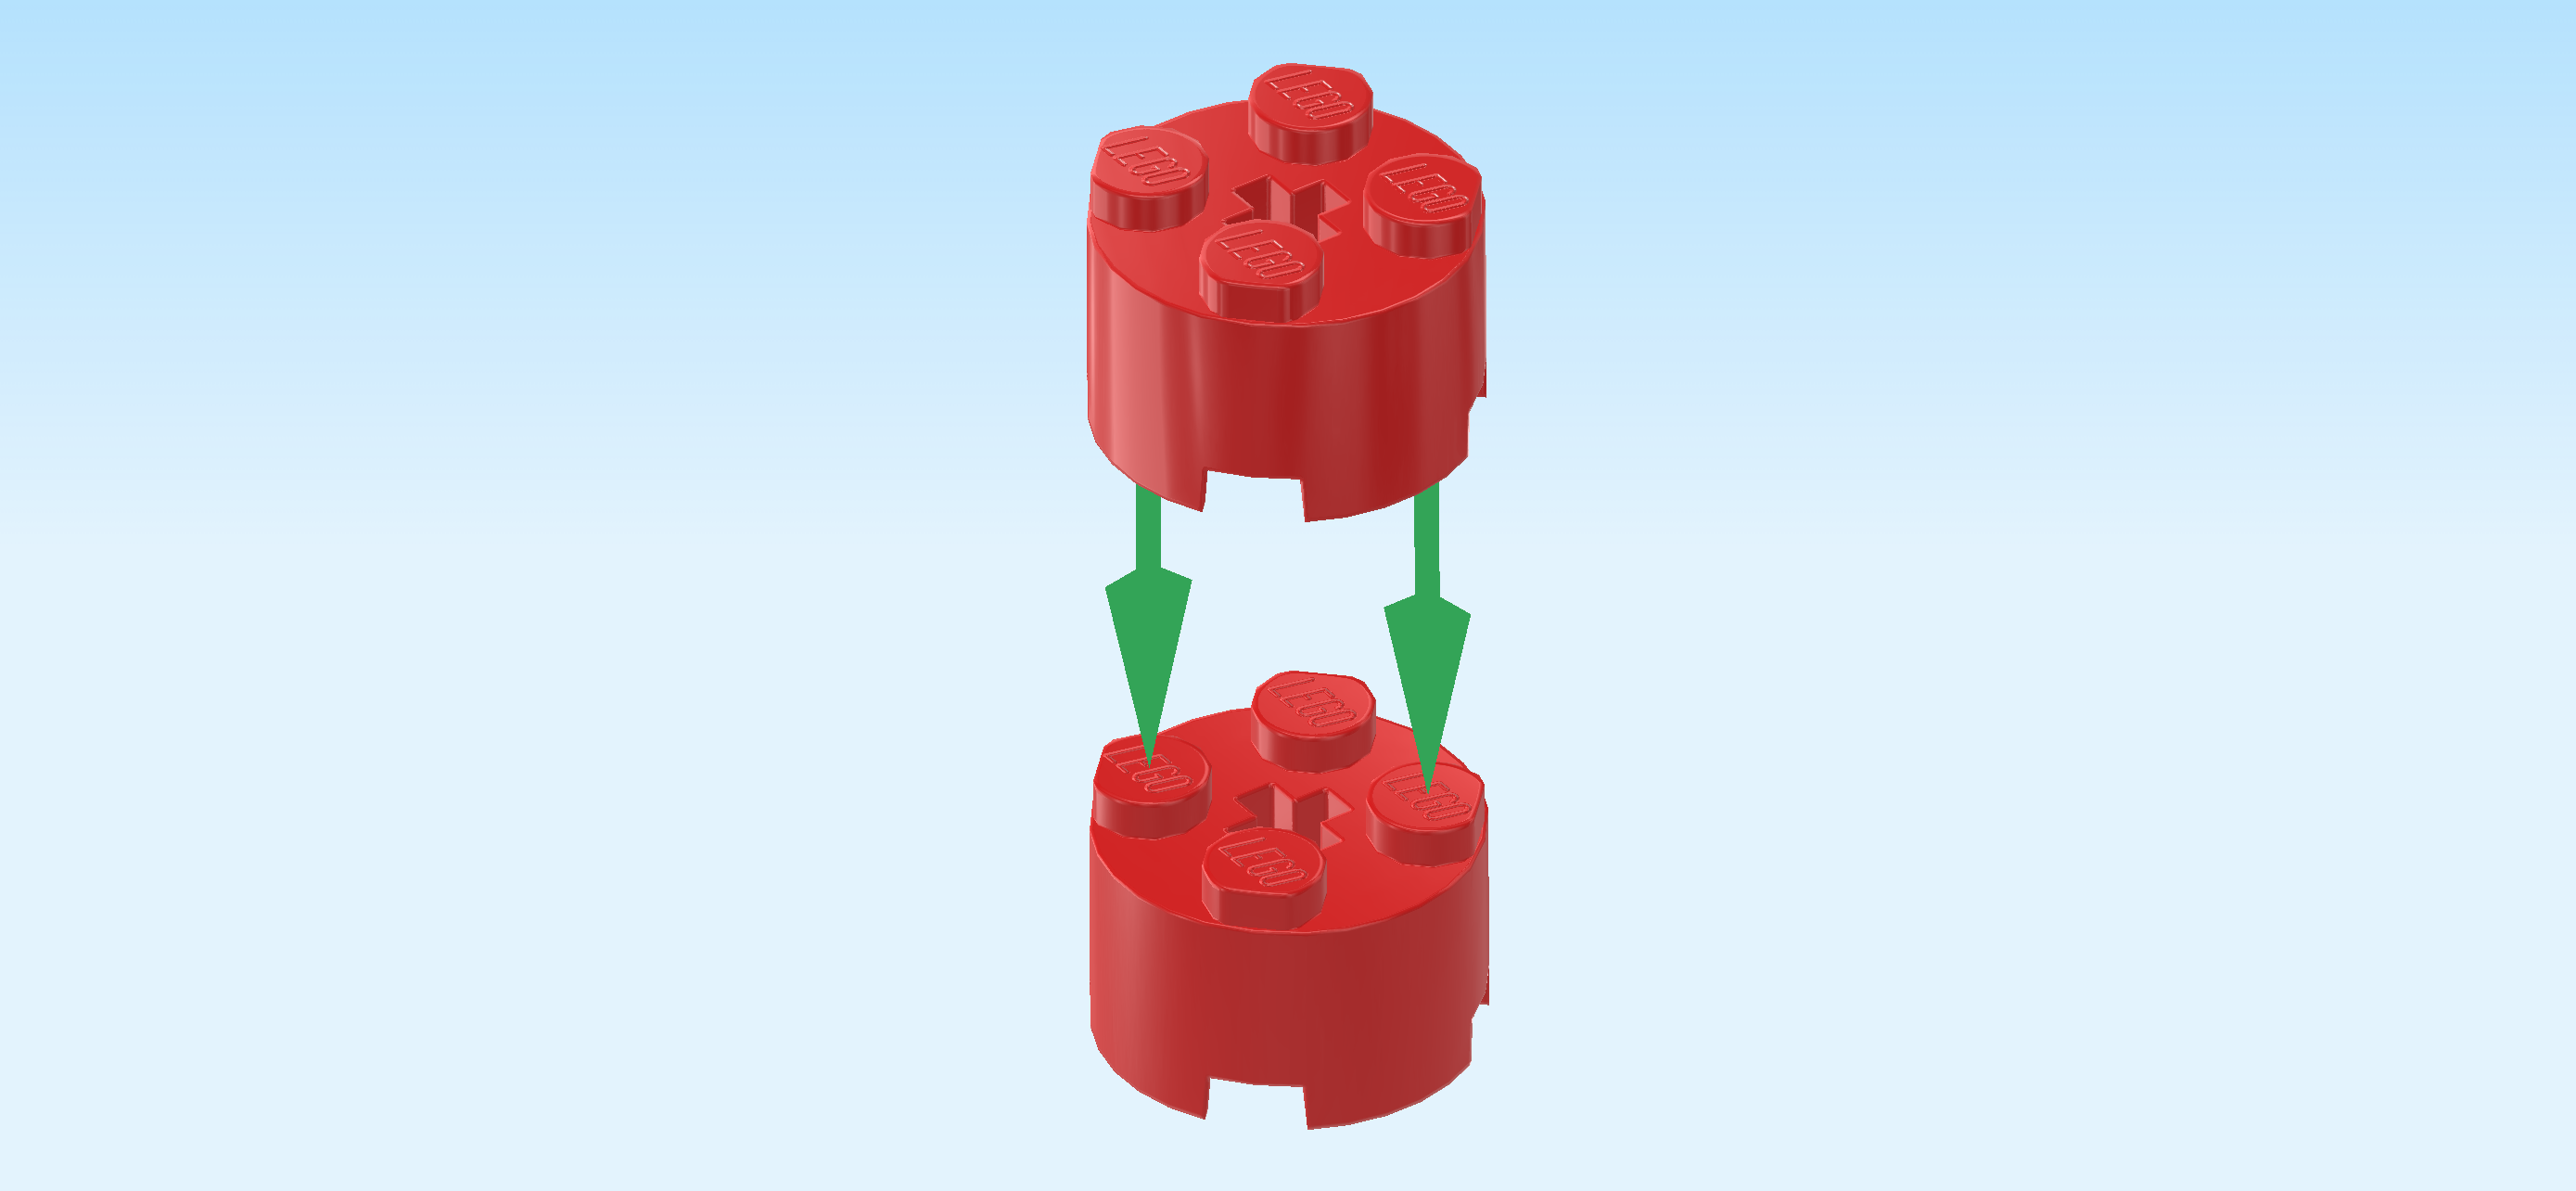
| Stack them on top of each other. |
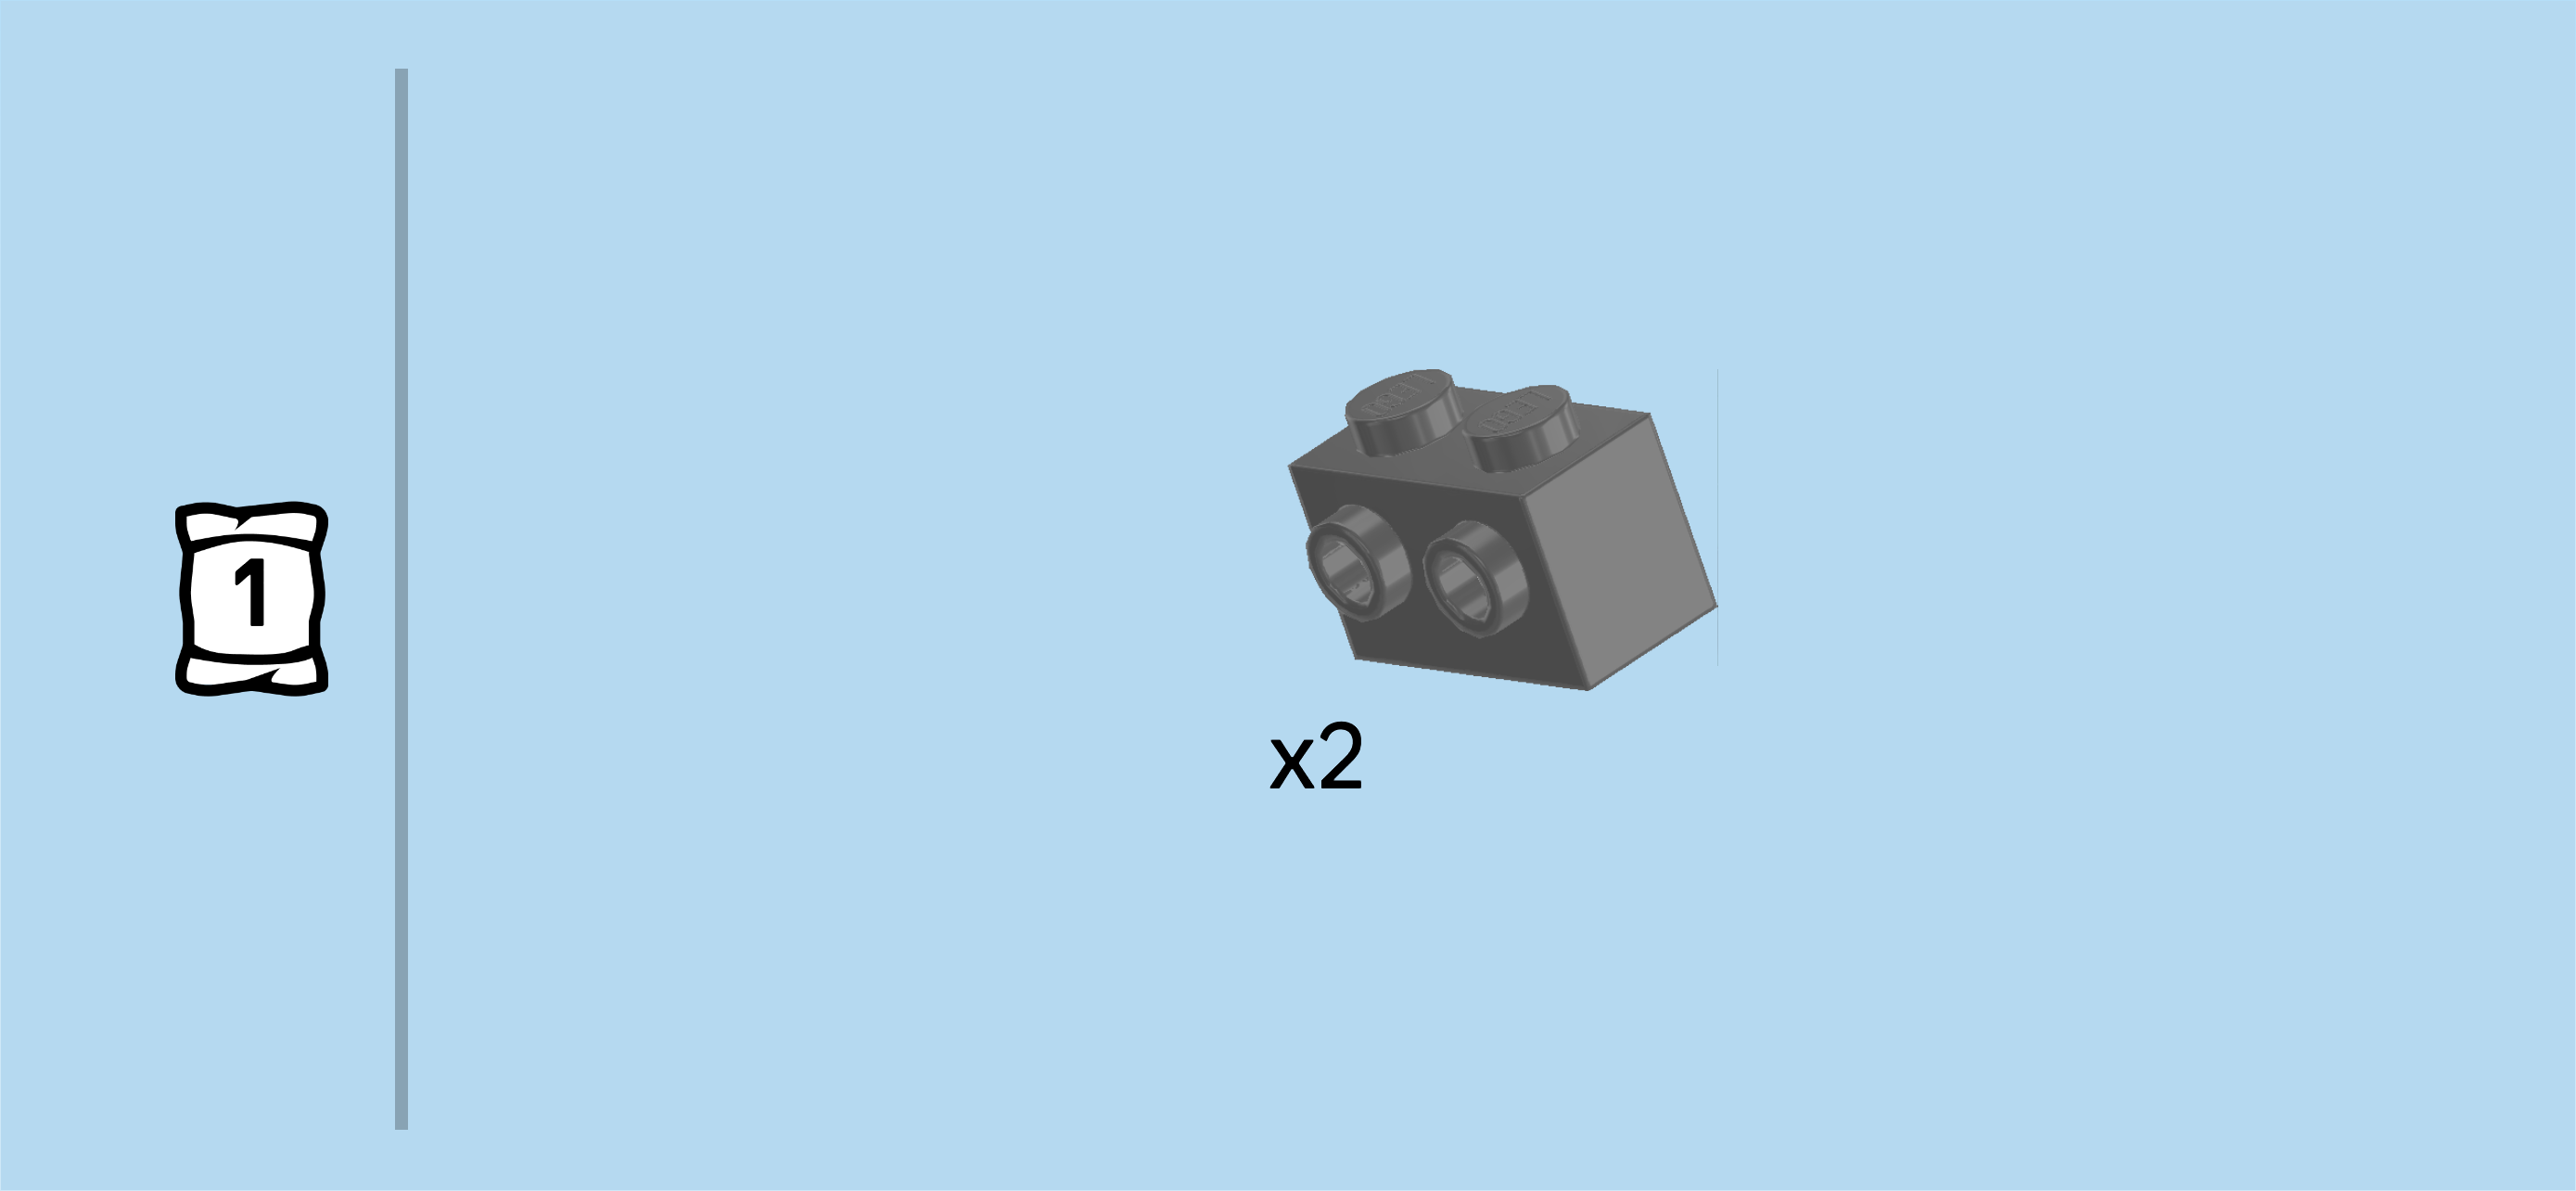
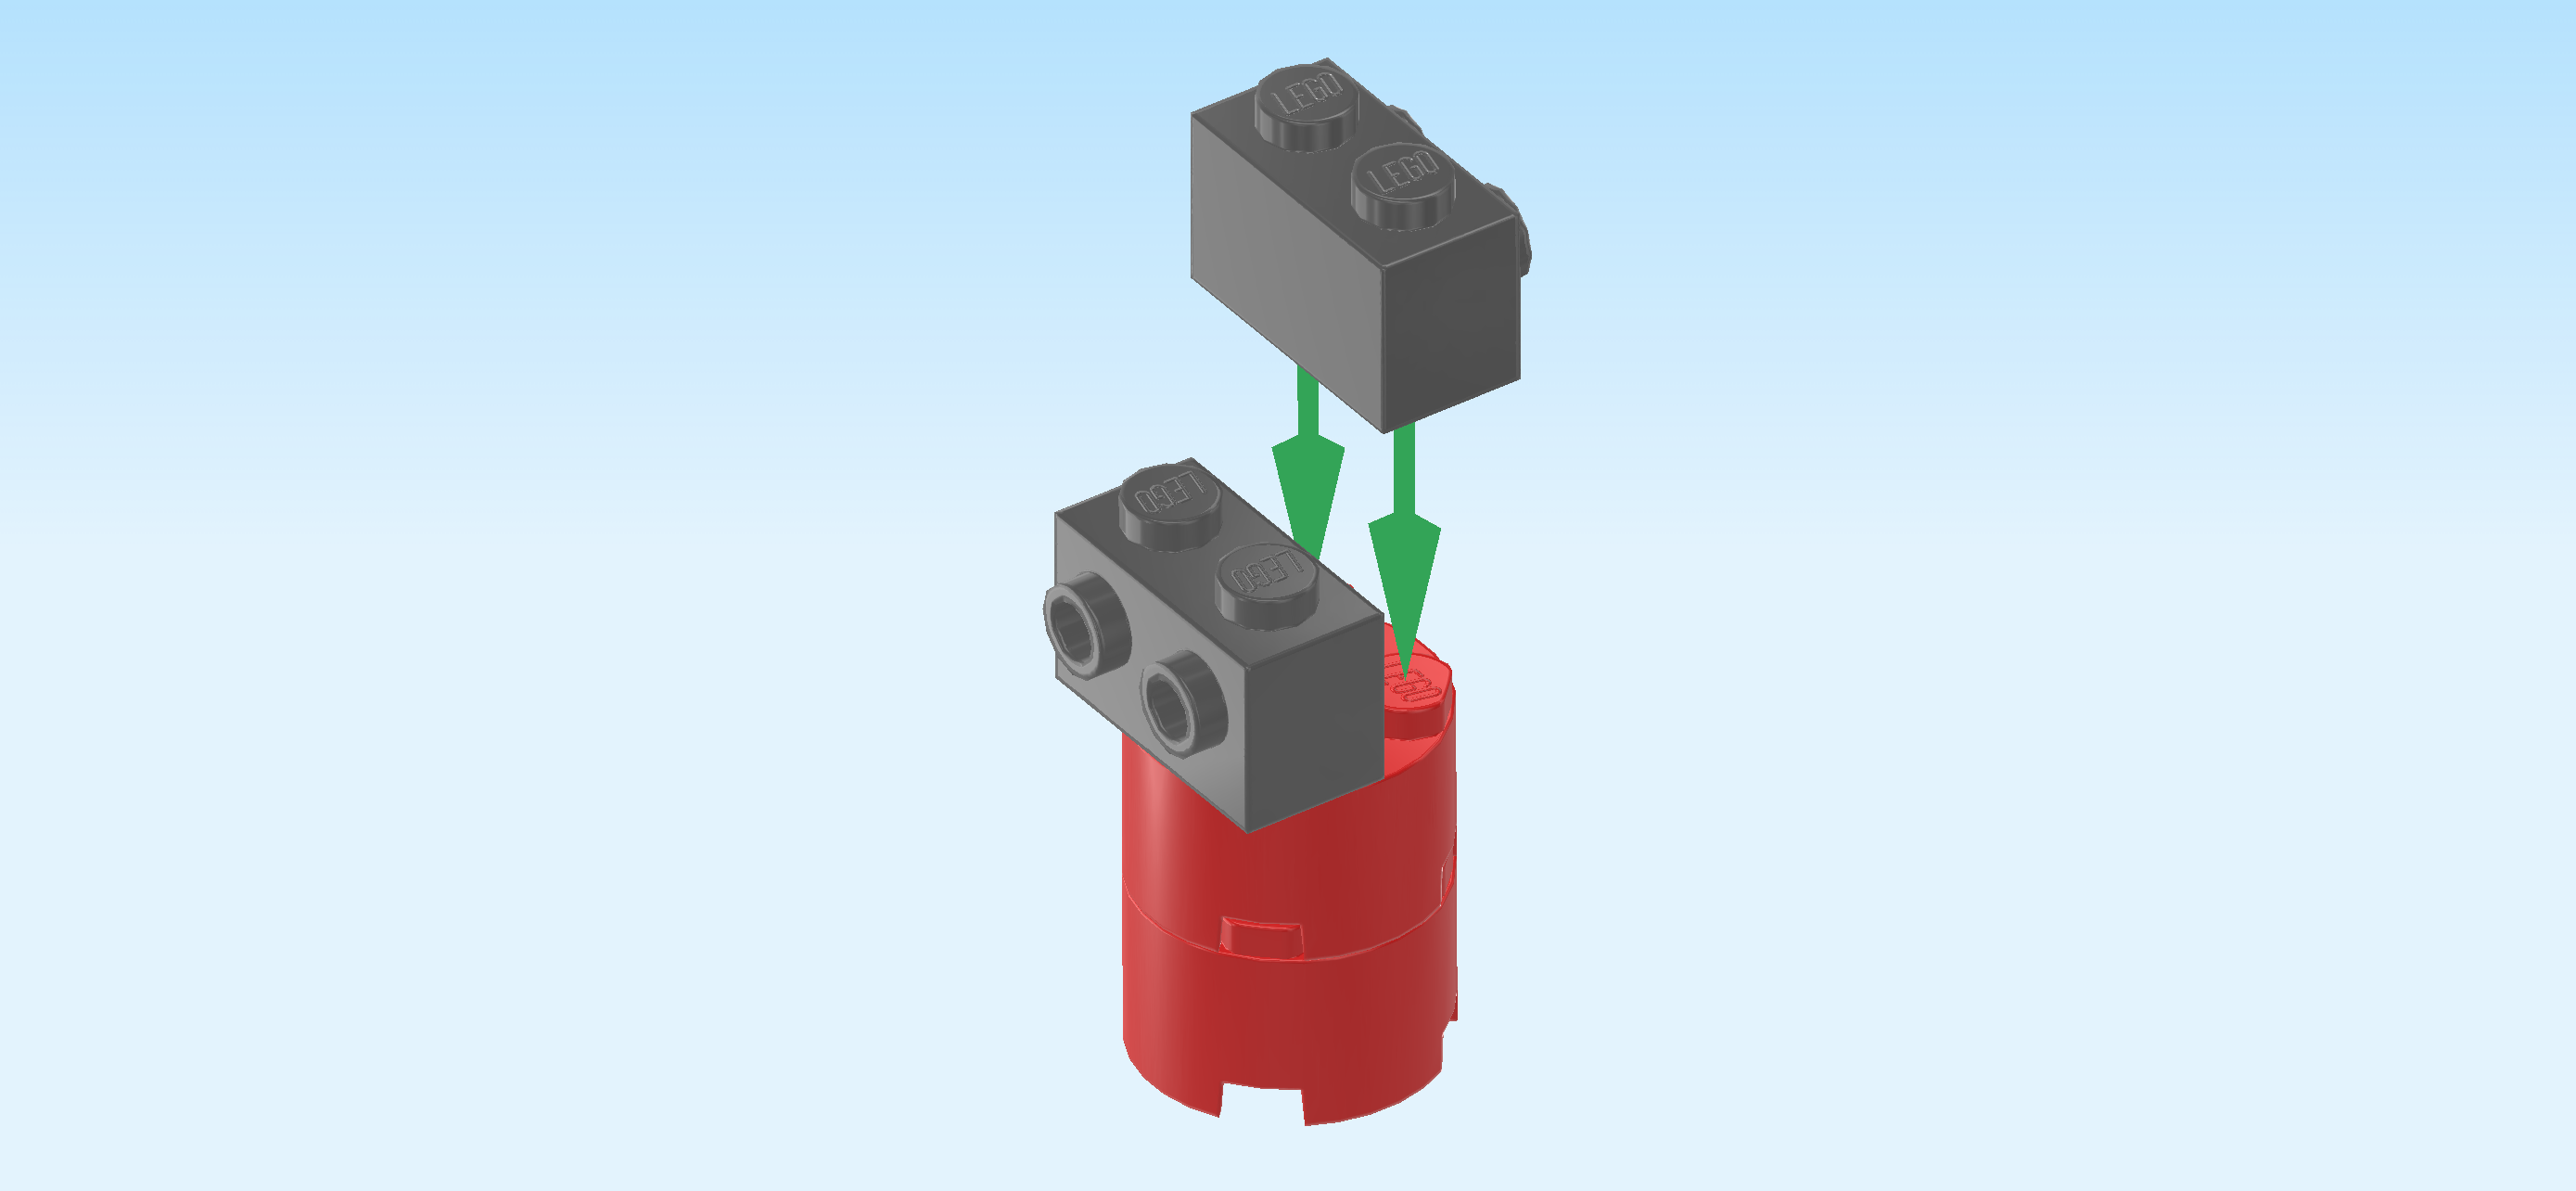
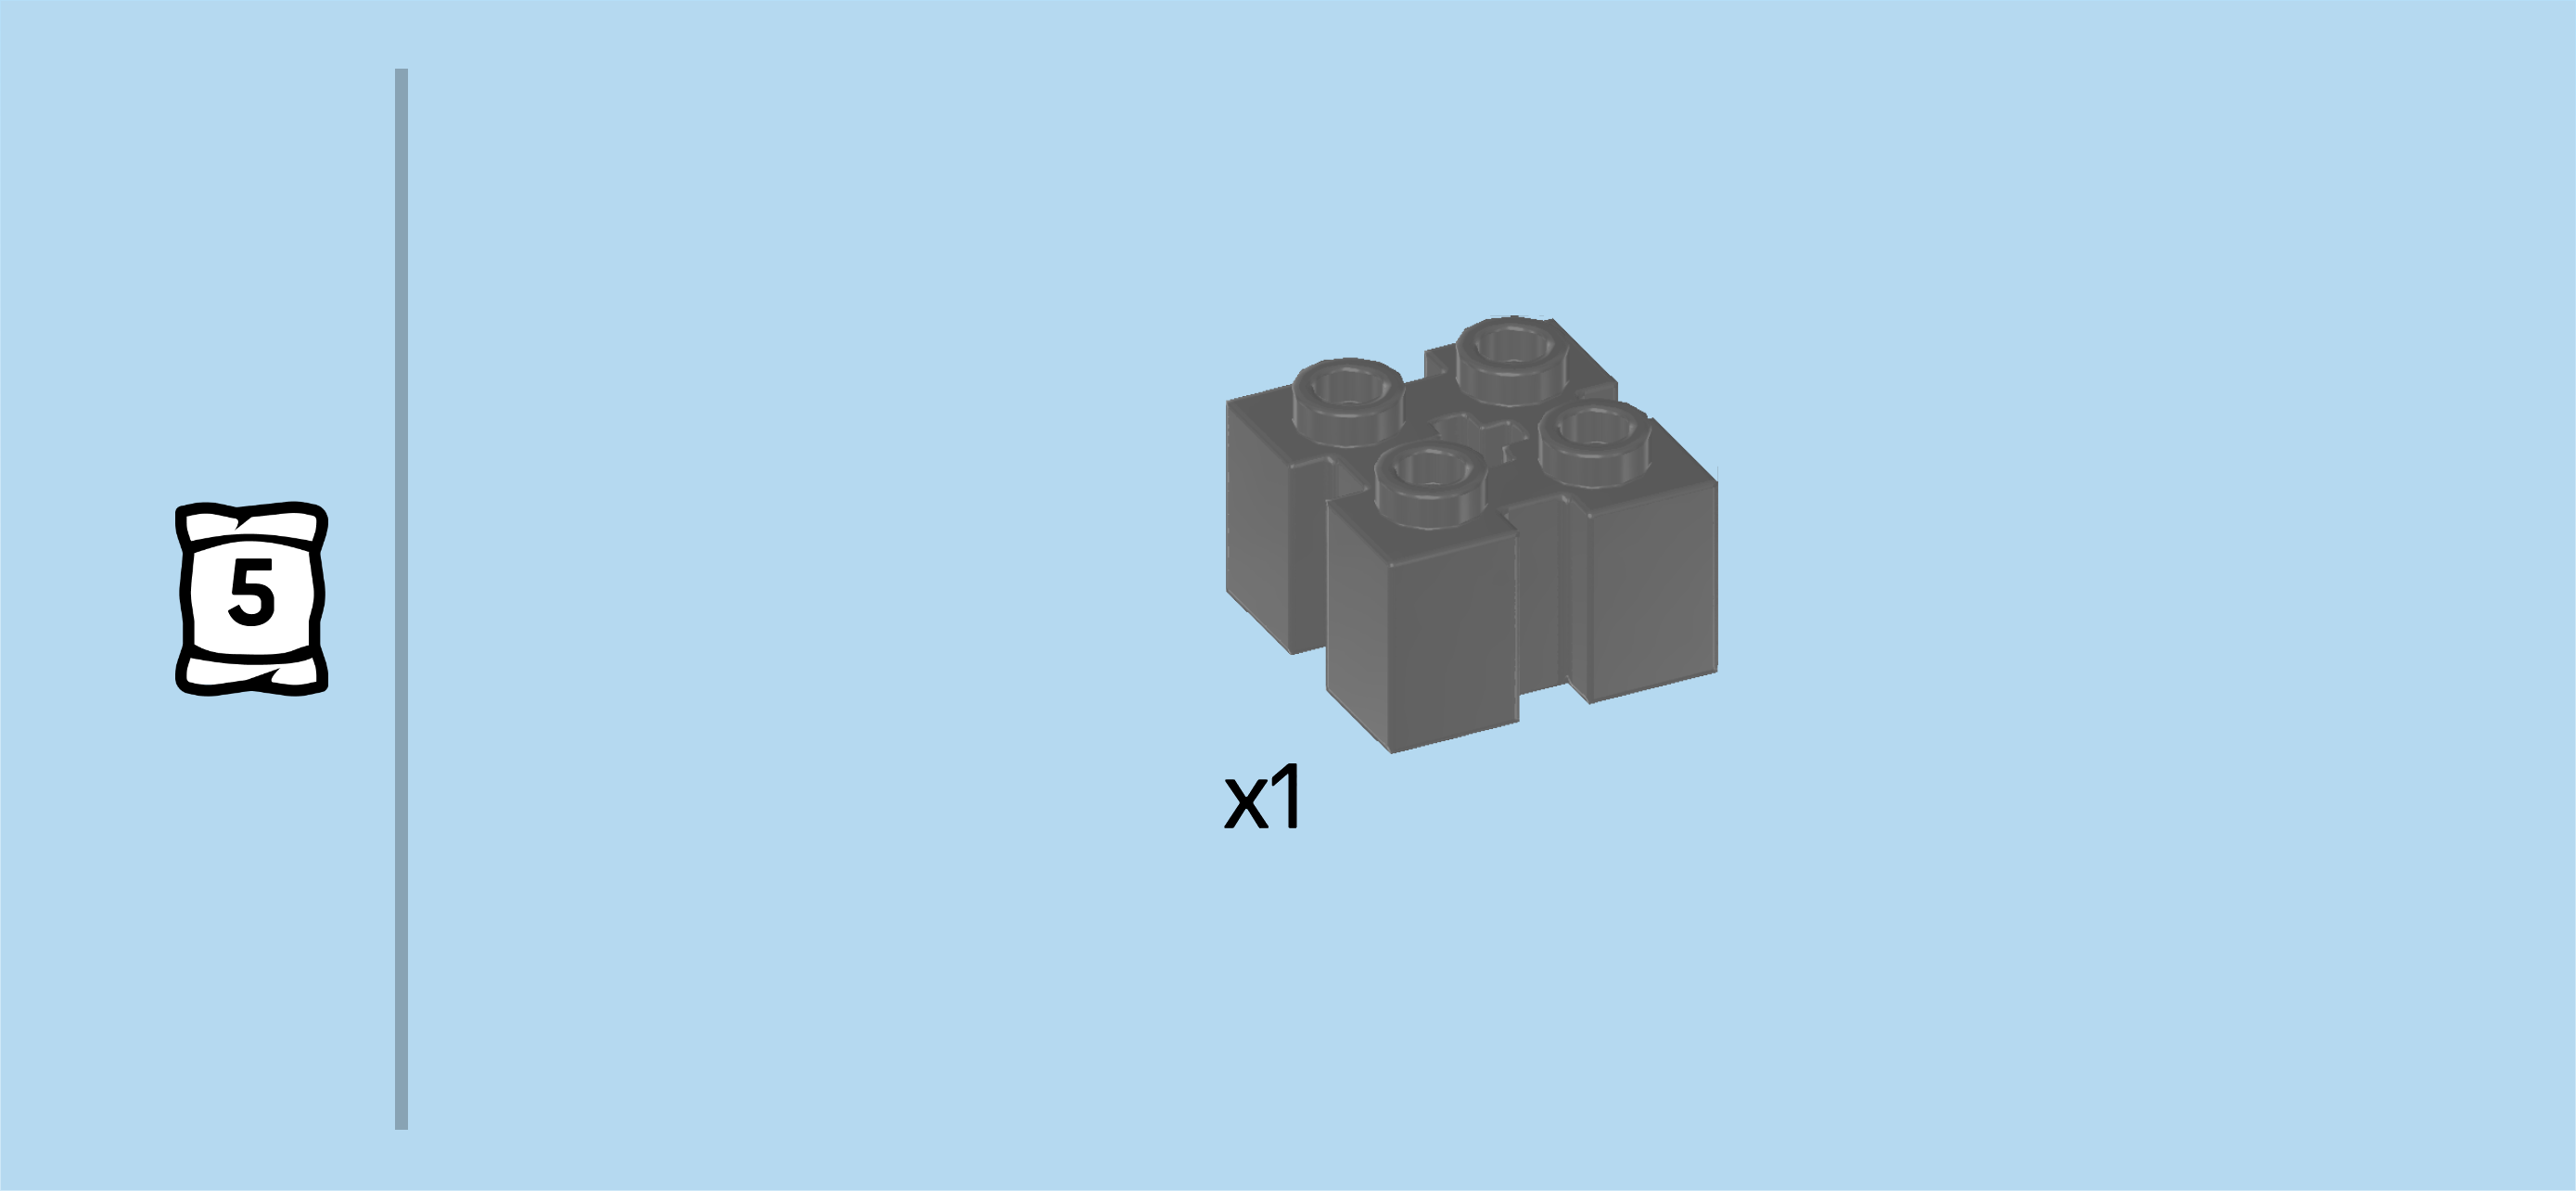
| Find 2 dark stone grey bricks 1x2 with 2 side knobs on long side. |
| Put 1 horizontally on the 2 front knobs of the stack, side knobs to the front. |
| Put the other one horizontally behind the previous piece, side knobs to the back. |
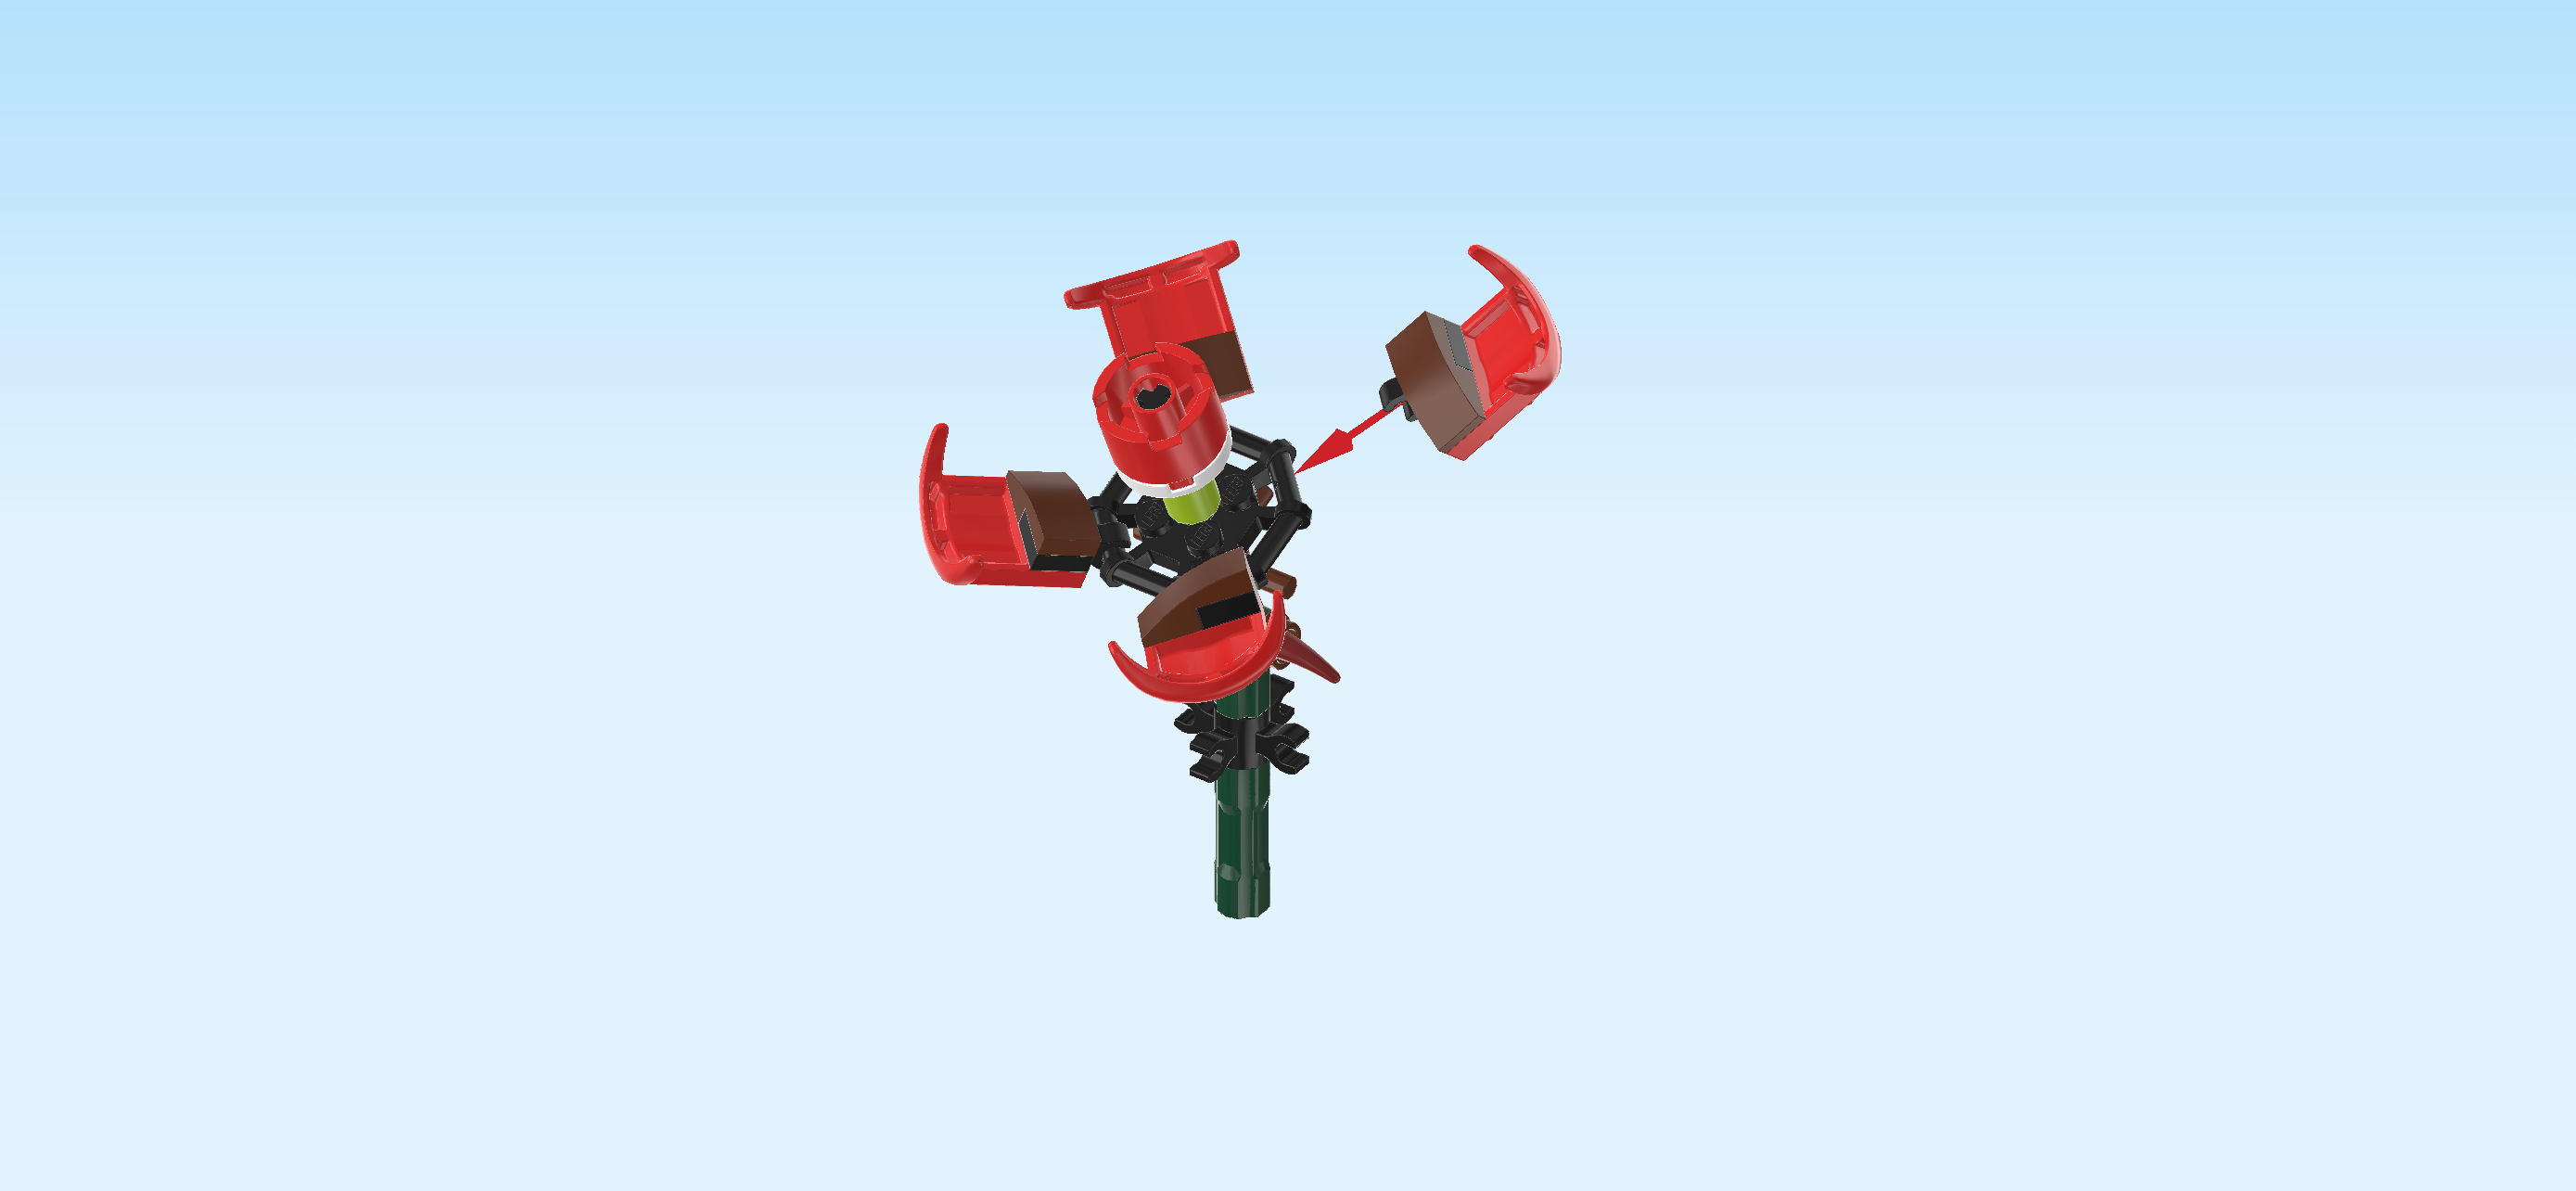
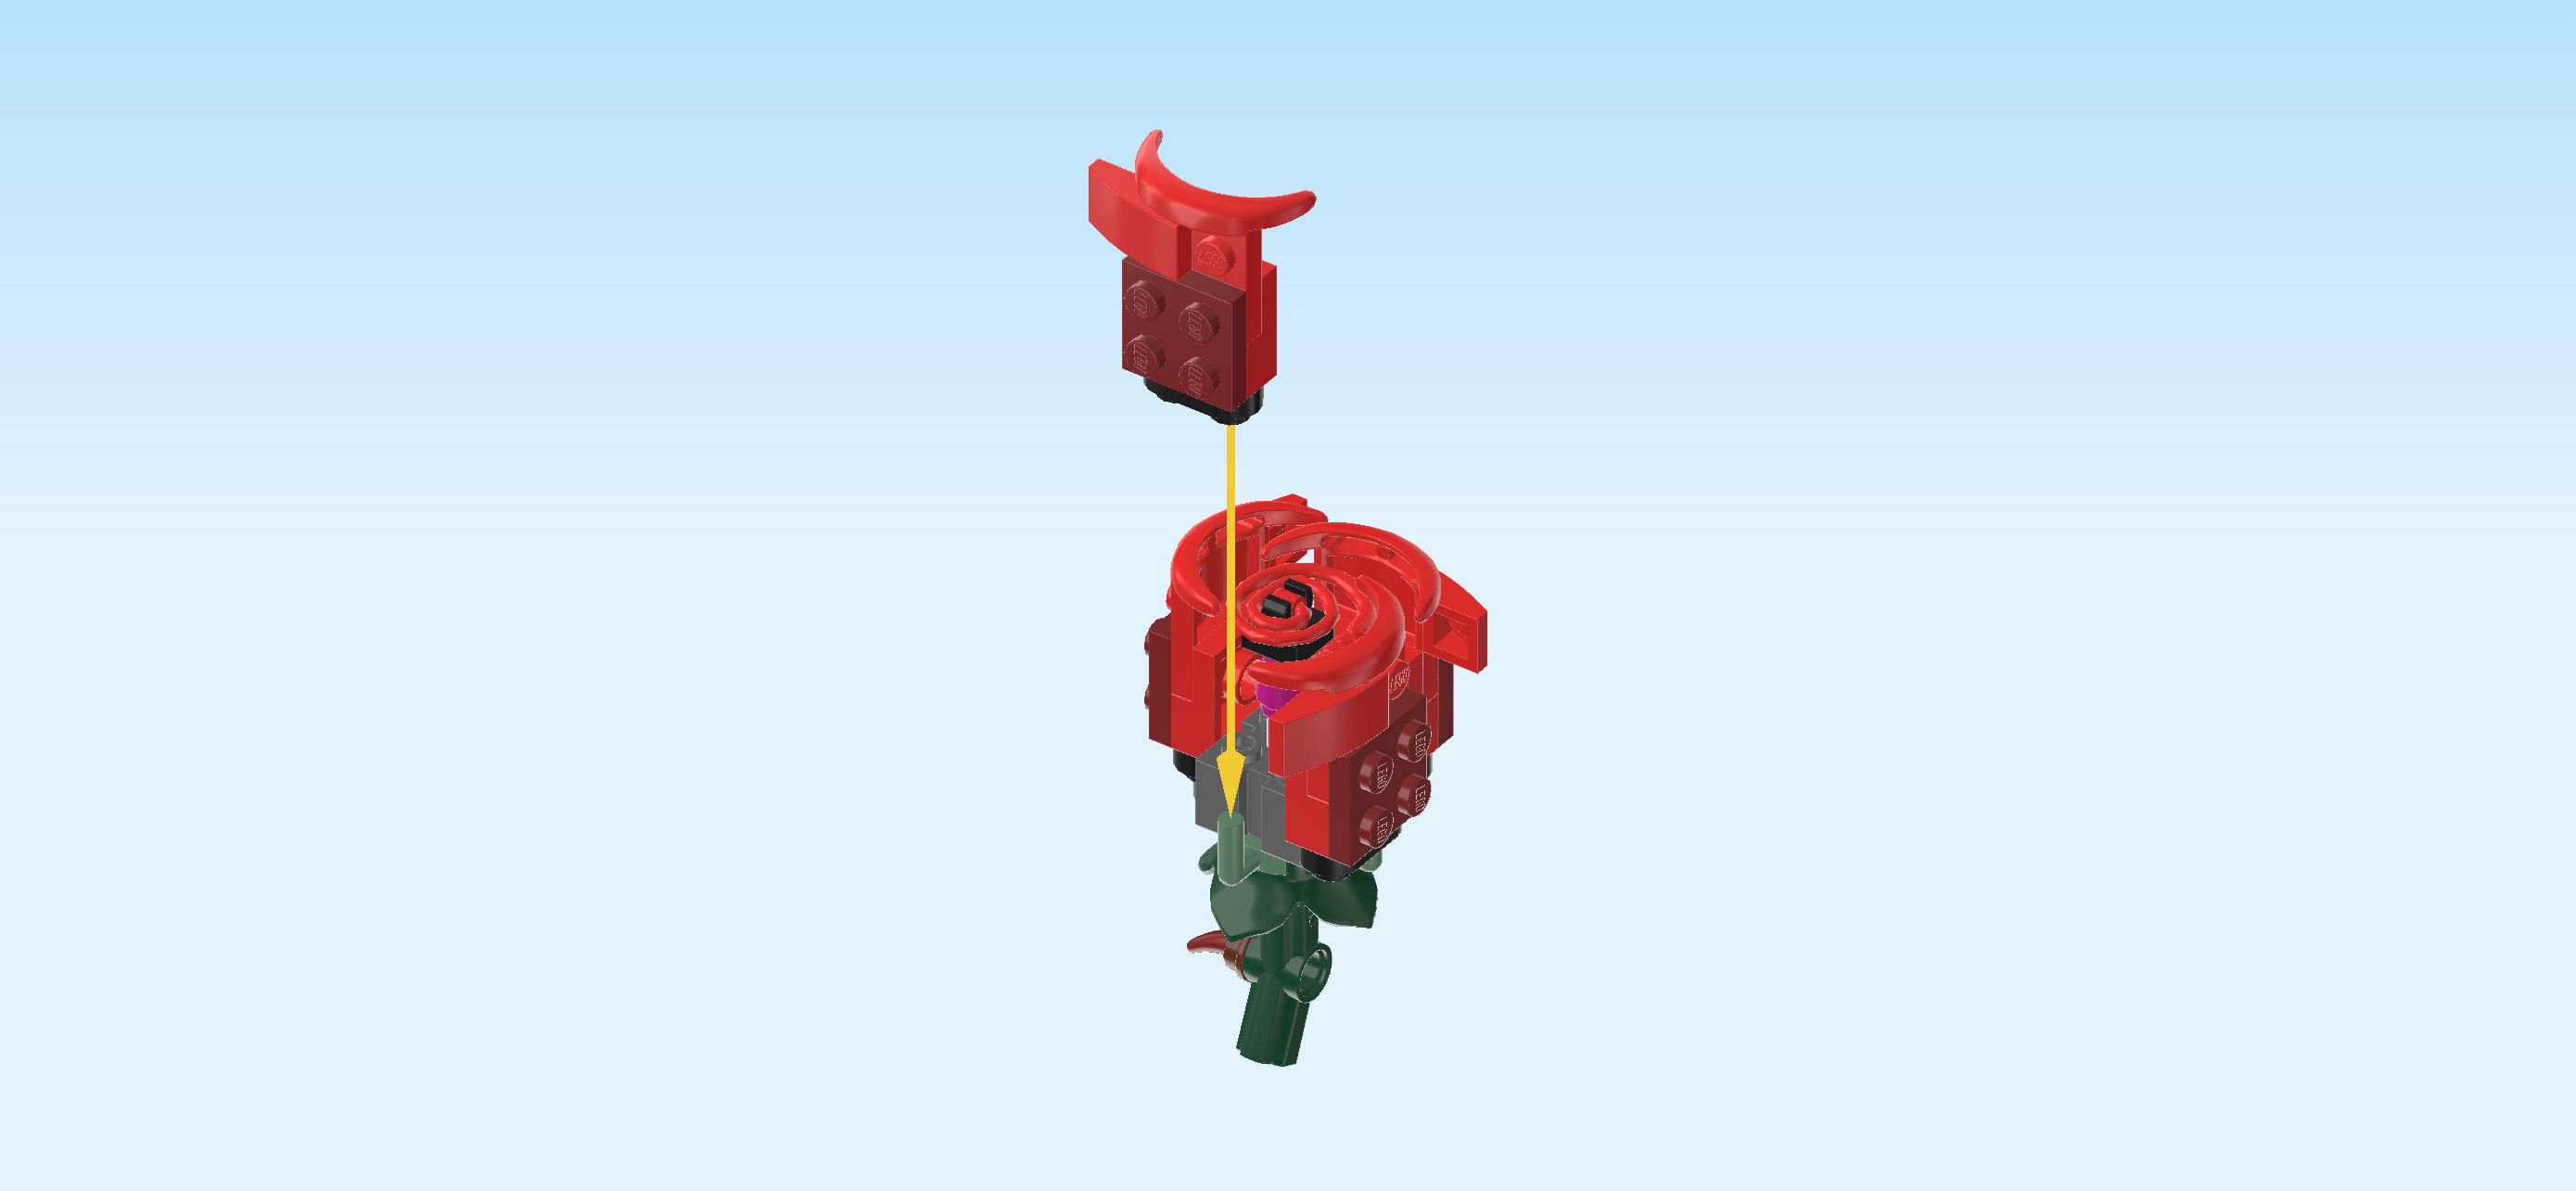
| The center petals of the closed rose bud are finished! Before you mount them, flip the rose bud structure upside down so that the base of the rose bud (the round plate 2x2 with octagonal ring) is touching the table. Make sure the side knobs and clasps are pointing to the front and back. |
| Mount the center petals centered on top of the rose bud structure. Its small middle ring and the four tabs surrounding it represent the center petals of the rose bud. |
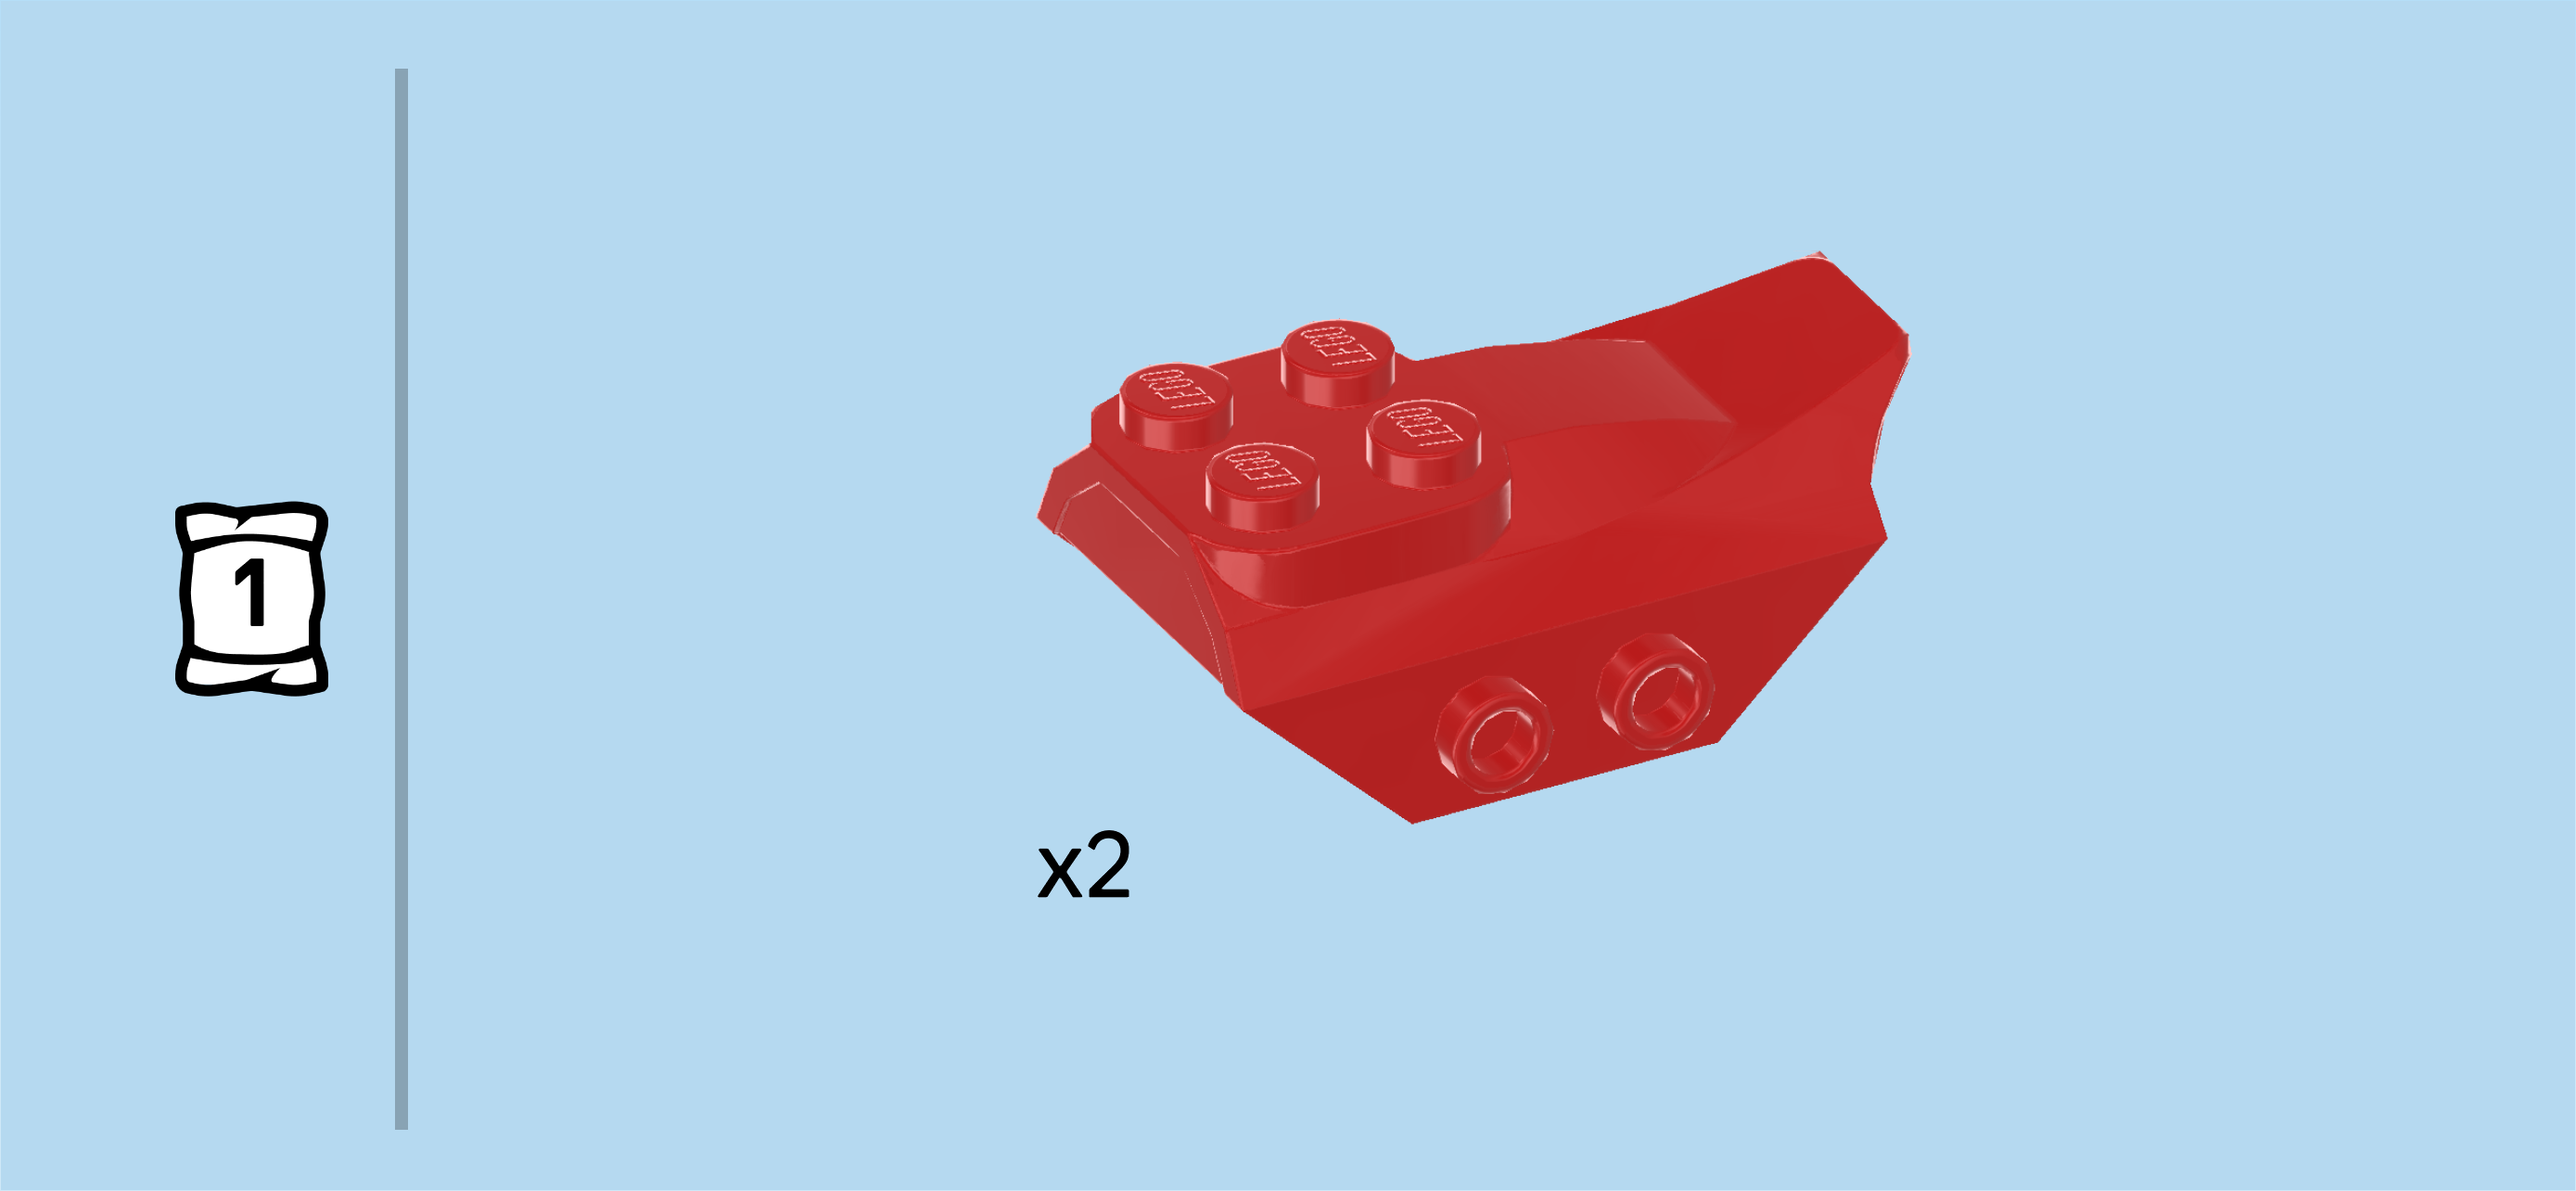
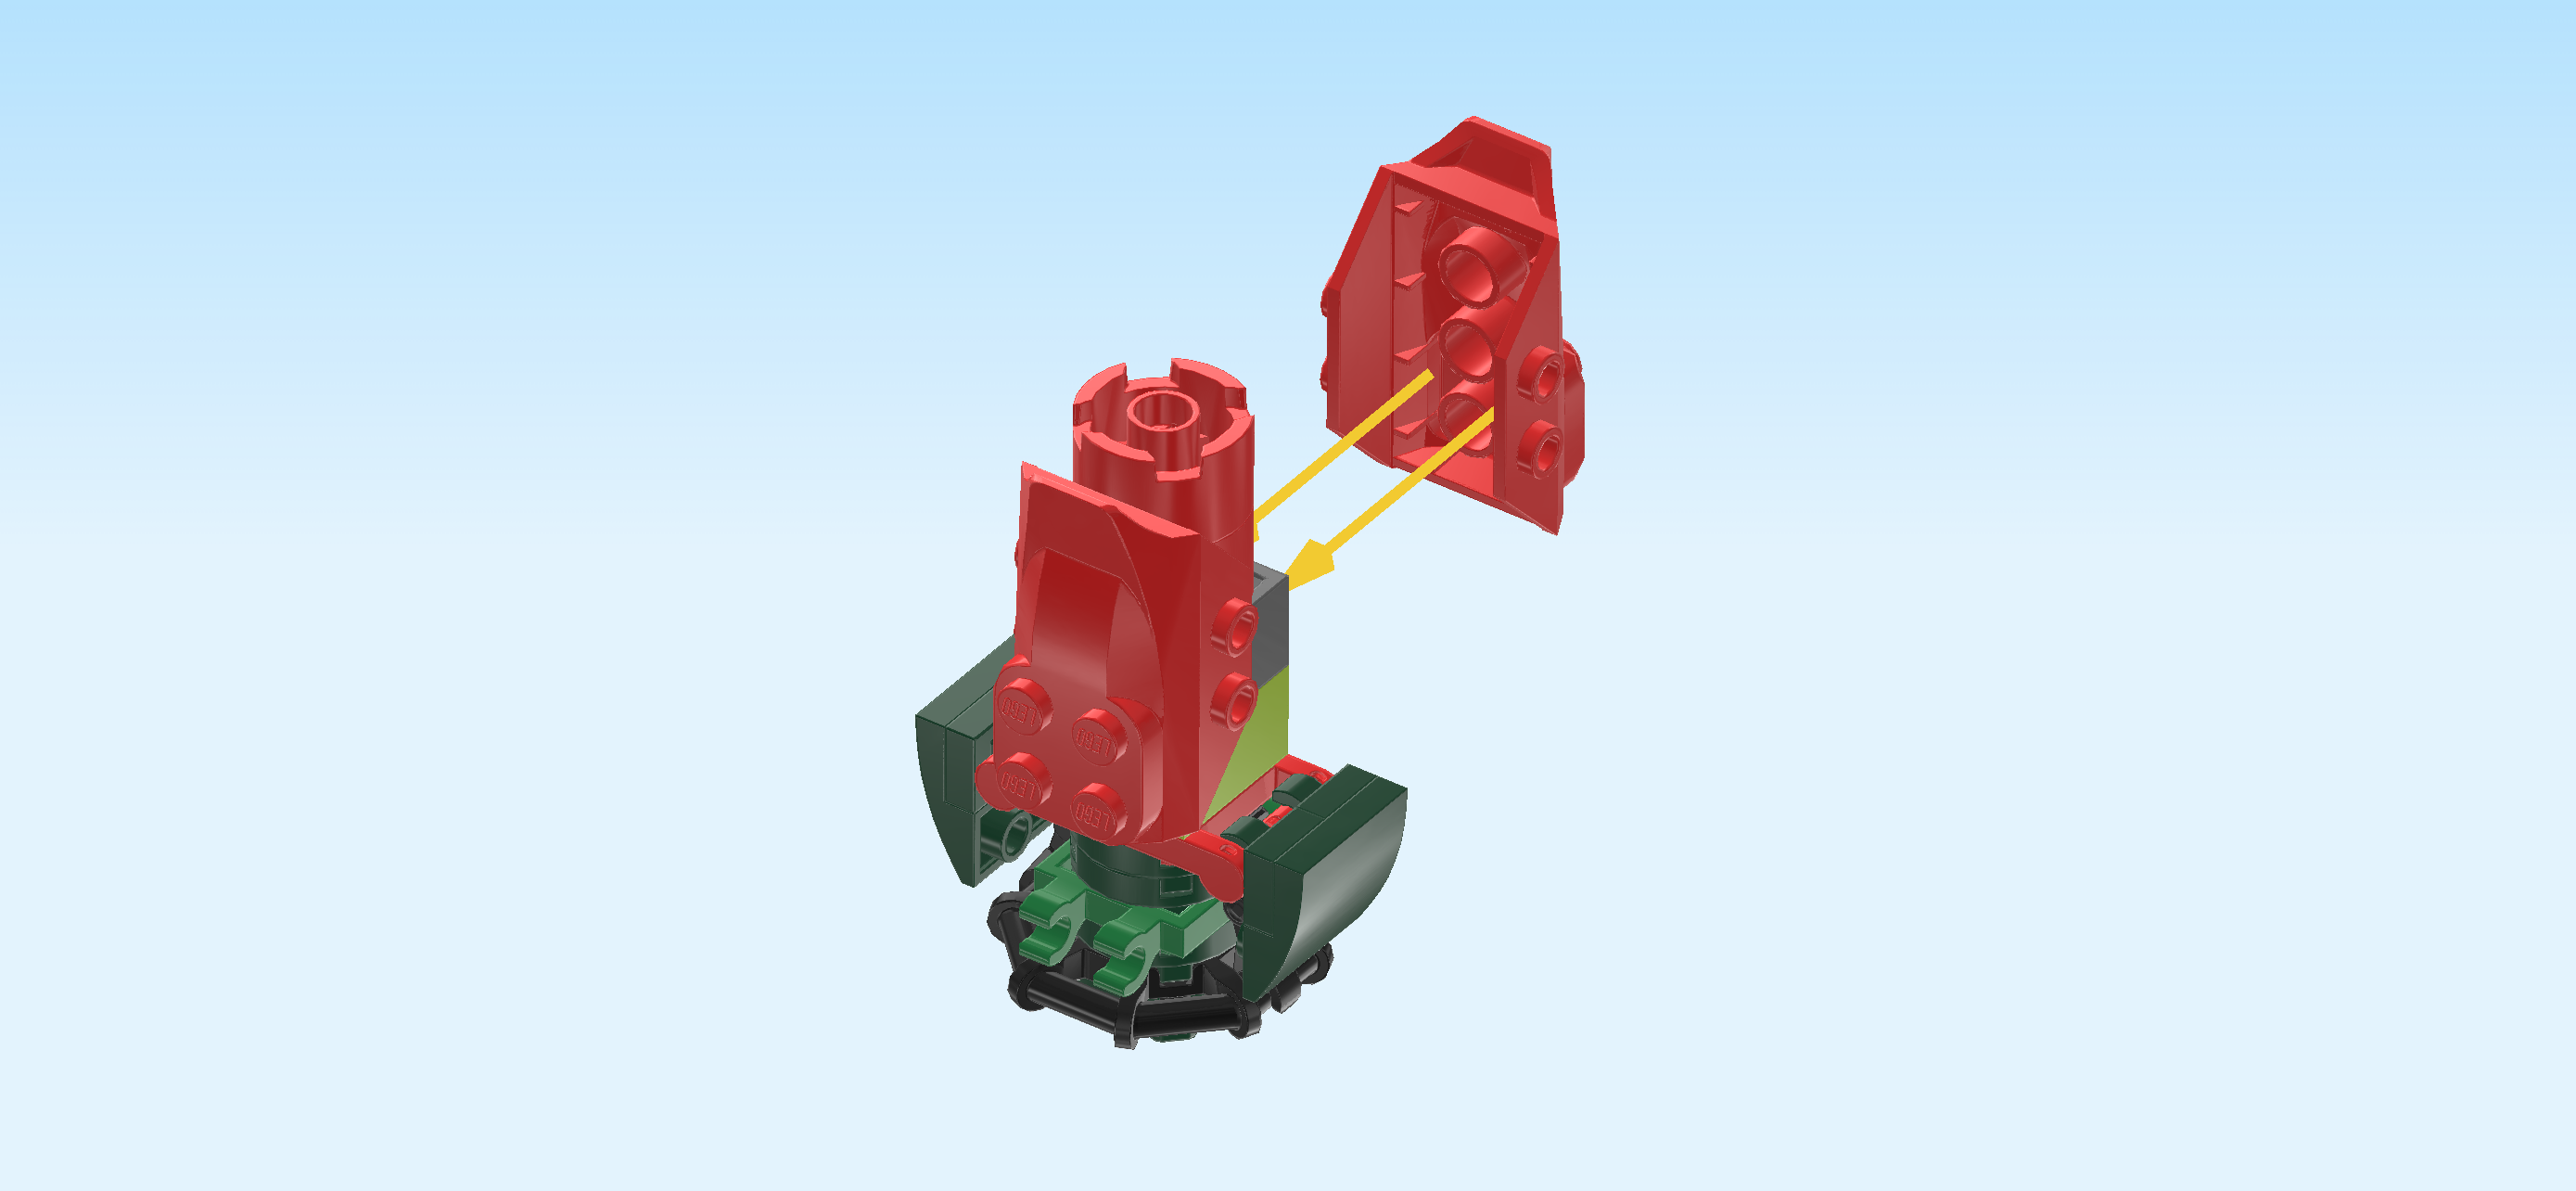
| Find 2 bright red curve plates 2x5 with 4 top knobs, upward fin and side knobs. |
| Flip 1 upright so that the fin is pointing to the top and the 4 main knobs are pointing towards you. |
| Mount it on the 2 side knobs pointing to the front, making sure that the fin is flush with the center petals at the top (it will protrude by a millimeter maybe, but not substantially). |
| Repeat symmetrically at the back with the second curve plate. |
| Find 2 bright red curve plates 2x3 with 2 knobs and upward fin. |
| Flip 1 upright, fin to the top, and mount it on the 4 side knobs on the right side surface. These are the side knobs of the 2 previous pieces. Make sure its bottom edge is aligned with the bottom edge of the 2 previous pieces. |
| Repeat symmetrically on the left. |
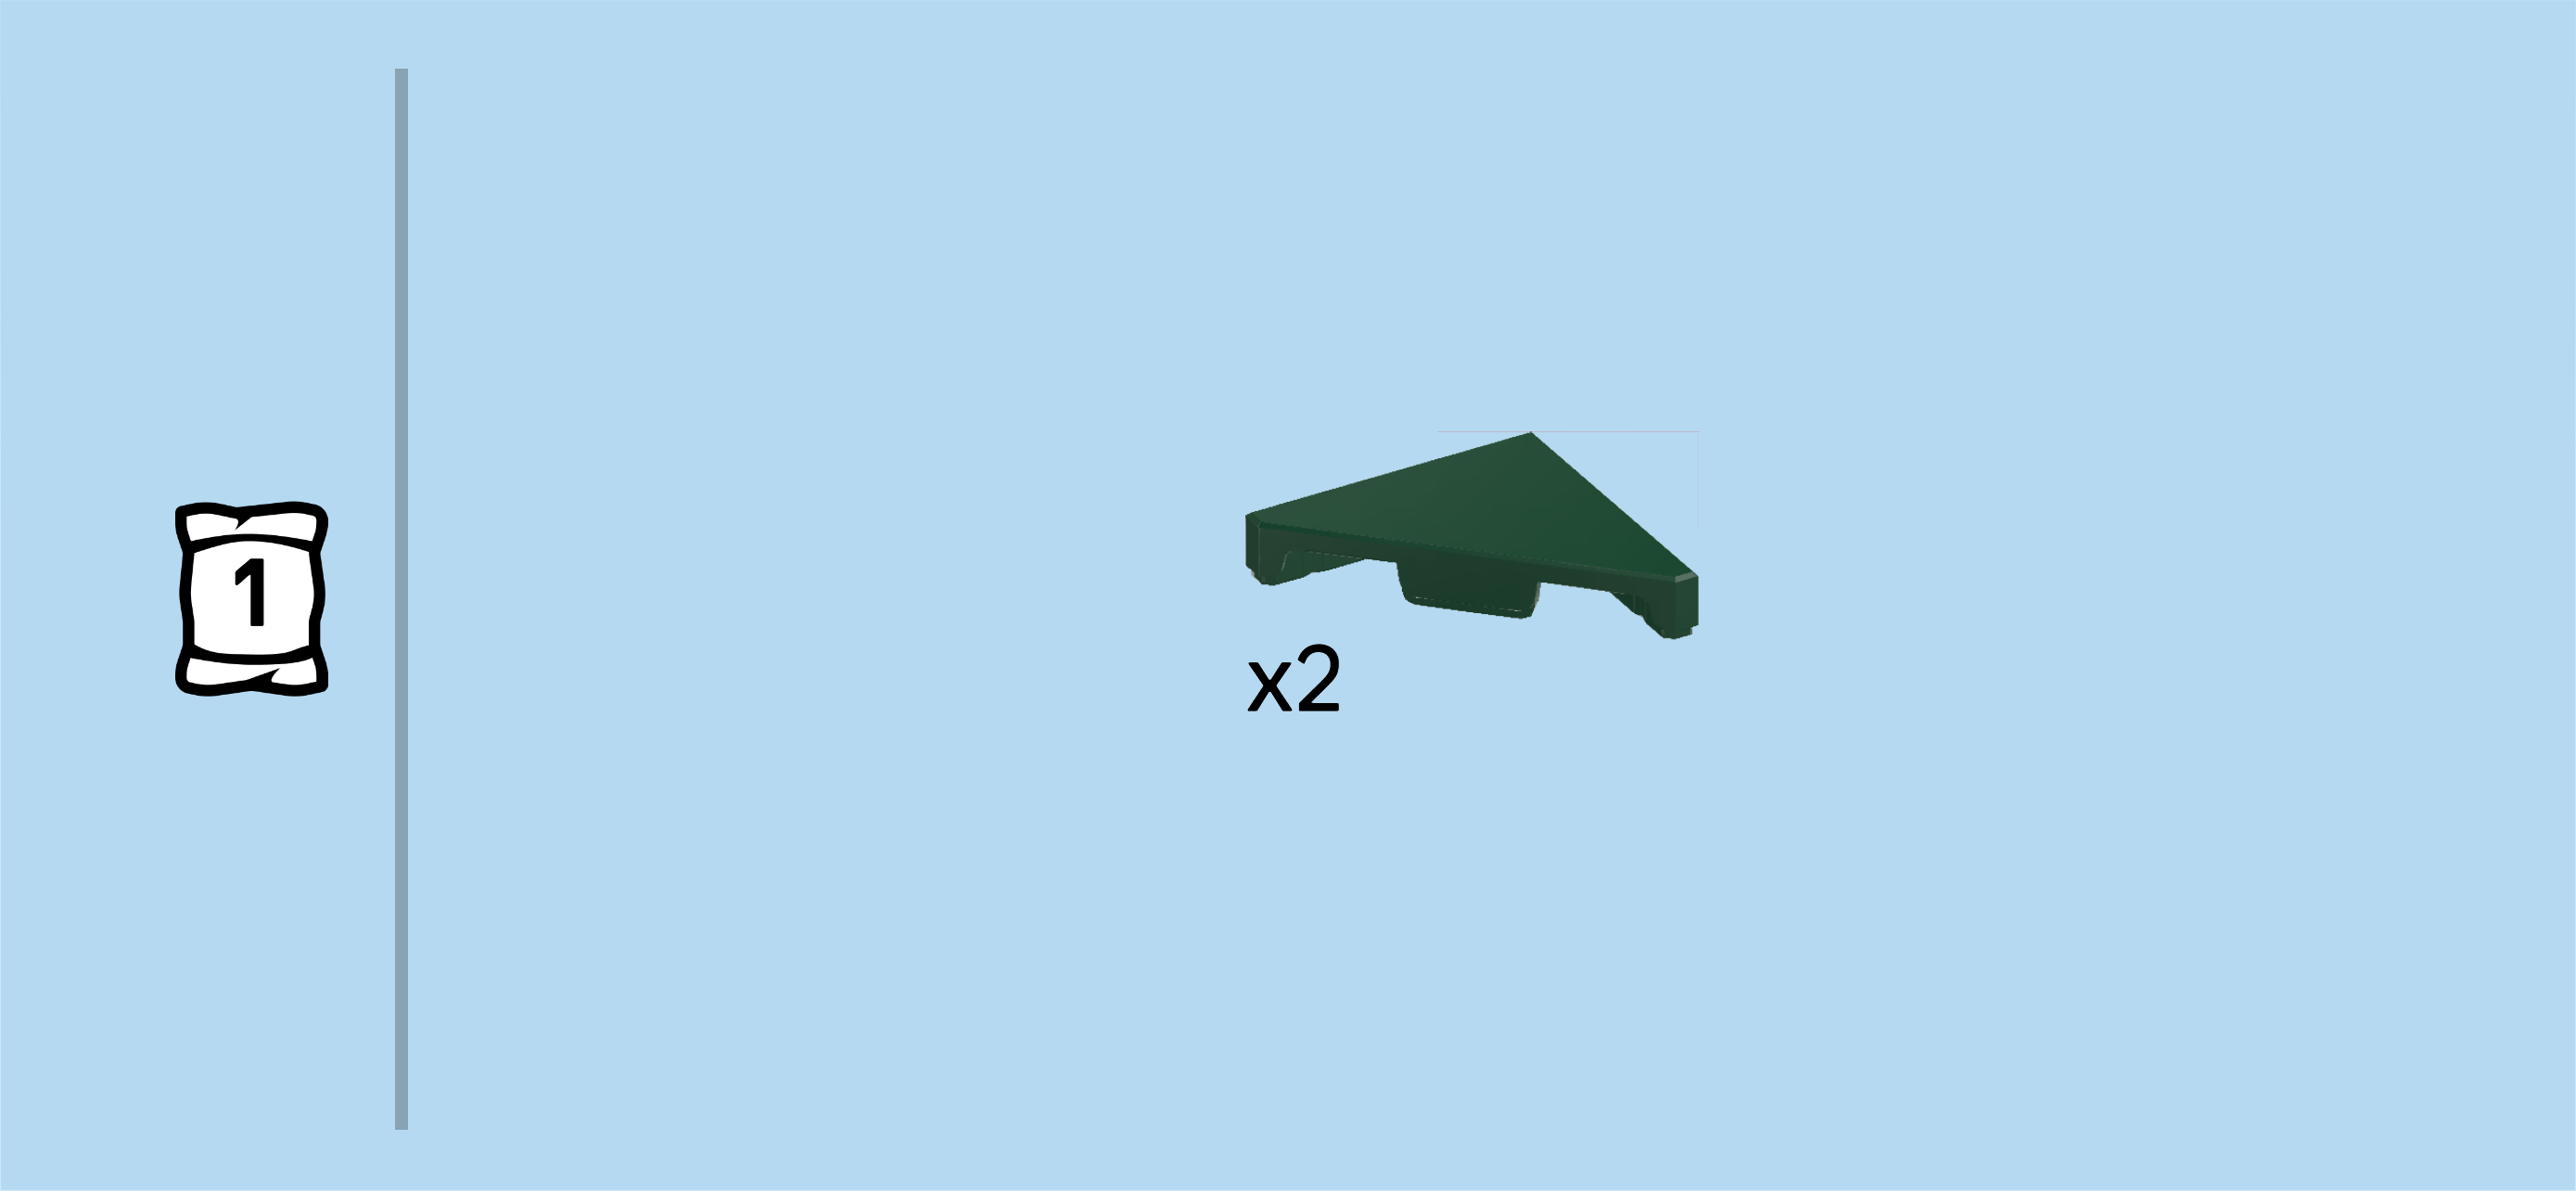
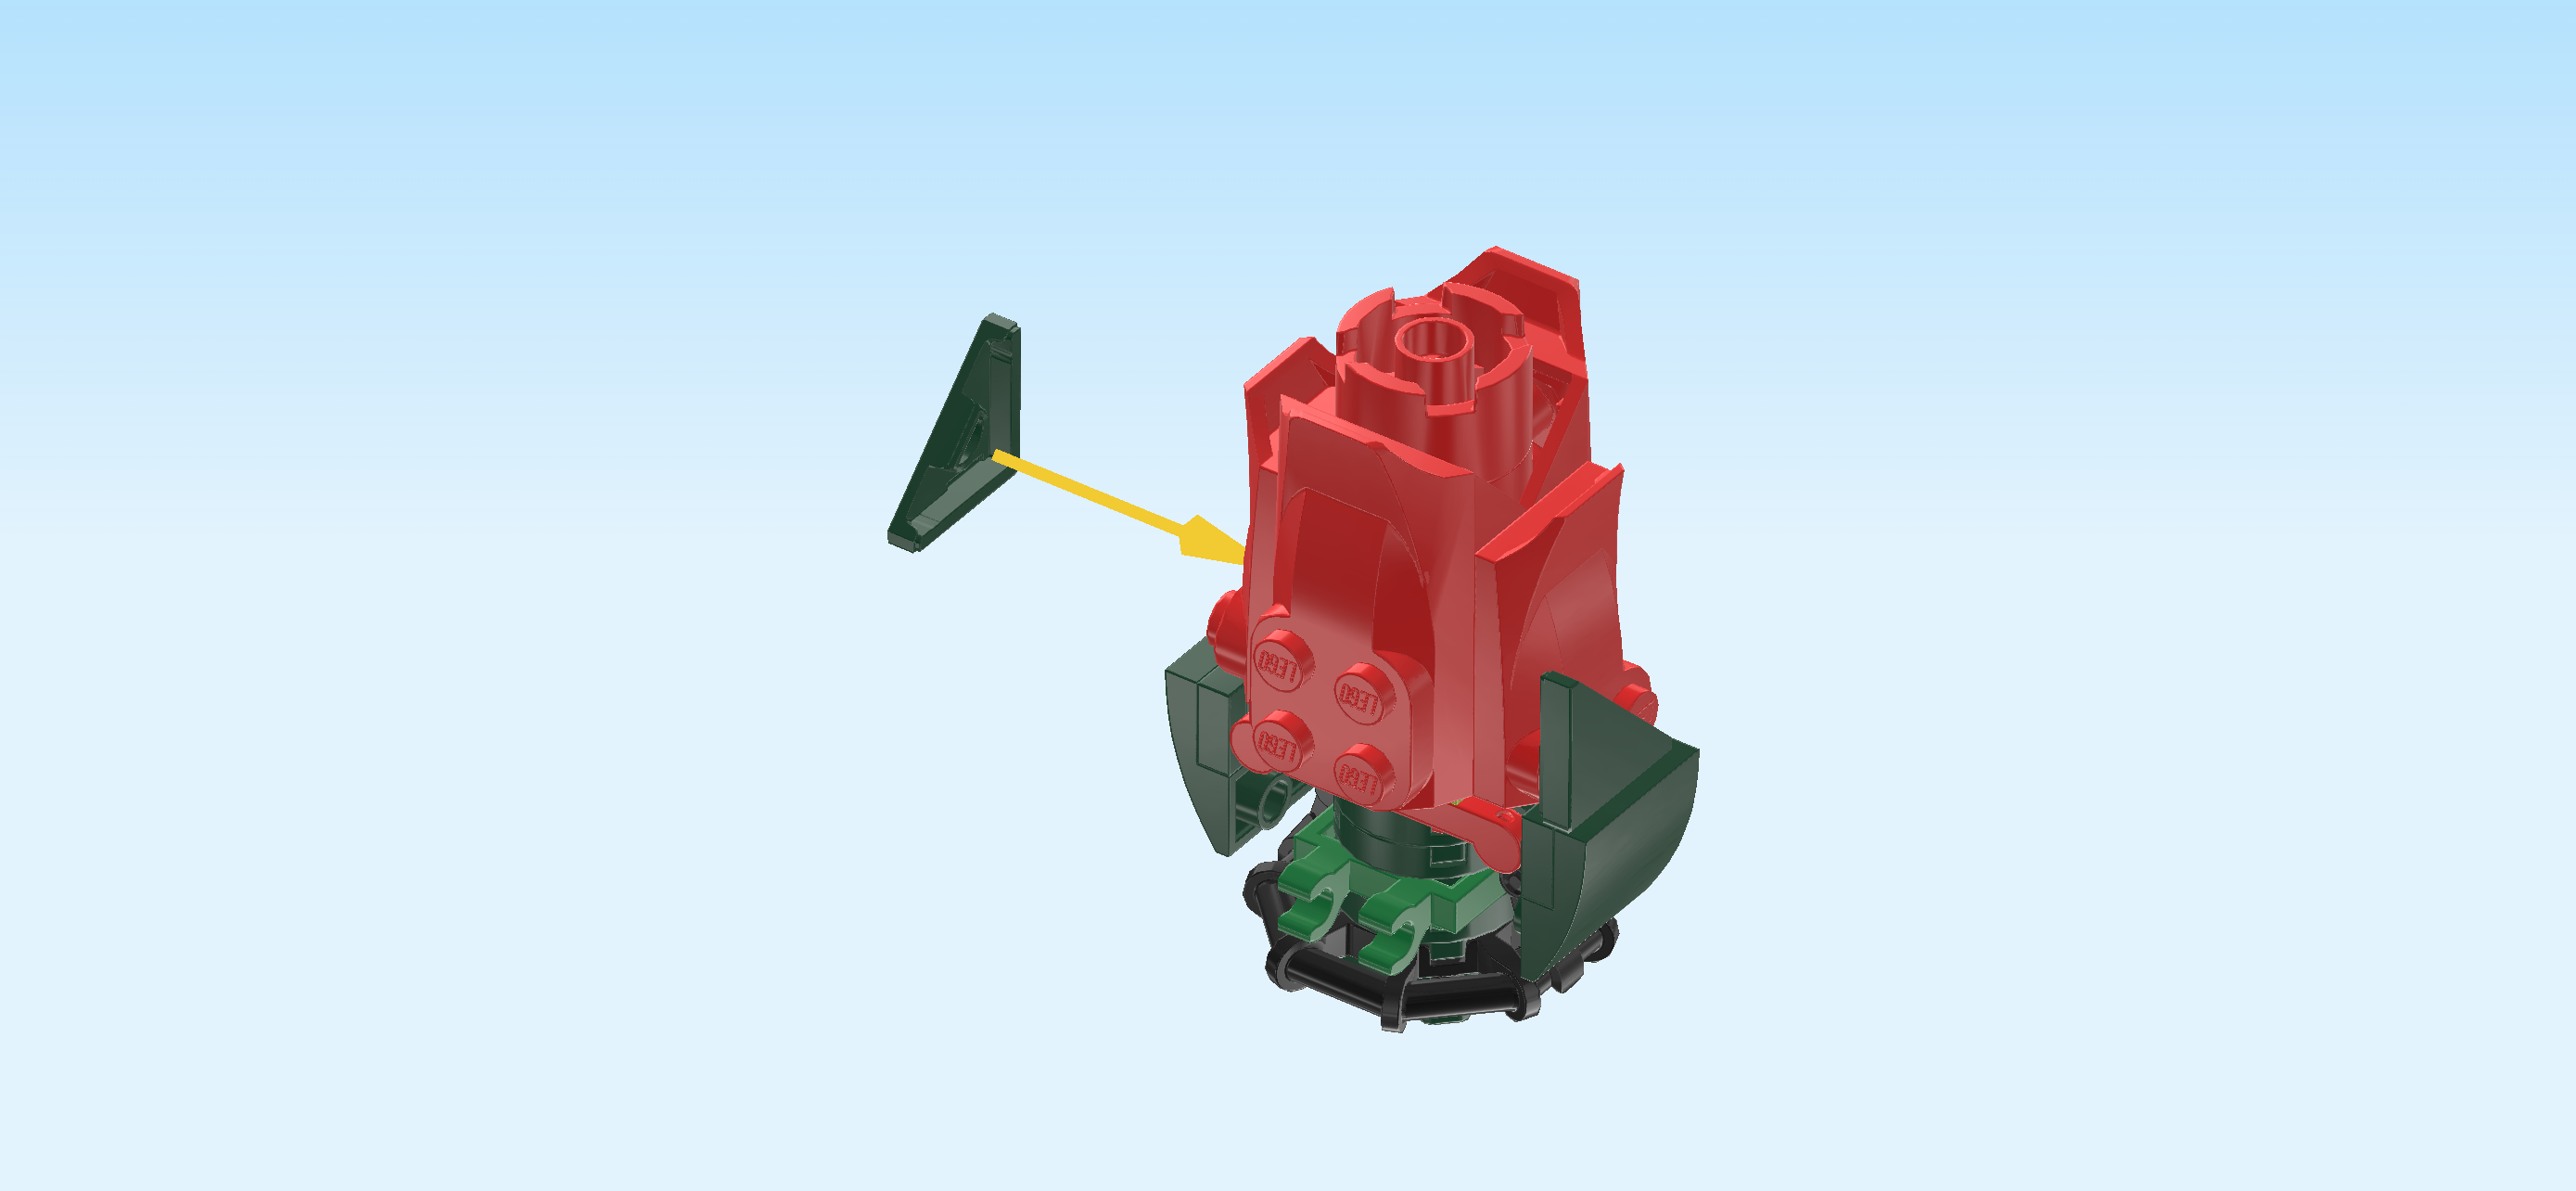
| Find 2 mossy green triangular flat tiles 1x2 - 1x2. |
| Flip 1 upright, smooth surface to the left, right angle pointing to the bottom back. |
| Mount it on the previous piece's back knob, making sure that its bottom edge is touching the top edge of the smooth curved surface below. |
| Flip the other one upright, smooth surface to the right, right angle pointing to the bottom front this time. |
| Mount it on the front knob of the right curve plate 2x3, bottom edge touching the curved piece's top edge. |
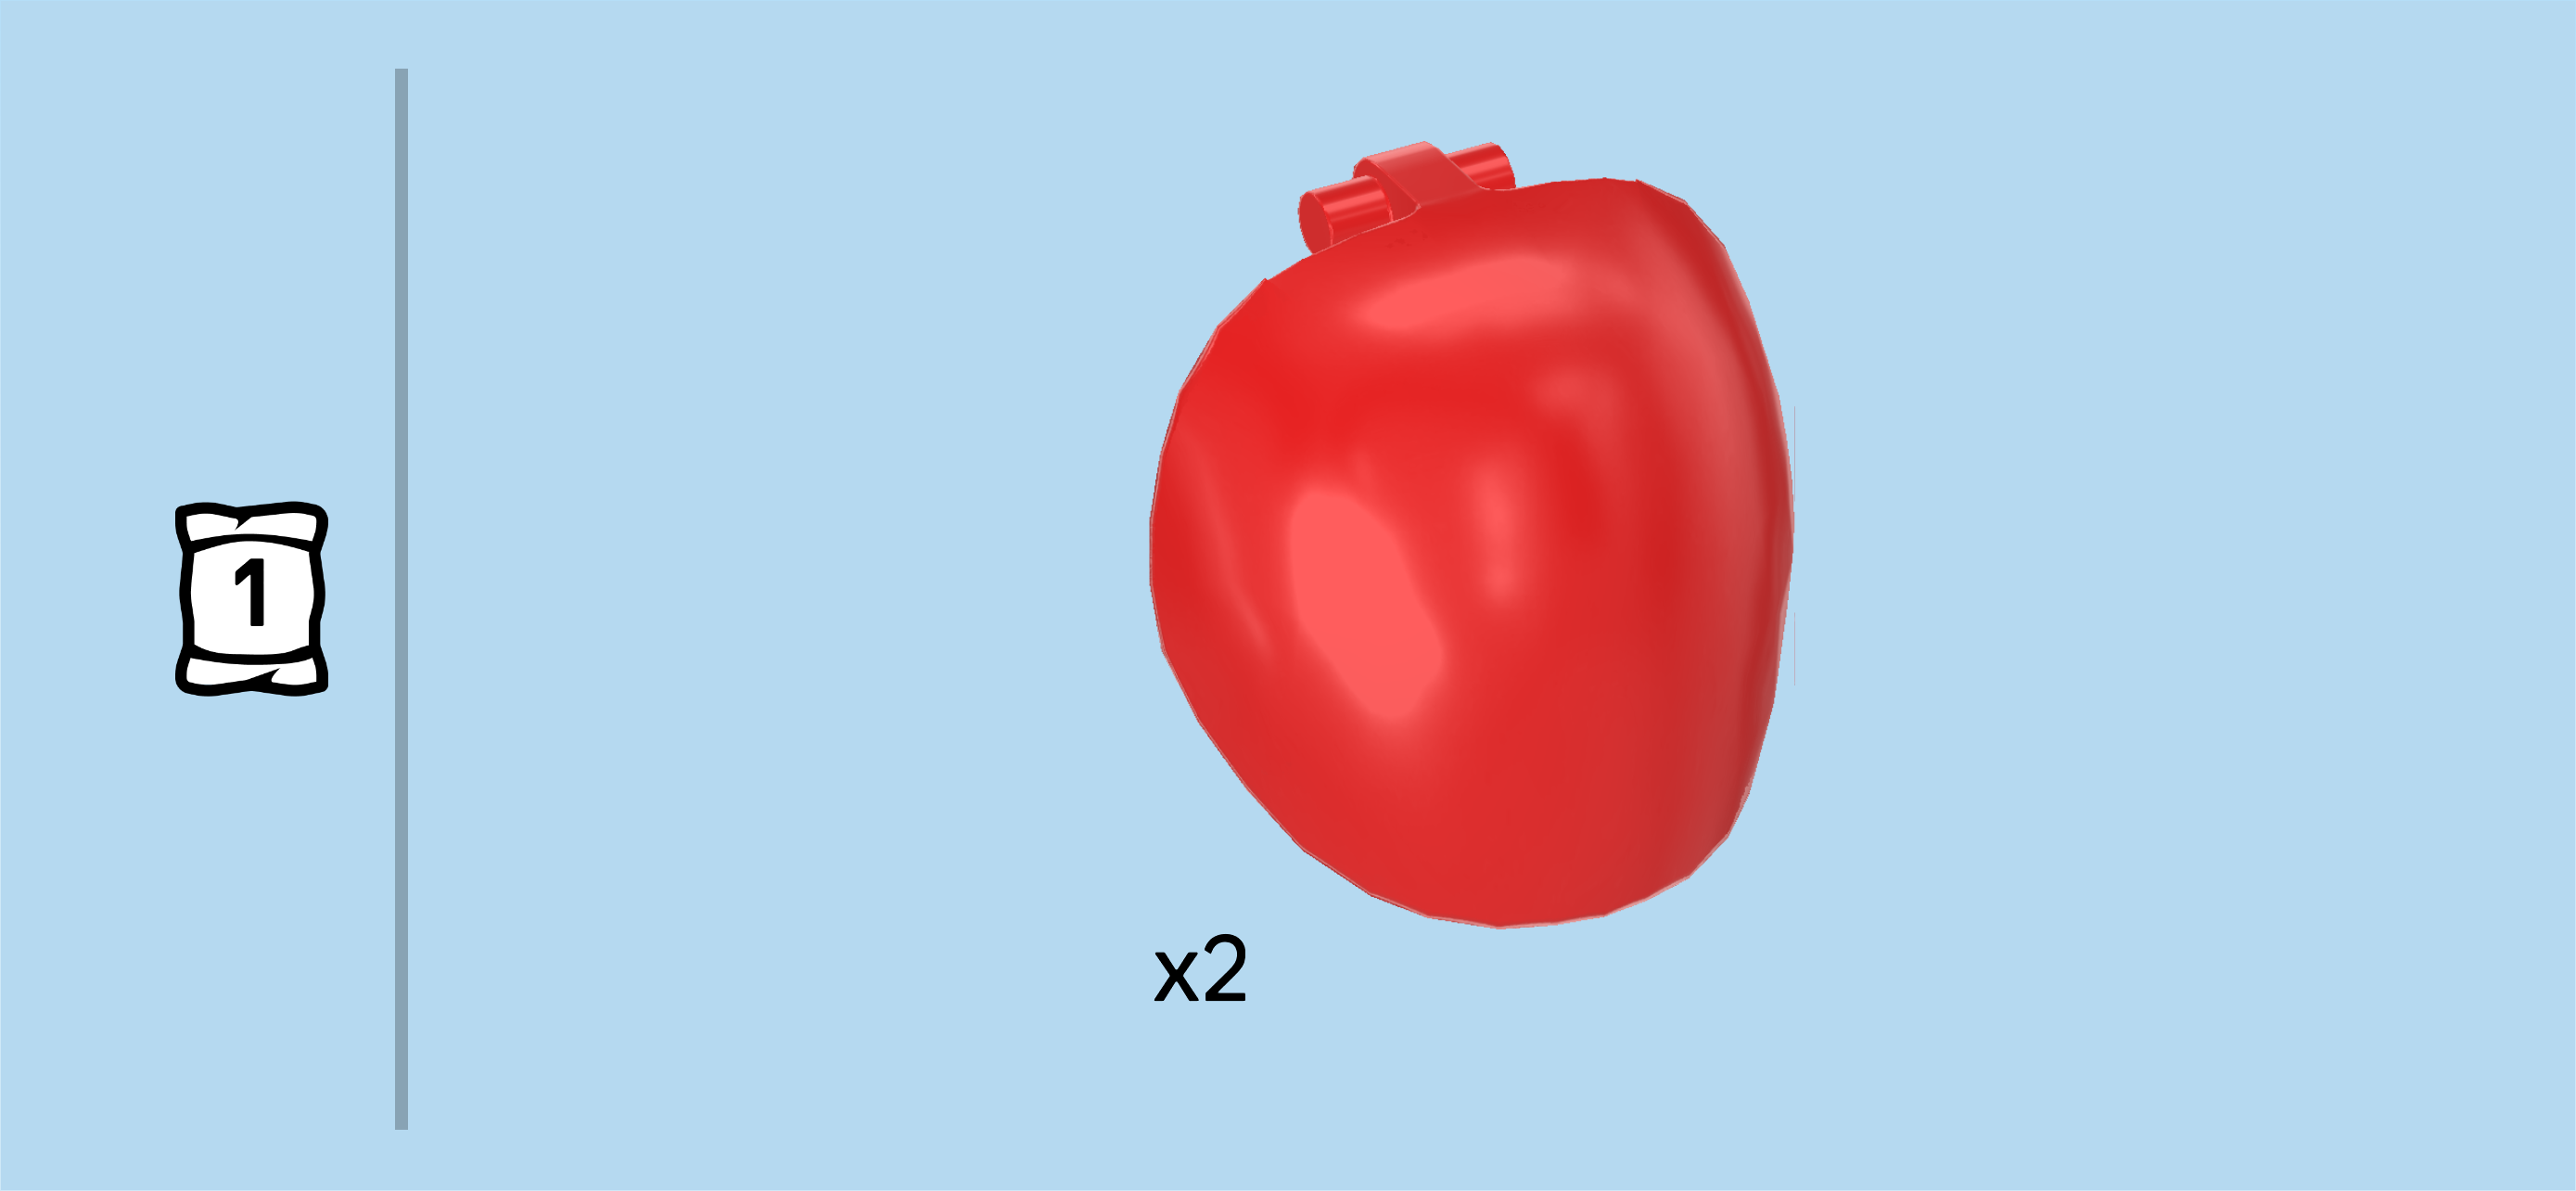
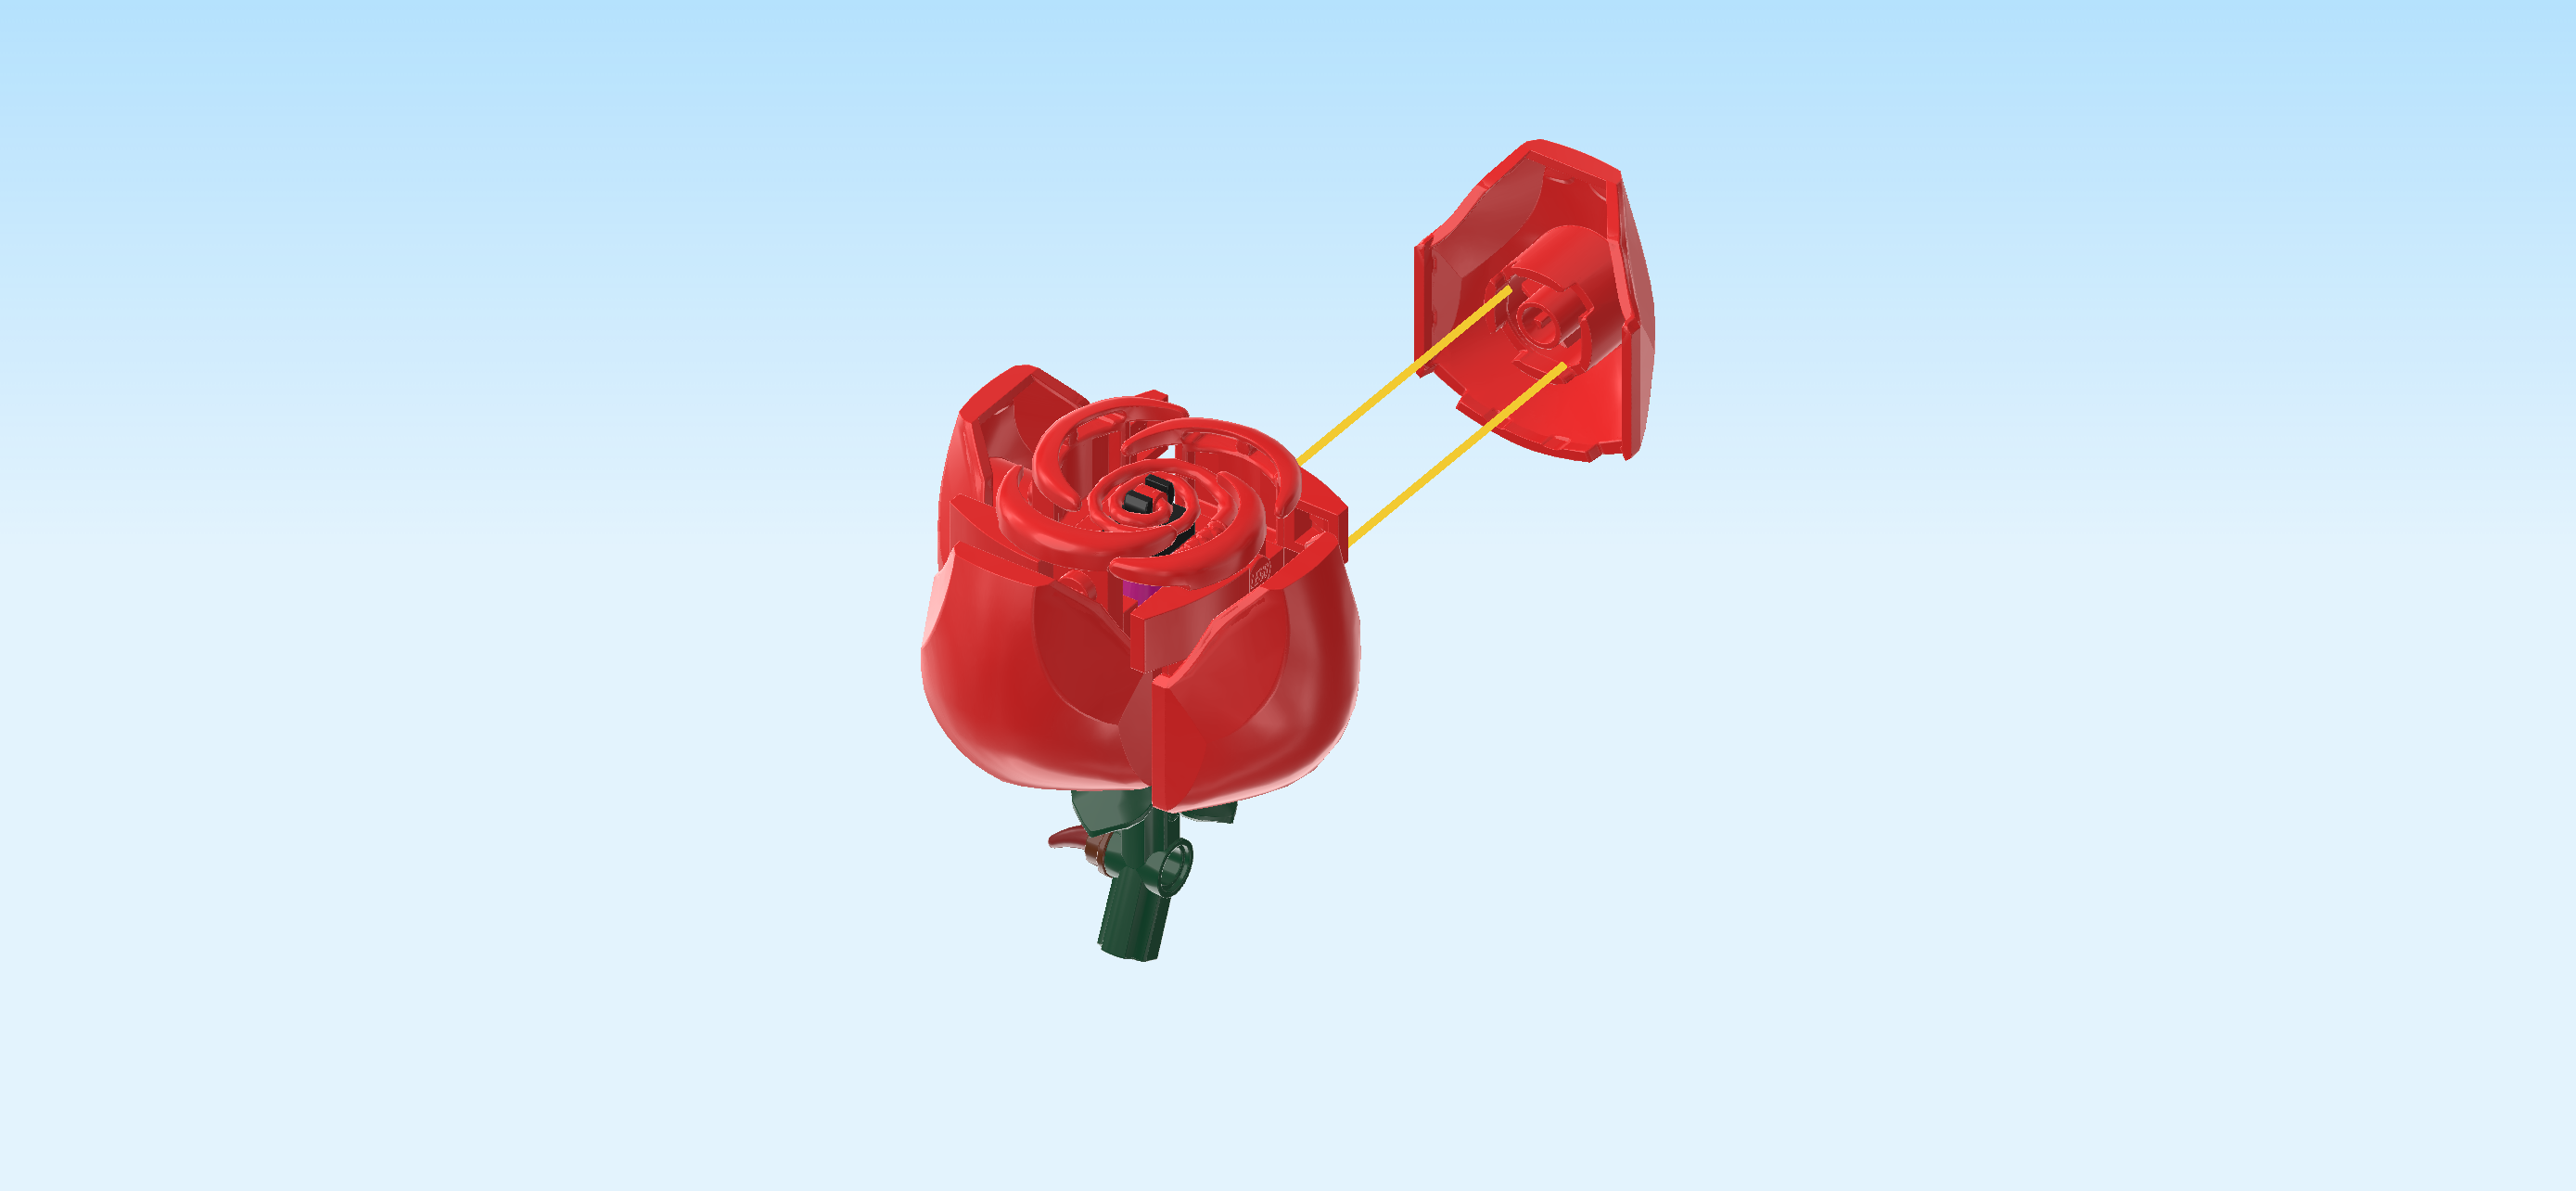
| Find 2 bright red large bubble shells with double shaft. |
| Hold 1 upright, shaft to the bottom, curve towards you, and snap the shaft into the 2 clasps pointing to the front. |
| Repeat symmetrically at the back. |
| Now, we will make 2 small leaves. |
| Collect the following 4 pieces: |
| 2 black plates 1x1 with vertical side clasp, |
| and 2 mossy green curve tiles 1x2 with 45° cut towards the left. |
| Put 1 plate with clasp on the table, clasp to the right. |
| Put 1 curve tile 1x2 horizontally on top, longest edge at the front, cut running from the front left corner towards the back right. |
| Repeat with the other two pieces. |
| Before you mount these 2 small leaves, flip the rose bud upside down so that the petal tips are touching the table. Turn it so that the 2 bubble shells are on the left and right. |
| Snap the clasp of 1 small leaf on the octagonal ring segment directly to the right of the front center segment. |
| Repeat symmetrically at the back: snap the other small leaf on the octagonal ring segment directly to the left of the back center segment. |
| Now, we will make 2 more small leaves. |
| Collect the following 4 pieces: |
| 2 mossy green curve tiles 1x2 with 45° cut towards the right, |
| and 2 black plates 1x1 with vertical side clasp. |
| Put 1 plate with clasp on the table, clasp to the right. |
| Put 1 curve tile with cut horizontally on top, longest edge to the back, cut at the front left. |
| Repeat with the other two pieces. |
| The 2 small leaves are finished! Snap 1 on the ring segment directly to the right of the back center segment. |
| Snap the other one on the ring segment directly to the left of the front center segment. |
| Next up, we will build the stem of the rose. |
| Collect the following 14 pieces: |
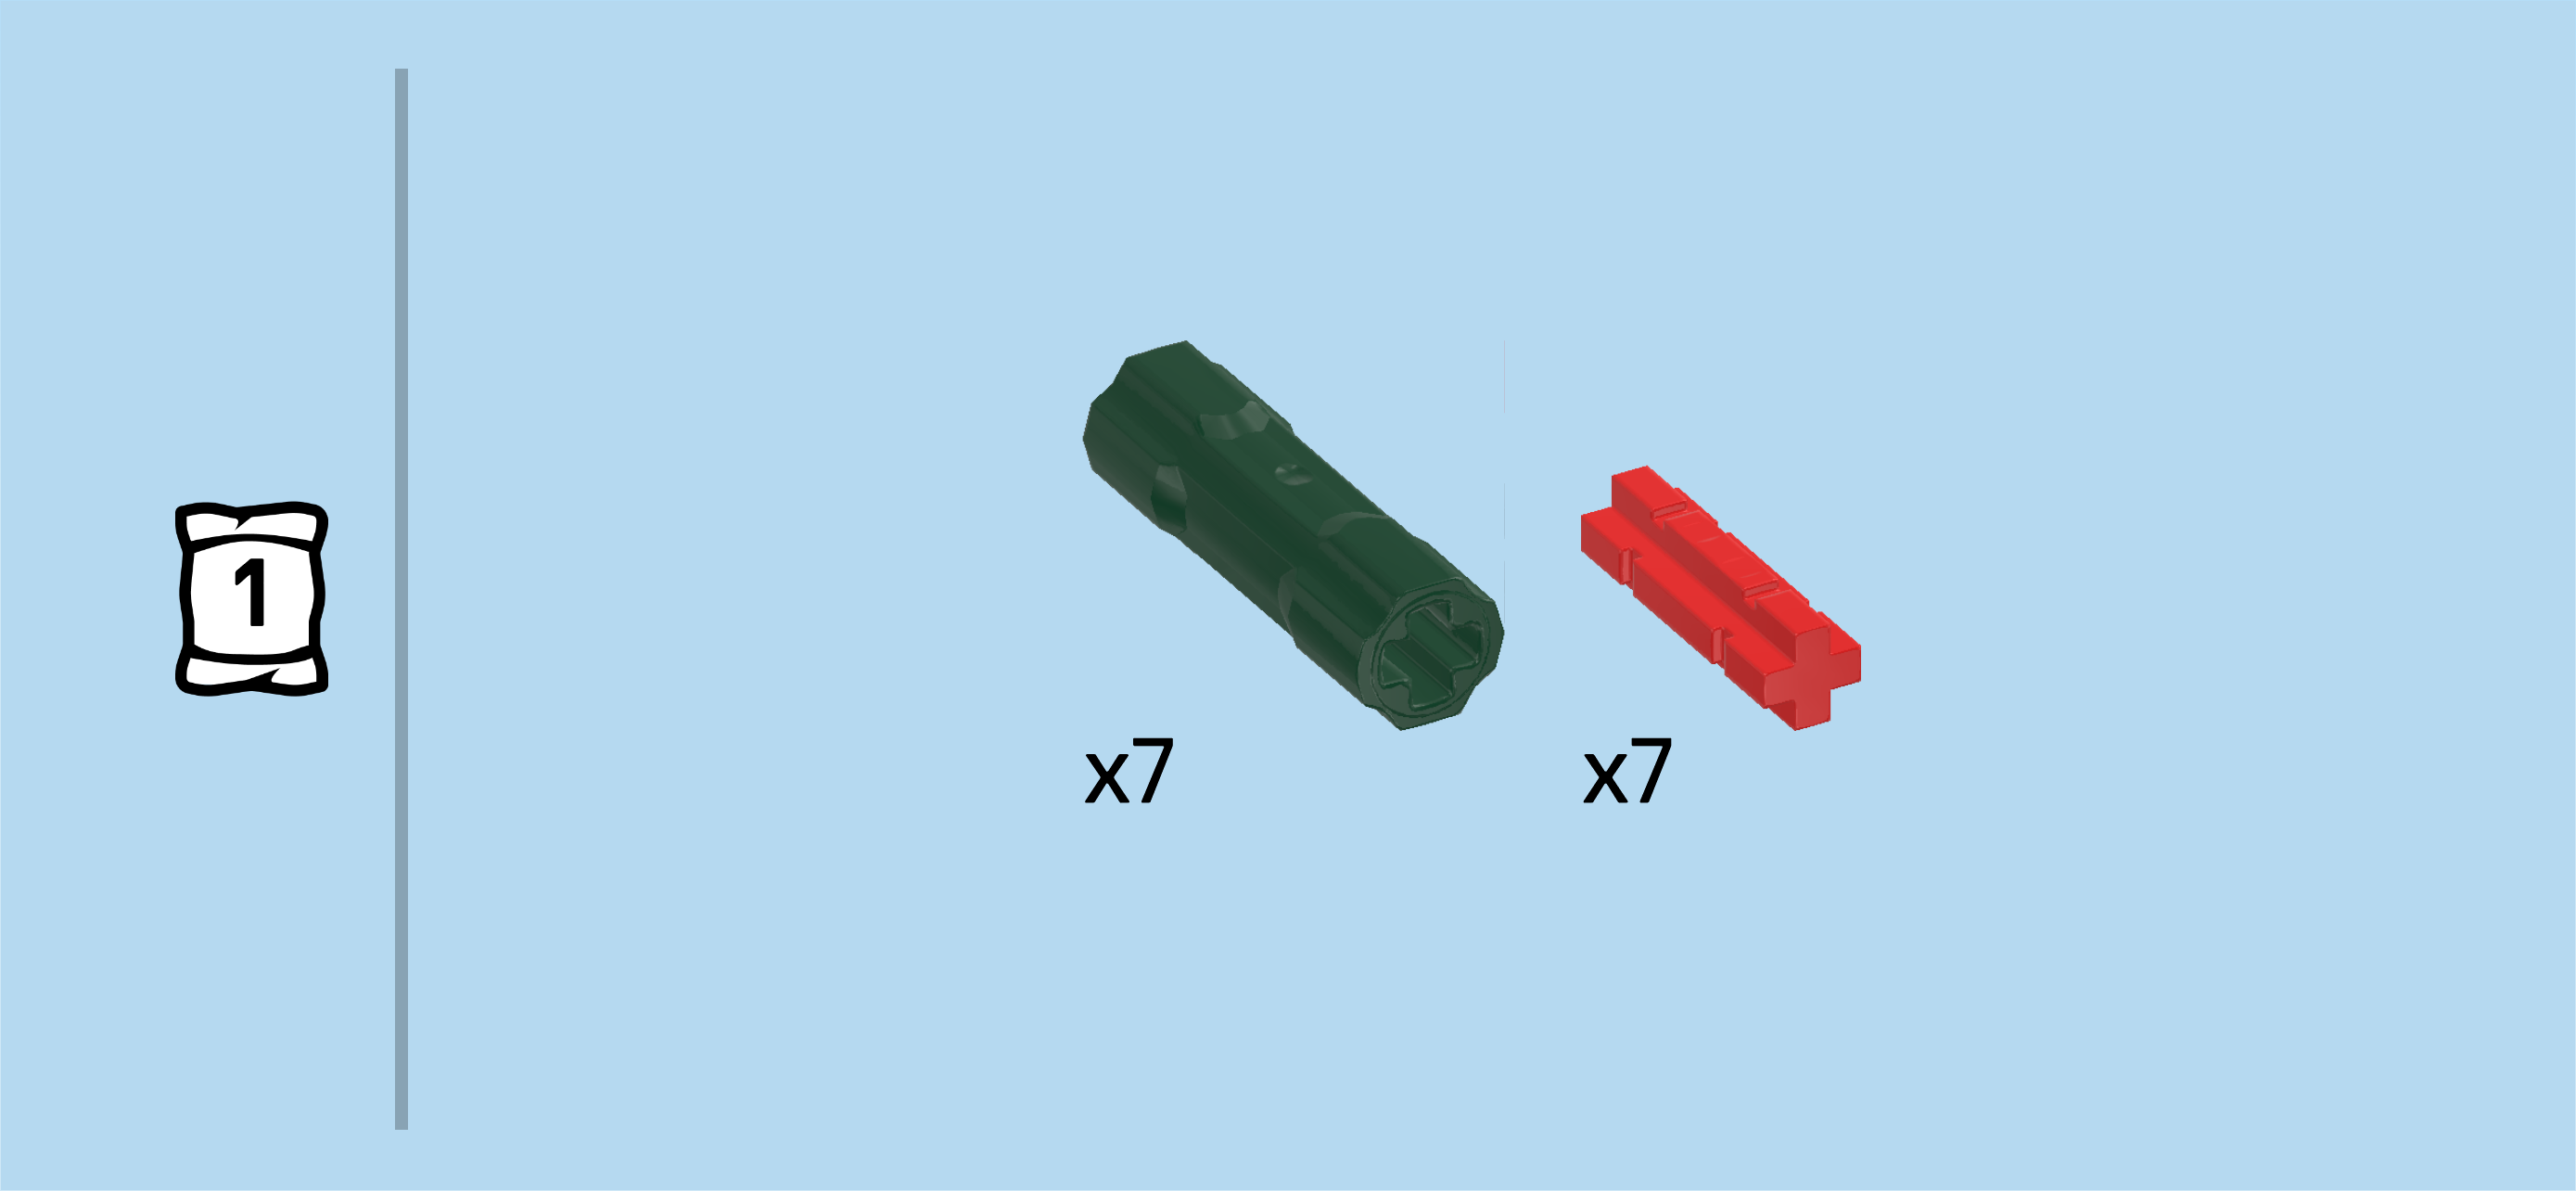
| 7 bright red cross axles 2m with 2 grooves, |
| and 7 mossy green cross axle extensions 3m. |
| Hold 1 cross axle extension upright, cross hole running from top to bottom, and insert 1 cross axle from the top into the top hole, one half protruding to the top. |
| Repeat with the 6 remaining cross axle extensions and the 6 remaining cross axles. |
| Now, put those 7 rose stem sections on top of each other to create 1 long stem. The bottom end is flat, at the top end 1 cross axle 2m is protruding. |
| Next, we will make the top part of the rose stem. |
| Collect the following 2 pieces: |
| 1 bright red cross axle 2m with 2 grooves, |
| and 1 mossy green angled cross axle extension 3m with bushing hole. |
| Hold the angled cross axle extension upright, the bushing hole in its center running from front to back. |
| Insert the cross axle 2m from the top into the top cross hole of the extension, 1/2 protruding to the top. |
| Find another bright red cross axle 2m with 2 grooves. |
| Insert it from the bottom into the bottom cross hole of the extension, 1/2 protruding to the bottom. |
| Find 1 mossy green cross axle extension 3m. |
| Put it from the bottom on the previous piece's protruding section. |
| The top part of the rose stem is finished! Insert the cross axle at the top of the stem into the bottom cross hole of the previous piece. |
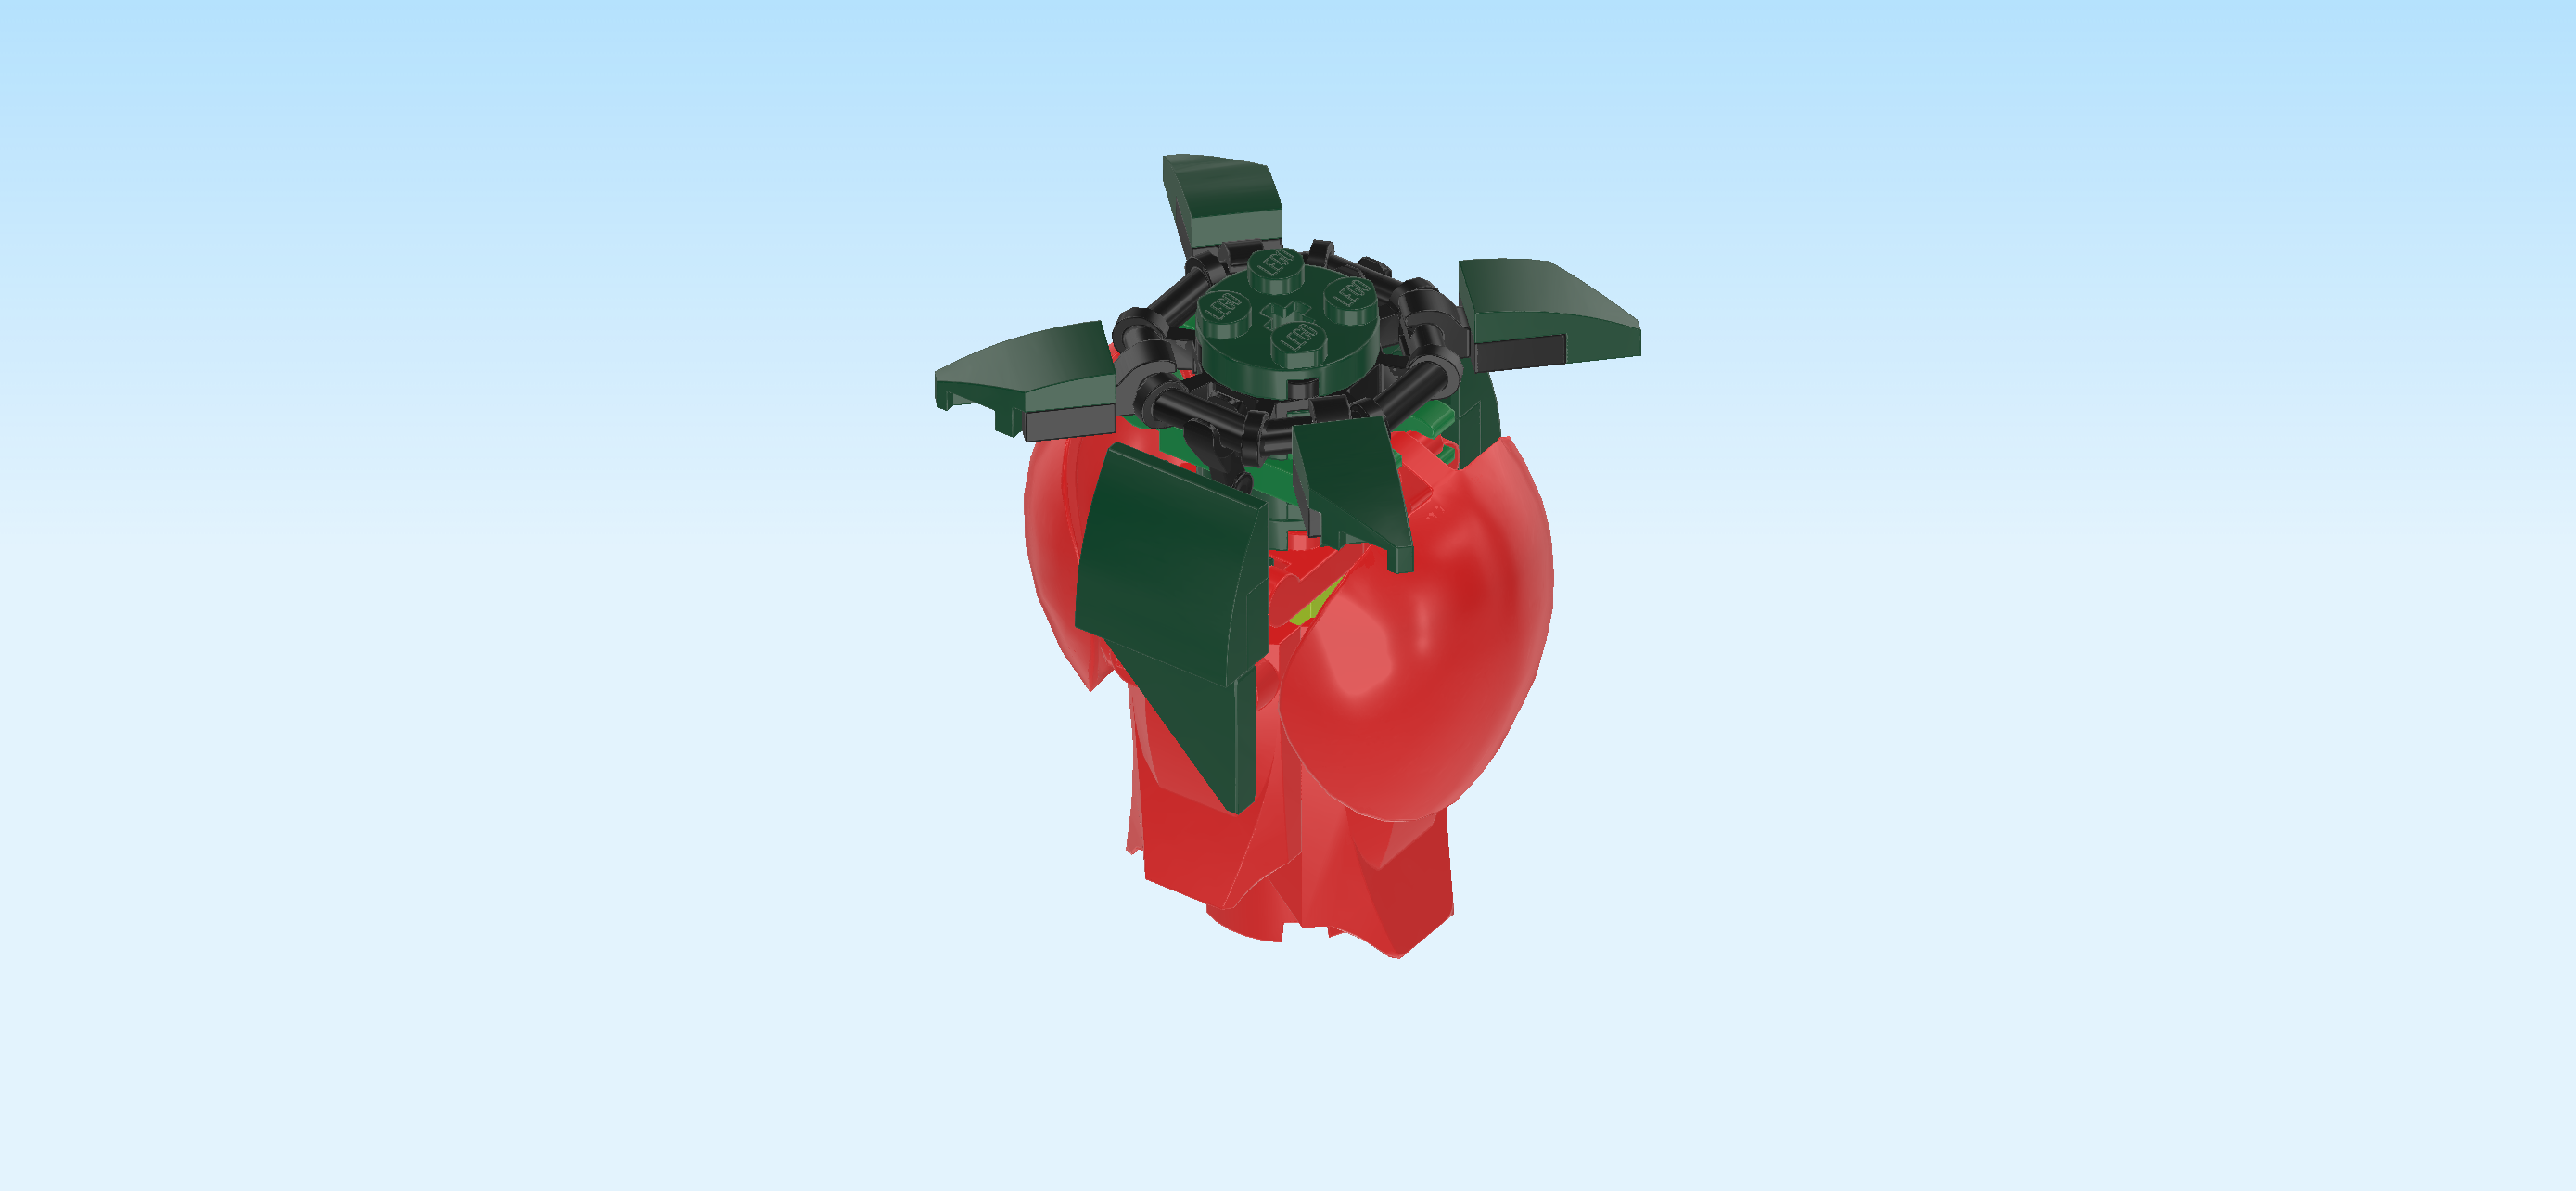
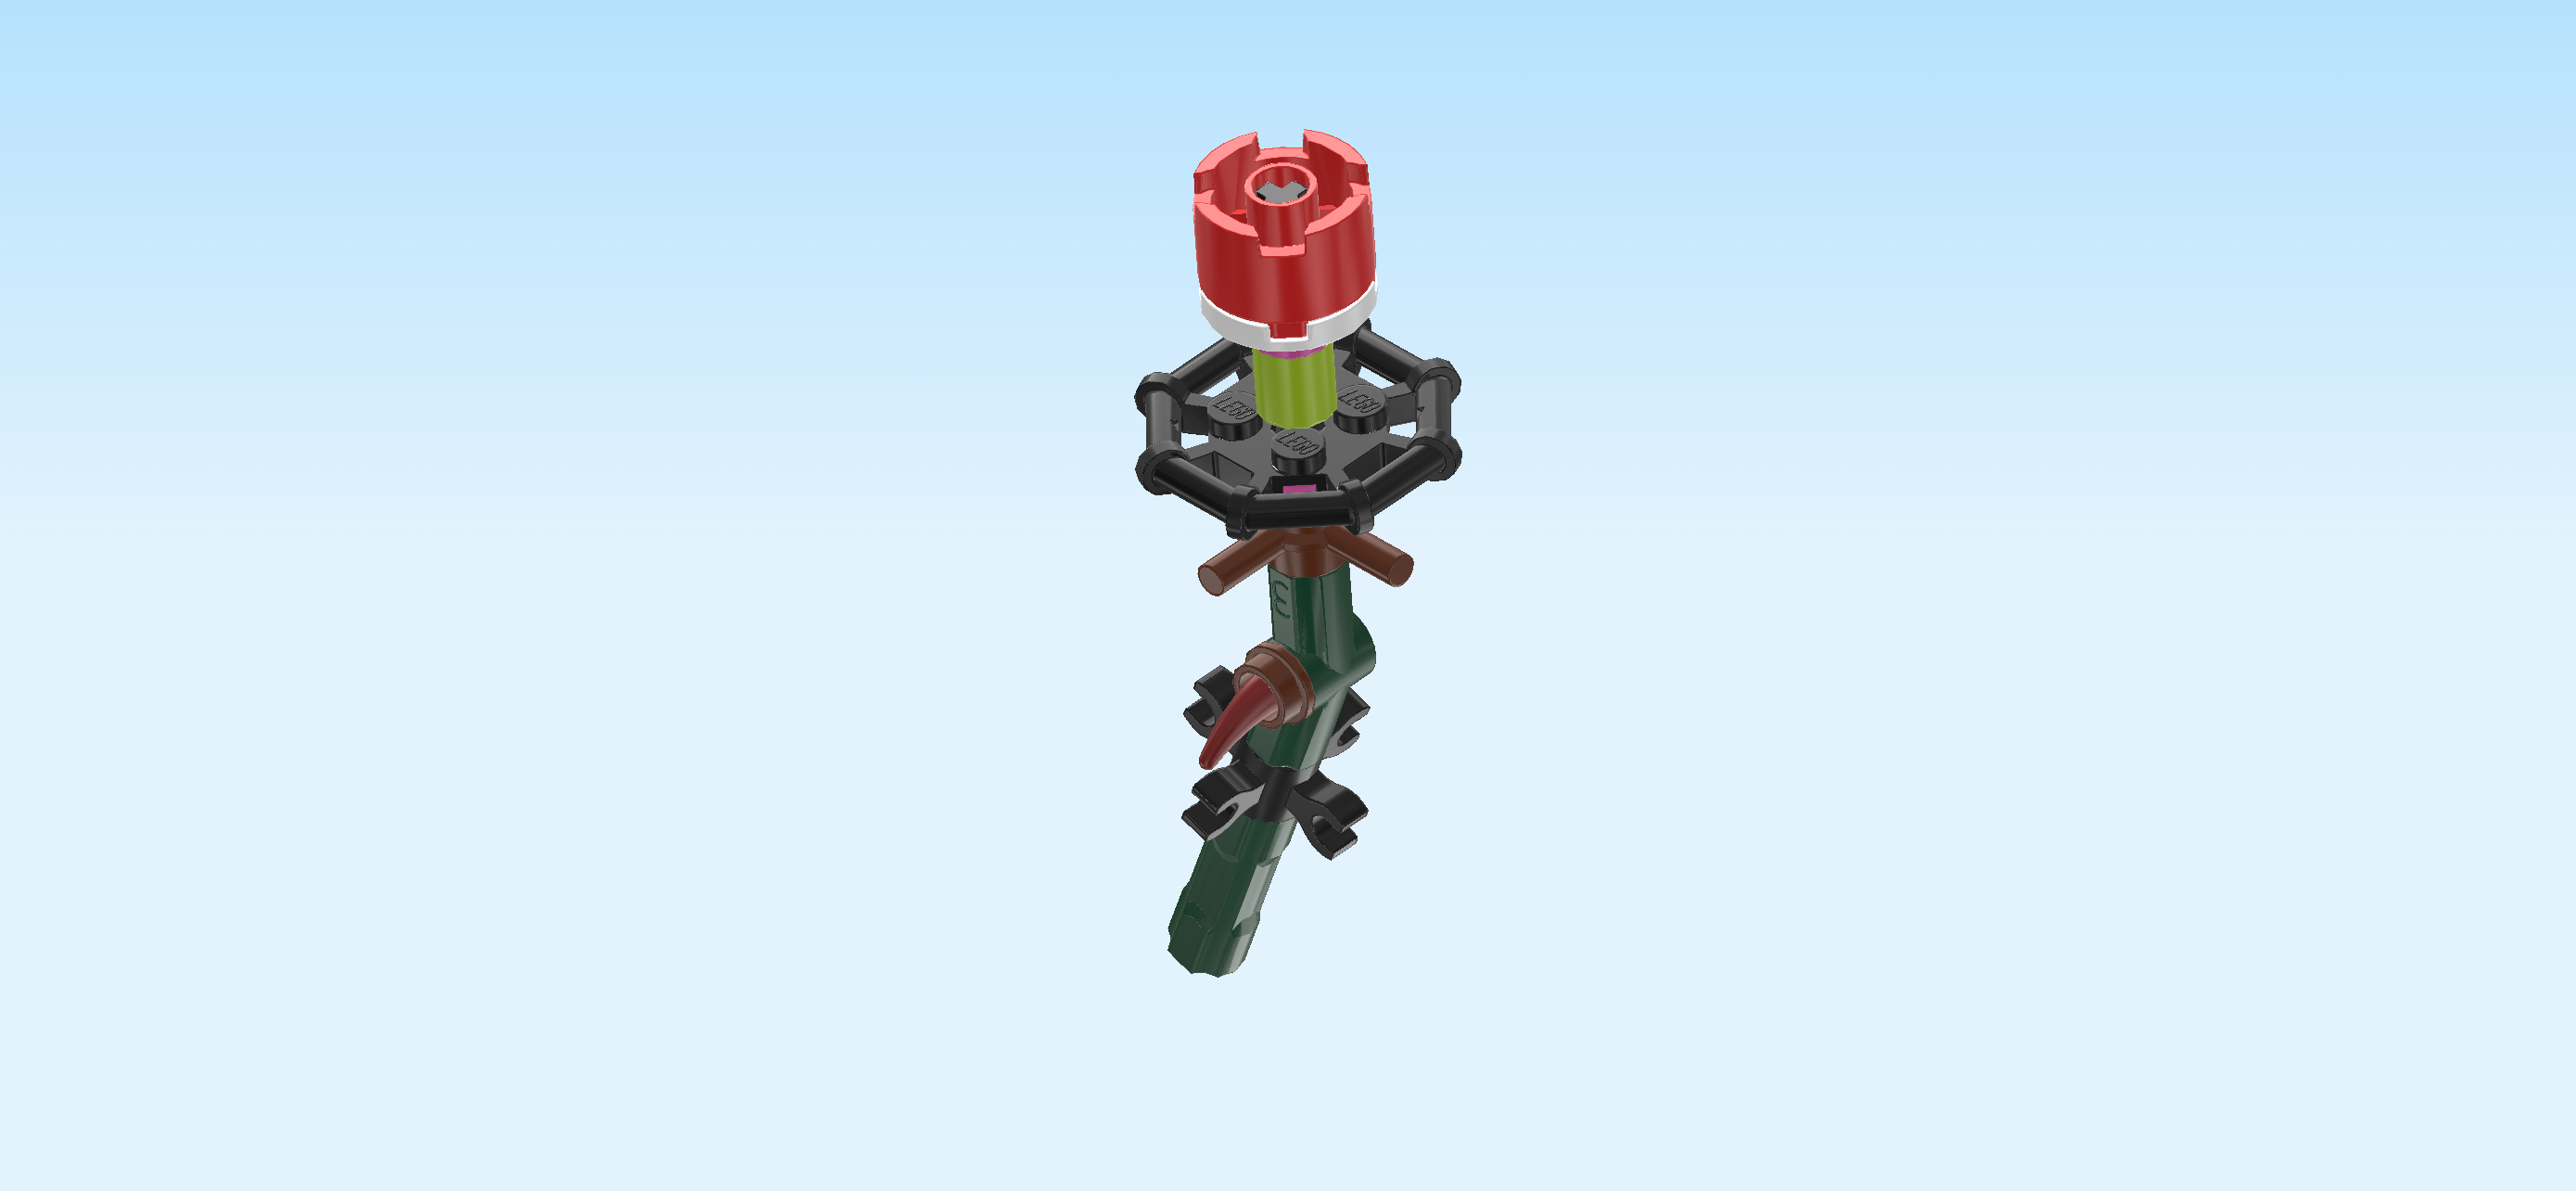
| The stem of the rose is finished! Well done! Flip the rose bud right side up again so that the petal tips are to the top. Insert the stem's top cross axle into the cross hole at the bottom of the rose bud base. The rose bud will be mounted at a slight angle. |
| You have finished building your very first rose of the iconic bouquet of roses! Very well done! To build the remaining roses with closed bud, navigate back to the section with the title "Let's start with the instructions for one rose with closed bud.". If you've only worked with the bricks of bag 1 so far, remember to open bag 2 for the third and fourth rose. If you have already built all four roses with closed bud or you want to build the remaining roses later, continue with the instructions by moving on to the next sentence. |
| Next, we will build the 4 roses with half-open bud. |
| Open bag number 3. You can choose to have the bricks sorted by color again. This bag contains all bricks and pieces for 2 of the 4 roses with half-open bud. If you would like to build all 4 roses at once, open both bag 3 and bag 4. |
| We will start with the instructions for one rose with half-open bud. You can either build the other 3 roses alongside the first one, or jump back to this section after building the first one and repeat the instructions until all 4 roses are built. |
| First, we will make the upper part of the rose stem and the rose bud base. |
| Collect the following 2 pieces: |
| 1 mossy green cross axle extension 3m, |
| and 1 bright yellow cross axle 3m. |
| Hold the cross axle extension vertically, cross hole running from top to bottom. |
| Insert the cross axle 3m from the top, 2/3 protruding towards the top. |
| Collect the following 2 pieces: |
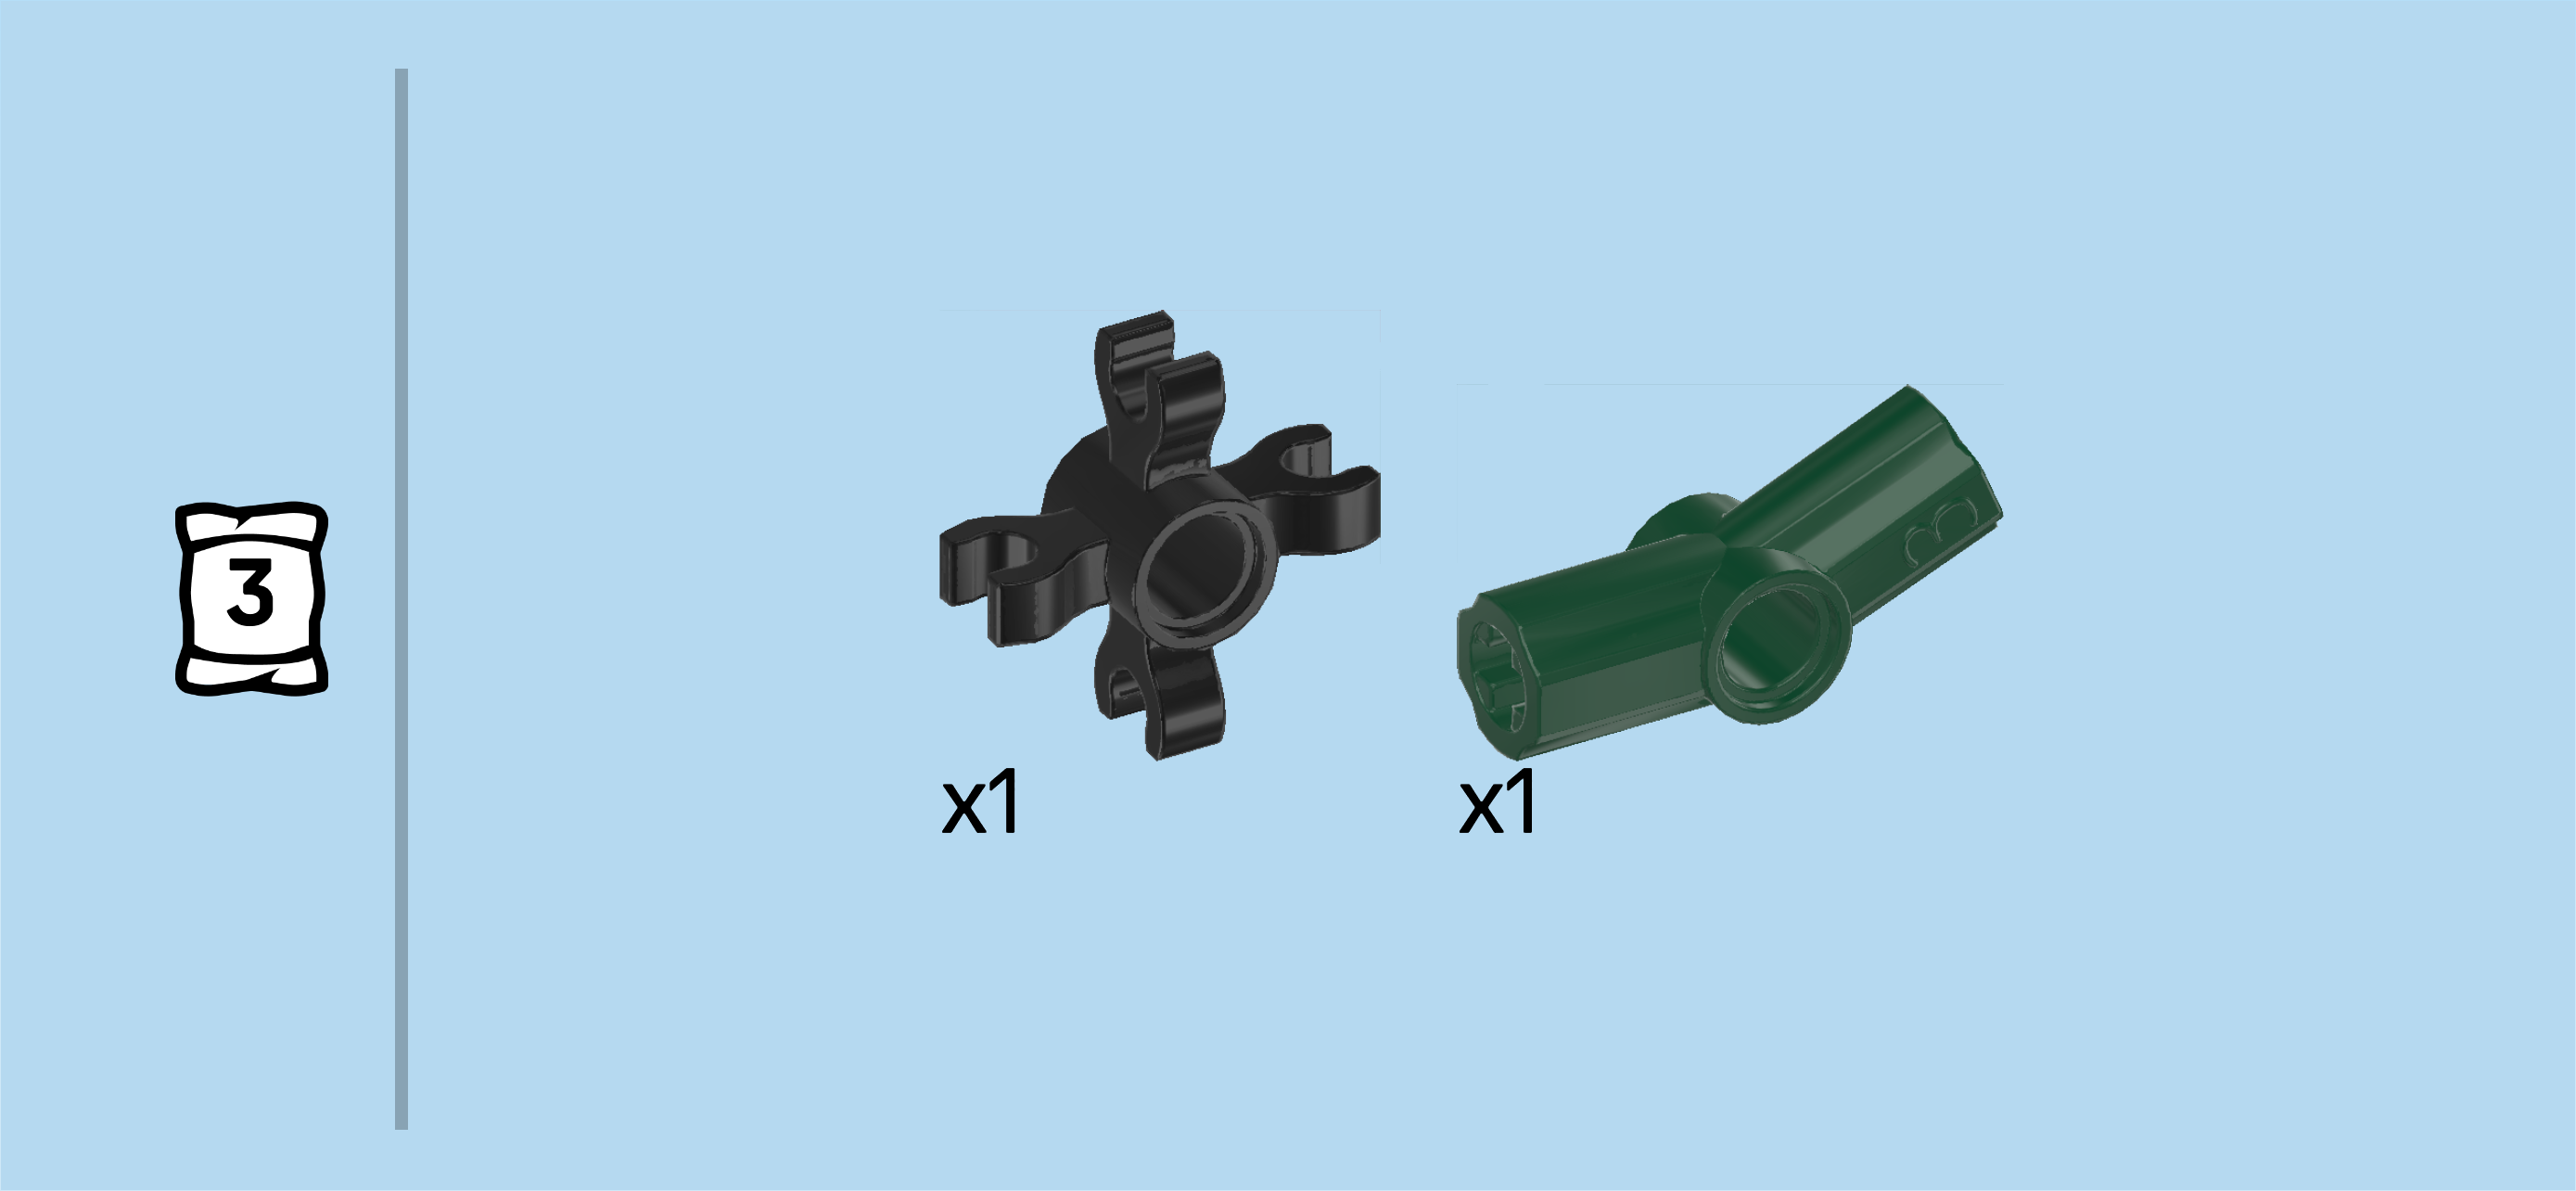
| 1 black technic bushing 1m with 4 clasps, |
| and 1 mossy green angled cross axle extension 3m with bushing hole. |
| Put the technic bushing 1m on the protruding cross axle, 1/3 of the cross axle still sticking out towards the top. |
| Put the angled cross axle extension on the cross axle. |
| Collect the following 2 pieces: |
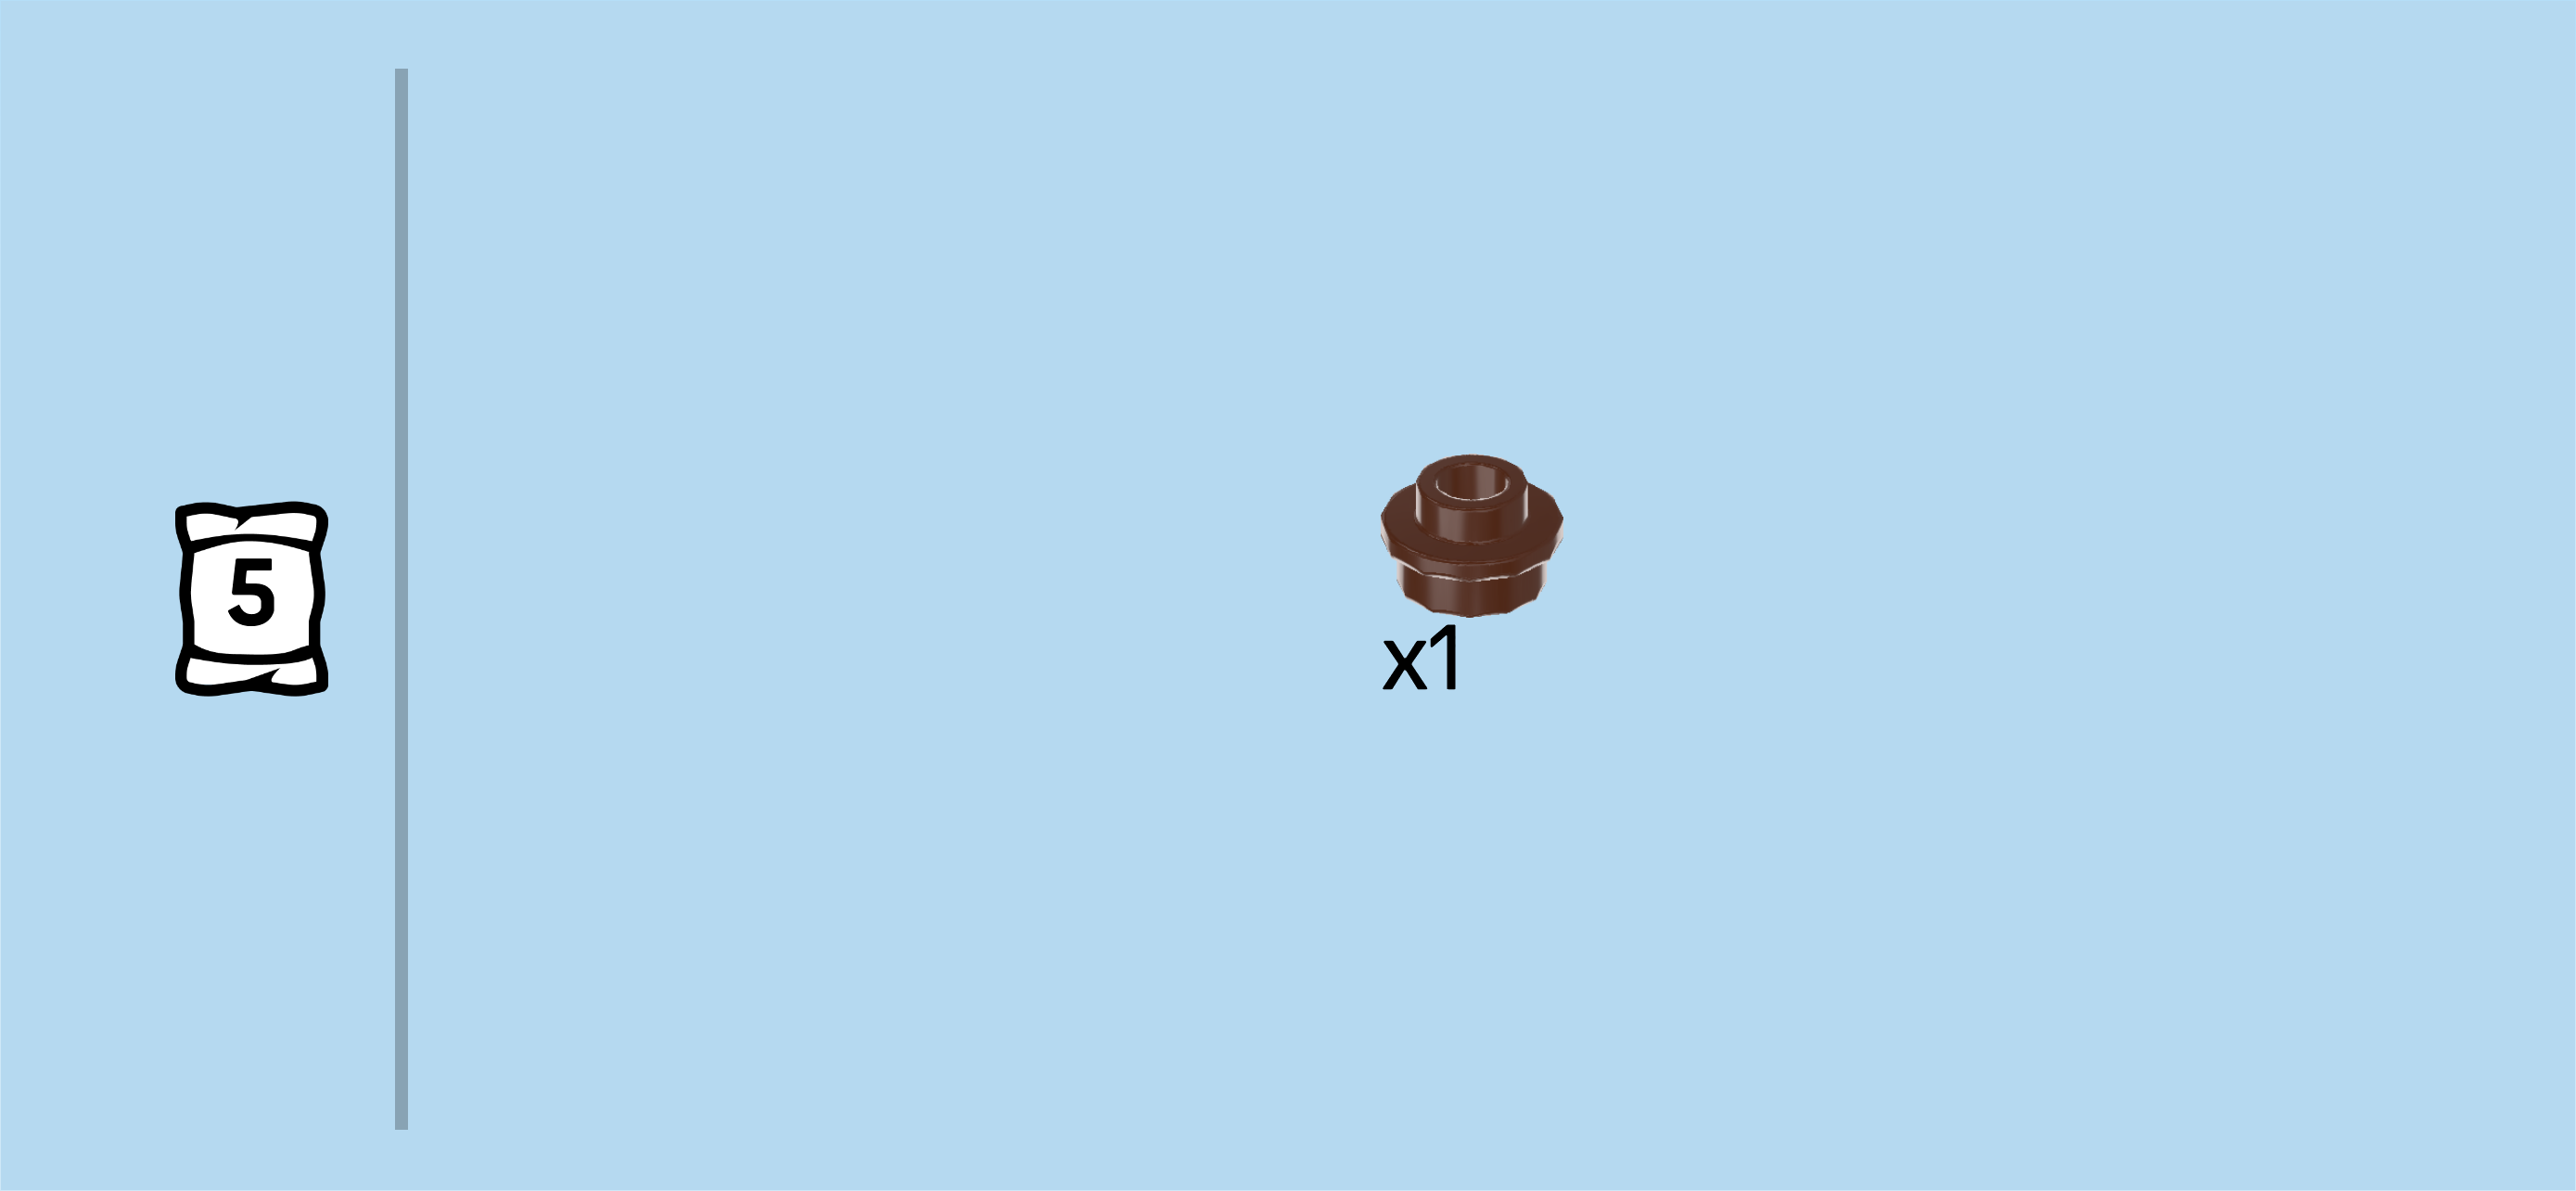
| 1 reddish brown round plate 1x1 with through-hole, |
| and 1 maroon red small horn with short shaft. |
| Turn the stem so that the angled part at the top is pointing to the back, meaning that the round bushing hole is now running from left to right. |
| Flip the round plate 1x1 upright and insert its hollow knob from the left into the round bushing hole. |
| Insert the shaft of the small horn into the previous piece, horn pointing to the left and down. |
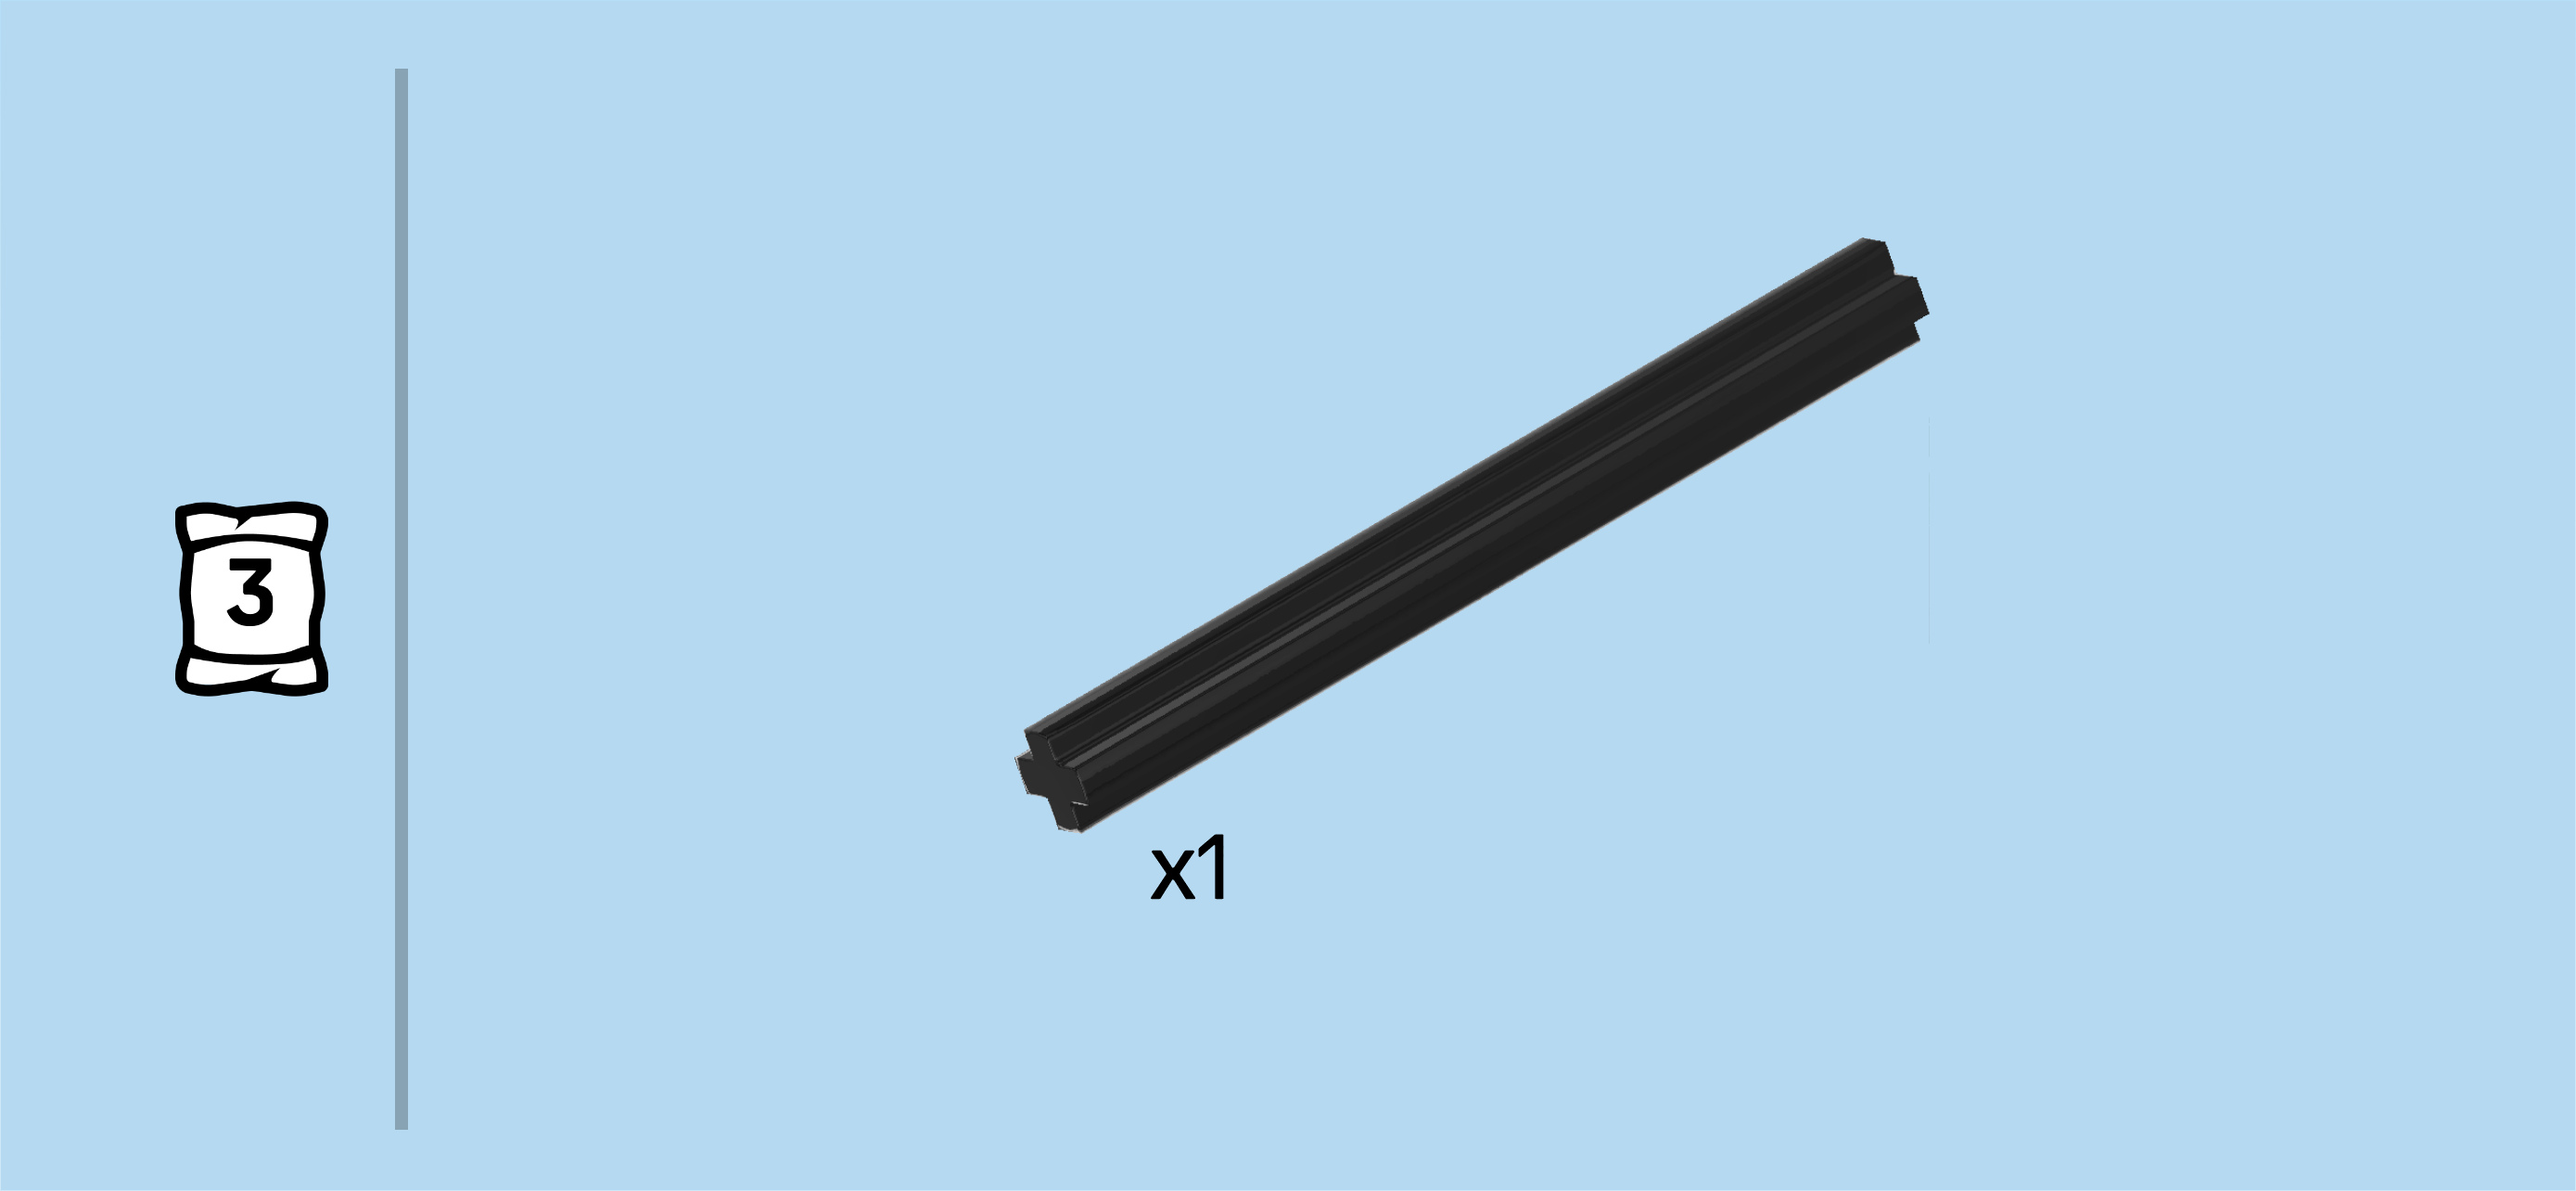
| Find 1 black cross axle 6m. |
| Insert it from the top into the top hole of the angled cross axle extension, 5m protruding to the top. |
| Collect the following 2 pieces: |
| 1 reddish brown cross bushing 1m with 4 side handles, |
| and 1 bright purple cross bushing 1x½. |
| Put the cross bushing with side handles from the top on the previous piece and push it all the way down. Make sure that 1 side handle is hovering above the small horn we have mounted earlier. If they are misaligned, remove the cross bushing and try again at a different angle. |
| Put the cross bushing 1x½ from the top on the cross axle and push it all the way down. |
| Find 1 black octagonal ring with 4 knobs. |
| Put it on the cross axle by inserting the cross axle into the cross hole in the center of the ring, and push it all the way down. |
| Collect the following 2 pieces: |
| 1 bright purple cross bushing 1x½, |
| and 1 bright yellowish green technic bushing 1m. |
| Put the technic bushing from the top on the cross axle and slide it all the way down. |
| Put the cross bushing on the cross axle, pushing it all the way down. |
| Next, we will build the center of the half-open rose bud. |
| Collect the following 2 pieces: |
| 1 white round tile 2x2 with middle hole, |
| and 1 bright red round brick 2x2 with top cross hole. |
| Put the round brick on the table. |
| Put the round tile on top. |
| The center of the half-open rose bud is finished! Flip it upside down and insert the remaining part of the cross axle from the bottom into the middle hole of the rose bud center. |
| Now, we will build 4 inner petals. |
| Collect the following 8 pieces: |
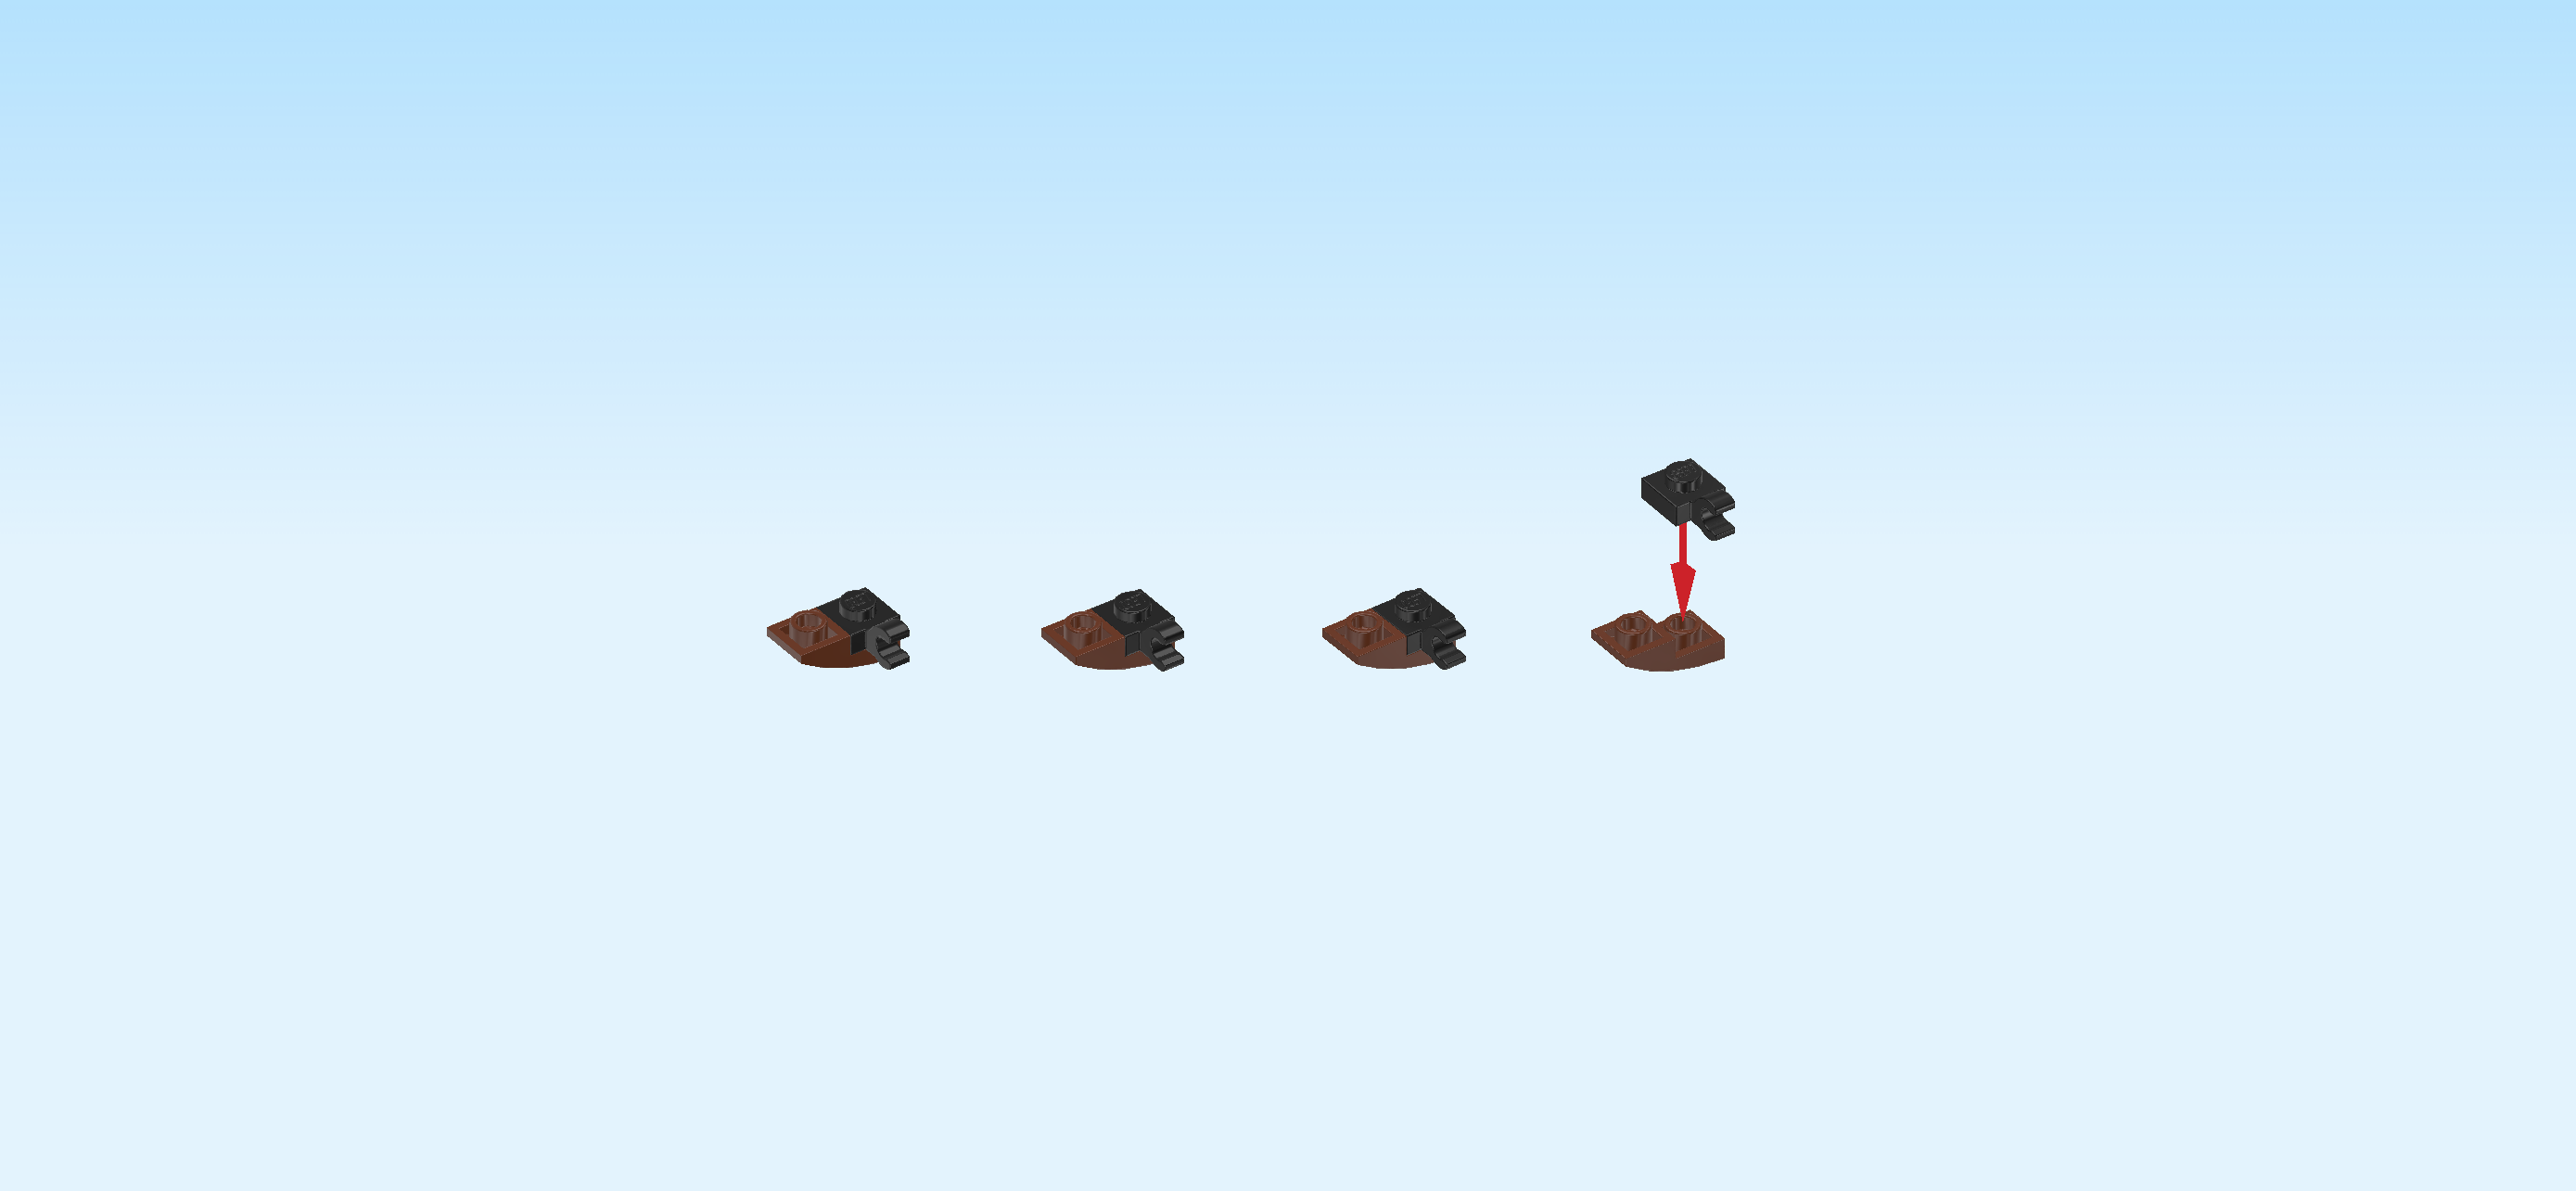
| 4 black plates 1x1 with vertical side clasp, |
| and 4 reddish brown one-stepped inverted curve tiles 1x2. |
| Put 1 inverted curve tile 1x2 horizontally on the table, higher part to the left. |
| Put 1 plate with clasp on the right knob, clasp to the front. |
| Repeat with the 6 remaining pieces. |
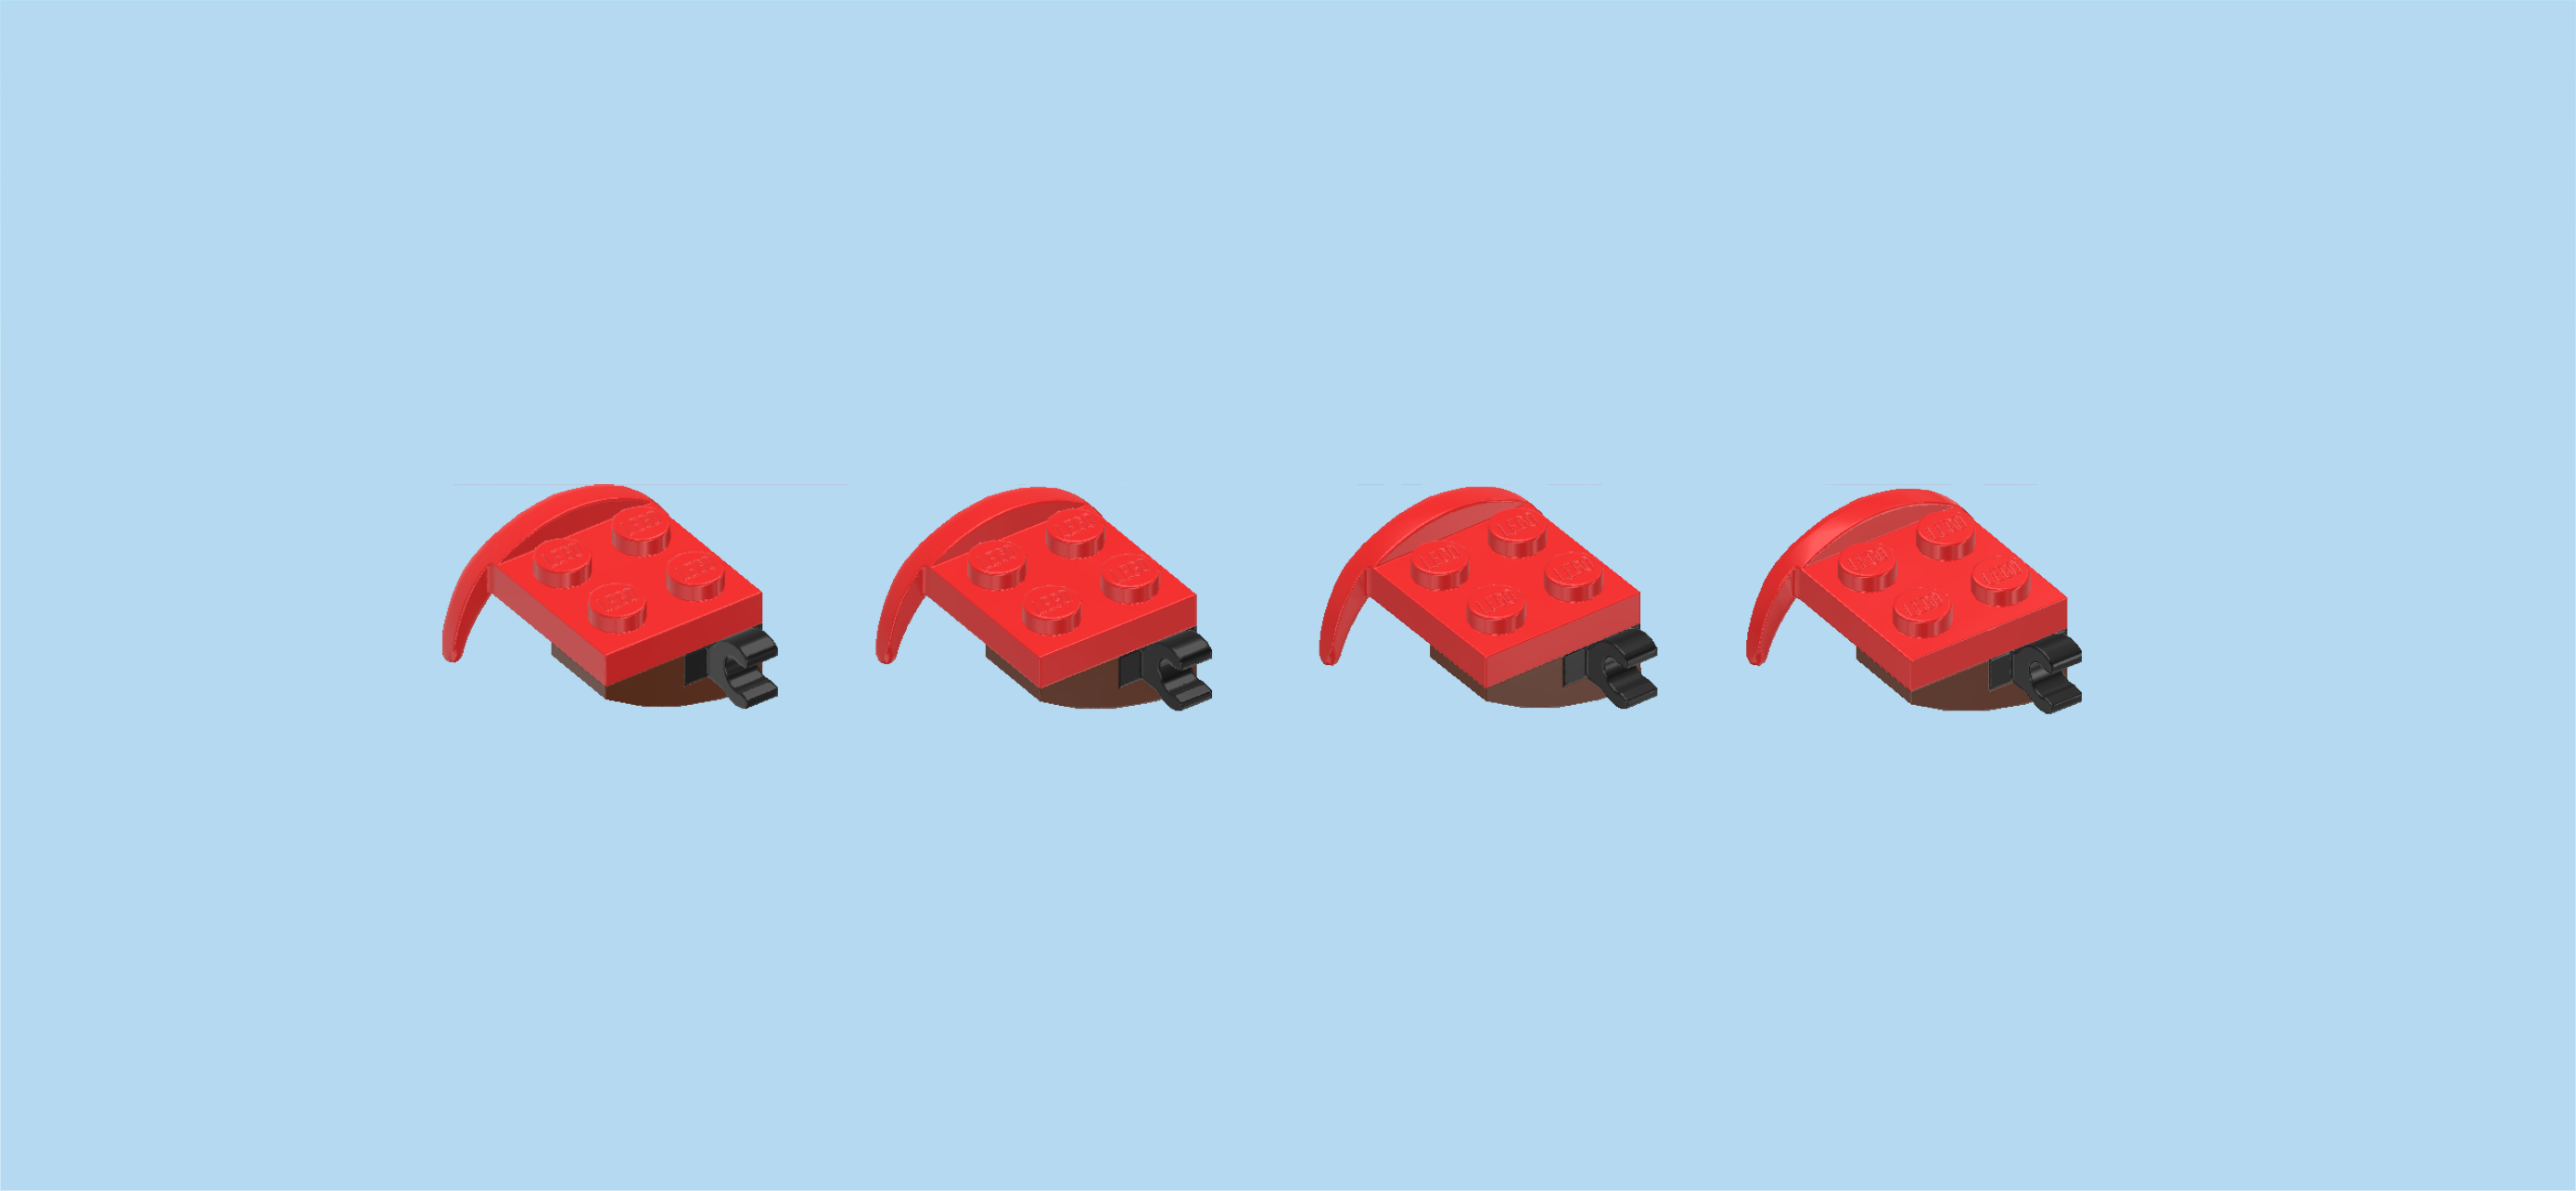
| Find 4 bright red mudguard plates 2x2 with curved mudguard. |
| Turn 1 so that the mudguard is to the back. Mount its front row on the 2 previous pieces, 1 row and mudguard overhanging to the back. |
| Repeat this with the 3 remaining mudguard plates and the 3 remaining inner leaf structures. |
| The 4 inner petals are finished! Well done! Before you mount them, pick up the stem again. Make sure that the small horn is now pointing to the right. |
| Now, flip 1 petal upside down. This means that its 4 knobs will point to the bottom, the mudguard tips are to the top, and make sure the clasp is pointing to the left. |
| Snap the clasp on the octagonal ring segment that is not directly above the small horn but 1 segment towards the back. Do not fold up the petal just yet. We will keep all petals in a horizontal position now. |
| Skip 1 ring segment towards the left, and snap another petal on the octagonal ring, 4 knobs pointing down, mudguard tips pointing up. |
| Skip 1 ring segment towards the left front and snap the third petal on the octagonal ring, 4 knobs to the bottom and mudguard tips to the top. |
| Skip 1 ring segment to the right and snap the last petal on the octagonal ring, knobs to the bottom, mudguard tips to the top. If done correctly, the petals are mounted symmetrically on the octagonal ring with 1 empty ring segment between each 2 petals. |
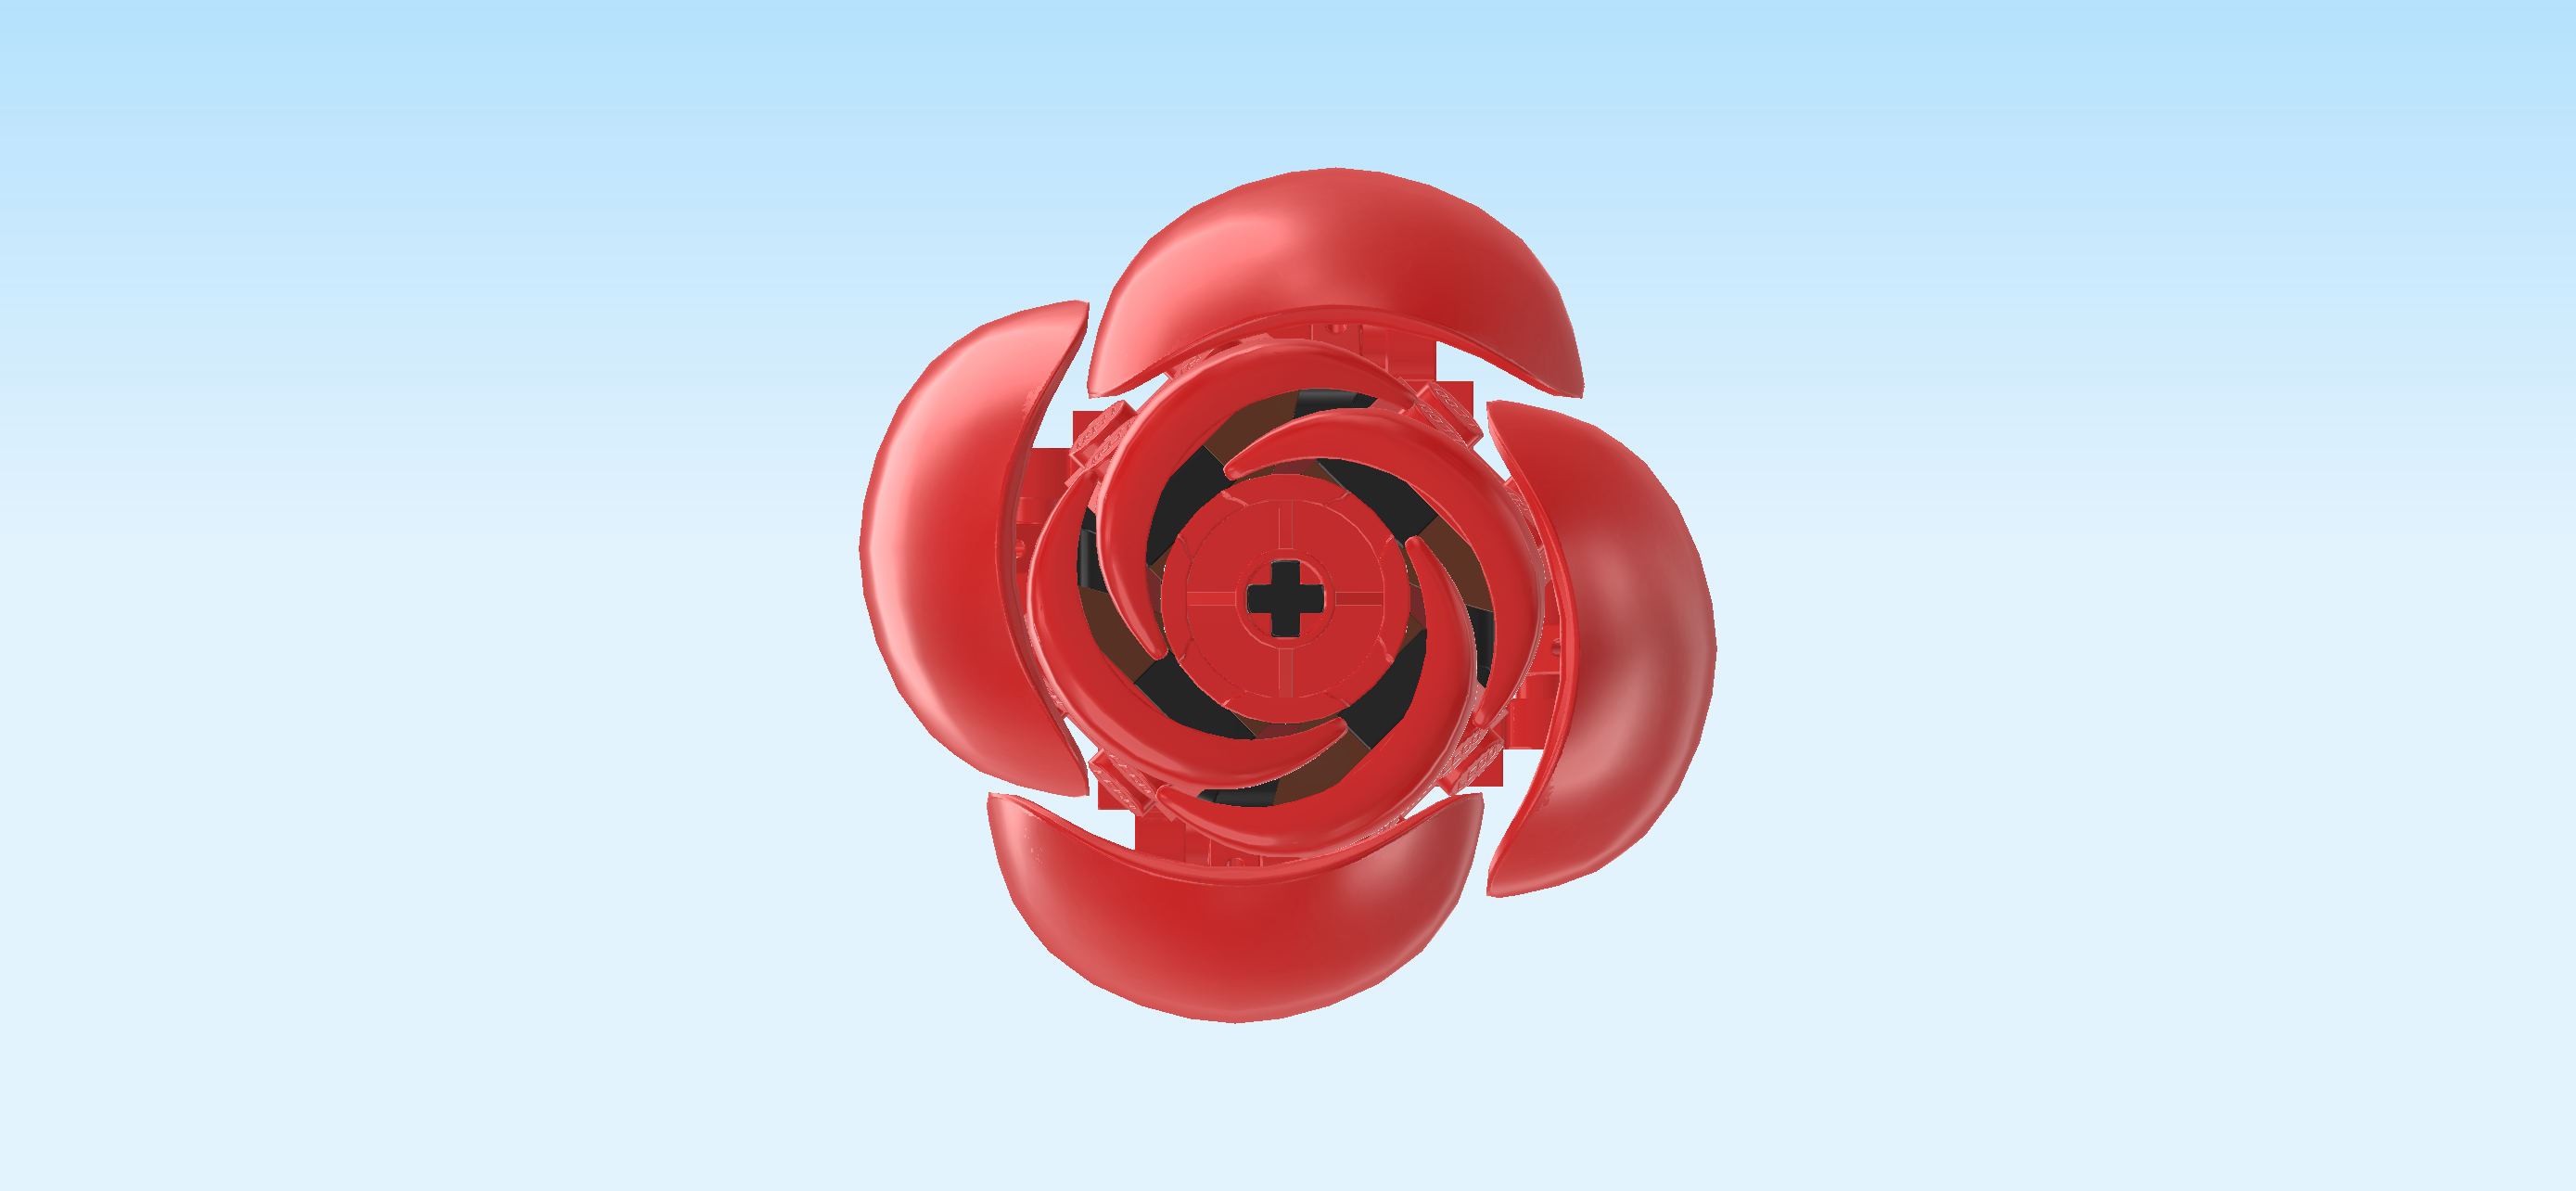
| Now fold the 4 petals up and make sure they are intertwined. This is easiest when you fold them up all at the same time. Intertwined means that the right tip of the frontmost petal will be hugged by the left tip of its neighboring petal, whose right tip again will be hugged by the left tip of its neighboring petal on the other side, and so on. This might be tricky, you can ask for help if you like. |
| Now, we will build 4 holders of the outer leaves. |
| Find 8 maroon red rounded plates 1x2. |
| Stack 2 of them on top of each other and put them horizontally on the table. |
| Make 3 more stacks of 2 rounded plates each and also put them horizontally on the table. |
| Find 8 bright red plates 1x1 with top clasp. |
| Put 2 on one of the horizontally oriented stacks. Make sure that the clasps are oriented vertically, meaning that the tips of the clasps should be at the front and back, not on the left and right. |
| Repeat with the remaining clasp plates on the 3 remaining stacks. |
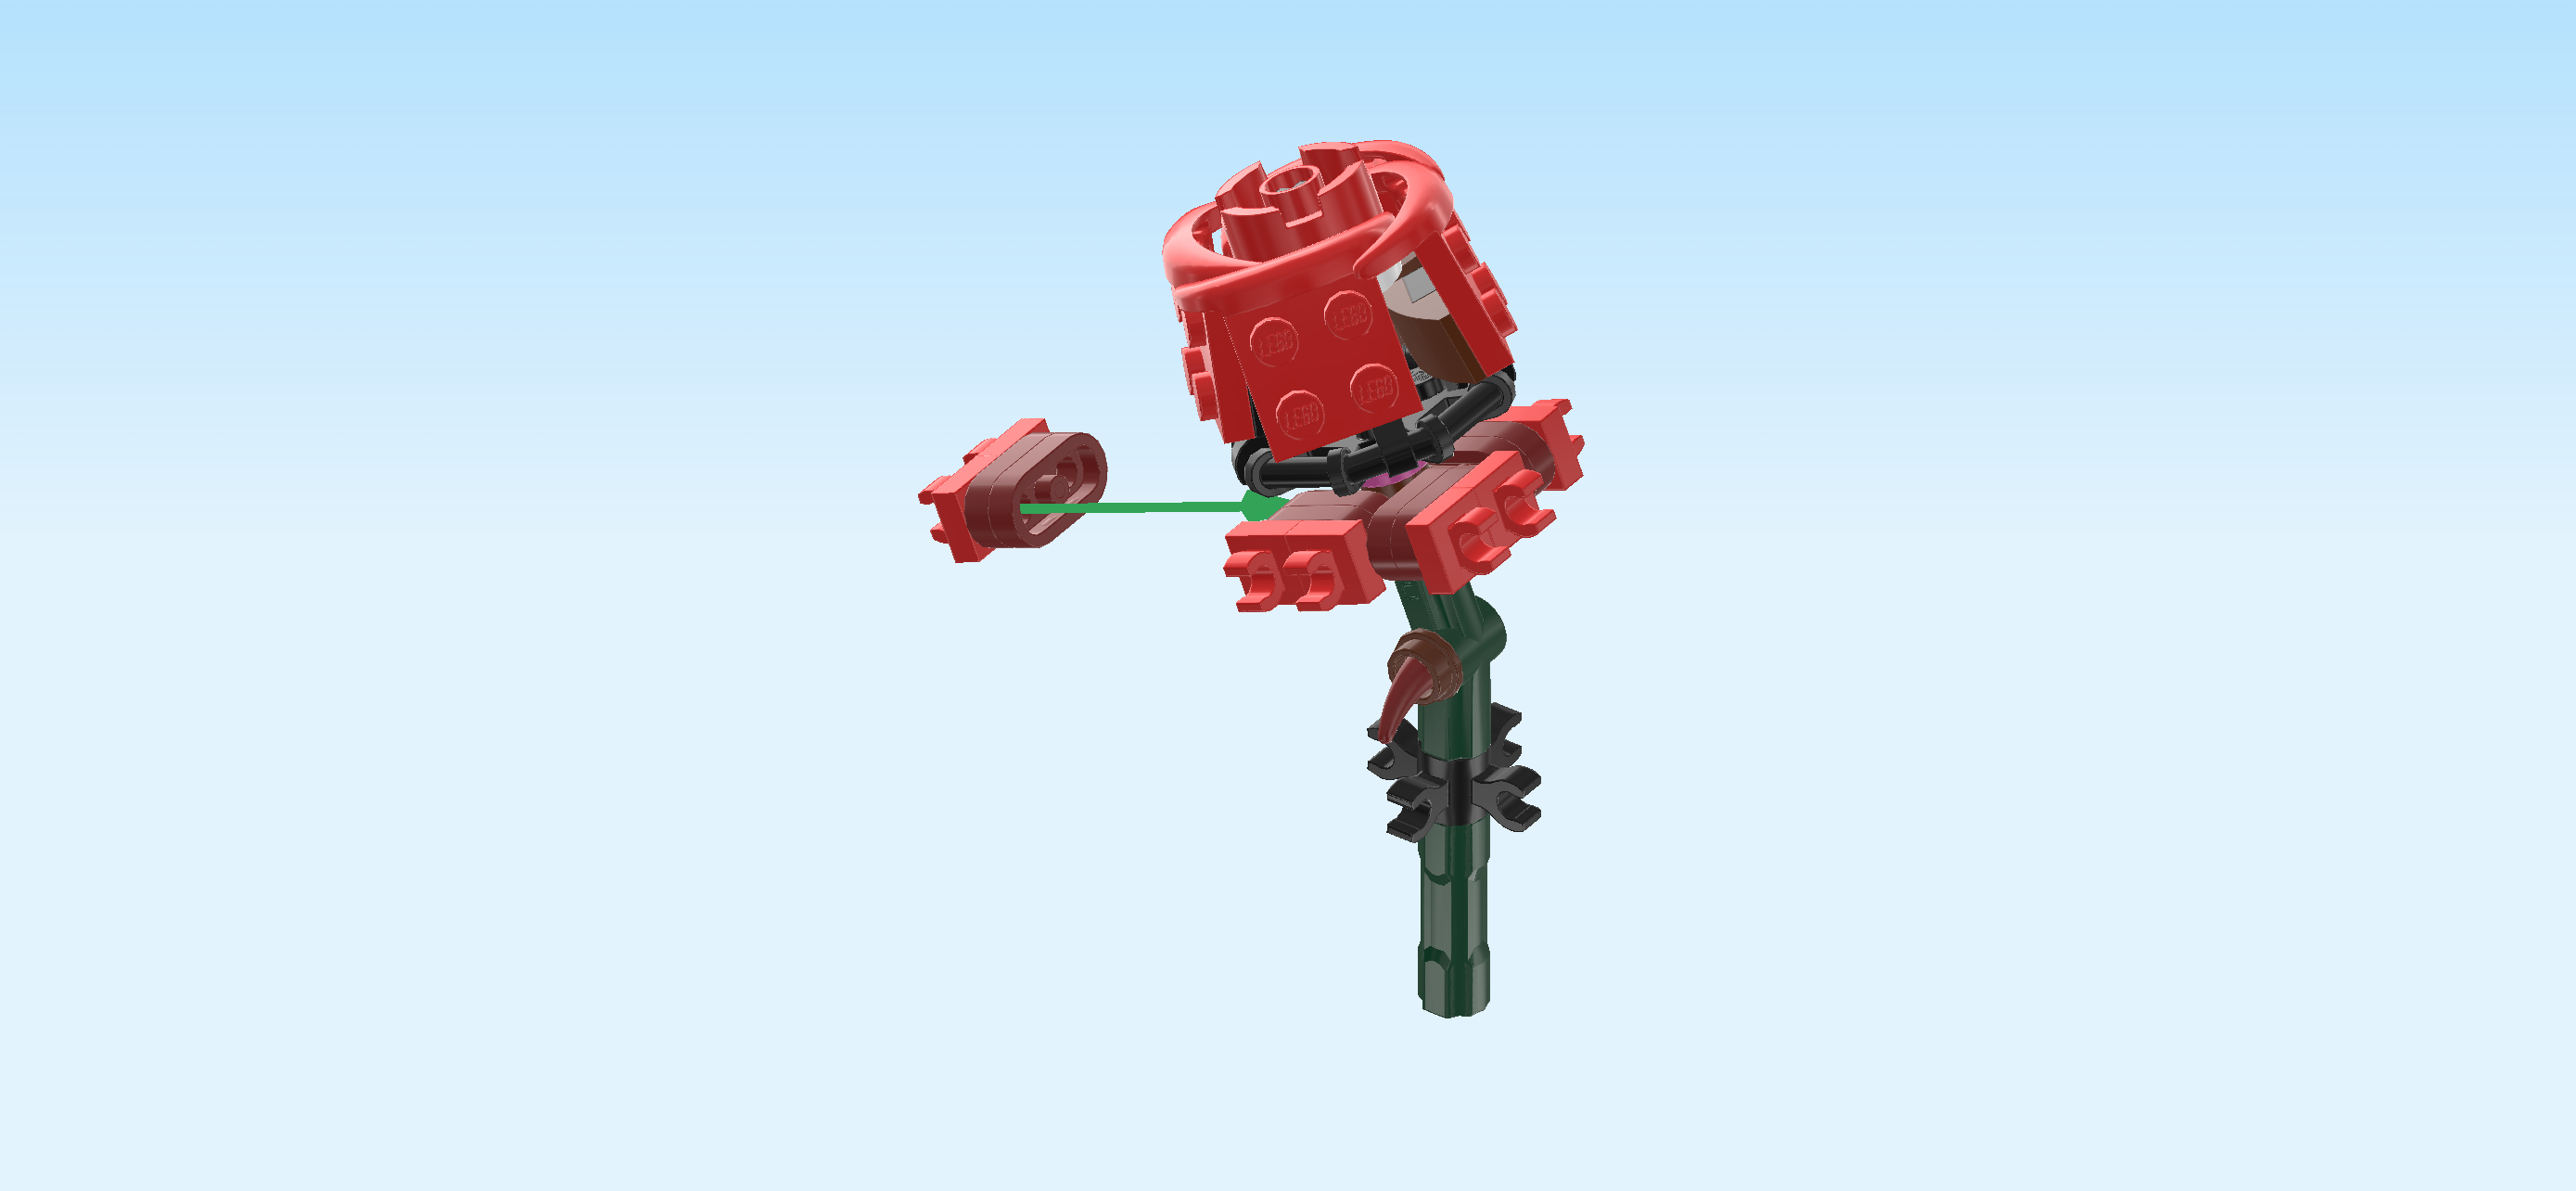
| The 4 holders of the outer leaves are finished! Flip 1 upright horizontally, clasps pointing towards you, and put it centered on 1 of the 4 side handles below the octagonal ring. This means that you insert the side handle into the back side of the rounded plate stack. |
| Repeat with the other 3 holders on the 3 remaining side handles. |
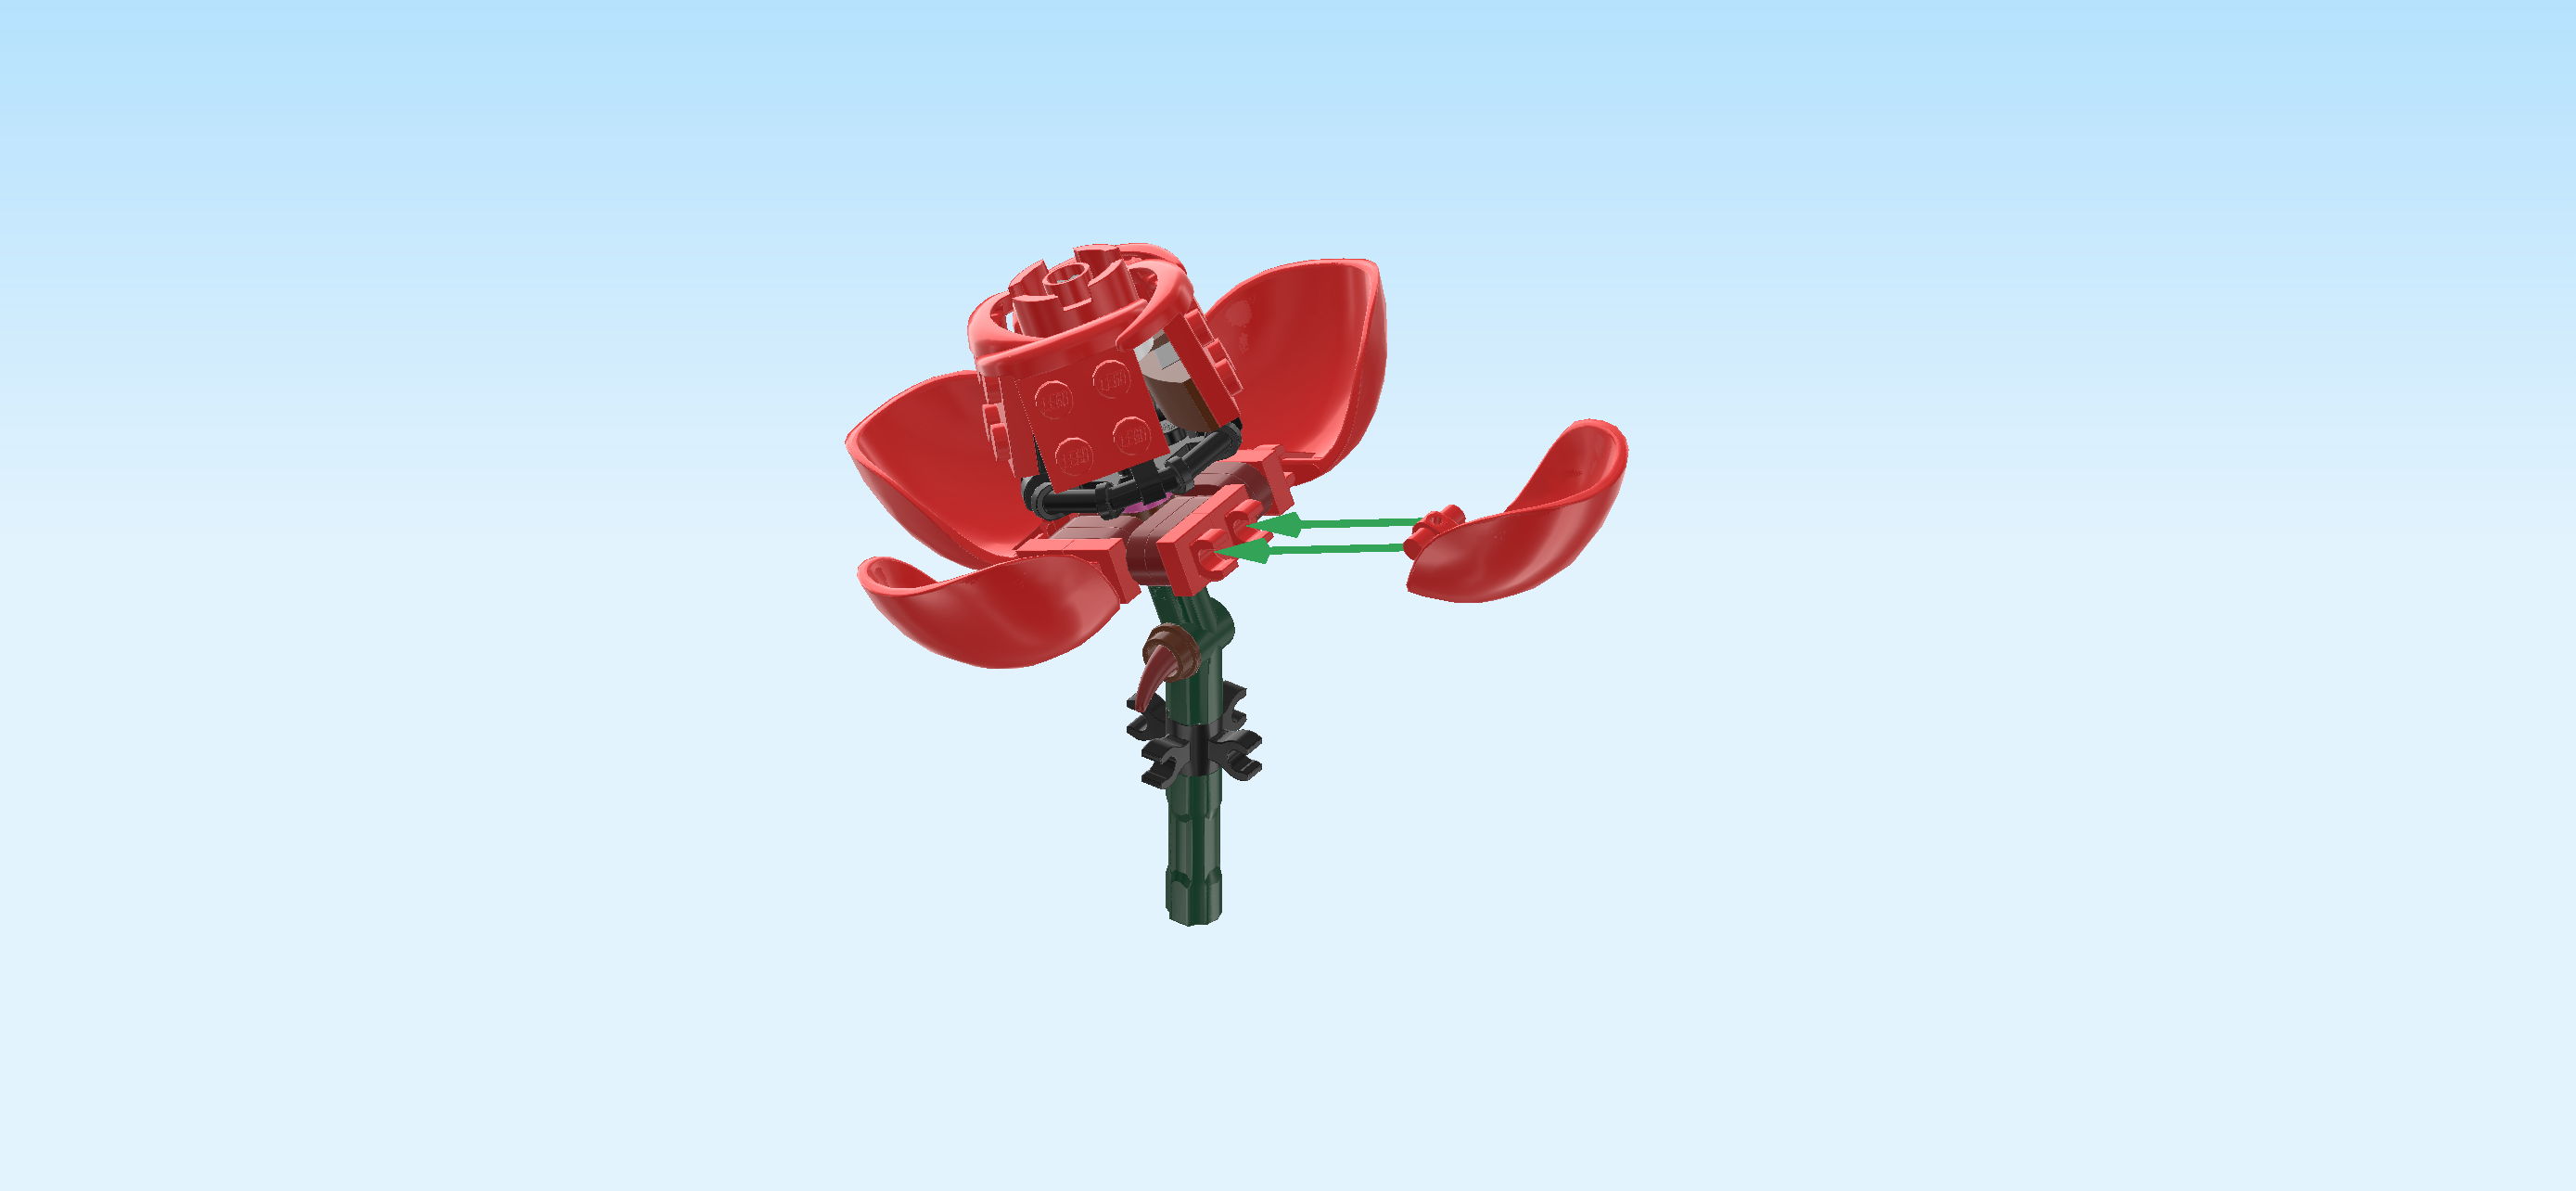
| Find 4 bright red large bubble shells with double shaft. |
| Hold 1 so that the bubble is bulging outwards and the shaft is at the bottom. |
| Snap the shaft into the 2 clasps of one of the petal holders. Do not fold it up yet. |
| Repeat with the other 3 bubble shells. |
| Again, these four bubble shells which are the outer petals of the rose bud, should be slightly intertwined. Fold them up and make sure that the right edge of the frontmost petal is slightly hugged by the left edge of the neighboring petal, and so on. |
| Now, we will build the lower part of the rose stem of the half-open rose. |
| Collect the following 16 pieces: |
| 8 bright red cross axles 2m with 2 grooves, |
| and 8 mossy green cross axle extensions 3m. |
| Hold 1 cross axle extension upright, cross hole running from top to bottom. |
| Insert 1 cross axle from the top into the top cross hole, 1/2 sticking out towards the top. |
| Repeat with the remaining 7 cross axles and cross axle extensions. |
| Now, put the 8 stem parts together to form 1 long stem. If done correctly, the bottom end is flat and the top end has one half of a cross axle sticking out. |
| The lower part of the rose stem is finished! Great job! Insert its top cross axle from the bottom into the bottom cross hole of the top stem part. |
| Find 2 mossy green cockpits 4x5x1 with shaft. |
| Hold 1 so that the slopes are all bulging towards the top. |
| Snap its shaft into the clasp directly below the small horn. Adjust its position to your liking. |
| Likewise, snap the shaft of the other one into the clasp to the left of the previous piece, slopes again bulging towards the top. Adjust its position to your liking. |
| The first rose with half-open bud is finished! Very well done, this was a little more difficult than the first type of rose. Navigate back to the section with the title "First, we will make the upper part of the rose stem and the rose bud base." to build the next rose with half-open bud. If you've only worked with the bricks of bag 3, remember to open bag number 4 for the third and fourth rose. Repeat this until you have four roses of that type. Once that is the case, you can continue the instructions with the next sentence. |
| Next, we will build 4 roses in full bloom and 4 baby's breaths. |
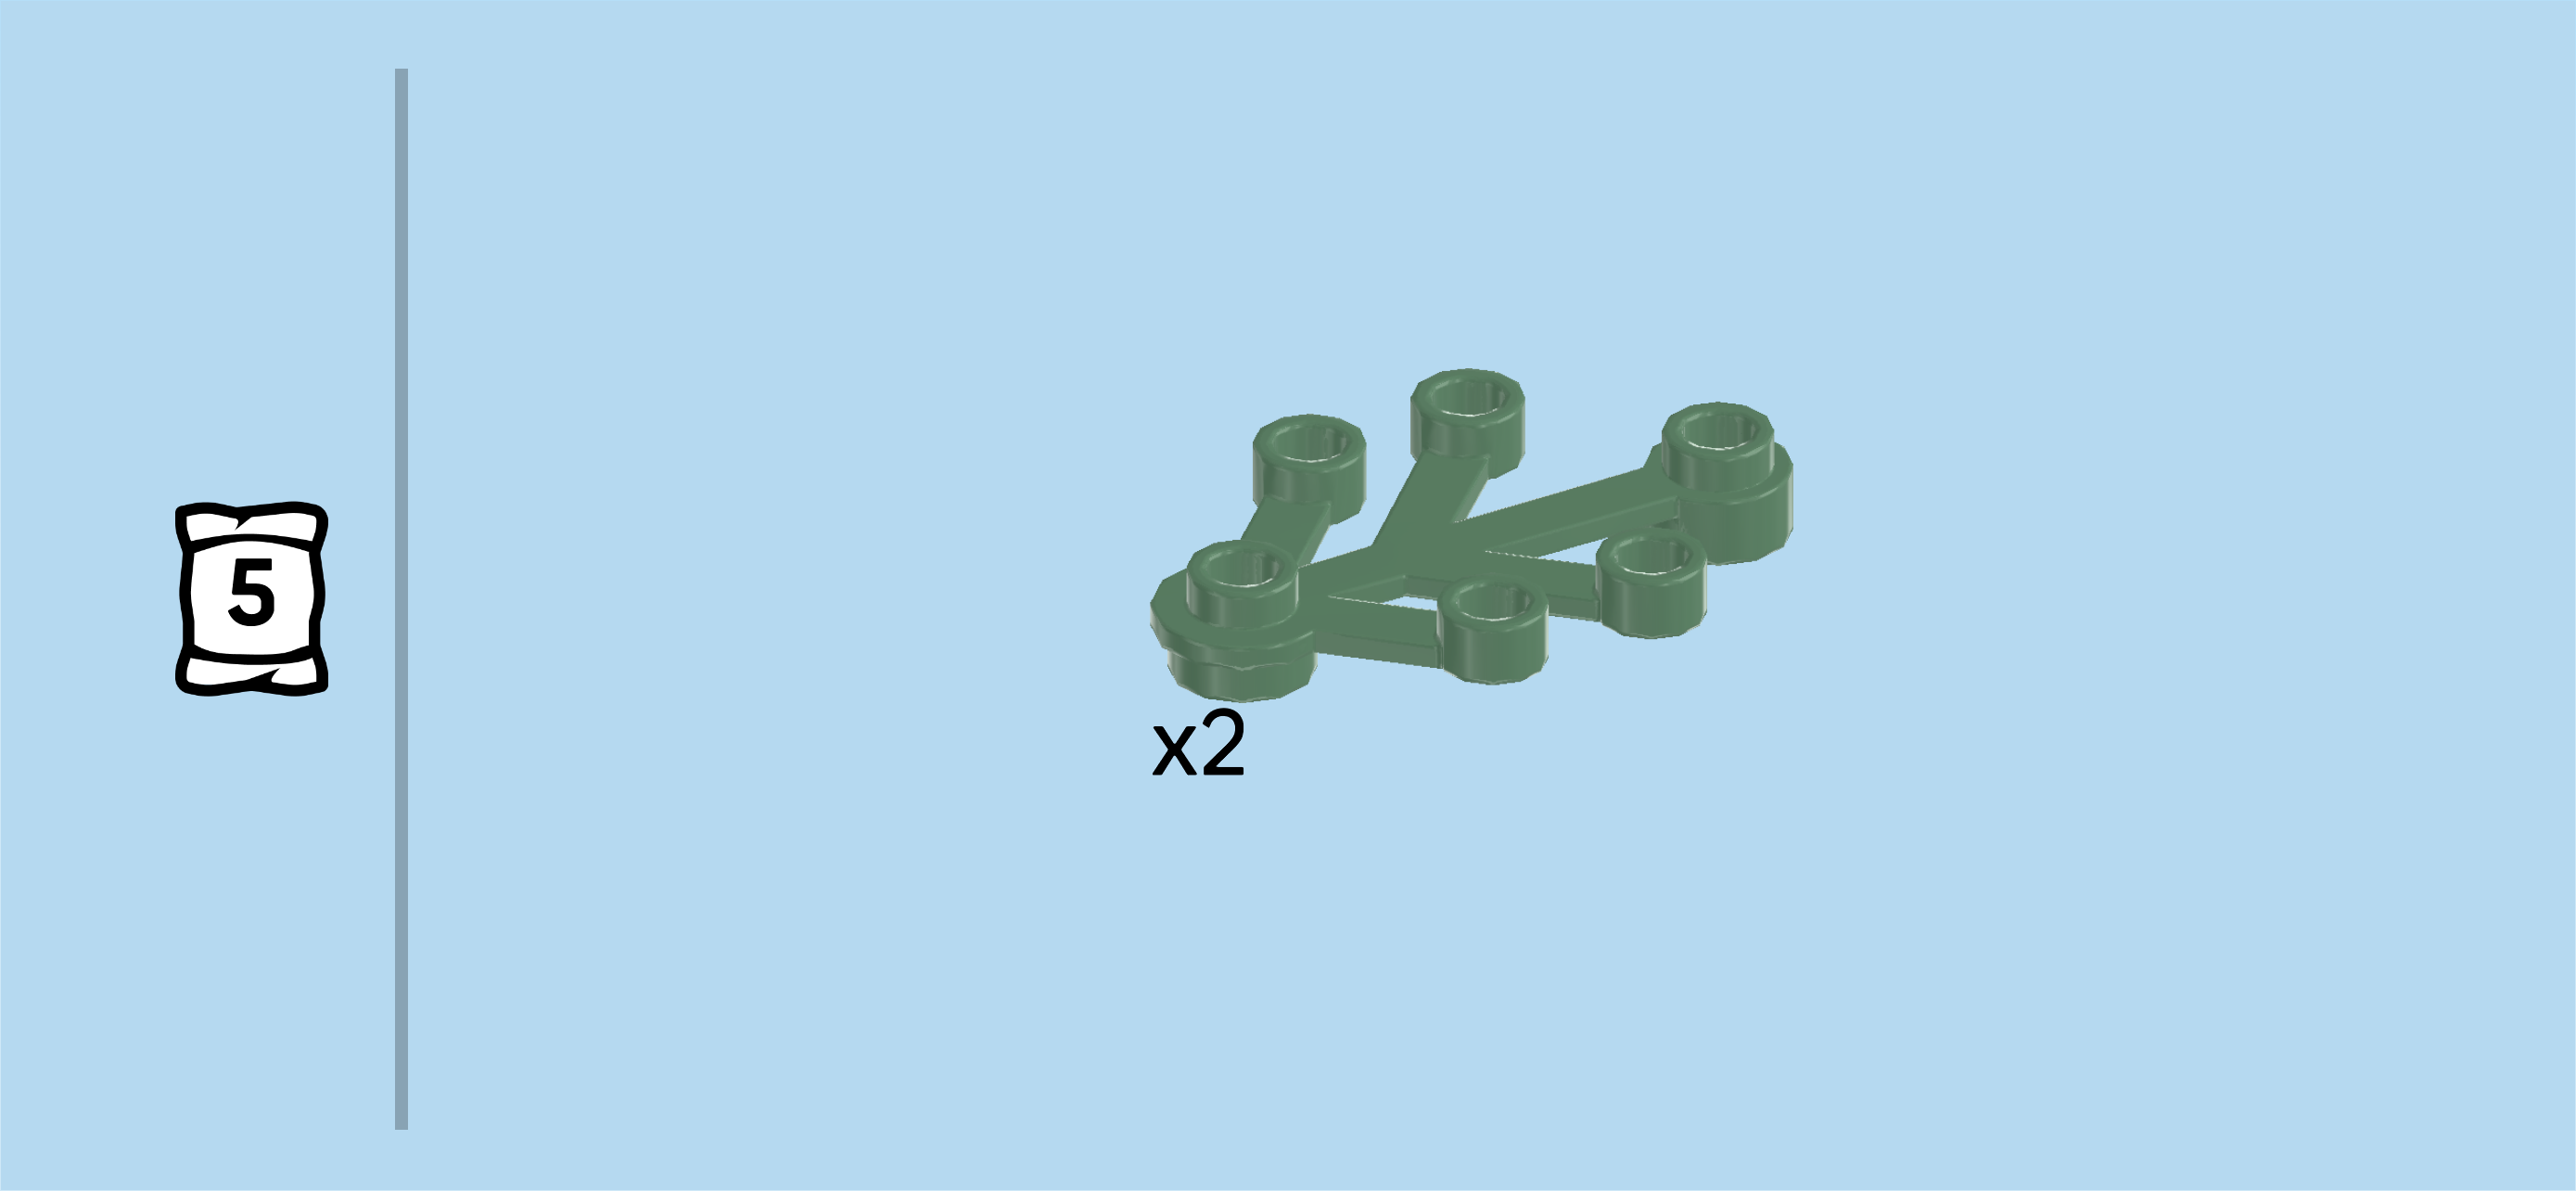
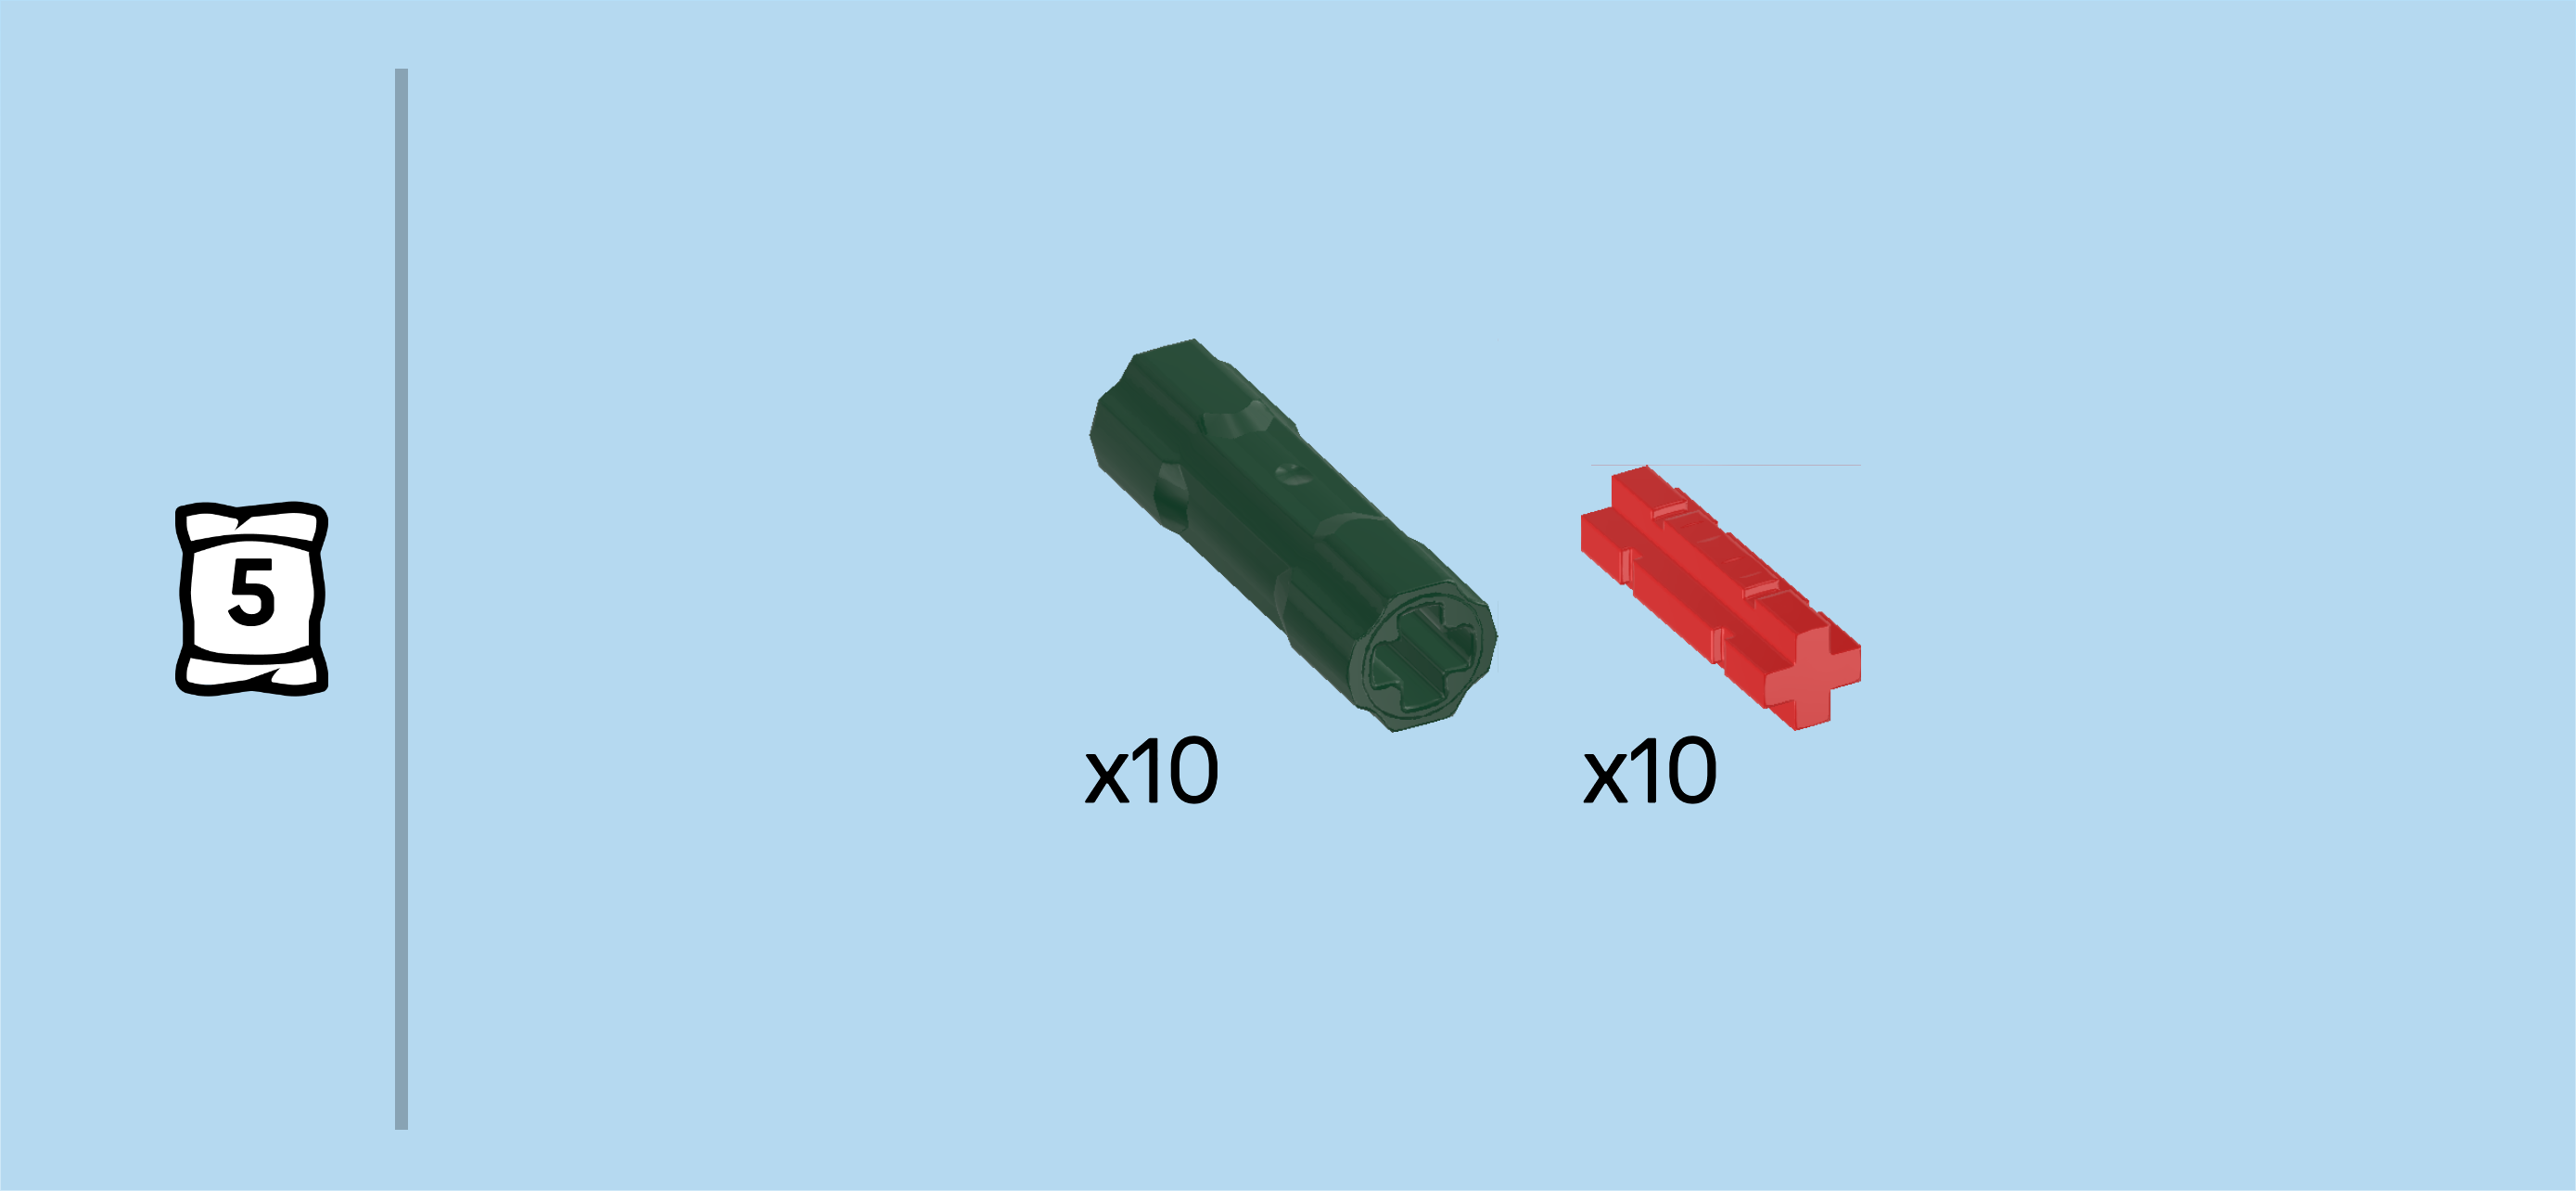
| Open bag number 5. You can choose to have the bricks sorted by color again. This bag contains all bricks and pieces for the 2 of the 4 baby's breaths and 2 of the the 4 roses in full bloom. If you would like to build all 4 baby's breaths and all 4 roses at once, open both bag 5 and bag 6. |
| Let's start with the baby's breaths. |
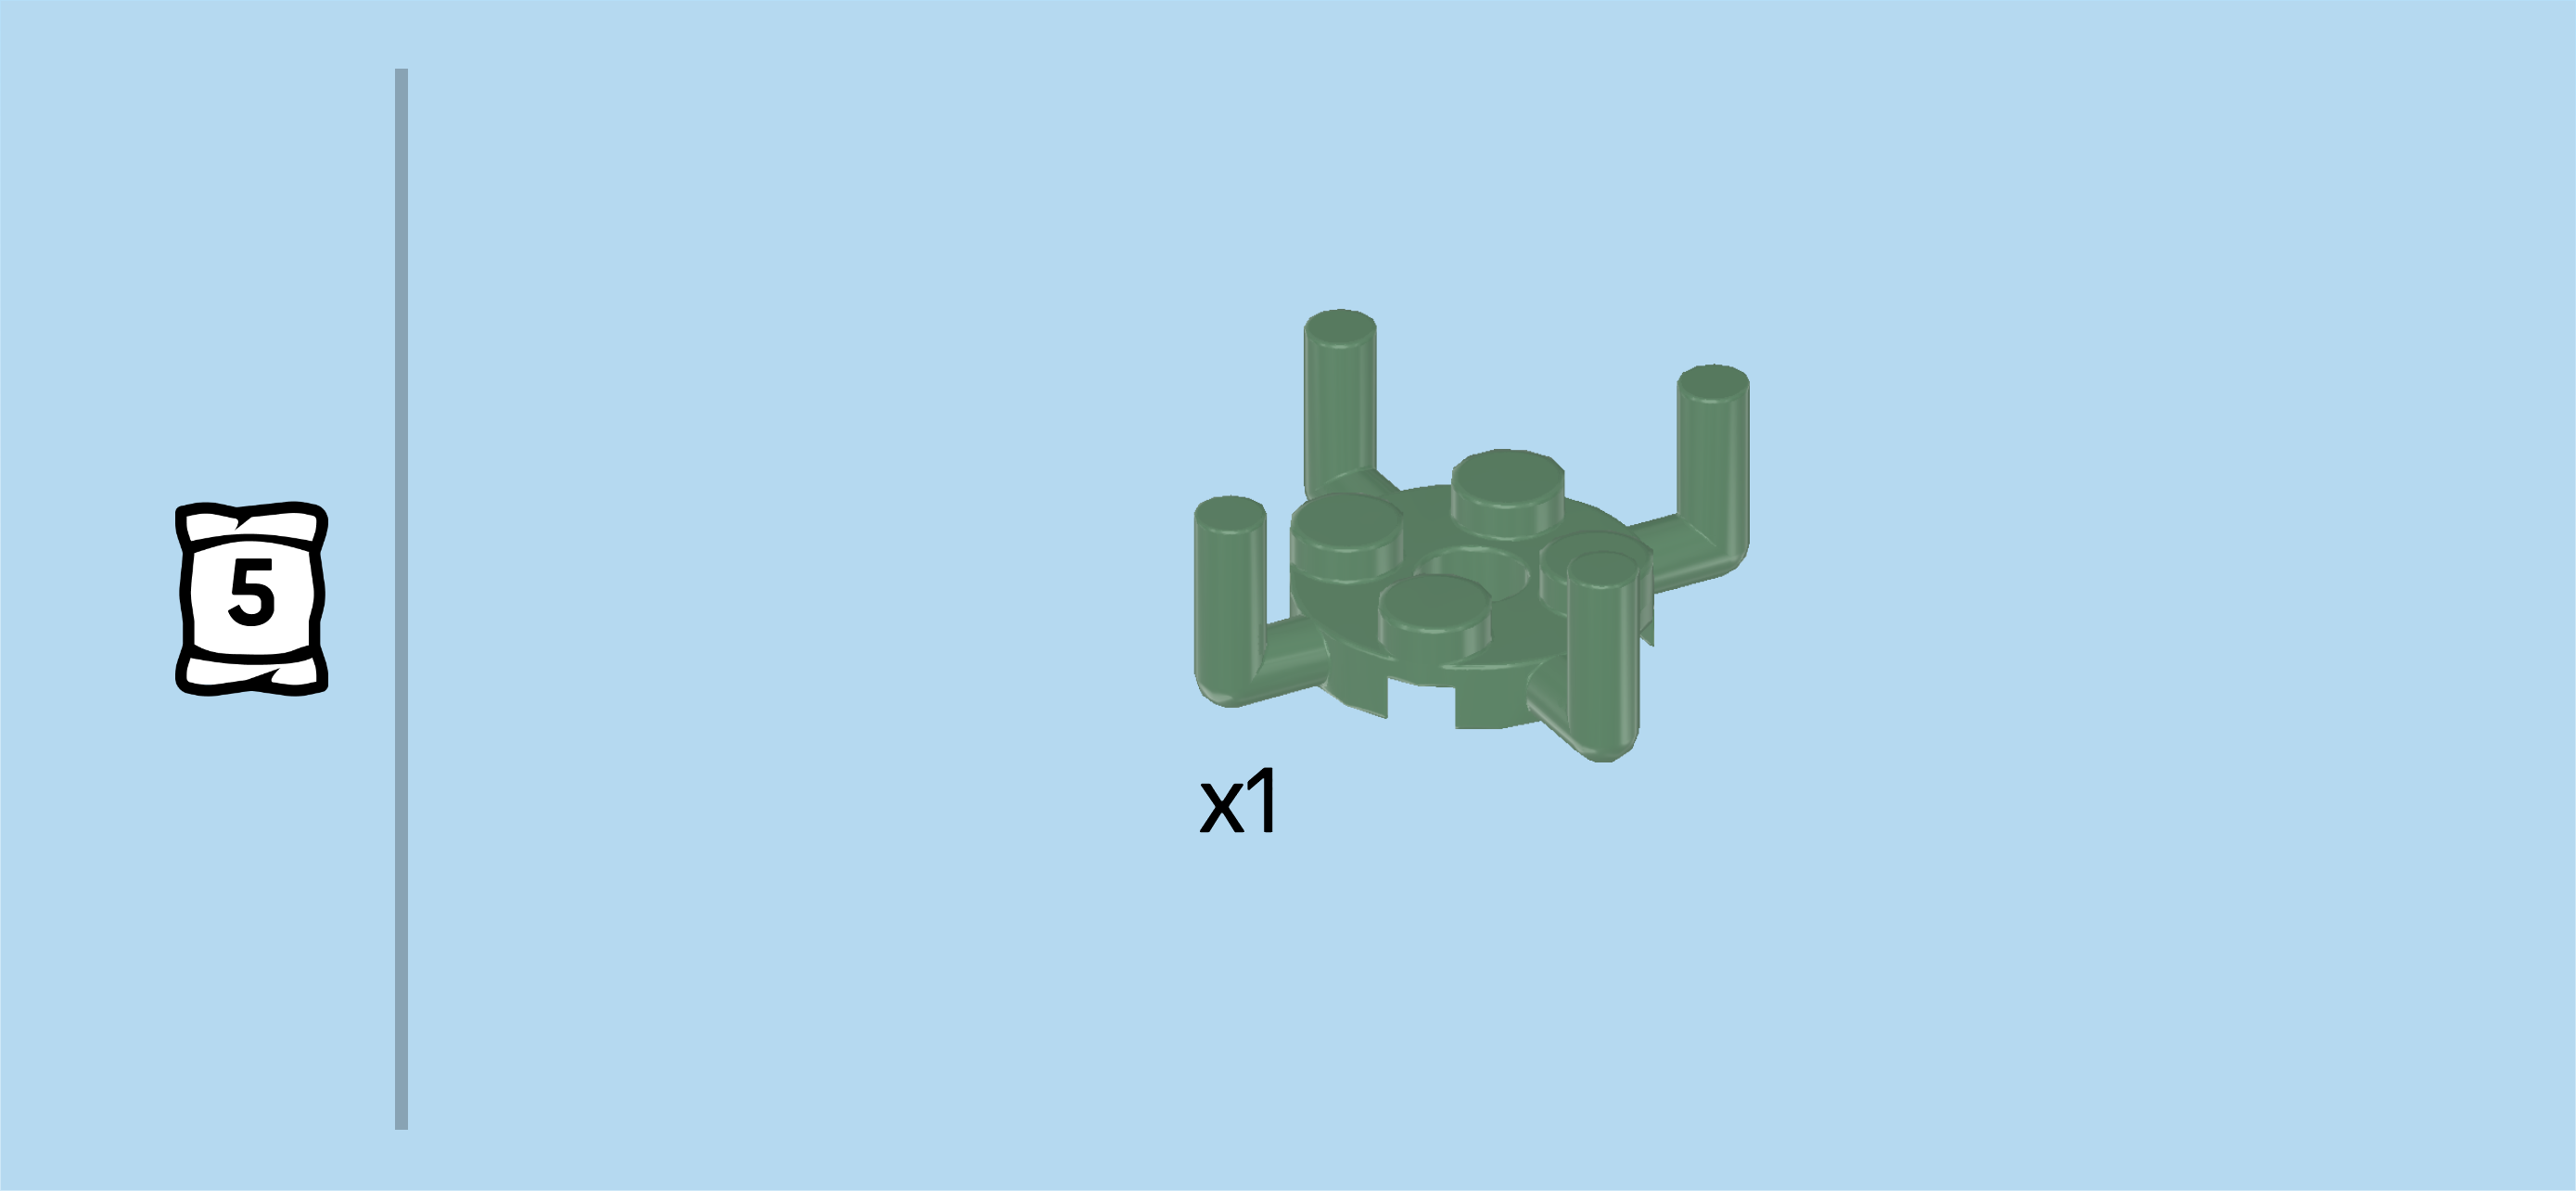
| Find 2 sand green flat plant elements with 6 knobs. |
| Put 1 vertically on the table, 5 twigs pointing to the front. |
| Hold the other one horizontally, 5 twigs pointing to the left. |
| Mount its rightmost knob on the backmost knob of the first plant element, current plant element overhanging to the left. |
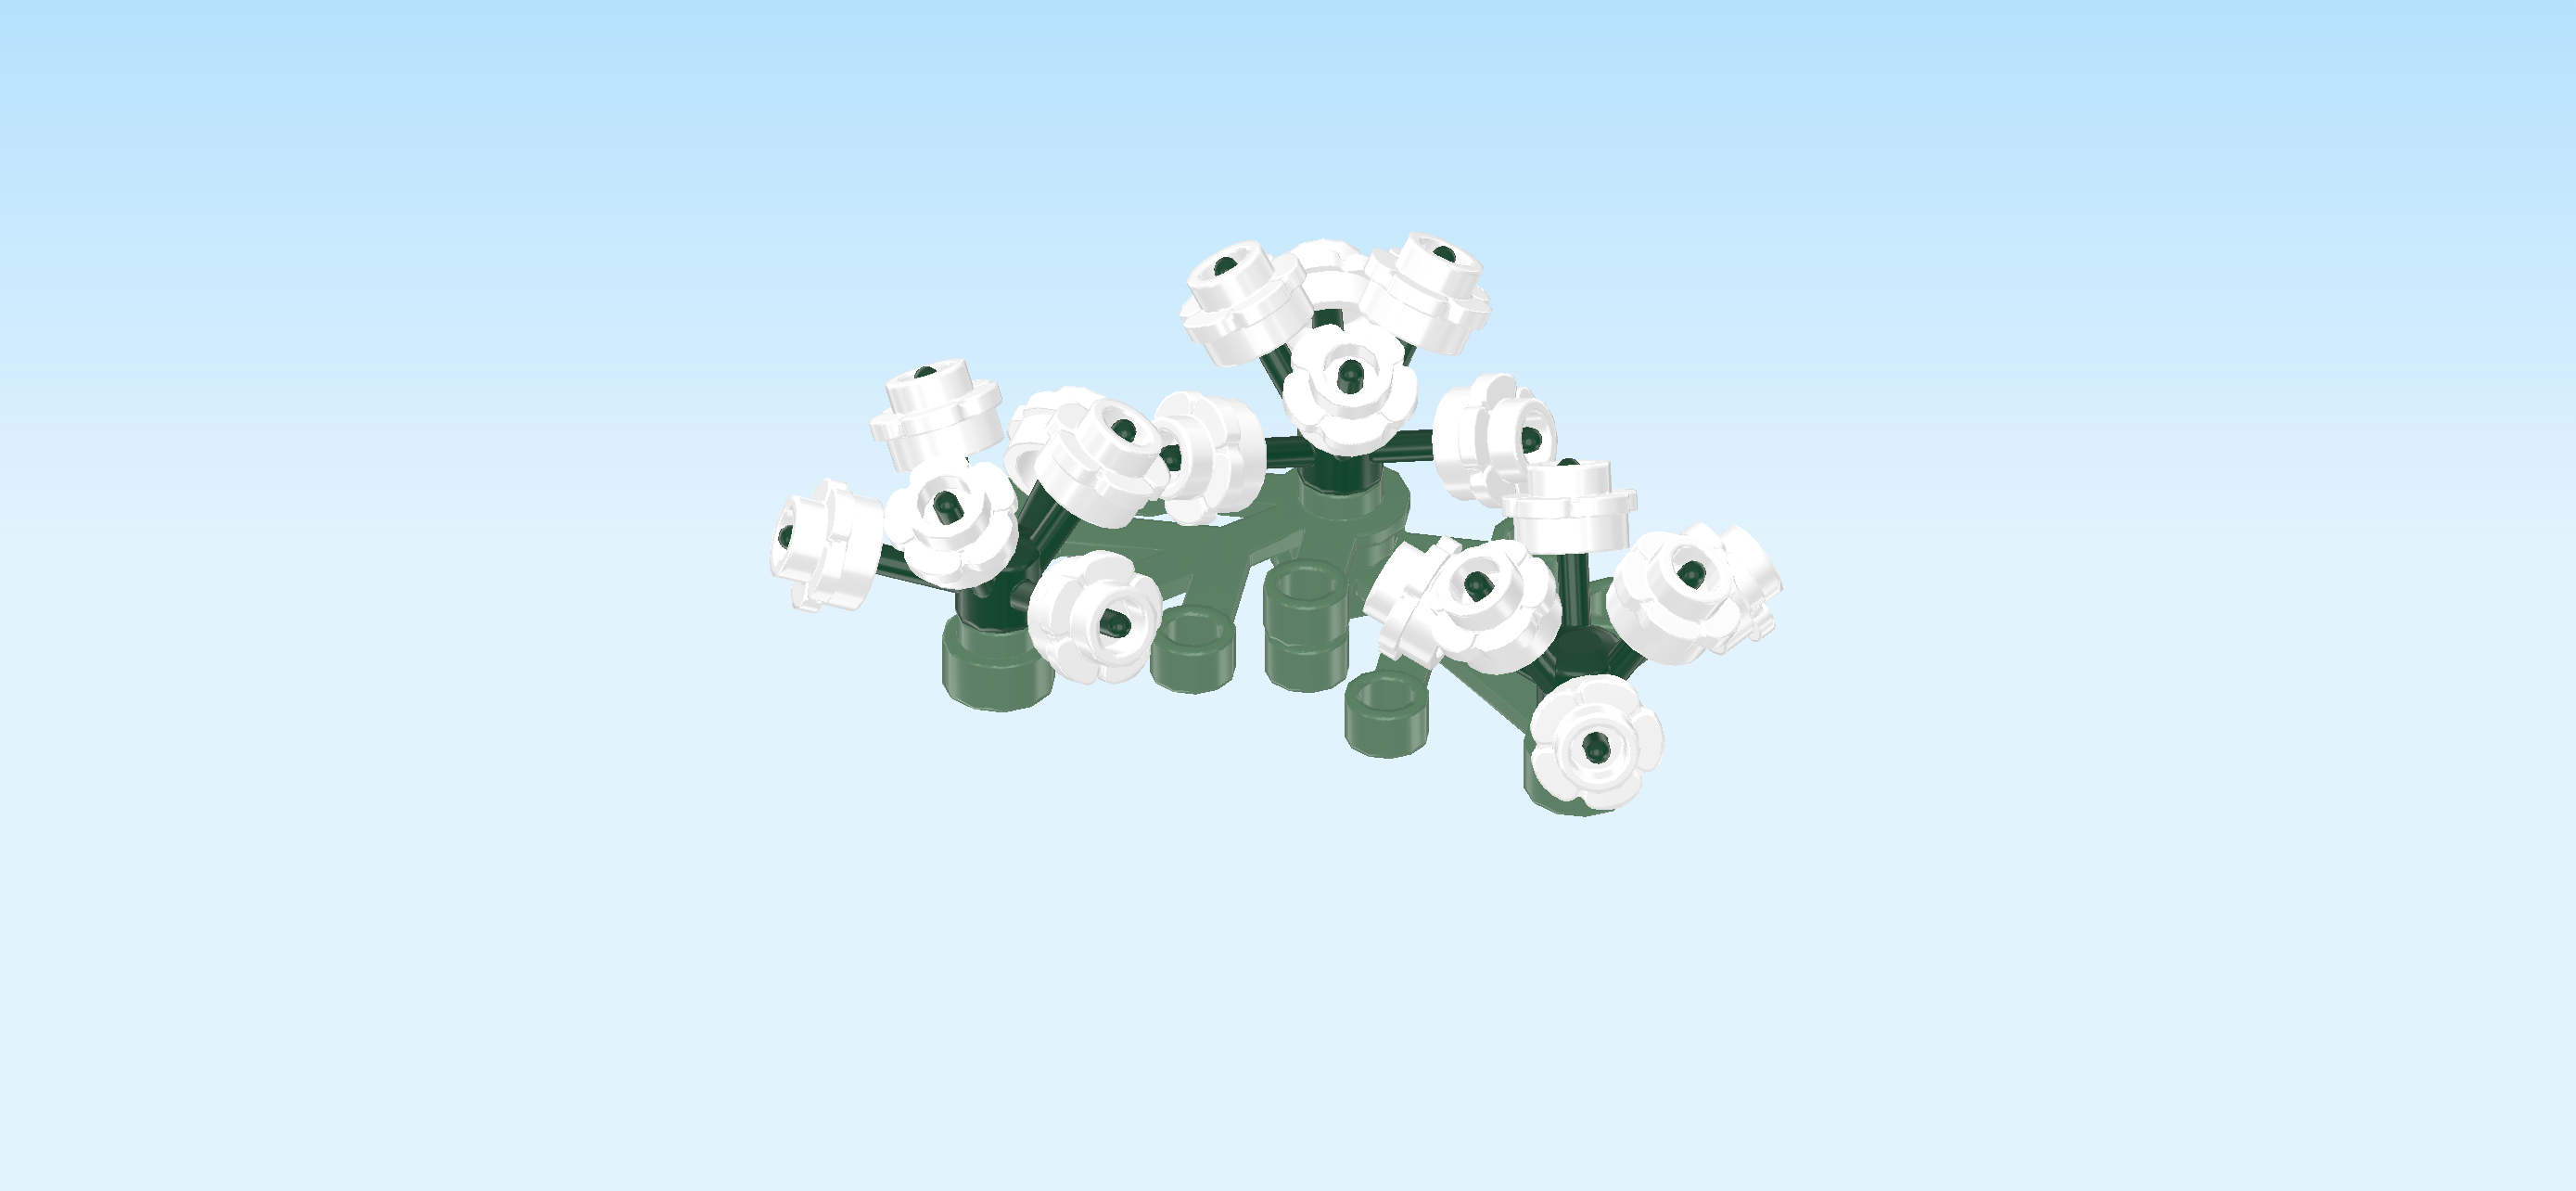
| Next up, we will build 3 flower clusters. |
| Collect the following 6 pieces: |
| 3 mossy green plant bases with 6 twigs, |
| and 3 white flower pieces 1x1 with through-hole. |
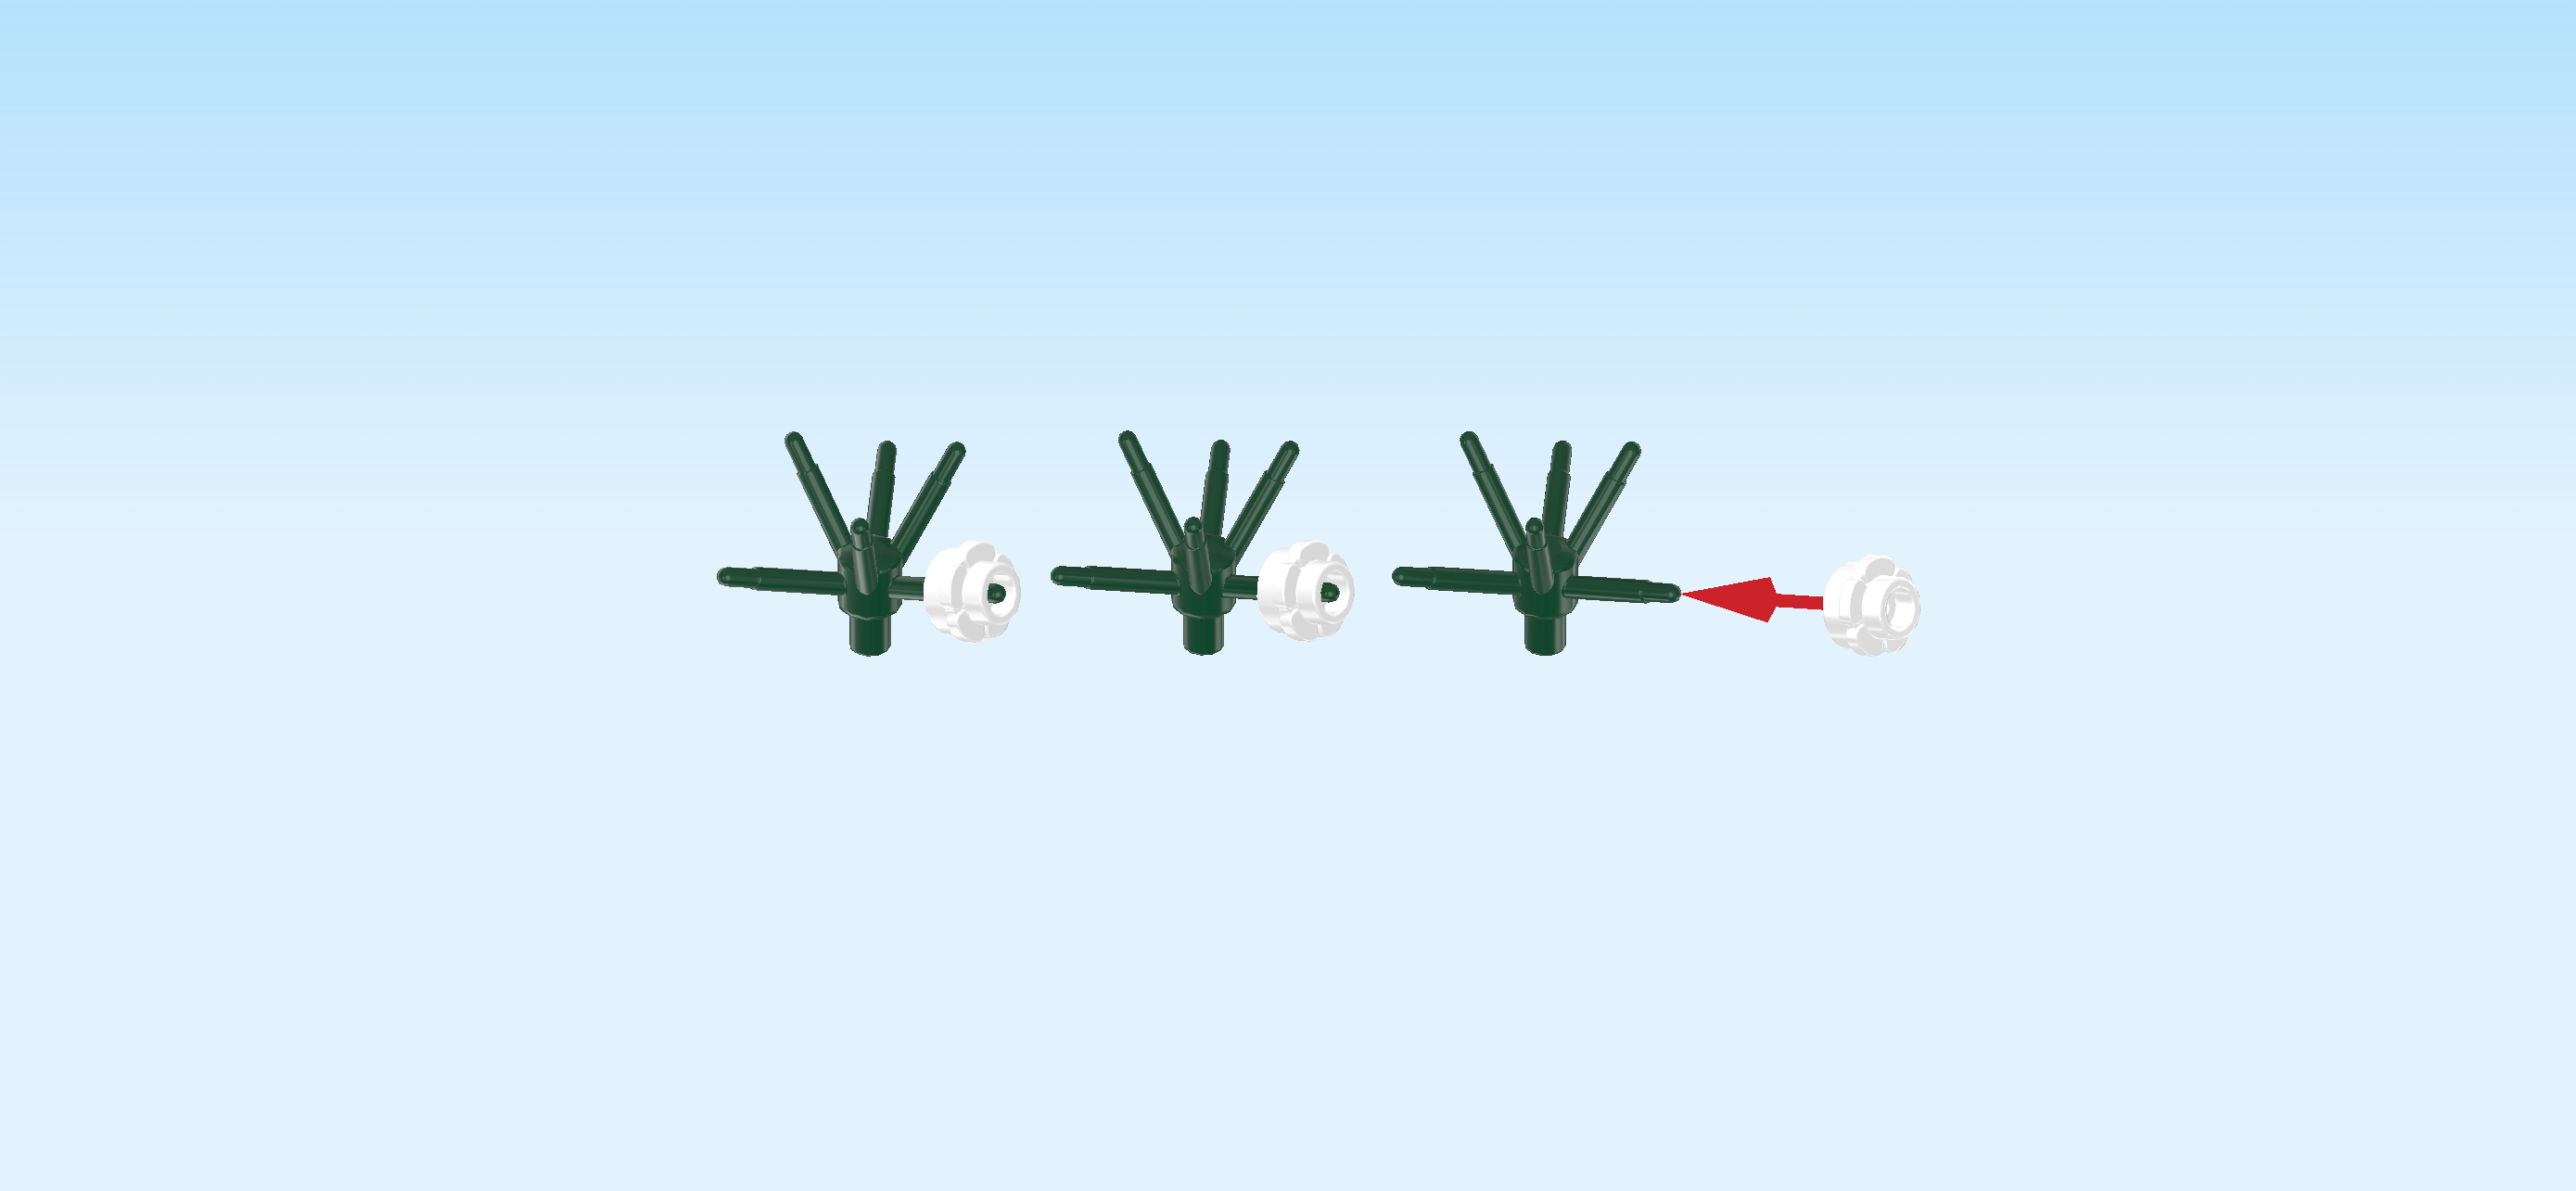
| Put 1 flower piece on each plant base. You can use any twig since we will be filling them all up with identical flower pieces. |
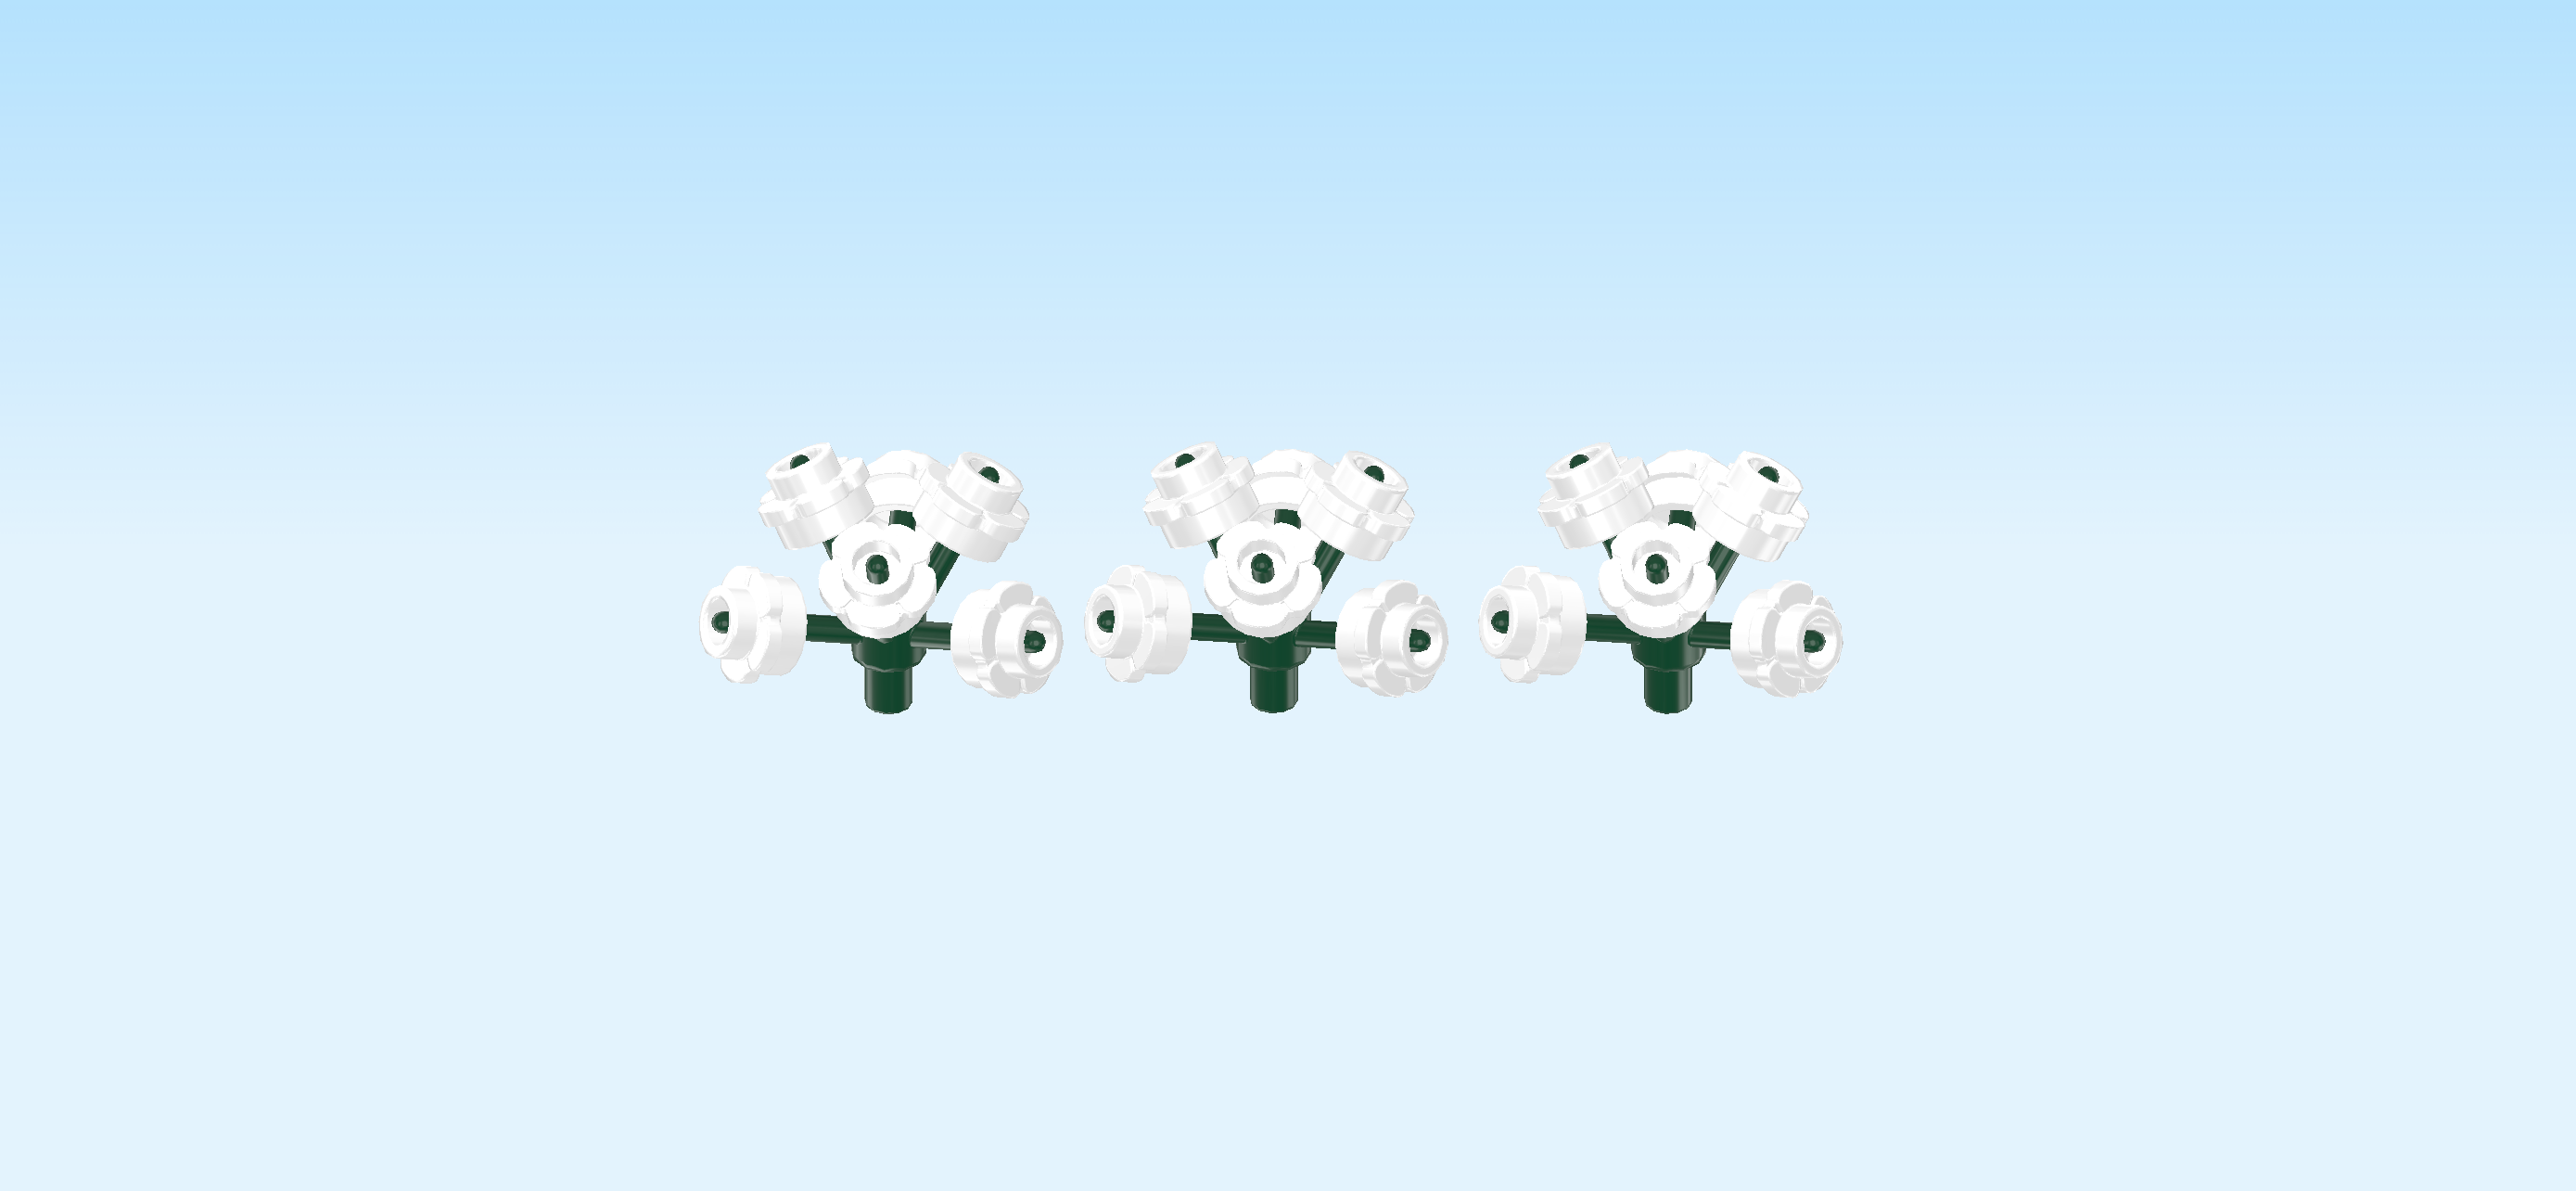
| Find 15 white flower pieces 1x1 with through-hole. |
| Put them on the empty twigs of the plant bases from the previous steps. Make sure that each twig has 1 flower piece. |
| The 3 flower clusters are finished! Well done! Insert the bottom shaft of 1 flower cluster into the leftmost knob of the overhanging flat plant element. |
| Insert the shaft of another flower cluster into the center knob of the flat plant elements. This is the knob where the 2 flat plant elements are connected. |
| Insert the shaft of the third flower cluster into the frontmost knob of the flat plant elements. |
| Next, we will build the stem of the baby's breath. |
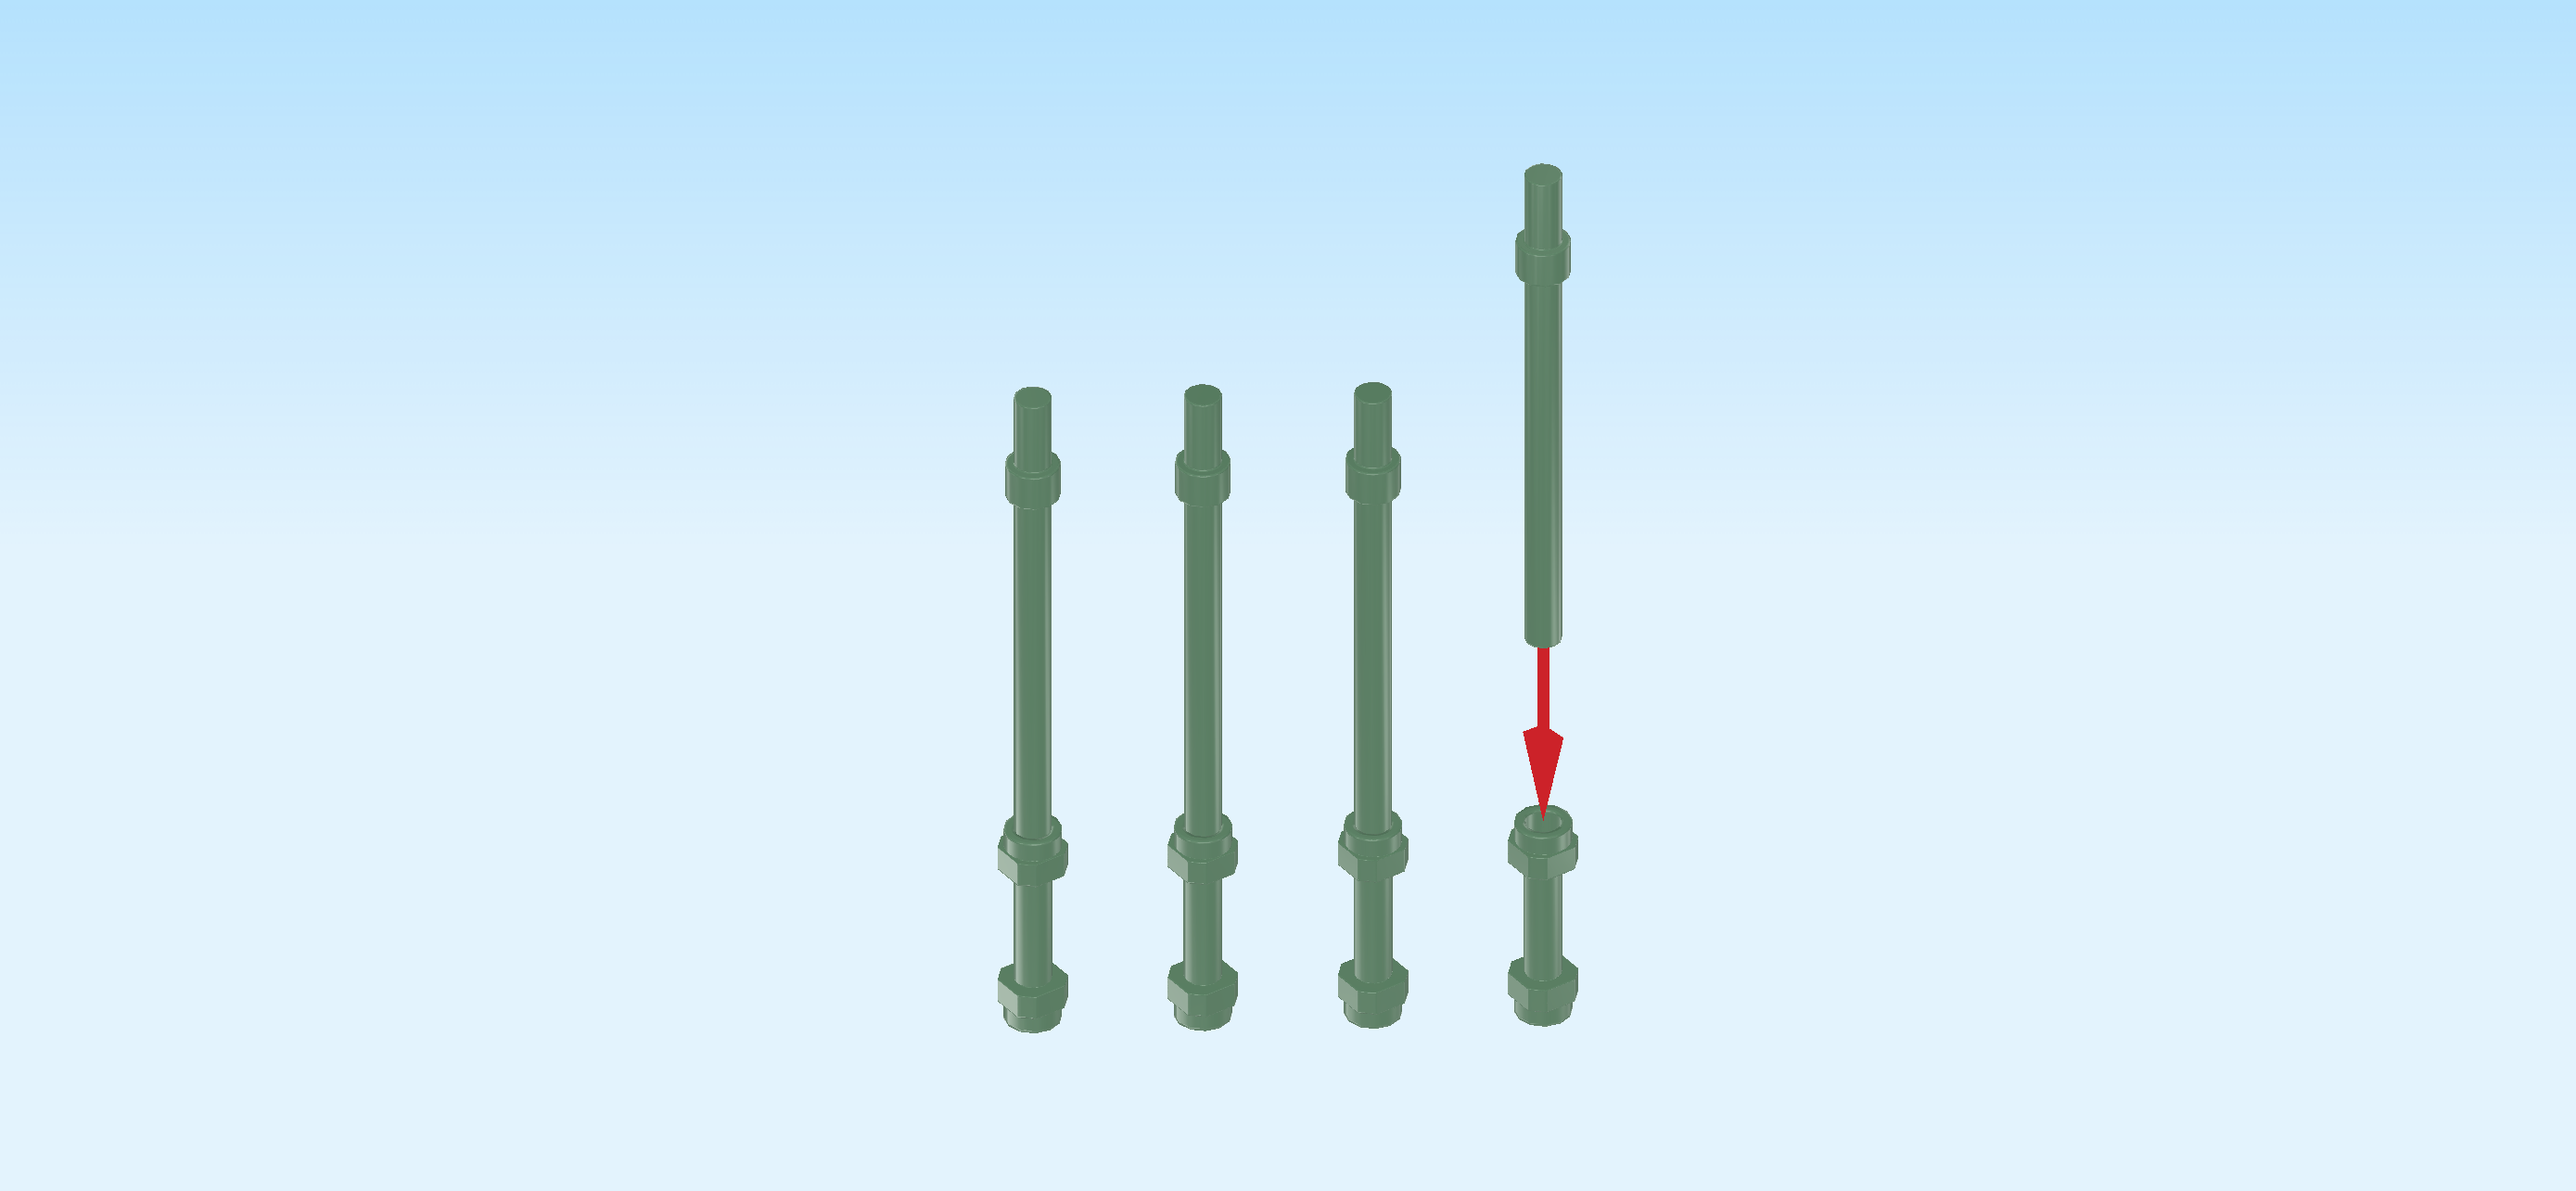
| Collect the following 8 pieces: |
| 4 sand green shafts 6m with ring, |
| and 4 sand green handles 2.5m with 2 end knobs. |
| Hold 1 handle 2.5m upright, knobs to the top and bottom. |
| Insert the long end of 1 shaft into the top knob of the previous piece. This means the short end with ring is at the top. |
| Repeat with the other 3 handles and shafts to create 4 separate stem sections. |
| Hold 1 stem section upright so that the handle is at the bottom and the ring towards the top. Insert the bottom knob of another stem section into the top part of the first one. |
| Repeat 2 more times with the 2 remaining stem sections to create 1 long stem. |
| The stem of the baby's breath is finished! The tip of the stem is the short end with ring of one of the shafts 6m. Insert this tip from the bottom into the center knob of the flat plant elements. This is the knob that connects the 2 flat plant elements. |
| The first of the 4 baby's breaths is finished! Great job! You can either jump back to the beginning of this section with the title "Let's start with the 4 baby's breaths." and repeat this until you have either built 2 or 4 baby's breaths (depending on whether you are only working with bag 5 for now or with bag 5 and 6 at once), or continue with the next sentence to build the first rose in full bloom. |
| Next, we will build the roses in full bloom. |
| First, we will make the upper part of the stem with rose bud base. |
| Collect the following 2 pieces: |
| 1 mossy green angled cross axle extension 3m with bushing hole, |
| and 1 medium stone grey cross axle 5m. |
| Hold the angled cross axle extension 3m upright, cross hole running from top to bottom, round bushing hole running from left to right, middle bend pointing to the back. |
| Insert the cross axle from the top into the top cross hole, cross axle sticking out towards the top. |
| Find 1 reddish brown round plate 1x1 with through-hole. |
| Flip it upright and put its knob from the left on the round bushing hole. |
| Find 1 maroon red small horn with short shaft. |
| Insert its shaft from the left into the previous piece, horn pointing to the left and down. |
| Find 1 mossy green plate 2x2x⅔ with cross hole and 4 side leaves. |
| Put its cross hole on the cross axle and push it all the way down. Make sure the knobs are to the top and the leaves are pointing down. Make sure that 1 leaf tip is hovering directly above the small horn. |
| Find 1 sand green round plate 2x2 with 4 upward hooks. |
| Put it on the cross axle, upward hooks to the top. Push it all the way down. Make sure 1 upward hook is directly above the small horn and the leaf tip. |
| Find 1 dark stone grey brick 2x2 with 4 side grooves and cross hole. |
| Put it on the cross axle and push it down. Make sure that the grooves are lined up with the upward hooks. |
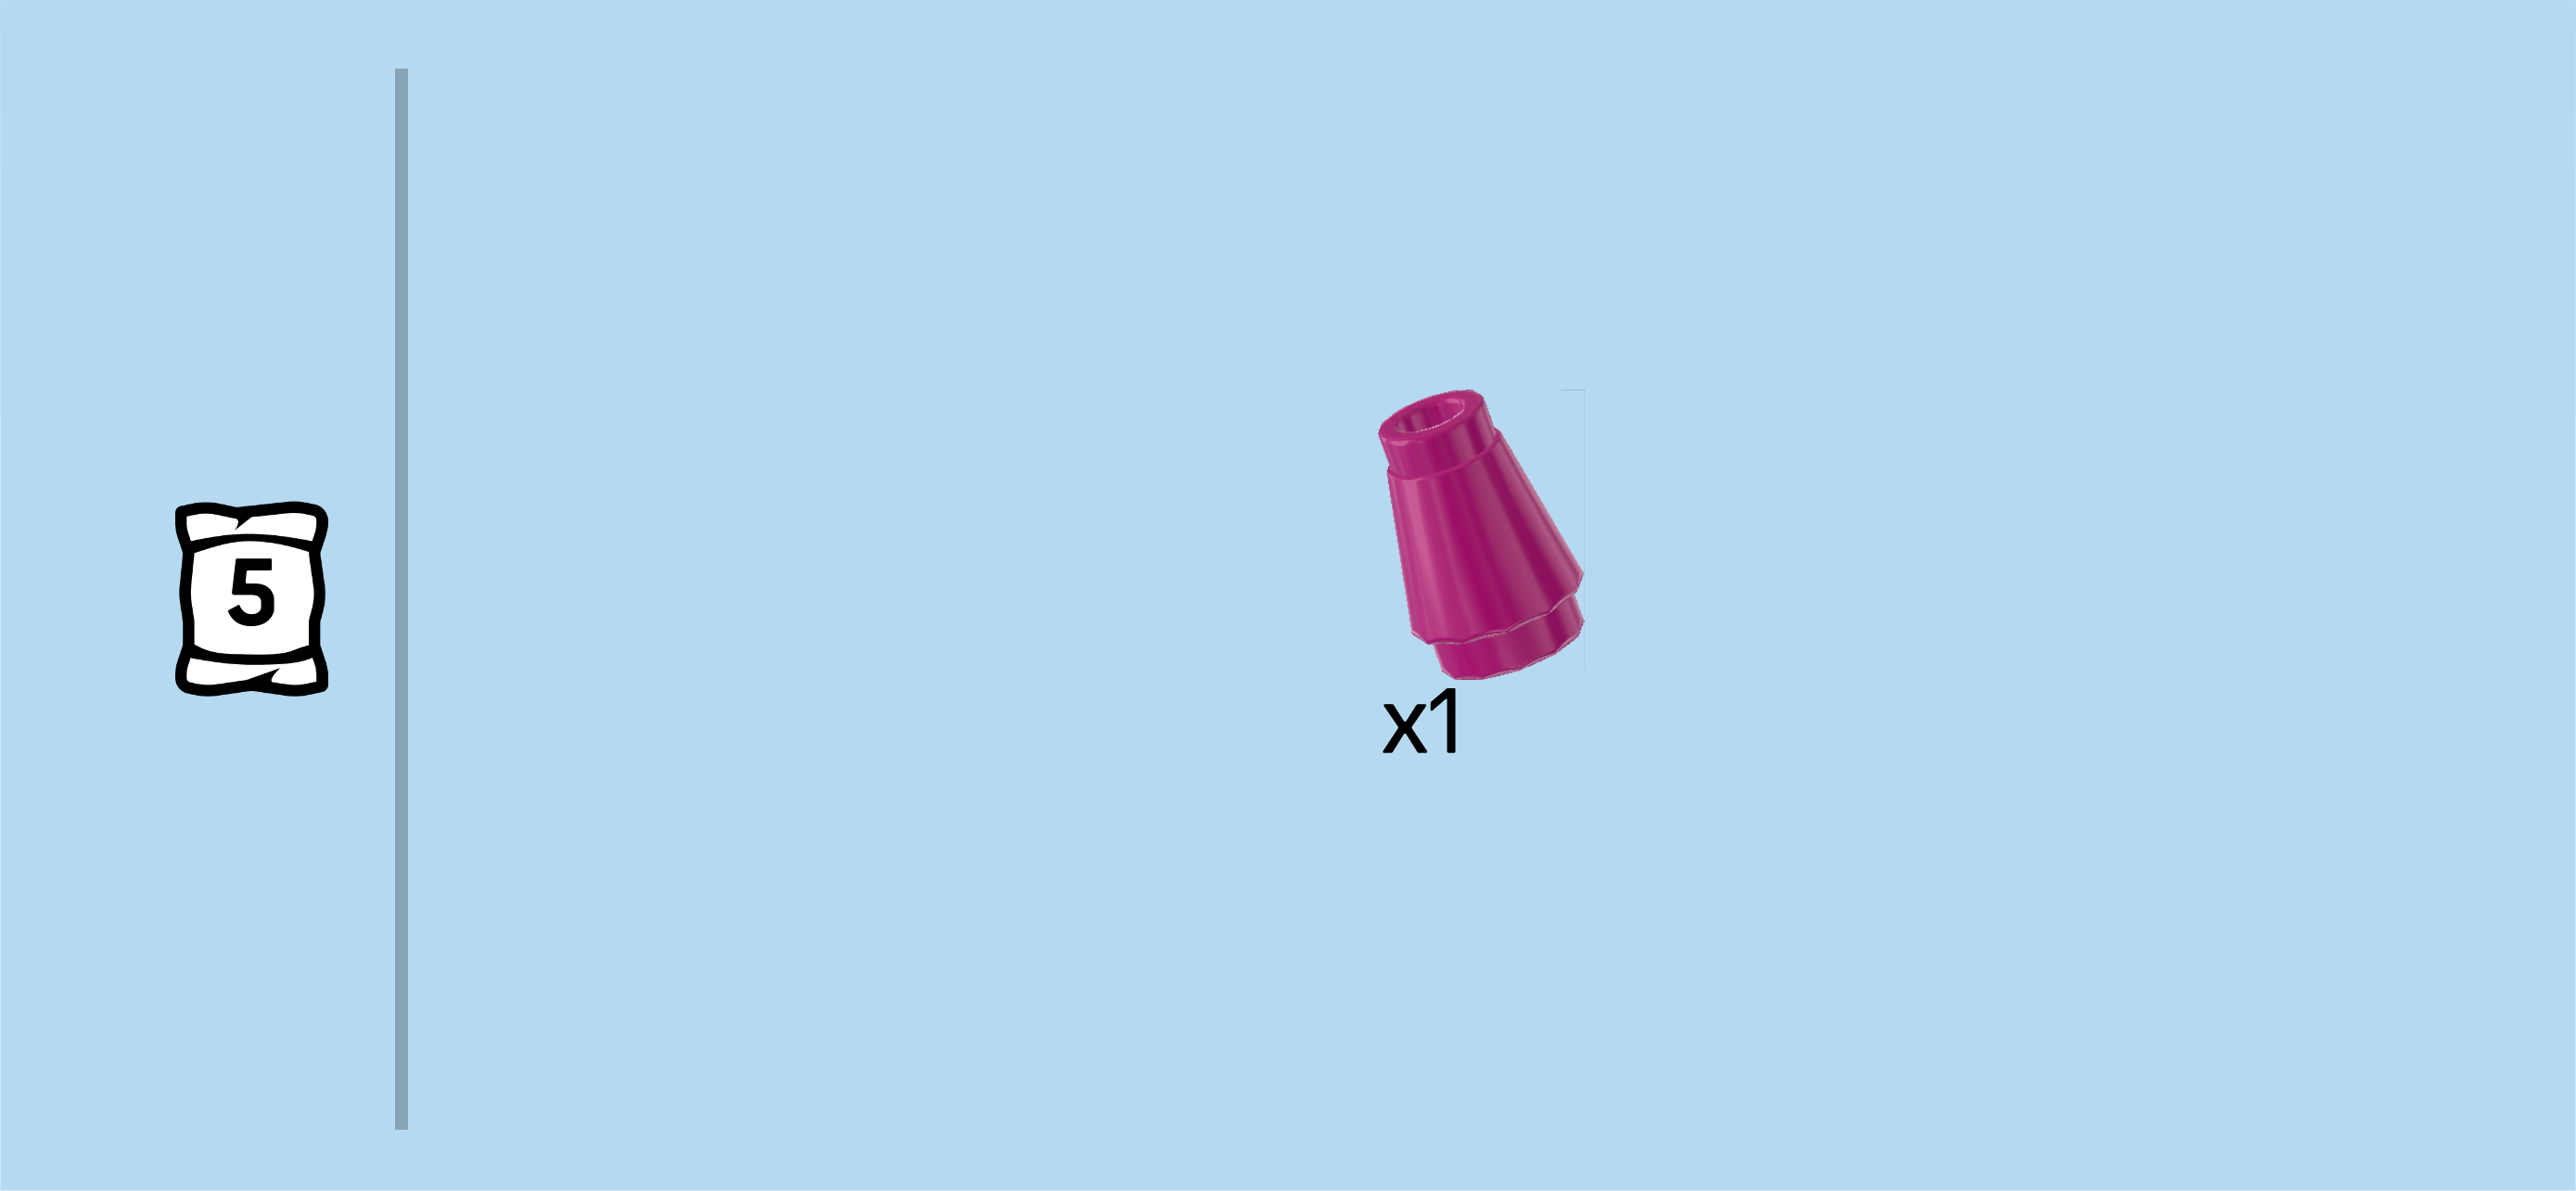
| Find 1 purple violet nose cone 1x1. |
| Put it on top of the cross axle. A small section of the cross axle between the previous piece and the current piece will not be covered. |
| Collect the following 2 pieces: |
| 1 bright red rolled-up whip, |
| and 1 black plate 1x1 with top clasp. |
| Put the plate with clasp on the table, clasp oriented vertically. This means that the tips are to the front and back, not to the left and right. |
| Hold the whip flat in front of you, making sure that its handle is on the right and pointing towards you. |
| Snap its center nub from the top into the clasp. |
| Mount this part on top of the nose cone. While the small horn on the stem should be pointing to the left, the whip handle should be on the right edge and pointing to the front. |
| Now, we will assemble the 4 inner petals. |
| Collect the following 8 pieces: |
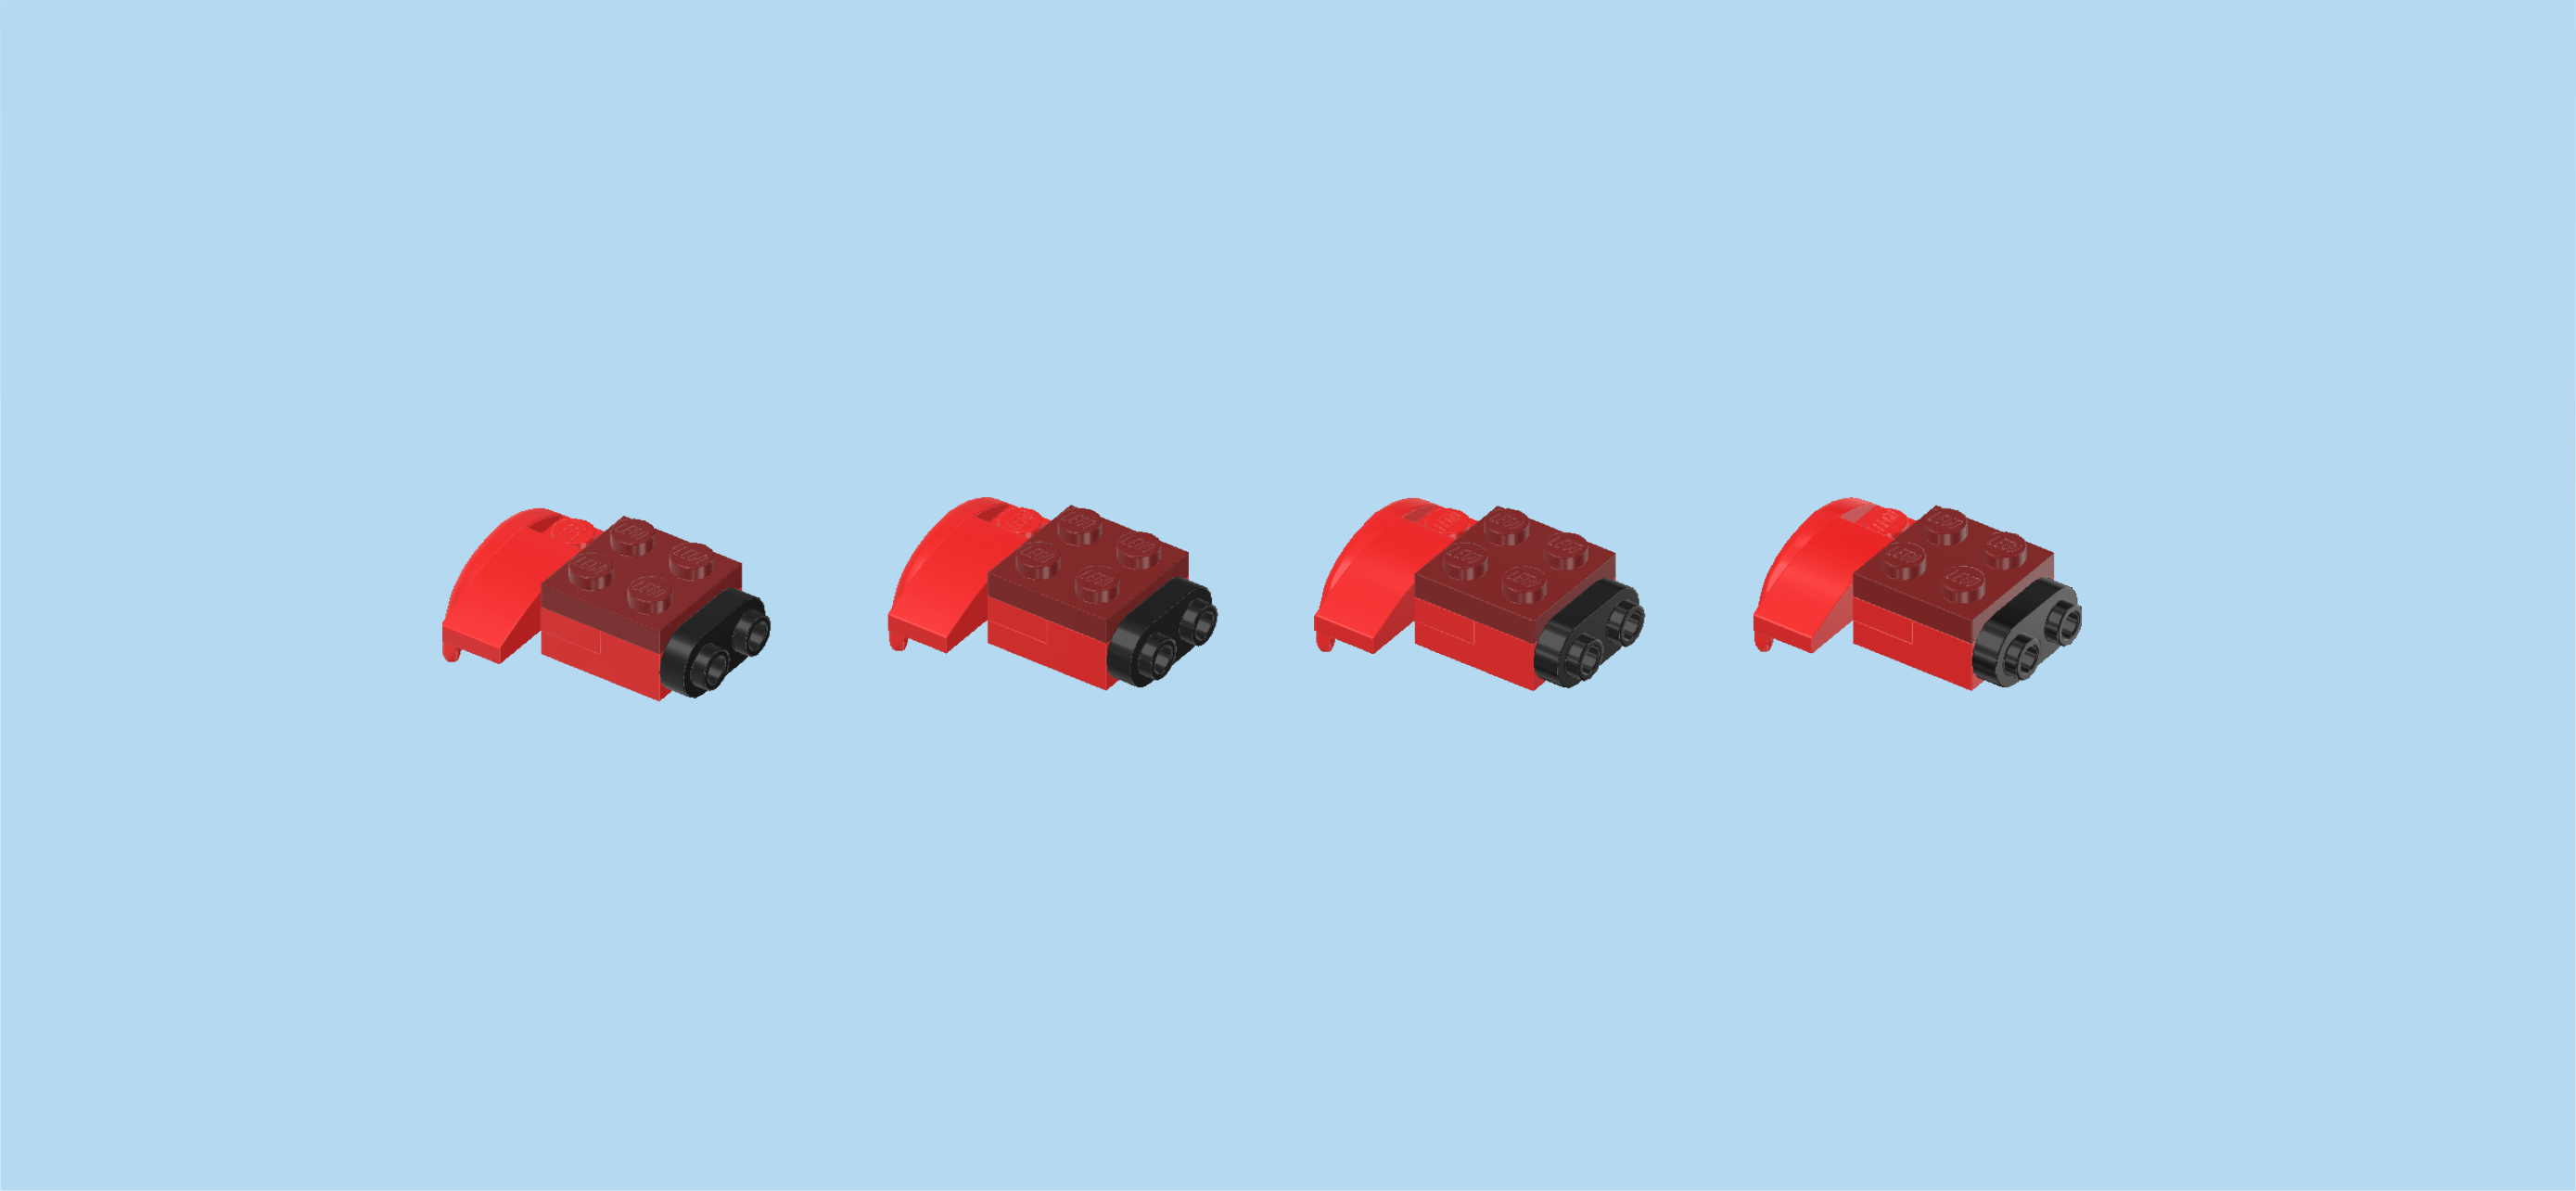
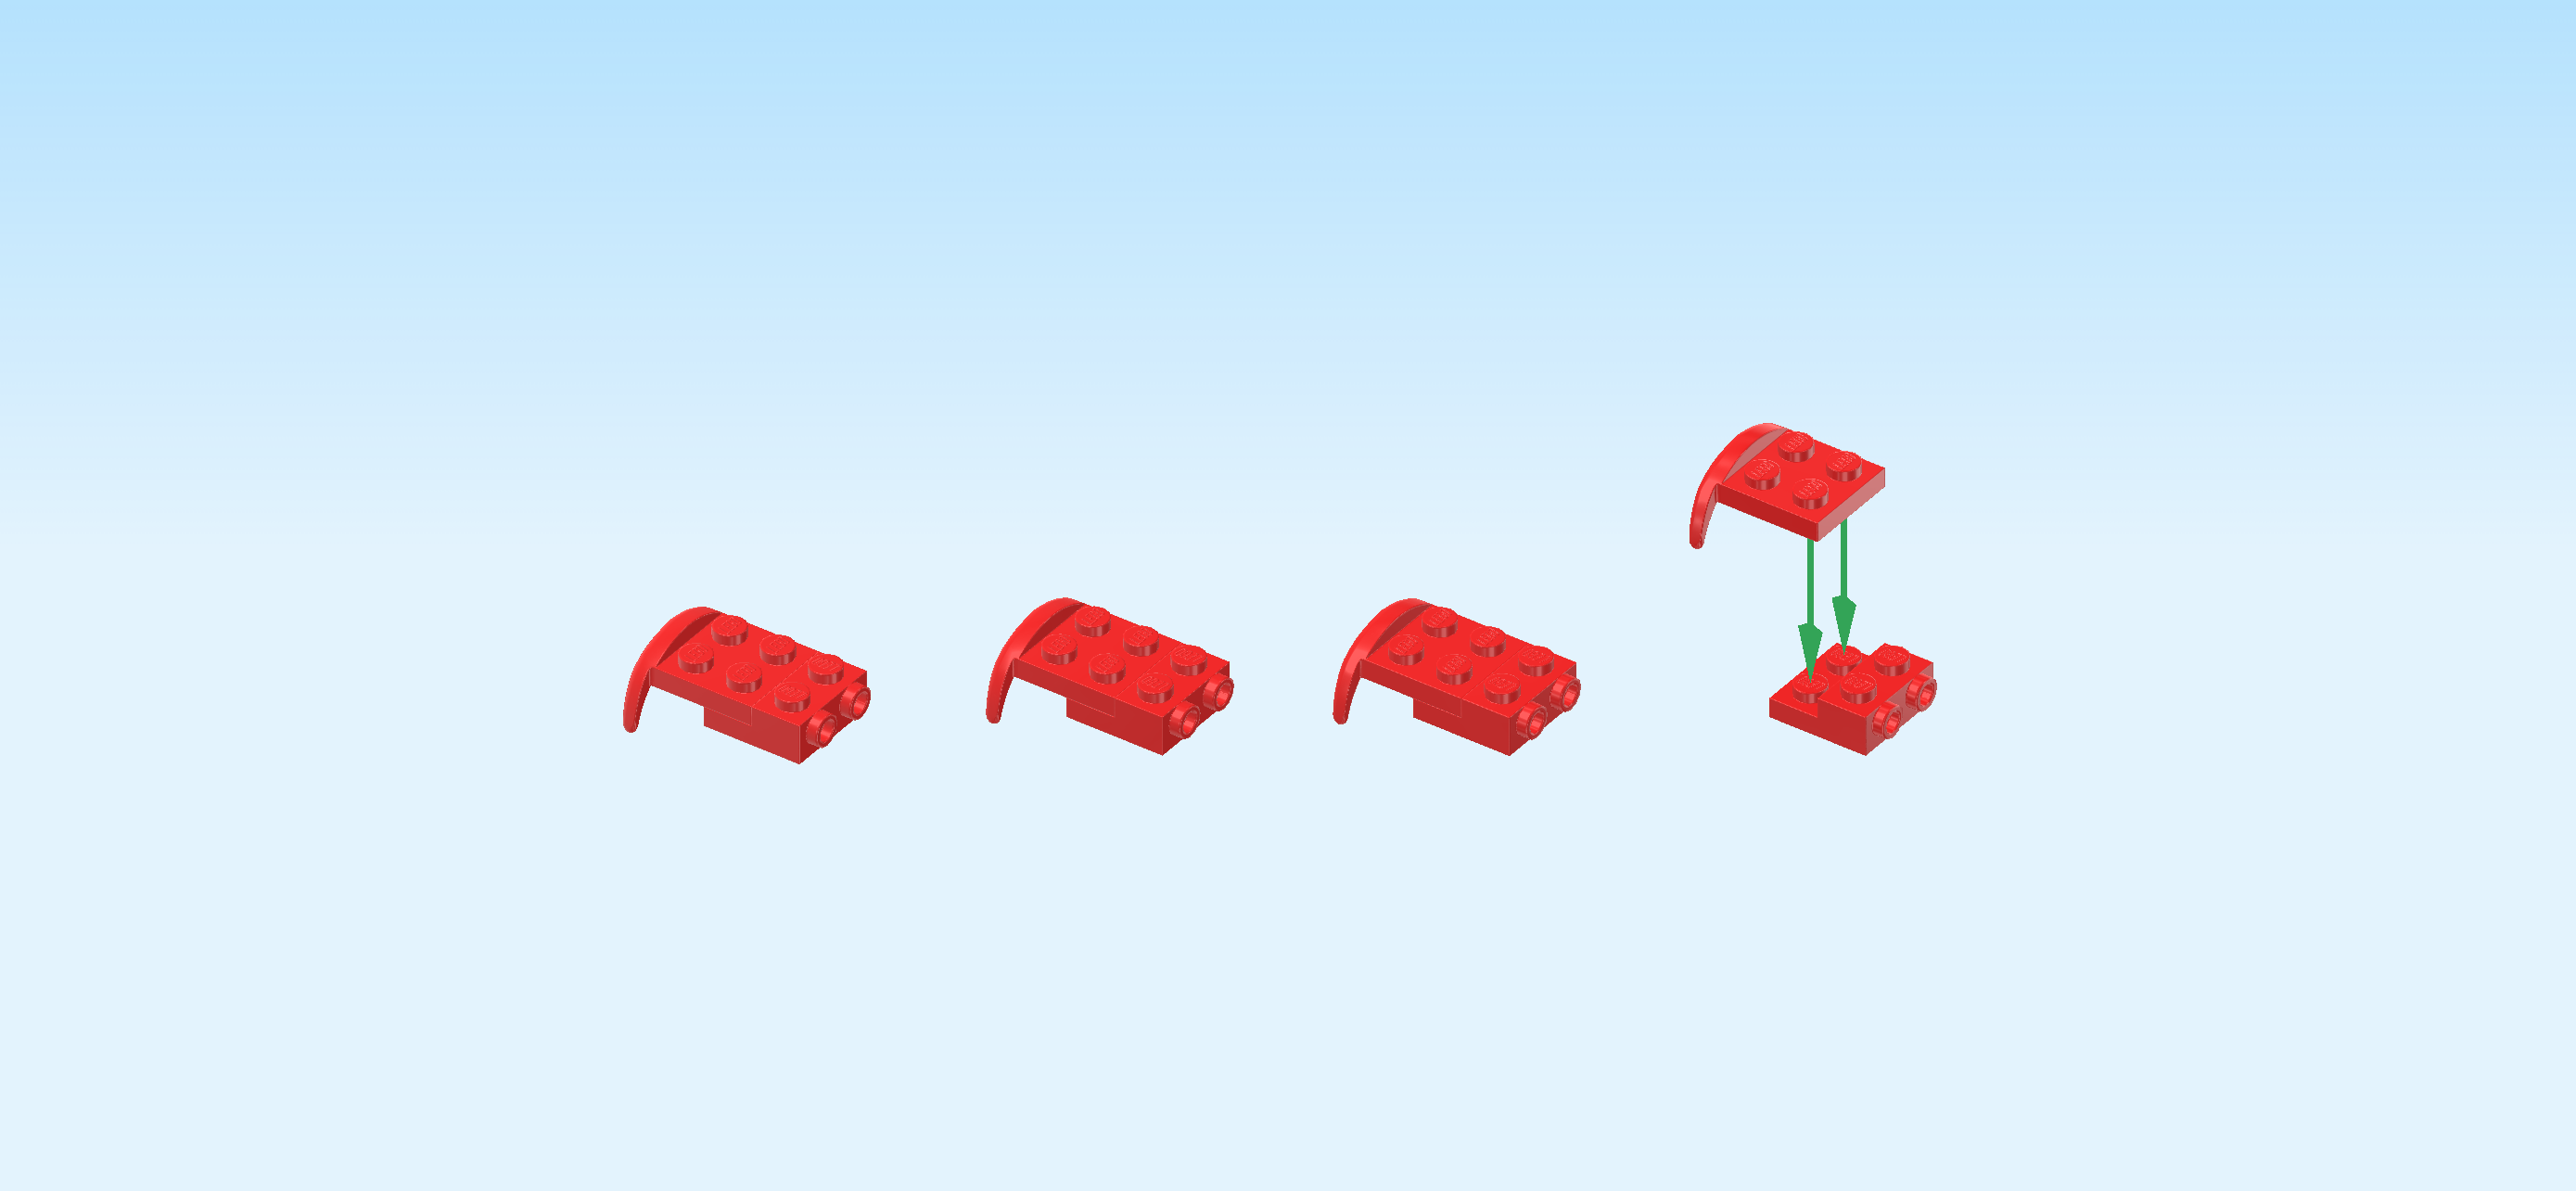
| 4 bright red mudguard plates 2x2 with curved mudguard, |
| and 4 bright red stepped plates 2x2 with 2 side knobs. |
| Put 1 stepped plate on the table, 2 side knobs pointing to the right. |
| Put 1 mudguard plate on the left half, 1 column and mudguard overhanging to the left. |
| Repeat with the 3 remaining stepped plates and mudguard plates. |
| Find 4 bright red one-stepped curve tiles 1x2. |
| Put 1 vertically on the leftmost knob of the front row of the inner petal structure, curve to the front, 1/2 overhanging to the front. |
| Repeat on the other 3 inner petal structures. |
| Find 4 maroon red plates 2x2. |
| Put 1 on the 4 rightmost knobs of 1 inner petal structure. |
| Repeat on the other 3 petal structures. |
| Find 4 black rounded plates 1x2. |
| Put 1 upright horizontally on the 2 side knobs pointing to the right of 1 petal structure. |
| Repeat on the other 3 petal structures. |
| The 4 inner petals are finished! Well done! Pick up the upper part of the stem and make sure the upward hooks are pointing to the top. Flip one inner petal upright, knobs pointing to you, mudguard tips pointing to the back. |
| Insert one upward hook from the bottom into the right hollow knob at the bottom of the petal. |
| Repeat with the other three upward hooks and petals. |
| Due to the slight offset of the petals they will be intertwined when folded up. This means that the right tip of the front petal's mudguard will be covered by the left tip of the neighboring petal and so on. |
| Find 4 bright red shell-shaped curve pieces 4x5. |
| Hold 1 upright so that the wider rounded end is towards the bottom and the narrower end with 3 slopes is towards the top. Mount it on the 4 side knobs of one inner petal. |
| Repeat symmetrically with the other curve pieces and inner petals. |
| Now, we will build the stem of the full-blooming rose. |
| Collect the following 20 pieces: |
| 10 bright red cross axles 2m with 2 grooves, |
| and 10 mossy green cross axle extensions 3m. |
| Hold 1 cross axle extension upright, and insert 1 cross axle from the top into the top cross hole. |
| Repeat with the other 9 cross axle extensions and cross axles. |
| Put the 10 stem elements together to form one long rose stem. |
| The stem of the full-blooming rose is finished! Insert its top cross axle from the bottom into the cross hole of the upper part of the rose stem. |
| The first of the 4 roses in full bloom is finished! Great job! Navigate back to the section with the title "Next, we will build the roses in full bloom." and repeat to build the remaining 3 roses. If you've only worked with the bricks of bag 5 so far, remember to open bag 6 for the third and fourth baby's breath and rose. Once you have 4 of each, continue with the instructions. |
| You have finished building the entire set! Congratulations! It is time to look for a fitting vase and arrange your iconic bouquet of roses to your liking. The intricate patterns and arrangements of the petals and leaves make for a vibrant and lush bouquet. The delicate baby's breaths add a little lightness into the bouquet and give it a festive touch. What a beautiful addition to your home or gift for a loved one. |
| Enjoy! |
